Assassin's Creed Mirage Harbiyah All Collectible Locations
This guide will show you where to find all collectibles in the "Harbiyah" region in Assassin's Creed Mirage.
🎮 Find more Assassin’s Creed Mirage guides here.
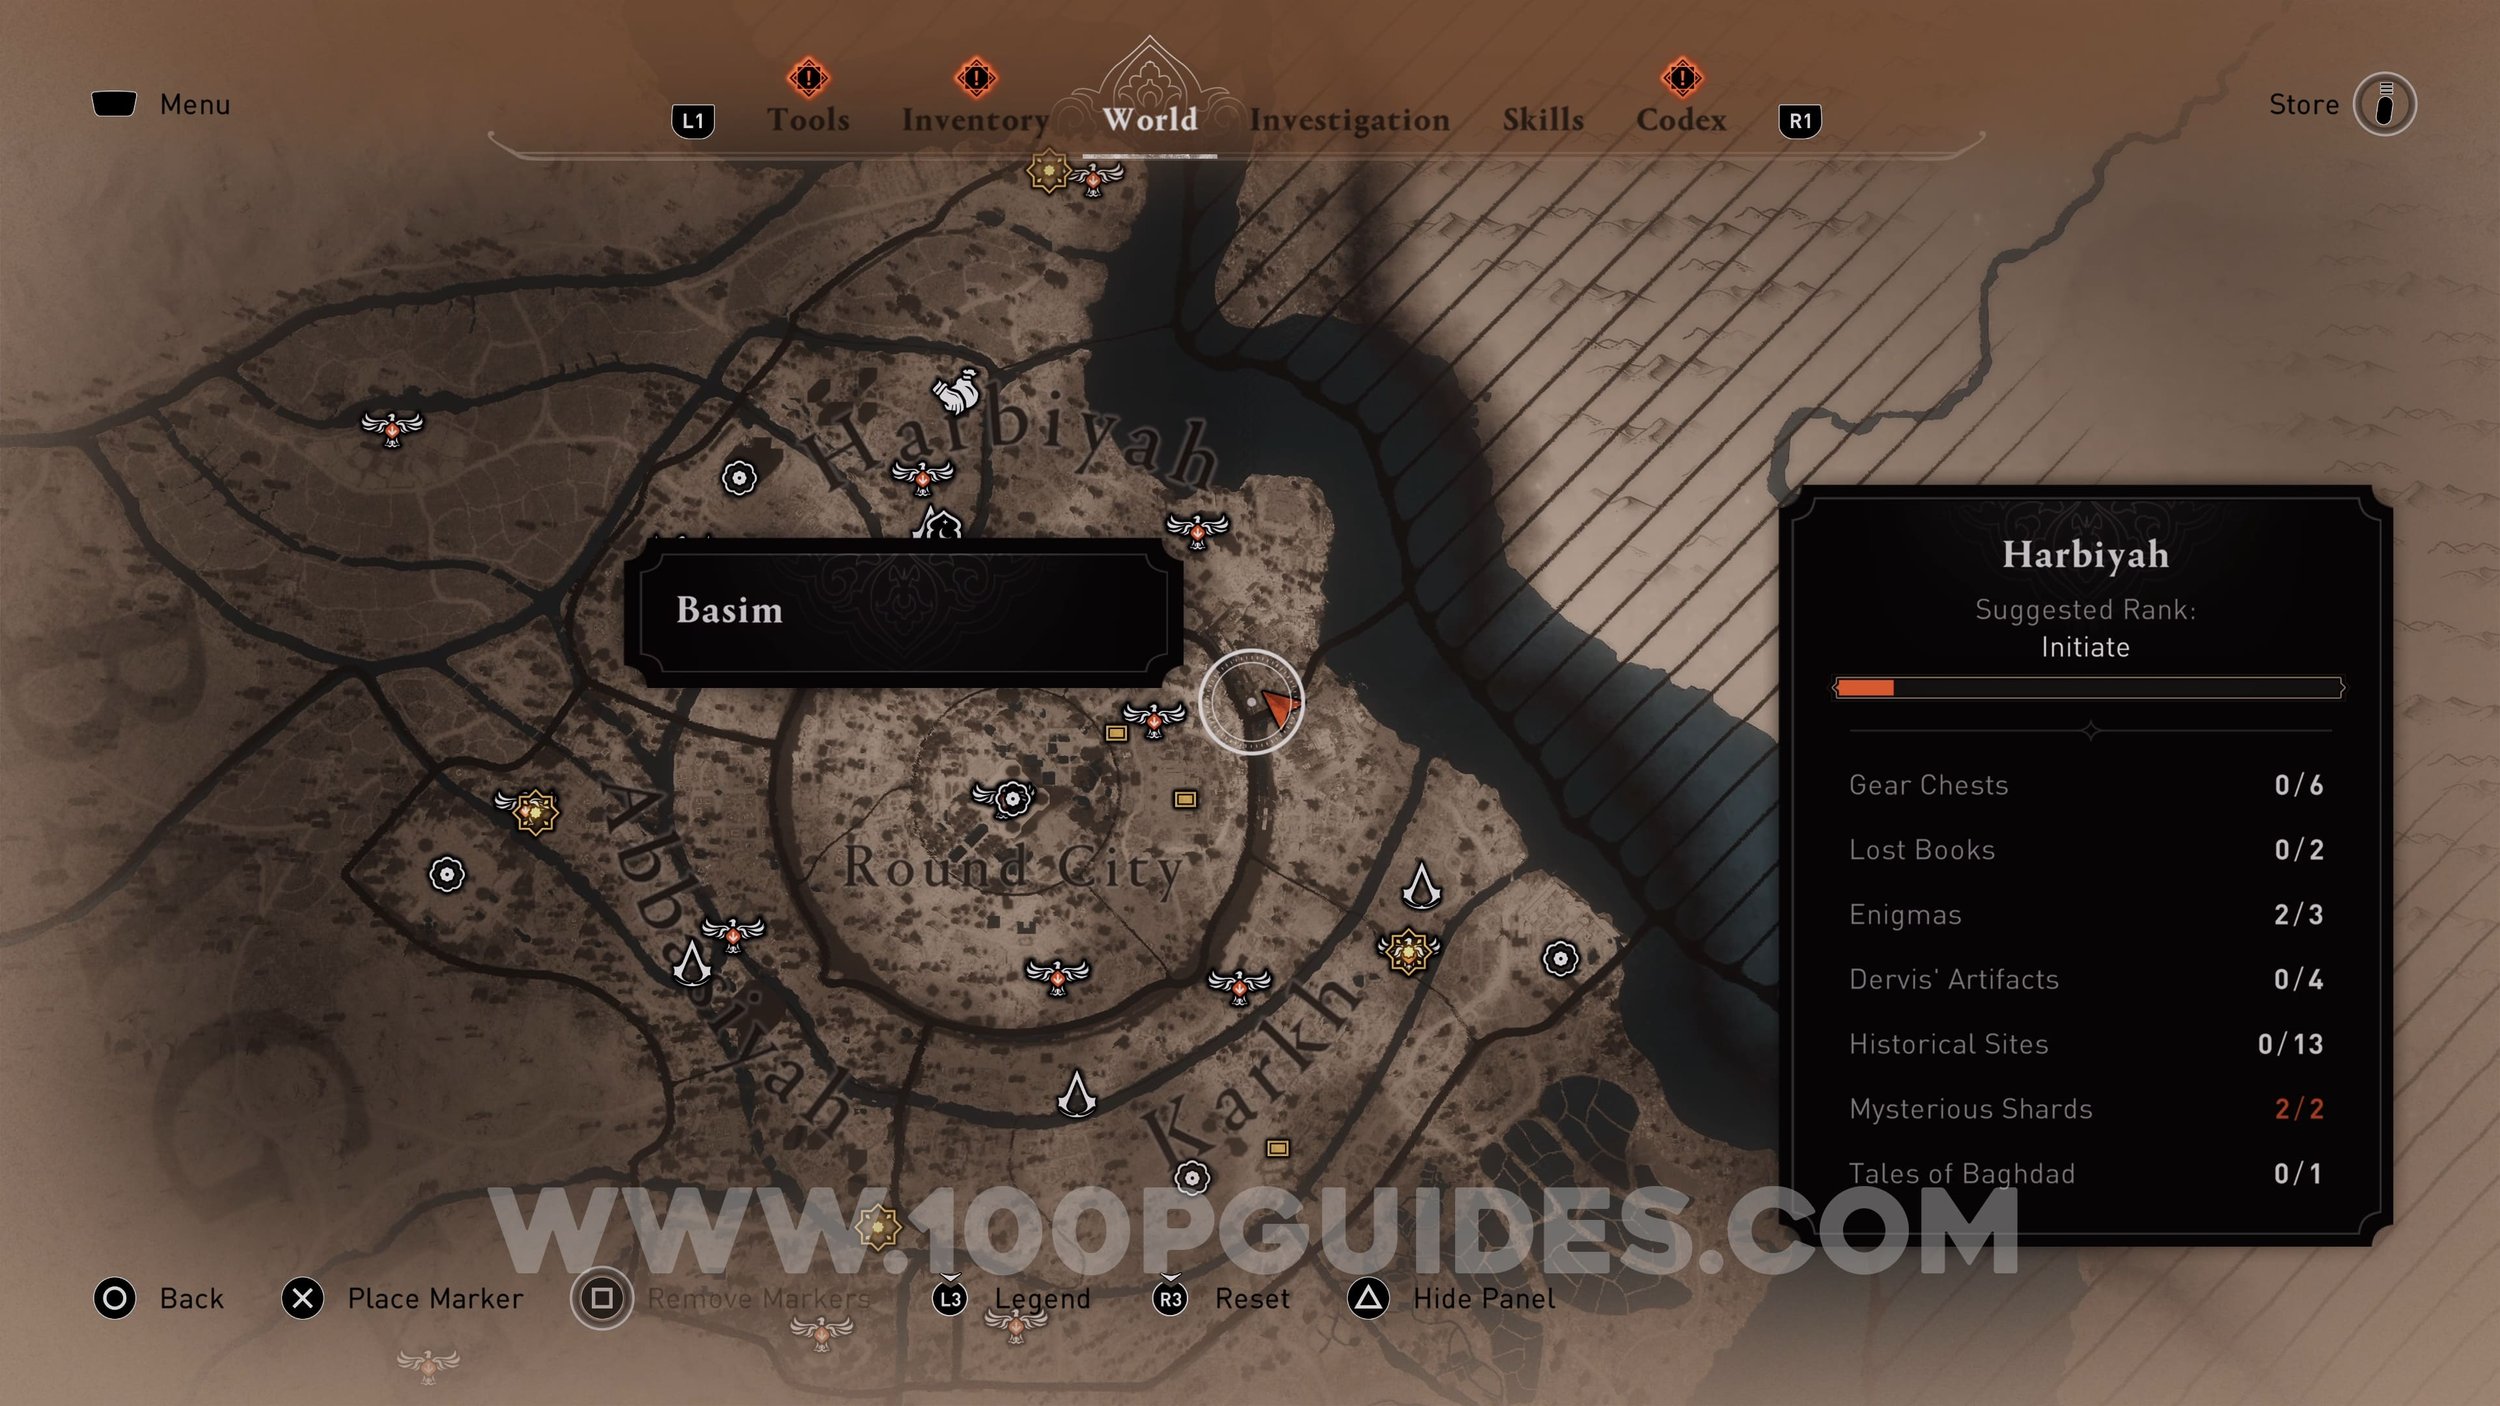
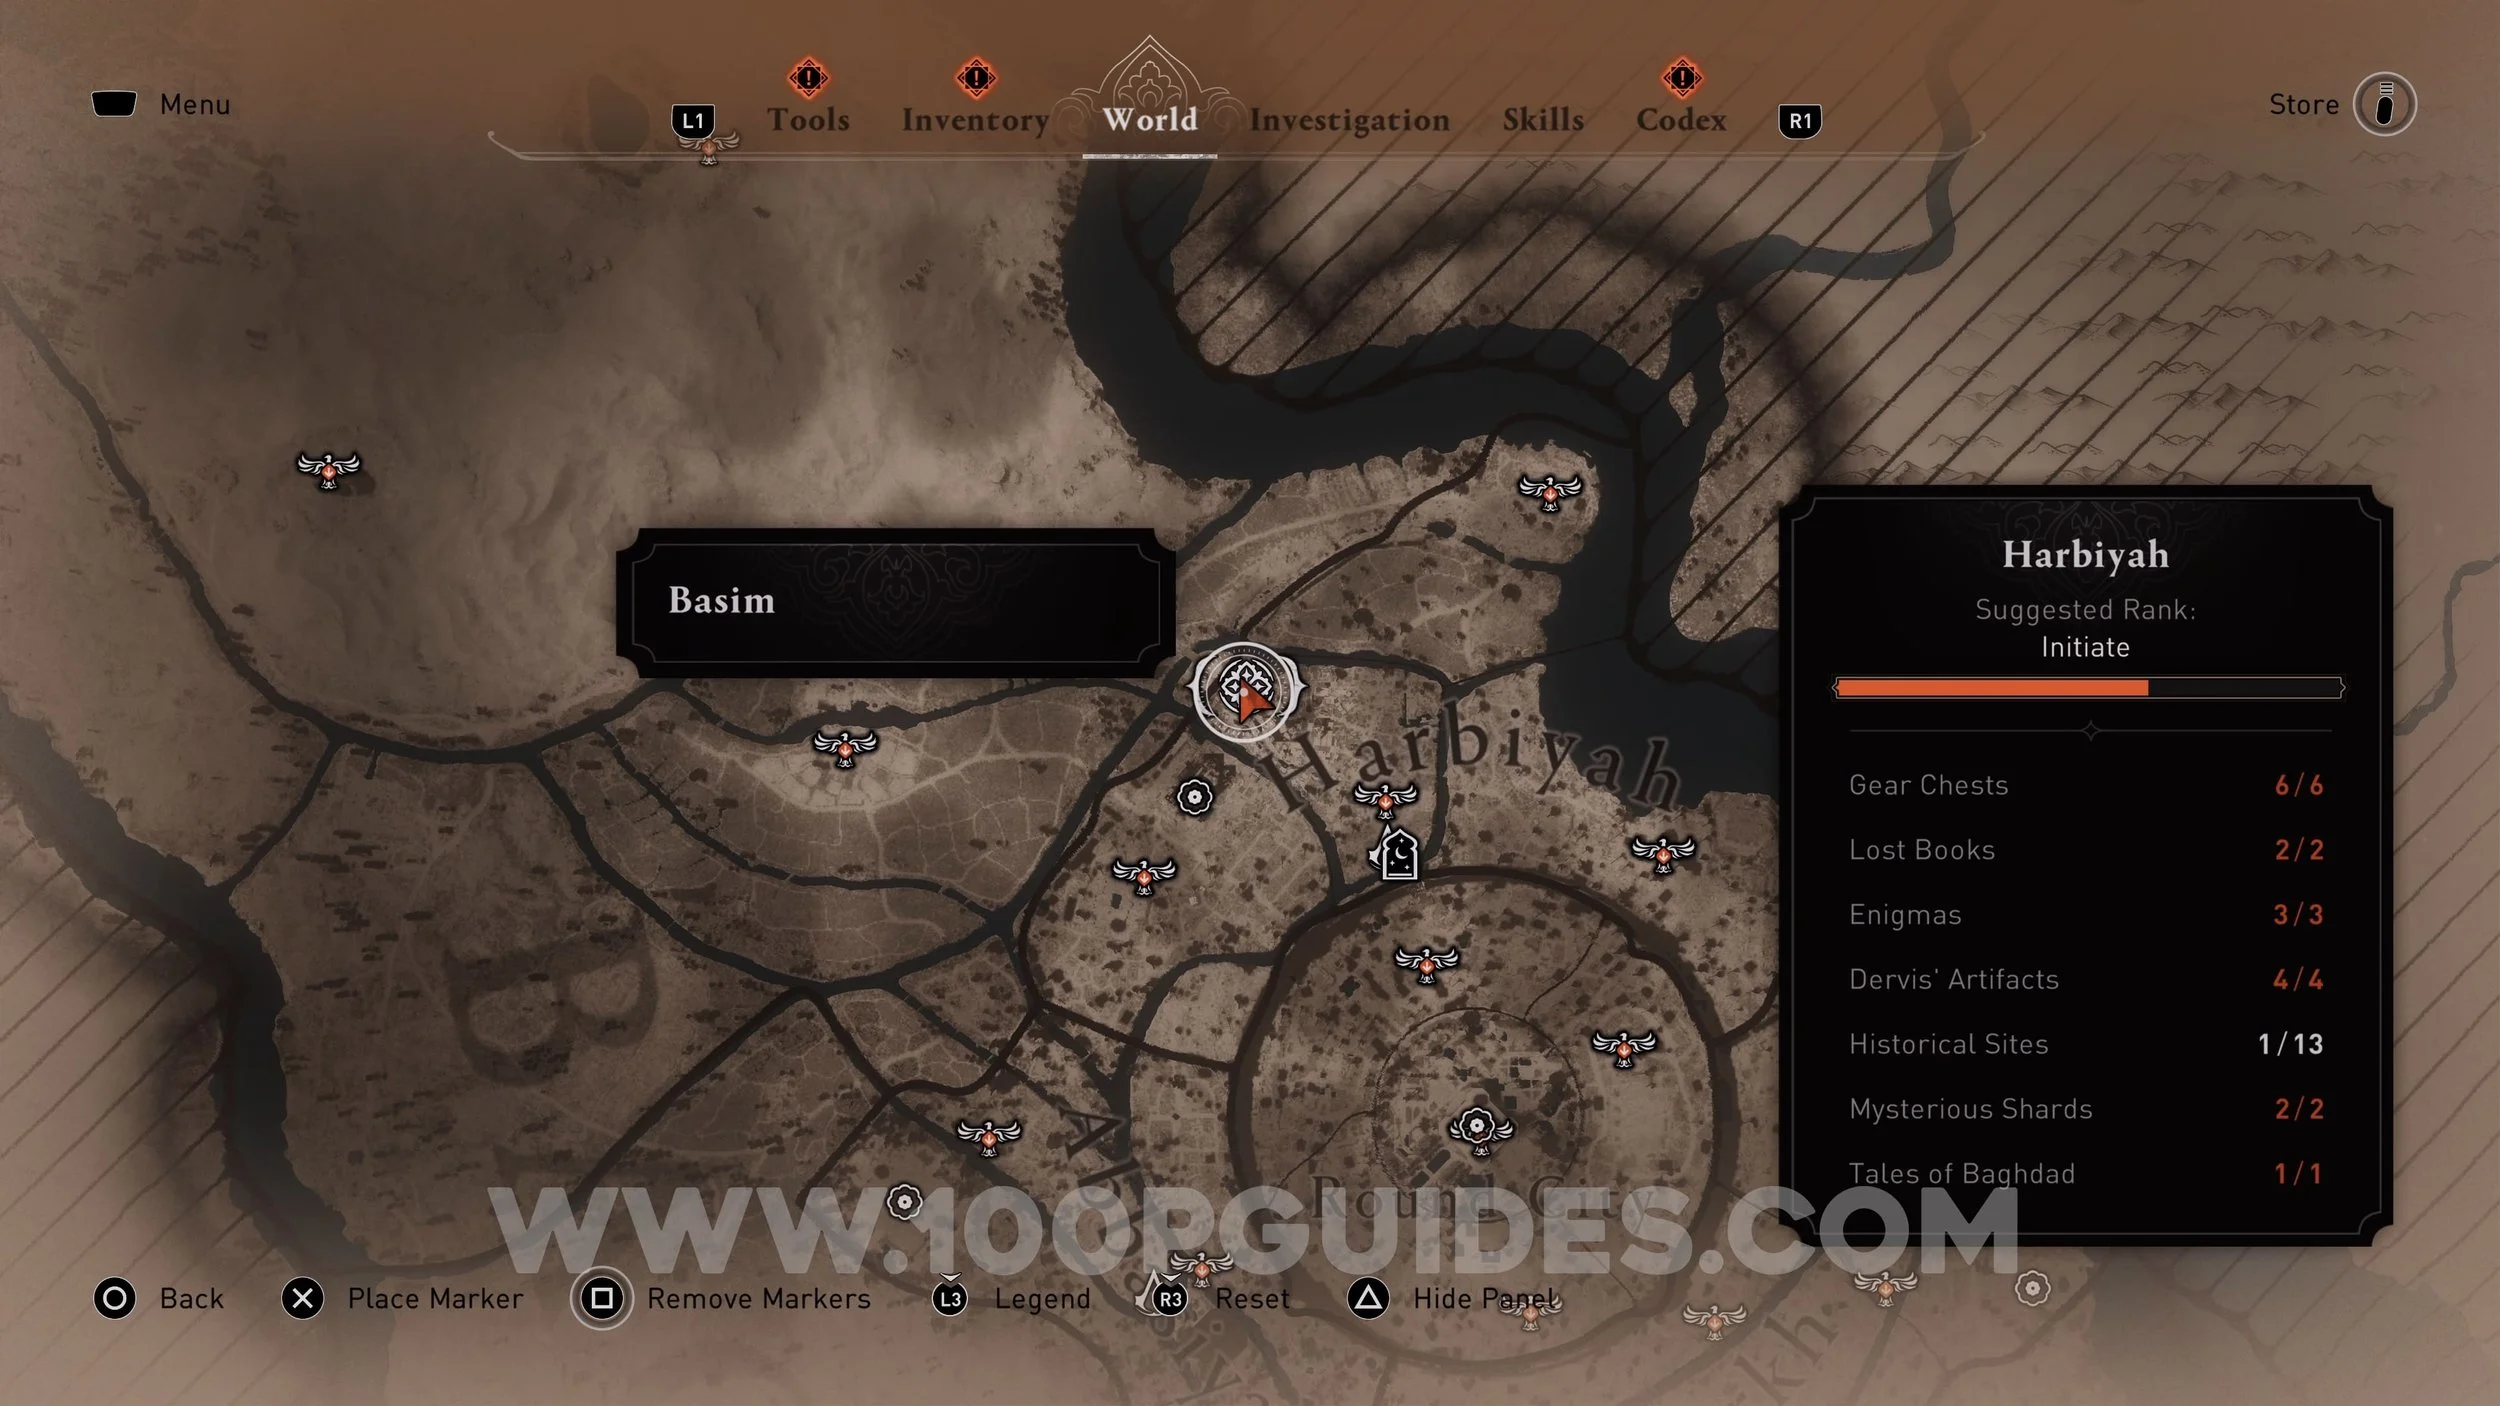
There are a total of 31 collectibles in the Harbiyah region. Here are the locations.
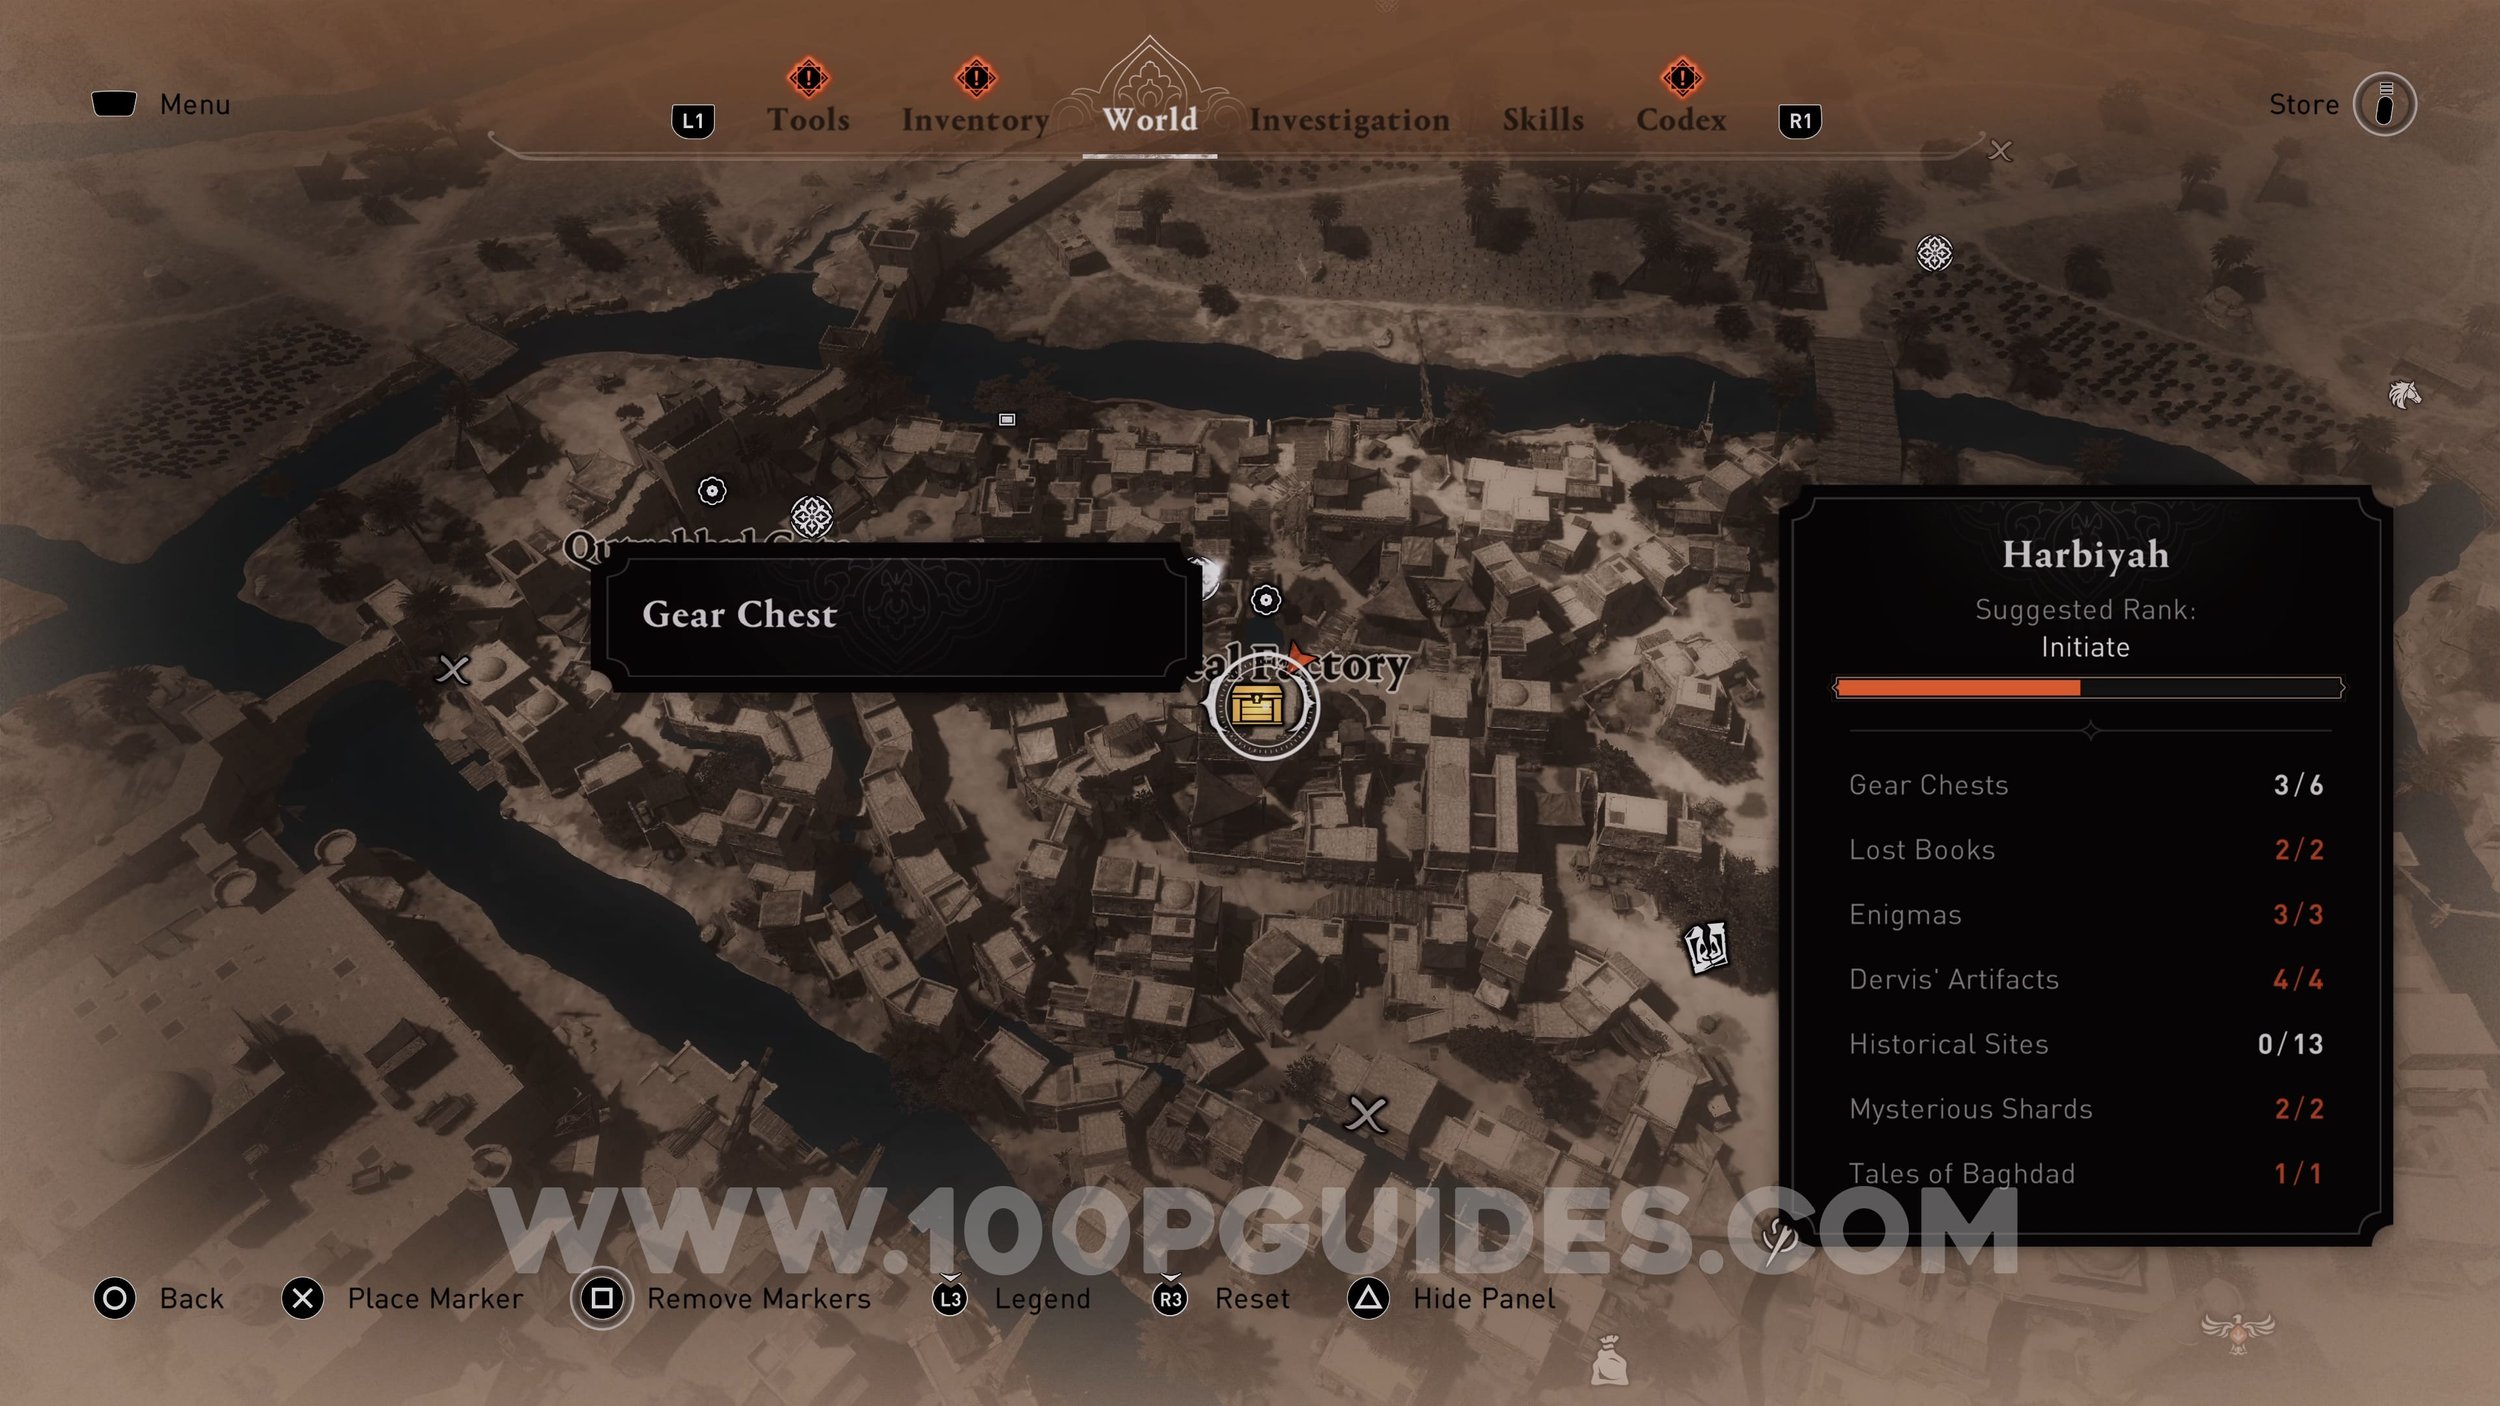
Gear Chest #1 (Zanj Uprising Outfit). Found inside the boat. First, push the shelf in the entrance and jump over the small box to the right. Then, pull the other shelf towards you and then the first shelf left. Now walk through the path to the back of the boat to find another shelf. Pull this shelf and go around to your left to get to the path on the other side of the shelf you just moved to access the shelf blocking the chest. Pull this shelf back and go to the entrance to get the chest.


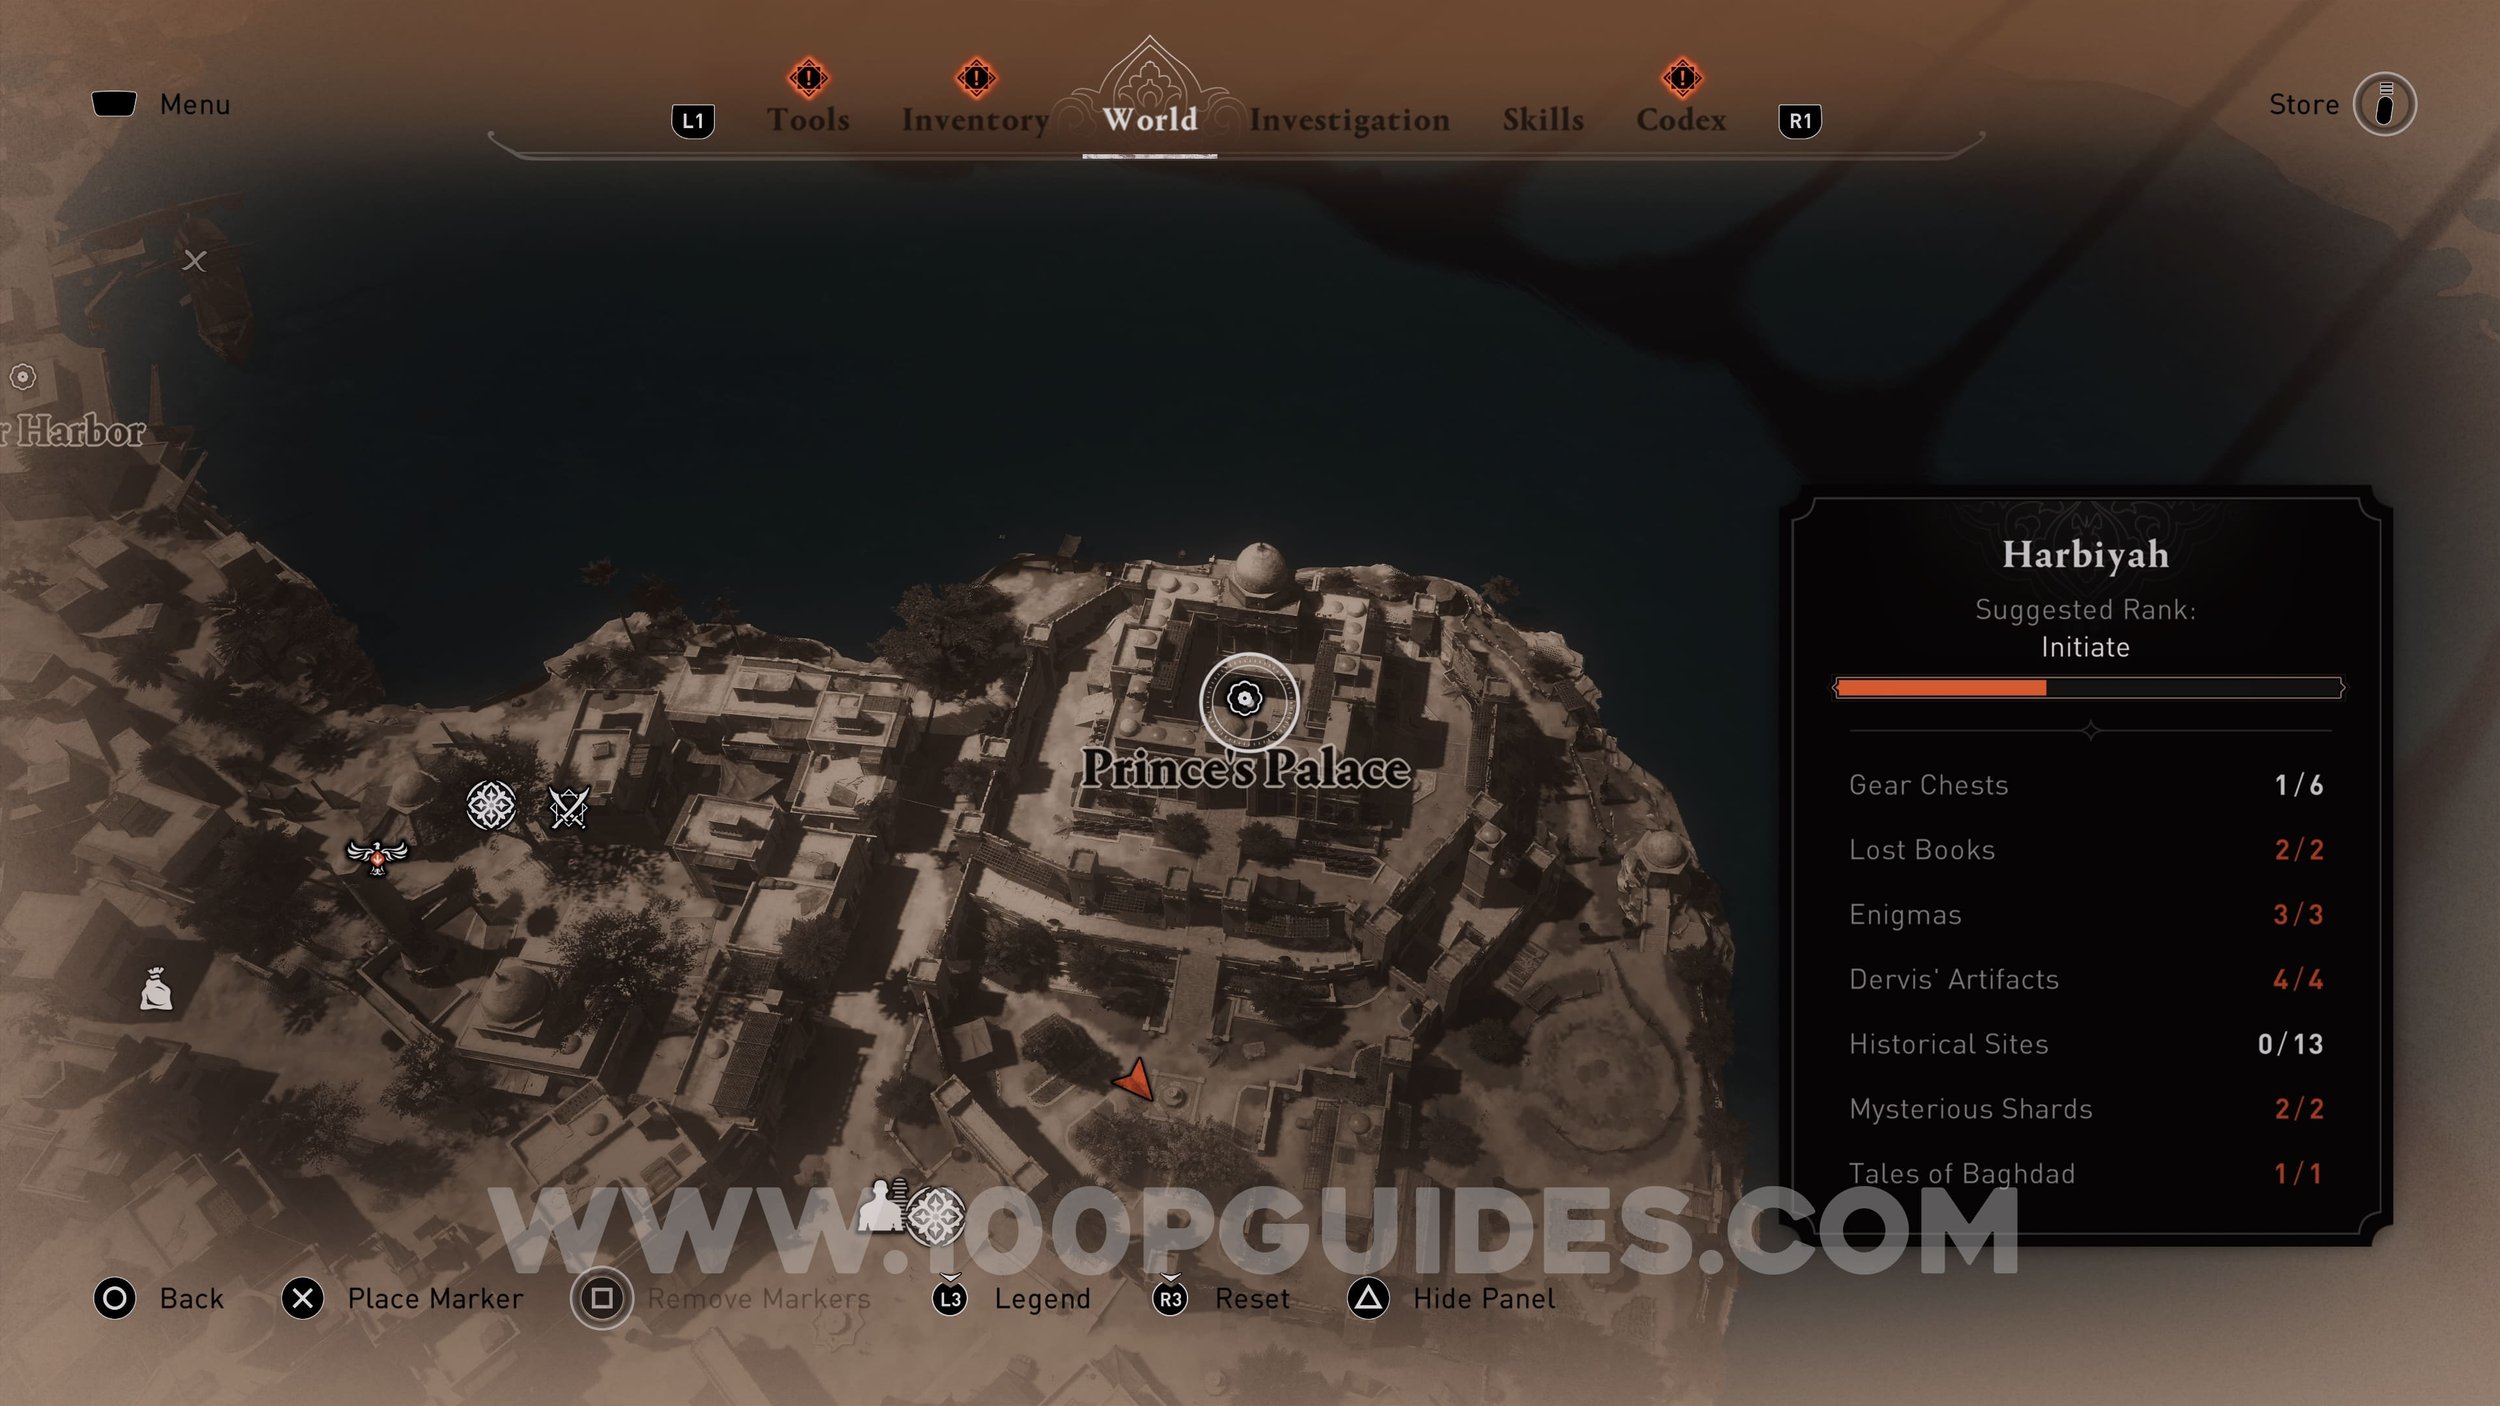
Chest #2 (Zanj Uprising Outfit). Found in Prince’s Palace. Go into the courtyard and go through the arch straight ahead to find the chest on your right.


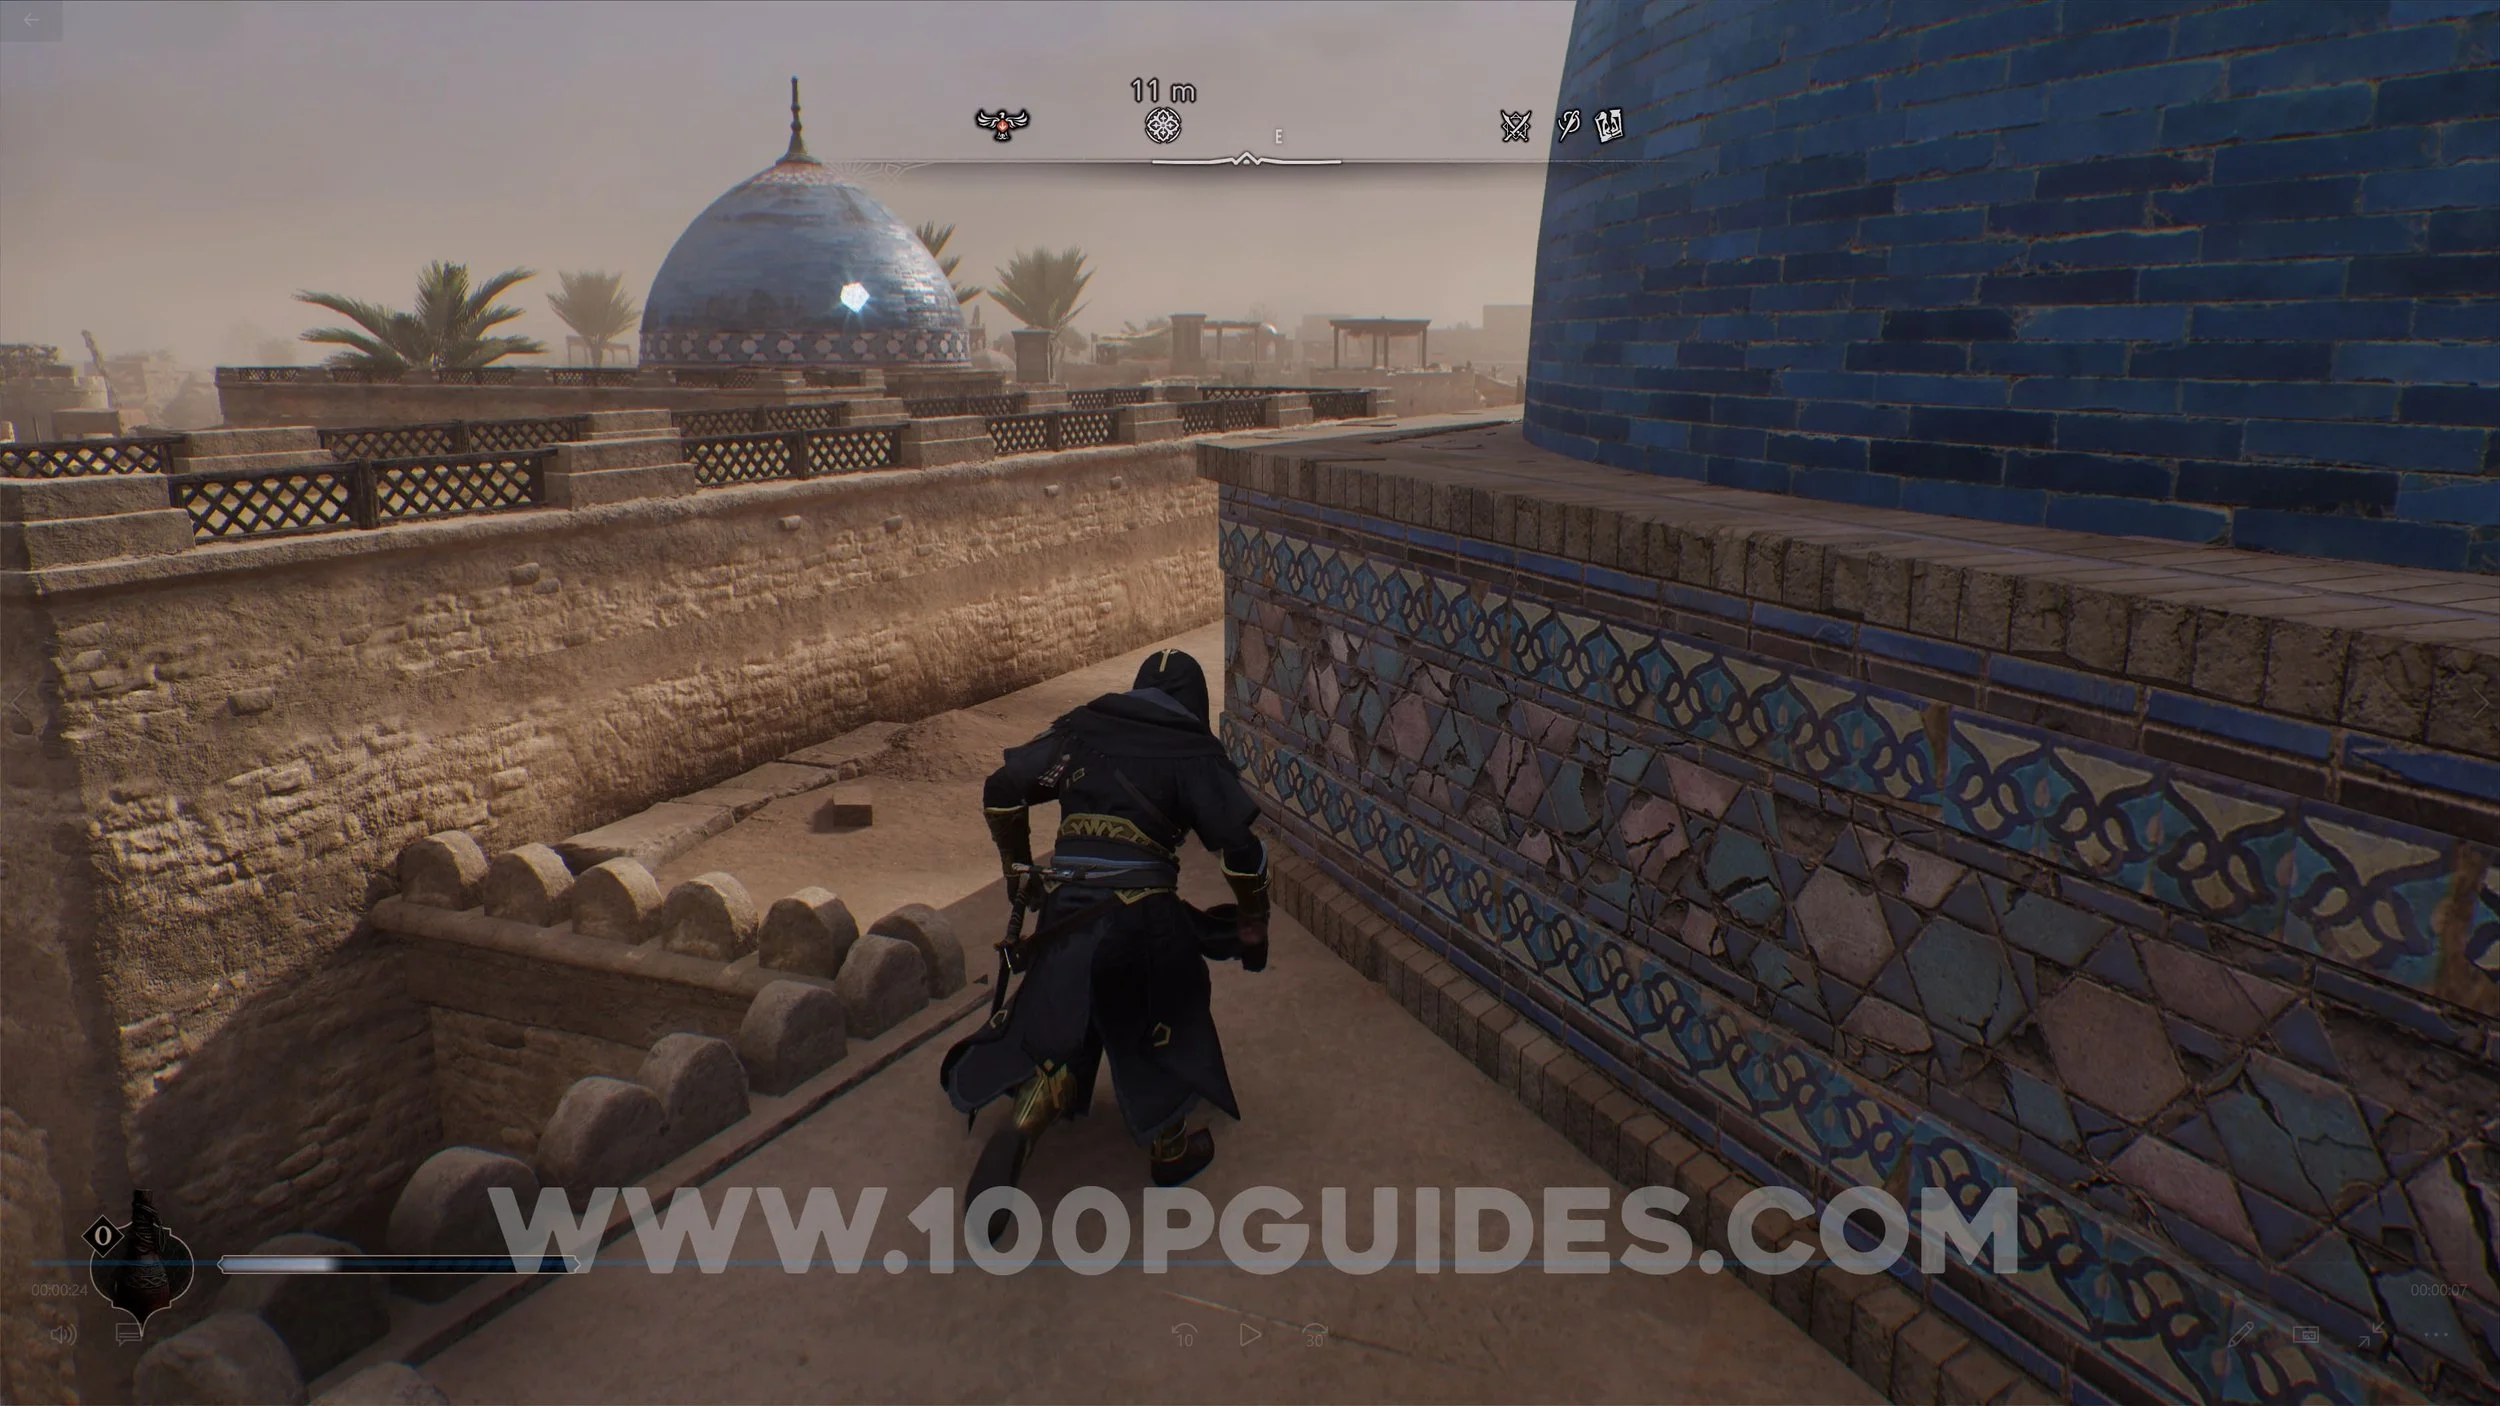
Chest #3 (Zanj Uprising Outfit). Found on the roof. Near the dome you will see 2 shelves you can push. First, break the pots, push the left shelf and look through the gap between the 2 shelves to see a pot. Break this pot with a throwing knife and push the right side shelf. Finally, break the pots to access the chest.


Chest #4 (Zanj Uprising Sword). Go under the building and use the ladder to get the chest.


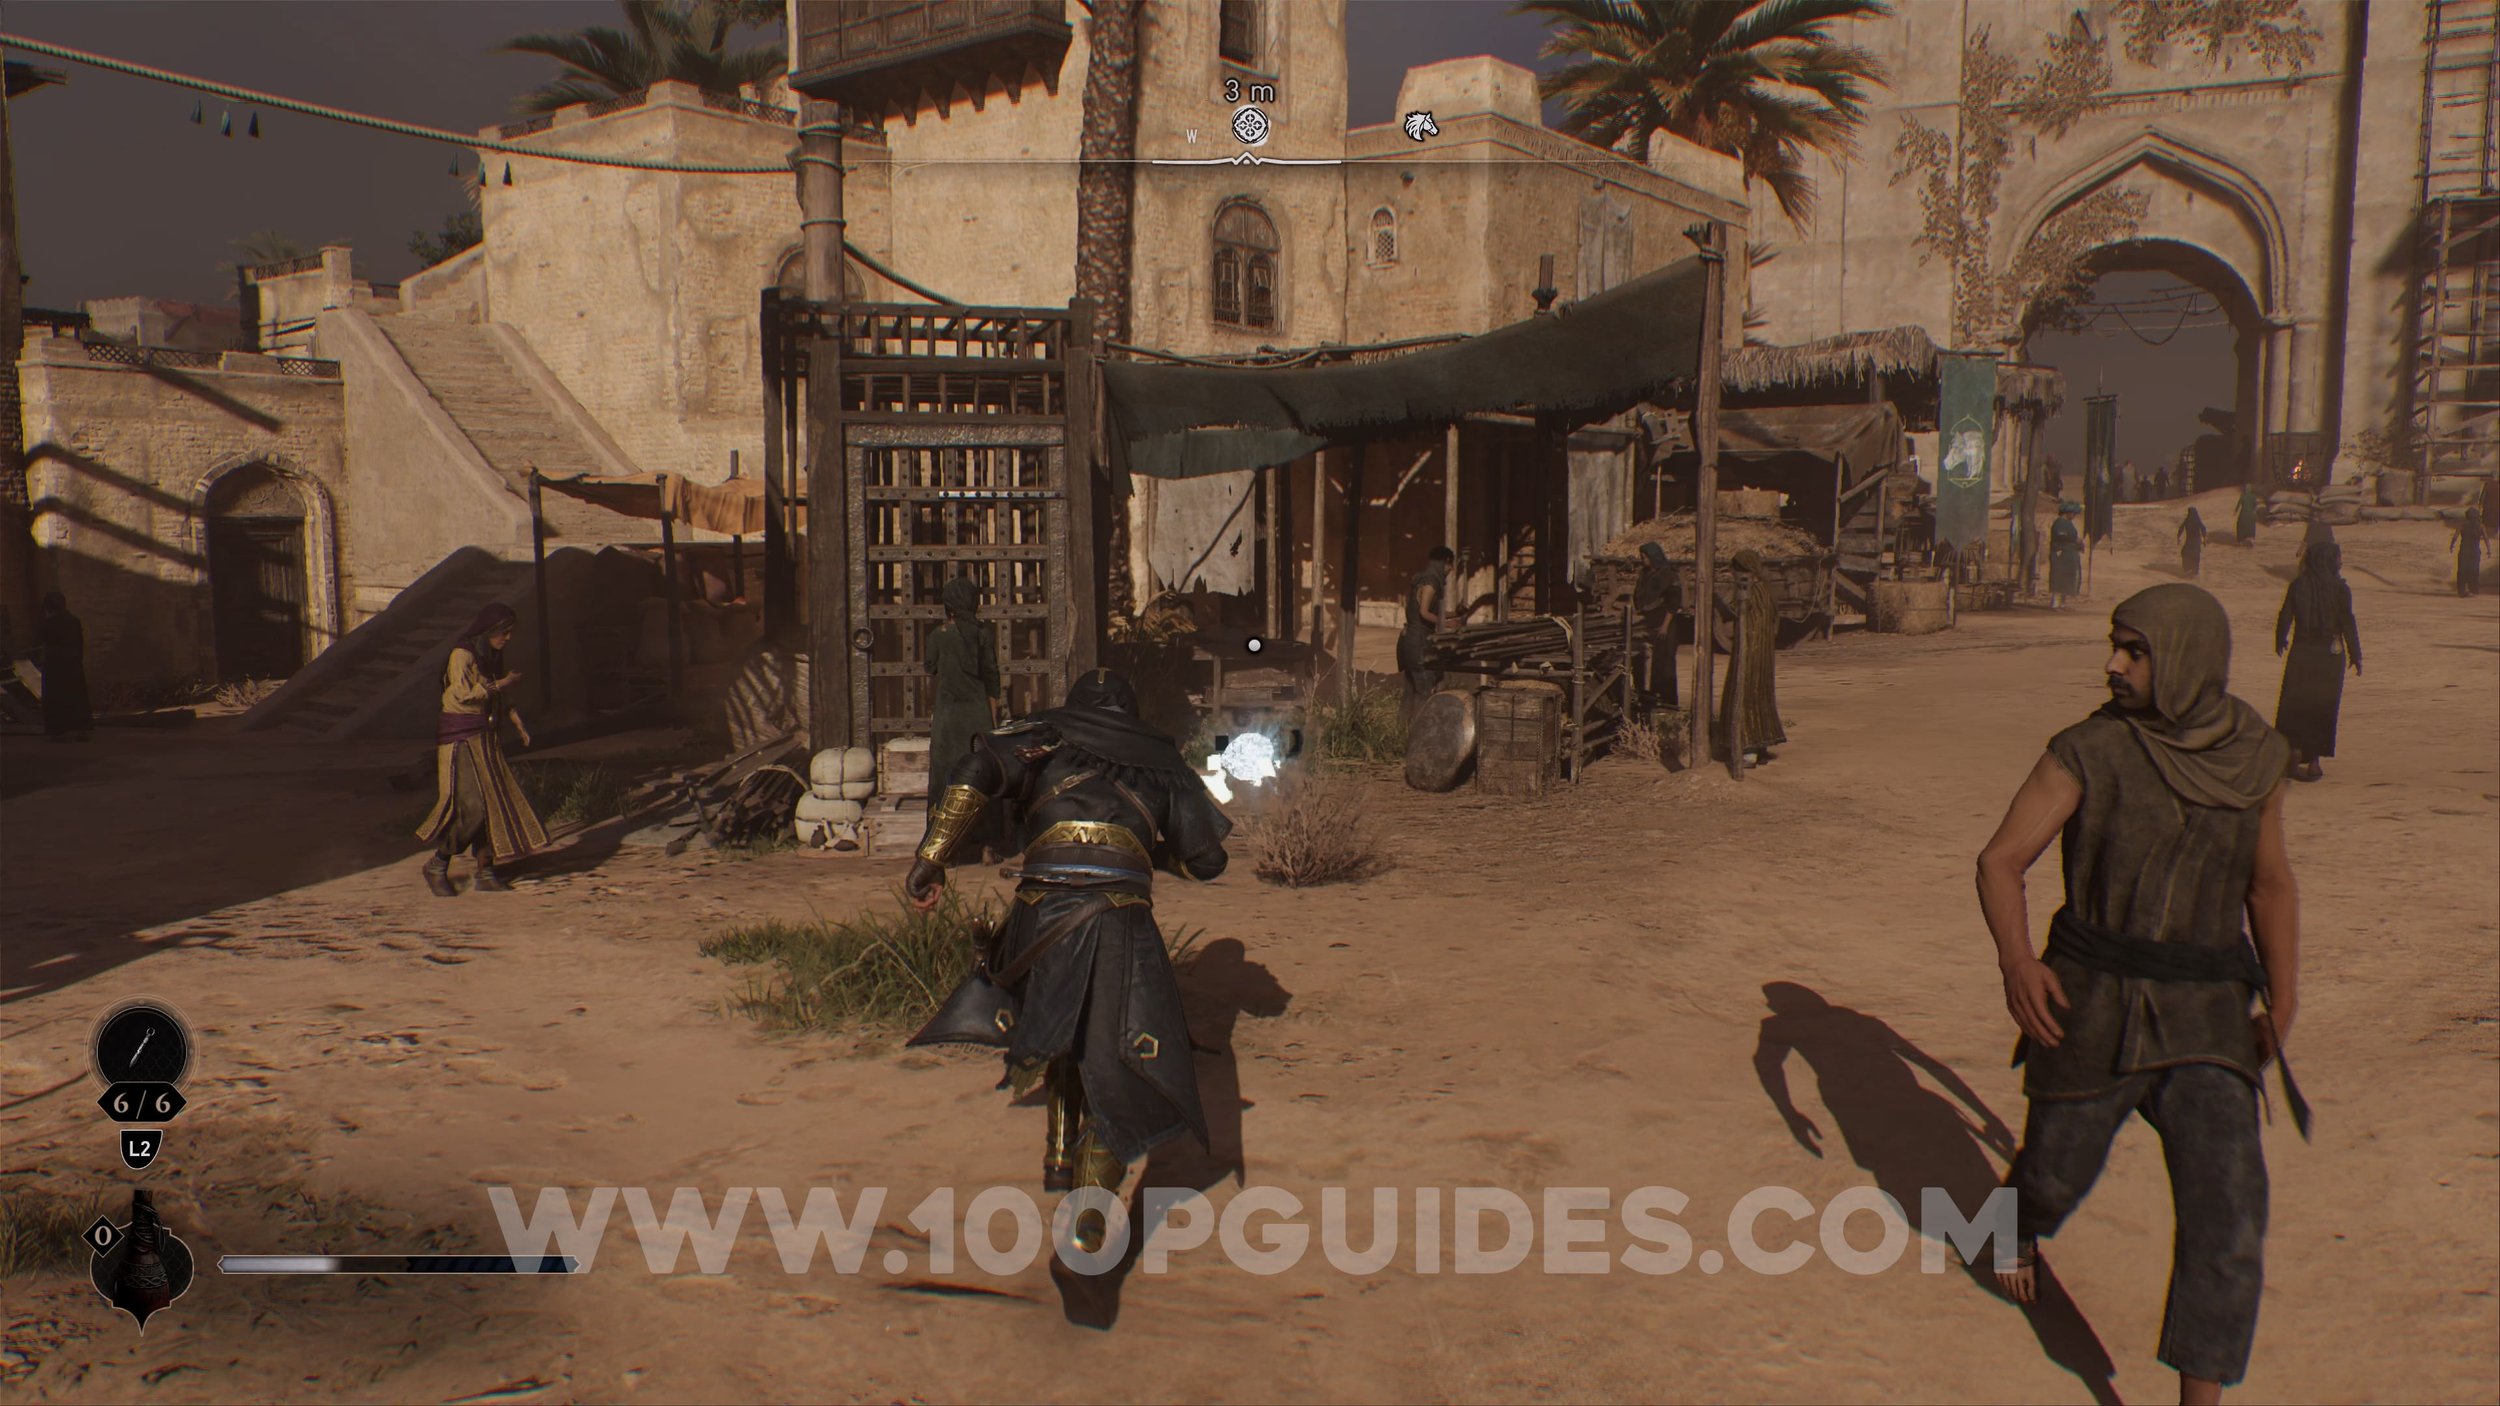
Chest #5 (Zanj Uprising Sword). Found under the entrance of Damascus Gate Prison. First, jump over the wall to the left of the entrance and drop down into the small path below. Go up to the gate at the end and use a throwing knife to open the door on the other side. Go around and open it to find the chest.


Chest #6 (Zanj Uprising Sword). Go under the building and use a throwing knife to break the weak floor above you. Then, climb up to get the chest.


Lost Book #1. Found in the underground passage. Here, go down until you see a door in front of you. Go left and take the second right, at the end go right again and pull the shelf. Now, turn around and go back, take a left and another left to find another shelf. Pull this shelf, turn around and go right. This time, go to the end and continue on this path to find another shelf that you need to pull. Finally, go back to the door at the start of the underground section and go through the hole on the left. In the next room, go left at the door to find the chest on the other side of the hanging sheets.


Lost Book #2. Go through the upper window, go down the stairs inside and look through the metal bars to see an explosive pot. Throw a knife at it to open the door below the window you used to get in. Go back out and use the door to get the chest.


Enigma #1 (Find What I Stole!). The scroll can be found under the bridge. The treasure can then be found in the small pagoda to the south.


Enigma #2 (Left Behind). To get the scroll, climb up to the rooftops and destroy the scaffolding to enter the window. The treasure can be found in the small fishing village on the western shores of the map.


Enigma #3 (A Holy Hoard). The scroll can be found in the bottom floor of the building and the treasure can be found near the big tree to the east of Nestorian Monastery.


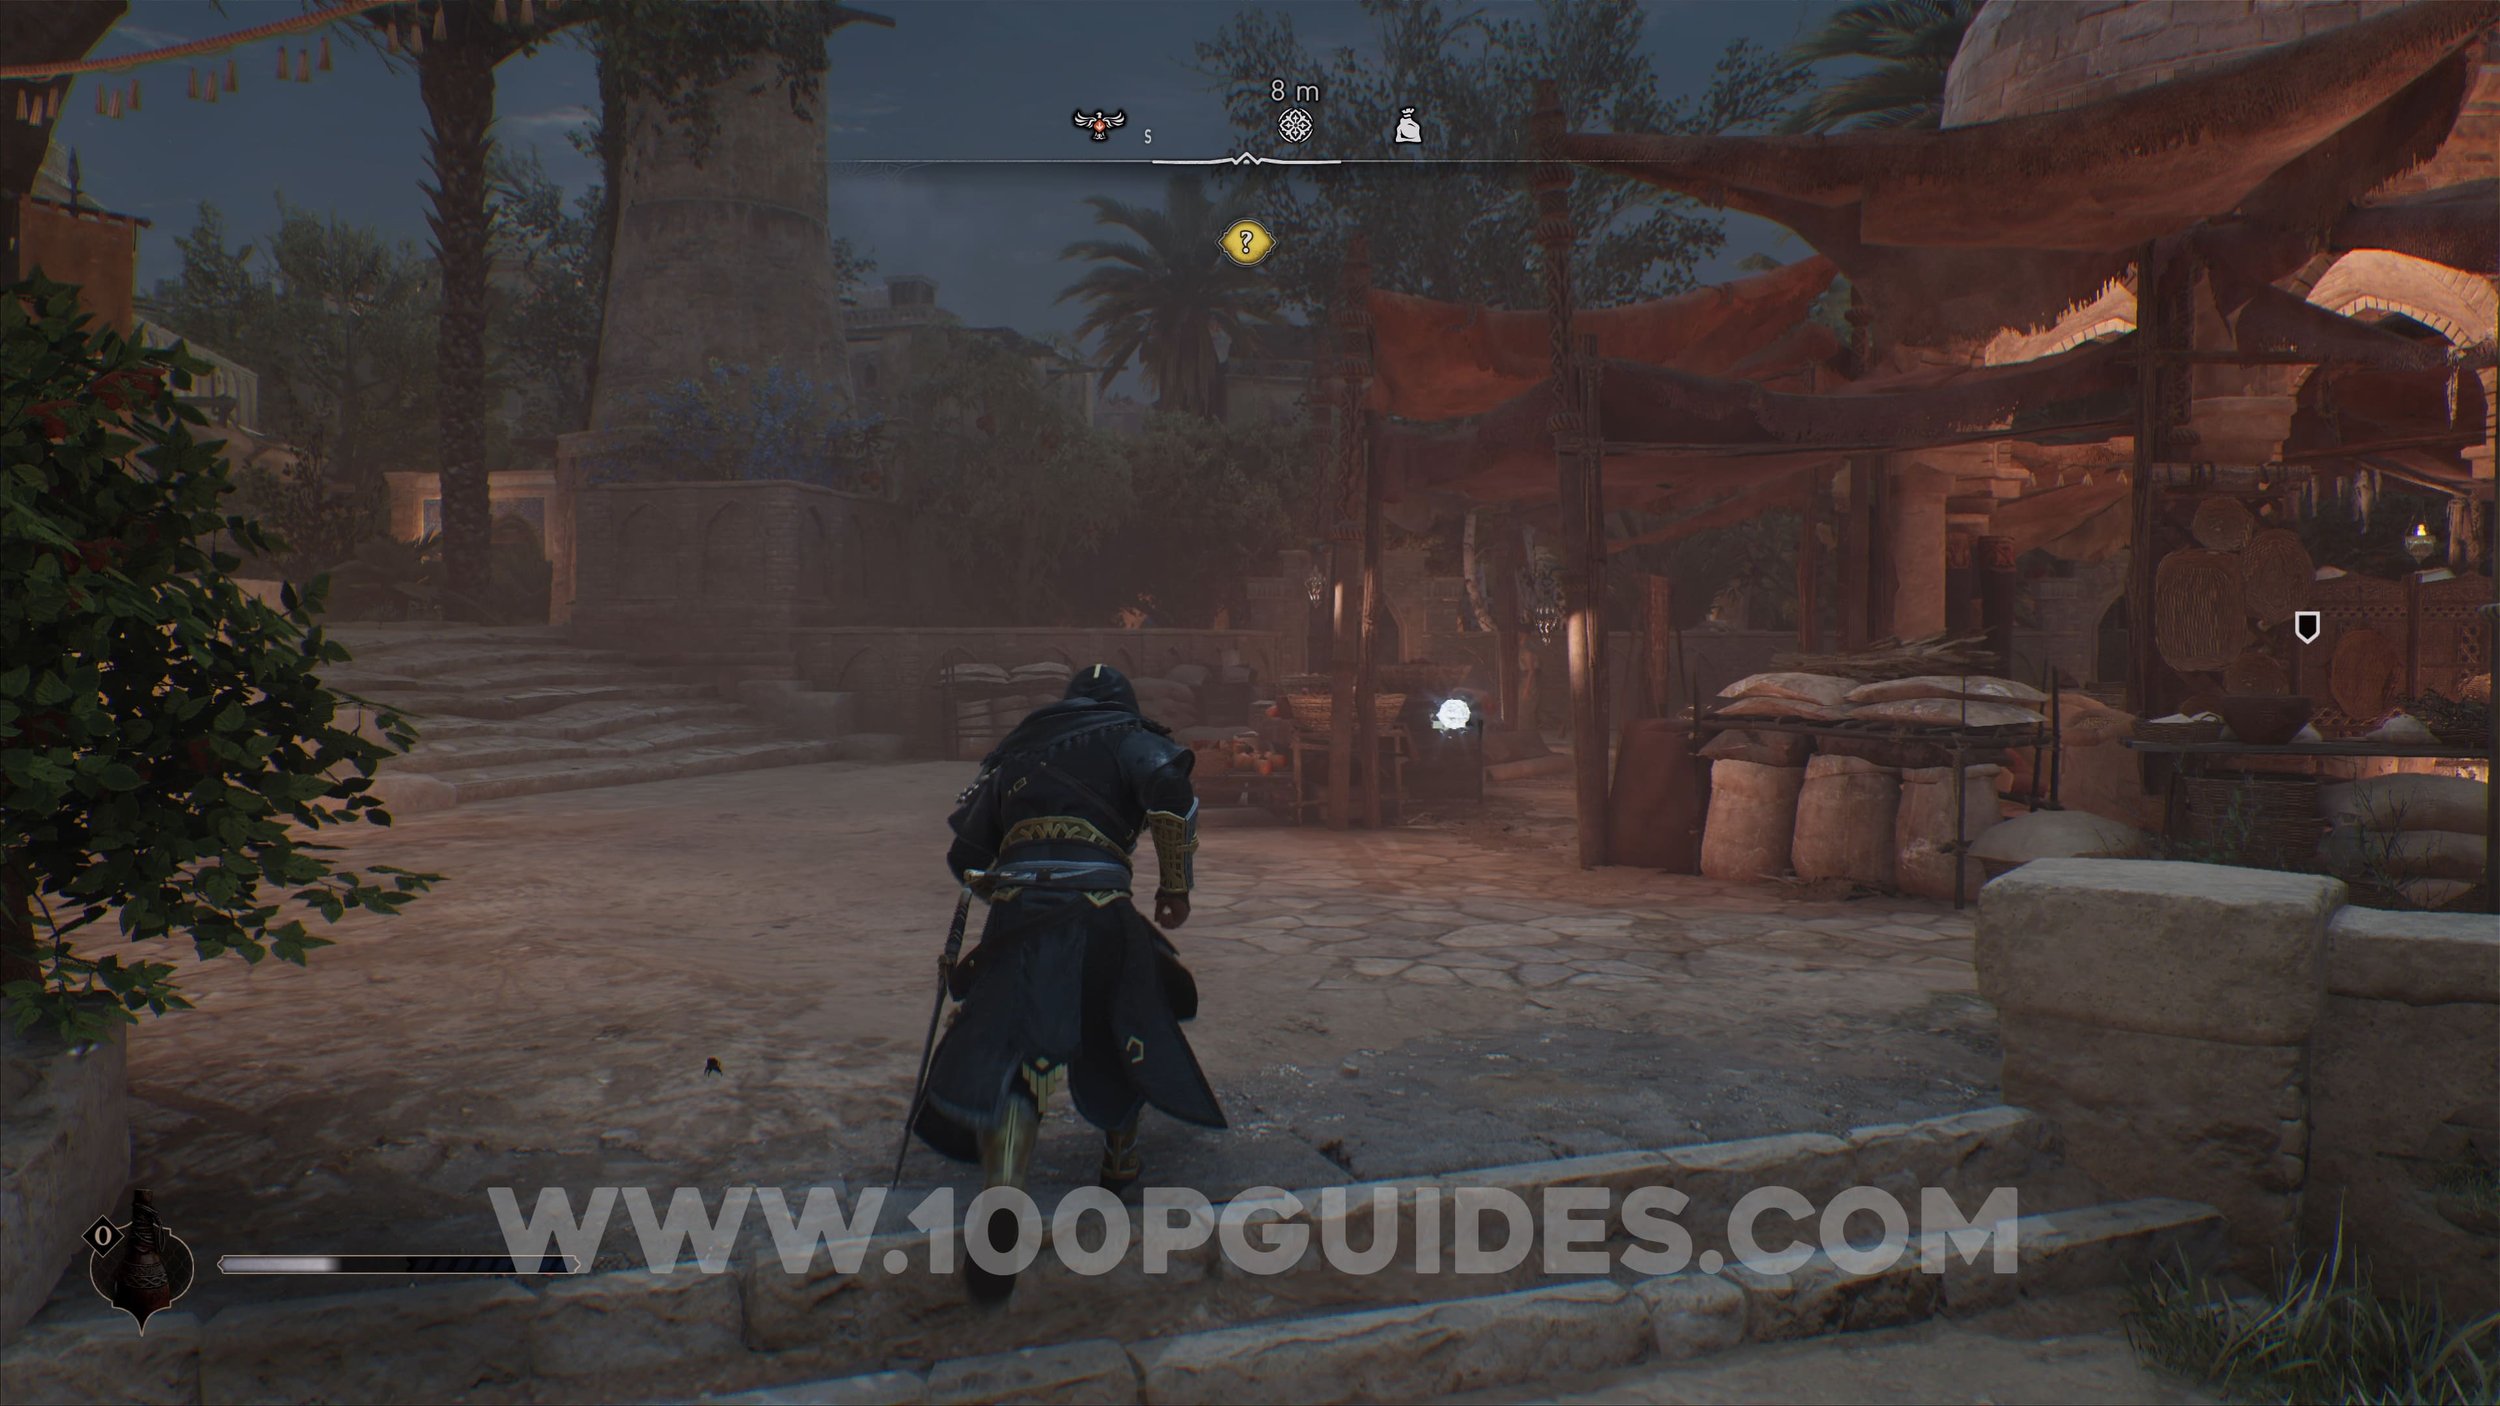
Dervis’ Artifact #1. Pickpocket from the NPC. This NPC may move around the general area, so just use Enkidu to scan the area until you see the golden icon.


Dervis’ Artifact #2. Pickpocket from the NPC. This NPC may move around the general area, so just use Enkidu to scan the area until you see the golden icon.

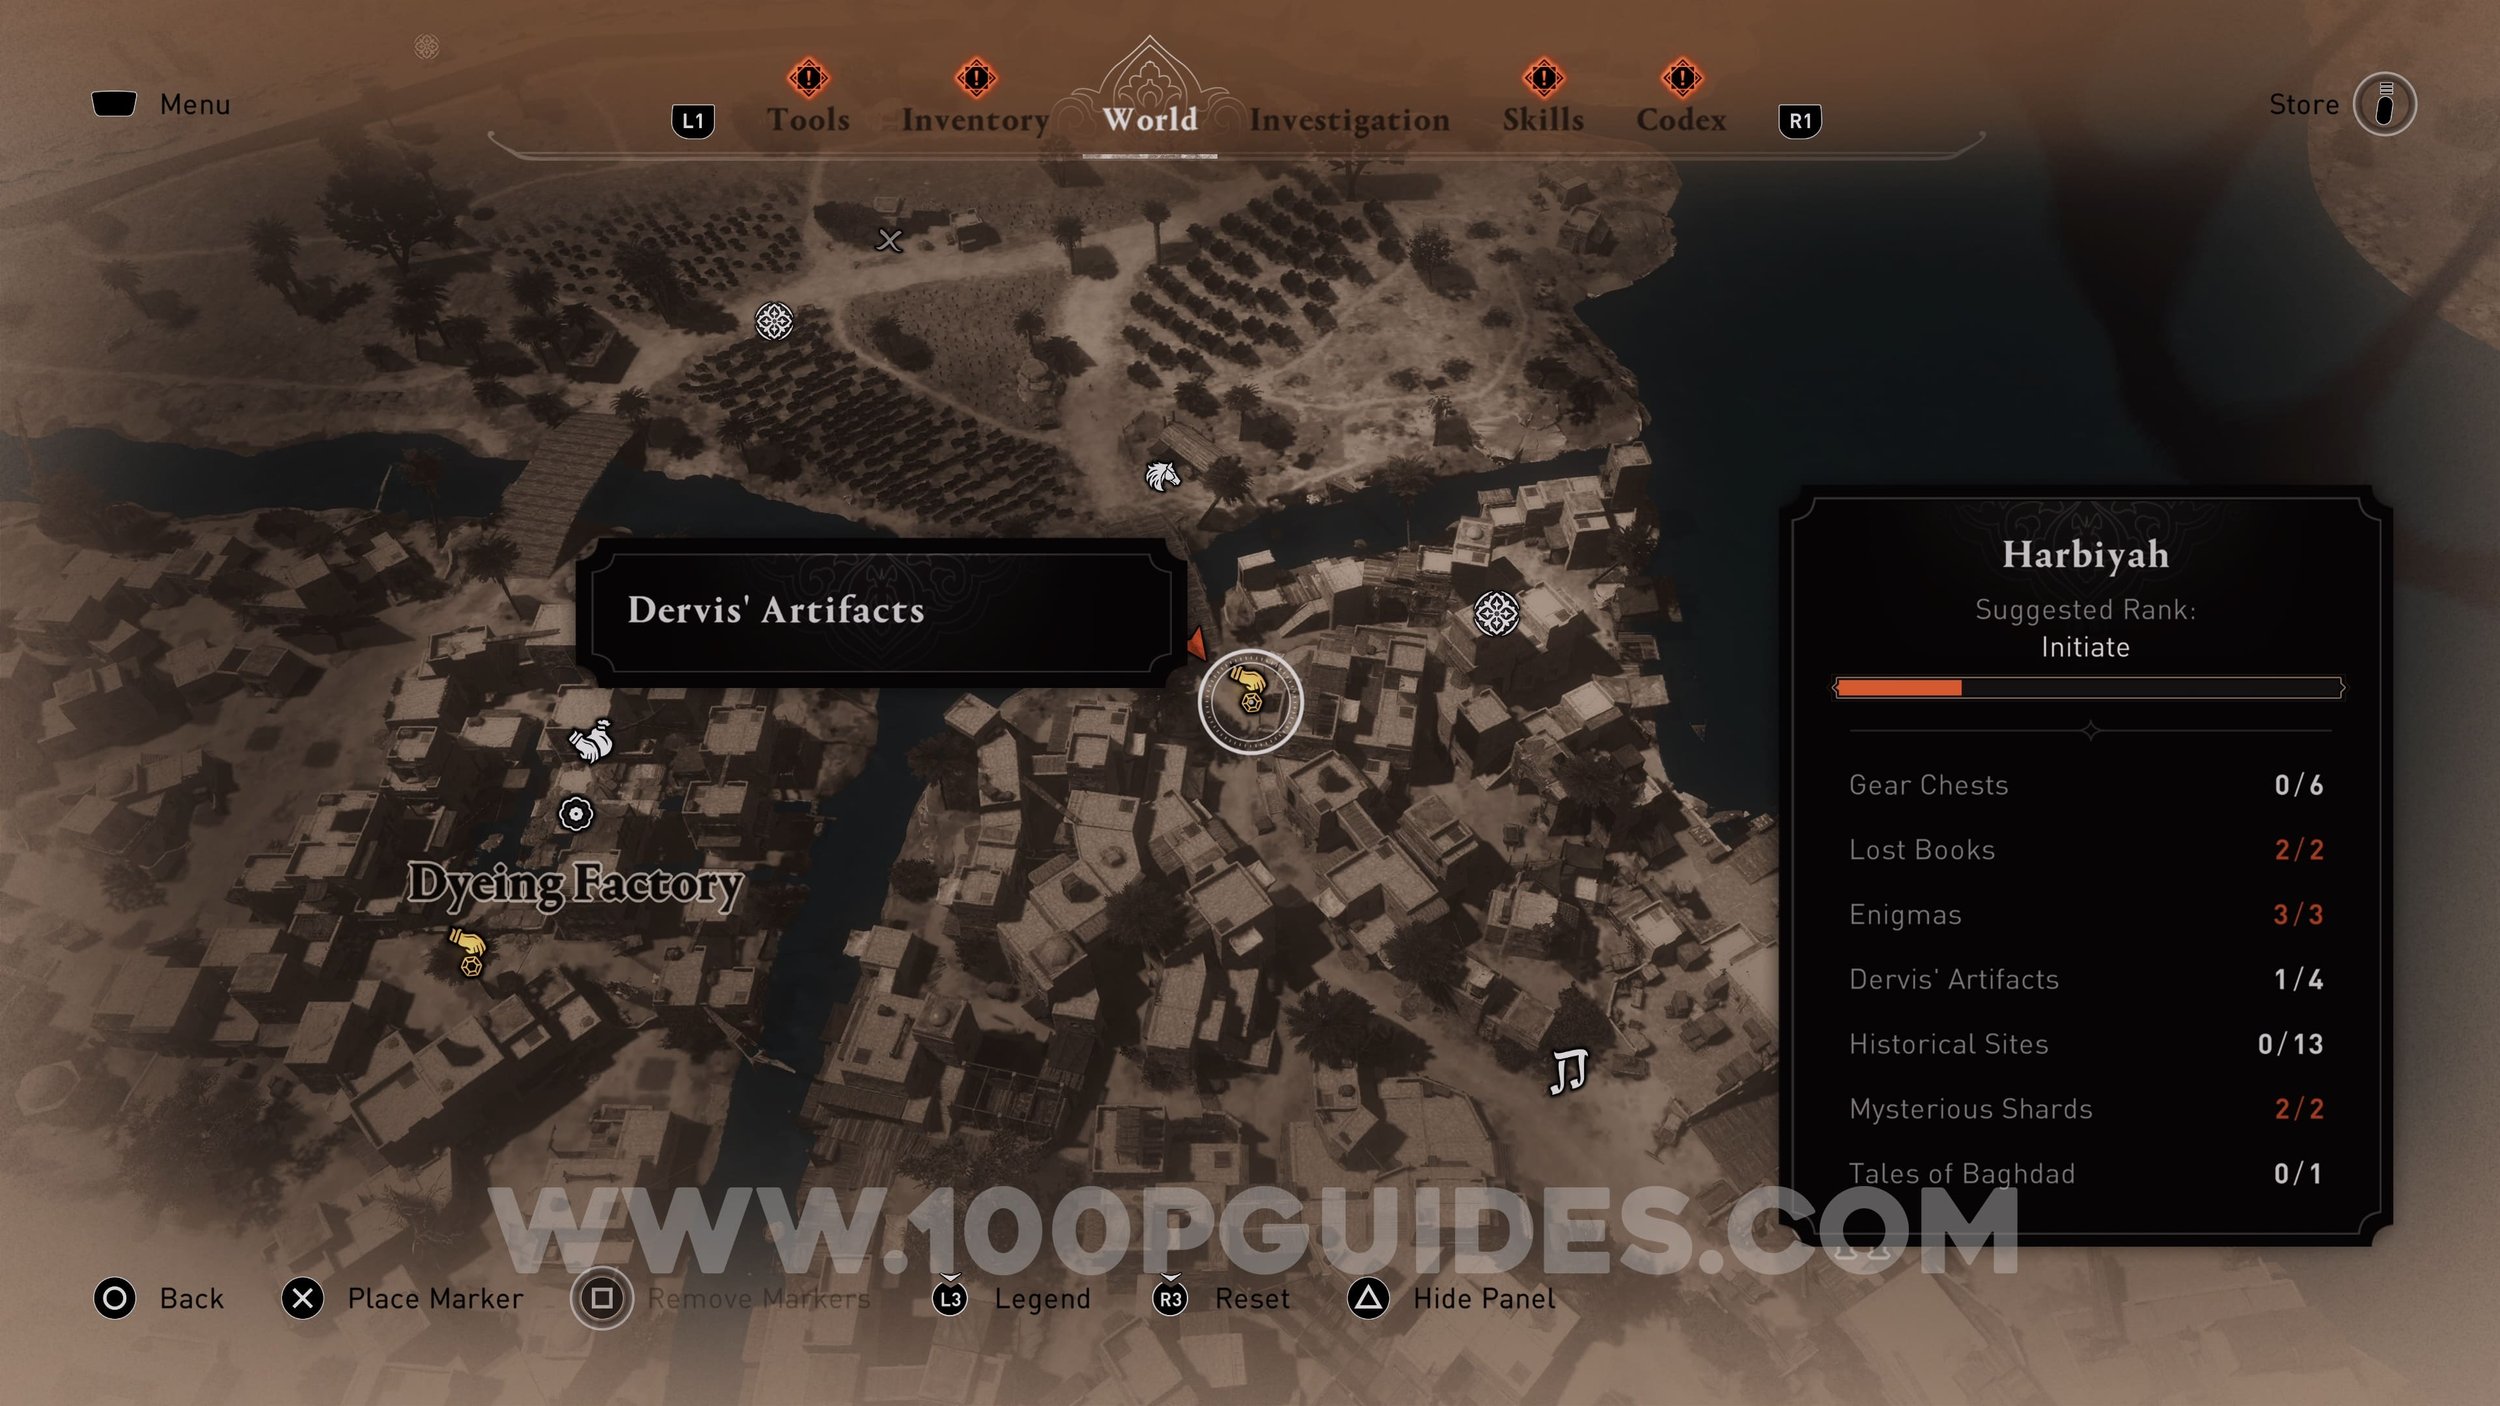
Dervis’ Artifact #3. Pickpocket from the NPC. This NPC may move around the general area, so just use Enkidu to scan the area until you see the golden icon.


Dervis’ Artifact #4. Pickpocket from the NPC. This NPC may move around the general area, so just use Enkidu to scan the area until you see the golden icon.


Historical Site #1


Historical Site #2
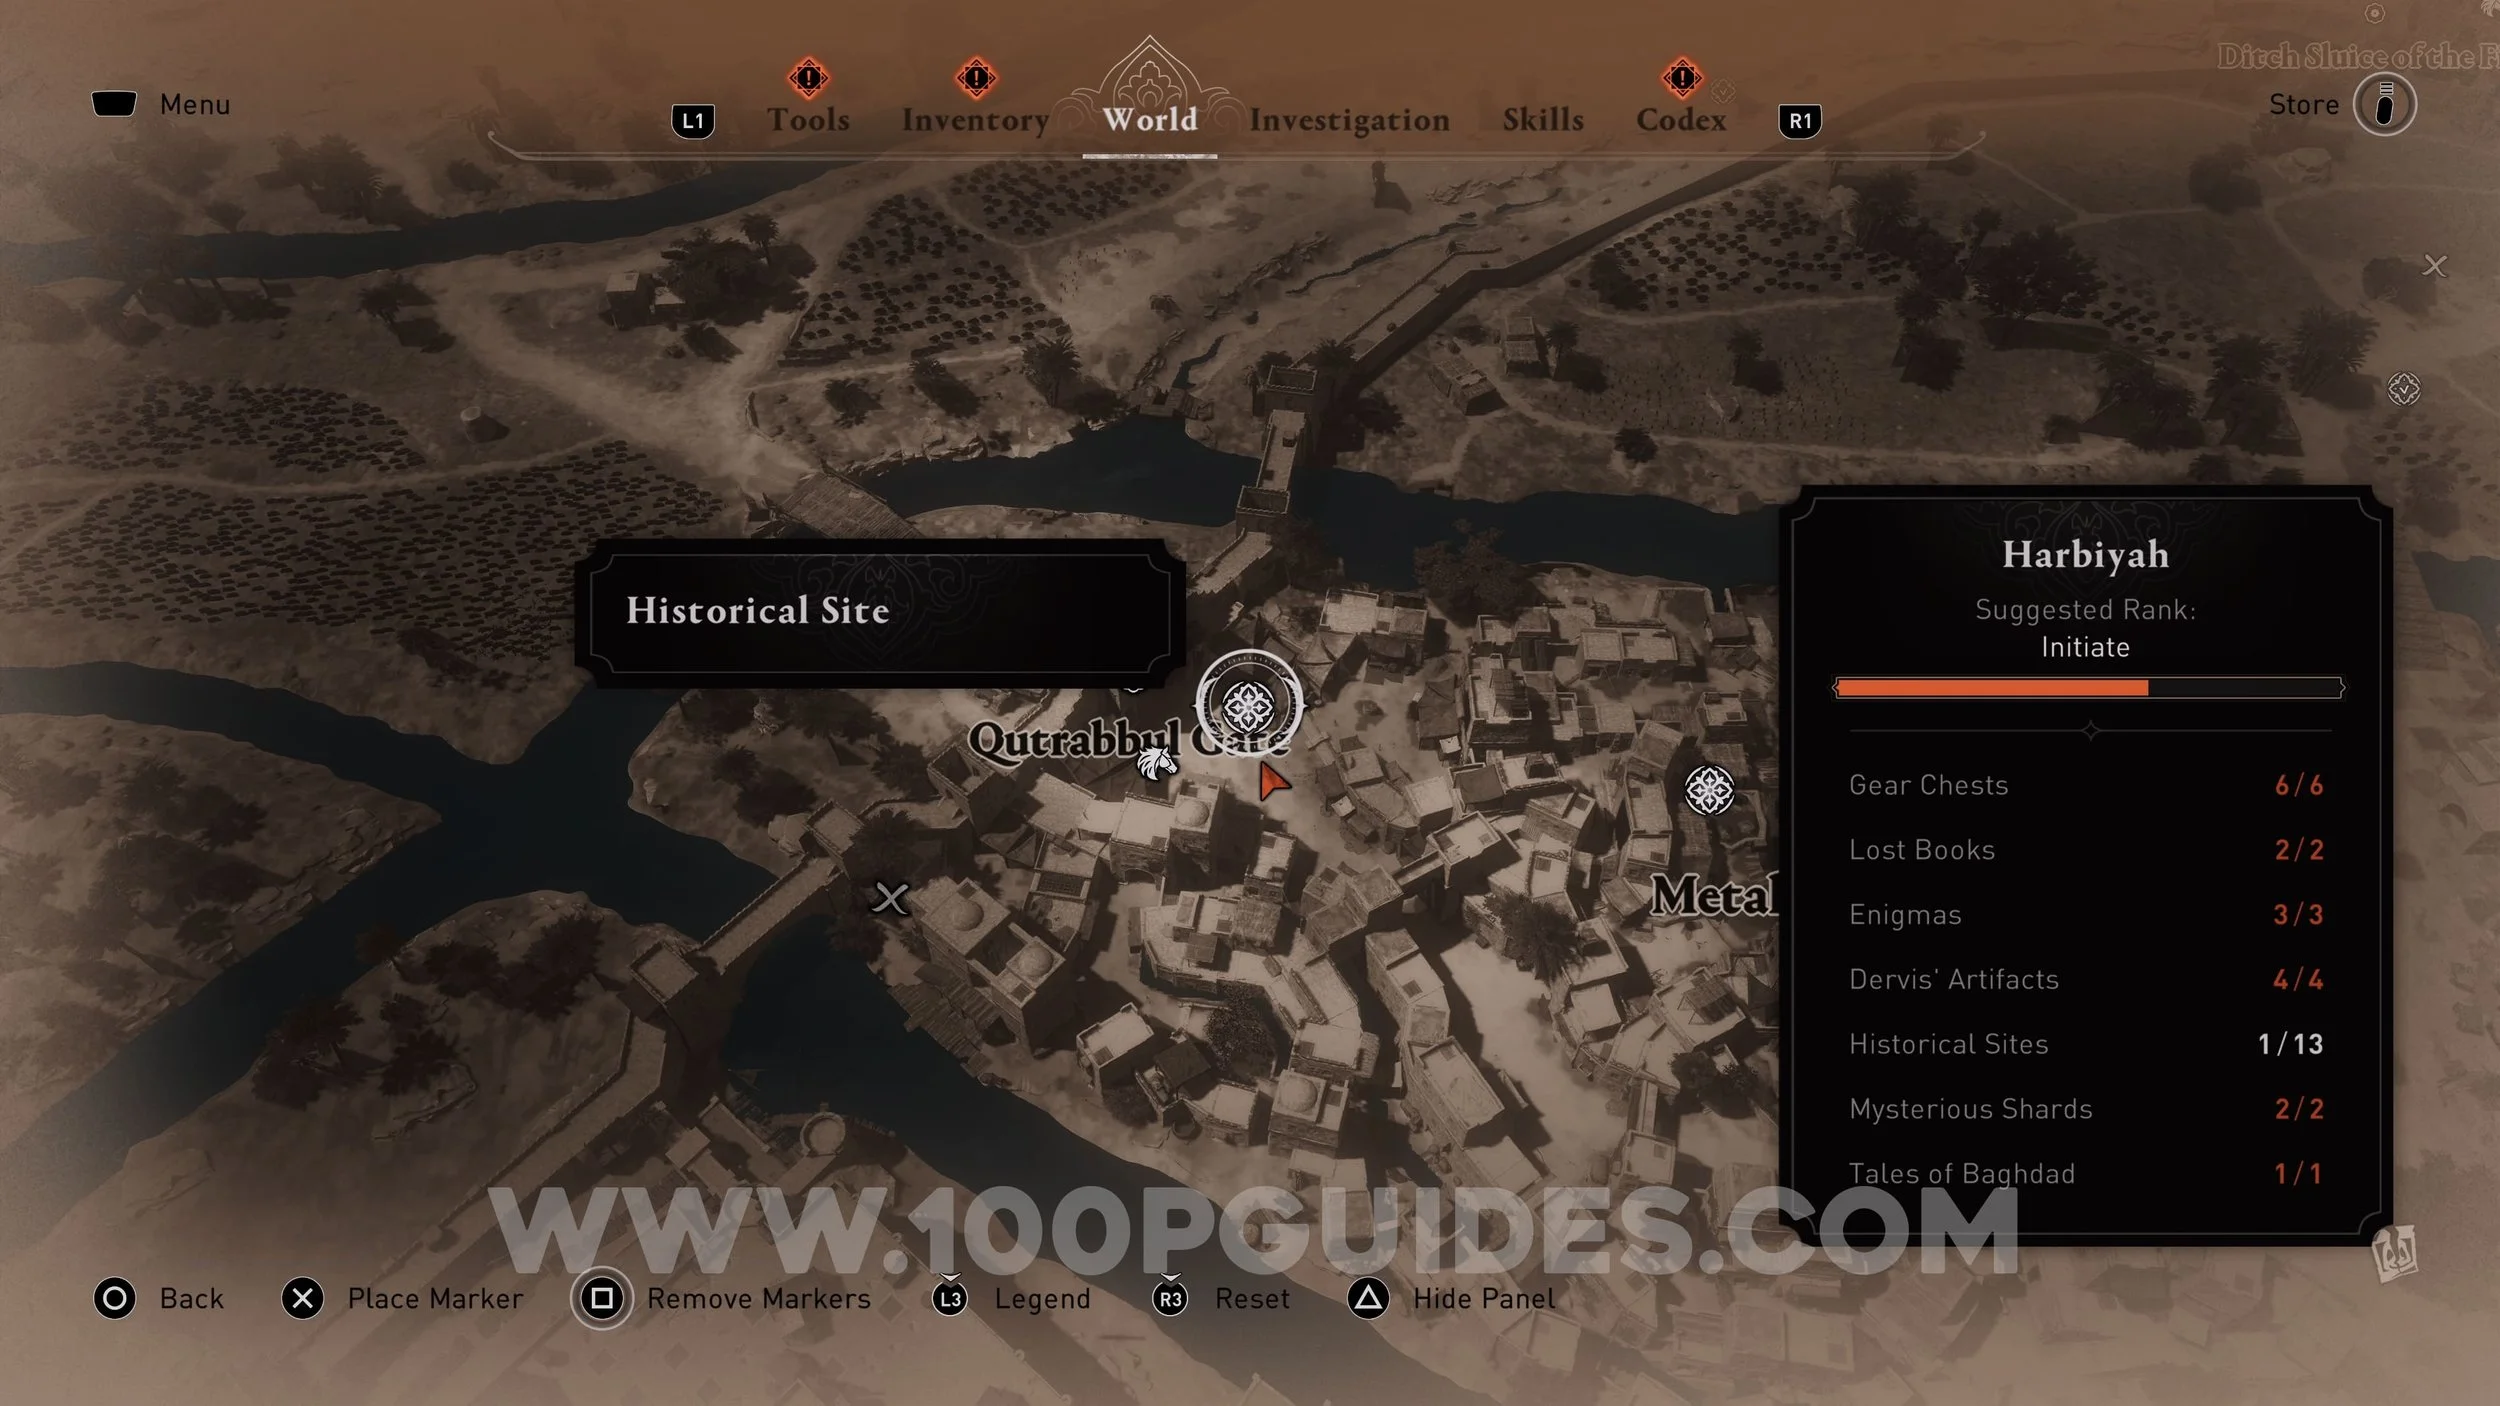

Historical Site #3


Historical Site #4


Historical Site #5


Historical Site #6


Historical Site #7


Historical Site #8. Drop down into the area with vines and take the door on the right. Inside, go up the stairs to the top floor to find the Historical Site.


Historical Site #9


Historical Site #10


Historical Site #11


Historical Site #12


Historical Site #13. Go through the upper window and go down the stairs inside. At the bottom look through the metal bars and hit the explosive pot. This will open the door below the window. Go back outside and enter the building through the door to find the Historical Site.


Mysterious Shard #1. Pickpocket from the NPC. This NPC may move around the general area, so just use Enkidu to scan the area until you see the golden icon.


Mysterious Shard #2. Pickpocket from the NPC. This NPC may move around the general area, so just use Enkidu to scan the area until you see the golden icon.


Tale Of Baghdad #1 (Holy Mission). First, talk to the monk. Then examine the grave with roses near the water and defeat the enemies to finish the side quest.


Video Guide