Assassin's Creed Mirage Wilderness All Collectible Locations
This guide will show you where to find all collectibles in the "Wilderness" region in Assassin's Creed Mirage.
🎮 Find more Assassin’s Creed Mirage guides here.
There are a total of 33 collectibles in the Wilderness region. Here are the locations.
Gear Chest #1. Hidden One Dagger. Look through the windows where the note is on the wall and use a throwing knife to knock down the platform inside. This will open the door on the other side of the building. Go inside and climb up to the chest.


Gear Chest #2. Hidden One Dagger. Dive down into the water below the Viewpoint. Inside the cave, you will soon find a rock you can move after destroying some pots. Move the rock and grab the explosive pot from the other side. Go into the next room and use the pot to blow up the wall. Continue through the hall to find the chest at the end (there will also be some enemies here).


Gear Chest #3 Hidden One Dagger. First, dive down into the water in the small area between the path to the east of the waterwheel and the wall to find a key. Now, go to the building with the chest symbol (to the west of the waterwheel) and move the shelf to go inside. Here use the key to open the chest.


Gear Chest #4 Hidden One Sword. In the courtyard, go right and move the shelf to the left. Next, grab an explosive pot and use the shelf and rope to get on to the ramparts. Here, continue jumping forwards until you get on top of one of the small domes. From here, throw the pot to break the wall. The chest will be on the other side.


Gear Chest #5. Hidden One Sword. In plain sight inside the camp.


Gear Chest #6. Hidden One Sword. Found in the tree house. Use a branch to get up there.


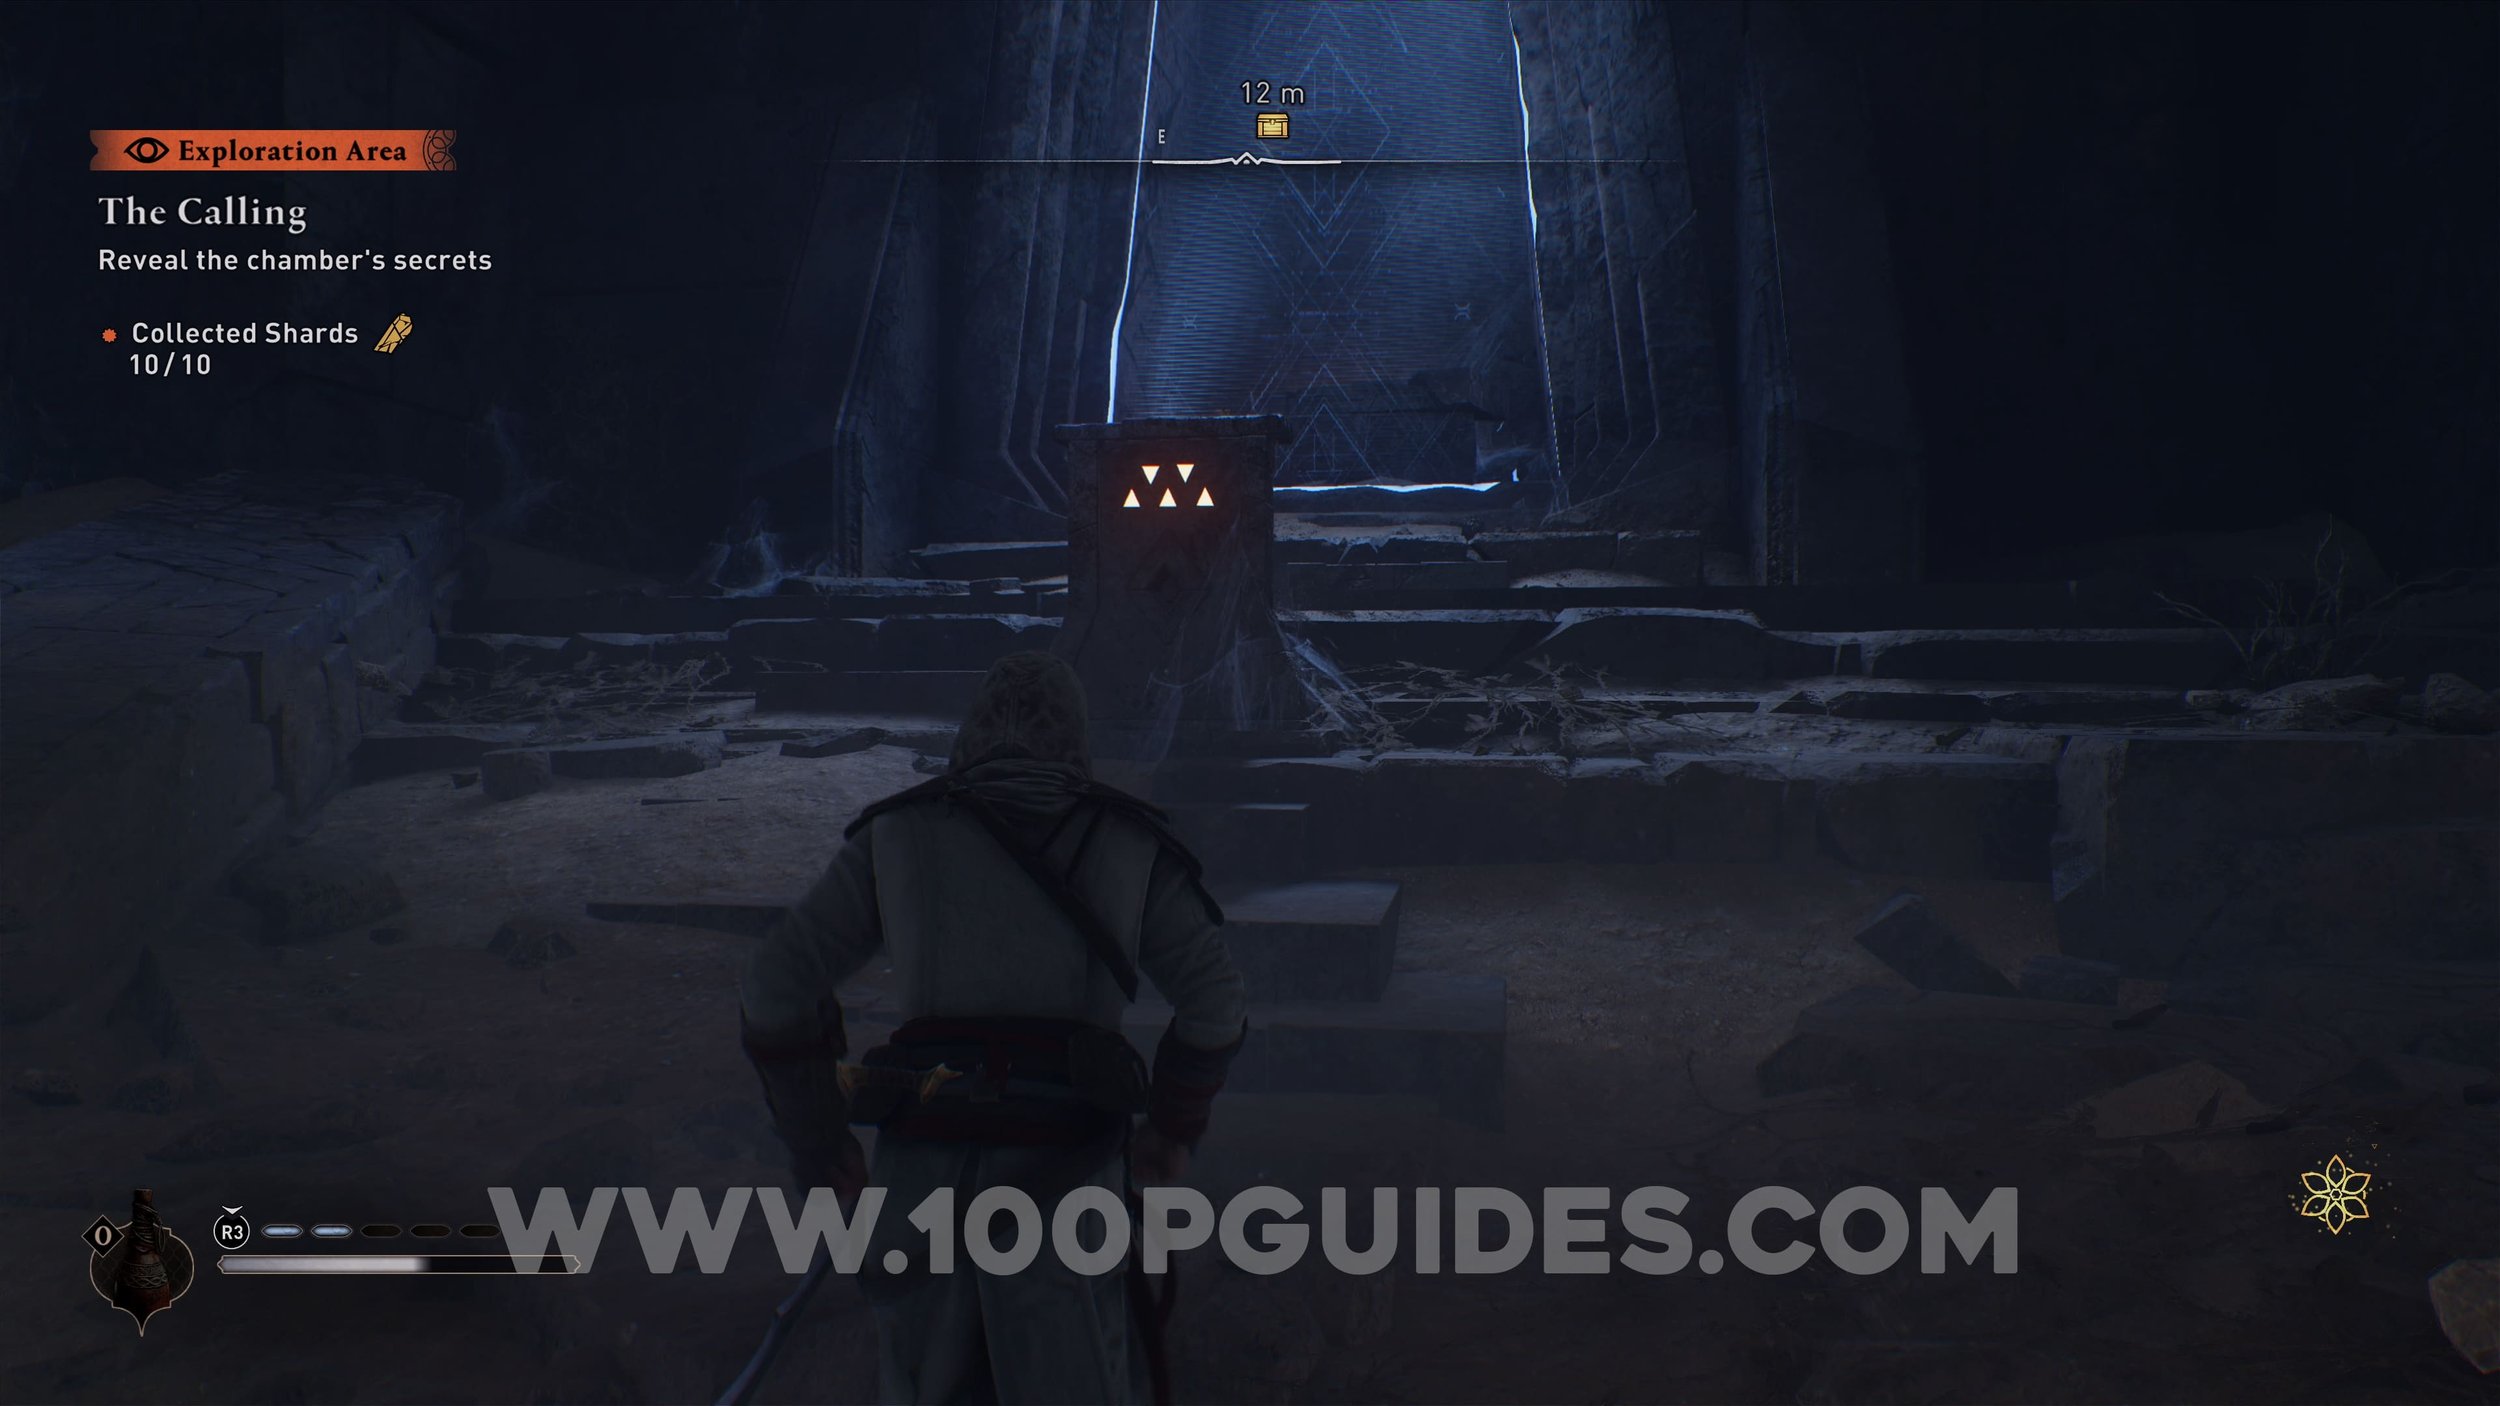
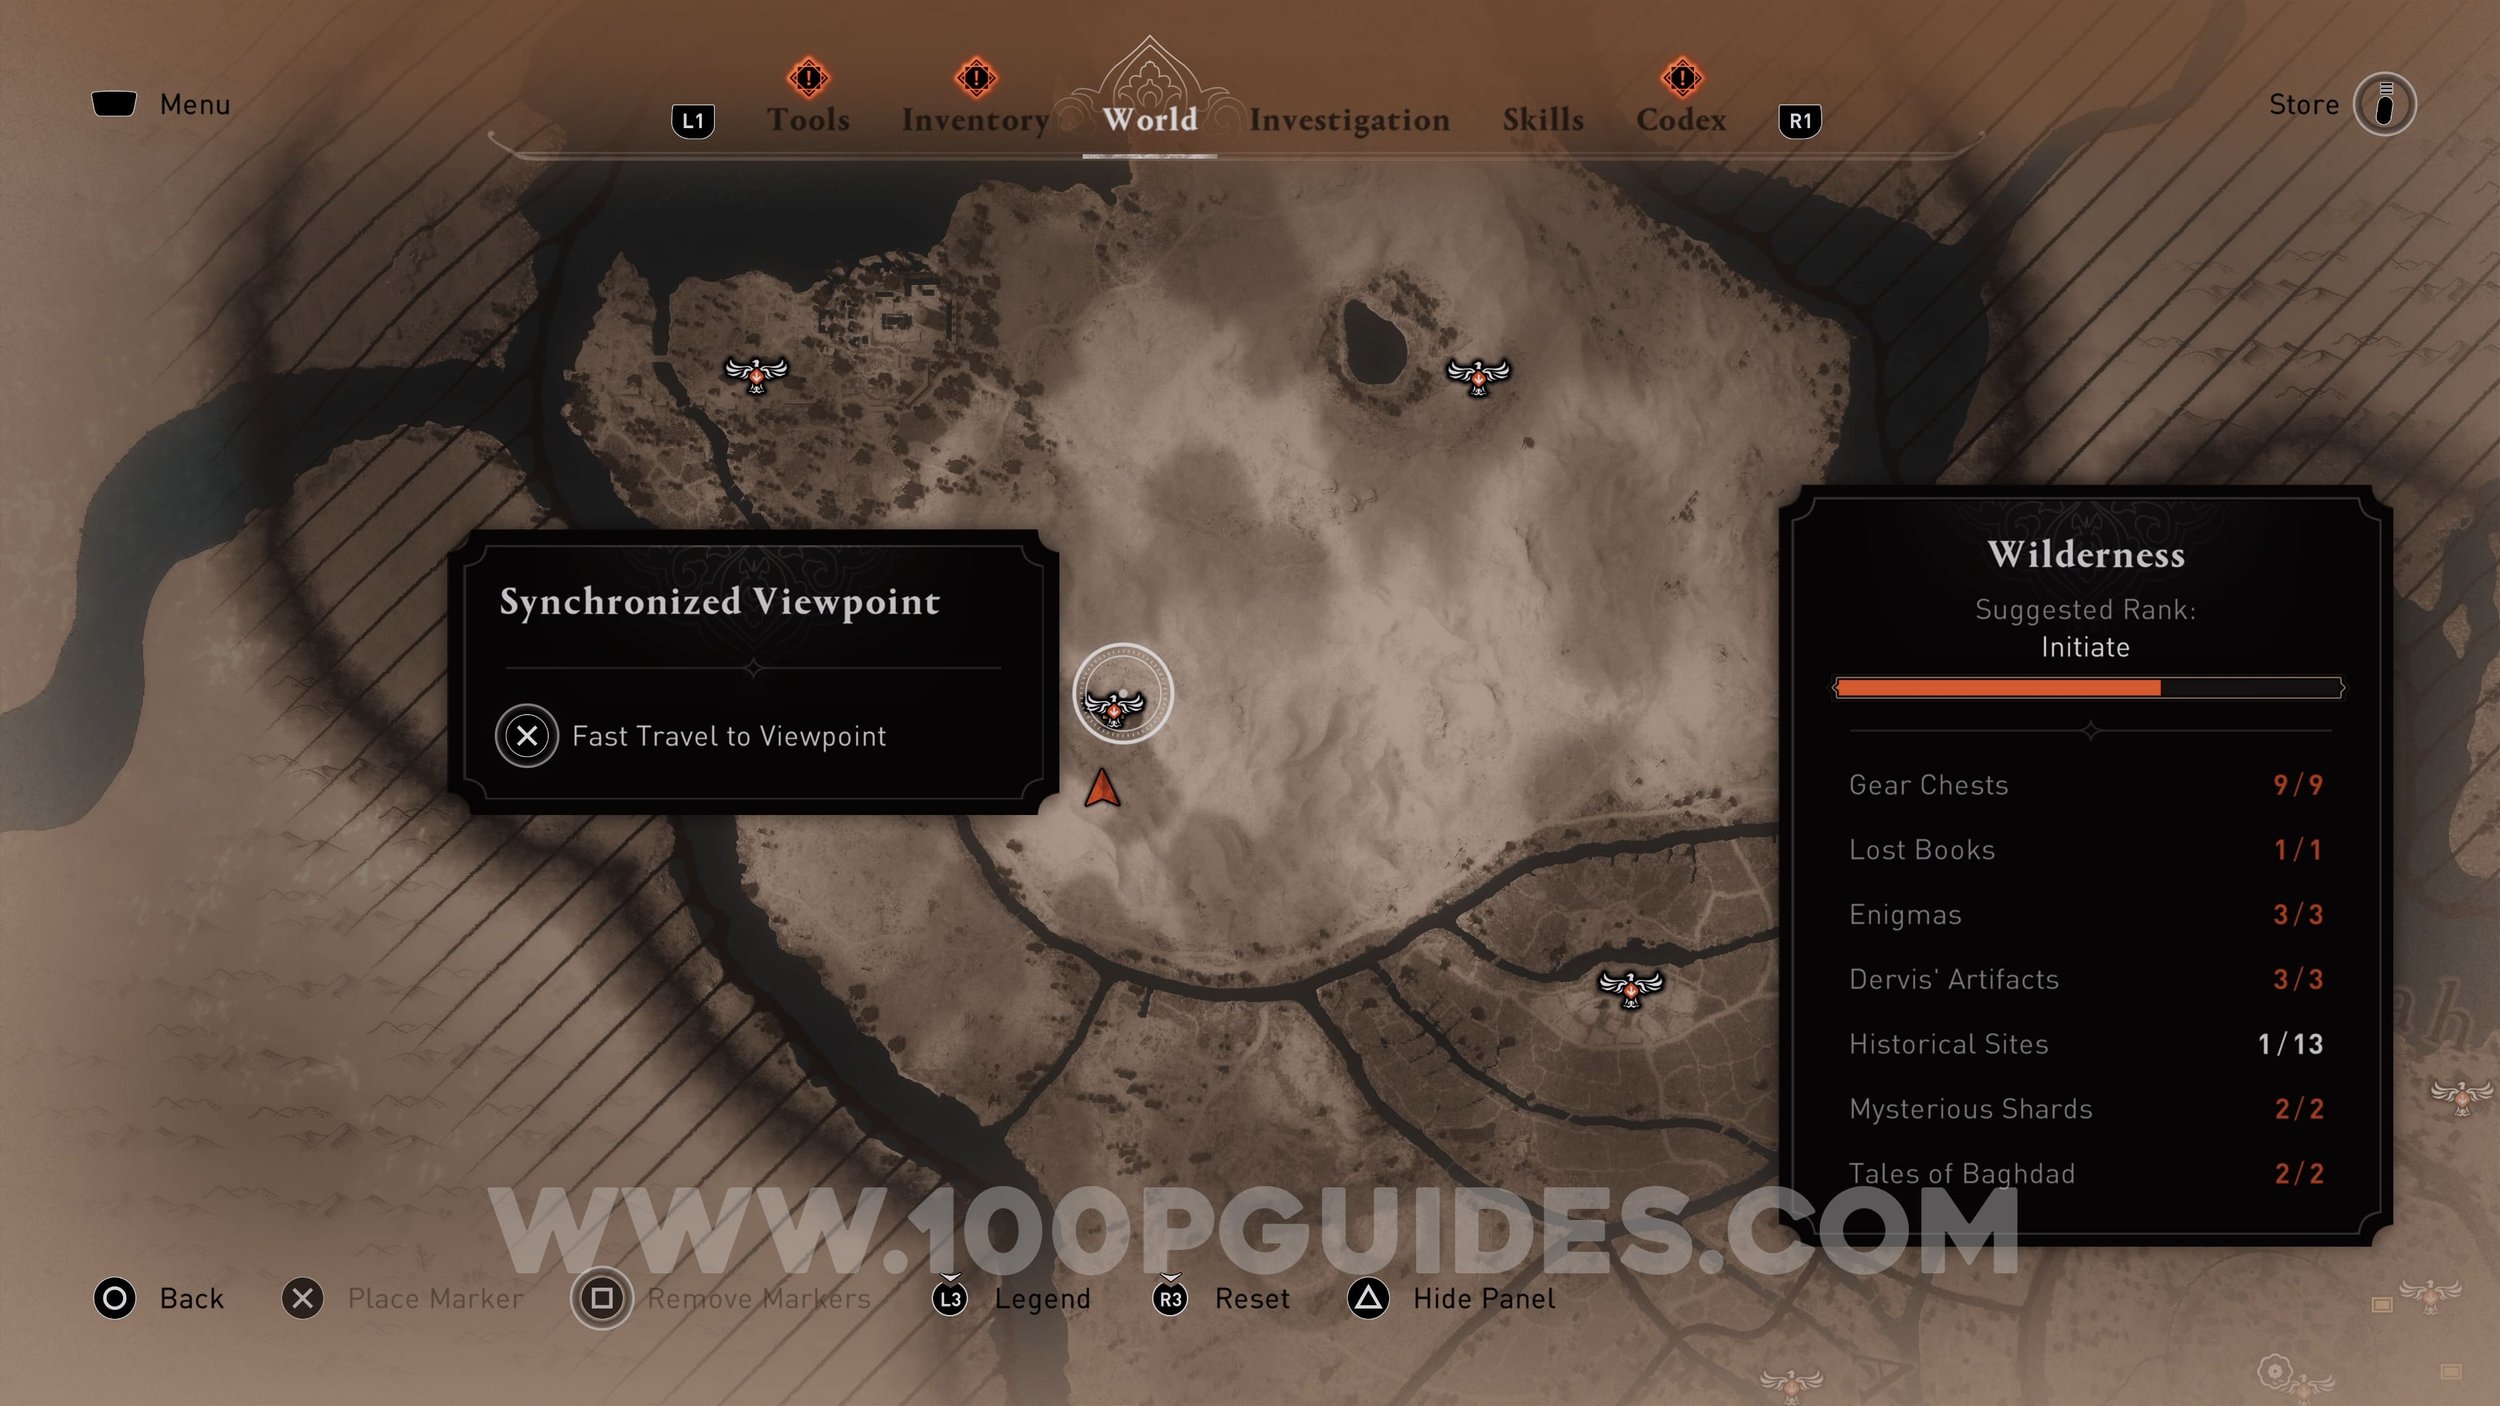
Gear Chest #7-9. Milad's Outfit, The Samsaama & Shamshir-e Zomorrodnegar. These 3 items can be found by going to the pond near the northern viewpoint. Dive into the pond to find a hidden cave. Go through the cave to find the armor and weapons at the end. To obtain them you will need to find the 10 Mysterious Shards (Guide HERE).


Lost Book #1. Found on the top floor of the building in the Tuesday Market area.


Lost Book #2. This collectible is not actually part of any region in the game, however you will need it to get the “Scholar” trophy/achievement. To find it, climb the ruins in the swamp area to the south-east of the map and throw the explosive pot to destroy the broken floor.


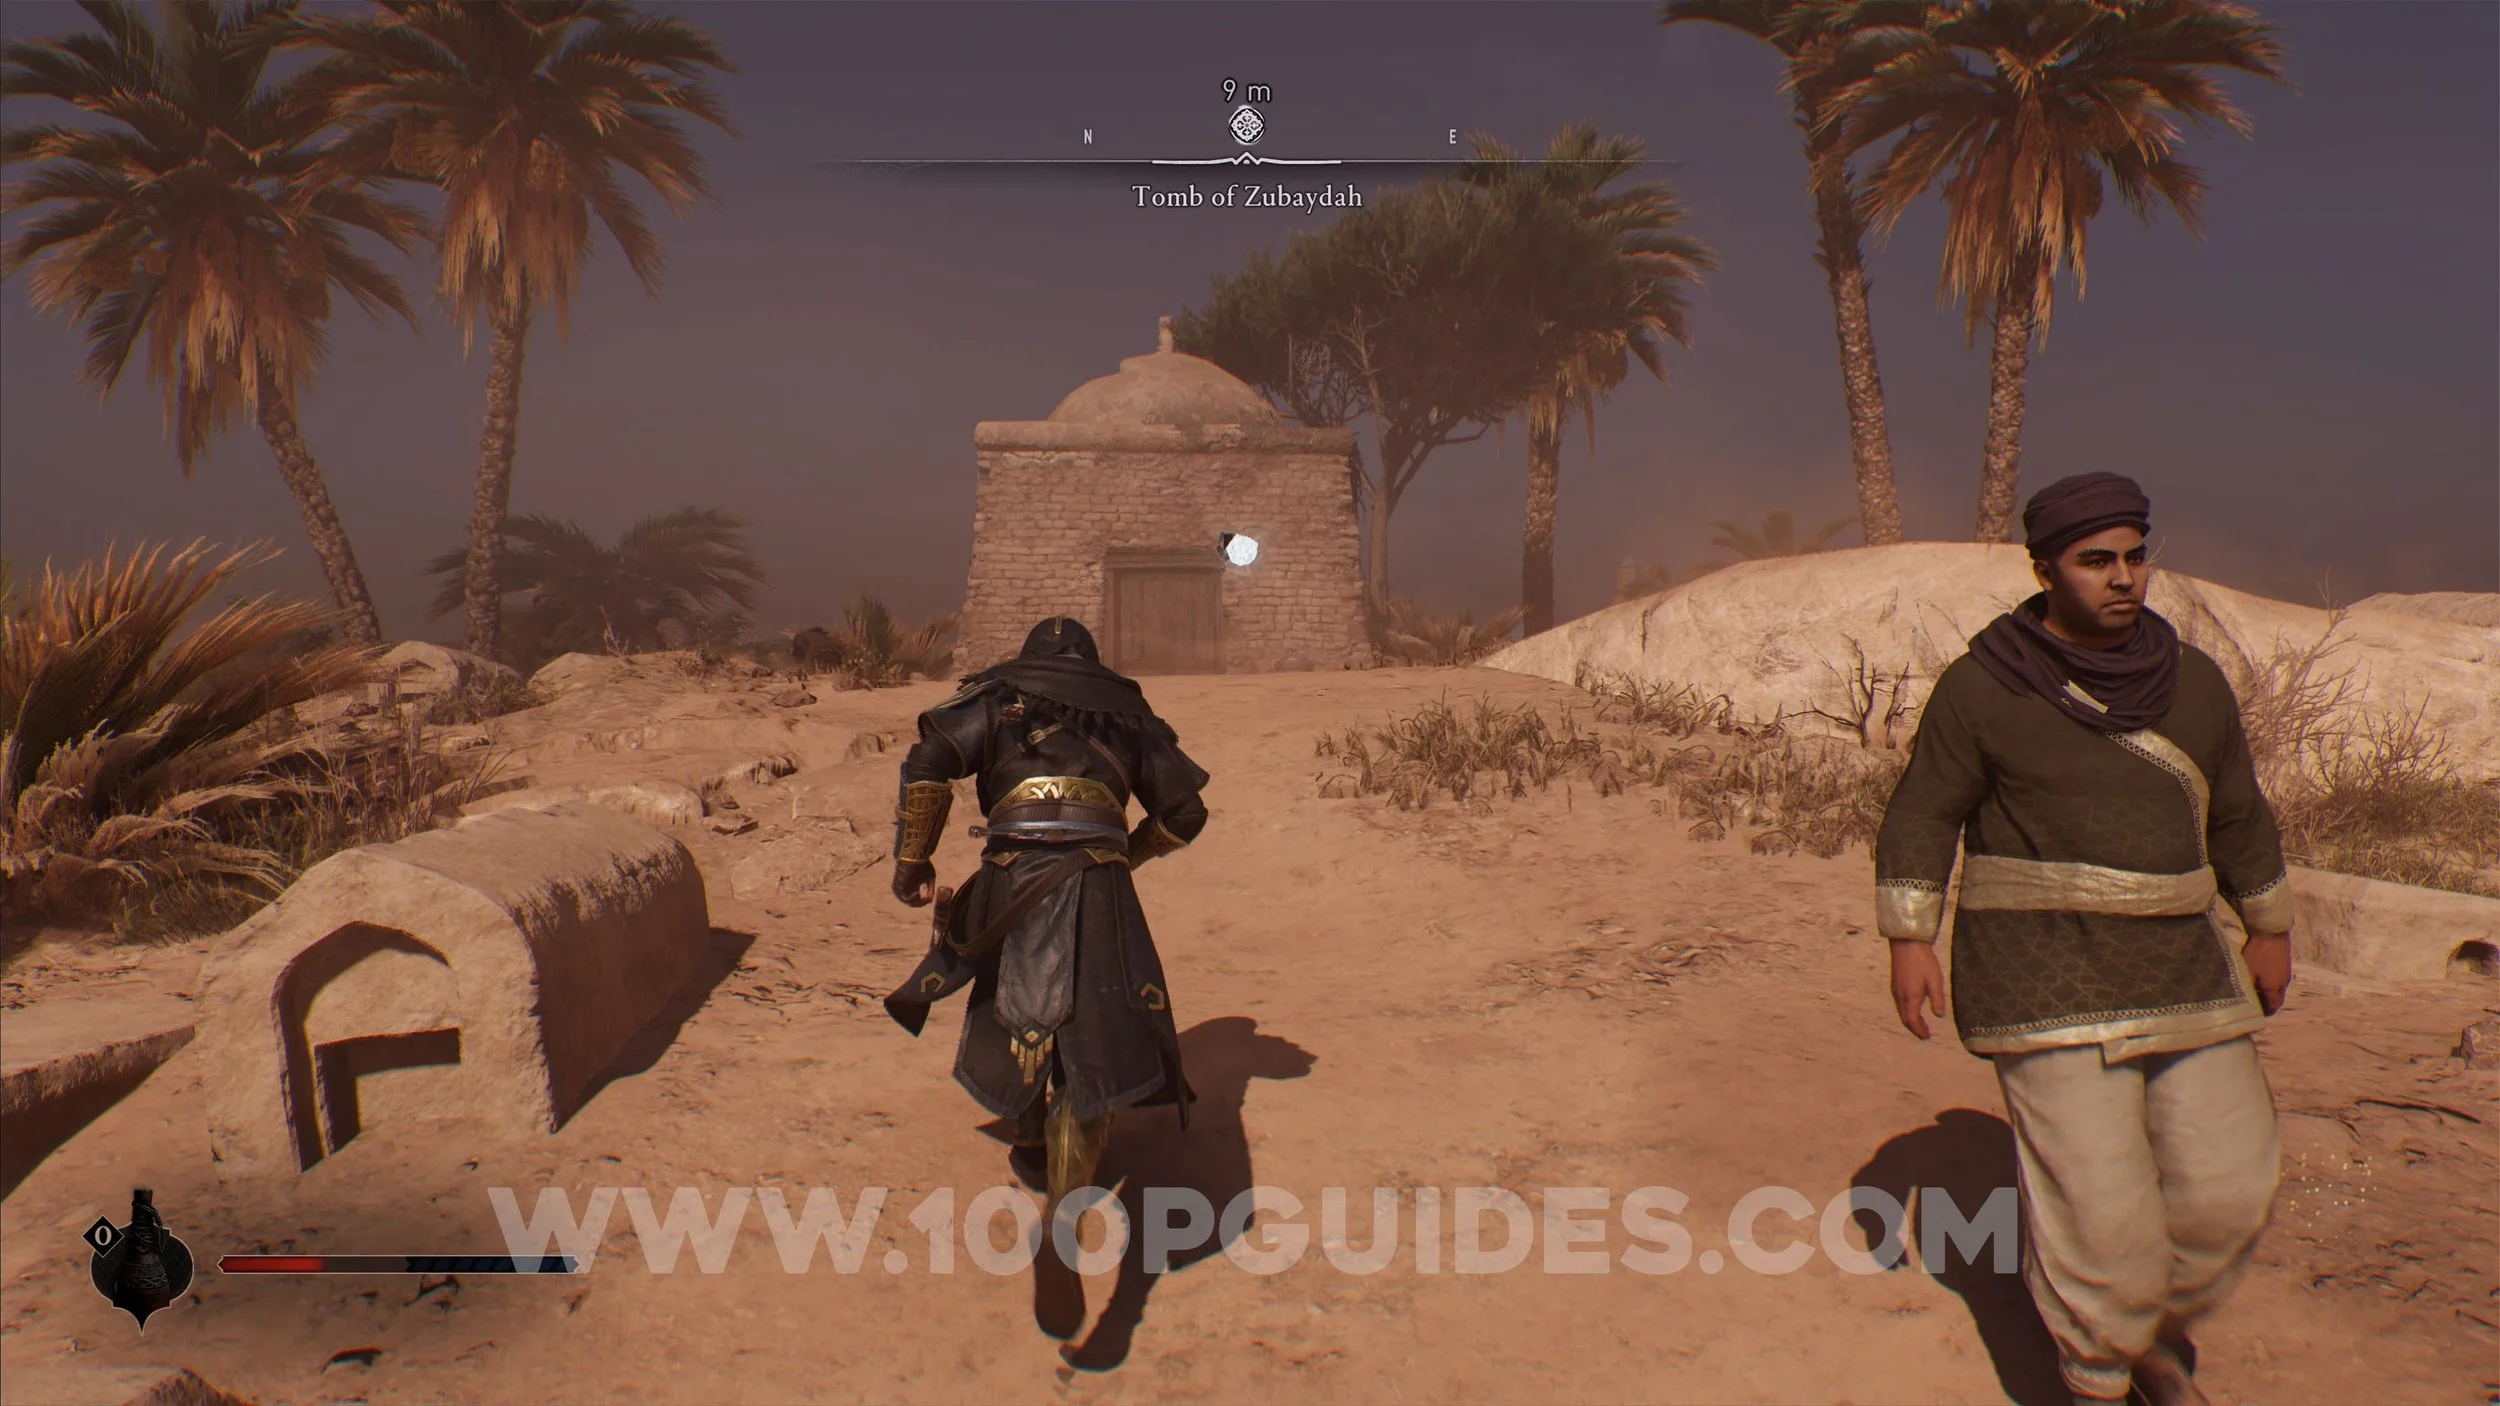
Enigma #1 (Surrender). You can find the Enigma on a grave in the Tomb Of Zubaydah area. The treasure can be found near the sunken building at the northern peak of the Wilderness.


Enigma #2 (Joy Beneath Weeping Palms). The Enigma scroll can be found under a small pagoda to the south-east of the main city. The treasure is found in the field of palm trees to the south.


Enigma #3 (Reap From The Ruins). The scroll can be found on the top floor of the building just west of the bridge in Jarjaraya. The treasure is found near the tree in the swamp to the south-east of the Wilderness region.


Dervis’ Artifact #1. Pickpocket from the NPC. This NPC may move around the general area, so just use Enkidu to scan the area until you see the golden icon.

Dervis’ Artifact #2. Pickpocket from the NPC. This NPC may move around the general area, so just use Enkidu to scan the area until you see the golden icon.


Dervis’ Artifact #3. Pickpocket from the NPC. This NPC may move around the general area, so just use Enkidu to scan the area until you see the golden icon.


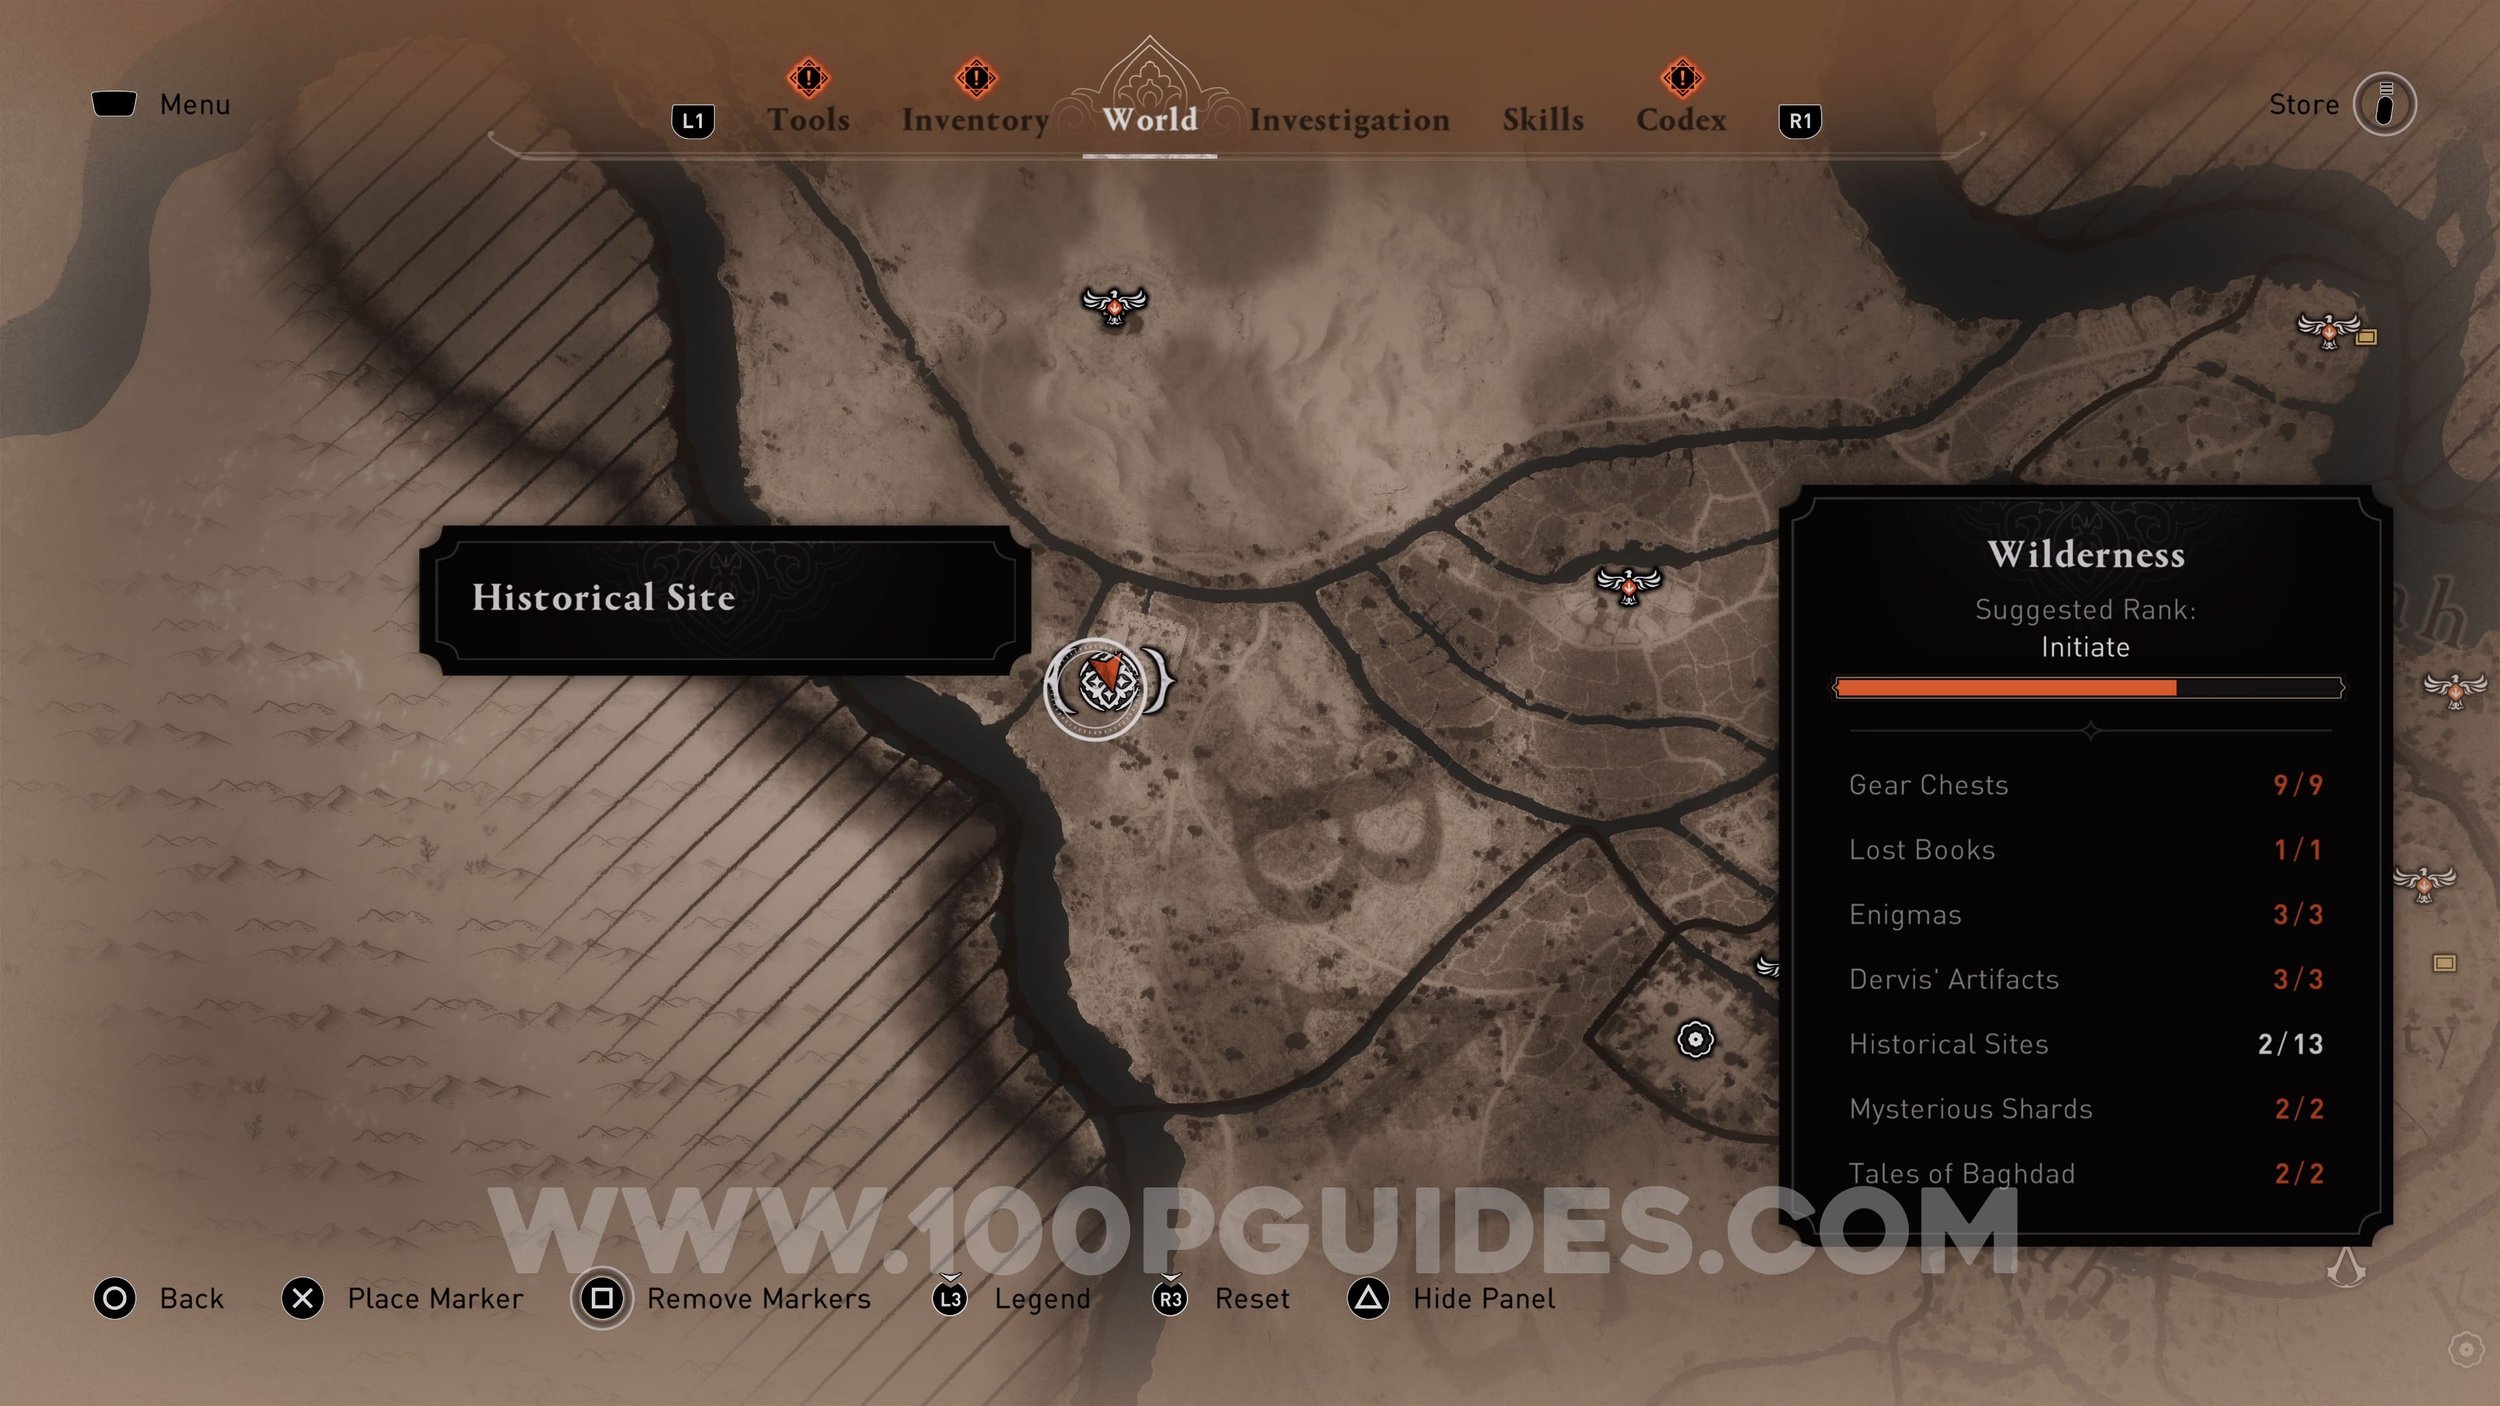
Historical Site #1


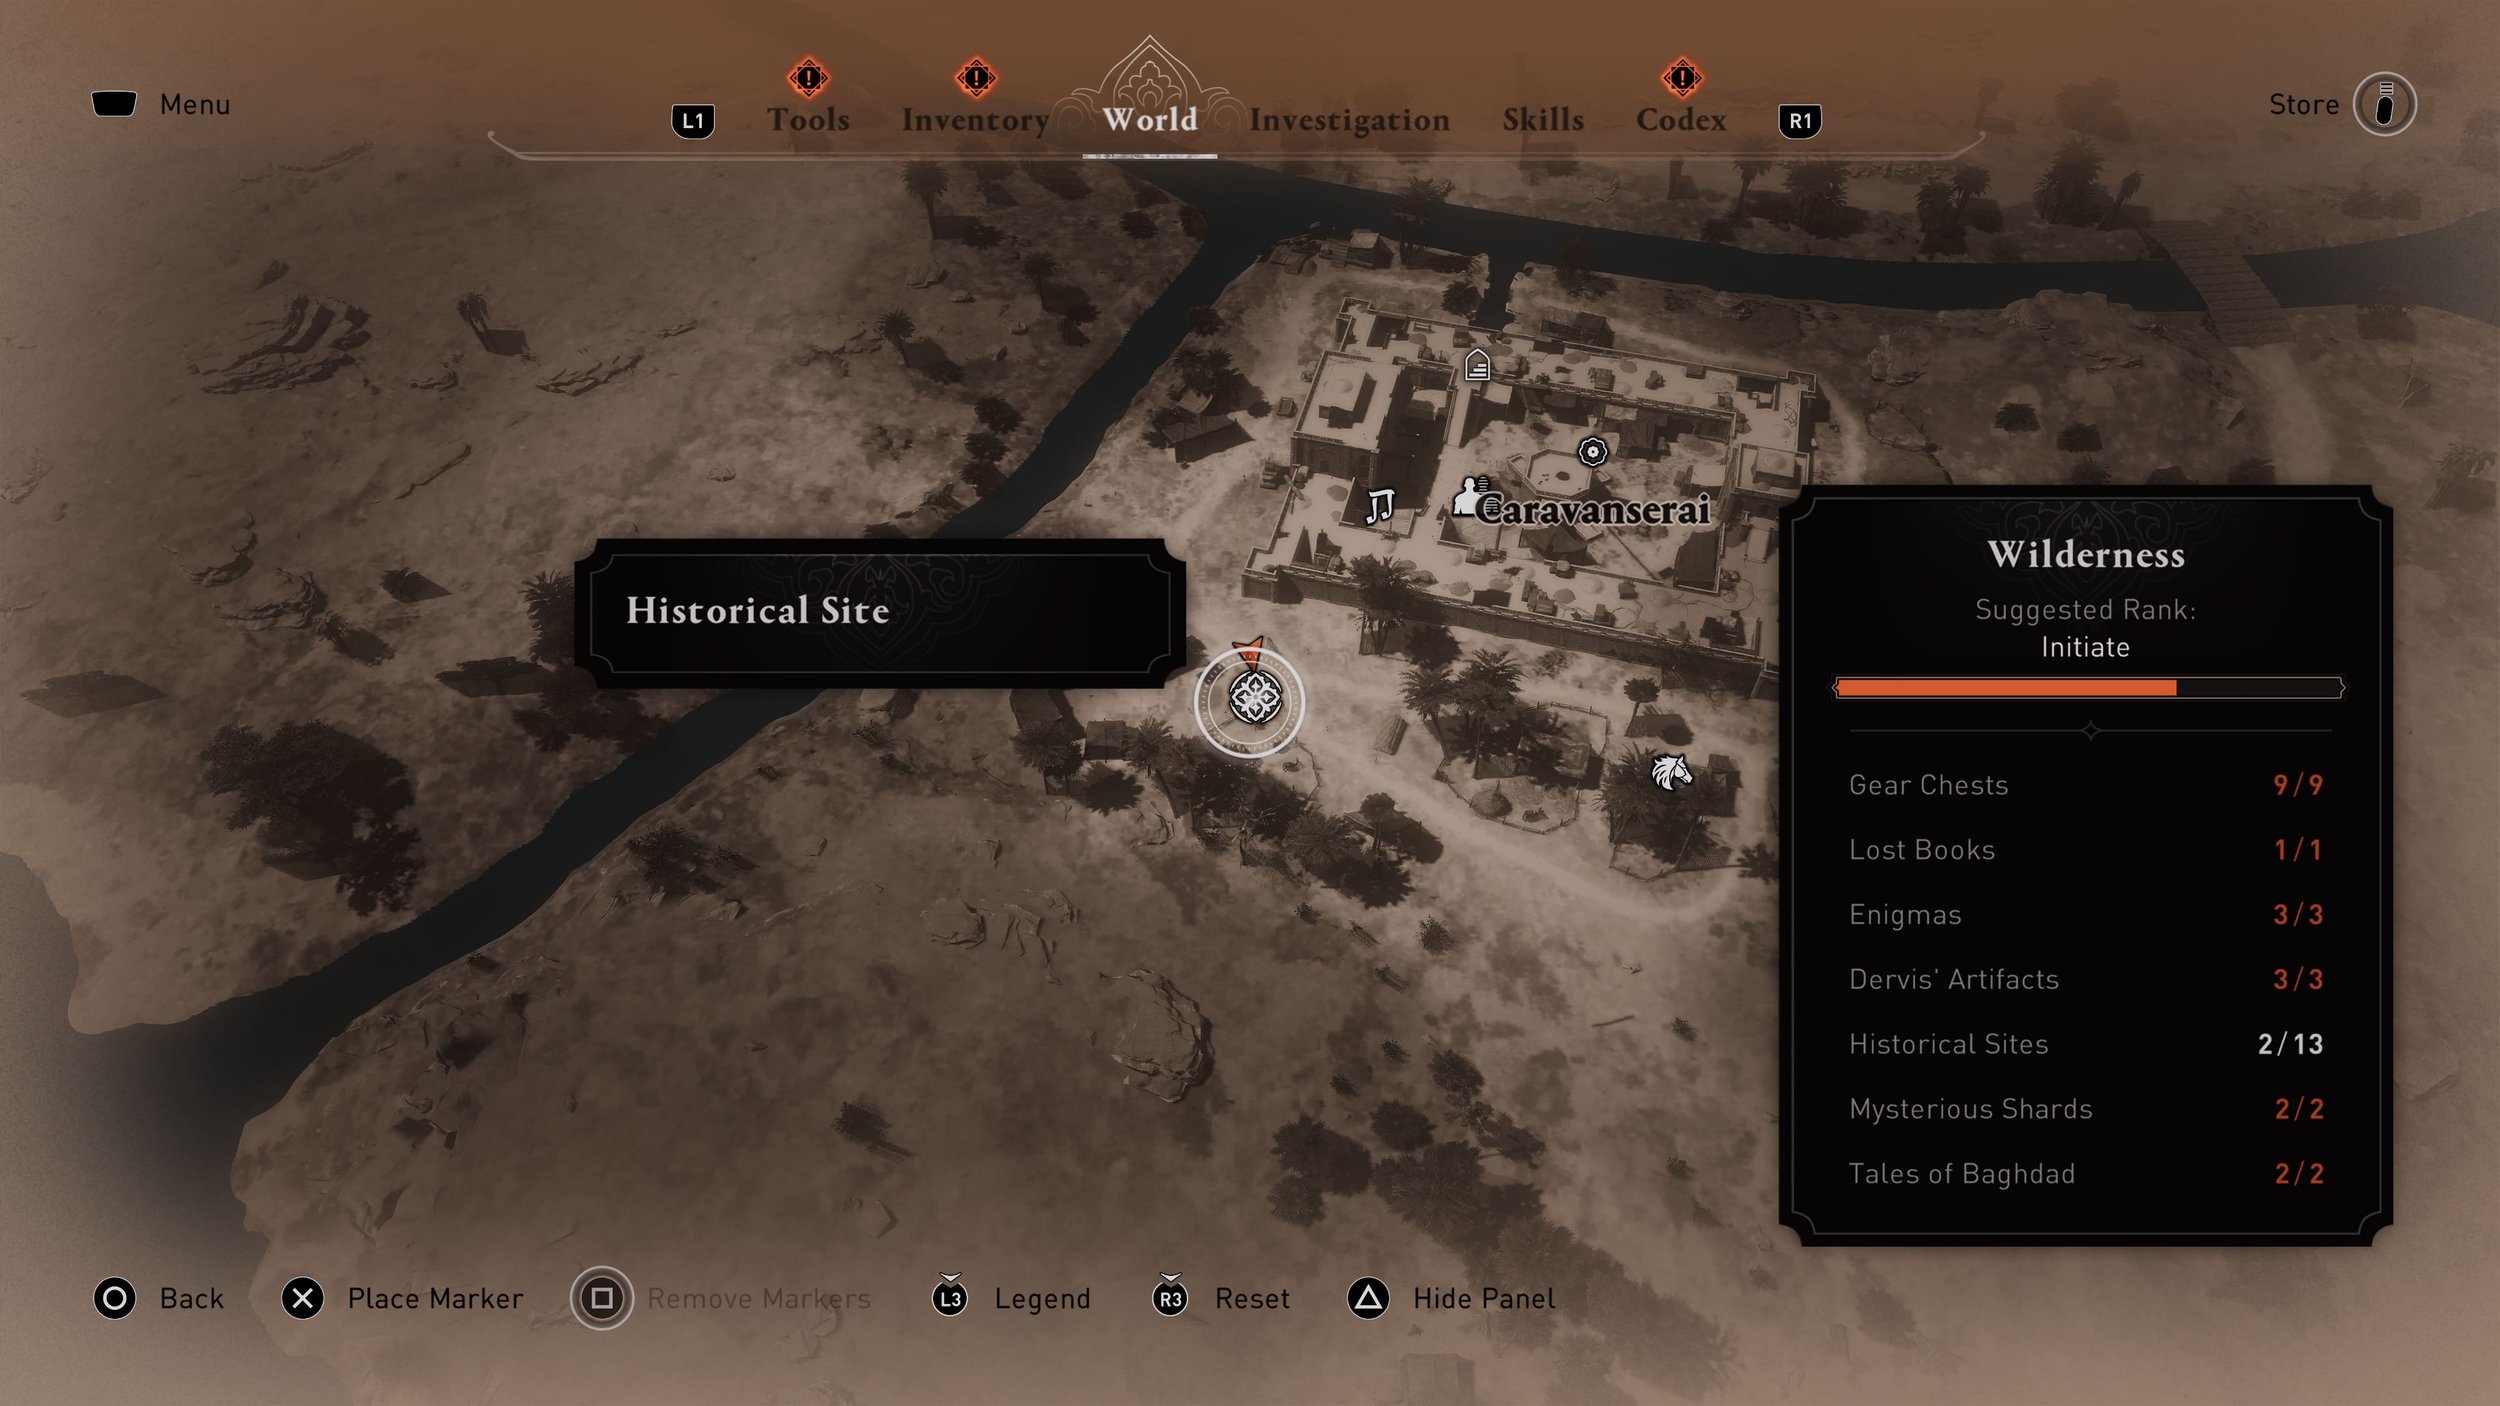
Historical Site #2


Historical Site #3

Historical Site #4


Historical Site #5


Historical Site #6


Historical Site #7


Historical Site #8


Historical Site #9


Historical Site #10


Historical Site #11


Historical Site #12

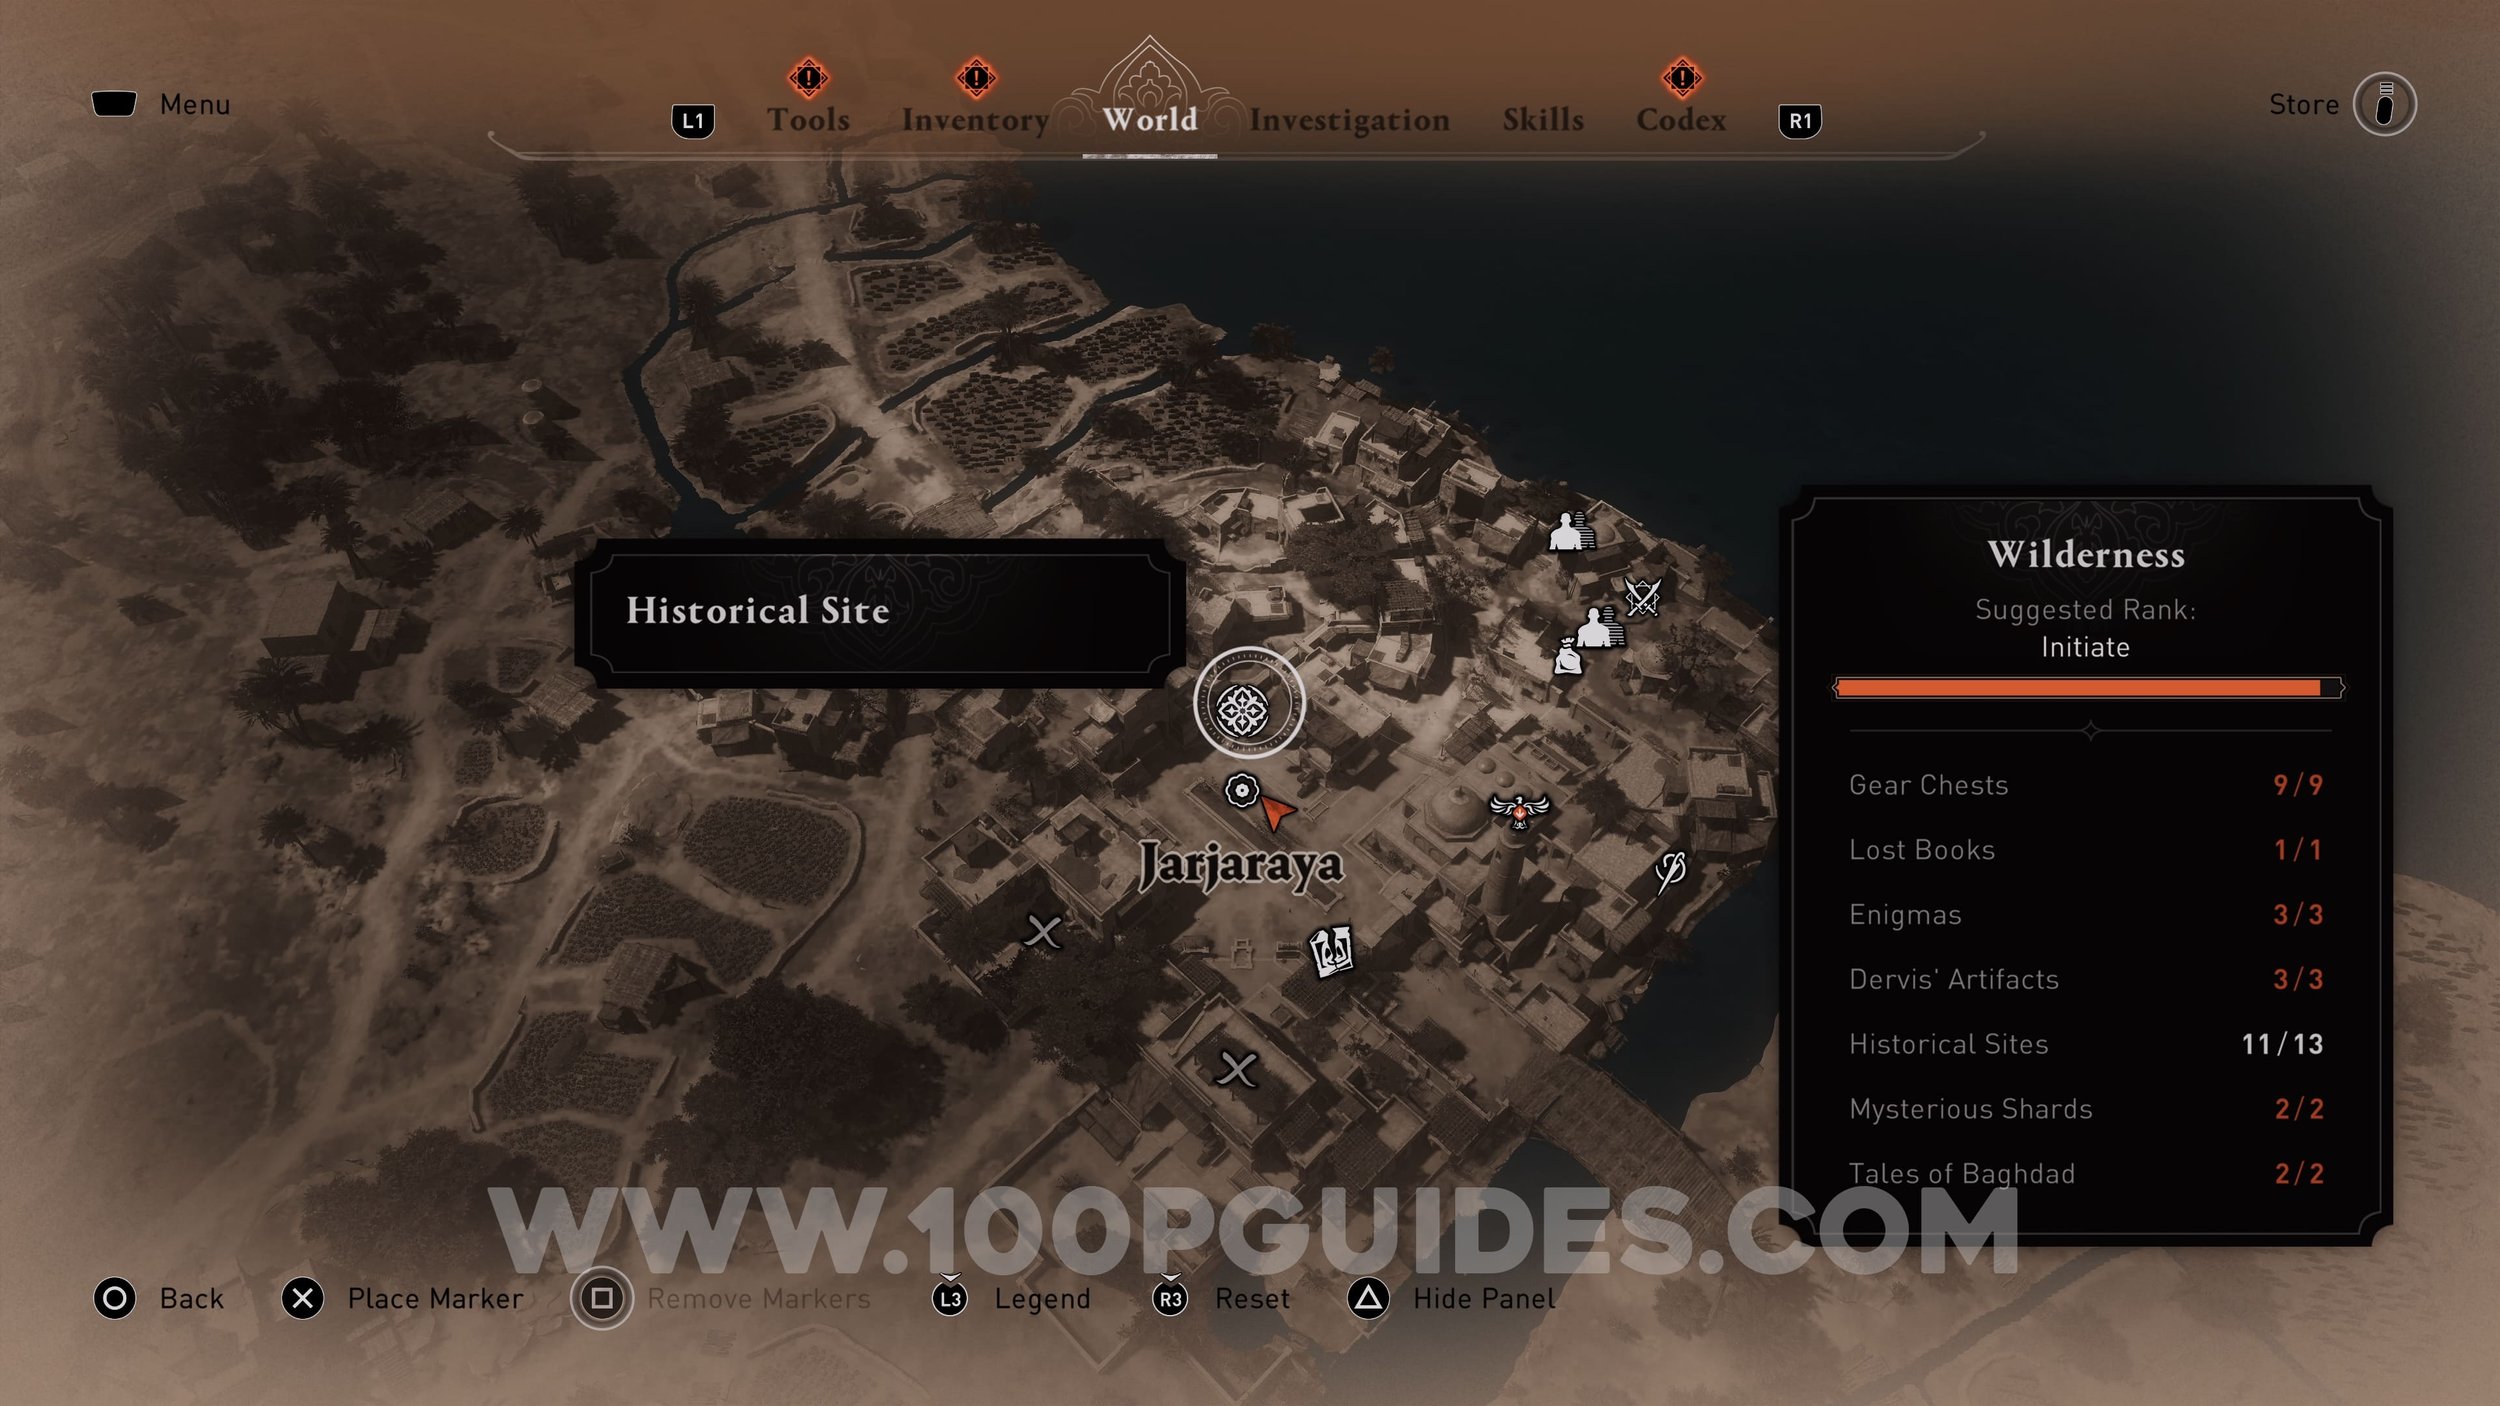
Historical Site #13


Mysterious Shard #1. Pickpocket from the NPC. This NPC may move around the general area, so just use Enkidu to scan the area until you see the golden icon.


Mysterious Shard #2. Pickpocket from the NPC. This NPC may move around the general area, so just use Enkidu to scan the area until you see the golden icon.


Tale Of Baghdad #1 (Treasure Hunt). Talk to the NPC outside the half-sunken house found on the northern tip of the Wilderness region. Then, jump in the water to the right and dive down to find a tunnel that will take you into the house. Inside, break the blue pot to get the Ore. Give it to the NPC to finish the side quest.


Tale Of Baghdad #2 (Curse Of The Si’La"). Talk to the NPC on the western side of the Wilderness region. You will then have to examine multiple clues in the area. The first is a corpse found at the bottom of the first set of stairs to the west of the NPC. From the continue down the next set of stairs to find another 3 clues (the box outside the door, the poison inside the house and the small bag outside). The next clue can be found by going down the hill and examining the footprints on the way down to the beach. The final 2 clues are found on the beach. First, defeat the animal and examine the ground where it was laying, then examine the bonfire. After examining all clues, return to the NPC to finish the quest.


Video Guide