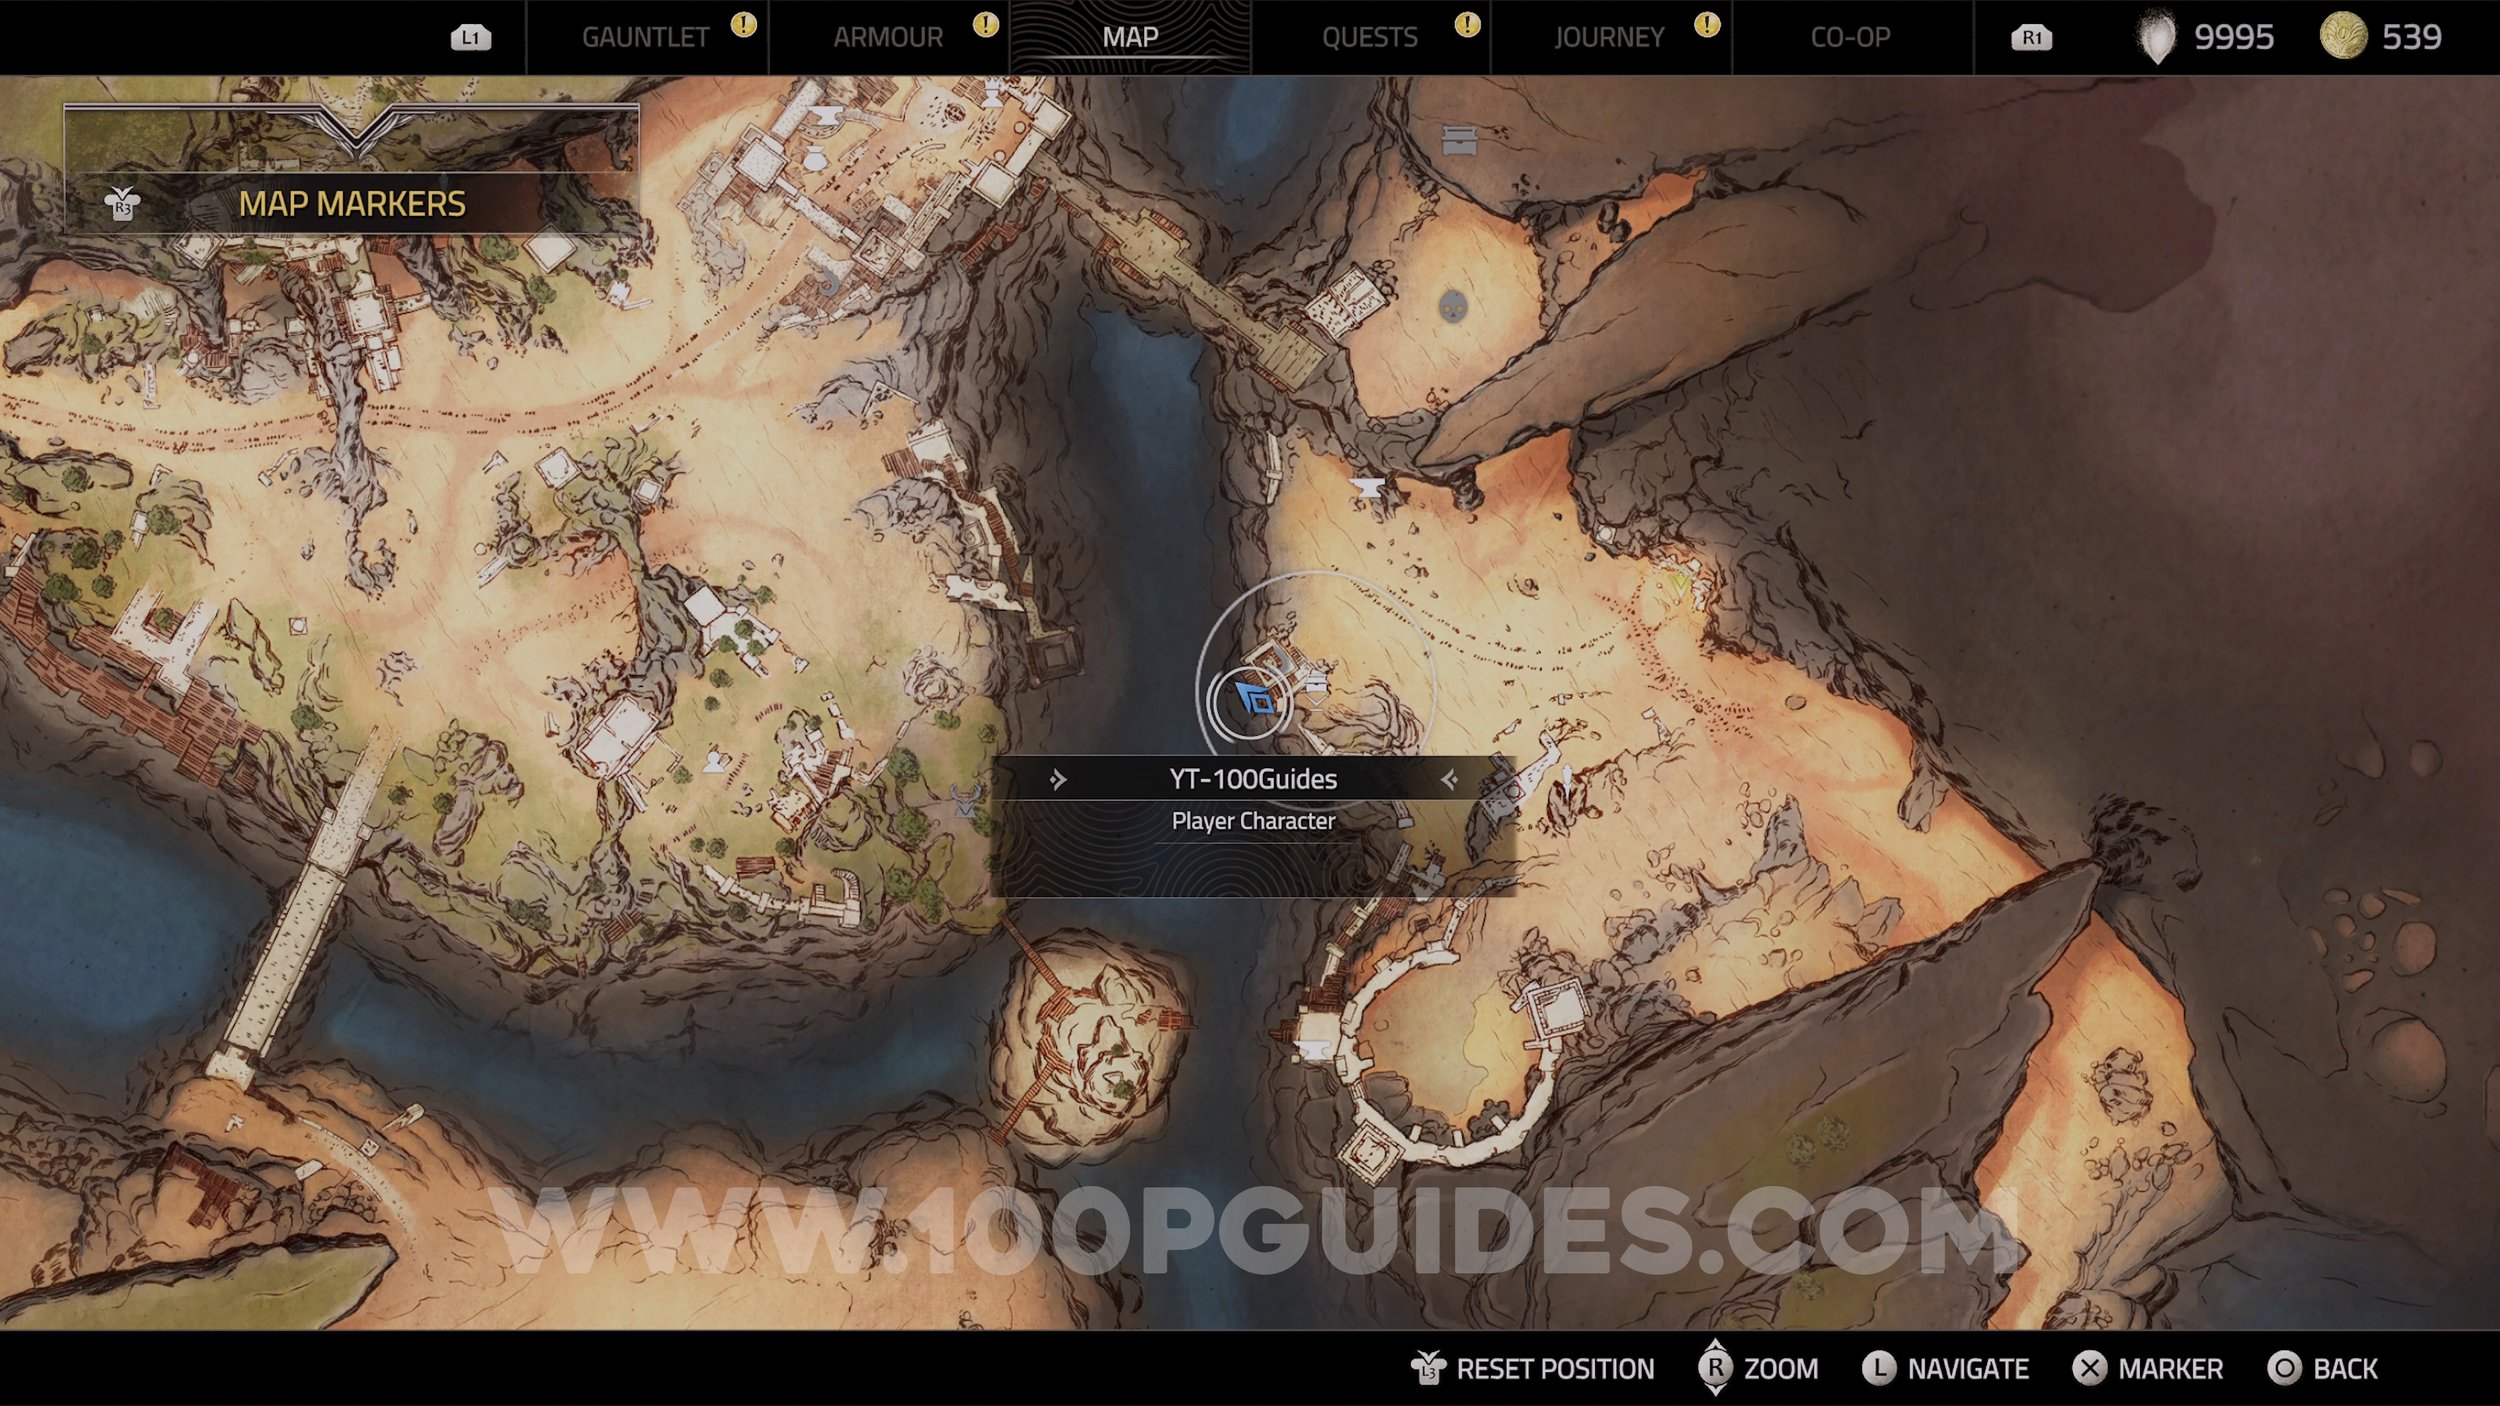
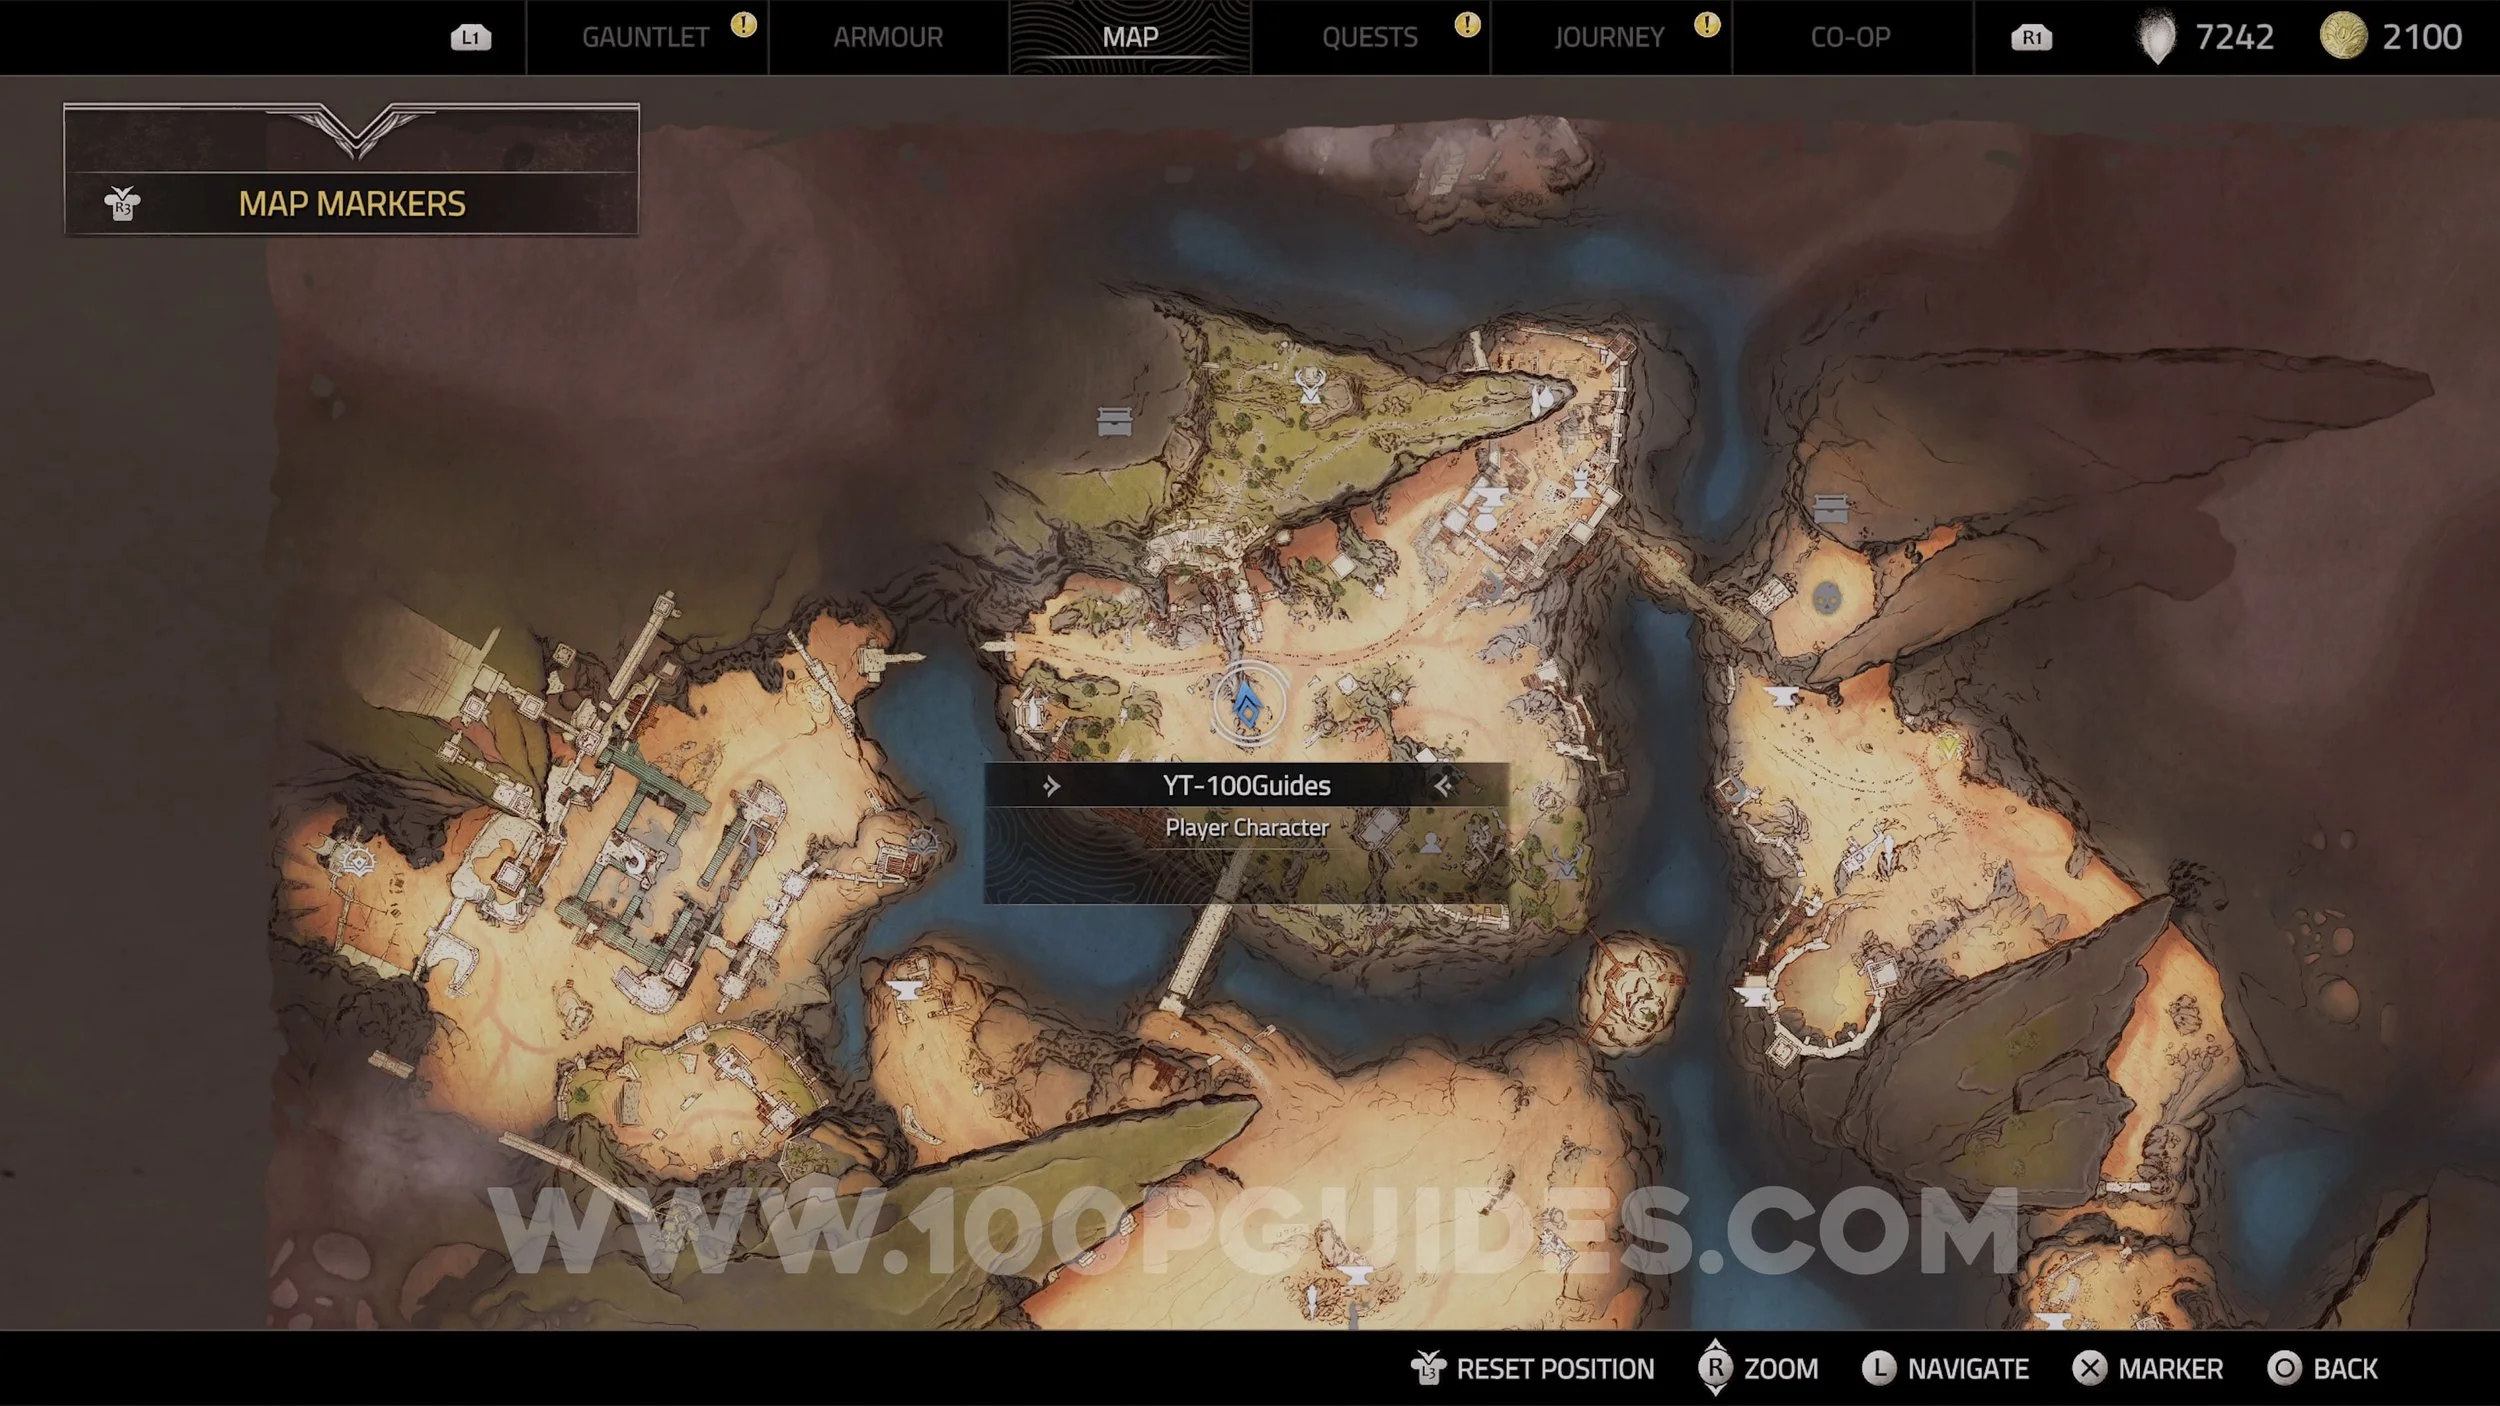
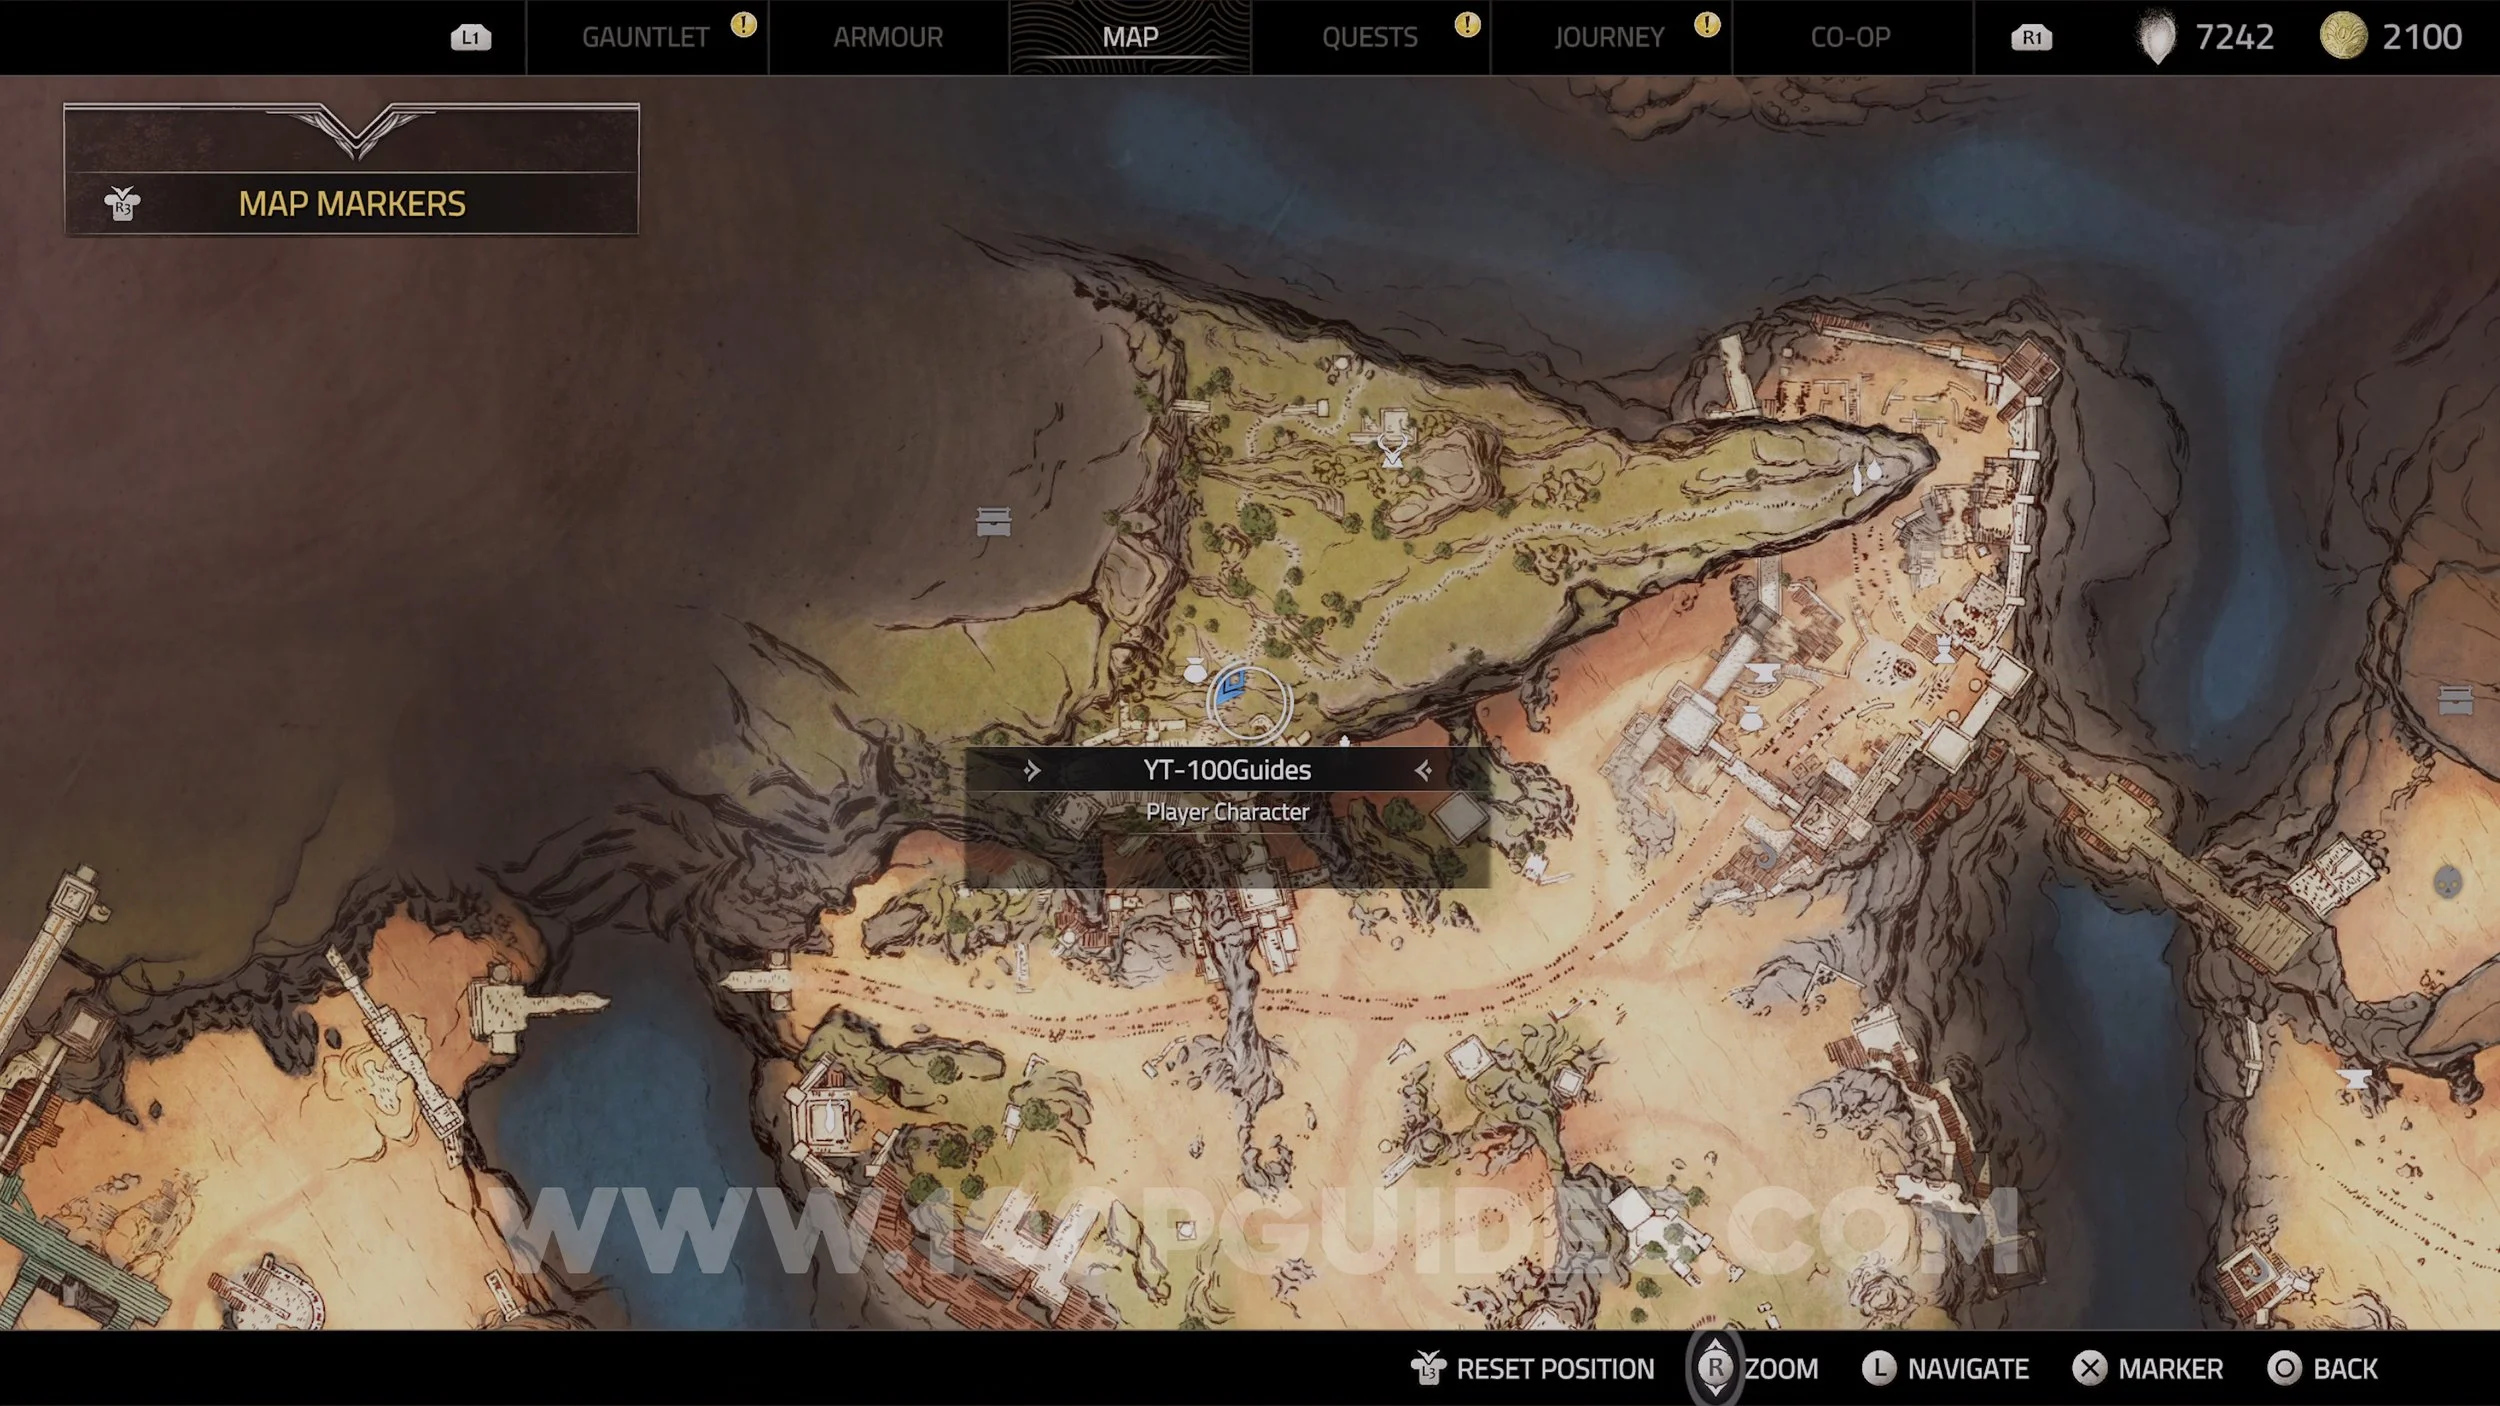
Atlas Fallen CALADRIAS: Forbidden Lands All Collectible Locations
This guide will show you where to find every collectible in the CALADRIAS: Forbidden Lands region.
🎮 Find more Atlas Fallen guides here.
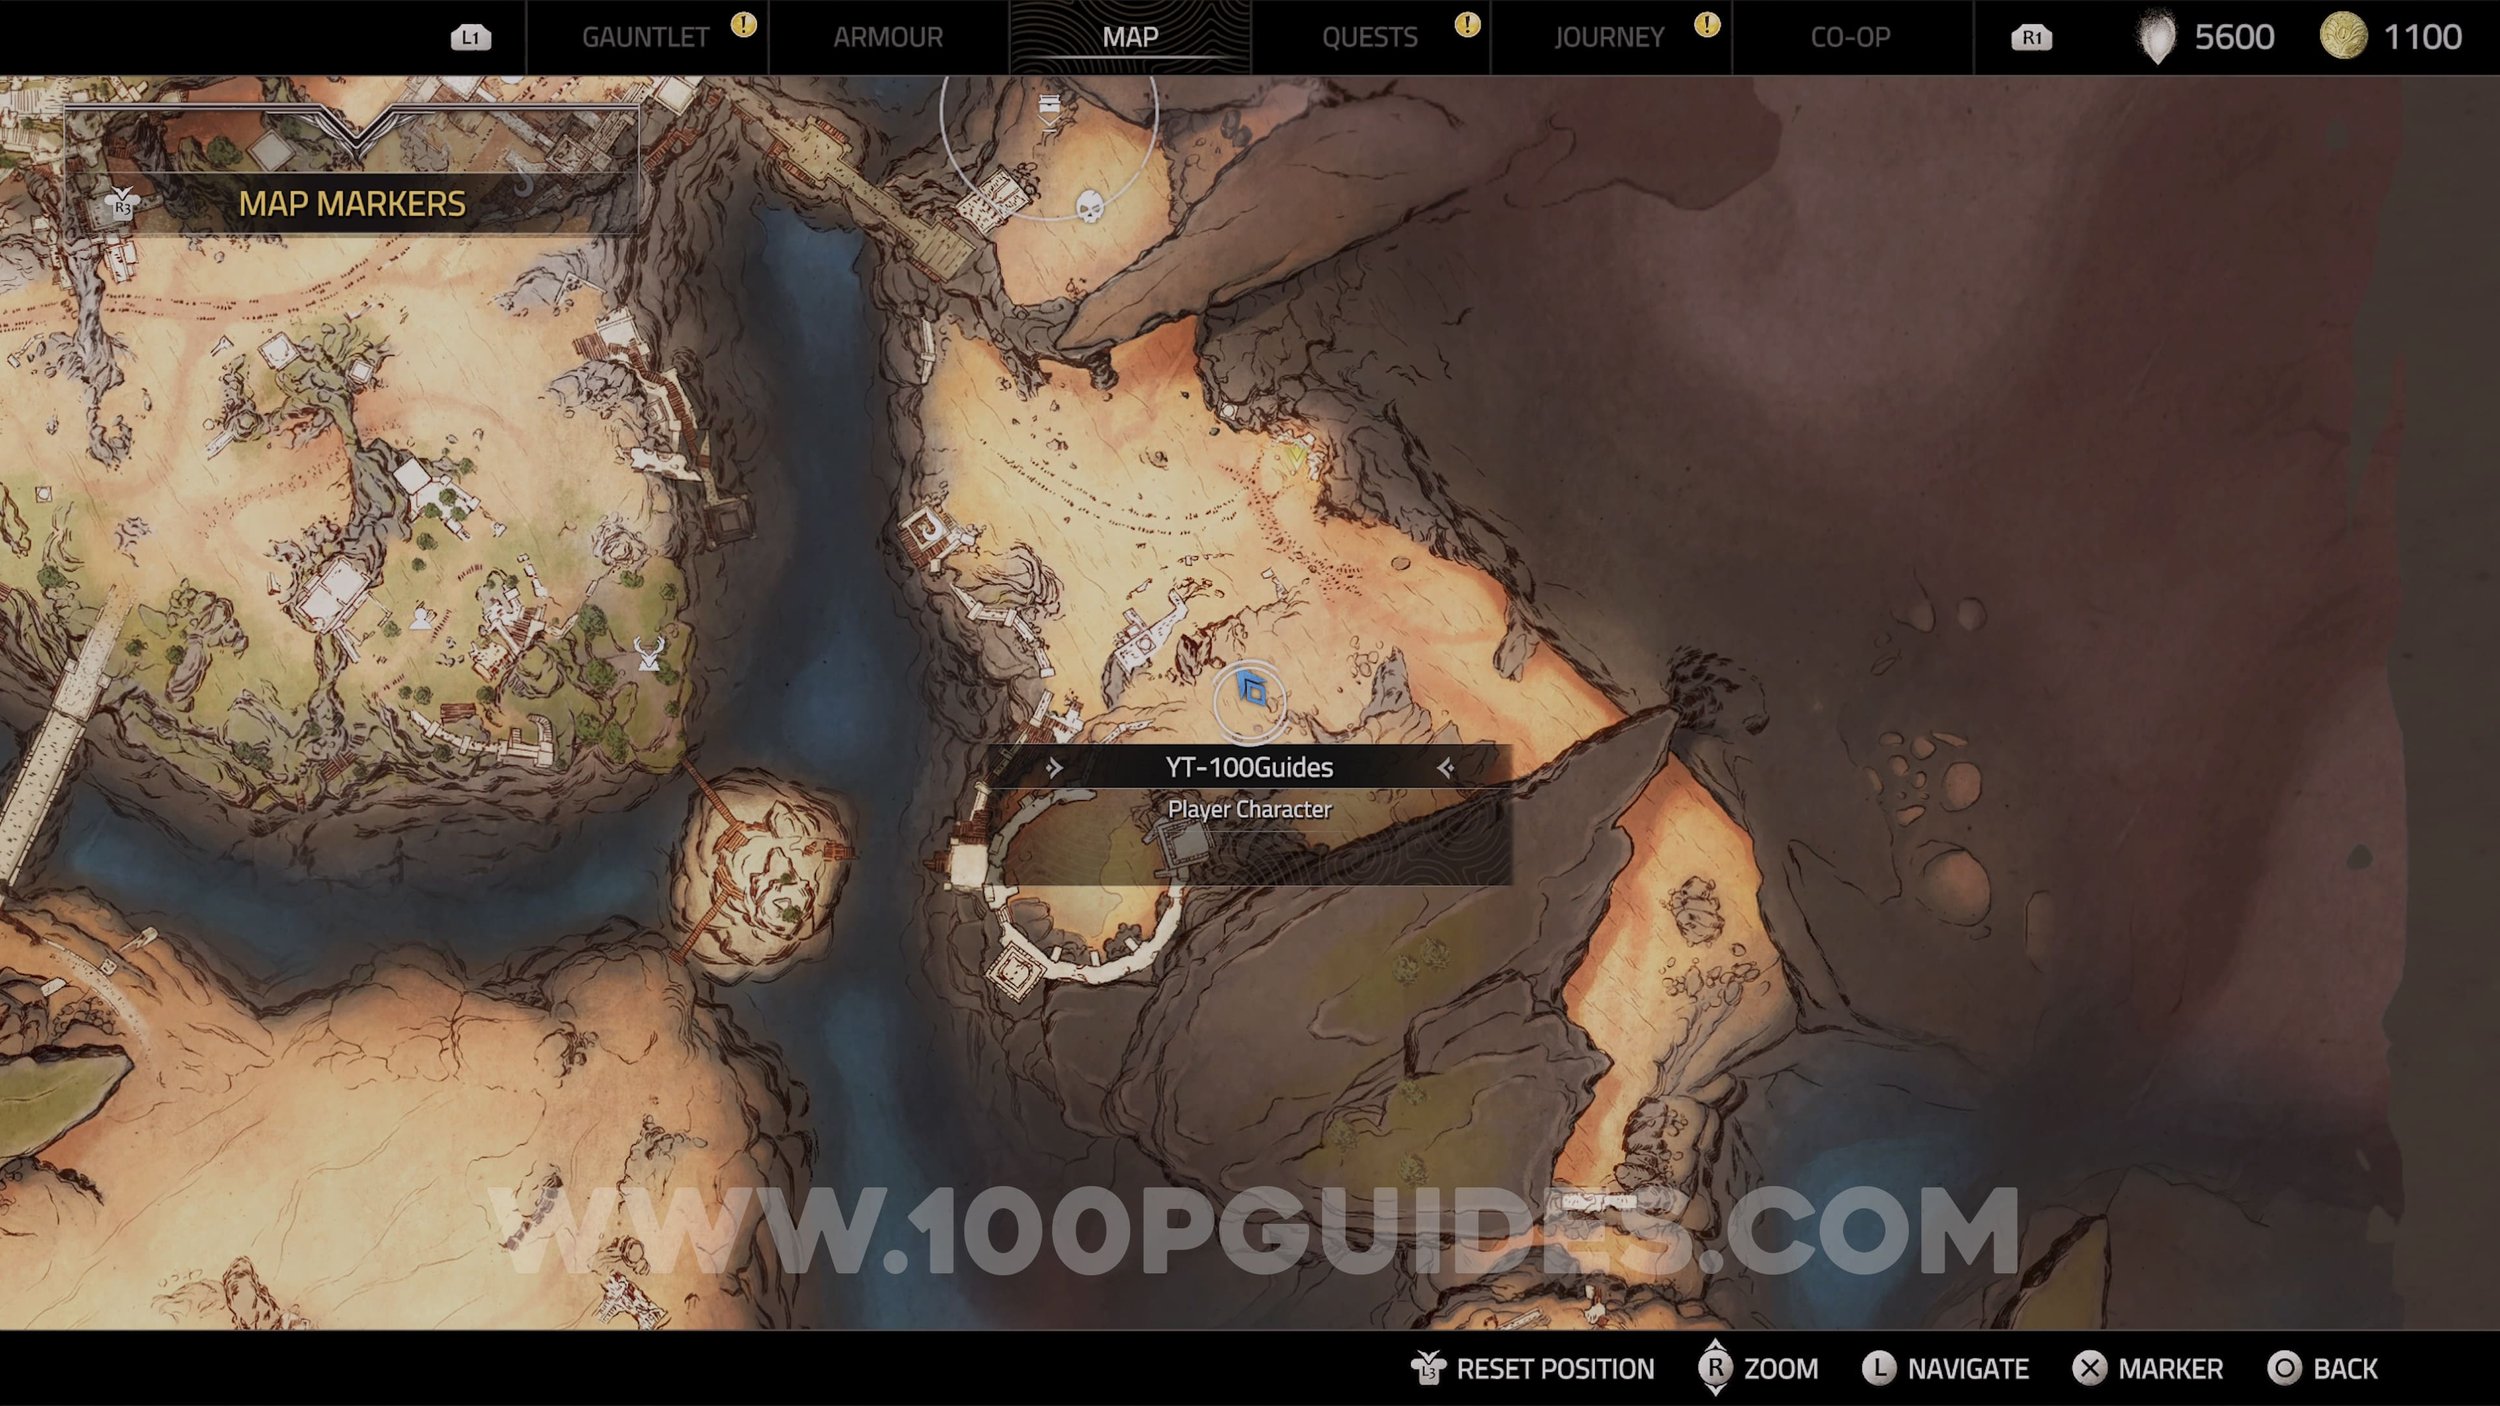
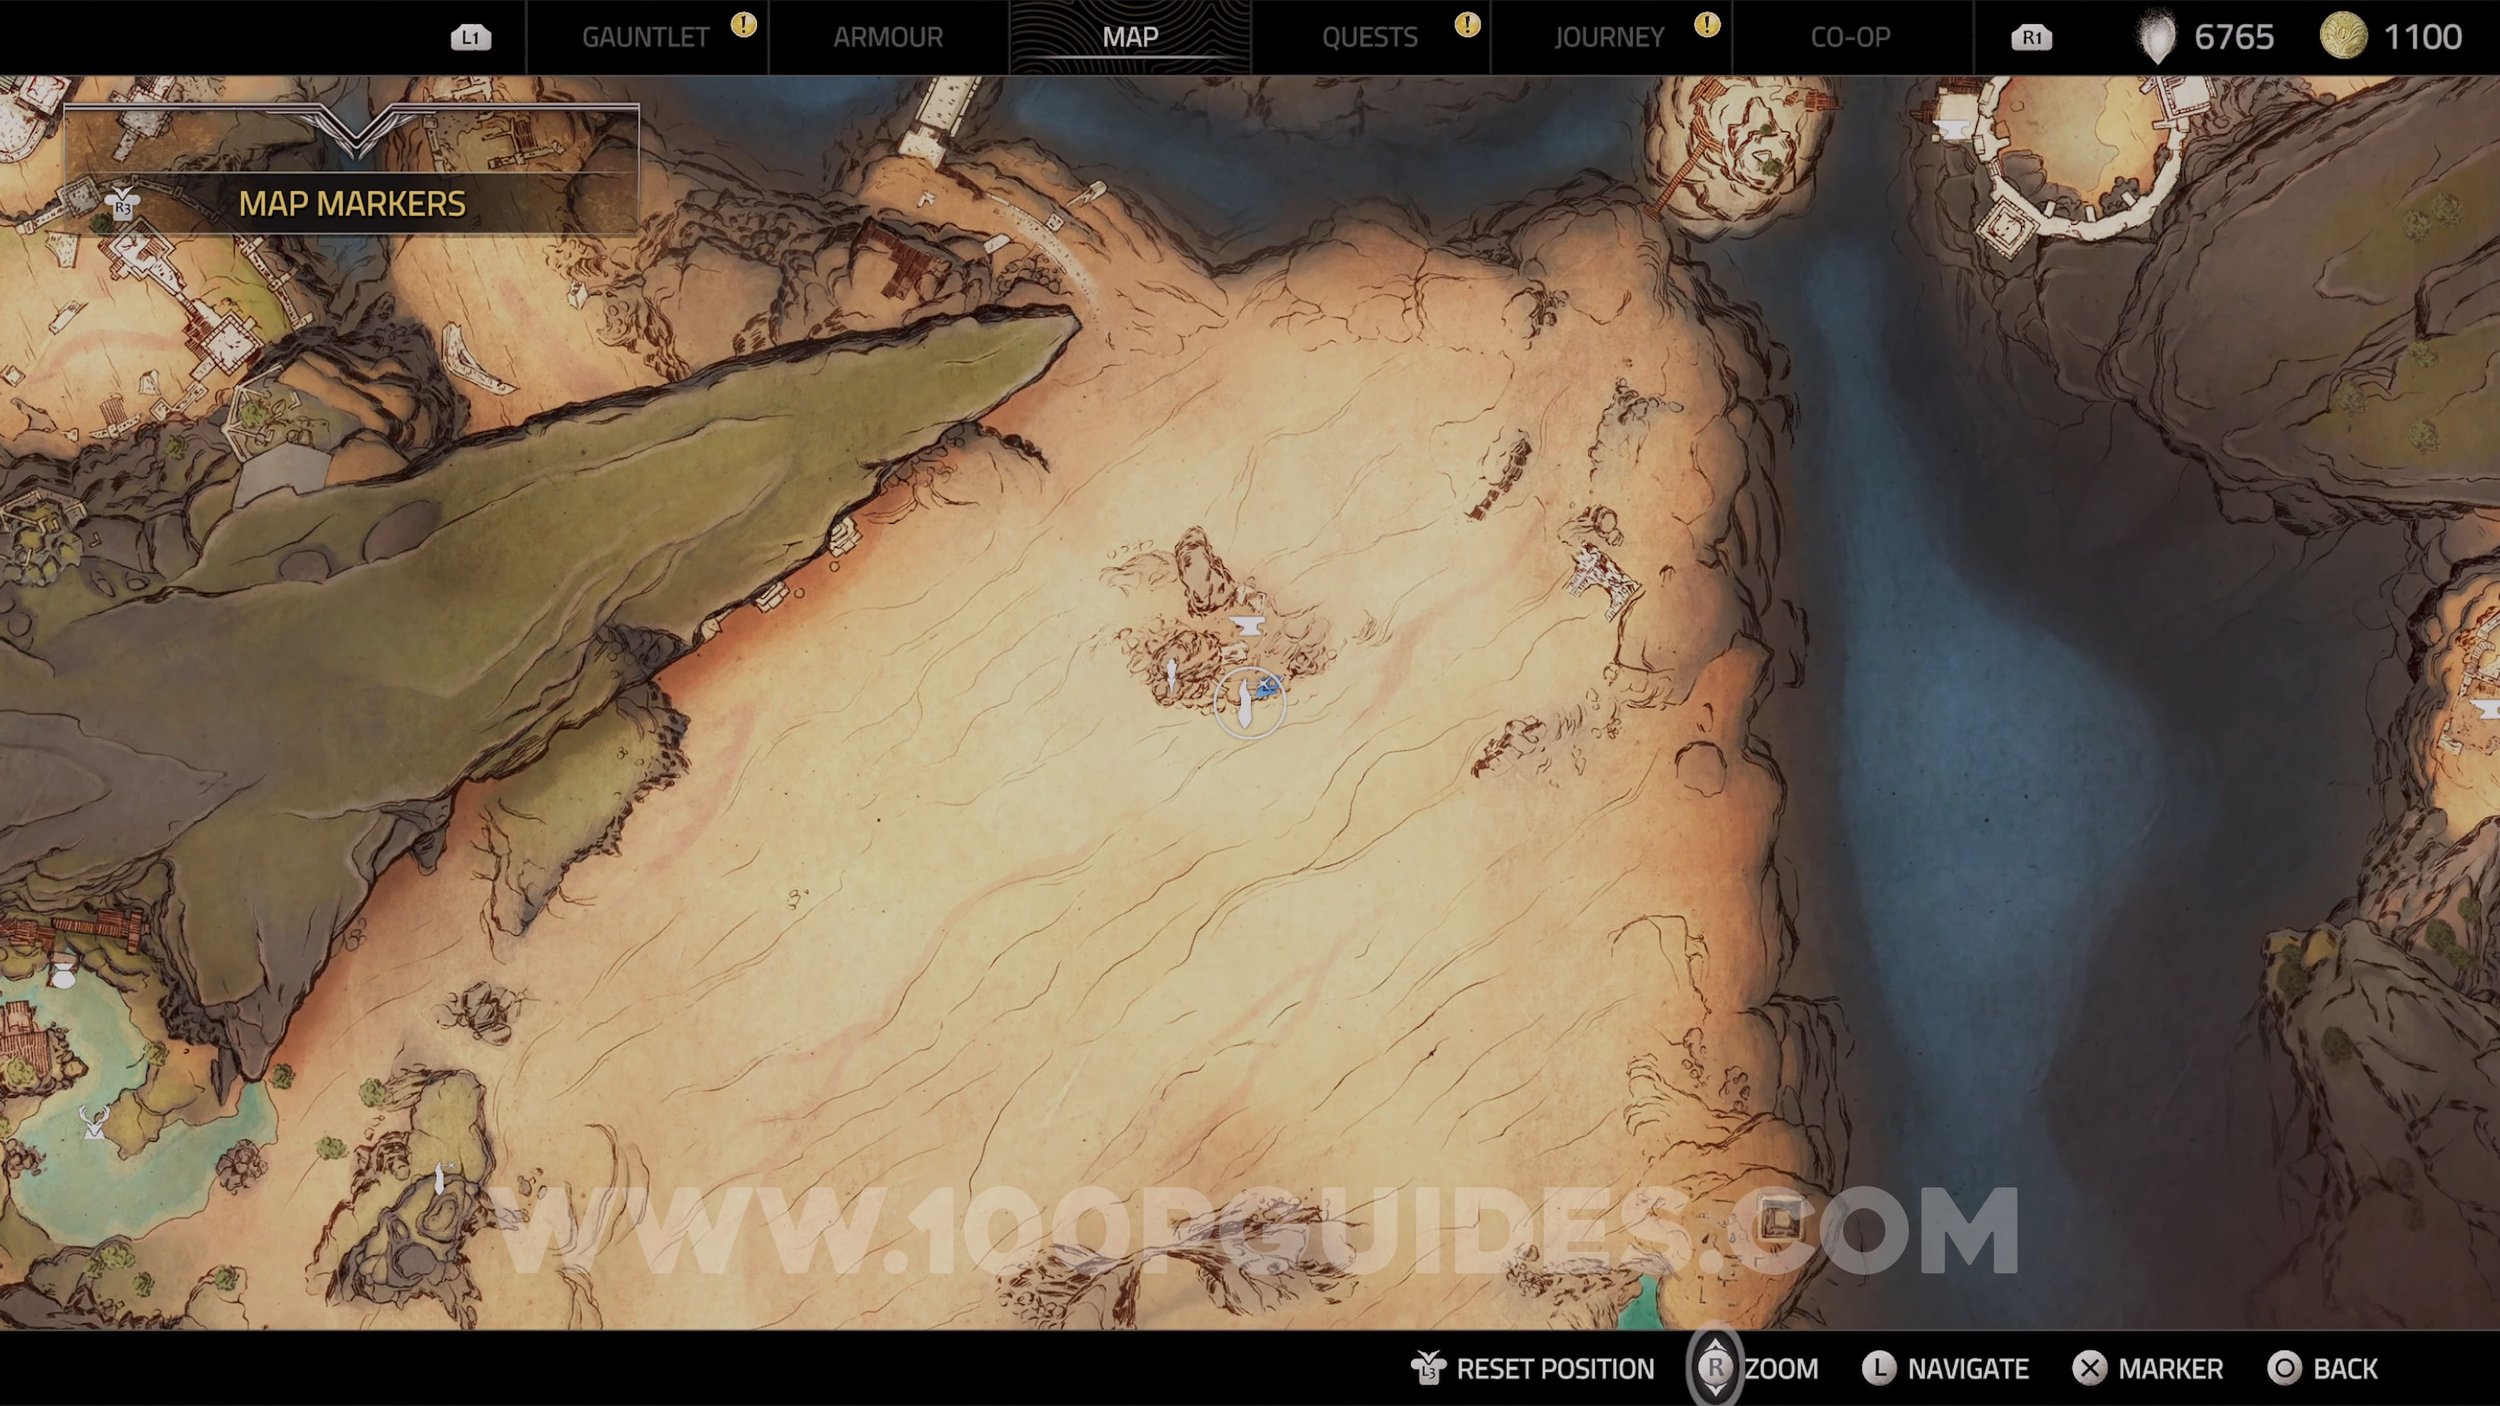
Here you will find the locations of all collectibles in the CALADRIAS: Forbidden Lands region. This includes All Gauntlet Shards, All Lore Items, All Armor Sets, All Cosmetics, All Essence Stones (And Formulas), All Treasure Maps, Treasure Map Fragments & Trasures, All Wildliffe Habitats, All Watchtowers, All Anvils, All Heavenly Shrines, All Vantage Points, All Idols, All Sand Echos, All Elite Foes & All Sealing Totems.
MISSABLE COLLECTIBLES: After defeating the Marauder boss during the story, DO NOT open the Knight’s Gate. Doing this will automatically fail all Side Quests & Errands you have not completed. Some of these will have collectibles as rewards. So make sure you get all collectibles related to side quests & errands before advancing to the next region!
This guide will follow this structure (if you follow it step by step you will get everything without missing anything):
Collectibles from story quests (anything like missable side quests or collectibles will also be mentioned inbetween).
Gauntlet Shard Locations & collectibles tied to them (you will get some of these during the story, but since you have to choose we will list the location of them all here).
Collectibles from side quests.
Open world collectibles & shops.
Essence Stone (Lost Temper). After the long slide section you will raise a platform and enter an open cave area. Here you will fight your first enemy. This enemy will drop the Essence Stone.
Essence Stone (Thick Skin). After defeating the enemies where you got the previous Essence Stone you will cross a stone bridge. The Essence Stone will be in the chest on the other side.
Essence Stone (Hurling Hammer). In the broken chest on the platform on the main path just after the previous Essence Stone. You will have to pick it up to advance on the main path.
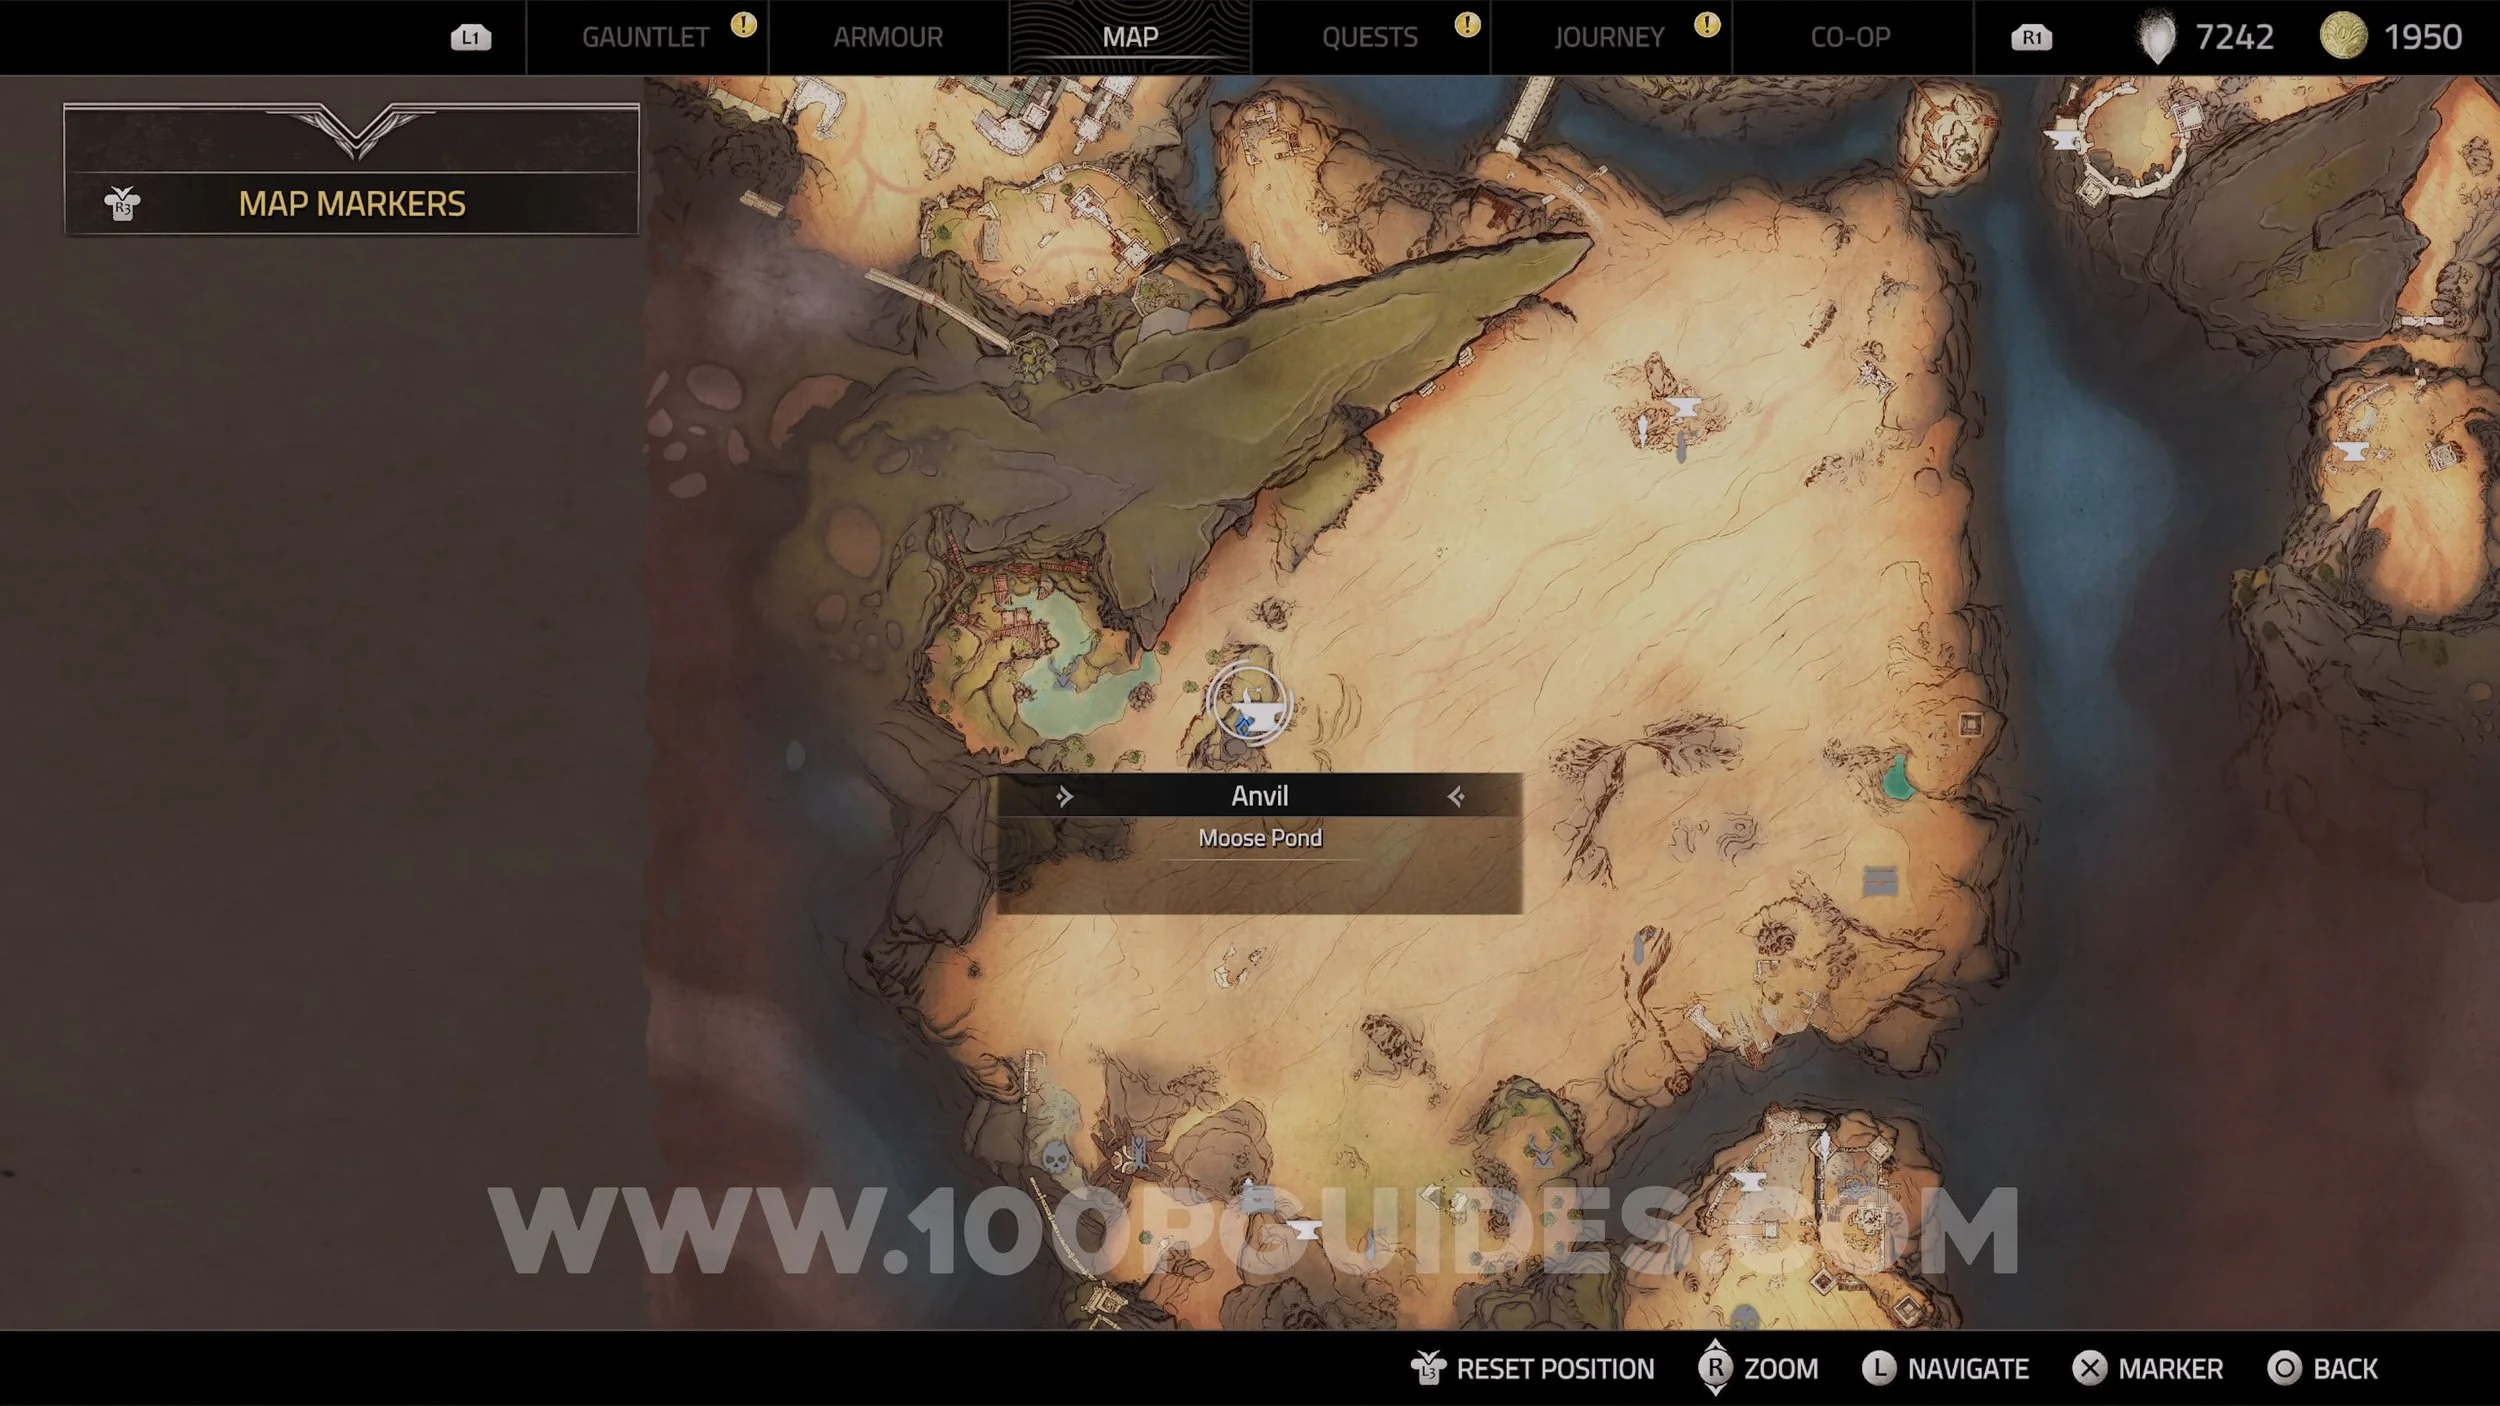
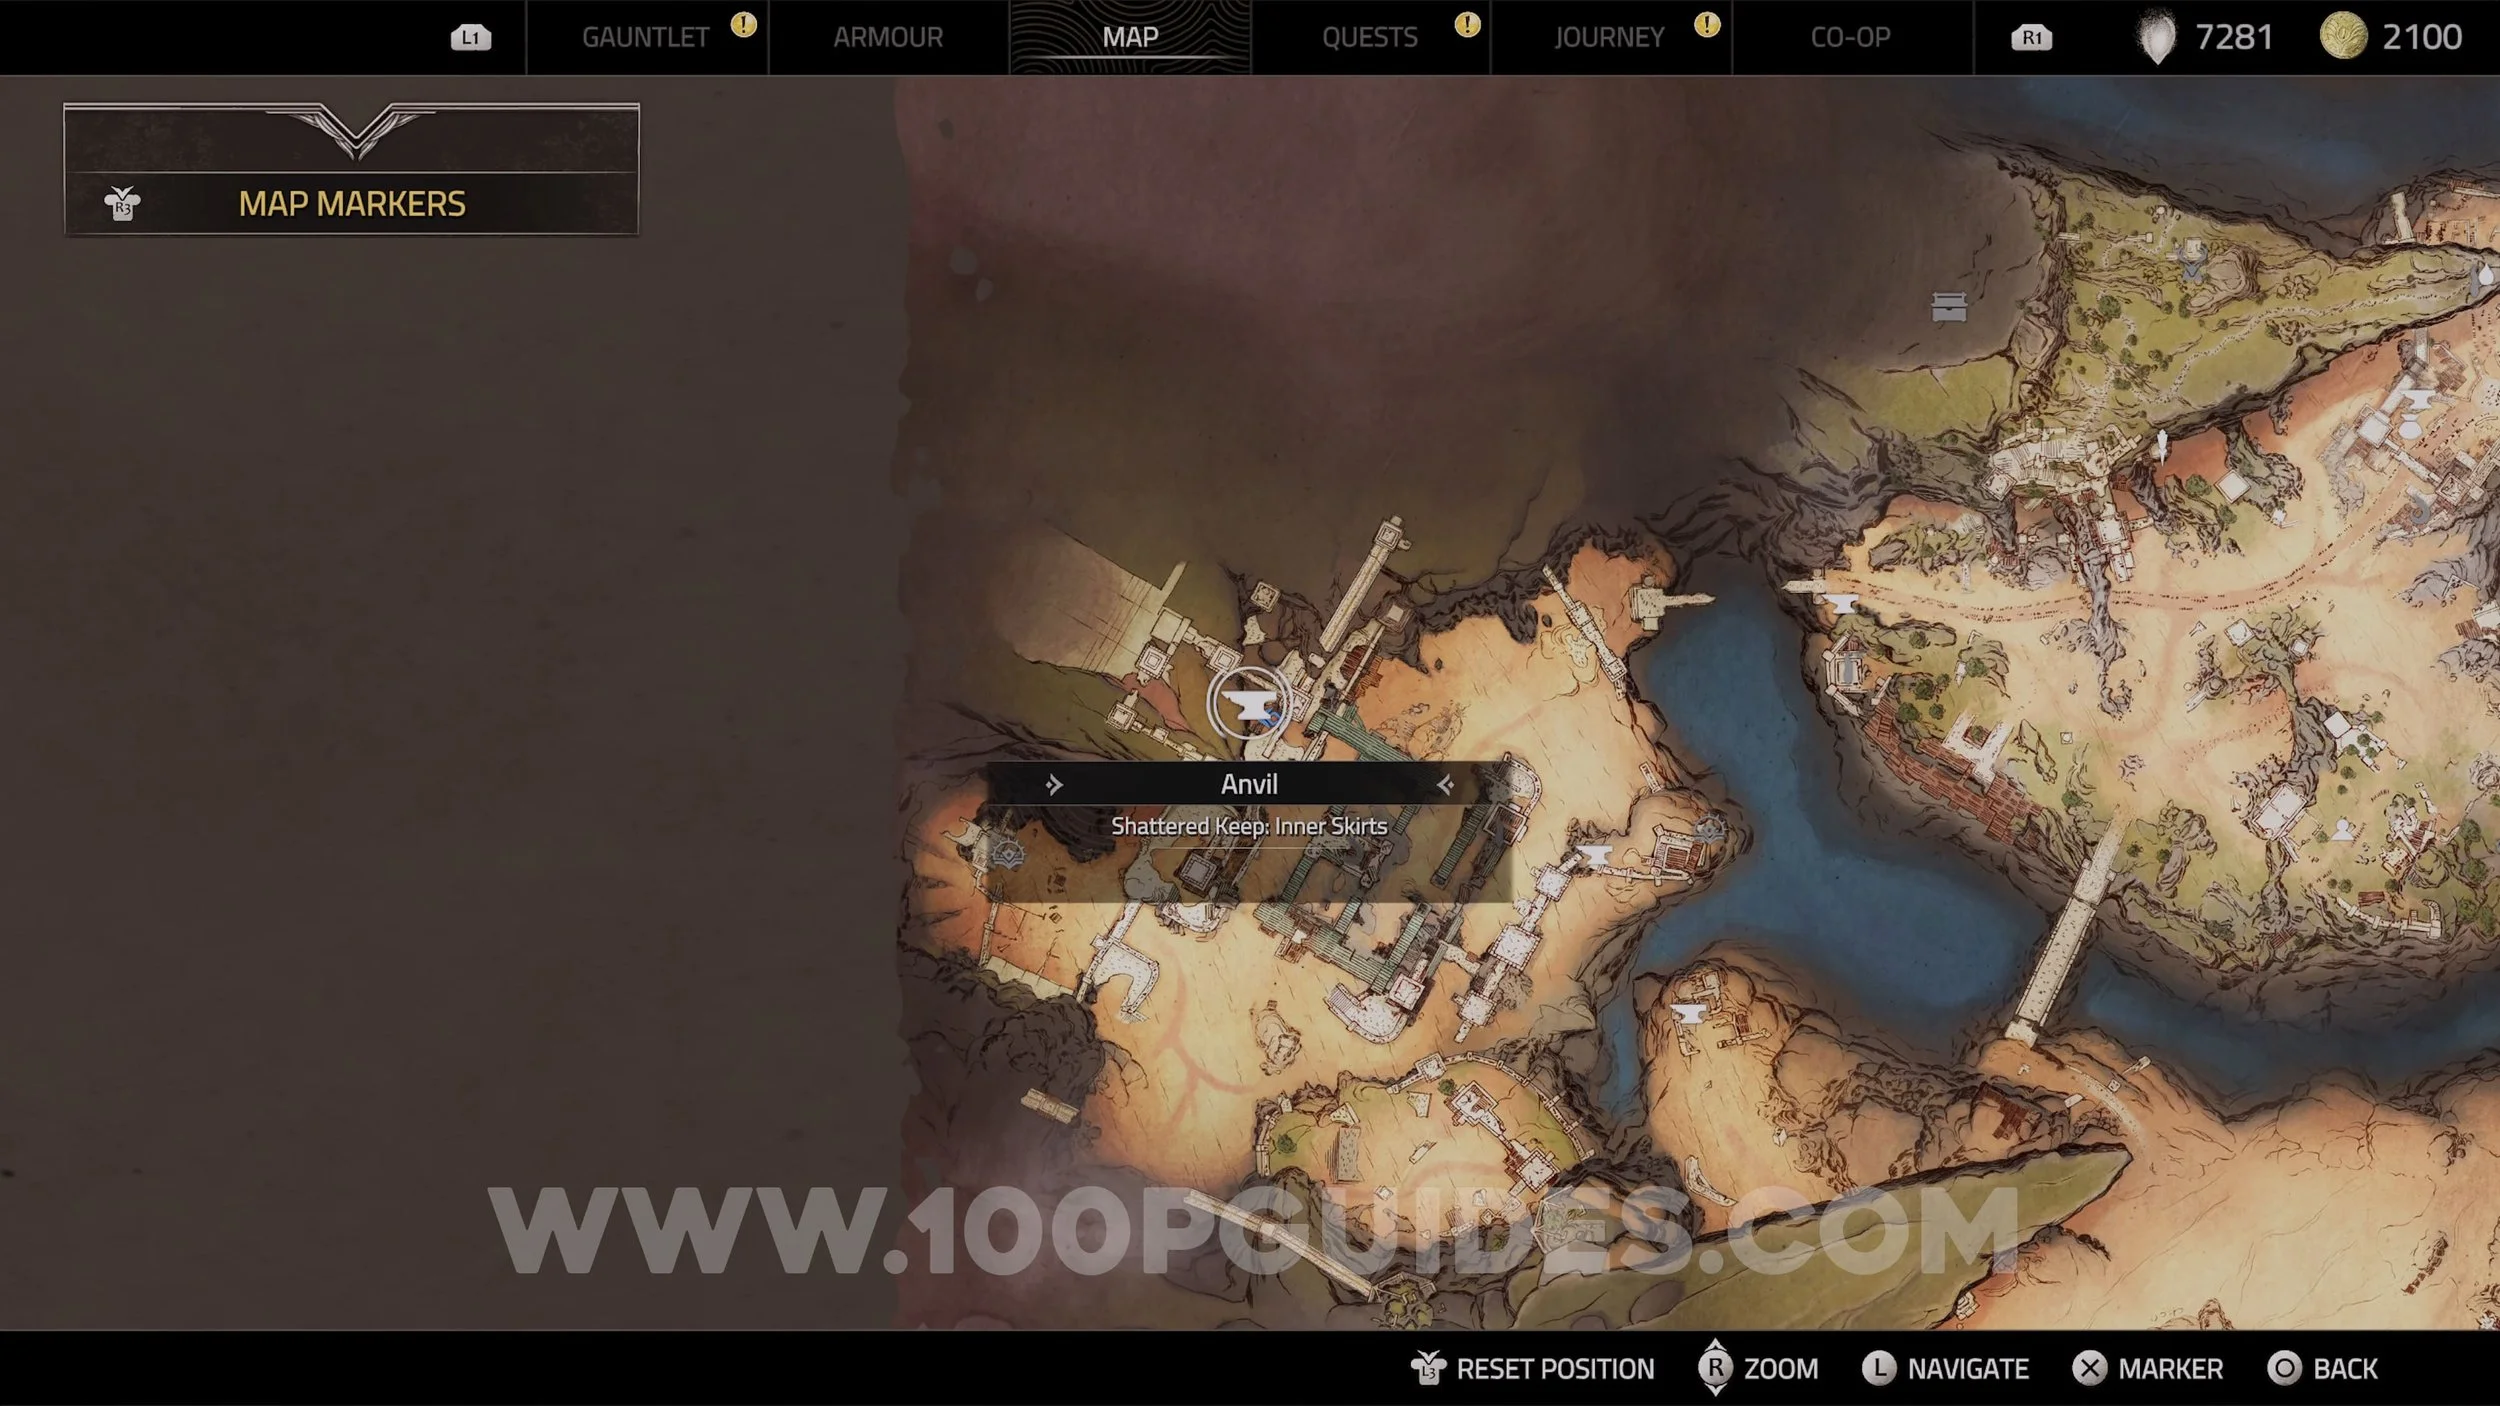
Anvil #1. You will activate this Anvil automatically during the story once you leave the cave and enter the first open world region.
Essence Stone (Crystalline Knuckle). Obtained after defeating the Tailguarder boss during the main story.
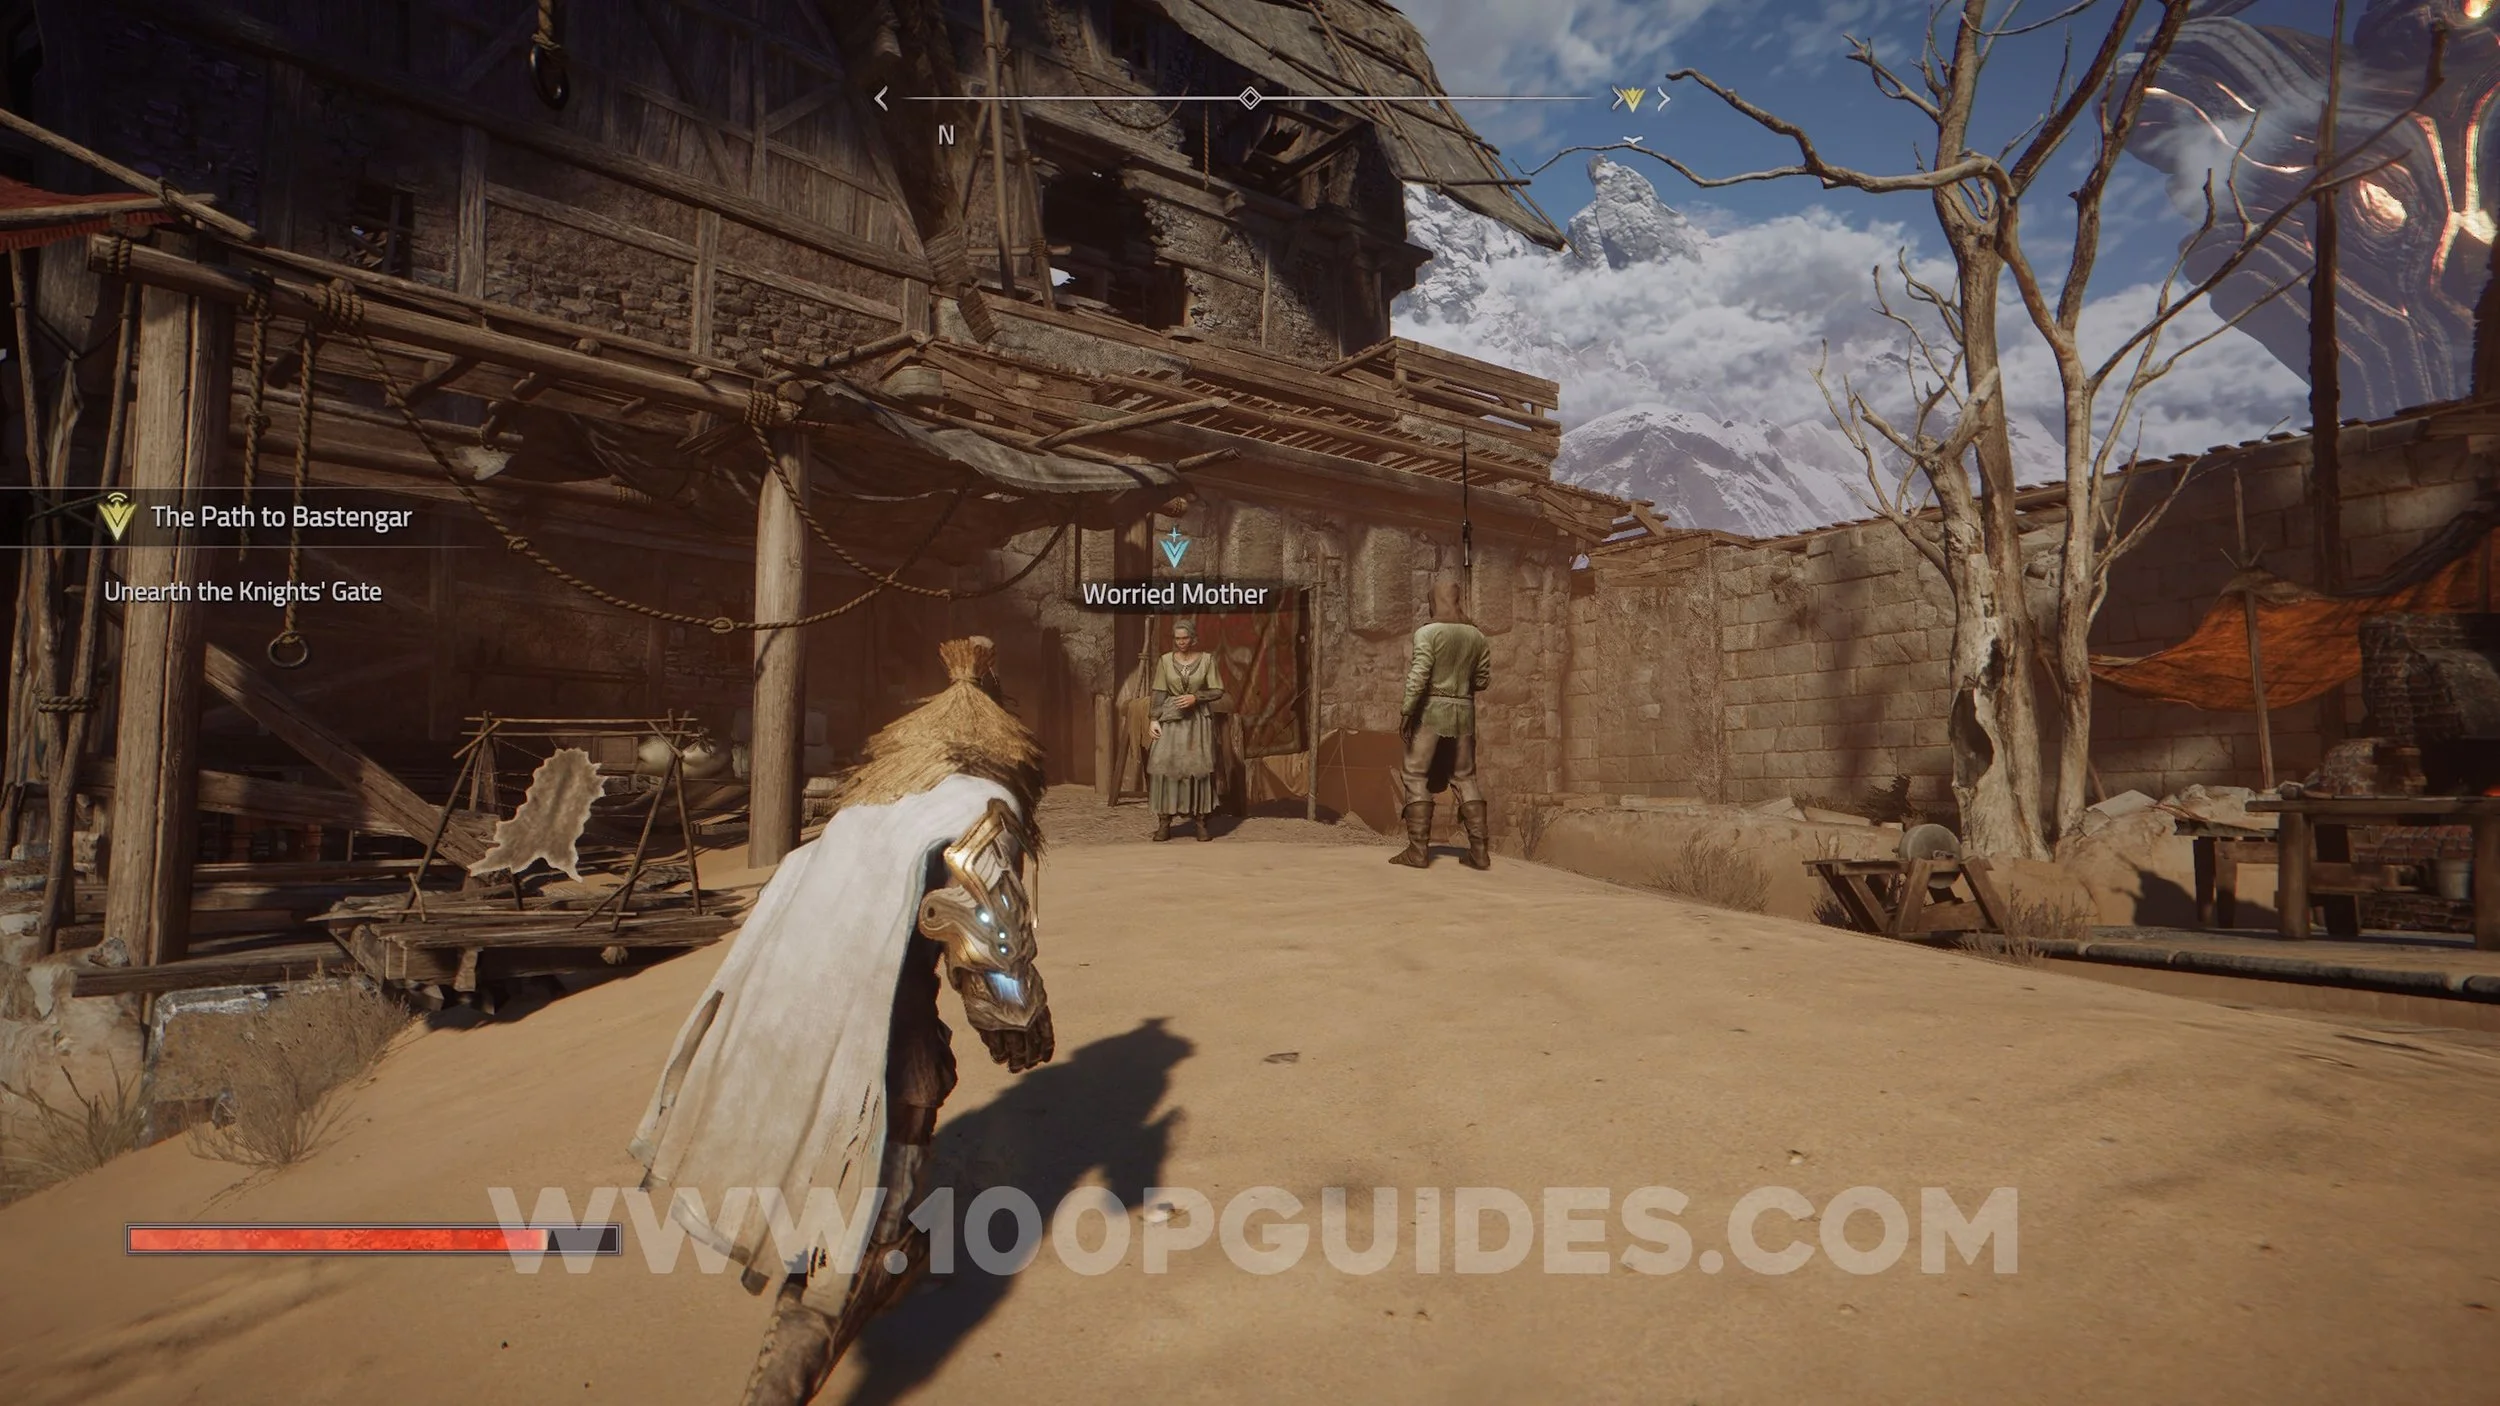
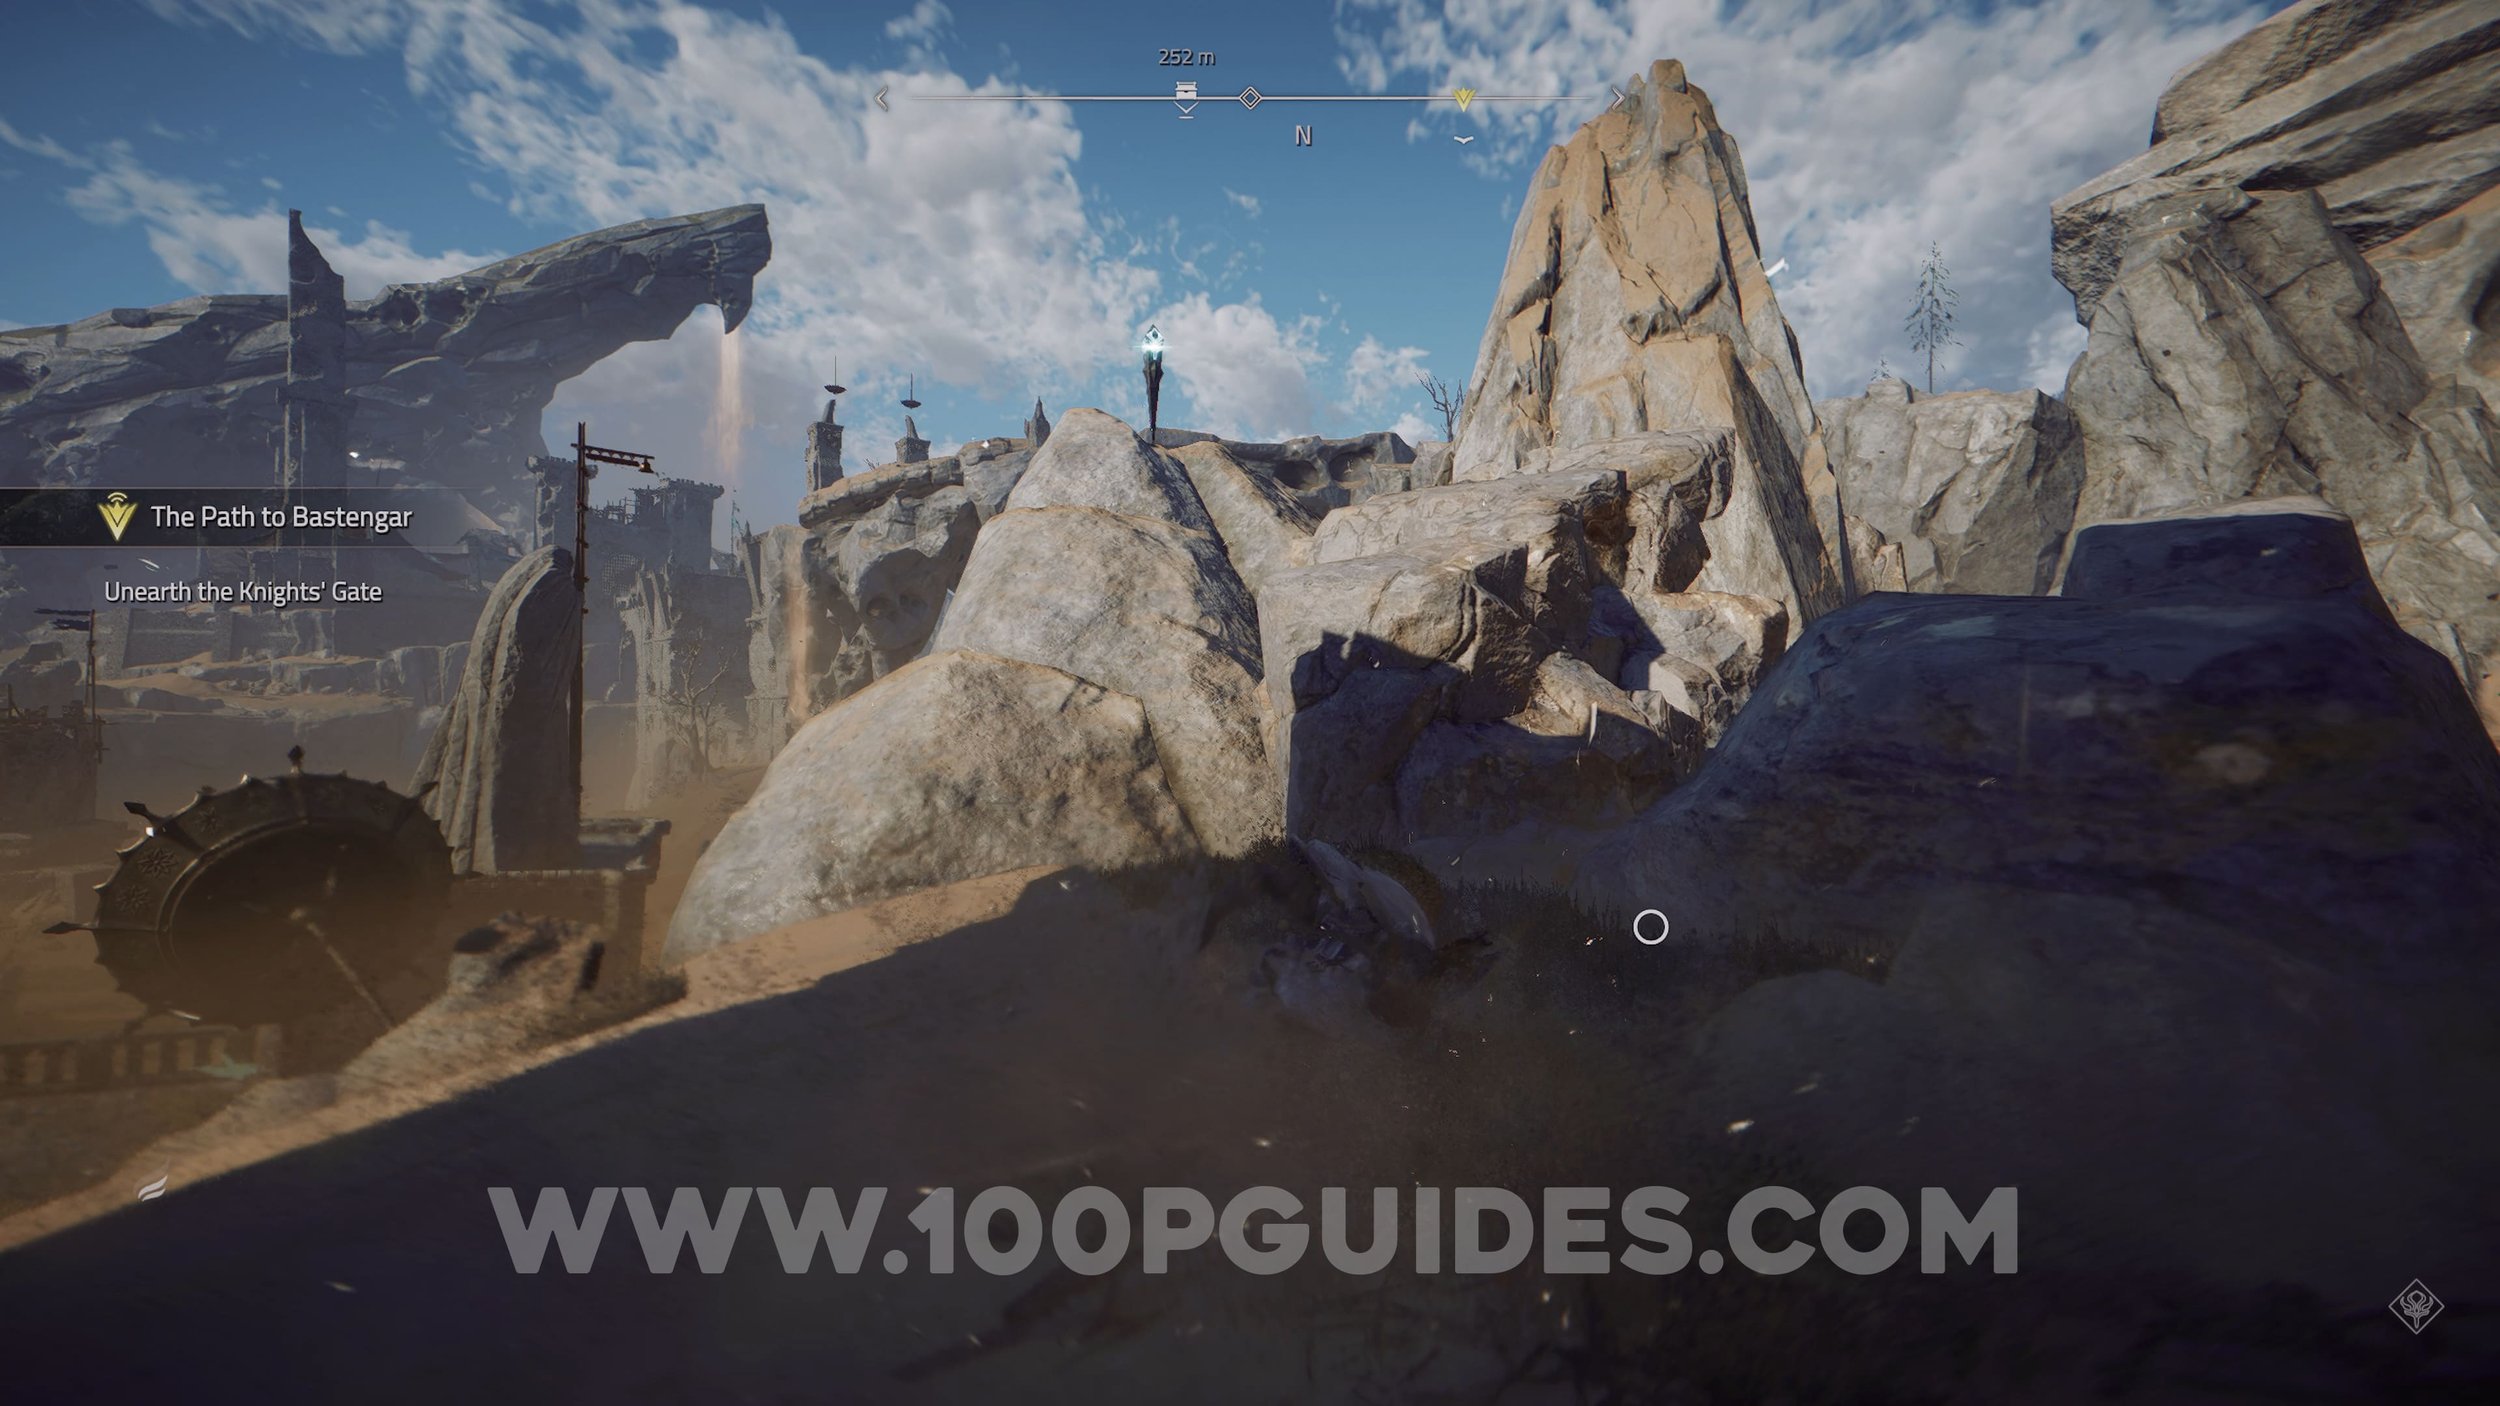
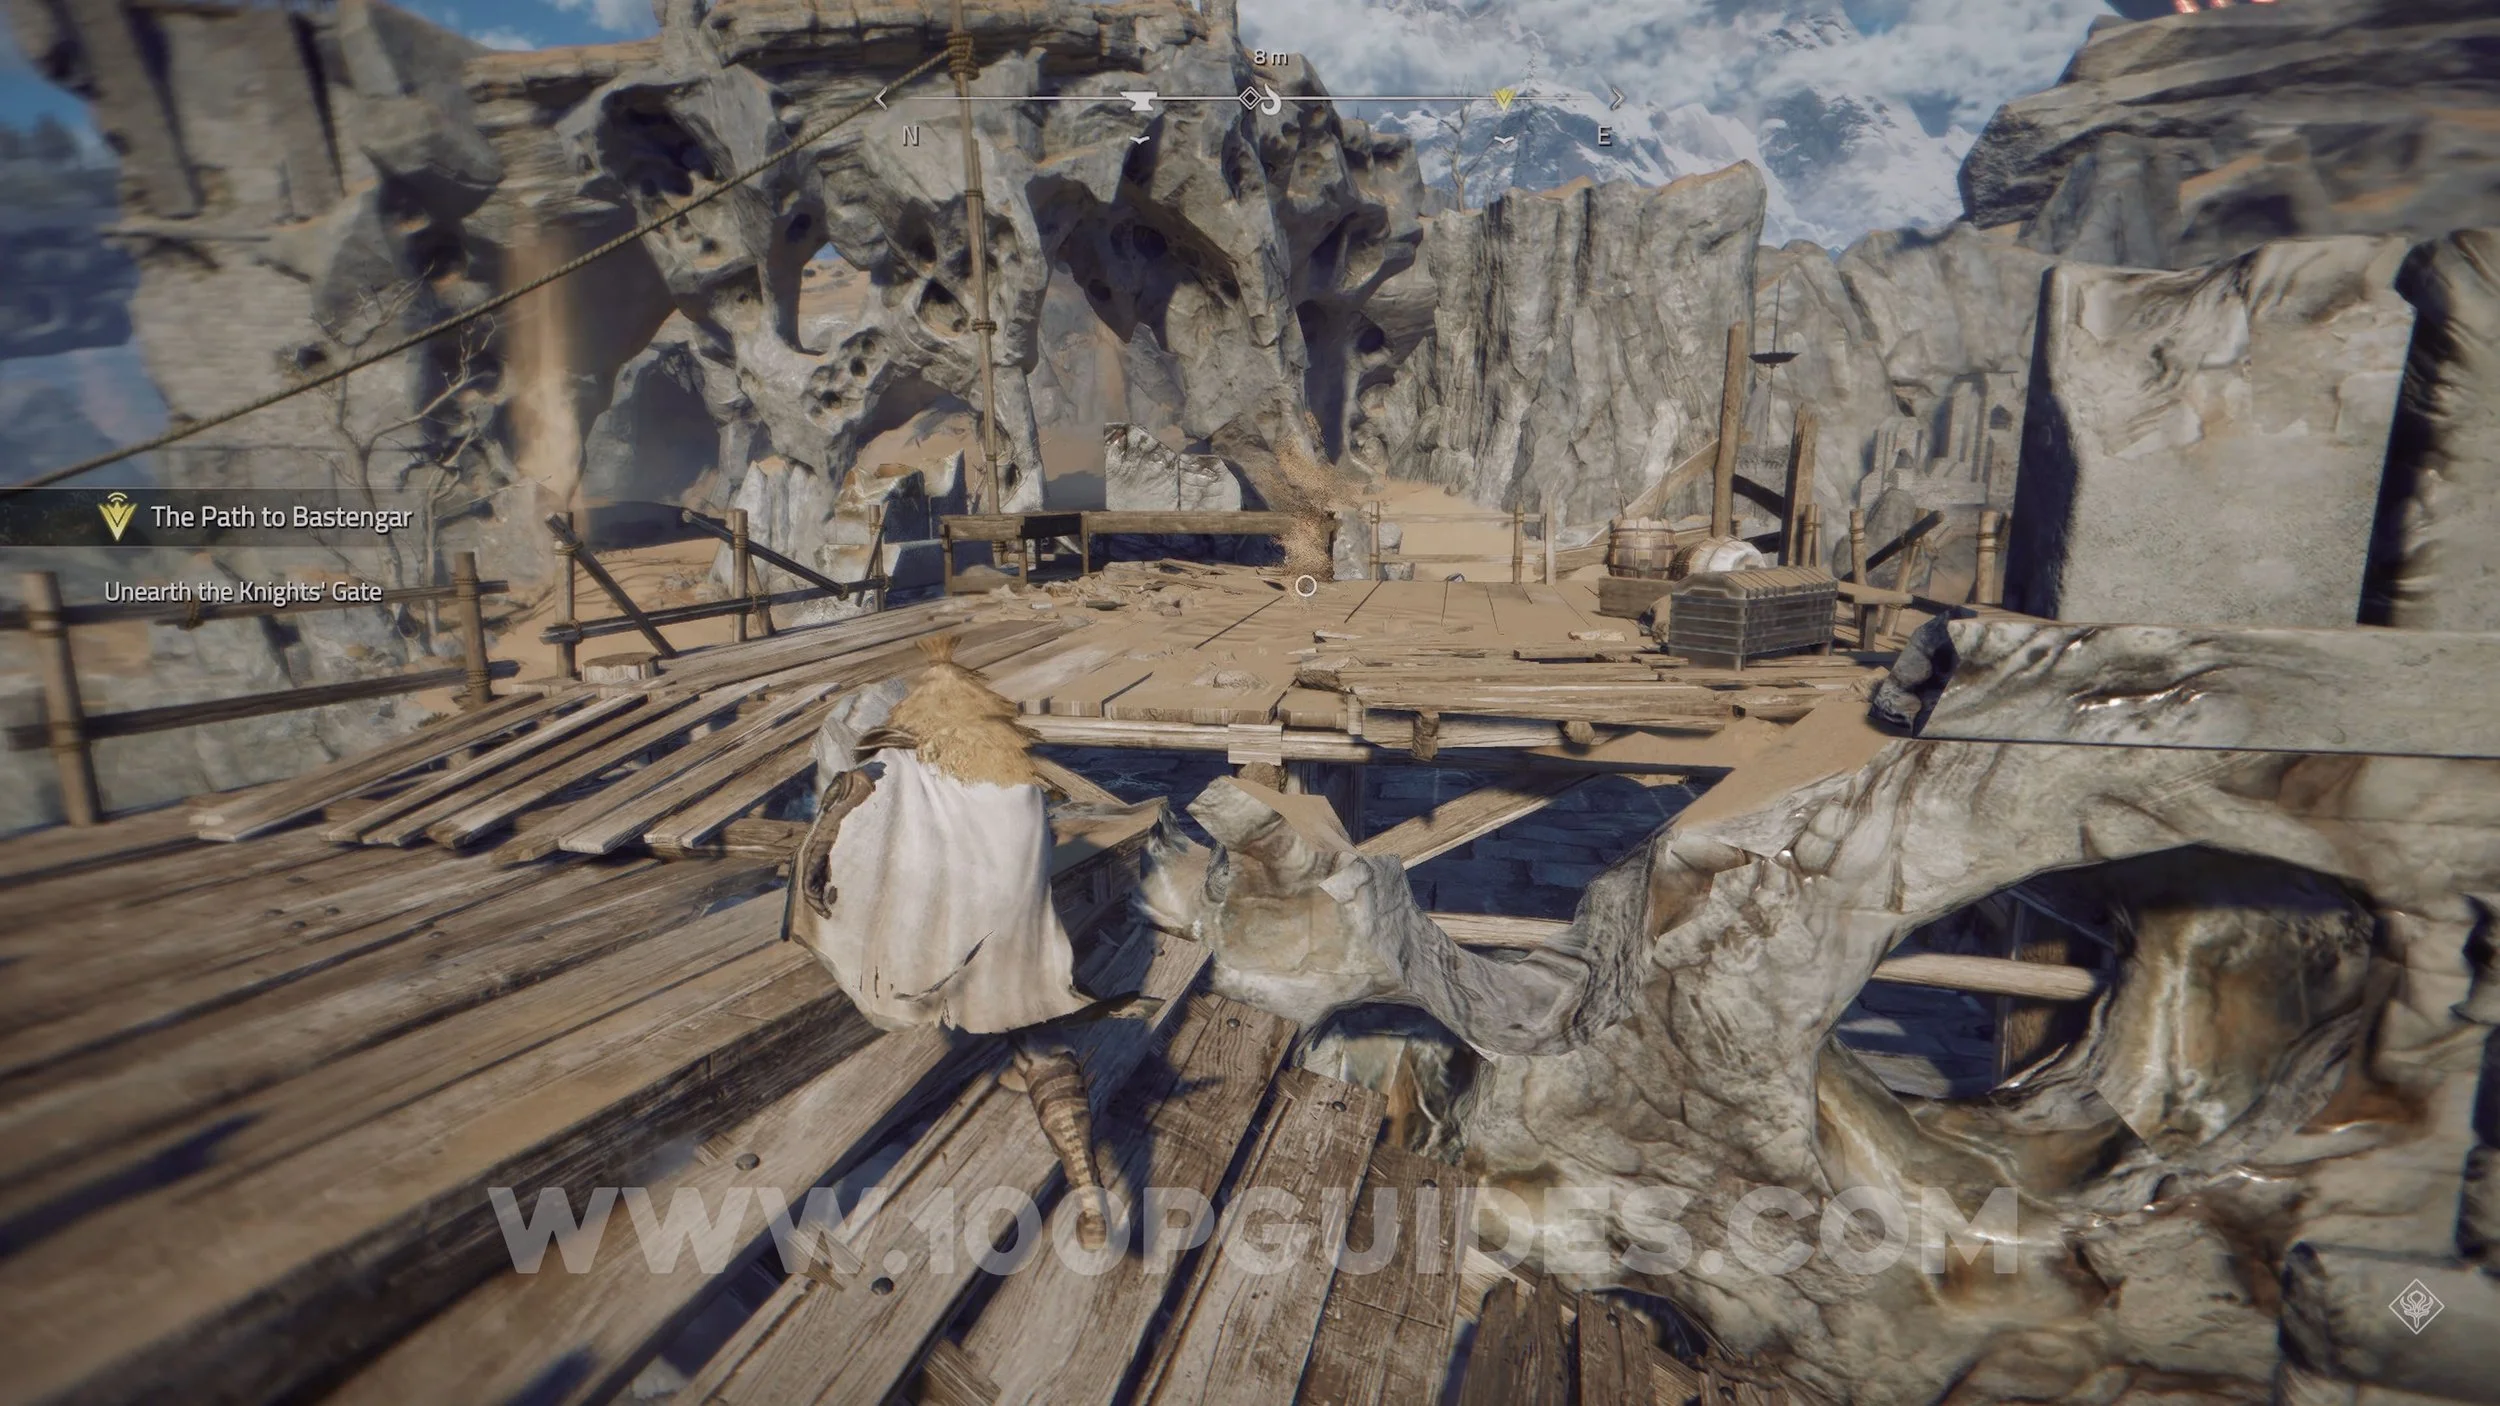
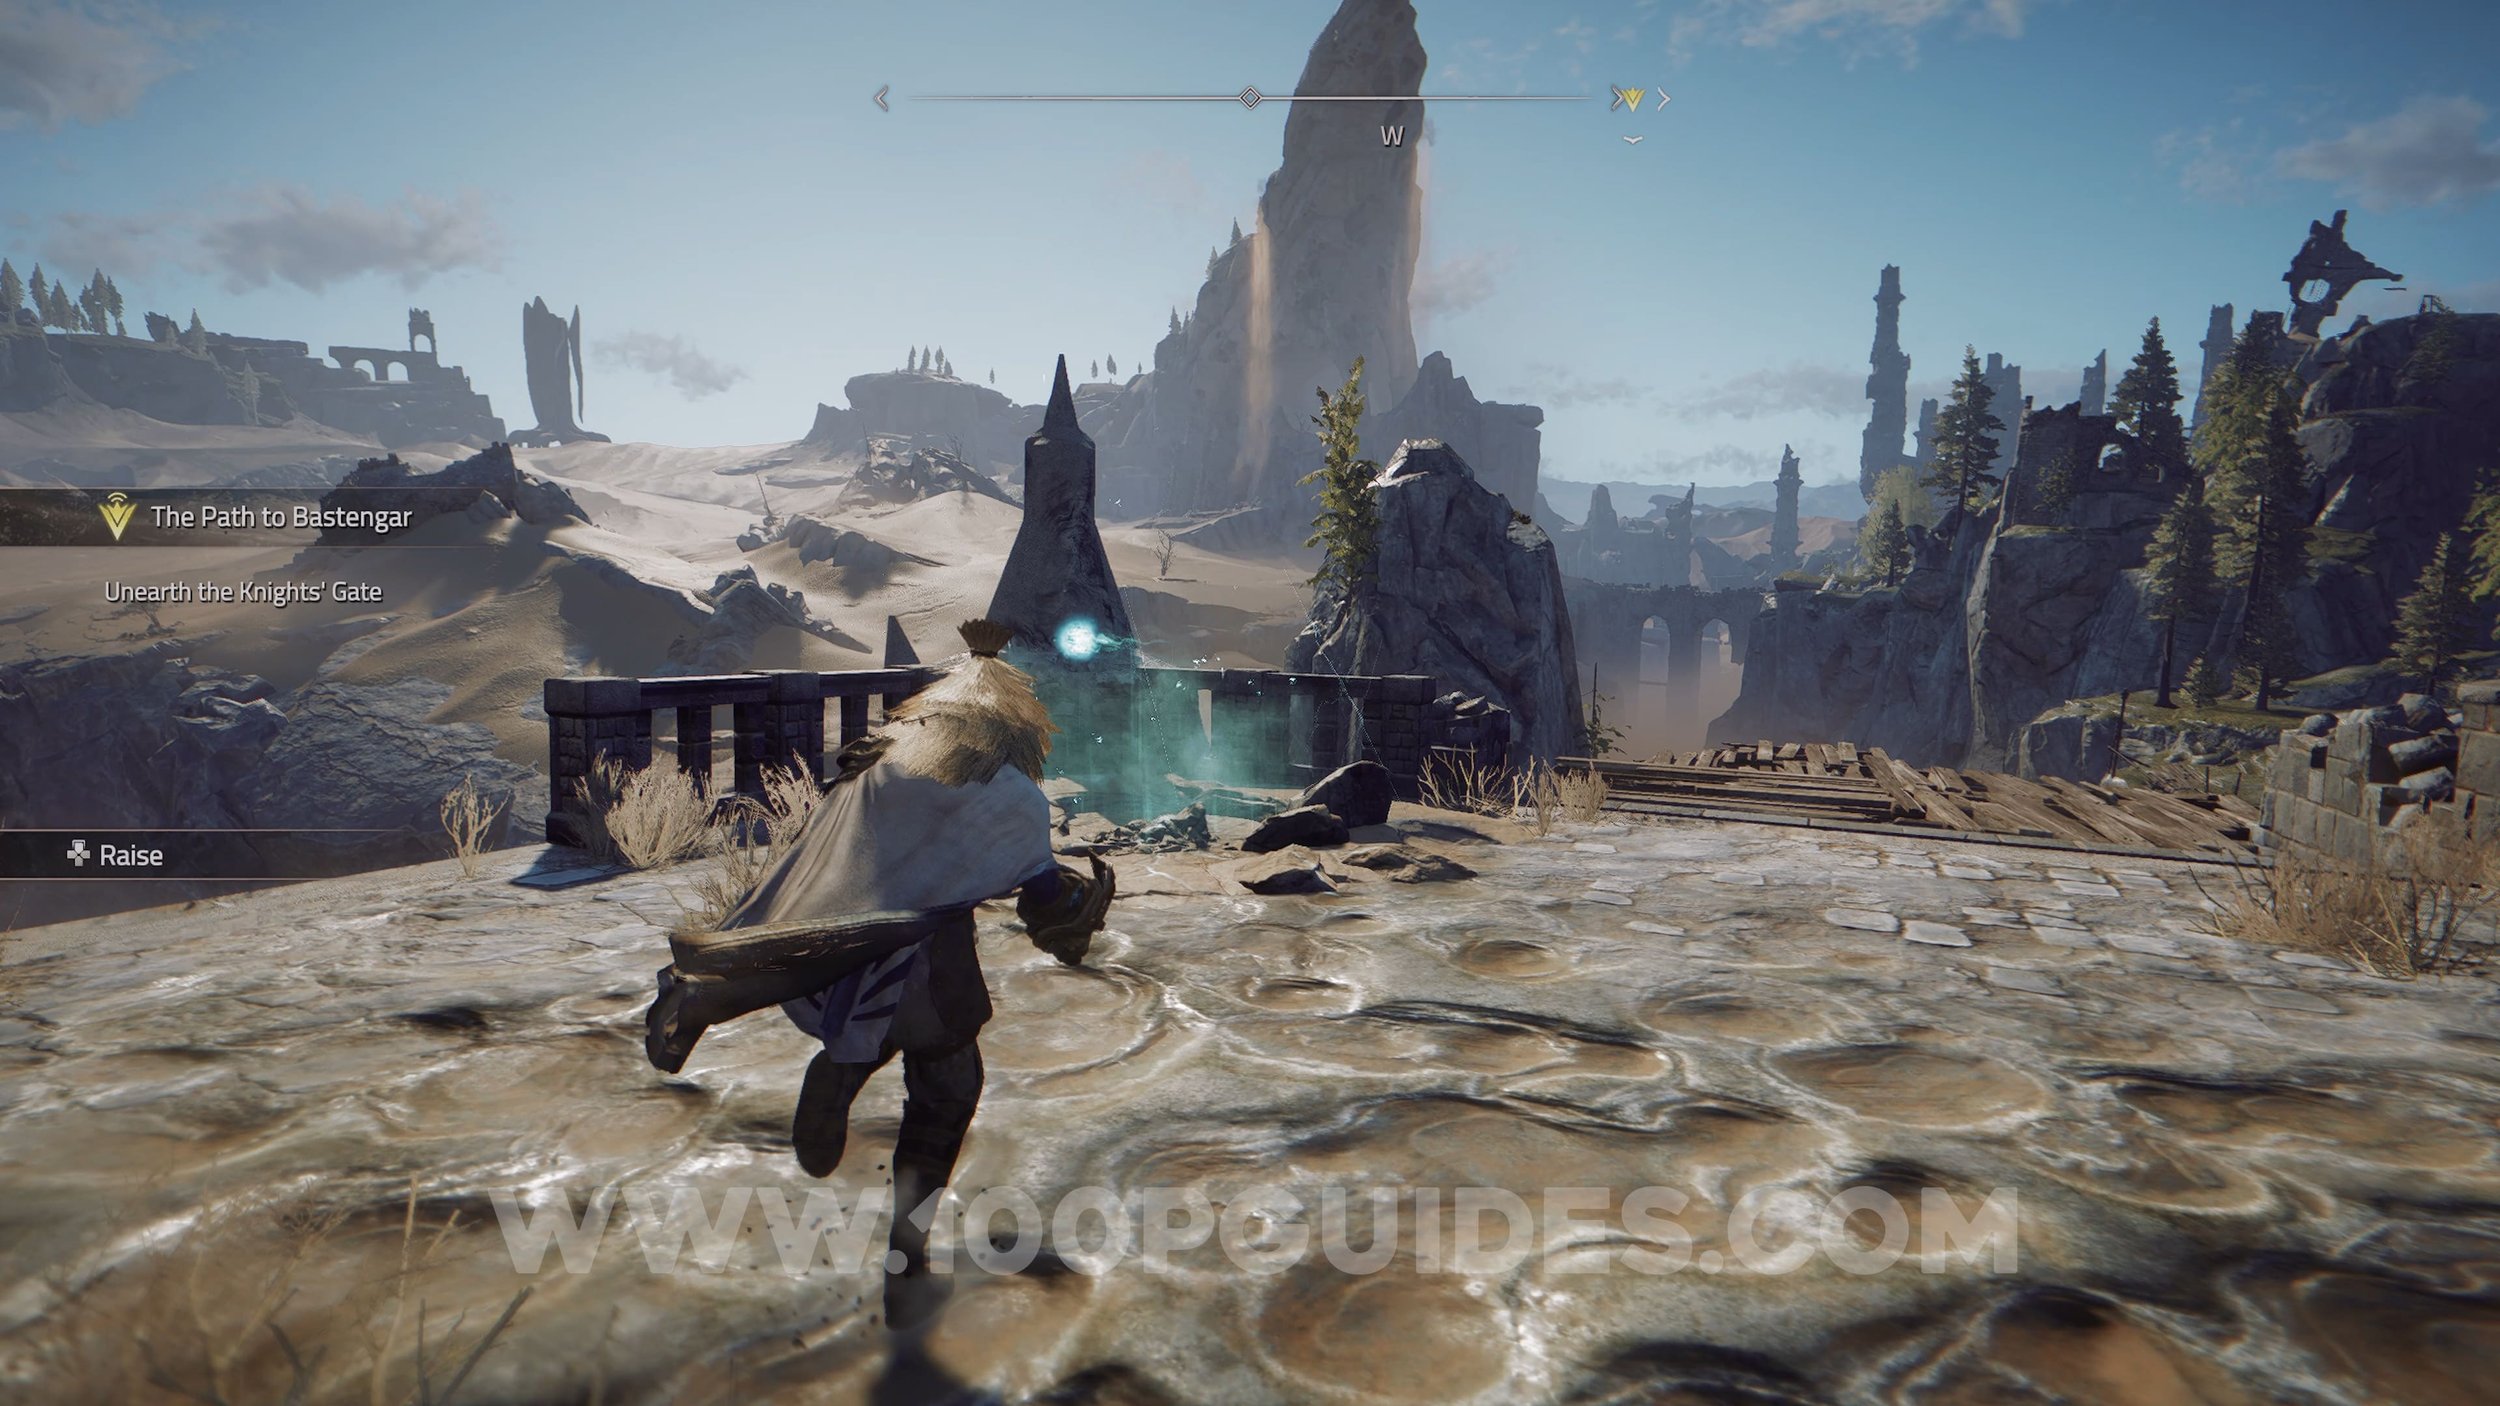
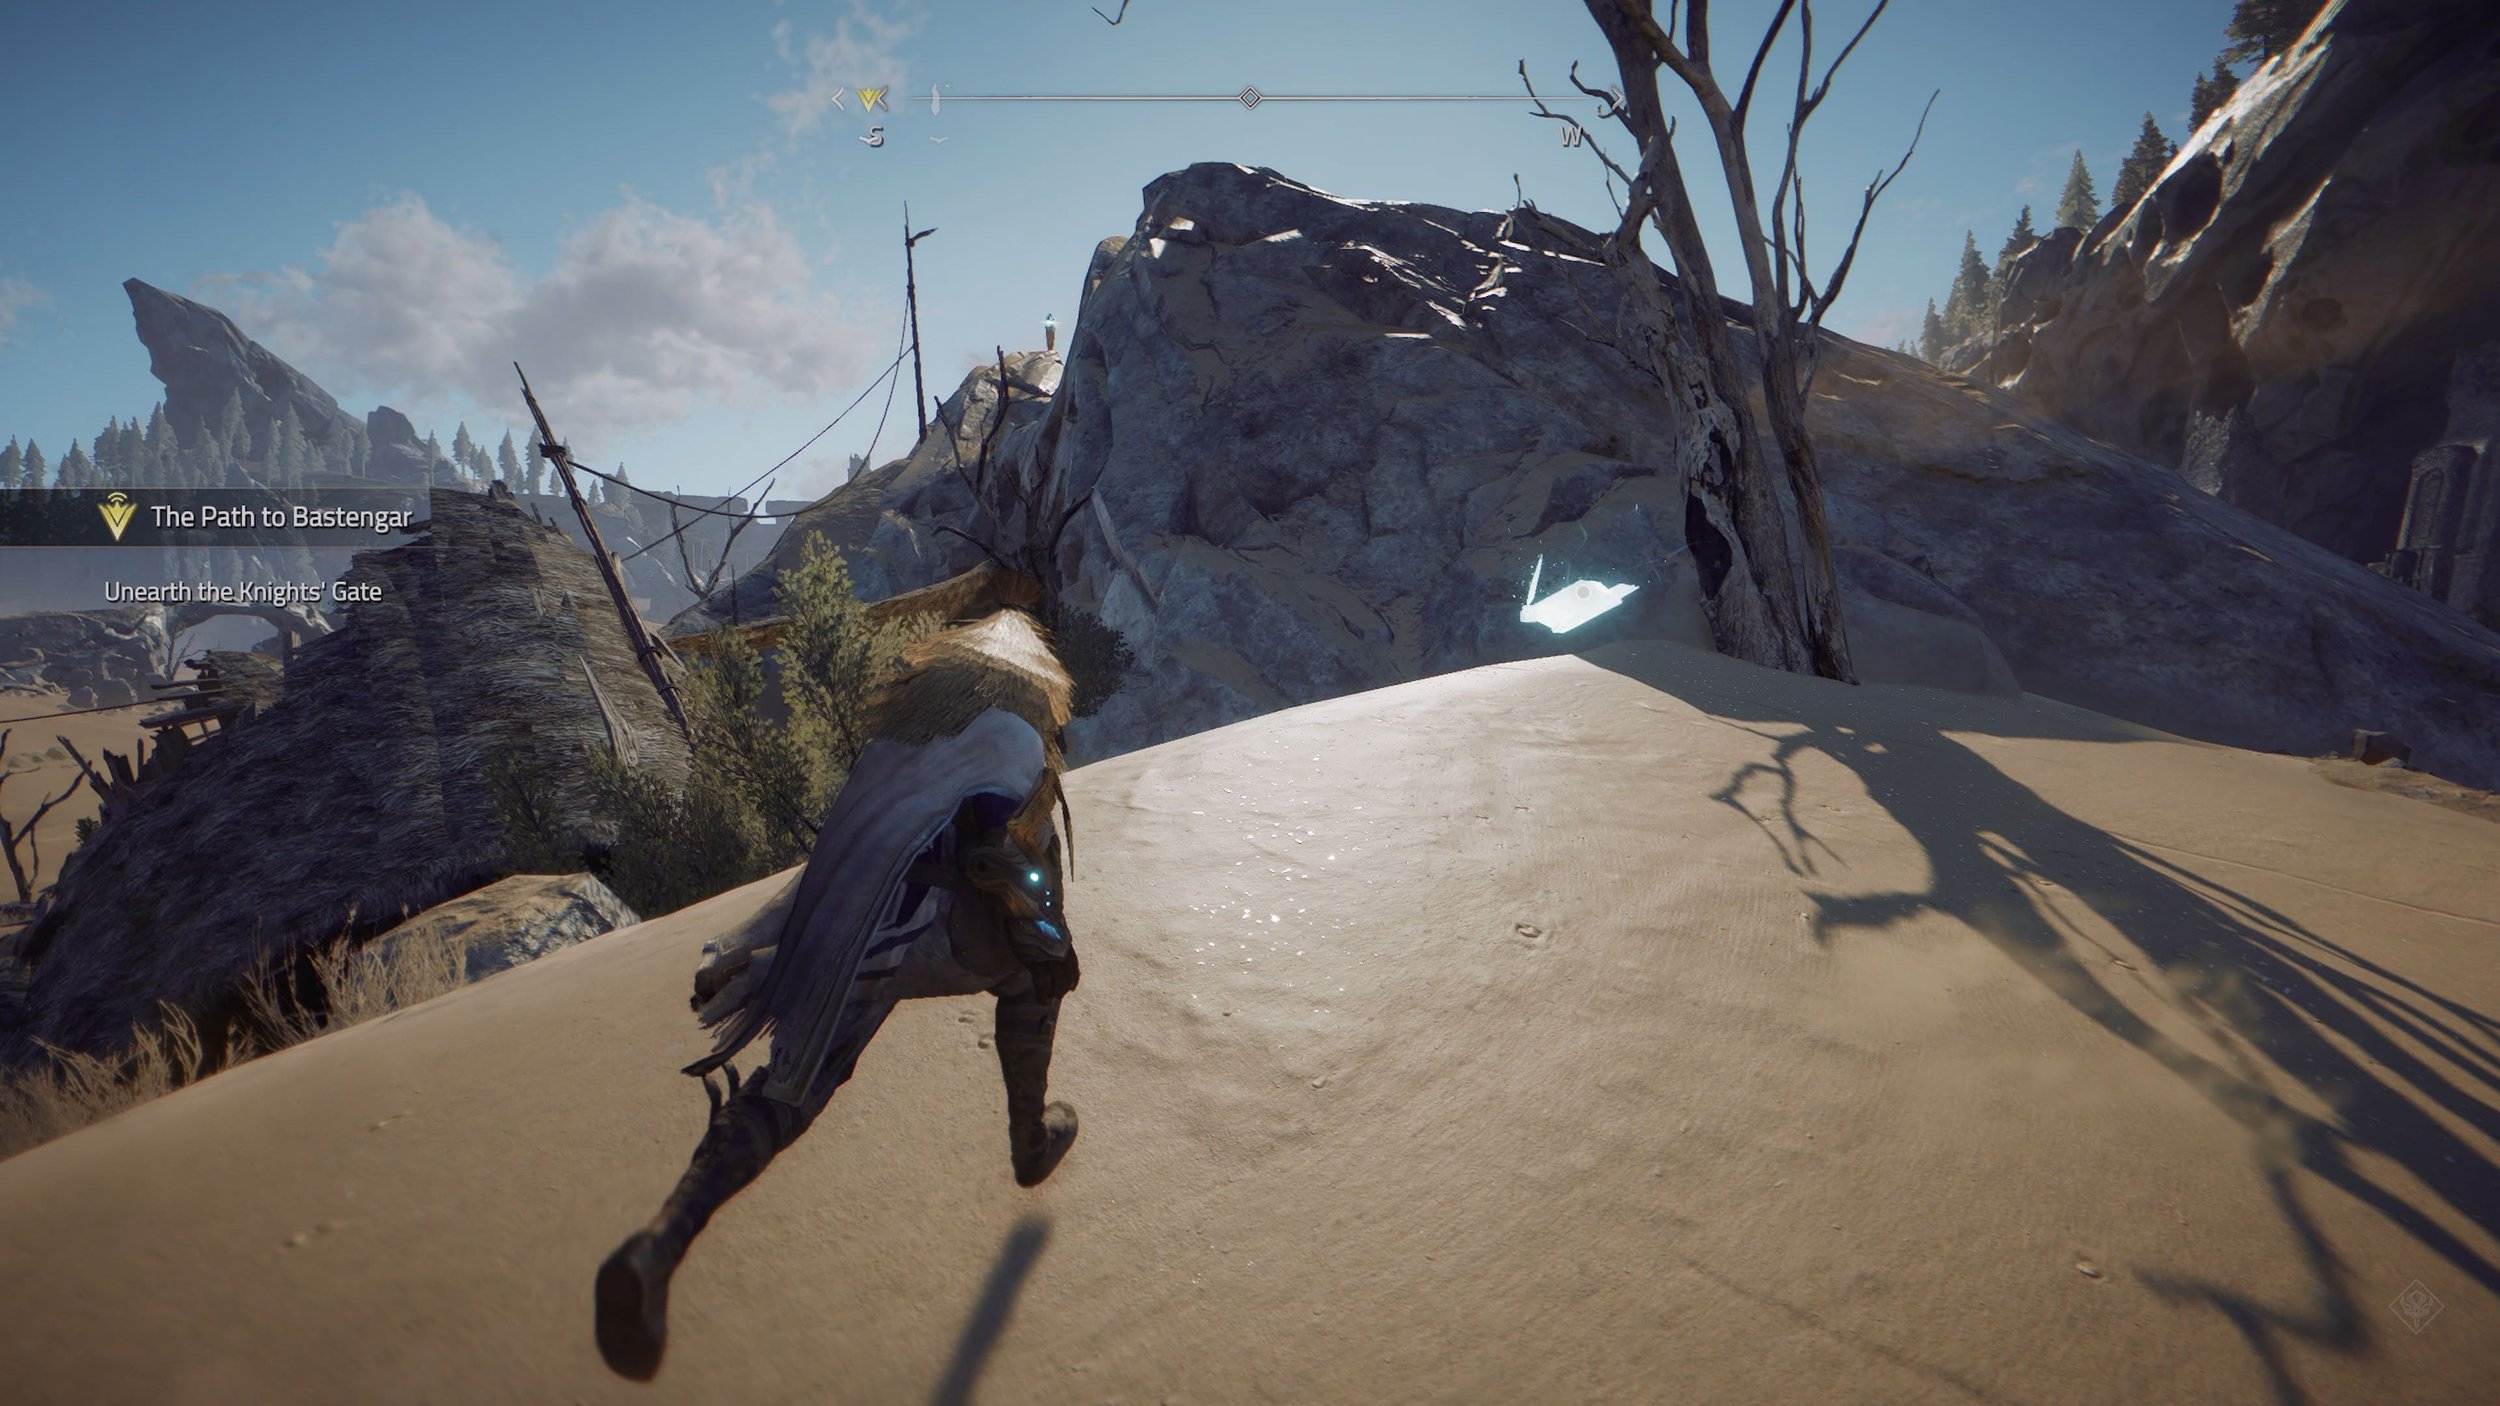
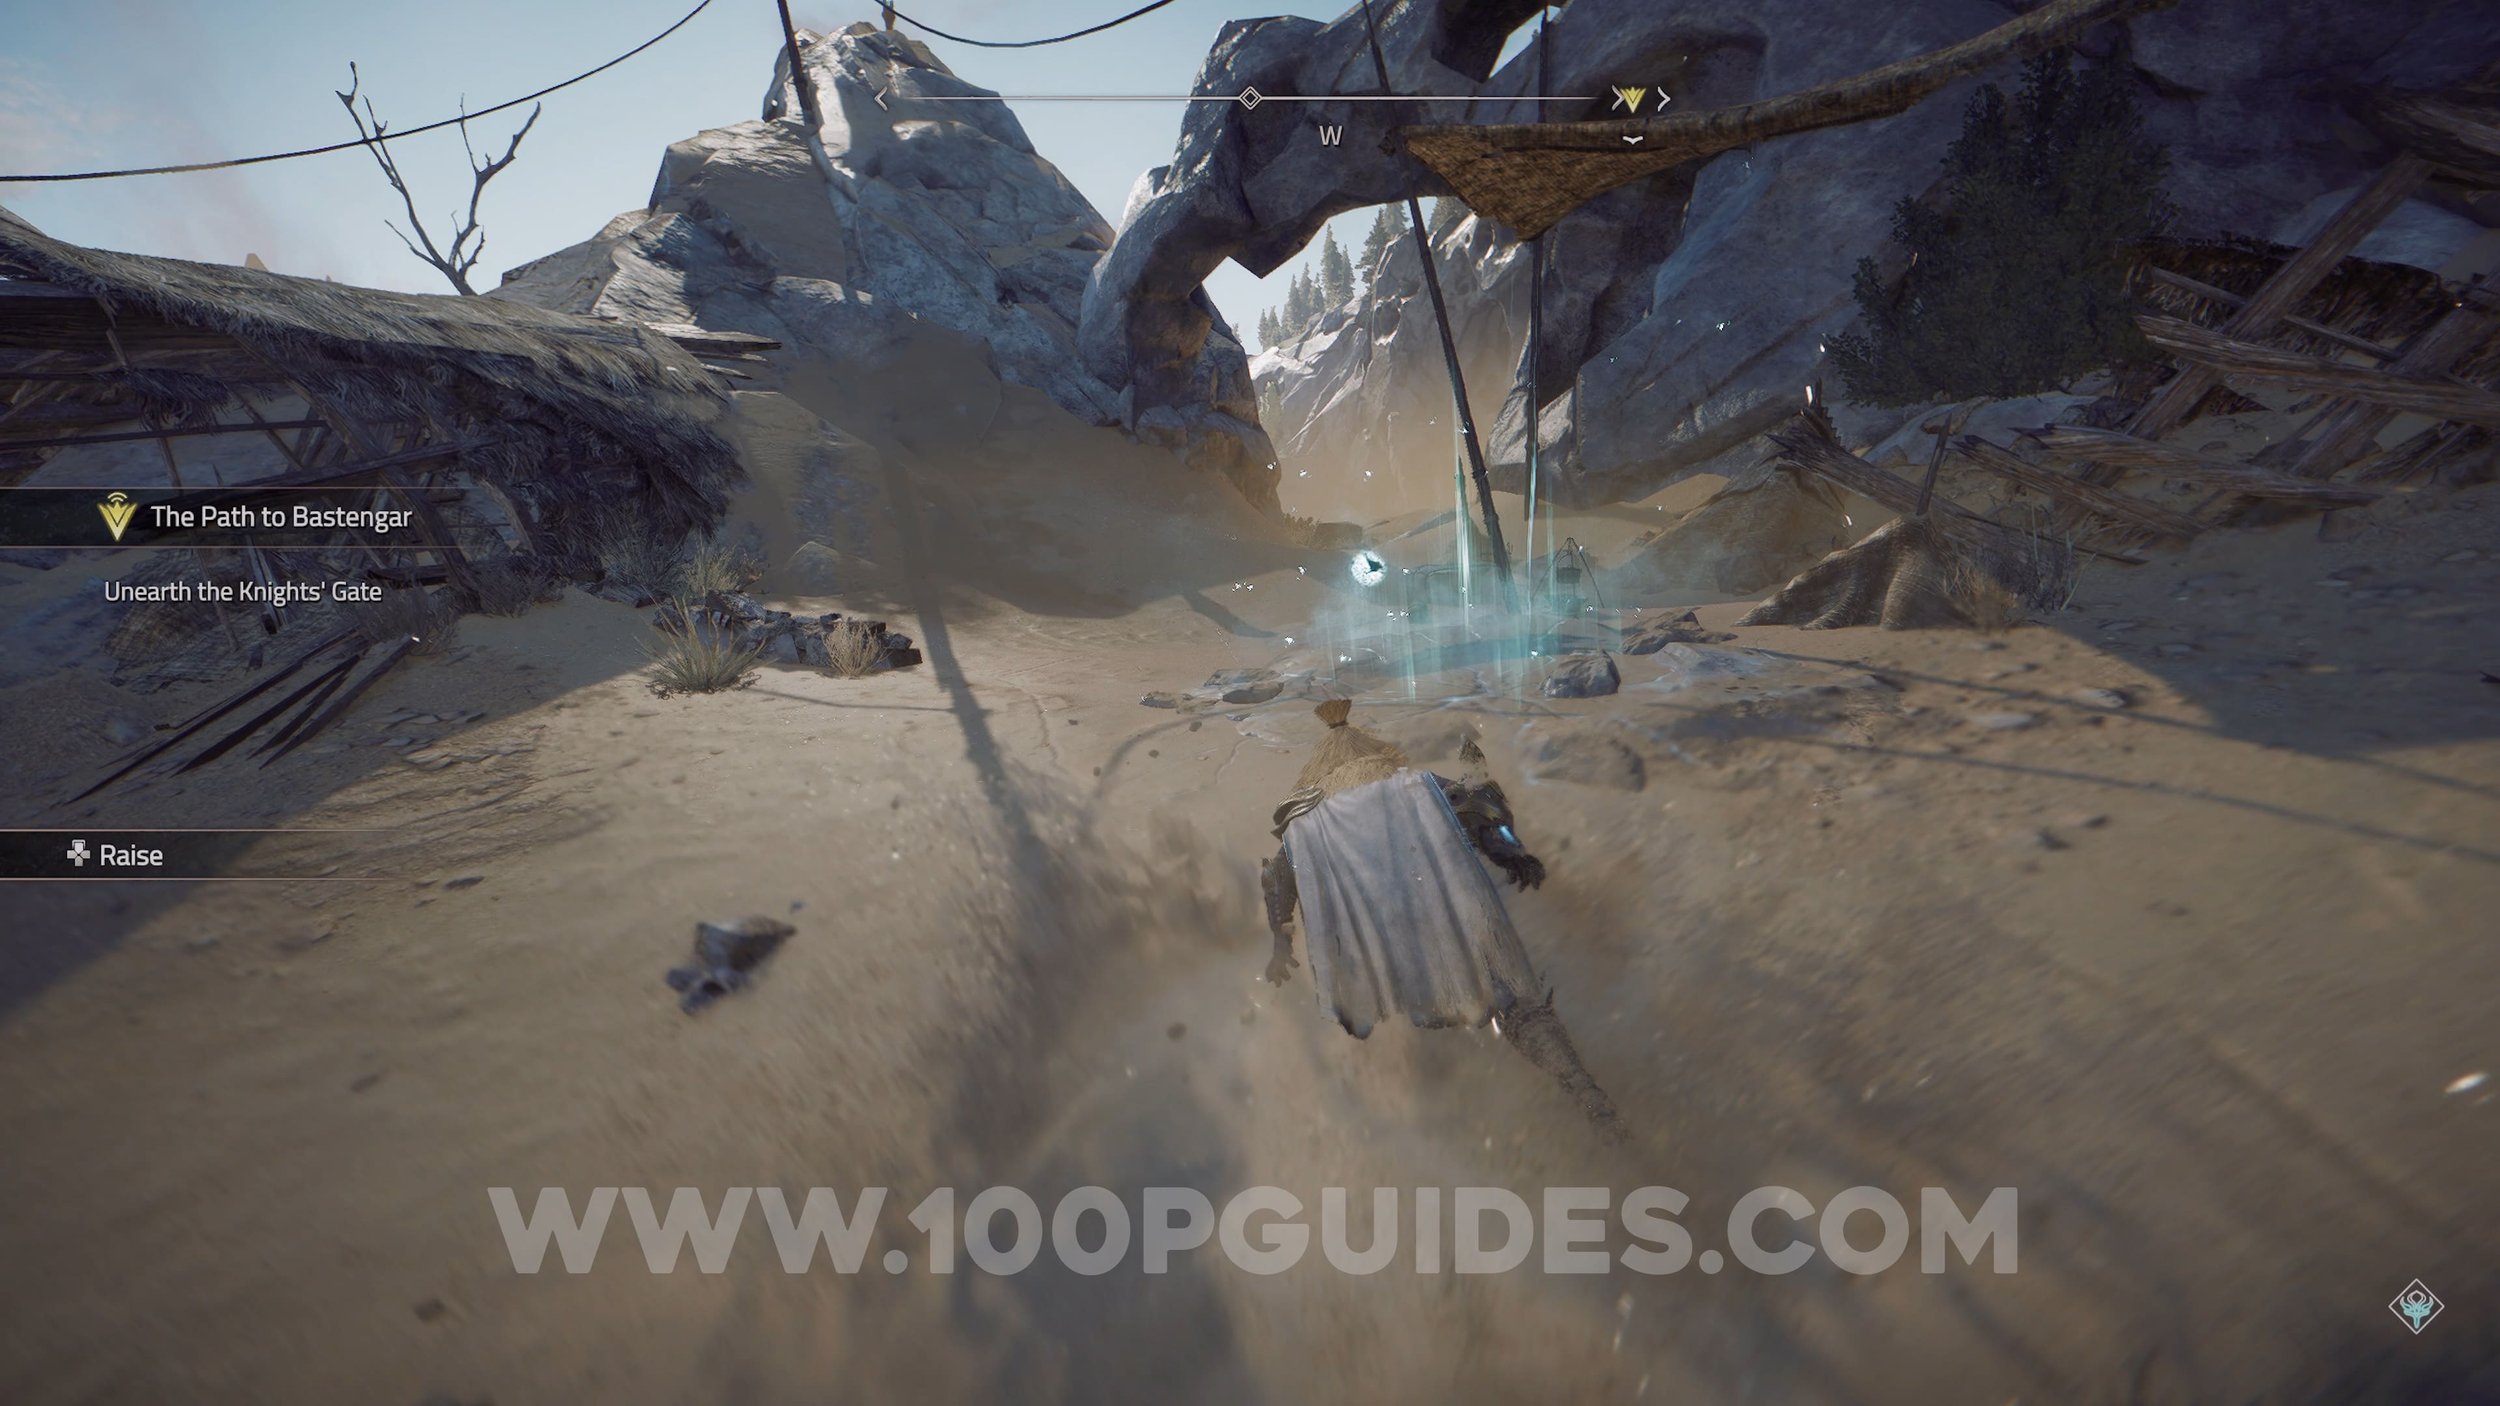
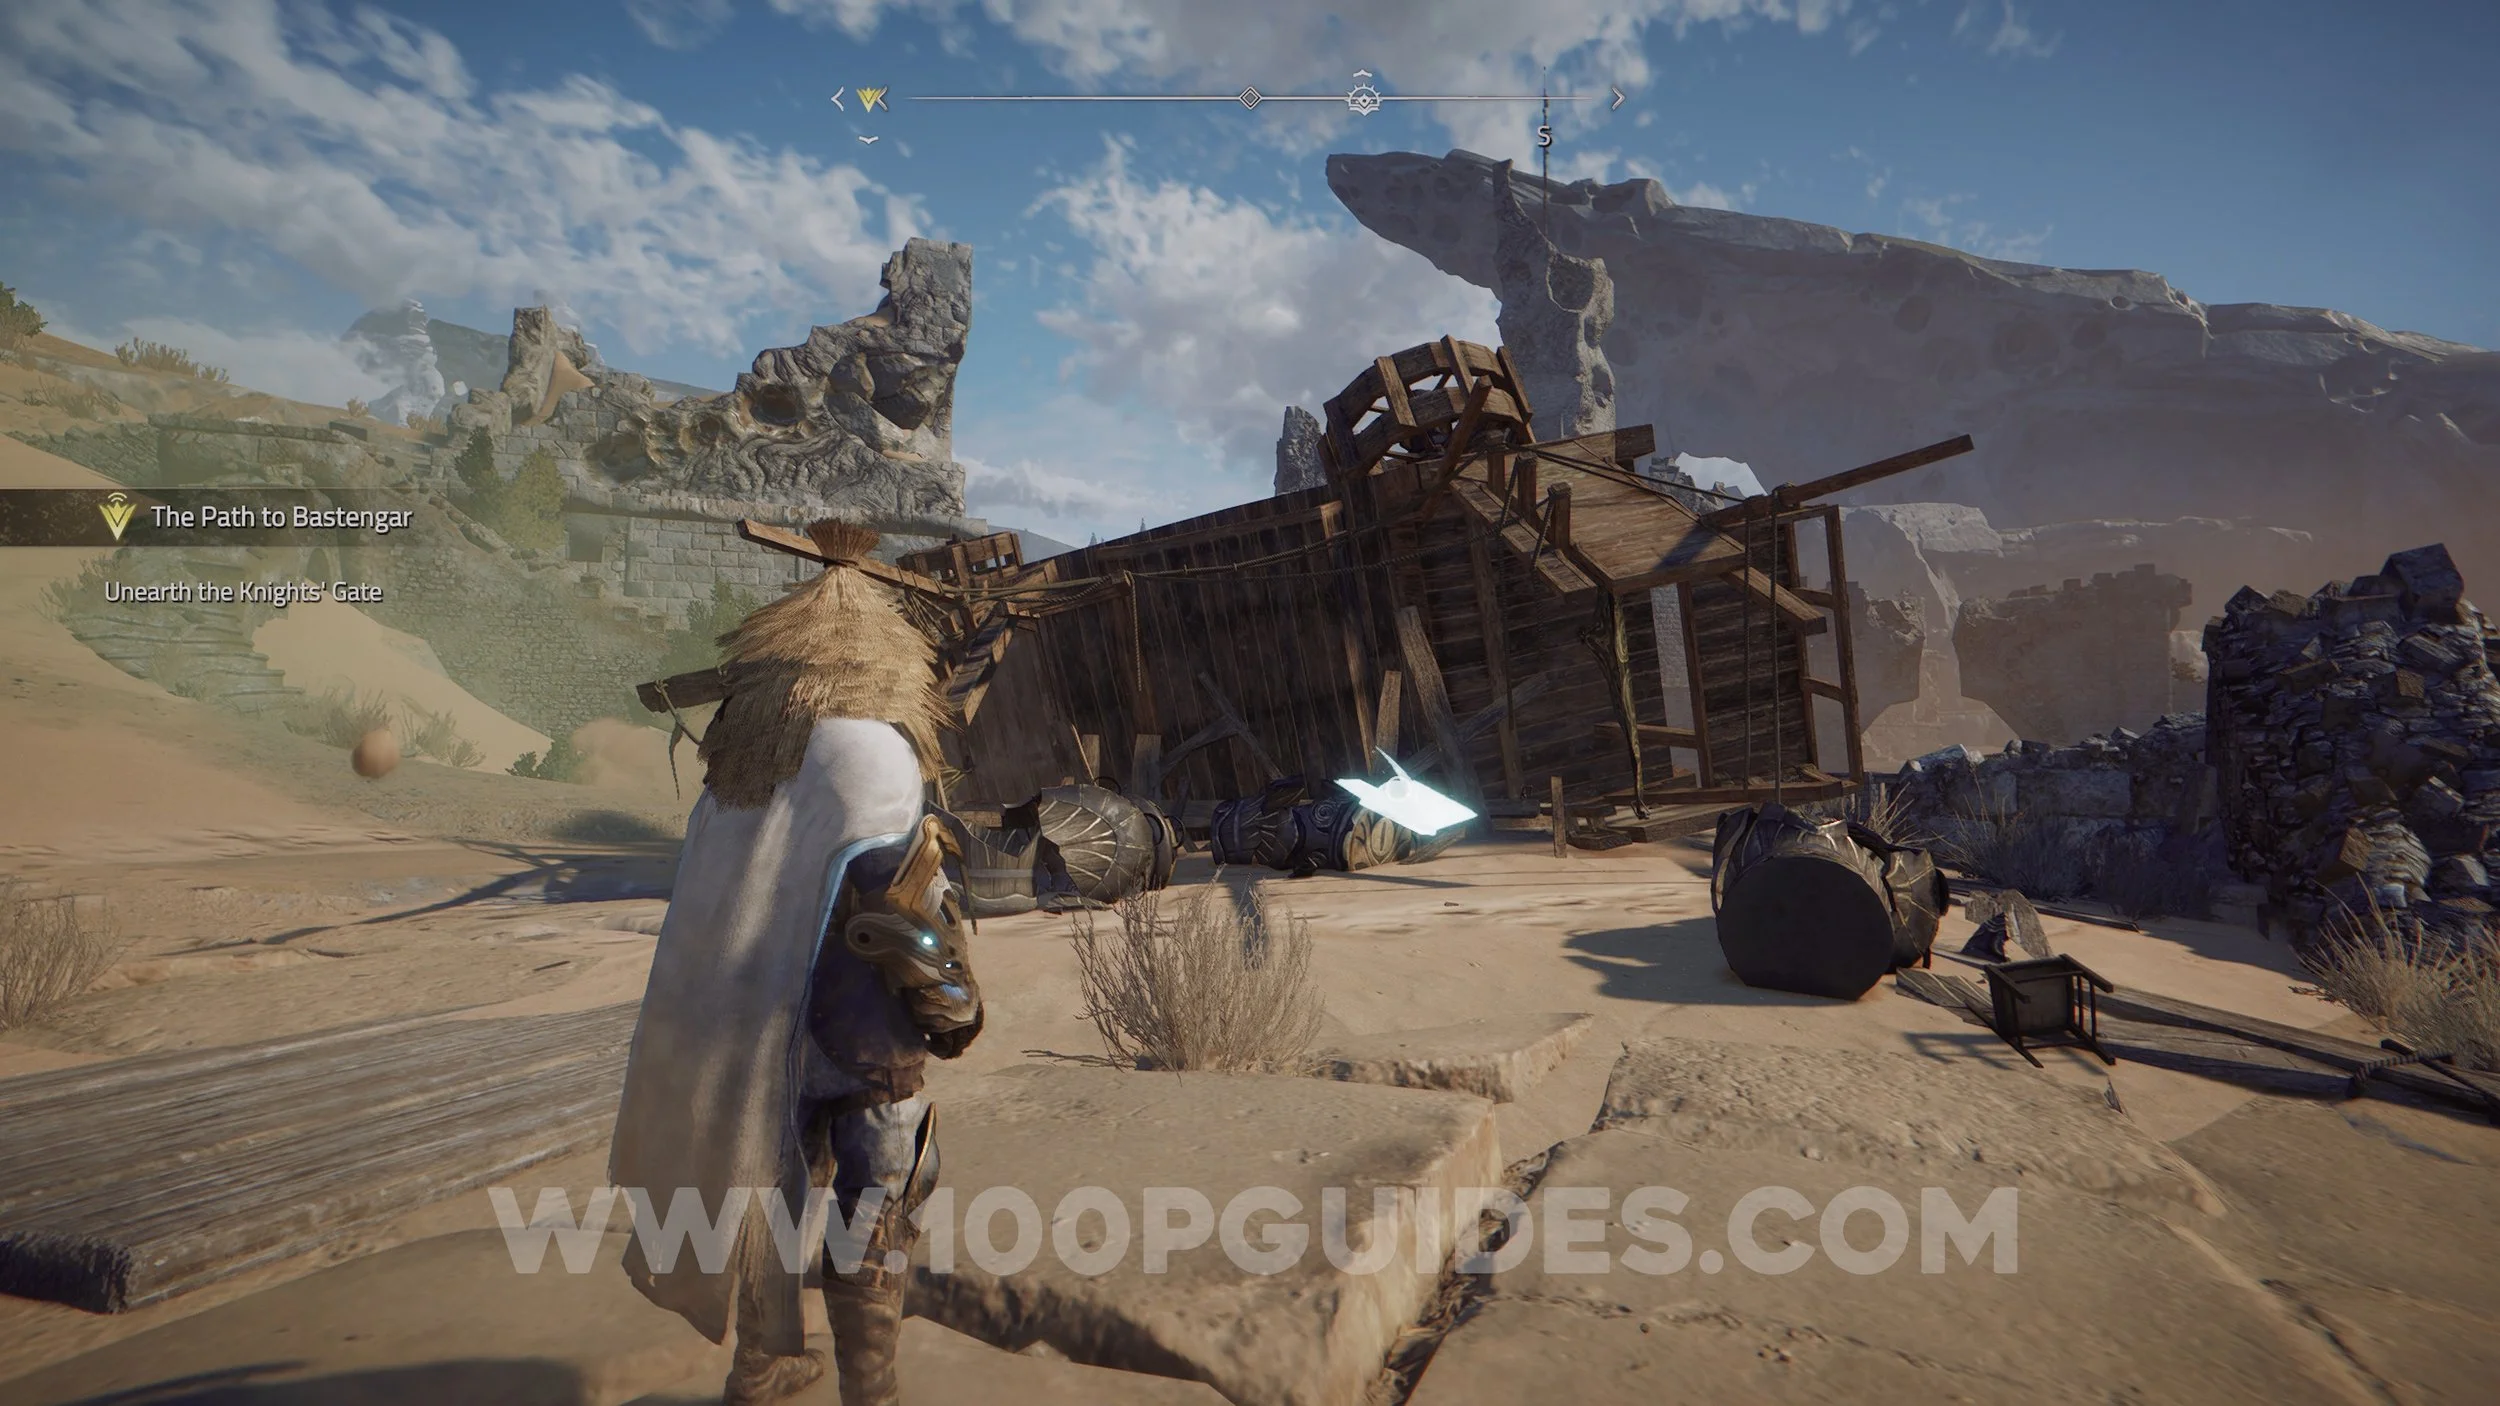
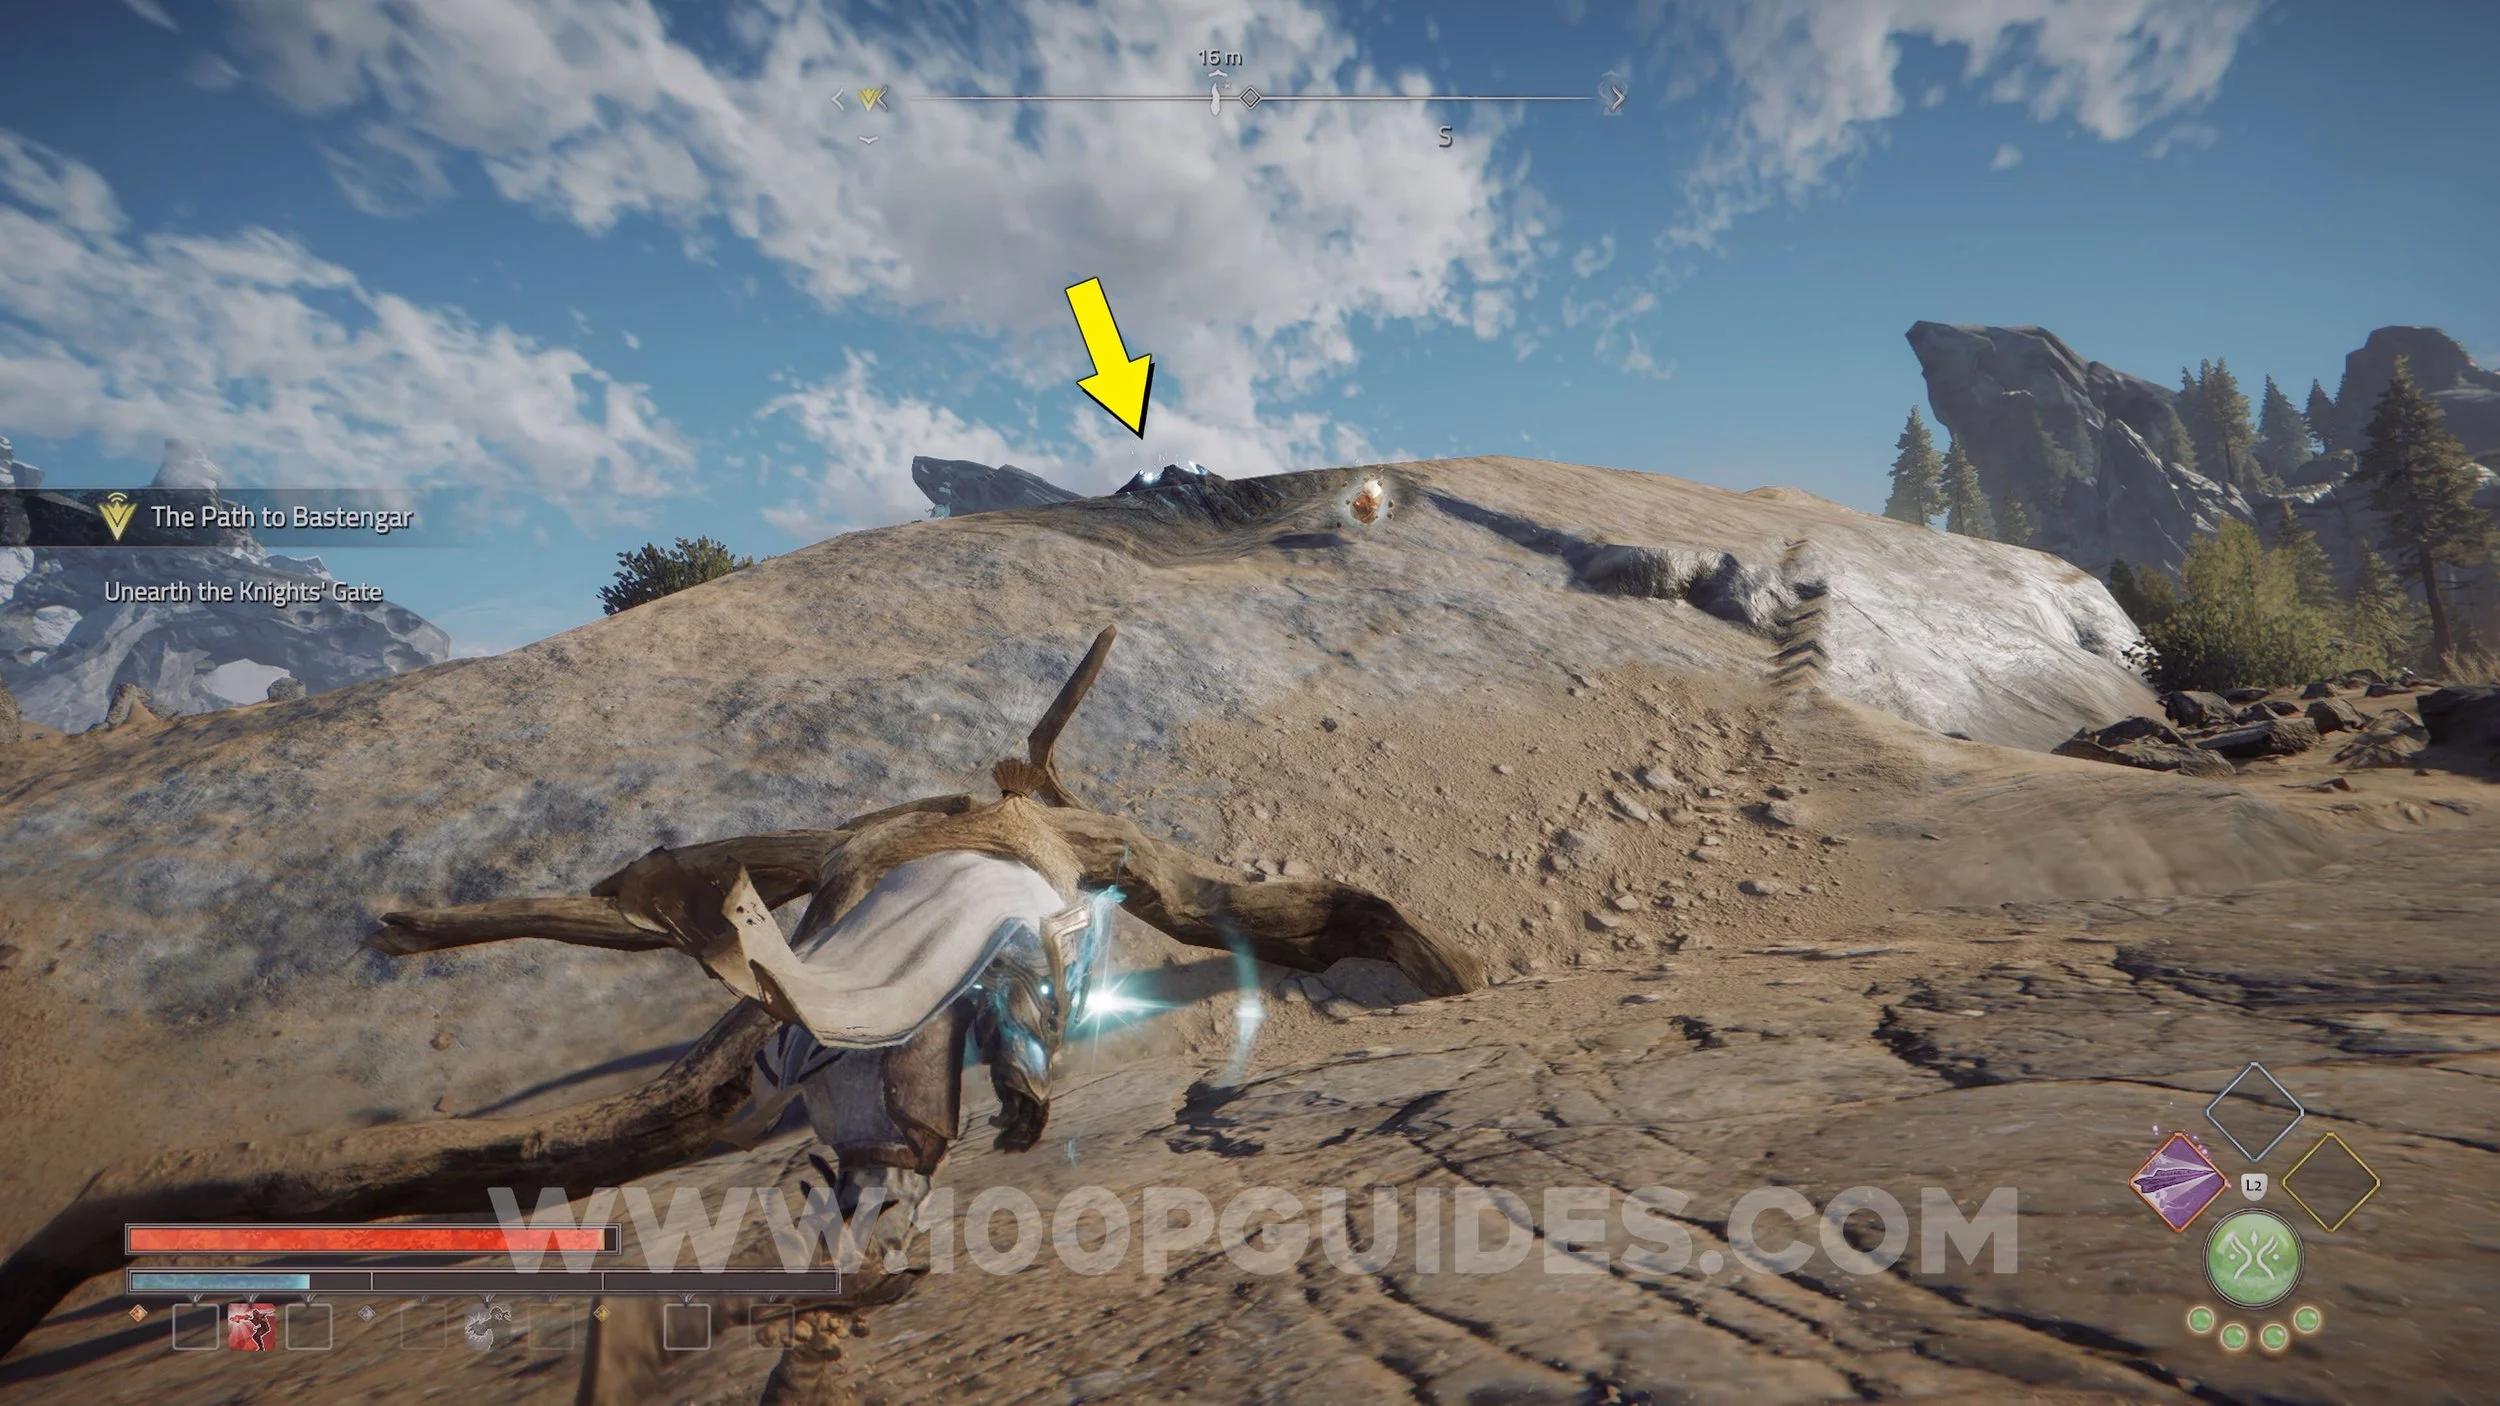
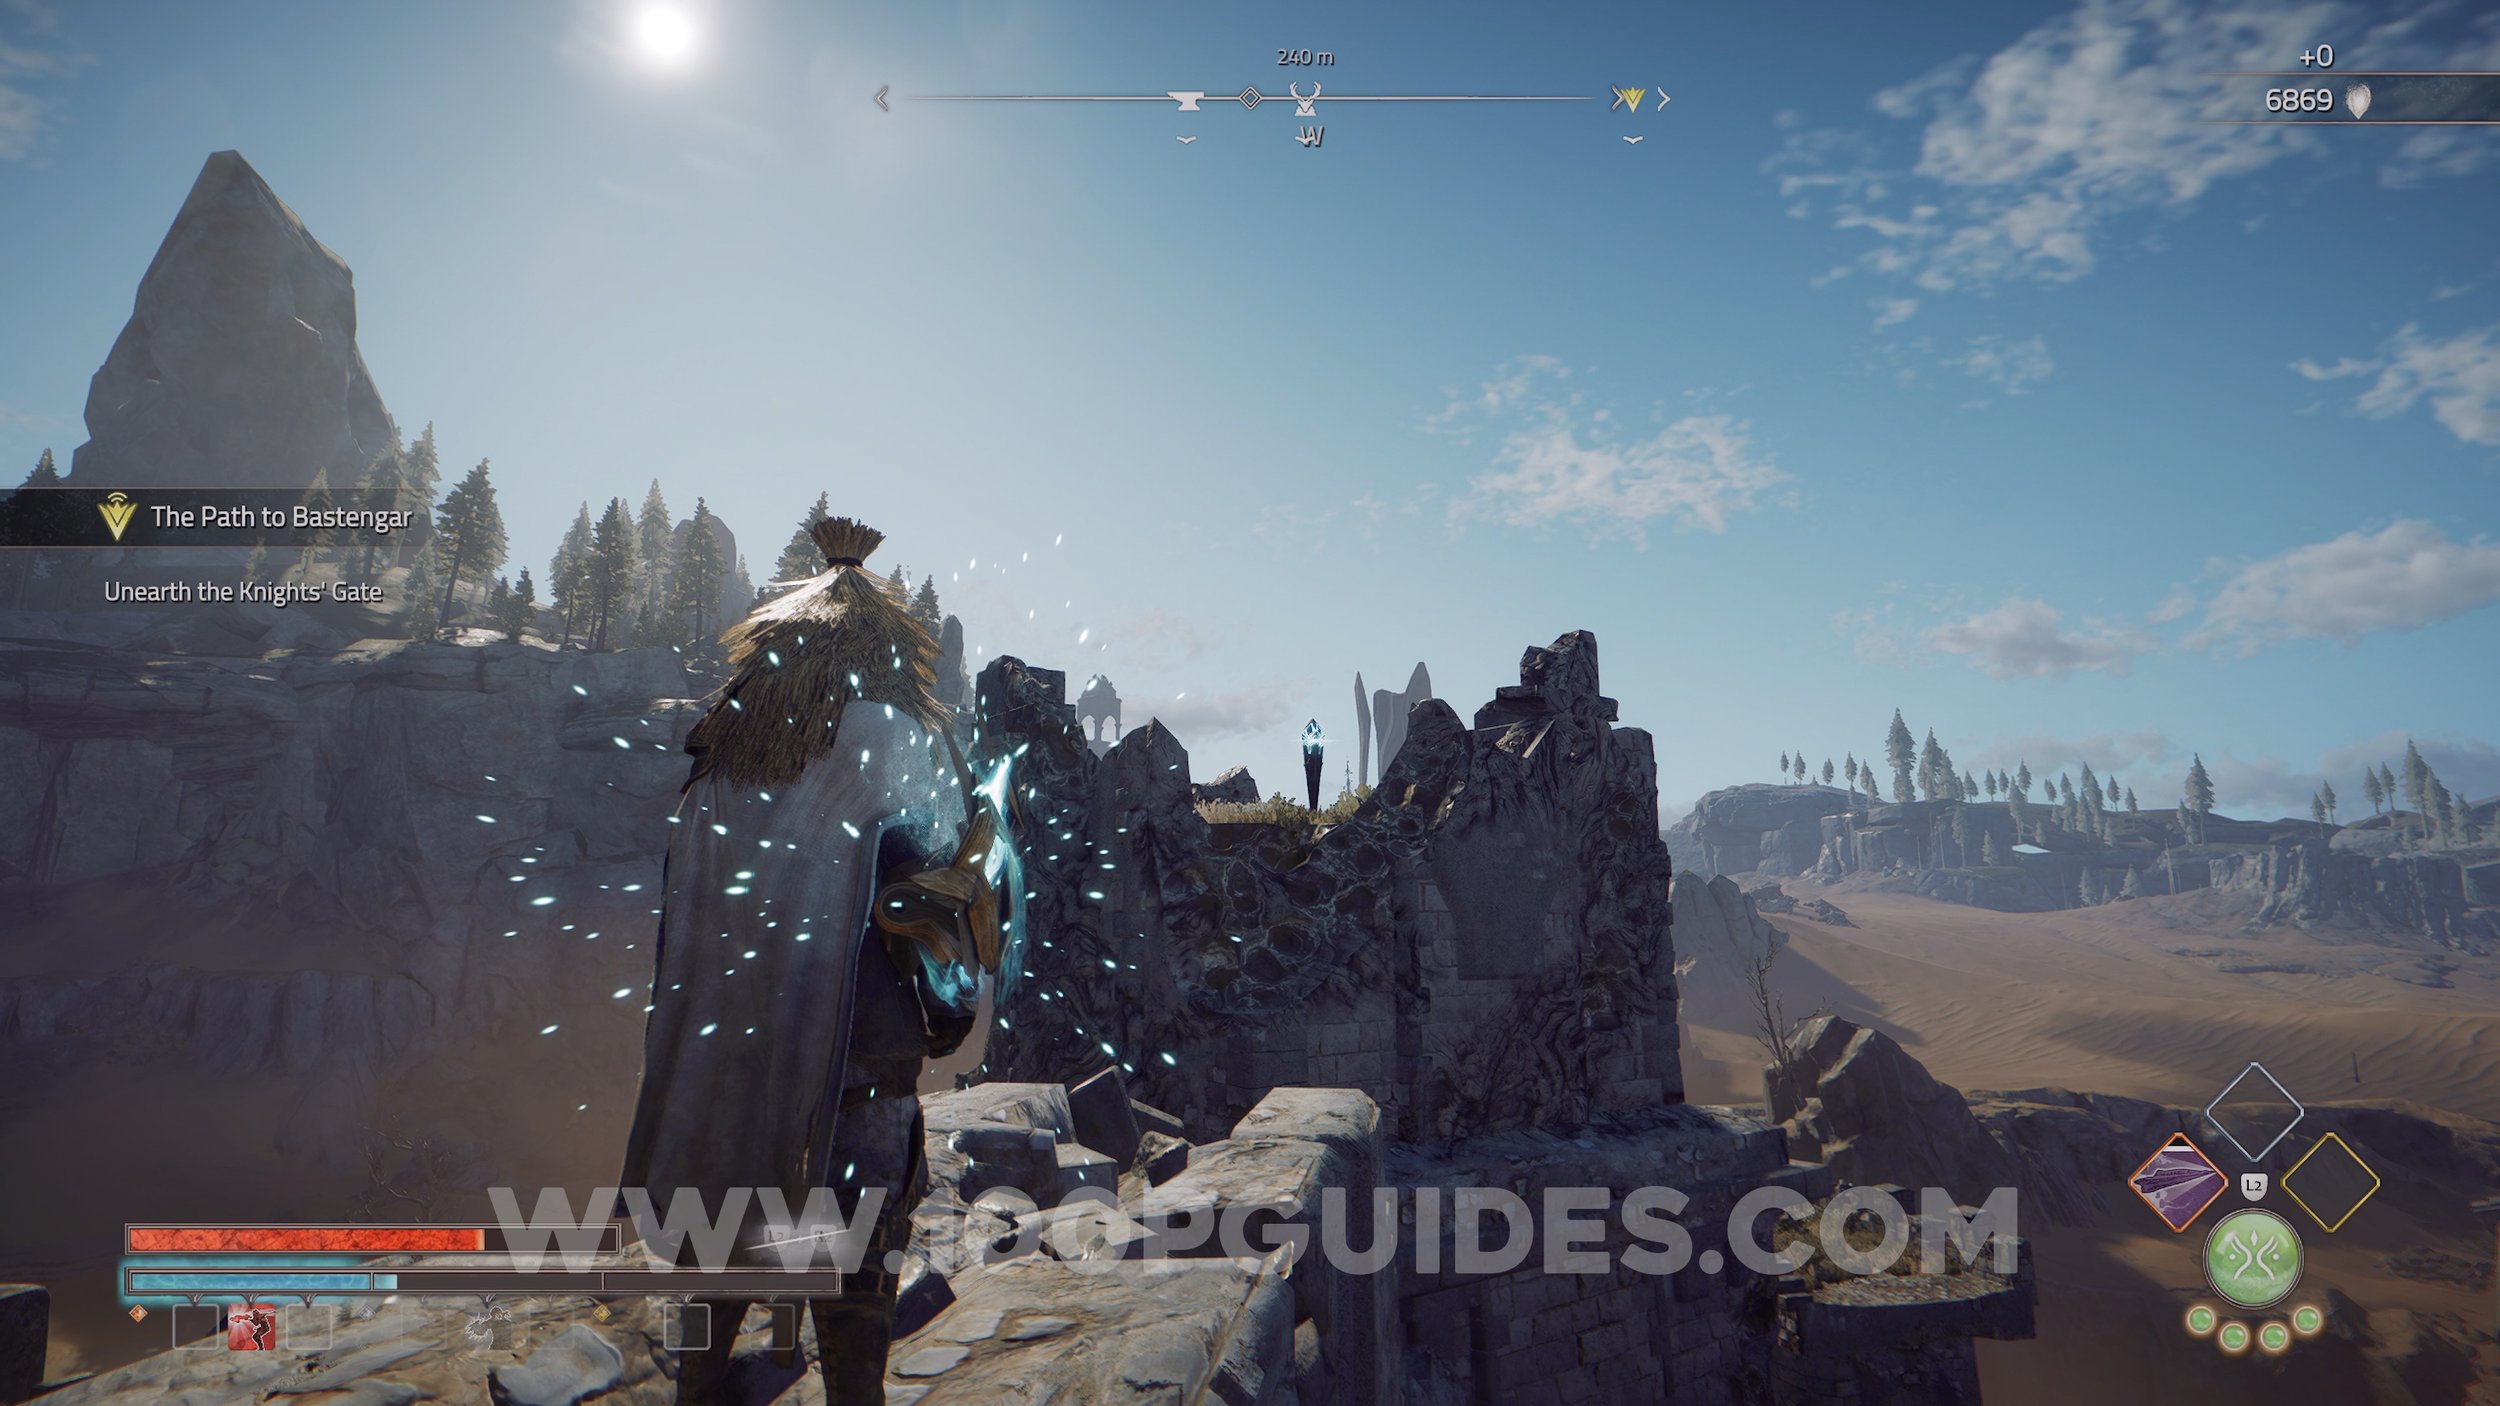
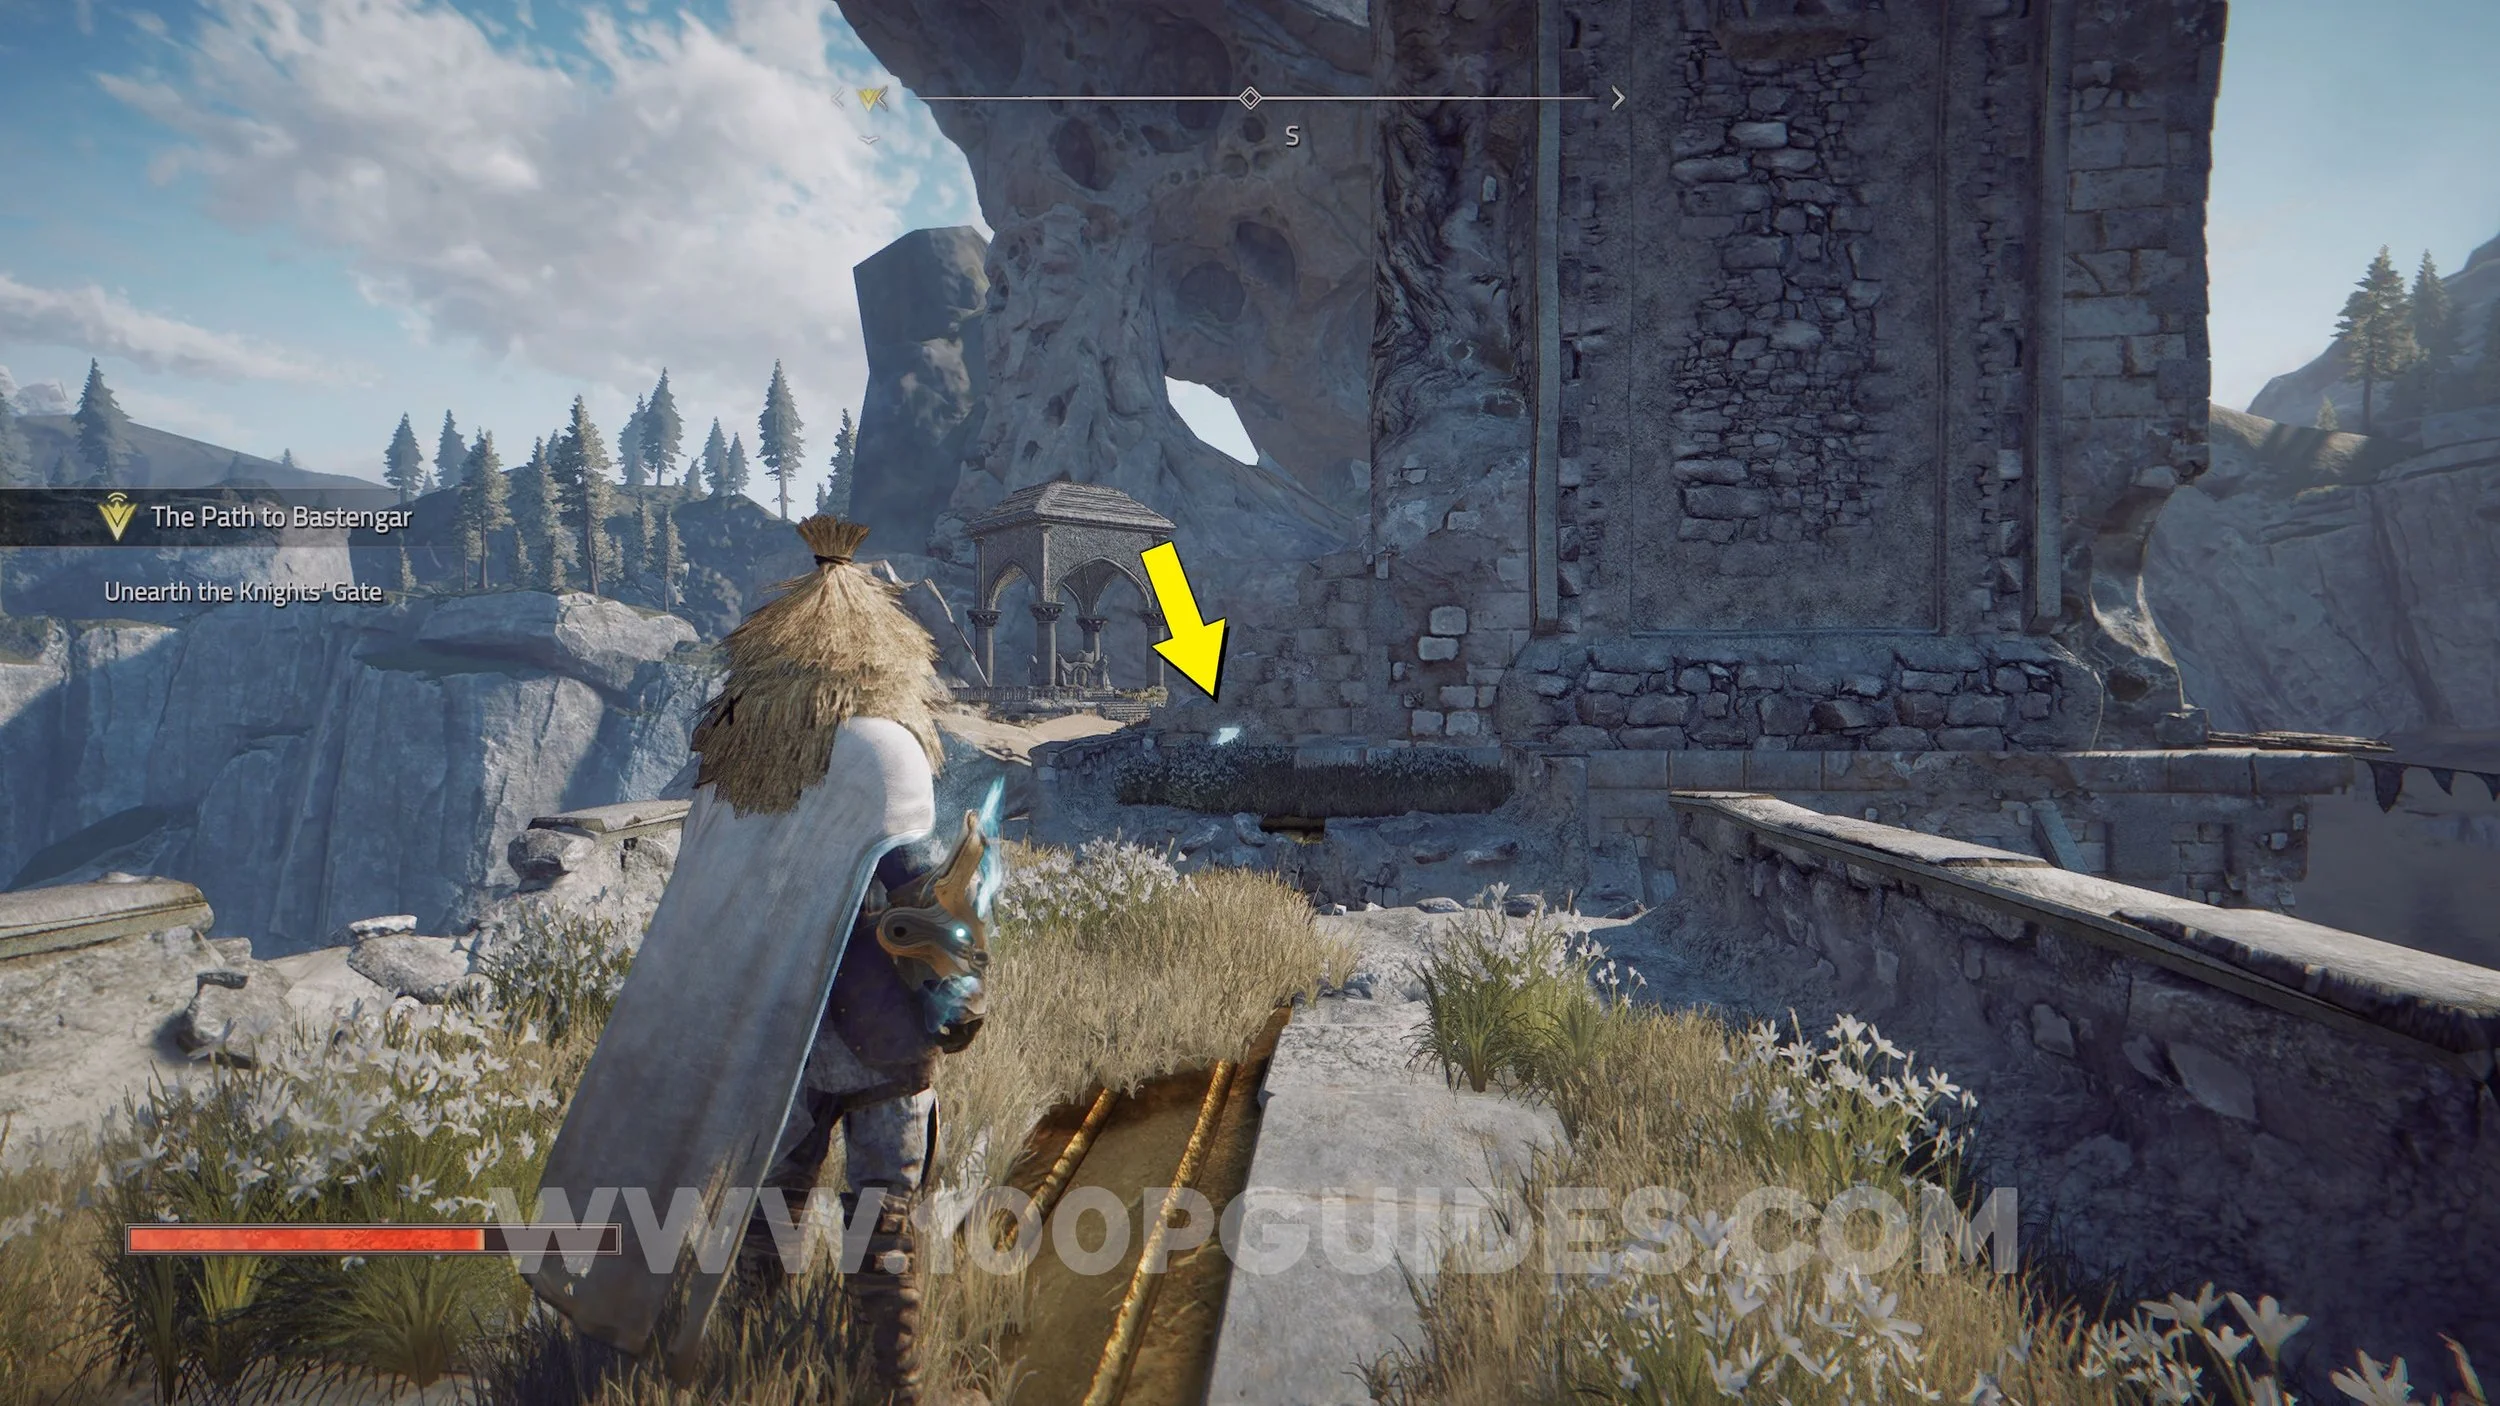
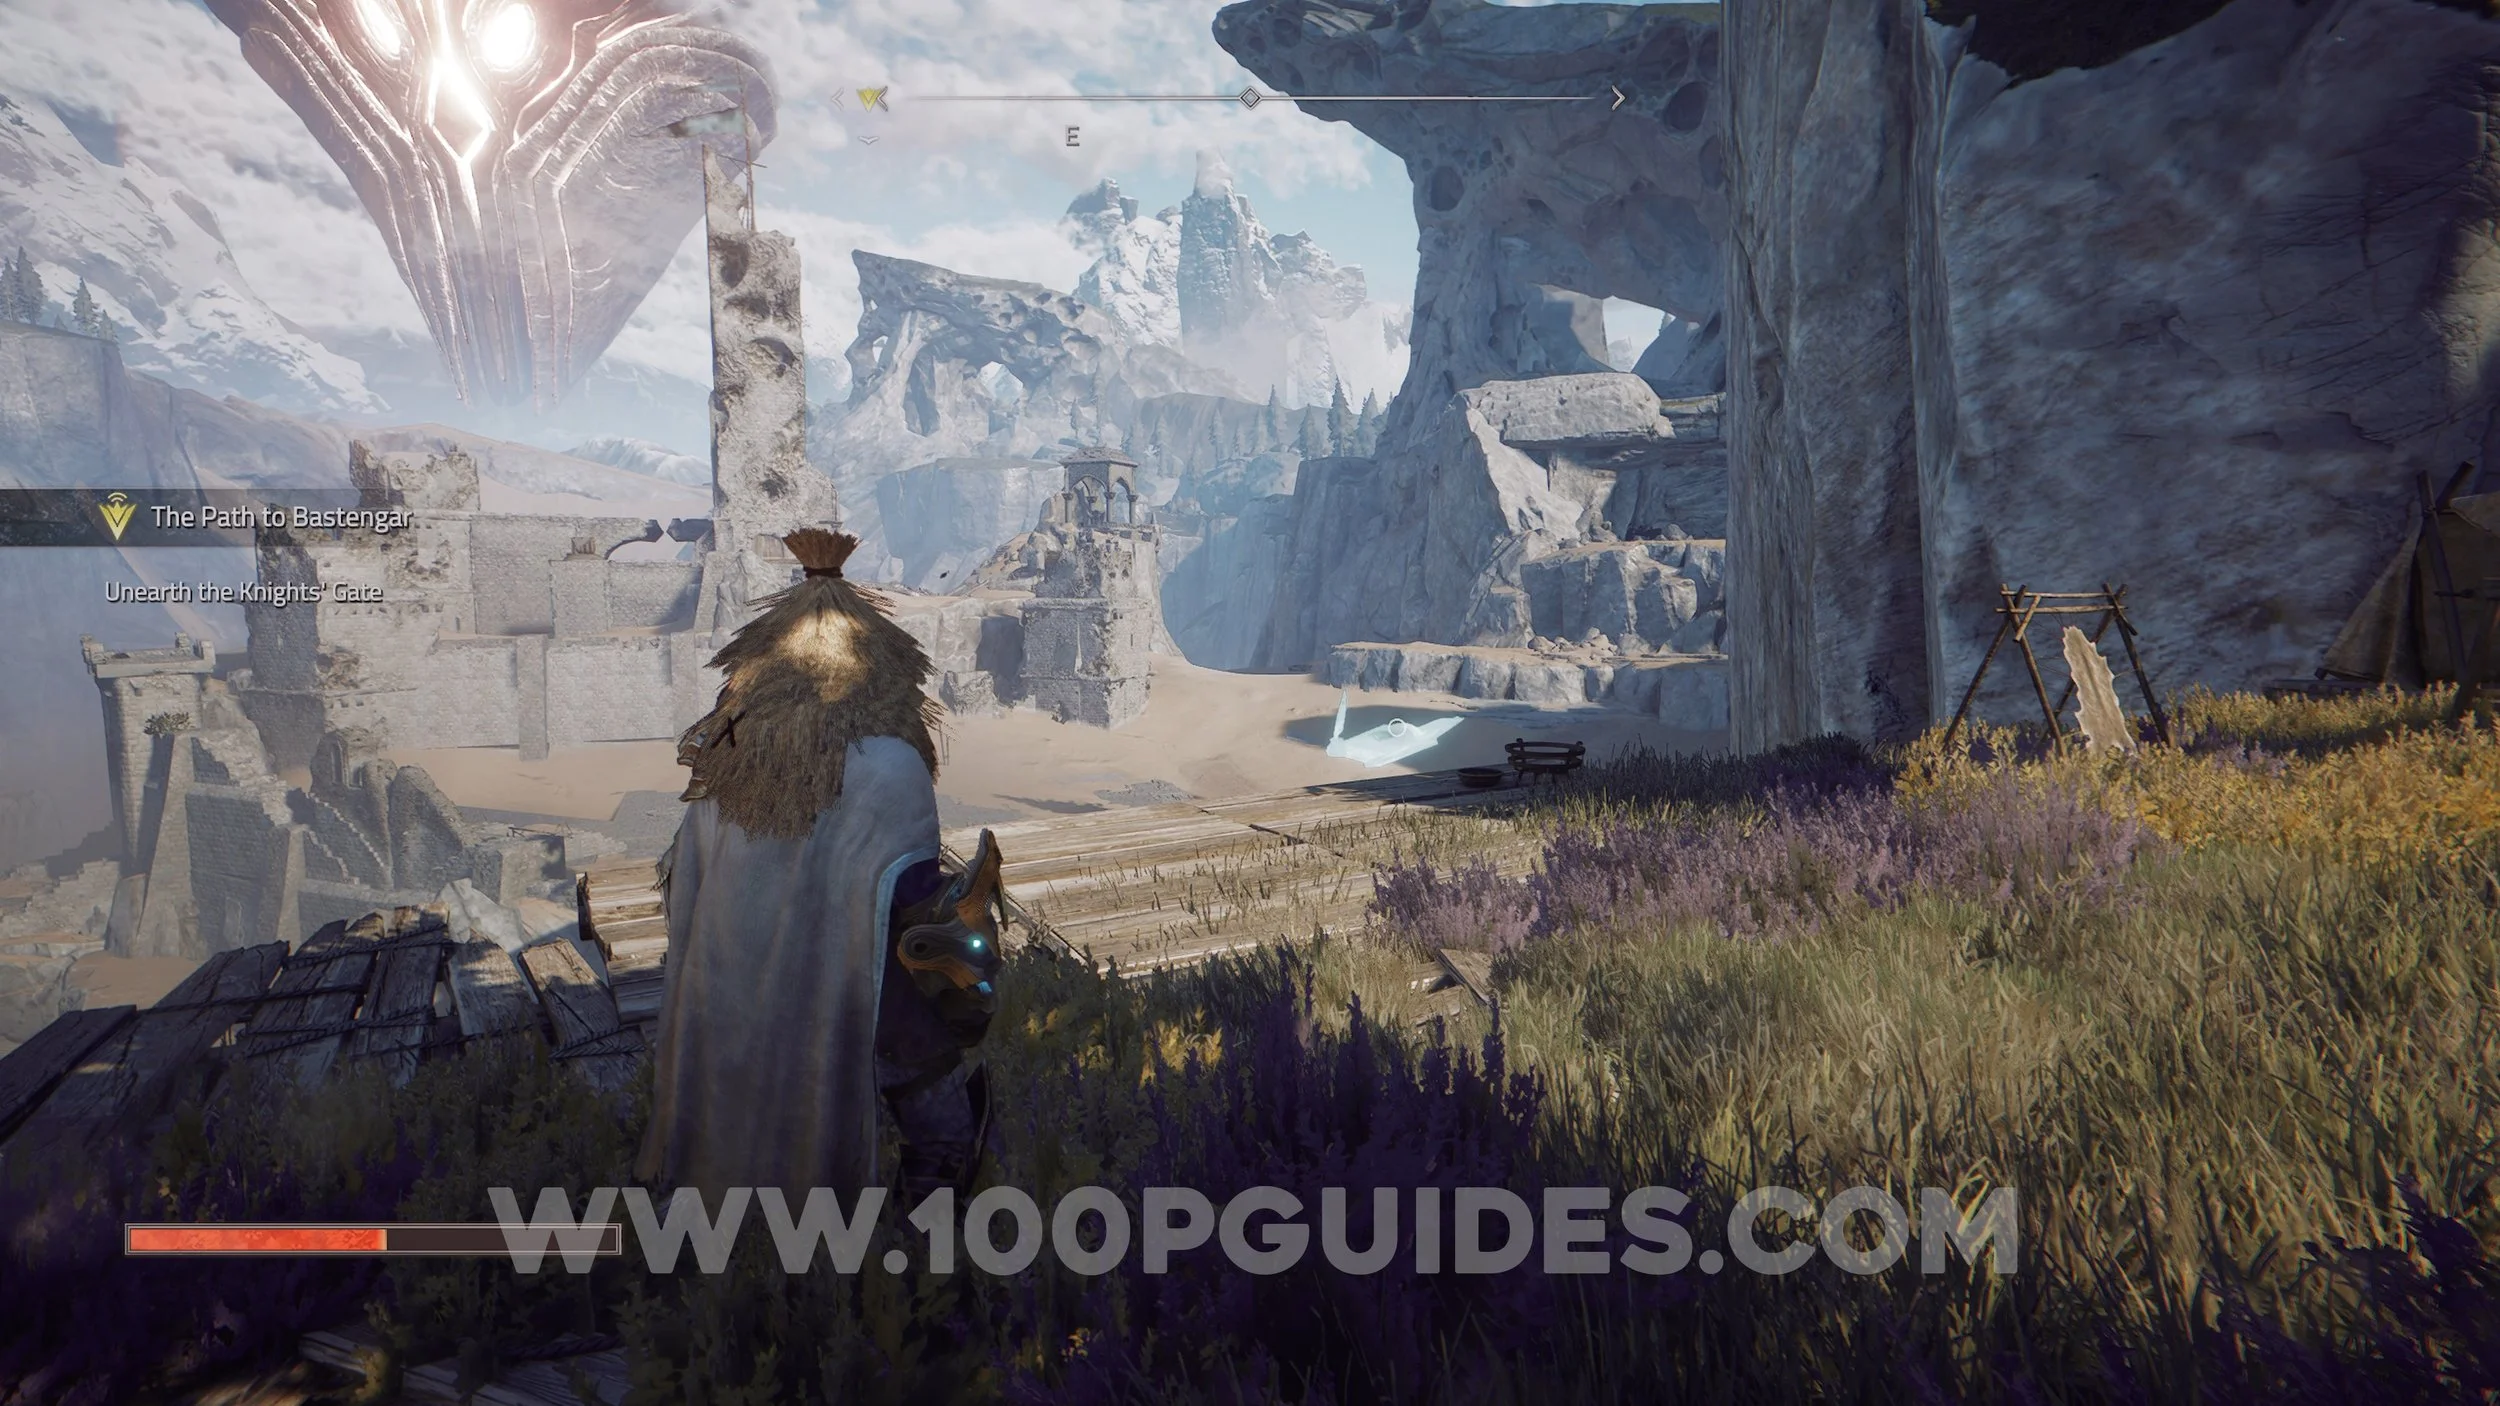
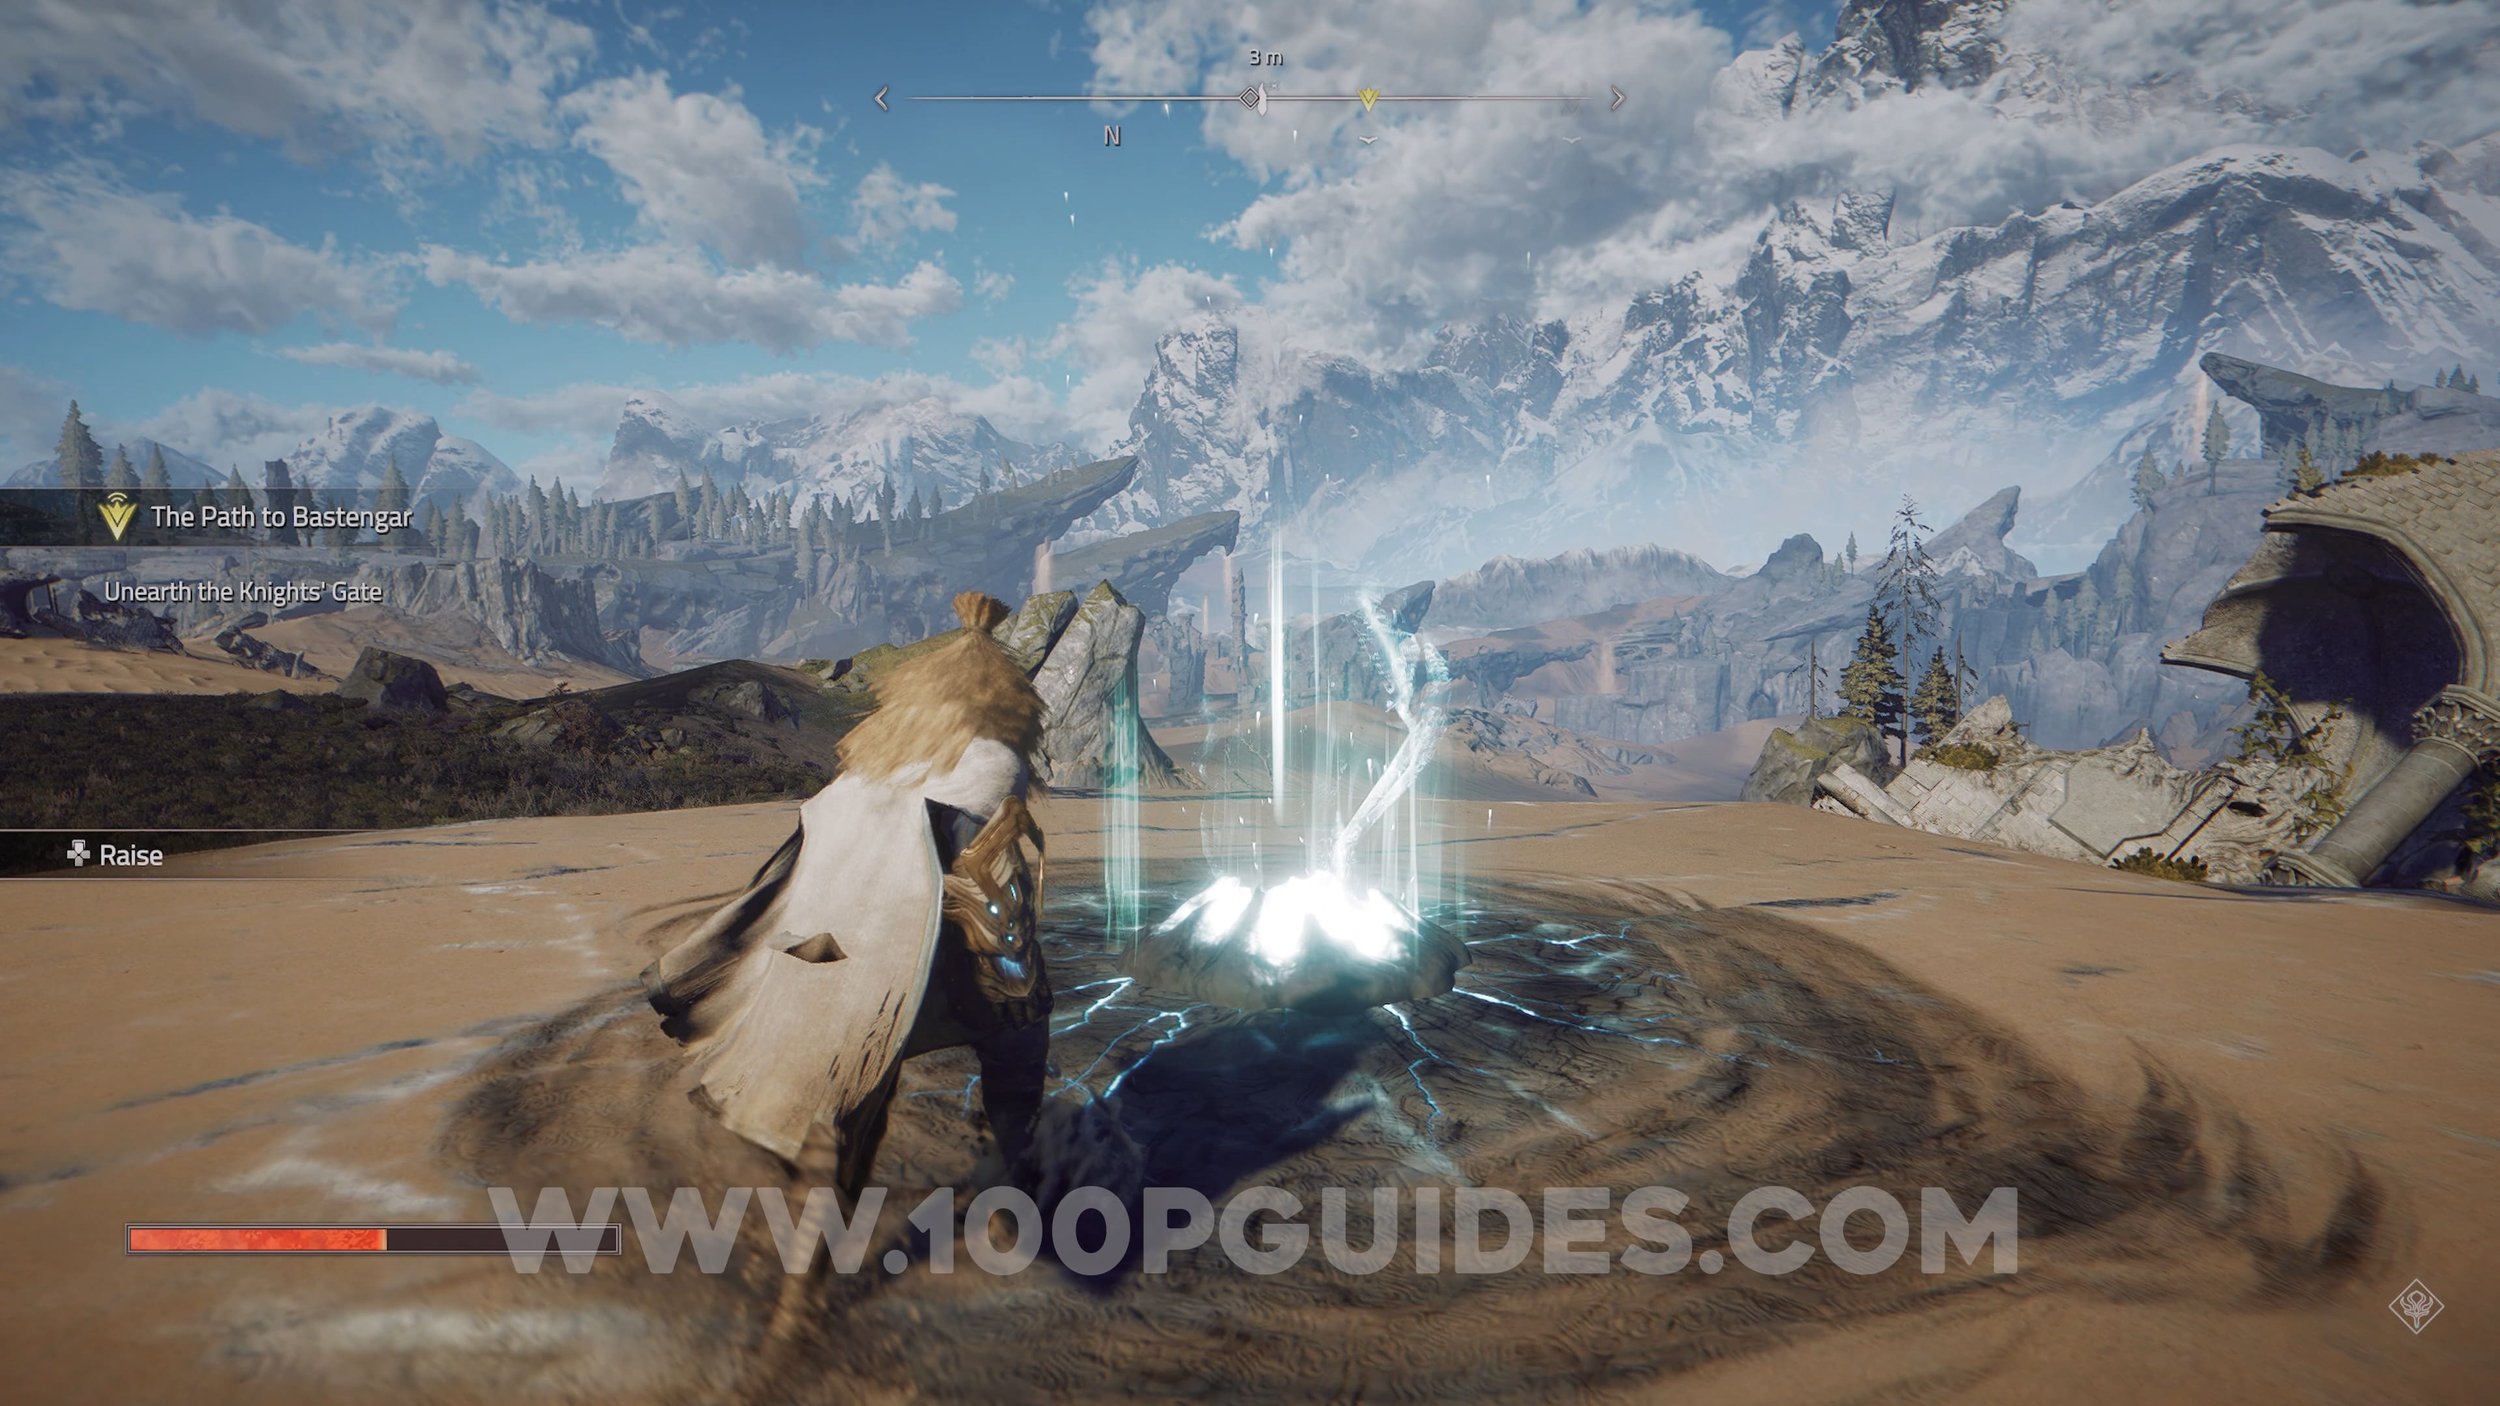
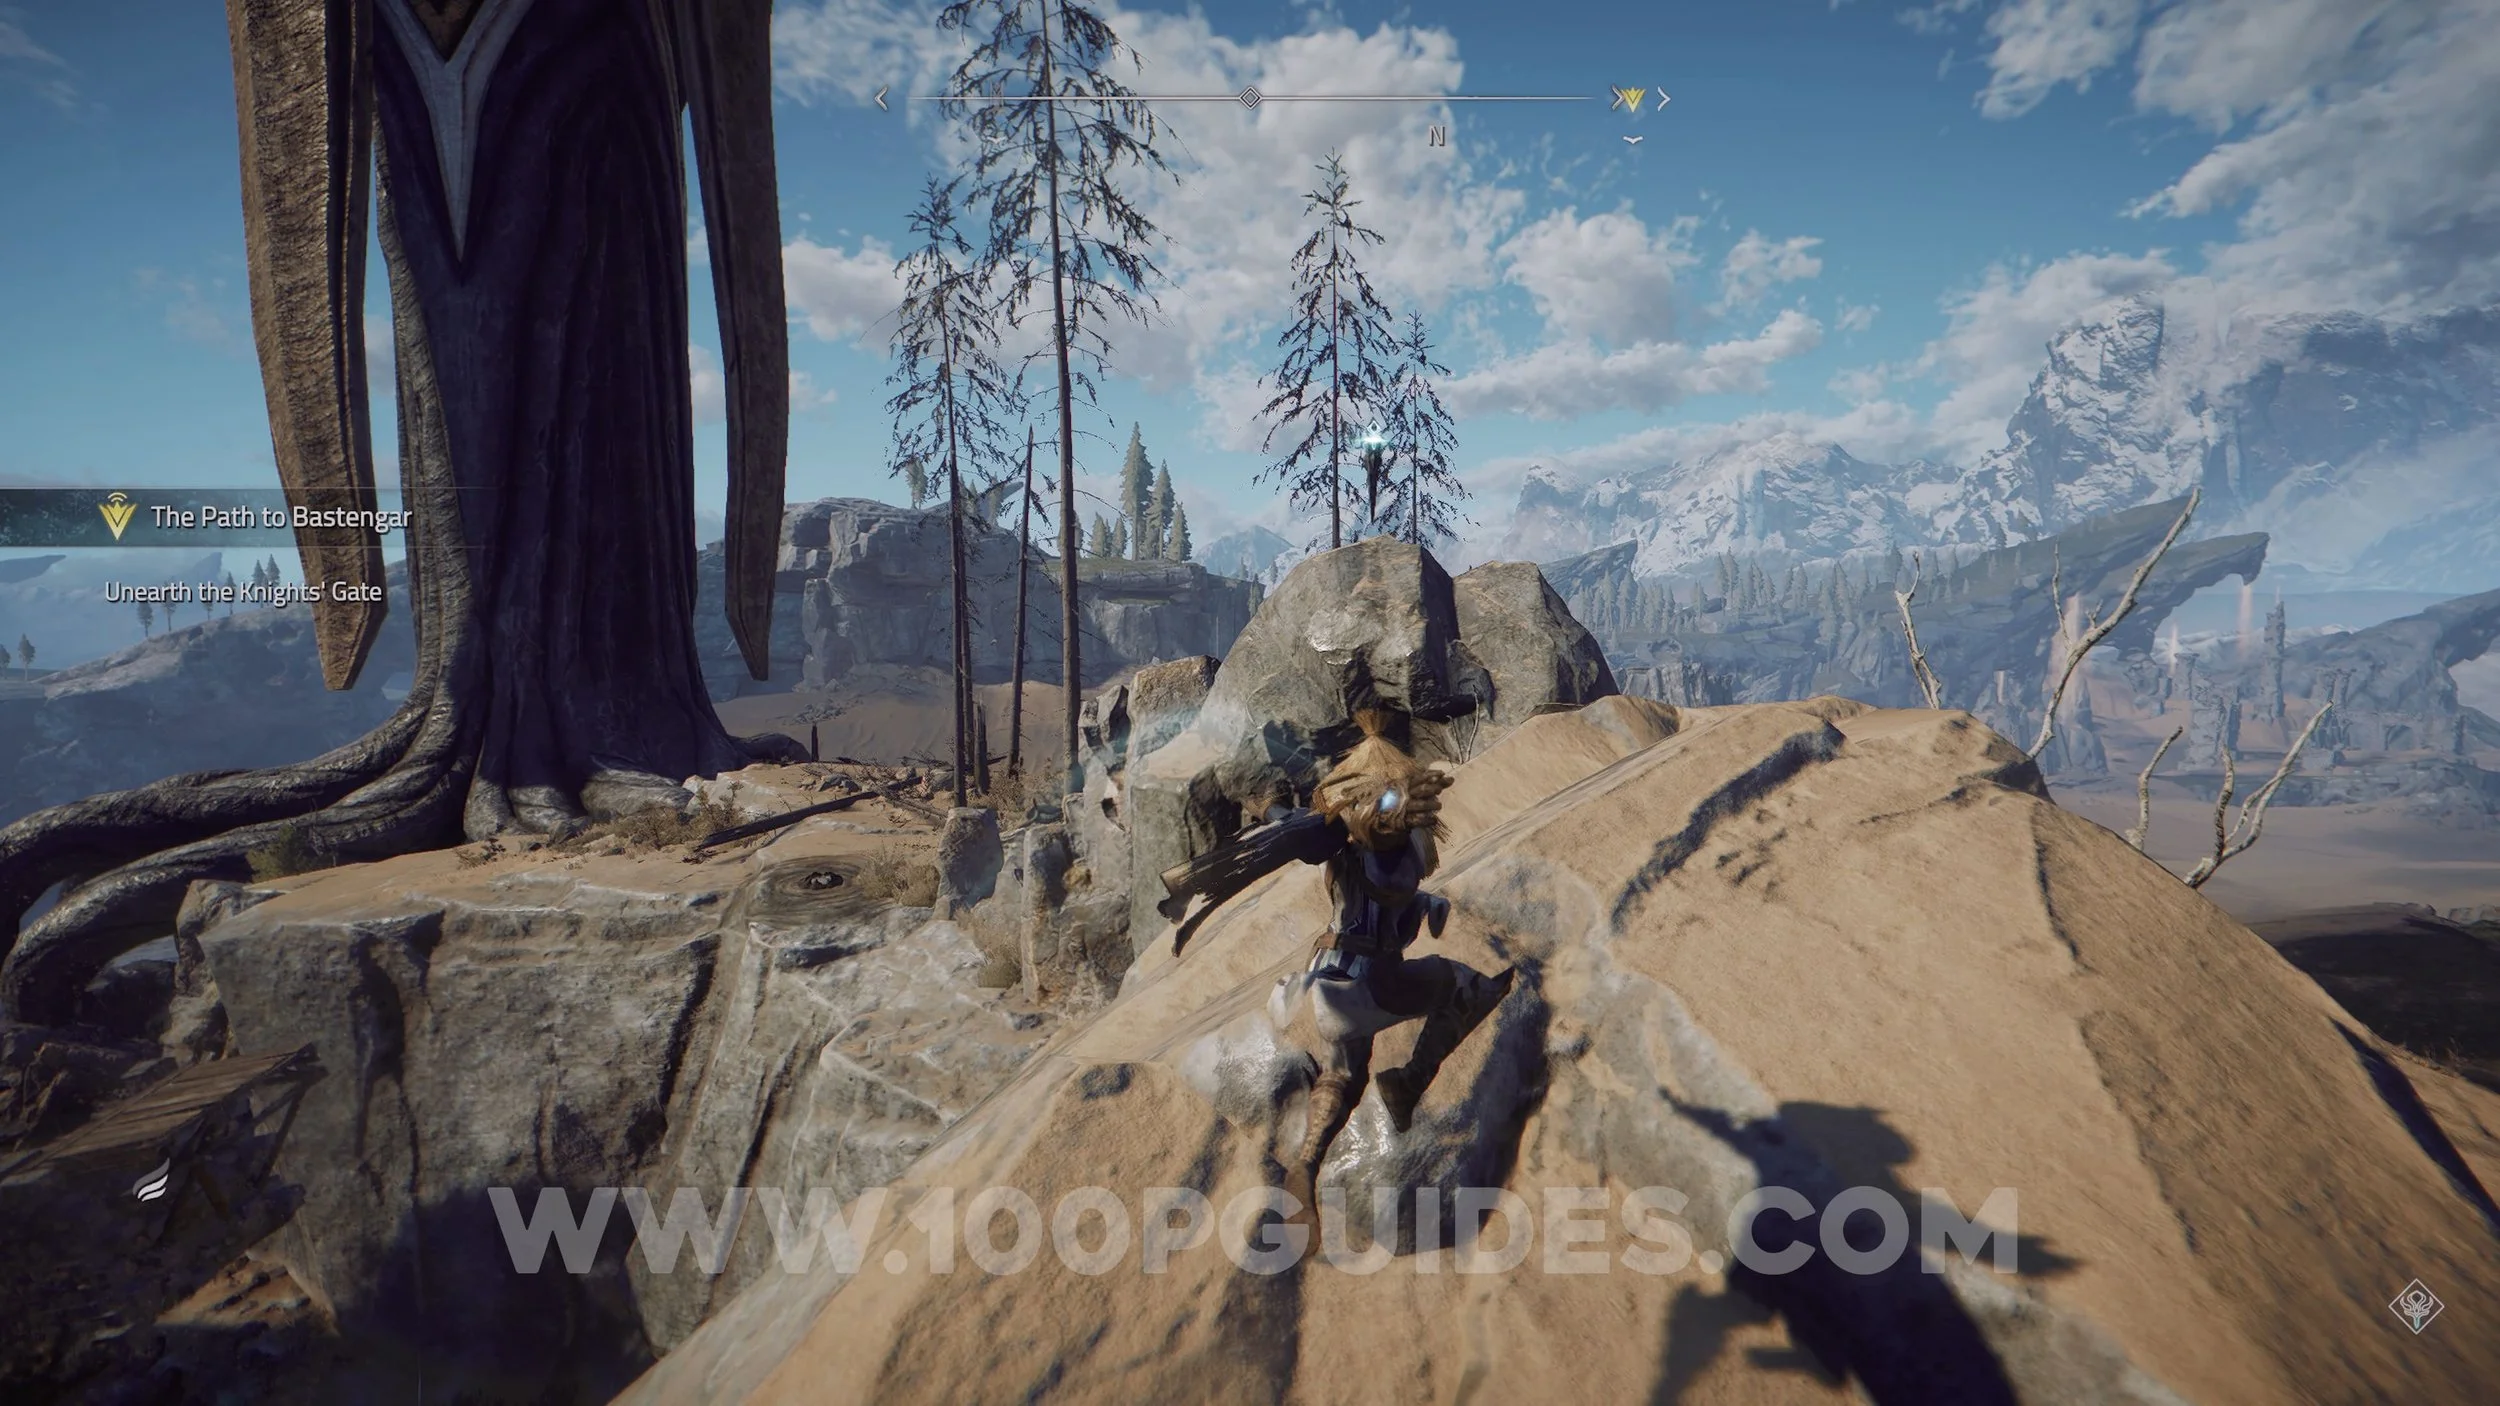
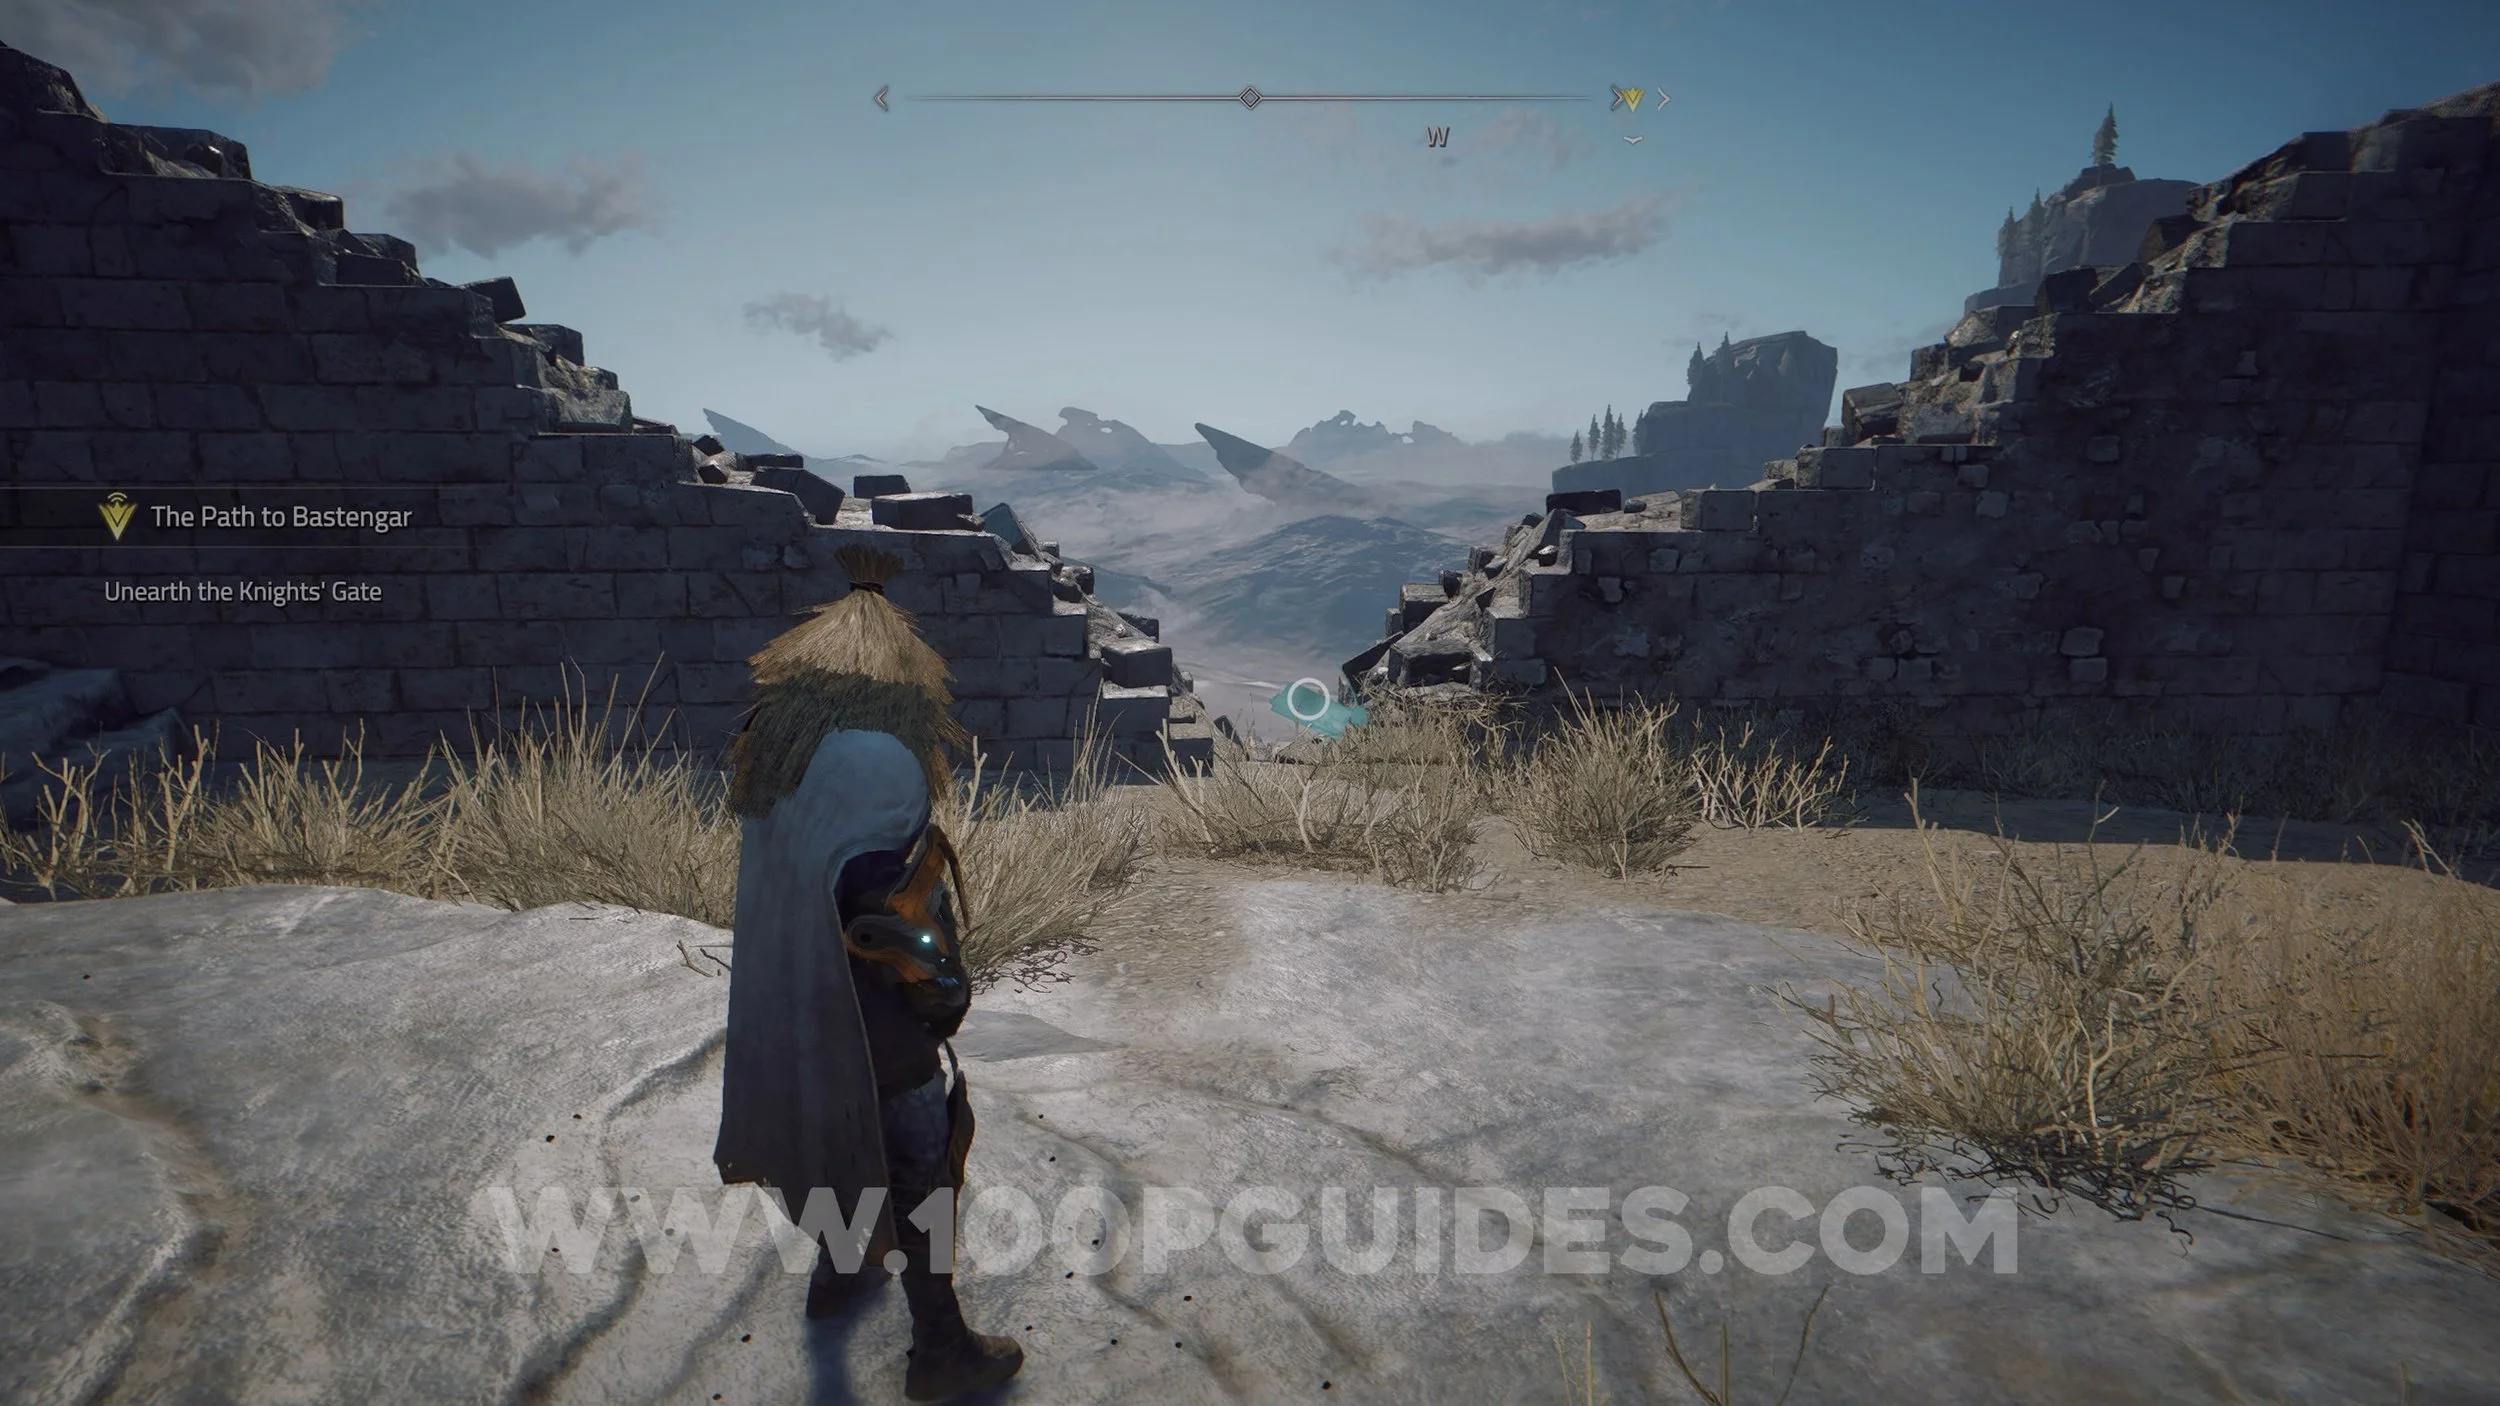
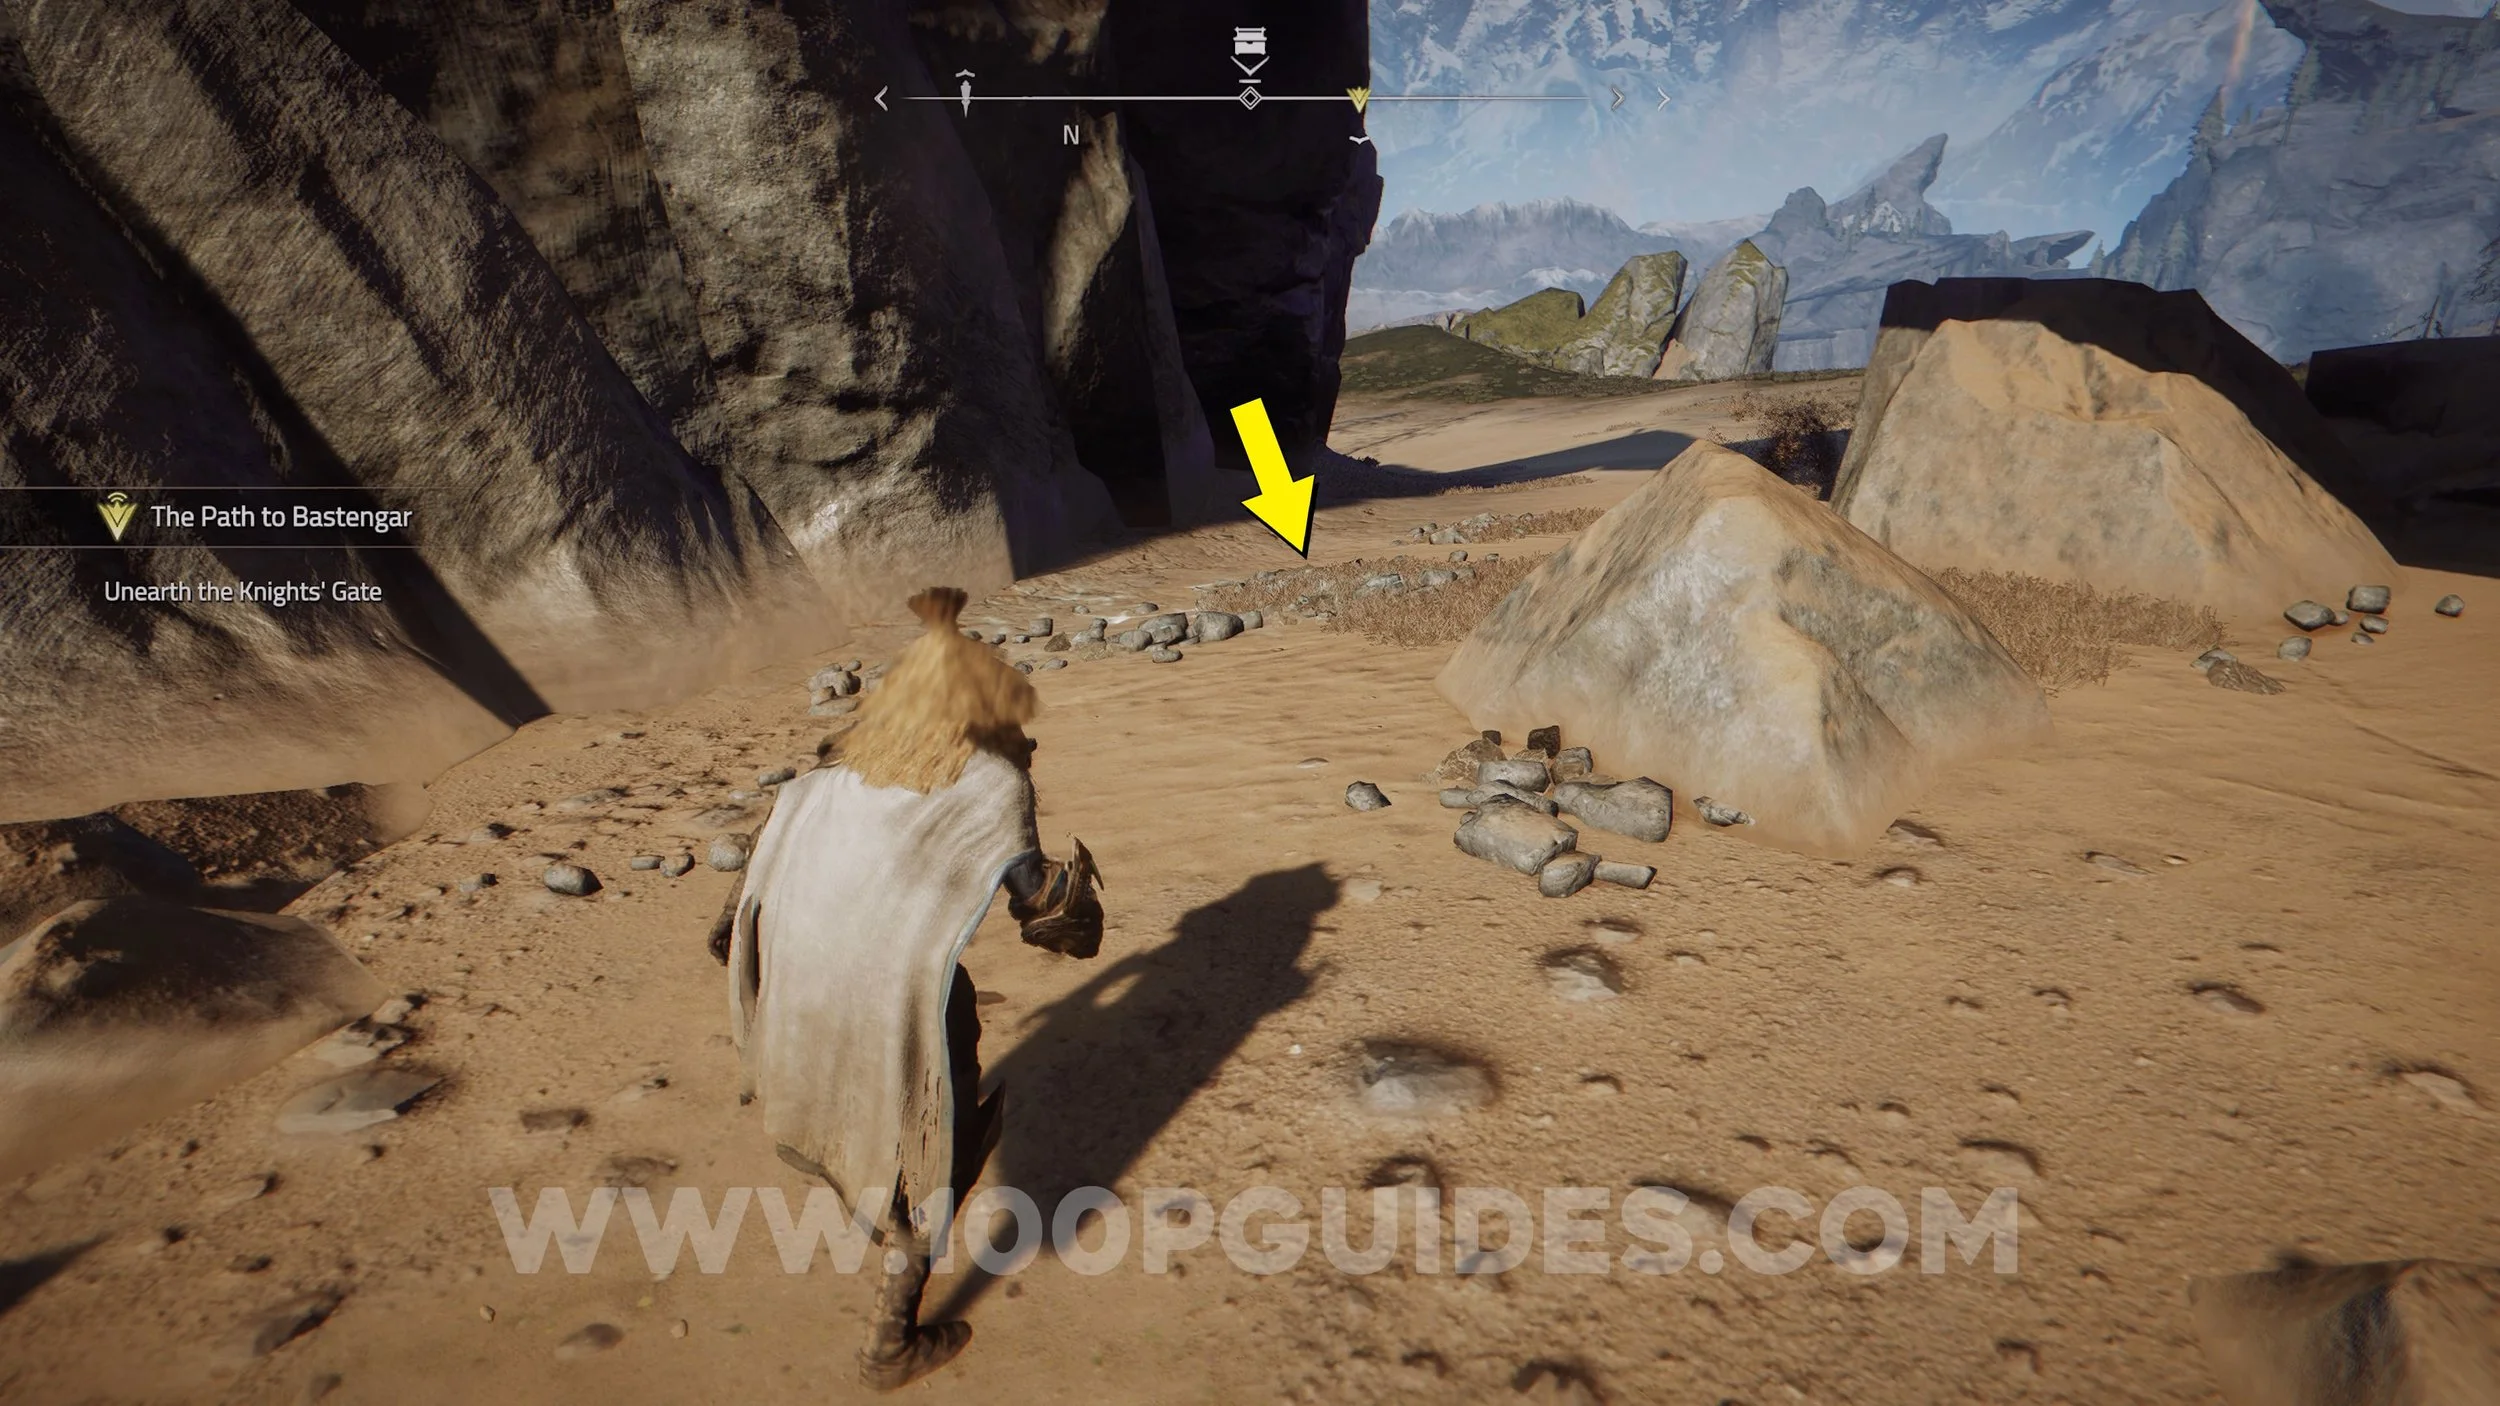
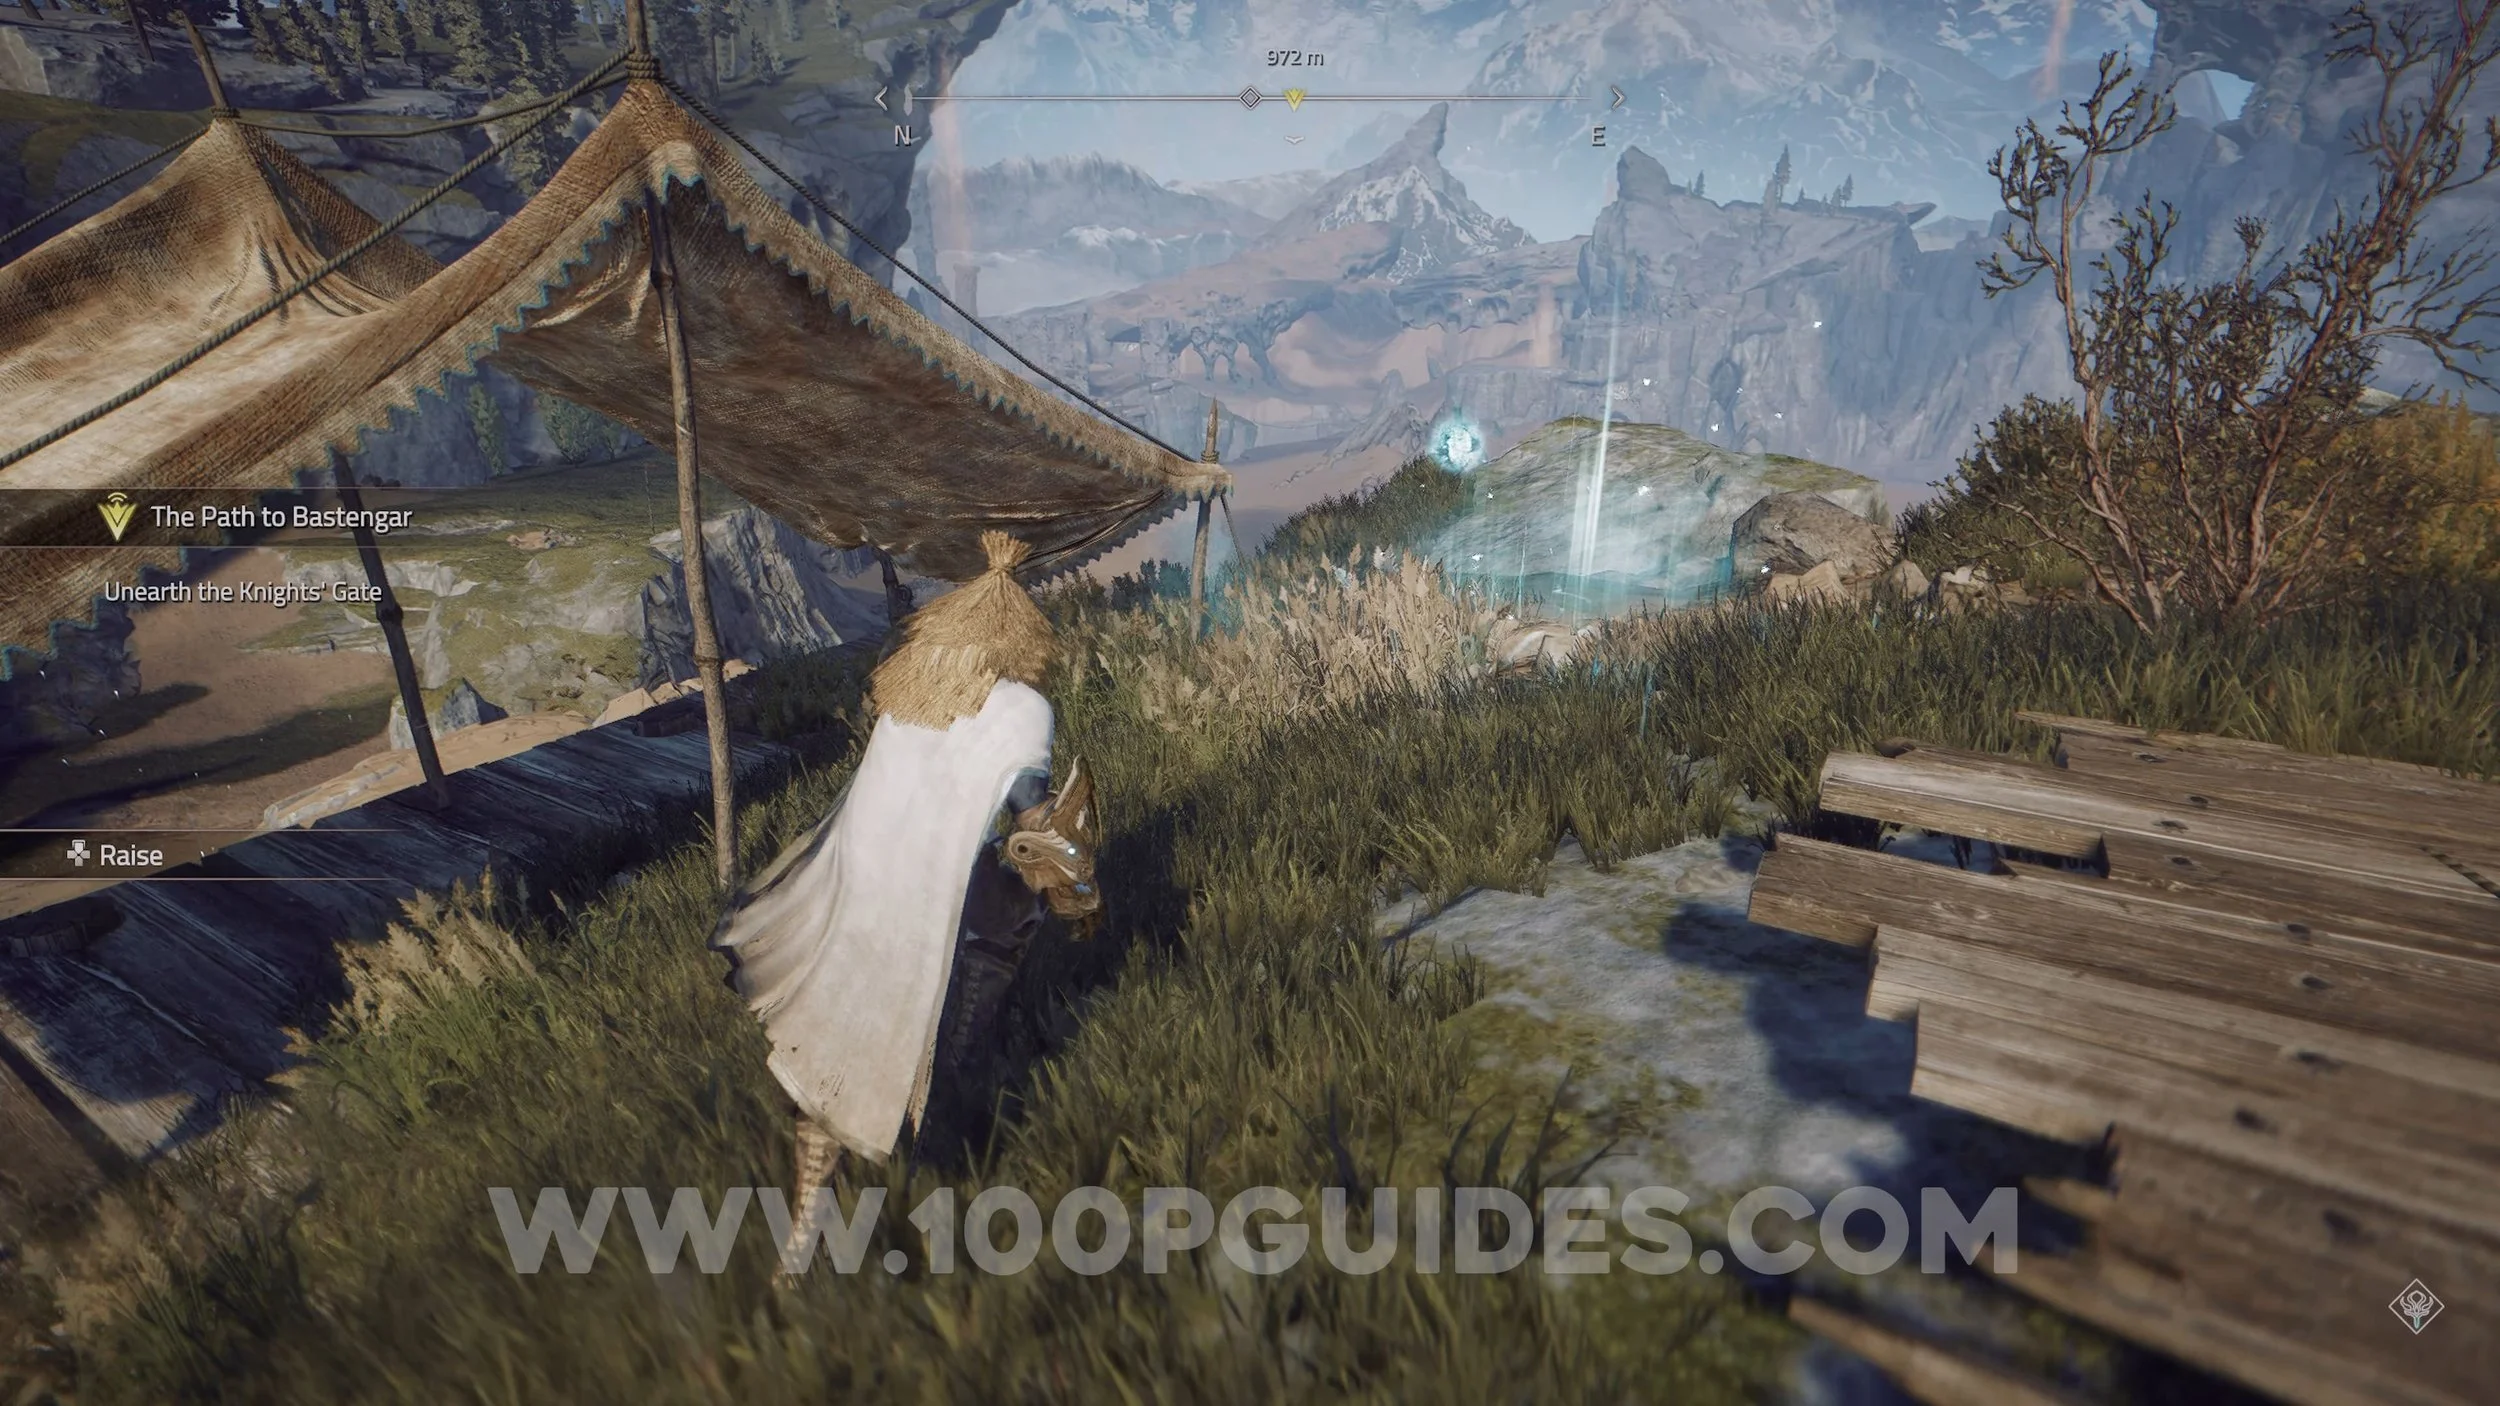
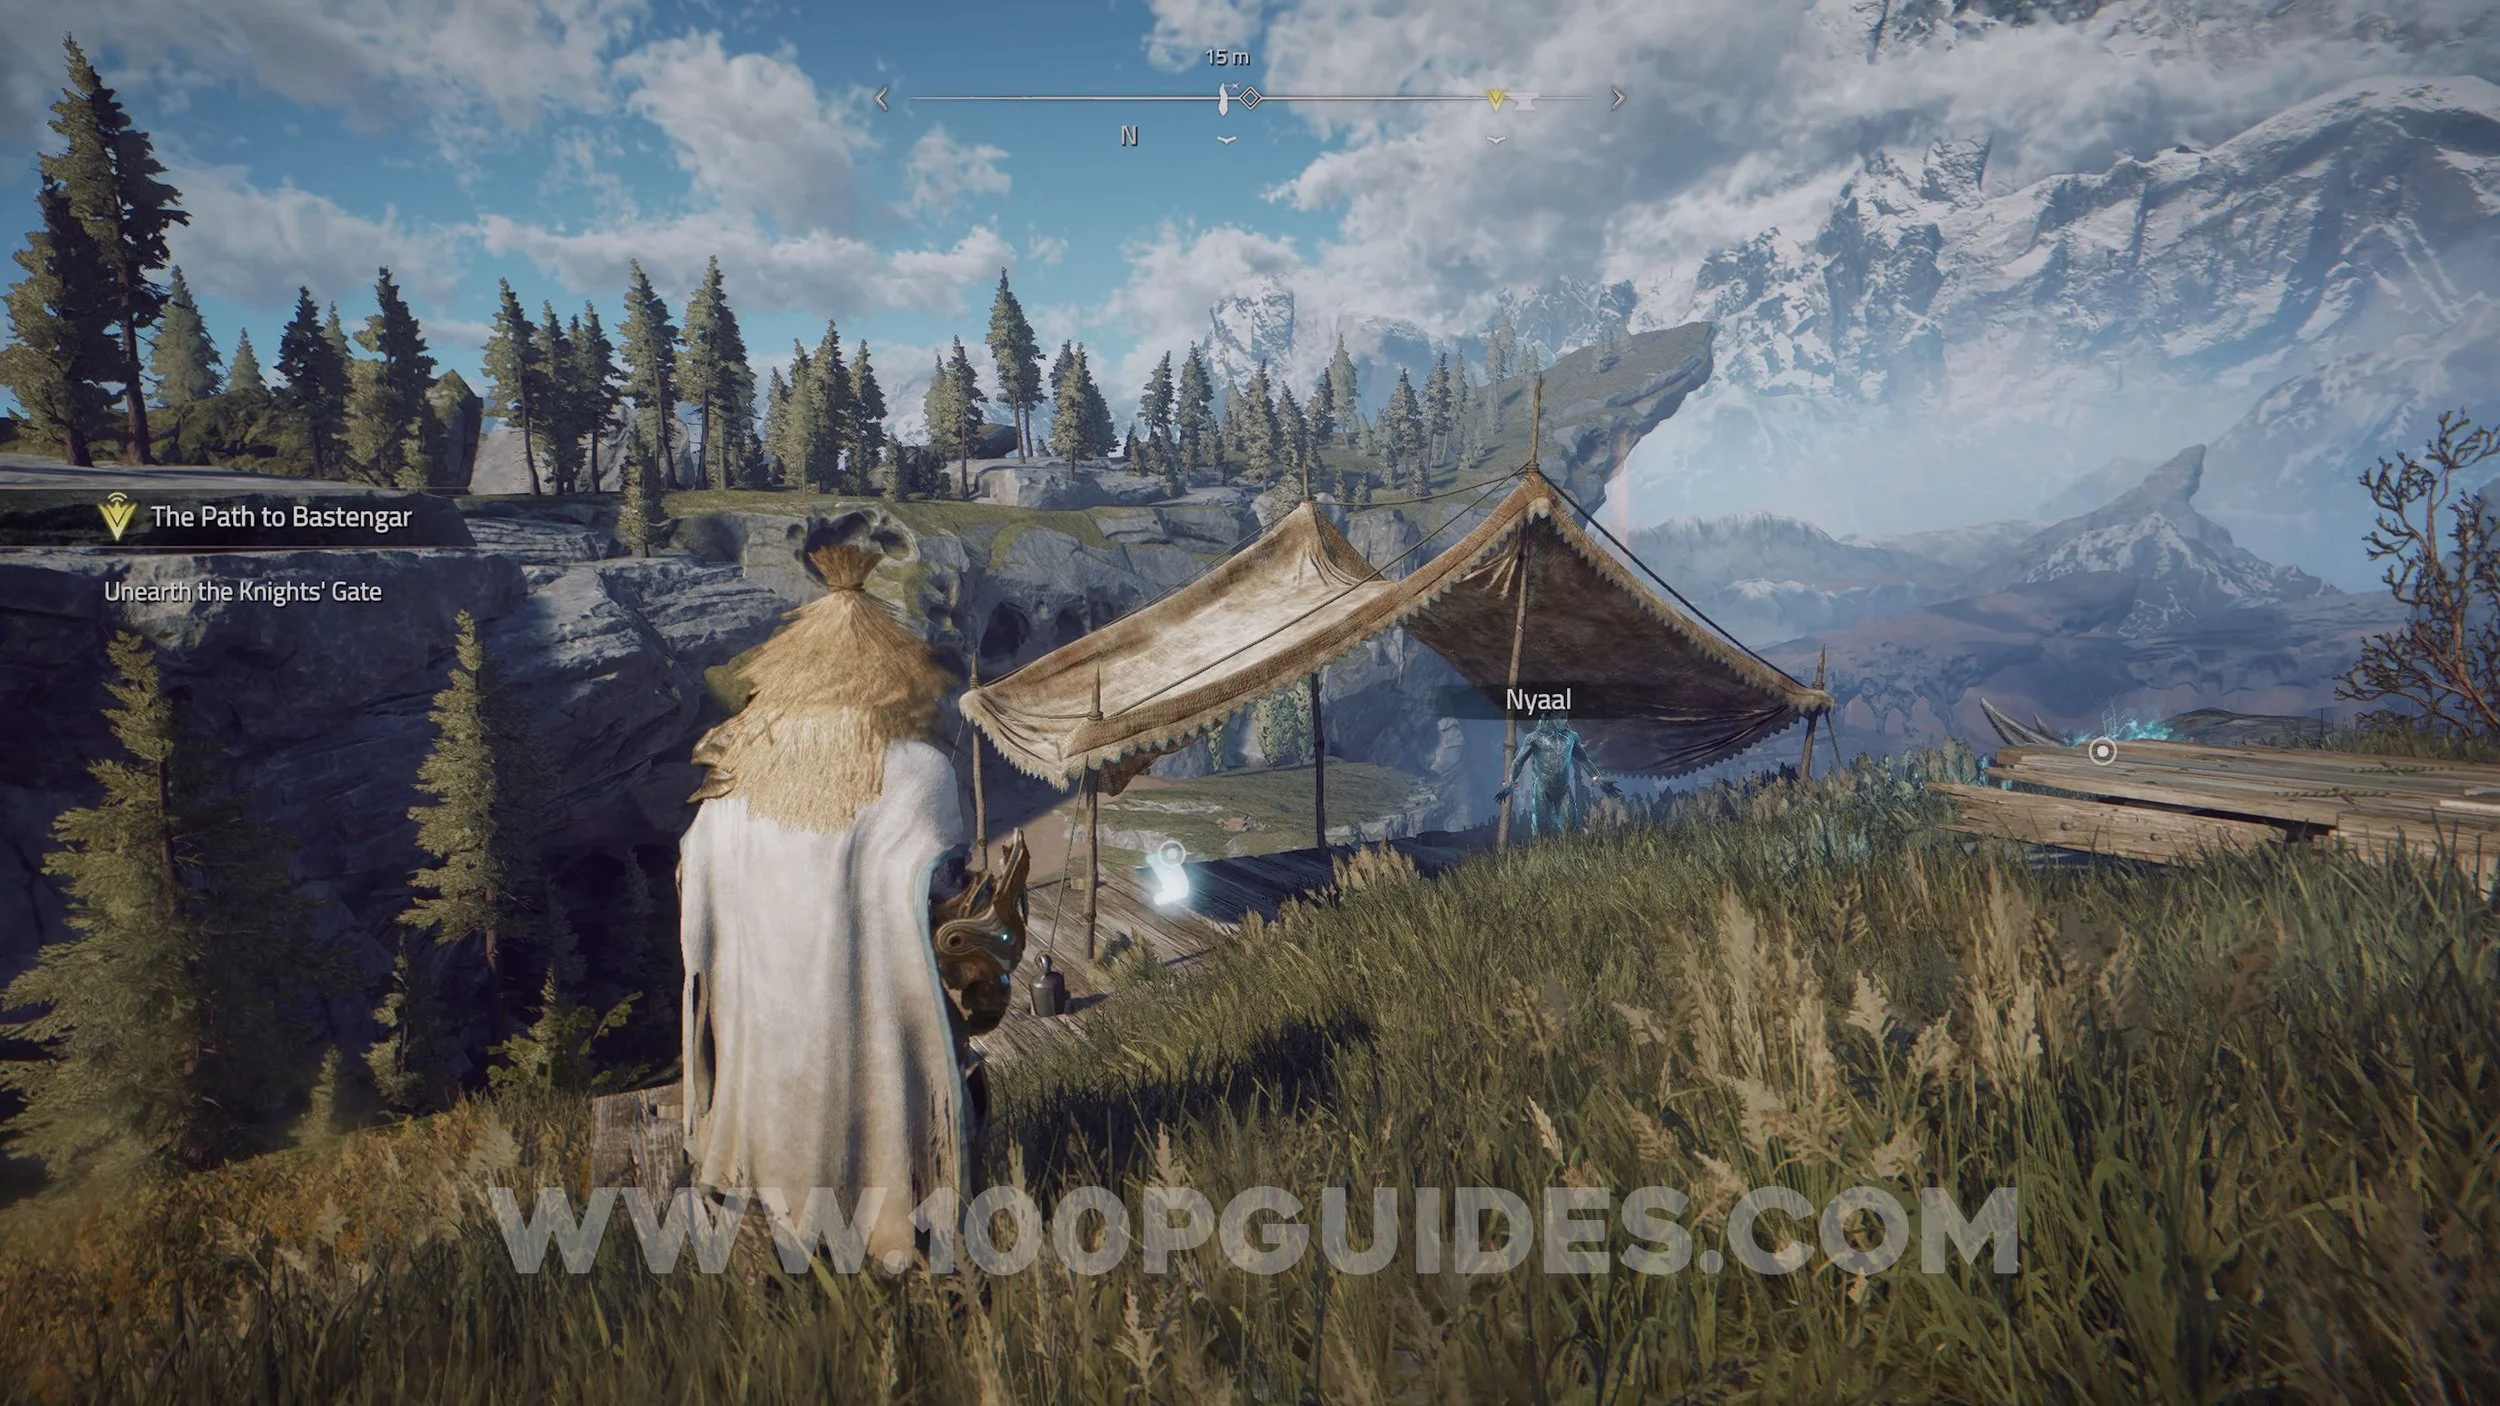
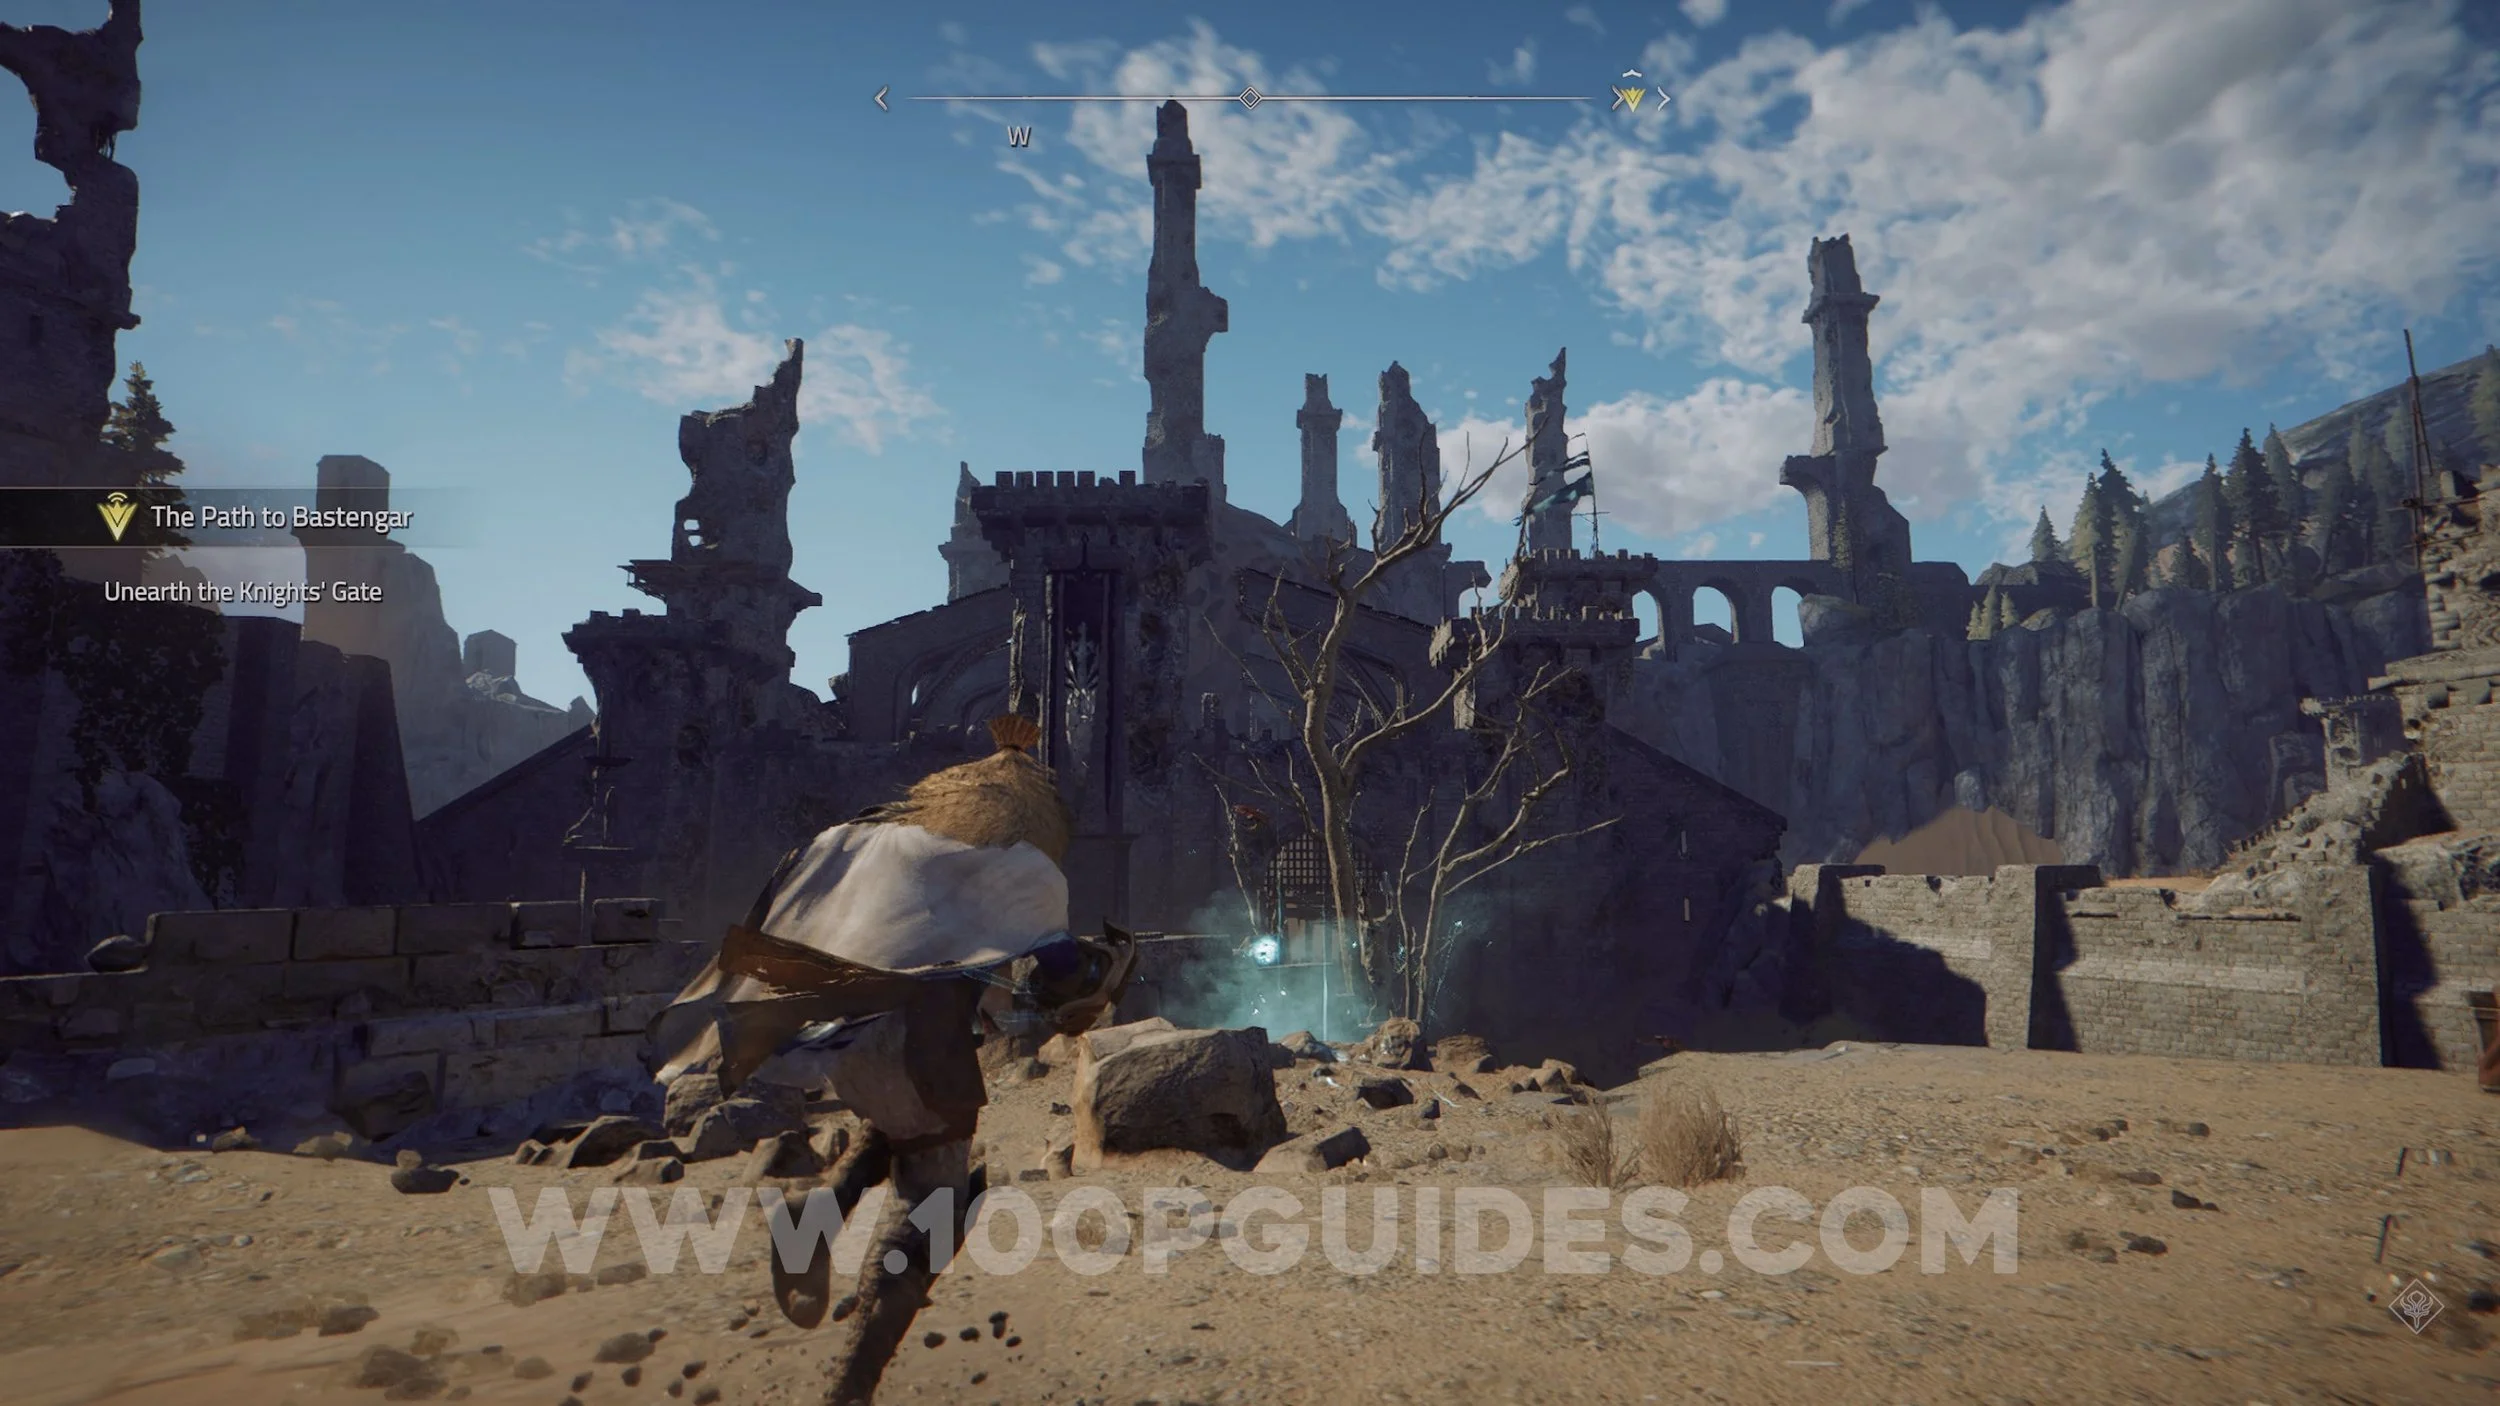
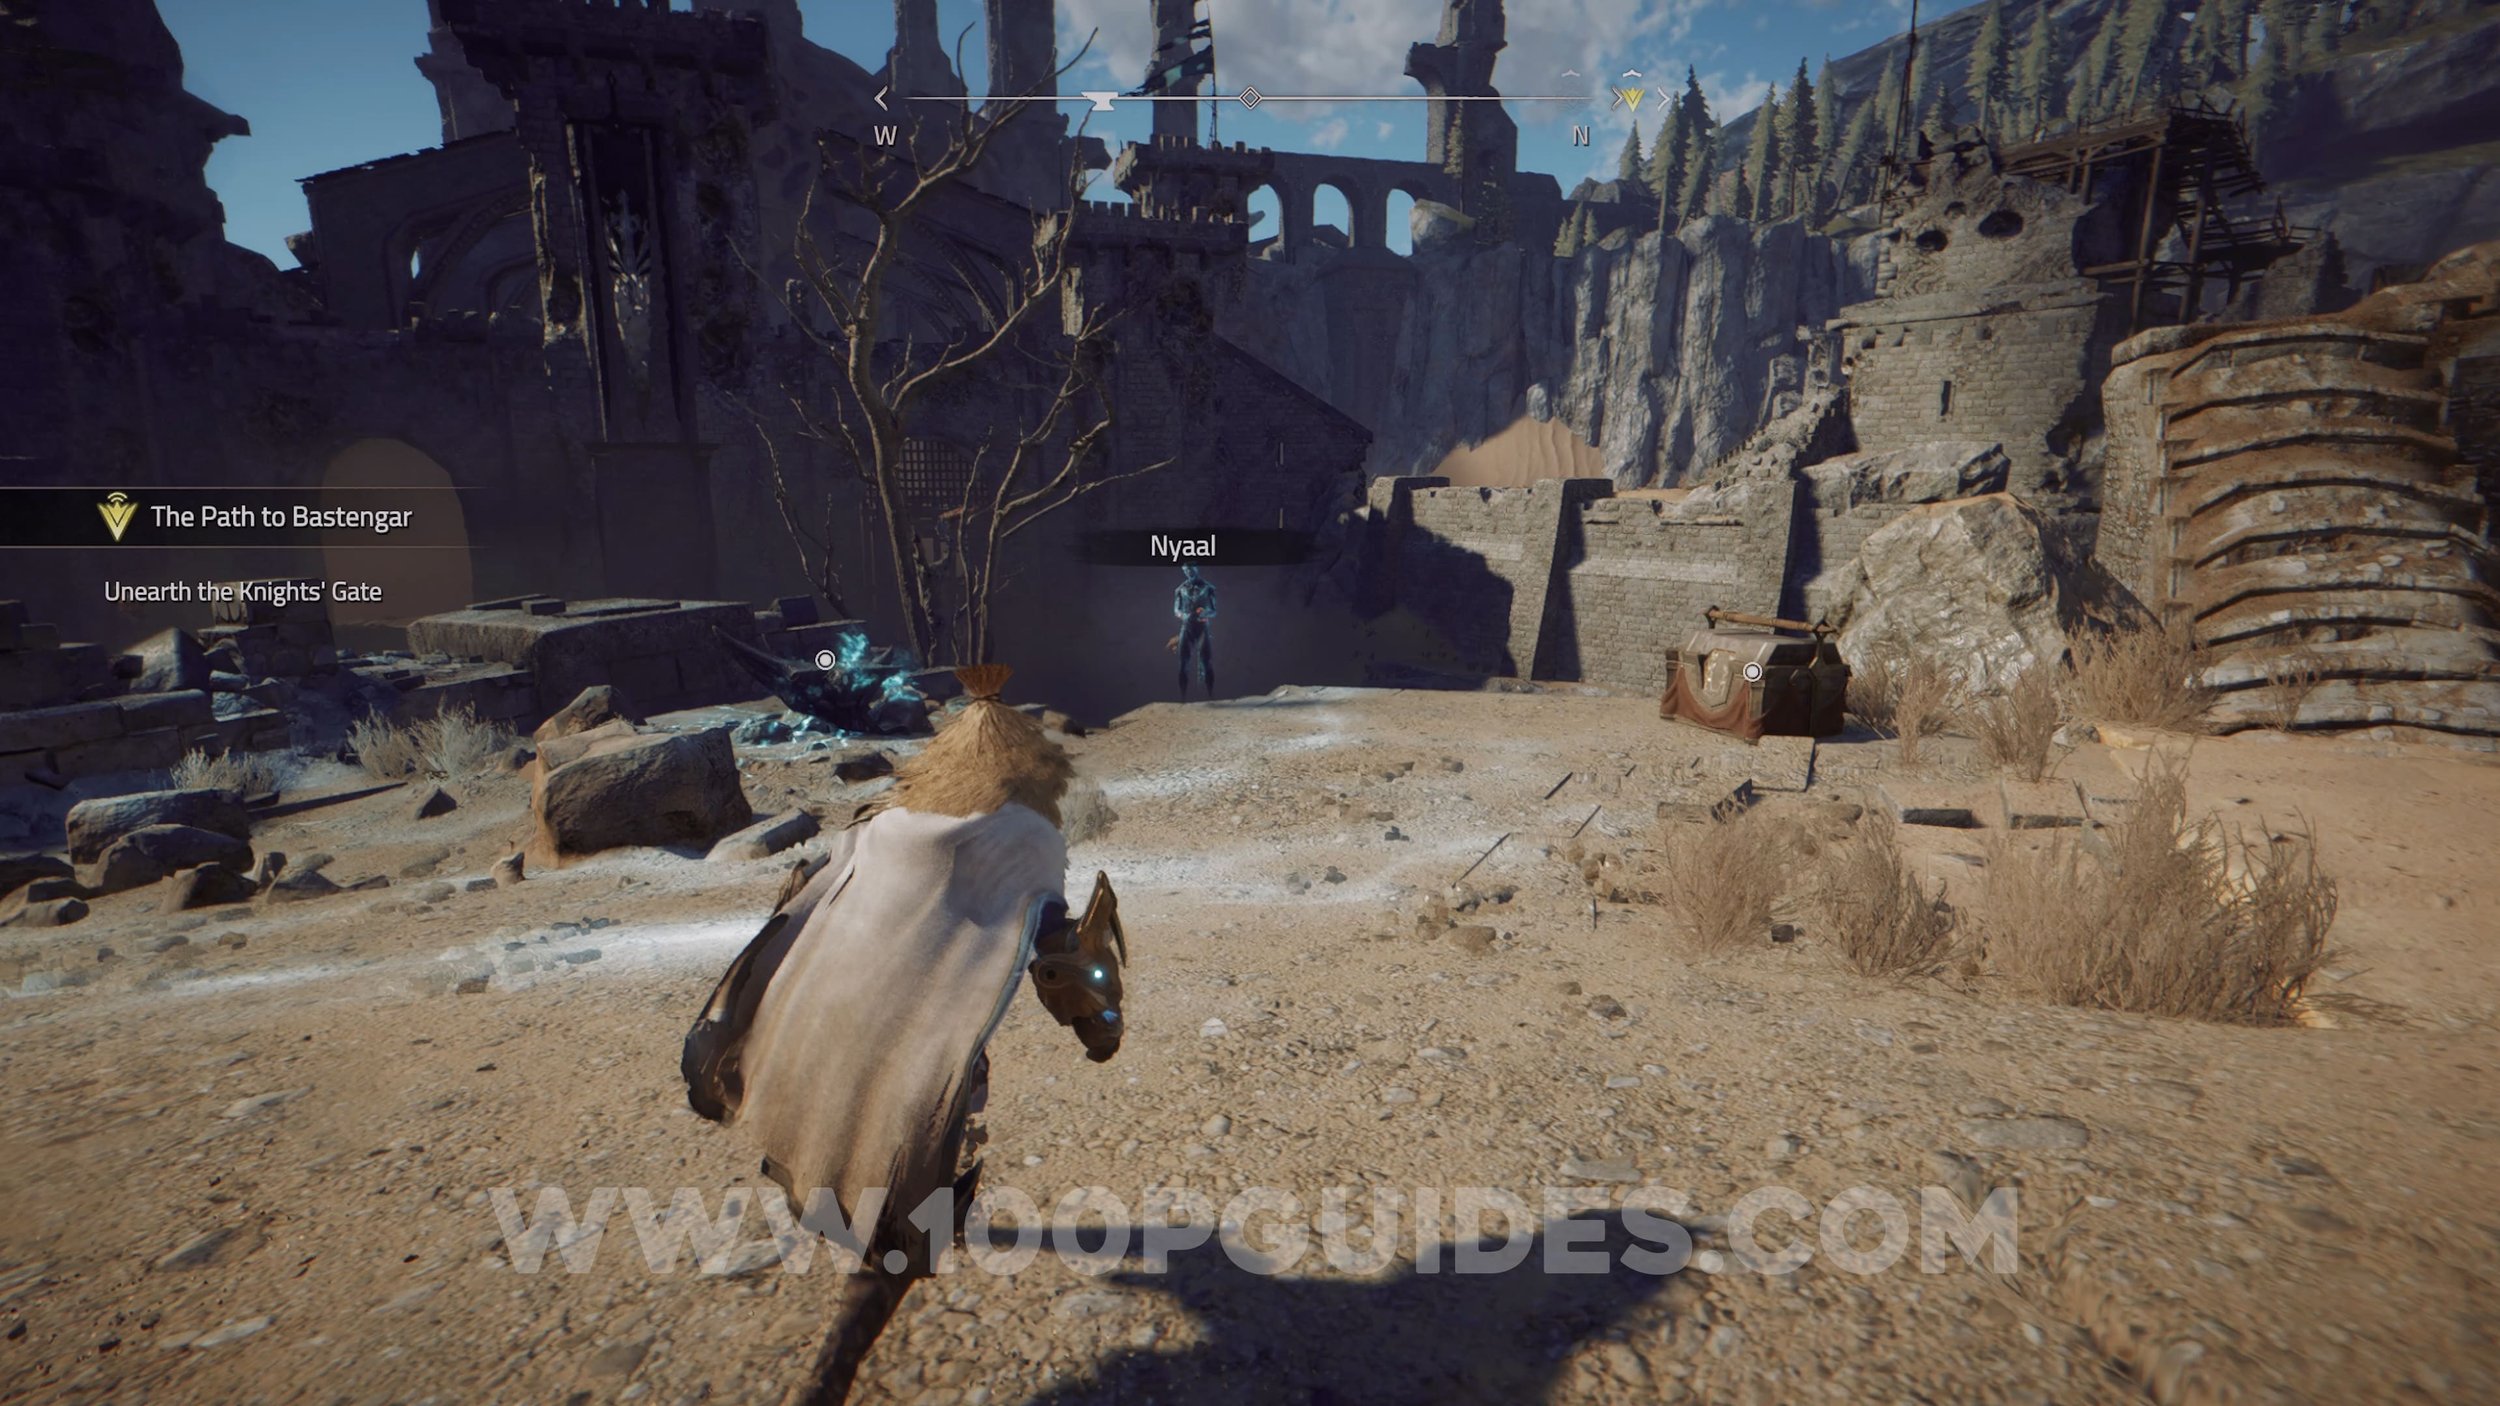
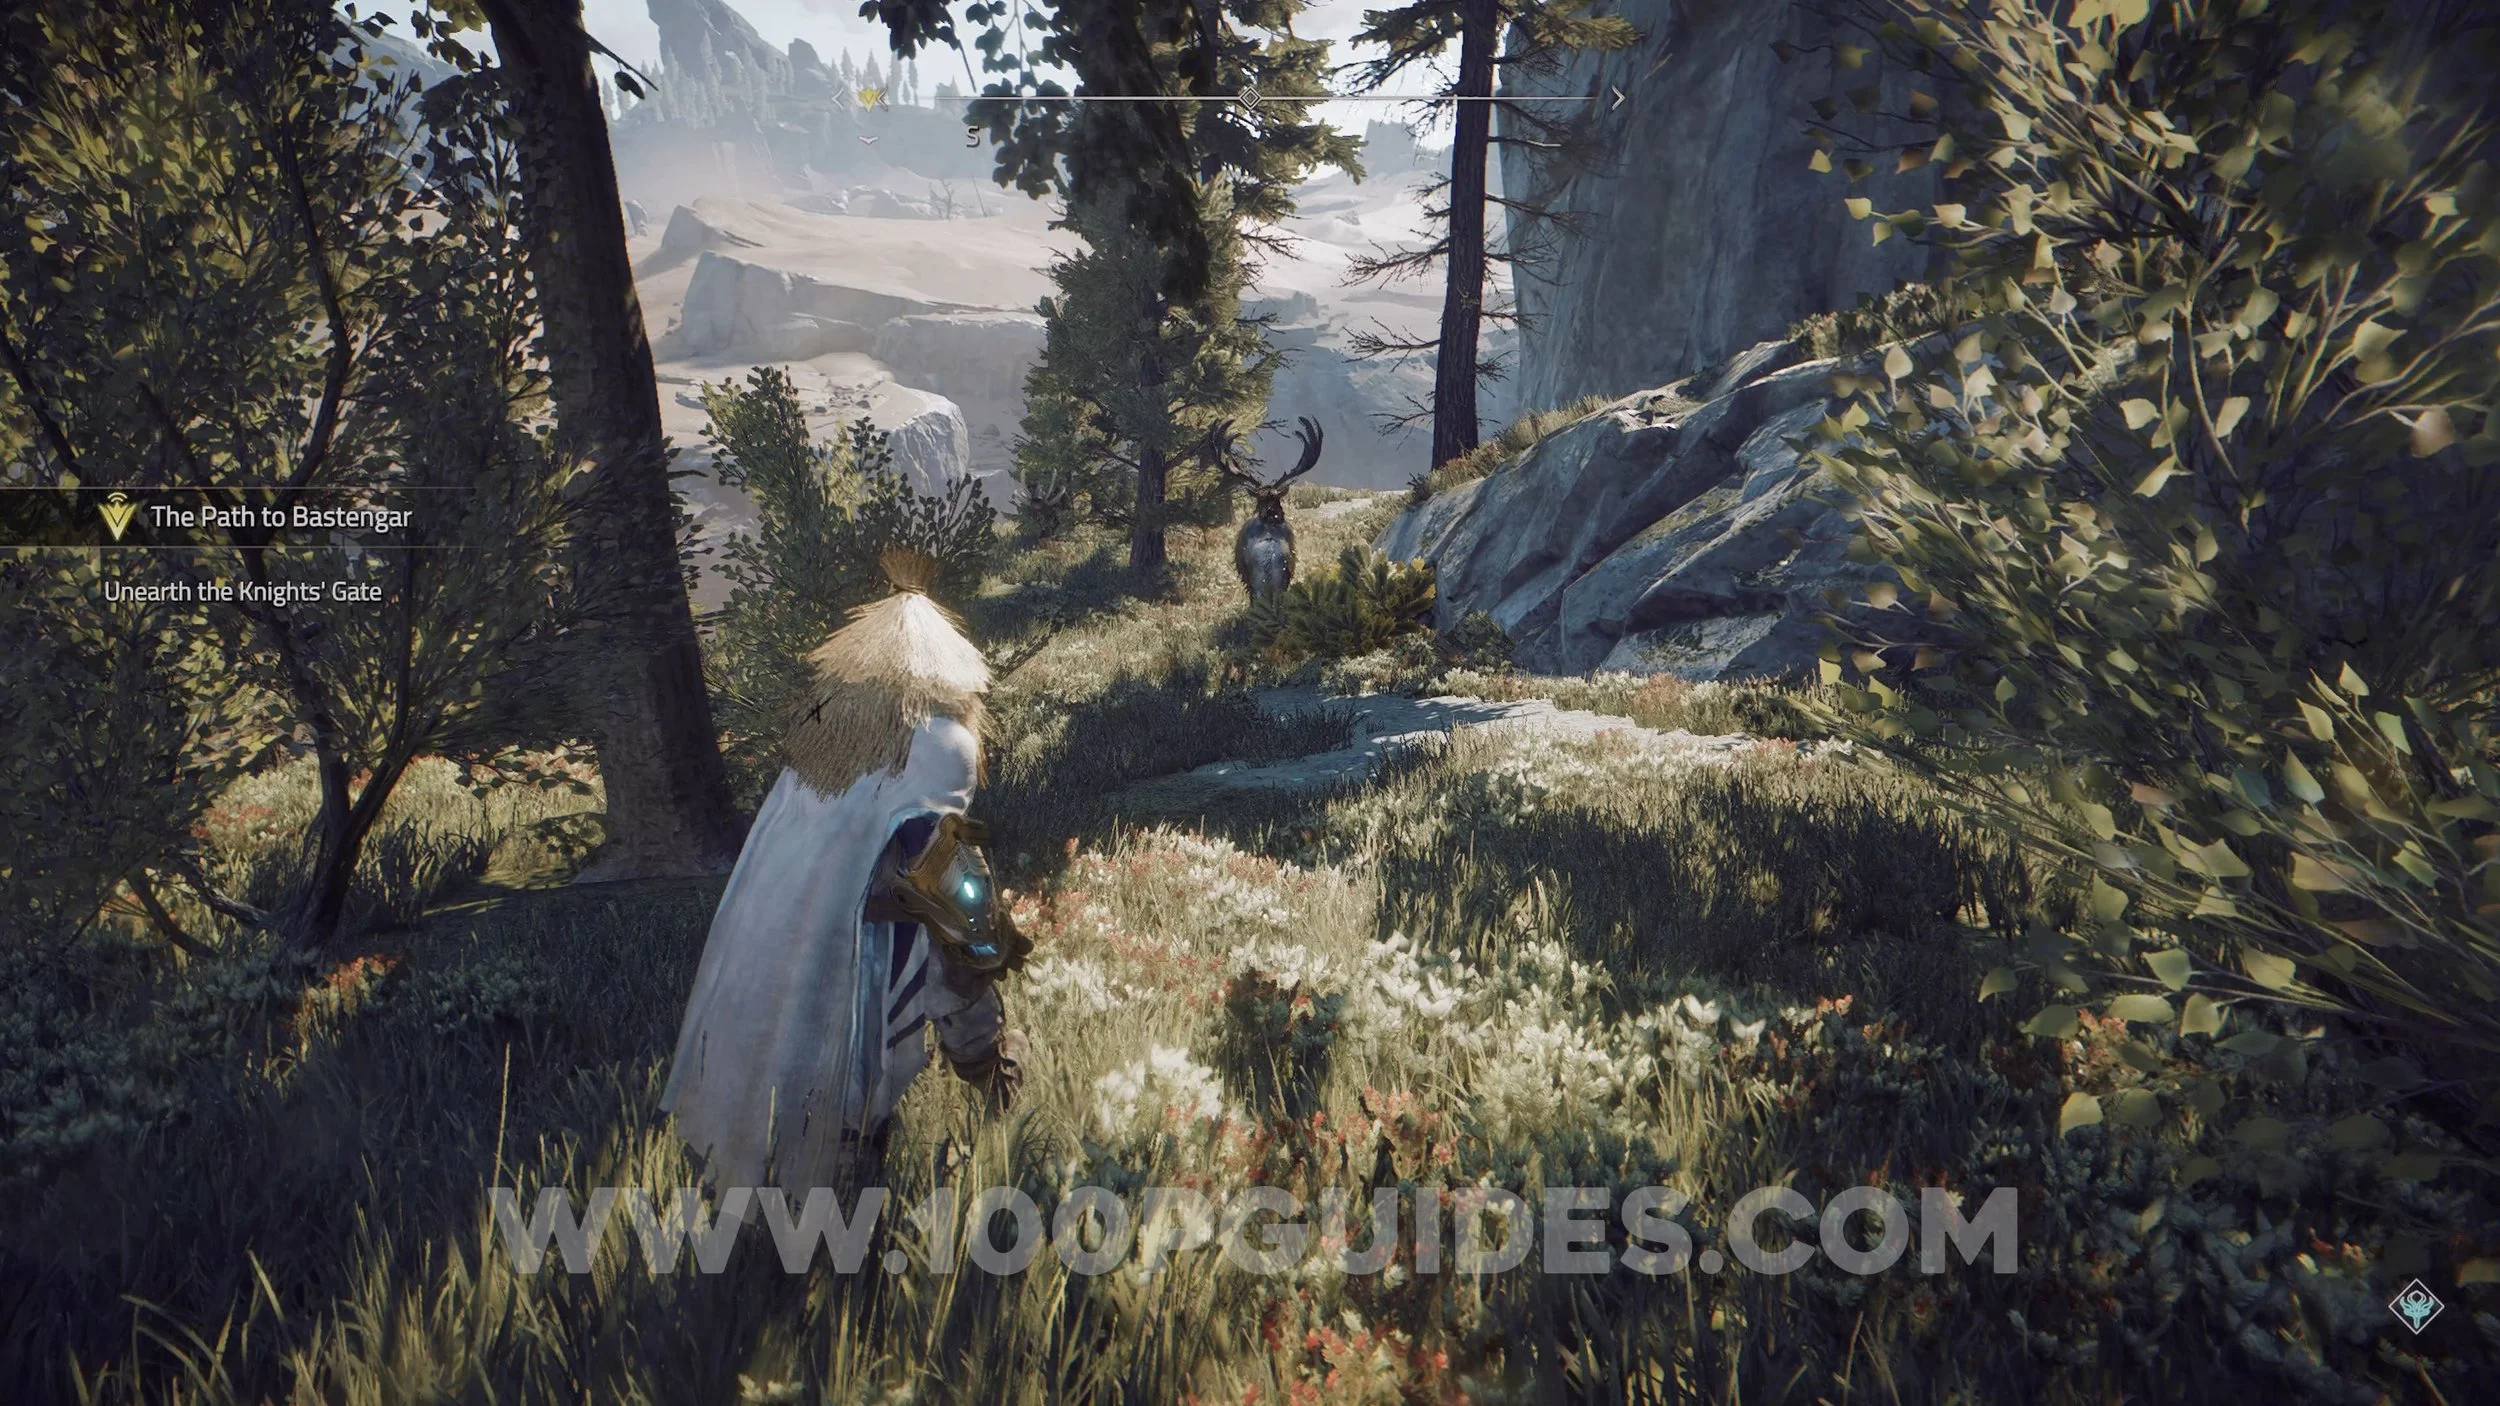
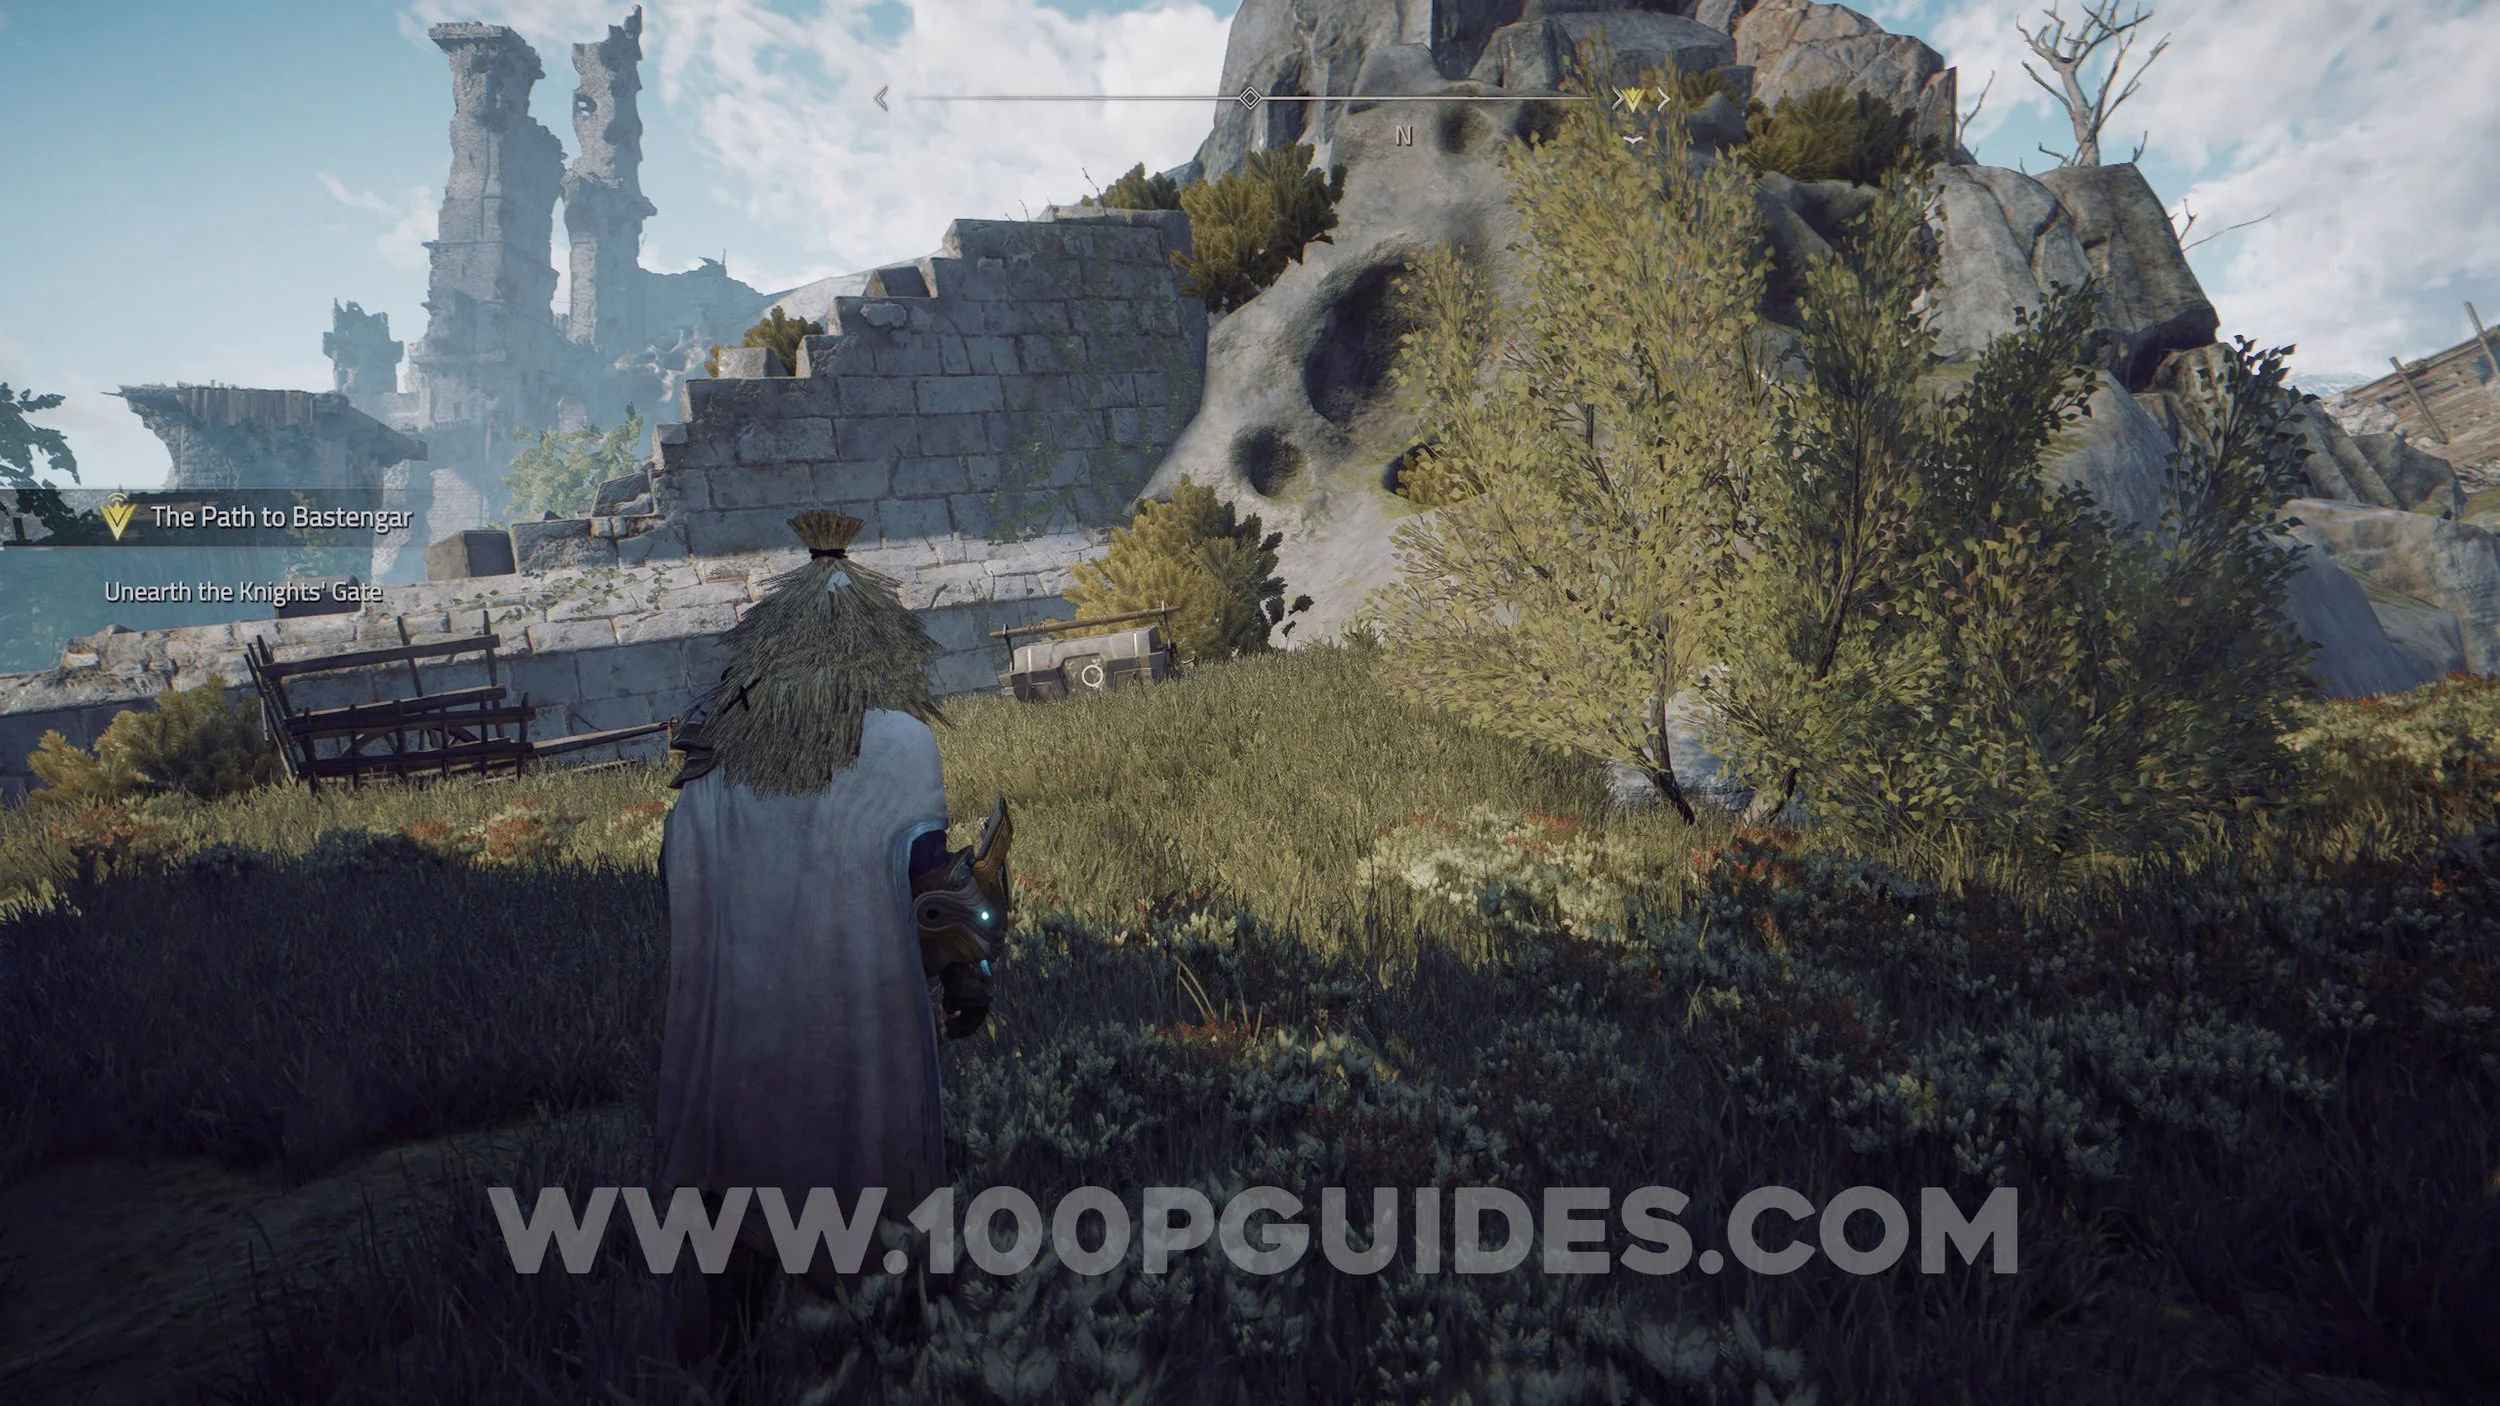
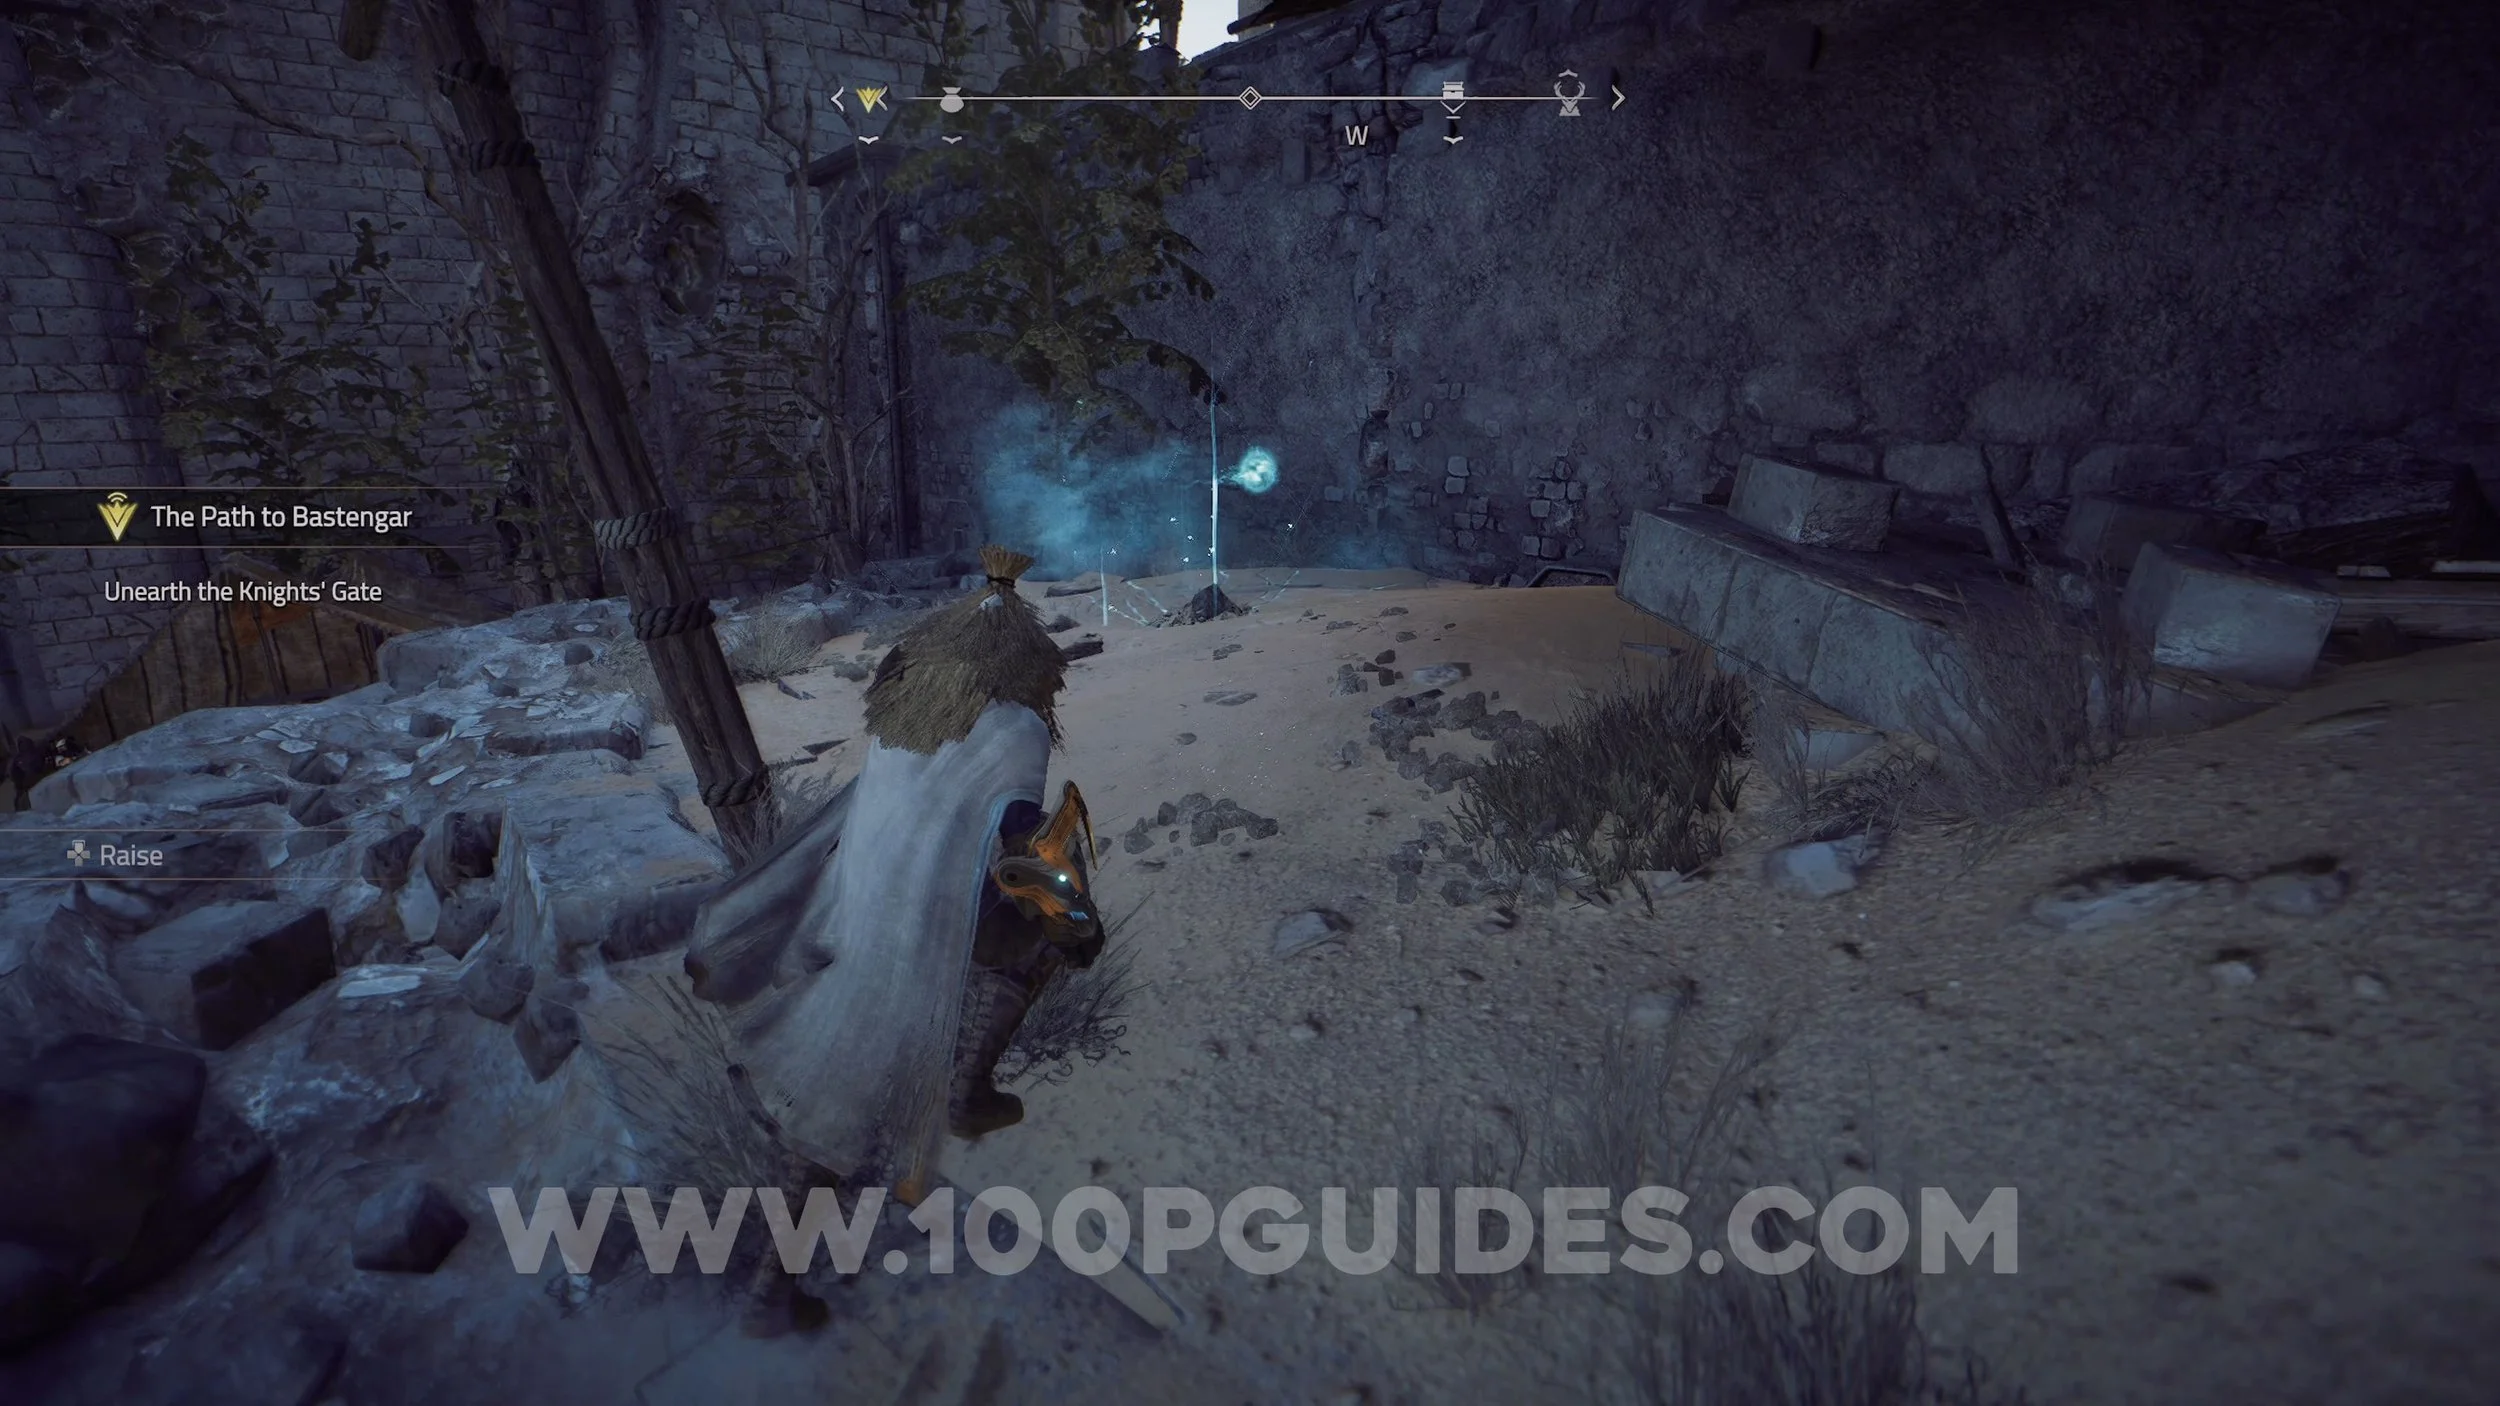
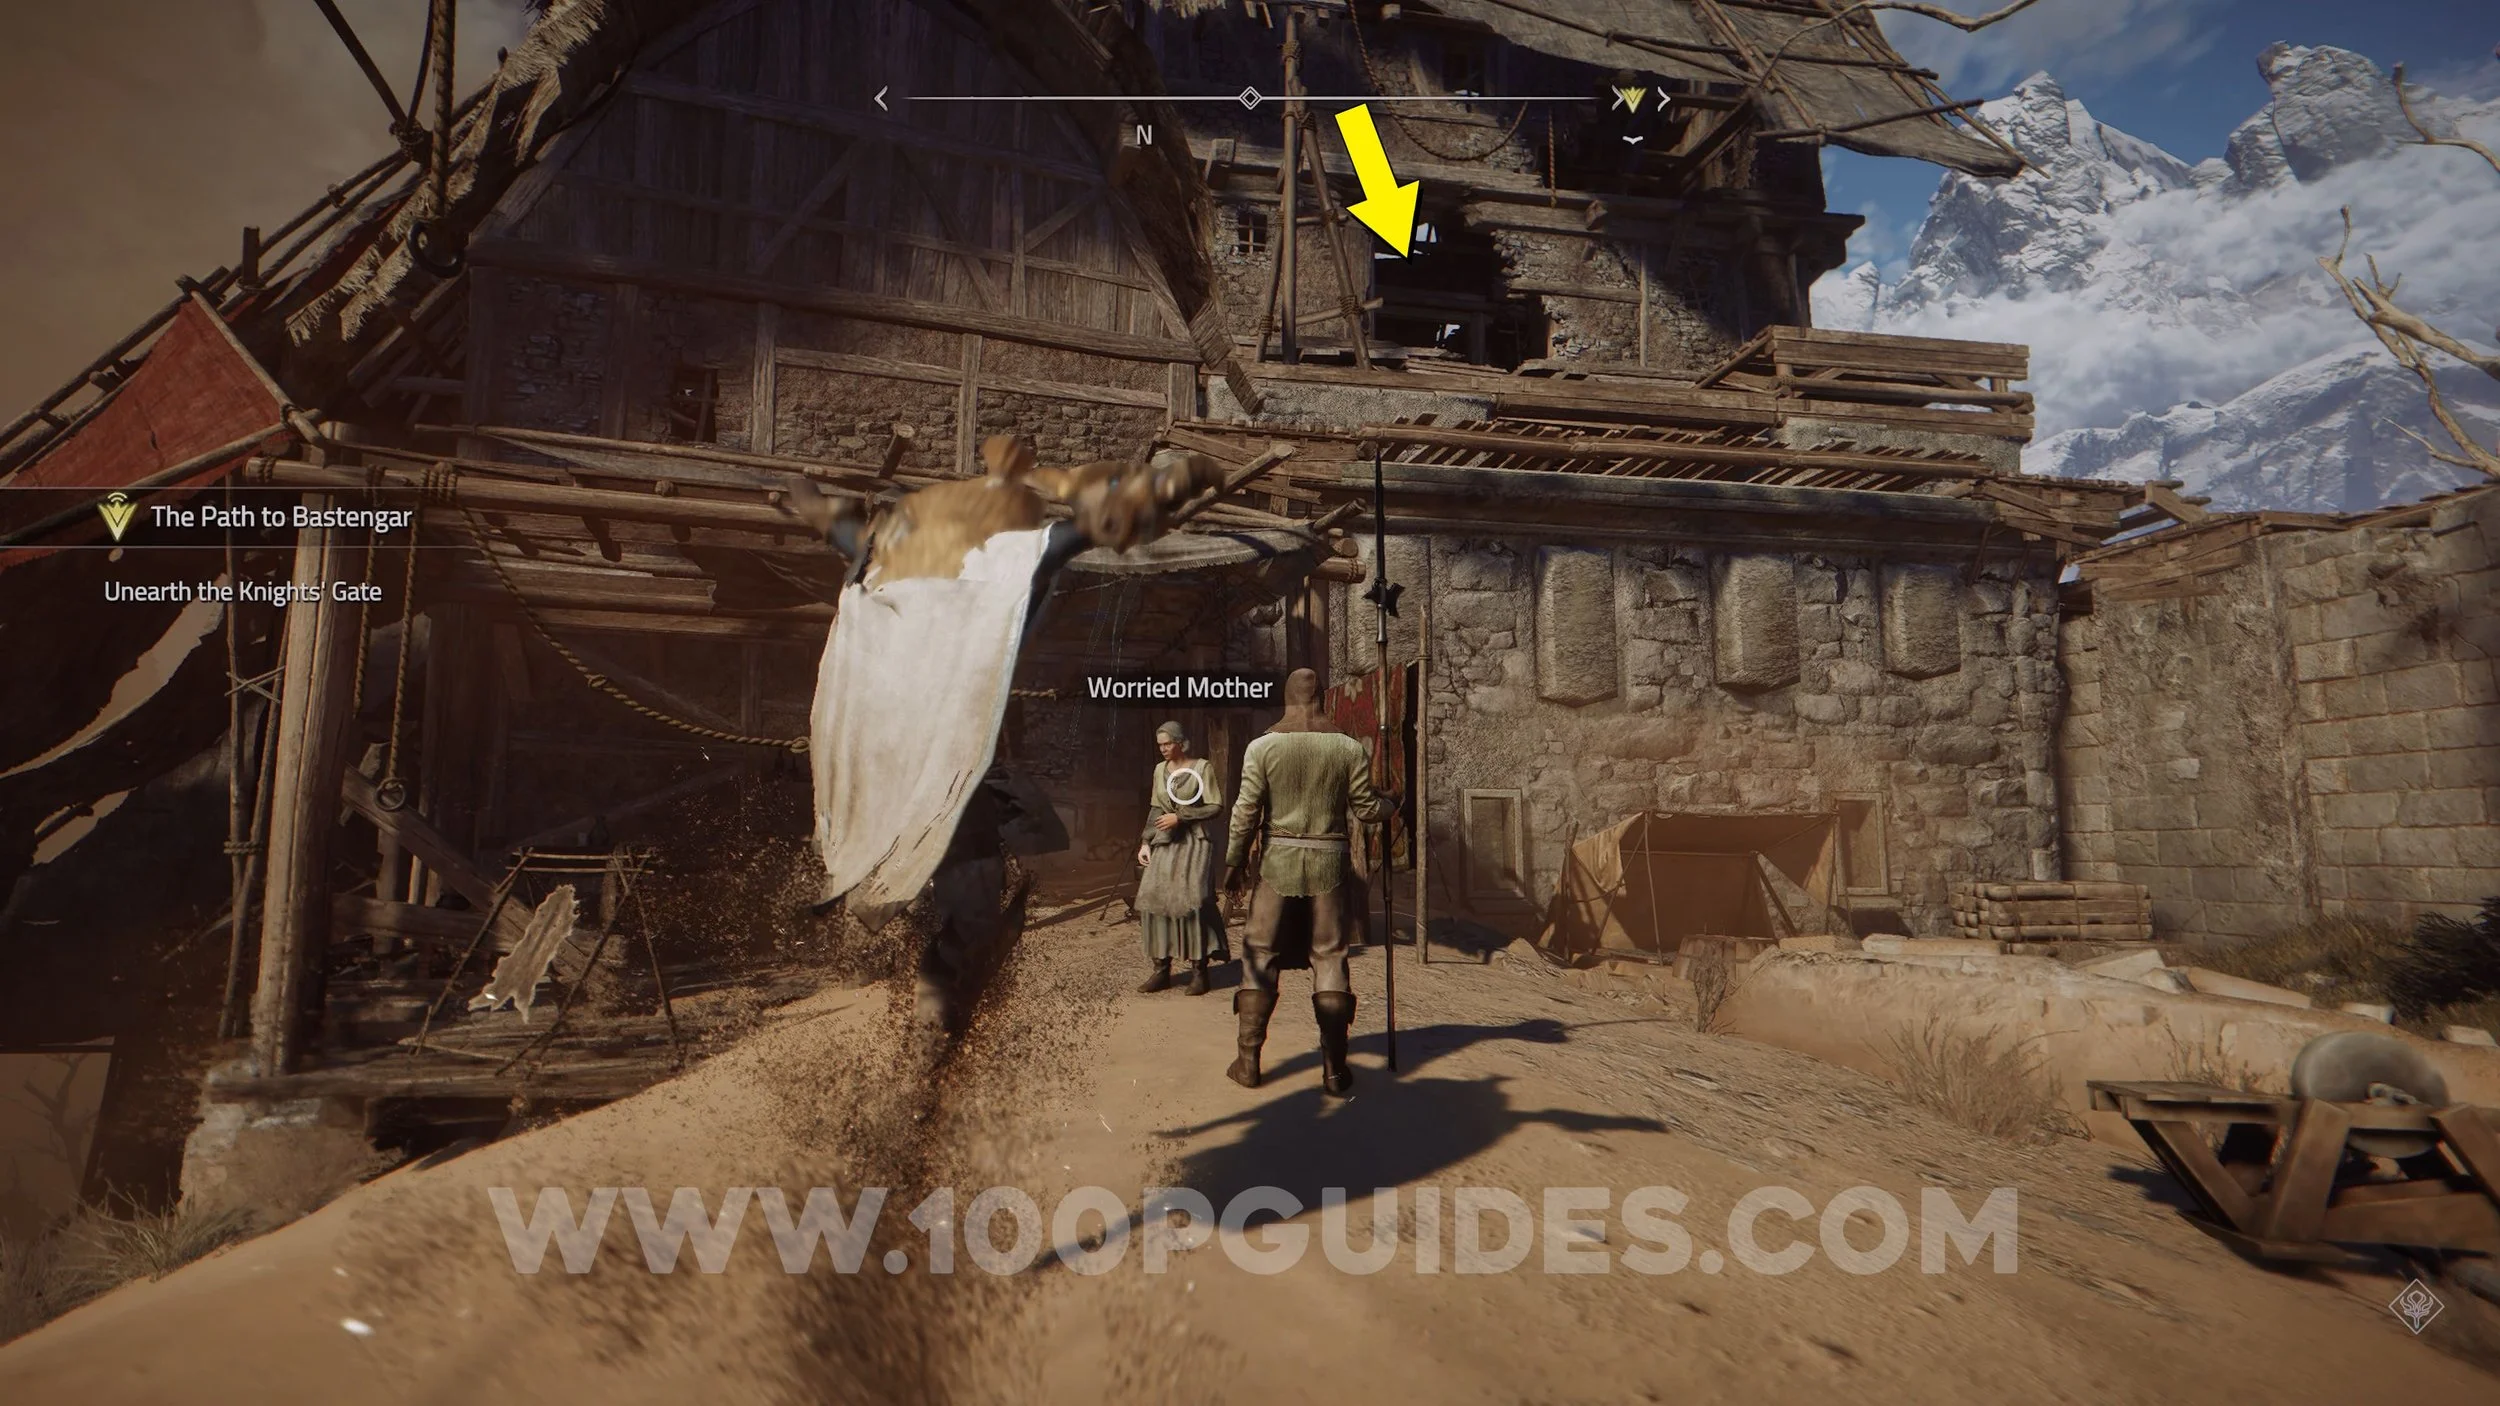
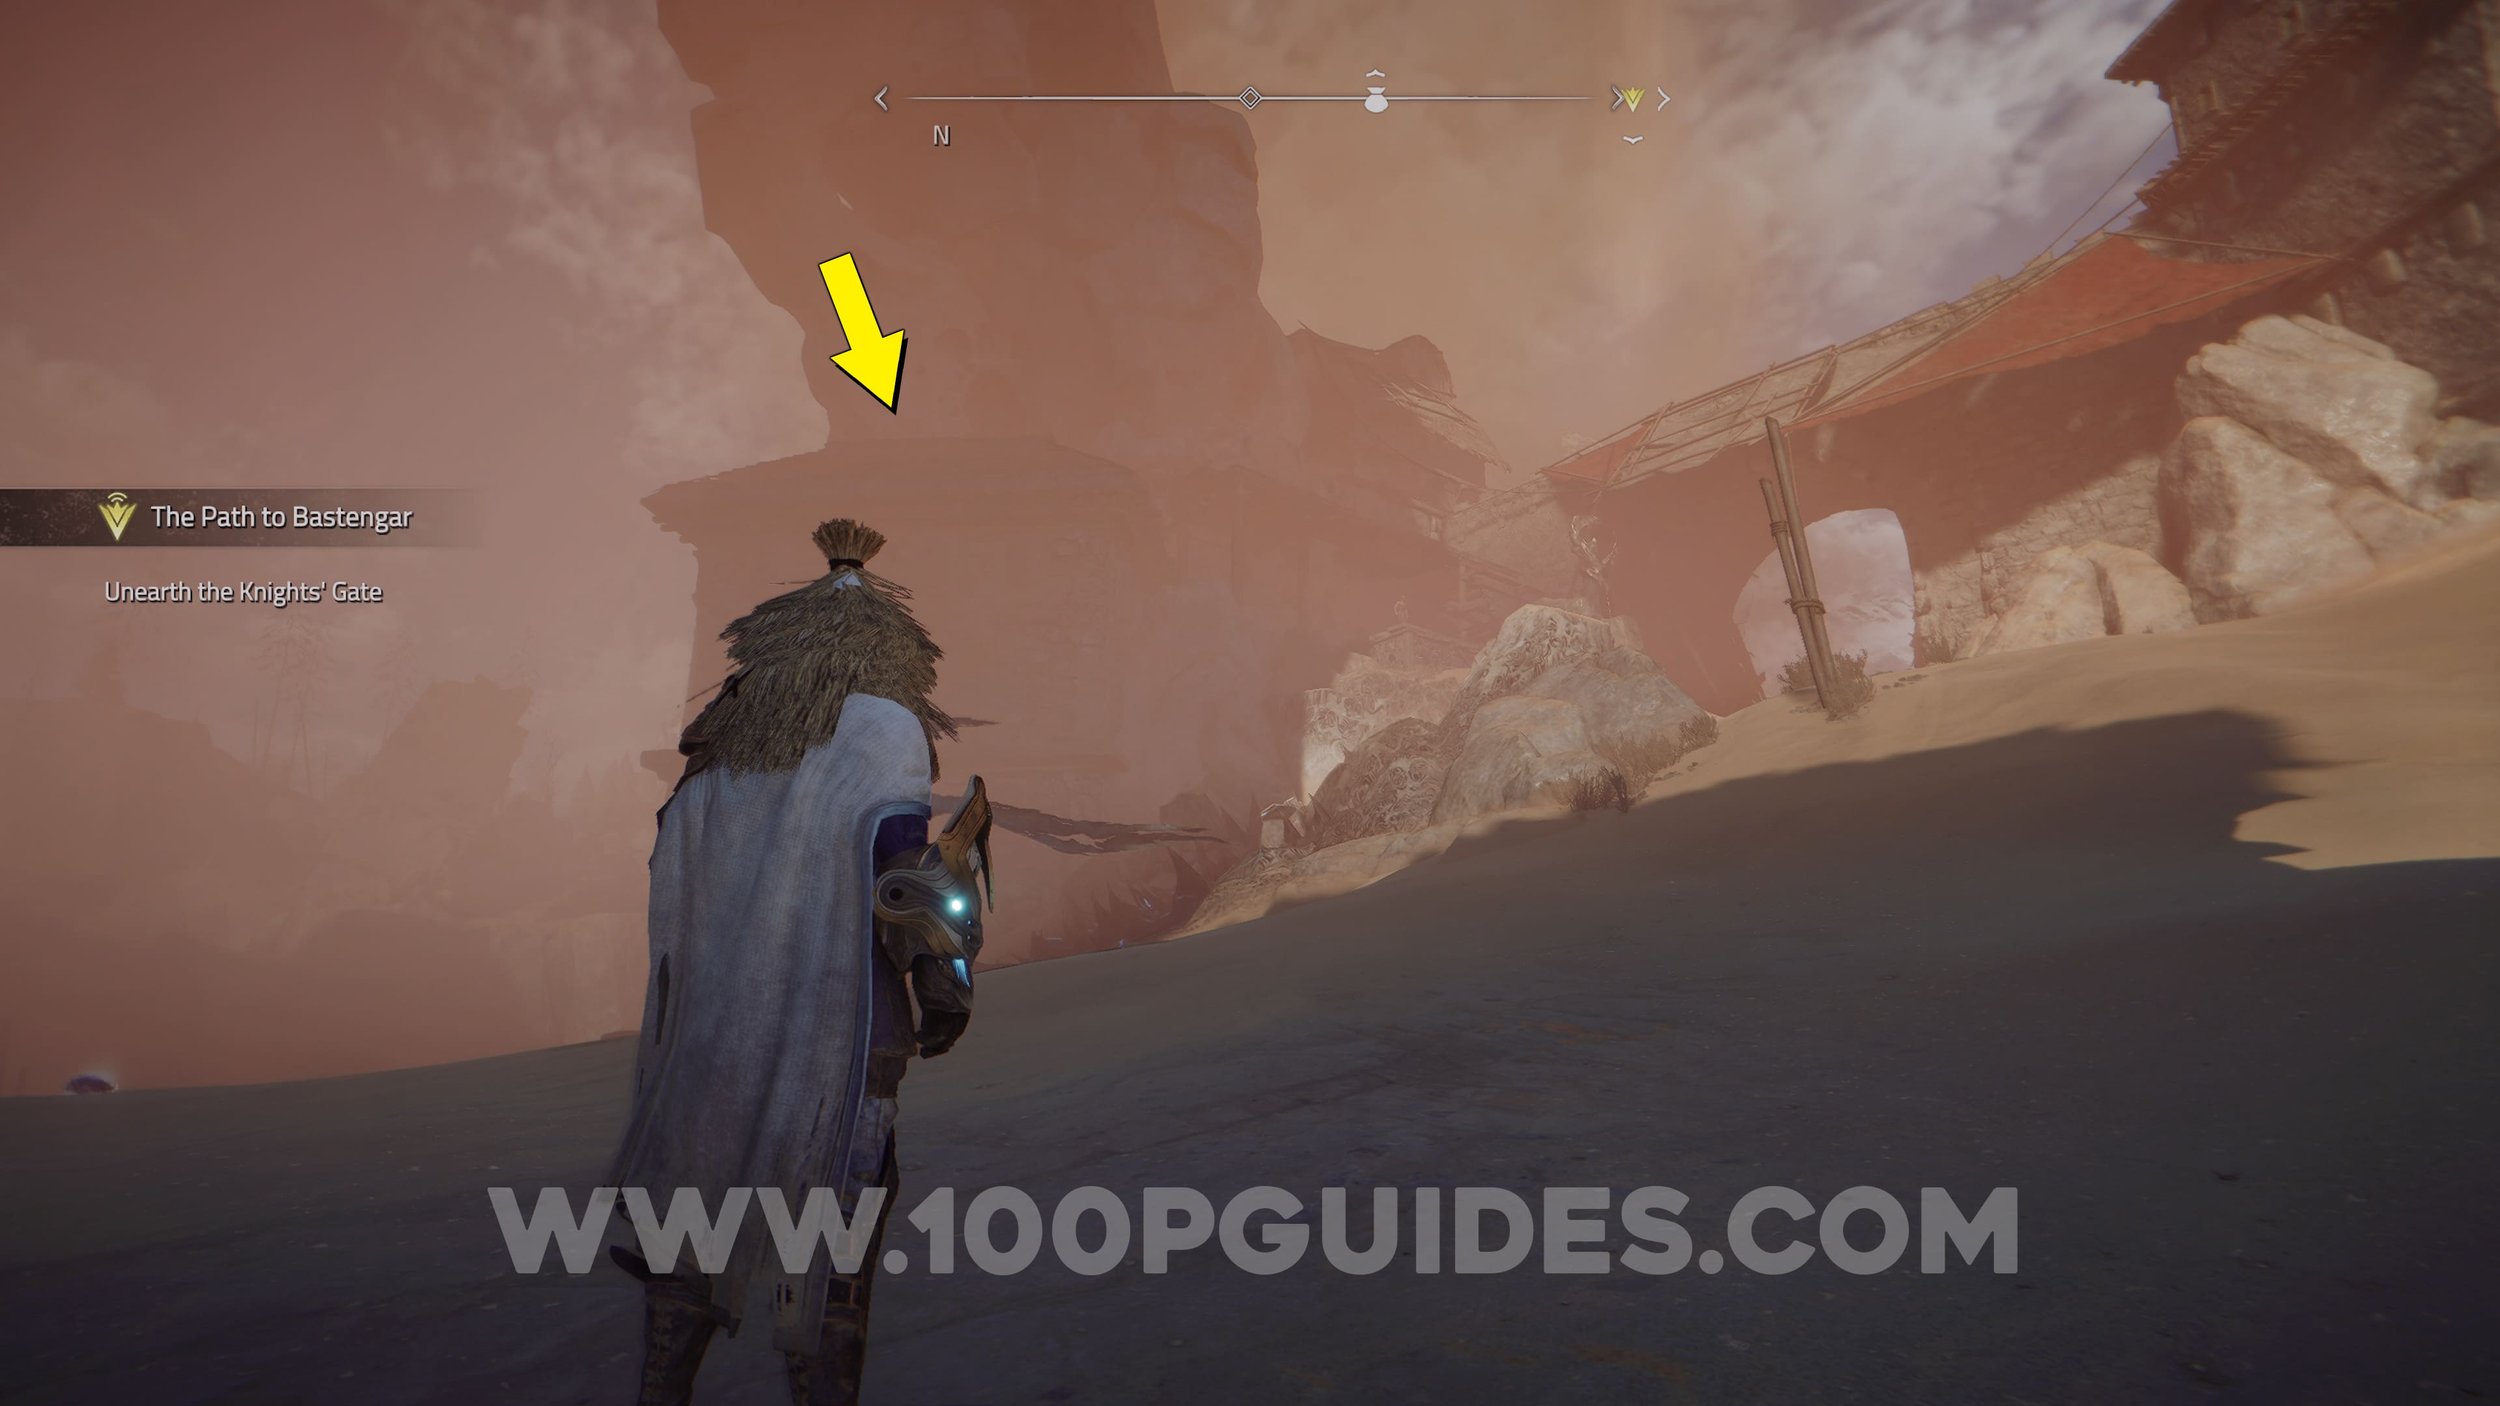
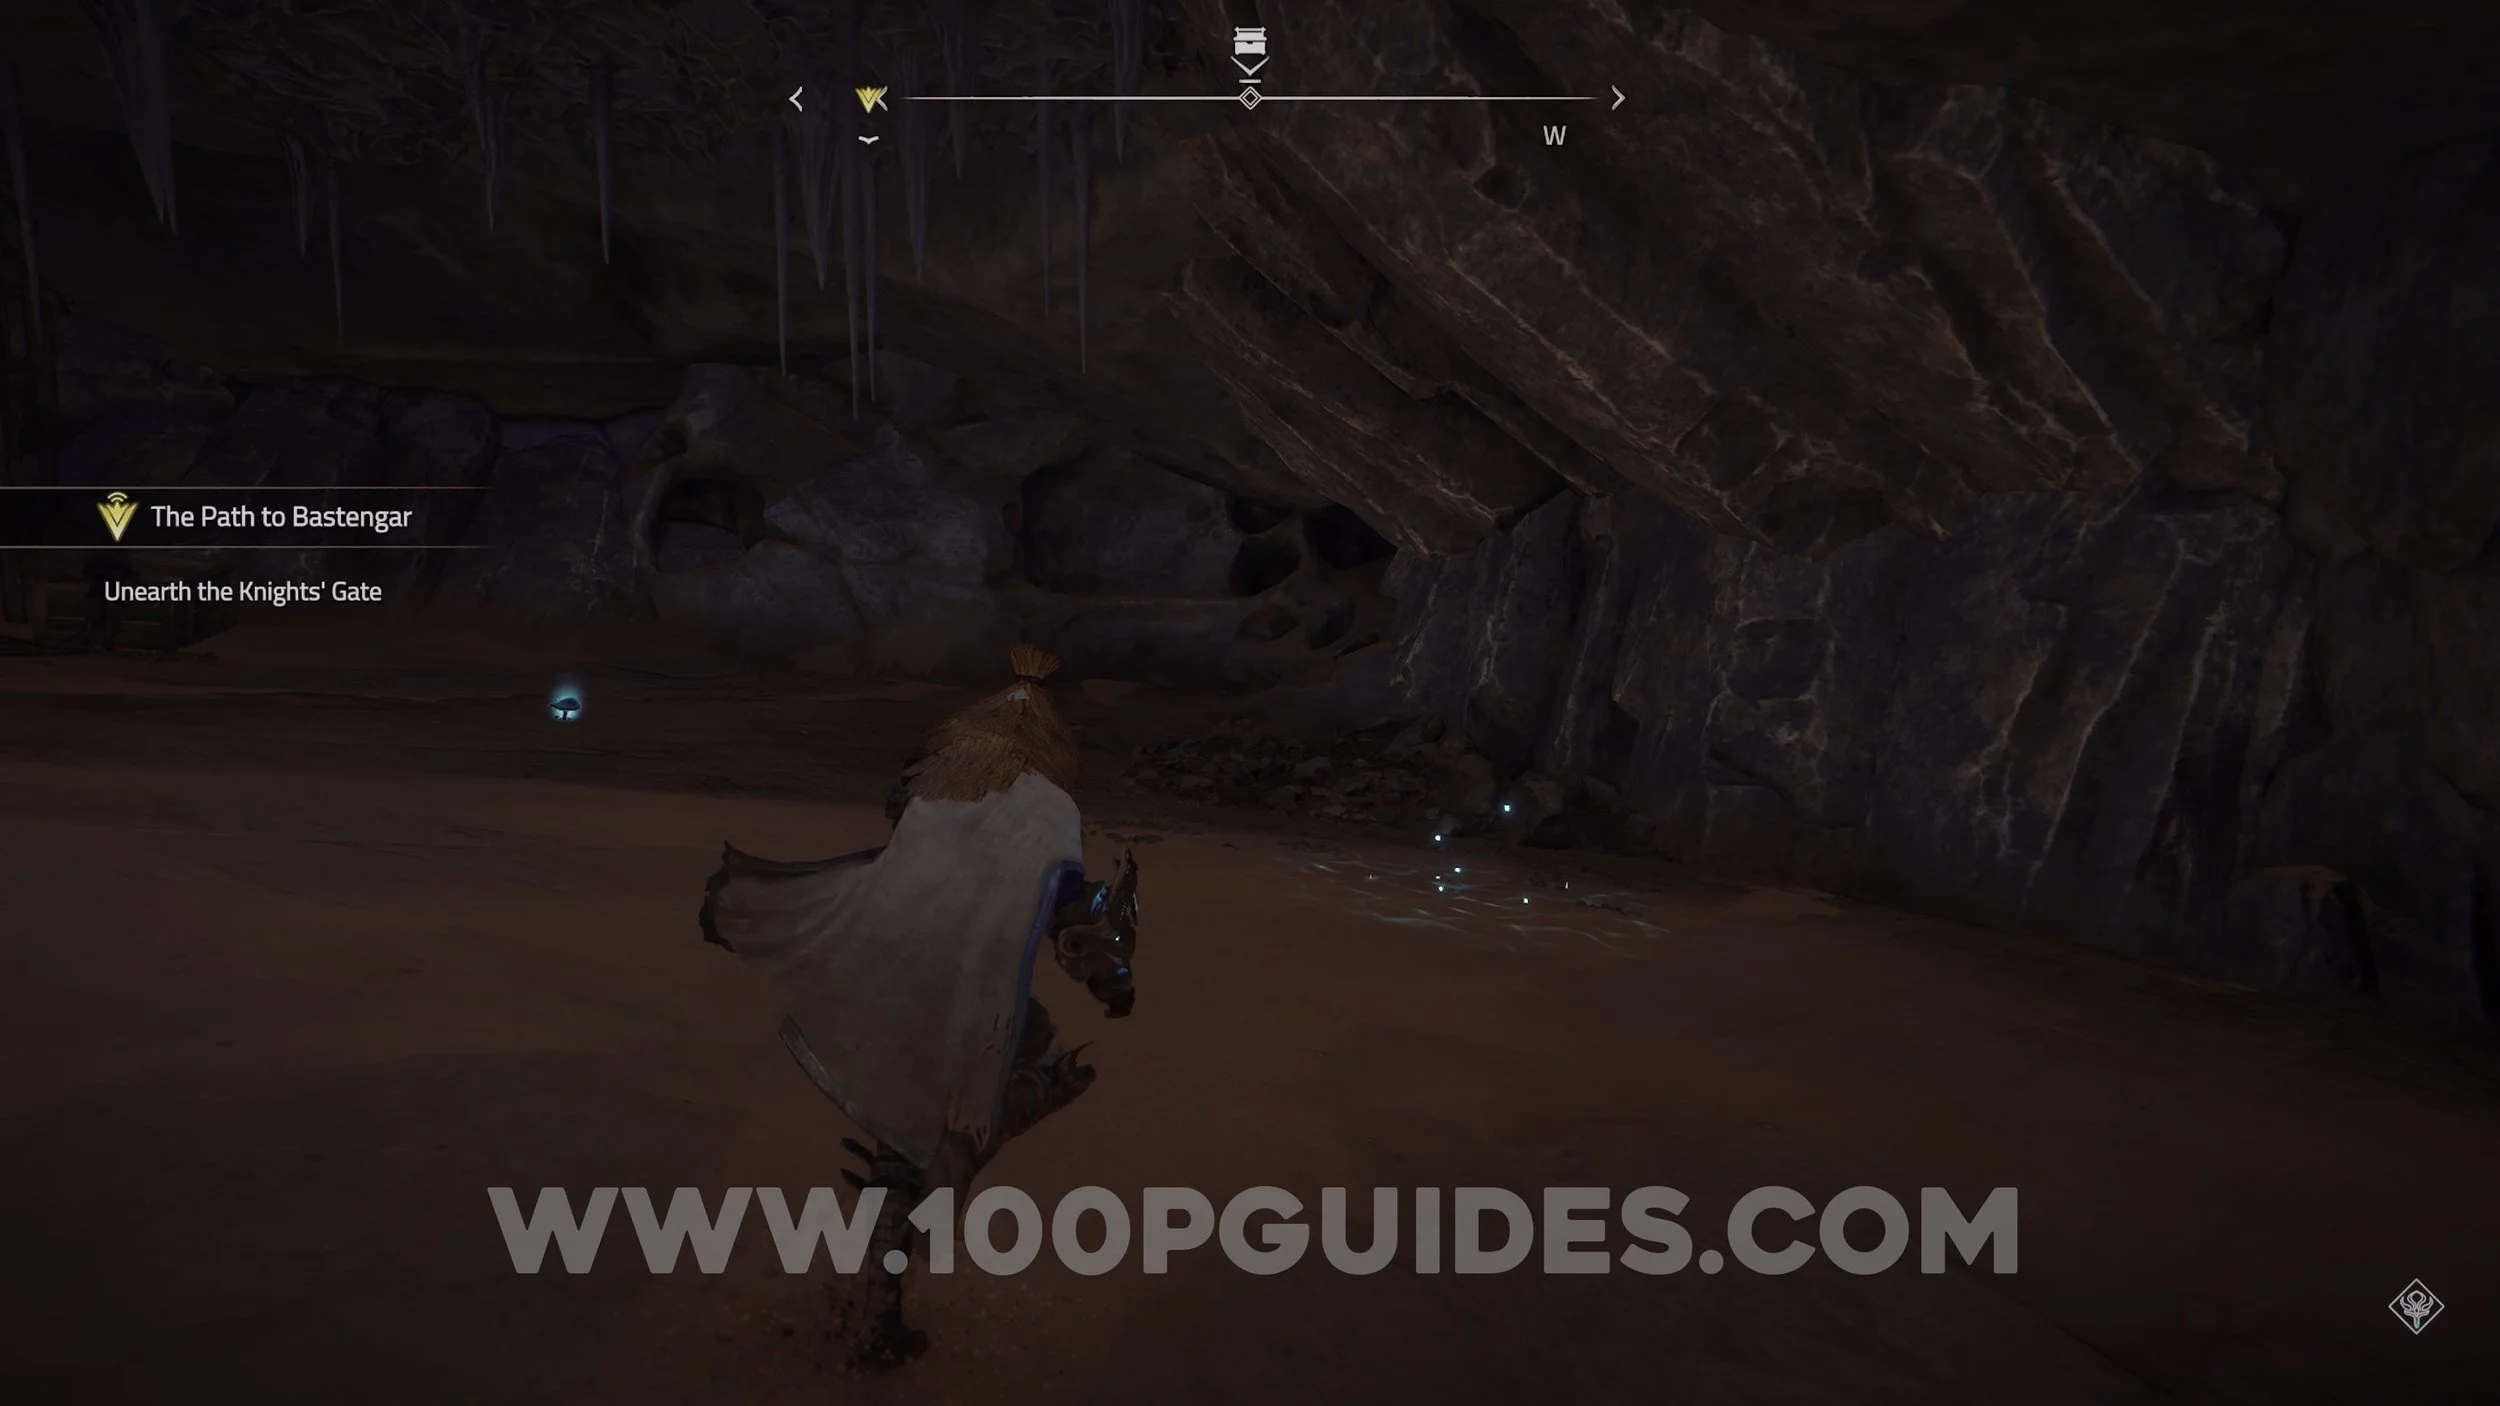
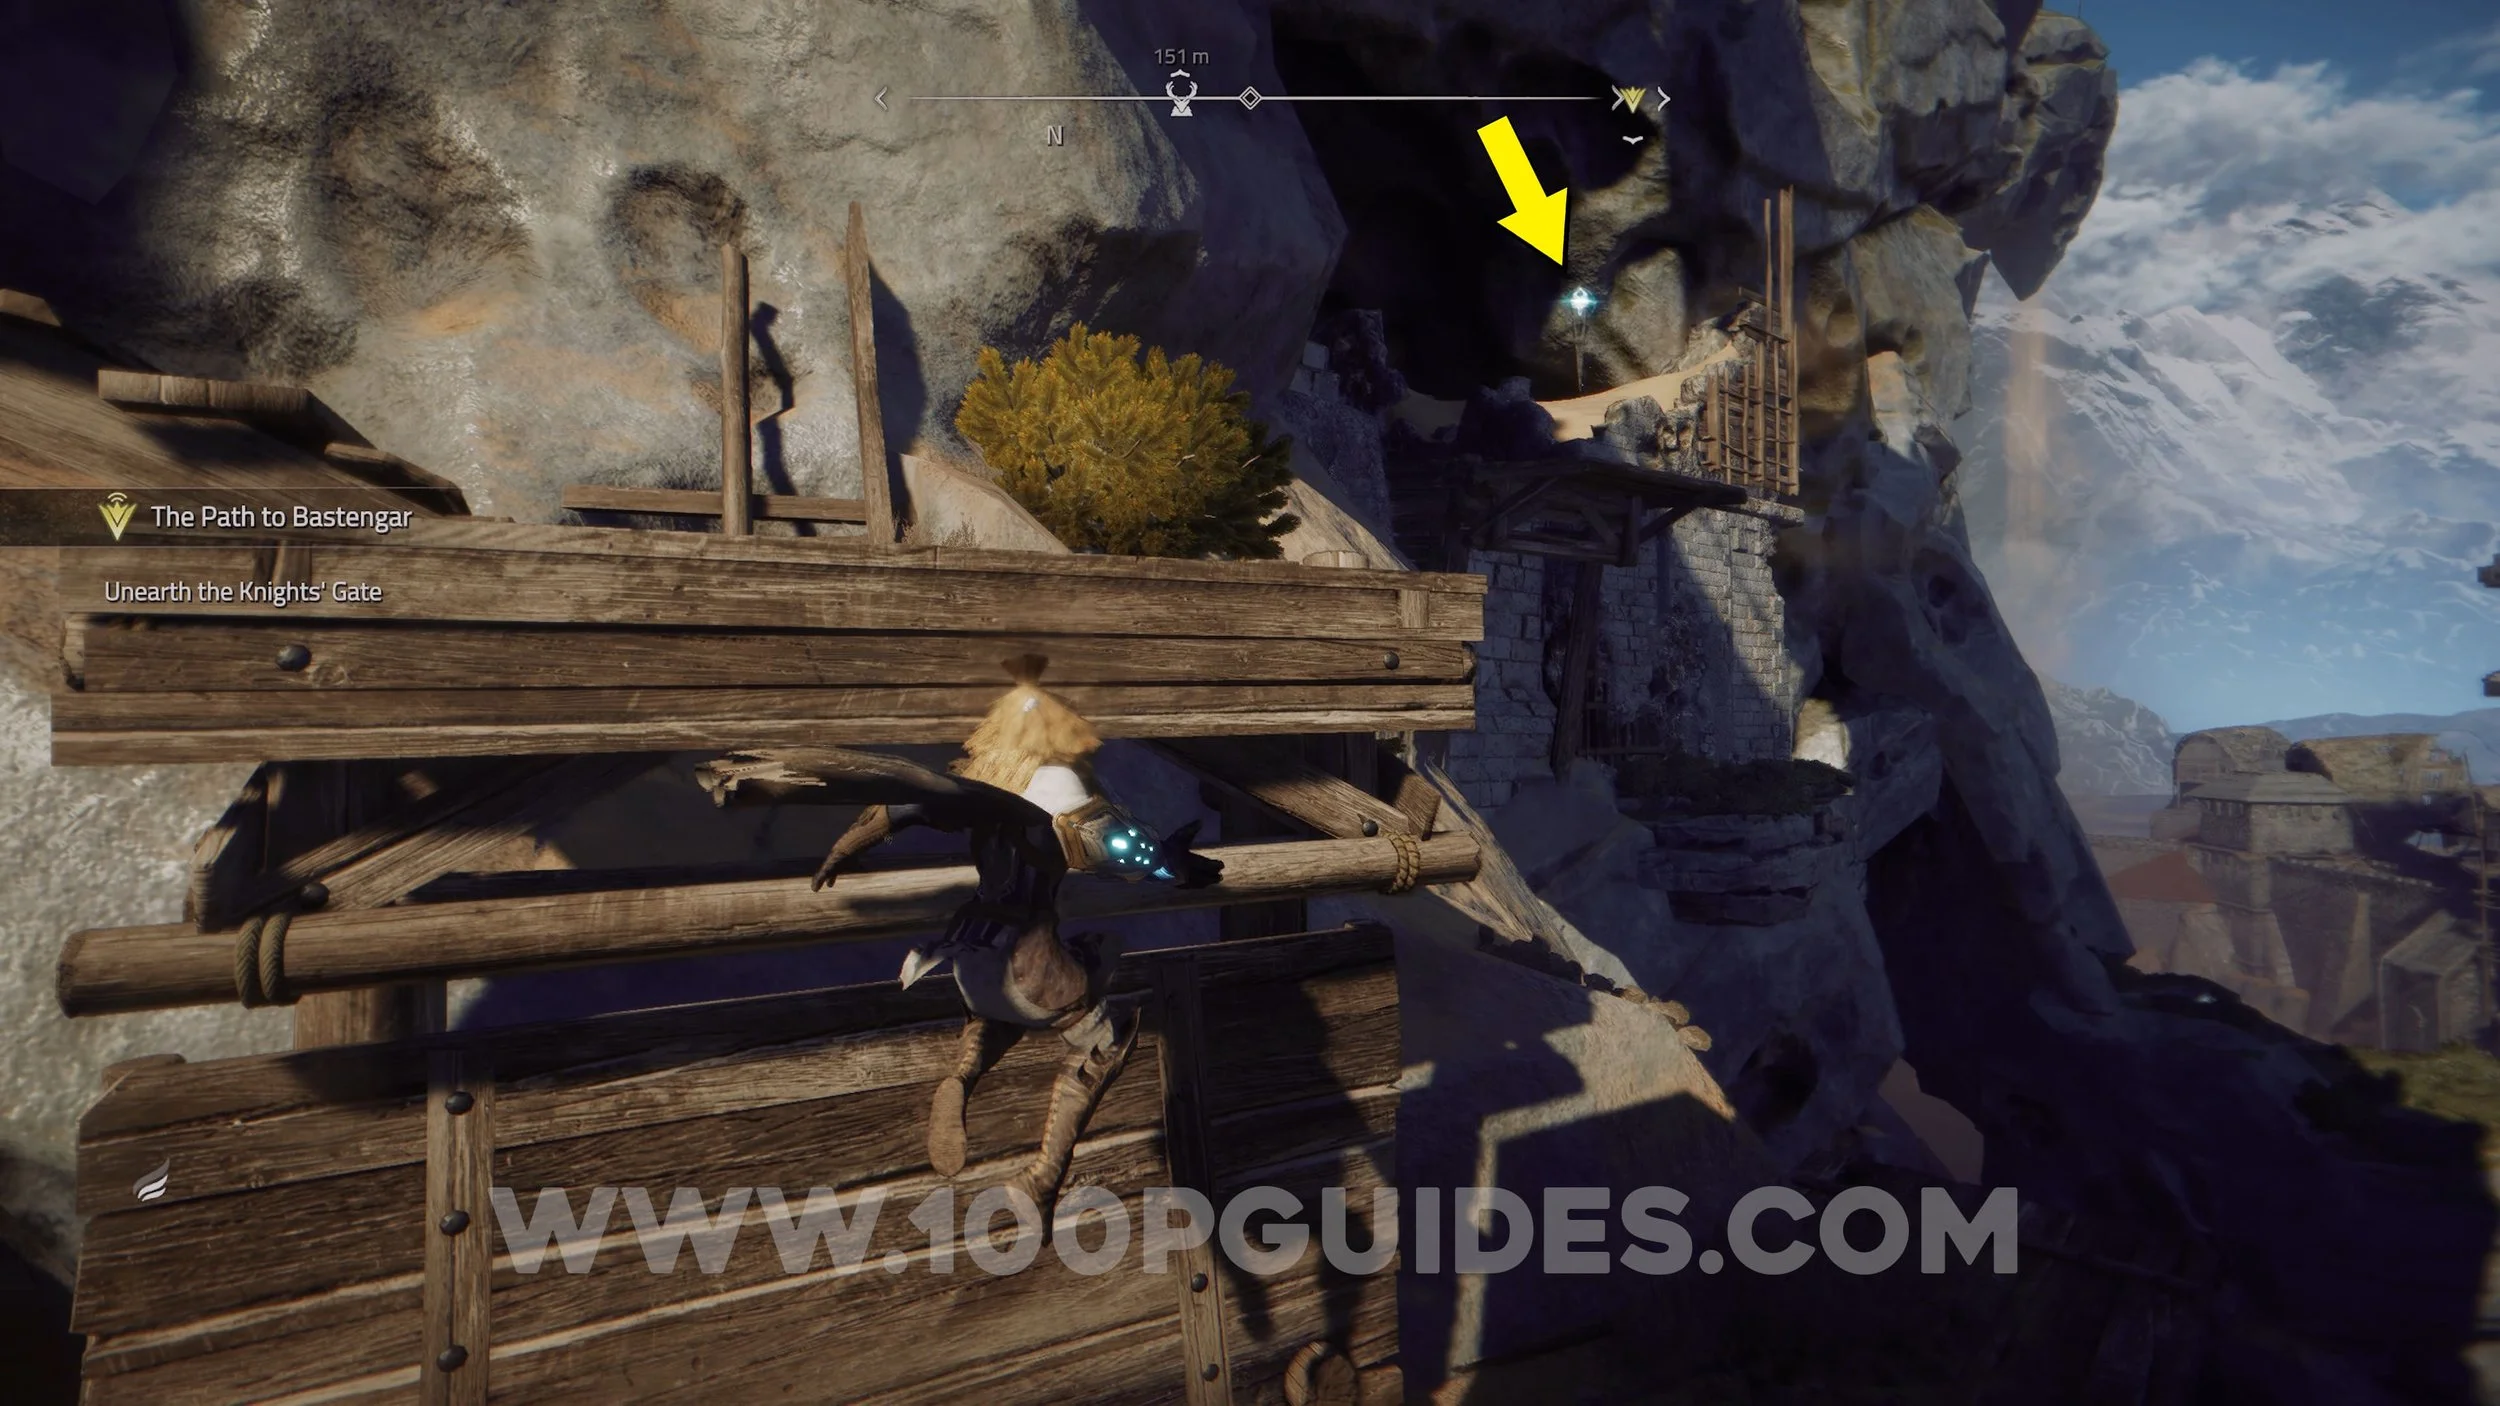
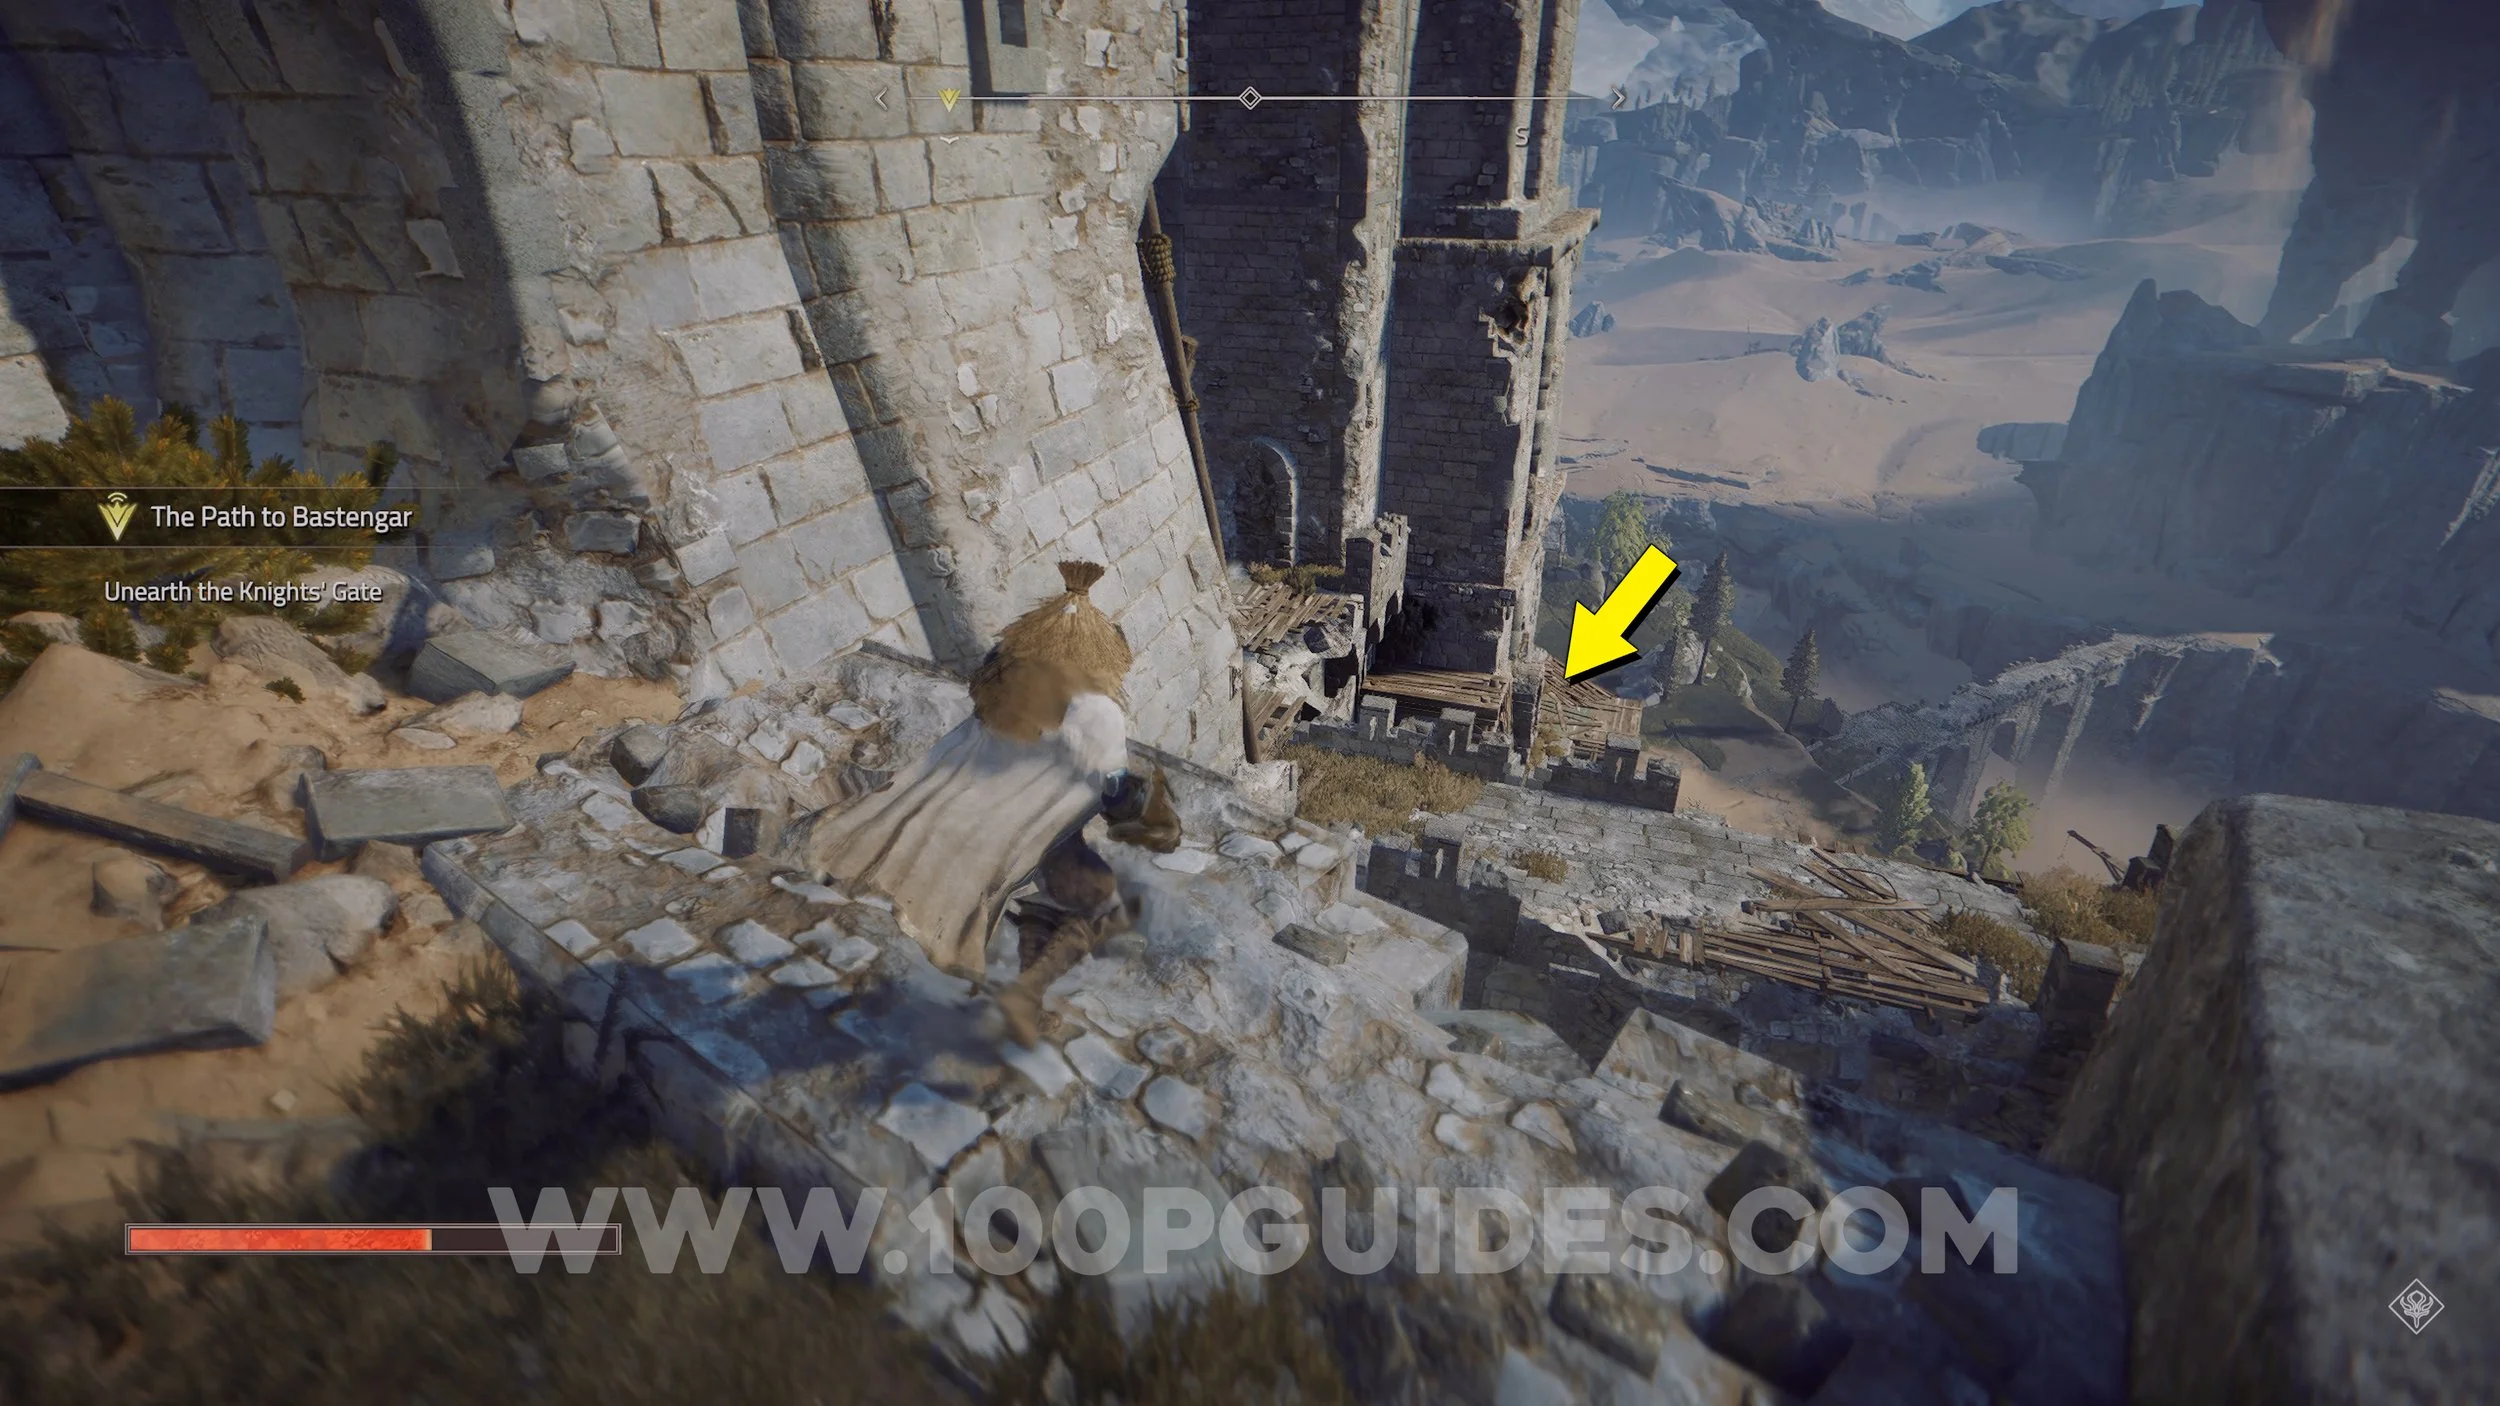
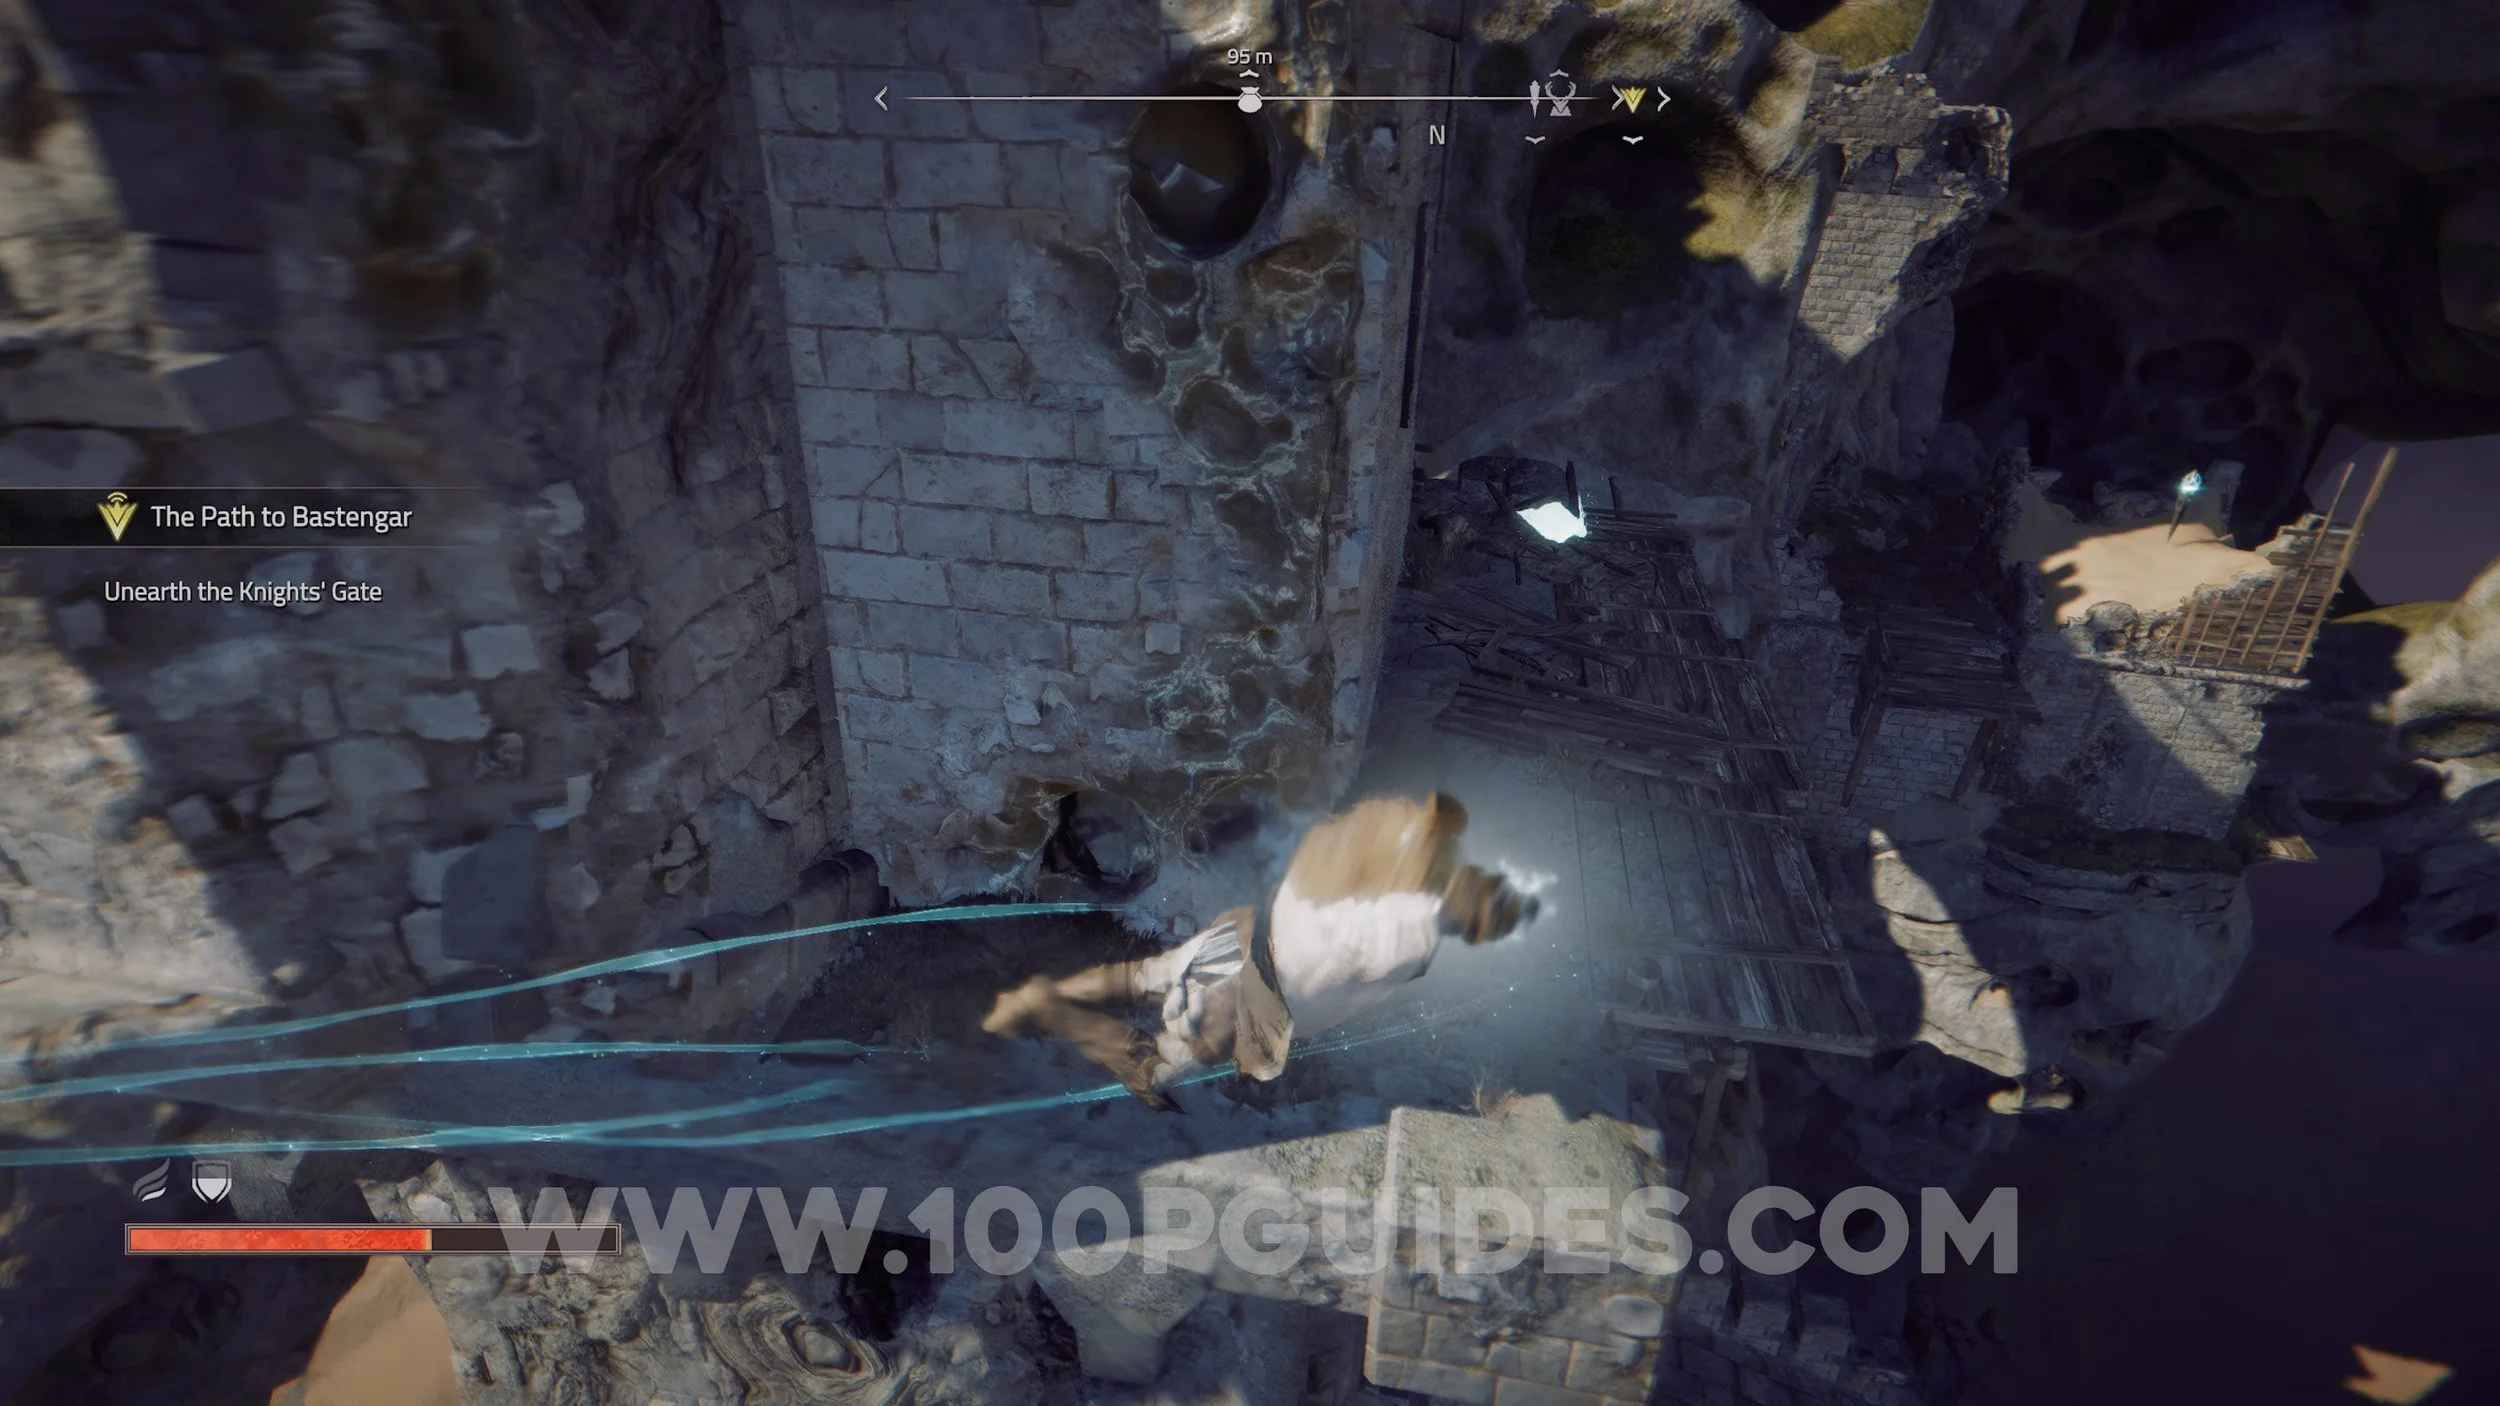
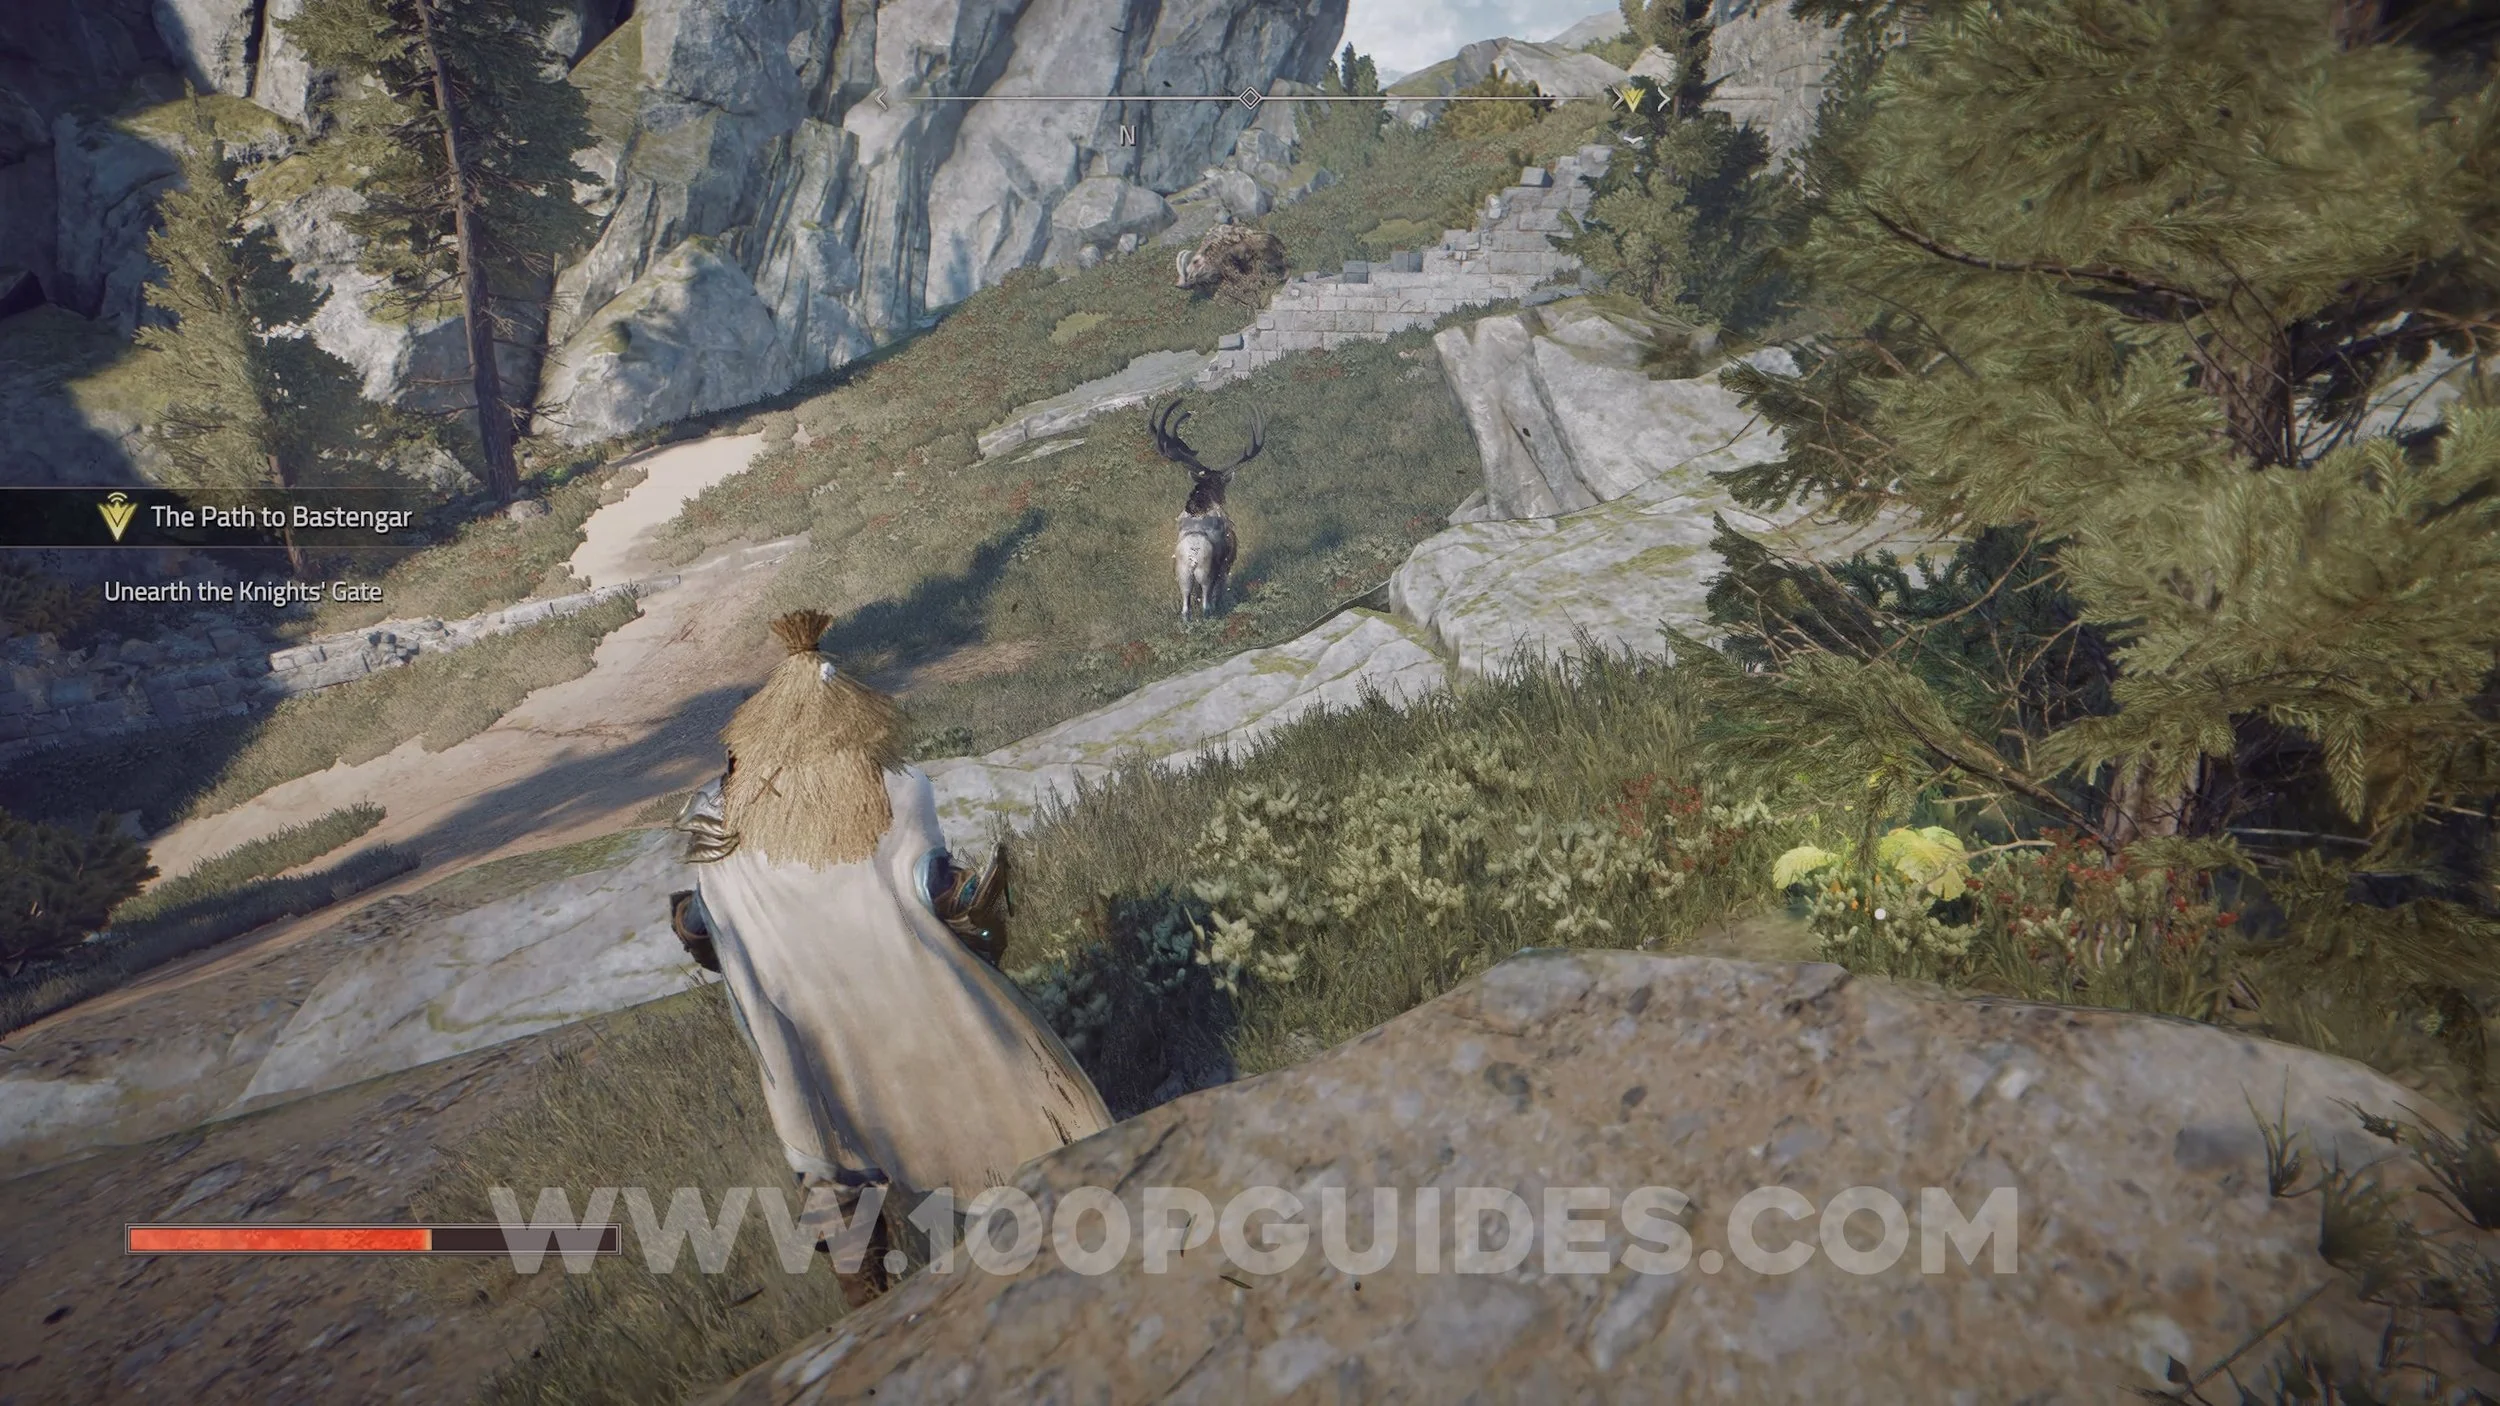
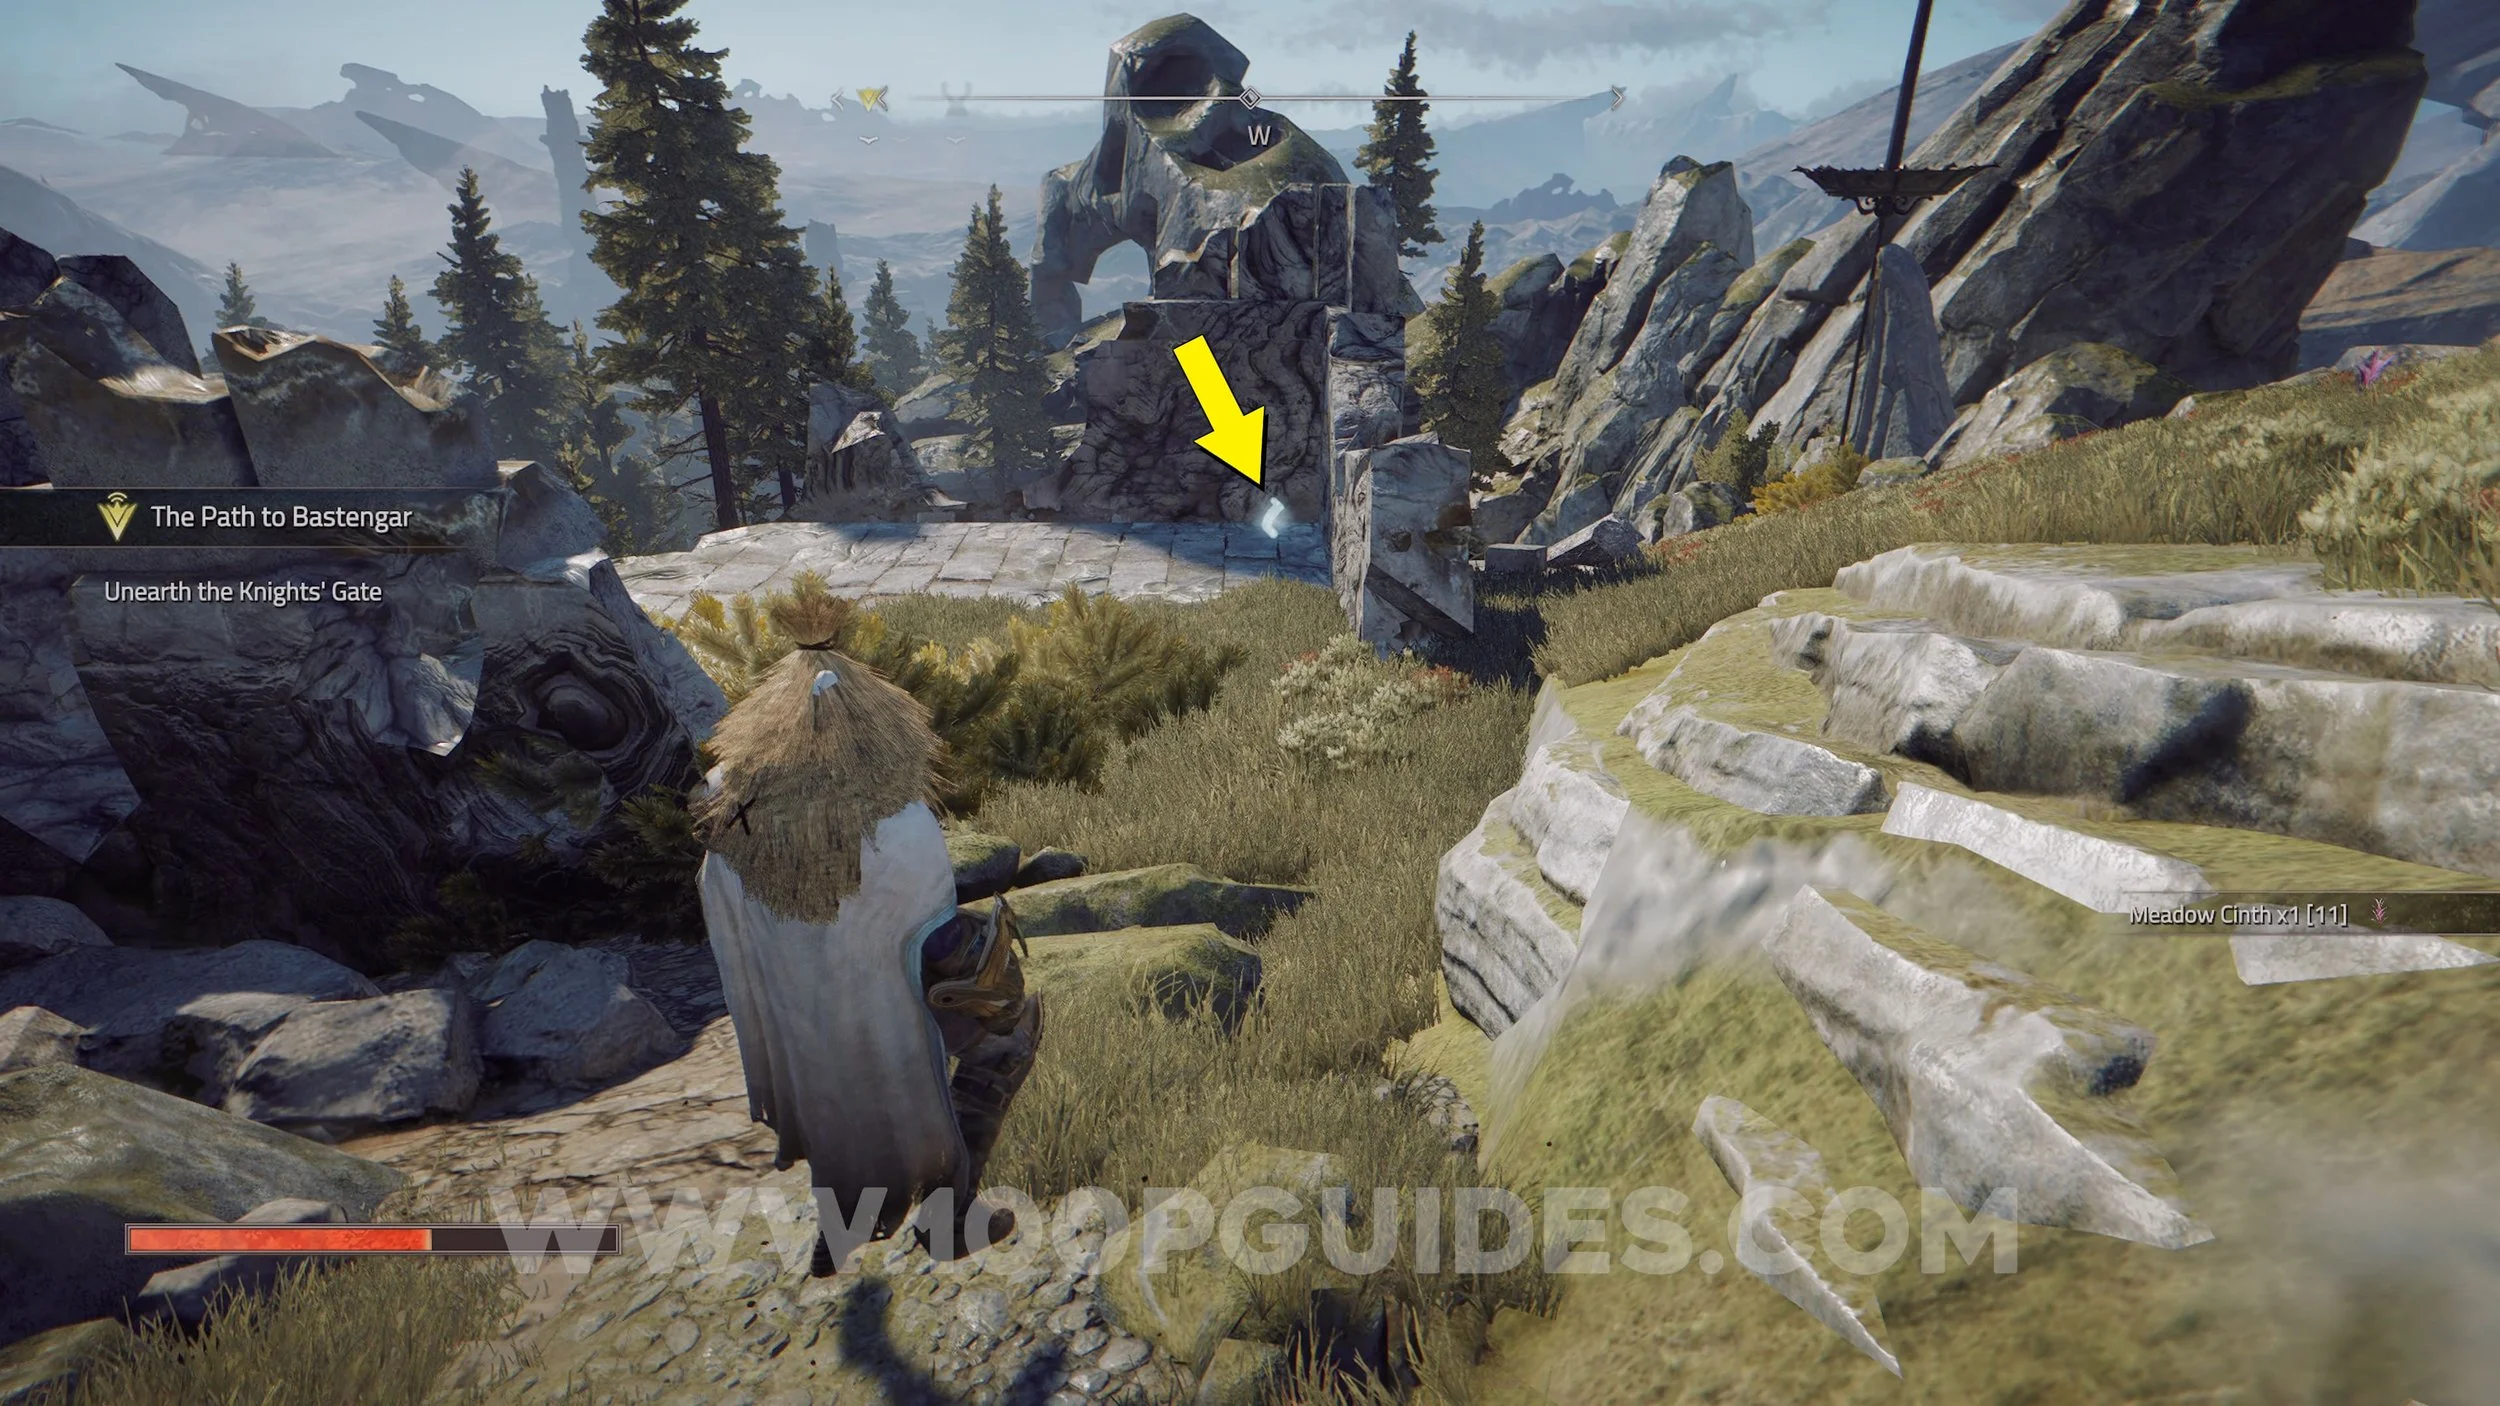
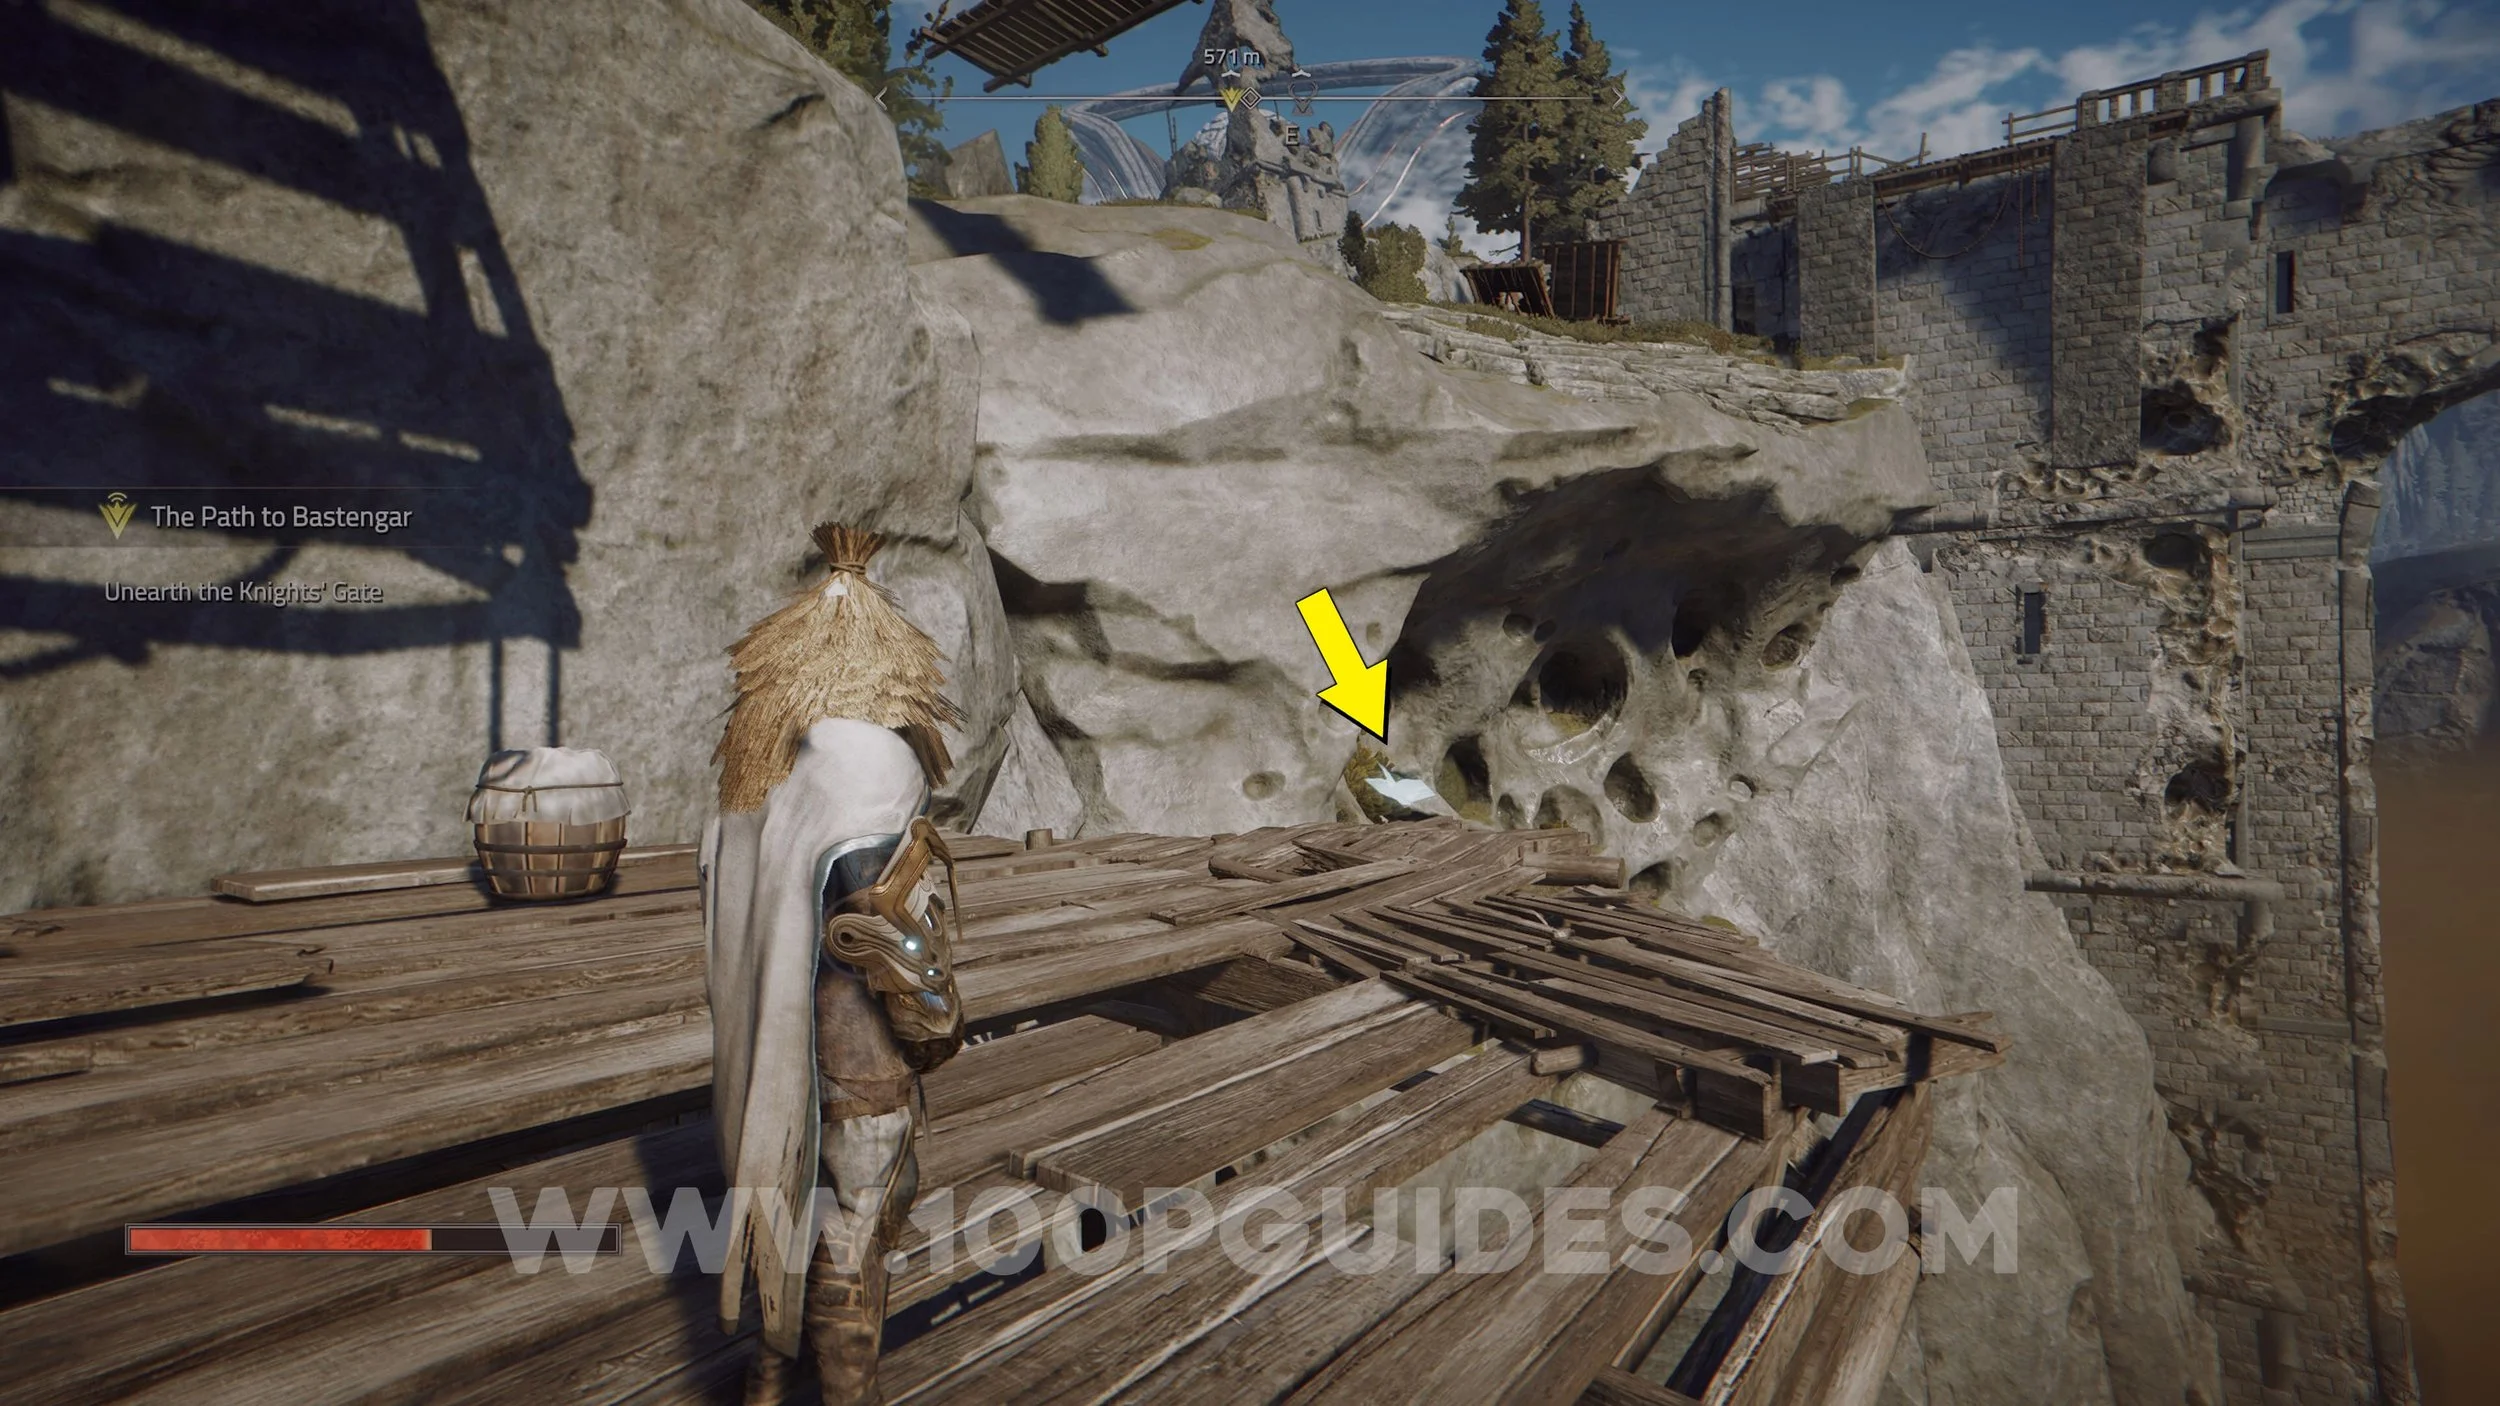
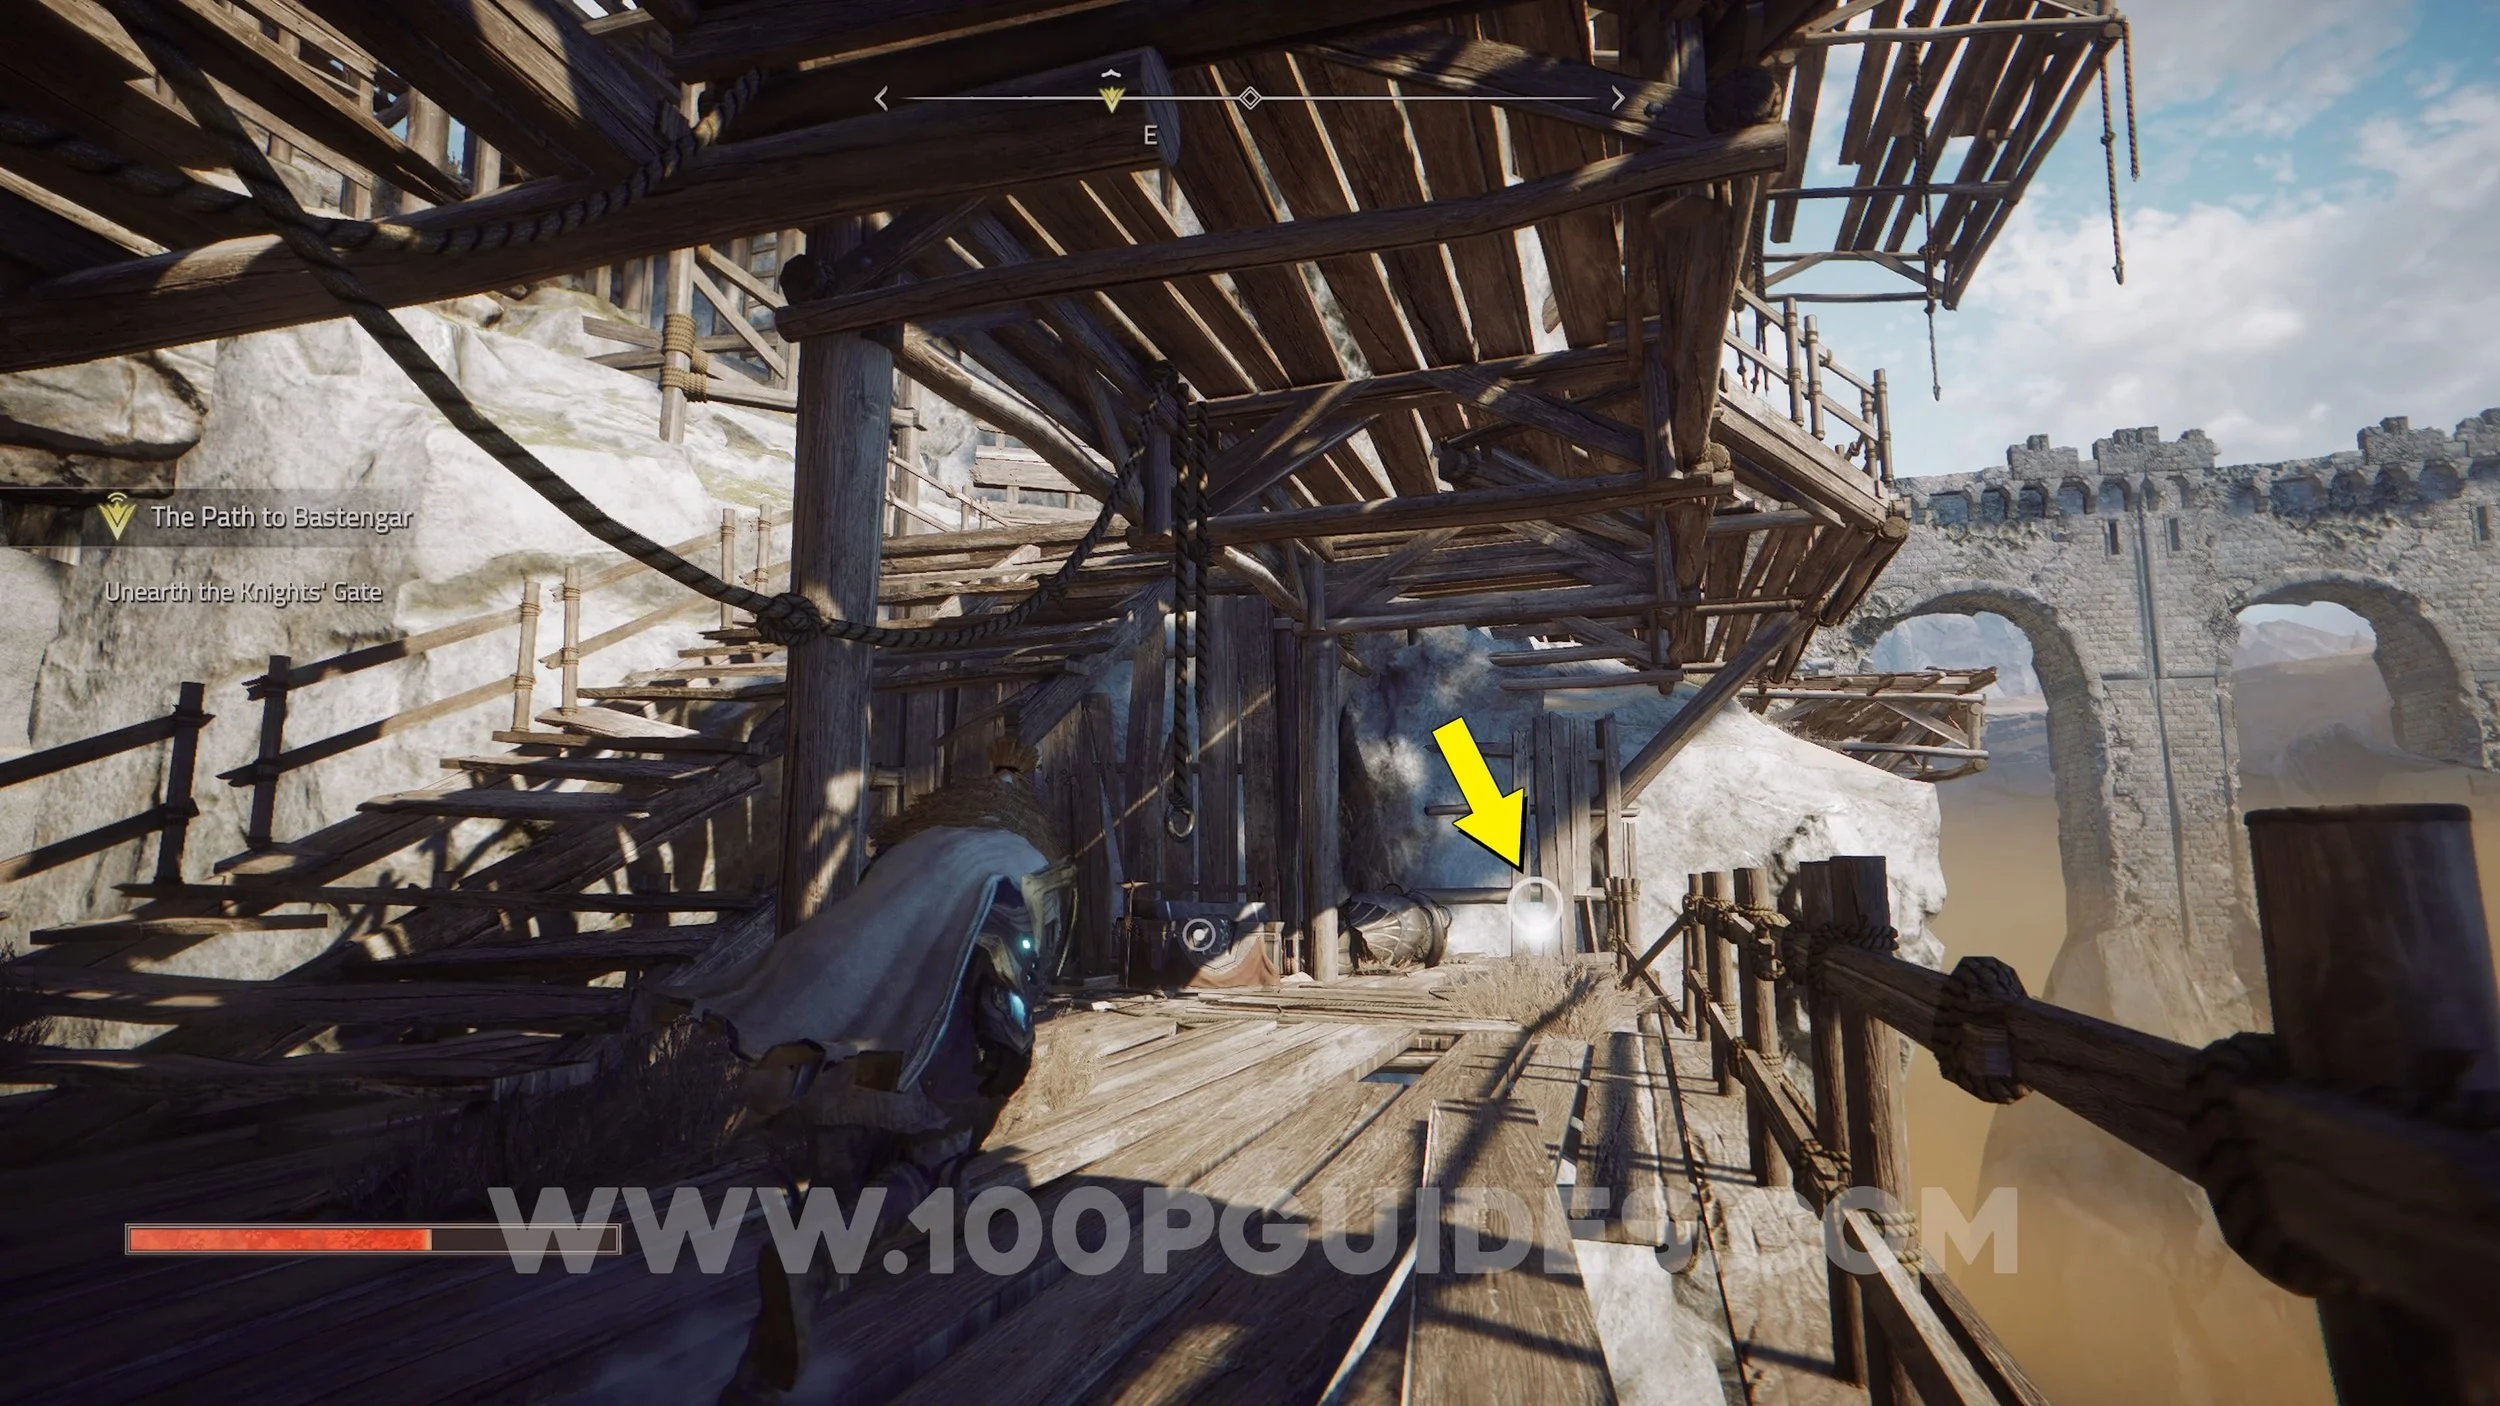
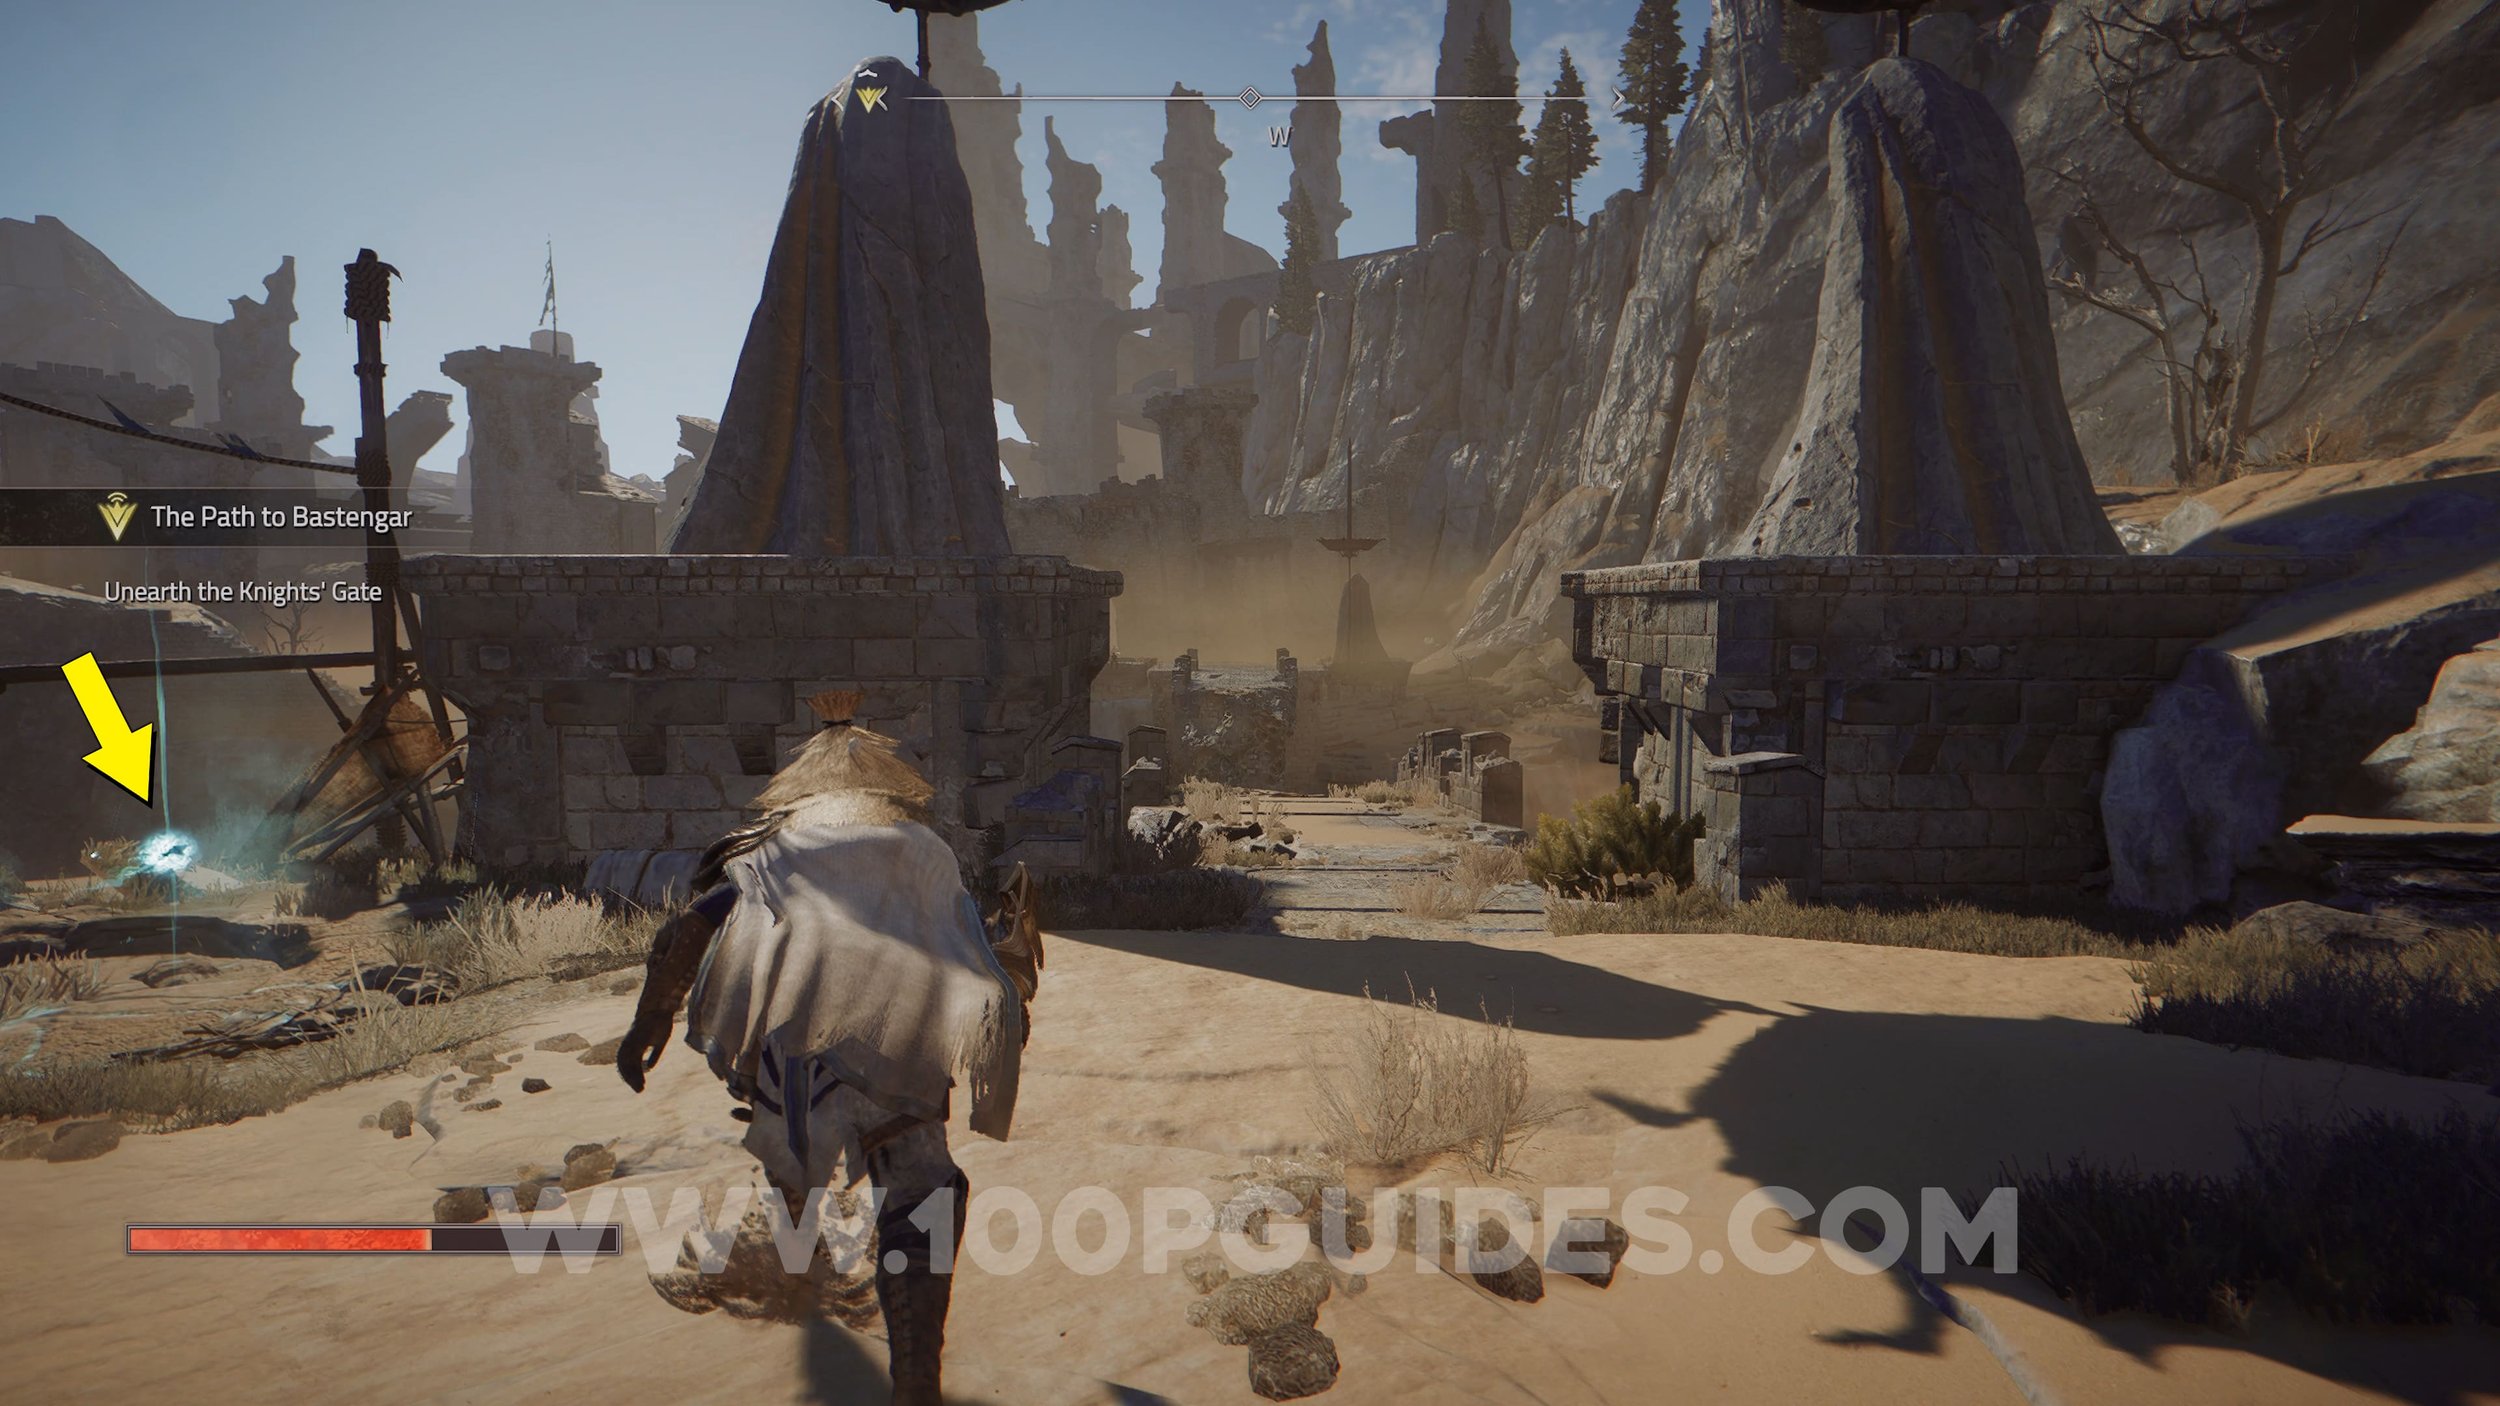
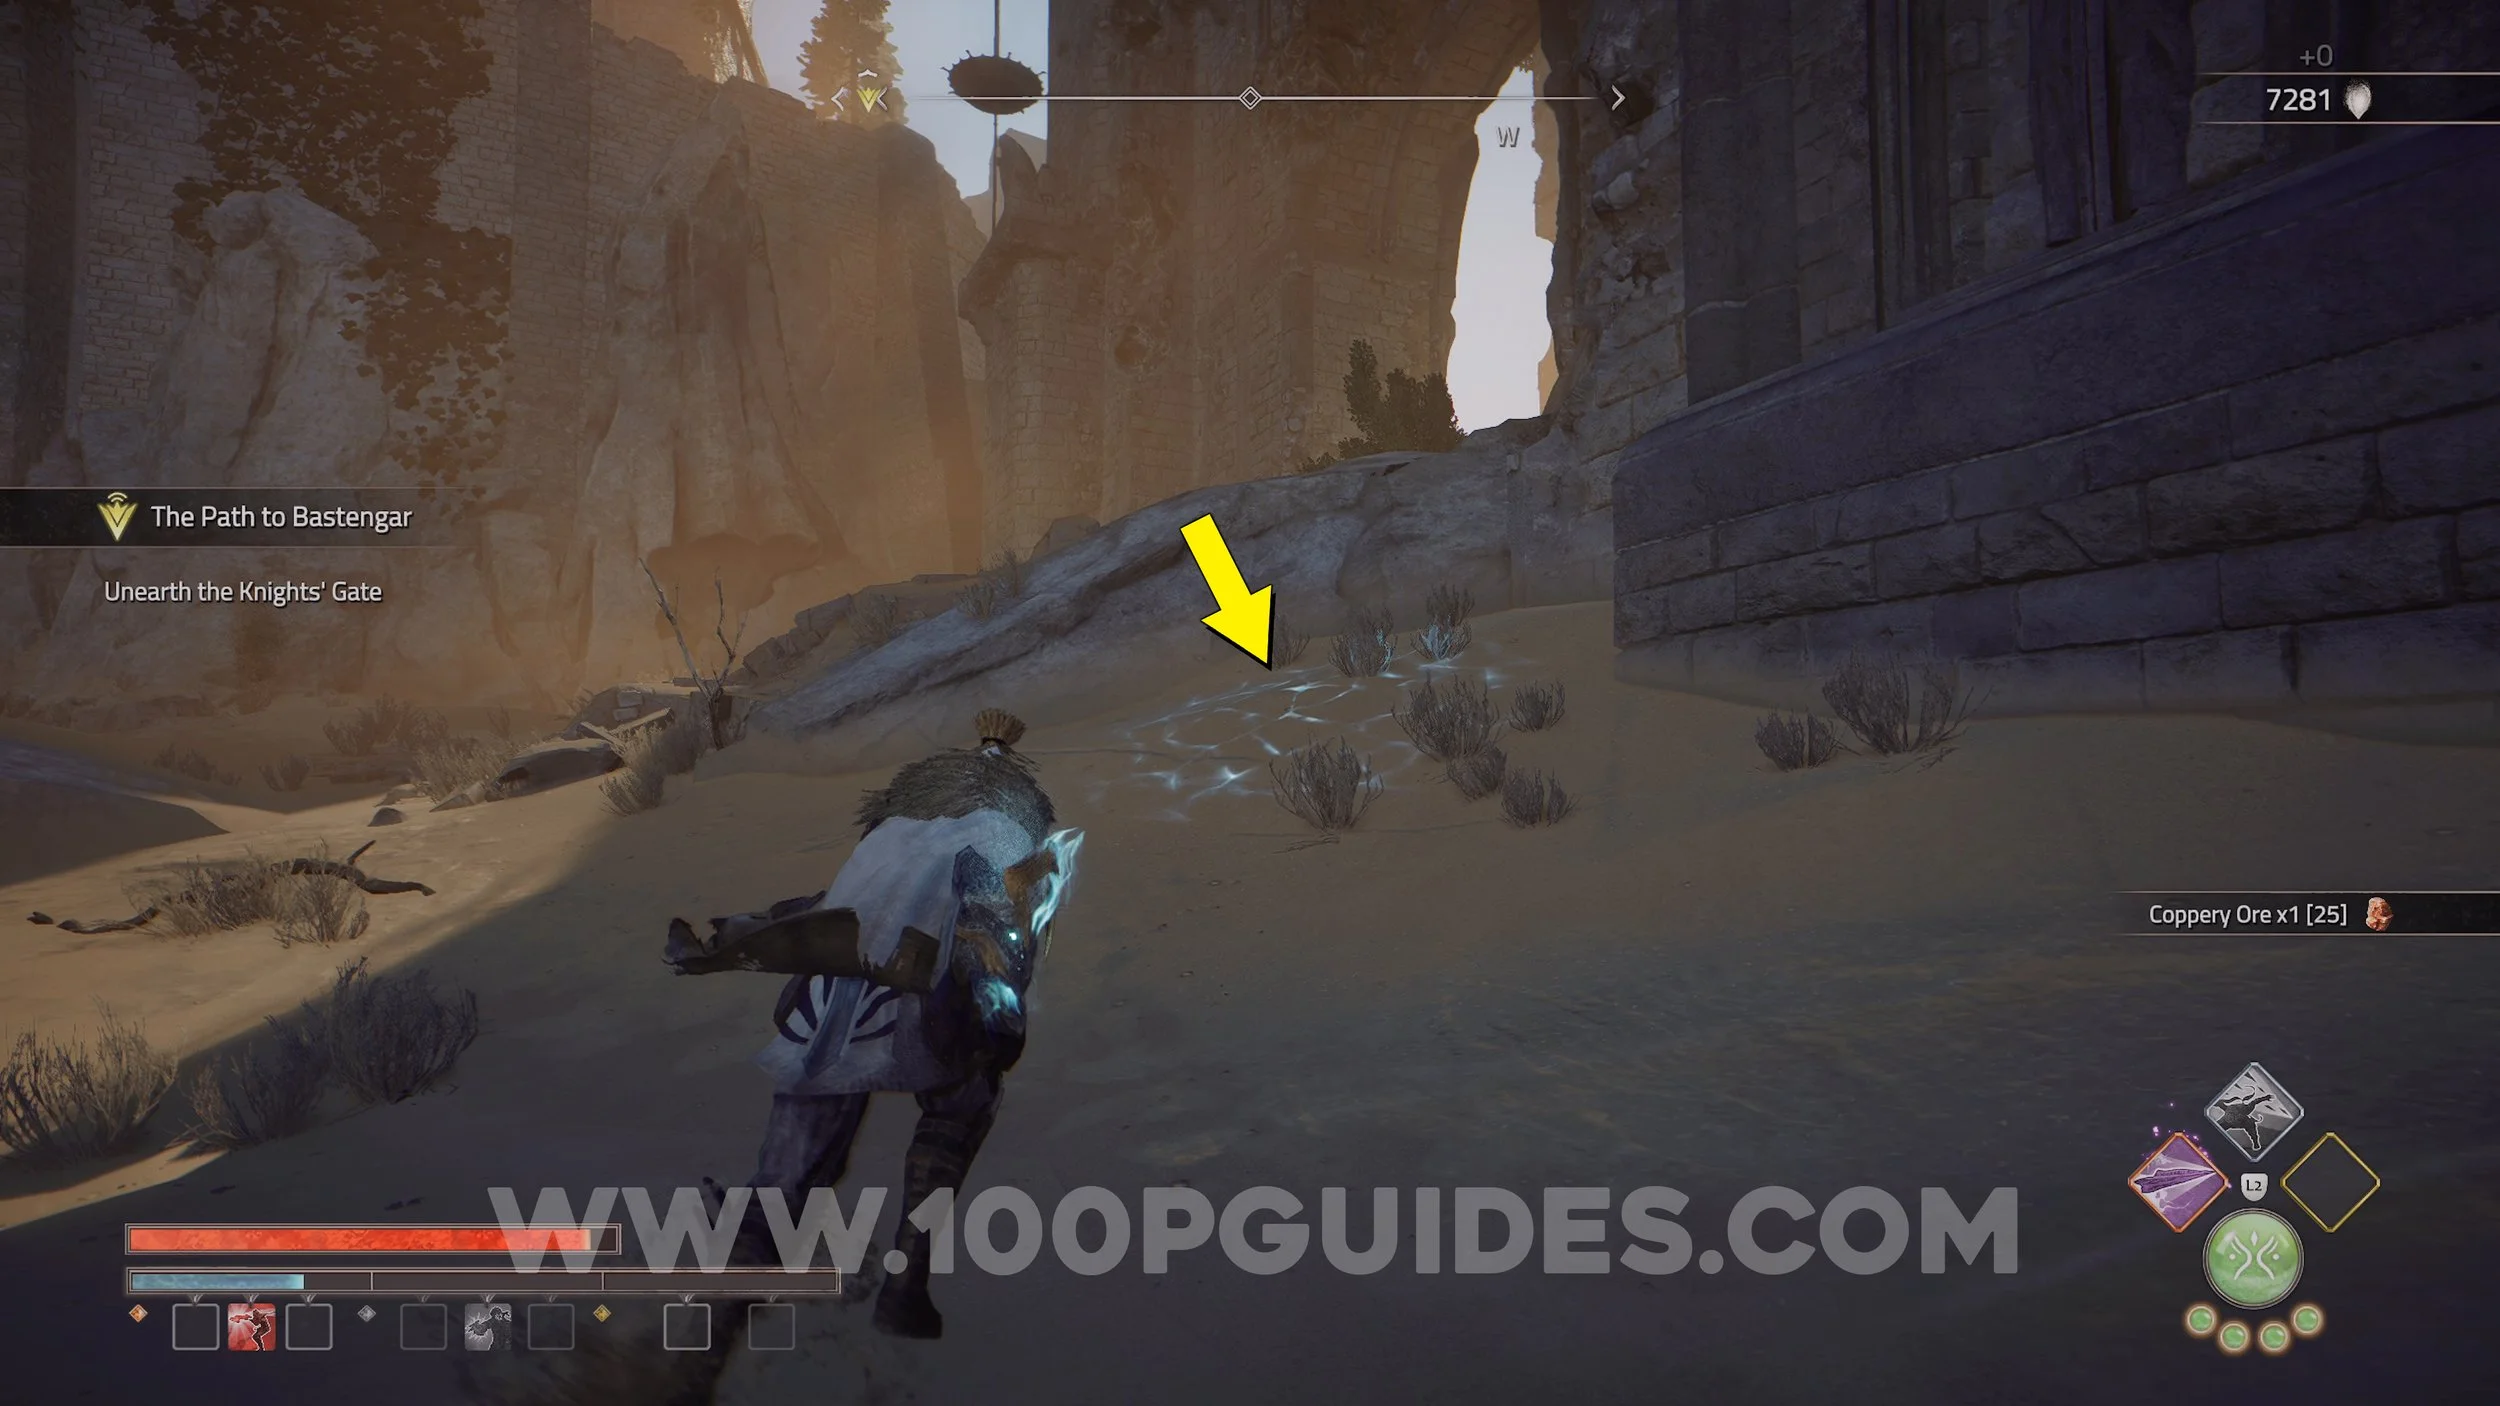
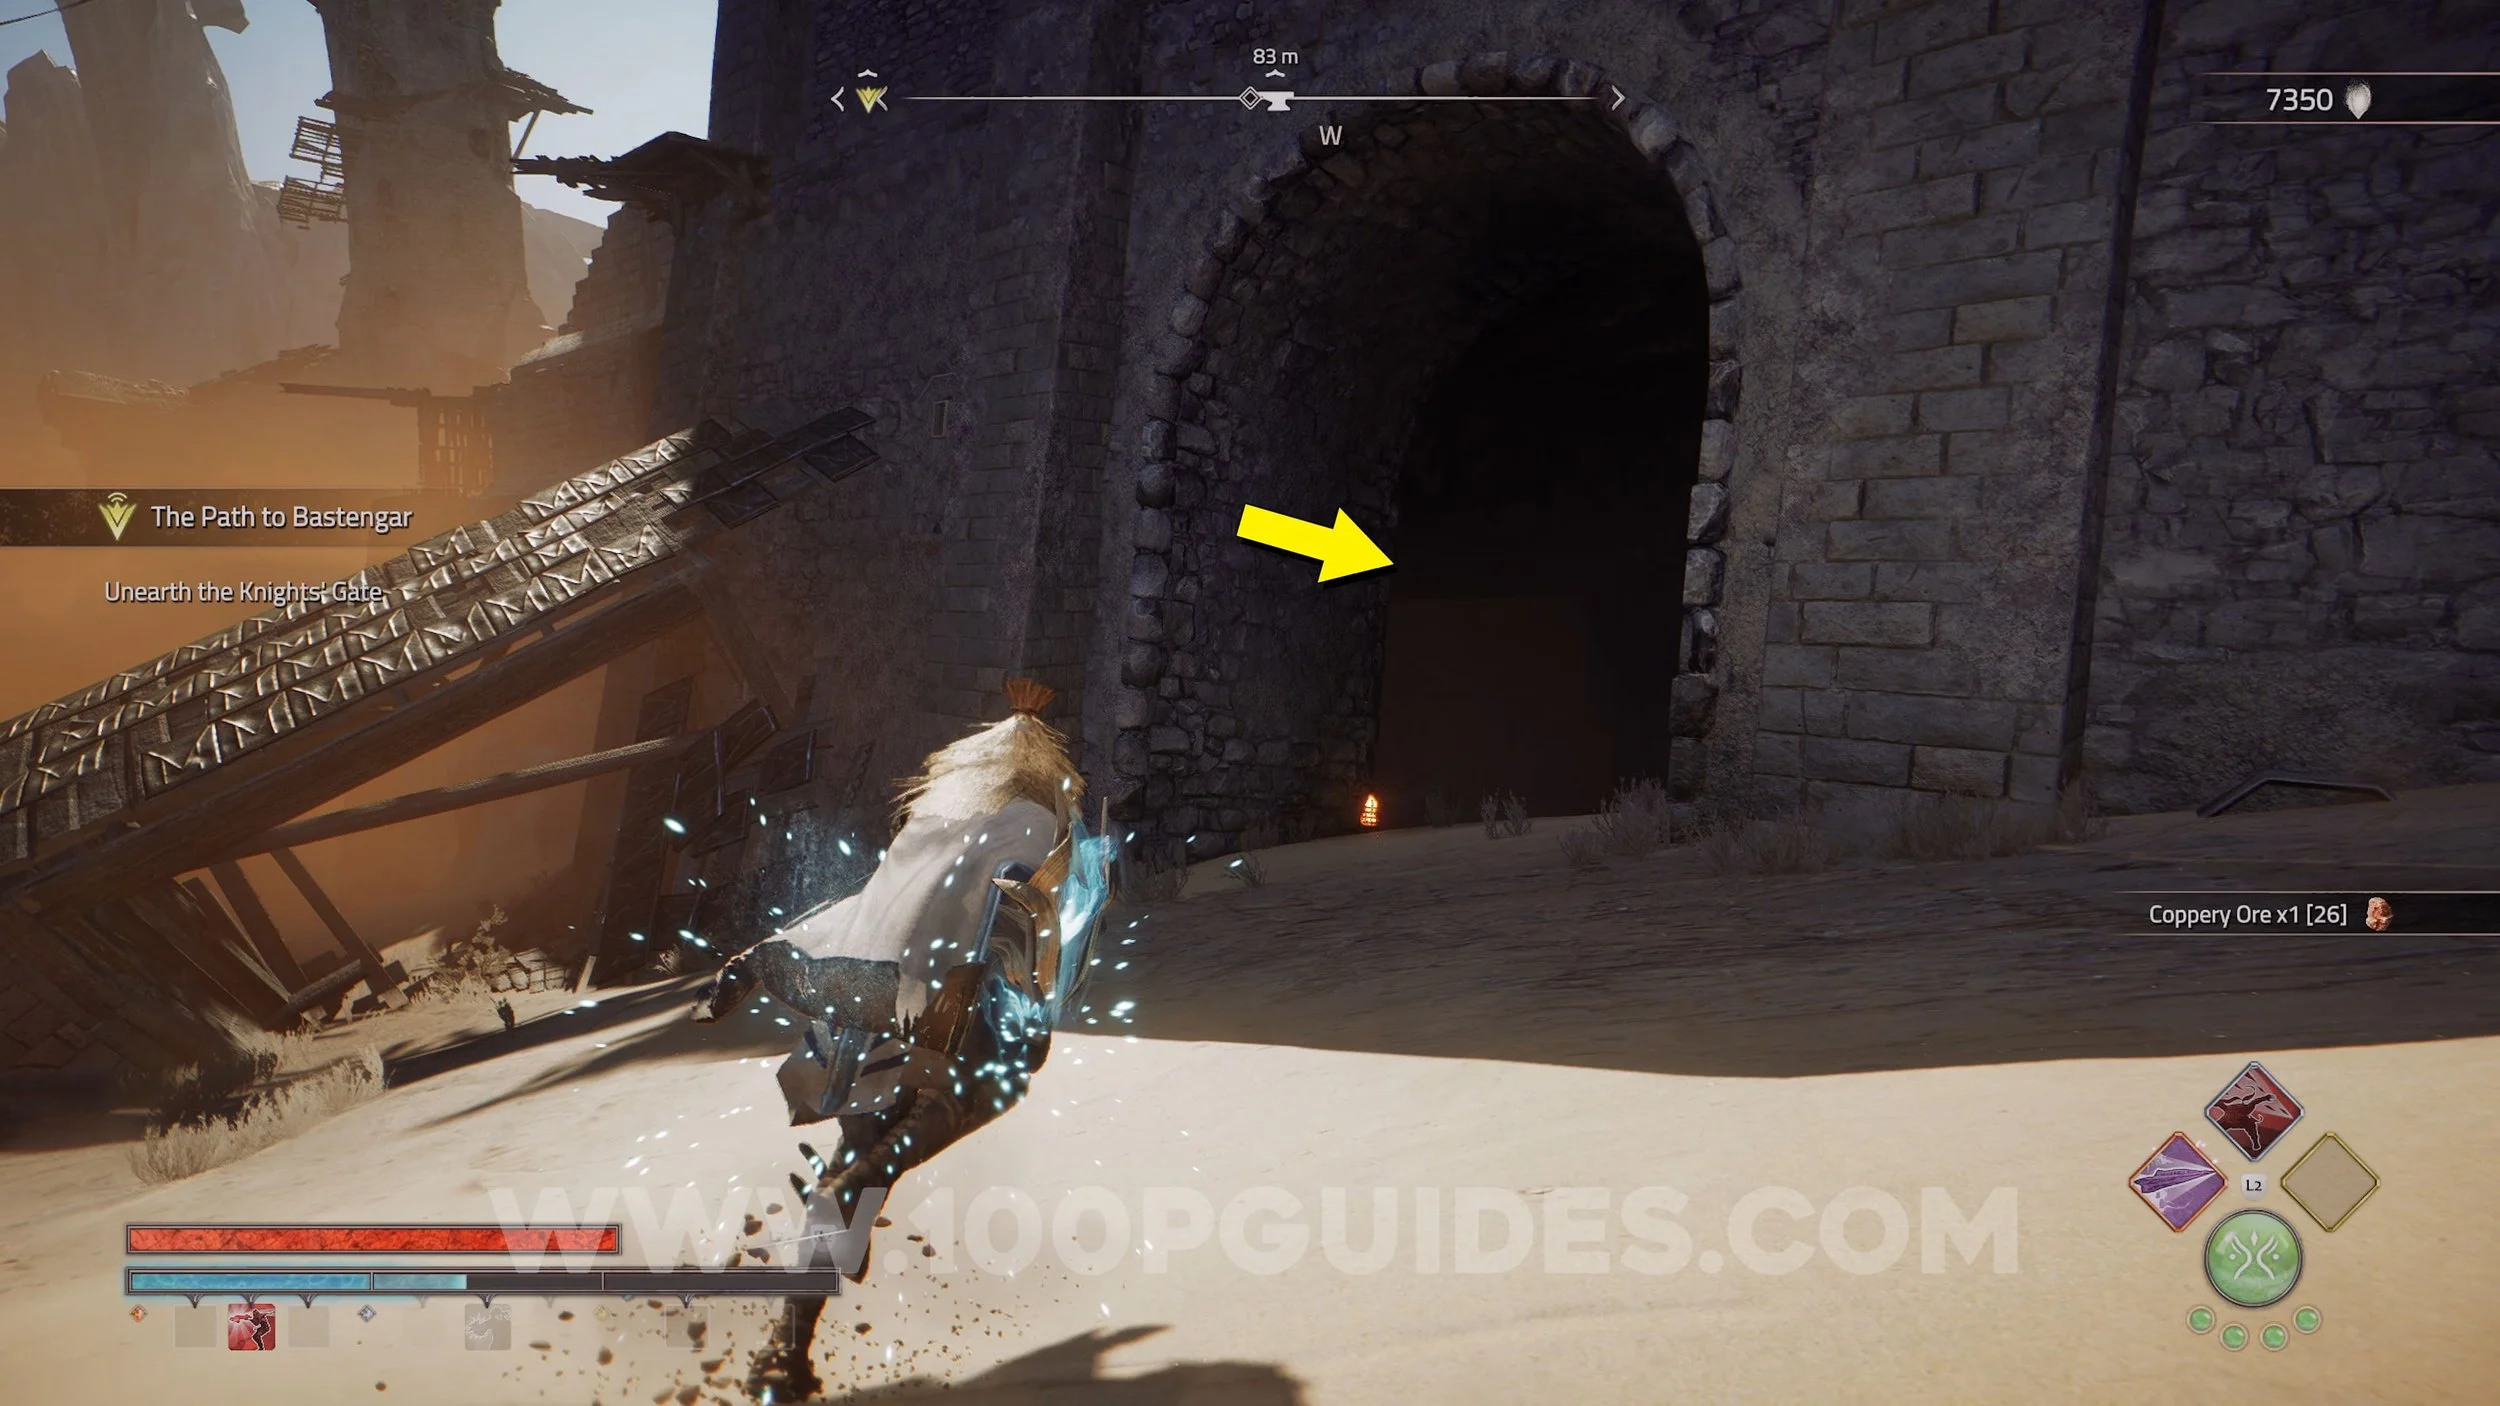
Armor: Knight’s Plate. Obtained automatically during “The Path To Bastengar” story quest.
Treasure Map (Dead And Buried). Obtained automatically at the same time as the previous armor set.
MISSABLE COLLECTIBLES: After defeating the Marauder boss during the story, DO NOT open the Knight’s Gate. Doing this will automatically fail all Side Quests & Errands you have not completed. Some of these will have collectibles as rewards. So make sure you get all collectibles related to side quests & errands before advancing to the next region!
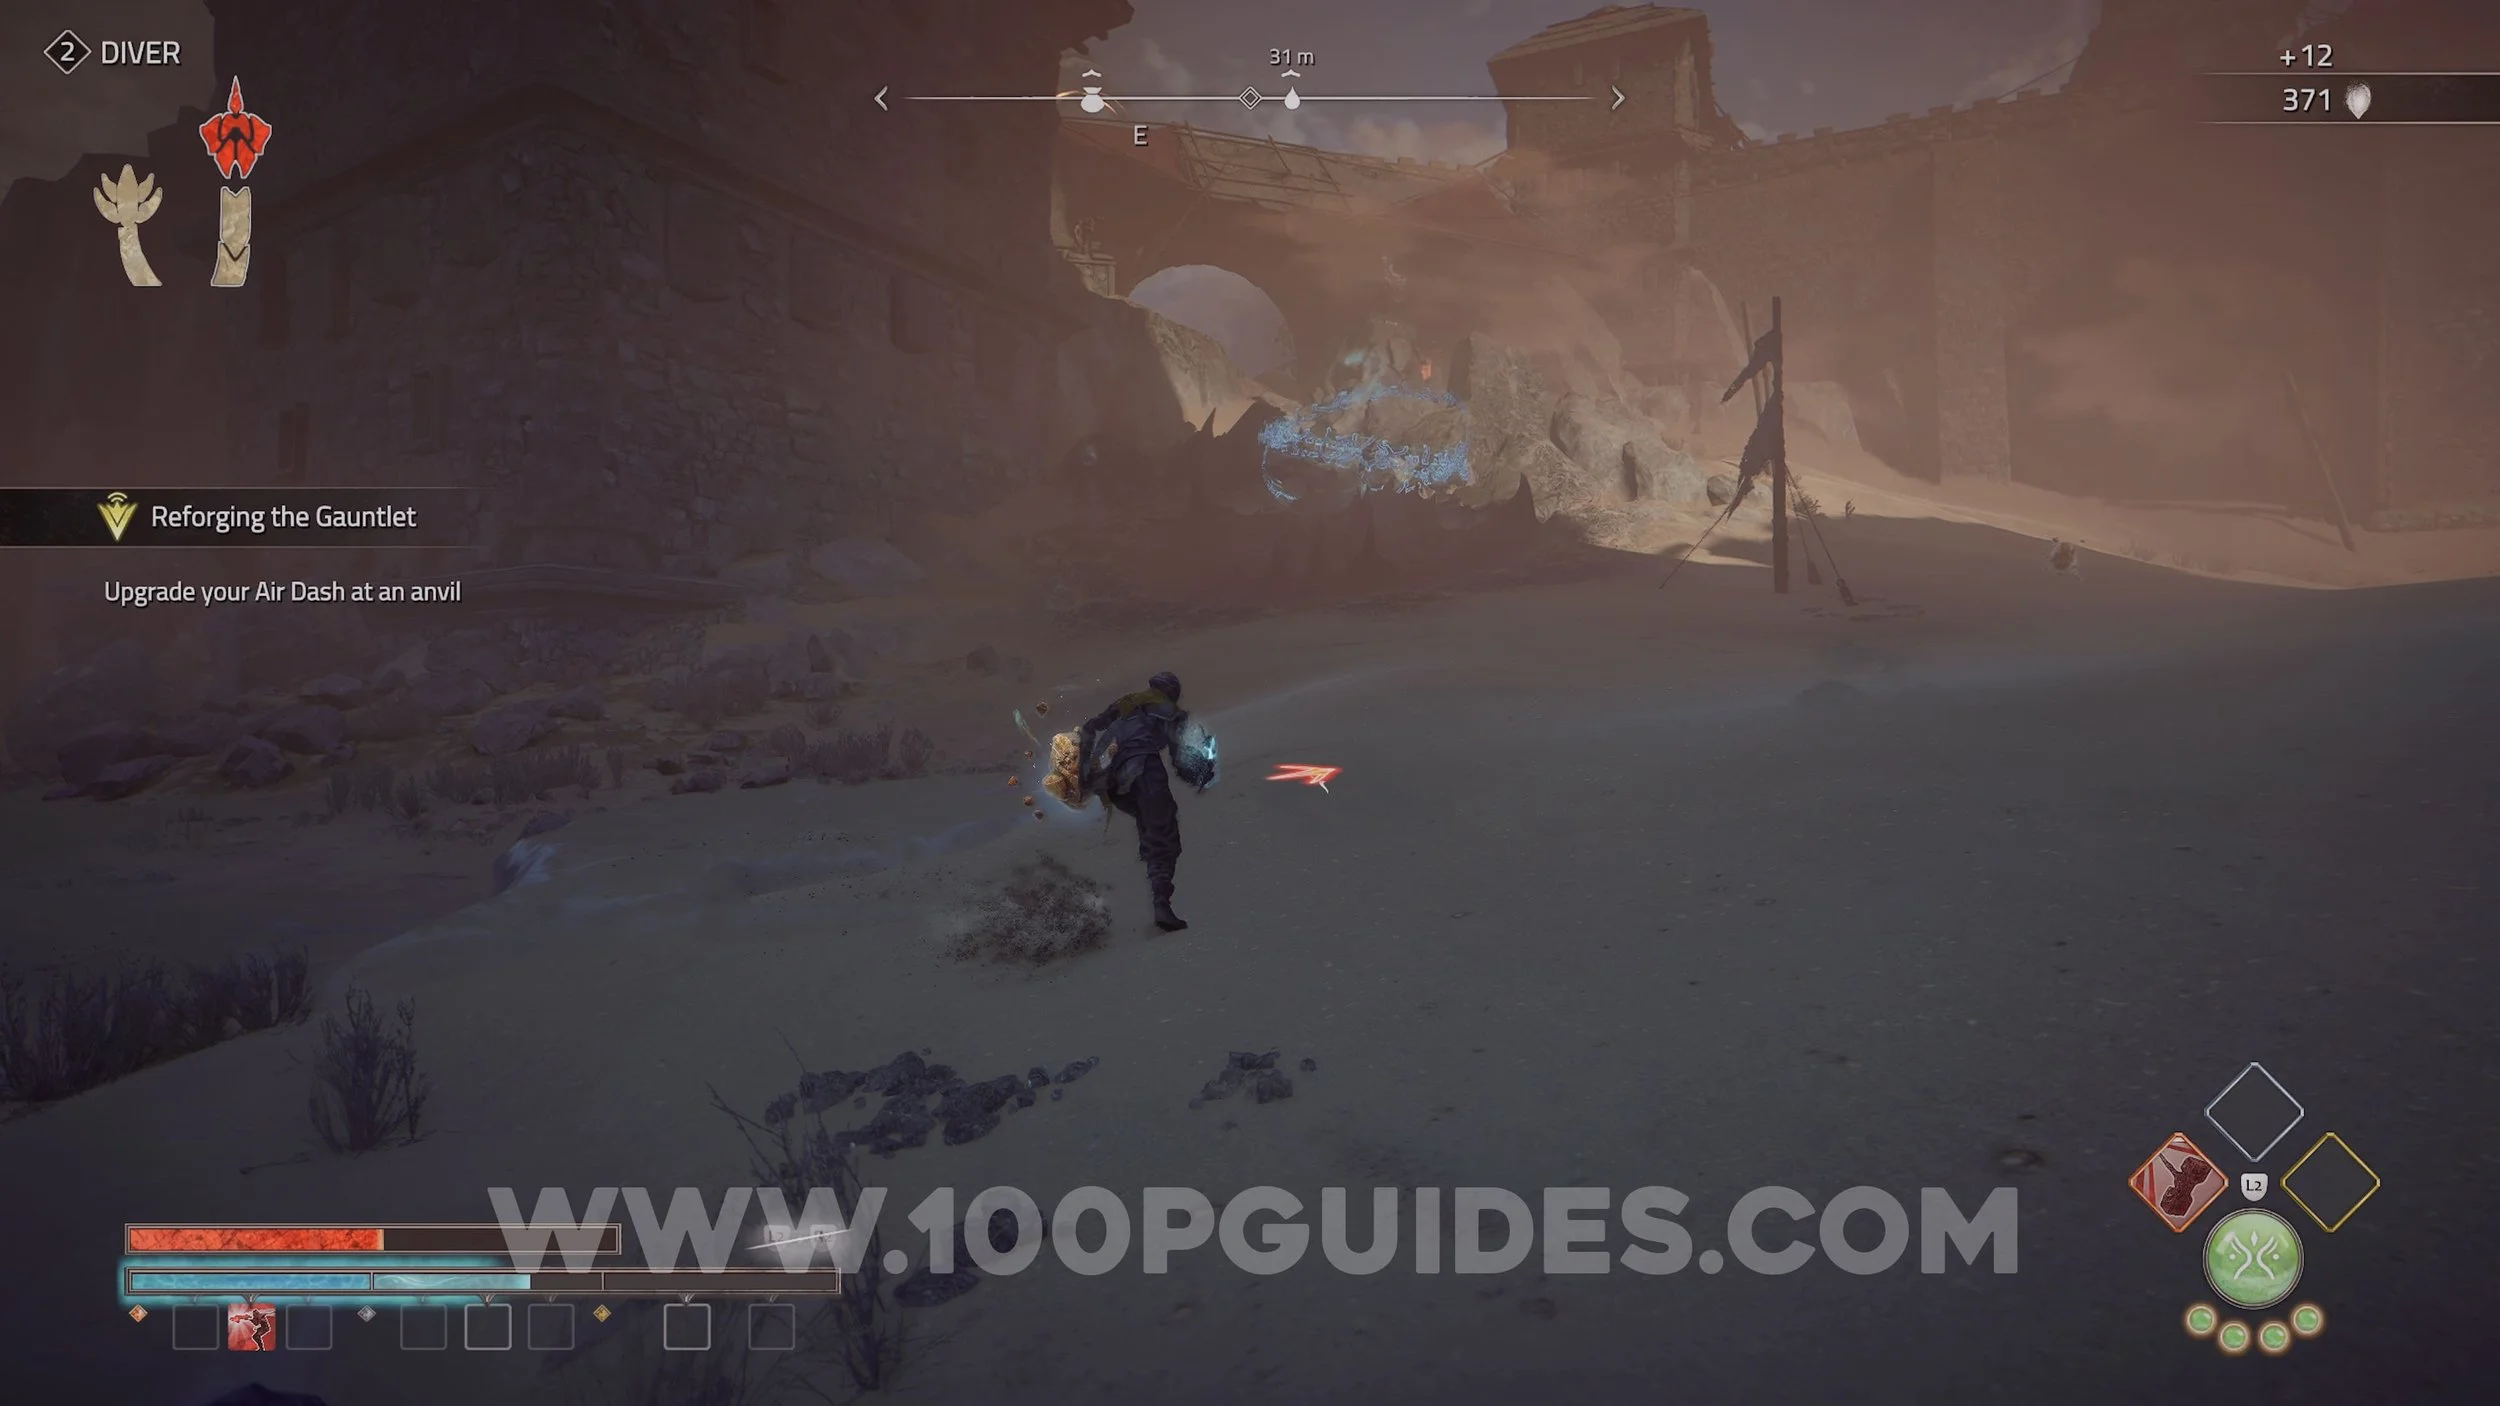
Gauntlet Shard #1. Defeat the enemies to get the shard (available during / after the story quest where you have to collect 3 Air Dash Shards).
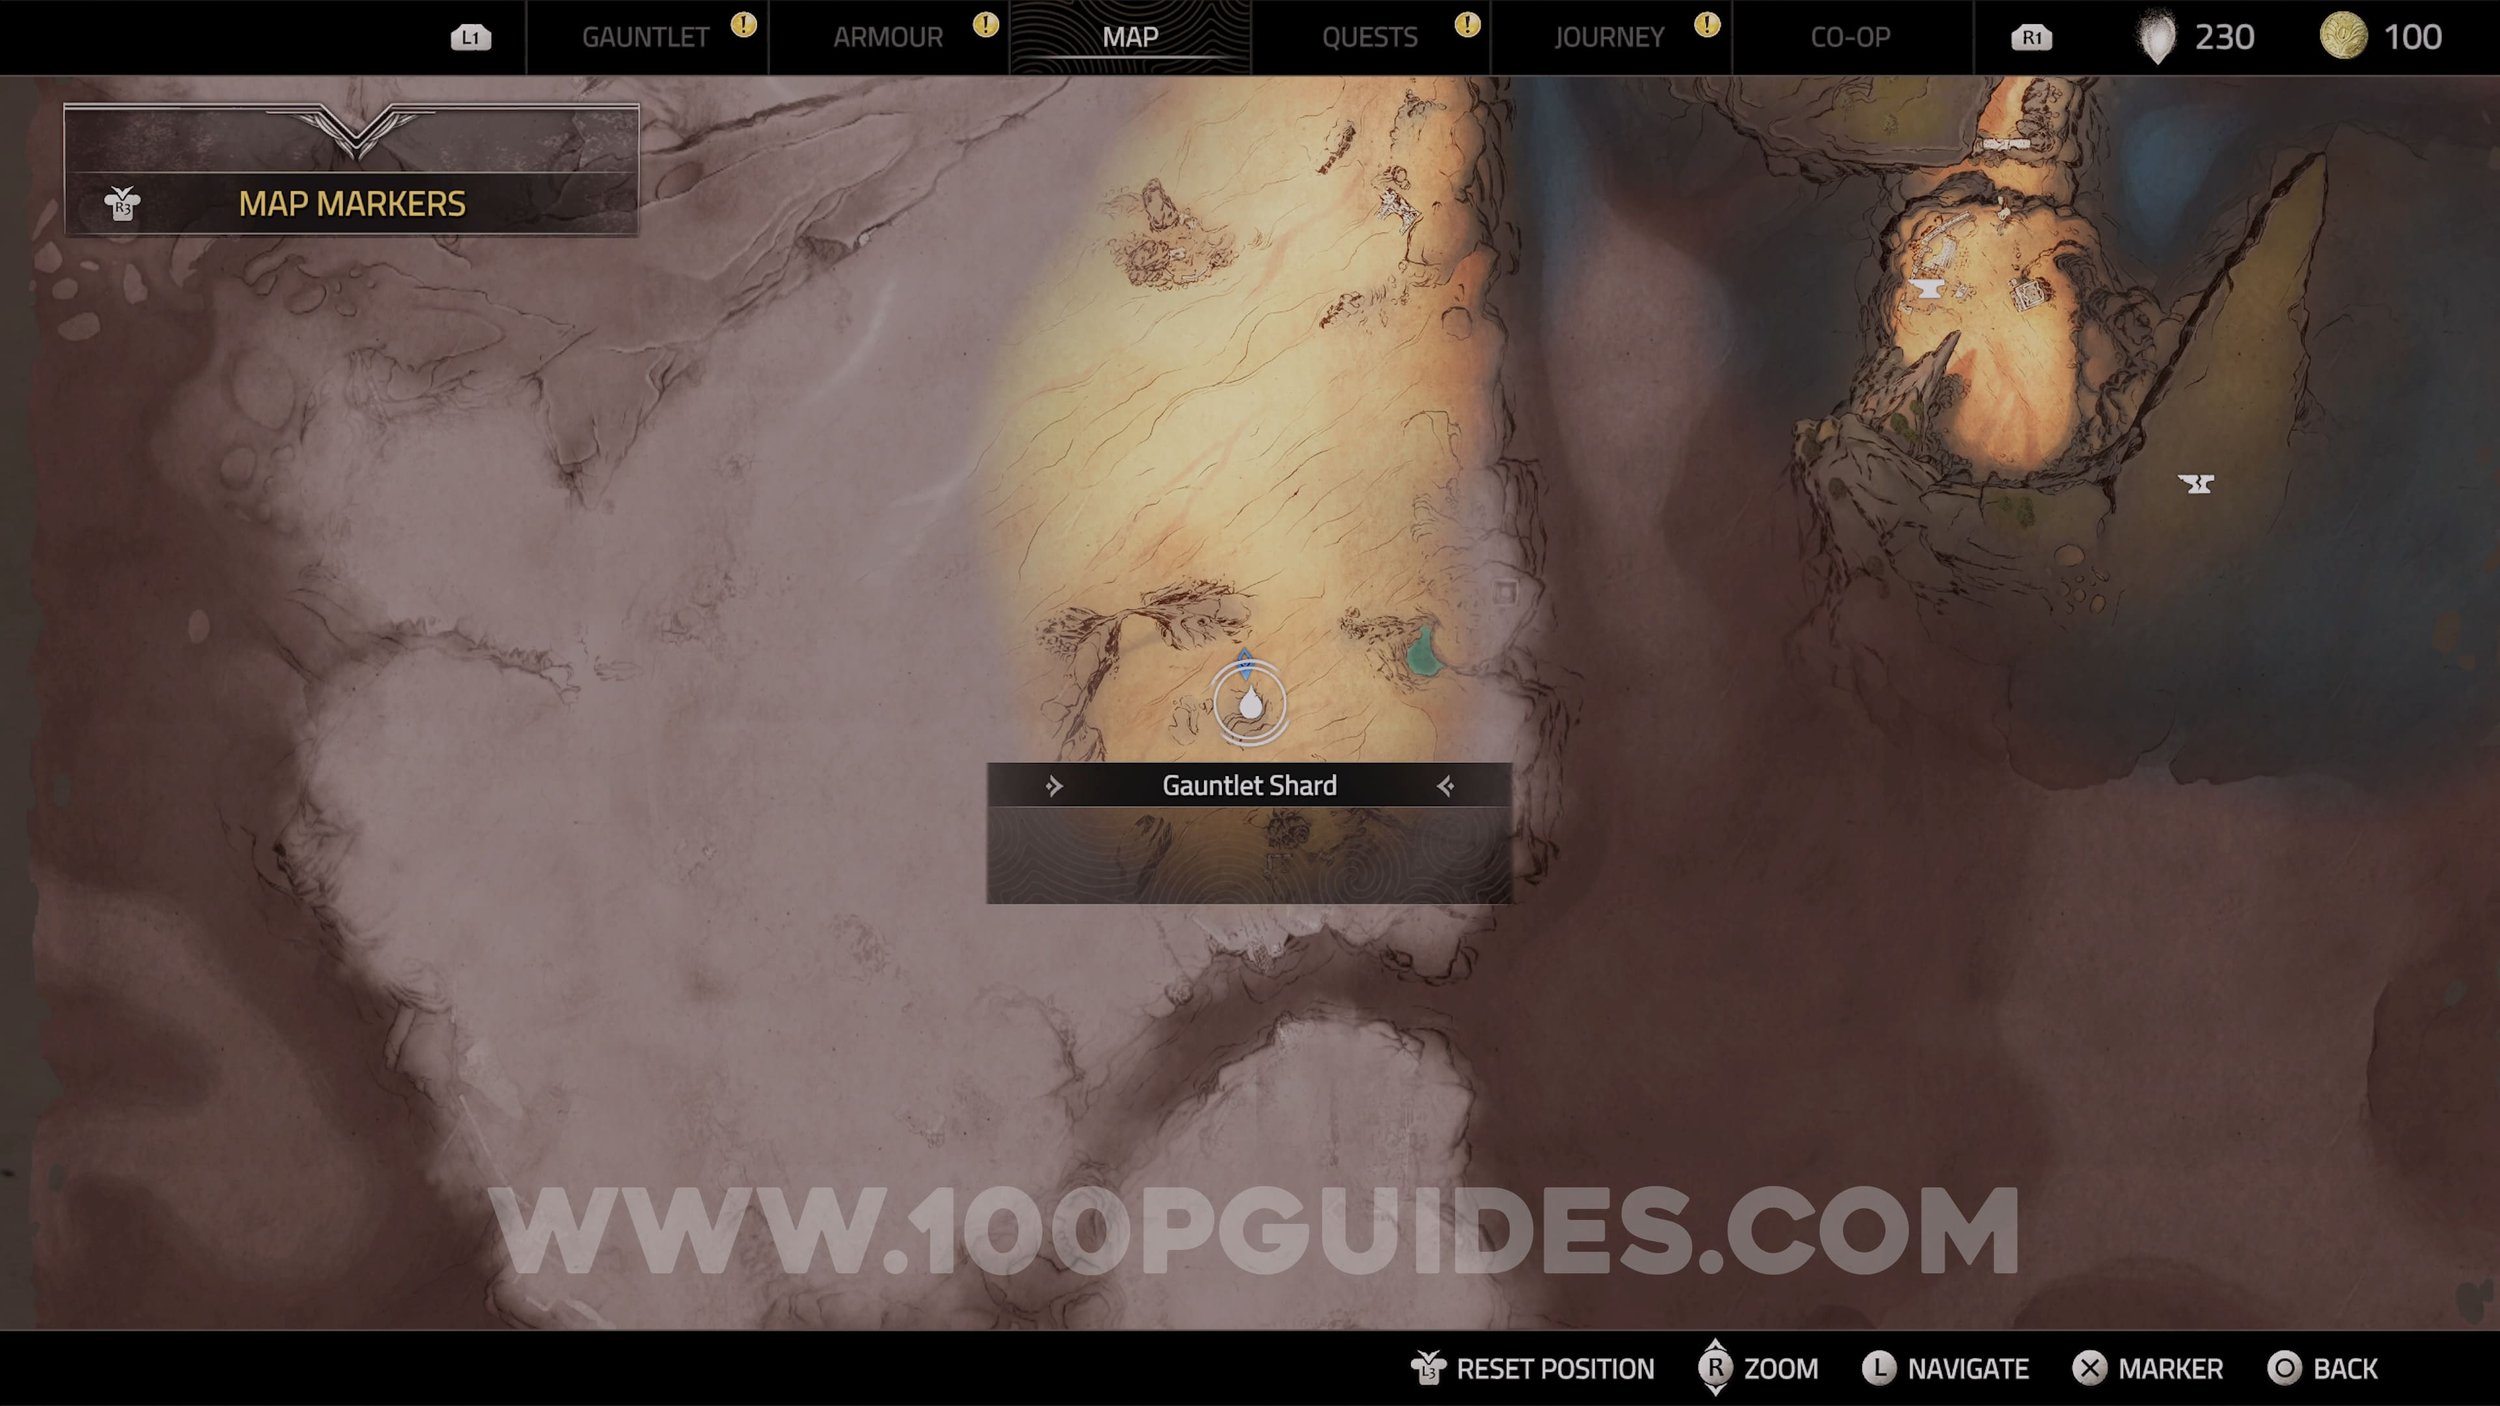

Gauntlet Shard #2. Found in the cave (available during / after the story quest where you have to collect 3 Air Dash Shards).

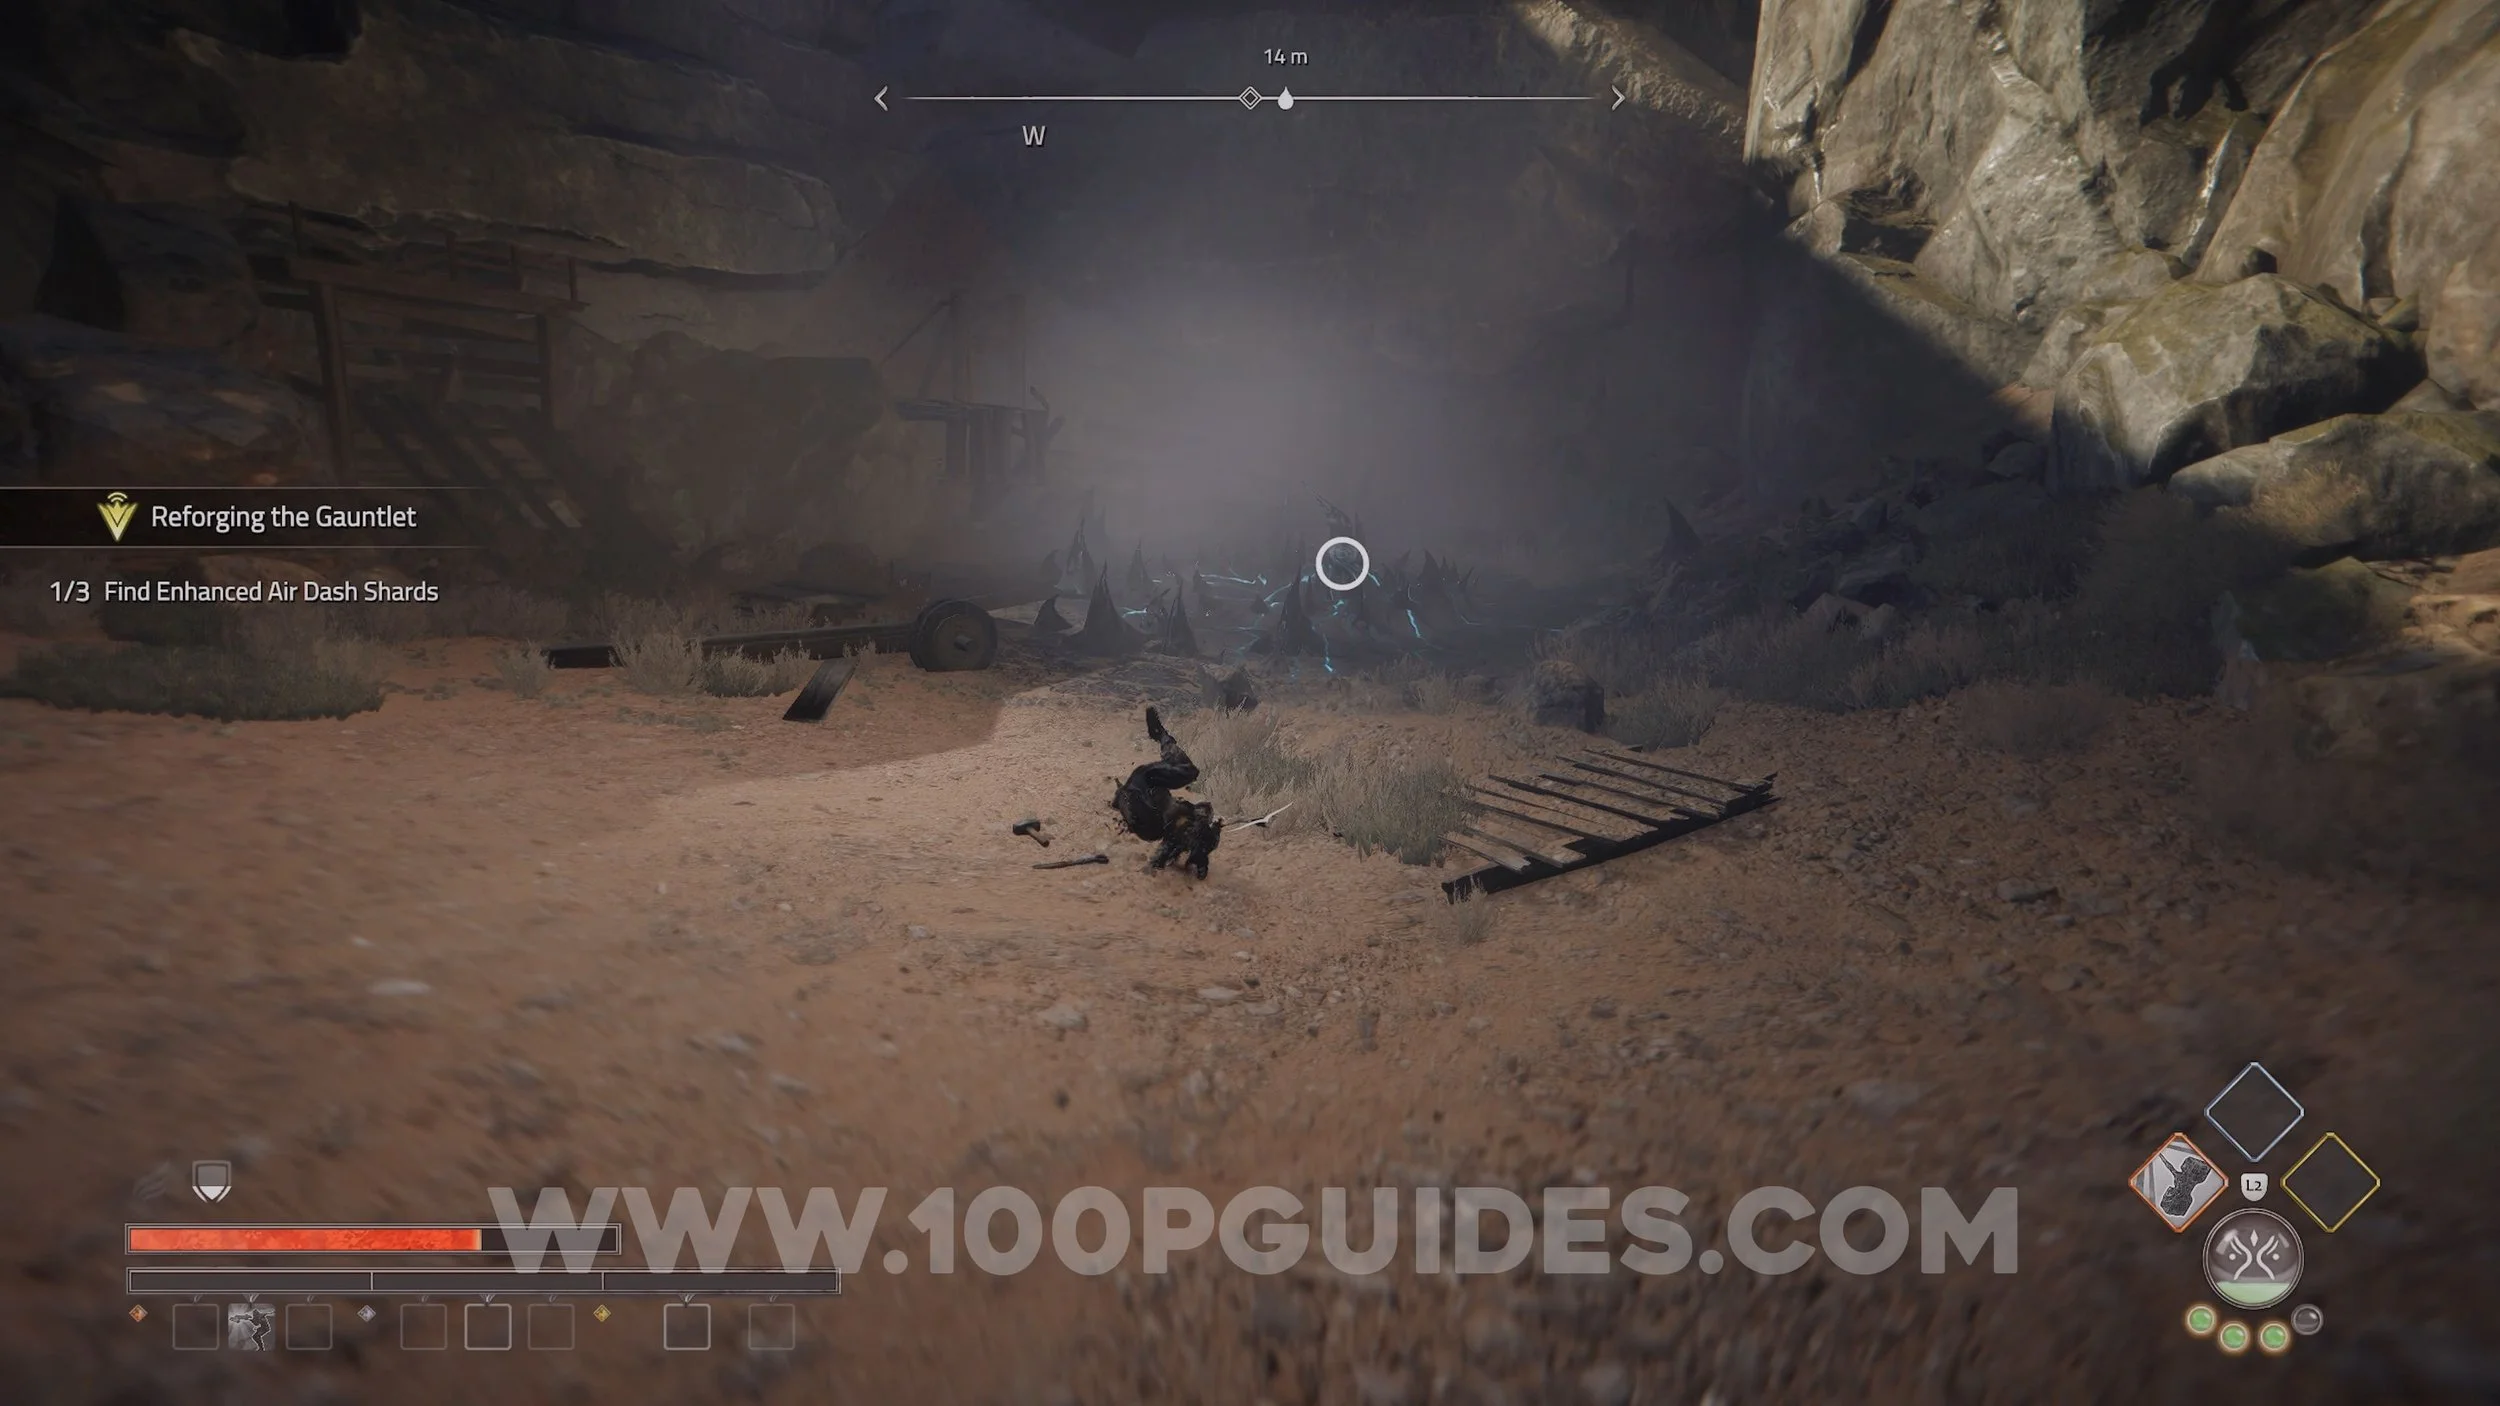
Gauntlet Shard #3. Raise the platform to reach the tallest tower to find the shard (available during / after the story quest where you have to collect 3 Air Dash Shards).

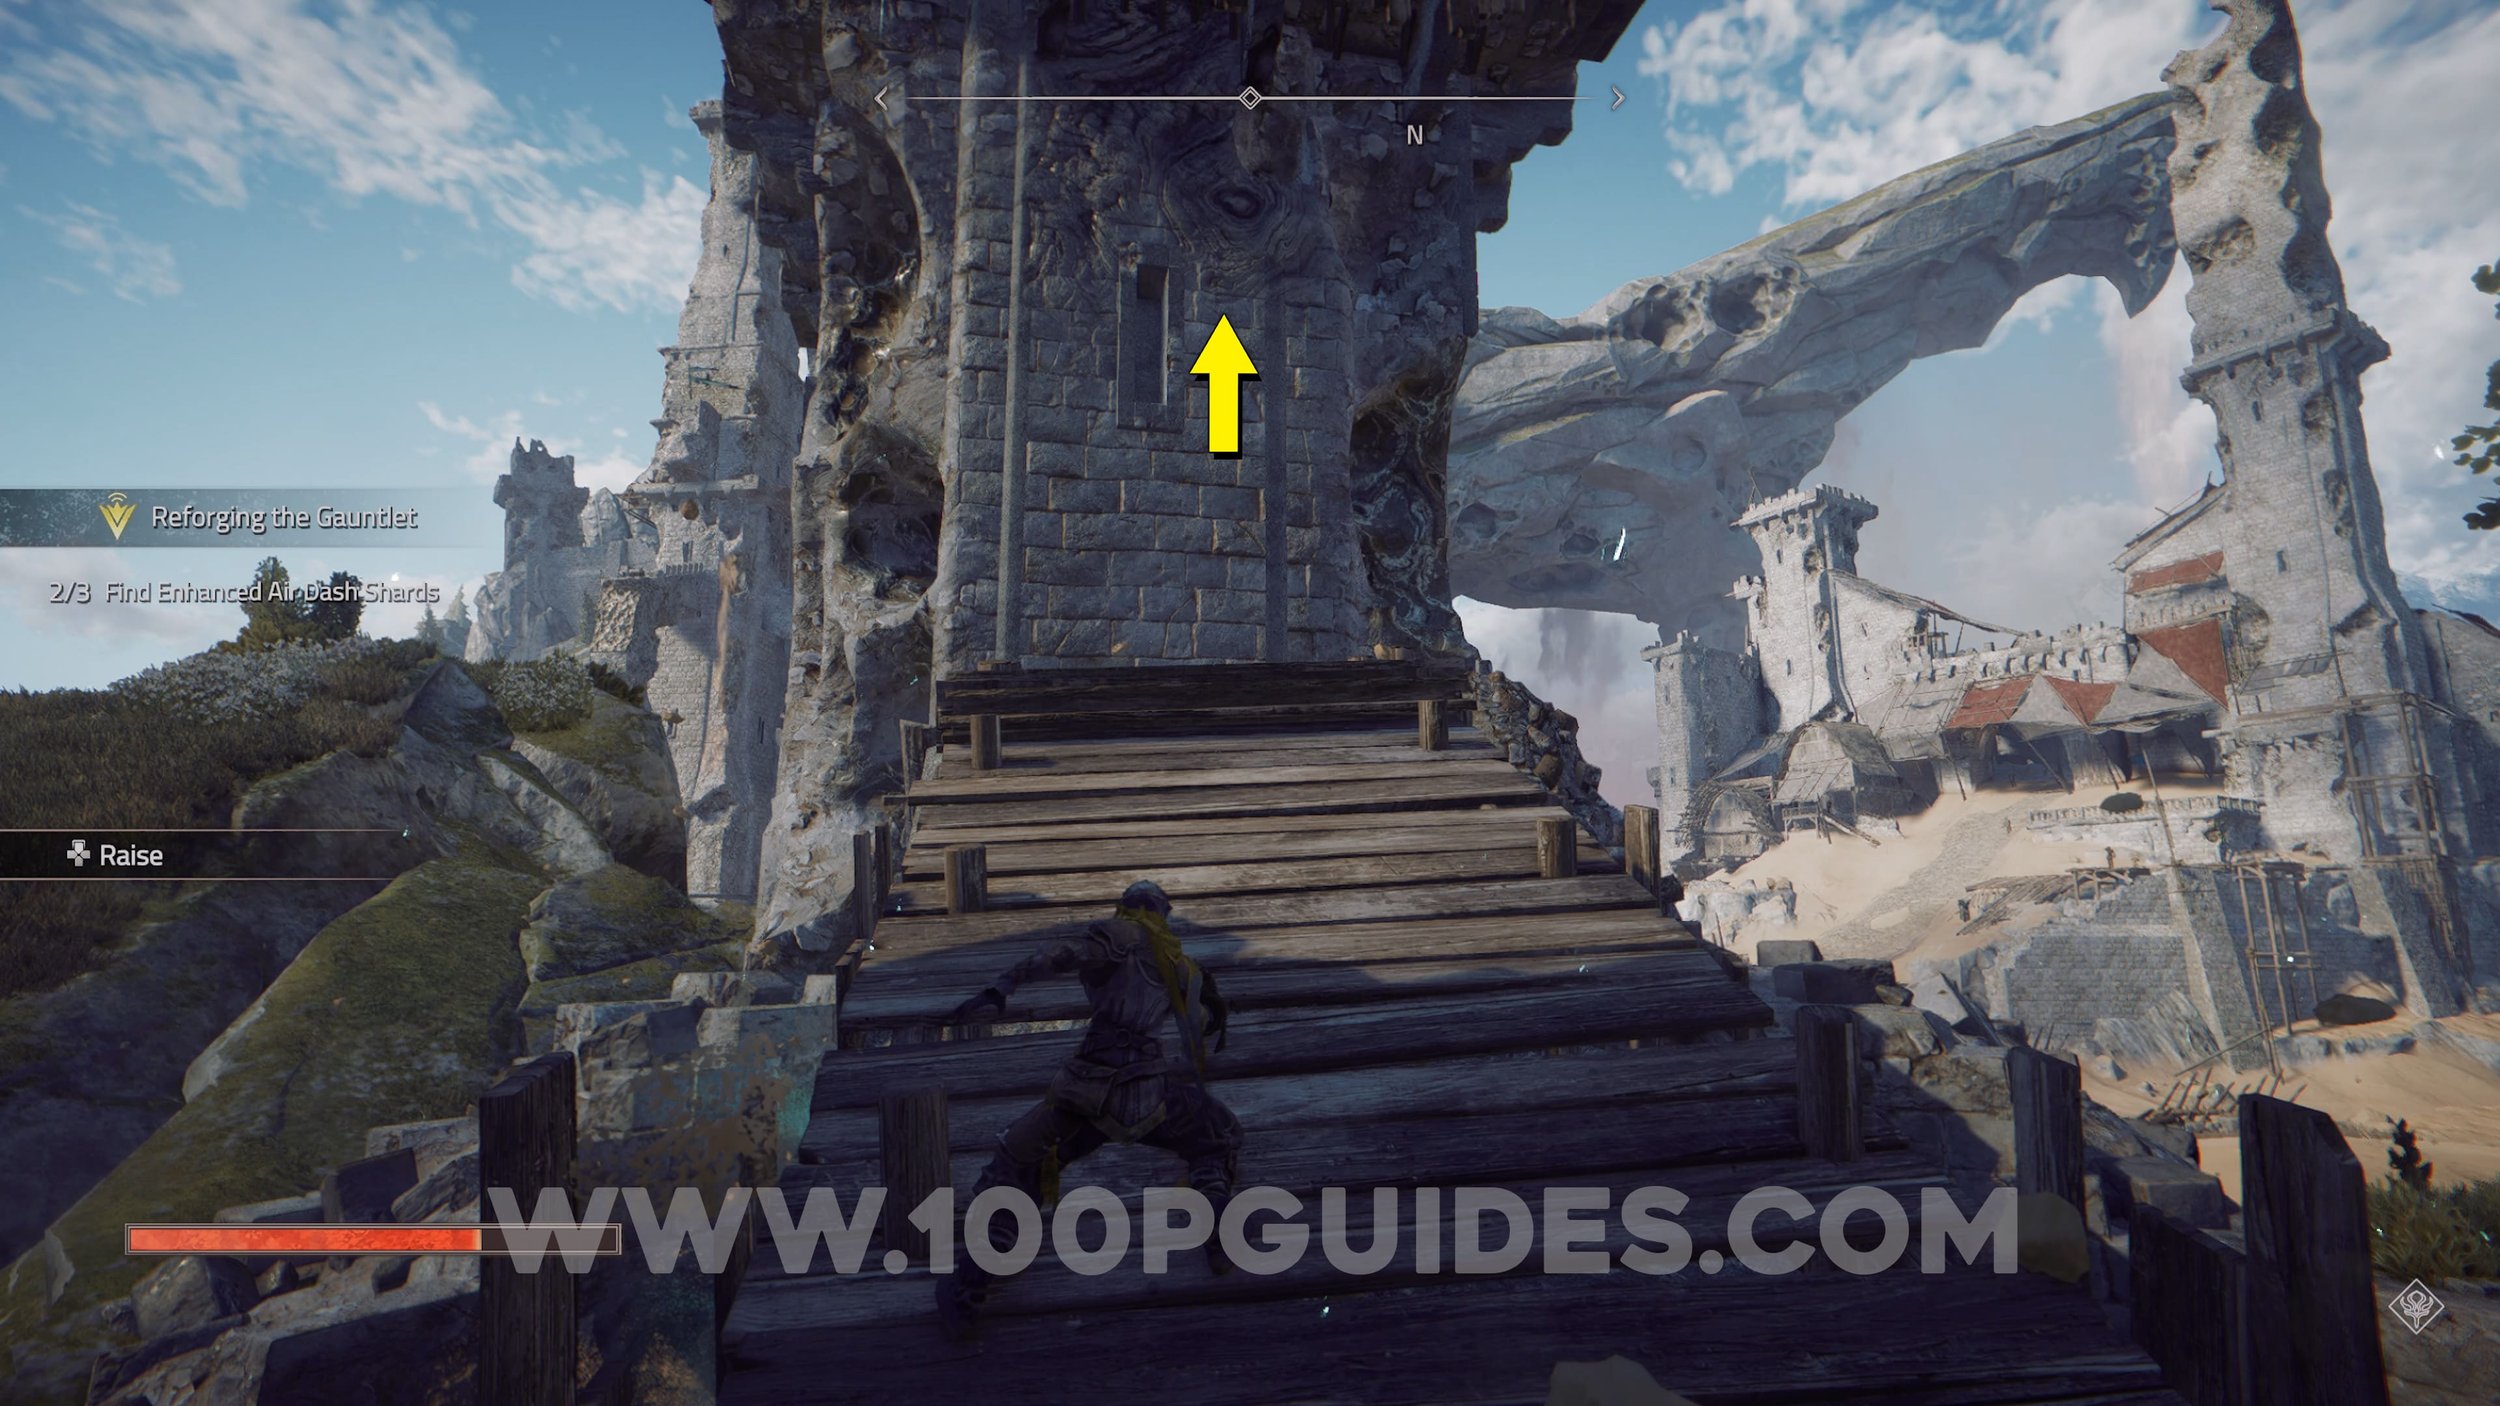

Gauntlet Shard #4. Found just outside the village (available during / after the story quest where you have to collect 3 Air Dash Shards).
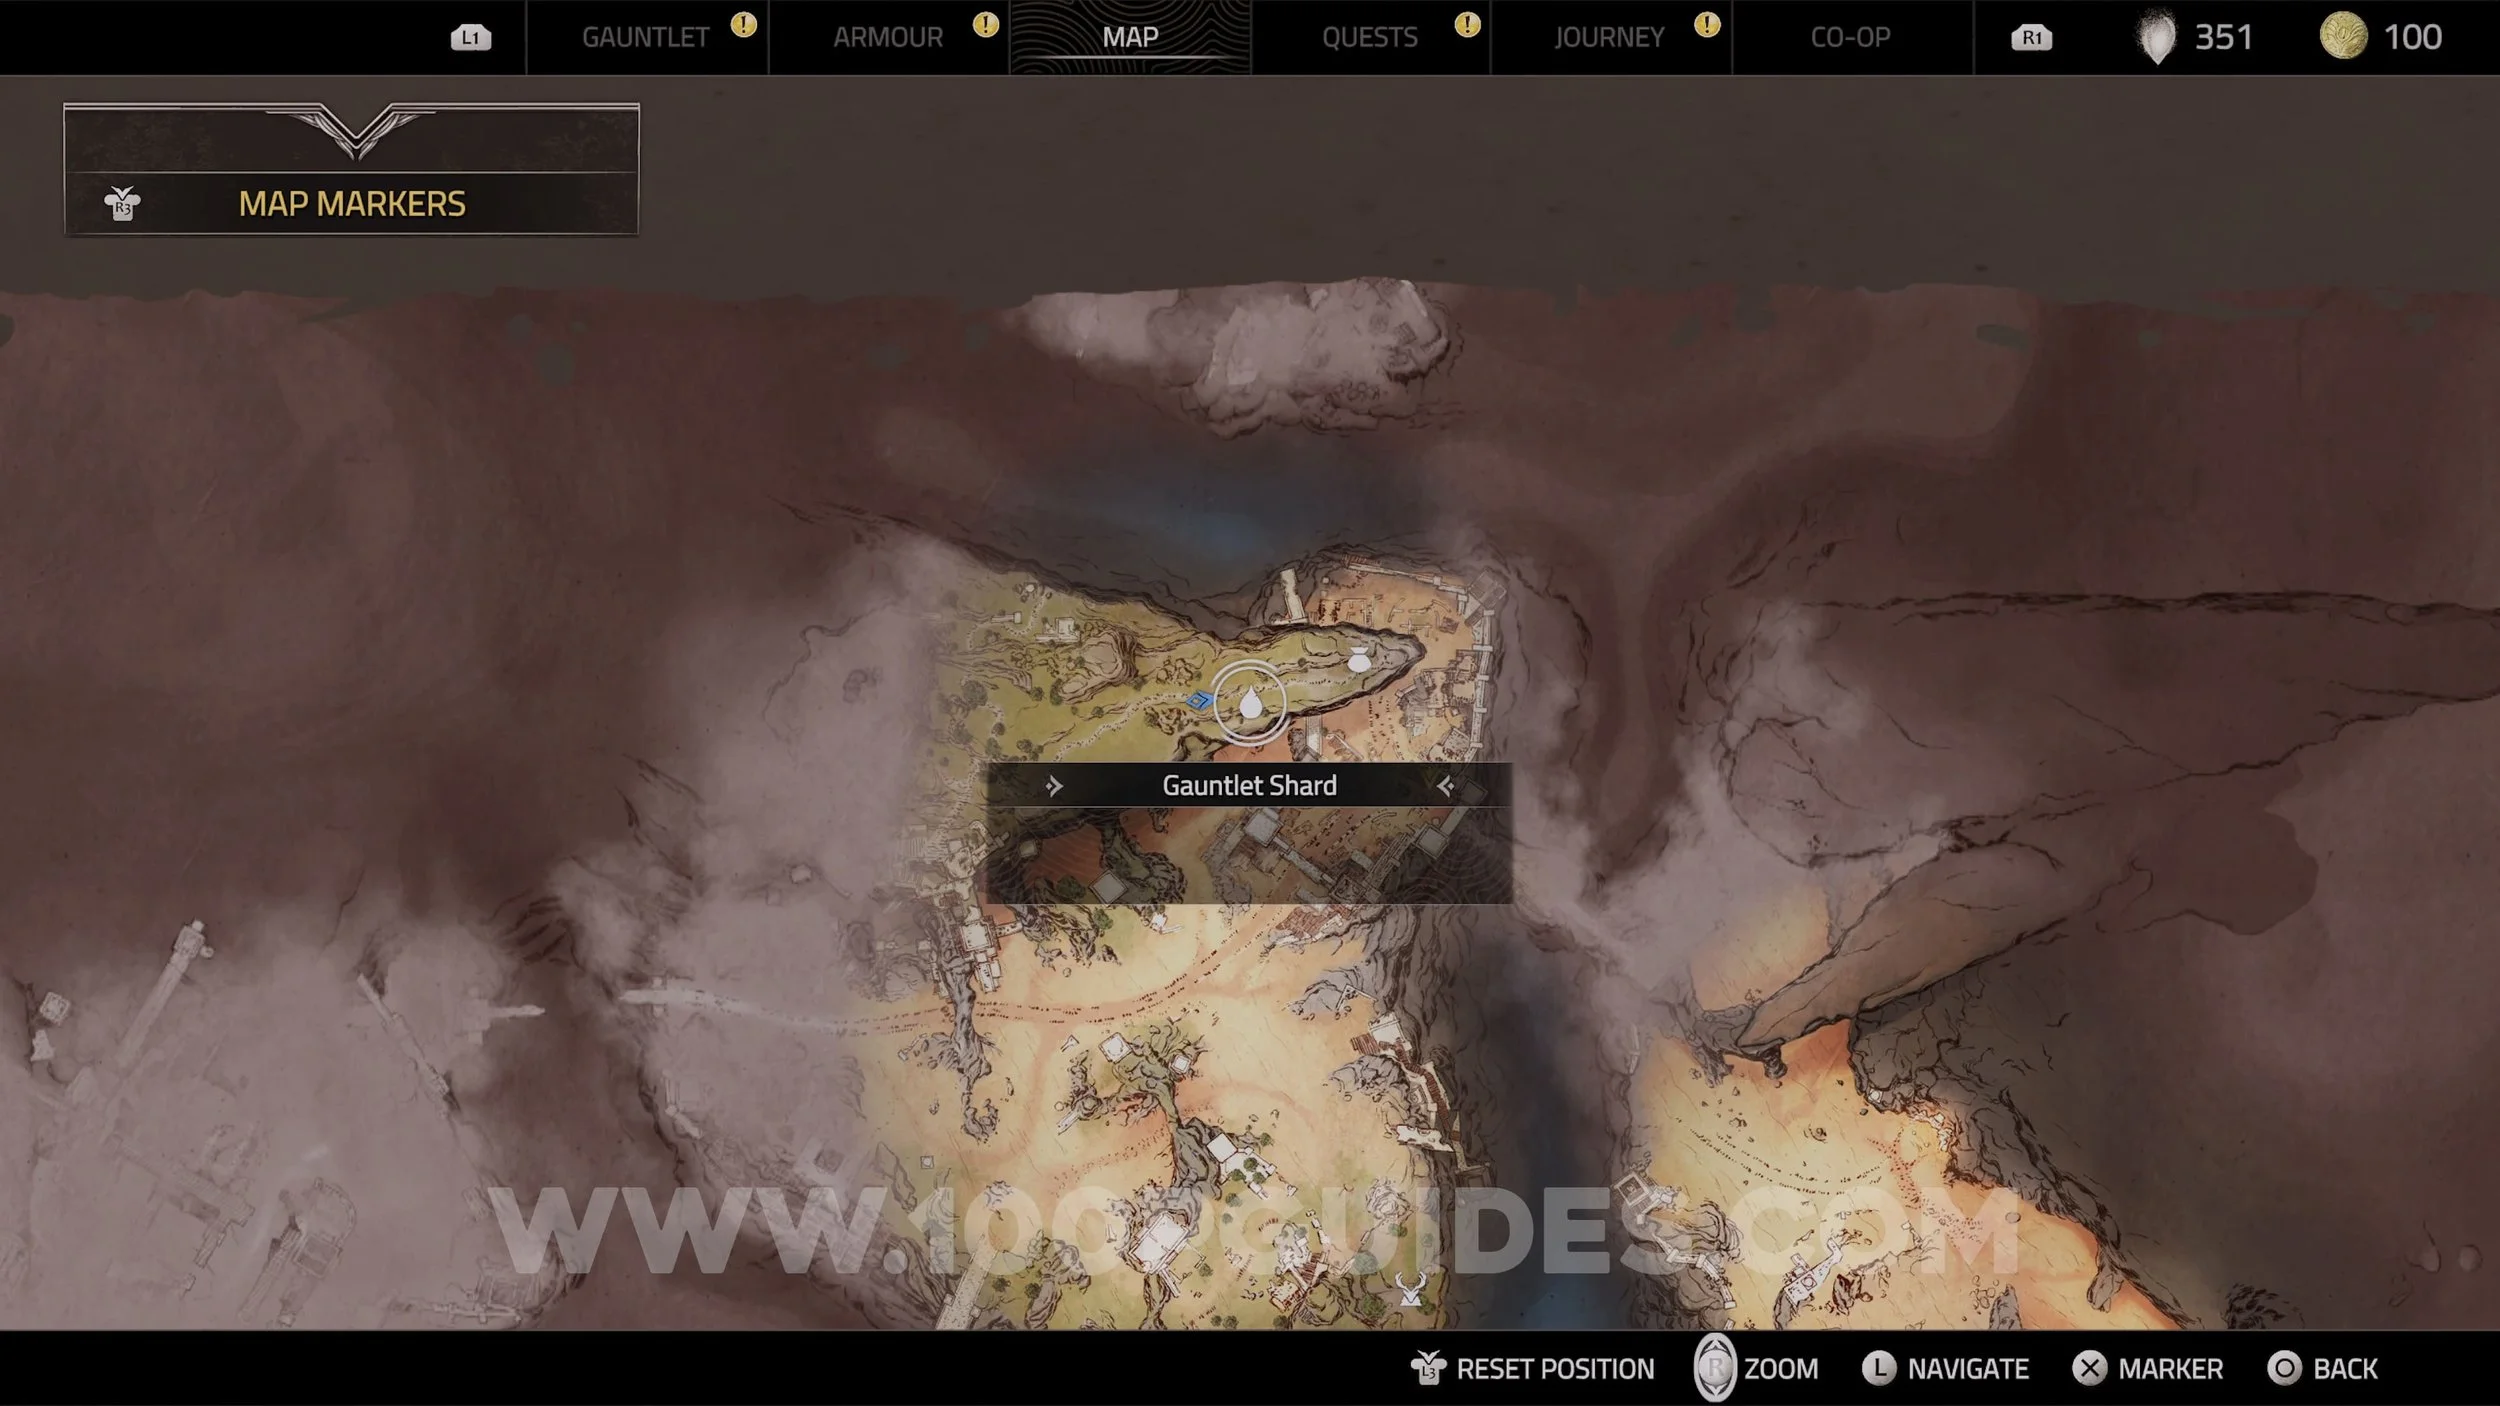
Gauntlet Shard #5 & Sealing Totem #1. Found on top of Shattered Keep. First, activate the Sealing Totem and finish it to get the Shard (available during / after the story quest where you have to collect 3 Unearth Shards).

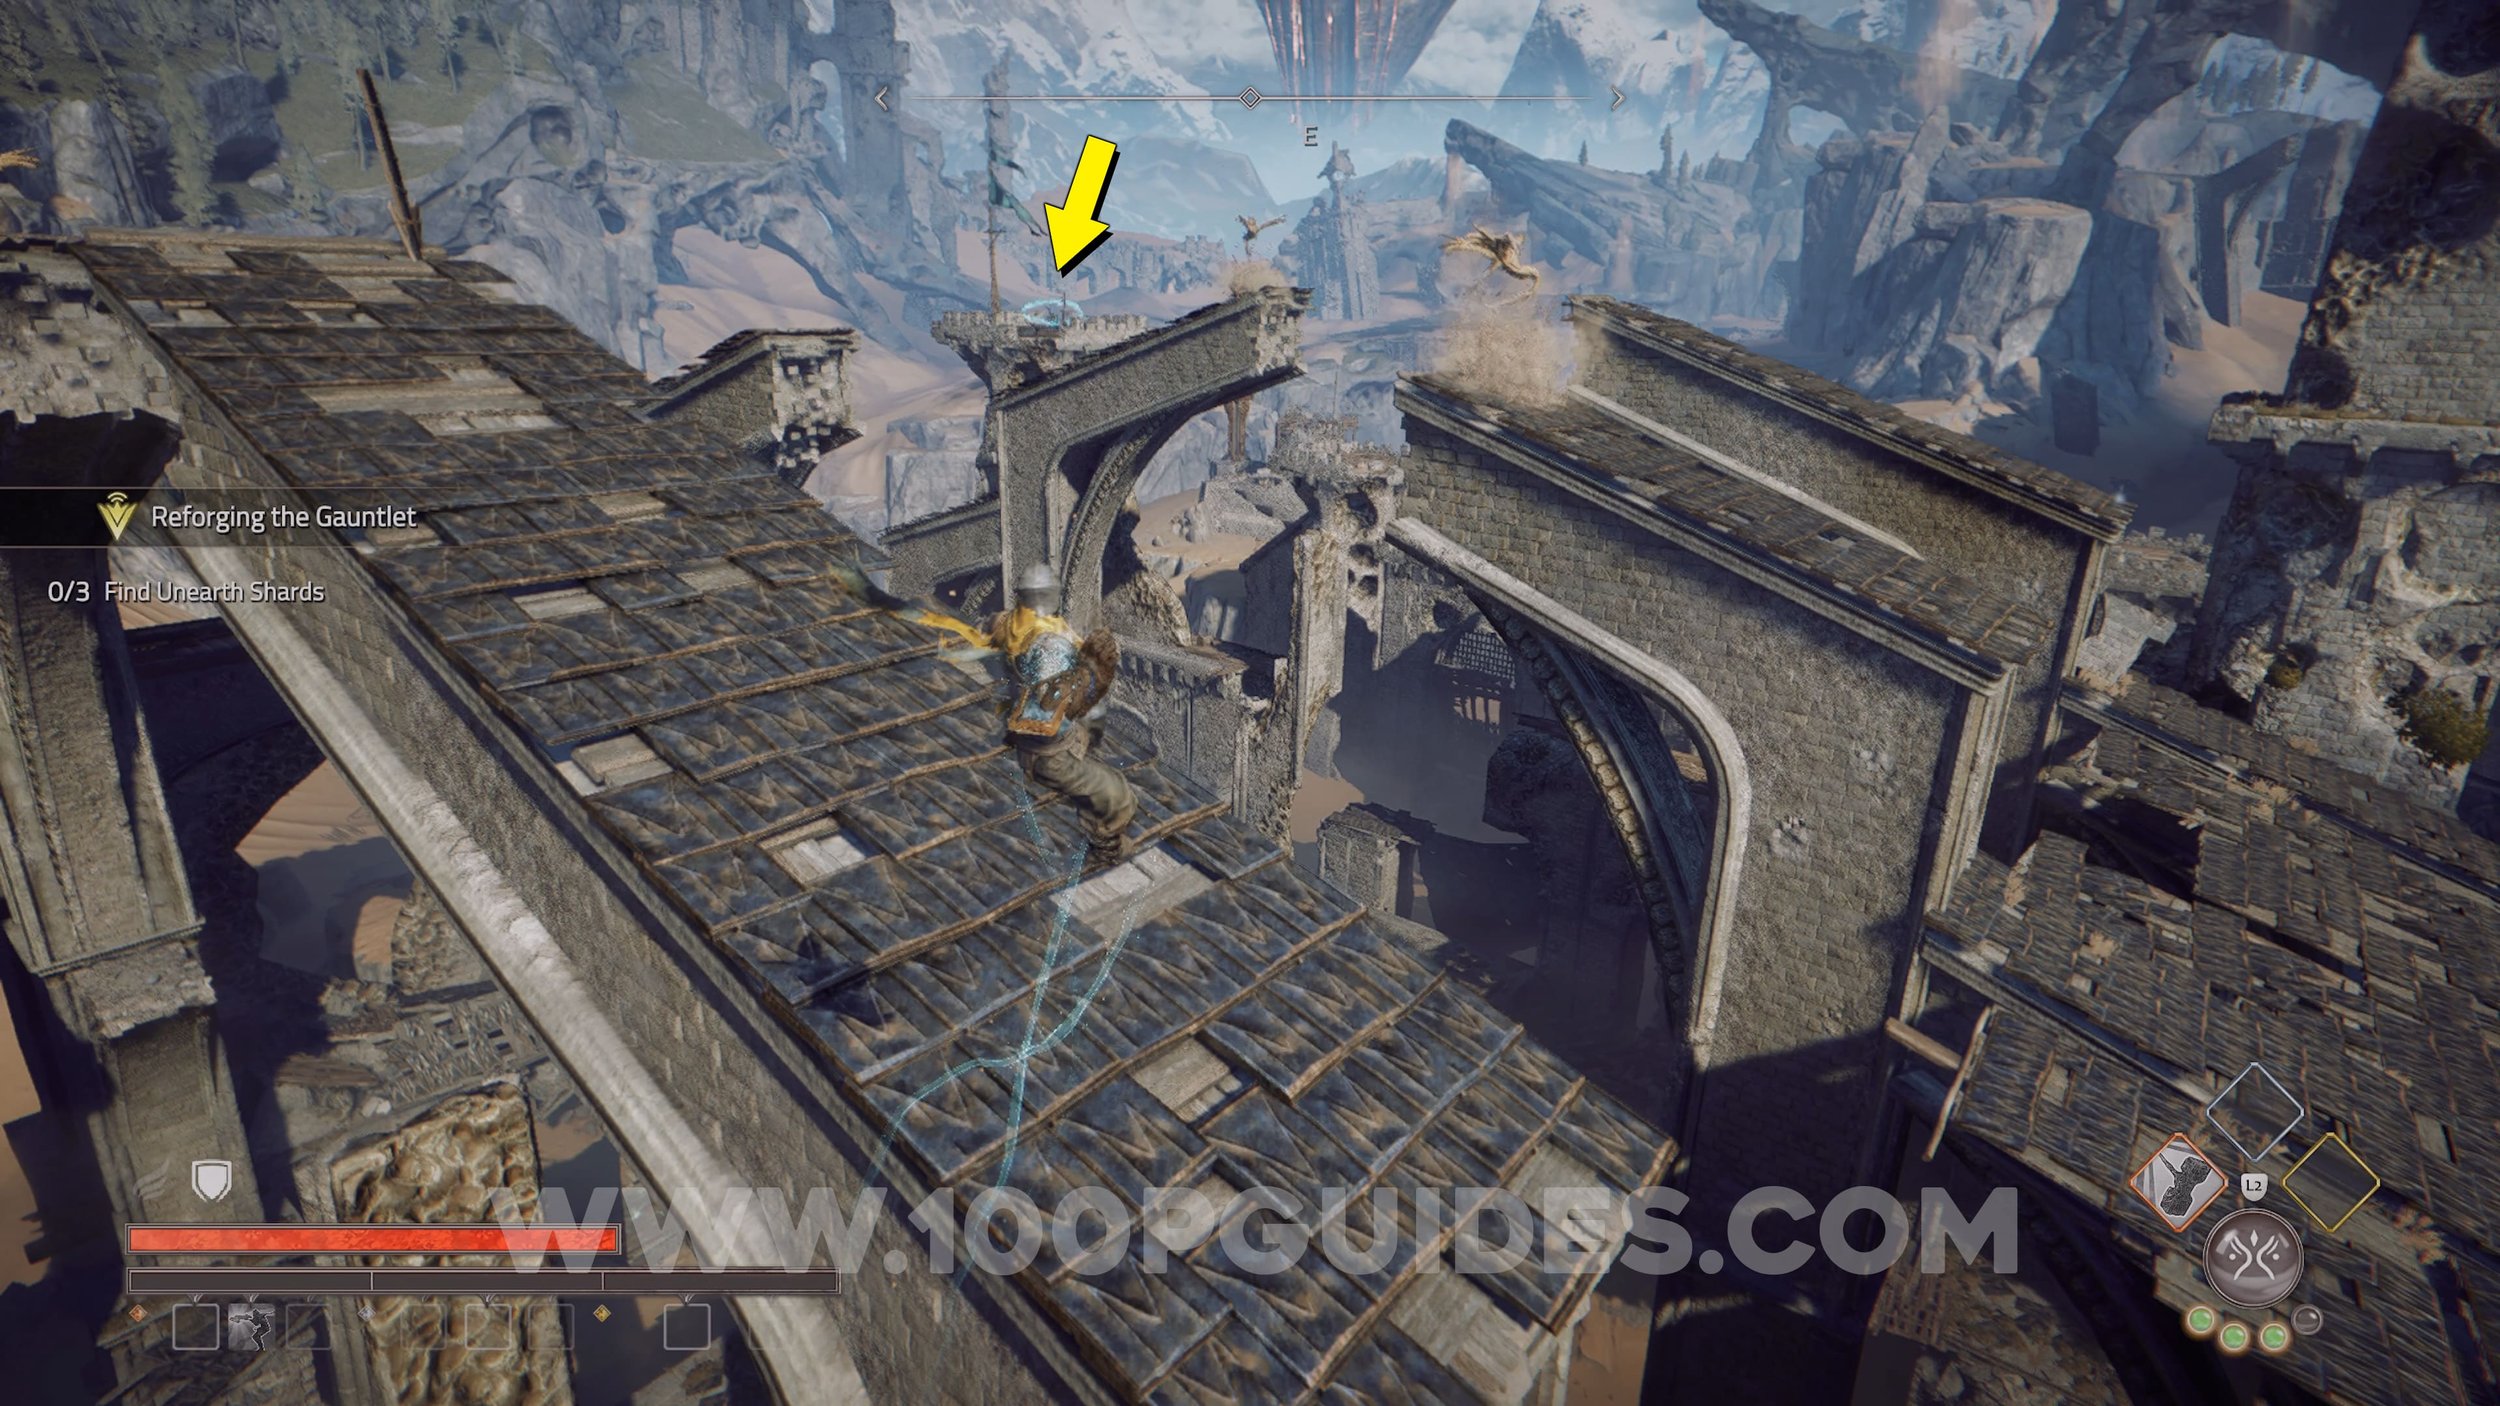
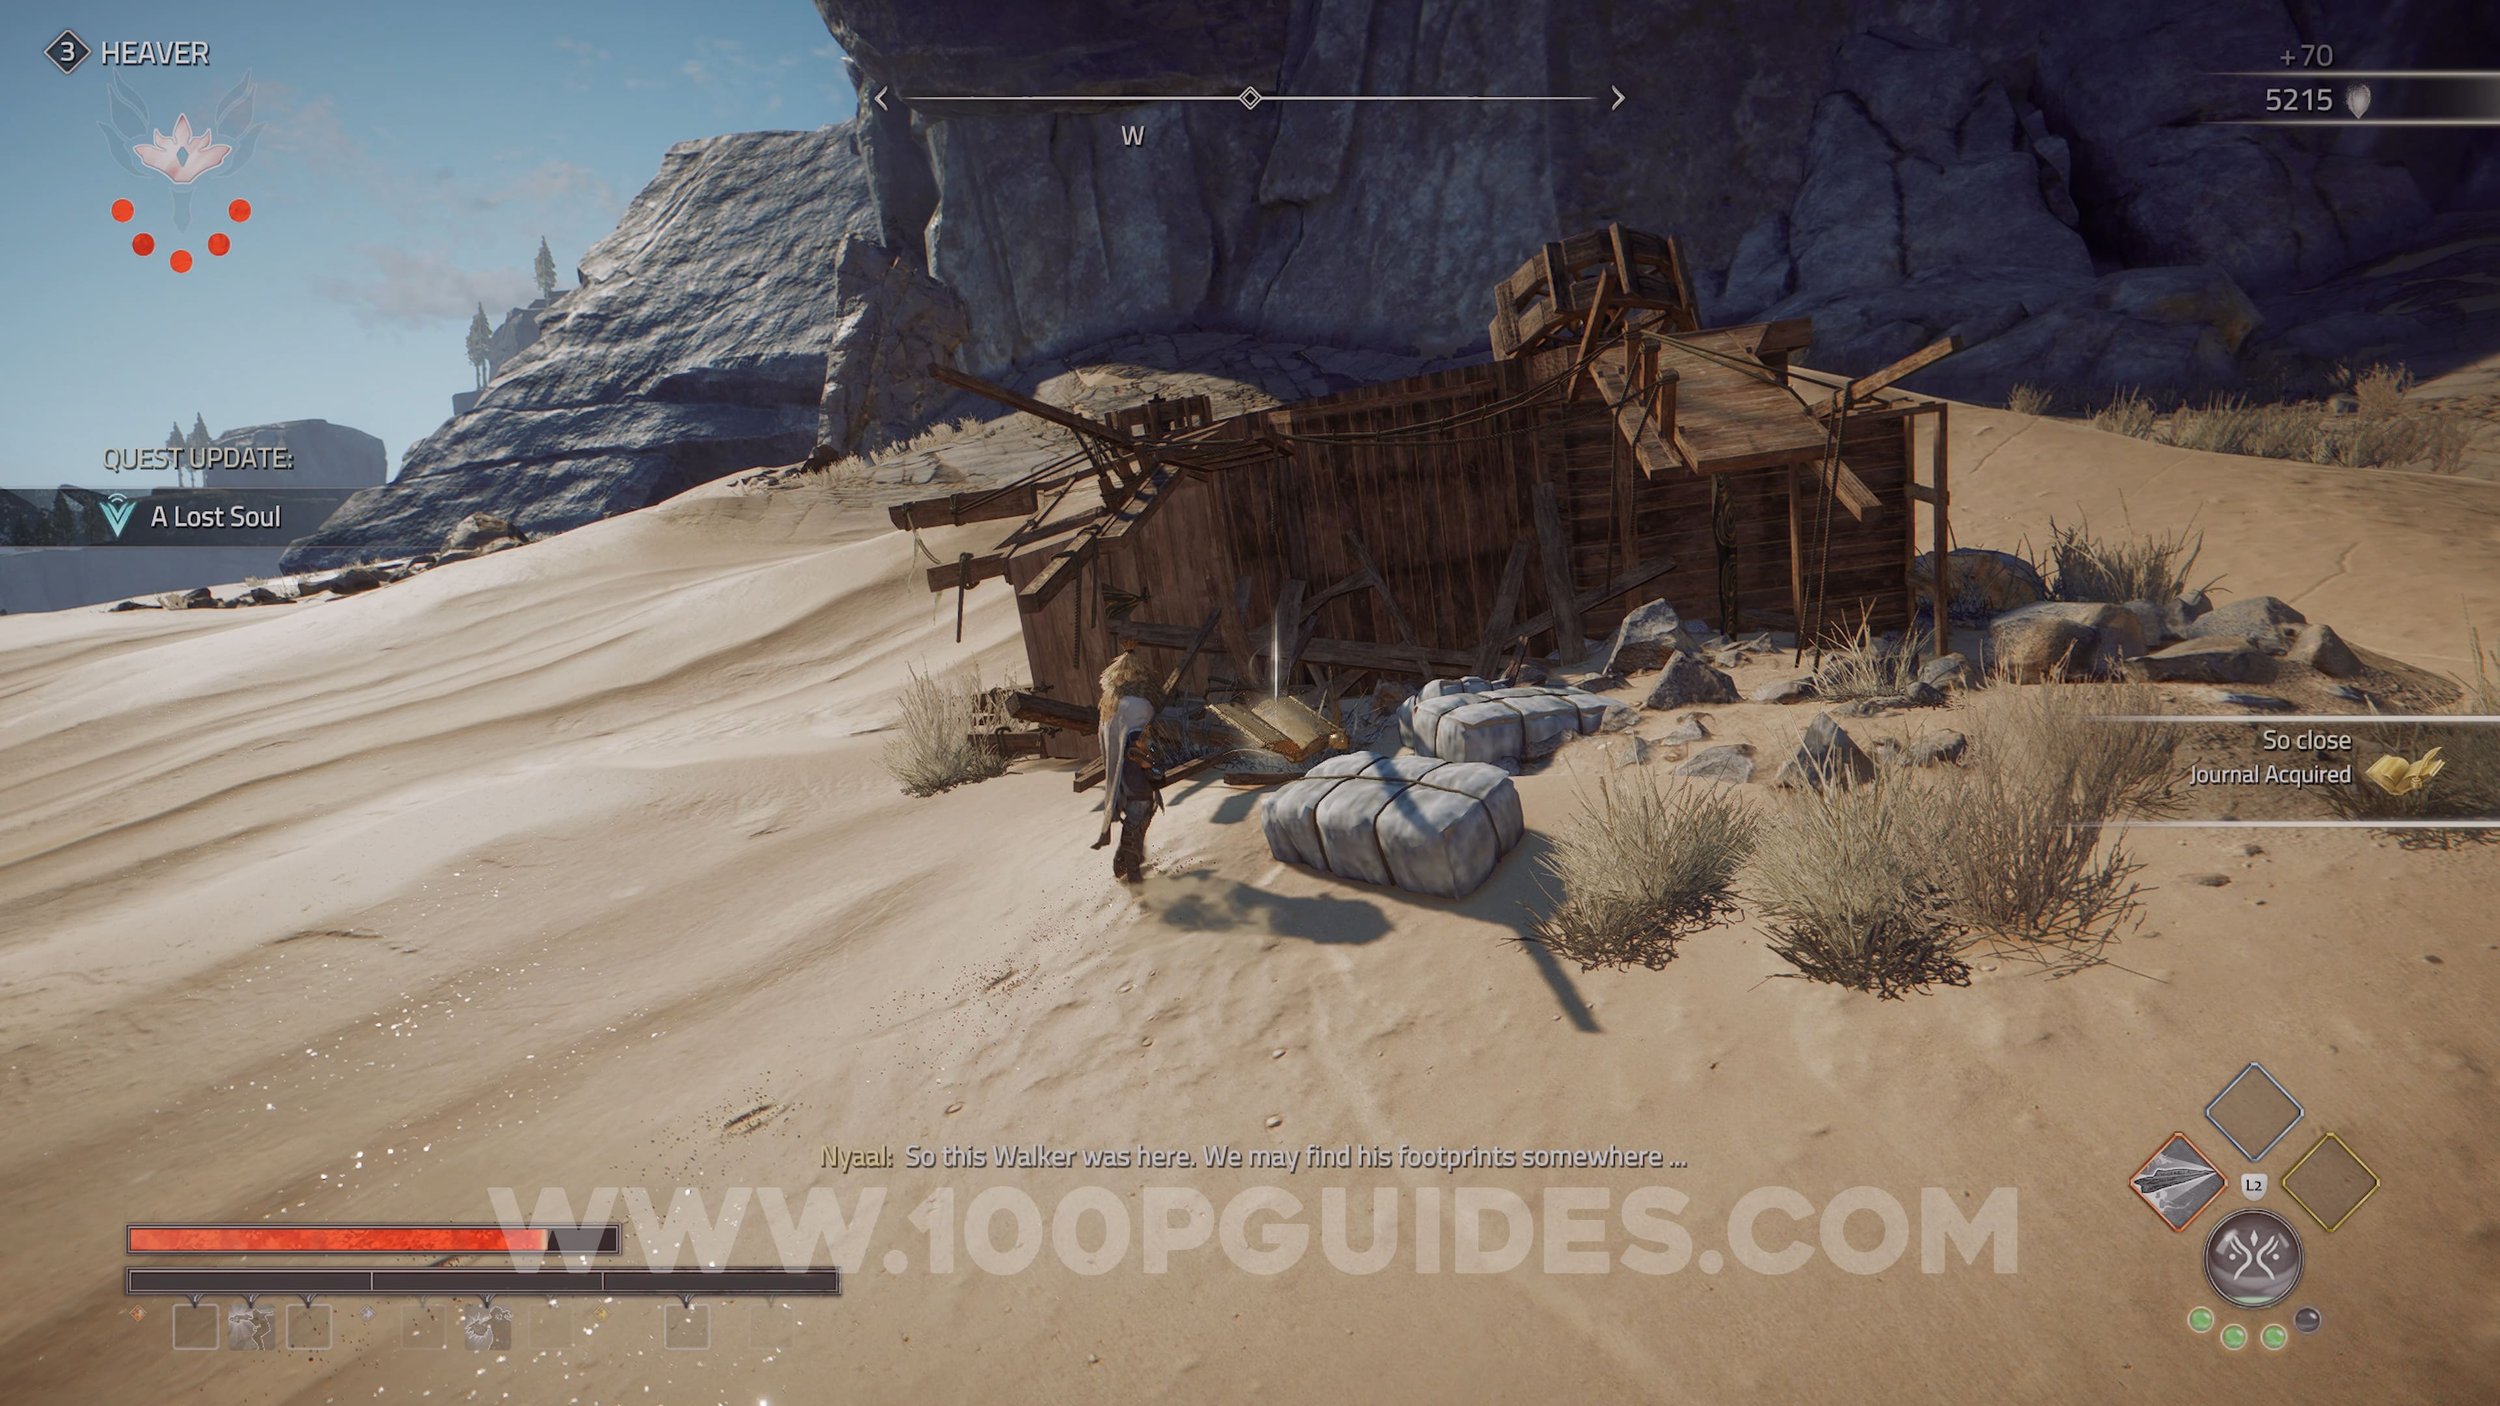
Gauntlet Shard #6. Found on the side of the mountain to the south east of Shattered Keep. You will have to defeat the Heaver to get it (available during / after the story quest where you have to collect 3 Unearth Shards).

Gauntlet Shard #7, Elite Foe (Coylur) & Essence Stone (Rampaging Wrath). Found by defeating the Elite Foe in the area to the south east of the desert. Remember to loot the Essence Stone from the Elite Foe (available during / after the story quest where you have to collect 3 Unearth Shards).

Gauntlet Shard # 8 & Sealing Totem #2. Found on top of the mountain to the west of the village. To get up, use the ramp and wooden platforms on the south side. At the top go to the end, finish the Sealing Totem and get the shard (available during / after the story quest where you have to collect 3 Unearth Shards).

Active Formula I. Obtained for finishing the “Protecting The Village” side quest. You can start this side quest by talking to Old Seven in the village.


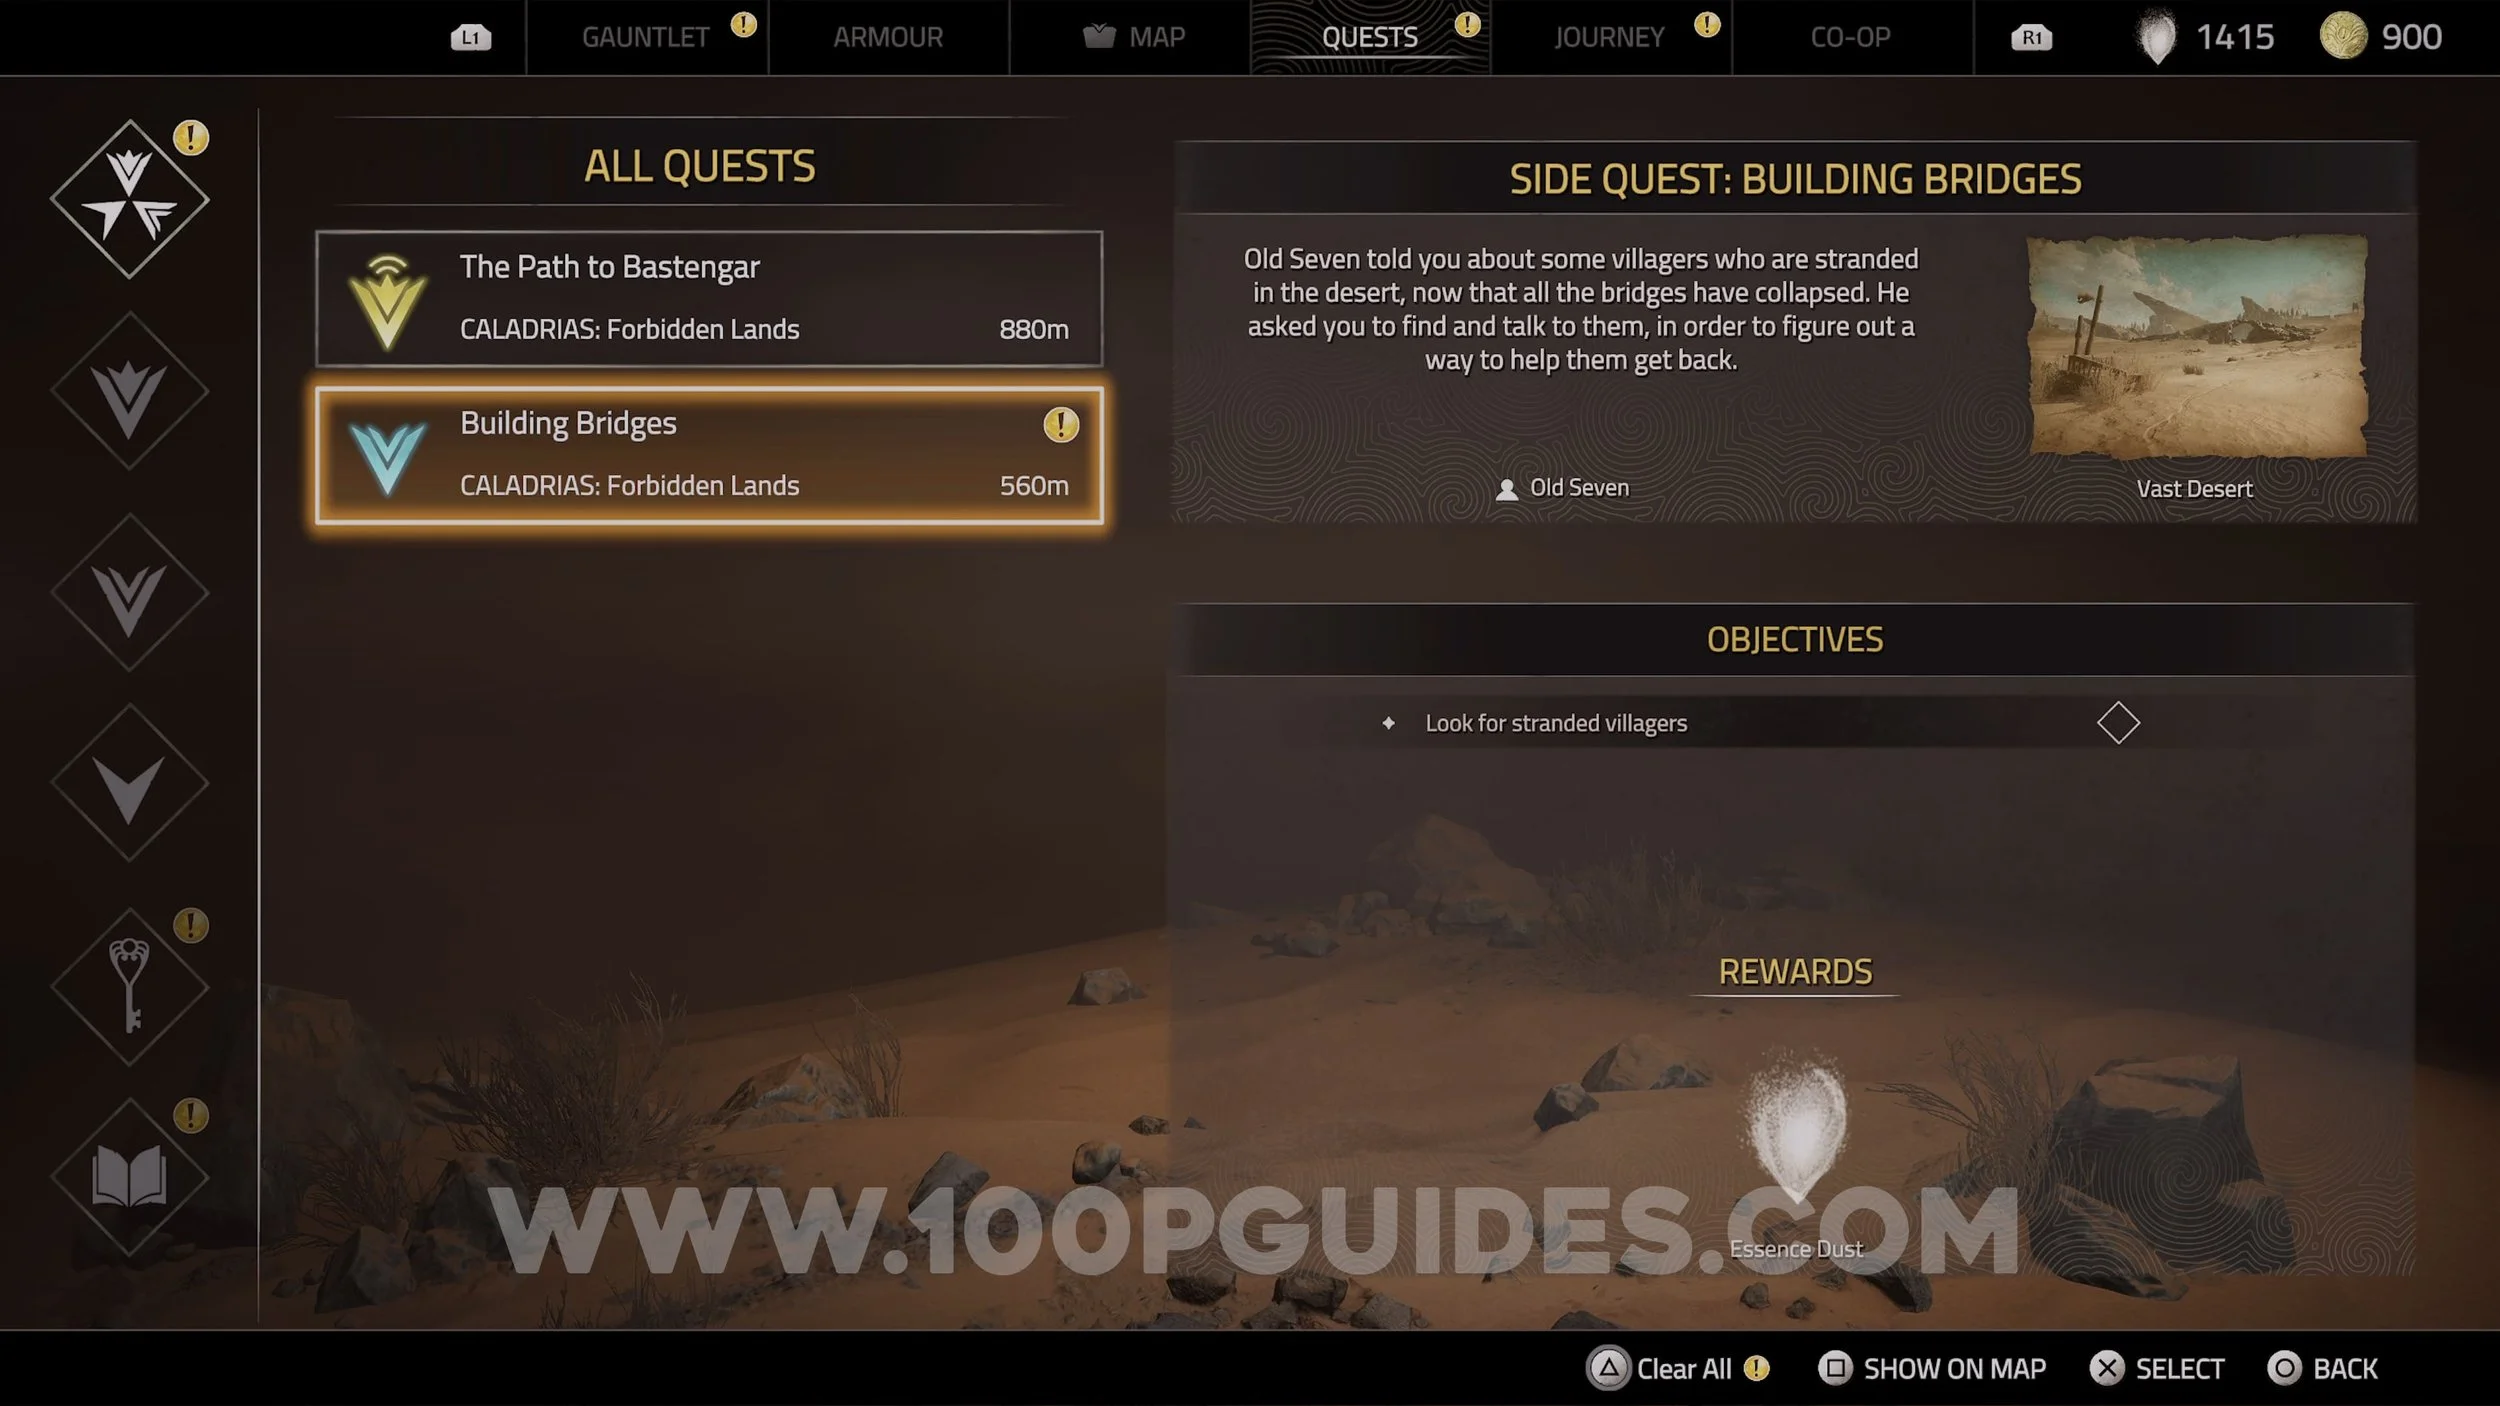
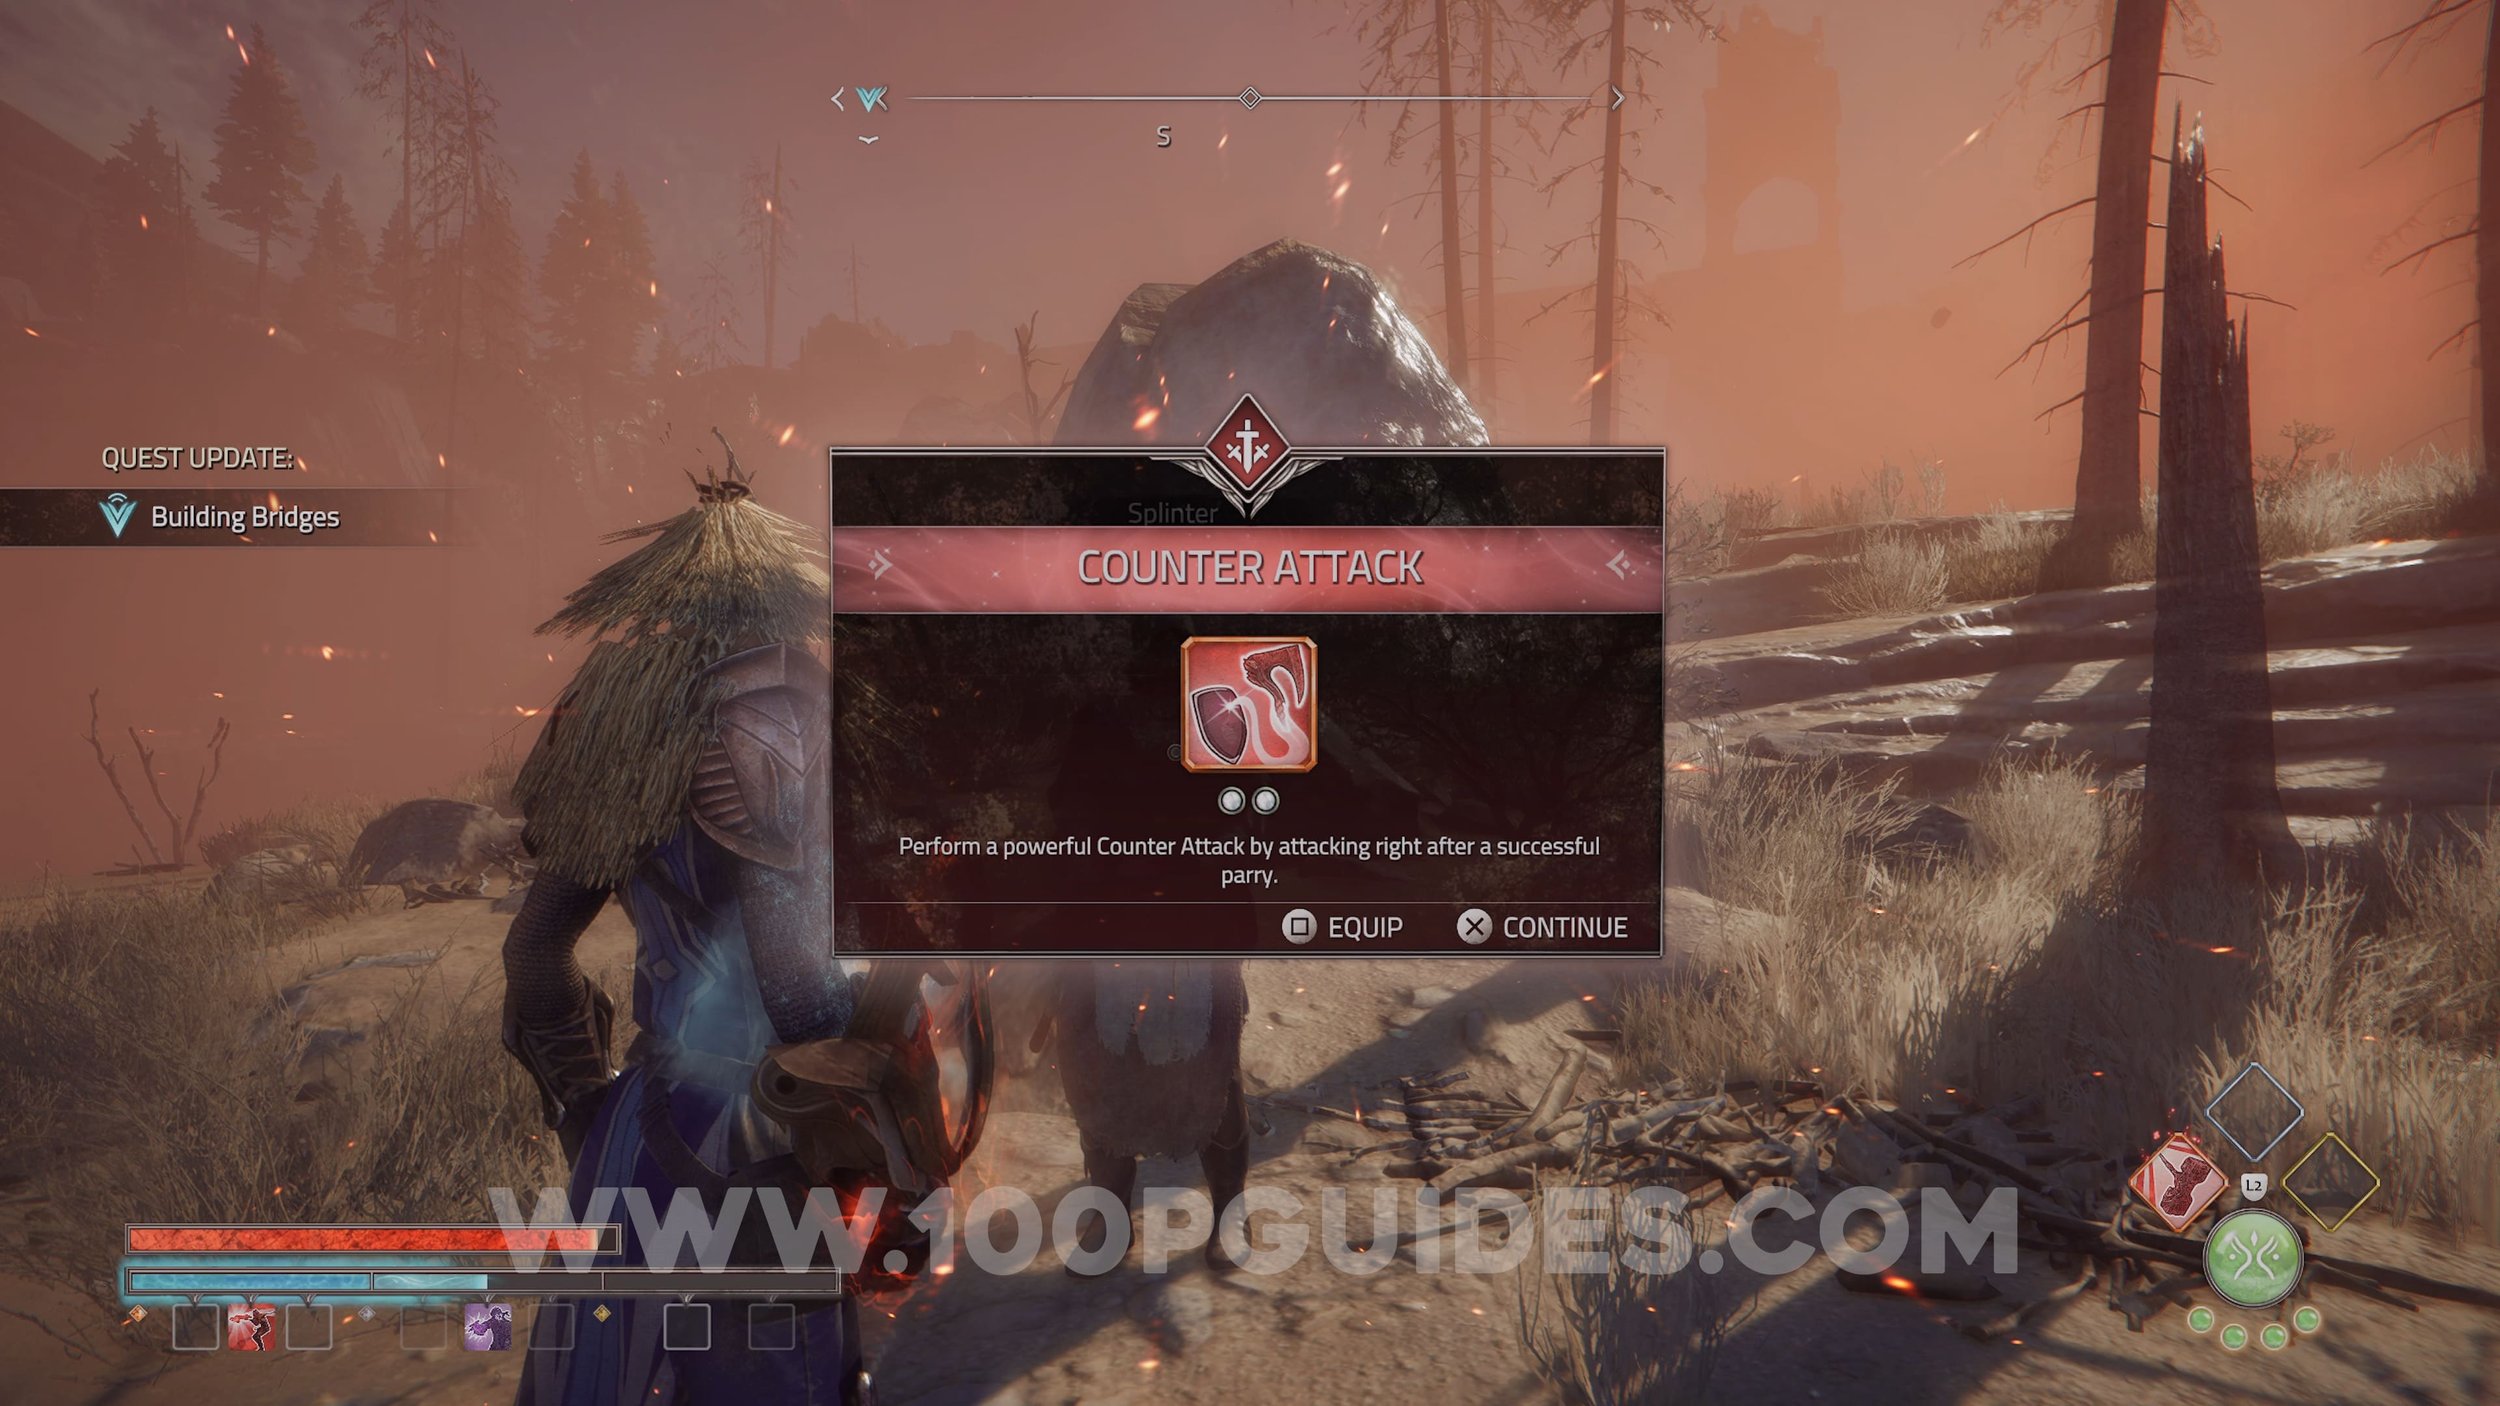
Essence Stone (Counter Attack). Obtained automatically during the “Building Bridges” side quest. You unlock this side quest after finishing the “Protecting The Village” side quest.
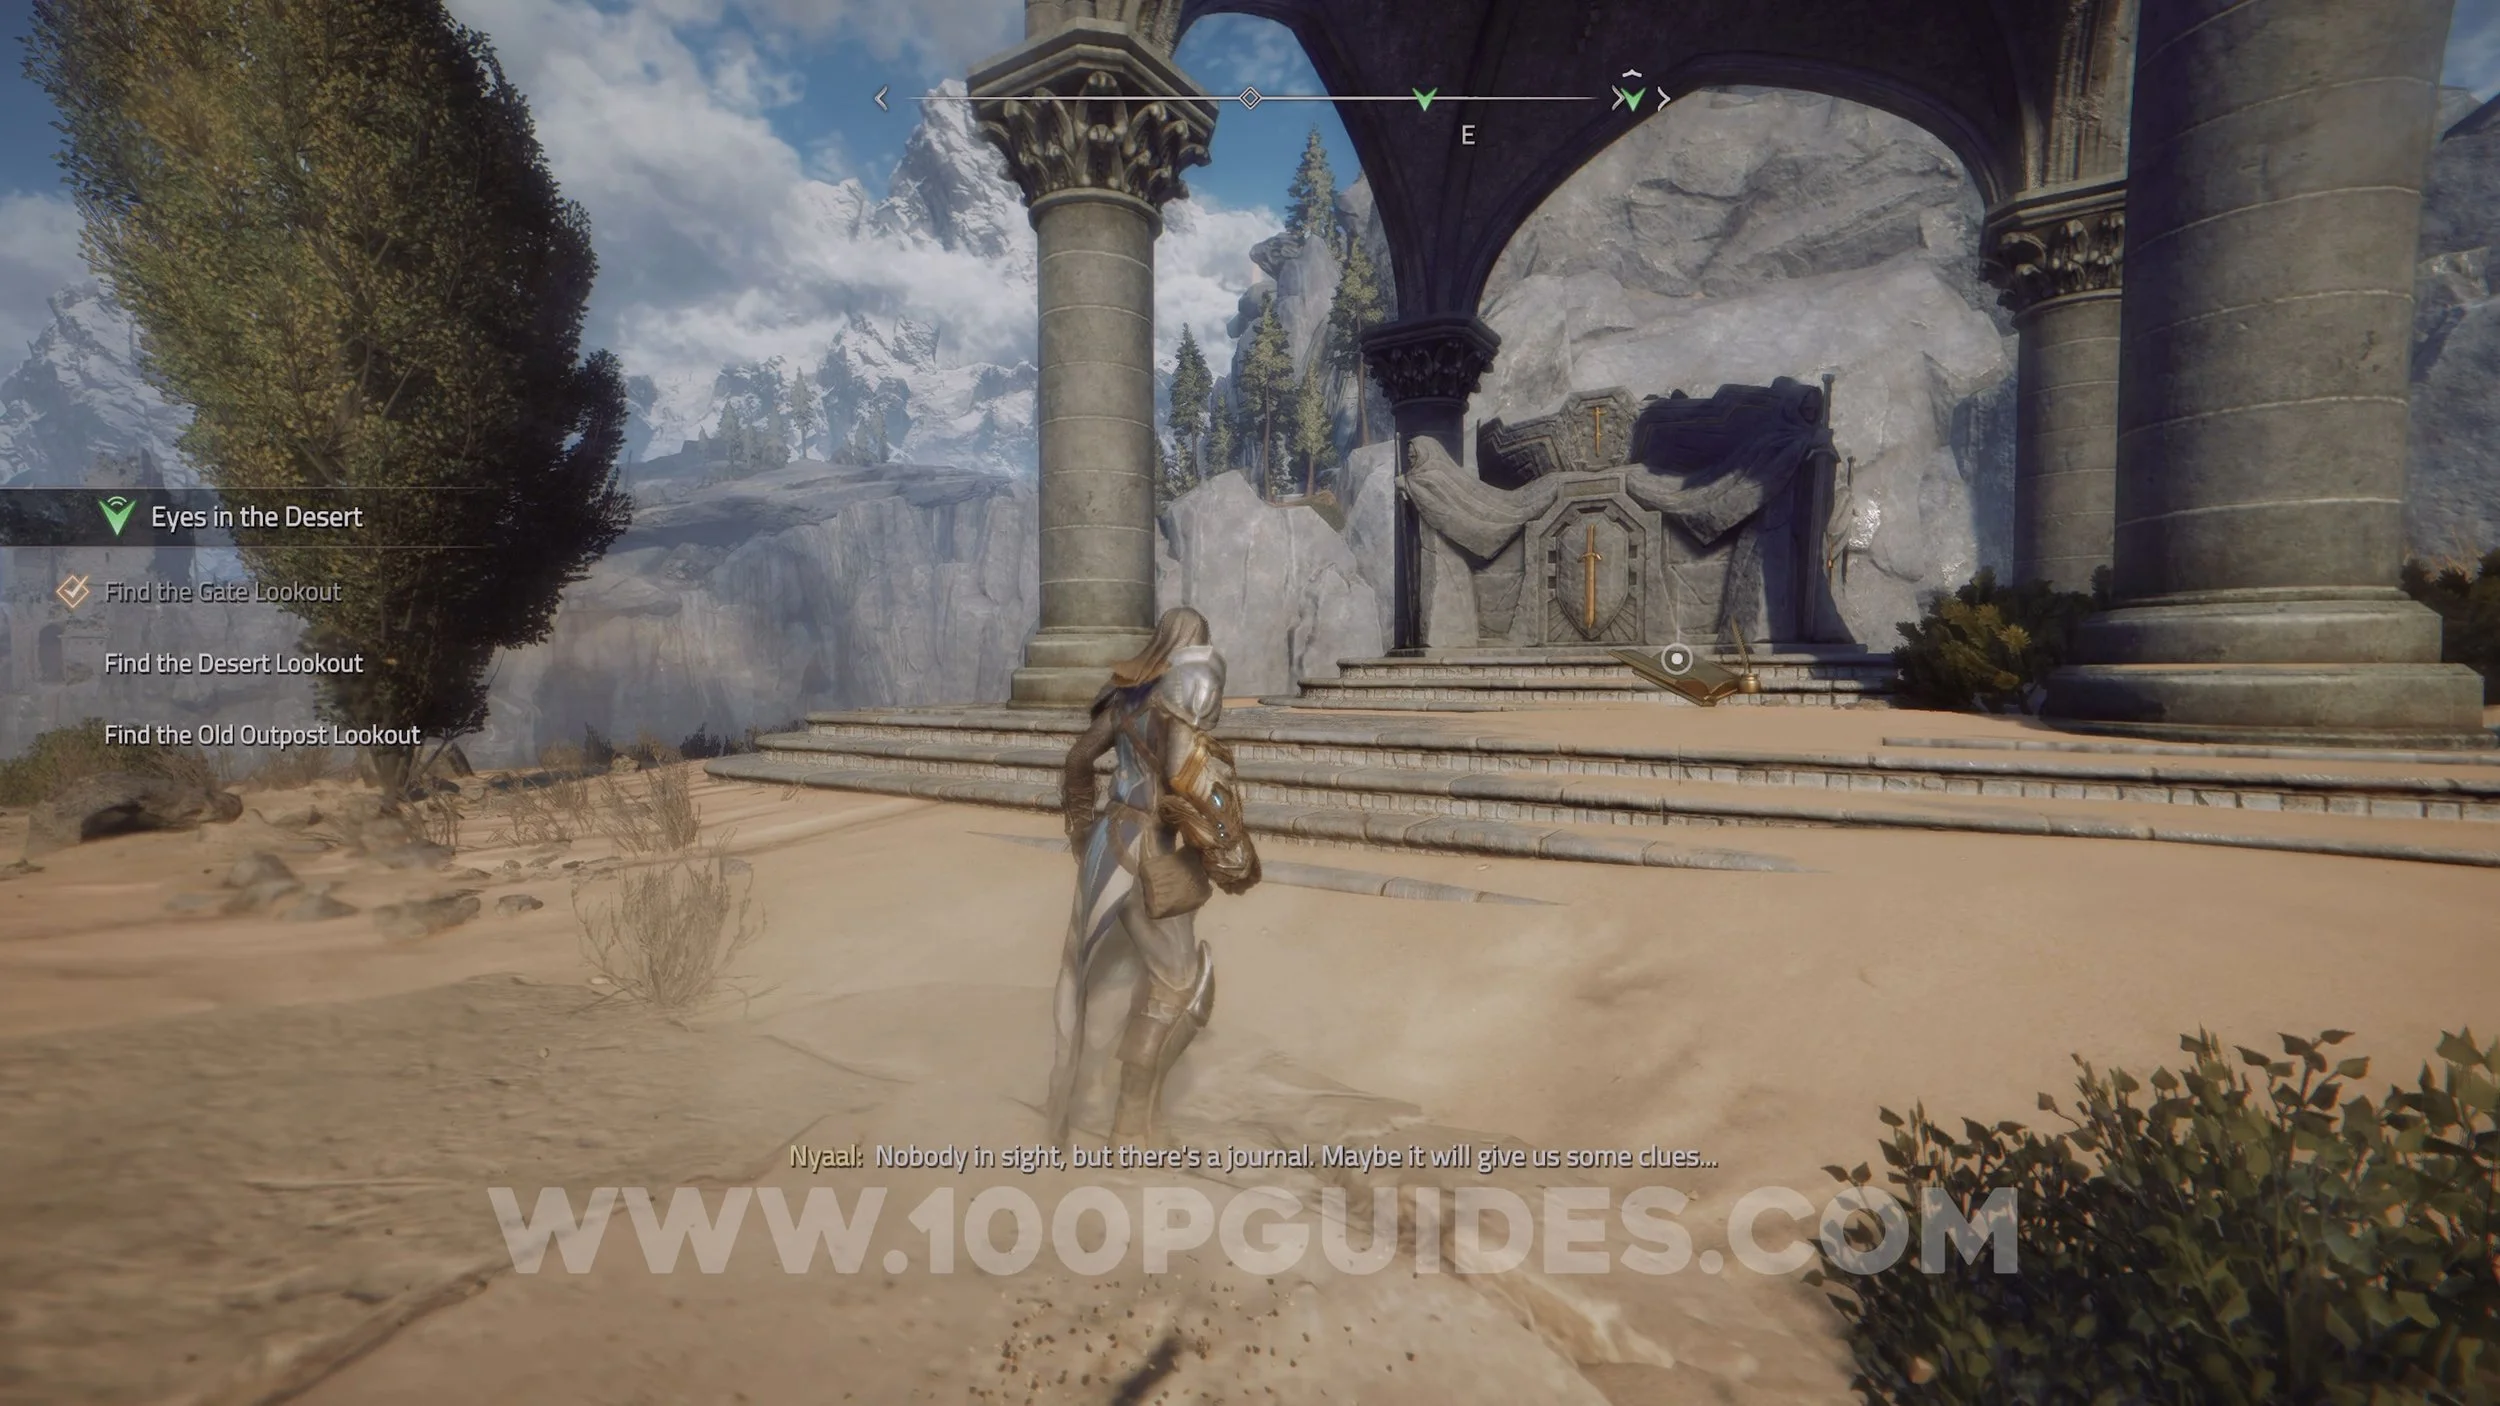
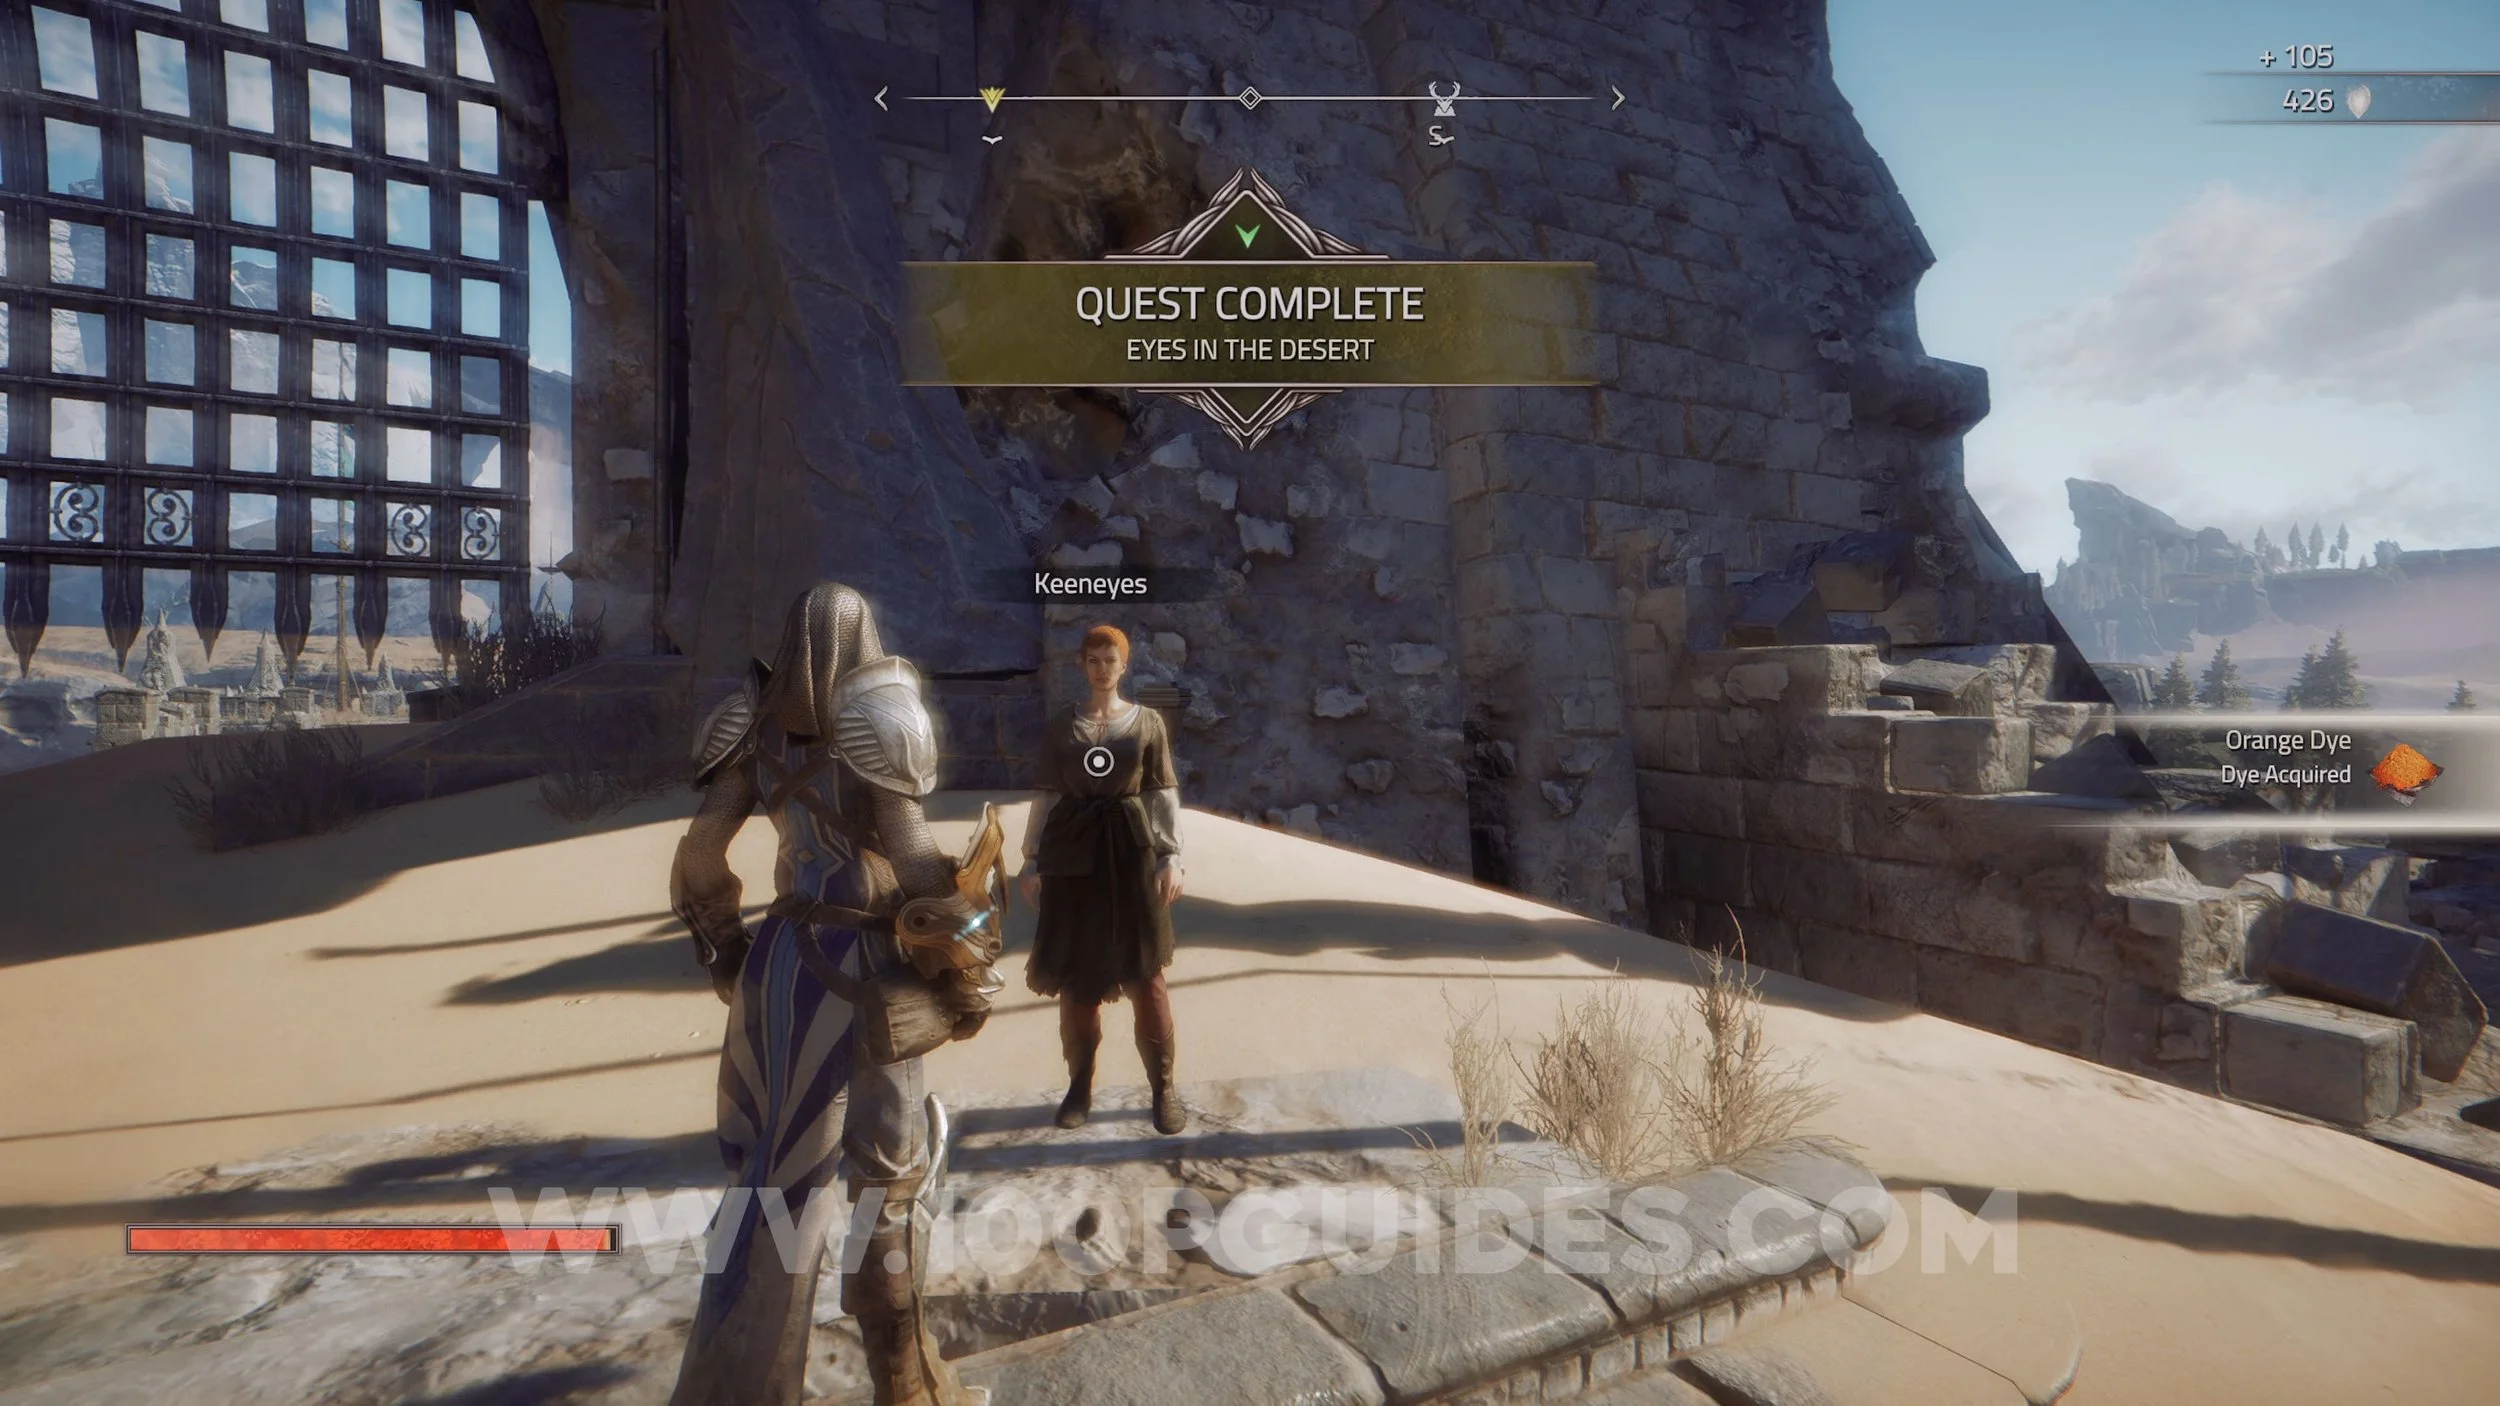
Lore (Quickfeet’s Journal), Treasure Map (A Hole In The Desert) & Cosmetic (Orange Dye). You will get all 3 of these collectibles during the “Eyes In The Desert” side quest. You can start this side quest by talking to Keeneyes in the village.

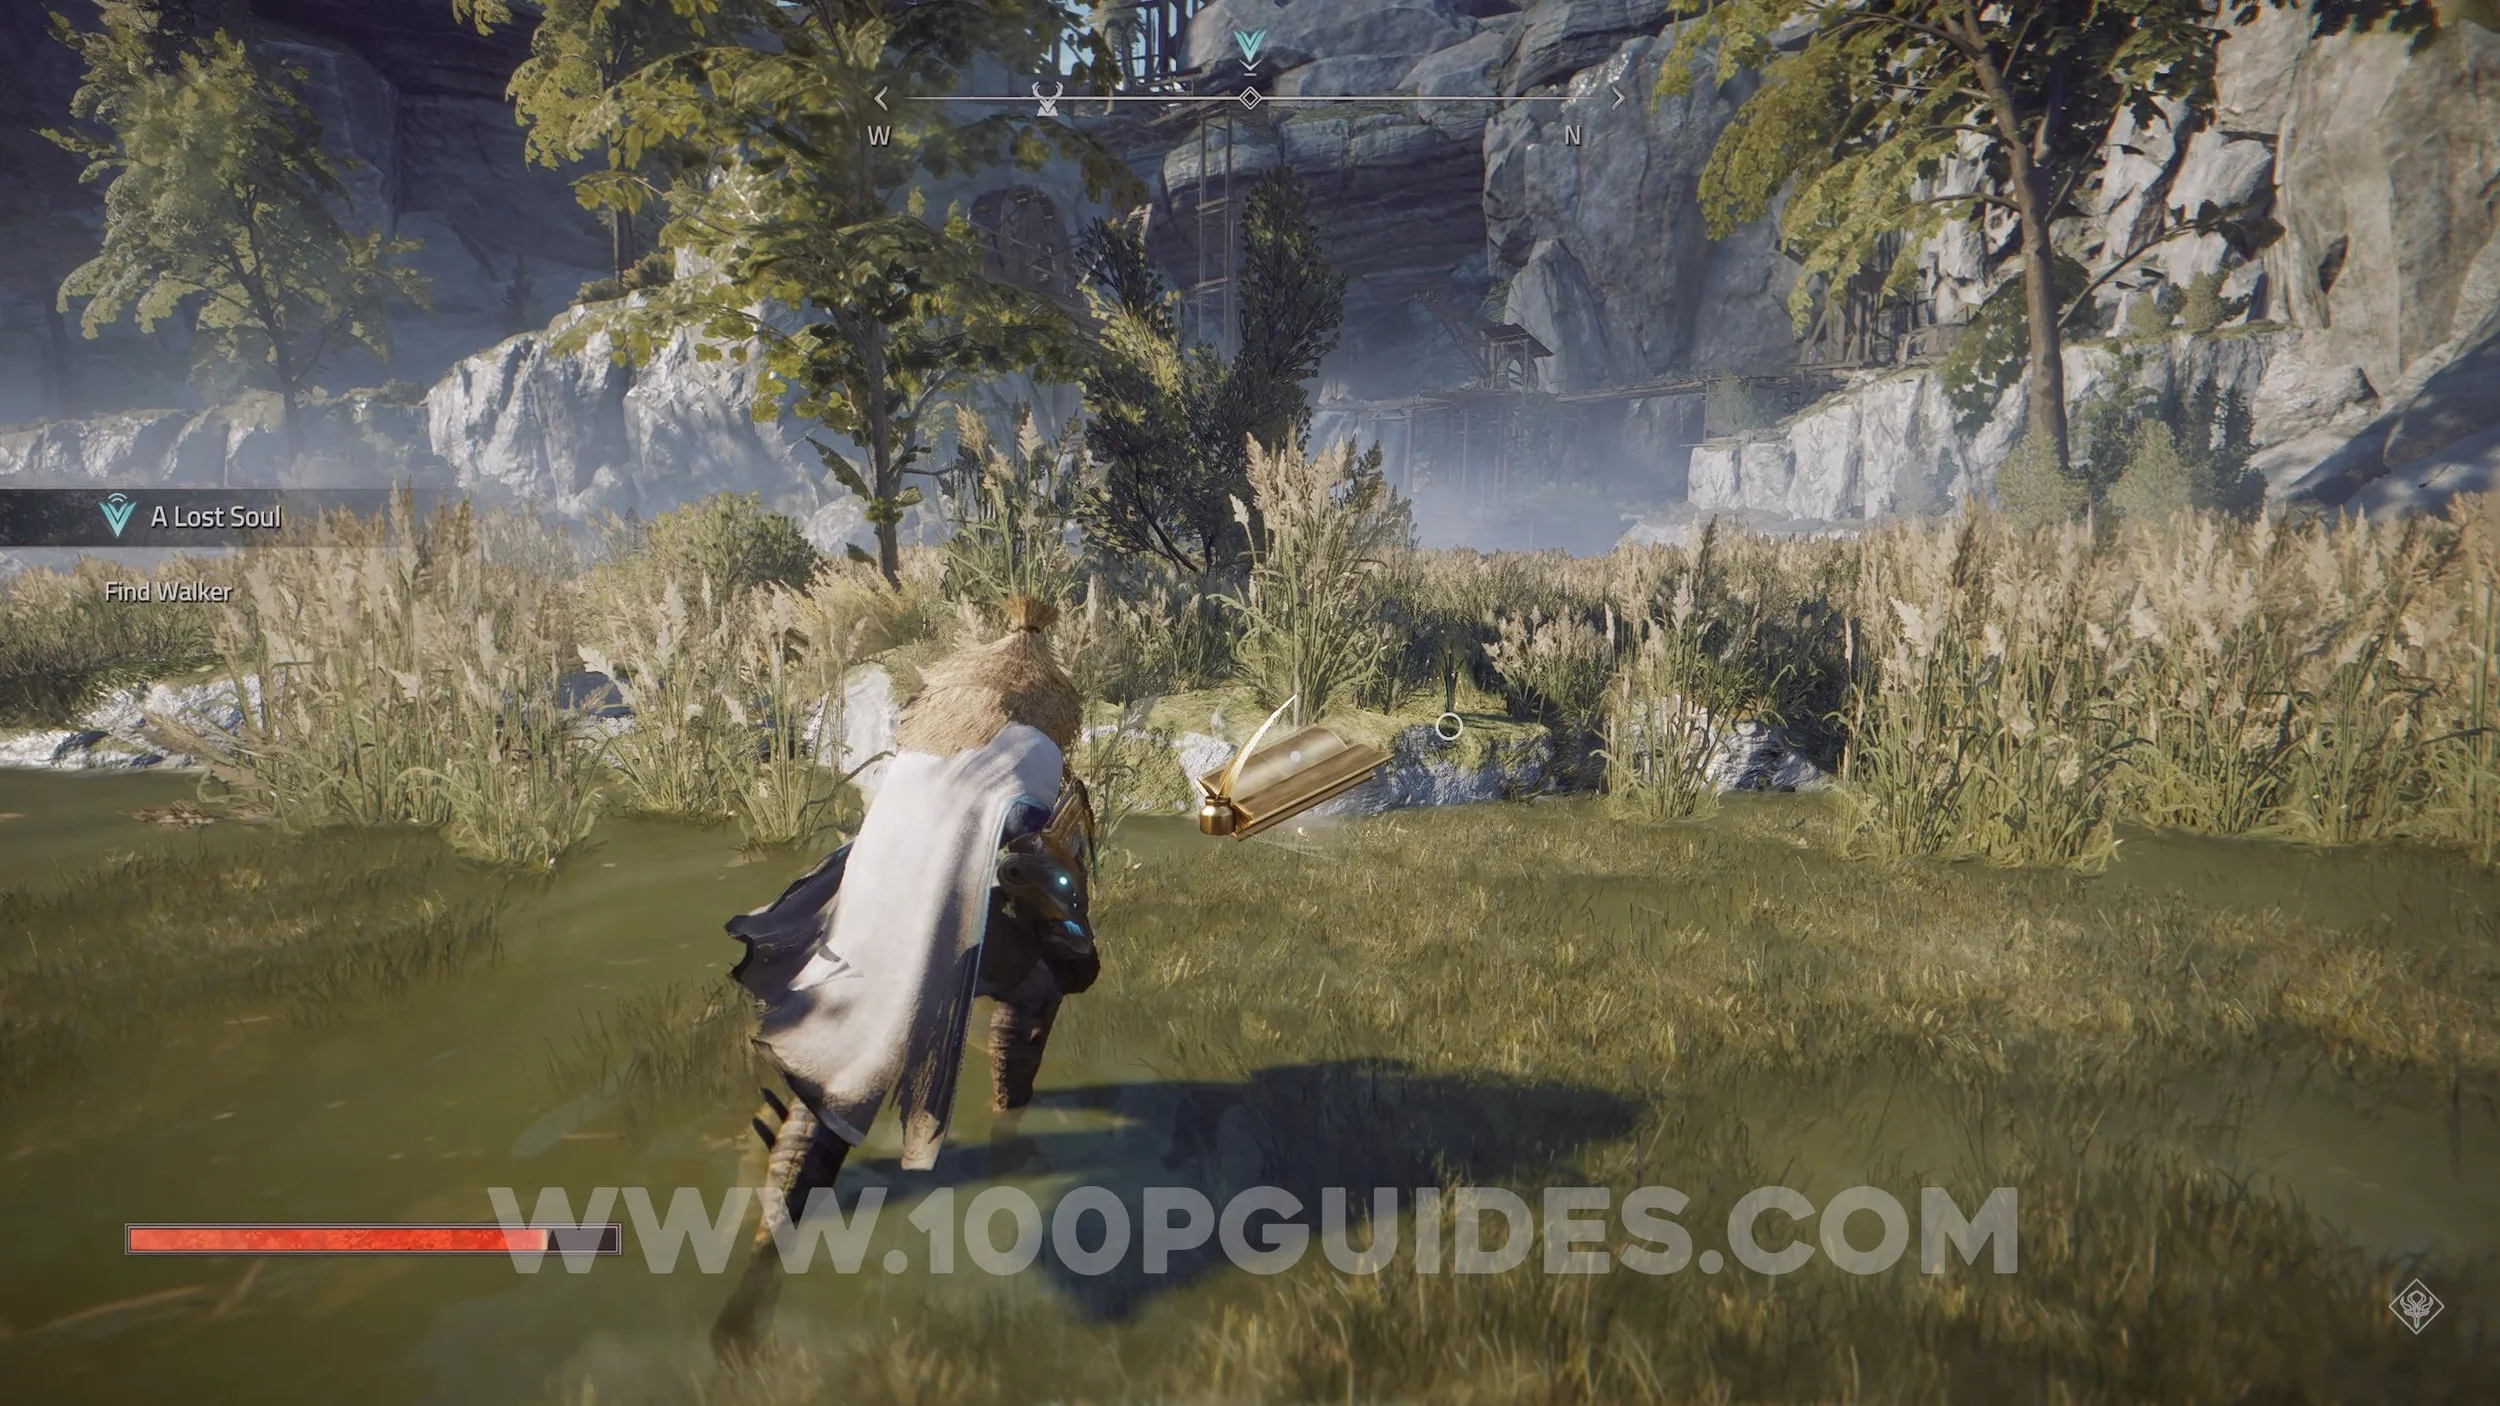
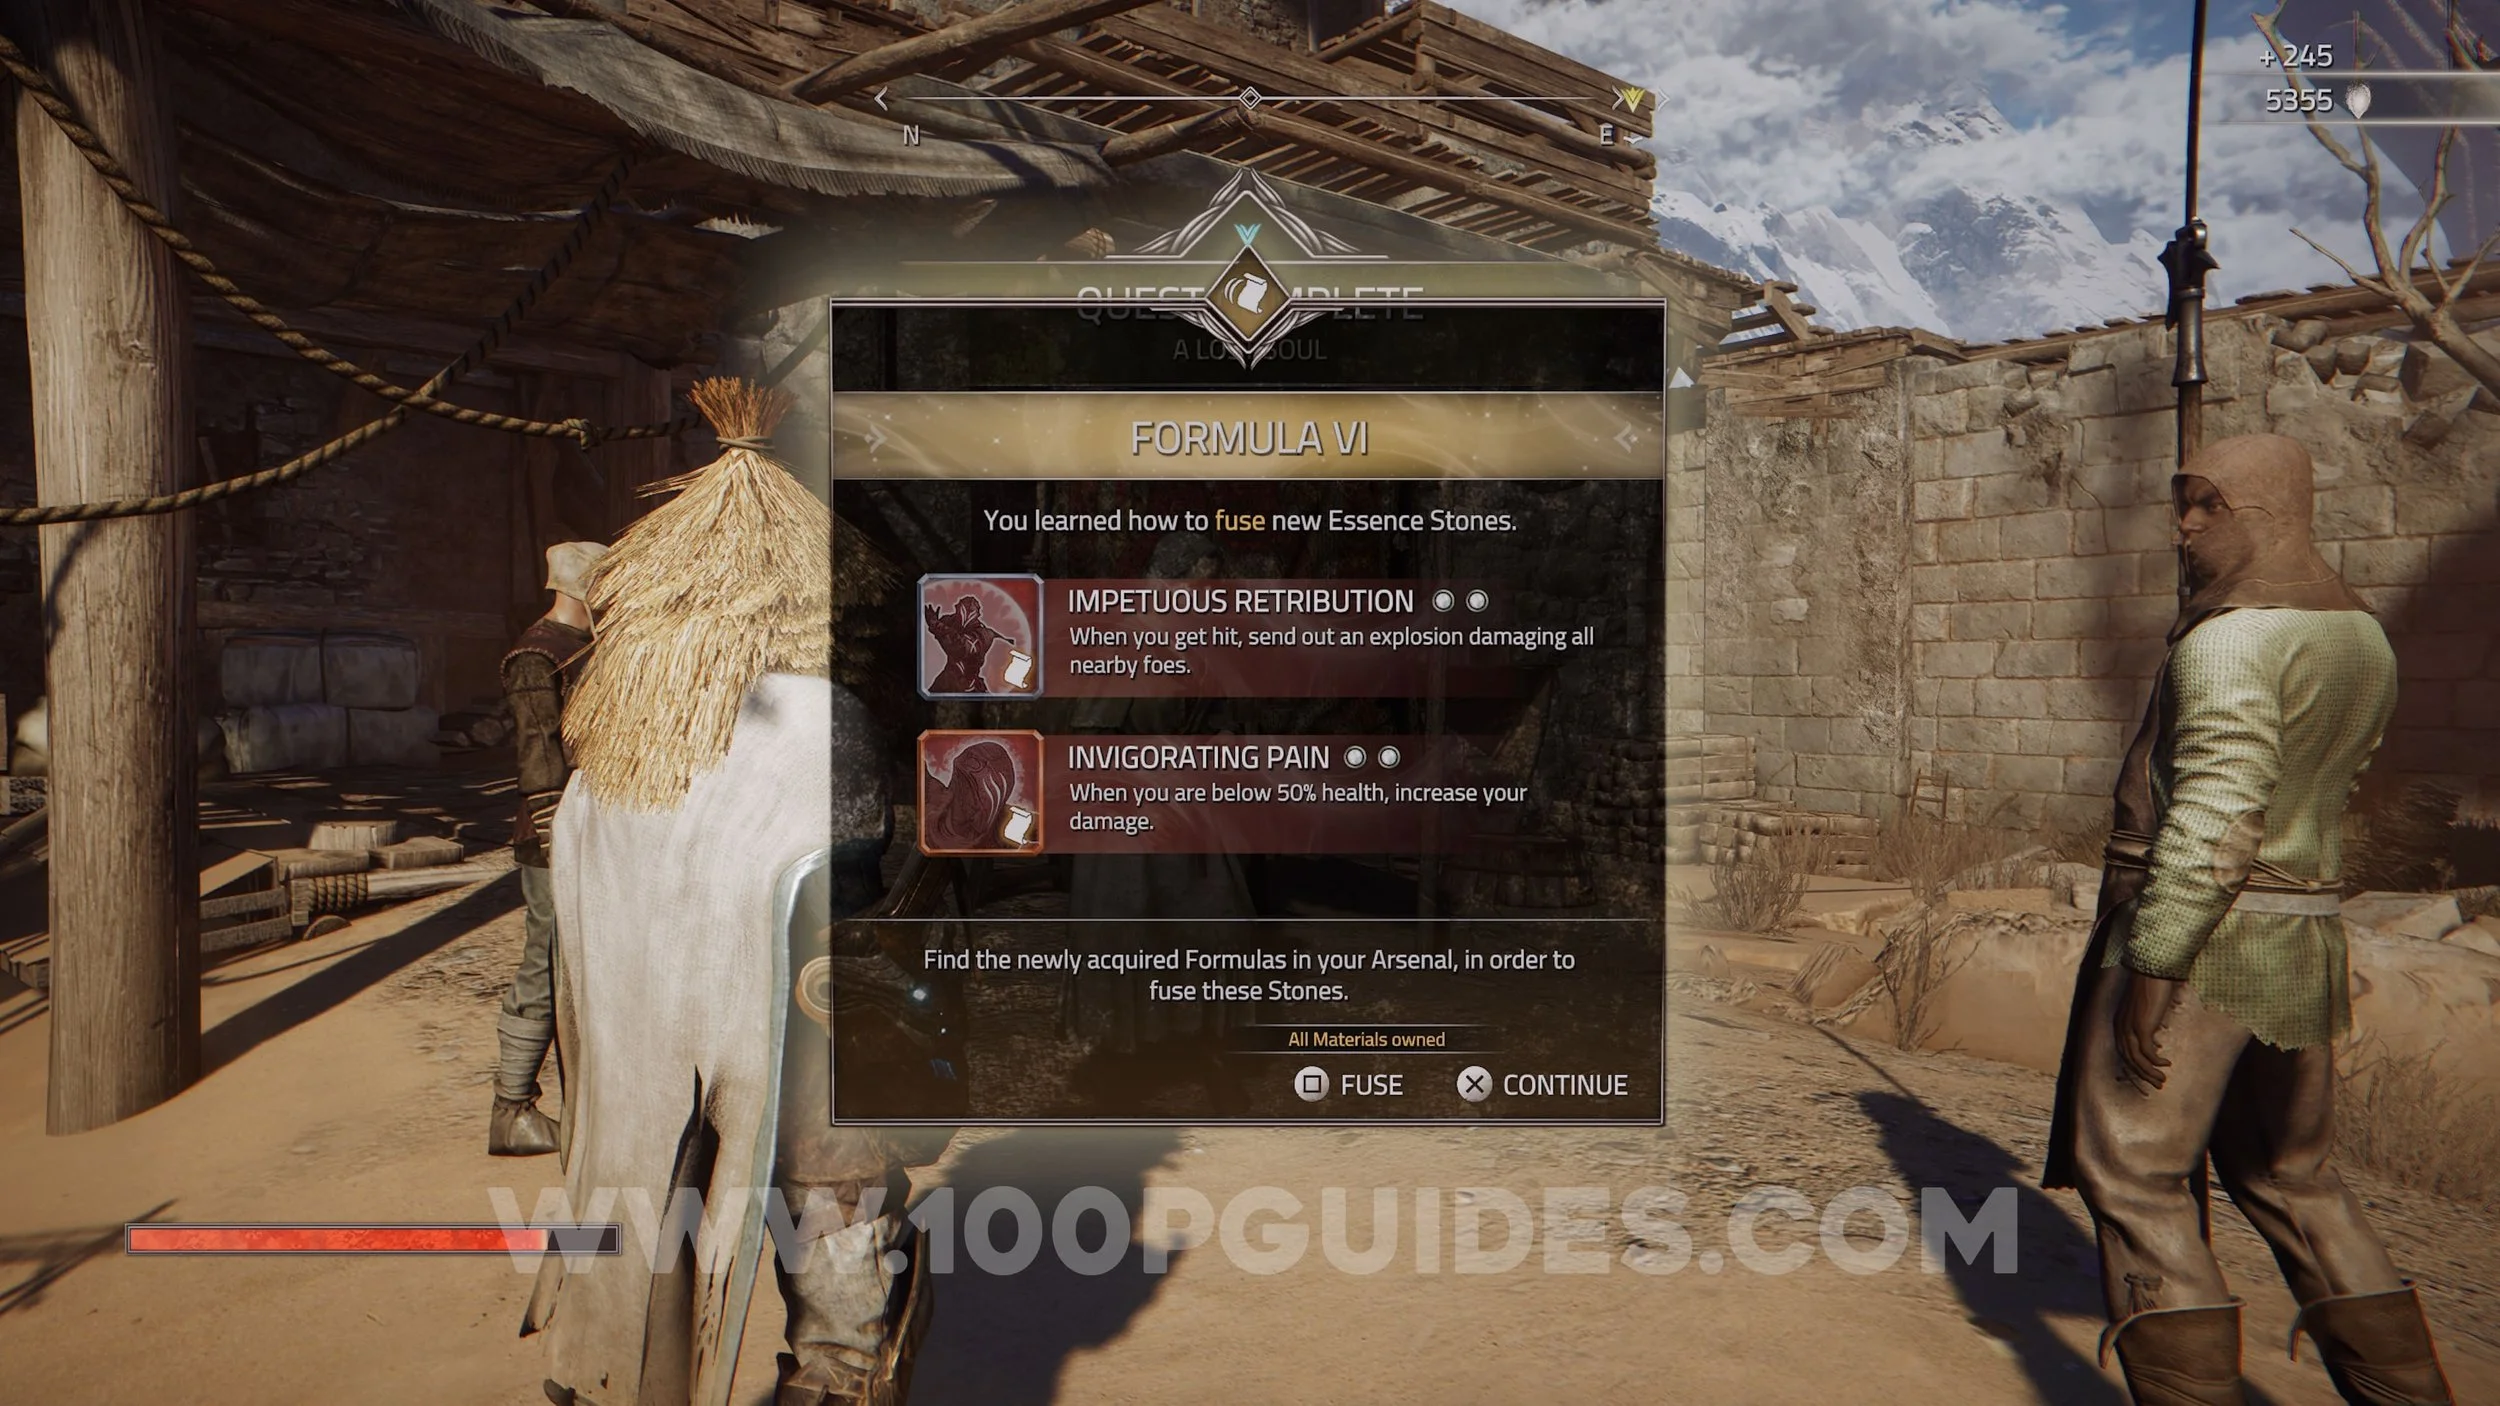
Lore (So Close), Lore (Desert Adventure) & Formula VI. You will get all 3 of these collectibles during the “A Lost Soul” side quest. This side quest can be found by talking to the Worried Mother in the village.

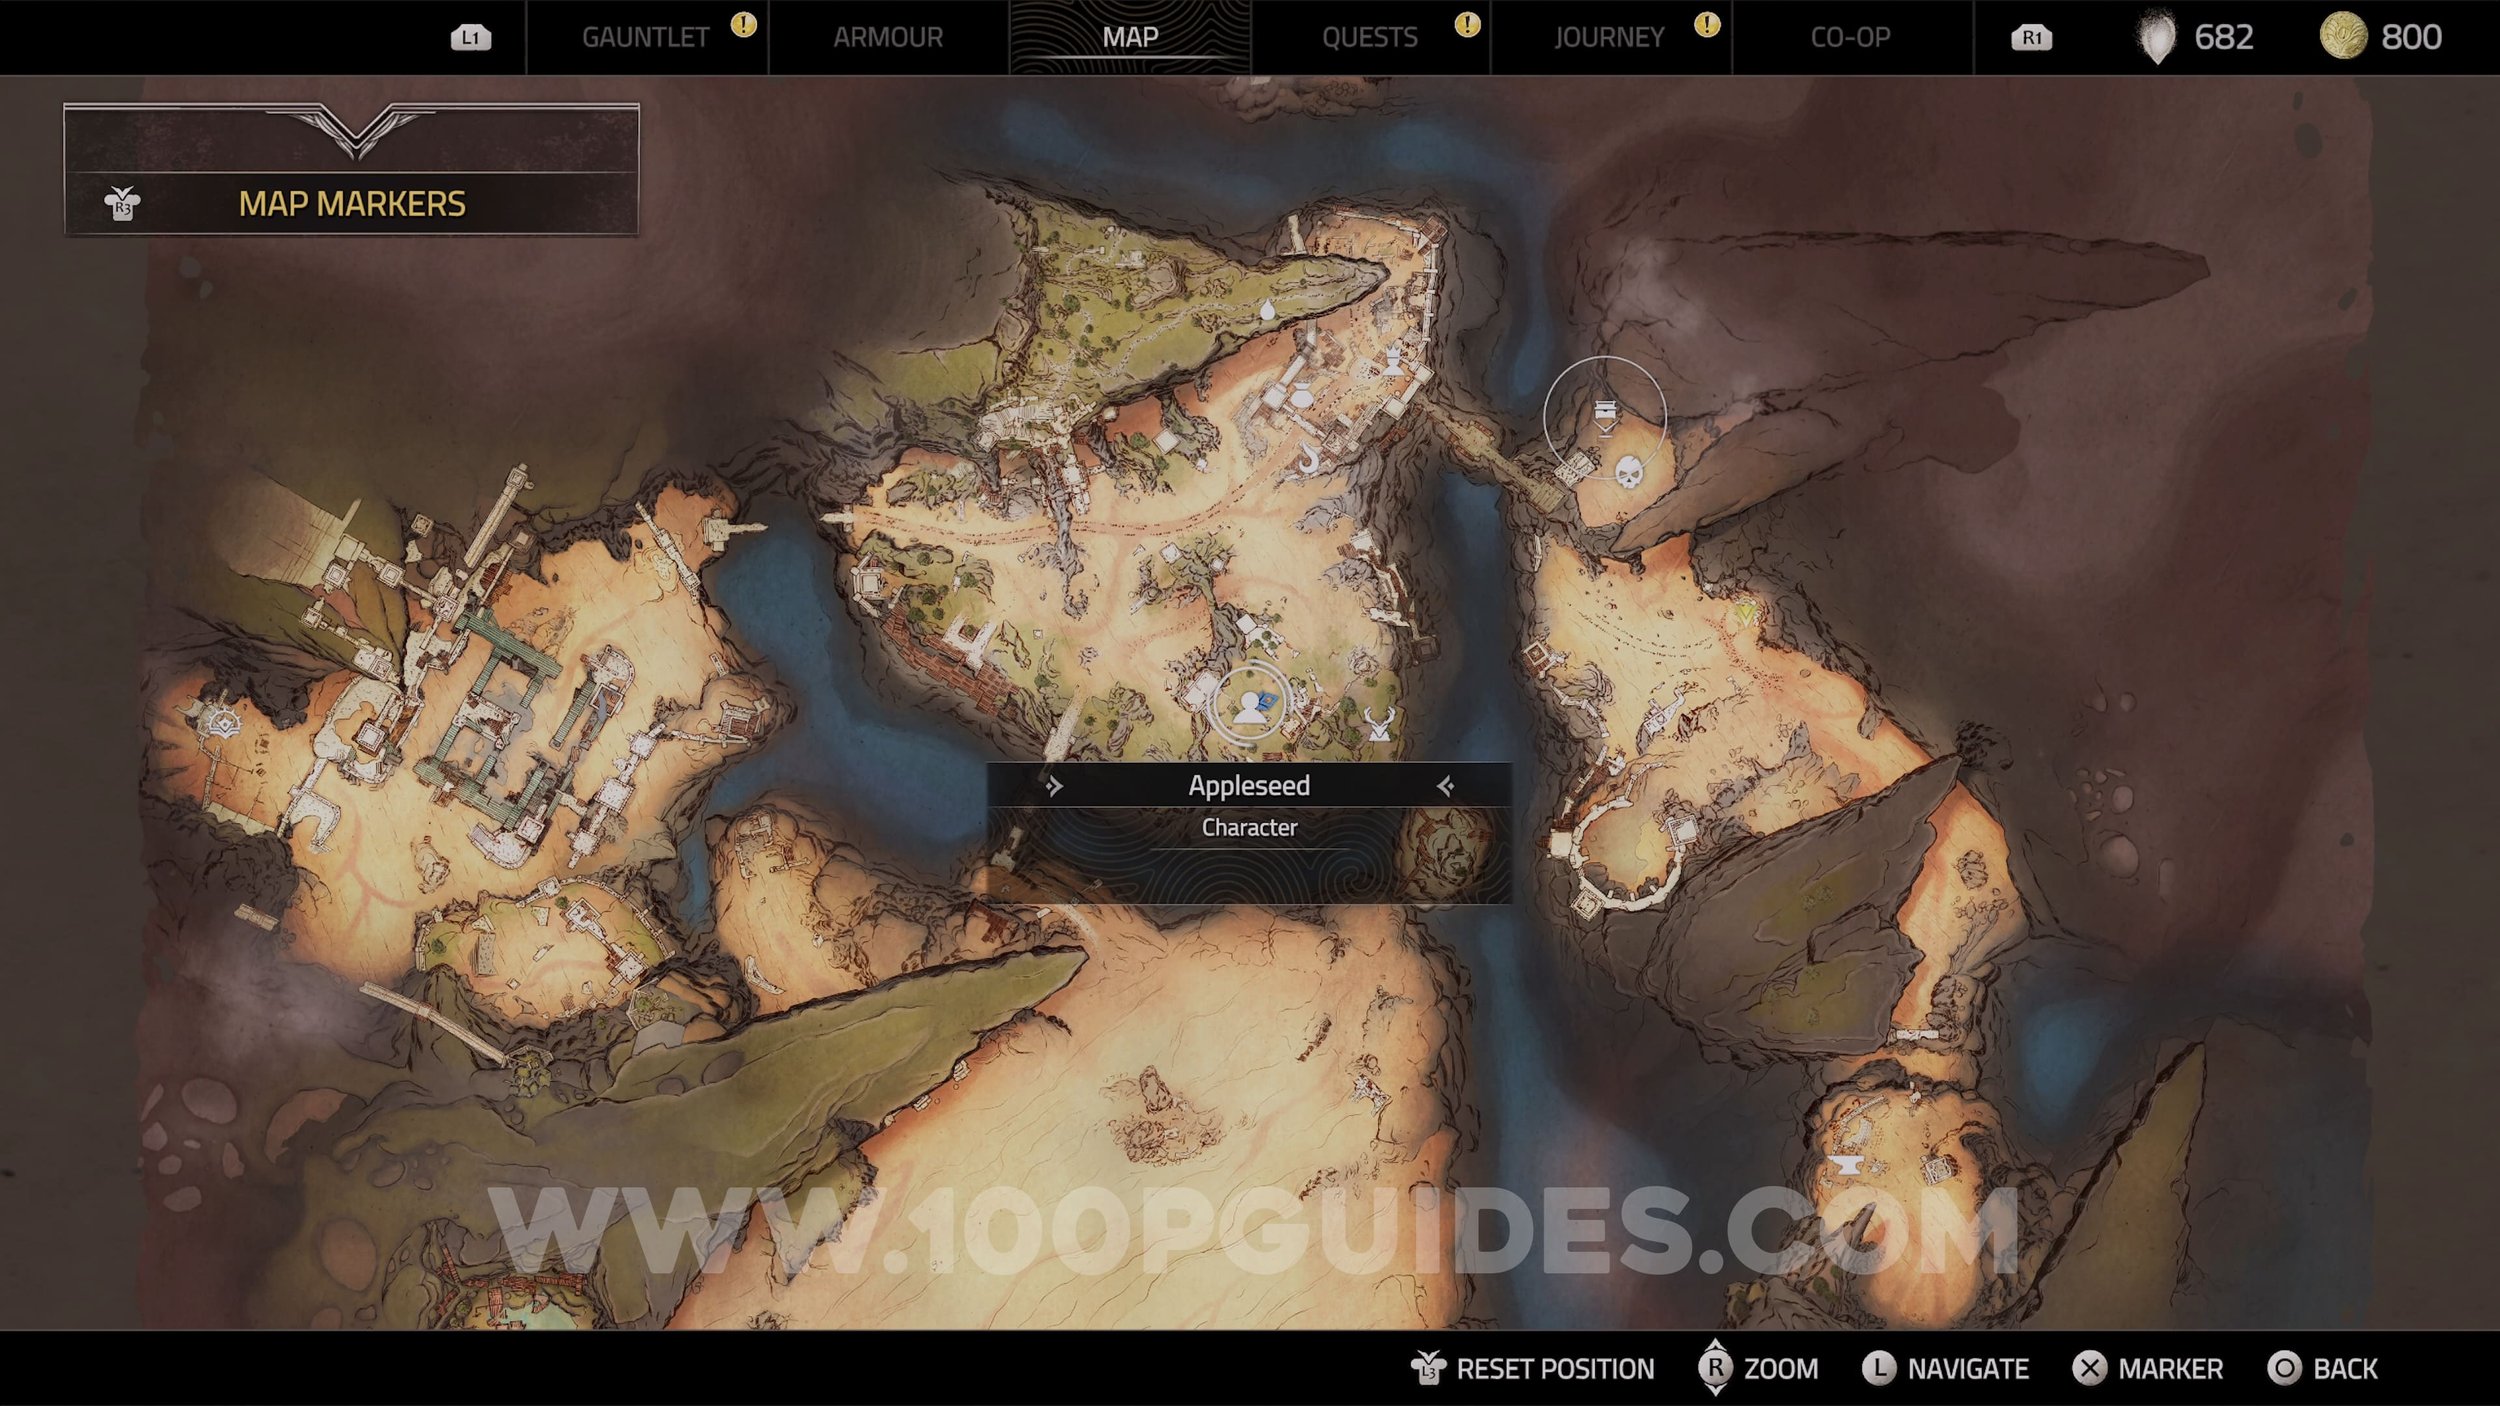
Cosmetic (Straw Cover). Obtained by finishing the “Food For The People” Side Quest. You can start this side quest by talking to Appleseed.

Heavenly Shrine #1 & Treasure Map (Mine…And Yours). You will destroy the shirne during the “Unwanted Altar” side quest and the Treasure Map is the reward.

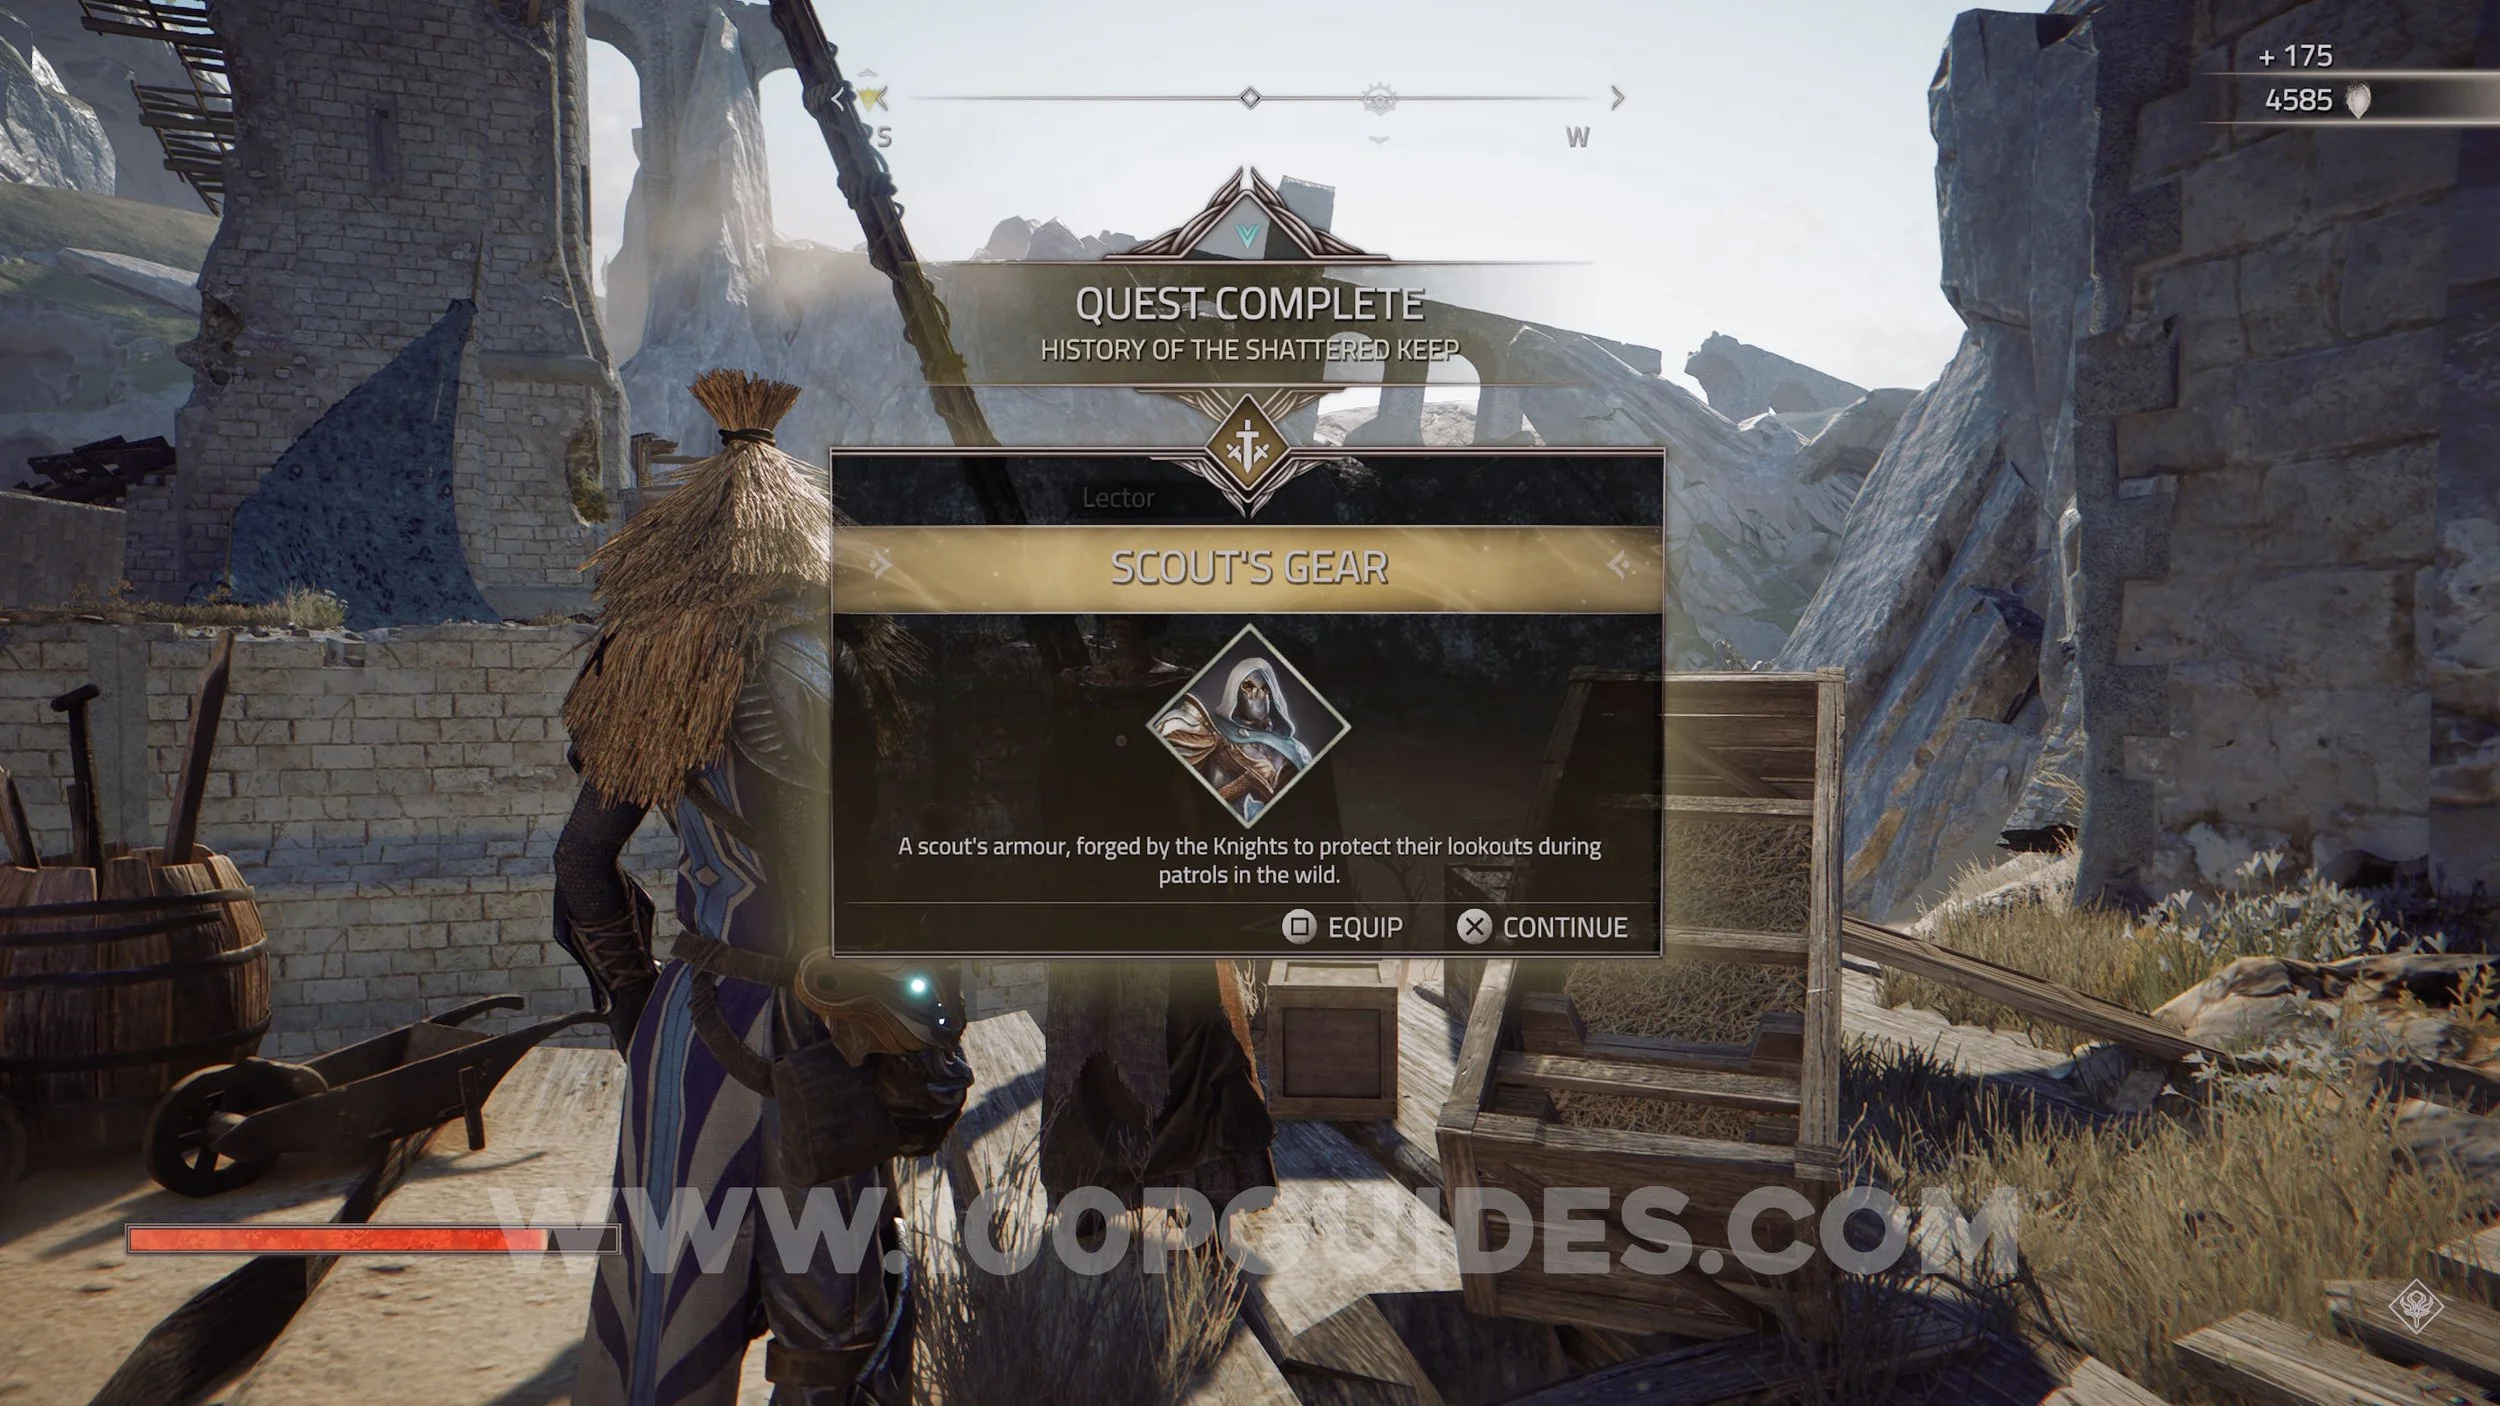
Lore (Hiding), Lore (Bloodbath), Lore (To My Family), Lore (Outcast Knights) & Armor (Scout’s Gear). These 4 Lore Items are obtained during the “History Of The Shattered Keep” side quest. The armor will be the reward.


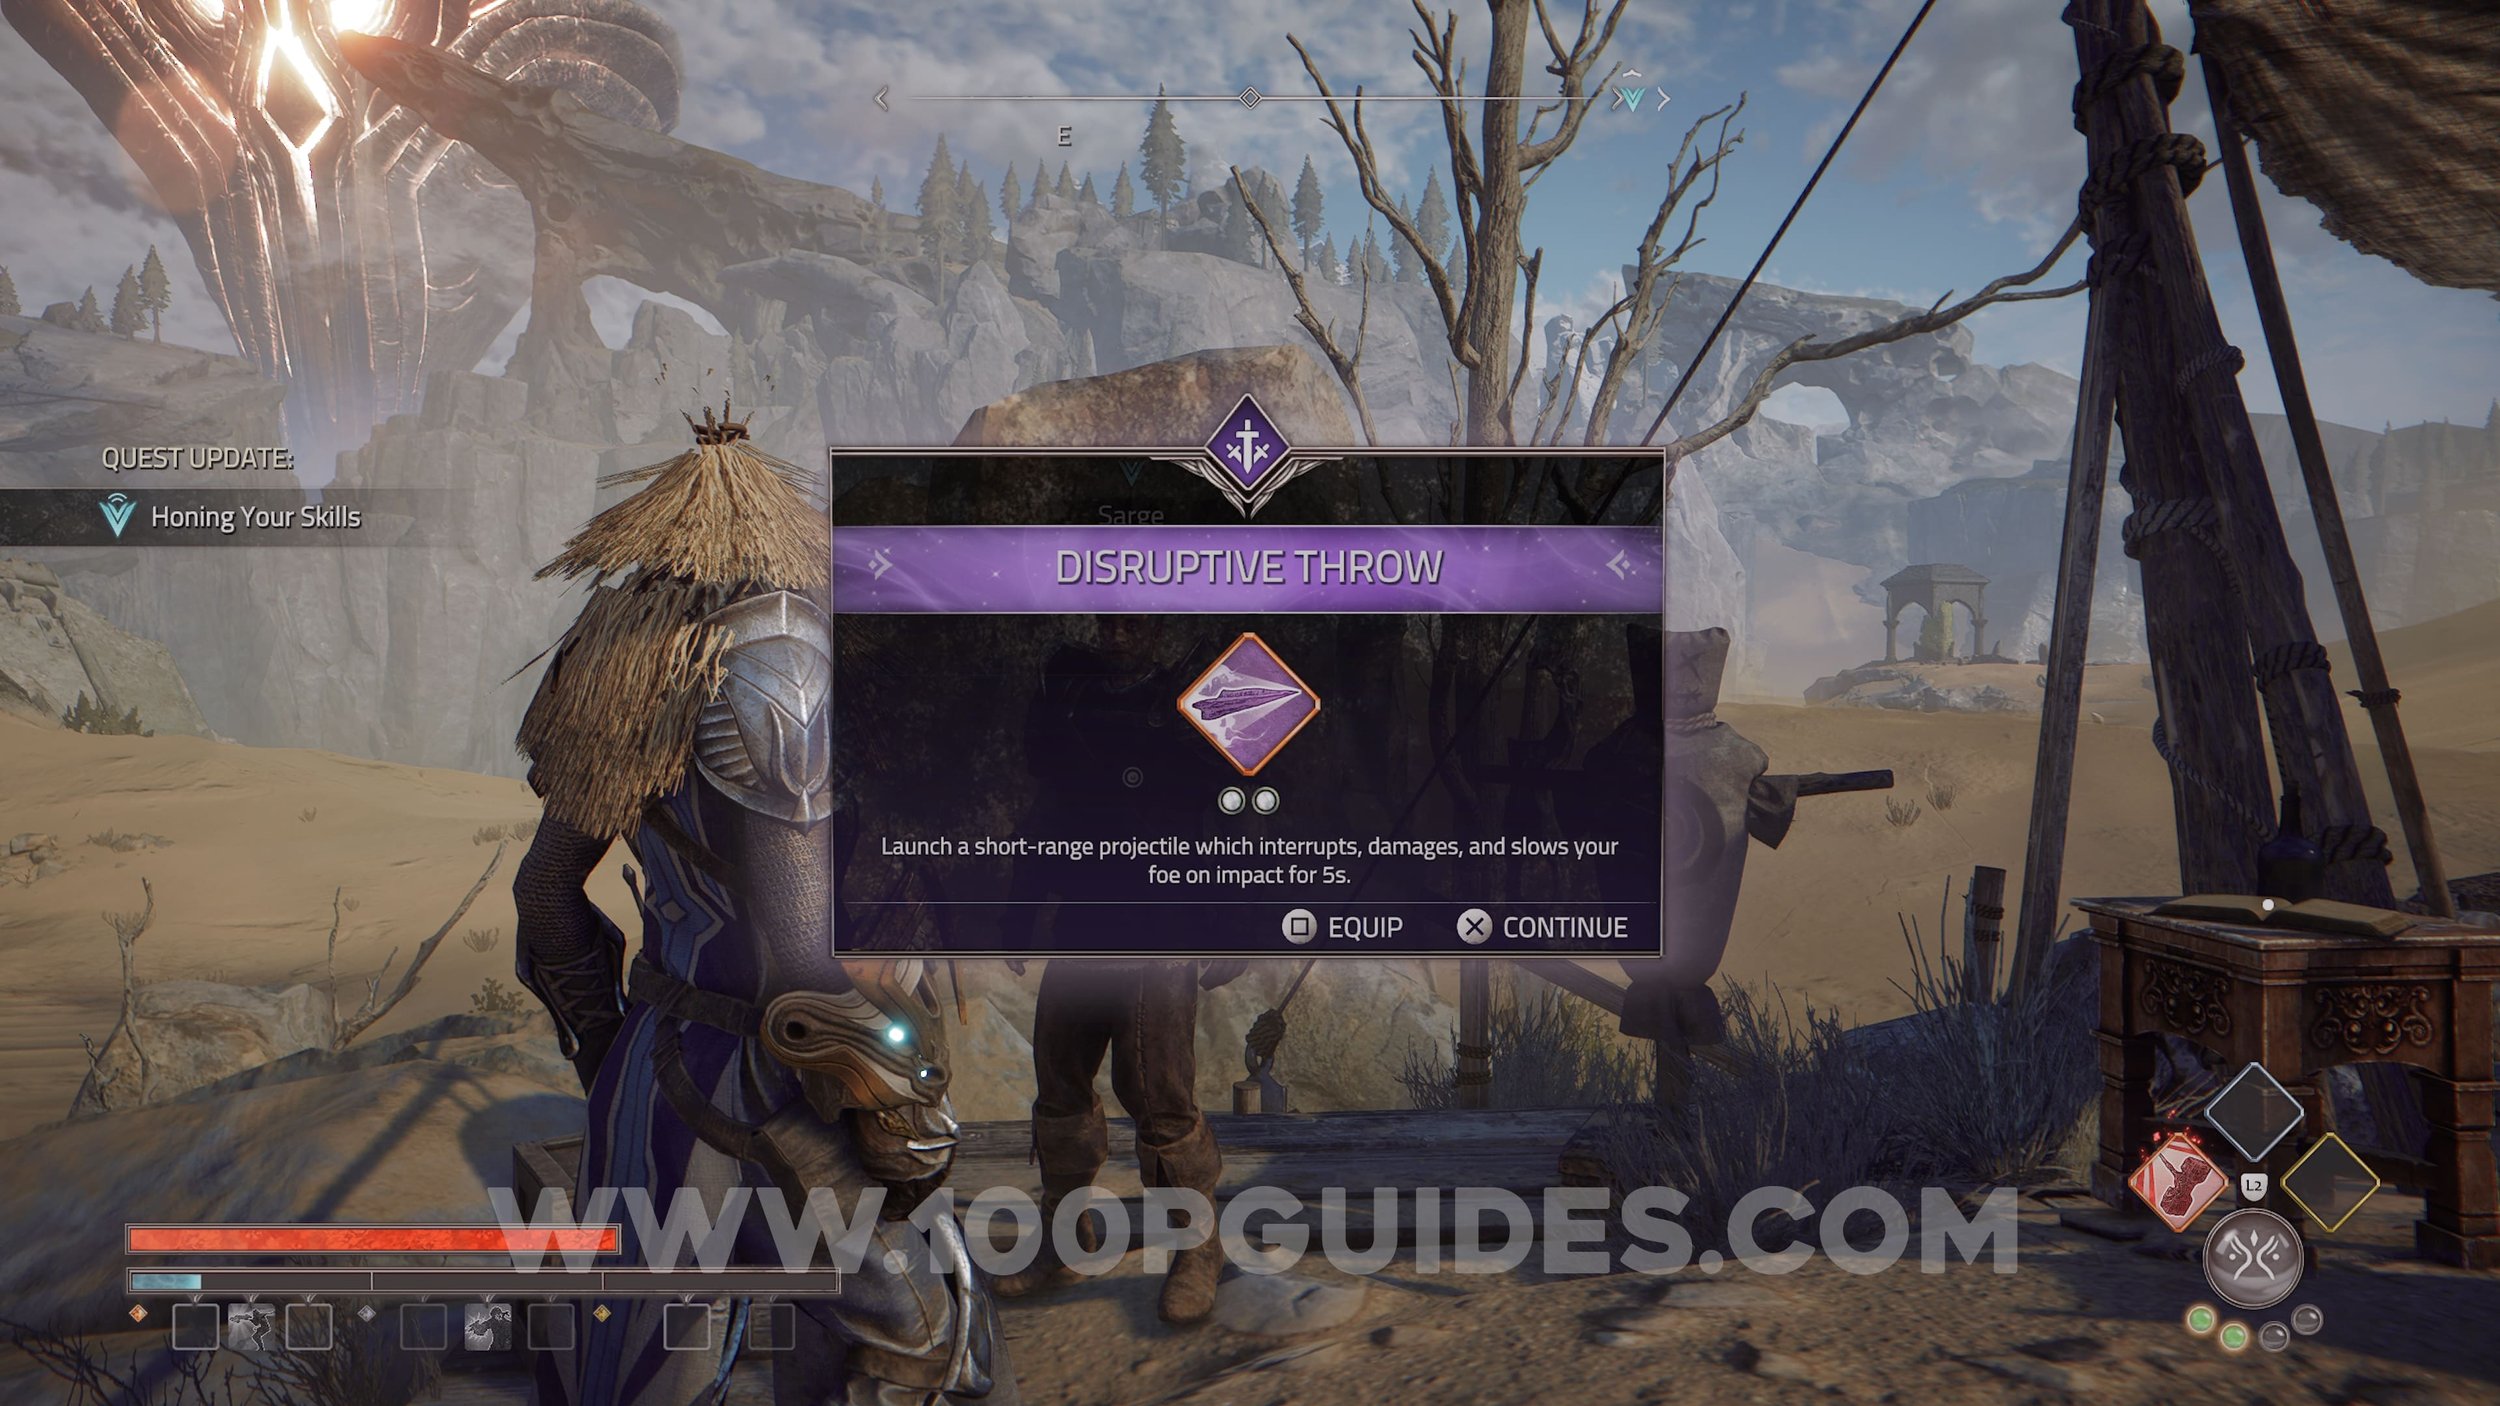
Essence Stone (Disruptive Throw). Obtained automatically during the “Honing Your Skills” side quest. You can start this side quest by talking to Sarge in the desert.

Watchtower #1, Elite Foe (Scrimmur), Essence Stone (Unstable Generation) & Idol Of Time. You will obtain all these collectibles during the “A Swamp Hunt” side quest. You can find this in the swamp area to the southwest of the desert (remember to loot the essence stone from the Elite Foe, if you don’t you can buy it from the Traveling Vendor).


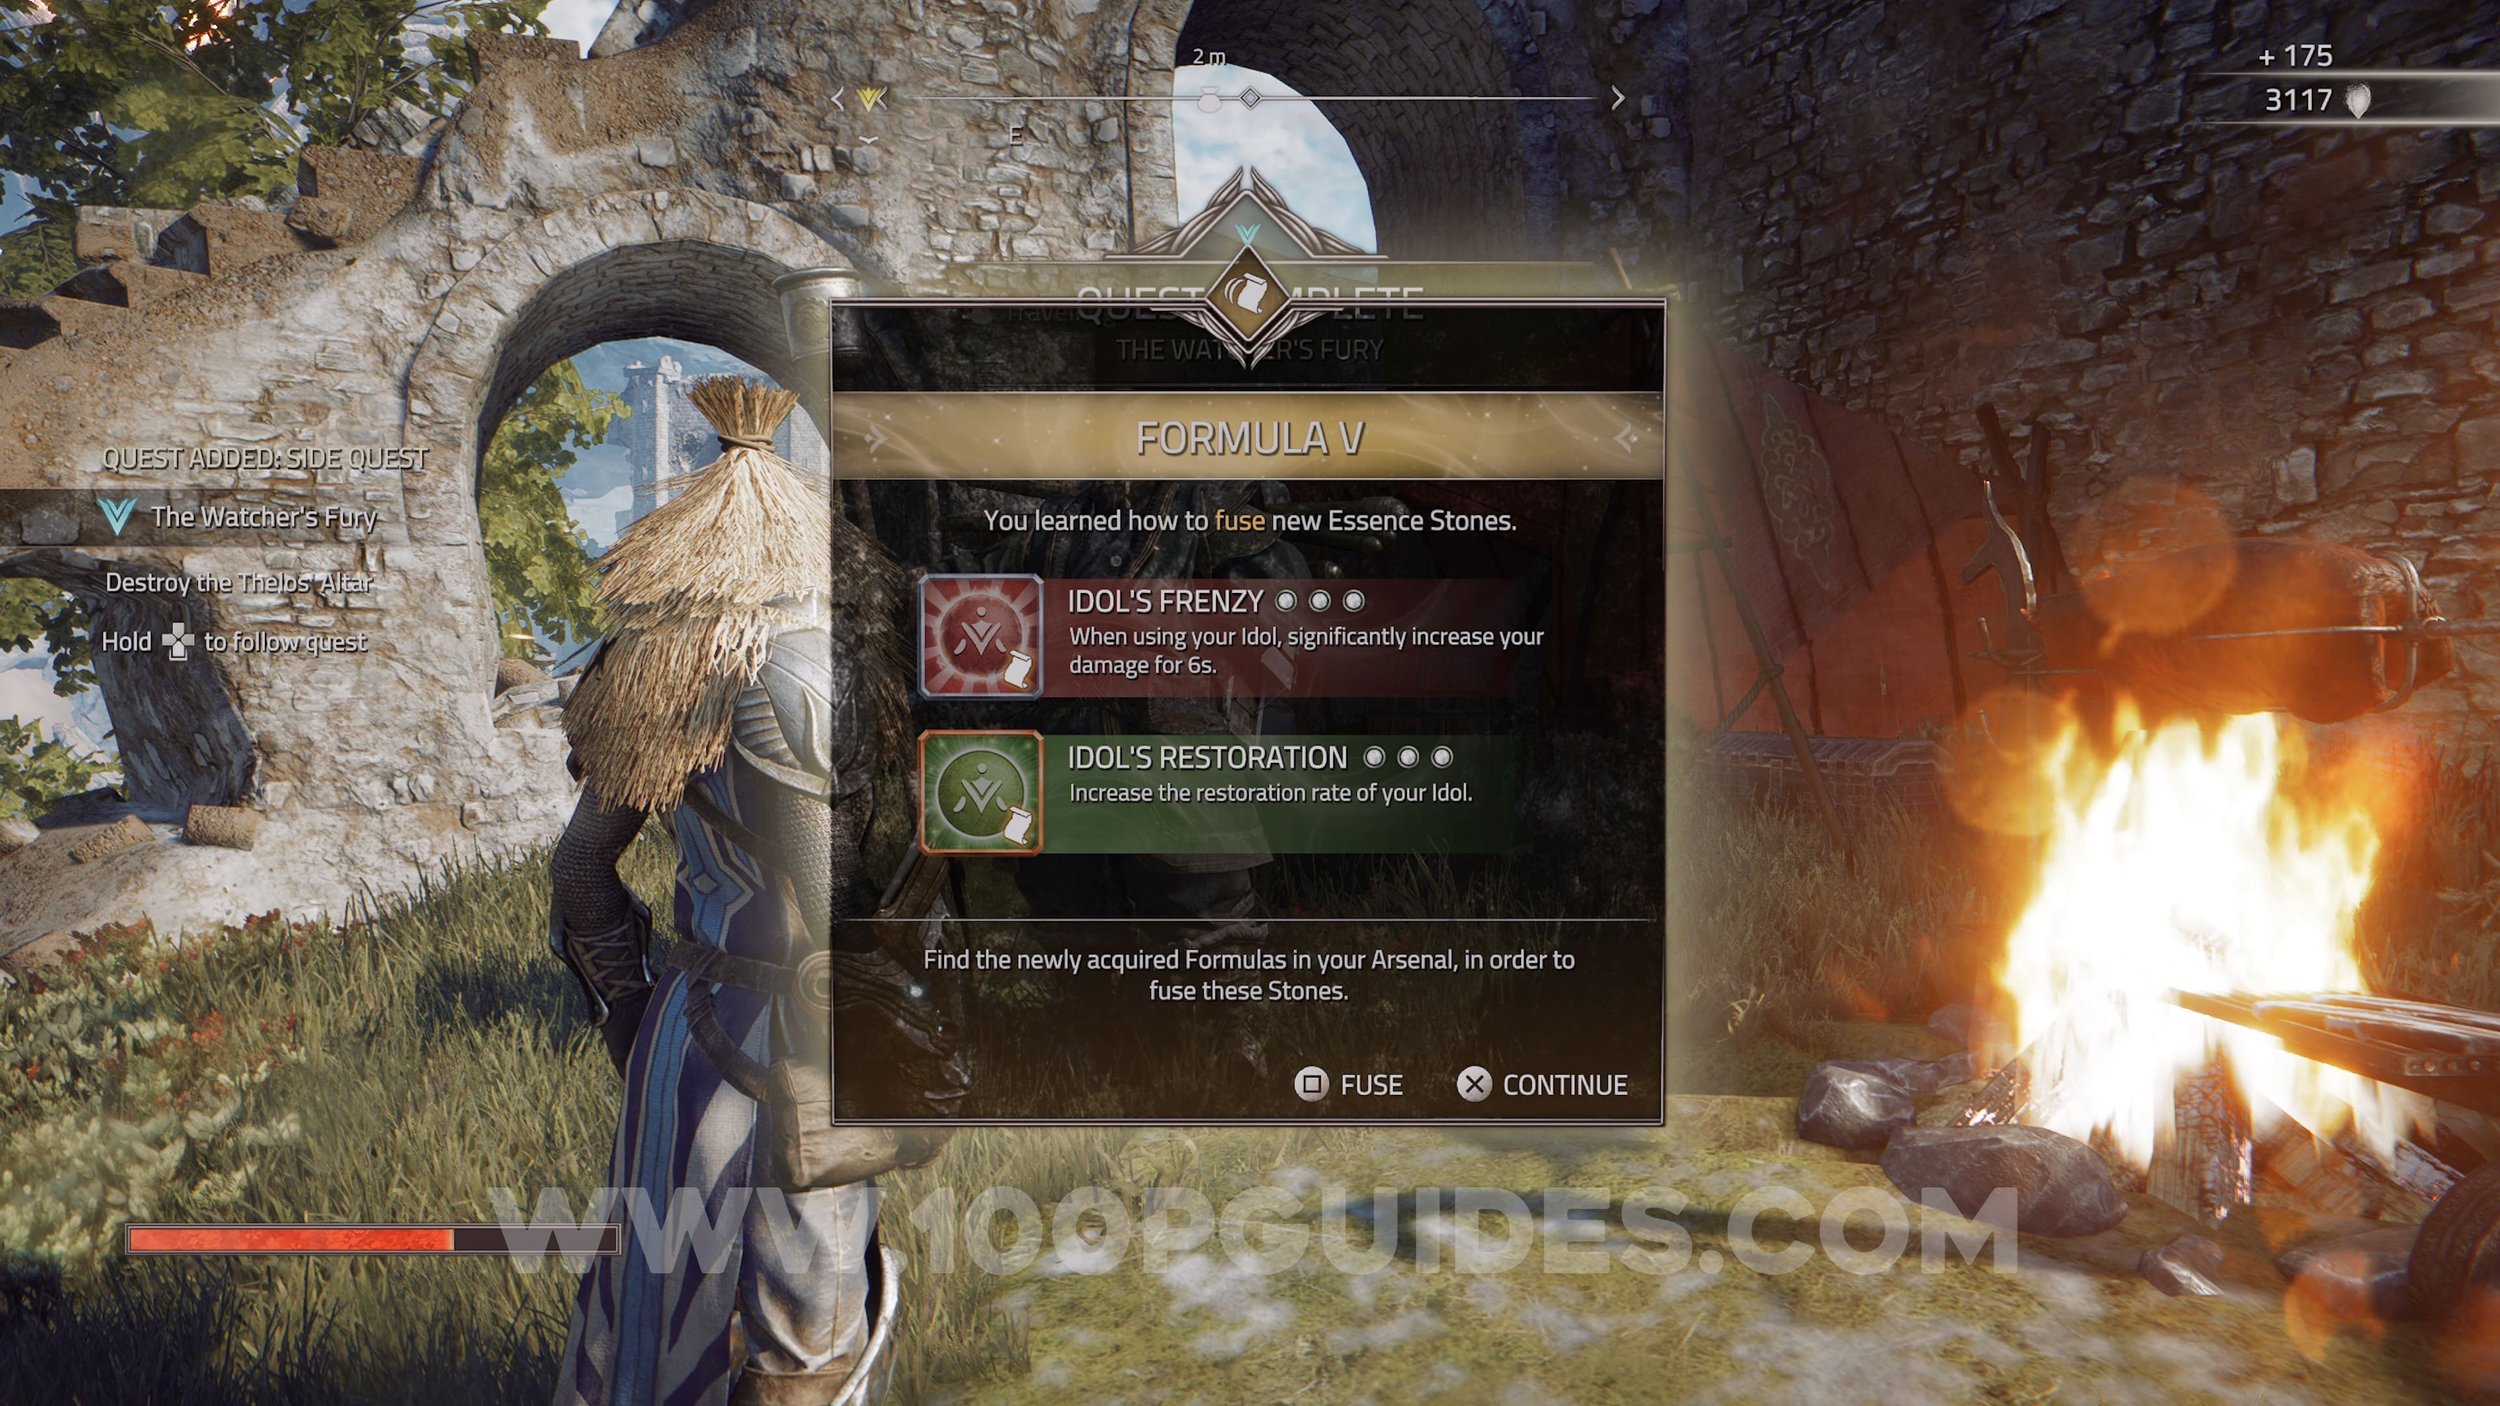
Formula V & Essence Stone (Tormented Wrath). Obtained for finishing the “The Watcher’s Fury” side quest. You can start this quest by talking to the Traveling Merchant. You can find this merchant by looking for the kite in the sky. You will get the “Tormented Wrath” Essence Stone by looting the Scrimmur that you fight in this mission (if you alread did the “Building Bridges” side quest you will have also done the part where you have to fight the Schimmur and this quest will auto-complete).

Essence Stone (Idol’s Fortune). Found in the chest.


Lore (Before They Were Forbidden)

Vantage Point #1

Lore (The Knights Of Bastengar)


Lore (The Knight’s Gate)


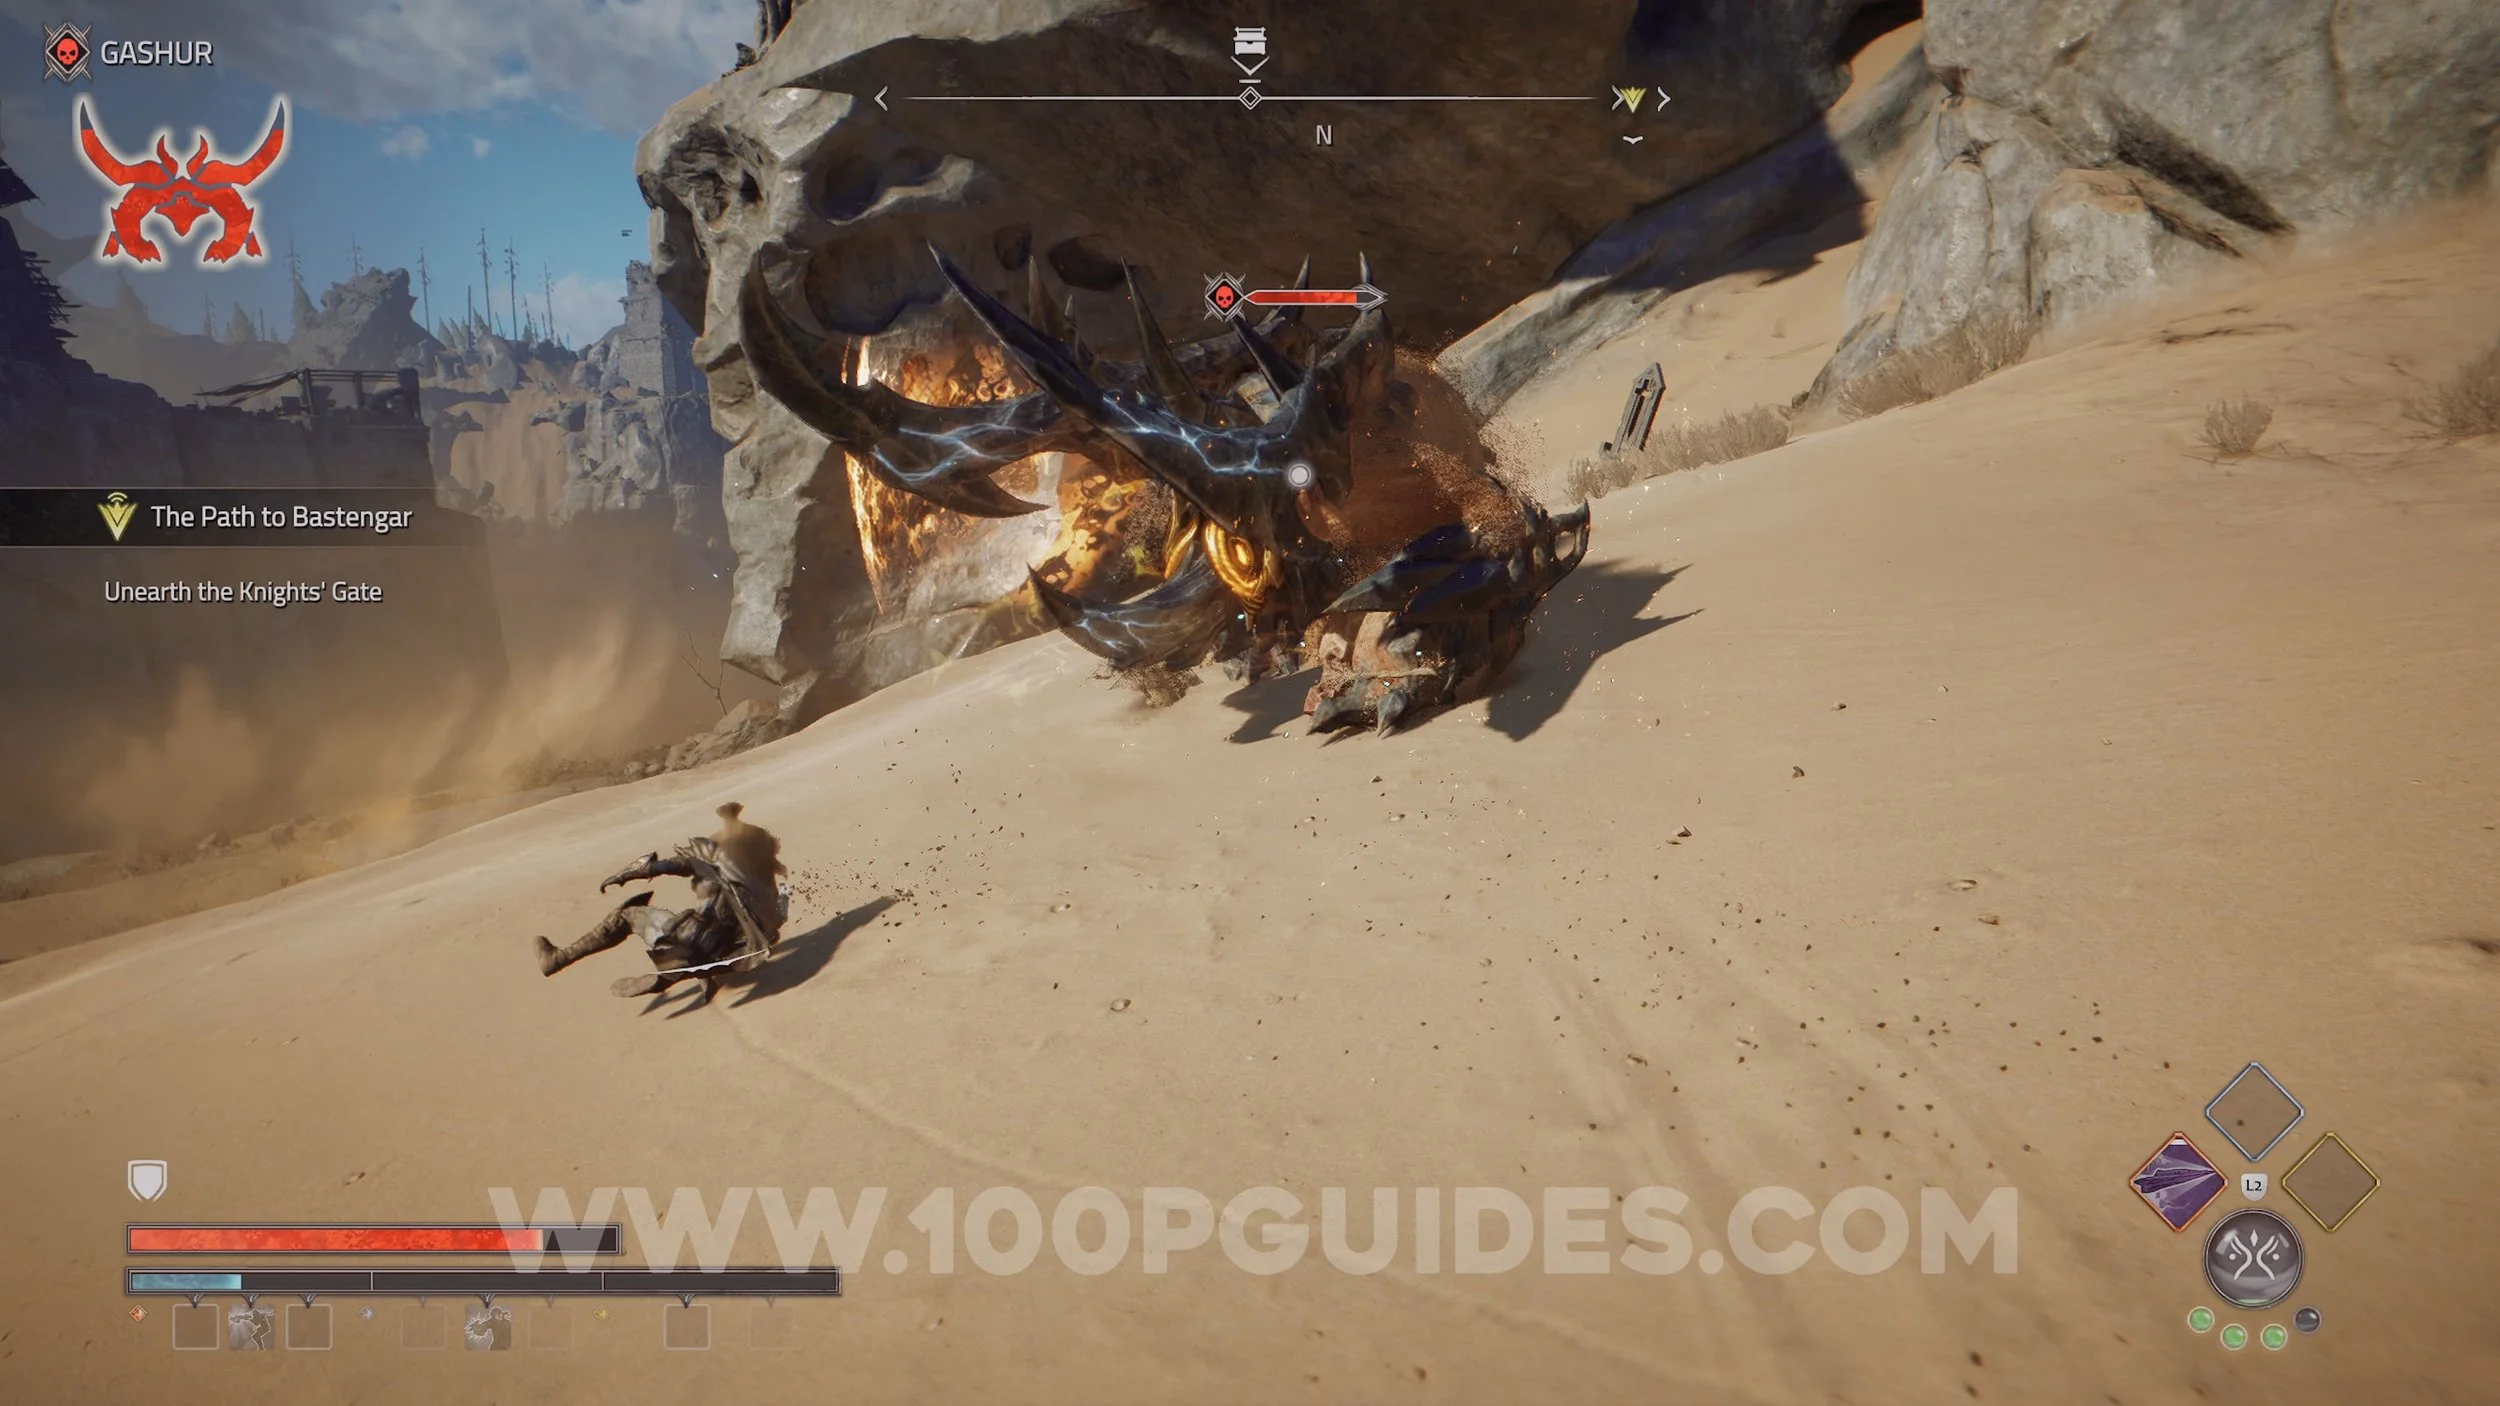
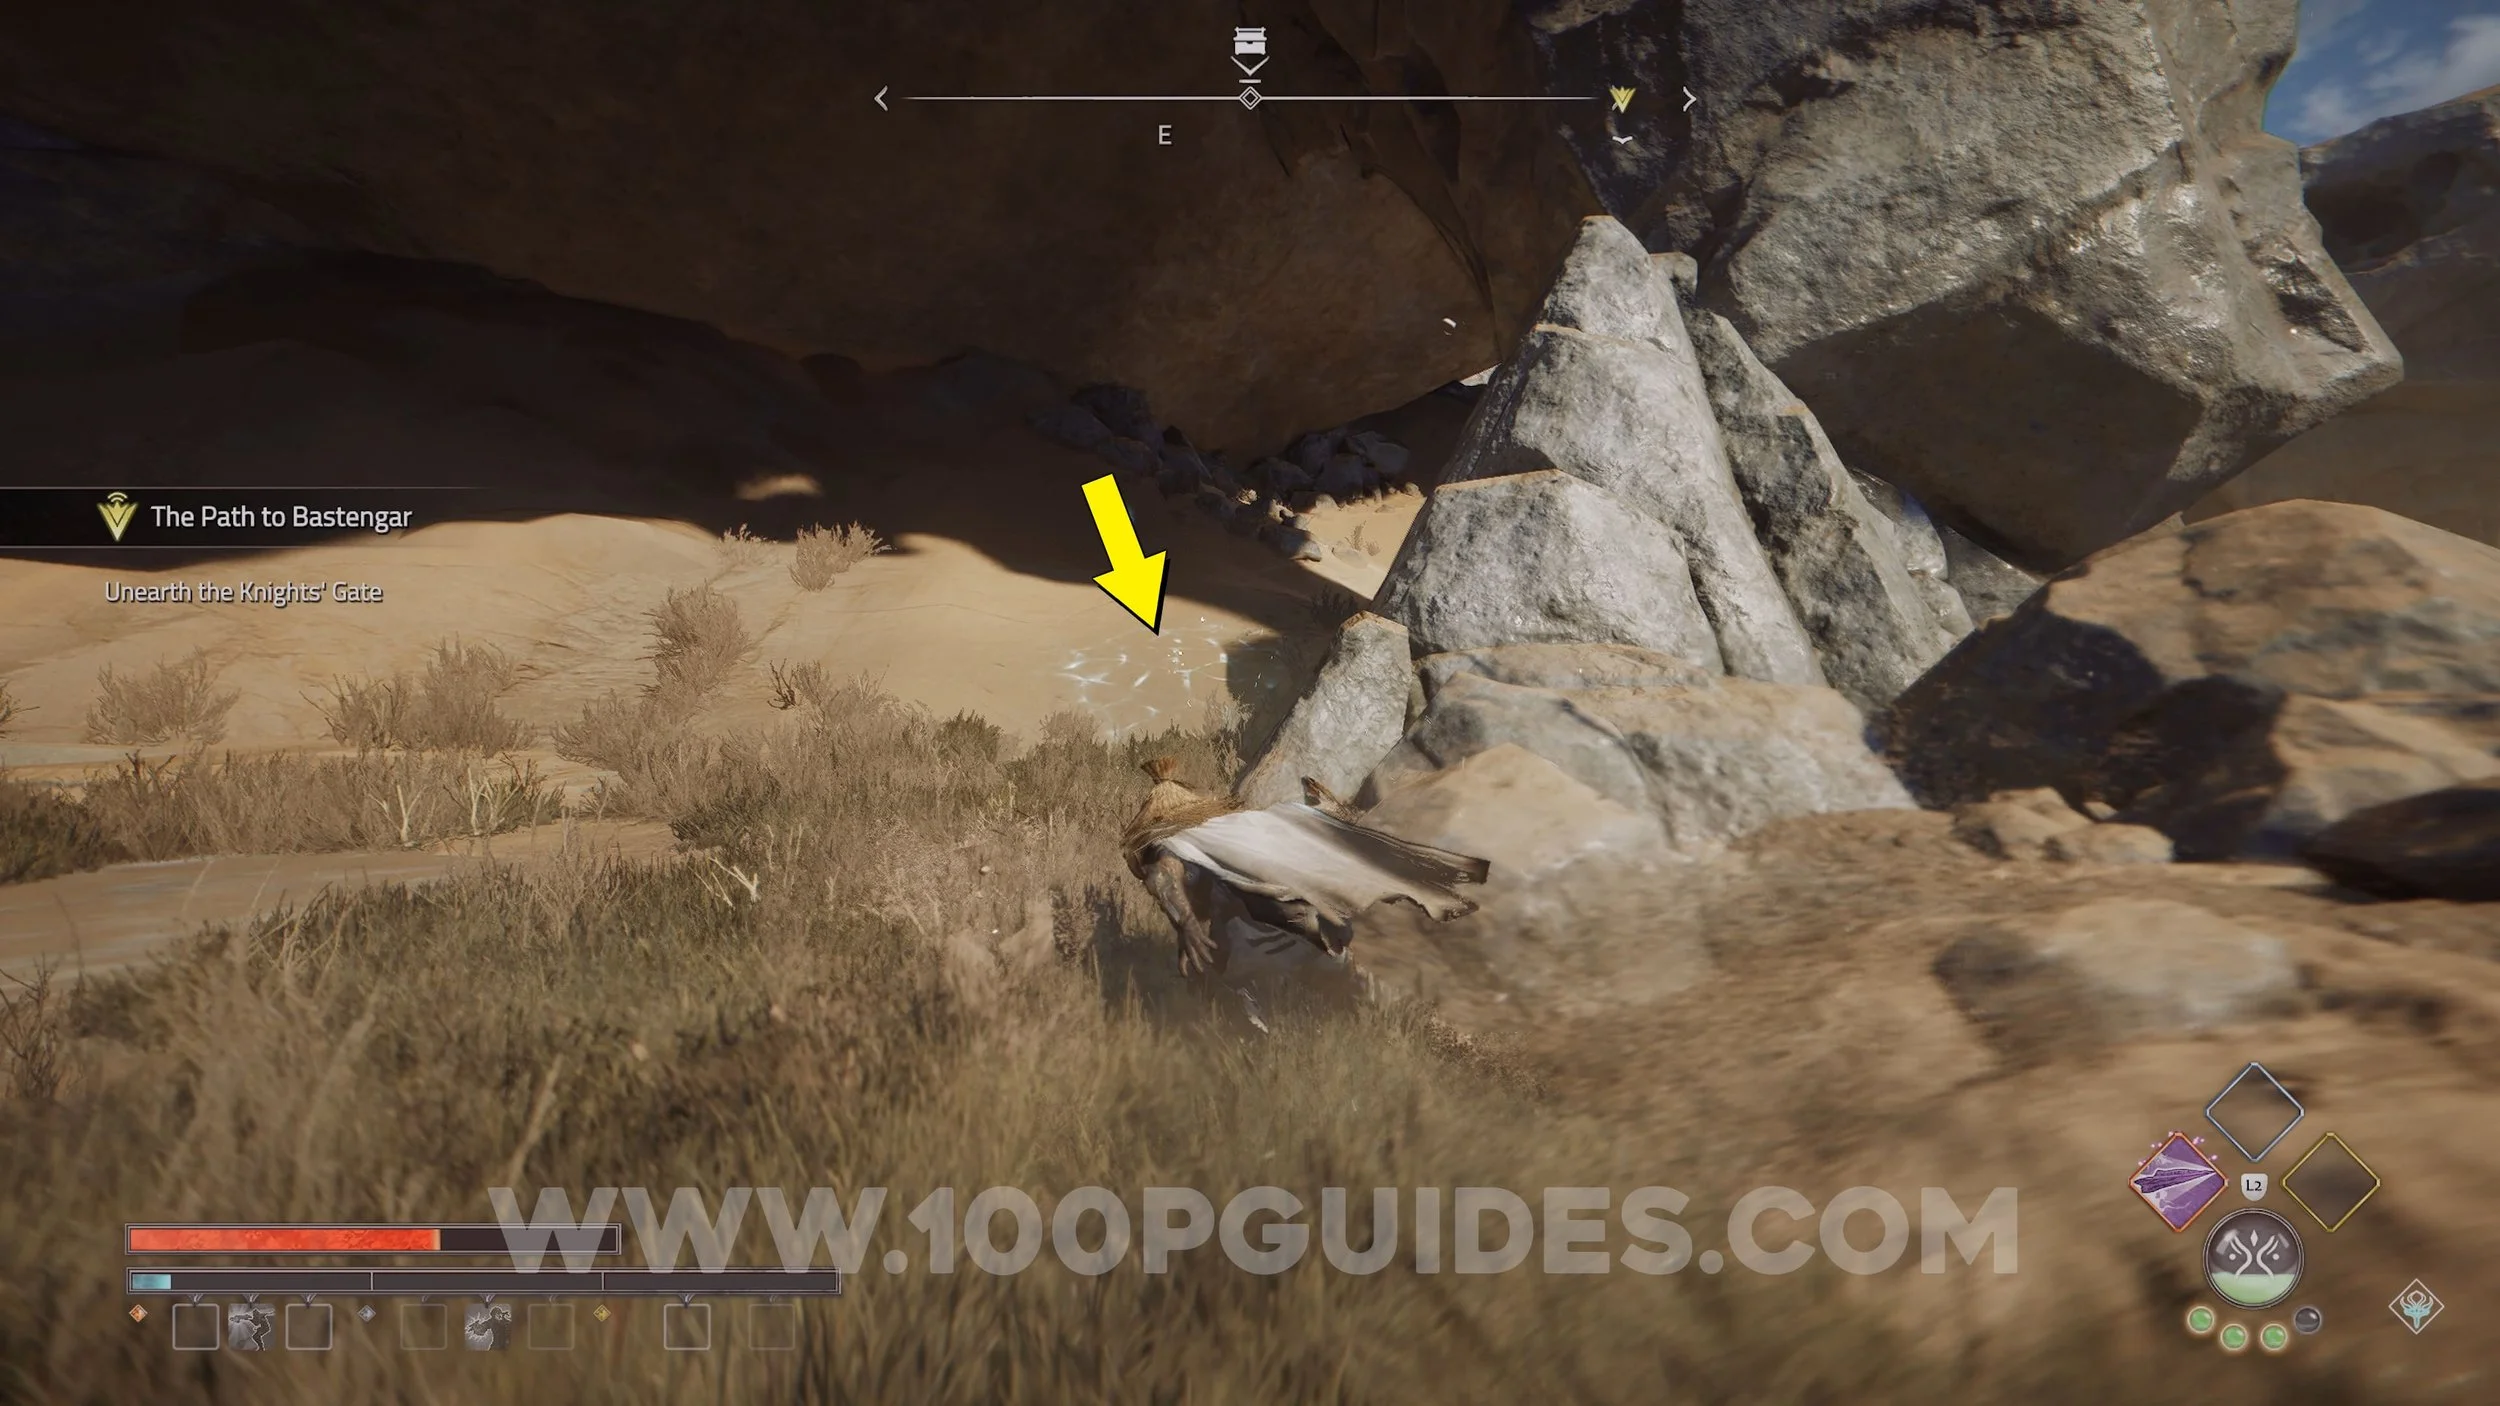
Elite Foe (Gashur) & Essence Stone (Sinful Bargain). Defeat the Elite Foe to loot the Essence Stone. If you don’t pick it up you will be able to purchase it from the Travelling Vendor.

Treasure (Dead And Buried) & Idol Of Salvation. You will only be able to dig up this treasure if you have the “Dead And Buried” Treasure Map.

Anvil #2


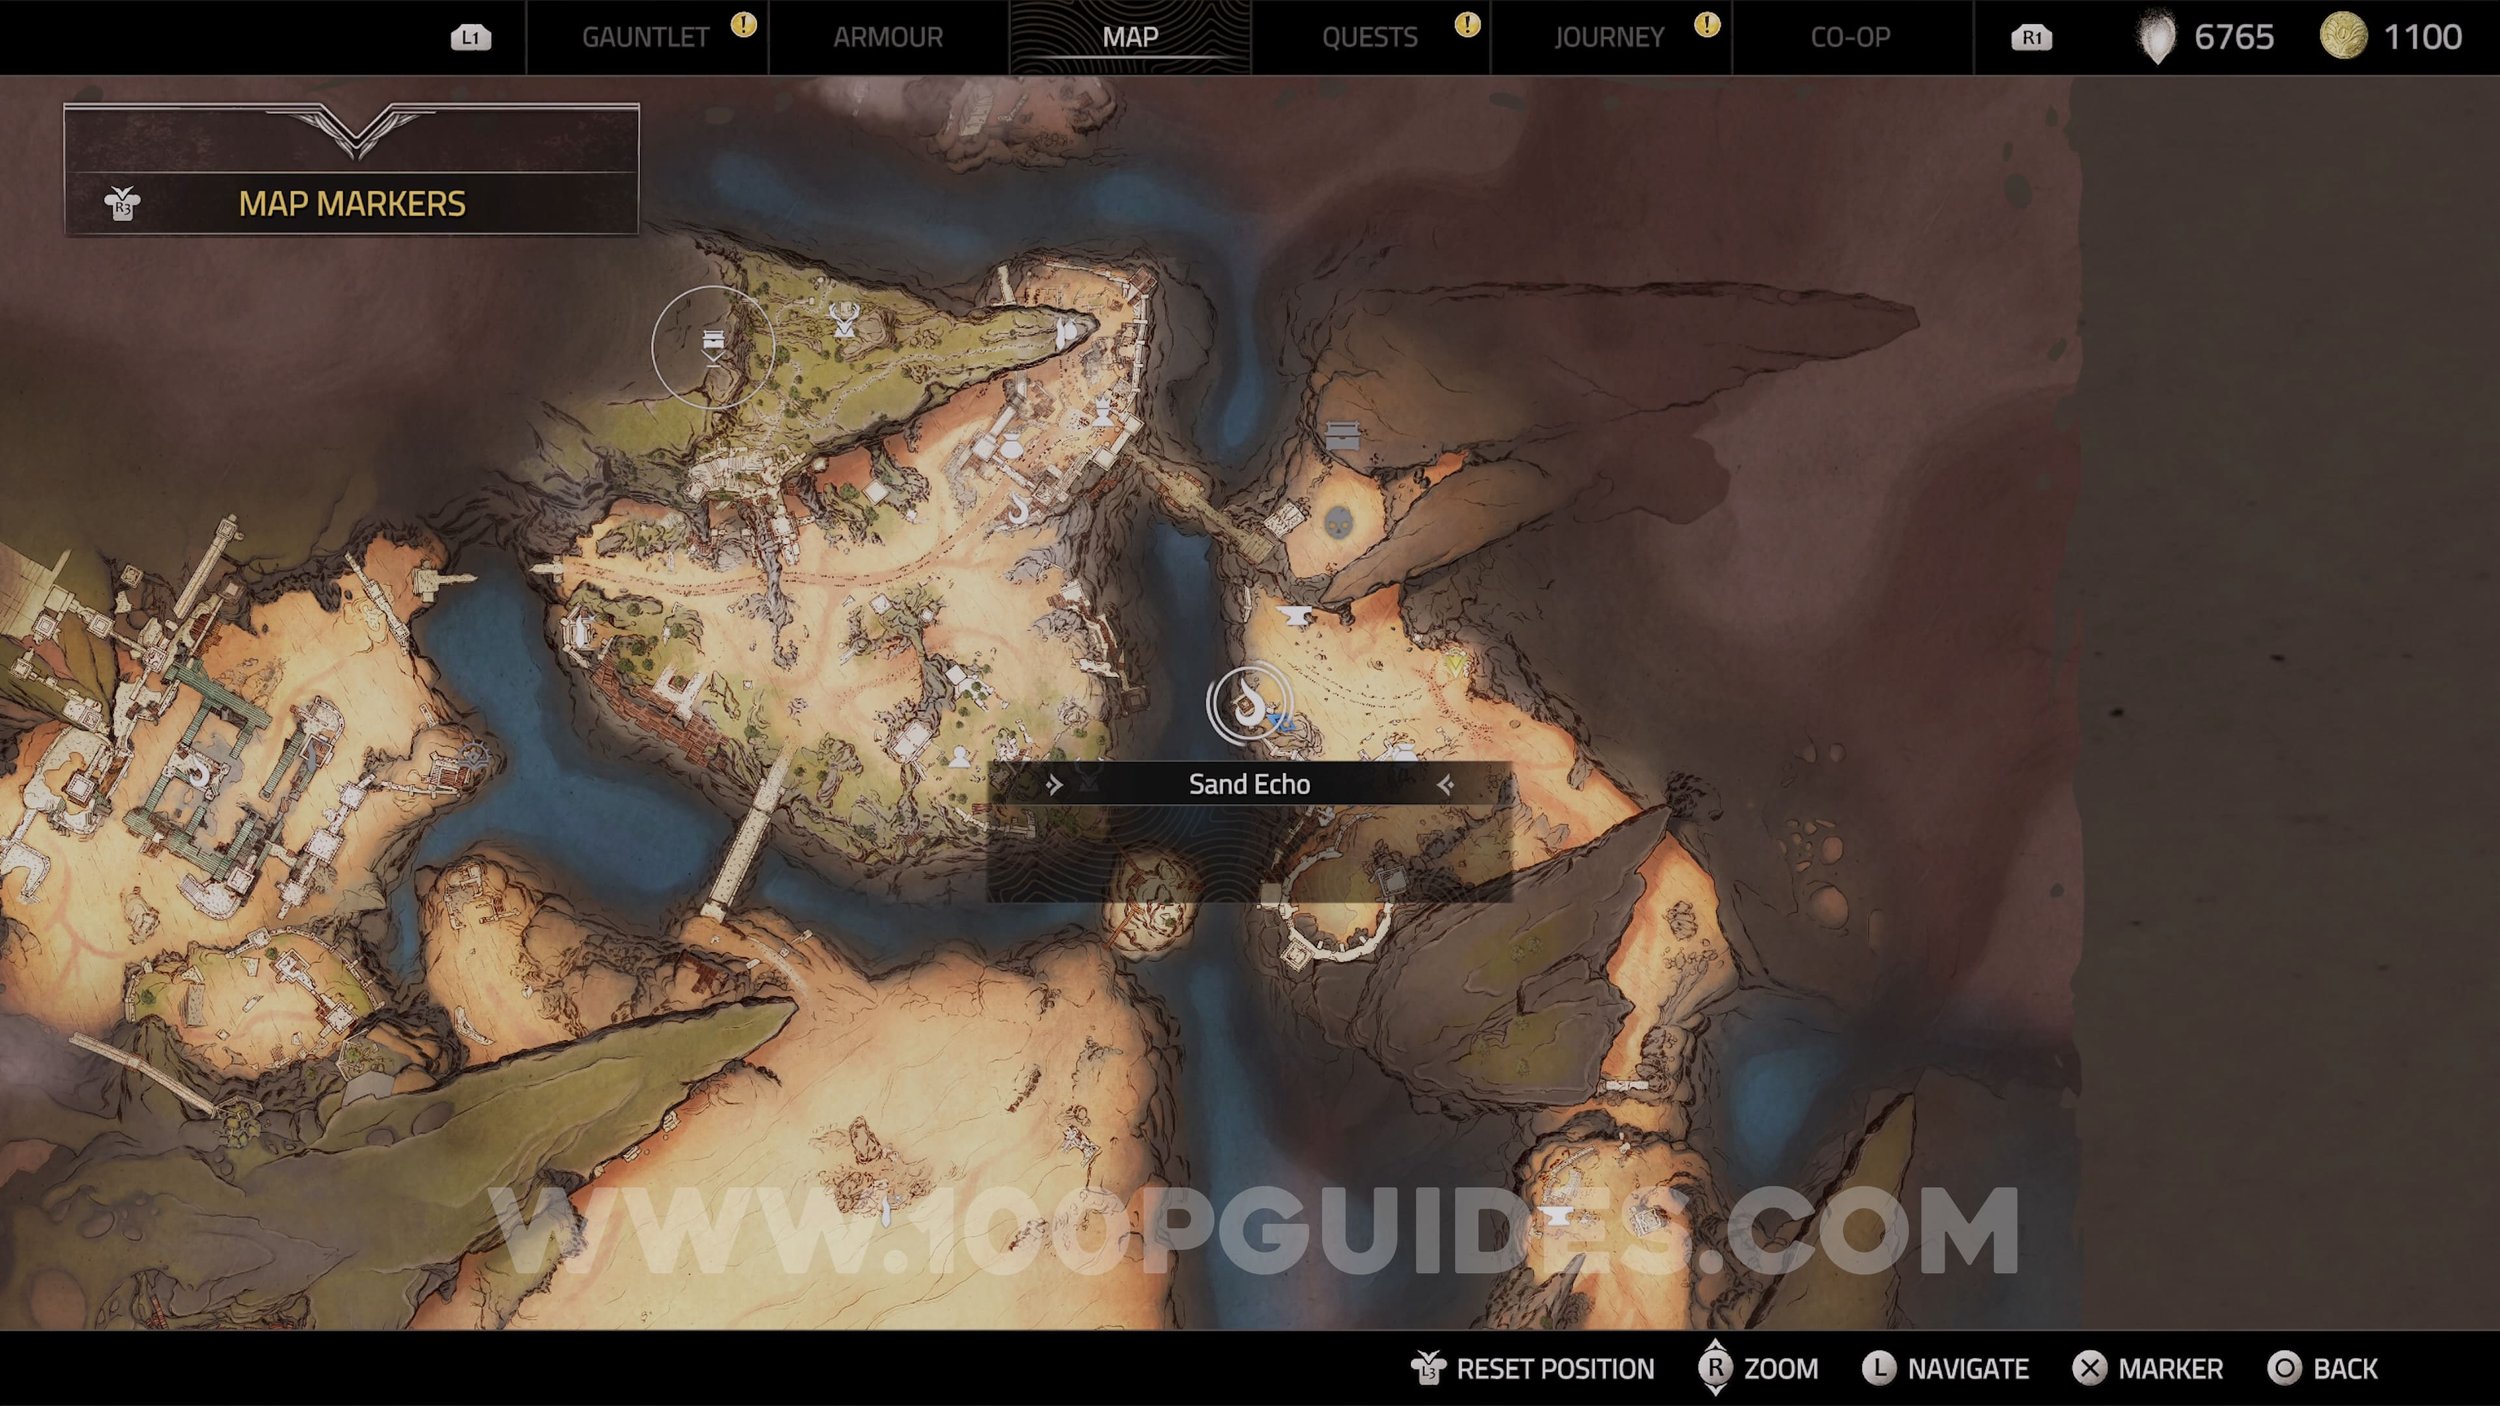
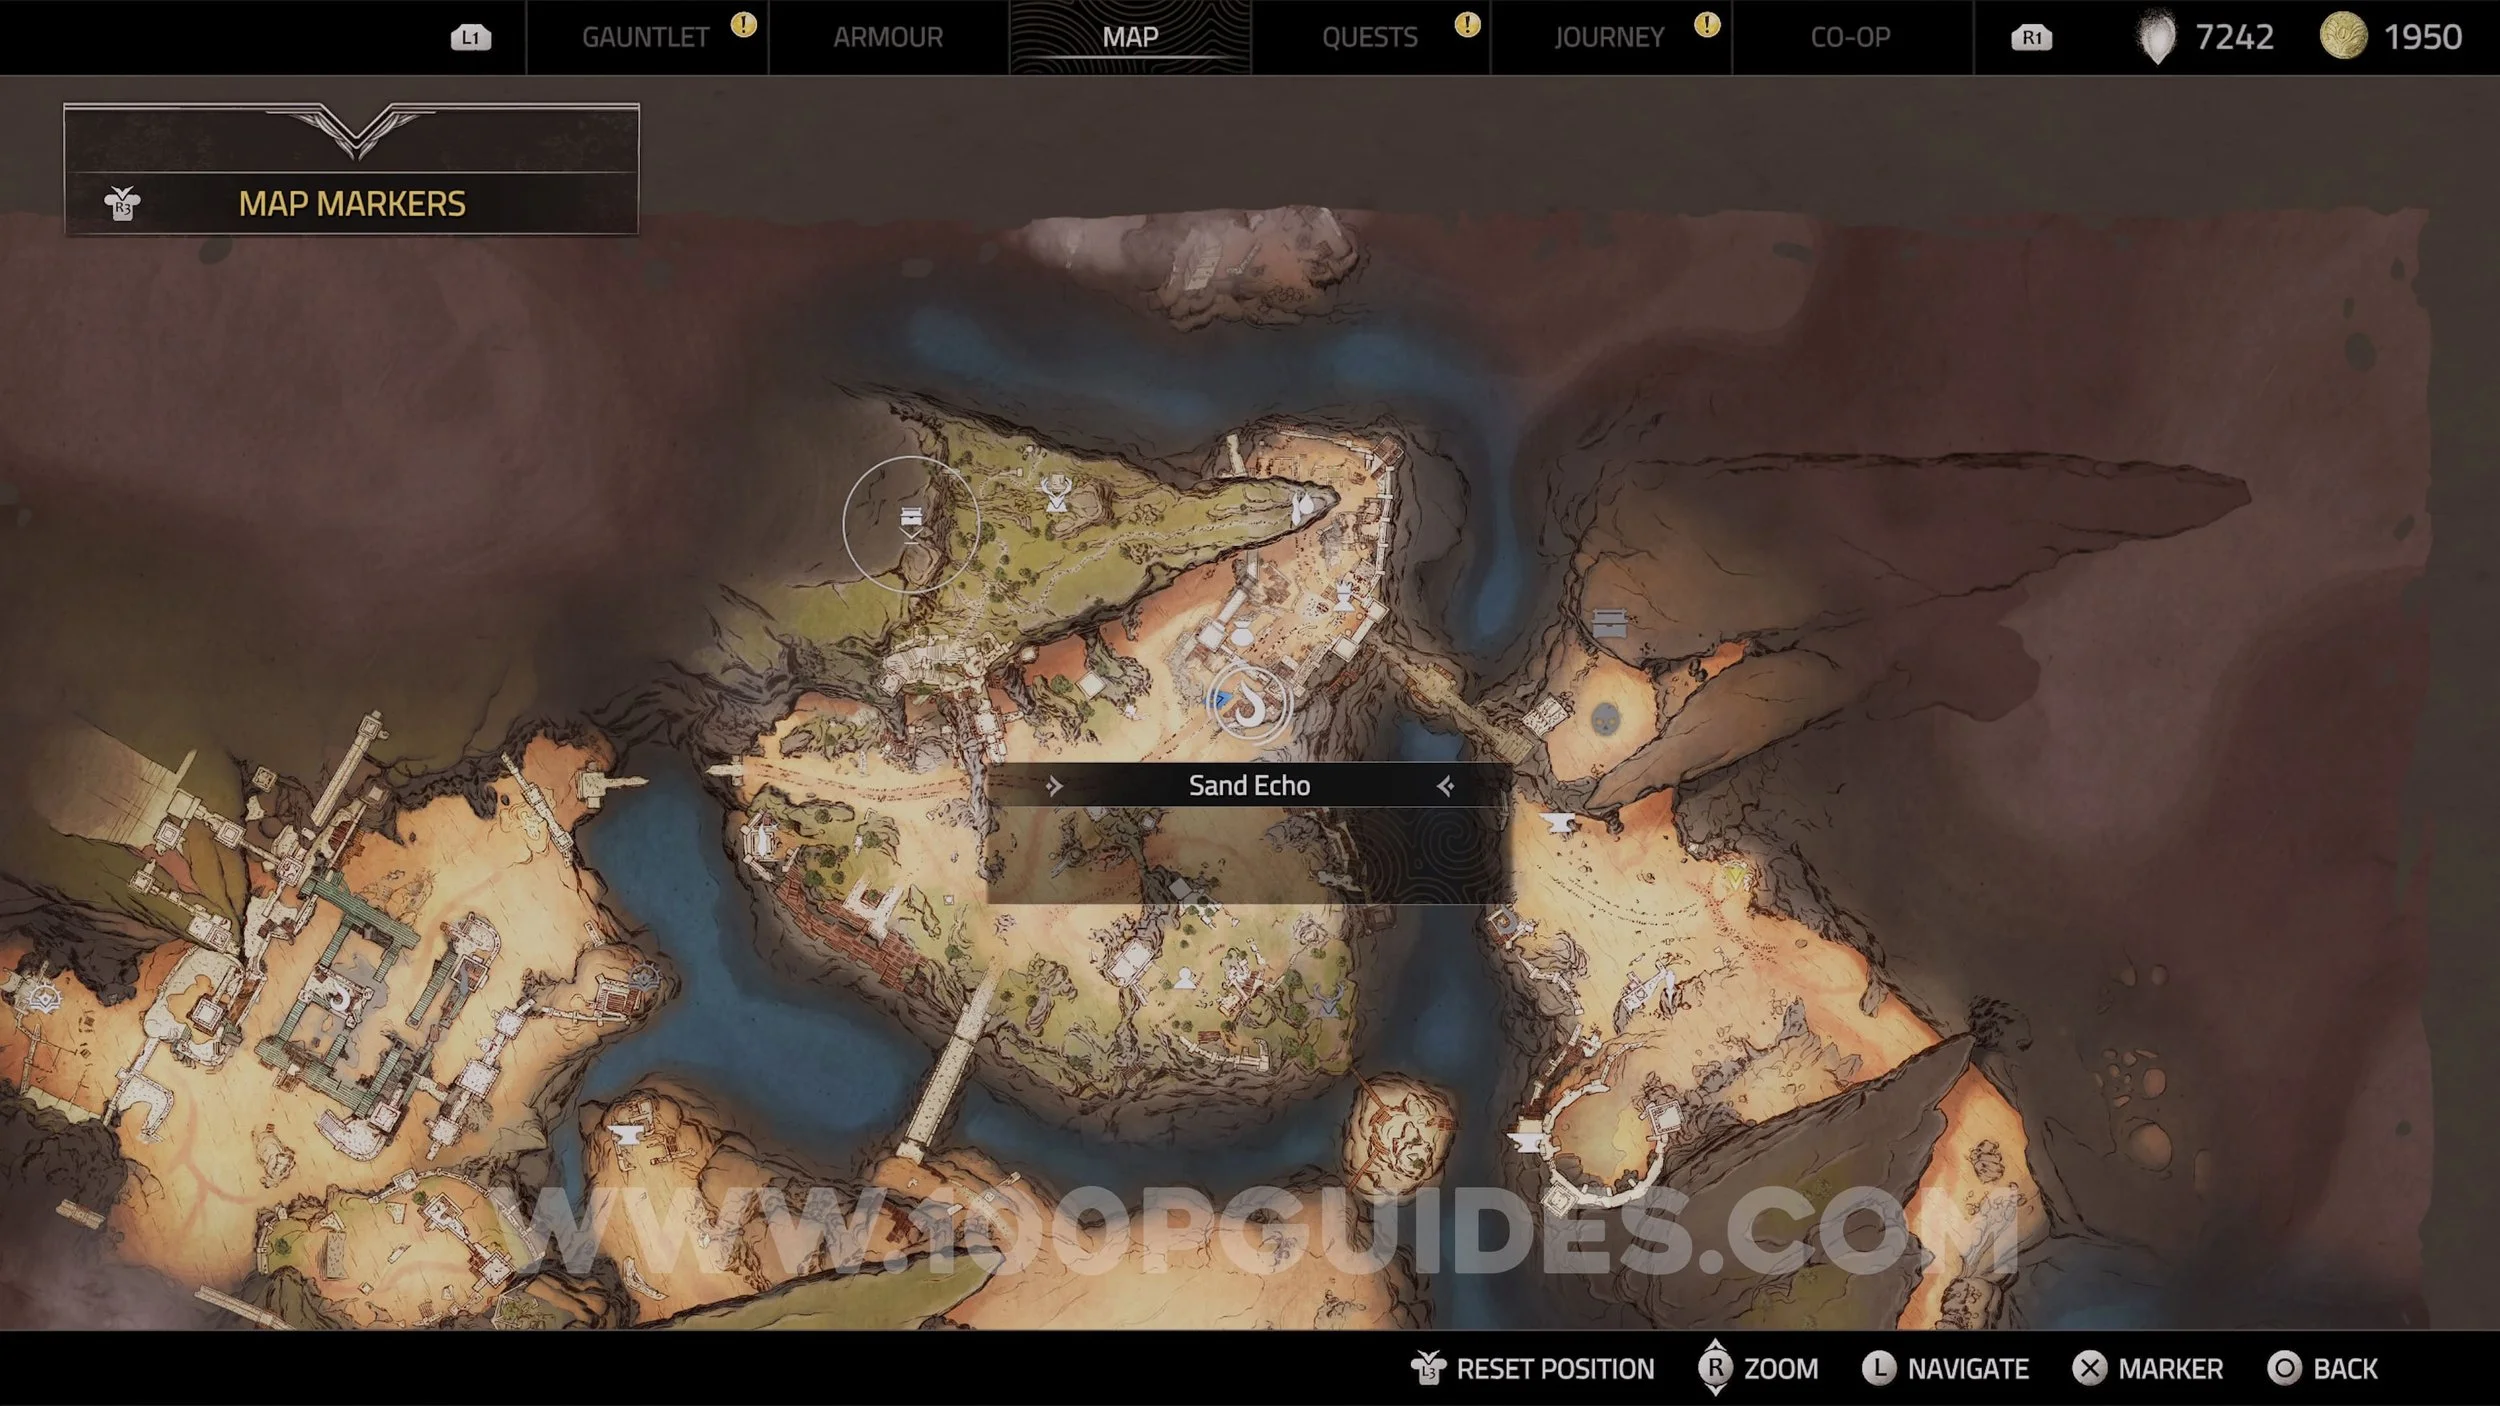
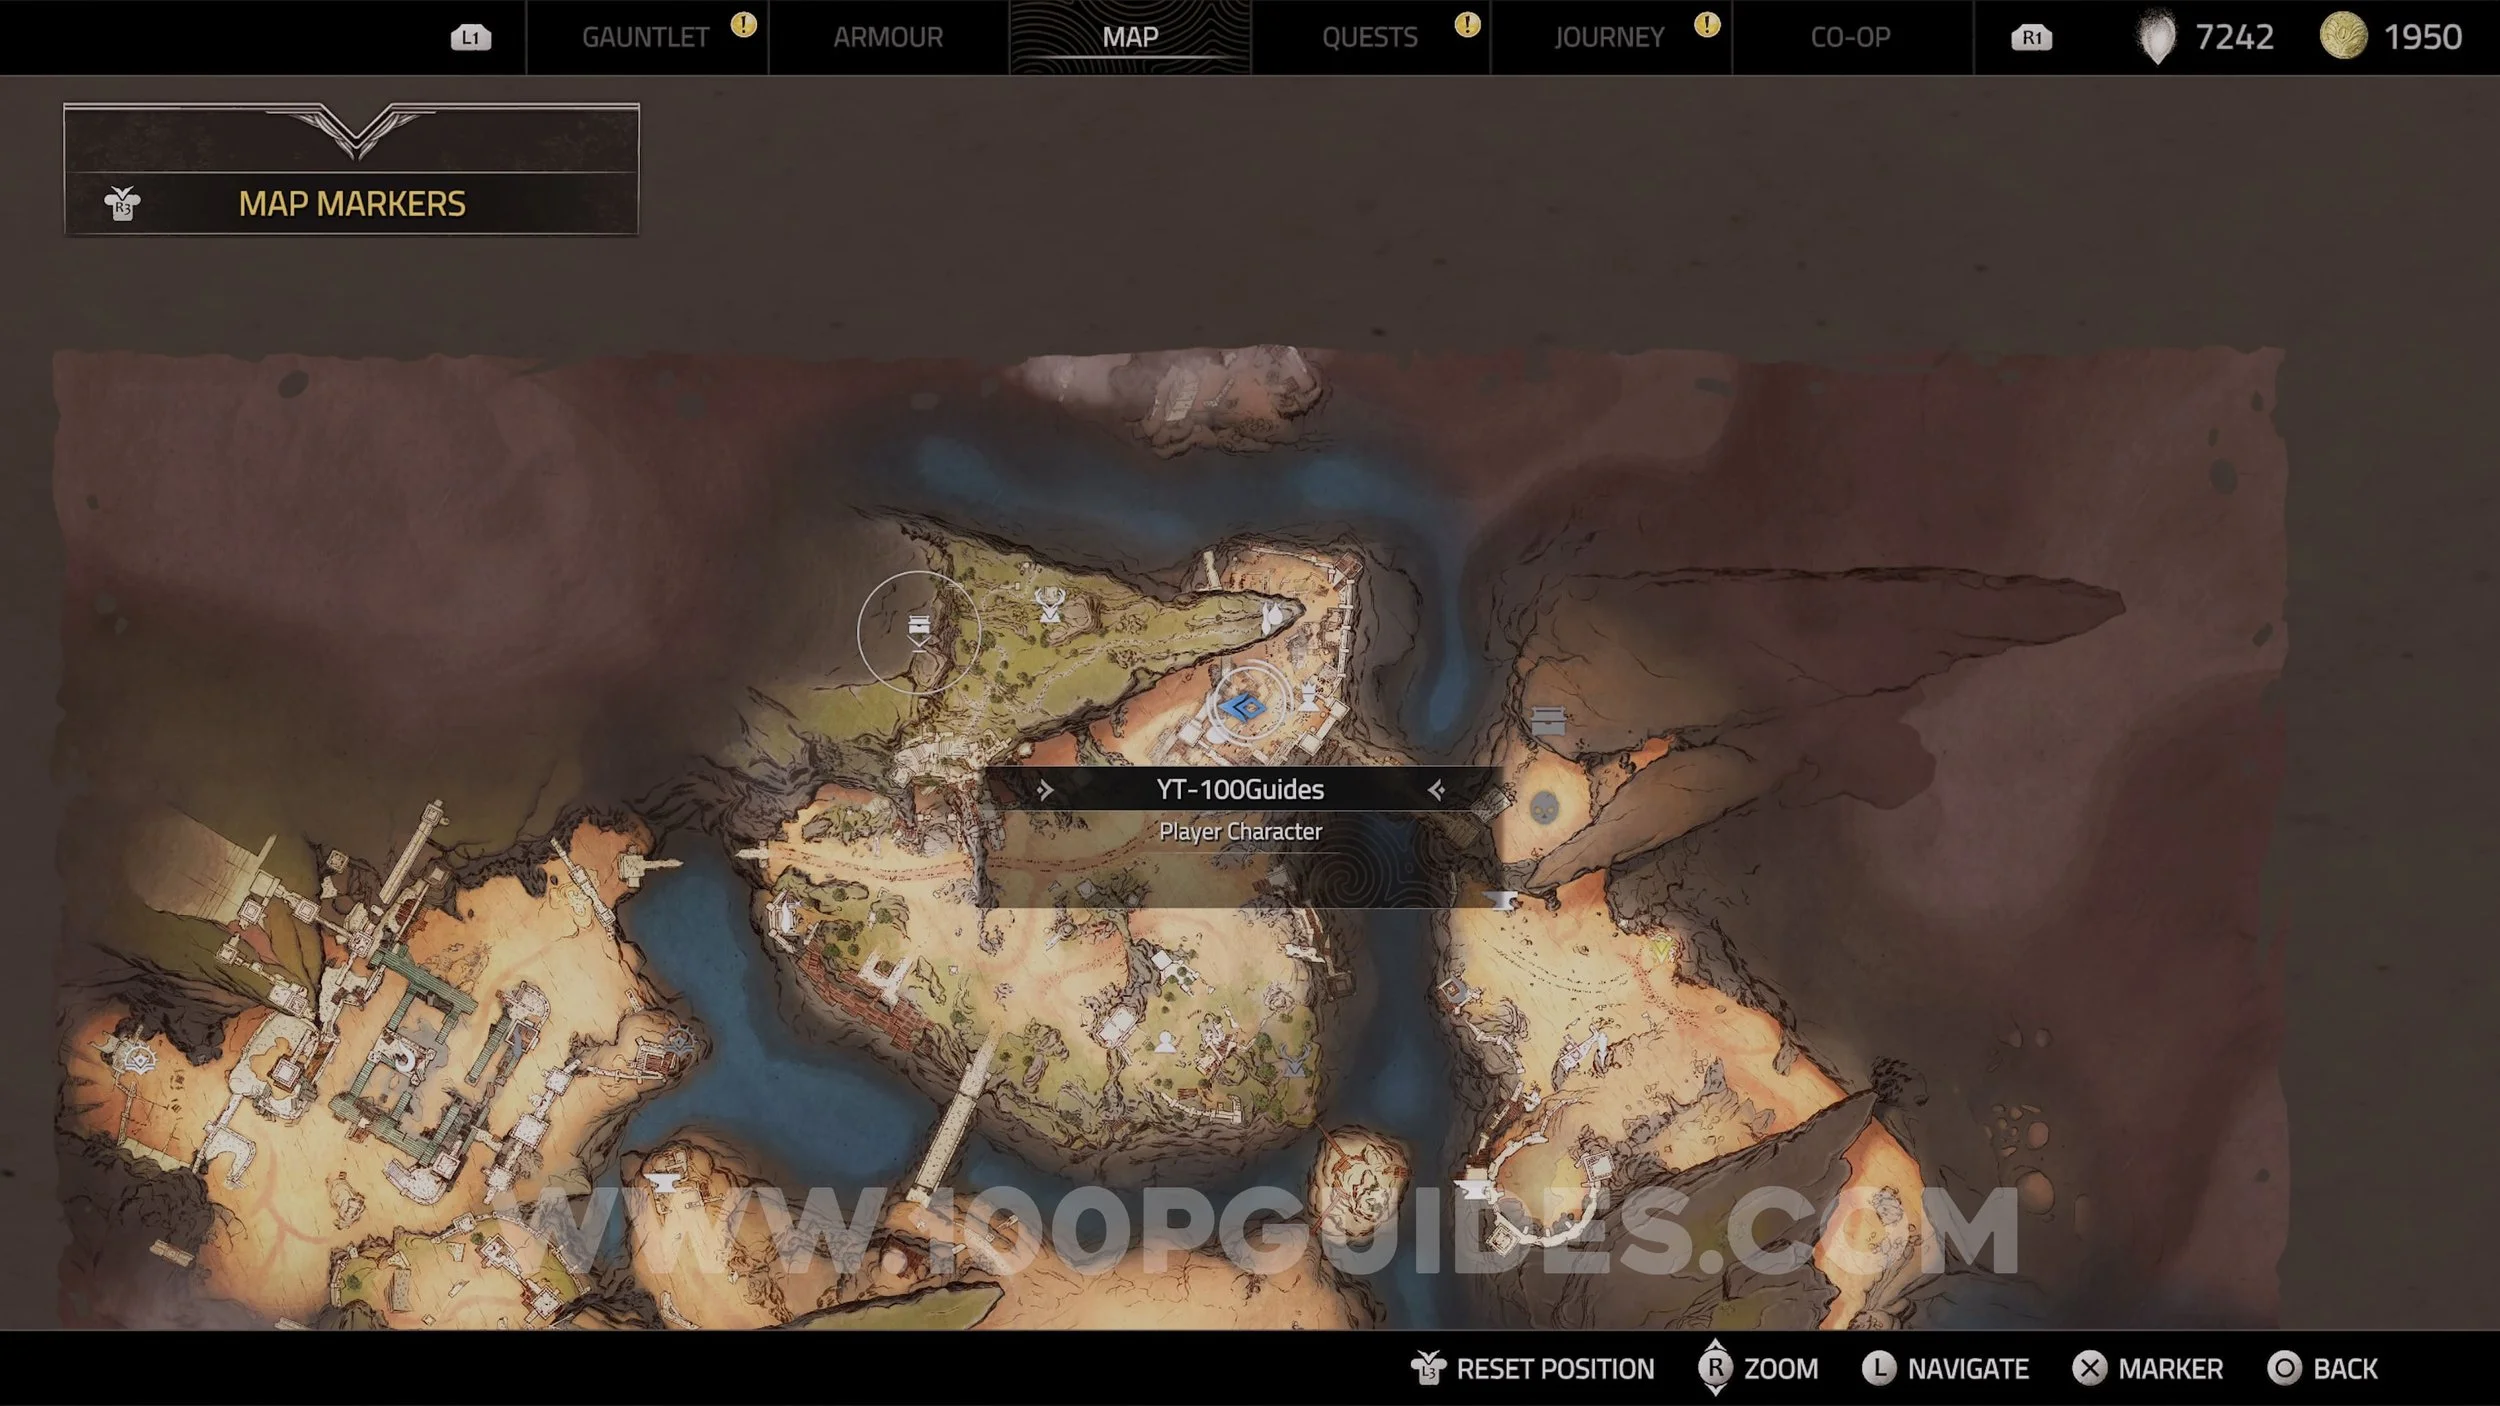
Sand Echo #1. On top of the tower.
Anvil #3. Found on the edge near the broken bridge.

Active Formula V. Found in the chest on the island.


Formula IV. Found in the chest in the camp

Lore (What Are The Shards In The Sand?). Near a tree just outside the camp.

Anvil #4. Found inside the camp.

Vantage Point #2. On the rocks above the camp.

Lore (The Sealing Totems). Found to the right of the Sealing Totem in the camp.

Sealing Totem #3 & Essence Stone (Momentum Field). The Sealing Totem can be found in the camp. Activate it and follow the light. After finishing the Sealing Totem, follow the final light to find the Essence Stone in a chest.

Treasure (A Hole In The Desert) & Cosmetic (Blue Dye). You will only be able to dig this treasure up if you have the “A Hole In The Desert” Treasure Map (obtained during the “Eyes In The Desert” side quest).


Lore (Report). Found near the destroyed cart.

Sealing Totem #4

Vantage Point #3. Found on top of one of the fort towers.
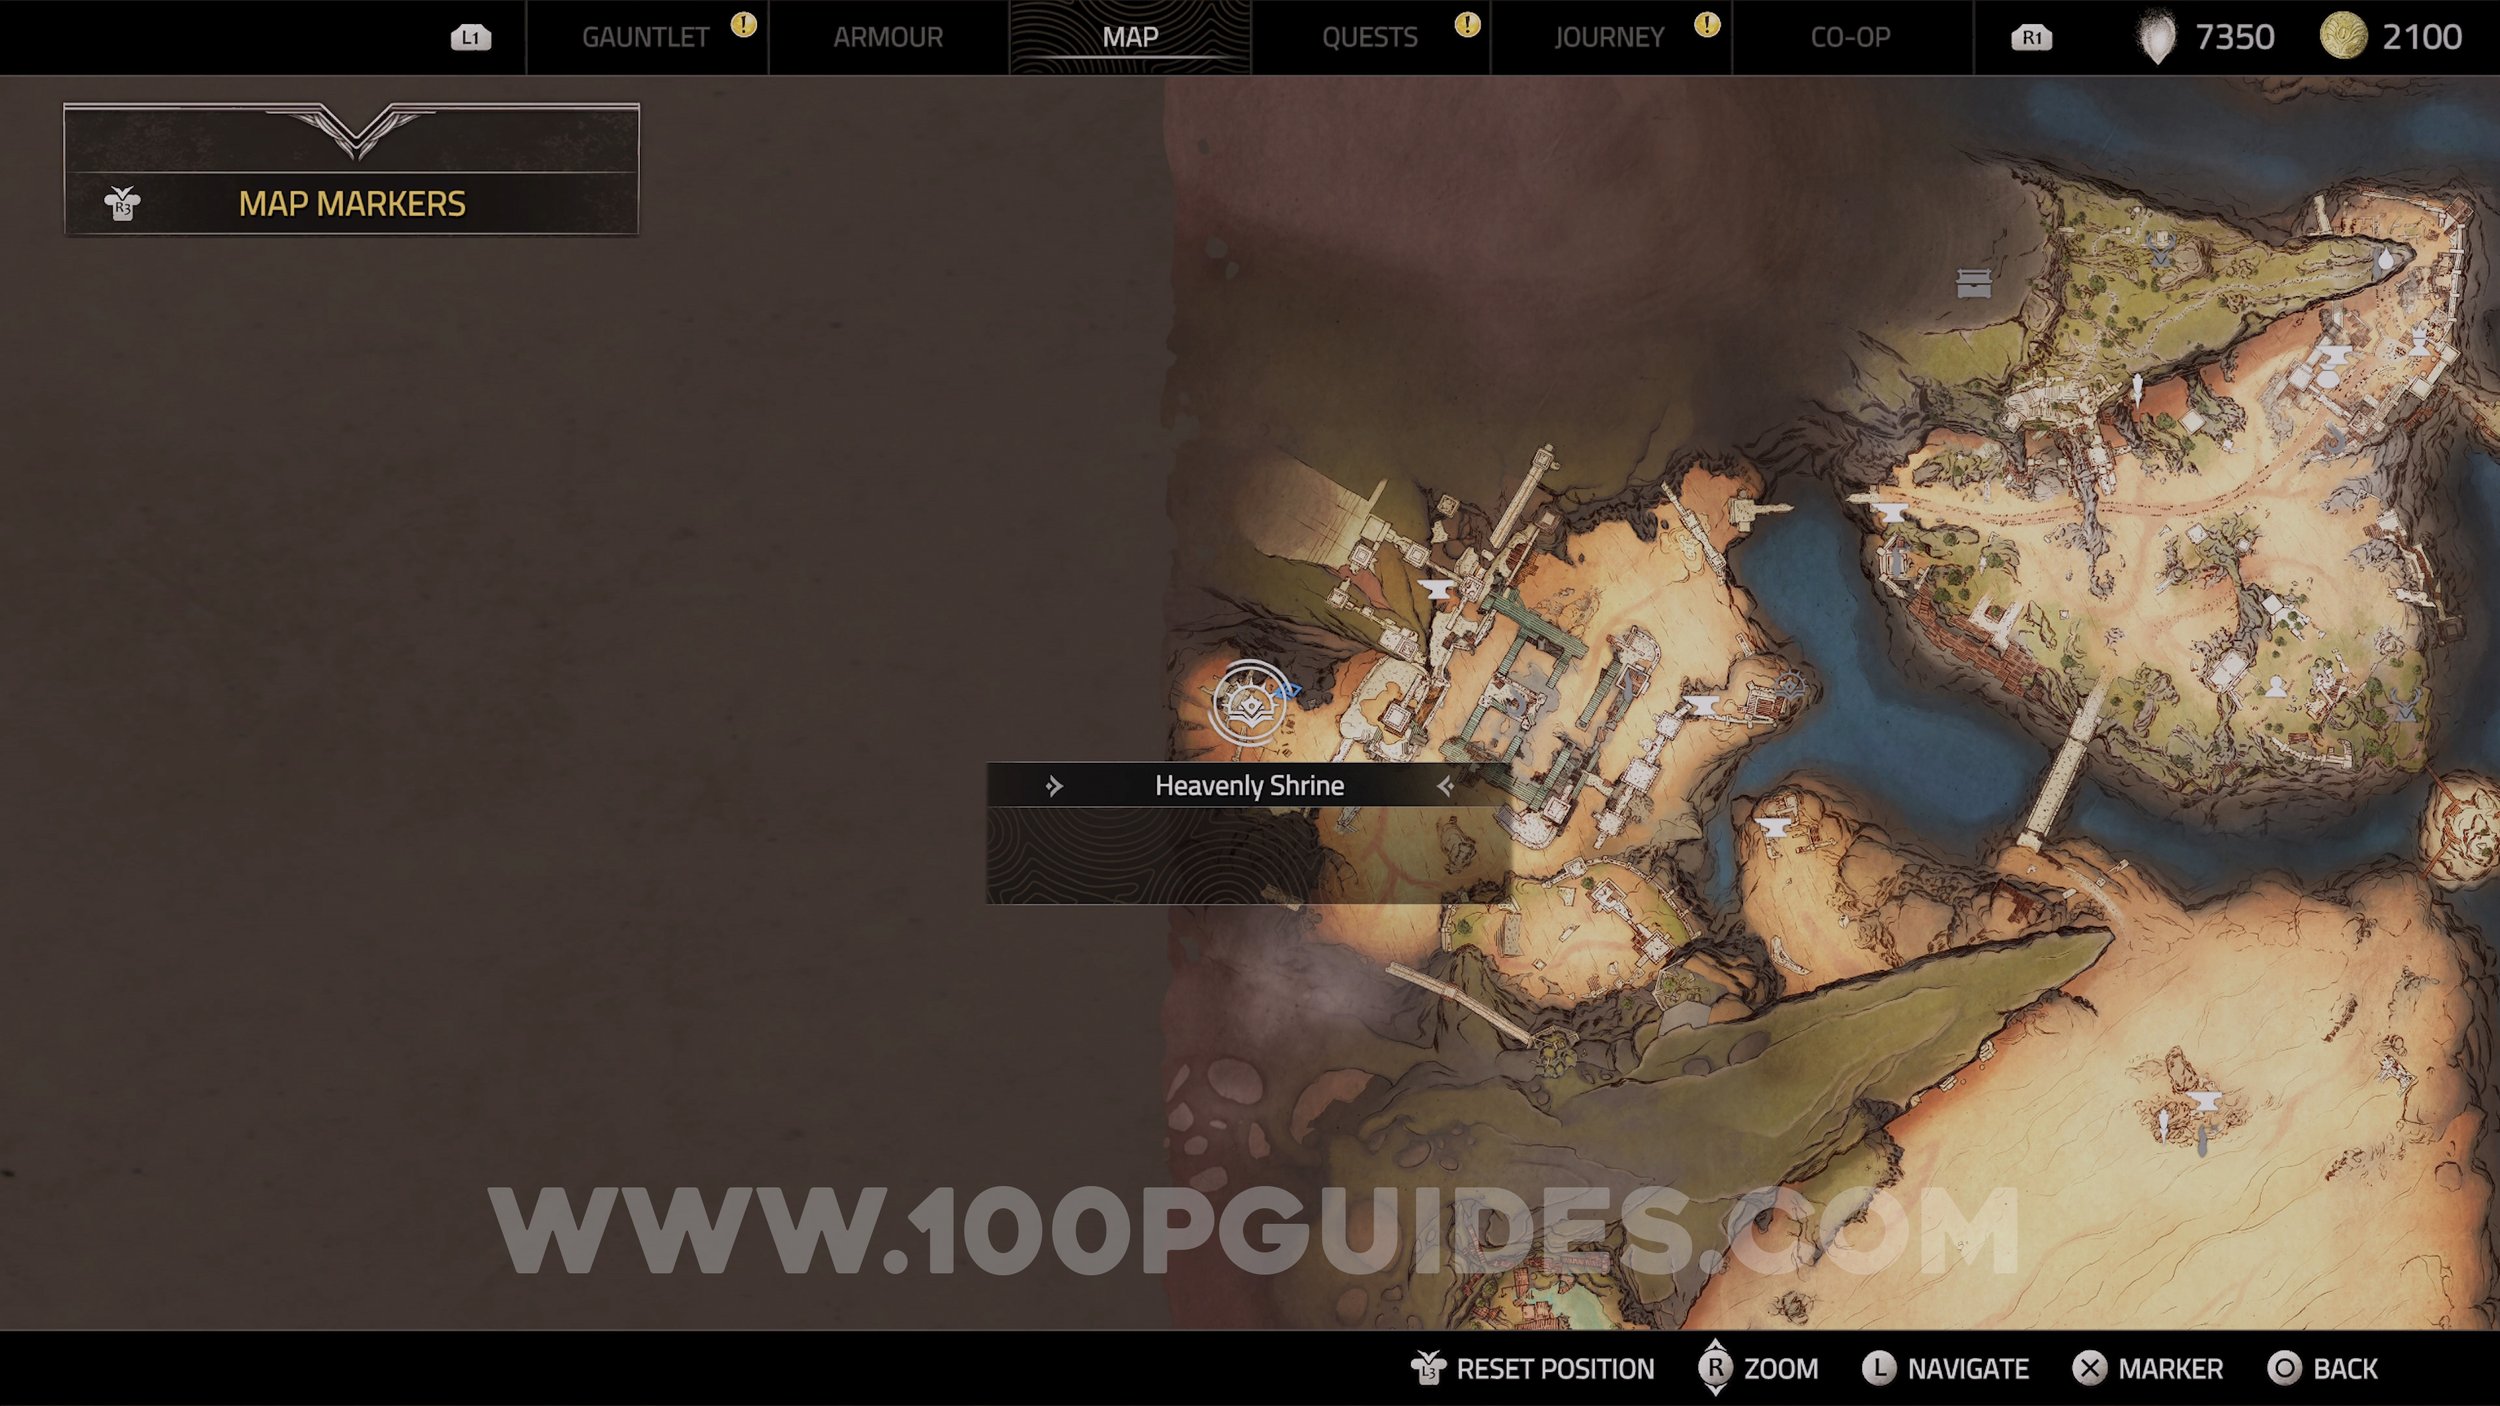
Heavenly Shrine #2. Found in the middle of the fort.


Lore (The Vantage Points). Found on the rampart of the fort.
Lore (Mysterious Anvil Structures). Found on top of the southwest tower.


Anvil #5. Found in the fort area.


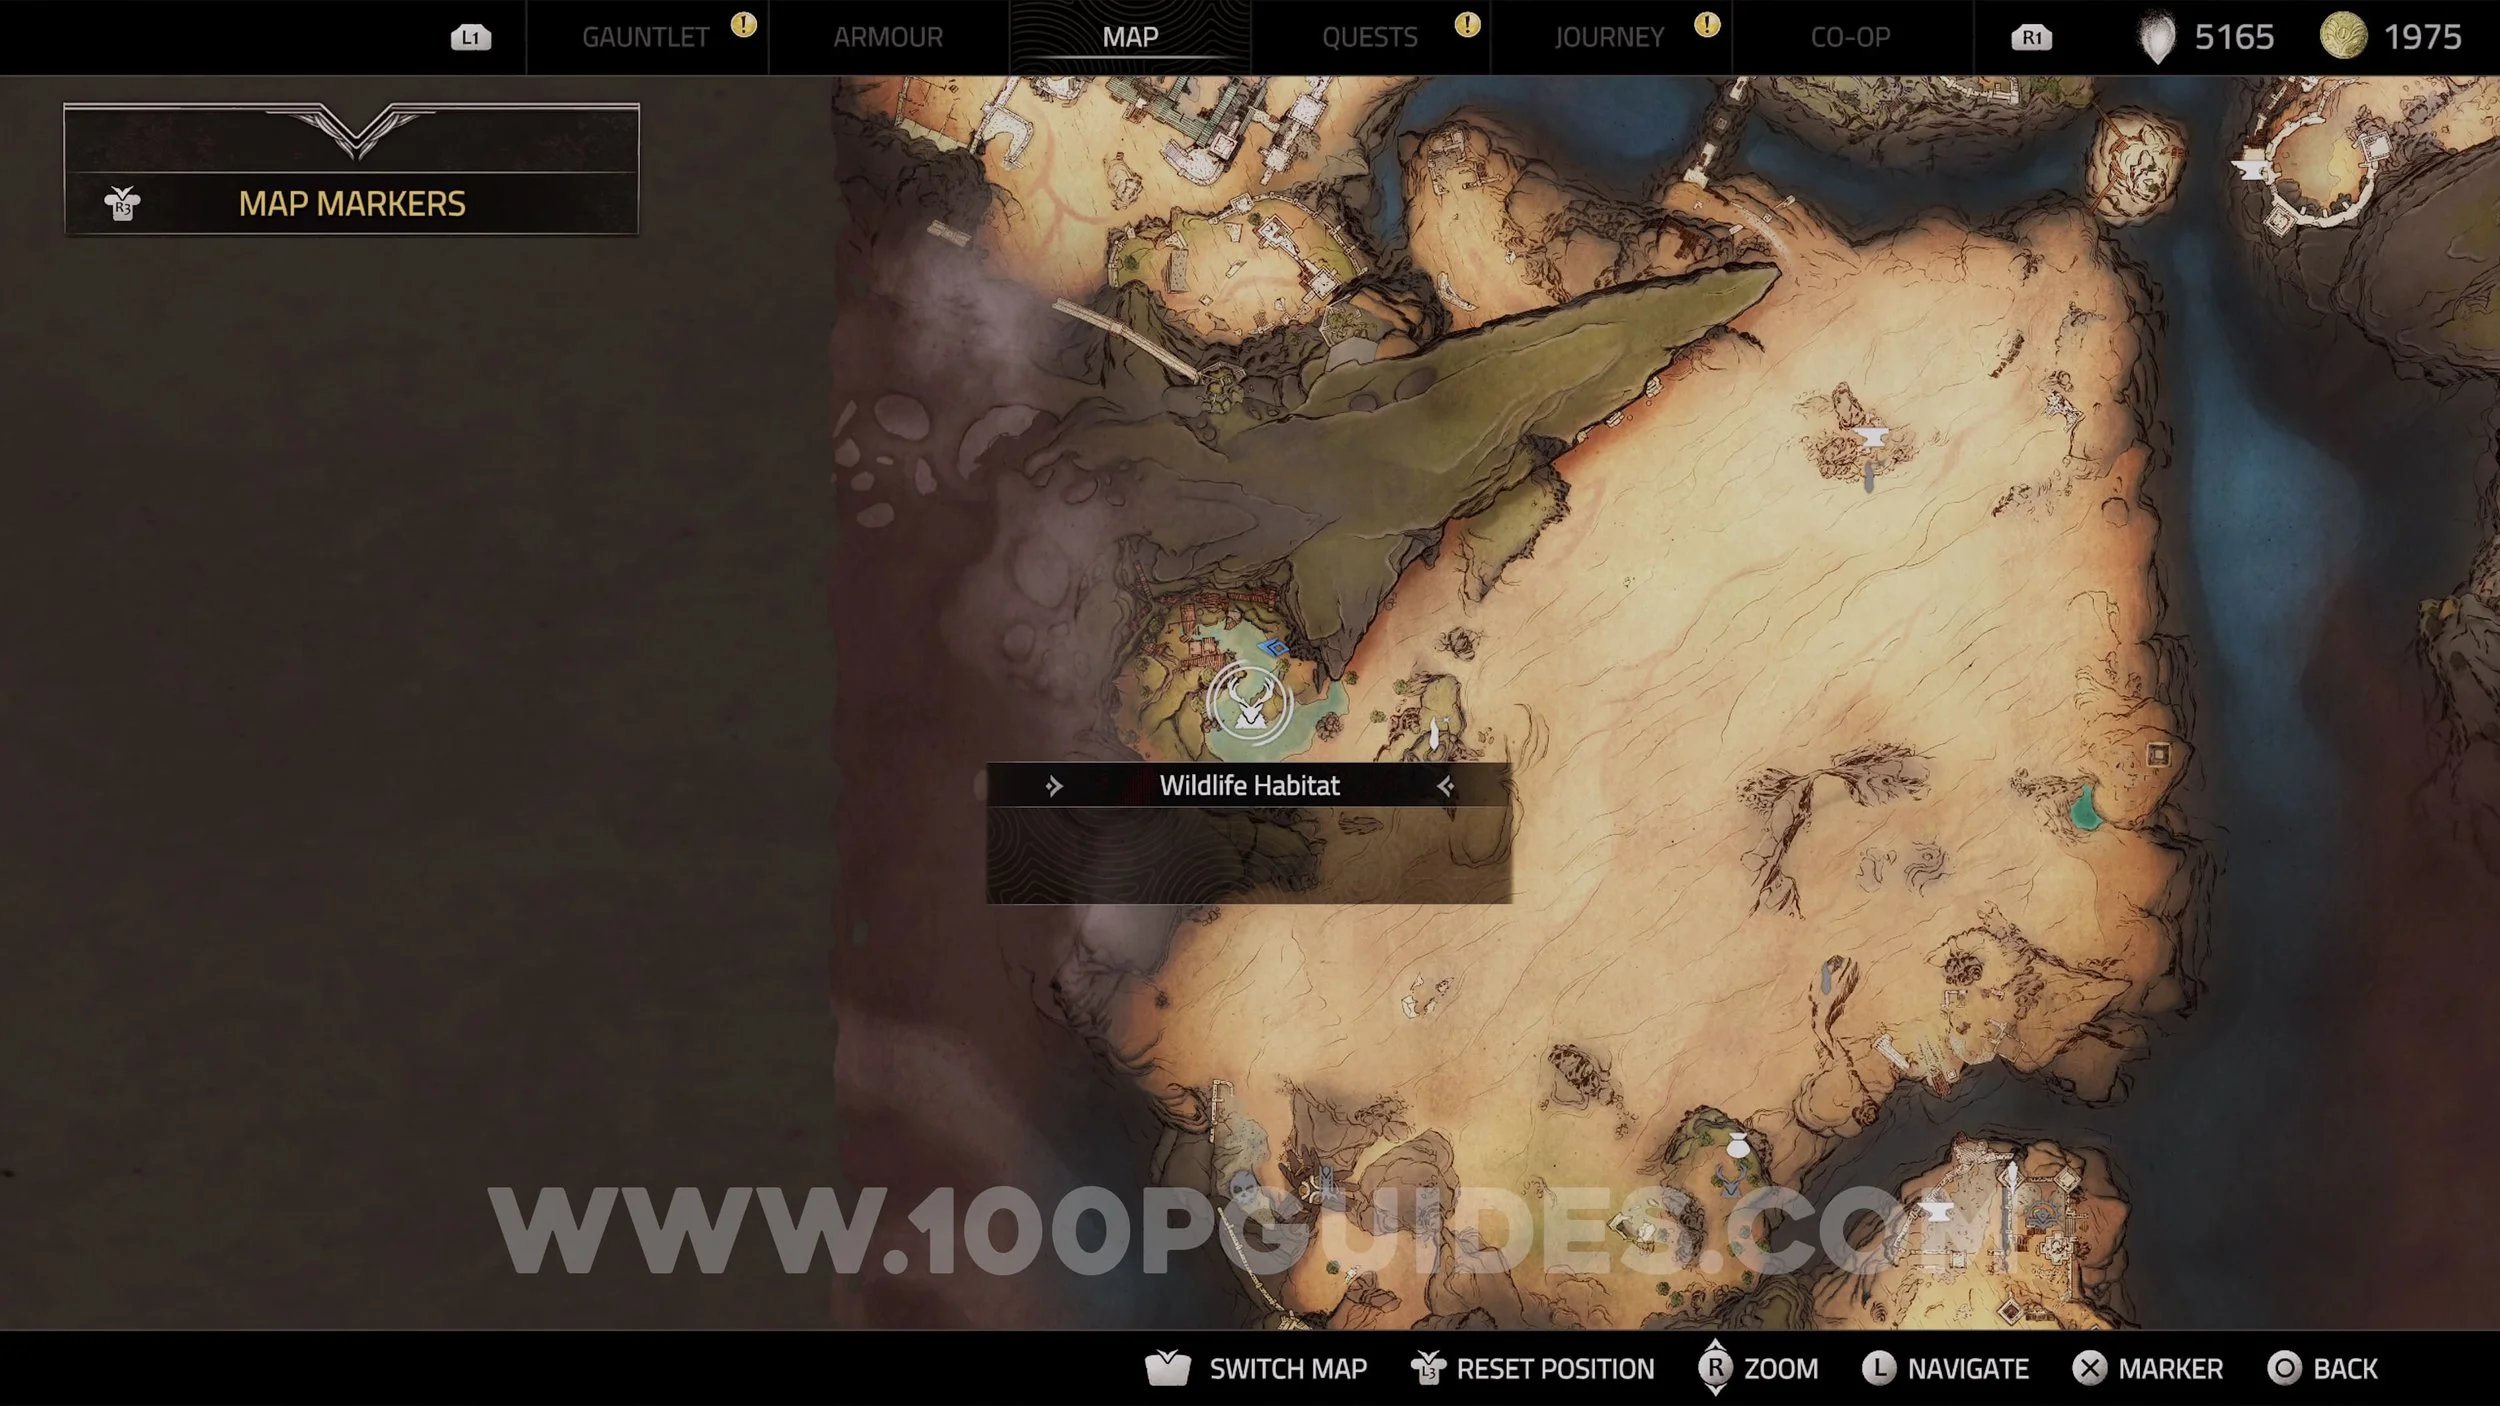
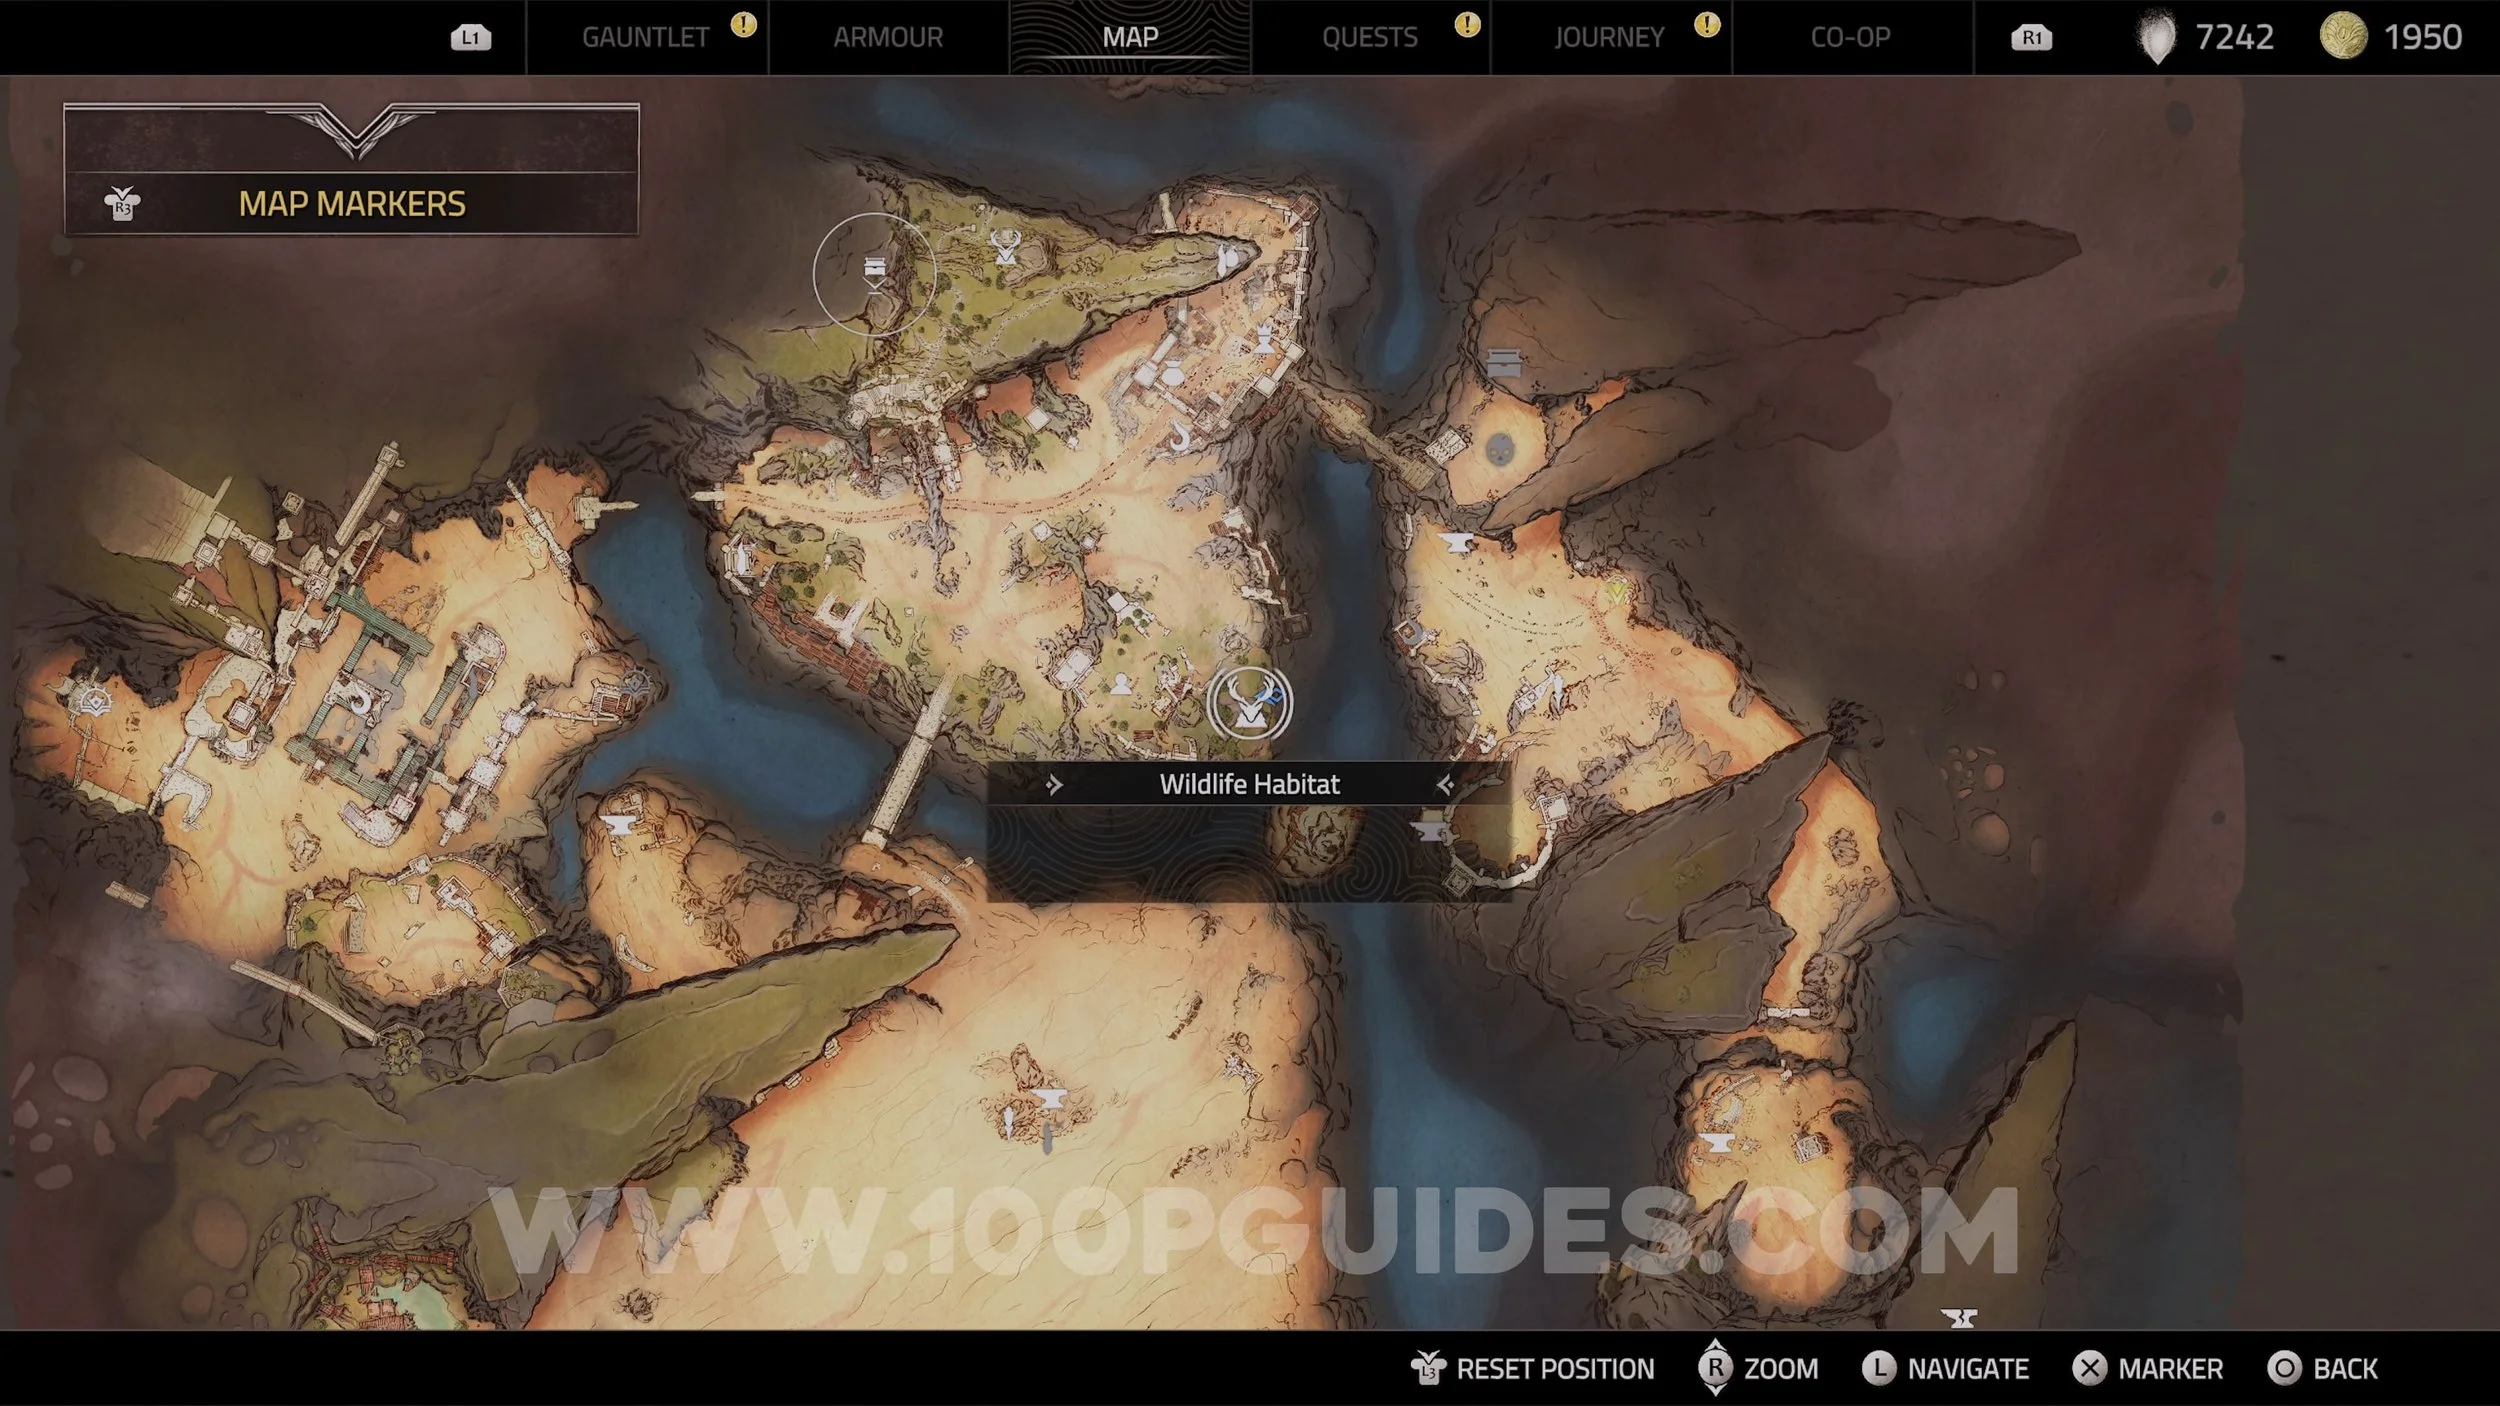
Wildlife Habitat #1 & Treasure Map Fragment (Near A Watchtower 1/3). Stand at a safe distance from the animal until it starts moving with a golden trail. Follow it and wait until it digs up the treasure map fragment. You will only be able to do this if you have activated the watchtower.

Lore (Tyranny). On the edge of the cliff.
Treasure Map Fragment (Near A Watchtower 2/3). Talk to the NPC in the same area as the previous collectibles and select the “What Are You Doing Here?” option.

Essence Stone (Restless Executioner). Found in the chest inside the small cave. You will only be able to access it if you have activated the Watchtower.

Sealing Totem #5 & Cosmetic (Jousting Shield: Sun Kingdom). Follow the lights to finish the Sealing Totem. Then, follow the final light to the cosmetic item.

Anvil #6

Vantage Point #4. You will only be able to activate this Vantage Point if you have activated the watchtower.
Lore (The Watchtowers). Found near the watchtower.

Lore (Survival Of The Few). Found near the broken wall.

Wildlife Habitat #2 & Treasure Map Fragment (Near A Watchtower 3/3). Follow the animal found in the swamp area to the west of the desert. Only available after activating the watchtower.

Treasure (Near A Watchtower) & Essence Stone (Swift Hive). Dig up the treasure to get the Essence Stone. You will only be able to get the treasure if you have the full “Near A Watchtower” treasure map.

Anvil #7. Near the tent on the hill in the desert.

Lore (The Anvils). In the tent on the small hill in the desert.
Sealing Totem #6 & Essence Stone (Piercing Hook). Found below the tent where you picked up the previous collectibles. Follow the lights and raise the platform to climb the cliff. After finishing the Sealing Totem, follow the final light to the Essence Stone.


Lore (Old Battles). On top of the same mountain where you got the previous Essence Stone. Look for a wooden plank near the edge.


Cosmetic (Red Dye). In the buried chest to the right of the previous collectible.

Anvil #8. Found near the destroyed tower.

Formula I. Found in the chest near the Anvil.

Lore (Strange Noises). Found inside a wooden house near the destroyed tower.


Lore (I See Him). Found on the path around the mountain.

Lore (Where To Start). Under a small tent on the ptah that goes around the side of the mountain.

Essence Stone (Shattering Fortune). Found in the chest guarded by enemies.


Cosmetic (Green Dye). In the chest in the top floor of the destroyed building.

Wildlife Habitat #3 & Treasure Map Fragment (The Great View 1/3). Follow the animal while it has a gold trail until it digs up the treasure map fragment.
Formula IX. Found in the chest to the north of the Wildlife Habitat.
Idol Of Shatter. Found in the chest to the left of the path leading up to the entrance of the village.


Sand Echo #2. Found just outside the village.

Lore (The Shelter Stones). Found on the roof of the building to the left of the entrance of the village.


Anvil #9. Found in the middle of the village.
Lore (Castrum VII). On the top floor of the building behind the Worried Mother in the village.

Essence Stone (Evasive Burst). Found on the square roof just outside the western exit of the village.

Treasure (Mine… And Yours) & Cosmetic (Helmet Of A Lost Knight Of Bastengar). You can find the treasure in the cave under the mountain to the west of the village (only if you have the “Mine…And Yours” treasure map). The treasure contains the cosmetic item.

Lore (What A View). Found just outside the camp under the mountain.


Vantage Point #4. Found halfway up the mountain.


Cosmetic (Buckler). After getting to the top of the wooden path up the mountain you will go up some stairs. You will then see a tower on your left. The collectible will be in a chest on top of the tower.


Lore (Aftermath Of The Battle). From the previous collectible continue up the stairs to reach the top part of the mountain. Here, look left to find the lore item outside the tent.


Lore (The Ever-Watching Watcher). From the previous lore, look south (you will be overlooking the stairs you used to get up here) and jump to the tower with wooden platforms around it. Jump around the tower to find the lore item on the other side.
Wildlife Habitat #4 & Treasure Map Fragment (The Great View 2/3). Follow the animal on top of the mountain while it had gold sparks around it until it digs up the treasure map fragment.
Lore (The Animals Of Atlas). Found in the ruins on top of the mountain to the west of the village.
Lore (Treasure Map). Found at the end of the wooden path on the edge of the cliff.

Lore (The Old Mine). Found on the lower part of the wooden path on the edge of the cliff.

Sealing Totem #7 & Formula II. Found on top of the tower. Follow the light after finishing the Sealing Totem to get the Formula from the treasure.

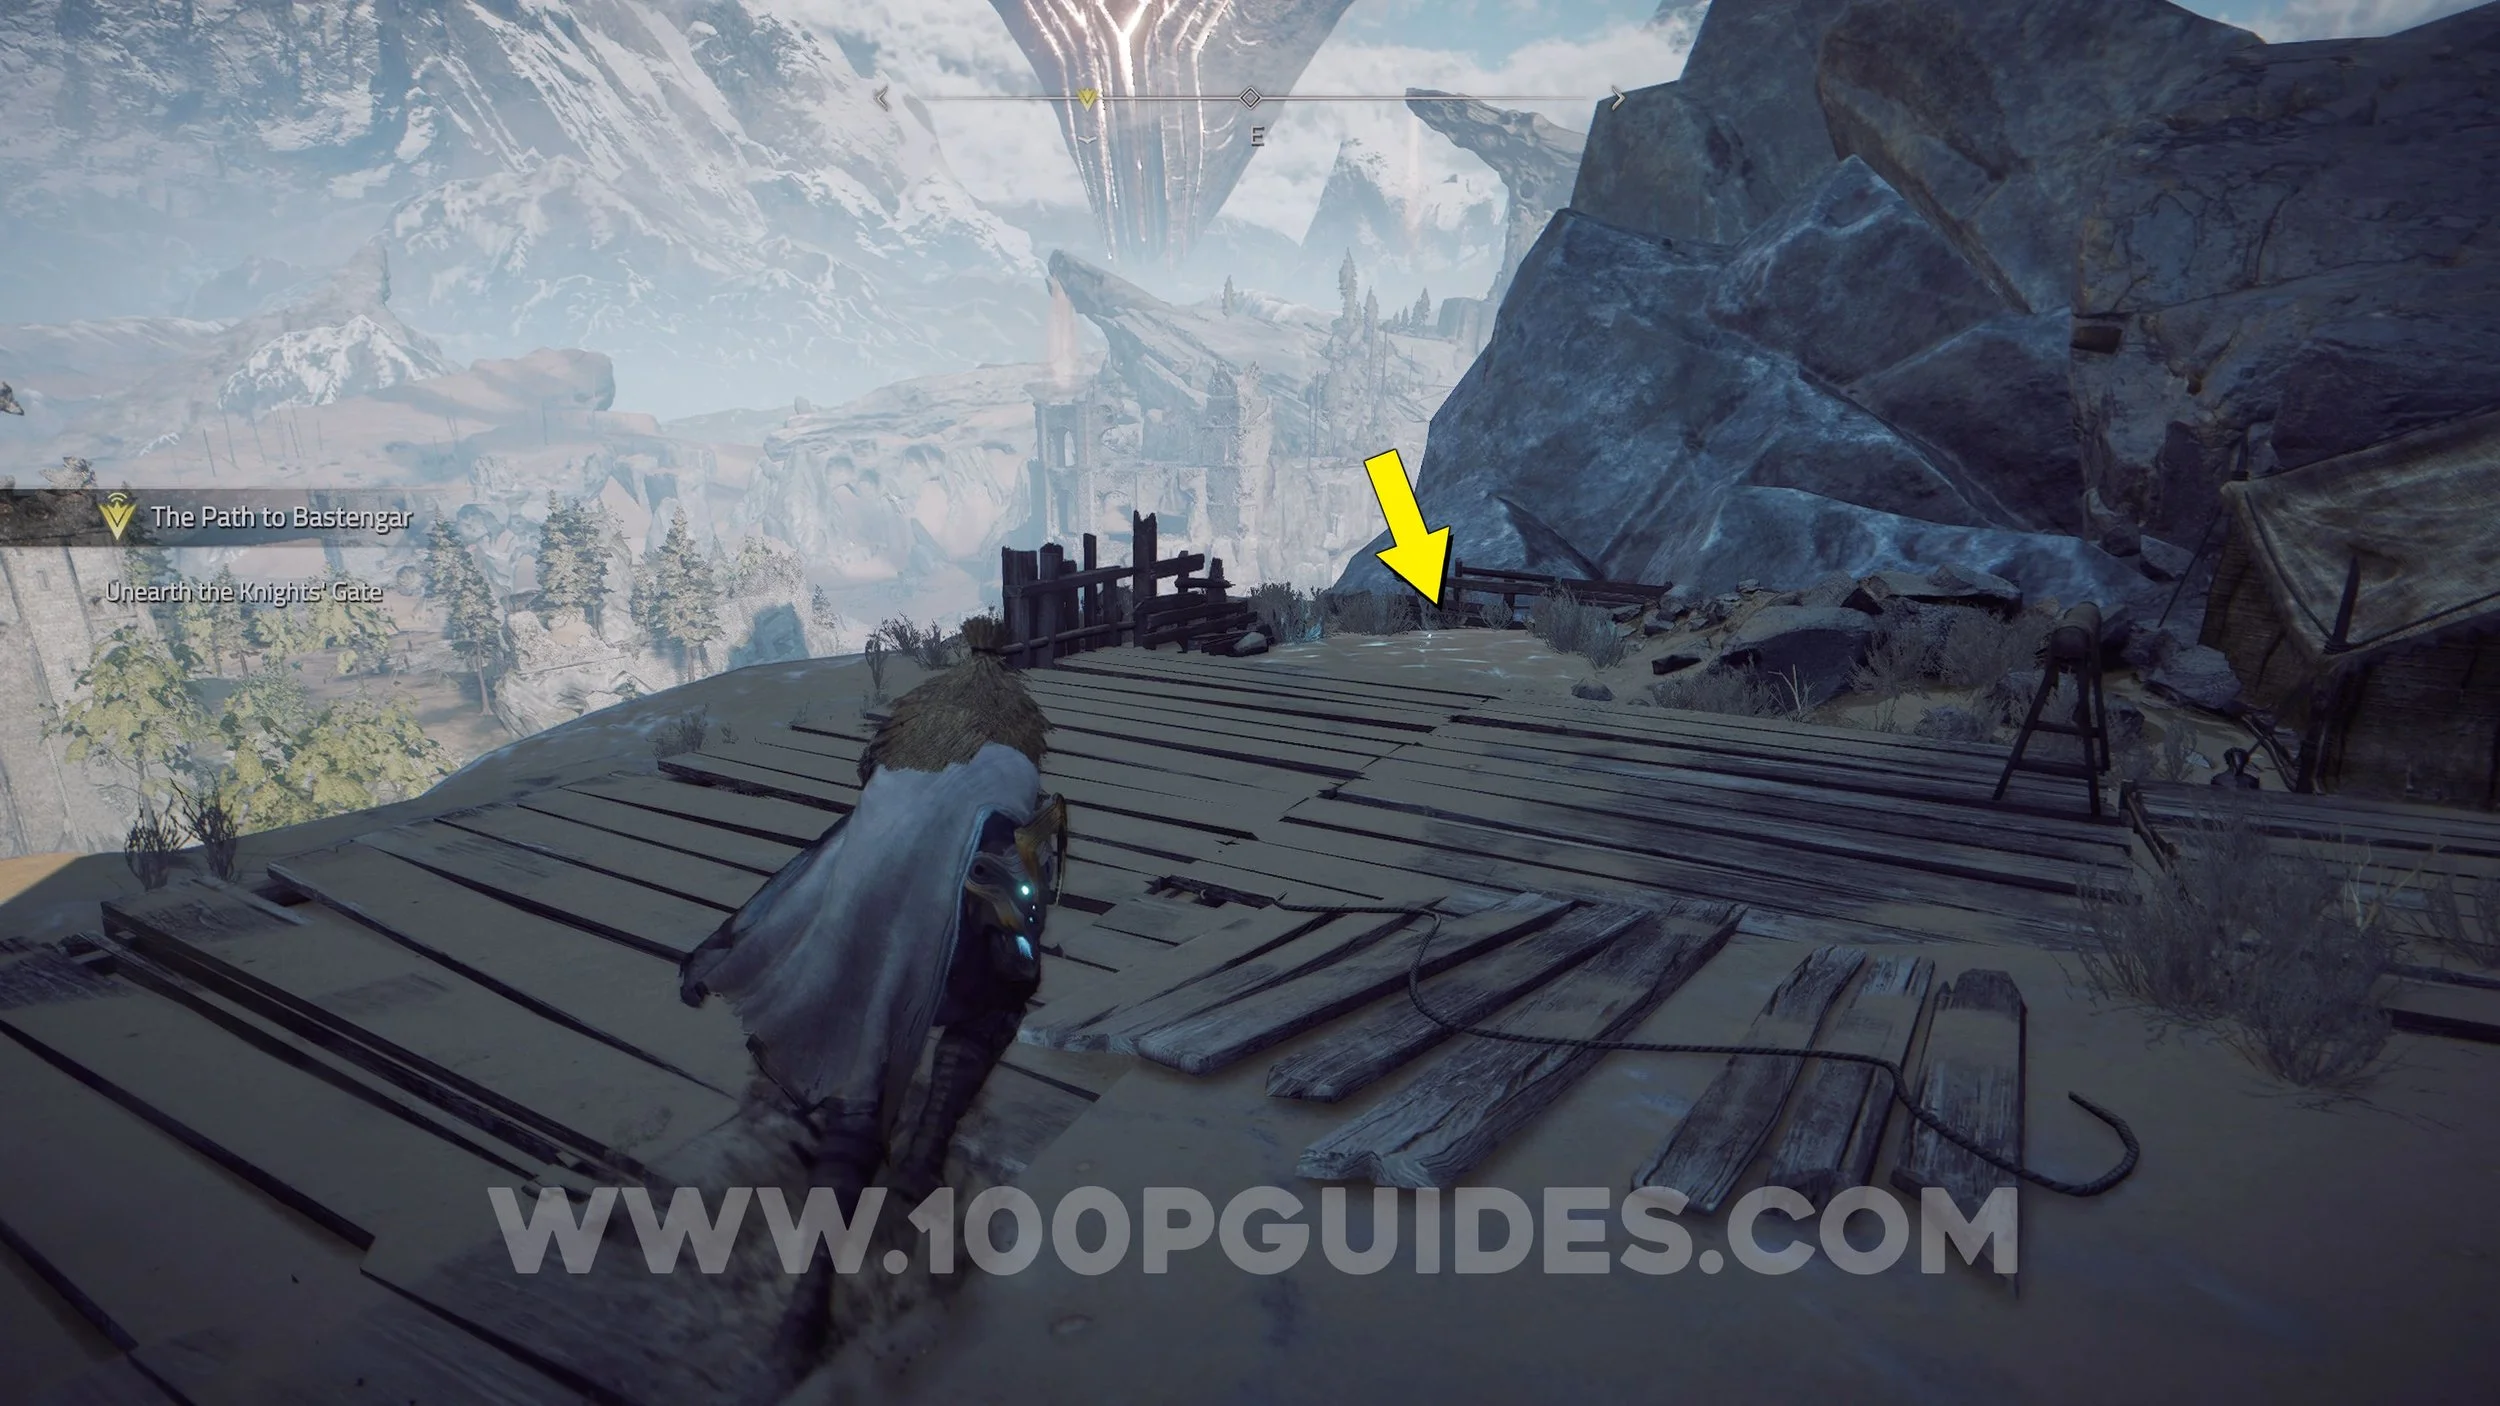
Anvil #10. Found just before the destroyed bridge.

Anvil #11. Found close to the Heavenly Shrine.

Formula X. Found in a buried chest near the entrance to the keep.

Sand Echo #3. Found in the middle of the lowest level of the keep.

Anvil #12. Found to the west of the keep (2nd floor height).
Essence Stone (Stronghold Strike). Found in the chest to the left of the Anvil.

Active Formula II. Go through the tunnel to the west of the keep (same place that you got the 3rd weapon during the story). In here, talk to the researcher to get the Formula.
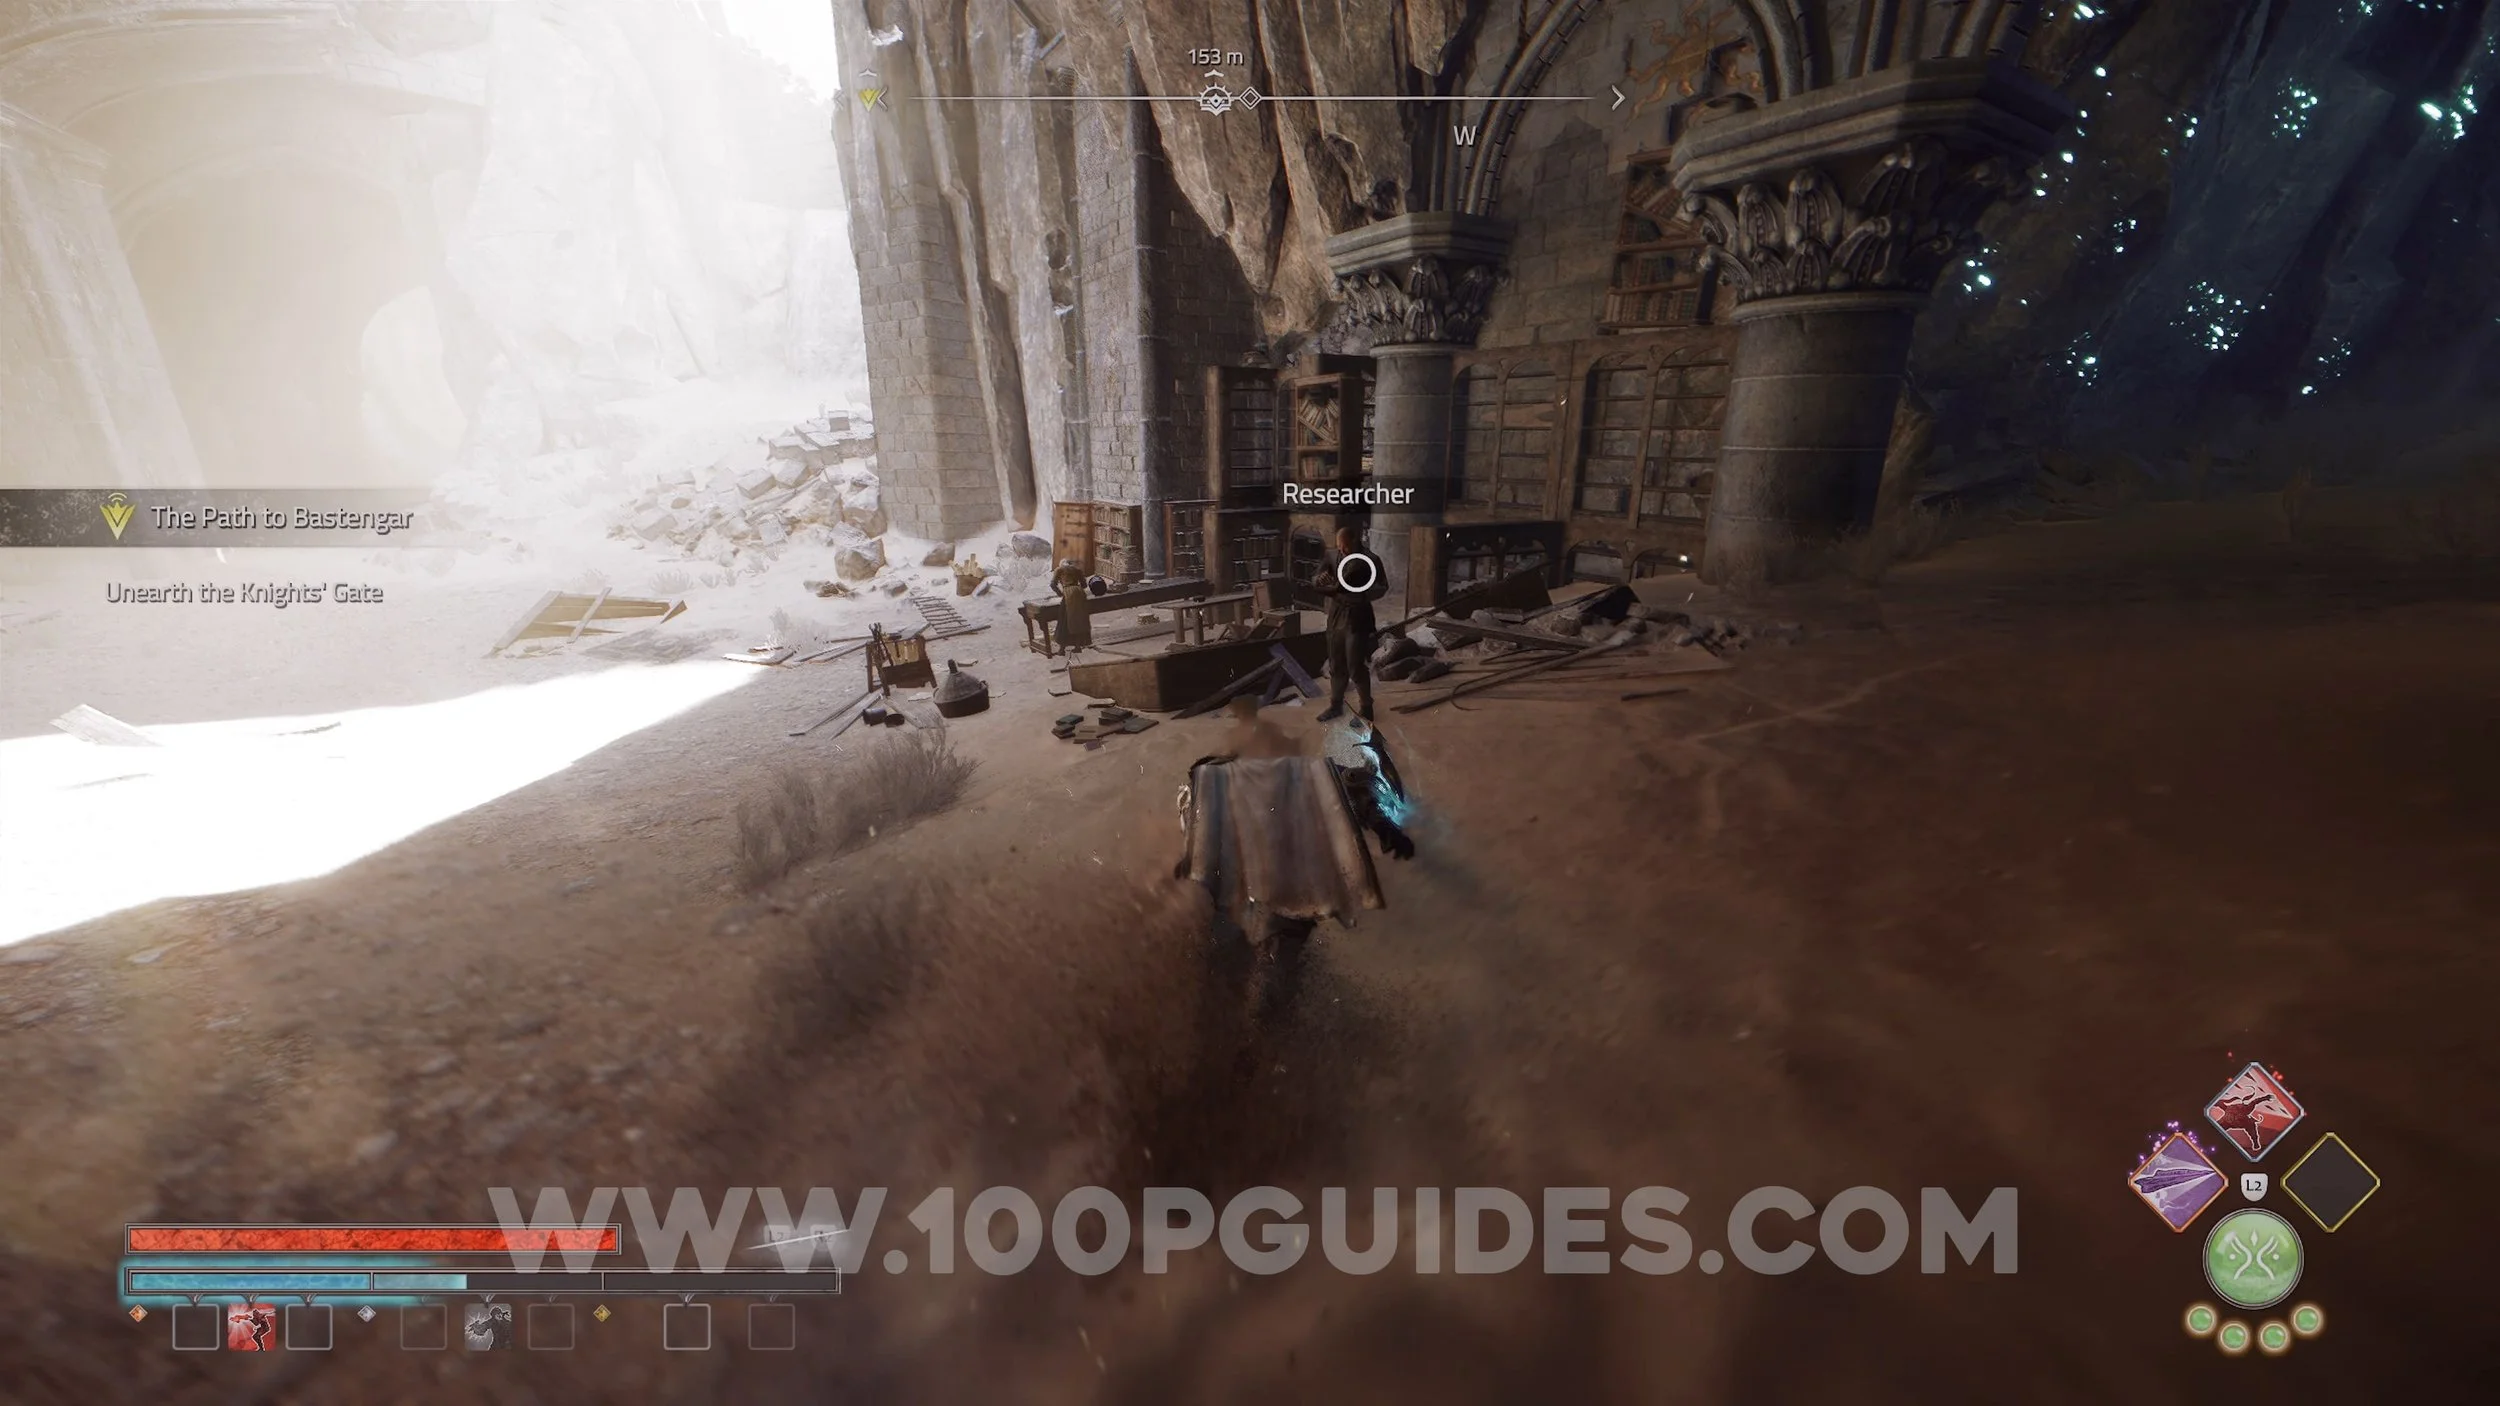
Lore (The Shattered Keep). Found on the upper wooden platforms in front of the Researcher.


Heavenly Shrine #3. Found in the graveyard behind the Shattered Keep.

Formula VIII. Found in a chest at the top of the southwest tower of the keep.


Lore (Old Memory). Found in the mountain to the southeast of the keep. To get there, raise the platform and climb around the walls of the destroyed fort.


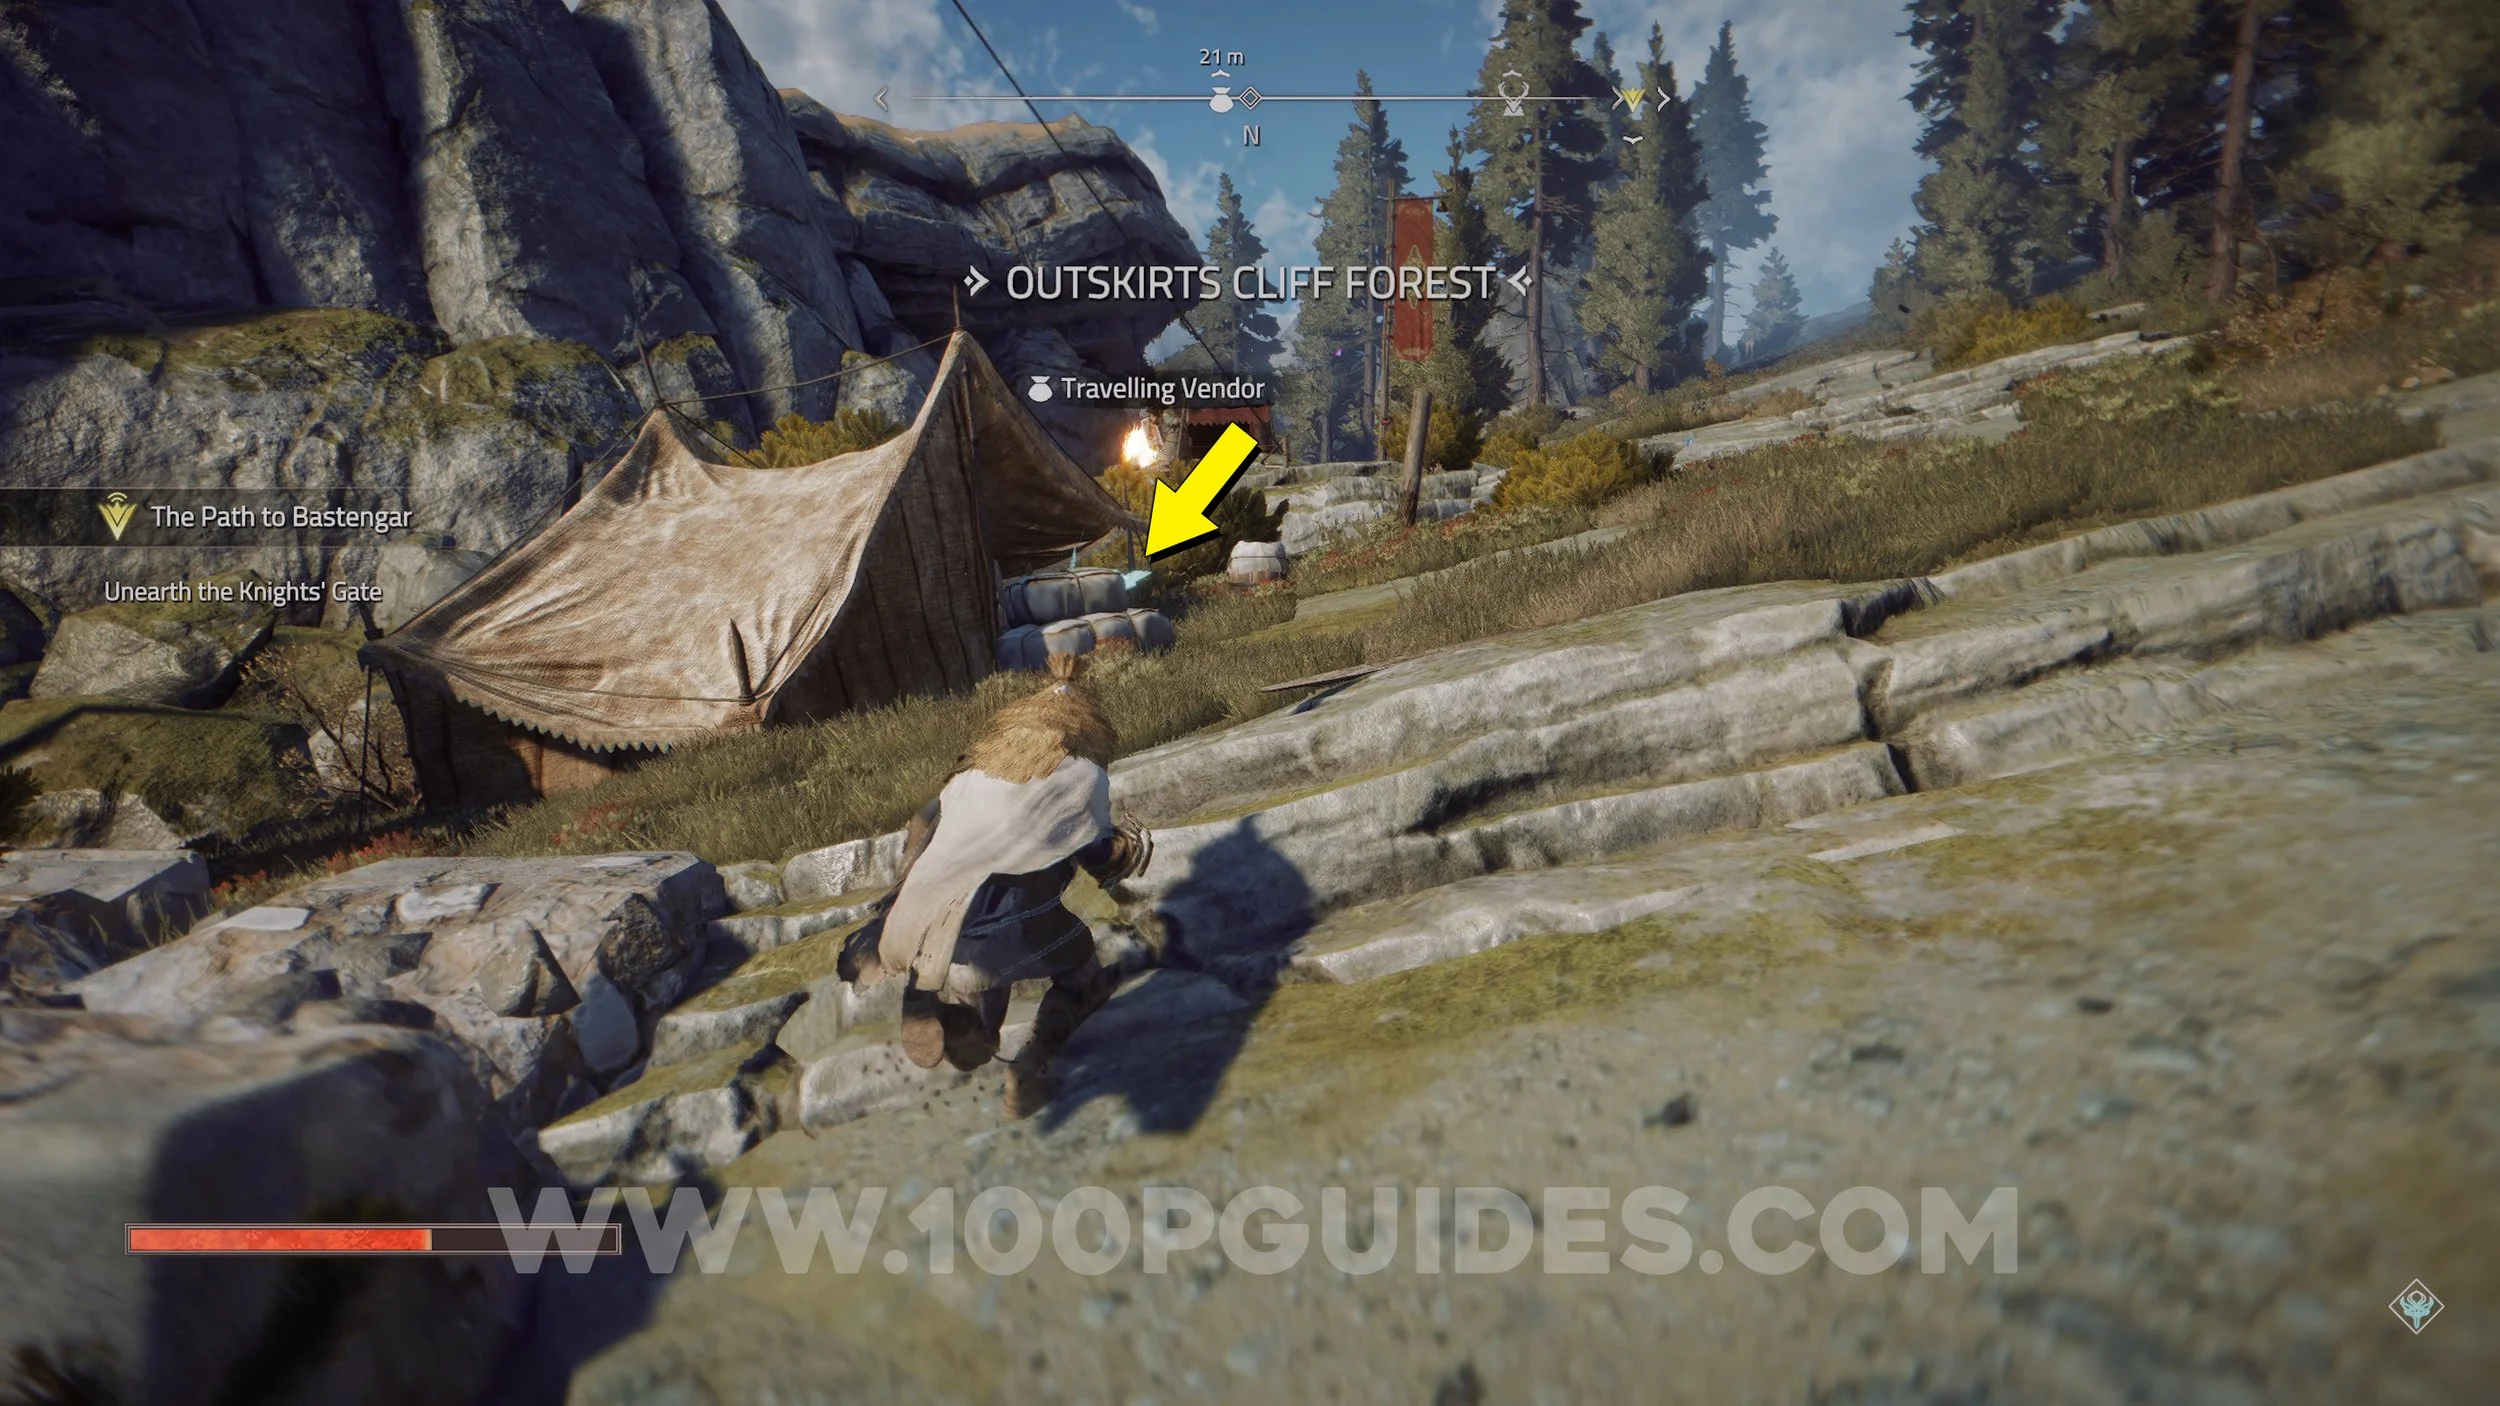
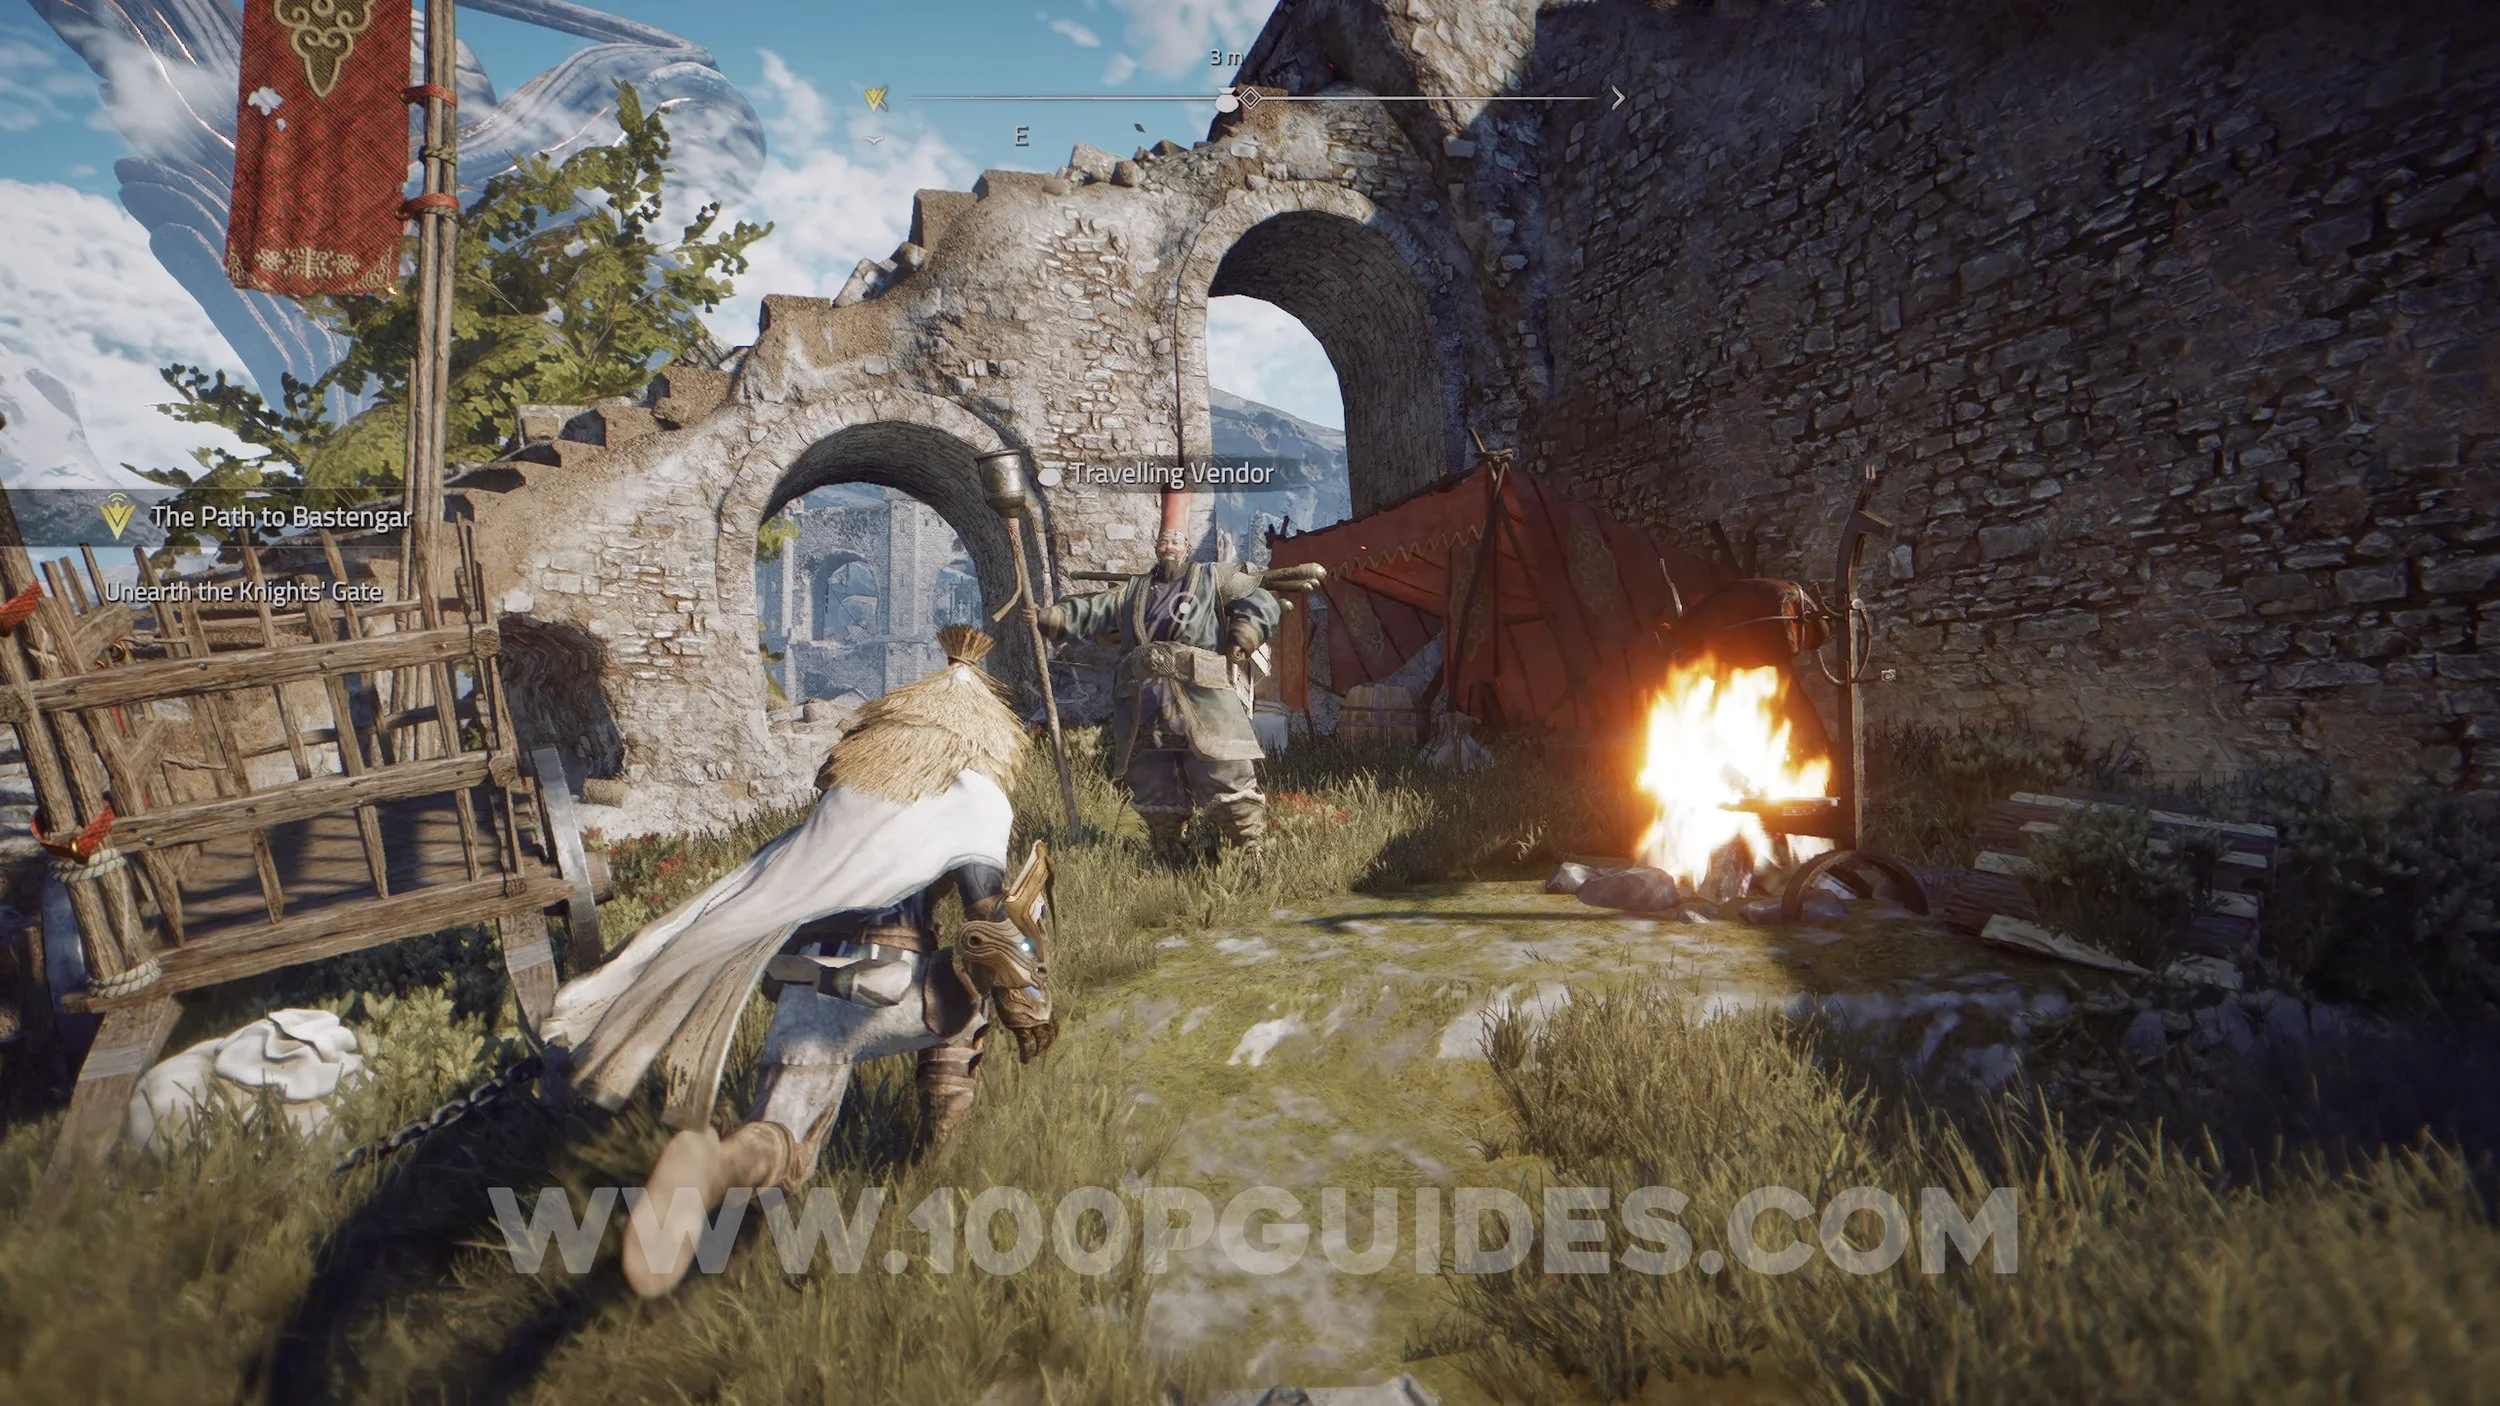
Travelling Vendor. This merchant will move around the map. To find him, look for the kite in the sky. He will always be standing below it. This merchant will sell the following Collectibles:
- Idol Of Wound
- Idol Of Deflection
- Essence Stone (Hurling Lance)
- Essence Stone (Crystalliced Rage)
- The Great View Map Fragment (3/3)
- Cosmetic (Ever Burning Sun Pauldron)
- Cosmetic (Gold Dye)
- Cosmetic (White Dye)
- Cosmetic (Copper Dye)
- Cosmetic (Cyan Dye)
- Cosmetic (Pink Dye)
Note: This merchant will also sell any Essence Stone that you did not pick defeated Elite Foes. He will also have new items in stock as you advance through the game (the stuff mentioned above is what he has available in this region).


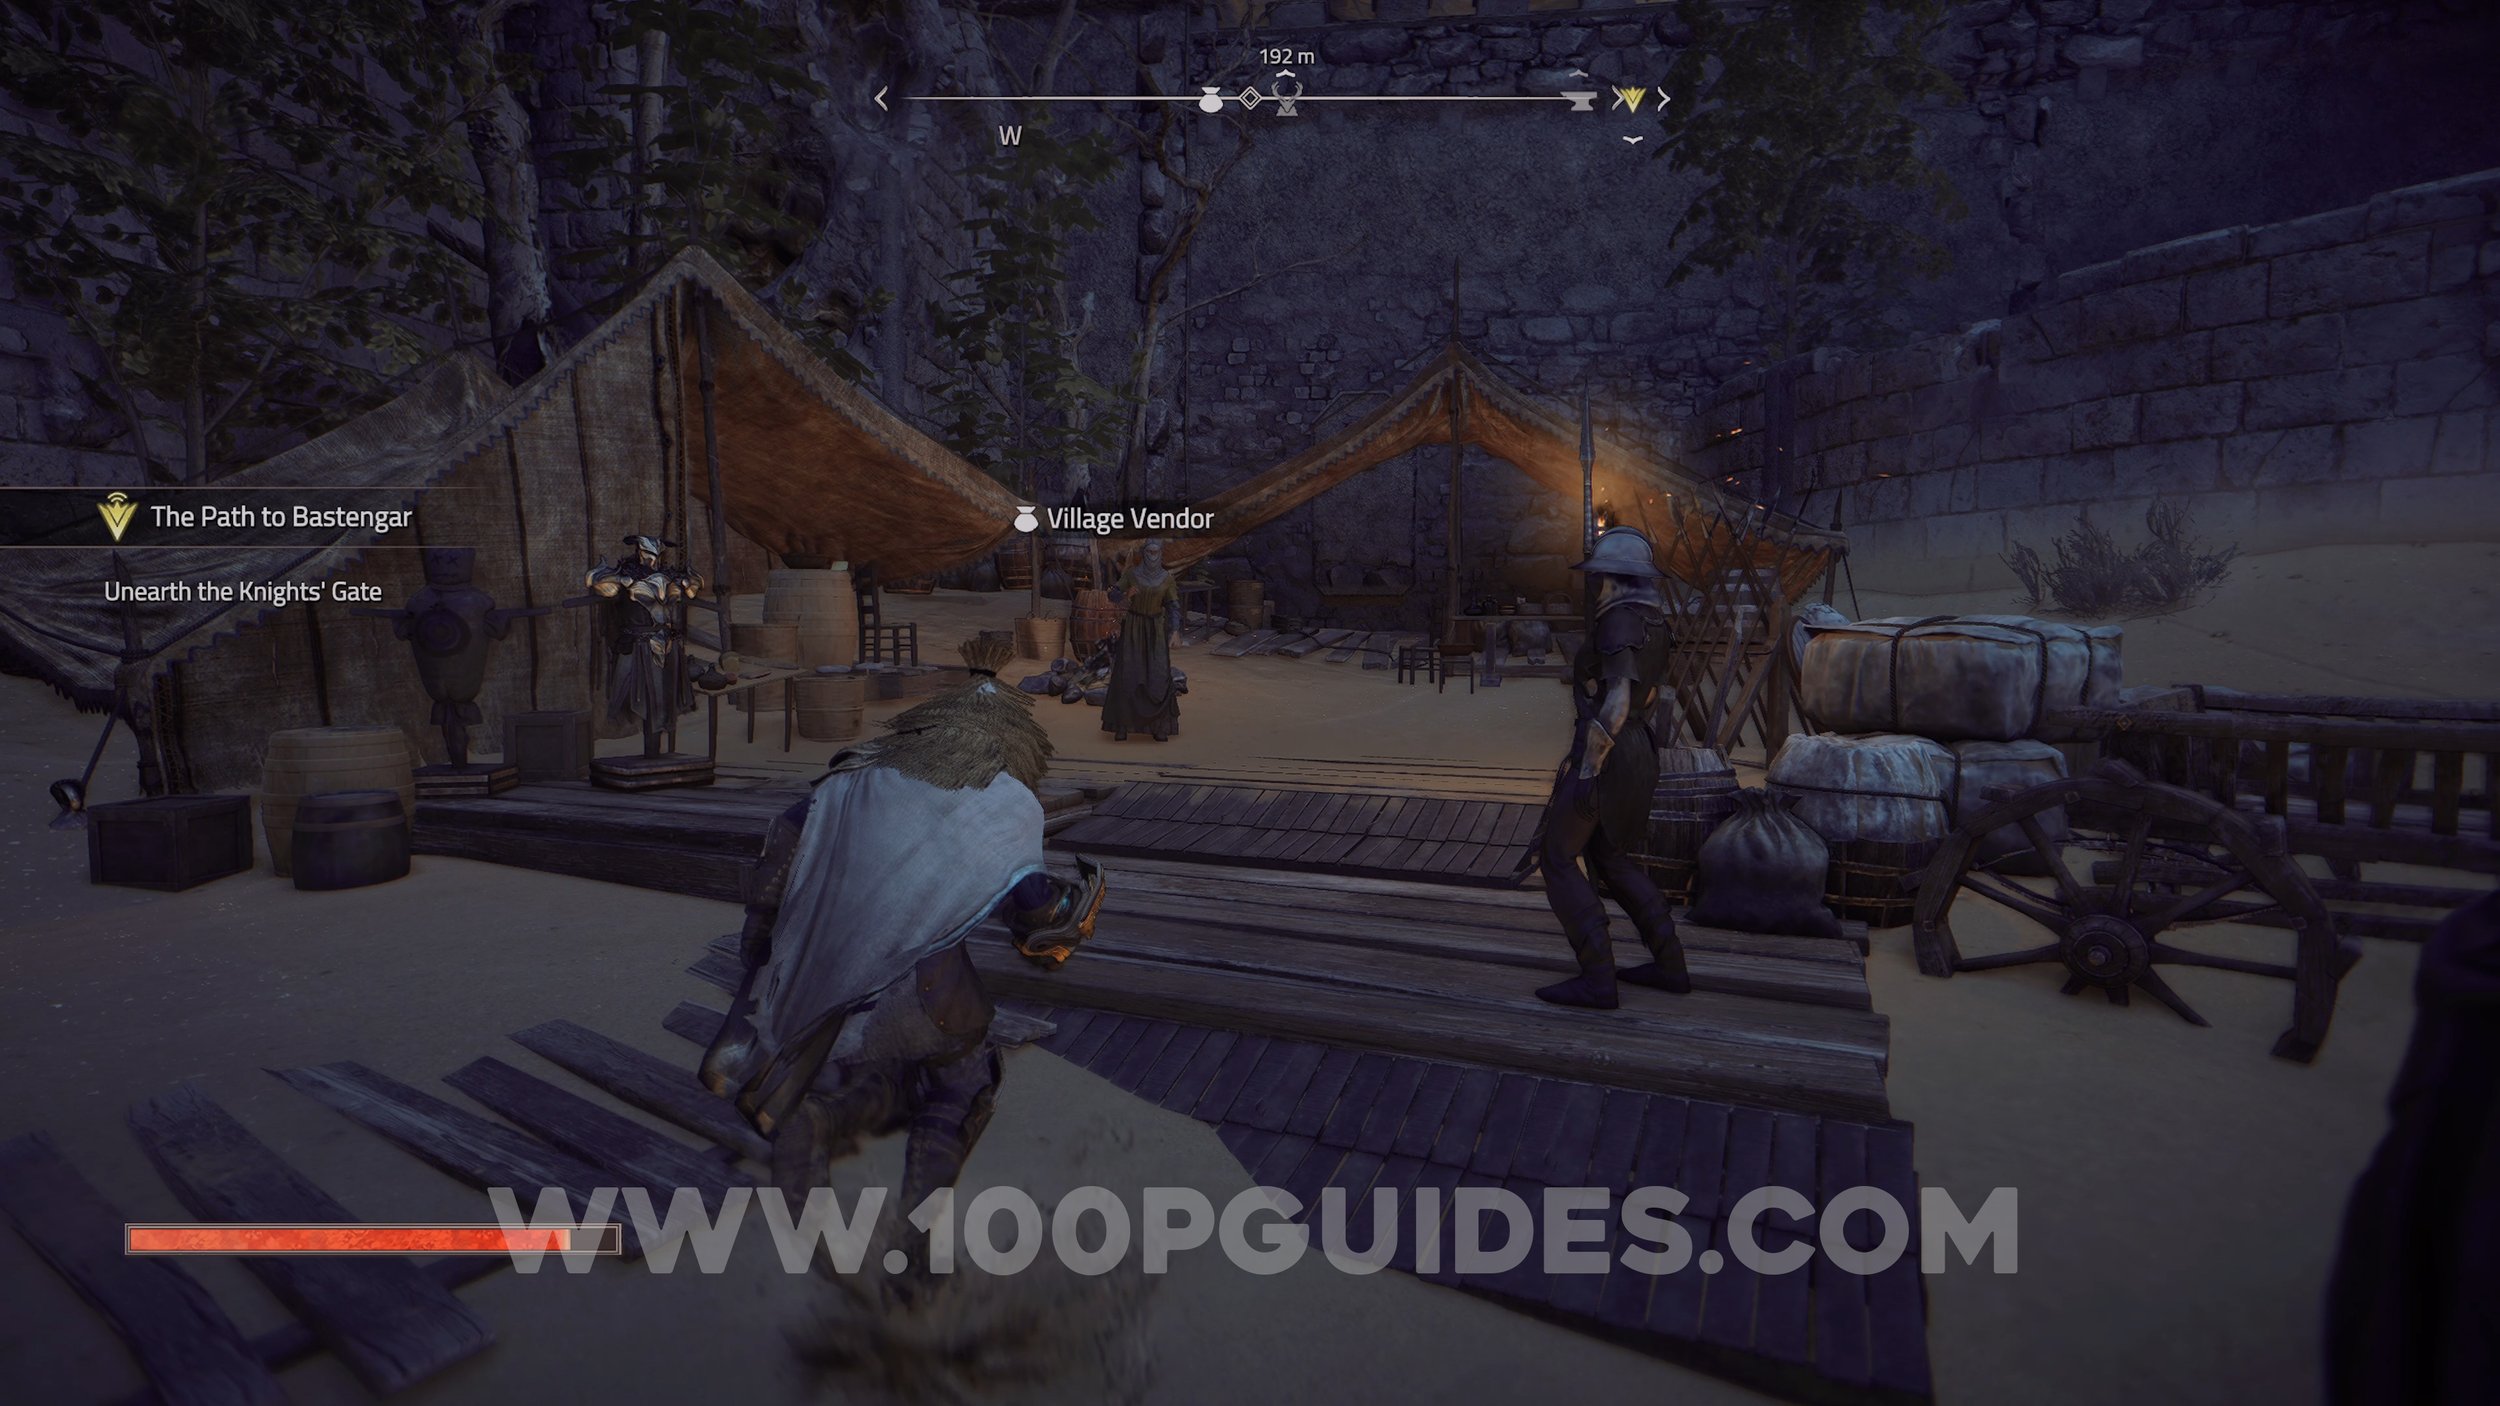
Village Vendor. This merchant can be found in the village and will sell you the following collectibles:
- Armor (Purger's Warsuit)
- Active Formula III
- Active Formula IV
- Hidden On The Cliffs Treasure Map
- Cosmetic (Black Dye)
Note: If you have unlocked the next region, this mechant will move to the area just outisde the Knight’s Gate. This merchant will also sell you the 2 side quest related Treasure Maps if you missed them.

Treasure (The Great View) & Formula VII. Once you have all 3 fragments of the “The Great View” treasure map, raise the platform below the mountain to the west of the village to get to the platform above. Here, dig up the treasure to get the formula.

Treasure (Hidden On The Cliffs) & Formula III. The treasure can be found on the side of the cliff below the tower once you have the treasure map (the formula is the treasure).