Code Violet All Collectible Locations
This guide will show you the location of all collectibles in Code Violet.
Find more Code Violet guides here.
Author Jun Guides.
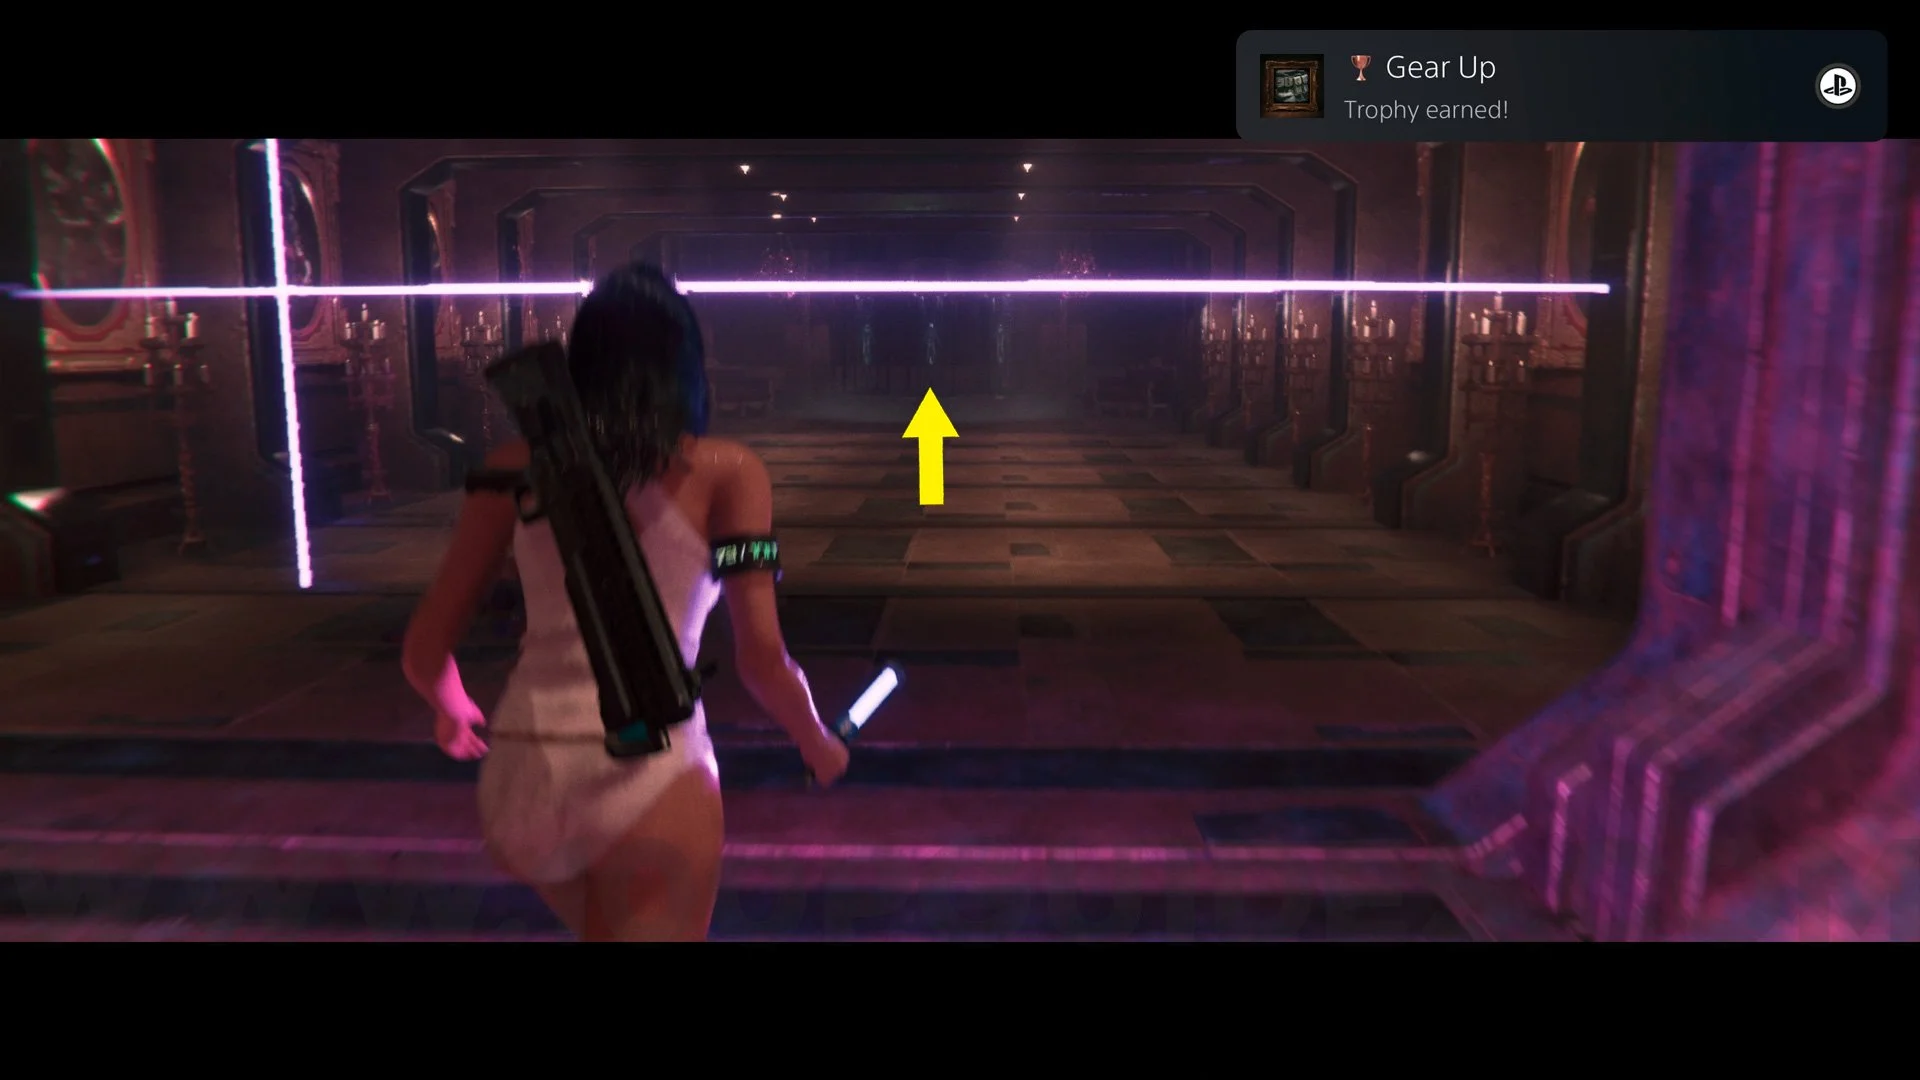
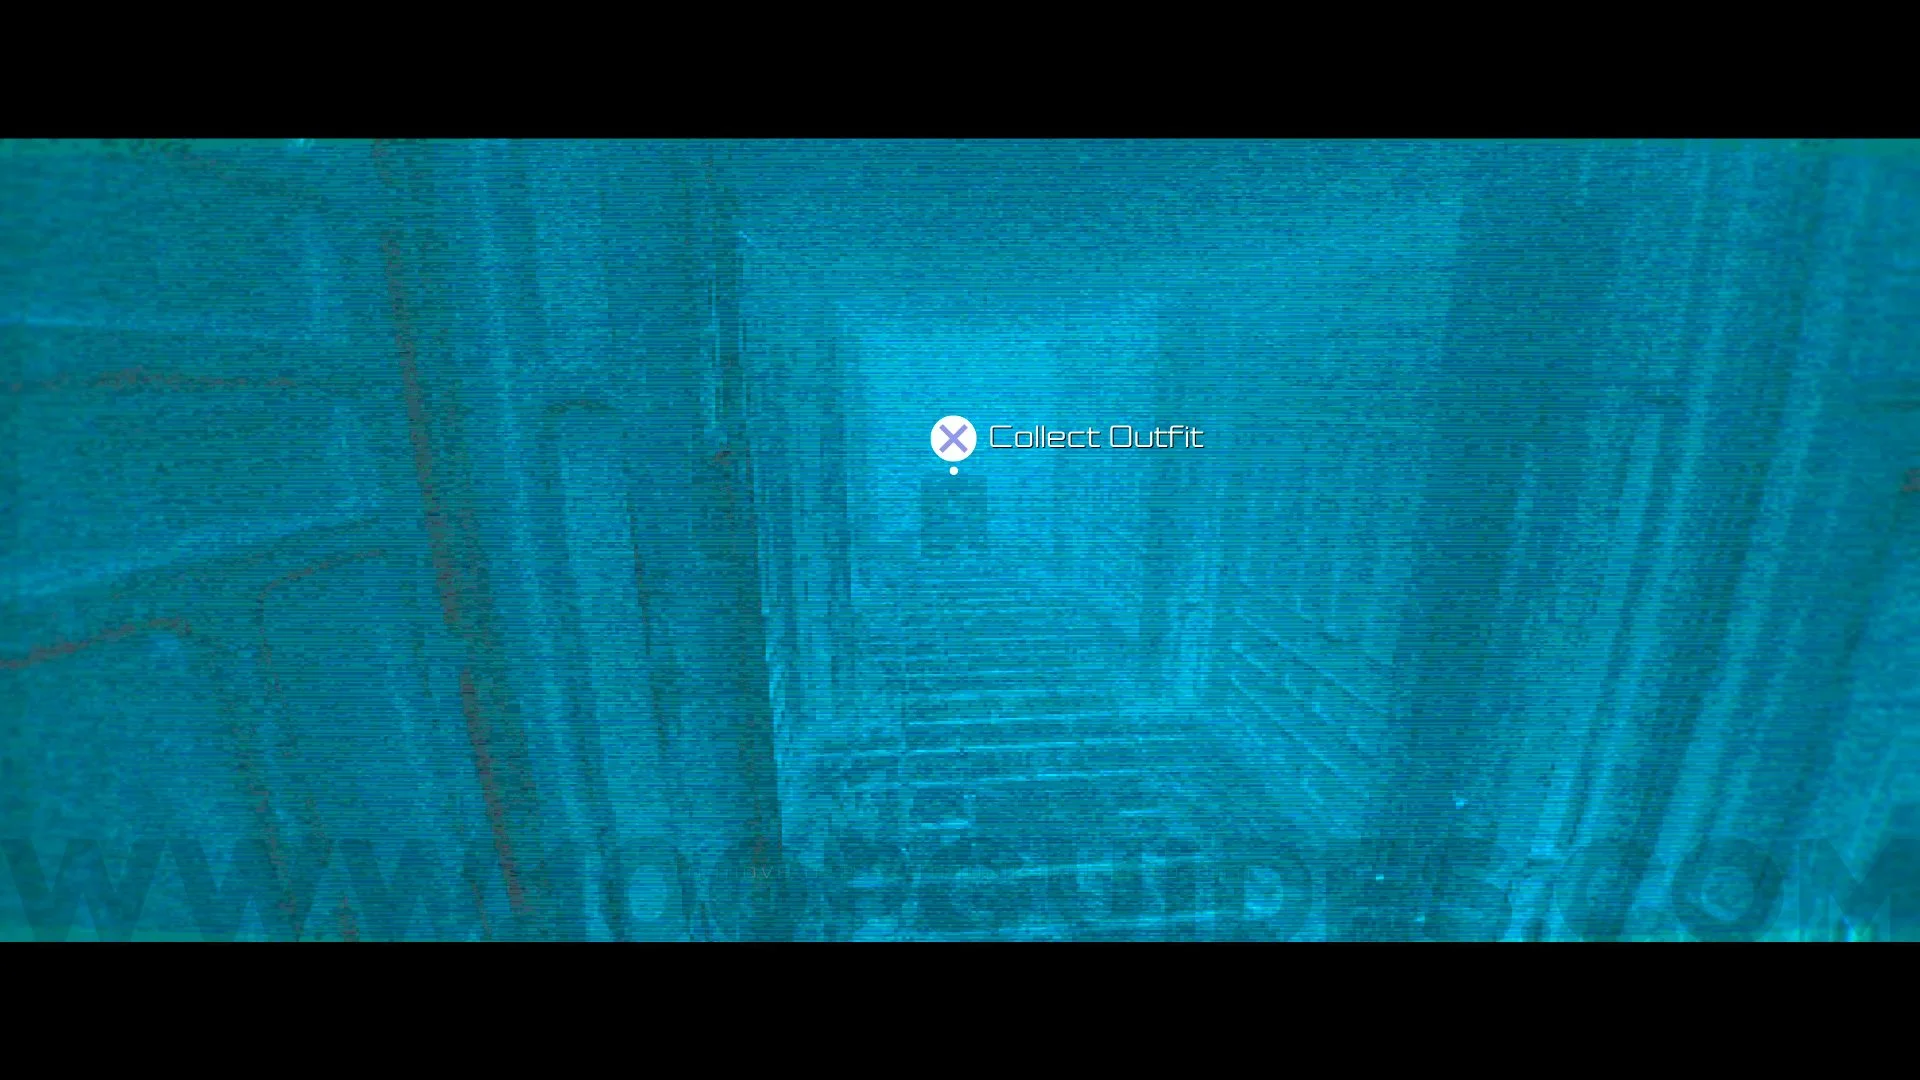
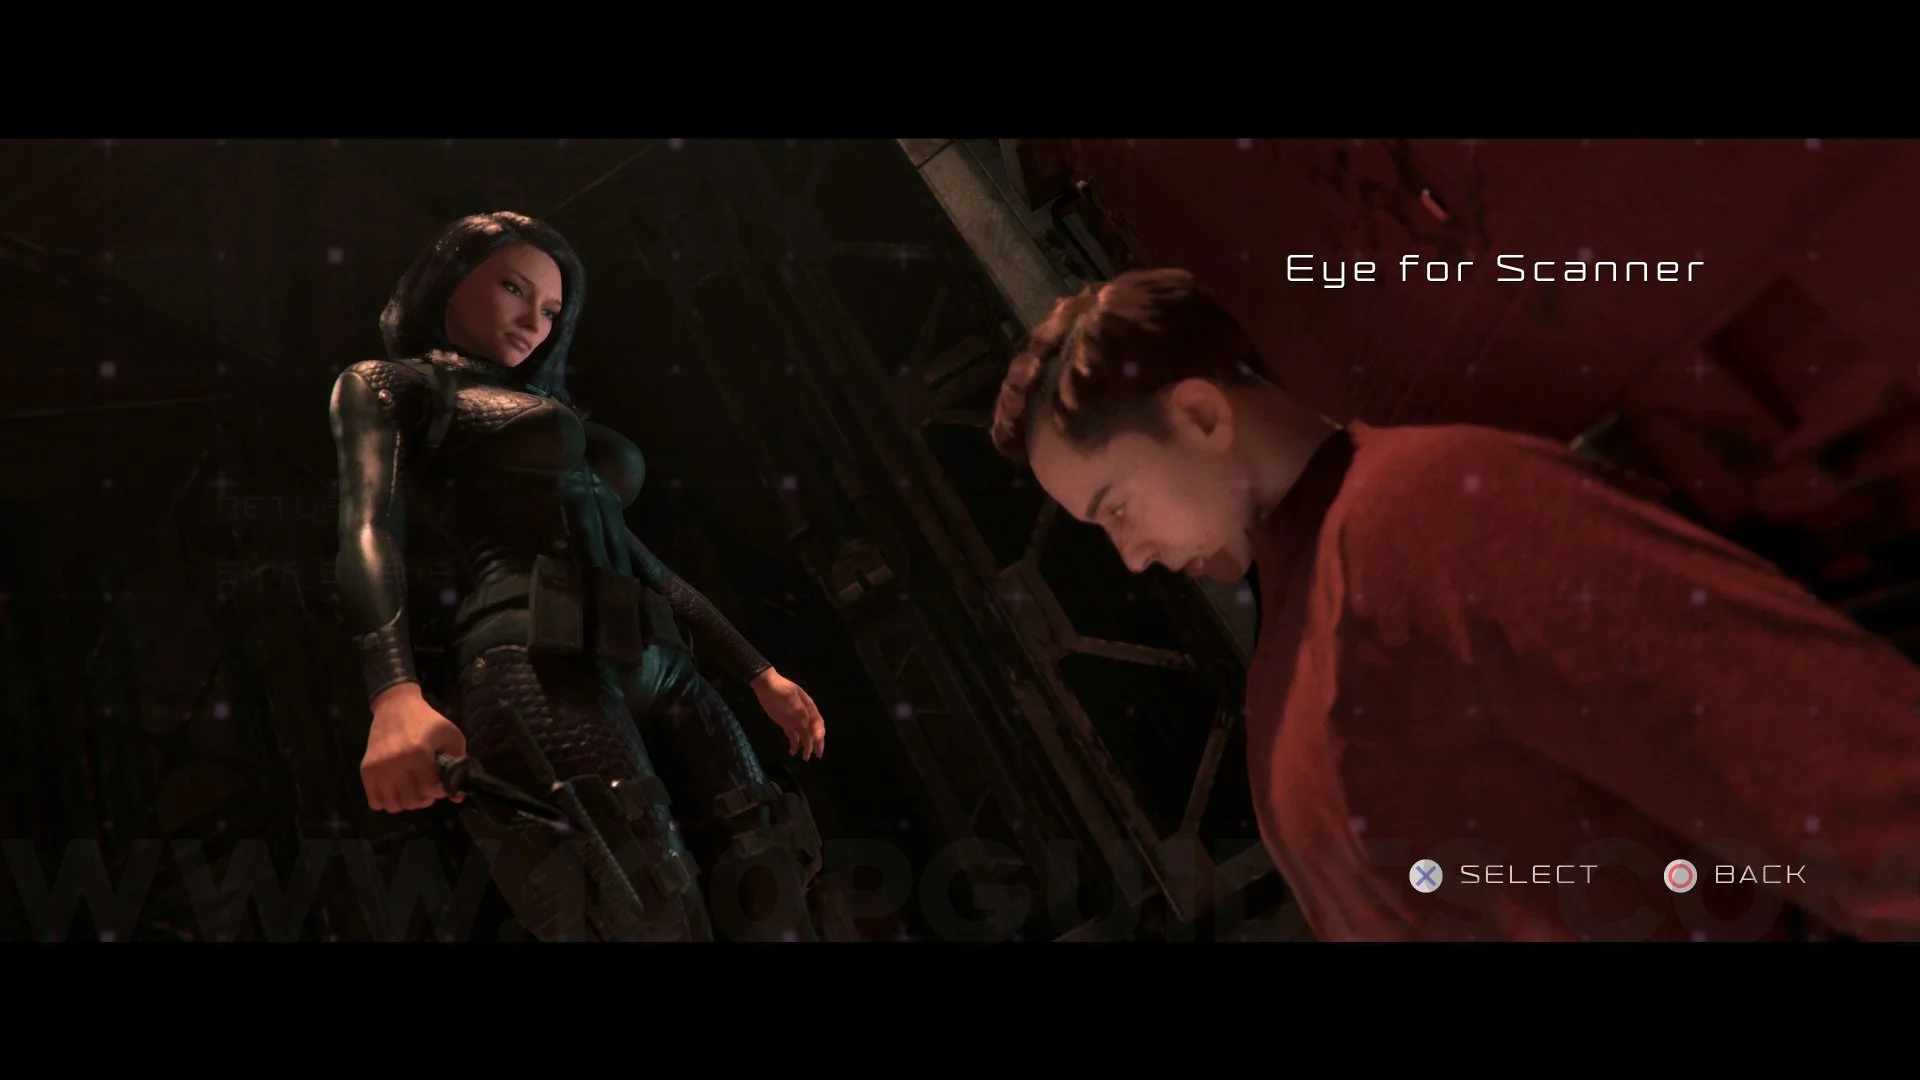
Code Violet contains 7 different types of collectibles. Below you will find step-by-step instructions on how to obtain them all. All collectibles are missable, and there is no chapter select. So if you miss any, you will need to start over. Most trophies only require you to find 1 of each type of collectible except for the Cameos and Decorative Eggs that require you to collect them all.
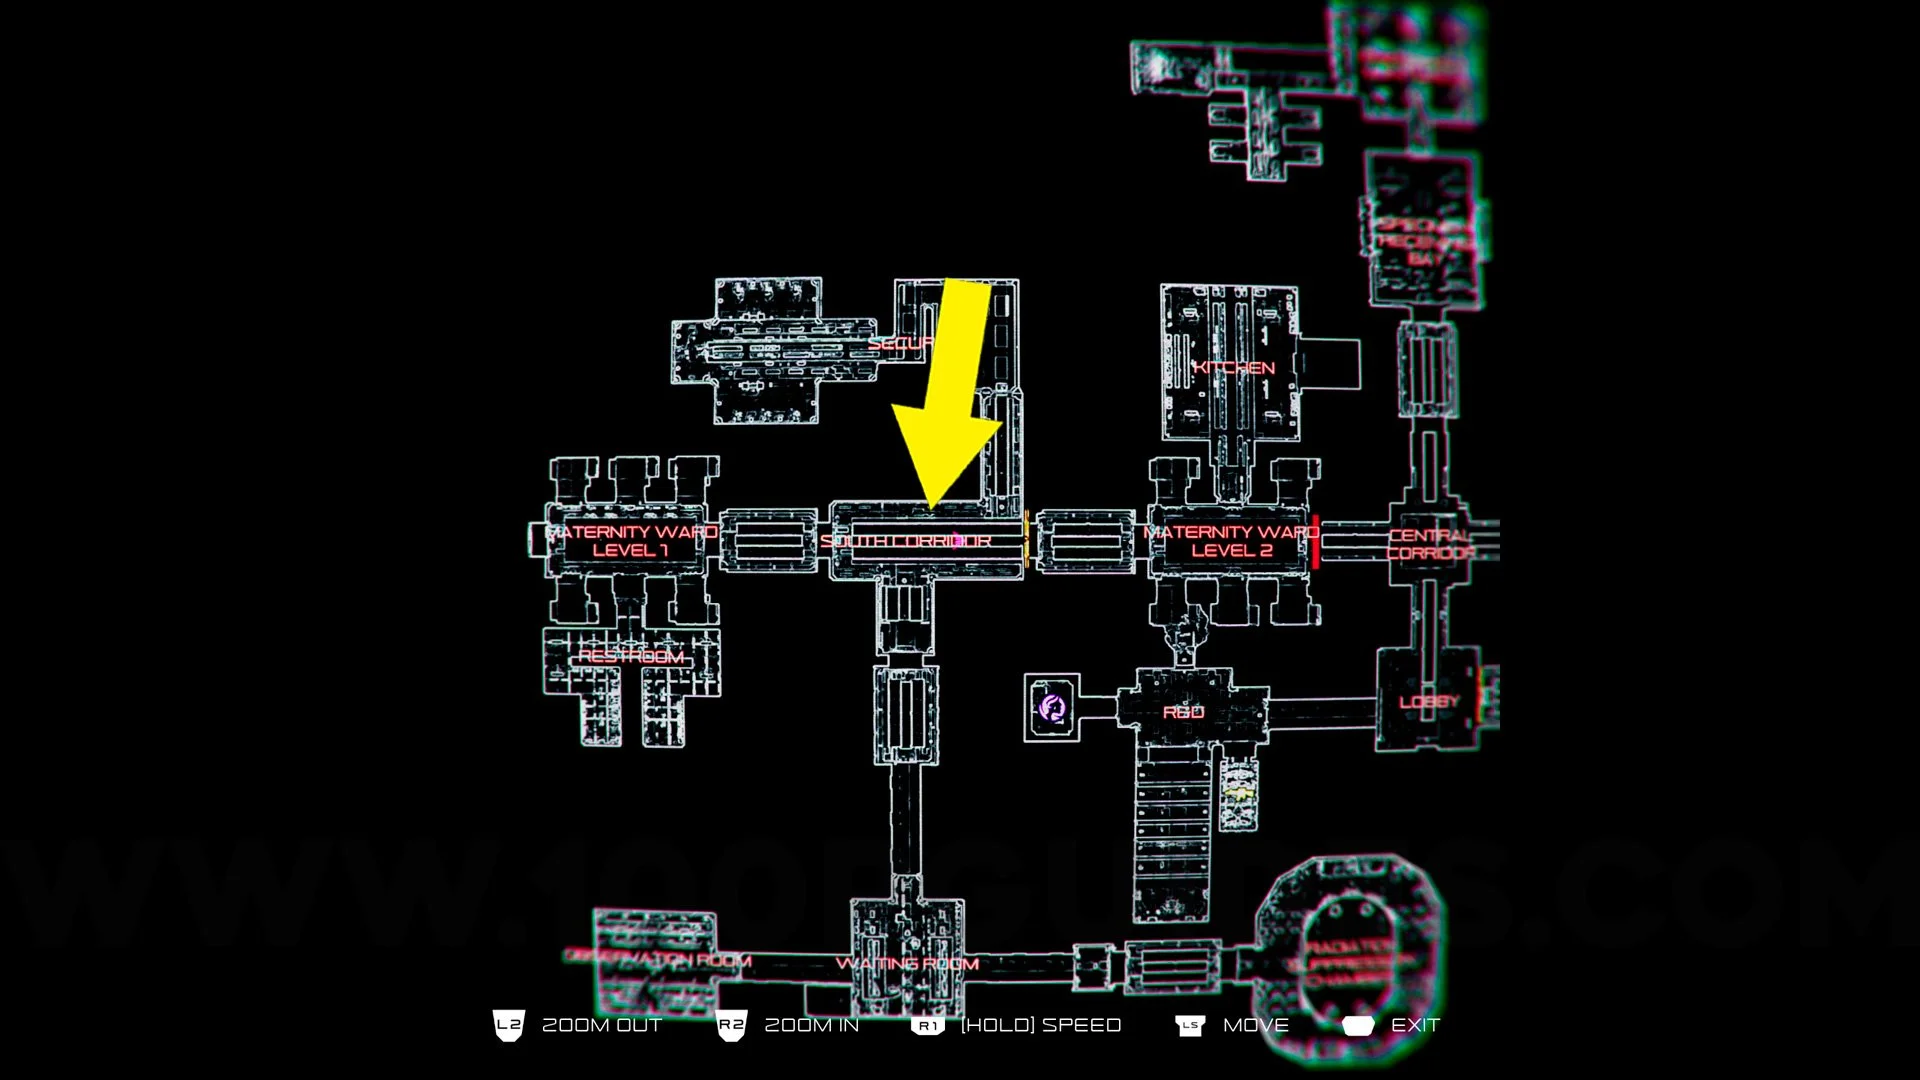
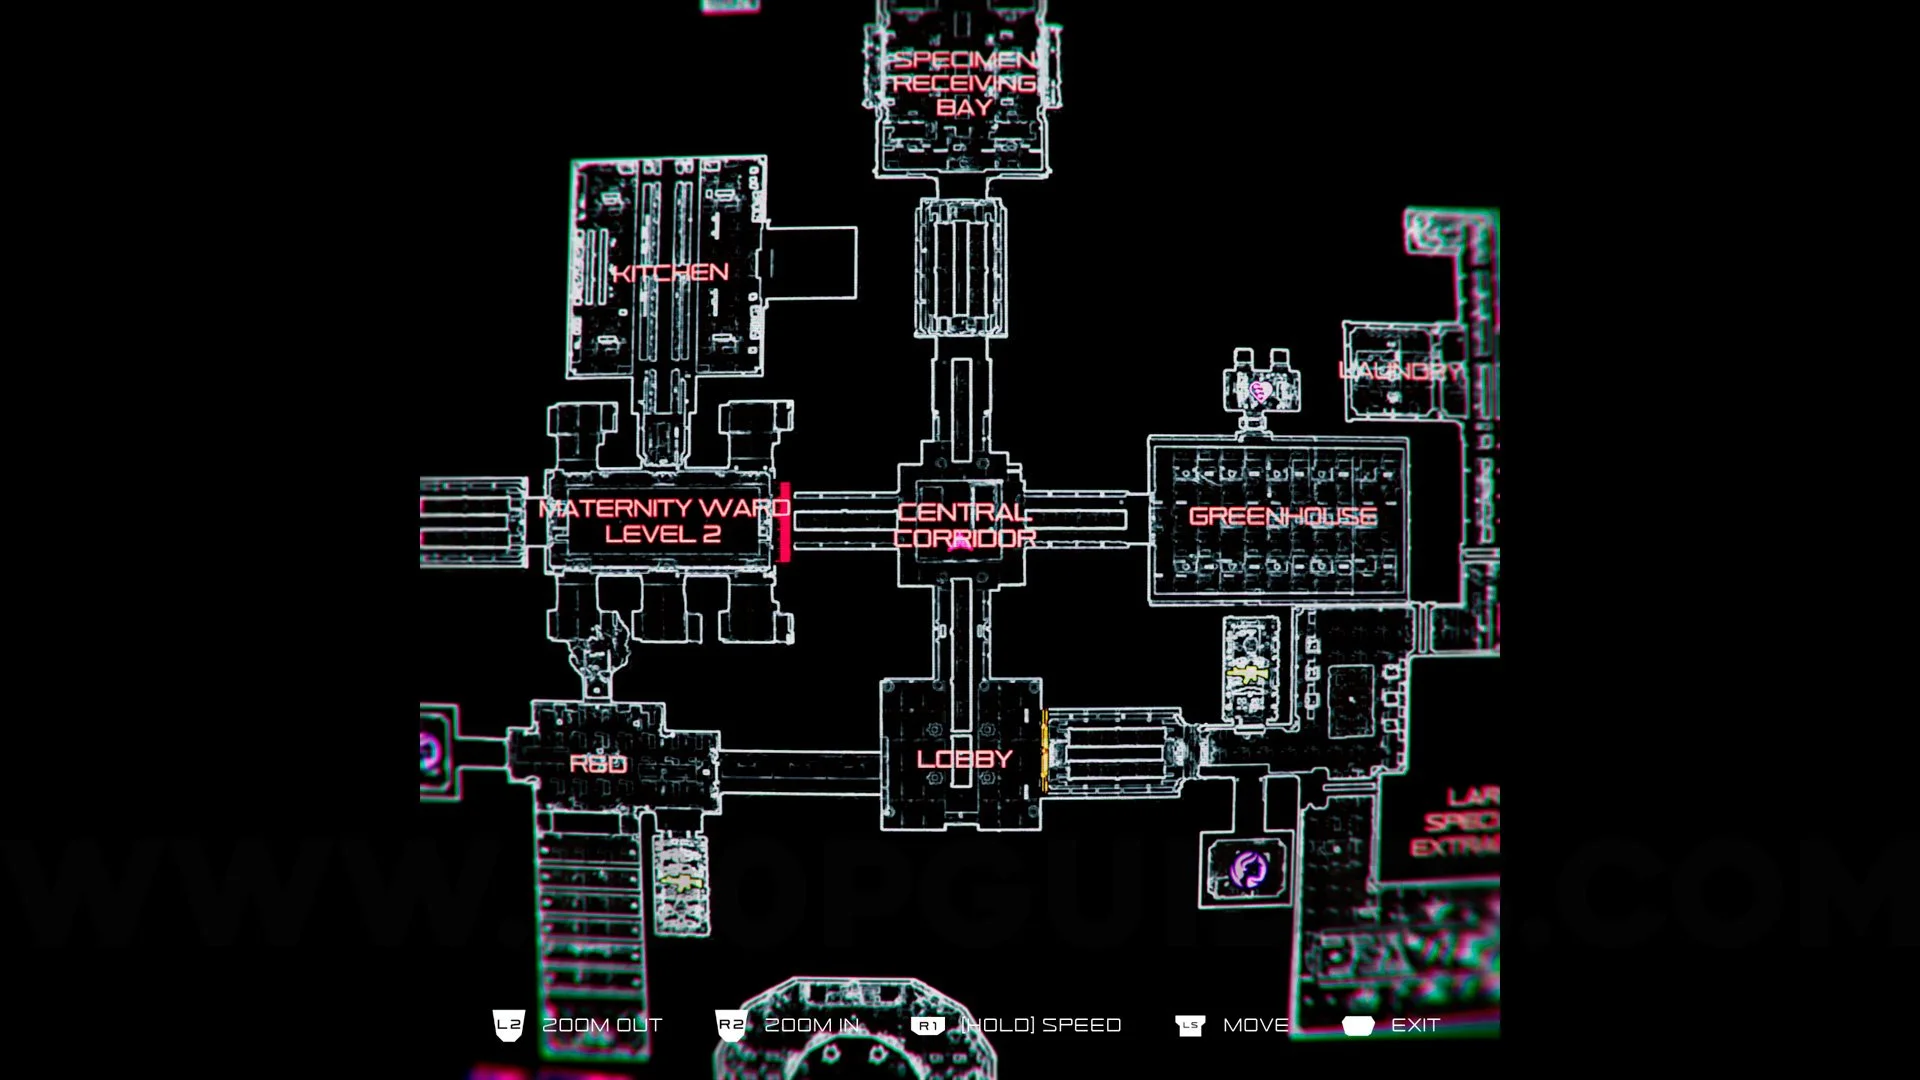
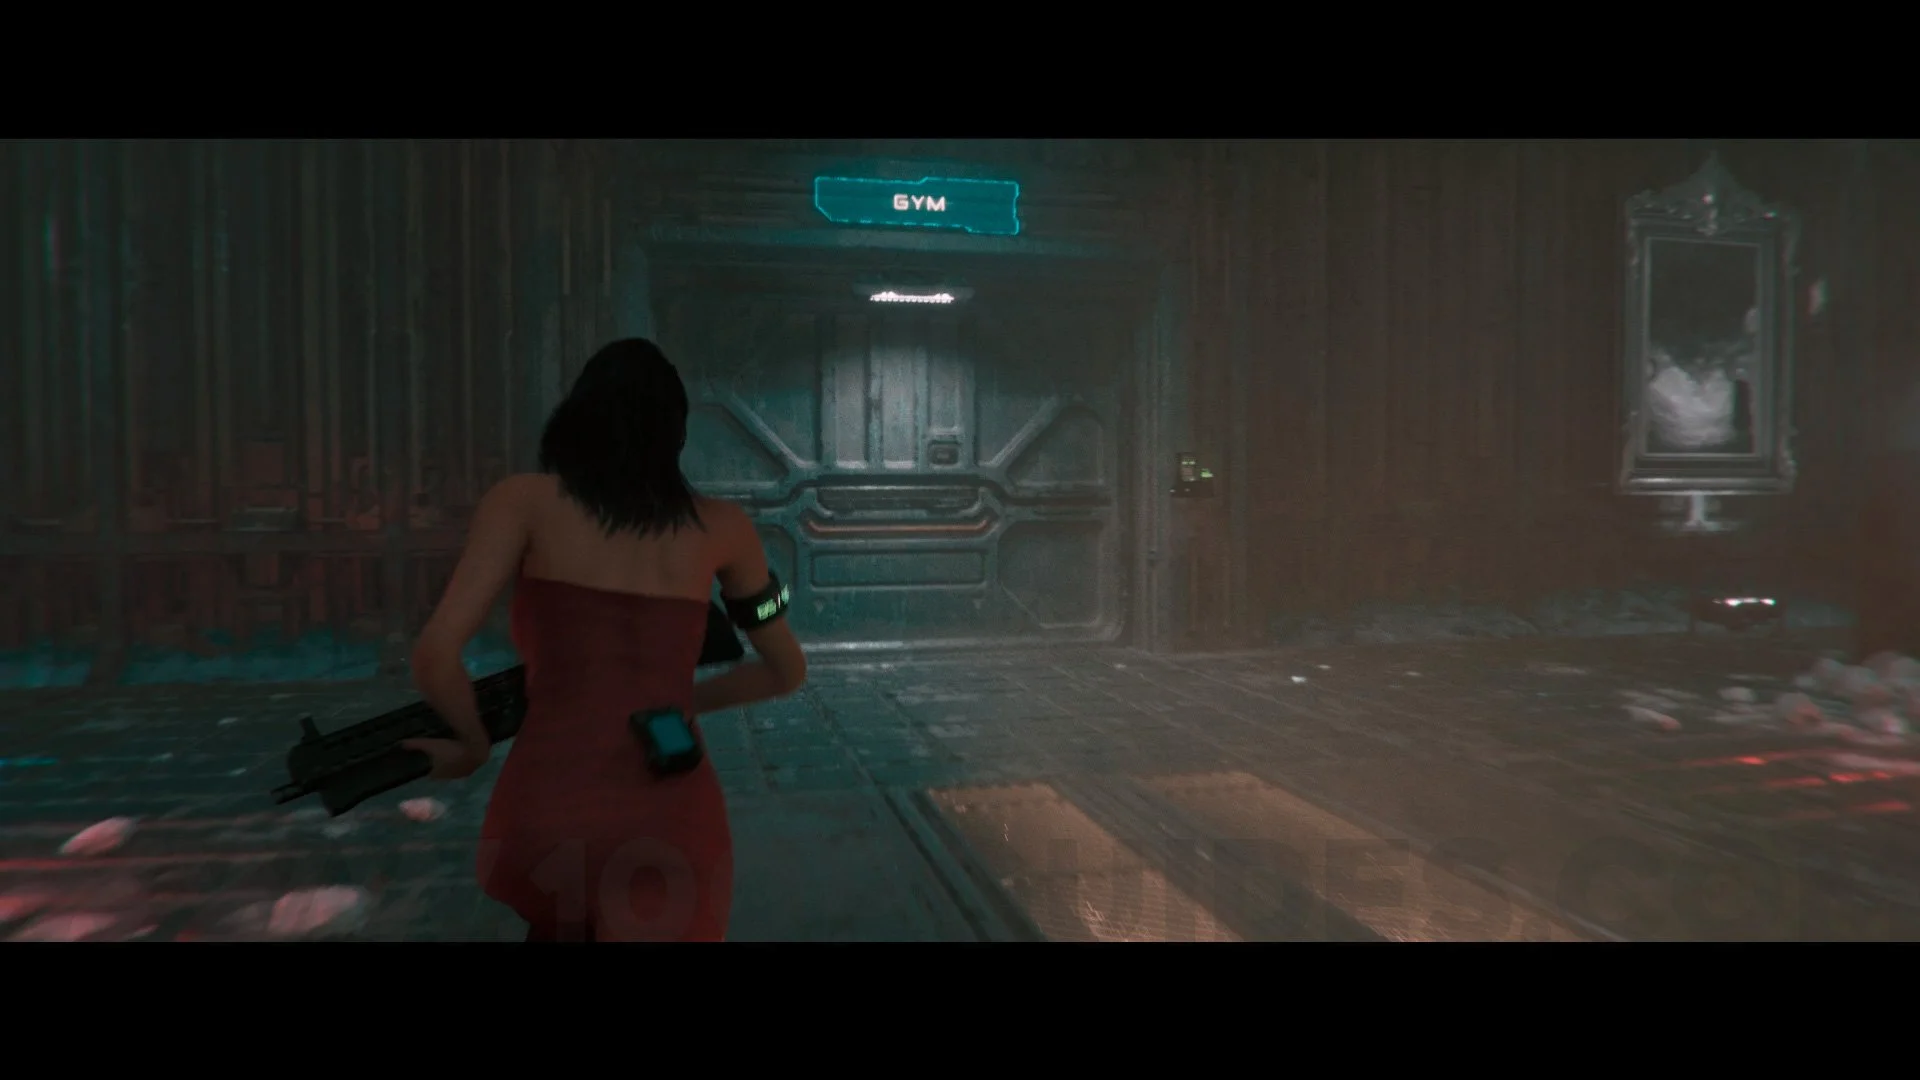
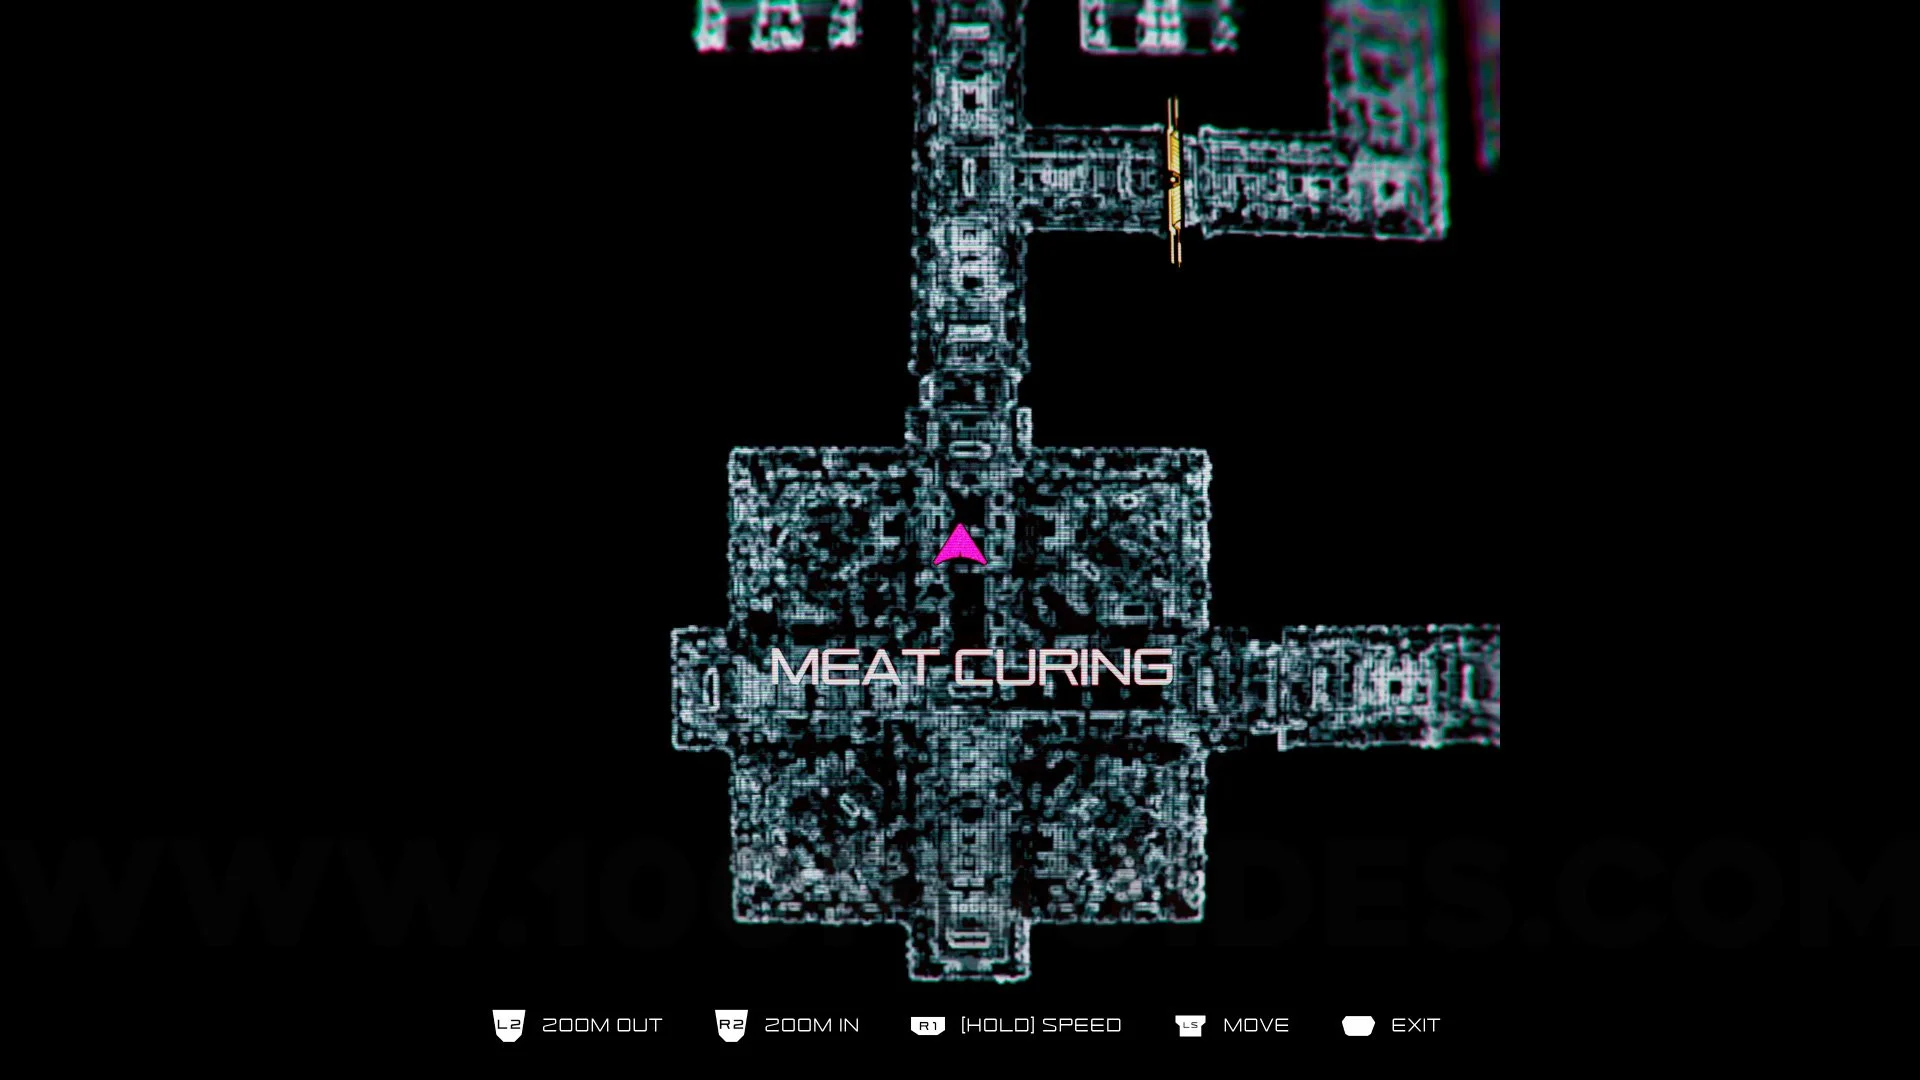
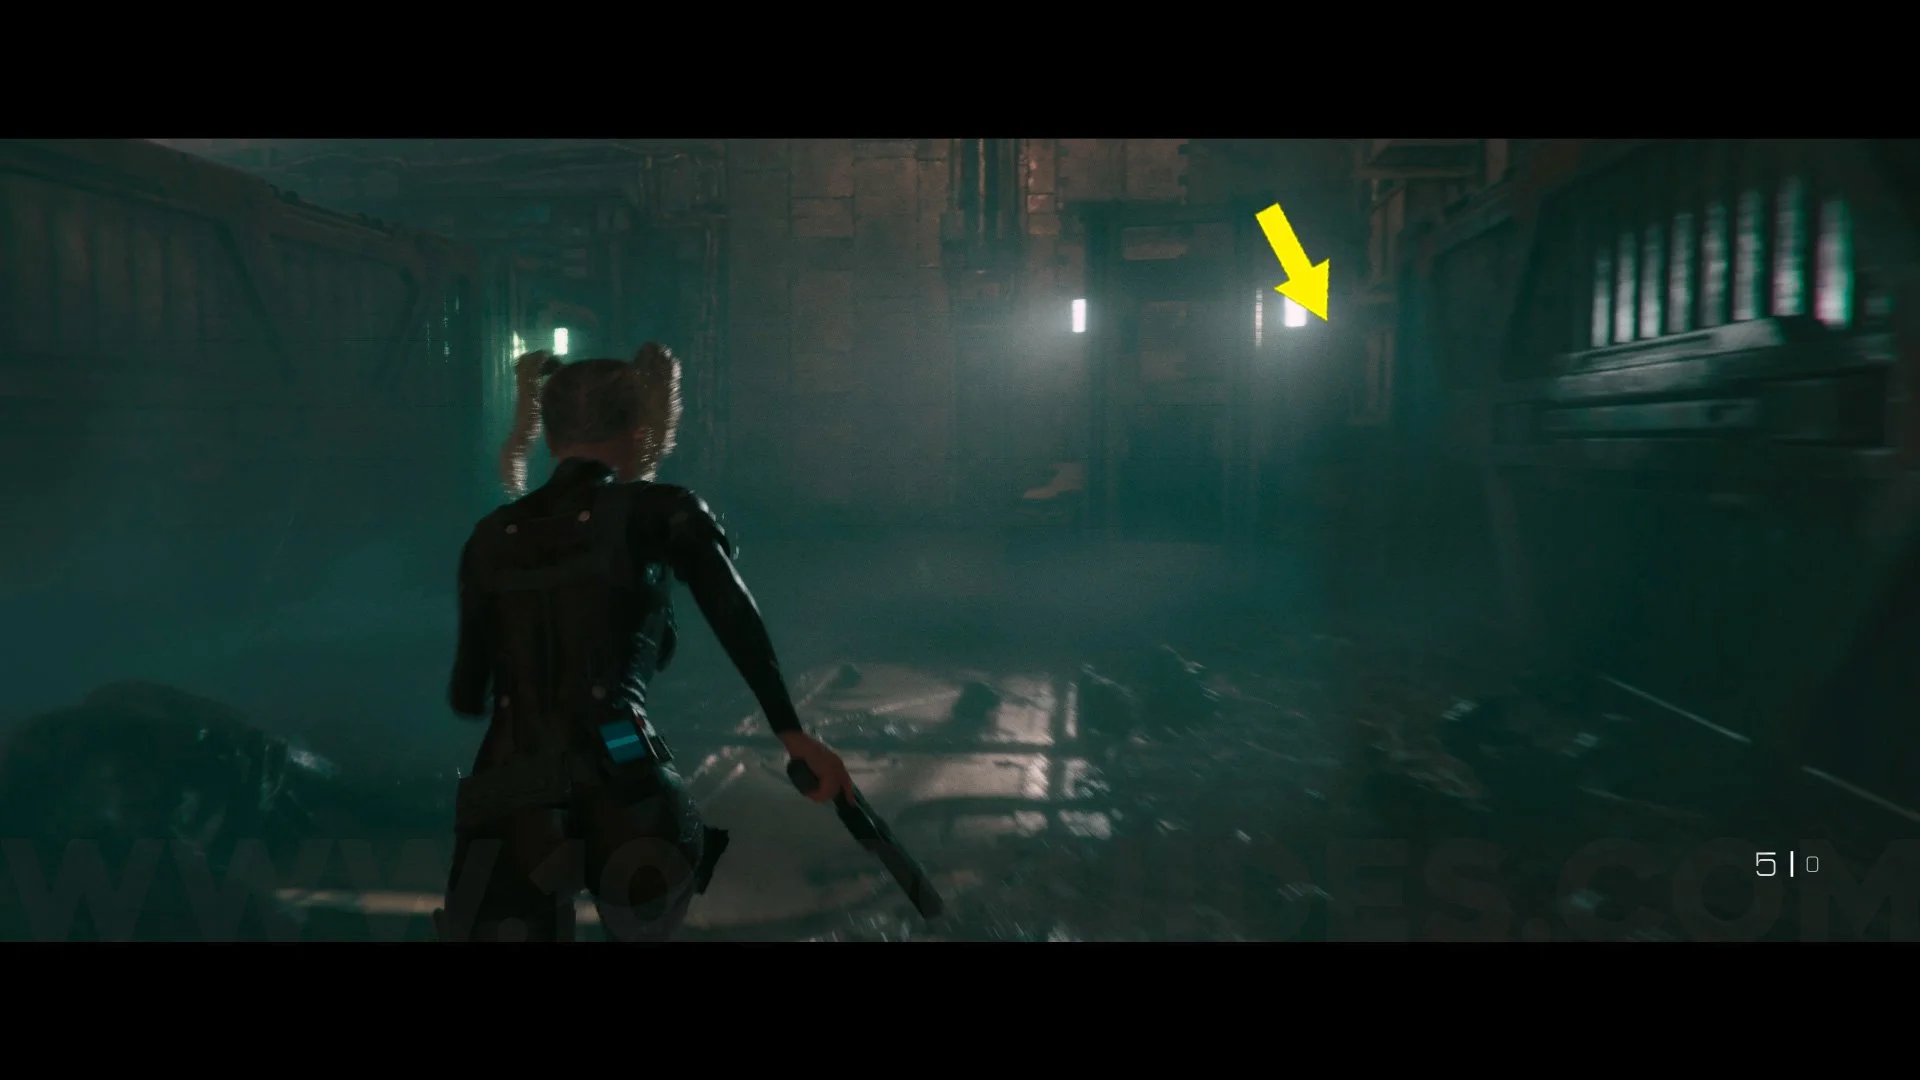
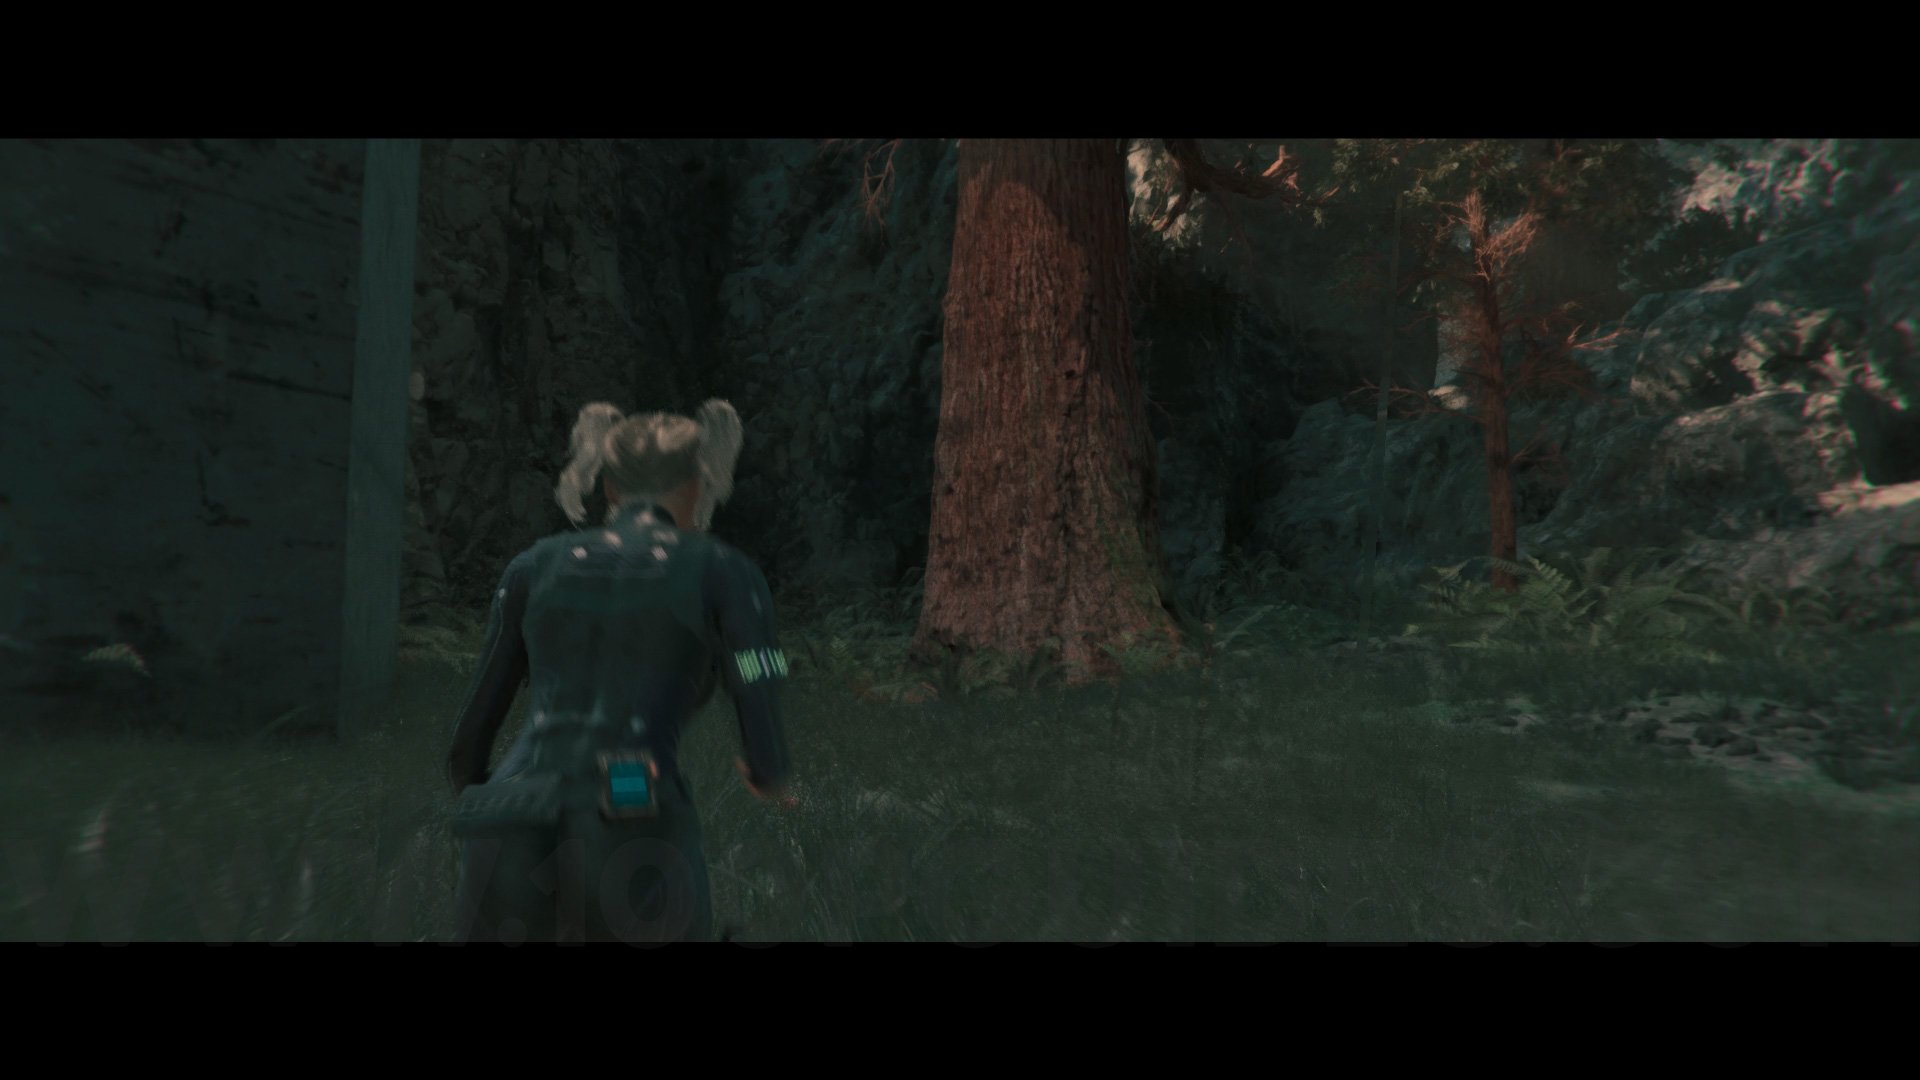
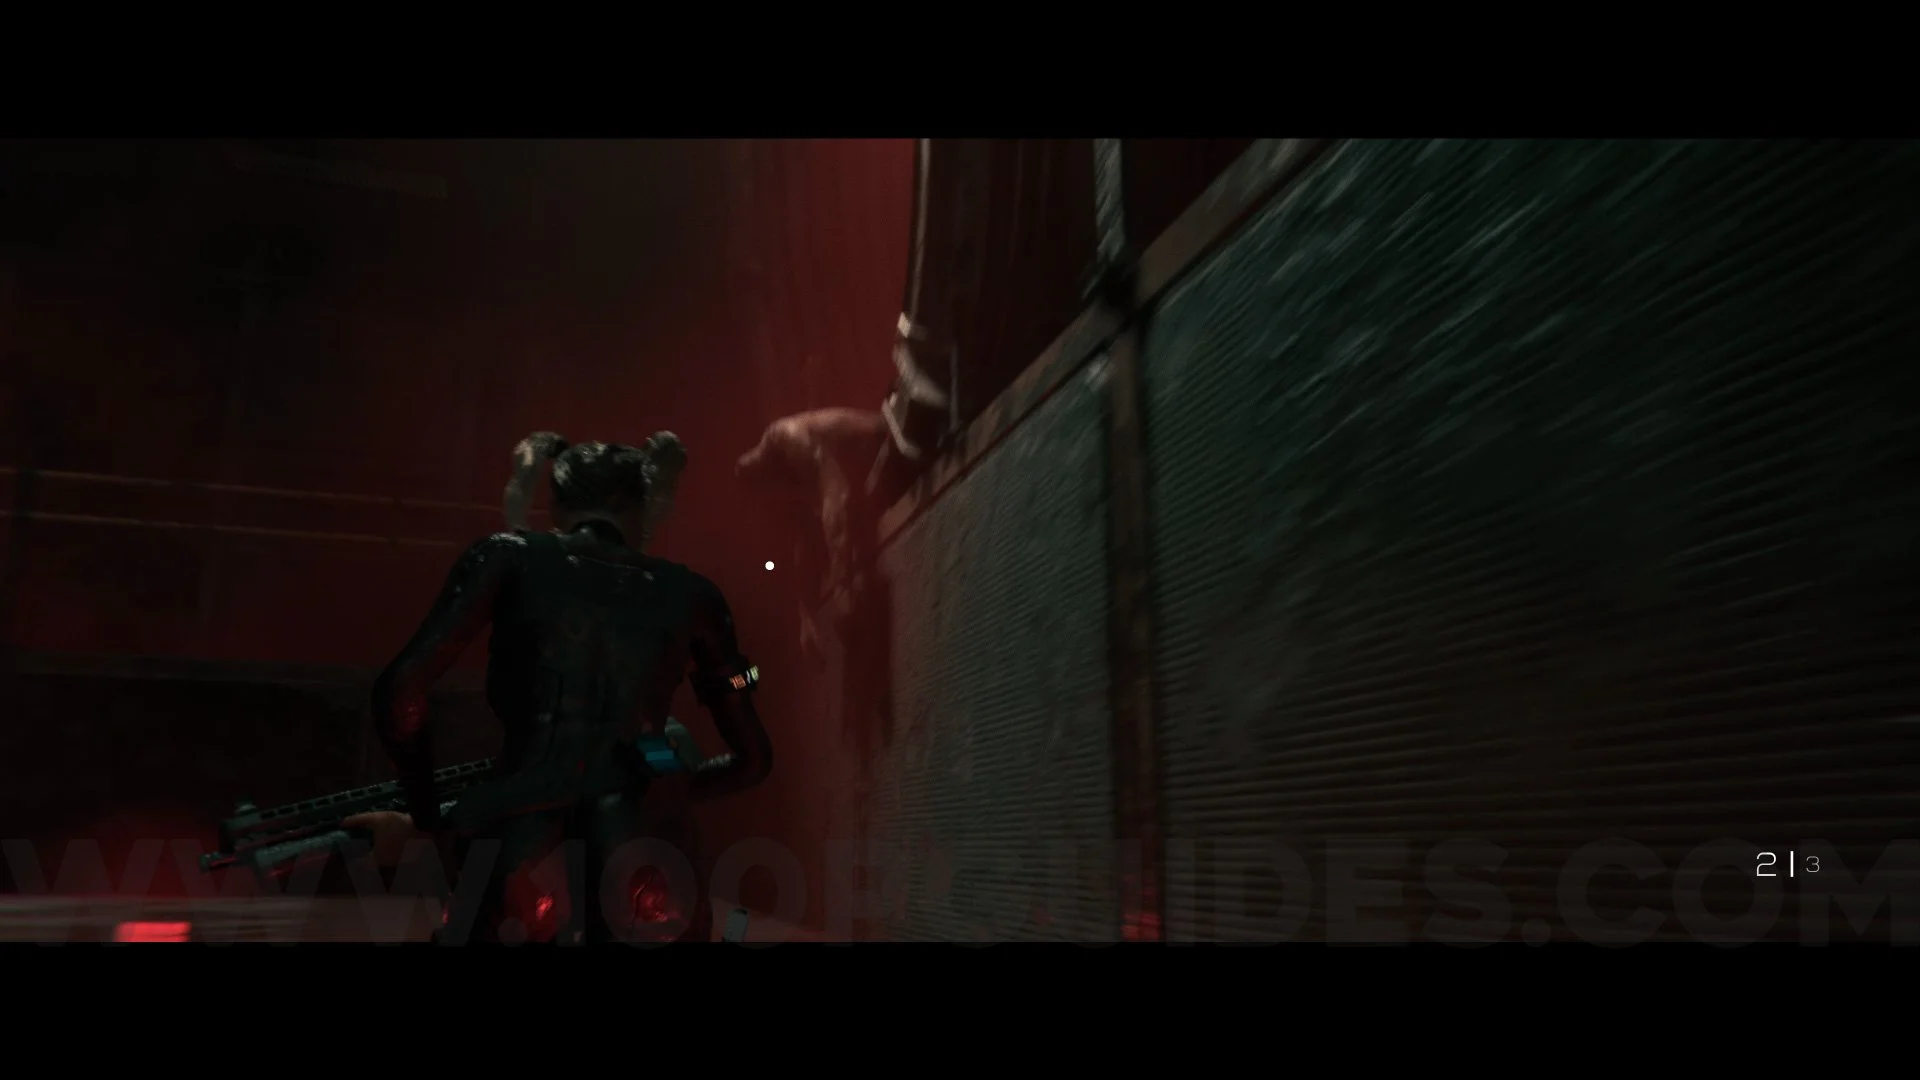
Testing Facility
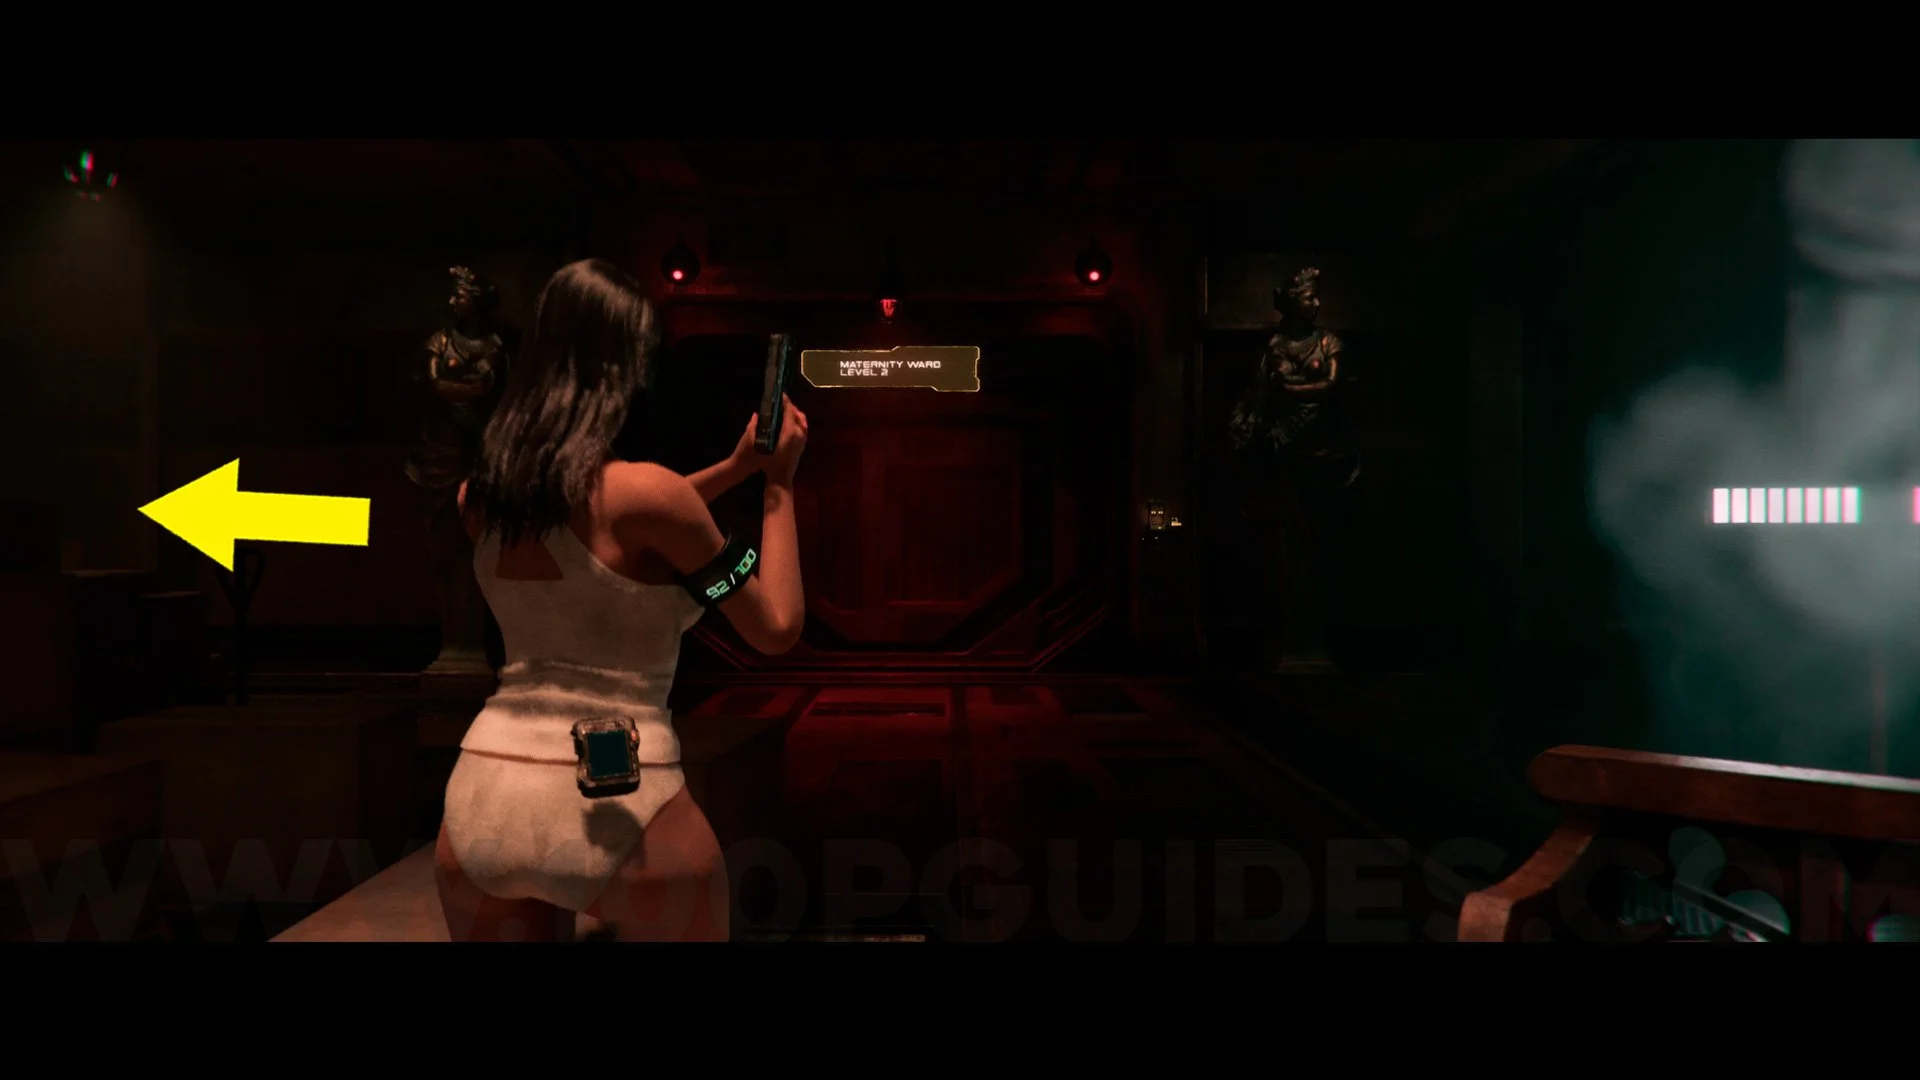
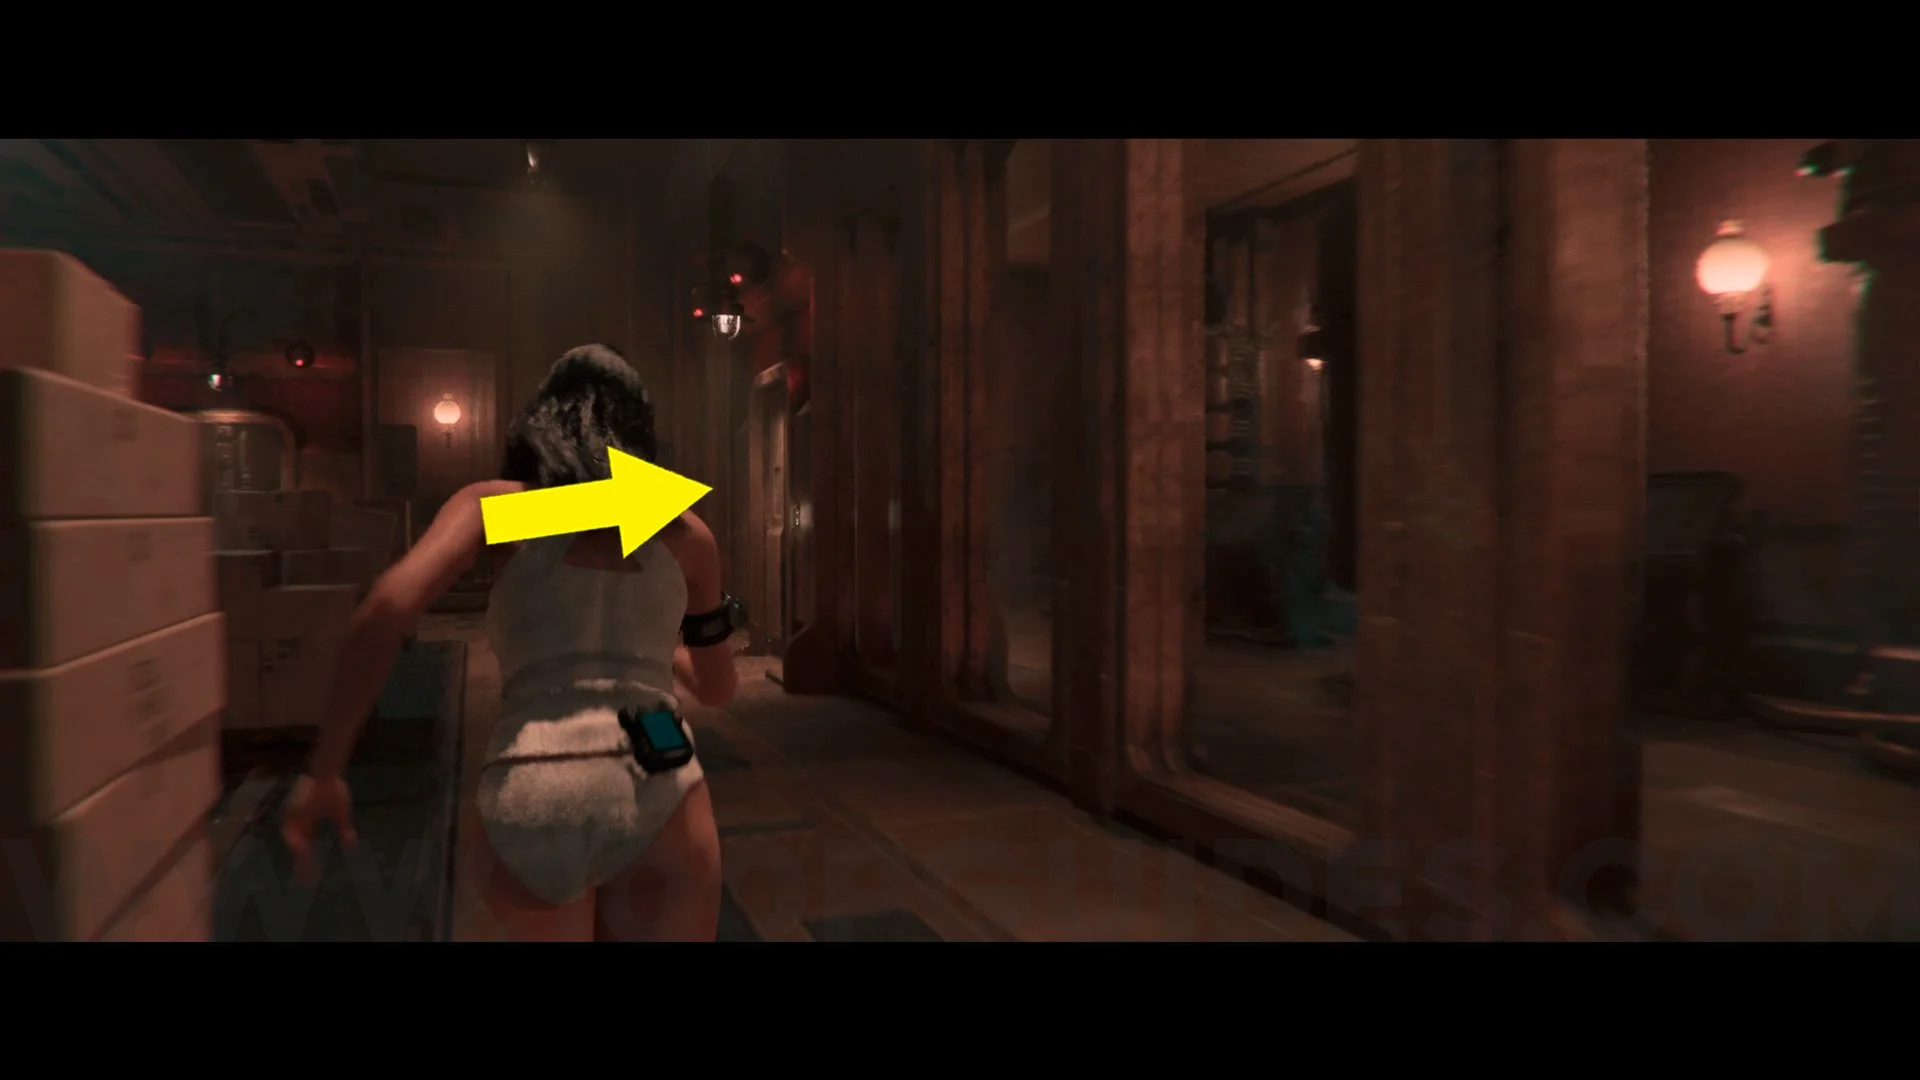
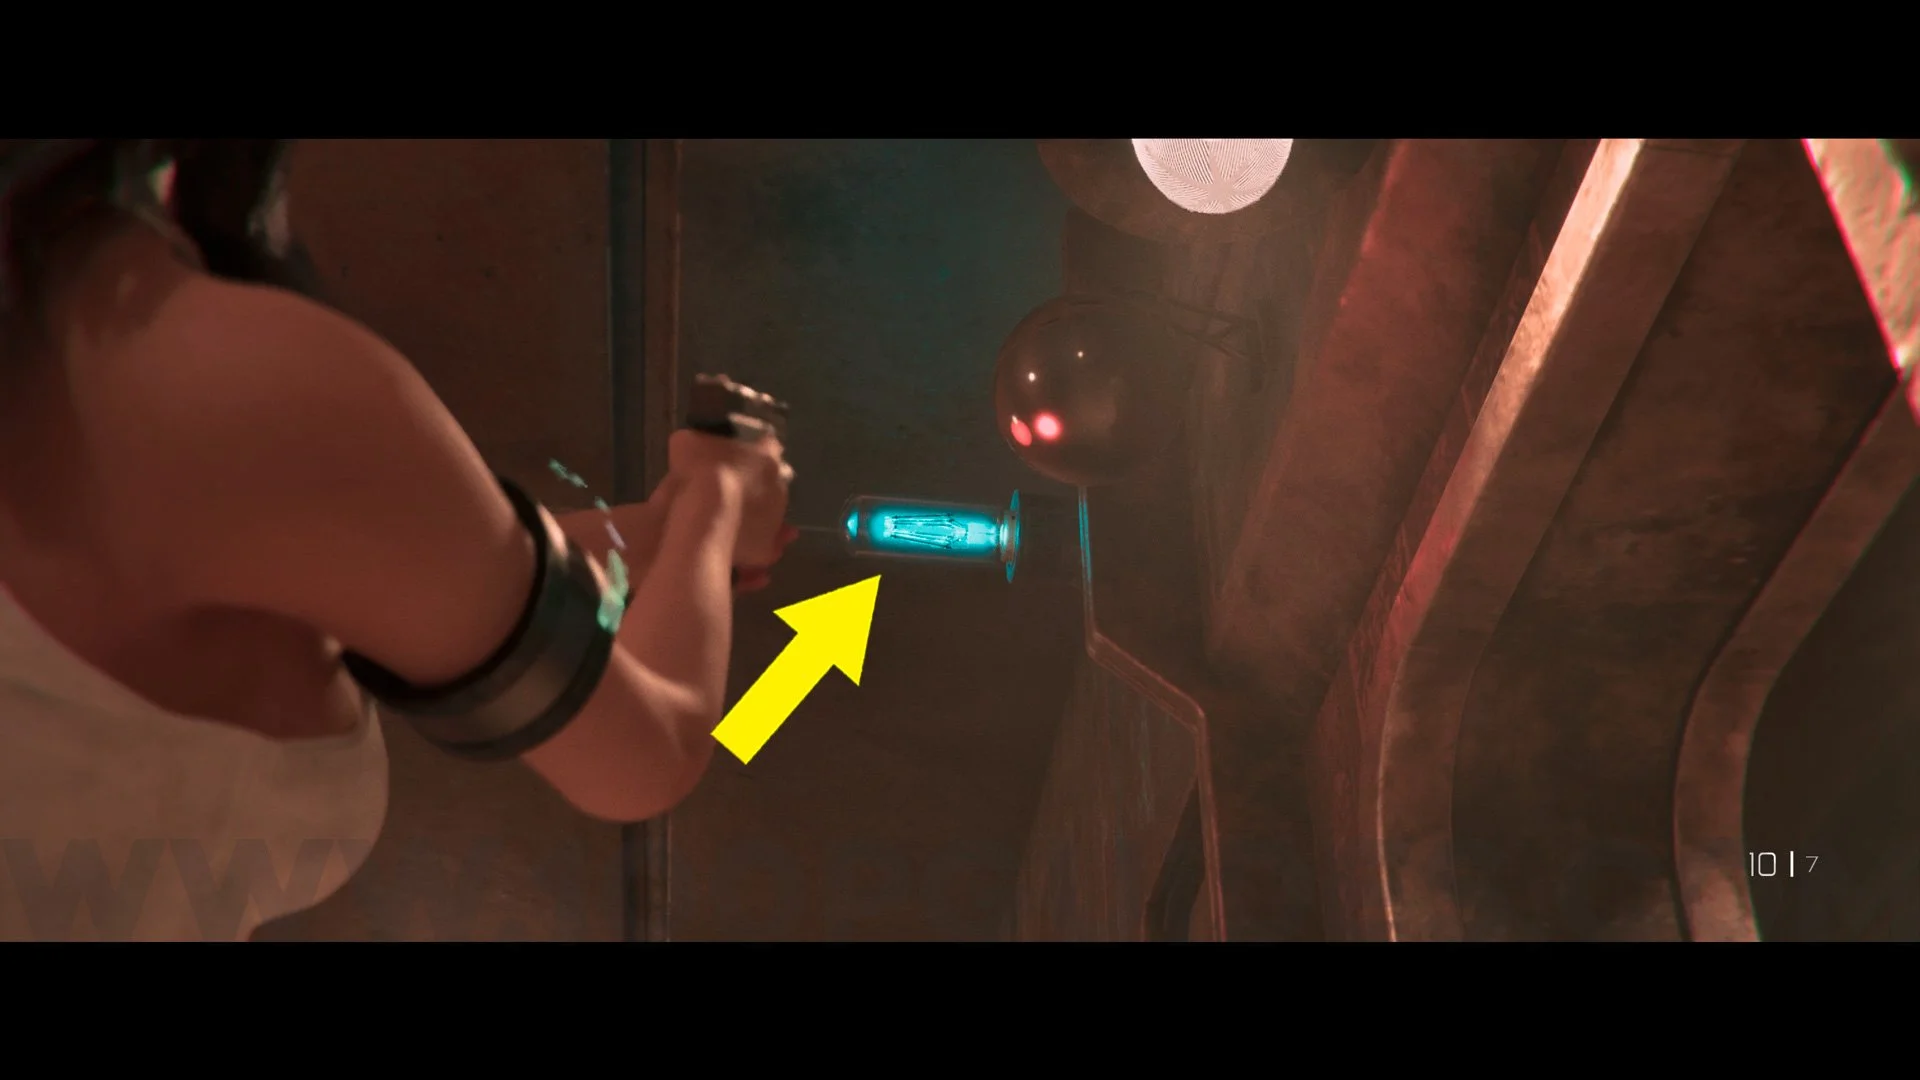
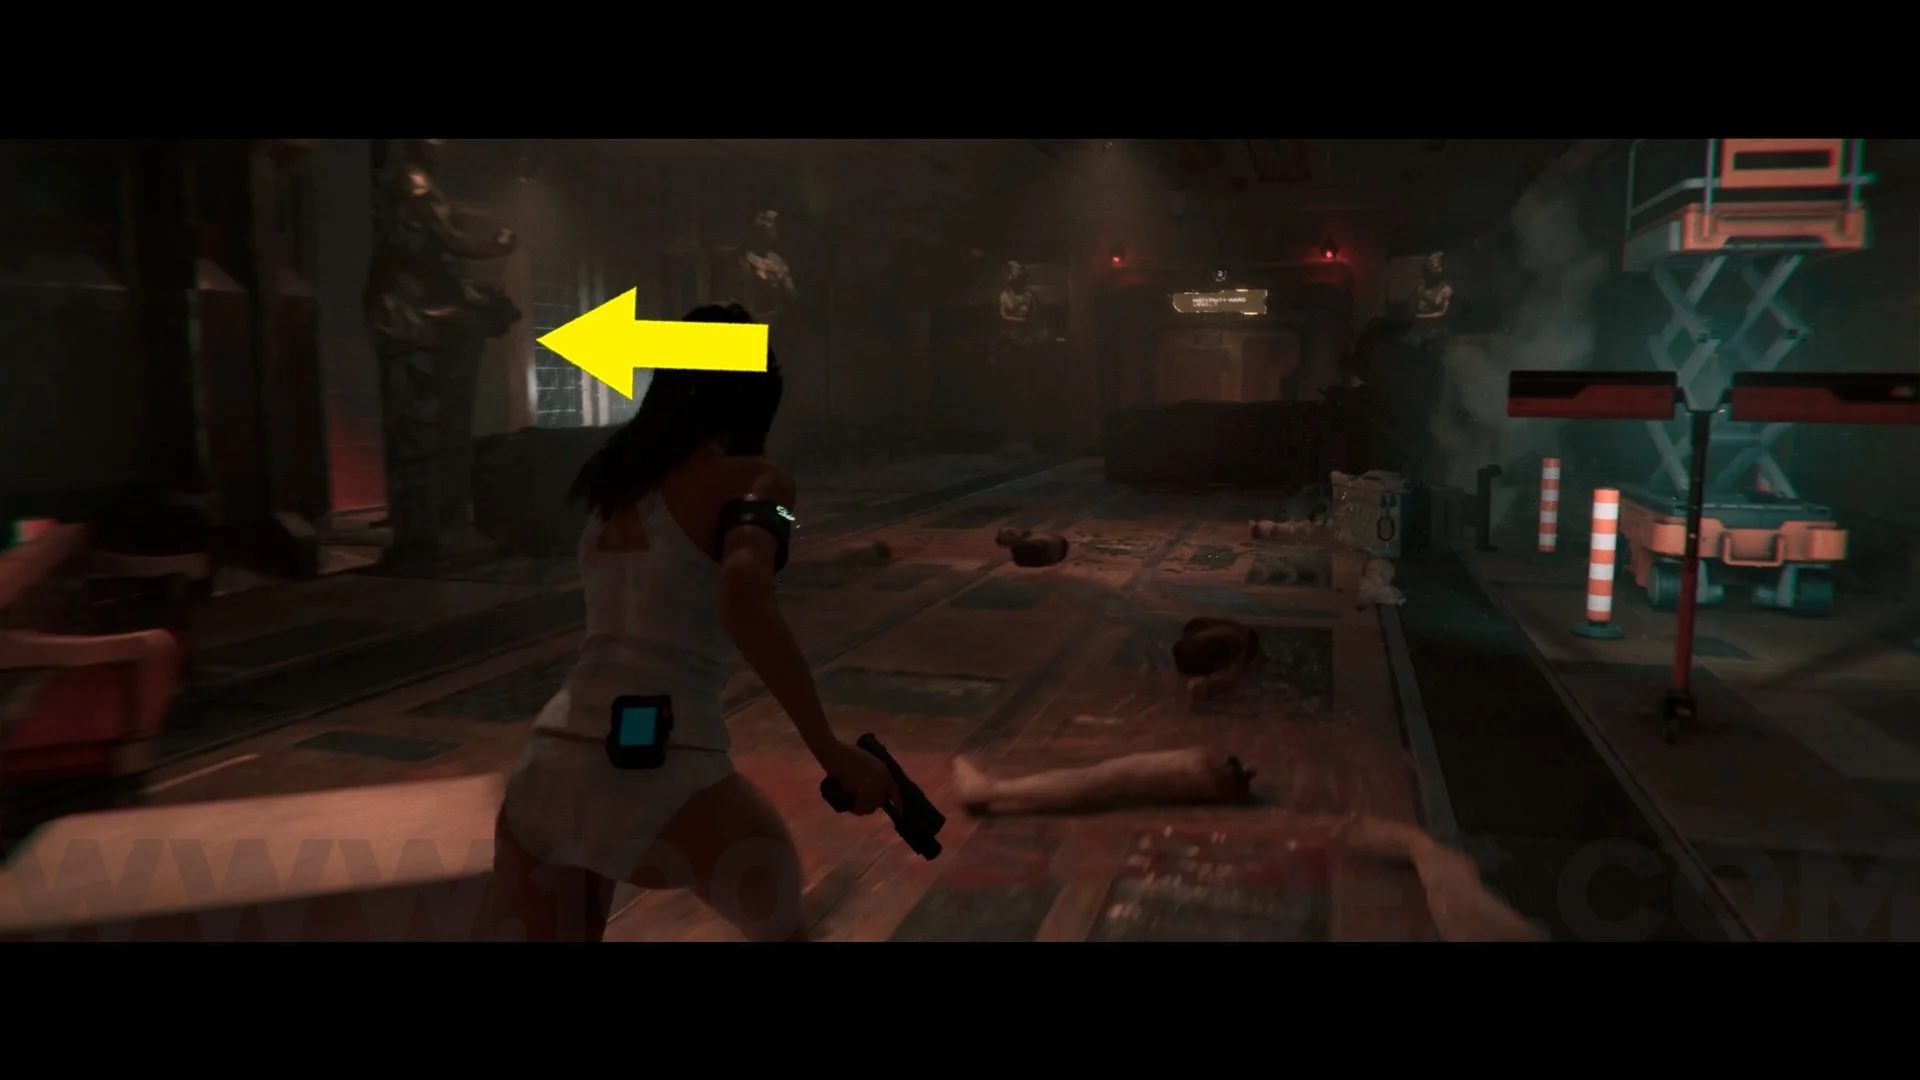
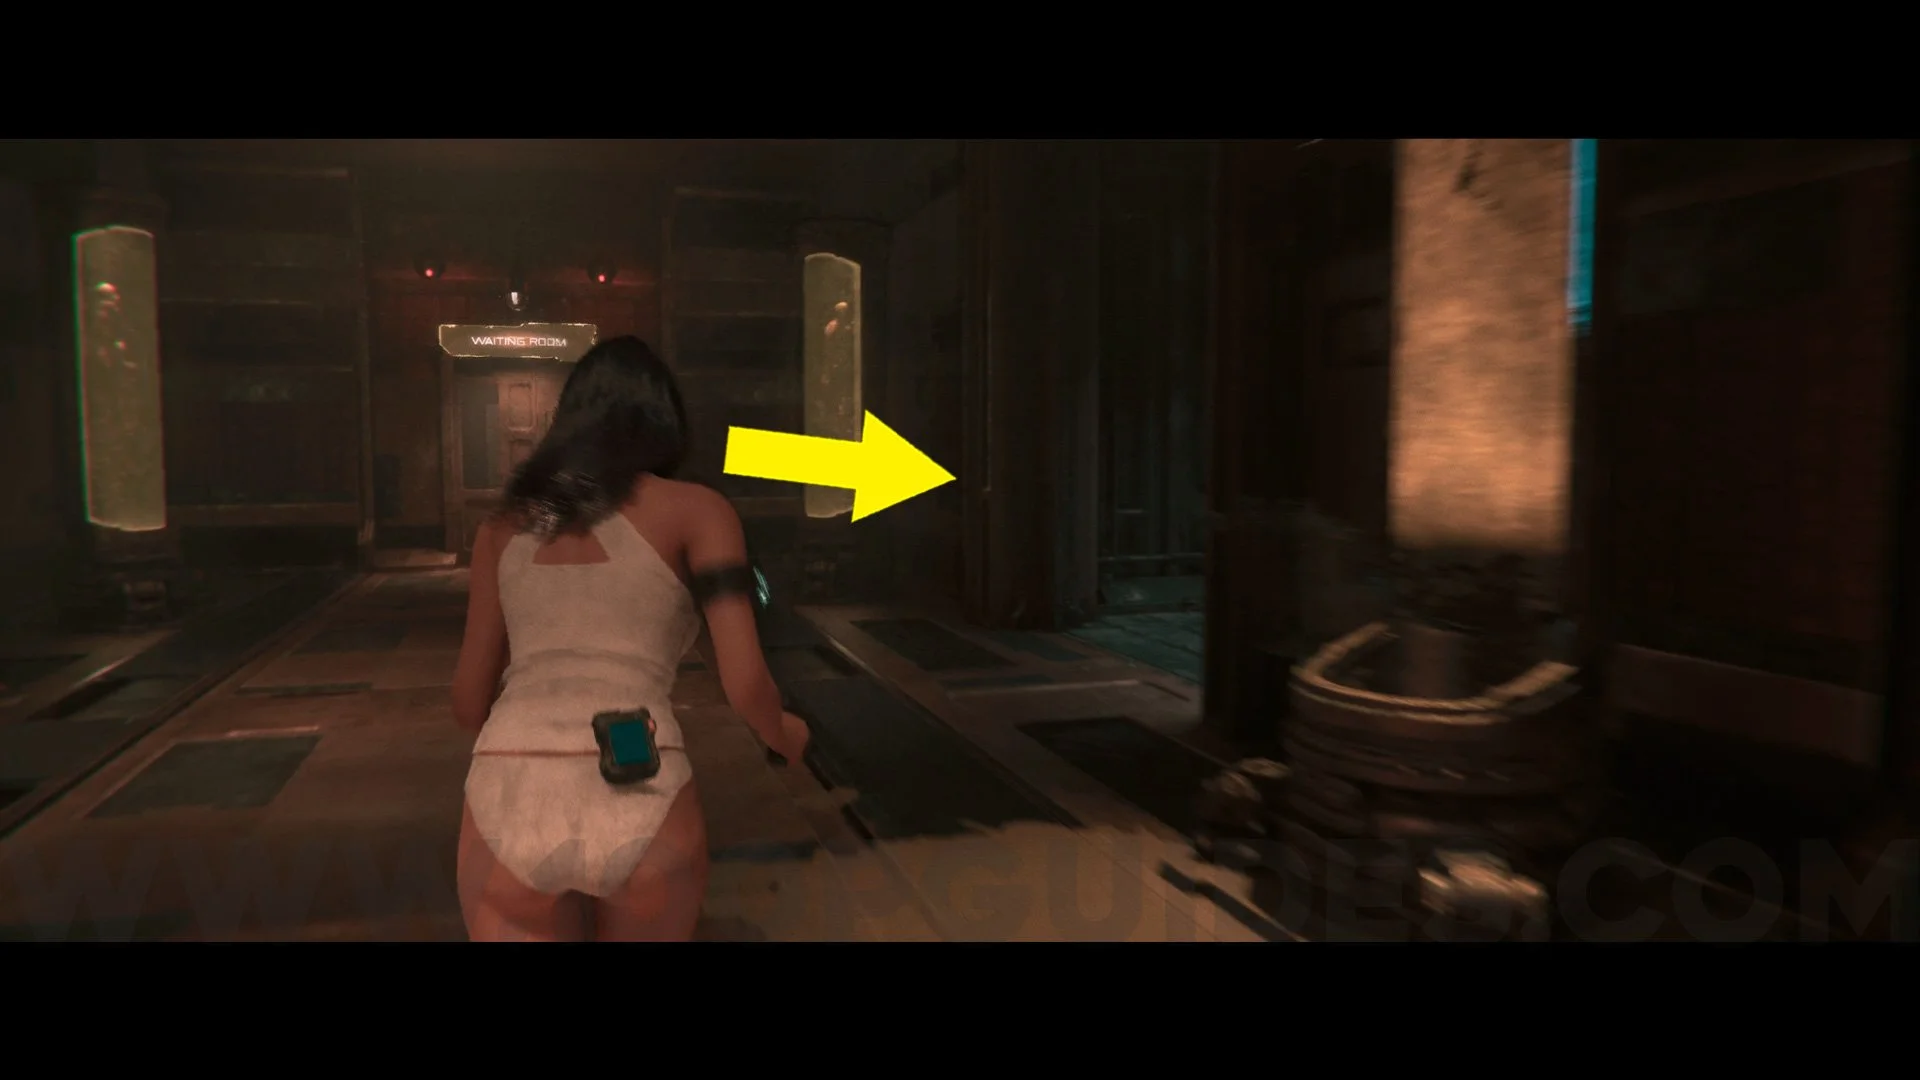
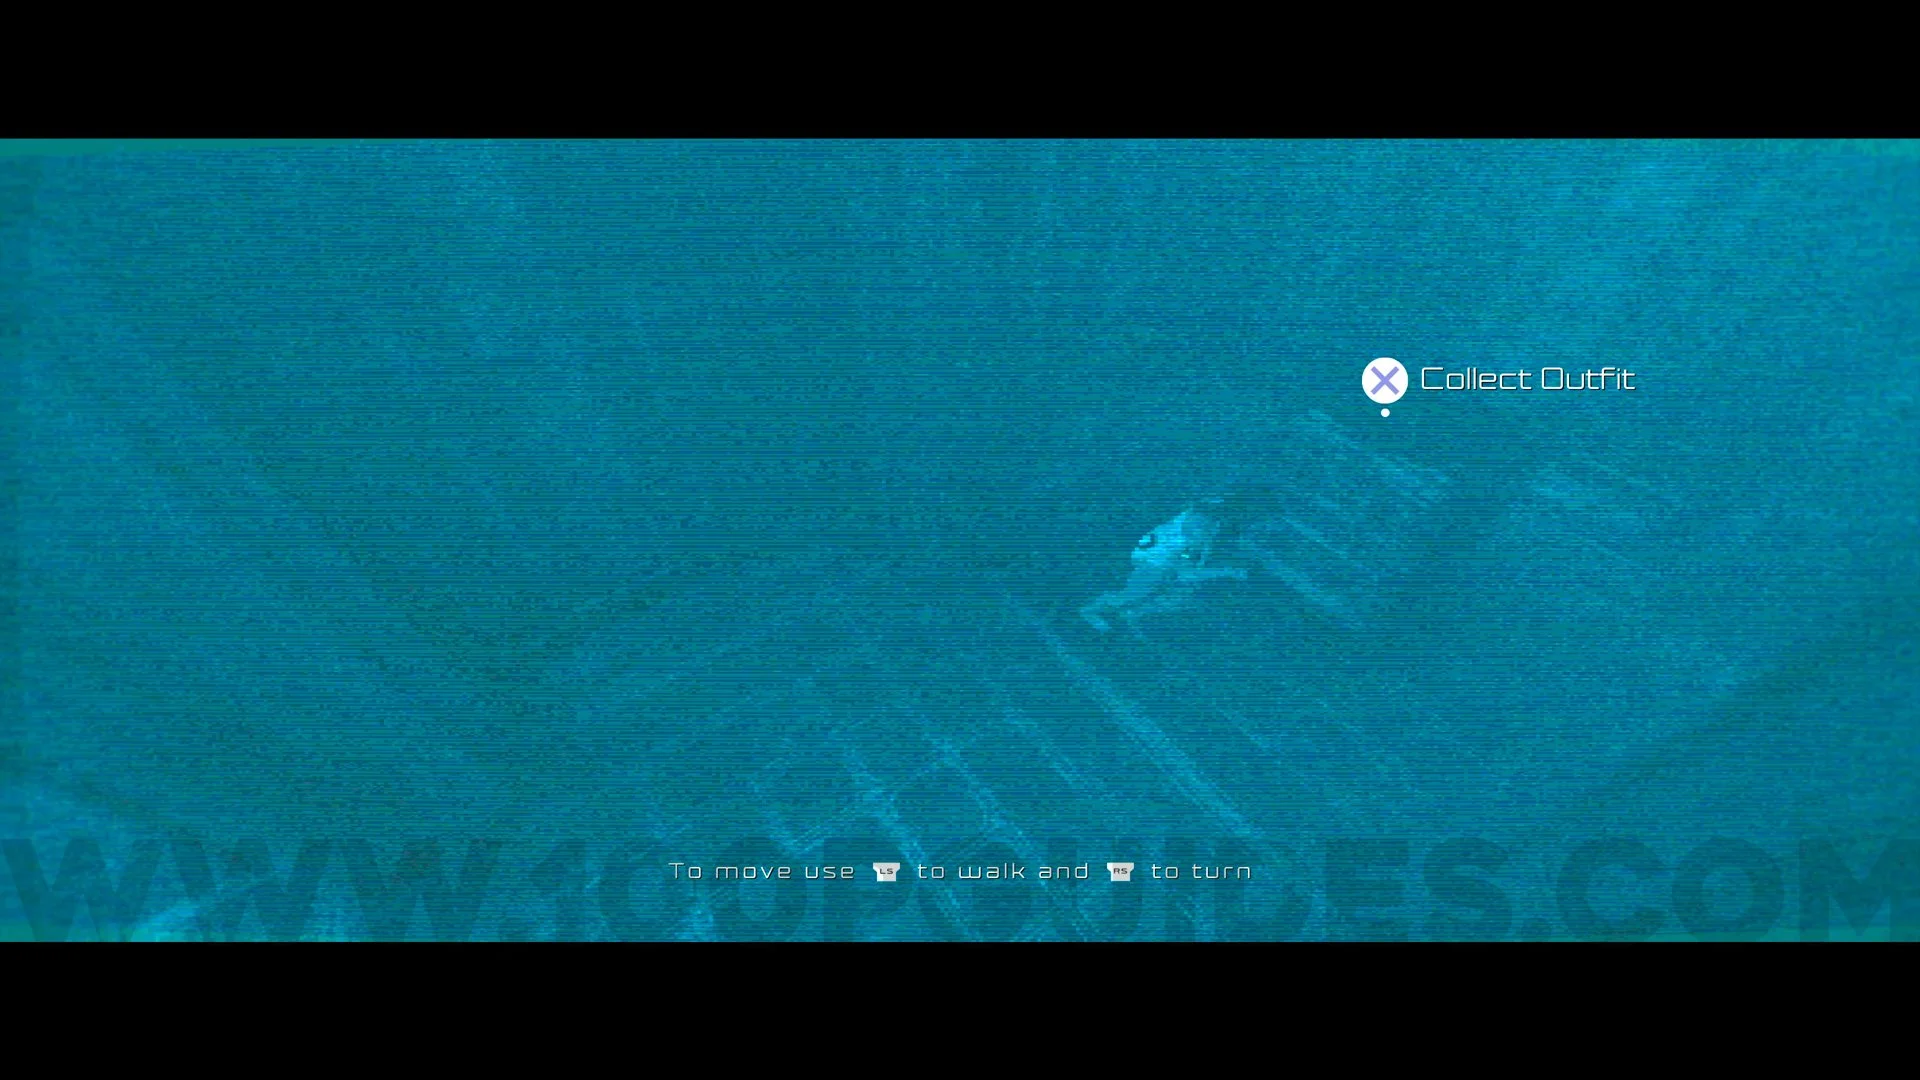
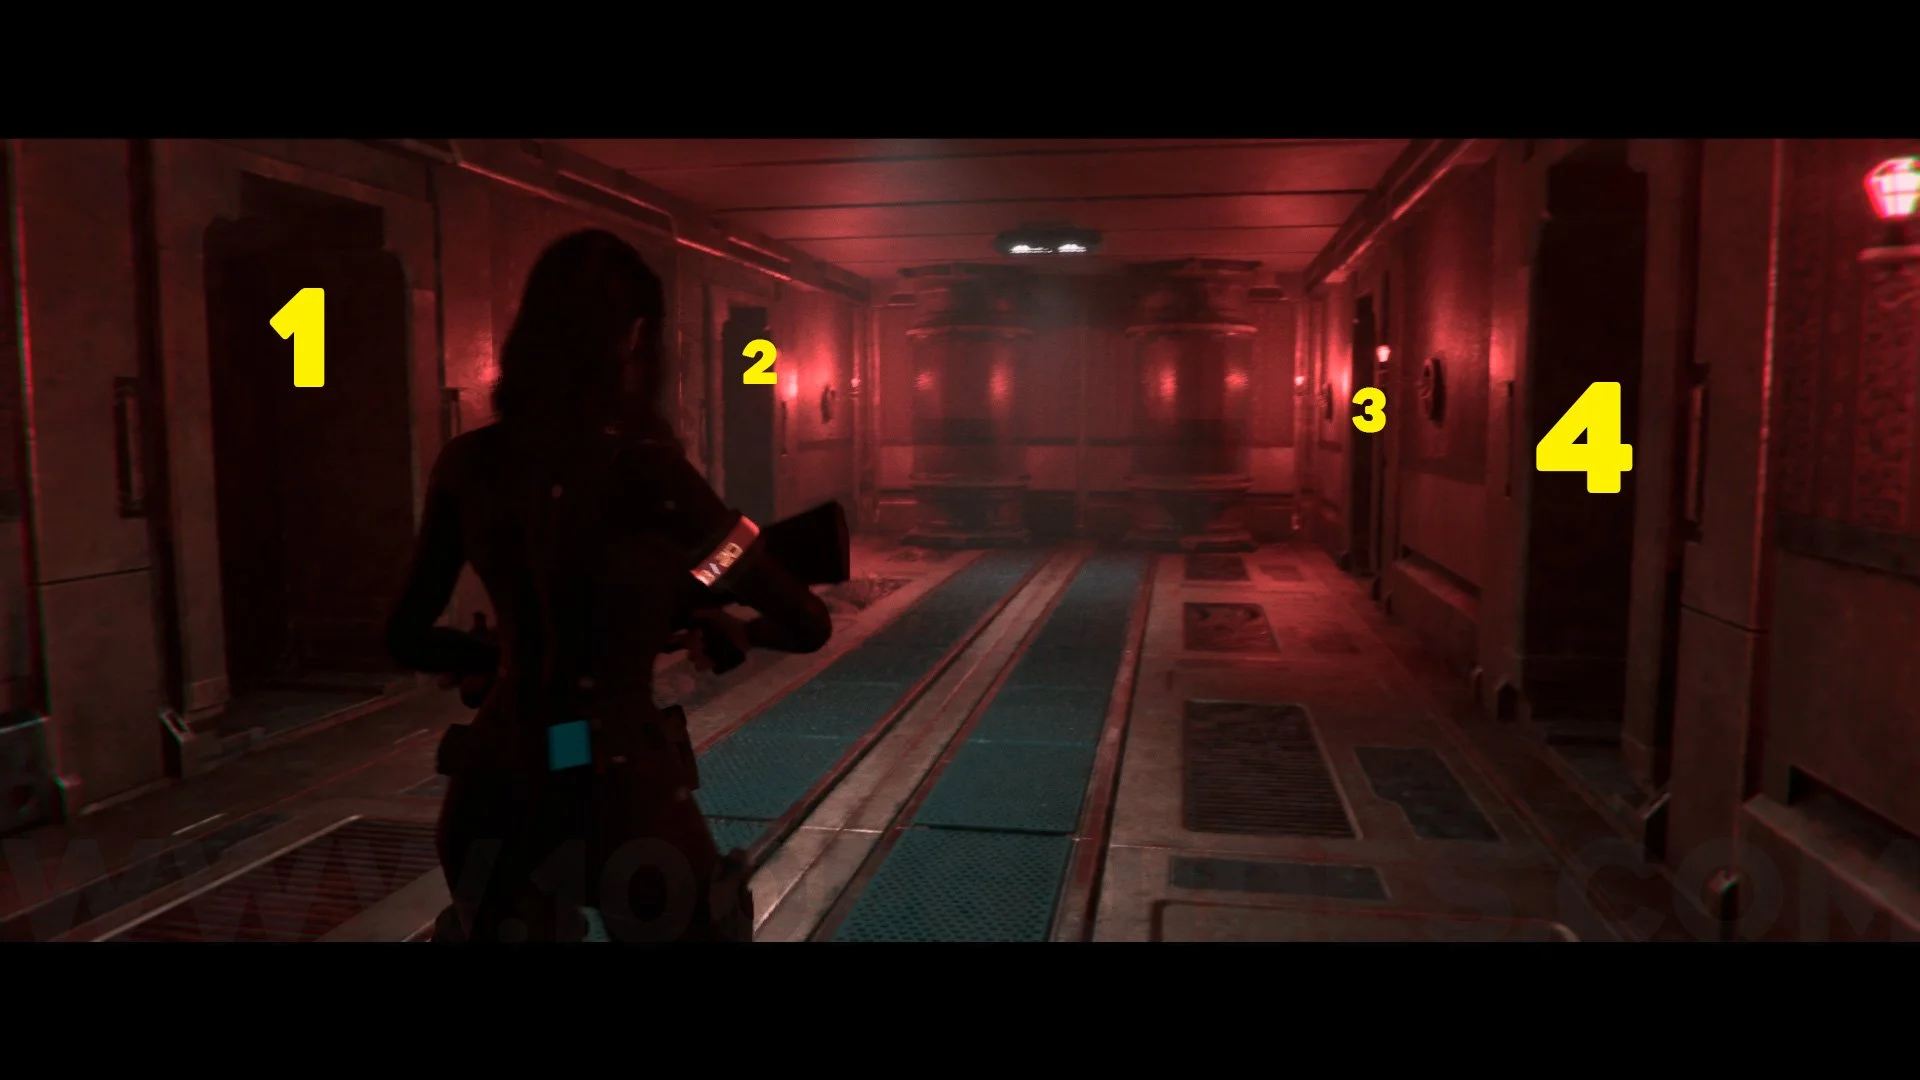
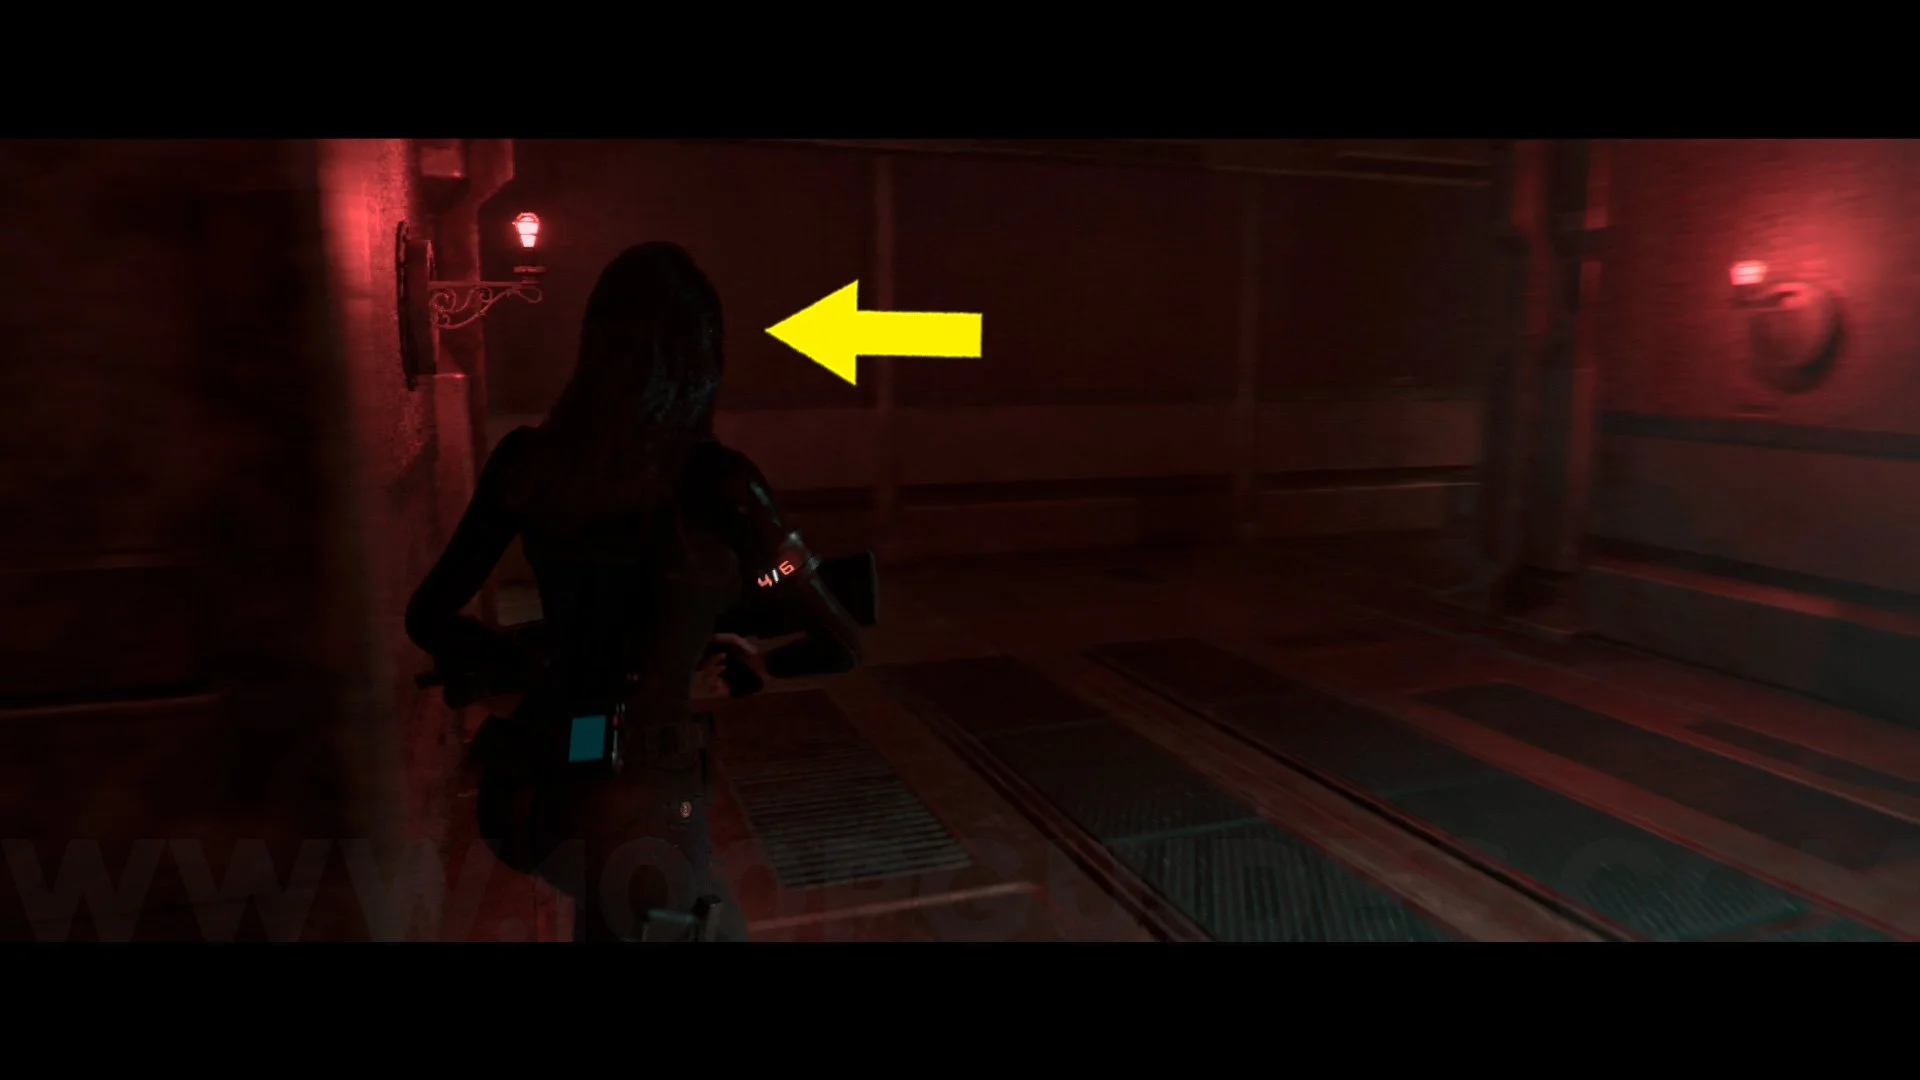
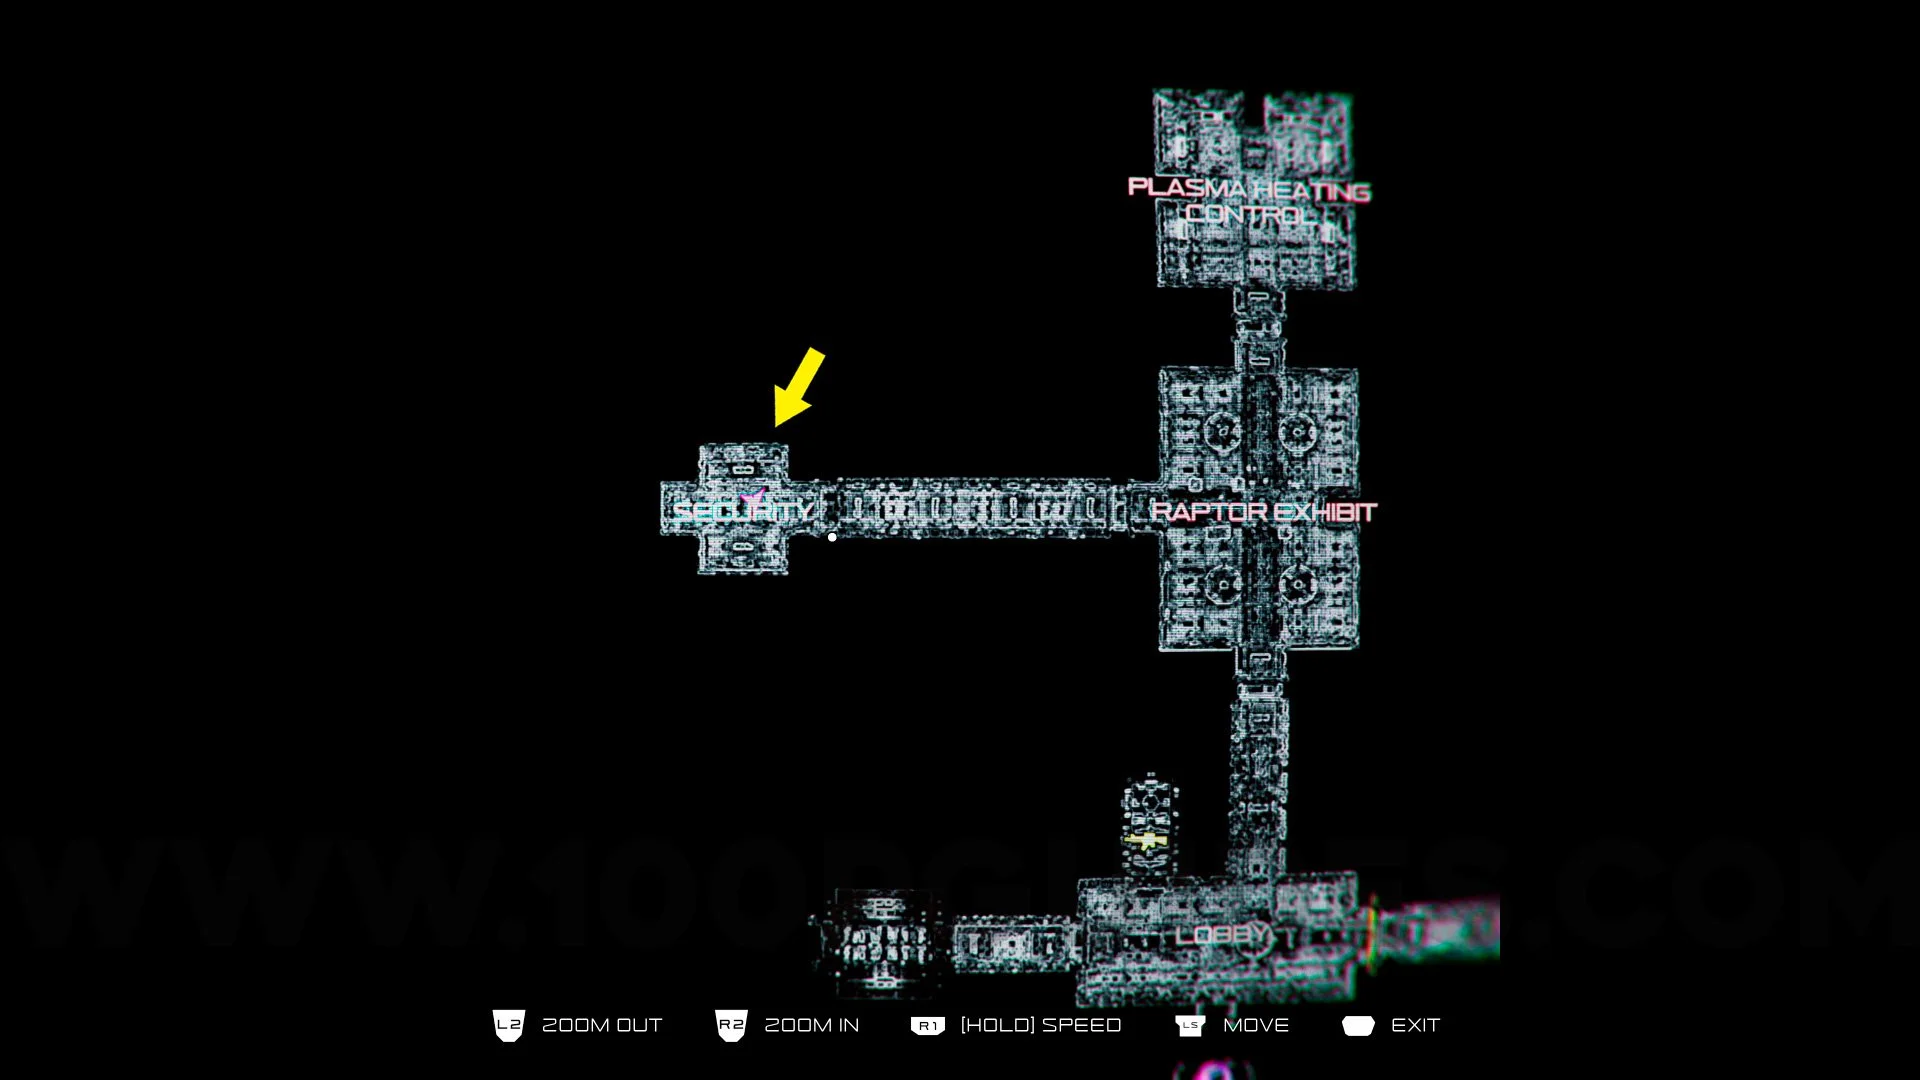
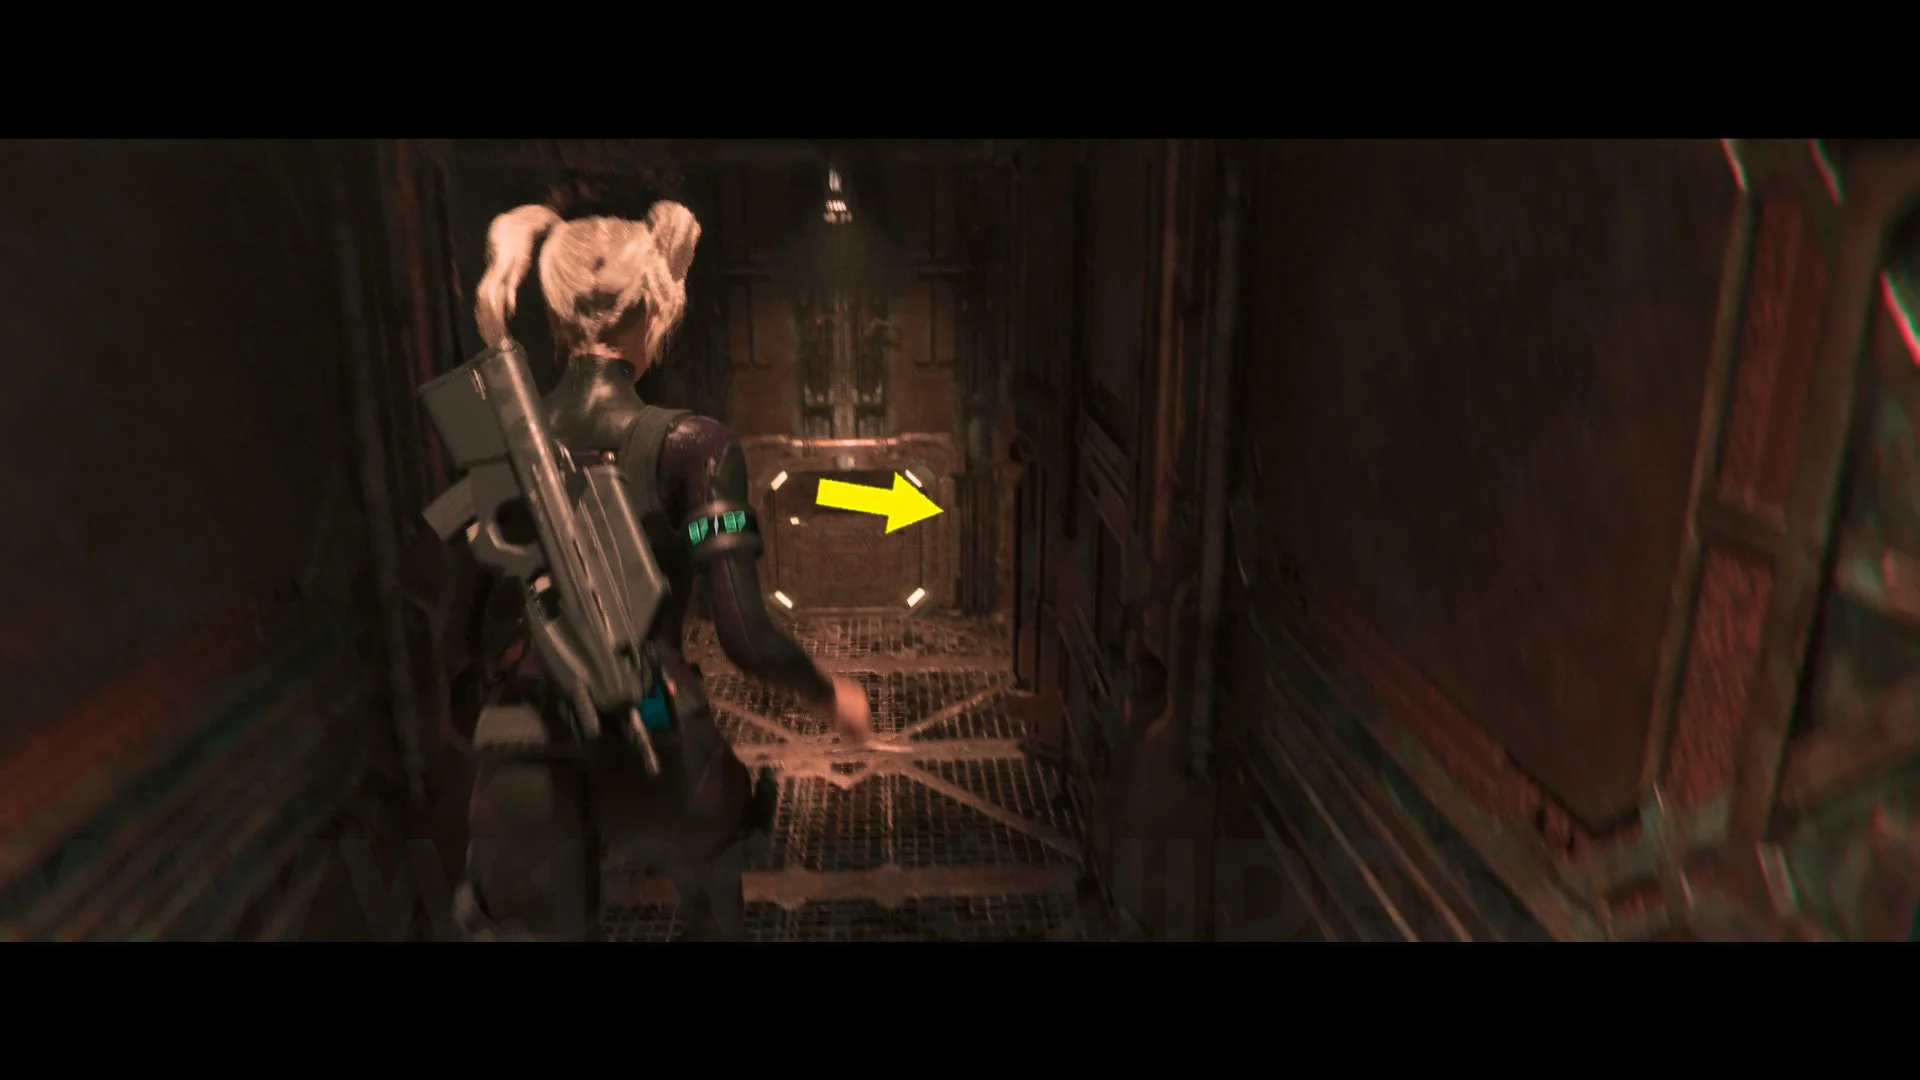
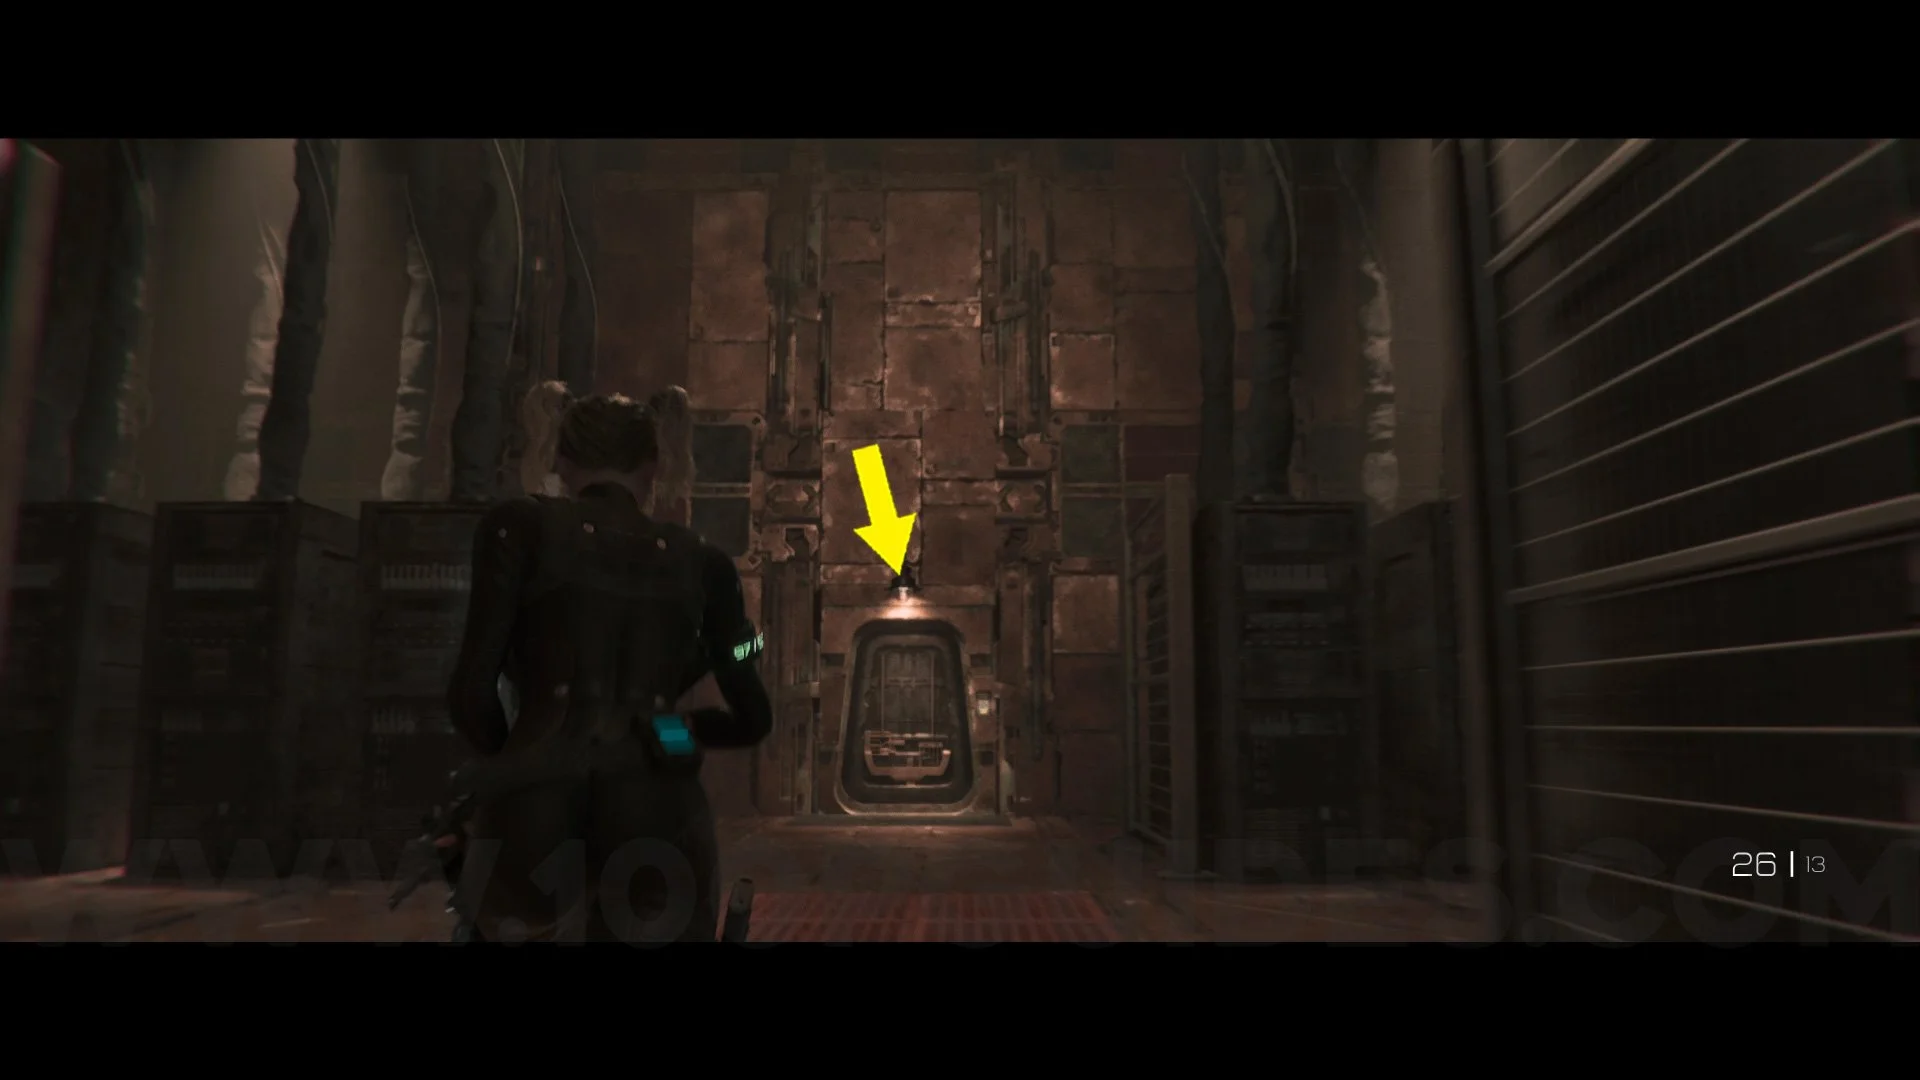
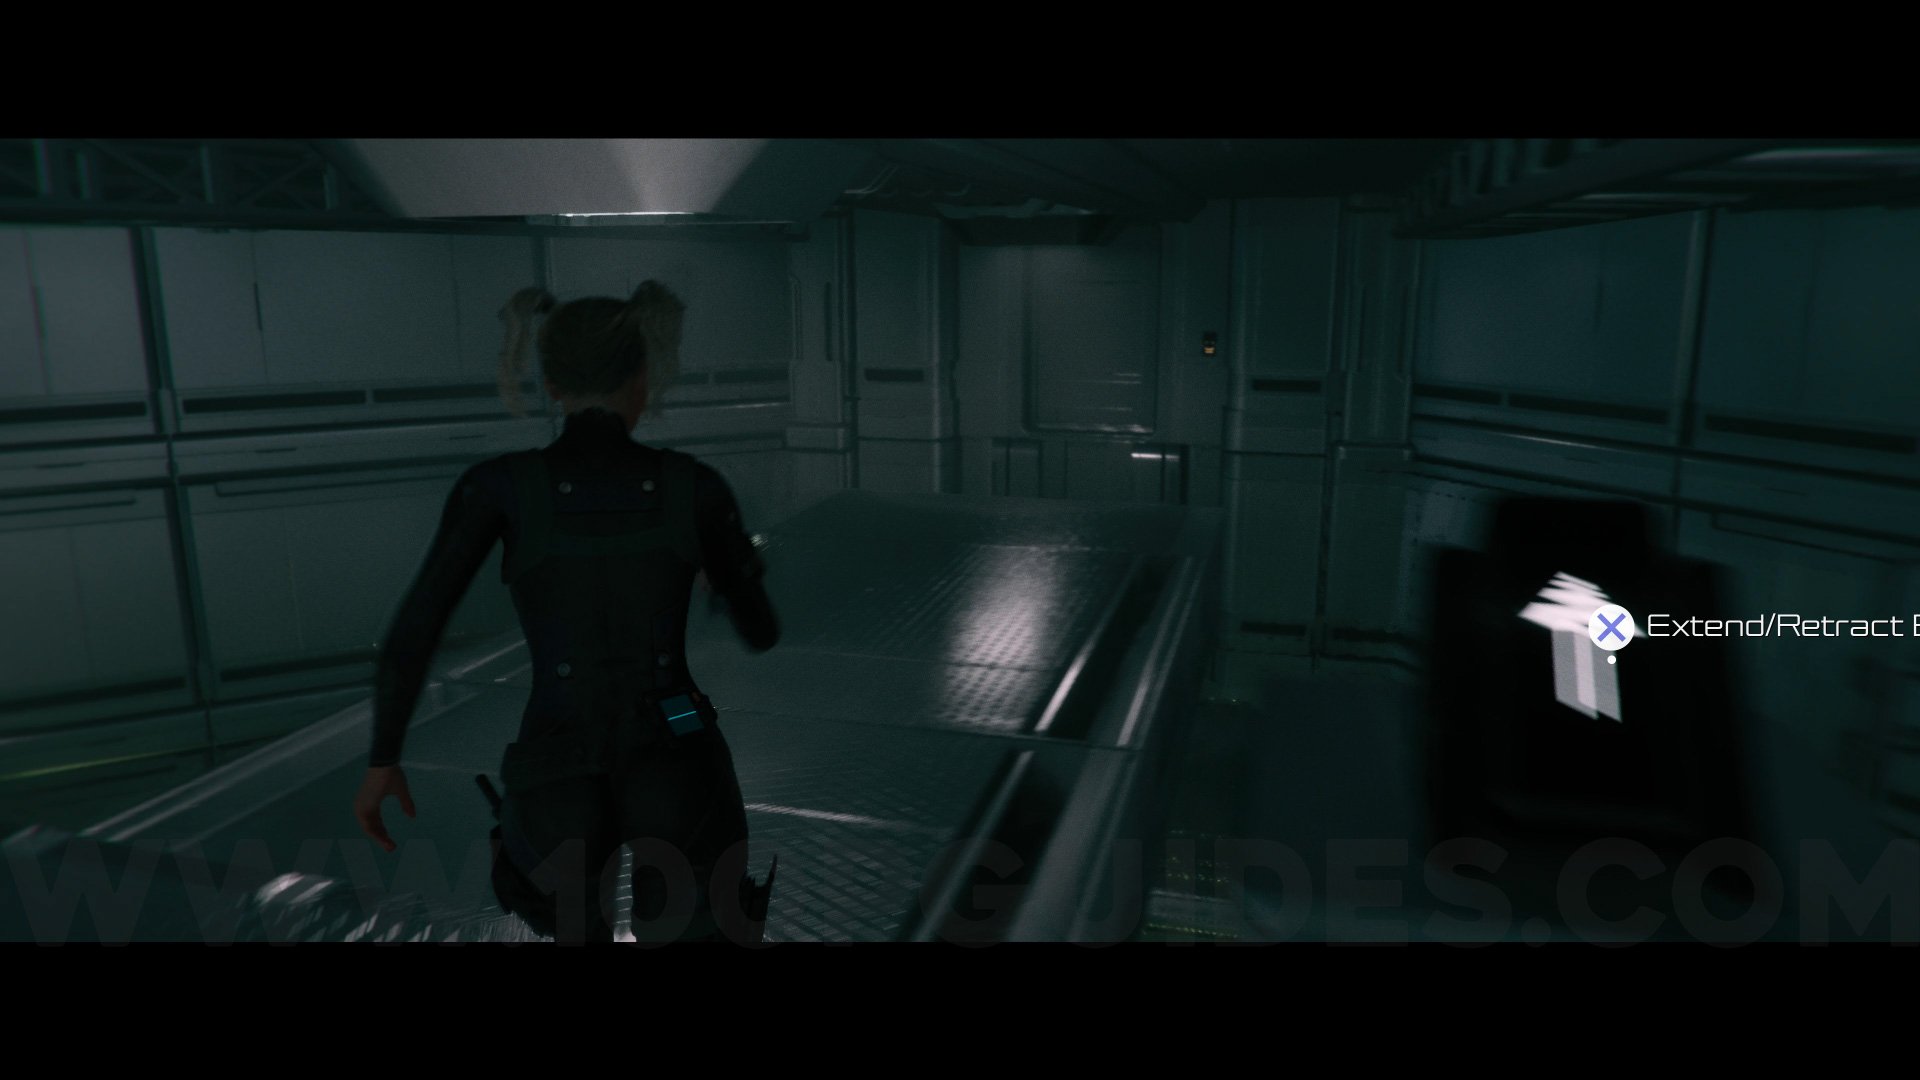
Outfit #1 Tech Queen. Facing the door marked “Maternity Ward Level 2,” go to the left of the door and pass through another door marked “Security.” Go to the end of the hallway on the right and break the blue lamp. Now go back the way you came and, with your back to the “Maternity Ward Level 2” door, turn left and enter the Waiting Room. Inside the waiting room, turn right and go to the end of the blue hallway to get the outfit.
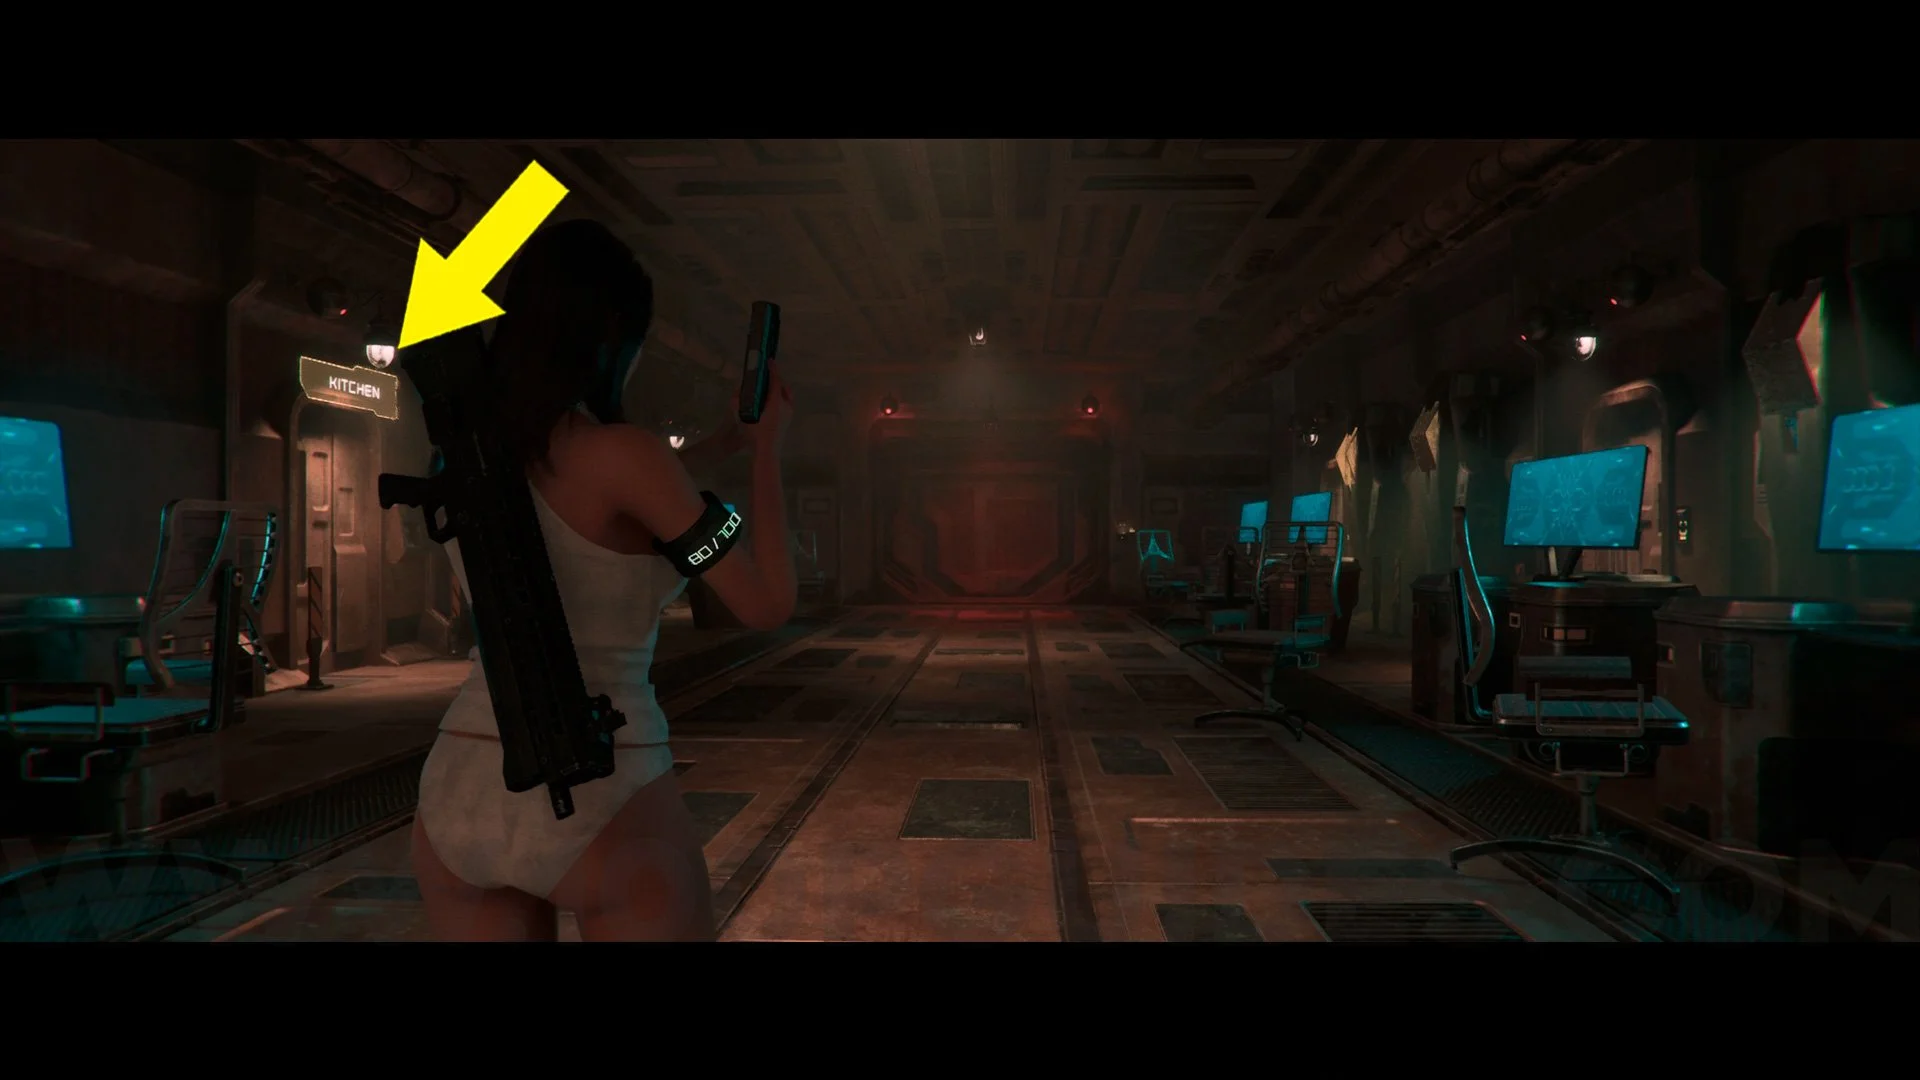
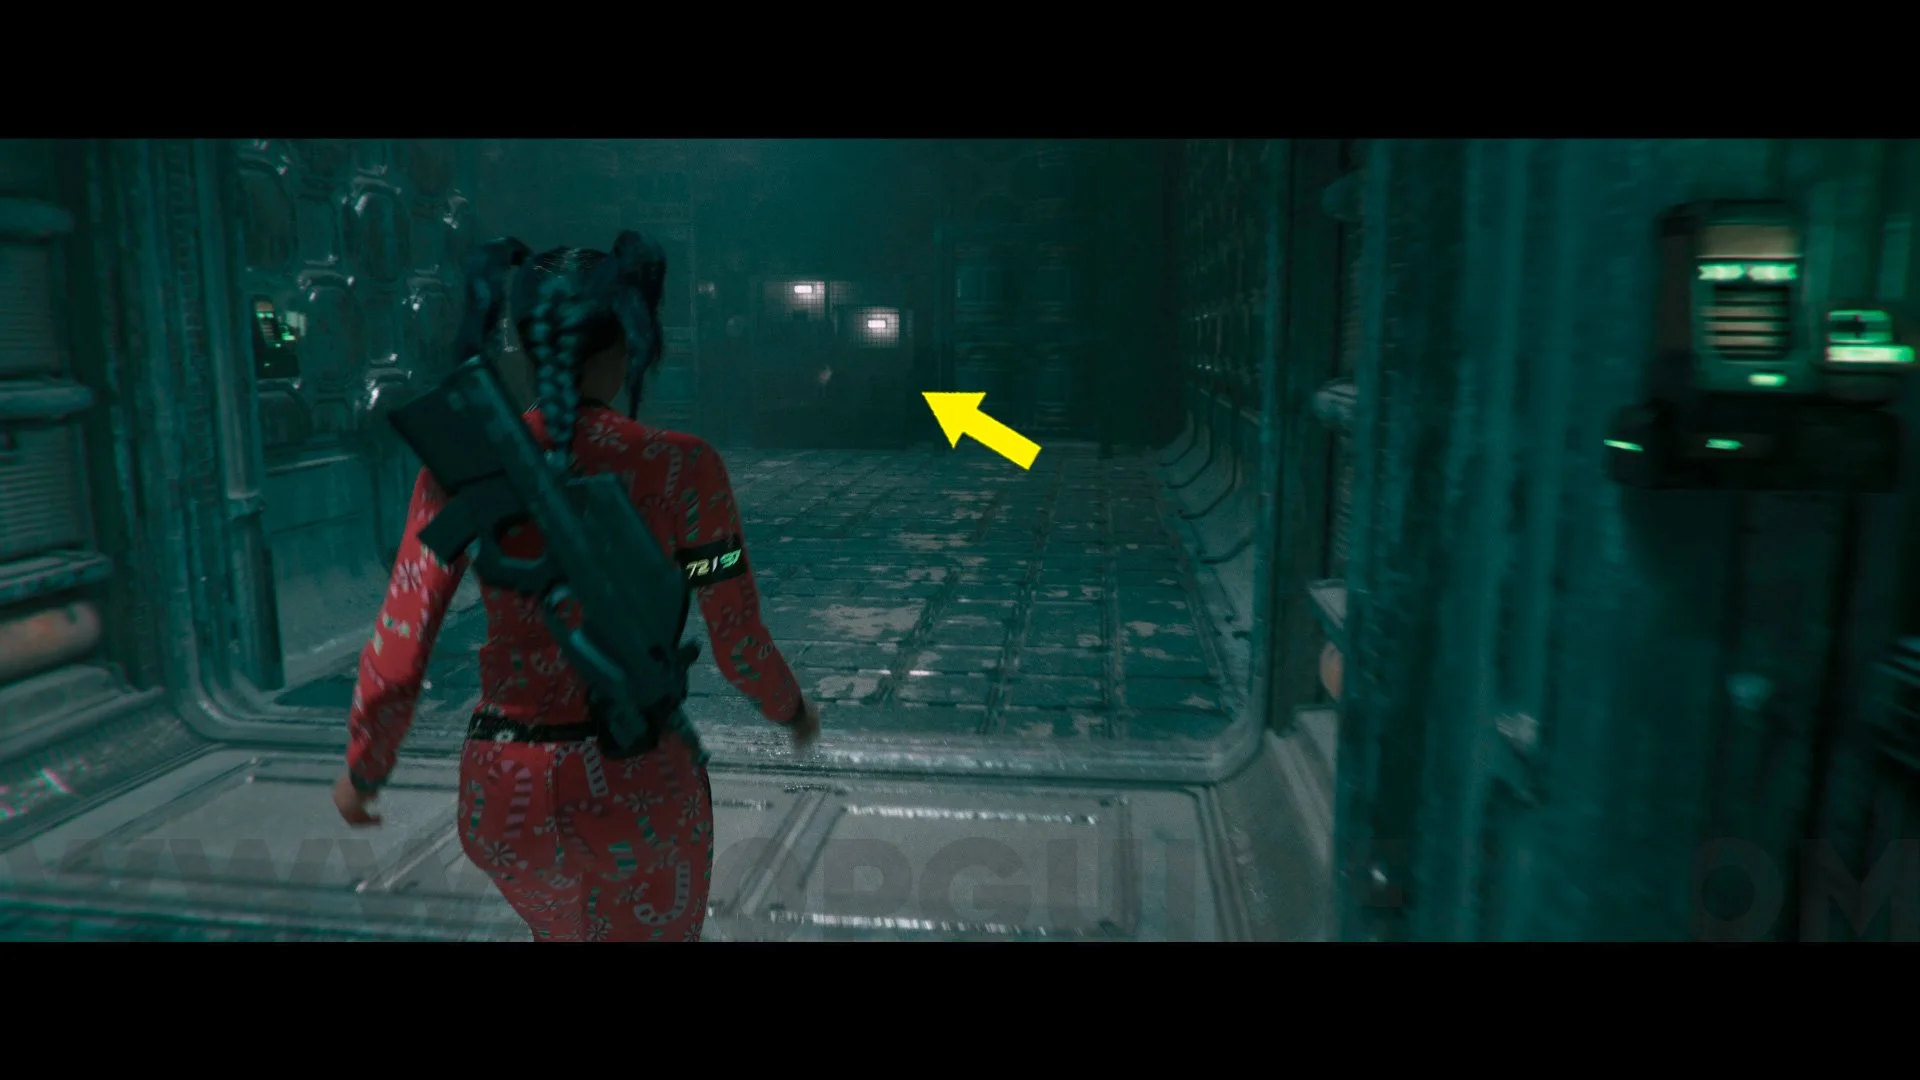
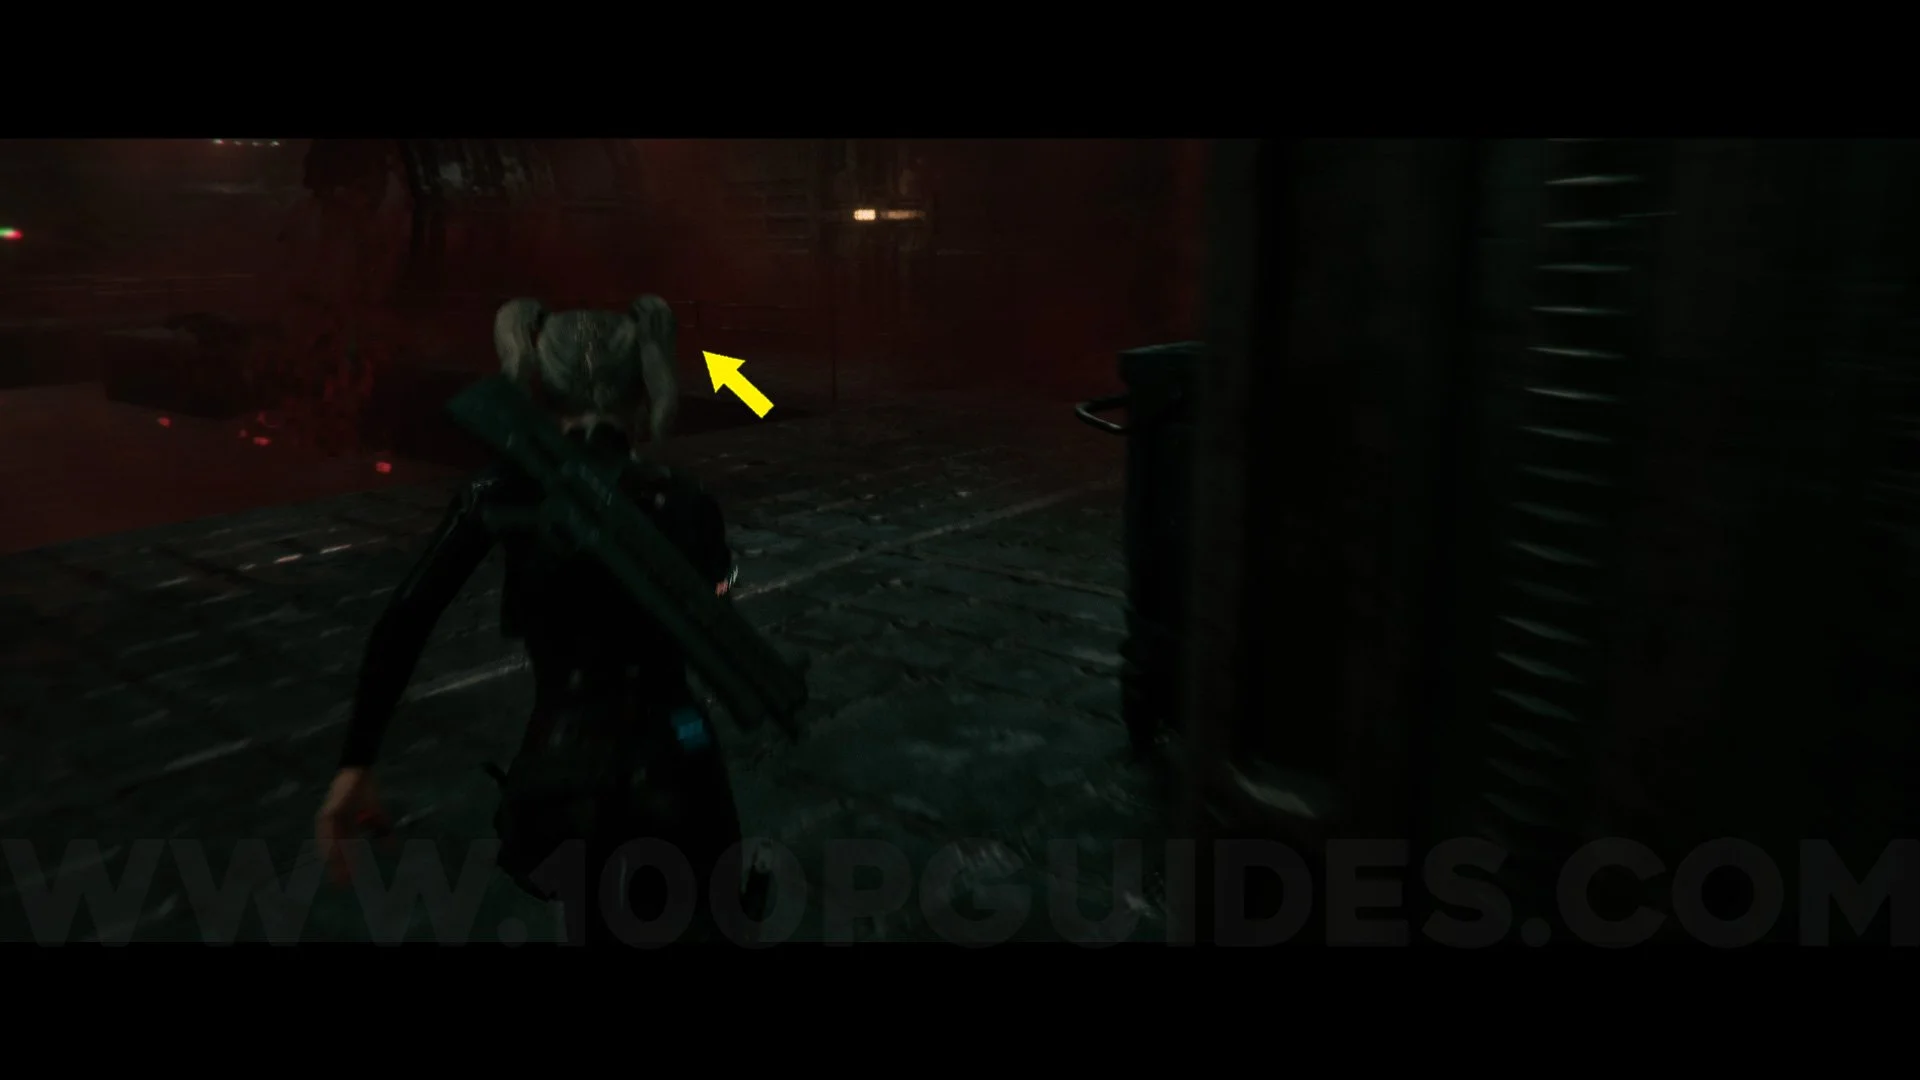
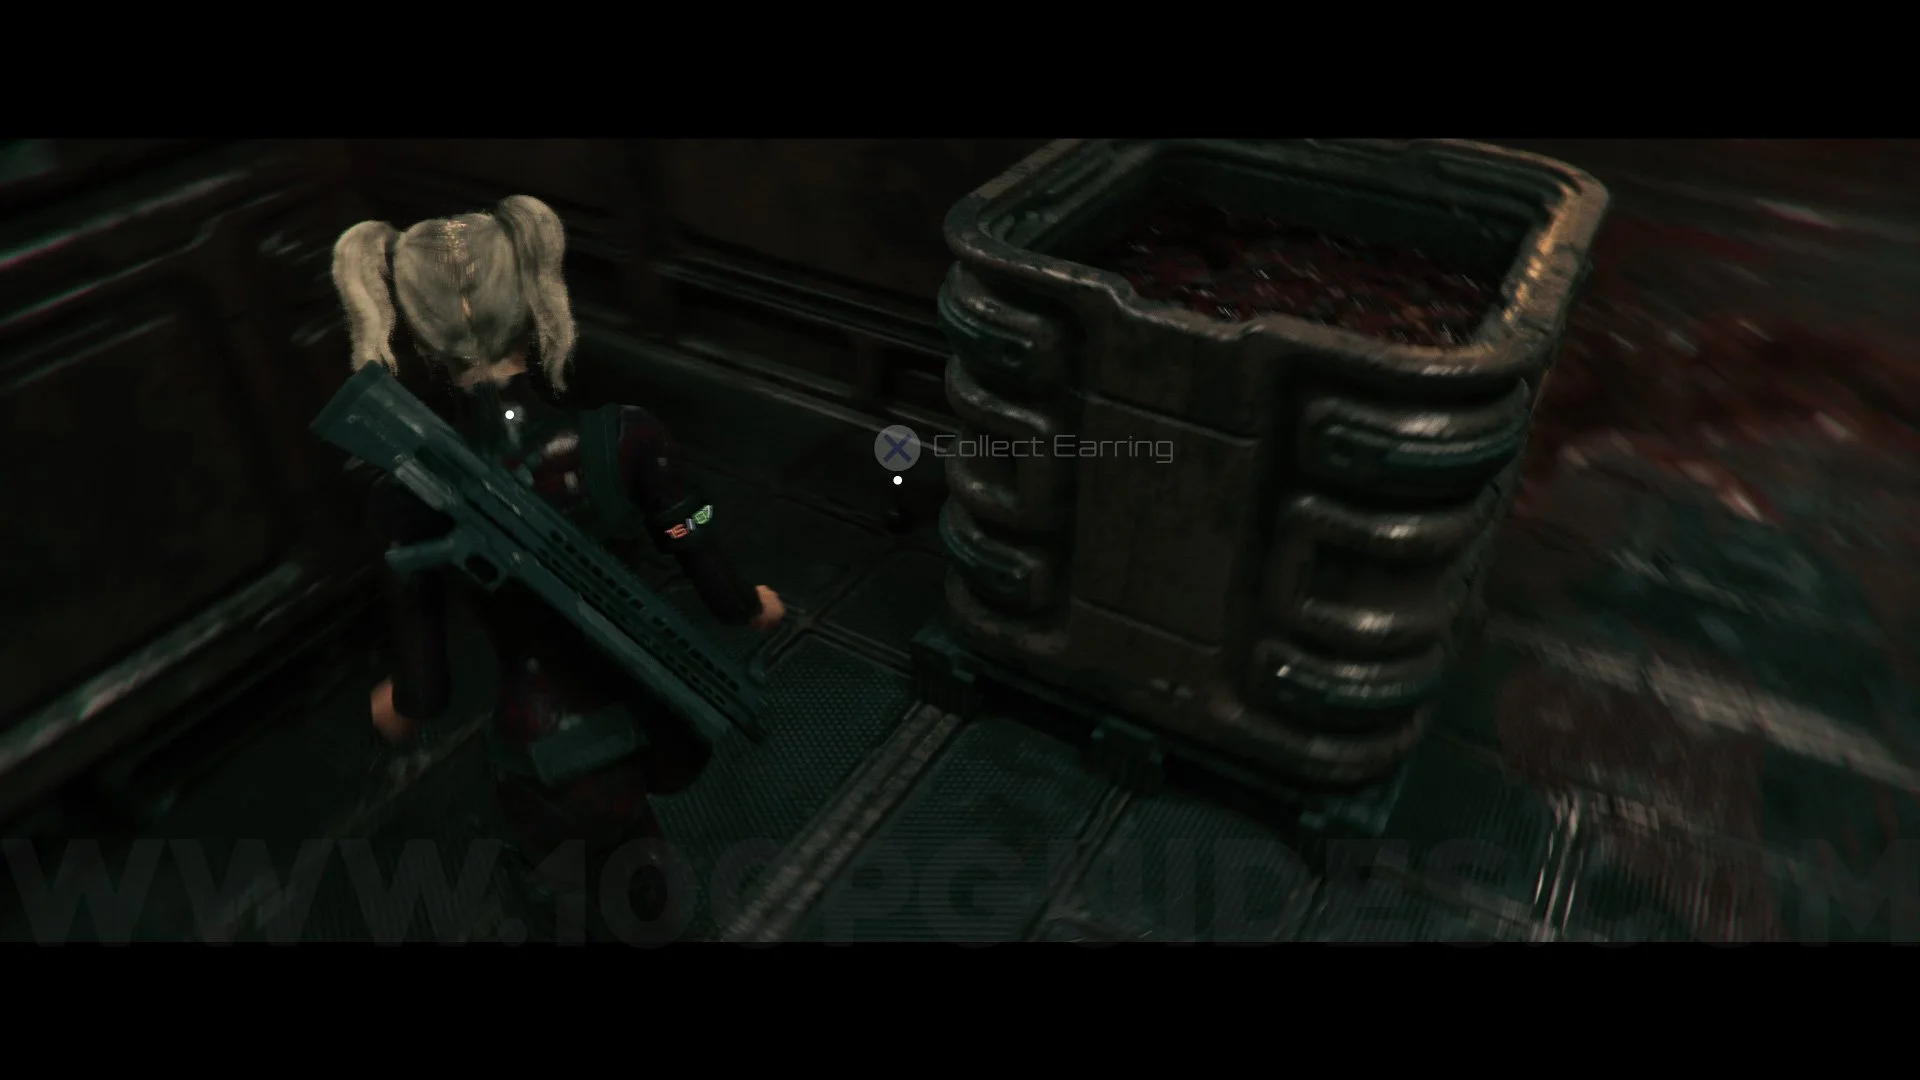
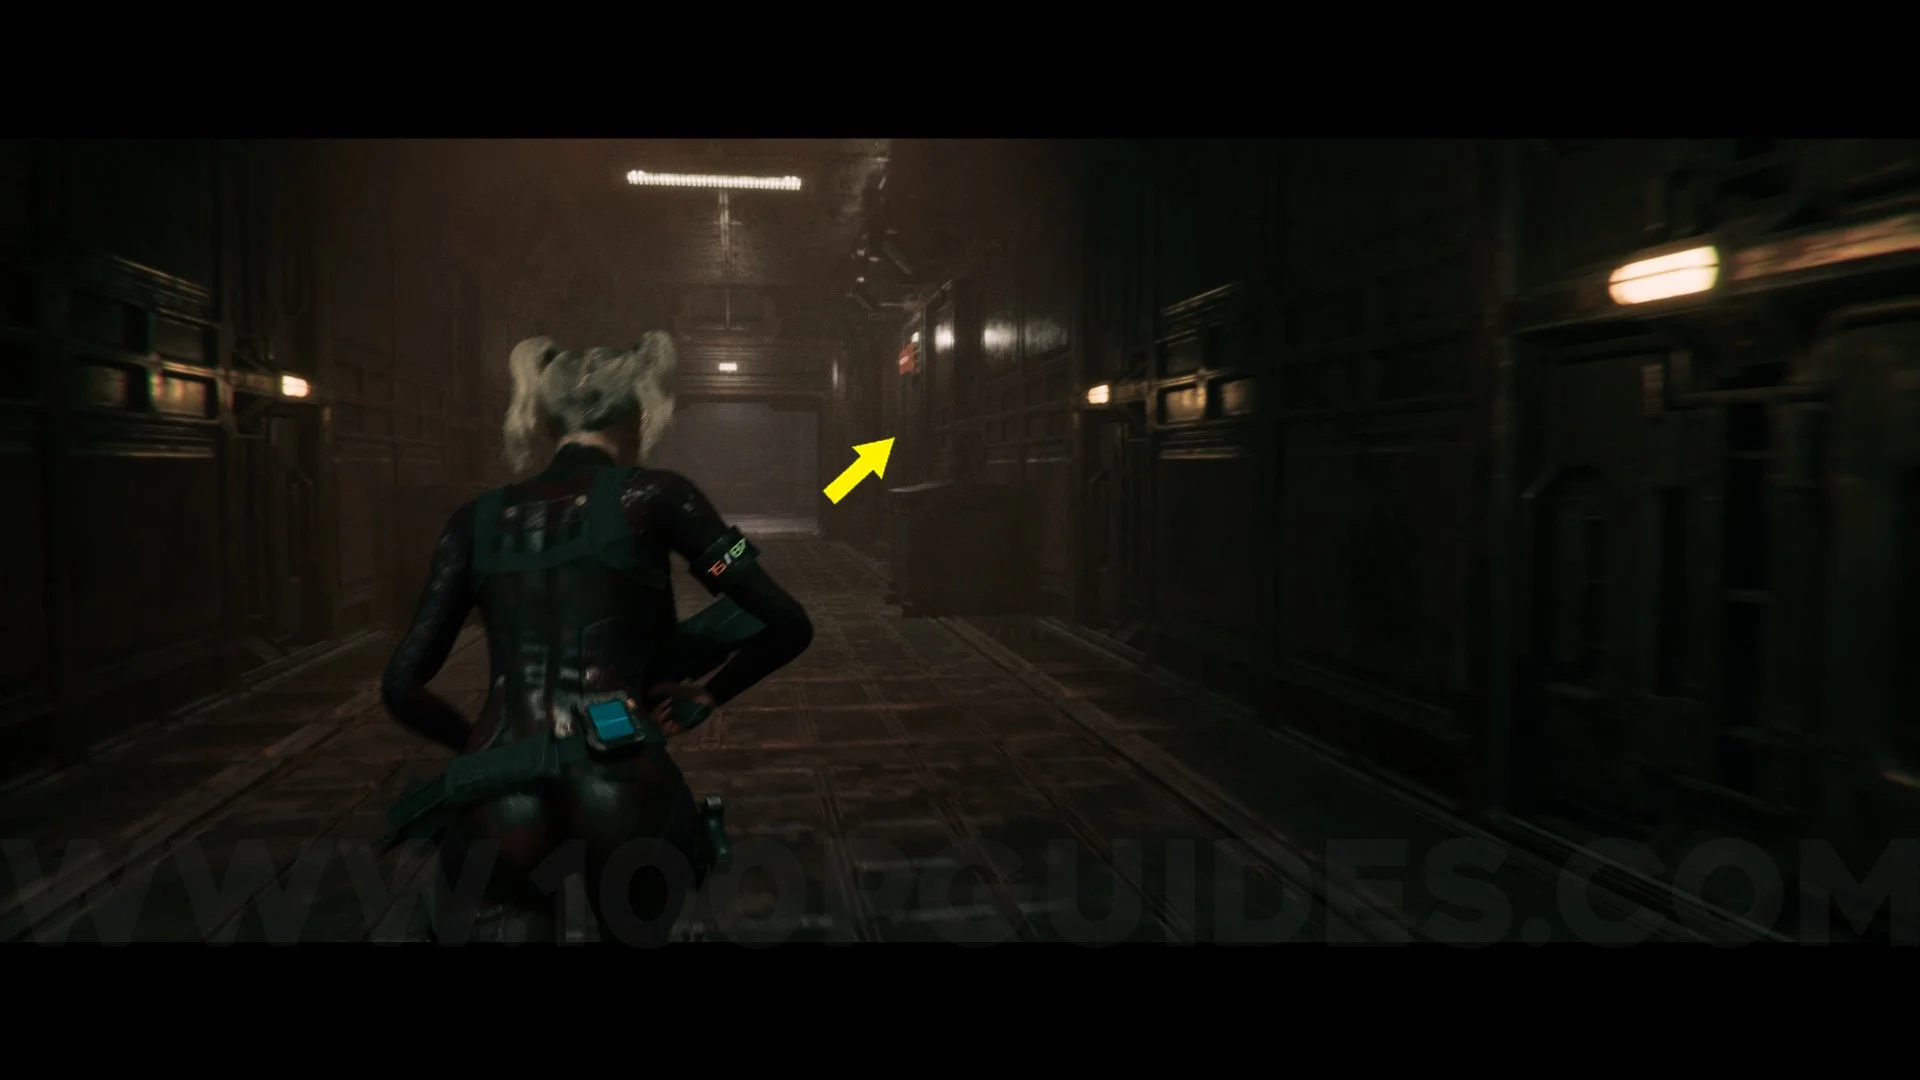
Earring #1. When you arrive at Maternity Ward Level 2, enter the kitchen and then go through the other door on the right, and you will find the earring on the shelf.
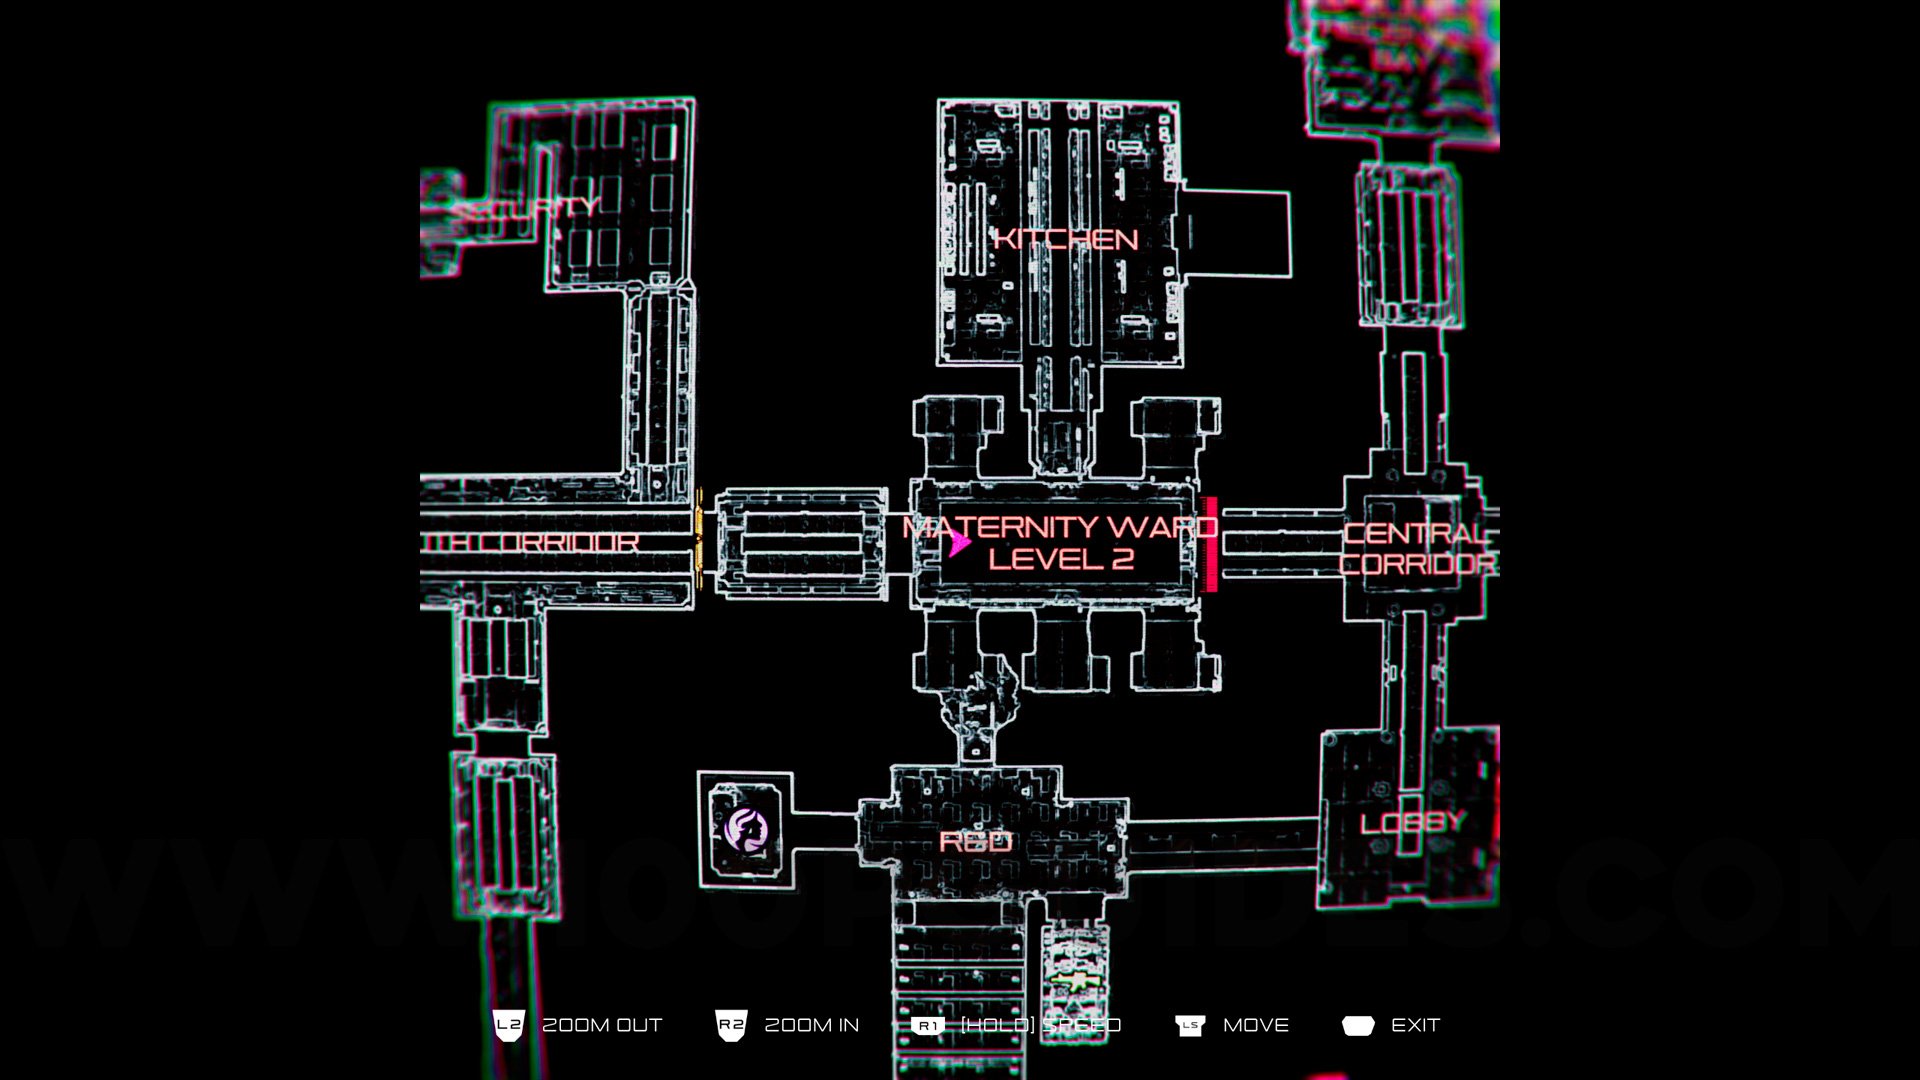
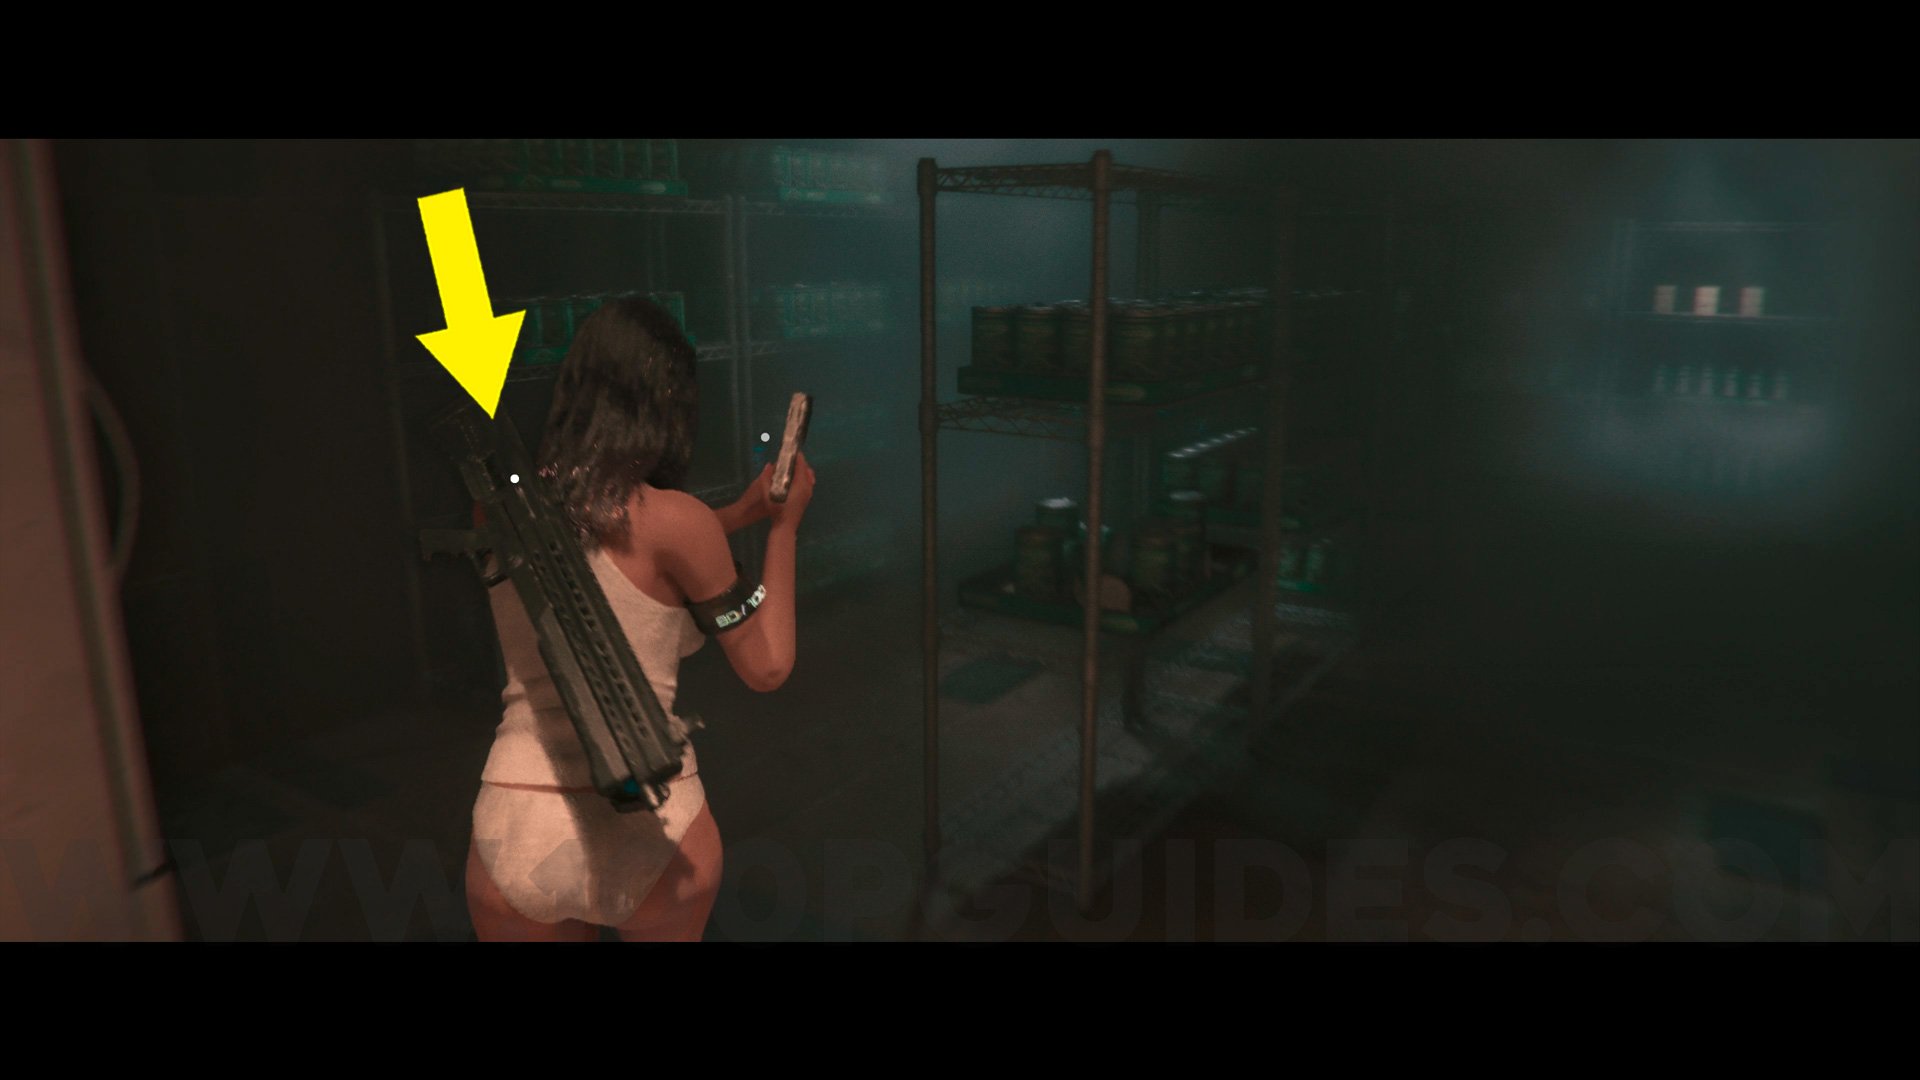
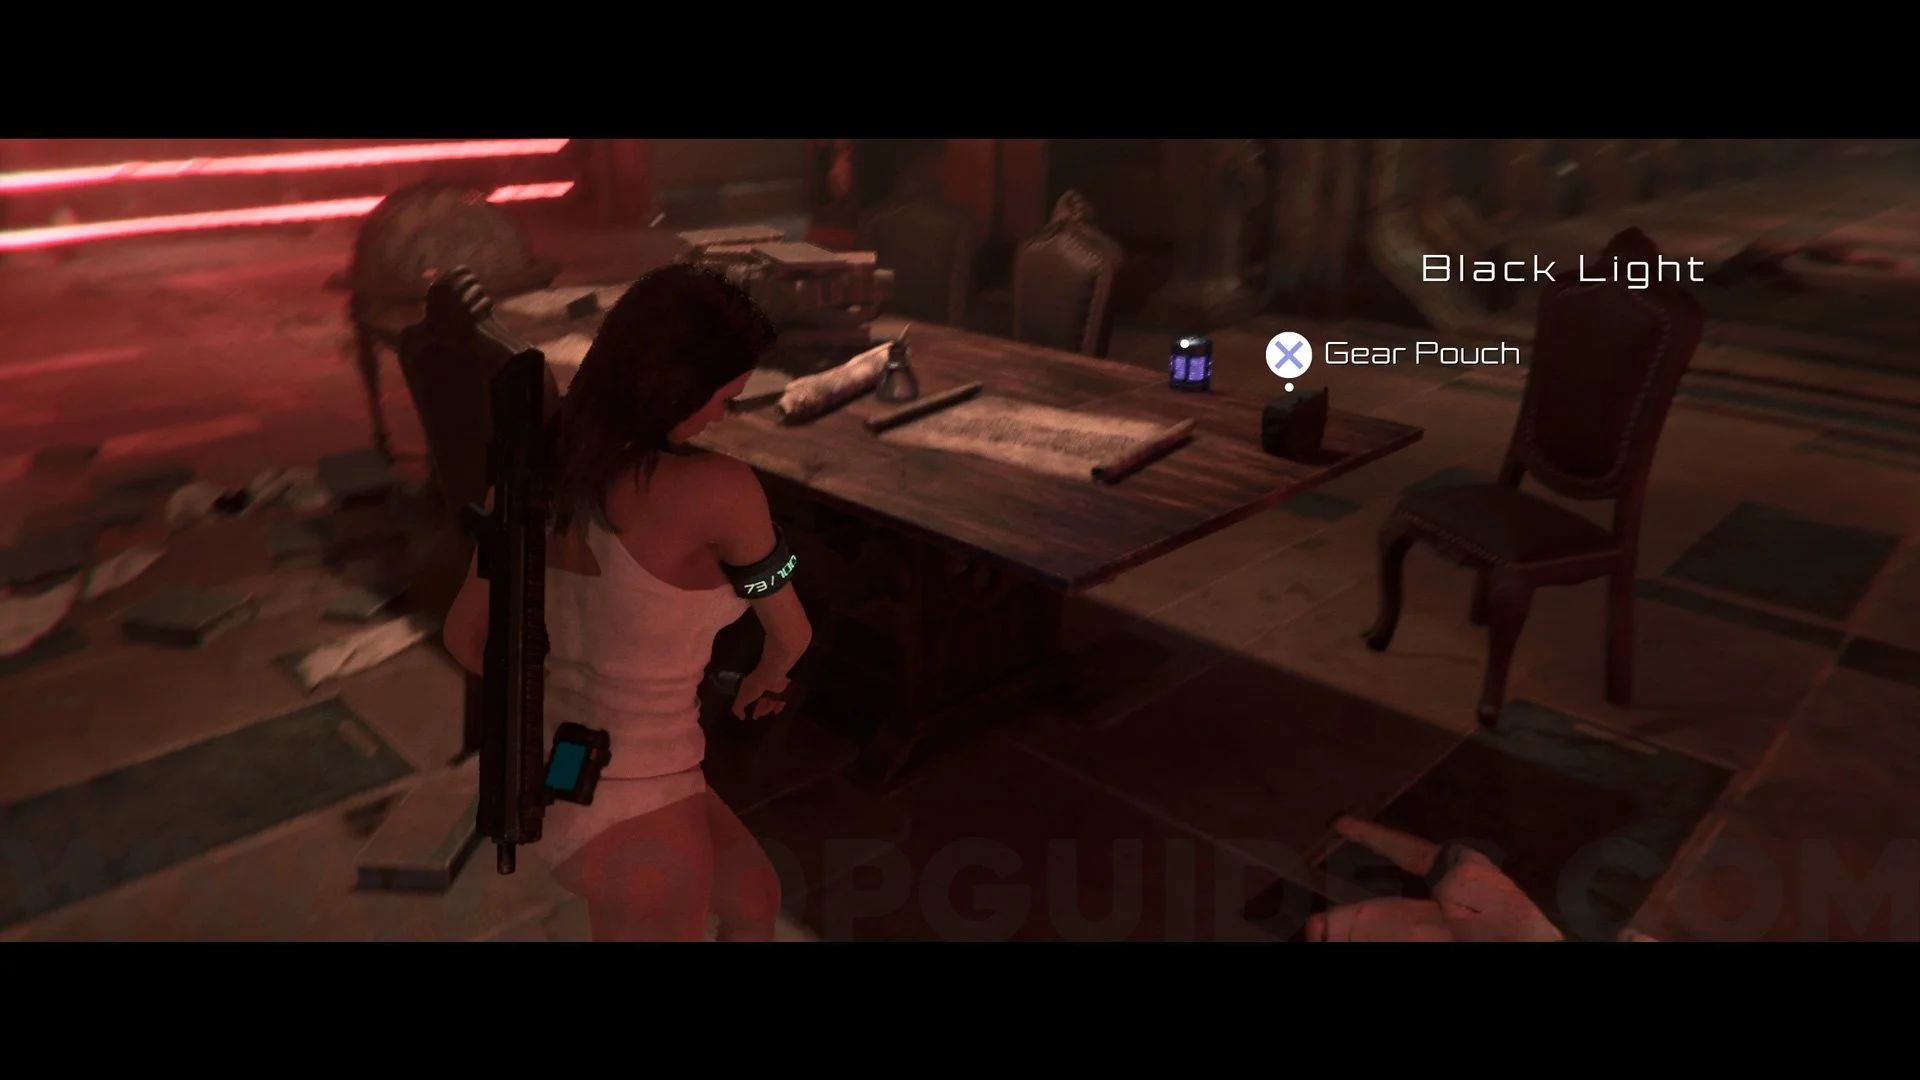
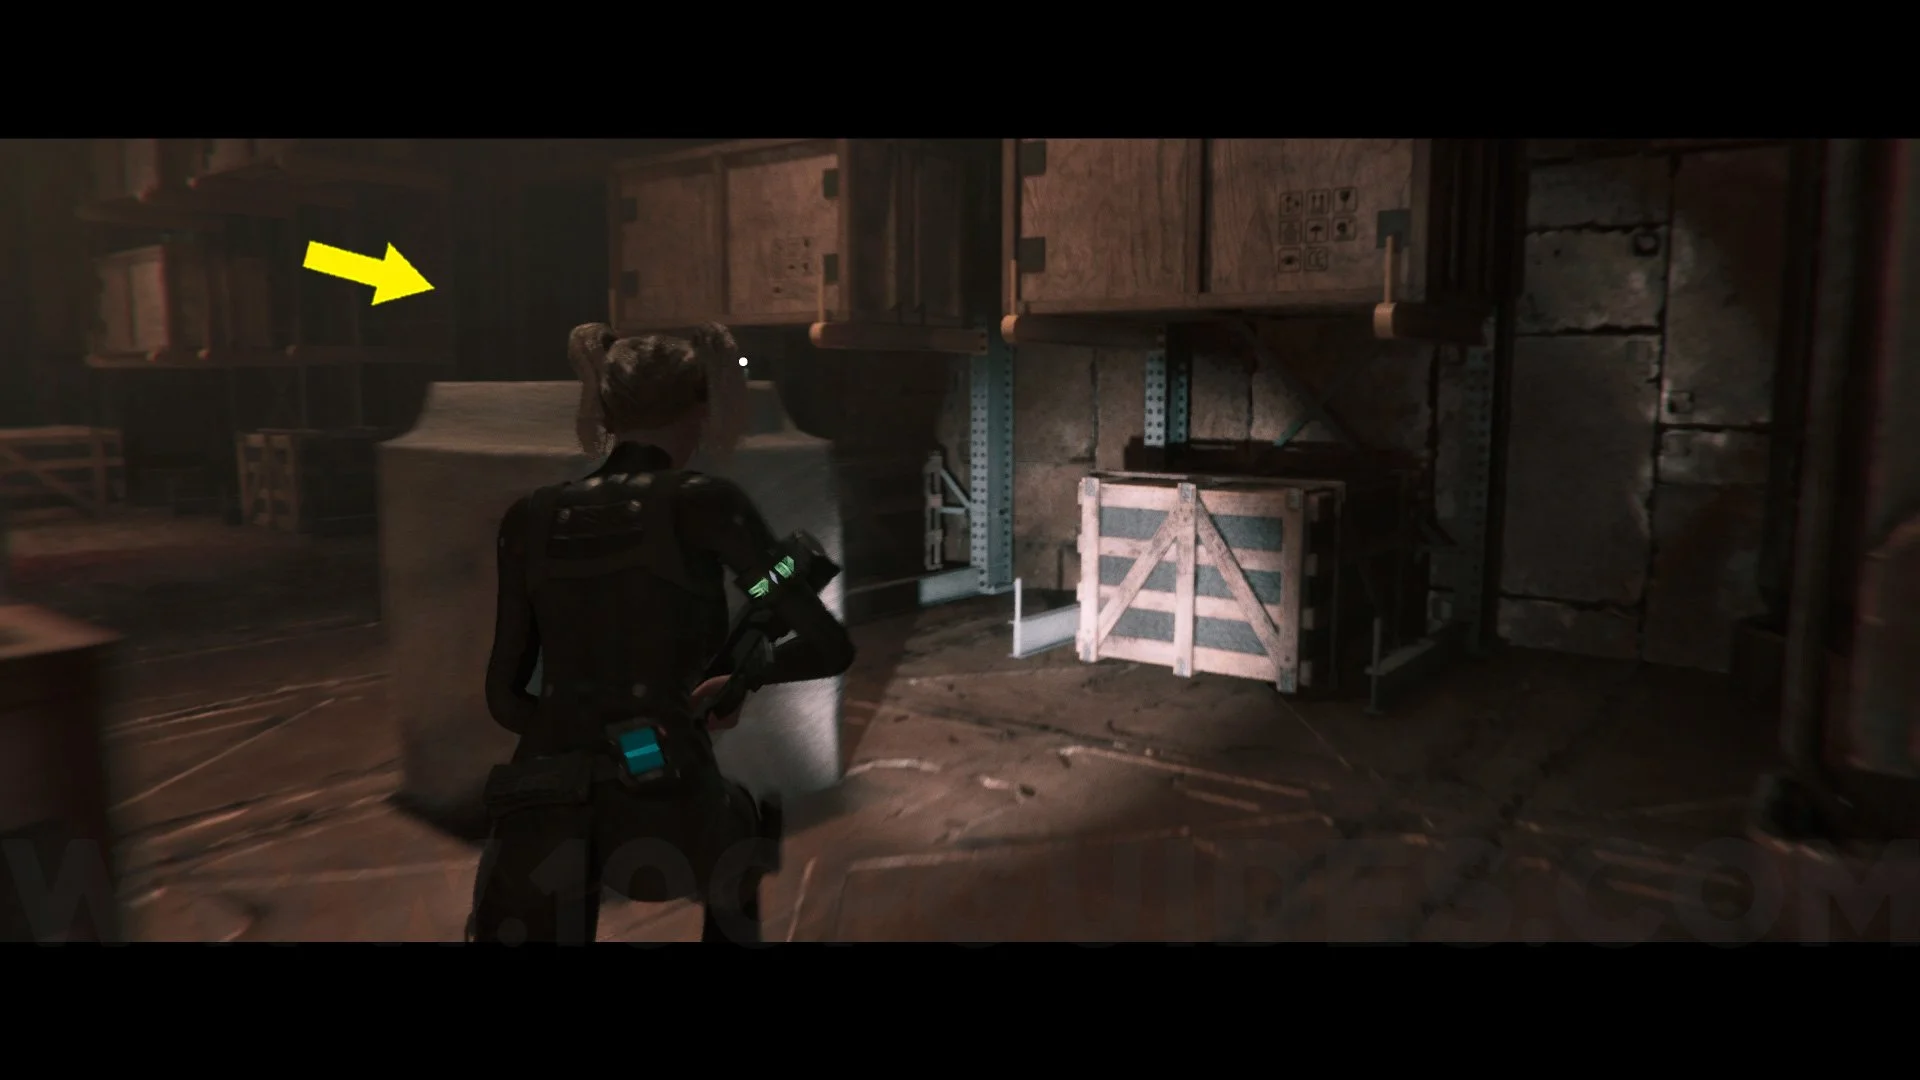
Gear Pouch #1. Return to Maternity Ward Level 2 and now take a right through the rubble, and this Gear Pouch will be directly in front of you on the table.
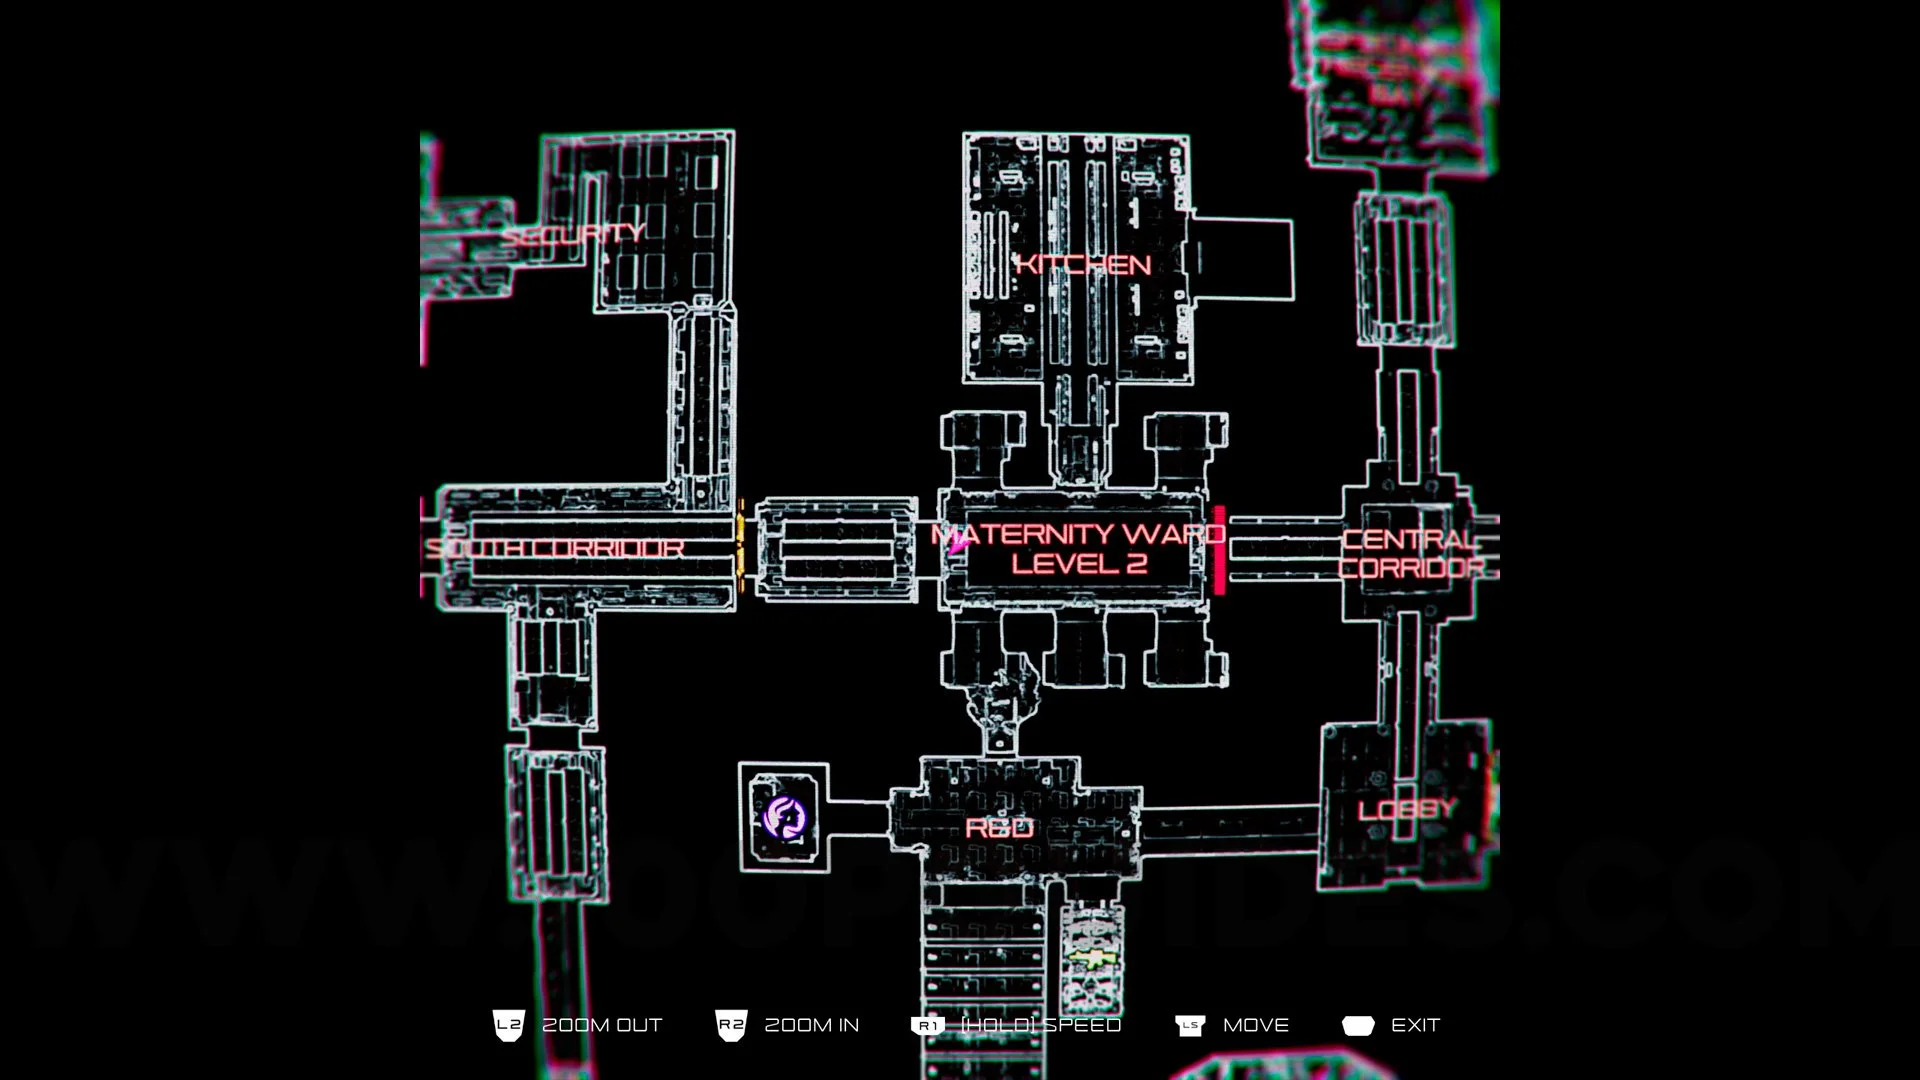
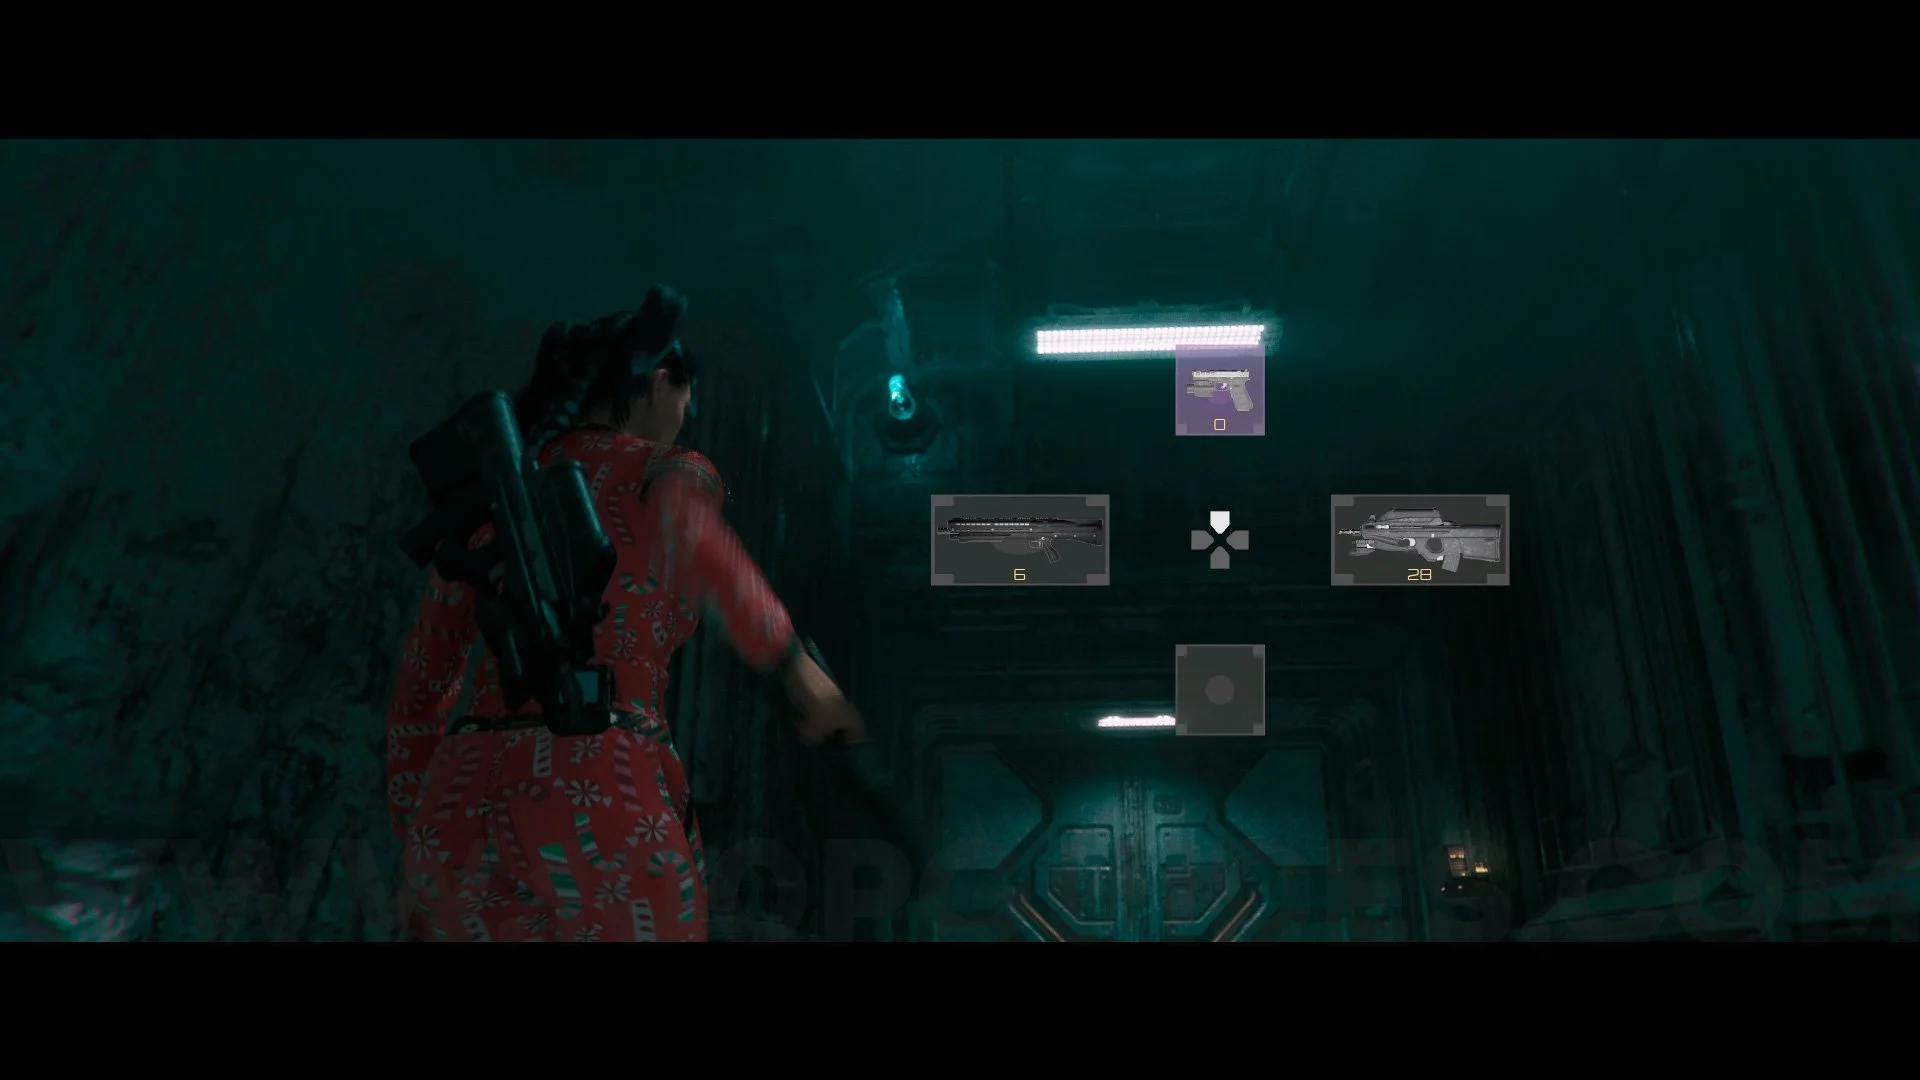
Outfit #2 Smart Suit. In the same area as the Gear Pouch, walk forward and interact with the suit to obtain it. This suit is related to the story.
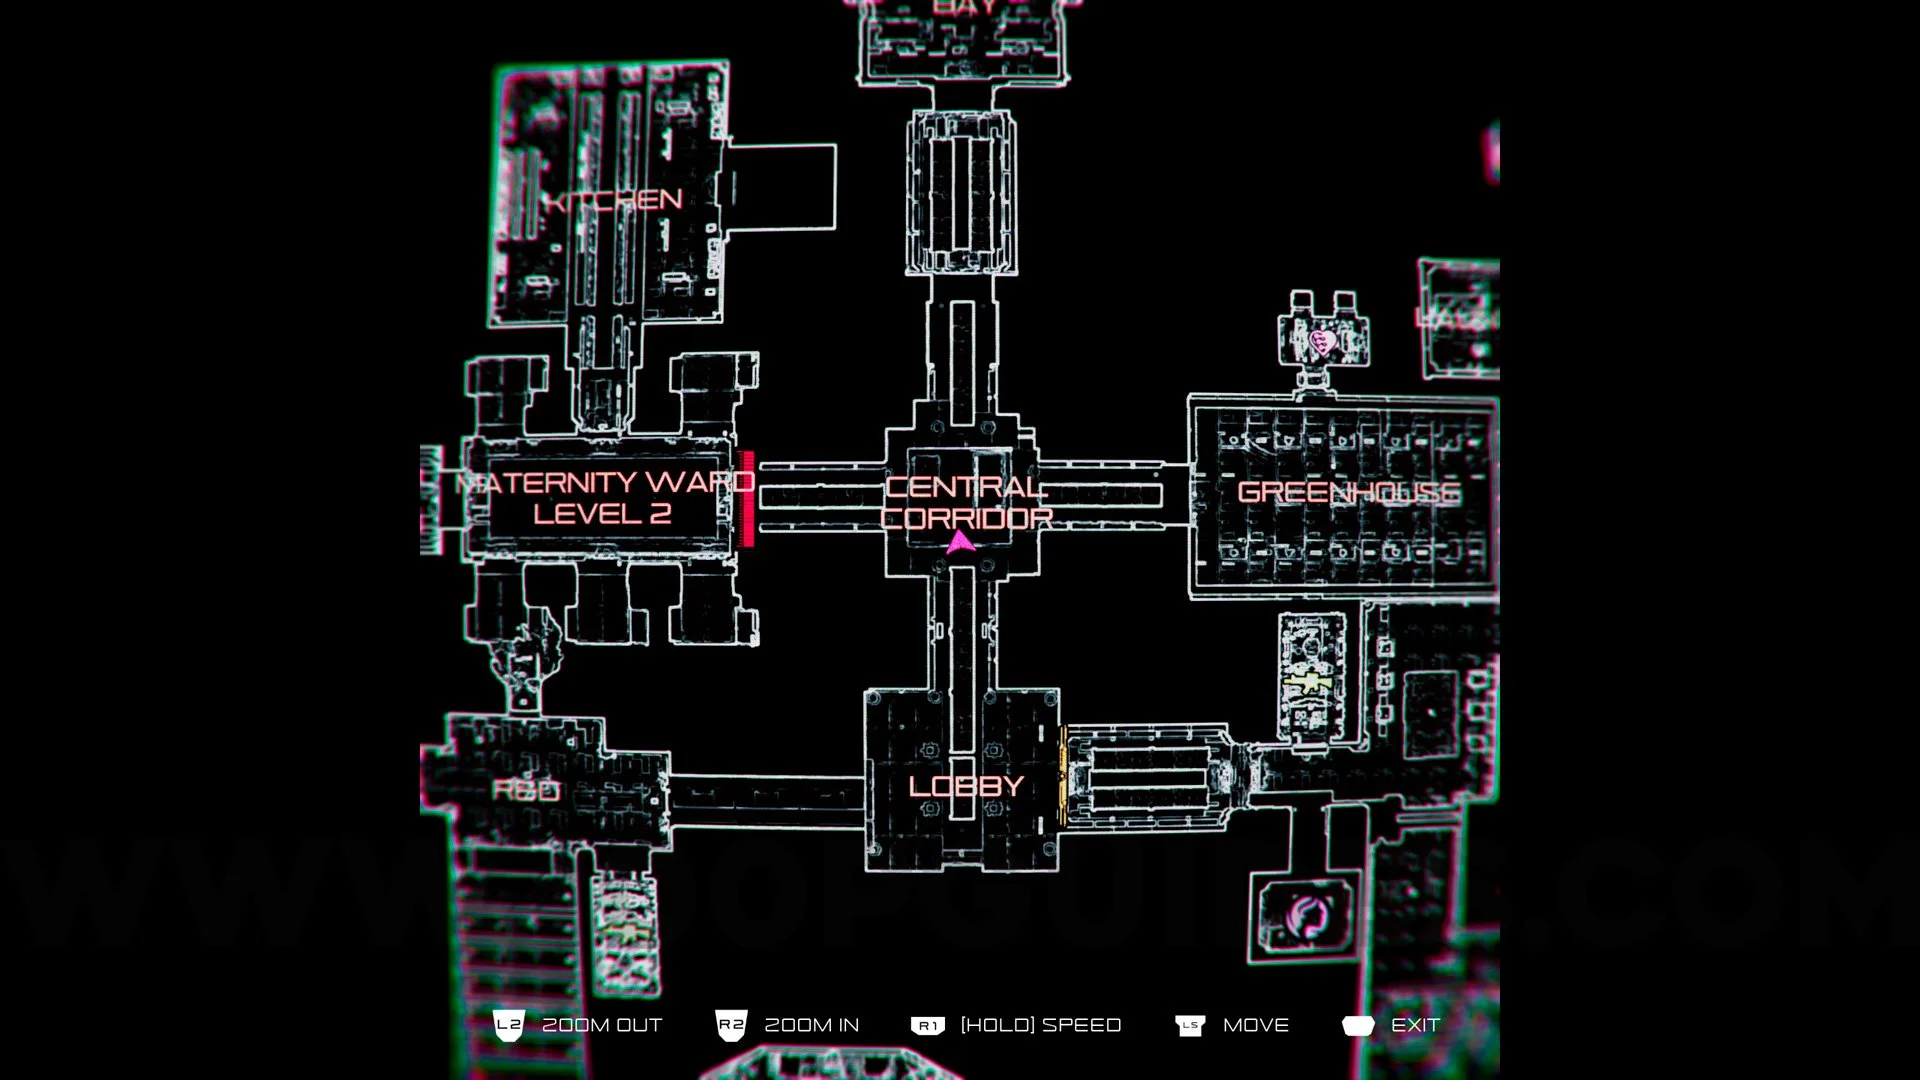
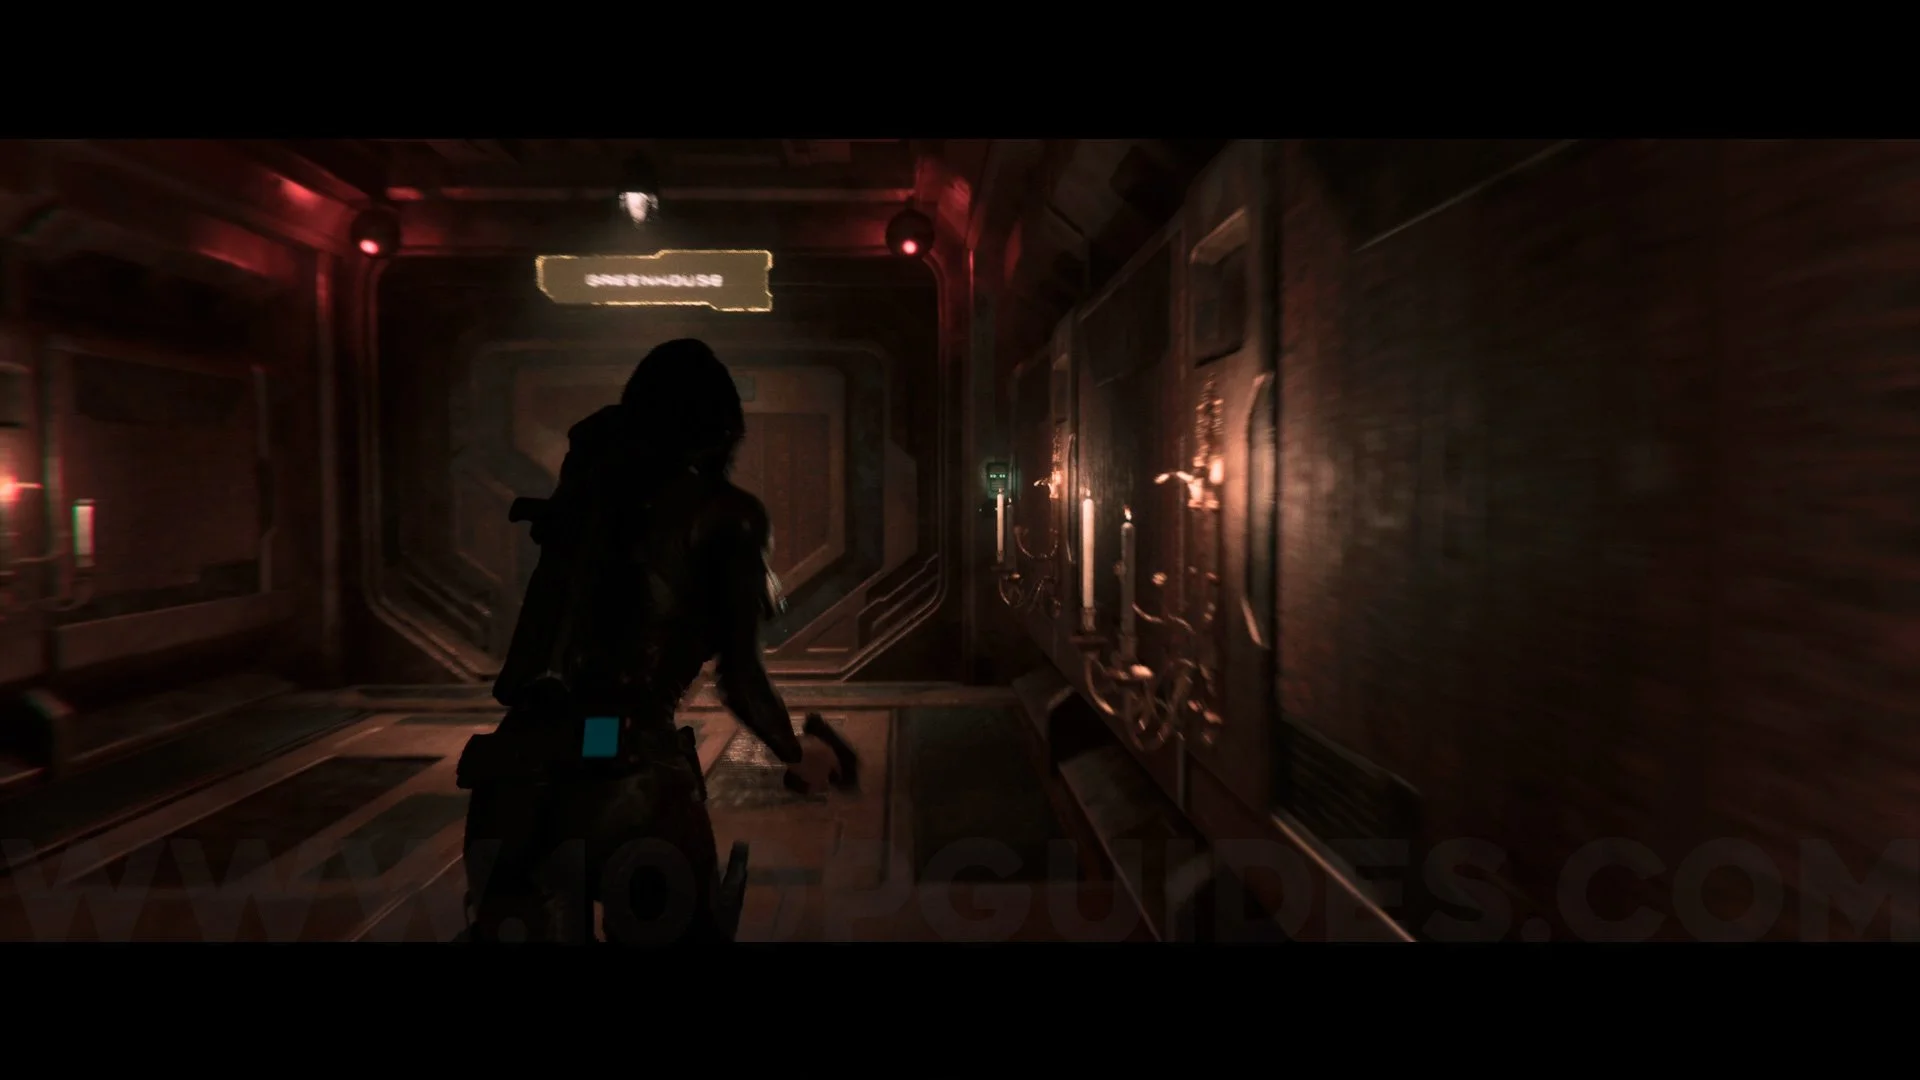
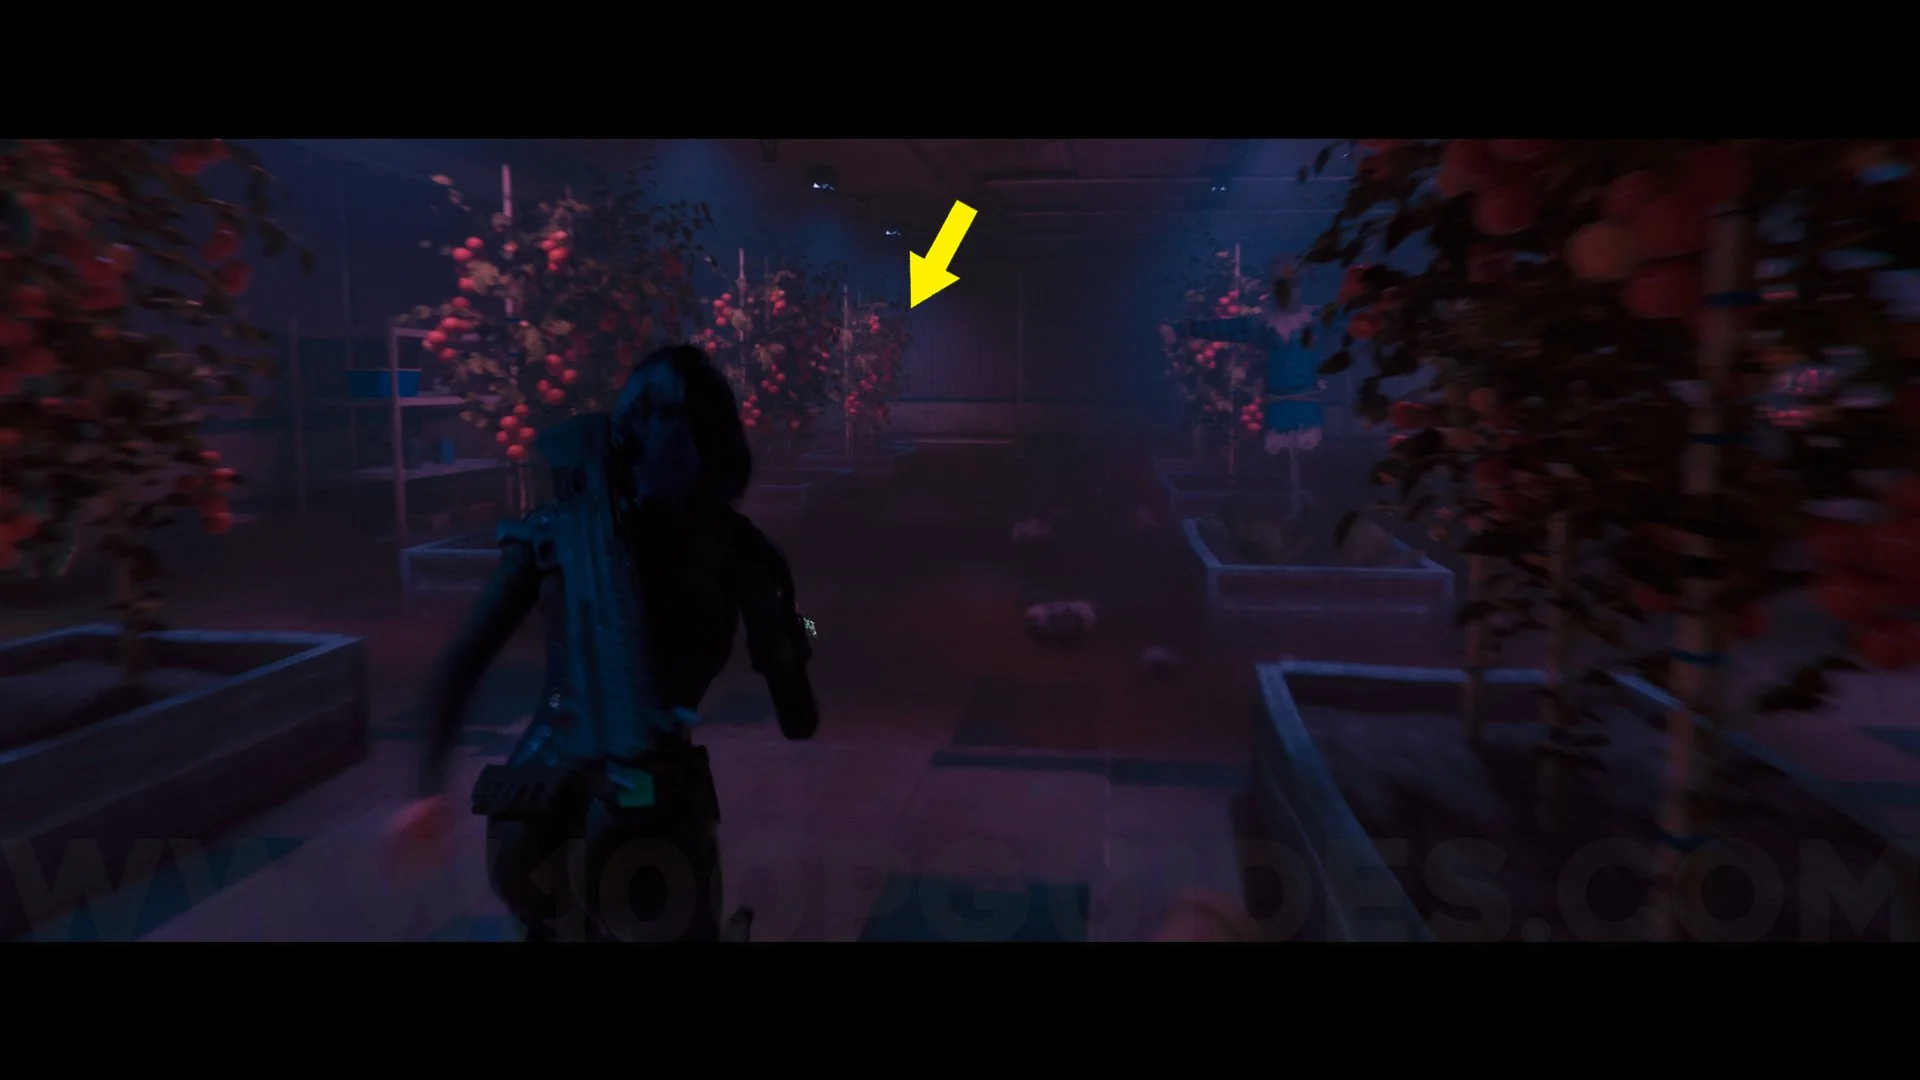
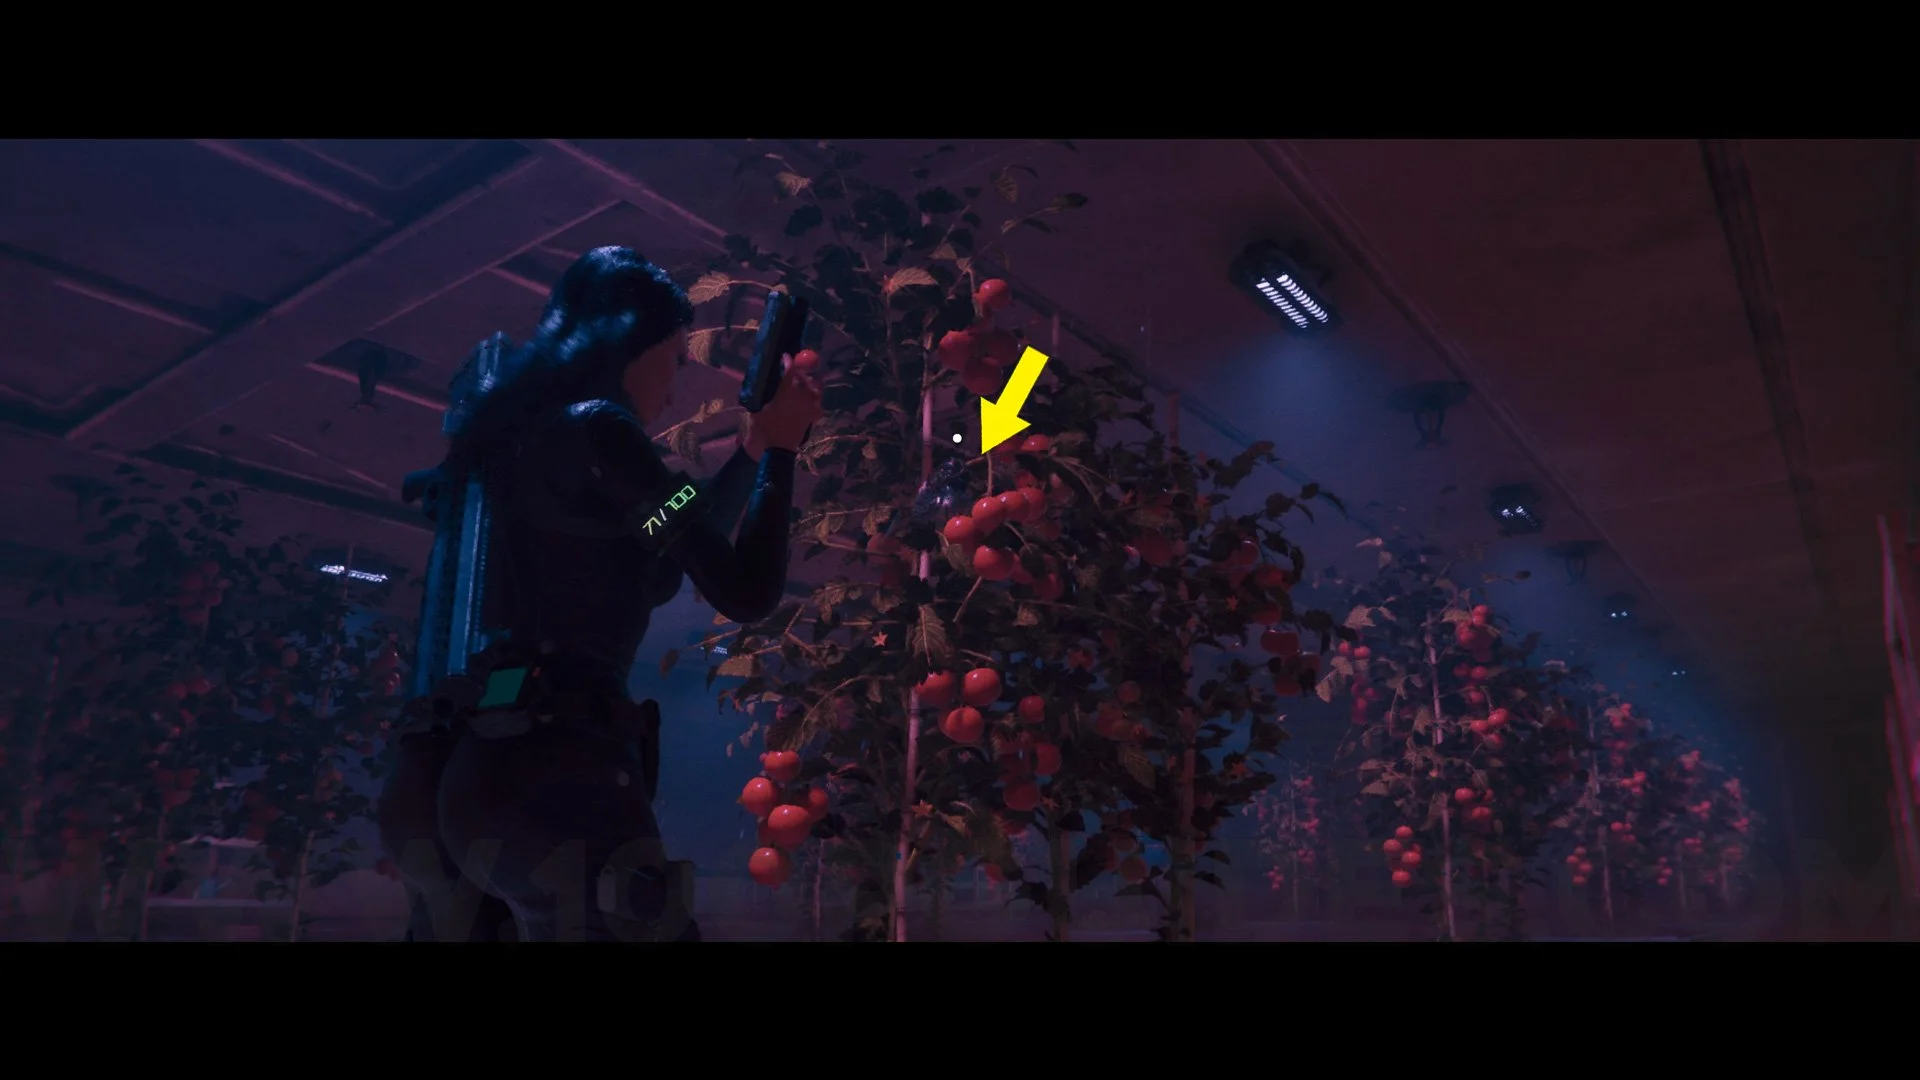
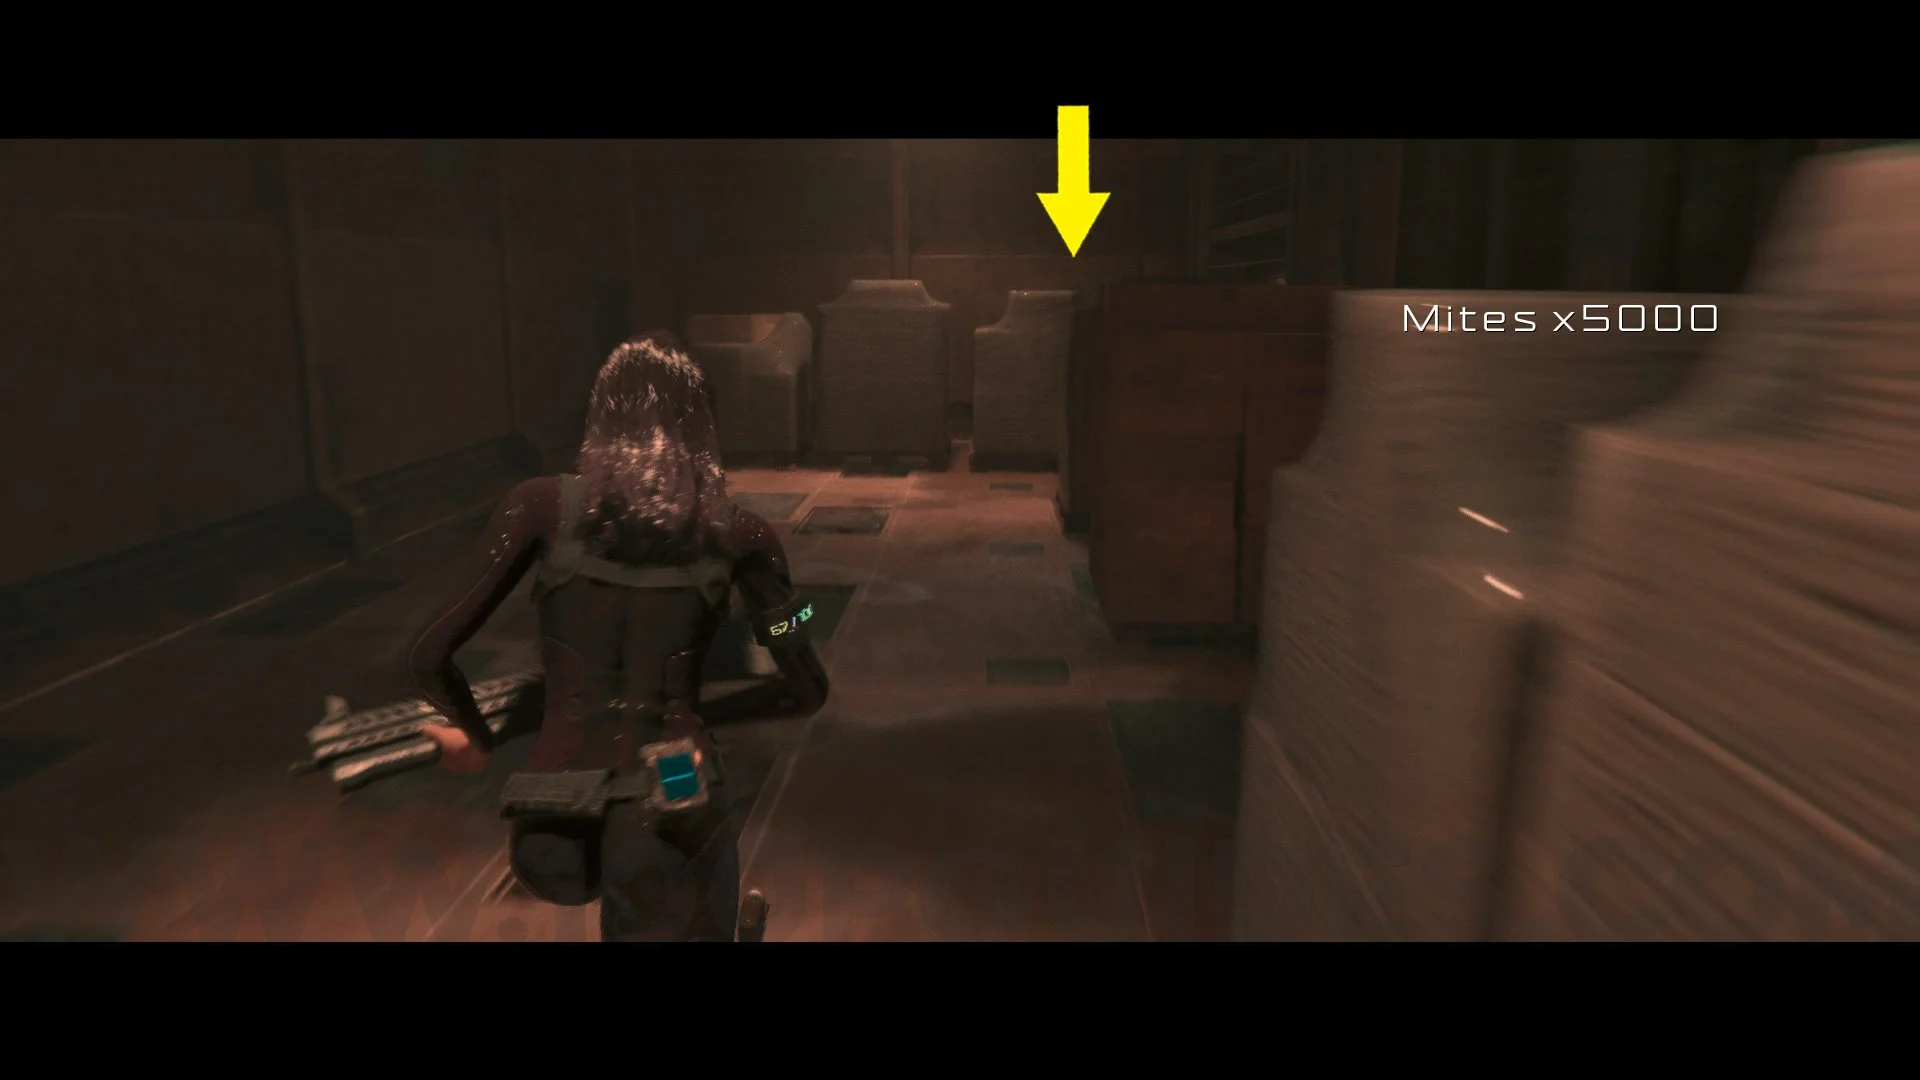
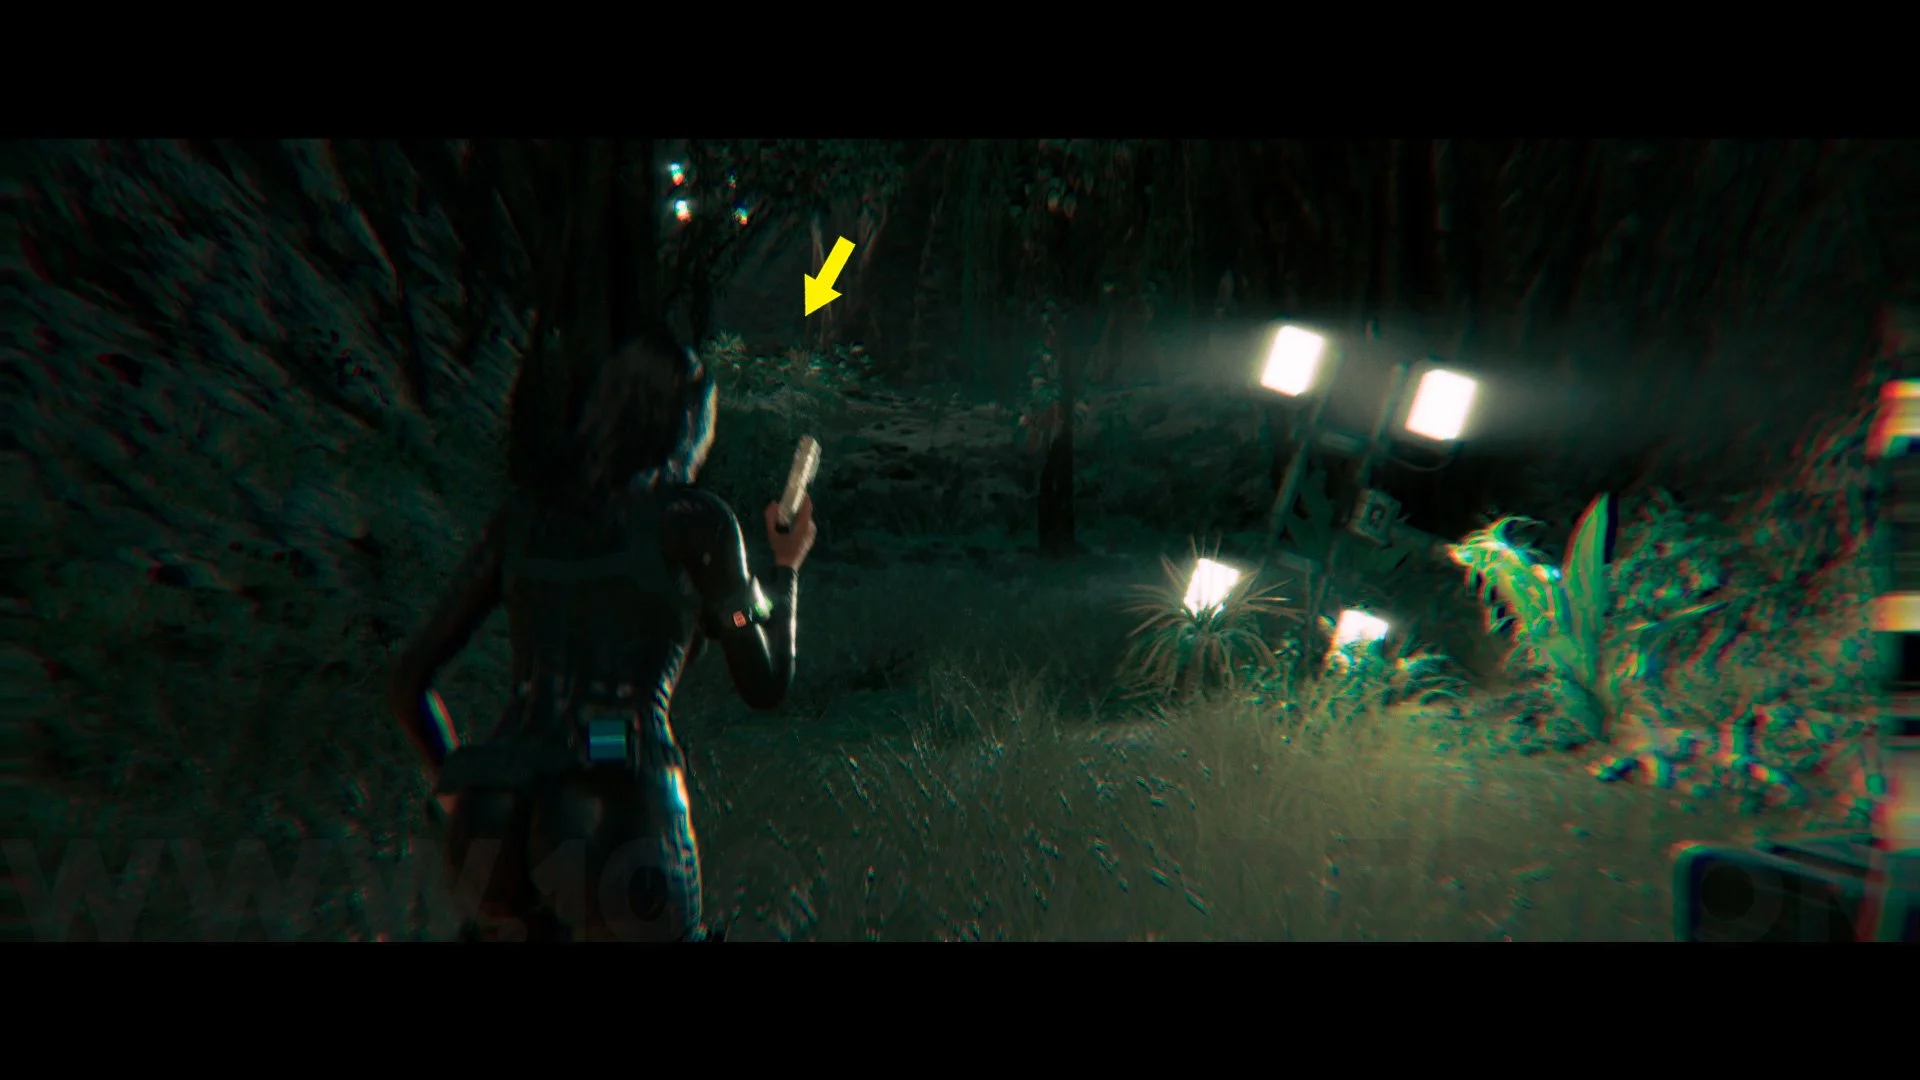
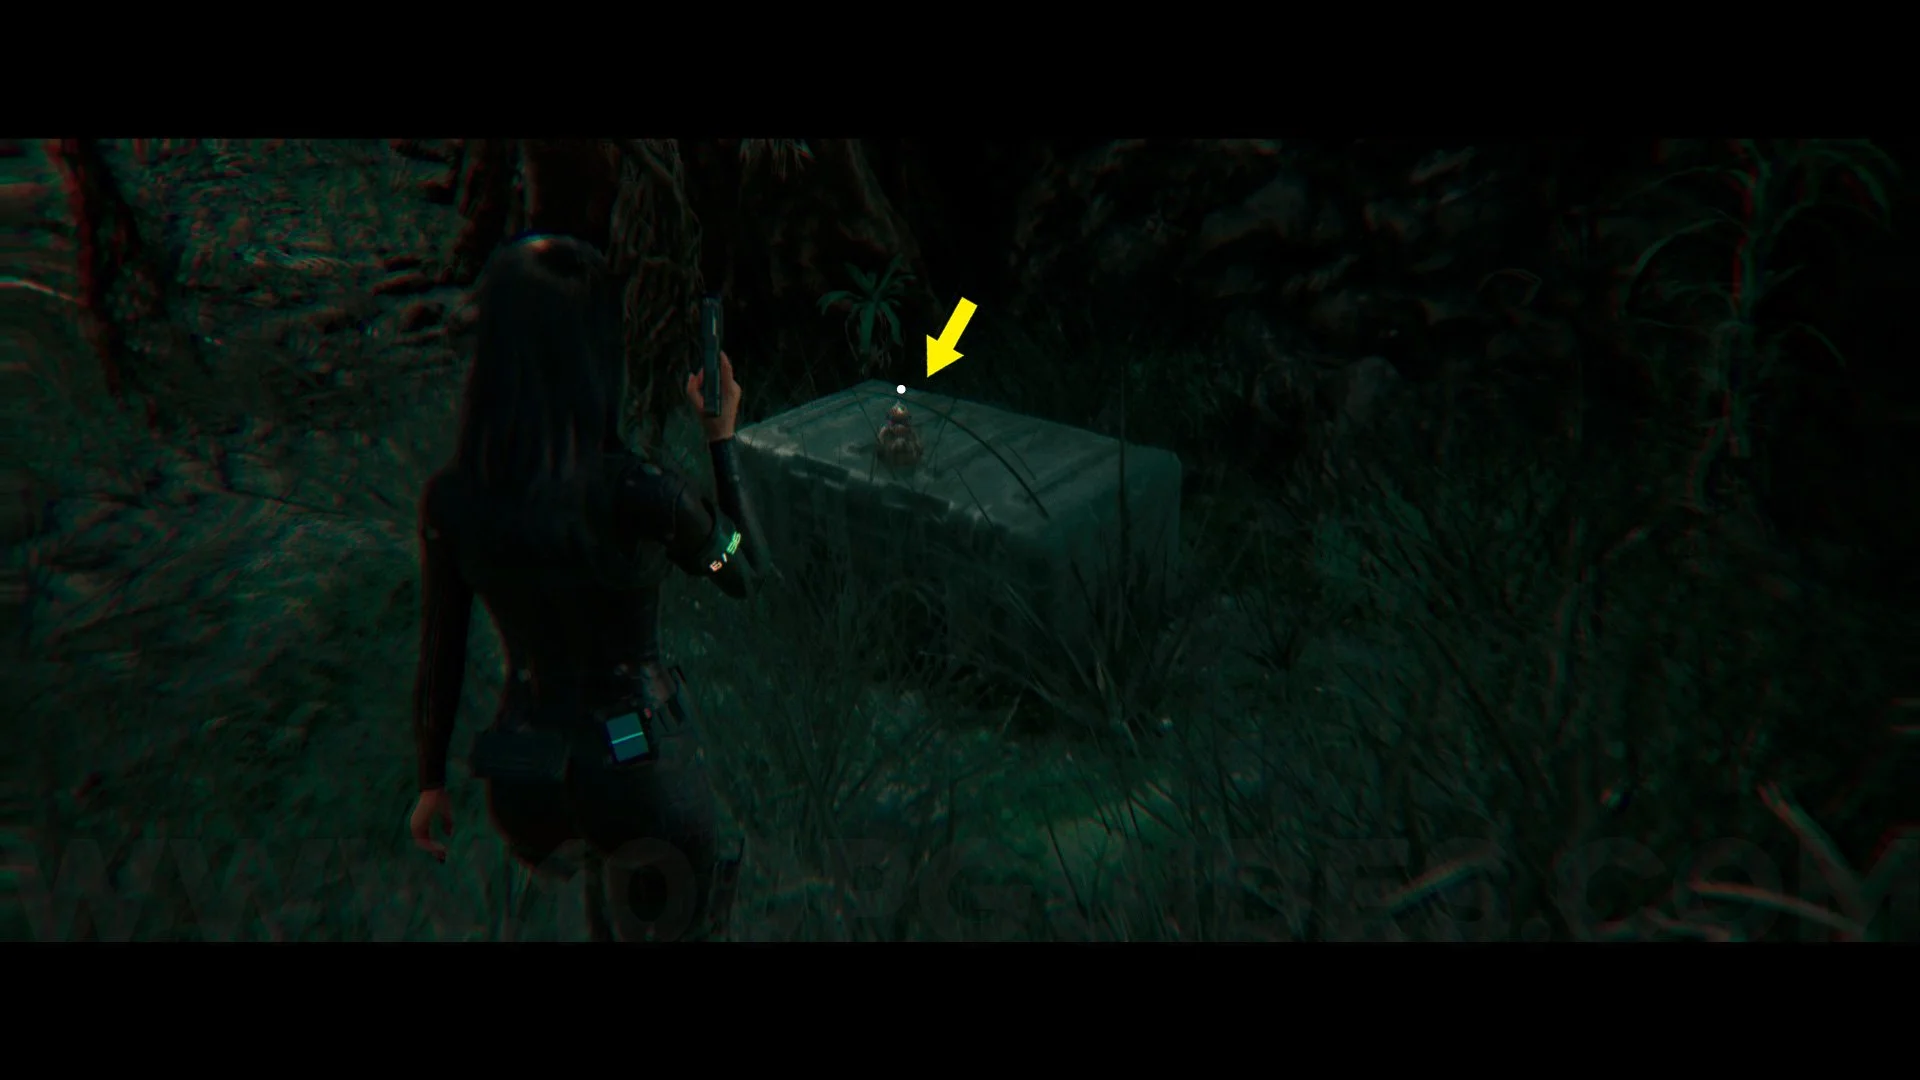
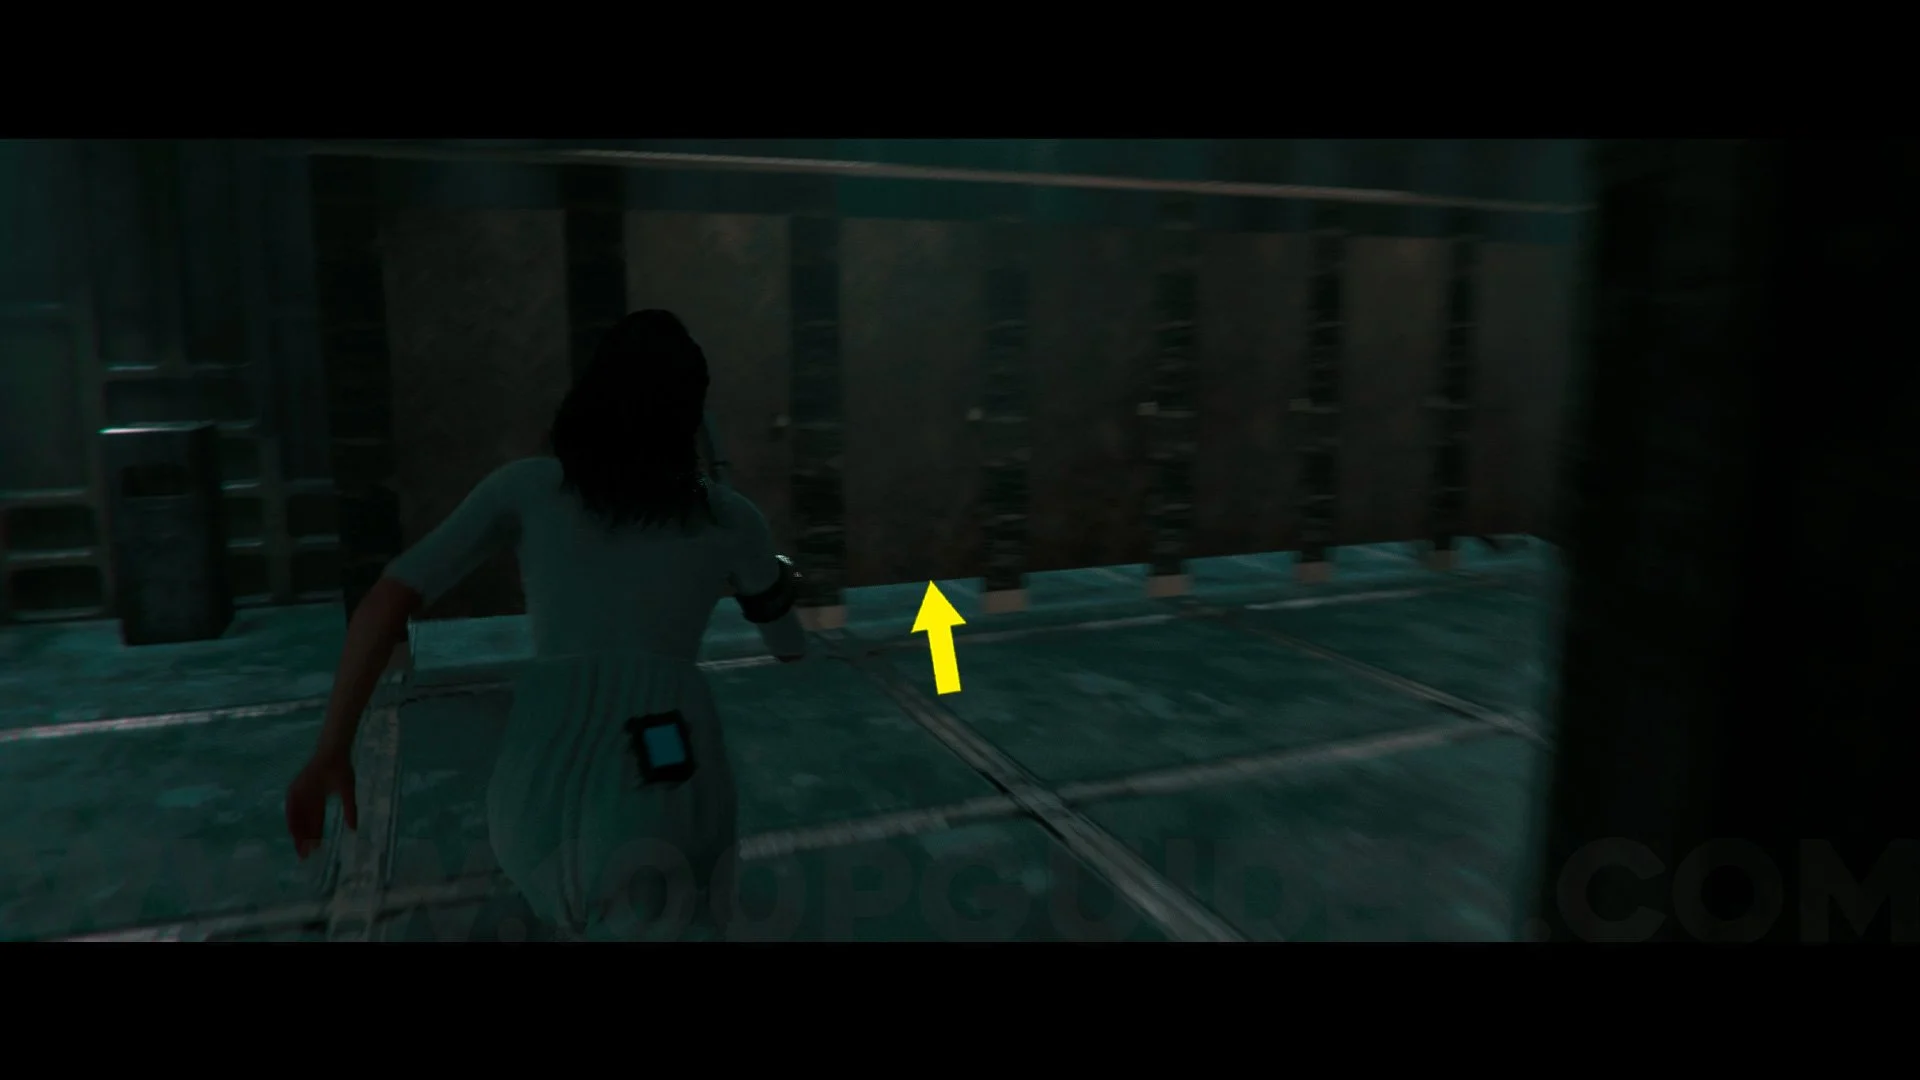
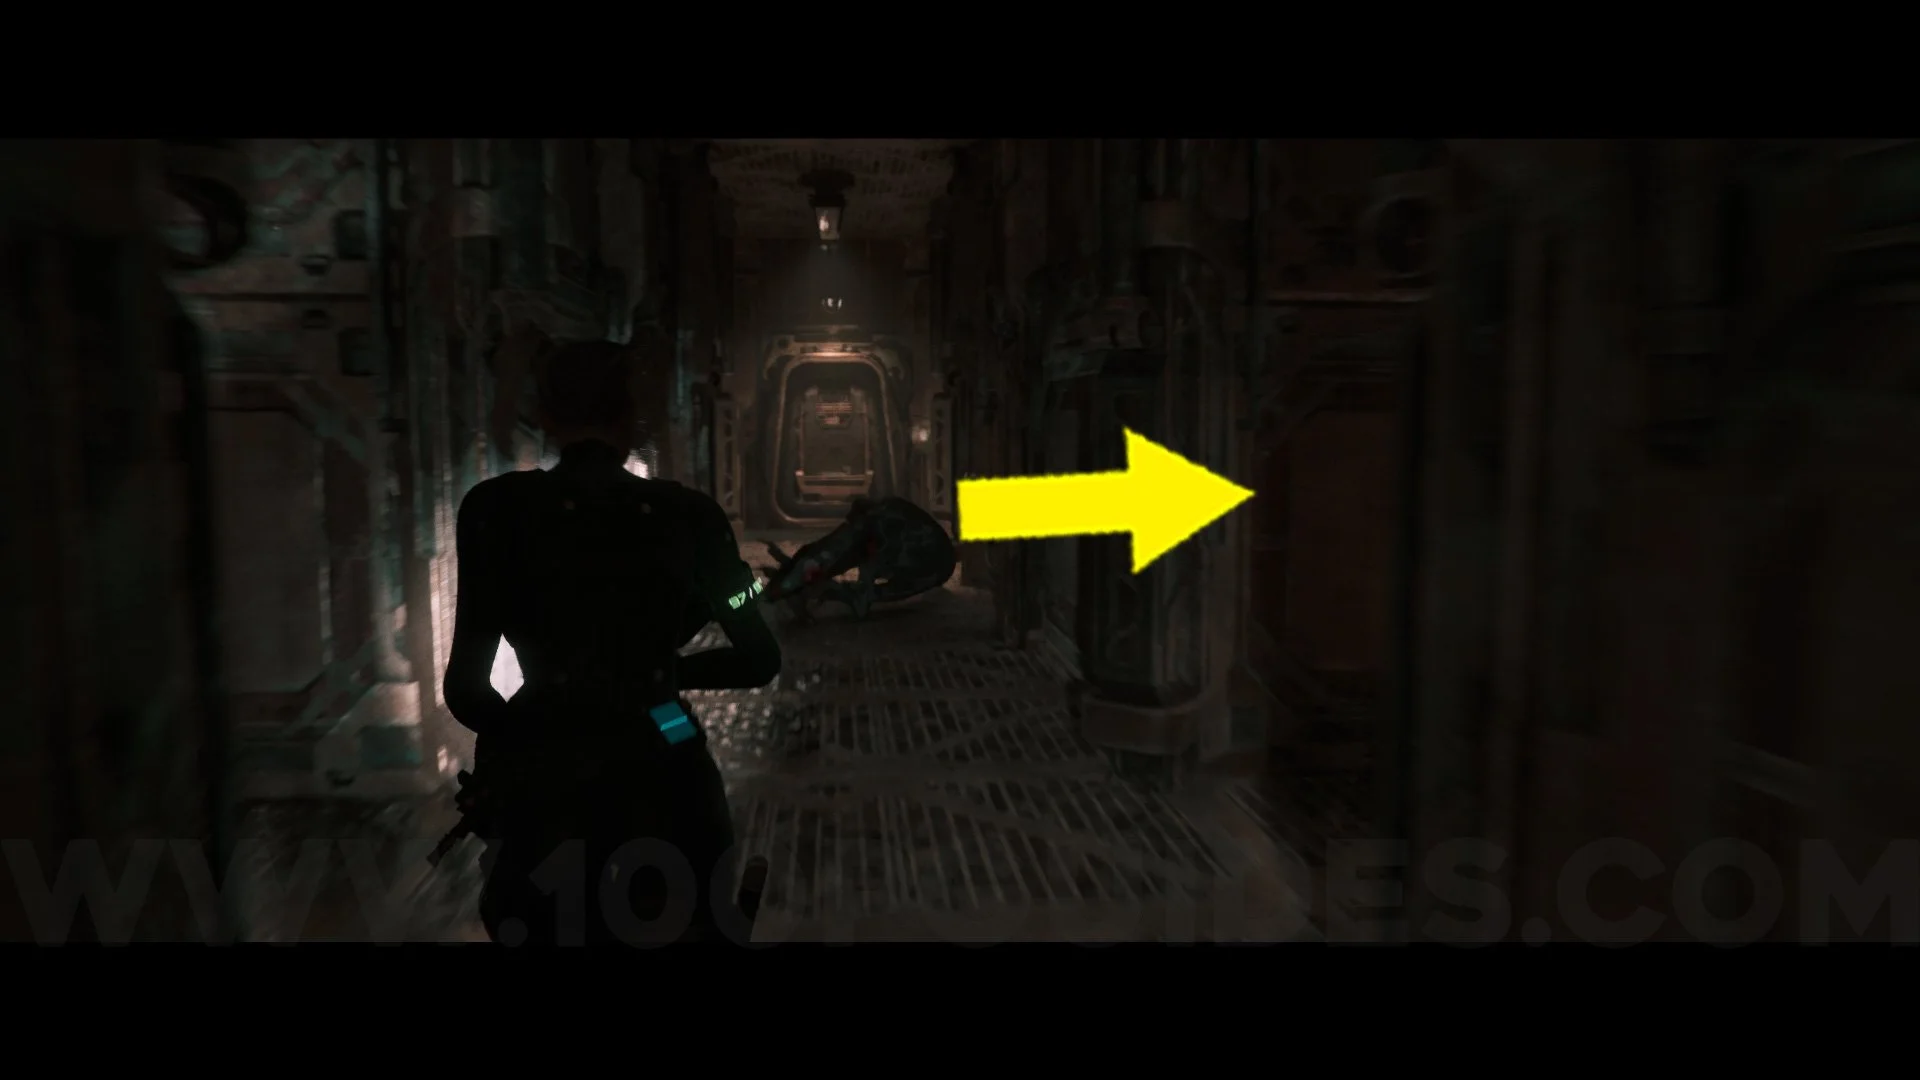
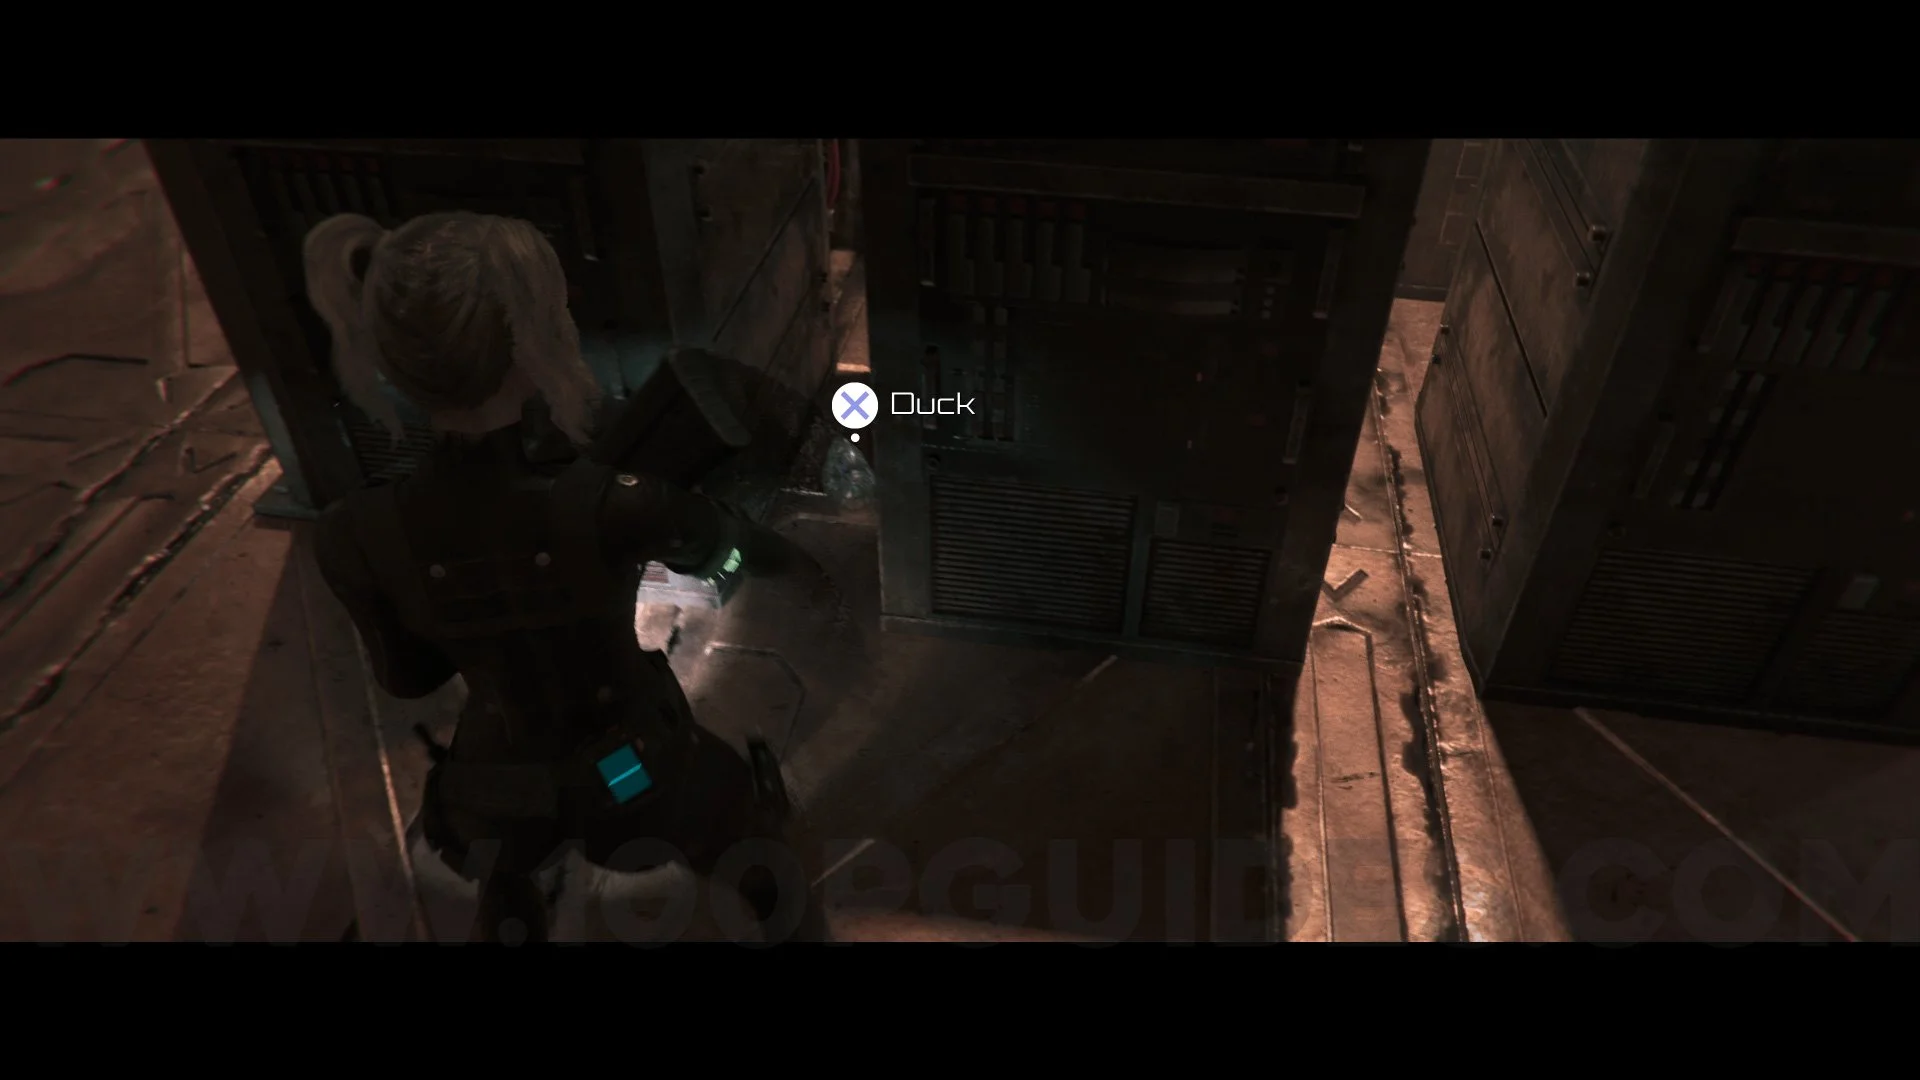
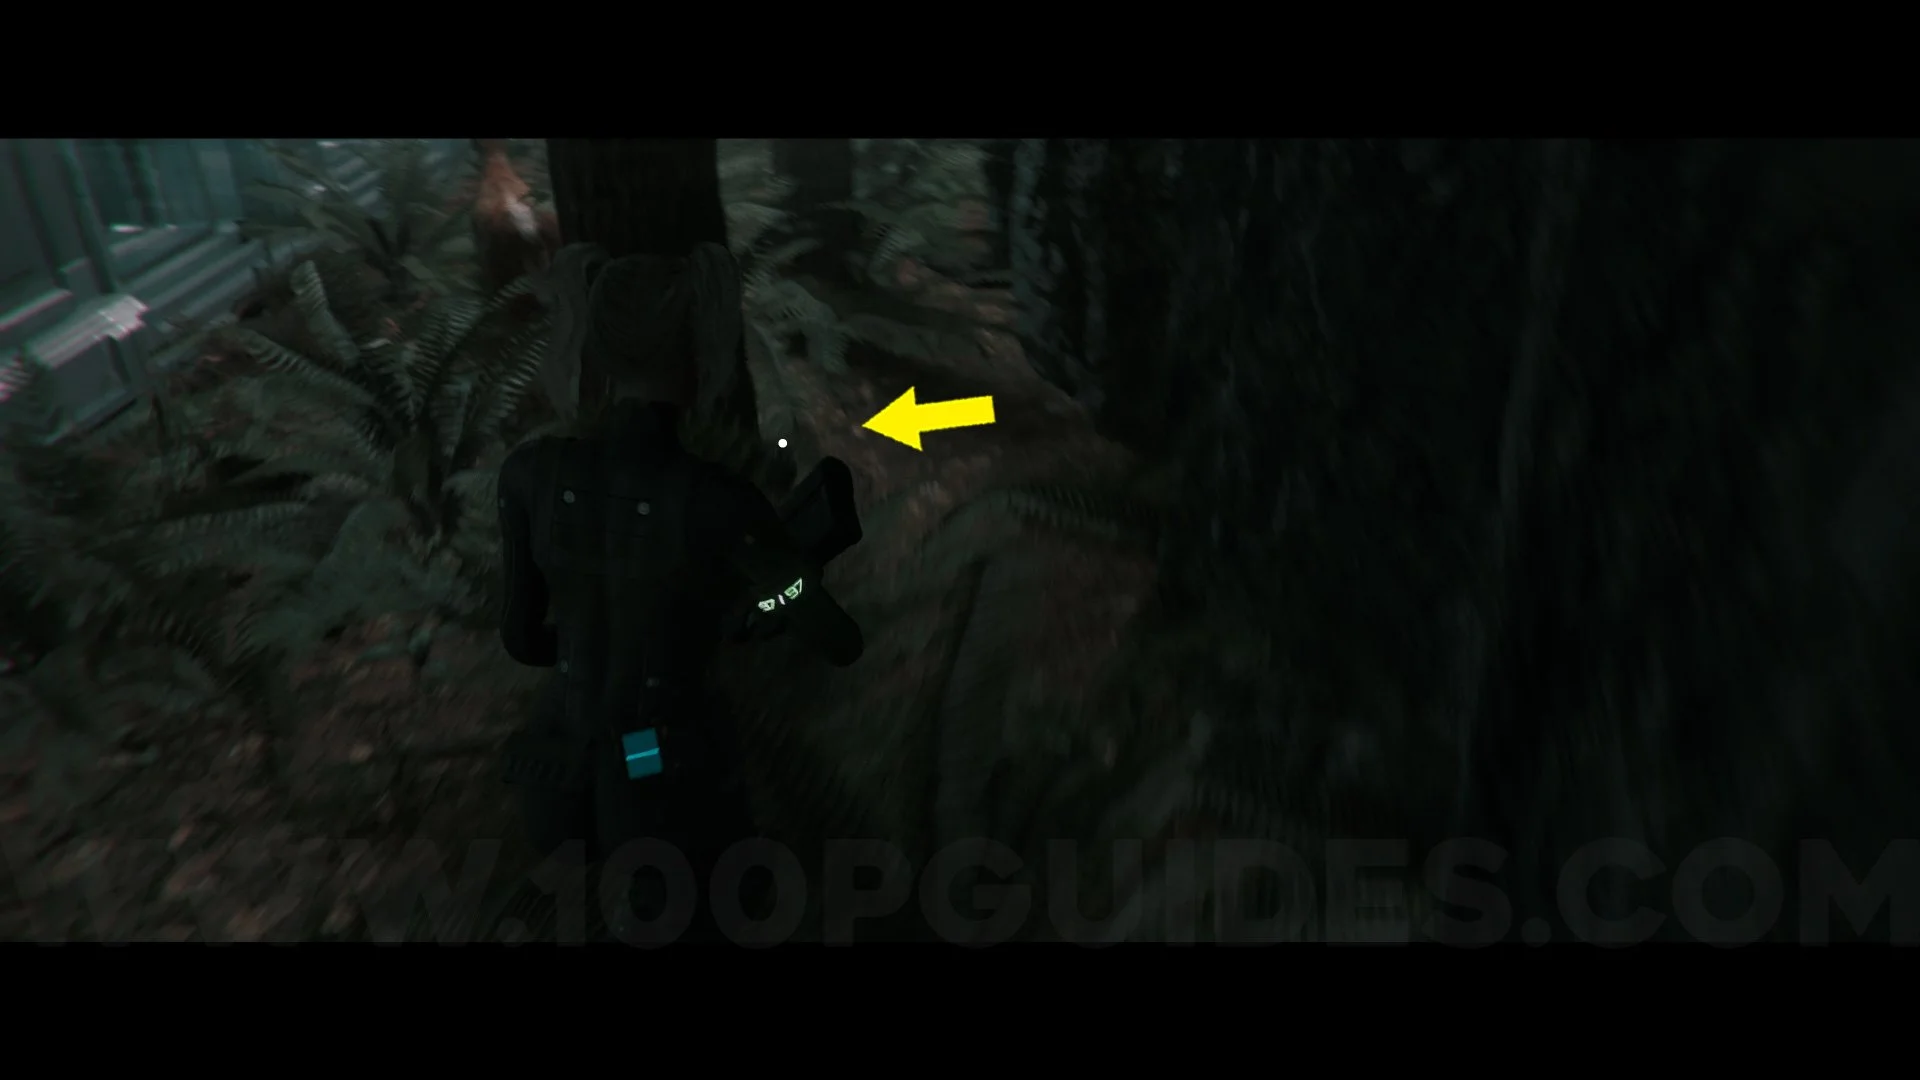
Duck #1. Go to the Central Corridor and enter the Greenhouse room. Inside, you will find the duck on the last apple tree on the left.
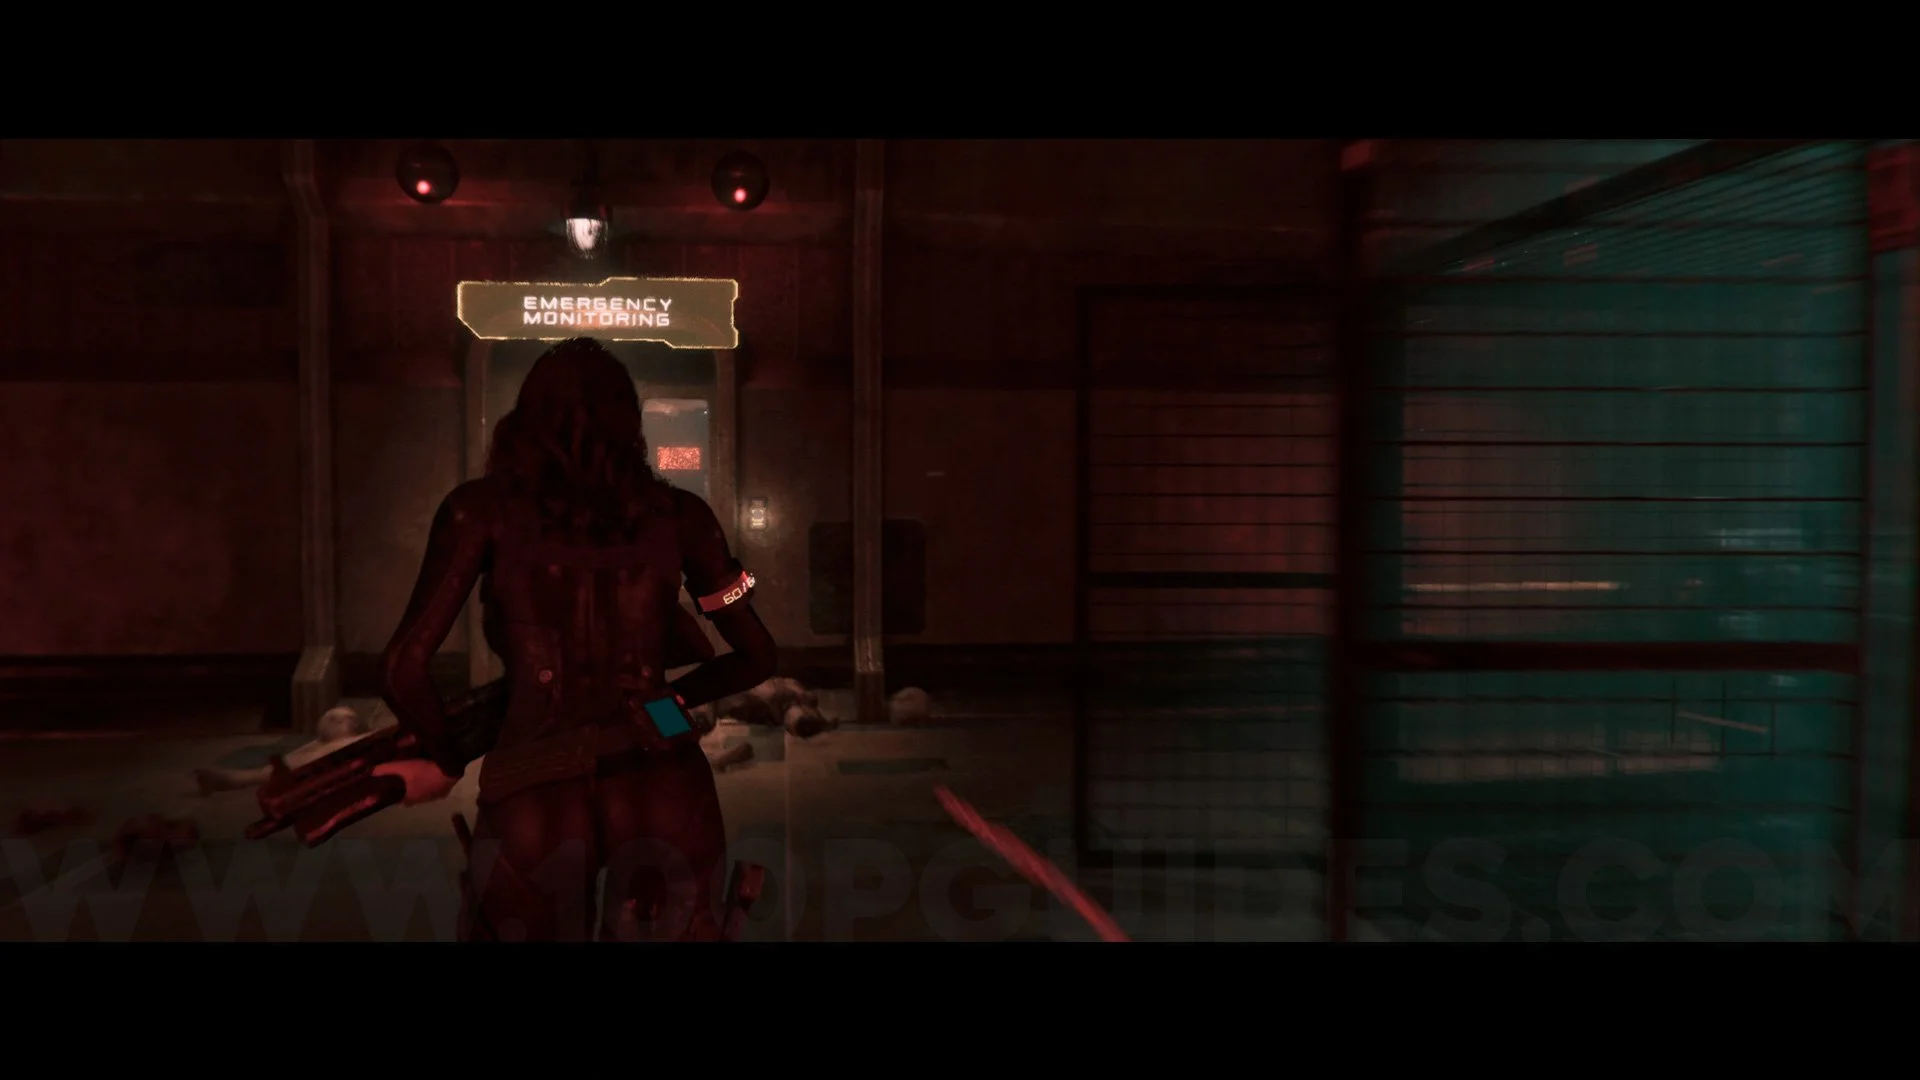
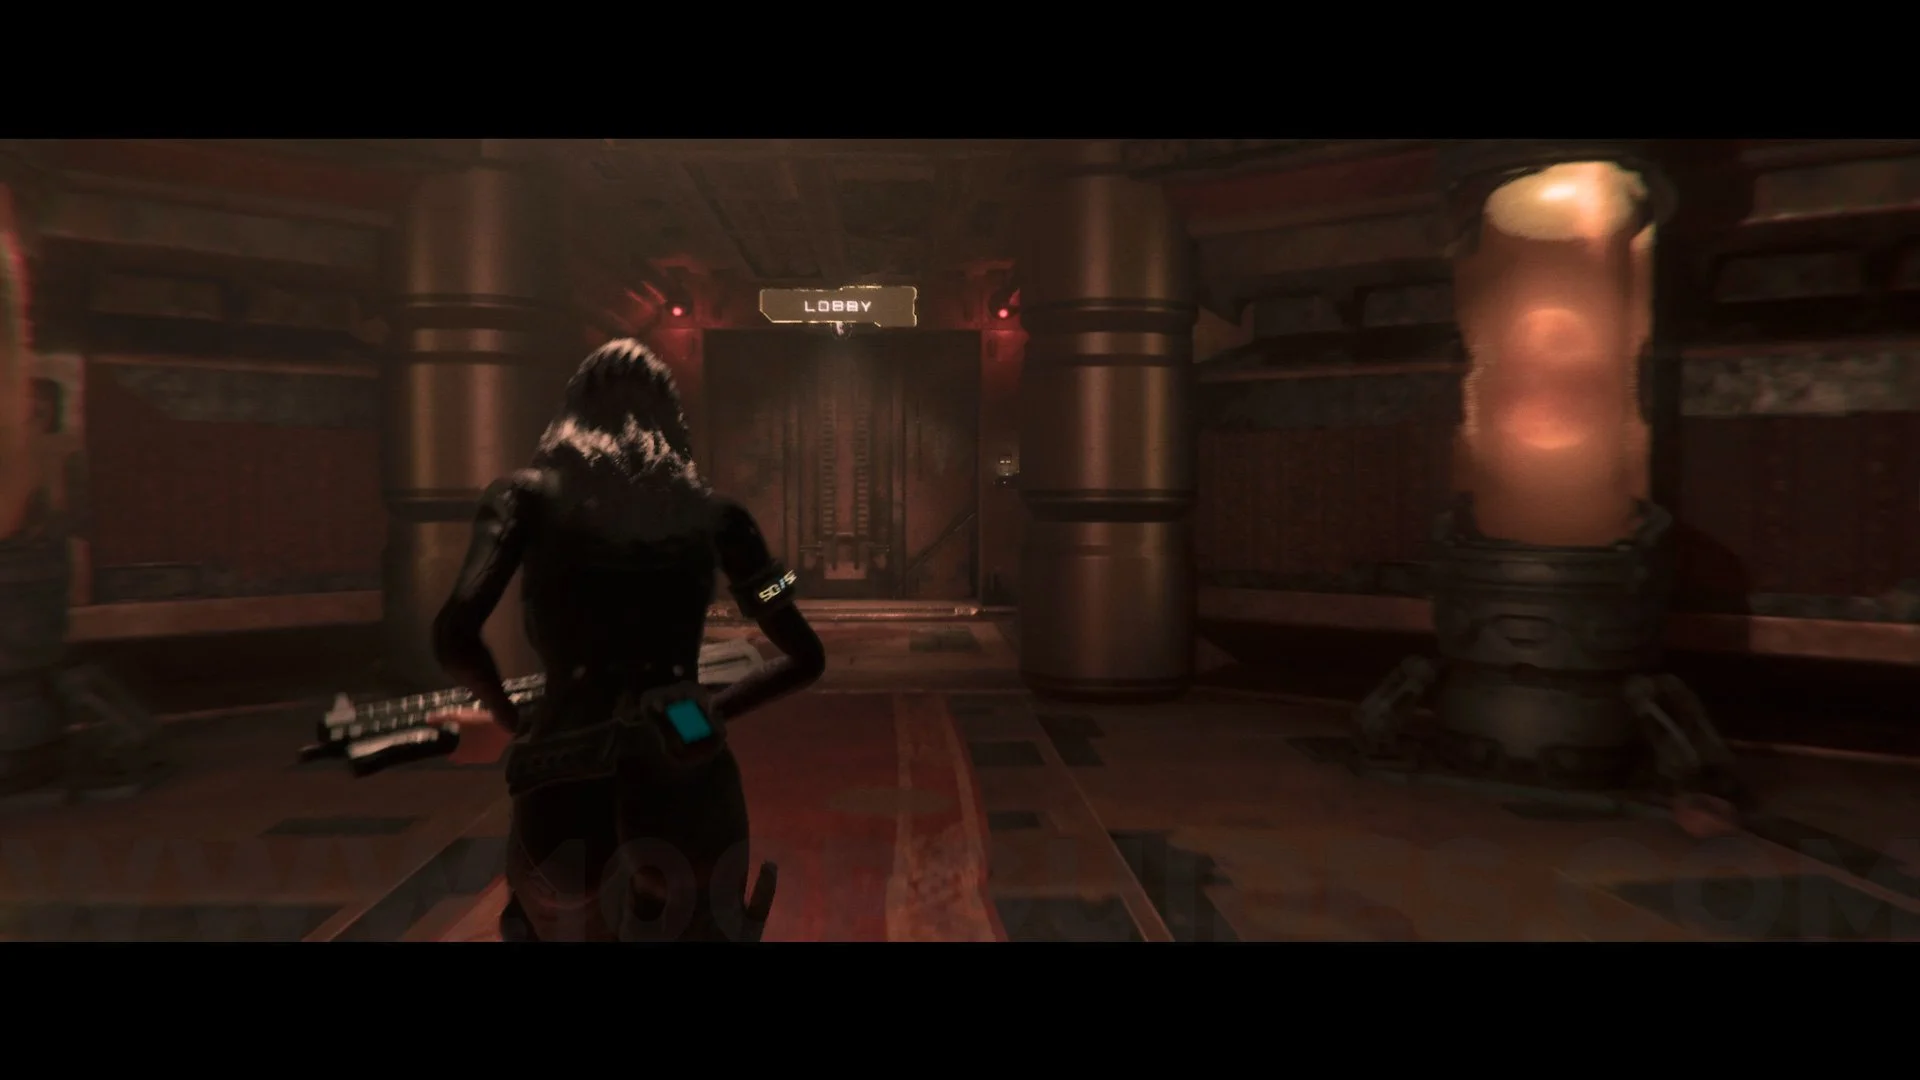
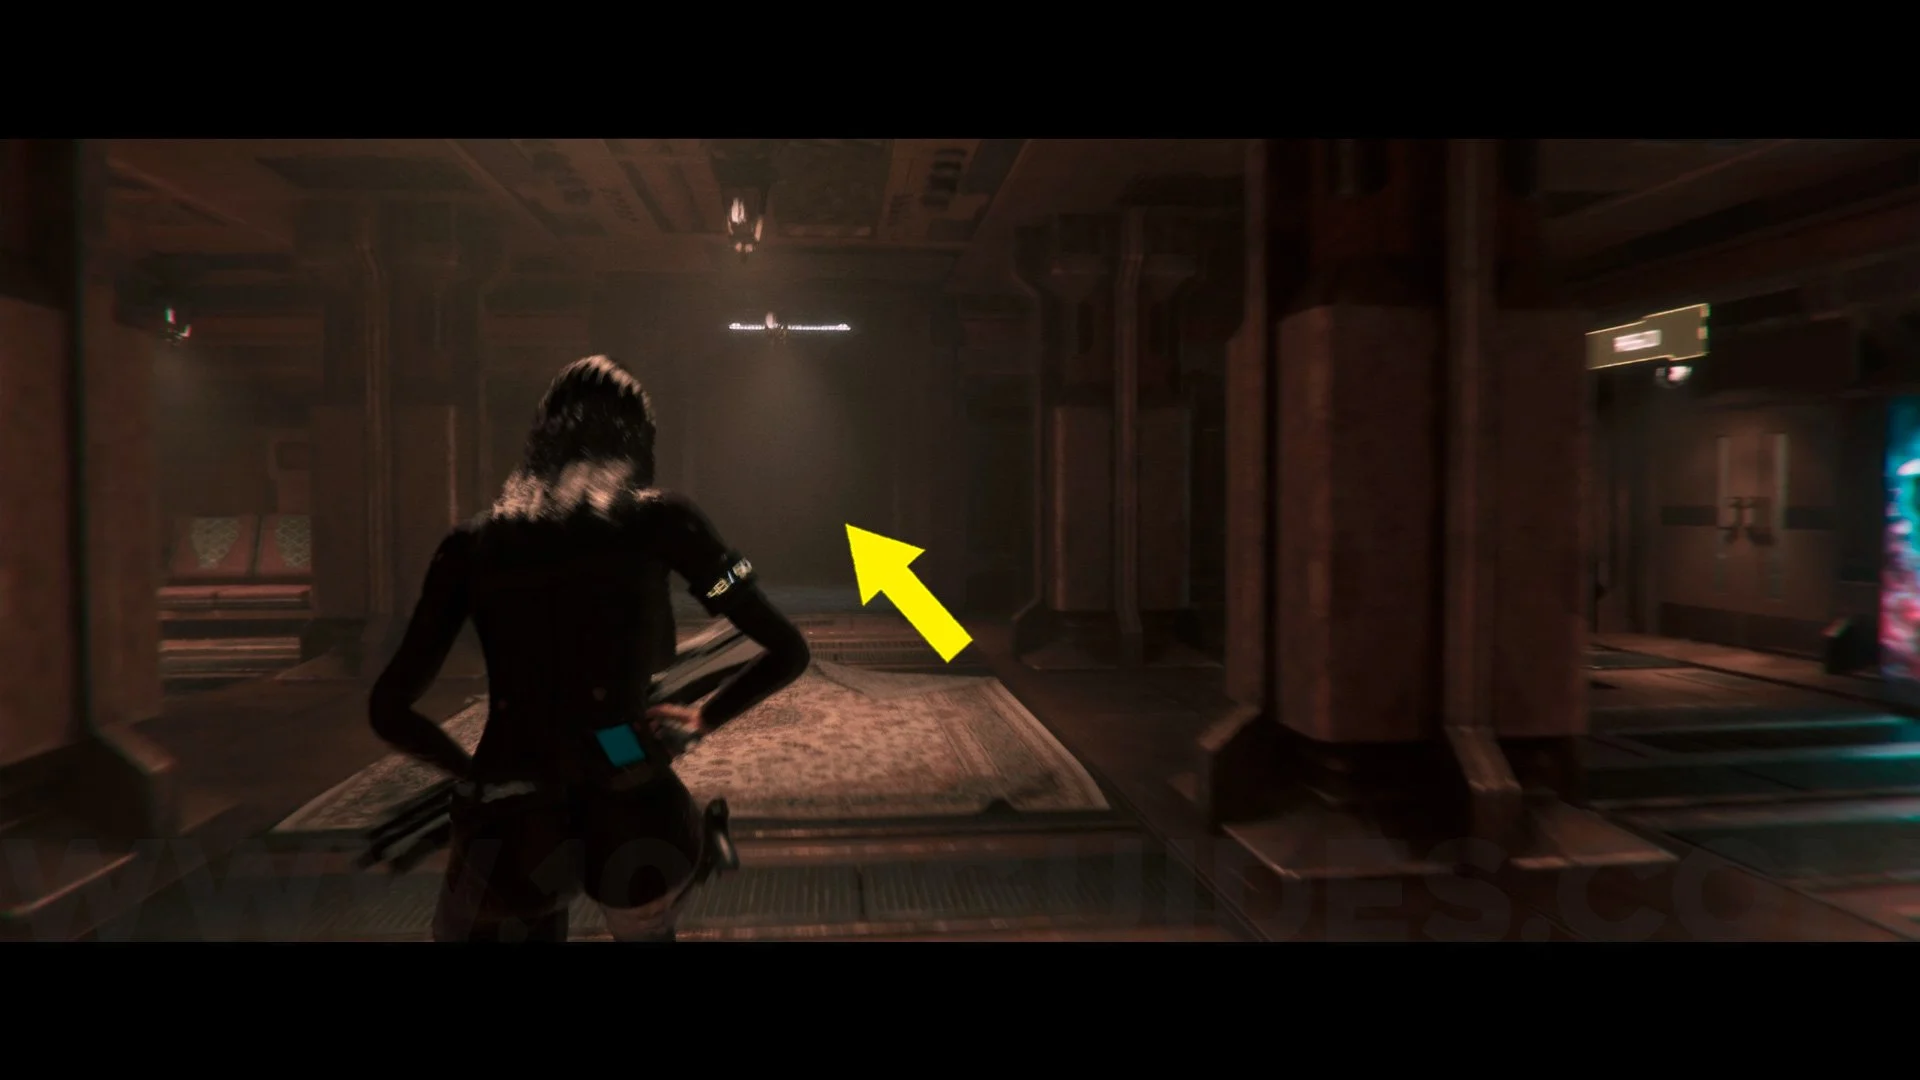
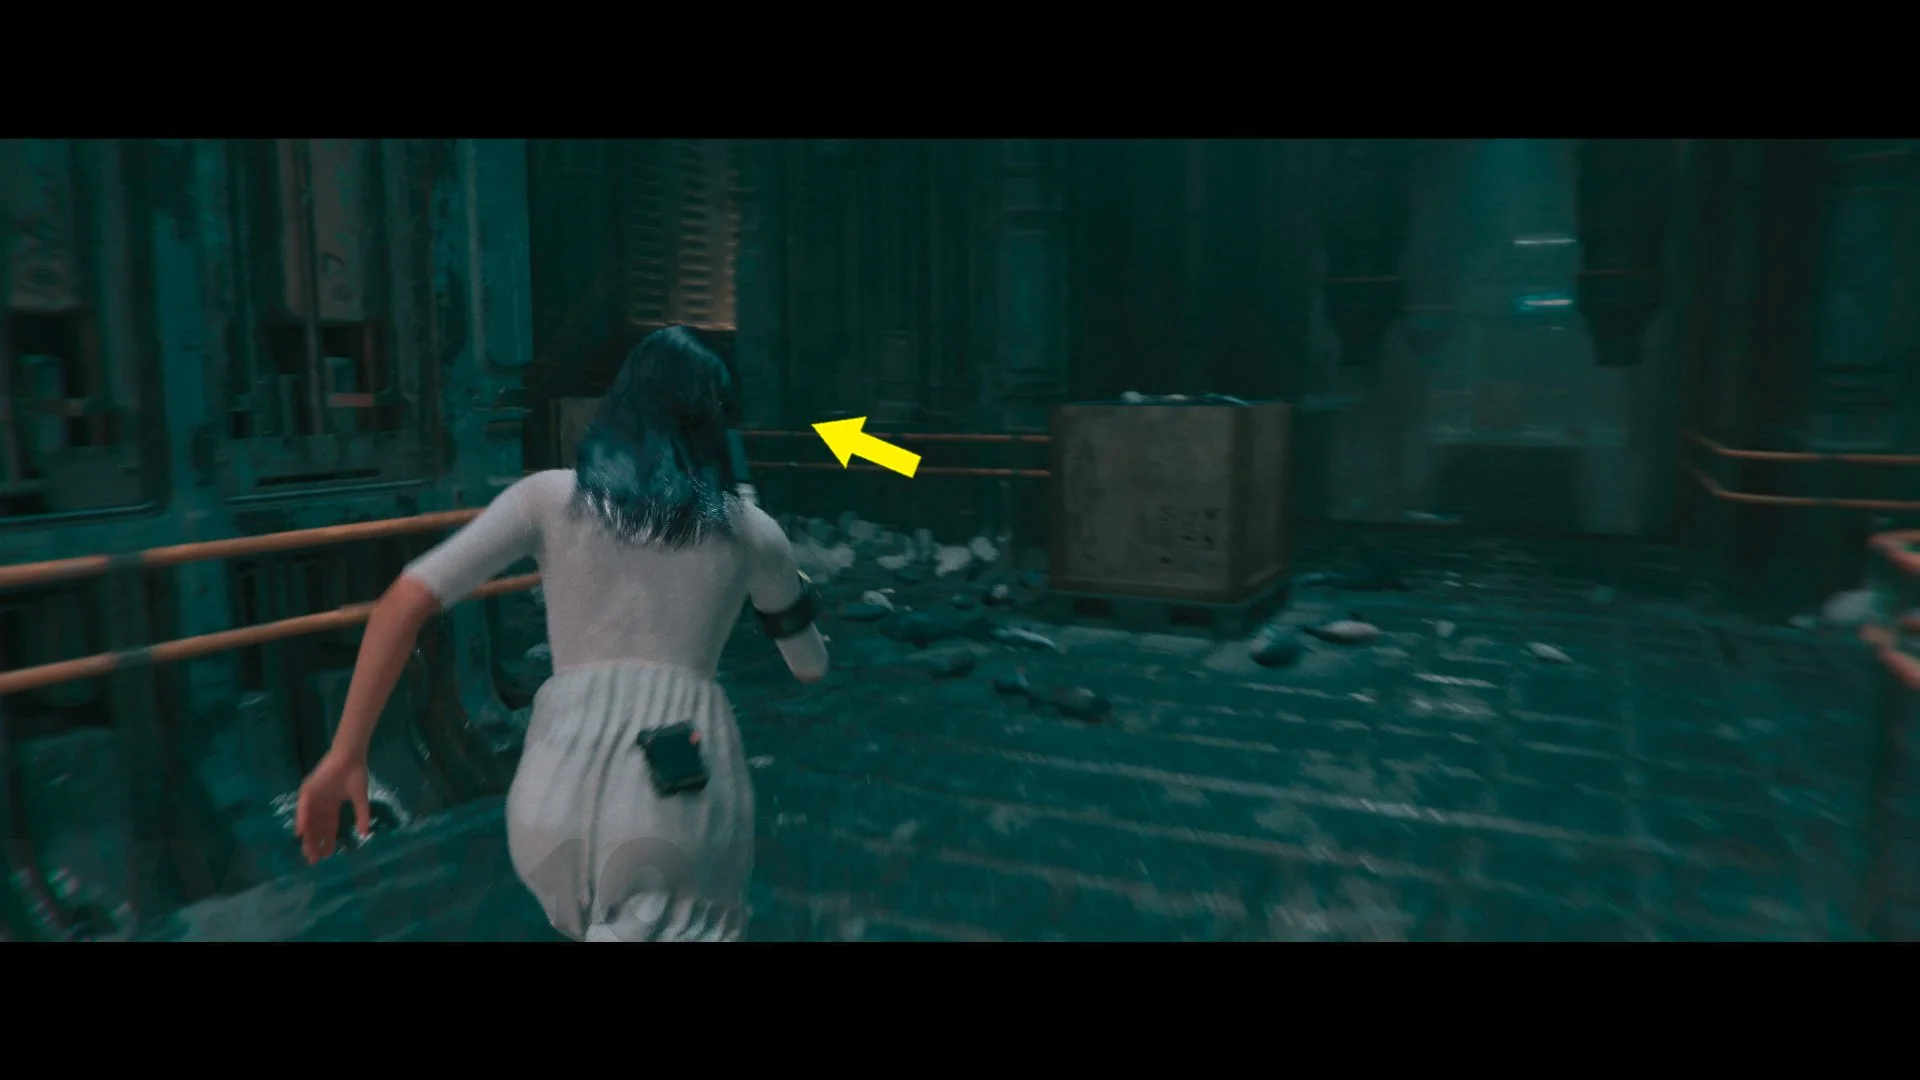
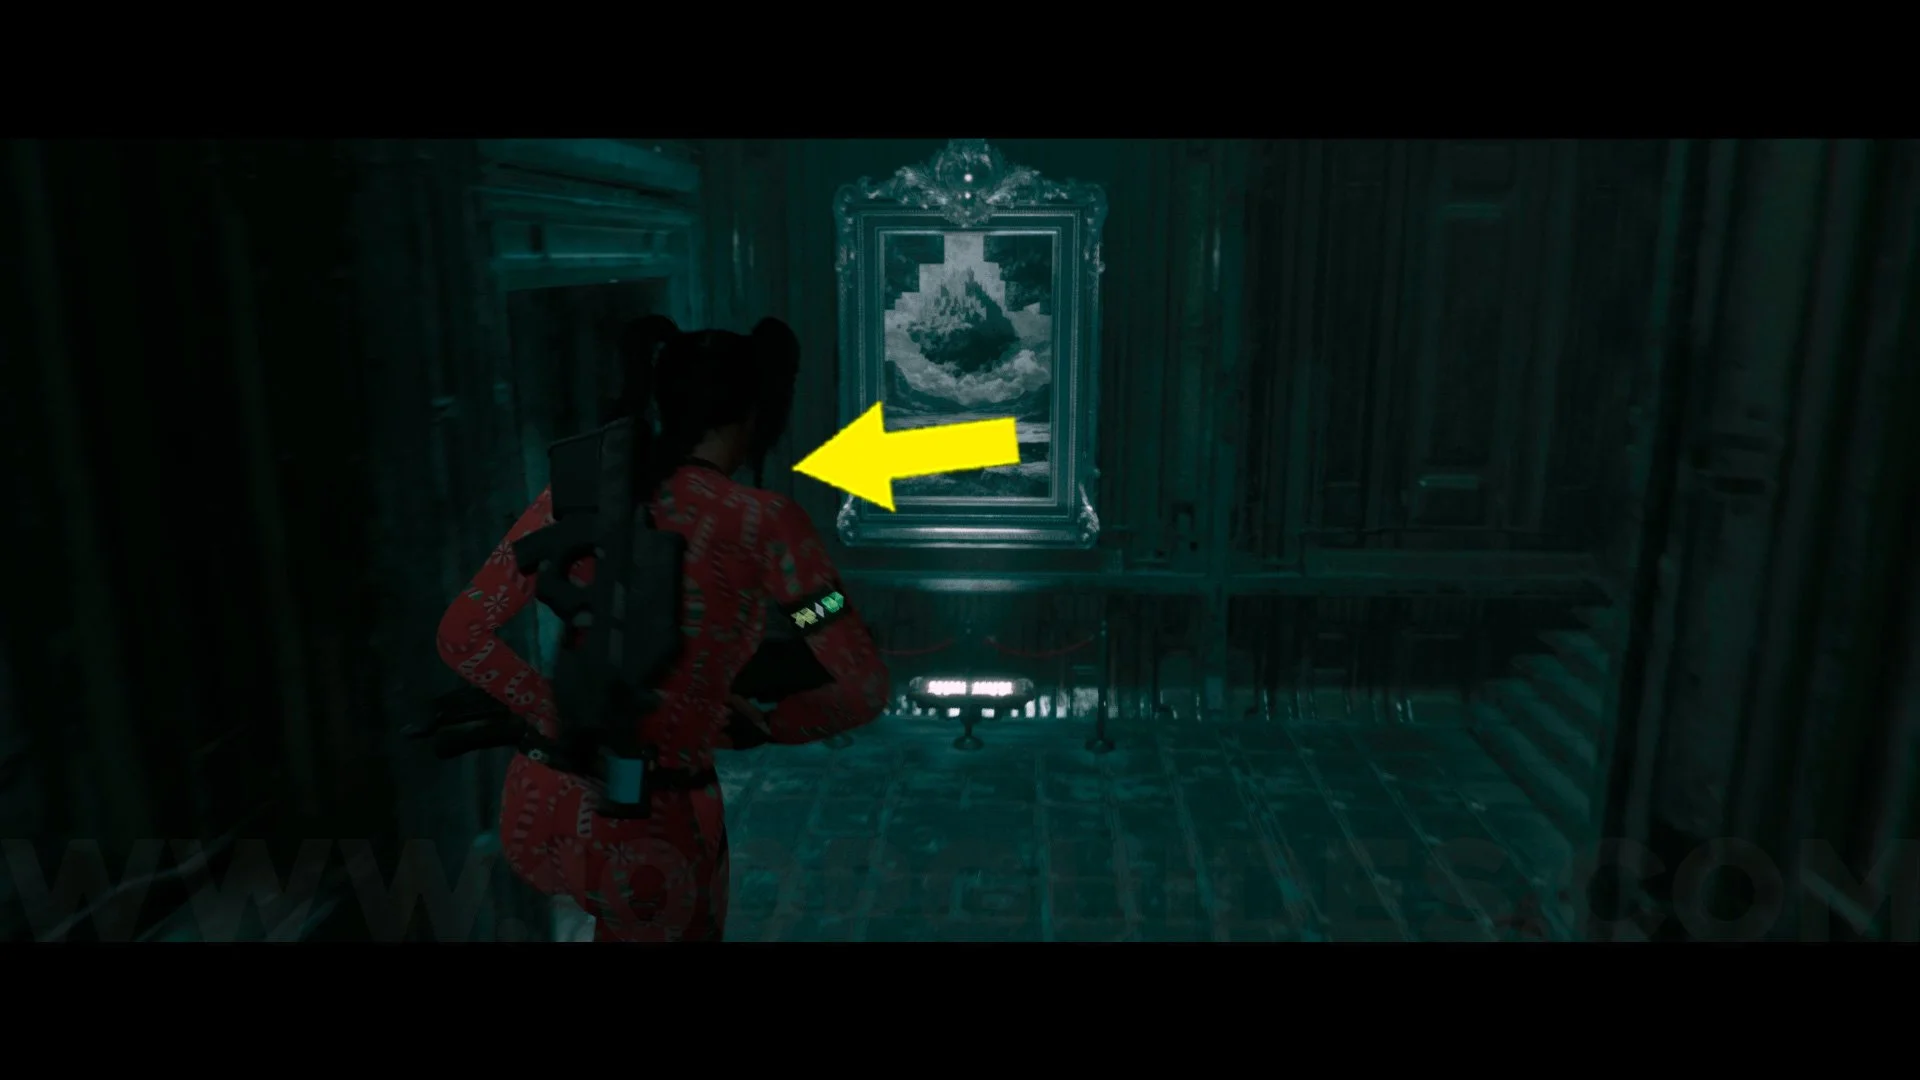
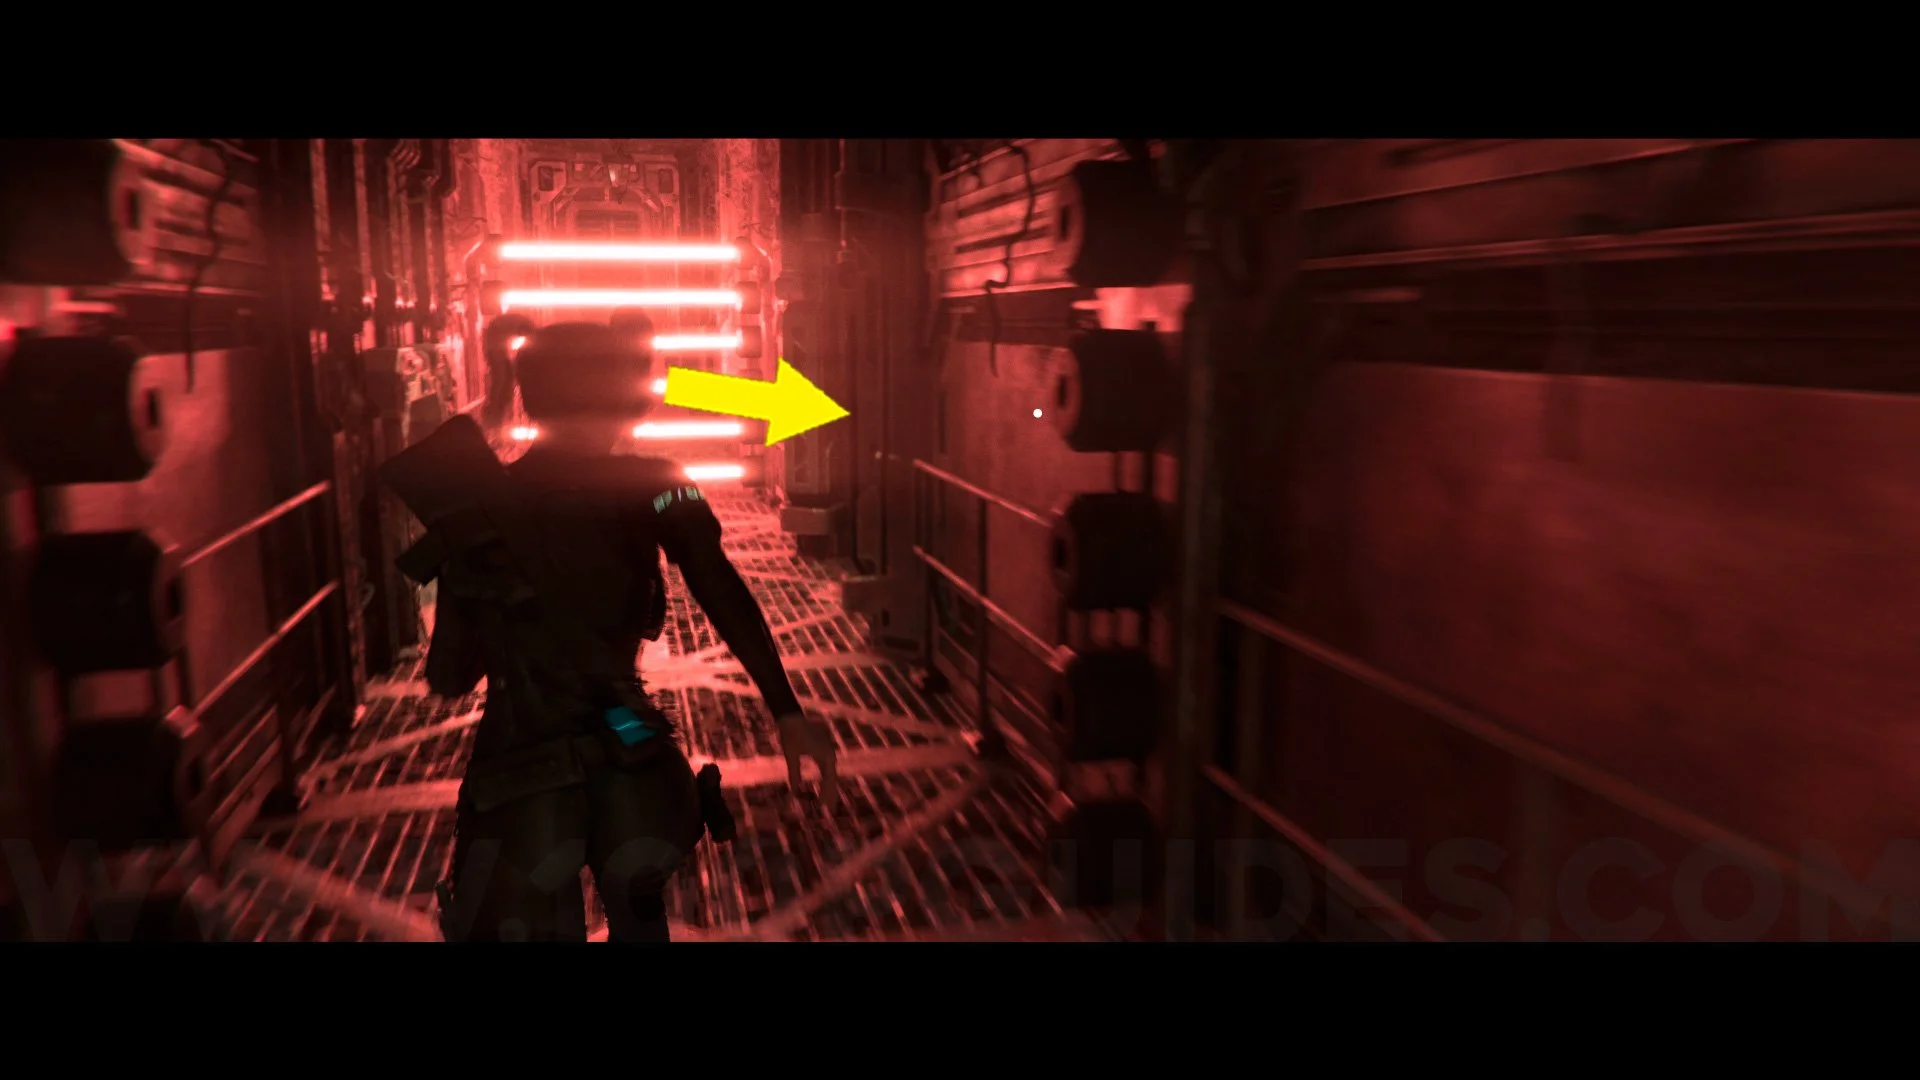
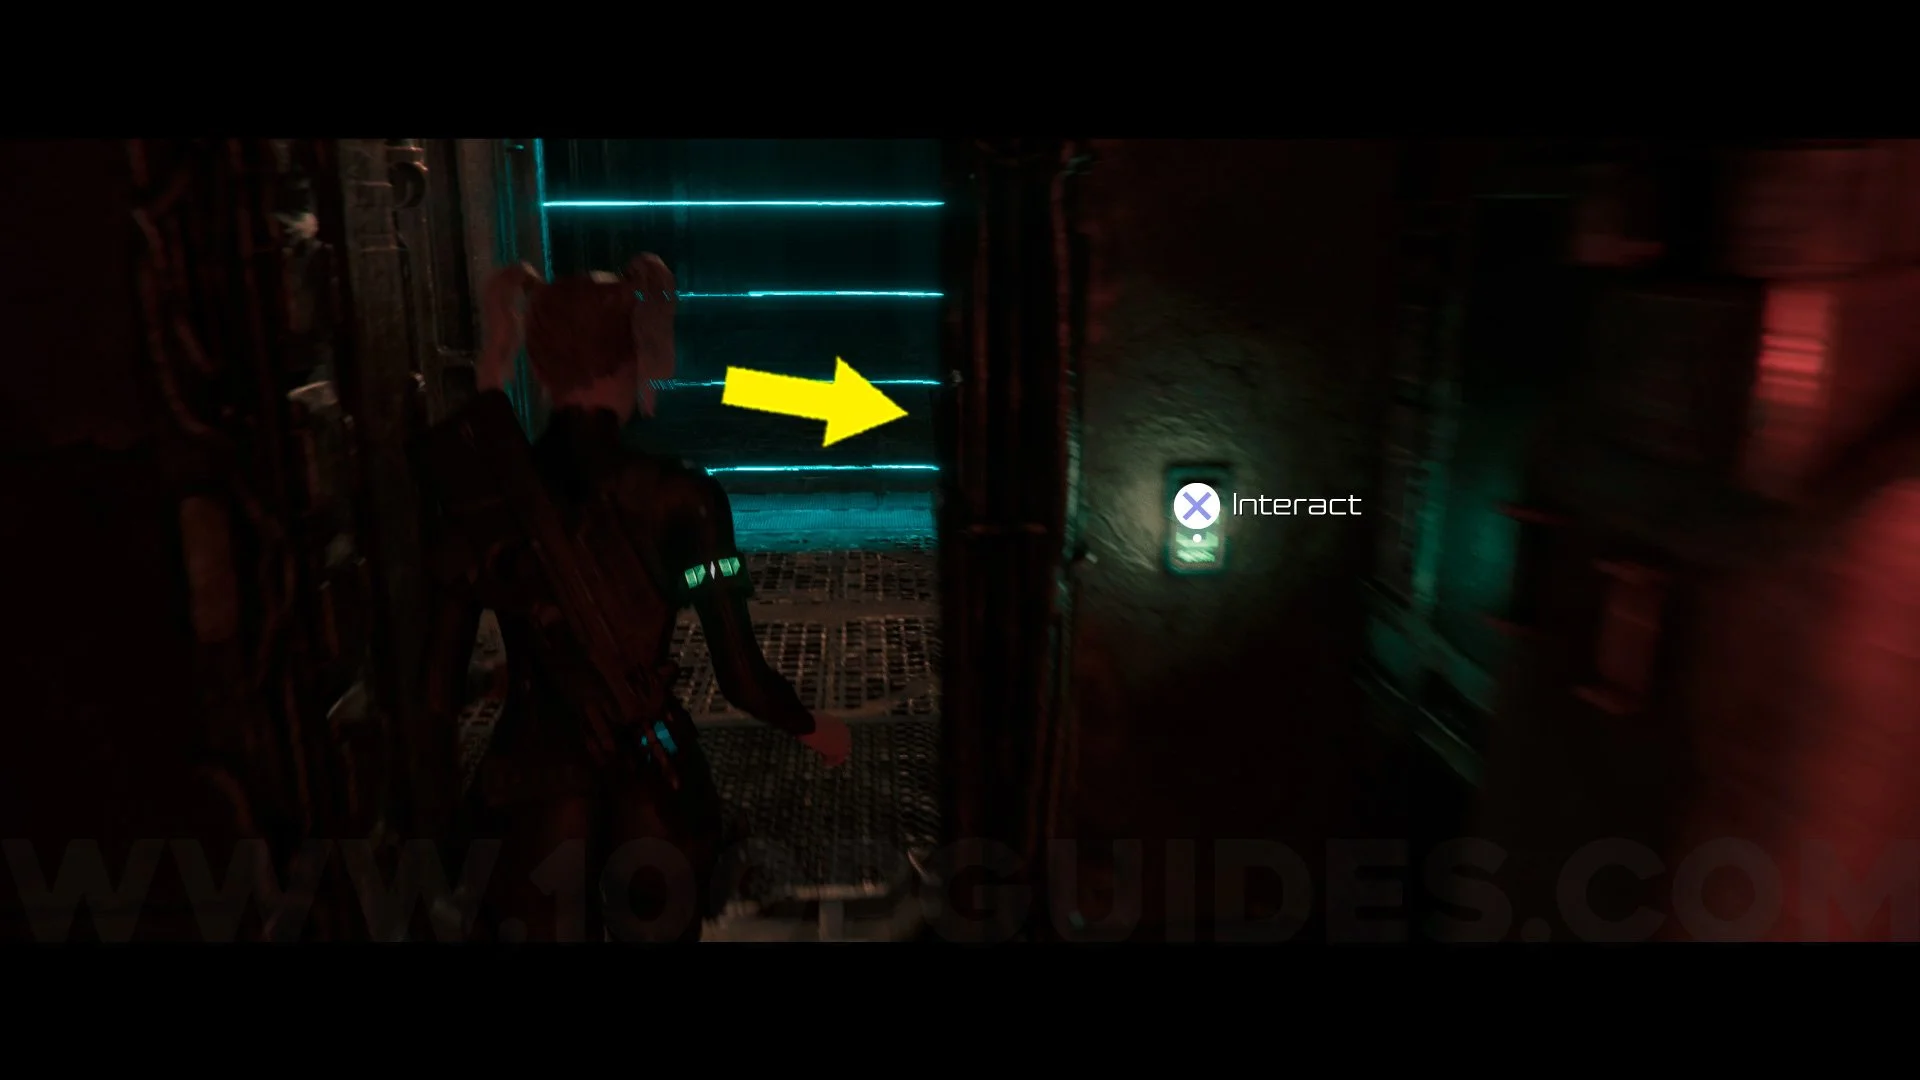
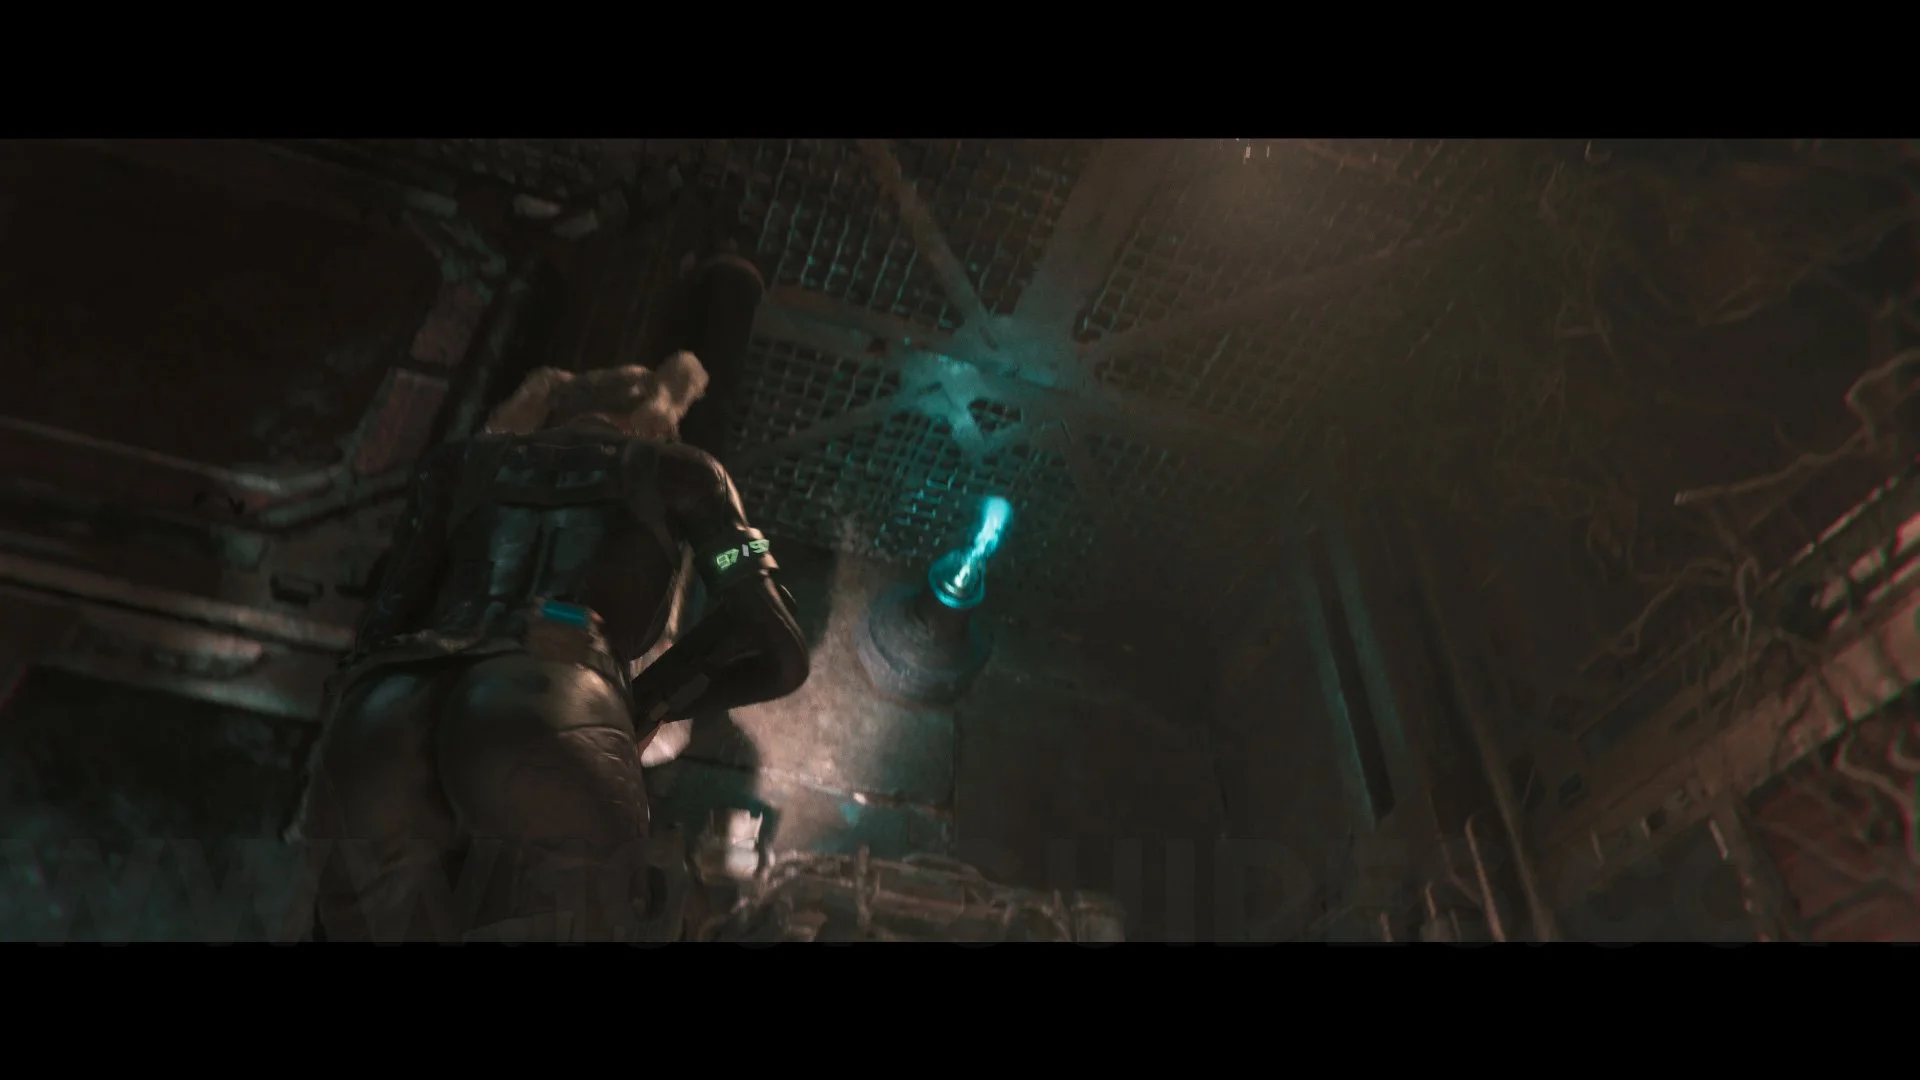
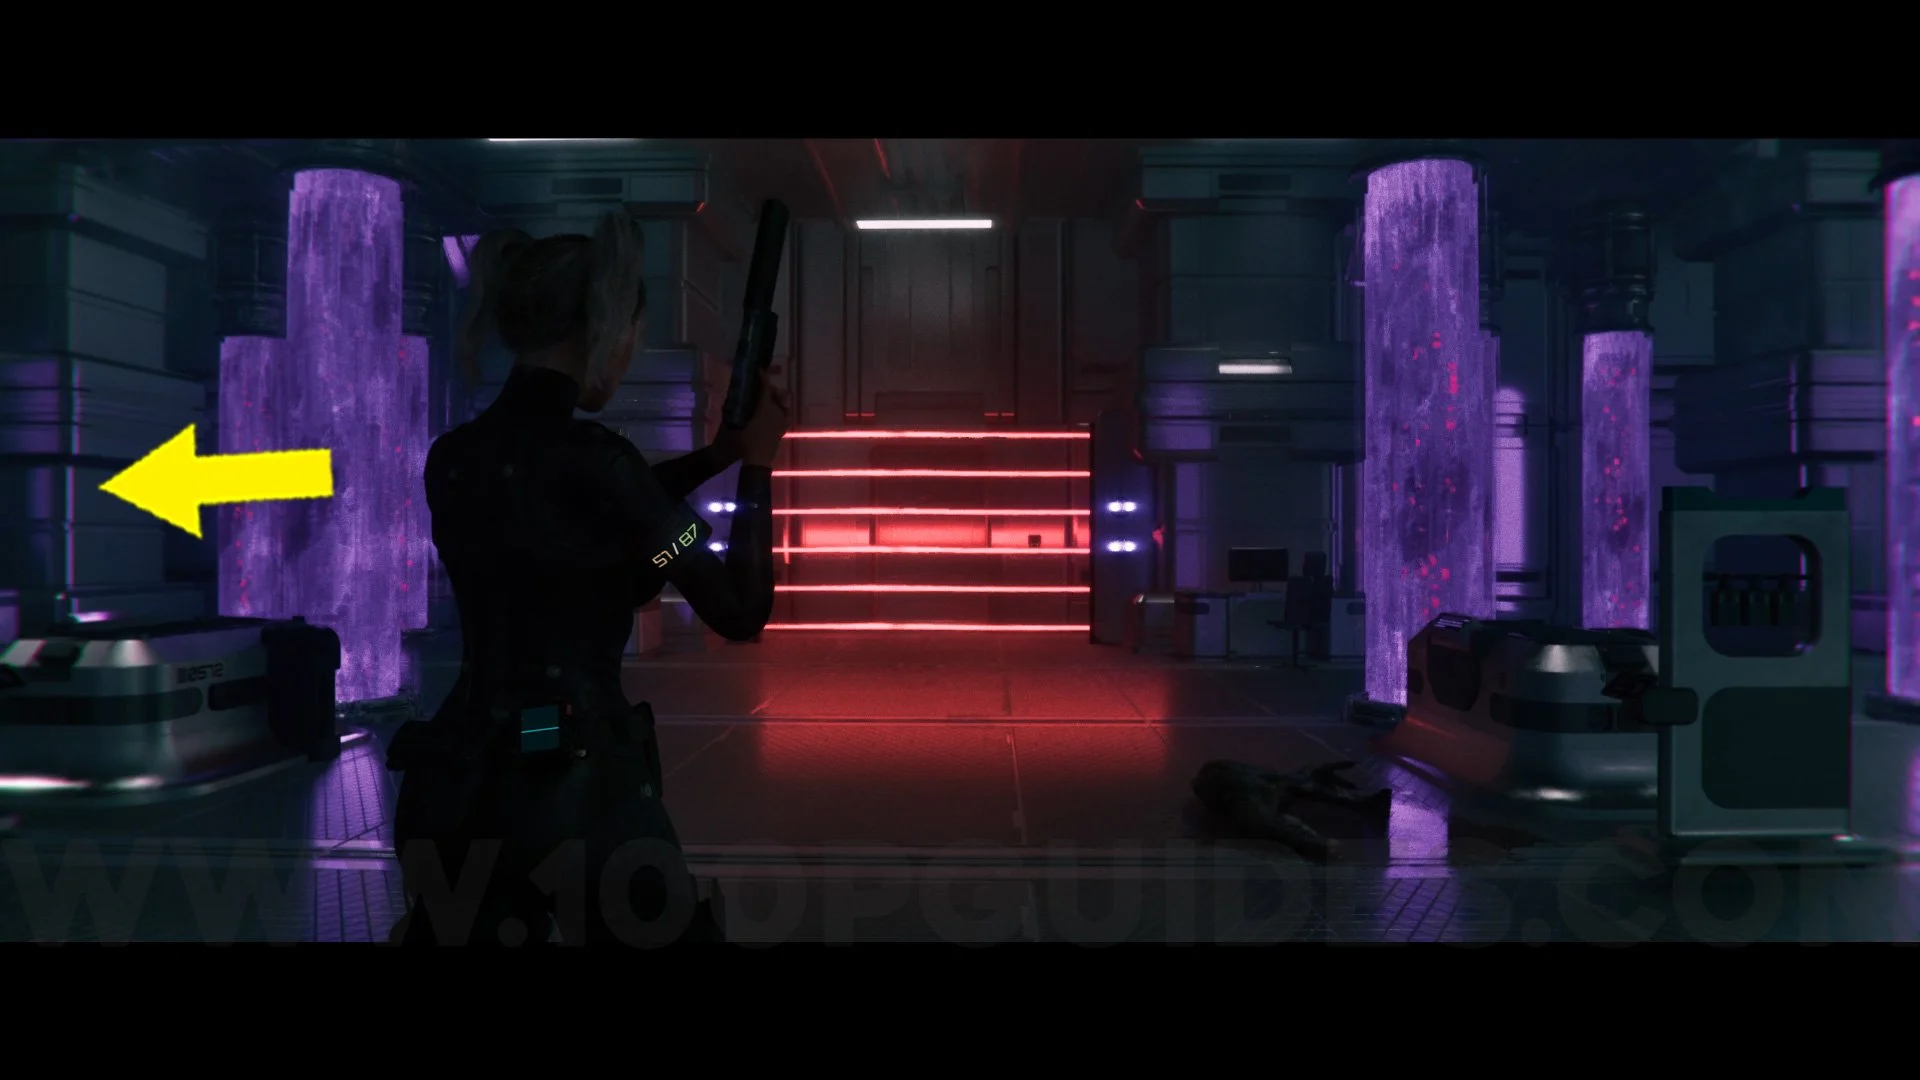
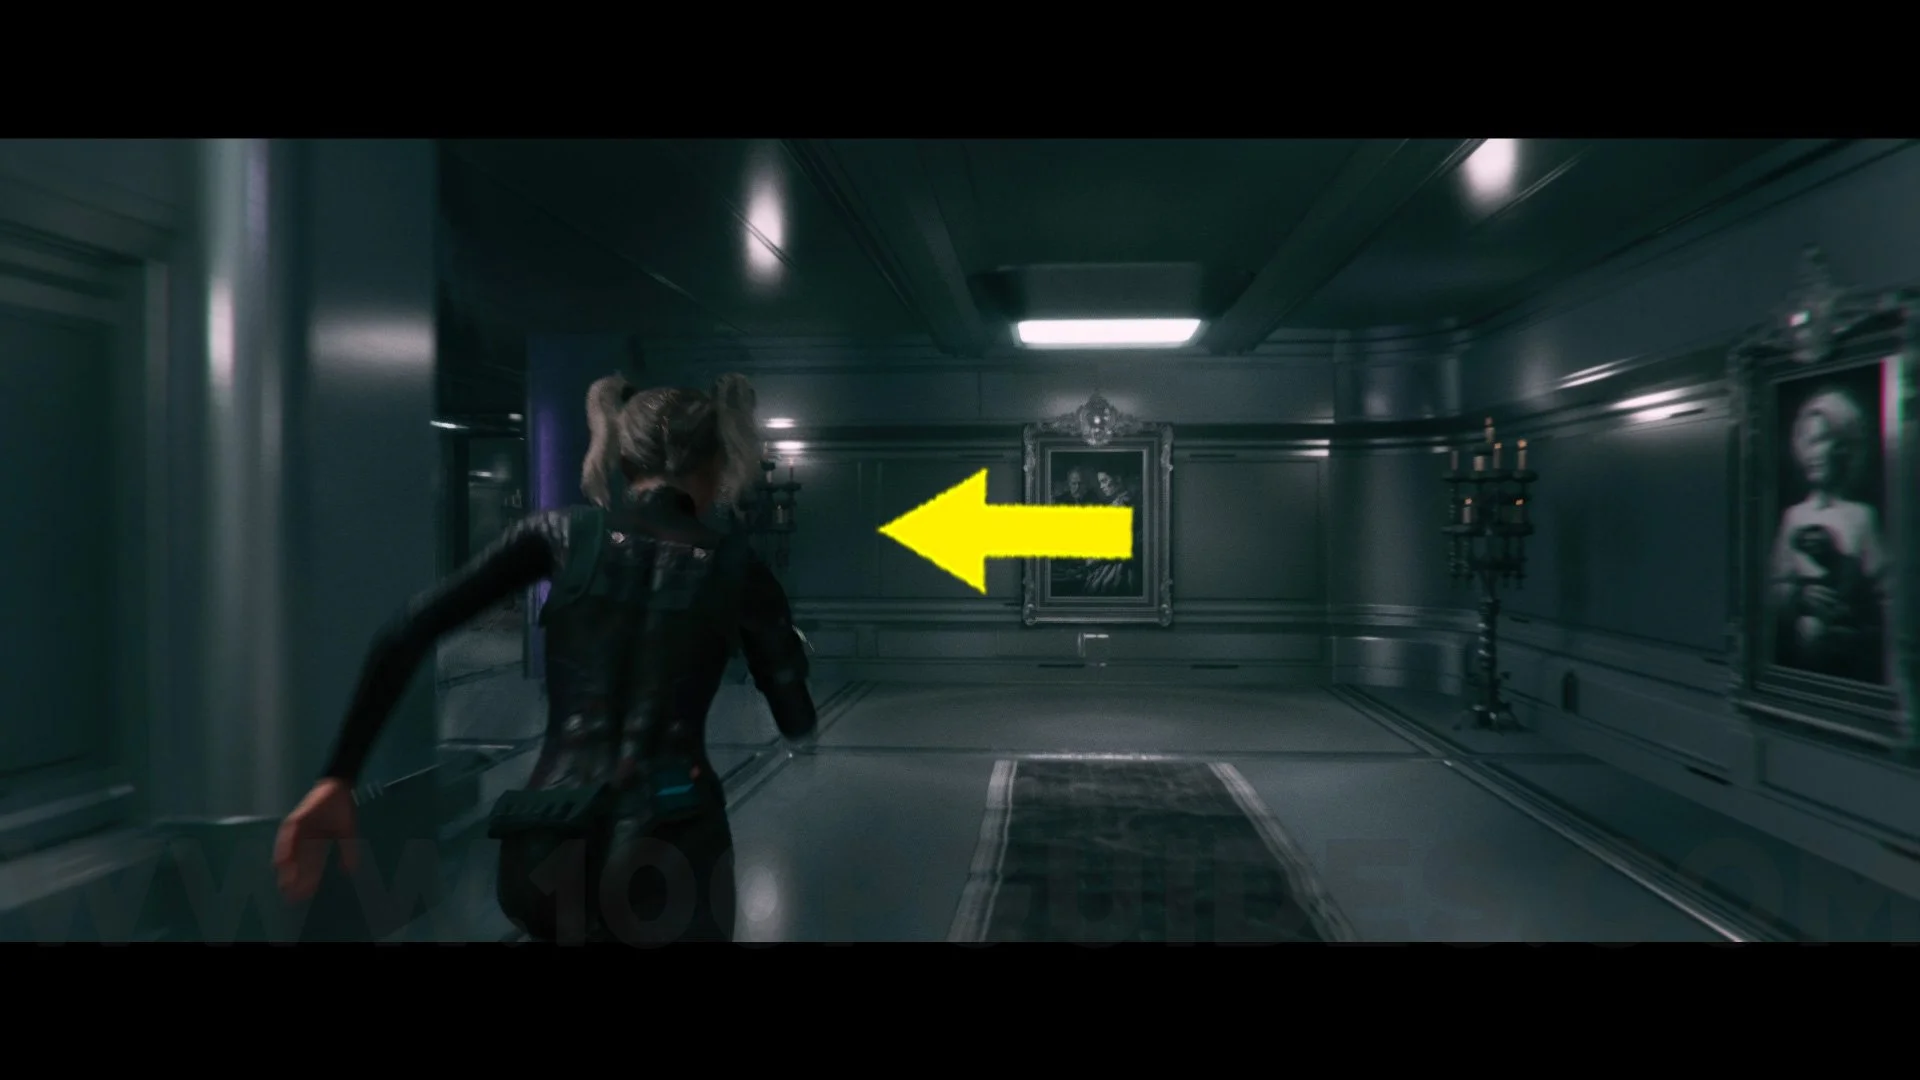
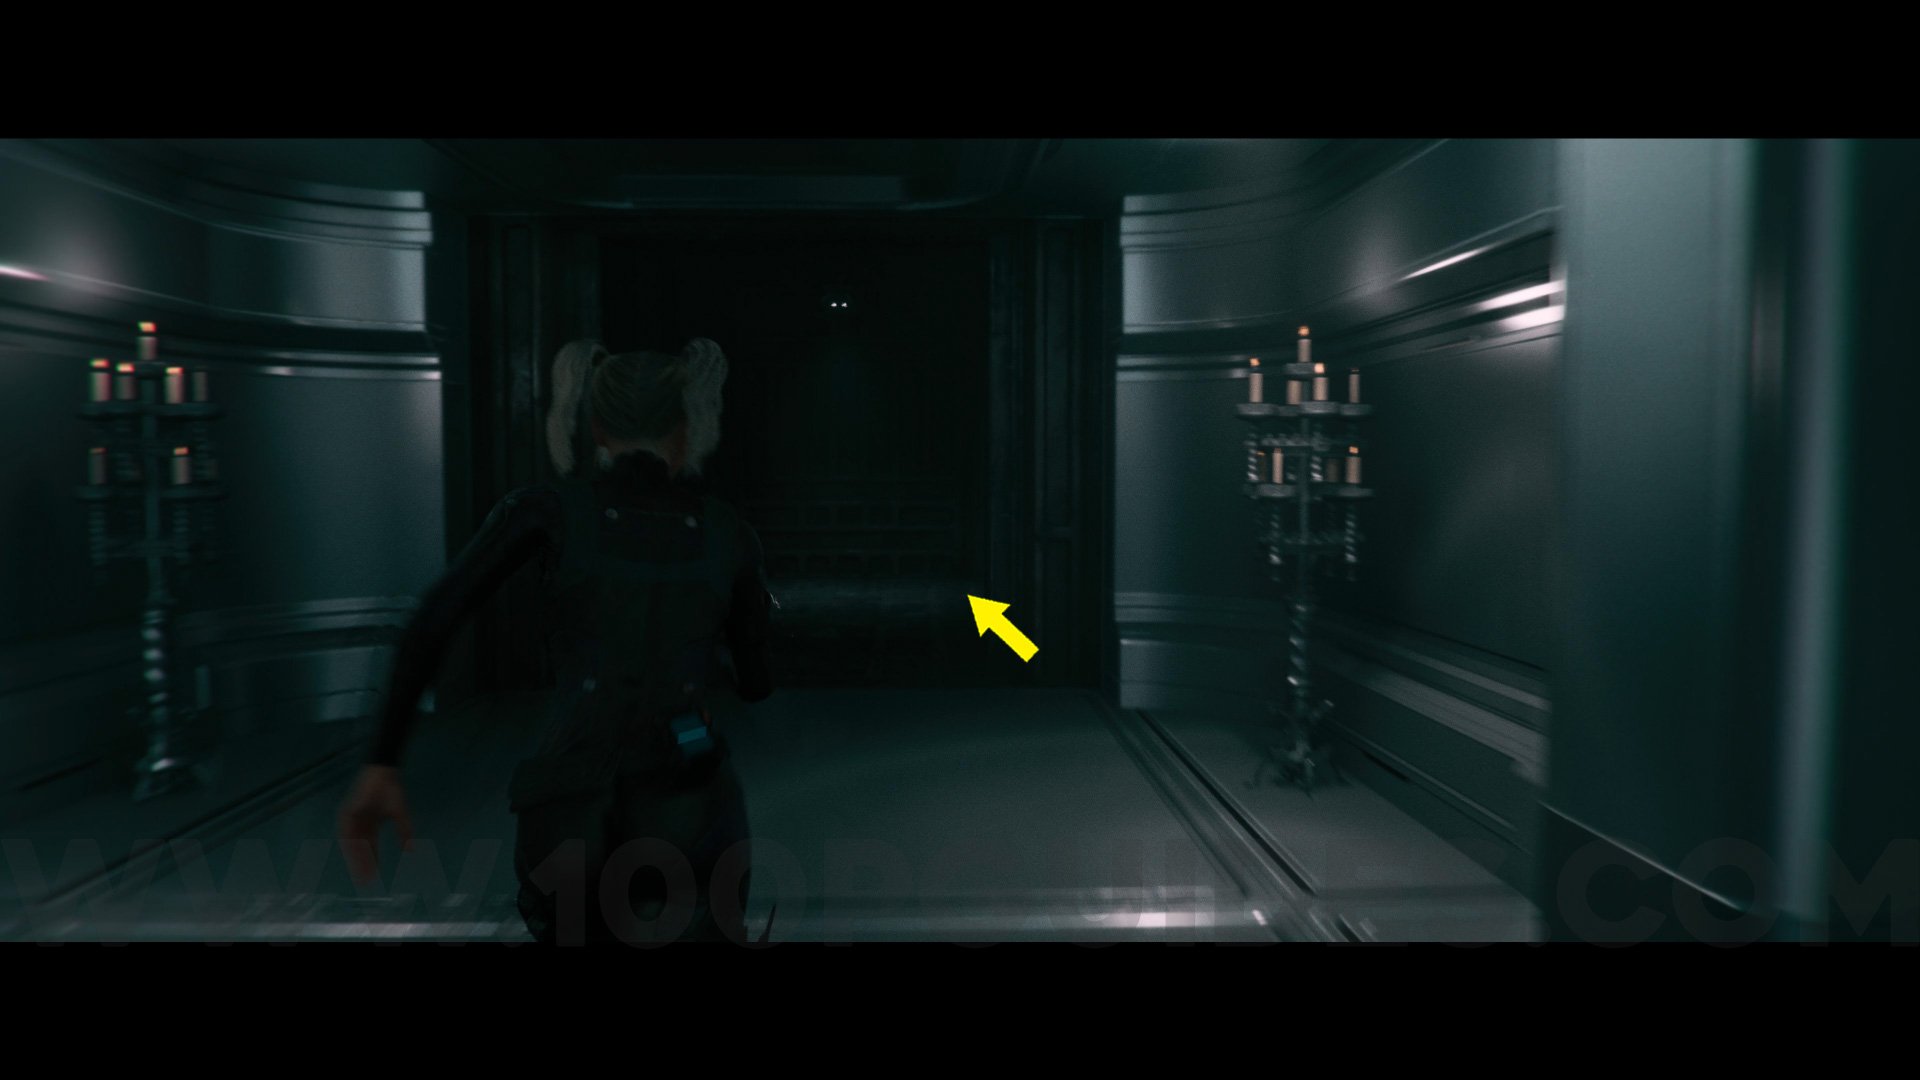
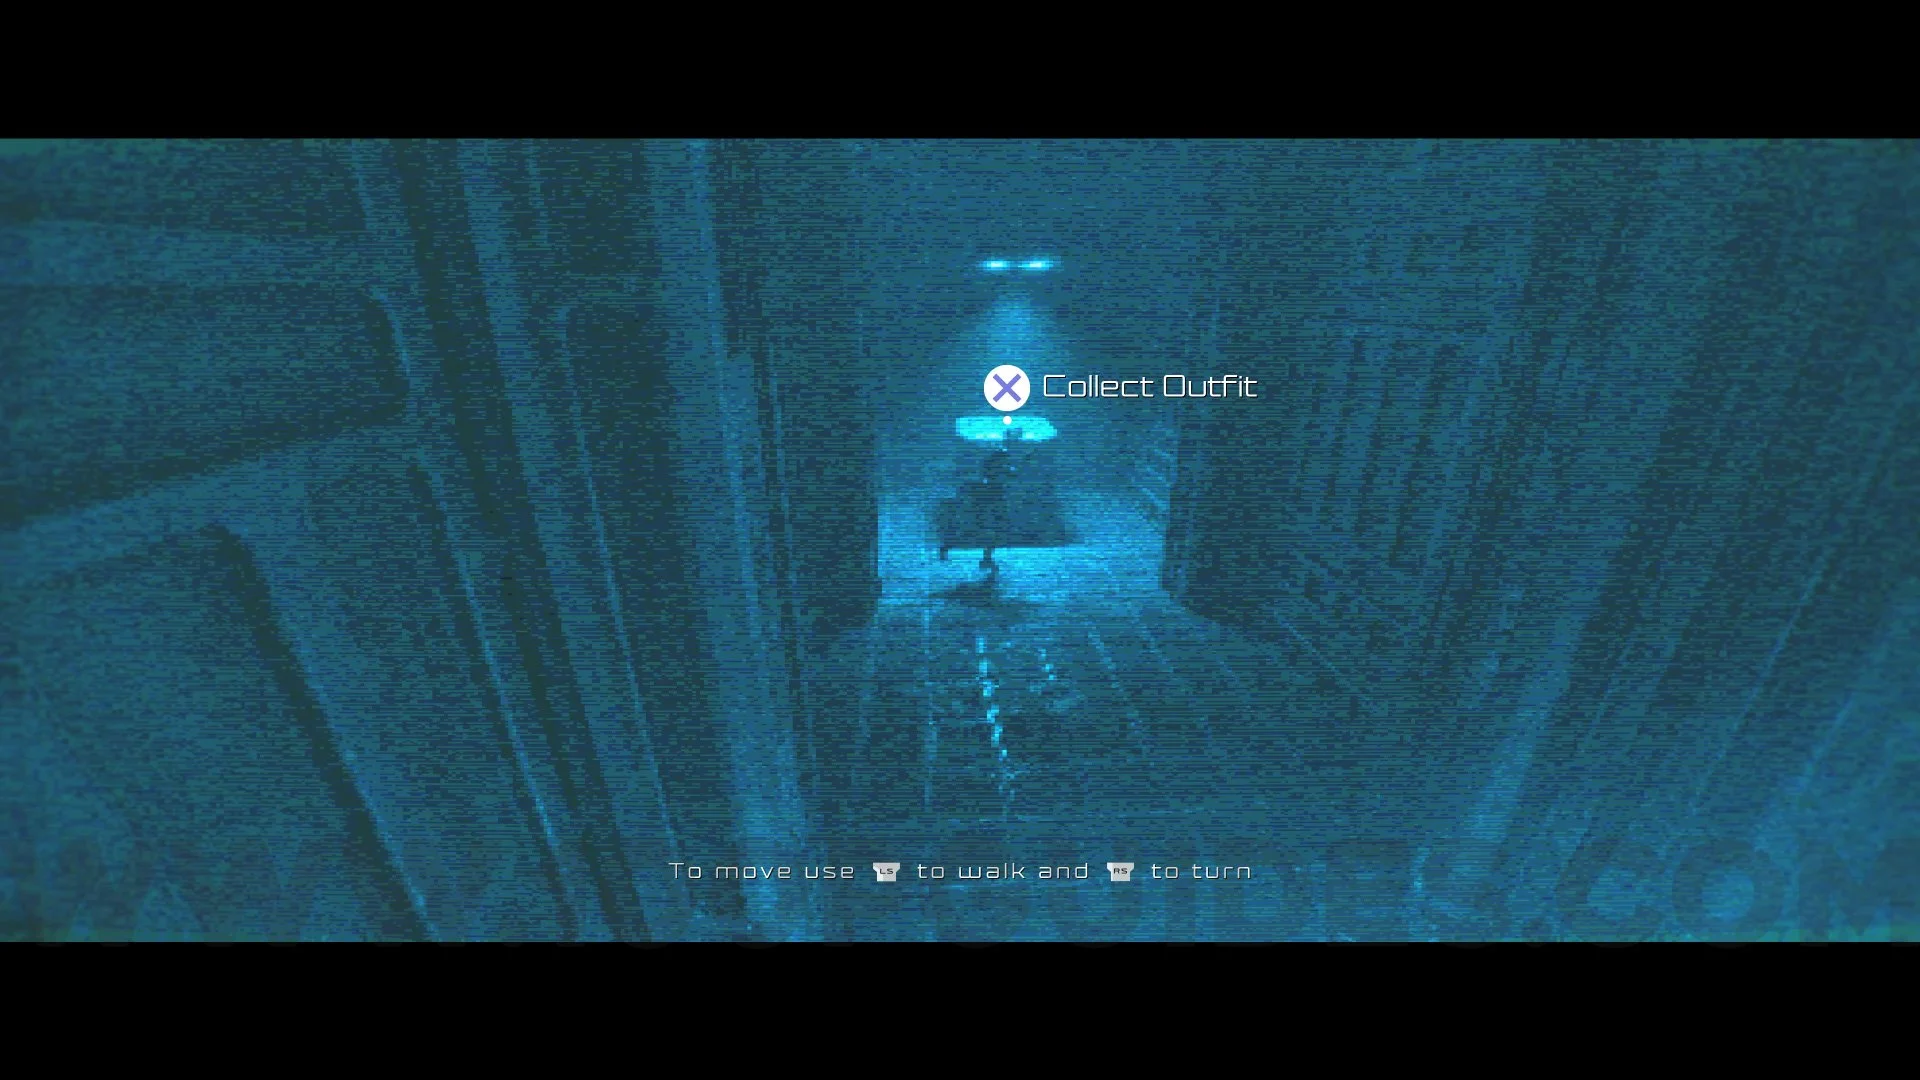
Outfit #3 Breathless Beauty. Go back to the central corridor and go straight ahead, passing through the first door and then entering Emergency Monitoring. Once inside, turn left and break the blue lamp on the wall. Once back in the central corridor, go through the Lobby door and go to the end to enter the area with the blue light where you can get this outfit.
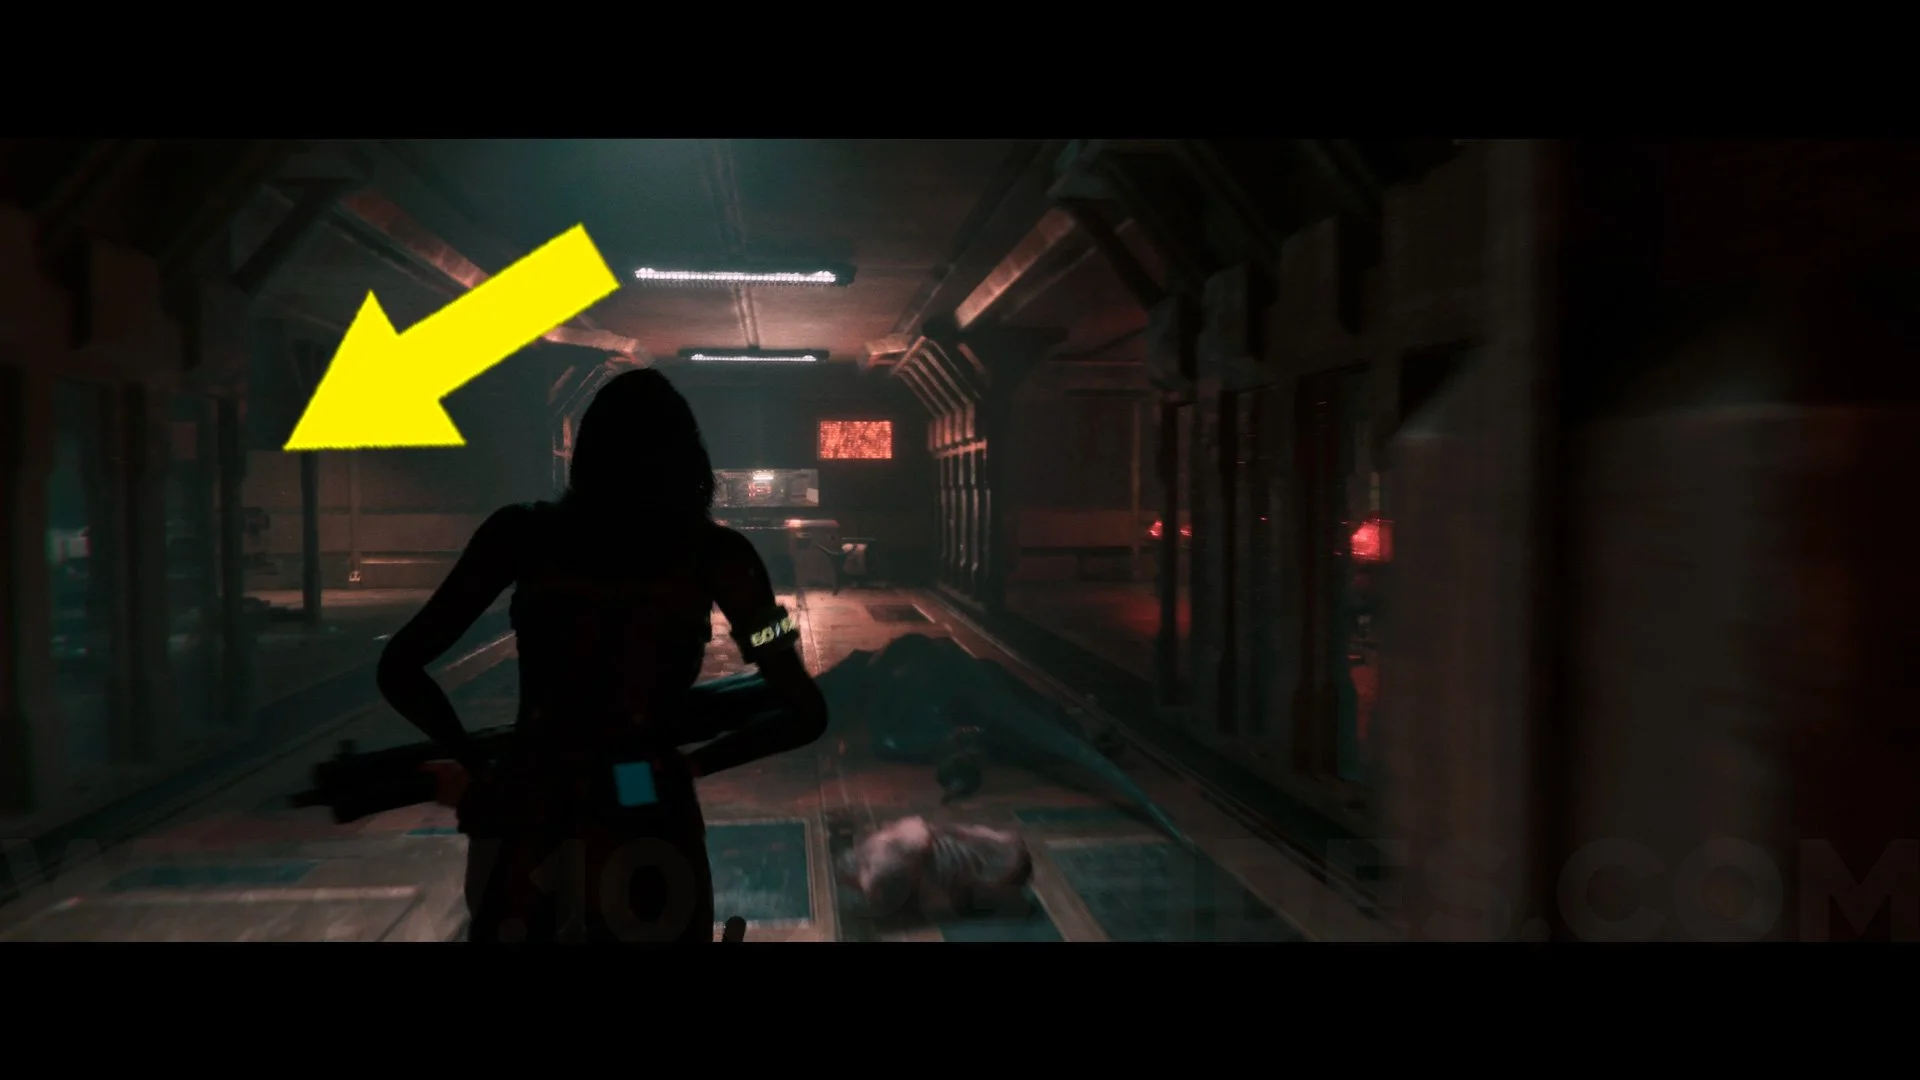
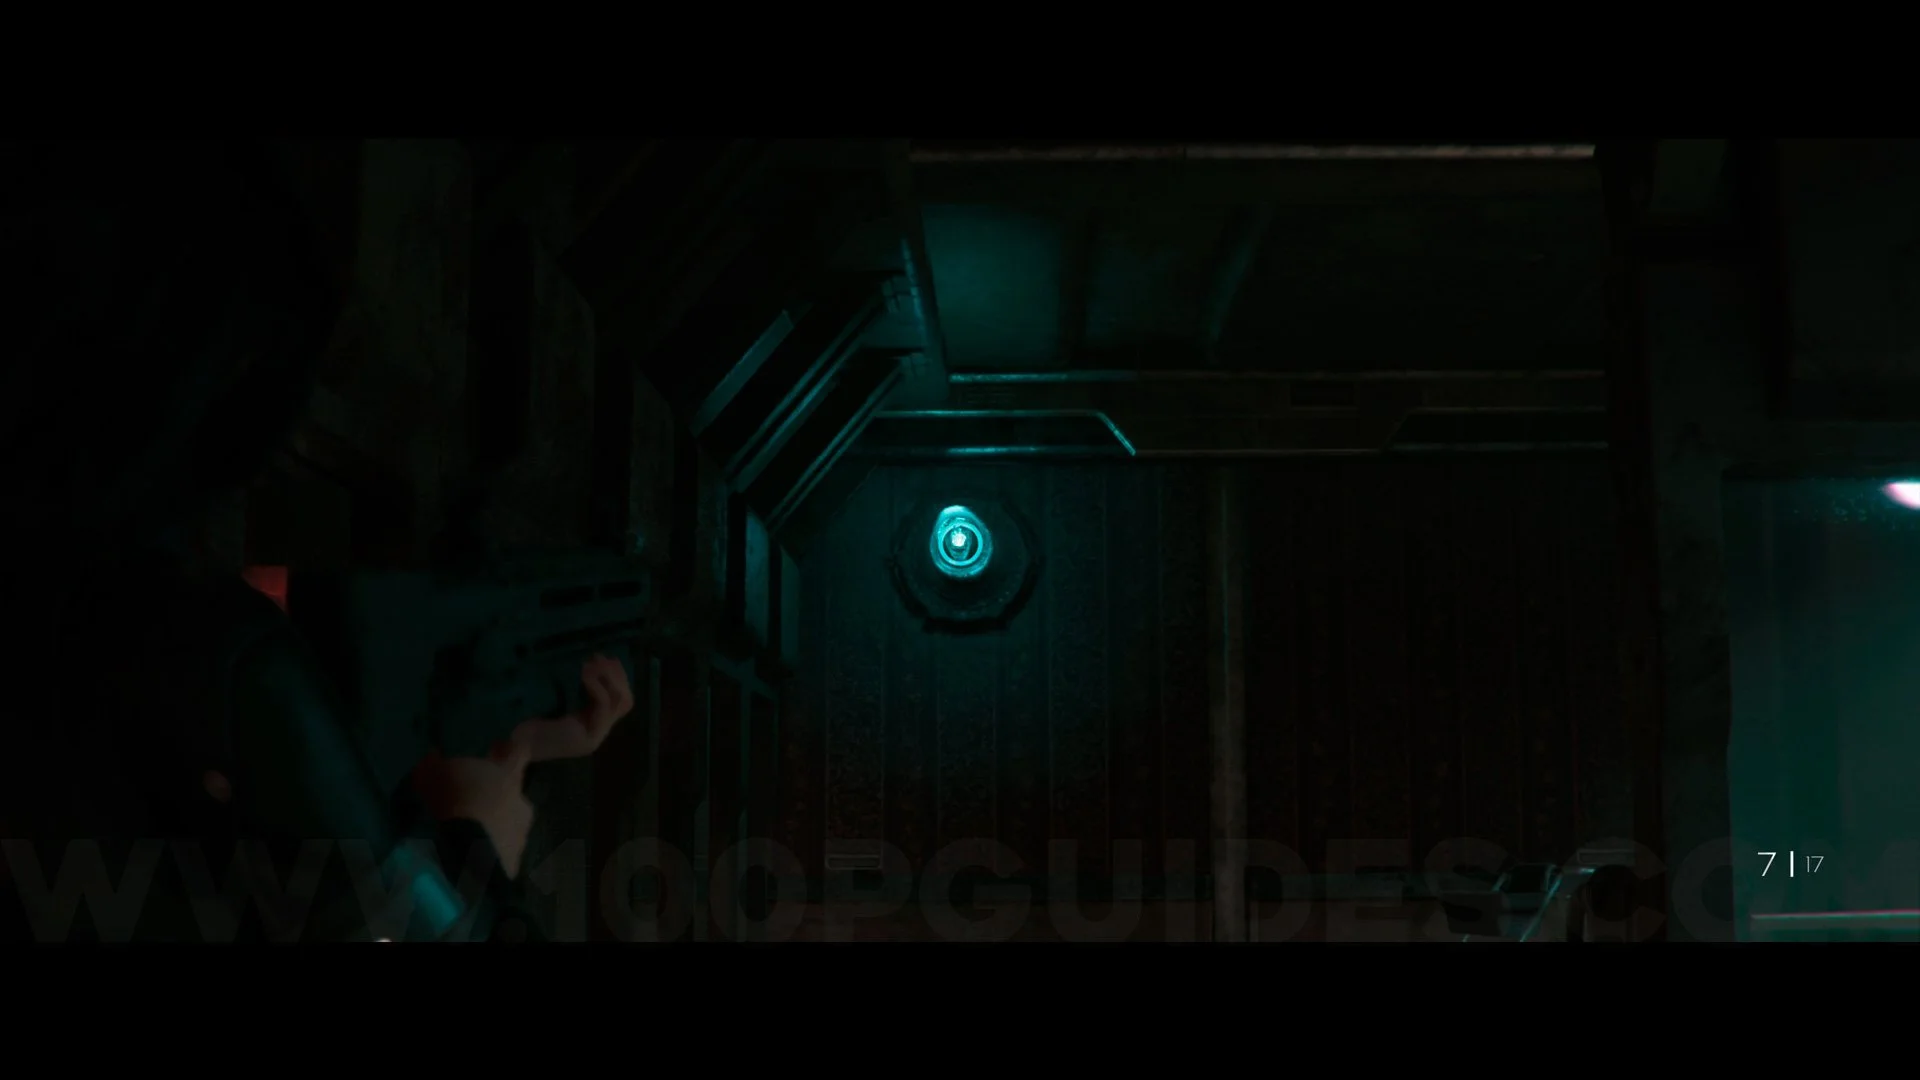

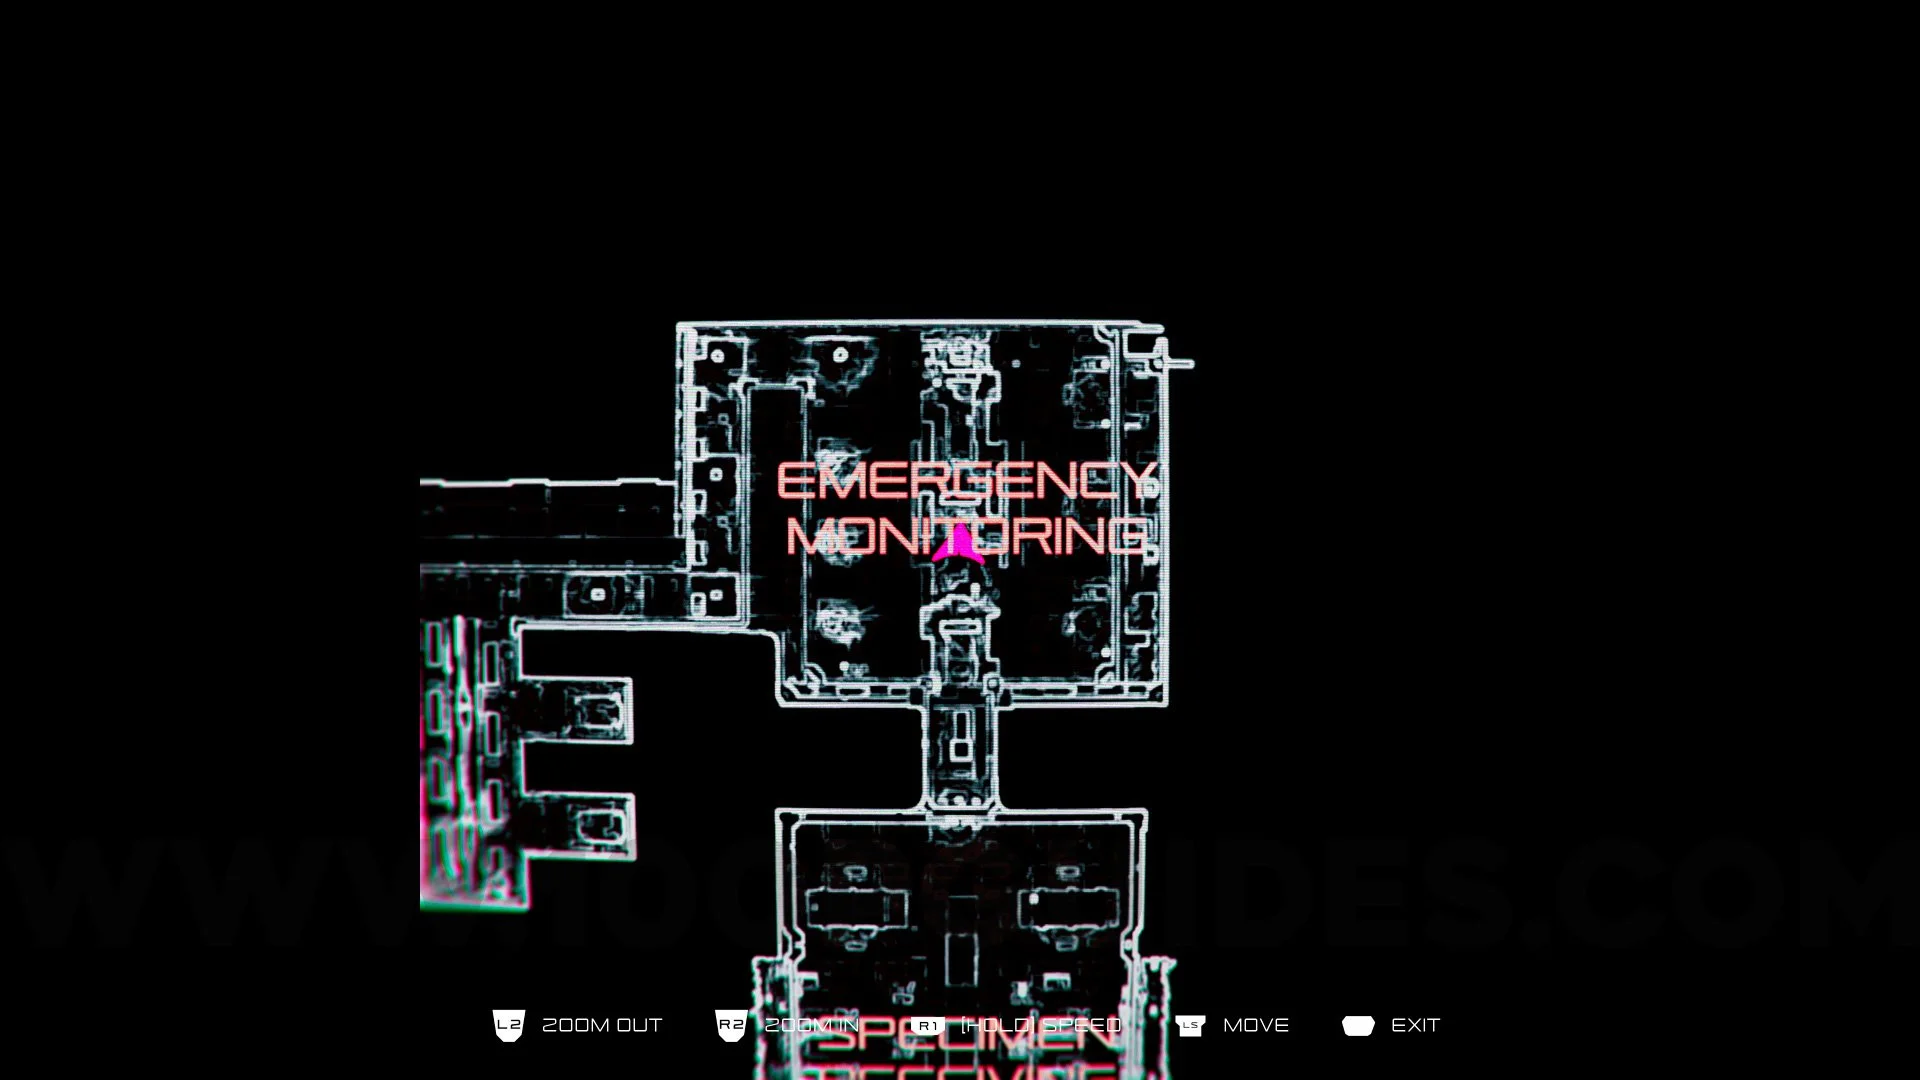
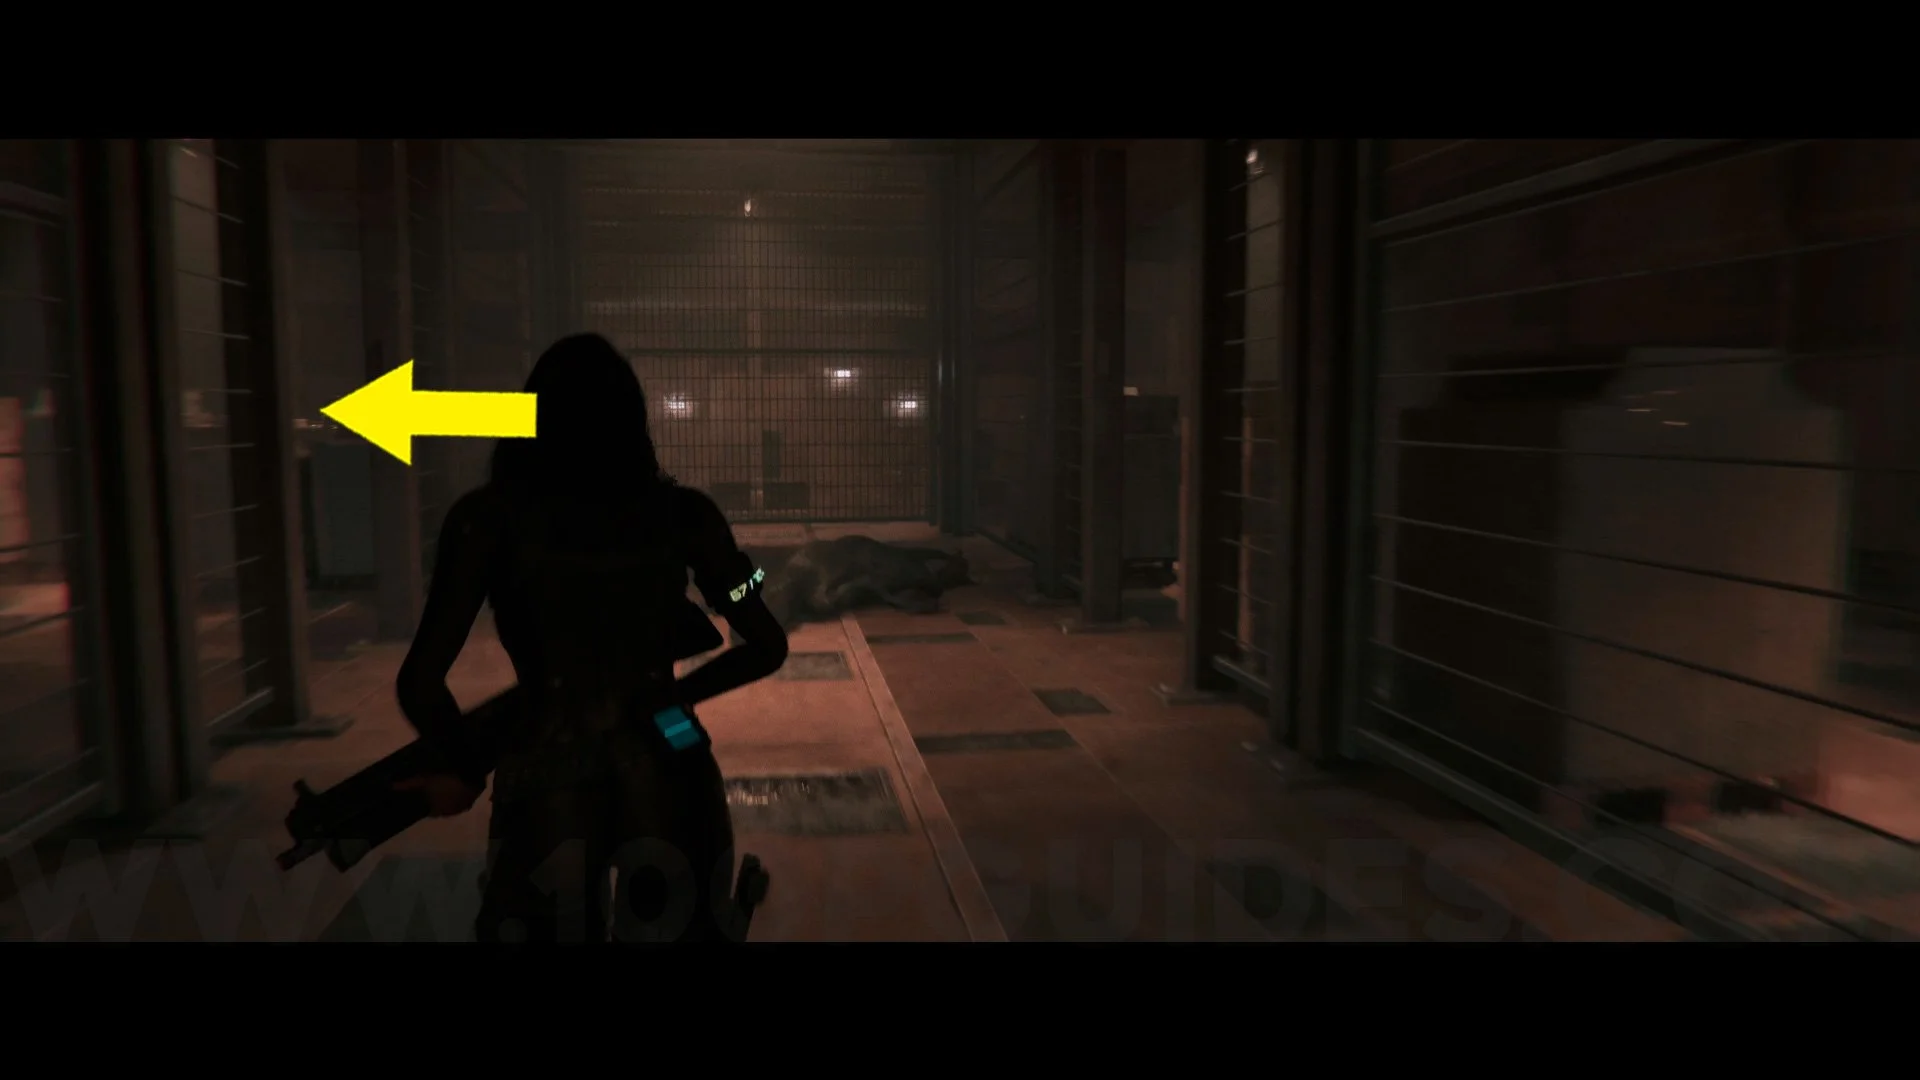
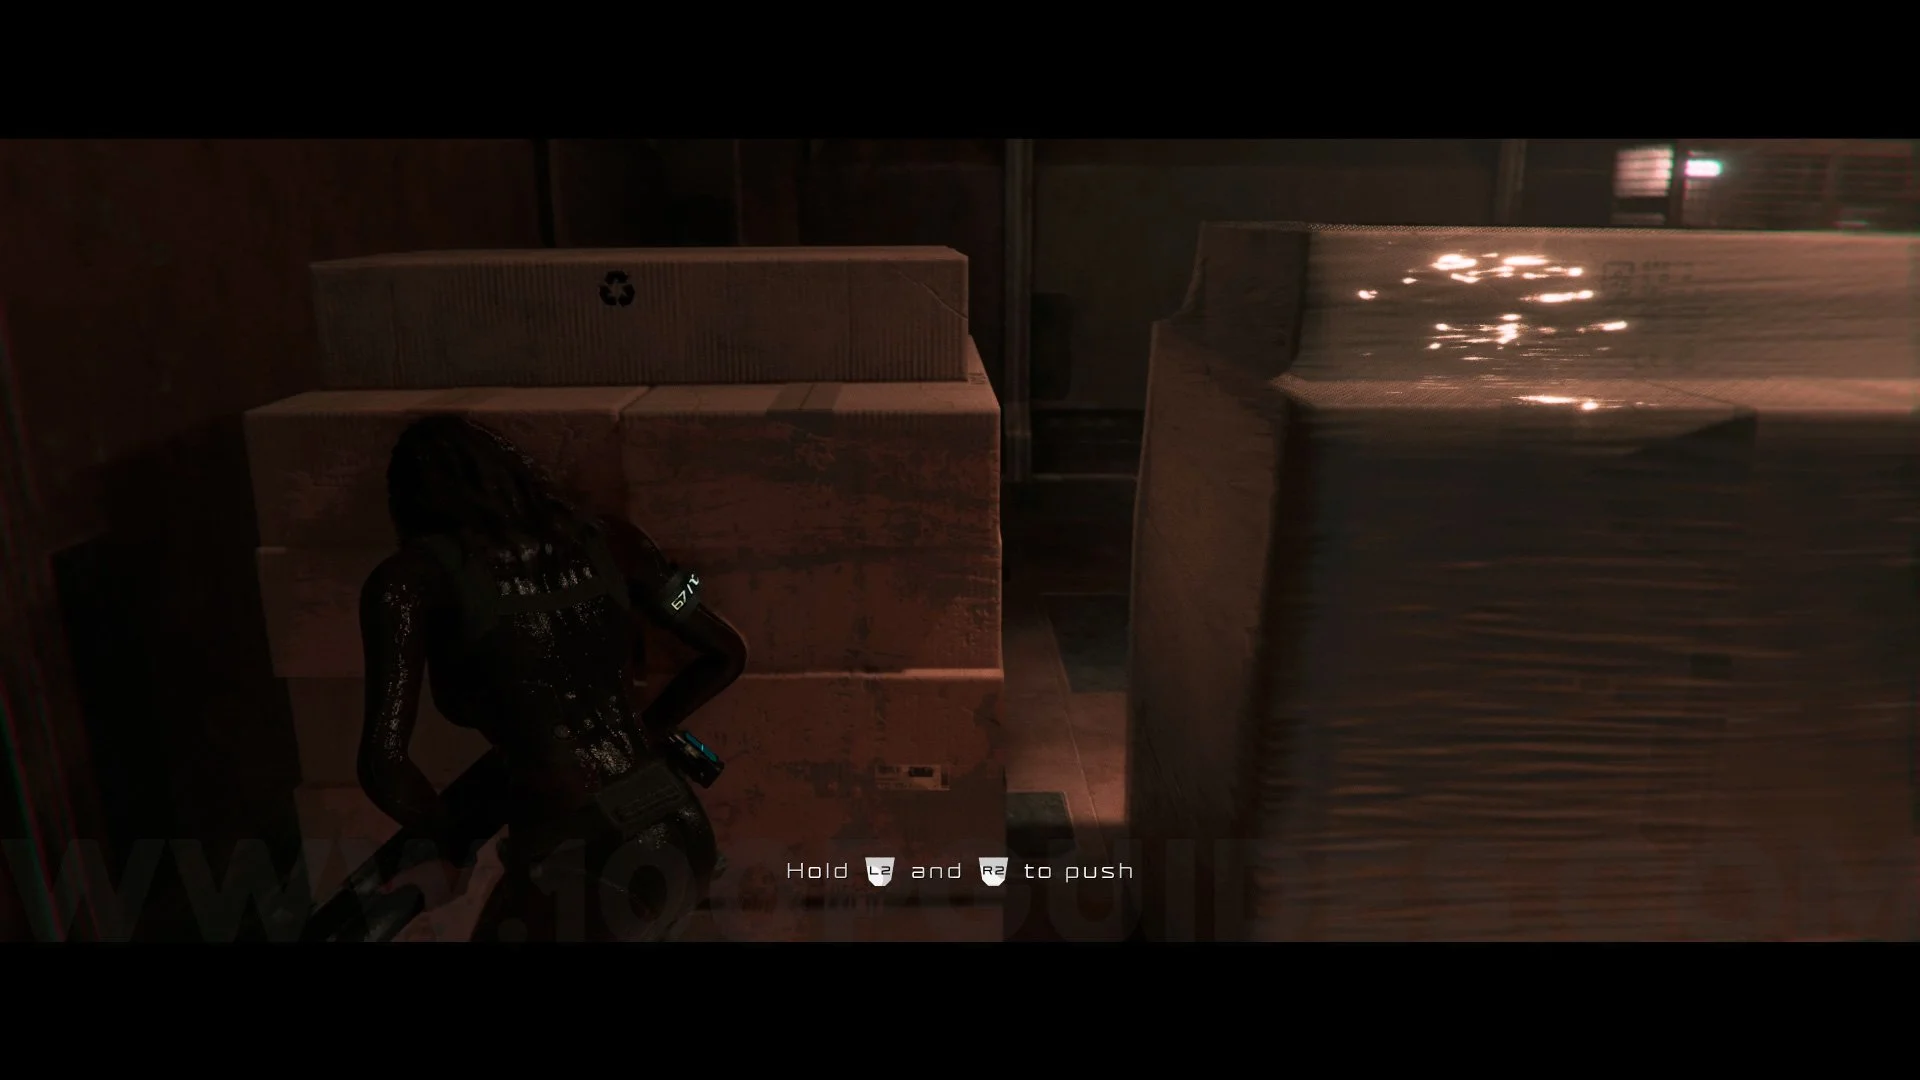
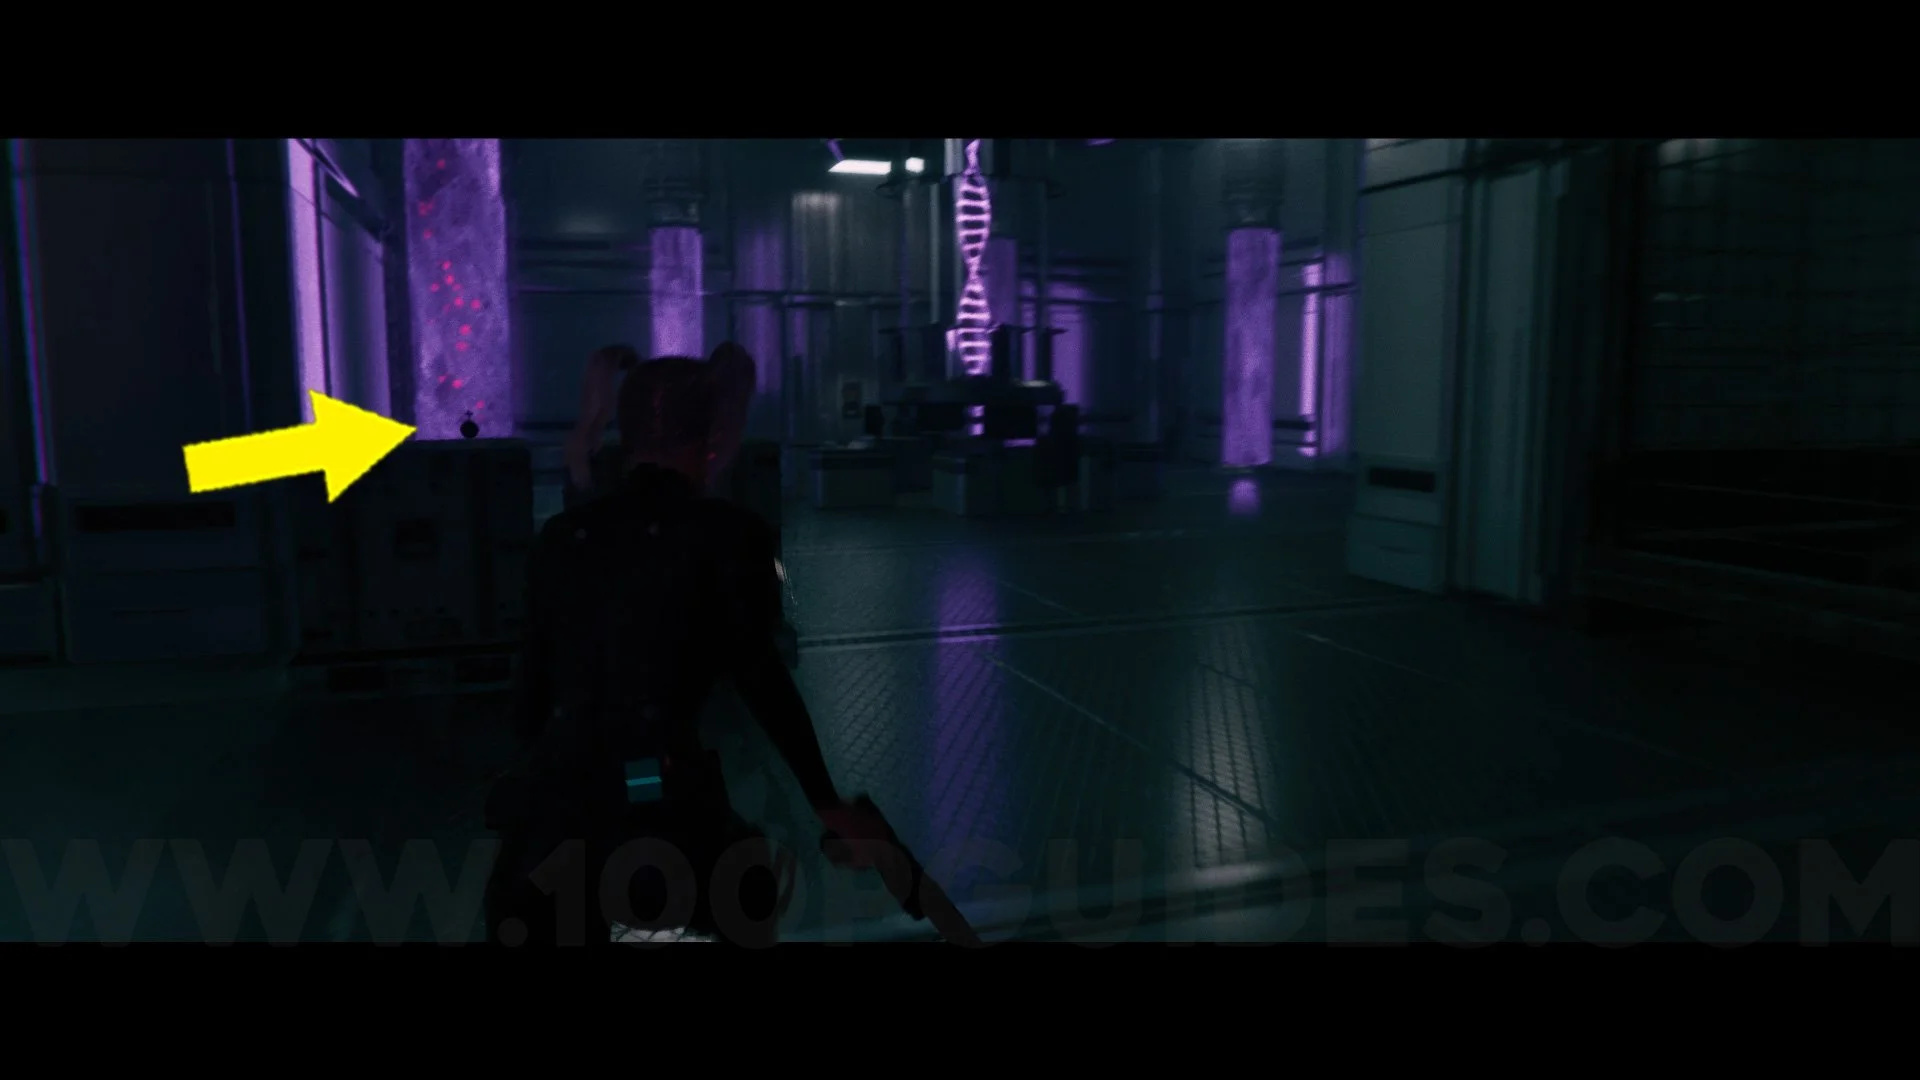
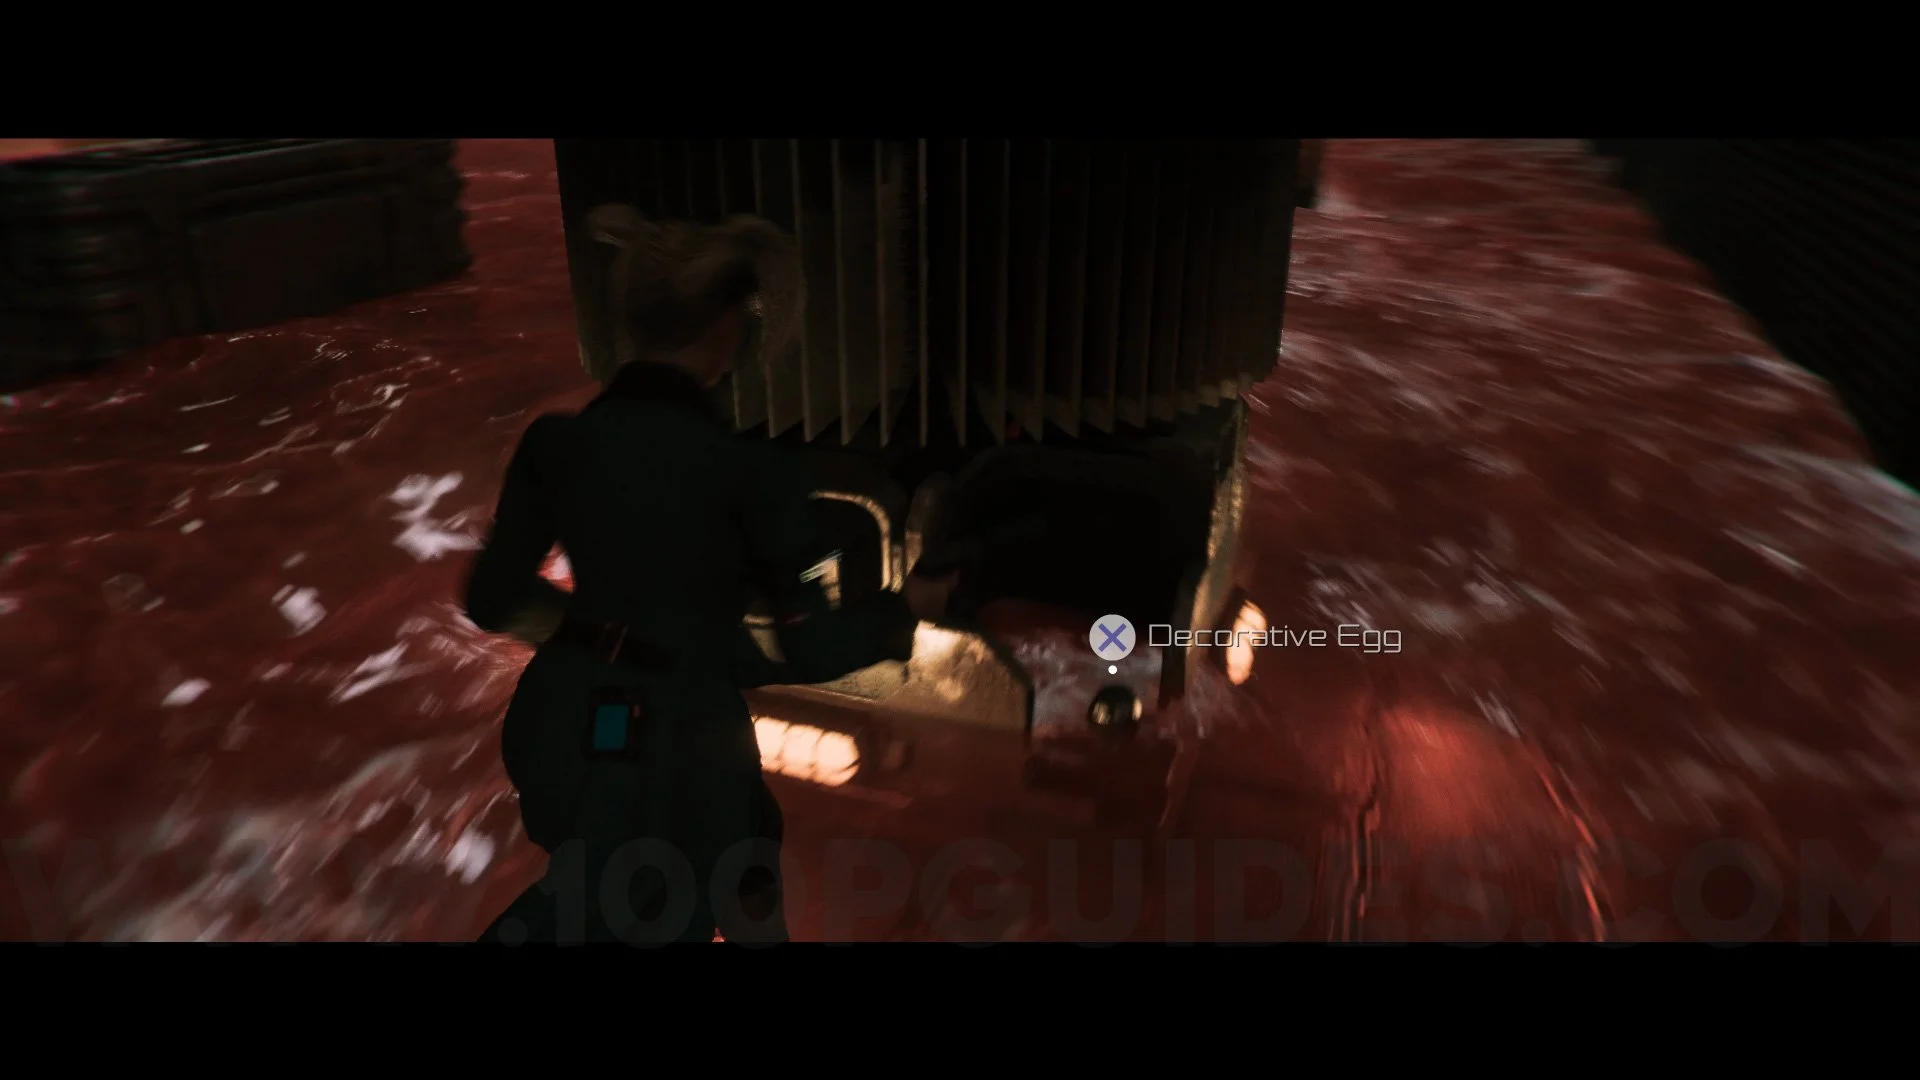
Decorative Egg #1. Once in Emergency Monitoring, go left and follow the single path until you find four rooms. In room 1, turn the valve on the left twice; in room 2, turn the valve on the left twice; in room 3, turn the valve on the left twice; in room 4, turn the valve on the left twice. After that, go left, go down the stairs, and follow the single path. Push one of the boxes at the end and go around the room. This decorative egg will be behind three large boxes at the end.
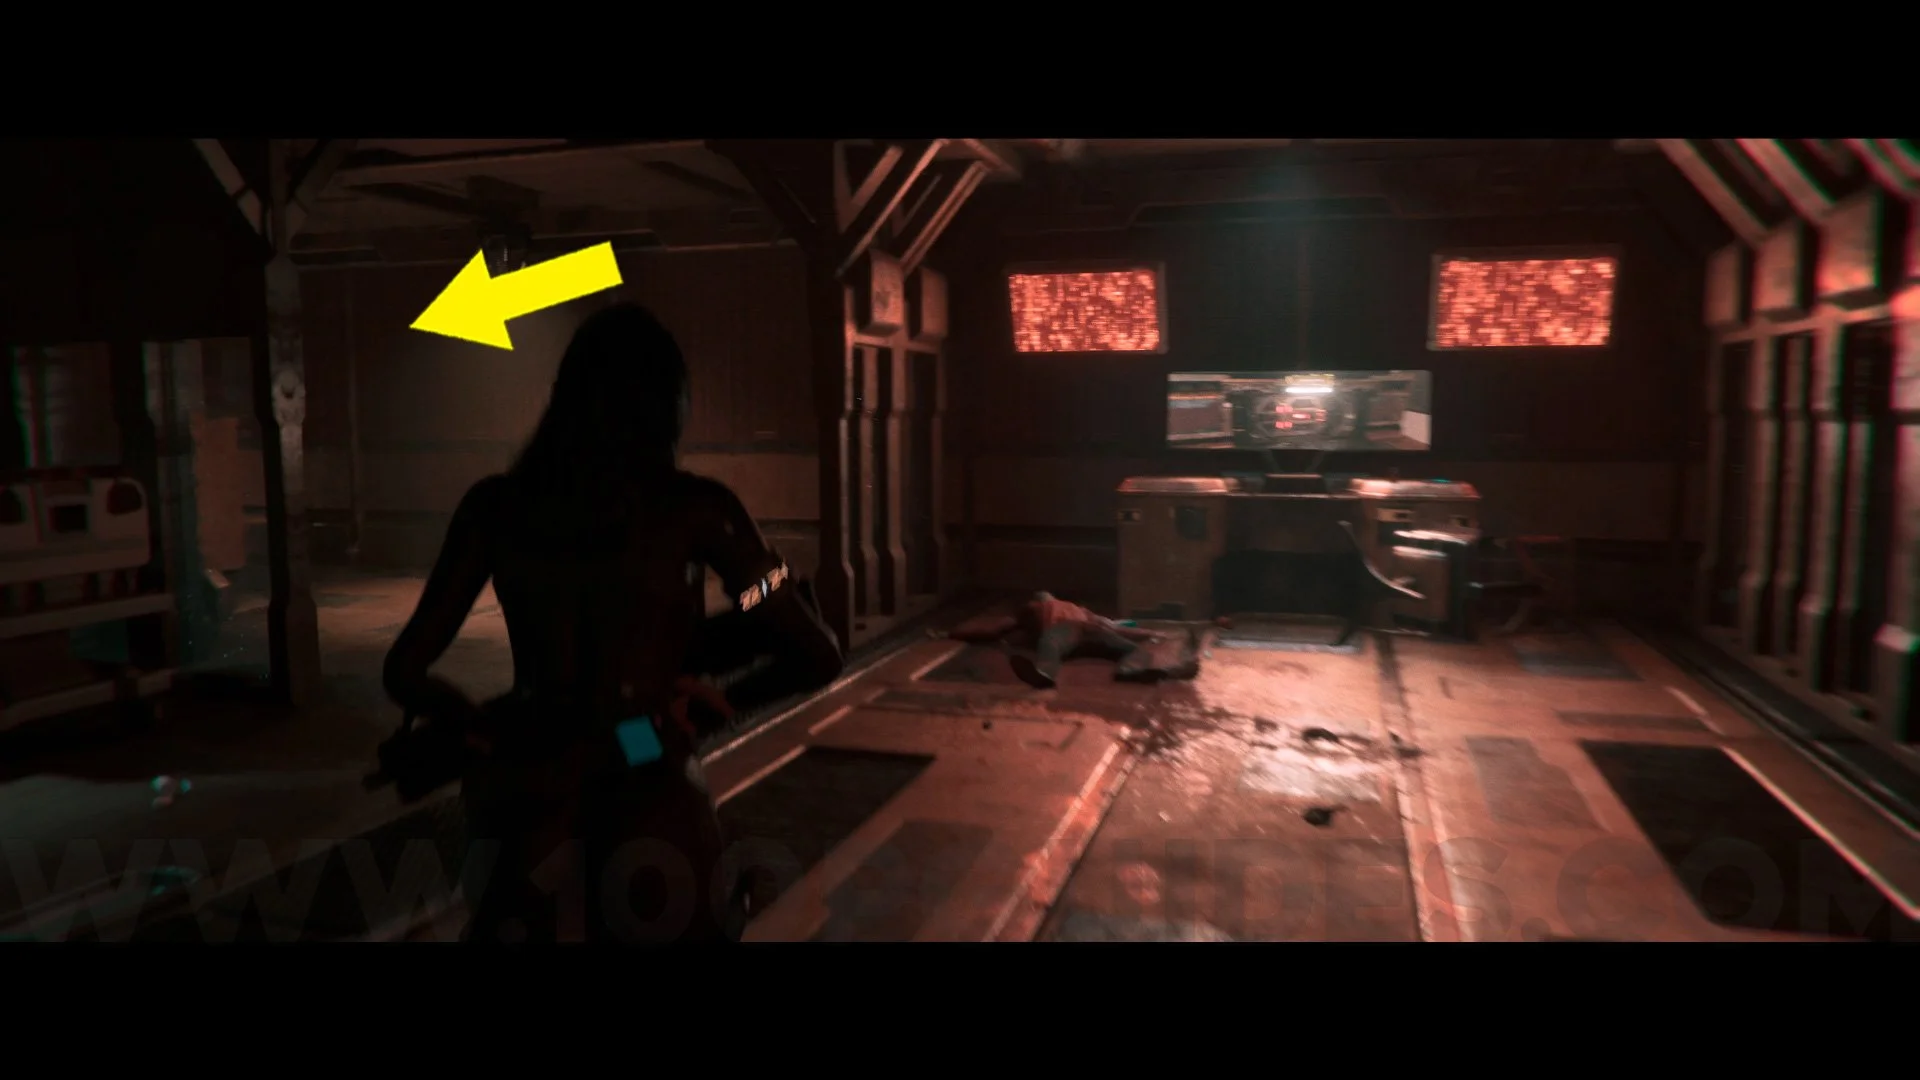
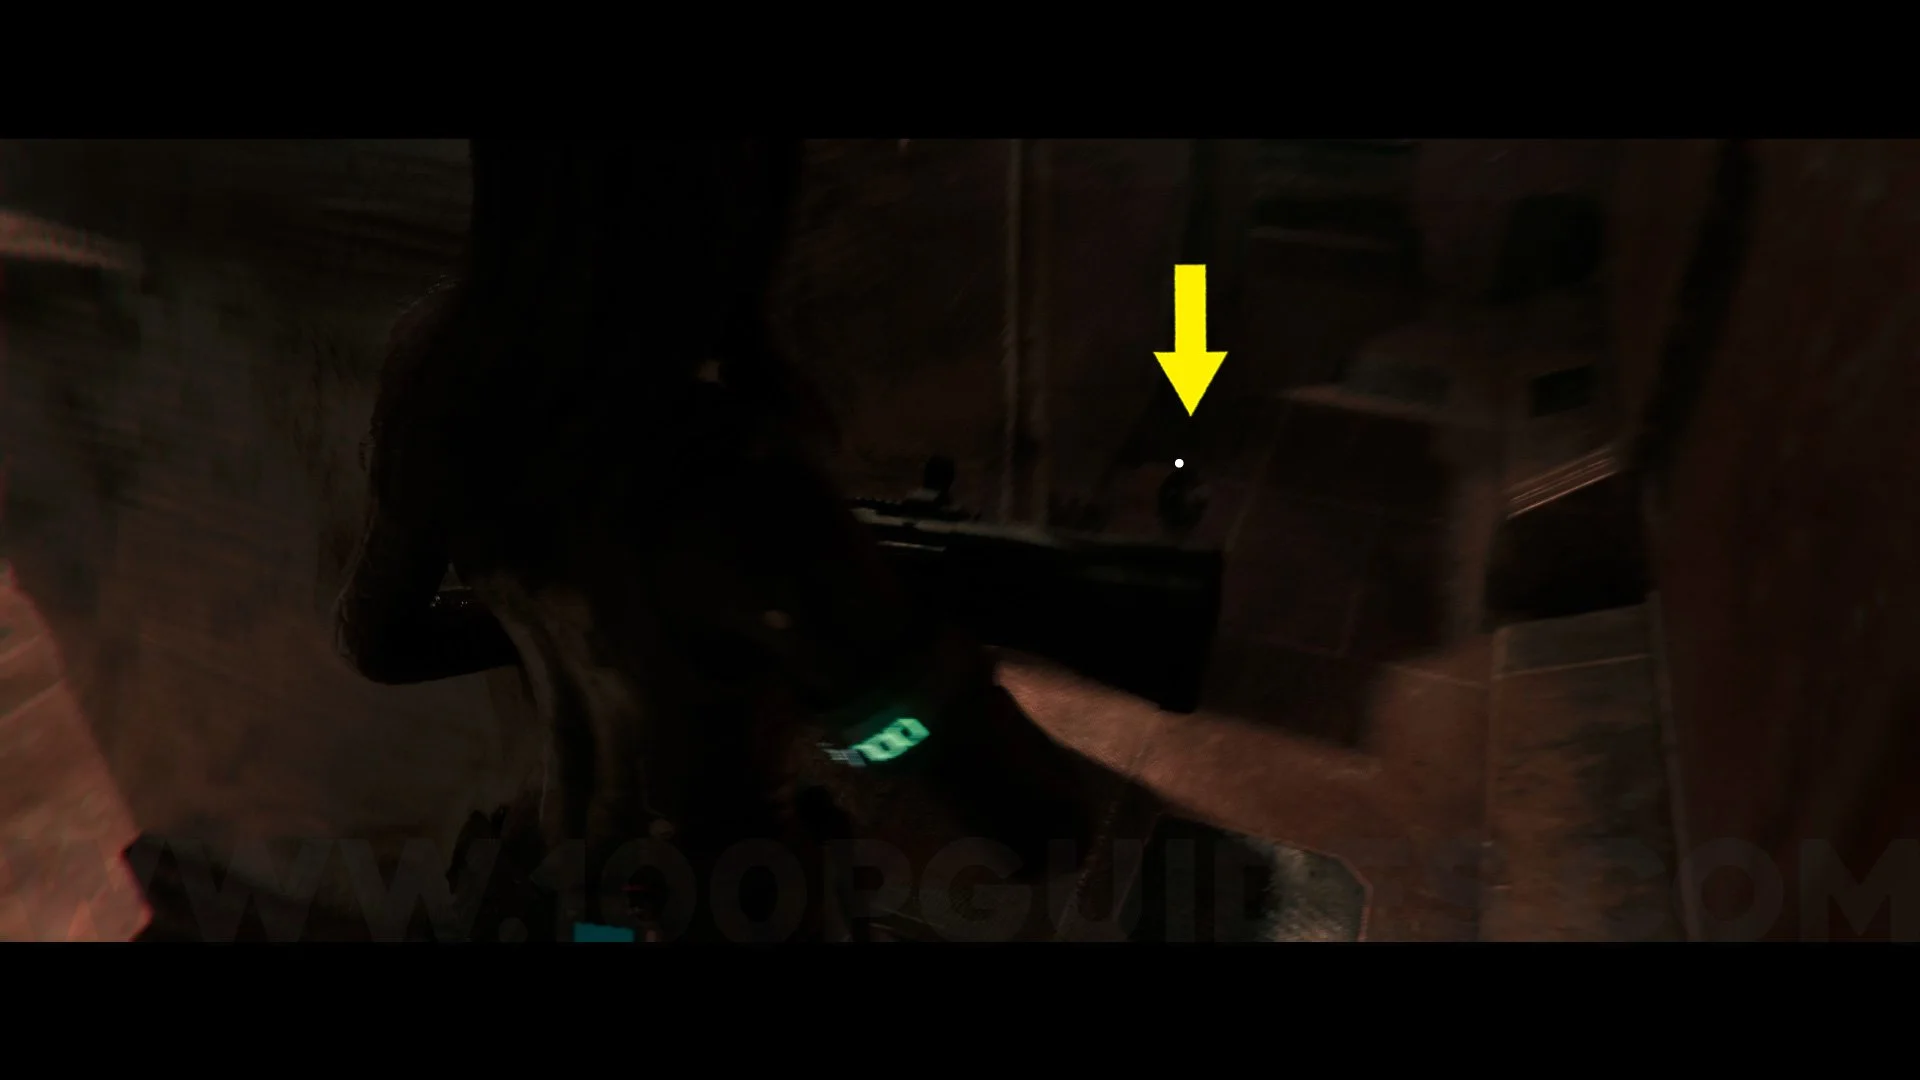
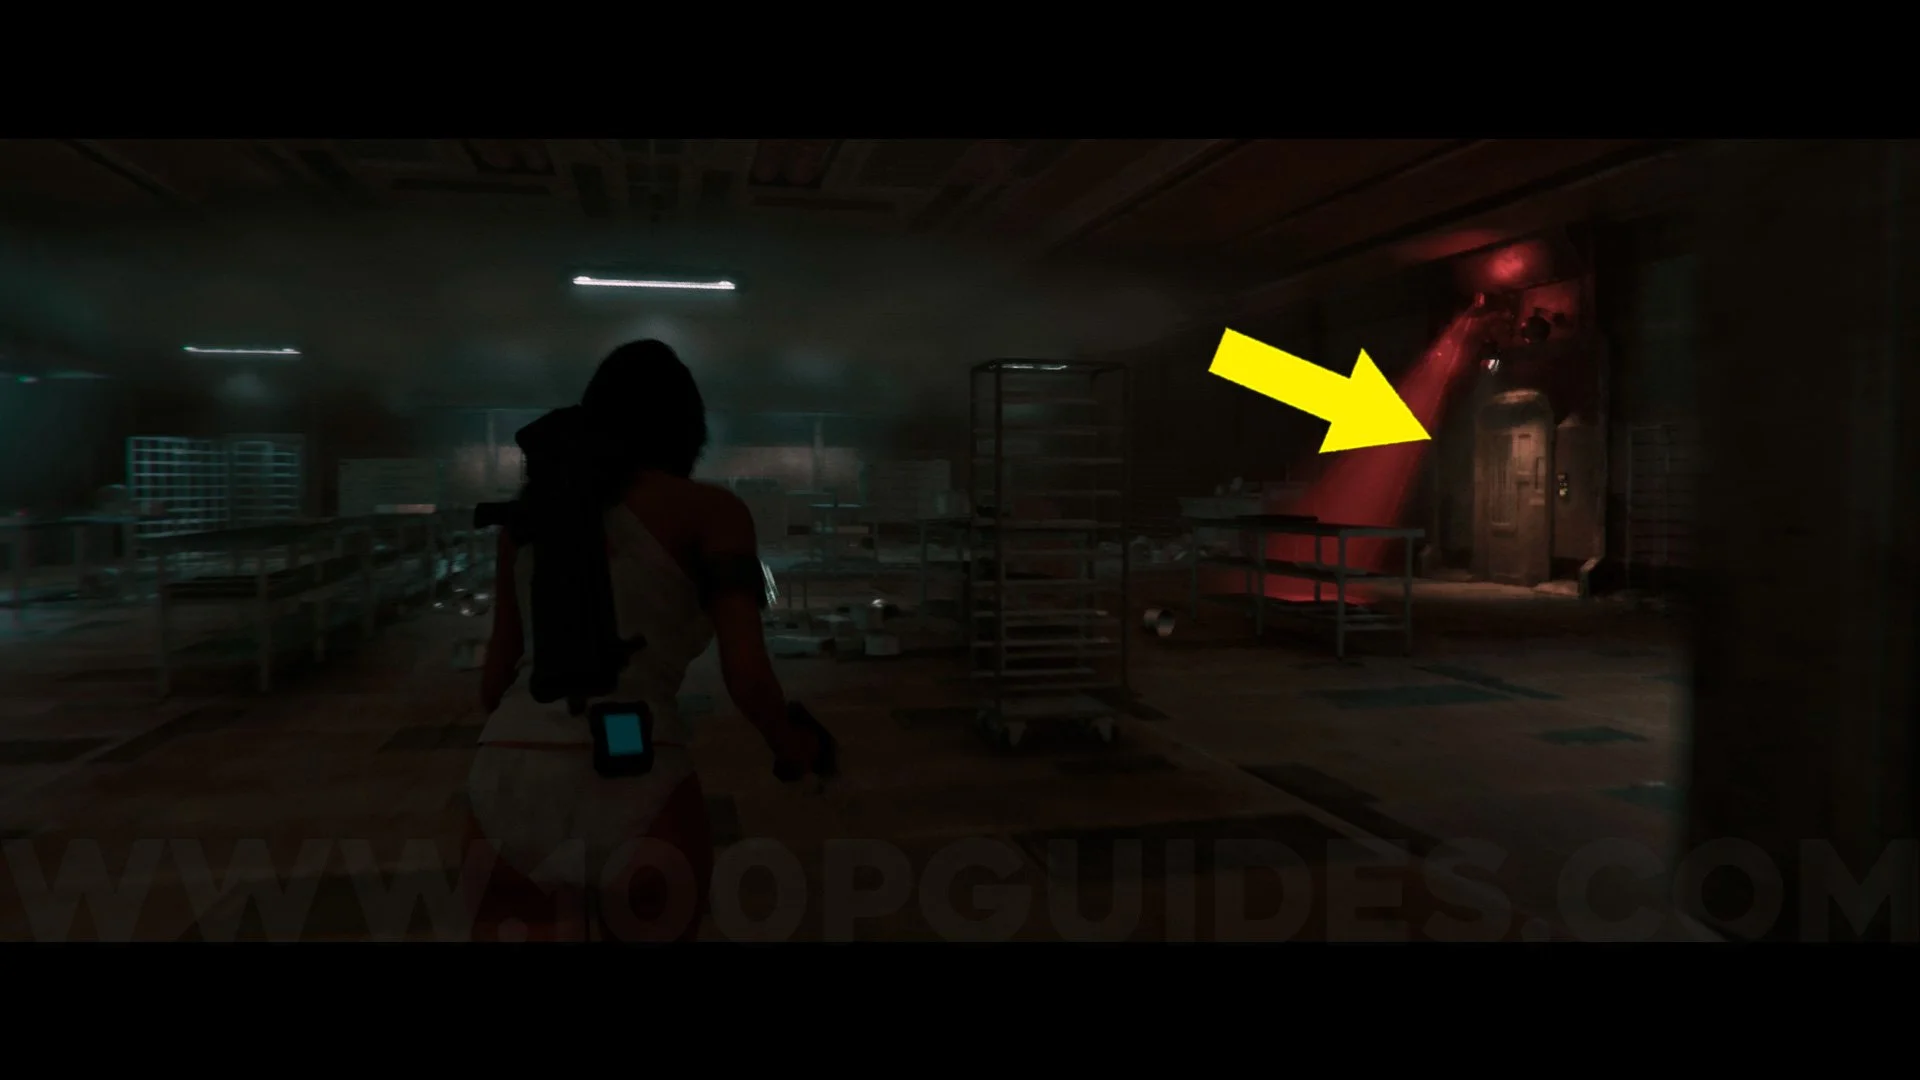
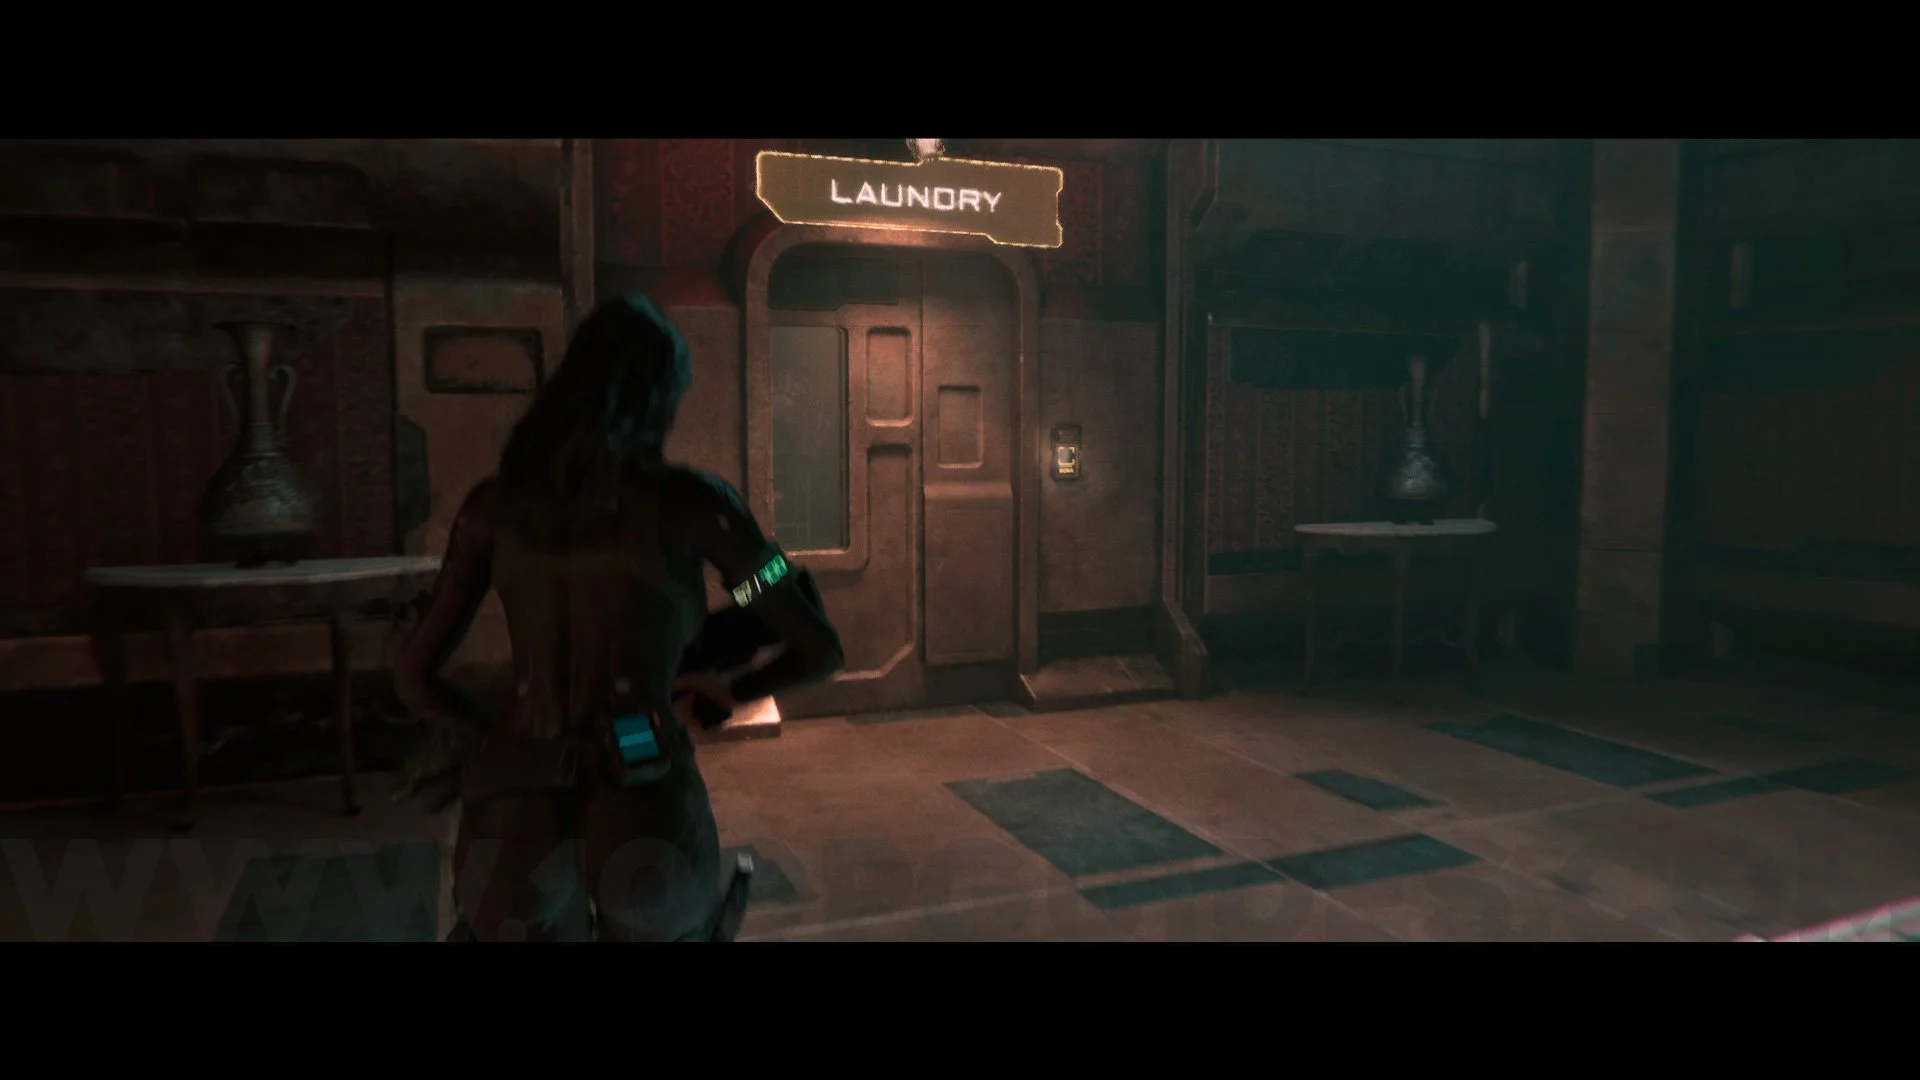
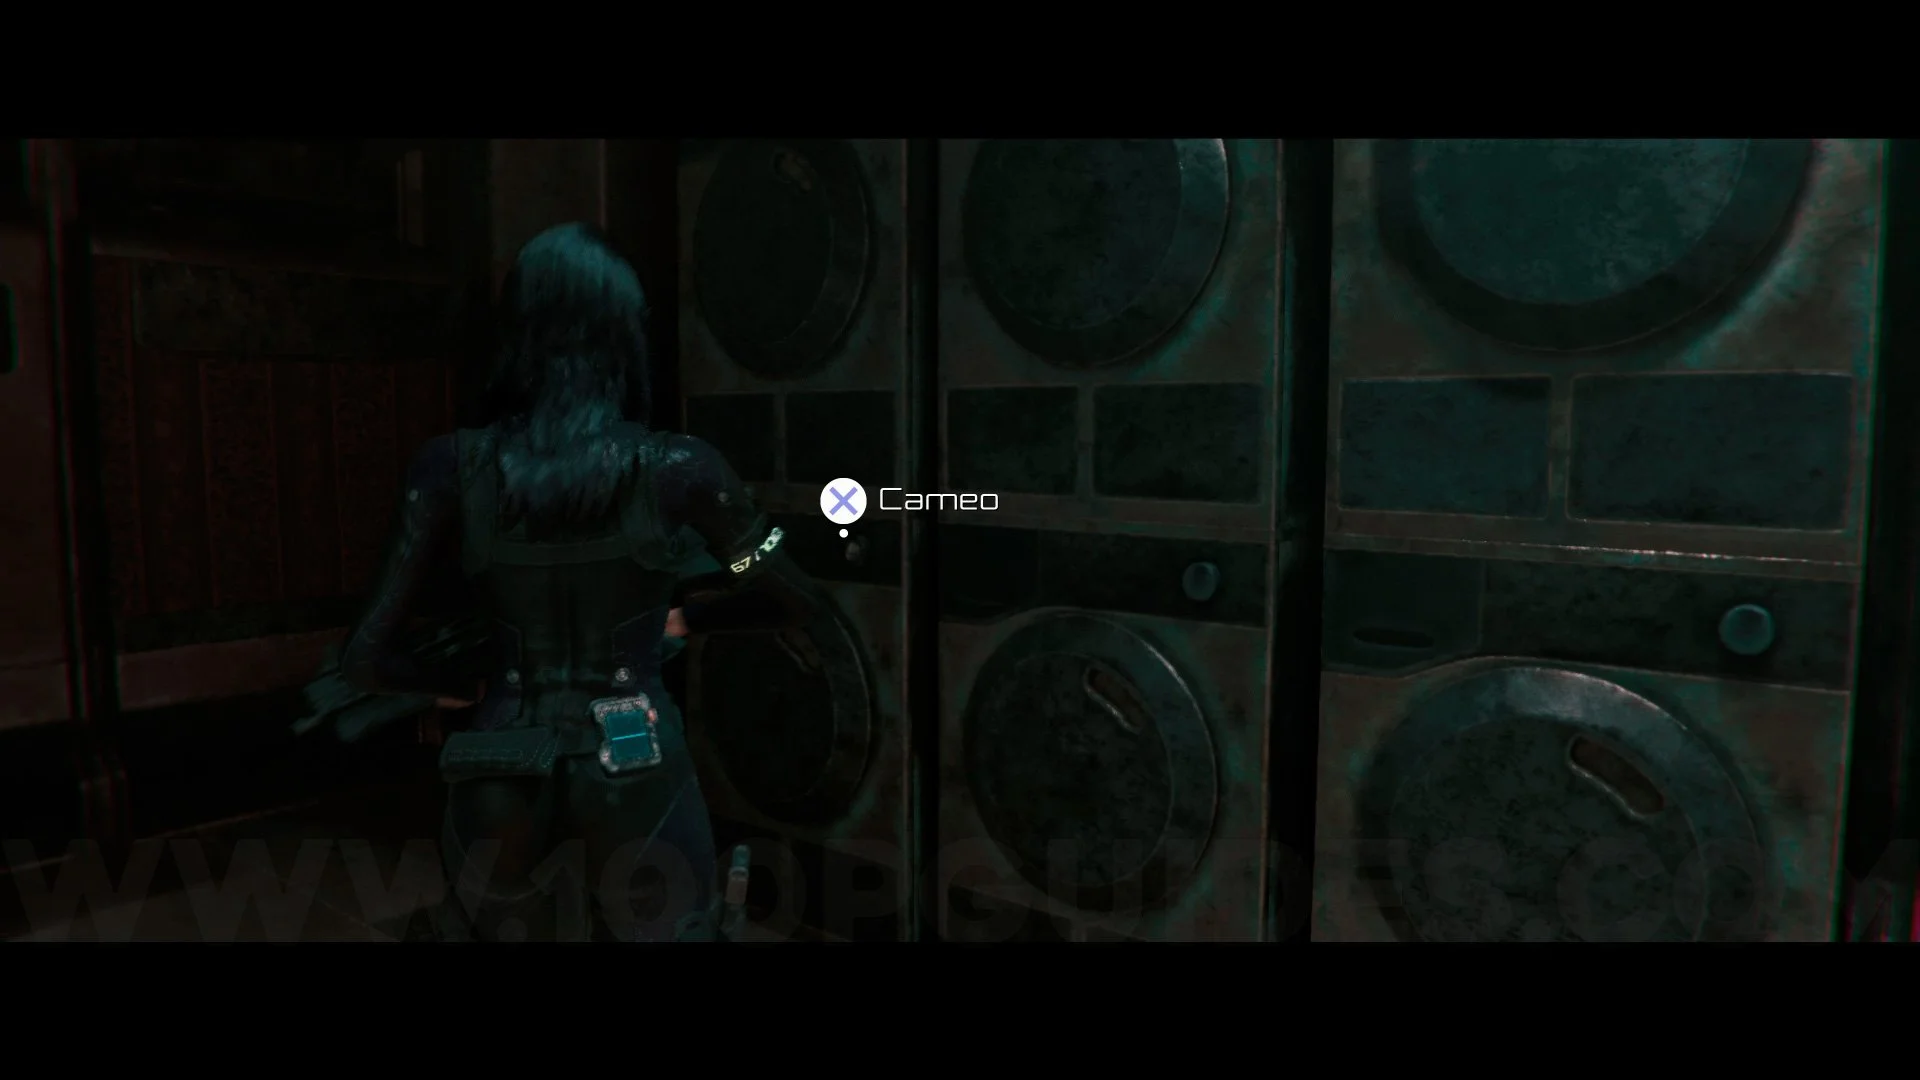
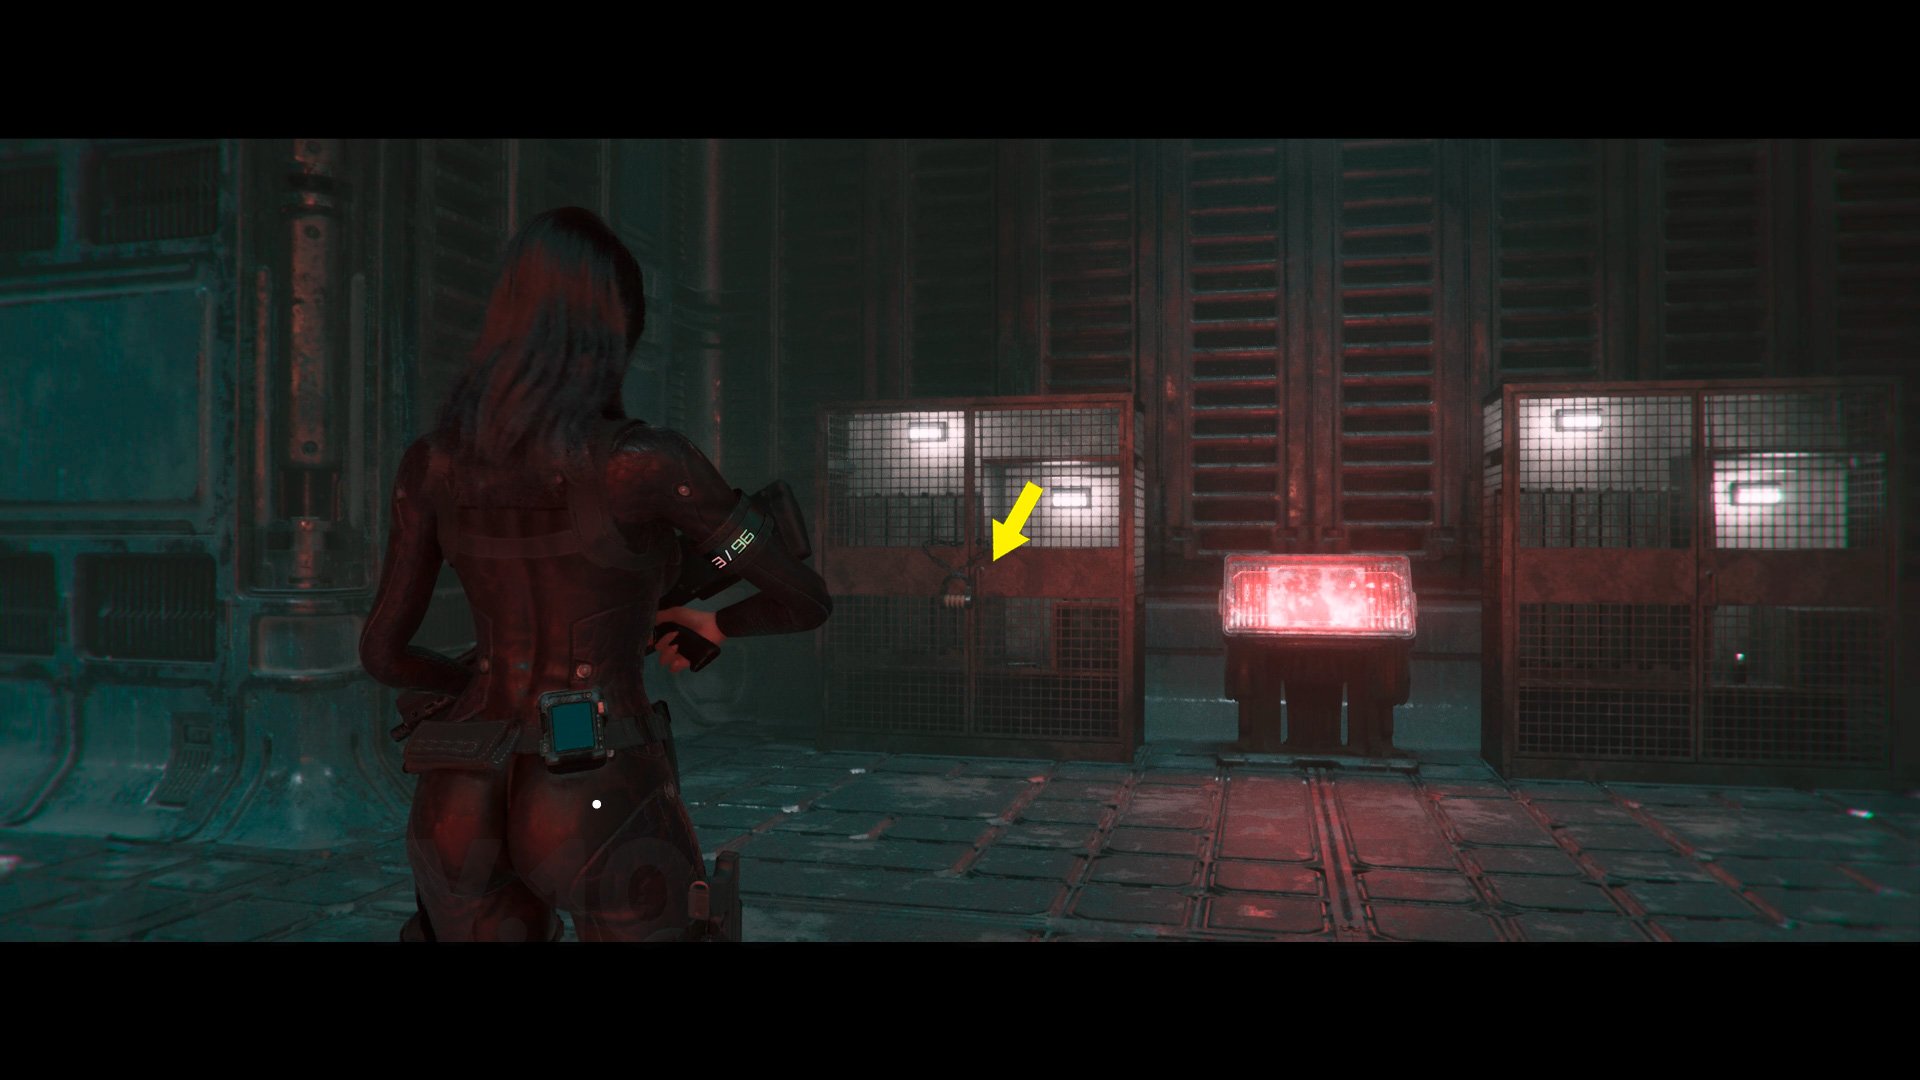
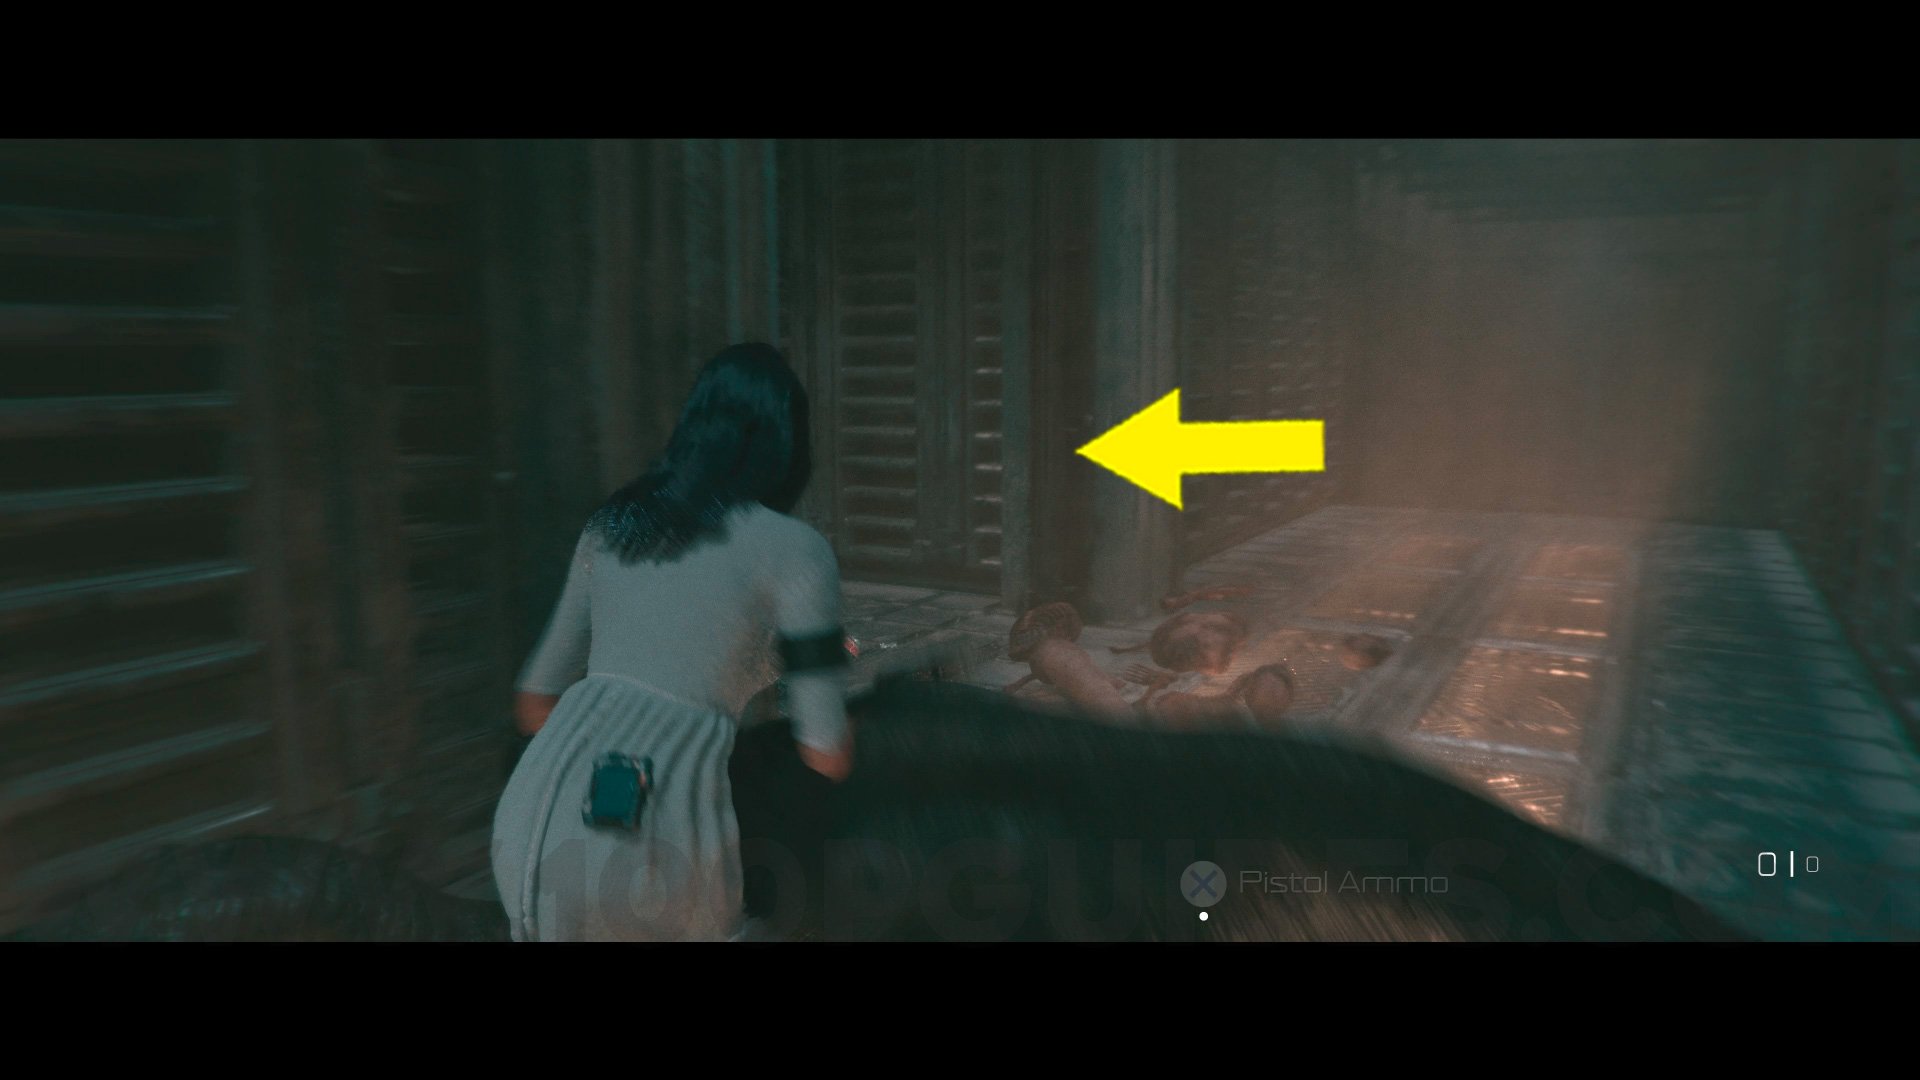
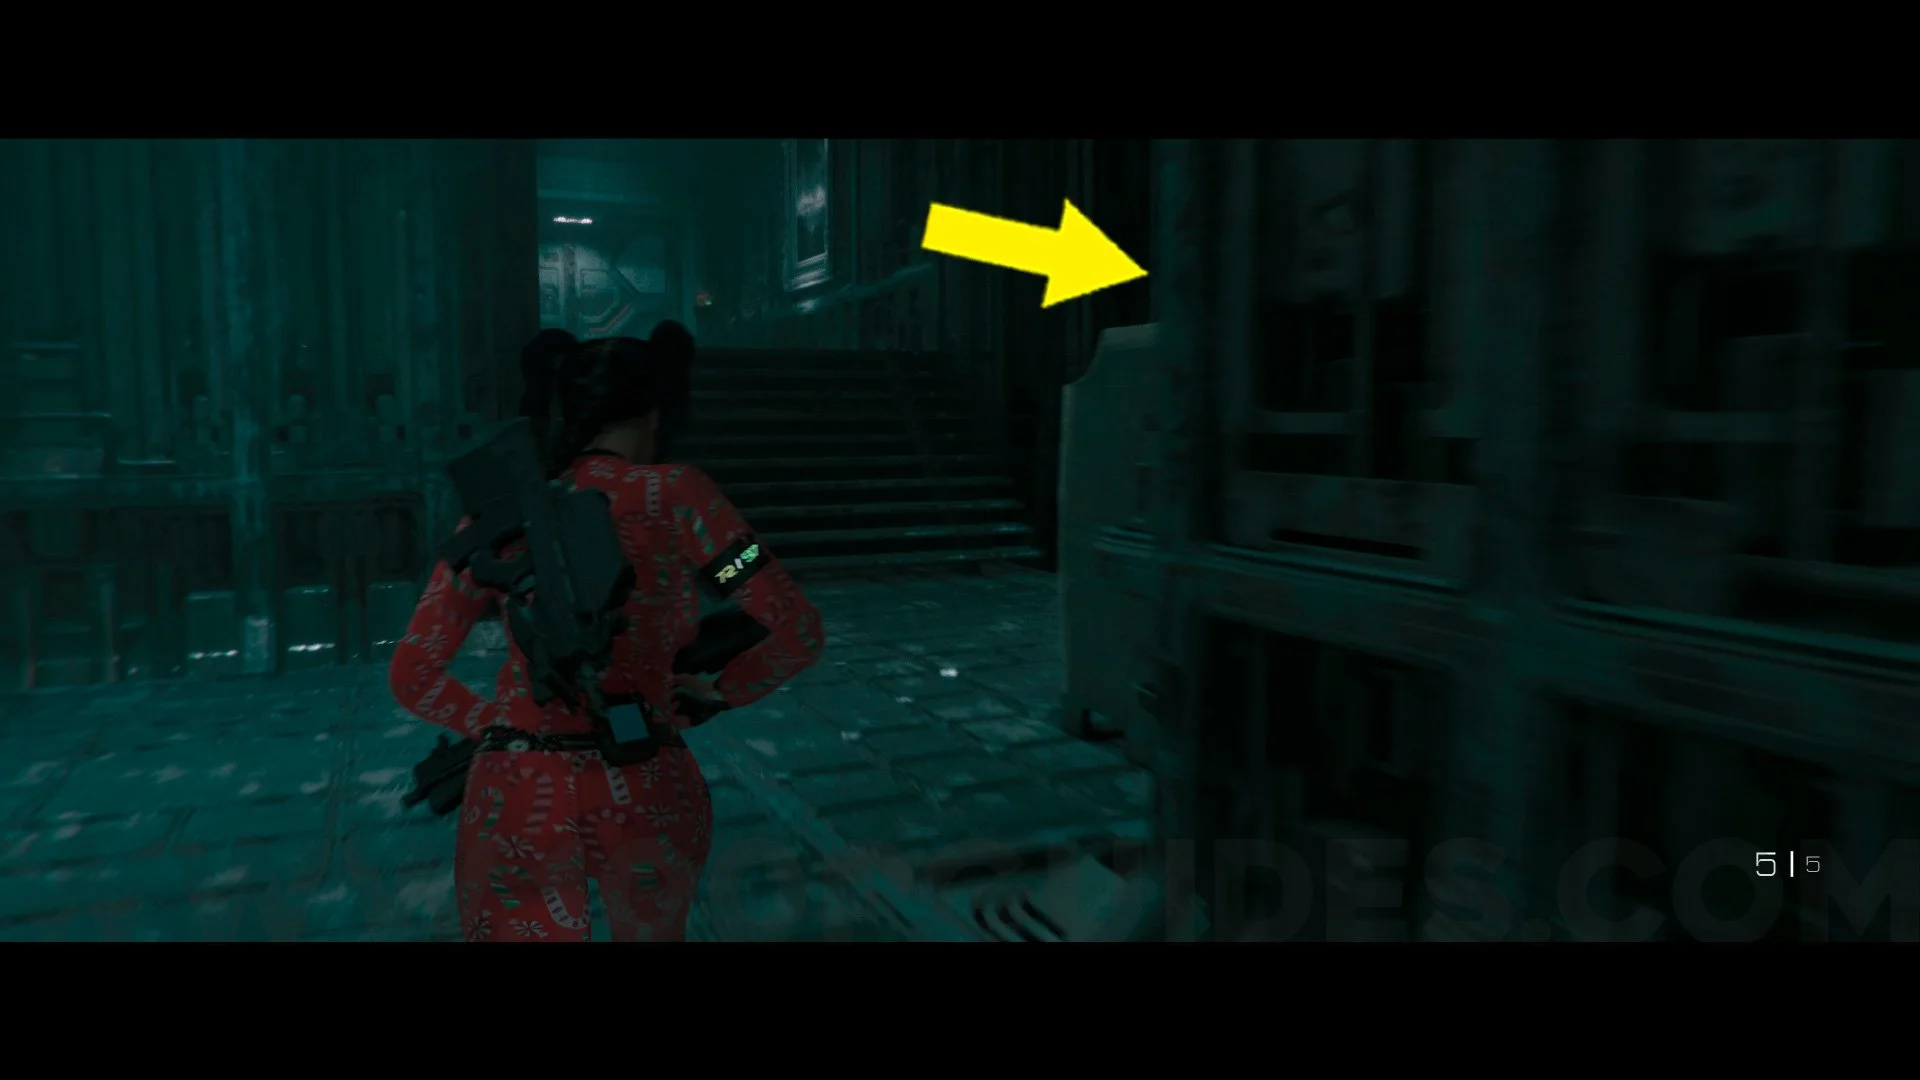
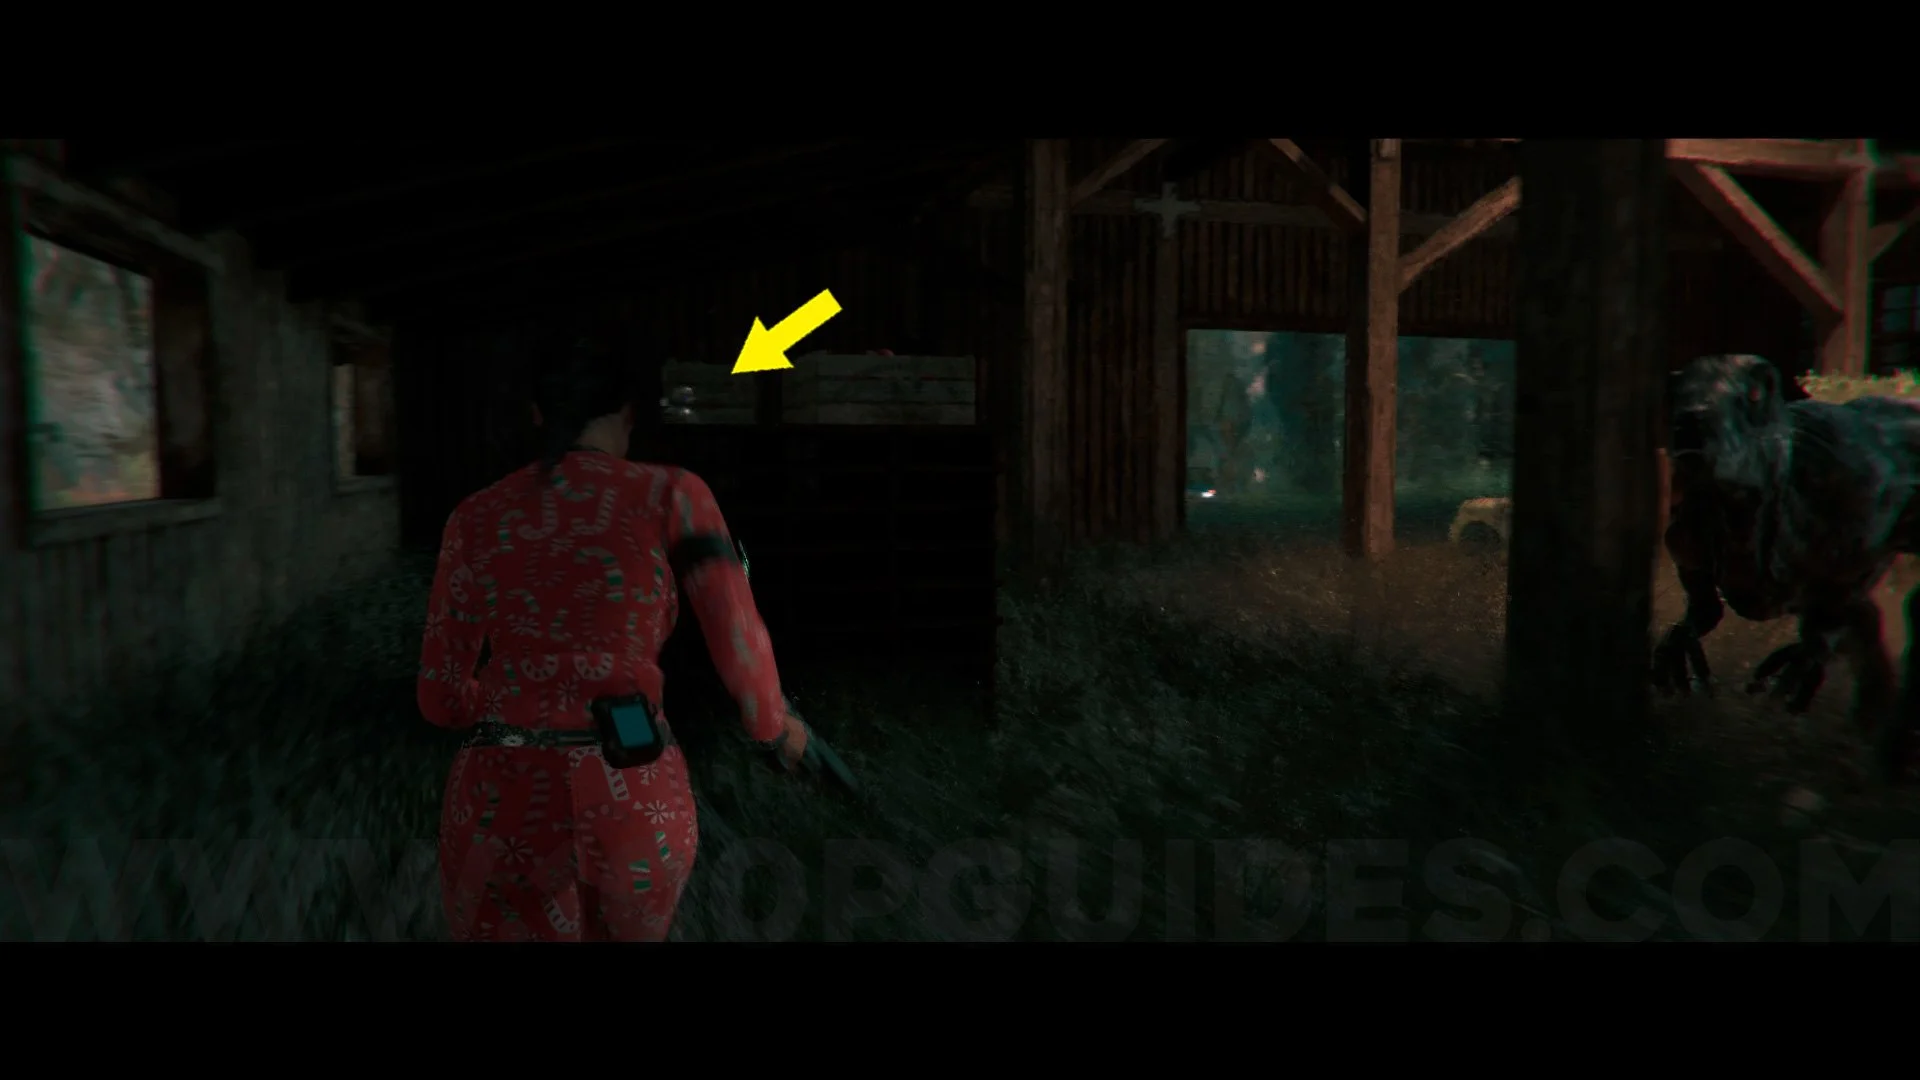
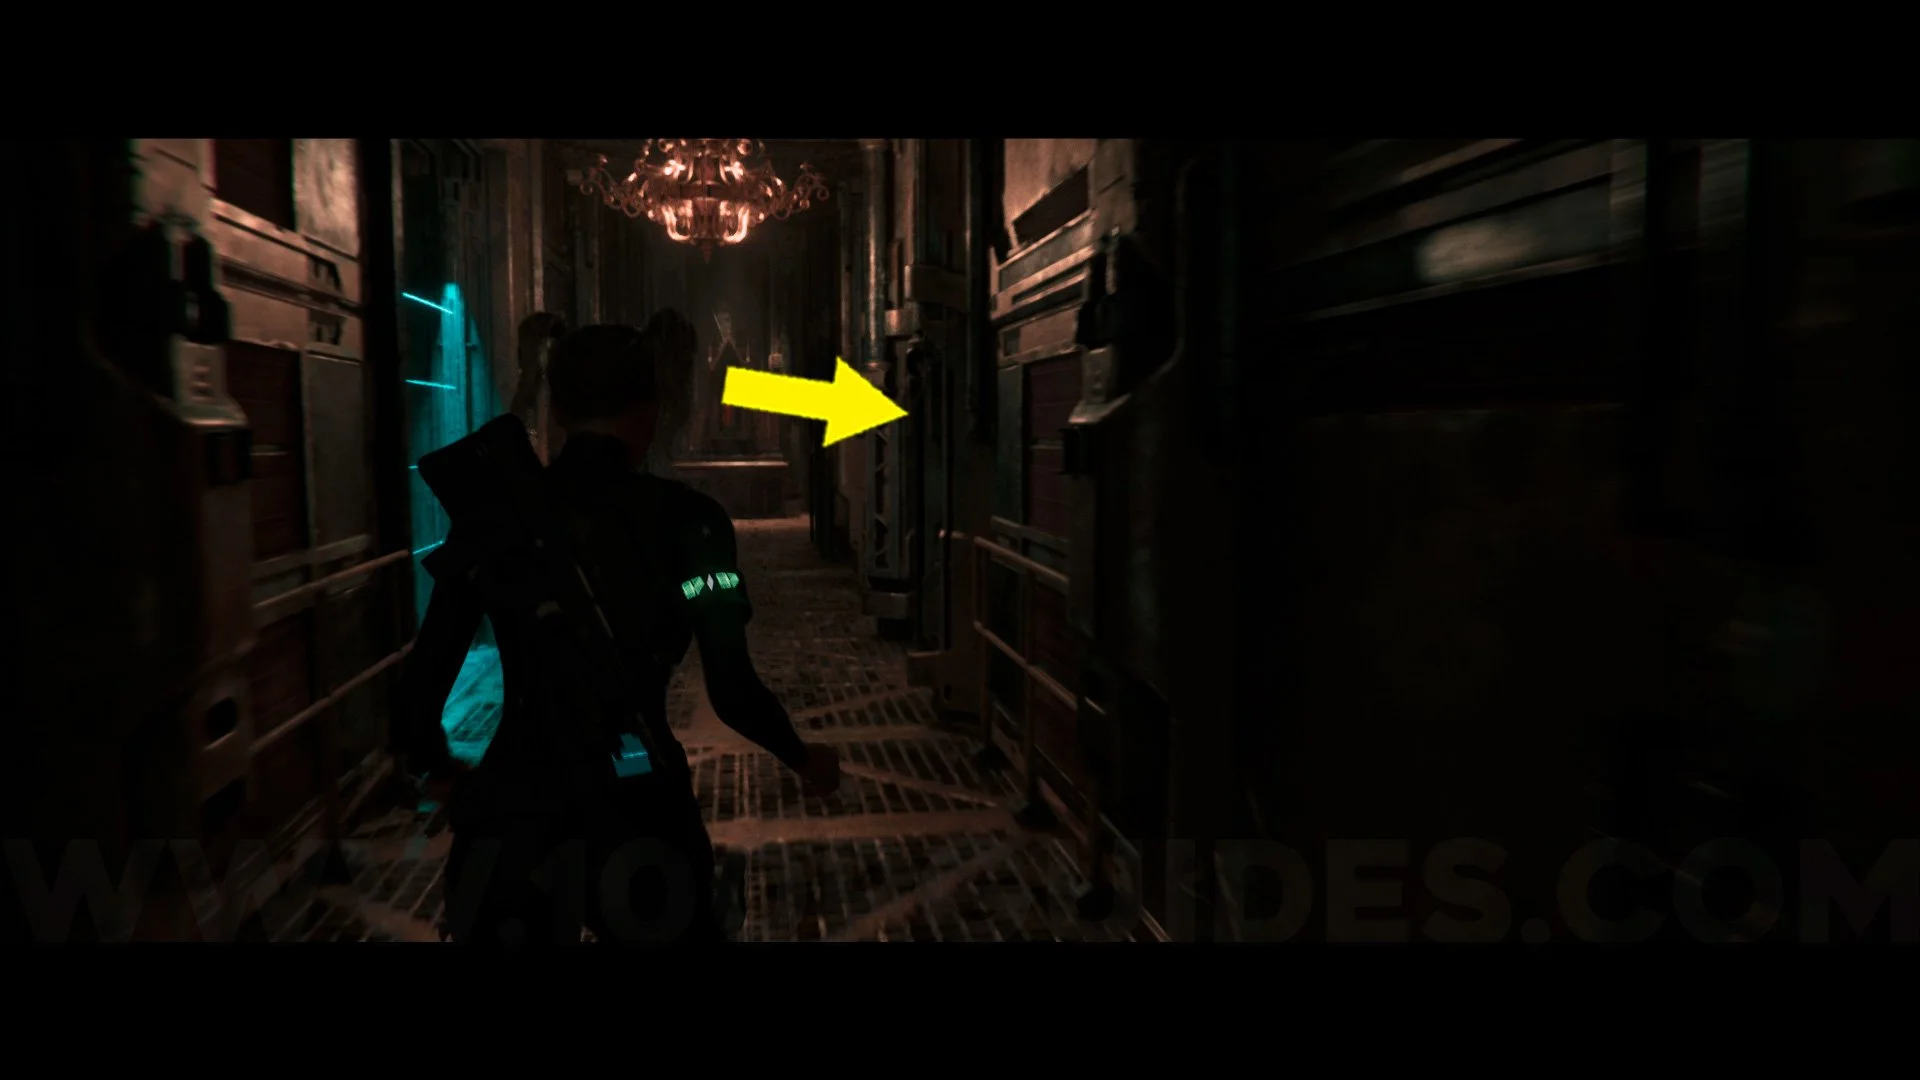
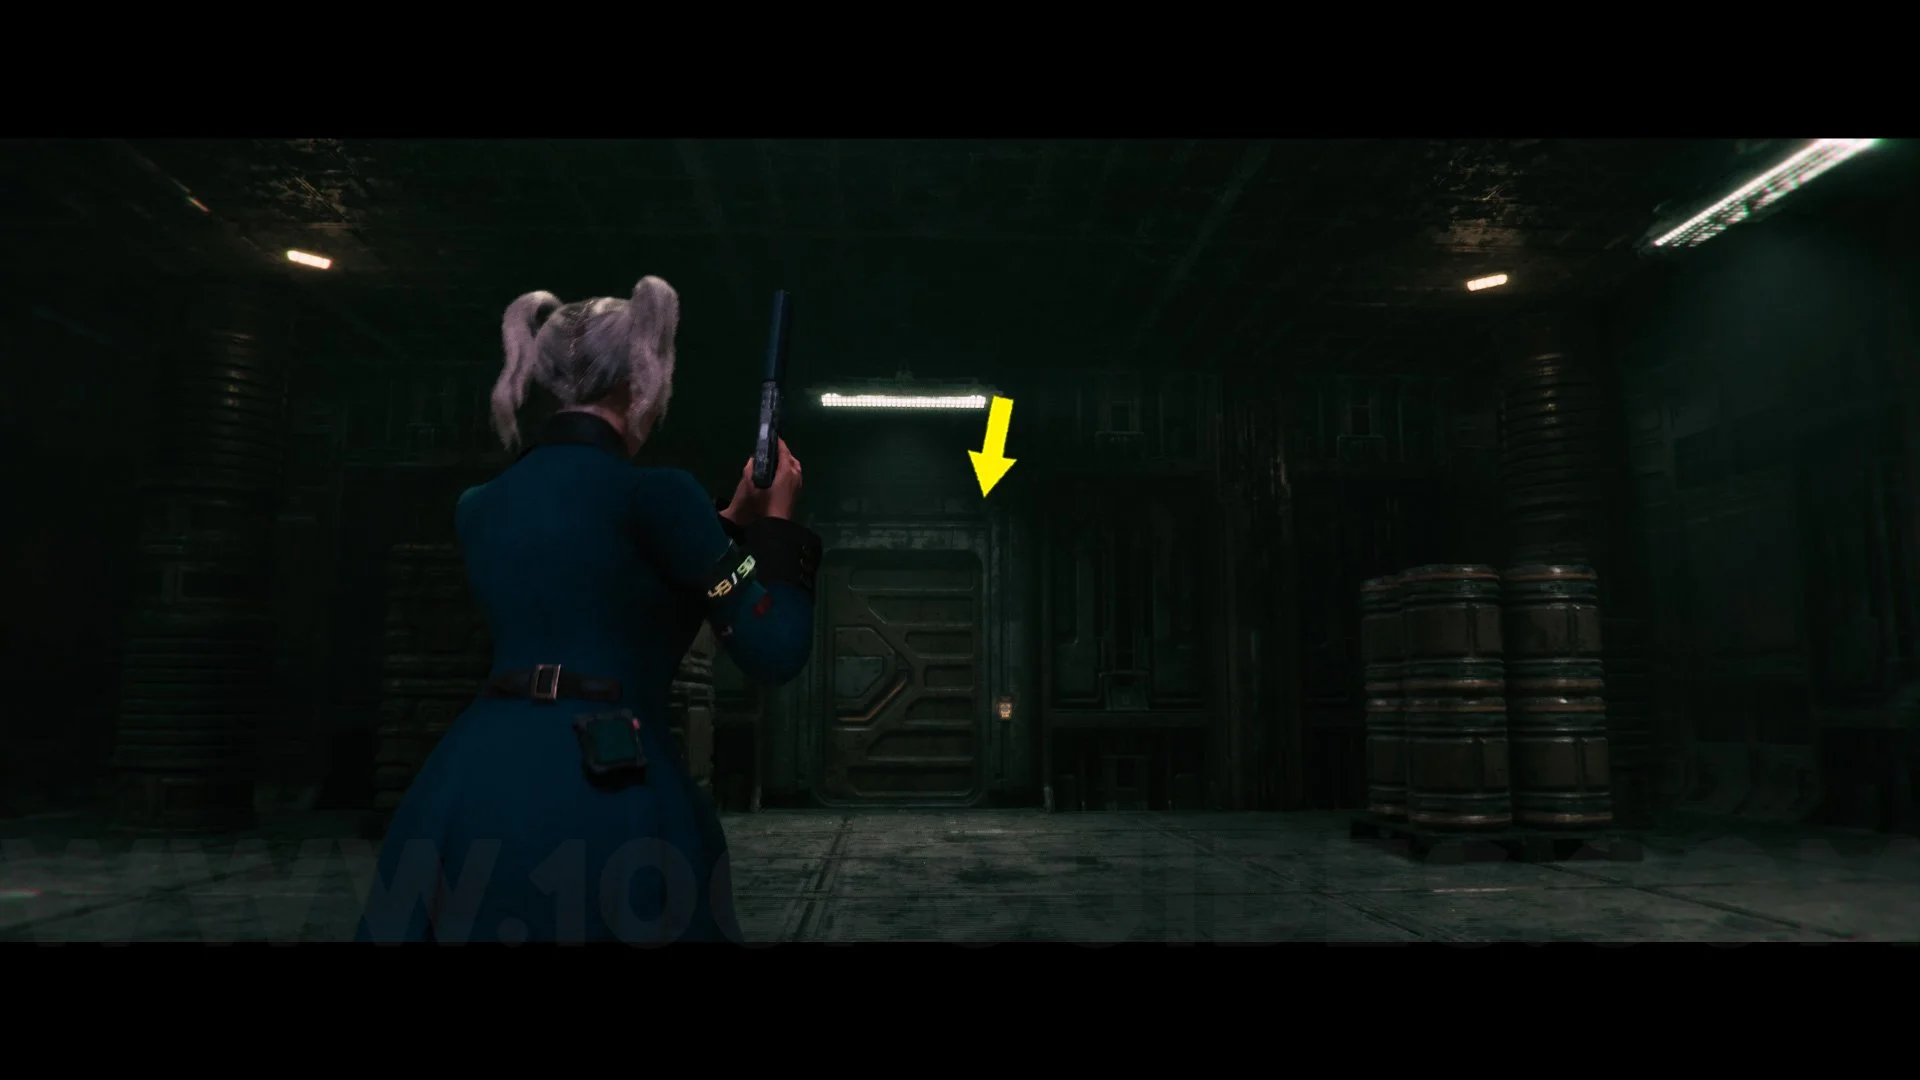
Cameo #1. When you're at the Laundry, go inside and you'll find this Cameo stuck in the washing machine.
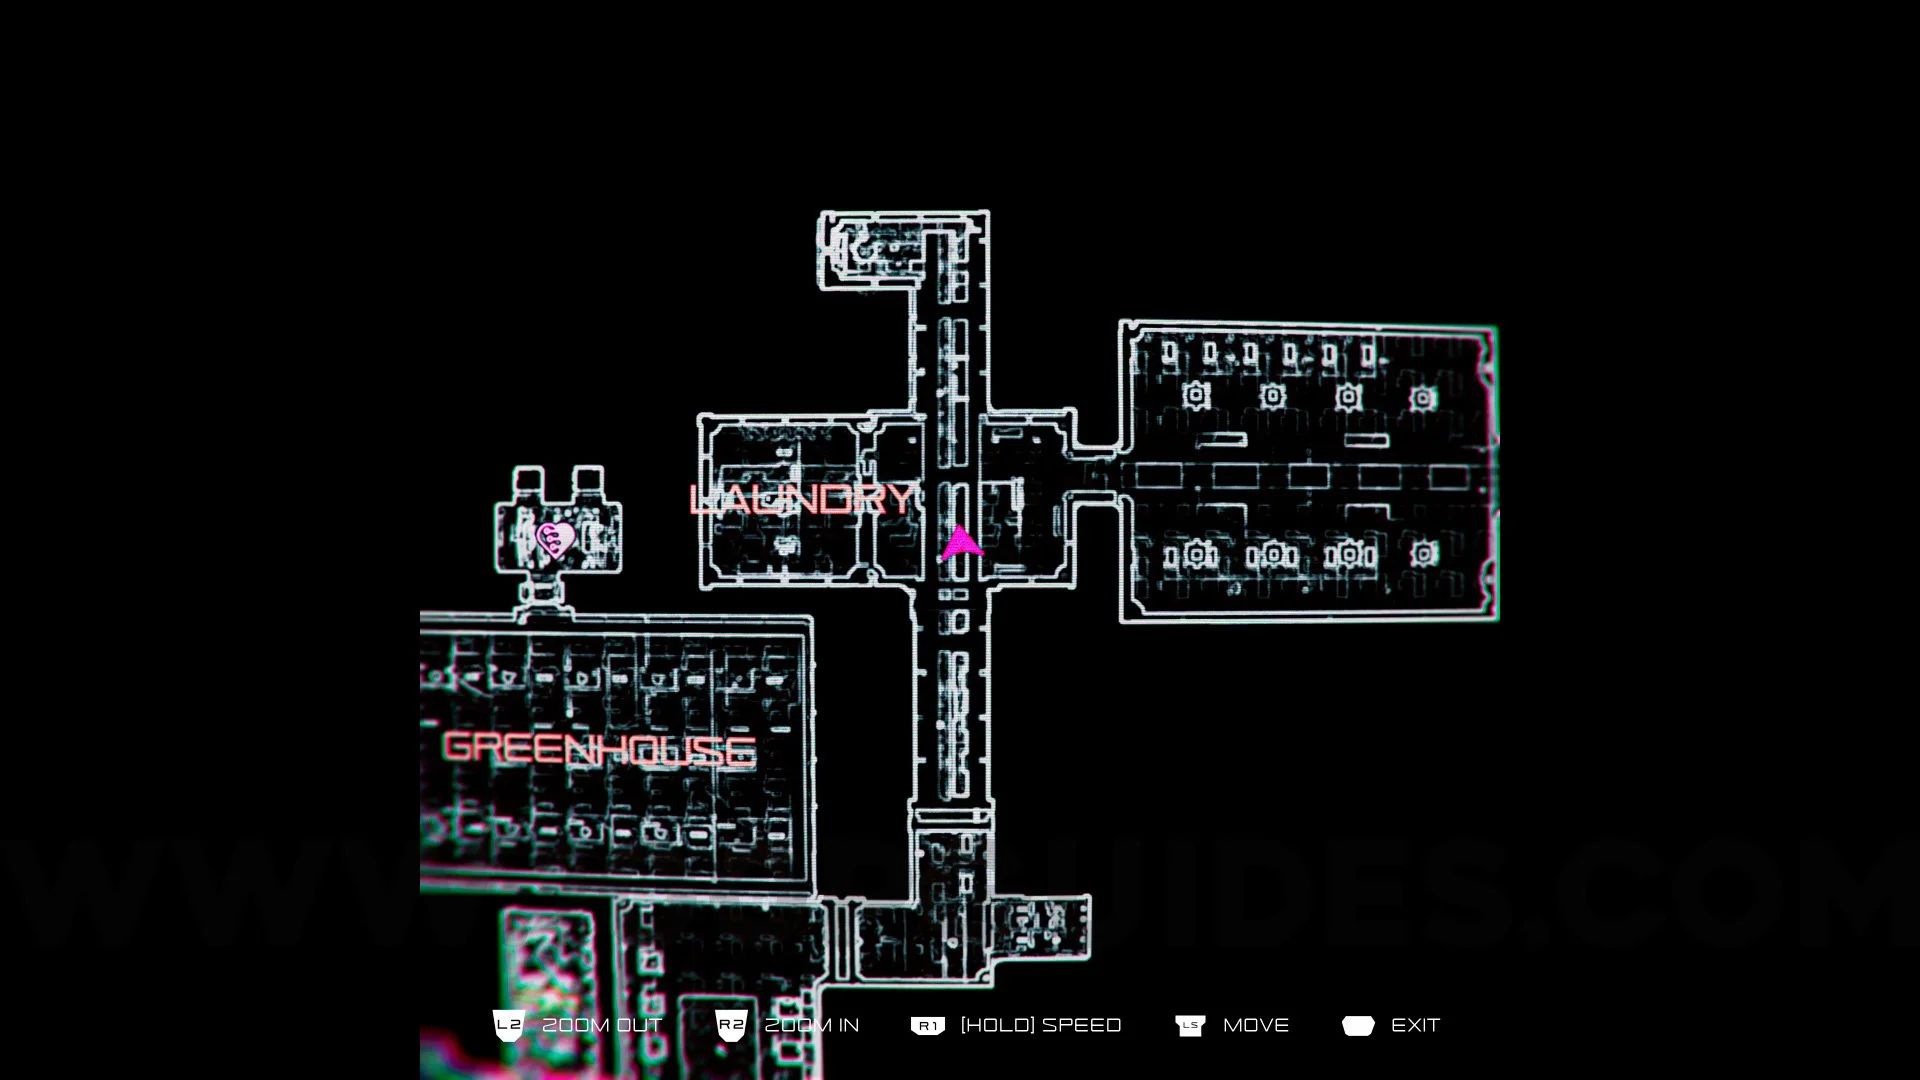
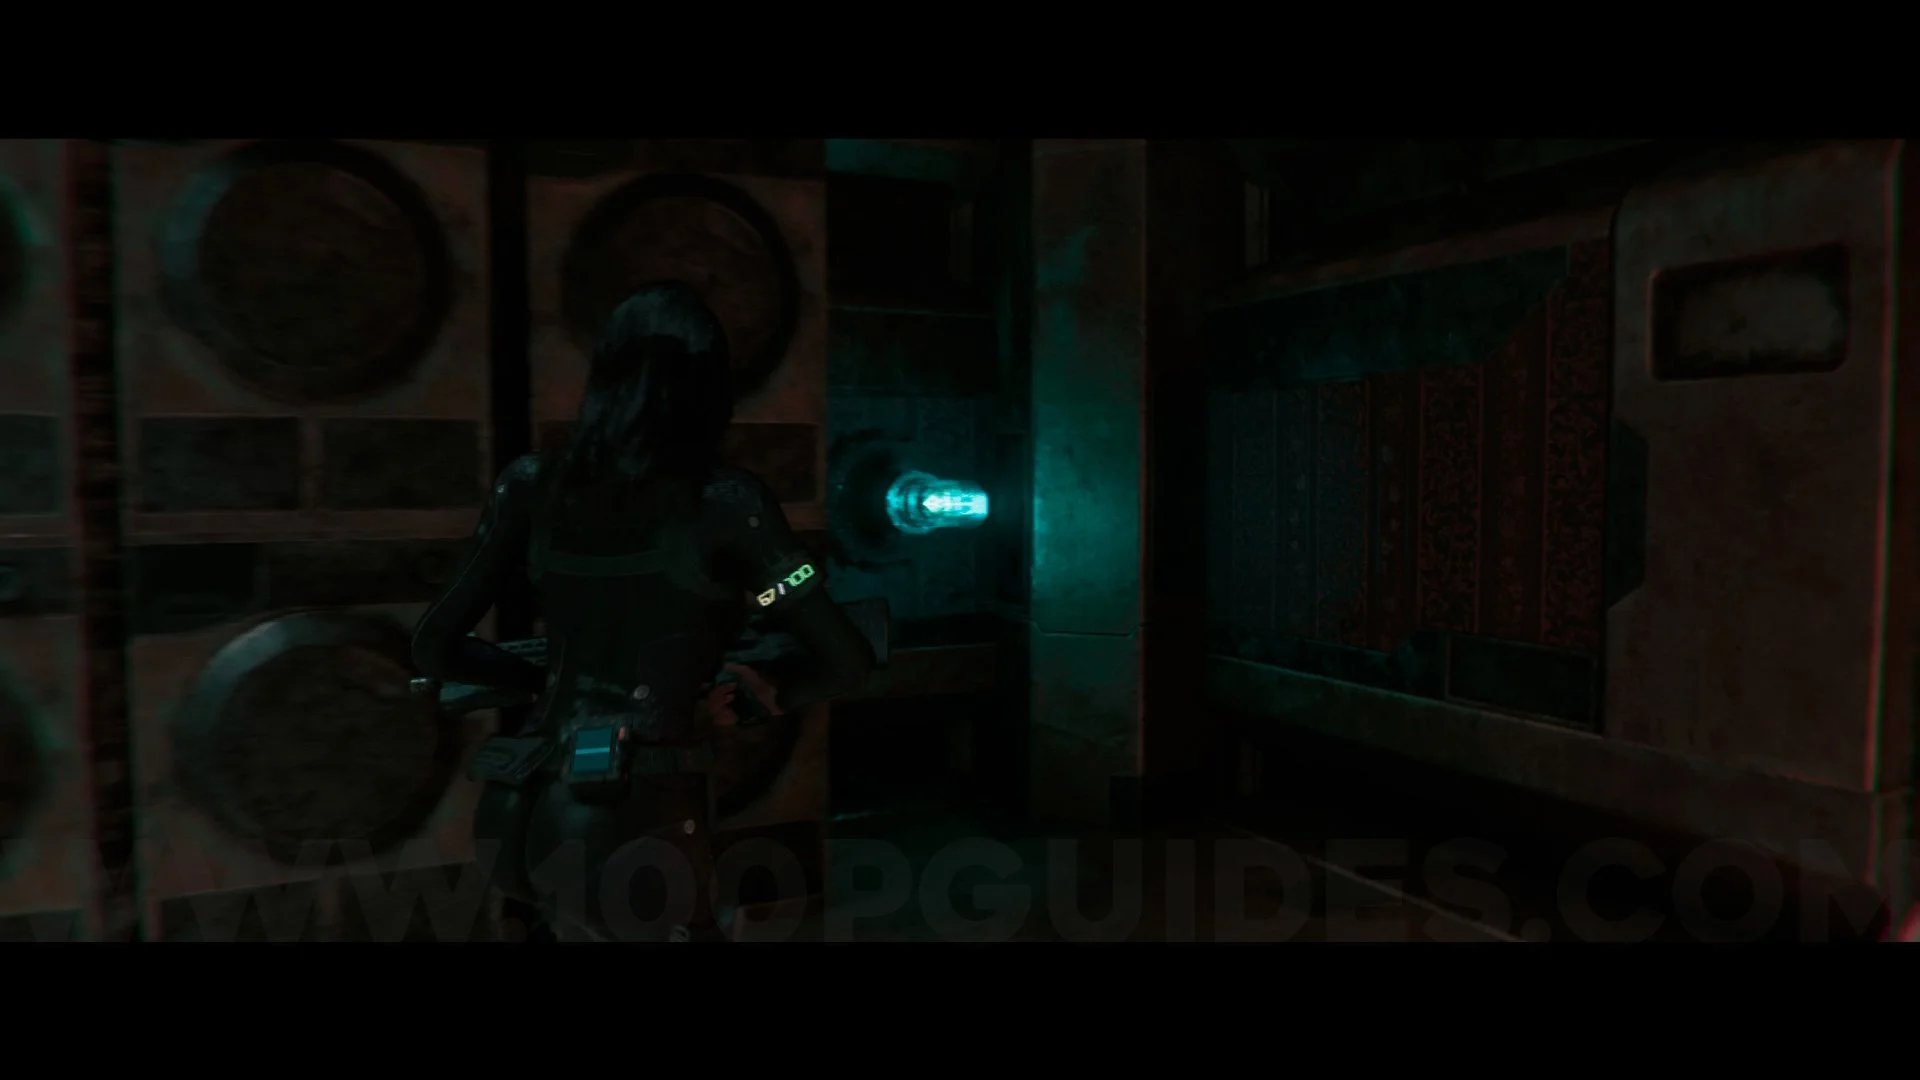
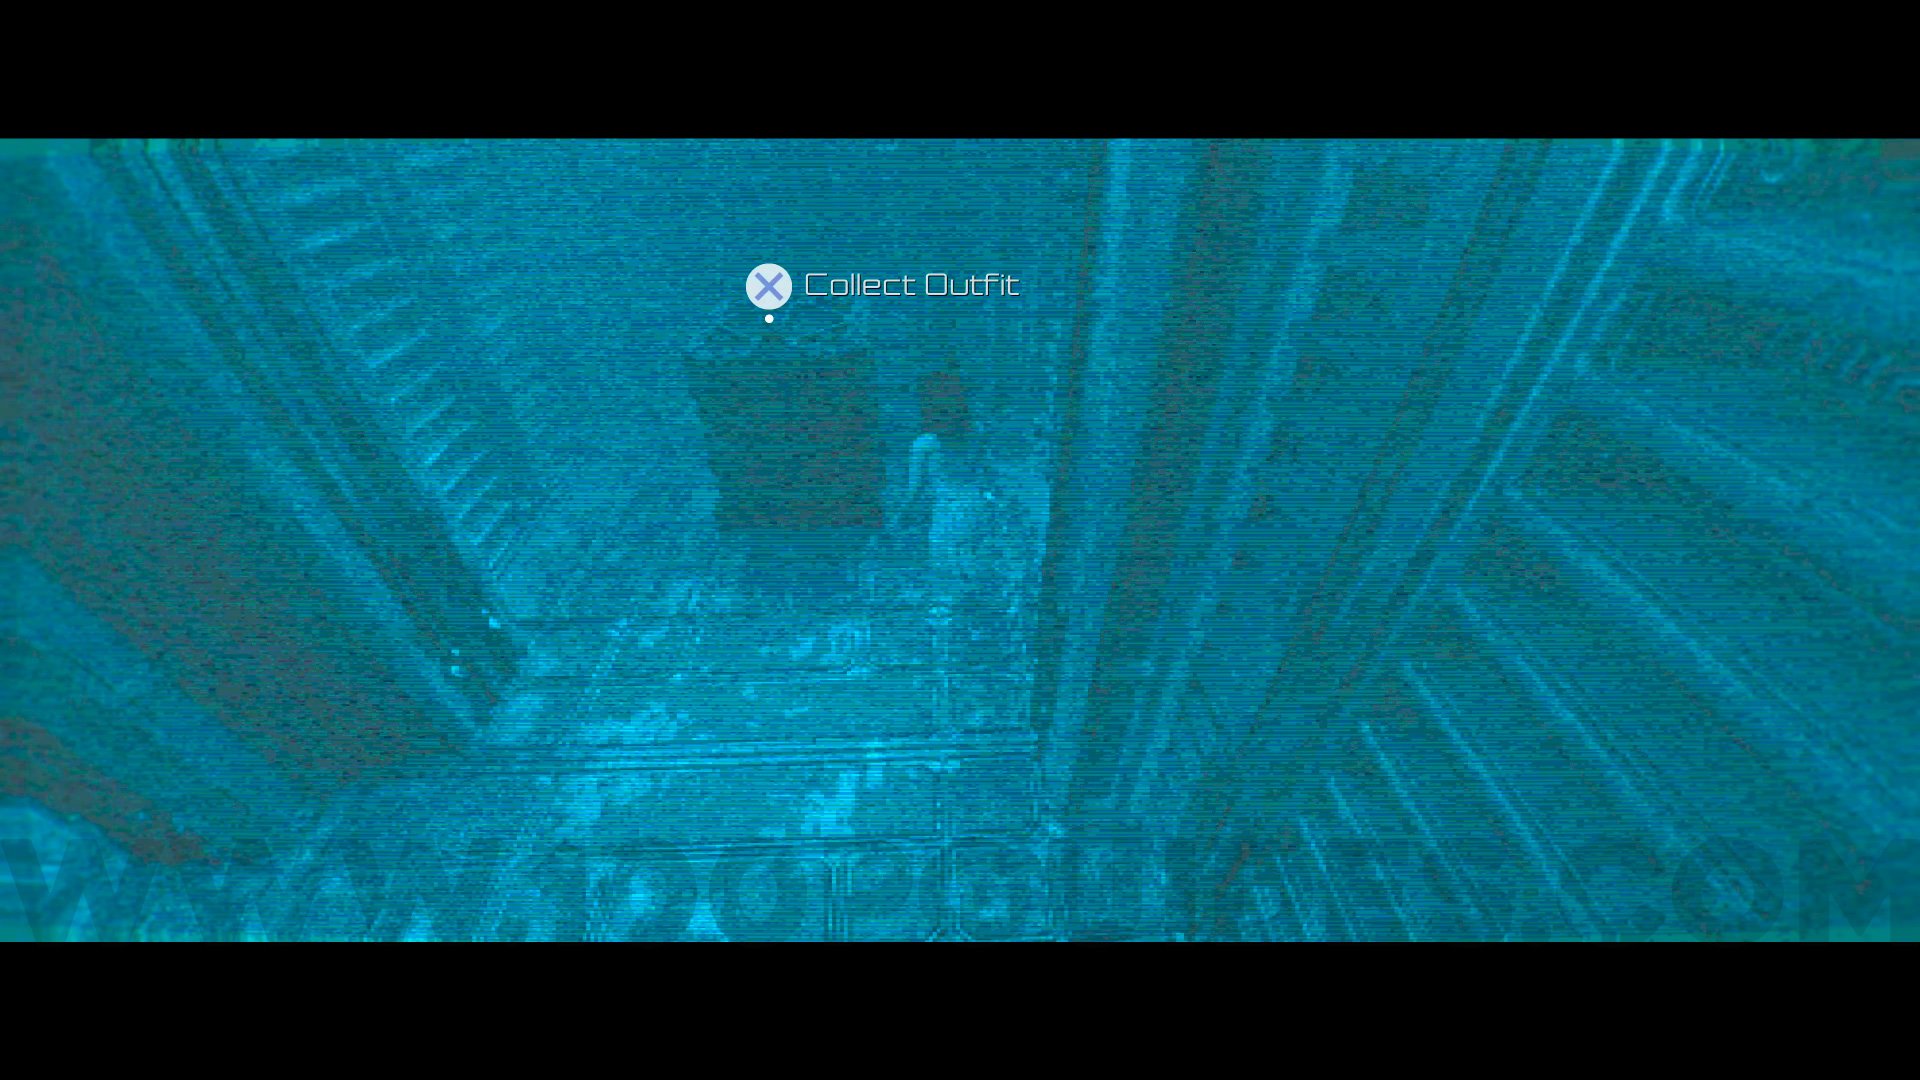
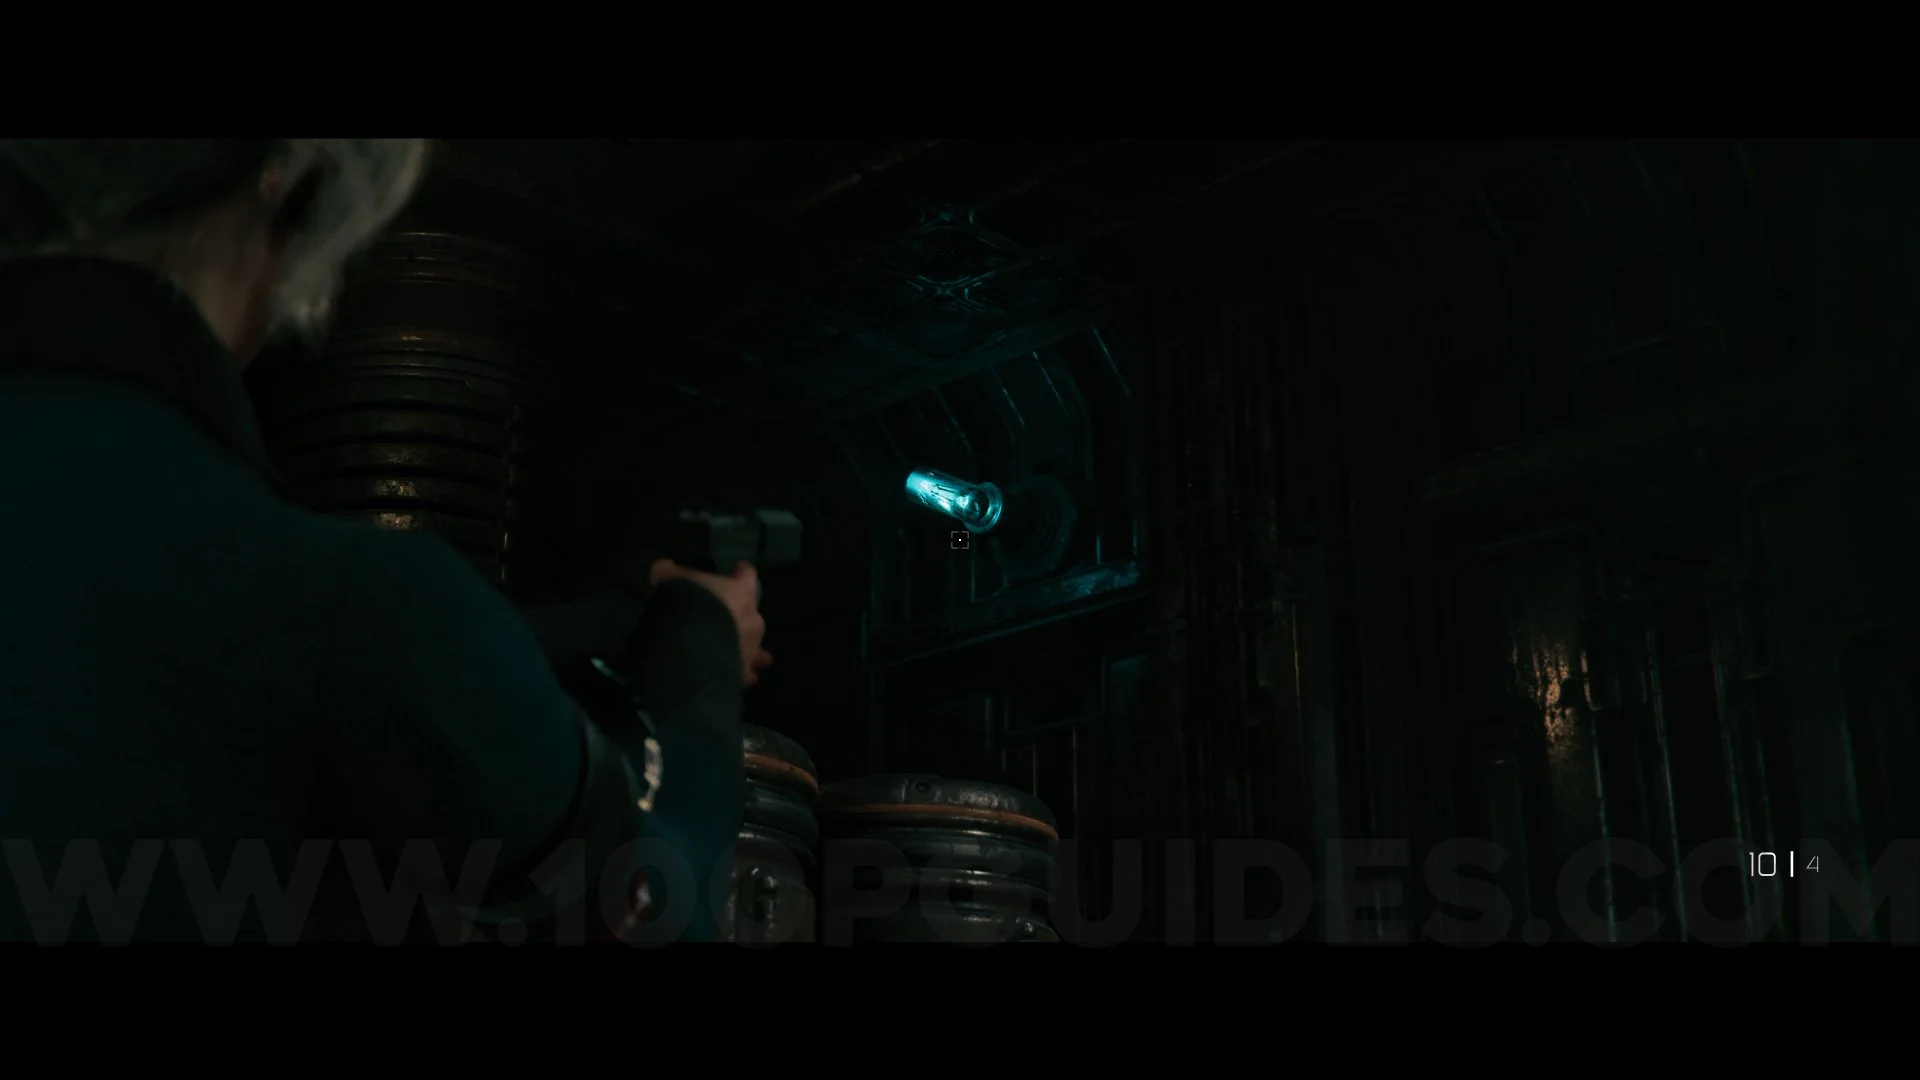
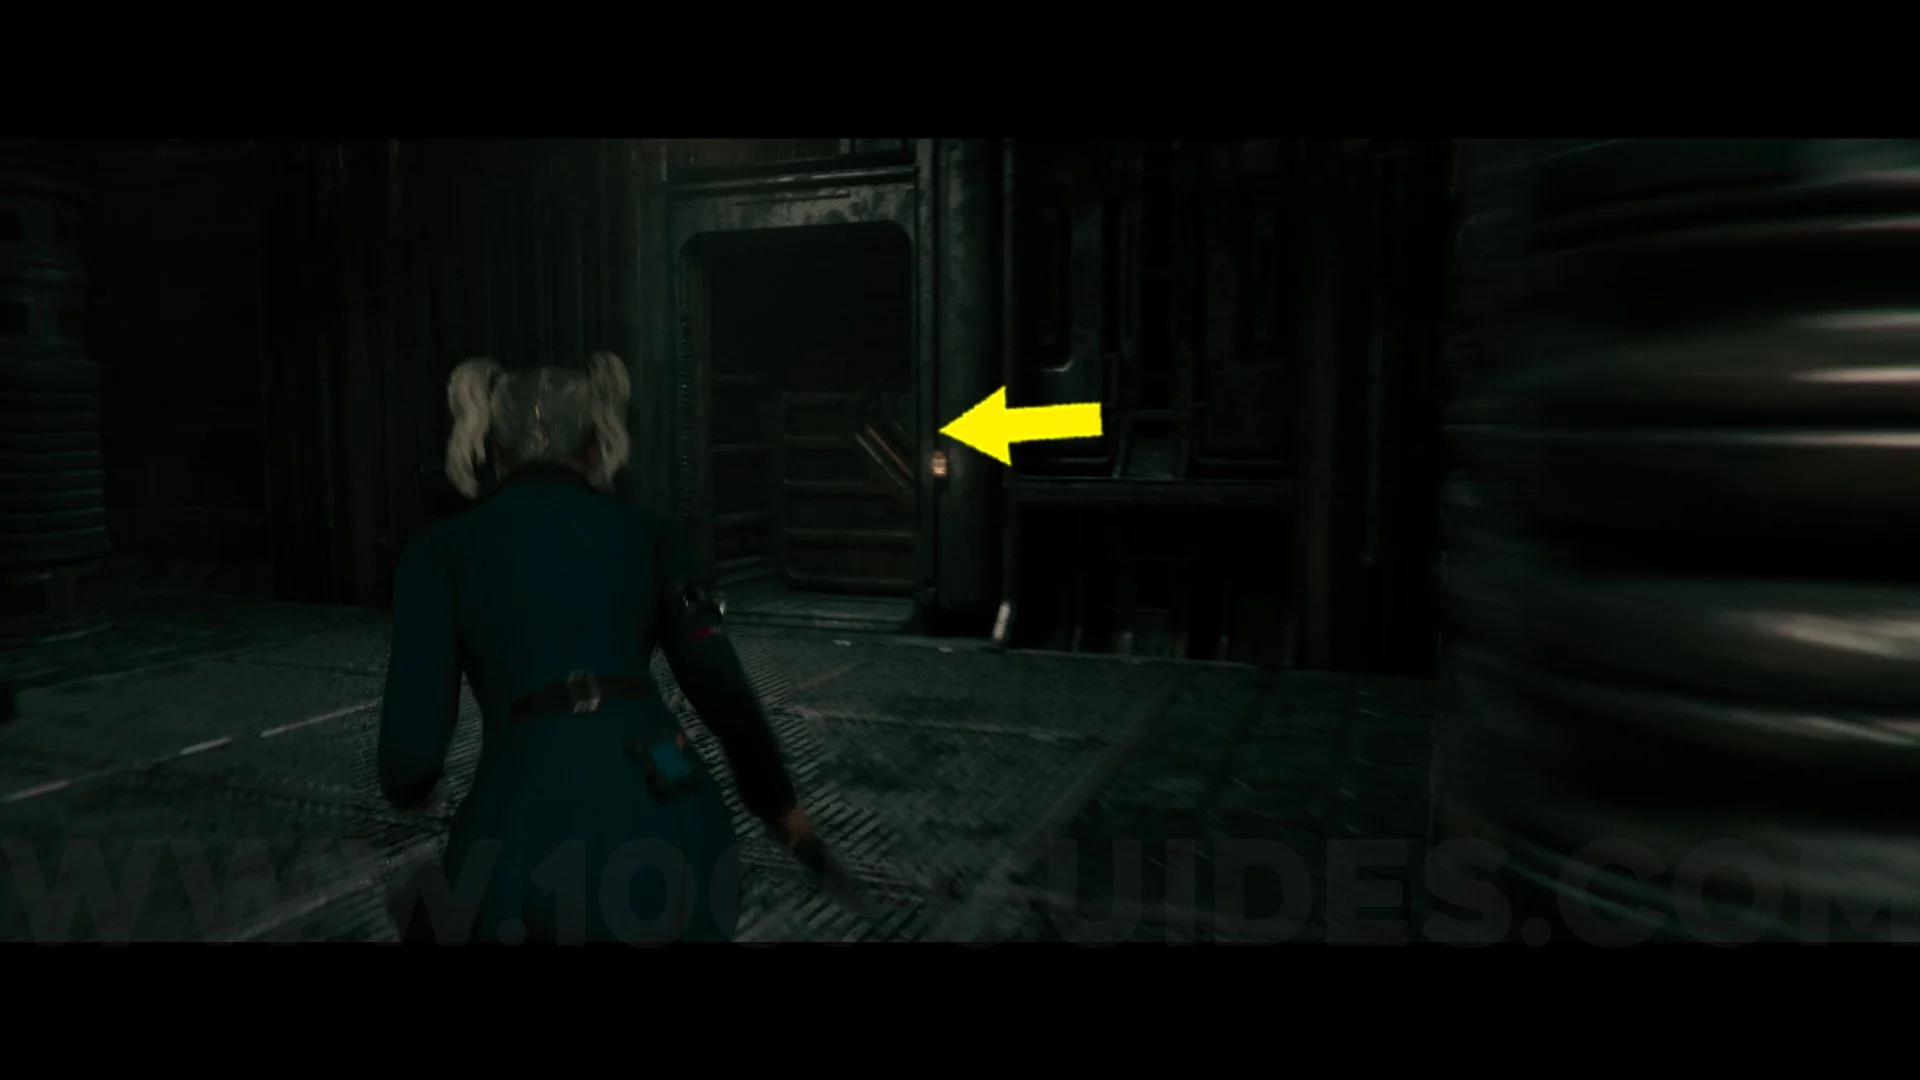
Outfit #4 Dino Hunter. From the previous collectible, shoot the blue light next to the washing machines, exit through the door, and go right, passing through the next two doors. After passing through the last door, turn left to enter the blue area and get this outfit.
Outside The Testing Facility
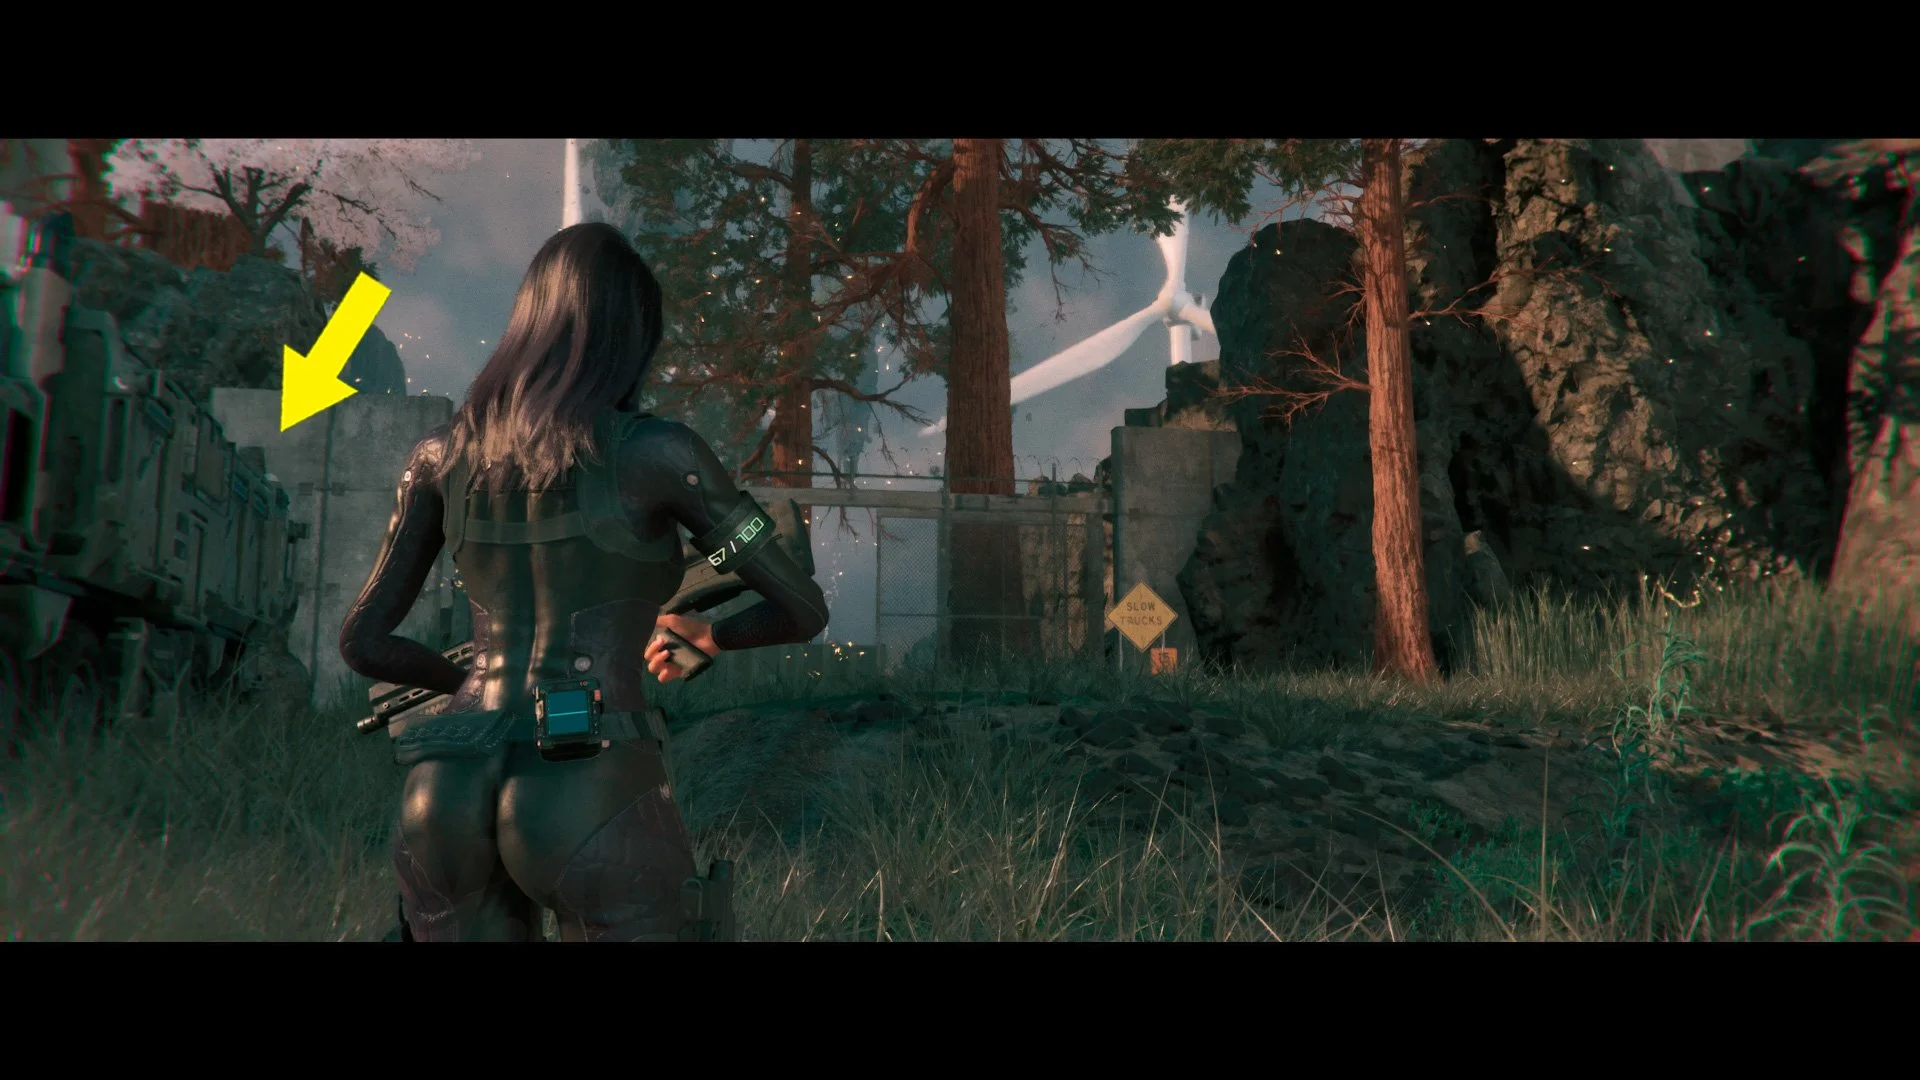
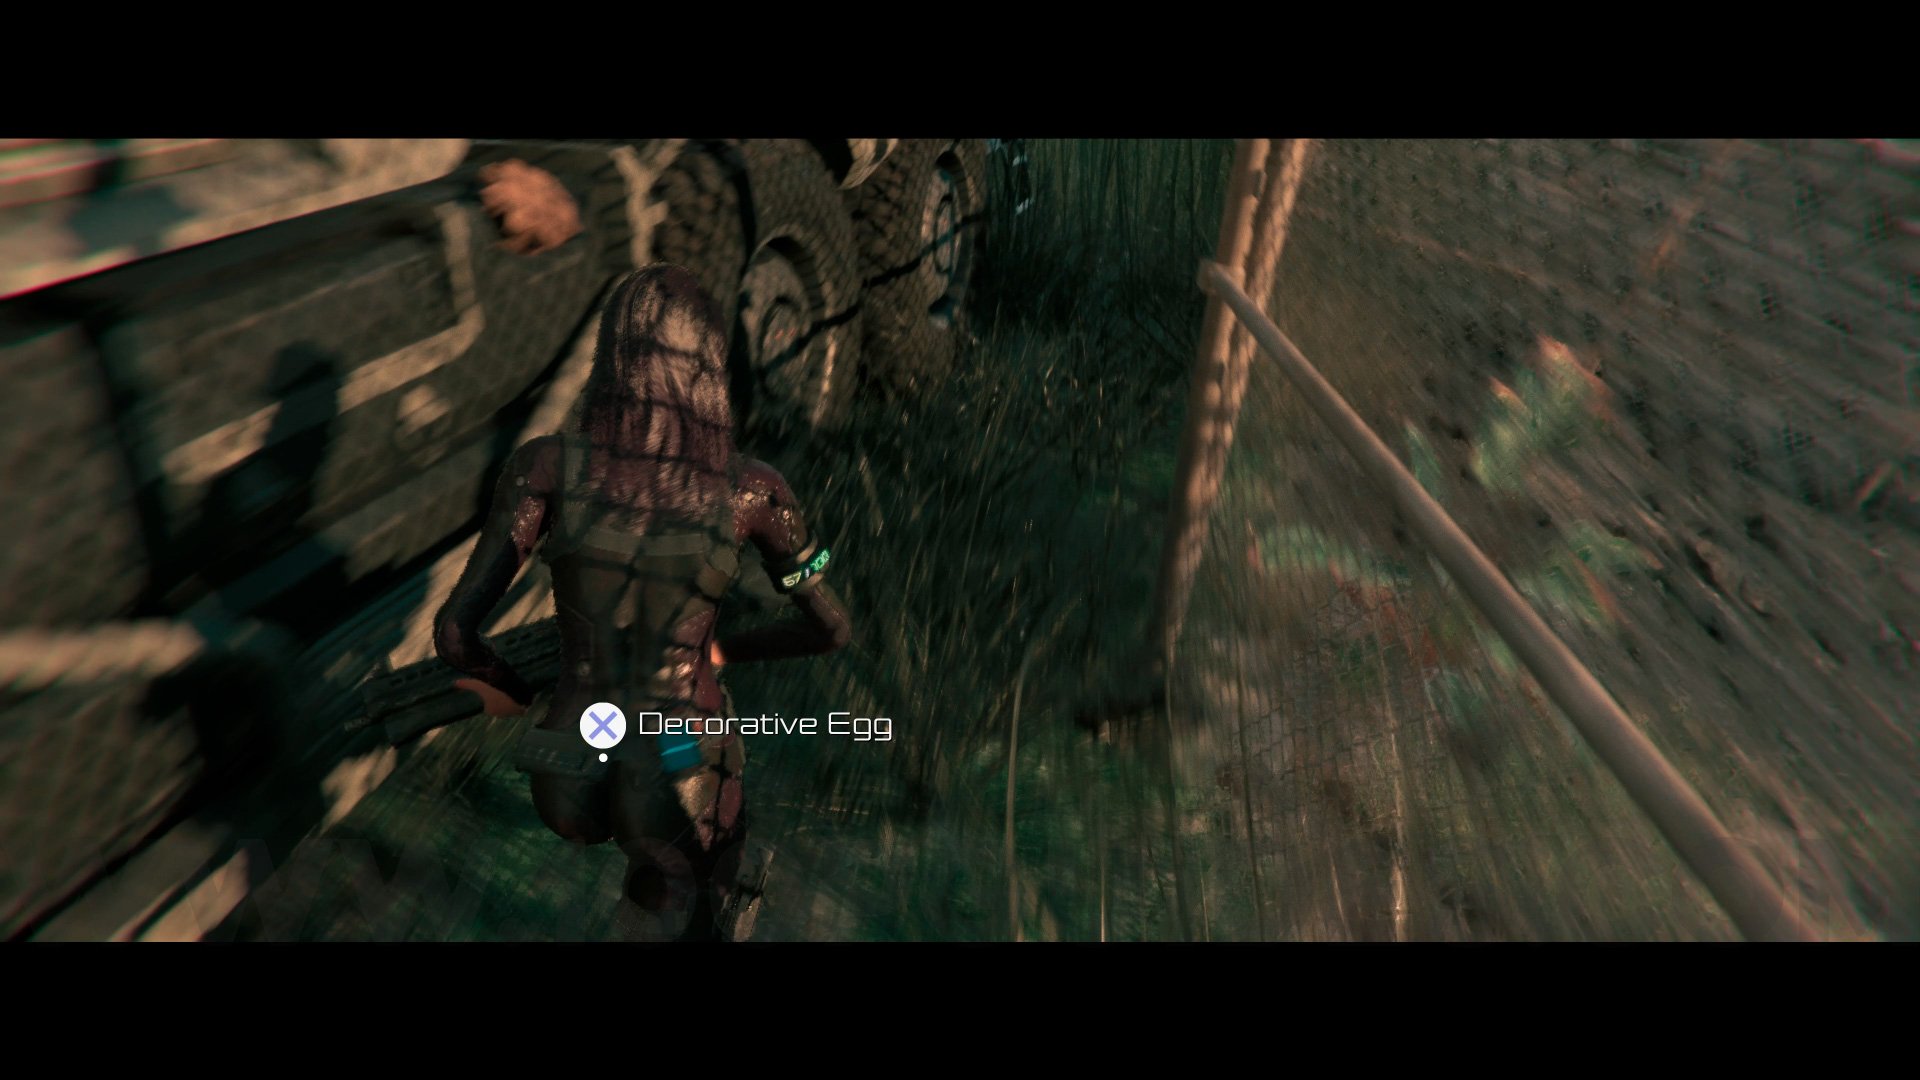
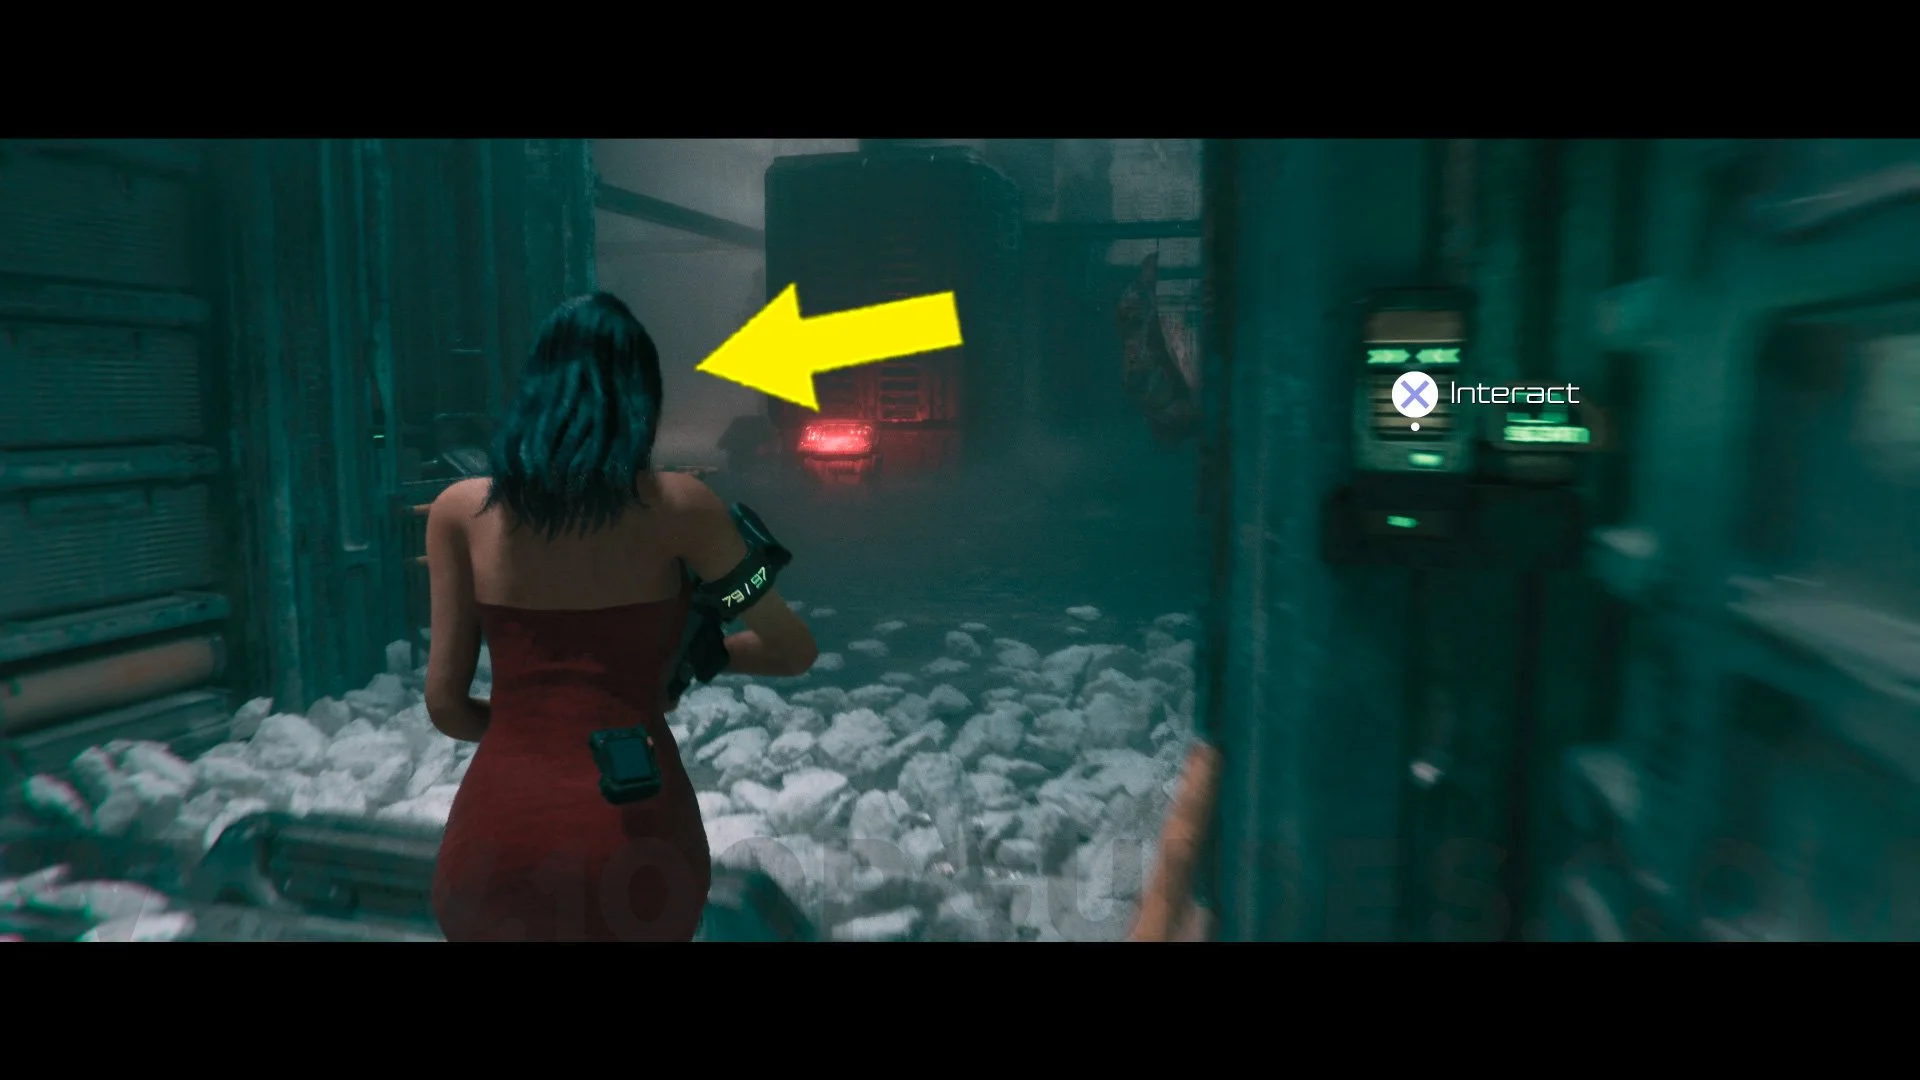
Decorative Egg #2. Once outside the Testing Facility, you will arrive at a gate and a truck on the left side. This decorative egg will be behind the truck.
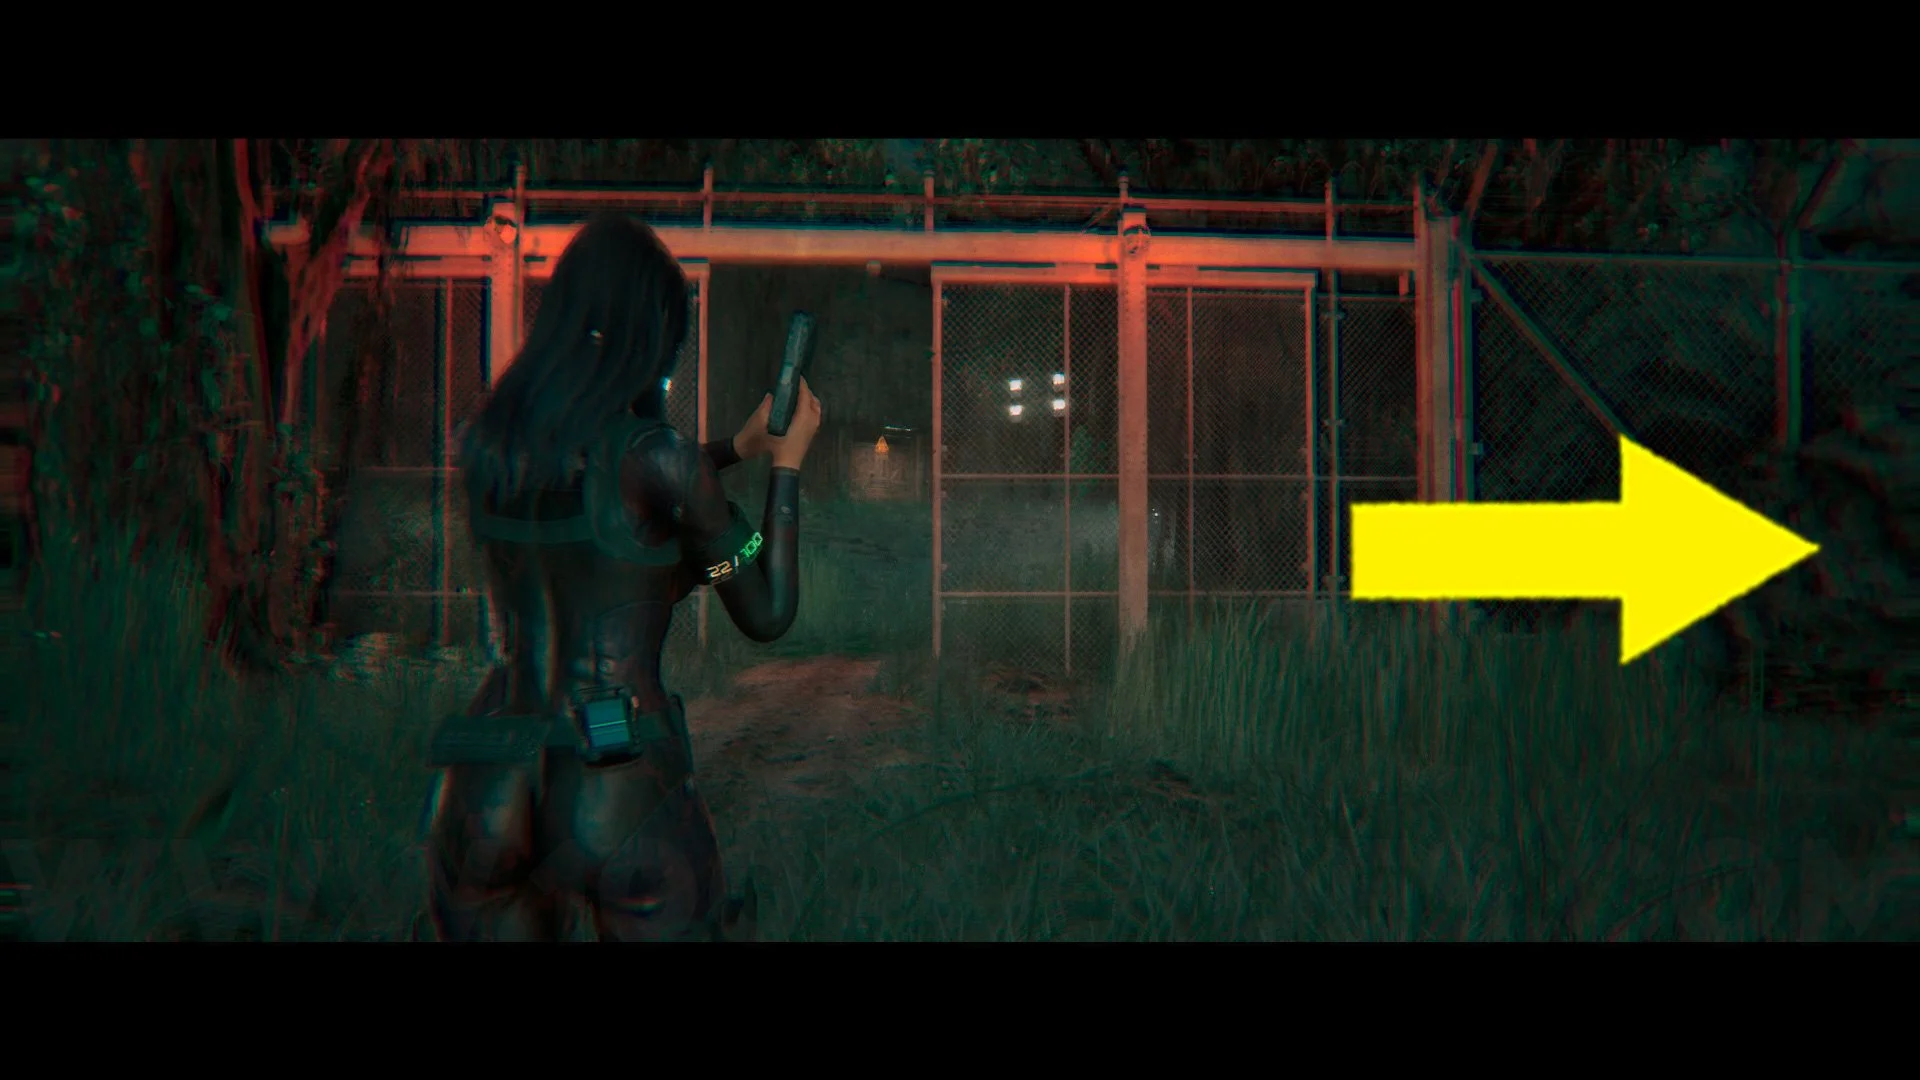
Duck #2. A little further on, you will come to another gate with a flashing red light. Instead of continuing straight ahead, turn right and go to the end of the path to find this duck on top of a box.
Preservation Facility
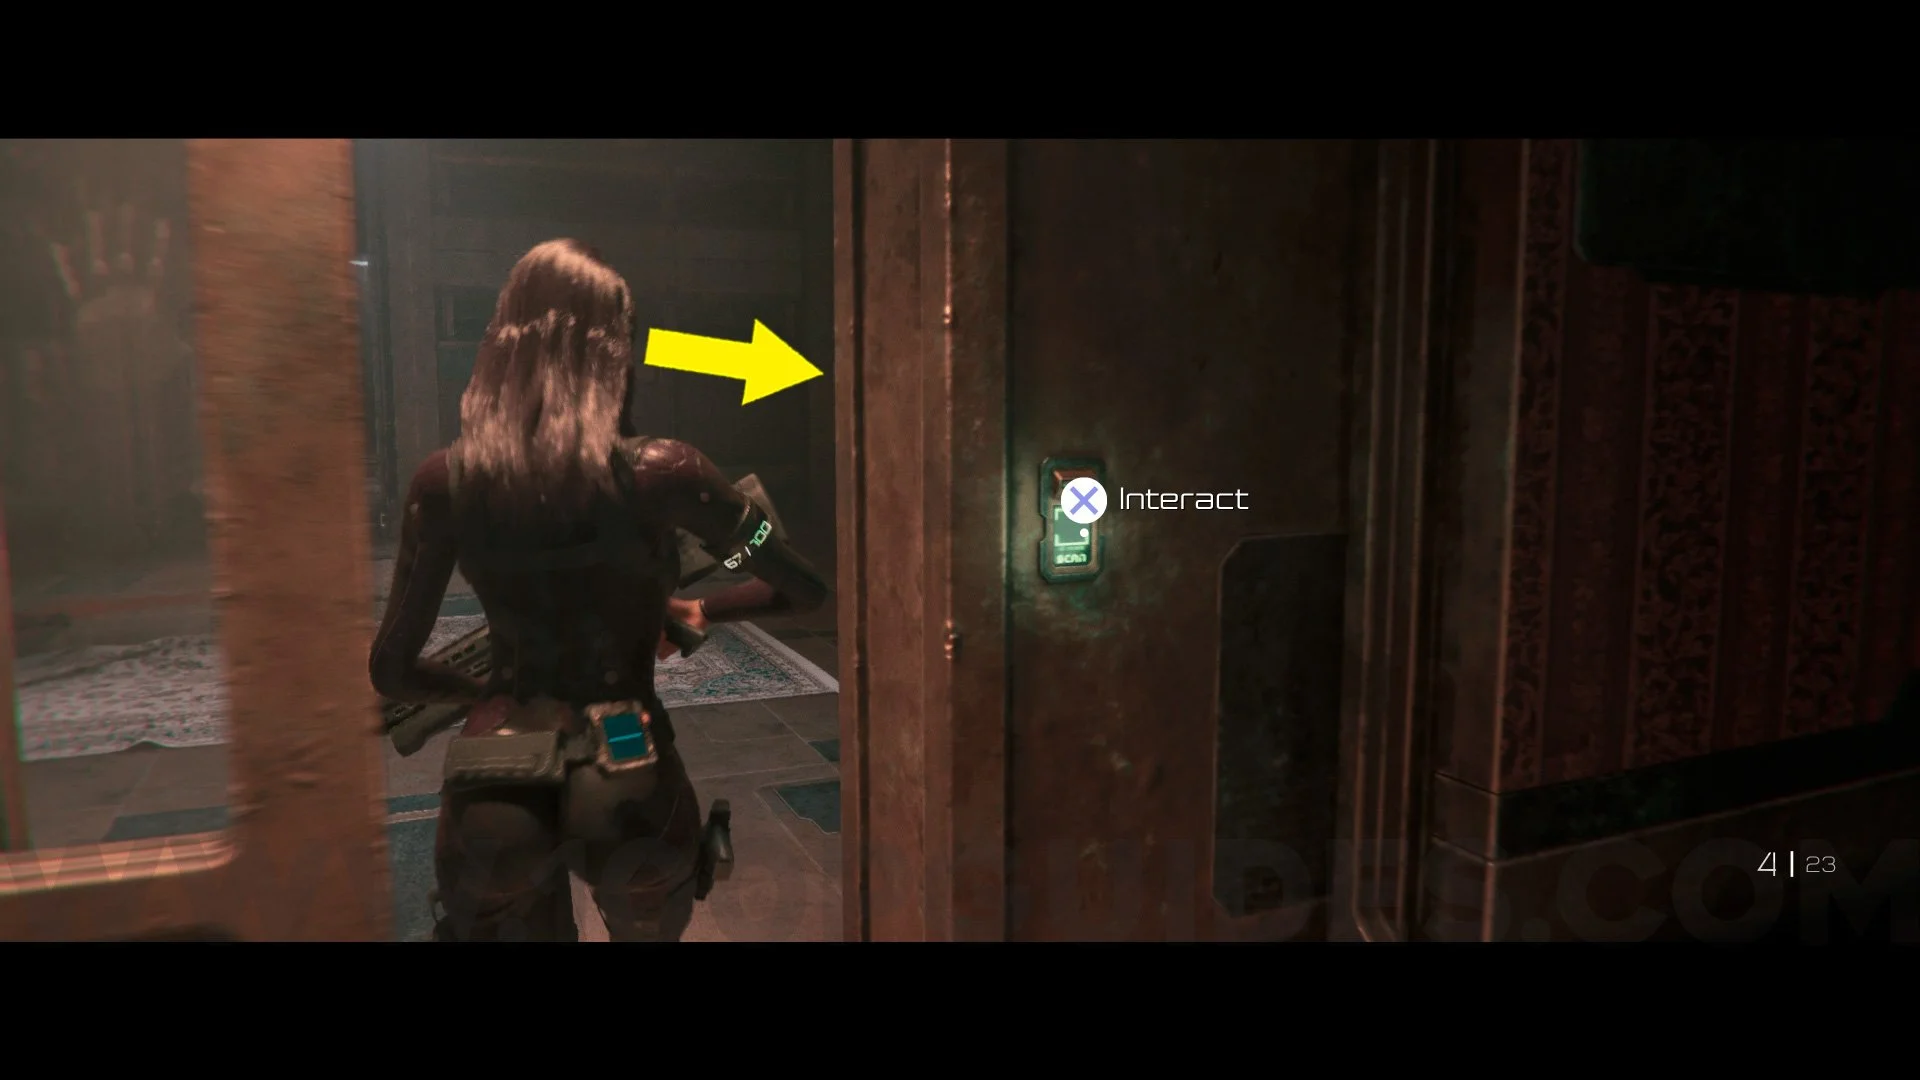
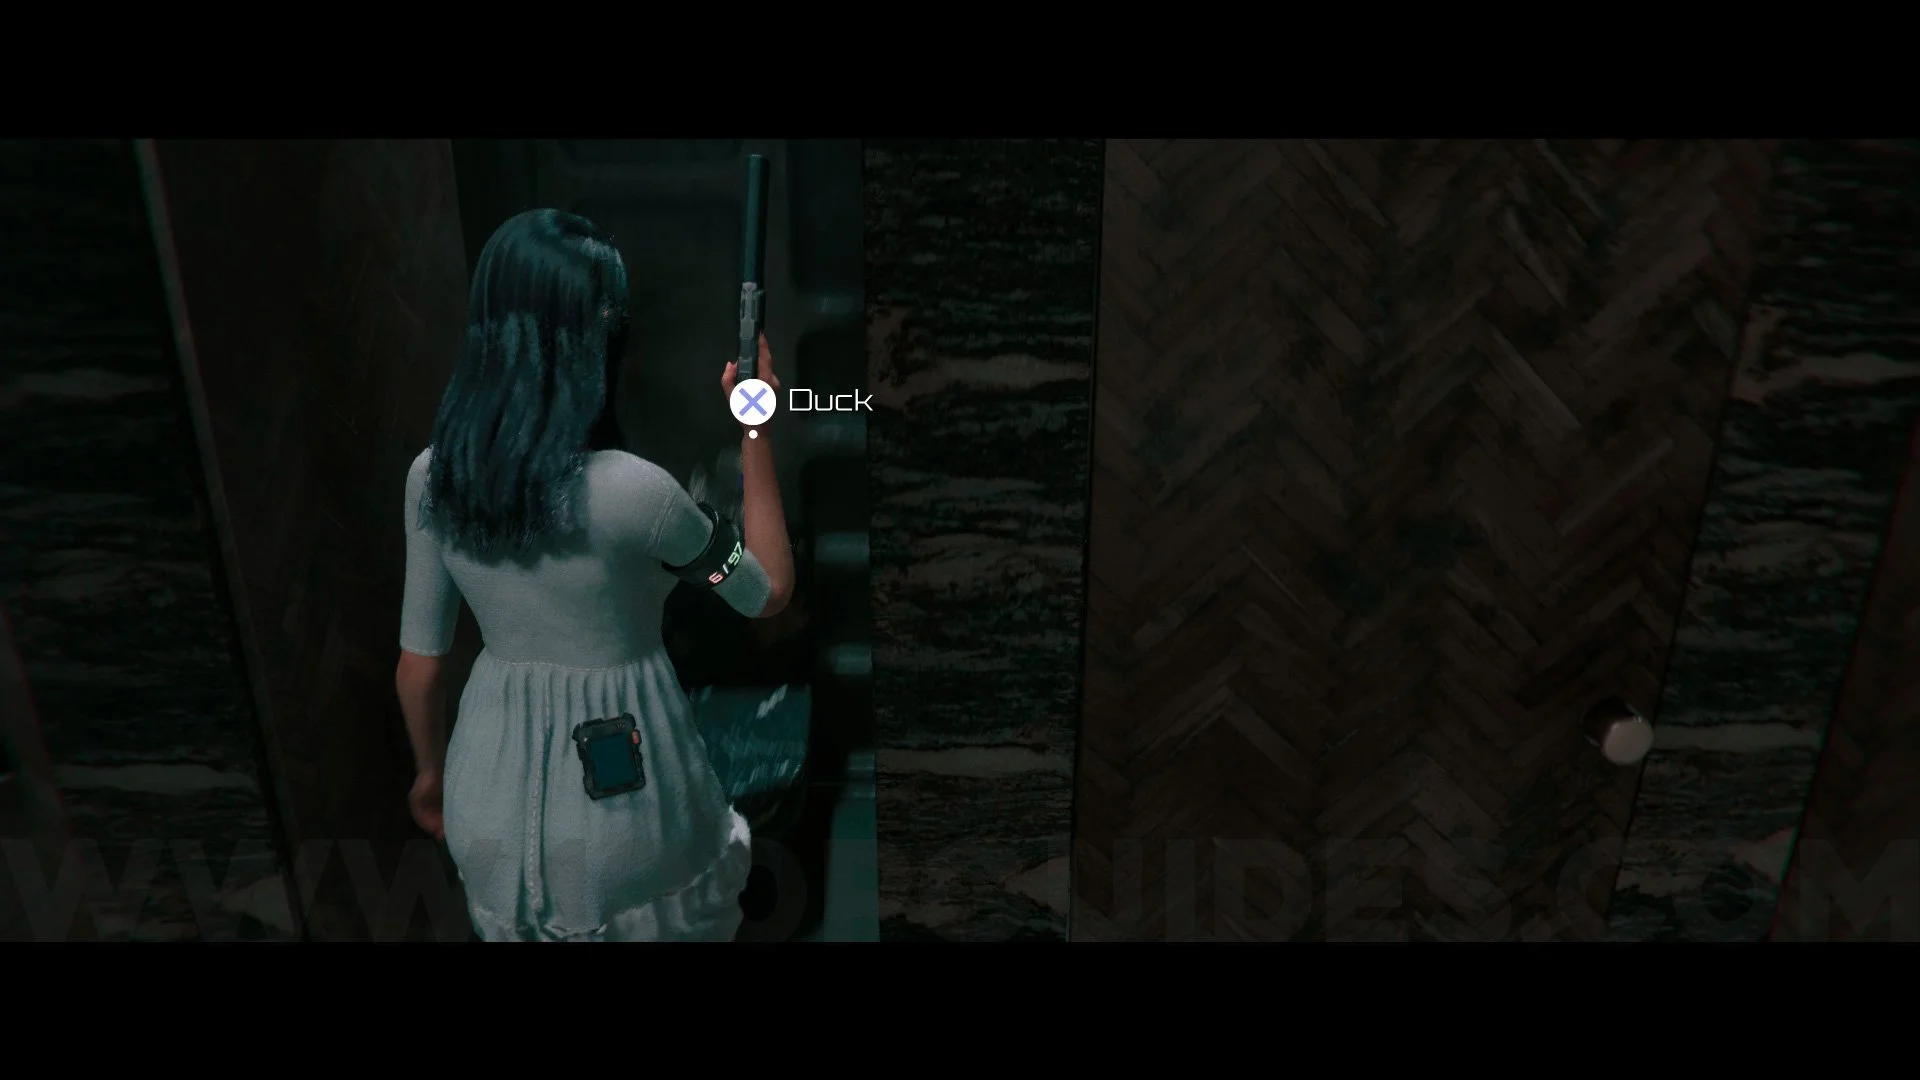
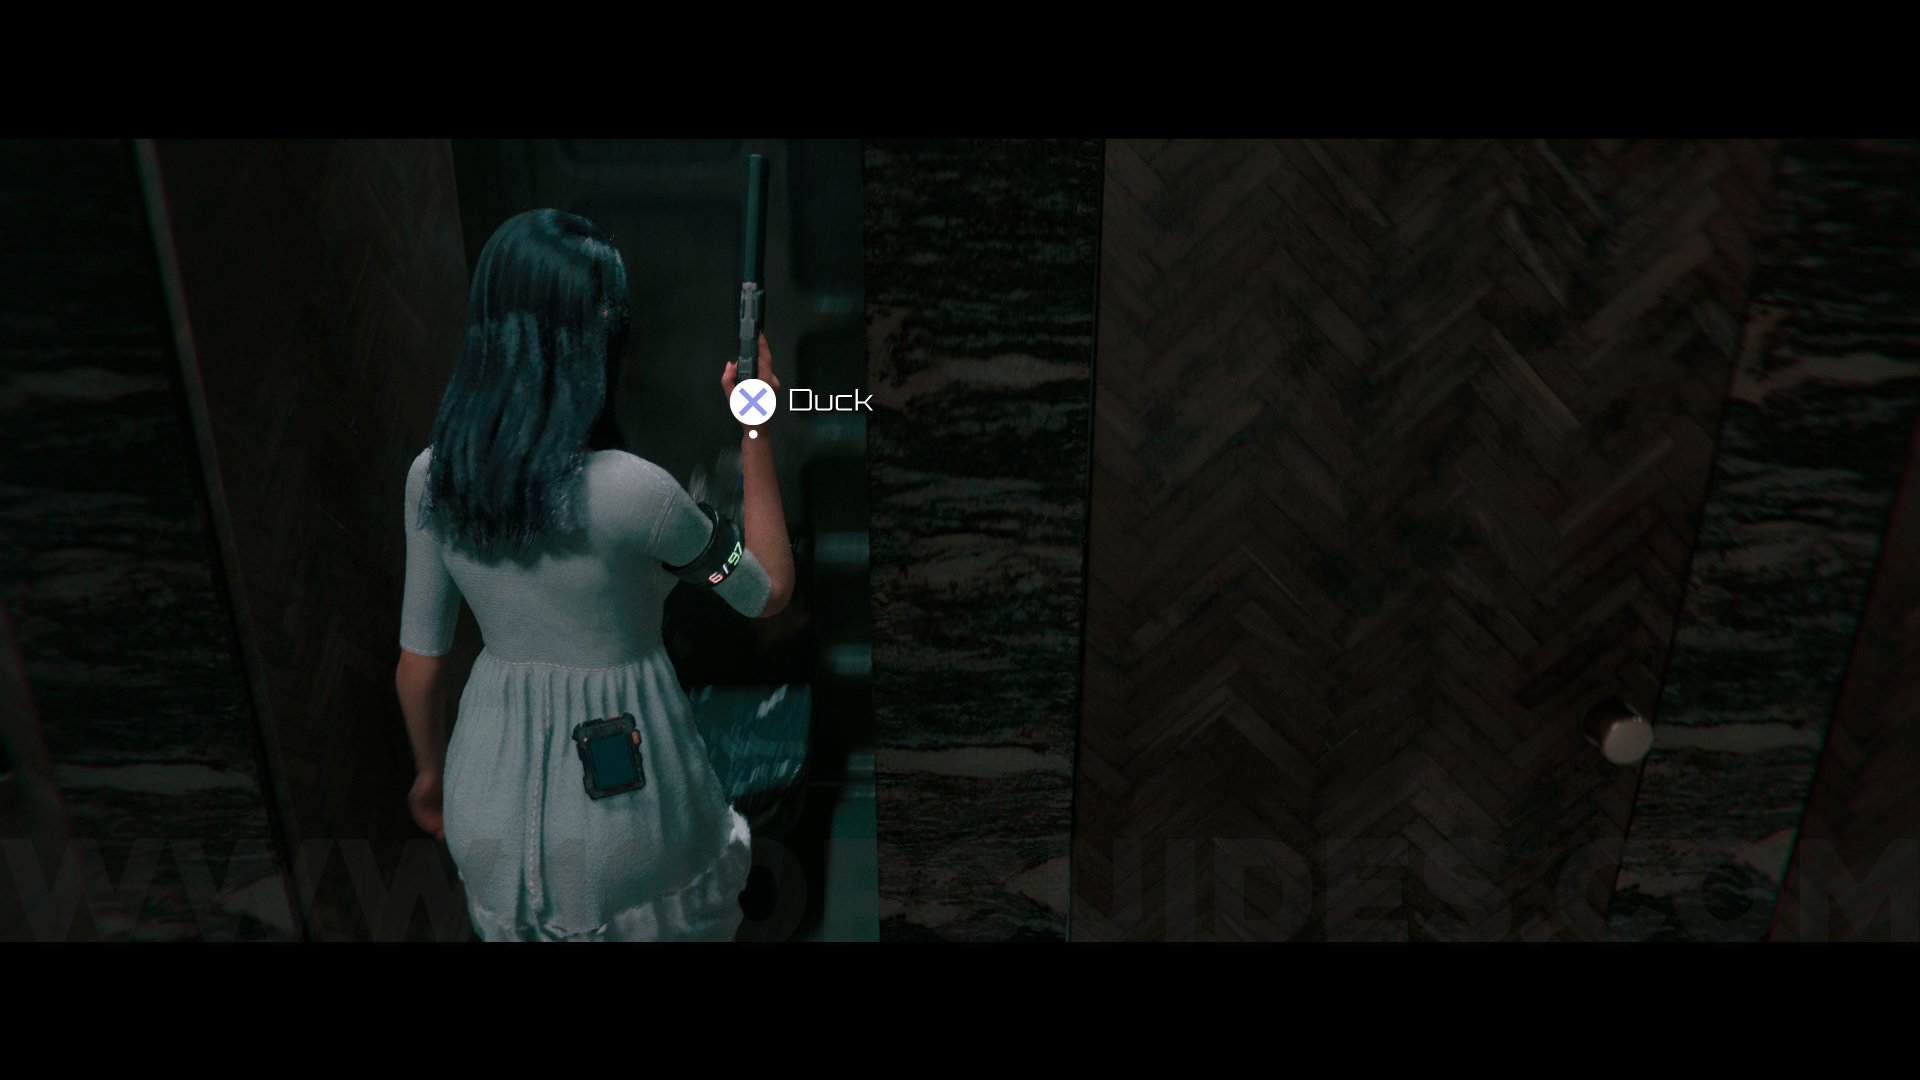
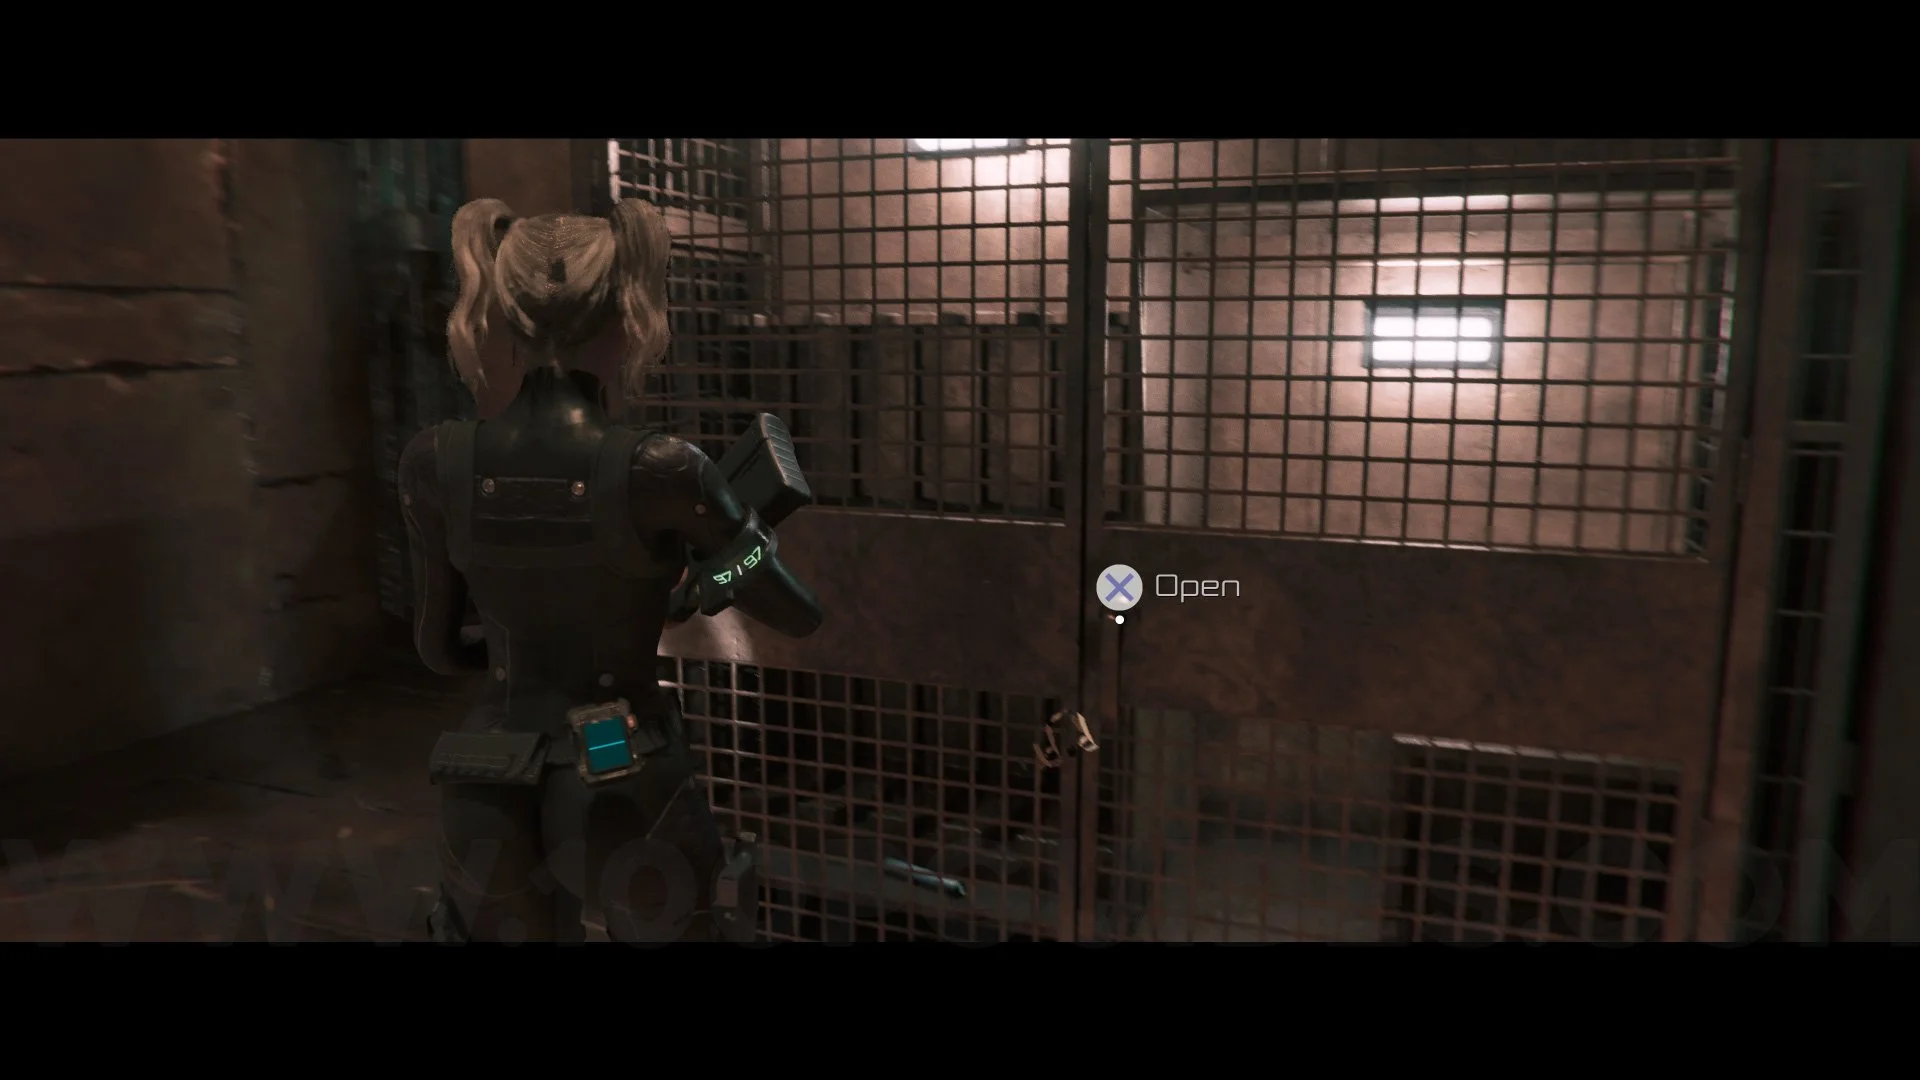
Silencer For Pistol. When you arrive at the Preservation Facility, go to the Security Room and enter the password Duck on the padlock of the cabinet. Inside, you will find the silencer for the pistol.

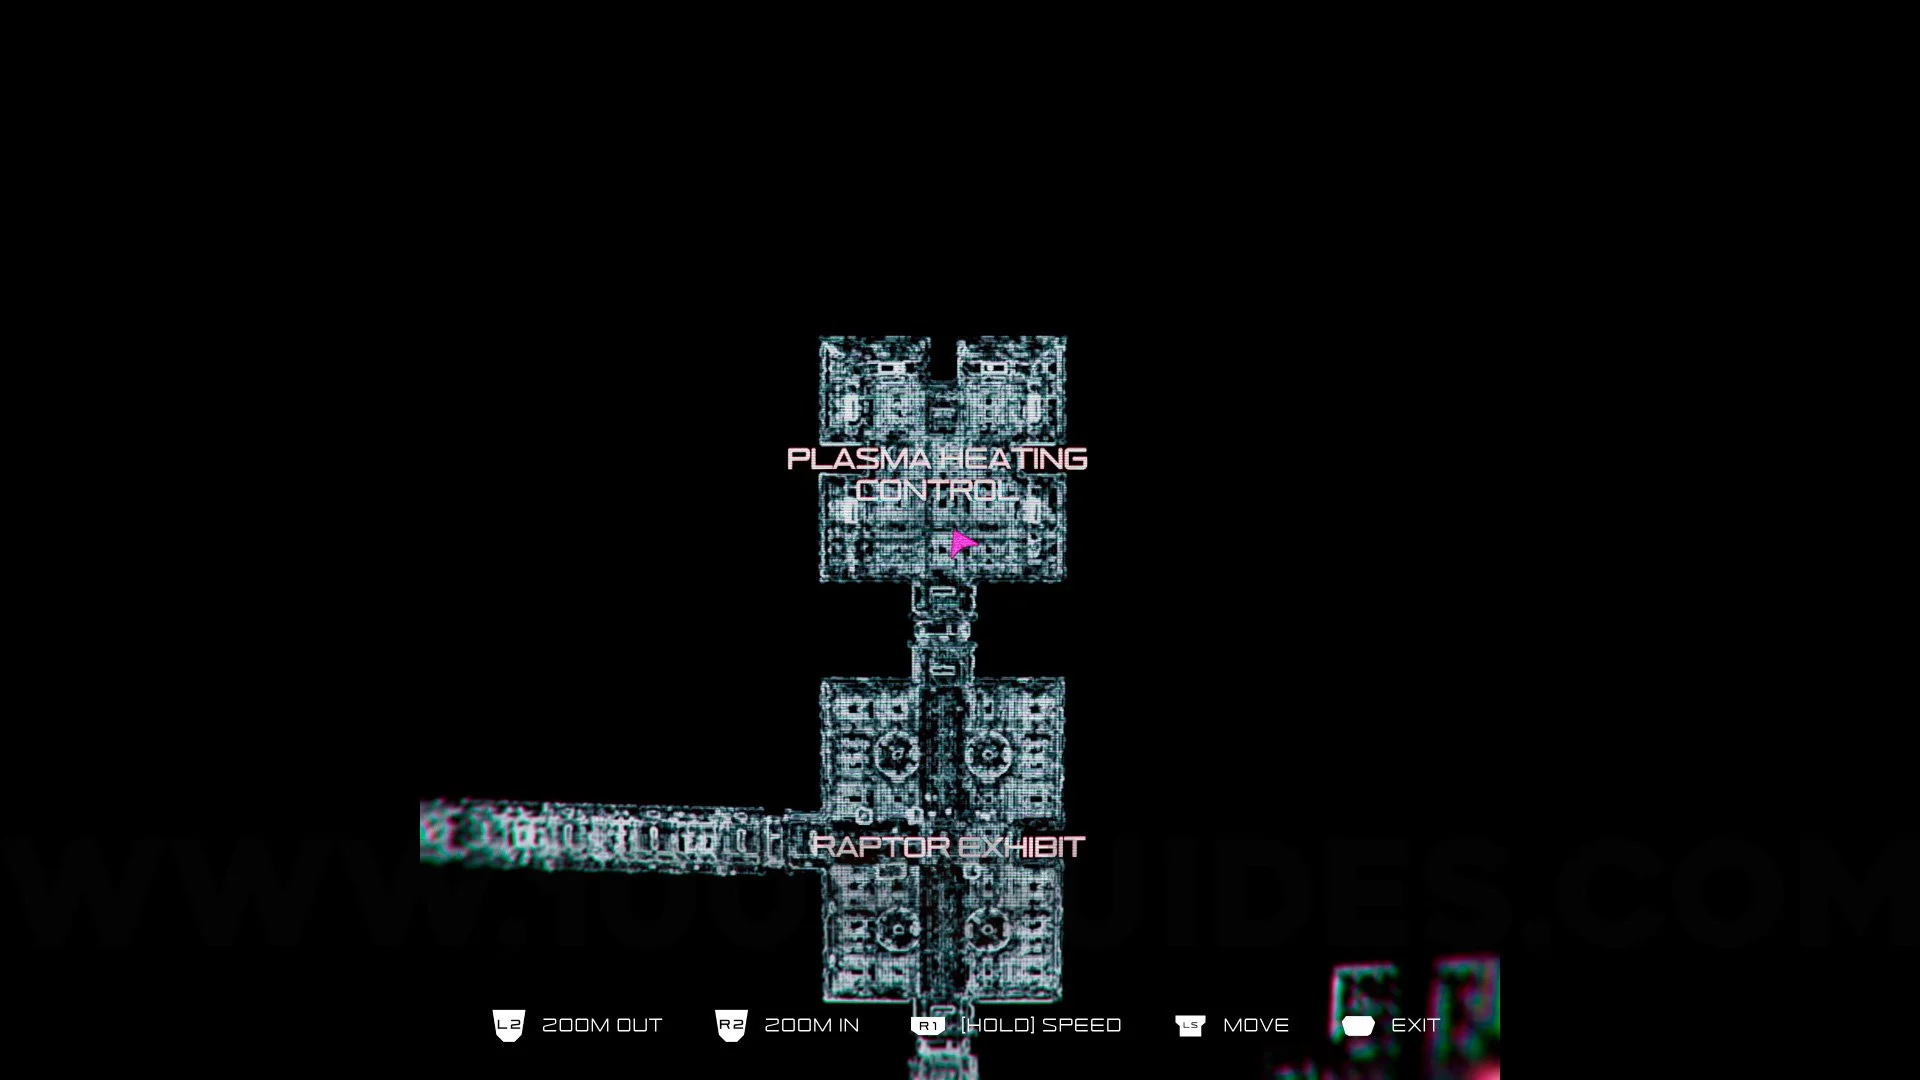
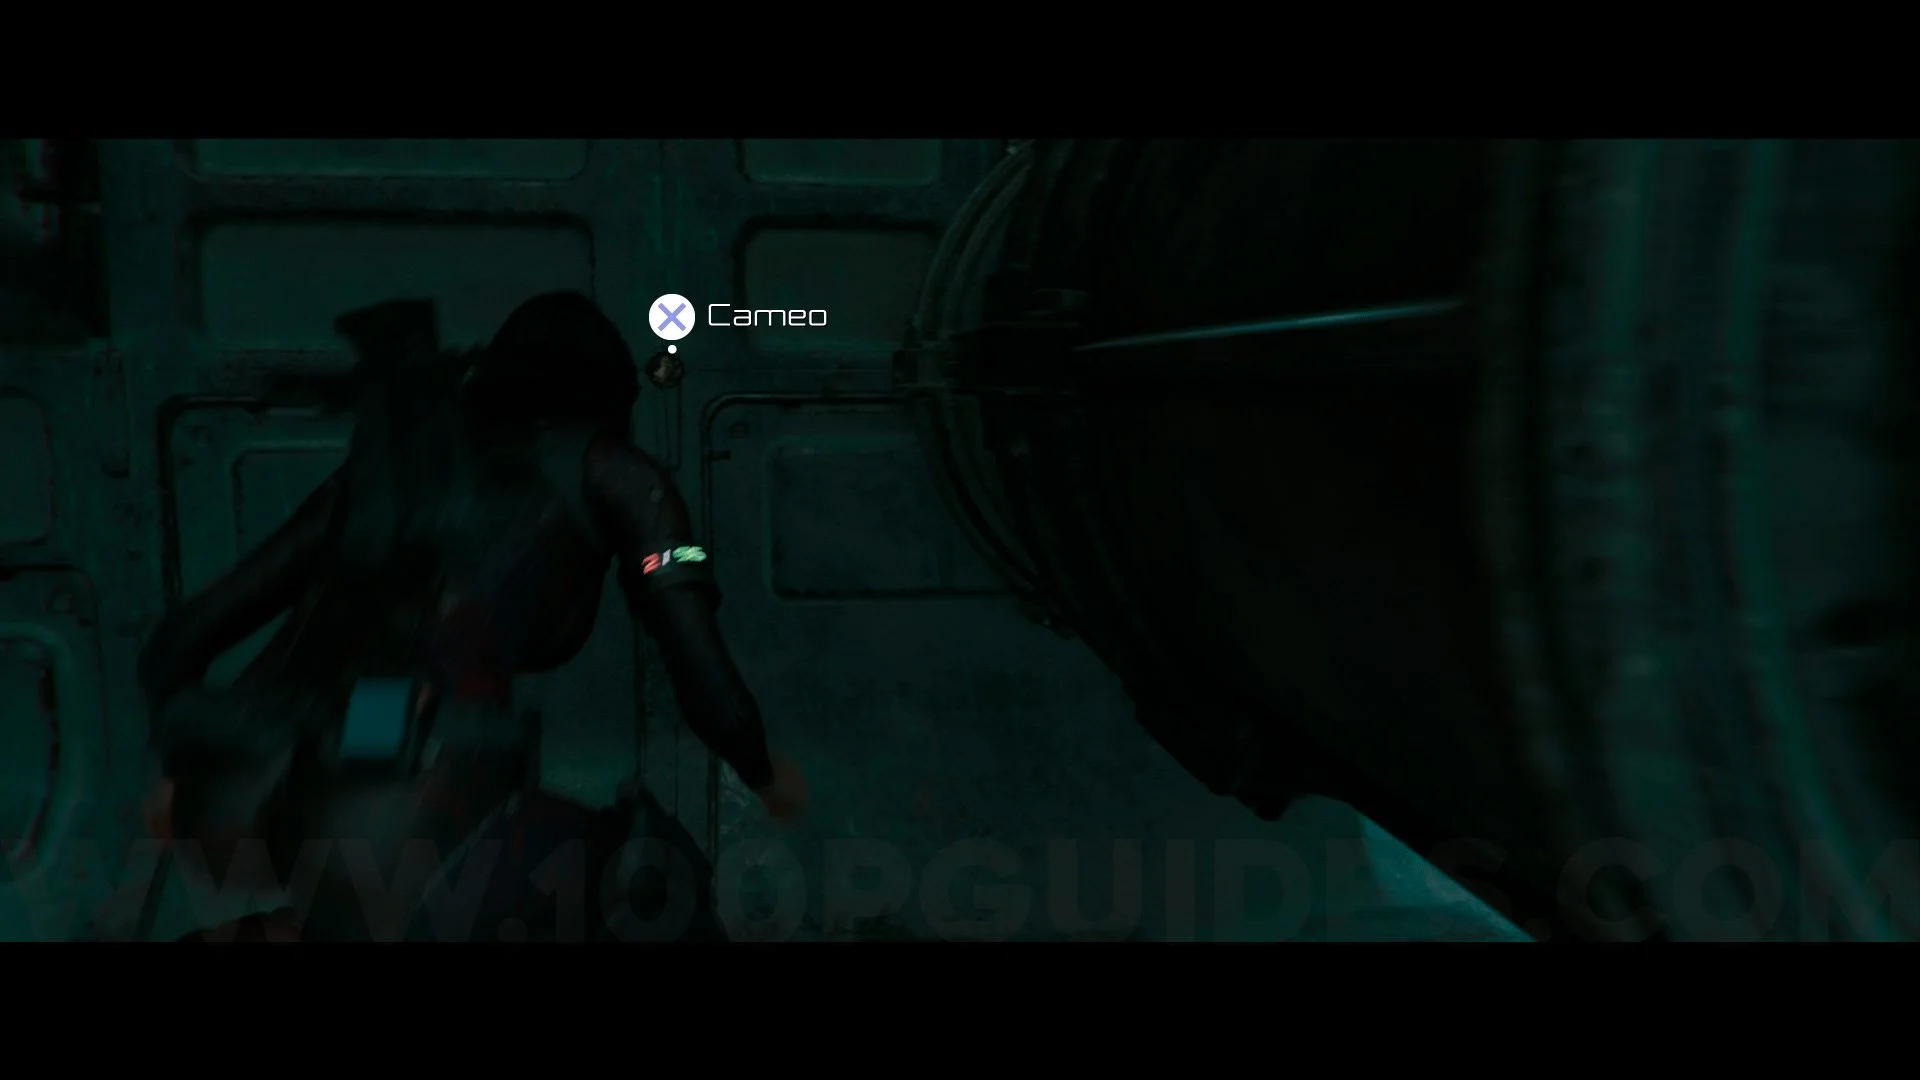
Cameo #2. Go to Plasma Heating Control, pass under the pipes in the corner of the room, and you will find this Cameo stuck to the wall.
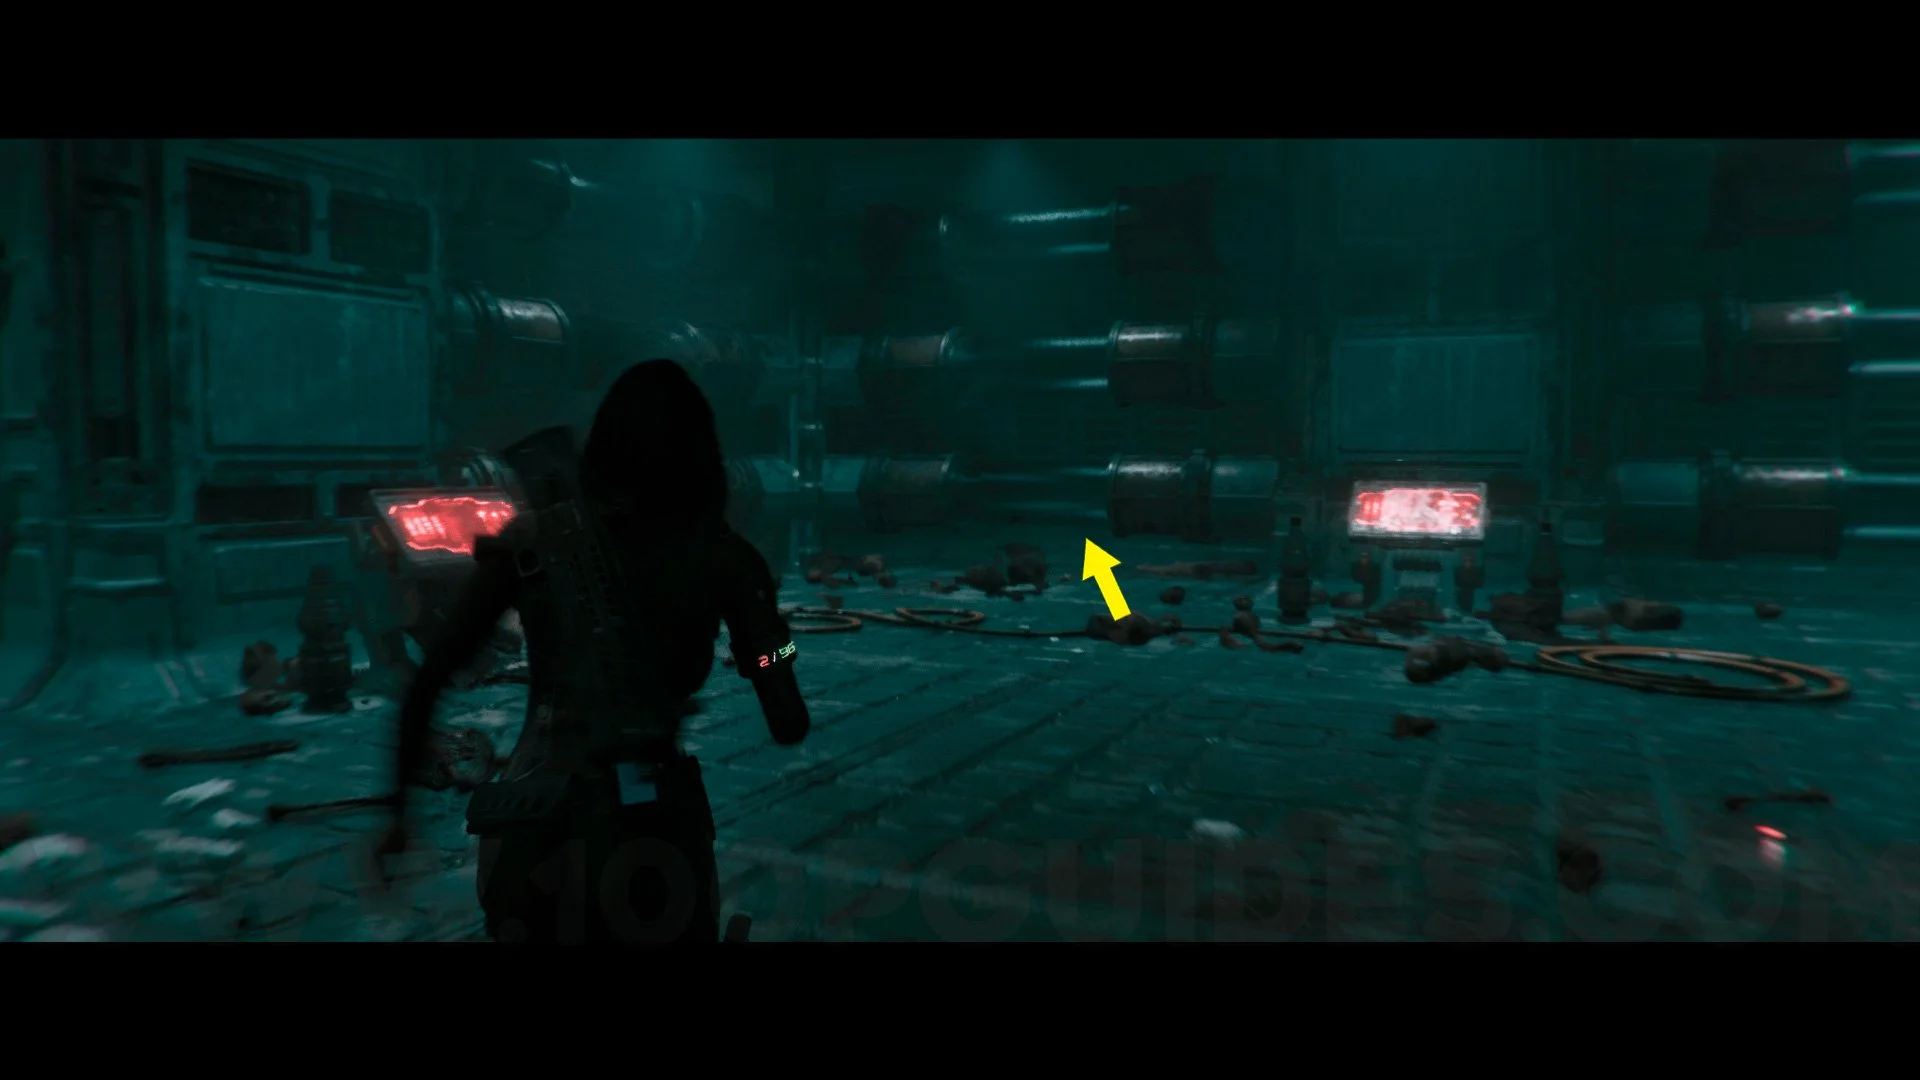
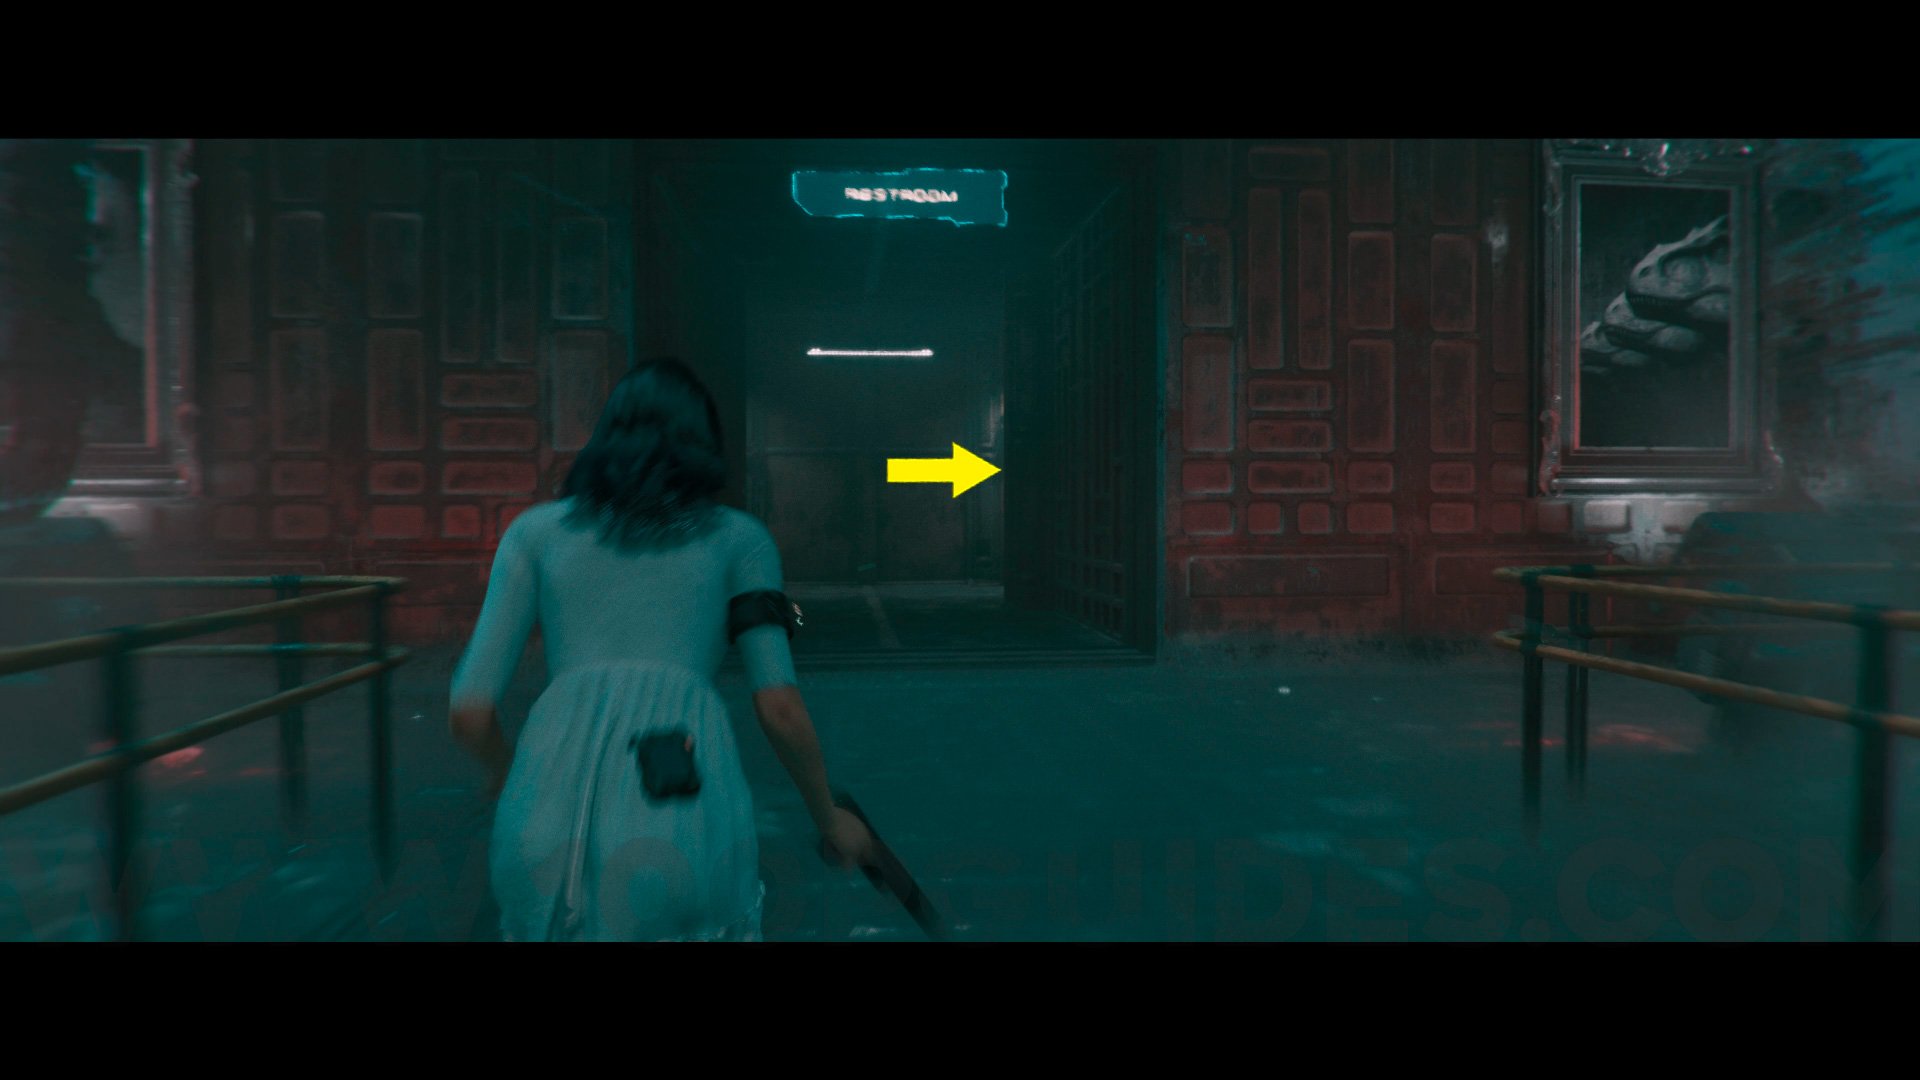
Duck #3. From the previous collectible, look up and shoot the blue light. After shooting, leave the room and go straight down the hallway to the end and go through the door. Then turn left and go straight ahead, turn left again, and you will see the restroom. Go in, turn right, and follow the single path. The duck will be in the third bathroom door.

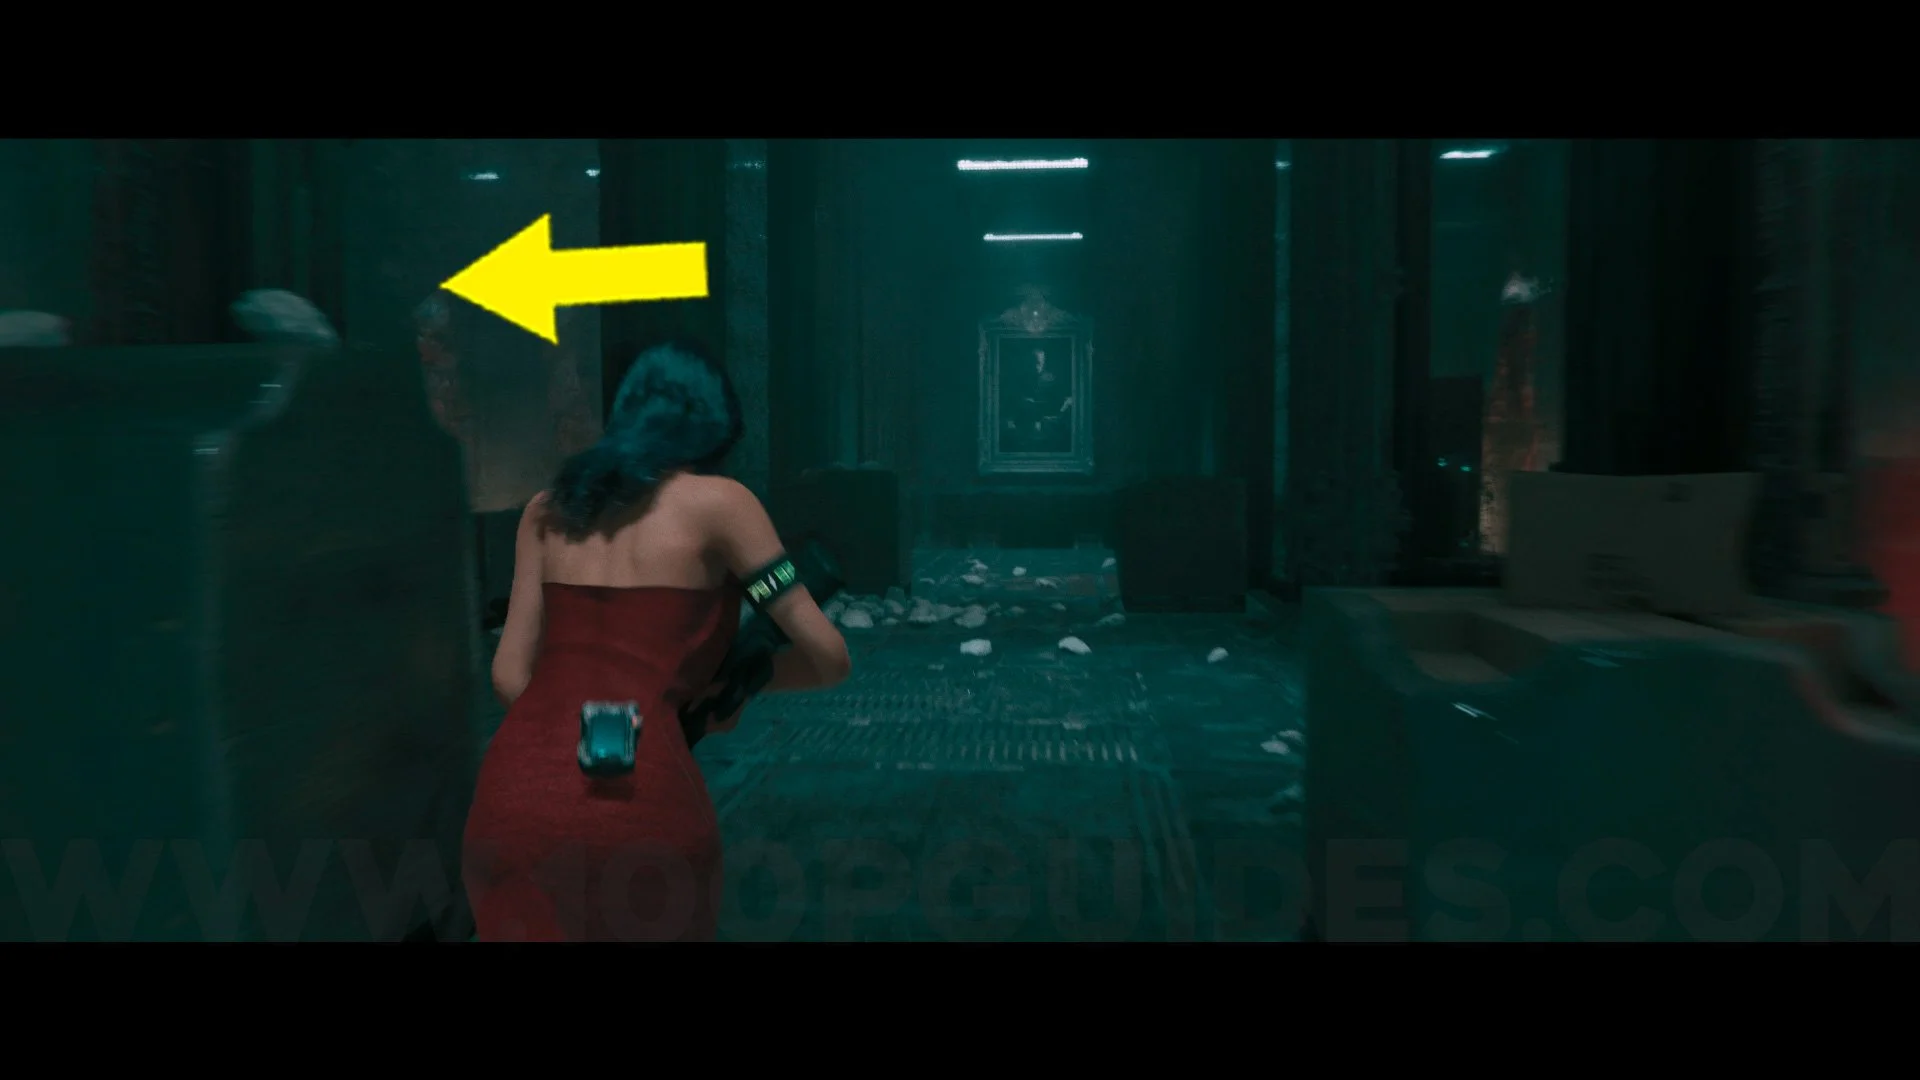
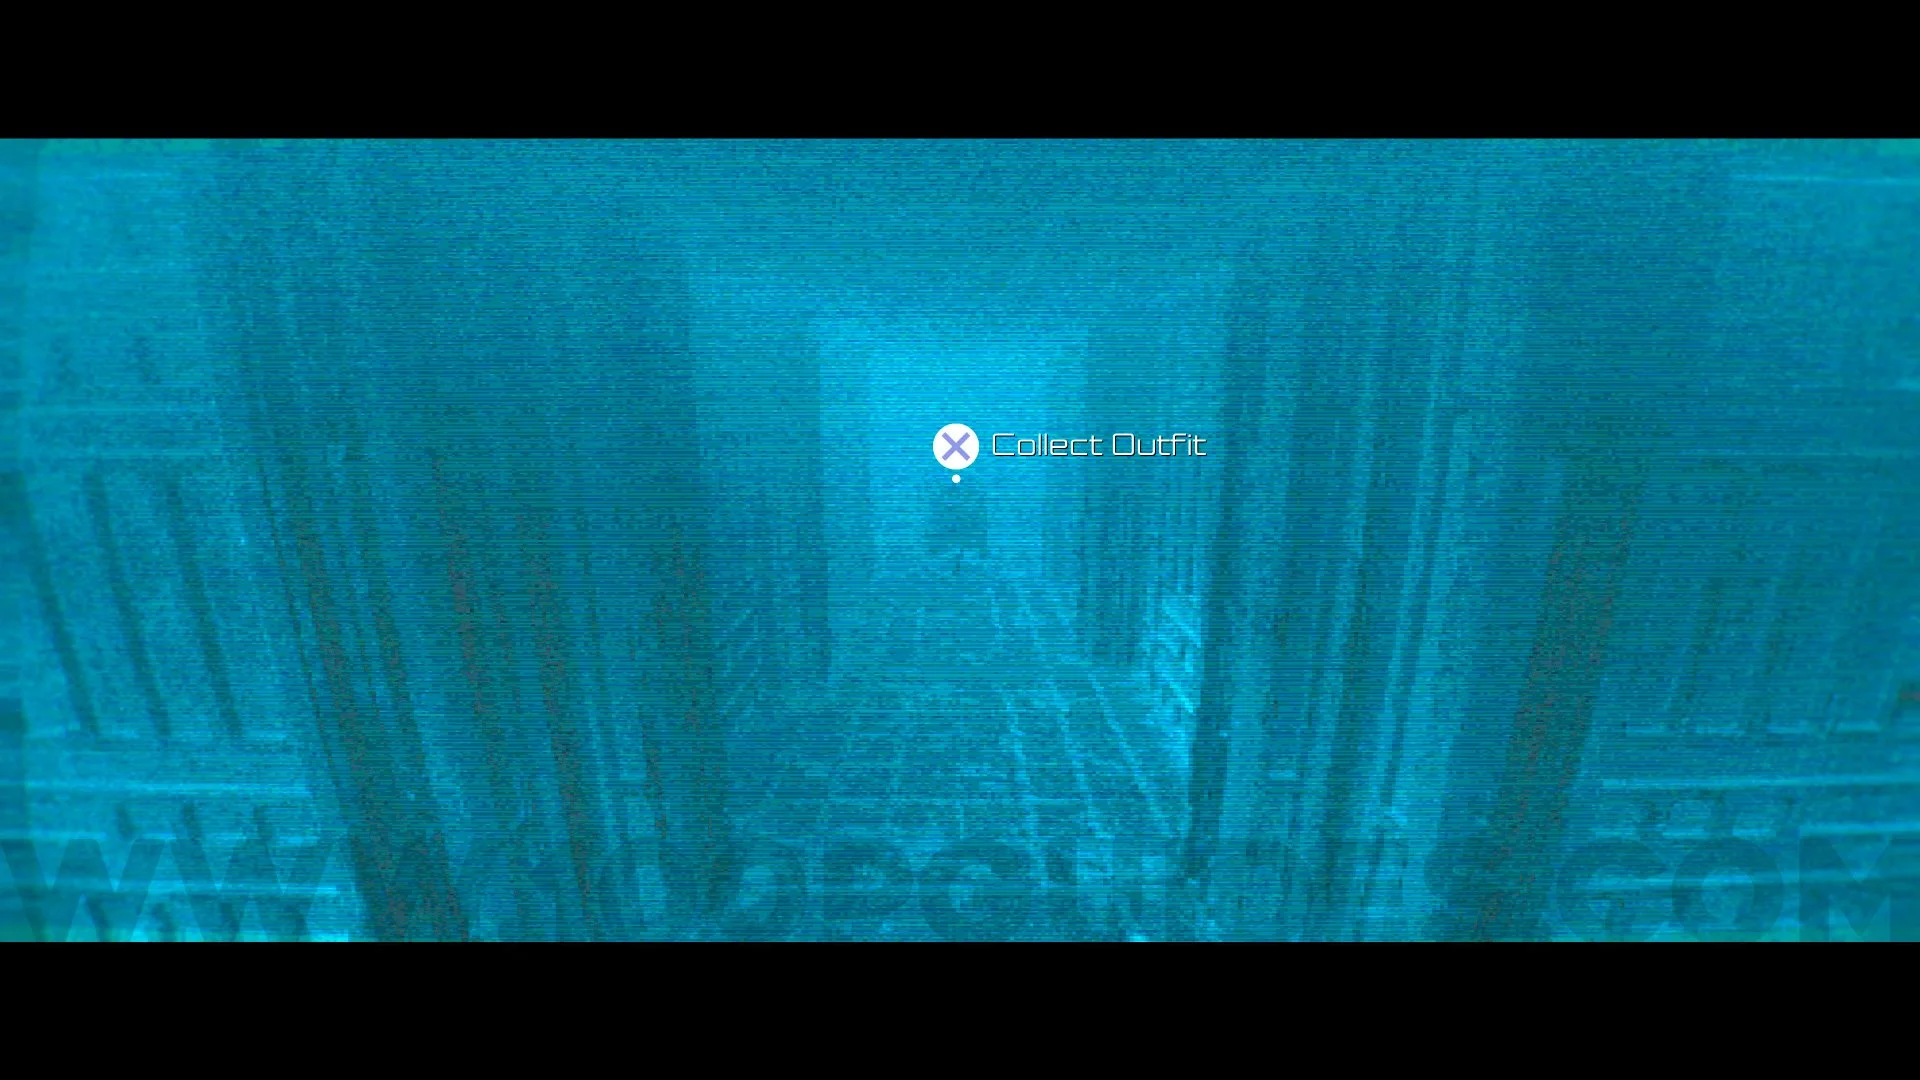
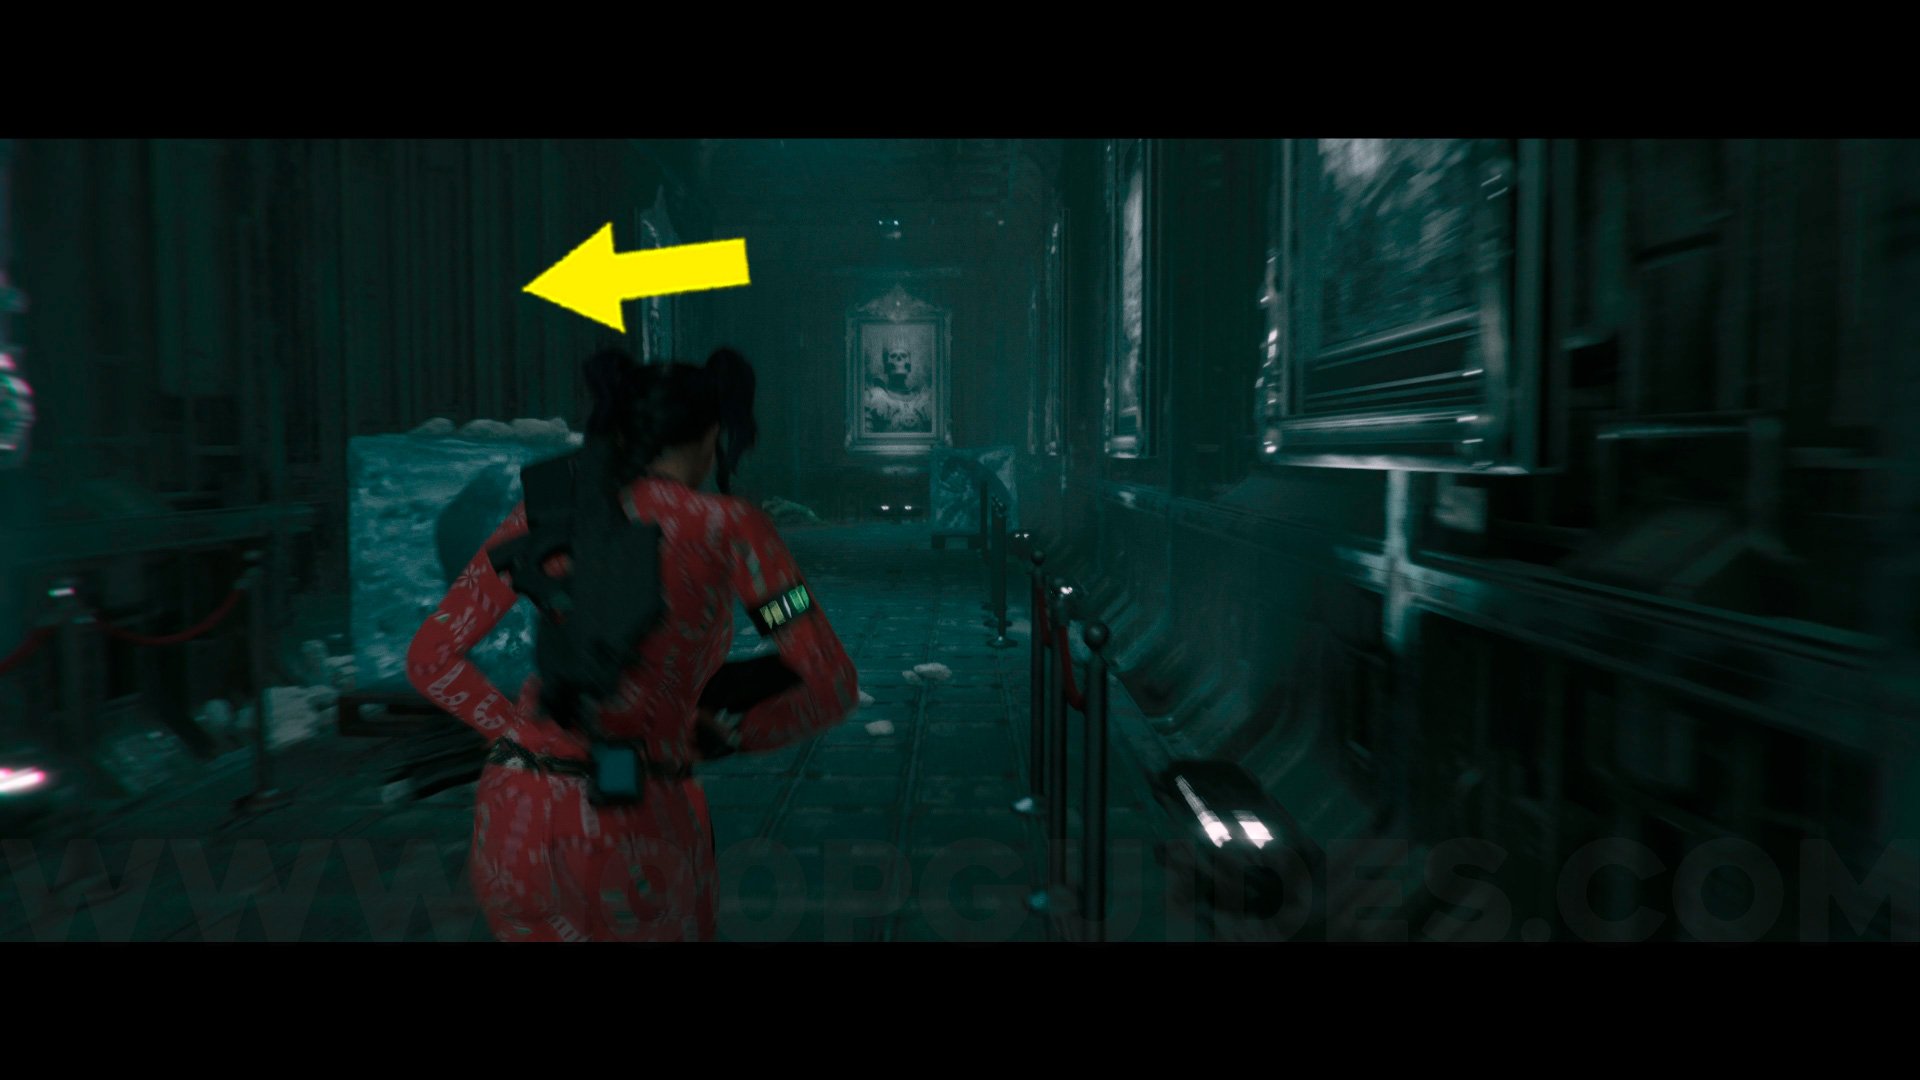
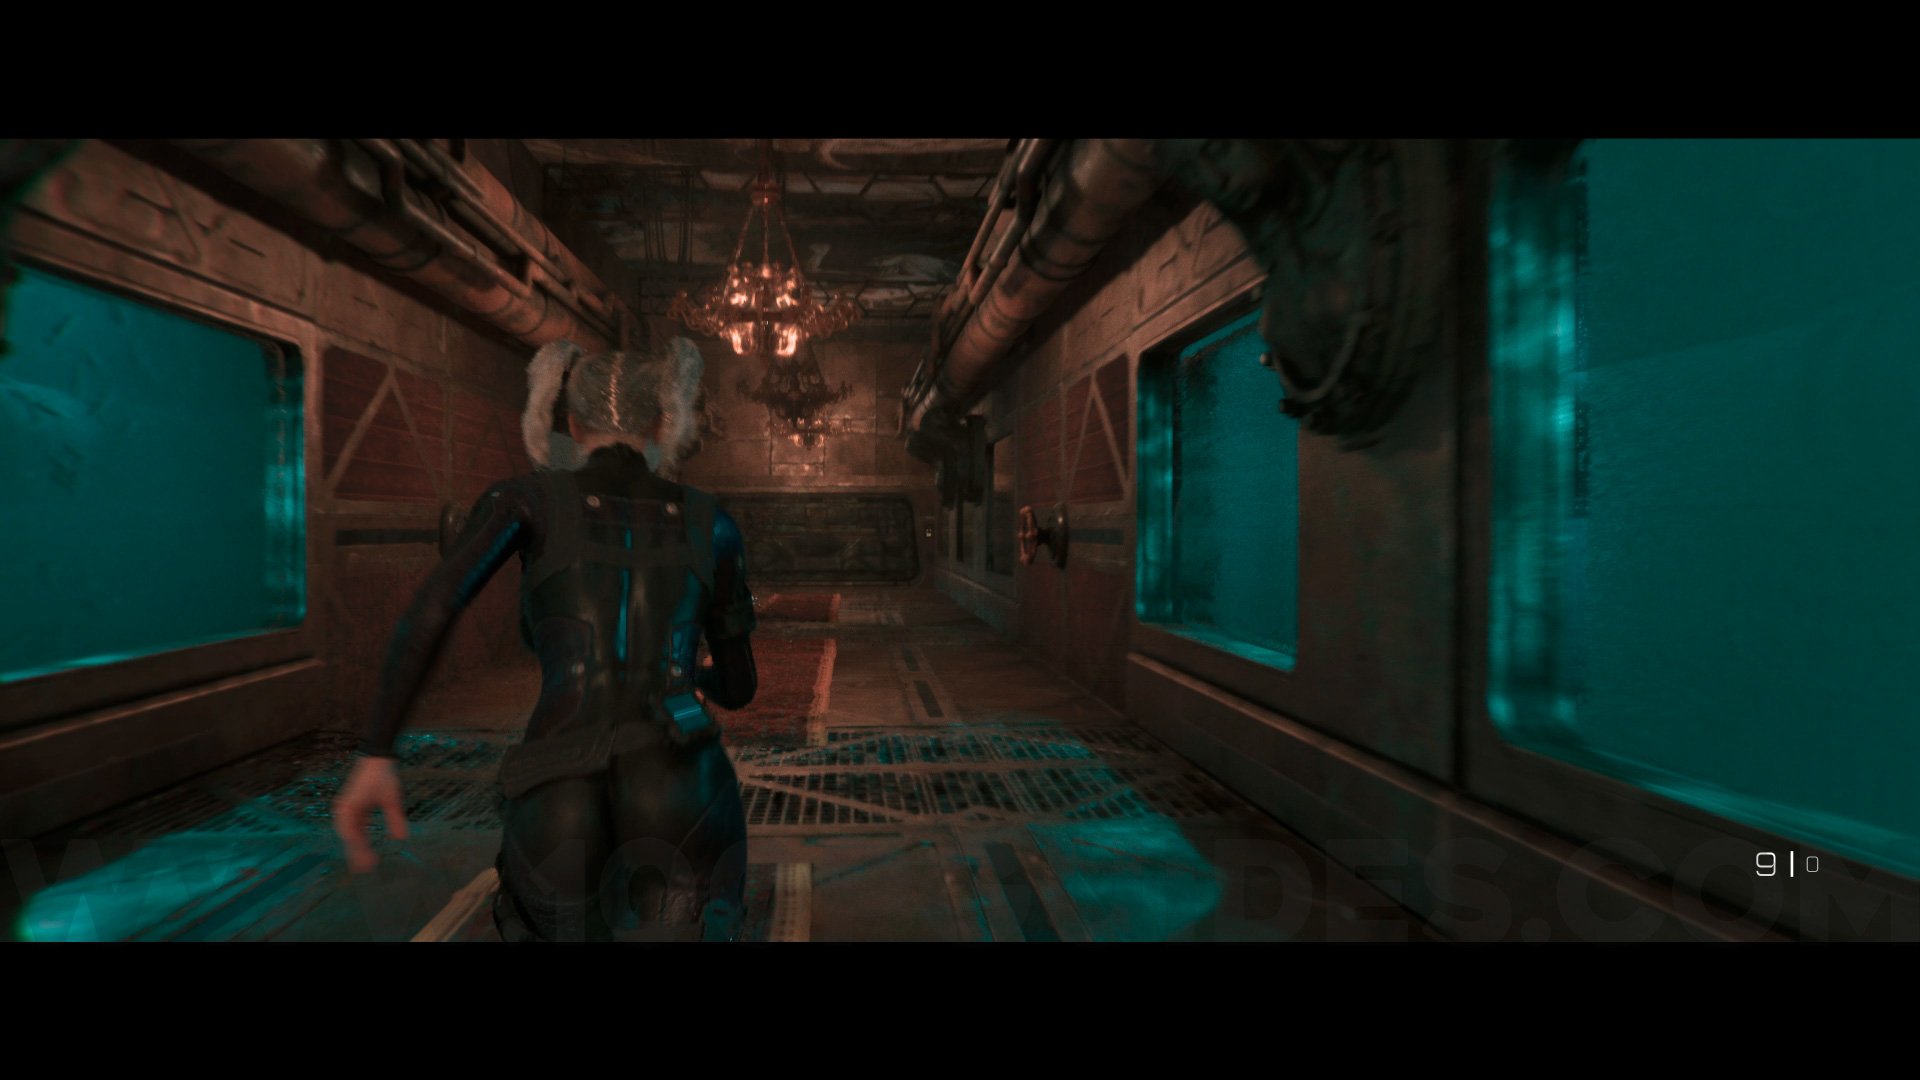
Outfit #5 Lady In Red Dress. From the previous collectible, exit the bathroom and enter the first door on the left. Once inside, take the path on the left and then turn left again to enter the blue area. Go to the end of this area to obtain the outfit.
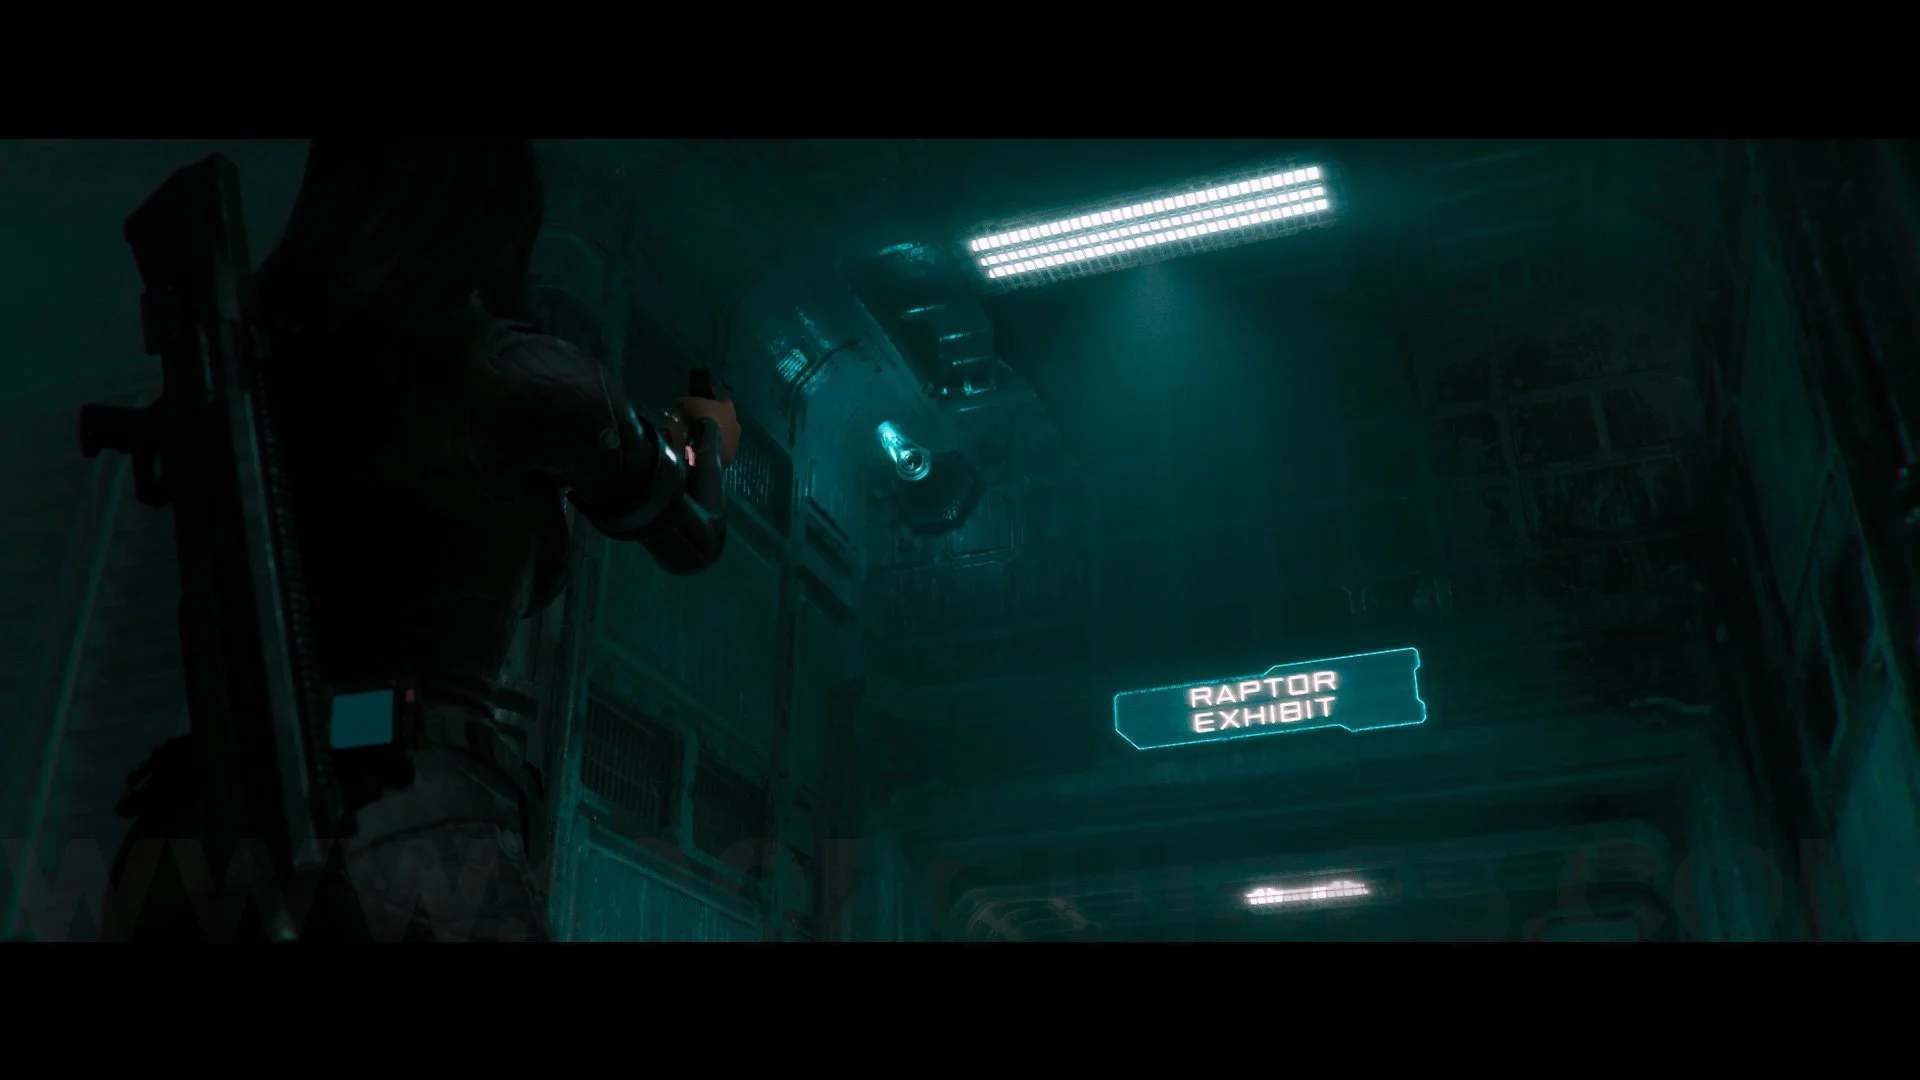
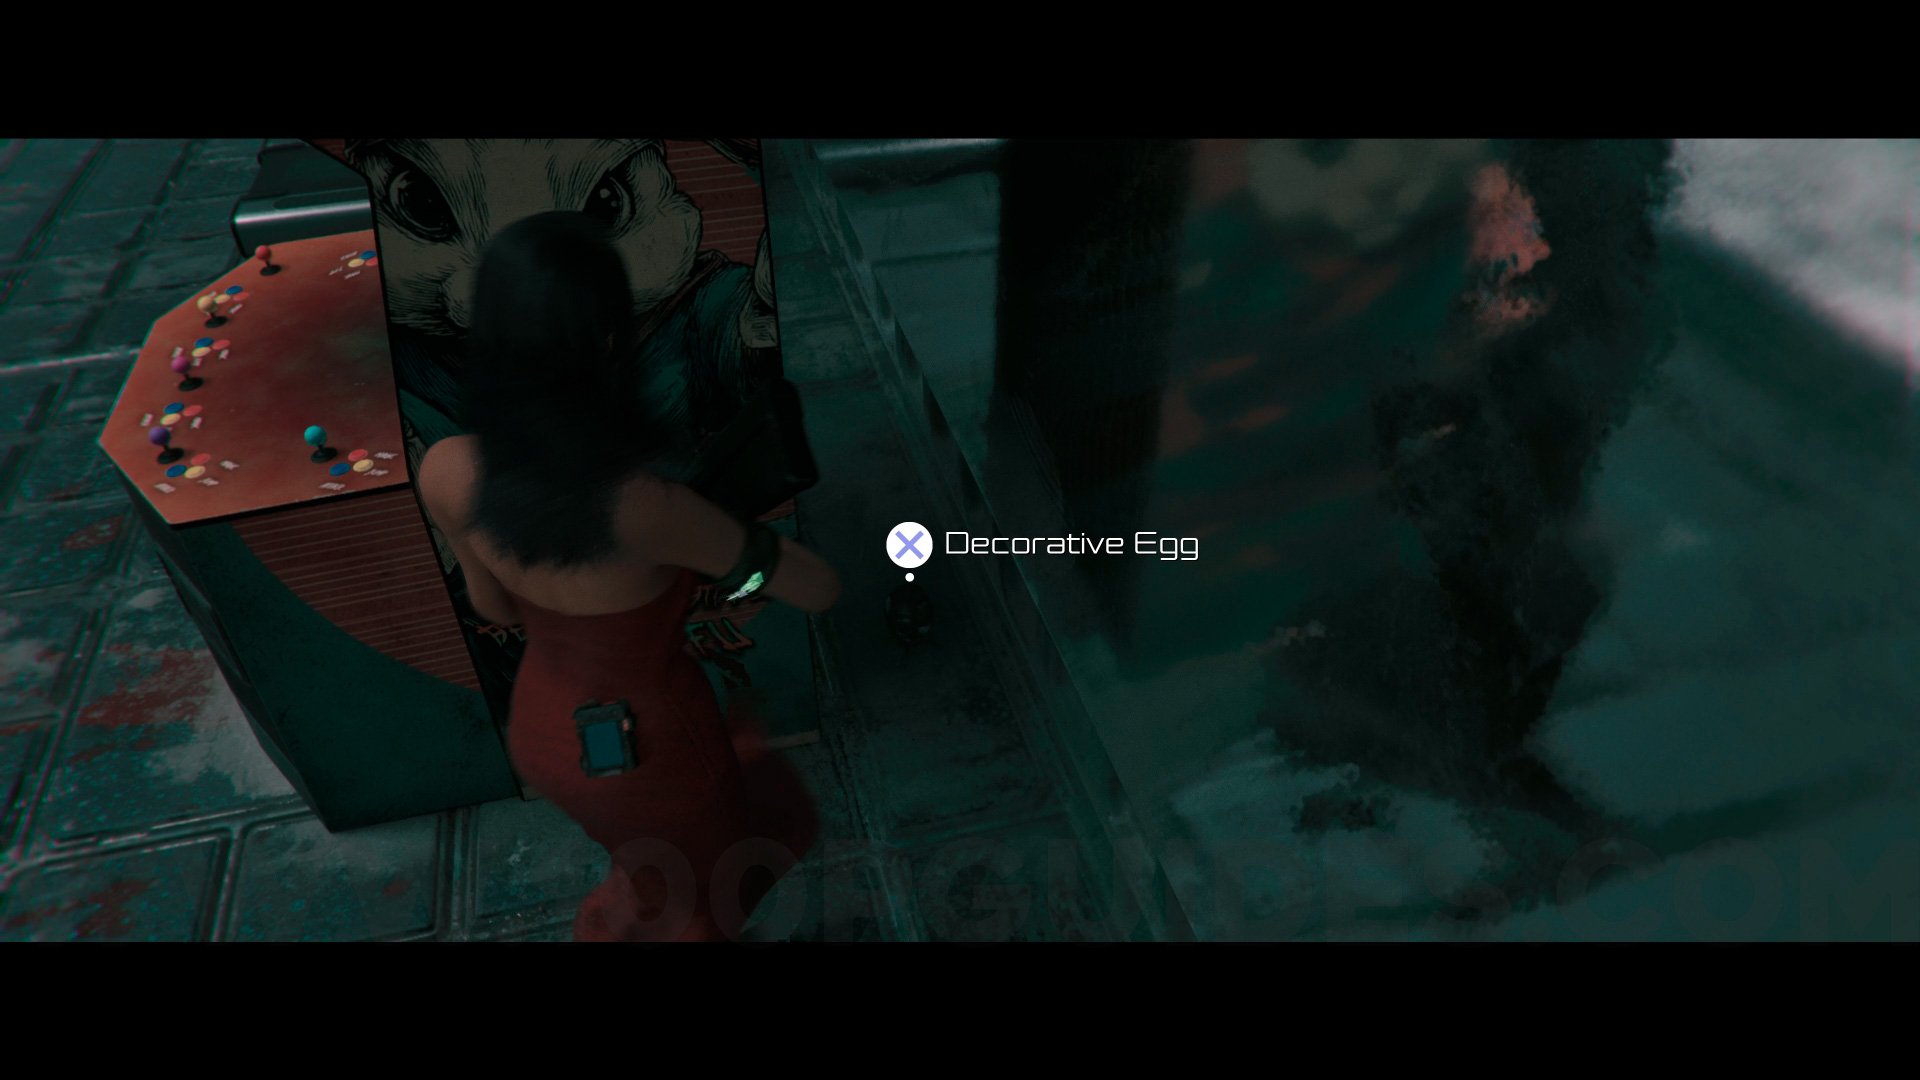
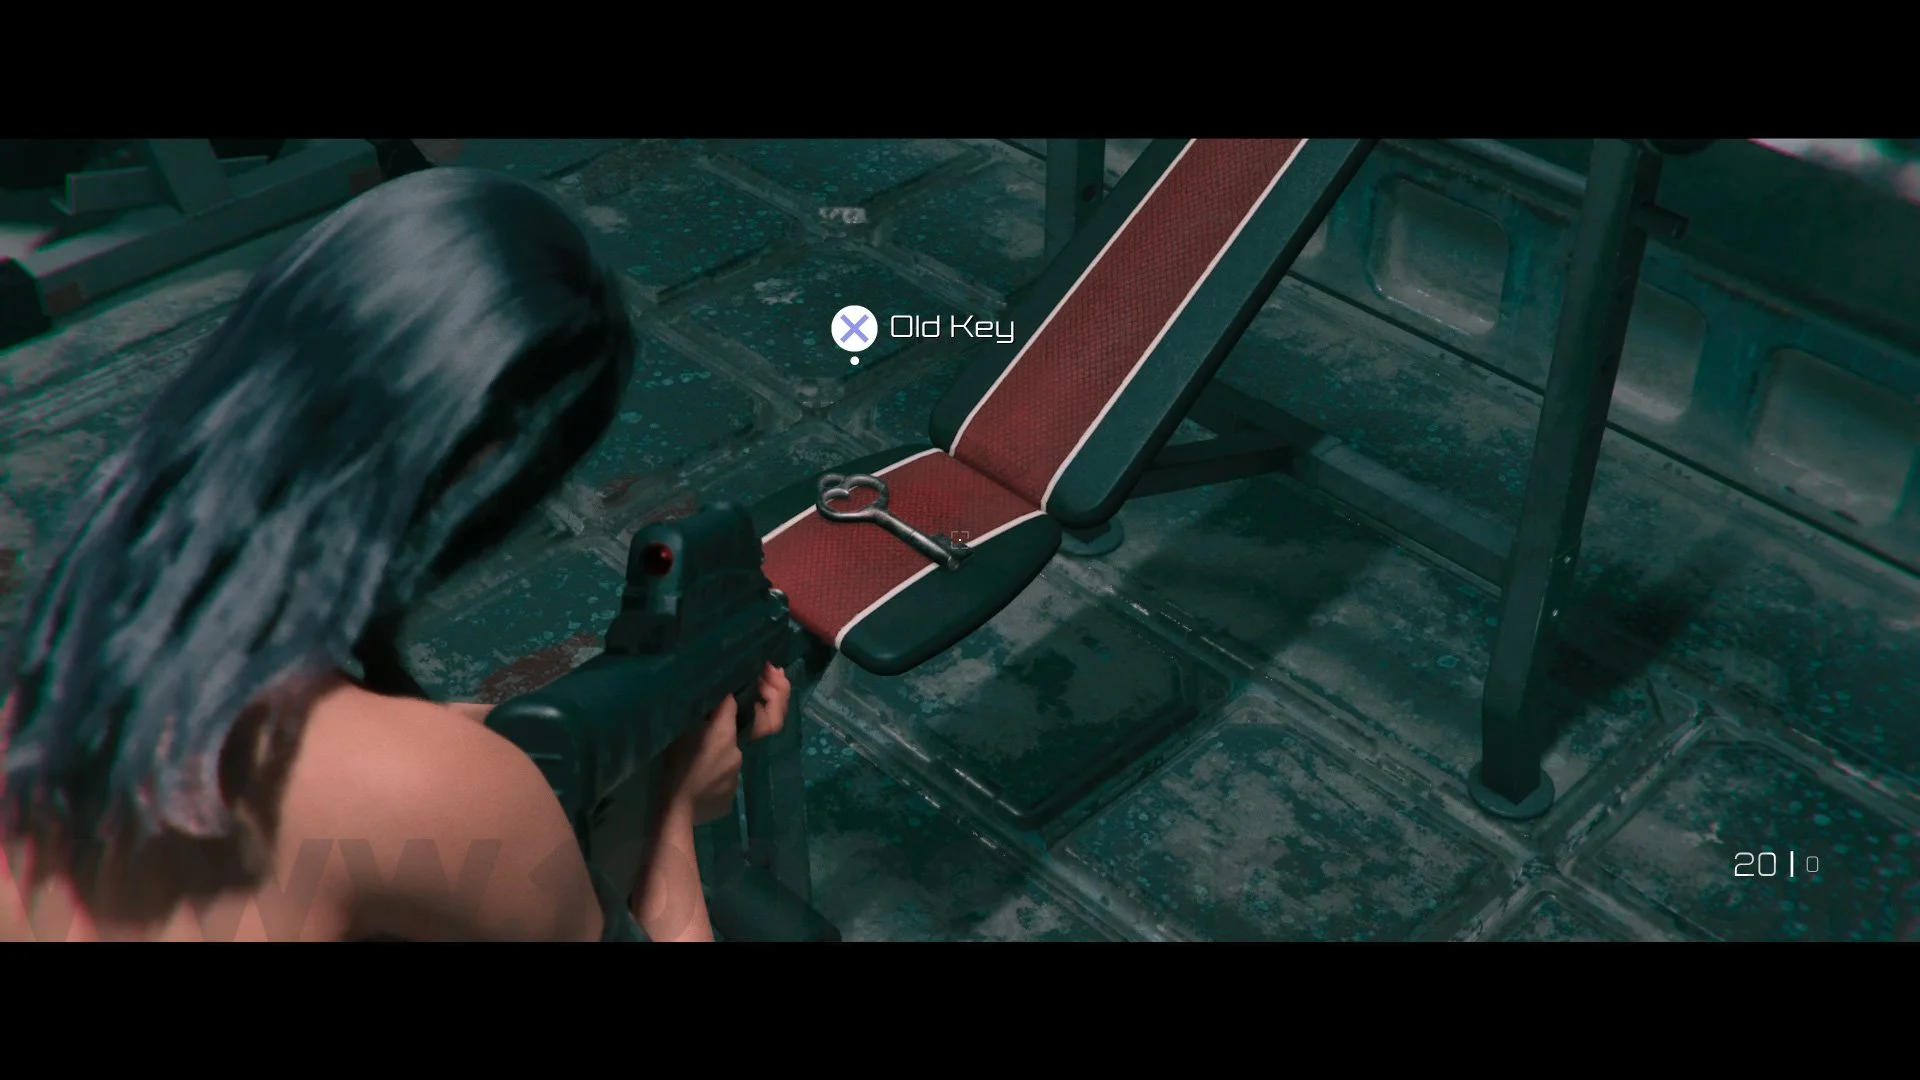
Decorative Egg #3. Once at the T-REX EXHIBIT, enter the gym and go to the back to find the Decorative Egg behind the machine
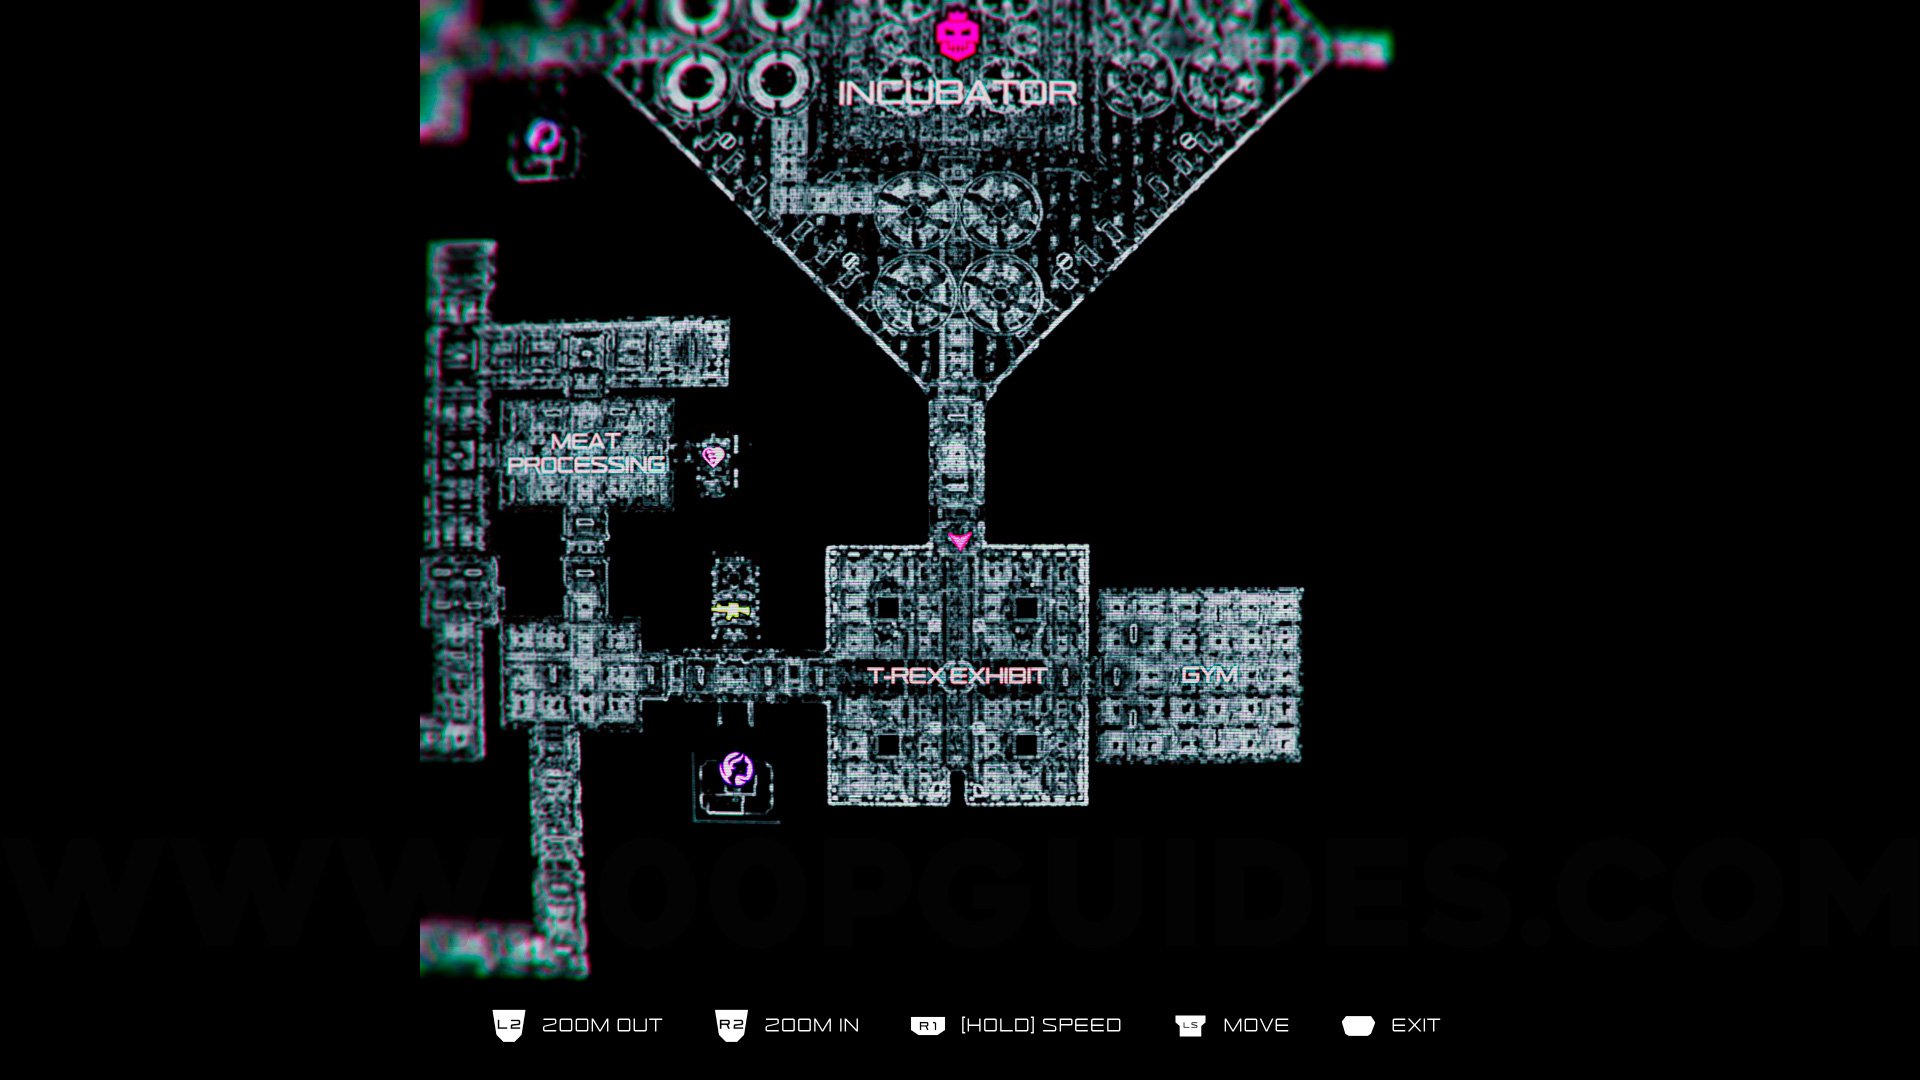
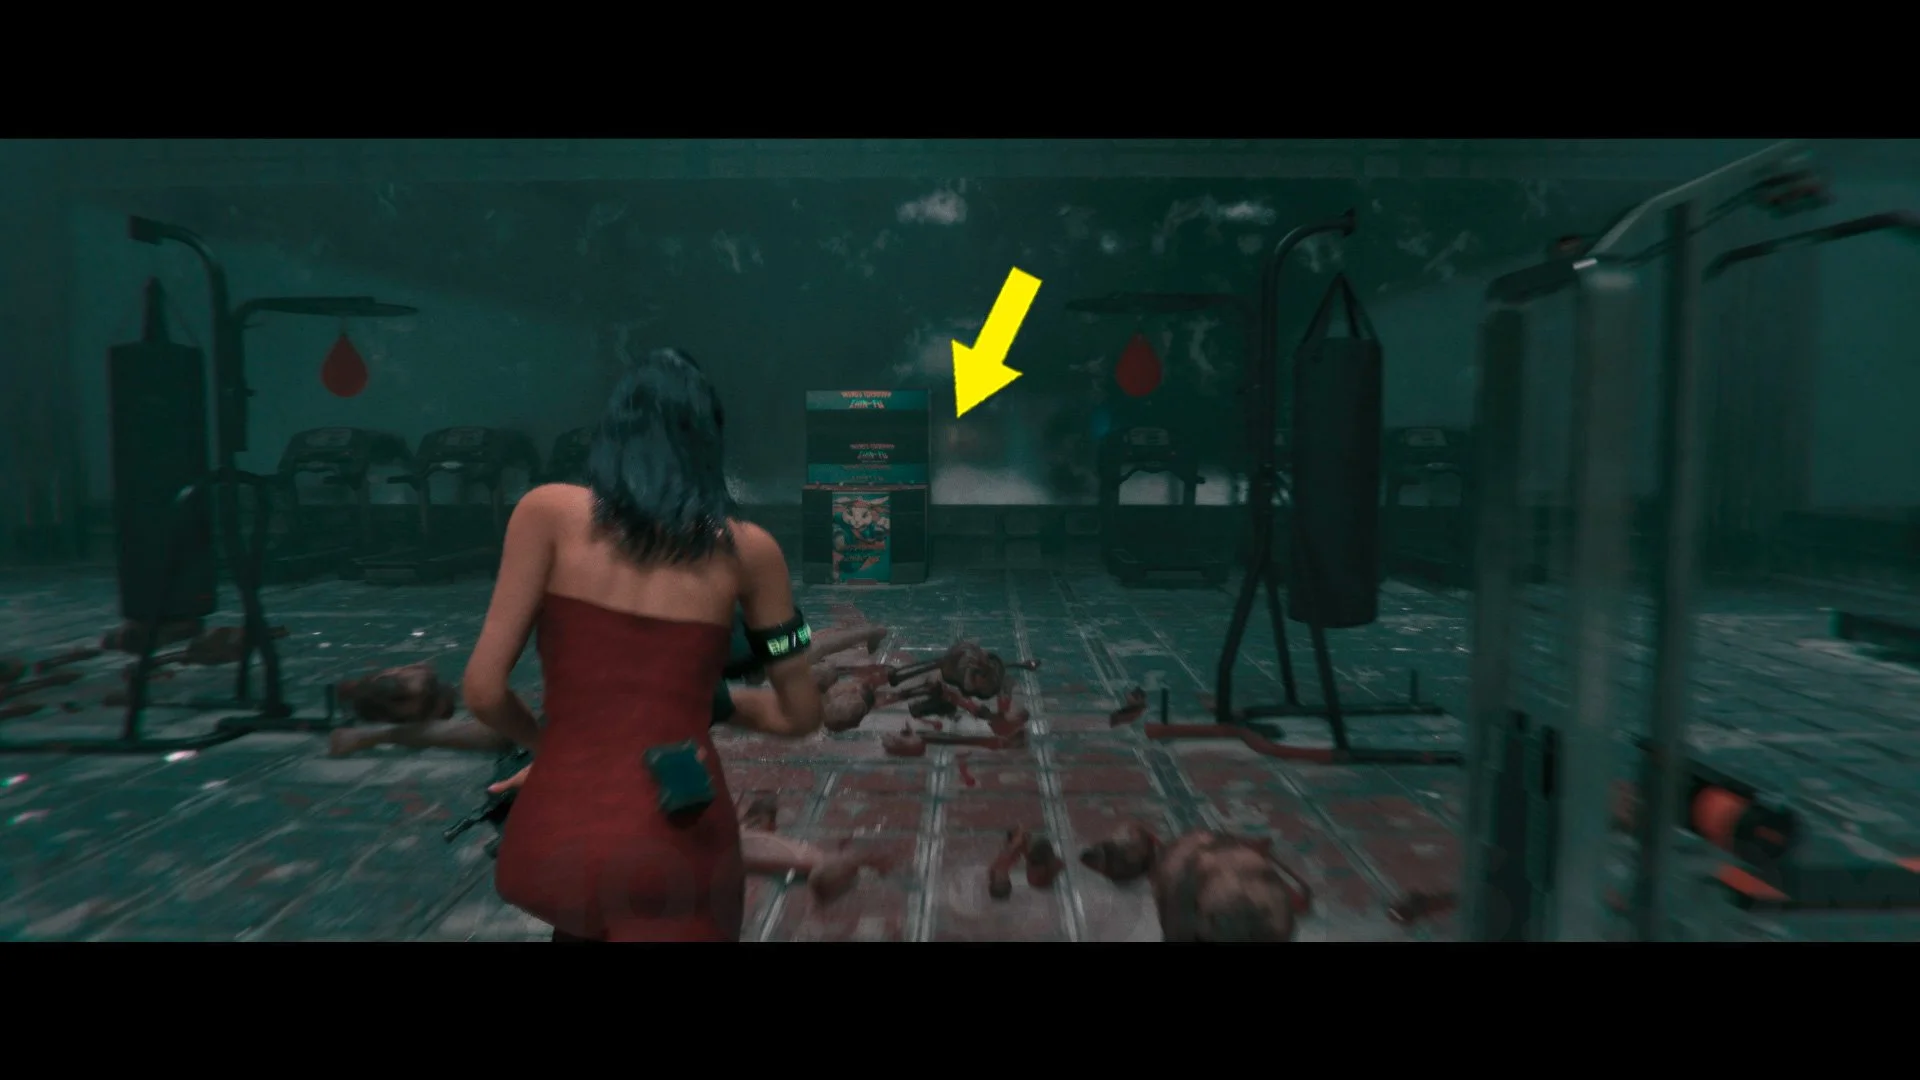
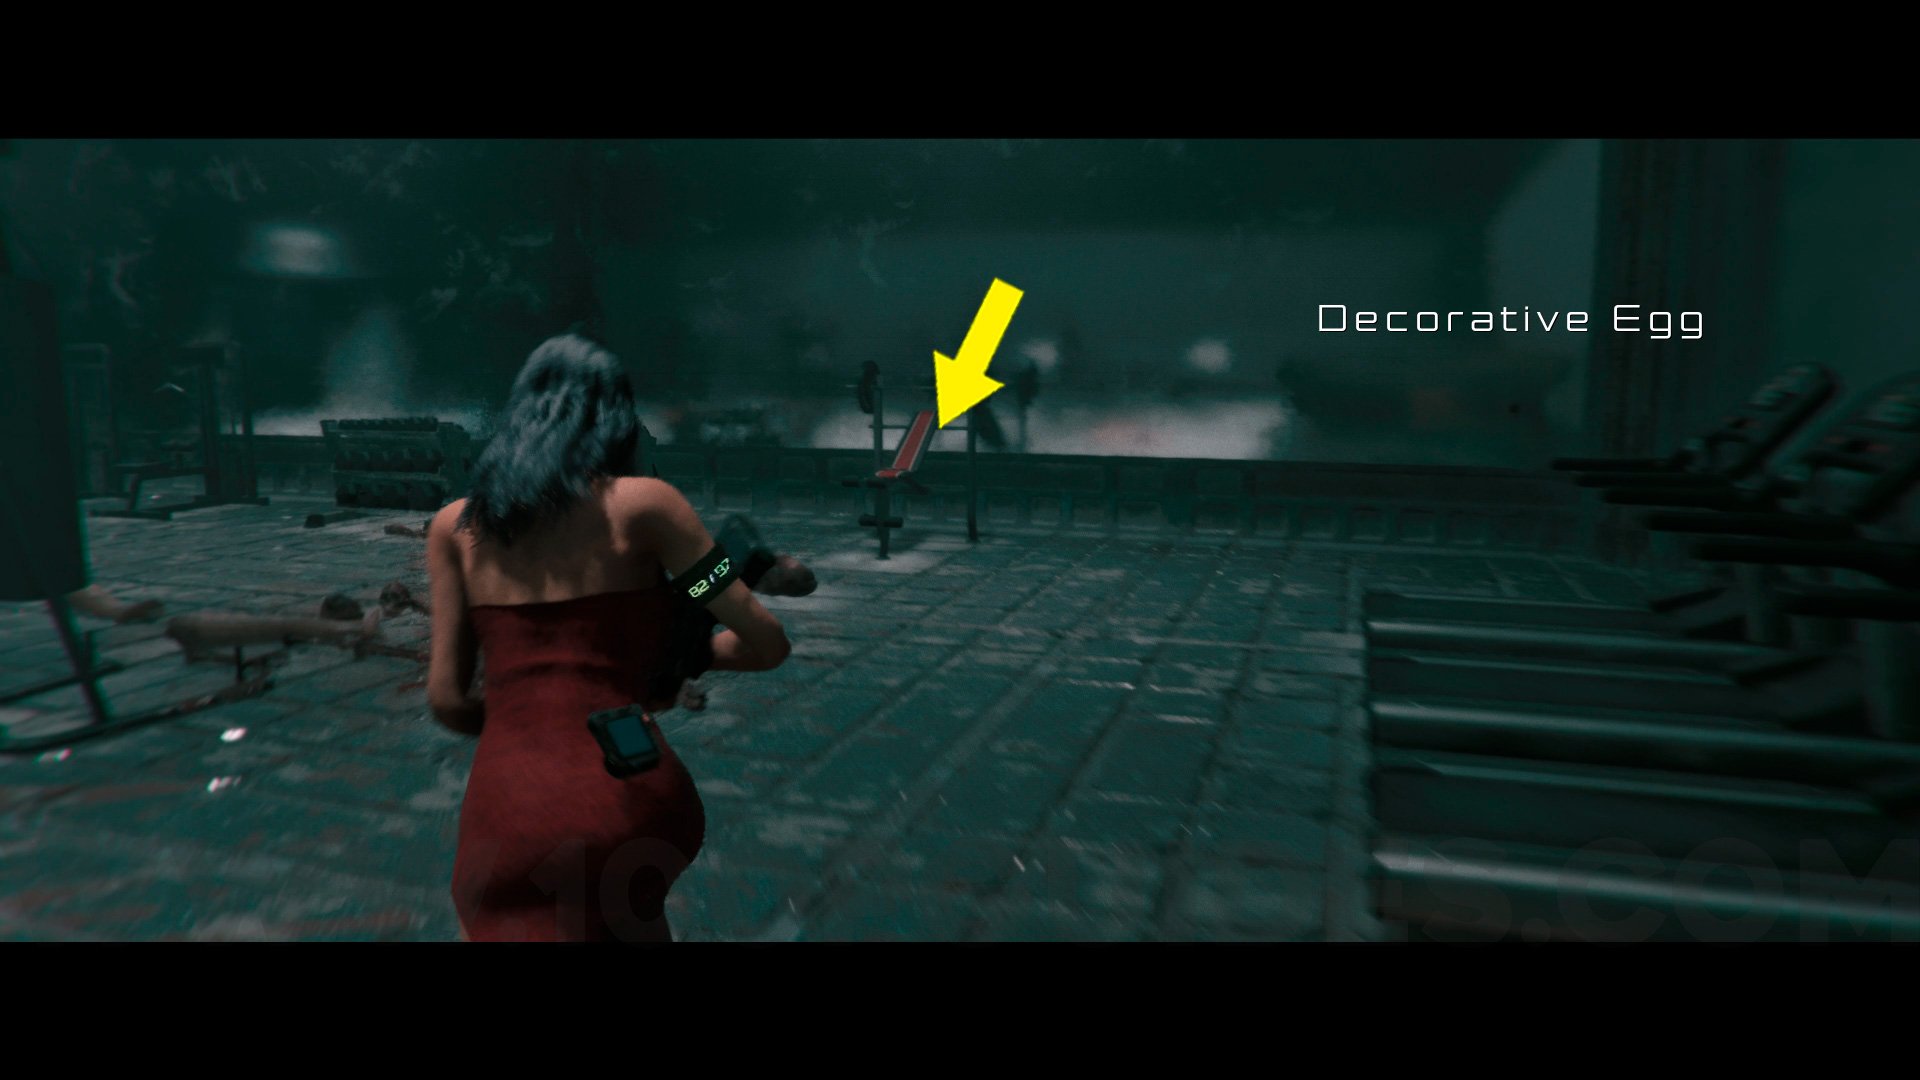
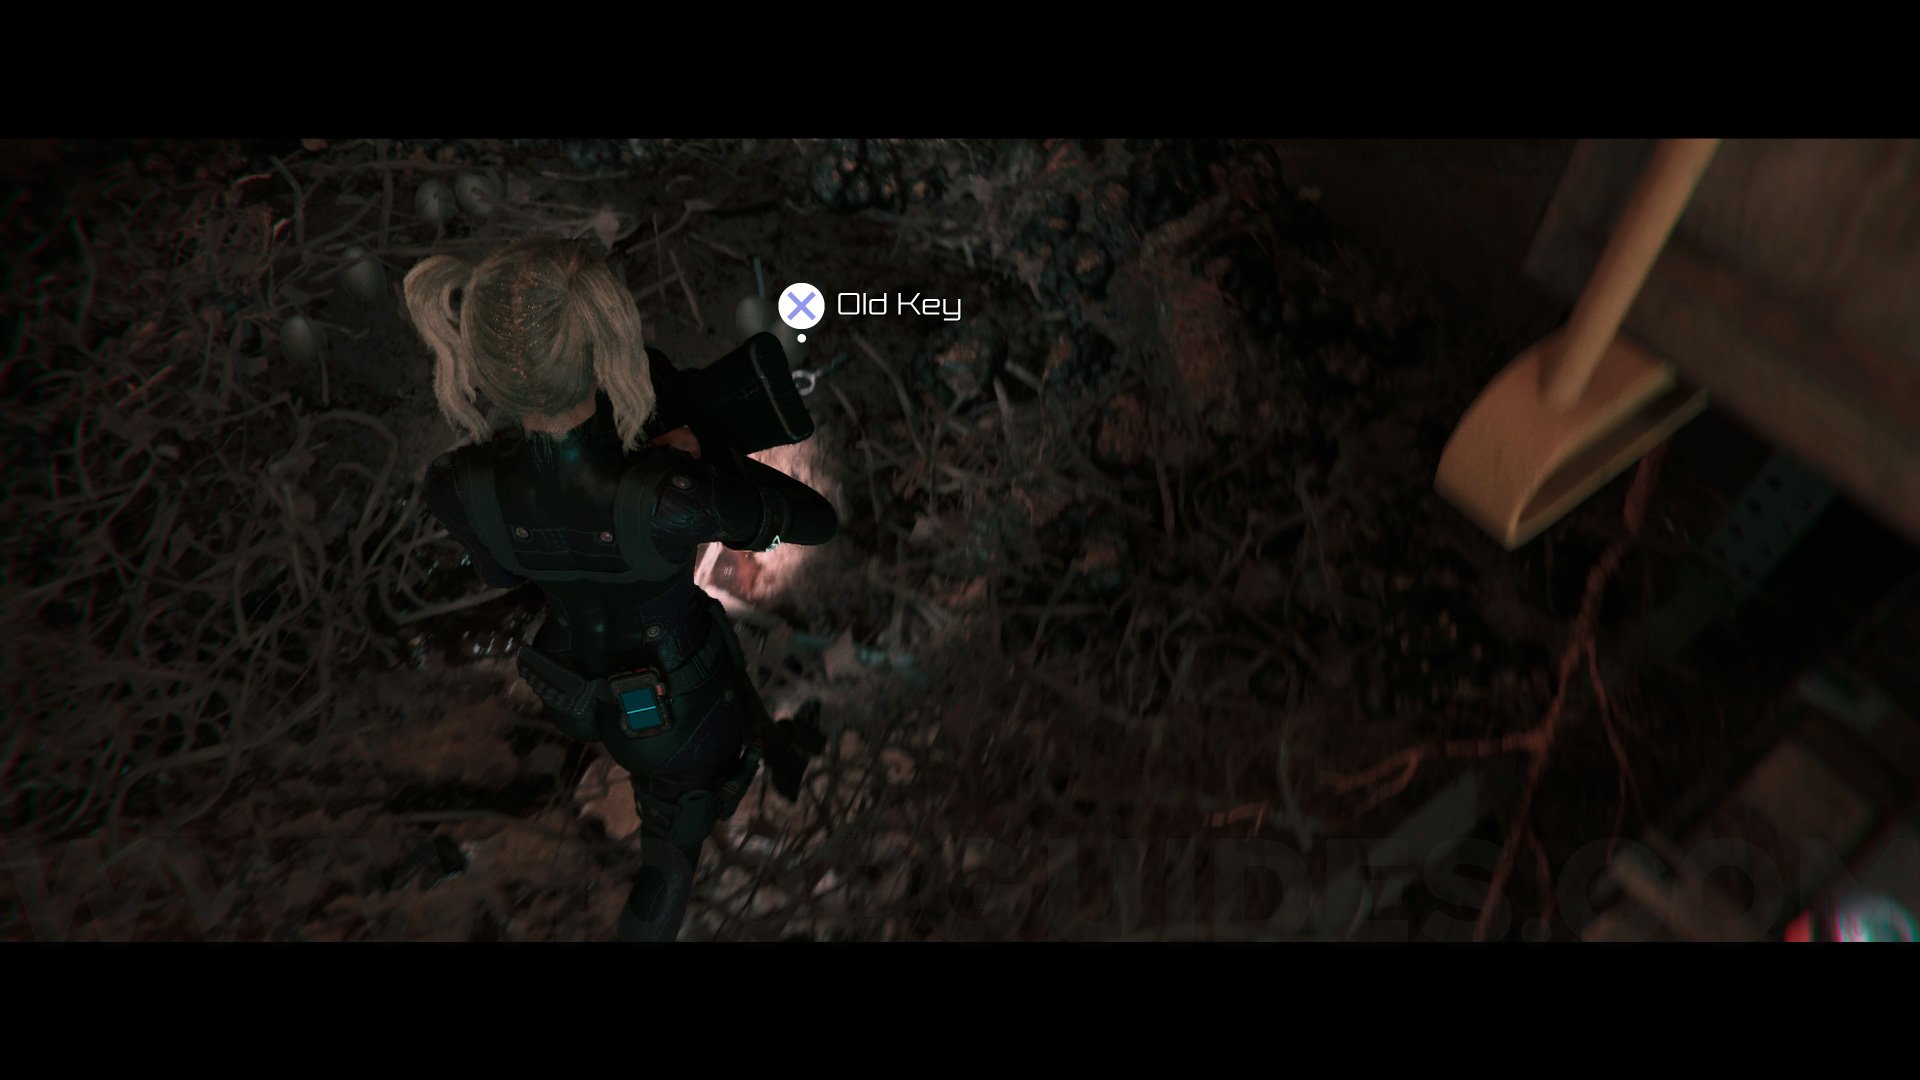
Old Key. Directly from the previous Collectible, grab the old key on top of the bench; you will need it for a Gear Pouch later on.
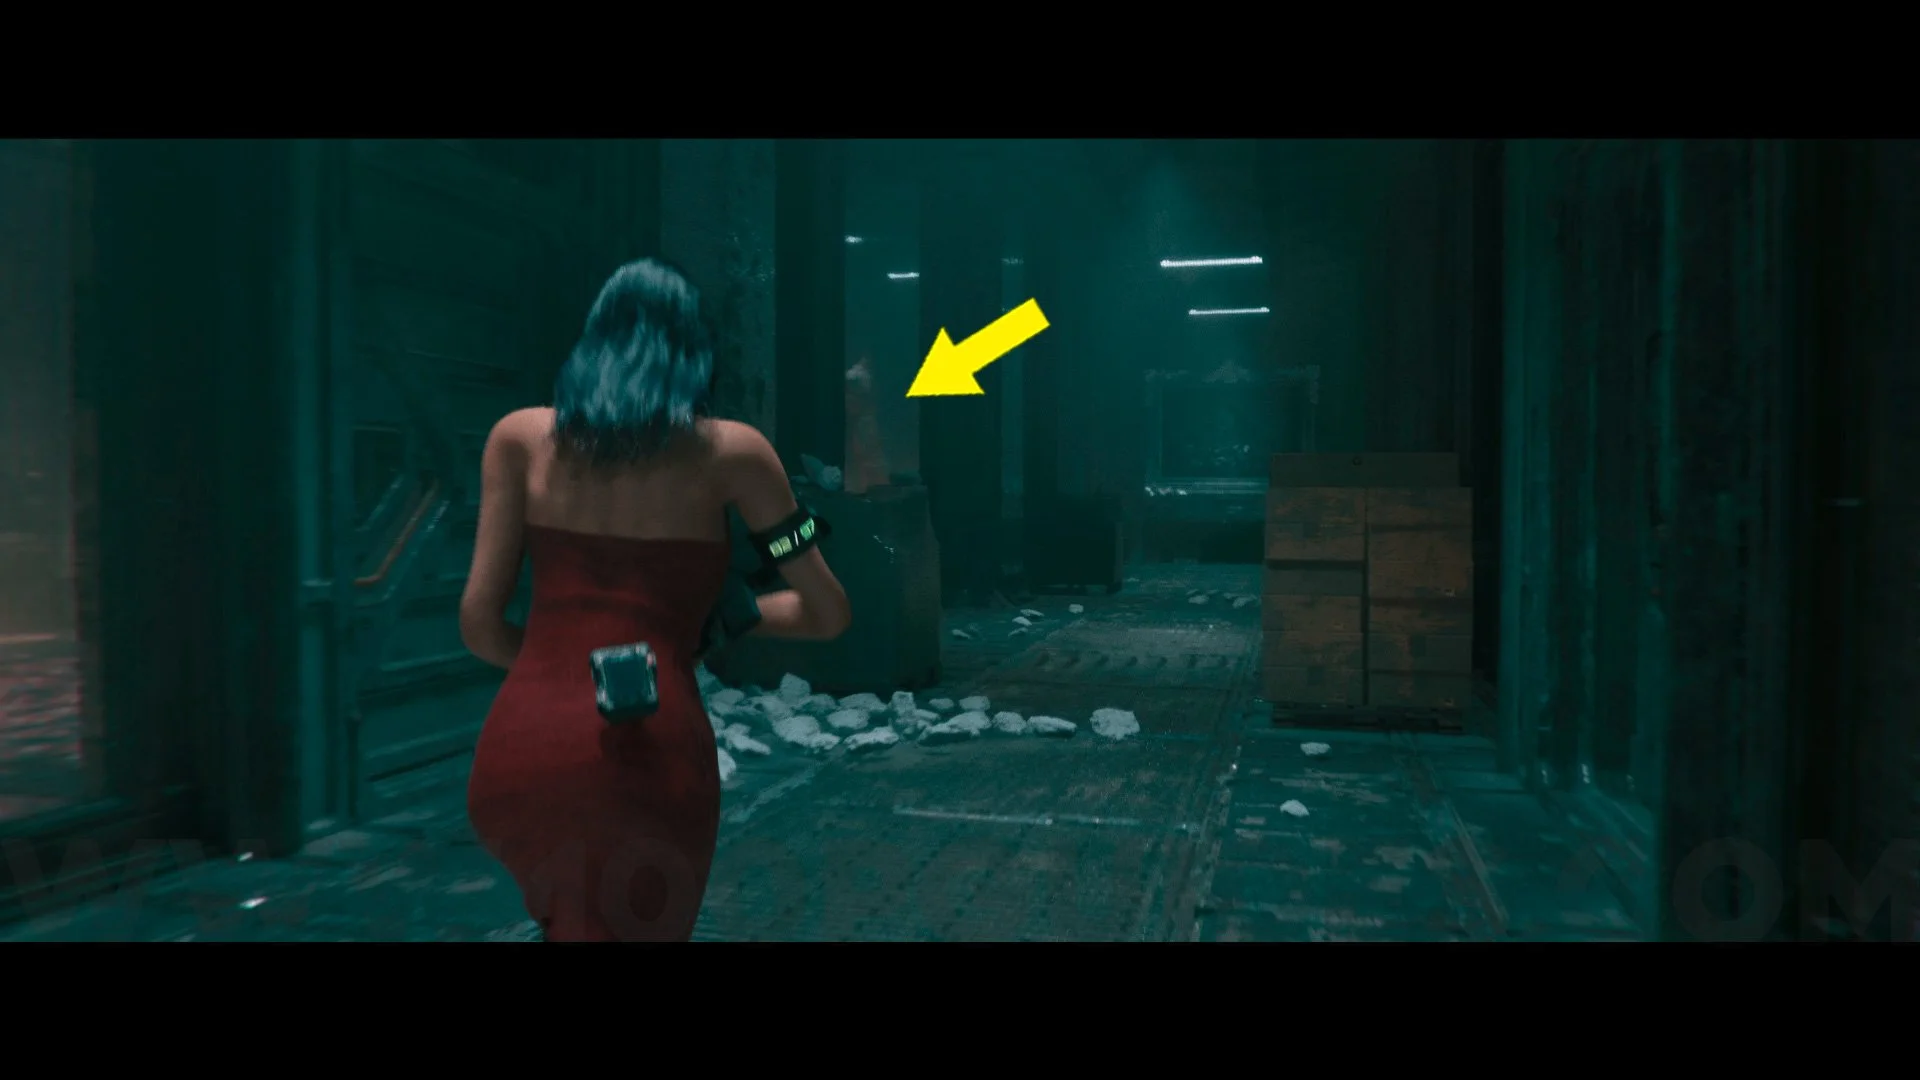
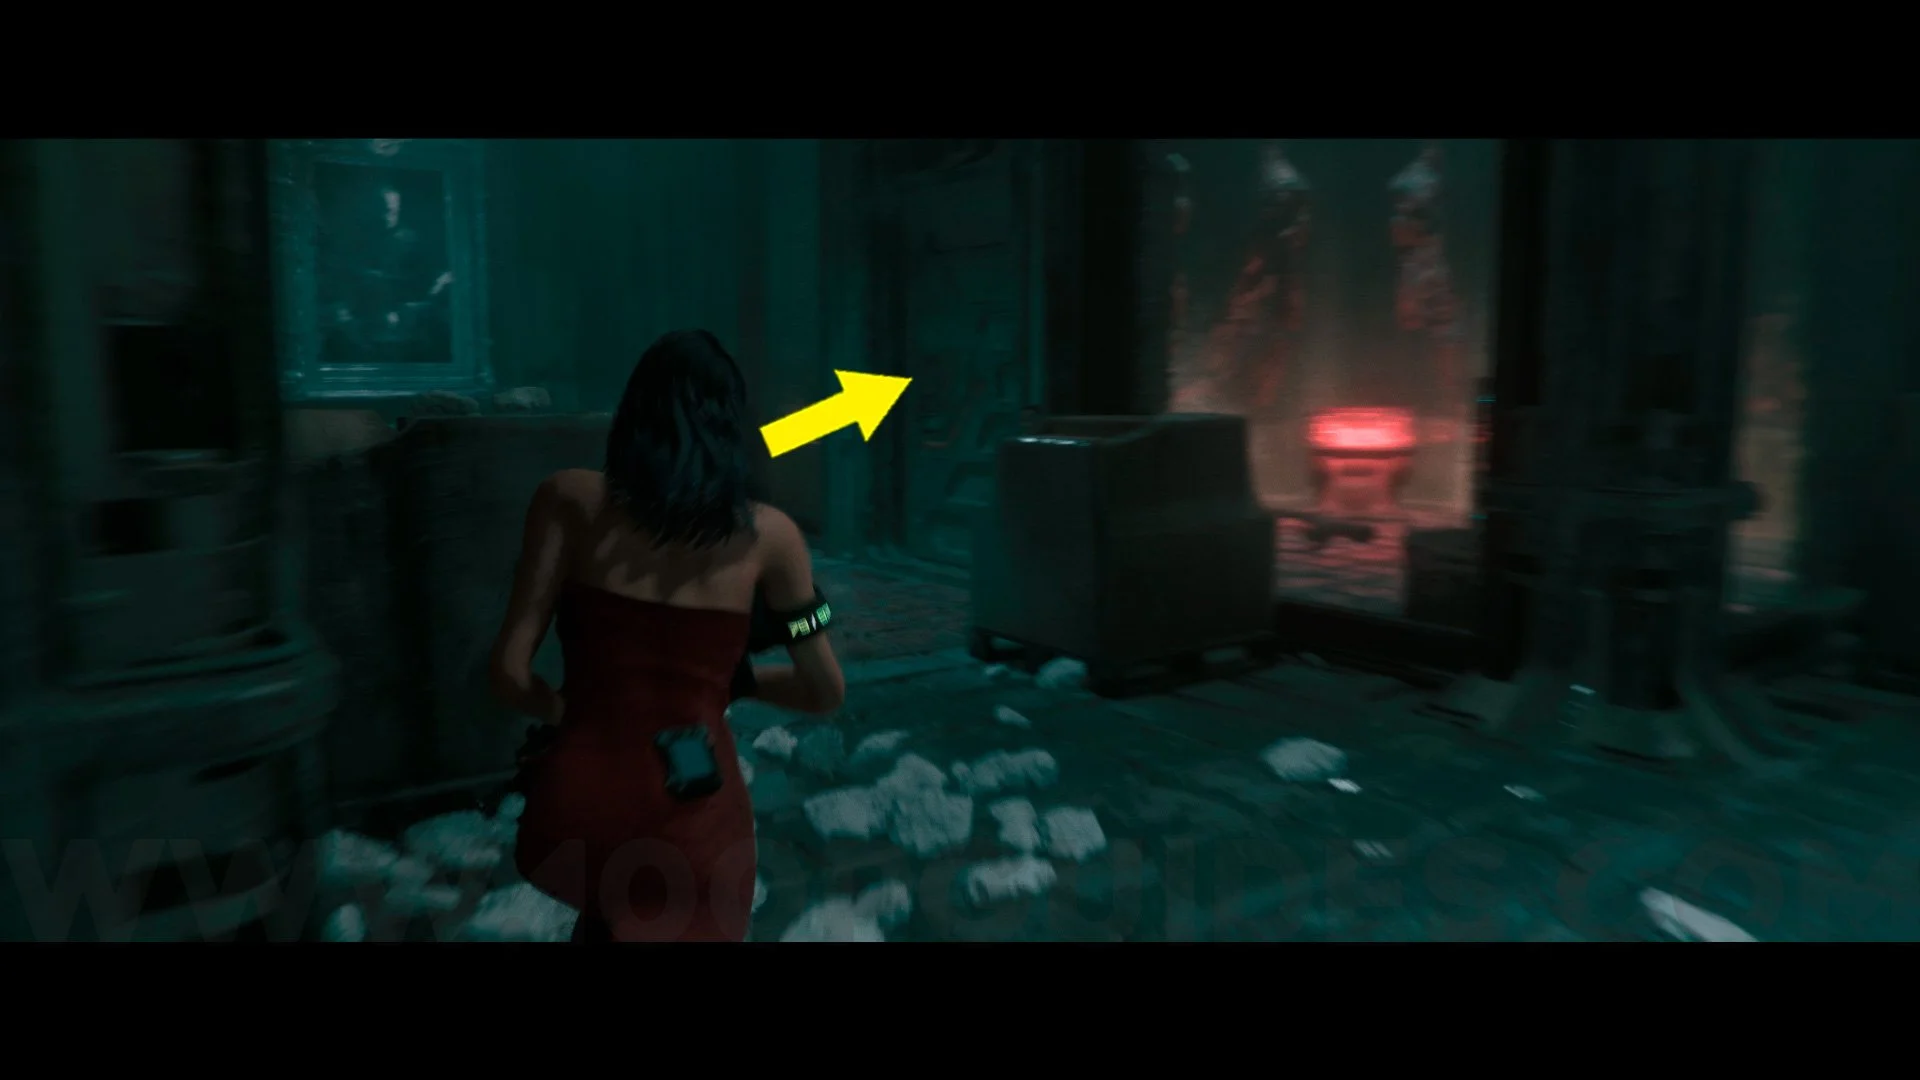
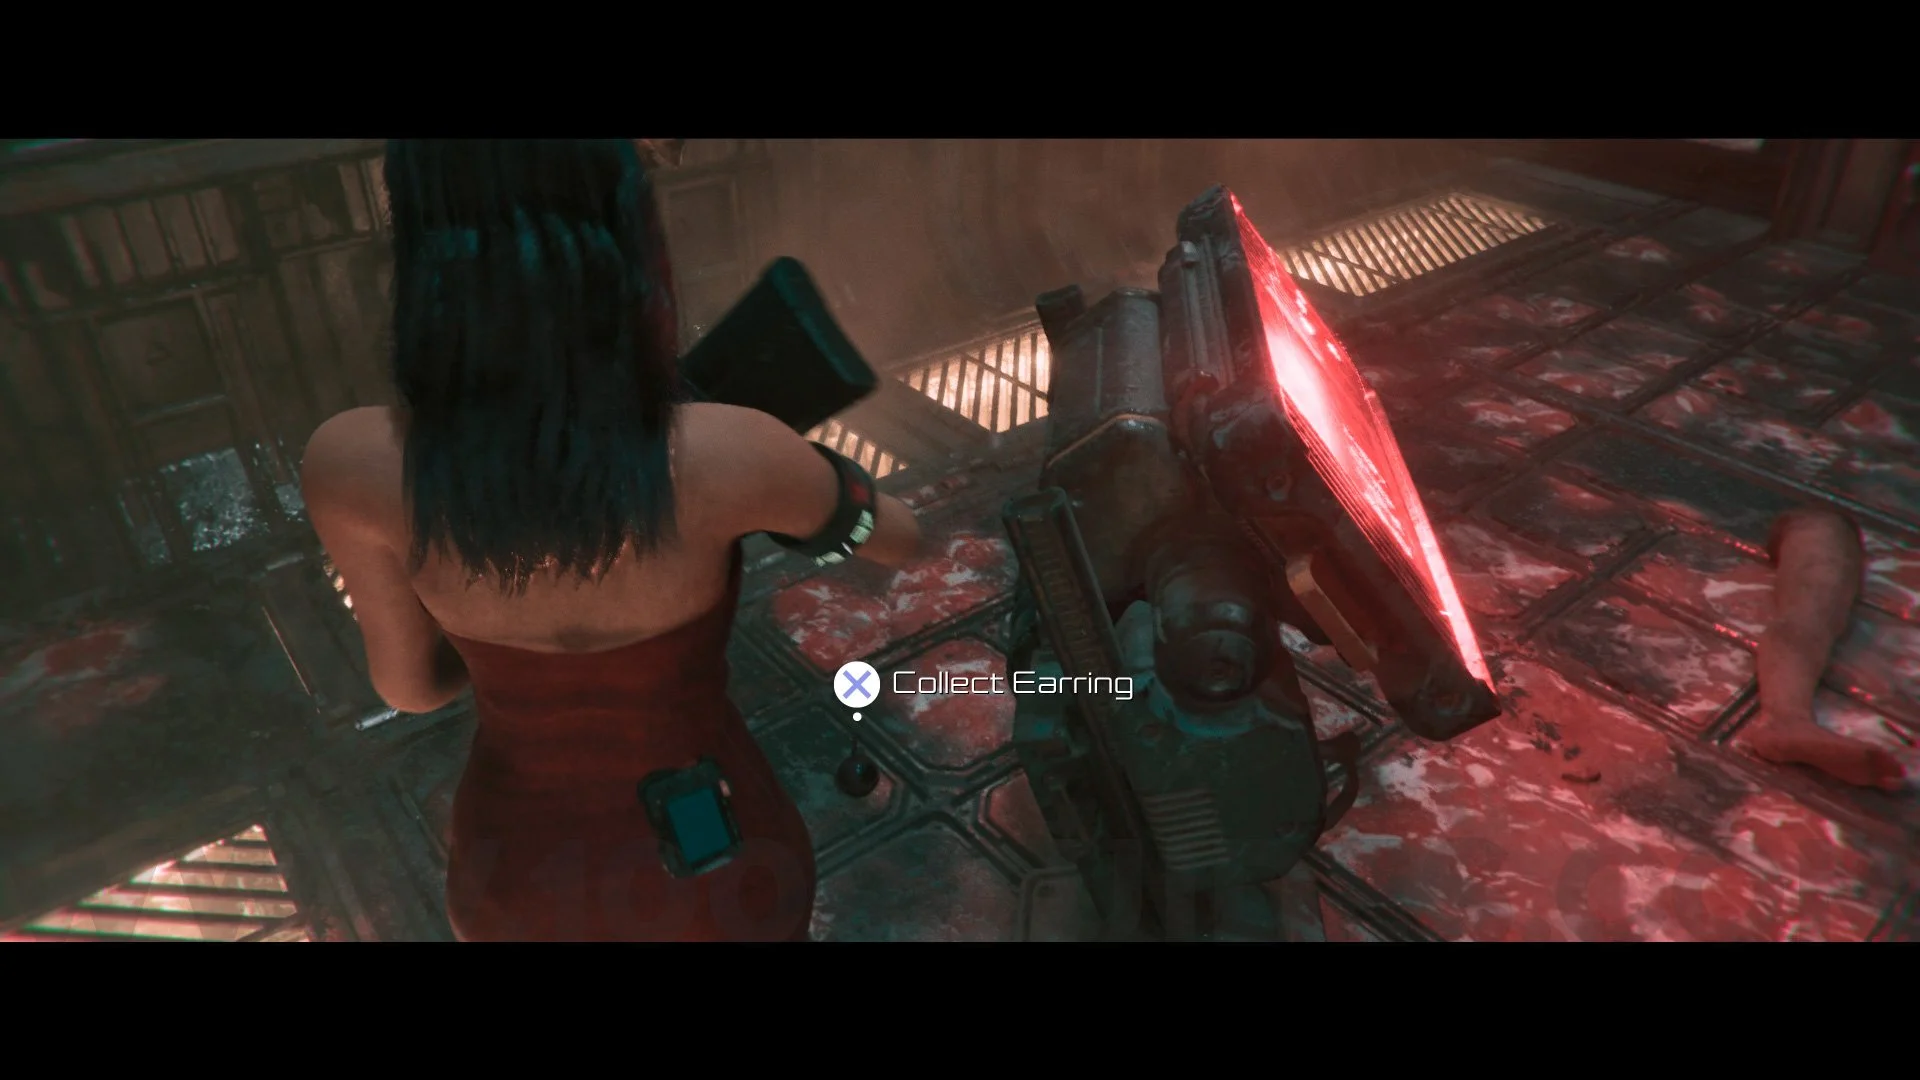
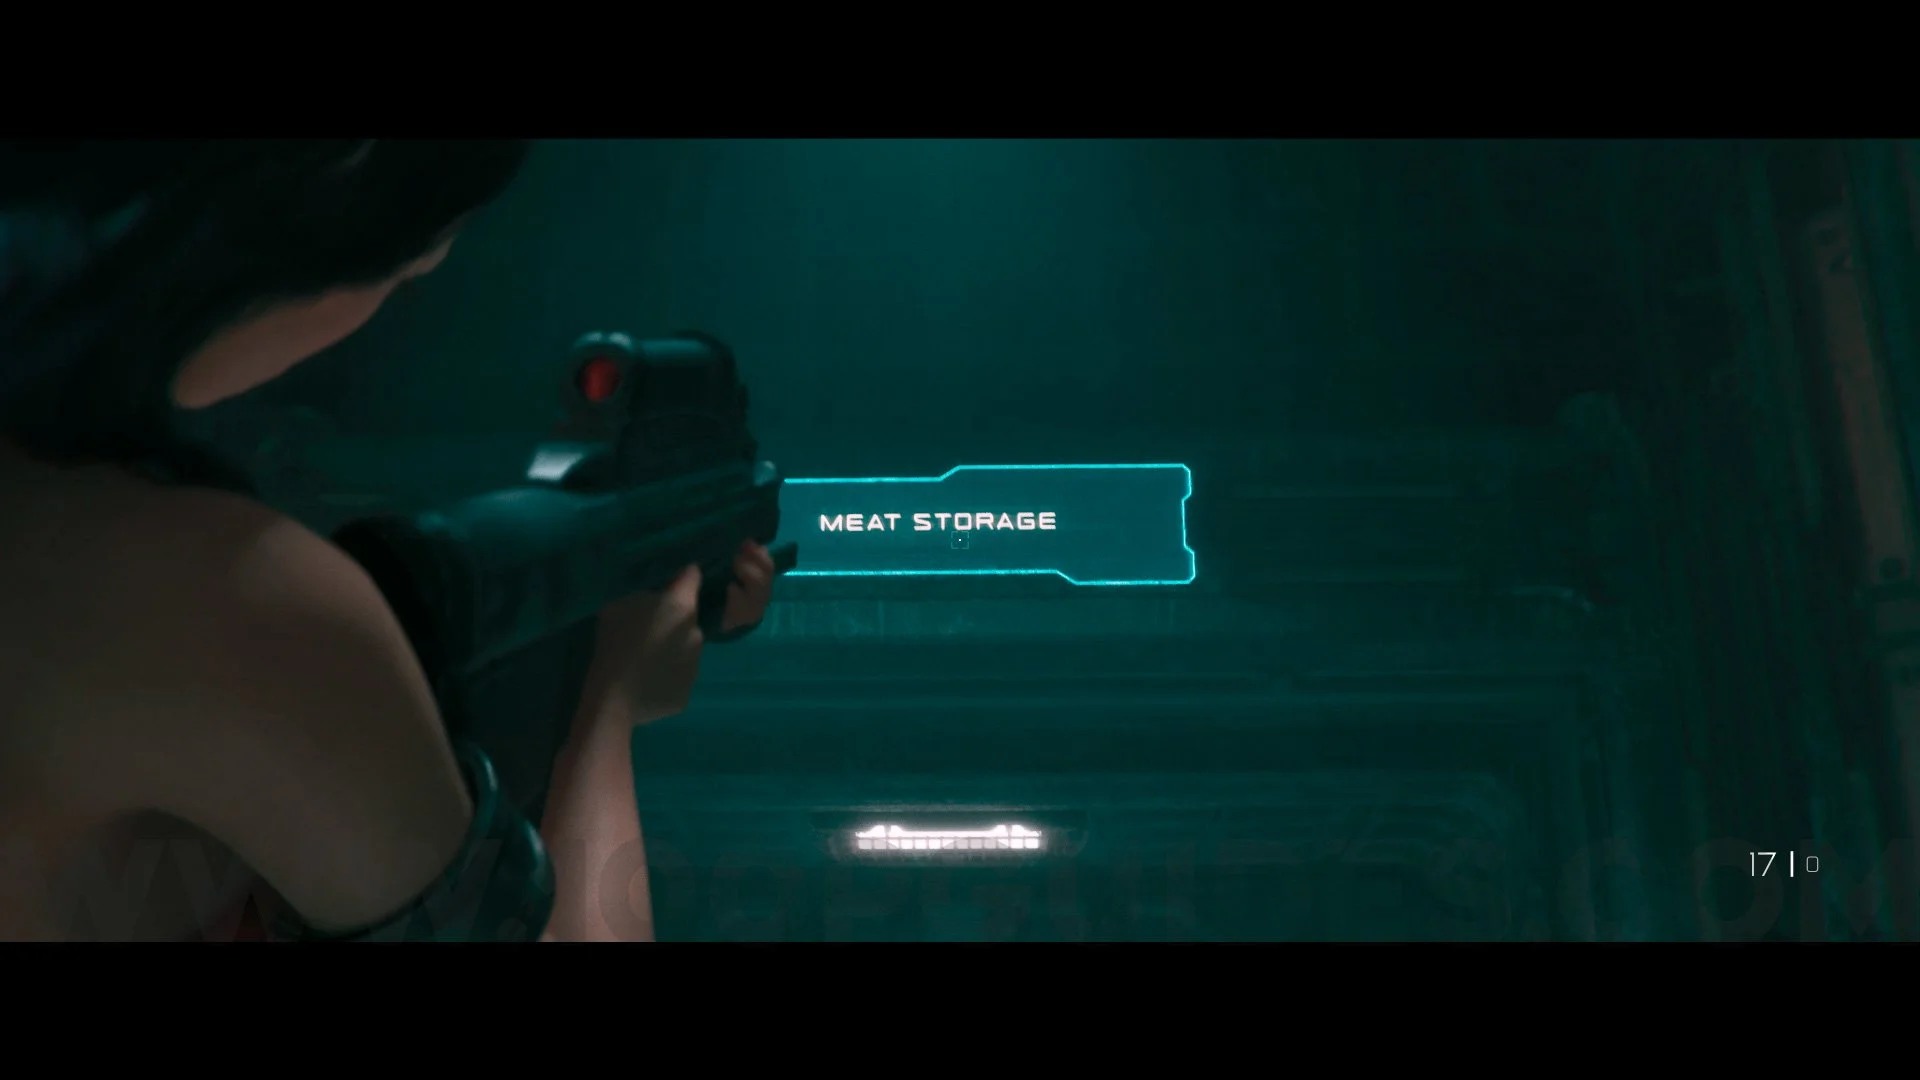
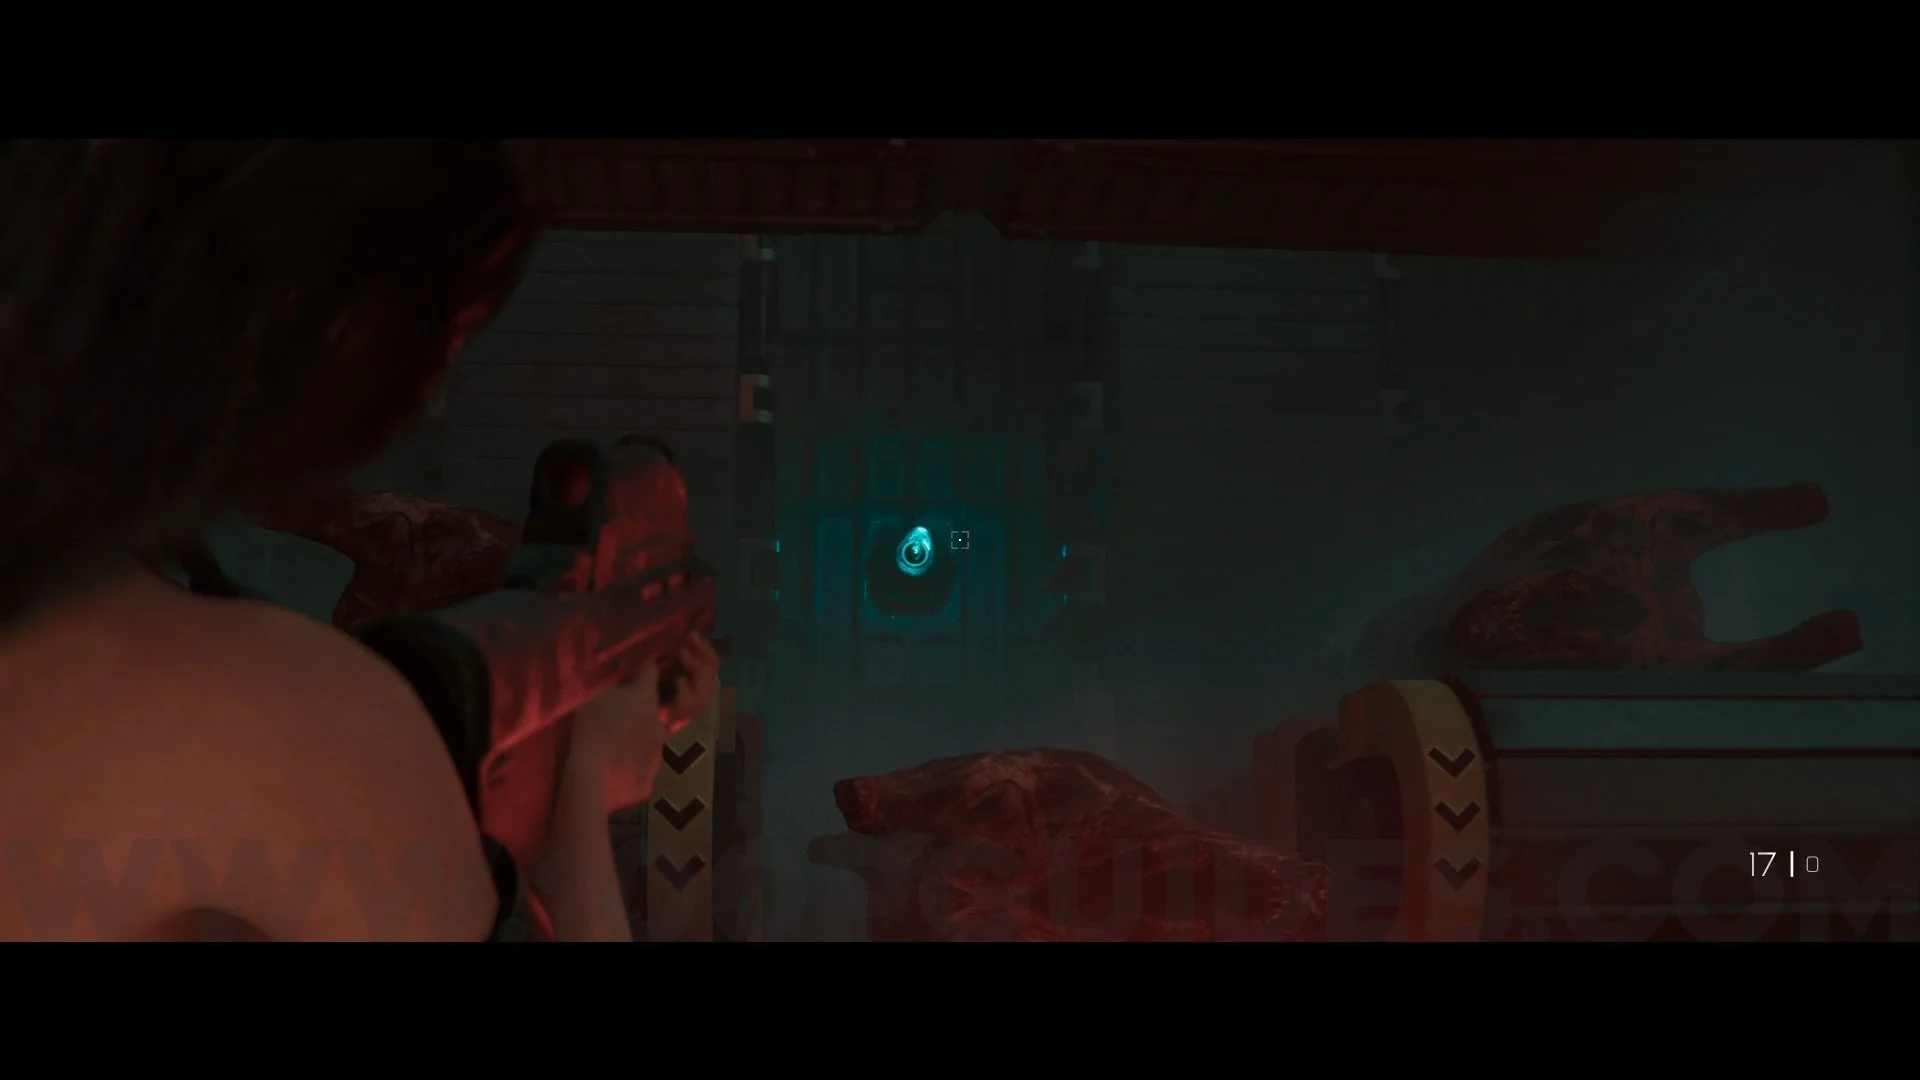
Earring #2. When you arrive at Meat Curing, turn left and enter the door on the right. This earring will be behind the machine with a red light.

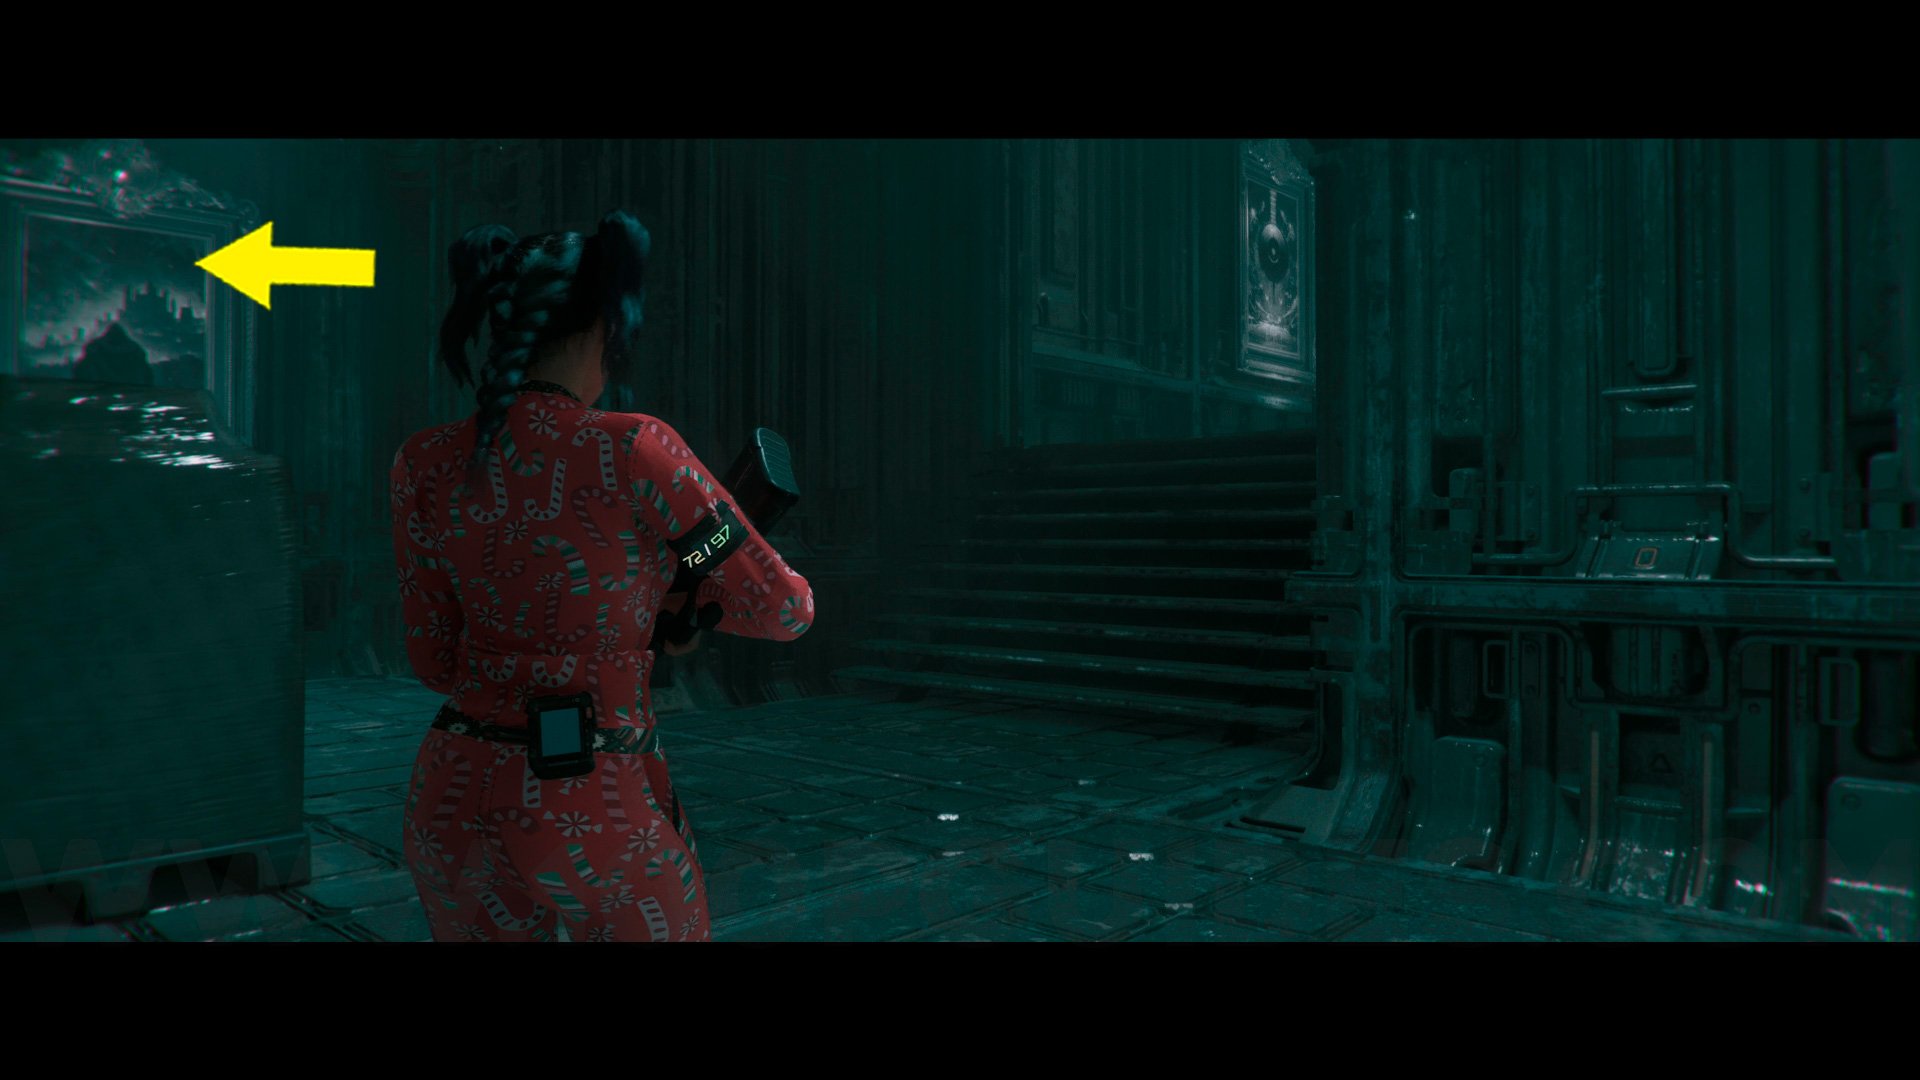
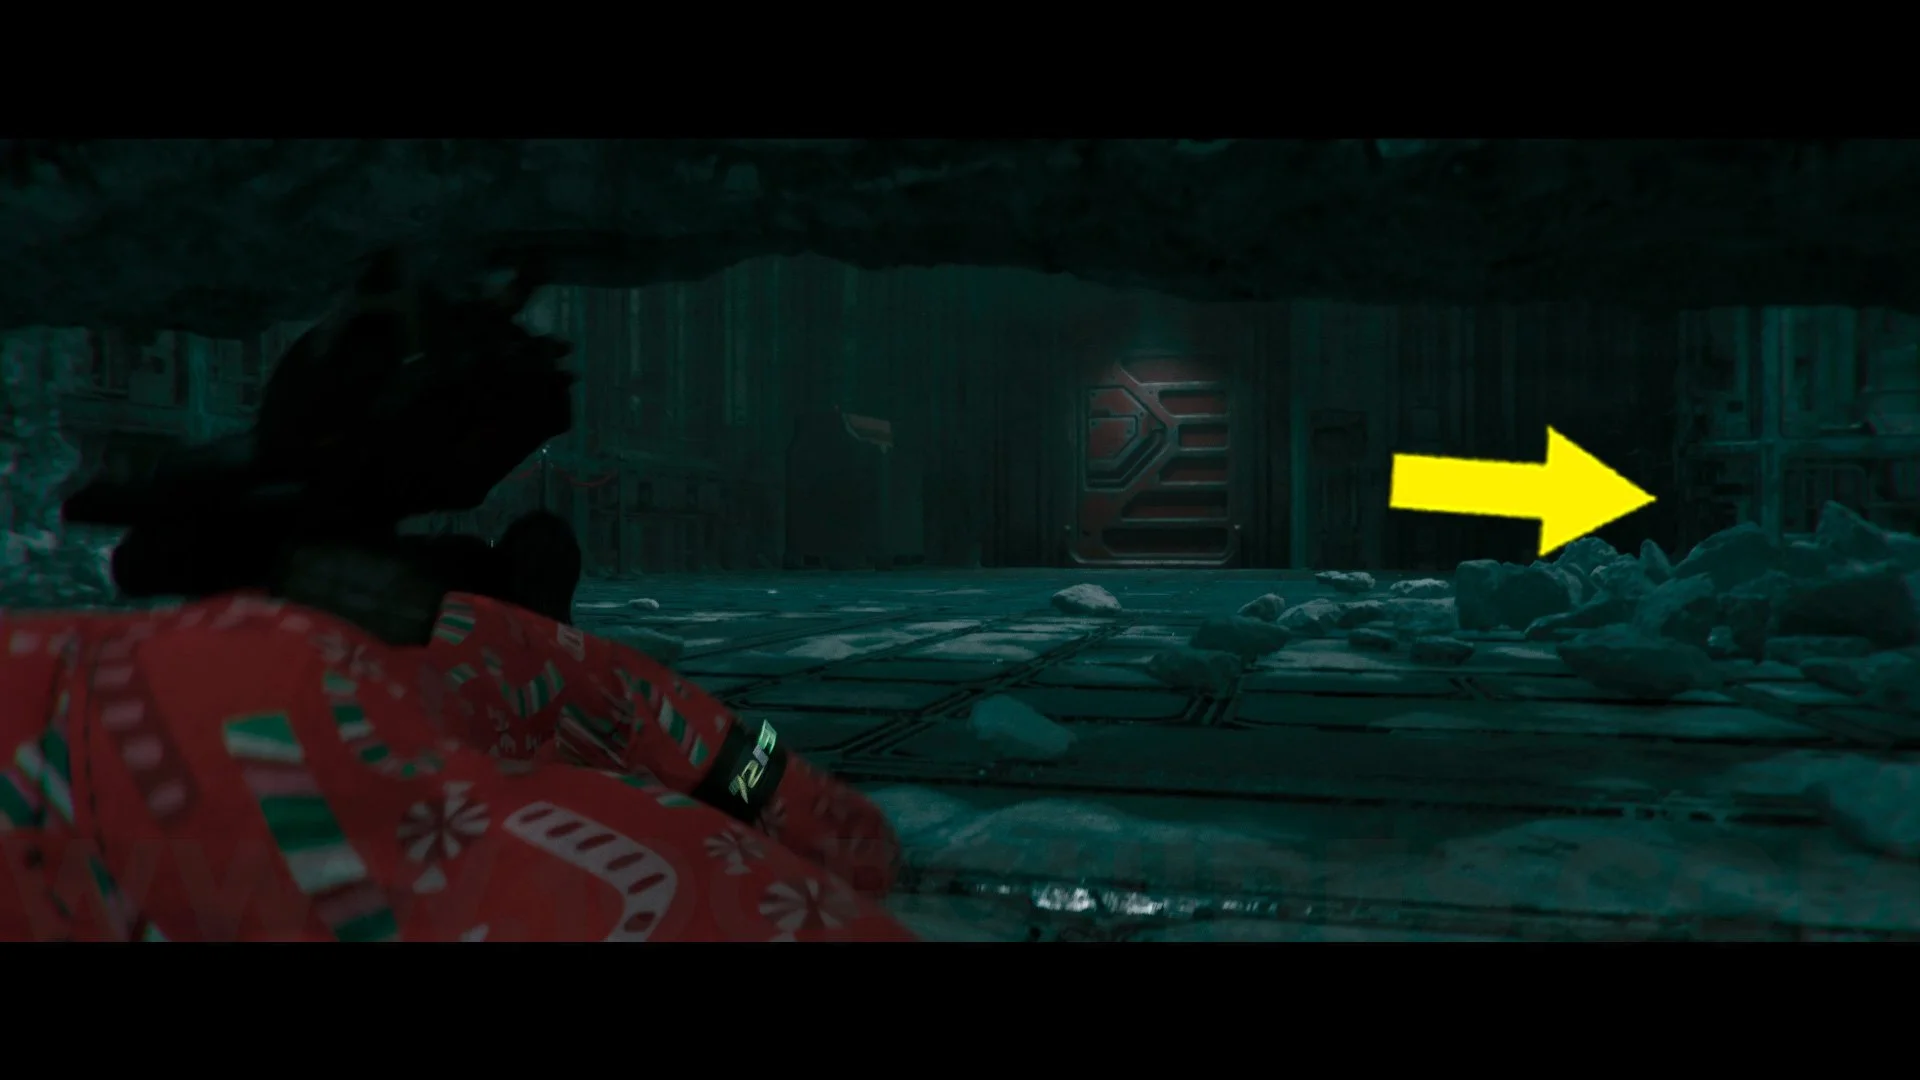
Outfit #6 Vintage Sweater Girl. From the previous collectible, go through the Meat Storage door, go to the end and turn left, look up and you will see the blue light on the wall, break it. Then go back to where you started in Meat Curing and turn left, go through the door and at the end you will see the entrance to the blue area, at the end of the blue area you can get this outfit.

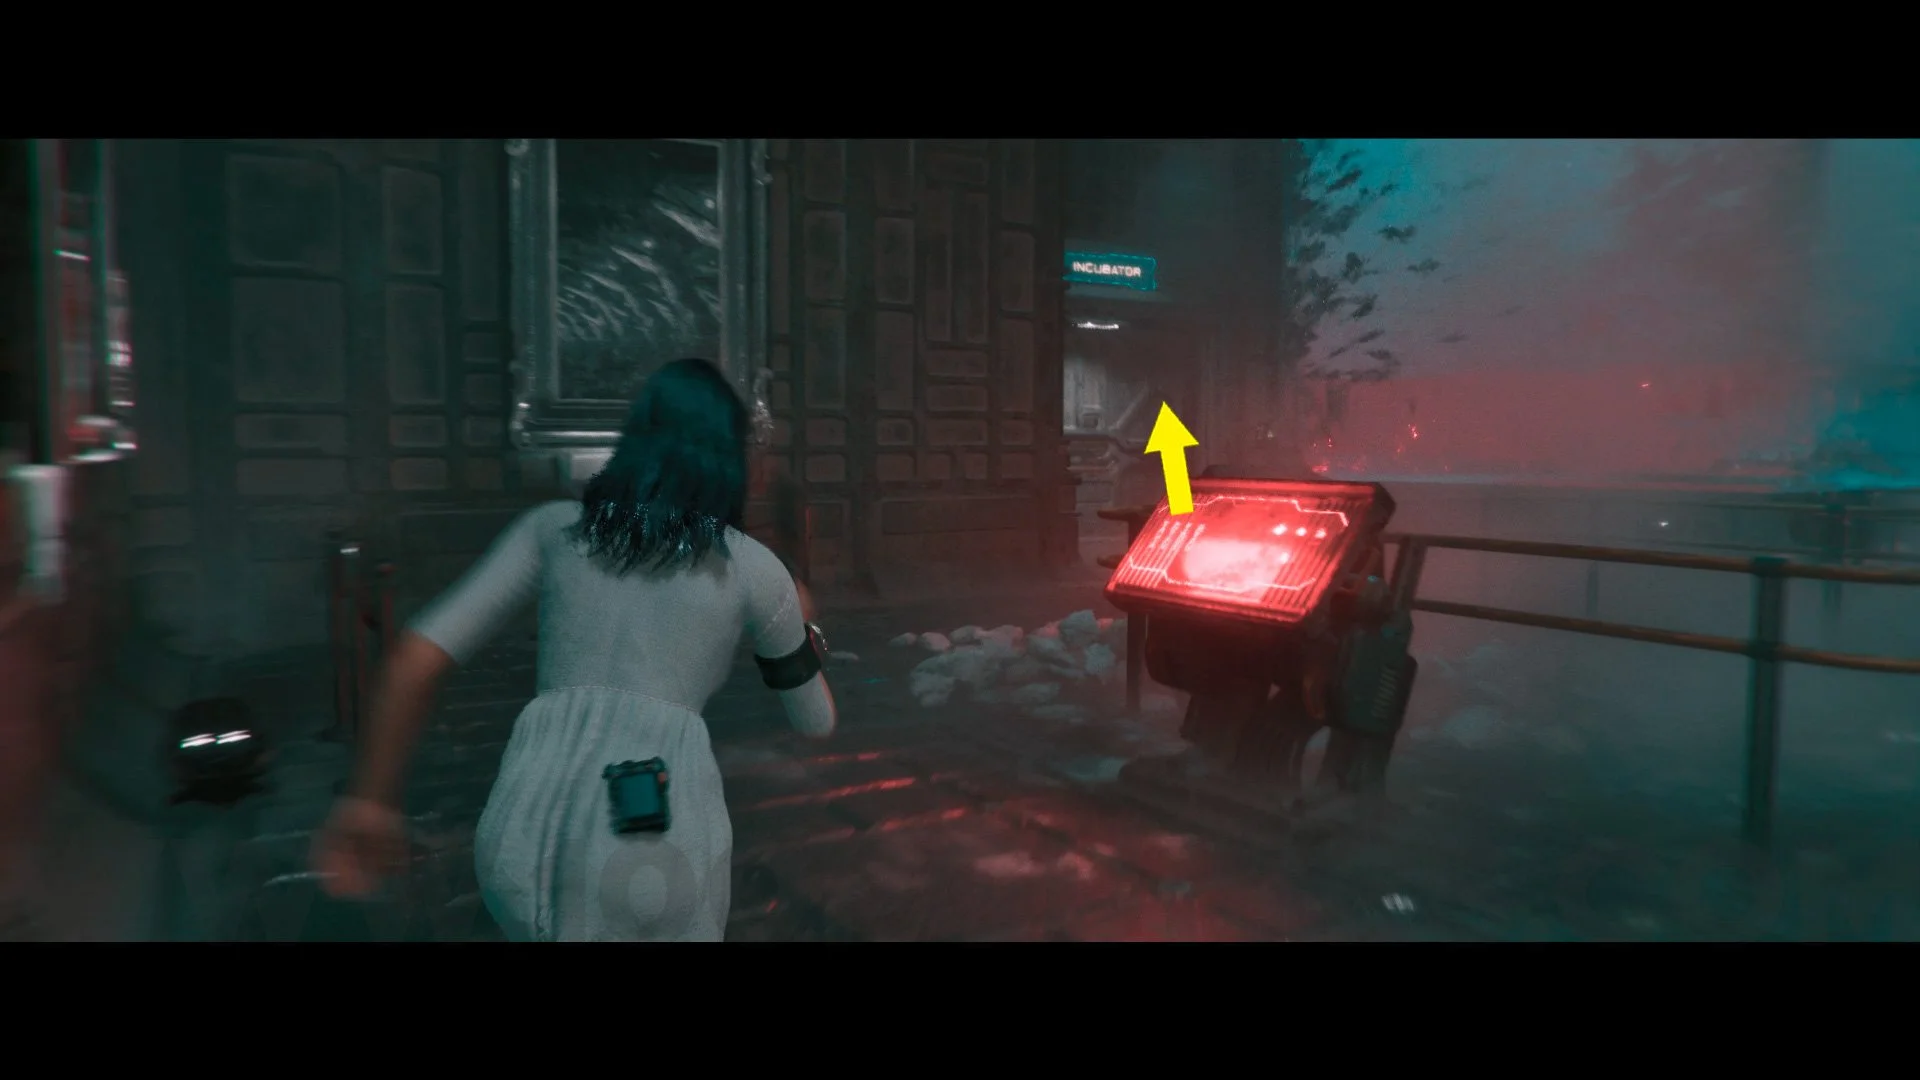
Gear Pouch #2. Before climbing the stairs to go to the Incubator Temp Control, turn left, go through the door, and then under a large rock. After passing the rock, enter the door on your right, and at the end, you will see the cabinet to use the Old Key that you picked up at the gym earlier.

Outfit #7 Ba Donka Donk. From the previous collectible, go back through the door and pass under the large rock again. Look up and you will see another blue light. Break it. Then go straight ahead and turn right instead of going up the stairs. Turn left and left again to reach the blue area. At the end of the blue area, you will find this outfit.

Outside The Preservation Facility
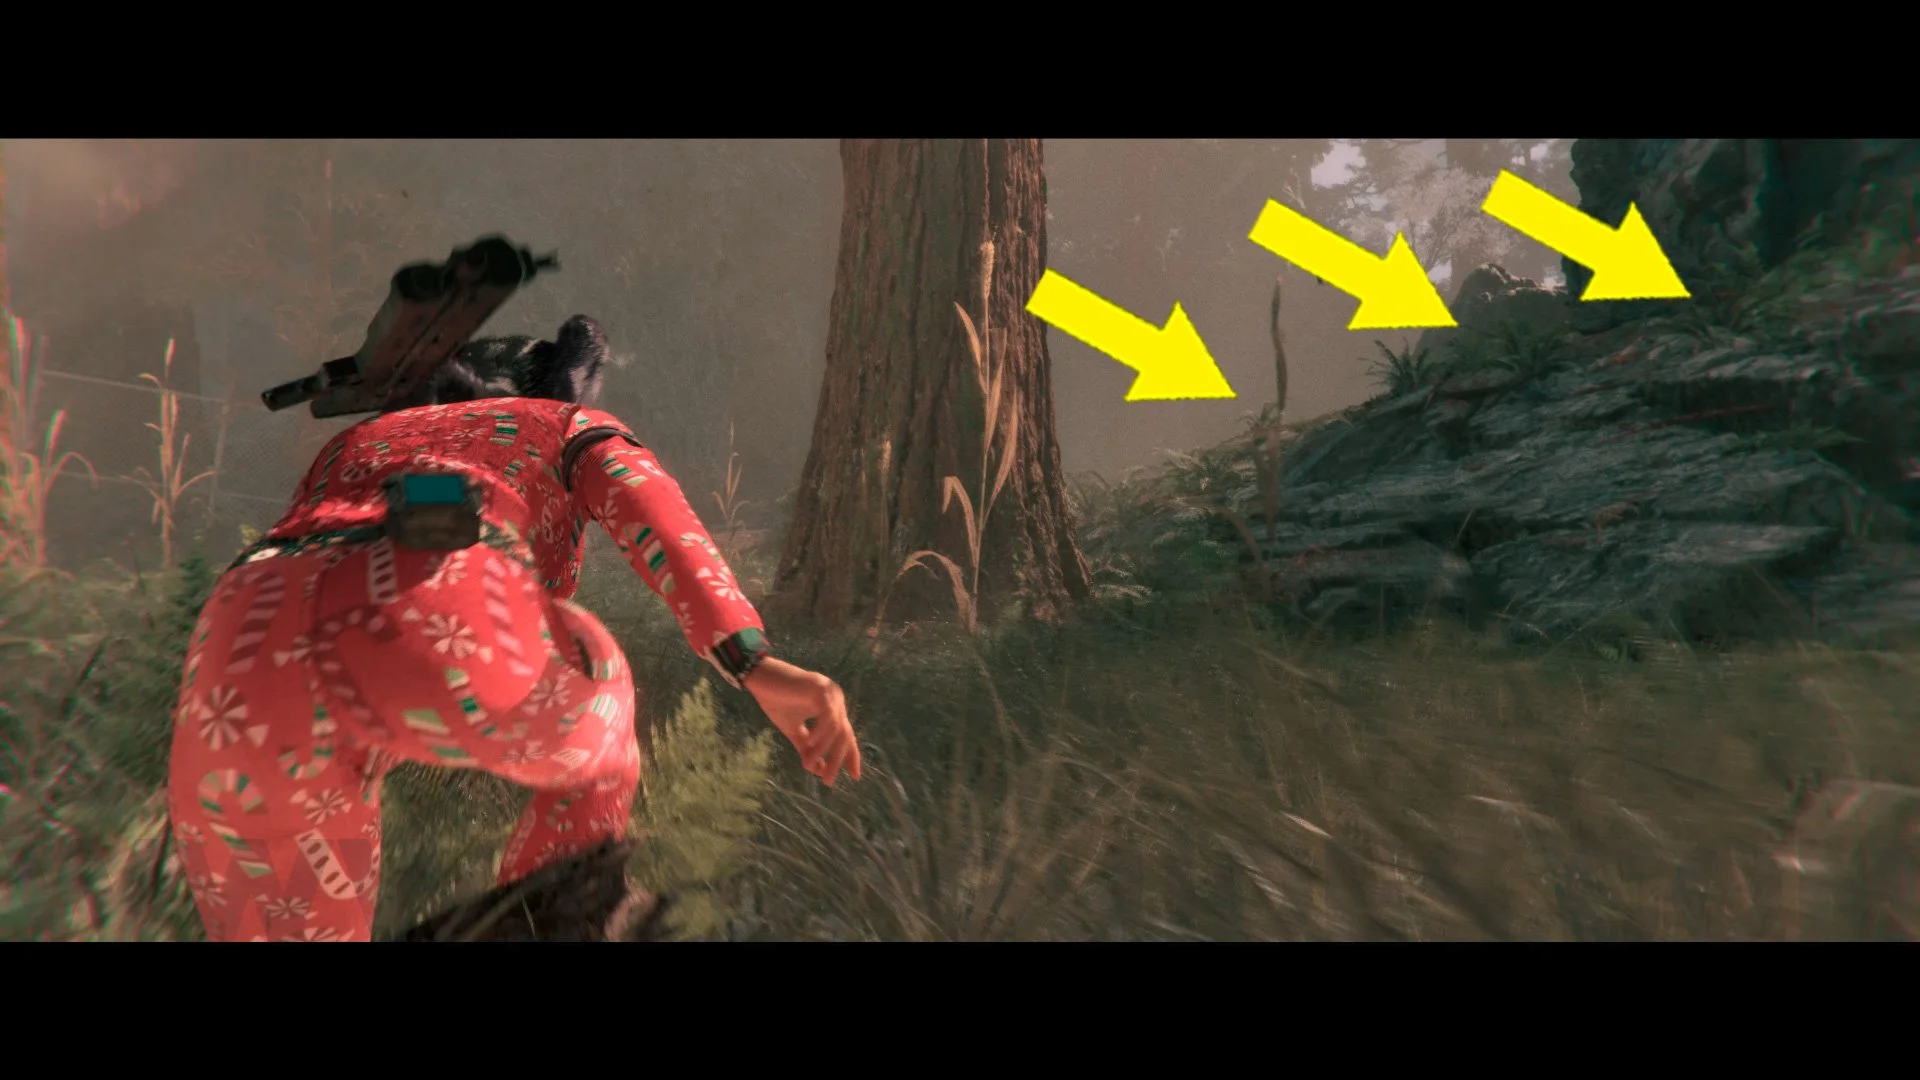
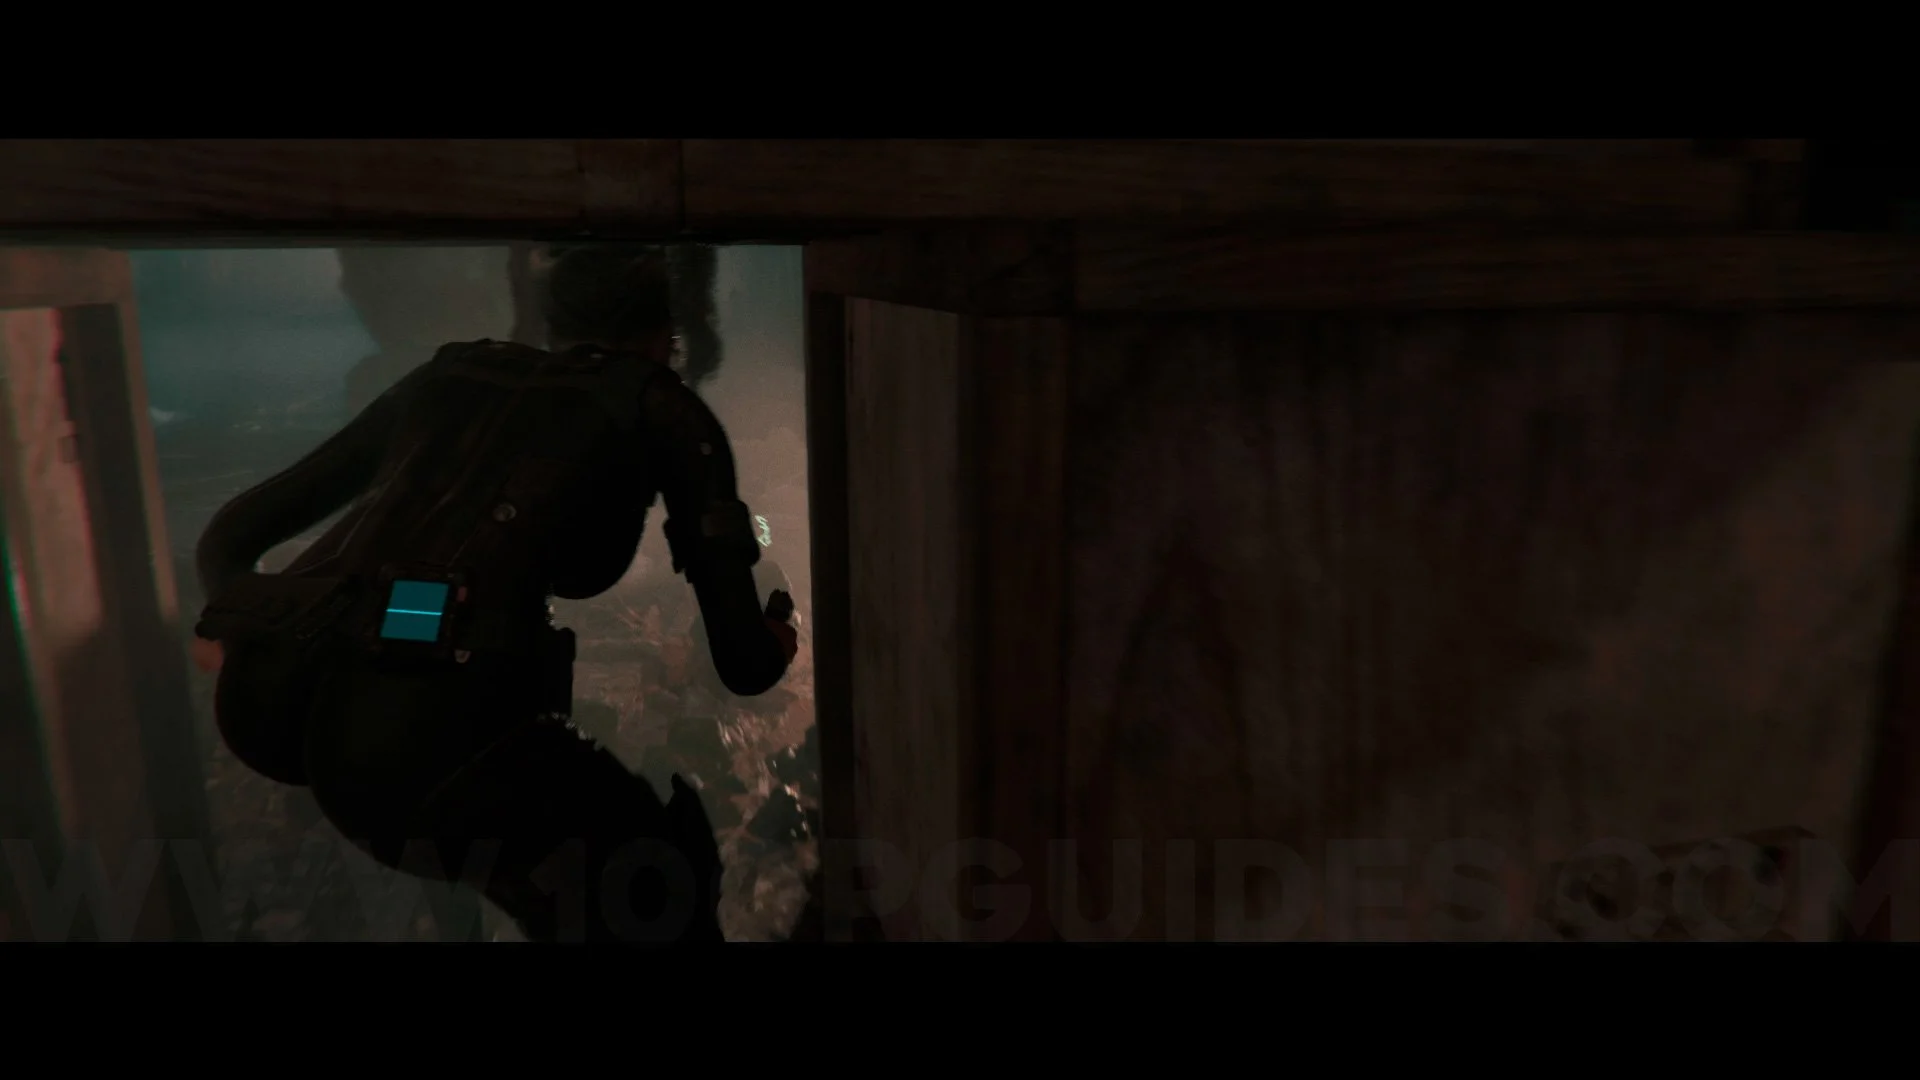
Decorative Egg #4. When you arrive outside the Preservation Facility, you will come across a large fallen tree blocking your path. Crawl underneath it and go around the area to climb on top of this large tree. At the end, you will find the Decorative Egg.


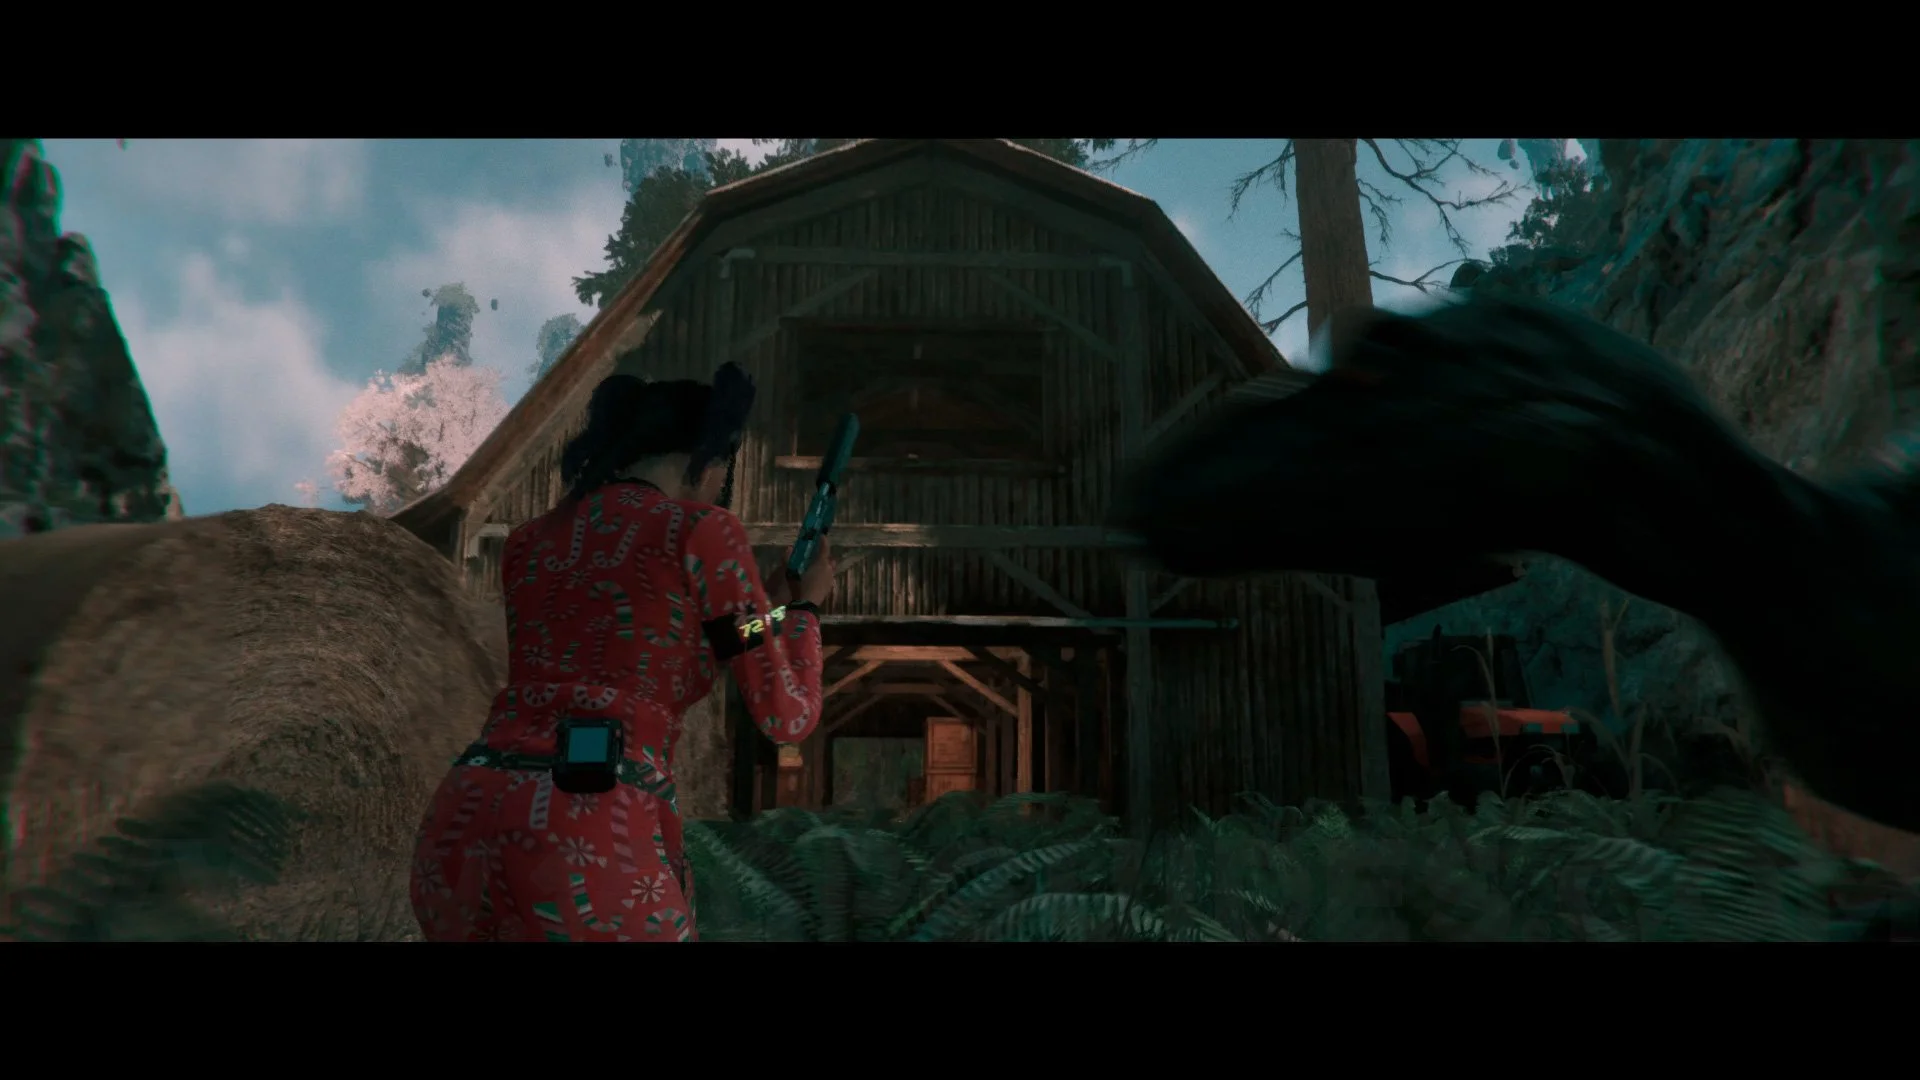
Duck #4. A little further ahead in this area, you will pass through a hut, and on the left side of the hut you will find this duck.
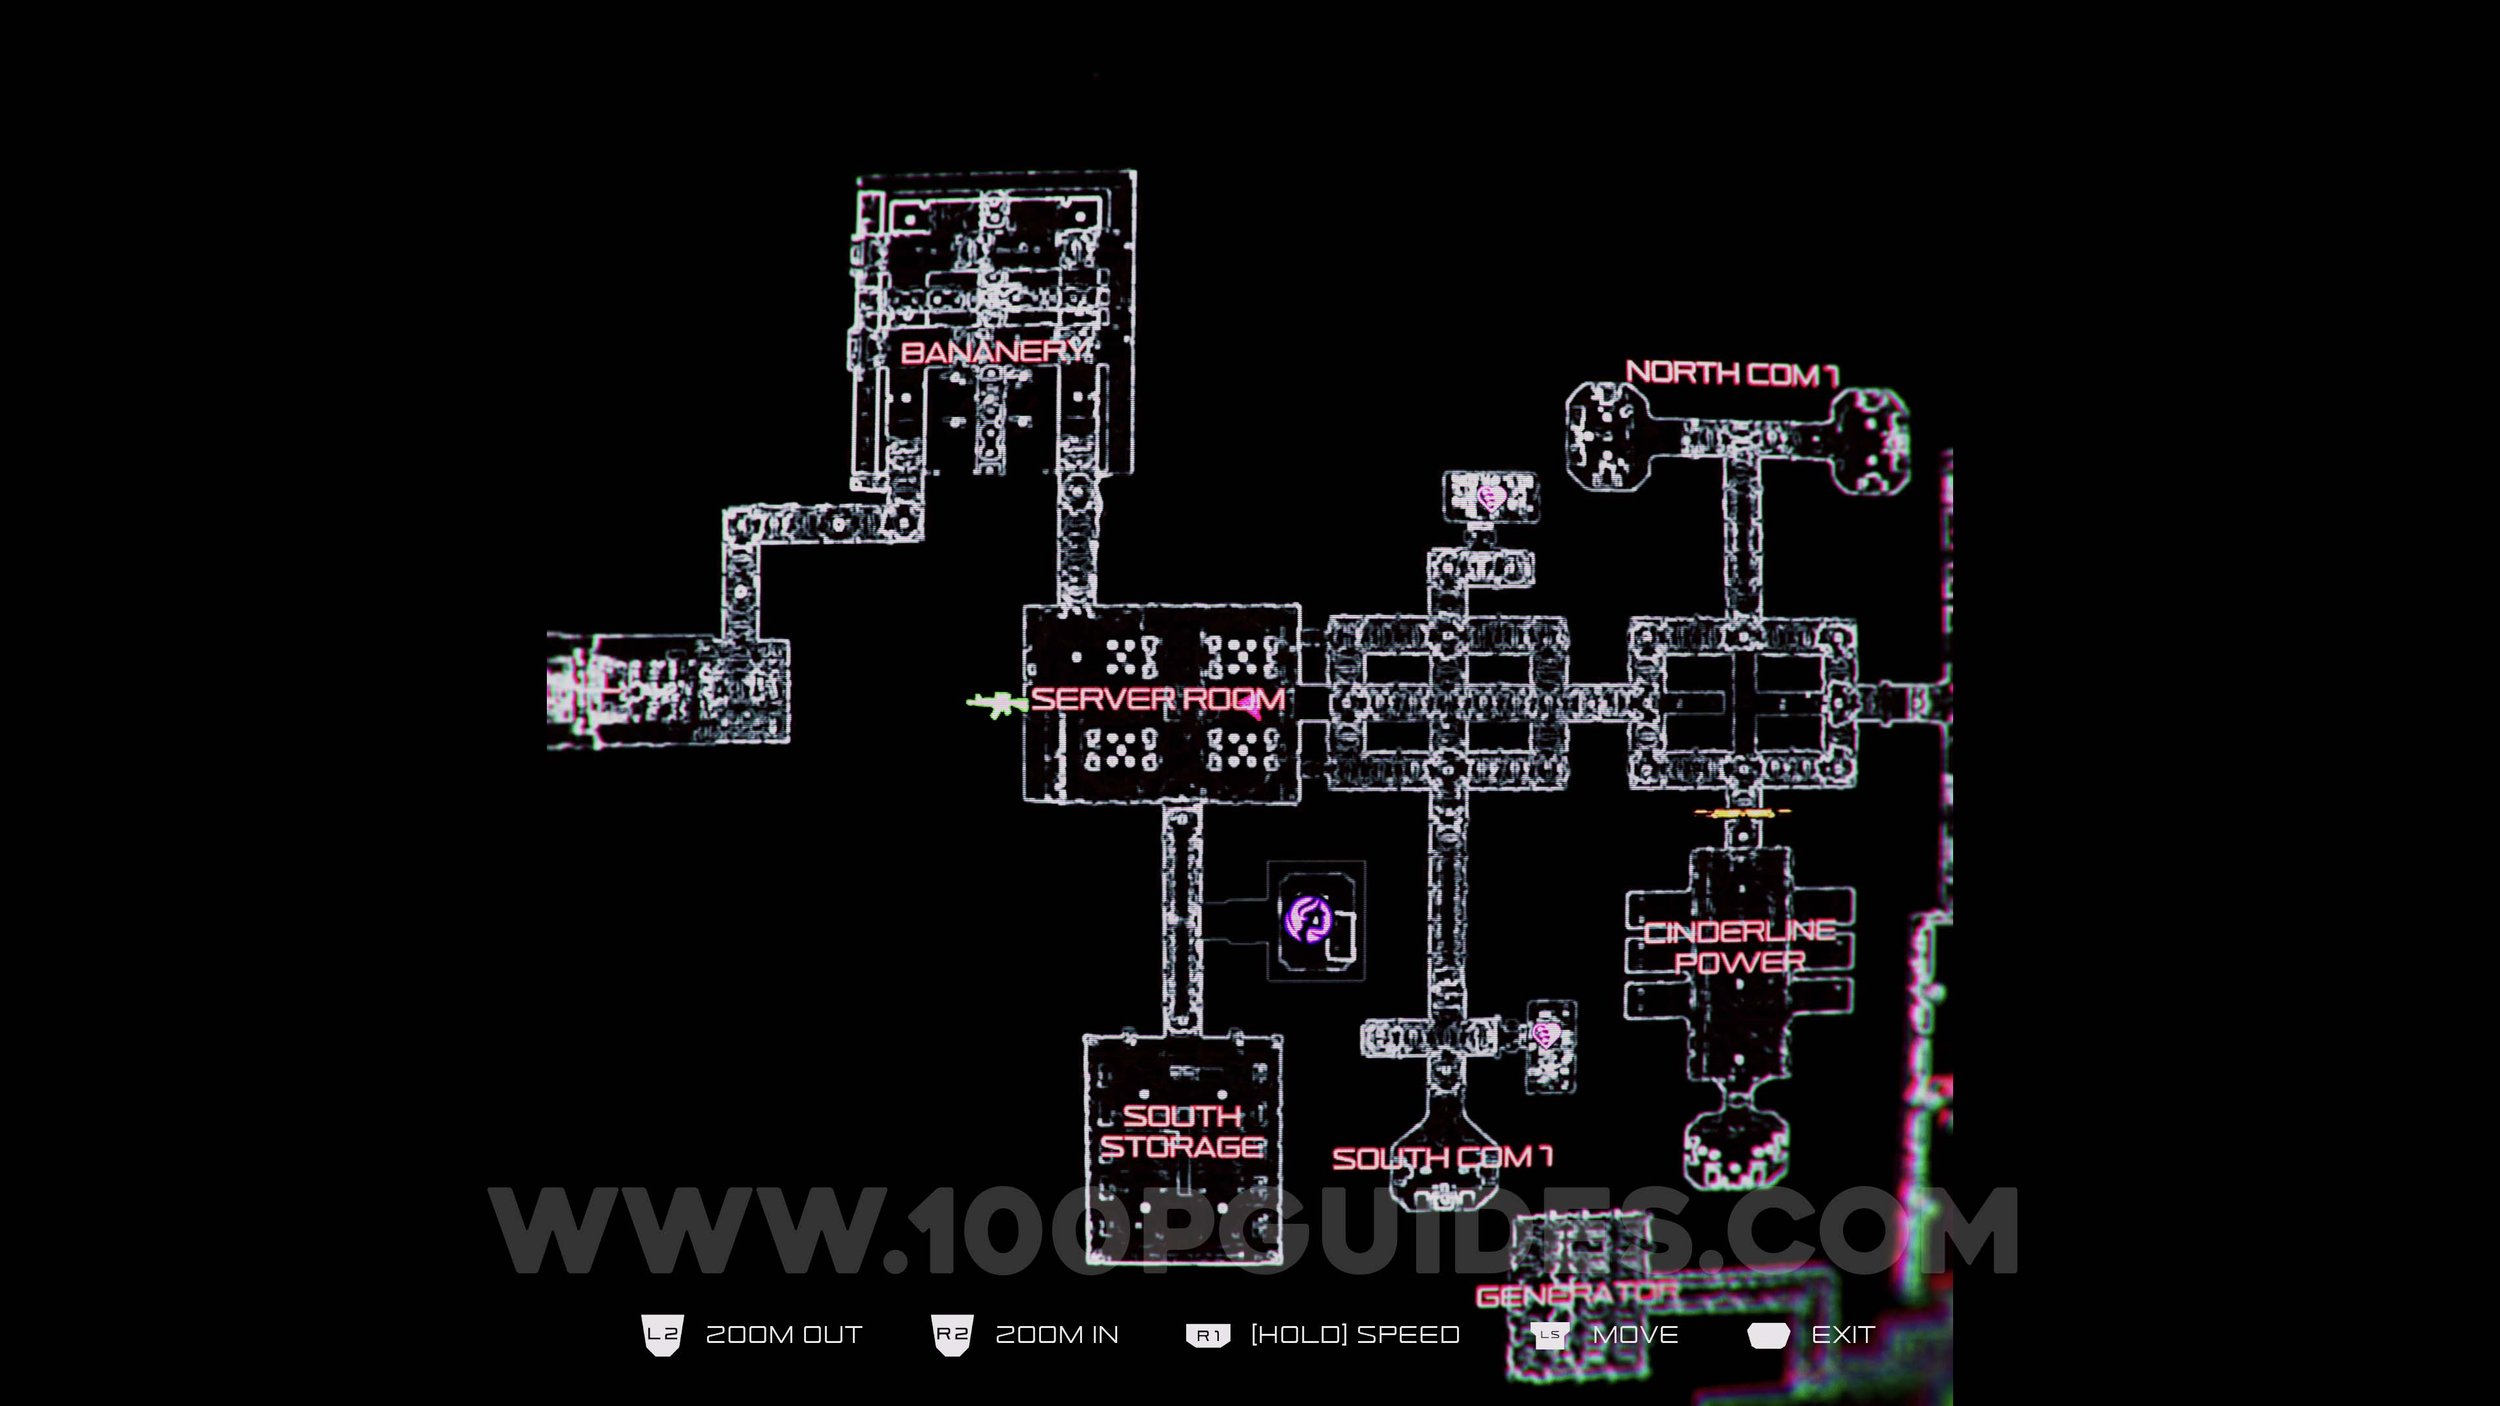
Communications Facility
Decorative Egg #5. When you arrive at the Communications Facility, you will pass through the Aquarium Hall door and a cutscene will start. After the cutscene, you will have to push a box to proceed and pass under others. Once you have done this, you will see a machine with a light on. This decorative egg will be behind this machine.
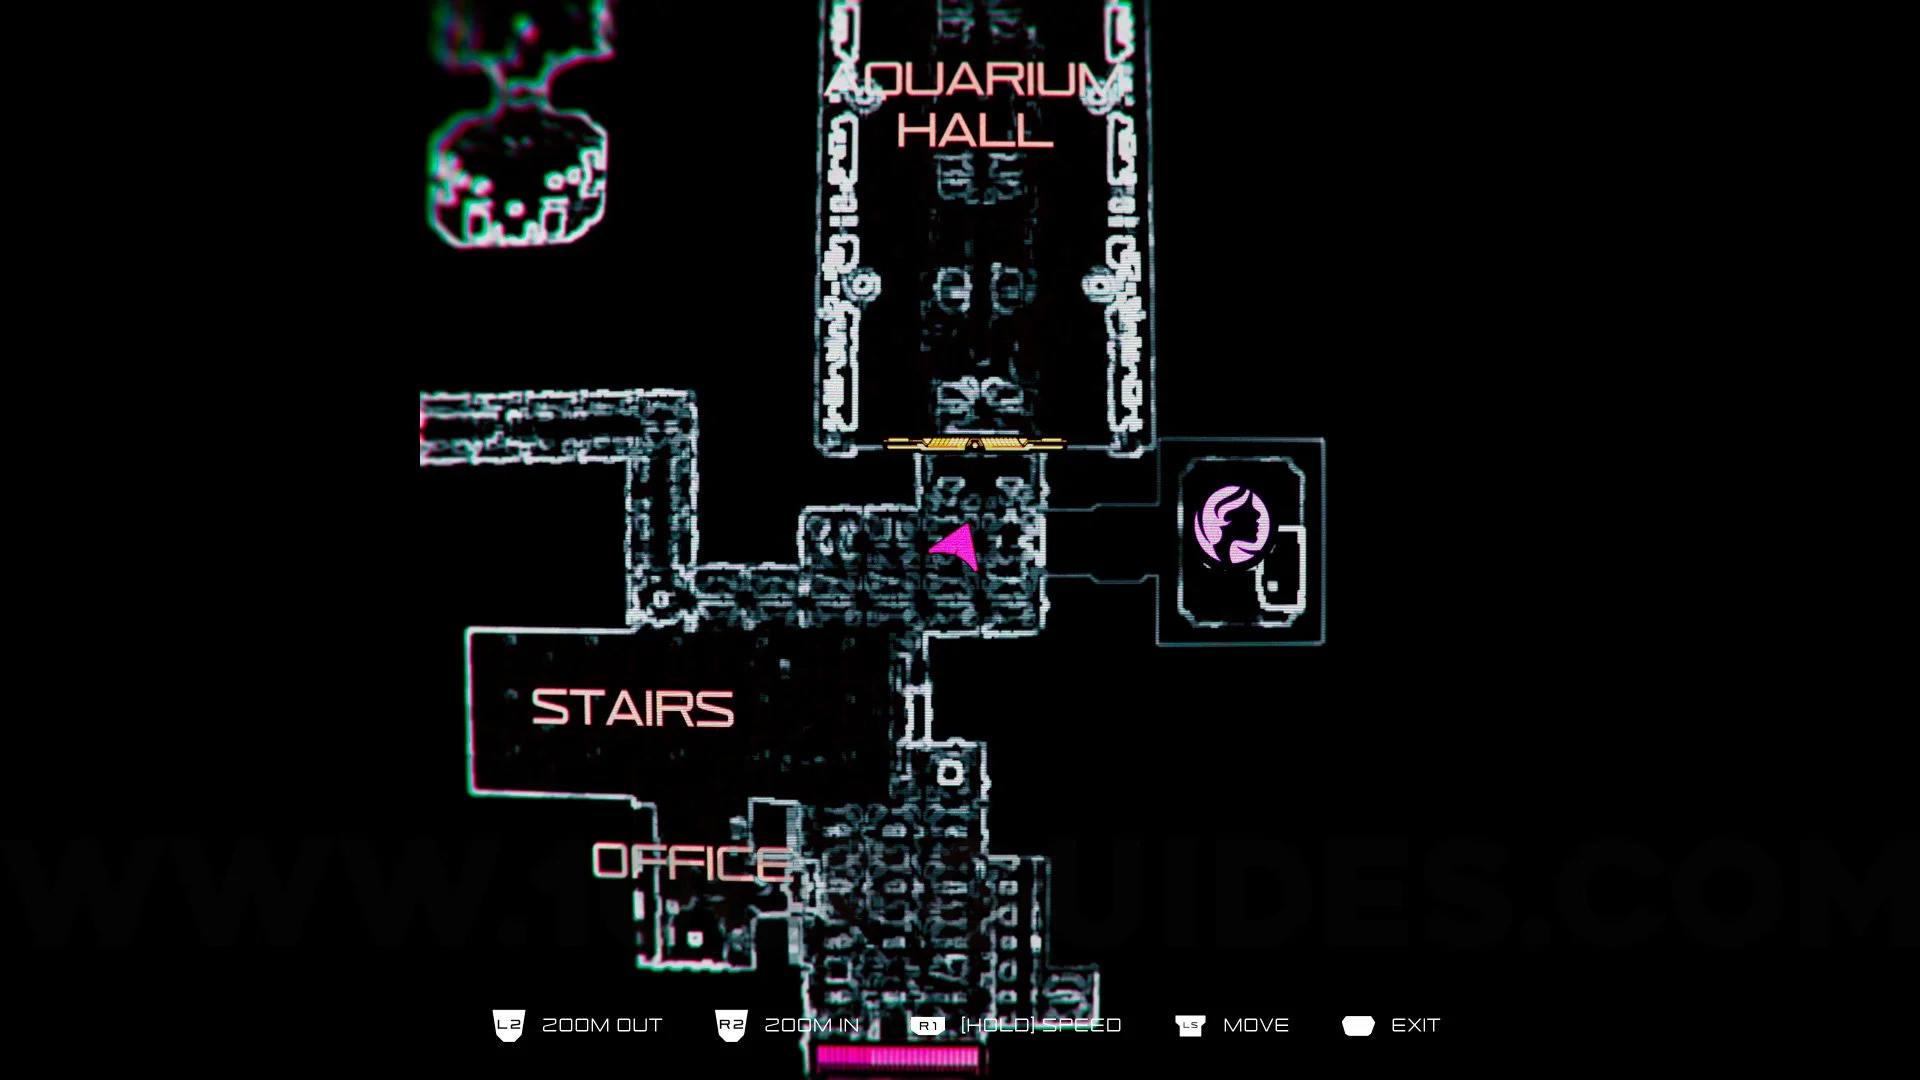
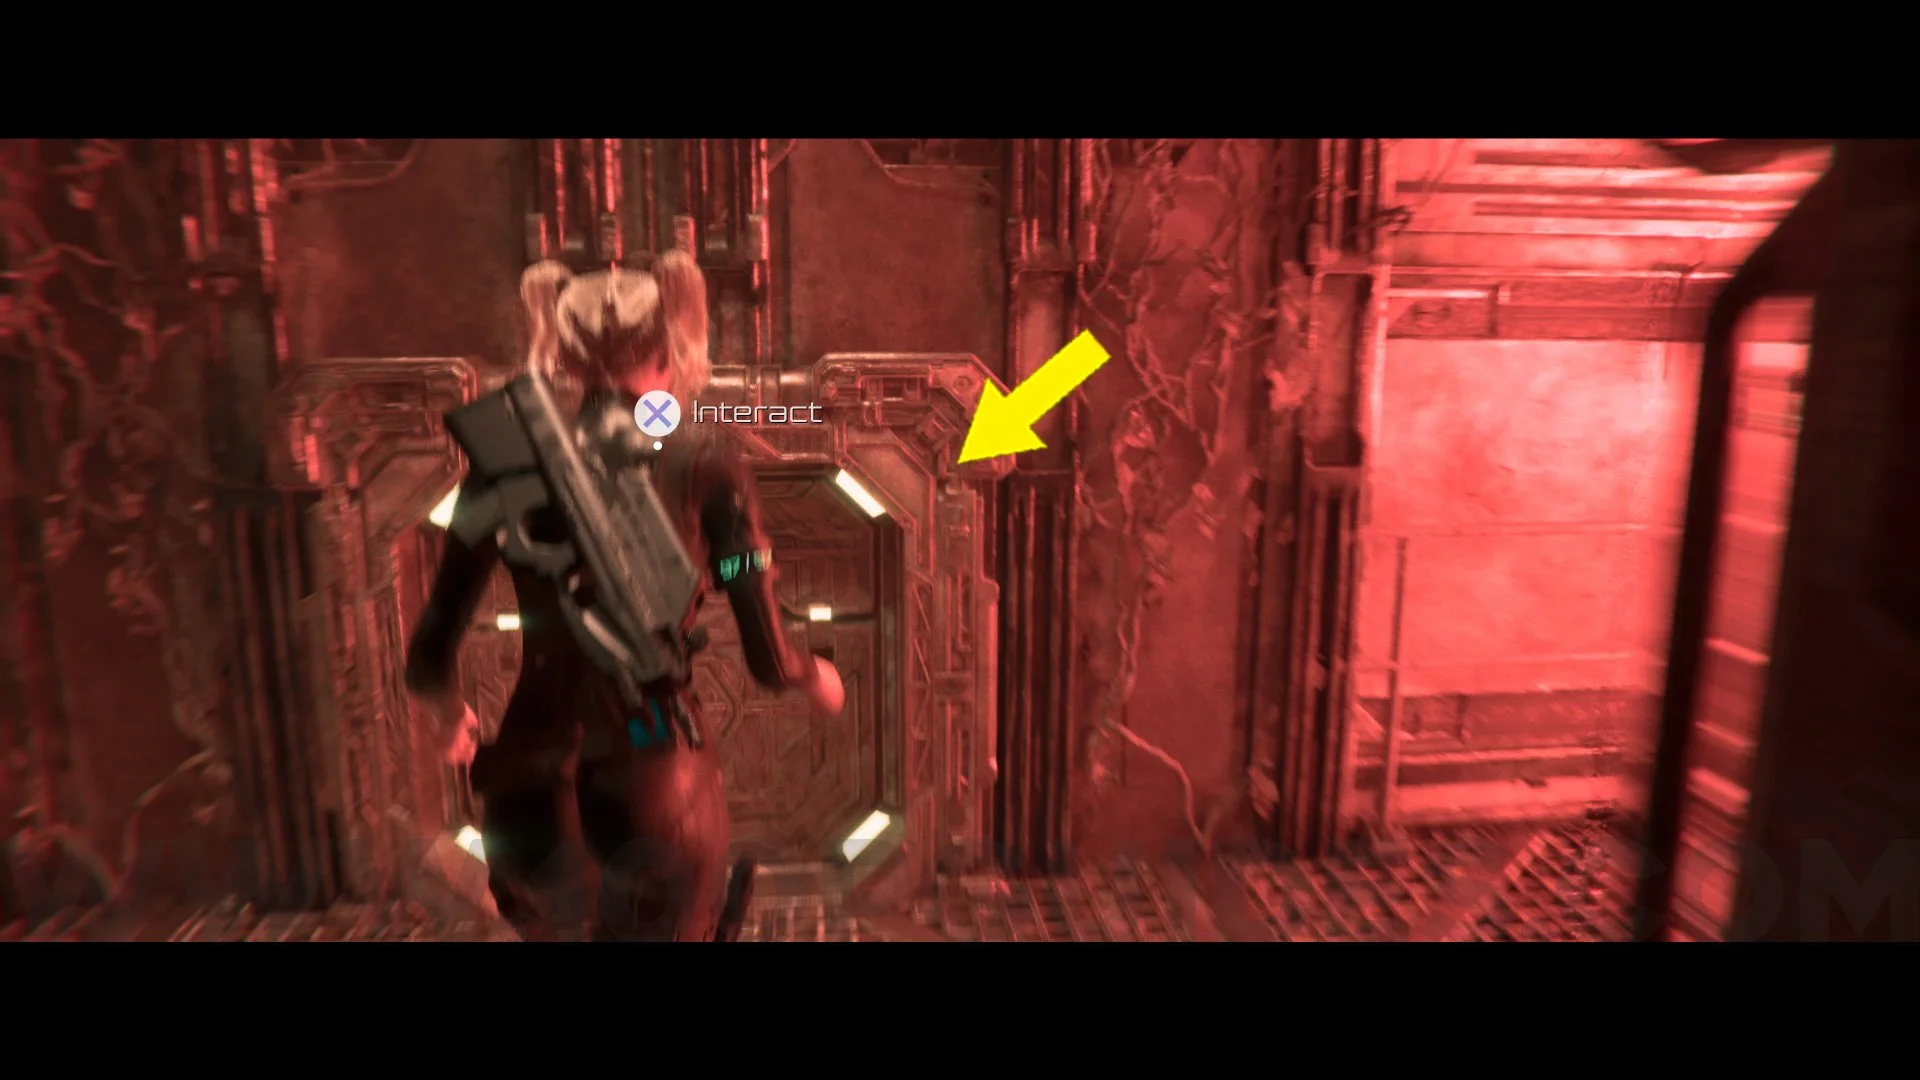
Gear Pouch #3. From the previous collectible, climb up the forklift and pick up the old key on the floor. Then go to the next area (path related to the story) and take the first right when going down the stairs. When you see the laser, enter the door on the right and go straight ahead. When you reach the blue laser, turn right and go to the end to find the padlock. Use the key to obtain the last gear pouch.


Cameo #3. Interact with the seated man and a cutscene will begin. After the cutscene, enter the room on the right and continue straight ahead, passing through the next doors and pipes. In the last room, you will find a closed door and others with levers inside. In Room 1 with the +70 symbol, activate the lever. In Room 2 with the +40 symbol, activate the lever. In Room 3 with the -10 symbol, activate the lever. If done correctly, the door will turn green. Go through it and take the cameo on the wall.

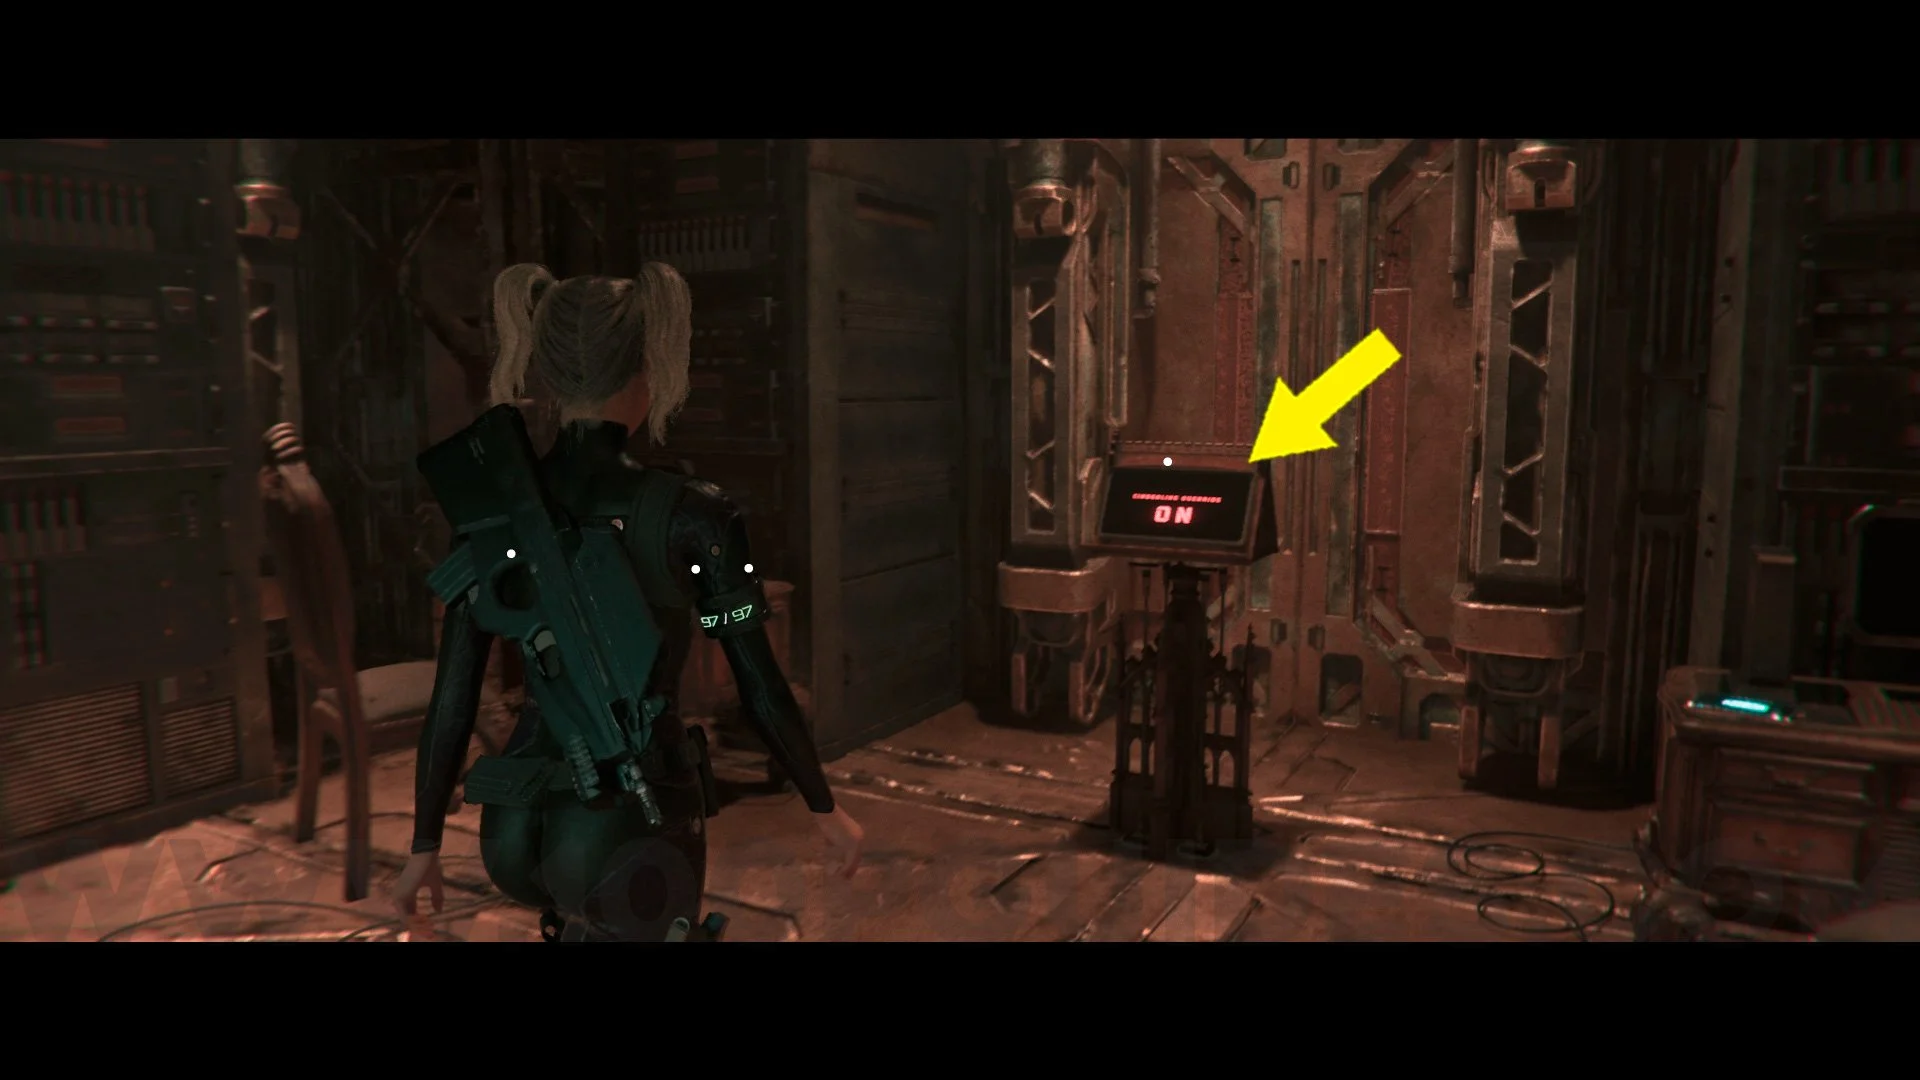
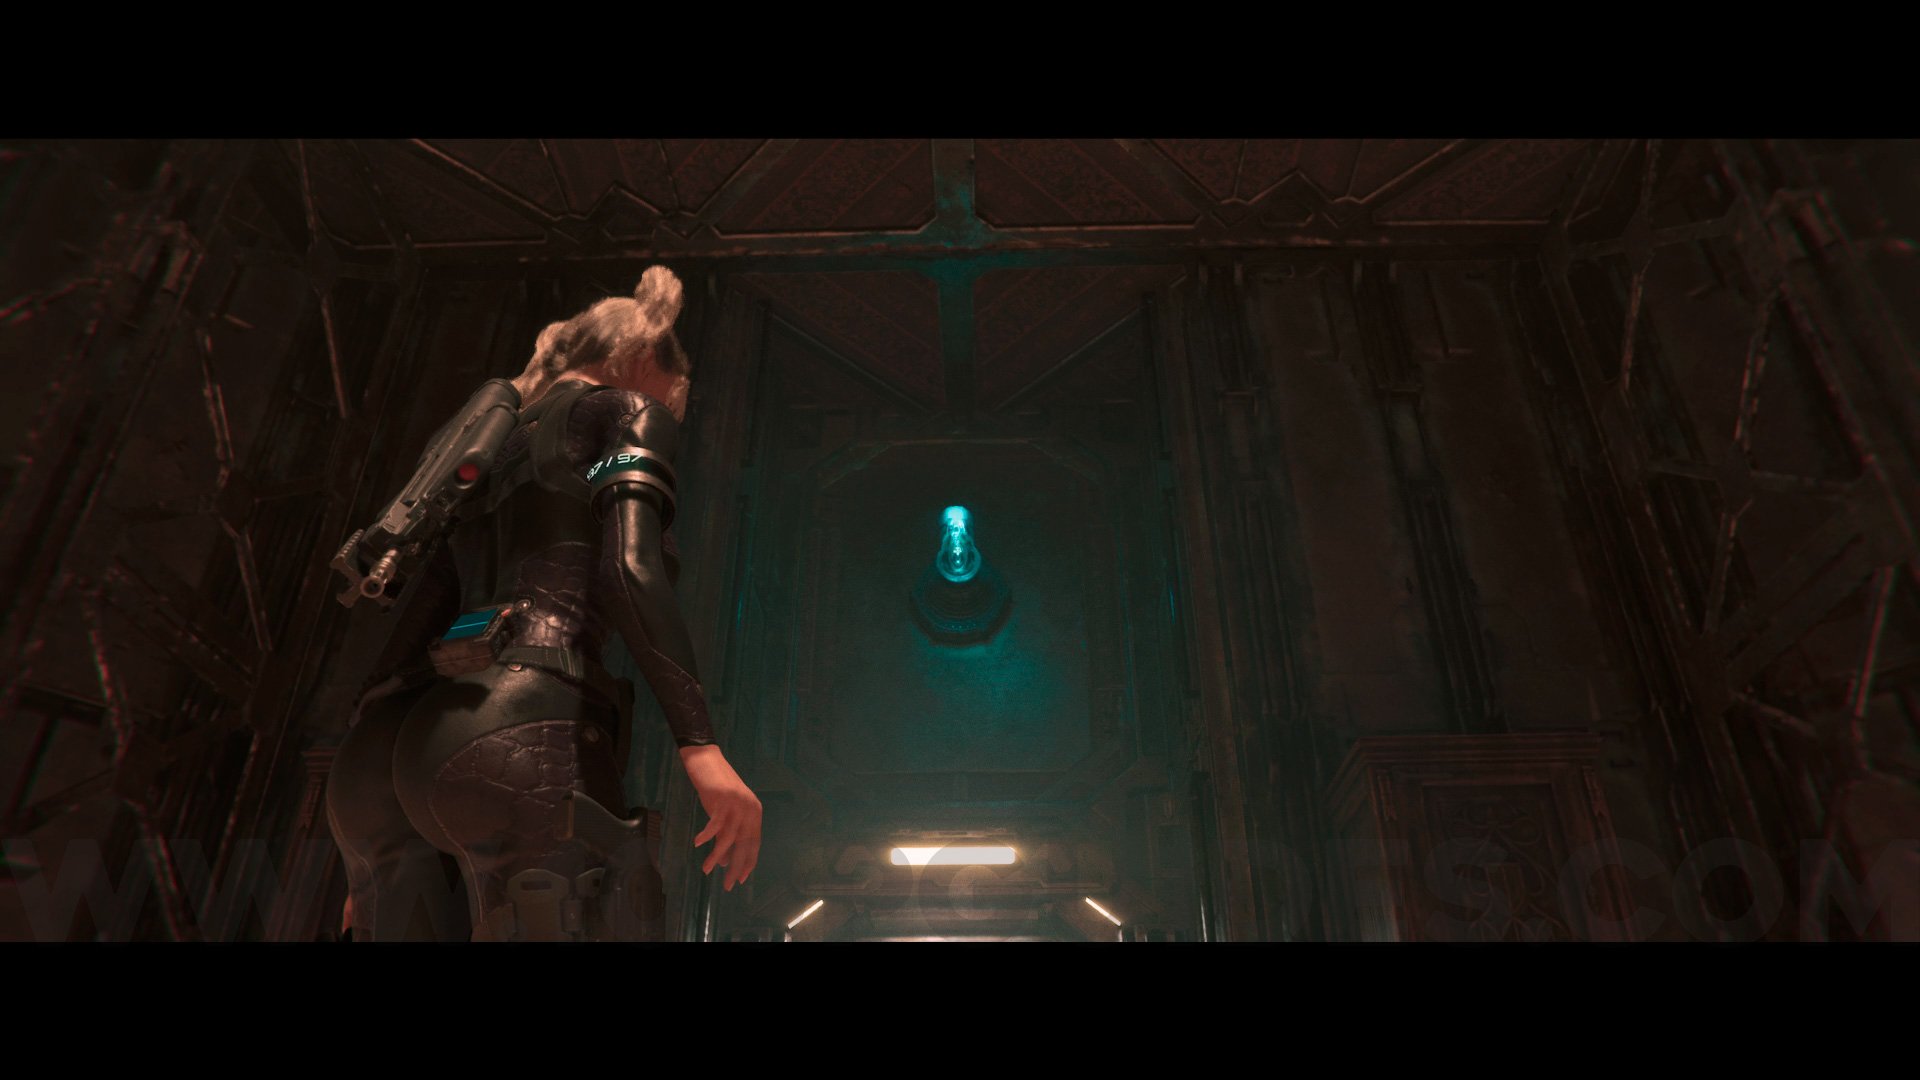
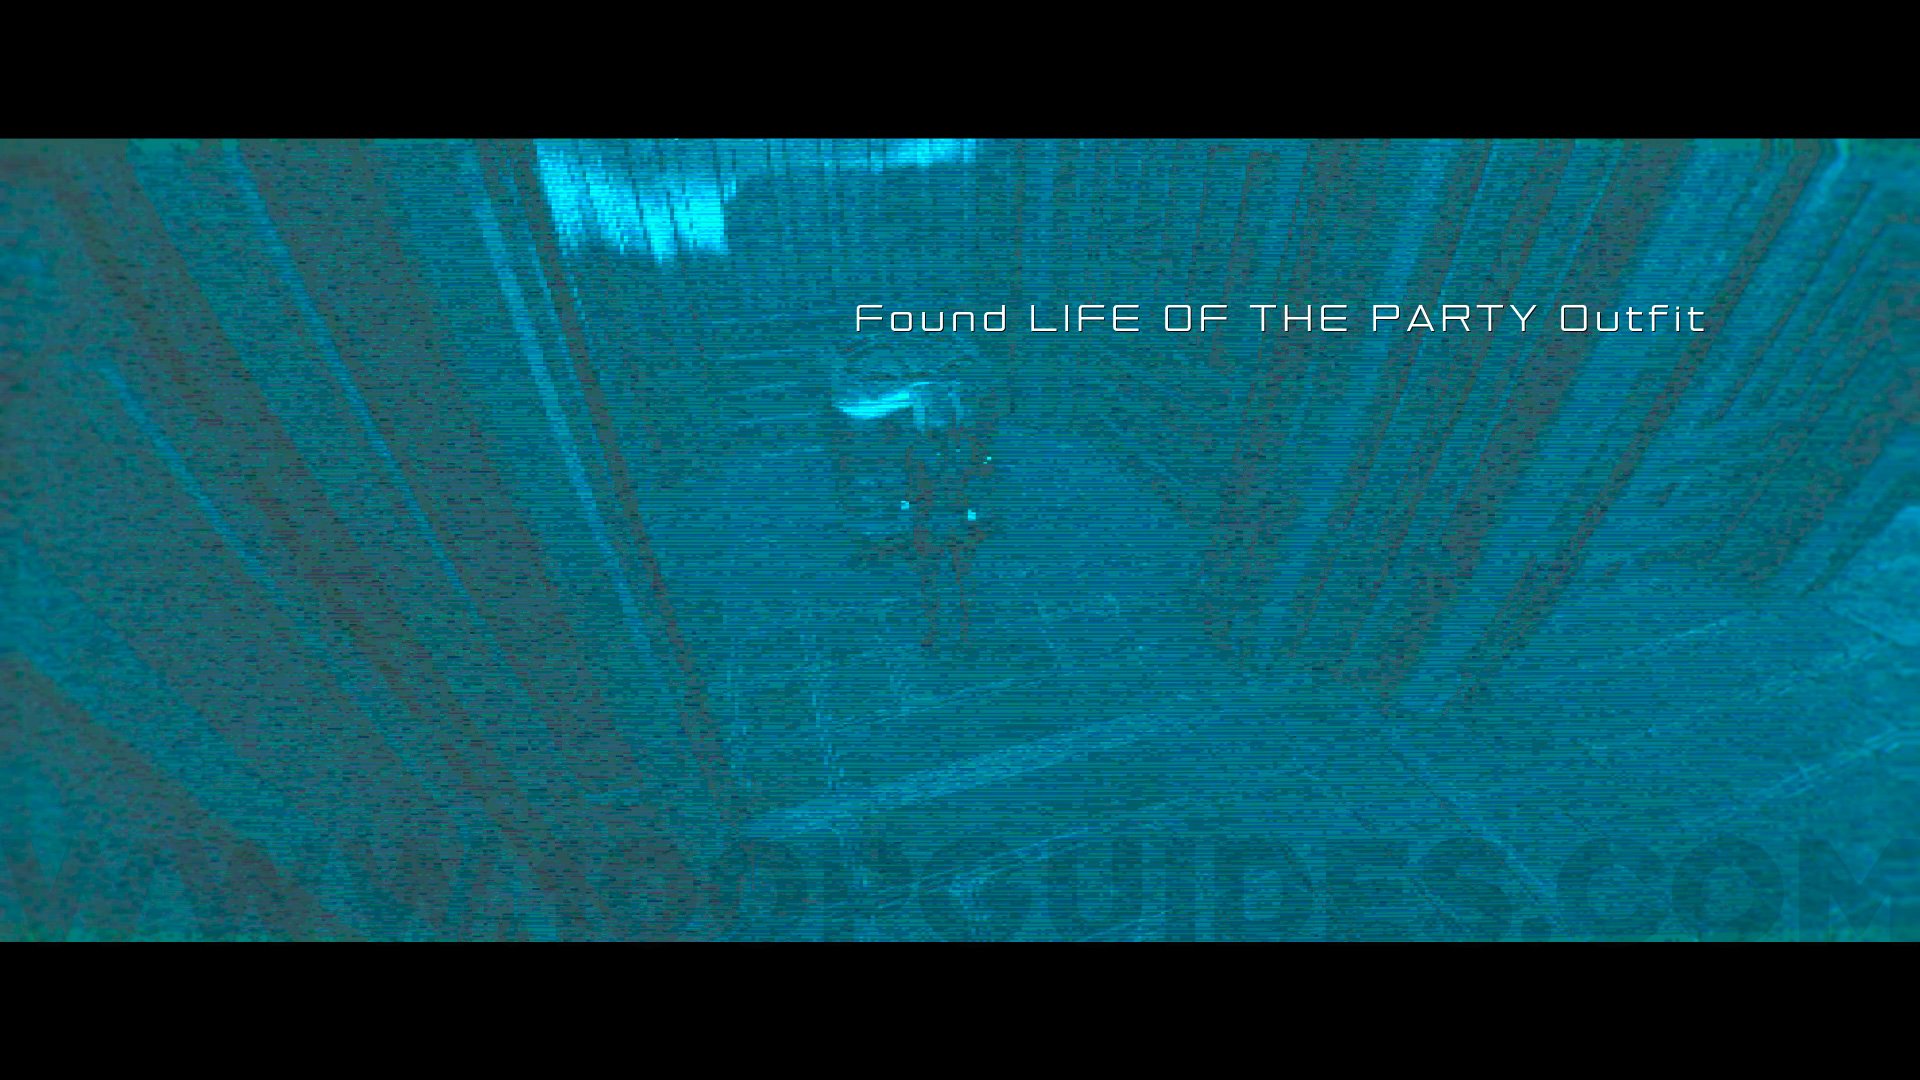
Outfit #8 Life Of The Party. From the previous collectible, interact with the console in front of you, then turn around, look up, and shoot the blue light. Now go straight ahead through all the doors and pipes, and you will reach the blue area. At the end of the area, you will find this outfit.
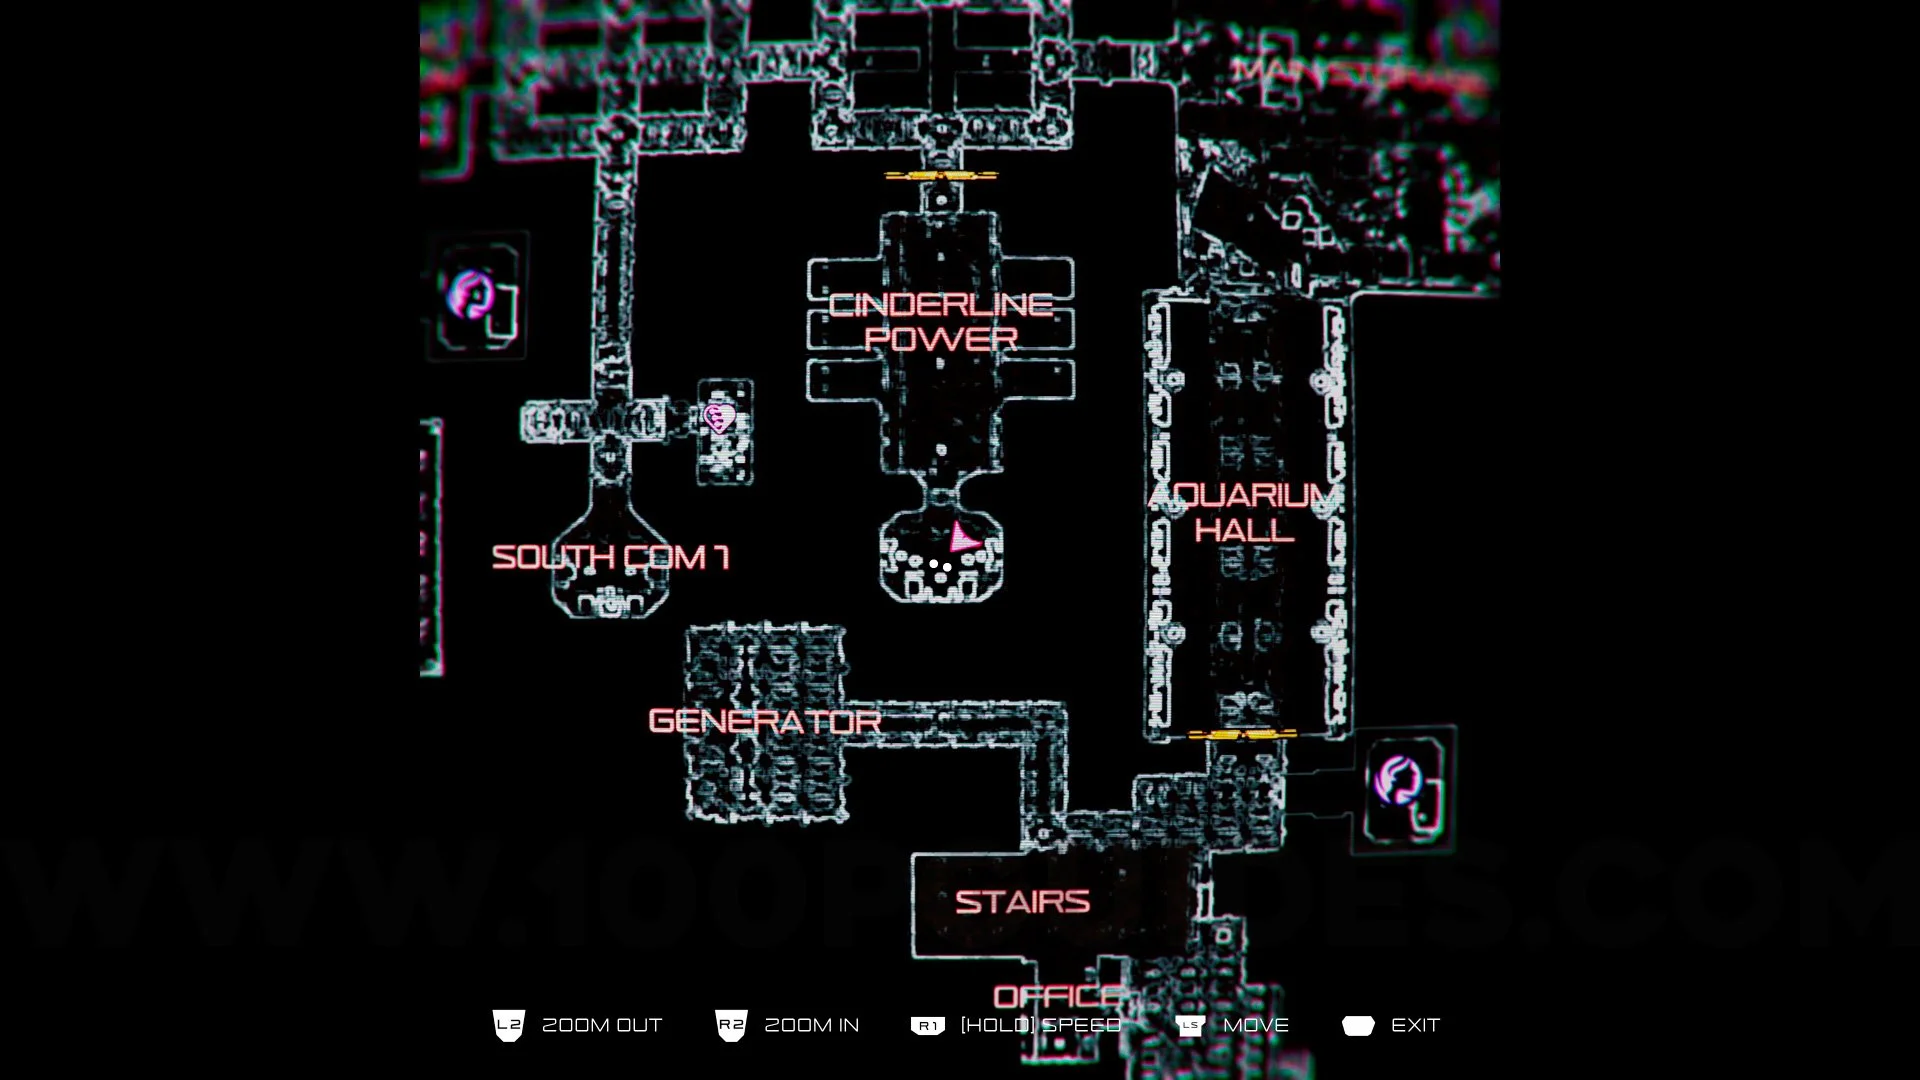
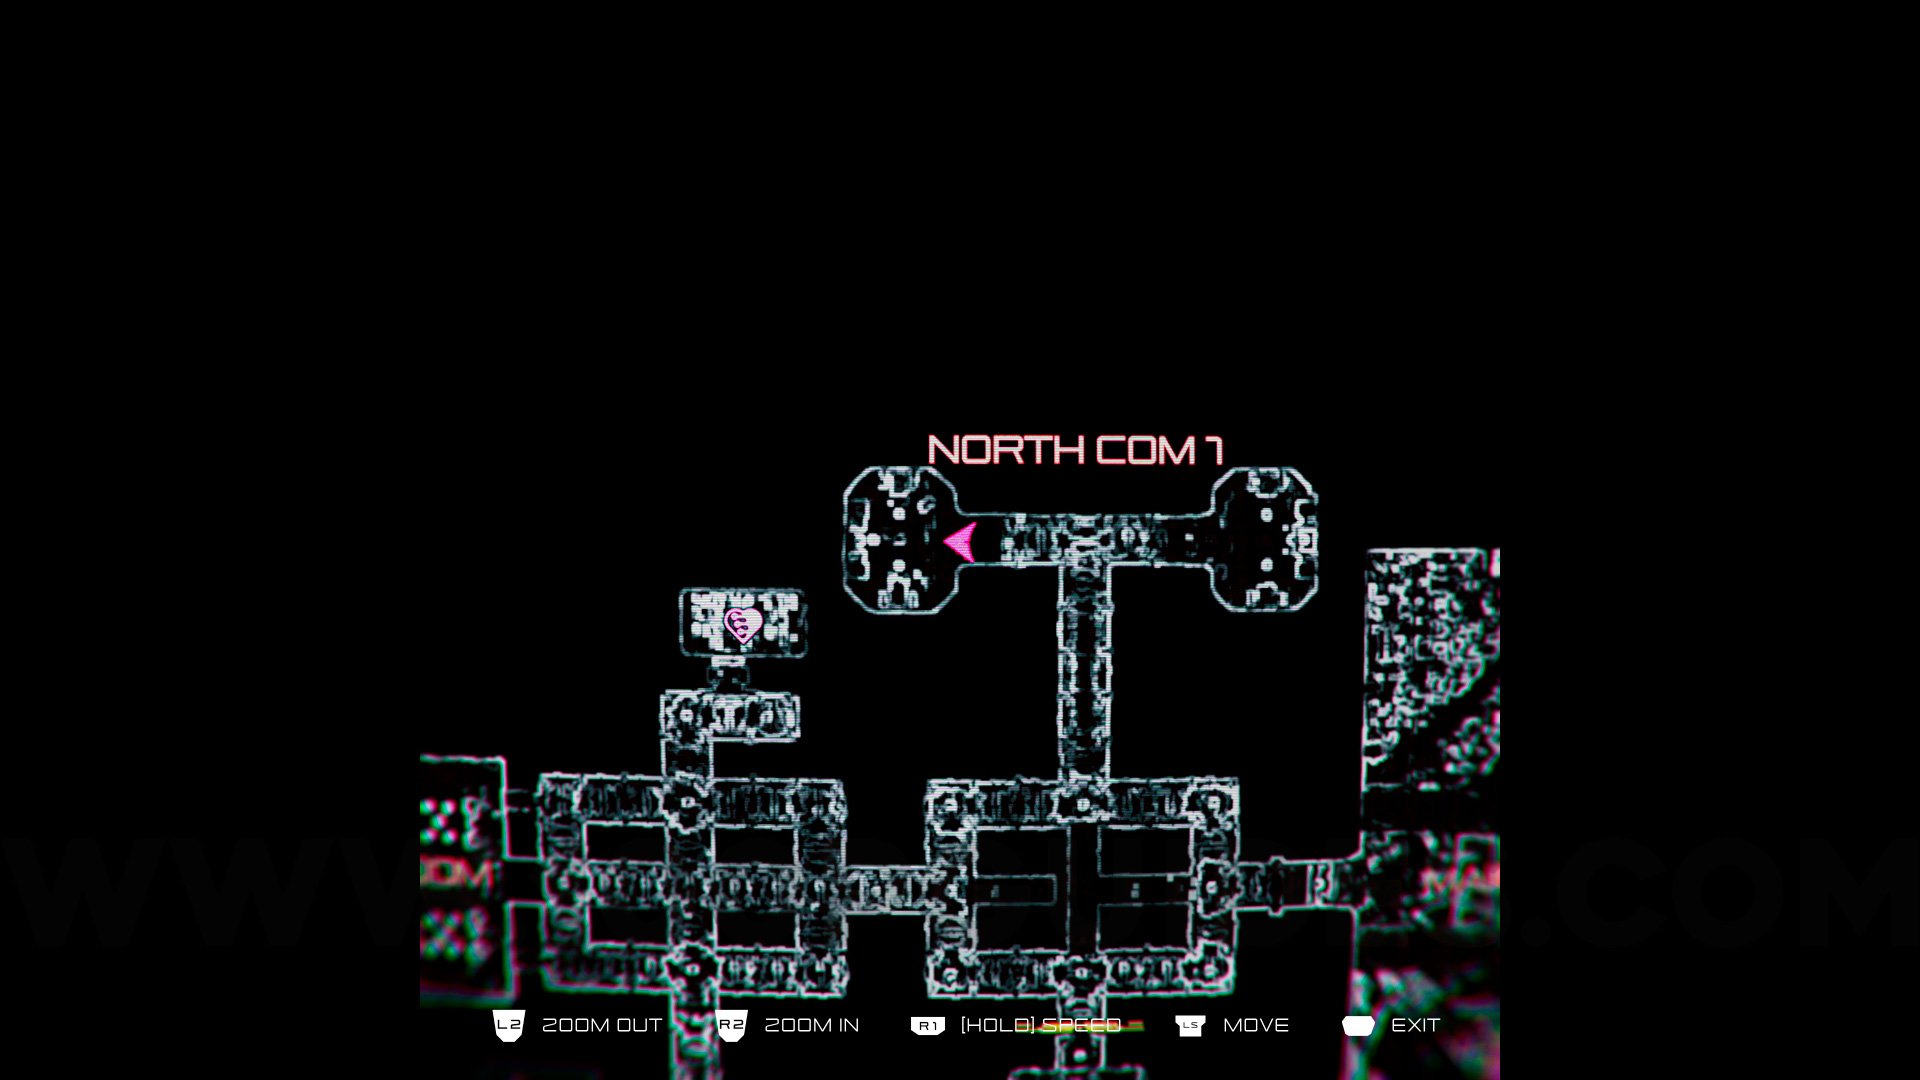
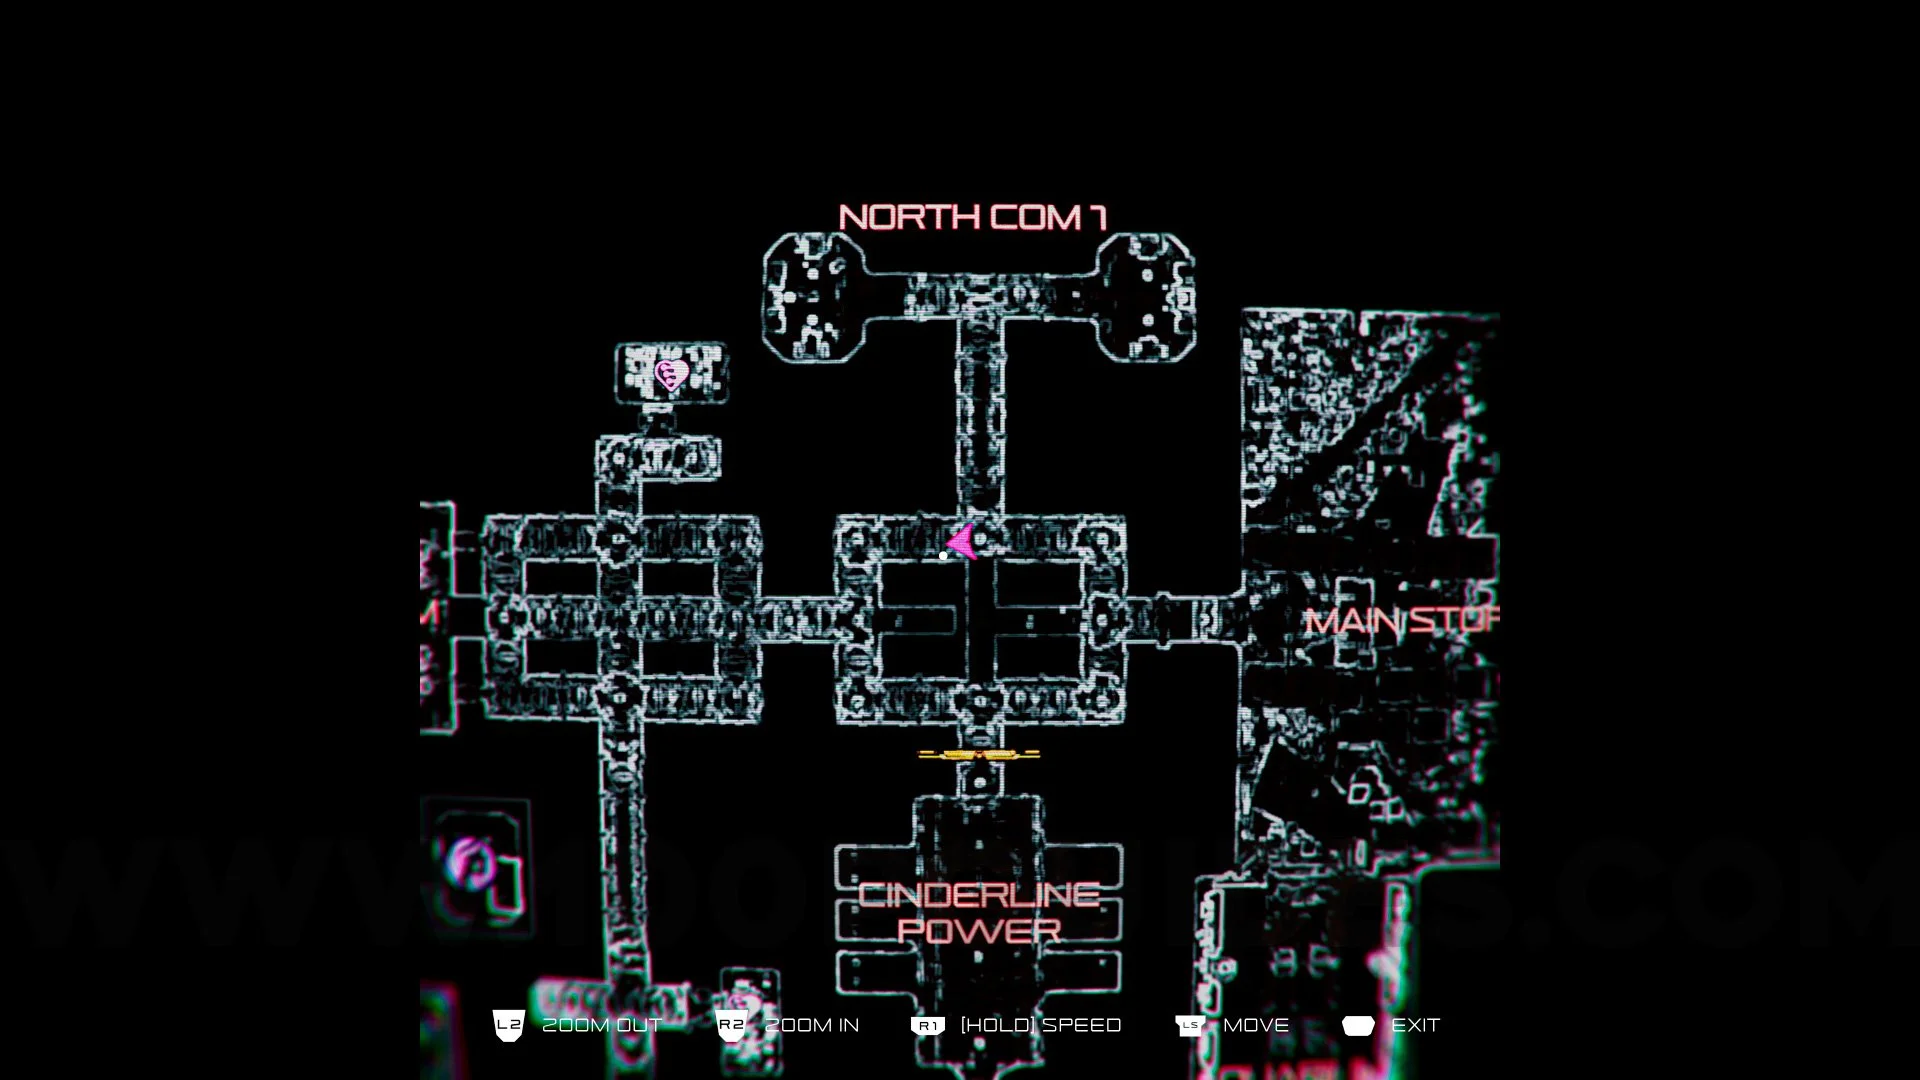
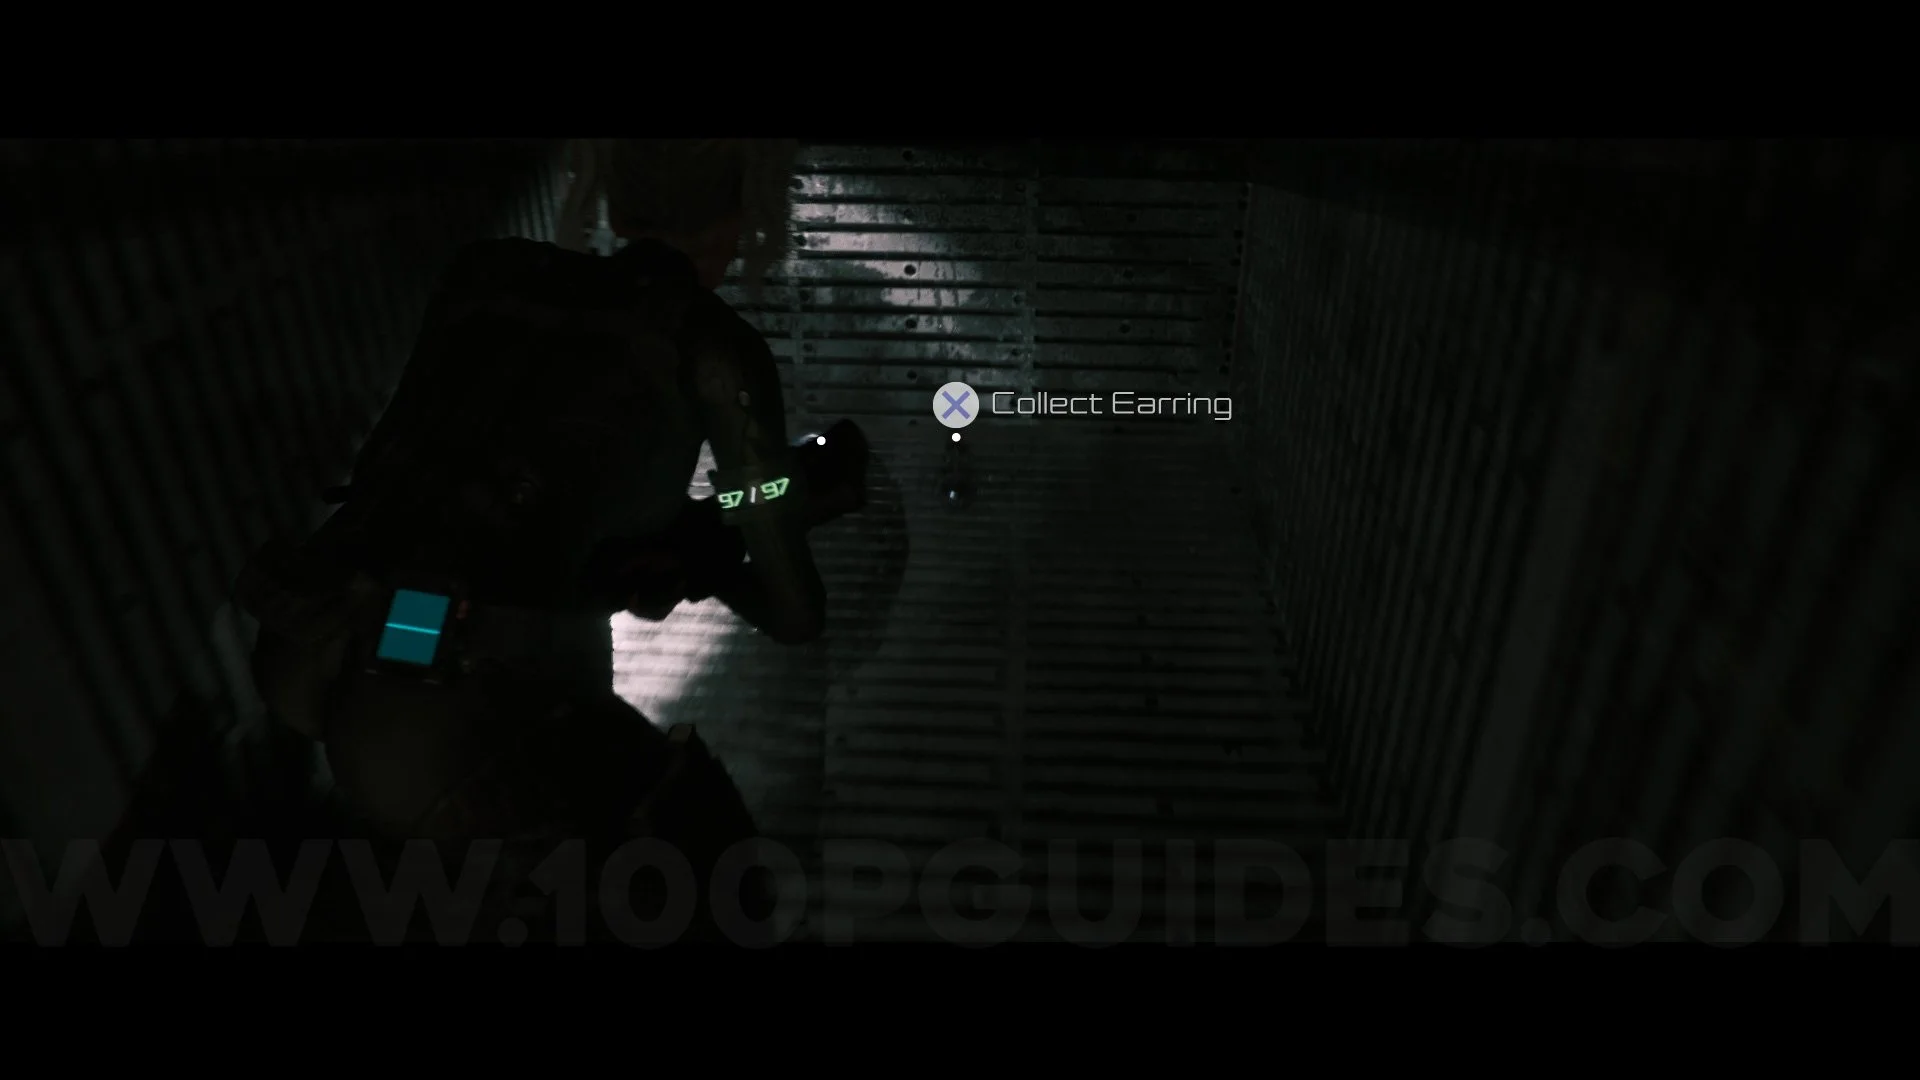
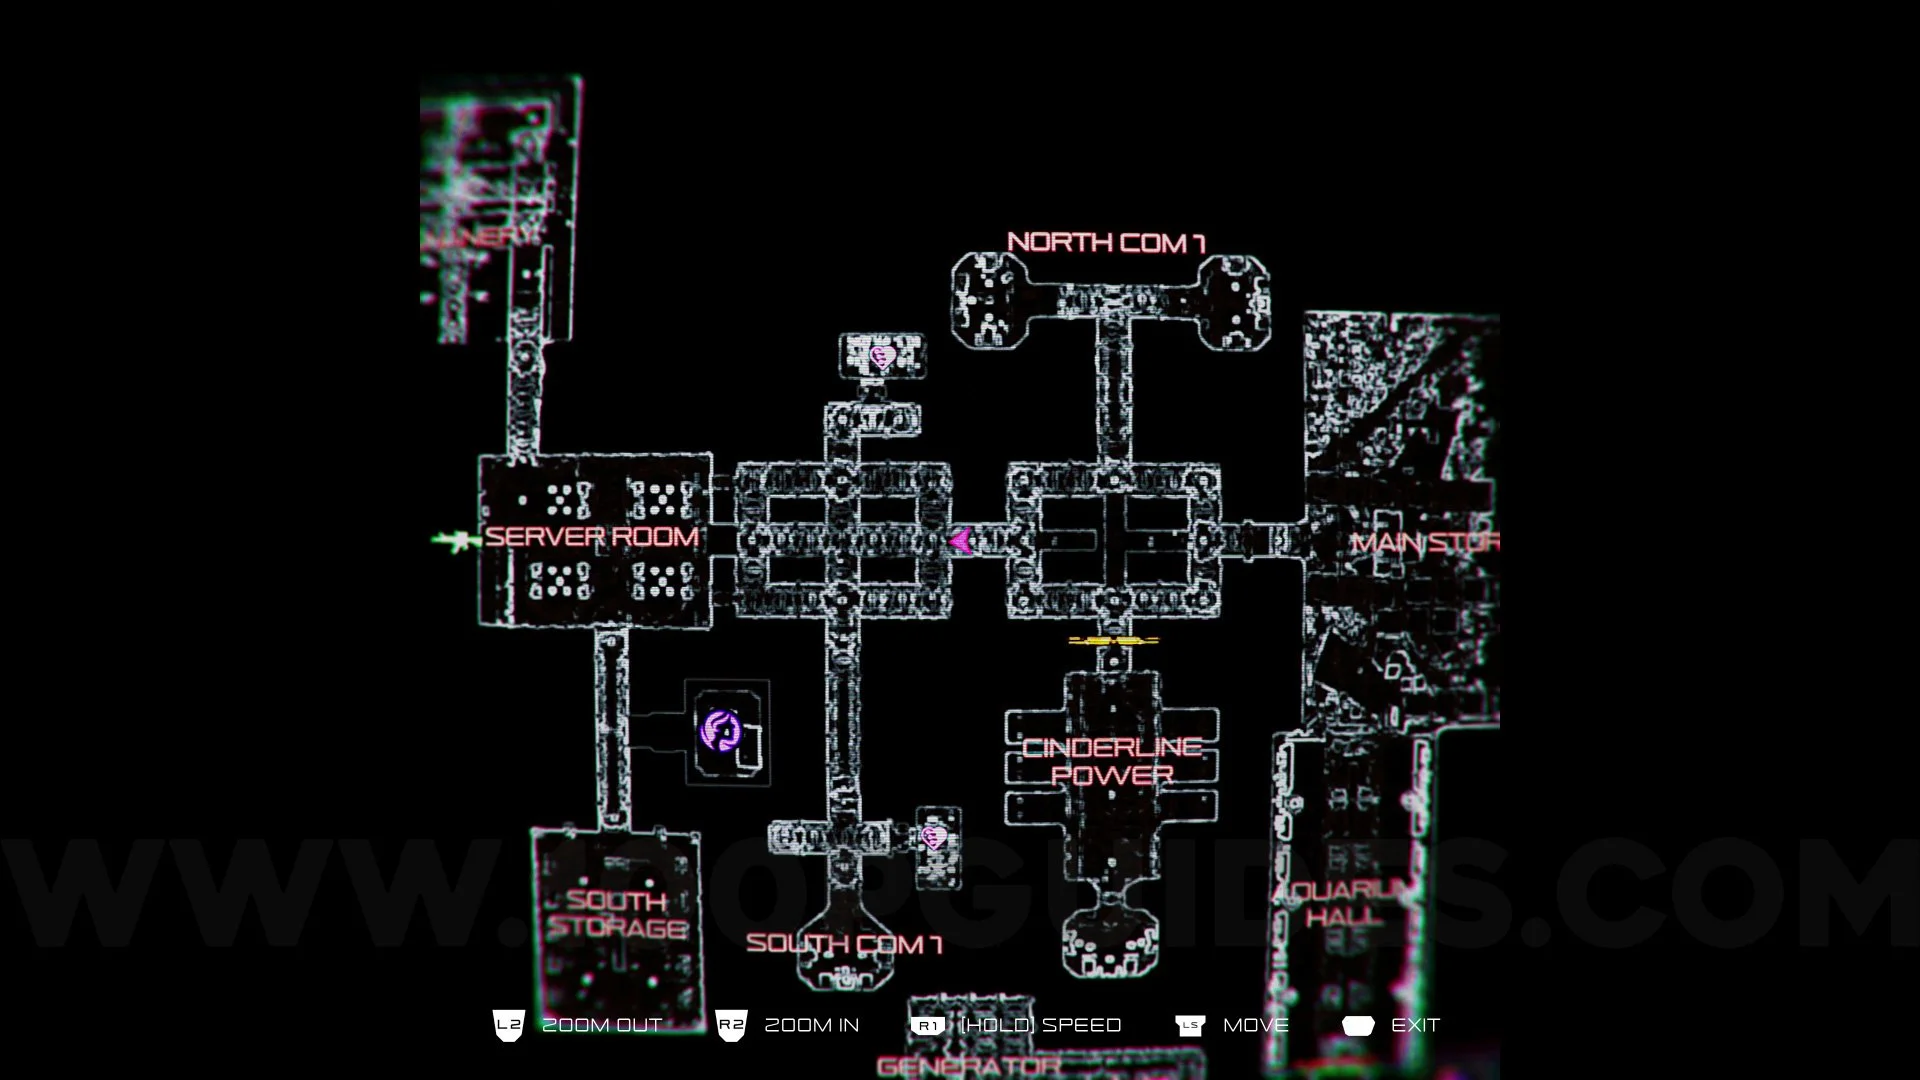
Earring #3. Go to the location shown on the map, turn left, and enter the pipe. Inside, you will find this earring.
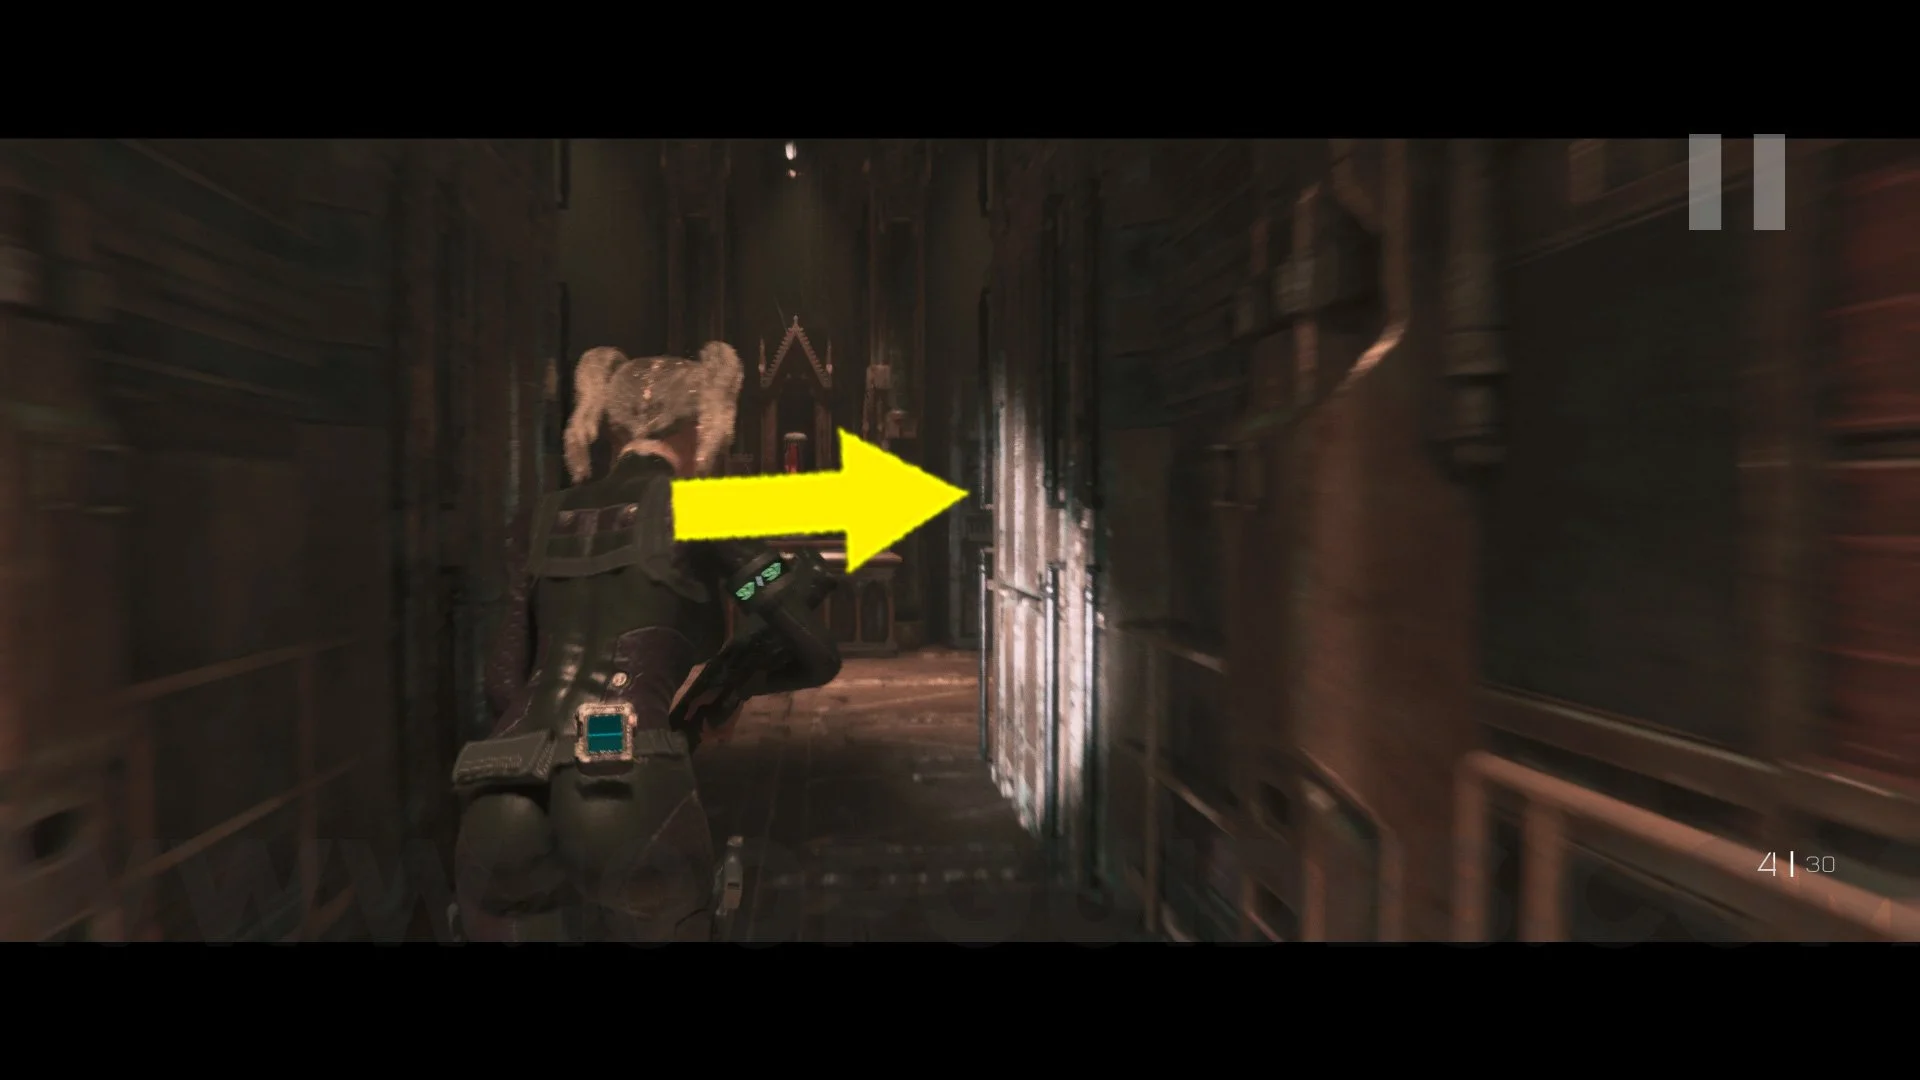
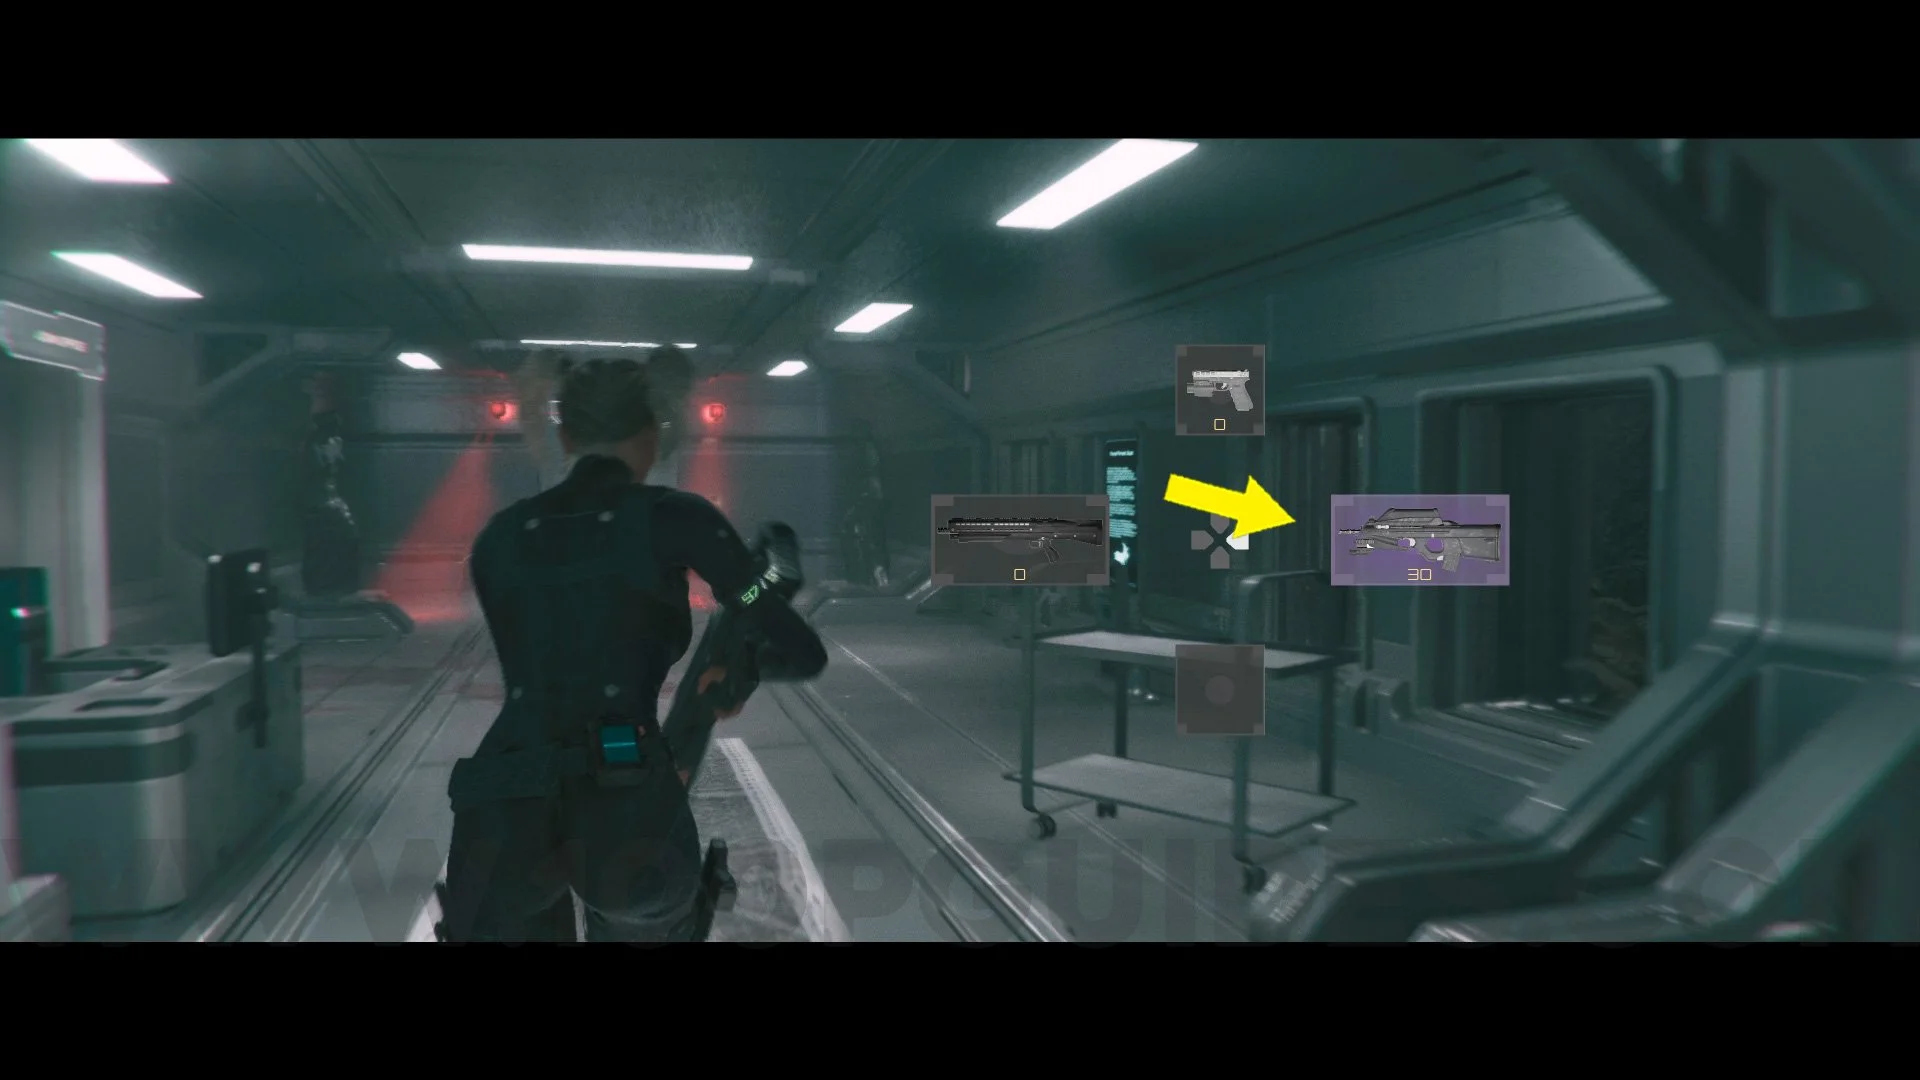
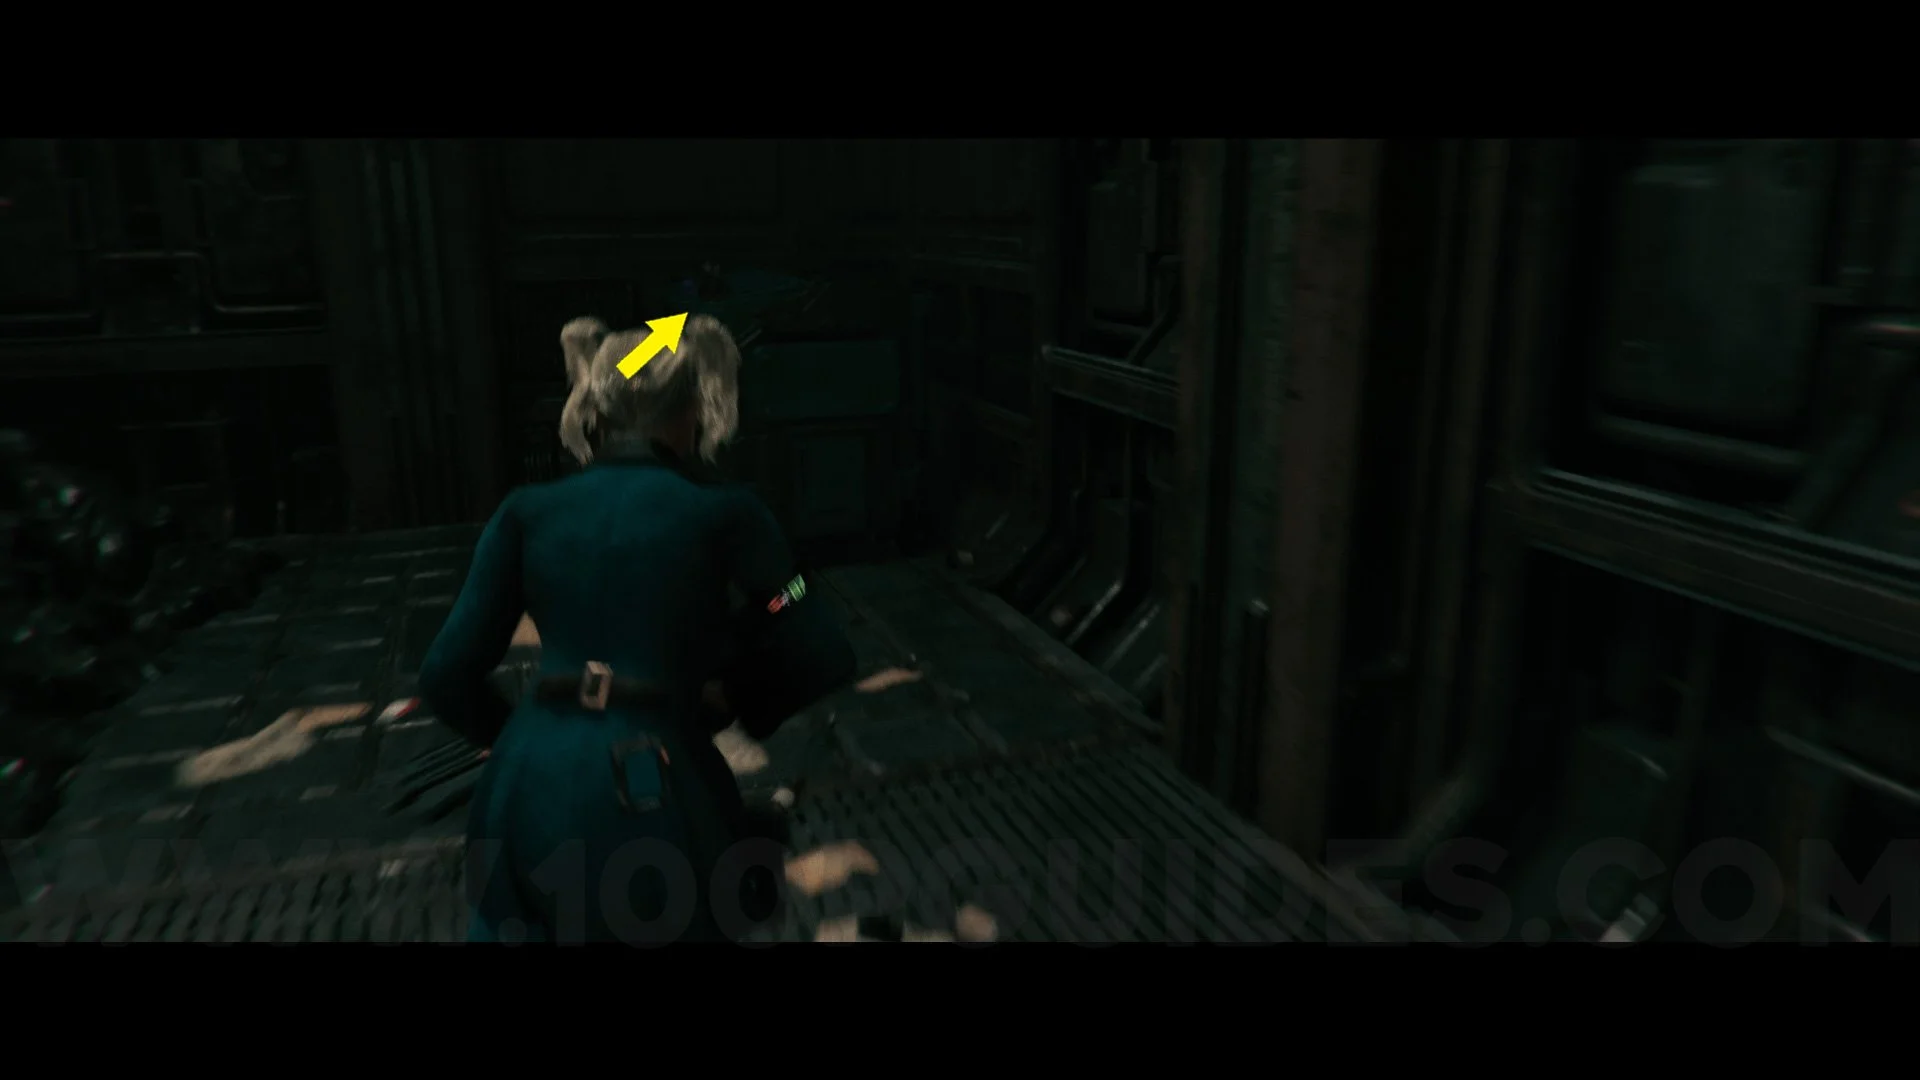
Outfit #9 Not Fast, But Furious. Go to the location marked on the map, turn right in the hallway, and go through the door to break the blue lamp on the ceiling. After breaking the lamp, walk straight ahead, passing through all the doors, and at the end, turn right to find the room with the blue light. At the end of that room, you can get the outfit.

Duck #5. When you are in the server room, you can find this duck among some servers.
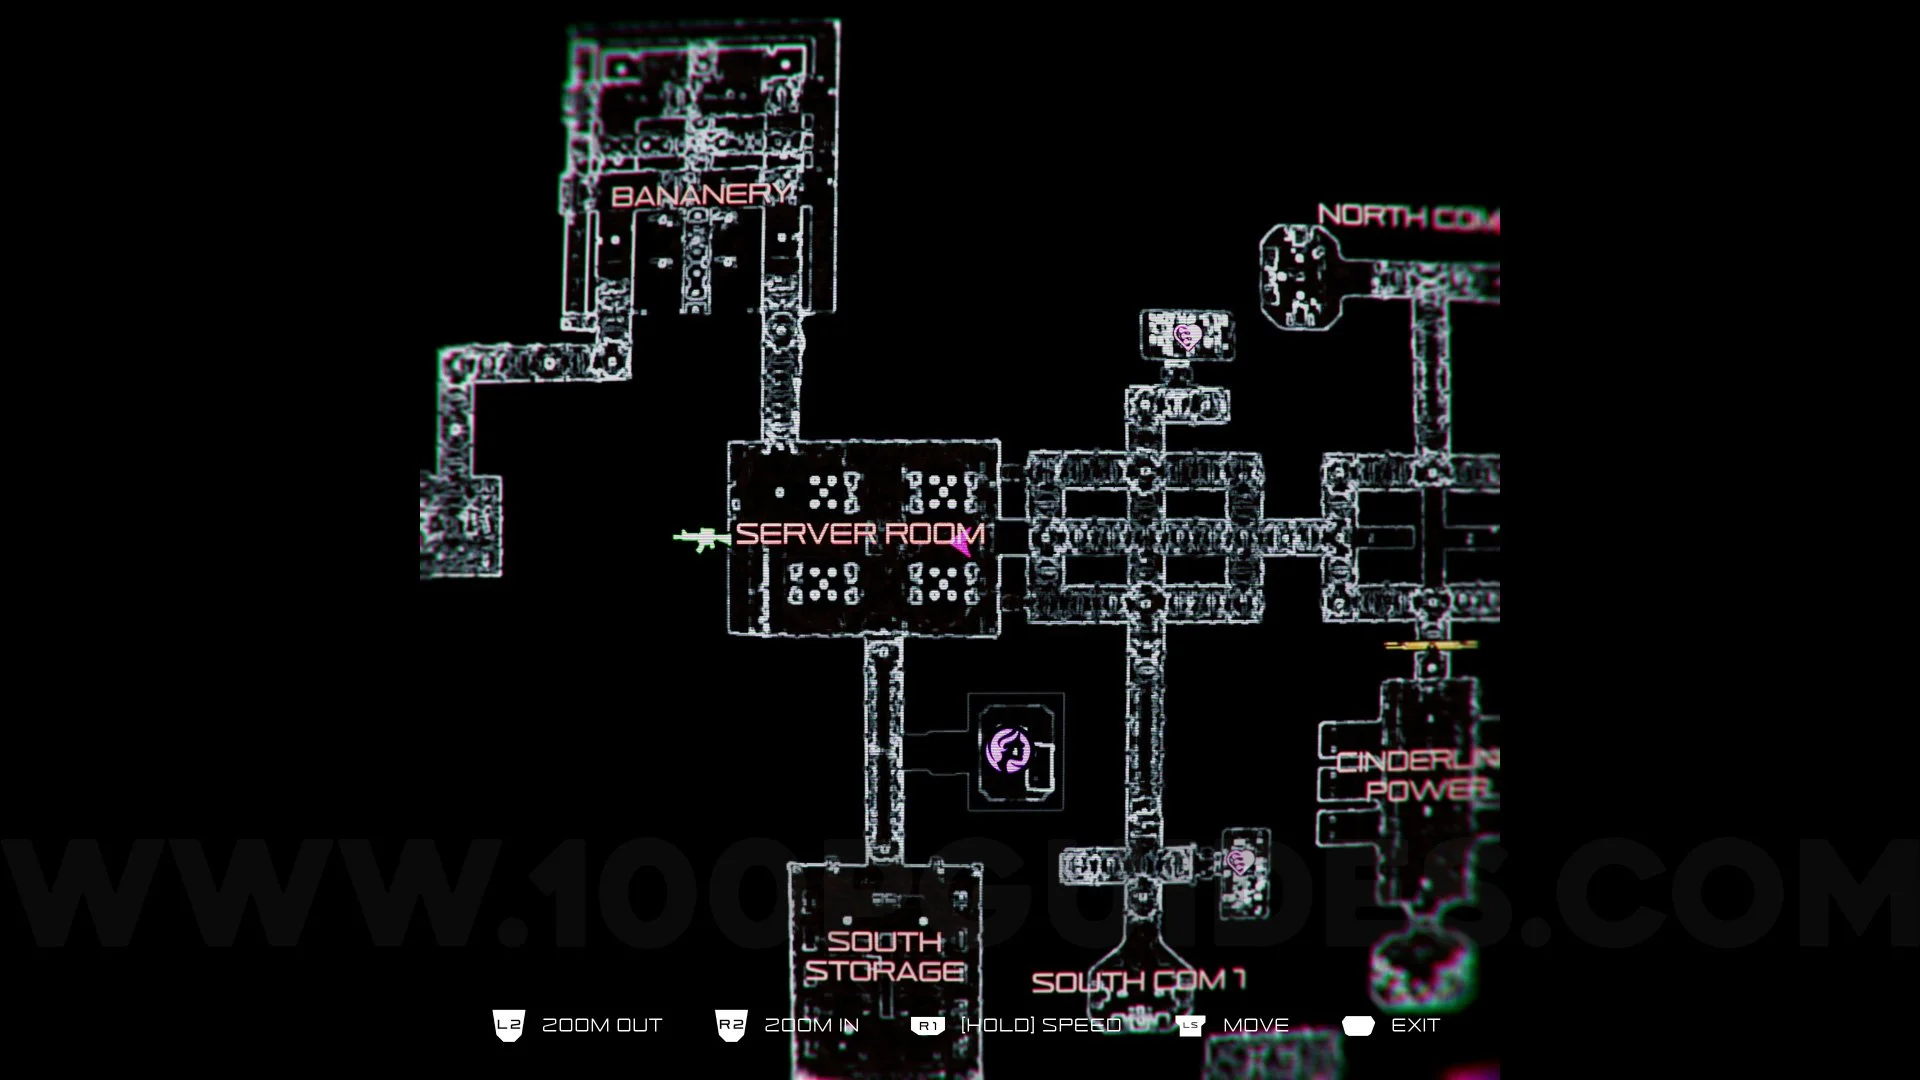
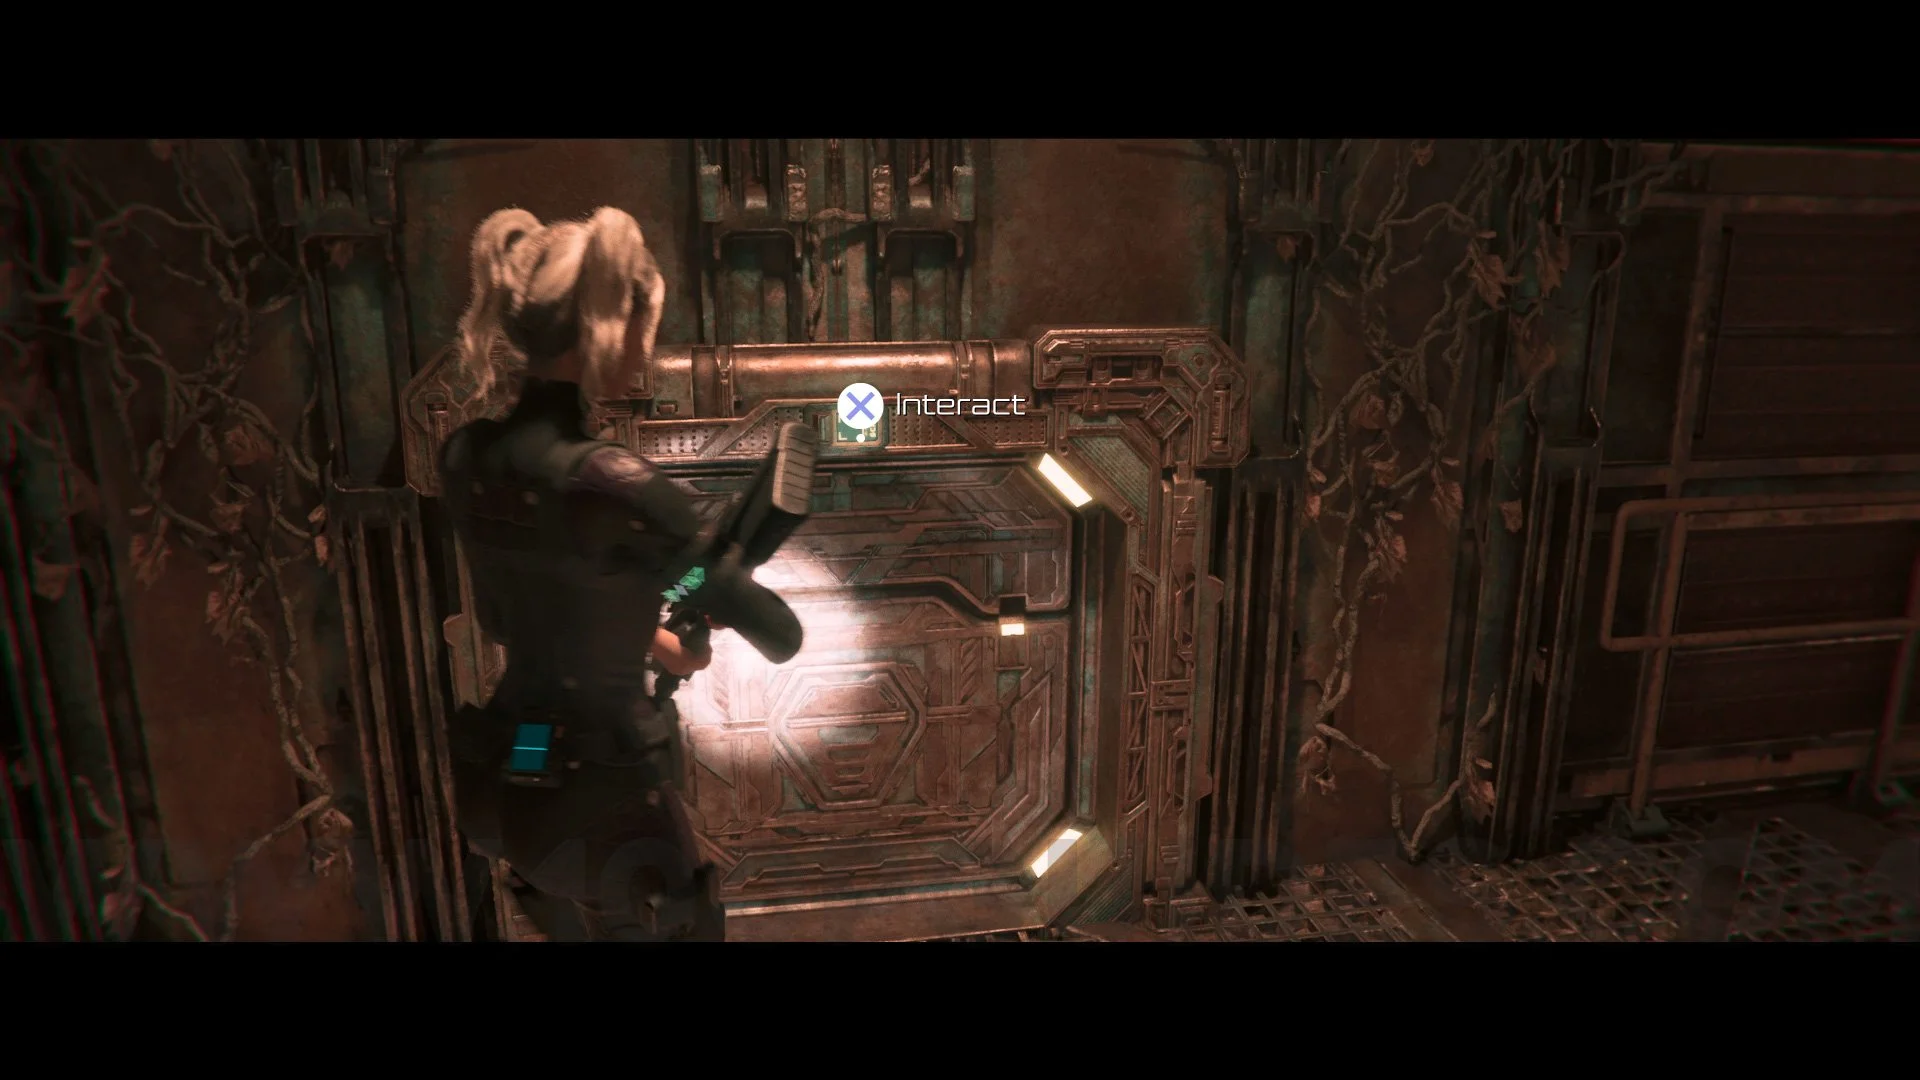
Silencer For Assault Rifle. Same area as the previous collectible, interact with one of the servers containing the padlock, enter the password FISH to obtain the Silencer.

Outfit #10 Girl, Holo My Poodle Outfit. From the previous collectible, look up and shoot the blue light, then go through the door and continue straight ahead. In the next area, enter the blue room on the right and go to the end to collect this outfit.
Outside The Communications Facility
Decorative Egg #6. When you arrive at the area outside the Communications Facility, you will come to a gate. Before going through the gate, turn right and behind the tree you will find this Decorative Egg.

Bioengineering Lab
Decorative Egg #7. When you arrive at the Bioengineering Lab, break the glass on the right side and go through it. You can find the Decorative Egg behind the tree.
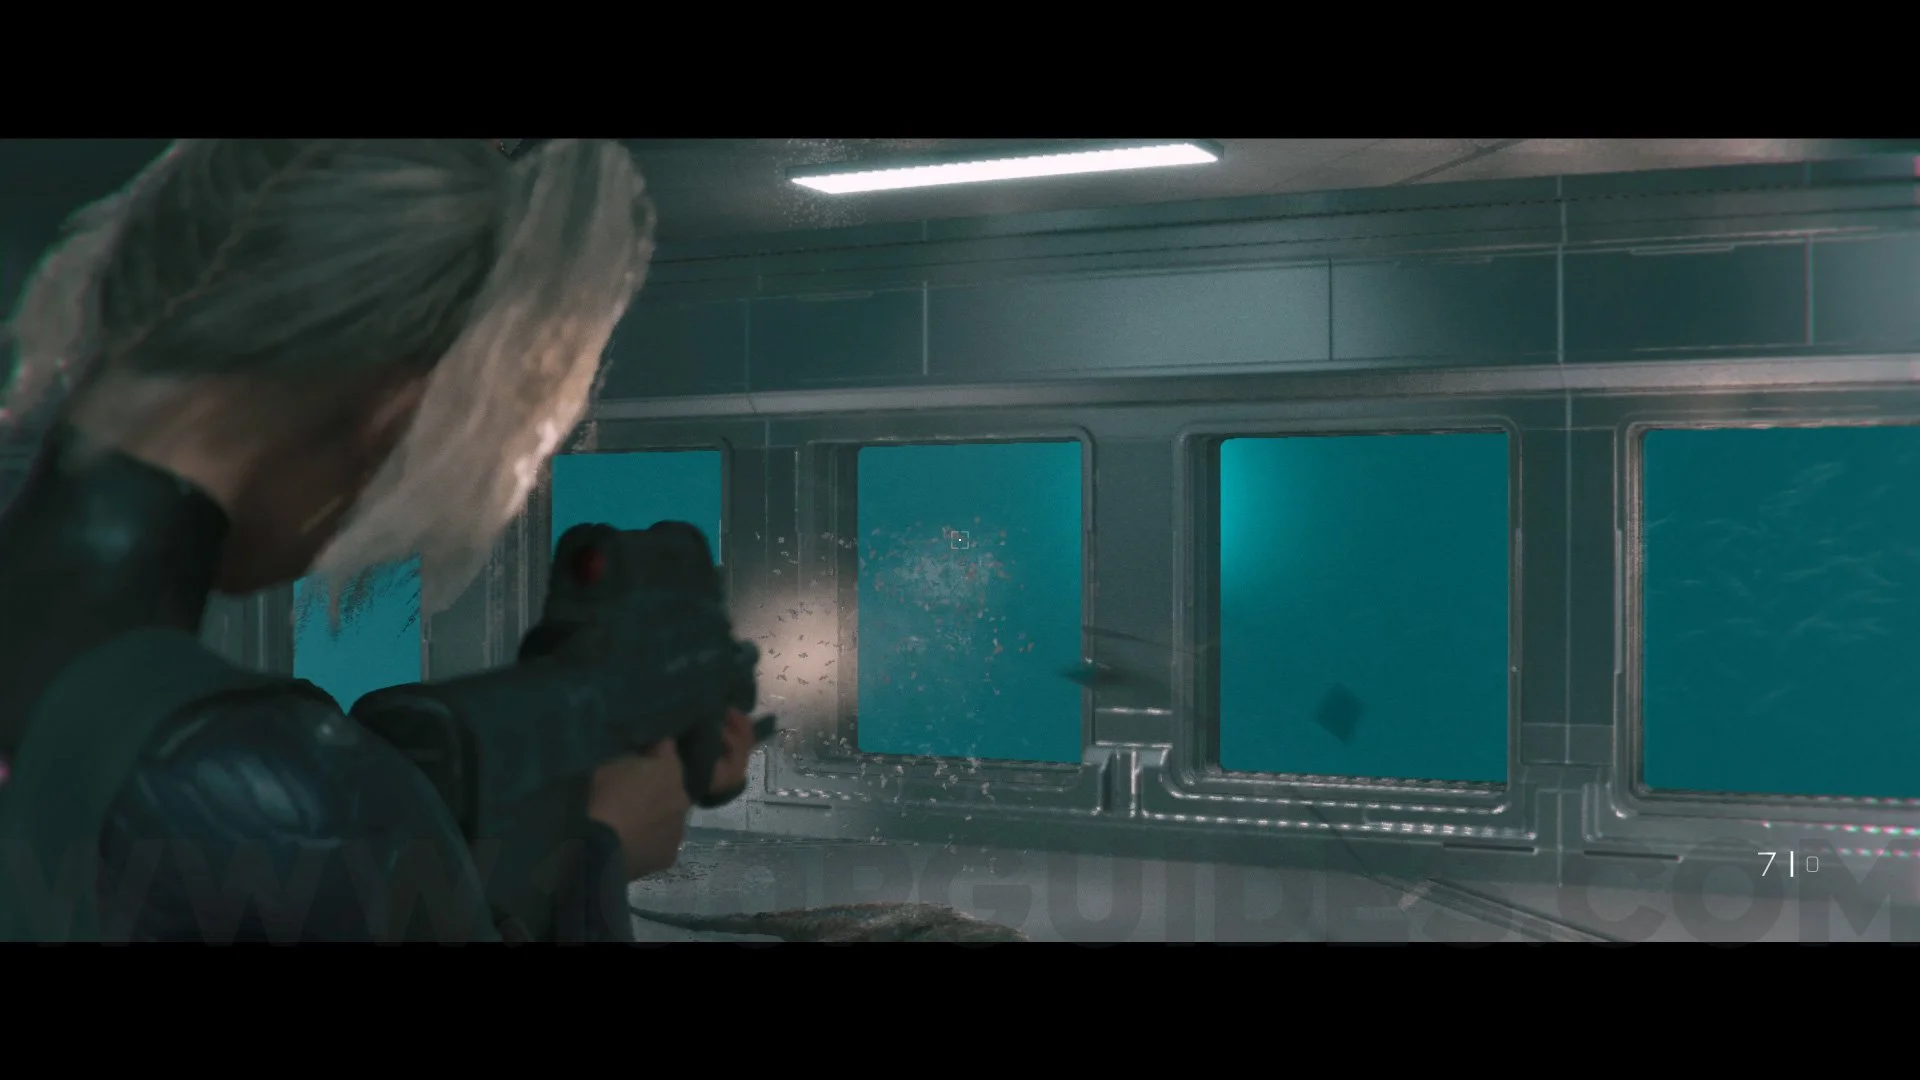
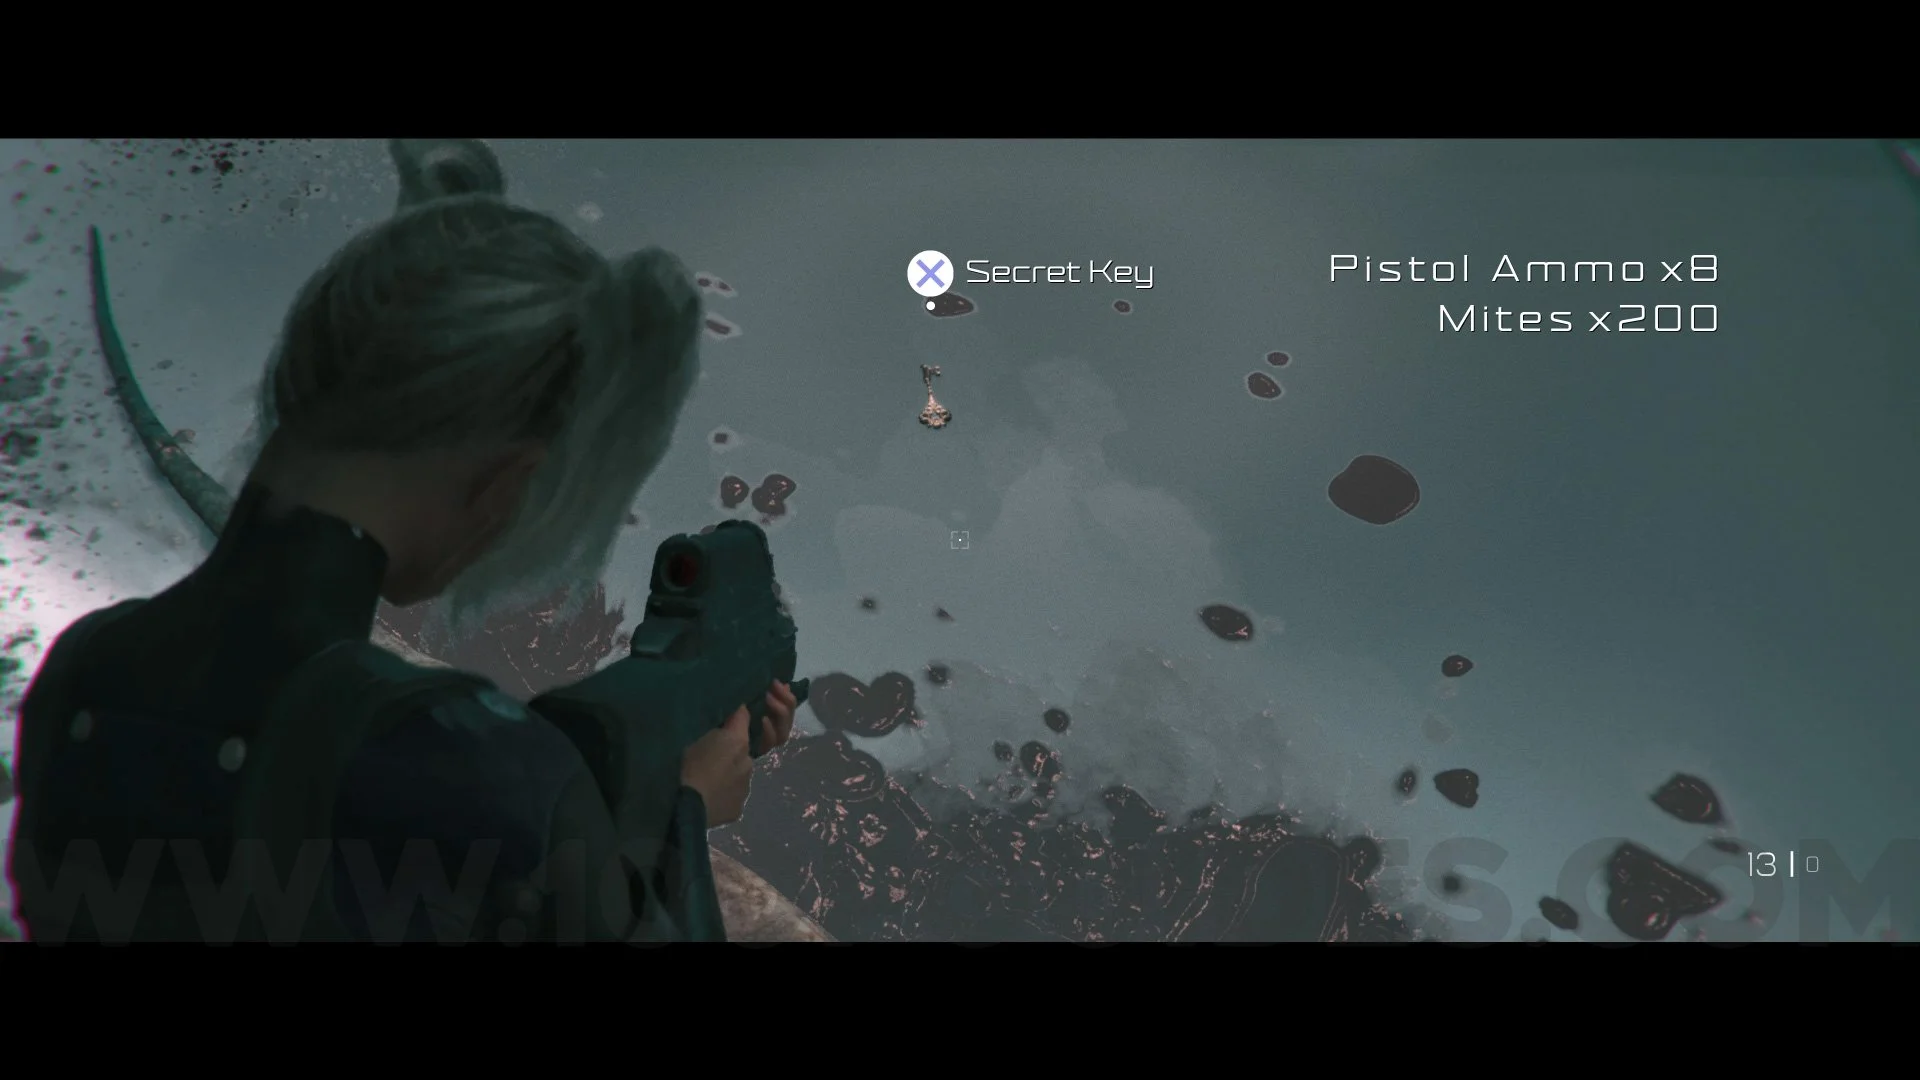
Secret Key. Go through the lobby door and shoot the glass with water. After the glass breaks, pick up the secret key on the floor. It will be used later to obtain a prototype weapon.
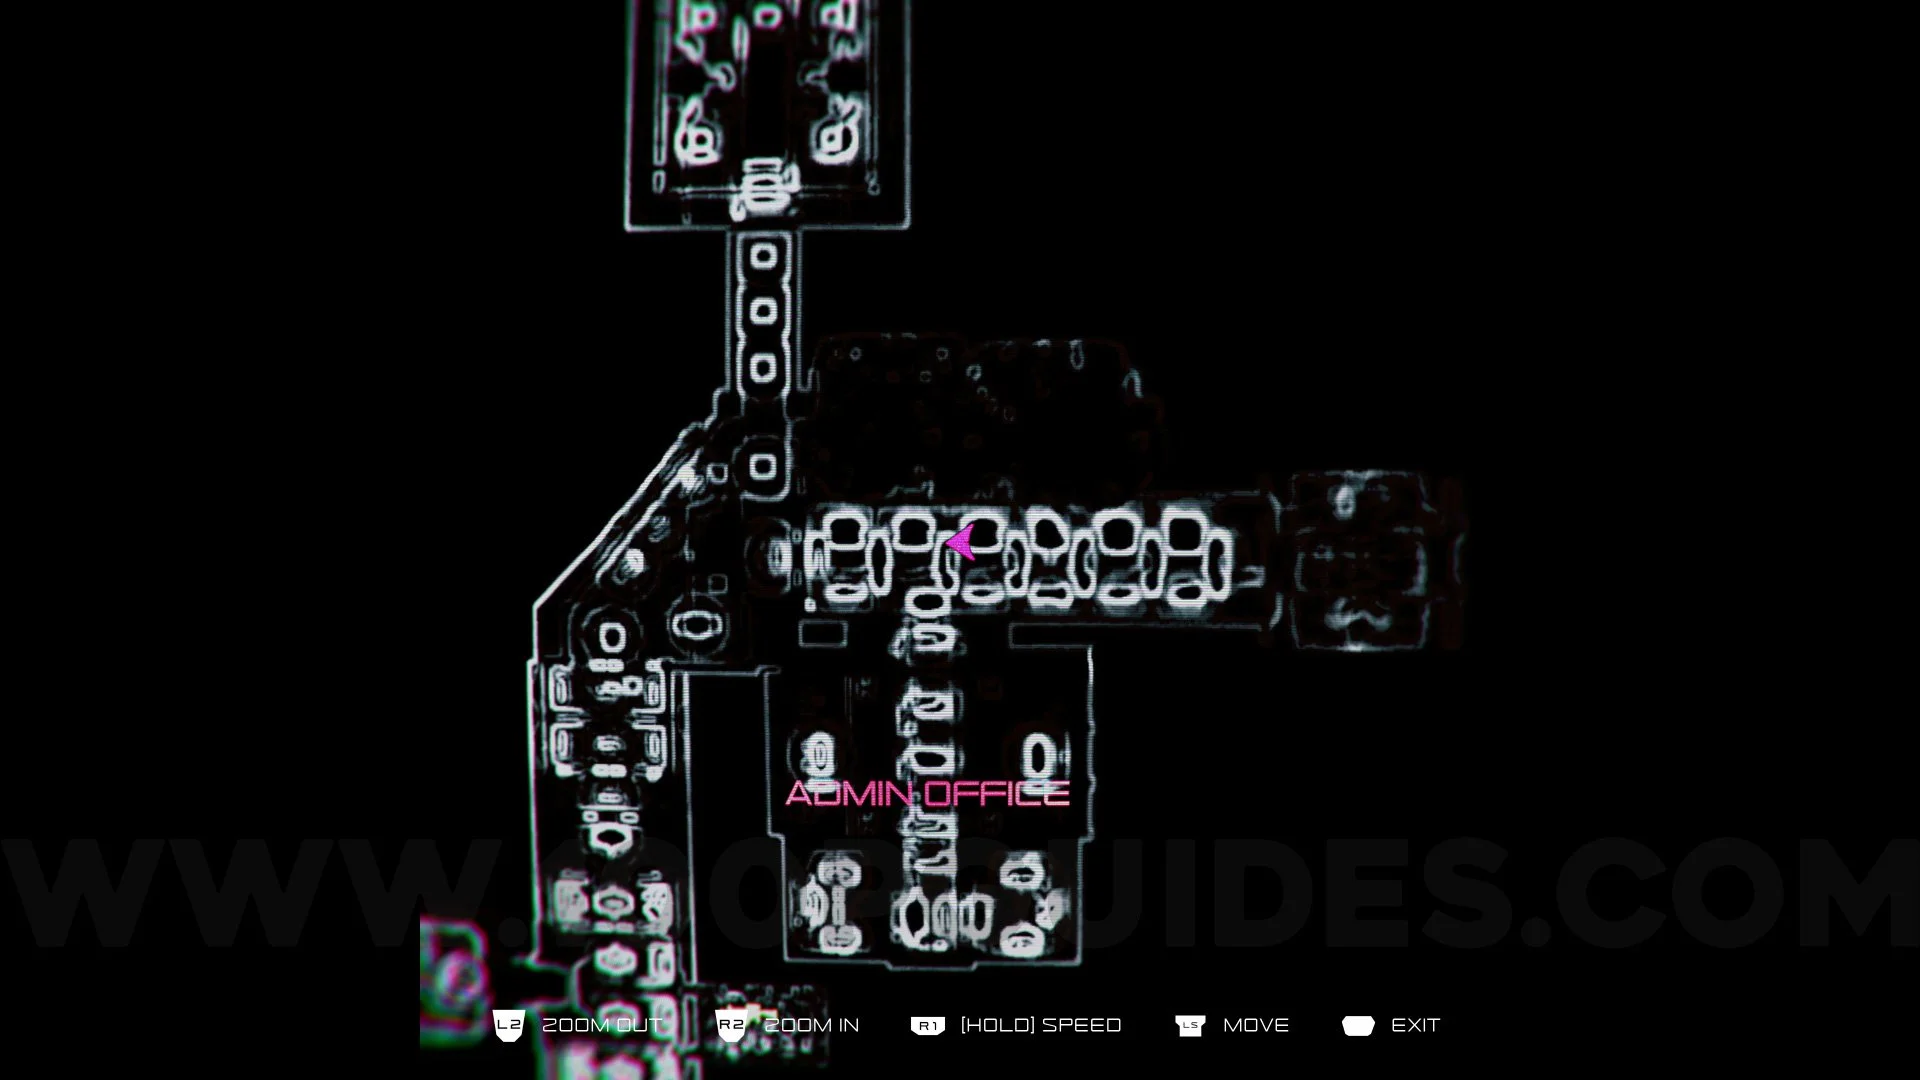
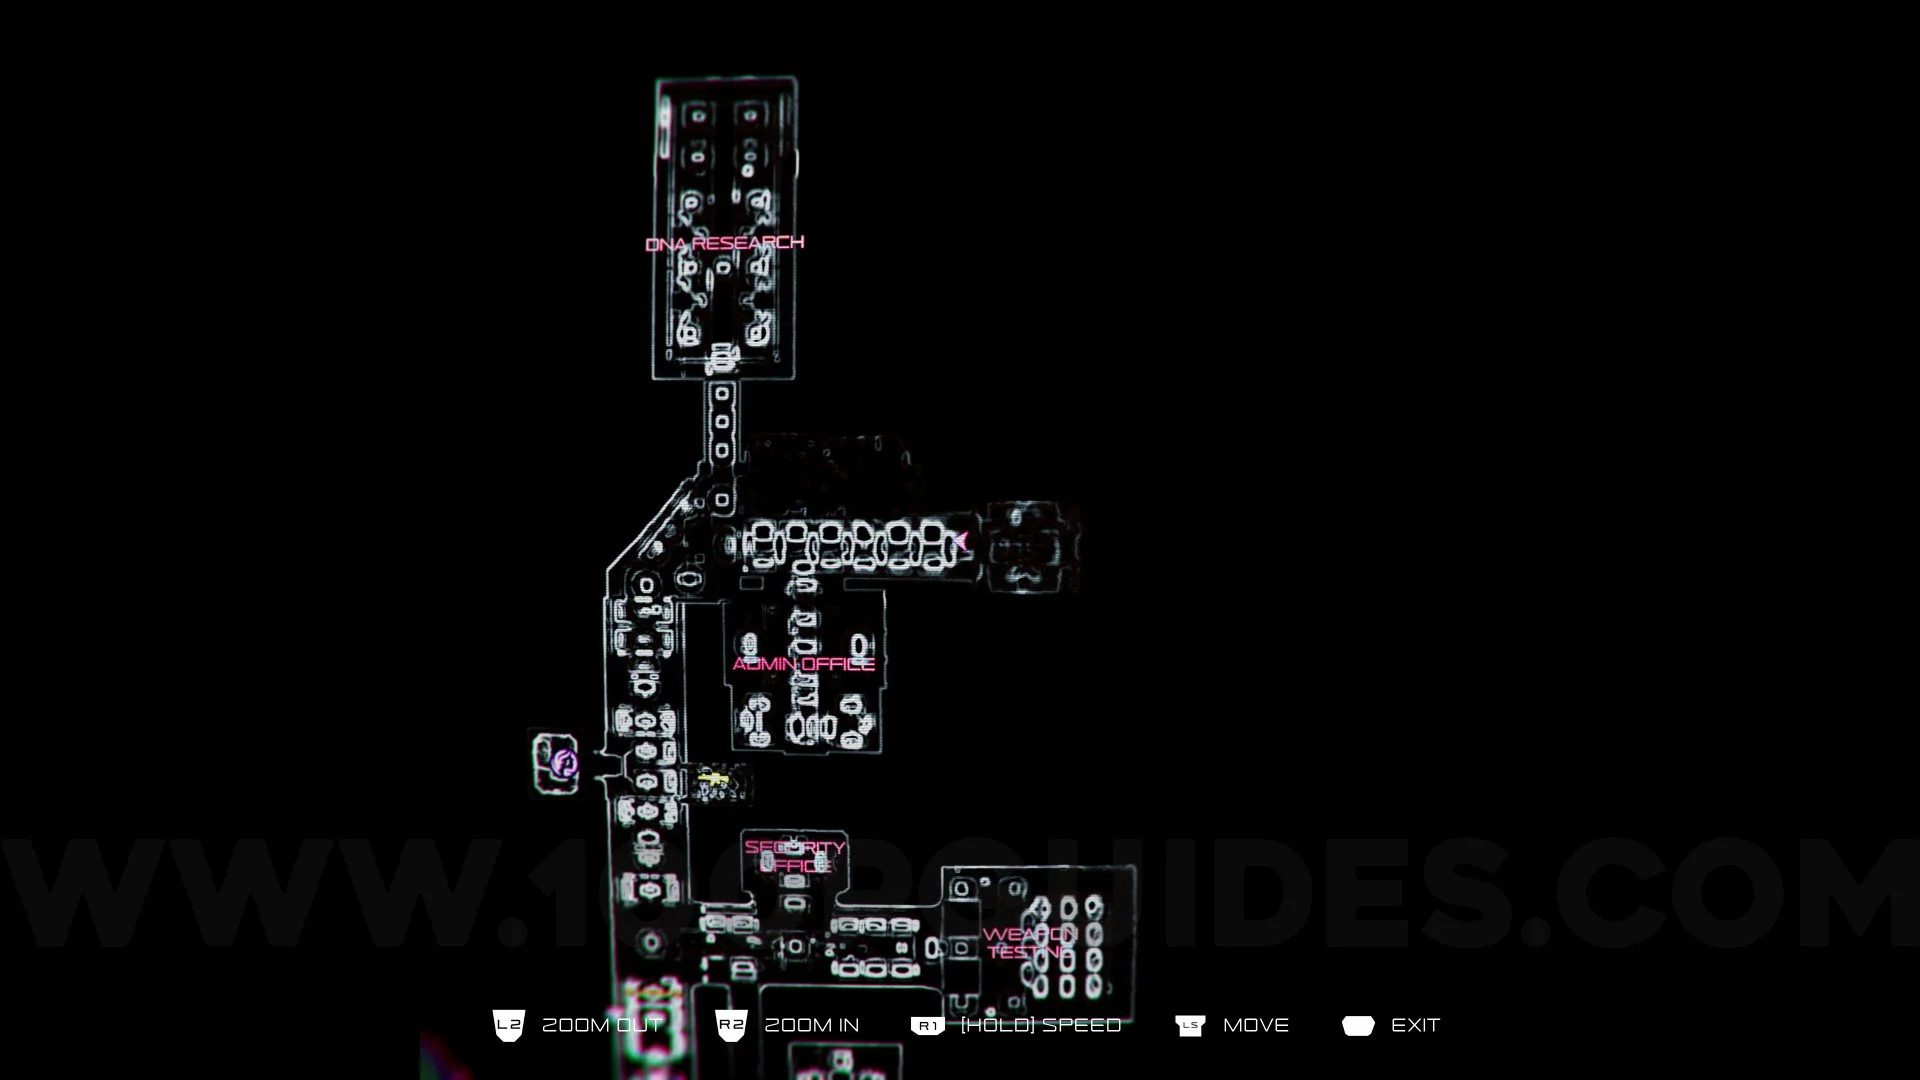
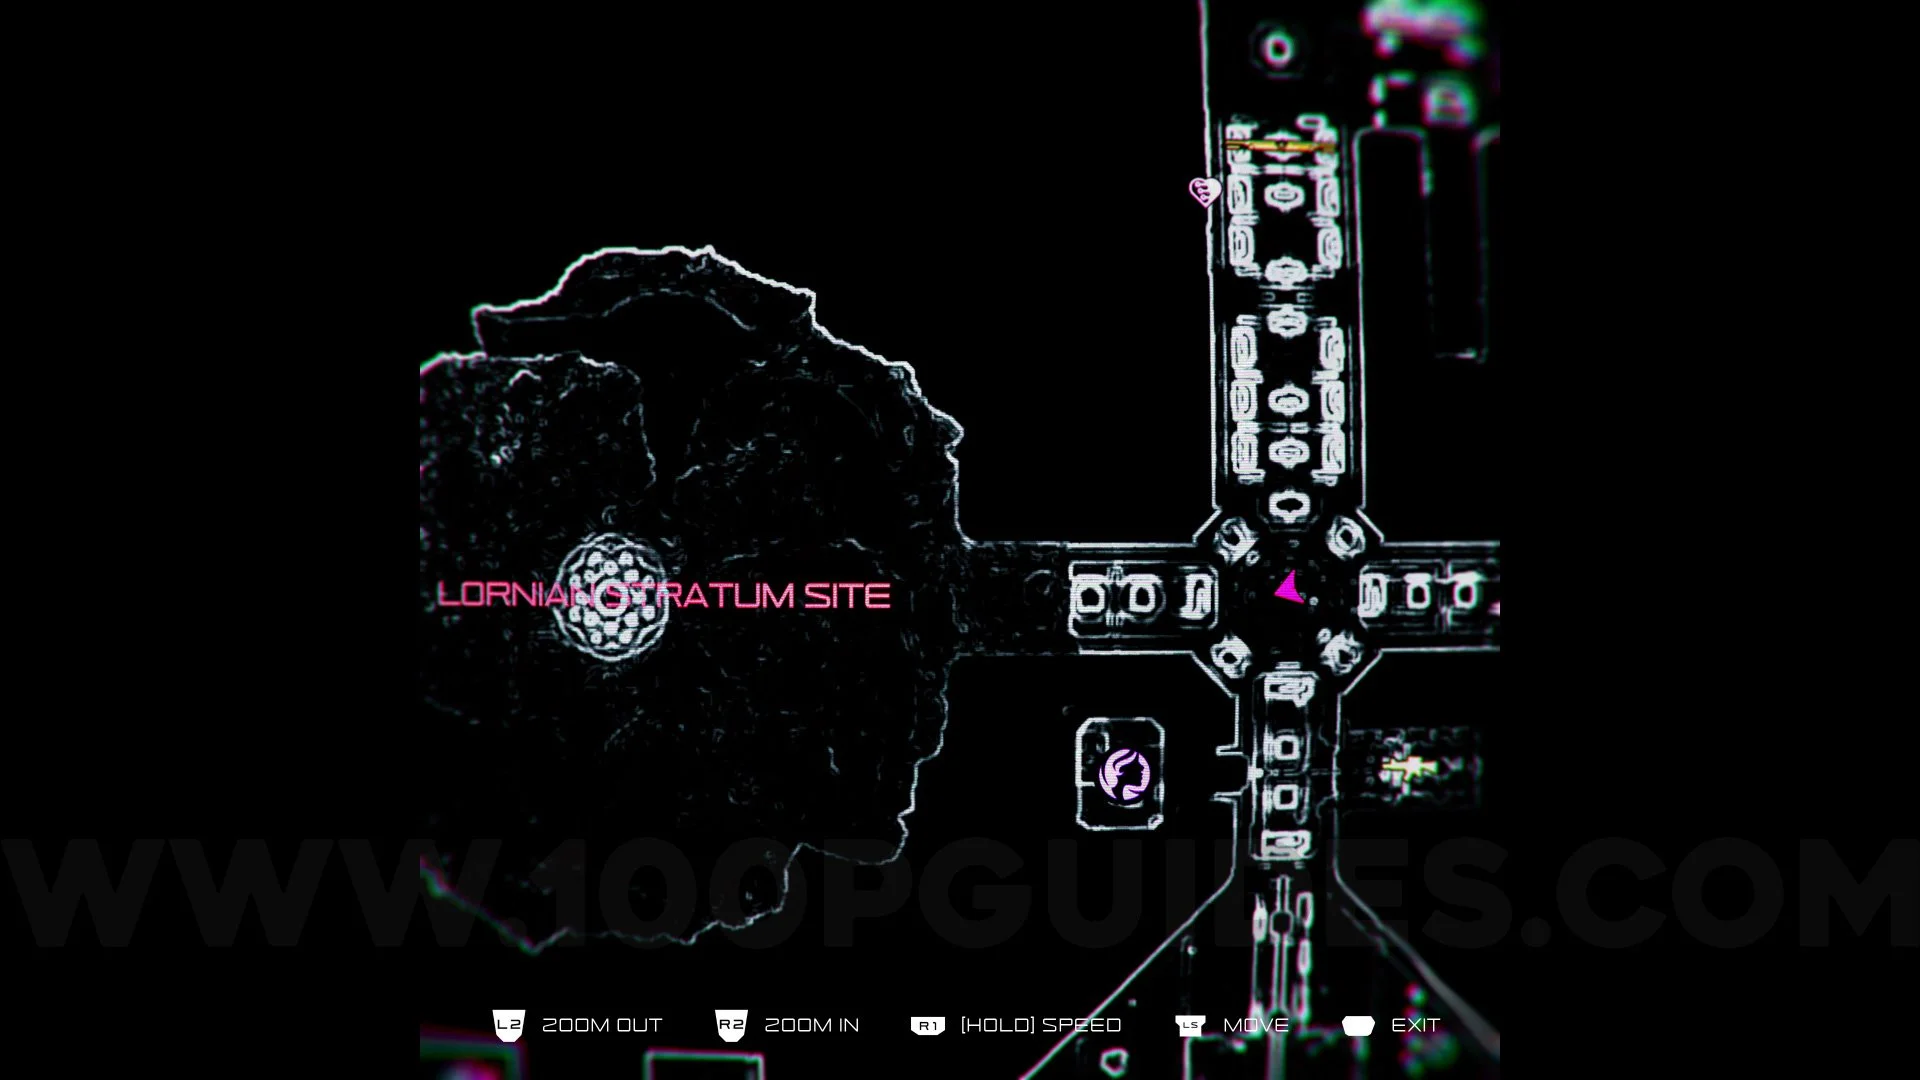
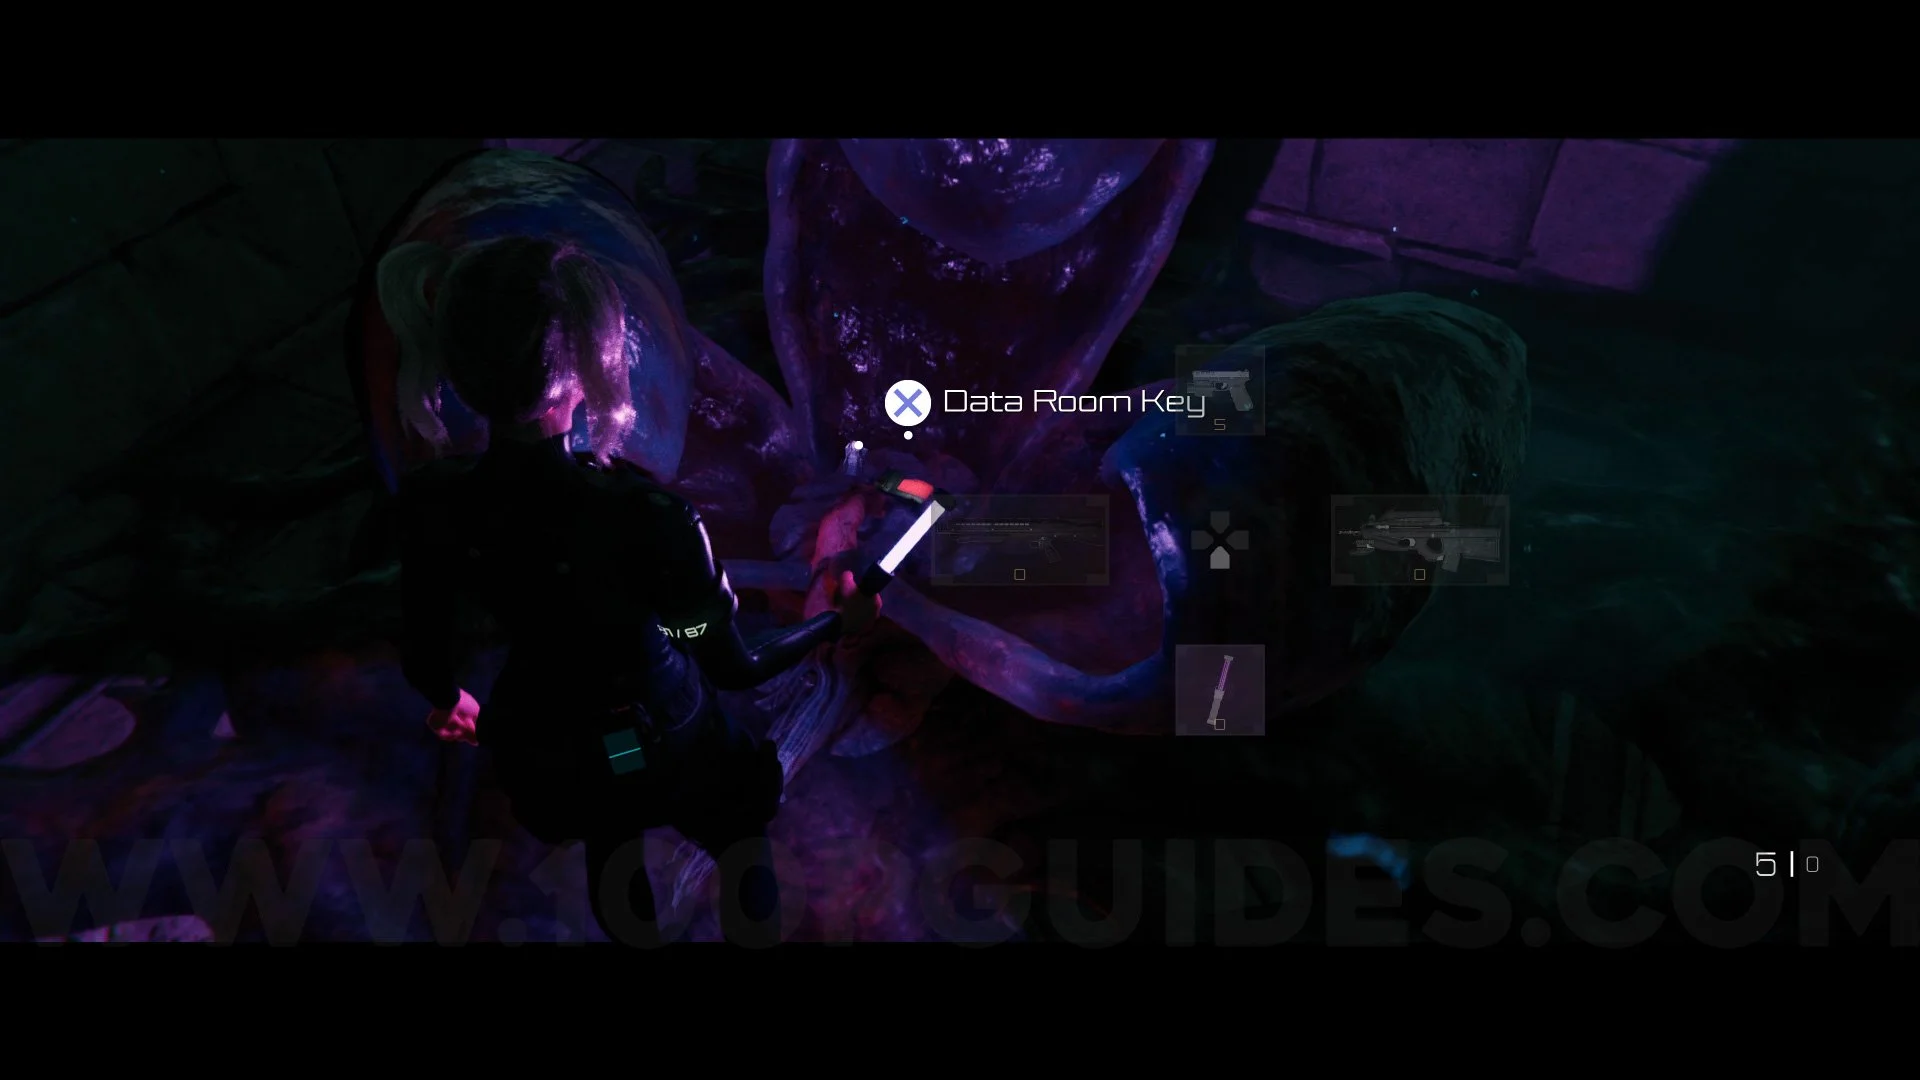
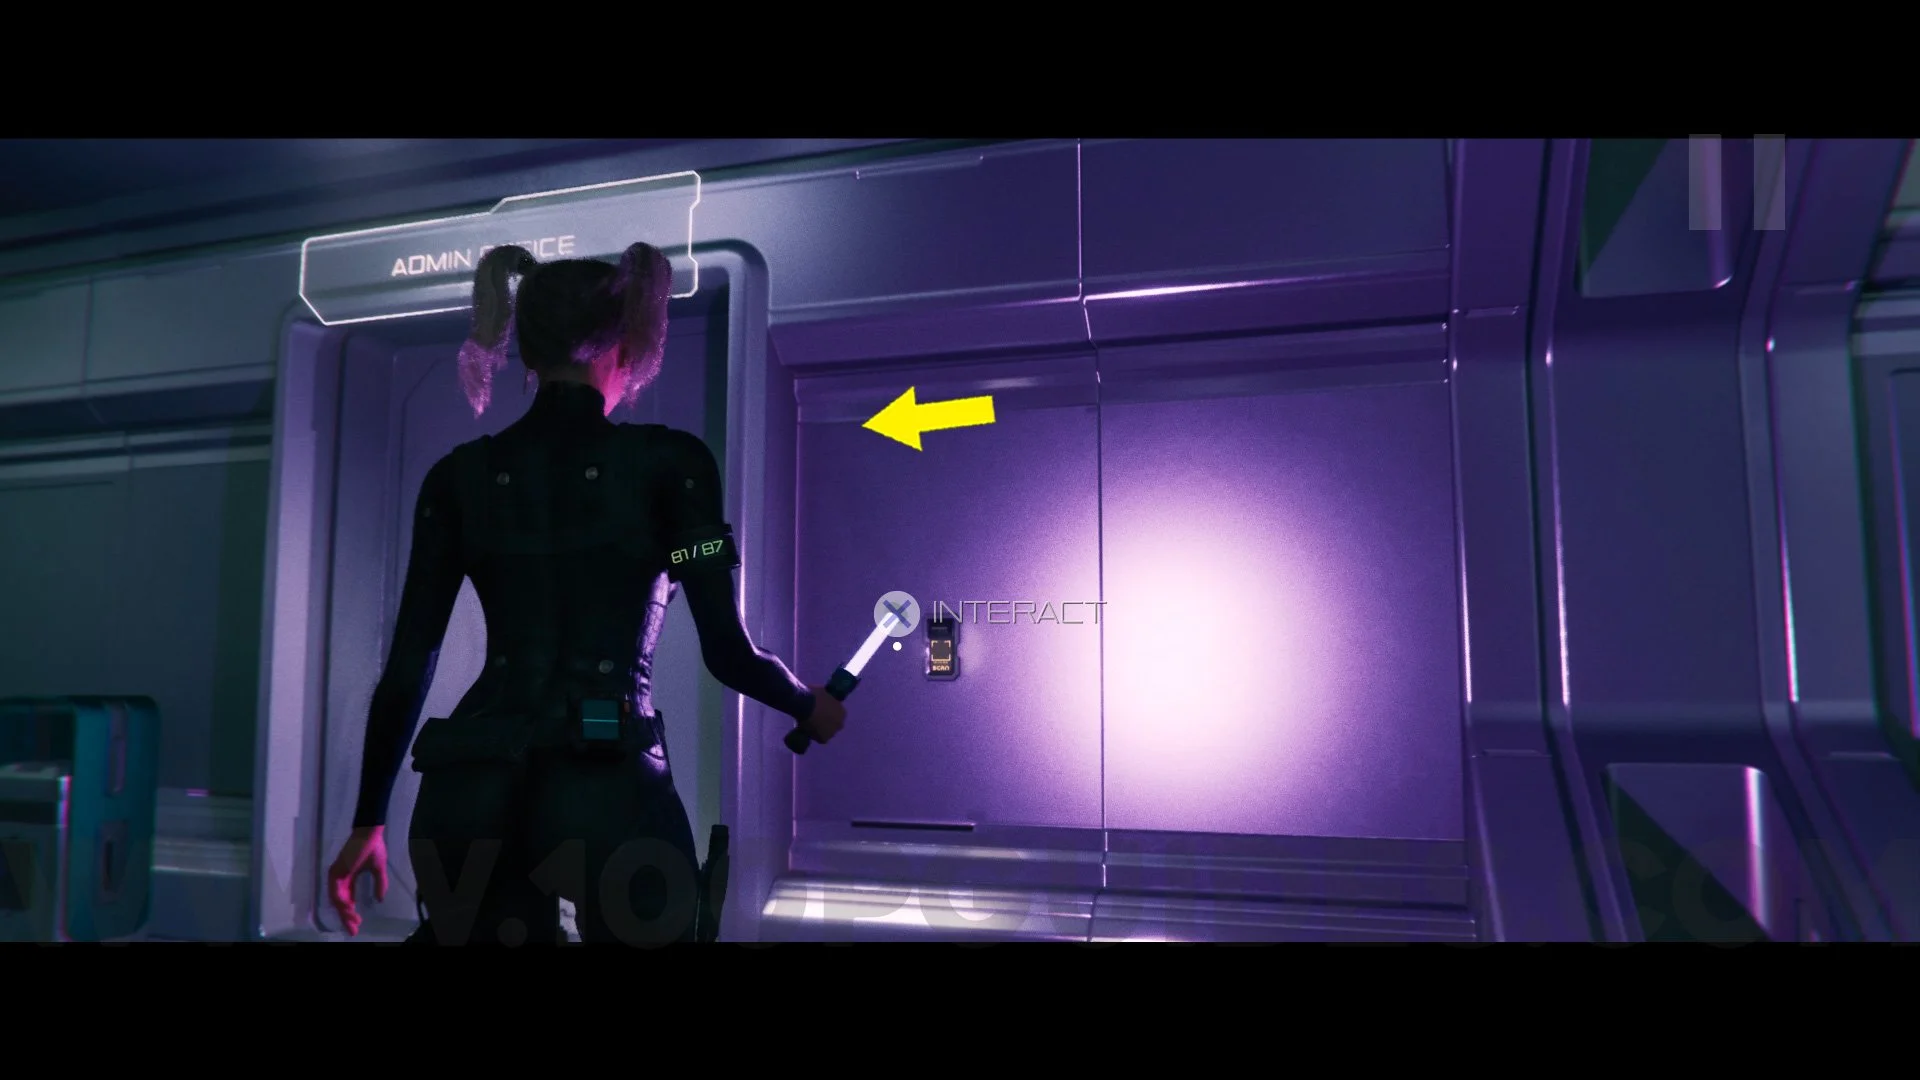
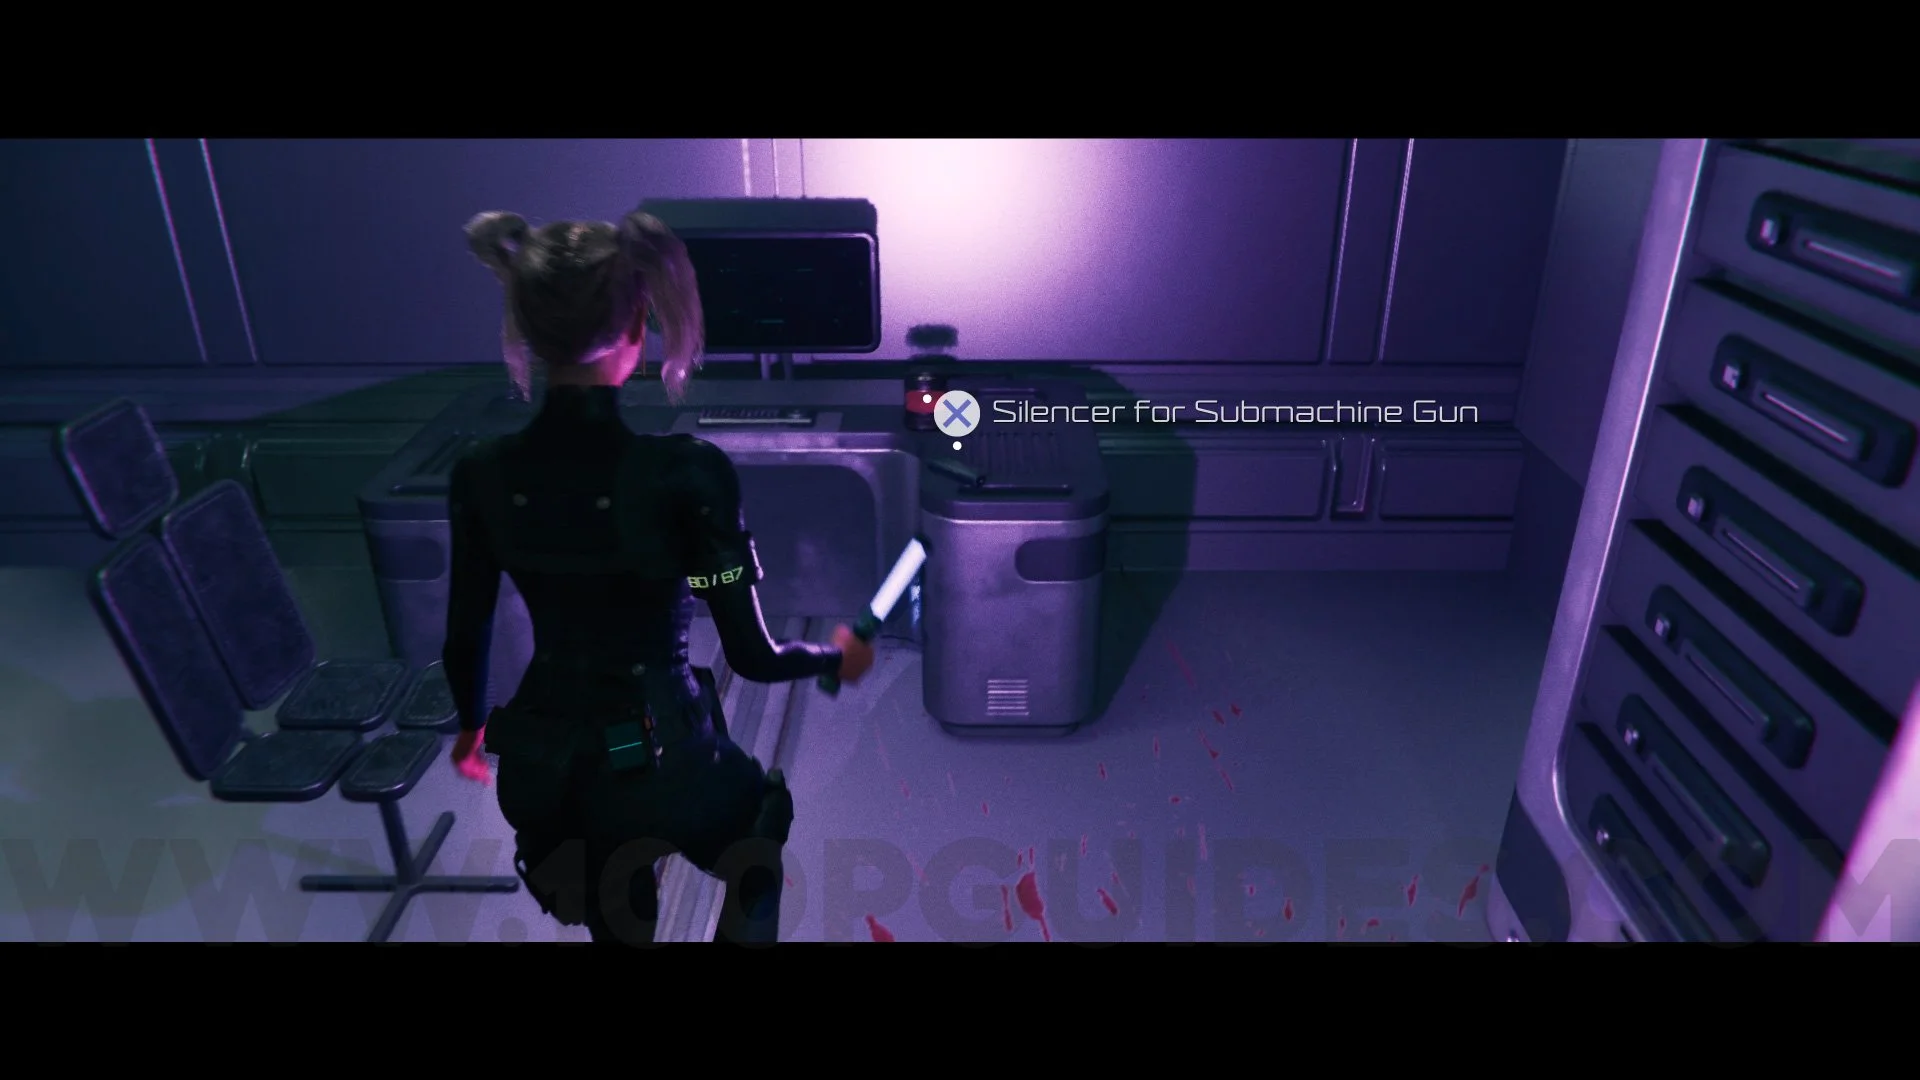
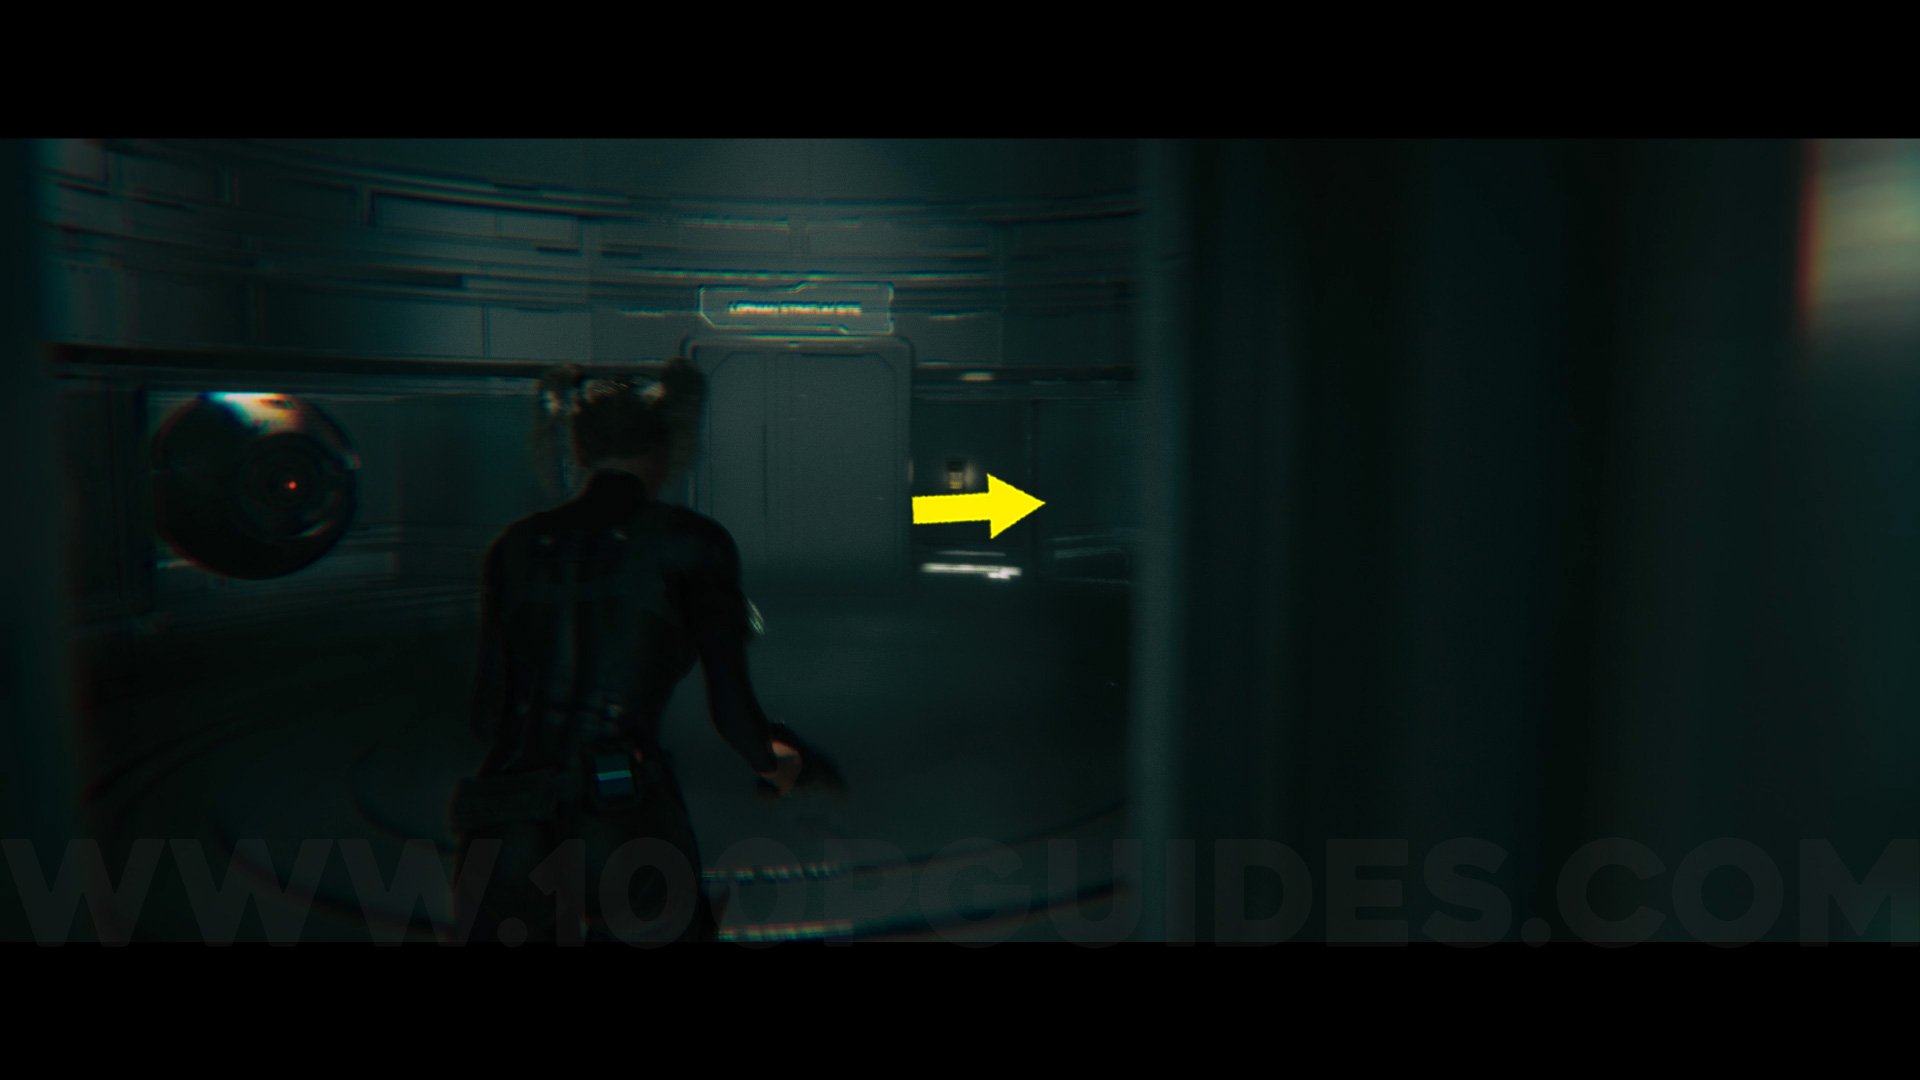
Silence For Submachine Gun. First, go to the Lornian Stratum Site, go down to the bottom, and break the last cocoon on the right side to get the data room key. then return to the mark shown on the map (center of the map) and continue straight ahead until you can turn right and enter another room. In this other room, enter the Admin office and continue straight ahead, pass through the next door, and then open the door on your left to find the silencer.
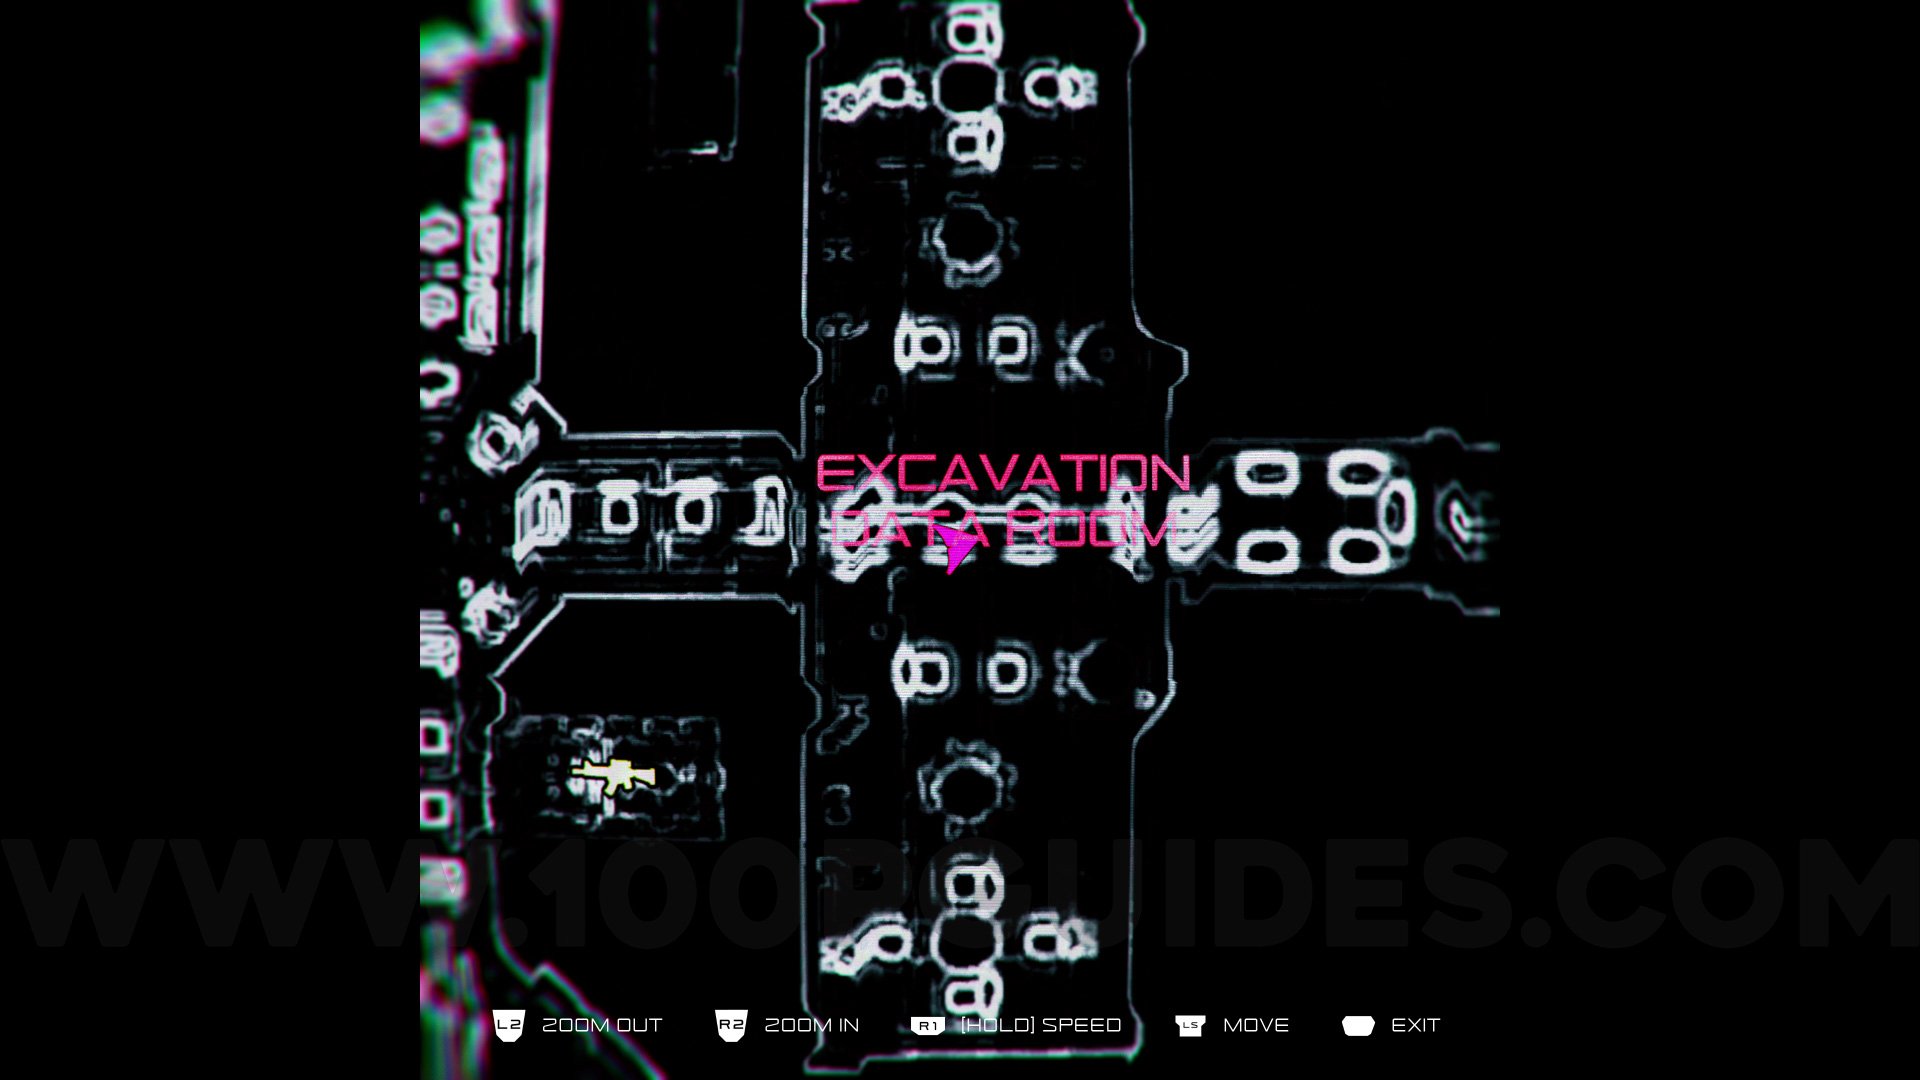
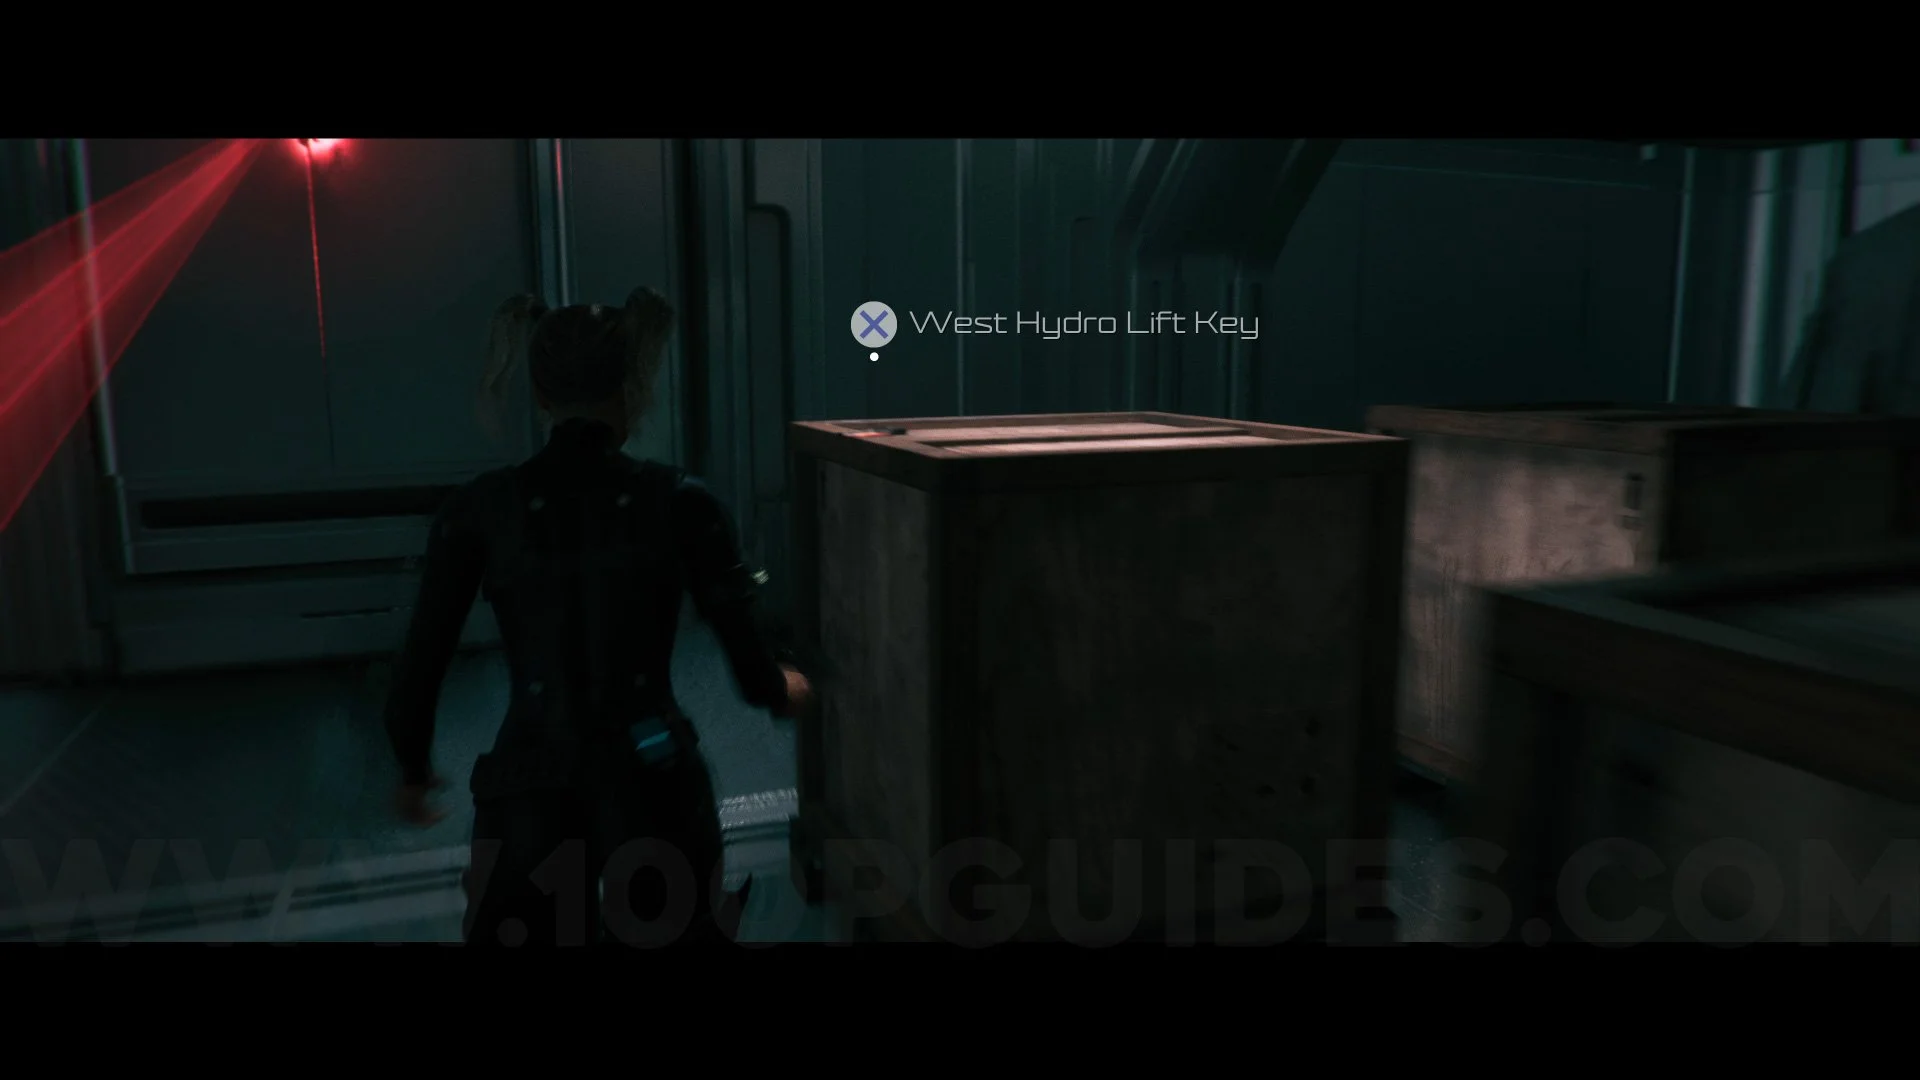
Outfit #11 Wild Thing. Go to the Excavation Data Room, go through the door in front of you, turn around and shoot the blue lamp, then turn around again and go through the door and take the West Hydro Lift Key on top of a box. After picking it up, retrace your steps back to the center of the map. Once there, turn at the first door on the right and go straight ahead, then turn right and right again to reach the area with the blue light. At the end of this area, you will find the outfit.


Duck #6. When you arrive at the Hydrolift, descend the platform and shoot the blue lamp, then climb the platform to the middle of the area and rotate it so that you can reach the area where there are some boxes. Behind one of these boxes will be the duck.
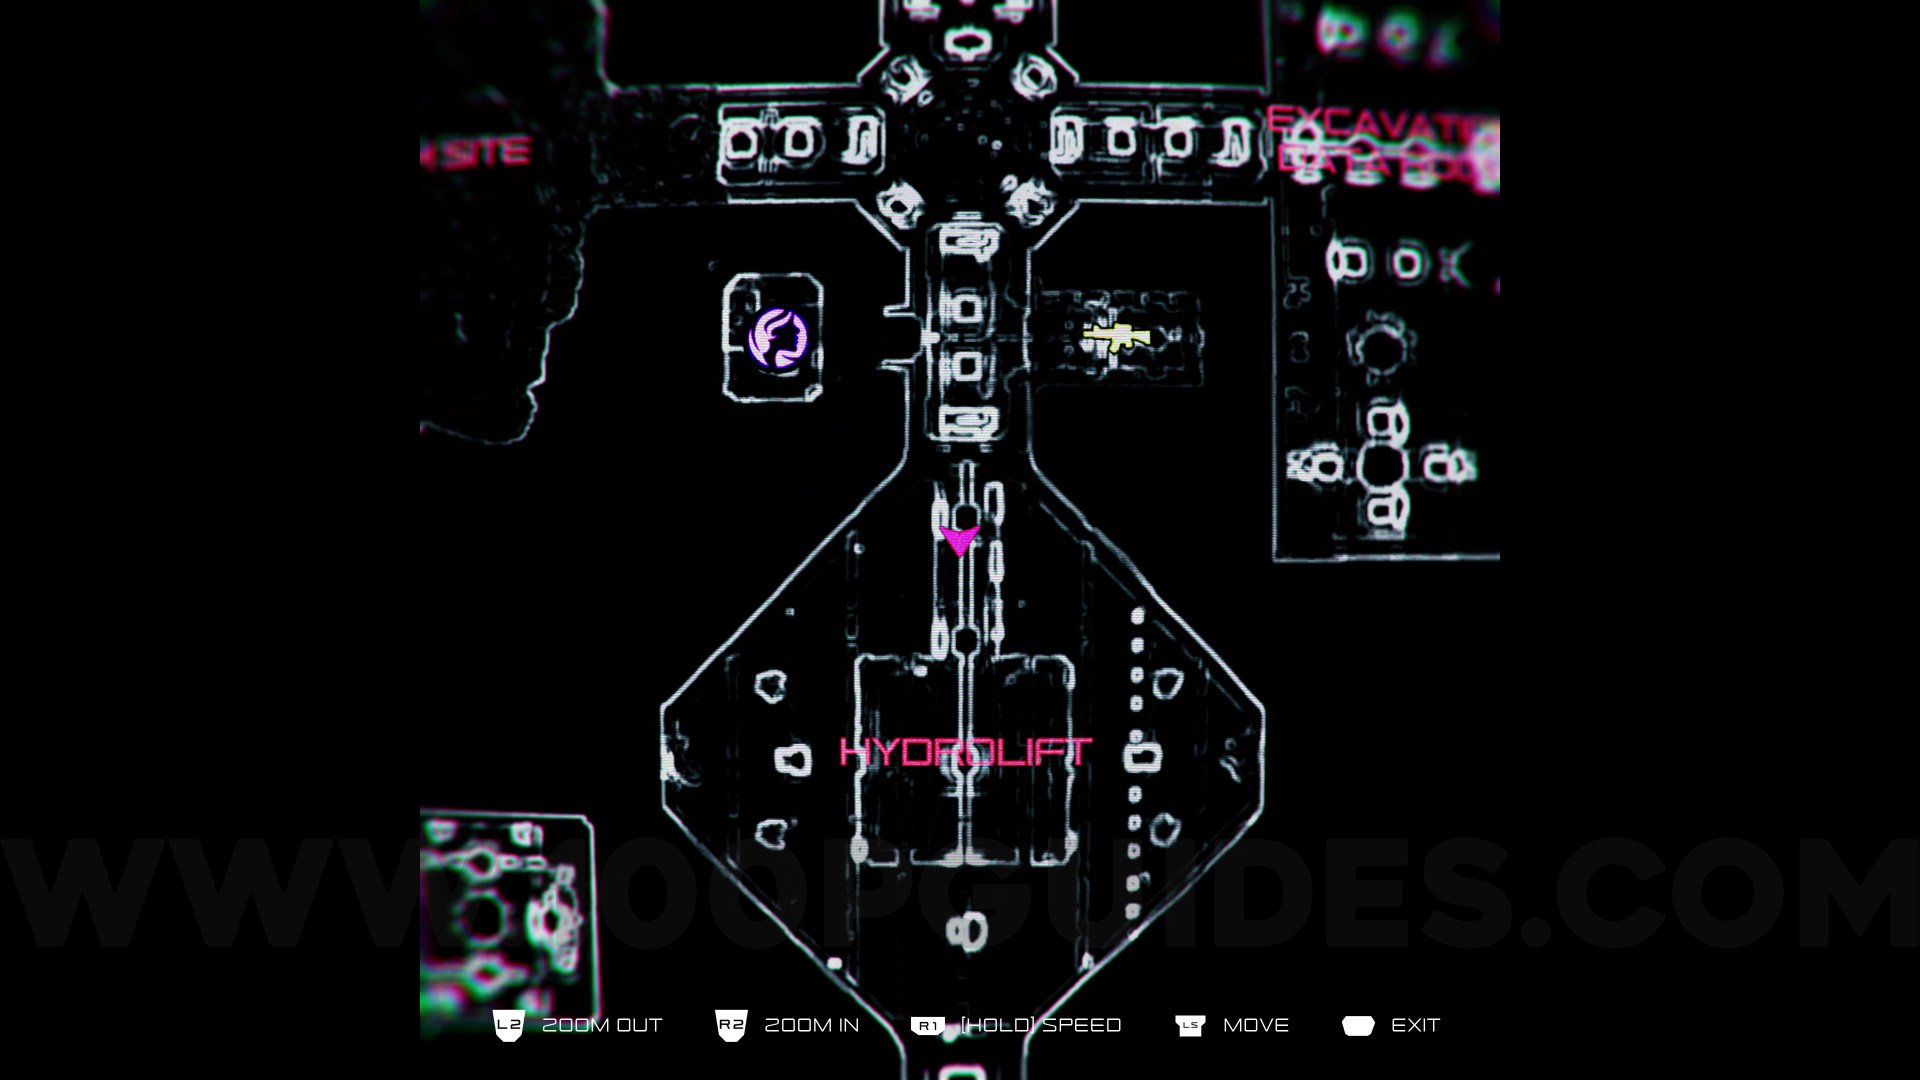
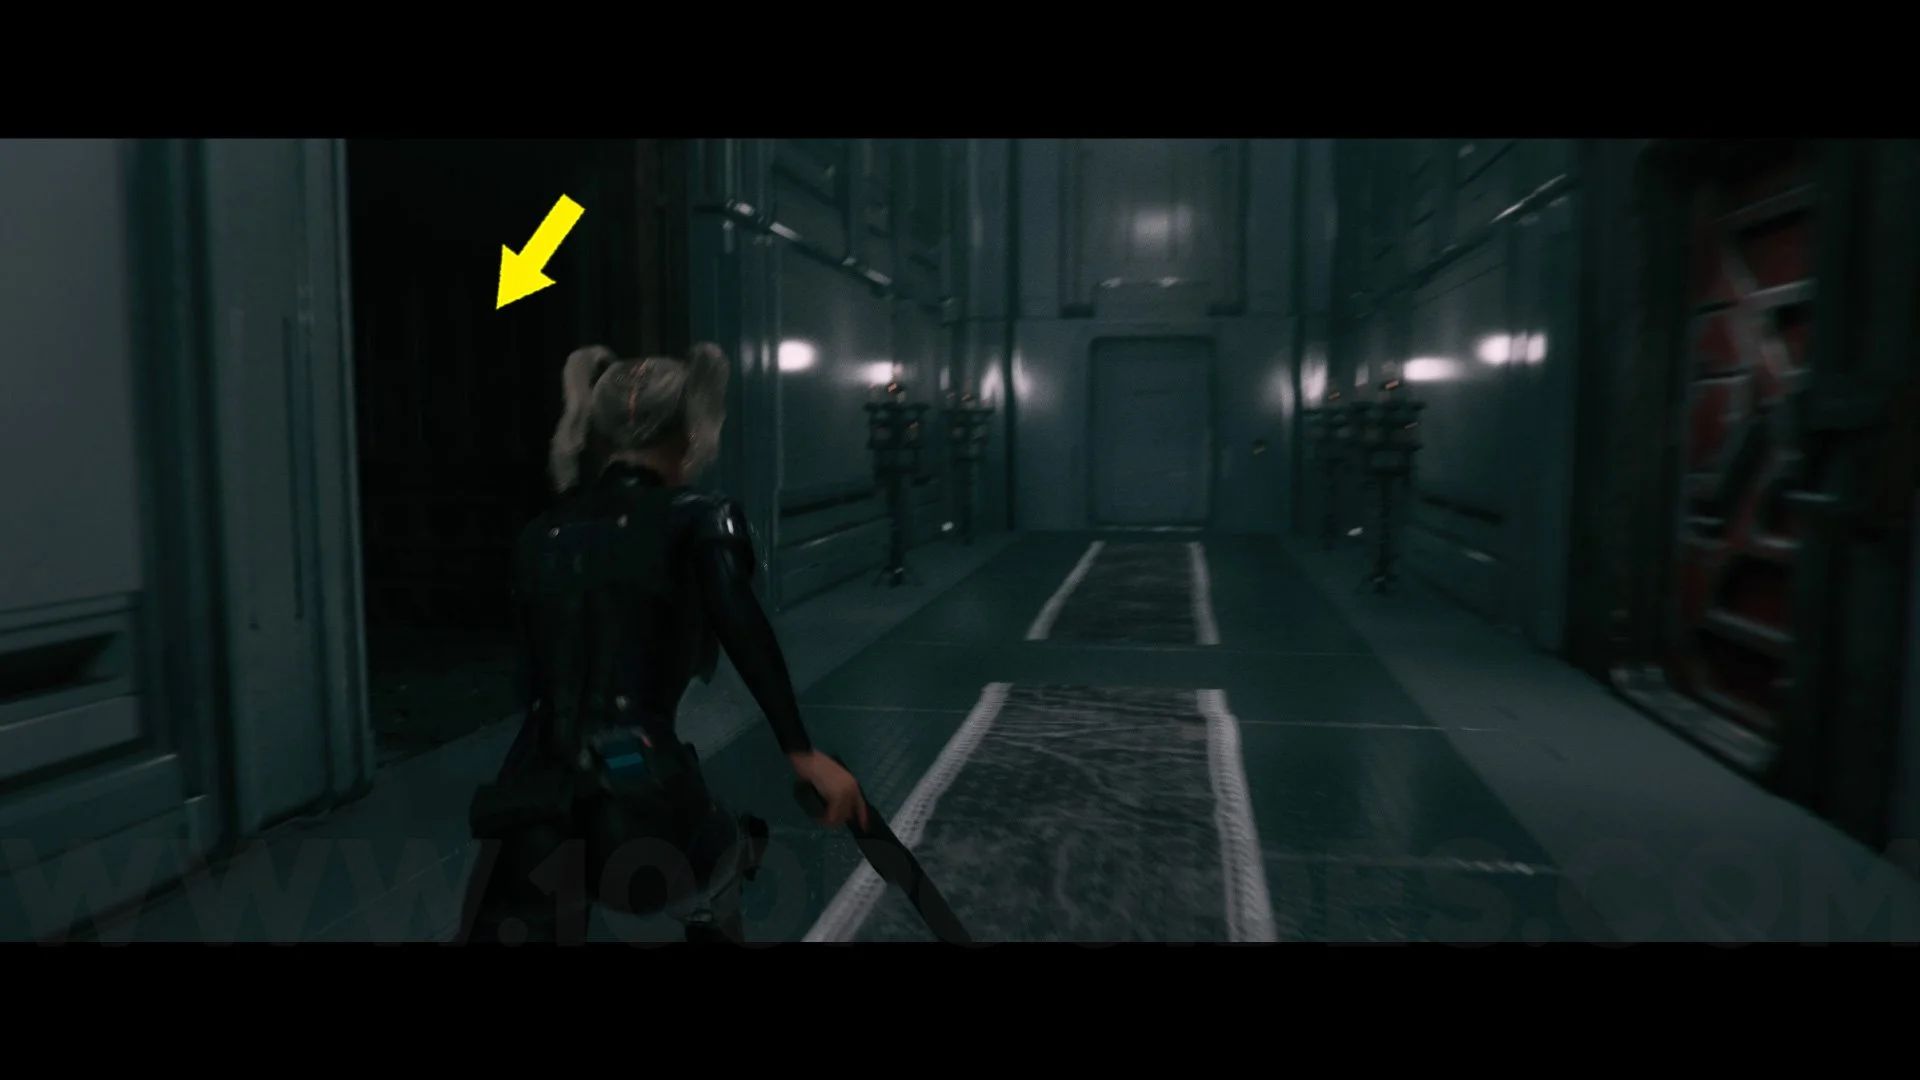
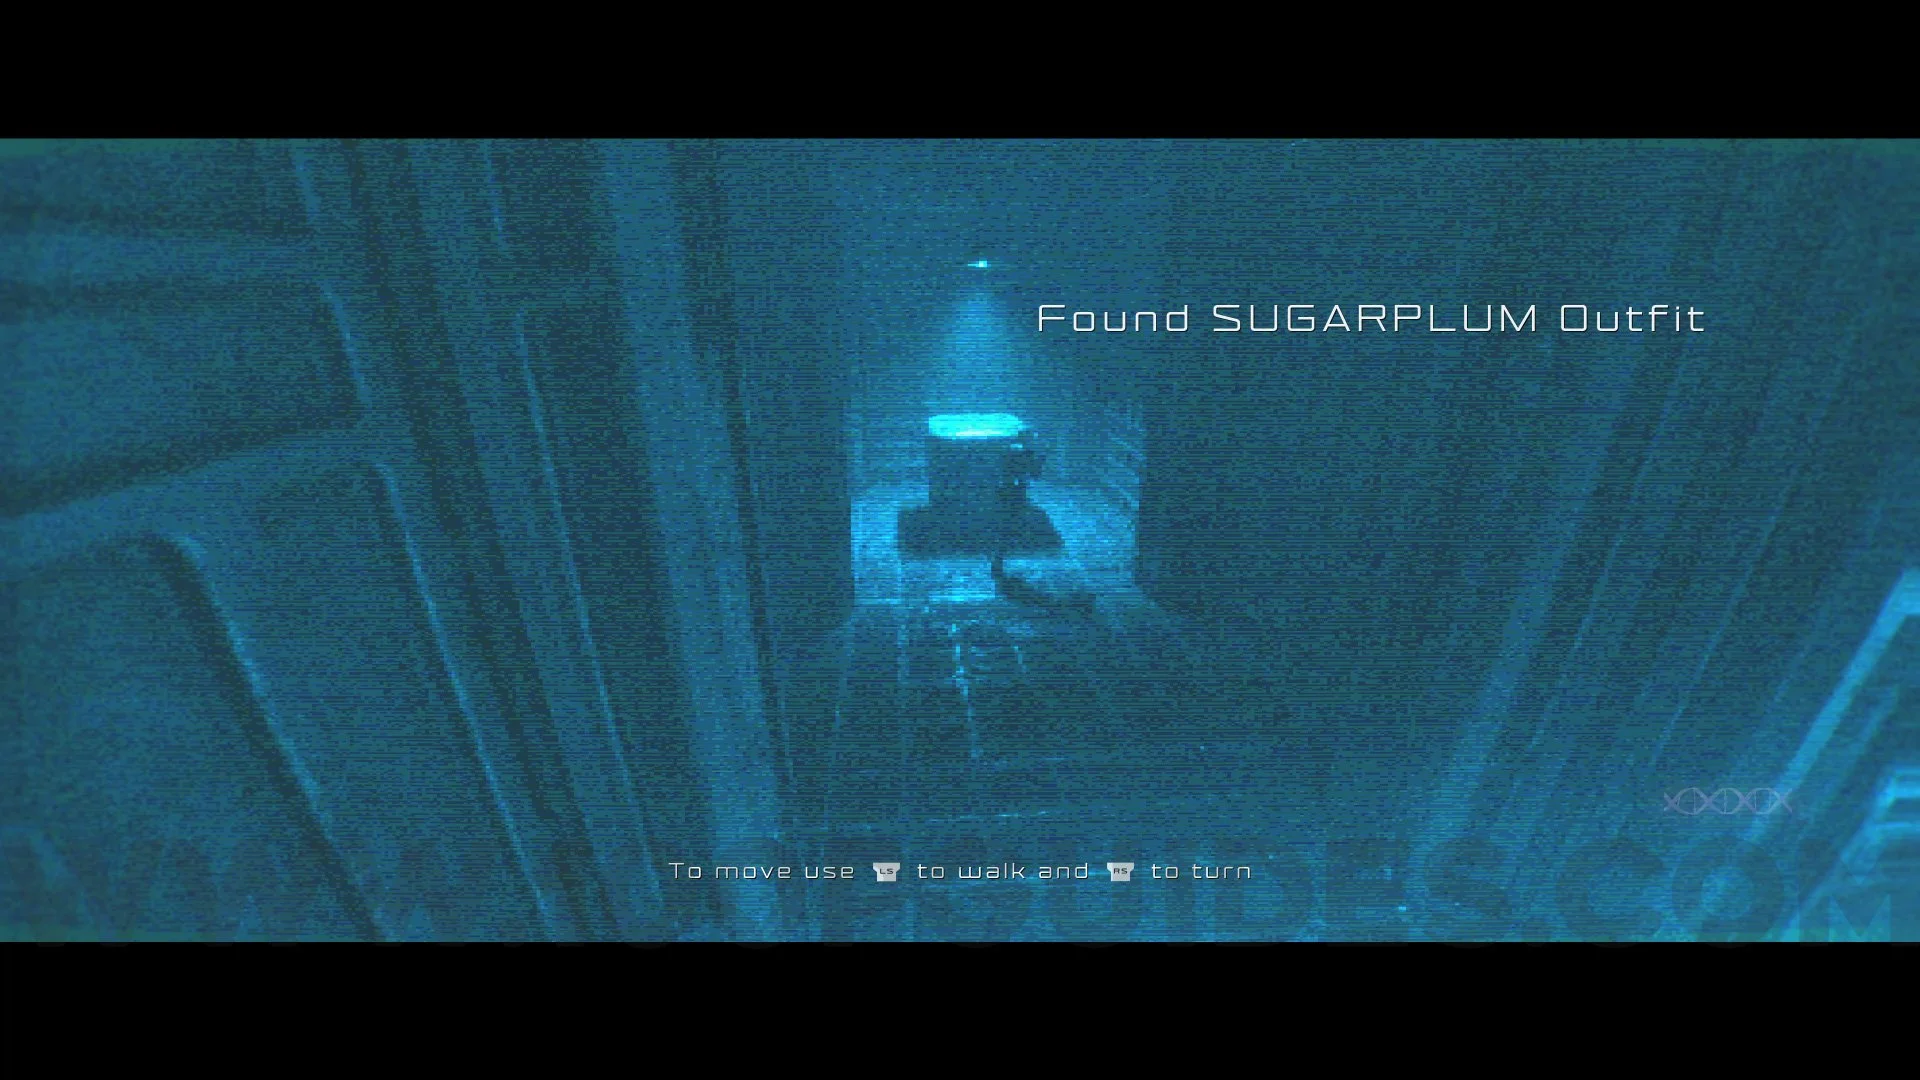
Outfit #12 Sugarplum. Directly from the previous collectible, climb the platform to the highest level and go through the door, follow the single path in front of you, and then turn left to enter the blue area. At the end of the area, you will find this outfit.
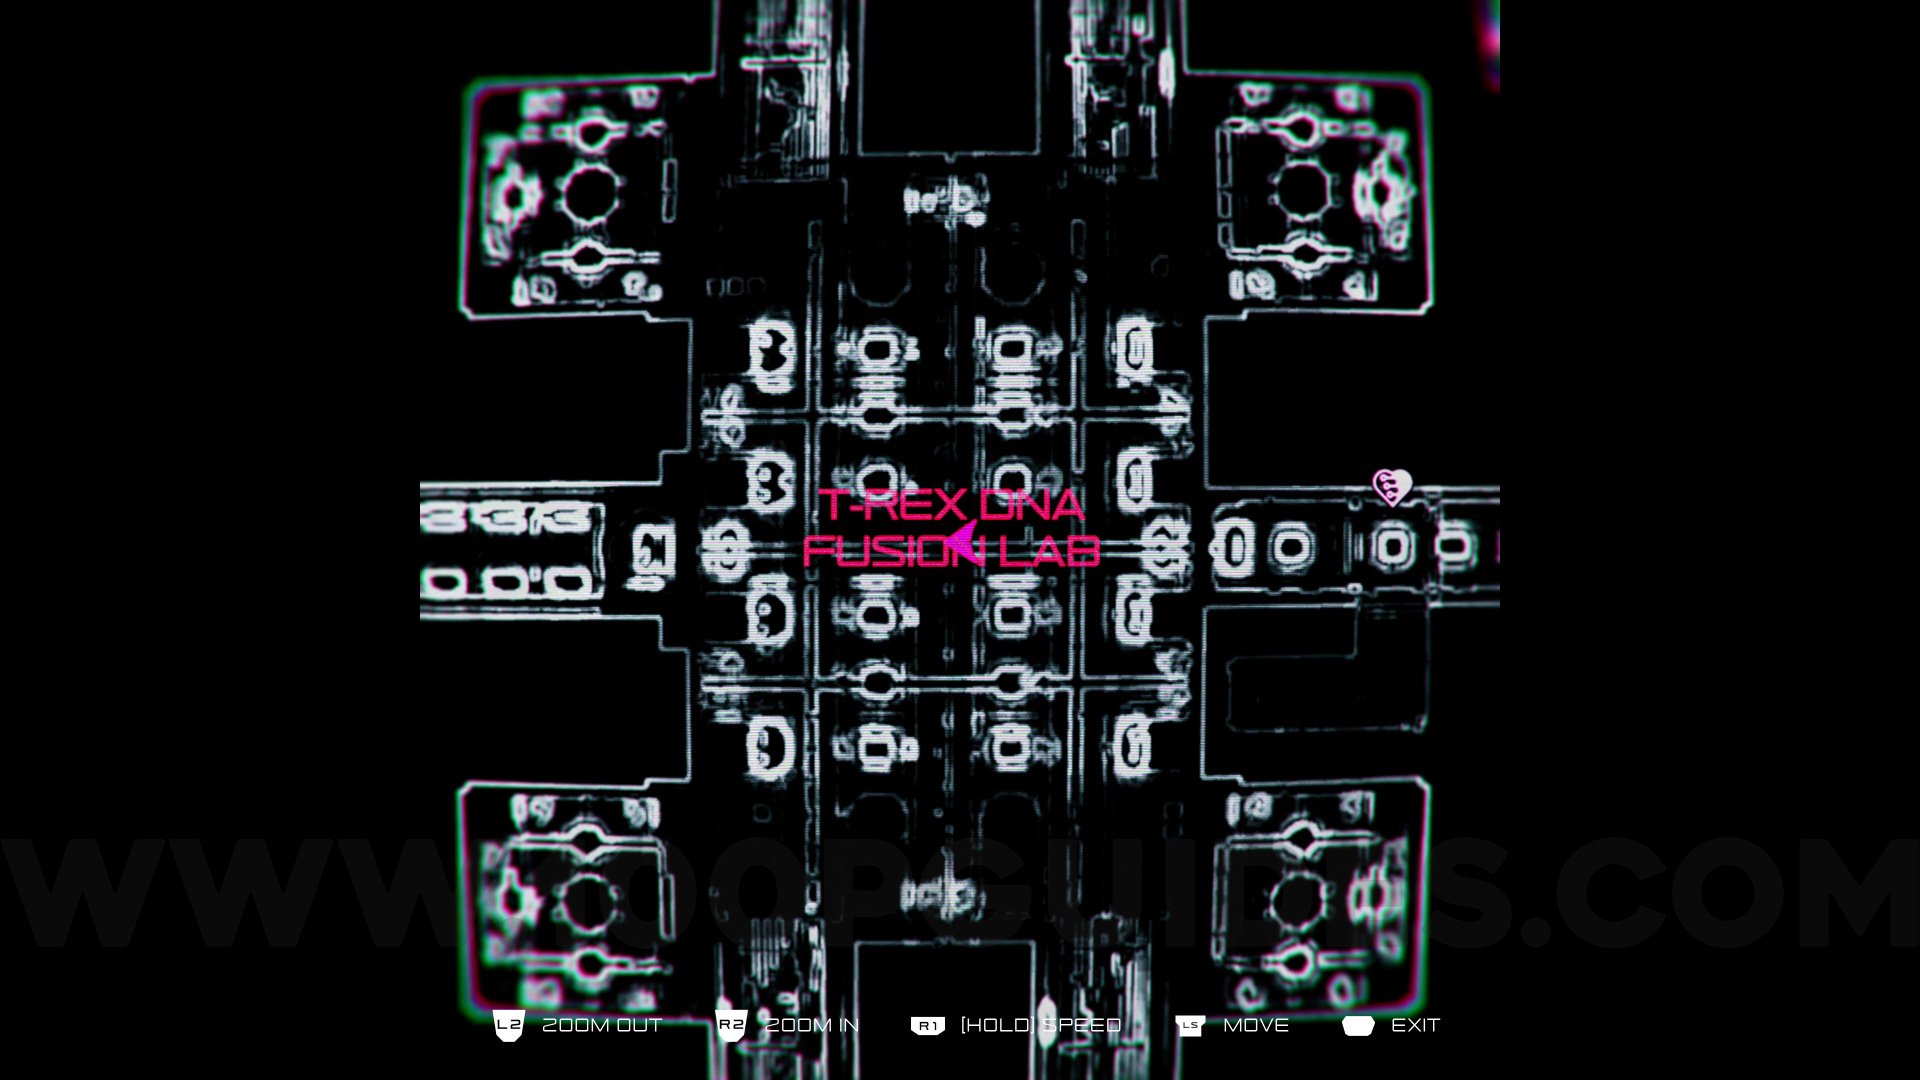
Earring #4. When you arrive at T-REX DNA FUSION LAB, stand facing the red laser and then go to the left. At the end of the left area, you will find this earring on top of a box.
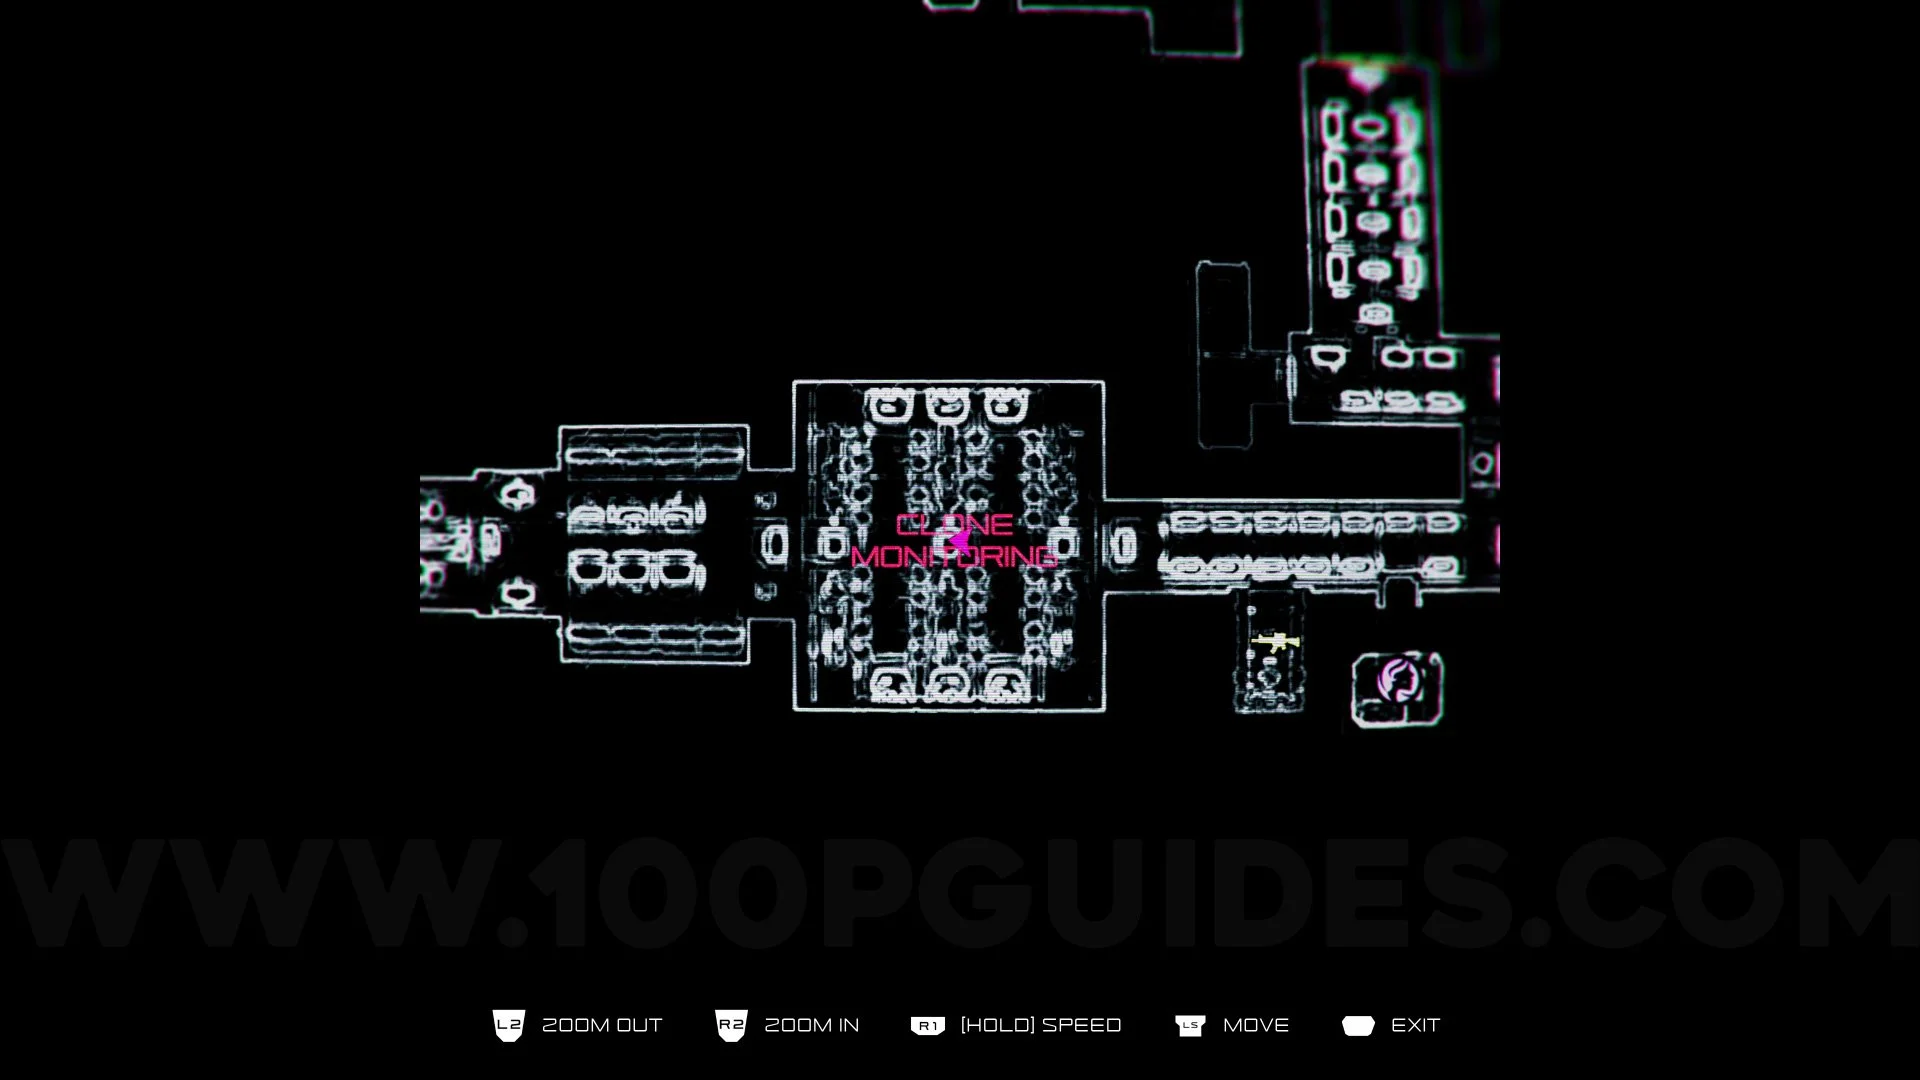
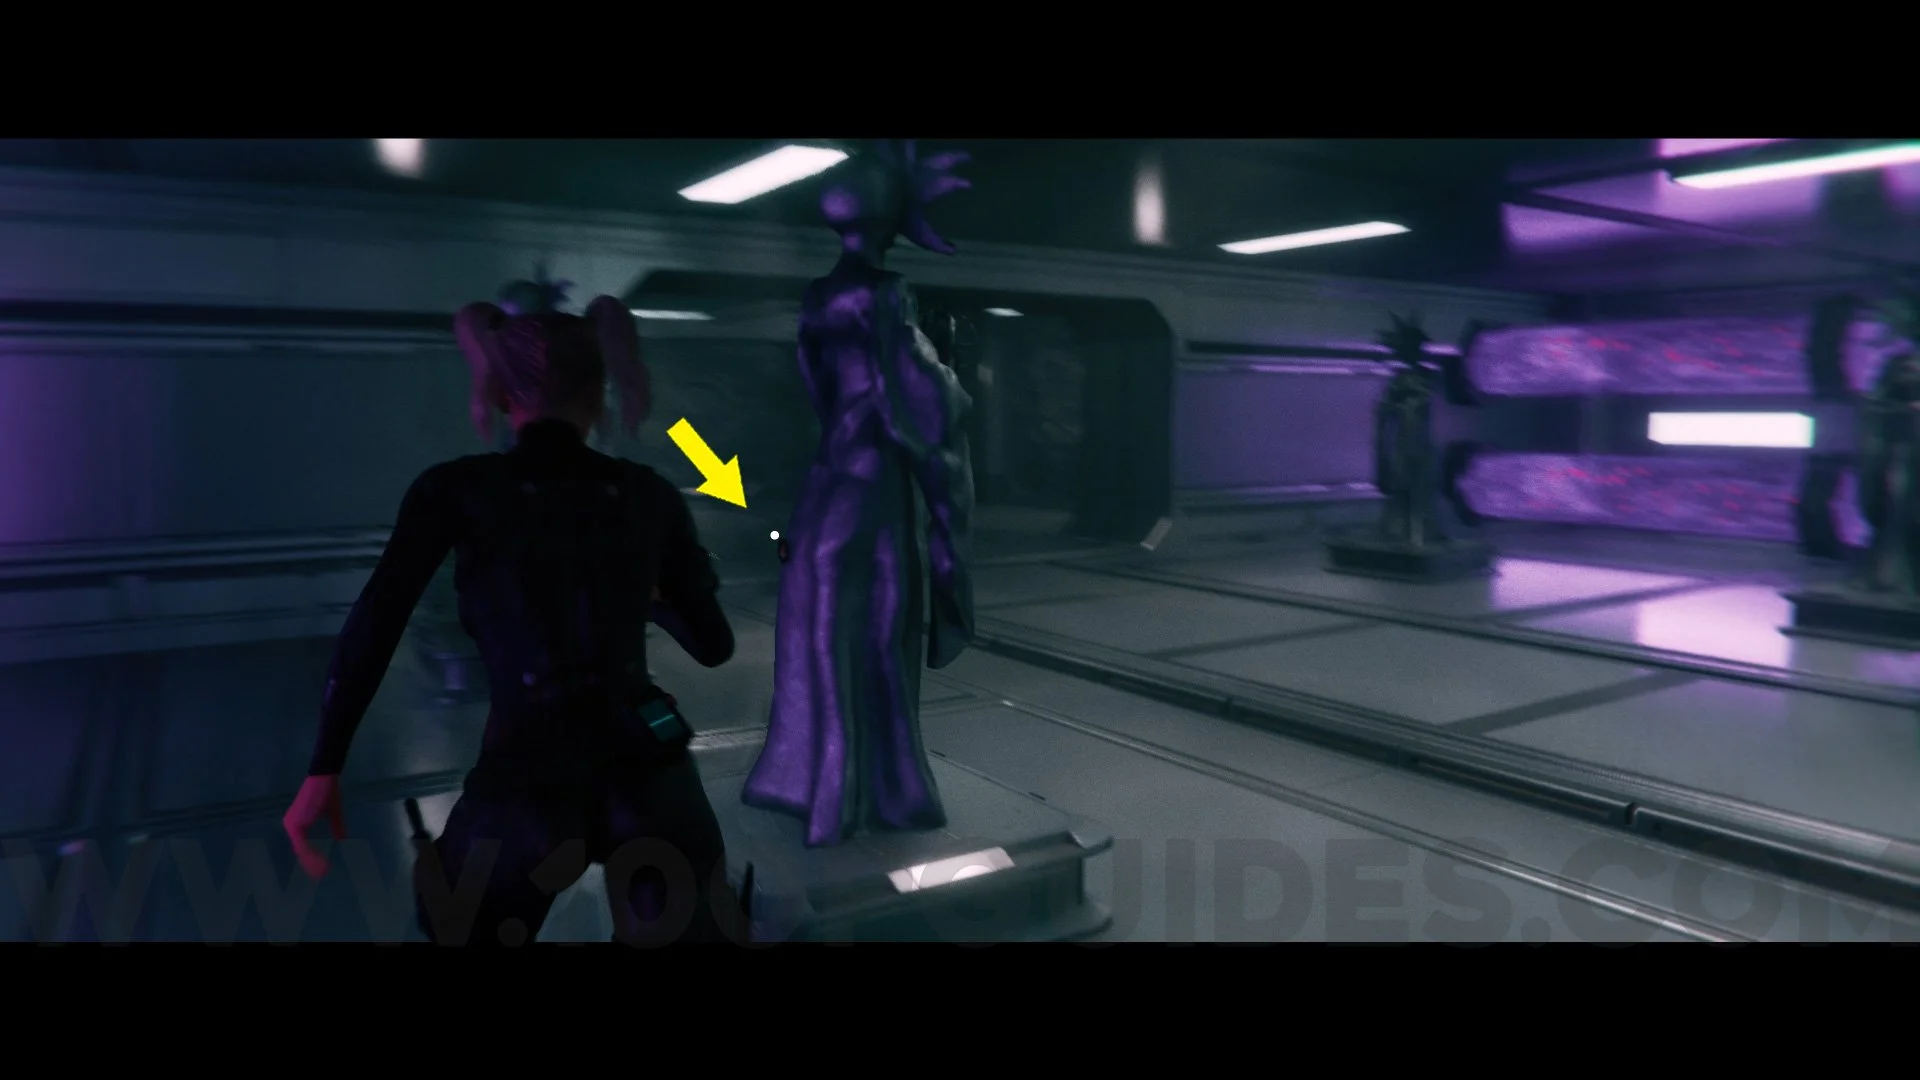
Cameo #4. Go to the room called Clone Monitoring and proceed through the door; this cameo is located at the back of a statue.
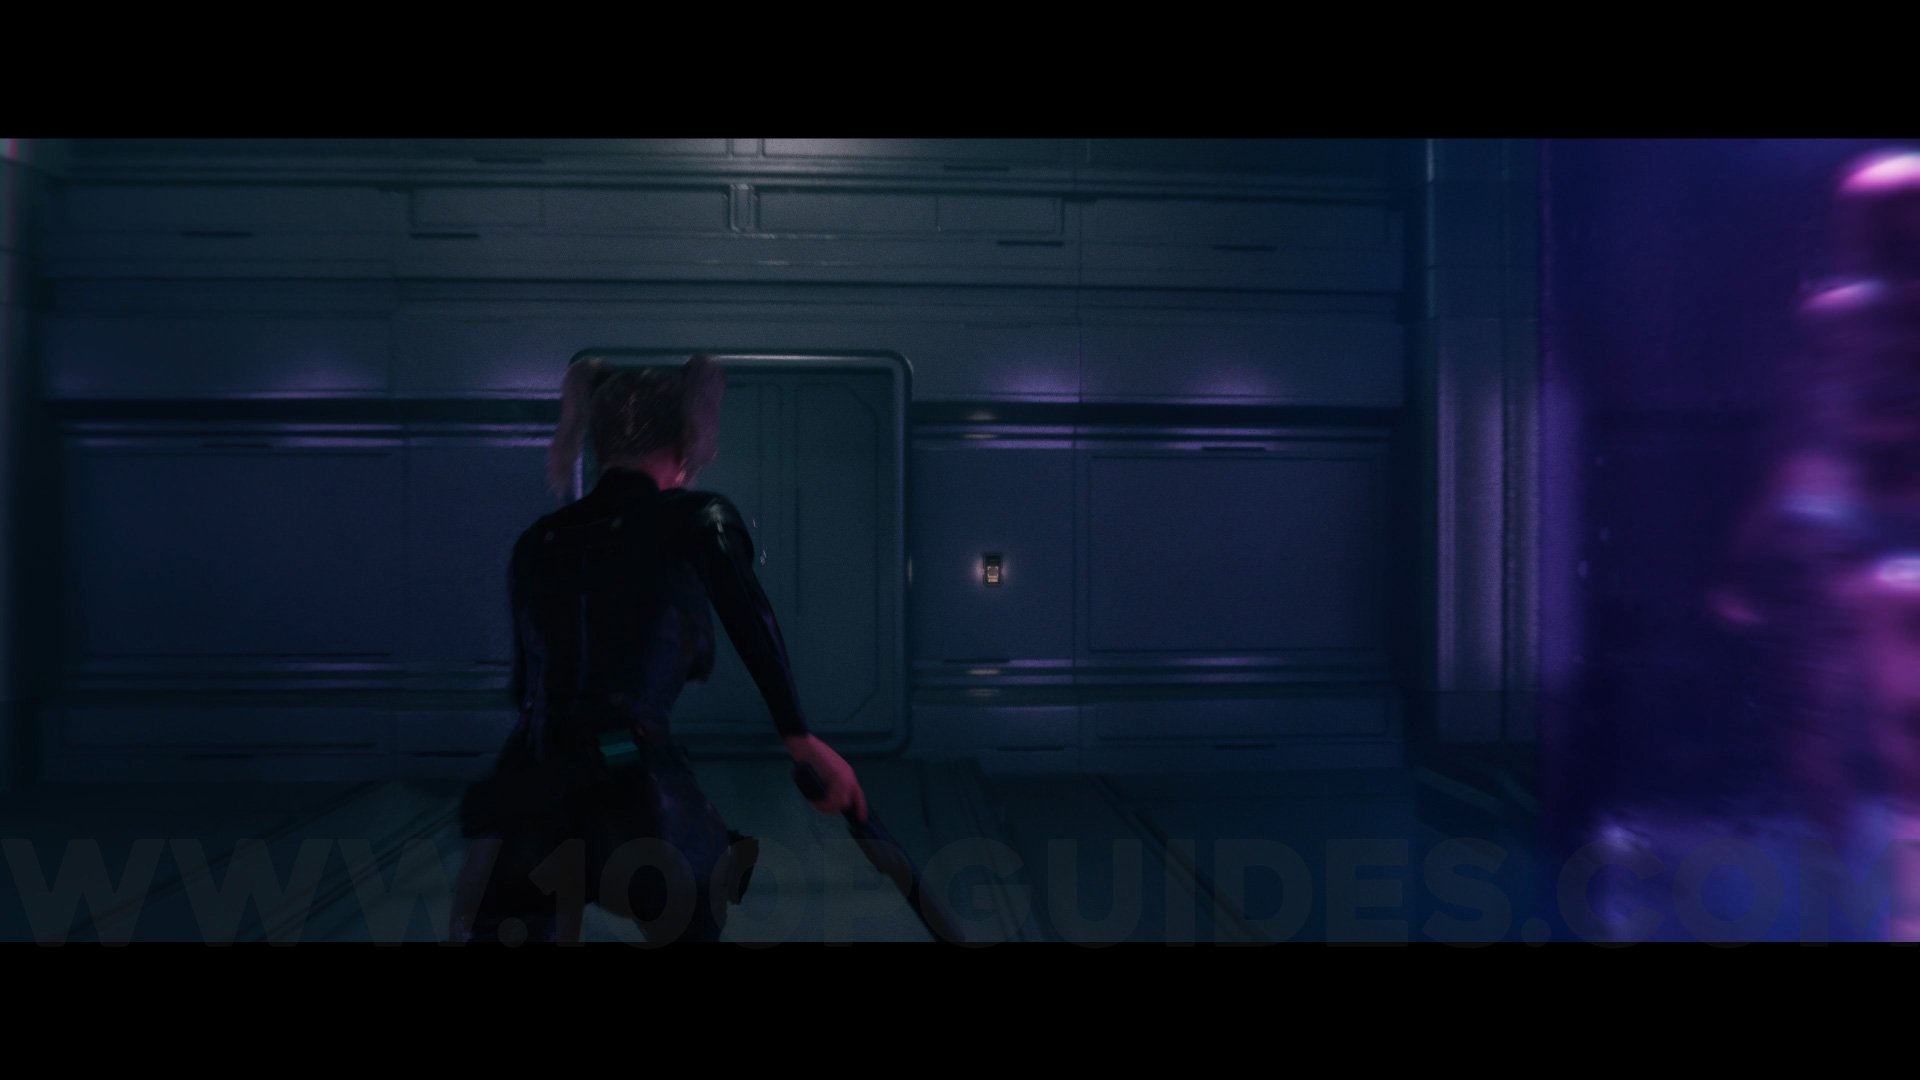
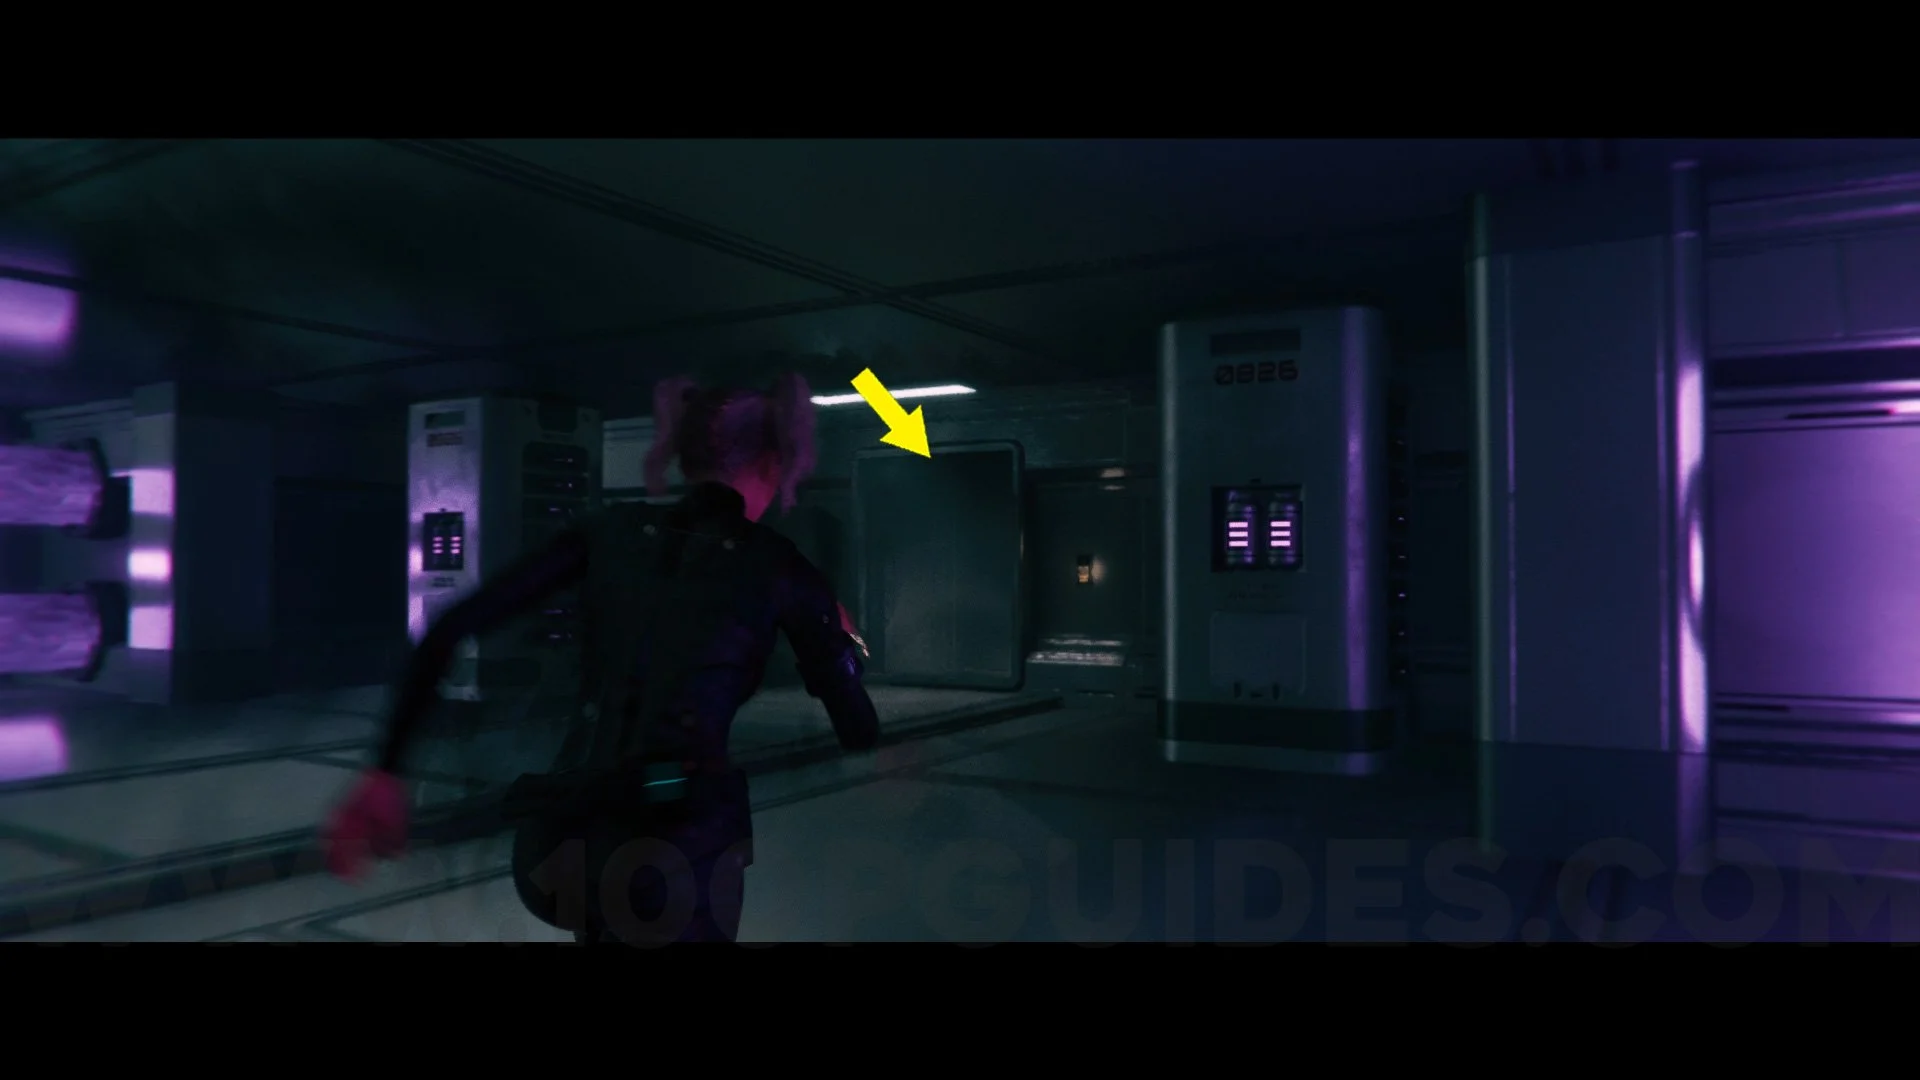
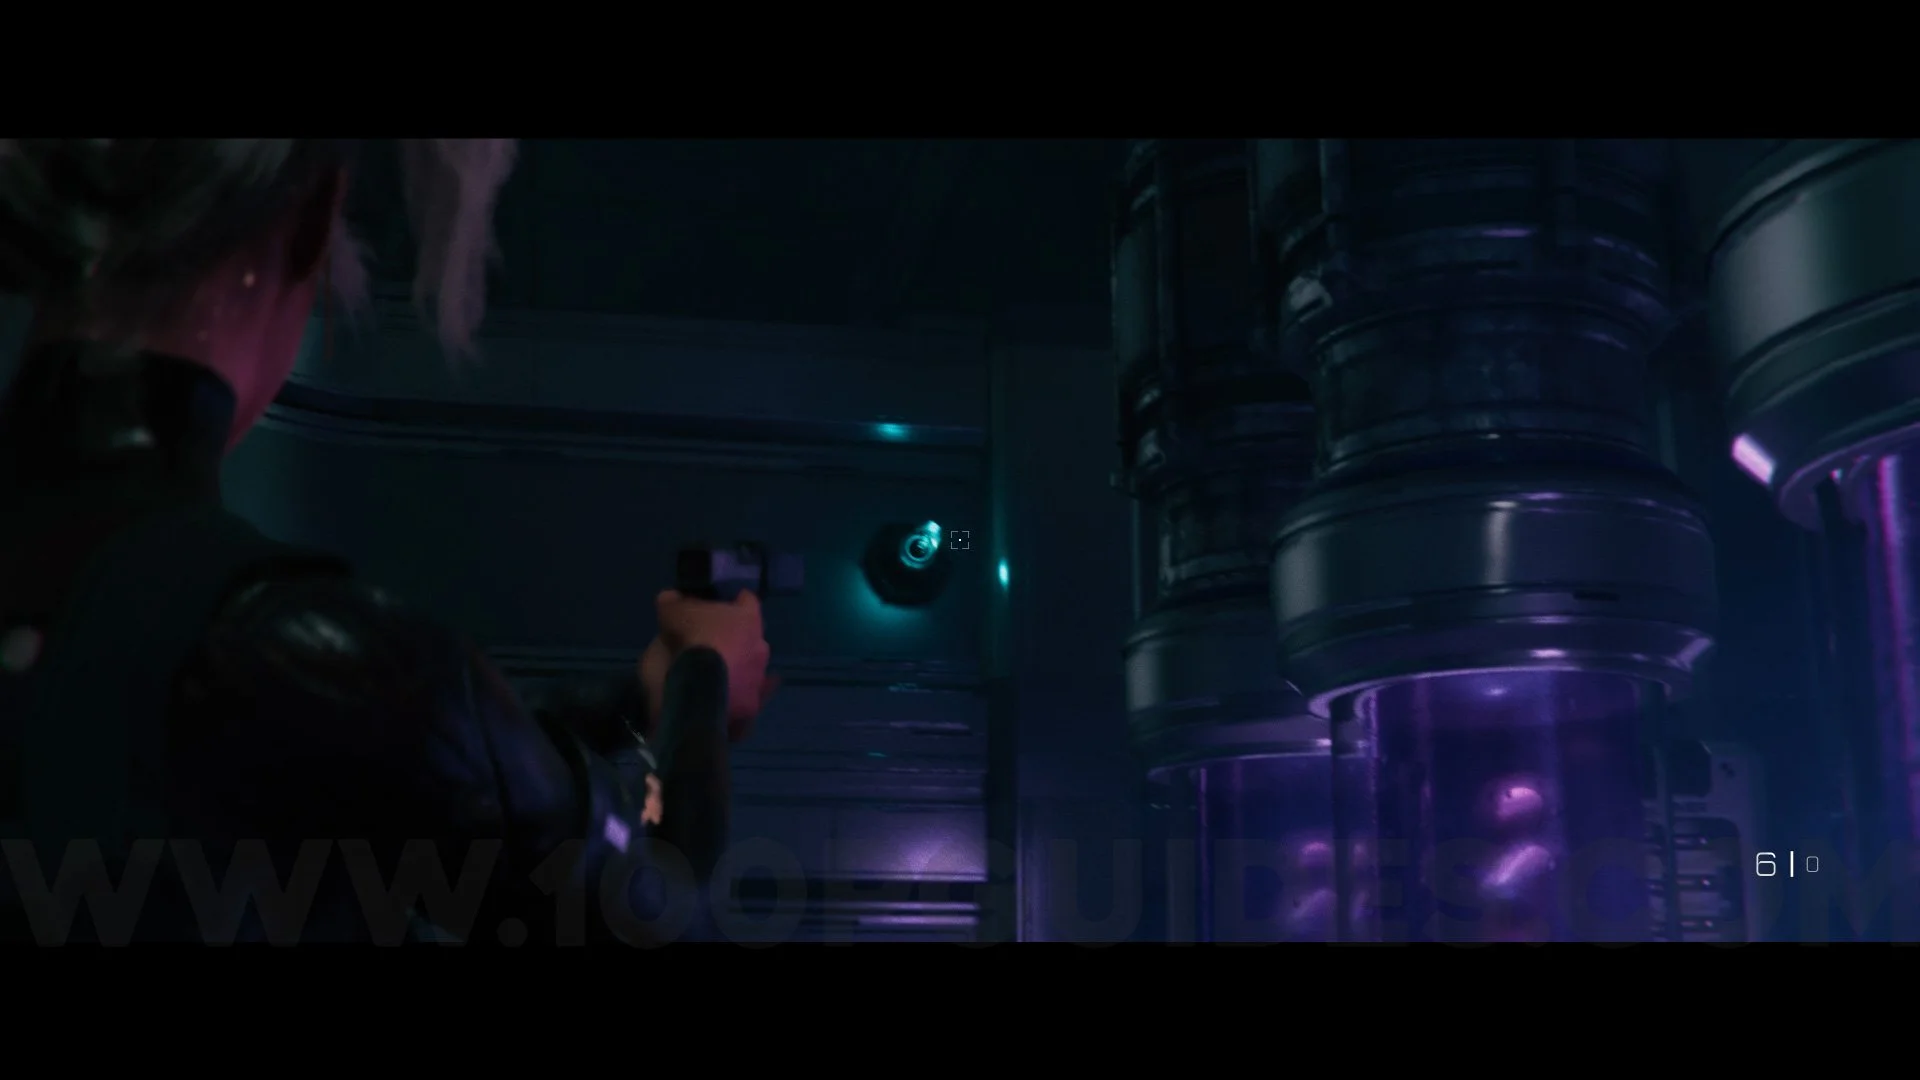
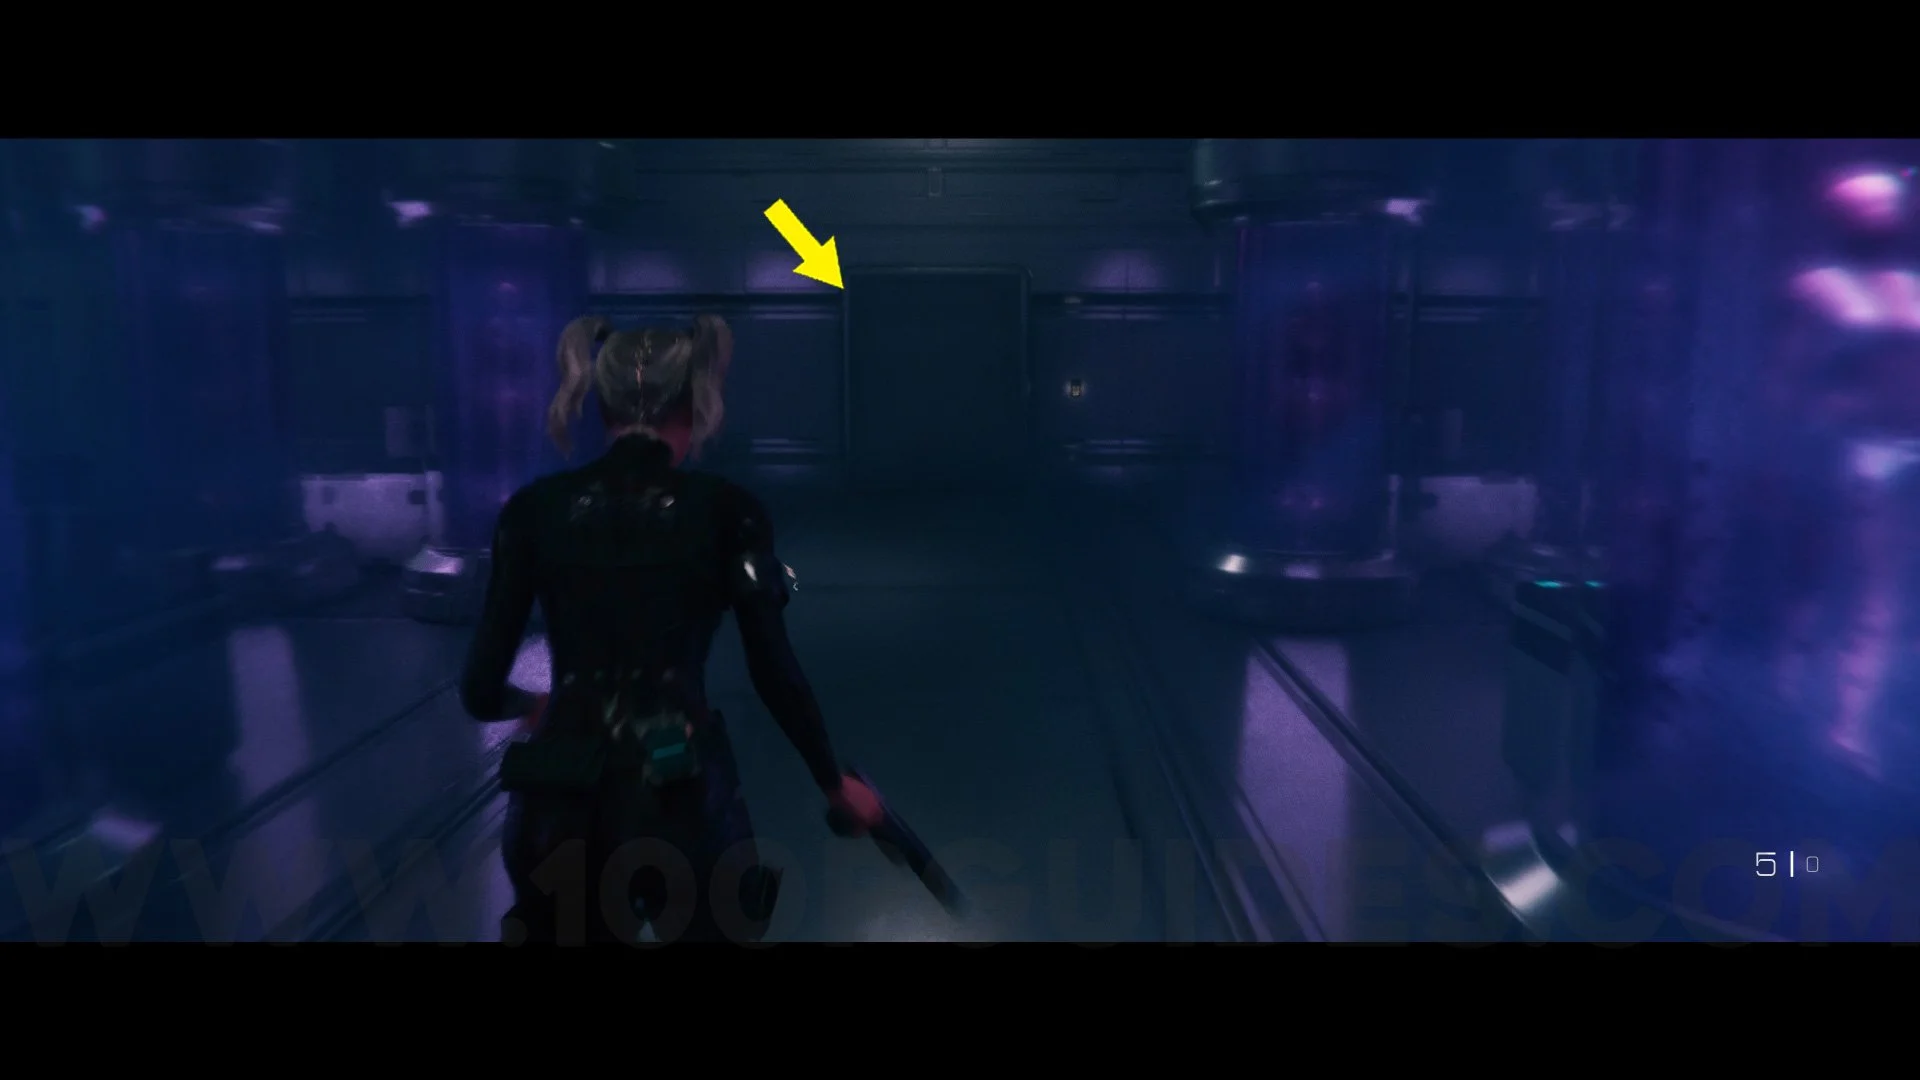
Outfit #13 Argh, Black Tides. Directly from the previous collectible, return to the Clone Monitoring room and look up and break the blue lamp, then go straight ahead and through the door, go to the end of the corridor, turn left, then left again, and go straight ahead to enter the blue room. At the end of this room, you can get the outfit.
Disposal Facility
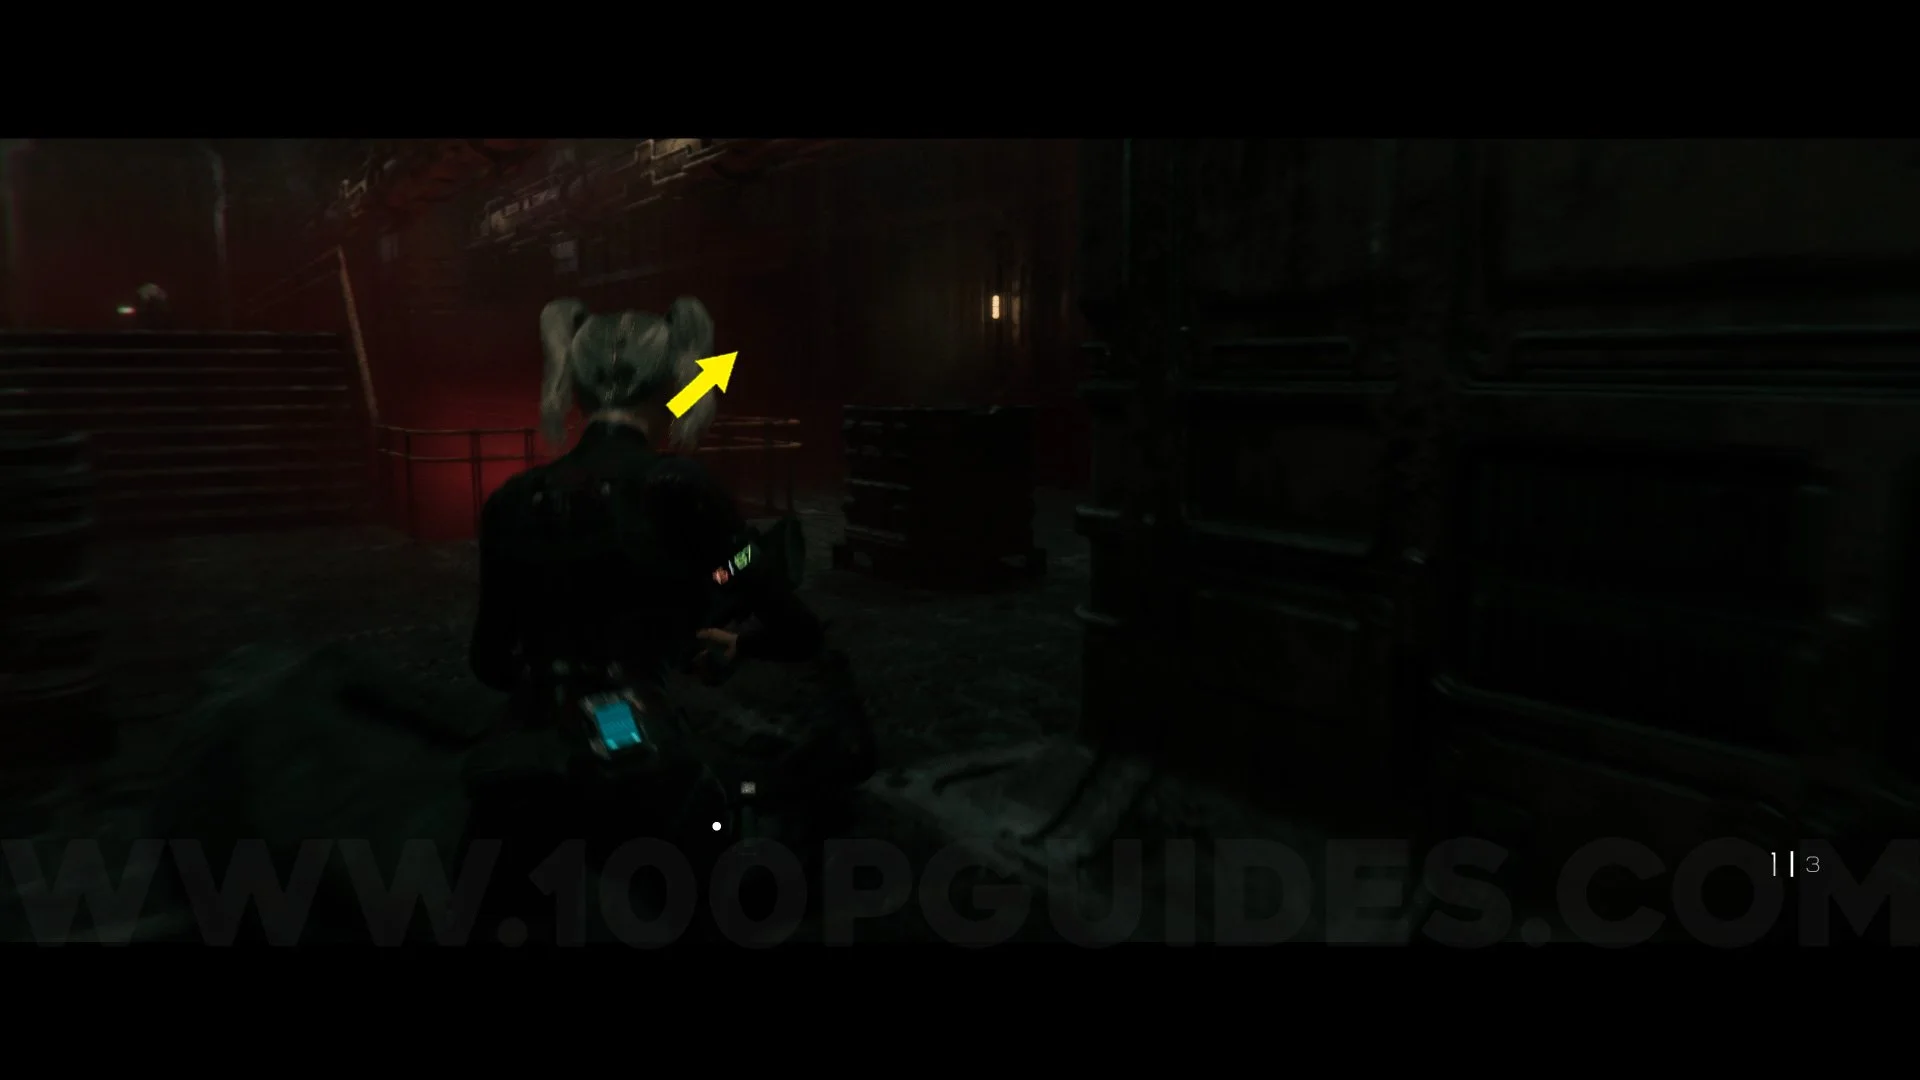
Earring #5. Go to the mark on the map and go through the Waste Processing door, turn right and go under the large pipe. You will find this Earring at the end next to a box.
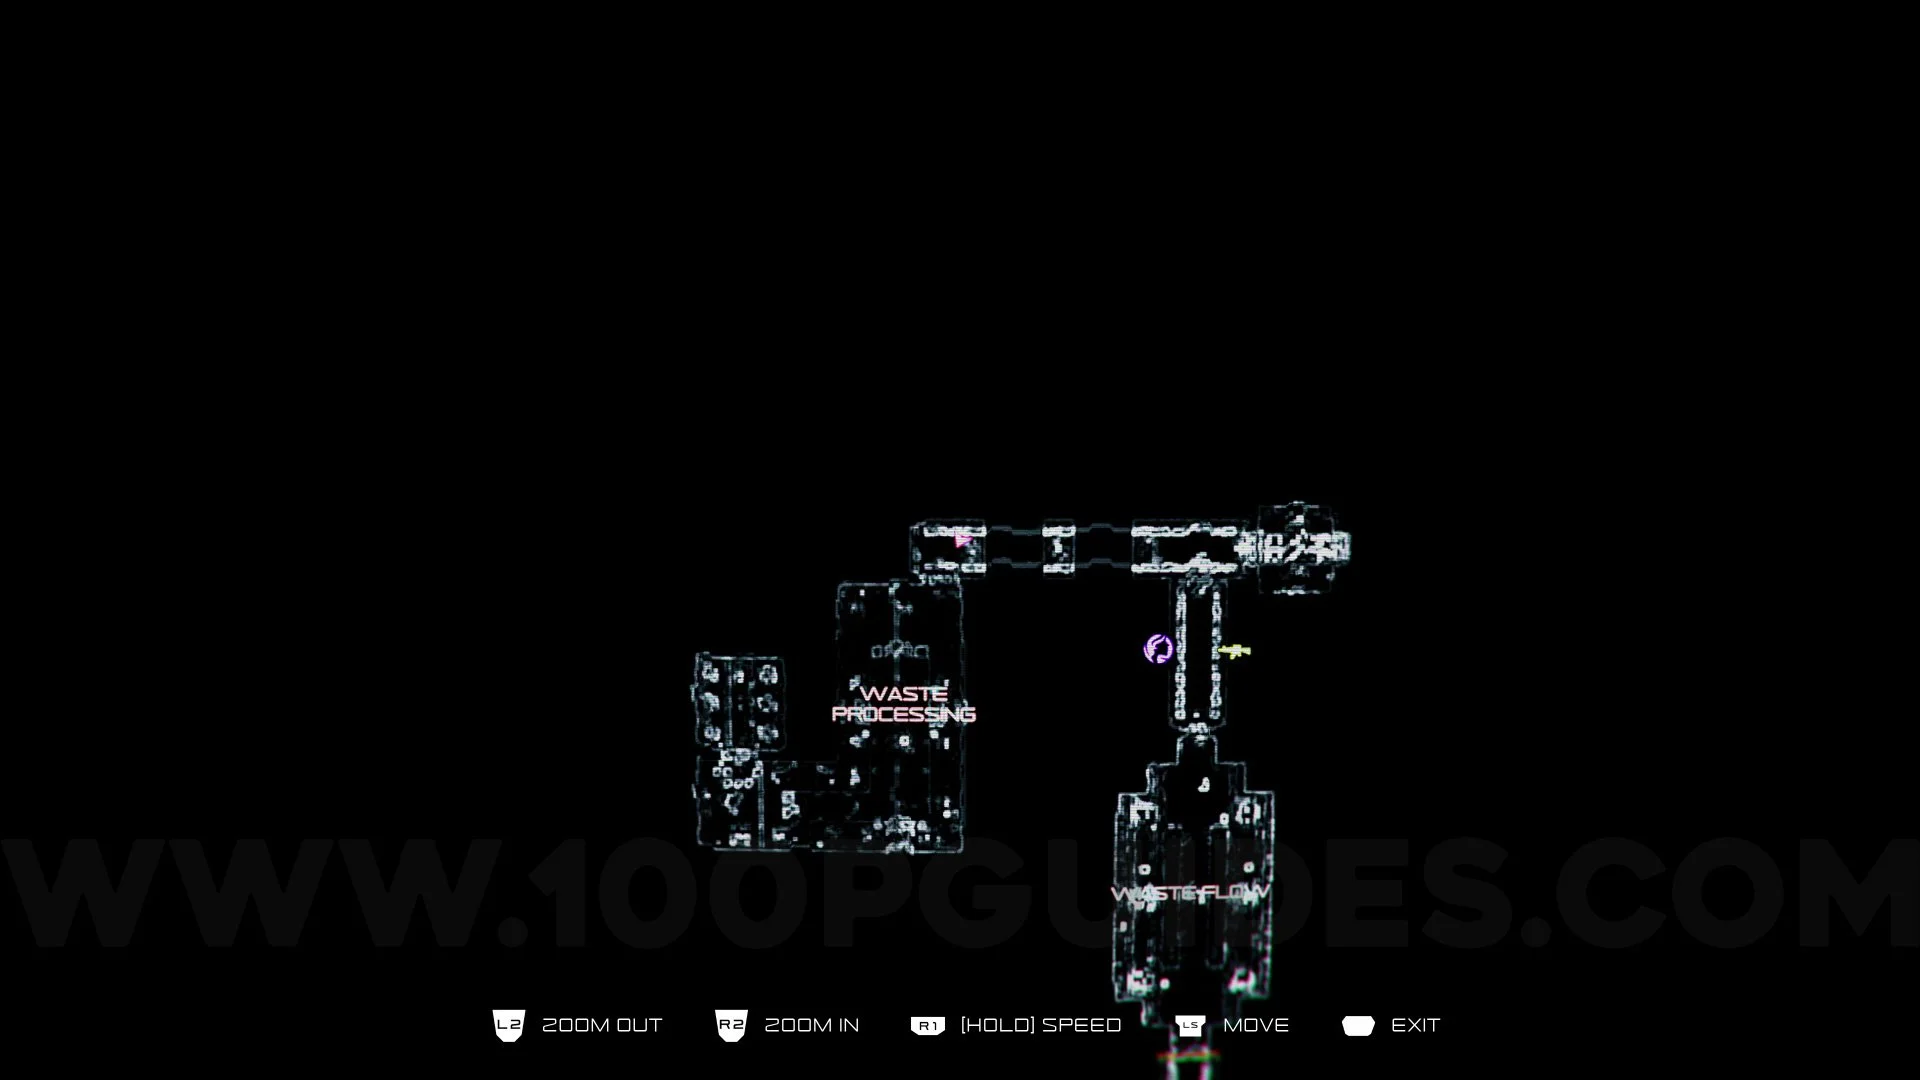
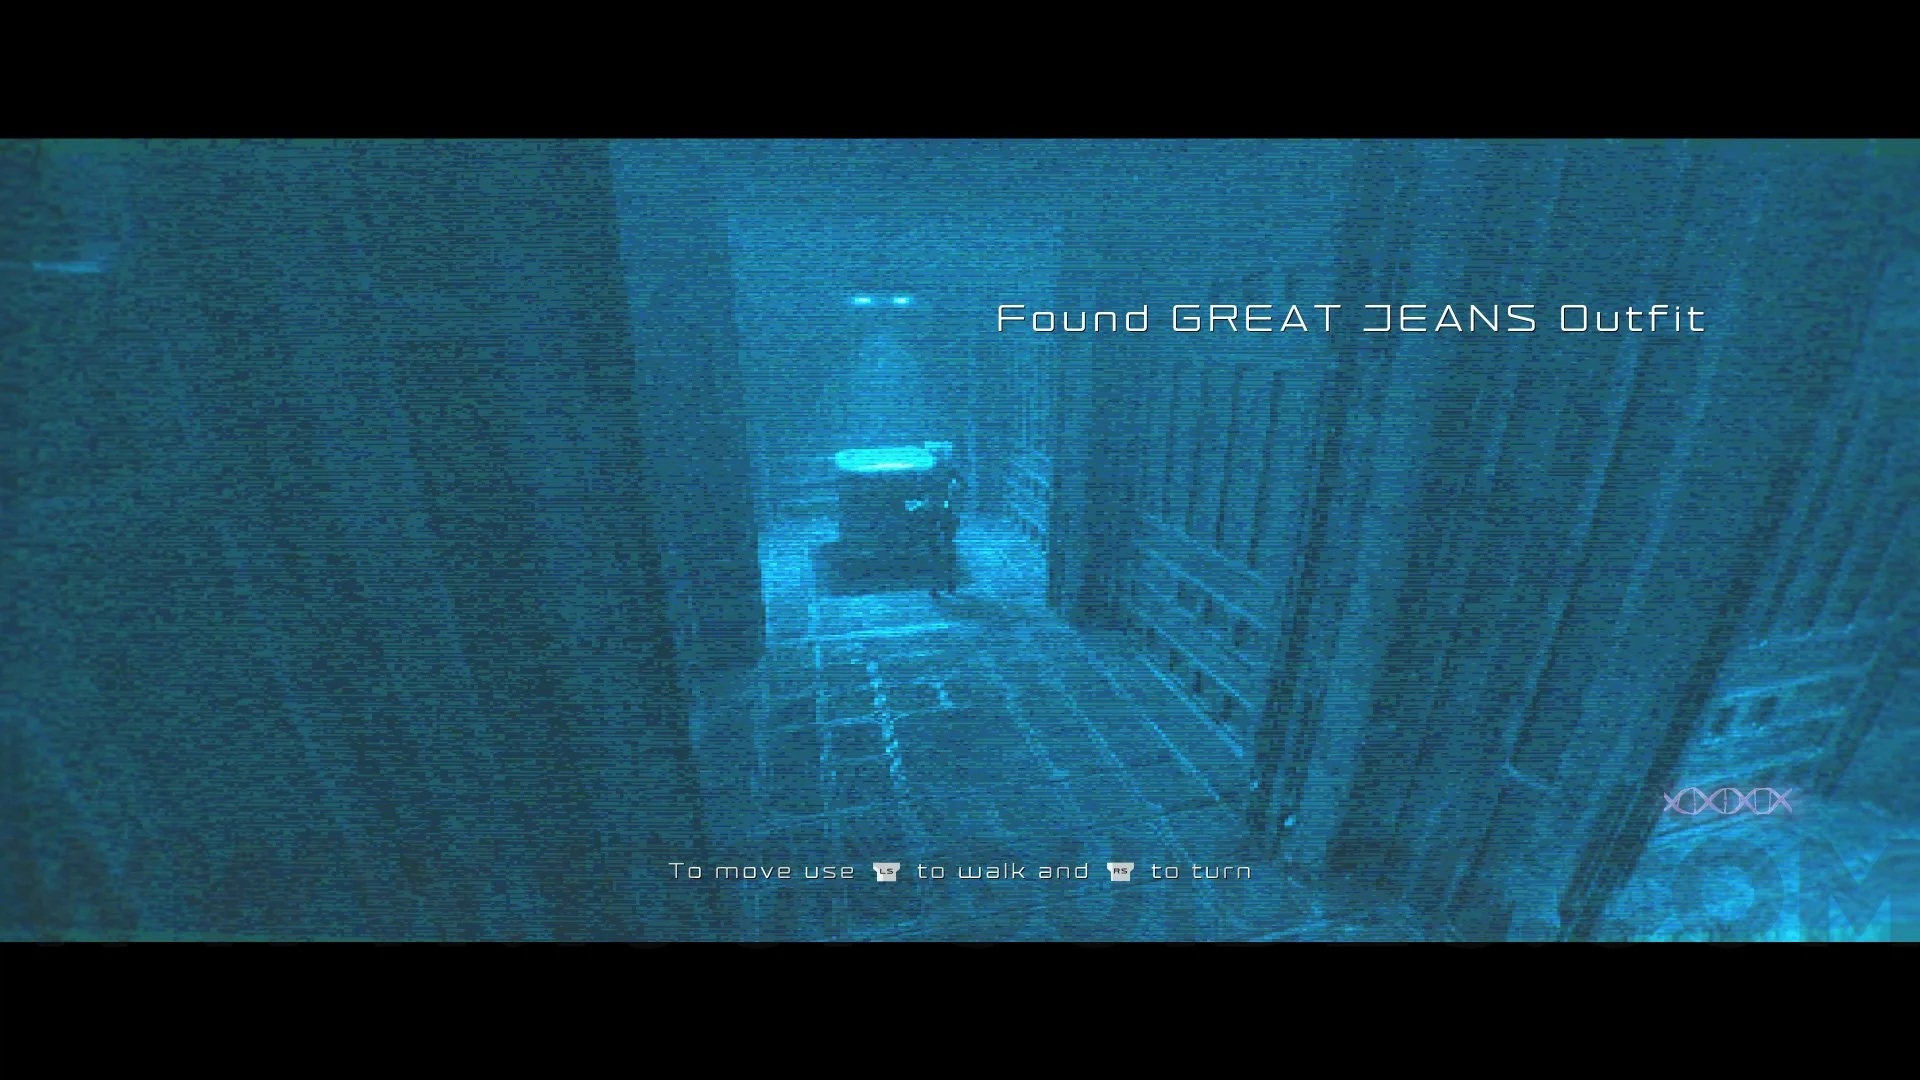
Outfit #14 Great Jeans. Directly from the previous collectible, pass under the pipe again and go around the area, passing under two other pipes. Then push the box and enter the room on the right. Inside the room, interact with the console, then look to the right and break the blue lamp. Now leave this area, pass through the water, and pick up the item on the body. Return to the large corridor and go to the end and enter the room on the right. Continue straight ahead and in the next area with a small bridge, go to the right and enter the area with the blue light. Go to the end to pick up the outfit.


Duck #7. Go to Trash Processing and once inside, go to the left corner of the room and you will see the duck on top of a trash can.
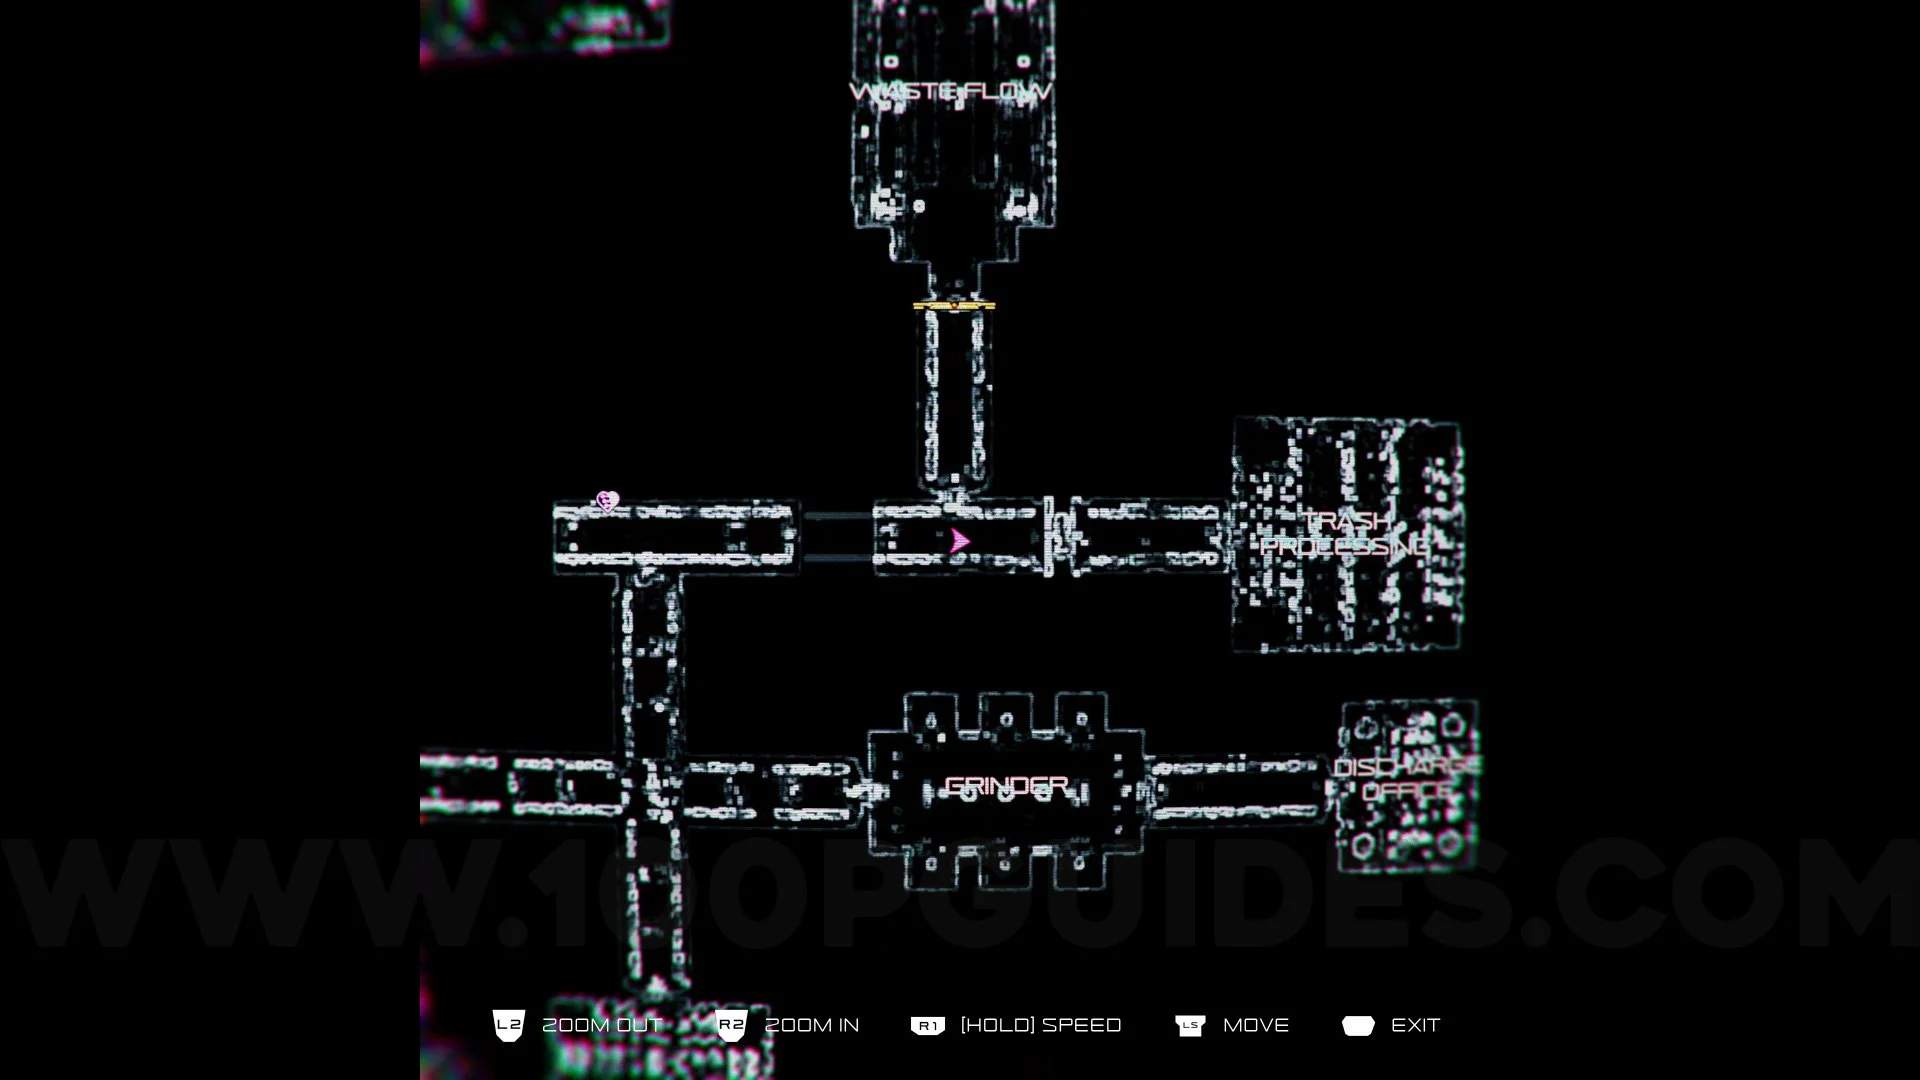
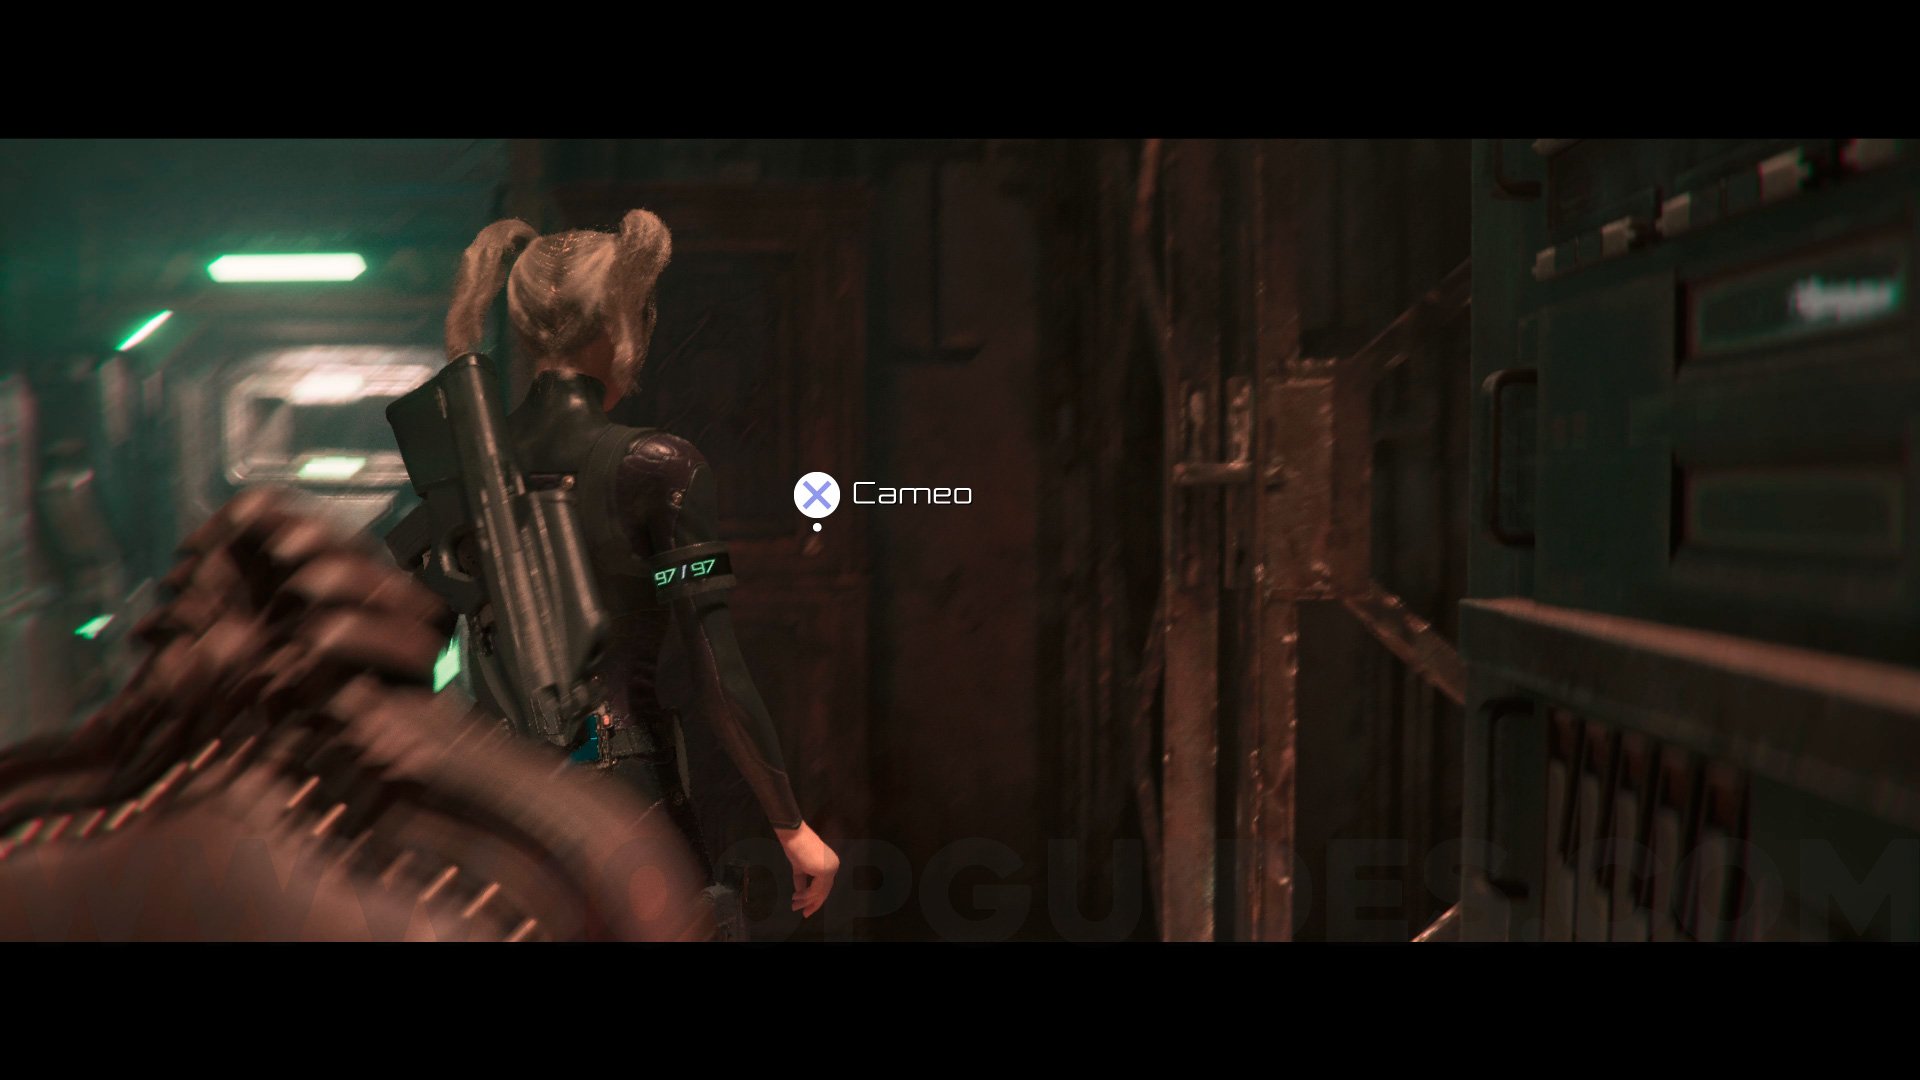
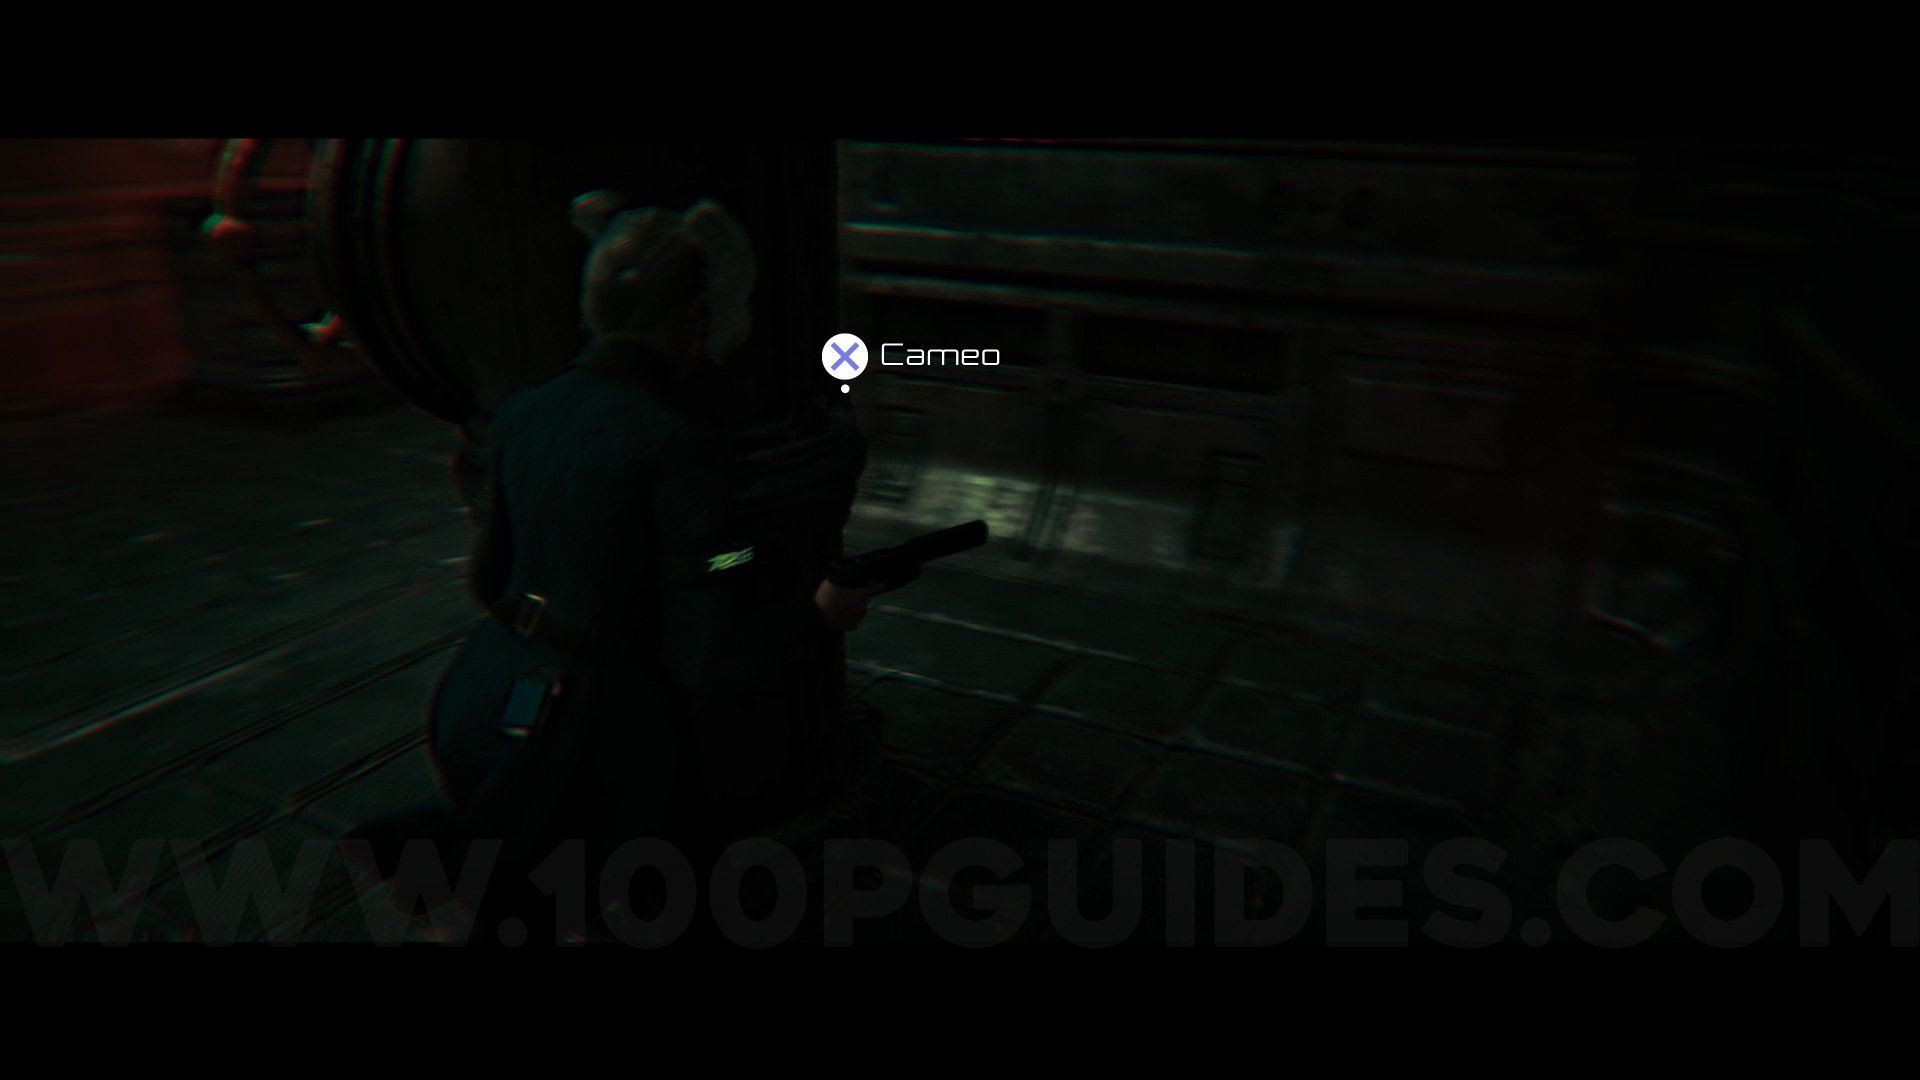
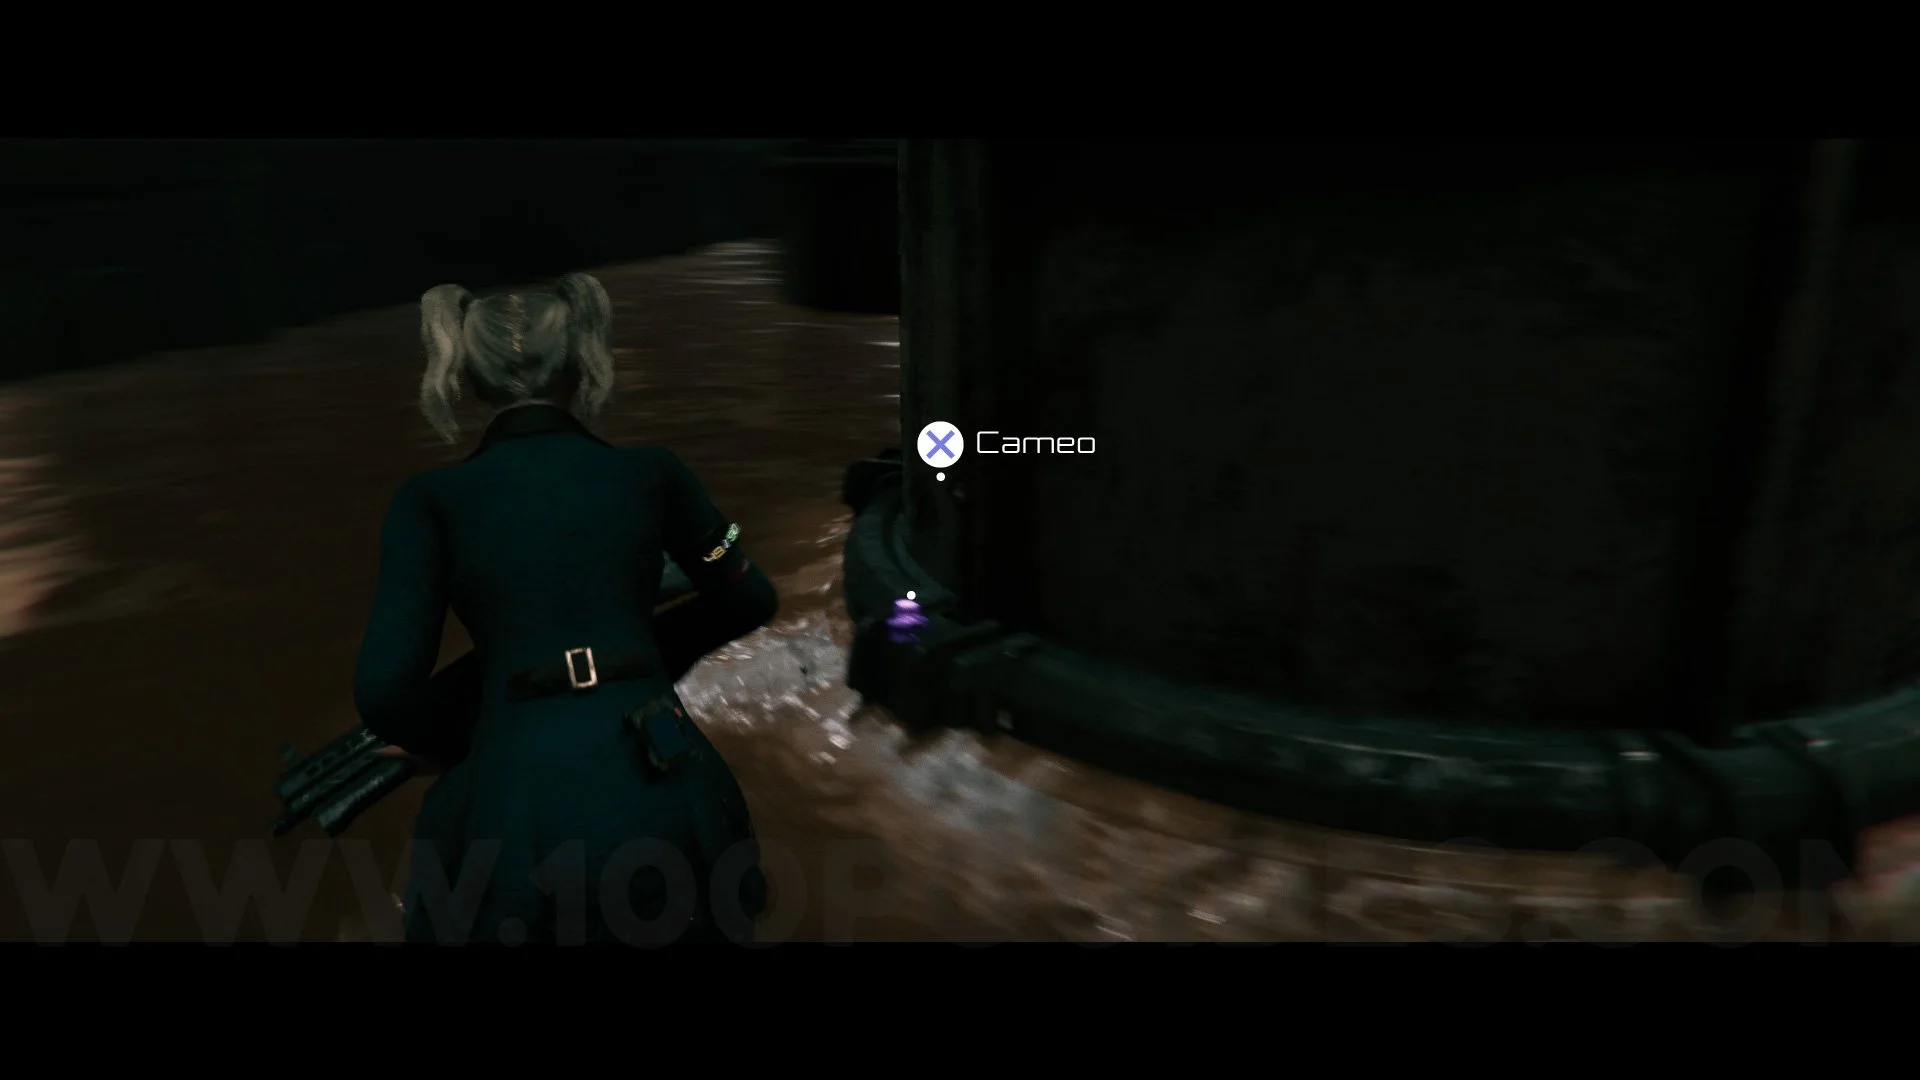
Cameo #5. Go to the area called Grinder and this cameo will be behind a pipe on the right side of the room.

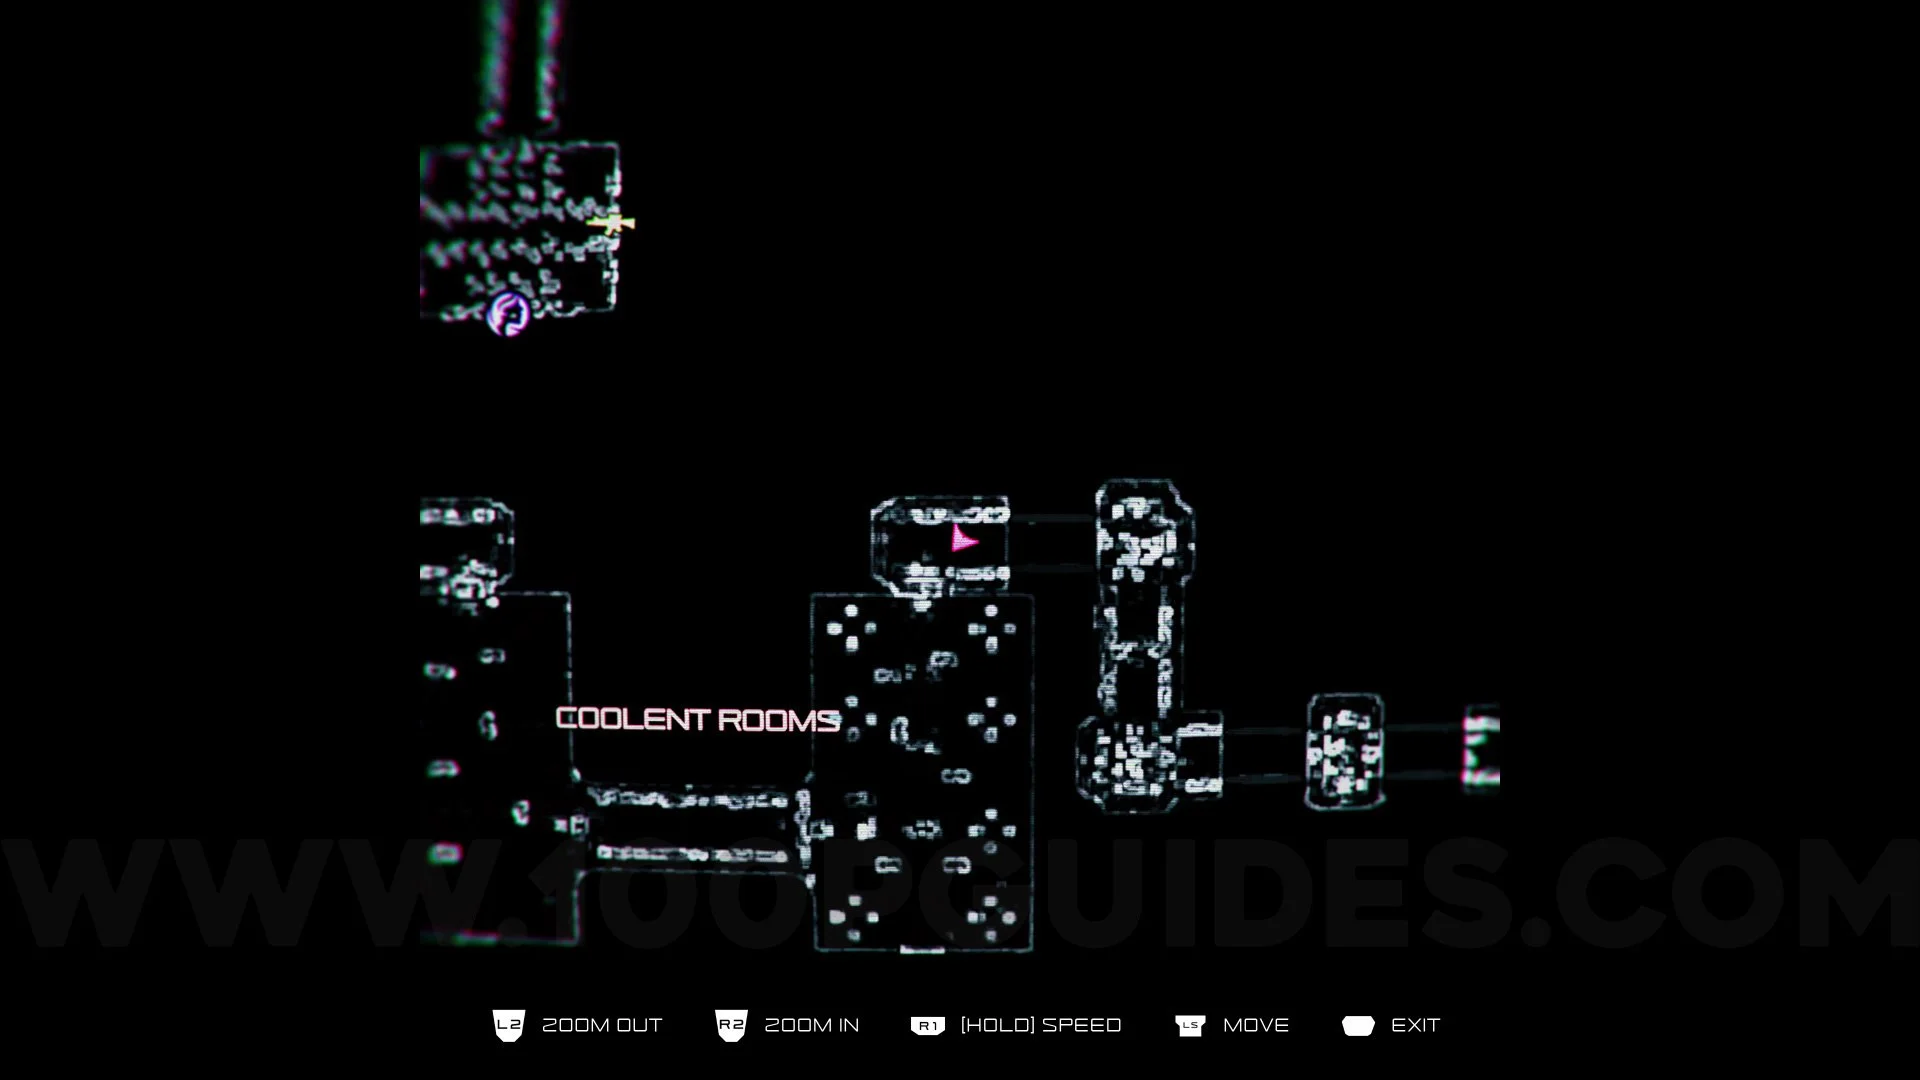
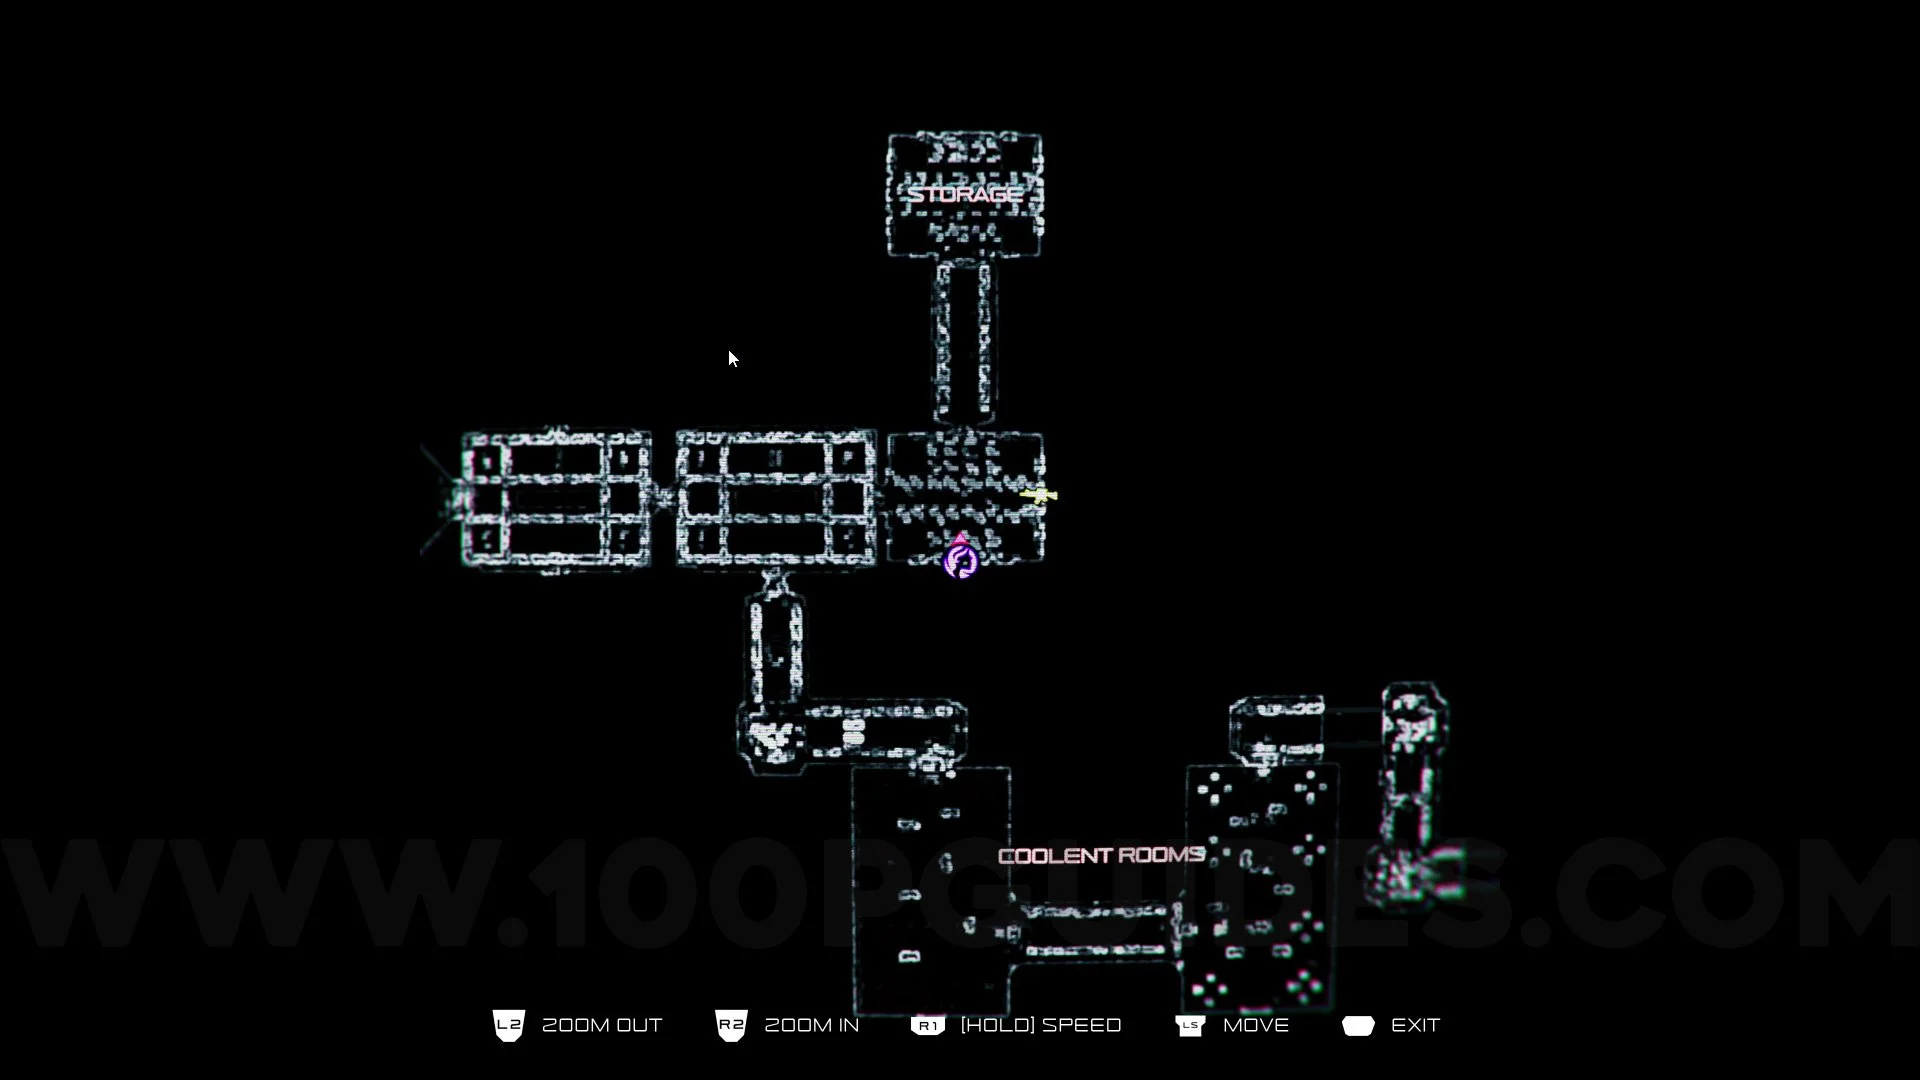
Decorative Egg #8. Inside the Coolent Room, this decorative egg will be on a pillar on the right side.
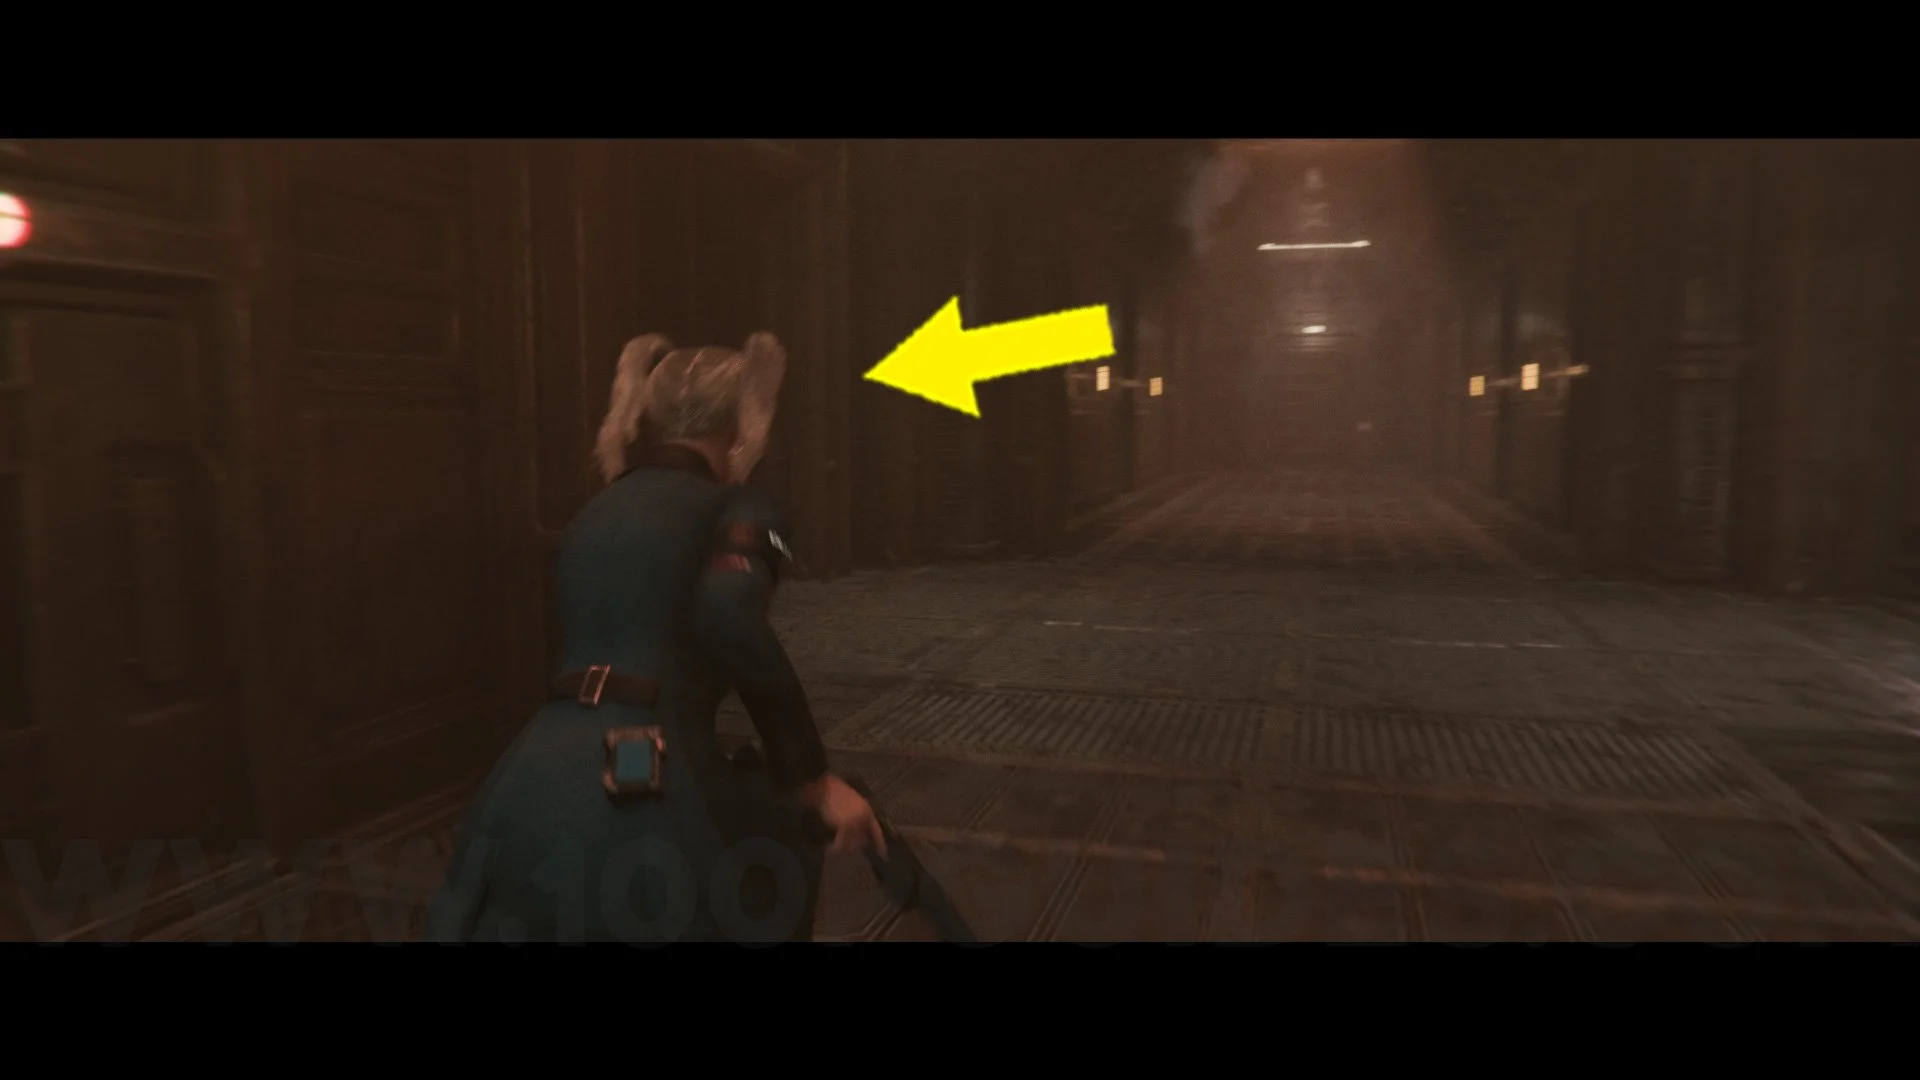
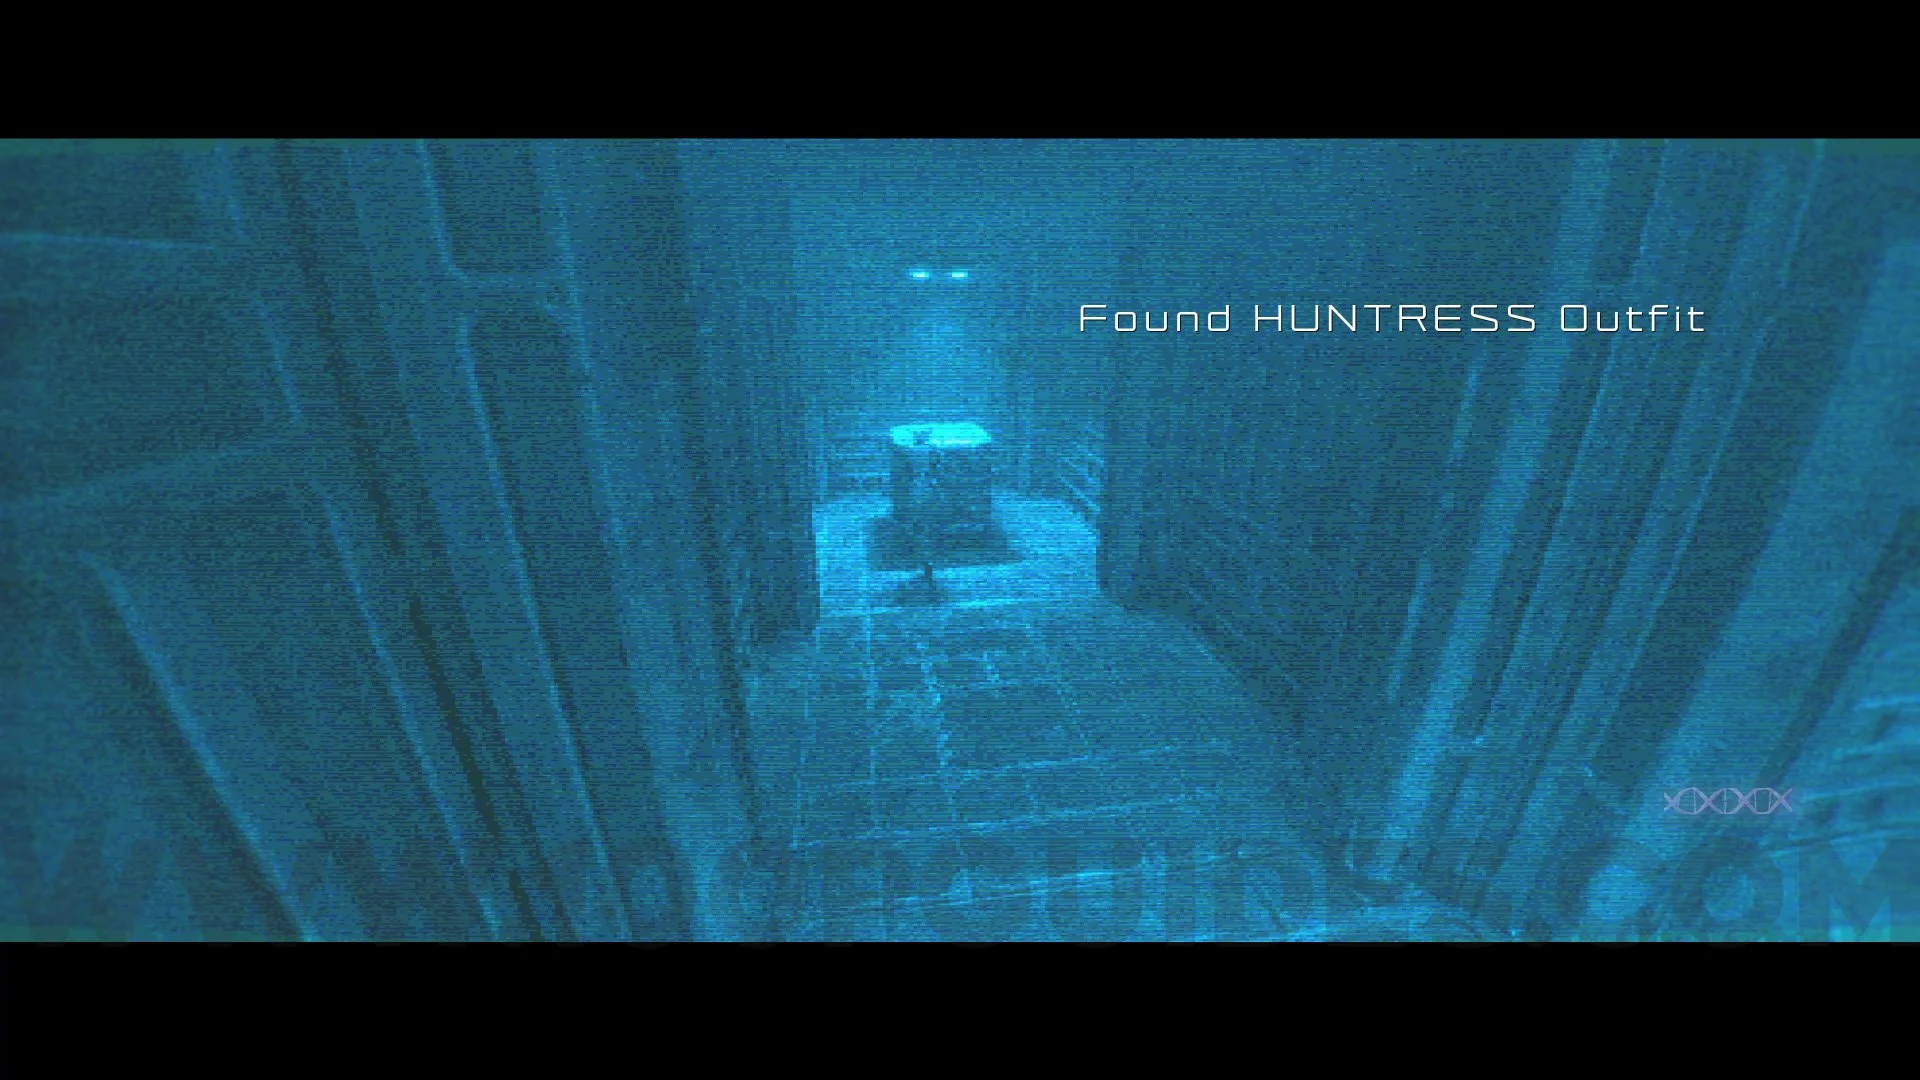
Outfit #15 Huntress. Directly from the previous collectible, go to the left side of the room and shoot the blue lamp, then return the same way you came, after climbing the two flights of stairs, turn left then left again to enter the blue area, at the end of which you will find this outfit.
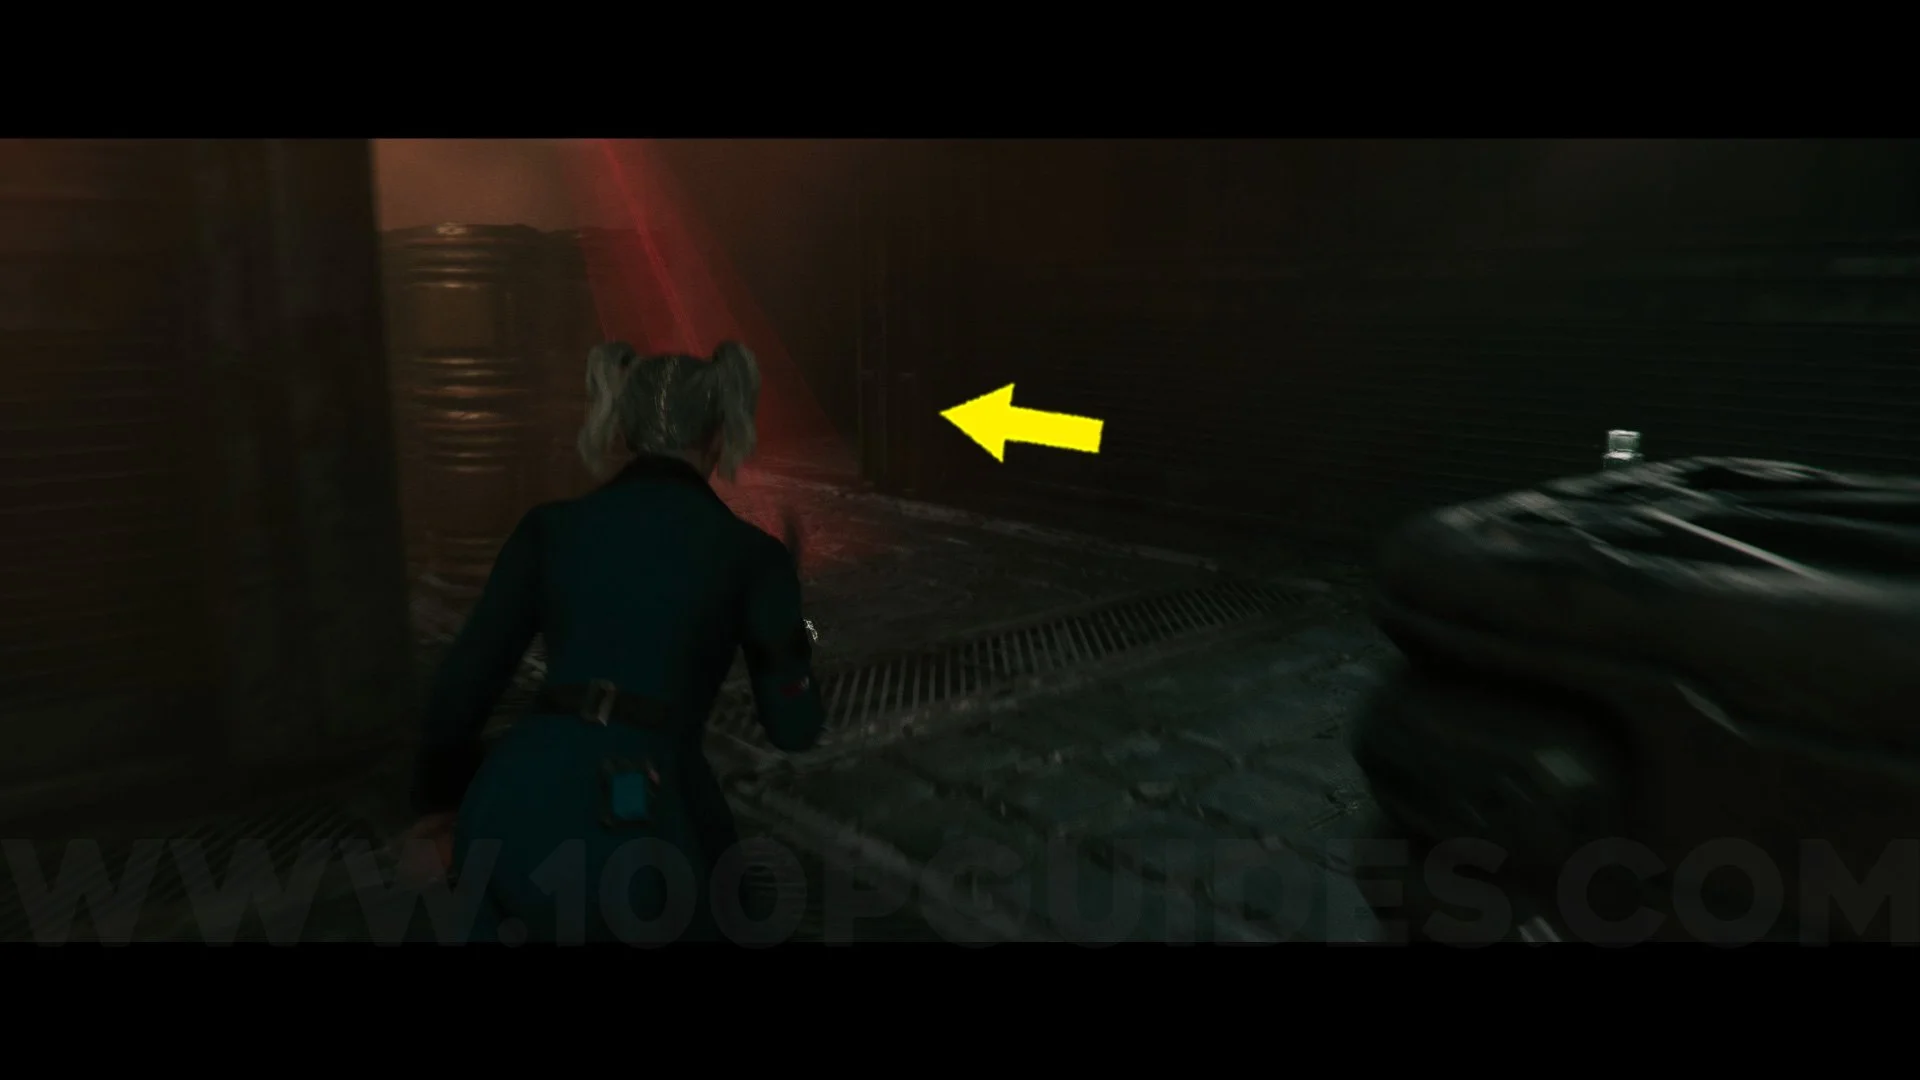
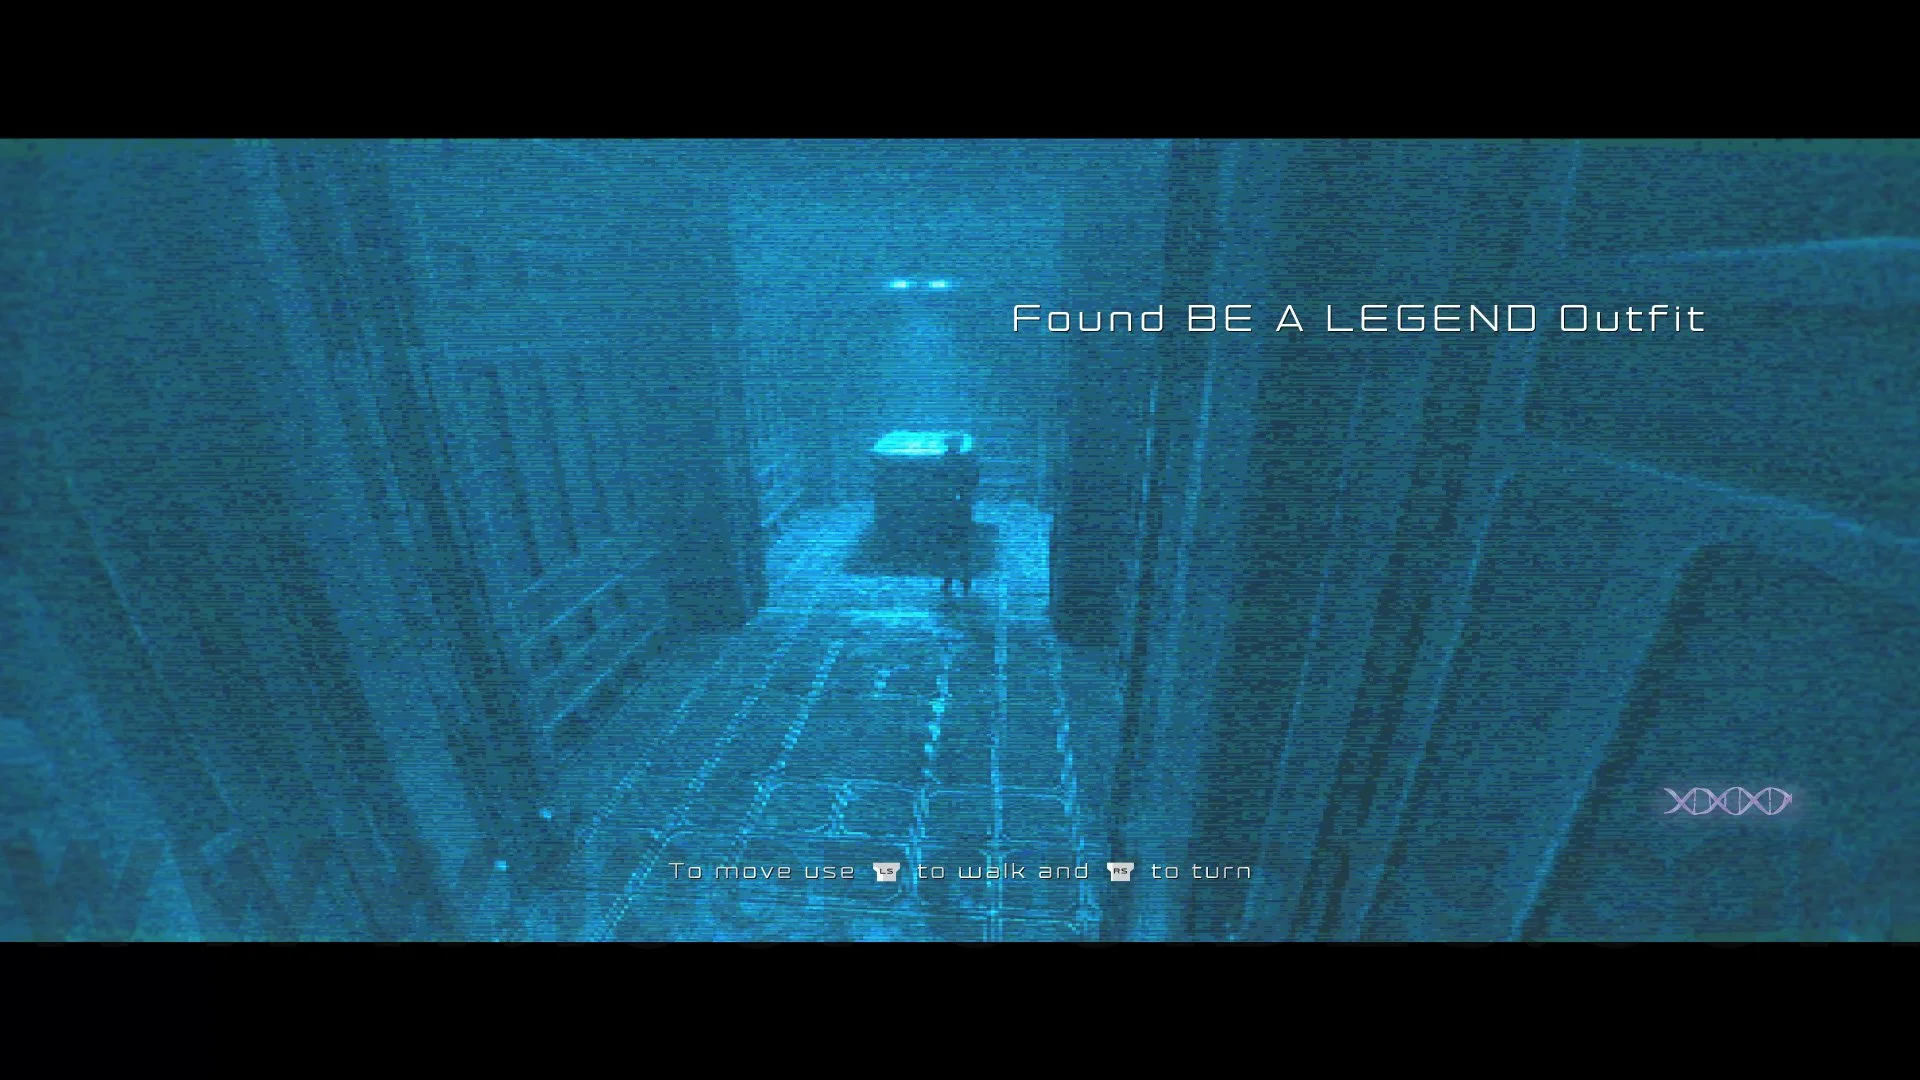
Outfit #16 Be A Legend. Go through the door in front of you and then solve the puzzle on the other door to enter. Once inside, break the blue lamp and go back the way you came. When you see the break room (which has the game logo), turn right at the door and then go right to enter the blue area. At the end of the area, you will find this outfit.
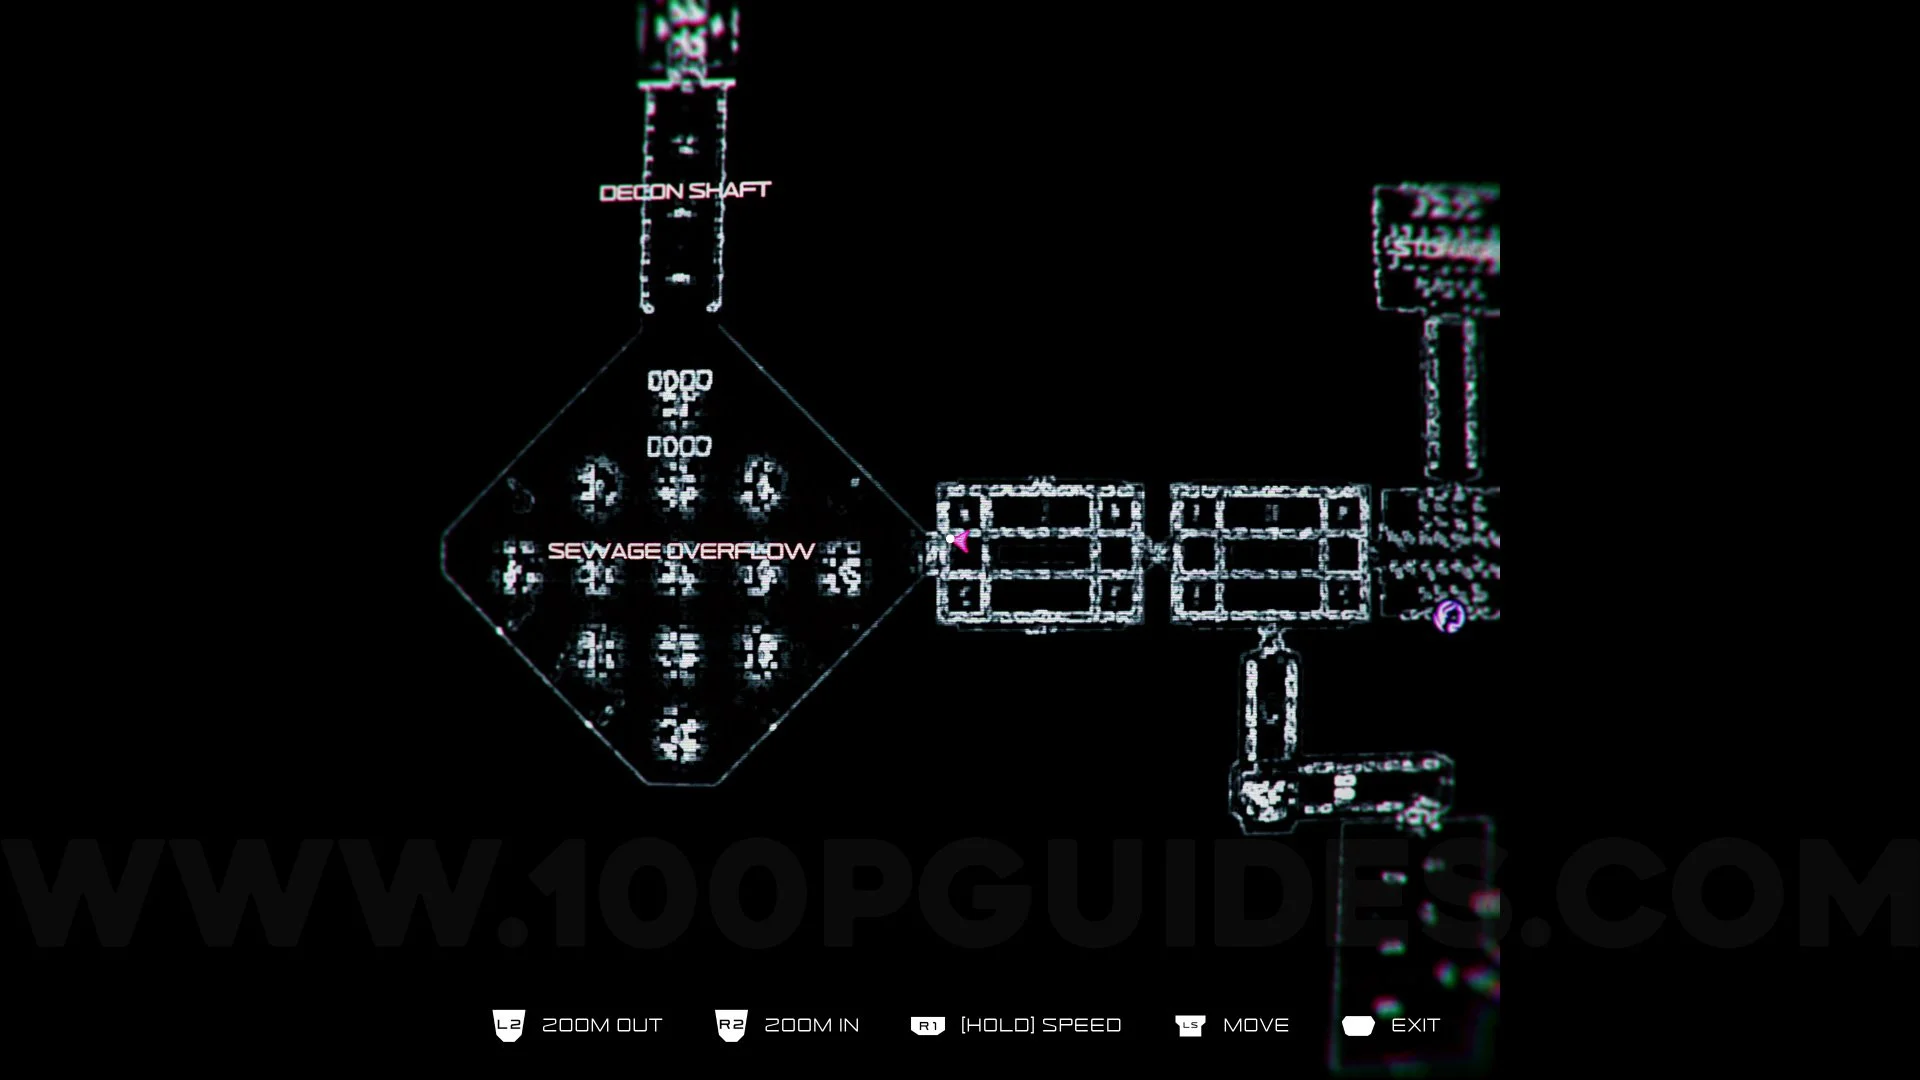
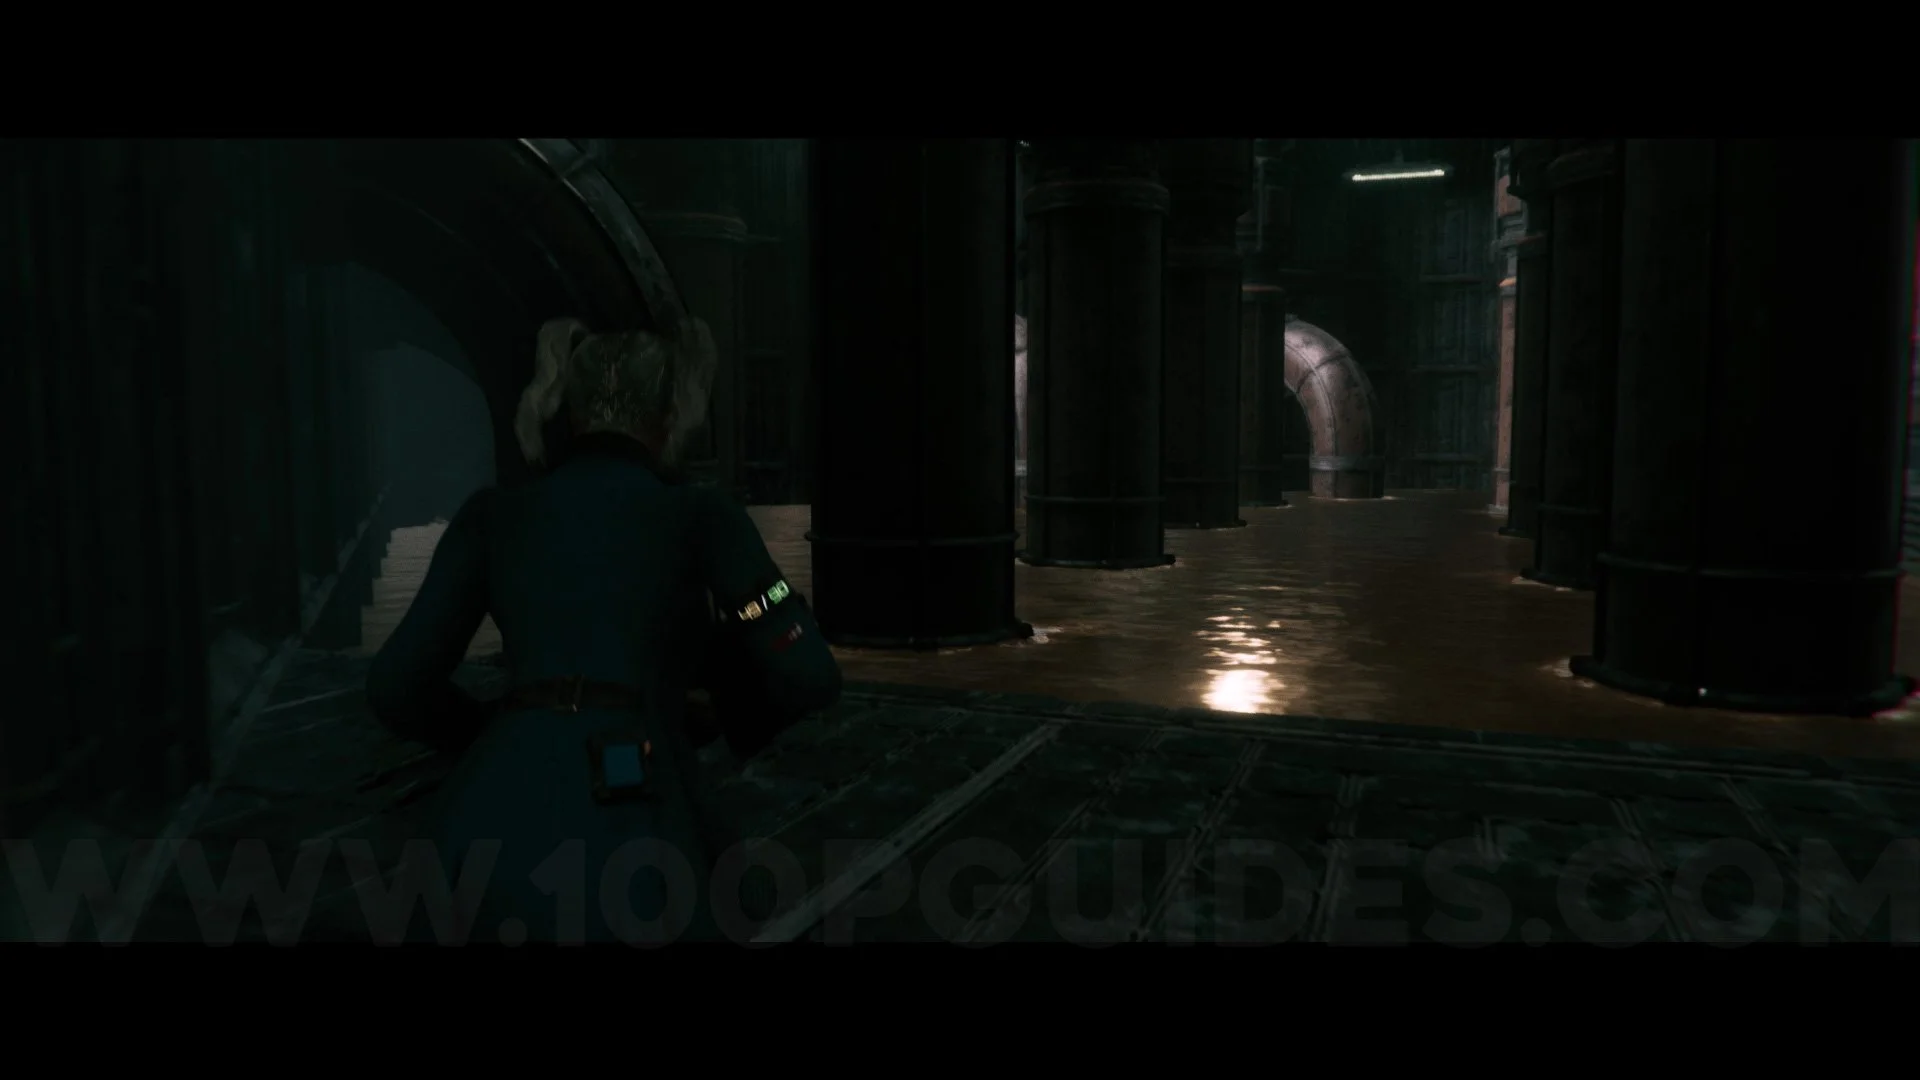
Cameo #6. Found in the Sewage Overflow behind one of the pipes on the left side of the room.
Strabridge
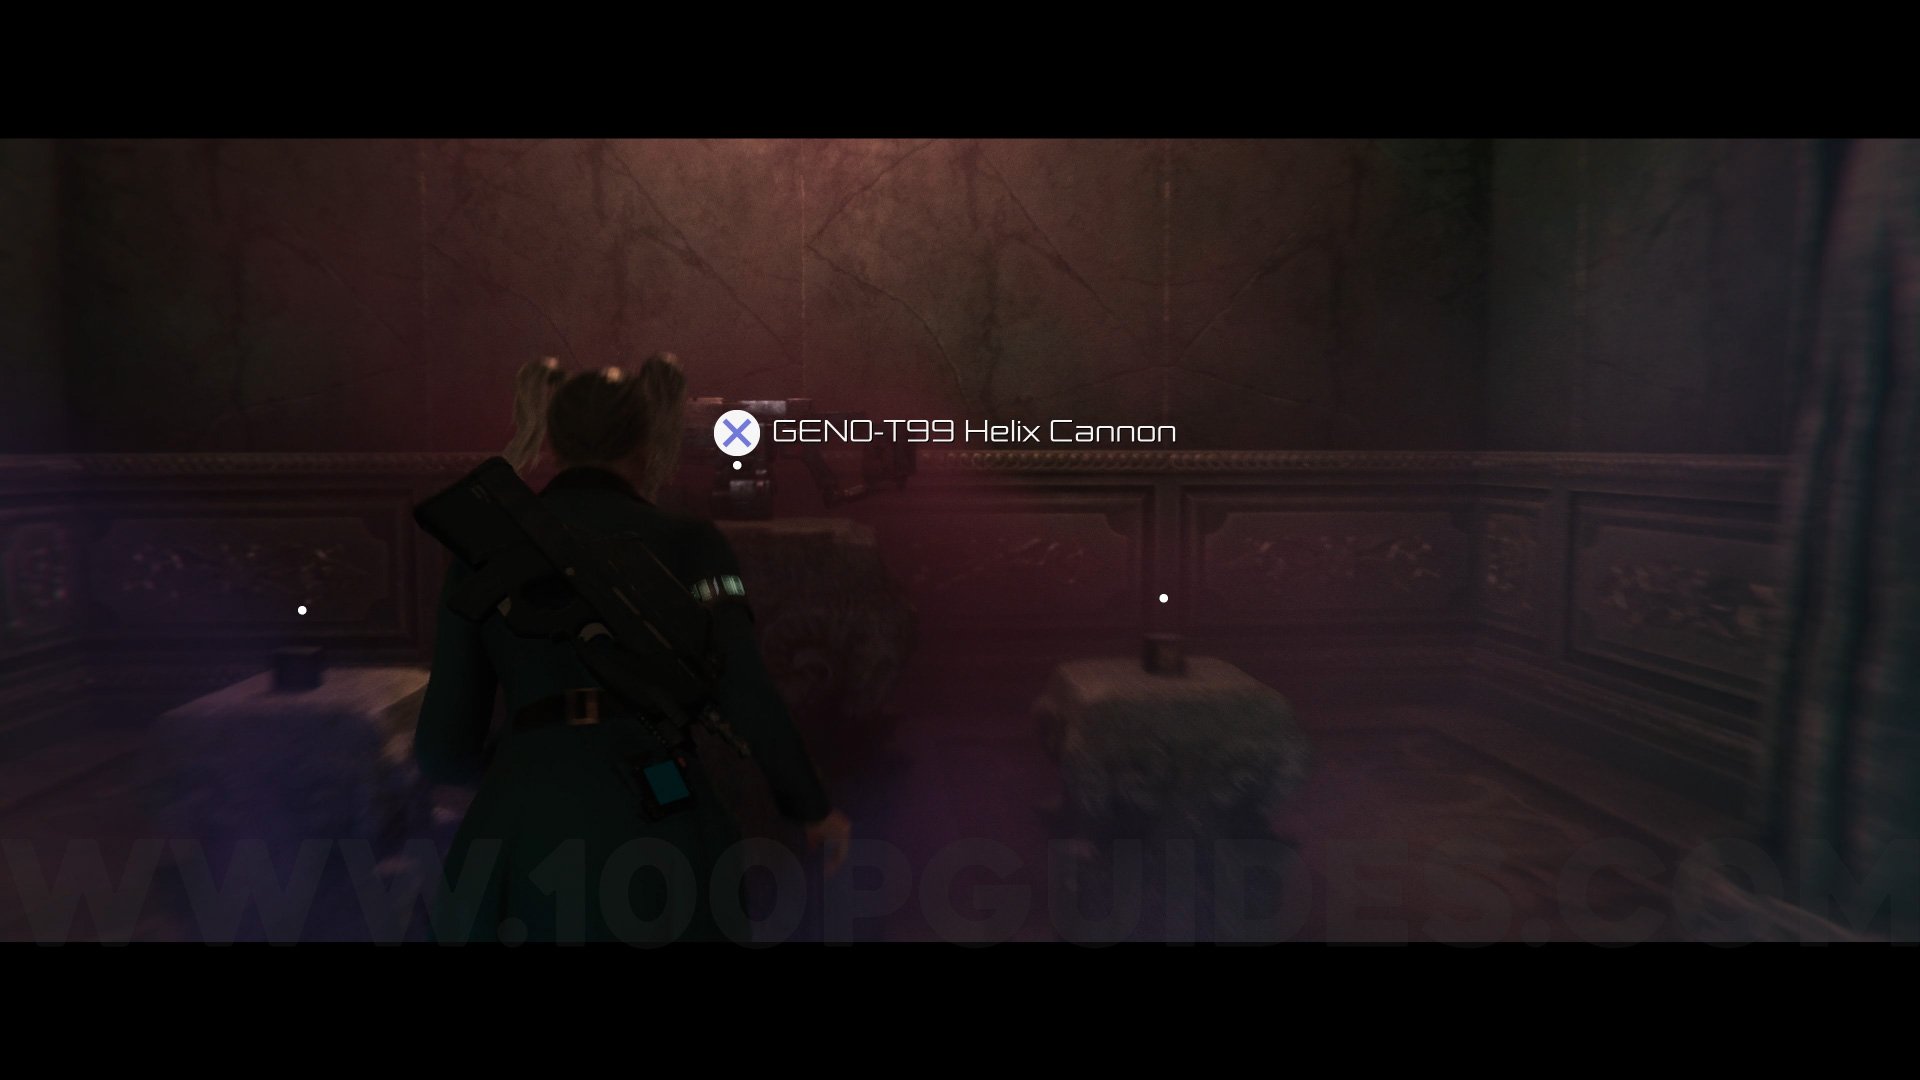
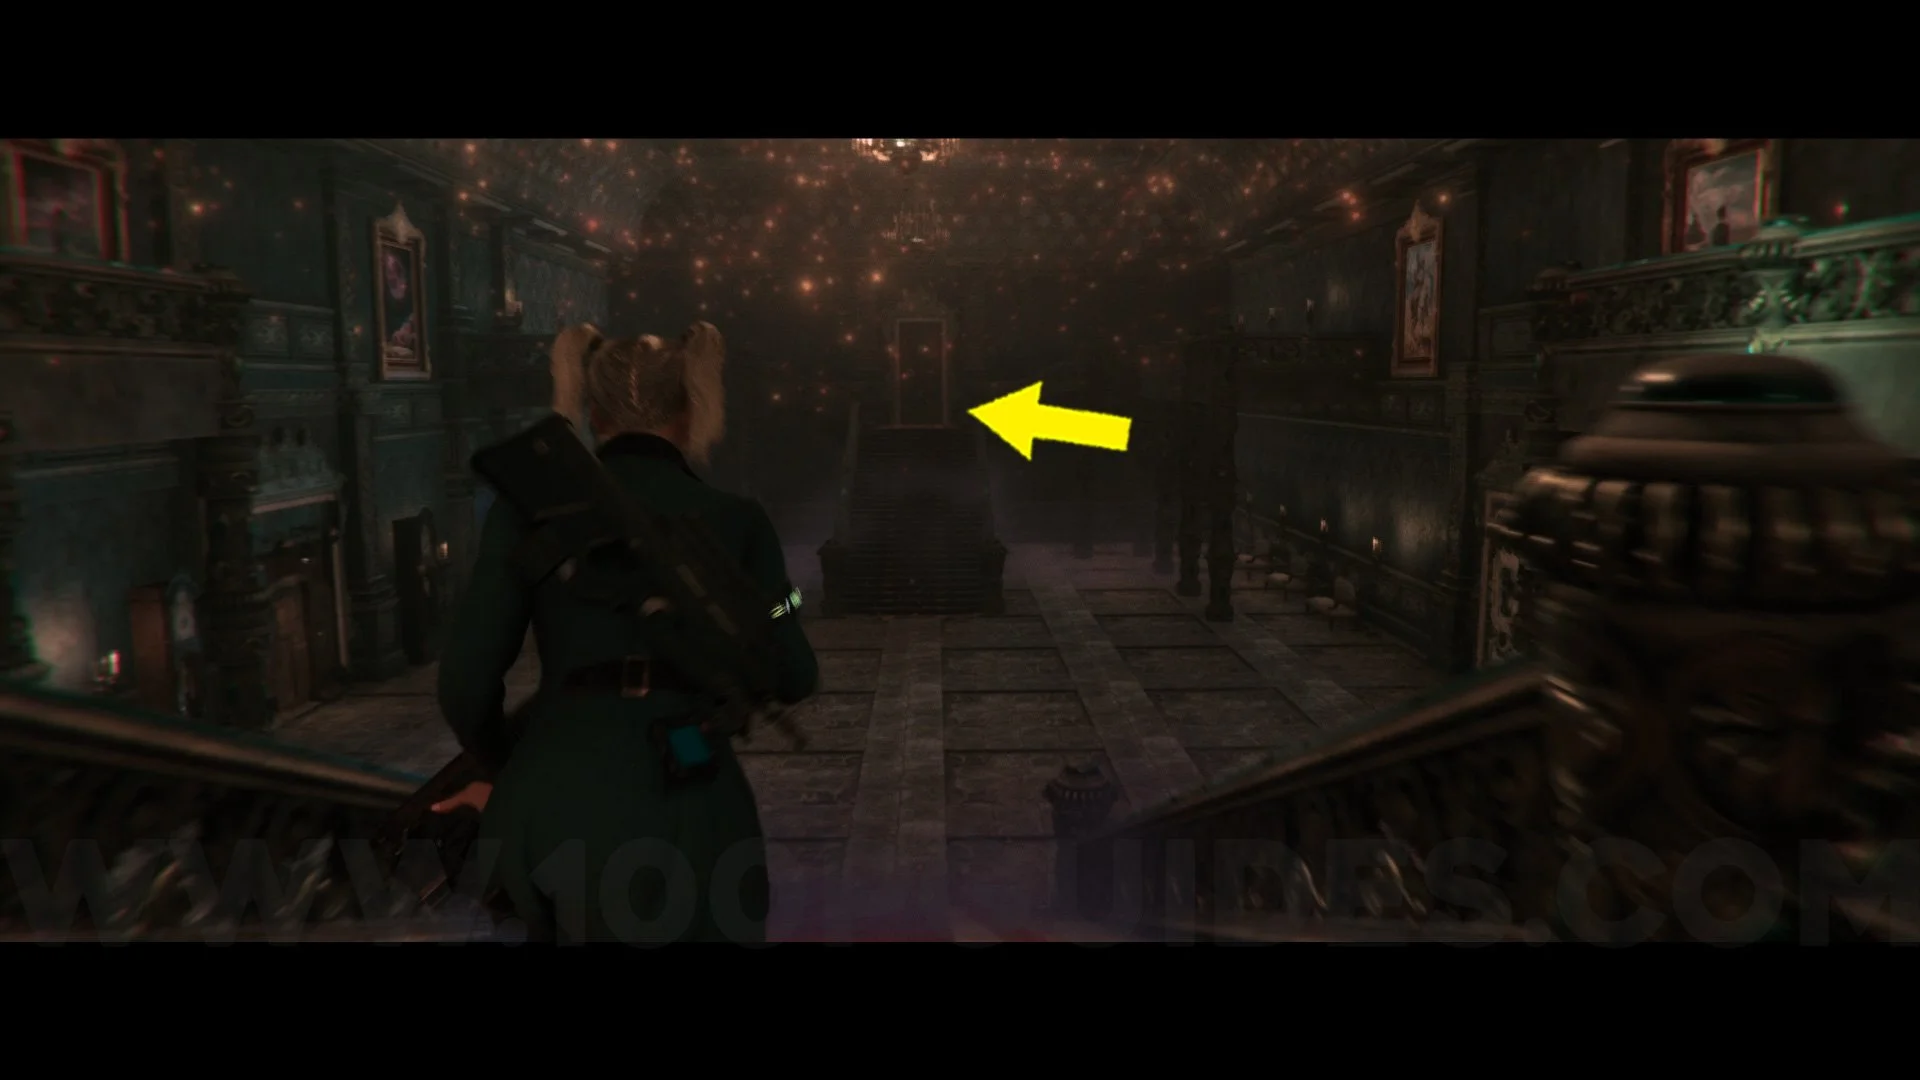
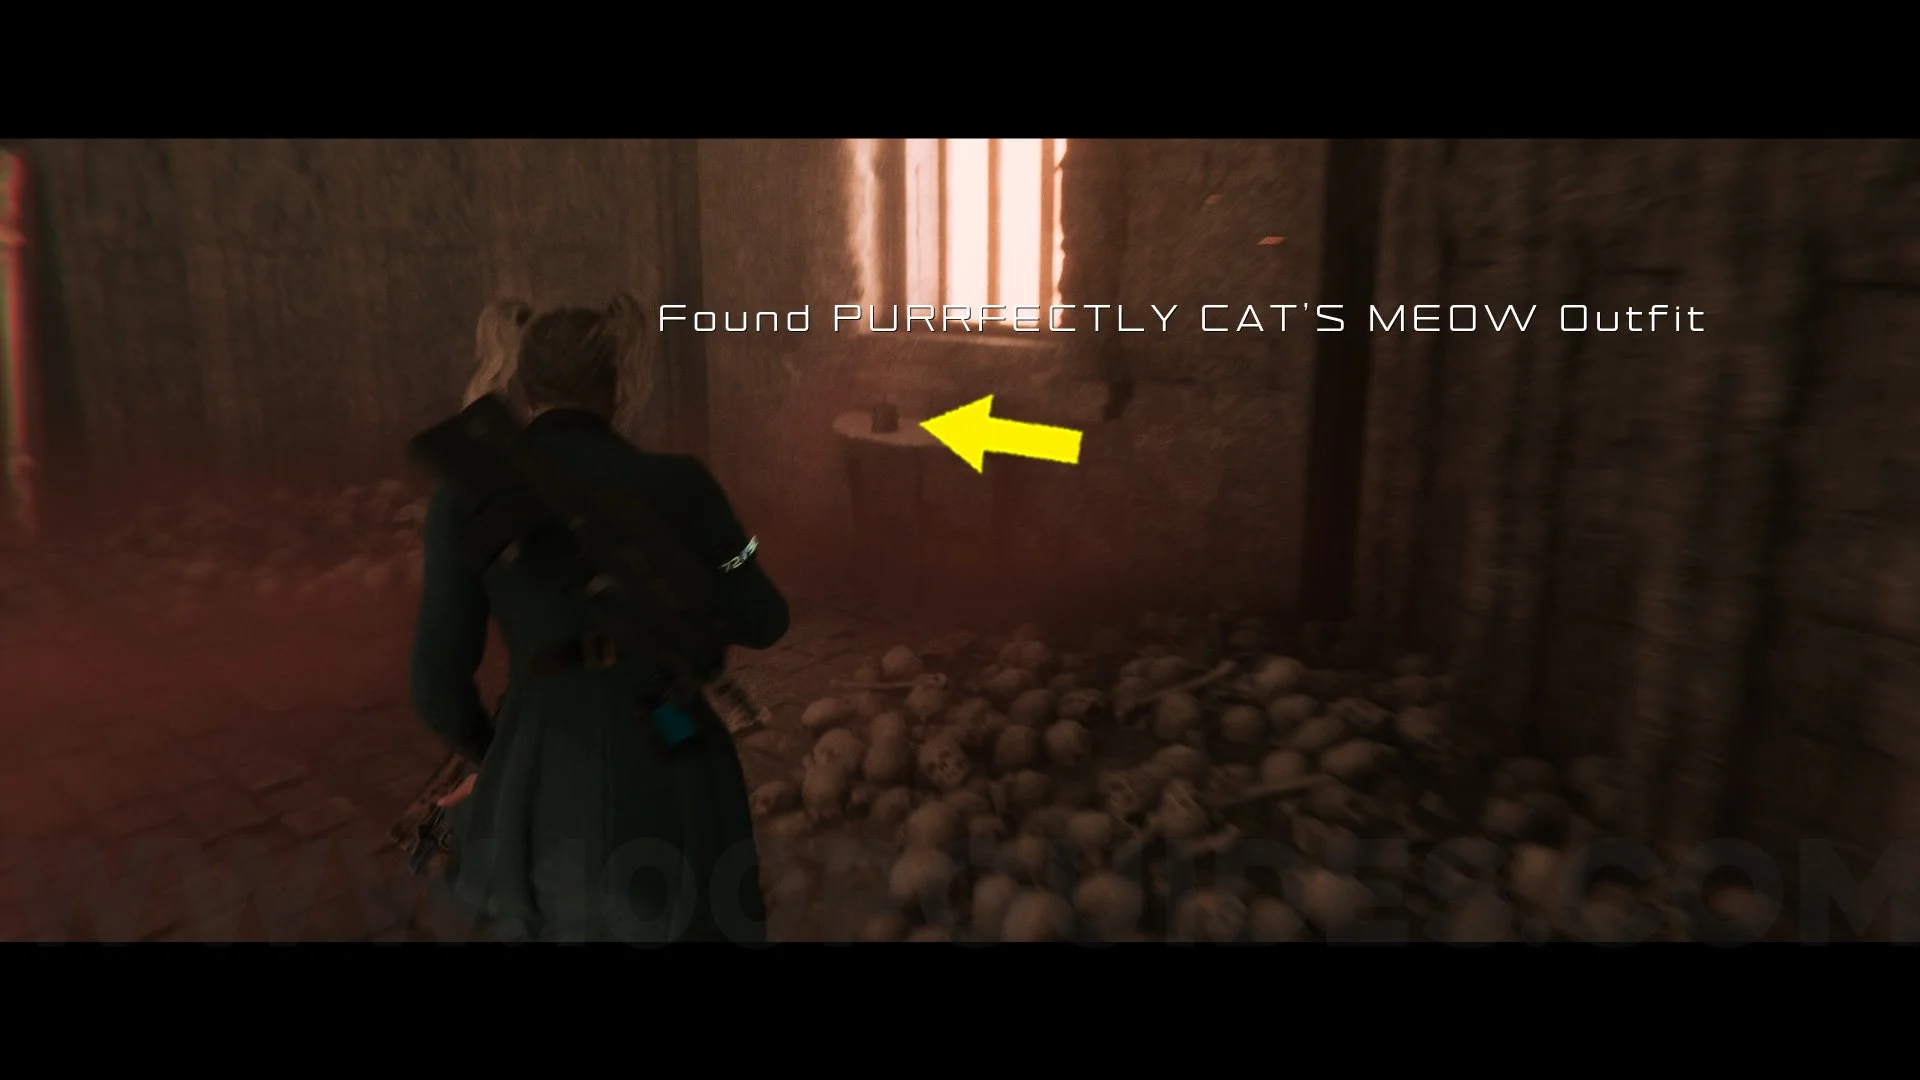
Prototype Weapon. Once inside the mansion, go up the stairs and use the secret key to open the door and reach the prototype weapon.

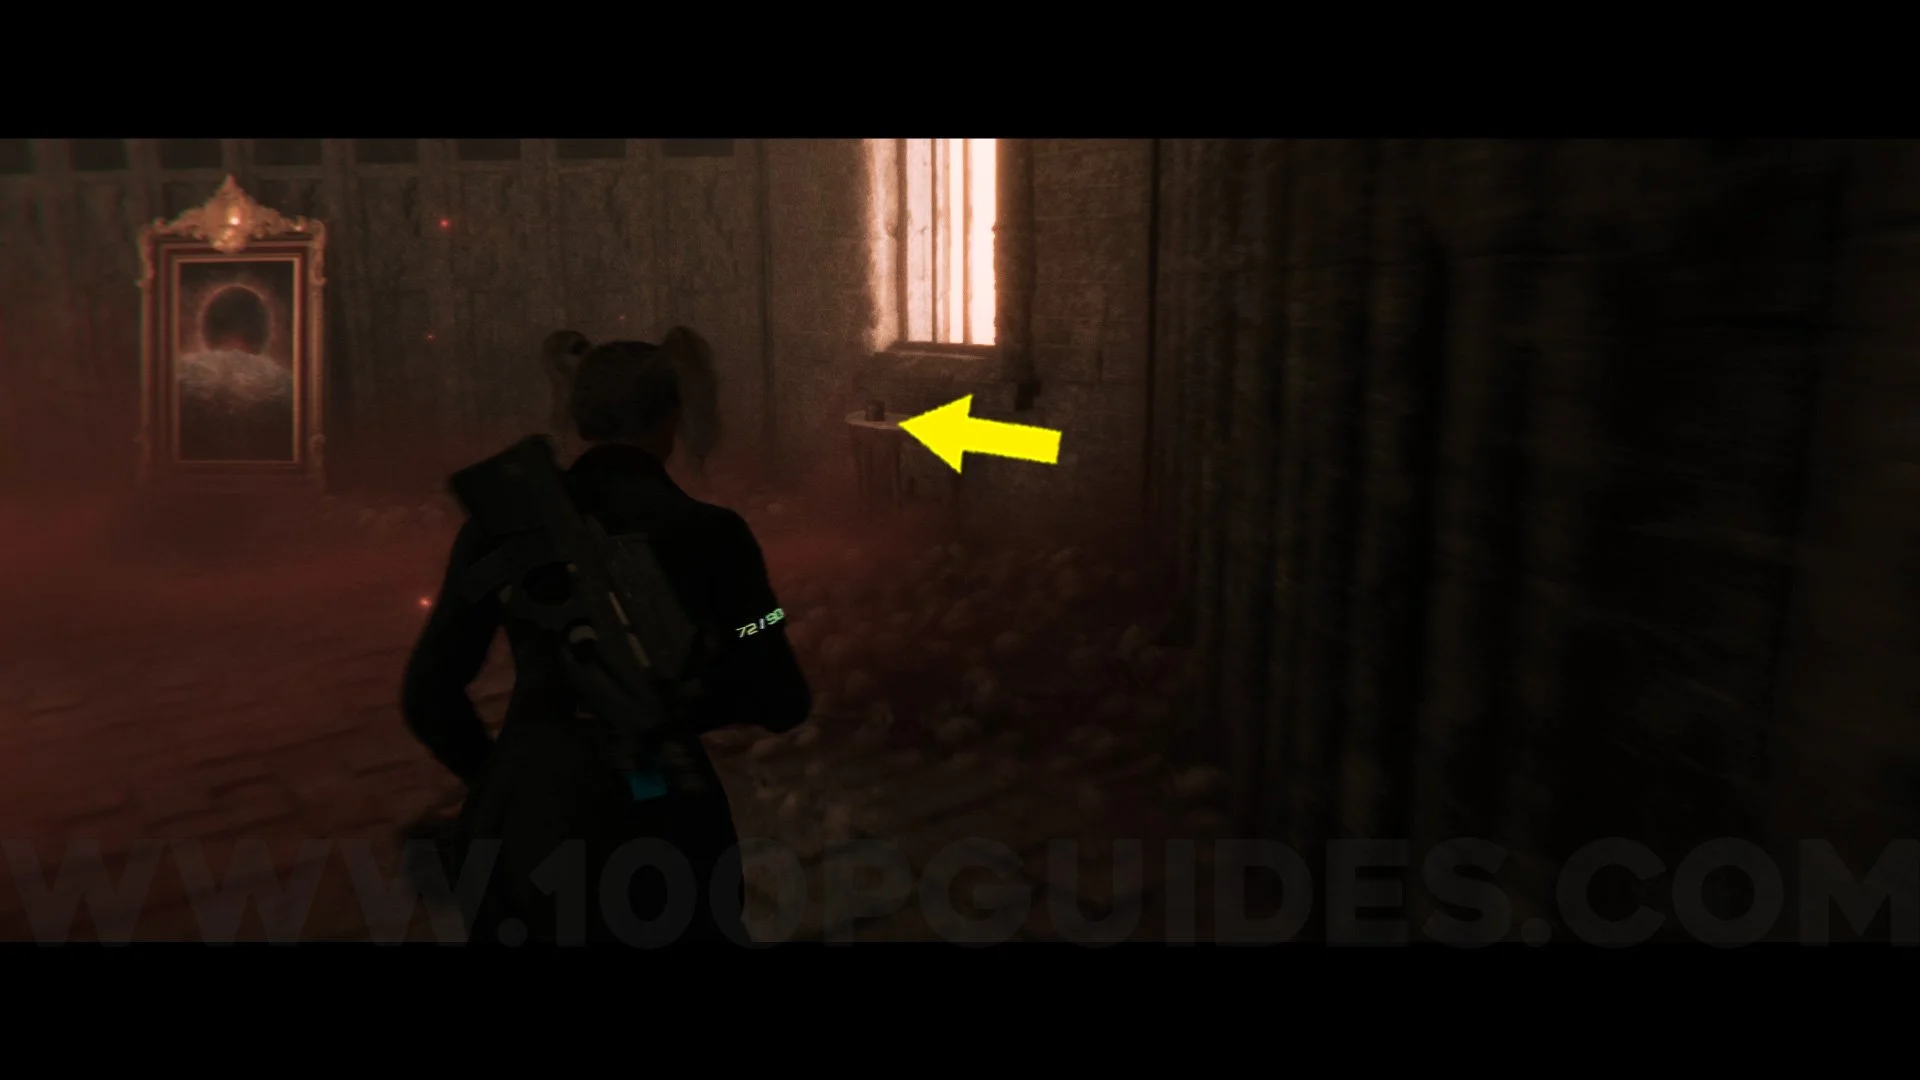
Outfit #17 Purrfectly Cat’s Meow + Outfit #18 Biker Chick. Directly from the previous Collectible, leave the room and go to the other room on the other side of the mansion. Inside, you will find the last two outfits on top of two tables.
Video Guide