Escape From Ever After All Collectible Locations
This guide will show you where to find every collectible in Escape From Ever After.
Author 100% Guides.
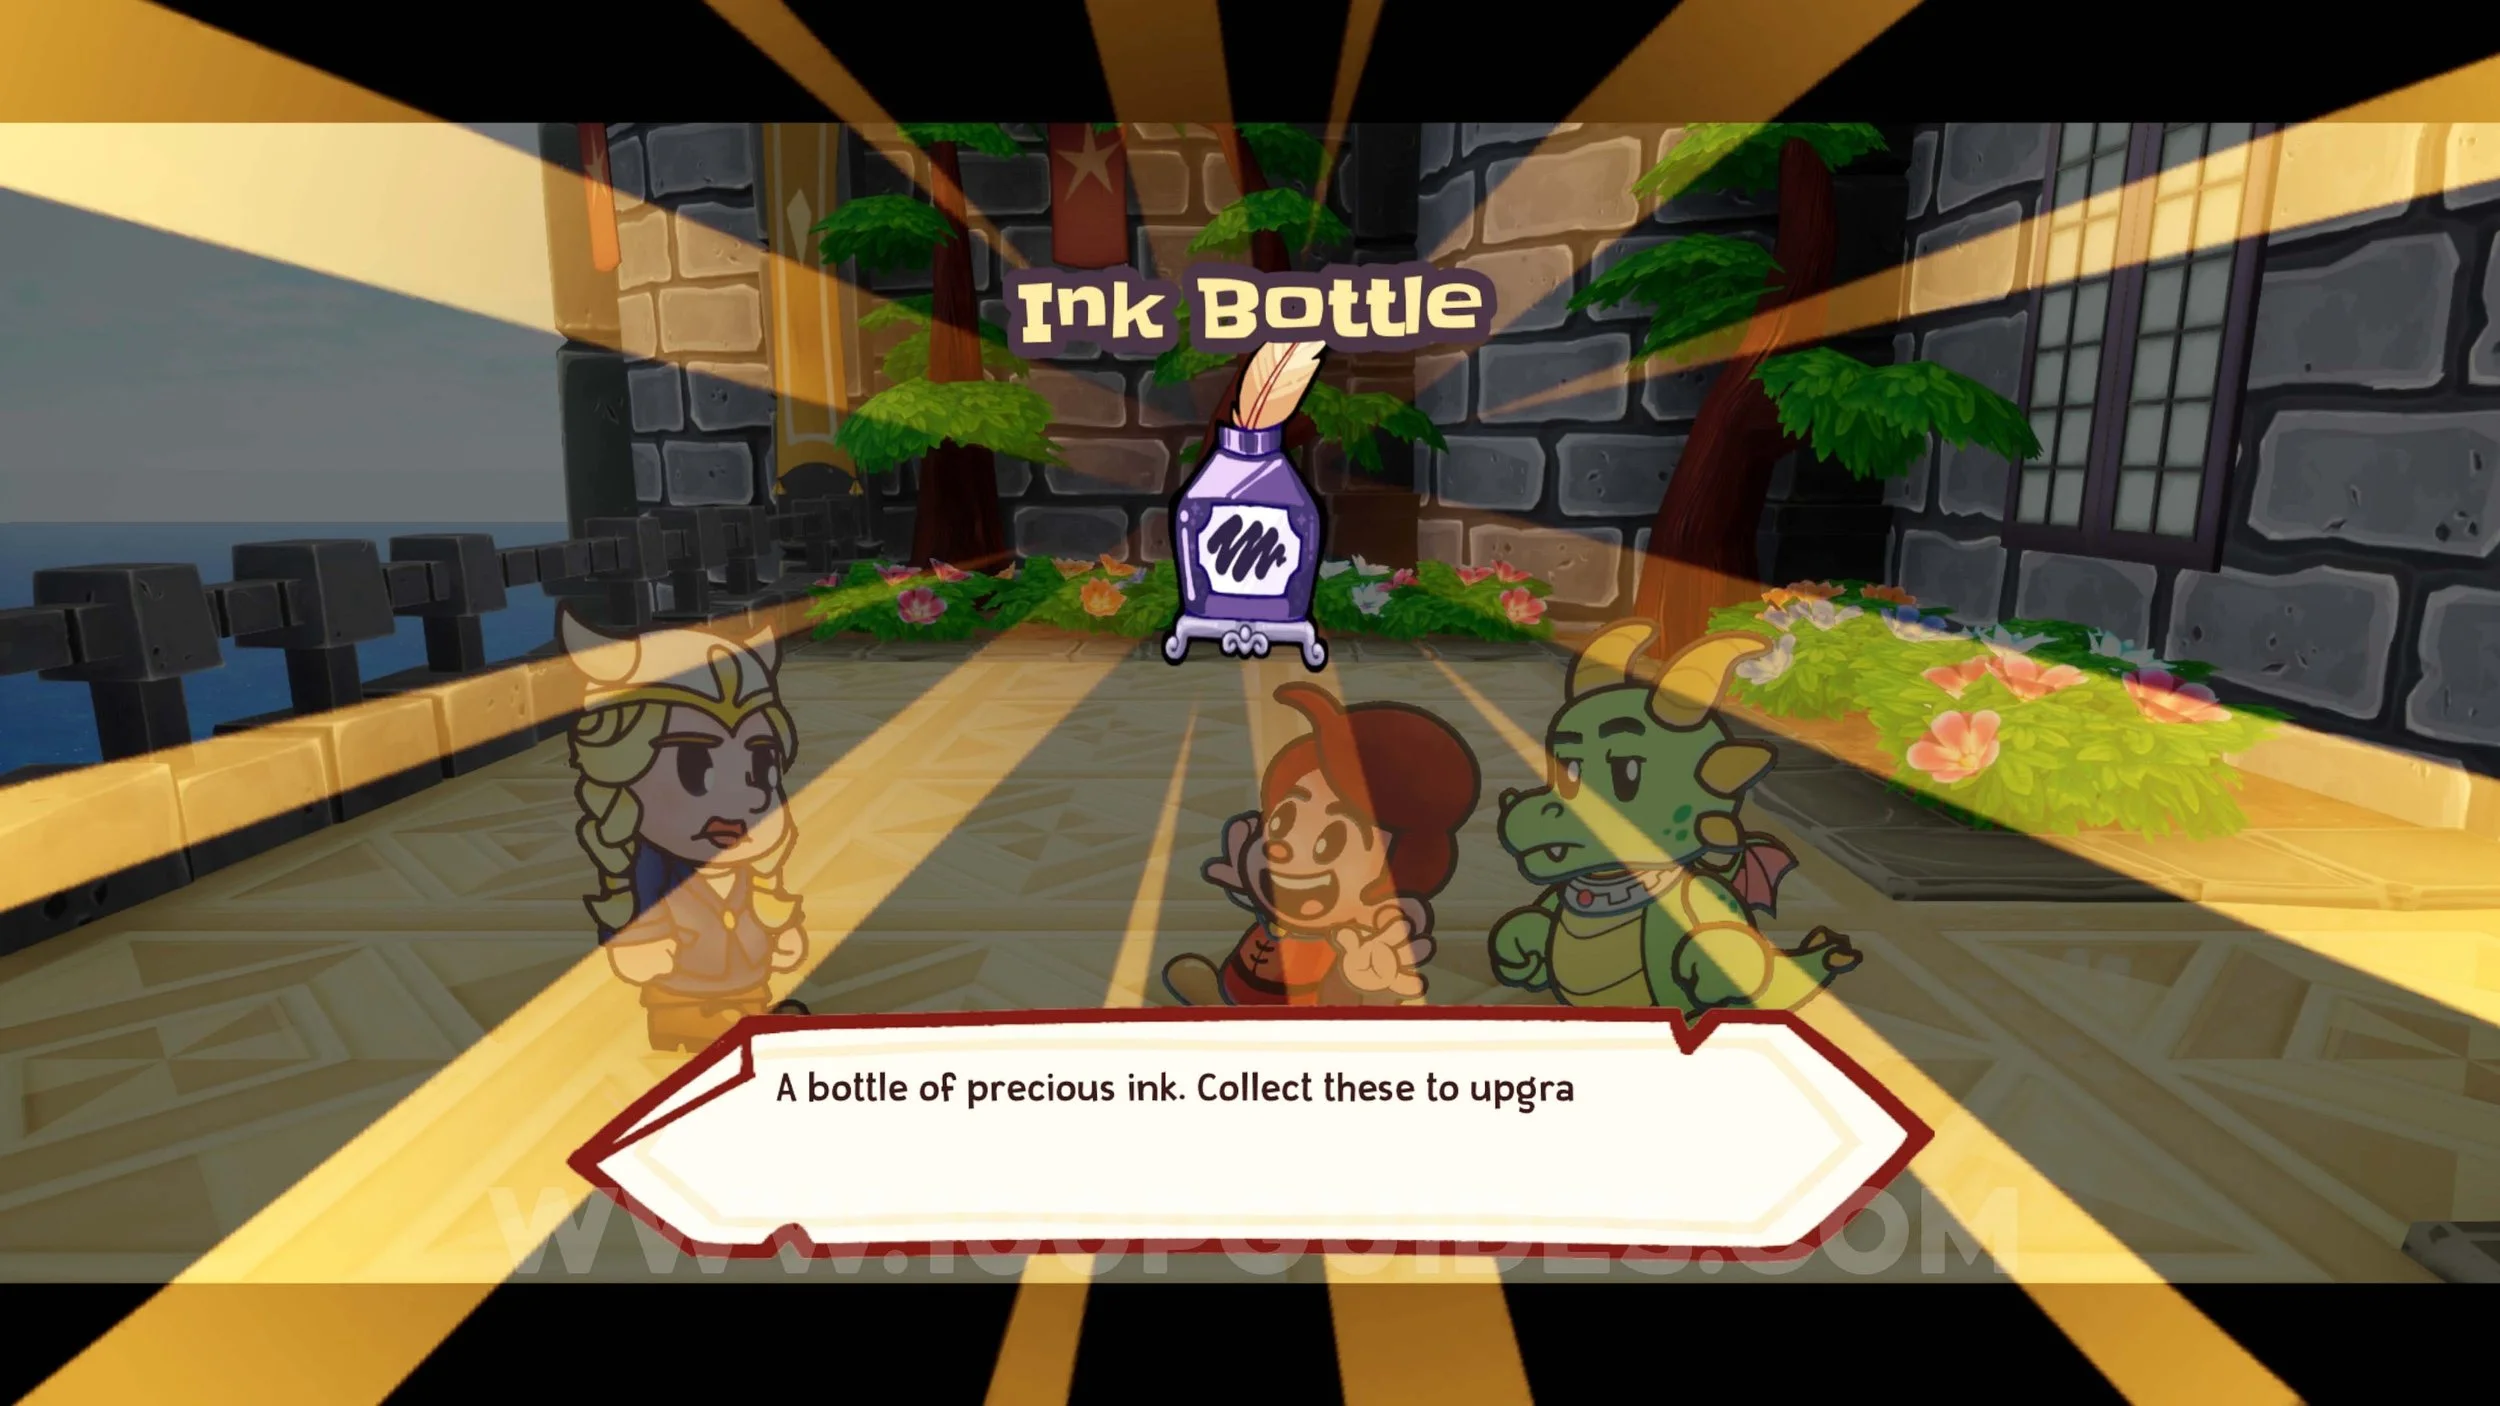
In this guide, we will show you where to find every collectible in Escape From Ever After. These are 70 Sun Gems, 30 Ink Bottles, 3 Ember Stones, 4 Inventory Upgrades, 69 Trinkets, 70 Office Decors and 27 Outfits. Nothing is missable, and you can explore after finishing the main story.
Index
The Adventures Of Flynt Buckler (HQ)
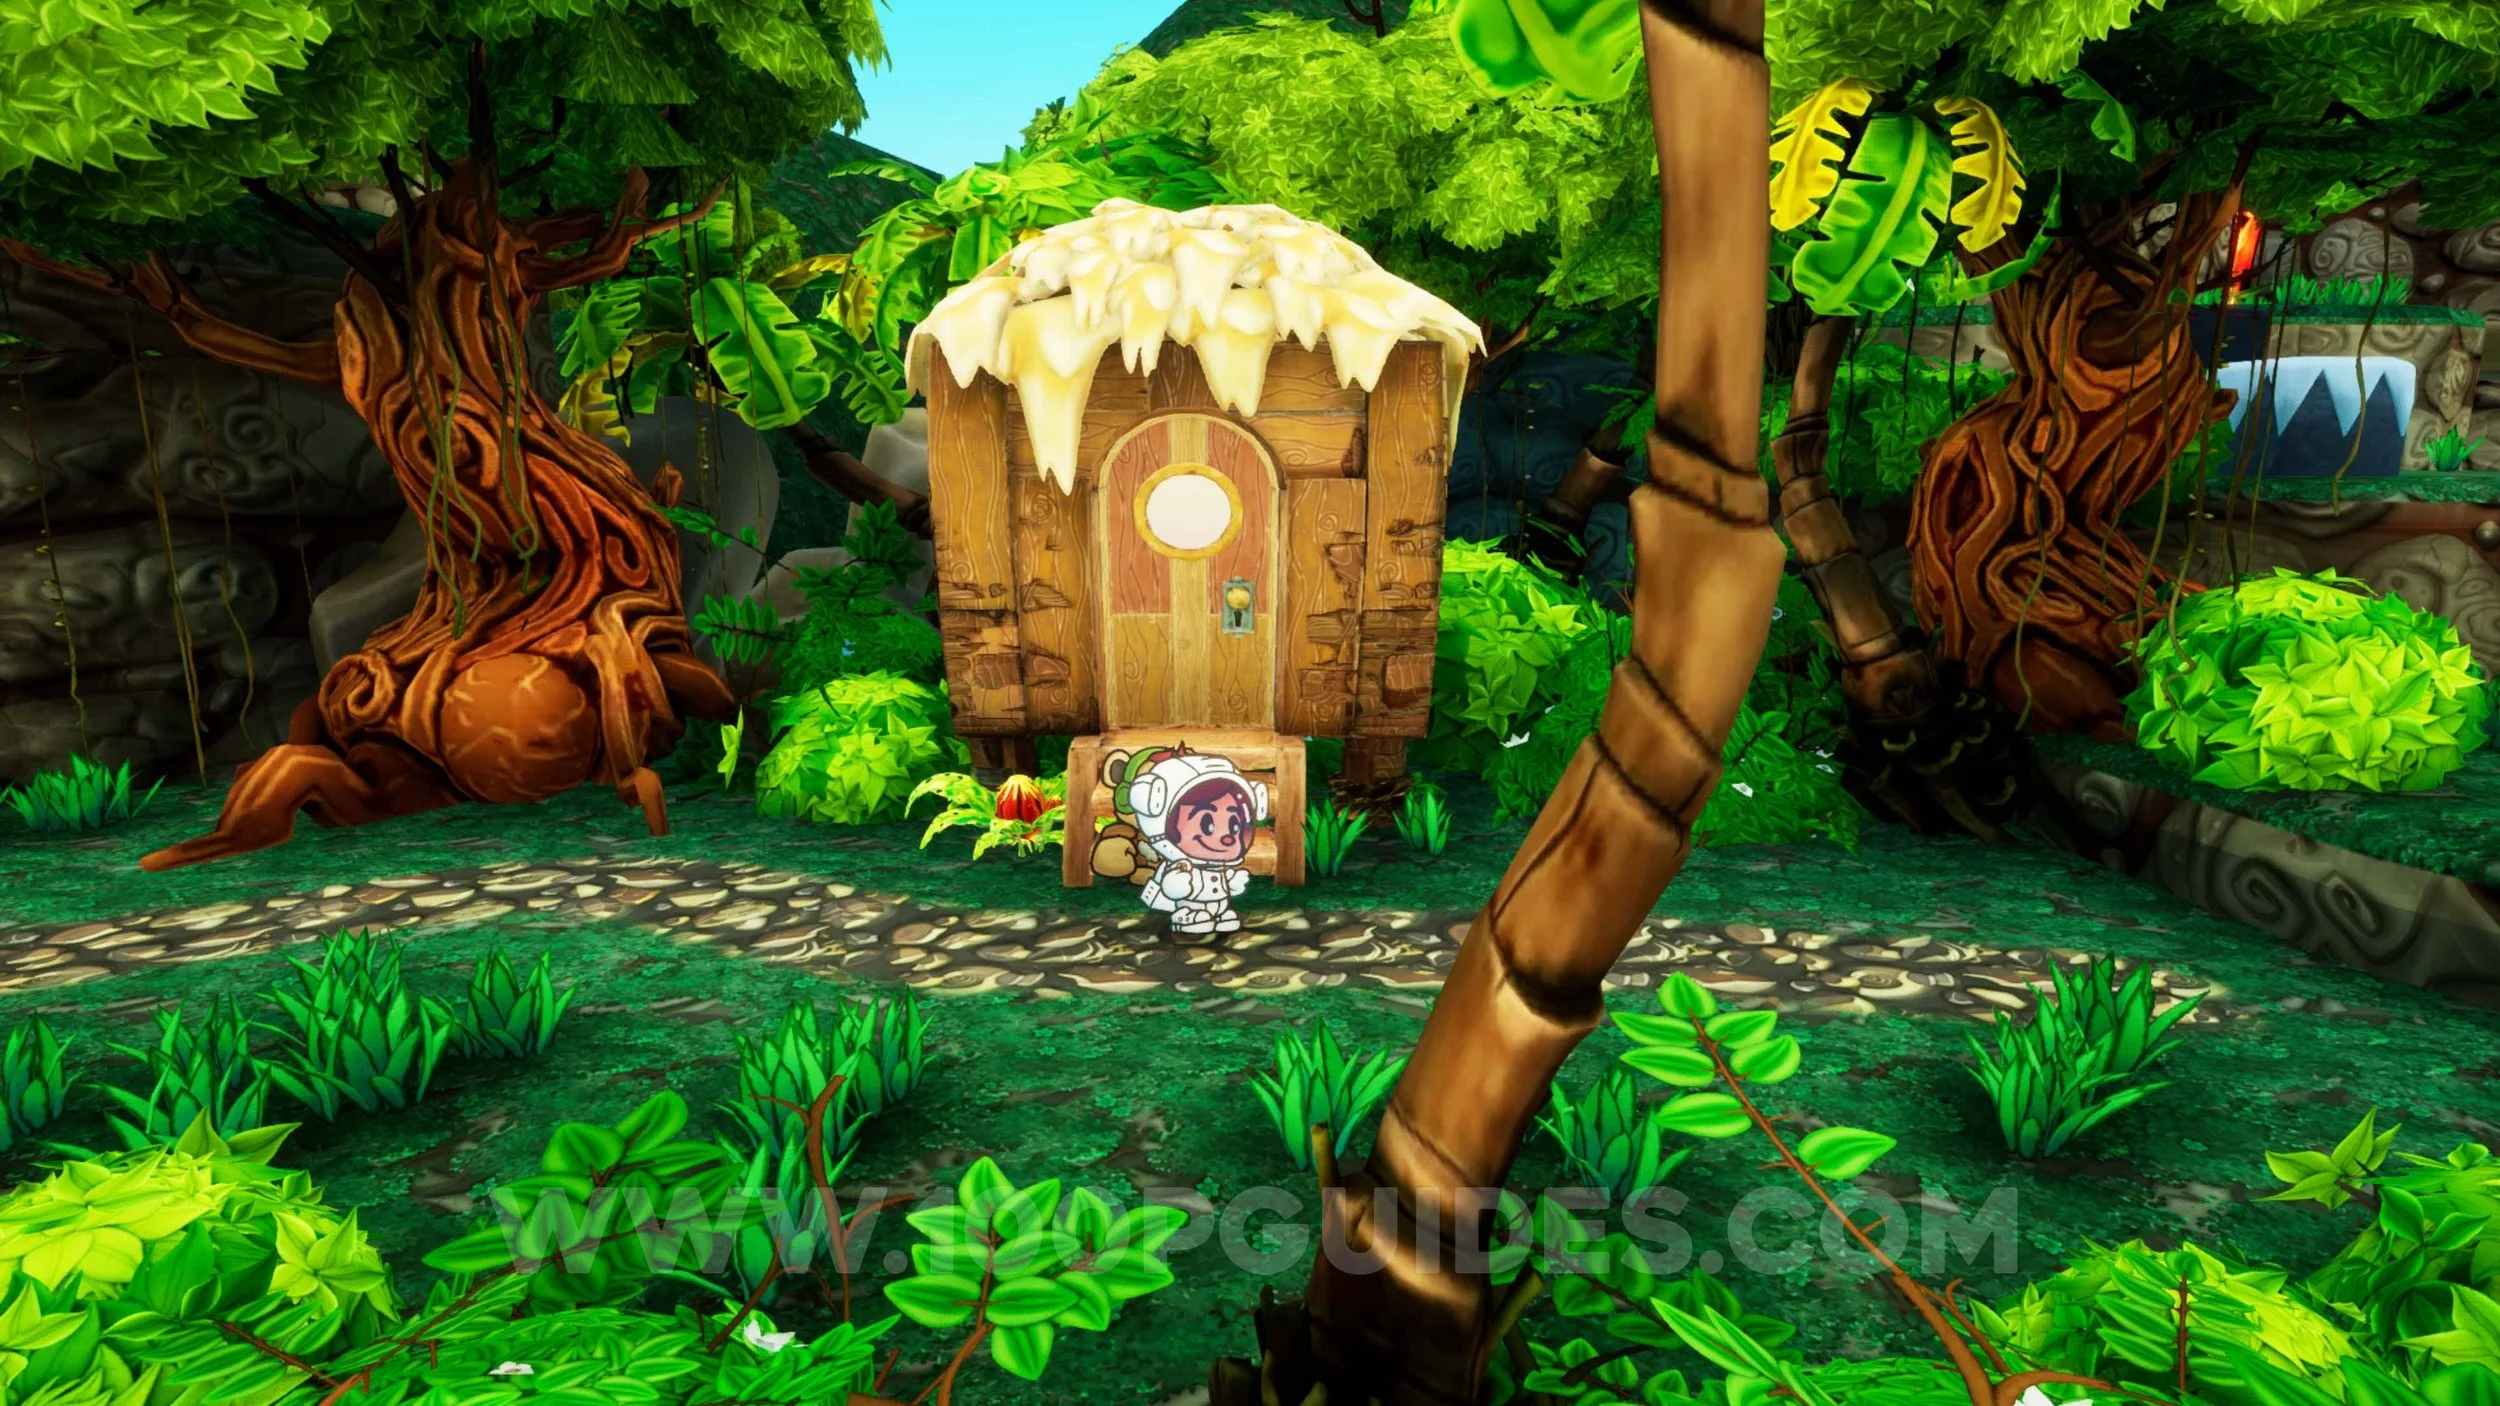
The Three Little Pigs
The Shadow Over Insbeak
Little Red Riding Hood
Treasure Cove
Icefall Chronicles
Tattered Book
Real World
Clean Up
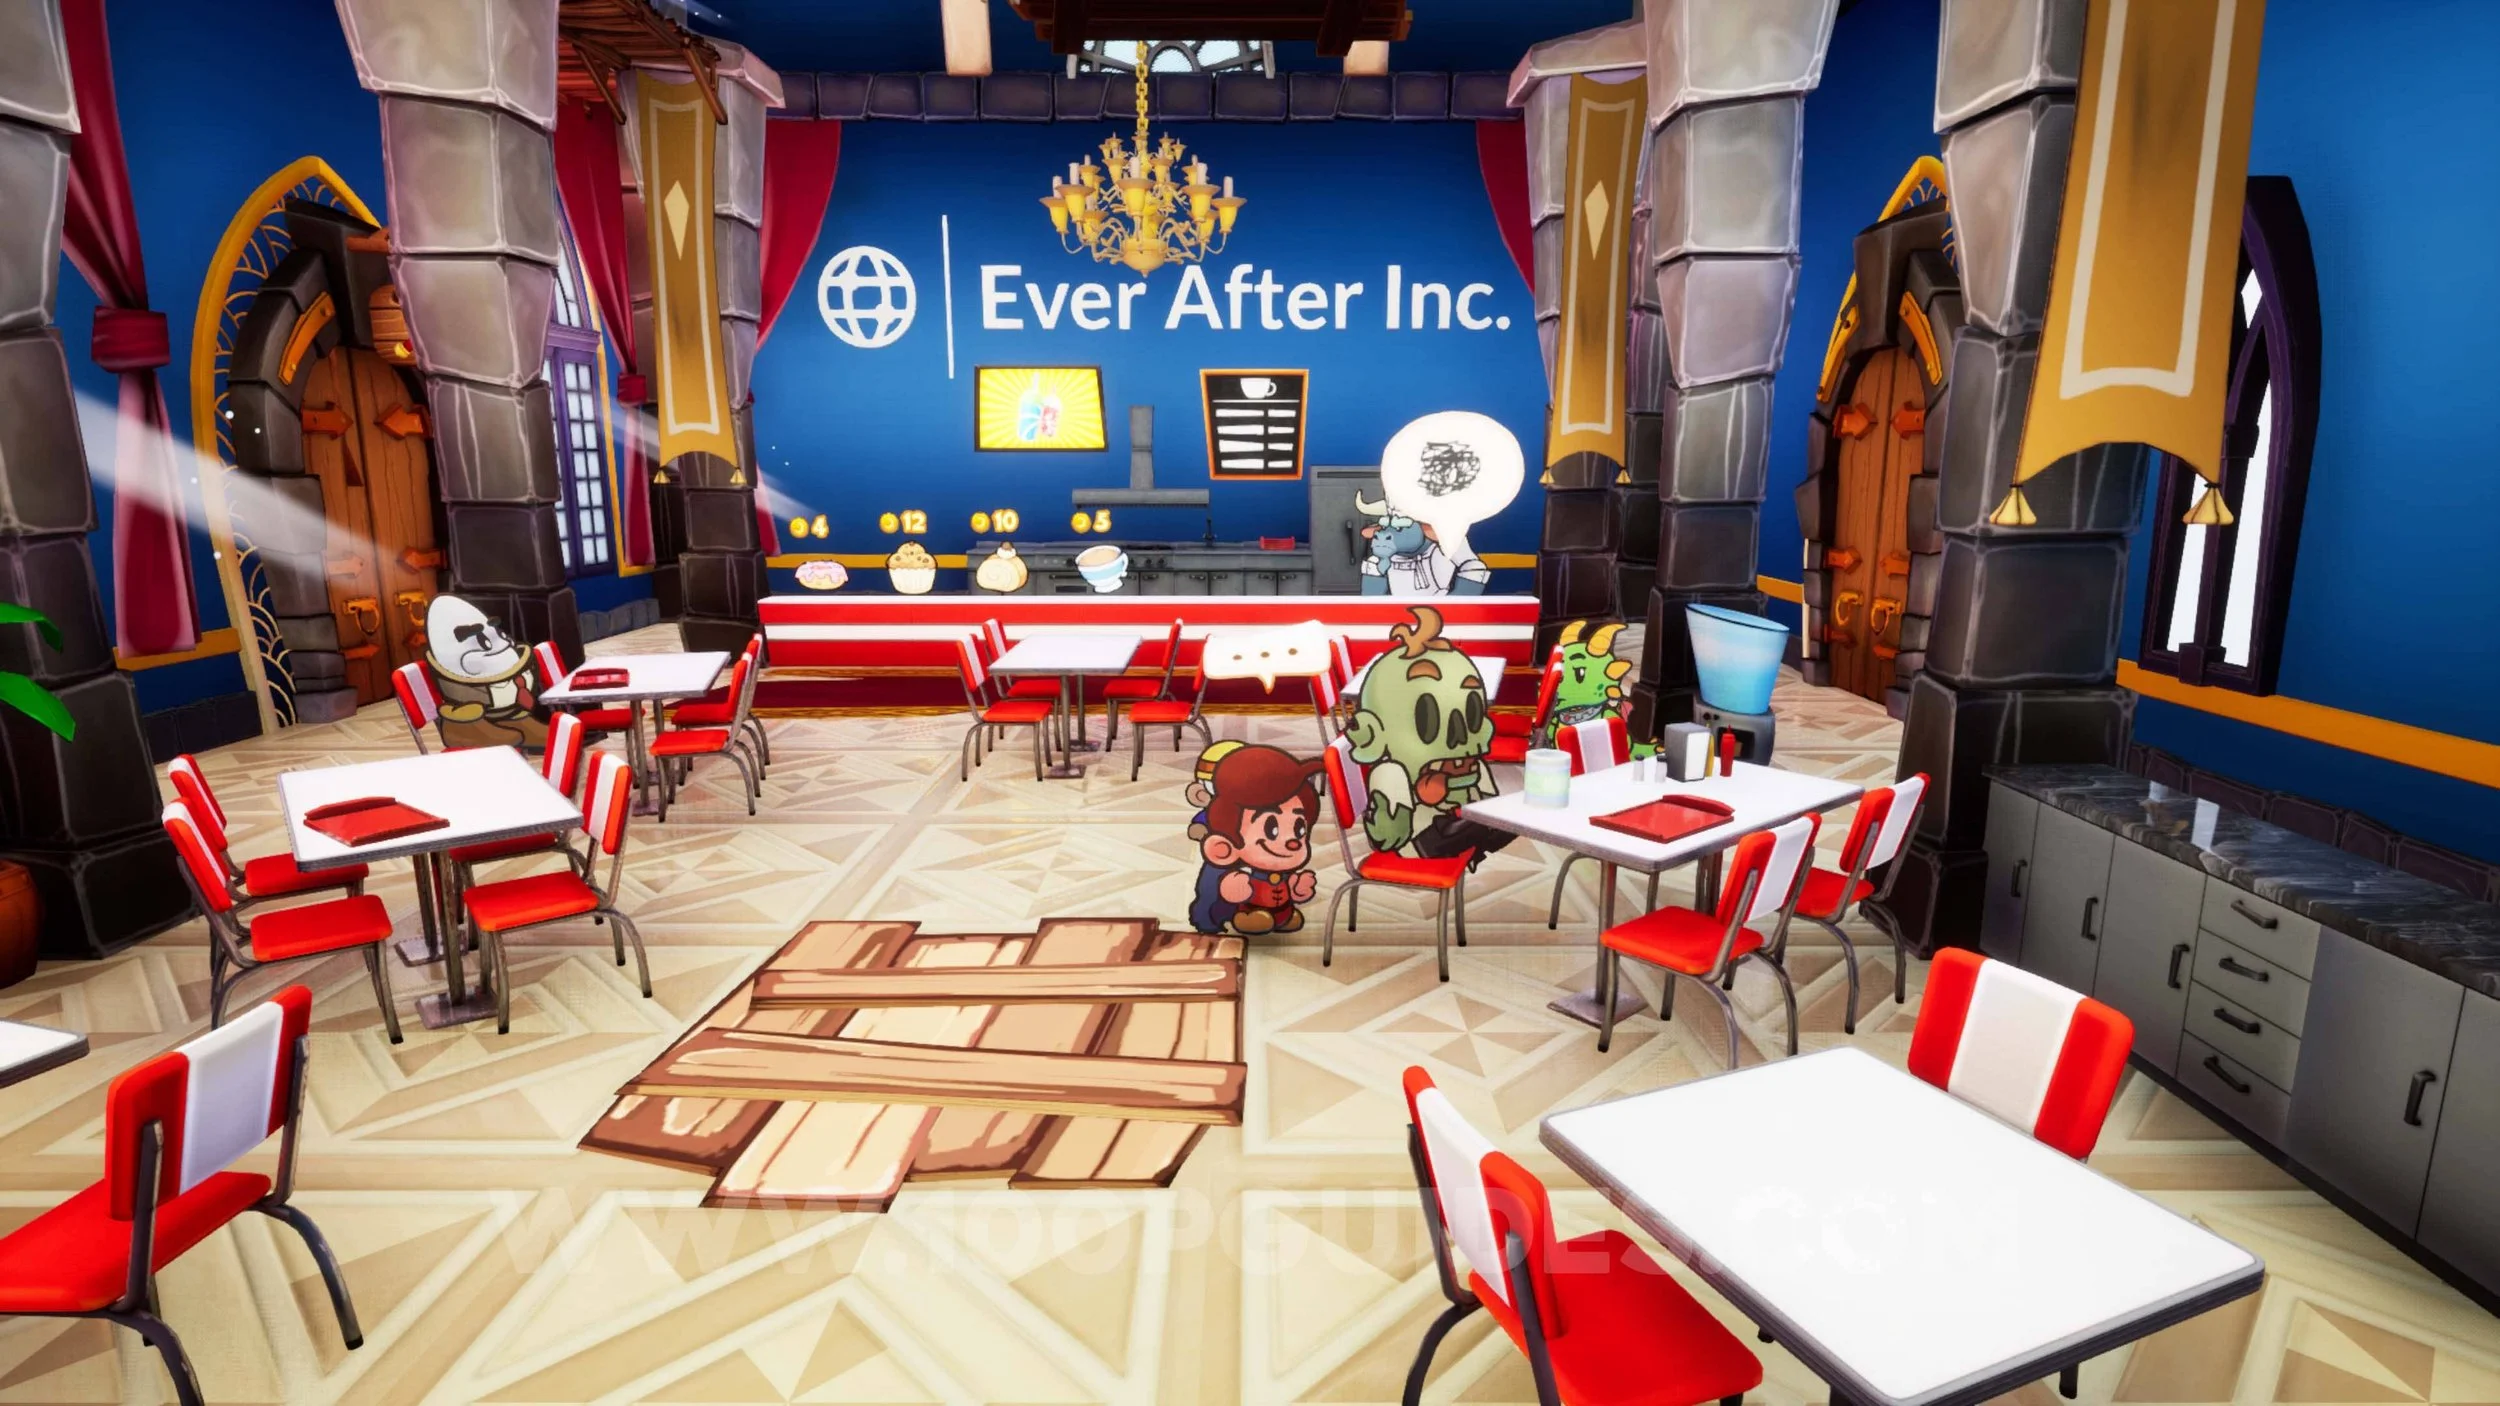
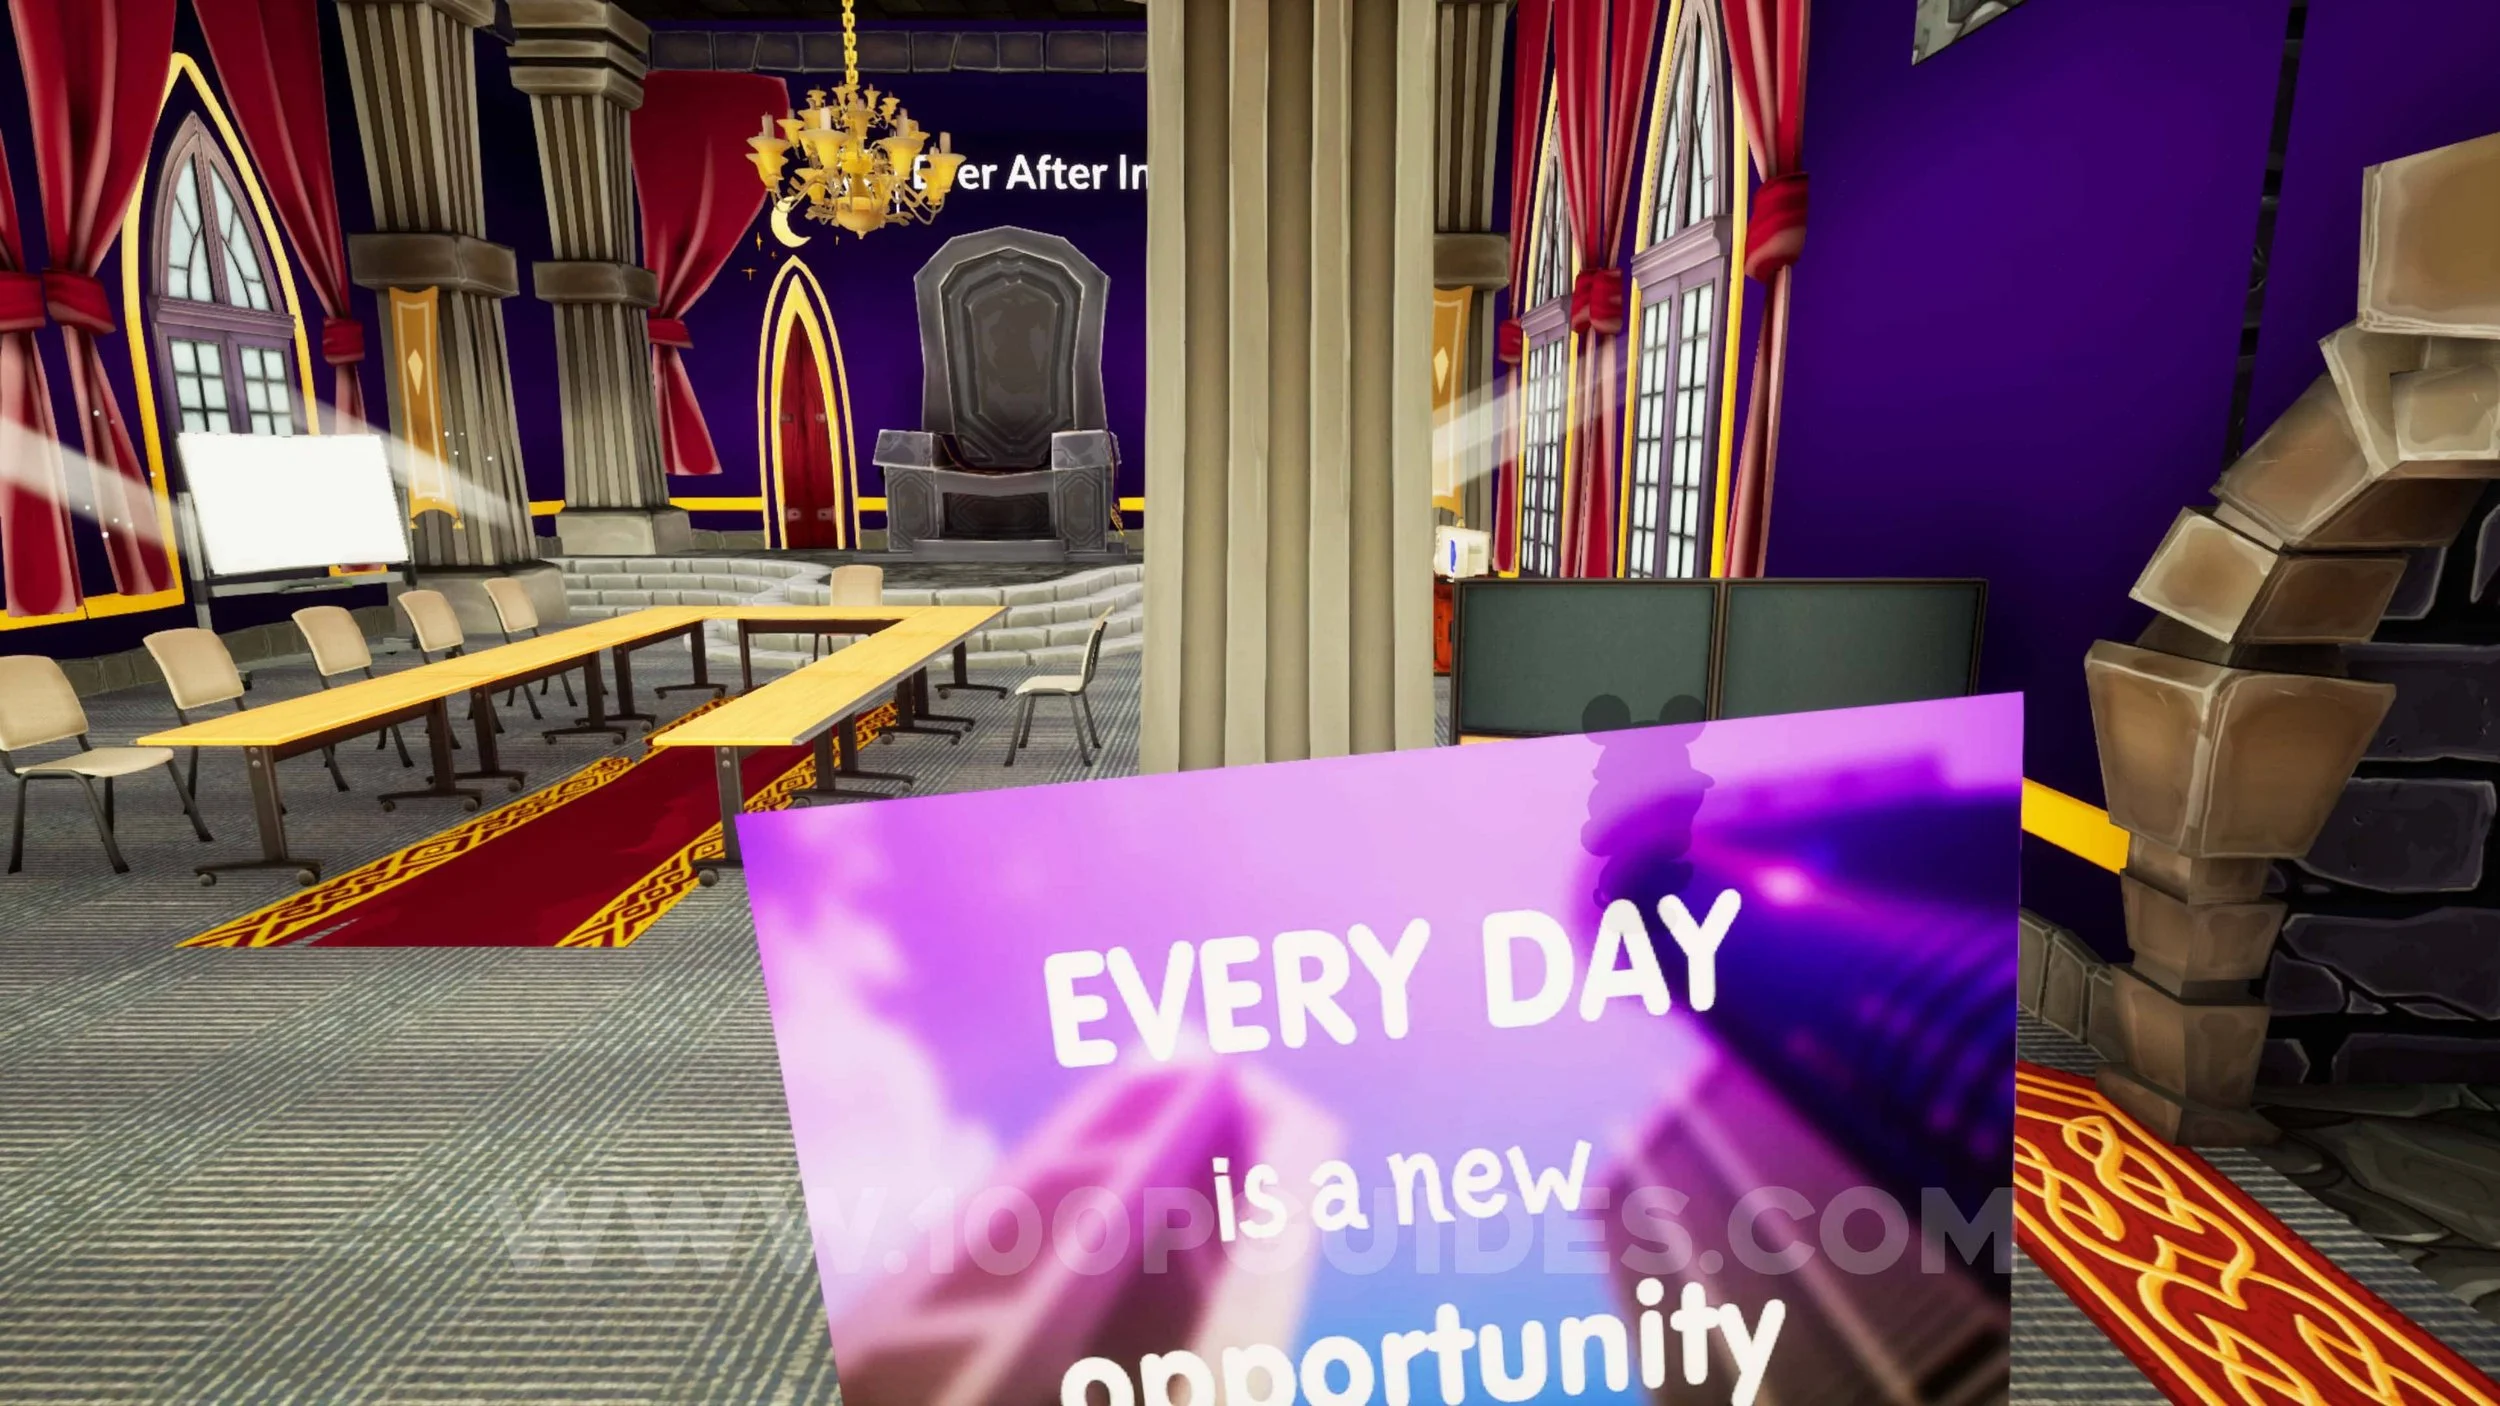
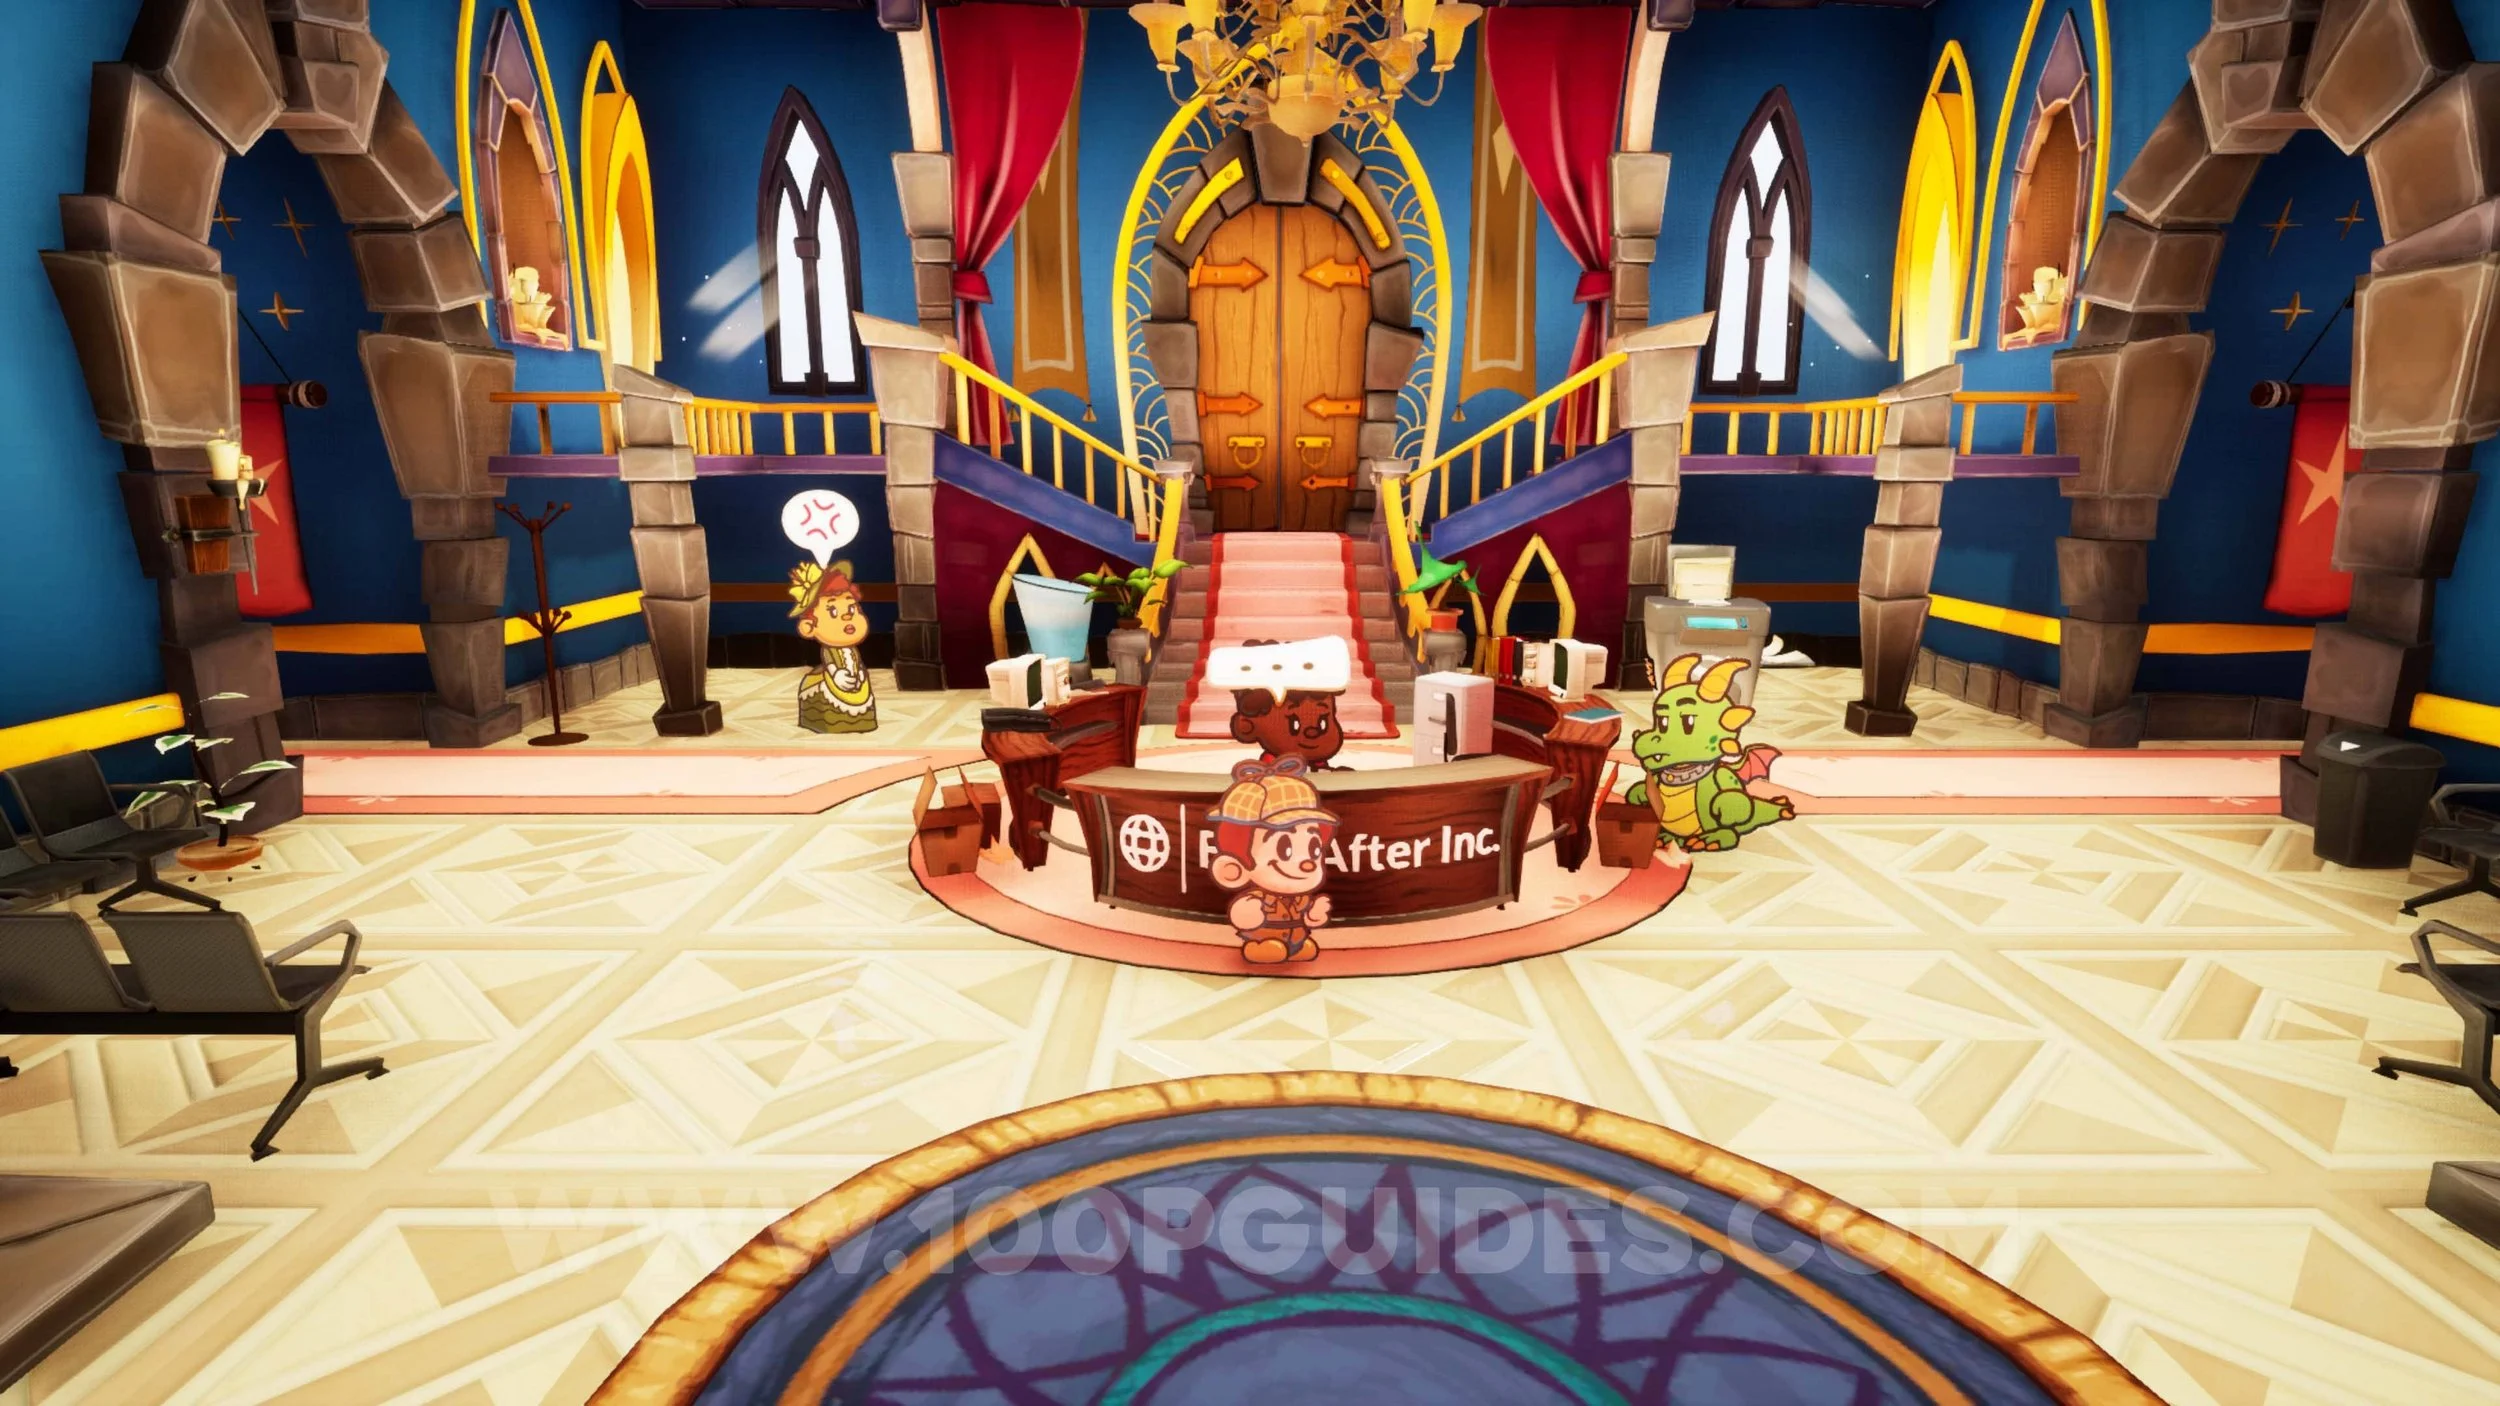
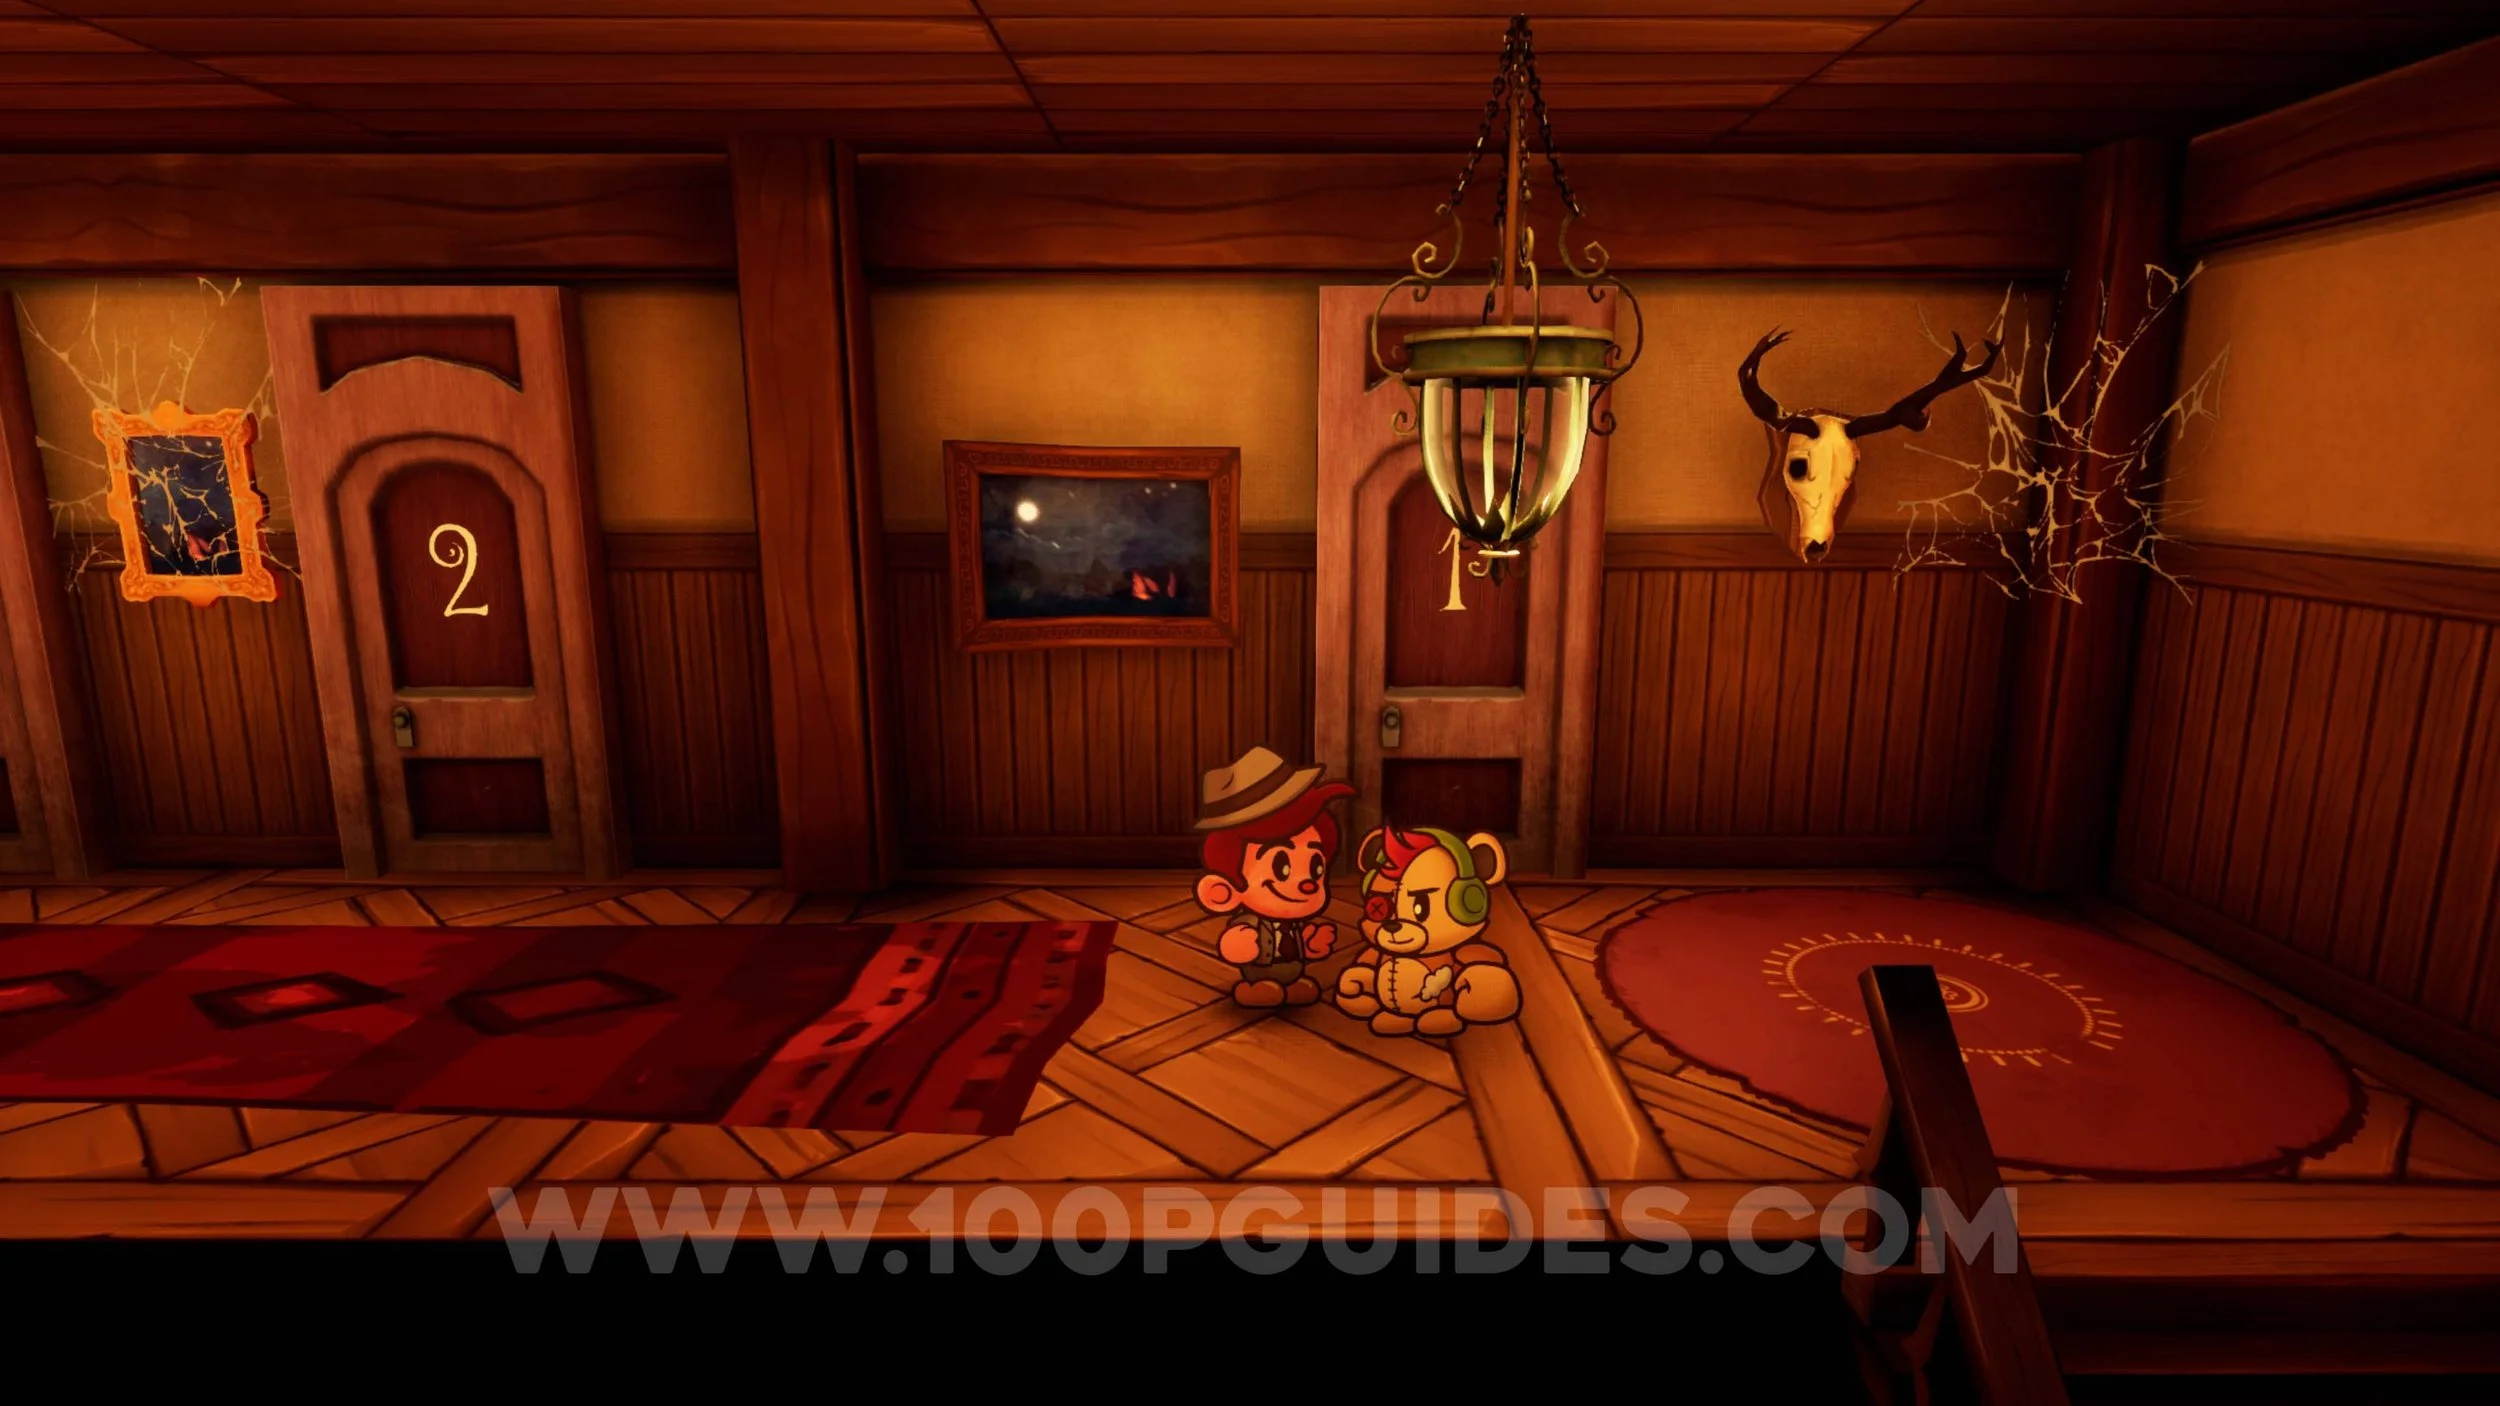
THE ADVENTURES OF FLYNT BUCKLER (HQ)
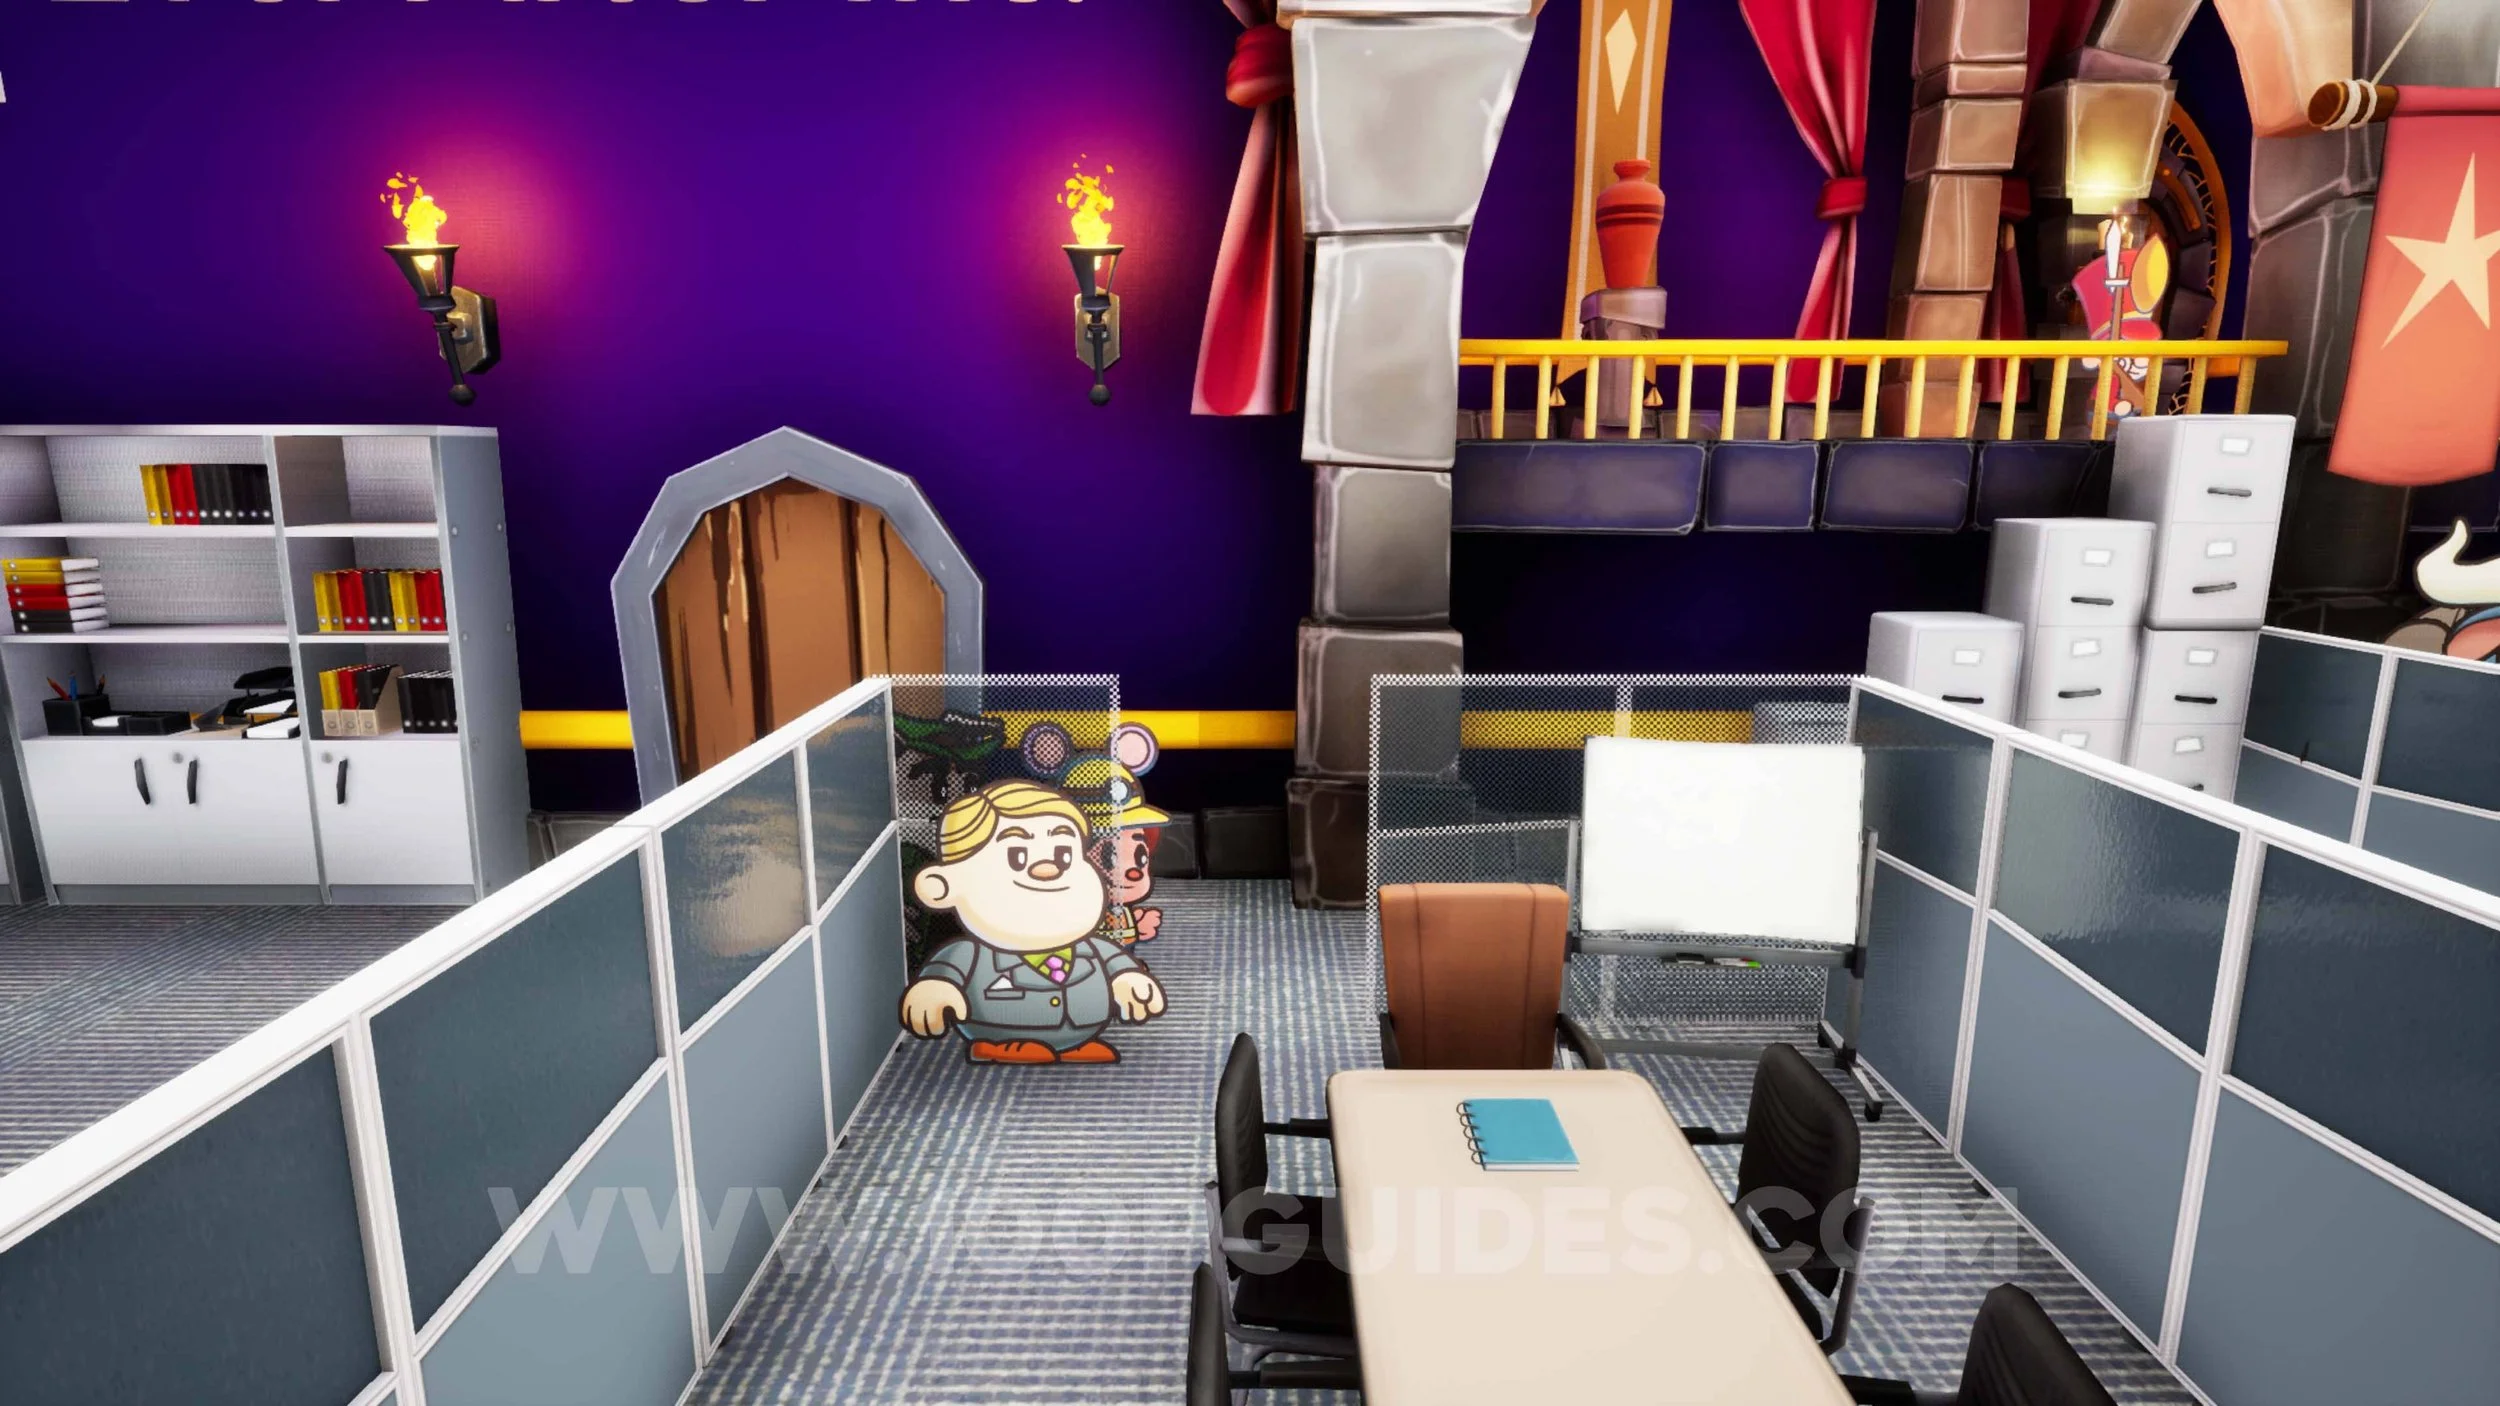
Sun Gem #1. Behind the stairs in the very first room of the game.
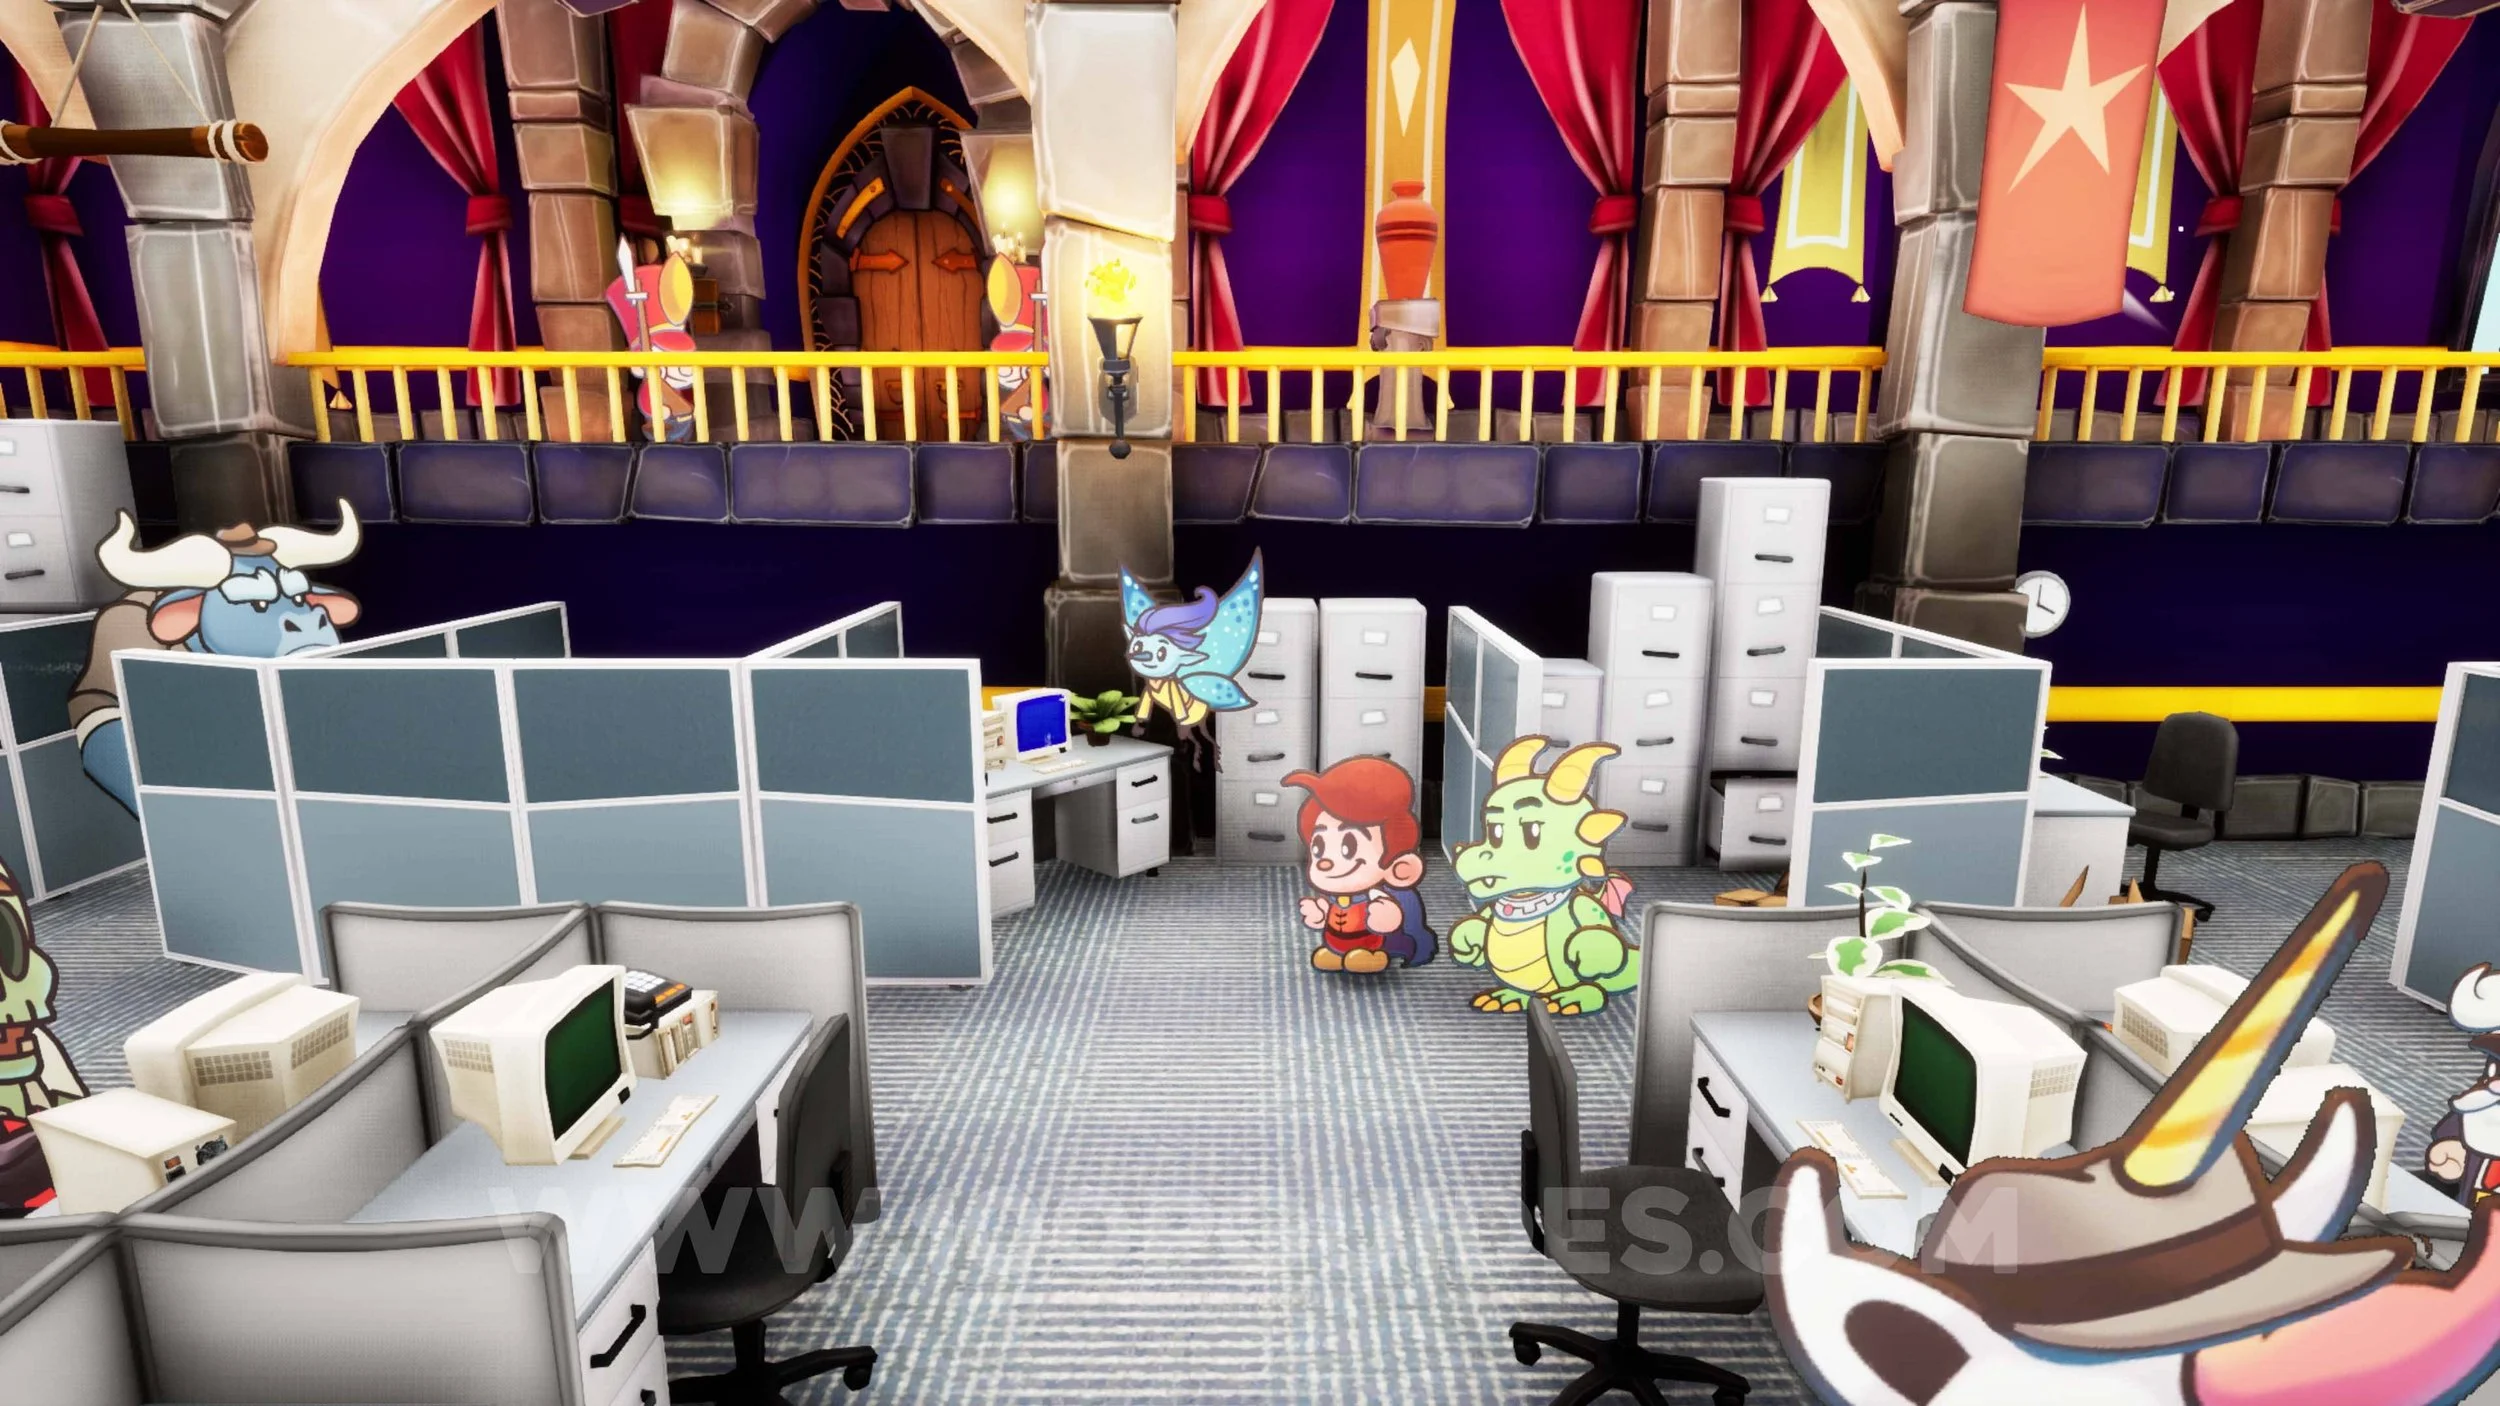
Sun Gem #2. Behind one of the cubicles in the middle of the office. This is the second room you have to go through.
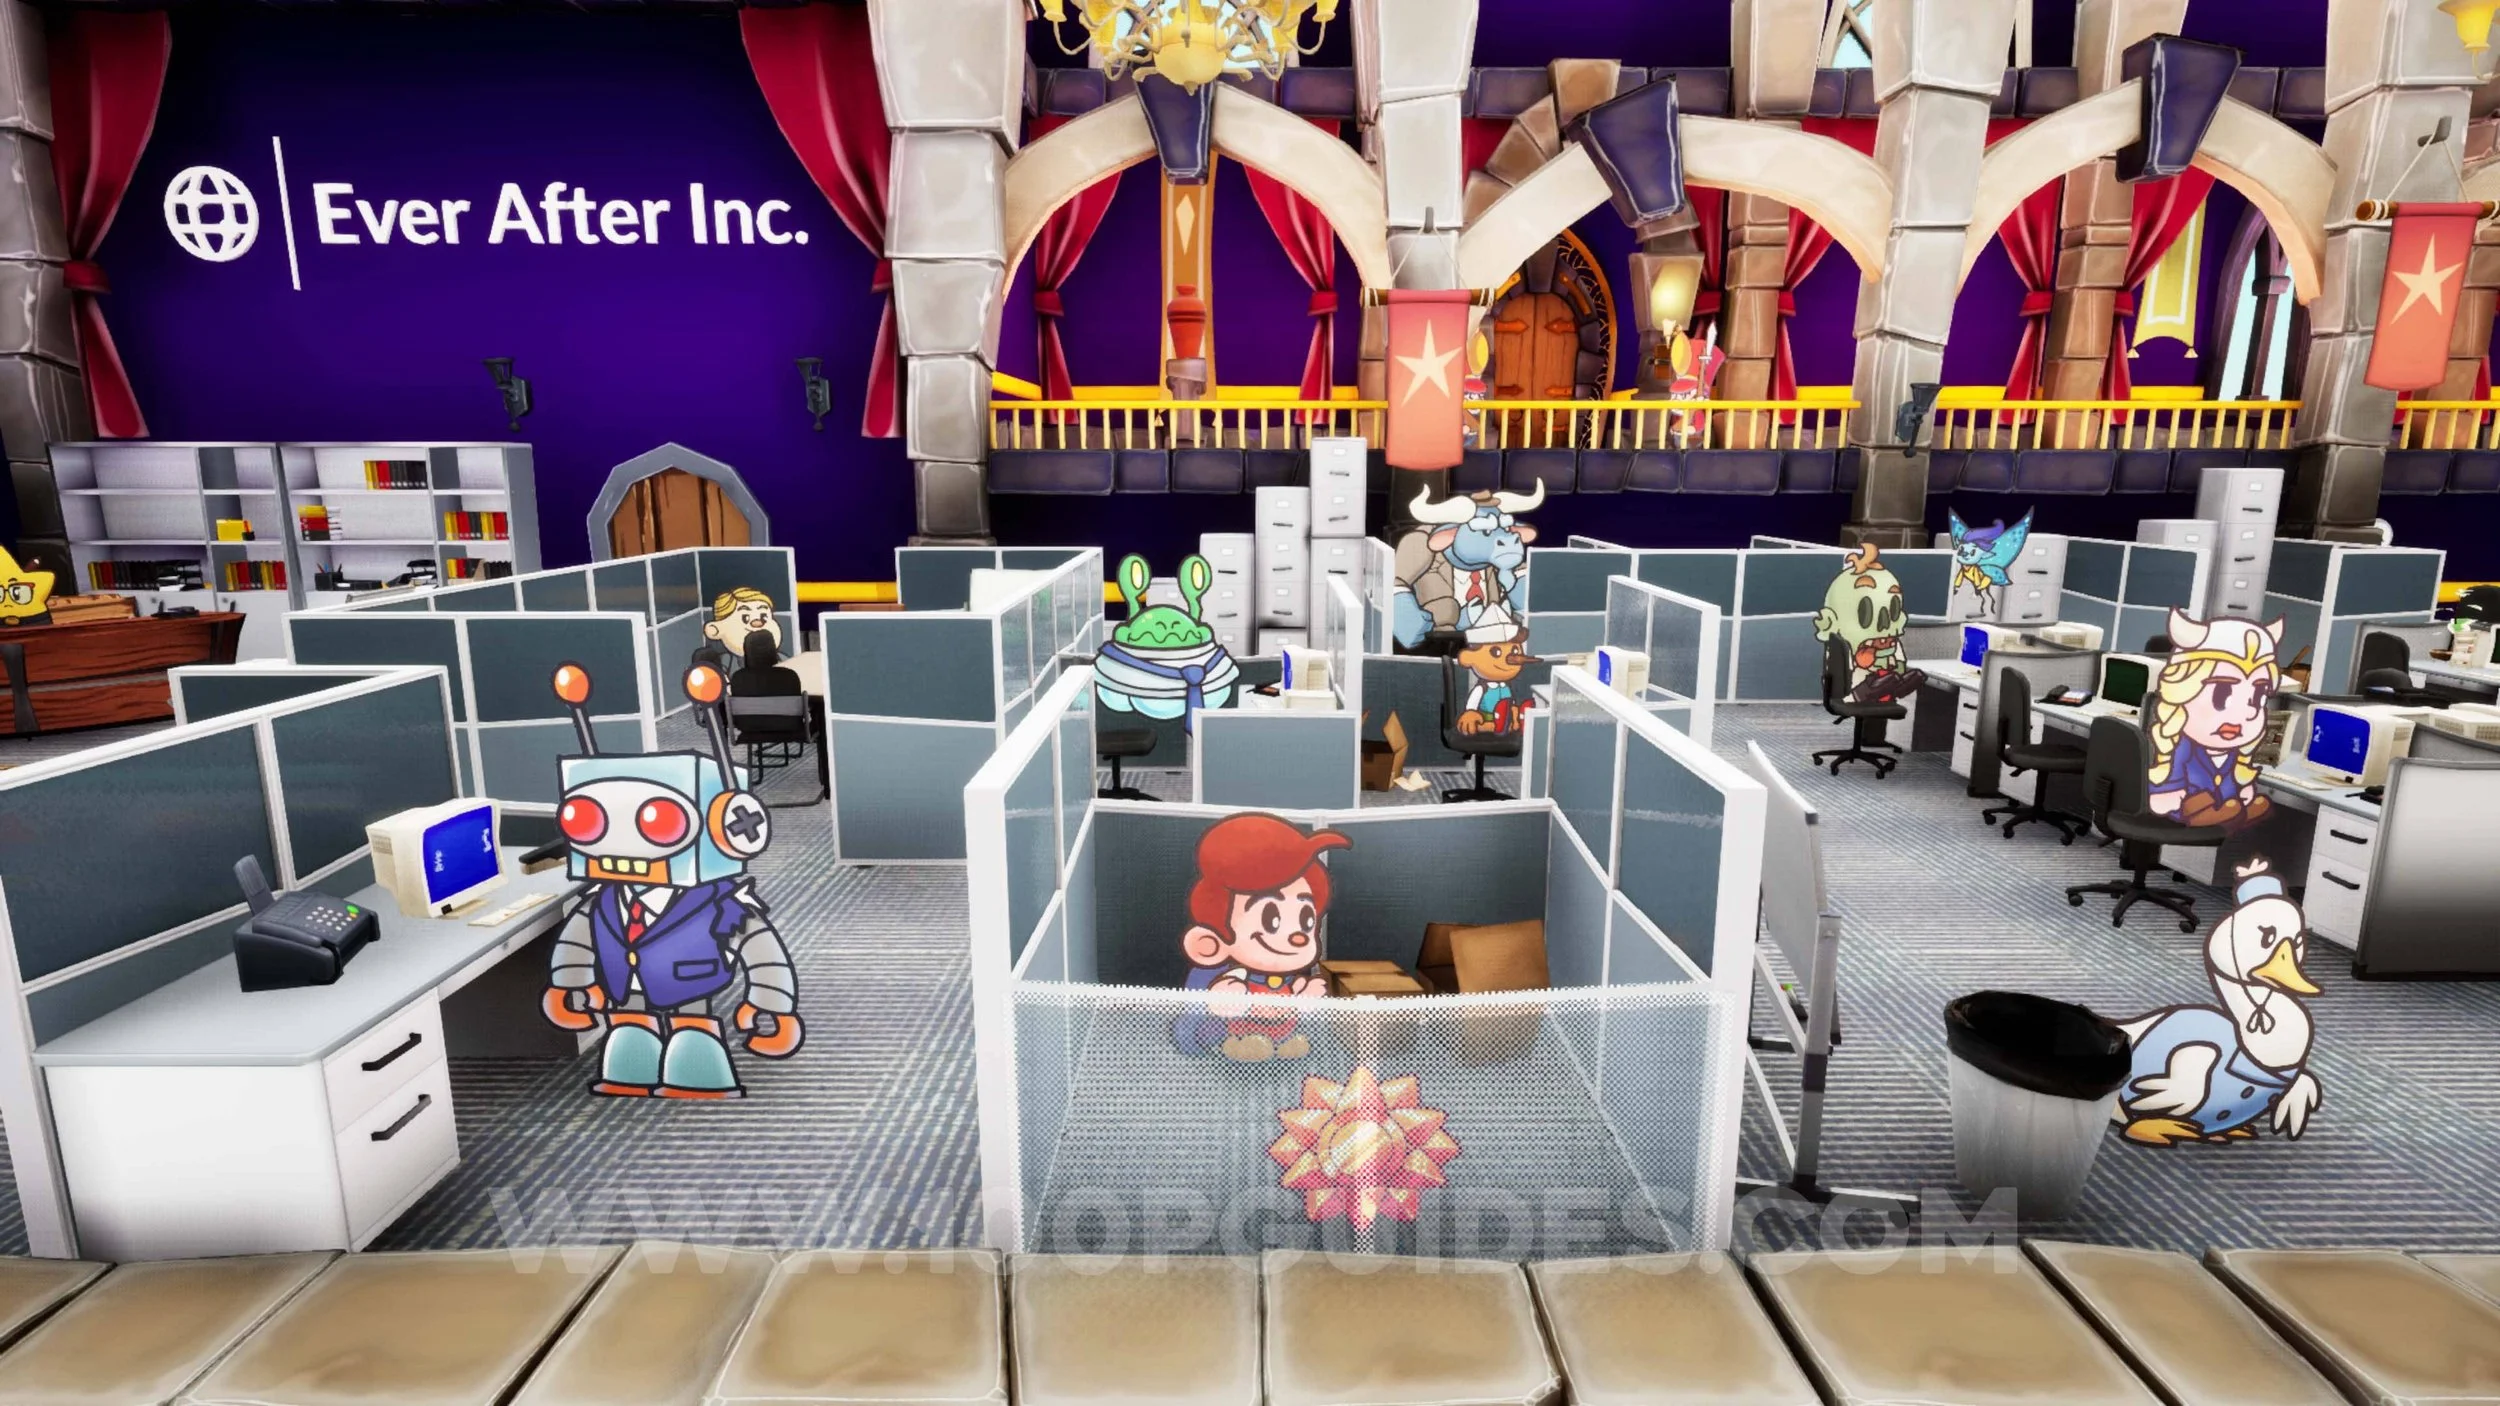
Office Decor #1 - Red Chair. In a chest behind the cubicle at the far left side of the office.
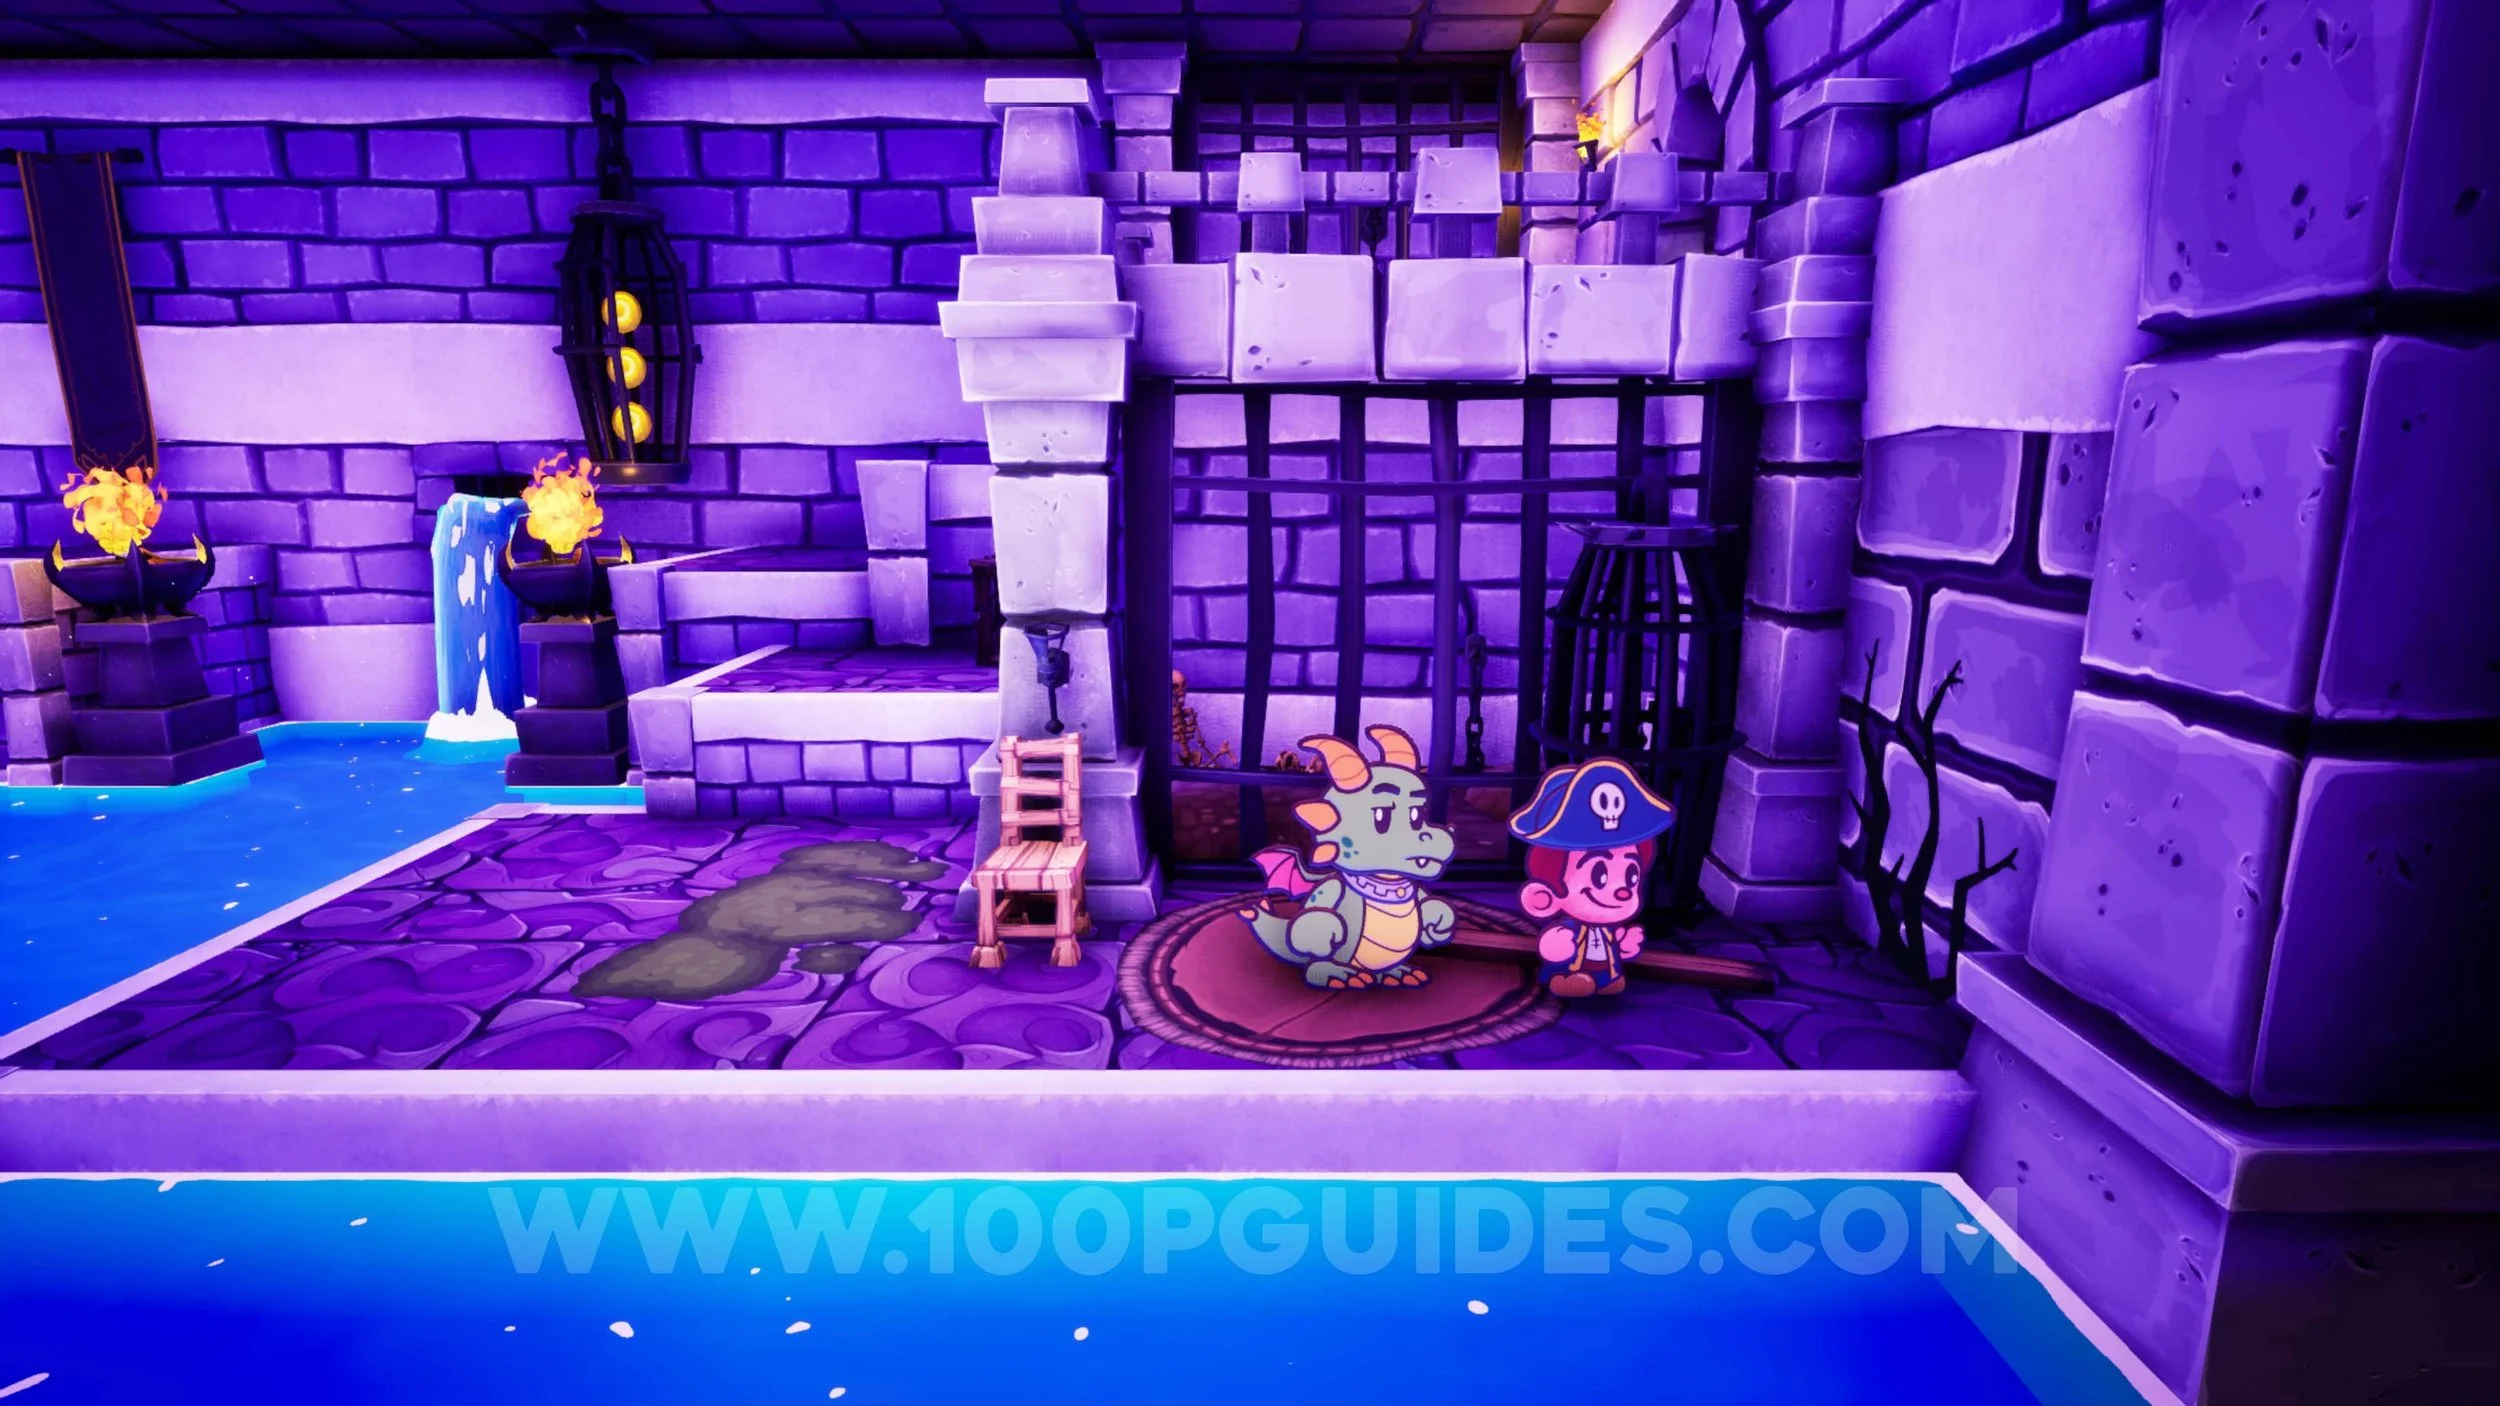
Trinket #1 - Buckler Barrage. In the chest that appears after lighting the 2 torches to open the gate after your first fight with the 2 soldiers.
Trinket #2 - Dire Straits. In a small room that can be found by going through the door on the right of the room with a lever inside a cell.

Sun Gem #3. After examining the locked door in the room with the lever in a cell, you will enter the room on the right that has a save point and a vending machine. The gem can be found behind the wall to the right of the save point.
Ink Bottle #1. Inside the left chest in the room where you fight the Three Blind Mice boss.
Trinket #3 - Health Boost. After going through the locked door with the key from the room where you fight the Three Blind Mice, light the 2 torches in the cell.
Sun Gem #4. Go towards the camera just before leaving through the door at the top of the room where the previous collectible was.
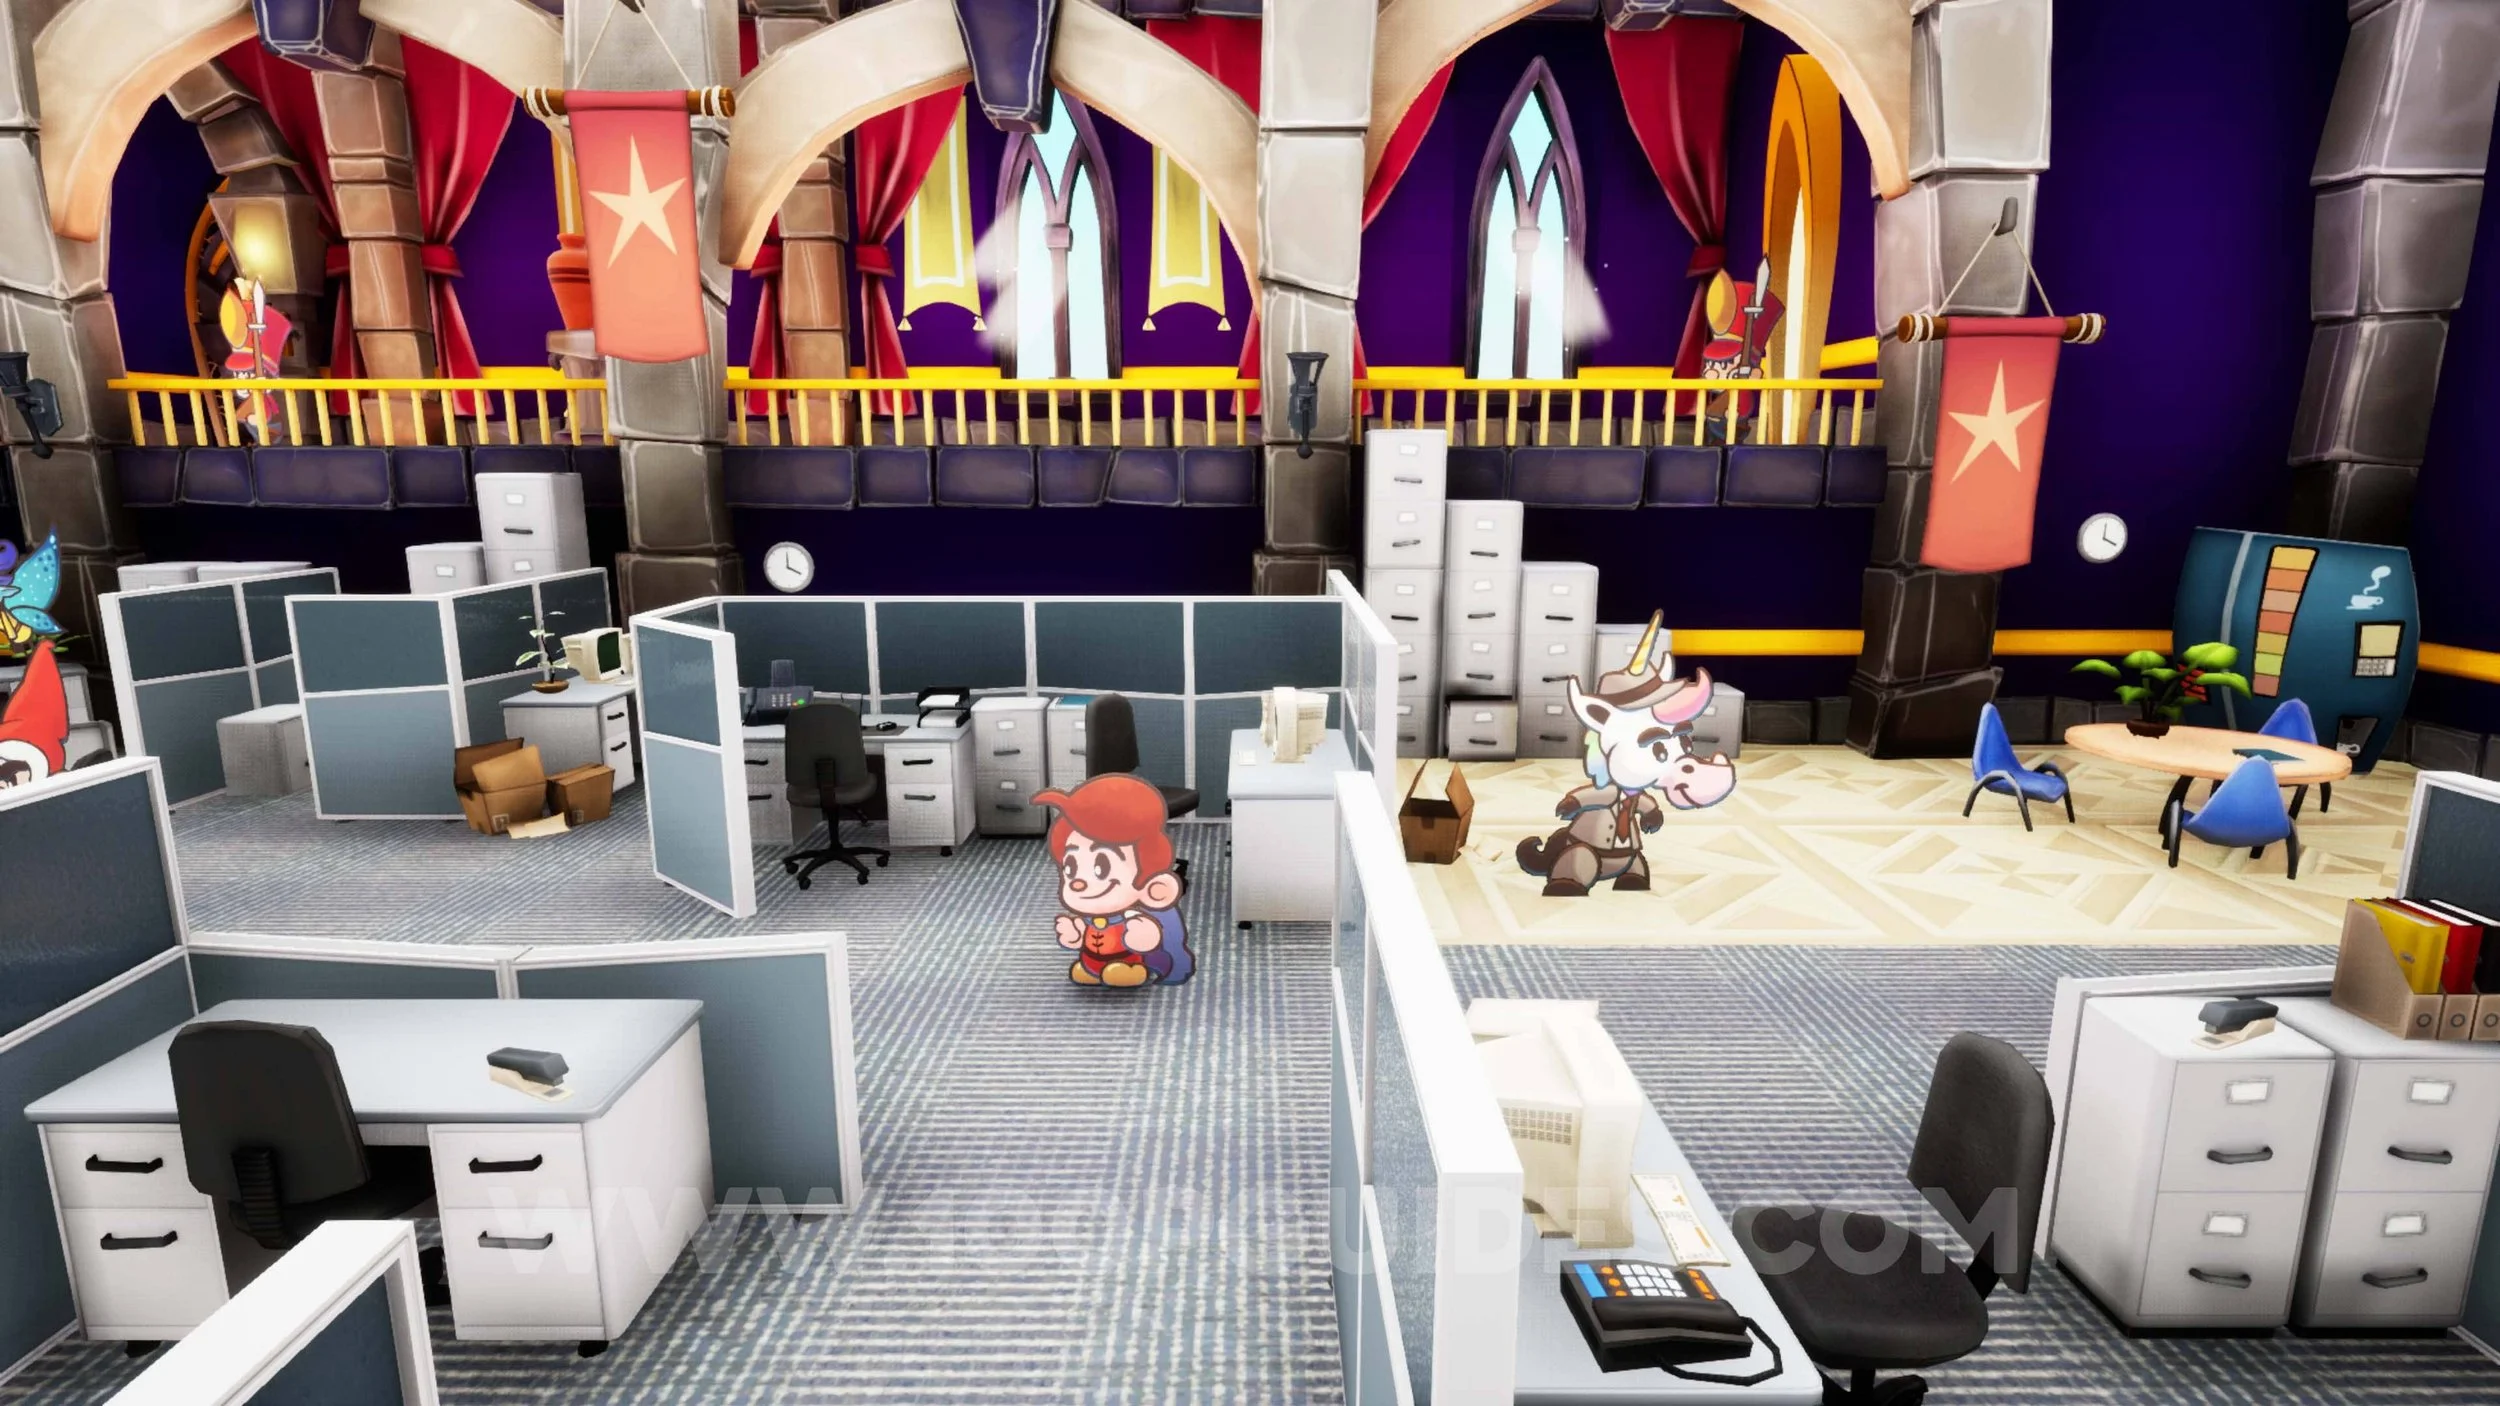
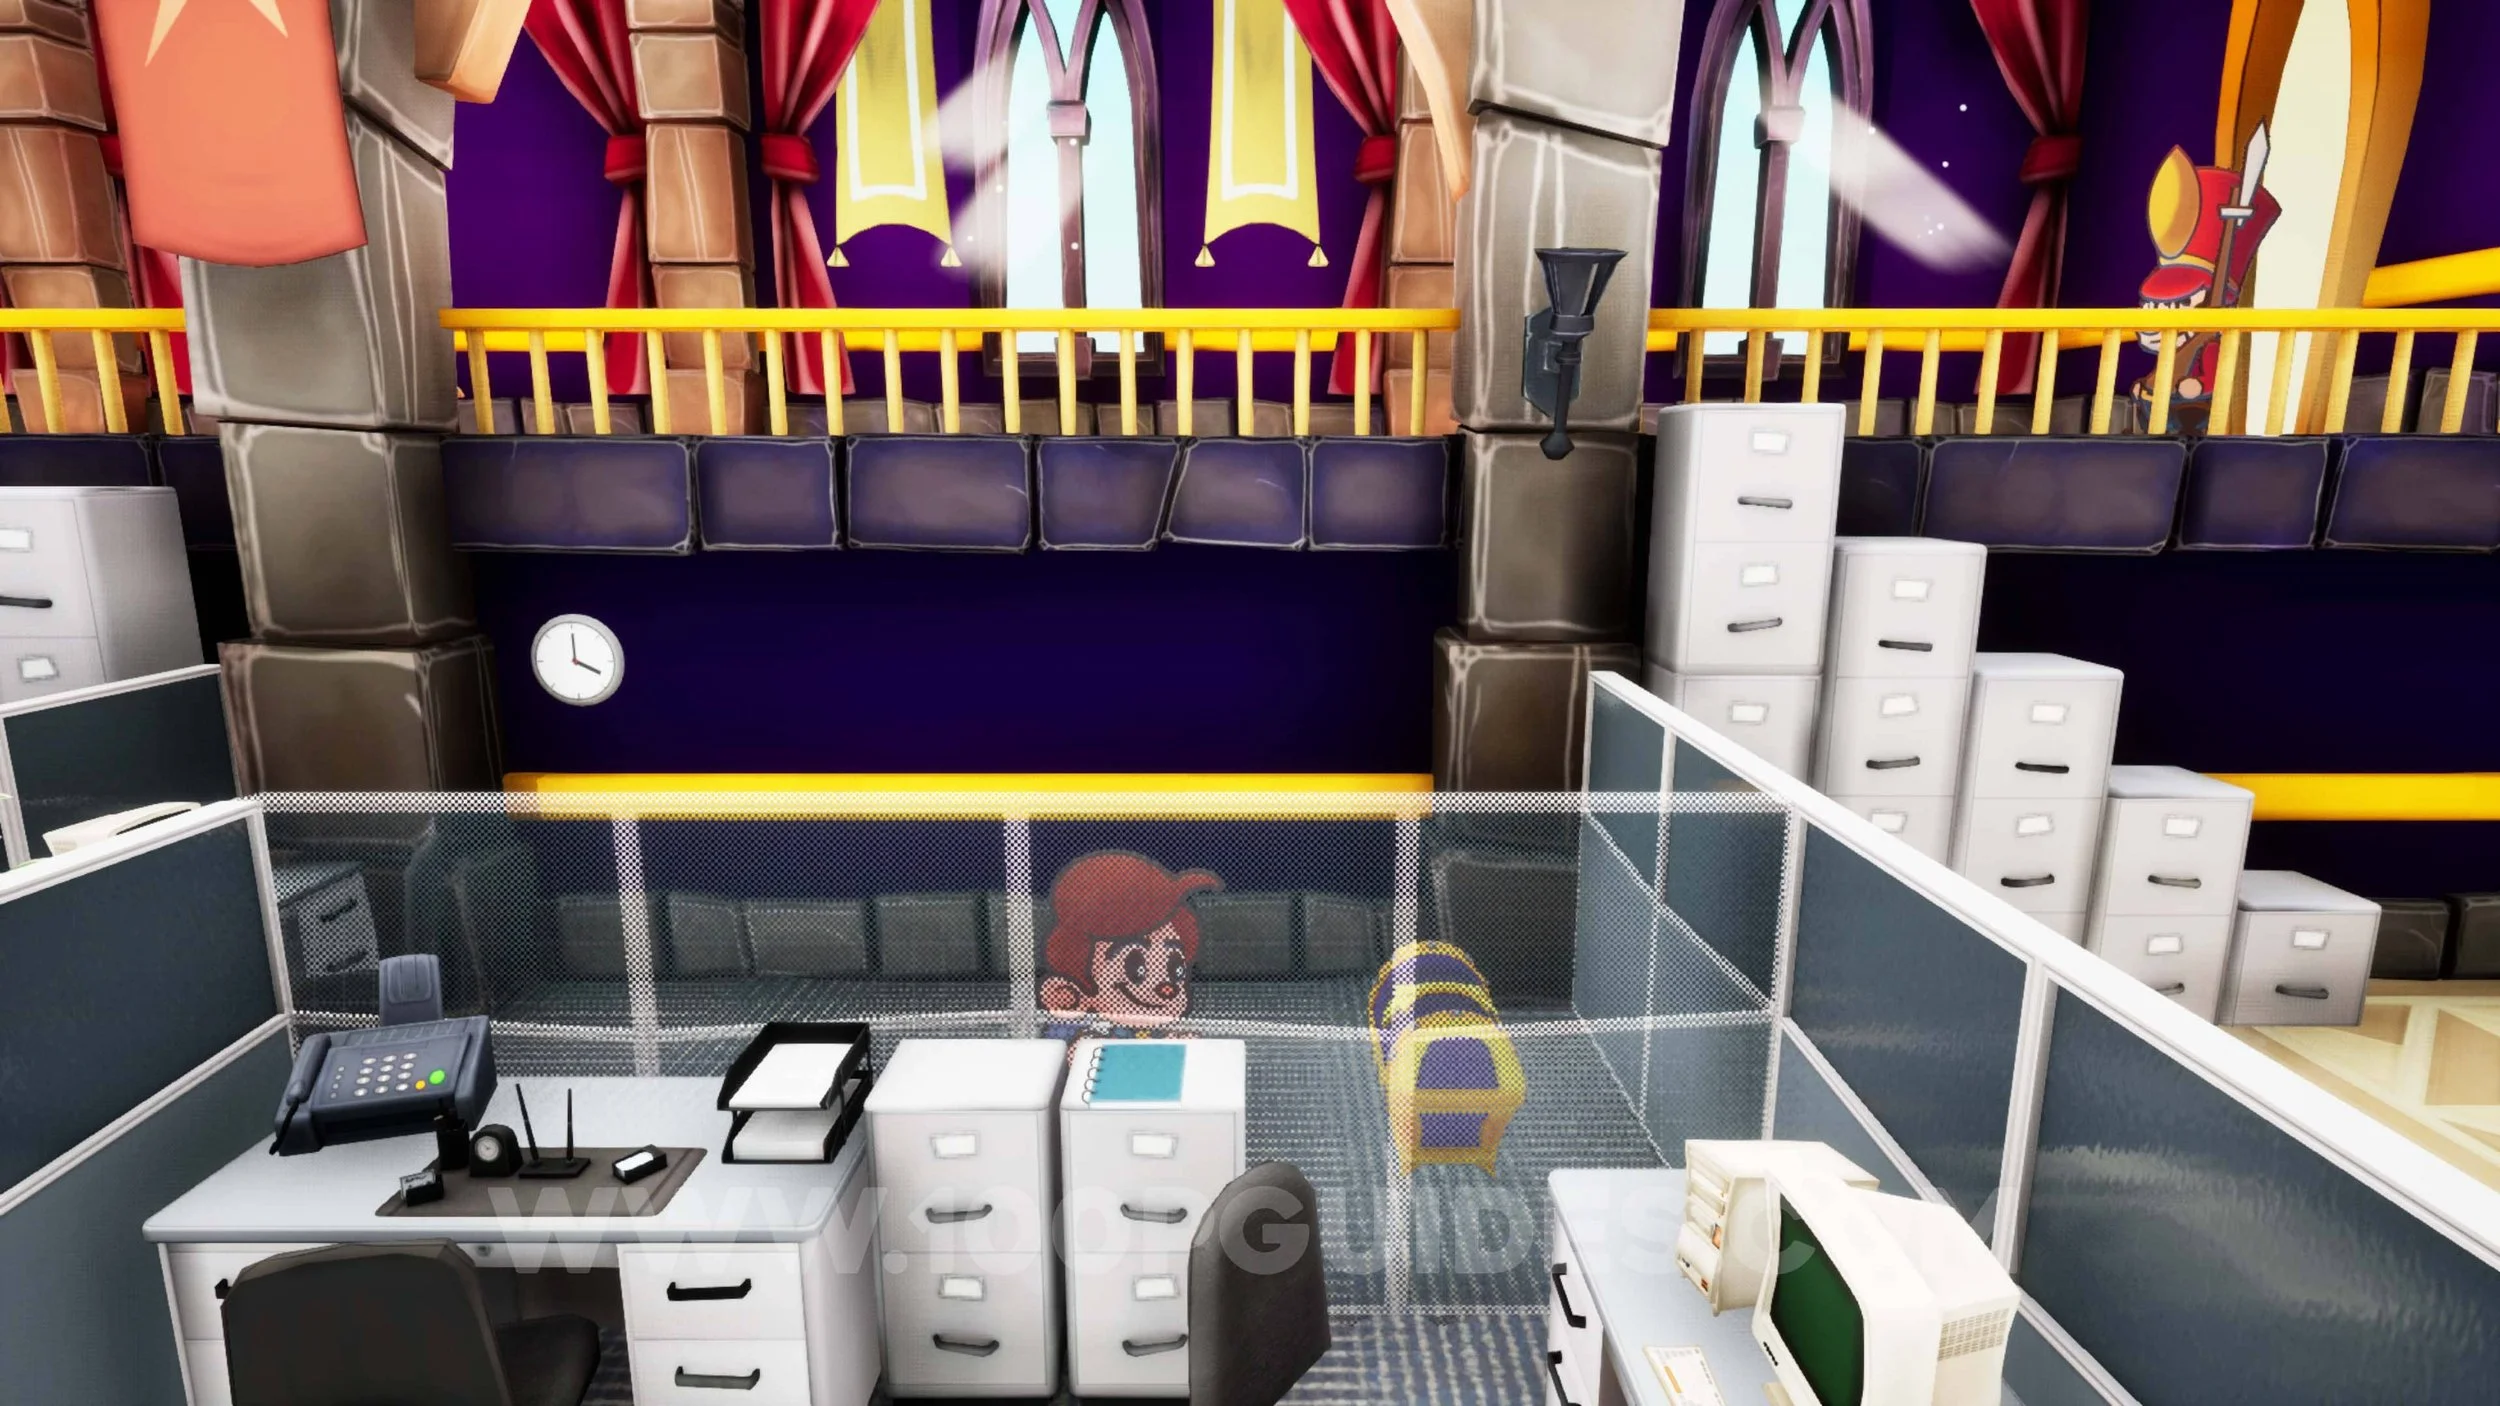
Office Decor #2 - Wall Clock. Burn the right most banner with Tinder in the cubicle area.
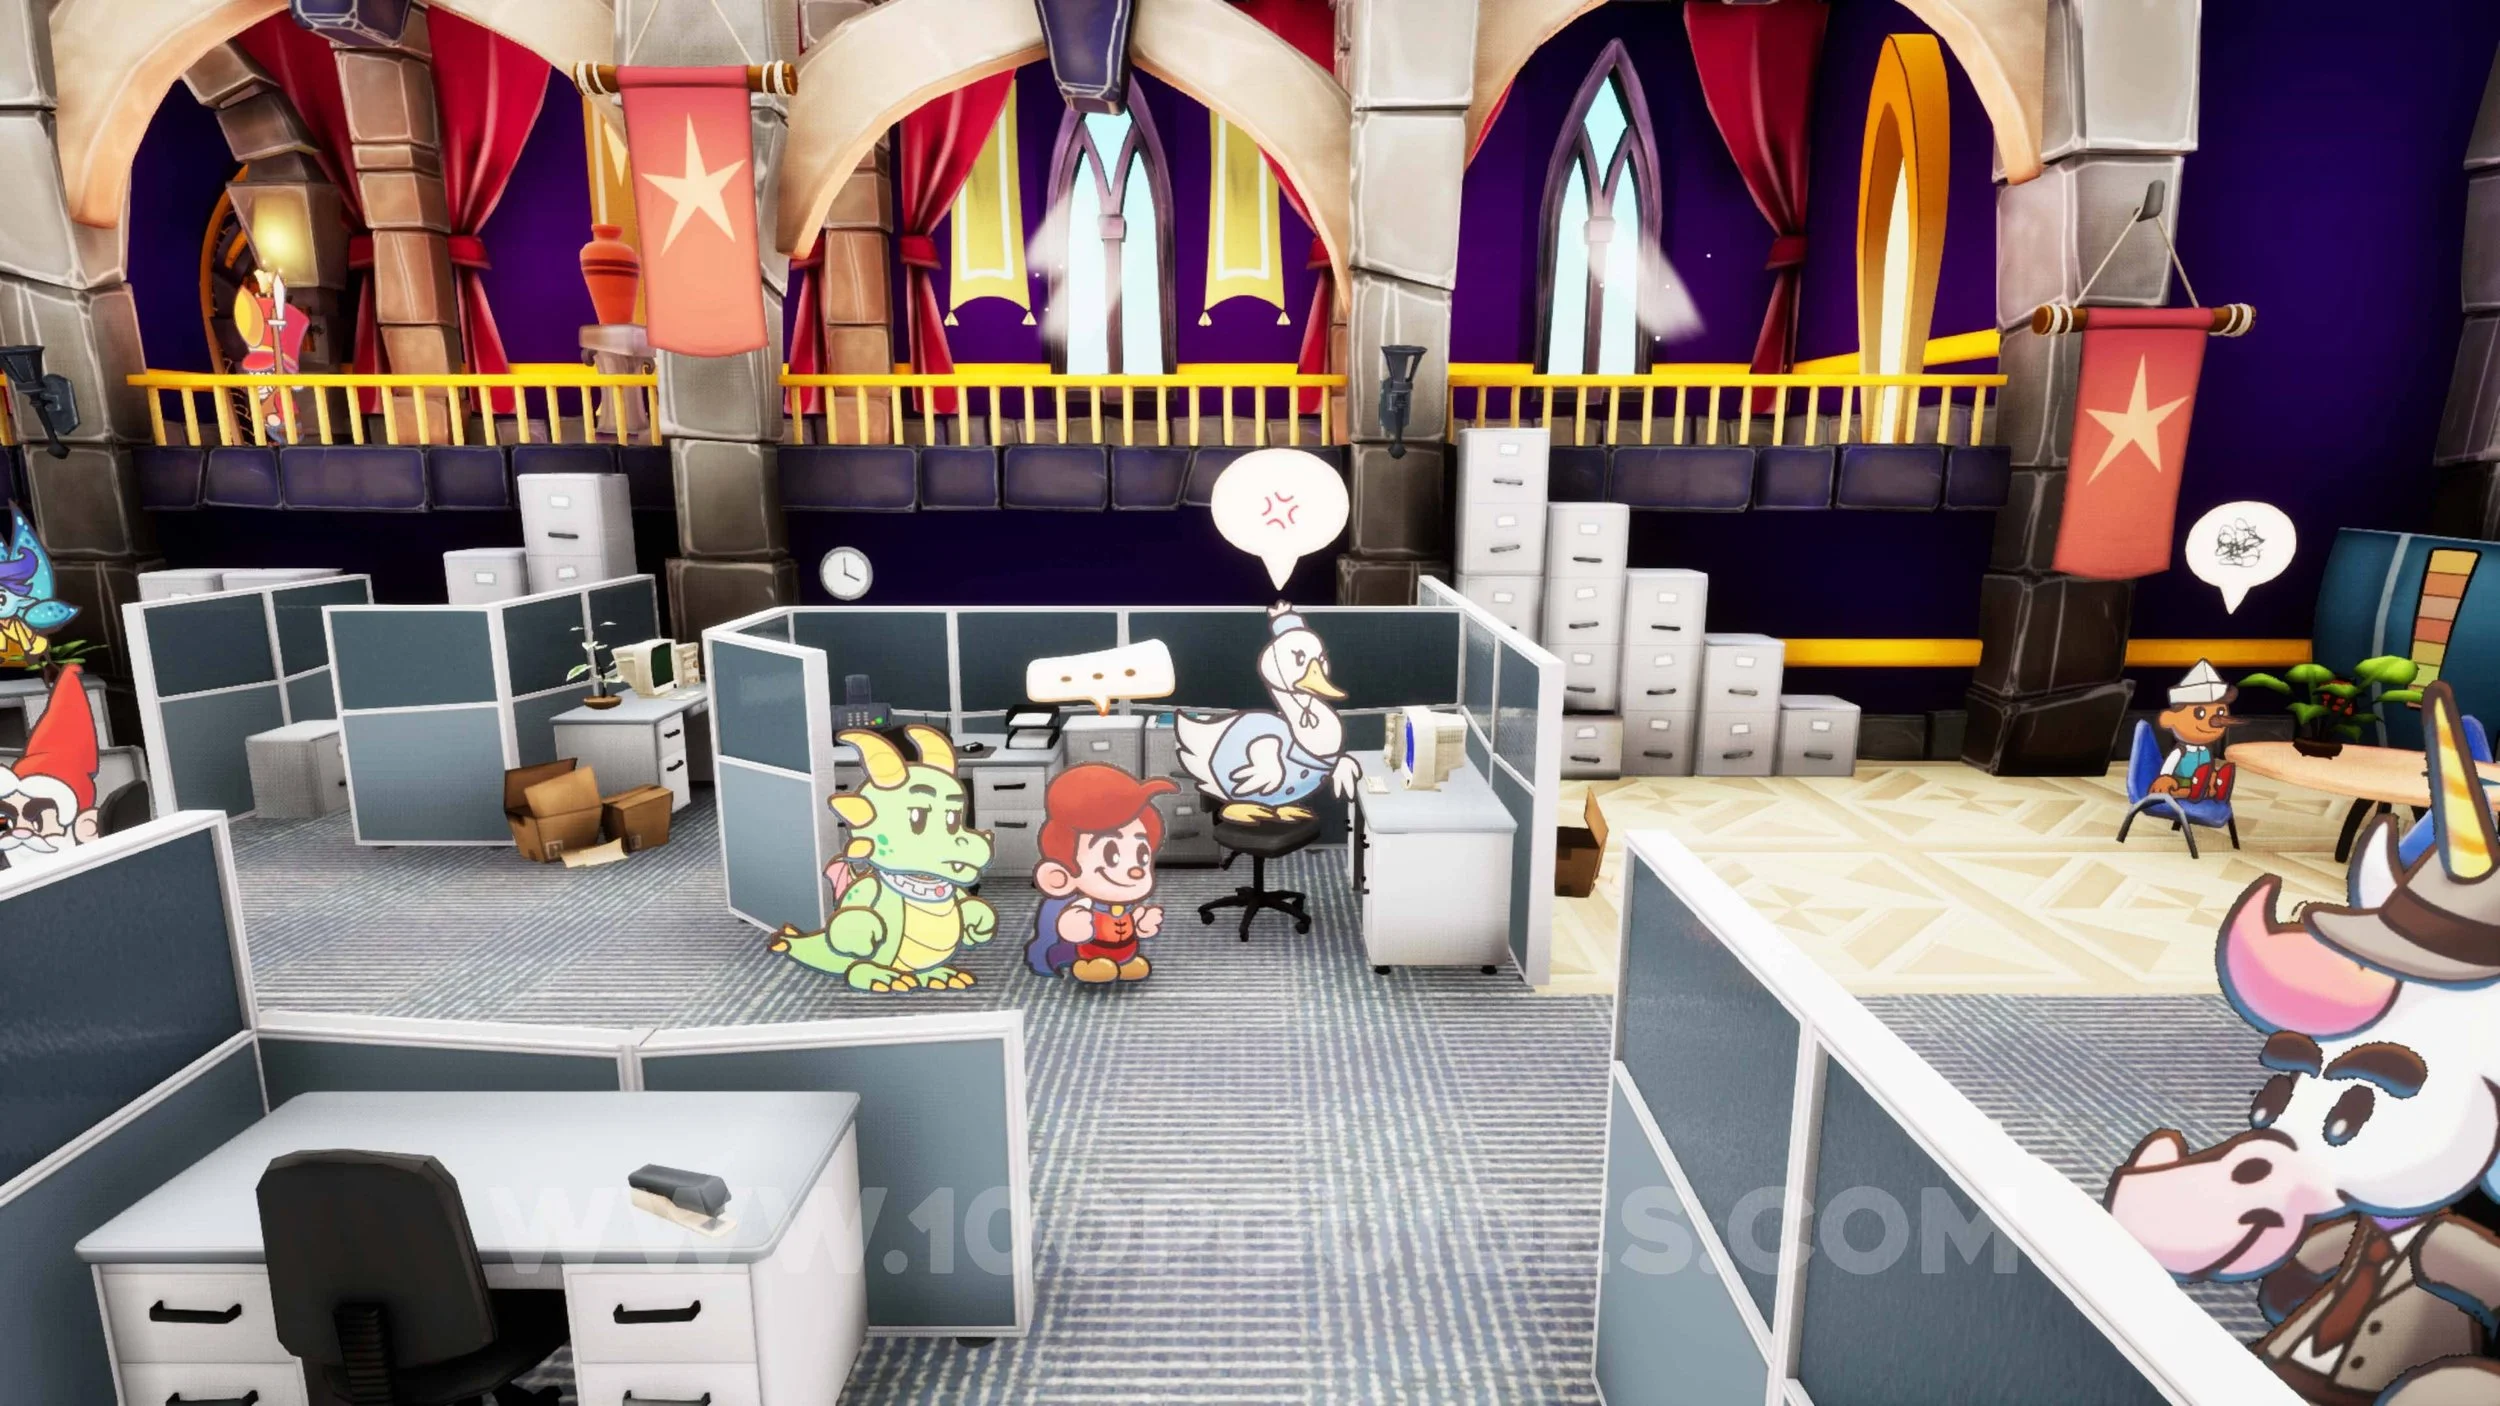
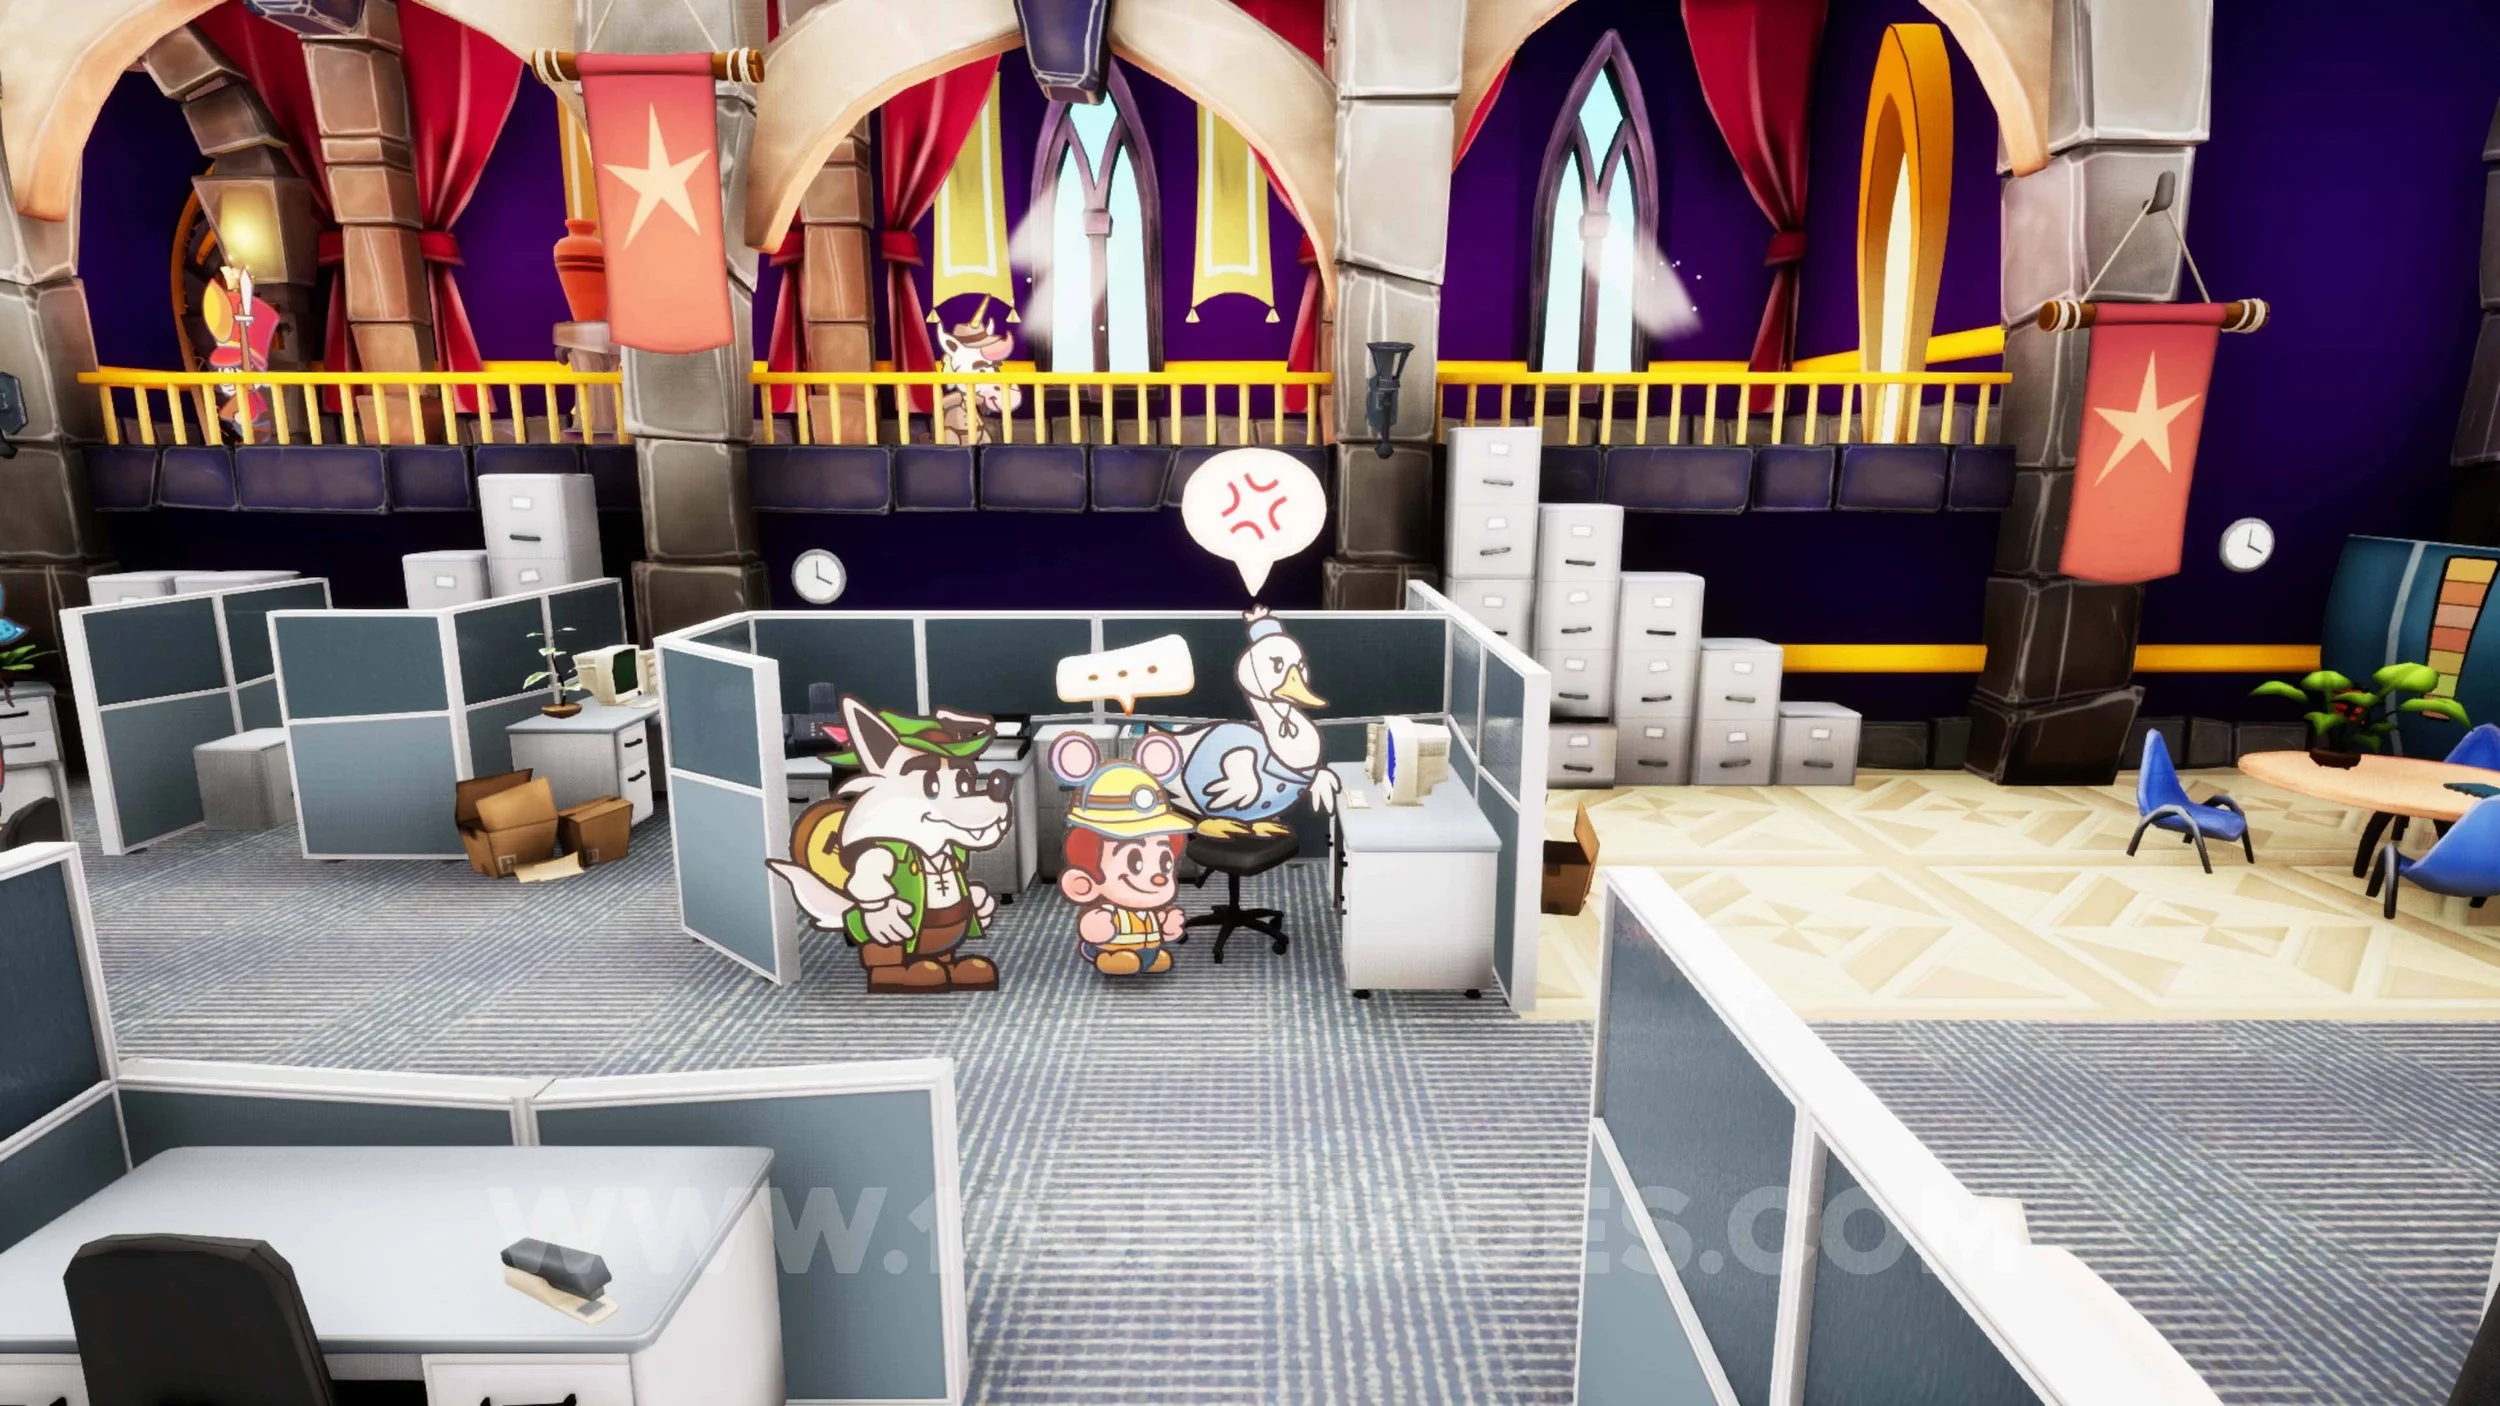
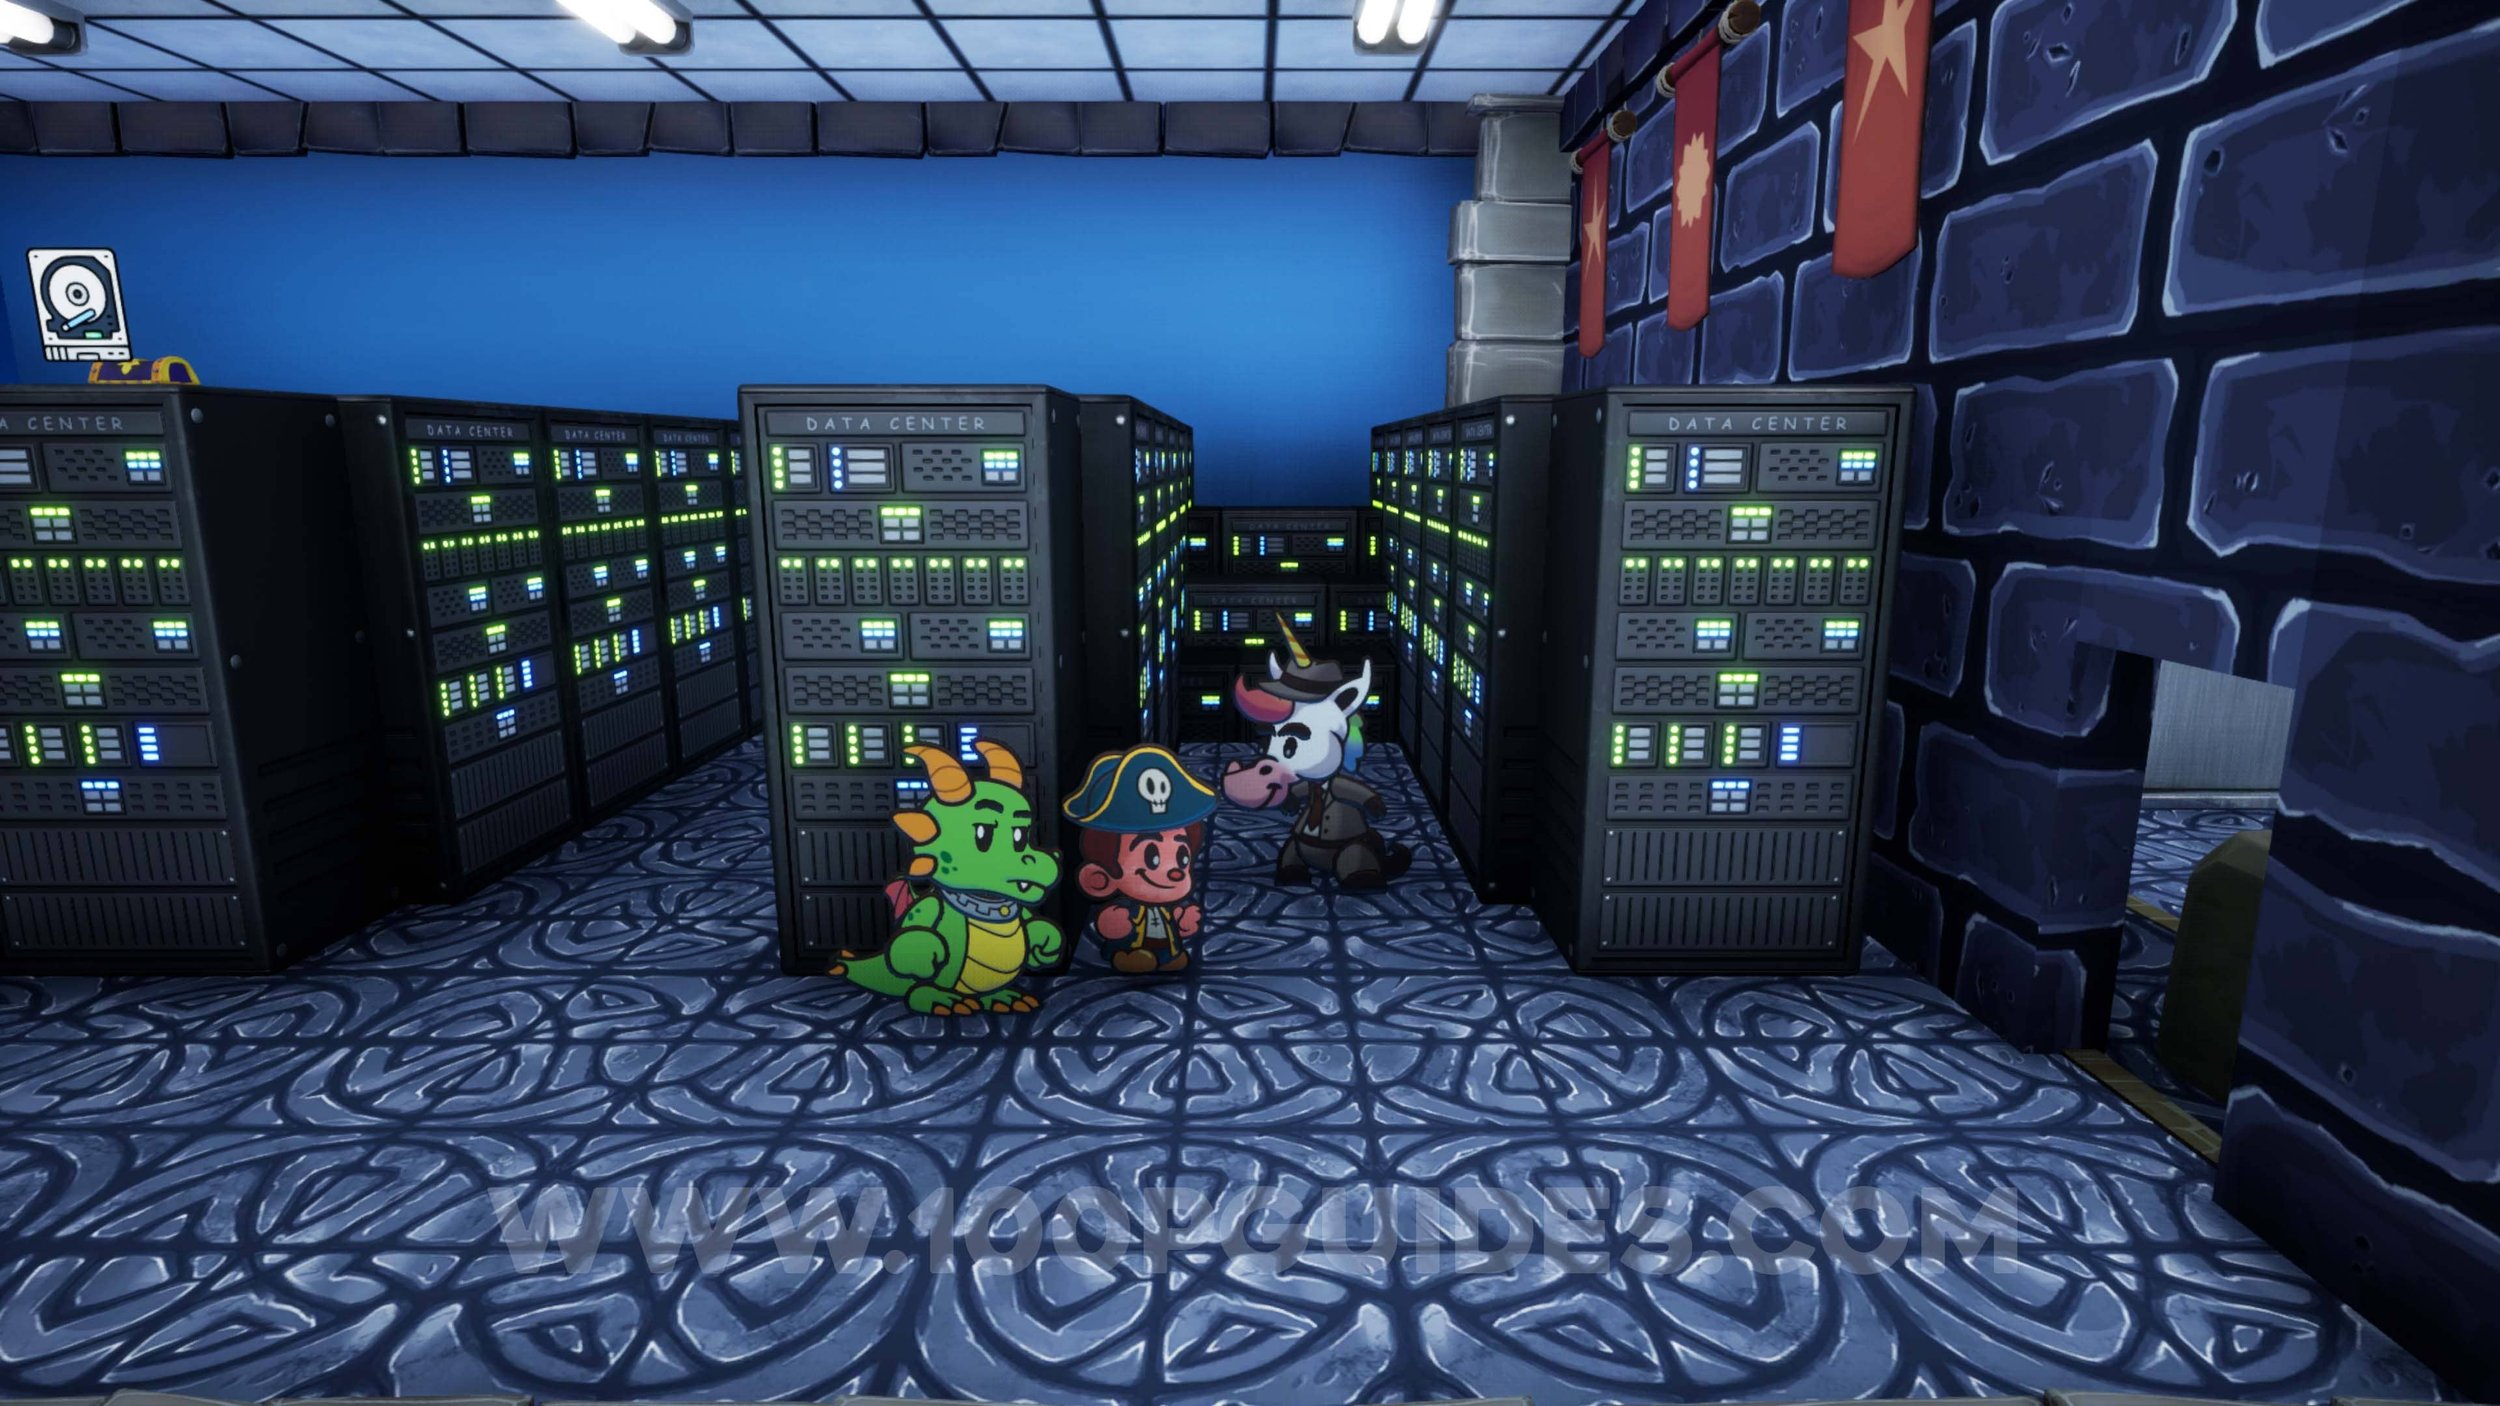
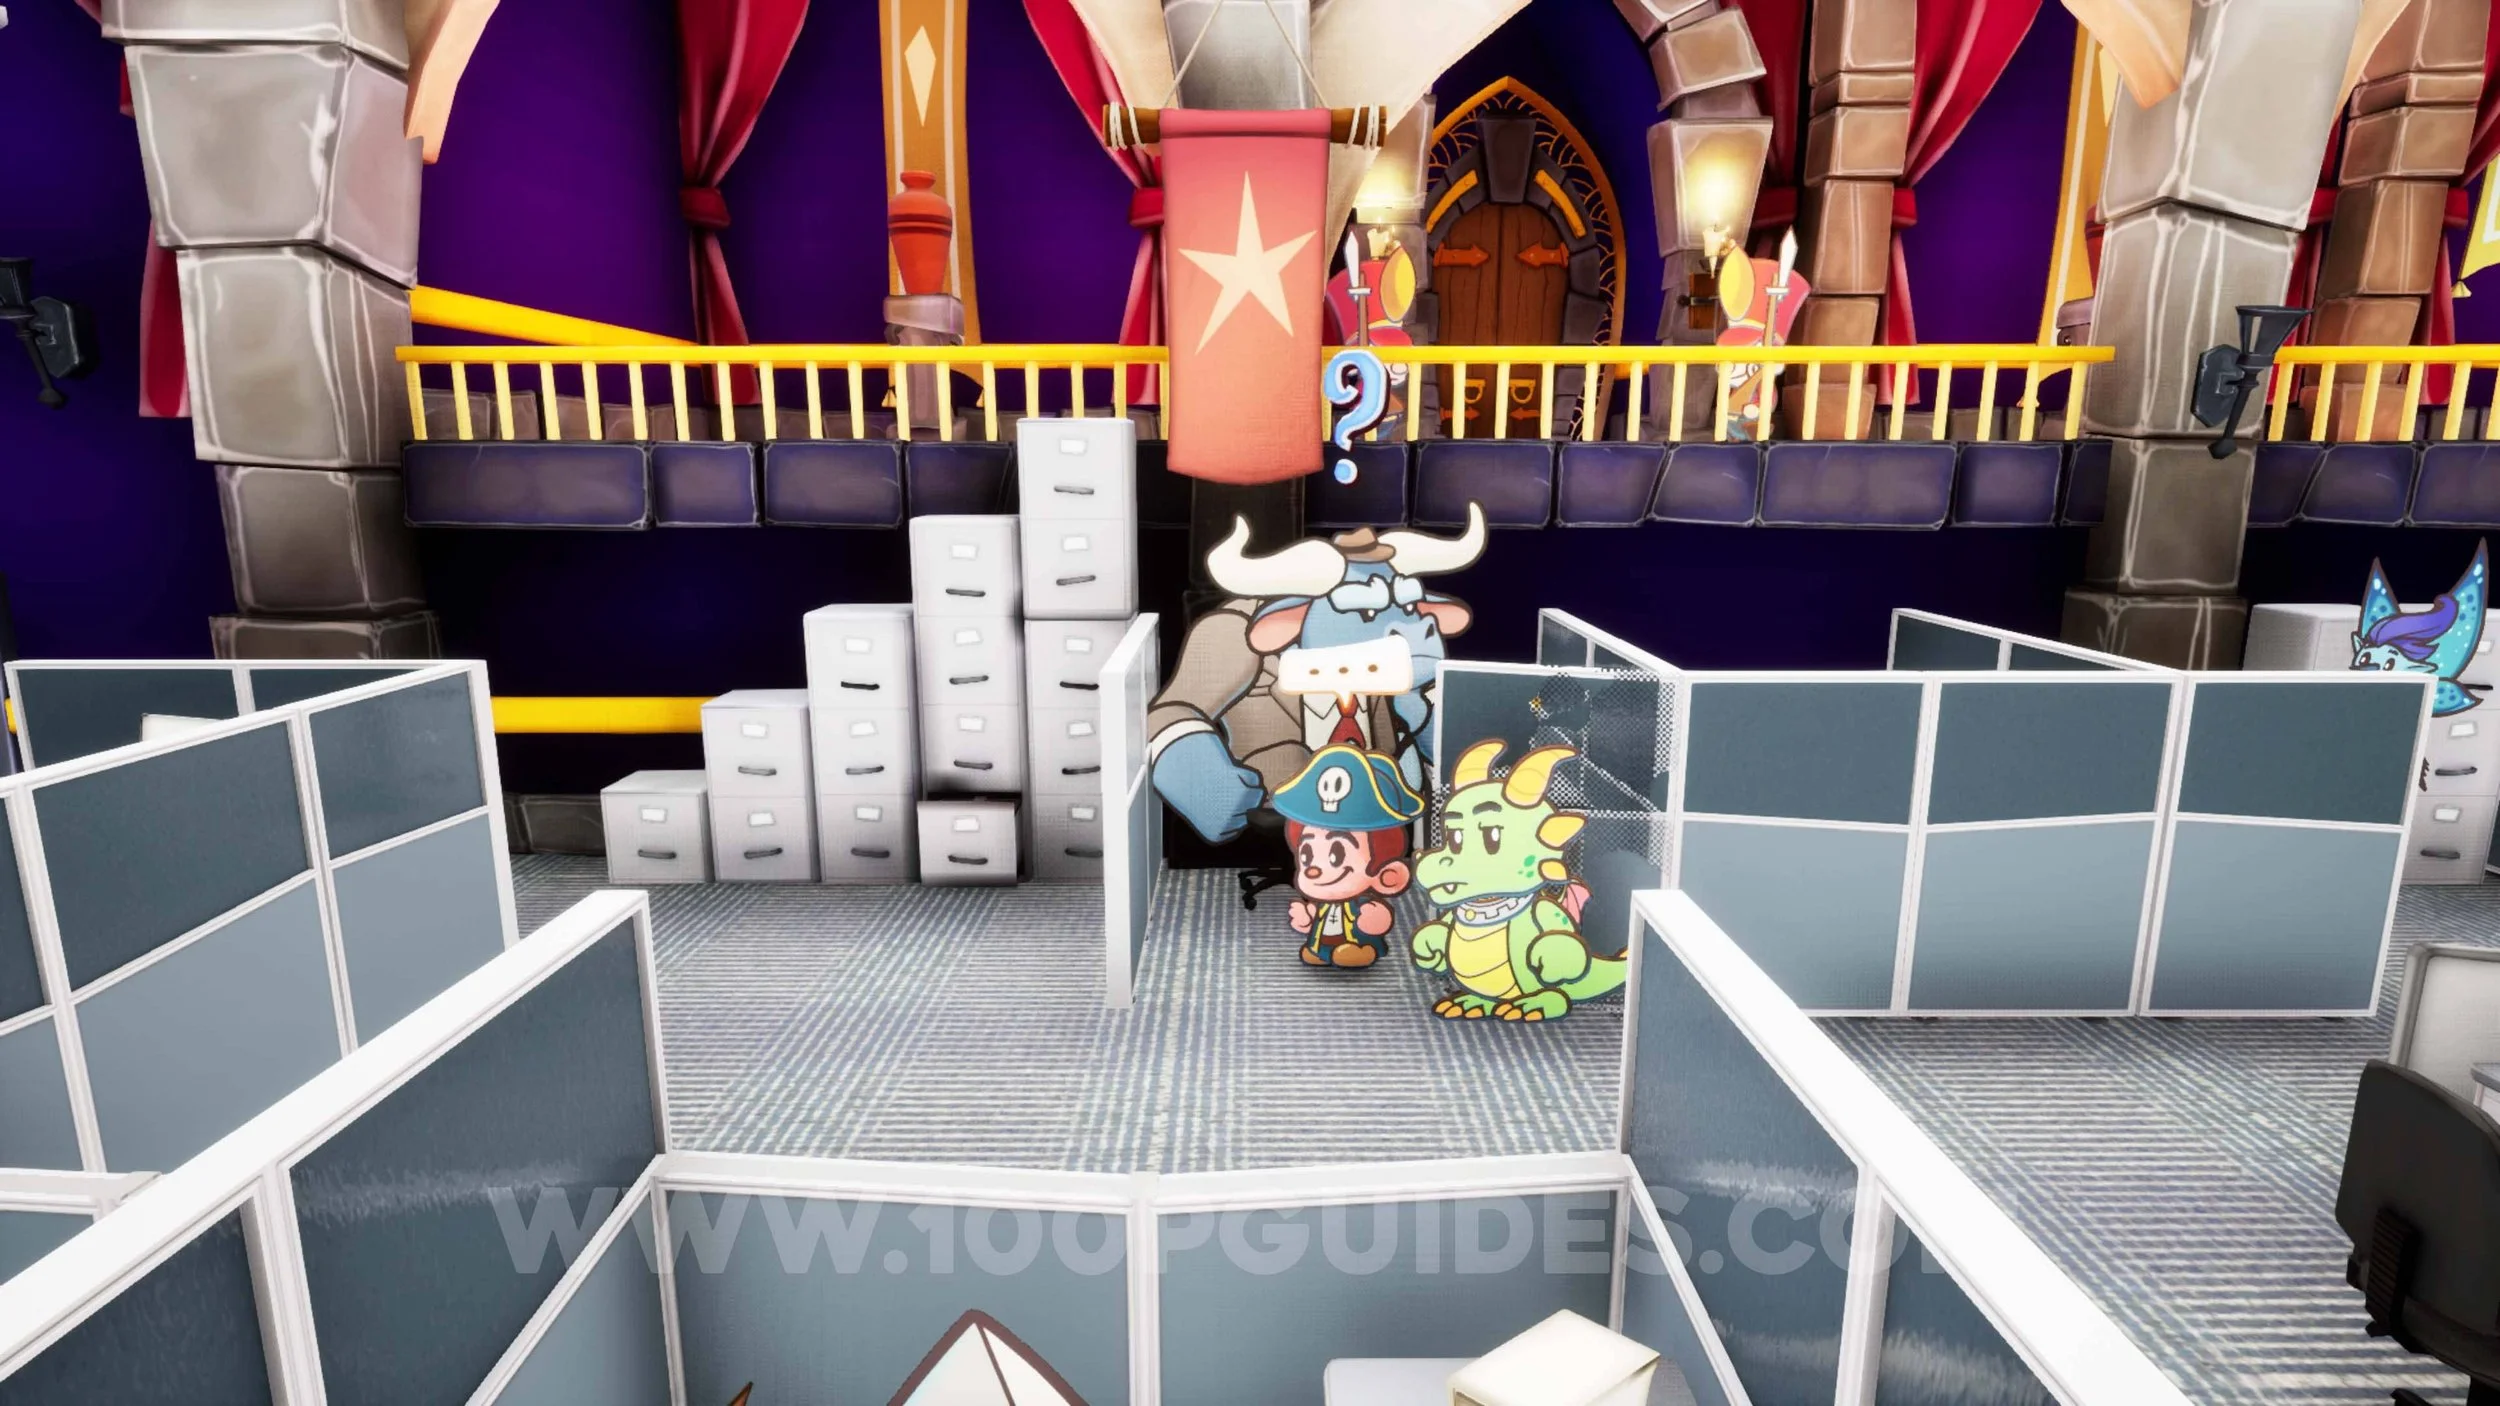
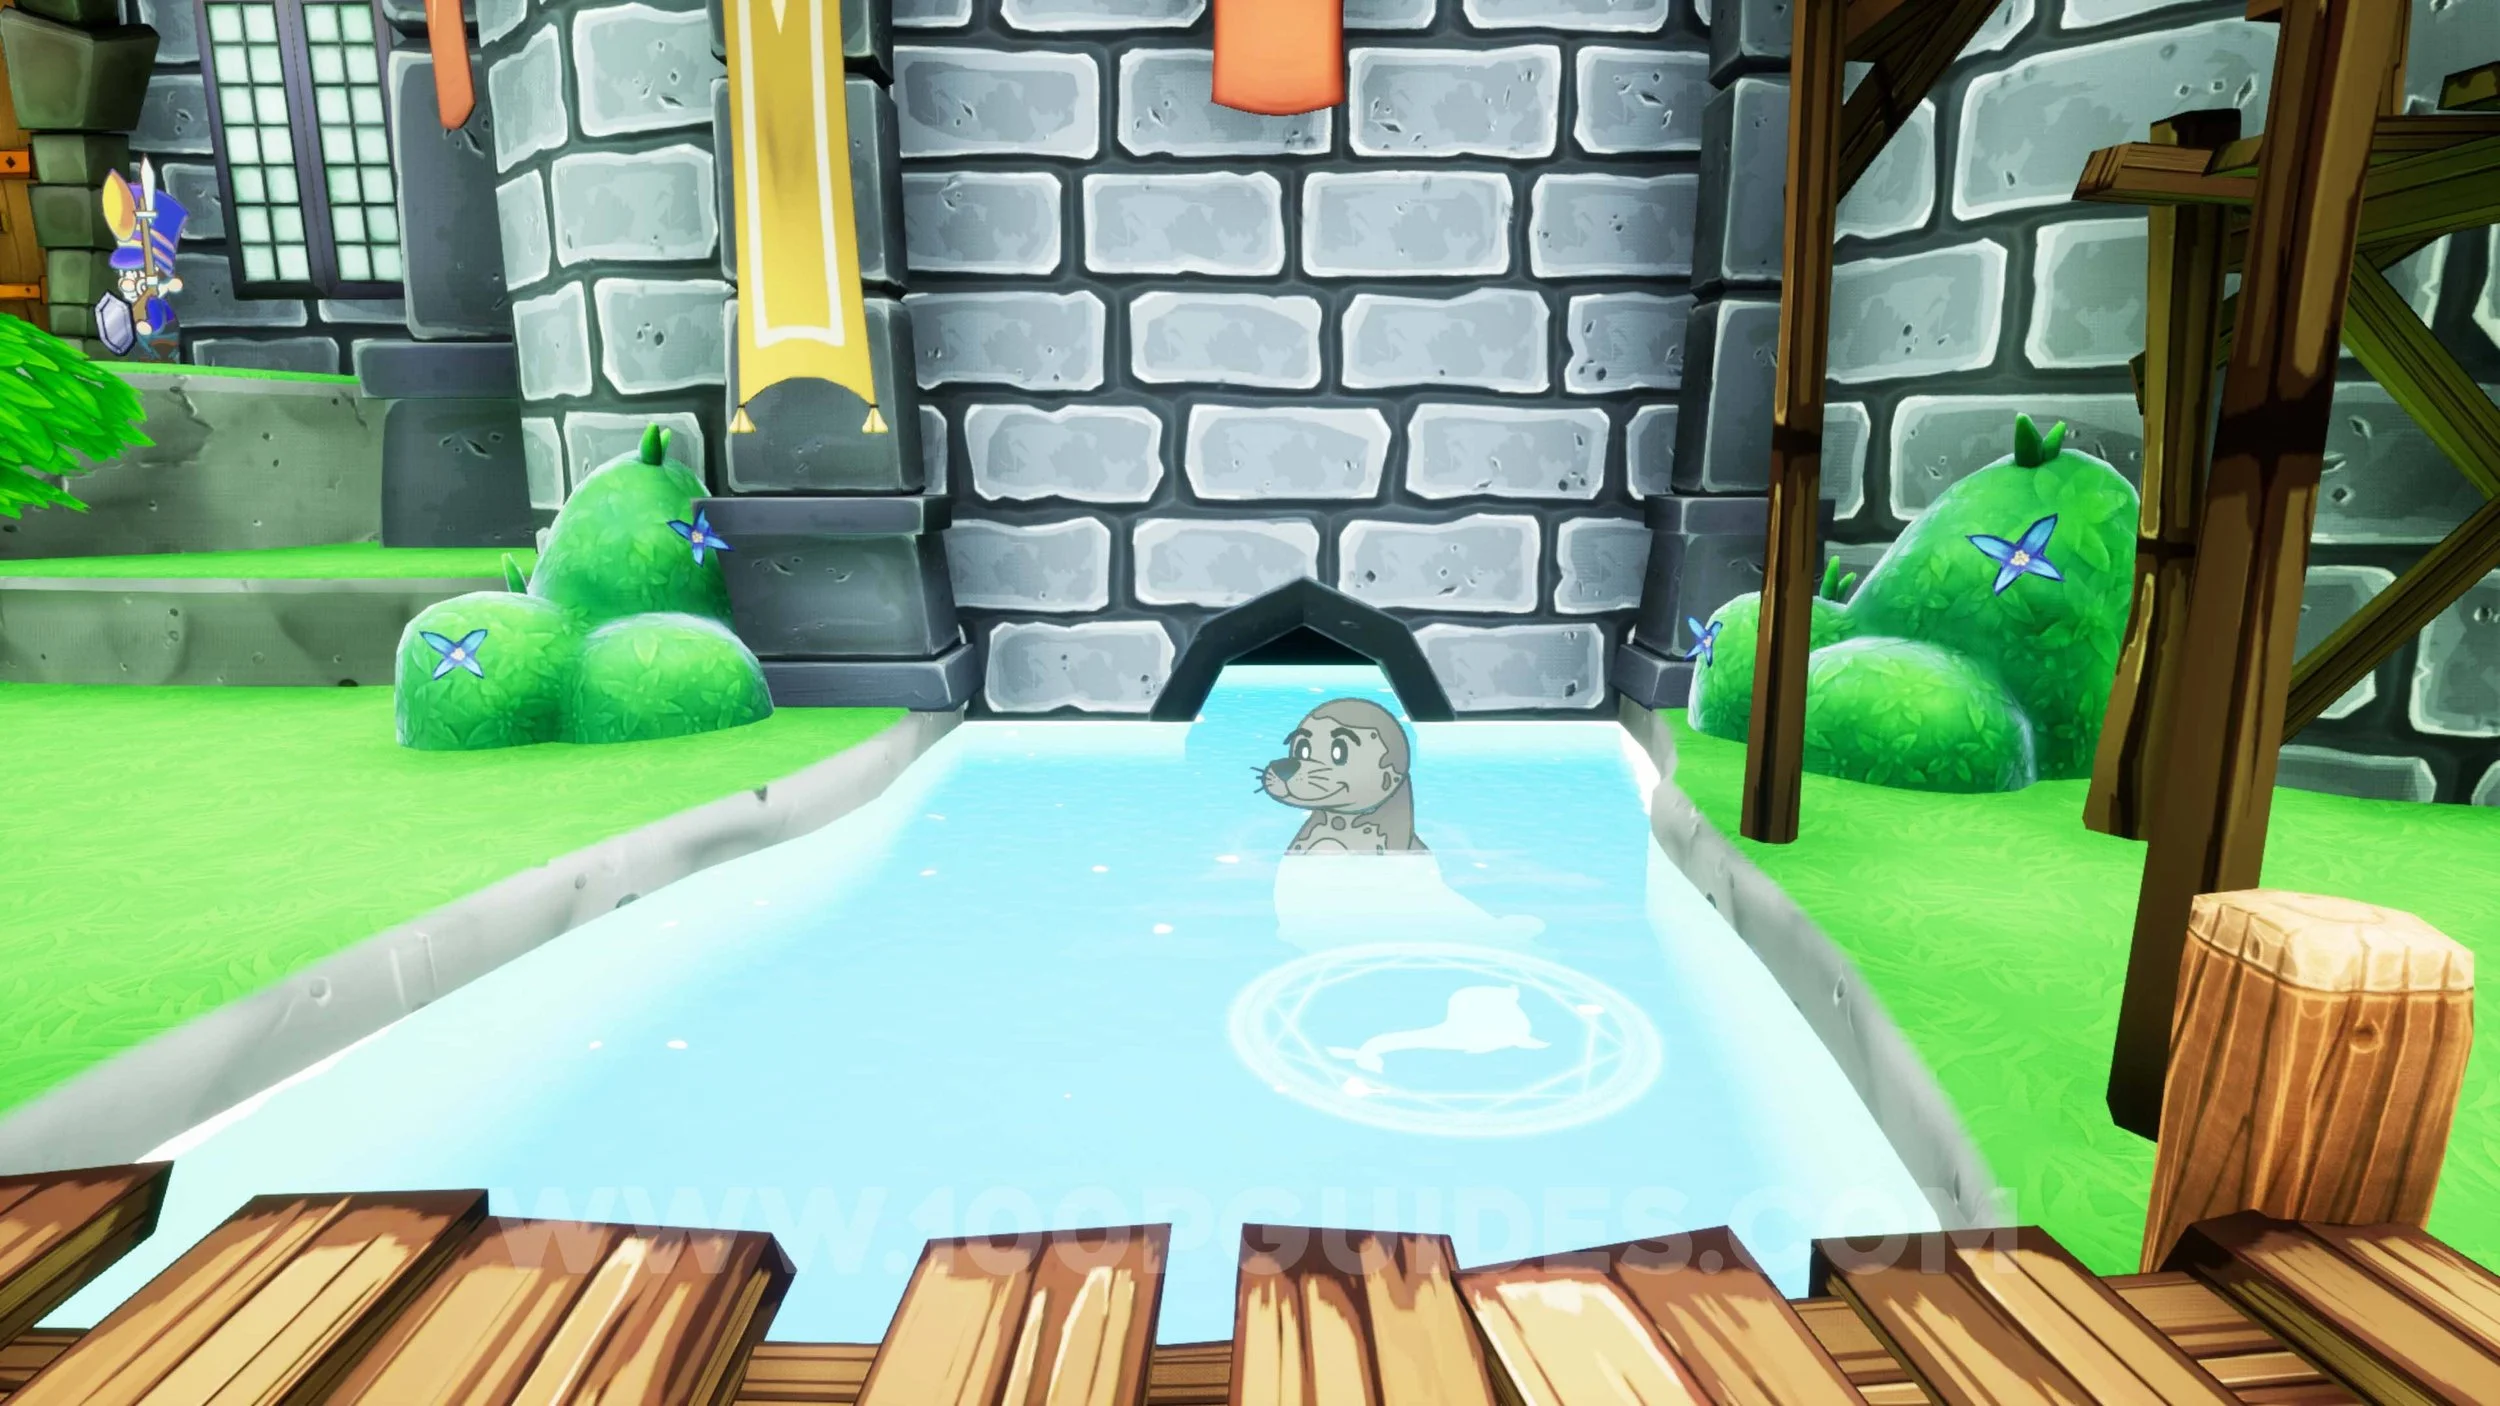
Sun Gem #5. After getting your own office, head out to the office area and talk to the bull. Then tell him to turn it off and on again.
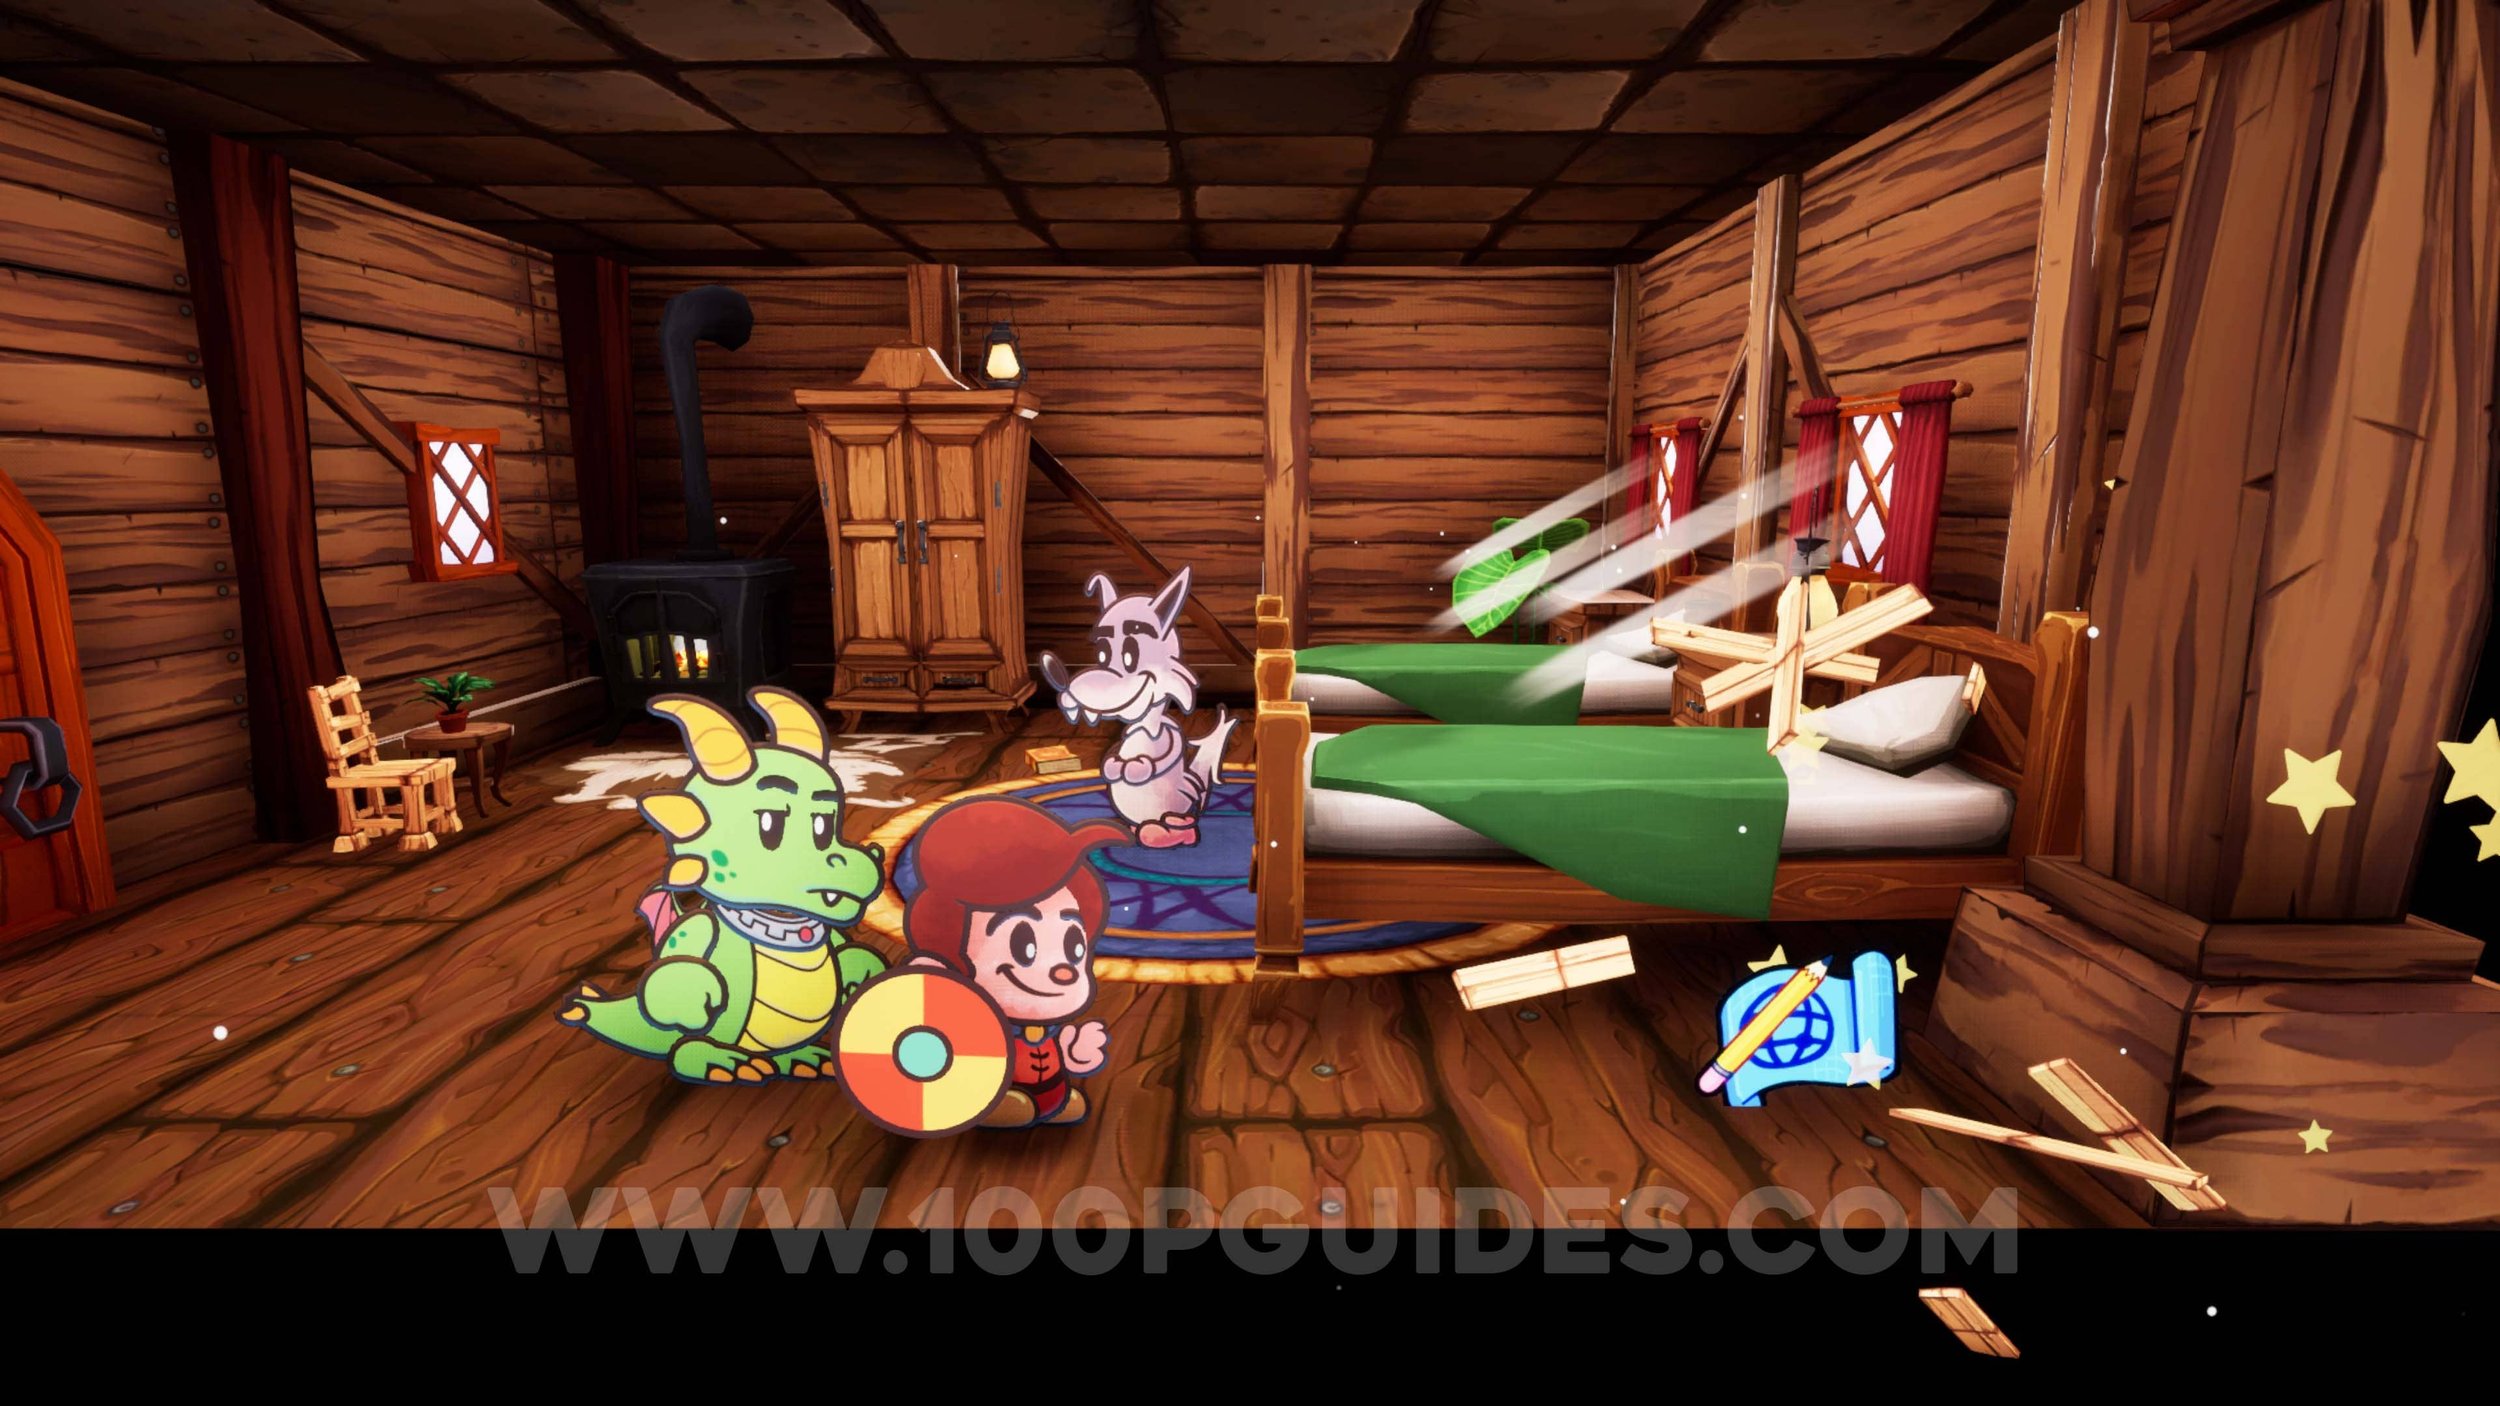
Trinket #4 - Pity Party. Talk to the duck in the office area after getting your own office. Then light the 4 torches. There are 2 in the cubicle area that are easy to light, and there are another 2 to the left where the desk is. For these, break the box behind the desk and use the bounce pad to get to the first torch, then through the shield, through the lit torch to light the other torch.
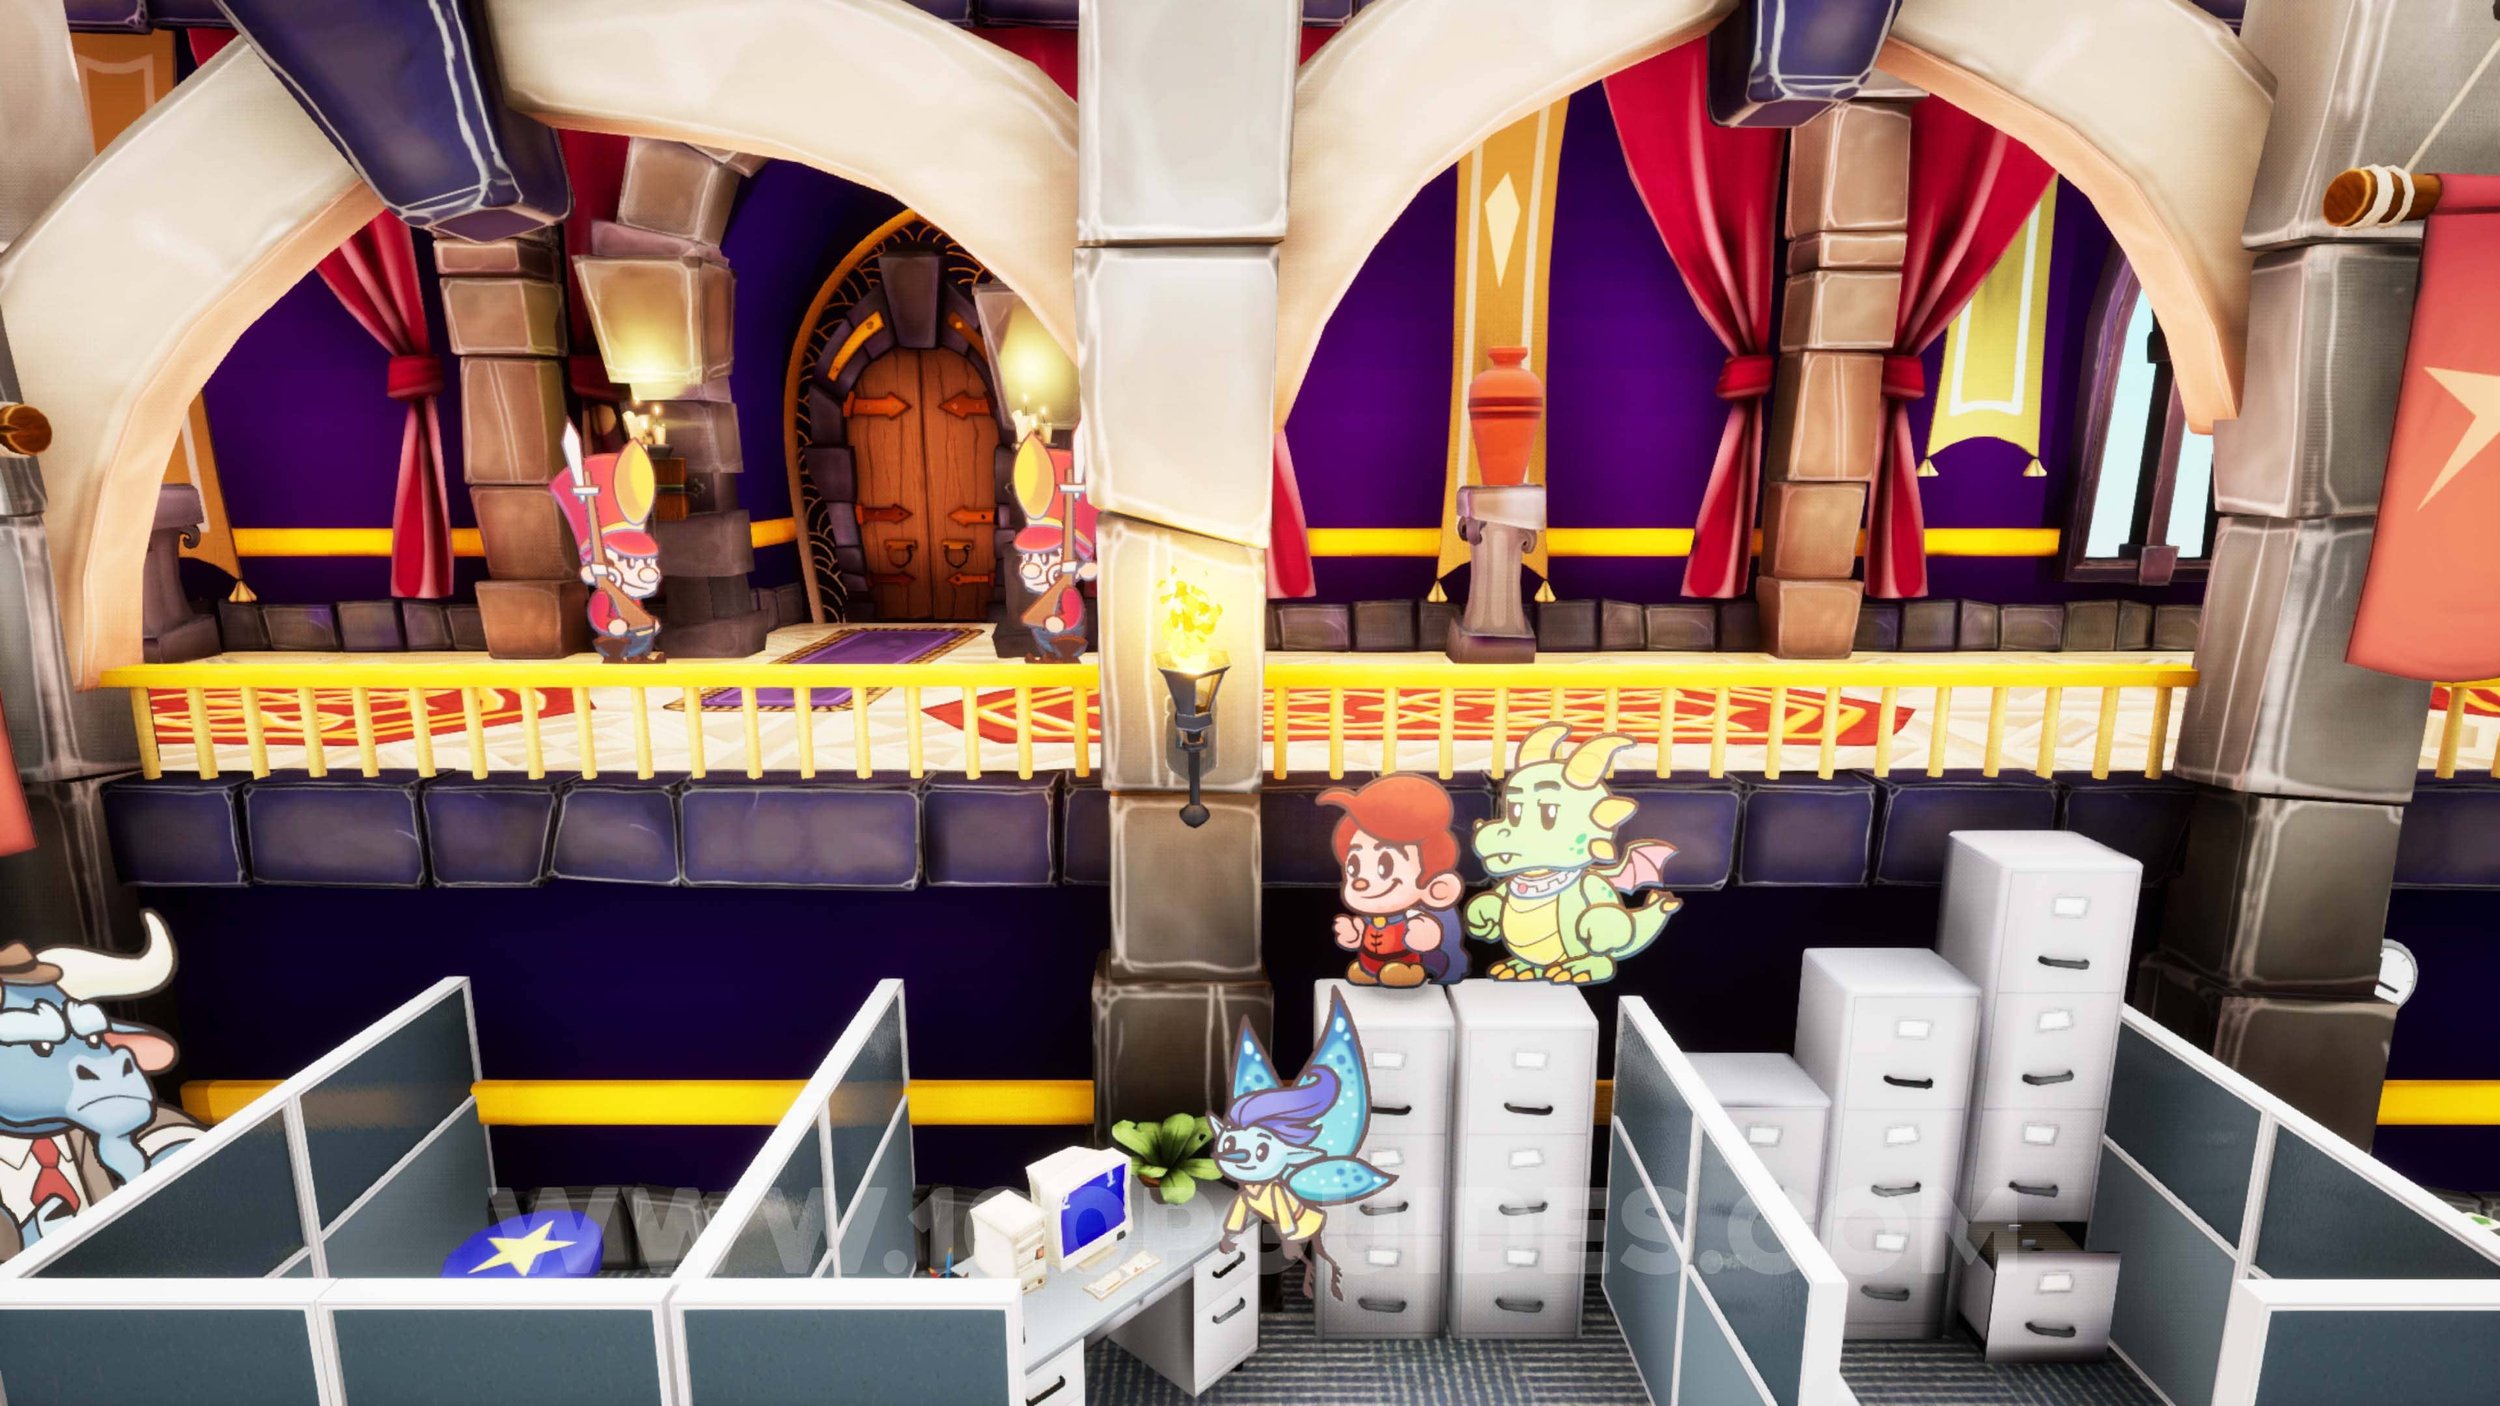
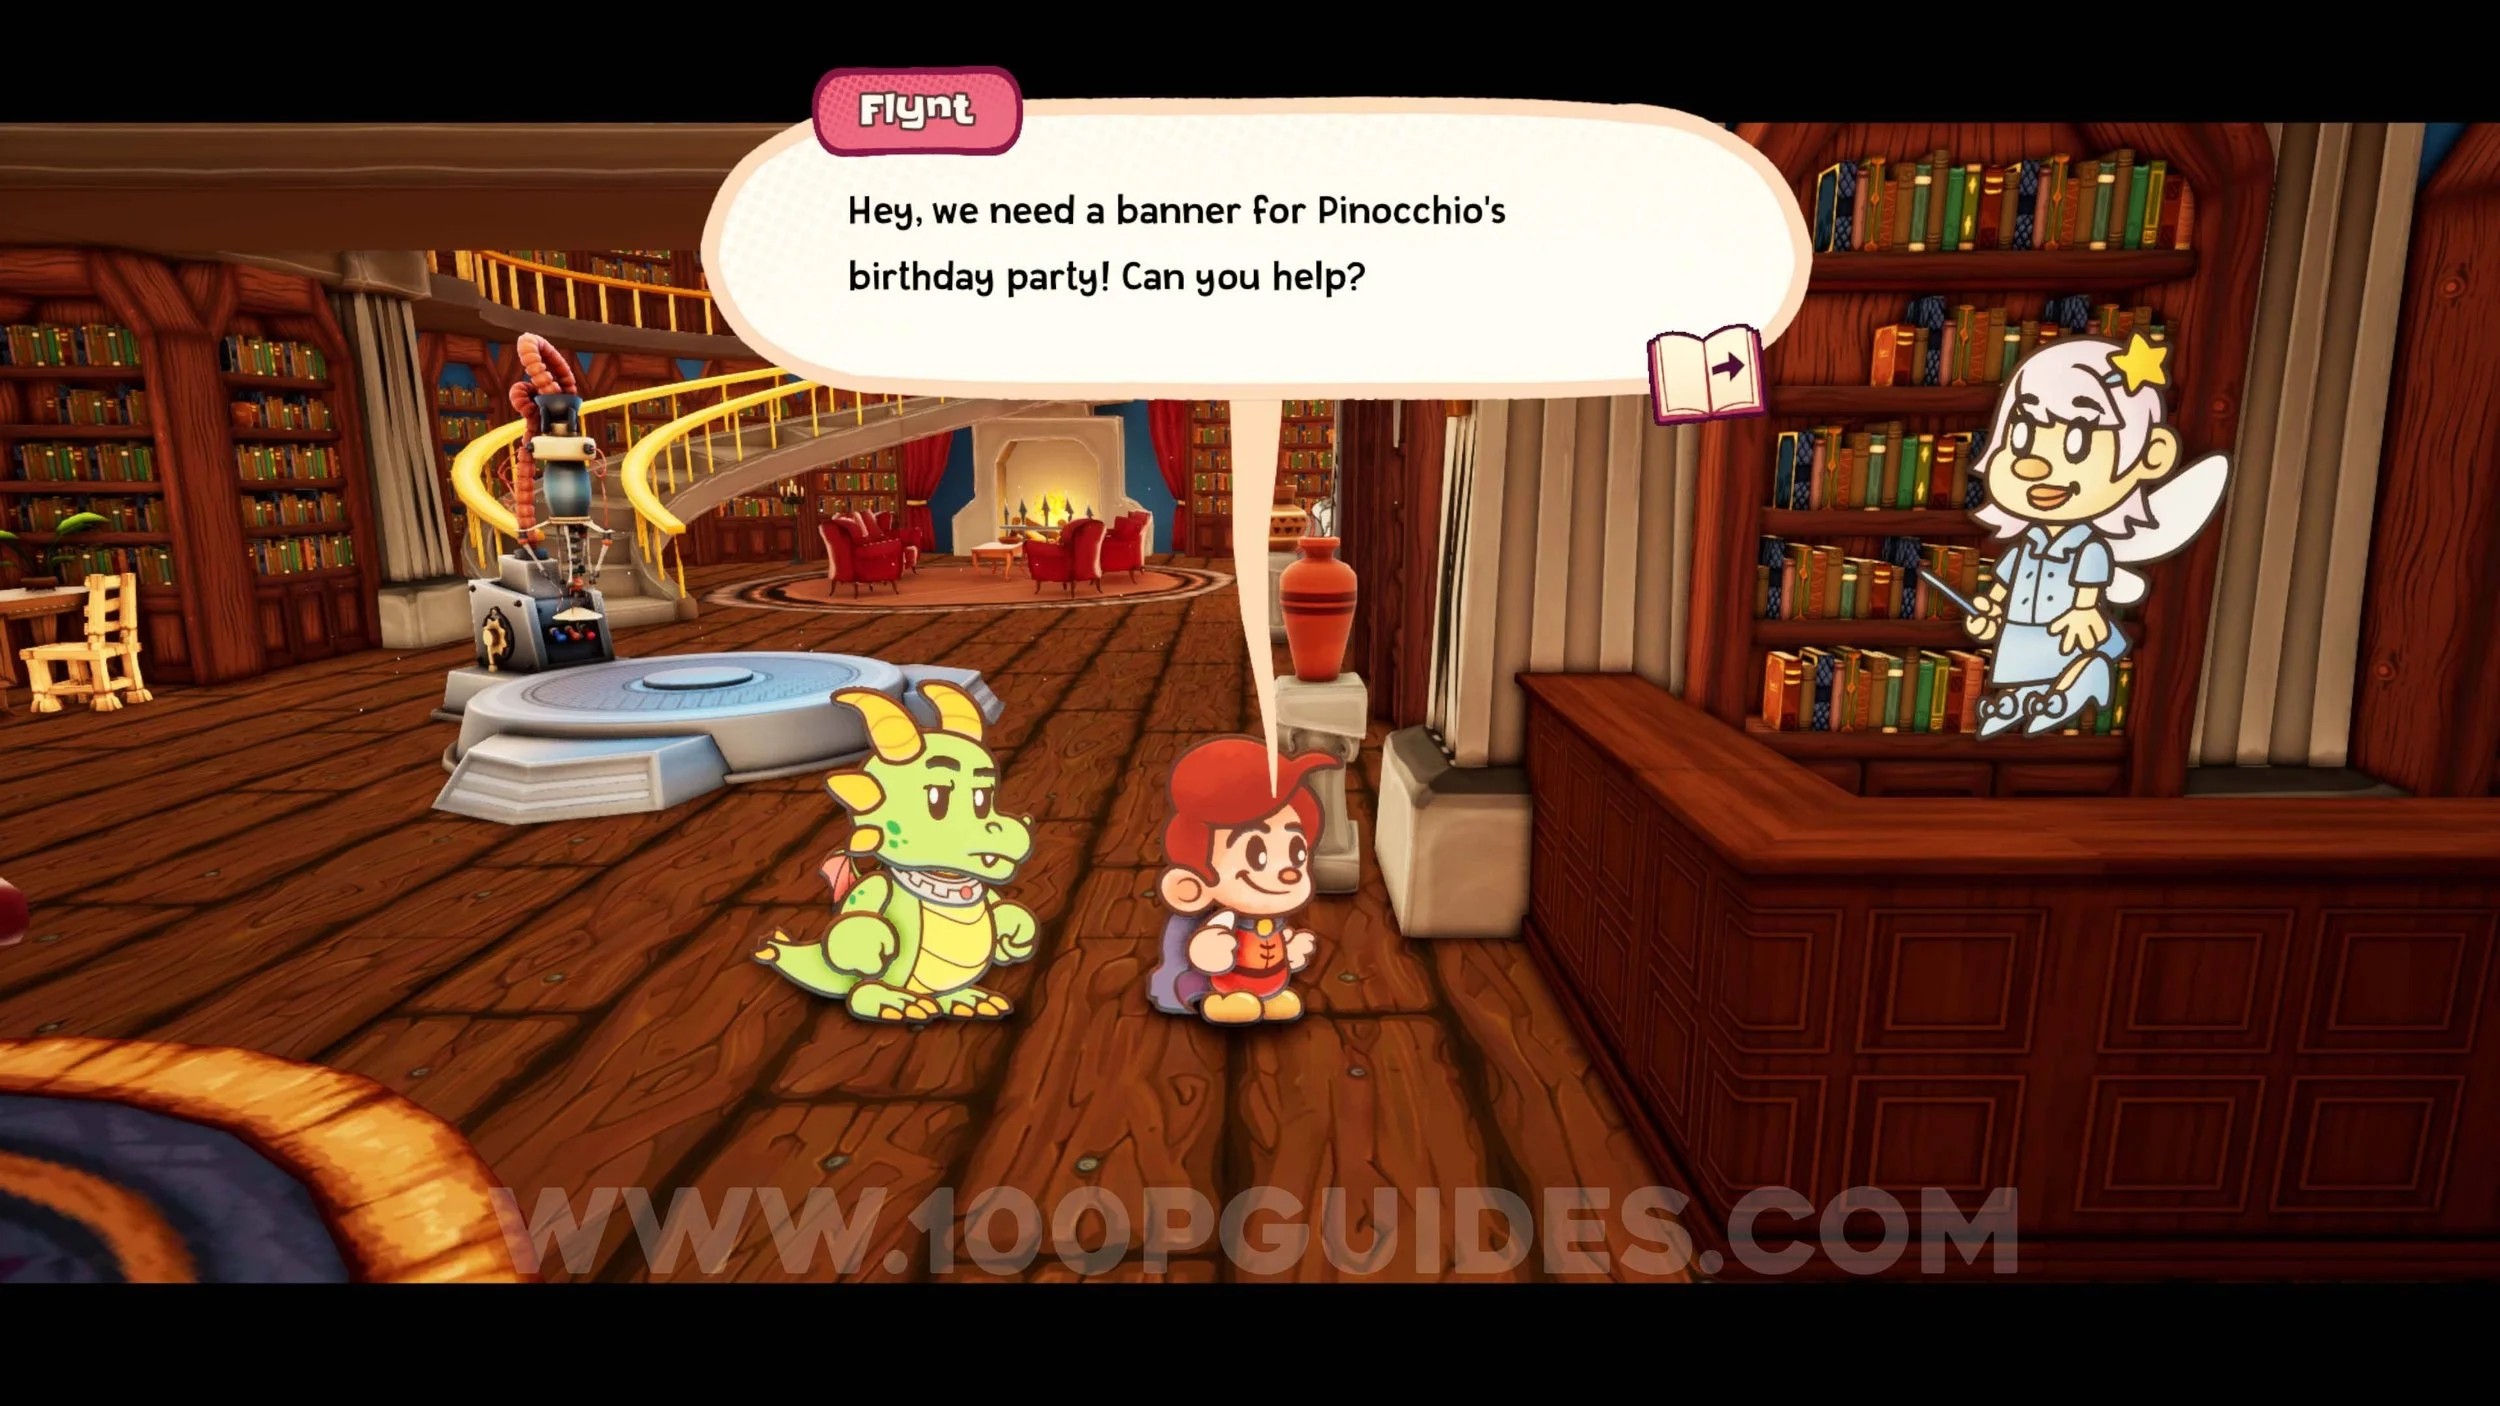
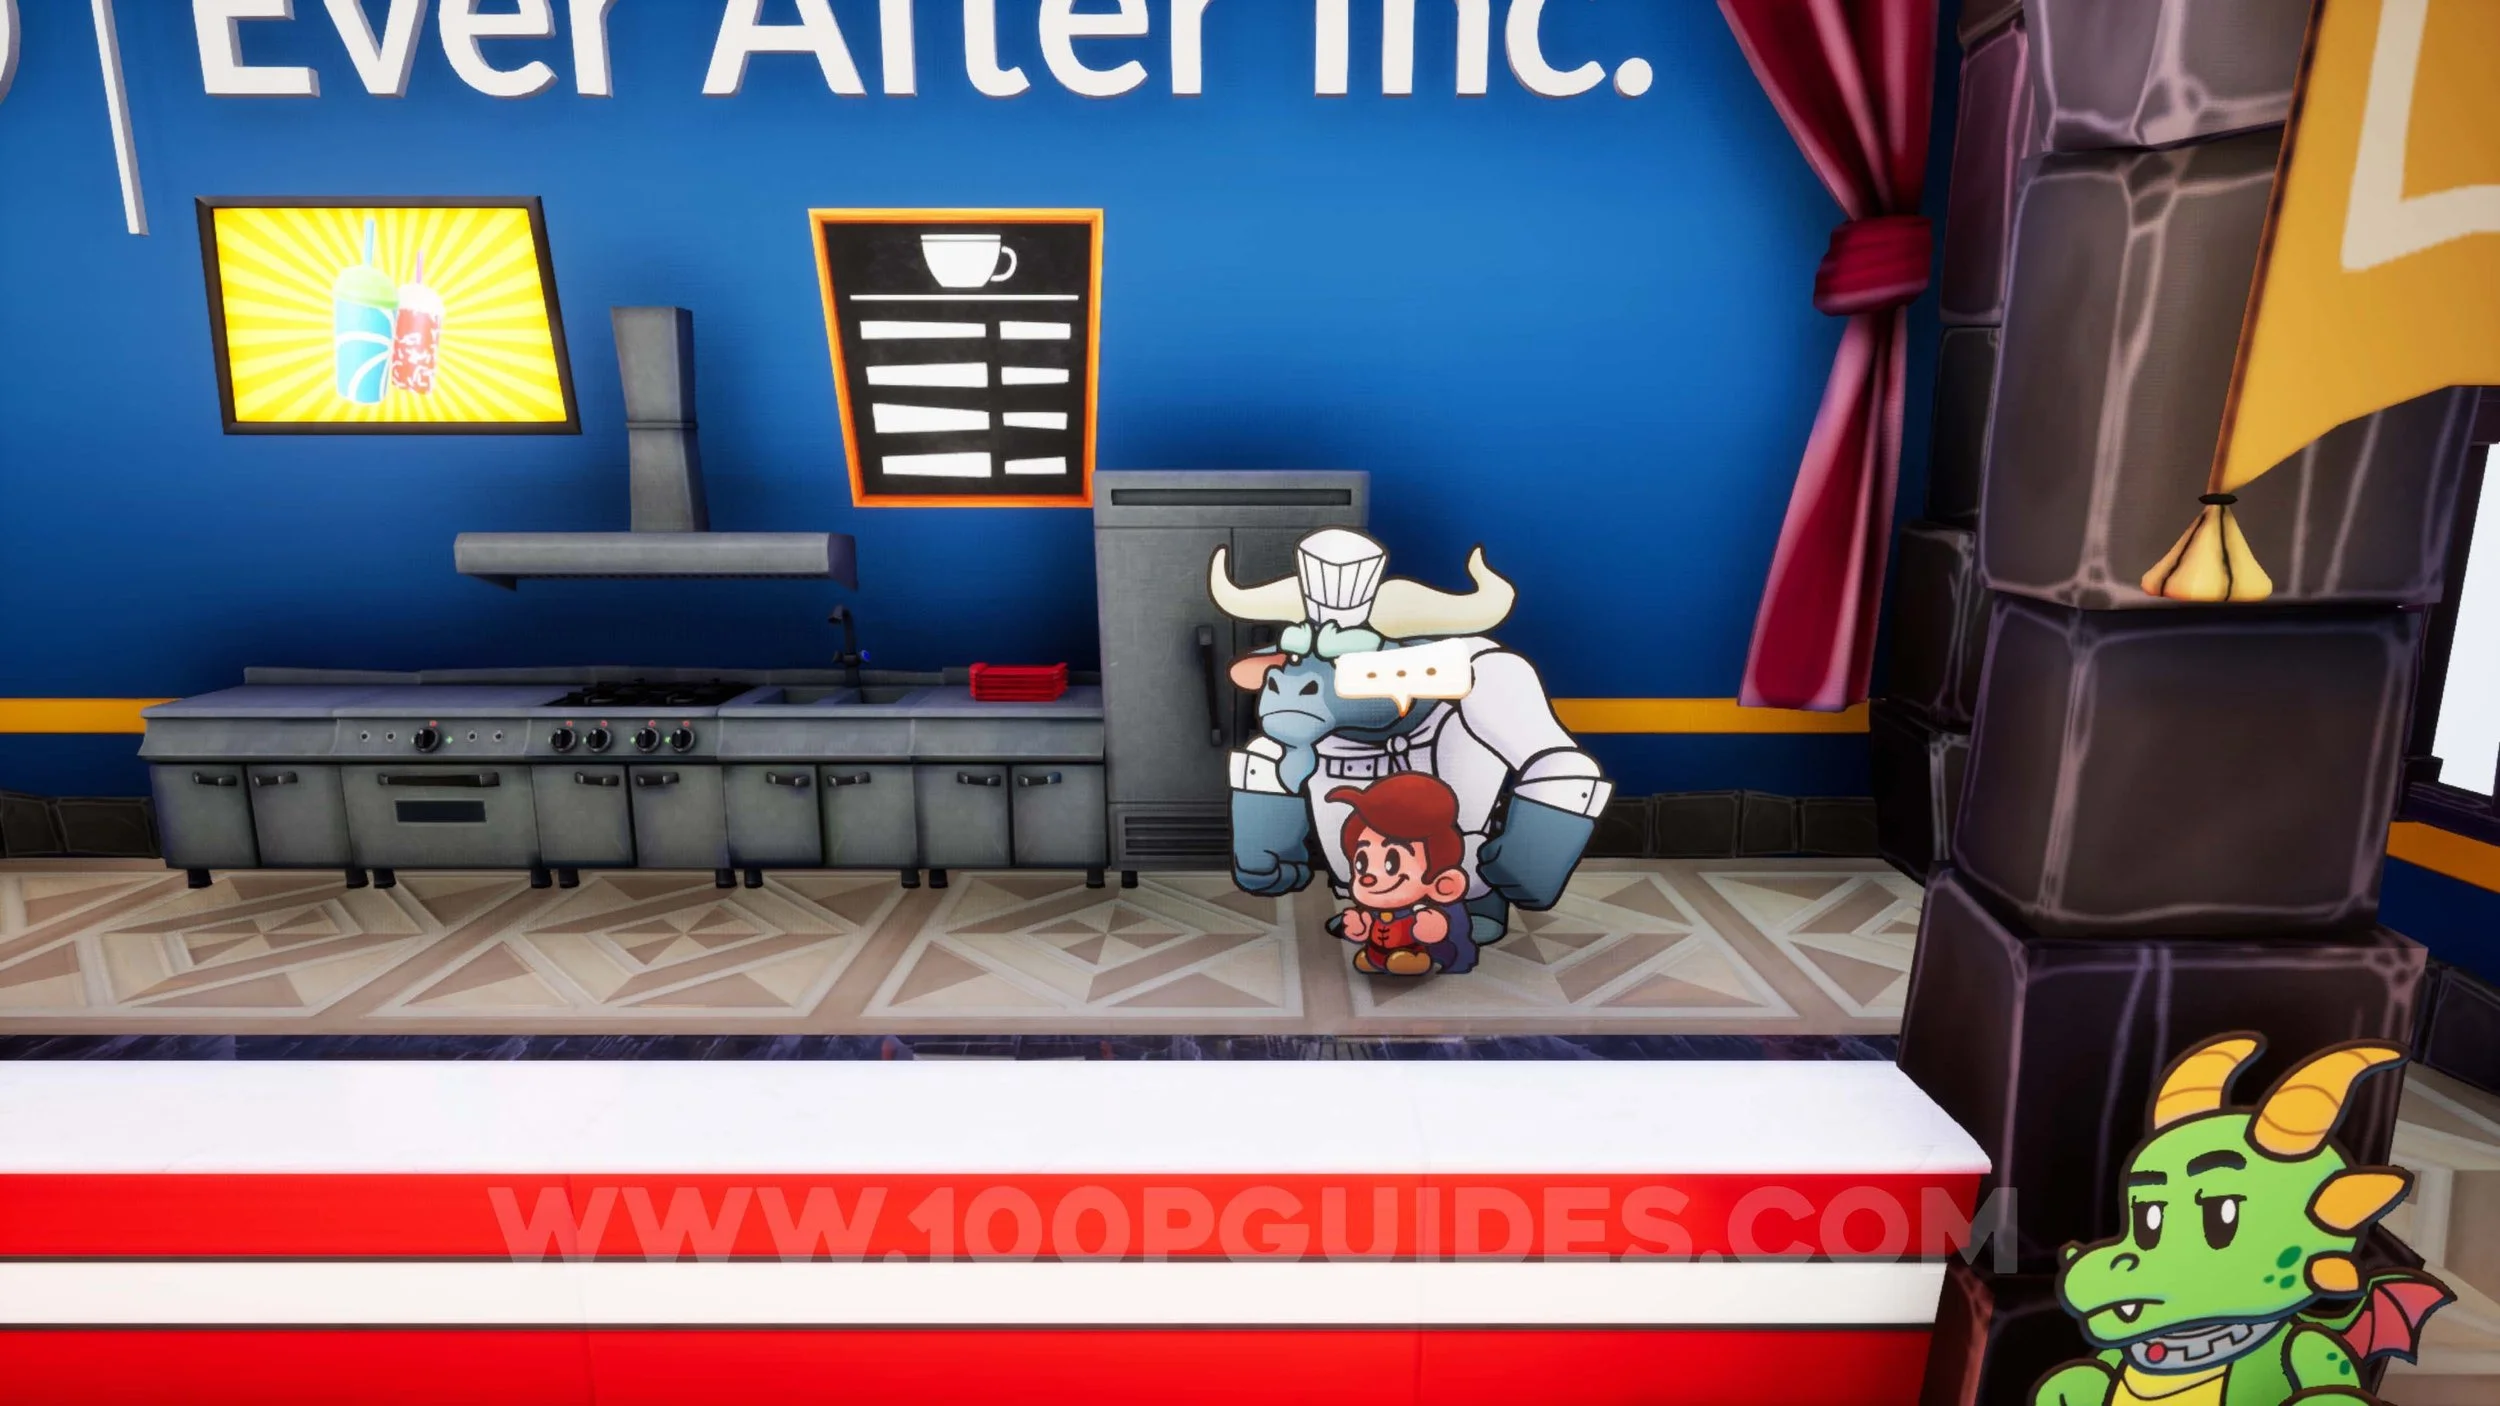
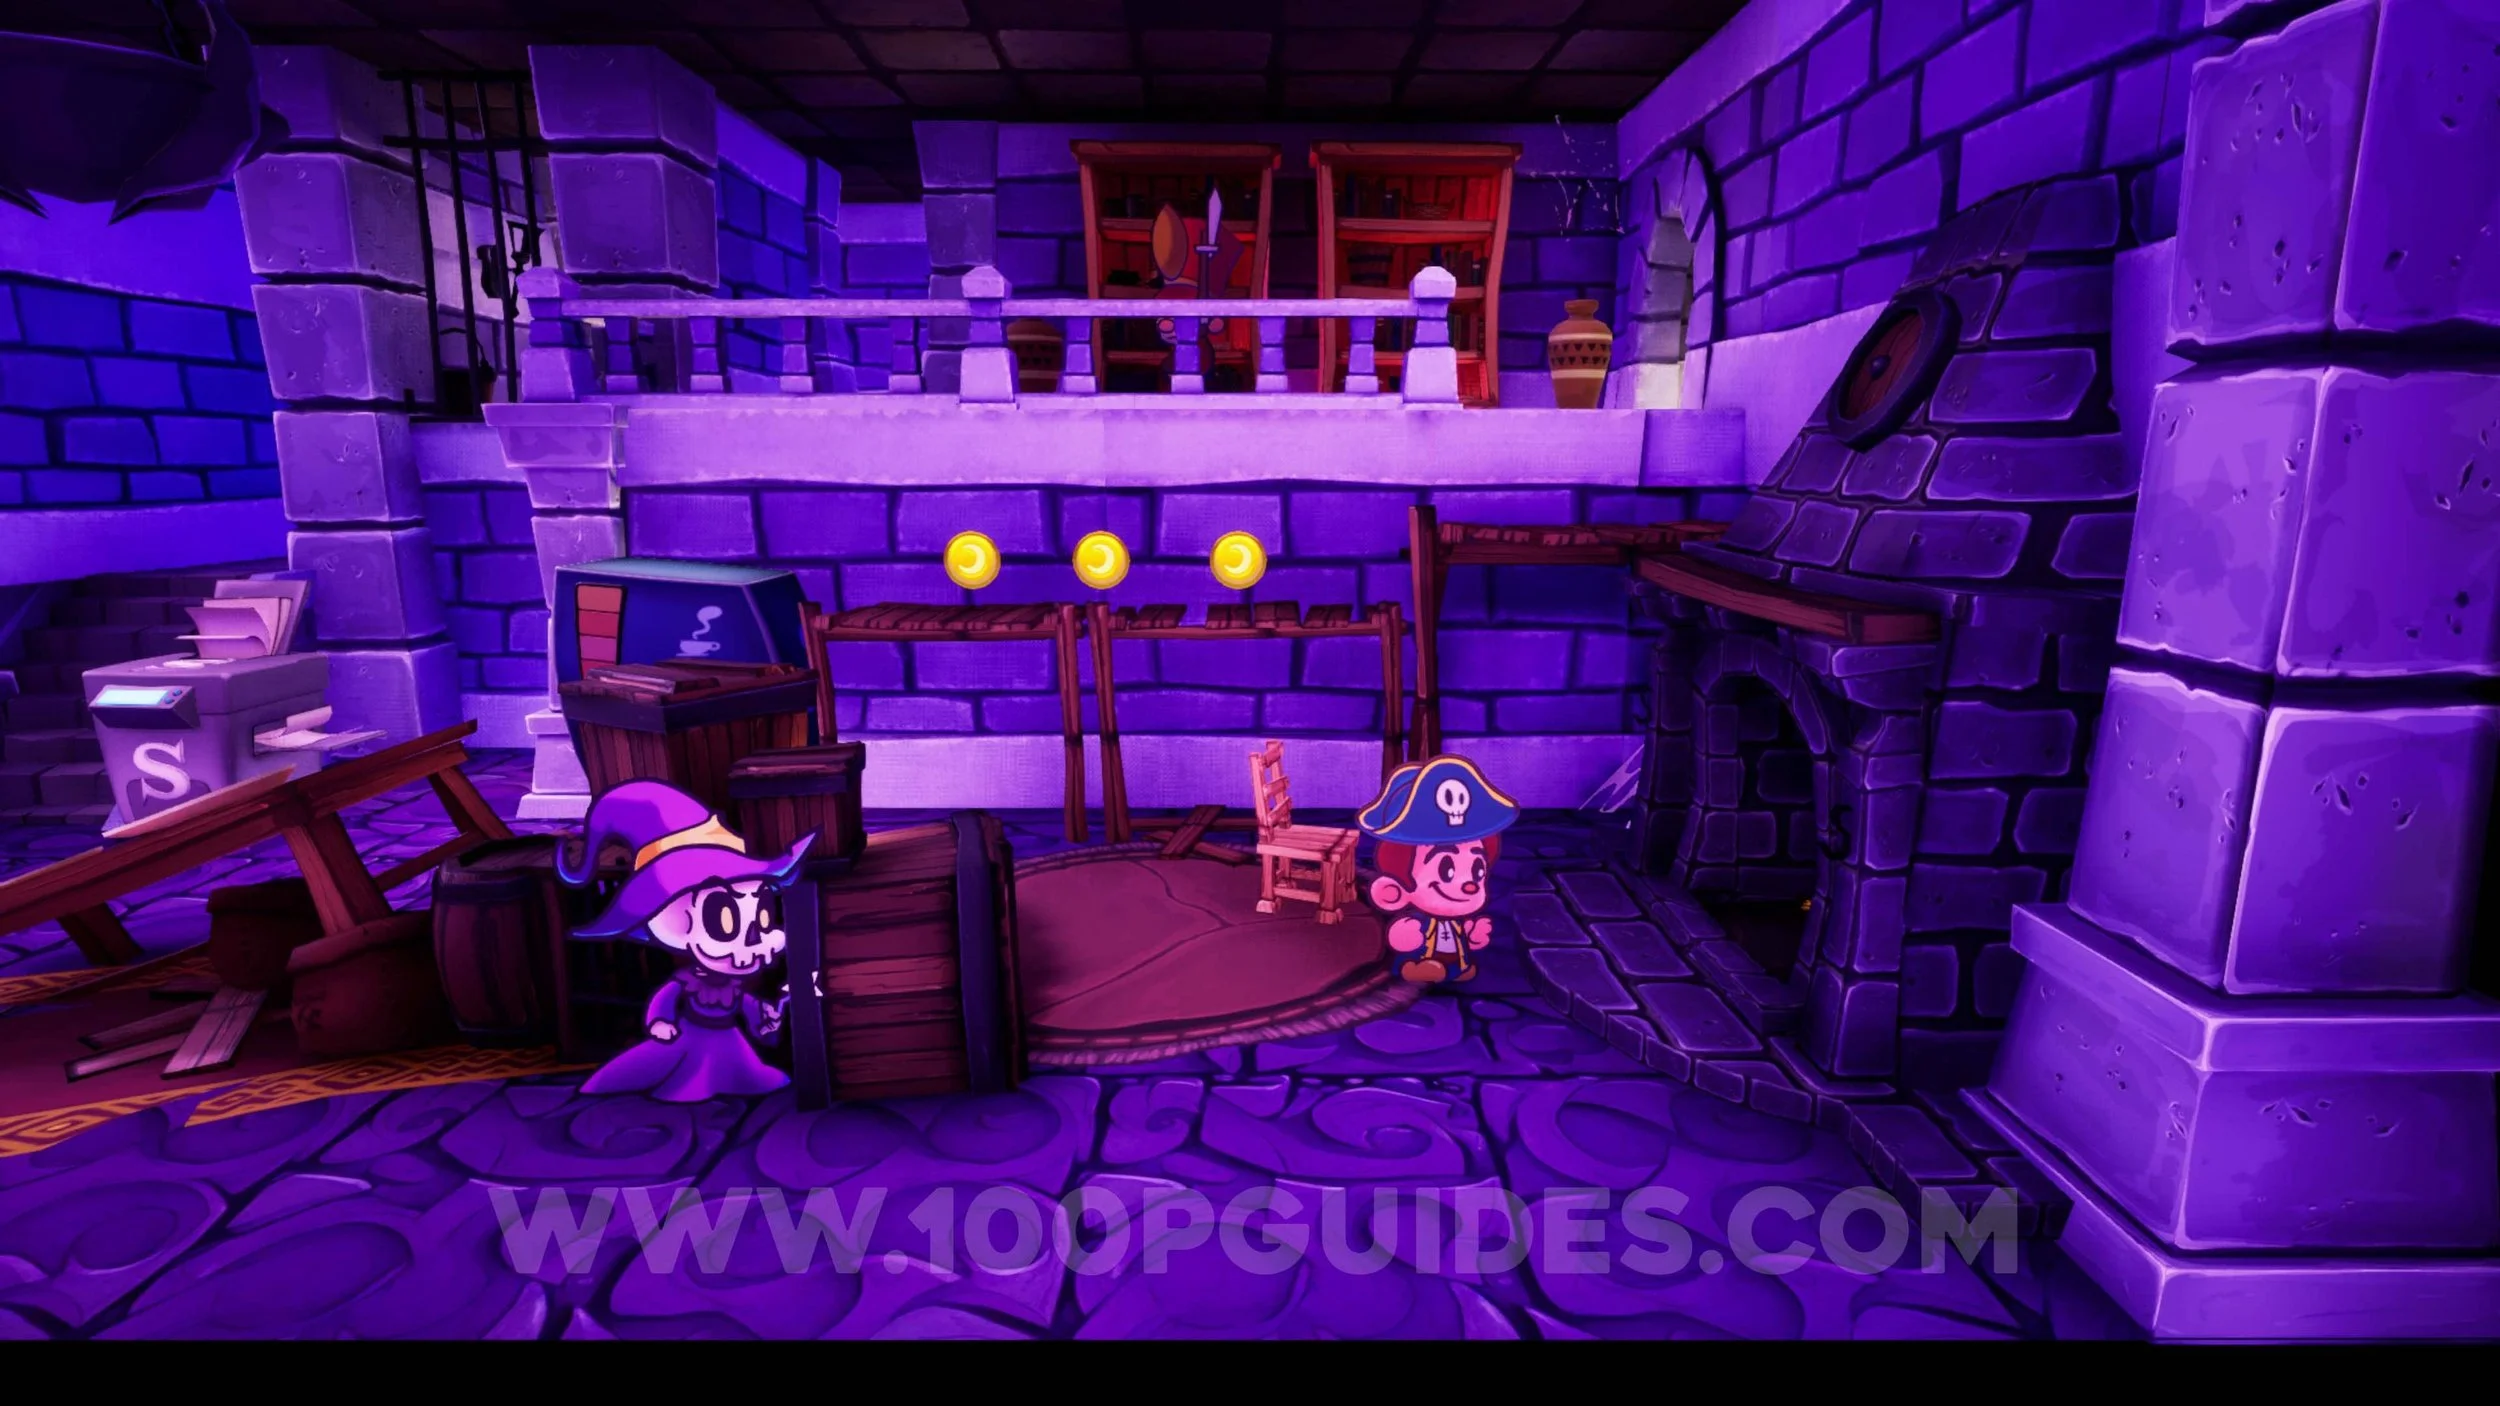
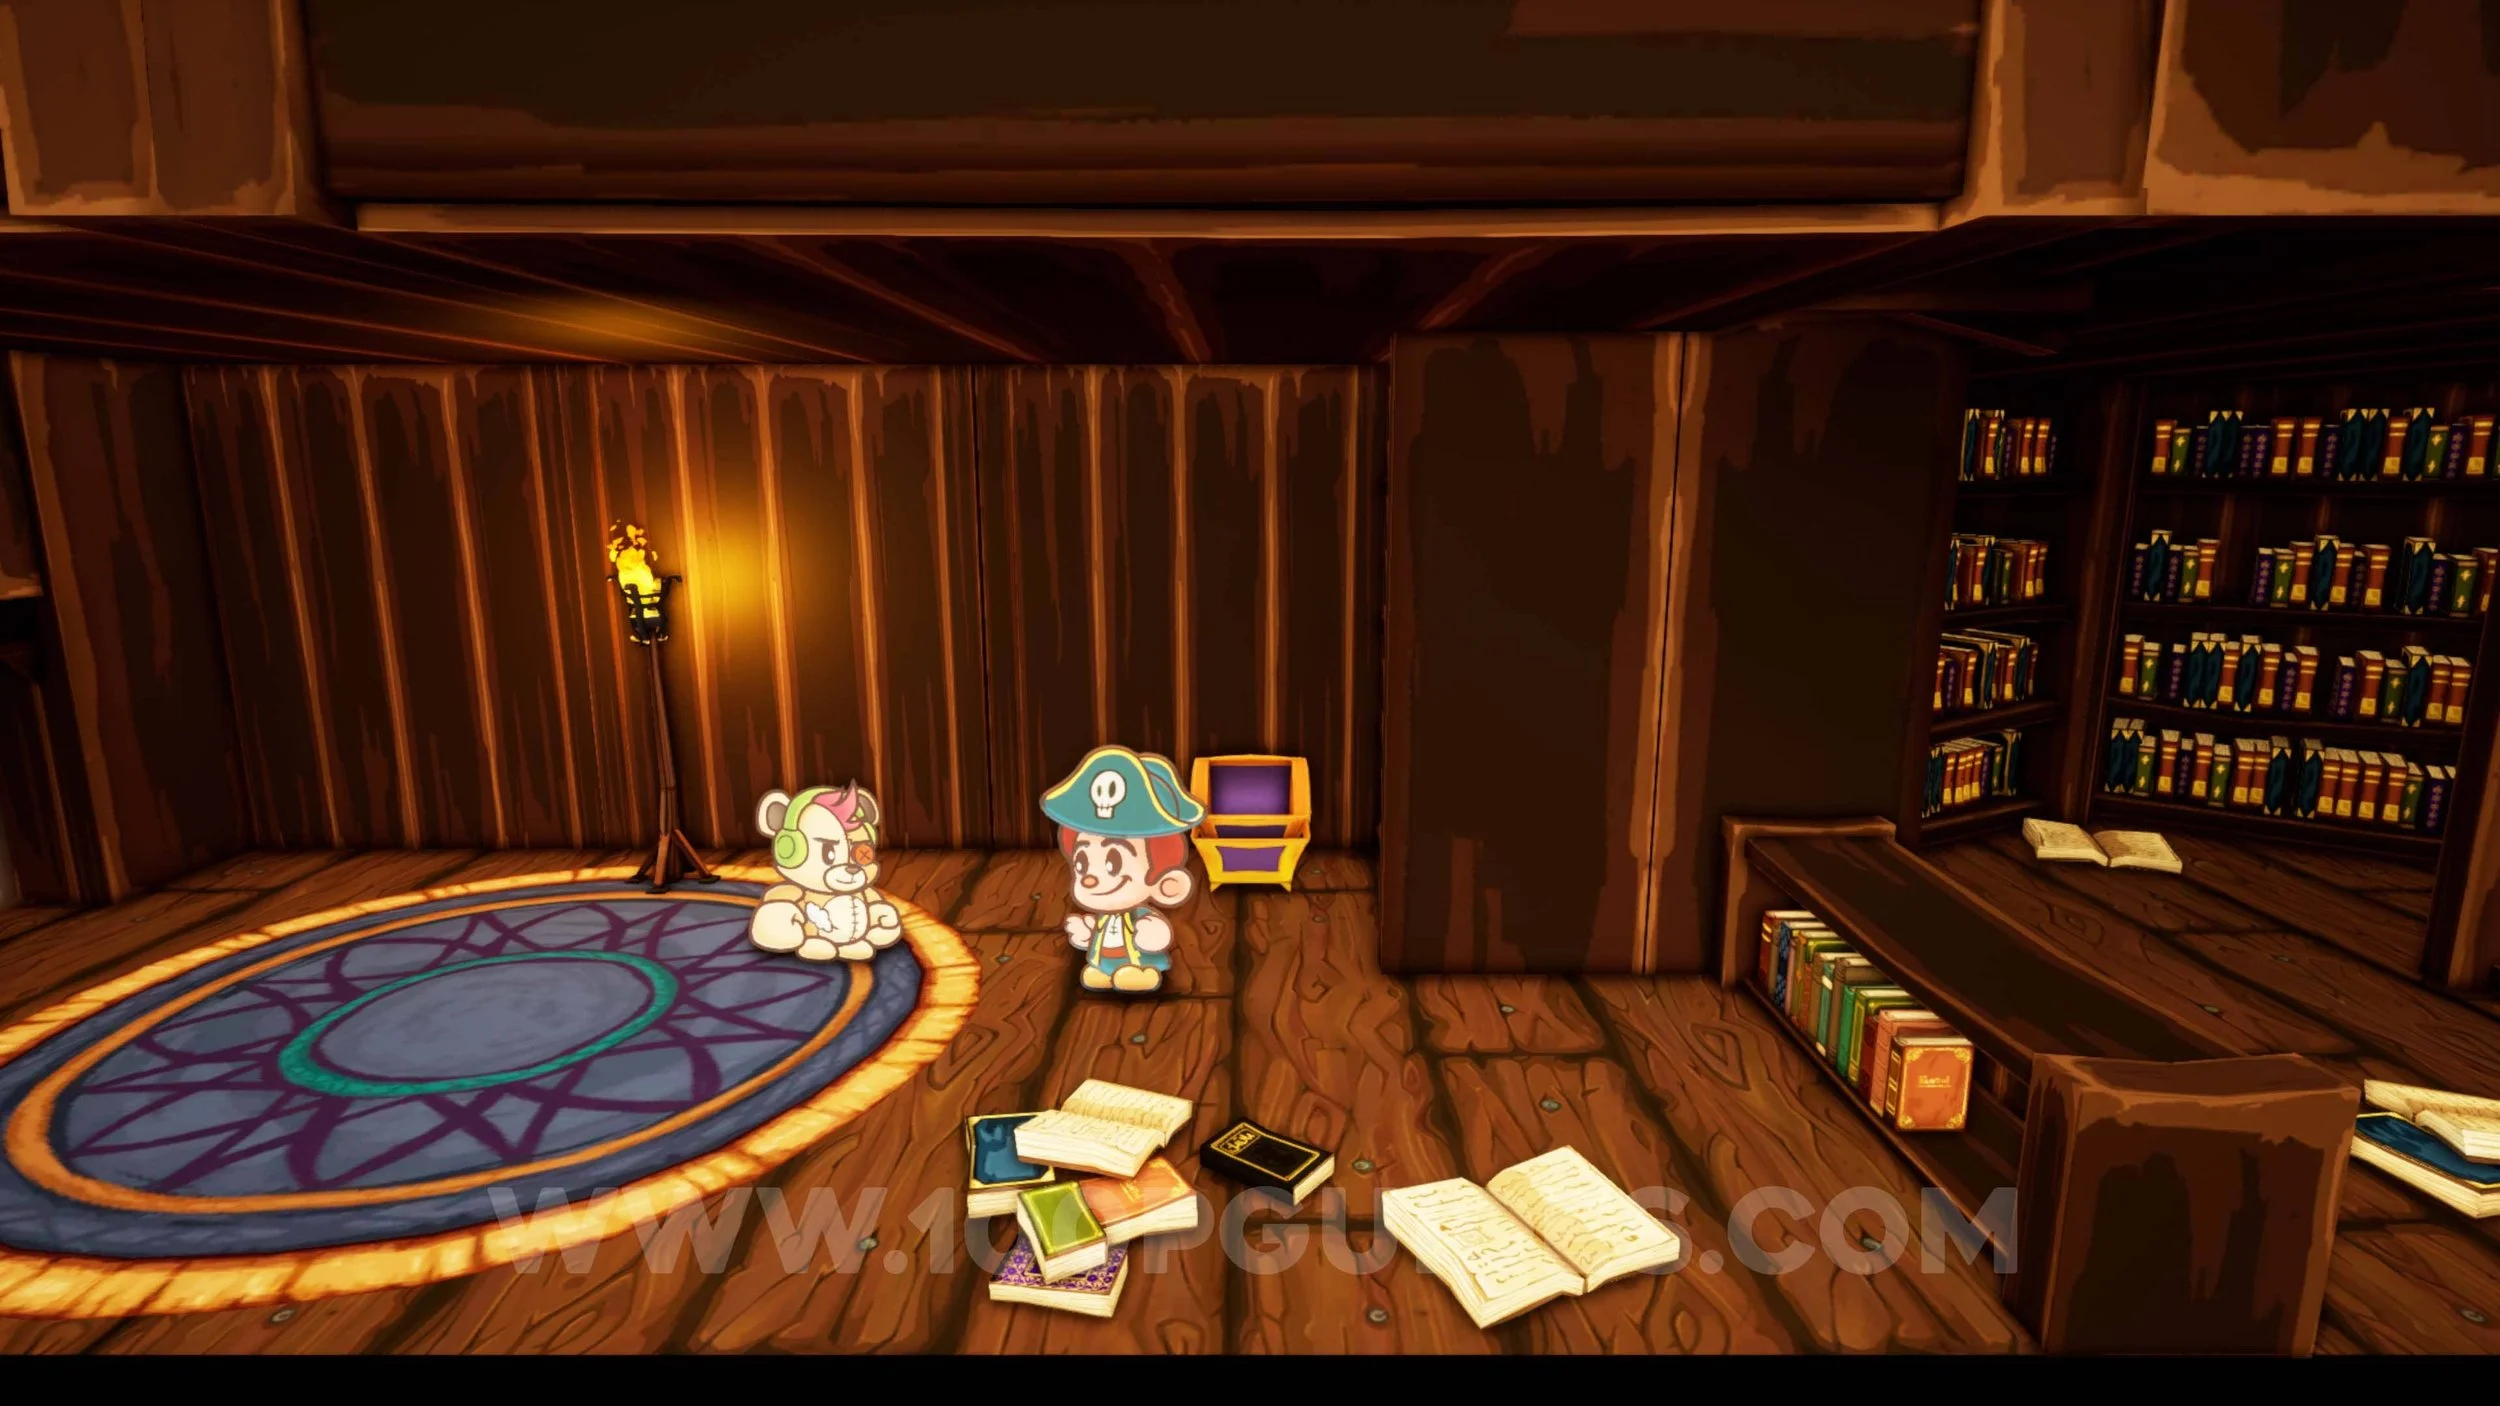
Sun Gem #6 & Trinket #5 - Winged Smackdown. Talk to Pinocchio on the right side of the office, then go to the left and talk to the fairy in the cubicle. She will describe 3 items that you must order from 3 different NPCs that you must remember (don’t worry if you don’t get them right, since you can purchase the bonus price for 30 gold if you screw up). First, go to the Library that can be found by going through the door to the right of the front desk room (the first room of the game), talk to the fairy behind the counter and select the correct banner. Then go to the courtyard by going through the wooden door at the back of the front desk room. Go left and talk to the vampire NPC and select the correct options. Finally, go through the door on the left of the vampire NPC to enter the cafeteria. Talk to the NPC behind the counter and ask for the correct cake. After talking to the 3 NPCs, return to the fairy in the office and talk to her. After the event, you will get a Sun Gem no matter what, as well as the Trinket if you got everything right. If you didn’t, he will sell you the trinket for 30 gold.

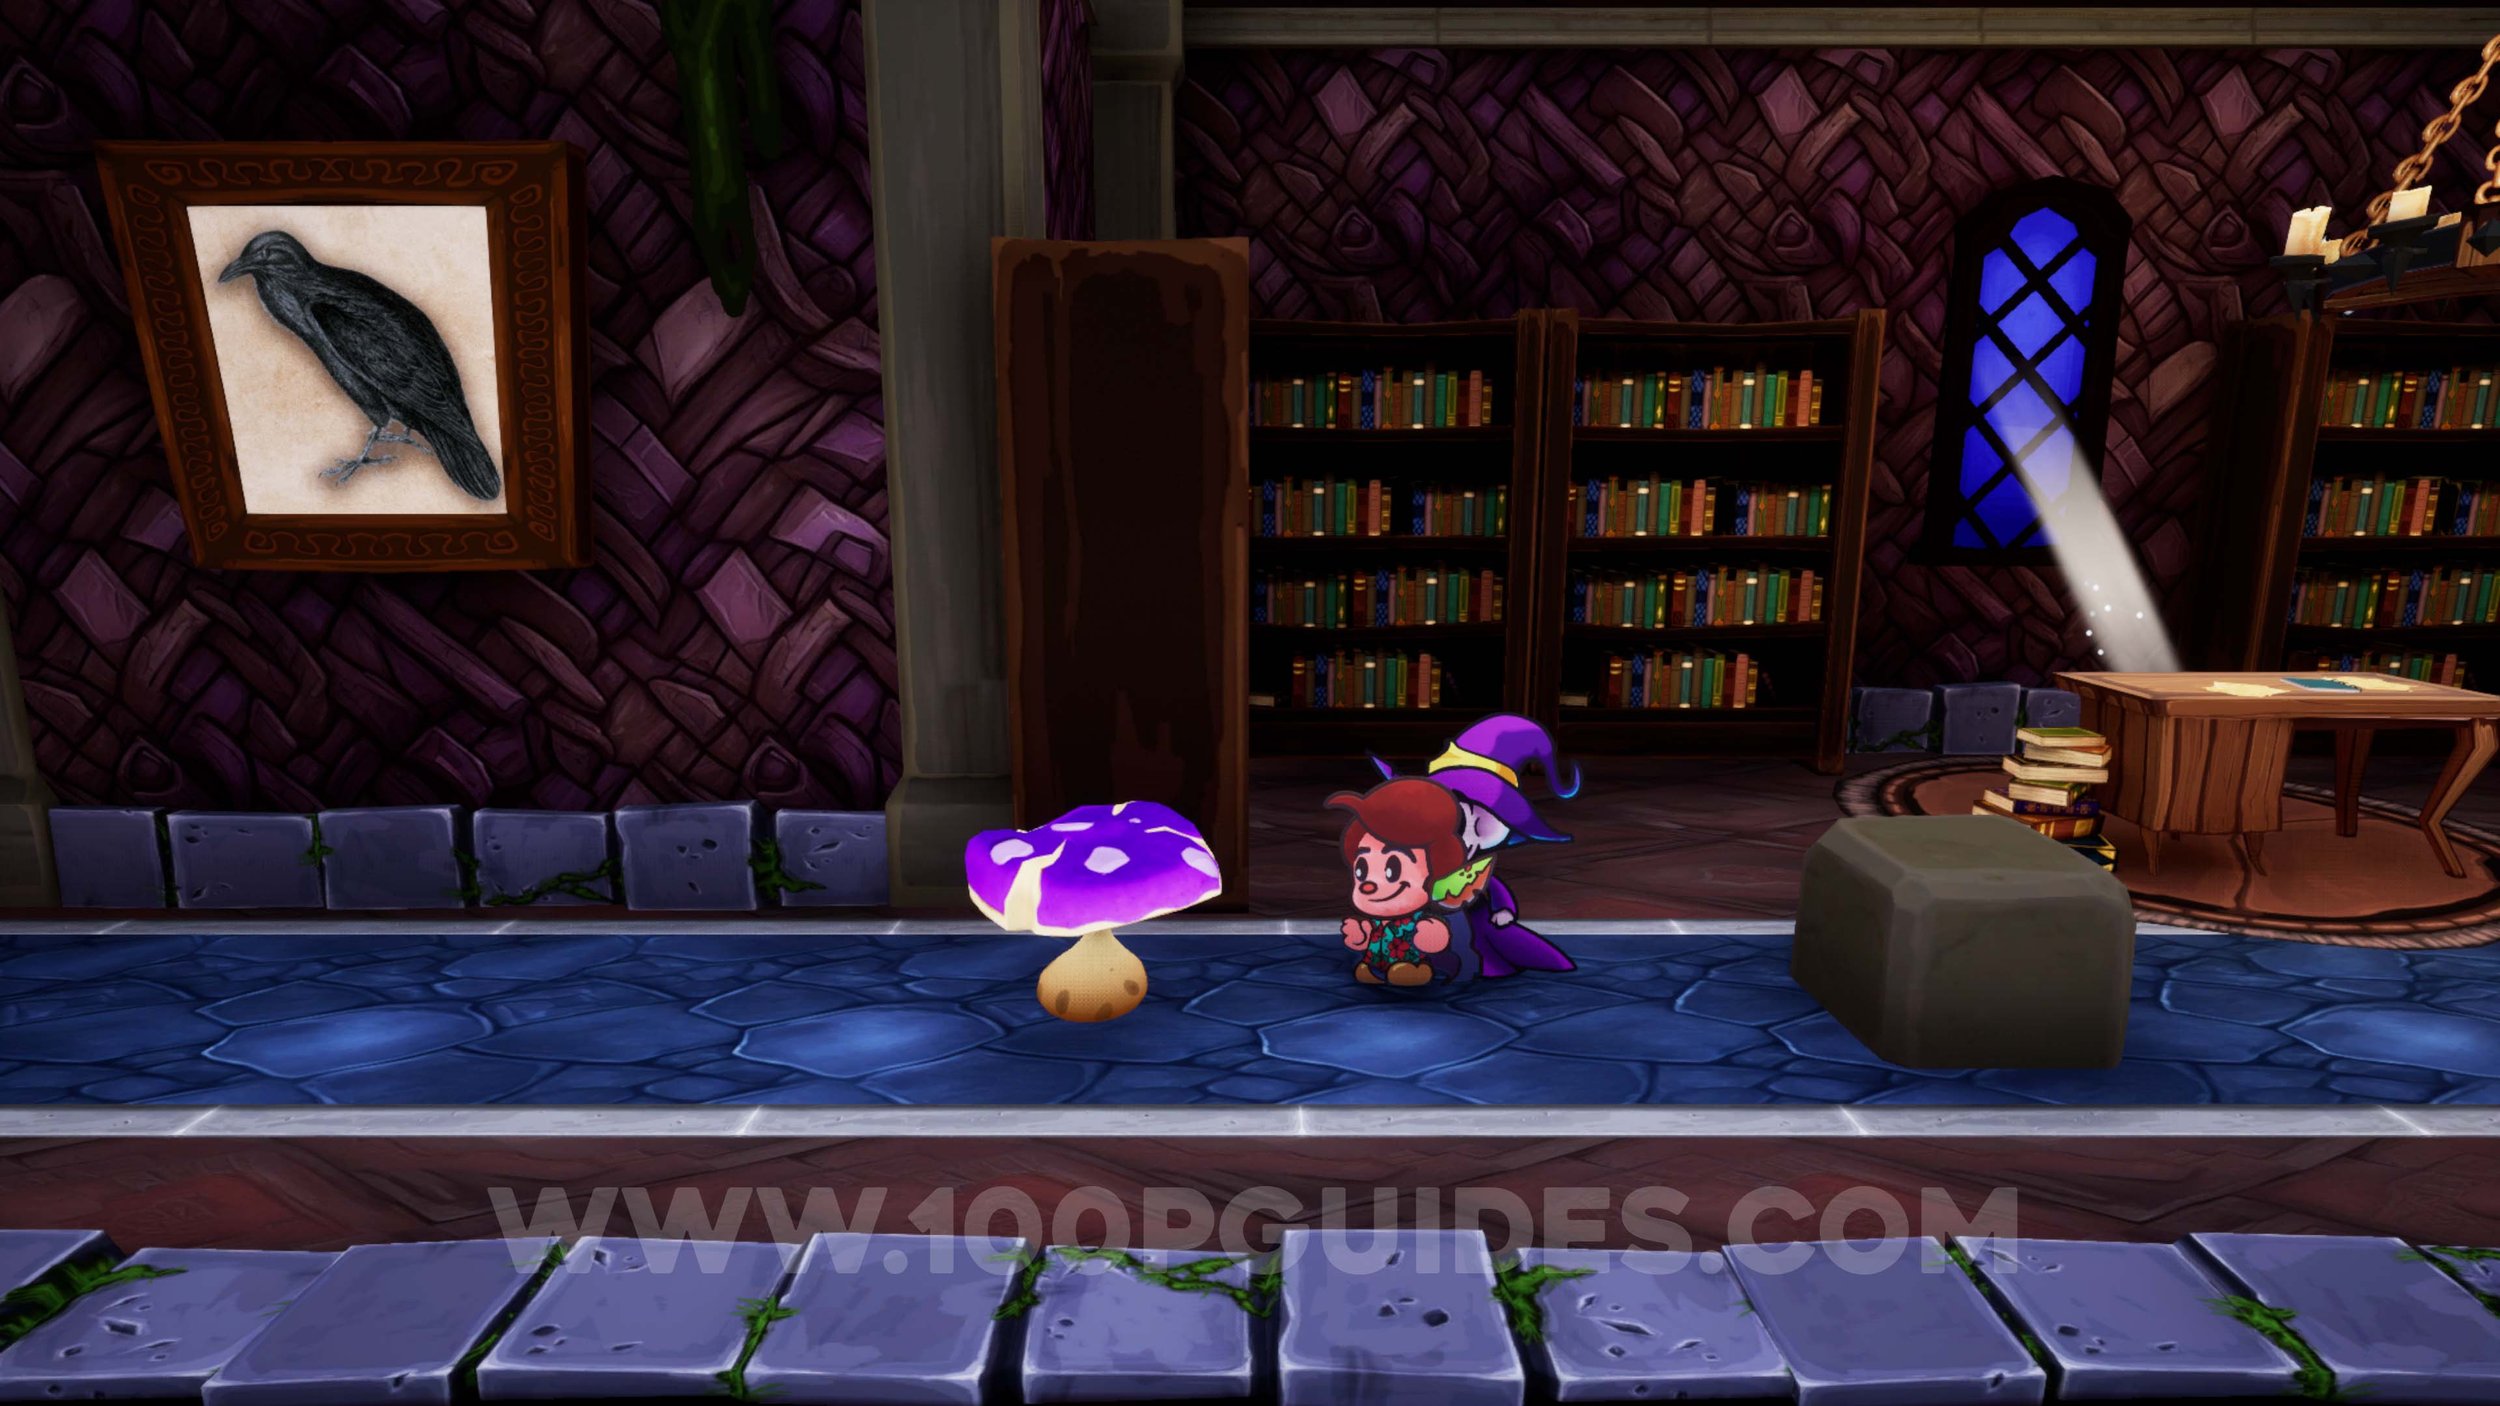
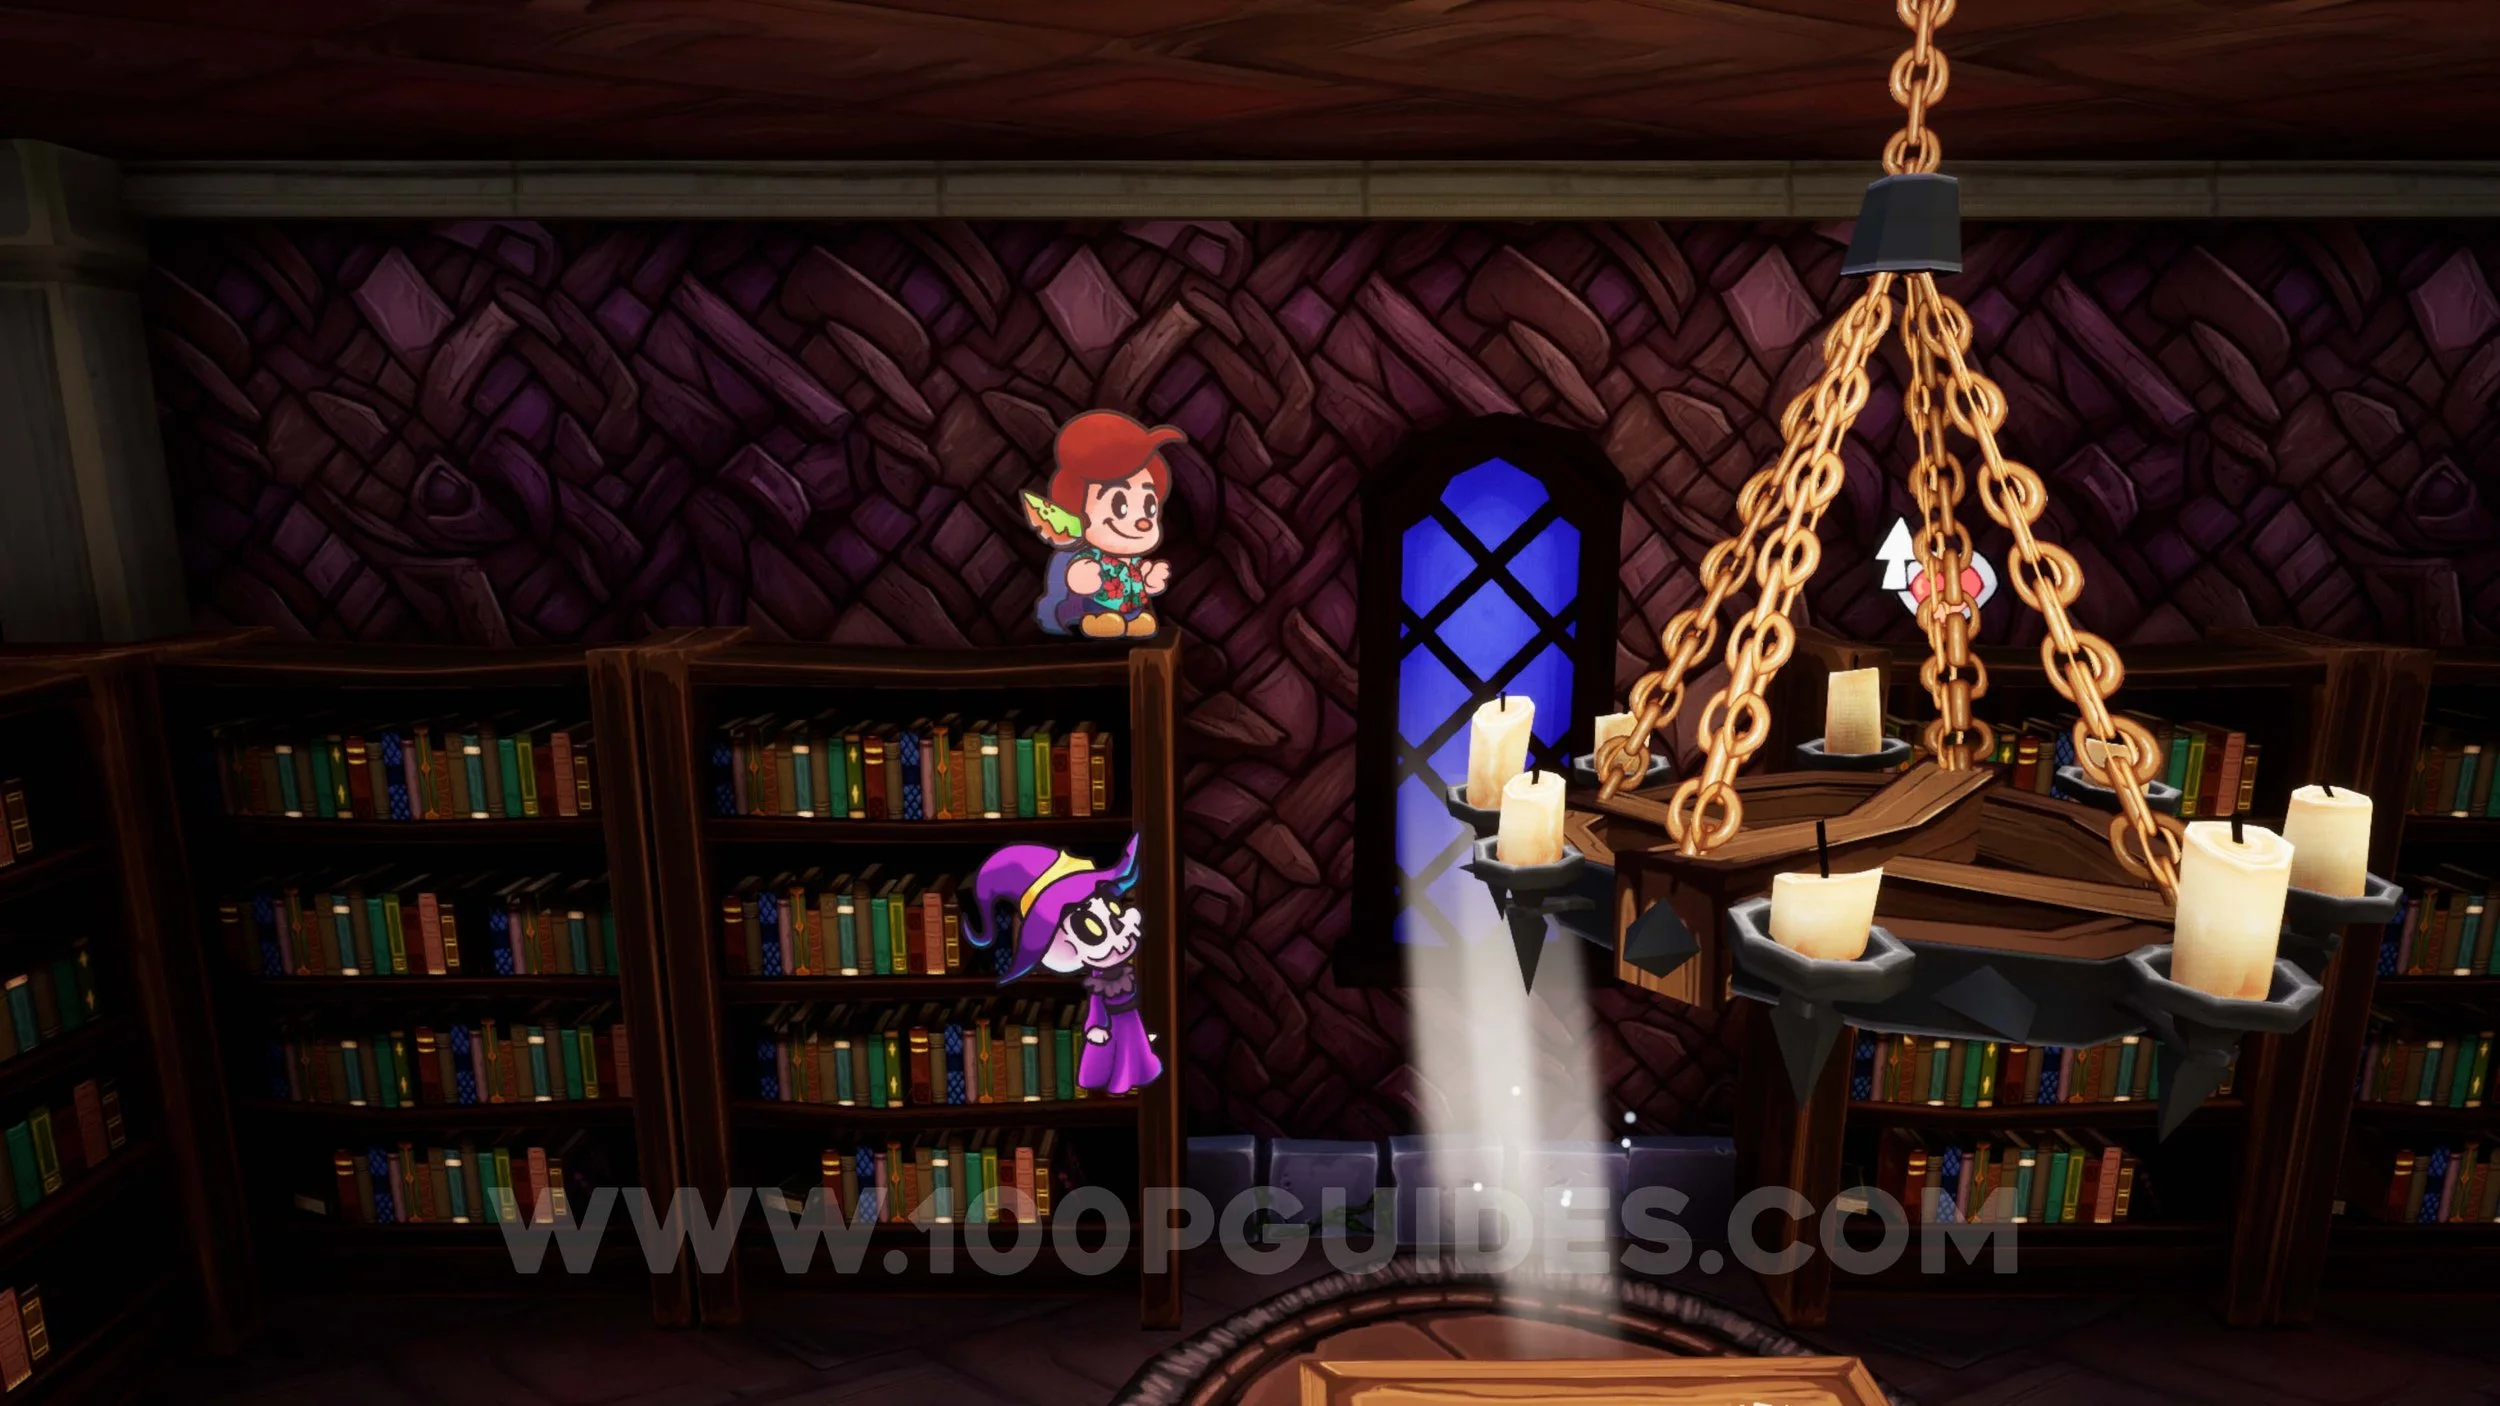
Sun Gem #7. Go to the top floor of the library and follow the path to the right to a locked door. Here, jump onto the bookshelves to find the sun gem.
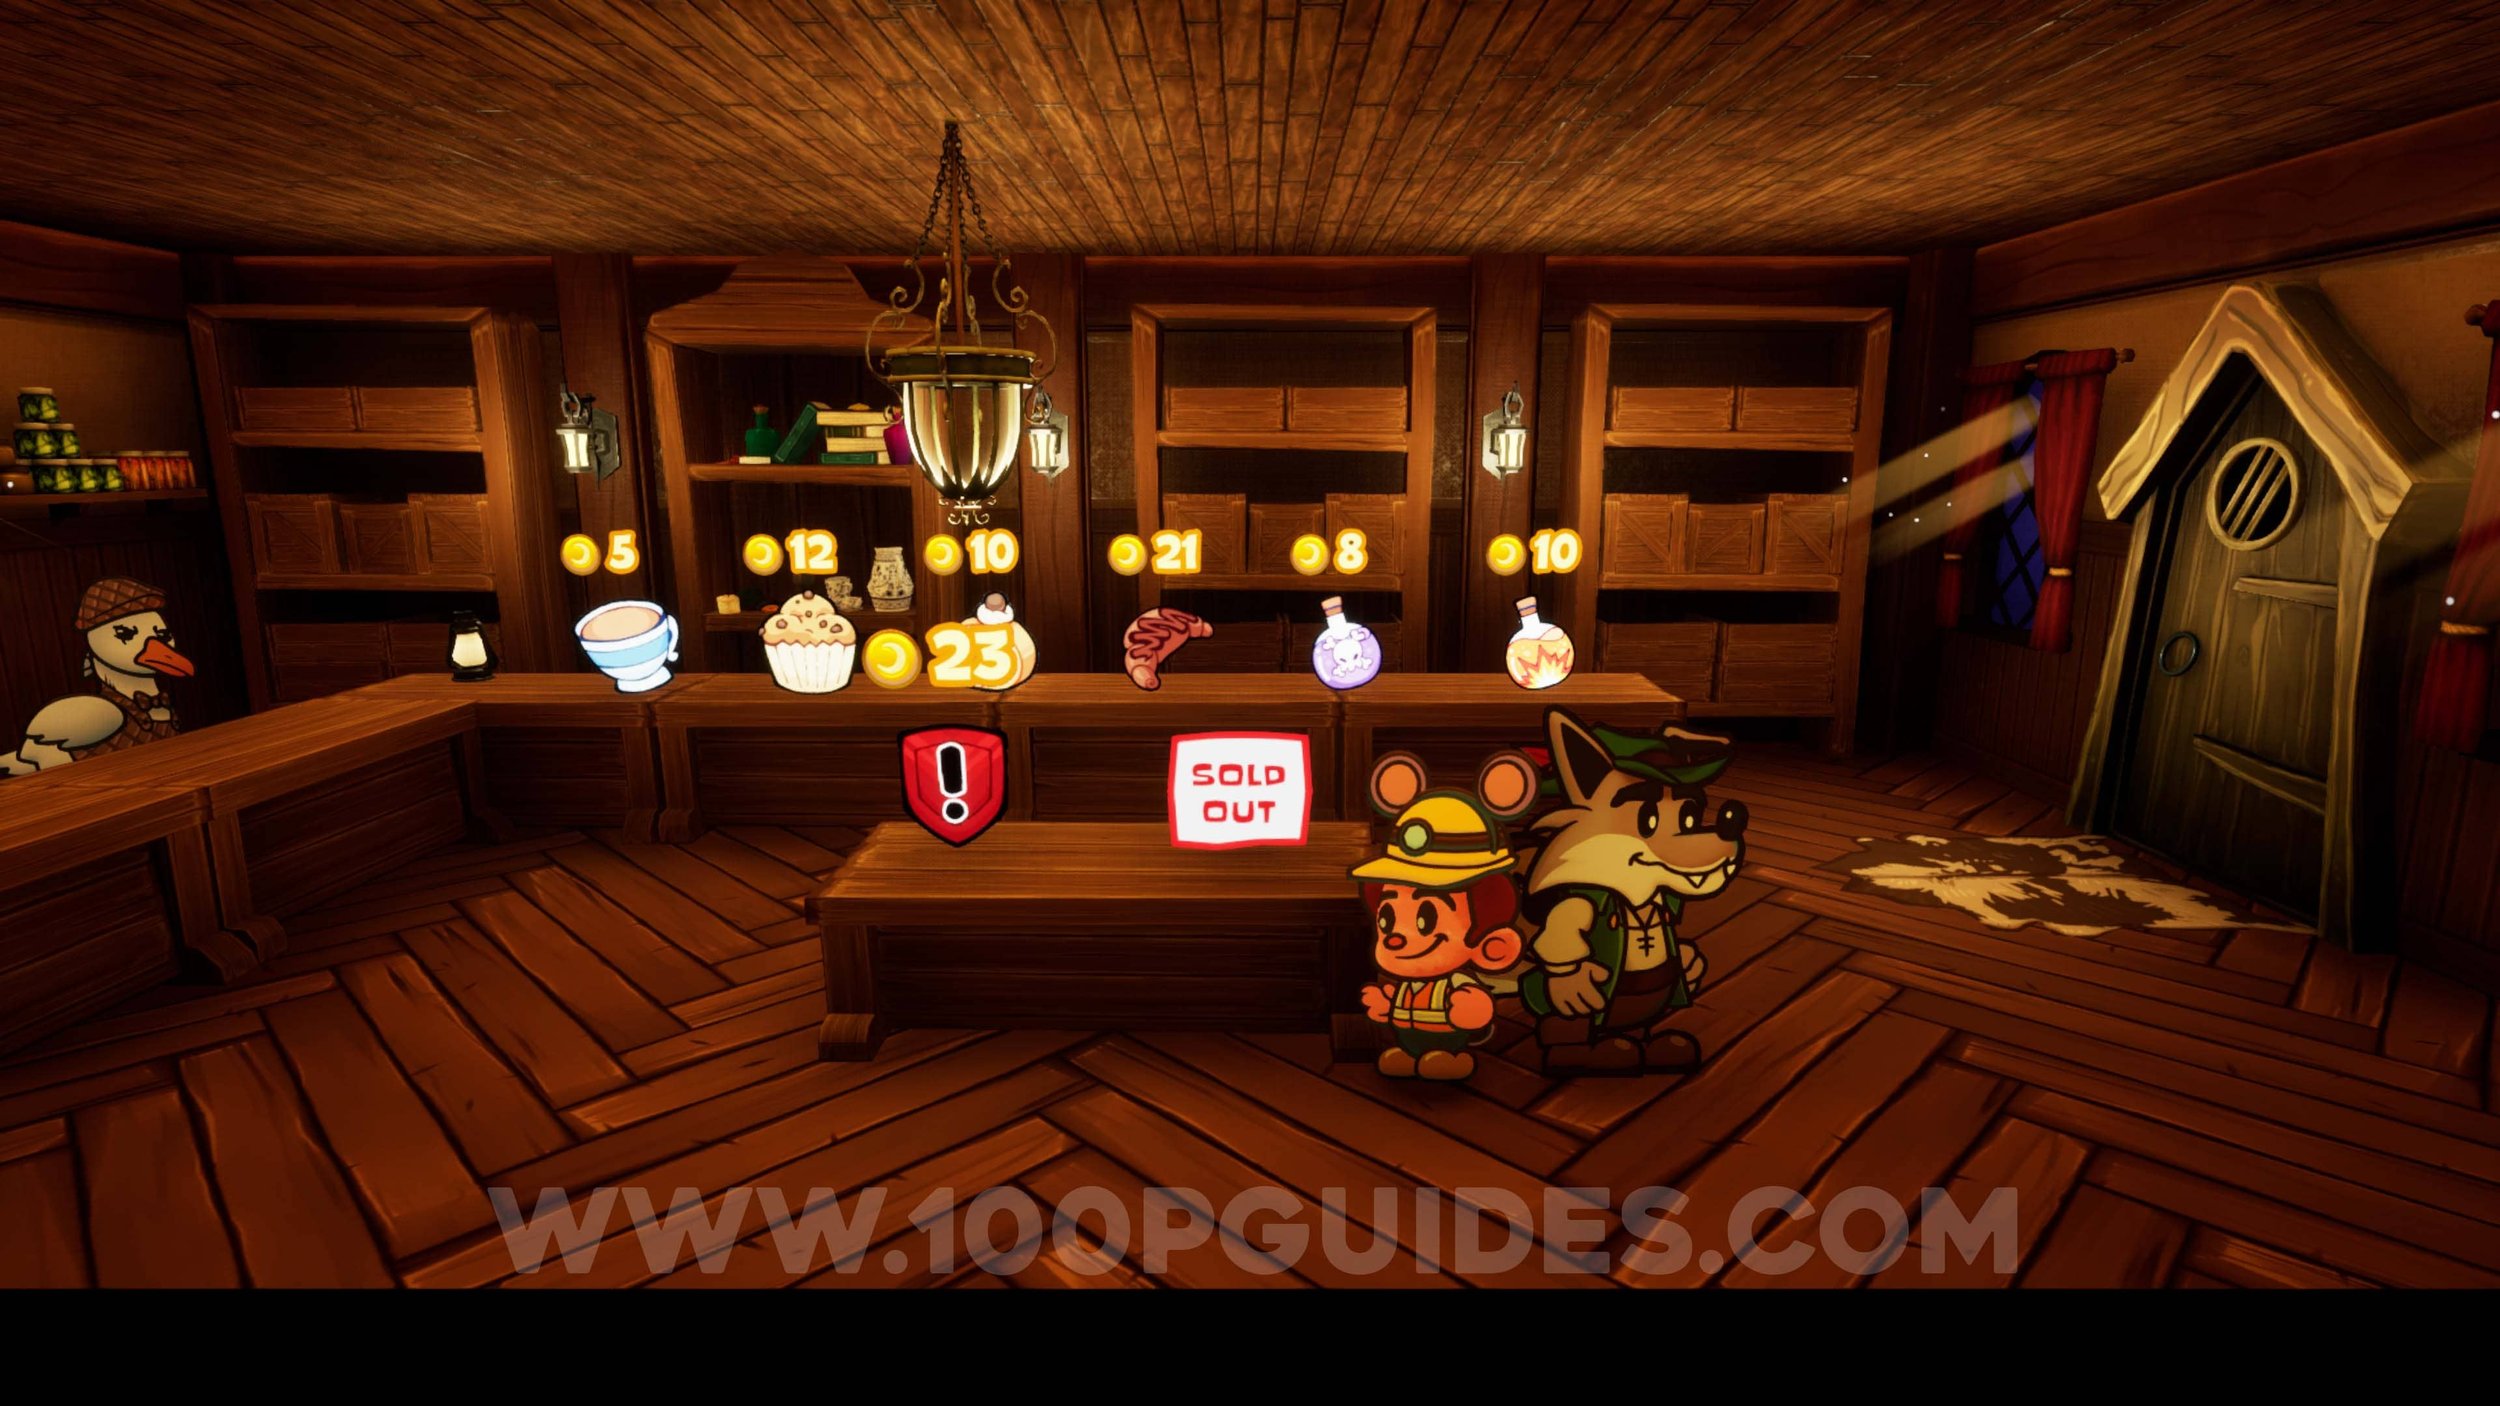
Trinket #6 - Healthy Glow. Can be purchased from the shop in the Library for 20 gold.
Trinket #7 - Mocha Rebound. Can be purchased from the shop in the Library for 20 gold.
Trinket #8 - Dire Straits. Can be purchased from the shop in the Library for 30 gold.
Trinket #9 - Poison Protect. Can be purchased from the shop in the Library for 18 gold.
Office Decor #3 - Plush Armchair. Jump and throw your shield to destroy the pot on the right side of the library to find the collectible inside.
Sun Gem #8. Under the courtyard stairs.
Ink Bottle #2. Obtained automatically during the story once you talk to Helga on the balcony.
THE THREE LITTLE PIGS
Sun Gem #9. Behind the trunk at the start of the level, past the first enemies.
Sun Gem #10. Behind the trunk that you go through, close to the start of the level.
Office Decor #4. After hitting the switch and crossing the wooden bridge, go to where the switch was and burn the small tree.

Sun Gem #11. After talking to the NPC at the stray house, continue to the left before heading inside. Here, you can throw your buckler at the gem to collect it.
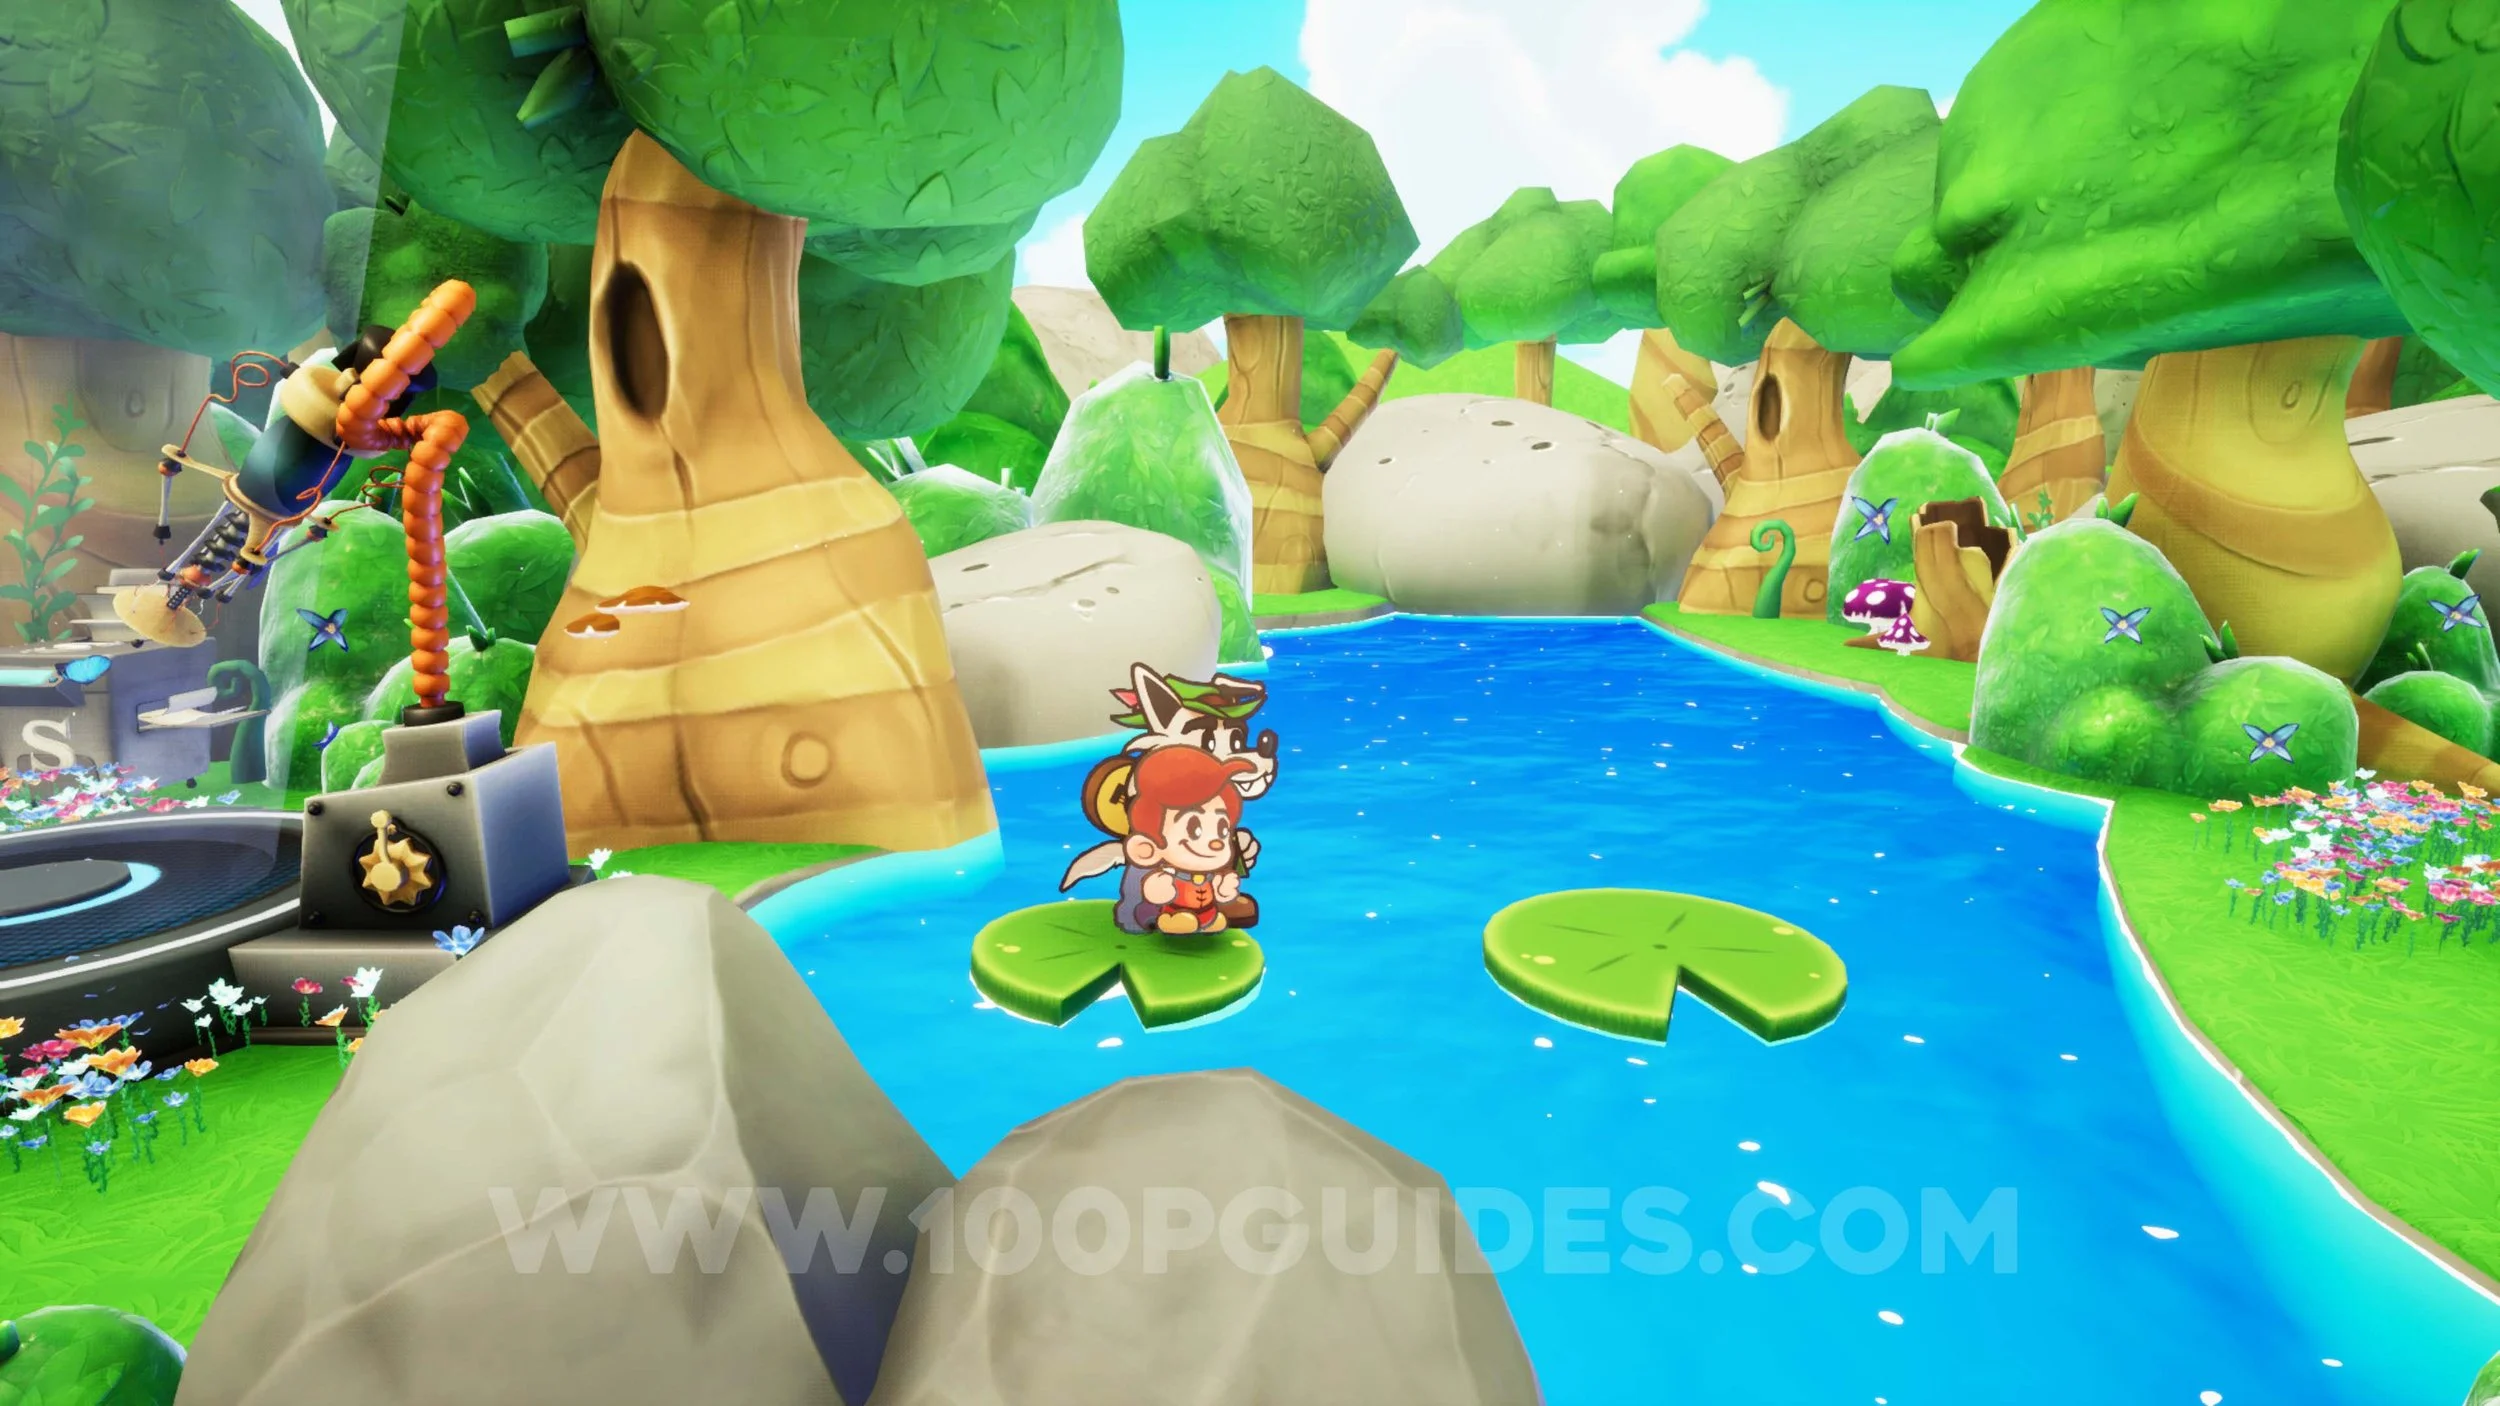
Ink Bottle #3. After Wofgang joins the party, return to the very start of the level. Here, play the Sprout Serenade song and then use the lilypads to get to the other side. Here you will find the collectible in the chest.

Sun Gem #12. After Wolfgang joins the party, return to the sprout and play the lute to make it grow (this is to continue on the story path). At the top of the plant, go left to find an NPC. Talk to him to get the collectible.
Trinket #10 - Buckler Blitz. After crossing a bridge where you have to destroy a boulder by lighting a campfire and throwing your shield through the flames to hit a bomb, continue to the right to find a chest that you can climb to.
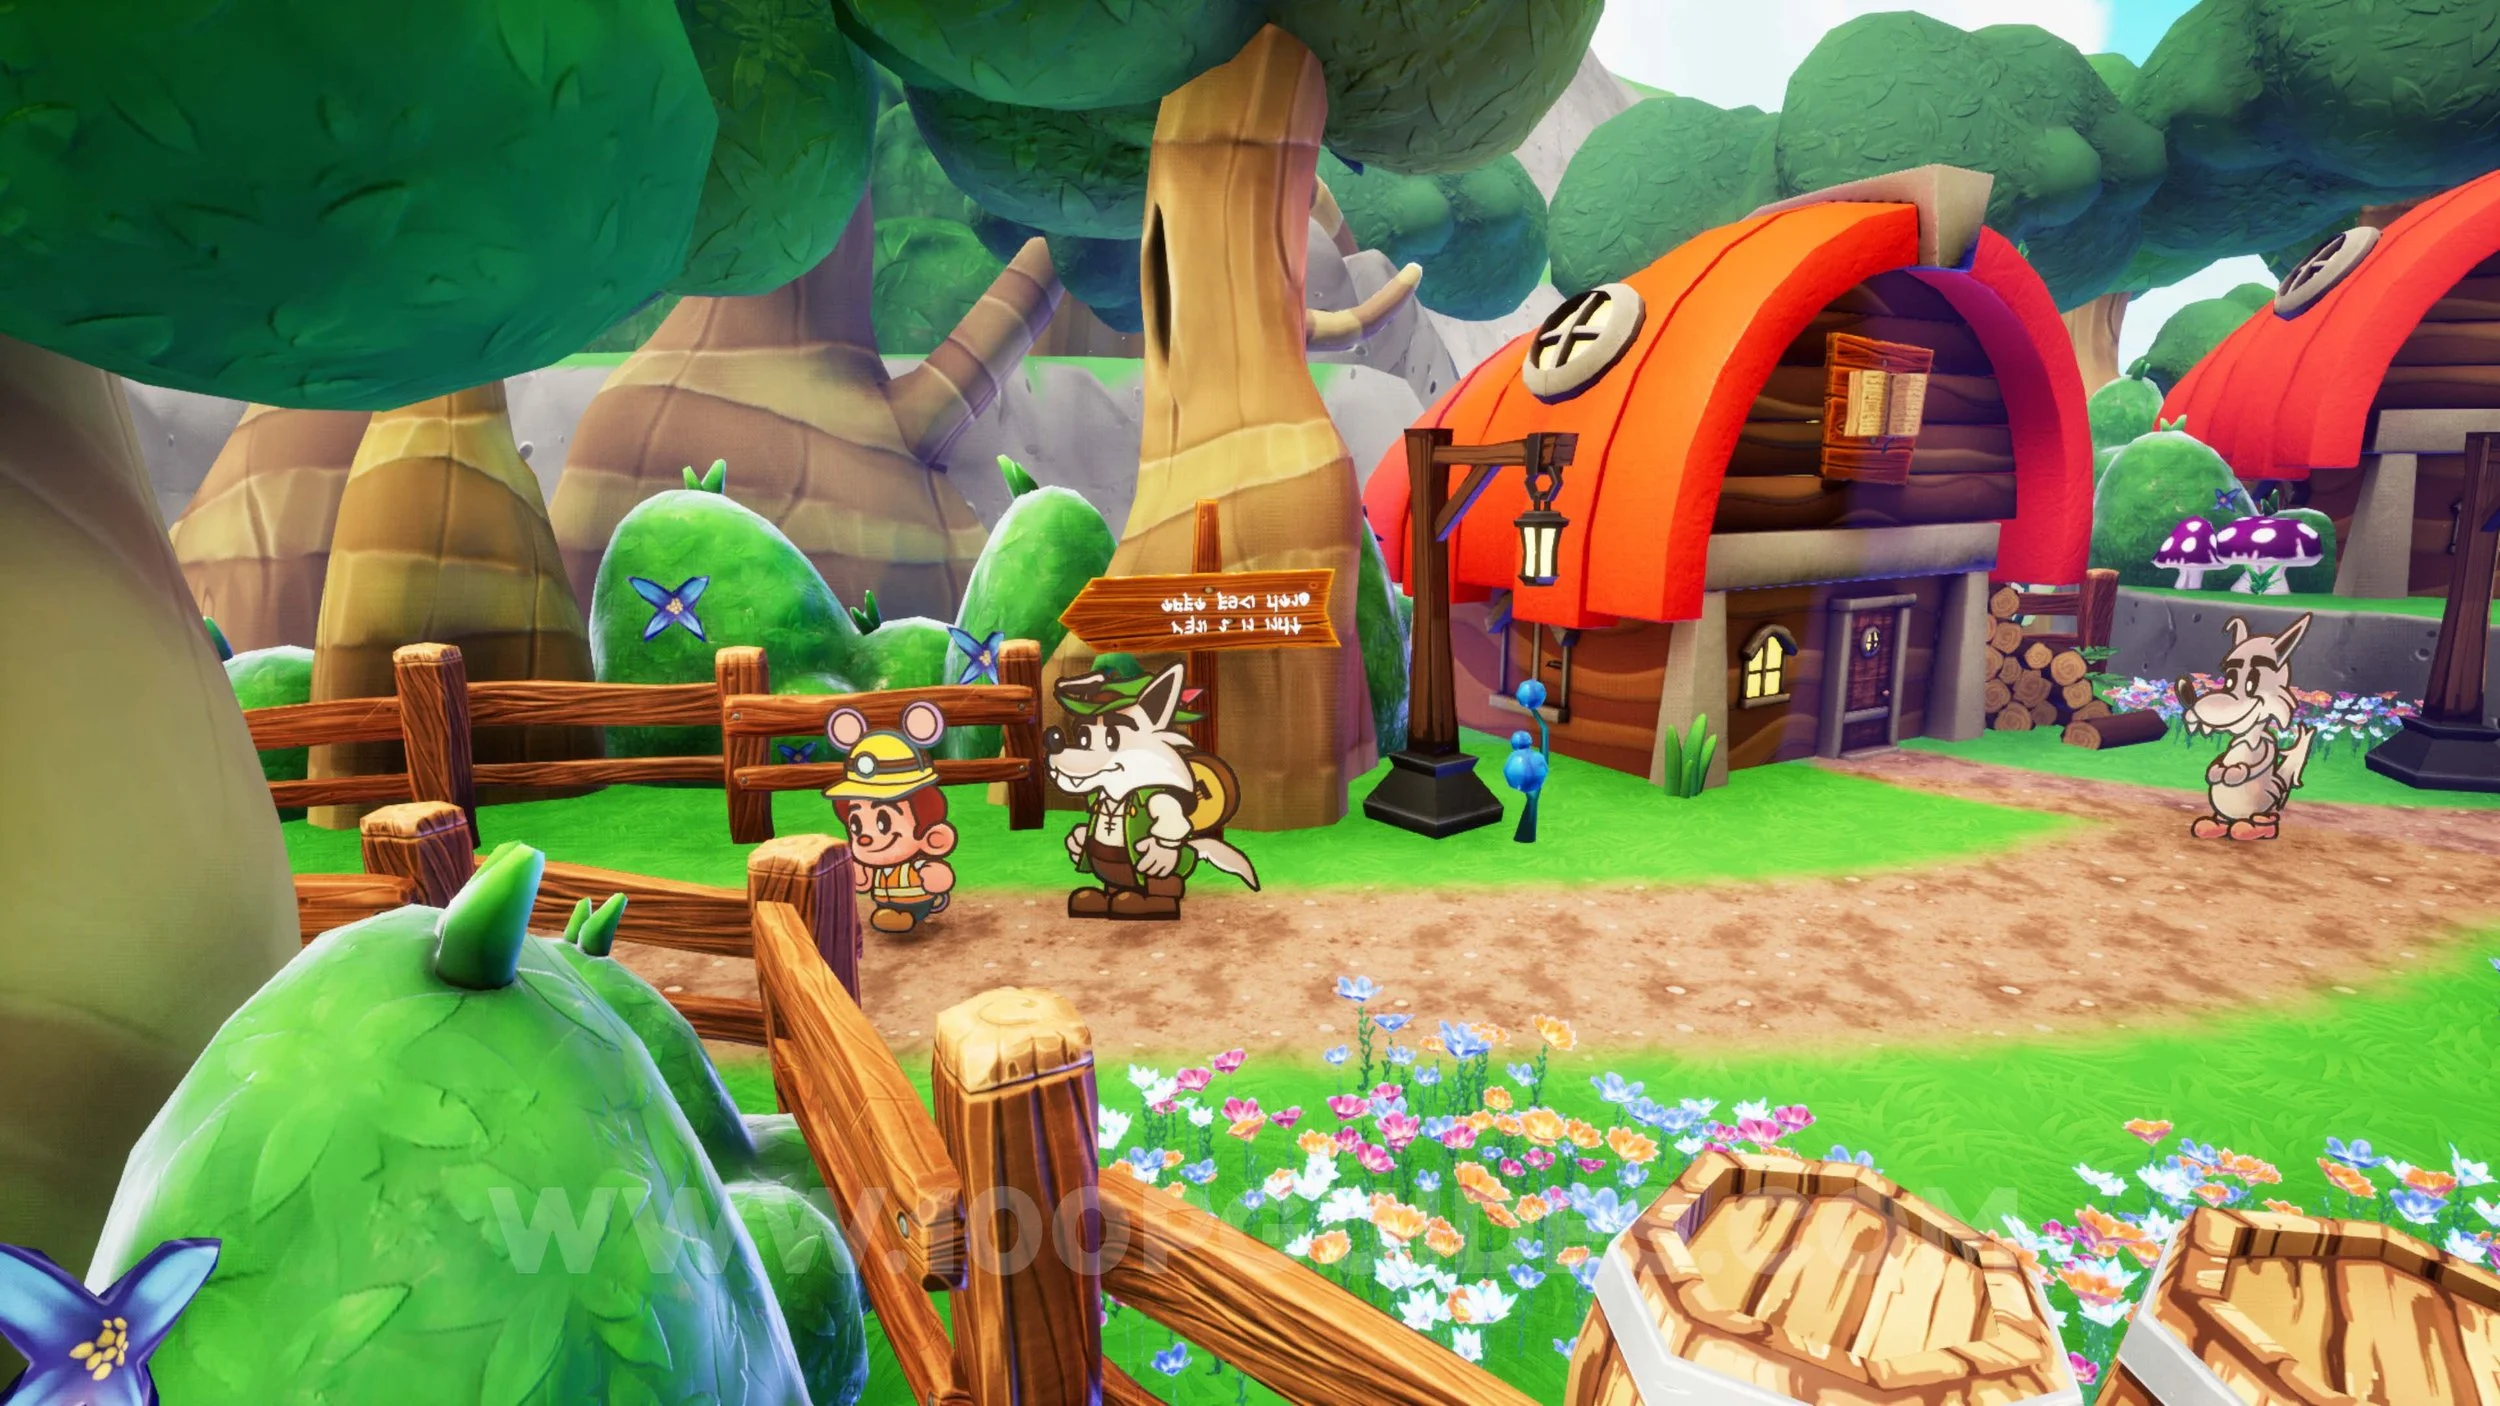
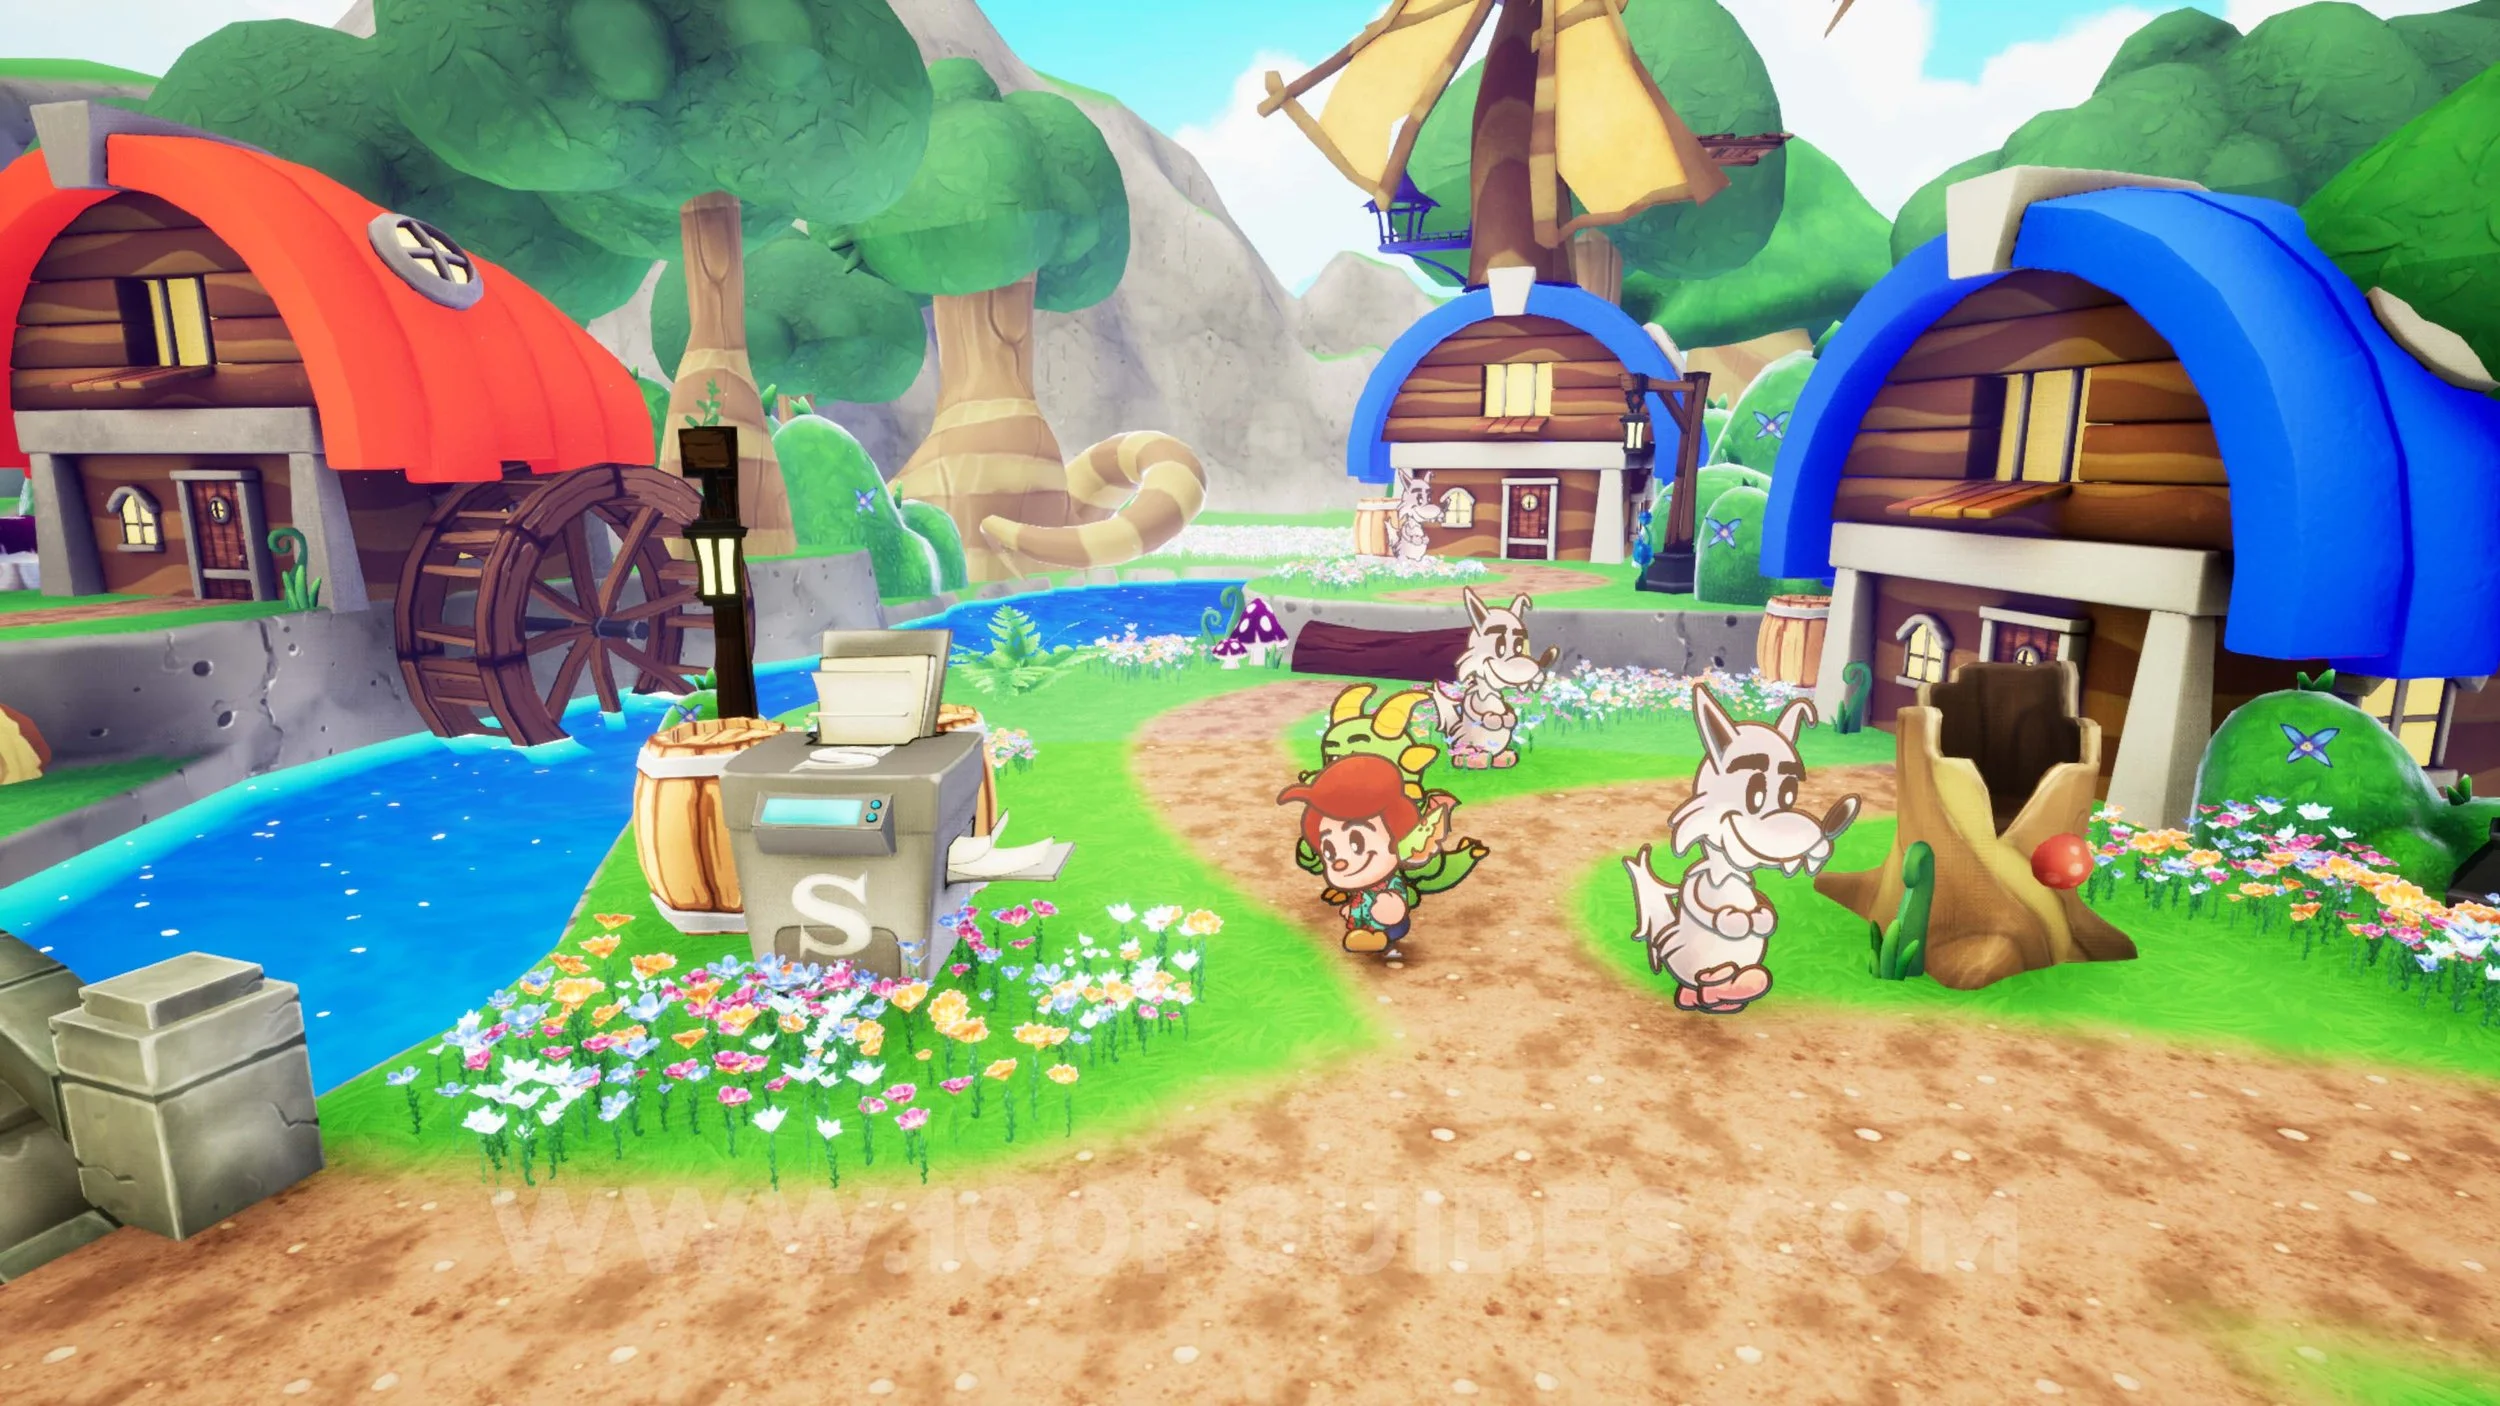
Office Decor #5 - Big Bad Wolf Poster. Found in Wolfgang’s house. This is the house second from the right in Happy Howl Hollow. Destroy the wooden barrels inside to find the collectible.
Trinket #11 - Guard Expert. Behind the house with a blue roof to the right of the save point in Happy Howl Hollow.
Office Decor #6 - Snake Plant. Inside the box in the house with the waterwheel in Happy Howl Hollow.
Sun Gem #13. Behind the left-most house in Happy Howl Hollow.
Ink Bottle #4. Can be purchased from the NPC on the upper floor of the left-most house in Happy Howl Hollow.
Inventory Upgrade #1. Can be purchased from the NPC on the upper floor of the left-most house in Happy Howl Hollow.
Sun Gem #14. Leave Happy Howl Hollow by going left. You can then find the gem behind the hut in the garden area.
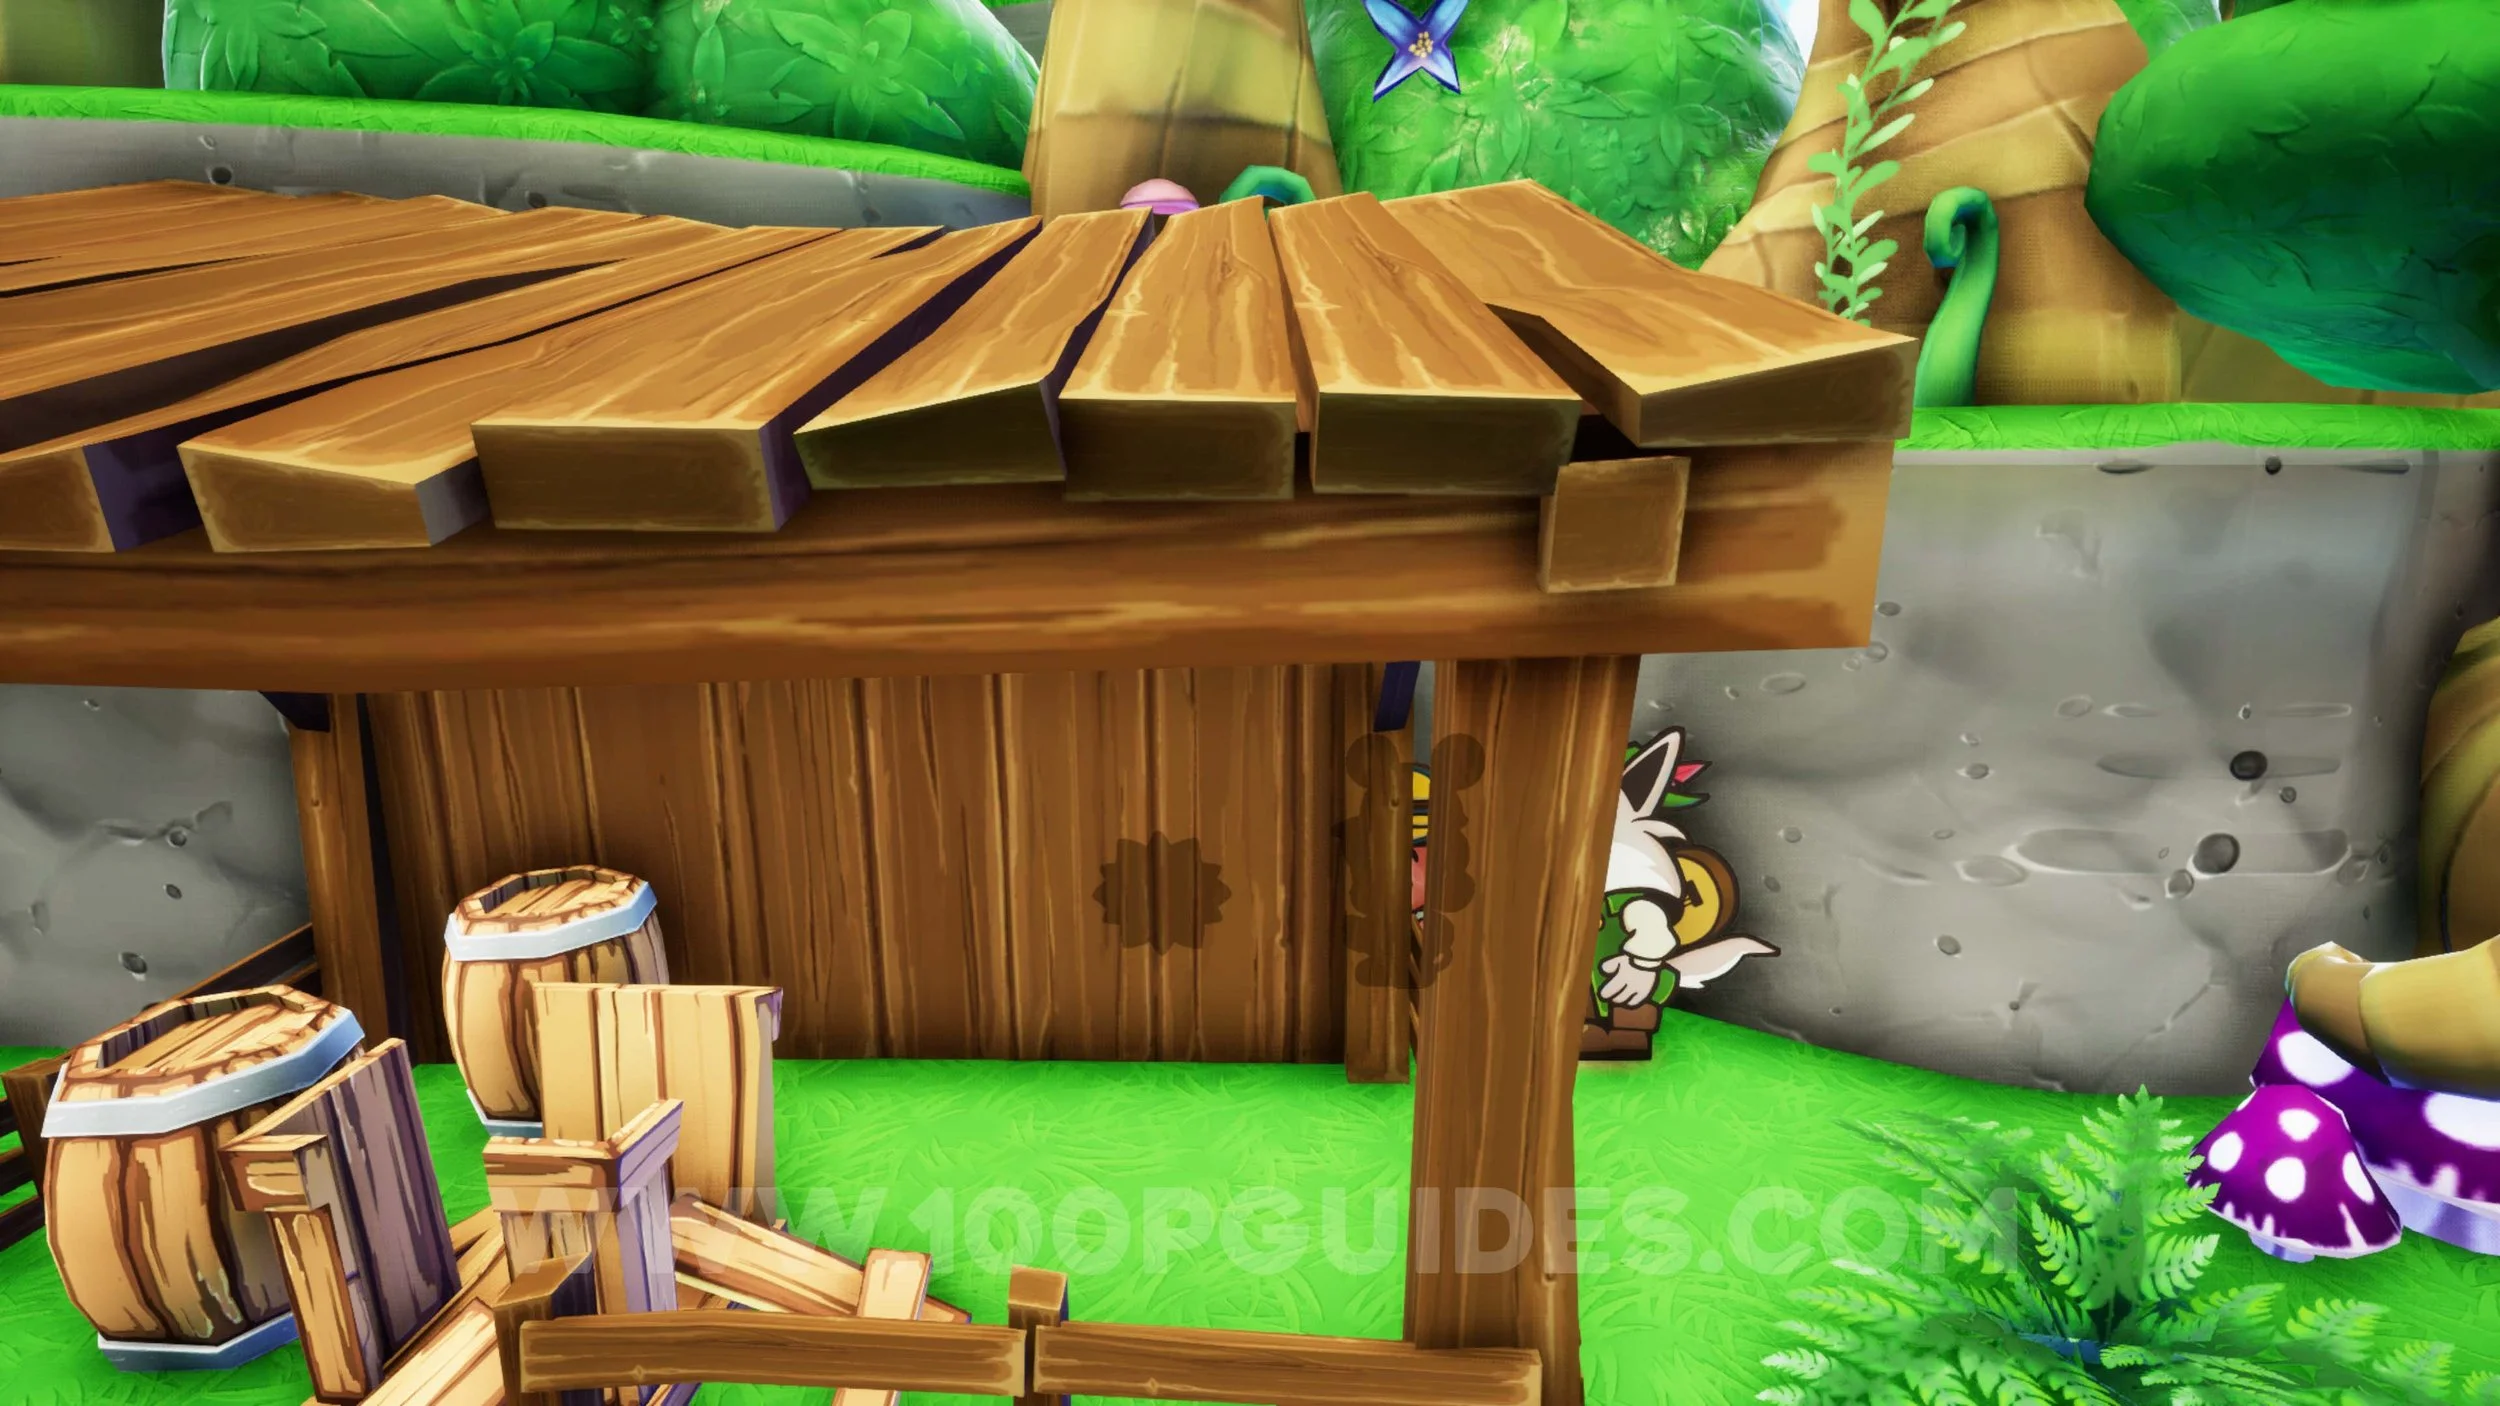
Trinket #12 - Poison Protect. Can be purchased from the NPC on the left once you get to the area with the pedestals in Enchanted Woods.
Ink Bottle #5. Found in the area with the final glow you have to find in Enchanted Woods. After lighting the torch, send another fruit downstream and guide it to the bottom again. Once it’s about to reach the fruit you used to light the torch, hit it so it goes right, and immediately jump on it to reach the chest.
Sun Gem #15. Behind the house in the area with the Enchanted Woods Fast Travel.
Trinket #13 - Blustery Ballad. Obtained automatically when learning the song at the end of the Enchanted Woods.
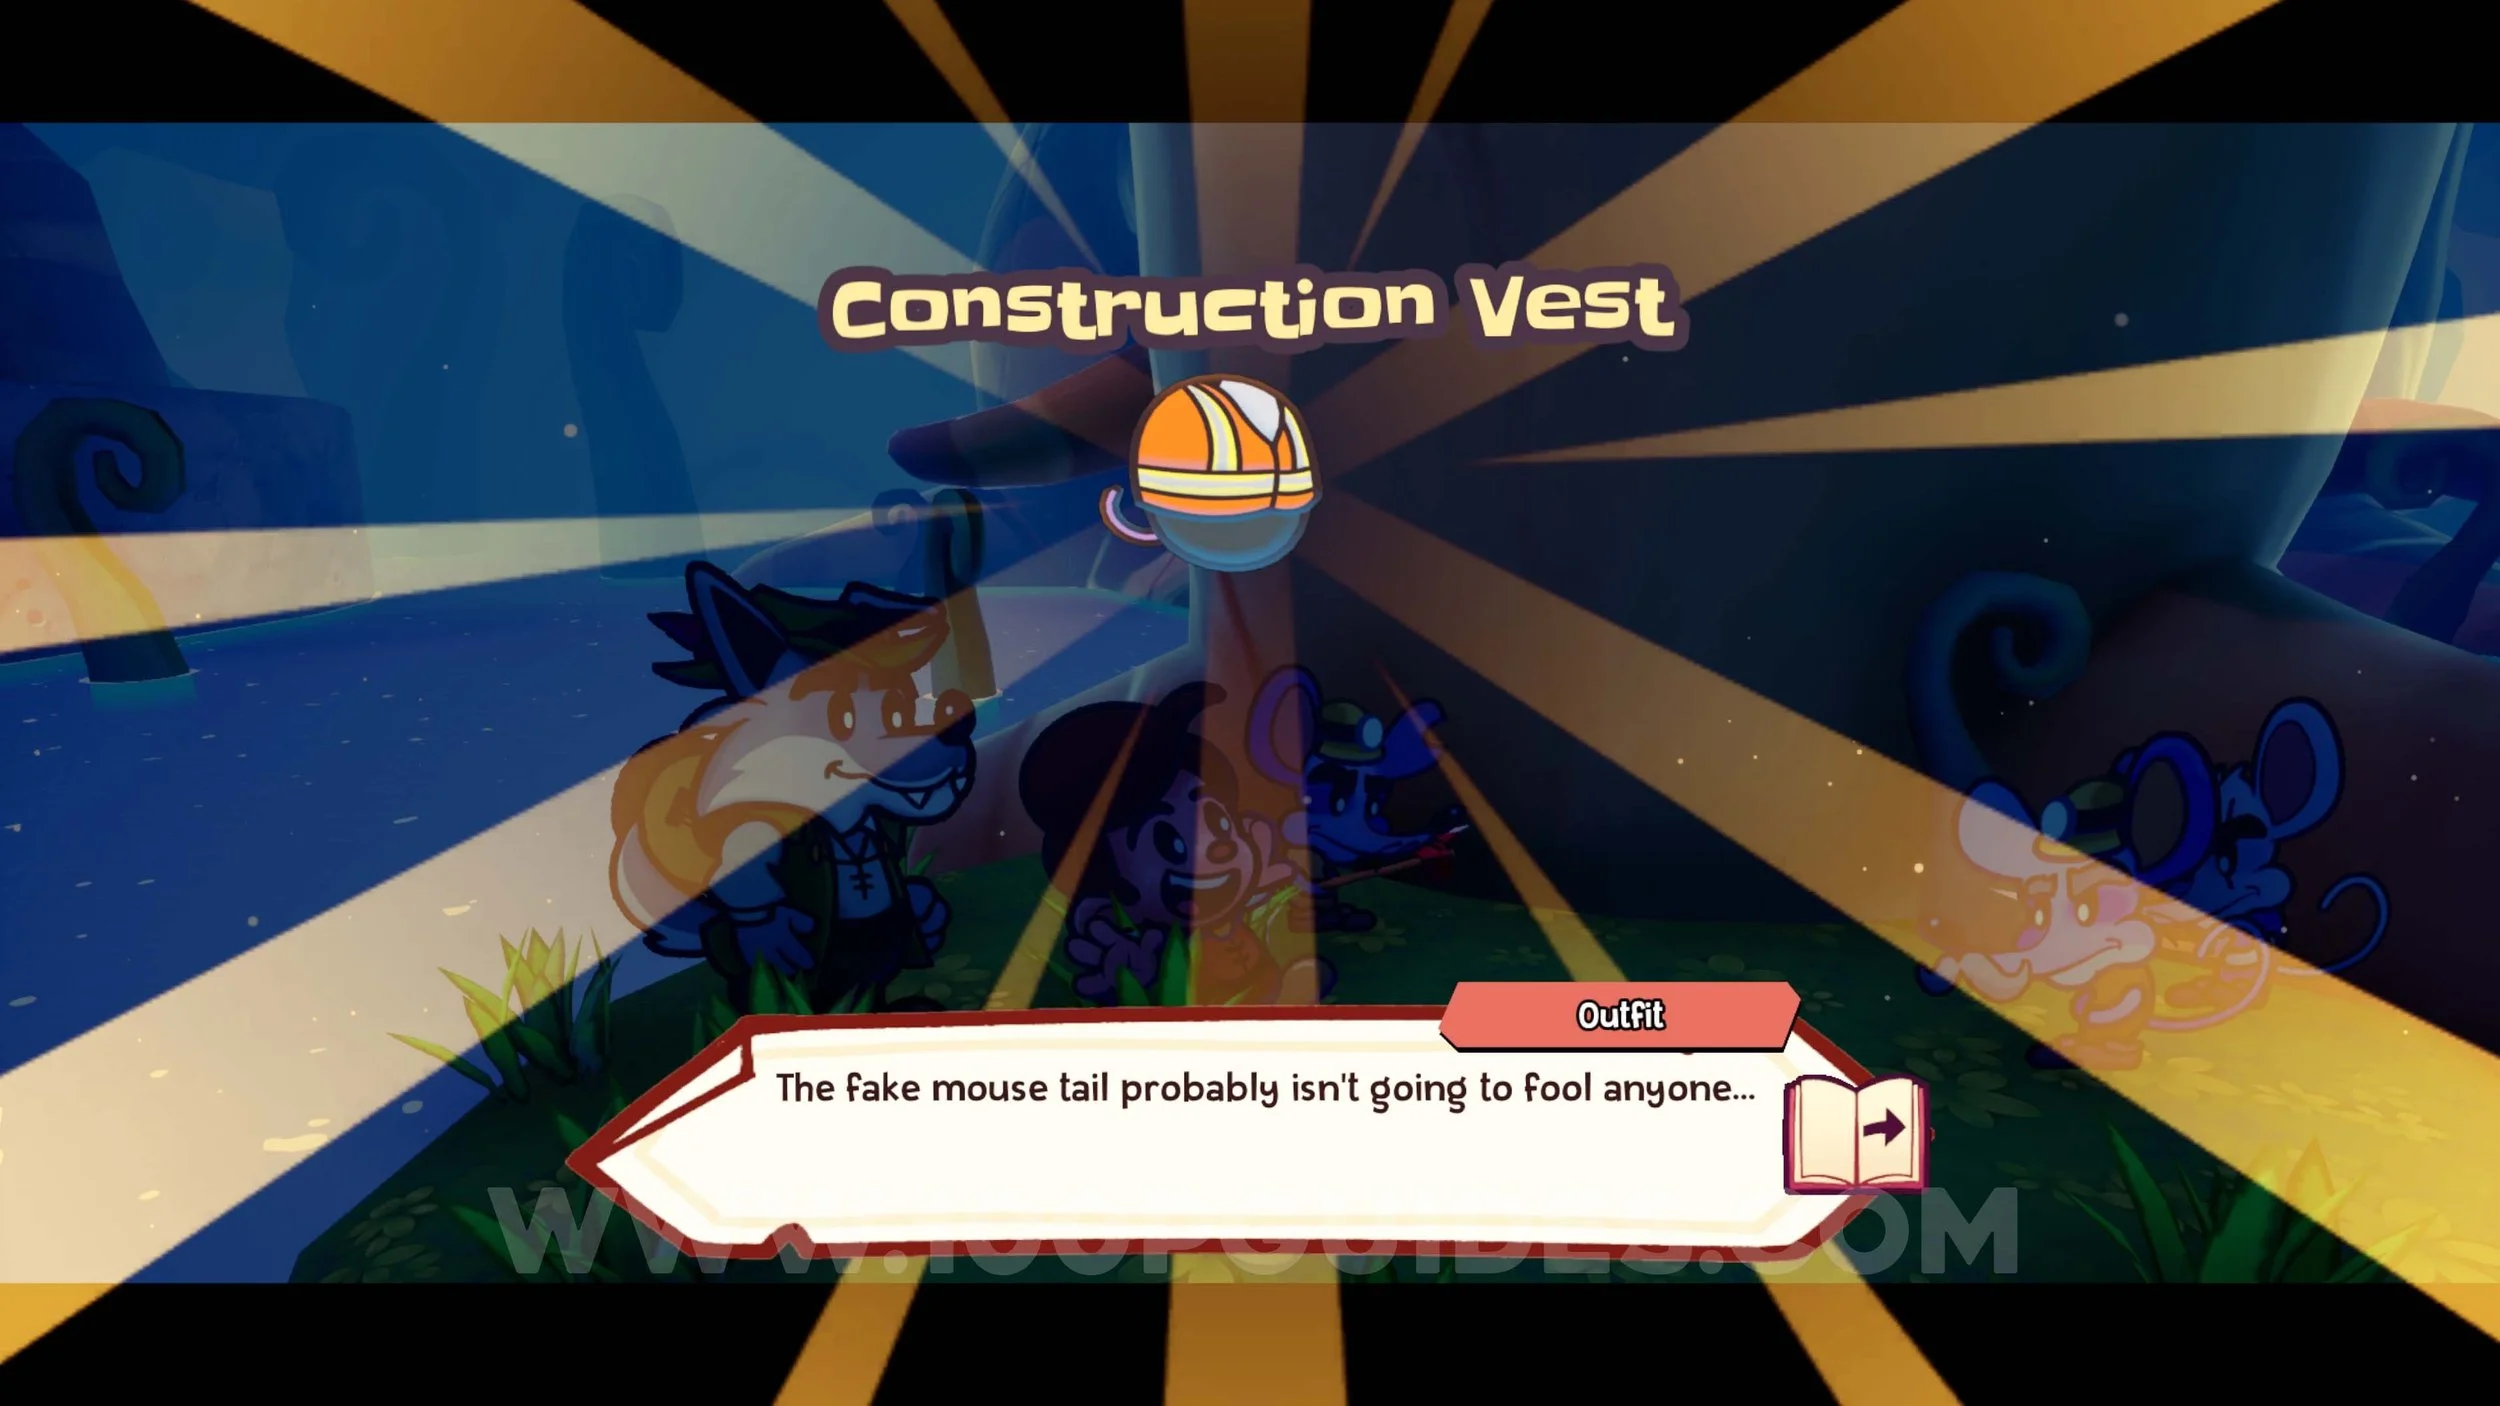
Outfit #1 - Construction Vest. Obtained automatically from the Three Mice at the end of the Enchanted Woods.
Outfit #2 - Construction Helmet. Obtained automatically from the Three Mice at the end of the Enchanted Woods.
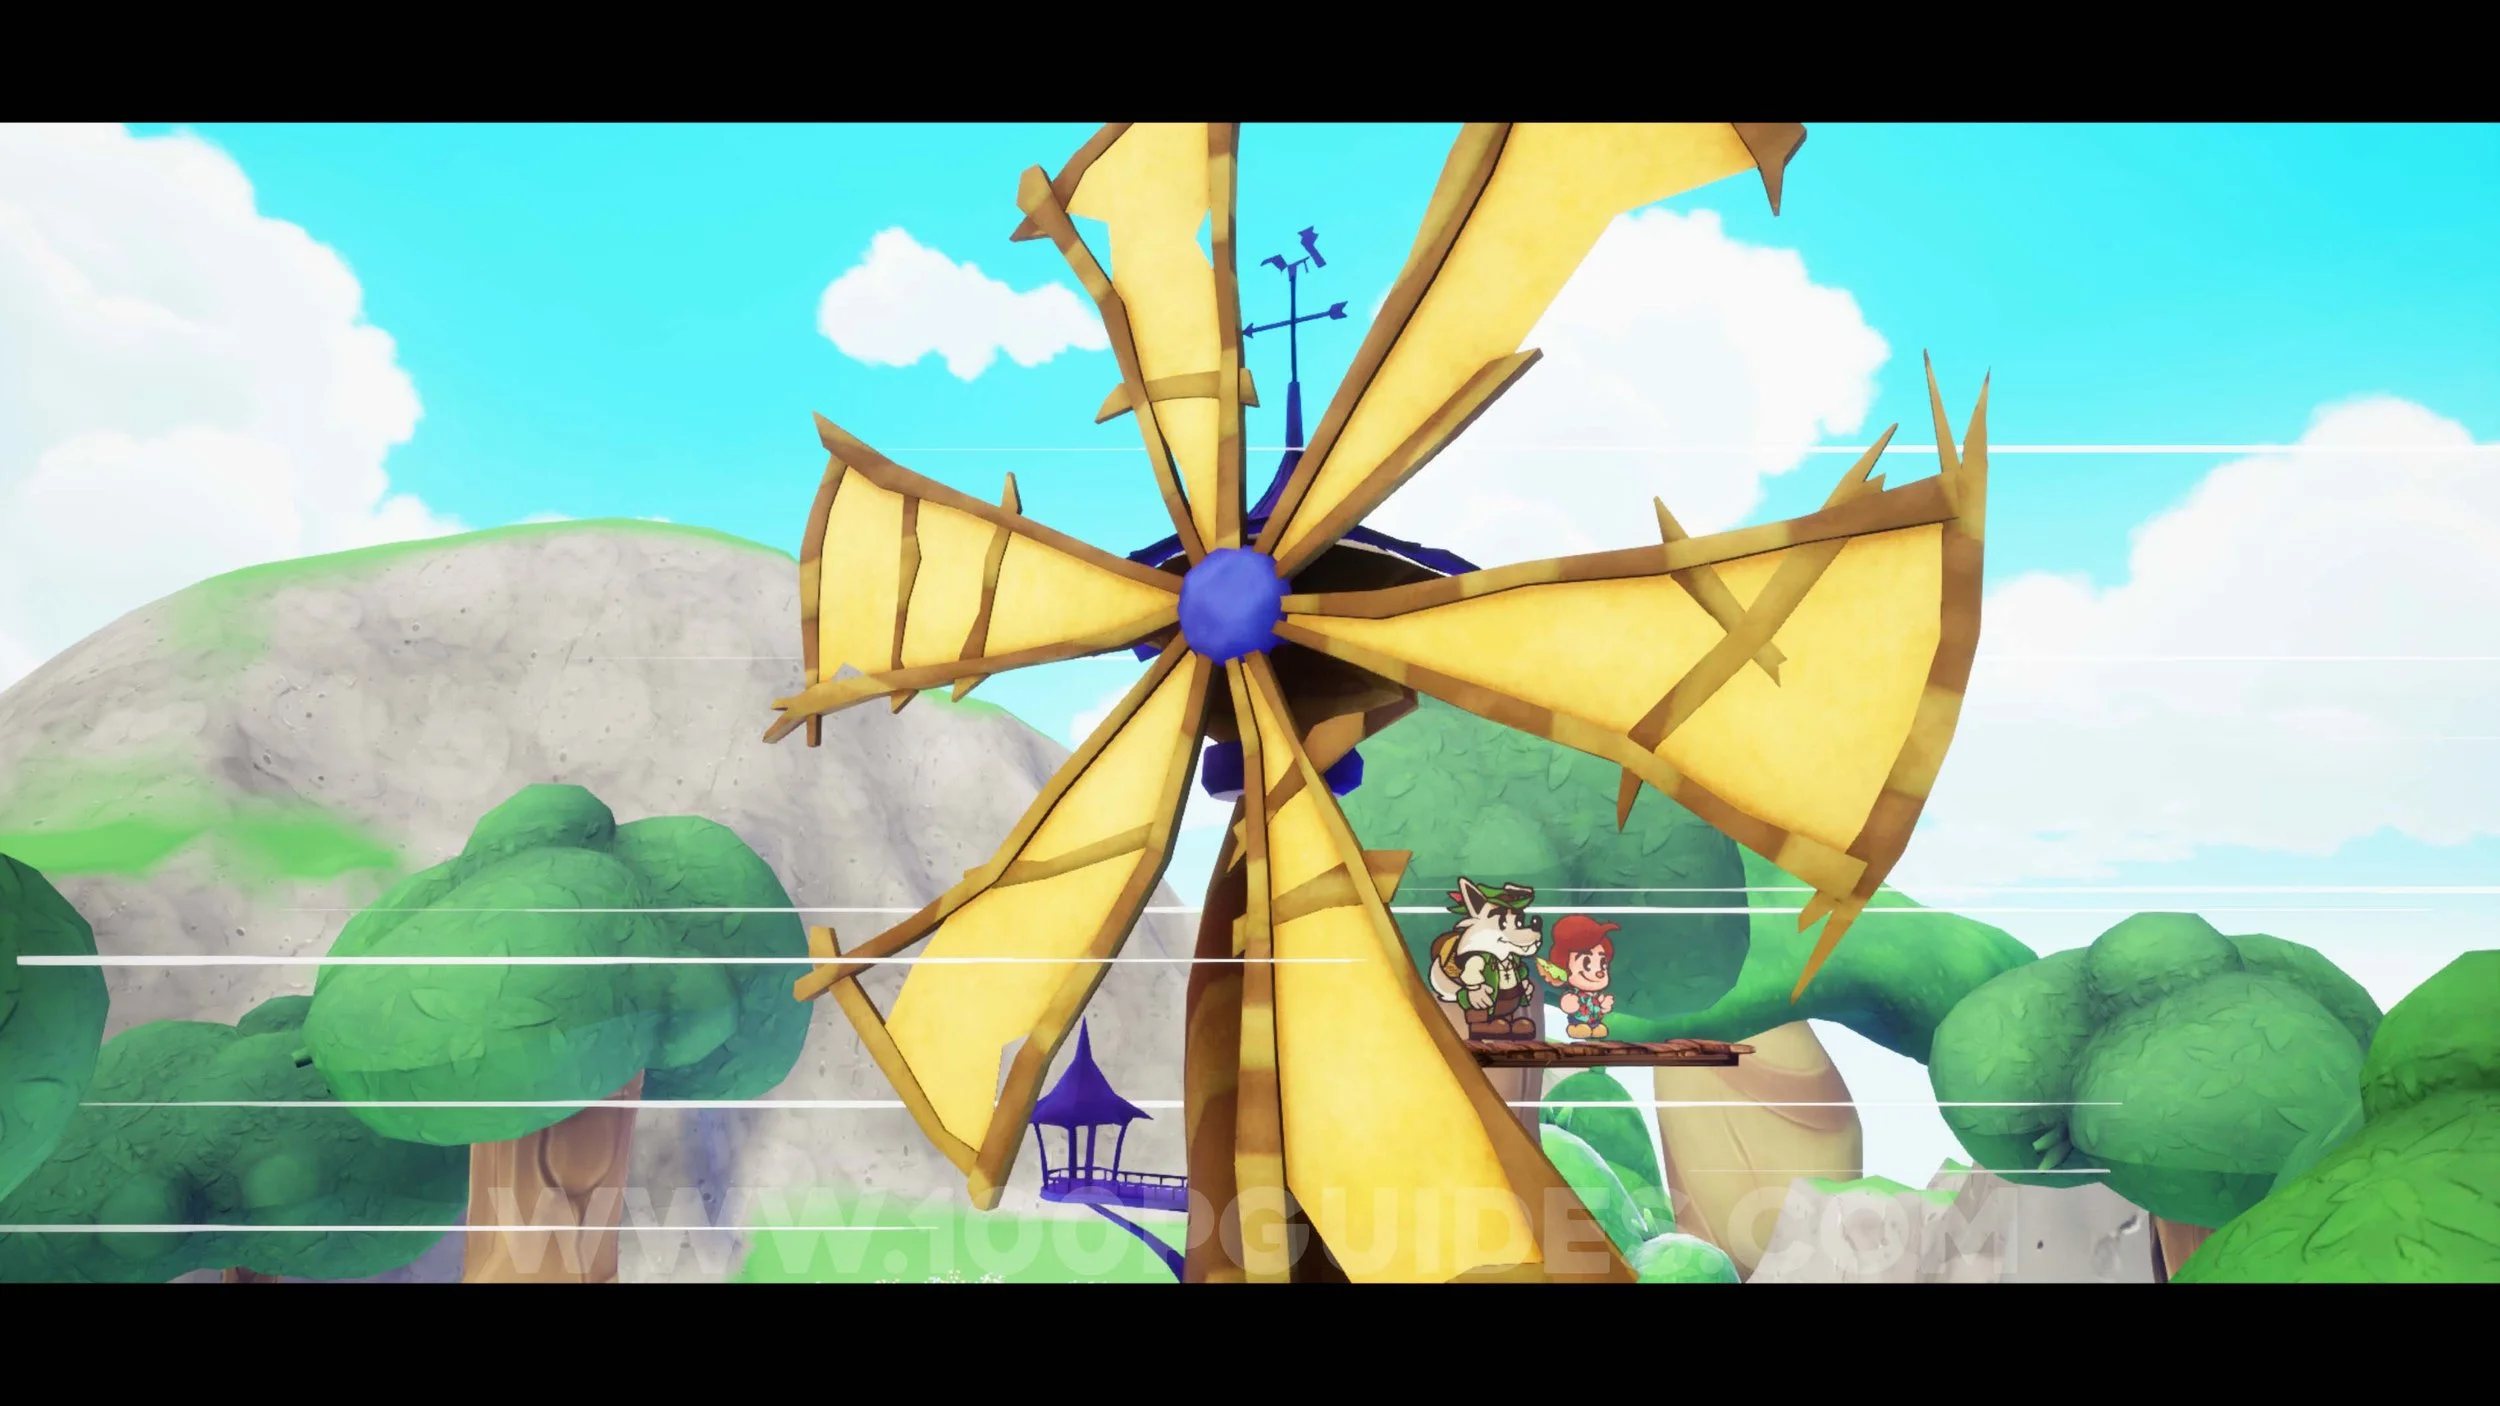
Trinket #14 - Attack Boost. After learning the new song with Wolfgang, return to Happy Howl Hollow and play it at the top of the windmill.
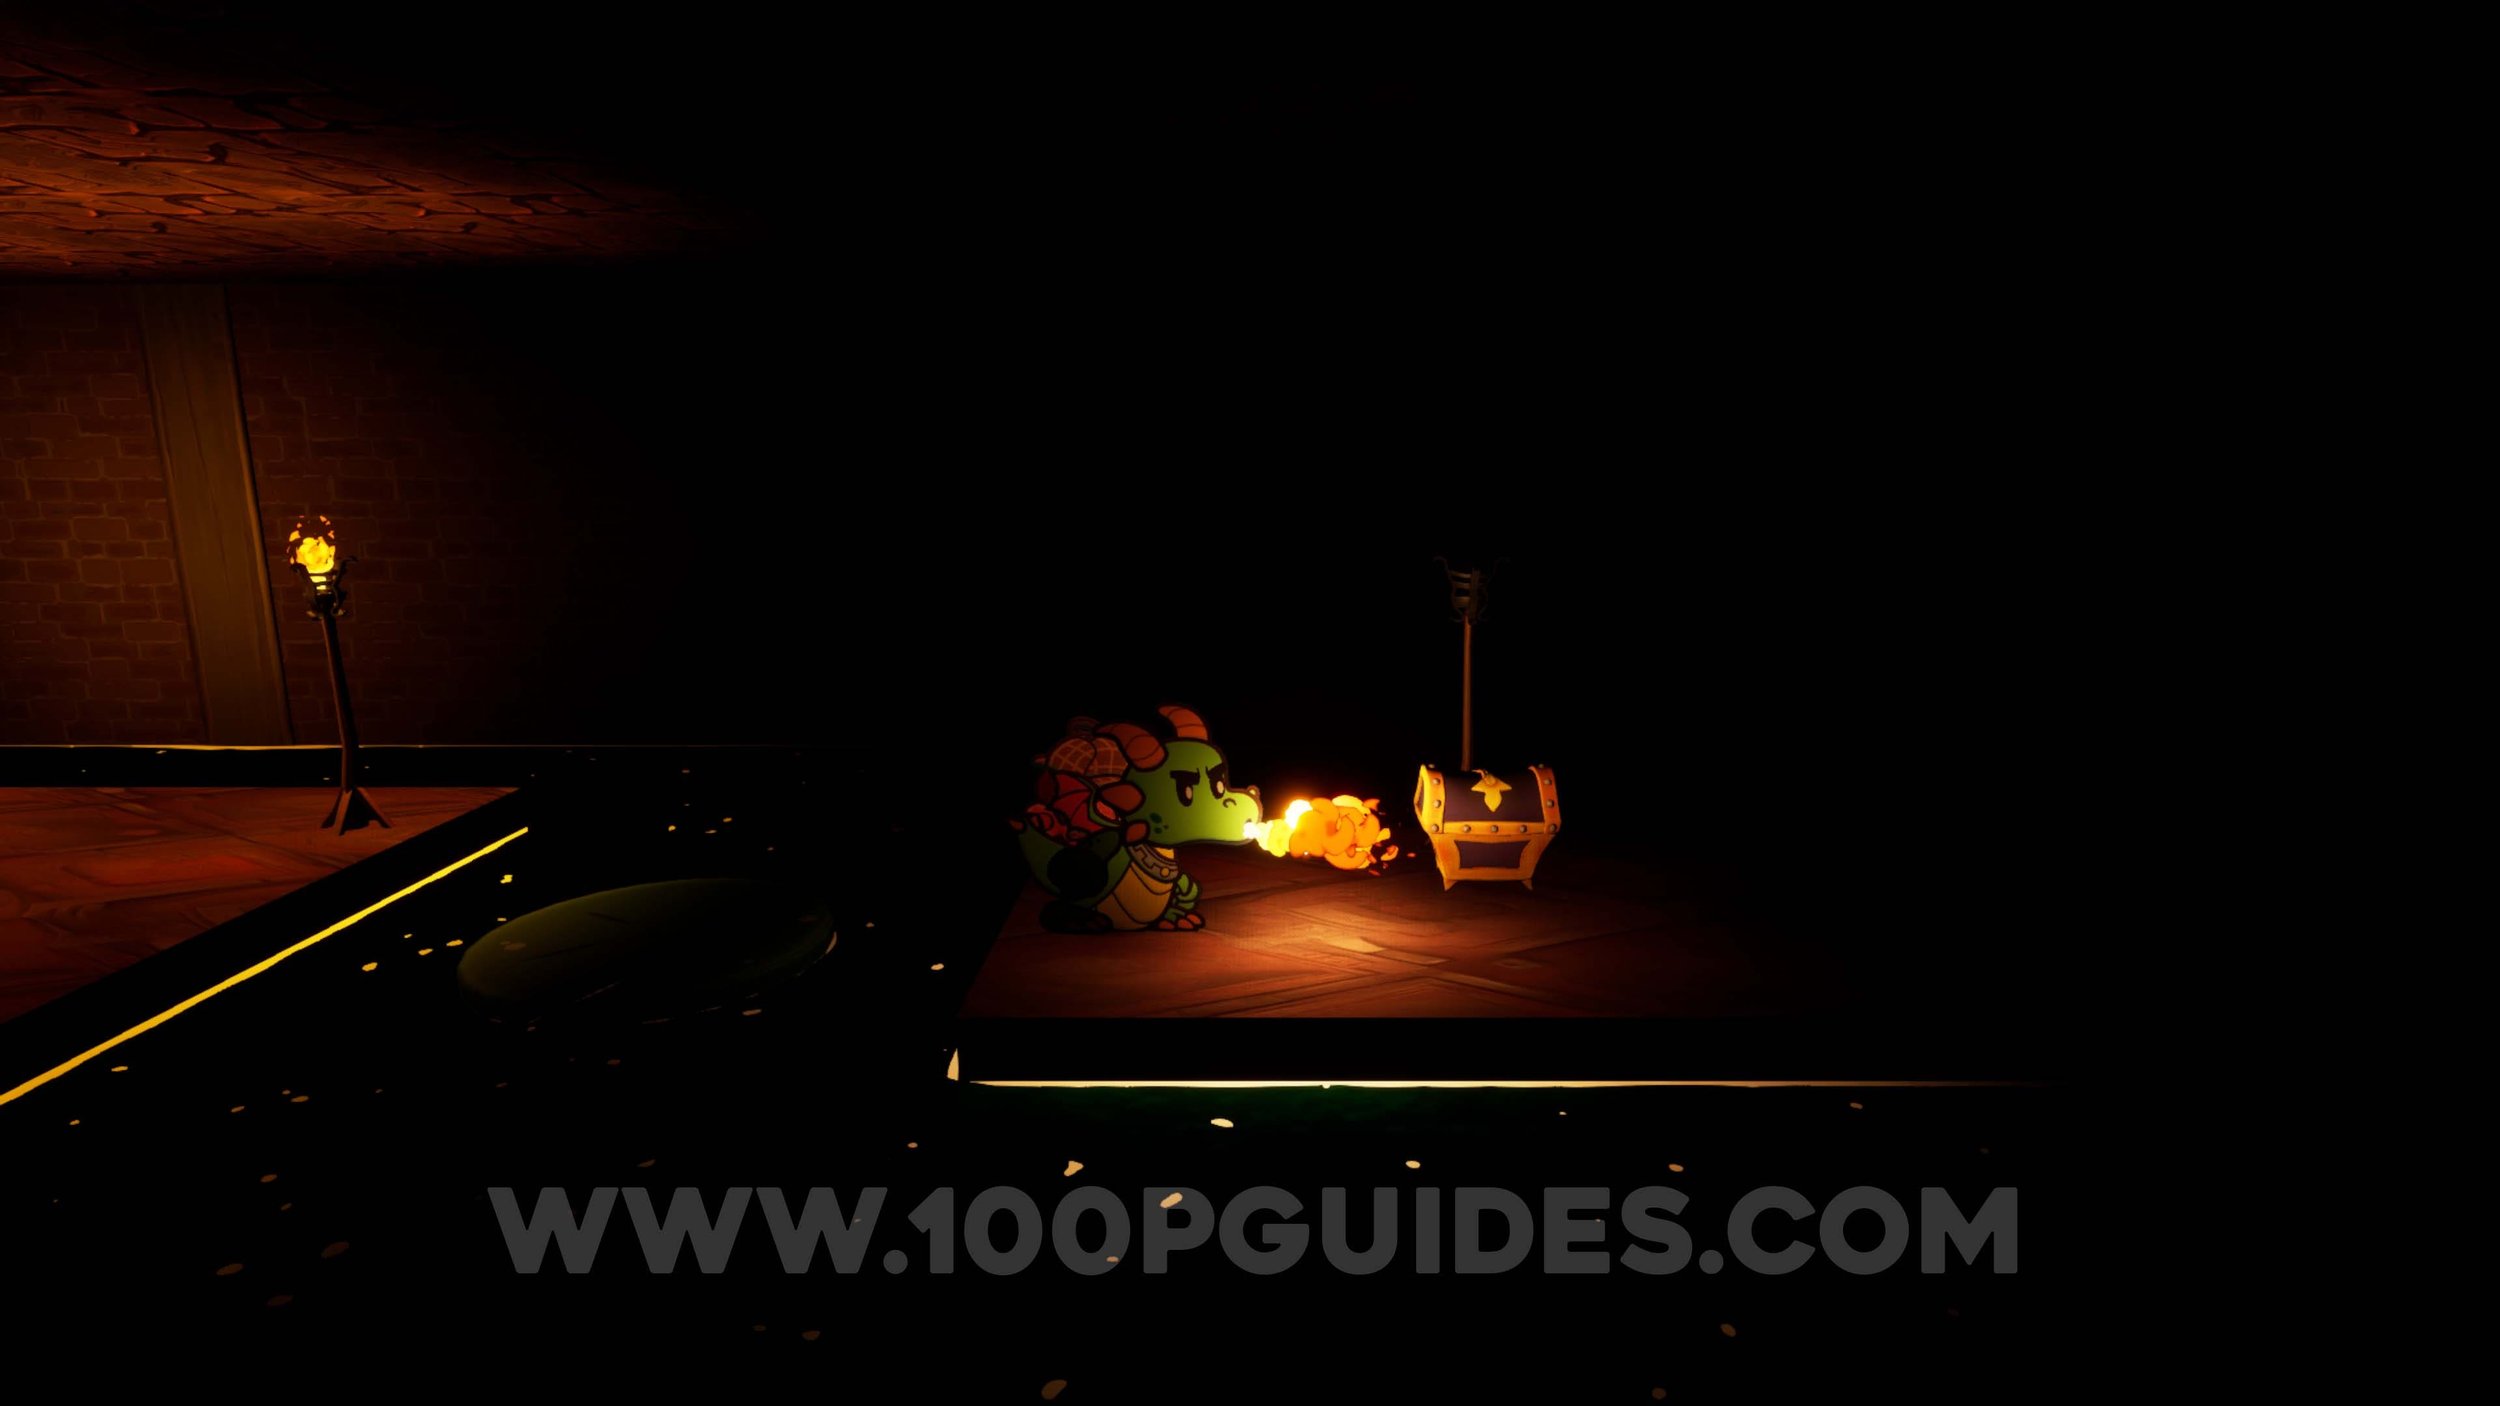
Trinket #15 - Confidence. In the second area of the Construction site. Firest breath some fire at one of the barrels coming down the water stream, and then hit it with your shield when it floats by the rock to destroy it. You can then get to the chest with the trinket.
Sun Gem #16. After talking to the unicorns and pressing the switch behind them in the Construction site, ride the barrel to the other side of the yellow crate. Here, break the boxes and play the Sprout Serenade song to make the plant grow and get to the collectible.
Sun Gem #17. Continuing through the construction site, you will have to open a gate by lighting a bomb and then blowing the other one out with the wind song before it hits the switch back. After this, you will jump across some wooden platforms and dodge some fire coming out of some pipes above. Then use the jump pad on the containers to see the gem on top of the digger arm. You can get it by throwing your buckler at it.
Sun Gem #18. Ride a barrel in the area where you have to press a switch in a half-built building to find the gem.
Sun Gem #19. Behind the red crate in the area where you have to press a switch in a half-built building.
Ink Bottle #6. Once you get to the house at the end of the Construction Site, go through the pipe on the right to find the Ink Bottle in the chest.
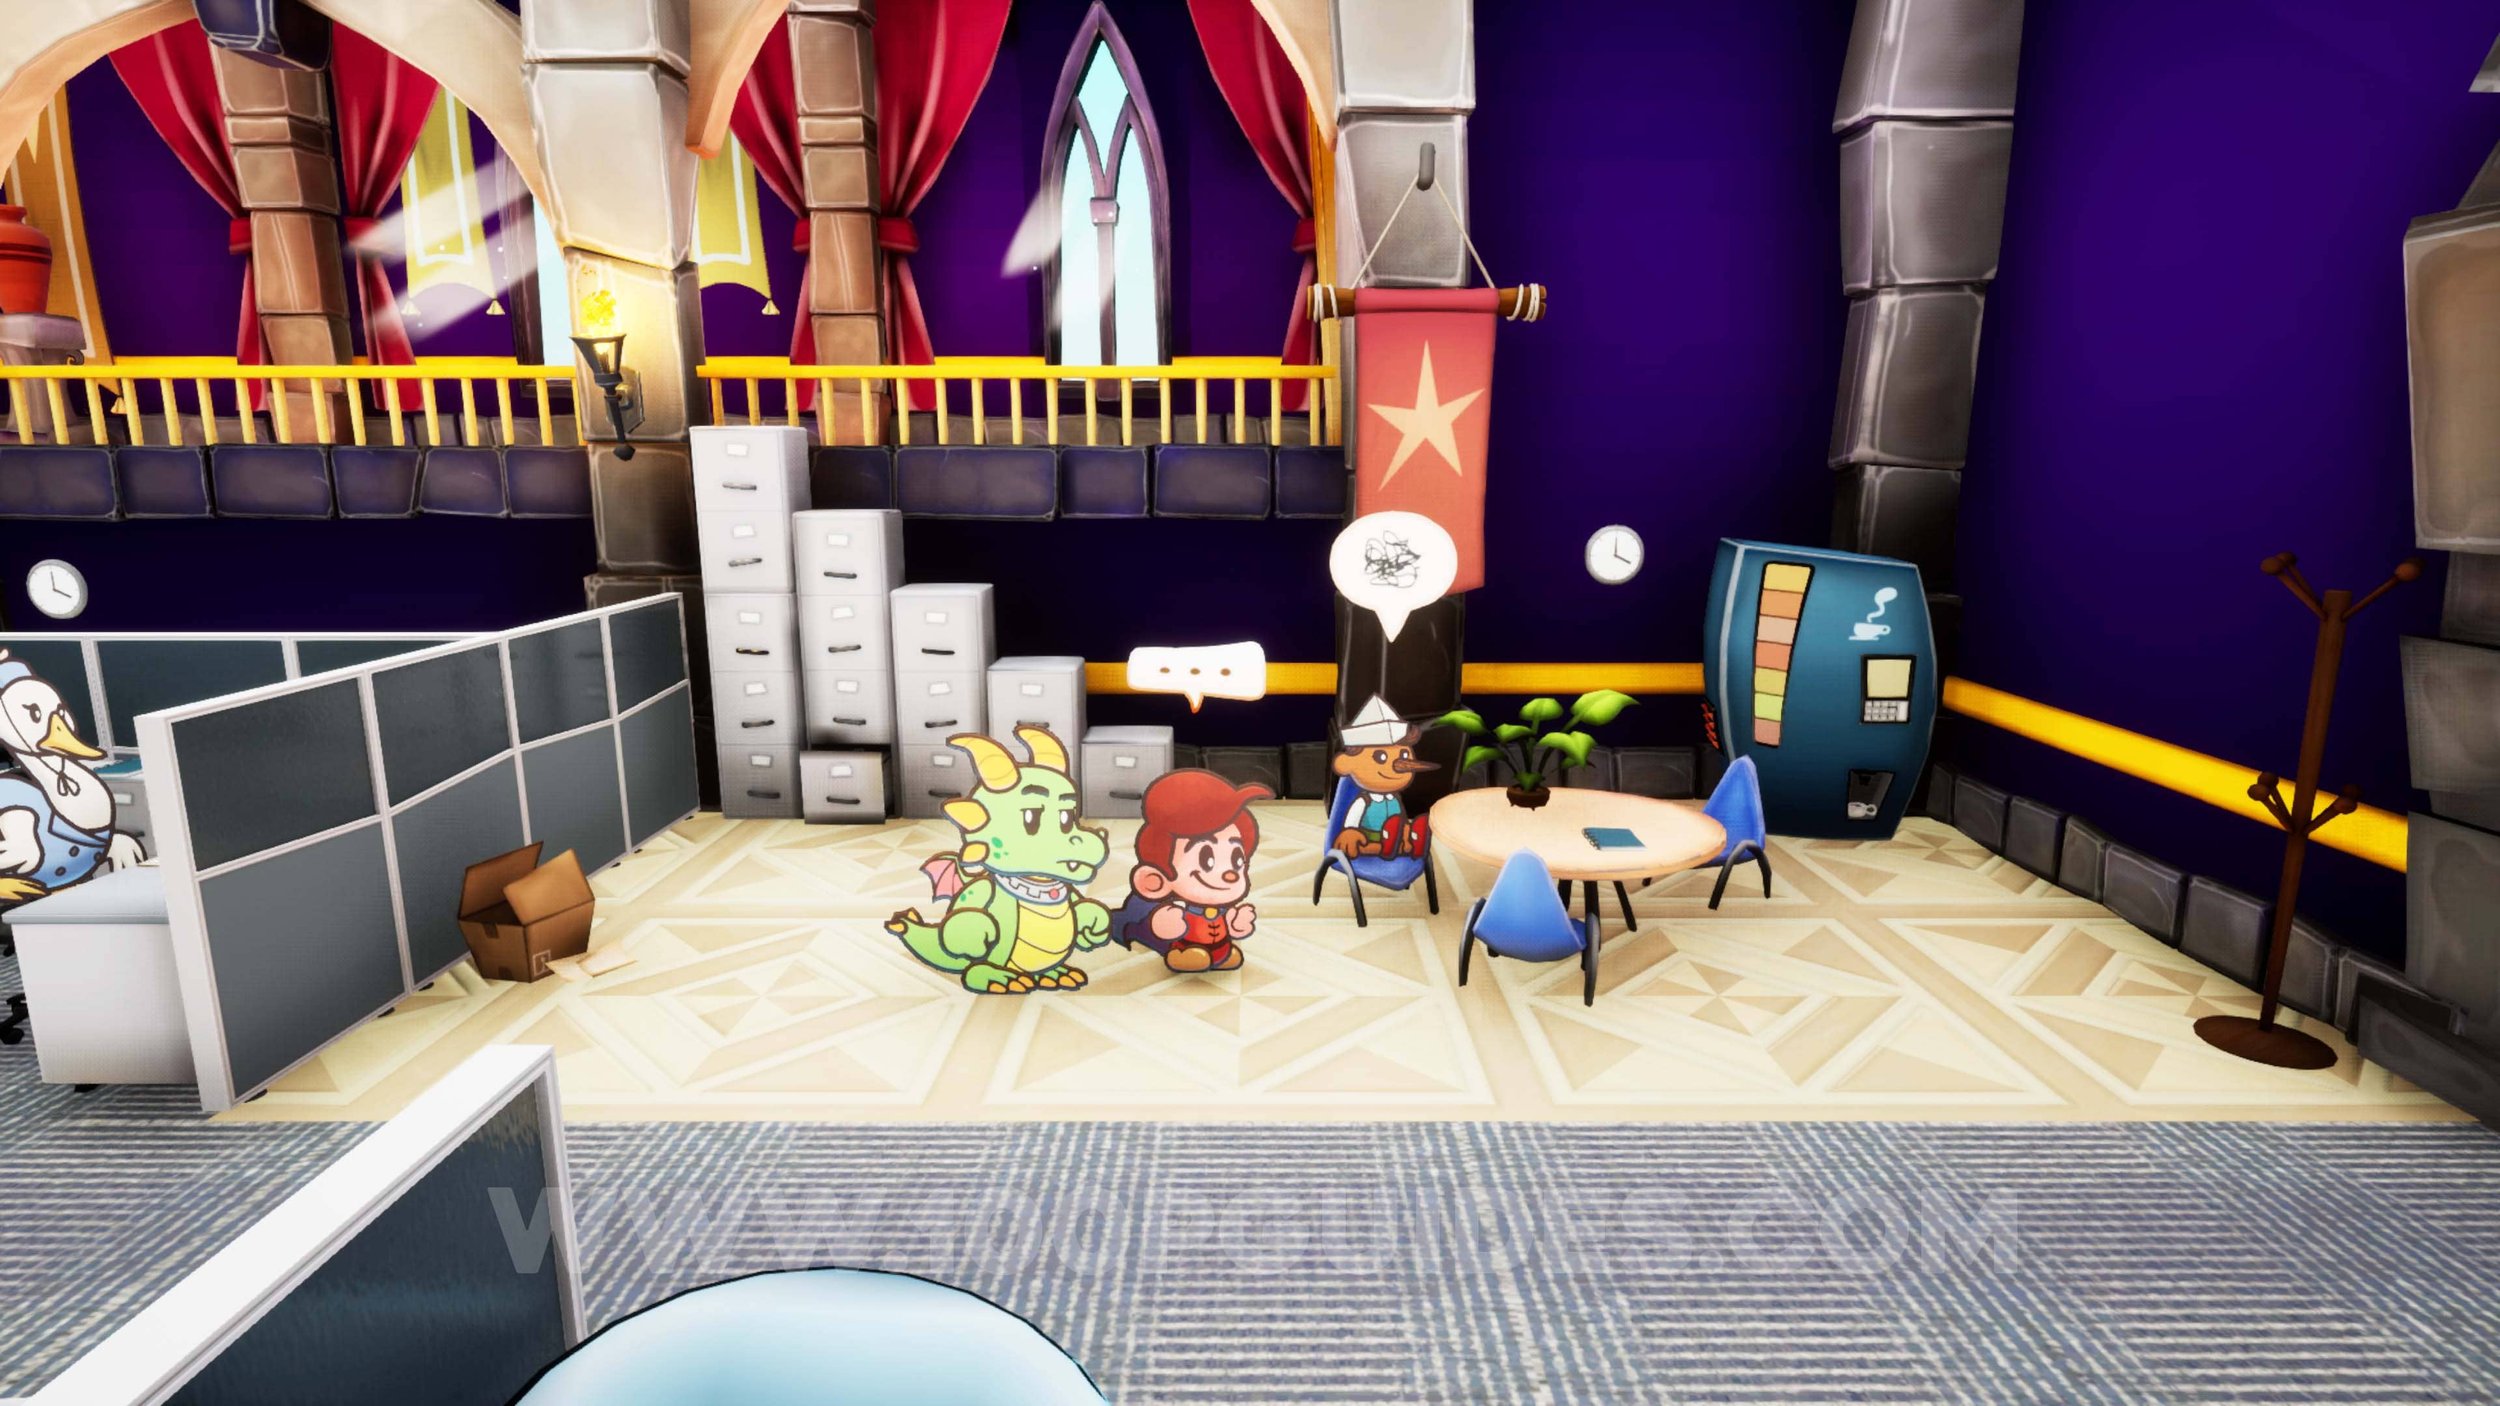
Sun Gem #20. After defeating the Three Pigs boss at the end of the first book and returning to Ever After Inc., go to the office cubicle room and use the Blustery Ballad song to extinguish the 4 torches. Then talk to Mother Goose.
Trinket #16 - Free Health Share. Can be purchased from the Trinket Shop in the Library after defeating the Three Pigs and returning to Ever After Inc.
Trinket #17 - Confidence. Can be purchased from the Trinket Shop in the Library after defeating the Three Pigs and returning to Ever After Inc.
Ink Bottle #7. Enter the tavern in Happy Howl Hollow and use Tinder to heat up the NPC’s pie. He will then give you a spoon. Return to Ever After inc. (The Adventures Of Flynt Buckler) and give it to the NPC in the cafeteria to get an empty can. Then give it to the robot NPC in the Library.
Ink Bottle #8. Can be purchased from the wolf NPC in the Ever After Inc. courtyard after defeating the Three Pigs.
Ink Bottle #9. After returning to Ever After Inc., go to the courtyard and use the Sprout Serenade song near the plant. This will allow you to reach the wooden platform above. From the platform, jump across the top of the stone columns to reach the ink bottle.

Sun Gem #21. After returning to Ever After Inc., go to the courtyard and use the Sprout Serenade song near the plant. This will allow you to reach the door at the top and enter the HR offices. Inside, drop down to the bottom floor and find the Sun Gem behind the cubicle on the right.
Office Decor #7 - Yoga Ball. Talk to the NPC with a ball in the HR offices.
Sun Gem #22. After returning to Ever After Inc. once you defeat the Three Pigs, go to the cafeteria and talk to the unicorn NPC to start the Trivia. After you finish answering (you don’t need to get the questions right) you will get the sun gem.
Sun Gem #23. After using the bookshelf to cross the gap in the Forbidden Library, jump across the top of the fireplace to get the gem.
Office Decor #8 - Standard Bookshelf. Found in the chest on the lowest floor of the large circular room in the Forbidden Library.
Sun Gem #24. Make your way through the Forbidden Library until you have to use another movable bookshelf to continue. After jumping on the bookshelf, break the pots on top of the normal bookshelves to find the sun gem.
Office Decor #9 - Library Floor. On the window once you return to the top floor of the room where you moved the first bookshelf in the Forbidden Library.
Ink Bottle #10. As you make your way through the Forbidden Library you will get to an outside area with a blue jump pad. Here use tinder to burn the banner on the left to reveal a door. Go through it to get to the Ink Bottle.
Trinket #18 - Mocha Rebound. As you make your way through the Forbidden Library you will get to an outside area with a blue jump pad. Use it and then go right to find the trinket in the chest.
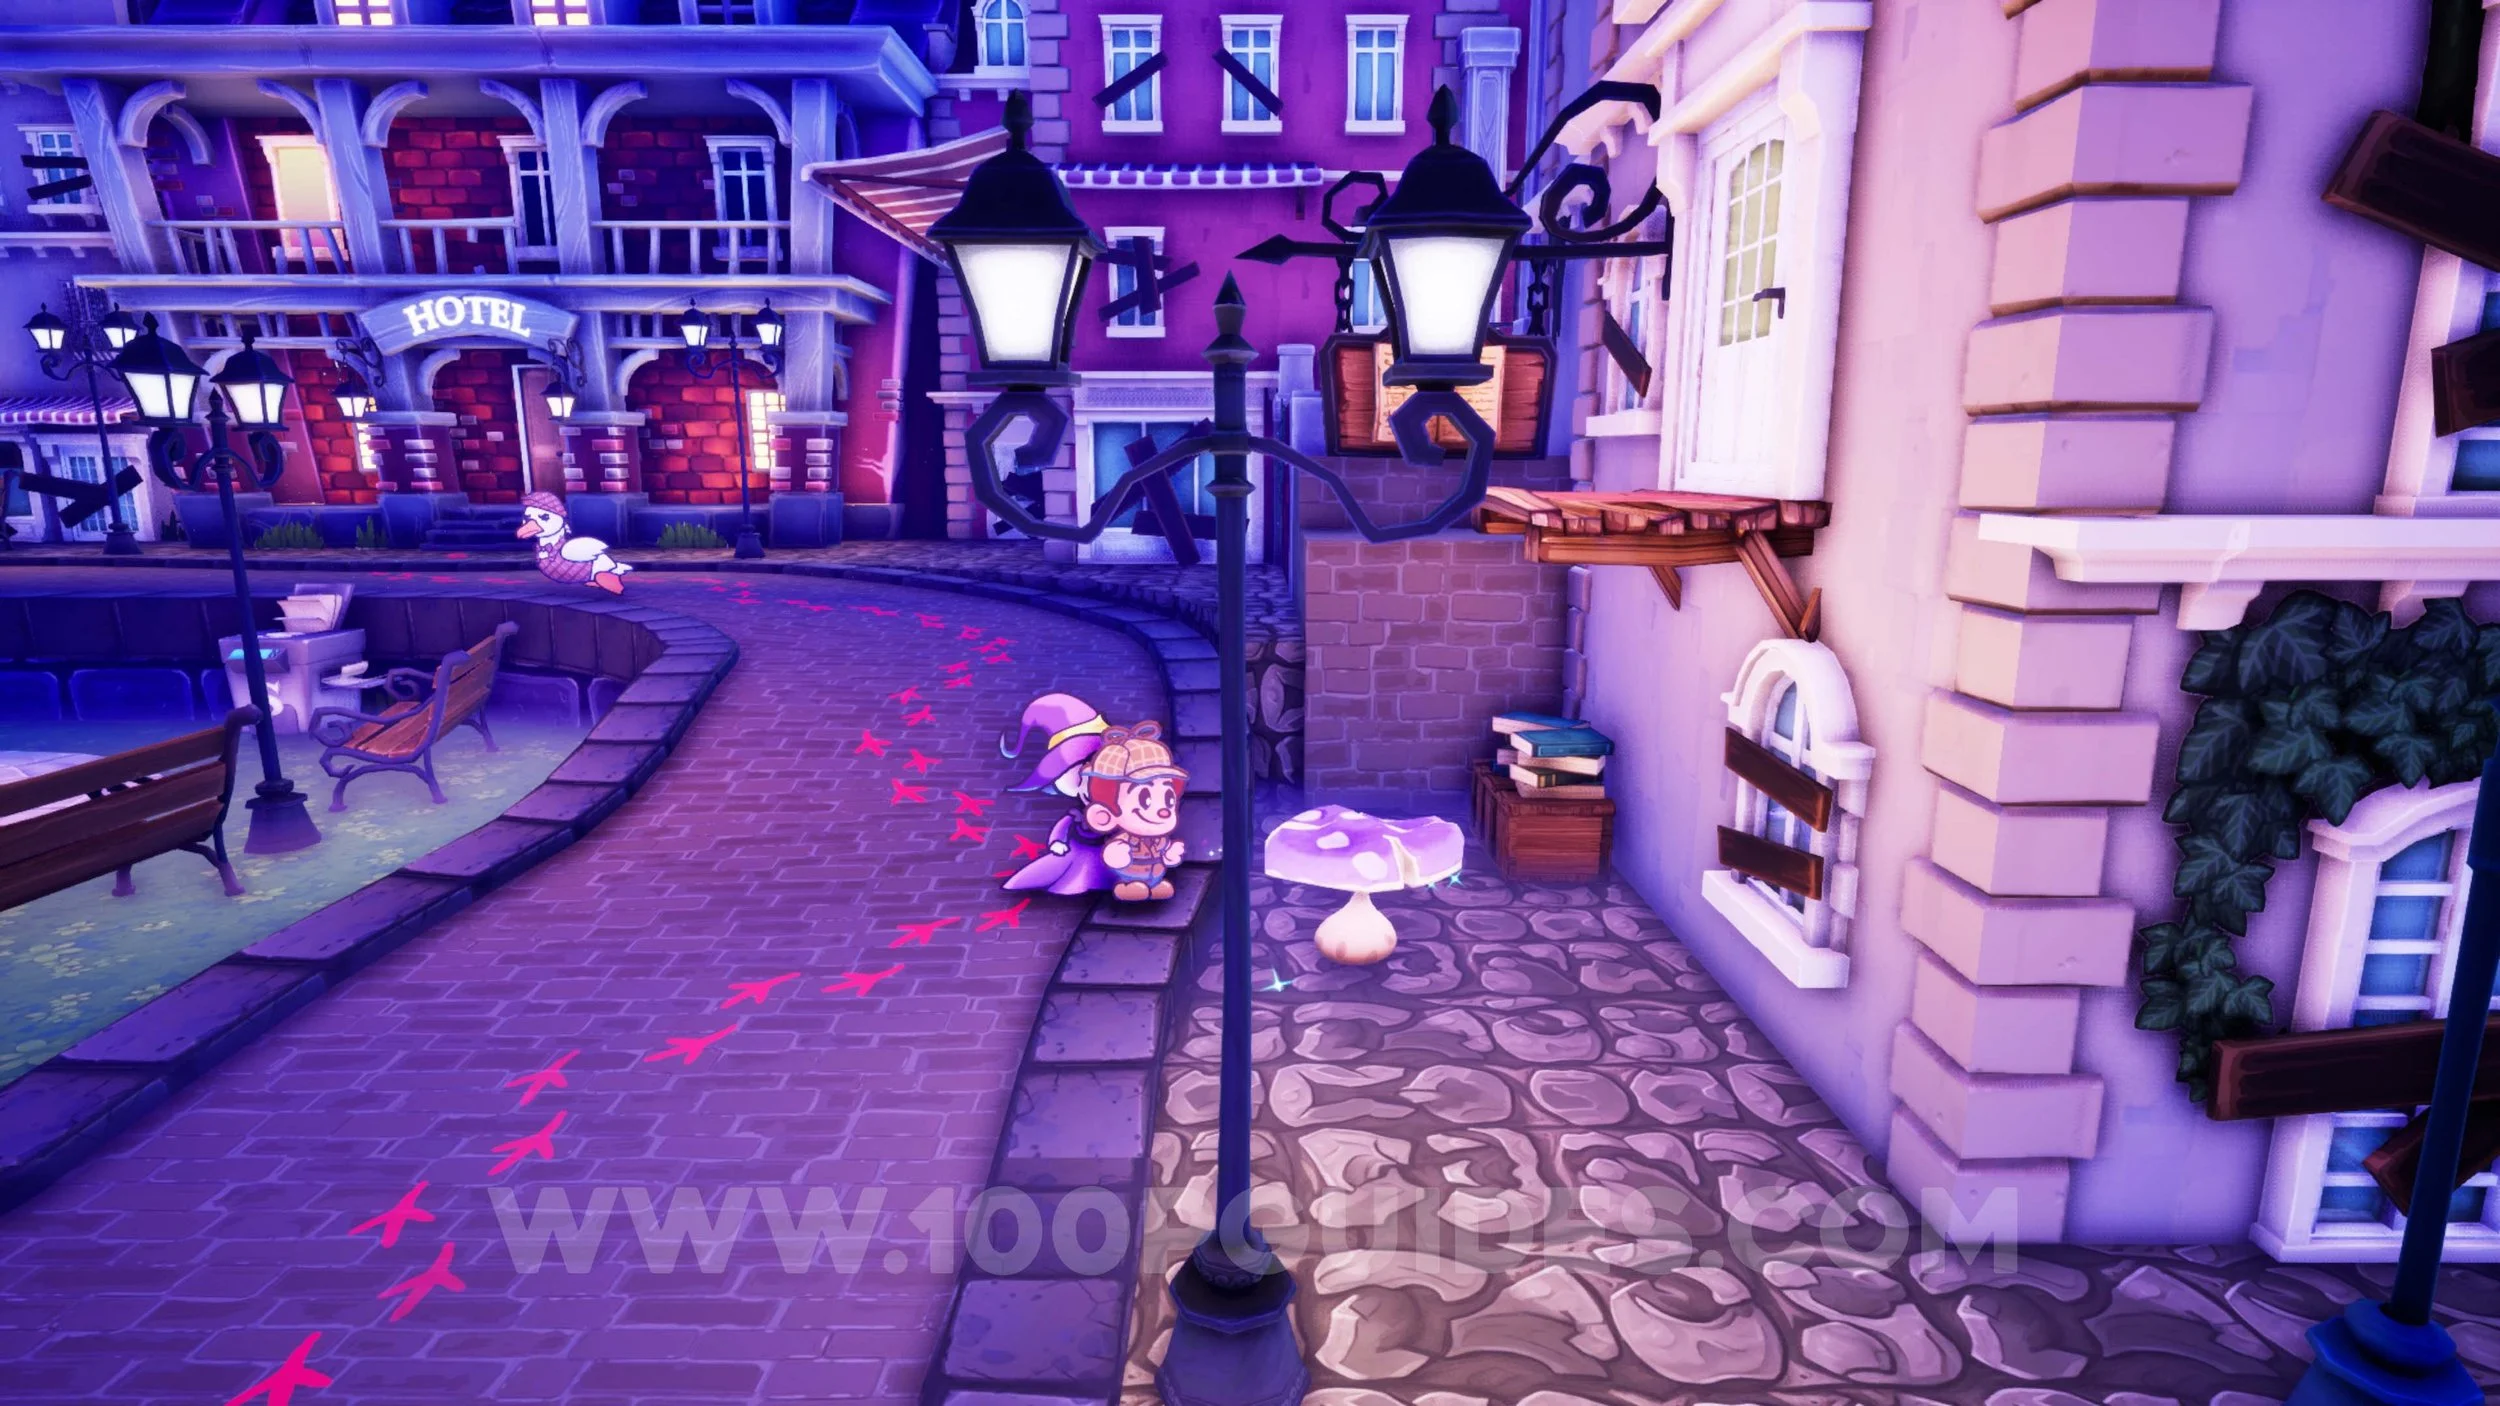
THE SHADOW OVER INSBEAK
Sun Gem #25. Go towards the camera in front of the tavern to find the Gem in a barrel near the water.
Sun Gem #26. Behind the statue in the center of Insbeak Square.
Trinket #19 - Synergy Superstar. Can be purchased from the store to the left of Insbeak Square.
Trinket #20 - Hail Mary. Can be purchased from the store to the left of Insbeak Square.
Outfit #3 - Detective Coat. Found on the room 3 balcony of the hotel (you will go here as part of the main story).
Outfit #4 - Detective Hat. Found on the room 3 balcony of the hotel (you will go here as part of the main story.
Sun Gem #27. After getting the detective outfit, follow the main path until you get to a manor. Outside the manor, you will see 3 bushes you can burn. The gem will be in one of them.
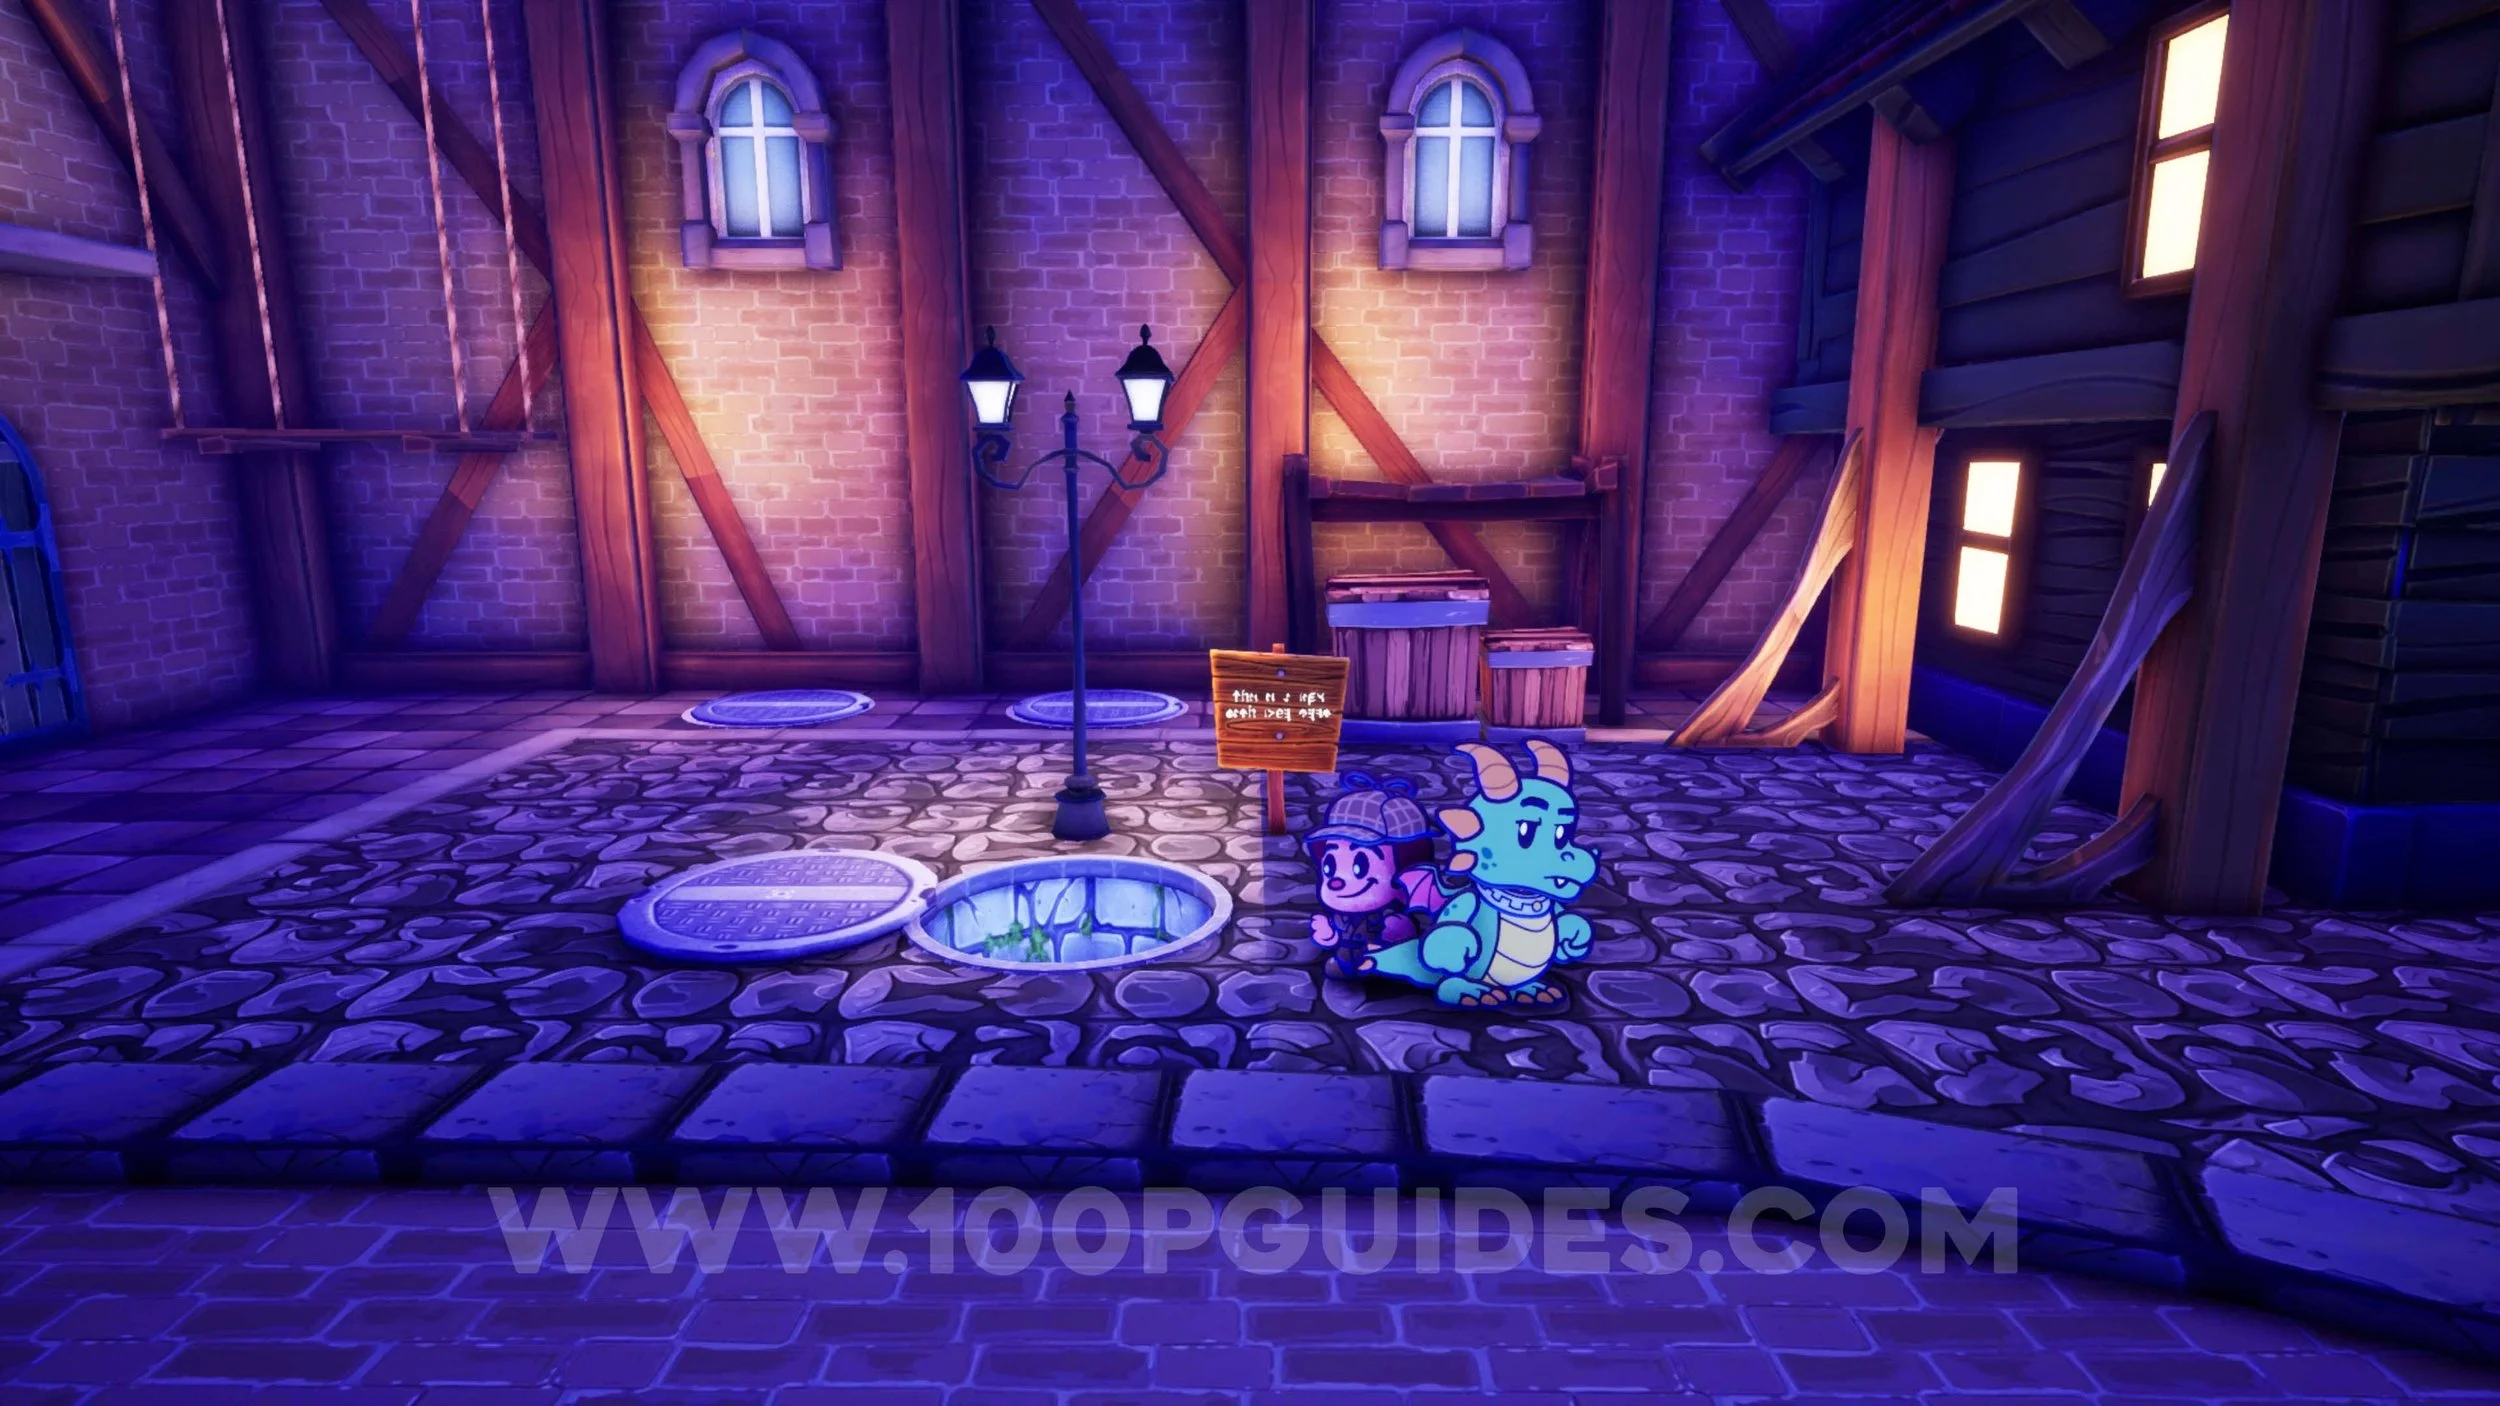
Ink Bottle #11. From the front of the manor, go towards the screen to leave the area and reach the area to the left of the Town Square. Here, go left and go down the hole to enter the sewers. Inside, use Timber’s fire breath to see in the dark and make your way to the right until you get to a switch (this will give you a shortcut back to the Town Square). Here, use Wolfgang’s Sprout Serenade song to jump onto the lilypad on the right to get to the chest that contains the Ink Bottle.

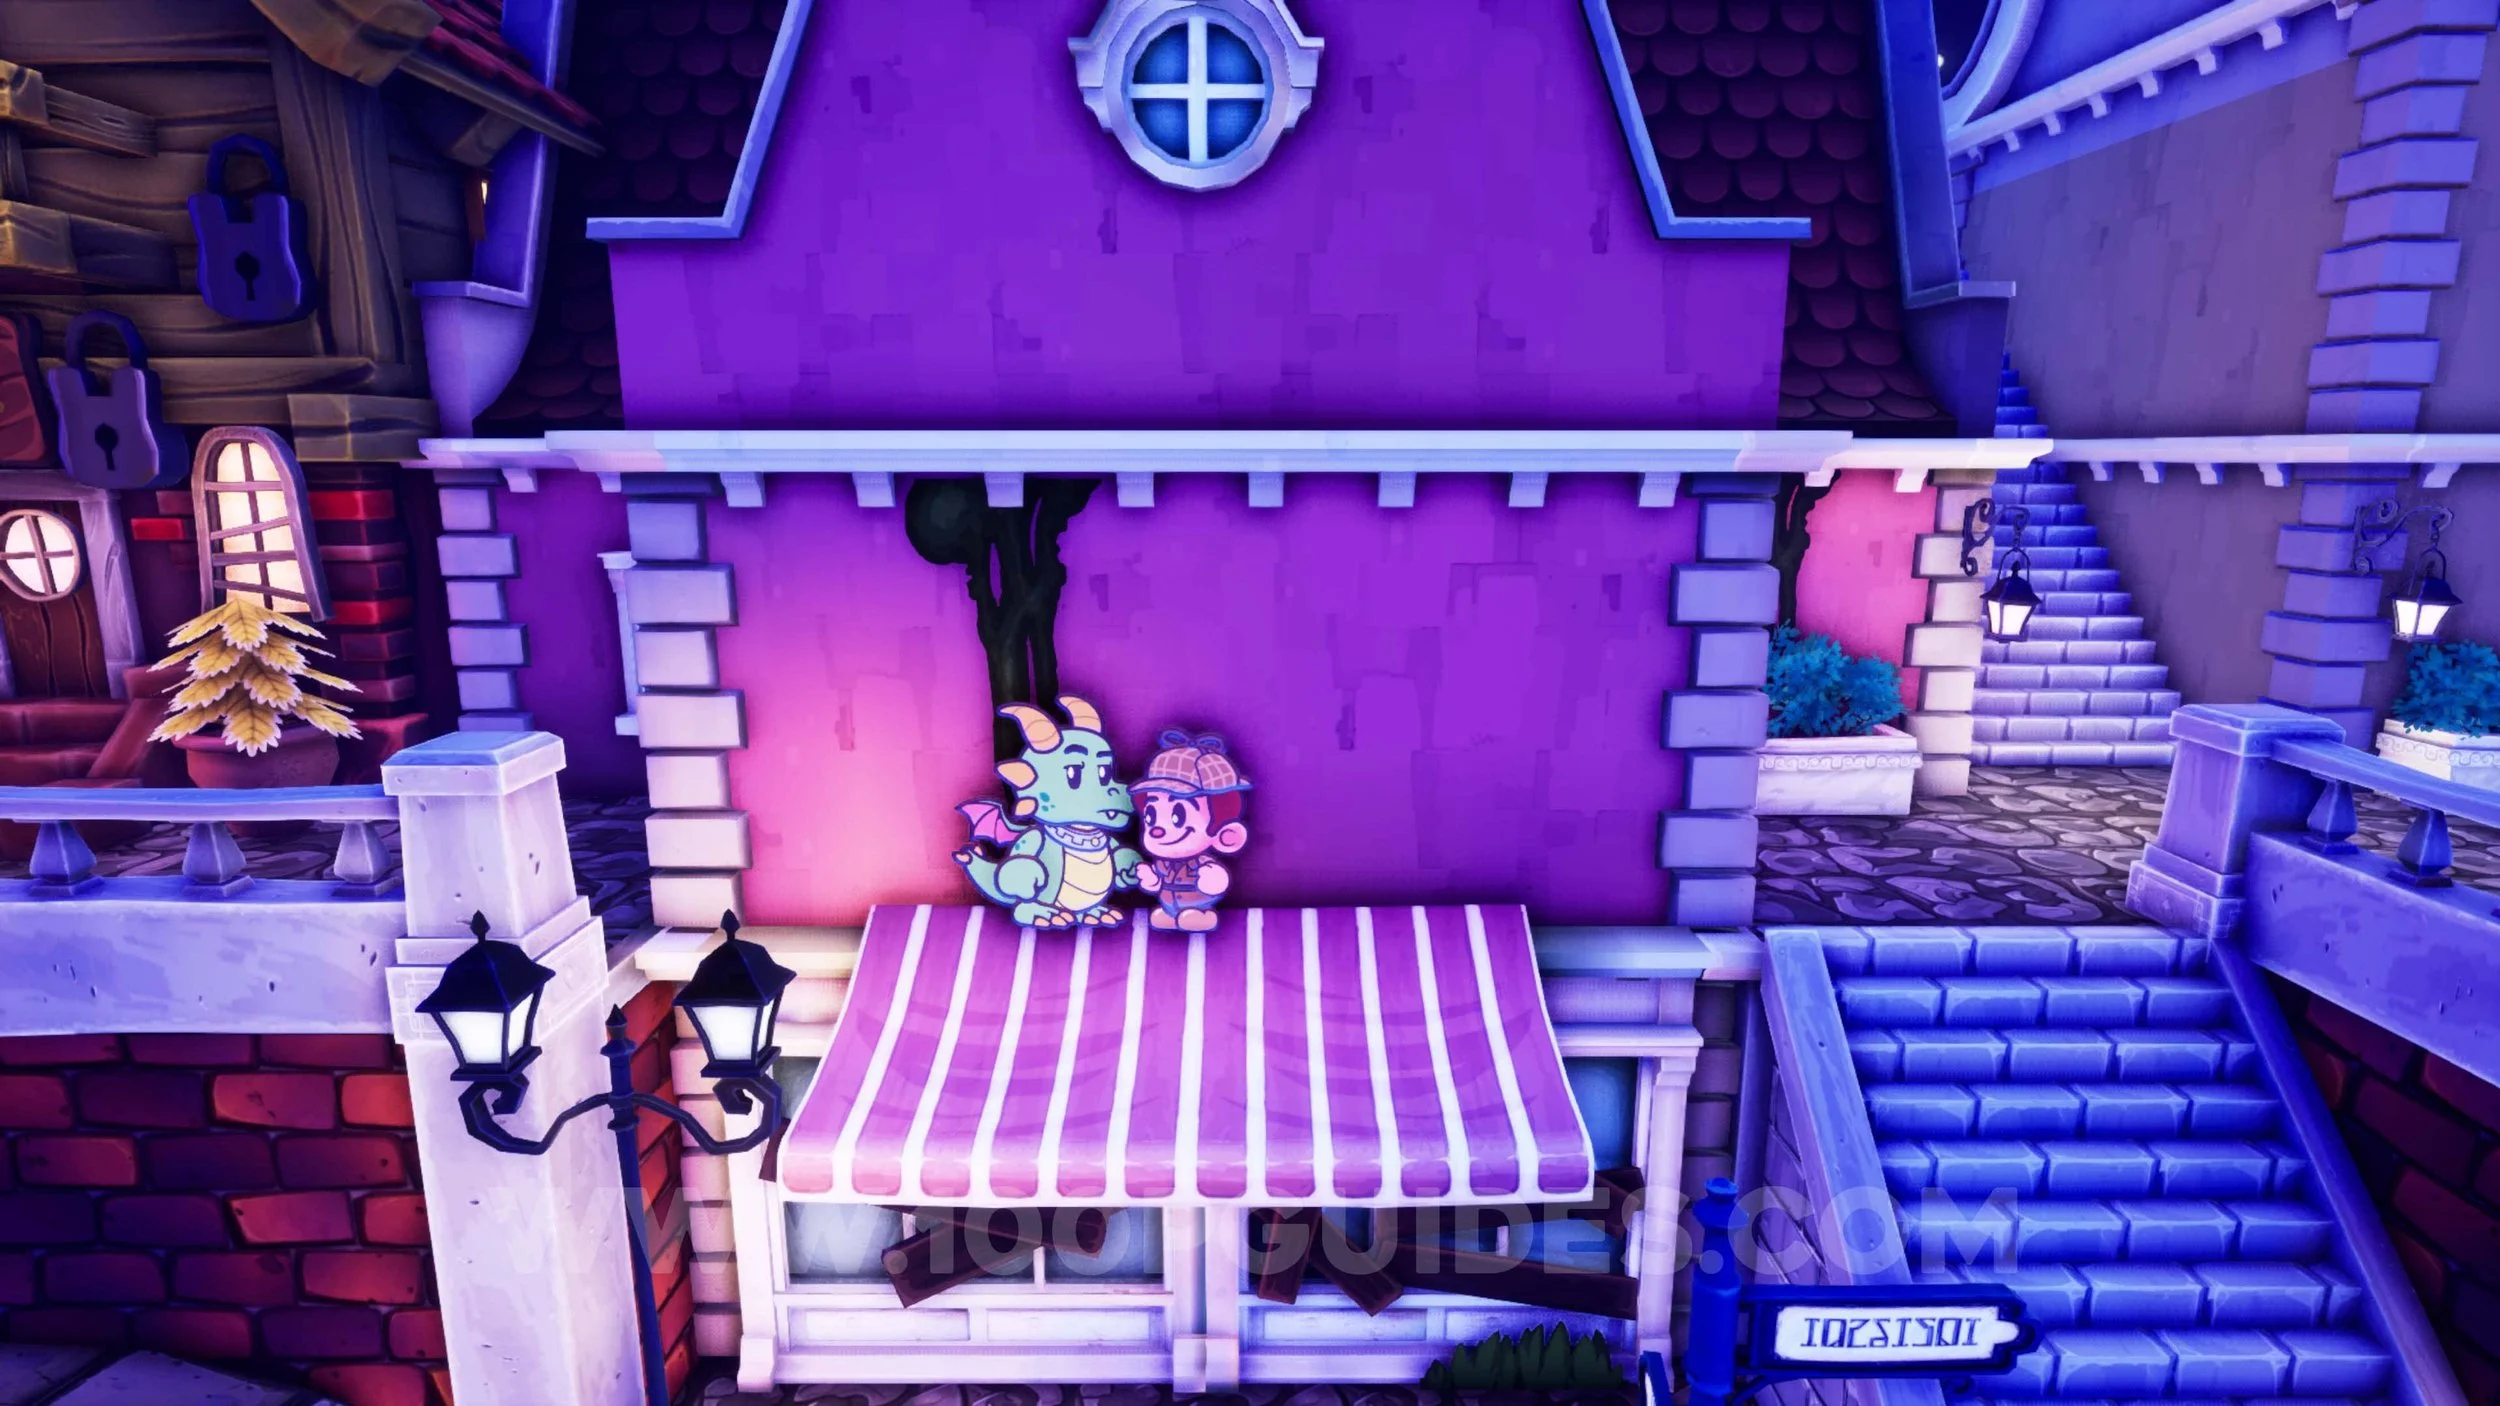
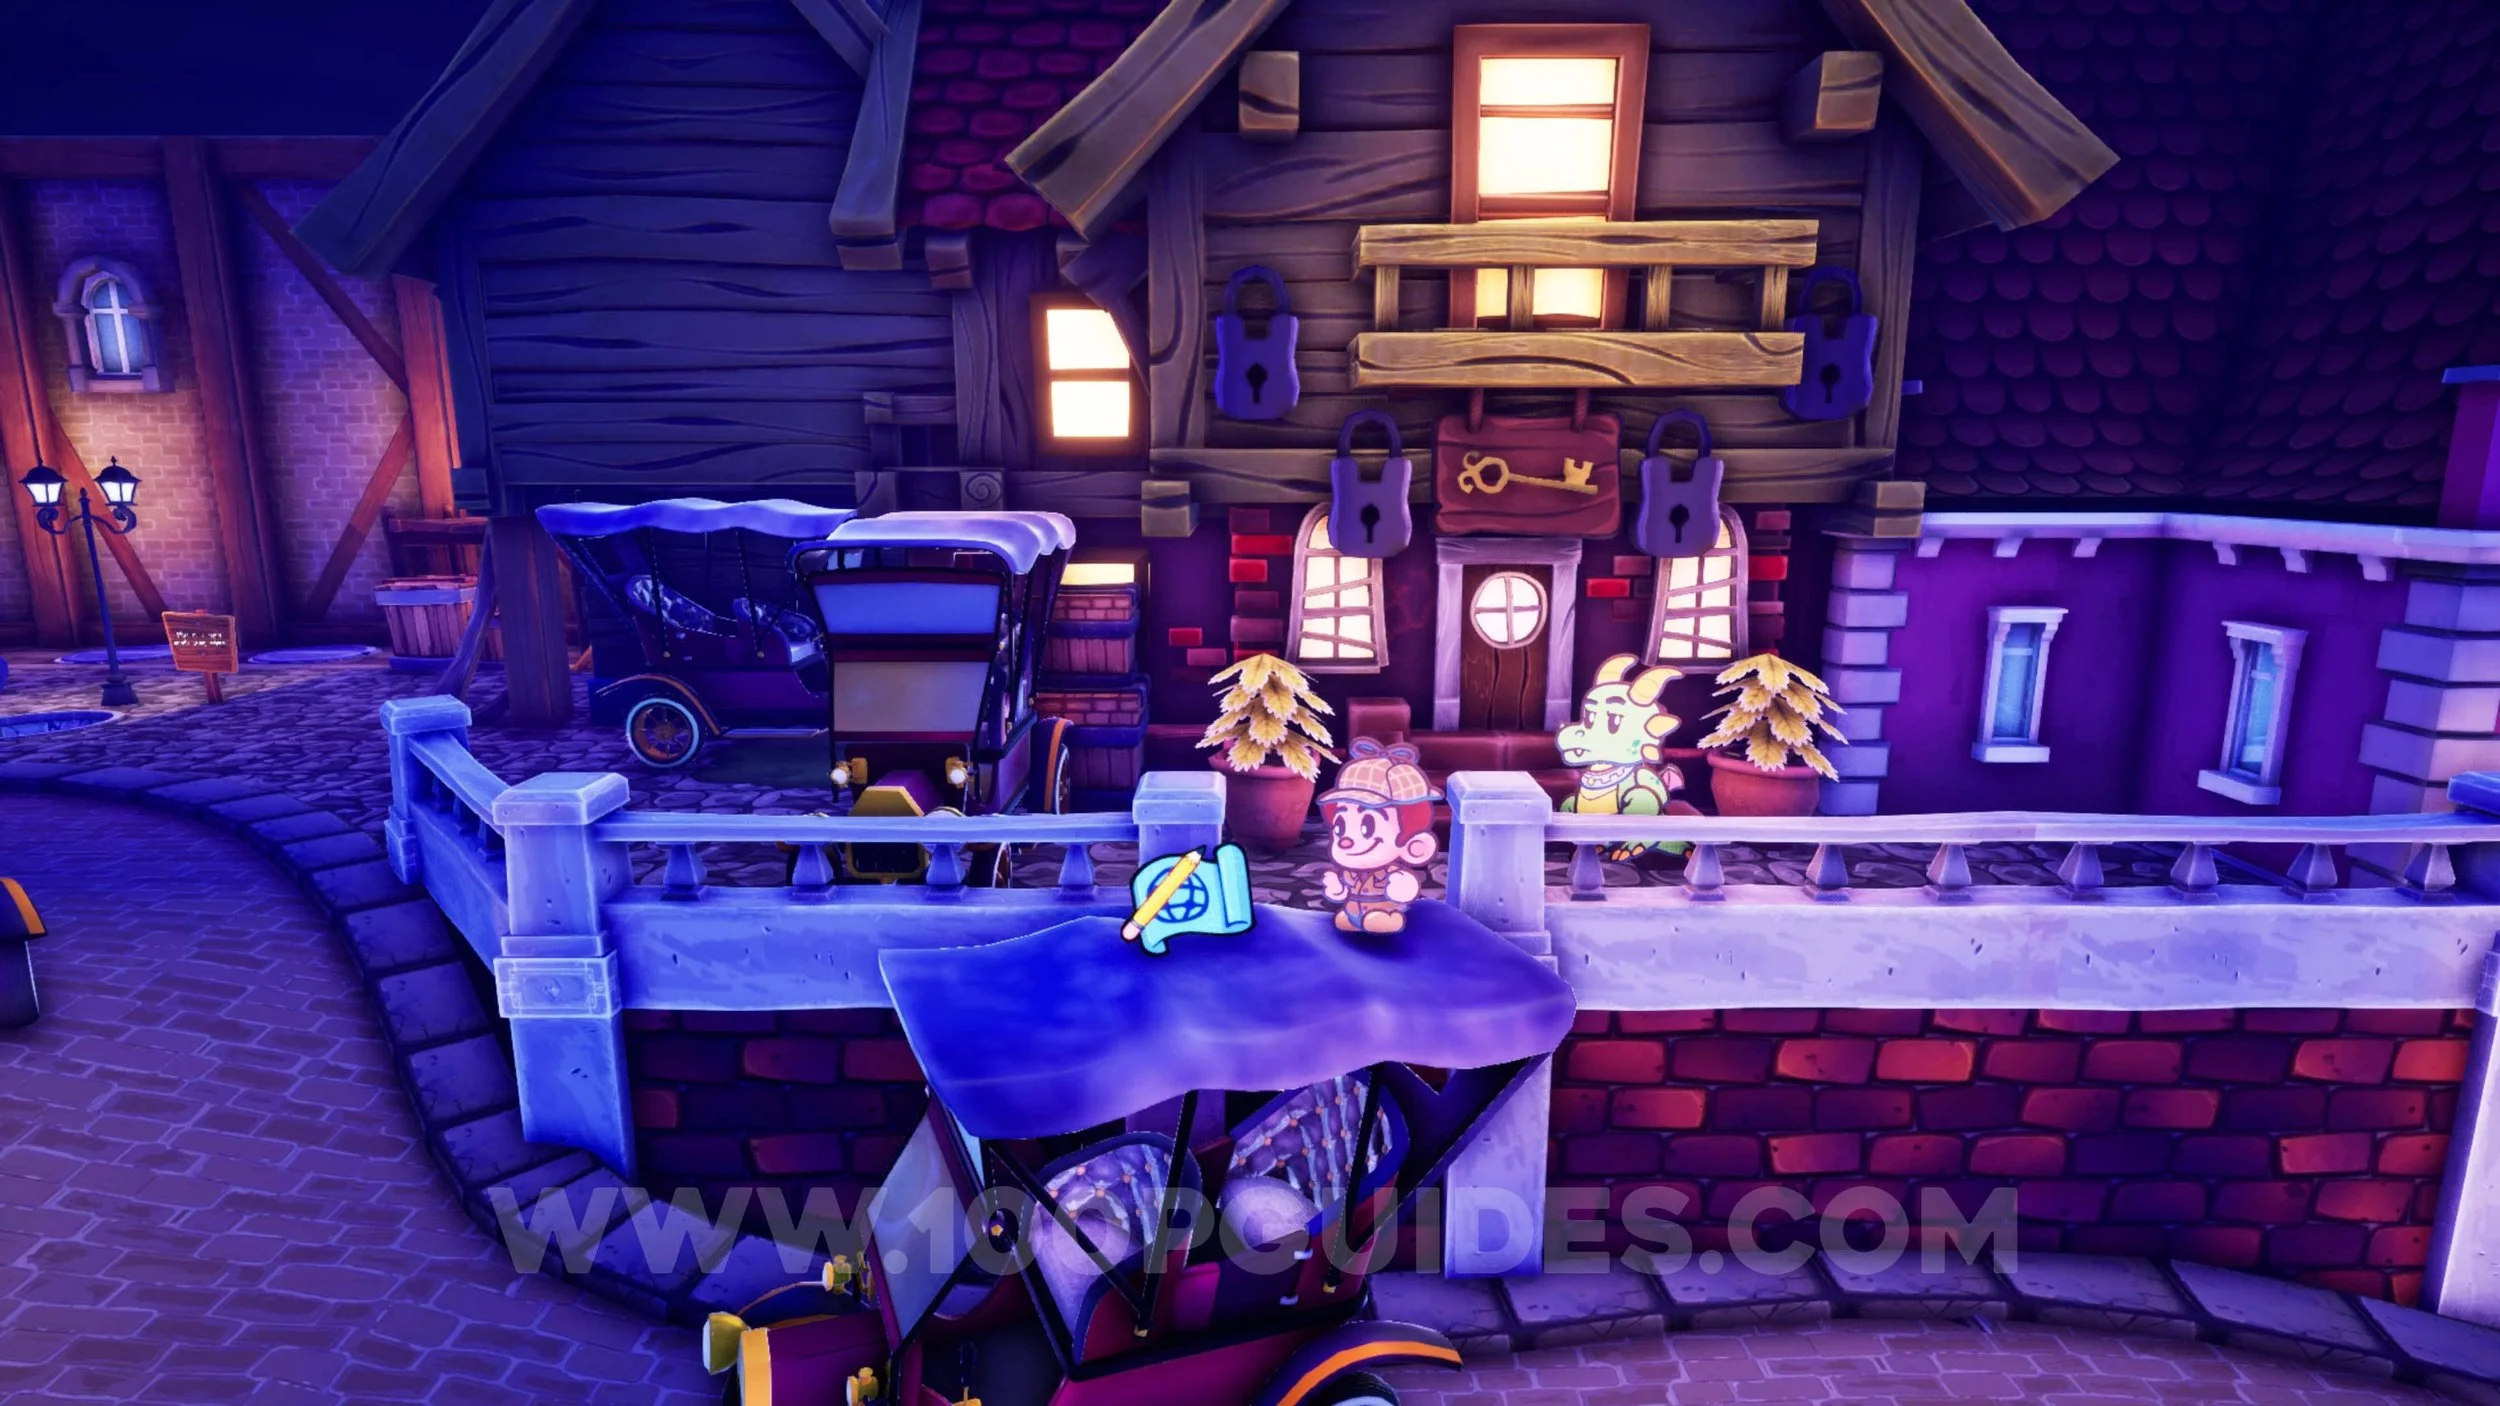
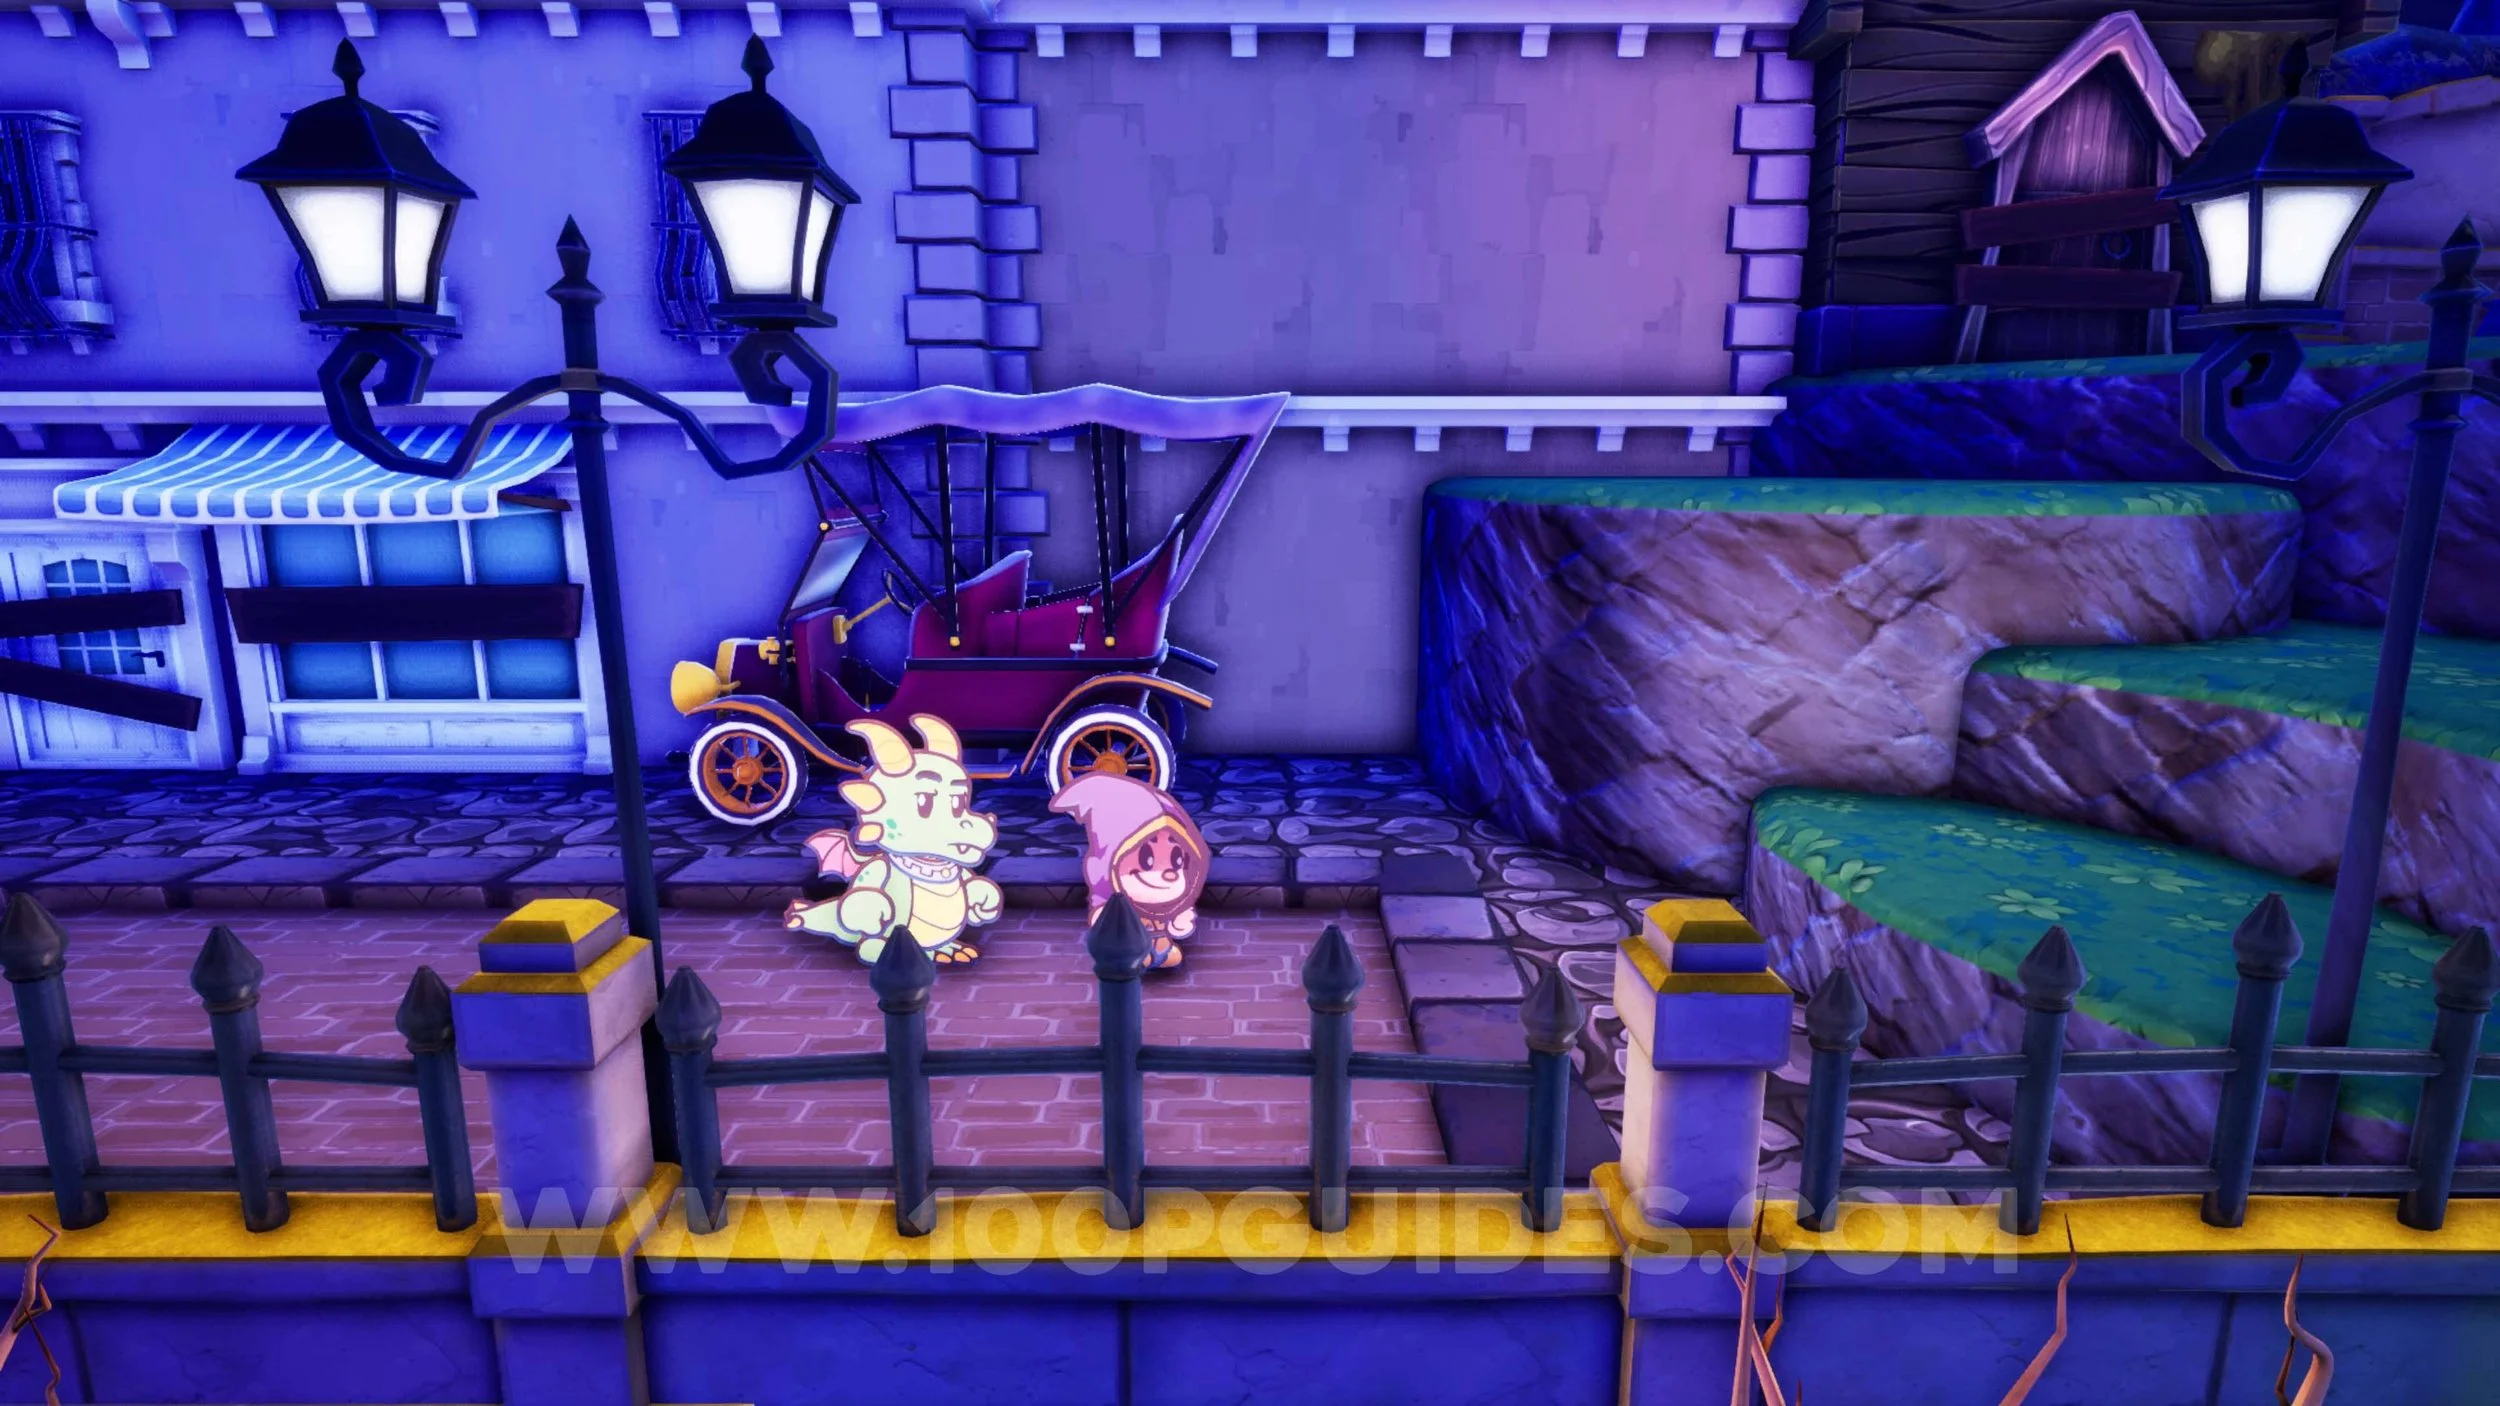
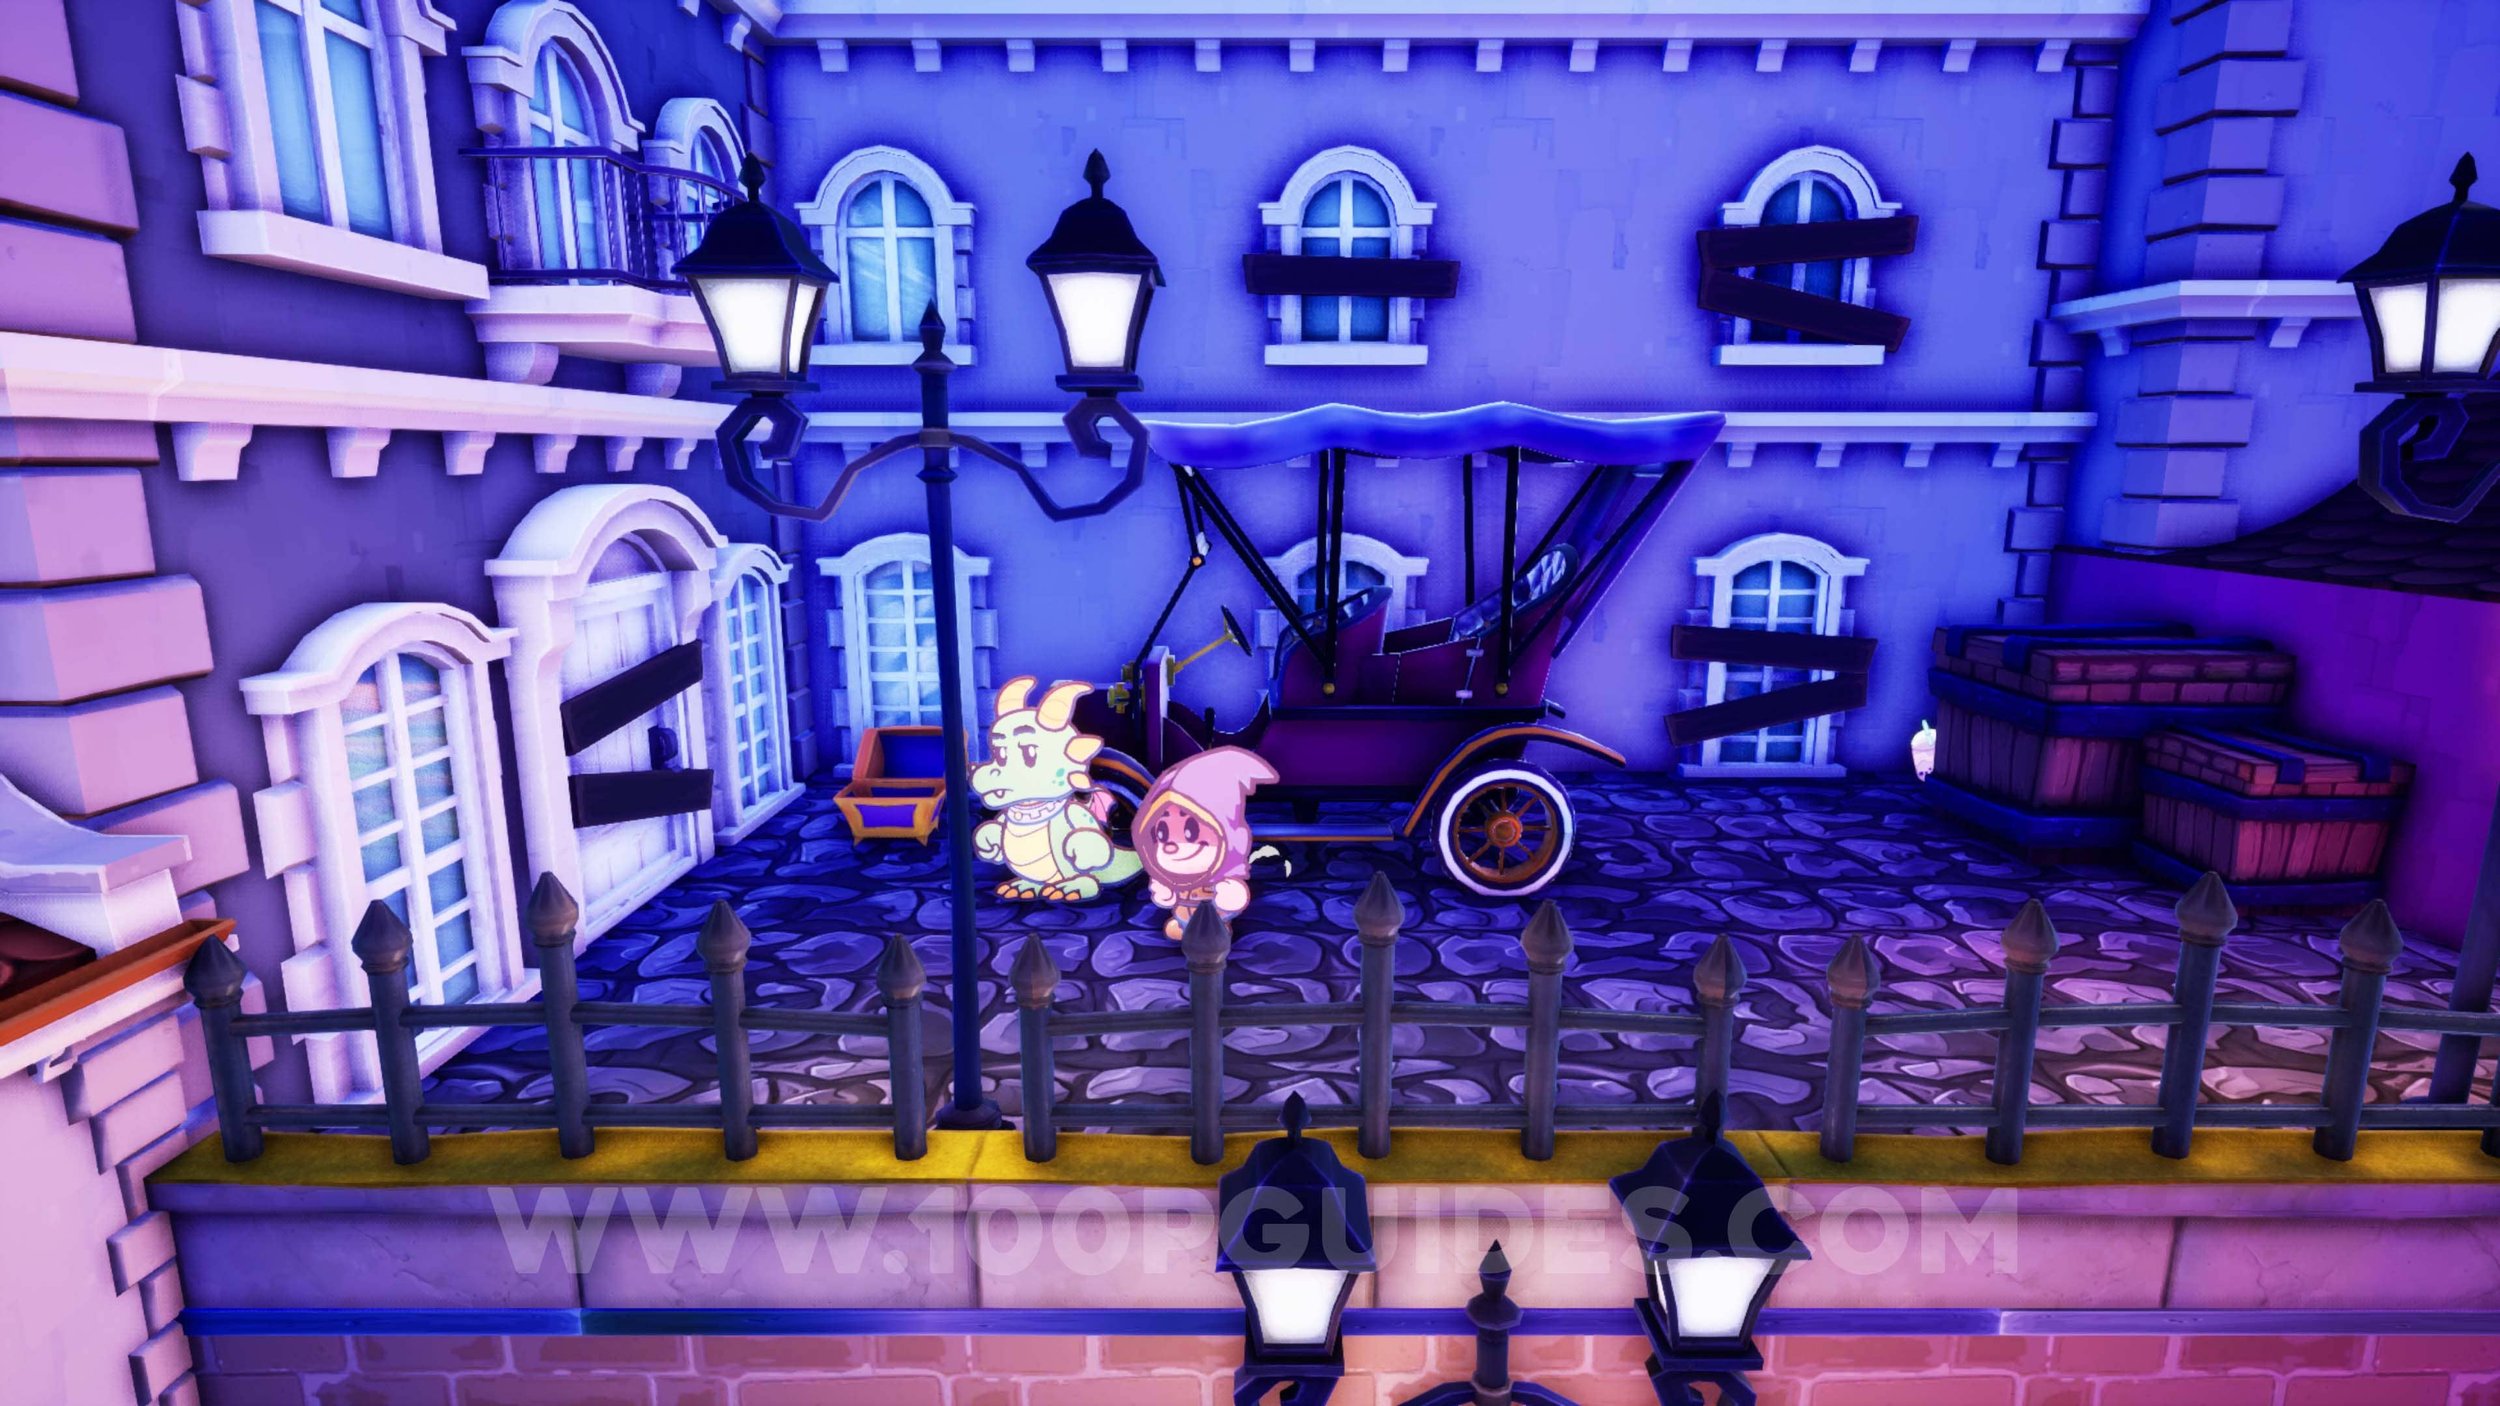
Office Decor #10 - Vintage Car. In the area to the left of the Town Square, go up the stairs and jump across the pink pergola to get to the locksmith’s shop. In front of the shop, jump on top of the car to find the decor.
Office Decor #11 - Ming Vase. Once you enter the Quil Manor, break the vase to the right of the save point in the first room. Then jump from the stairs above to get the decor.
Sun Gem #28. Found behind the wall behind the save point in the first room of Quil Manor.
Trinket #21 - Spiky Shell. Found on the fountain in the Manor garden. Use one of the blocks to reach it. You will go to the garden as part of the main story.
Ink Bottle #12. Once Eva joins the party, return to the Town Square and use her to turn the cat on the right into a jumping shroom, allowing you to reach the Library. Inside, use Timber to light the fireplace.
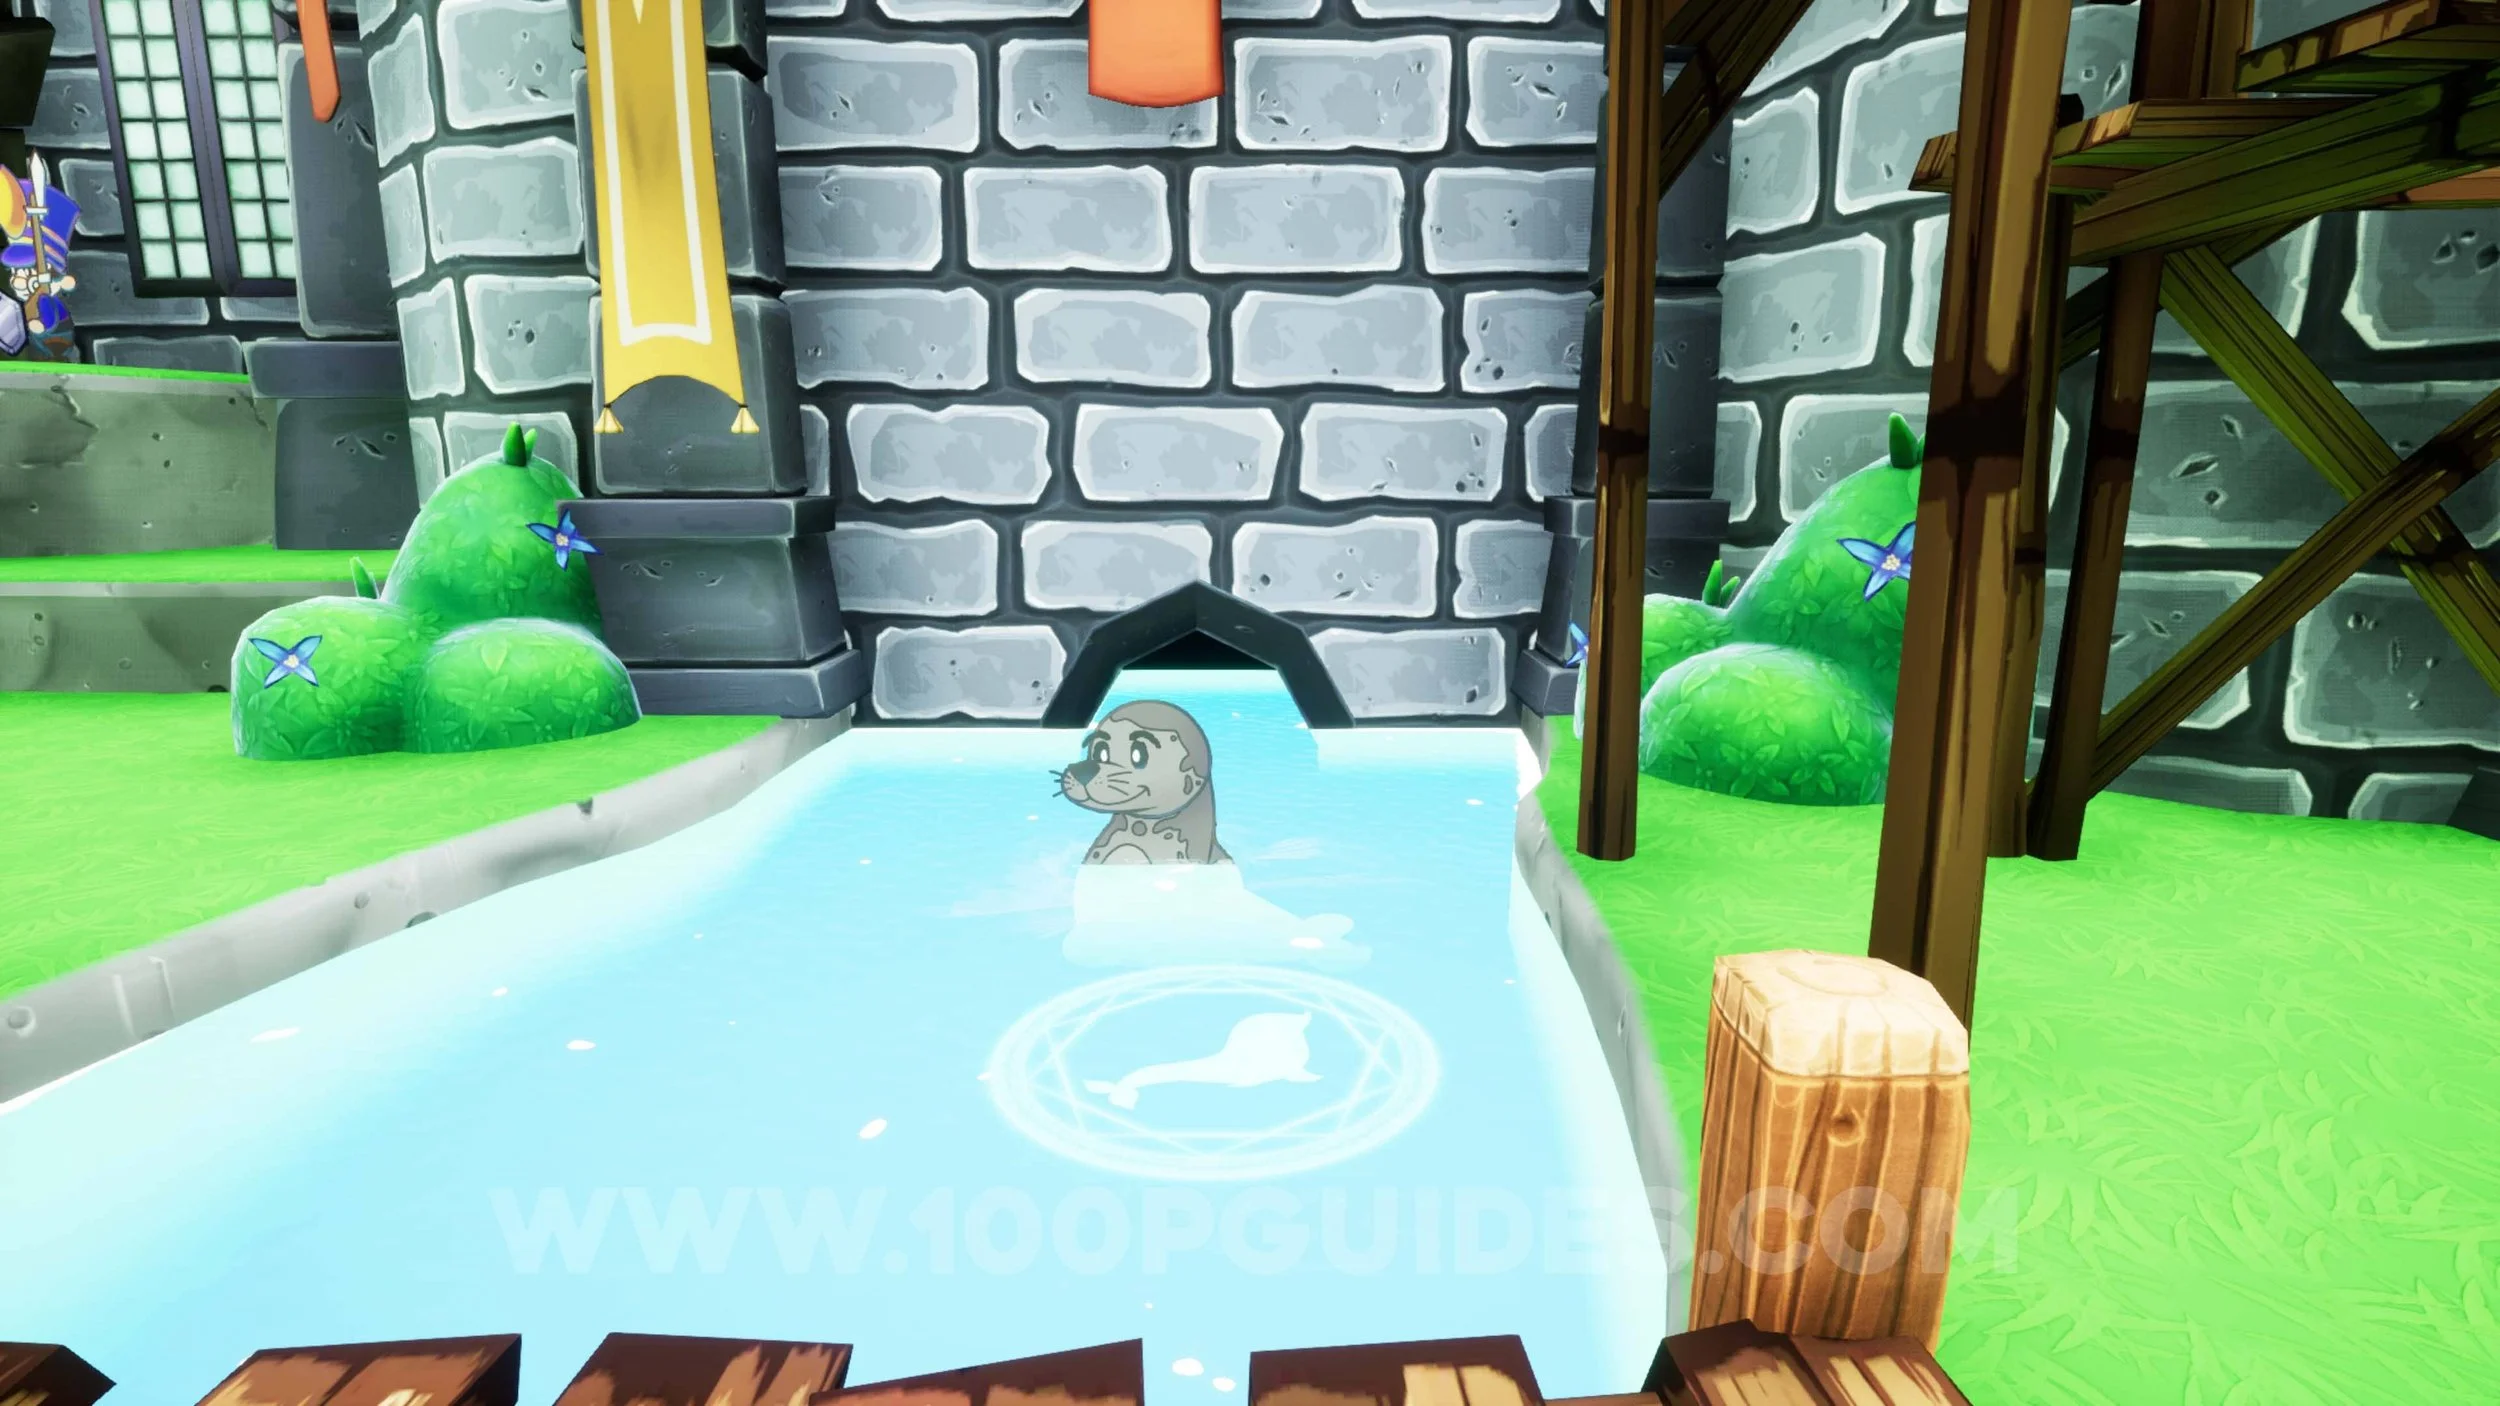
Ink Bottle #13. After Eva joins the party, return to the flooded area to the right of the hotel. Then transform into a Seal and swim behind the house to find the Ink bottle in one of the chests.

Trinket #22 - Poison Infusion. The the chest next to the previous collectible.
Sun Gem #29. After turning the Rat in the manor into a jump shroom, go through the door on the right and use Wolfgang’s “Sprout Serenade” song to grow the plant behind the sofa. This will allow you to get the Sun Gem on the bookshelf.
Ink Bottle #14. Follow the story until you are stranded on an island with Eva, and you unlock the ability to transform into a seal. From this island, swim towards the camera and go left until you see a boat you can push. Push it up and then exit the water and use the boat to jump to the wooden platforms on the right, where you will find the ink bottle in a chest.


Trinket #23 - Fang Feast. Use the seal transformation to swim to the boat in the far right corner of the docks area. You will find the trinket in the chest on the boat.
Sun Gem #30. Behind the cabin on the same boat as the previous collectible.
Office Decor #12 - Lantern. Use the seal transformation to jump into the water in the docks area. Here, go towards the top to find another boat you can push to the left. Push it and use it to reach the area at the top left near the buildings. You will find the decor in a box on the pier.

Sun Gem #31. Behind the car outside the building at the top left of the docks (same area as the previous collectible).
Sun Gem #32. Enter the door next to the car where the previous collectible was and break the barrels above the save point.
Outfit #5 - Cultist Hood. Can be purchased from the NPC in the Insbeack Chapel. You will visit the chapel during the main story after getting chased through the train yard.
Trinket #24 - Health Boost. In the room after the area where Tinder is in a cage, transform the mouse into a jumping shroom to get on top of the bookshelves and then get the trinket by throwing your shield.
Sun Gem #33. Use Eva’s ability to transform the cat to the right of the Main Square into a jumping shroom to reach the Library. You can find the Sun Gem on the bookshelf behind the cat.
Ink Bottle #15. After learning to hold down Eva’s ability and transforming the cat into a pilar on your way to the lighthouse, jump onto the car from the grassy platforms and then continue jumping along the toldos to reach a roof. On the other side of this house you will find the Ink Bottle in a chest.
Sun Gem #34. Near the save point just outside Insbeak on your way to the lighthouse.
Ink Bottle #16. In the chest on the top floor of the lighthouse.
Sun Gem #35. Behind the light on the top floor of the lighthouse.
Ink Bottle #17. After defeating the boss at the end of Shadows Over Insbeak, you will return to HQ. Here, talk to Mother Goose in the office area and finish the time trial in time.
Trinket #25 - Guard Expert. After defeating the boss at the end of Shadows Over Insbeak, you will return to HQ. Here, talk to Mother Goose in the office area and finish the time trial in time.
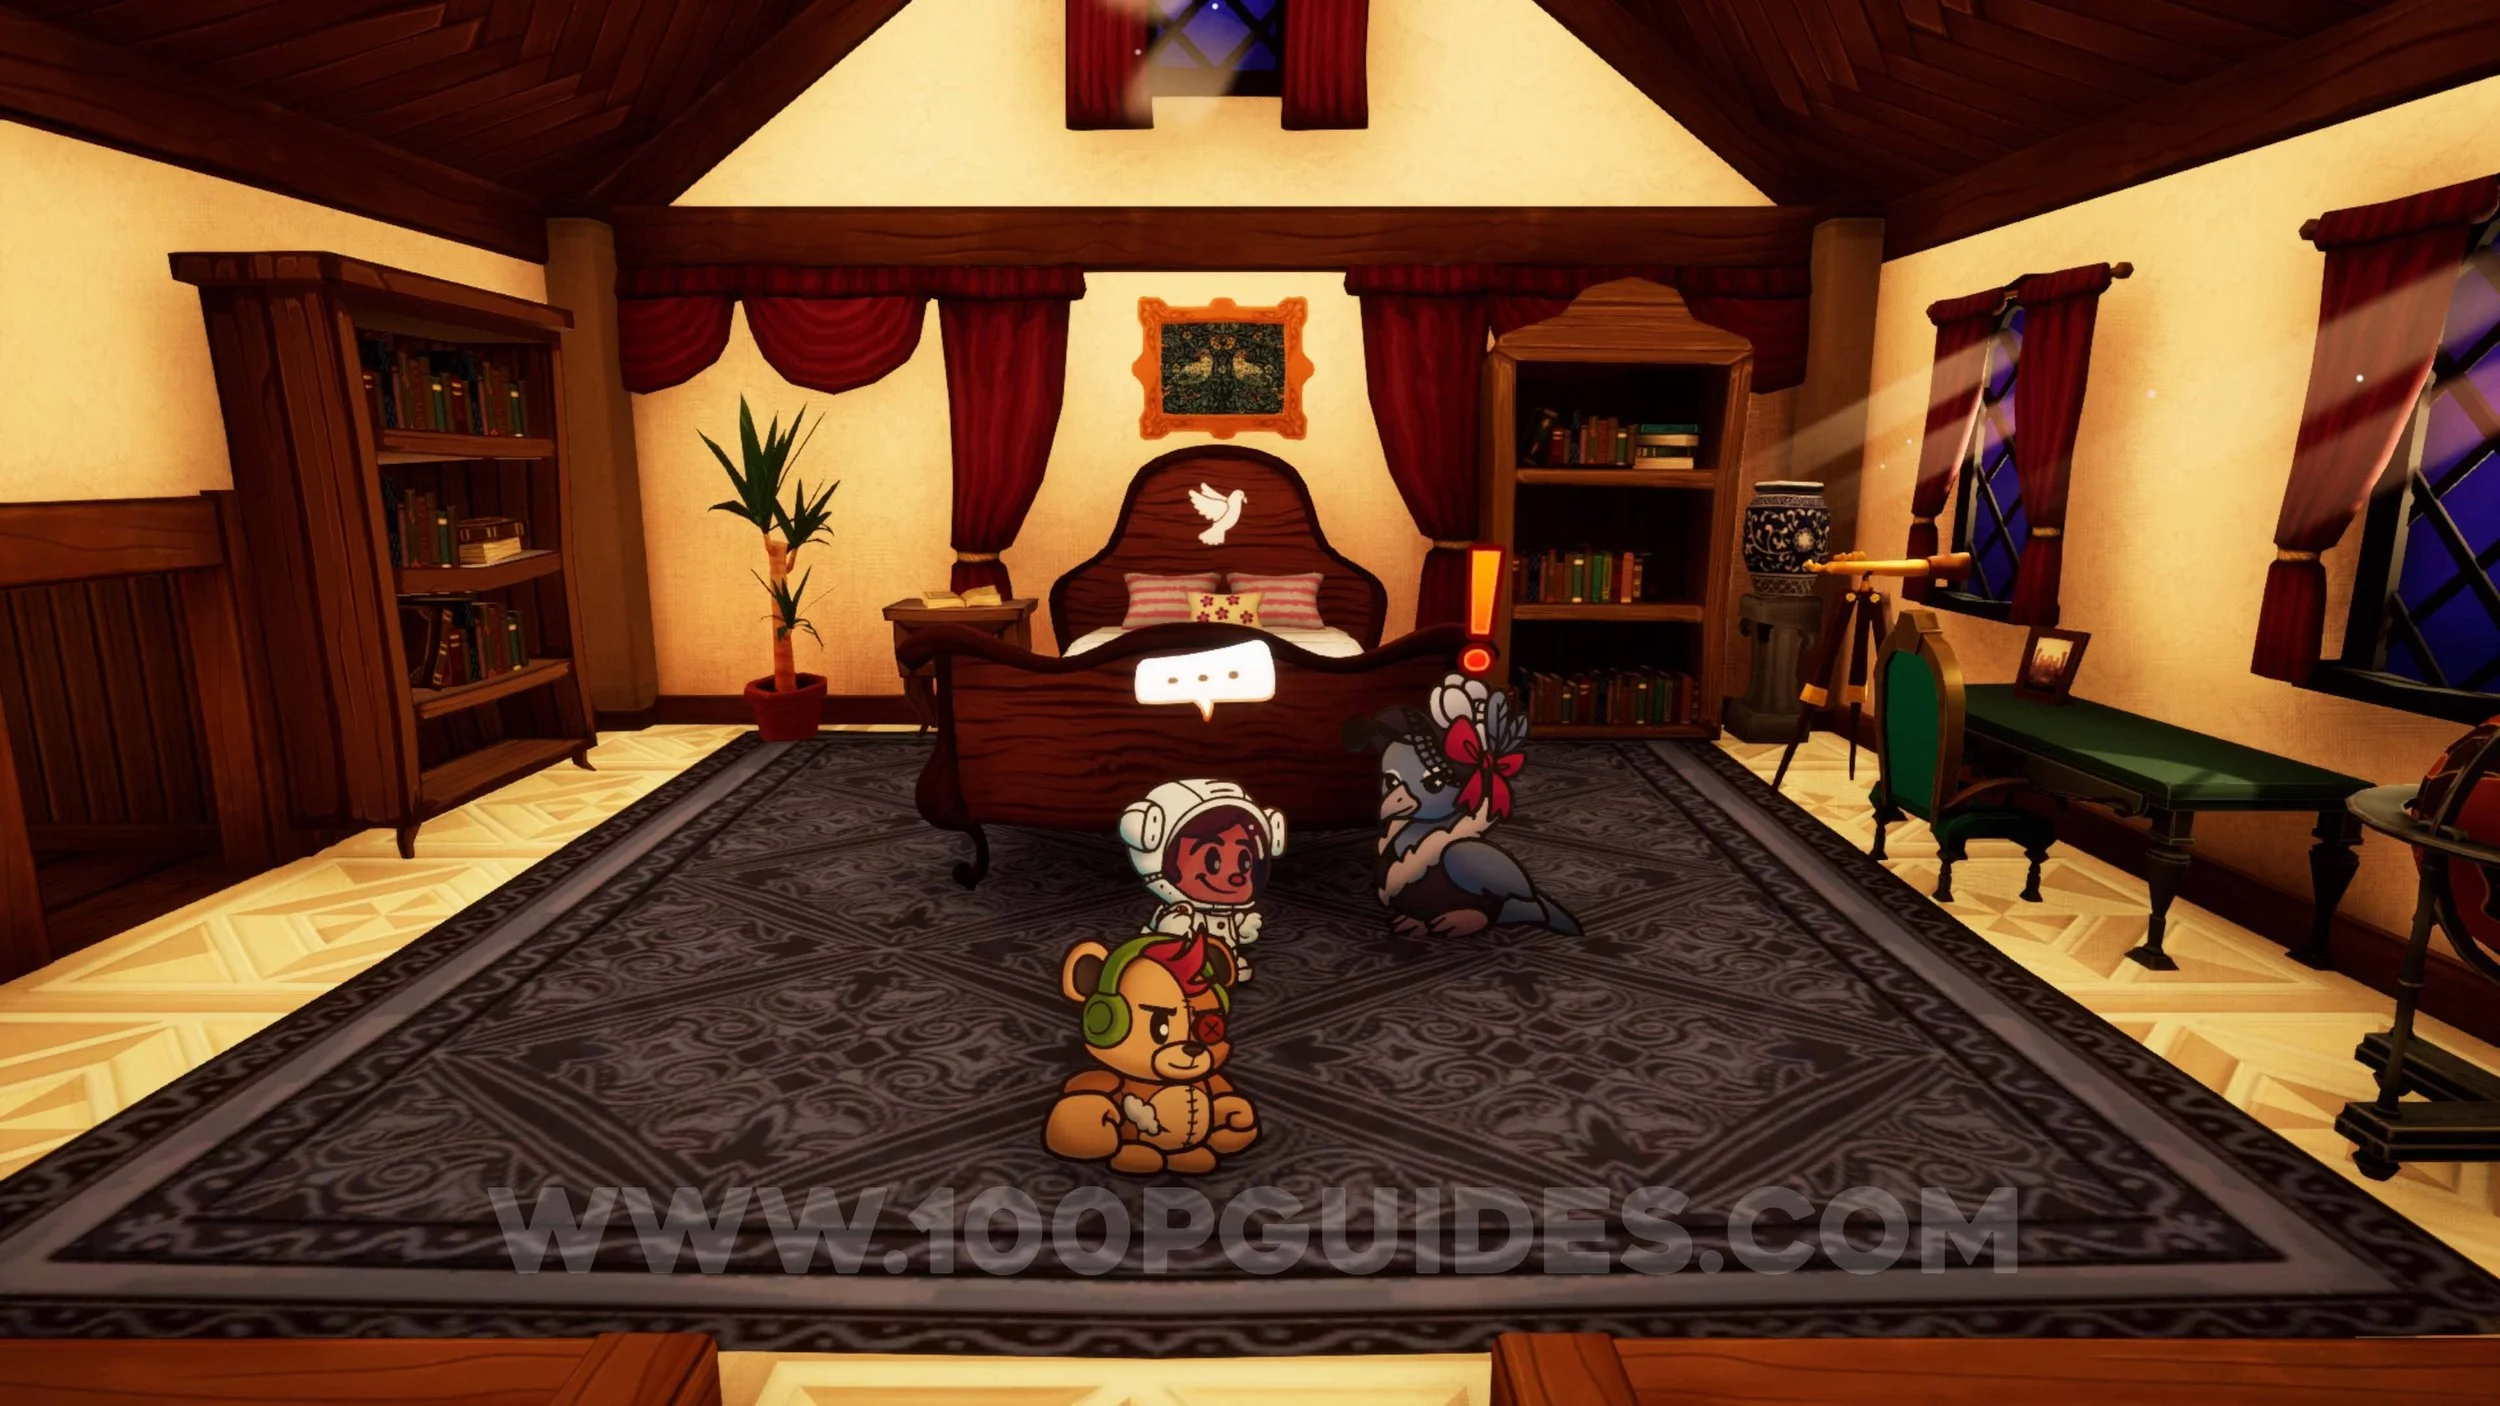
Sun Gem #36. In HQ, go to the cafeteria and use Eva to transform the cat into a jumping shroom. Then use the wooden platforms to exit through the top floor. On the balcony, go through the door to enter a secret room with a shop and a large bed. The gem can be found behind the gem.

Trinket #26 - Risky Business. Can be purchased from the secret shop above the cafeteria.
Trinket #27 - Backwards Buckler. Can be purchased from the secret shop above the cafeteria.
Trinket #28 - Deafening Quake. Can be purchased from the secret shop above the cafeteria.
Trinket #29 - Healthy Glow. Go to the HR office and gross the now fixed bridge on the top floor. After crossing it, go towards the camera and go through the door. You will now be in an outside area where you can drop down to the right side of the water stream in the courtyard. Here, transform into a seal and go through the hole in the wall in the water to find the Trinket in a chest.
Sun Gem #37. Go back to the courtyard and go through the door on the right side of the water. Then use Tinder’s fire breath to burn the banner in the back of the first room.
Sun Gem #38. On a beam in the same room as the previous gem.
Trinket #30 - Pity Party. Can be purchased from the Library shop.
Trinket #31 - Caffeinated. Can be purchased from the Library shop.
LITTLE RED RIDING HOOD
Sun Gem #39. After finishing The Shadow Over Insbeak, talk to Red at the front desk to get the Little Red Riding Hood book. This is a short, optional book. Enter it and go to the area with the house. You can find the gem outside the house, behind the bushes to the right.
Trinket #32 - Defense Boost. Enter the house and defeat Grandma.
TREASURE COVE
Outfit #6 - Hawaiian Shirt. As soon as you arrive at Treasure Trove, take the lift on your left to get to your room. You will find the shirt inside.
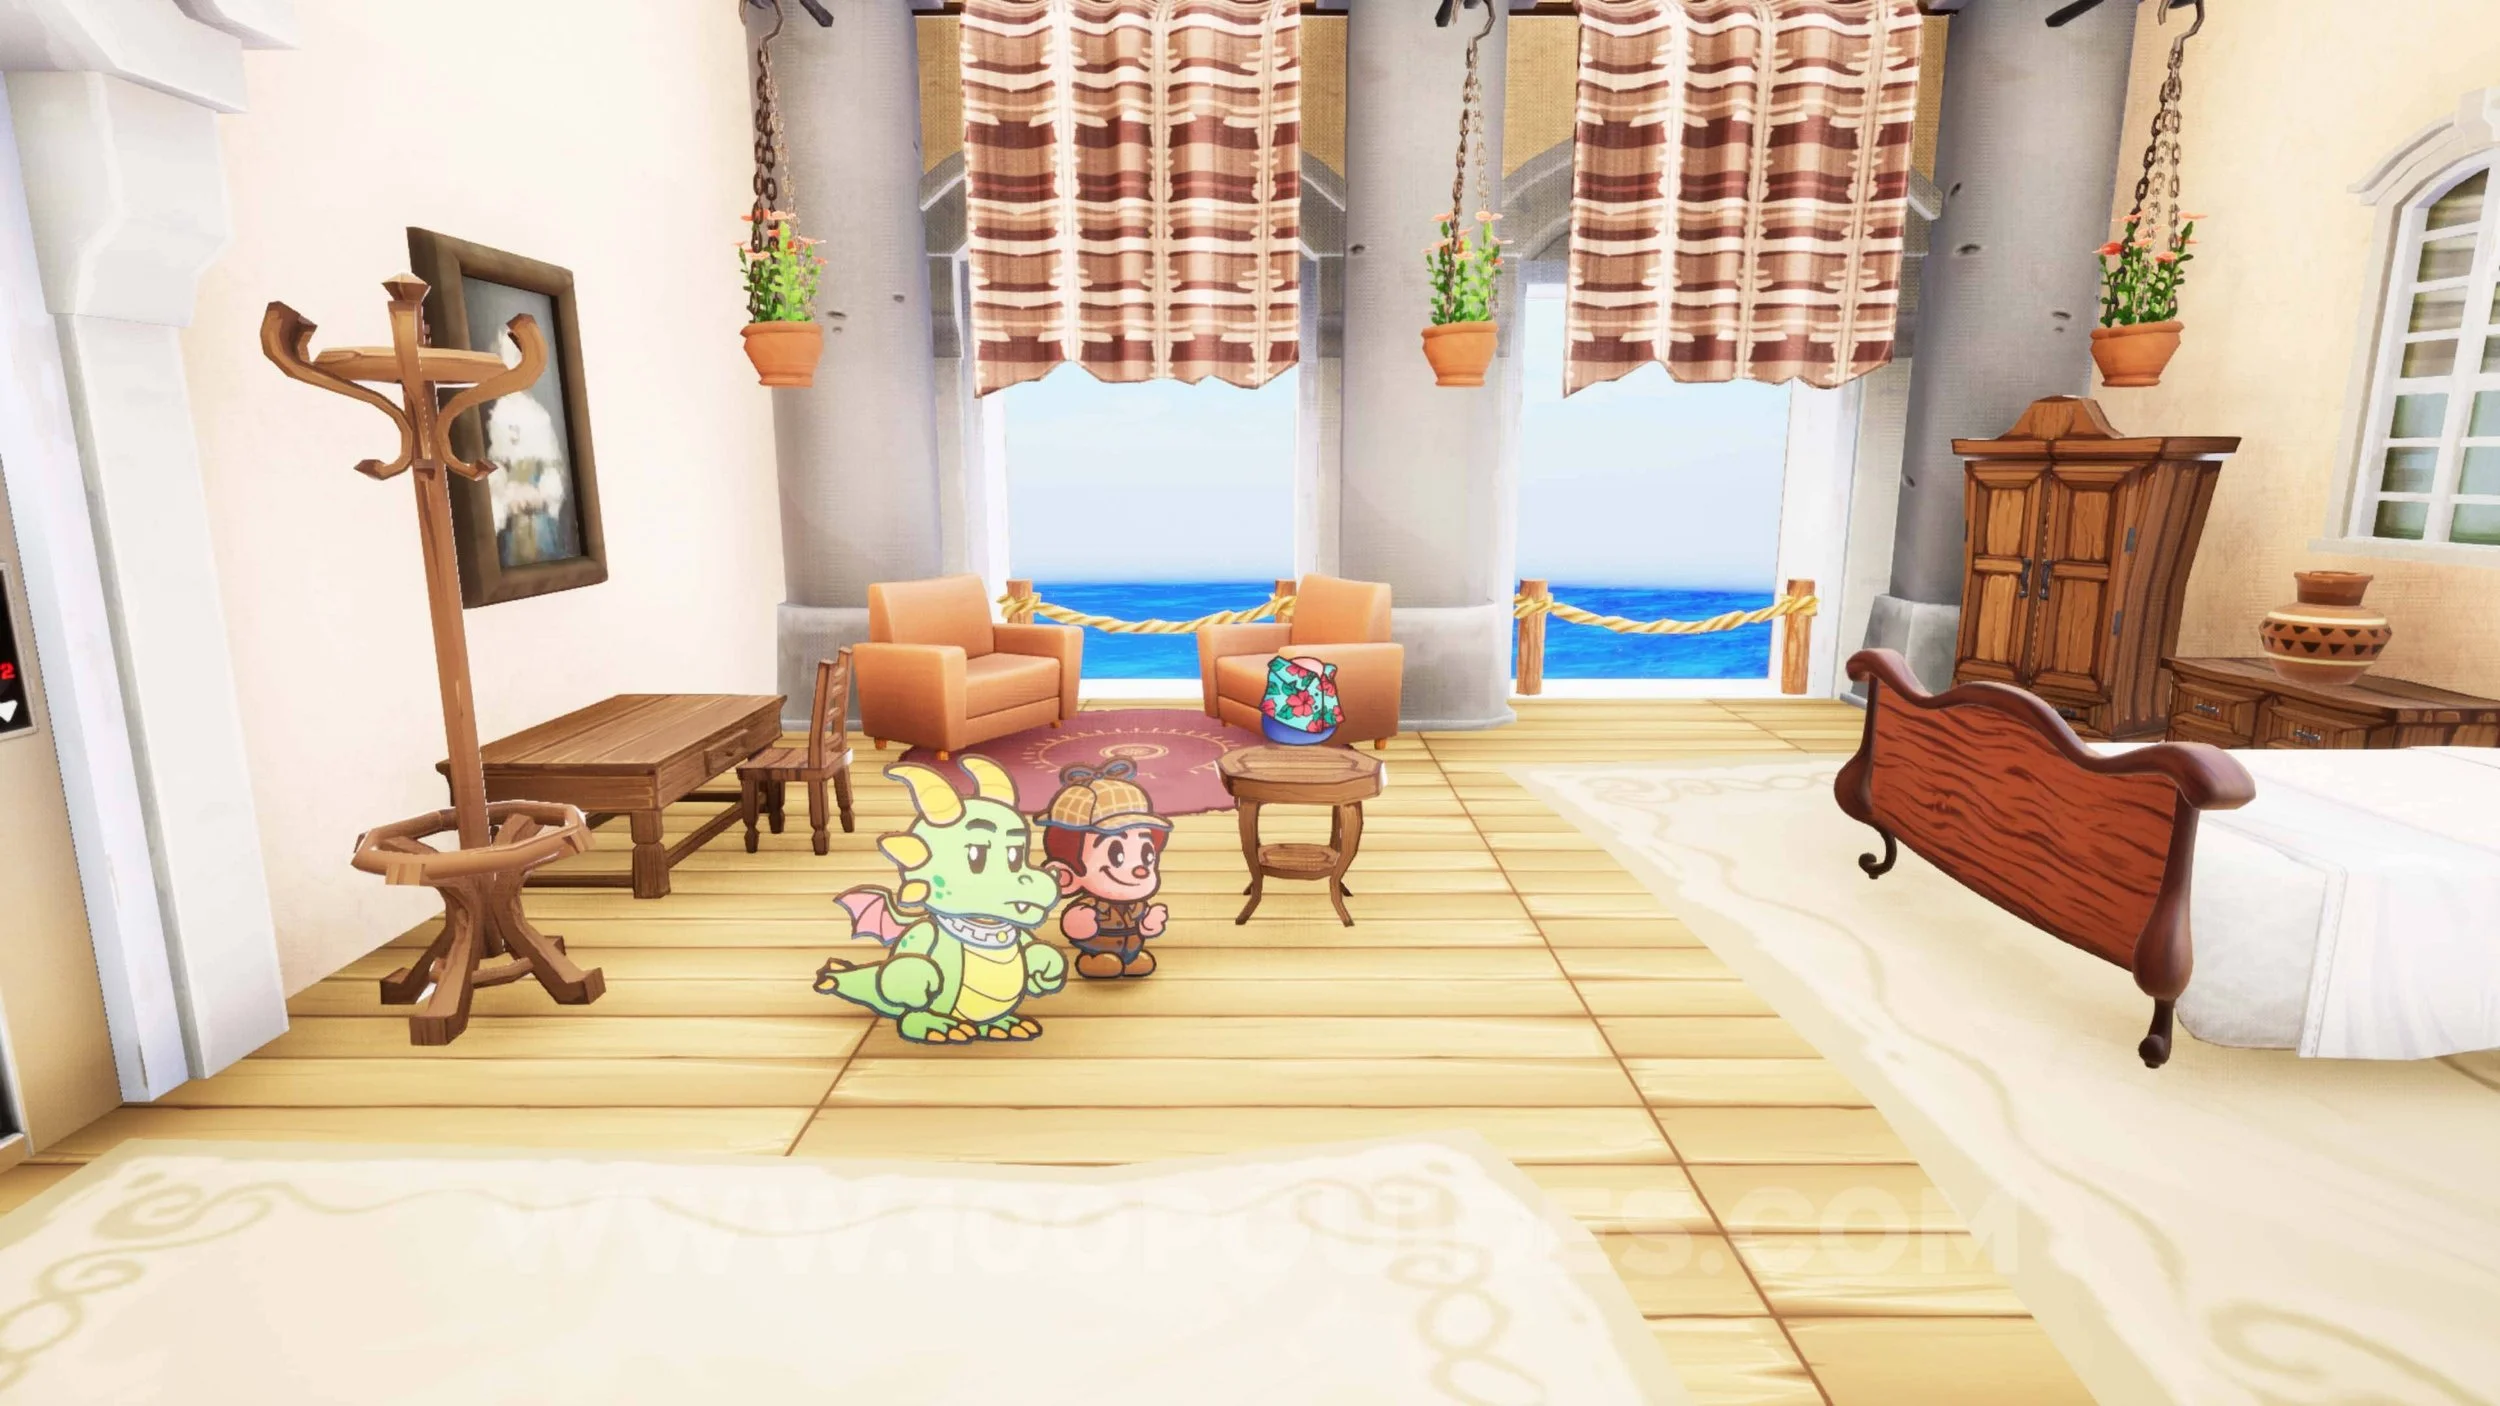
Sun Gem #40. In the vase next to your bed.
Outfit #7 - Pirate Suit. Once you reach the ship, climb up the mast and talk to the mouse at the top.
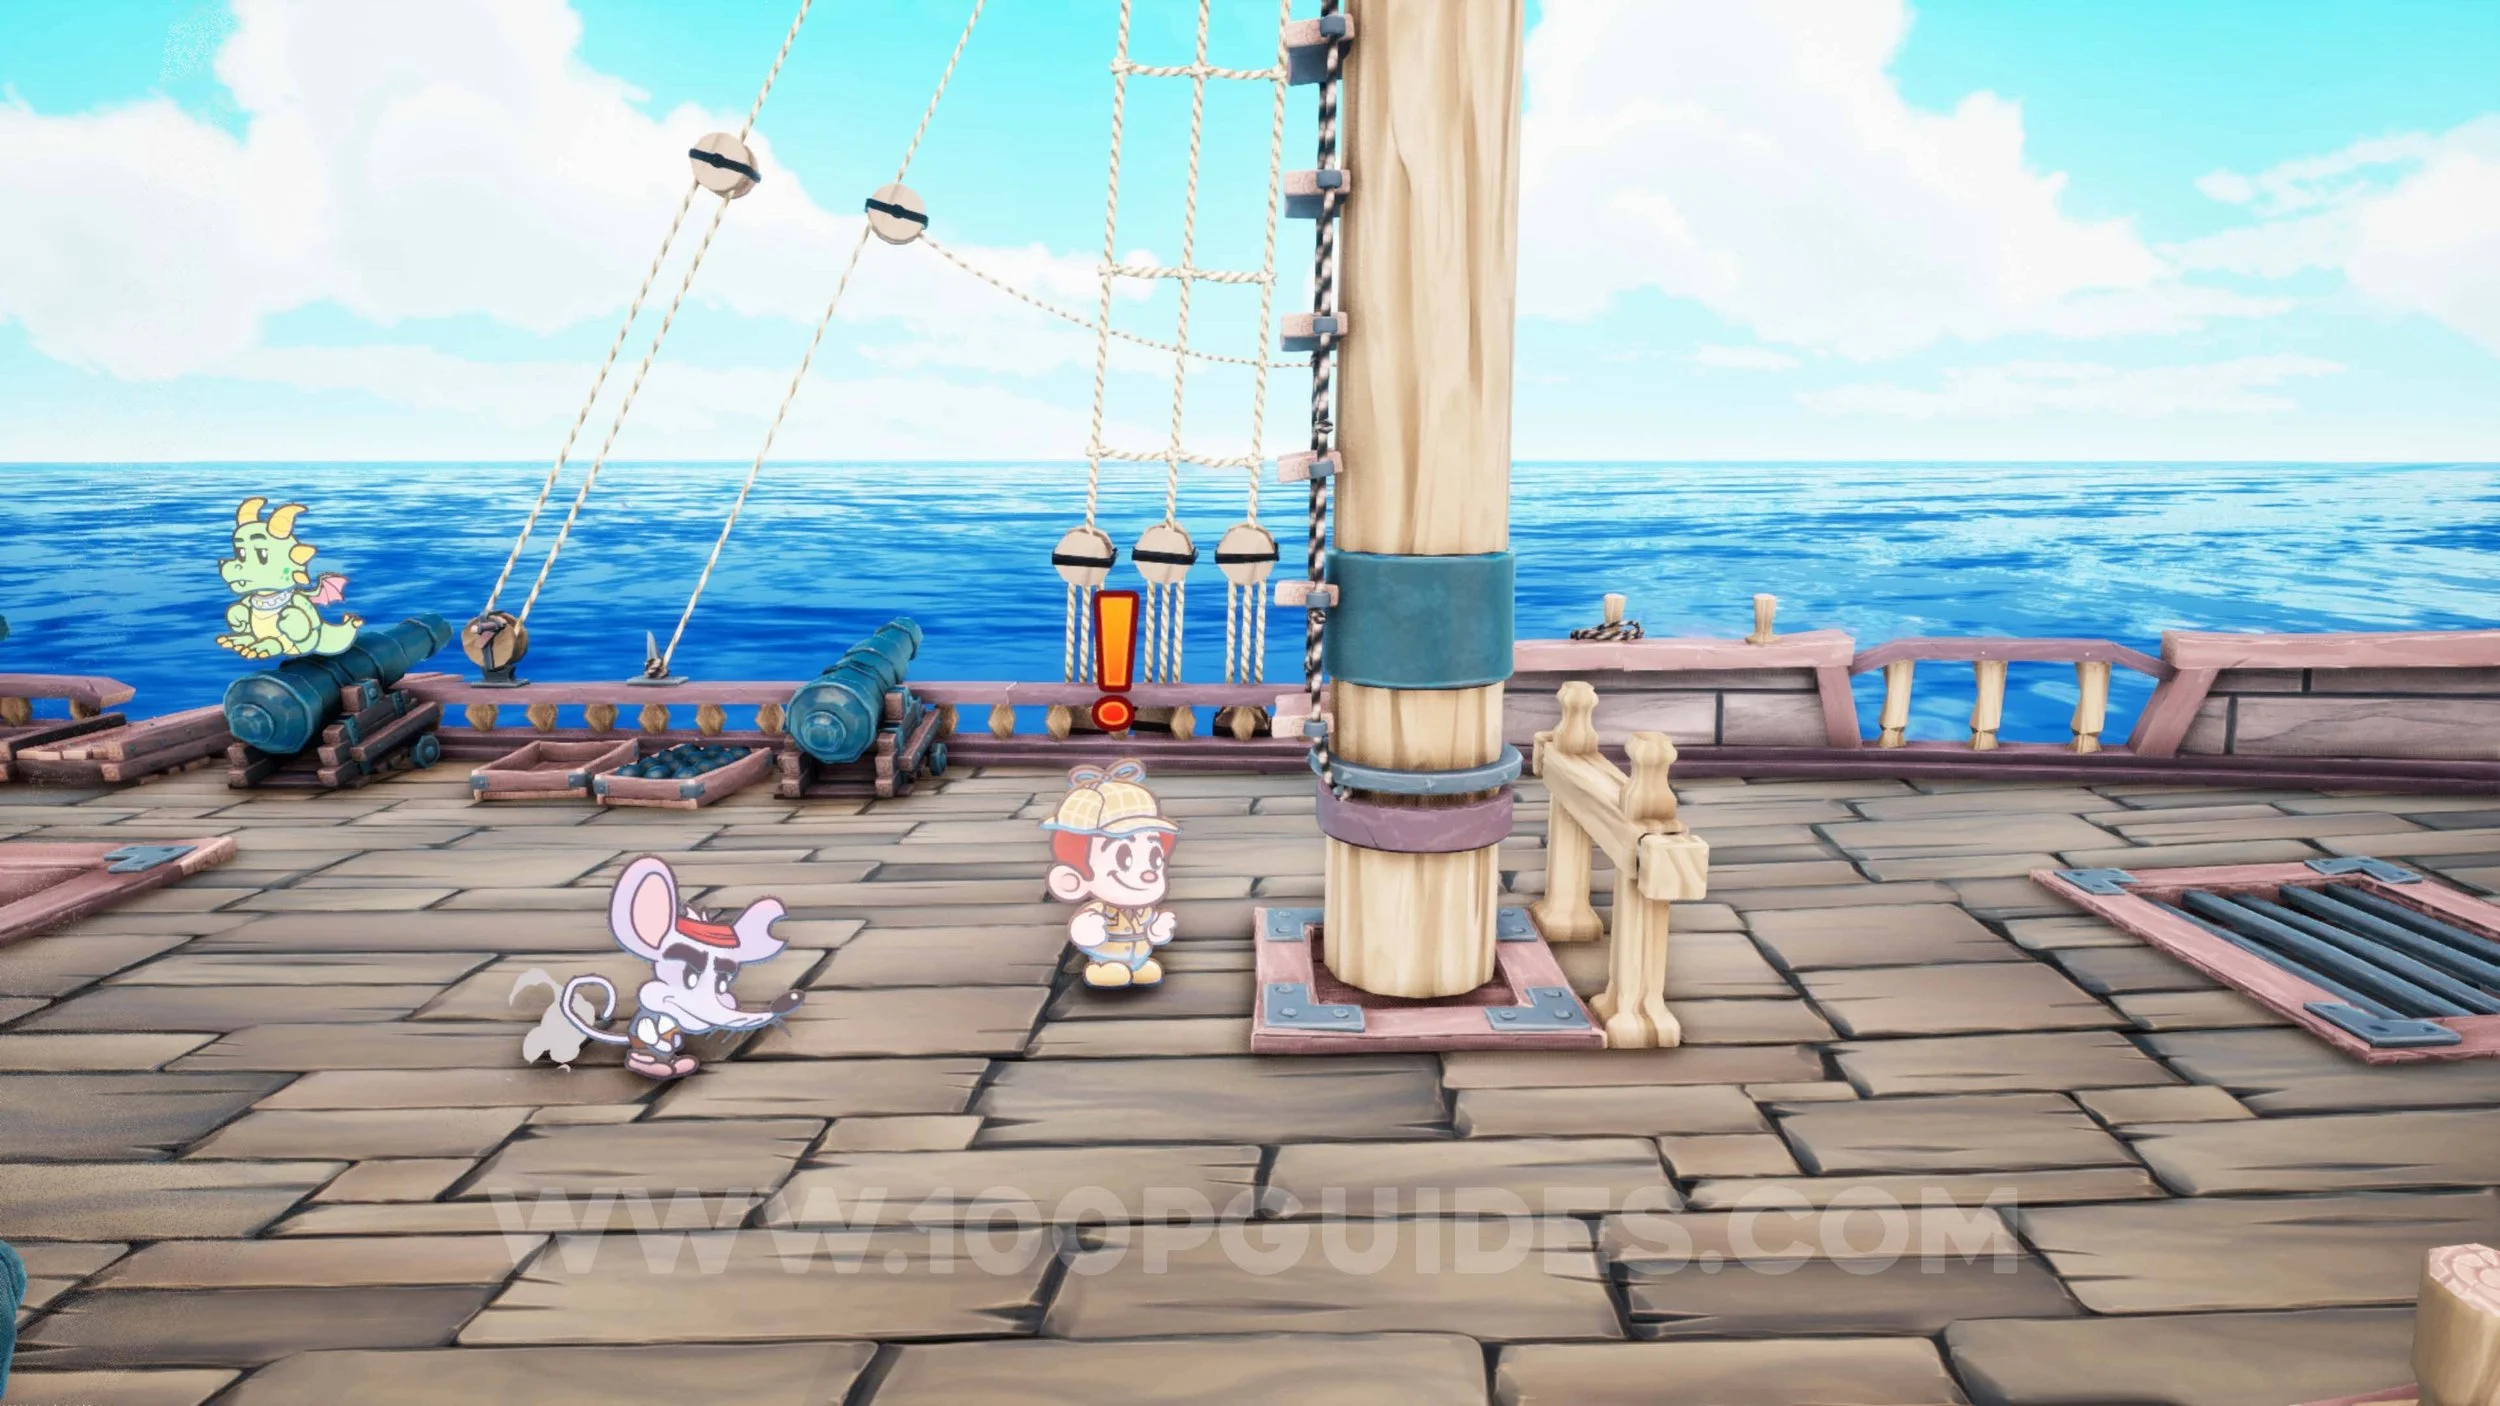
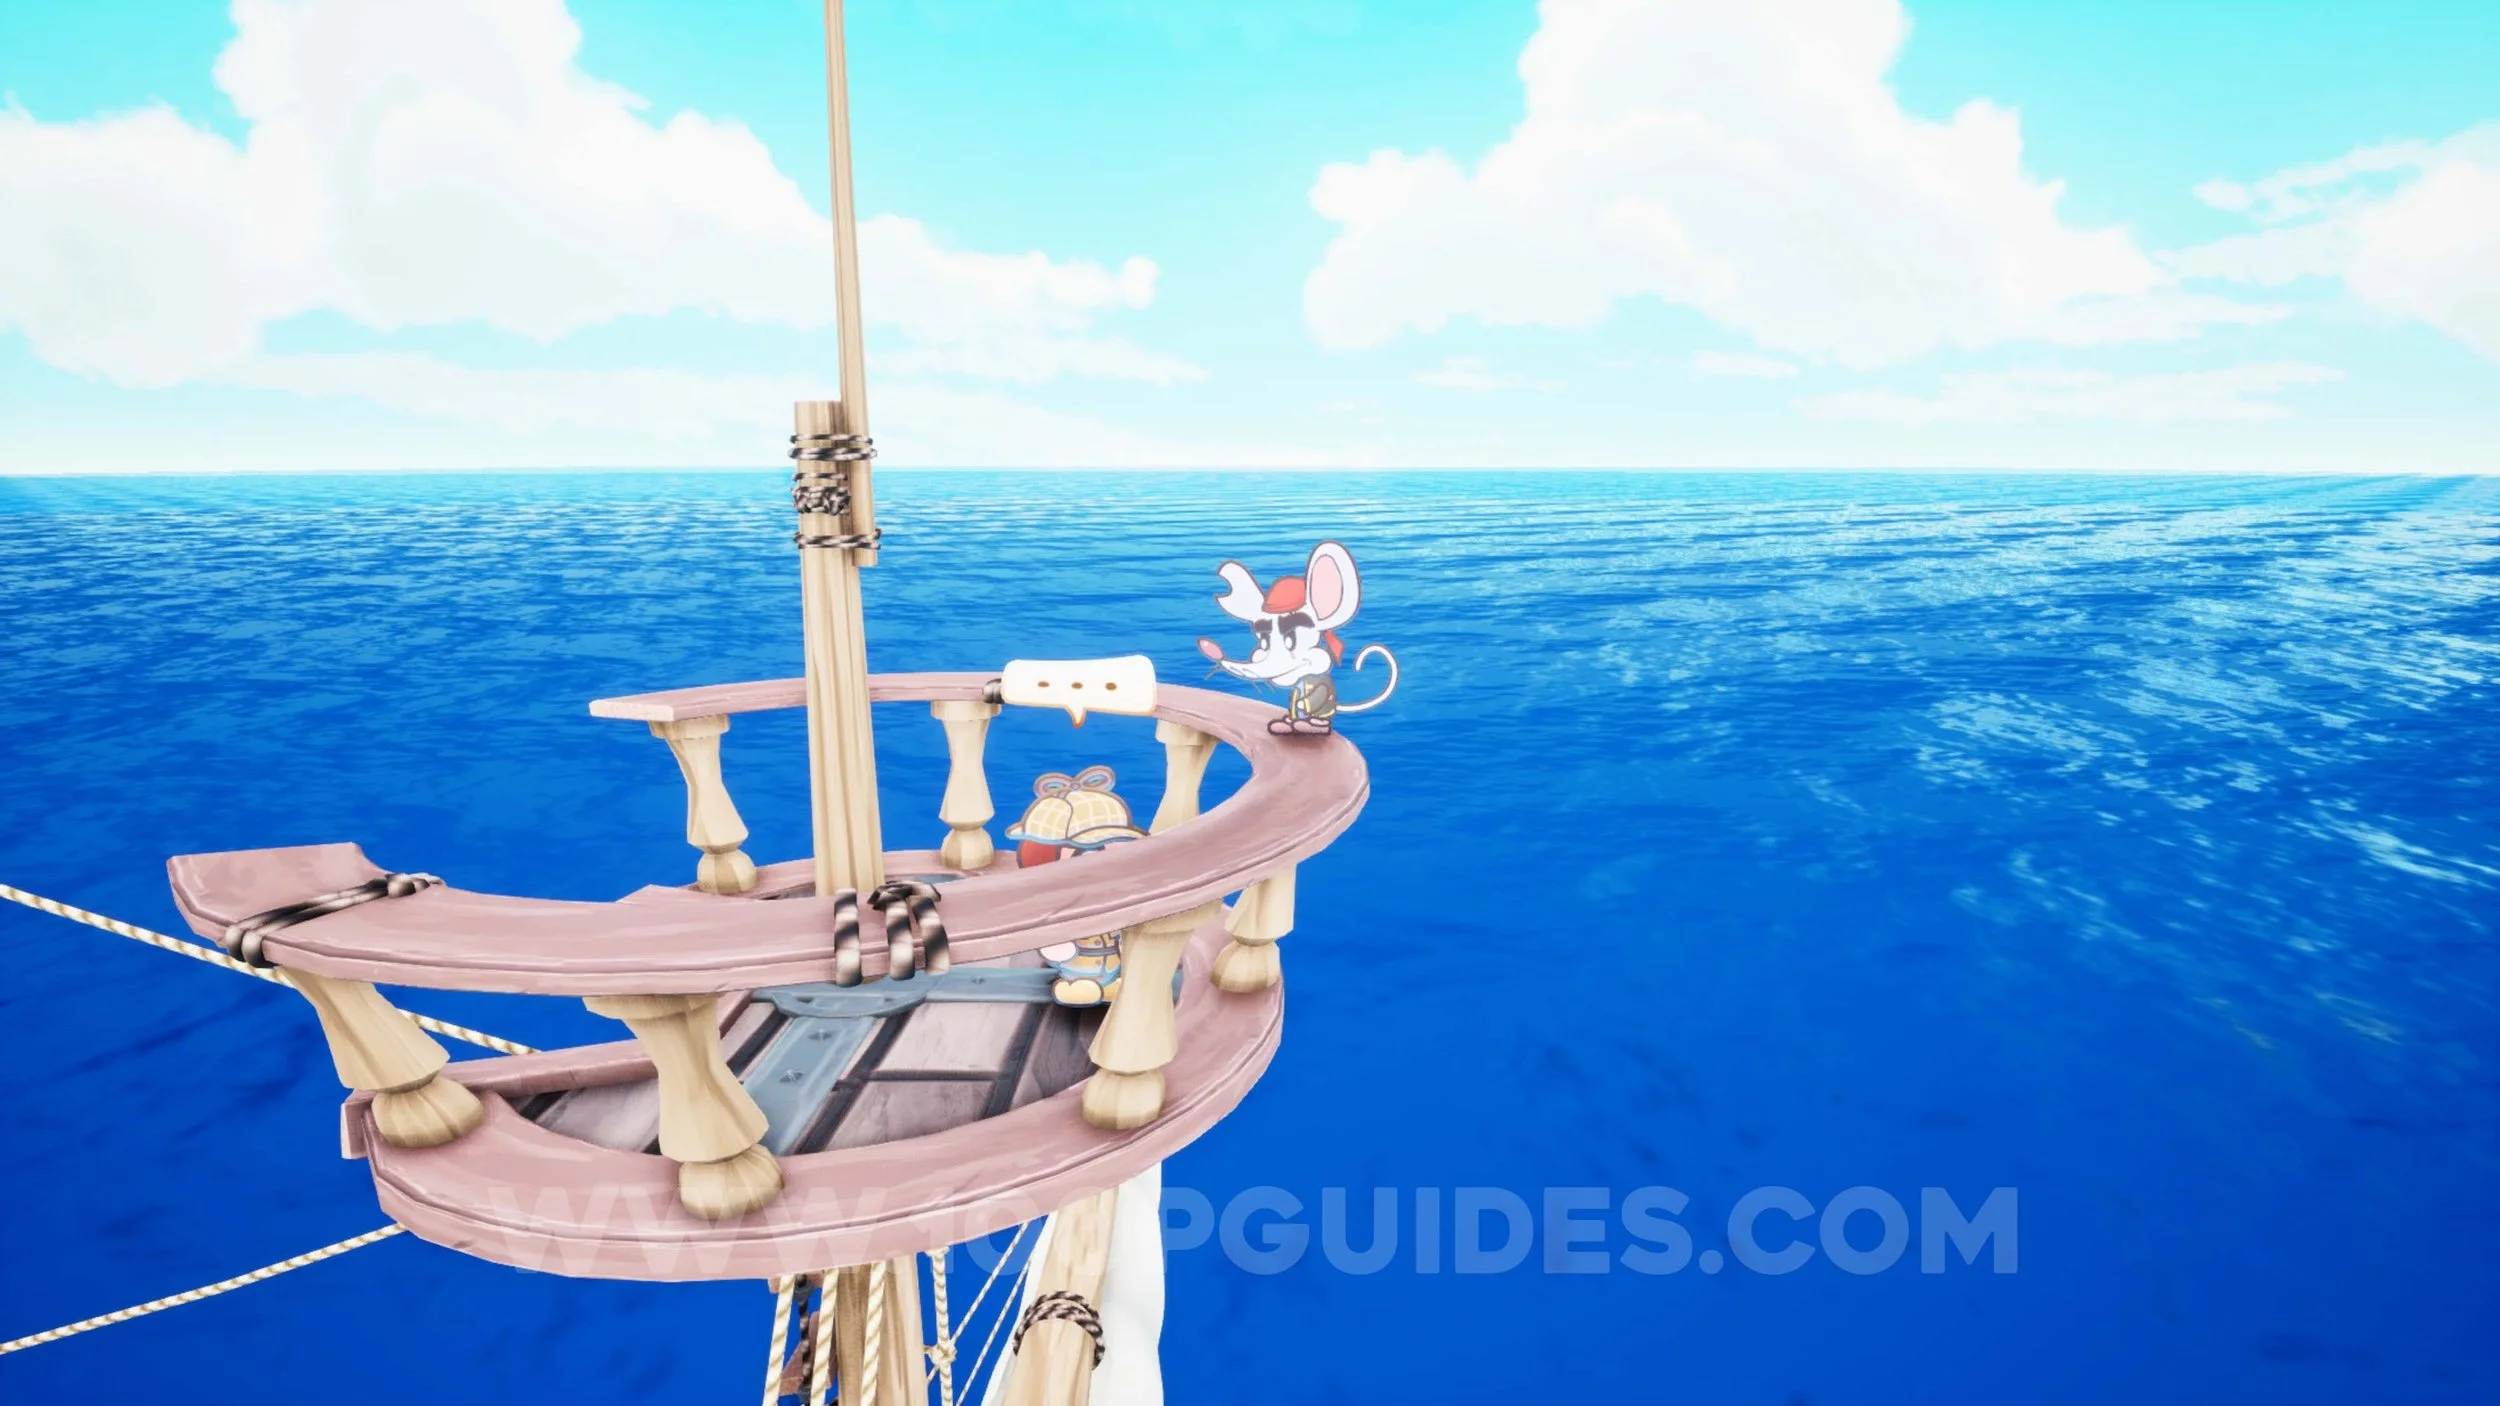
Outfit #8 - Pirate Hat. Once you reach the ship, climb up the mast and talk to the mouse at the top.
Office Decor #13 - Captain’s Chair. On the ship, go down the stairs and into the captain’s room on the right. You can find the decor by breaking the barrel on the right.

Sun Gem #41. Once you arrive at Port Cutslass, walk to the end of the wooden pier that you started on and destroy the barrel. Then grab the gem with your shield.
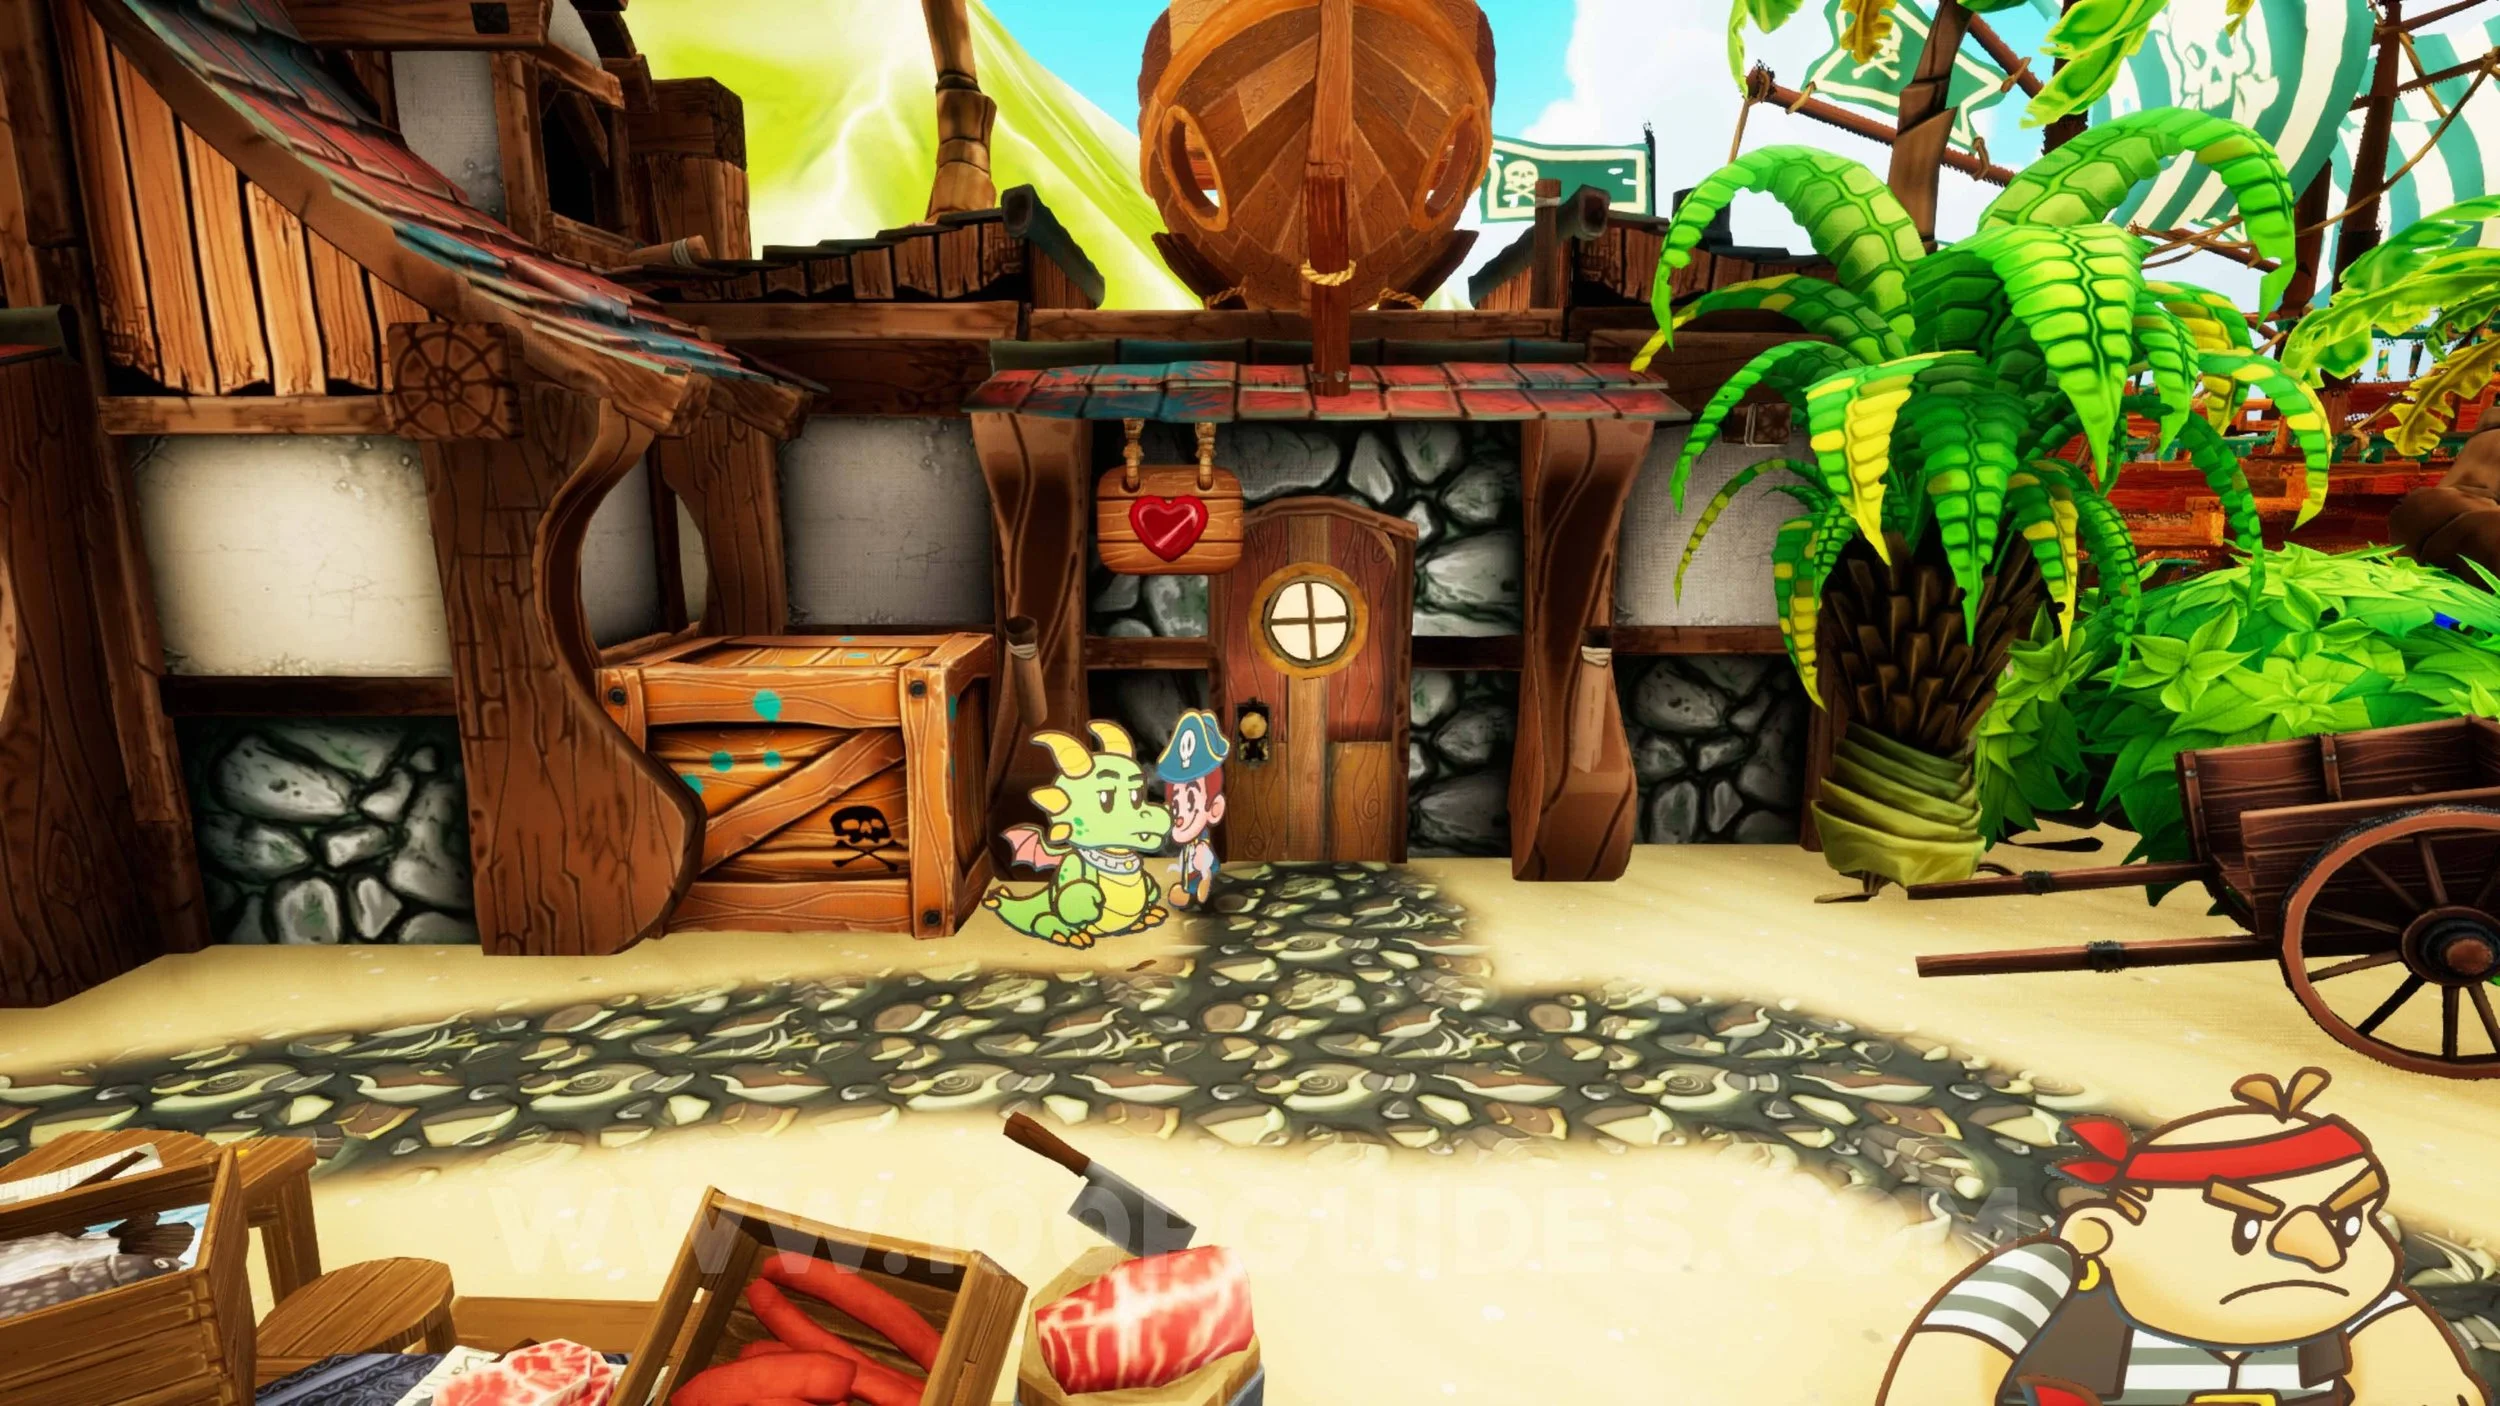
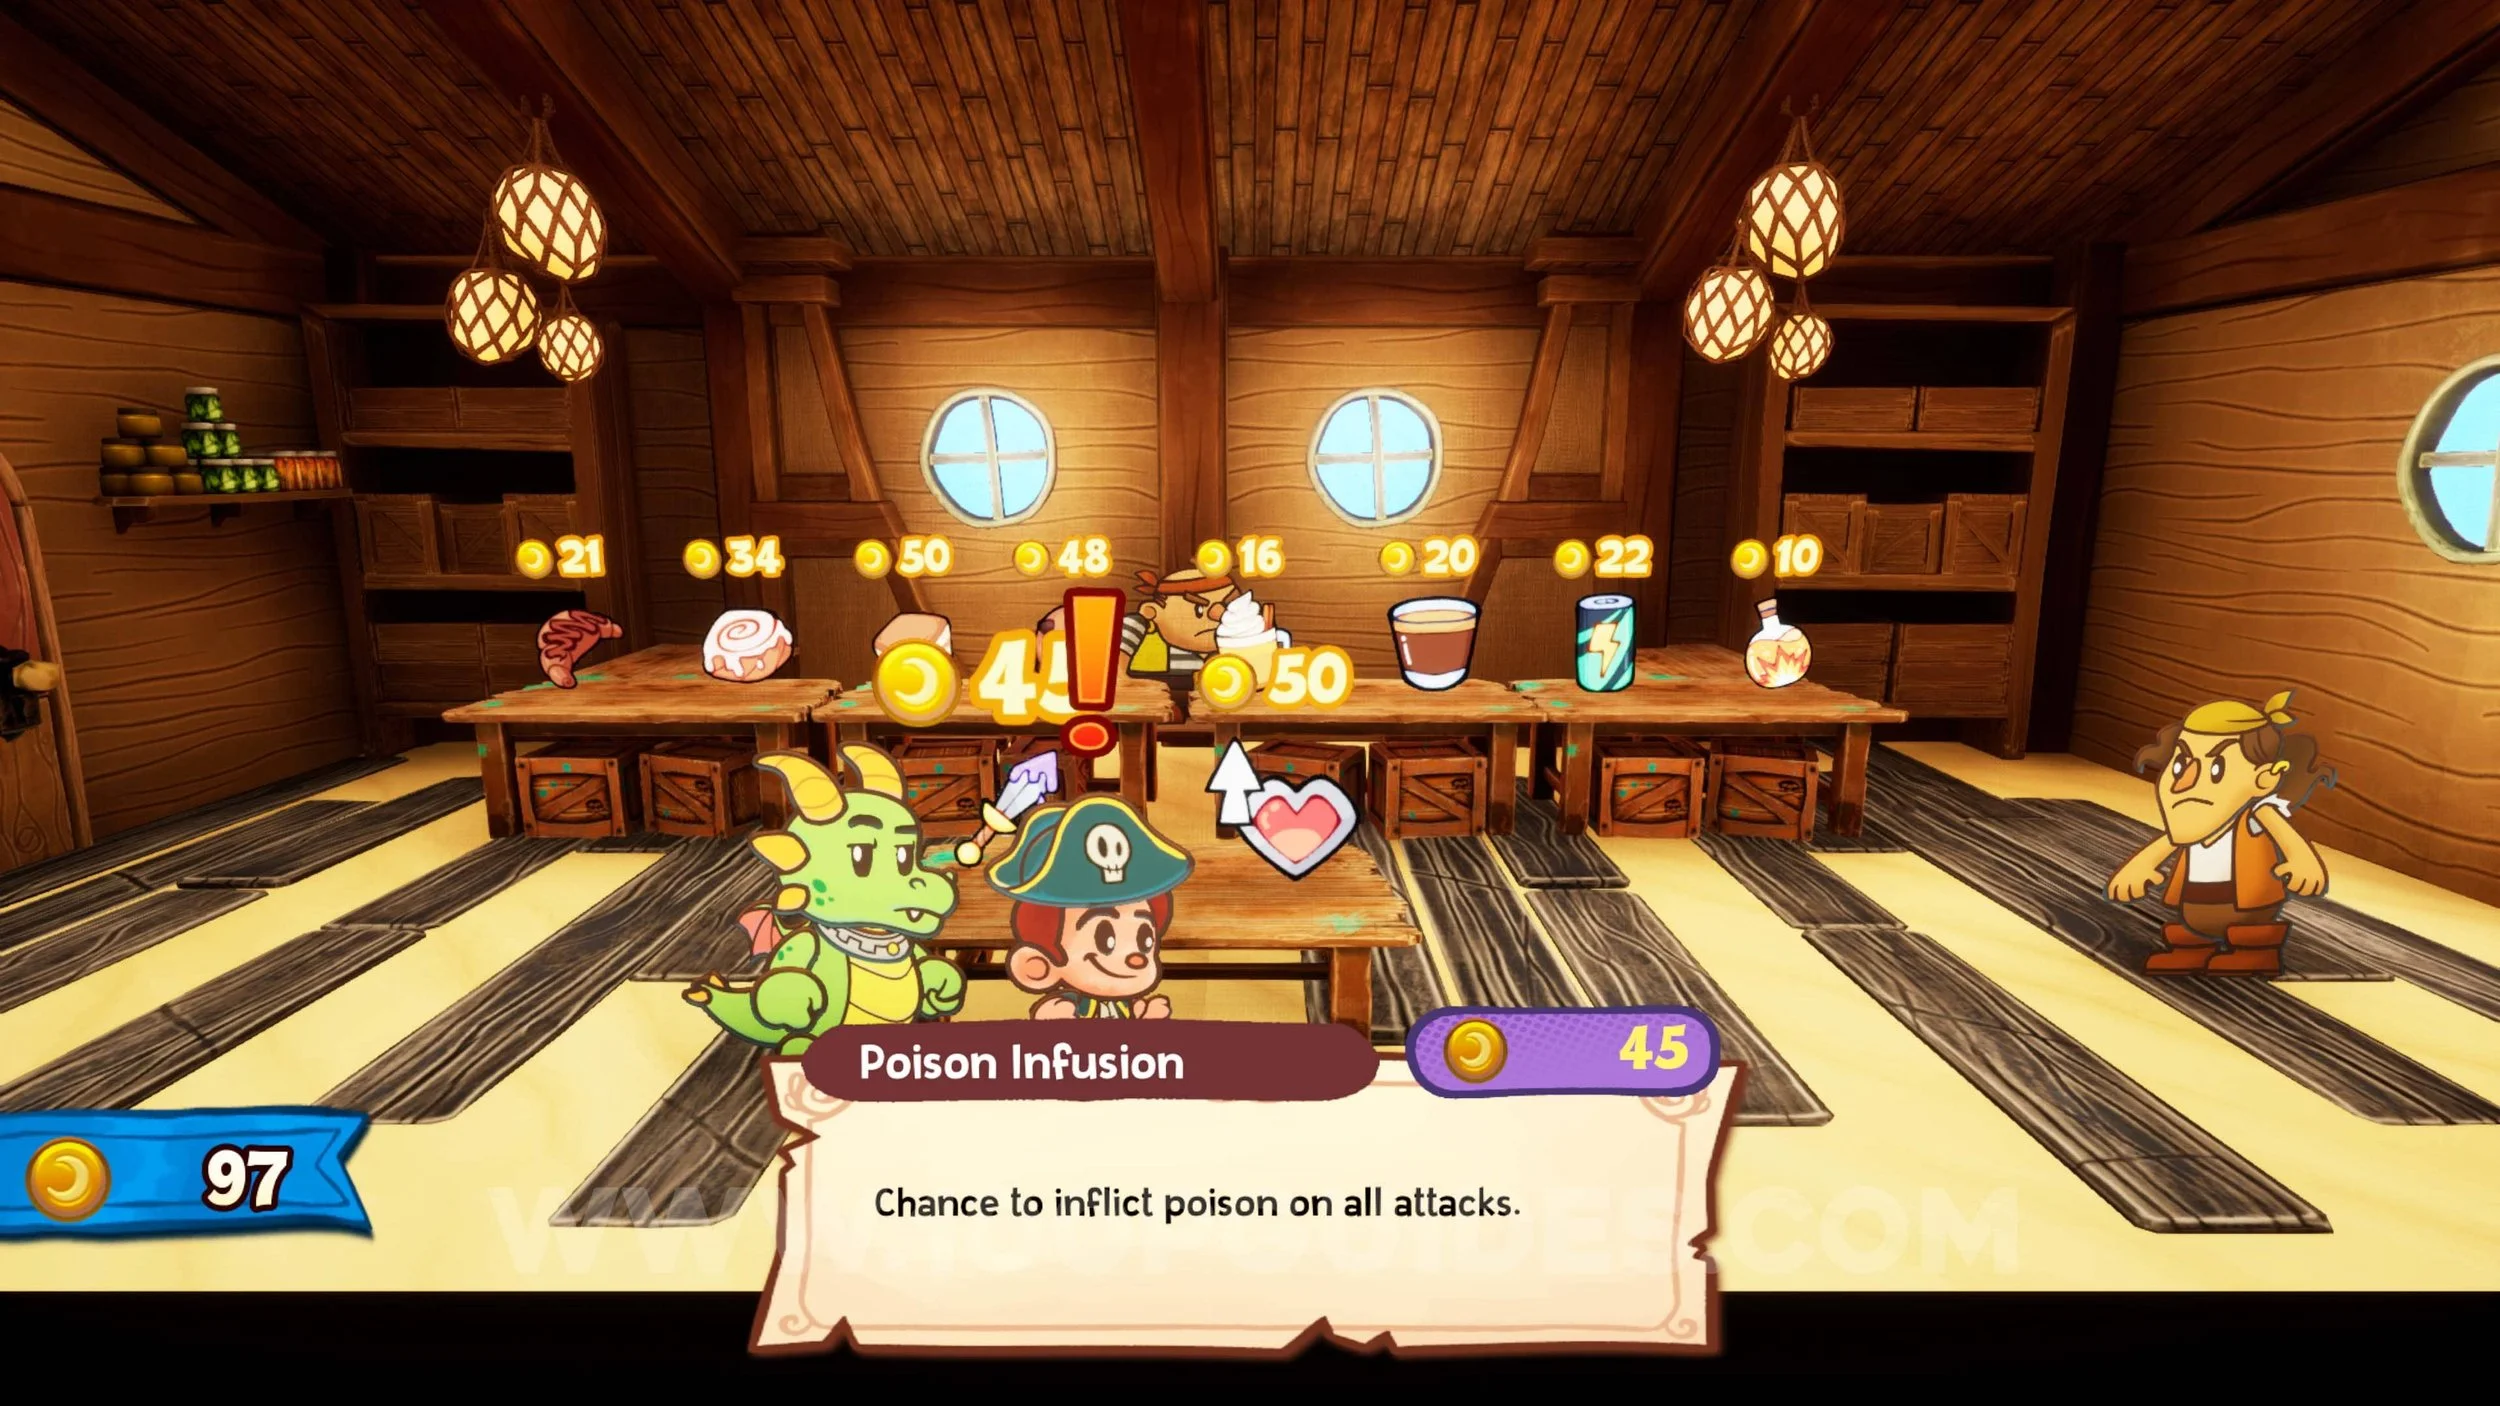
Trinket #33 - Poison Infusion. Can be purchased from the shop at Port Cutslass.
Trinket #34 - Health Boost. Can be purchased from the shop at Port Cutslass.
Sun Gem #42. Behind a cubicle in the Ever After Inc. building in Port Cutlass.

Ink Bottle #18. If you talked to the bull in the Office area at HQ after getting Sun Gem #5, he will take away the gem and ask for a new hard drive. After that, talk to the 2 NPCs playing cards to the left in Port Custlass to get the Loaded Dice. Then return to the server room in HQ and talk to the NPC blocking the path between the servers. After automatically winning at dice, climb on top of the servers to find the ink bottle in the chest. Also, pick up the hard drive. You can give this to the bull to get back your sun gem (will not count as a new collectible) and get the piggy bank key item.

Sun Gem #43. Burn the middle banner on the right, on top of the servers.
Sun Gem #44. Under the wooden ramp to the right of the NPCs playing cards in Port Cutlass.
Sun Gem #45. Go up the wooden ramp above the previous collectible and jump to the wooden platforms above the door of the Ever After Inc. building. Then jump to the platform on the right and break the box.
Trinket #35 - Guard Expert. Once Patches joins the party, return to Port Cutlass and destroy the rock to the left of the NPCs playing card and enter the cave. Then jump across to the right to find the trinket in the chest.
Trinket #36 - Hail Mary. From the previous chest, drop down and turn into a seal. Then go behind the waterfall inside the cave and go right to find the trinket in one of the chests.

Ink Bottle #19. In the other chest on the right side of the cave.
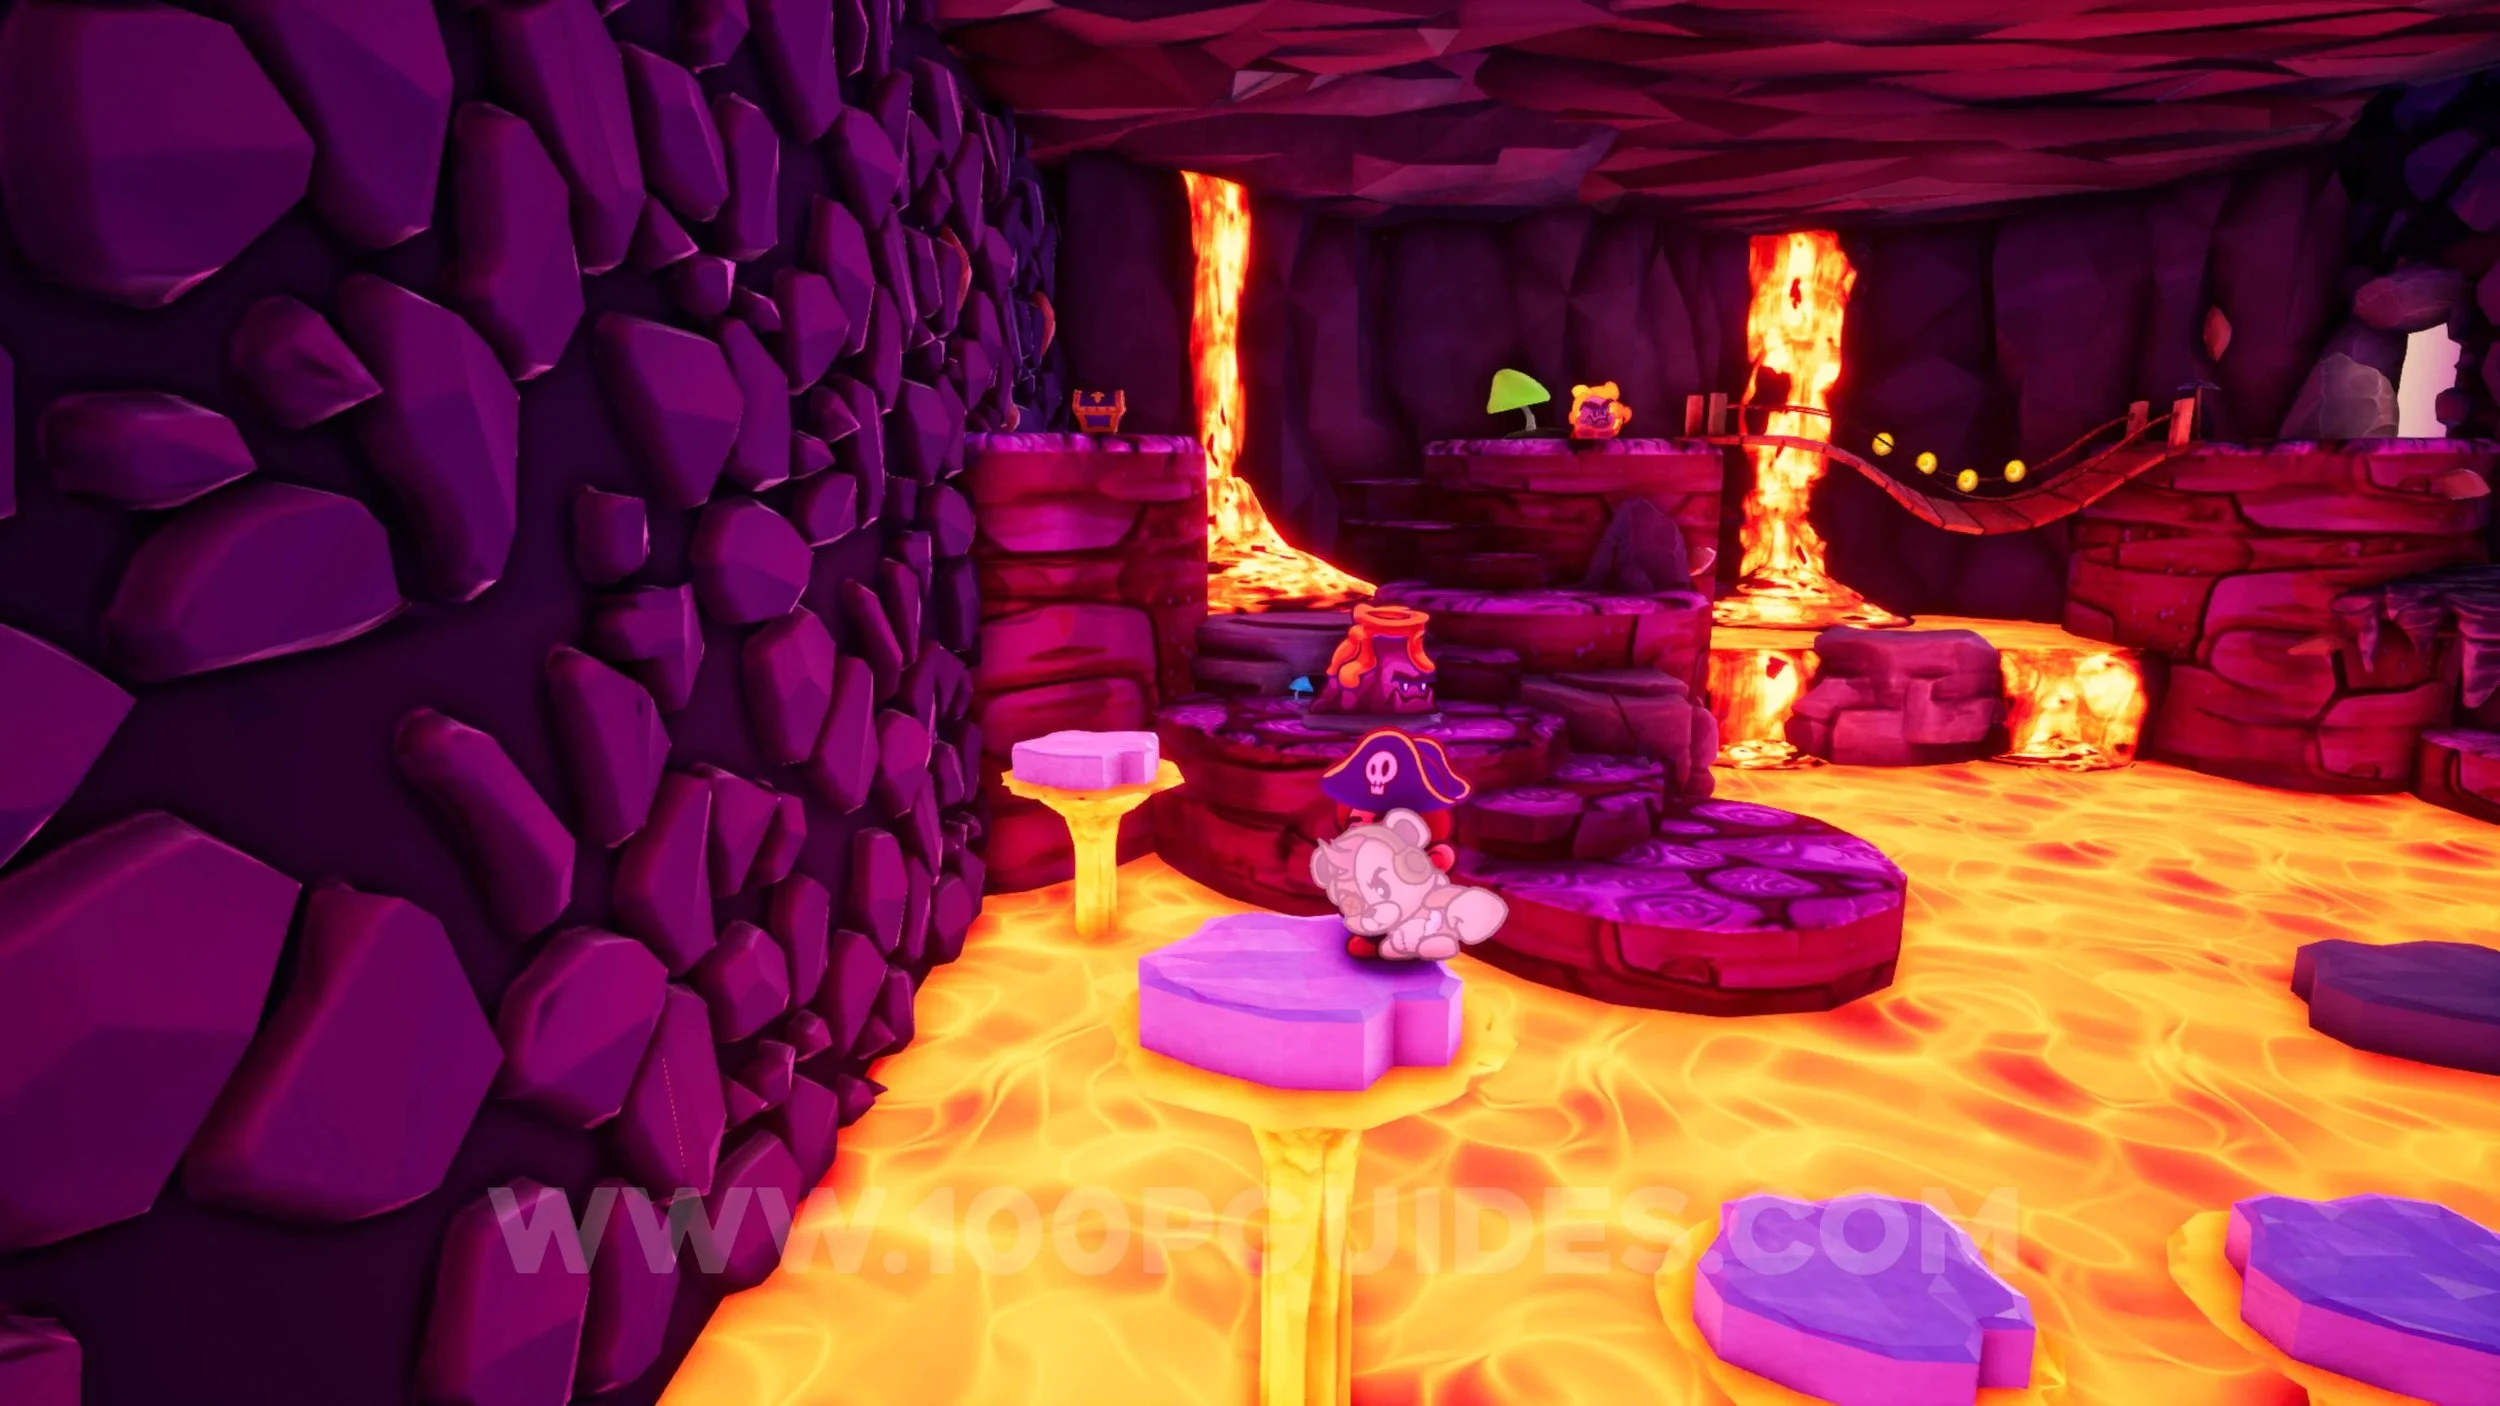
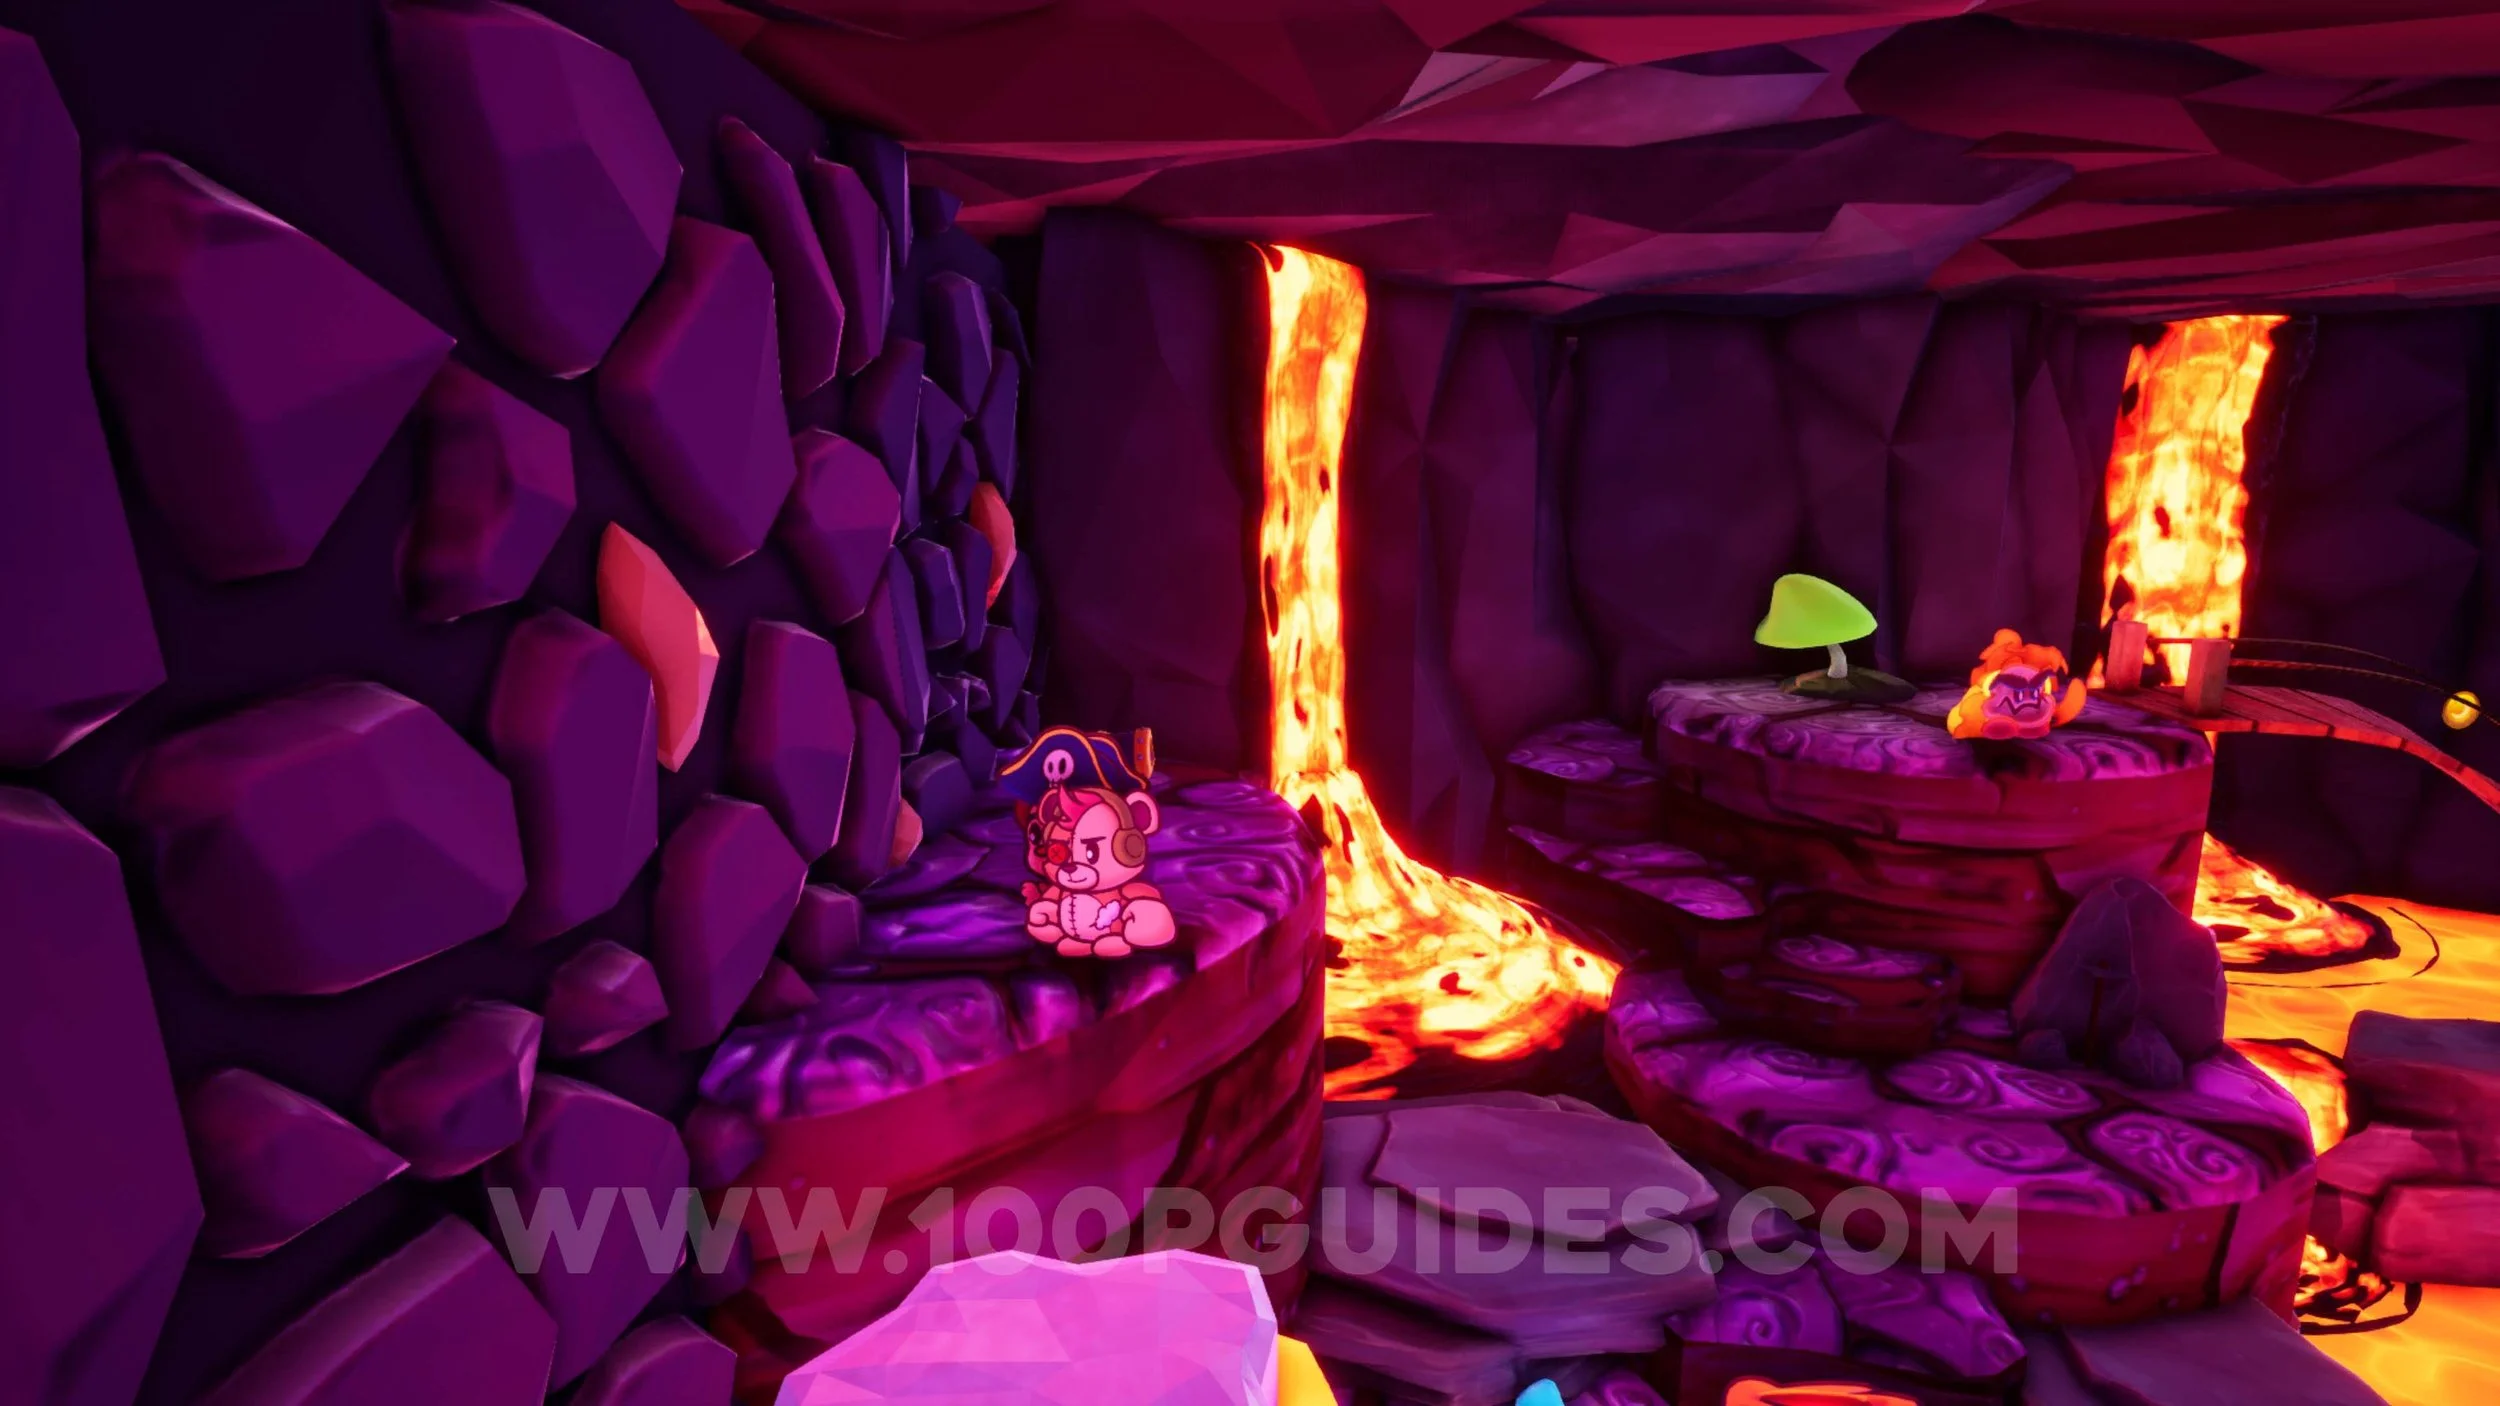
Sun Gem #46. Once you reach Molten Maw Isle, use the first load of blue and red blocks to climb the platforms. After jumping on a blue block with a red block on top of it, you can find the gem in the plants to the right.
Sun Gem #47. At the end of the first room inside Molten Maw Volcano.
Trinket #37 - Dragon Skin. From the room in the Volcano where the mouse is searching for the other two, proceed to the room on the left. Here, jump off the moving platform to reach the large platform near the camera. Here, jump to the first platform on lava and leave Patches charging an attack. Jump to the second one and release Patches’ attack to get to the third platform. Now leave Patches charging another attack here. Now make your way to the platform at the back near the volcano enemy and release Patches’ attack to get to the chest with the Trinket.
Sun Gem #48. In the same room as the previous collectible. Just before leaving through the door at the top, drop down to the platform below.
Sun Gem #49. Inside the cart in the room to the right of the area where the mouse is searching for the other two.
Sun Gem #50. In Treasure Cove, in the area where you have to play Blackheart’s Melody to open the cave.
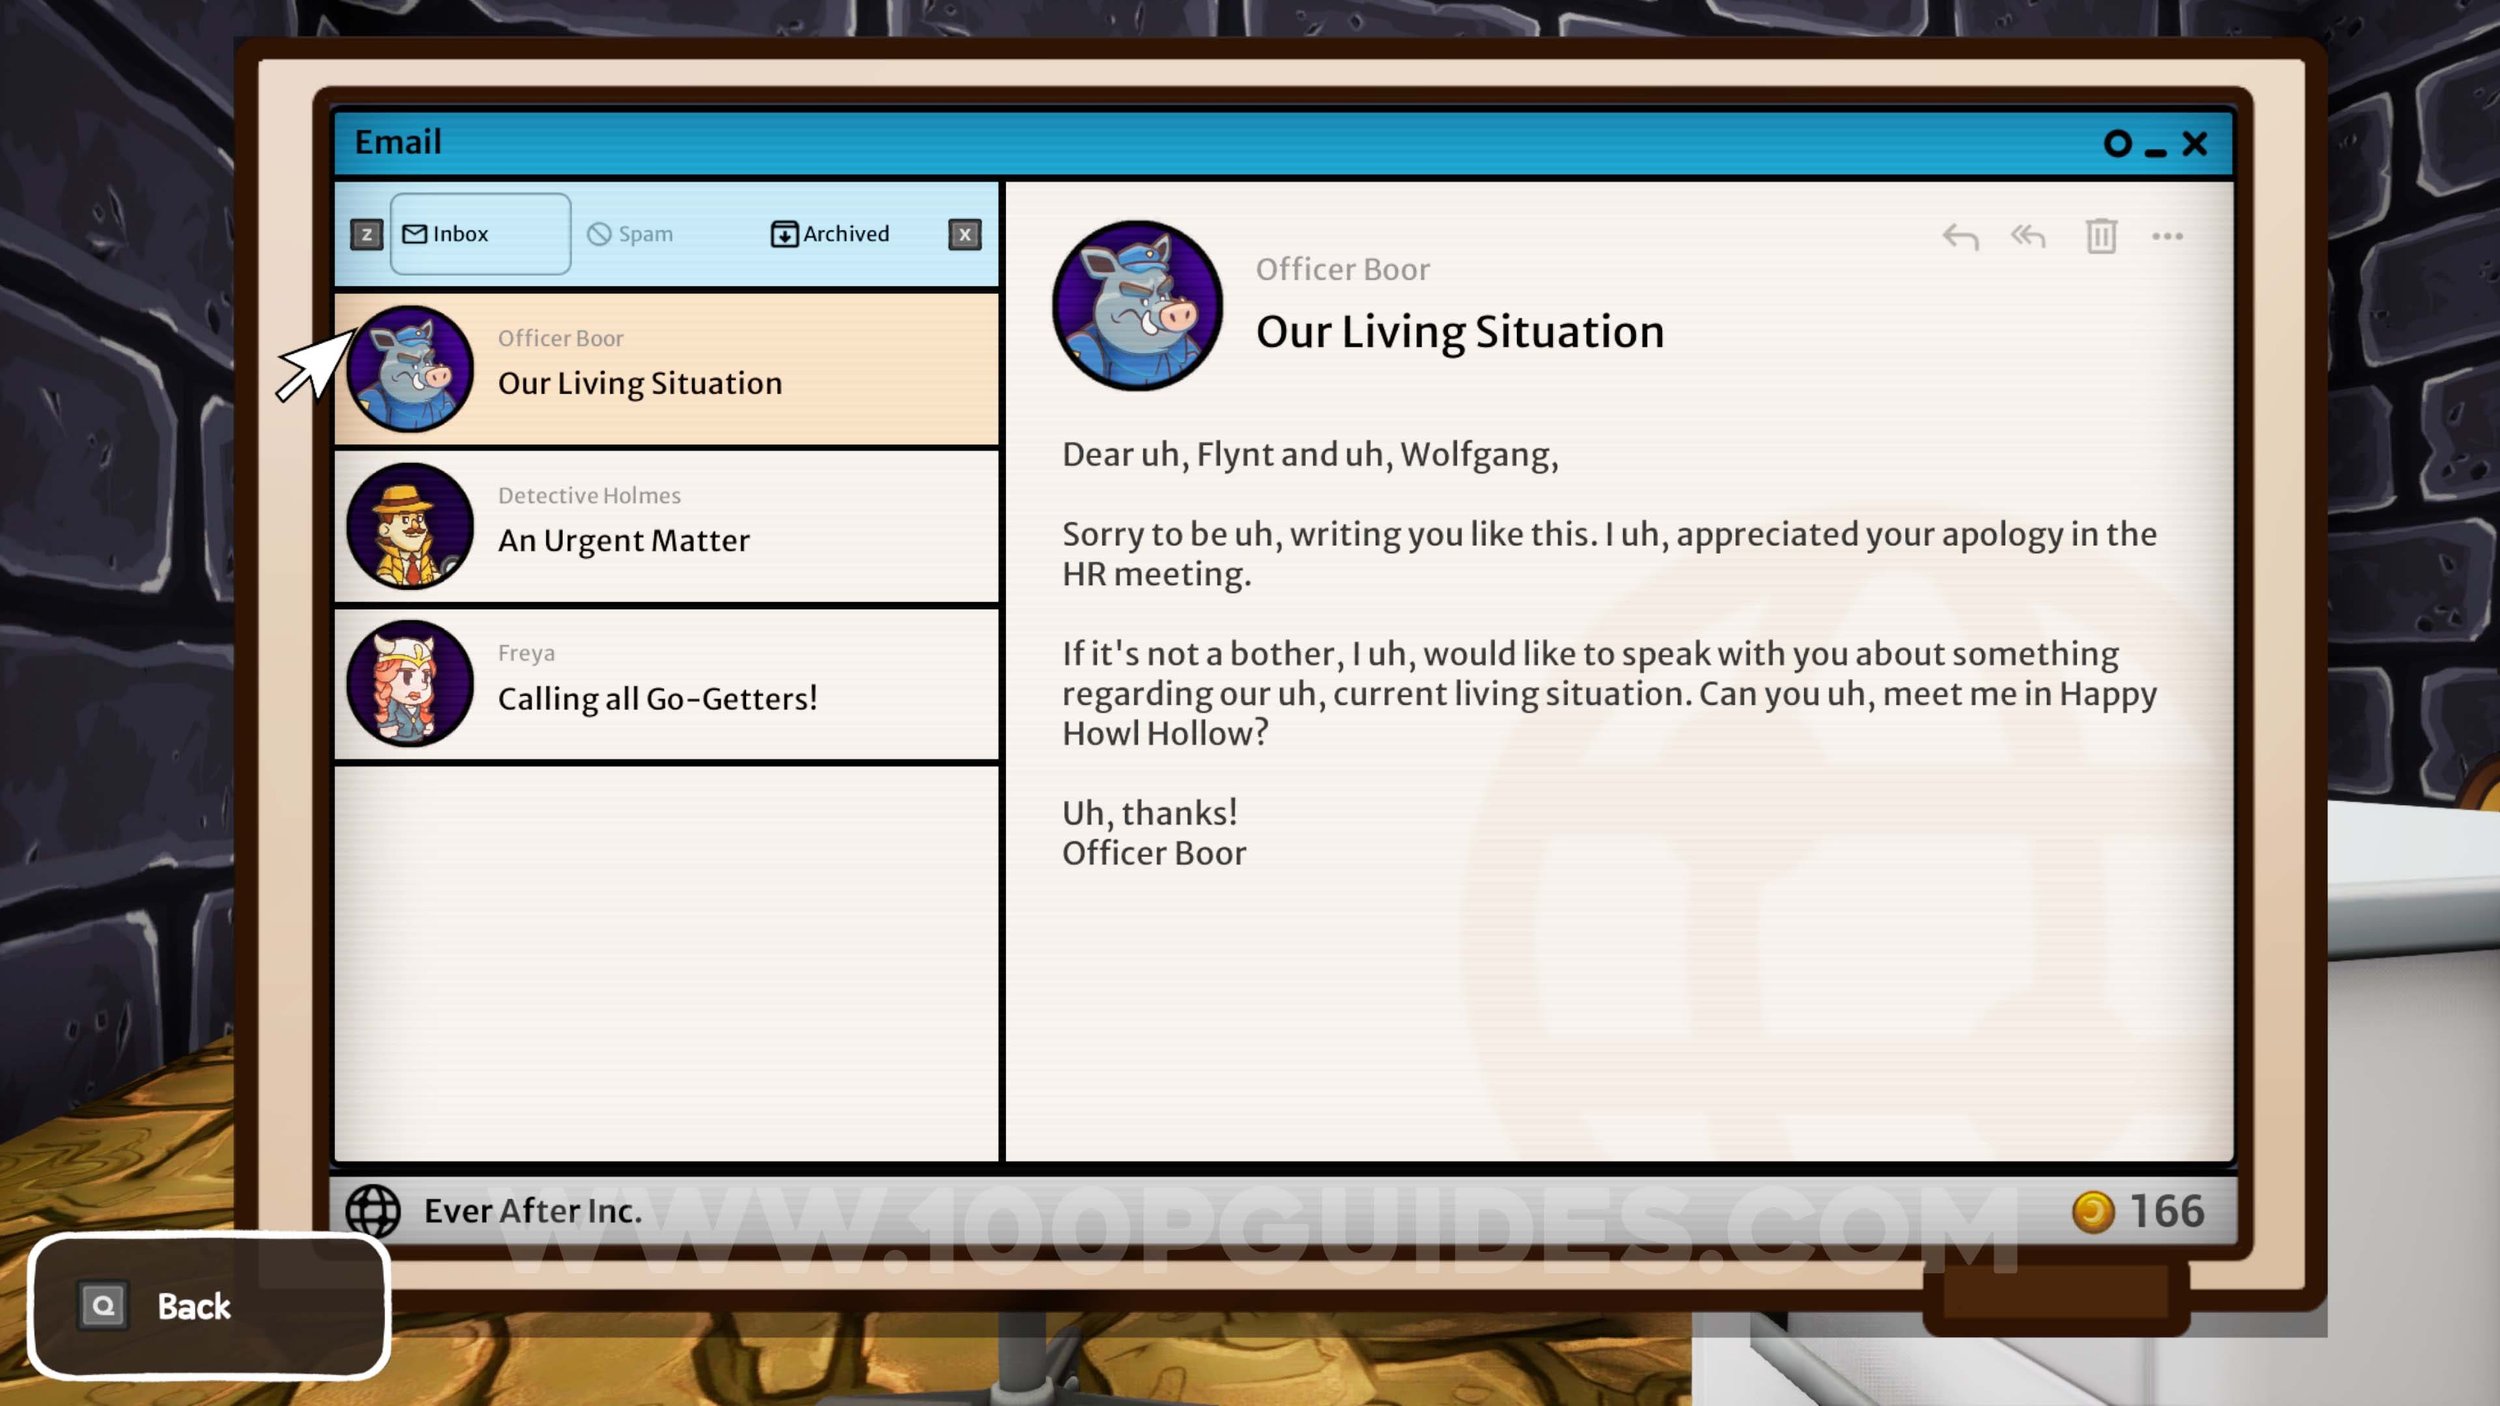
Sun Gem #51. After defeating Silver Beard and returning to HQ, read the new email from the PC in your office and then talk to the Wolf in HR and apologise to the pigs.
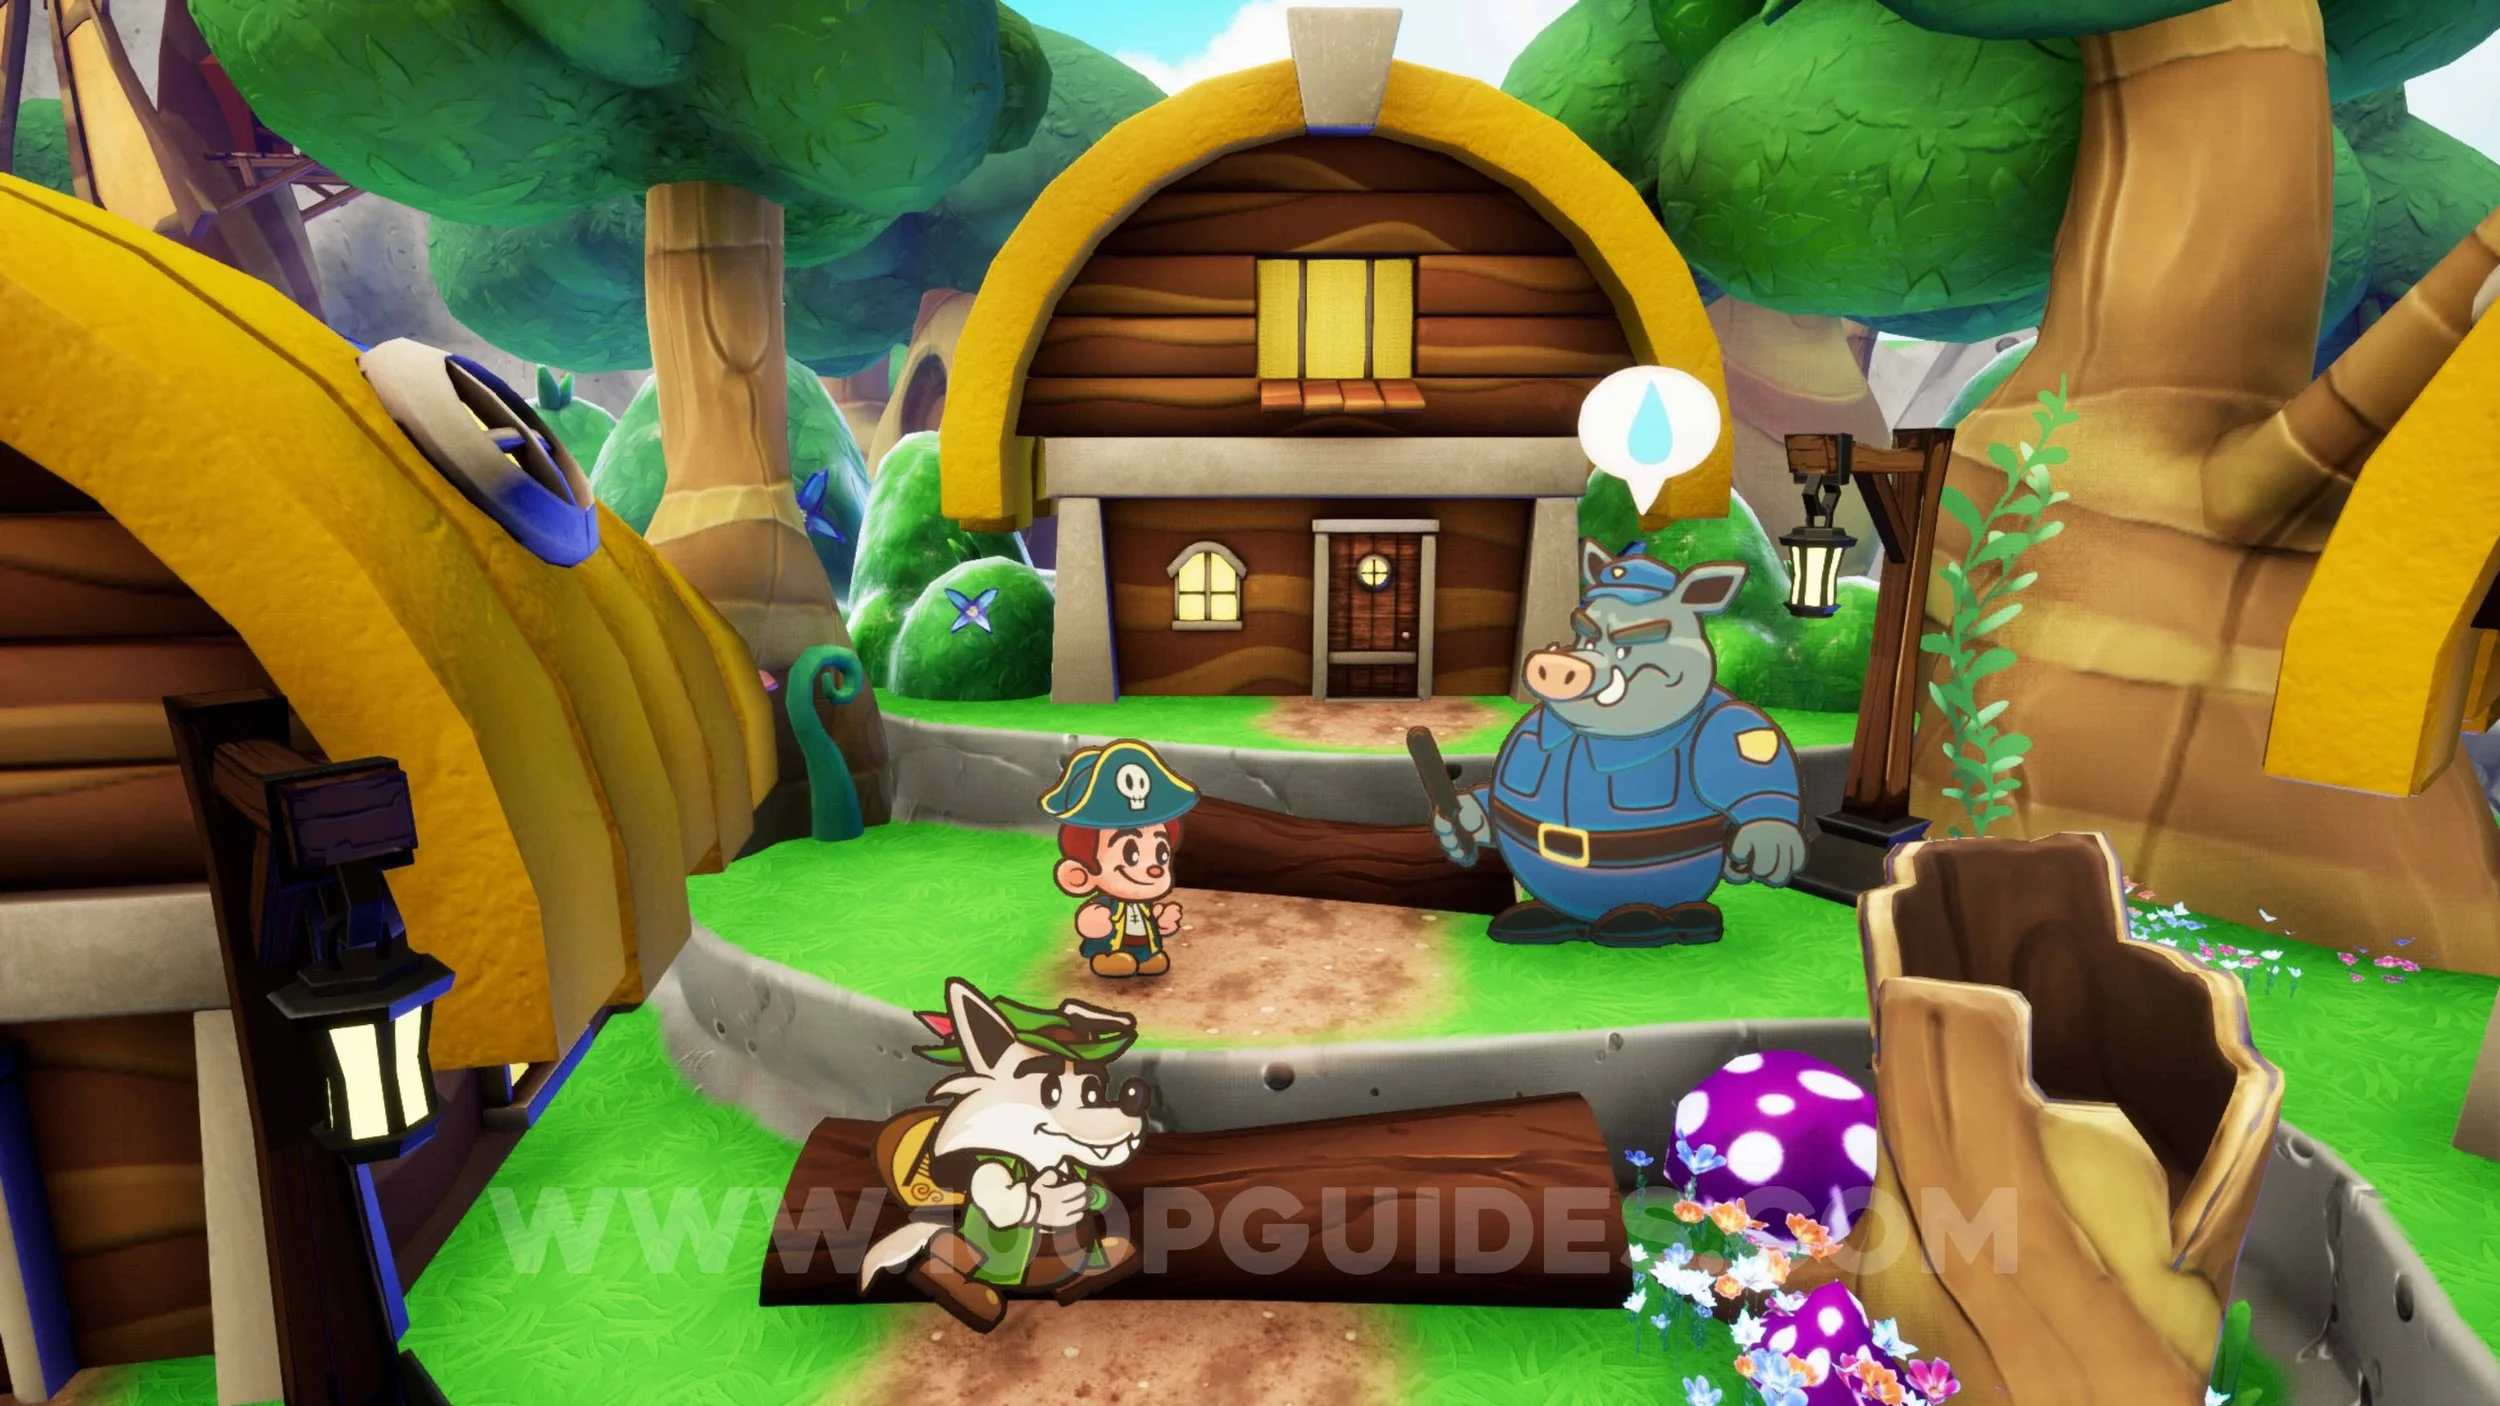
Office Decor #14 - Big Bad Wolf Poster. After apologising to the pigs in HR, you will get another email asking to meet one of the pigs in Hollow Howl. Go there and agree to let the pigs stay in Wolfgang’s house to get the decor and 200 gold.
Sun Gem #52. In the vase to the right in Wolfgang’s house, after letting the pigs stay there.
Trinket #38 - Attack Boost. Give the piggy bank that you got from giving the HDD to the NPC in the office at HQ to the pig on the left in Wolfgang’s house to finish the trading sequence and get the trinket.
Ink Bottle #20 & Ember Stone #1. After defeating Silver Beard and returning to HQ, go to the courtyard and transform into a Seal and enter the hole in the water to the right. Inside, use Patches to destroy the rocks and then throw your buckler through the flame and burn the banner. Then go into the next room and use the red and blue blocks to get to the chests containing the collectibles at the end.
Ink Bottle #21 & Trinket #39 - Hail Mary. Go to the accountant area in HQ (the room before the server room) and destroy the cracked wall next to the save point with Patches.
Ink Bottle #22. Go through the door to the left of the courtyard to go back to the first dungeon in the game. Then go through the door at the bottom of the room, and in the next room, go through the door on the left. In the room with water, break the cracked wall on the right with Patches to find the Ink Bottle in the chest.
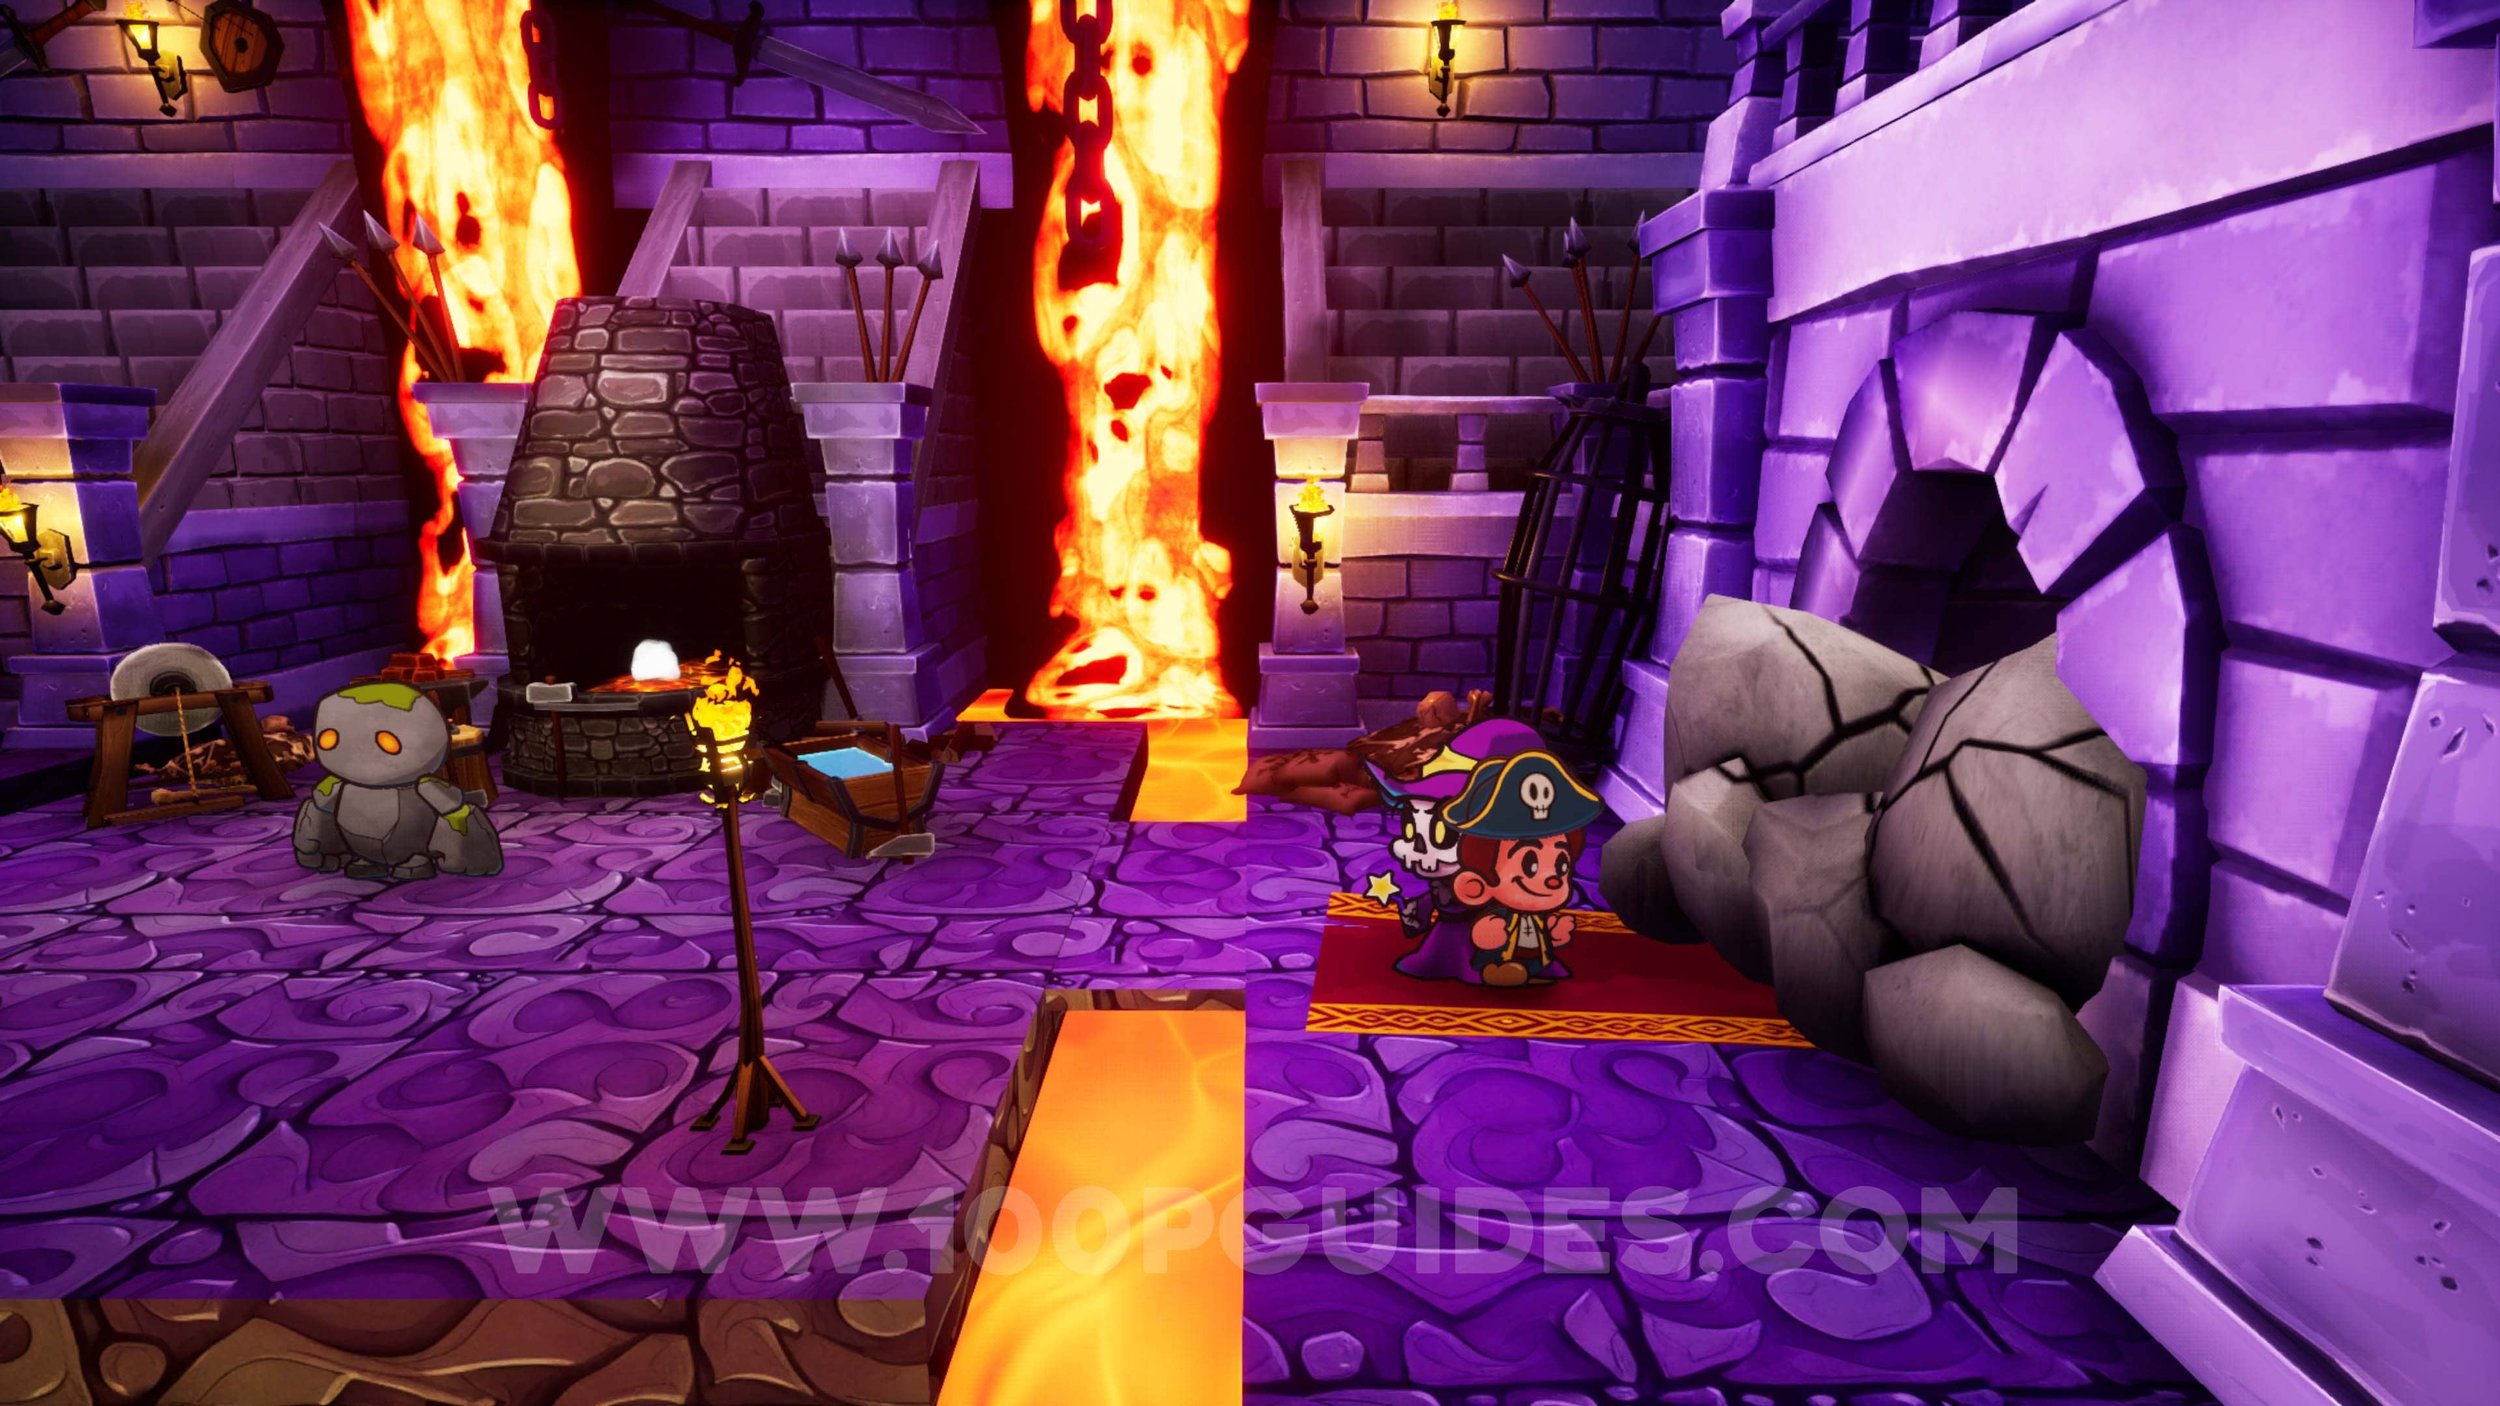
Sun Gem #53. In the first dungeon of the game, go to the room before the treasure vault where you fought the 3 mice for the first time (the one with a save point and vending machine in it). Here, go through the fireplace to the right and transform into a seal to get to the forge (you can use your Ember Stones here). In the forge, you will see the gem over the lava.
Inventory Upgrade #2. In the forge, use Patches to break the rock on the right and take the lift up to the server room, where you can find the upgrade.

Trinket #40 - Plushy Pummel. break the wooden floor boards with Patches in the cafeteria to get to the locked cell in the first dungeon.
Ink Bottle #23. In the room after destroying the cracked wall to get to the secret passage in the Forbidden Library with Patches (story-related path).
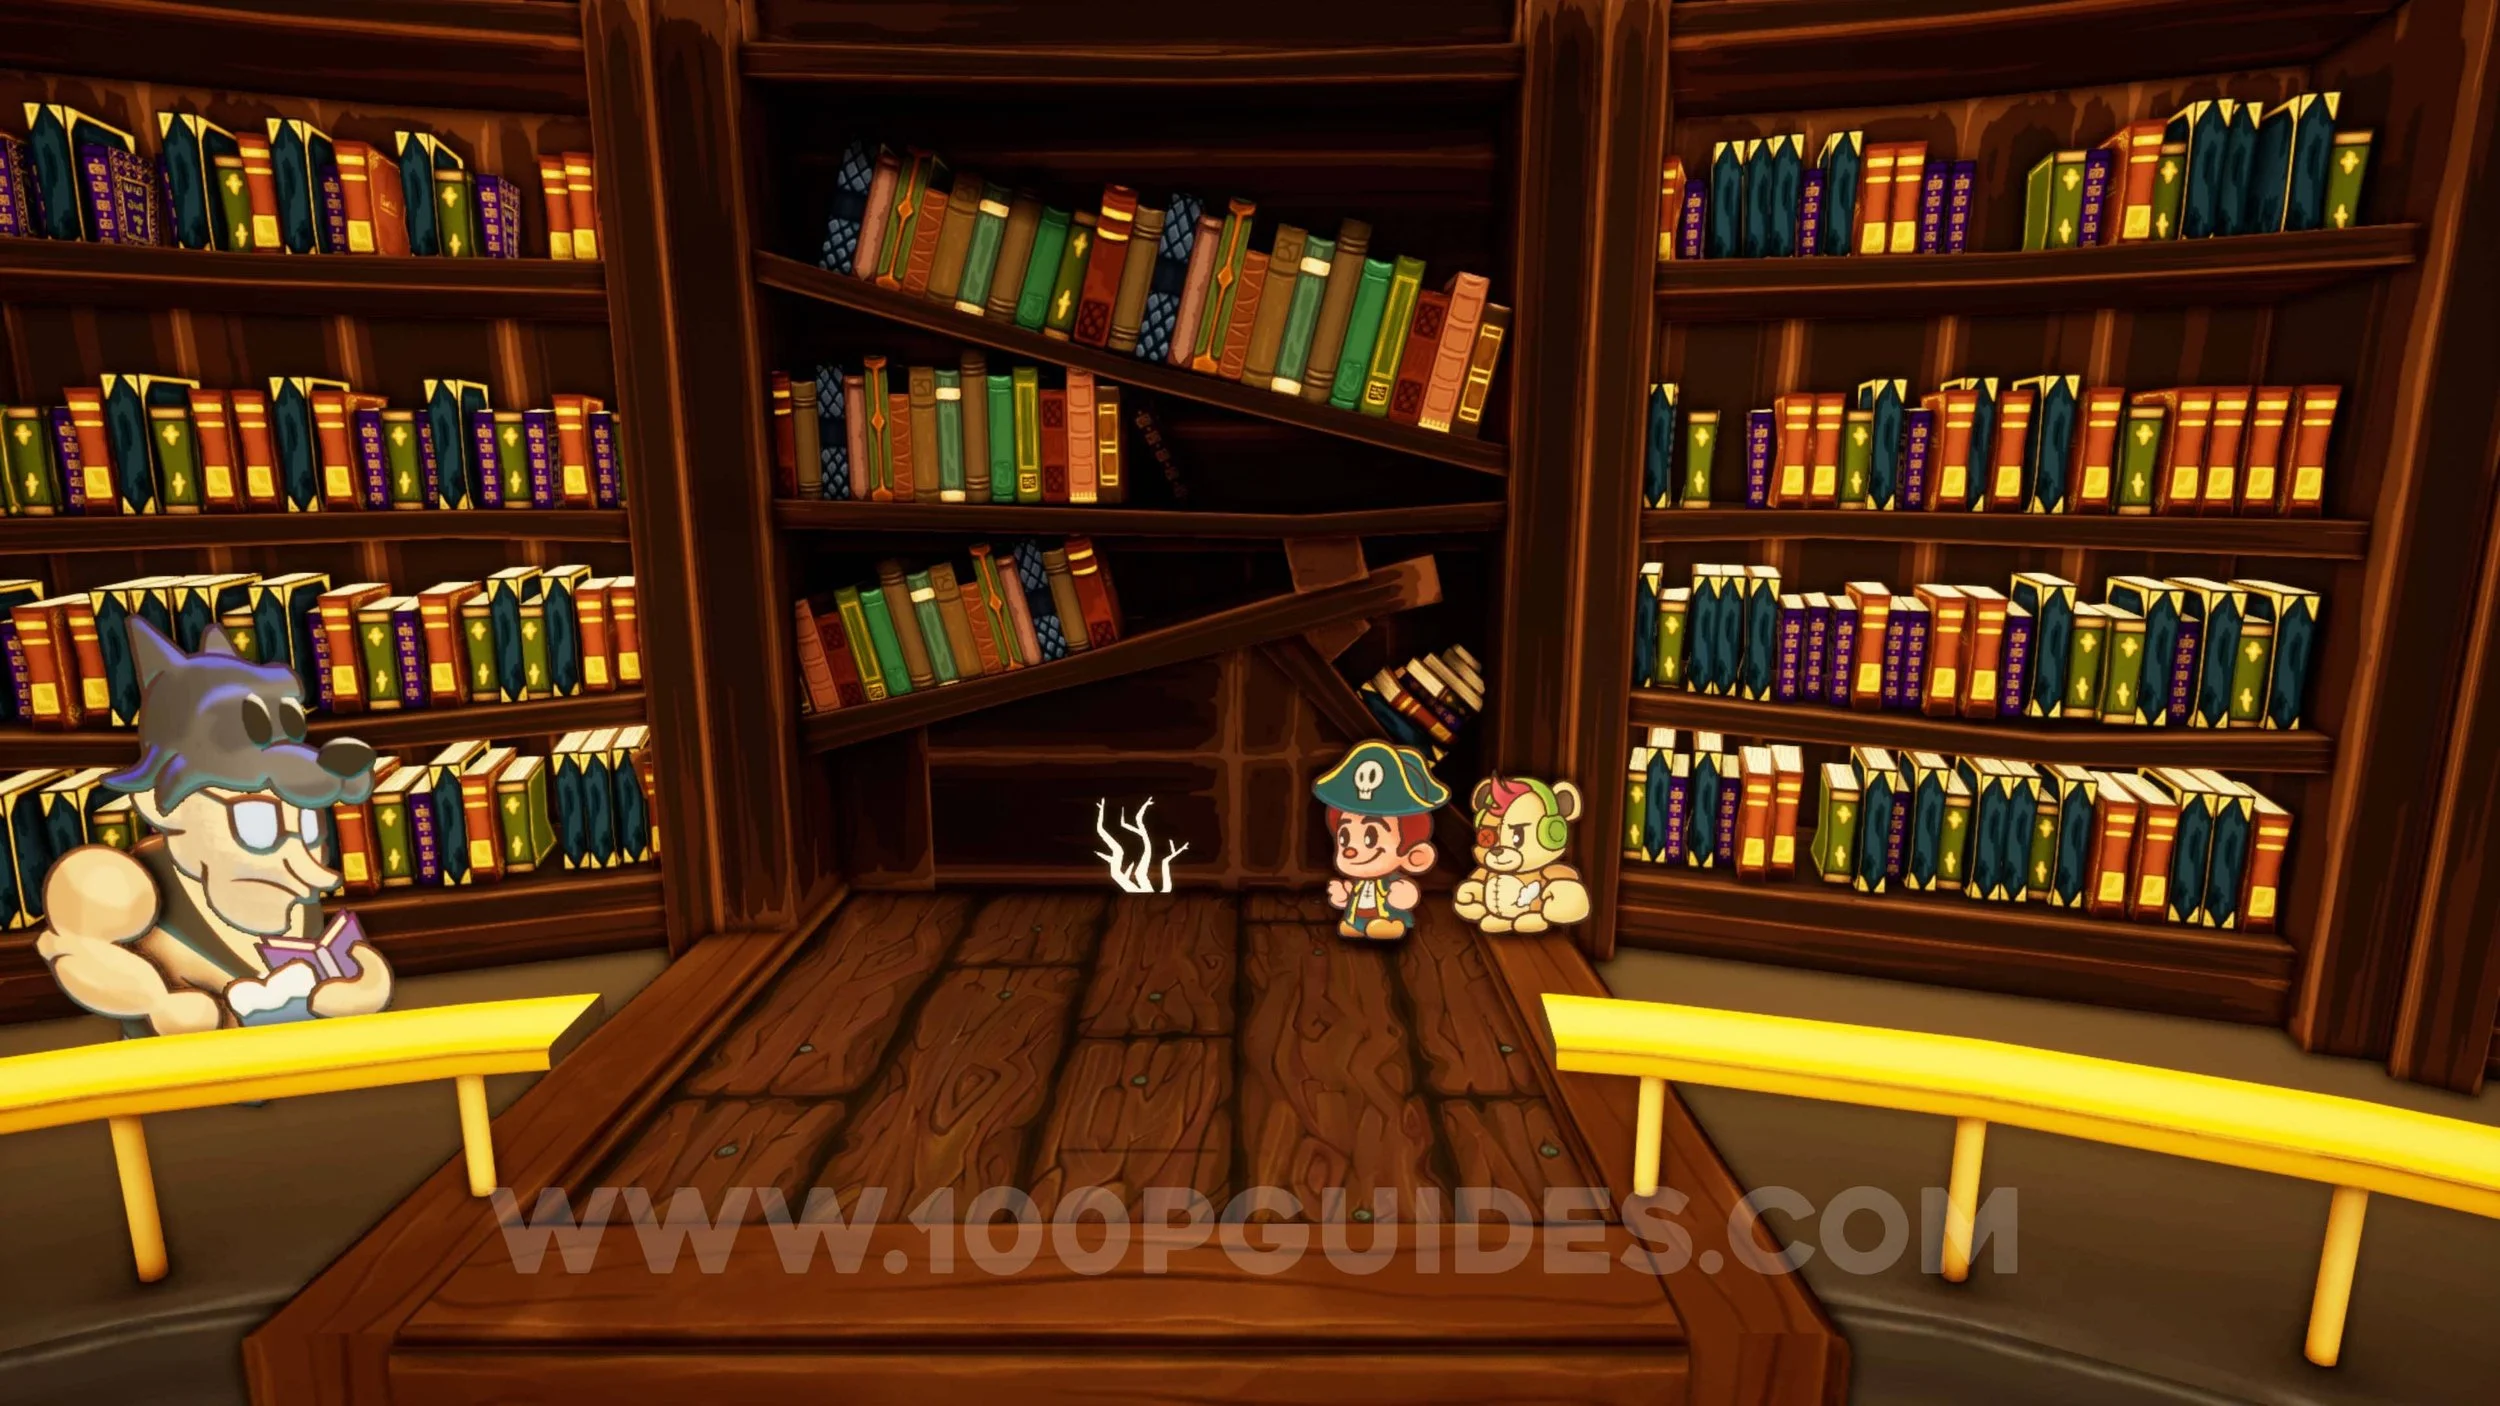
Sun Gem #54. Under the shelf next to the save point in the secret passage in the Forbidden Library.
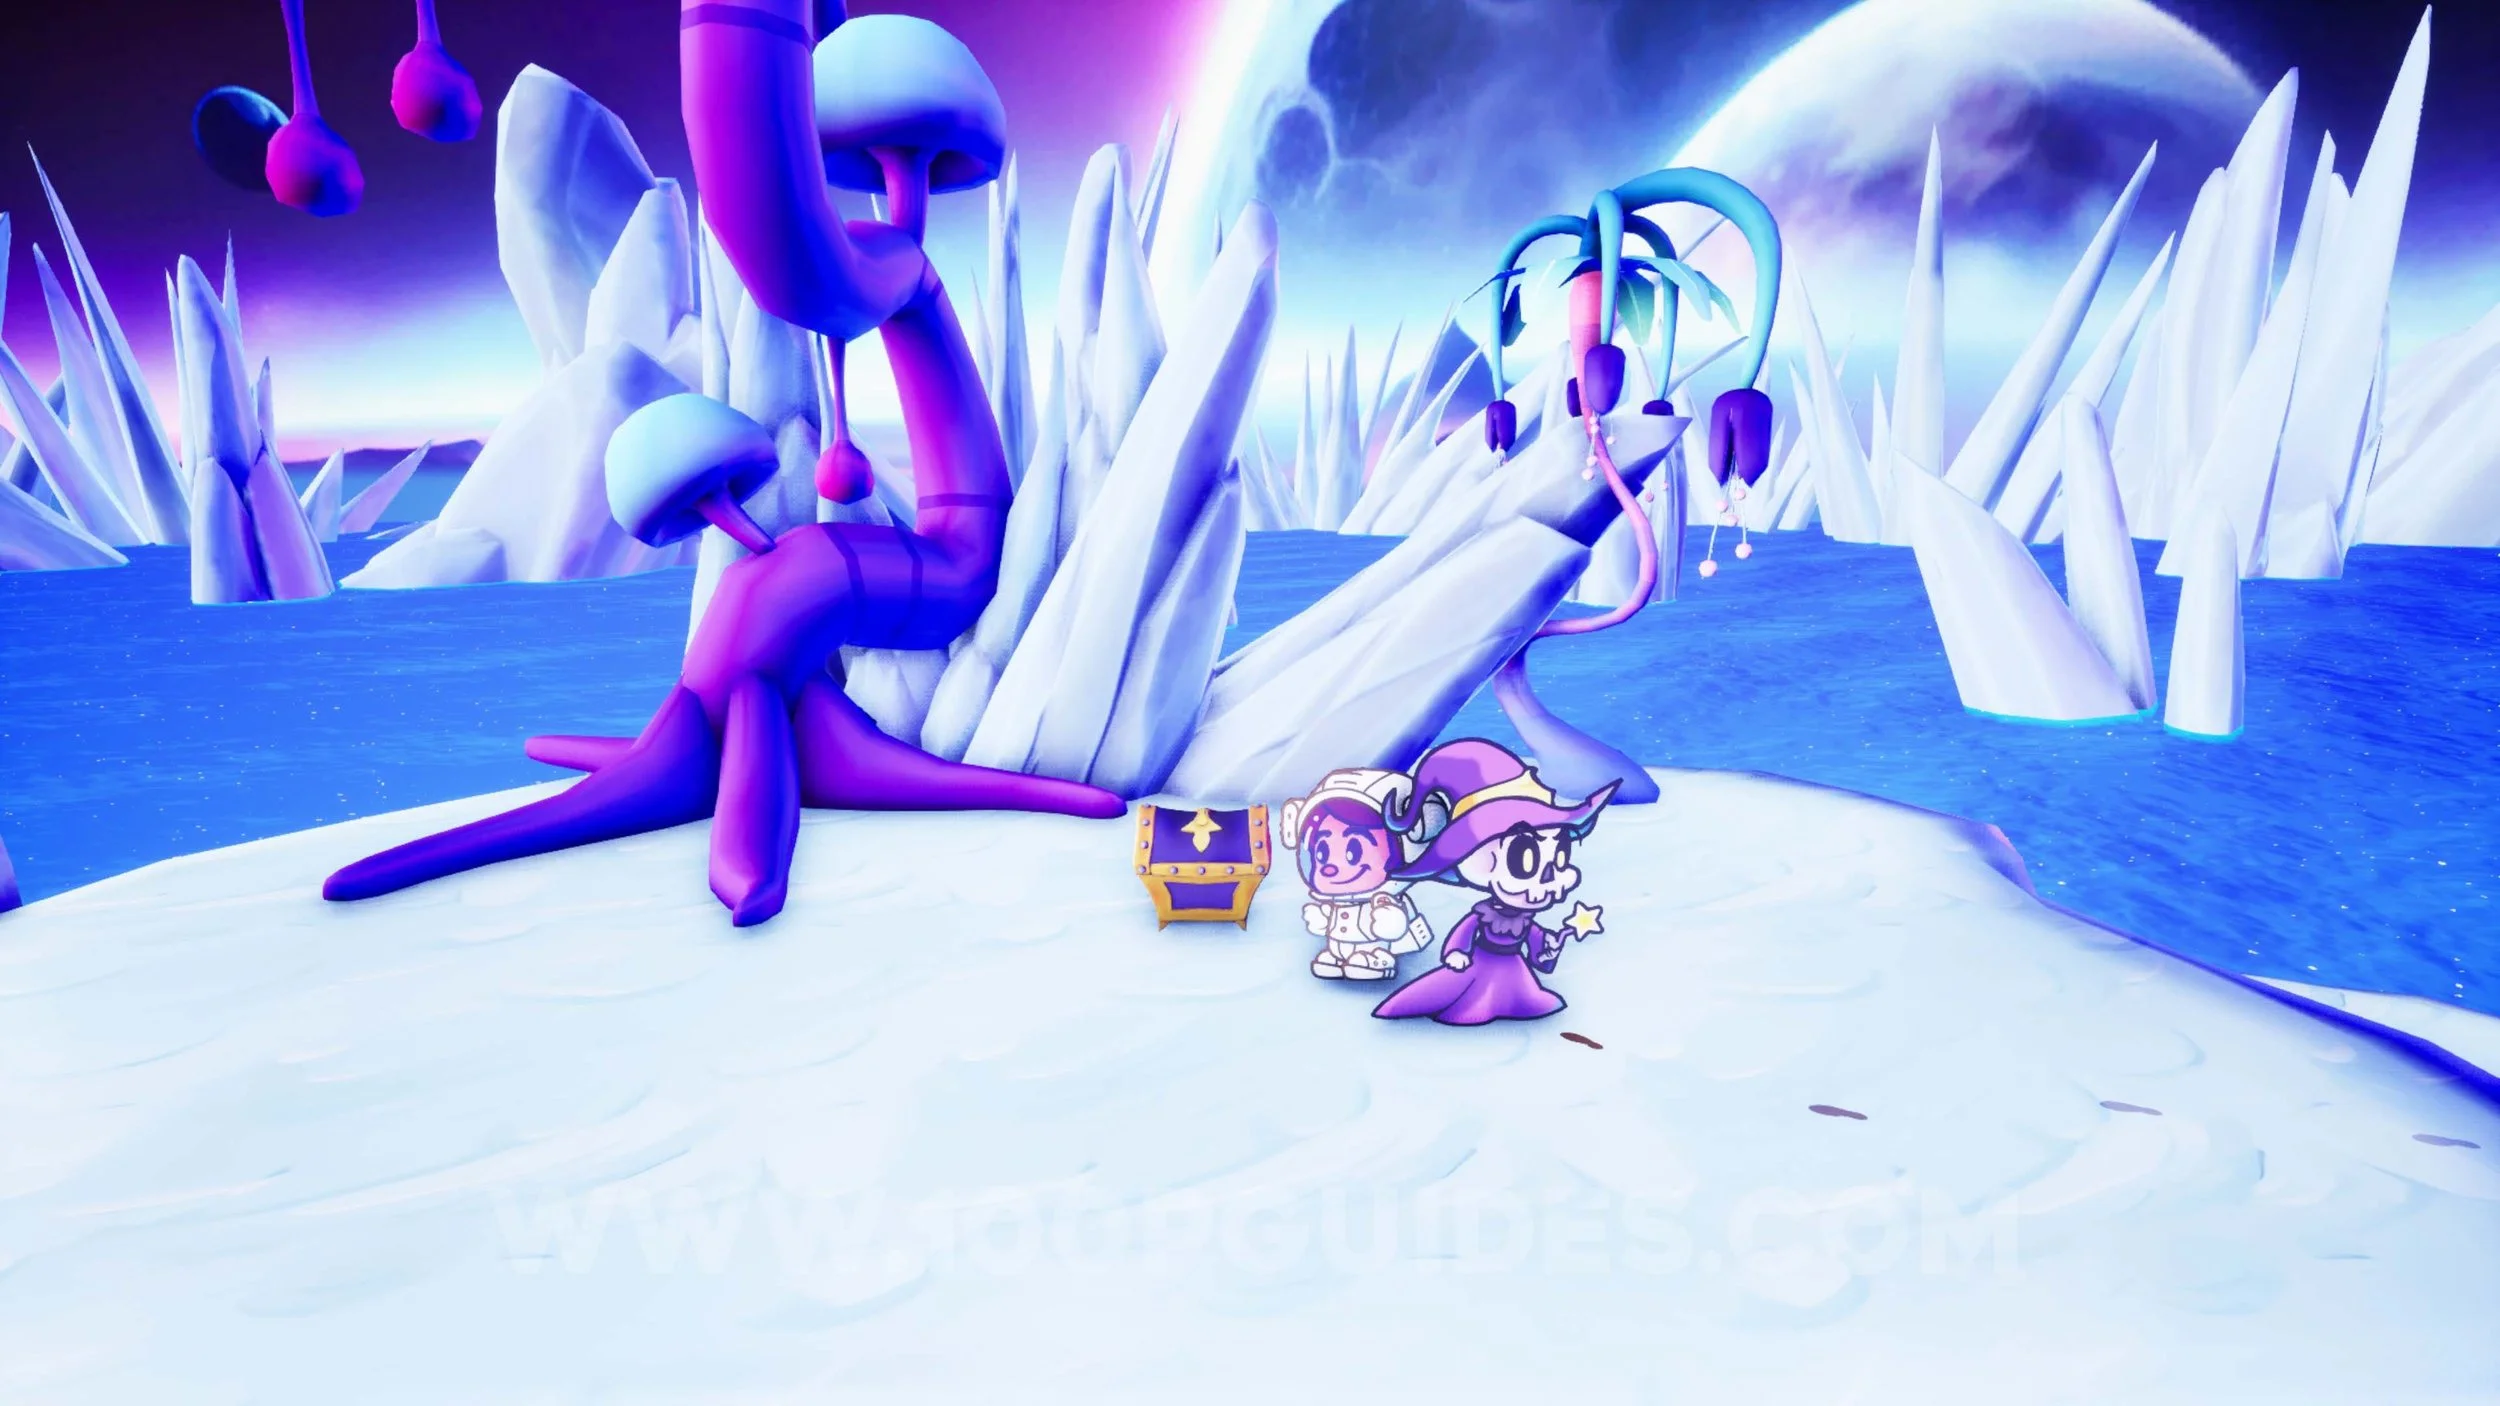
ICEFALL CHRONICLES
Outfit #9 - Space Helmet. Found in the cabinet in the second room on the spaceship, once you get to Icefall Chronicles.
Outfit #10 - Space Suit. Found in the cabinet in the second room on the spaceship, once you get to Icefall Chronicles.
Office Decor #15 - Alien Plant. Once you reach the alien village on Glacius IX, enter the house near the vending machine and talk to the alien inside.

Sun Gem #55. Behind the right-most house in the alien village on Glacius IX.
Sun Gem #56. In the second room inside the R&D Lab, behind the yellow pipe.
Sun Gem #57. Behind the platform moving up and down on the other side of the gate you open with the key the guard gives you.
Sun Gem #58. After using the moving platform where the previous gem was, you will get to the area above the cells. Come towards the screen on the yellow pipe to find this gem.
Ink Bottle #24. After saving Patches from the cell in the R&D lab, go to the room to the right of the cells and use Patches to hit the red blocks and reach the switch that opens cell #1. Then backtrack to the left until you reach the cell where you can open the chest.

Sun Gem #59. In the room with water after the room with the cell switches. After riding the moving platform, come towards the camera and throw your shield to get the gem.
Ink Bottle #25. In a chest in plain sight, just after Eva rejoins the party.
Sun Gem #60. Use the lily pad in the area to the right of where you save Tinder.
Trinket #41 - Spiky Shell. Once you get your party back together, backtrack to where you first landed on Glacius IX and use Wolfgang’s Sprout Serenade song to cross the lilypads on the left.
Sun Gem #61. From the start of Glacius IX, continue right until you see a gem above a plant you can grow with Wolfgang’s Sprout Serenade song.
Ink Bottle #26. In the area to the right of the alien village, make the blue vines invisible and then swim across to the other side of the water by transforming into a seal. Then go to the top platform that is now accessible through the blue vine to get the ink bottle.
Sun Gem #62. Once you have all party members again, enter the R&D lab and return to the area with the switches that open the cells. With Eva in the party, you will now be able to open cell number 2 by transforming the cat into a jump shroom. With the cell open, go left and talk to the alien in cell number 2. Now return to the shop in the alien village to get the Sun Gem.
Trinket #42 - Decaffed. Can be purchased from the shop in the alien village after rescuing the alien from cell number 2 in the R&D Lab.
Inventory Upgrade #3. Can be purchased from the shop in the alien village after rescuing the alien from cell number 2 in the R&D Lab.
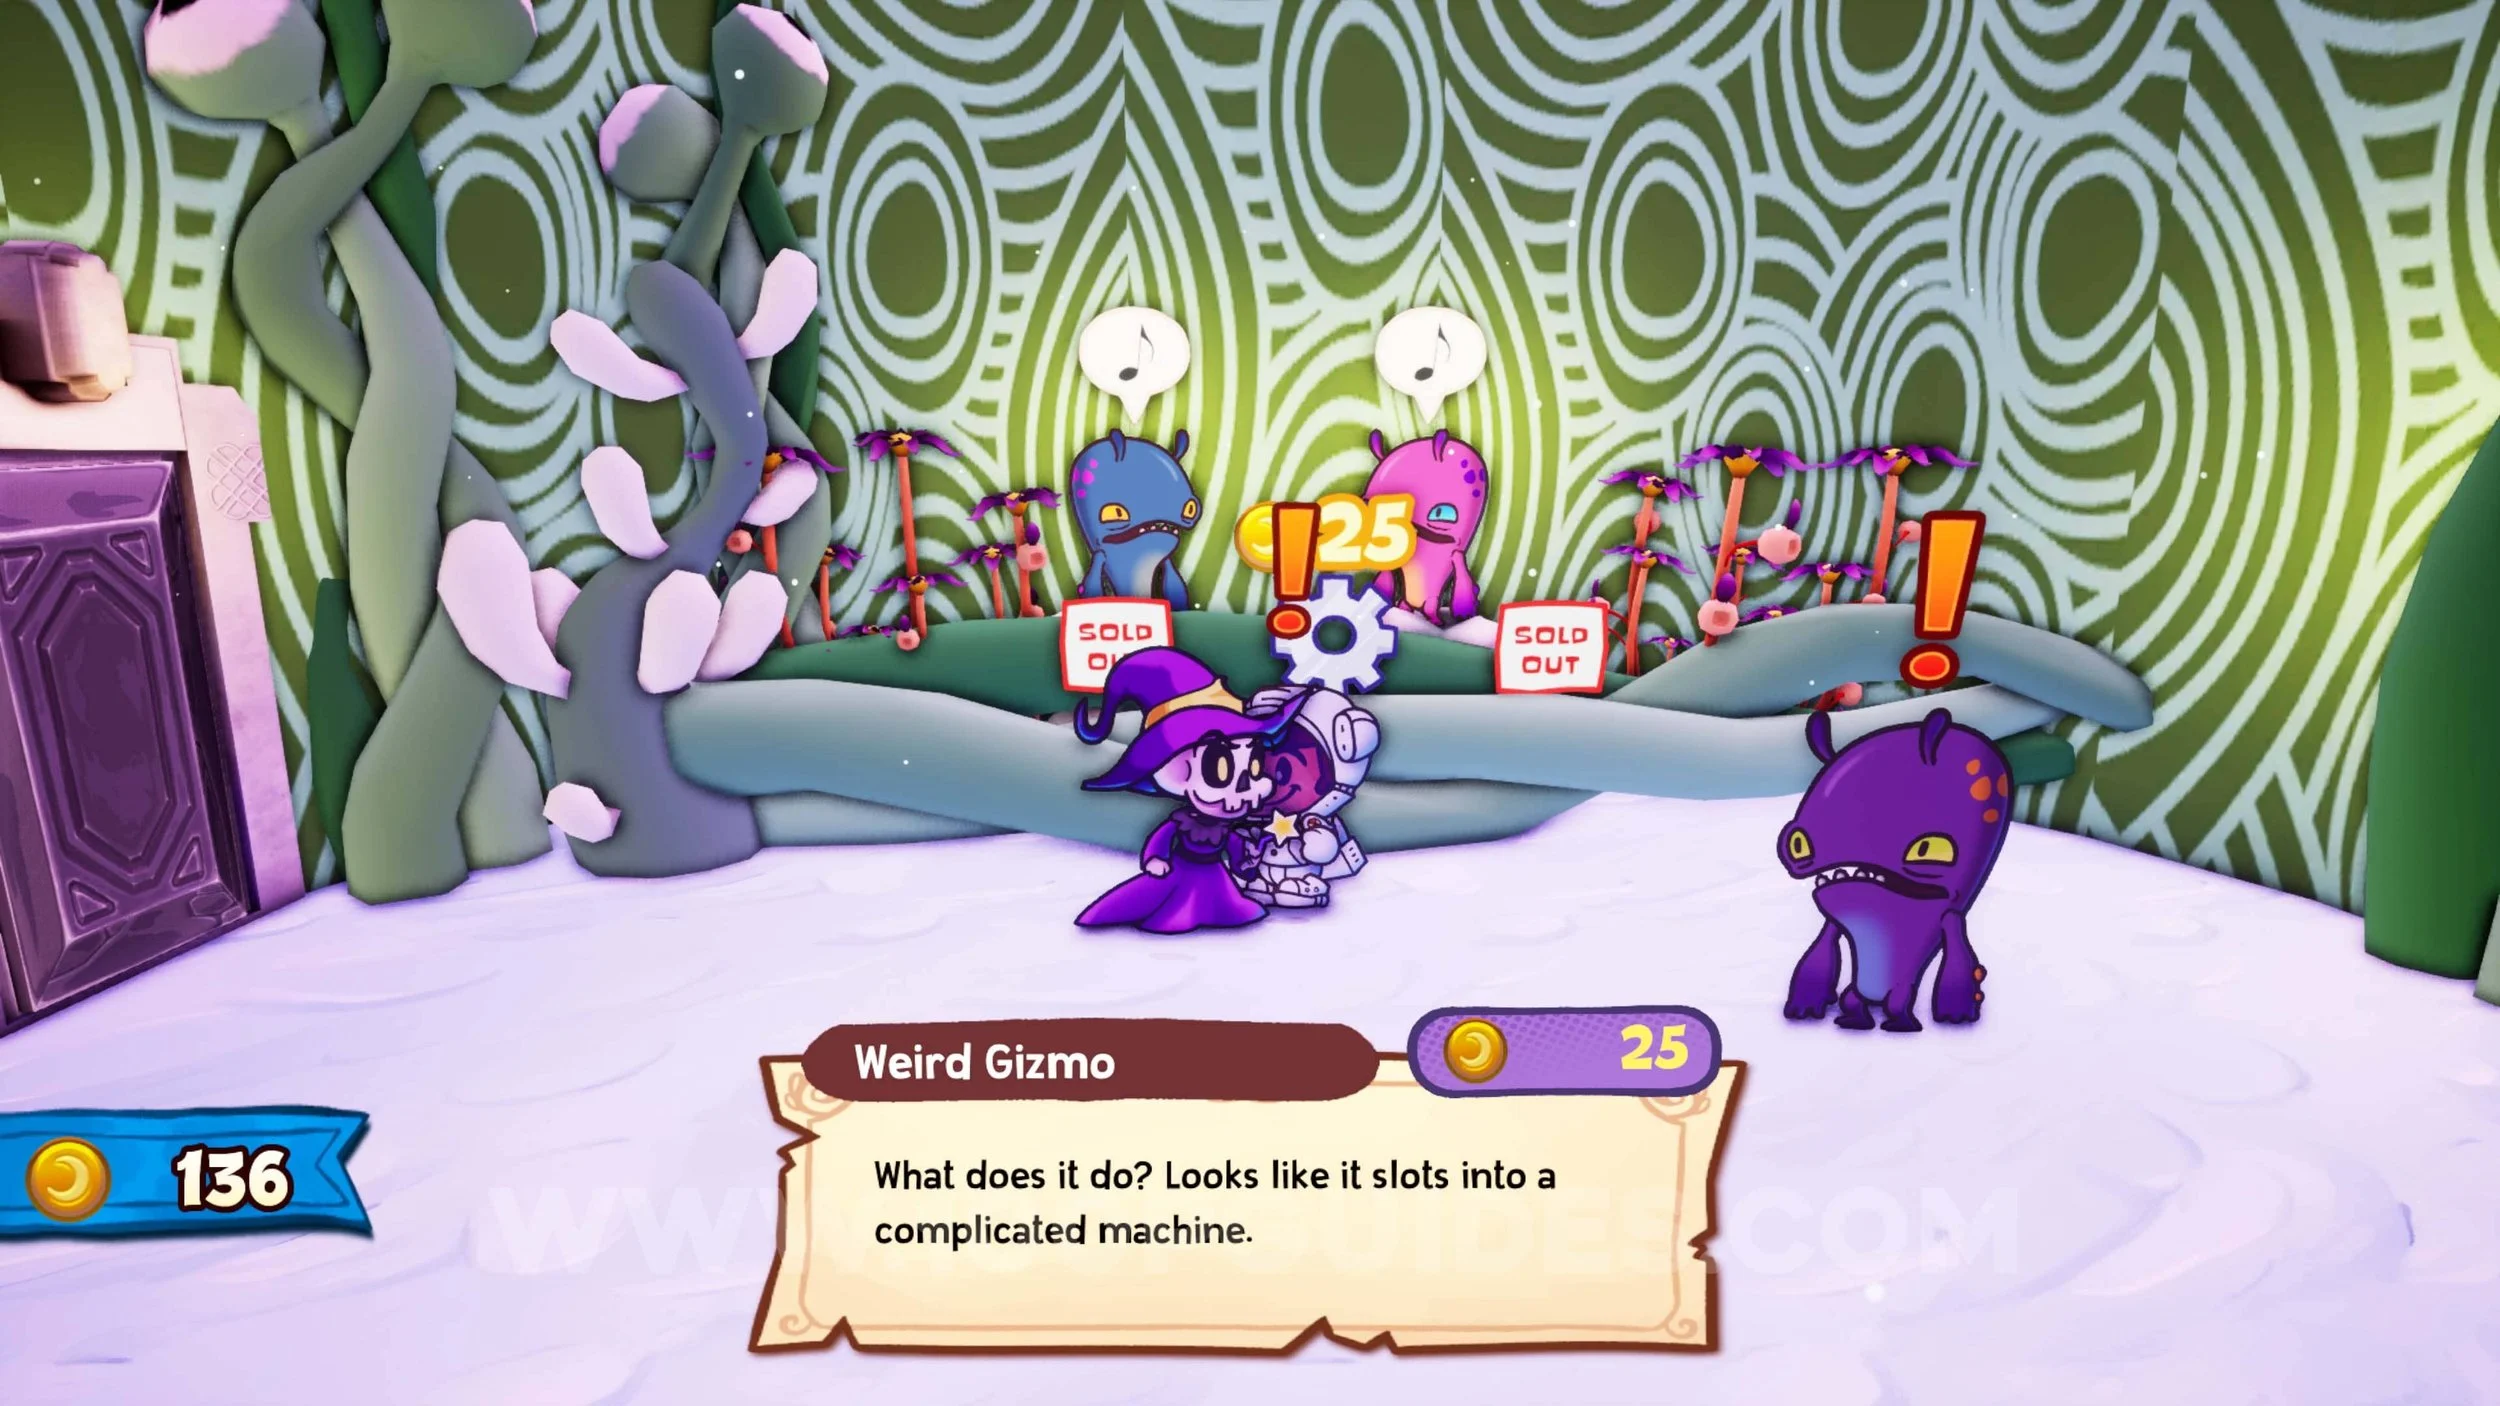
Ember Stone #2. Purchase the Weird Gizmo from the shop in the alien village after rescuing the alien from cell number 2 in the R&D Lab. Then go to the right of the R&D lab entrance and break the wall with Patches. Inside, give the gizmo to the NPC.
Ink Bottle #27. Use Tinder to melt the ice in the corner of the second room in the R&D Lab.
Sun Gem #63. After activating the green terminal in the R&D Lab and taking the green lift down, walk across the red pipe at the bottom to the left to find the gem.

Sun Gem #64. After activating all four terminals in the R&D Lab, proceed through the large, multi-coloured door. At the end of this room, go up the stairs and melt the ice with Timber to get the collectible.
Trinket #43 - Synergy Superstar. After finishing the events in Icefall Chronicles and returning to HQ, you will have a new email from Silver Beard. Go to Treasure Cove > Molten Maw Isle and go through the area with blue and red blocks to get to a hut. Inside, talk to Silver Beard. He will give you a clue on where to find some more treasure. Continue through the level until you get to the area with rails and a pink shroom at the end. Play Wolfgang’s Blustery Ballad near the shroom to open a secret passage. In this room, use Patches punch on the first lava platform as you stand on the second one to get enough height to throw your shield at the trinket on the tall rock.
Sun Gem #65. In the same secret area as the previous collectible. Just after the part with multiple lava platforms, you will see a lone box under a wooden ramp. Throw your shield at it to break it and grab the gem.
Trinket #44 - All Offense. After getting the treasure from the chest at the end of the secret area and returning it to Silver Beard at his hut, you will get this as a reward.
Sun Gem #66. Behind the bookshelf in Silver Beard’s hut.
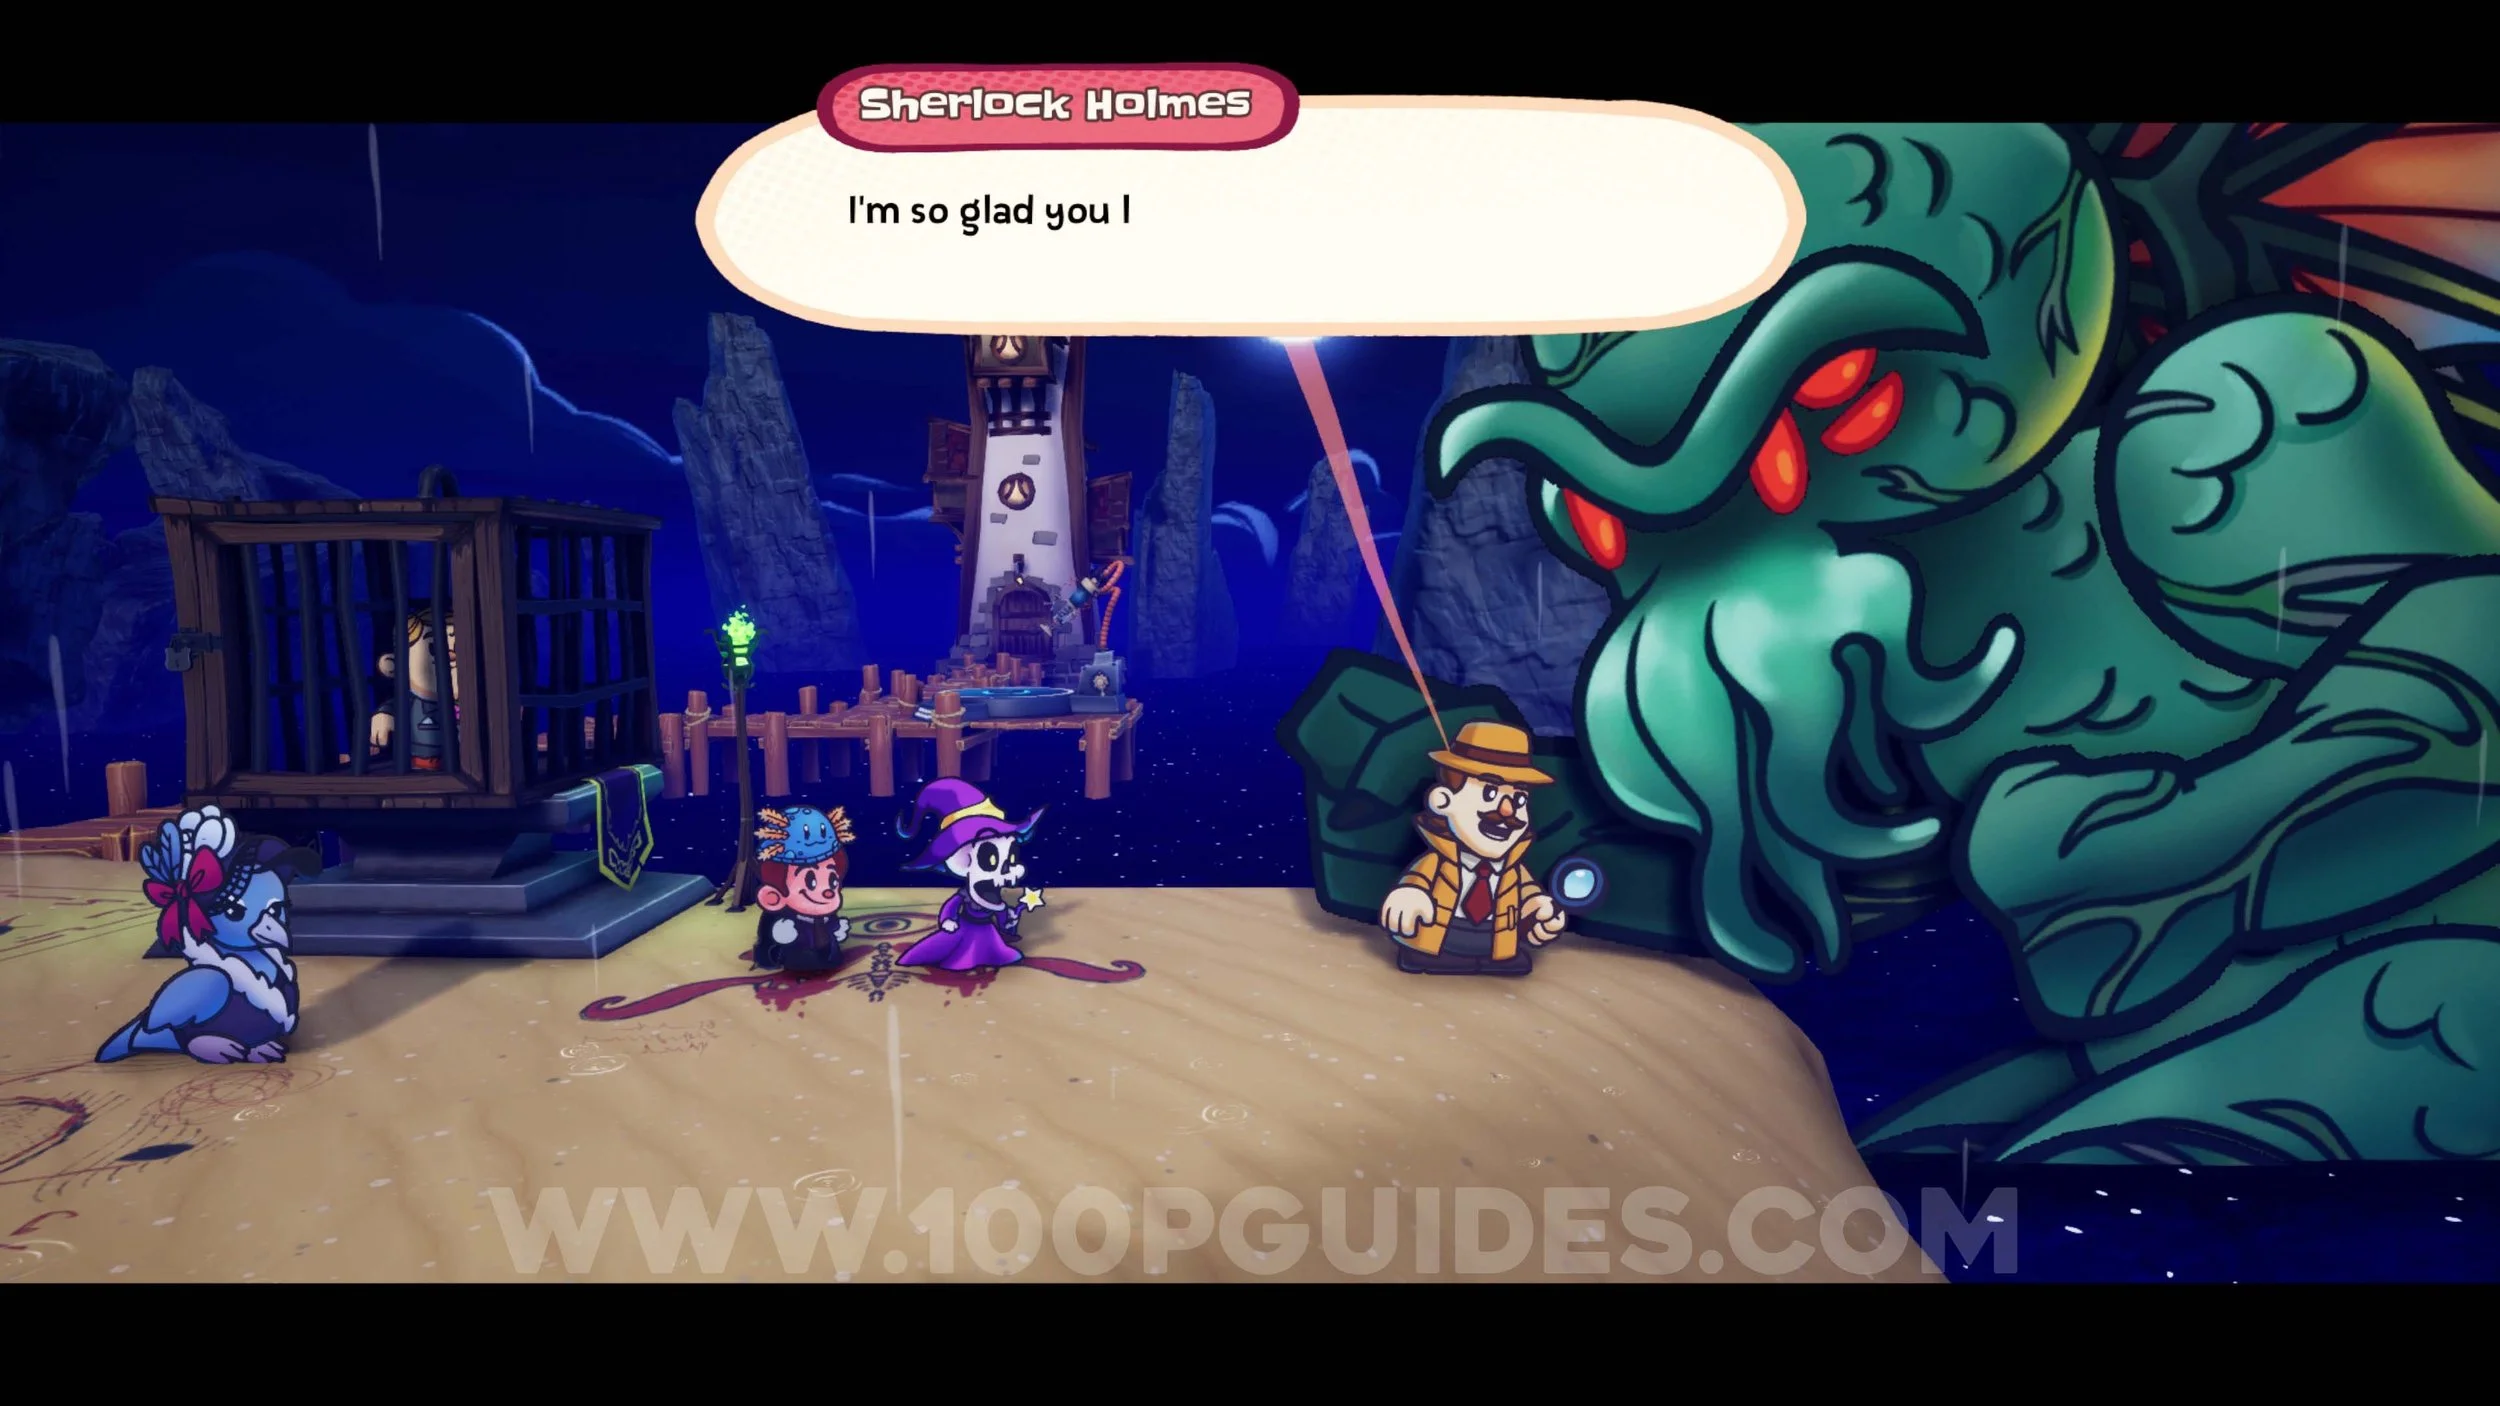
Trinket #45 - Defense Boost. After the events in Icefall Chronicles and returning to HQ, you will have an email from Sherlock Holmes. You then have to go to The Shadow Over Insbeak > Lighthouse and talk to him. He will then ask you to talk to Madame Quail in her Bedroom in the manor. She will ask you to look for a Plump Human. Return to the office area at HQ and talk to the blonde NPC. Then return to the Lighthouse to finish the side quest.
TATTERED BOOK
Trinket #46 - Extra Agile. Enter the house with a wooden structure on the right. Inside, throw your shield through the hole to get the trinket.
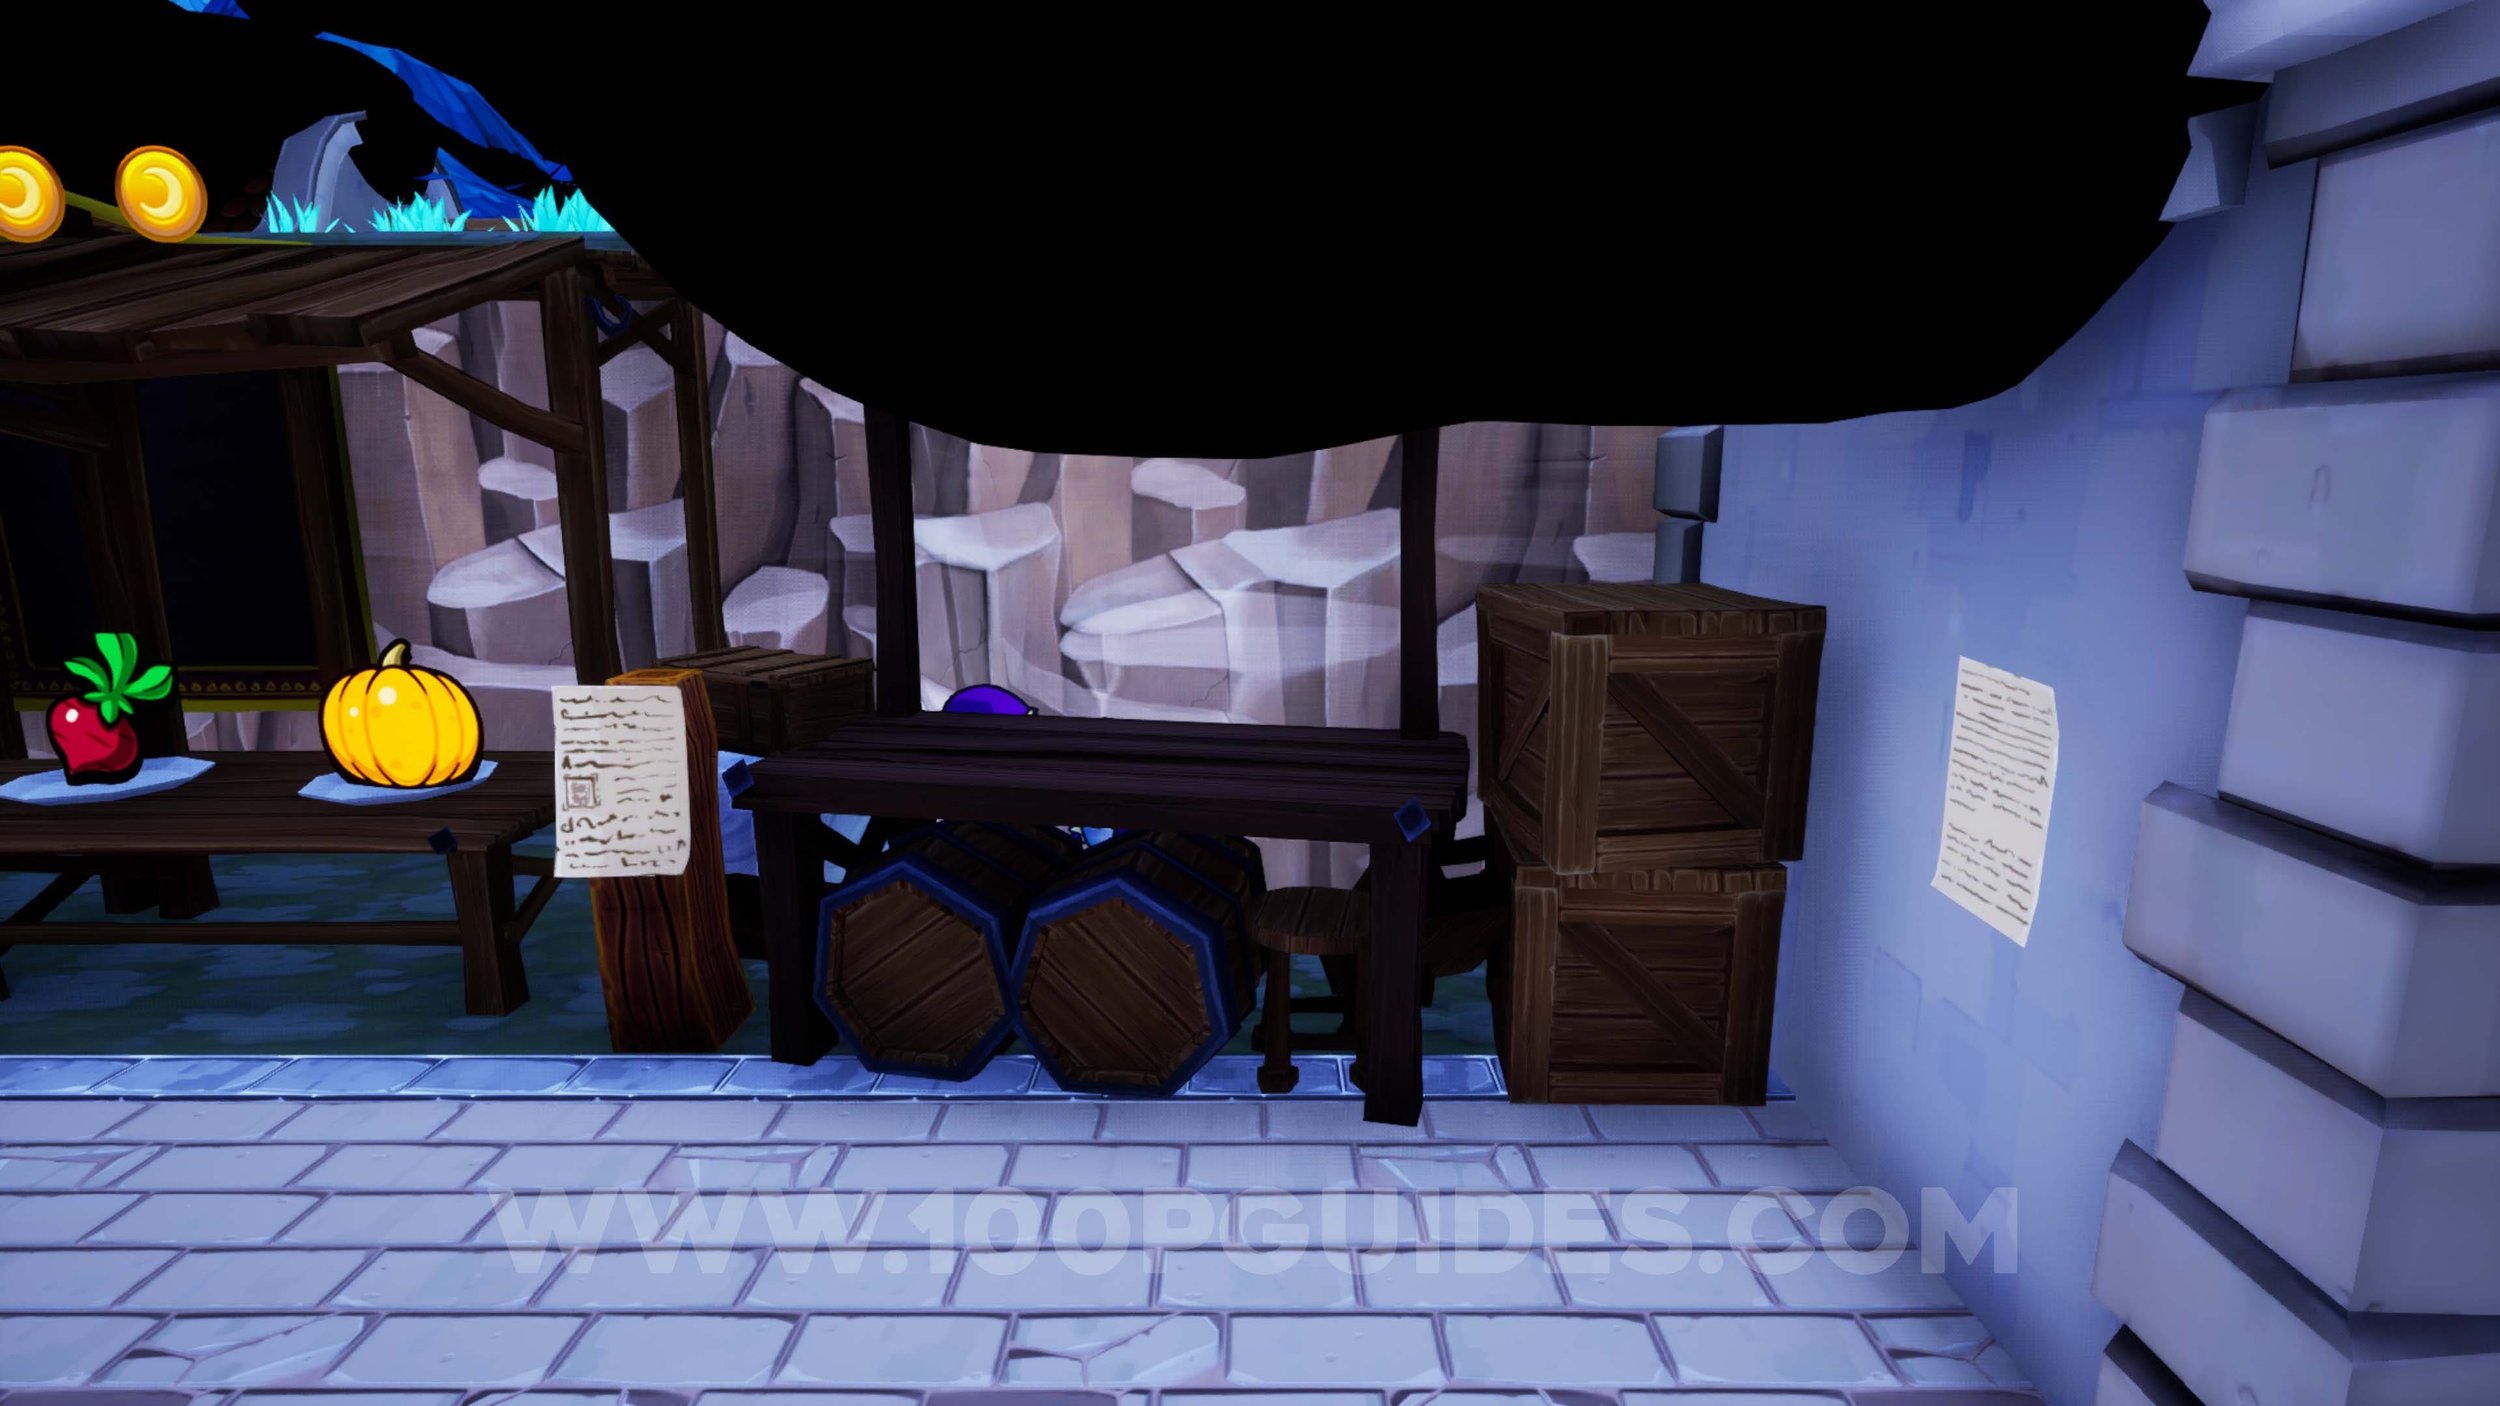
Sun Gem #67. Behind the stand with the food puzzle. Drop down from above where you find the pumpkin.

REAL WORLD
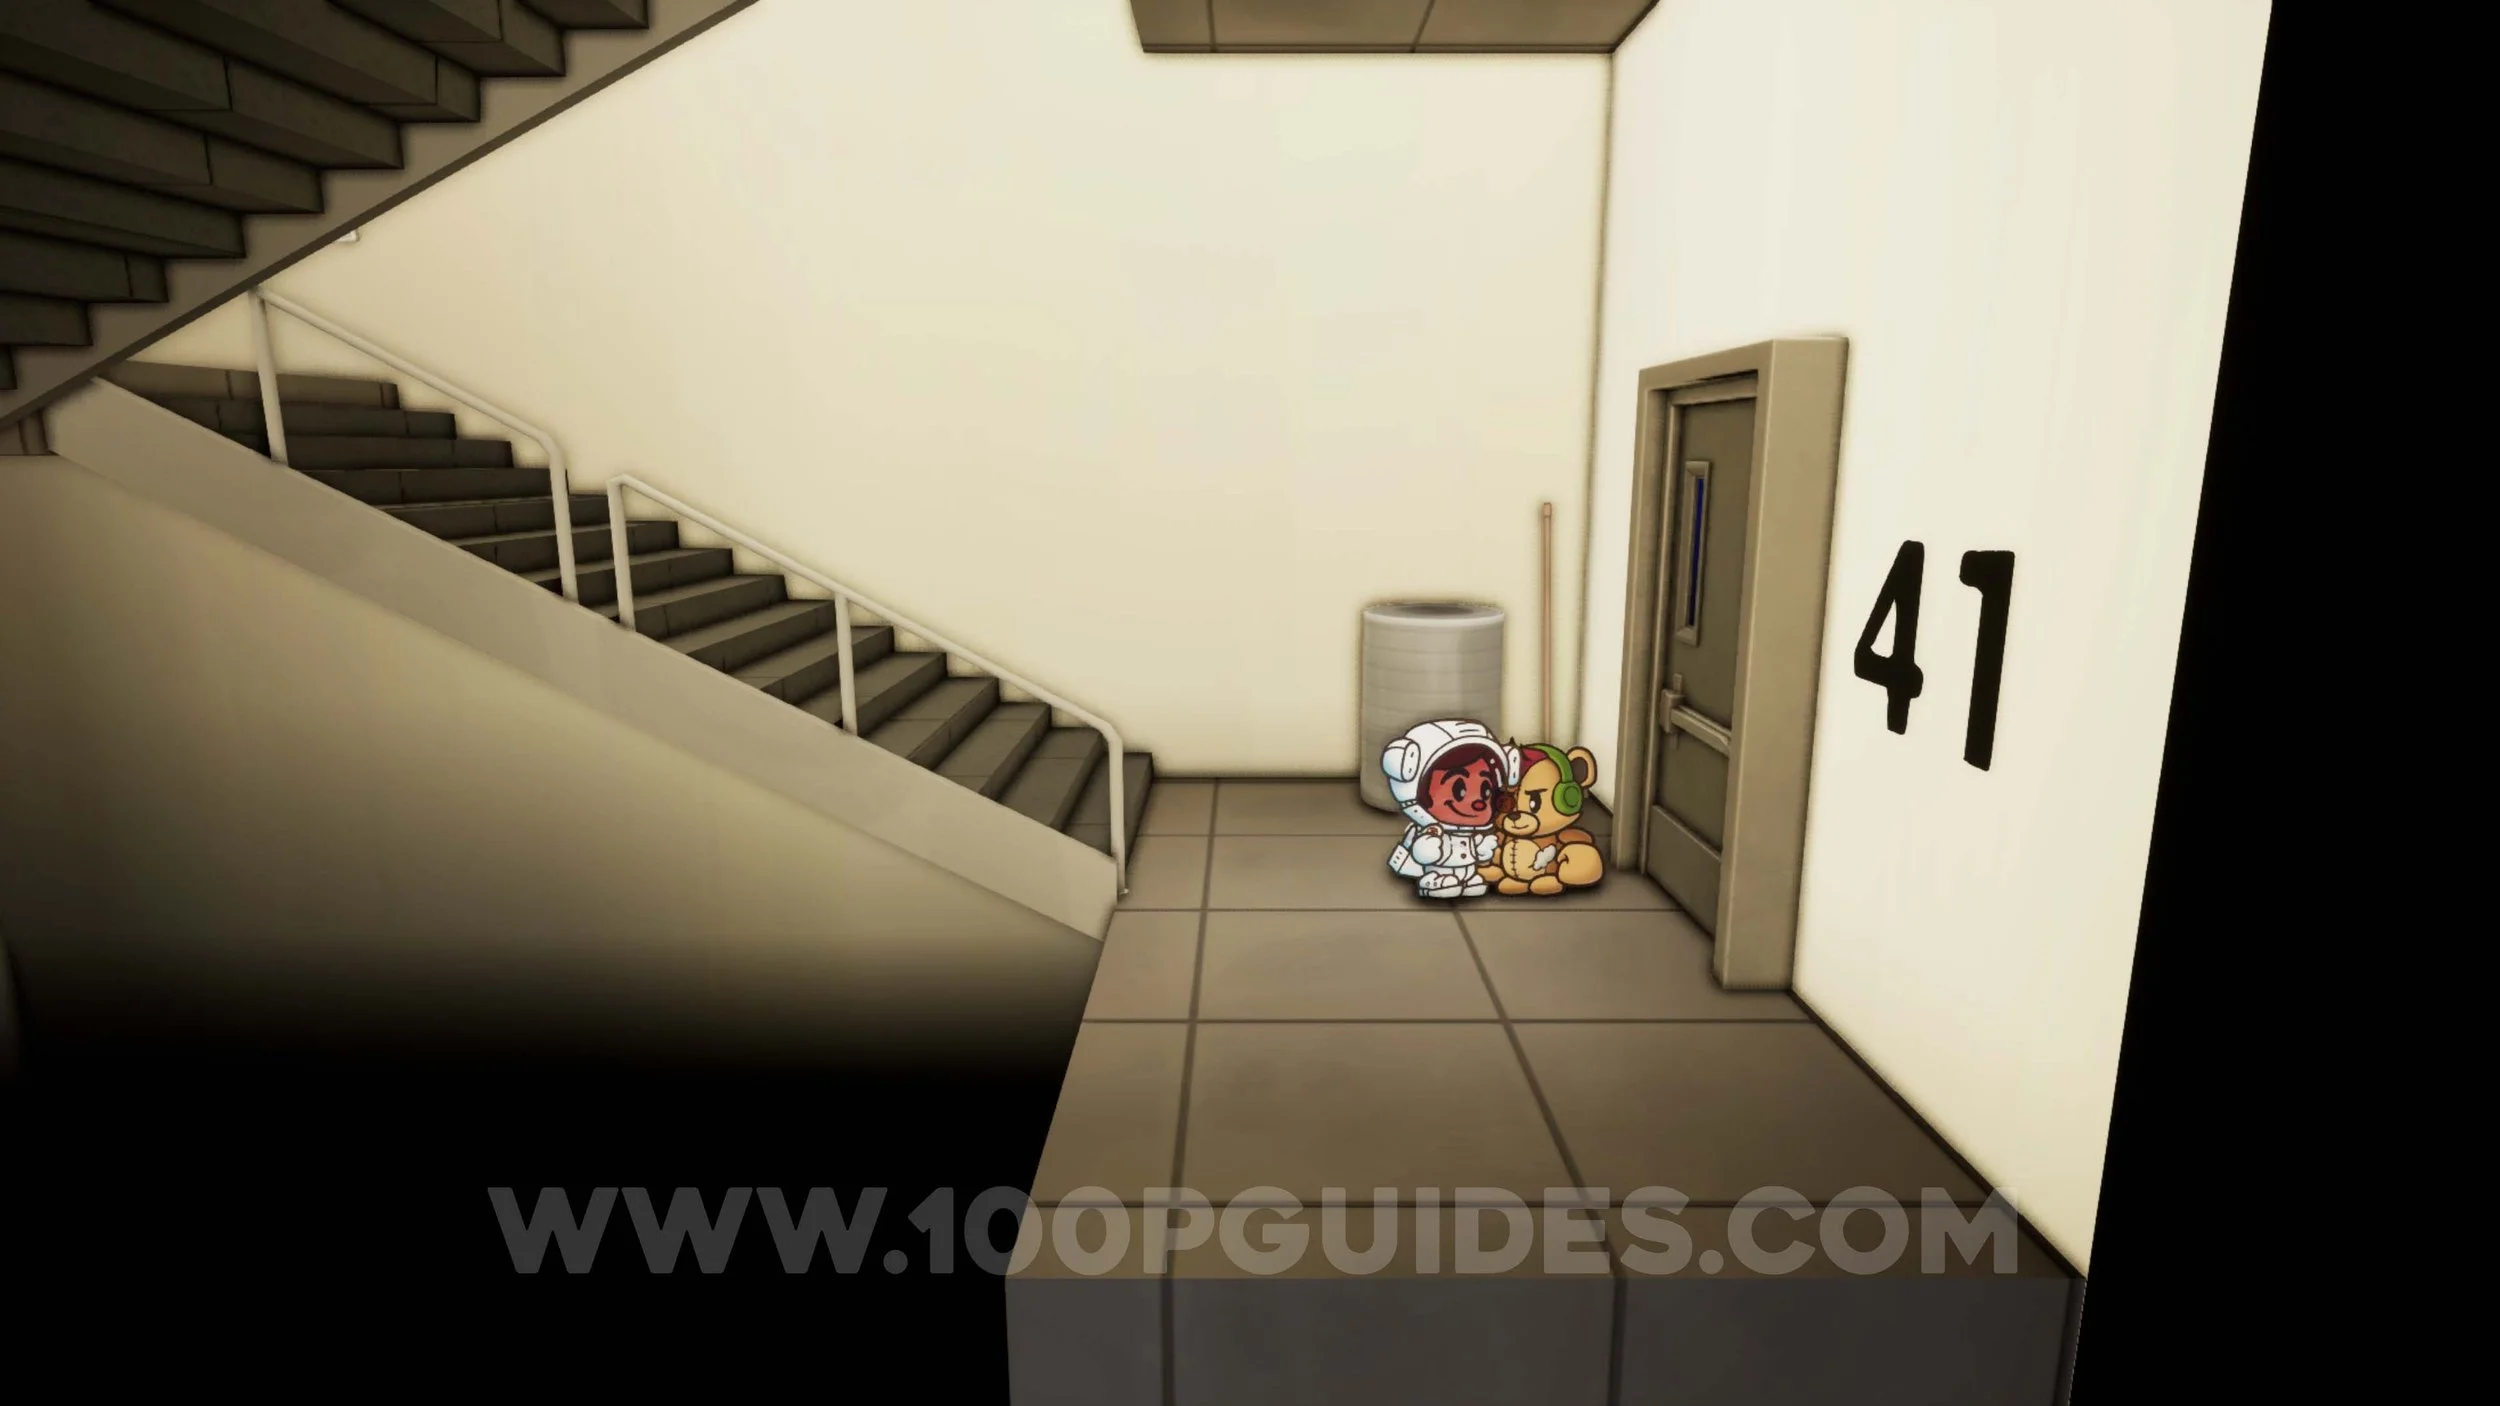
Trinket #47 - Caffeinated. After leaving Floor 42 through the left door, go down the stairs and enter Floor 41. Inside, push the box to get to the chest.

Trinket #48 - Guard Expert. After going through floor 45, go down the stairs and drop down to the chest.
CLEAN UP
After defeating the final boss of the game, you can load your save and clean up a few things (you can also do these things before going to the Real World).
Ink Bottle #28. Can be purchased from the cat in the Courtyard at HQ for 1 Sun Gem.
Inventory Upgrade #4. Can be purchased from the cat in the Courtyard at HQ for 2 Sun Gems.
Trinket #49 - Extra Agile. Can be purchased from the cat in the Courtyard at HQ for 2 Sun Gems.
Trinket #50 - Brutal Ambush. Can be purchased from the cat in the Courtyard at HQ for 3 Sun Gems.
Trinket #51 - Truth-Tinted Glasses. Can be purchased from the cat in the Courtyard at HQ for 3 Sun Gems.
Trinket #52 - Inspire. Can be purchased from the cat in the Courtyard at HQ for 4 Sun Gems.
Trinket #53 - Frog’s Kiss. Can be purchased from the cat in the Courtyard at HQ for 4 Sun Gems.
Trinket #54 - Dark Magic. Can be purchased from the cat in the Courtyard at HQ for 5 Sun Gems.
Trinket #55 - Bear Boost. Can be purchased from the cat in the Courtyard at HQ for 5 Sun Gems.
Trinket #56 - All Offense. Can be purchased from the cat in the Courtyard at HQ for 6 Sun Gems.
Trinket #57 - Decaffed. Can be purchased from the cat in the Courtyard at HQ for 6 Sun Gems.
Trinket #58 - Indecisive.Can be purchased from the cat in the Courtyard at HQ for 8 Sun Gems.
Trinket #59 - Defense Boost. Can be purchased from the cat in the Courtyard at HQ for 9 Sun Gems.
Trinket #60 - Attack Boost. Can be purchased from the cat in the Courtyard at HQ for 12 Sun Gems.
Outfit #11 - Fedora. Can be purchased from the Vampire in the Courtyard at HQ.
Outfit #12 - Suit. Can be purchased from the Vampire in the Courtyard at HQ.
Outfit #13 - Goblin Ears. Can be purchased from the Vampire in the Courtyard at HQ.
Outfit #14 - Barbarian Armor. Can be purchased from the Vampire in the Courtyard at HQ.
Outfit #15 - Hockey Toque. Can be purchased from the Vampire in the Courtyard at HQ.
Outfit #16 - Axolotl Hat. Can be purchased from the Vampire in the Courtyard at HQ.
Outfit #17 - Bullseye Cap. Can be purchased from the Vampire in the Courtyard at HQ.
Outfit #18 - Duck Hat. Can be purchased from the Vampire in the Courtyard at HQ.
Outfit #19 - Cute Dog Hat. Can be purchased from the Vampire in the Courtyard at HQ.
Outfit #20 - Knight Helmet. Can be purchased from the Vampire in the Courtyard at HQ.
Outfit #21 - Knight Armor. Can be purchased from the Vampire in the Courtyard at HQ.
Outfit #22 - Trapper Hat. Can be purchased from the Vampire in the Courtyard at HQ.
Outfit #23 - Flannel Jacket. Can be purchased from the Vampire in the Courtyard at HQ.
Outfit #24 - Dragon Hat. Can be purchased from the Vampire in the Courtyard at HQ.
Outfit #25 - Dragon Body. Can be purchased from the Vampire in the Courtyard at HQ.
Outfit #26 - Plague Doctor Mask. Can be purchased from the Vampire in the Courtyard at HQ.
Outfit #27 - Plague Doctor Suit. Can be purchased from the Vampire in the Courtyard at HQ.
Ink Bottle #29. In the HQ Courtyard jump into the water on the right as a Seal and then approach the unicorn NPC. Then talk to him.
Sun Gem #68. Play Wolfgang’s Sprout Serenade Song next to the tree NPC in the office area.
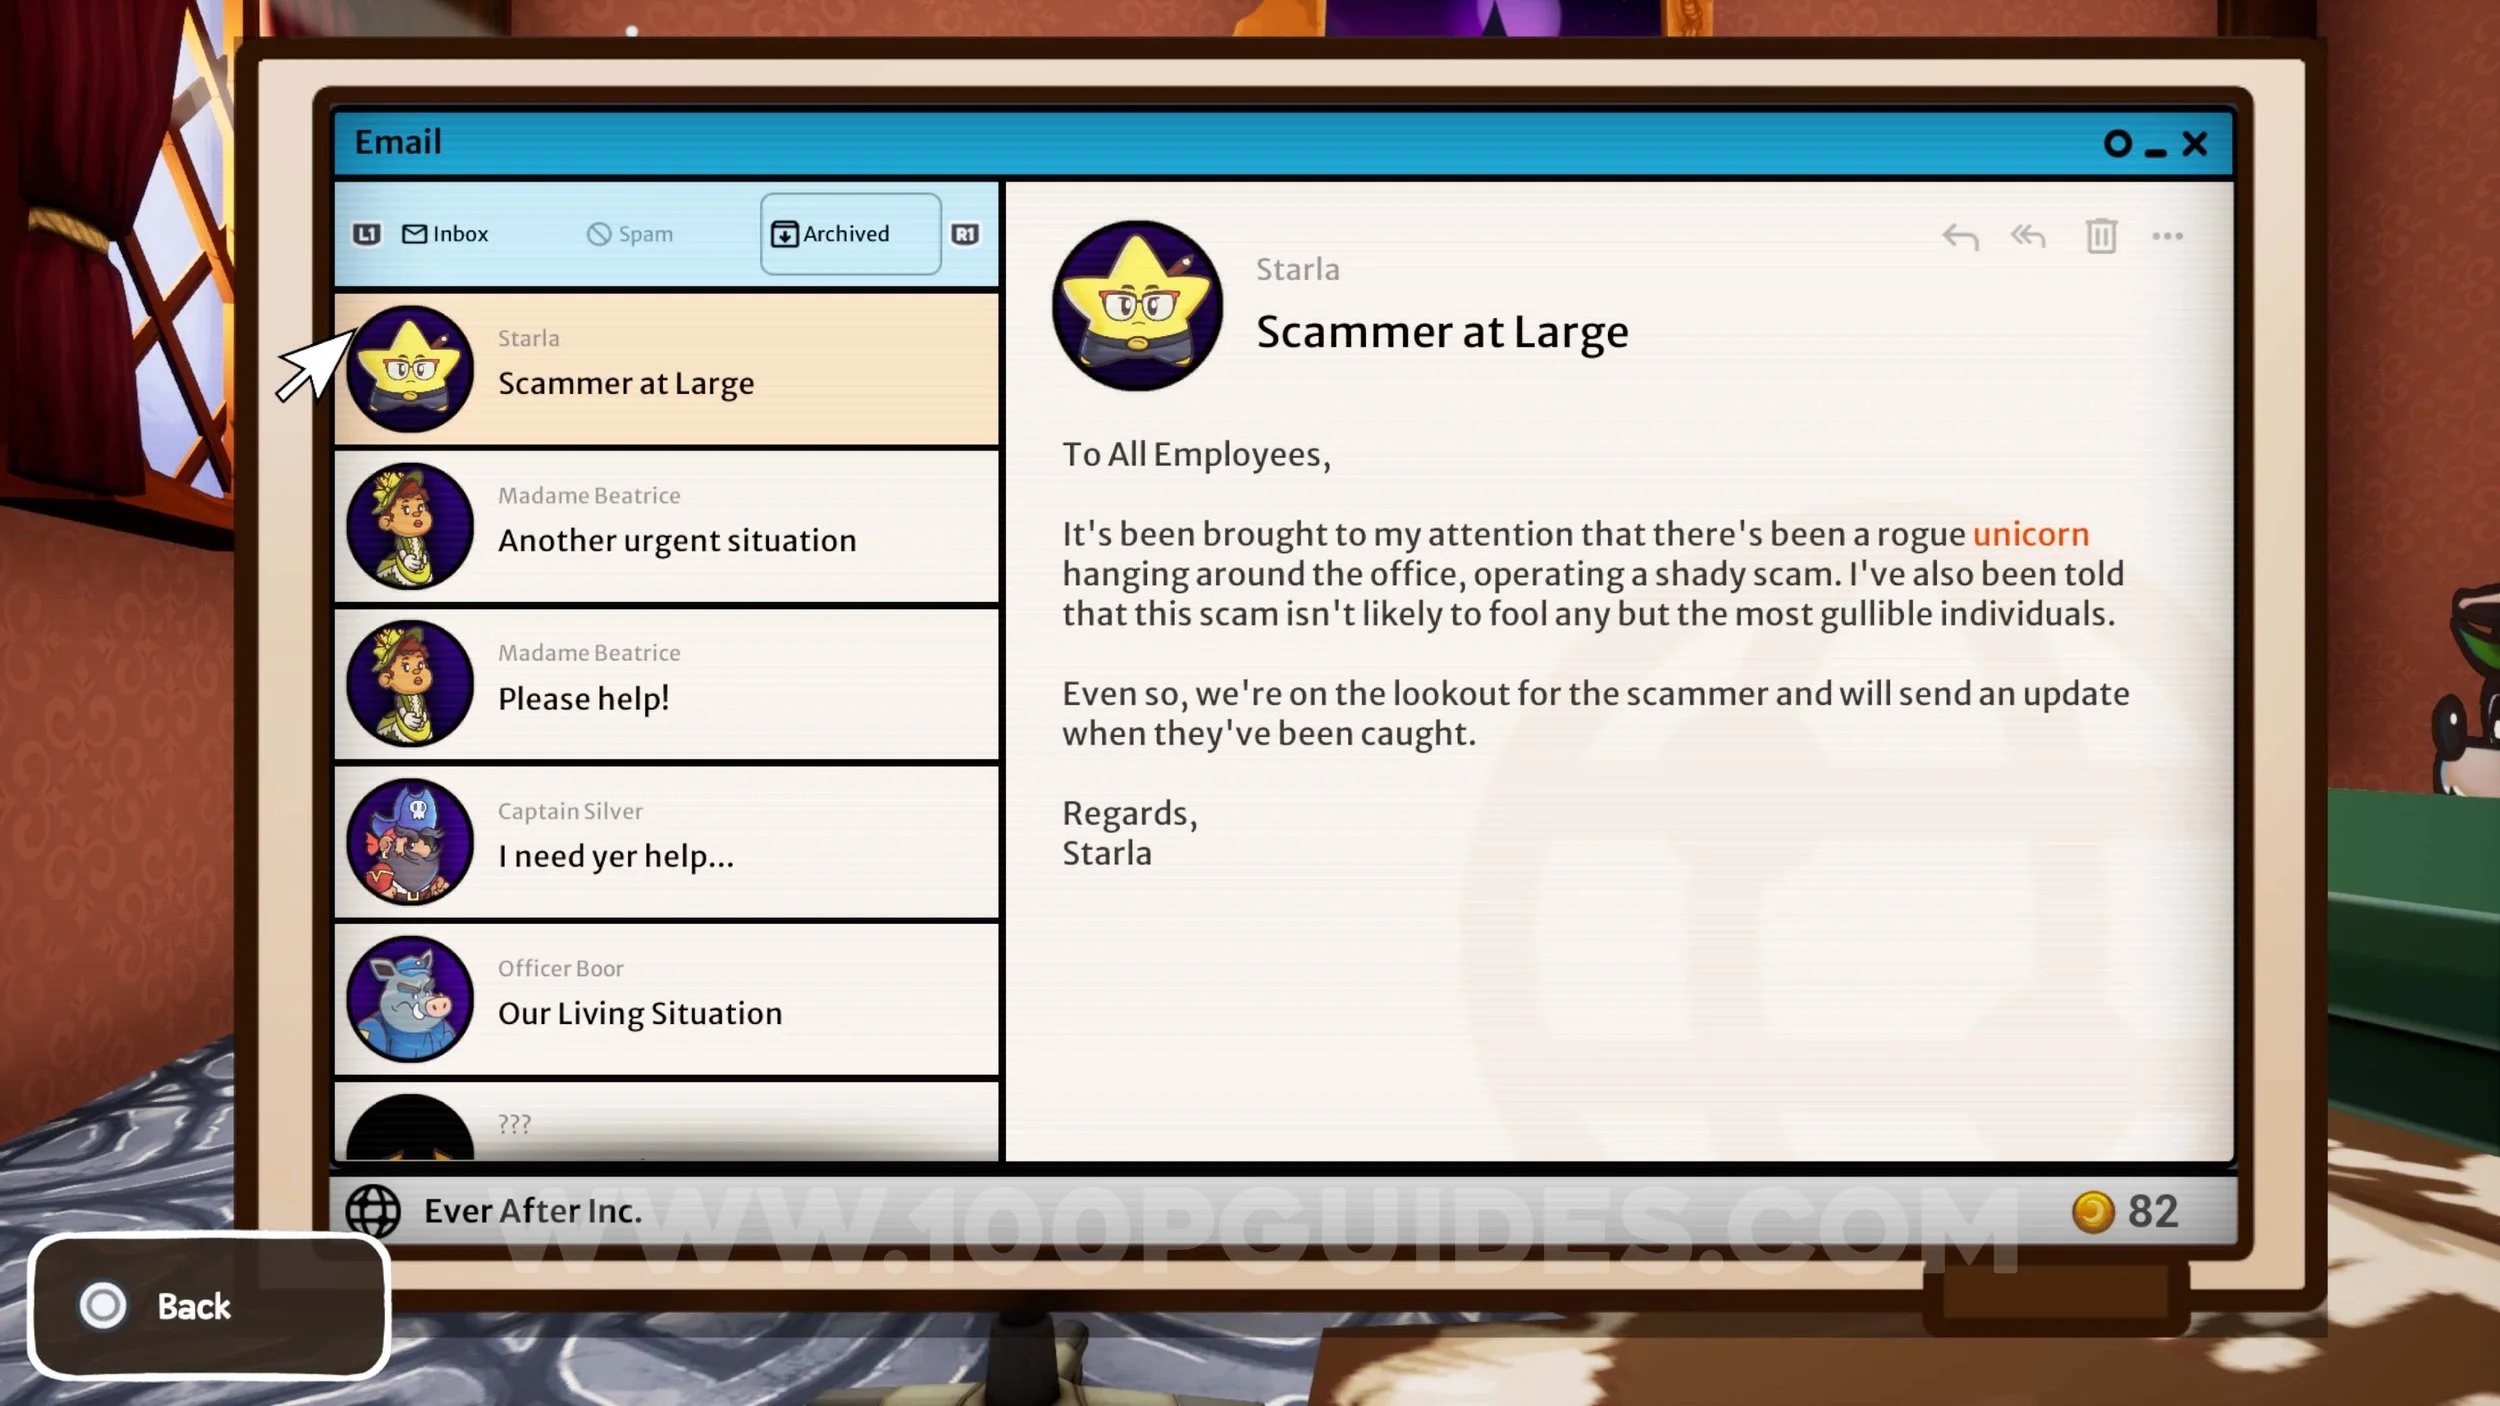
Trinket #61 - Defense Boost. Talk to the unicorn NPC in the corner of the cafeteria and give him 100 gold. You will then get an email talking about him on your PC in your office. After this, go to another world, get into a few battles and then return to your PC to find a new email telling you to go to the dungeons. Enter the door to the dungeons in the courtyard and then select culprid #4.

Sun Gem #69. Talk to the NPC in the reception area while wearing the Fedora and Suit.
Ink Bottle #30. After talking to the NPC in the reception area, you will get an email from her asking for help in Happy Howl Hollow. Go there and talk to her. She wants you to count how many Wolves there are in the village. Answer with 18.
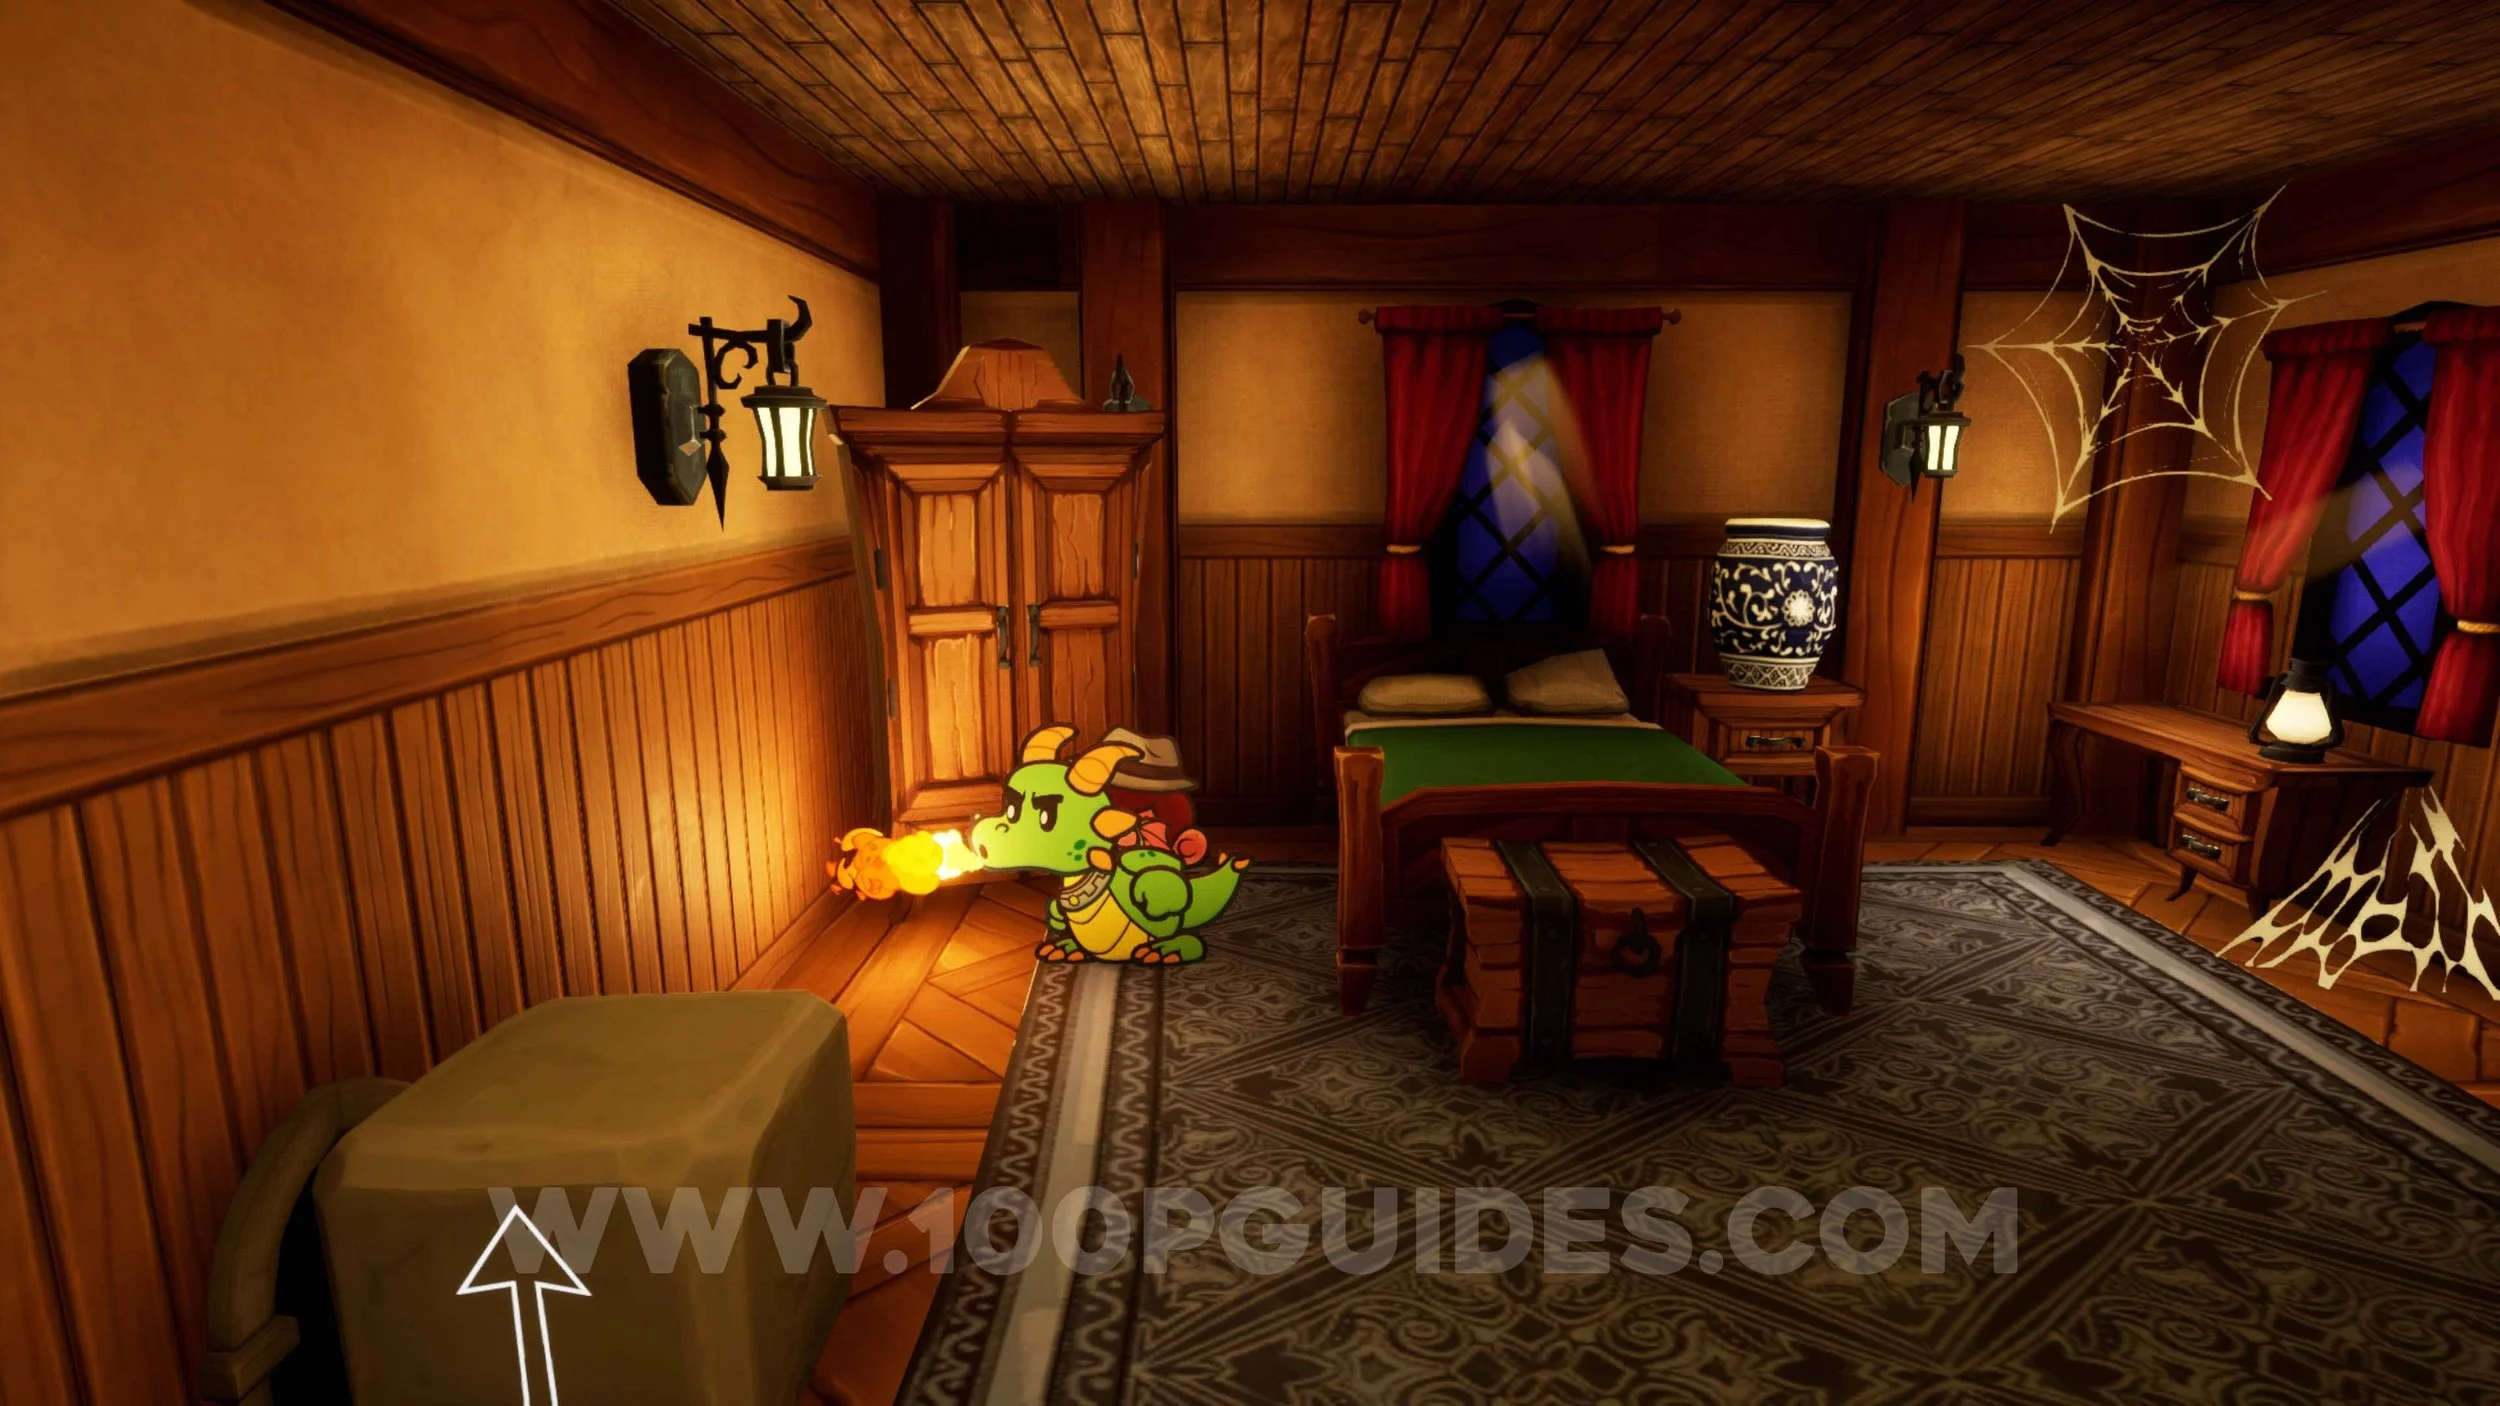
Trinket #62 - Coin+ Badge. After helping the NPC in Happy Howl Hollow, you will get another email from her asking you to meet her in Hotel Room 1 in The Shadow Over Insbeak book. Once there she will ask you to trap the mouse by destroying the wooden chair and then placing the block over the hole. Then she will ask you to burn all the spider webs around the hotel. Once you have done that, she will give you the Trinket.
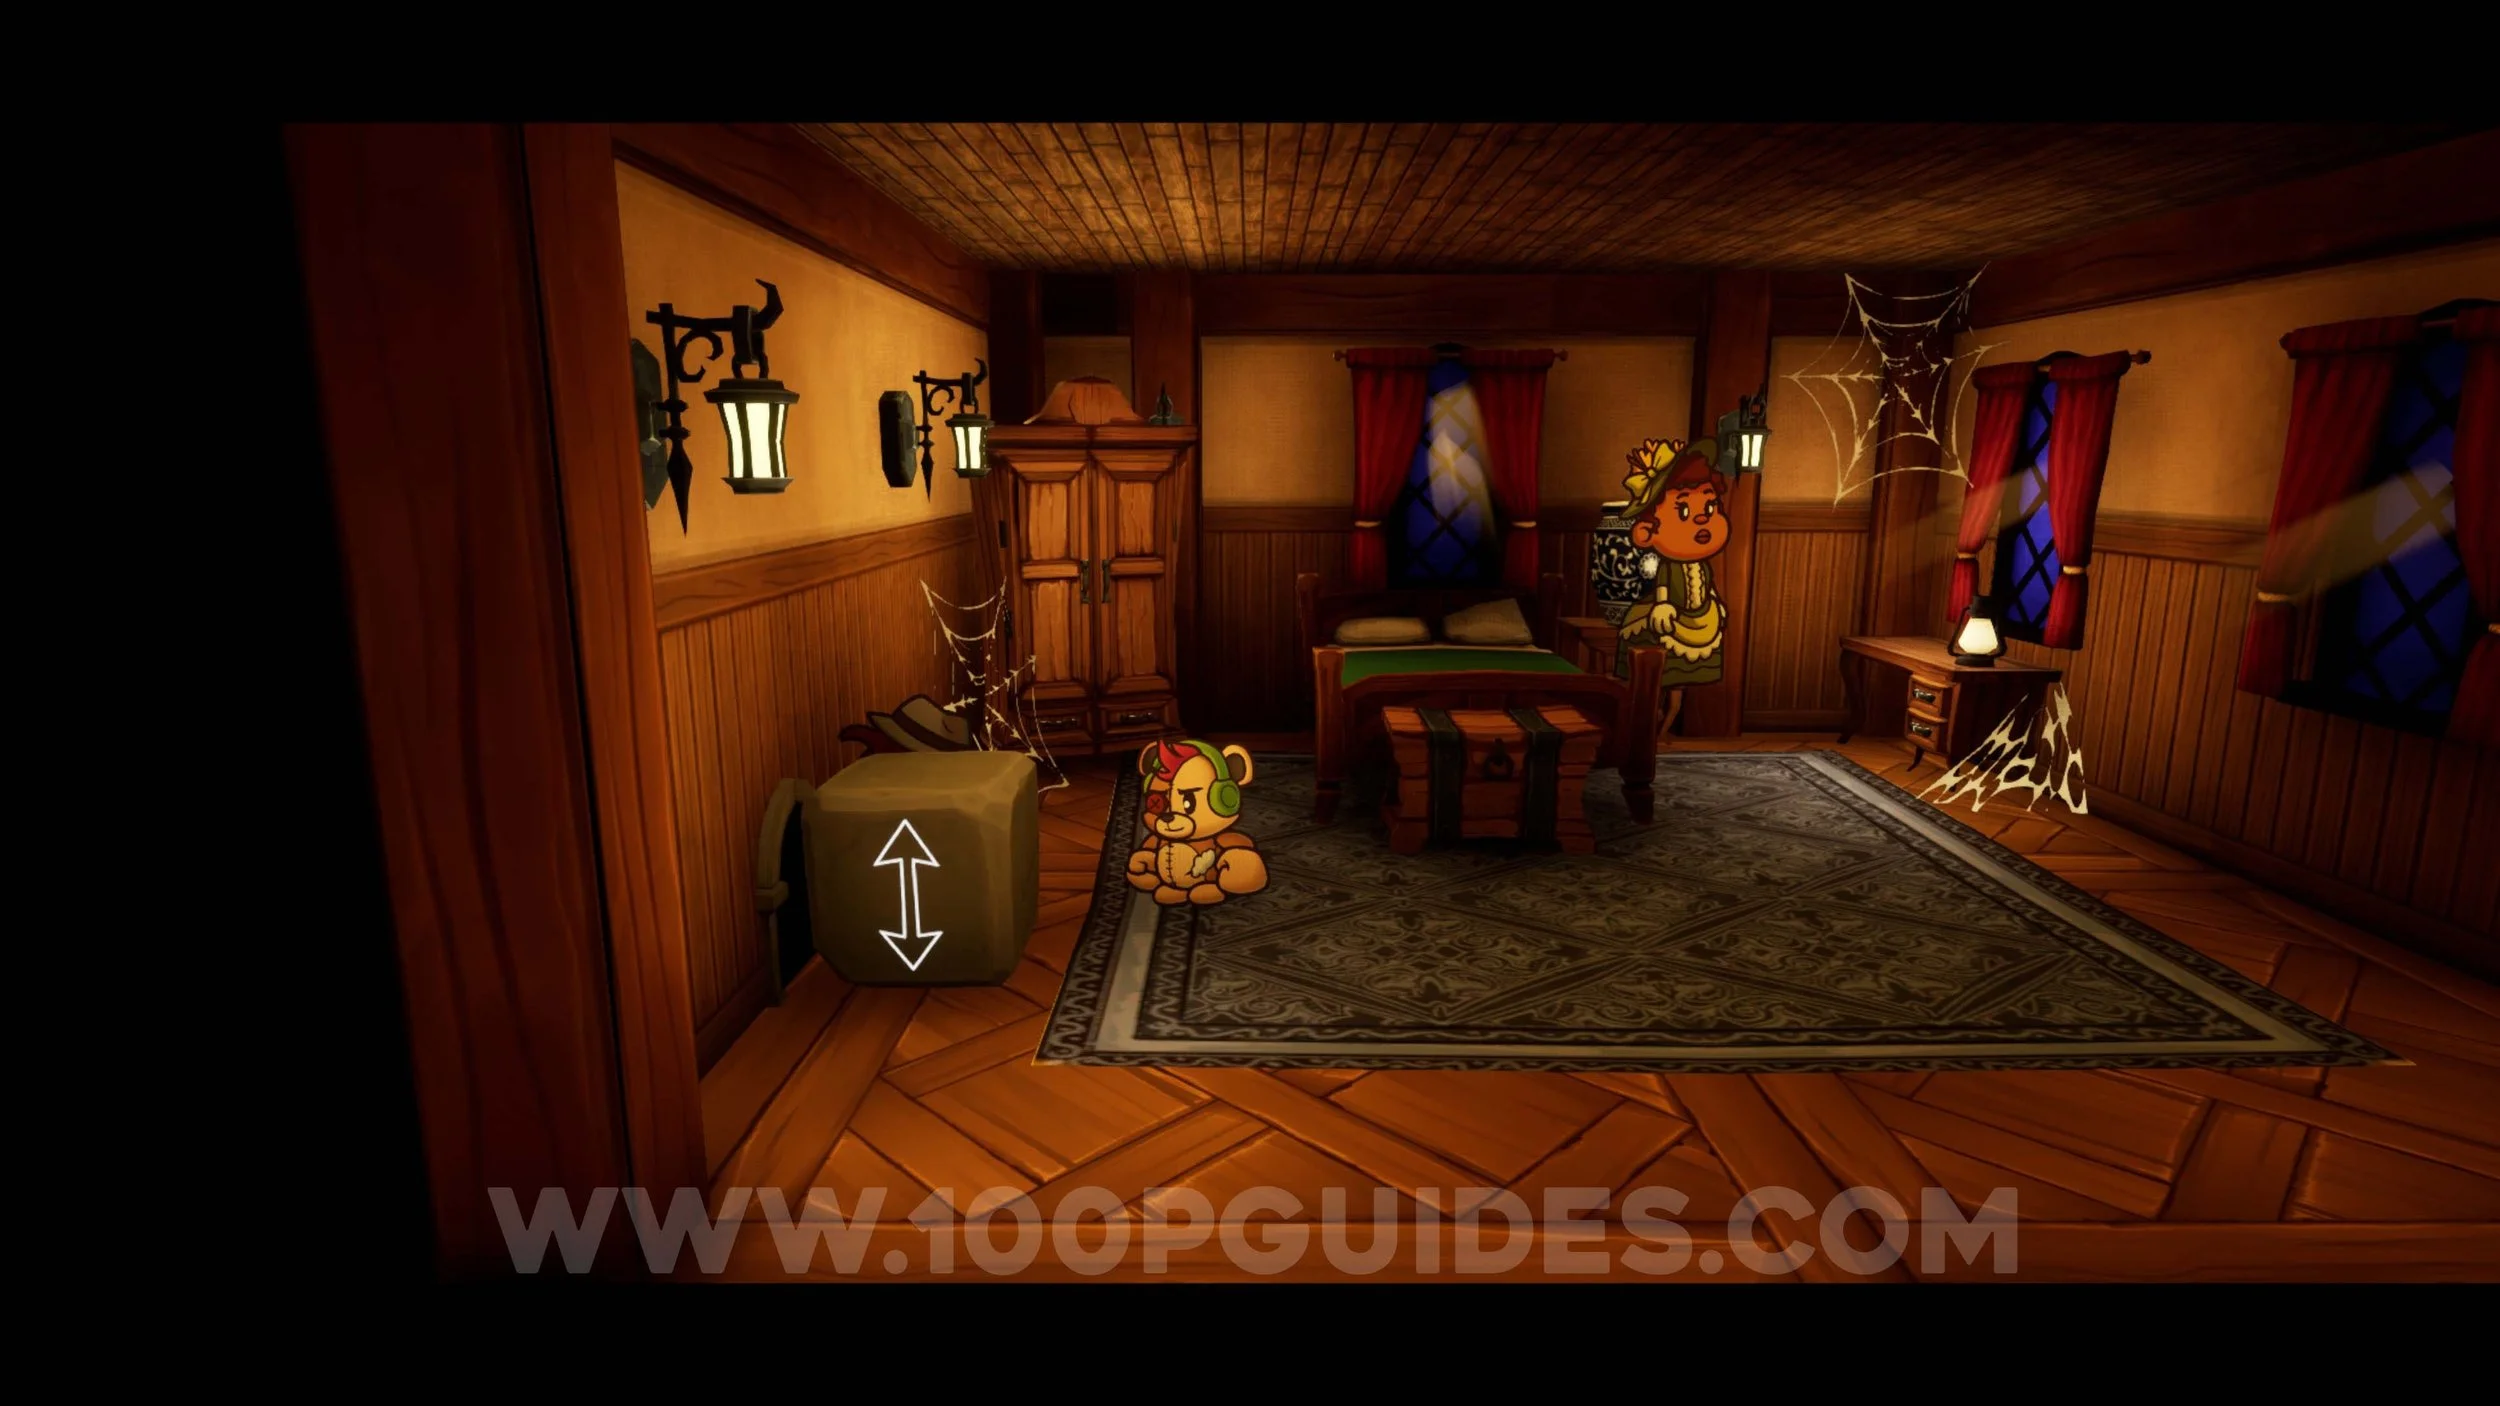
Sun Gem #70. In the vase in Hotel Room 1.
Trinket #63 - Risky Business. Obtained by reaching floor 10 of the Stairs of Success tower in HR.
Trinket #64 - Poison Infusion. Obtained by reaching floor 20 of the Stairs of Success tower in HR.
Ember Stone #3. Obtained by reaching floor 40 of the Stairs of Success tower in HR.
Trinket #65 - Peaceful Charm. Obtained by reaching floor 60 of the Stairs of Success tower in HR.
Trinket #66 - Overpower. Obtained by reaching floor 90 of the Stairs of Success tower in HR.
Trinket #67 - Combo Boost. Give the blacksmith in HQ 1 Attack Boost Trinket + 1 Defense Boost Trinket + 1 Ember Stone.
Trinket #68 - Combo Boost. Give the blacksmith in HQ 1 Attack Boost Trinket + 1 Defense Boost Trinket + 1 Ember Stone.
Trinket #69 - Combo Boost. Give the blacksmith in HQ 1 Attack Boost Trinket + 1 Defense Boost Trinket + 1 Ember Stone.
Office Decor #16-70. These can all be purchased from the PC in your office.