Boltgun 2 All Collectible Locations (All Secrets and Seals)
Welcome to our collectibles guide for Boltgun 2. It will show you where to find every collectible in the game. There are two kinds:
- 174 Secrets
- 33 Seals (one in every level)
Both are needed for trophies and achievements. Nothing is missable, and everything can be collected through the Level Select menu.
Getting everything takes 2 full playthroughs, because the campaign splits into two paths three times, and each path has 3 or 4 levels of its own. On your second playthrough, take the paths you did not take the first time. If you miss collectibles on your first run through a level, do not worry: every level you finish is added to the Level Select menu, so you can go back and collect everything whenever you want, even after finishing the campaign. To unlock the related trophies you need all the collectibles in every level with at least one of the two characters. It does not have to be the same character for every level, so you can have everything in half the levels with one character and everything in the other half with the other. Just make sure you finish a level again after picking everything up, since its collectibles do not "save" until you finish it. That is when the trophies pop.
Shattered Station
Secret 1/2
Just after you see the red door that you cannot open yet, head through the door on the right on the upper level. From there you will see a group of enemies below you. The secret is behind the debris where those enemies are.
Seal 1/1
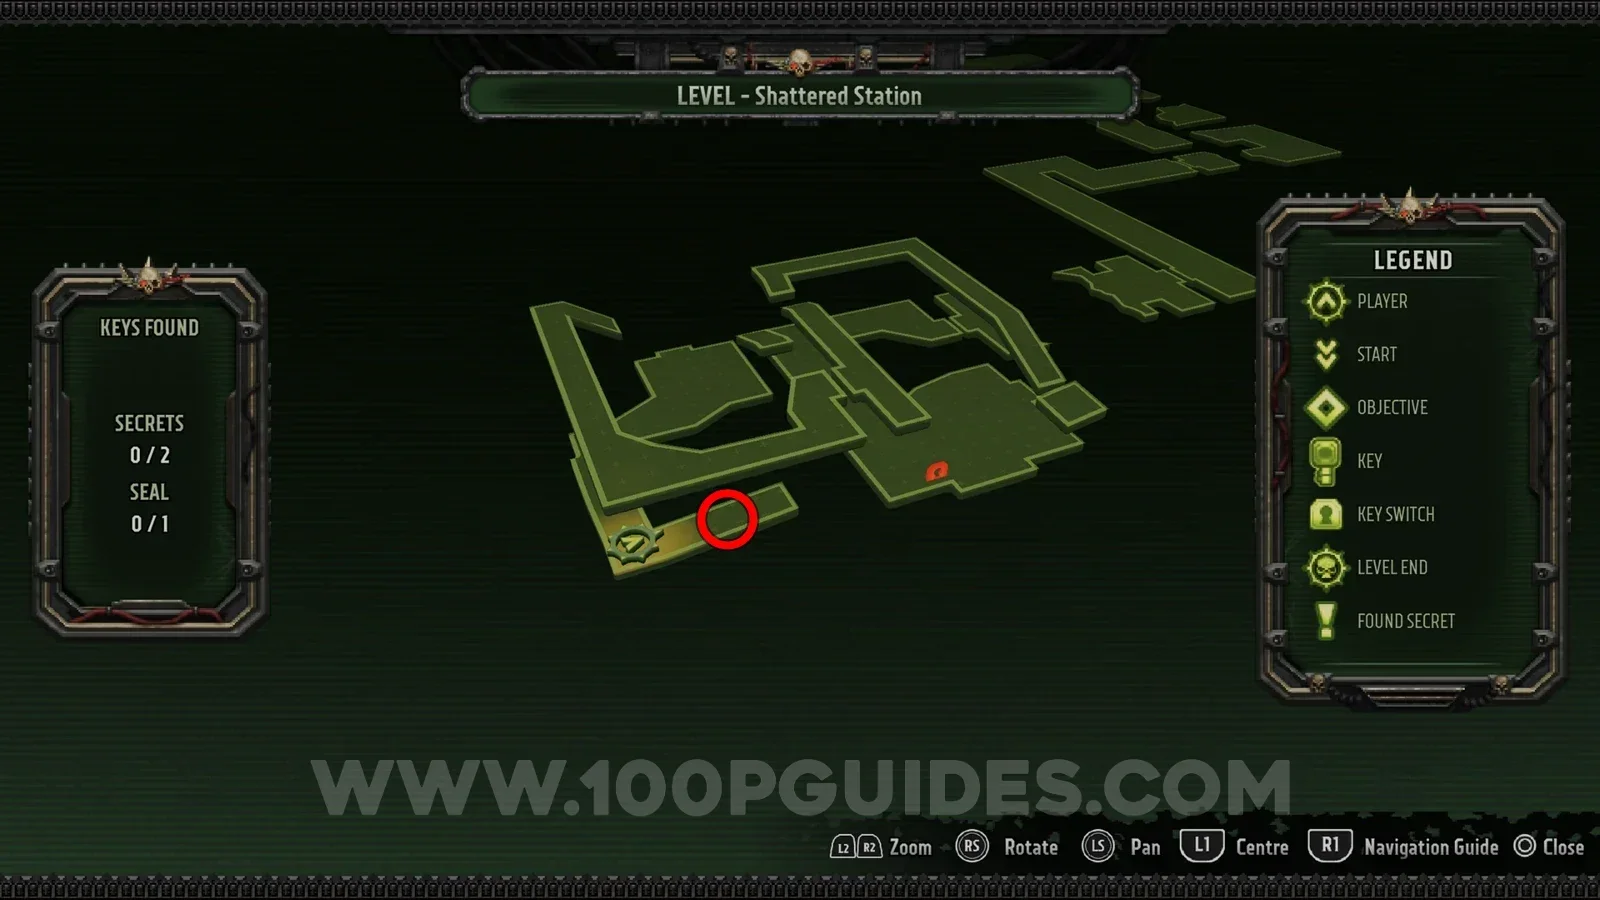
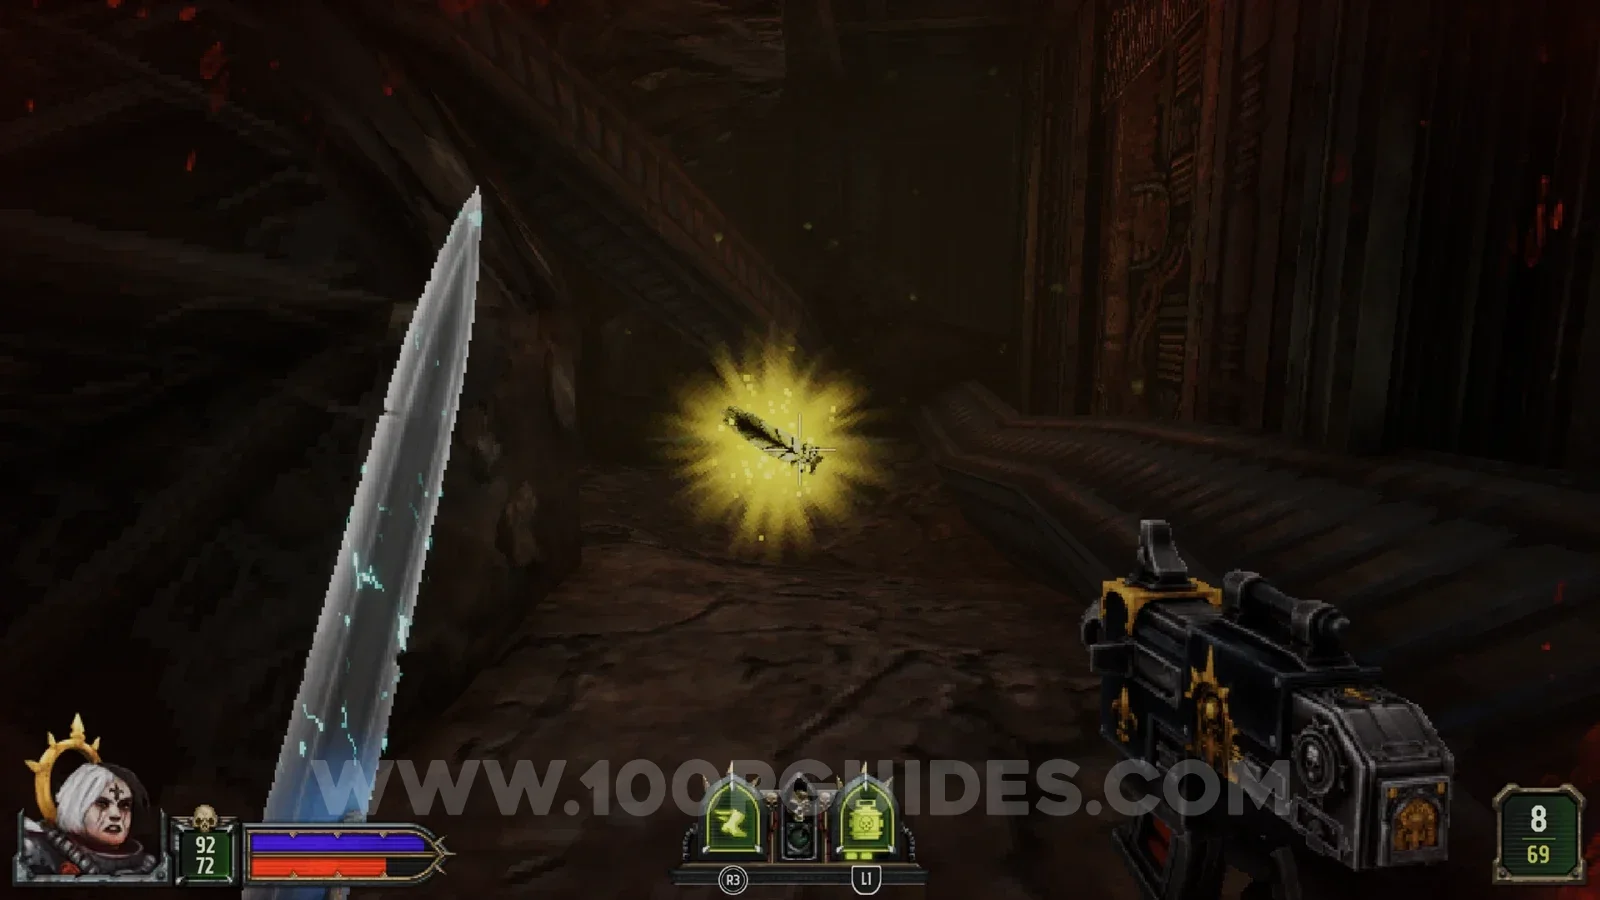
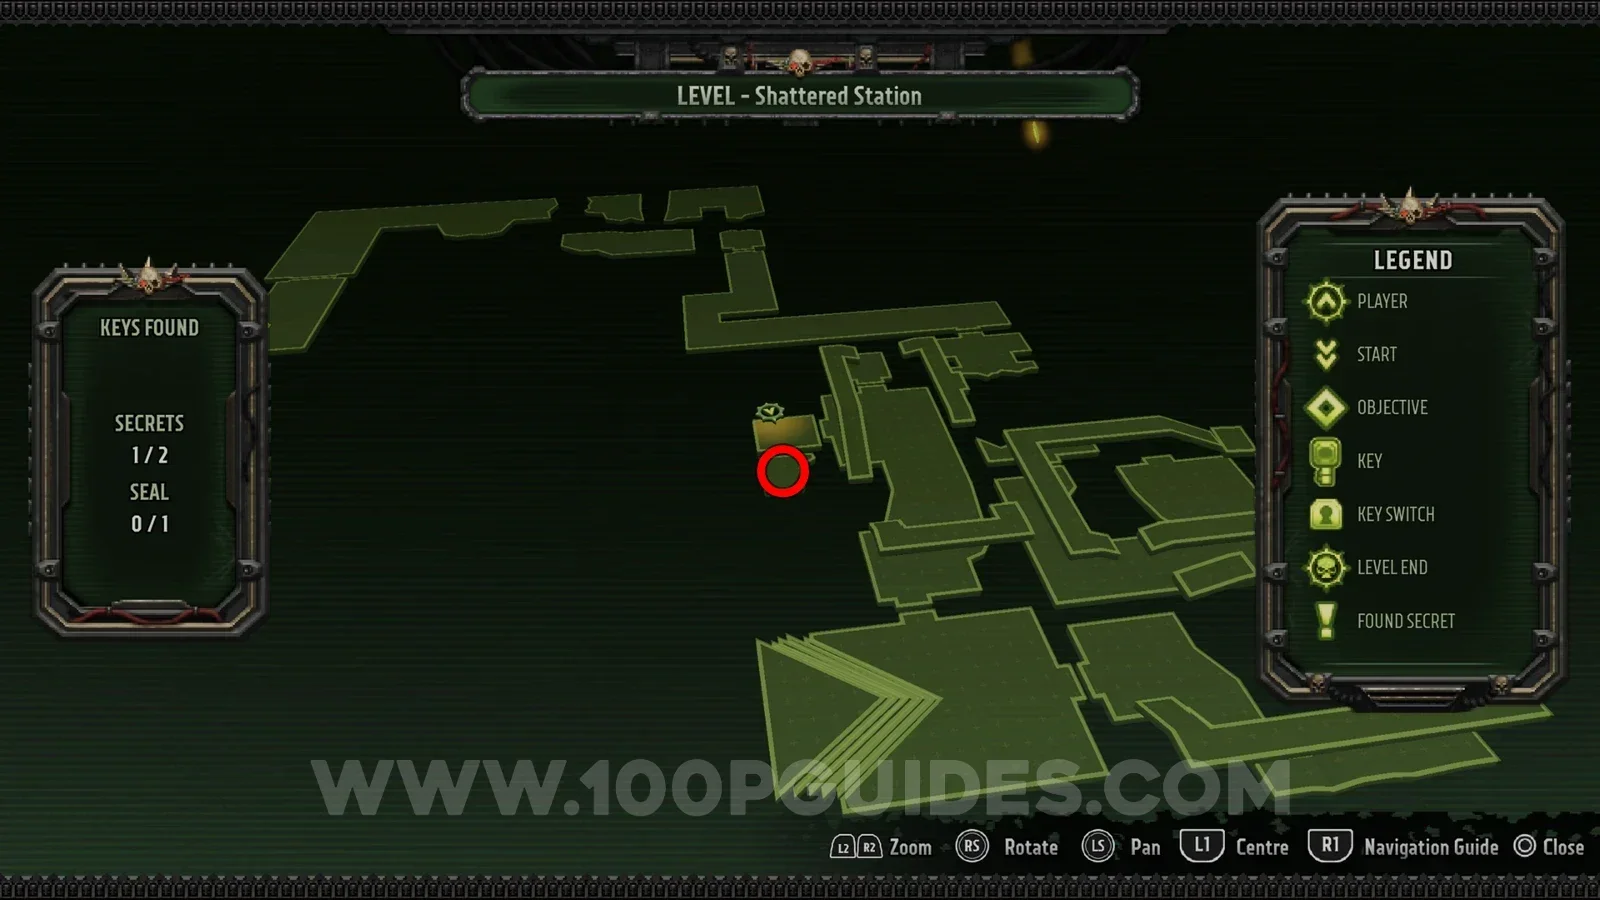
After getting your first weapon, head through to the next room and into the small room on the left. Hit the weak wall there to destroy it and find the seal on the other side.
Secret 2/2
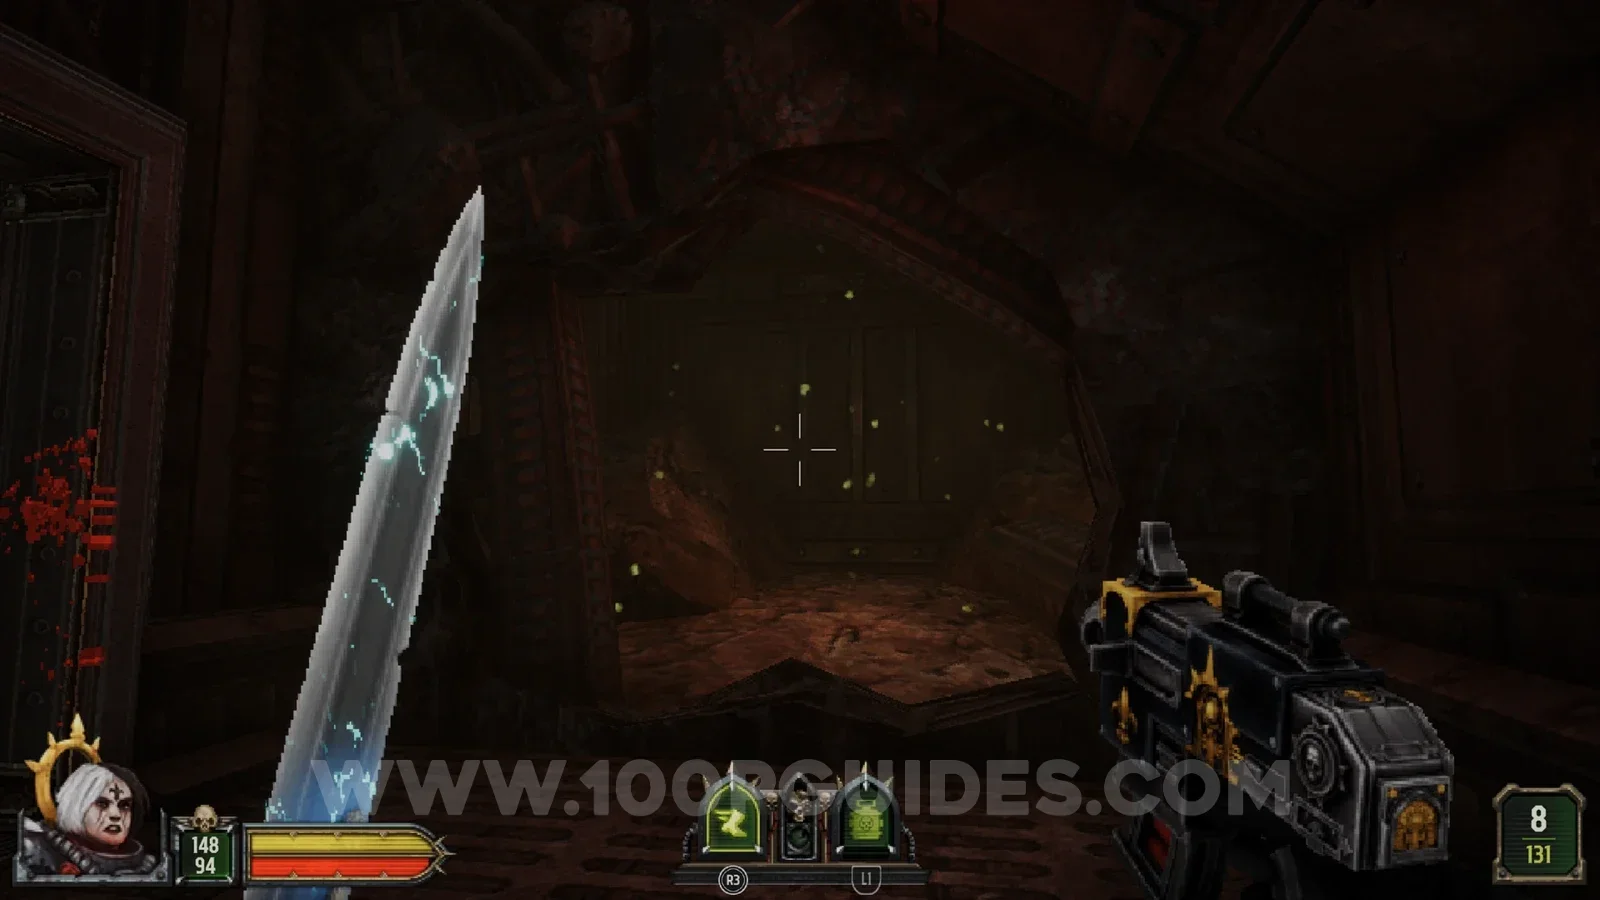
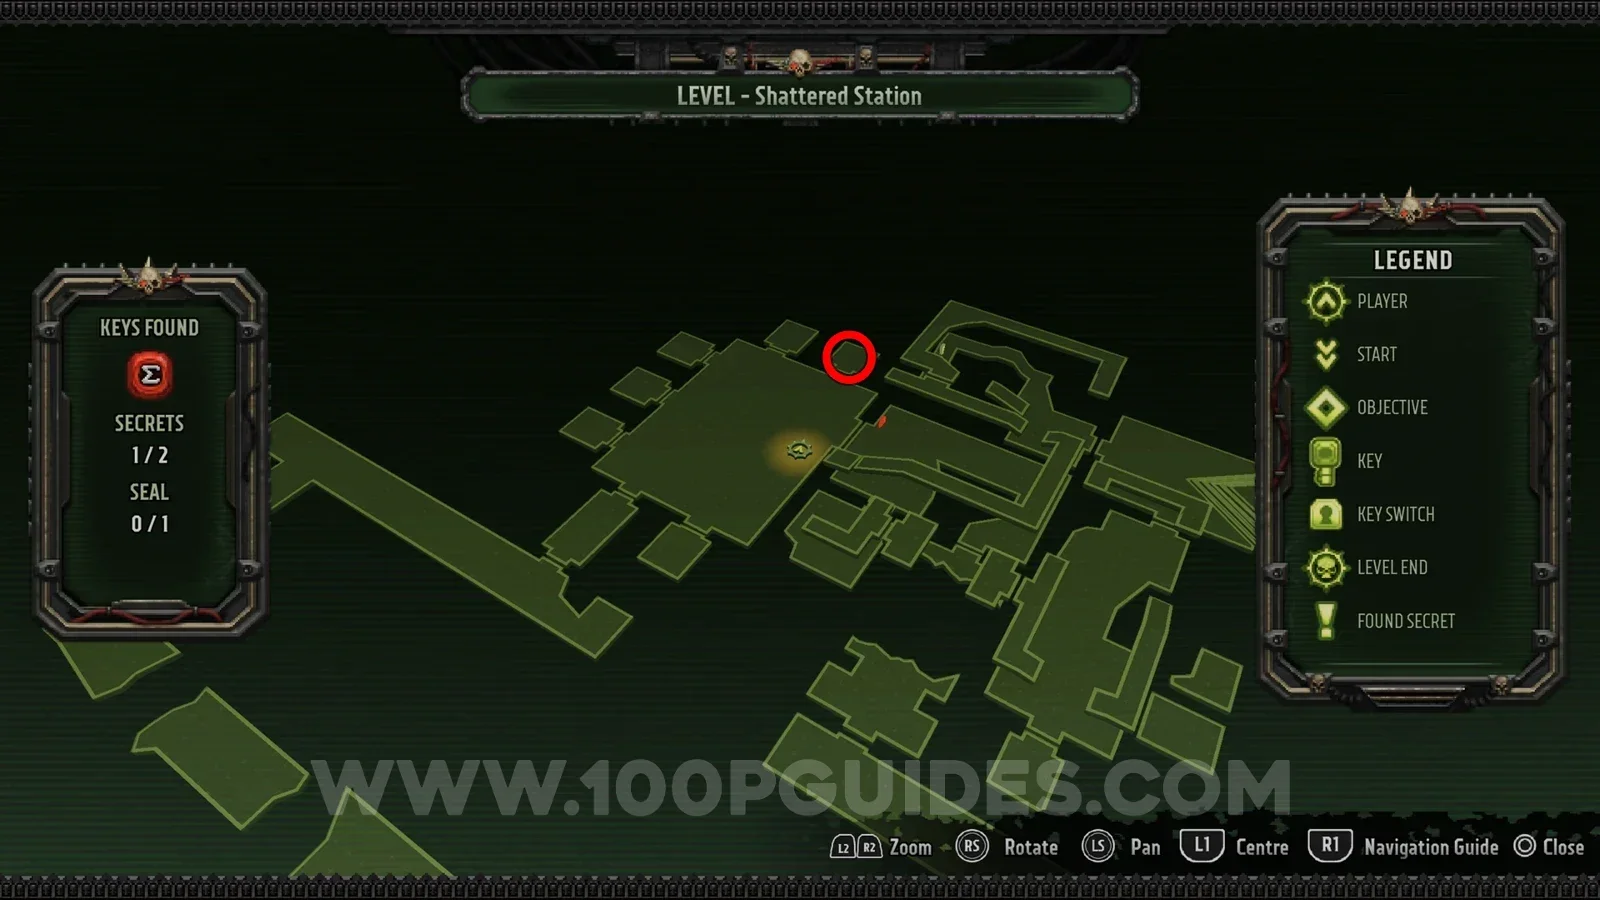
After going through the red door, in the room with the ambush, shoot the panel on the wall to open a secret room.
Dauntless
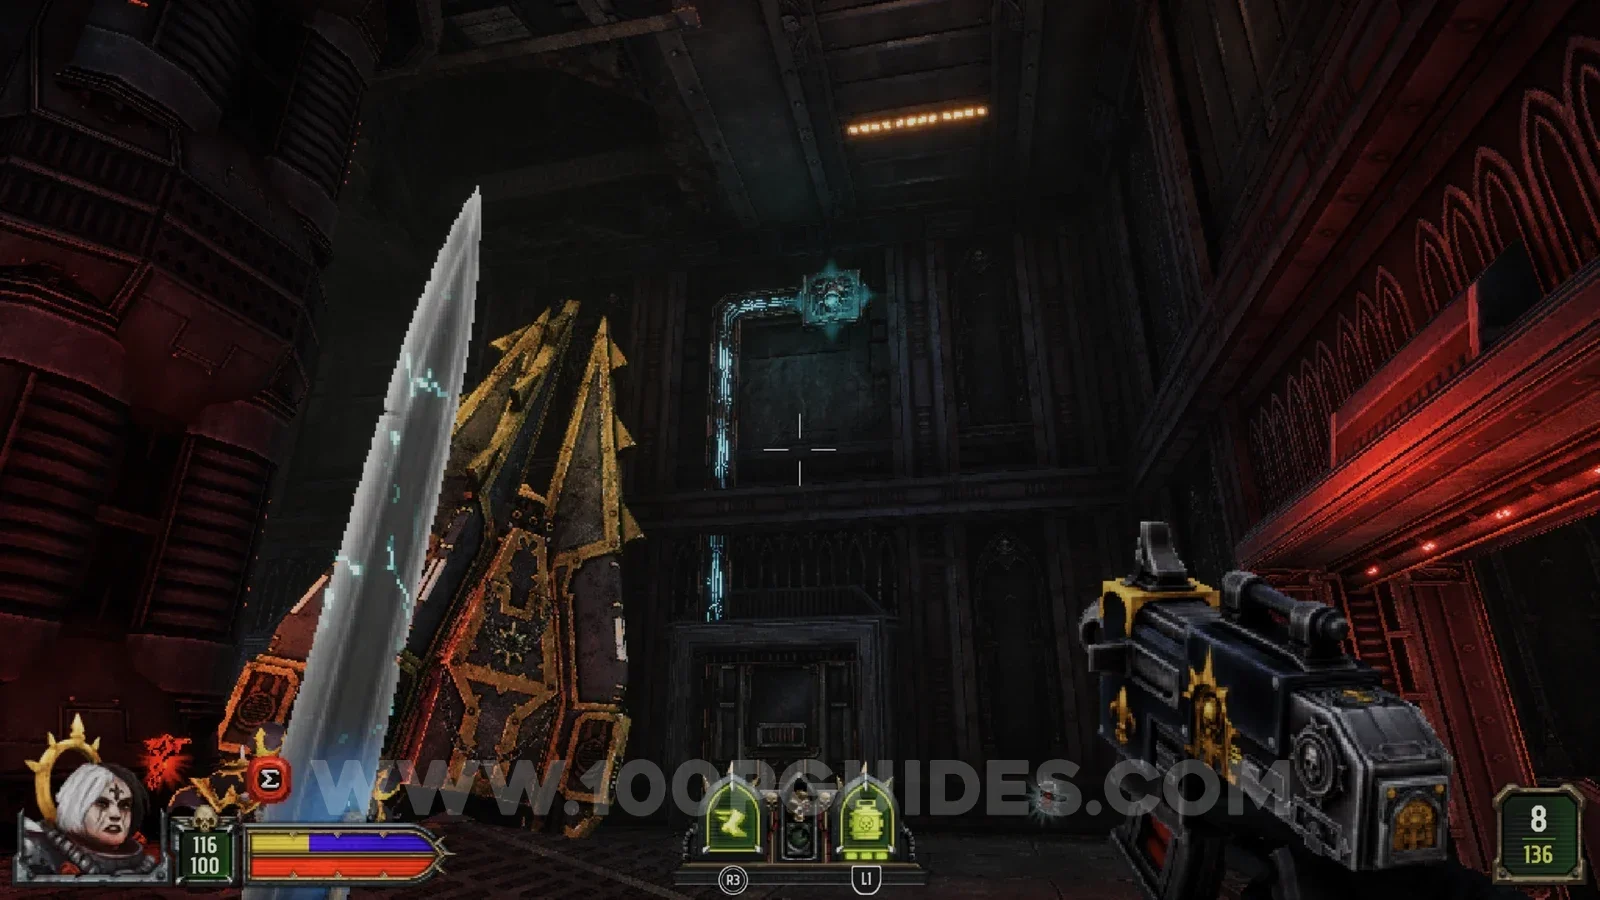
Secret 1/5
From the red key, jump to the thin platform on your left to find the secret in the small alcove.
Secret 2/5
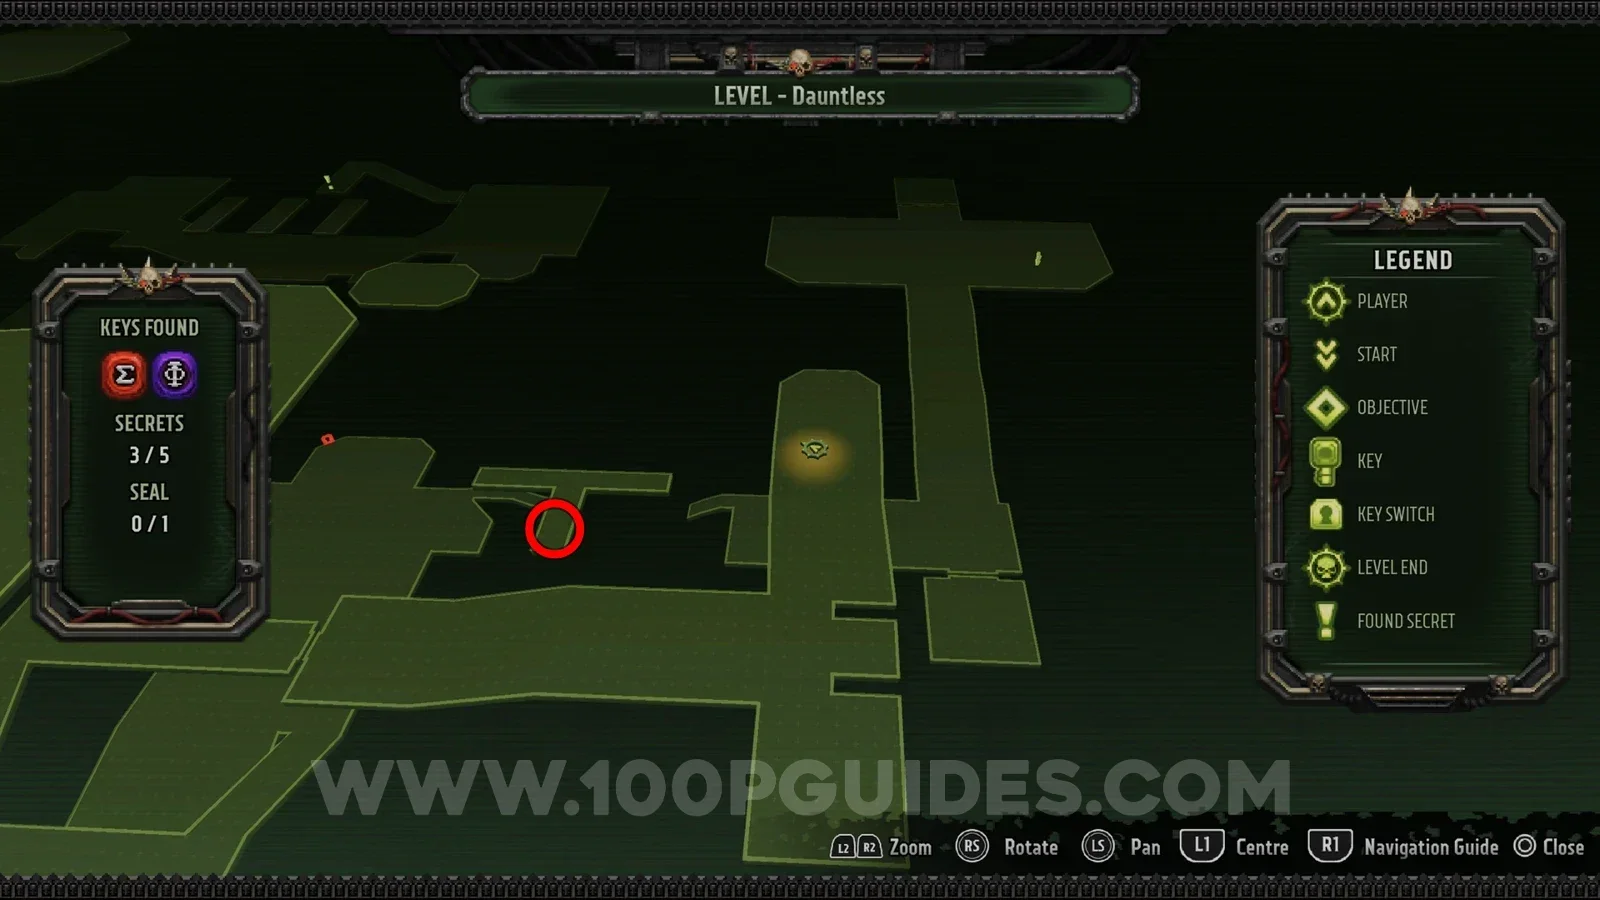
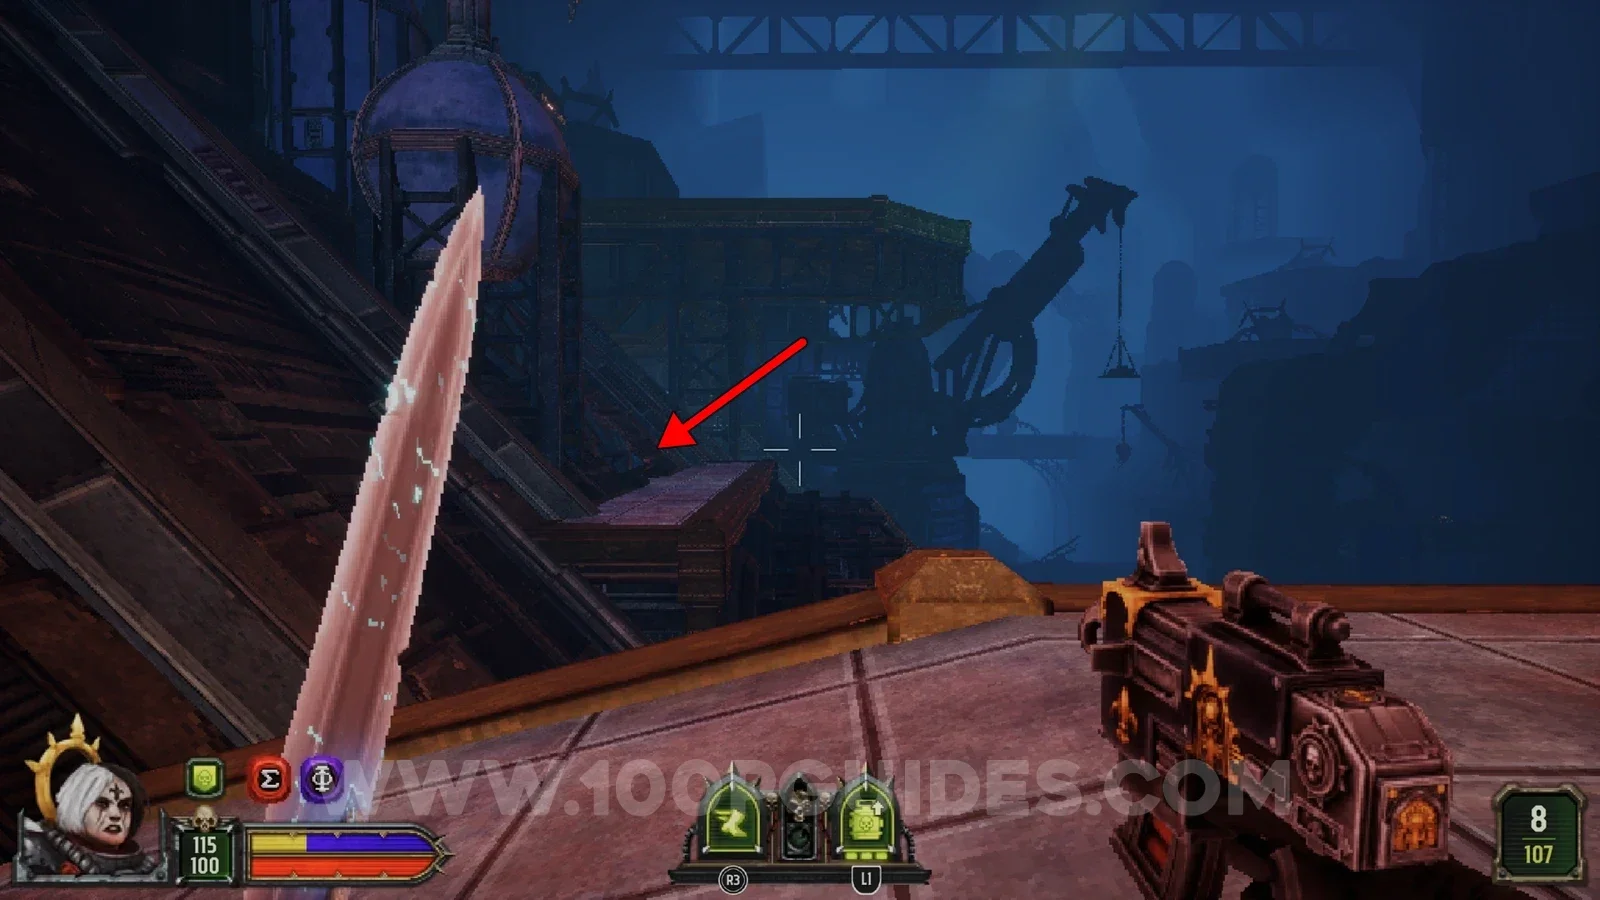
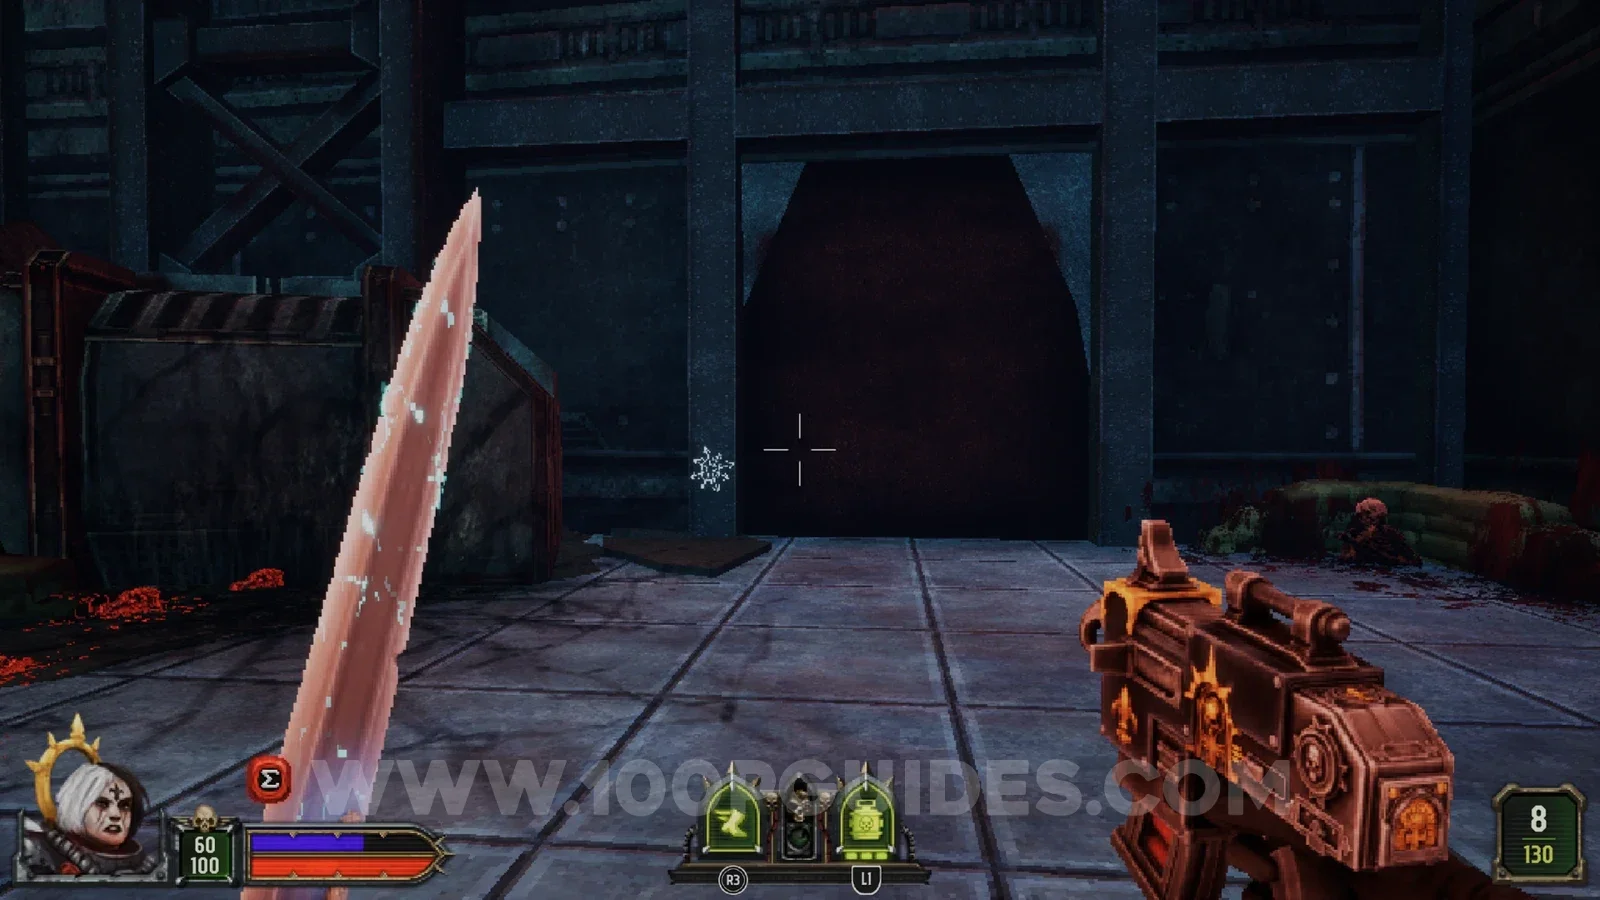
After using the red key and crossing the large gap on the platform, press against the wall at the back left. It opens up and leads you to the secret.
Secret 3/5
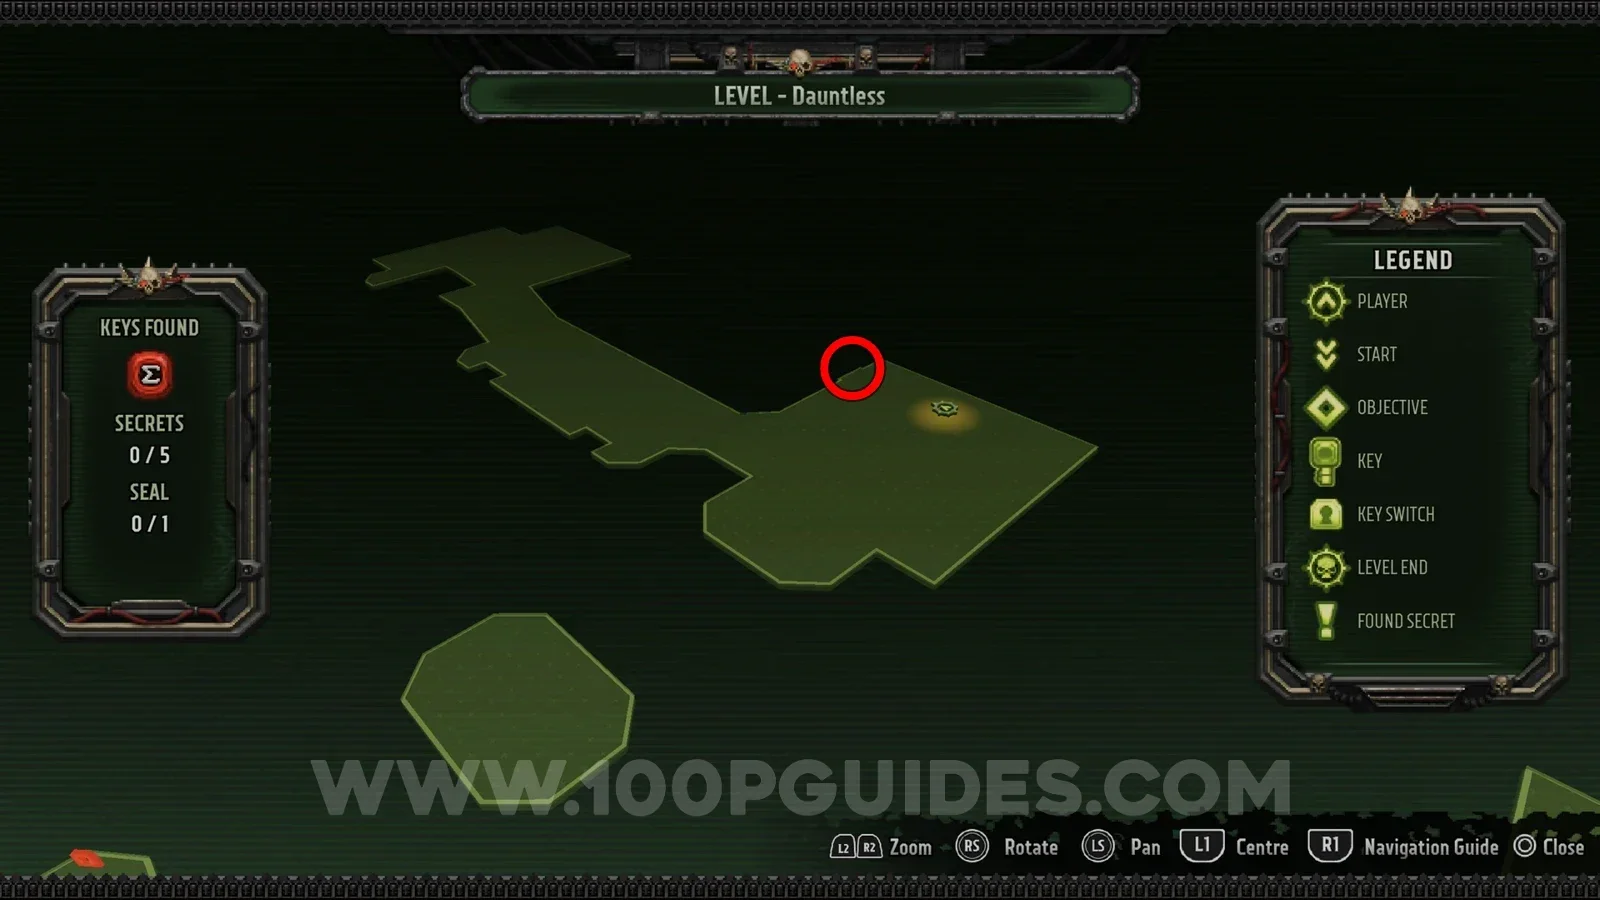
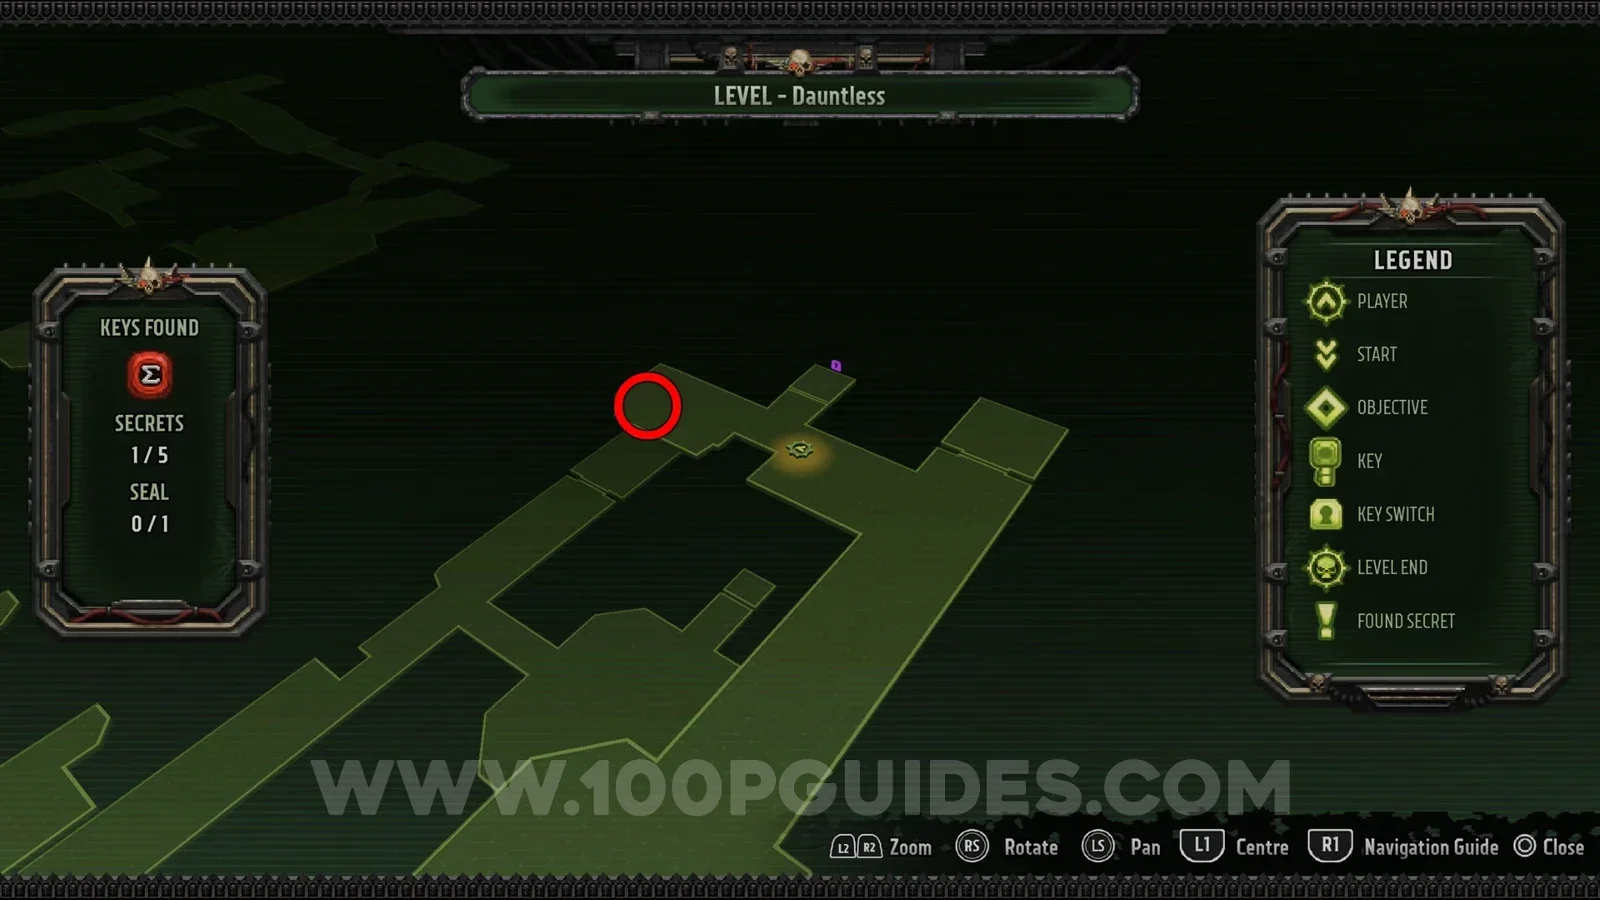
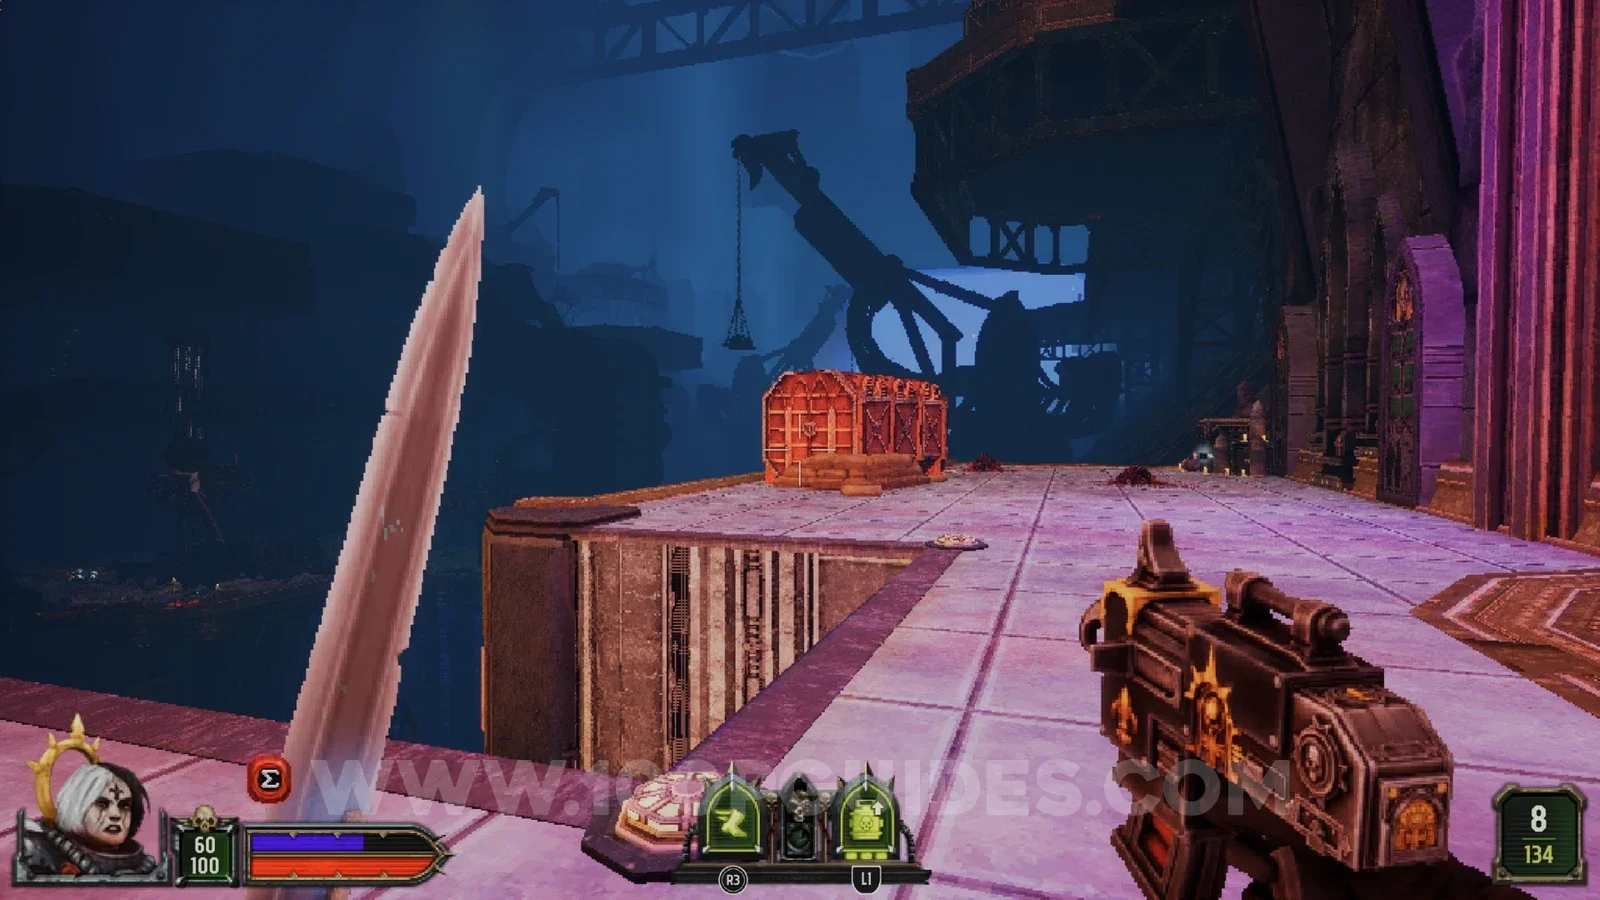
After riding the lift up to the purple console, look left to find the secret inside the container.
Secret 4/5
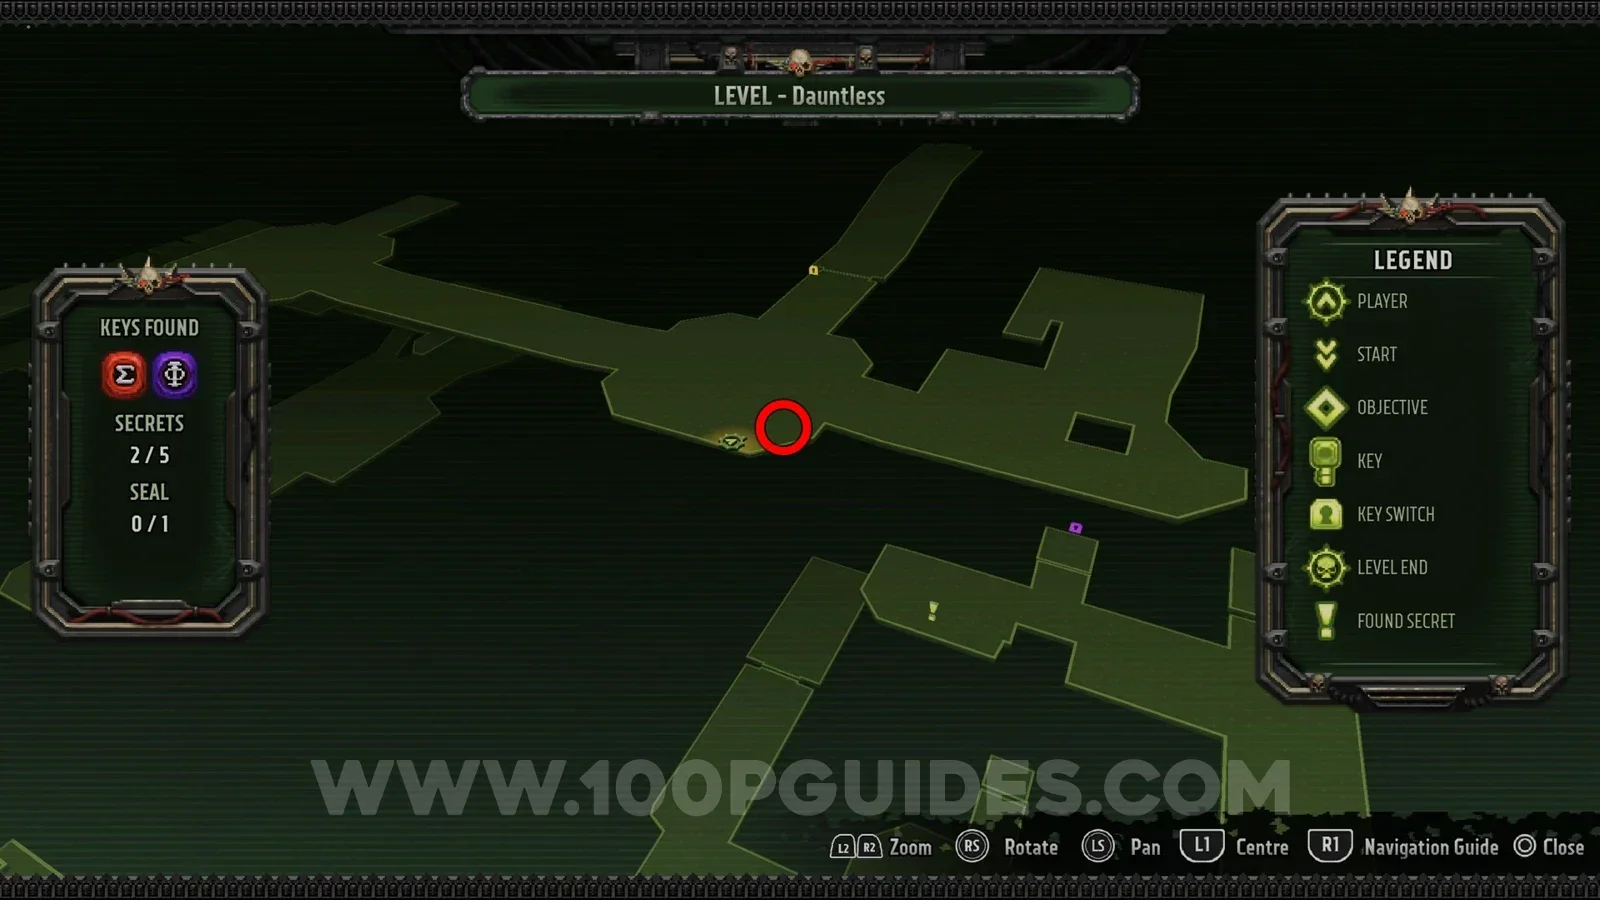
After riding the purple lift up (the one the console activates), in the open container on your left.
Seal 1/1
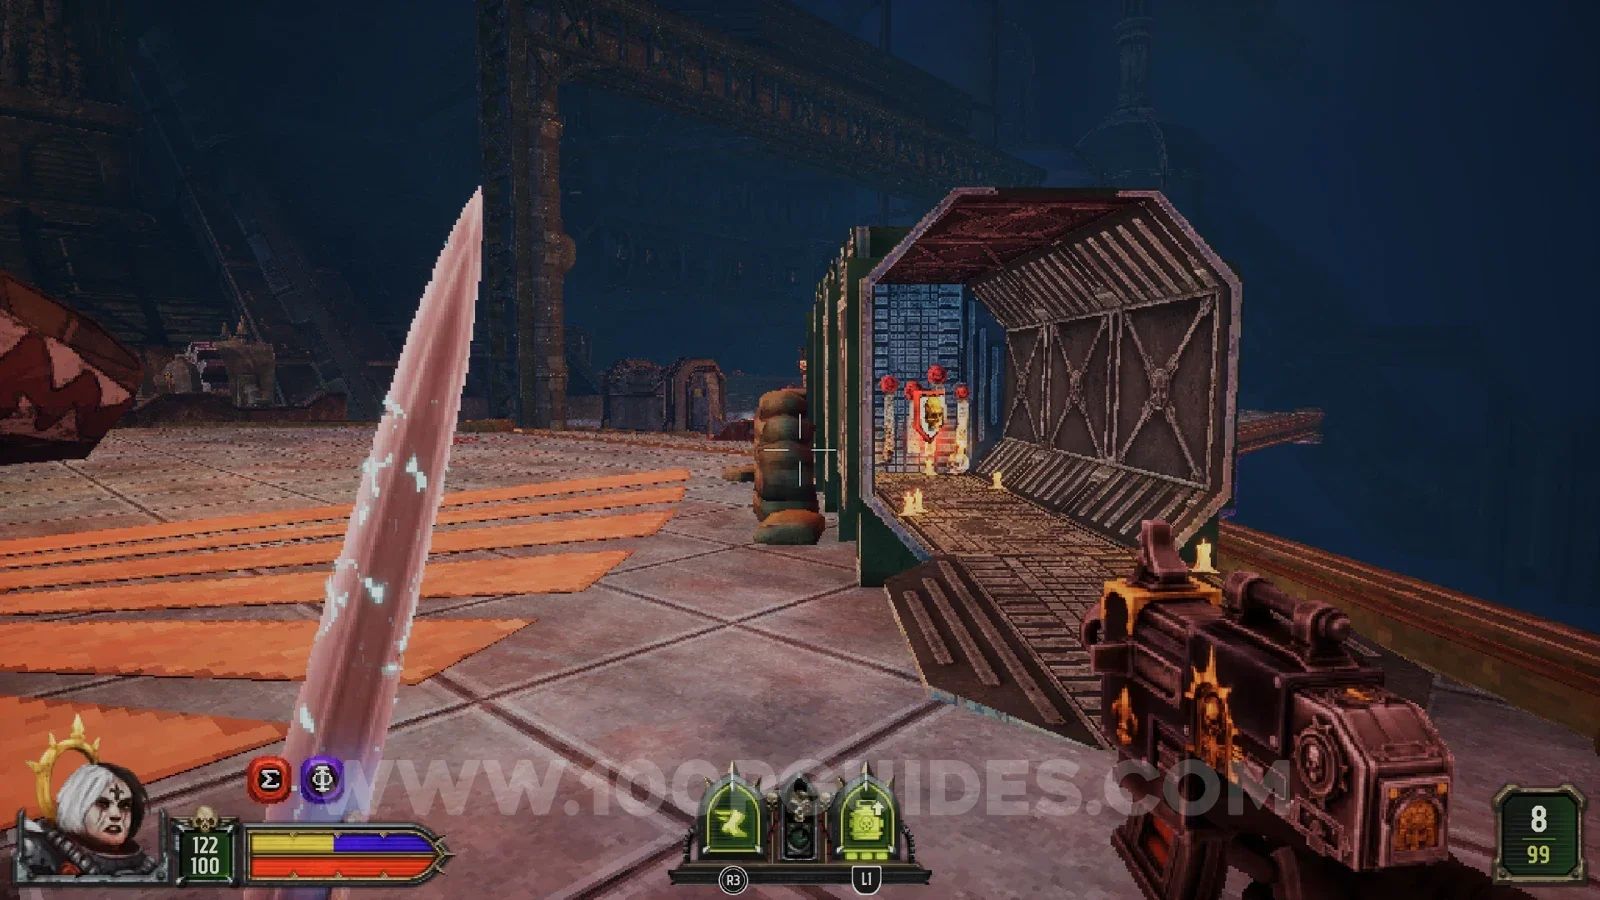
Drop down to your right as soon as you go through the yellow door.
Secret 5/5
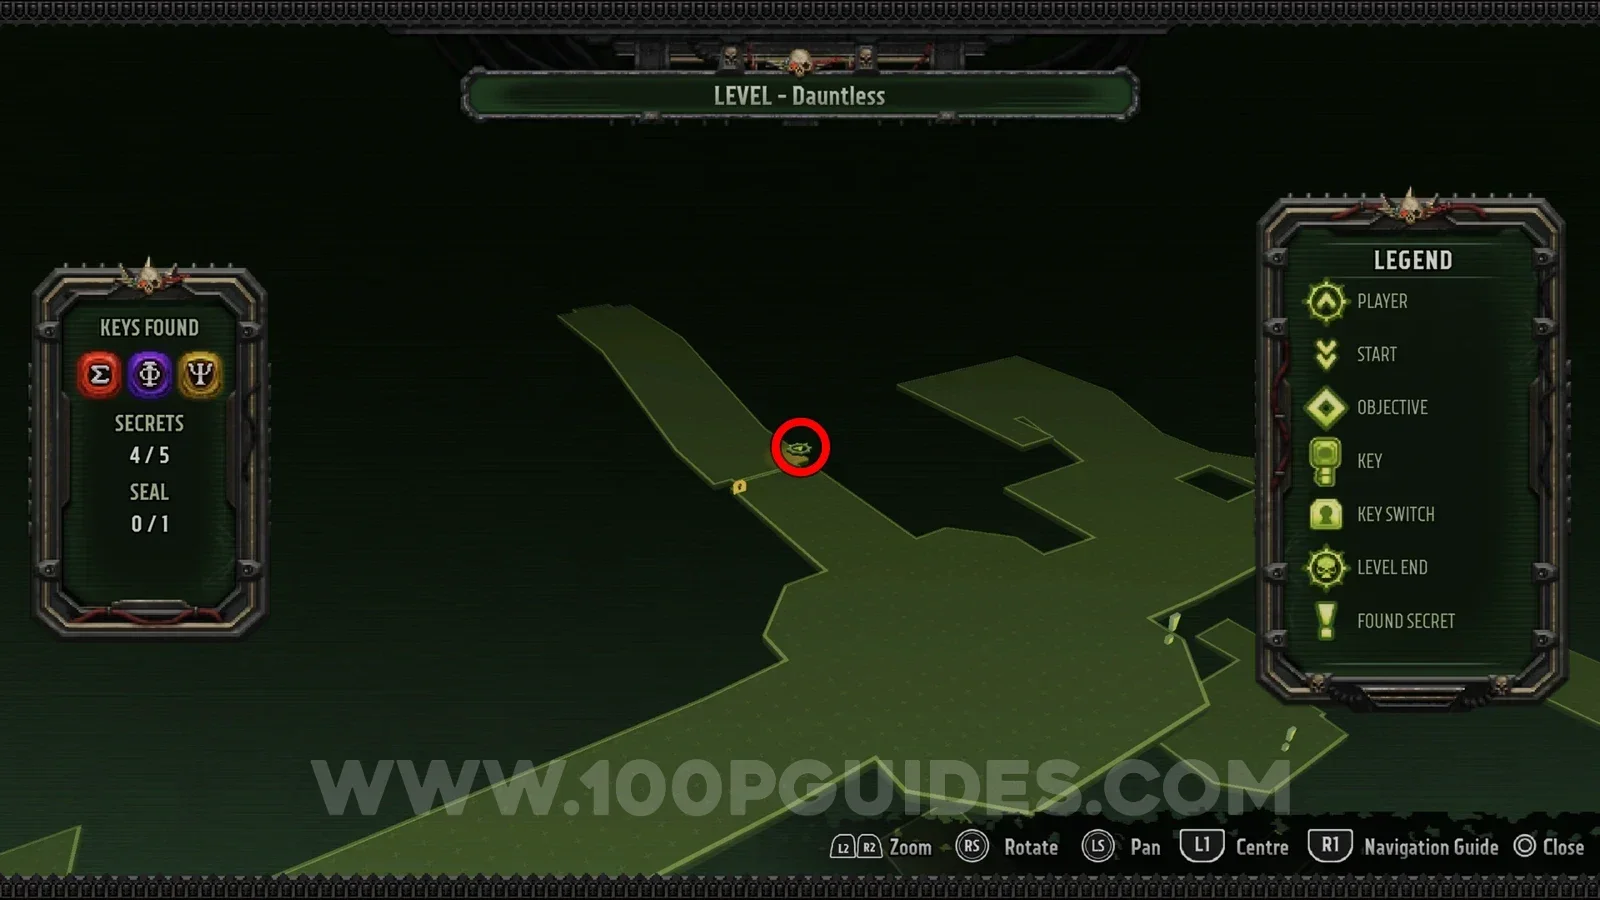
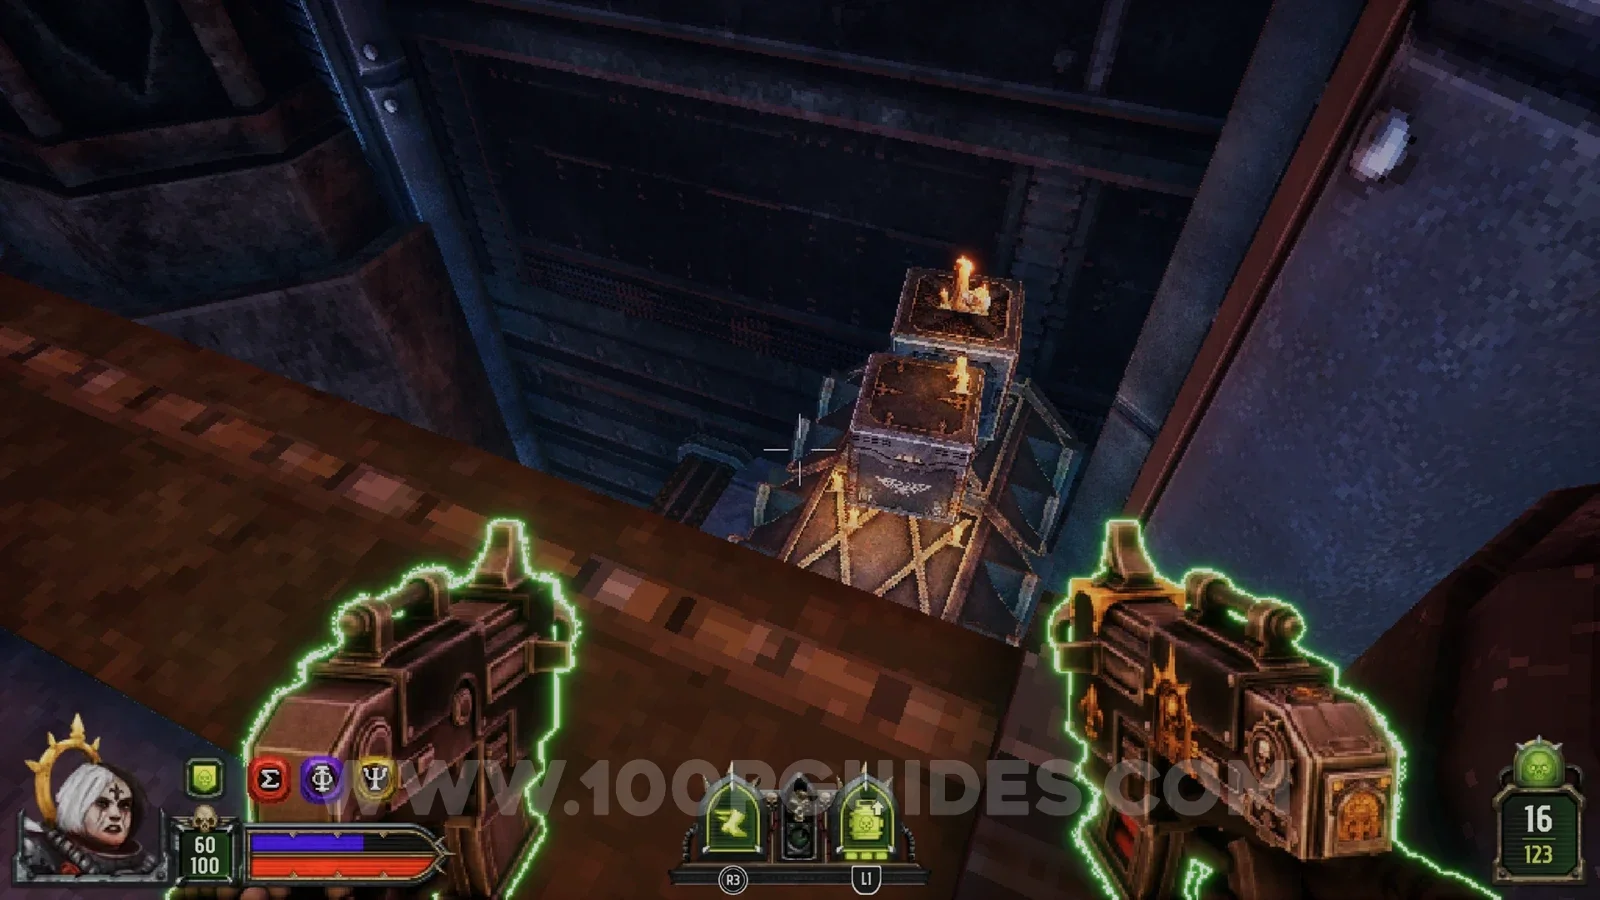
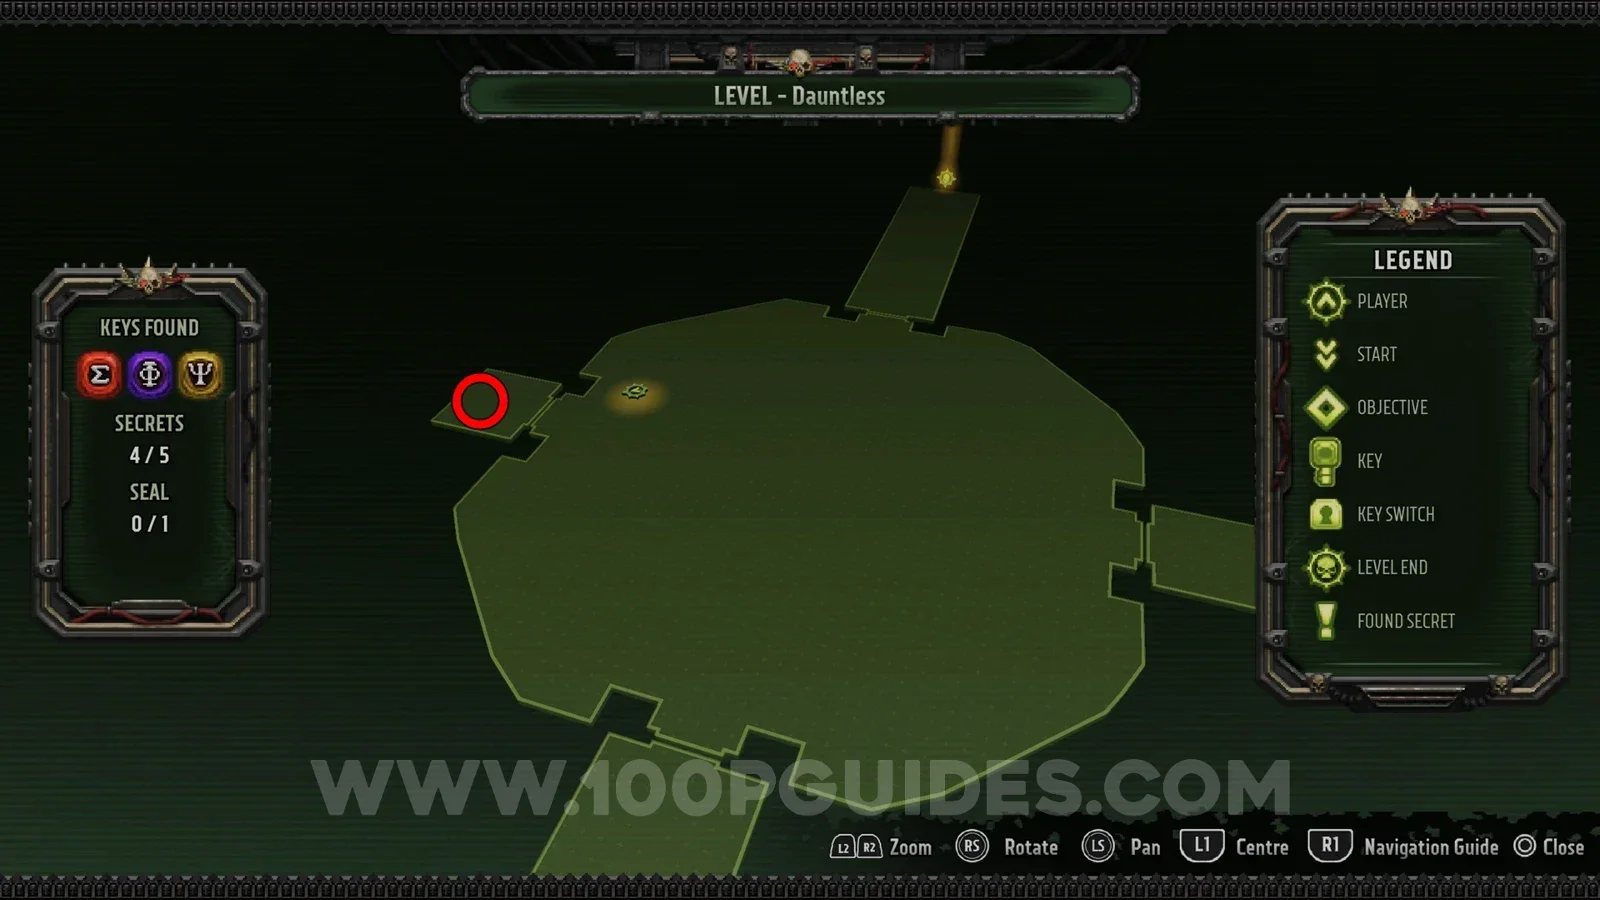
In the small room that opens up on the left in the Purge area just before the end of the level.
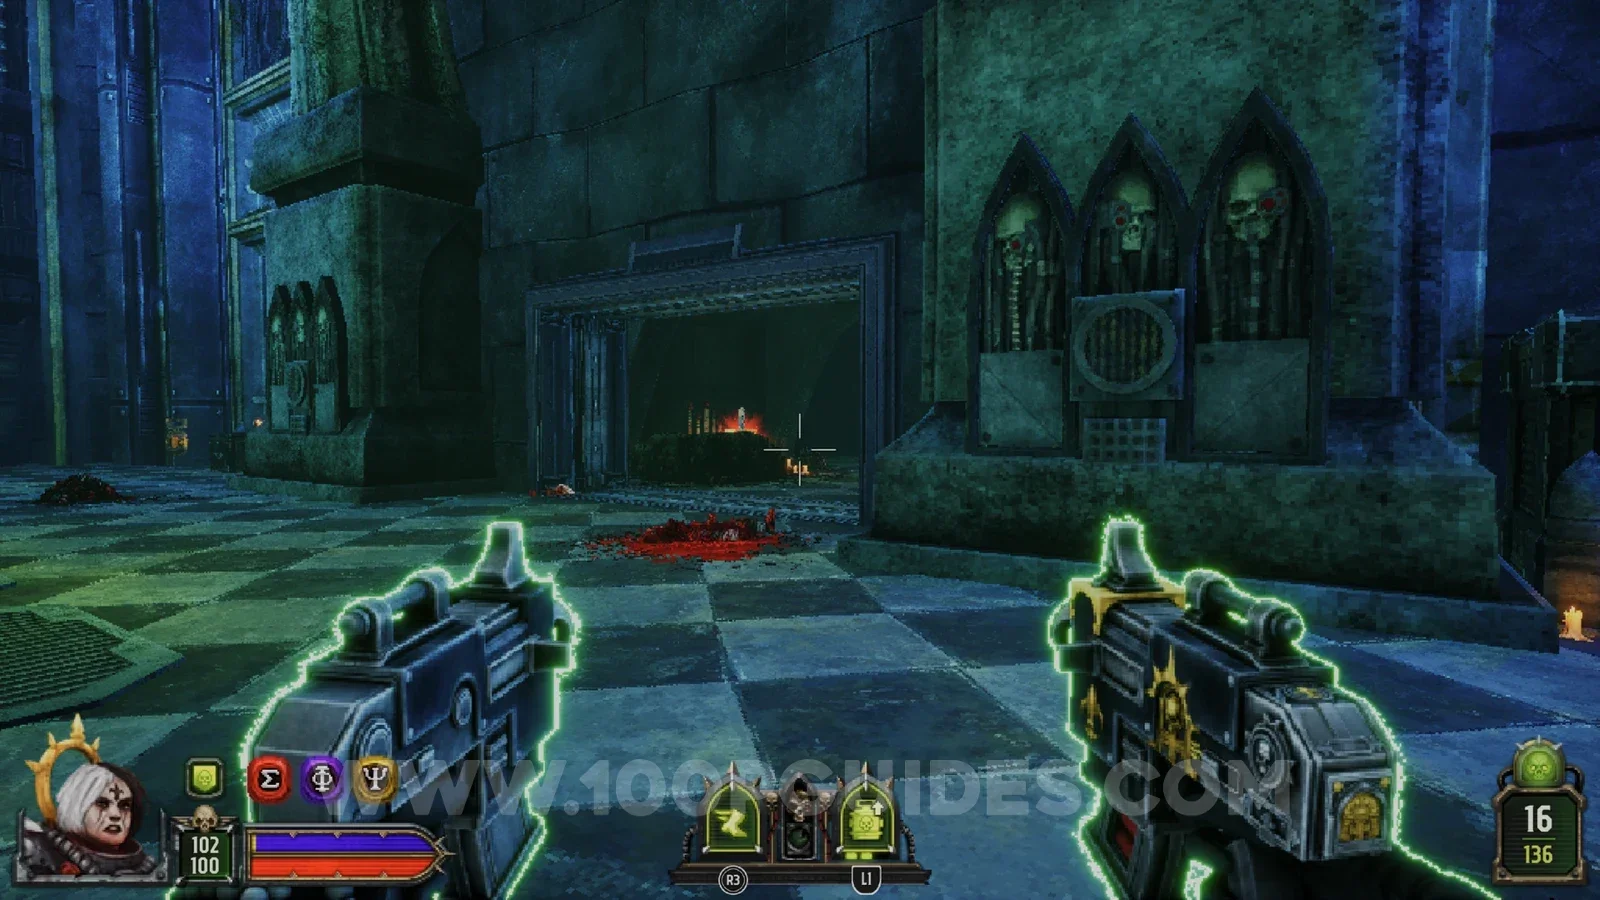
At this point in the campaign you have to pick one of two paths. Path A is the one shown first in the Level Select menu:
- Path A Nurgle Nightmare (4 levels): Welcome To The Wilds > The Bastion > Festering Bog > The Vile Root.
- Path B There Is Only War (3 levels): The Trenches > Munitions Mayhem > Chaos In The City.
Once you pick one, the levels of the other path stay locked until you play through a new campaign and pick that path. After that you can replay any of them through Level Select.
Welcome To The Wilds Path A
Secret 1/4
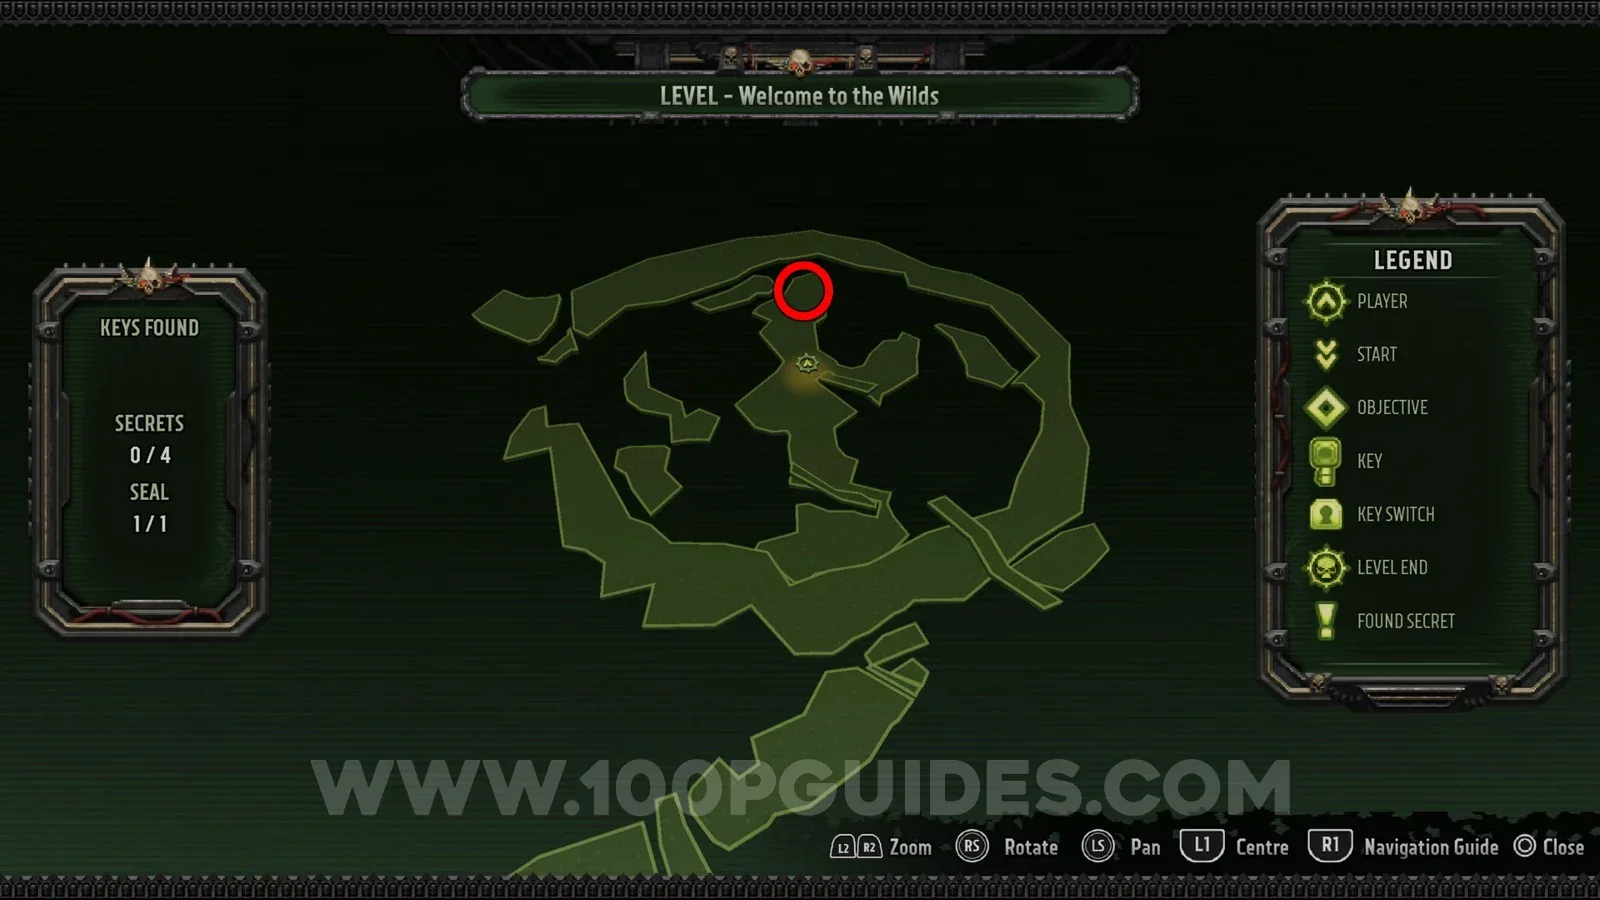
Close to the start of the level you will go through a circular area with a waterfall. The secret is behind the waterfall.
Secret 2/4
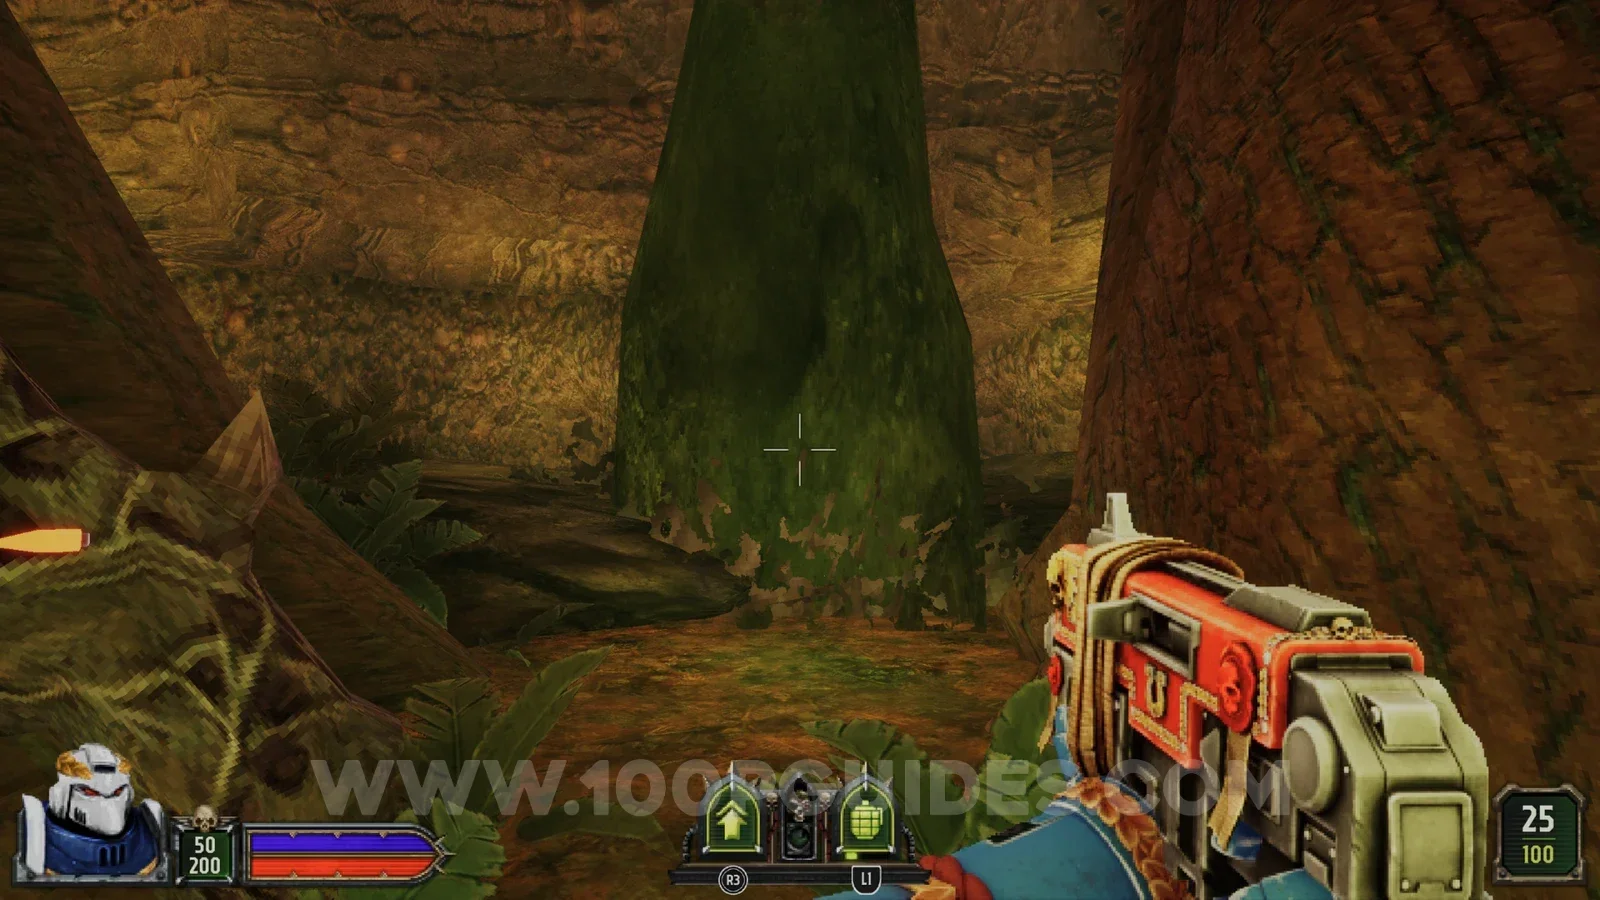
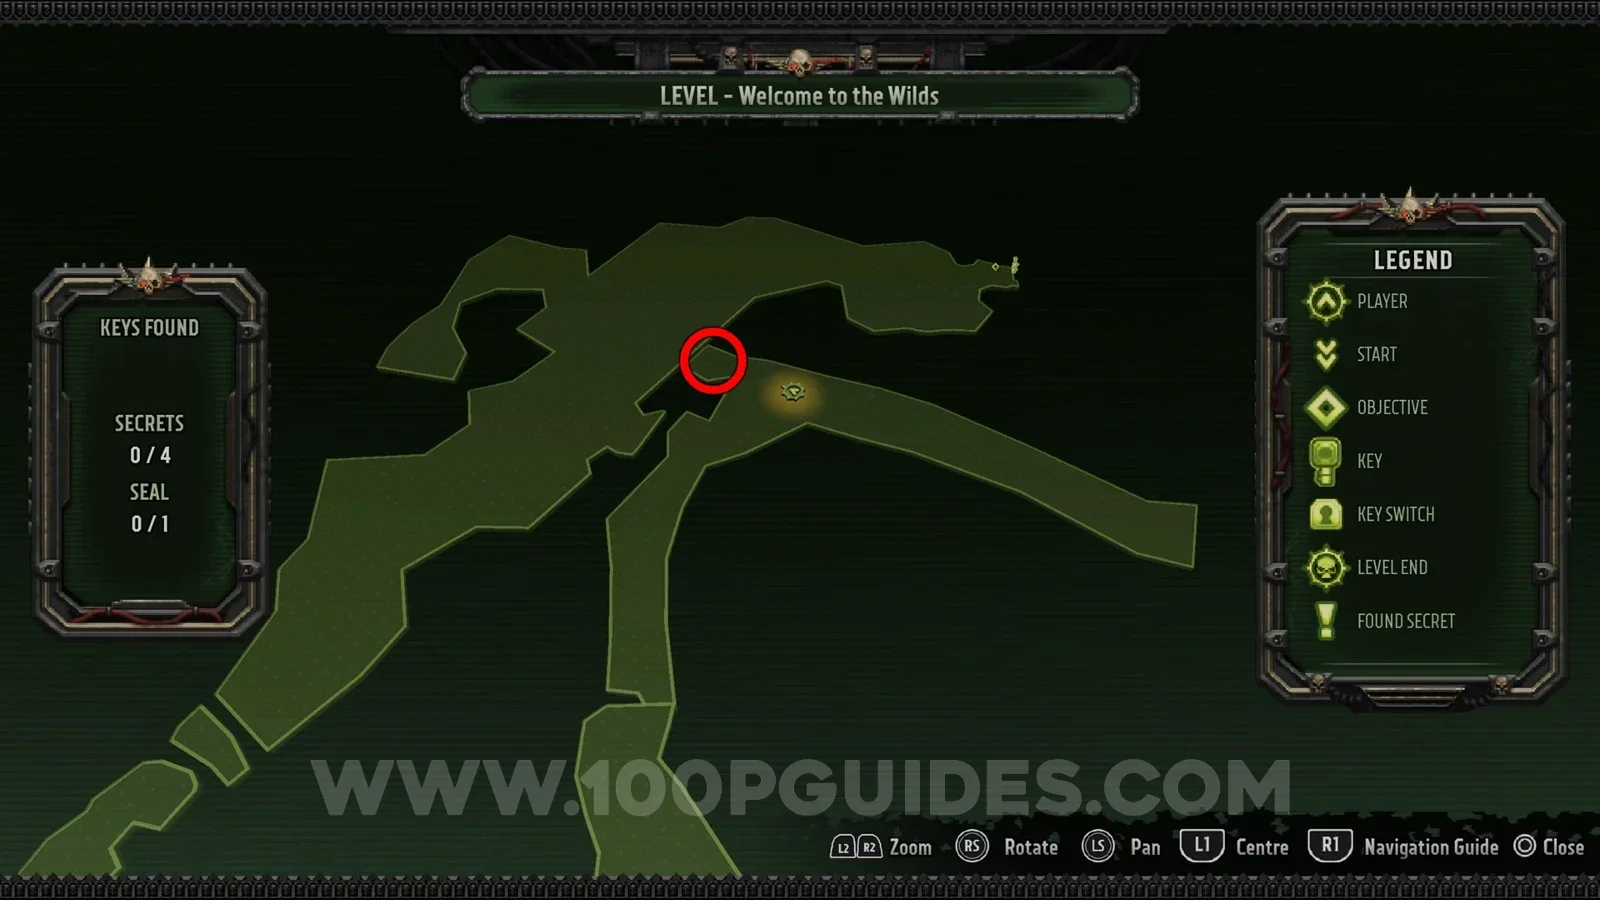
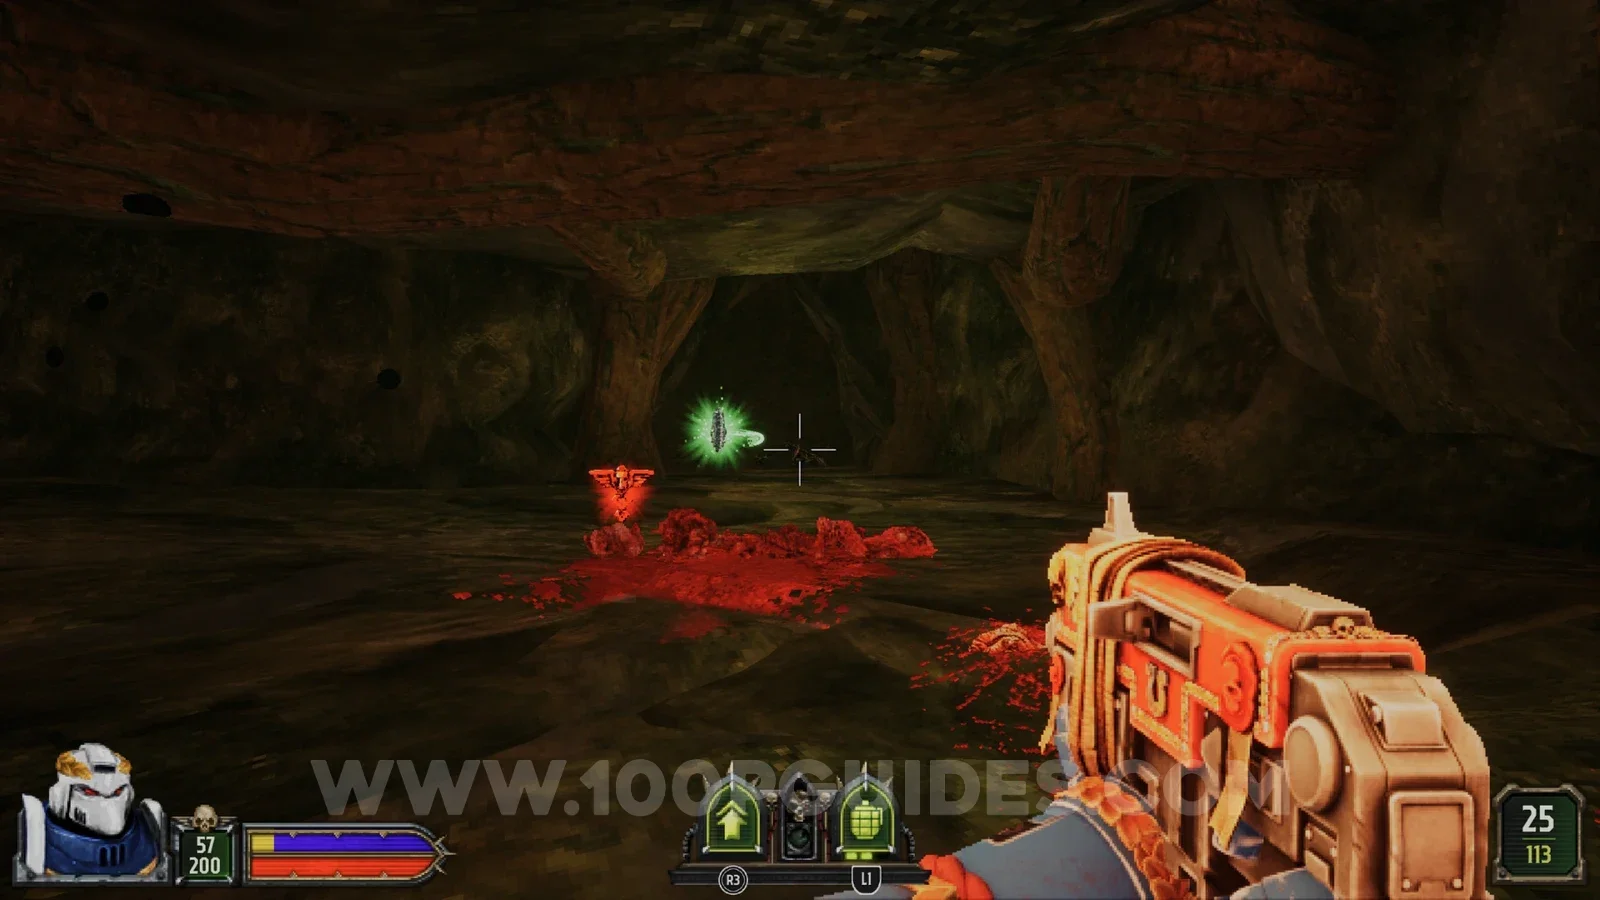
As you go through the first cave, look out for a destructible wall on your left. Shoot it or hit it to find the secret on the other side.
Seal 1/1
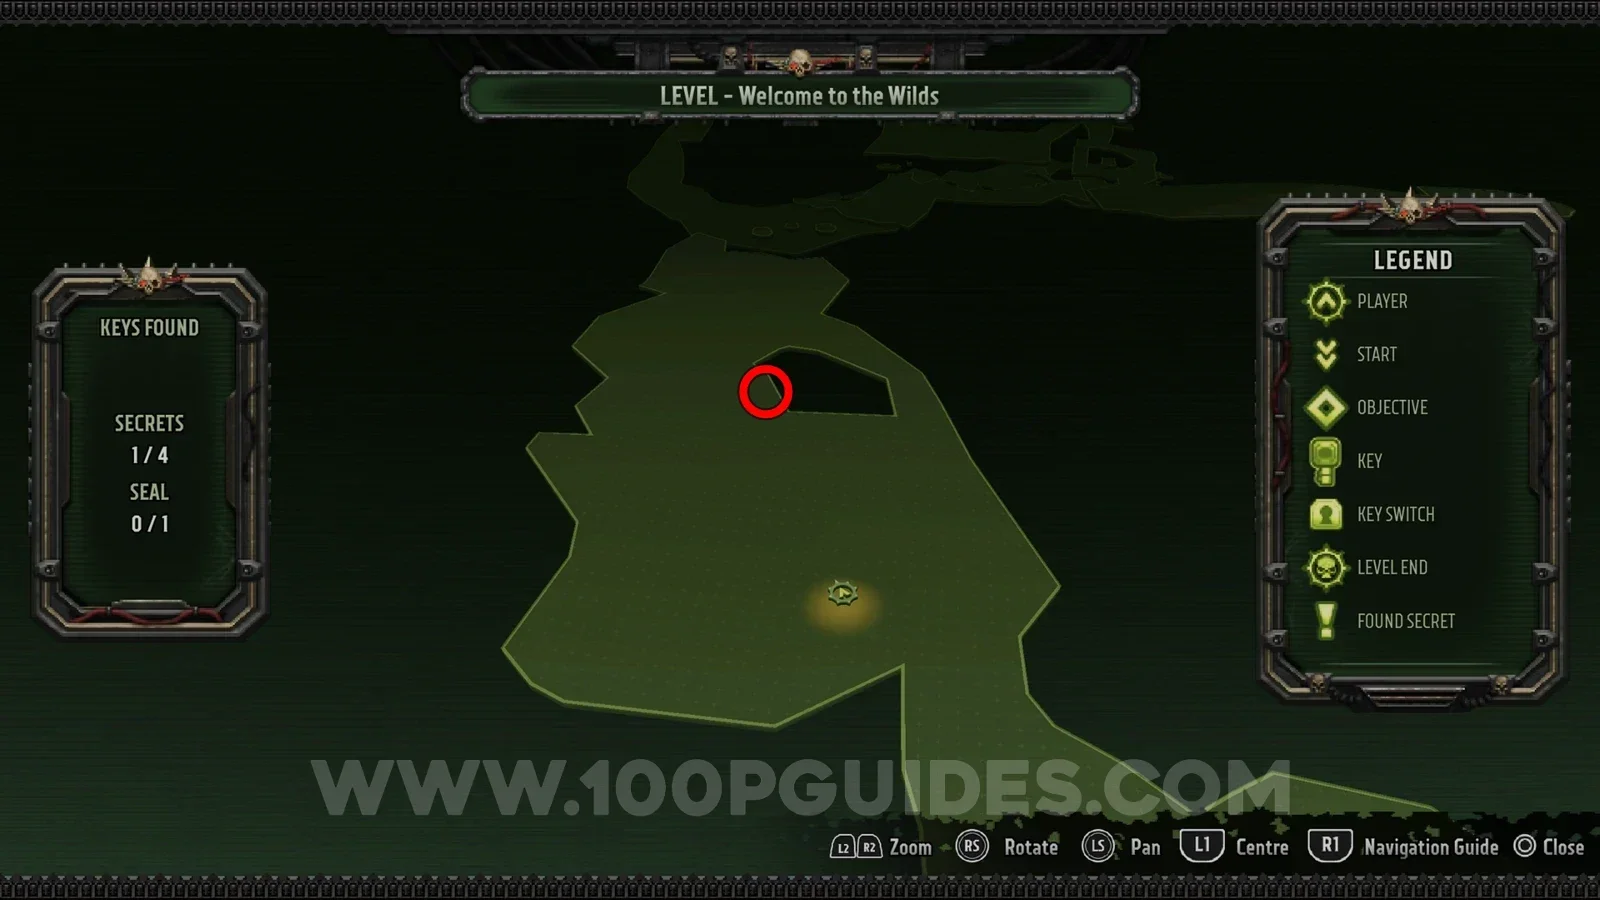
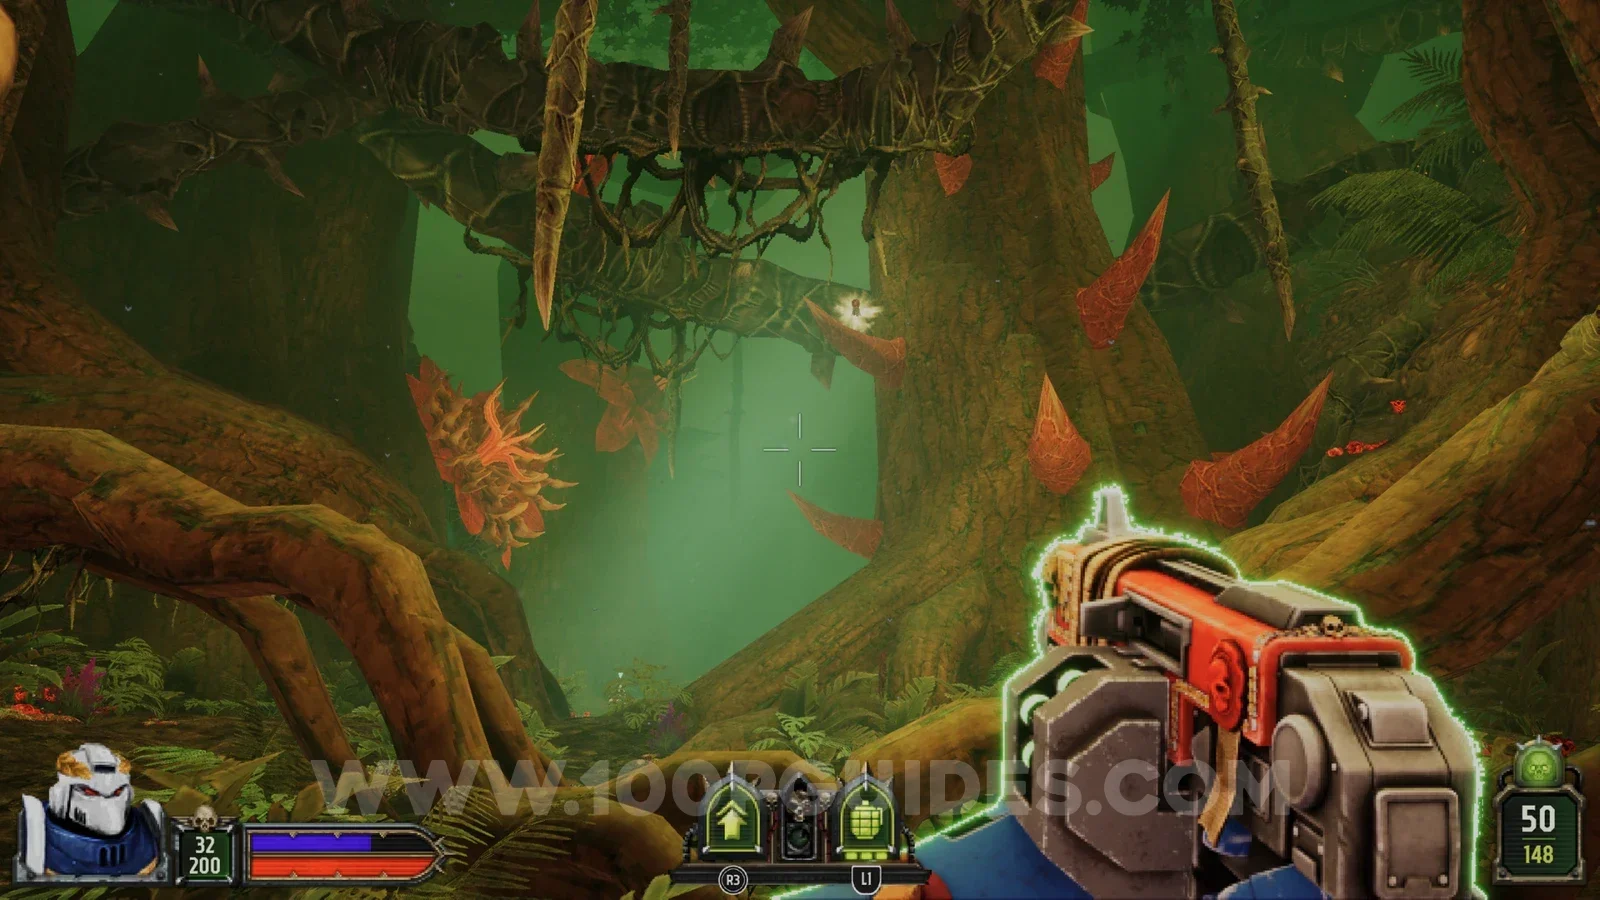
Soon after the cave with the previous secret you come to an area with large trees. You can see the seal high up on a tree on the right side. To reach it, climb around the spikes on the right side of that tree.
Secret 3/4
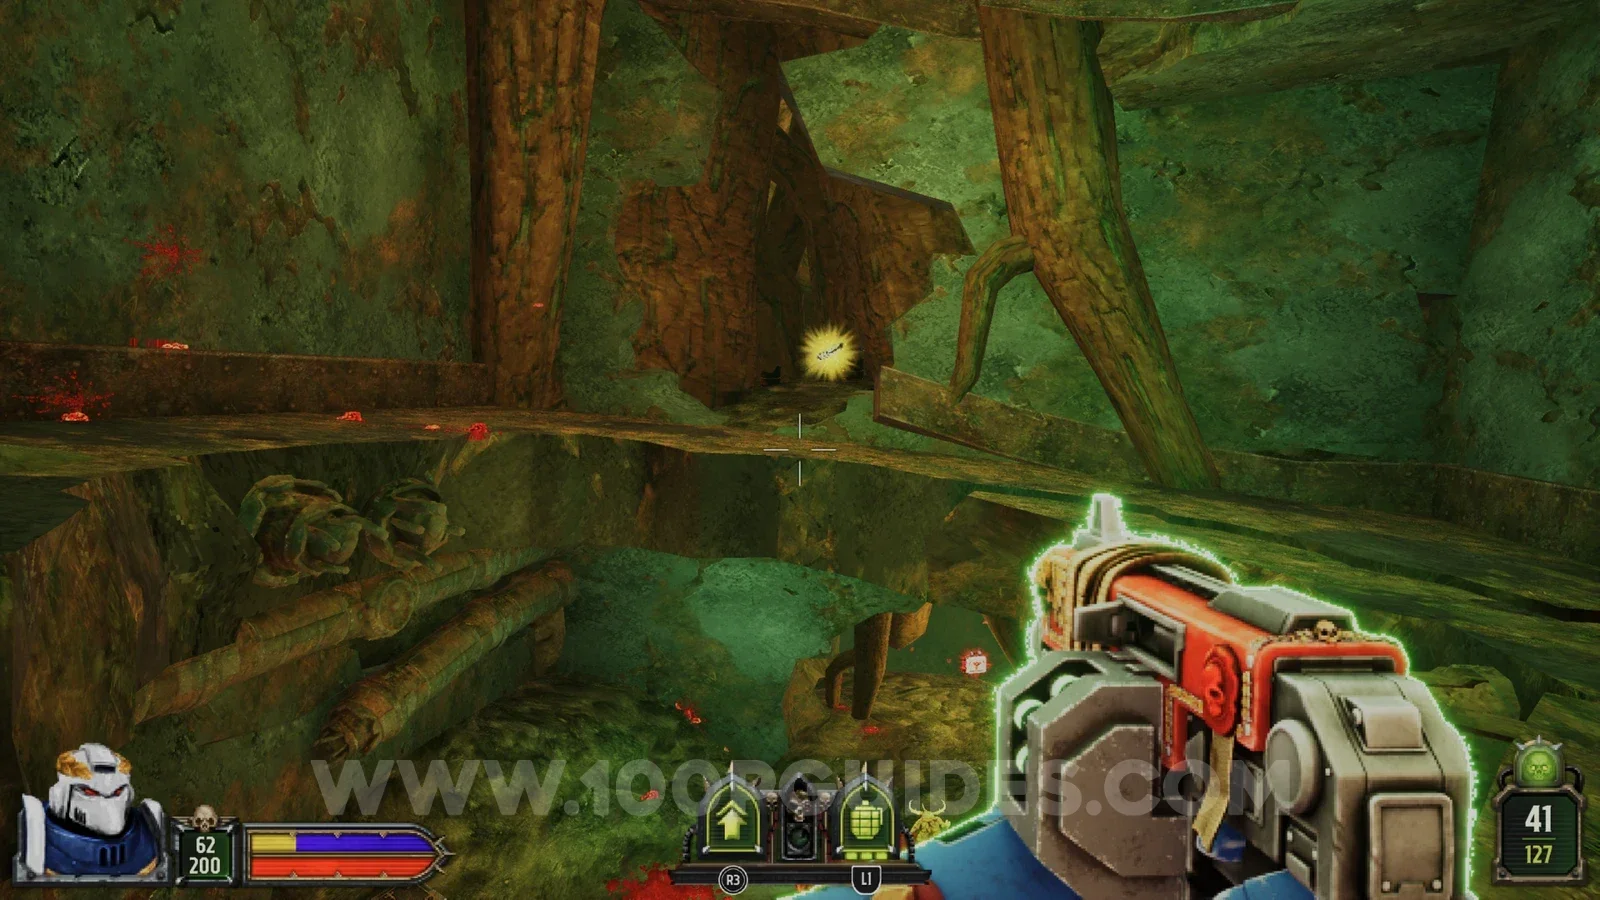
A little further on from the previous collectible you will see a building on your right. Go around its left side and look through the gap to see the secret, along with some explosive barrels. Shoot the barrels to destroy the wall on the other side. Then continue through the level until you go up a tree trunk that acts as a ramp. At the top, turn around to find the secret.
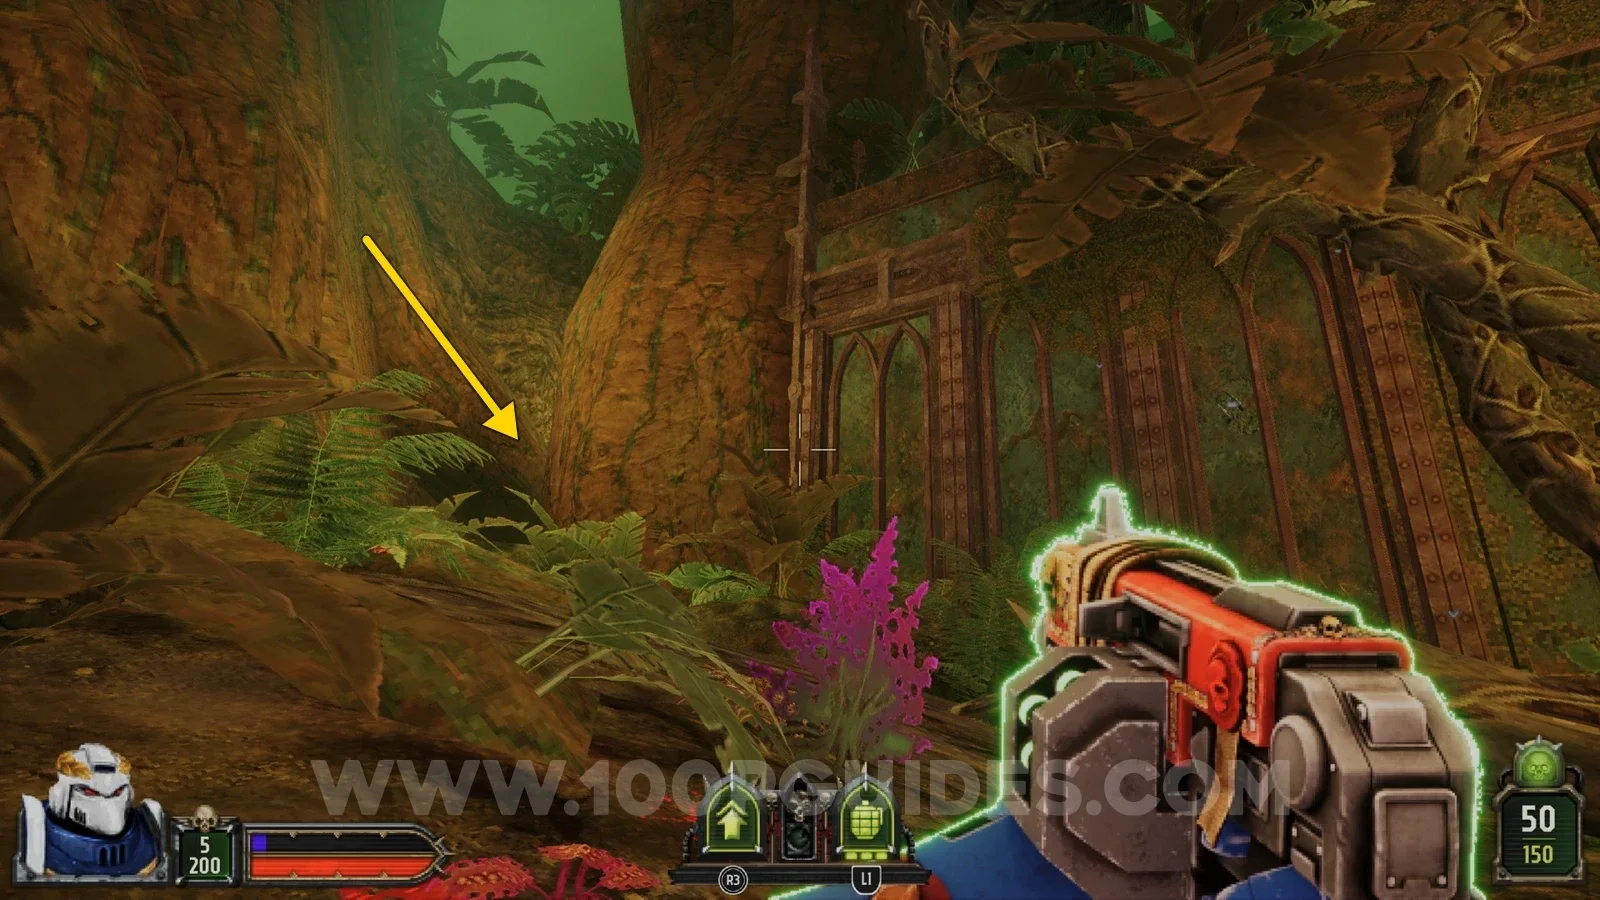
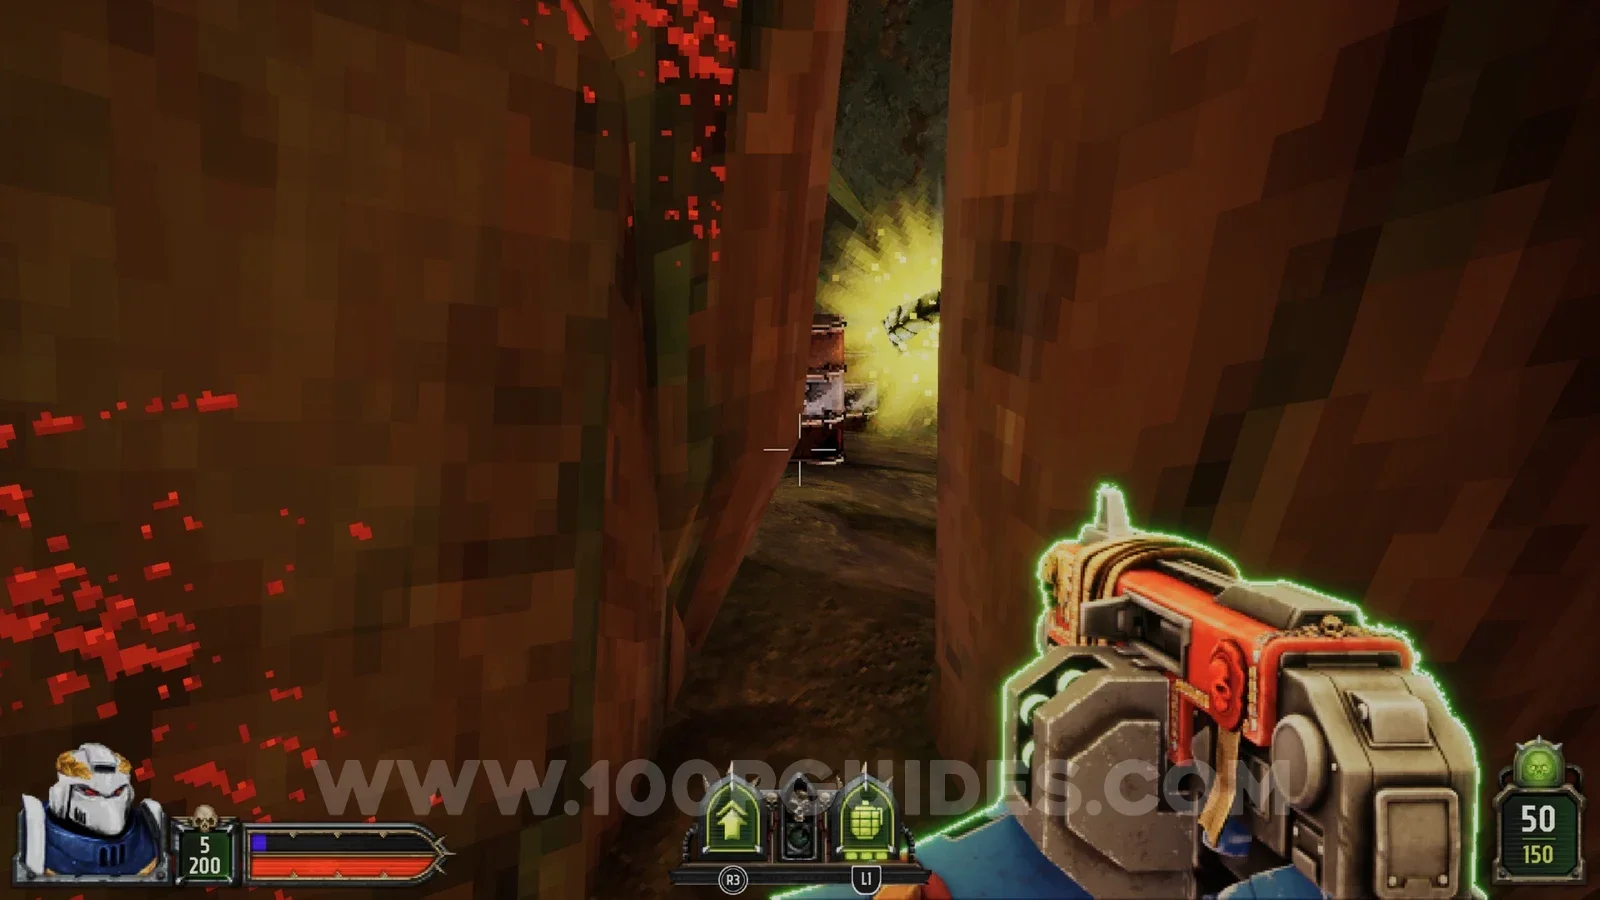
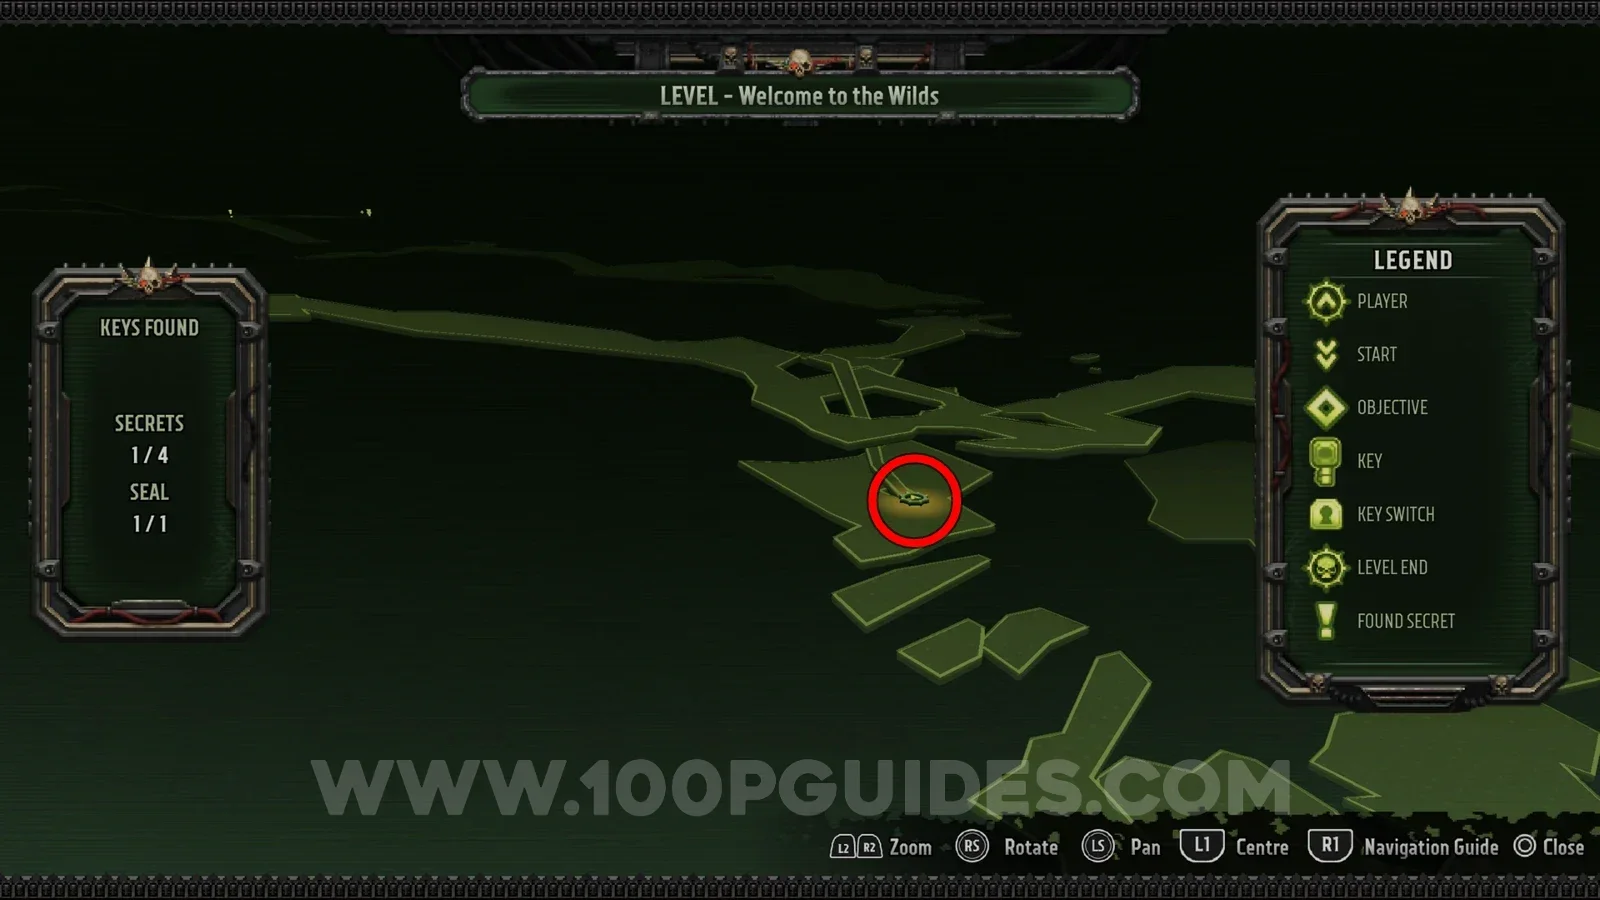
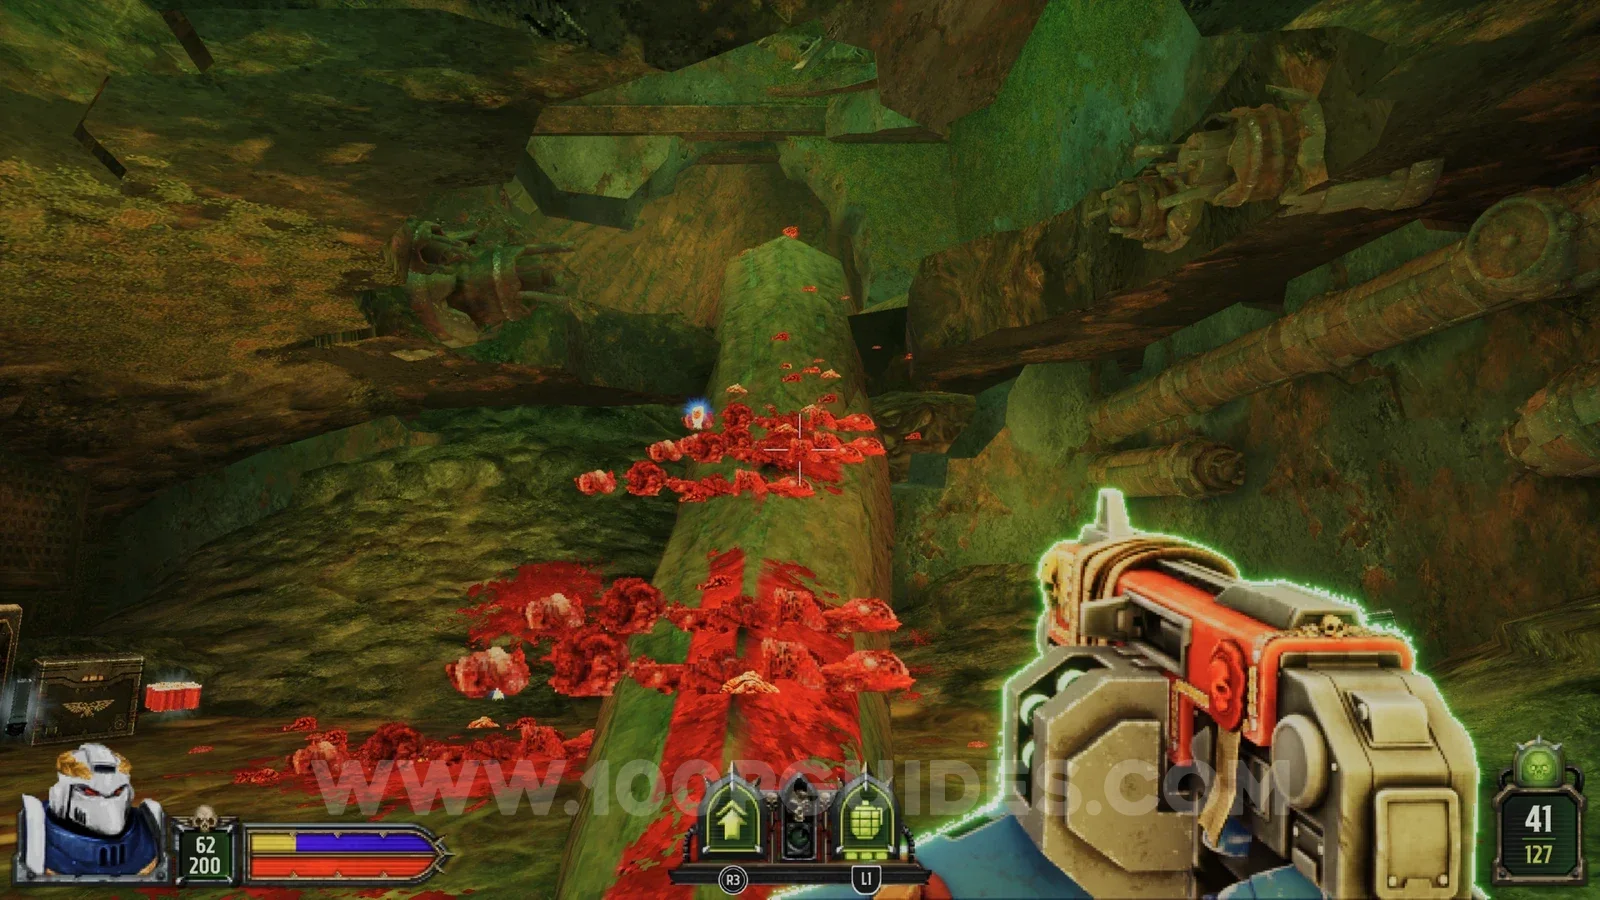
Secret 4/4
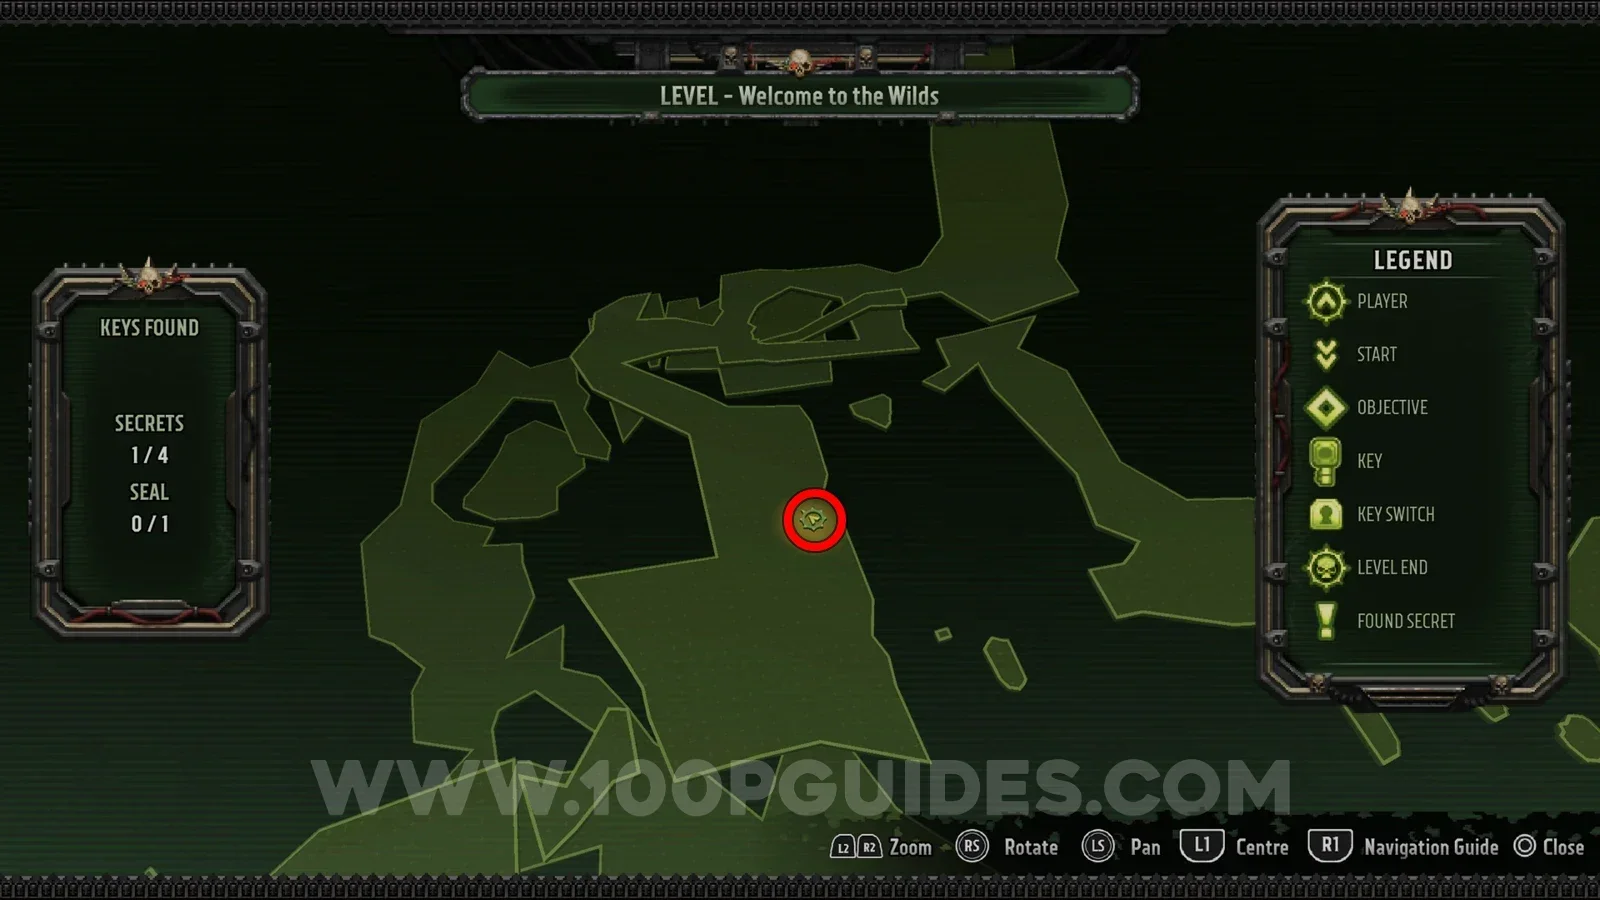
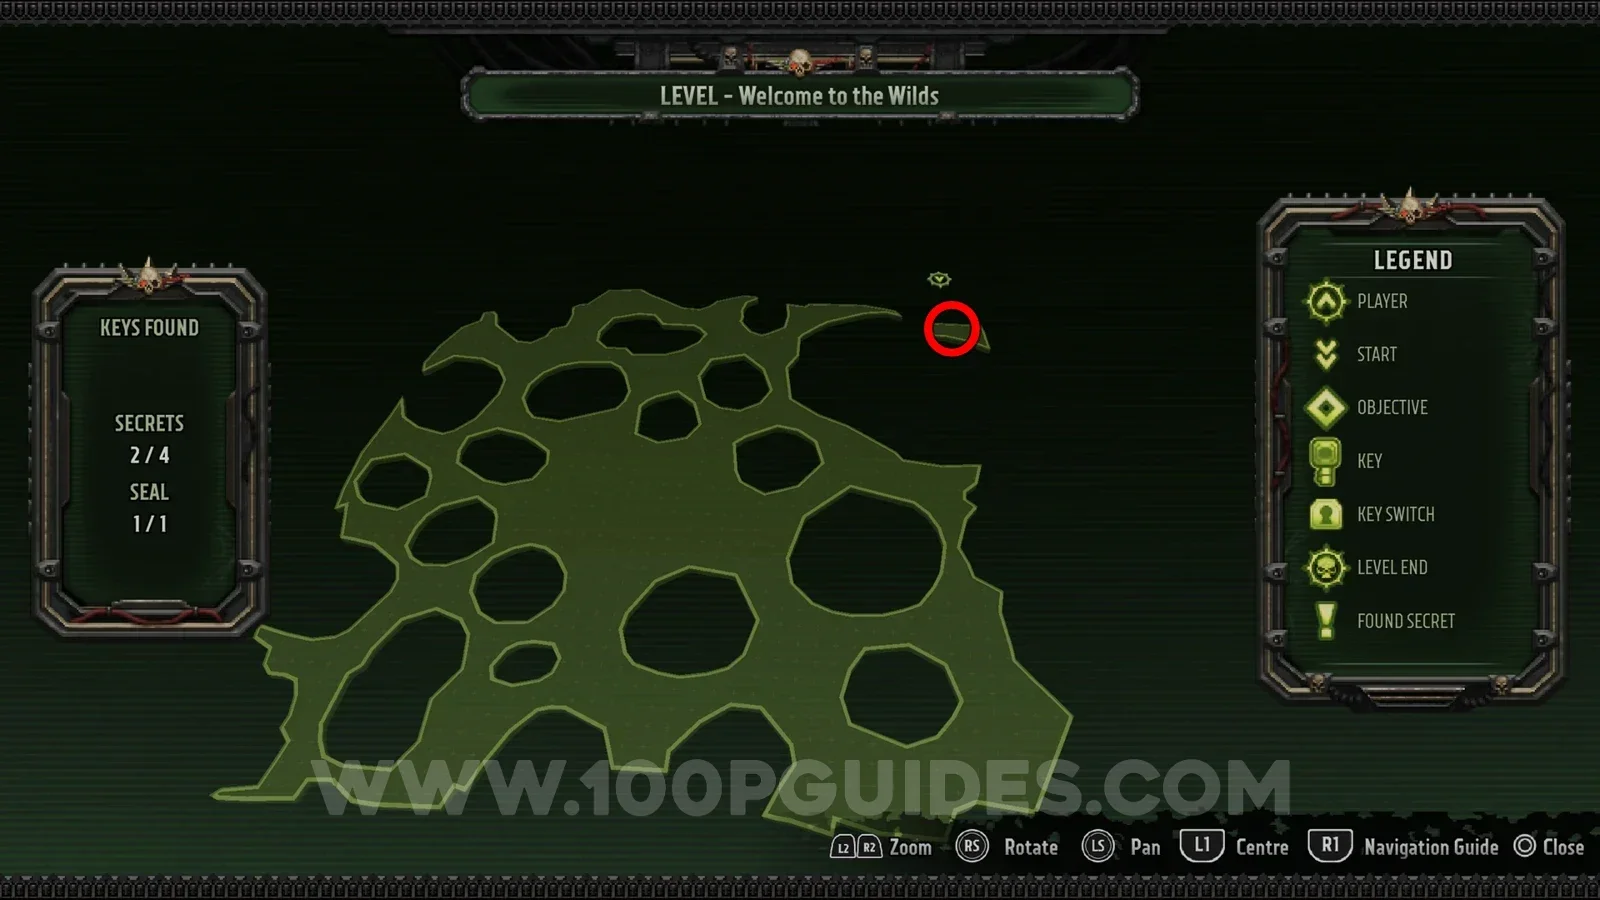
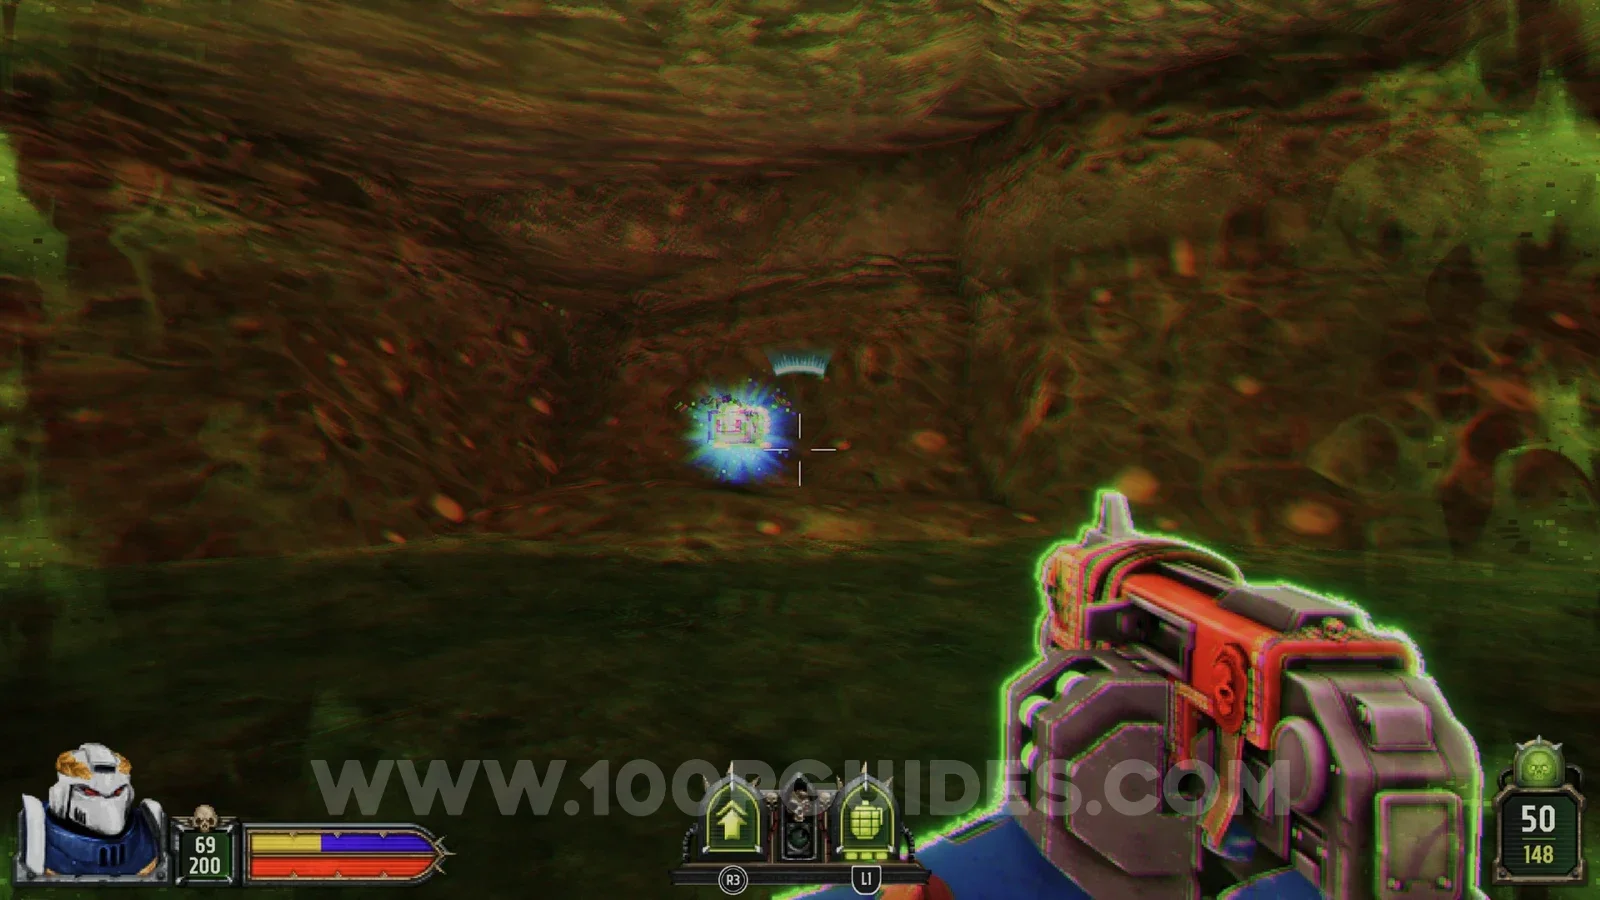
In the final area, where you hold your ground against waves of enemies until the ship arrives, head to the far side to find the secret in an alcove by the toxic water.
The Bastion Path A
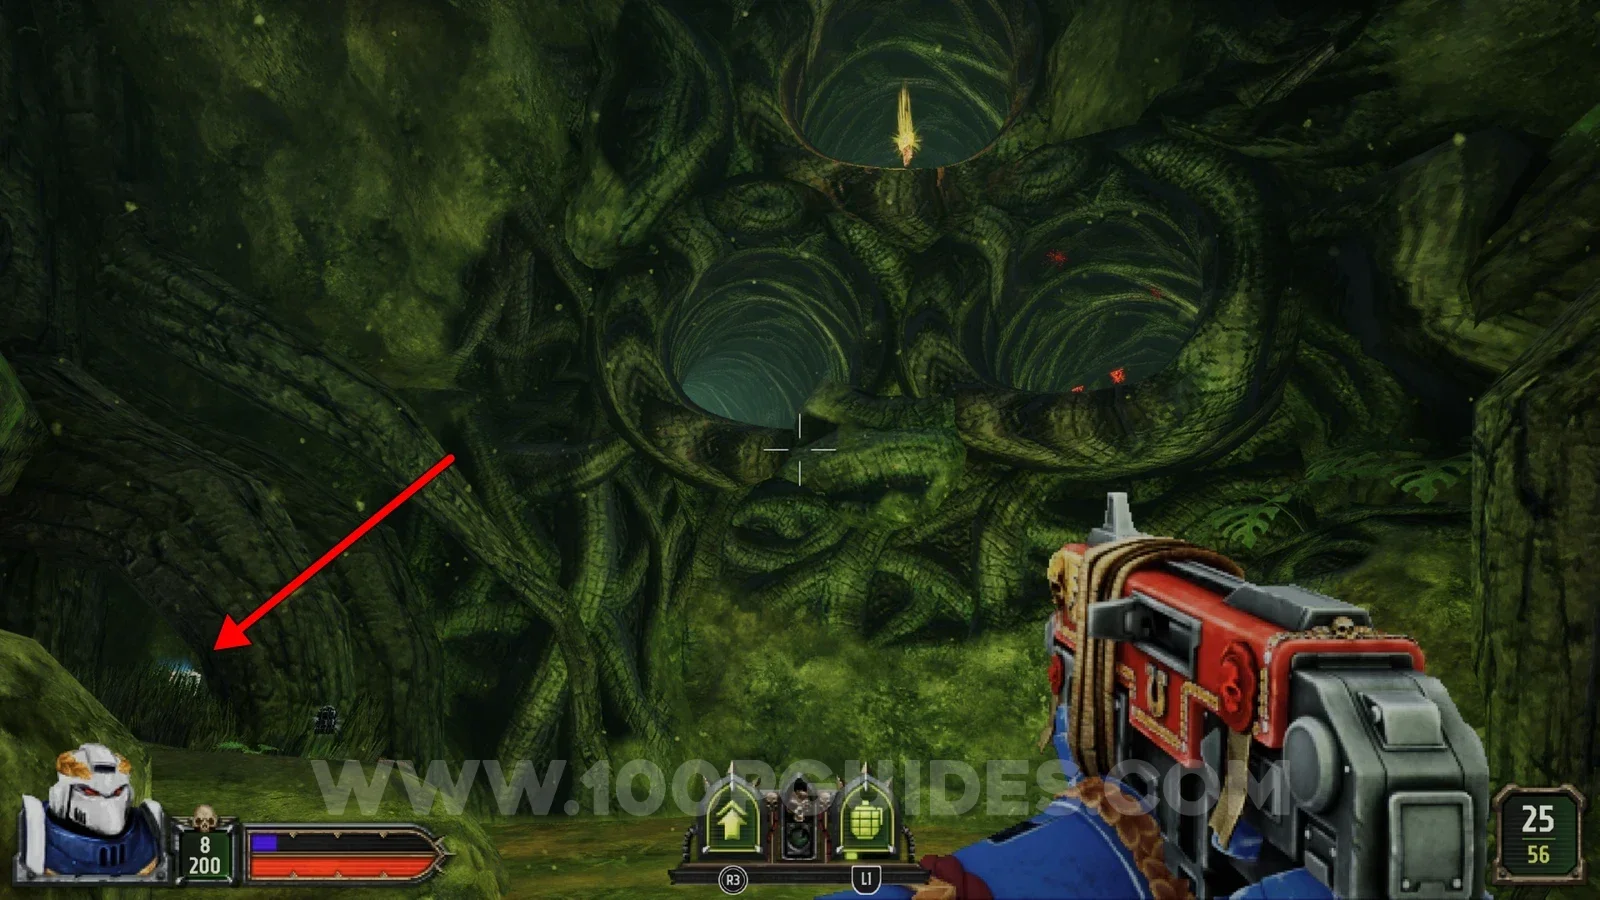
Secret 1/5
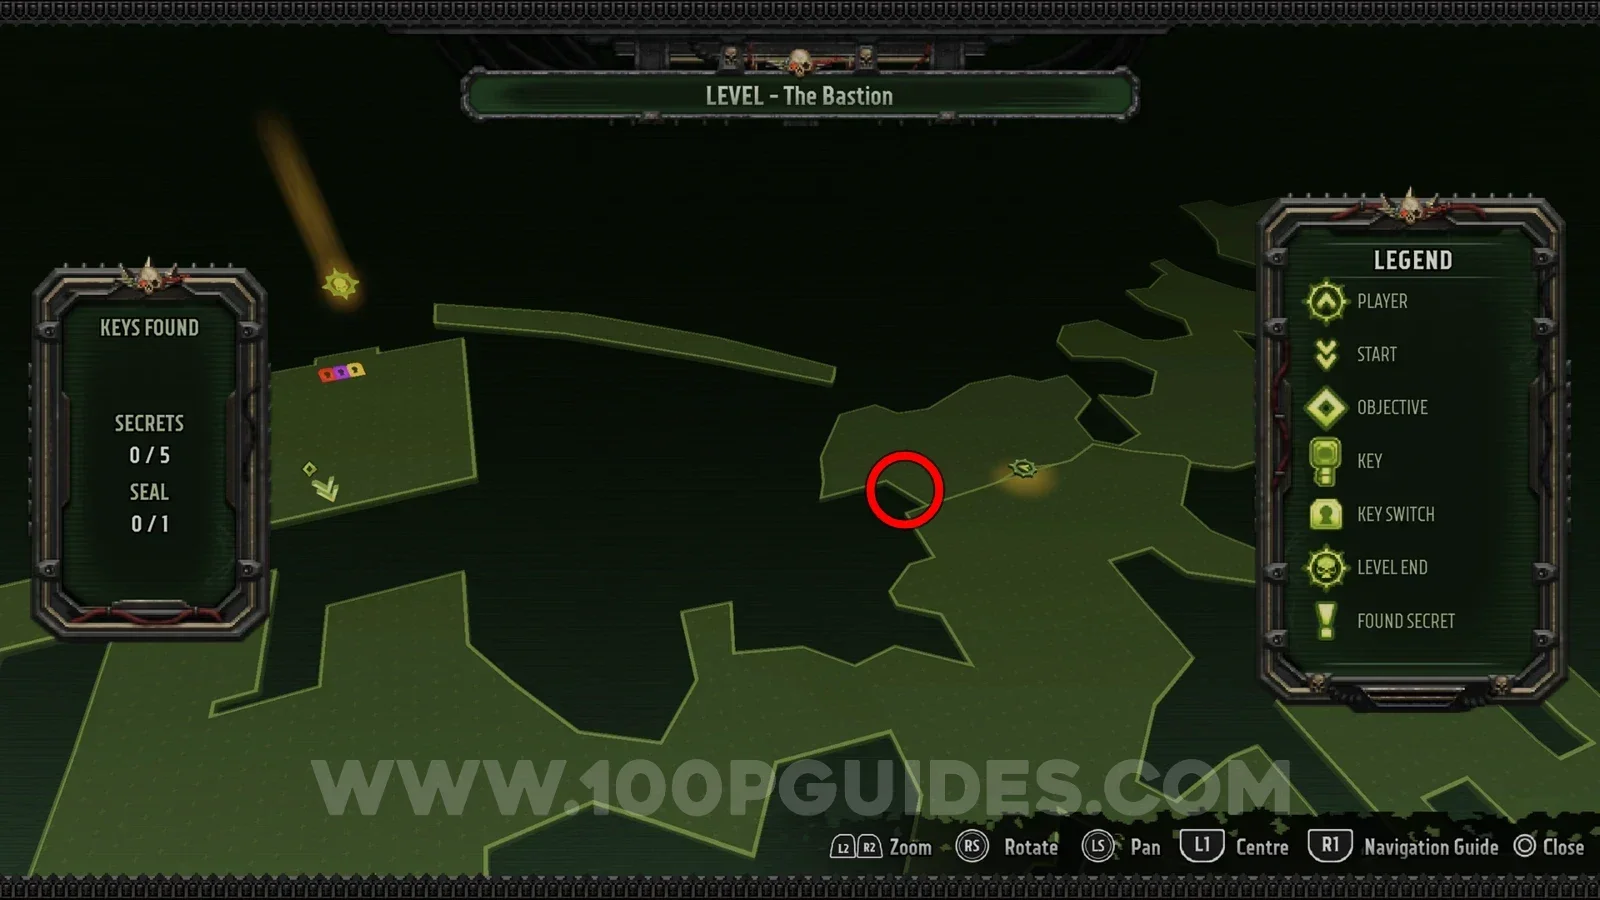
Under some tree roots just below the area with the holes and the yellow key.
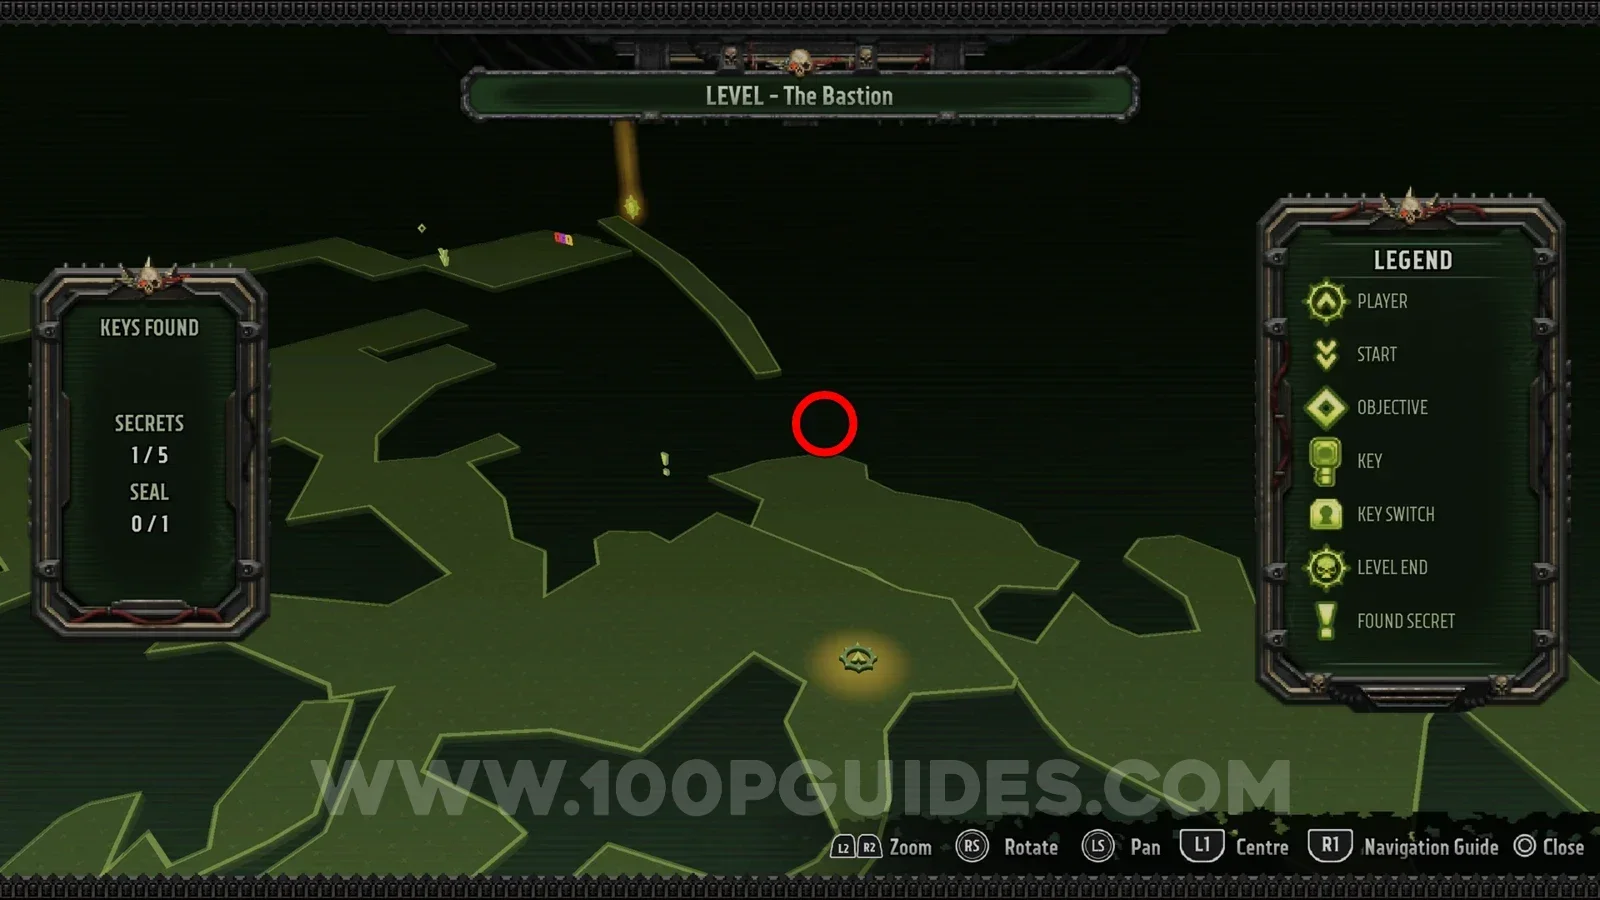
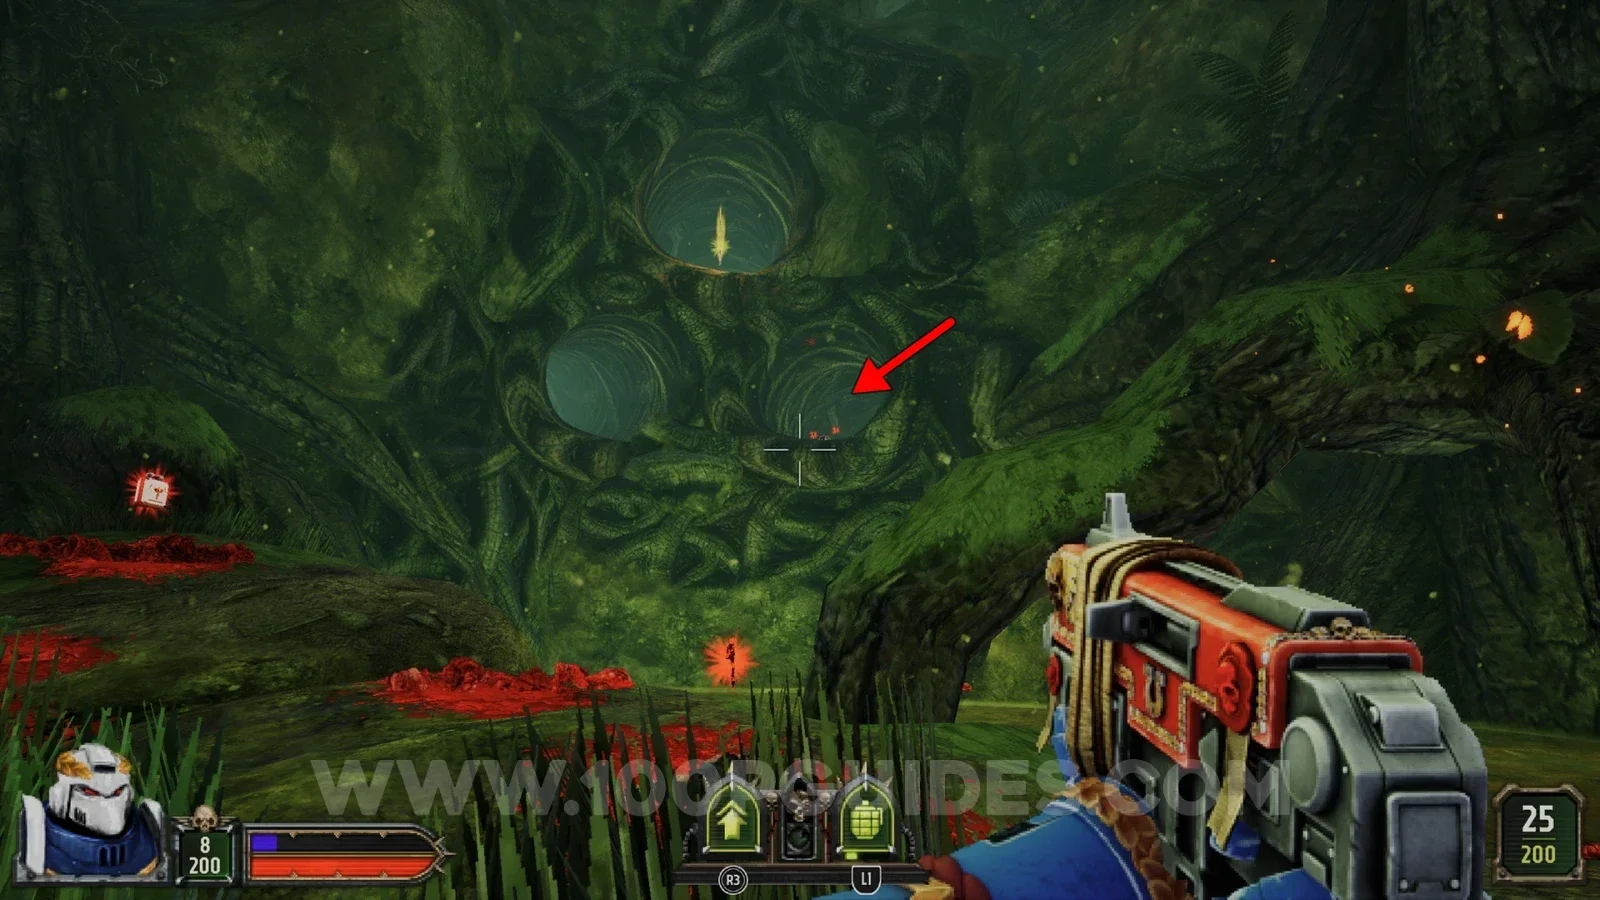
Seal 1/1
In the right-hand hole under the yellow key. You can reach it from the branch on the right. If you cannot make the jump, you can drop down into the hole from the yellow key later on.
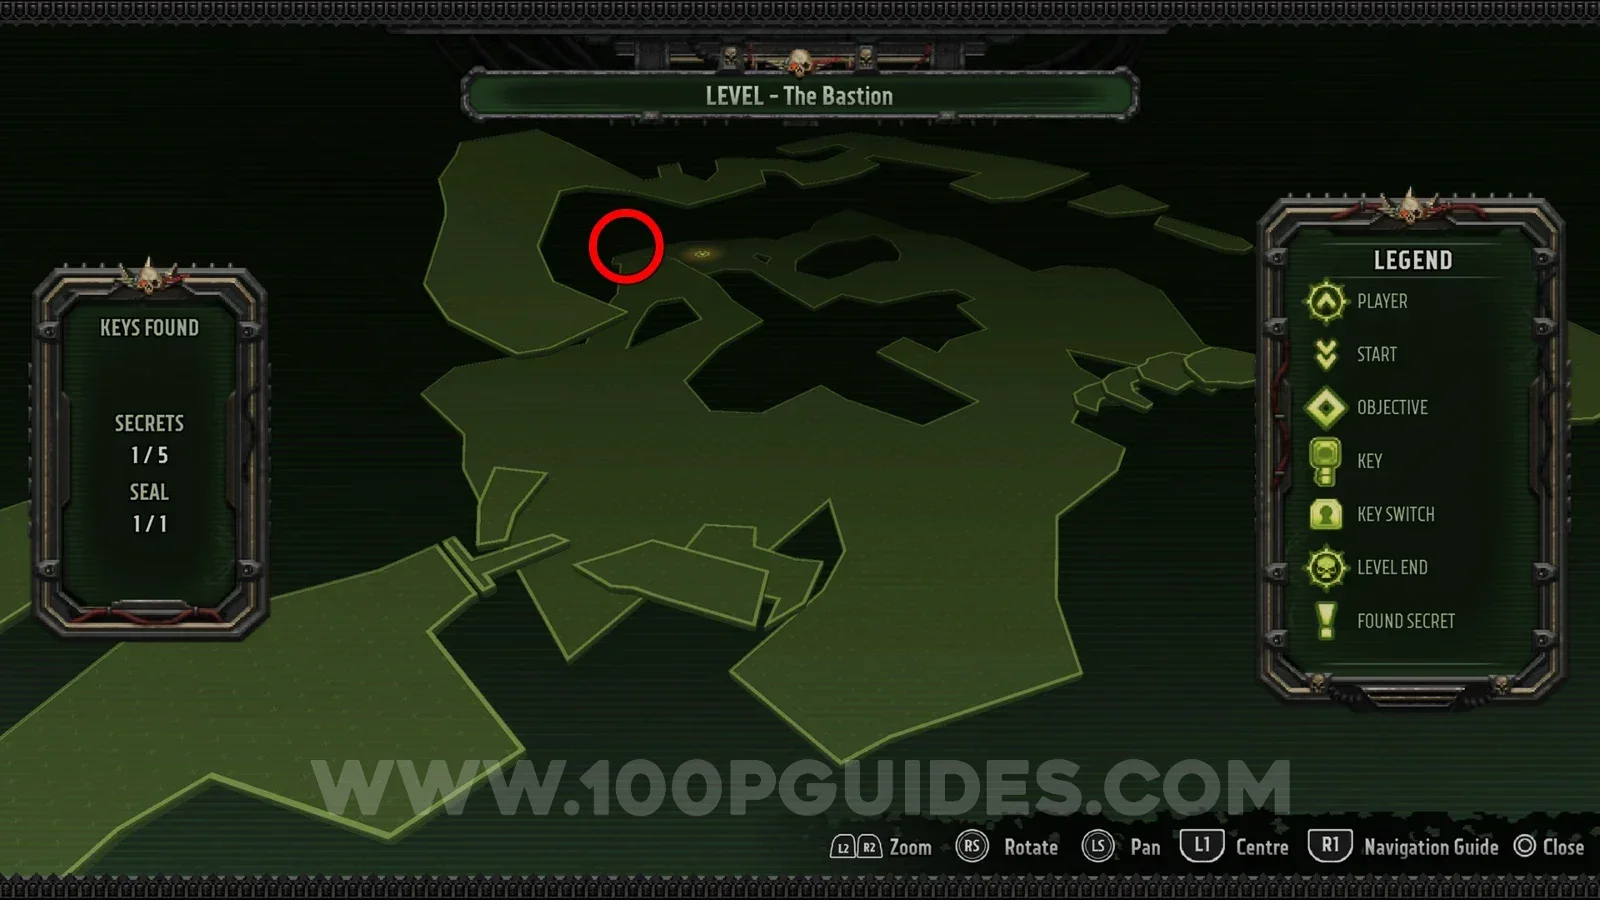
Secret 2/5
On your way to the yellow key you go through a cave. Stick to the left as you go through it to find the secret on the lower level.
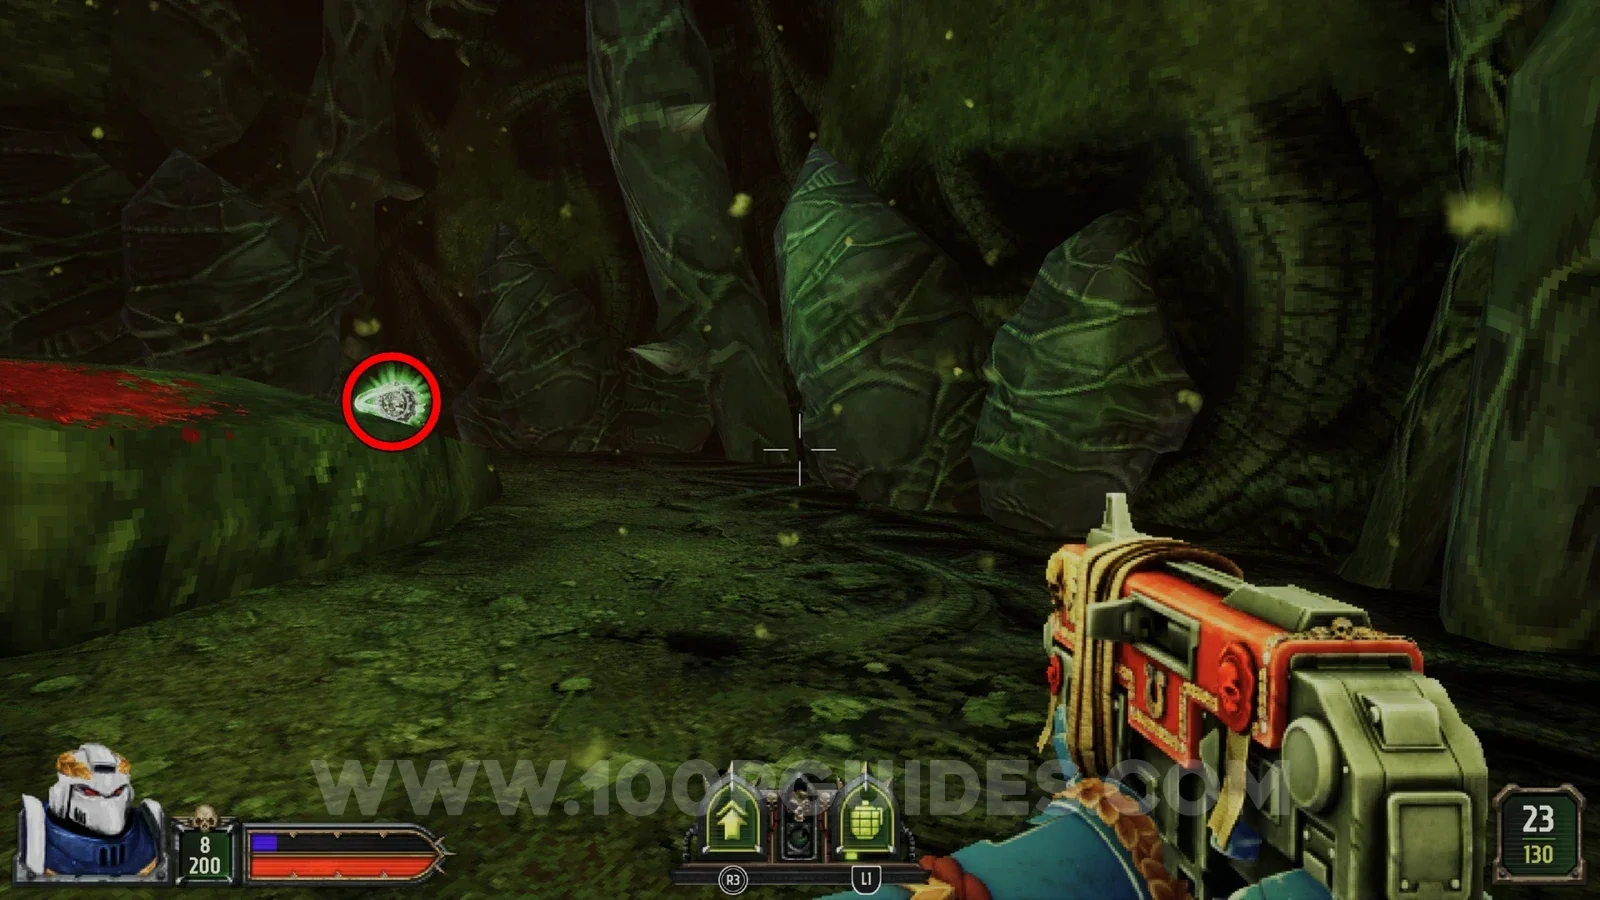
Secret 3/5
Drop through the hole in the roof at the exact spot where you pick up the red key.
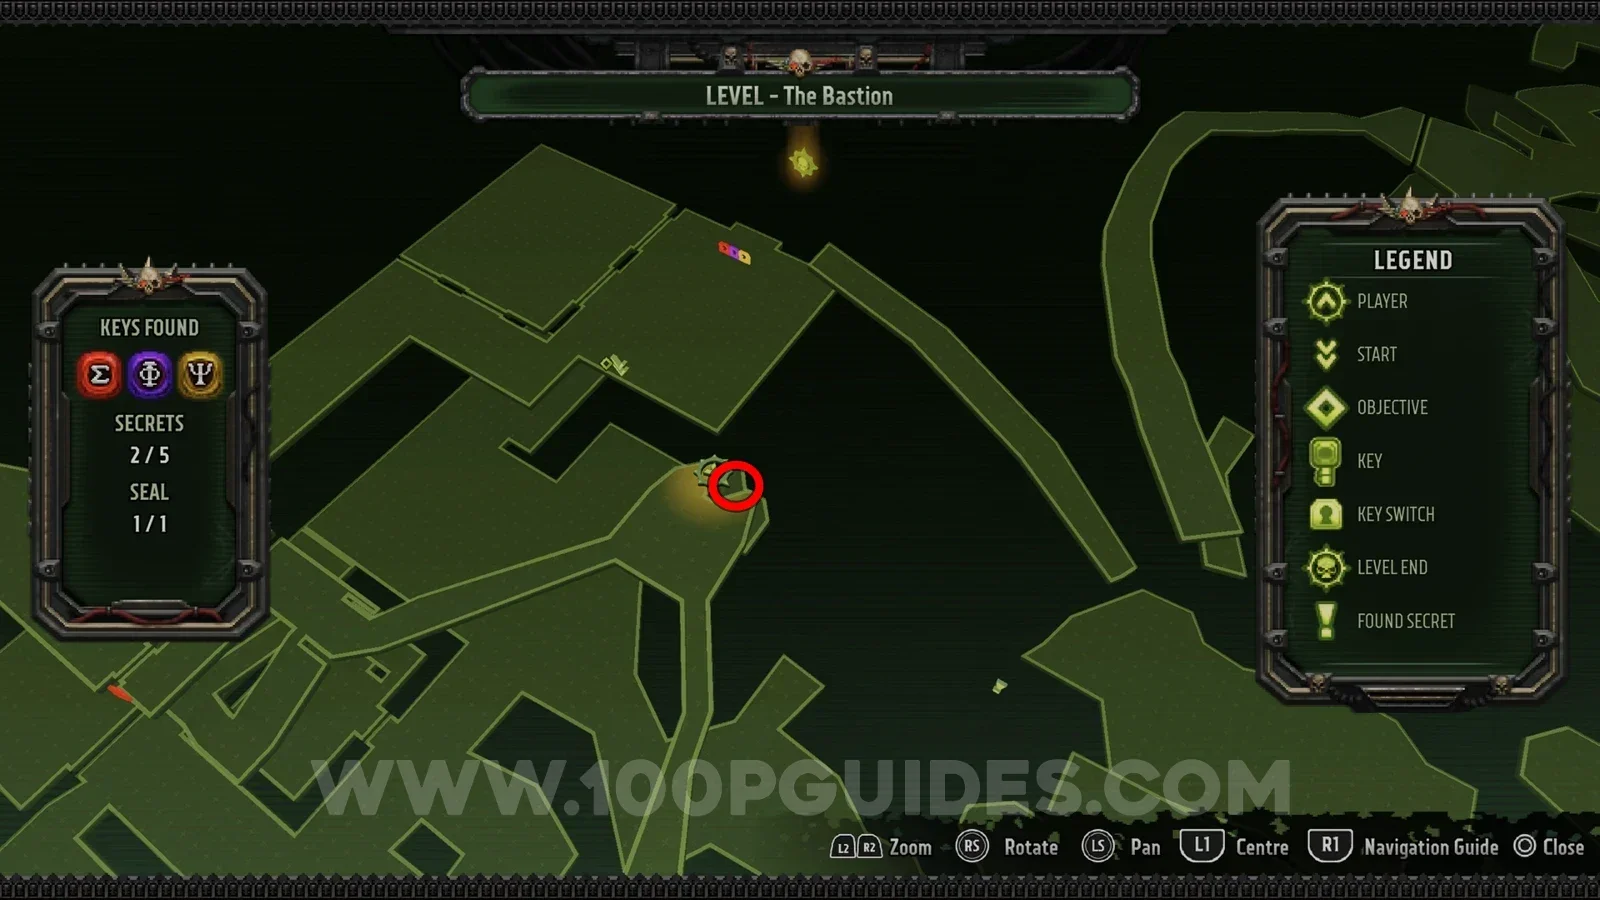
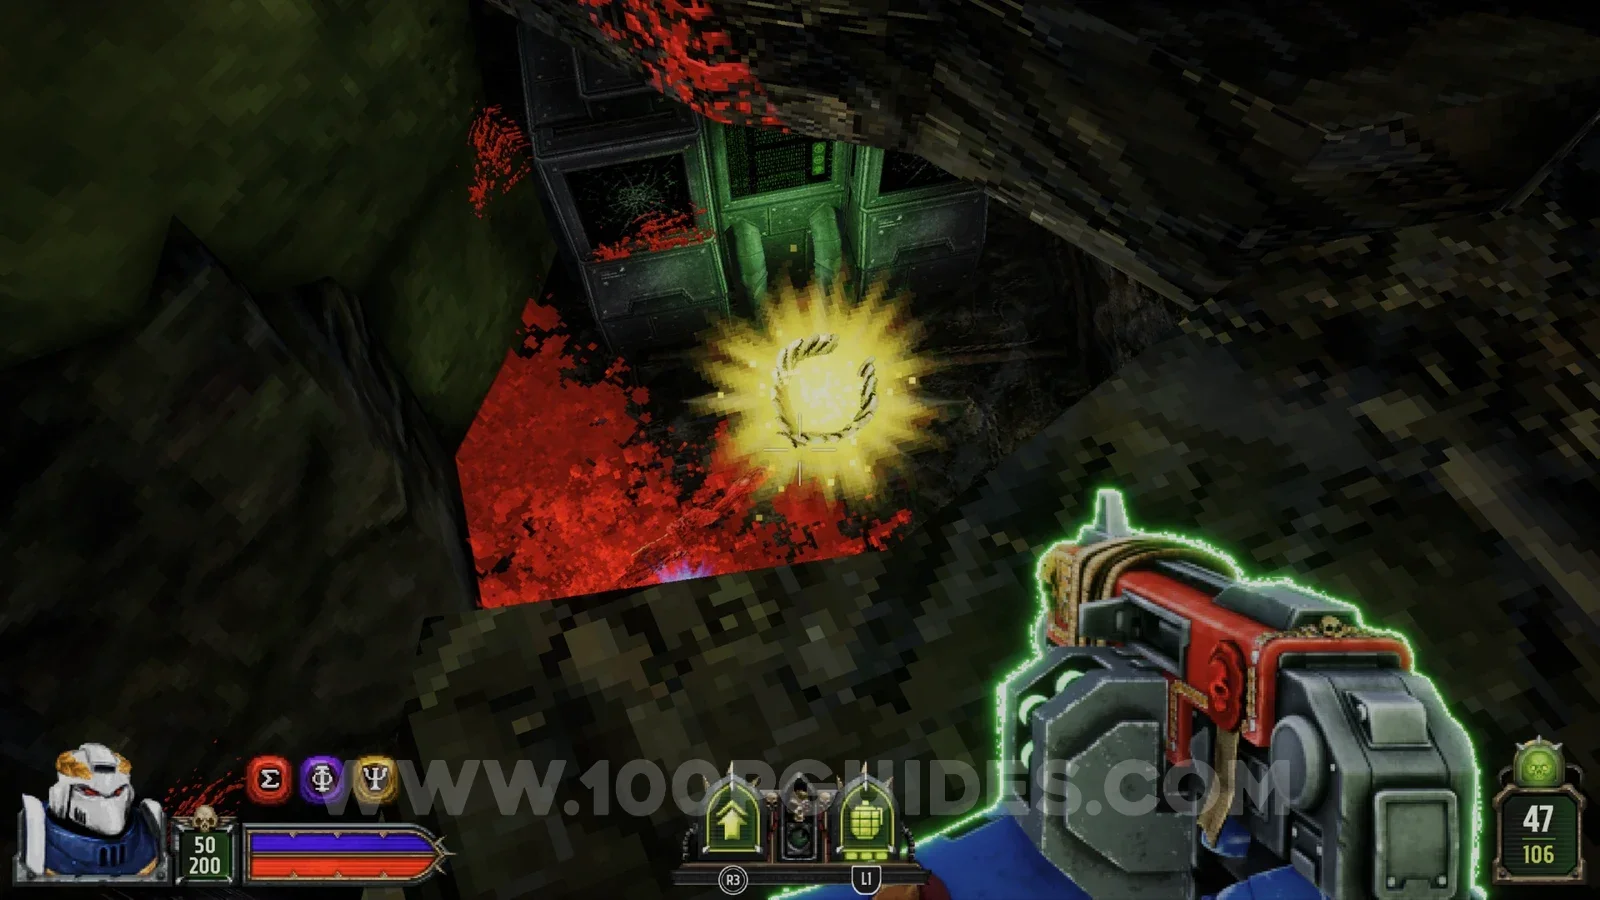
Secret 4/5
Above the valley behind the building where the red key is. Climb the rocks on the side and jump across to reach it.
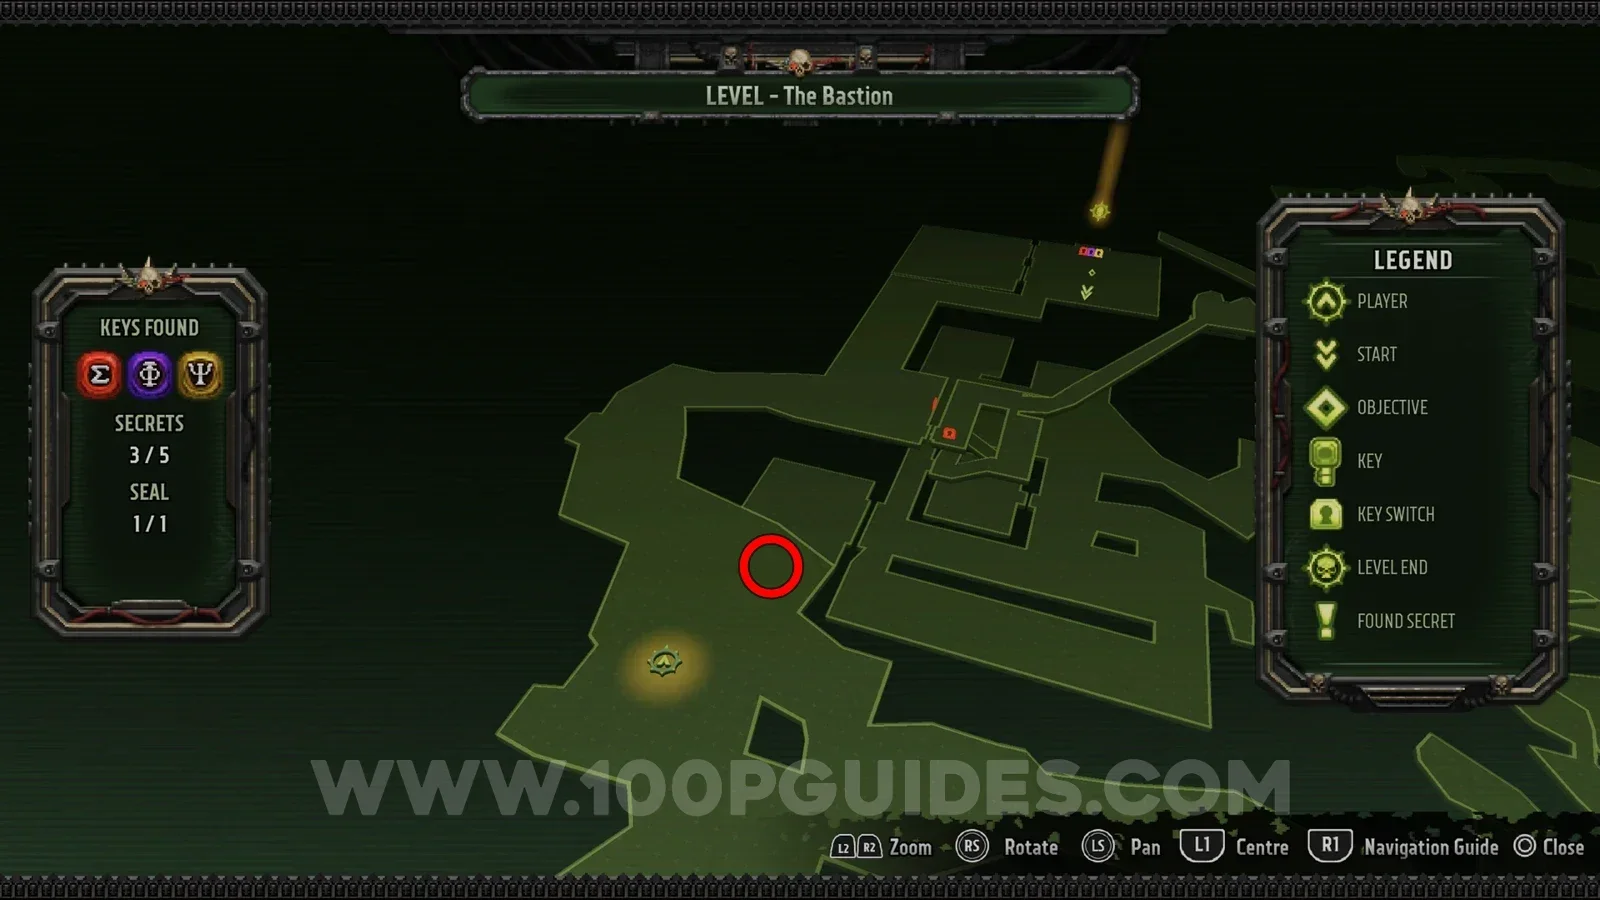
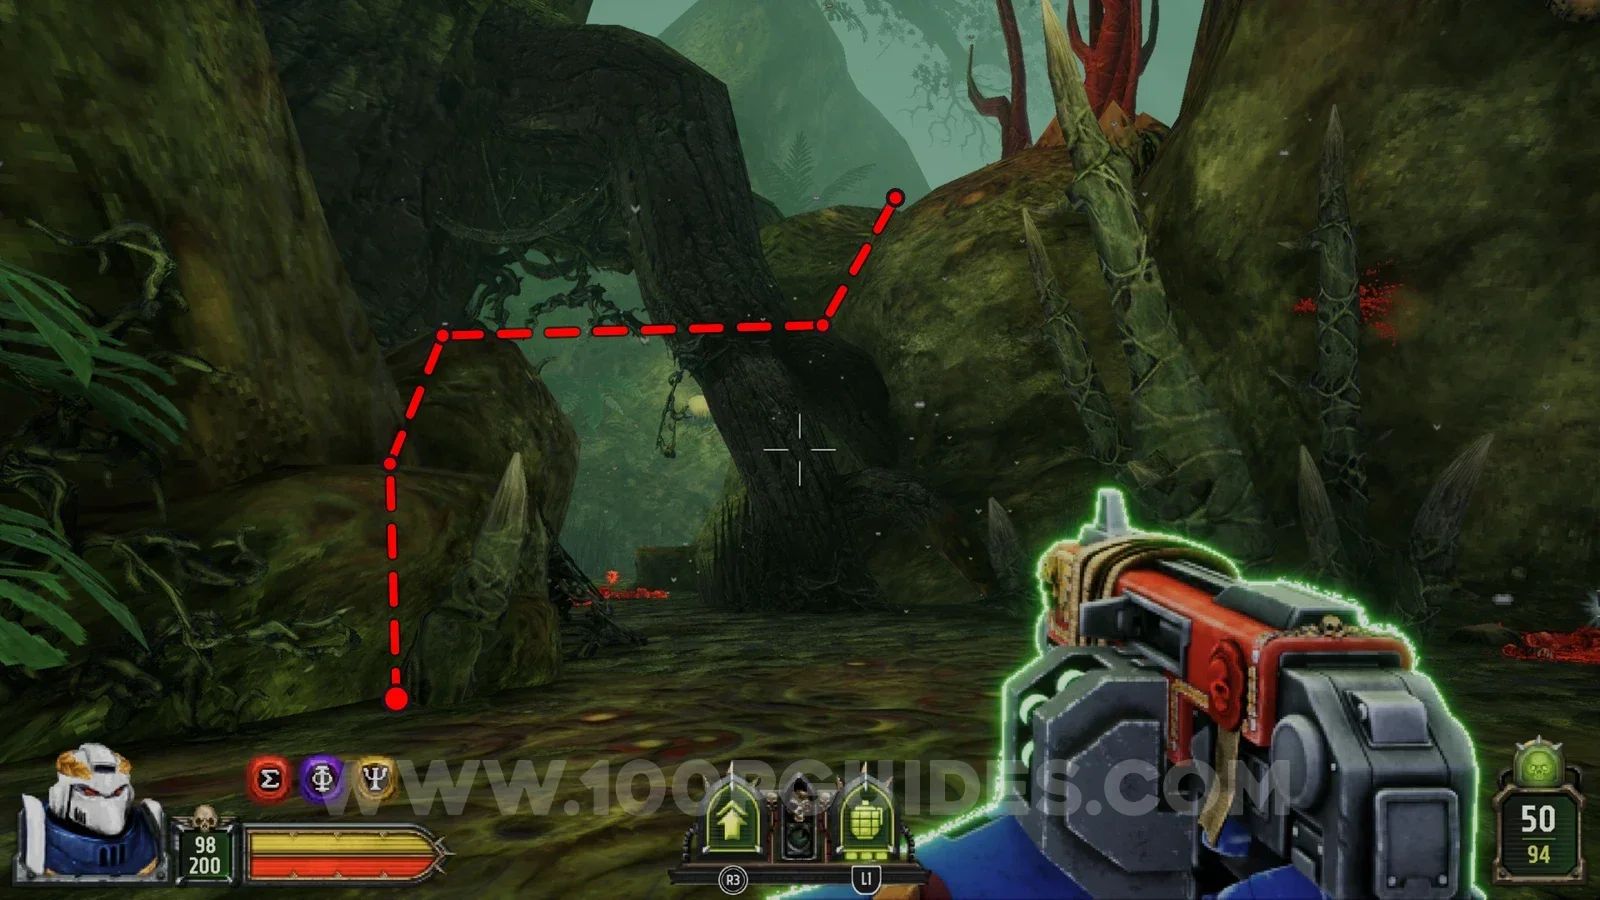
Secret 5/5
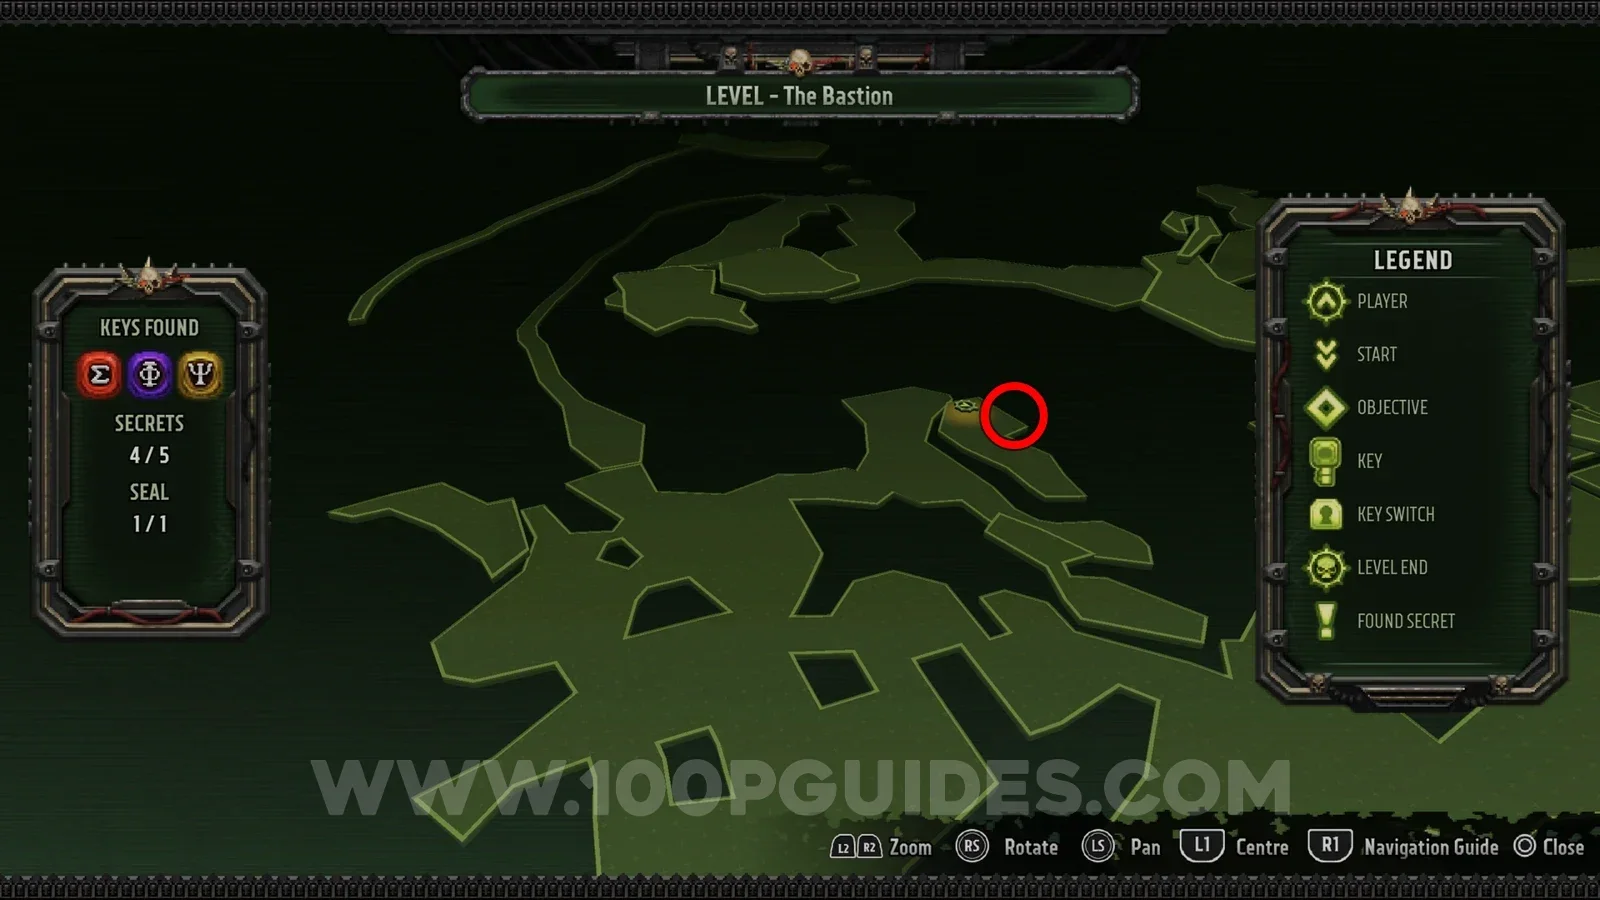
In some bushes in the area to the right of the entrance to the tunnel that leads to the purple key.
Festering Bog Path A
Secret 1/4
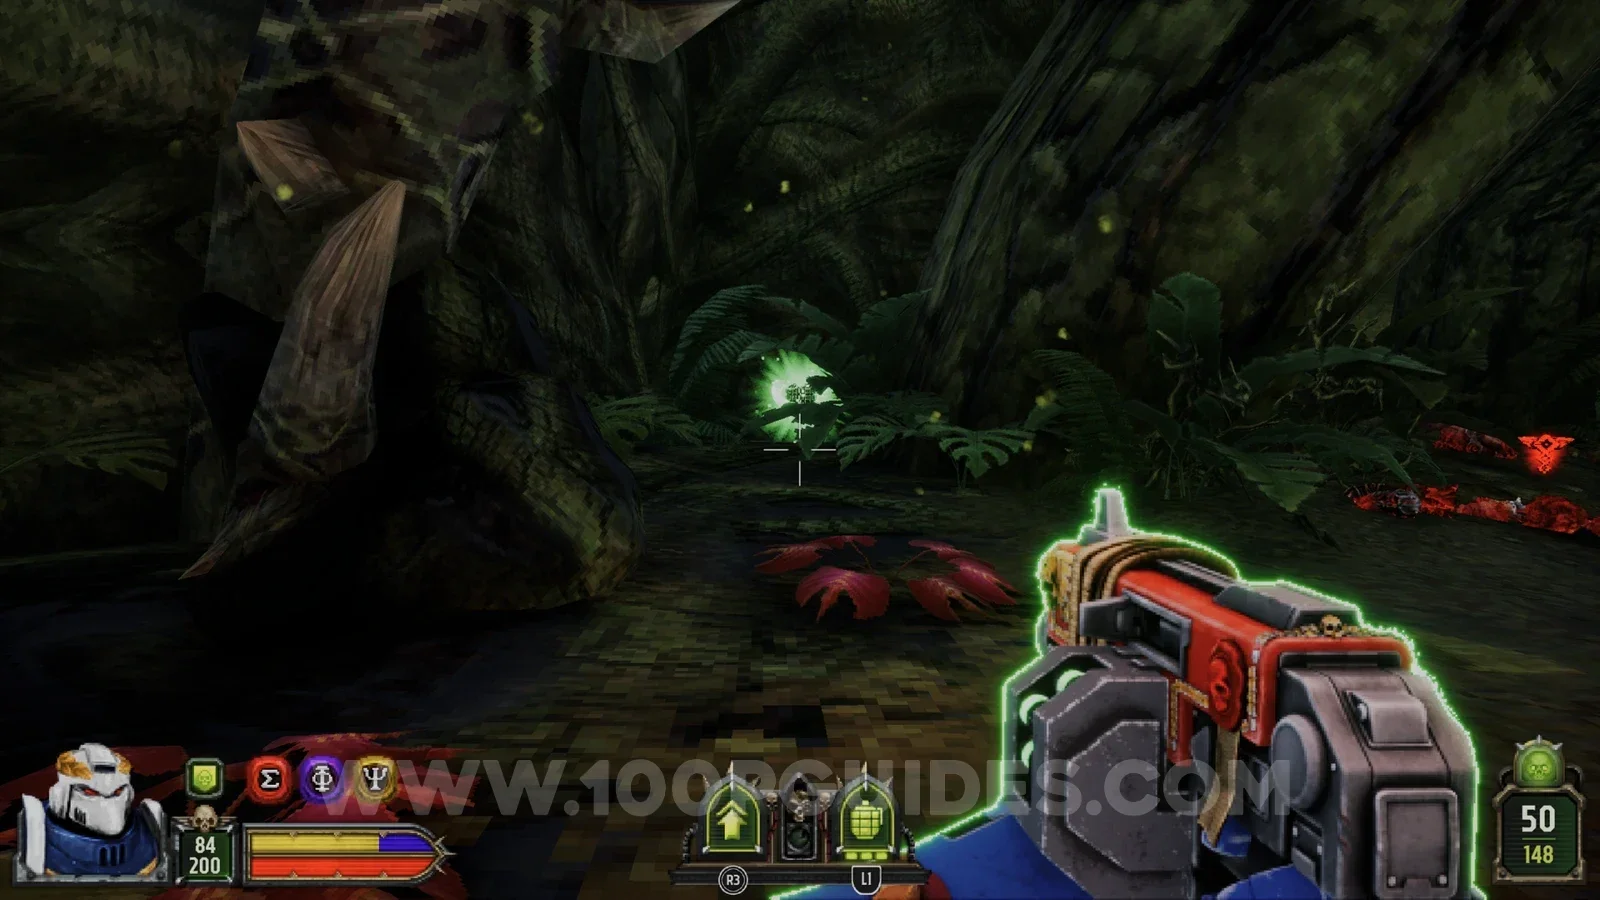
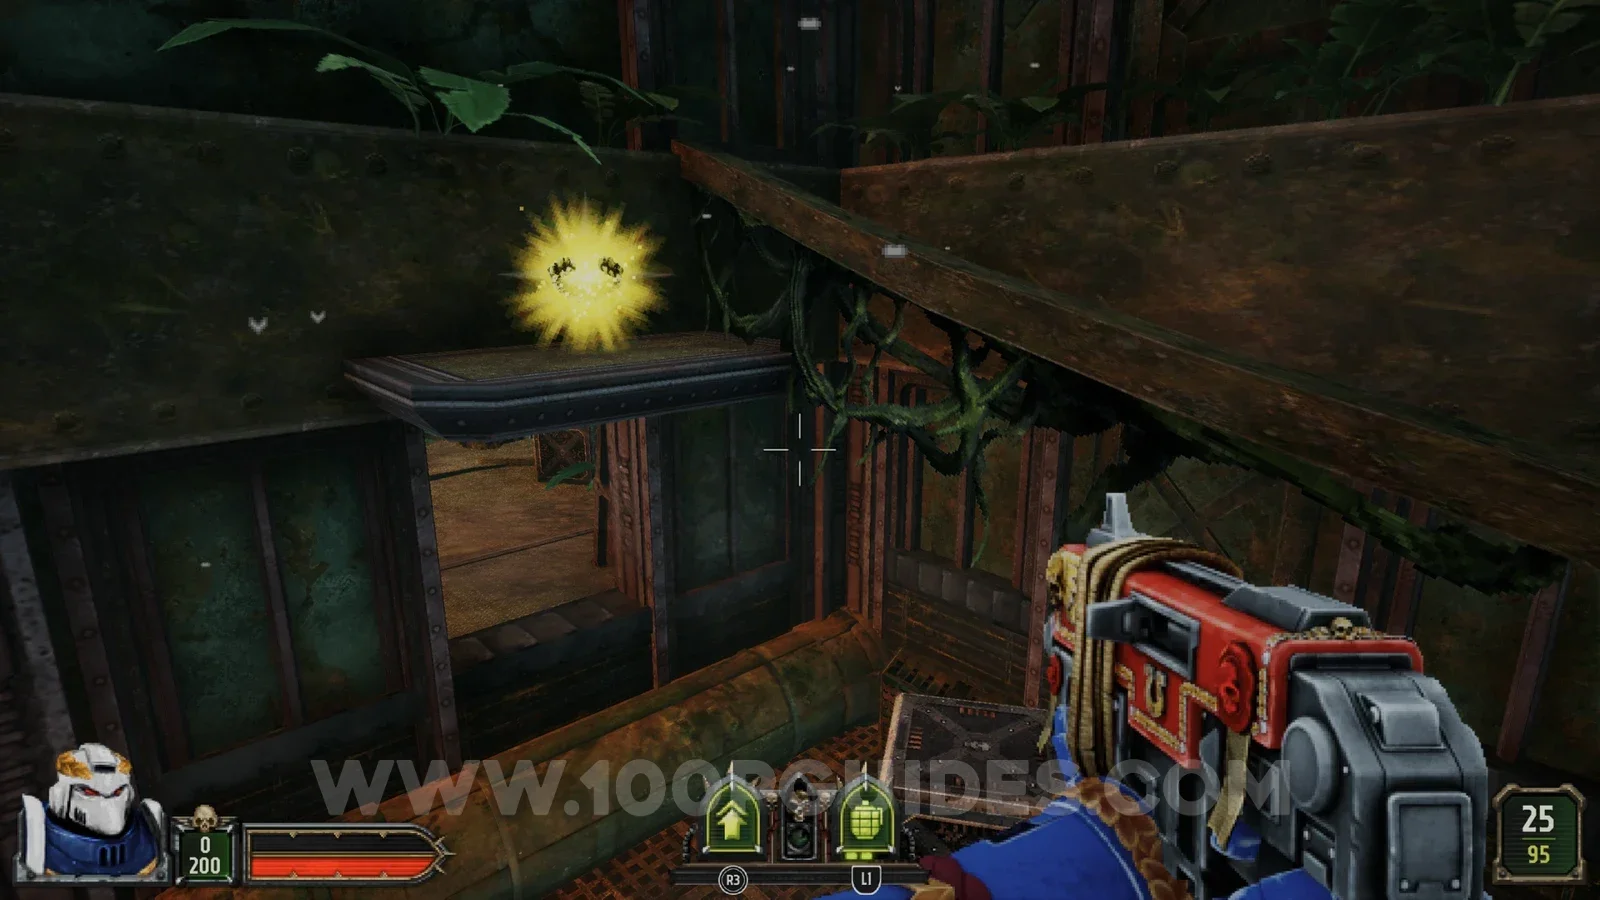
Once you get to the red console you have to make a detour to the left to find its key. In the first building you go through, climb up to the metal beams inside to find the secret.
Secret 2/4
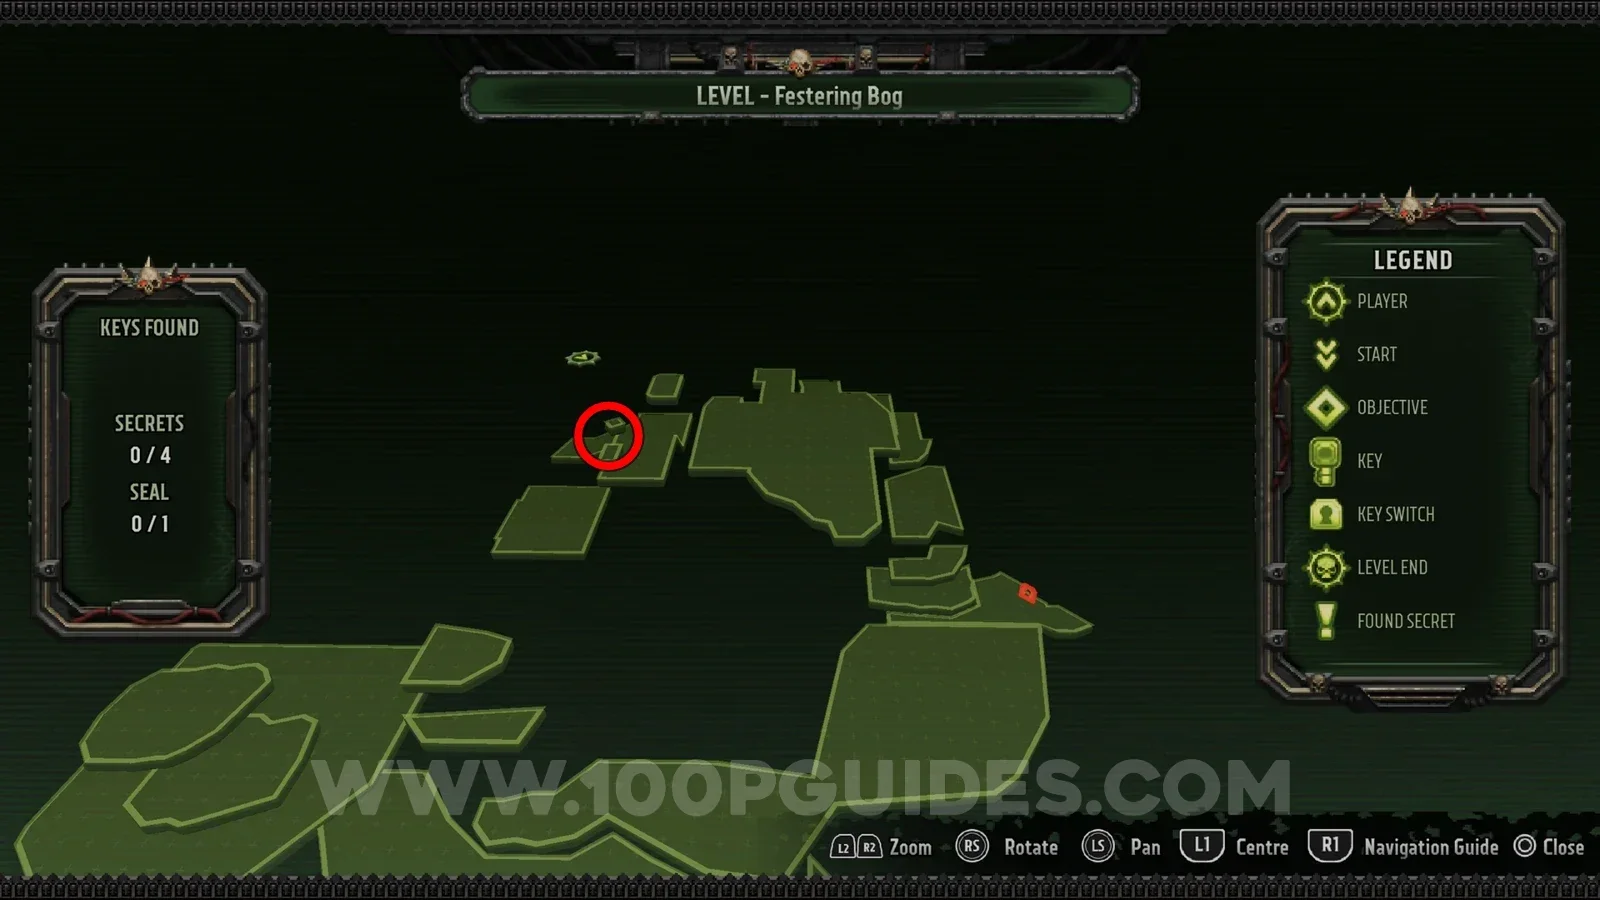
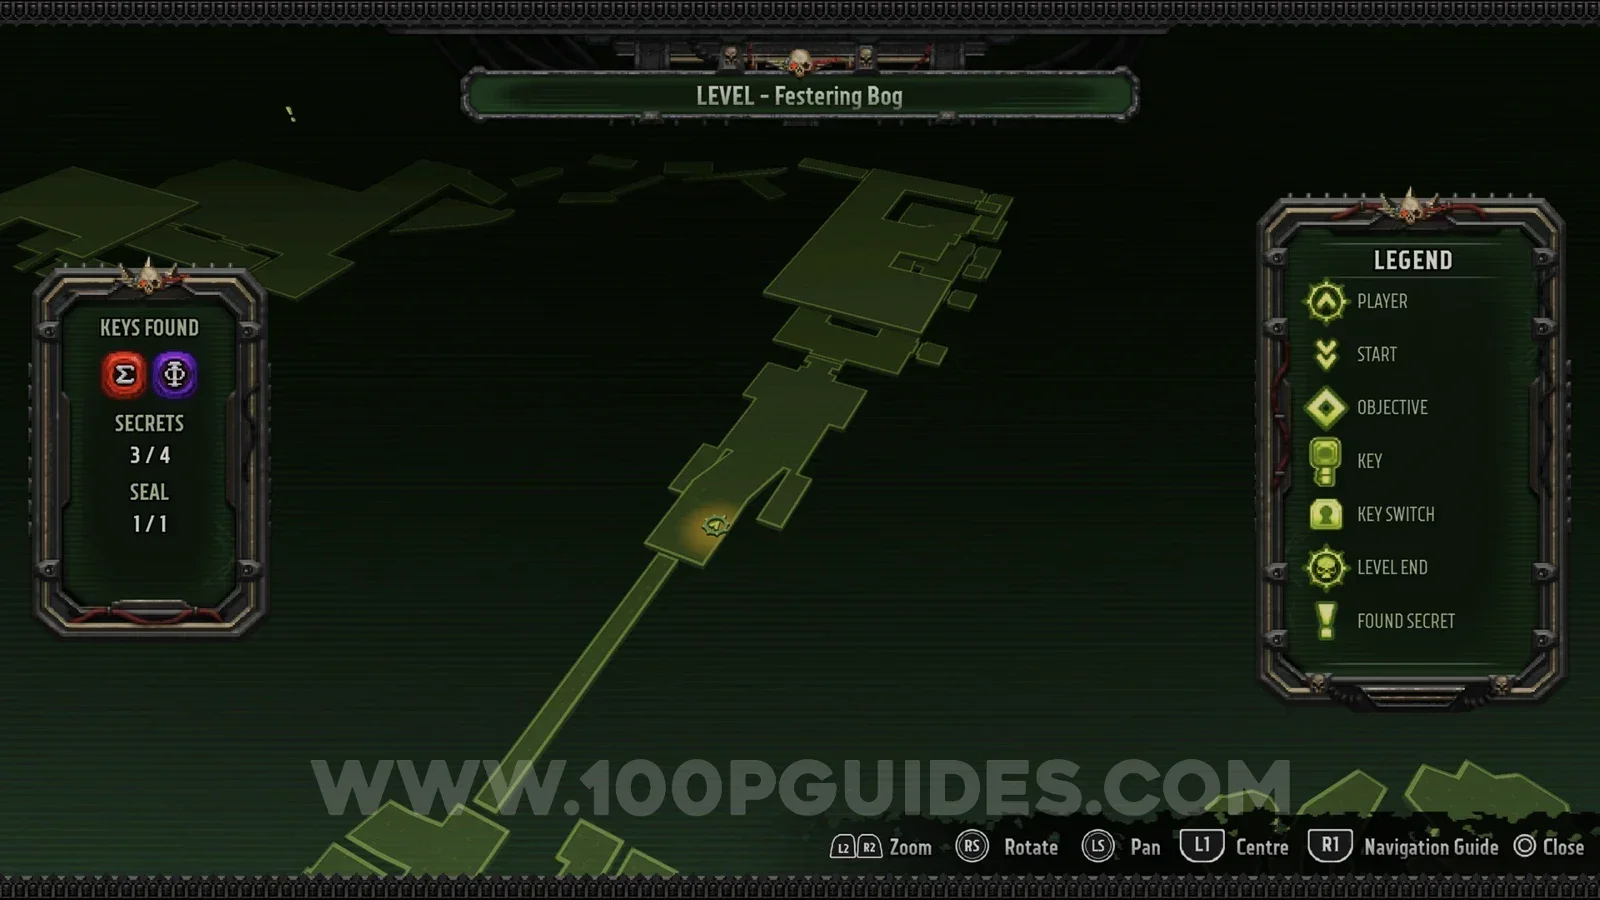
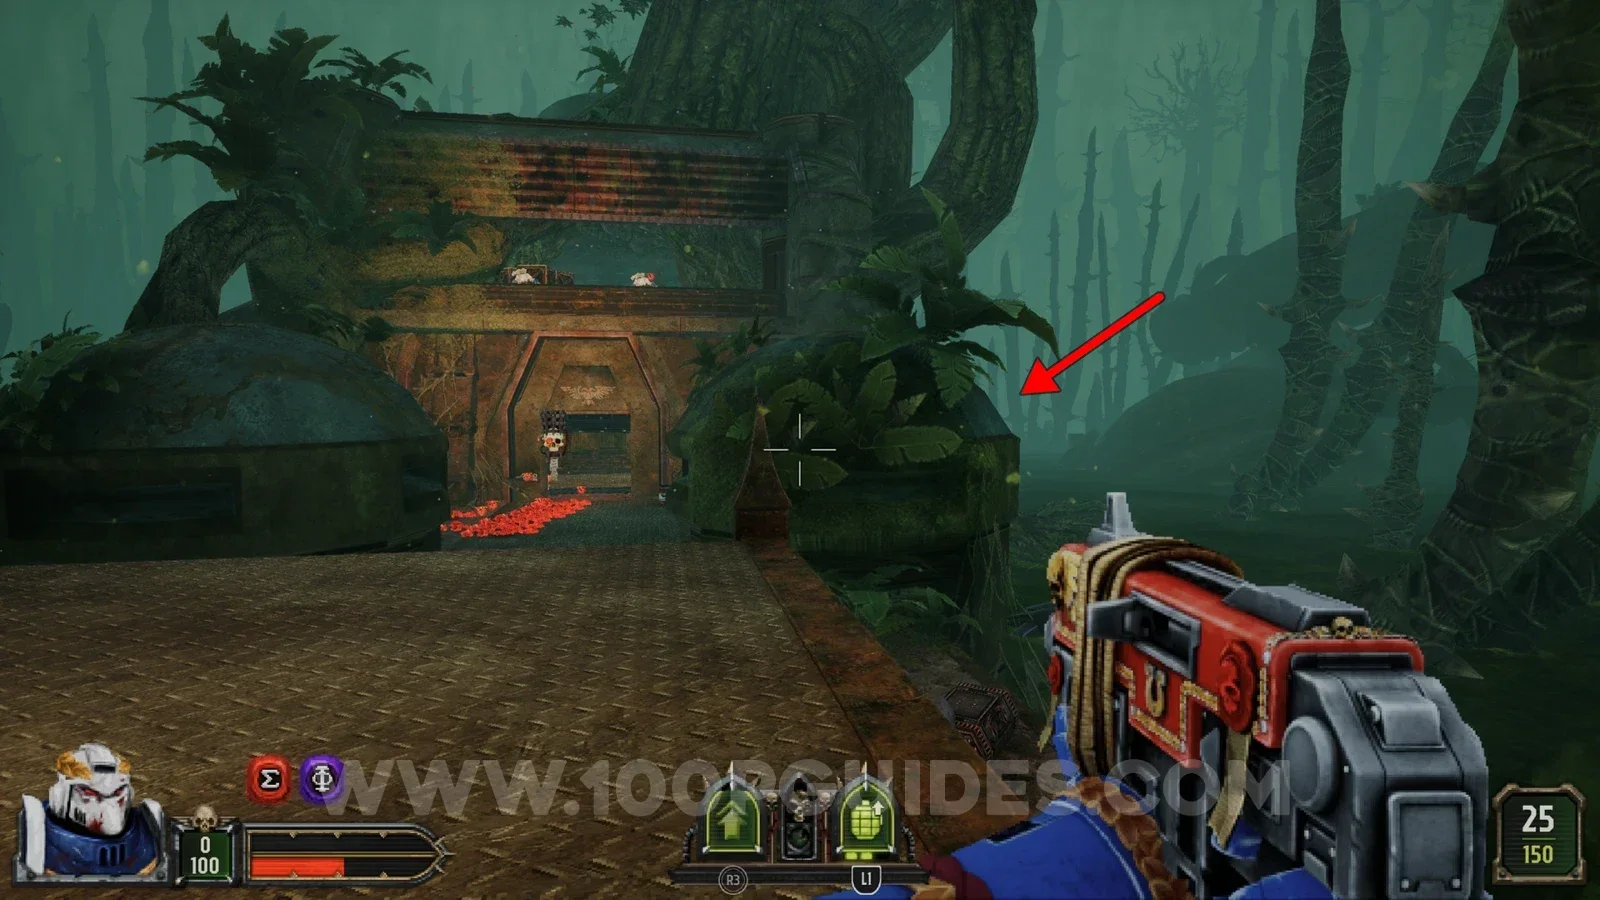
Just after the previous secret you extend a bridge. Before heading into the next building, go around its right side to find the secret.
Secret 3/4
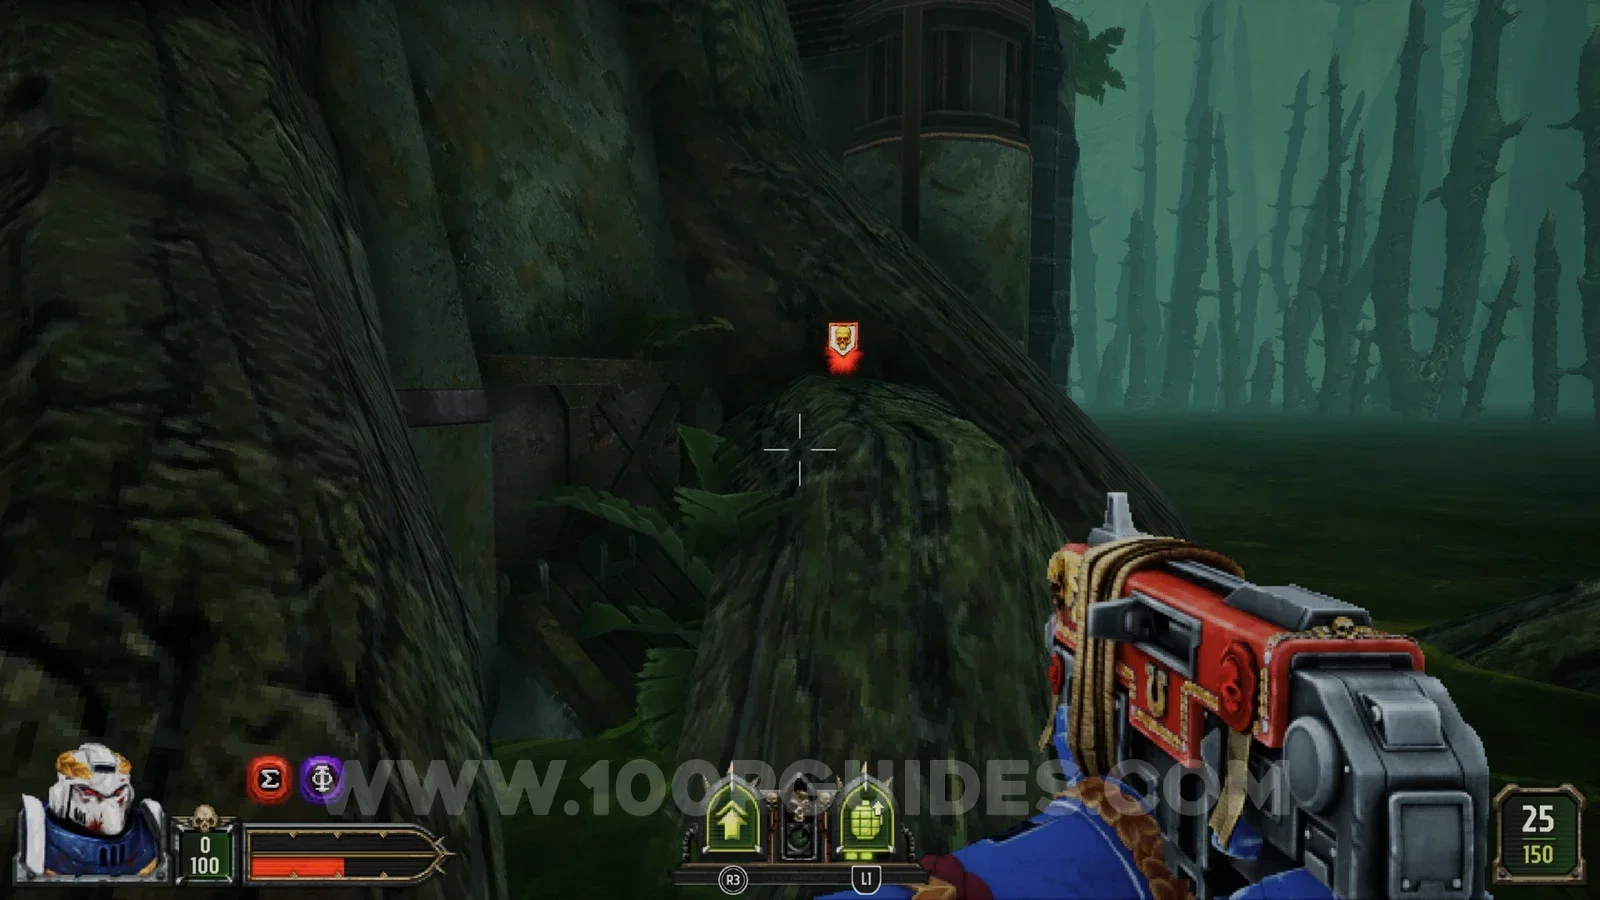
On a small dome next to the large building just before you reach the red key. You can get to it from the roof of the main building.
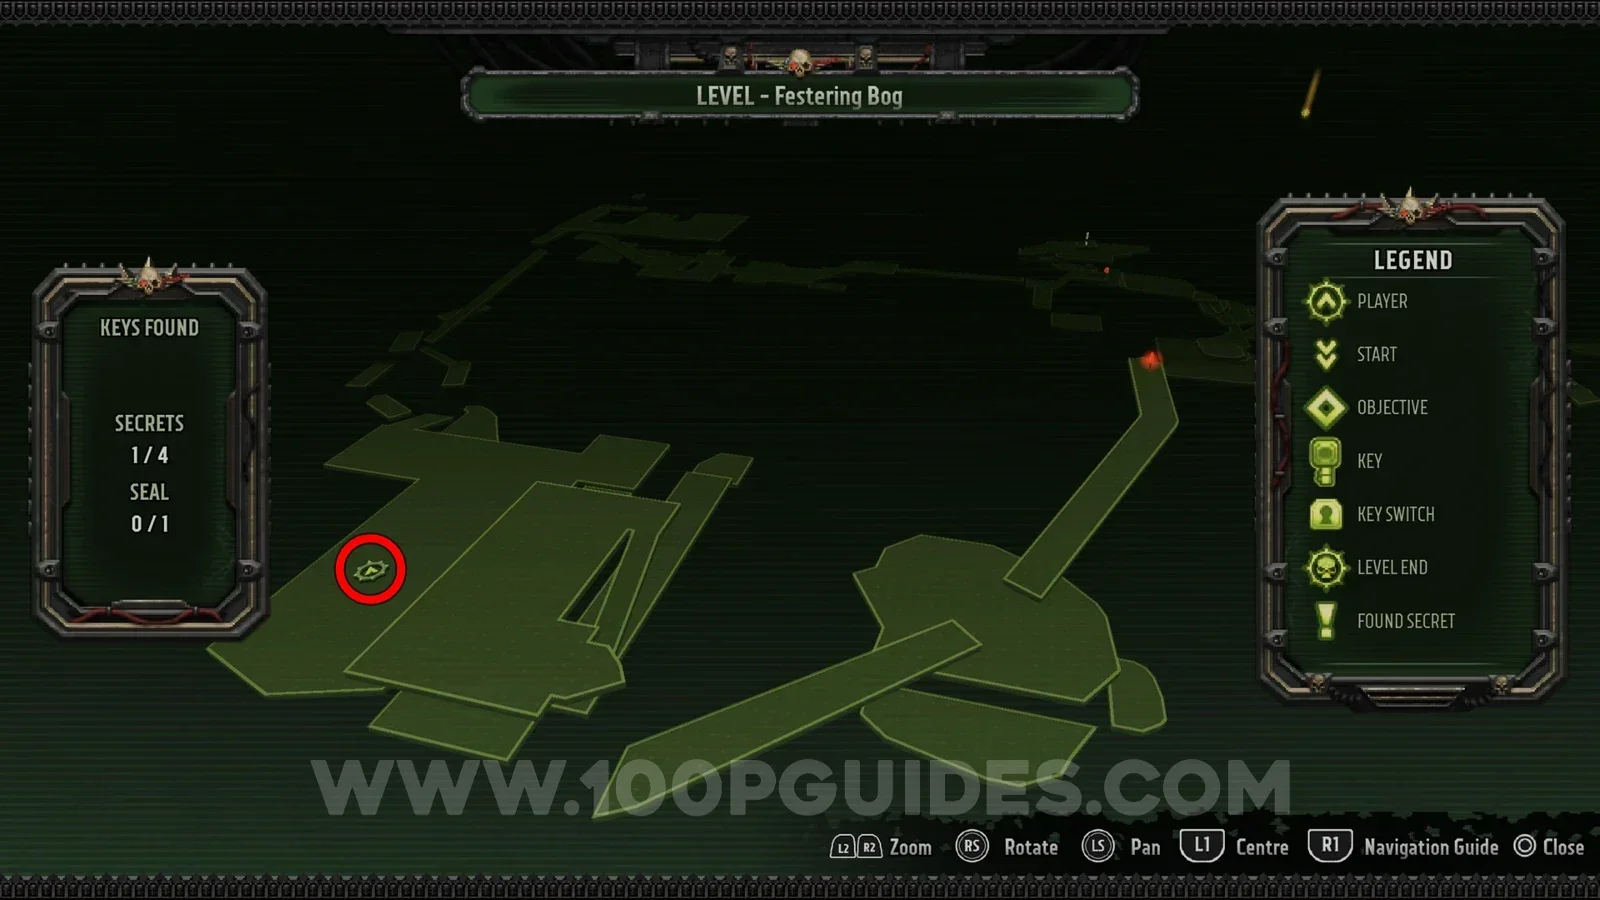
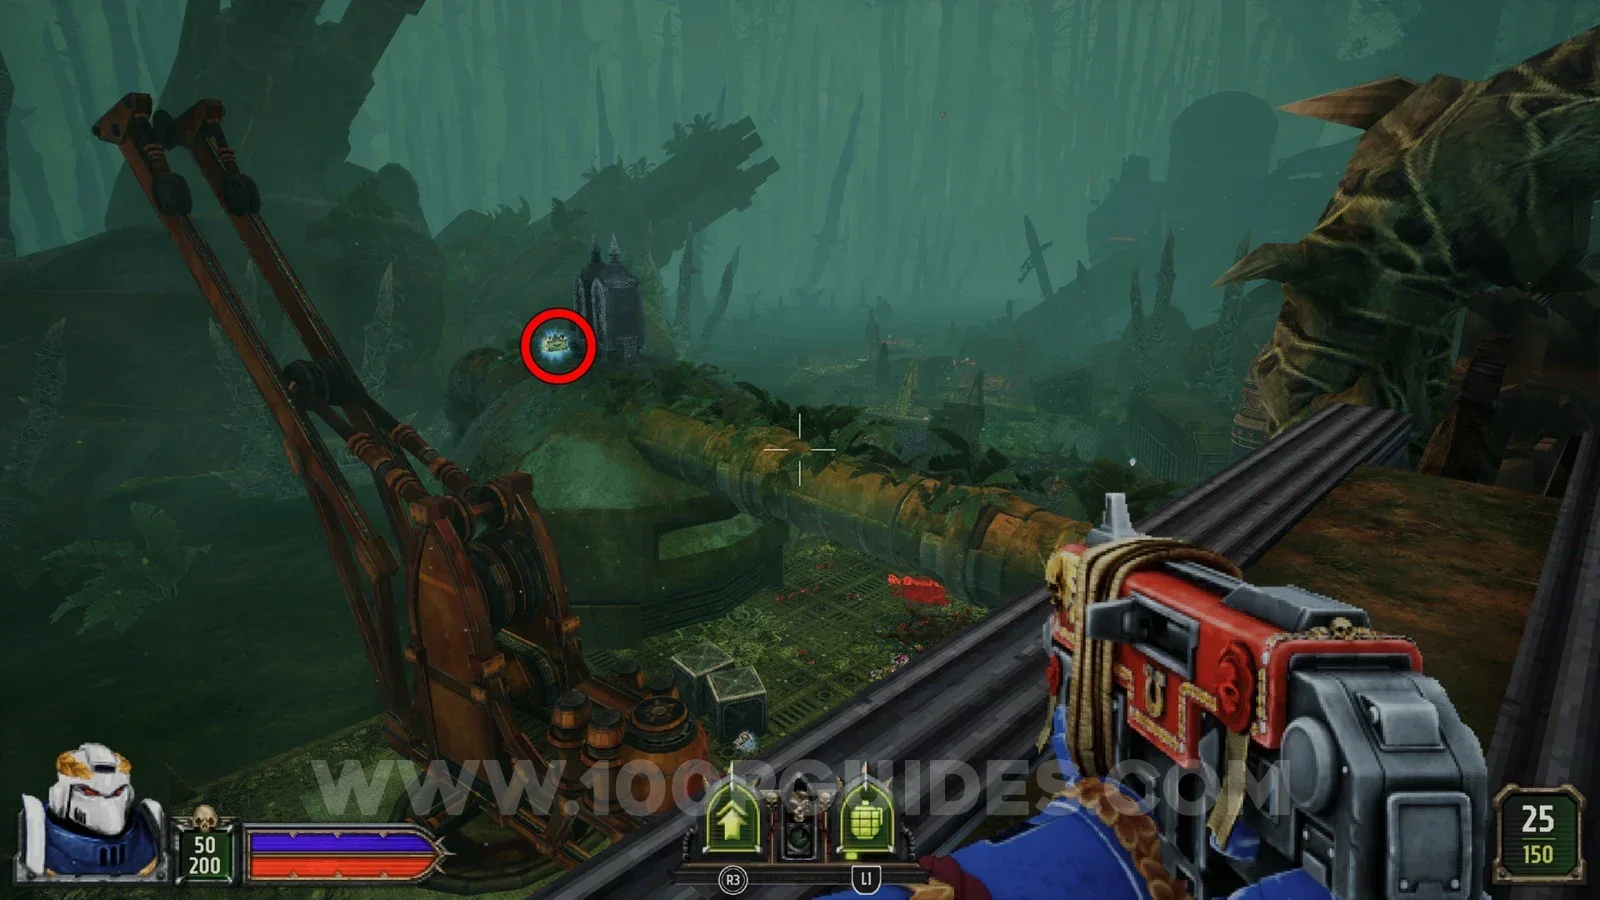
Secret 4/4
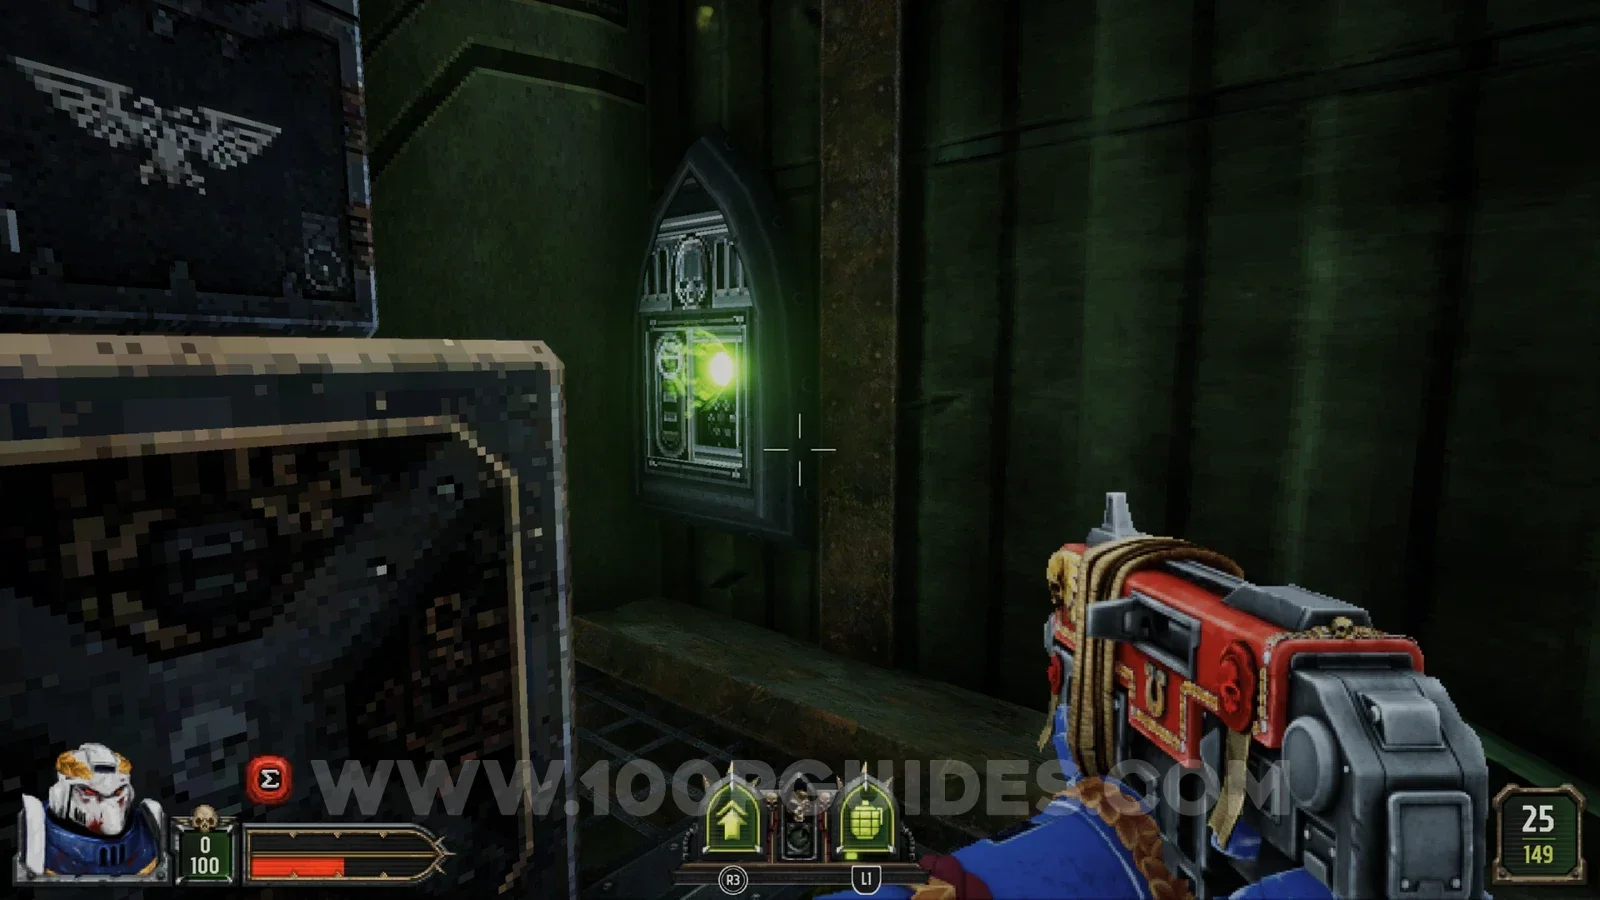
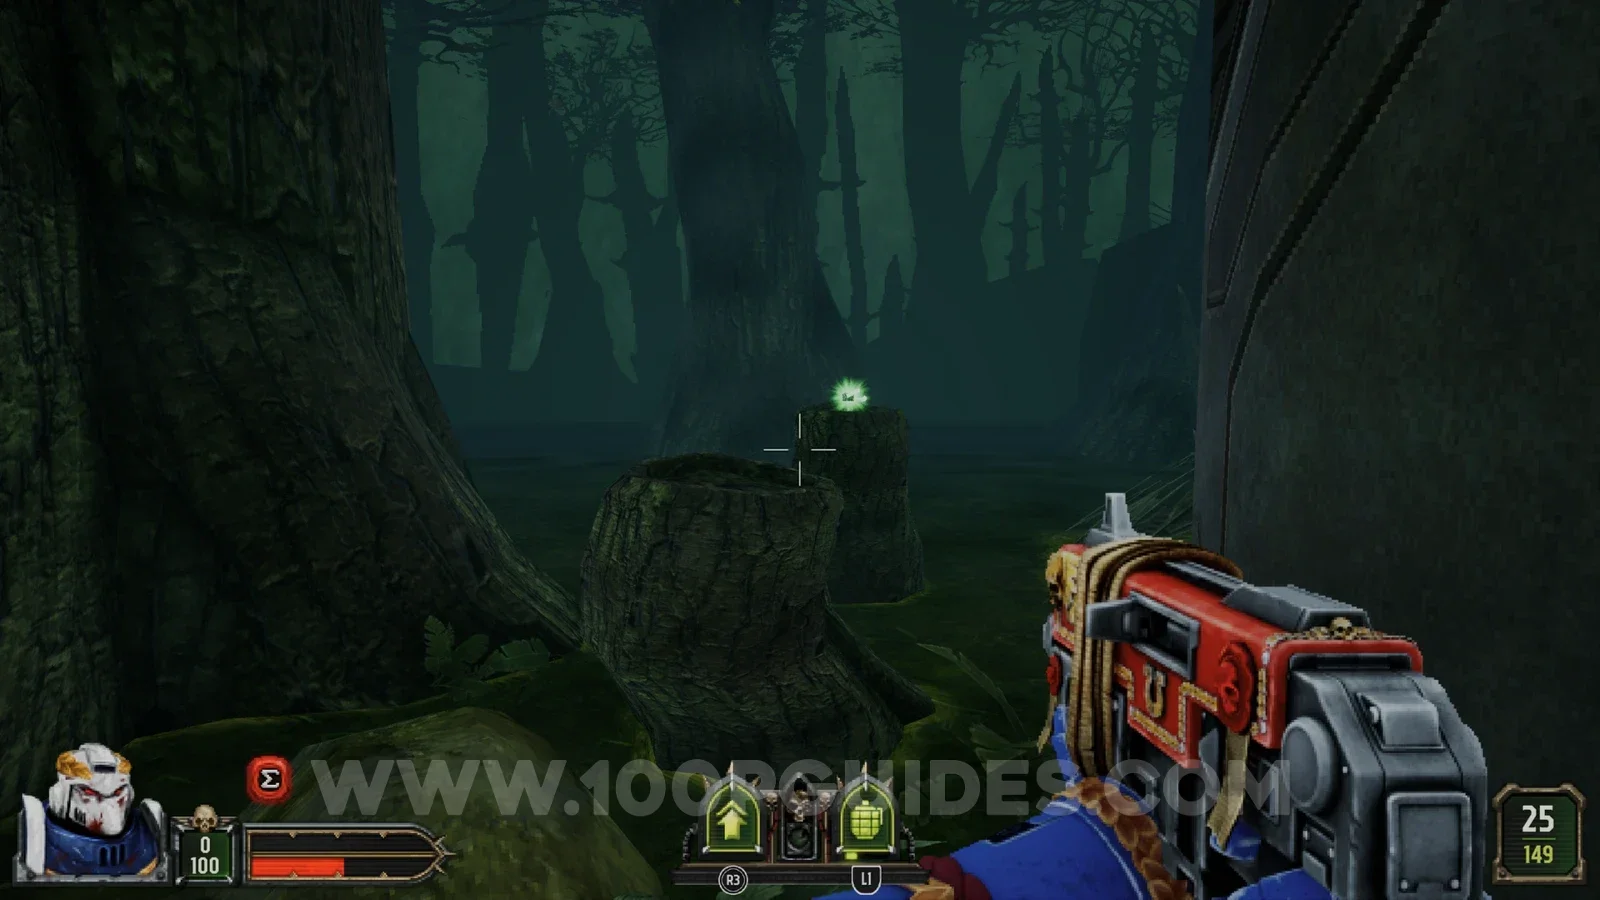
Just before you reach the purple key, take the path on the left. In the small building, press the switch hidden behind the boxes. This raises the wall and lets you reach the secret.
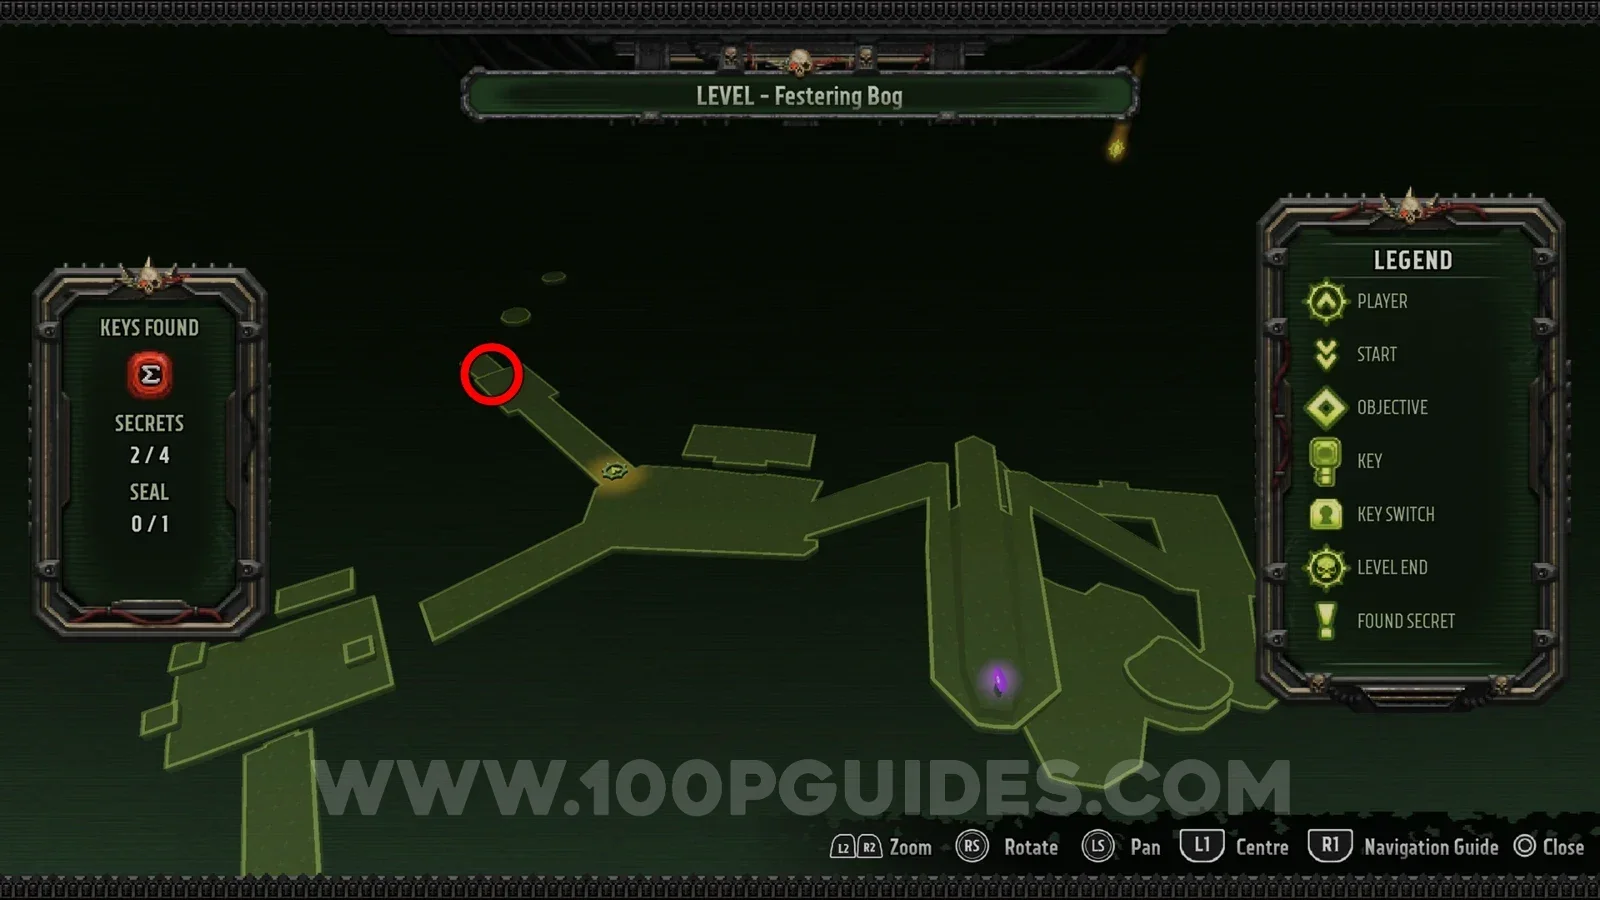
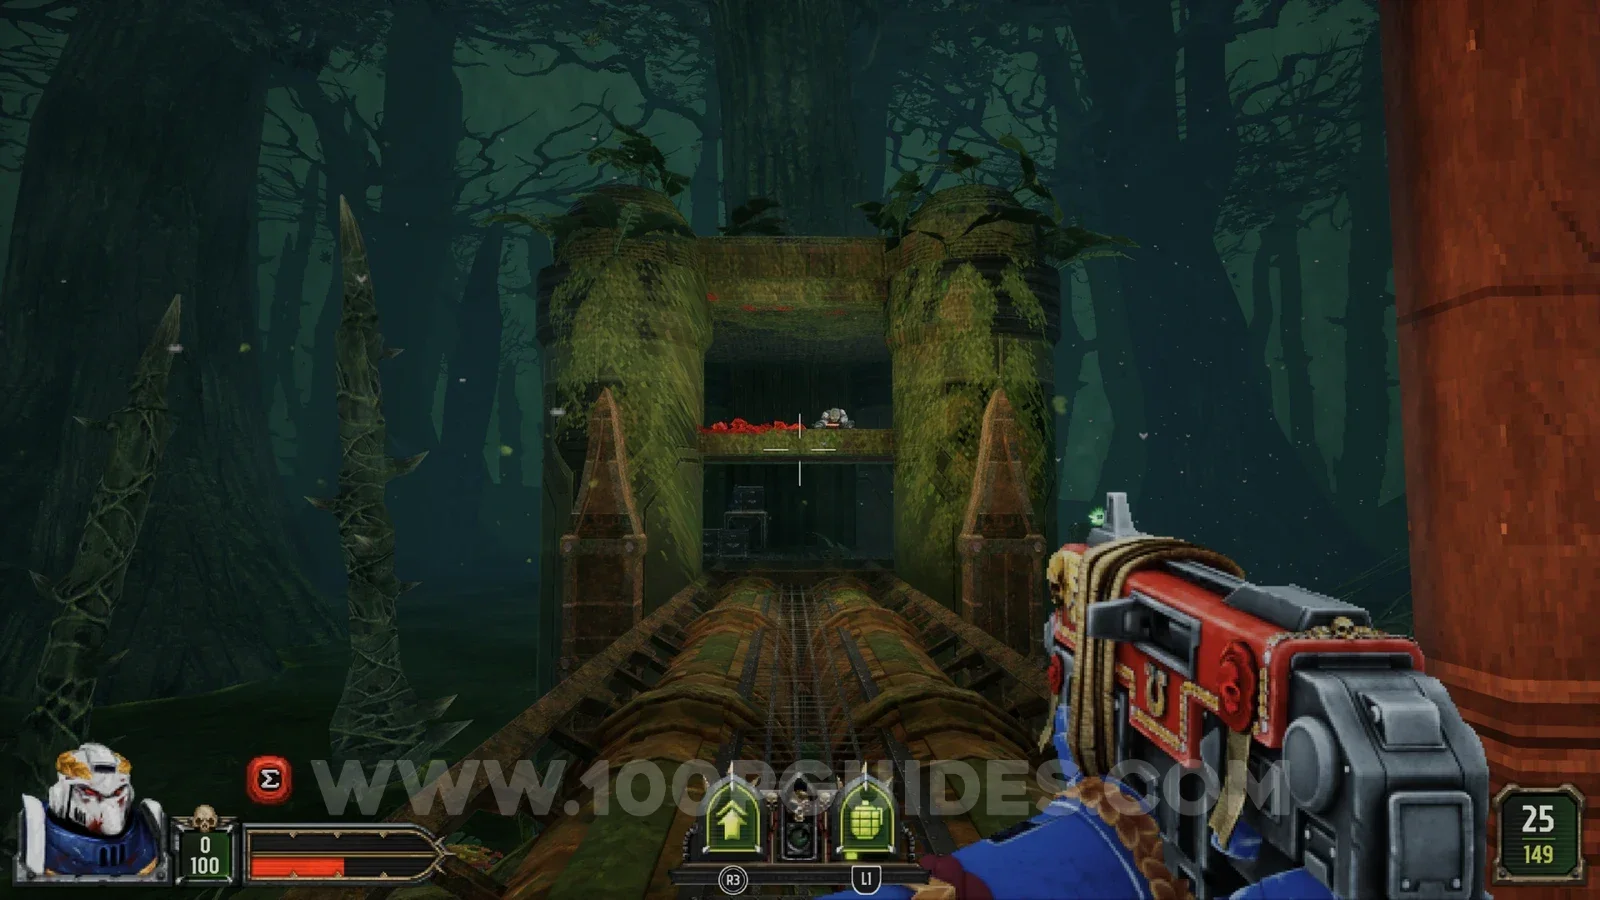
Seal 1/1
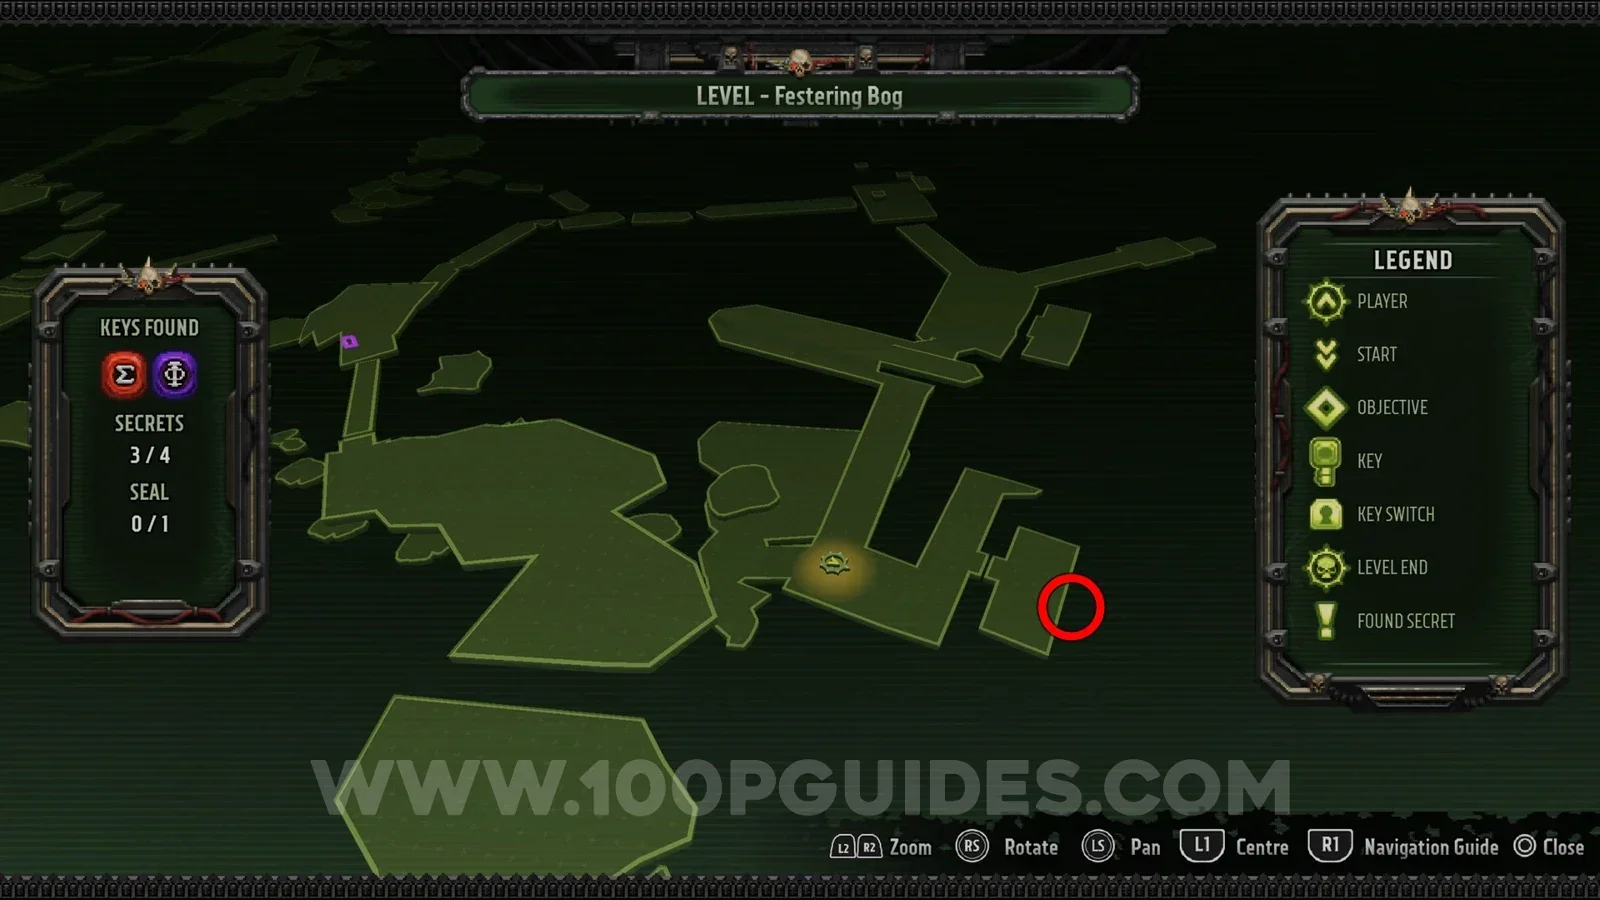
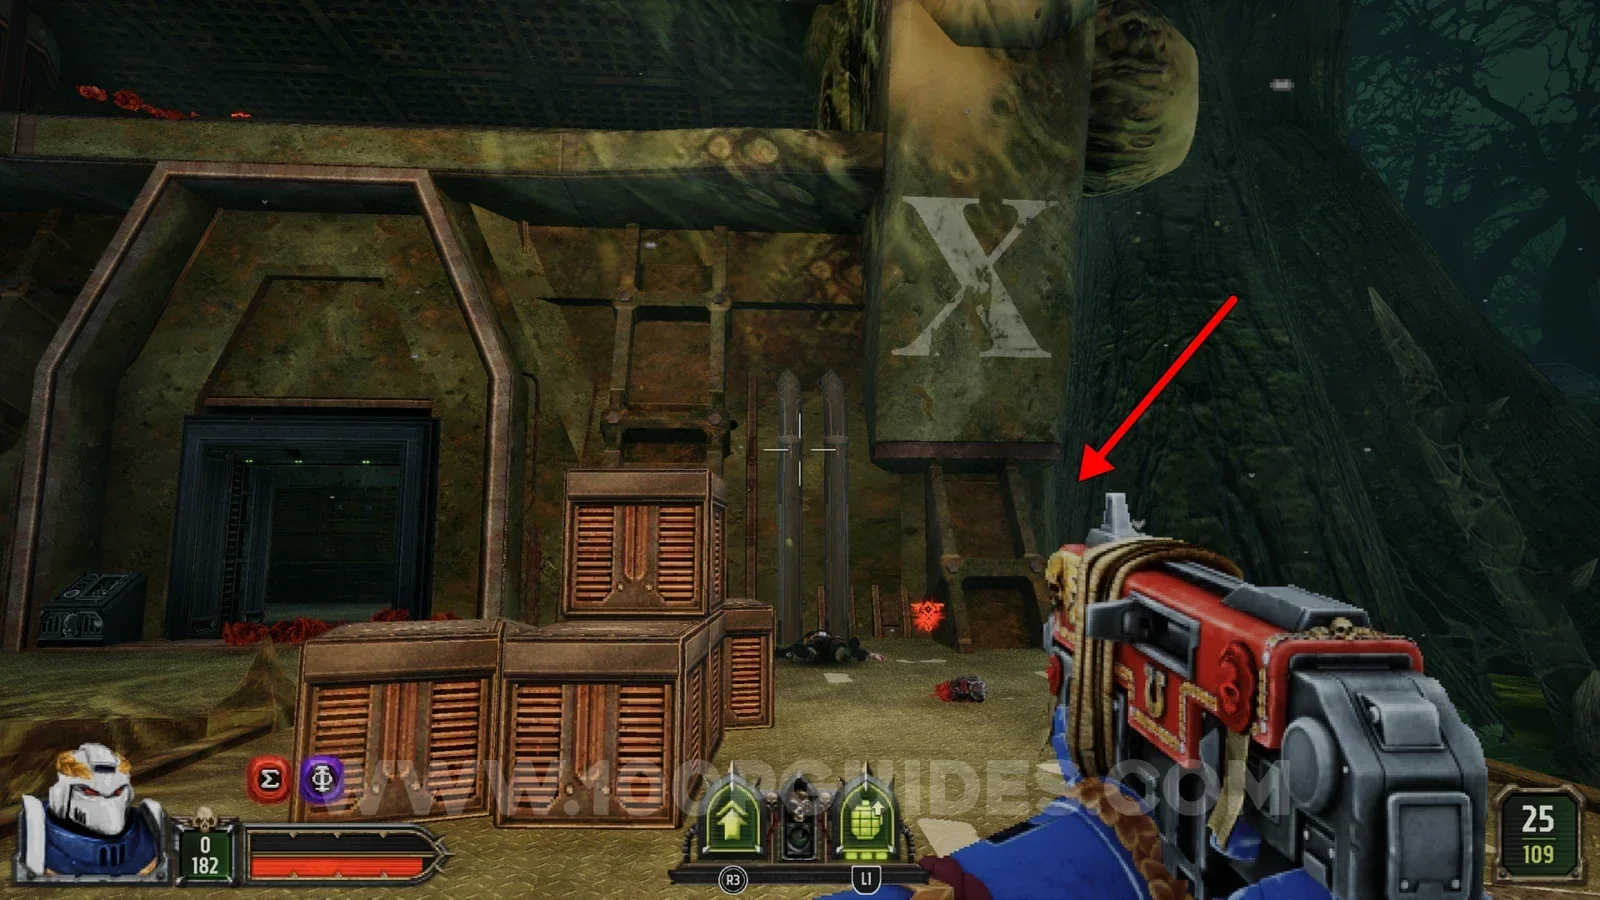
Go down the ramp on the other side of the purple key, go around the side of the two-storey building and destroy the wall around the back.
The Vile Root Path A
Secret 1/4
Look for a small hidden path behind a tree on the right, close to the start and just before the purple door.
Secret 2/4
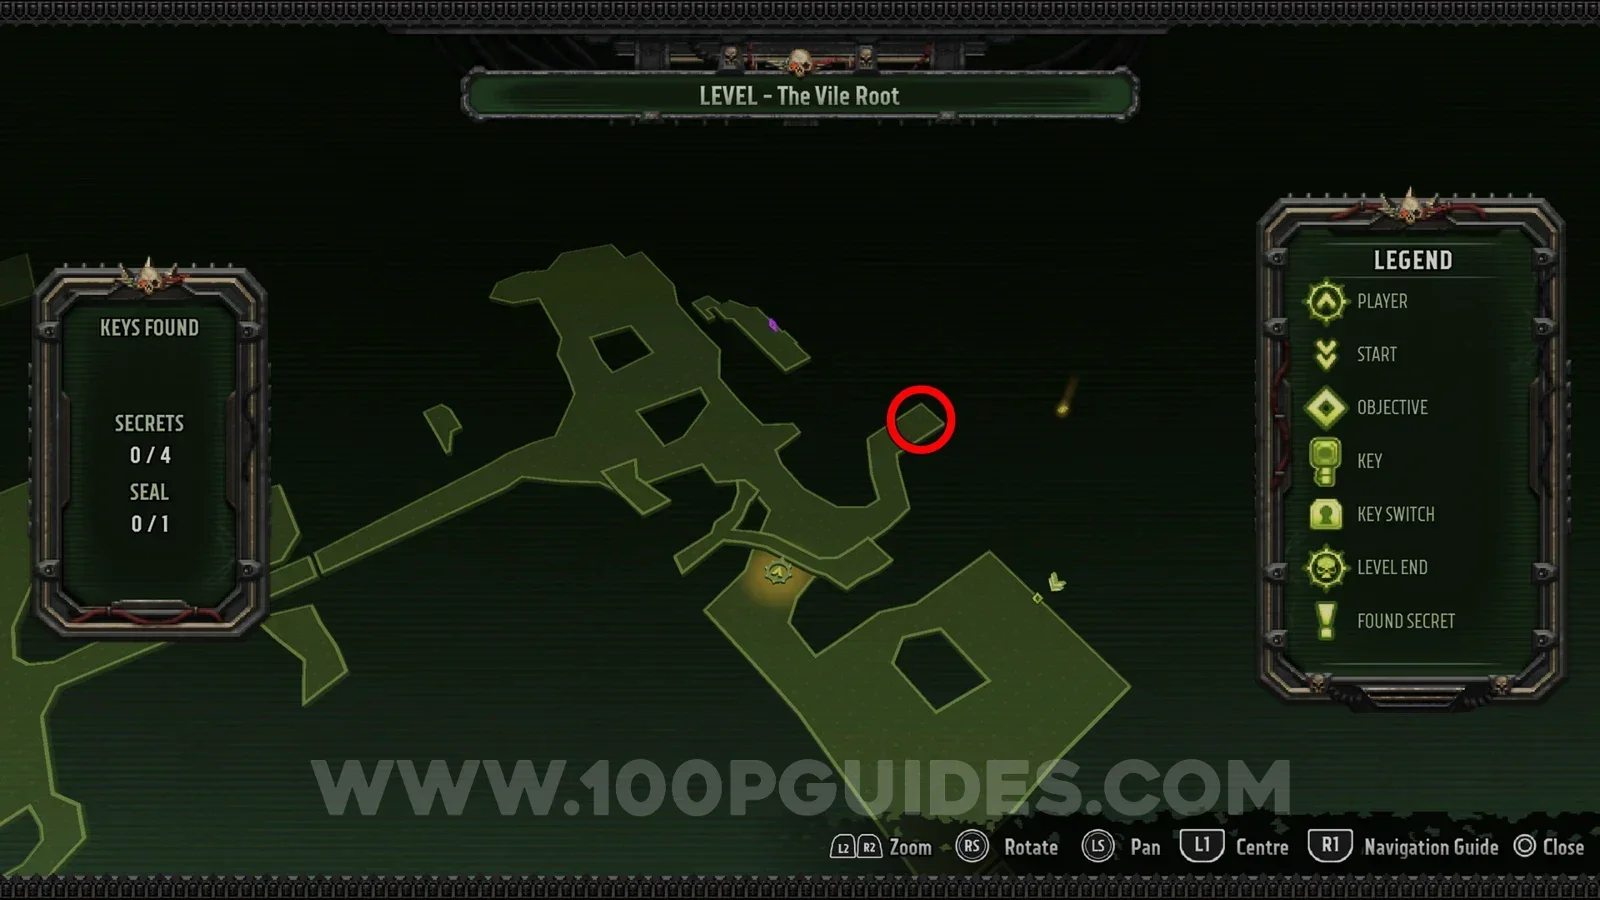
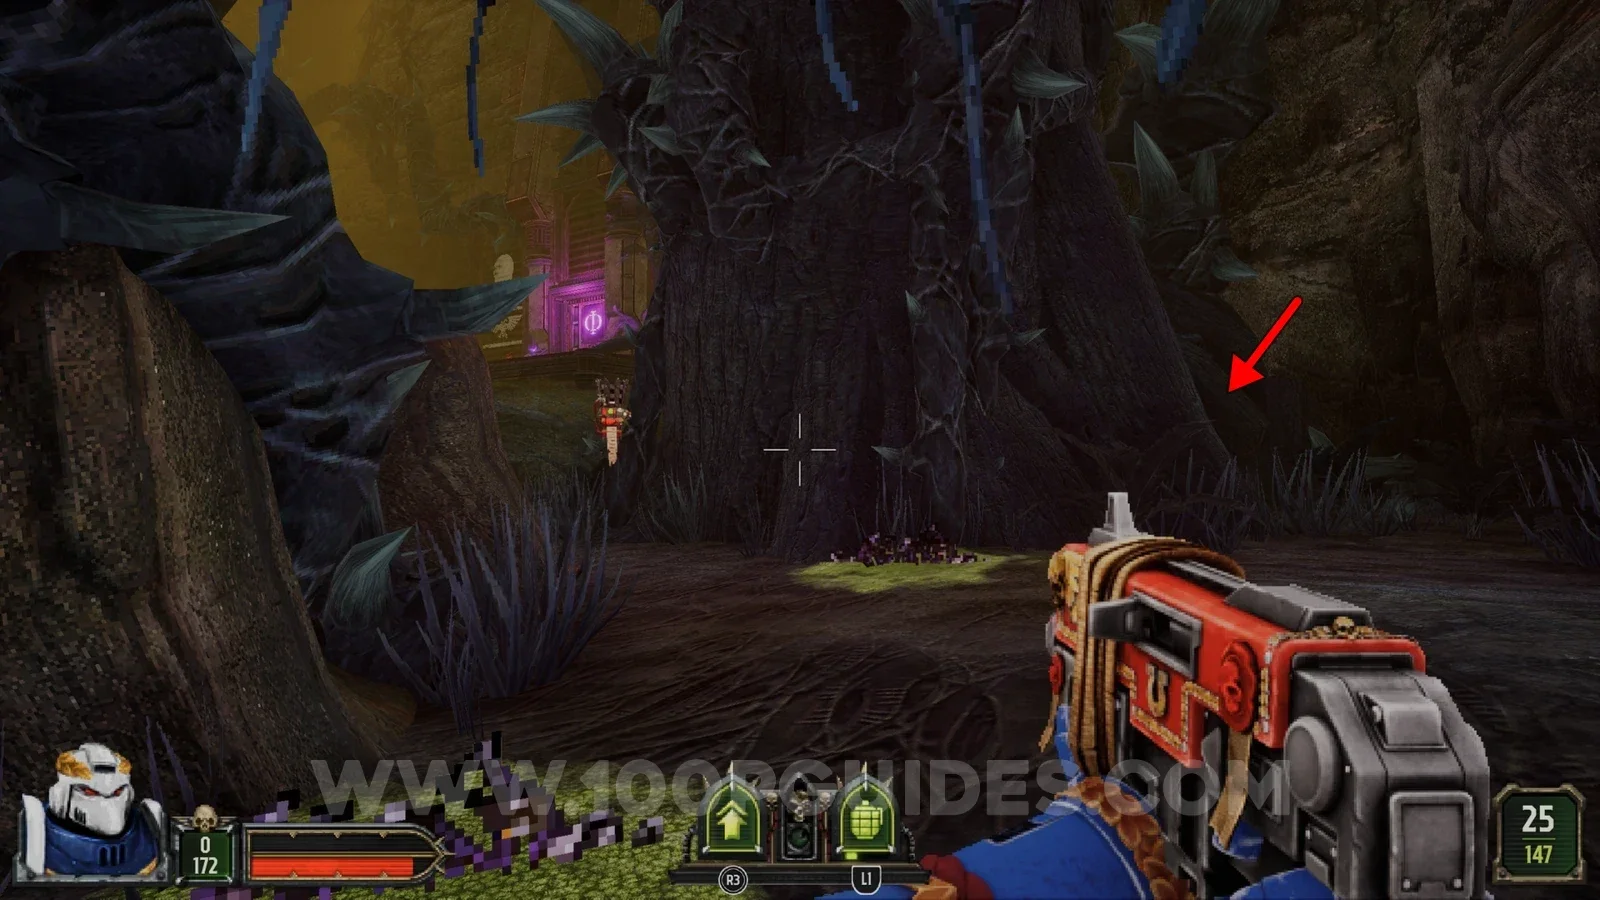
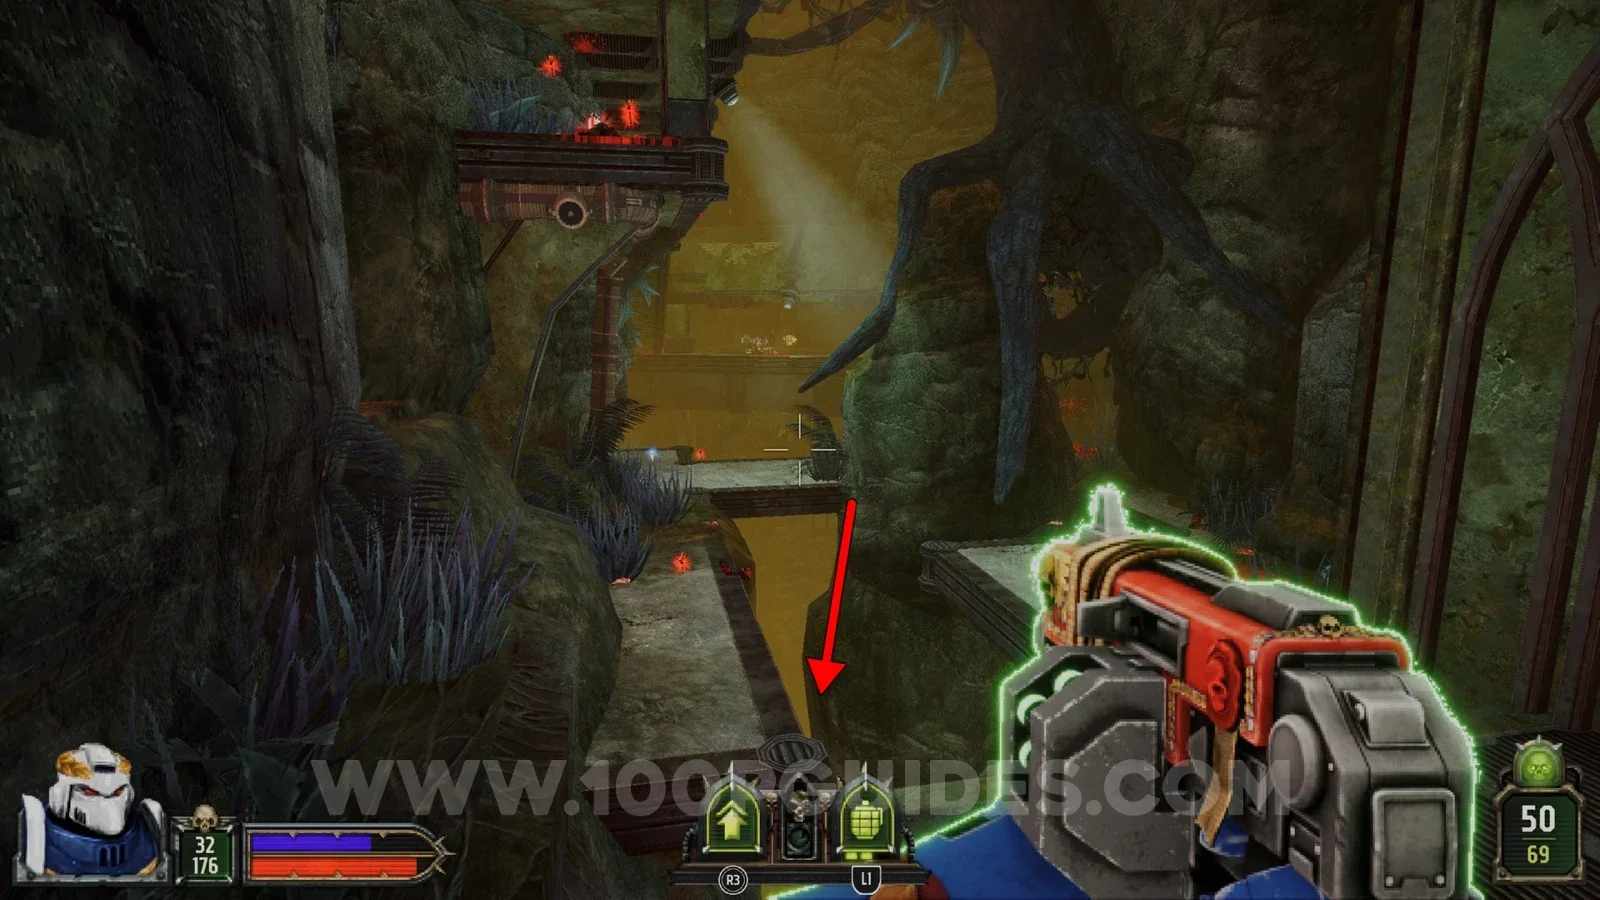
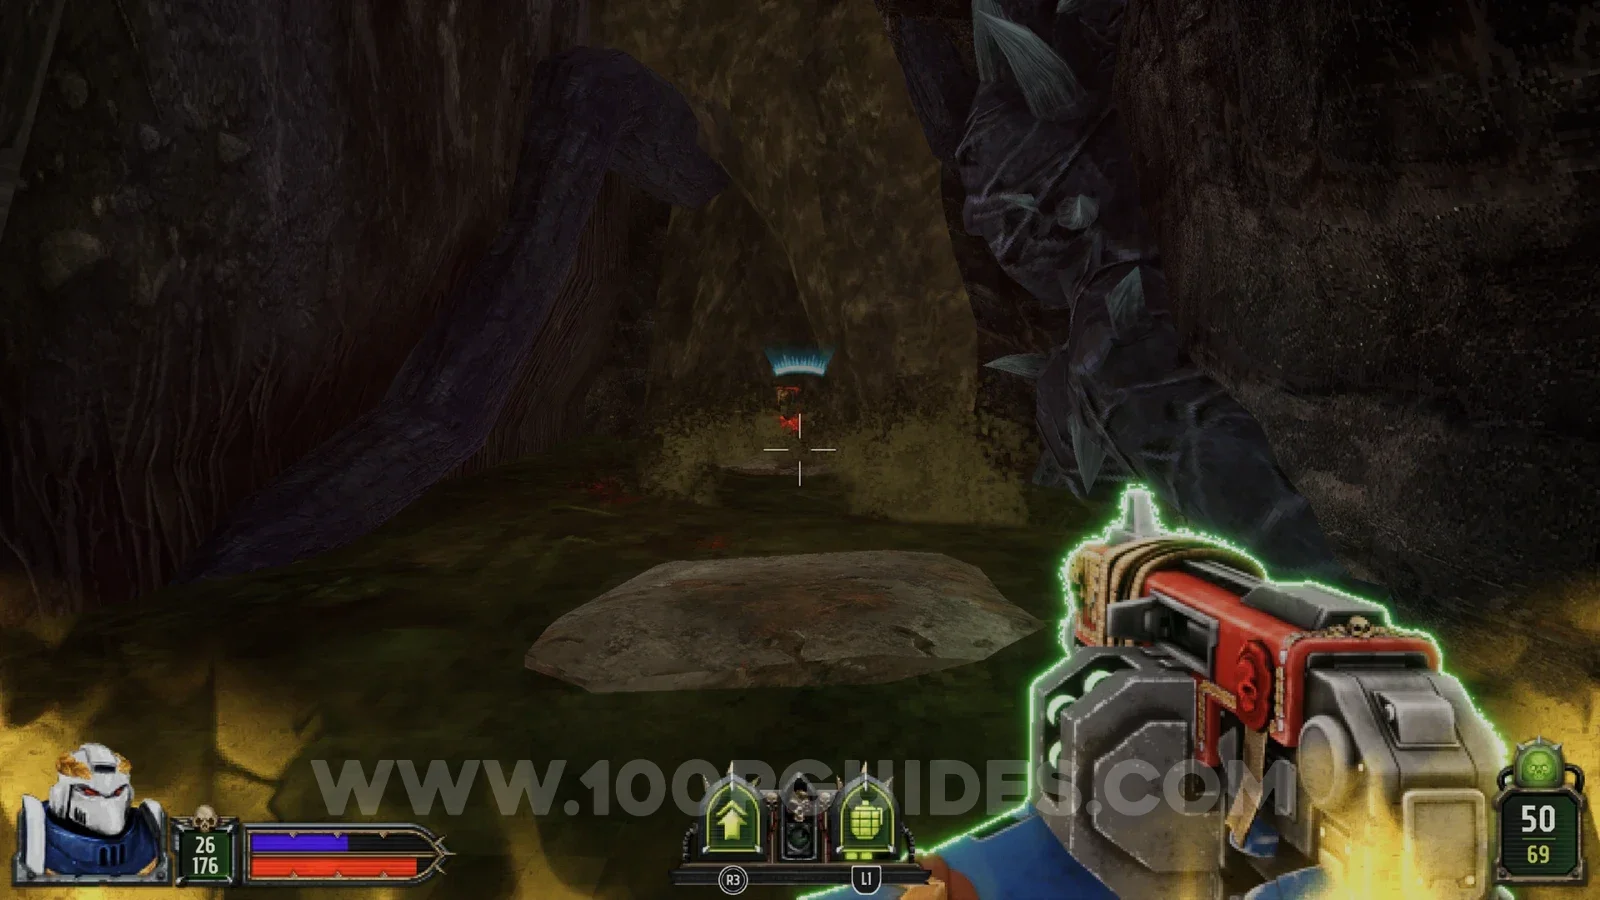
Once you reach the valley with enemies on the concrete walkways, drop down to the swamp below and head to the end to find the secret.
Secret 3/4
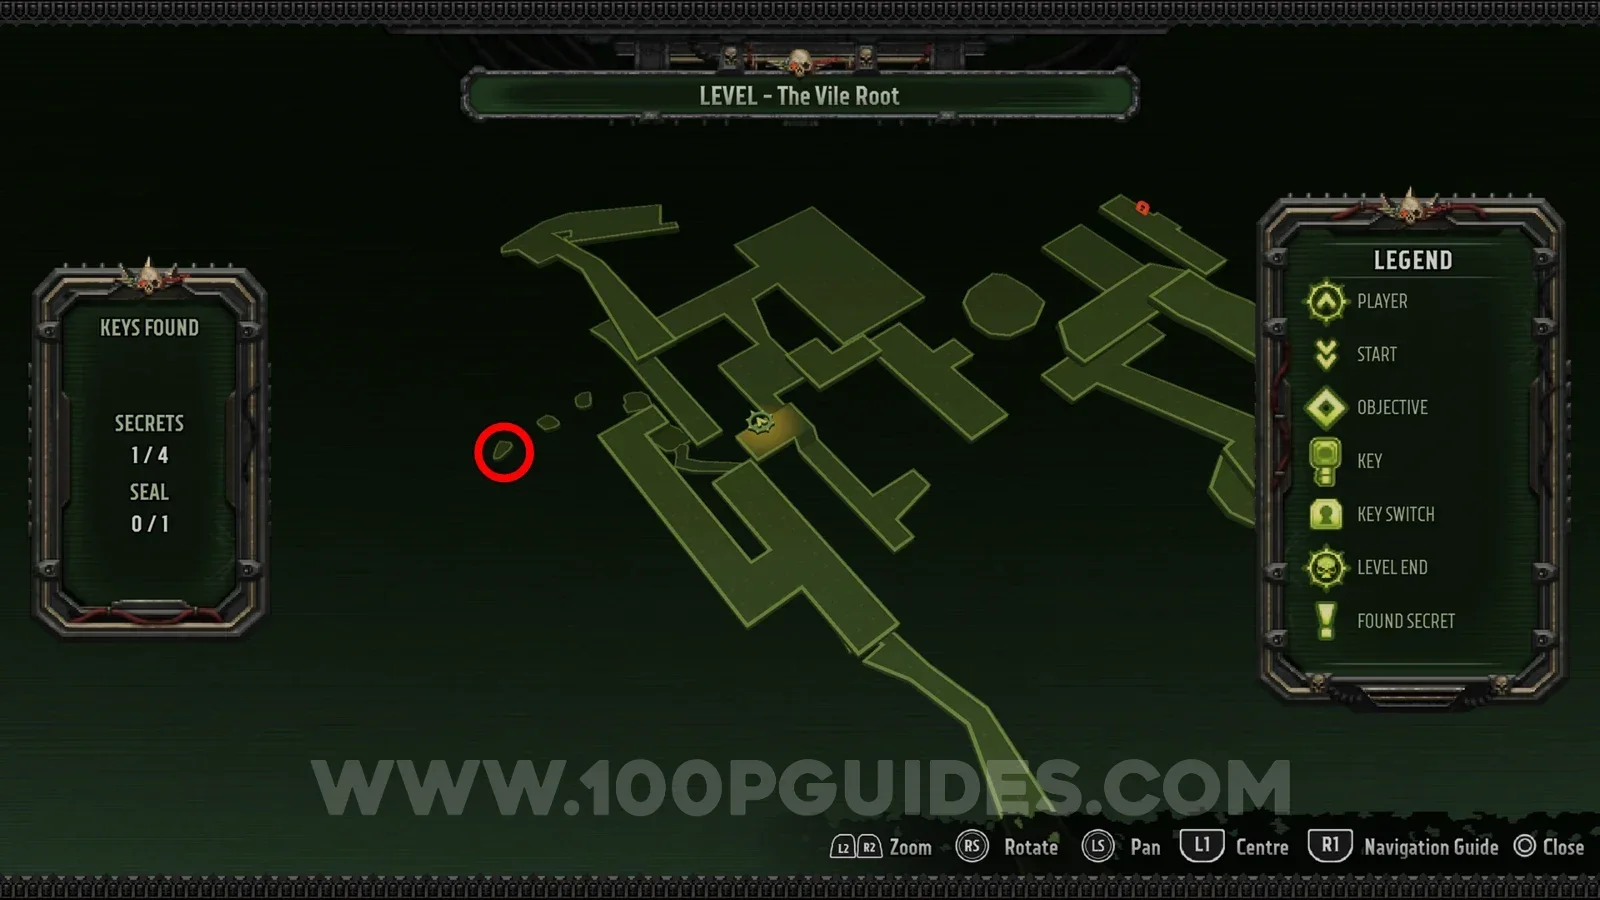
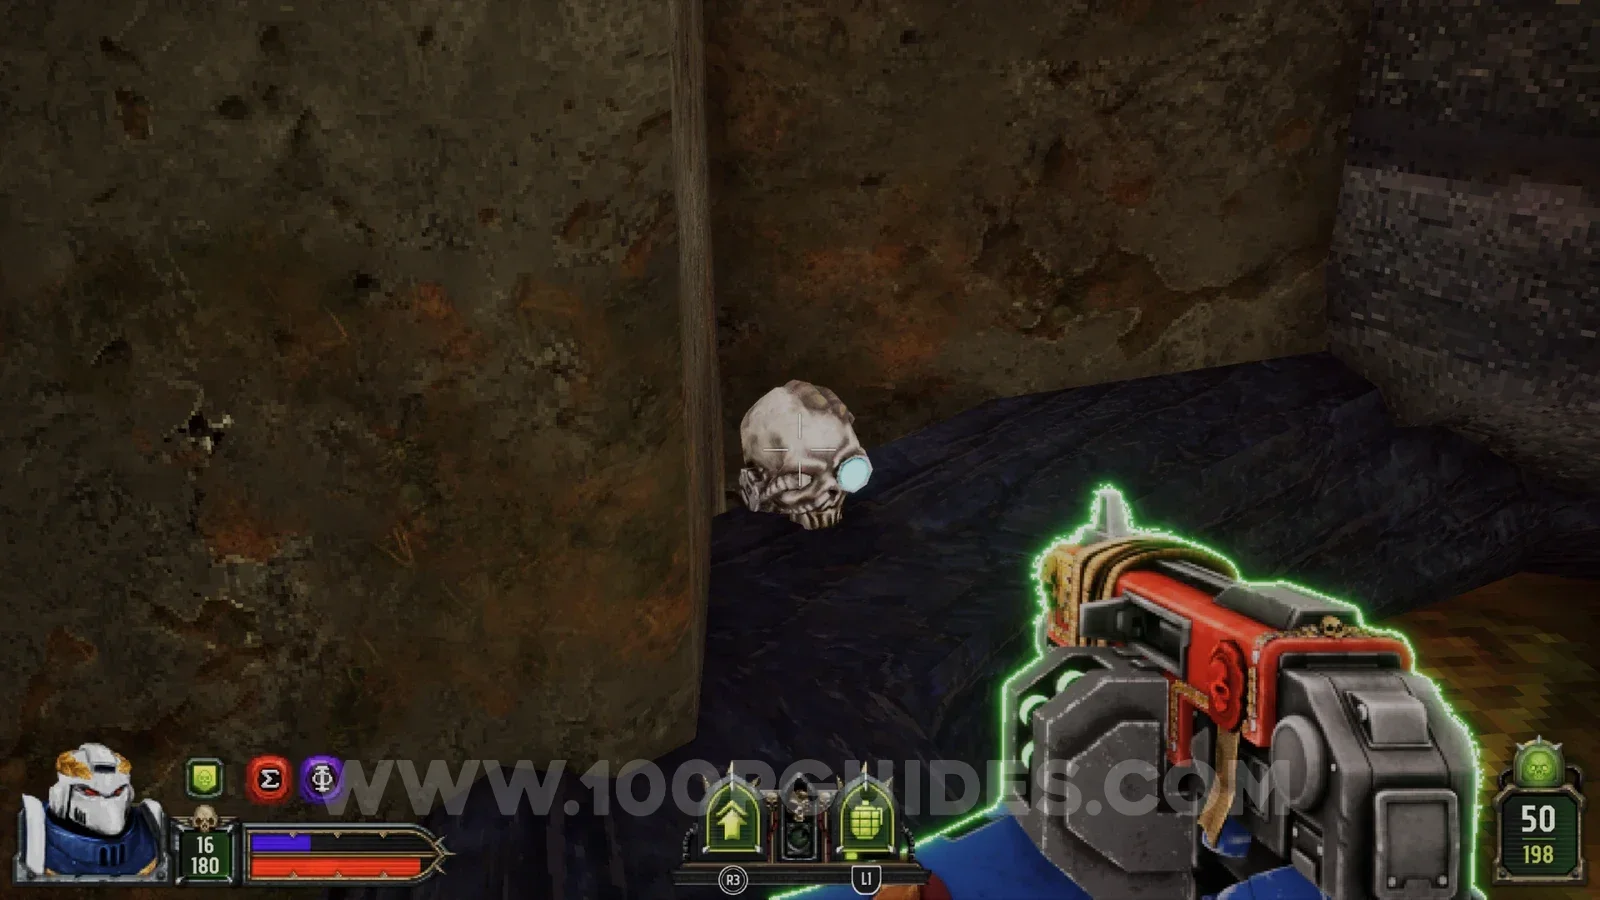
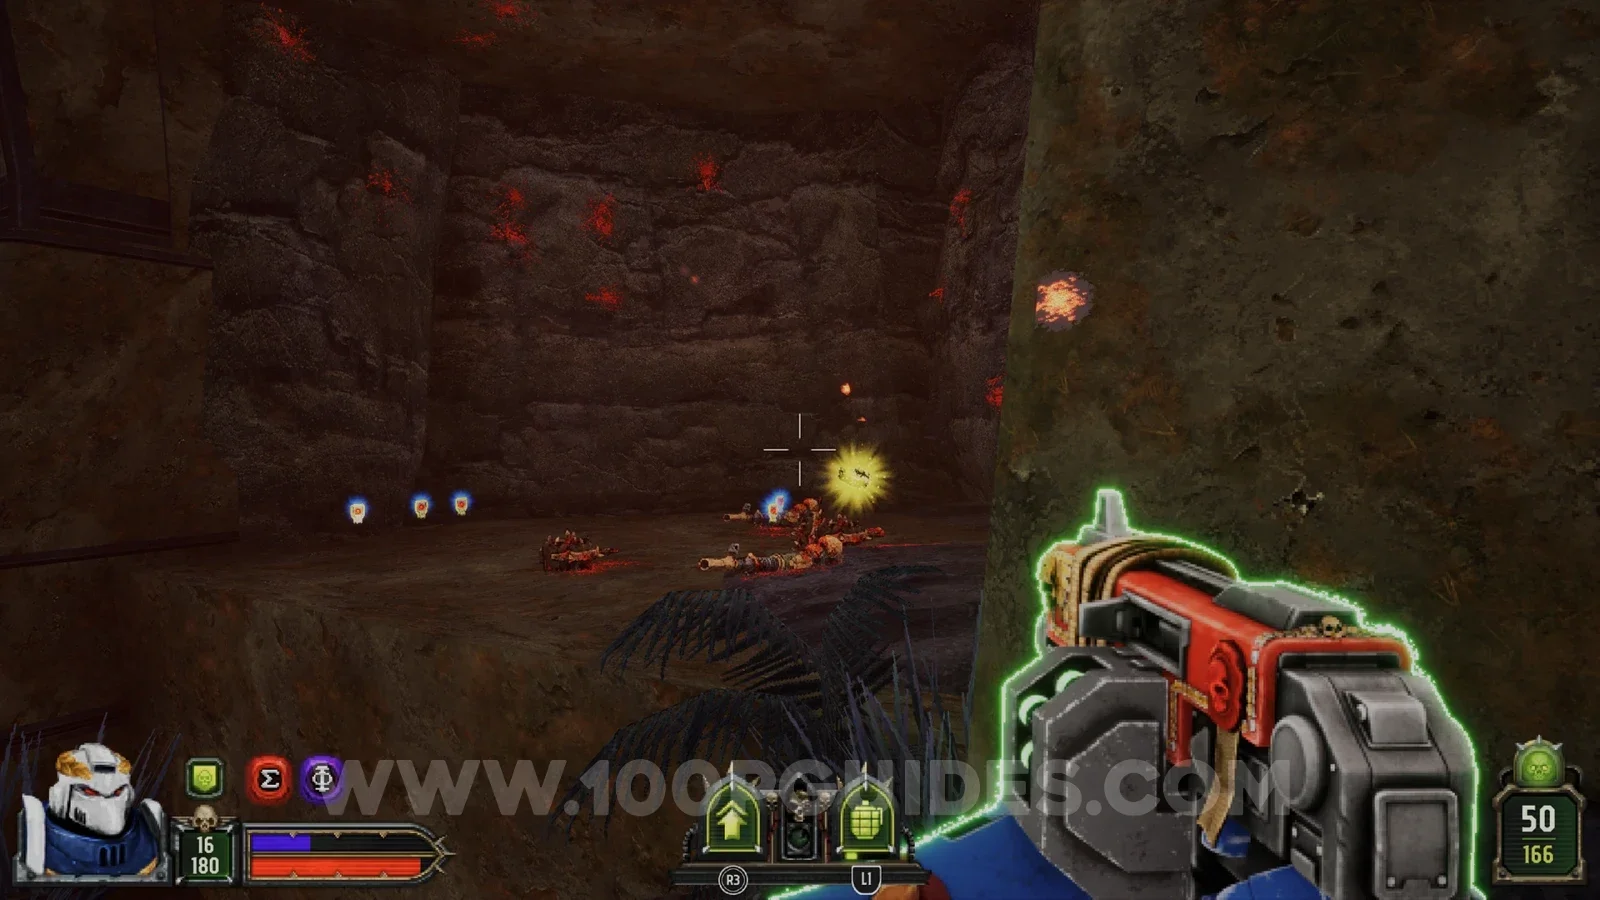
In the area with the red door, look for a tree with a waterfall behind it in the corner. Shoot the skull there to open up the nearby cliff. The secret is inside, guarded by two enemies.
Secret 4/4
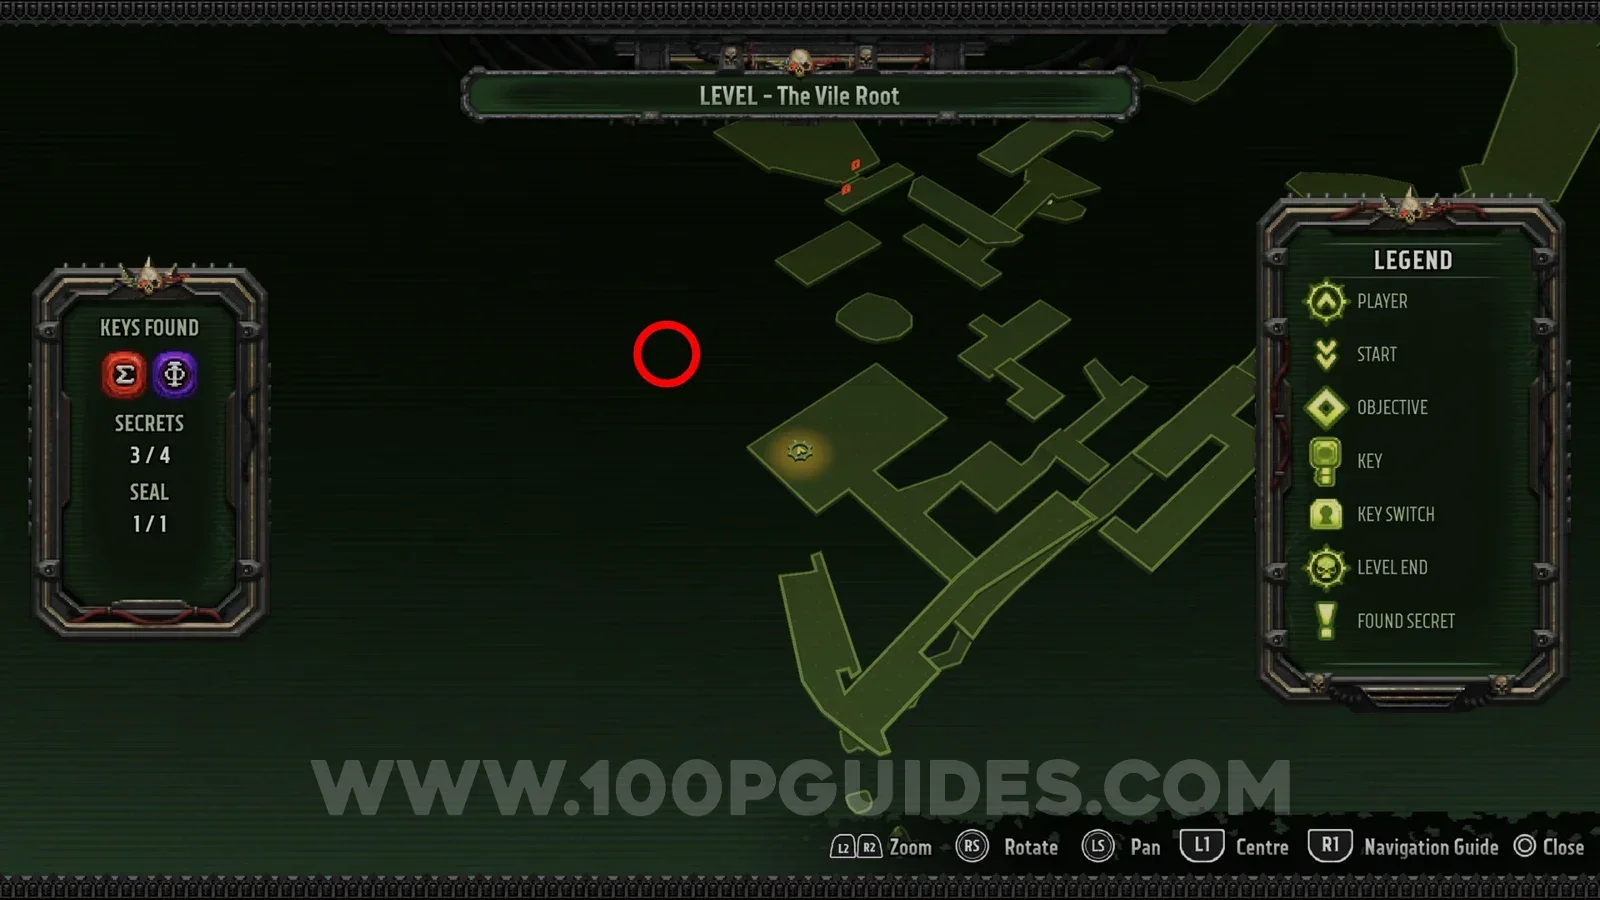
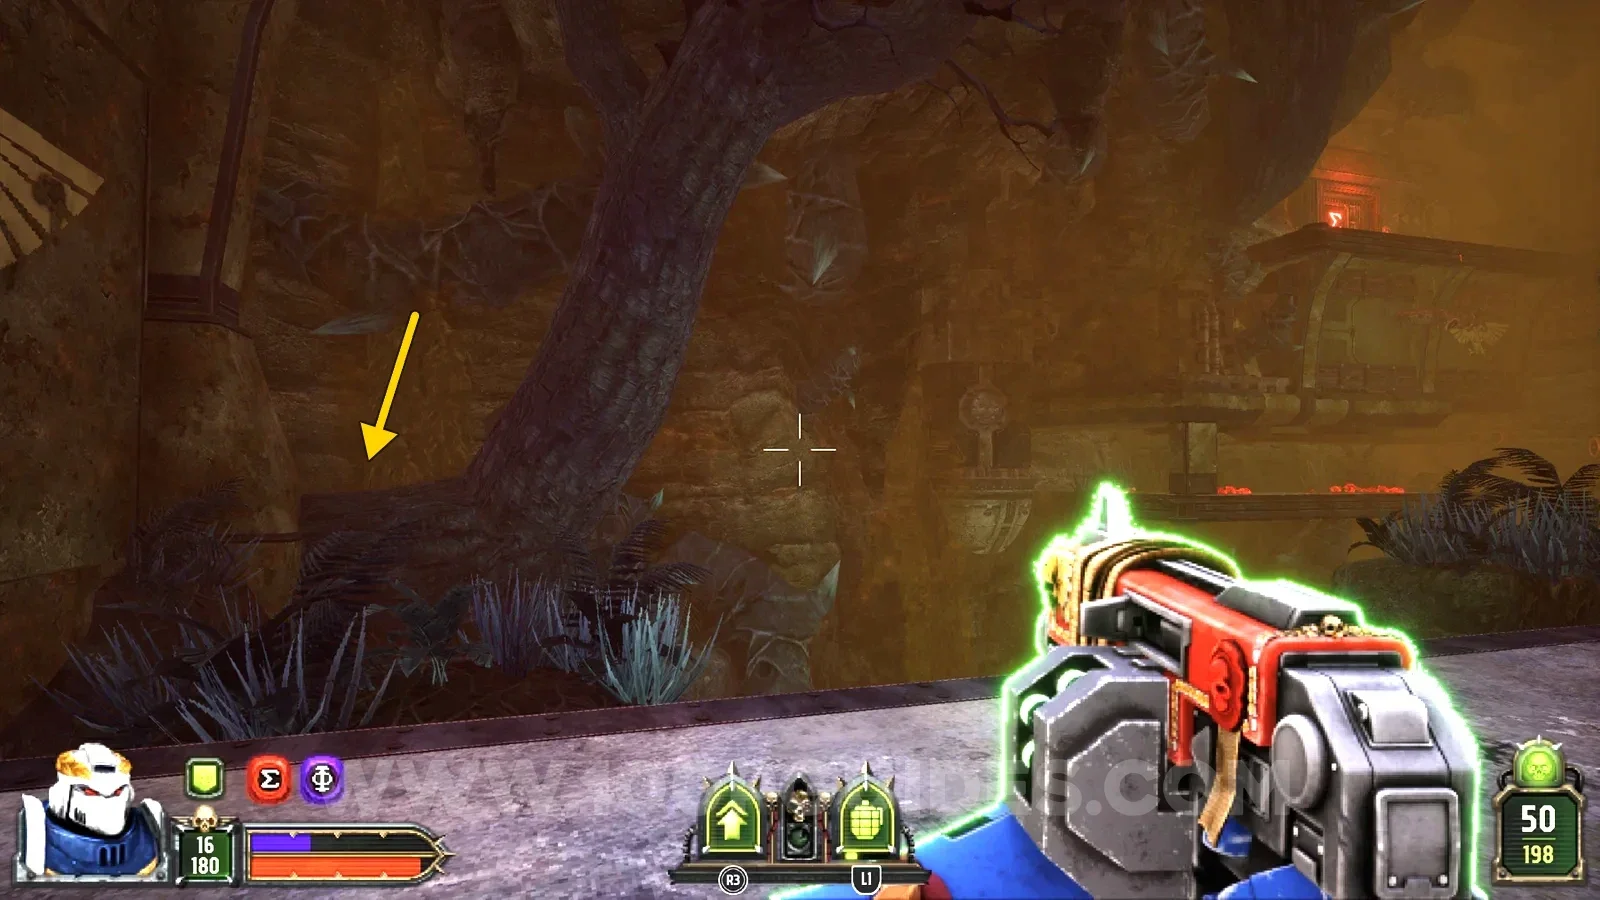
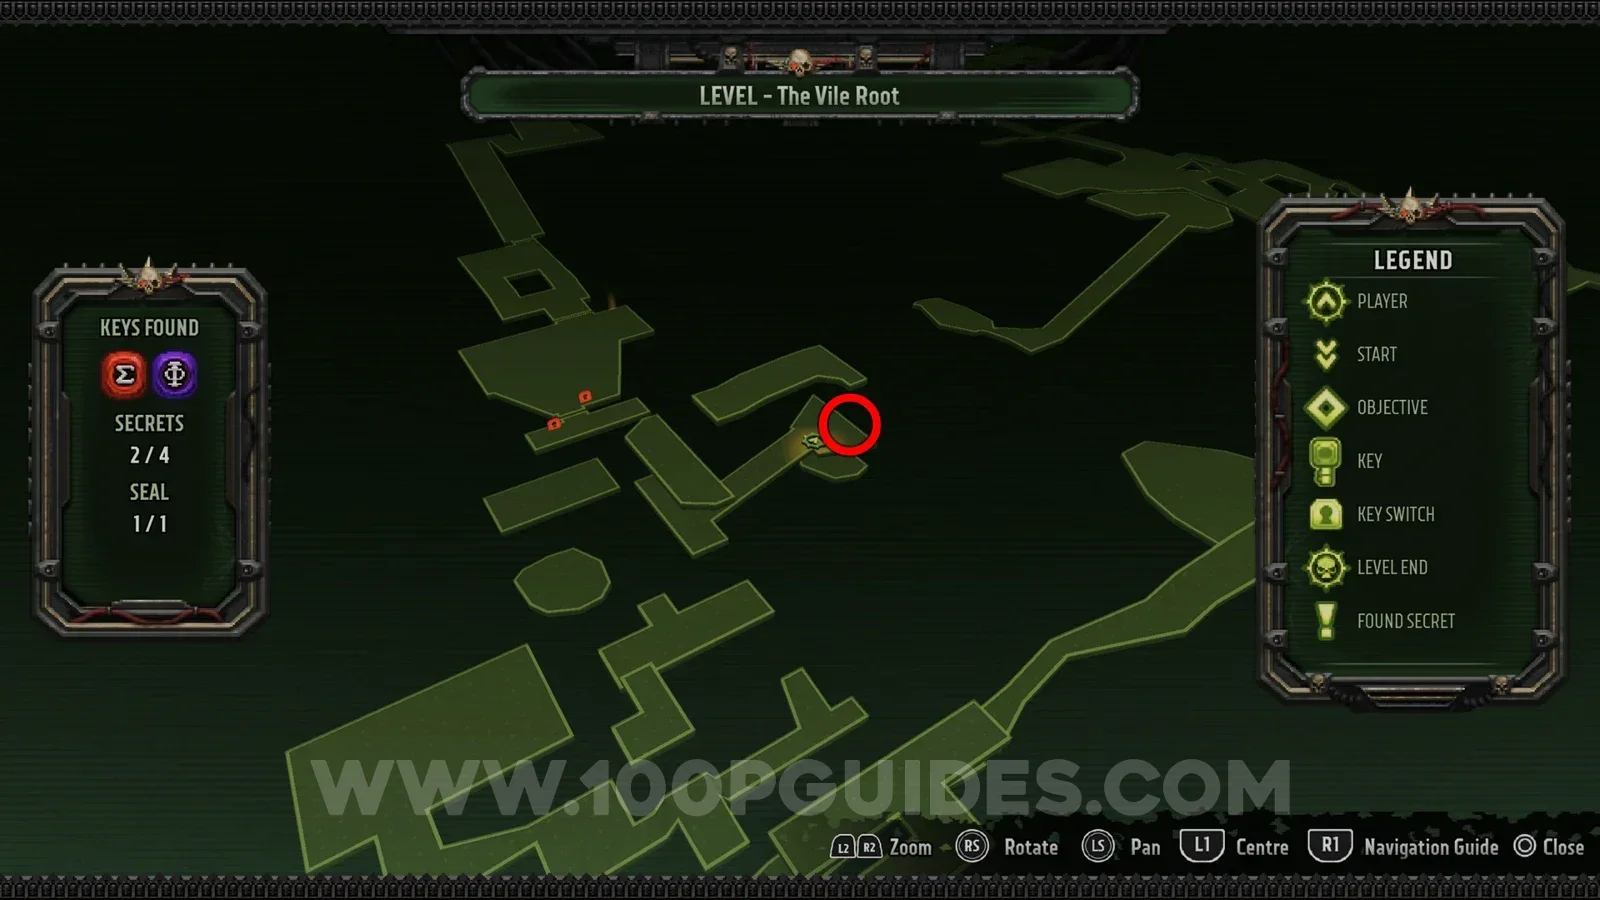
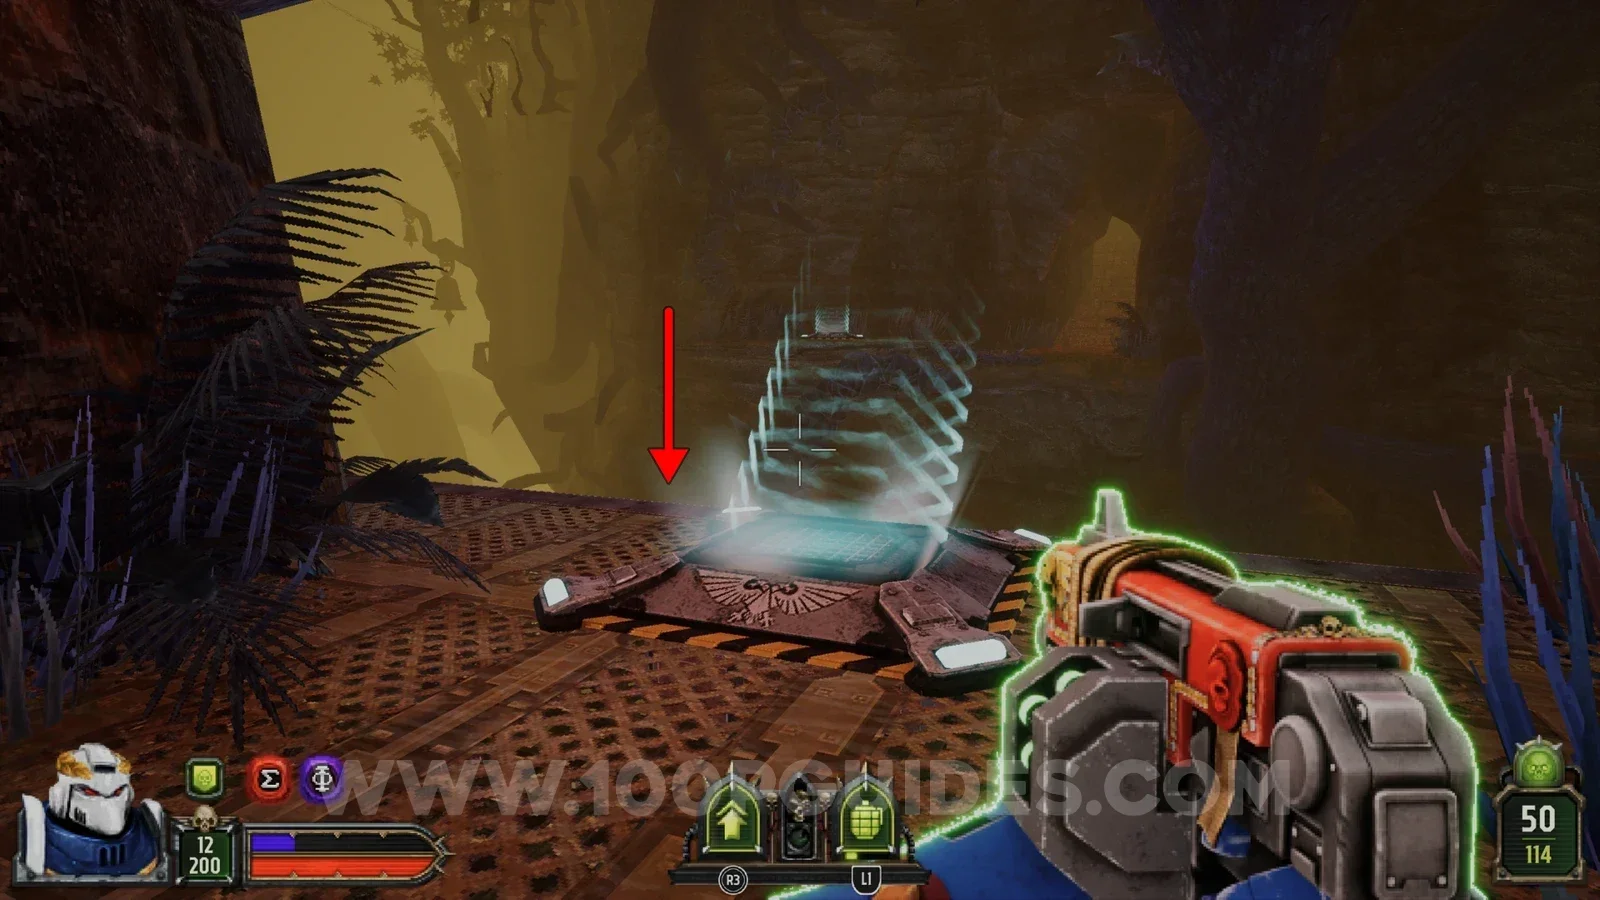
Once you reach the jump pad that takes you to the red key, drop down below it to find the secret.
Seal 1/1
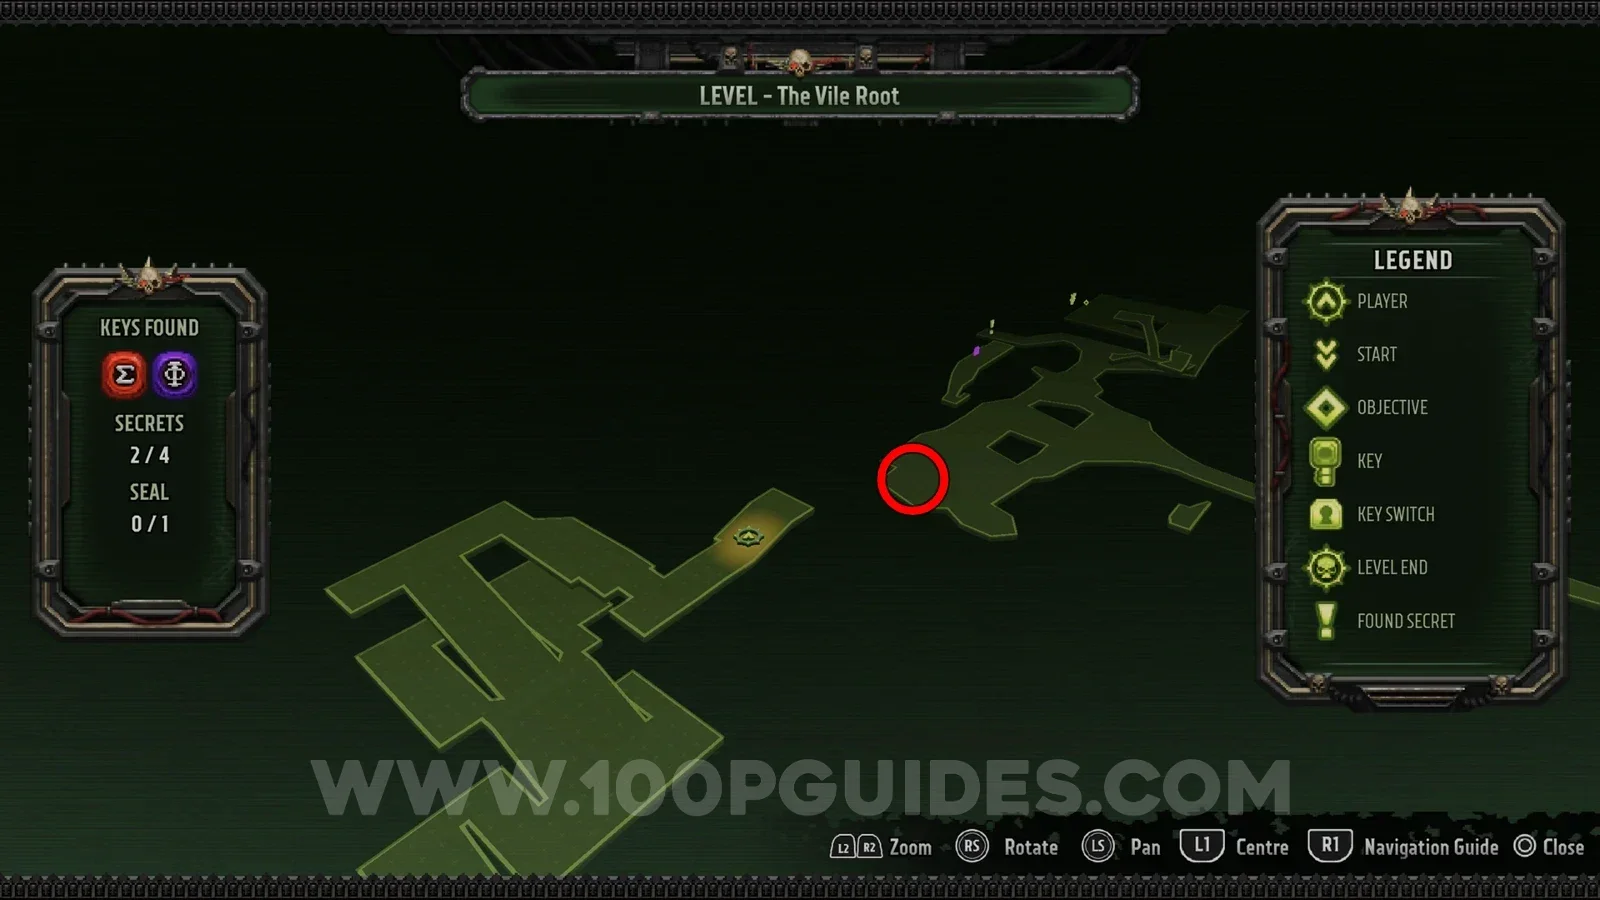
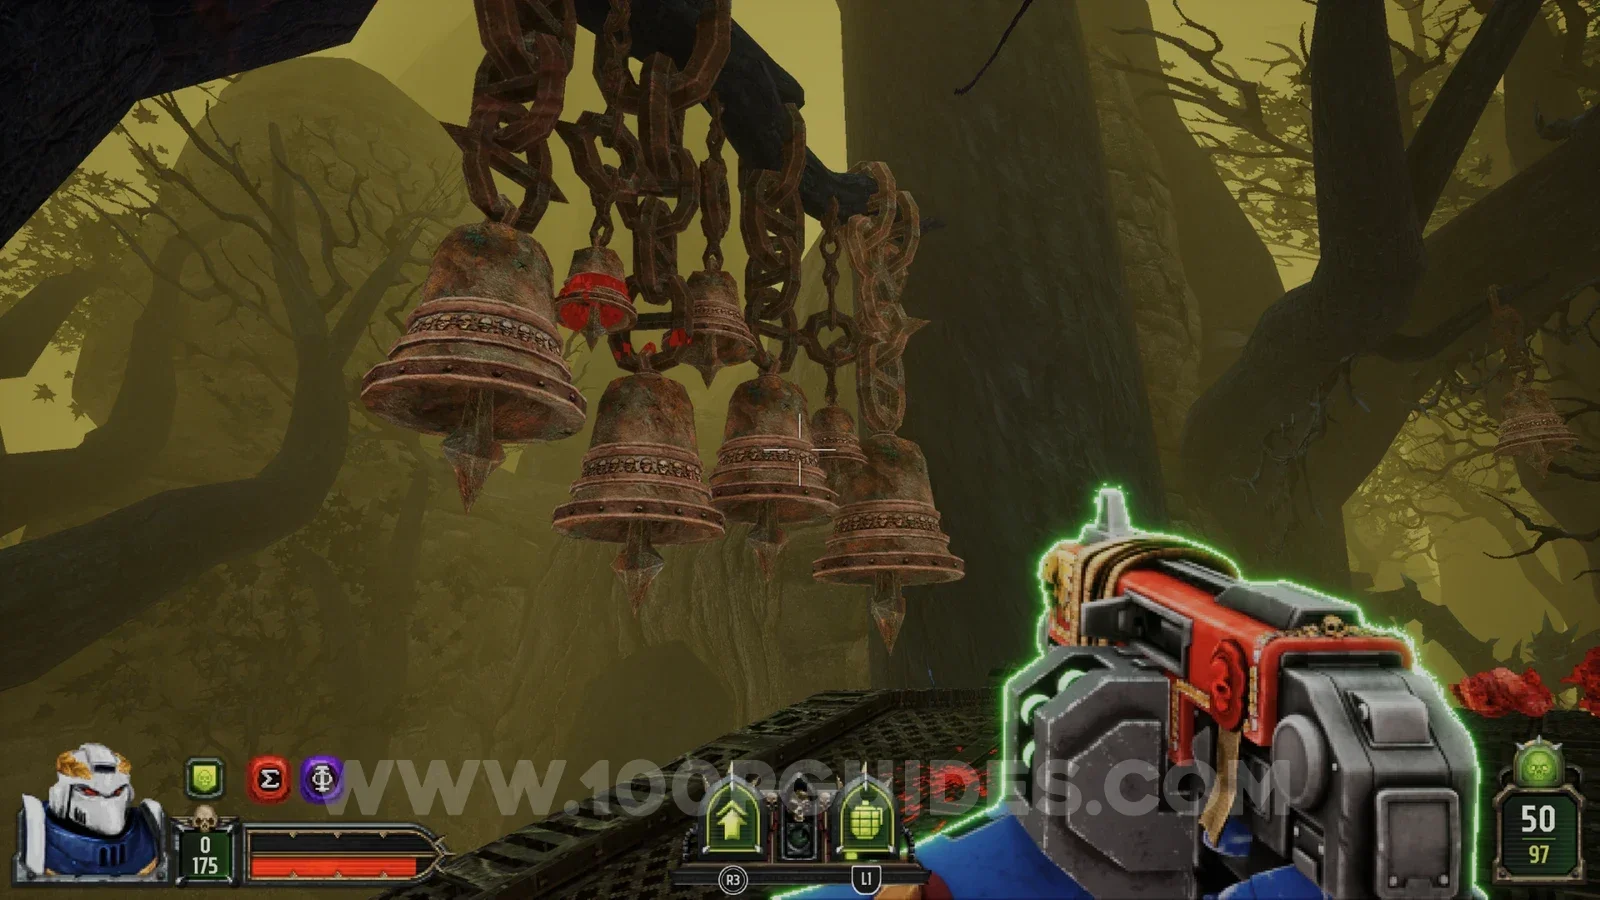
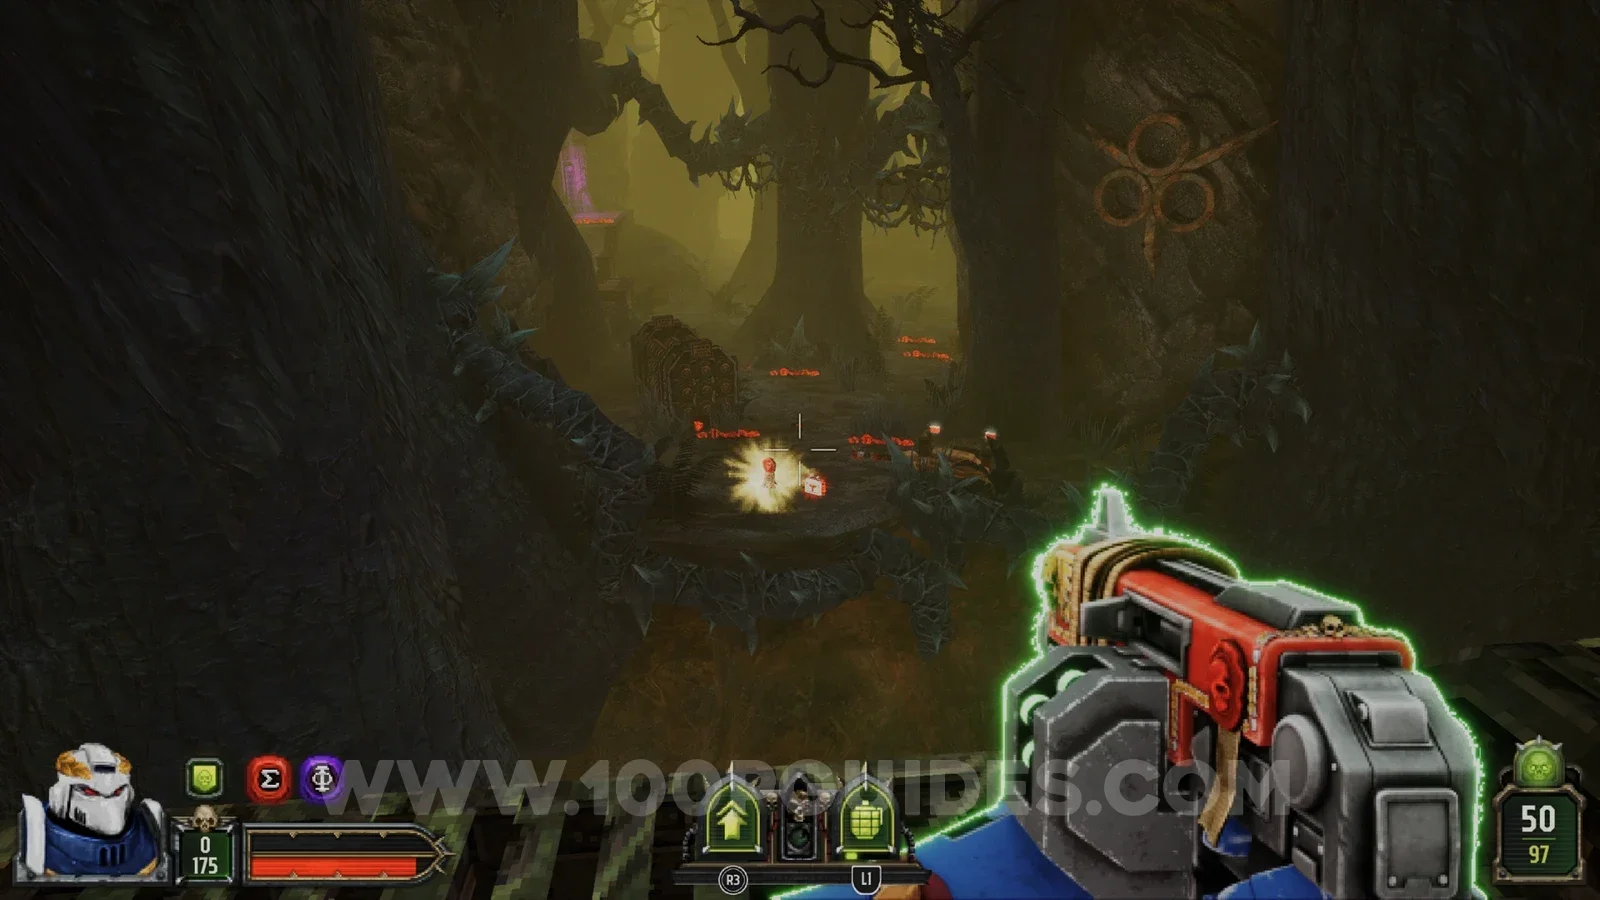
As soon as you pick up the purple key, shoot all the bells on the left. The seal spawns in front of you on the other side.
The Trenches Path B
Secret 1/4
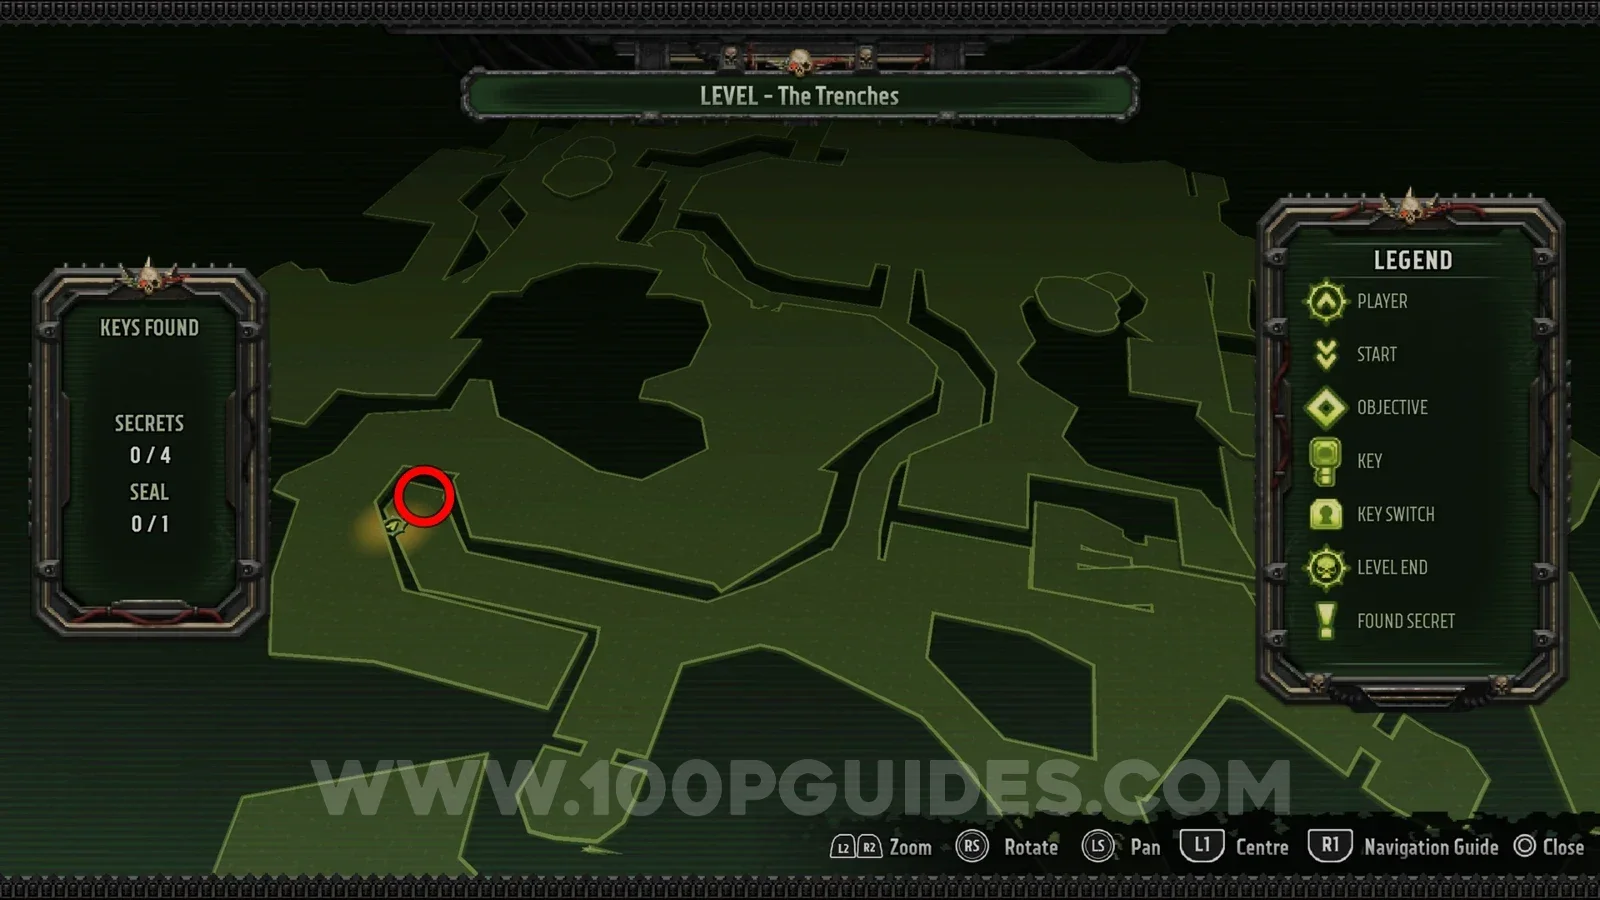
After the first Purge, head through the metal building and you will come to some metal trenches. Go to the end of them to find the secret.
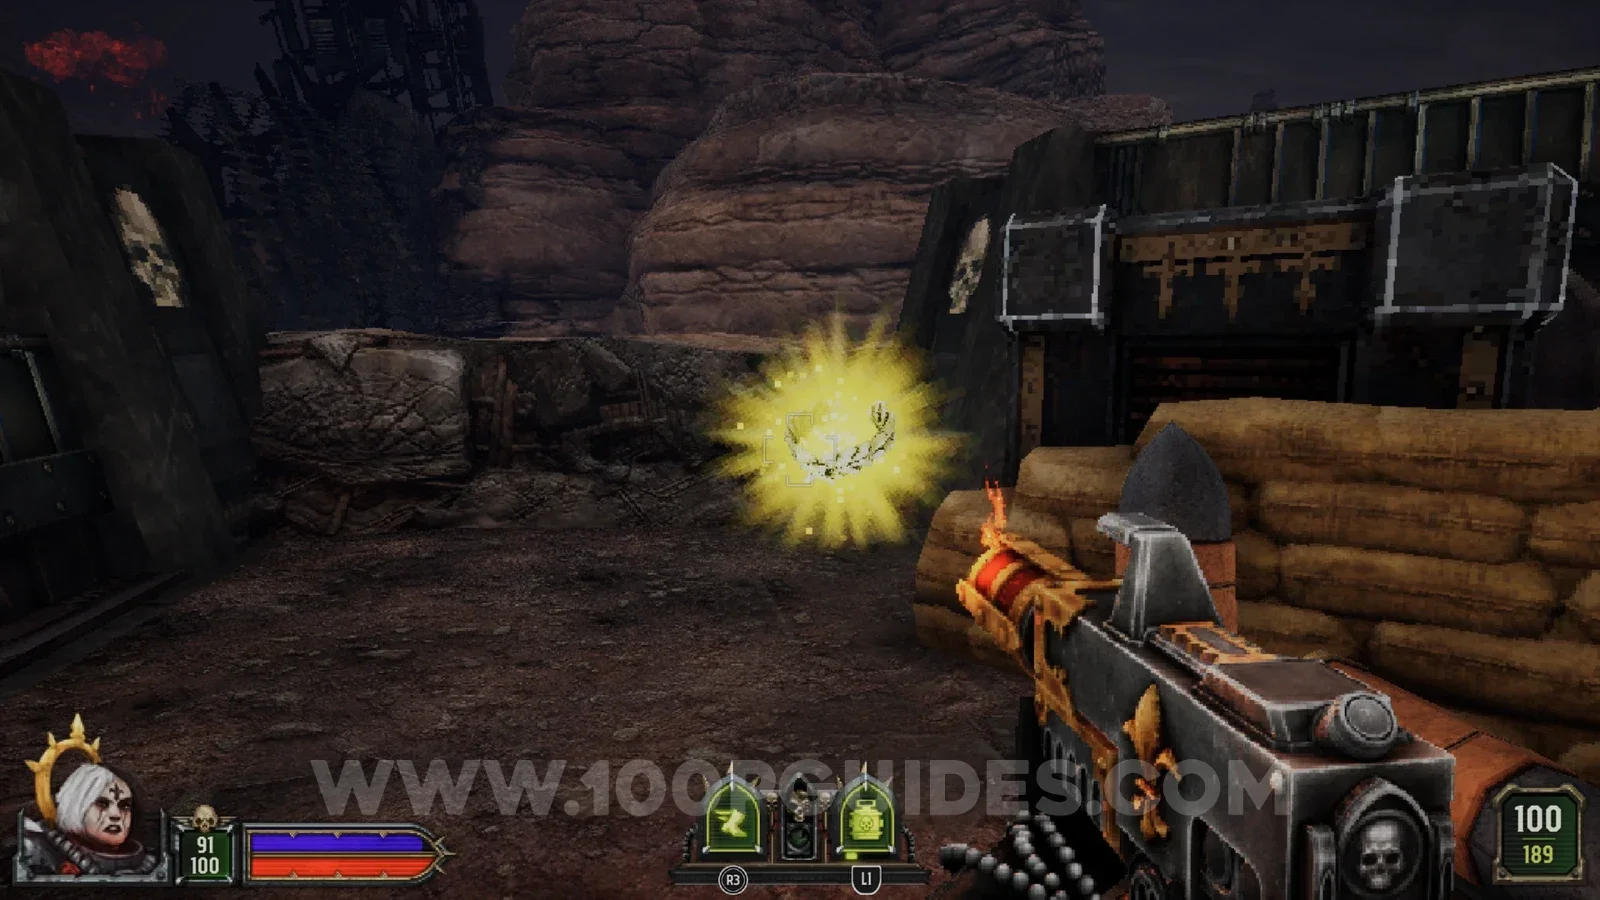
Secret 2/4
In the large open area with the trenches and the snipers, look for a lower area. The secret is down there.
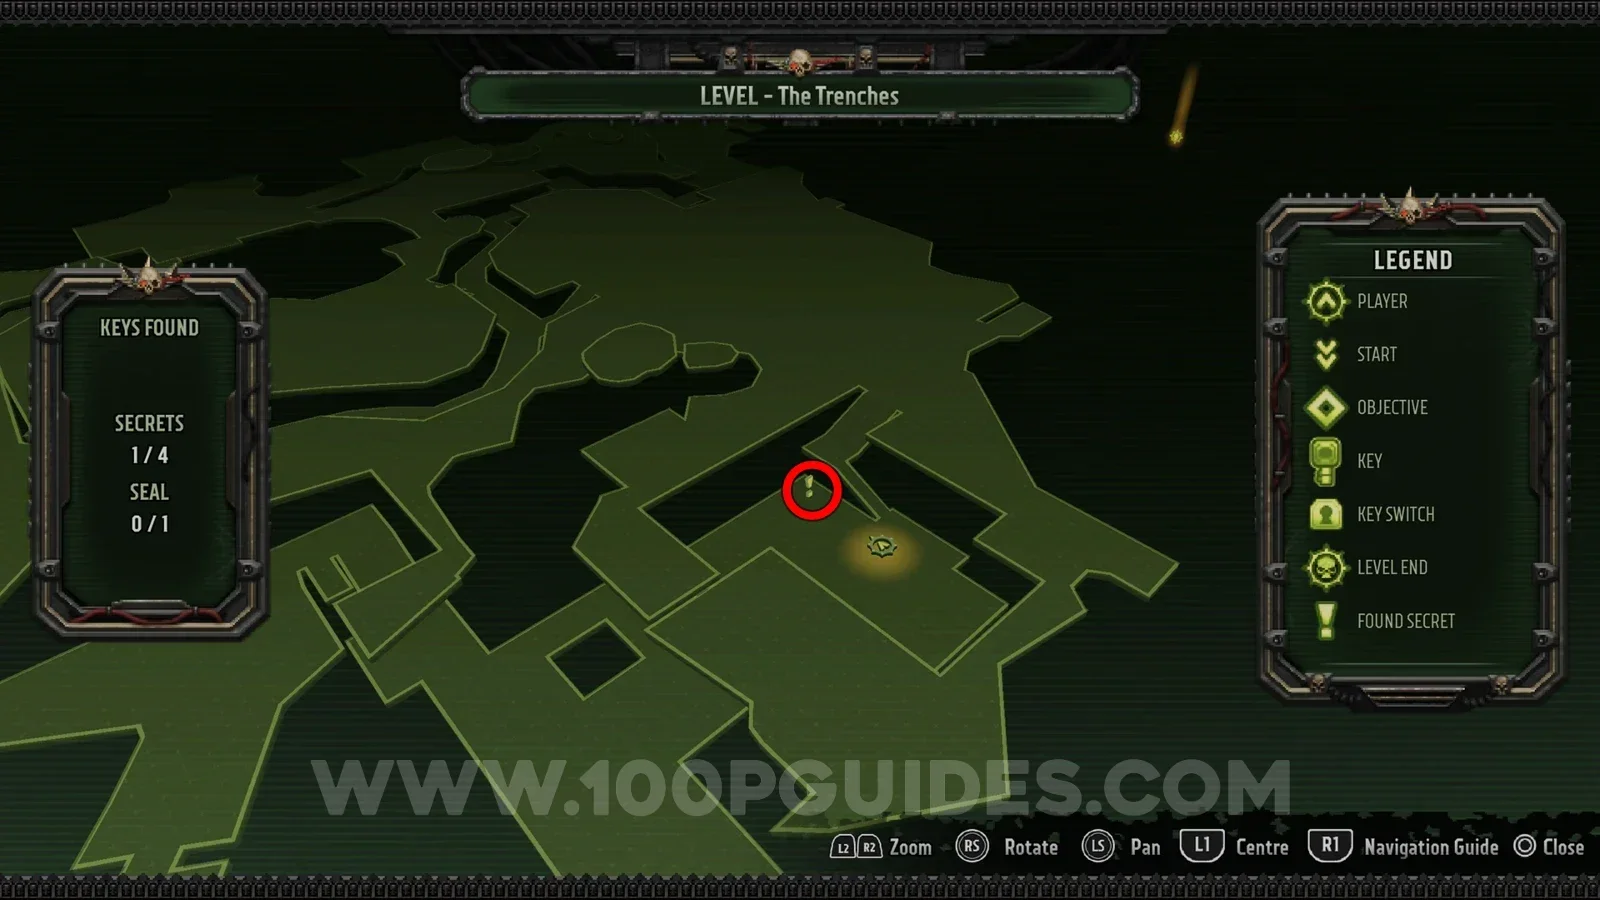
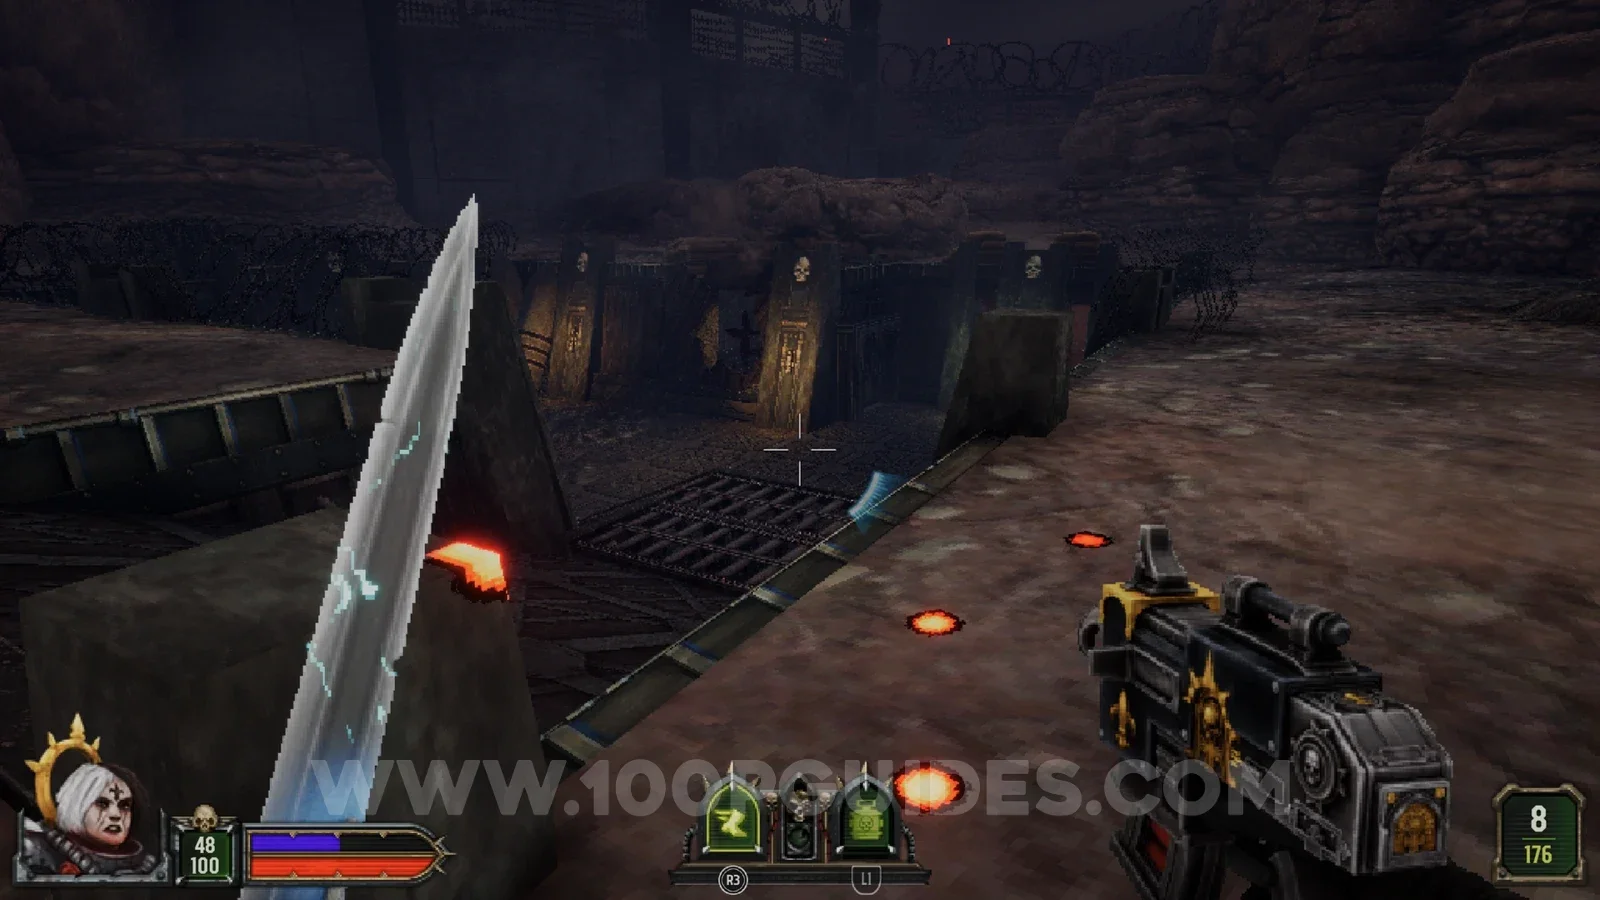
Secret 3/4
After going through a metal building with a purple hue and coming out into an open area, head around to the right to find the secret.
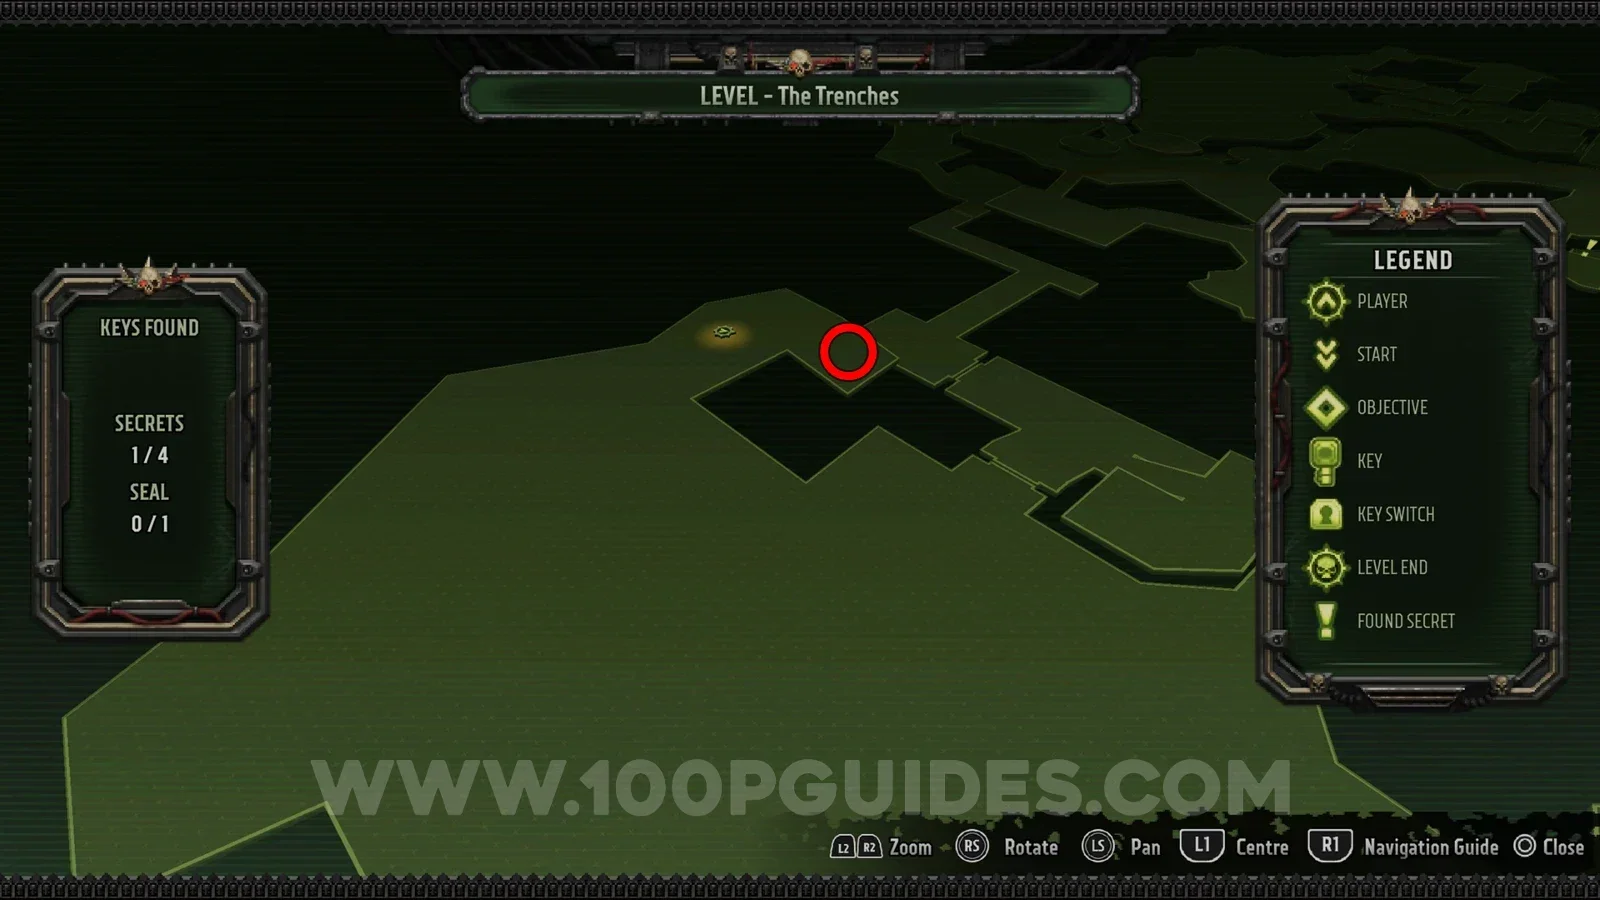
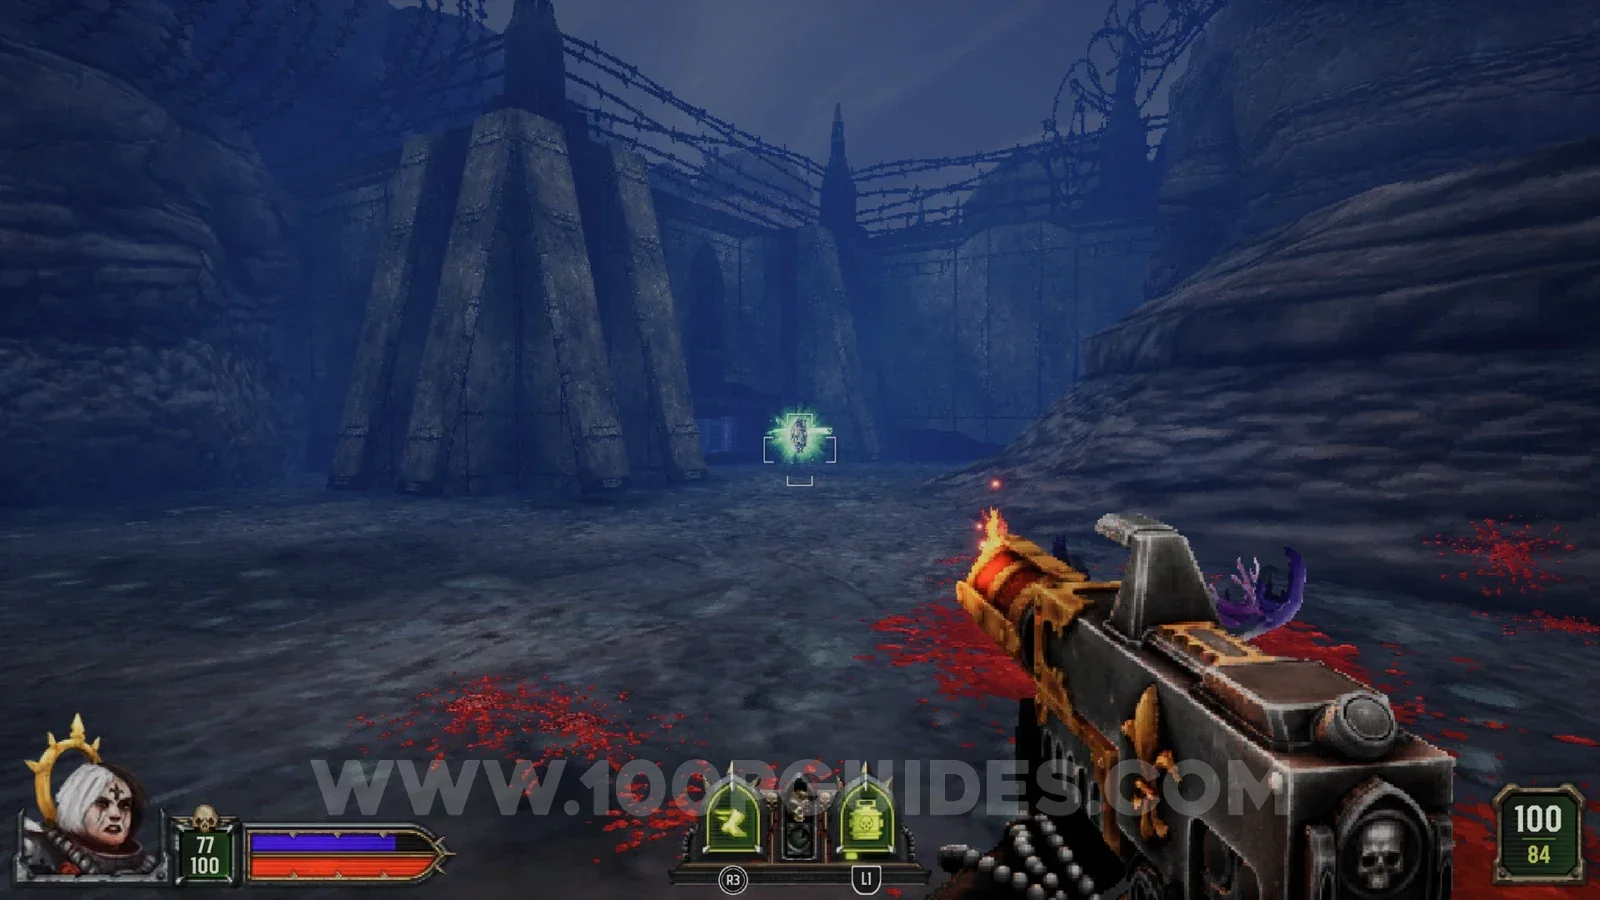
Seal 1/1
After going through the red door, head to the small corridor at the back of the next room, then use the boxes to reach the small platform above, where the seal is.
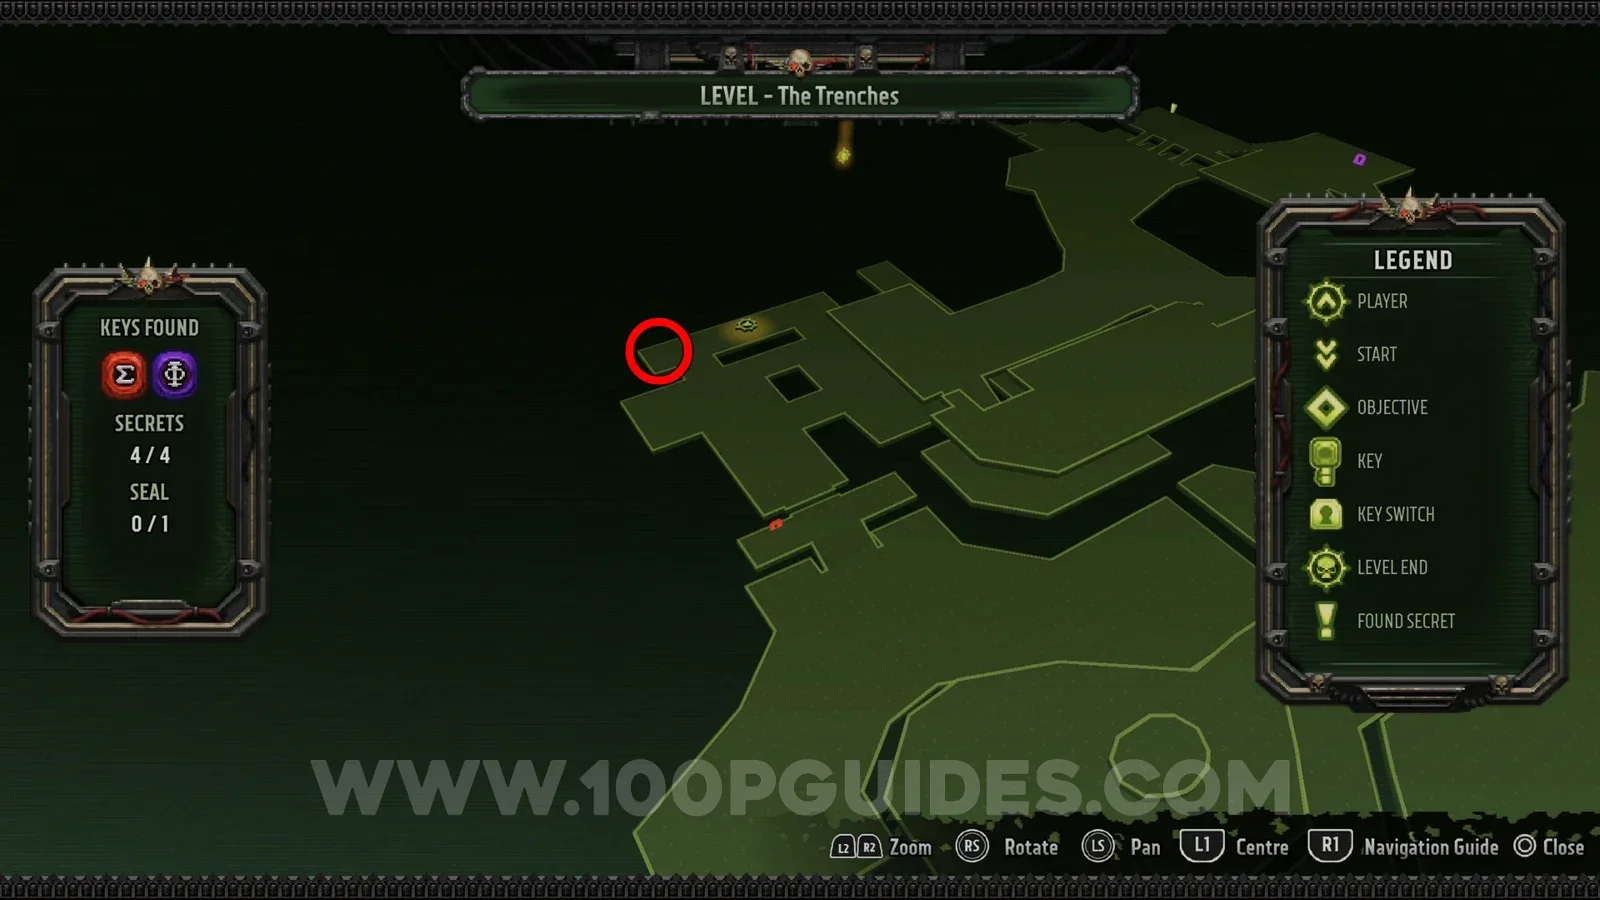
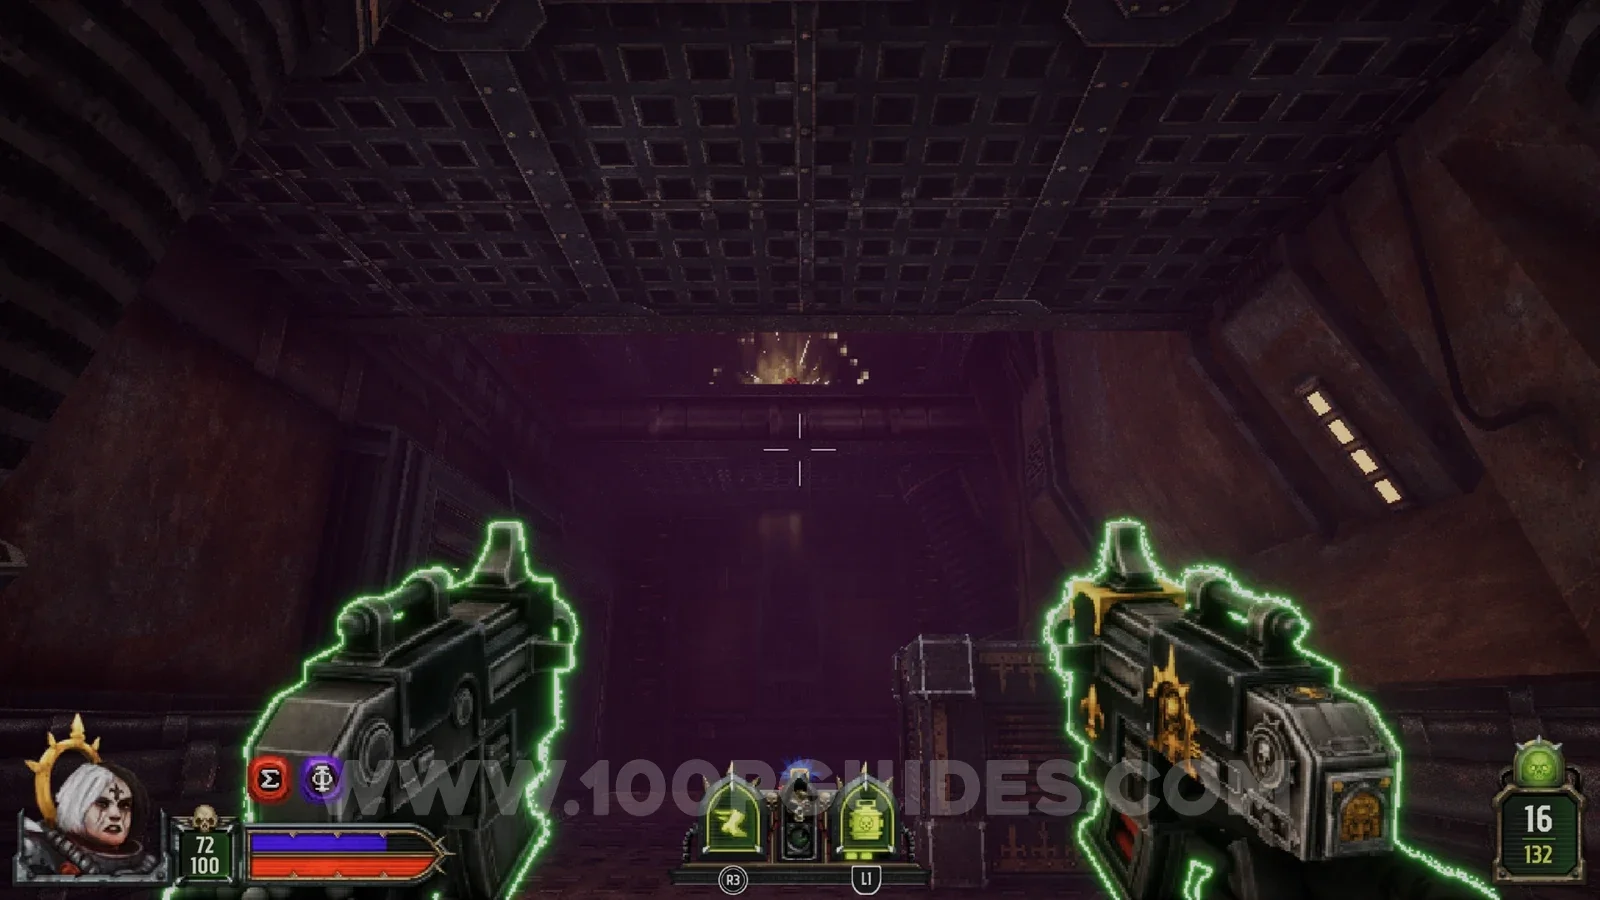
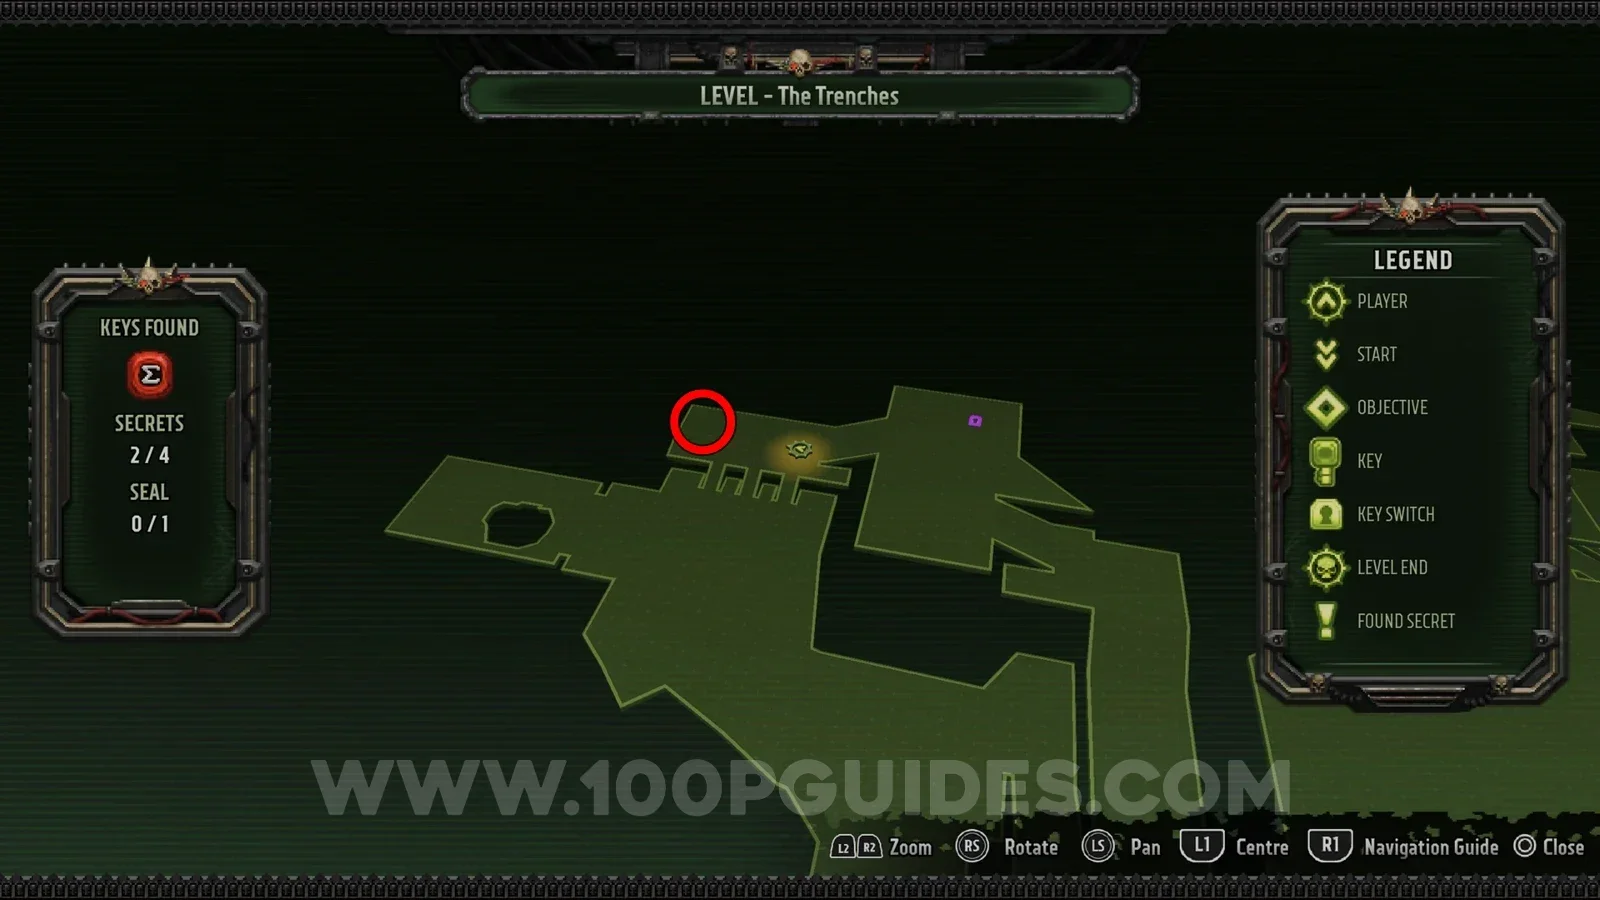
Secret 4/4
In the container to the left of the console that requires the purple key.
Munitions Mayhem Path B
Secret 1/8
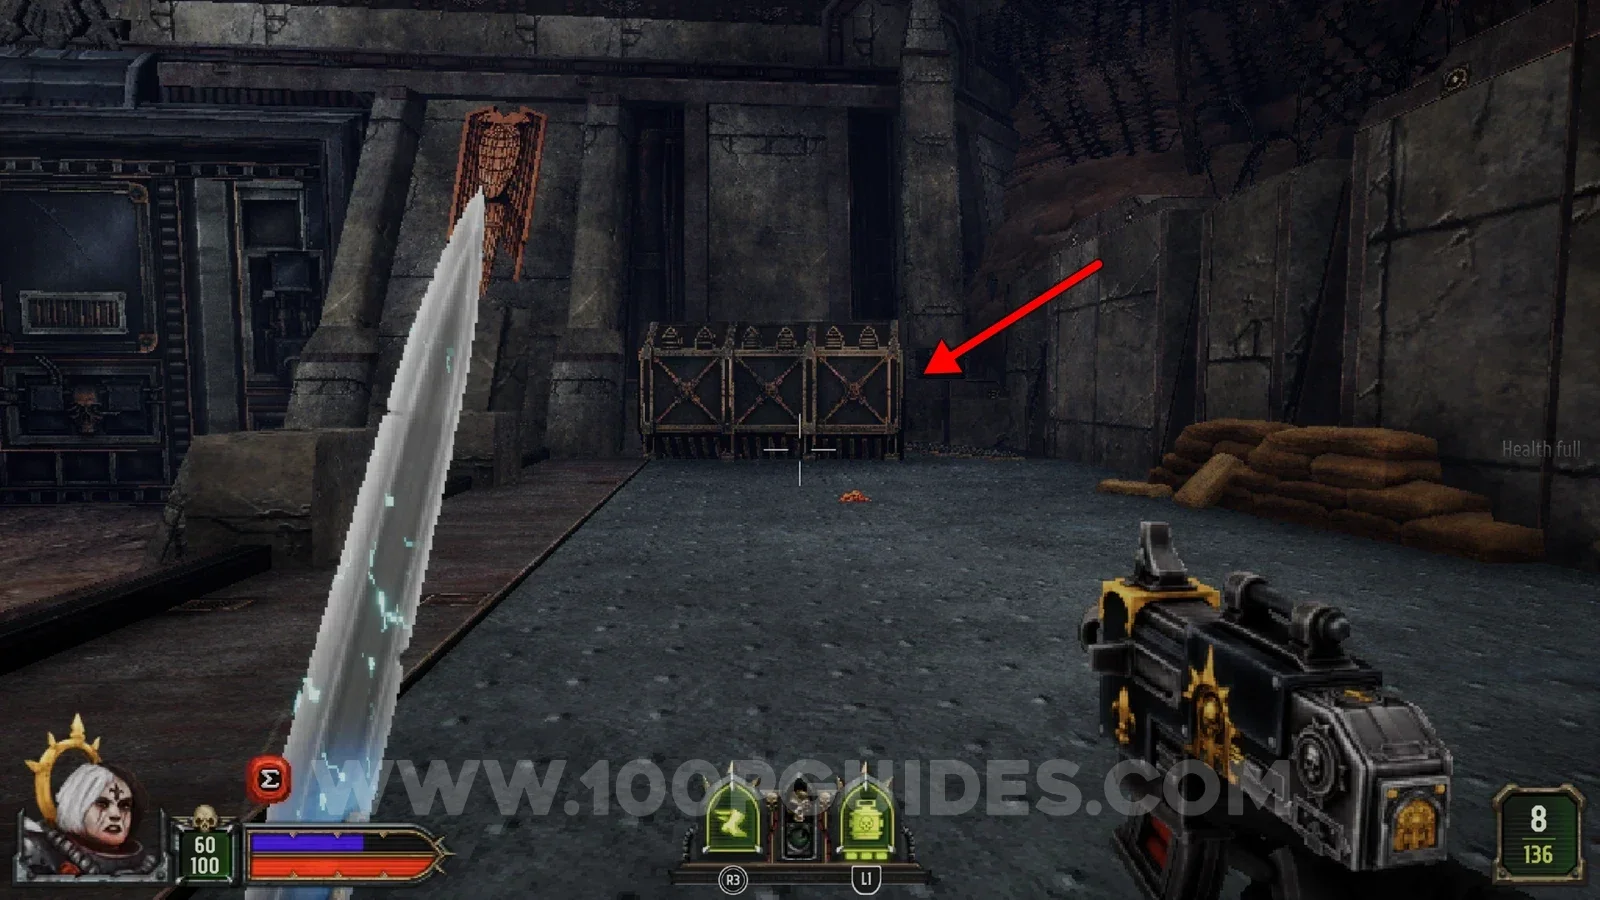
In the first hall of the level, shoot the skull hiding behind some boxes. This opens the gate on the left, where you will find the secret.
Secret 2/8
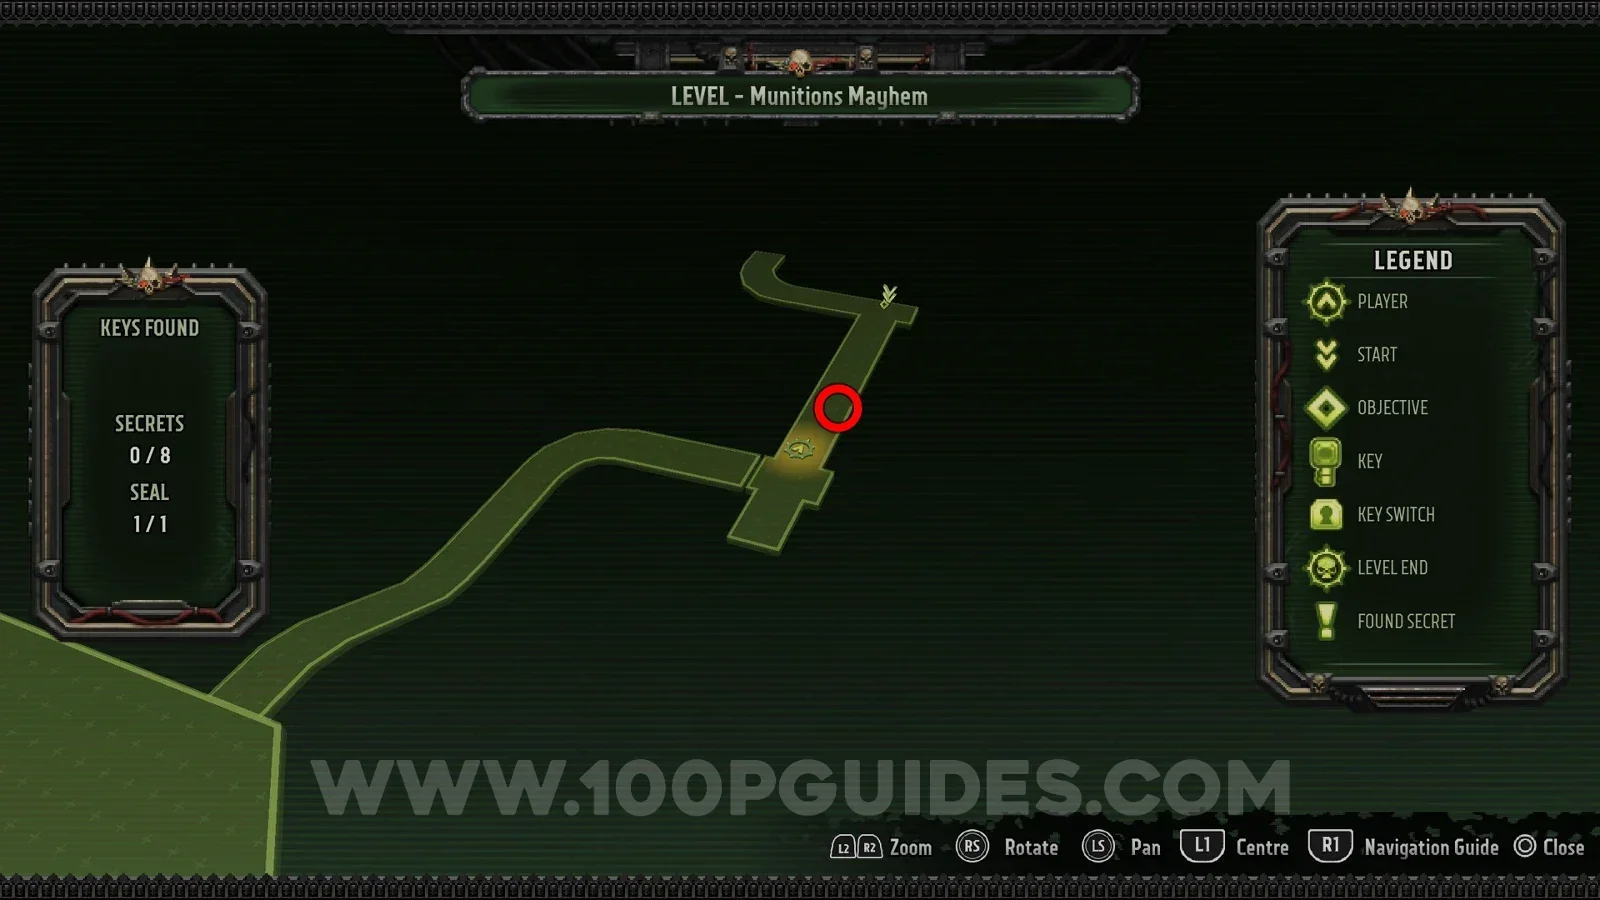
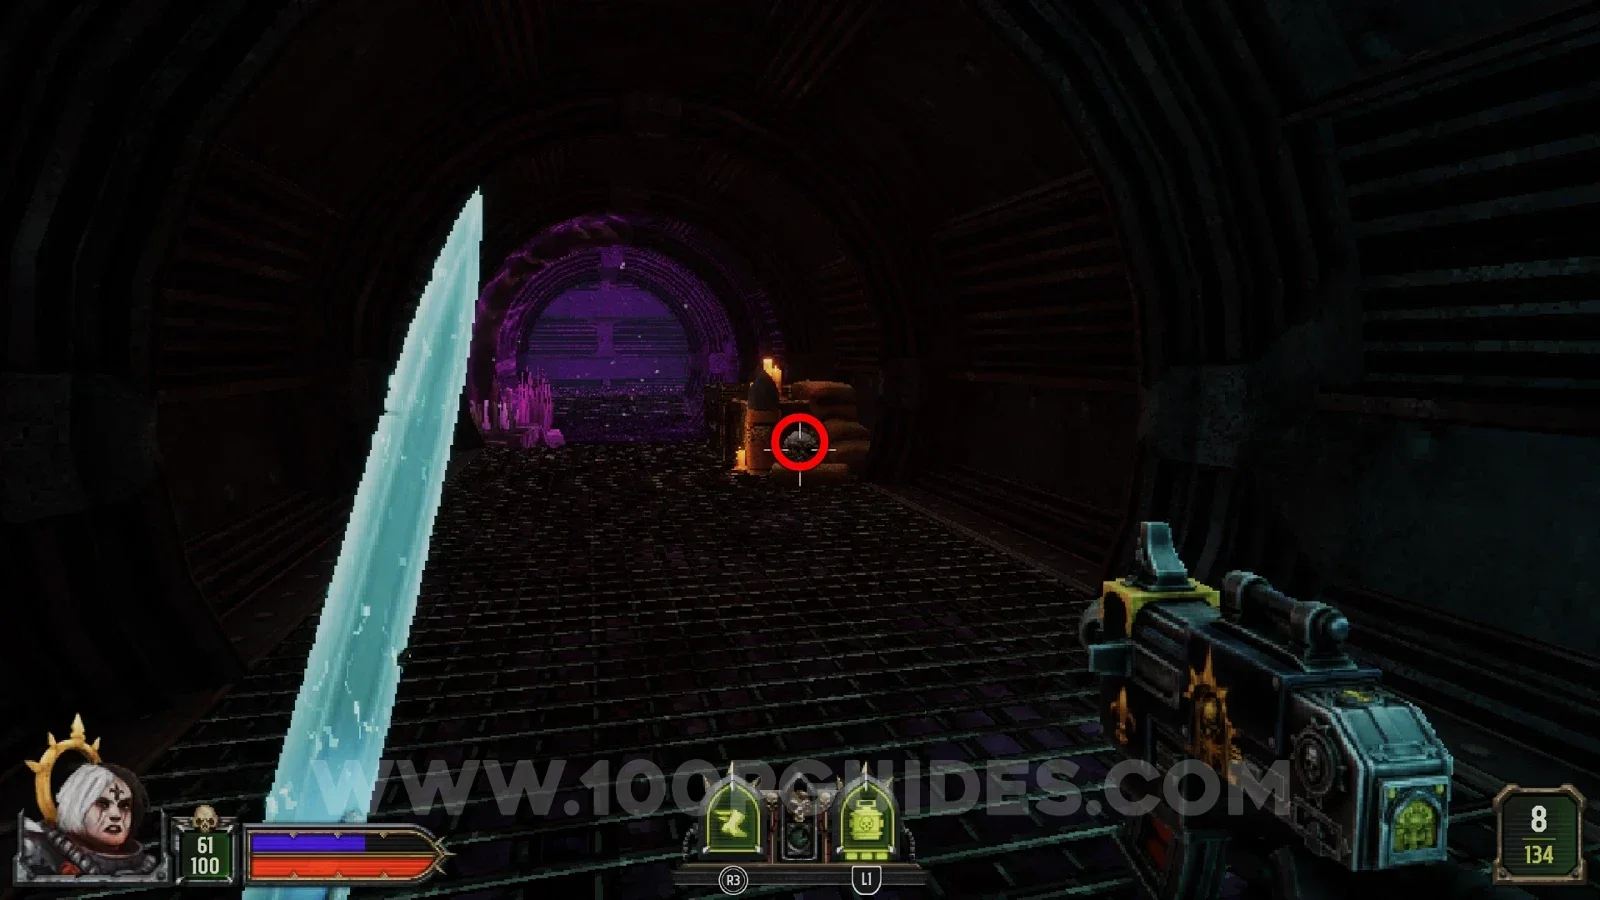
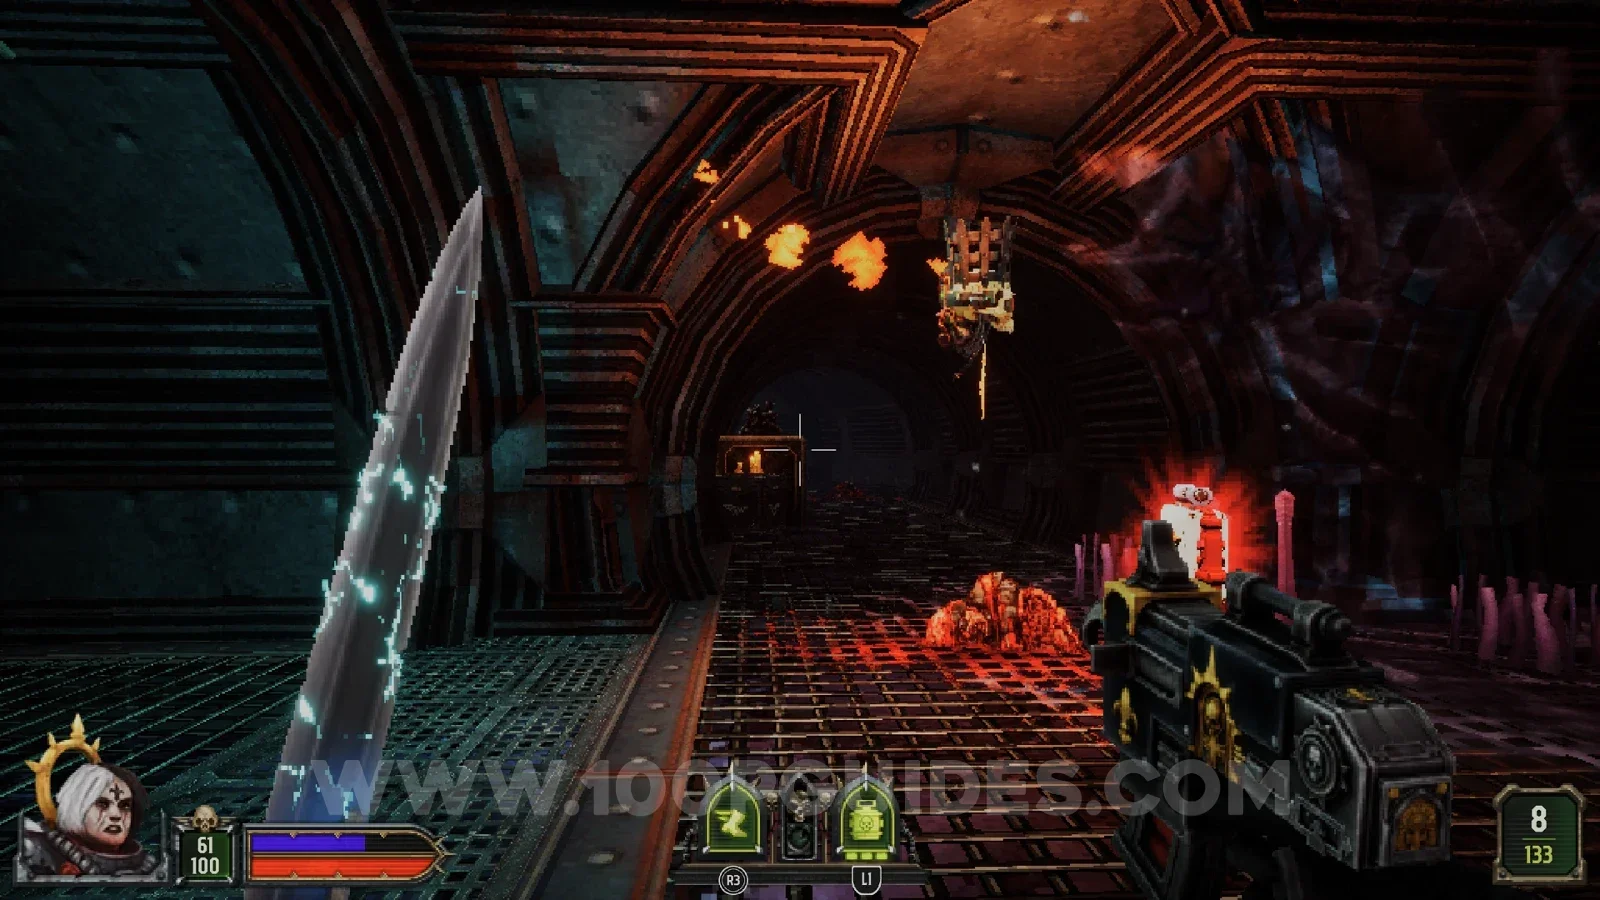
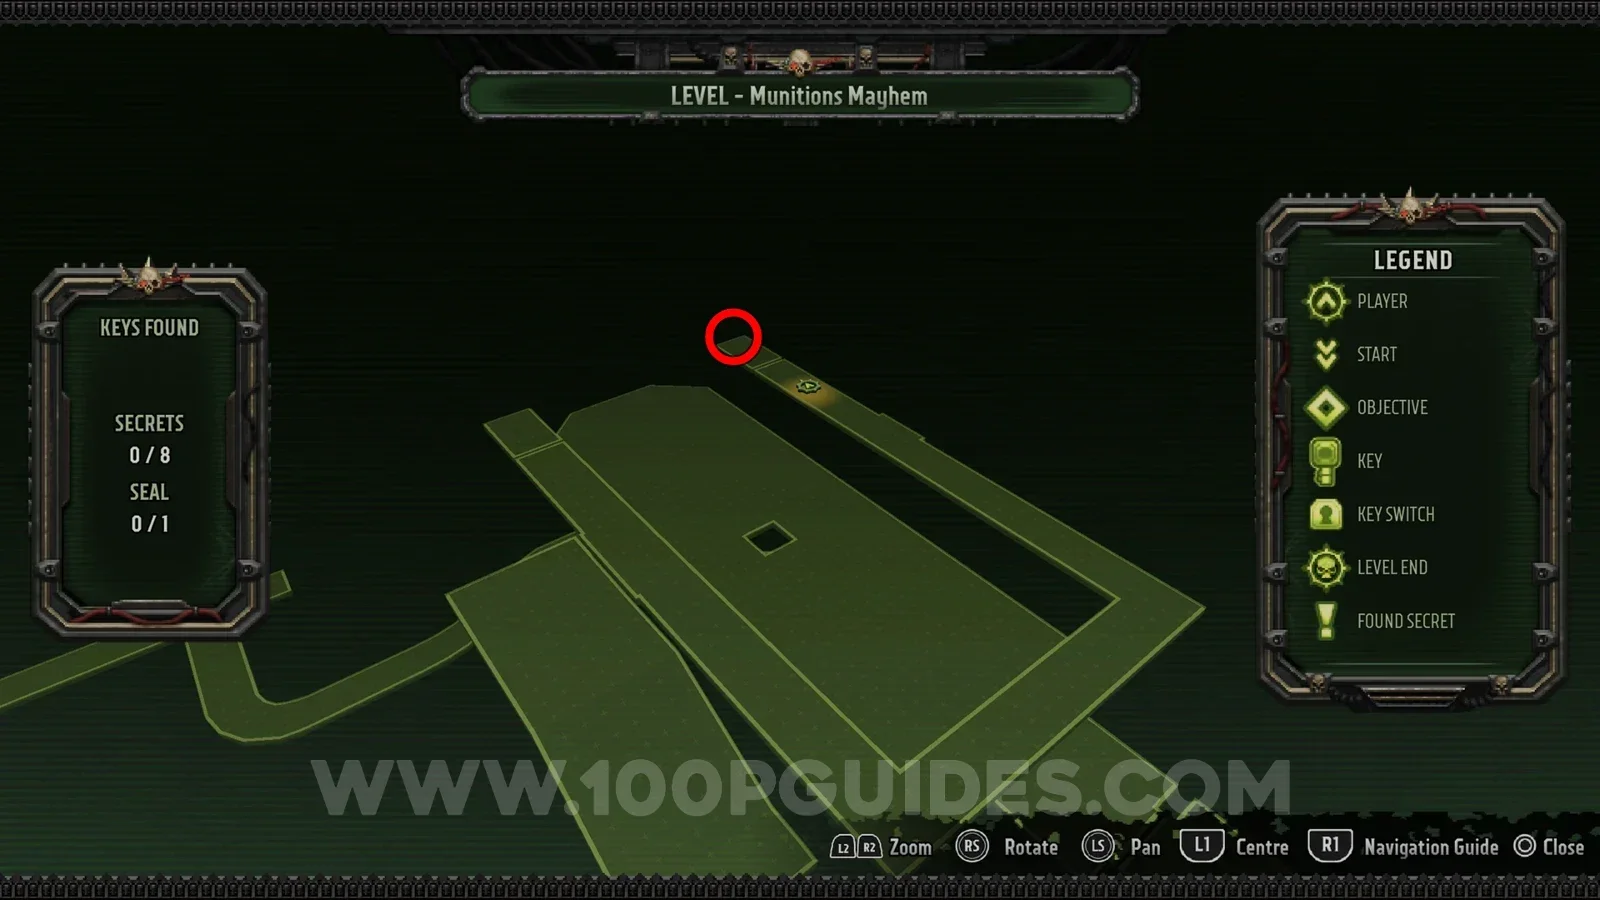
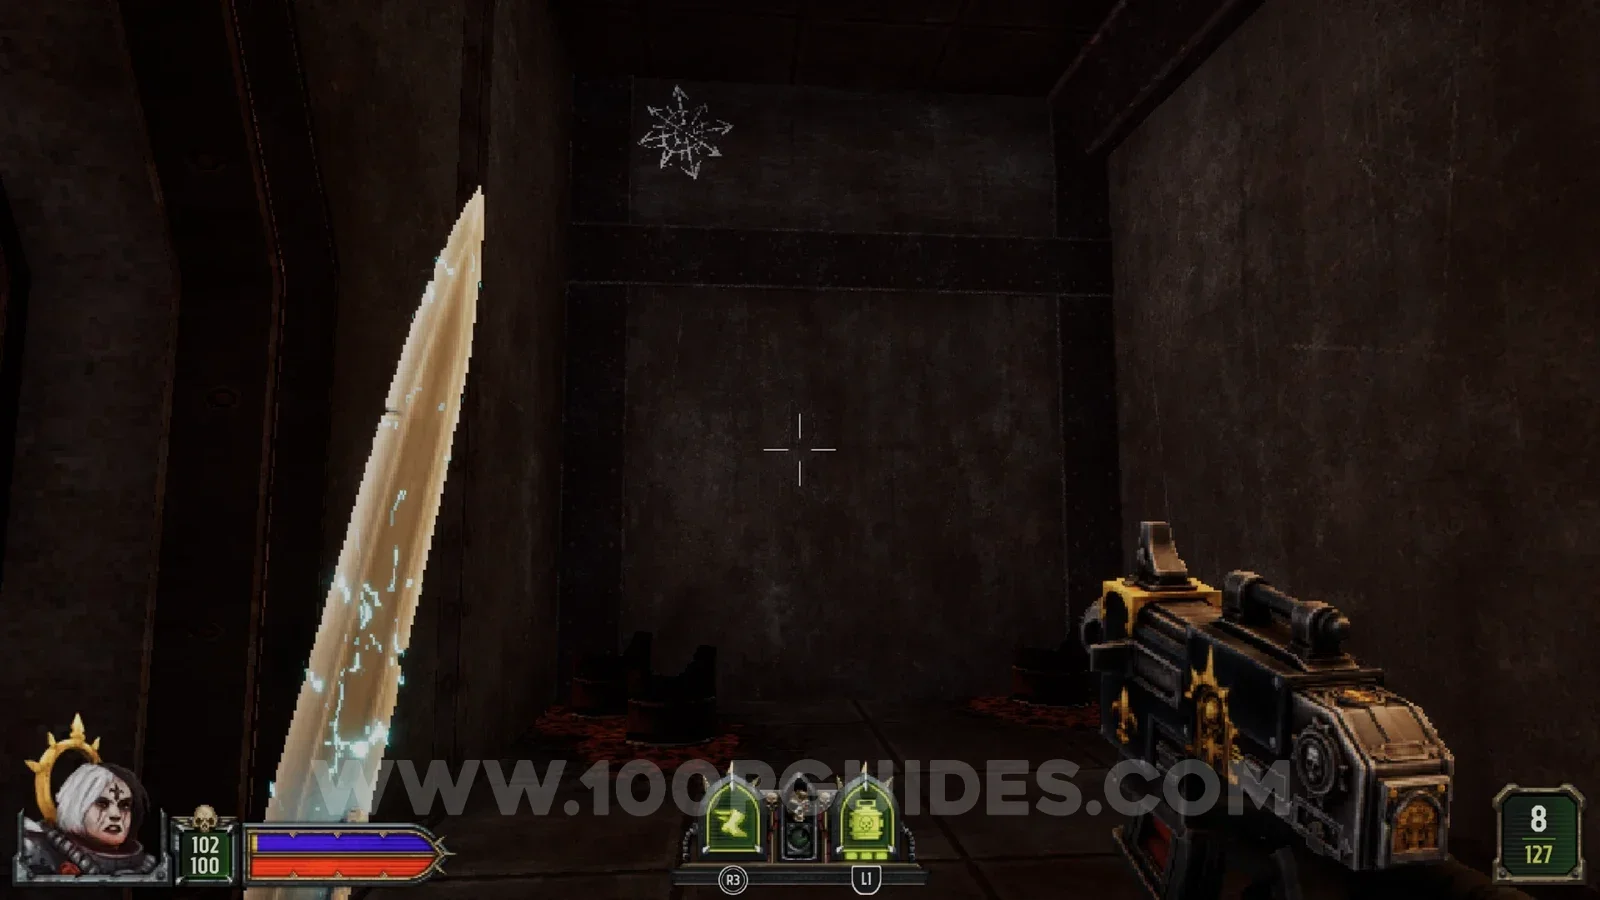
Press against the wall at the end of the corridors that surround the upper area of the level's first Purge.
Secret 3/8
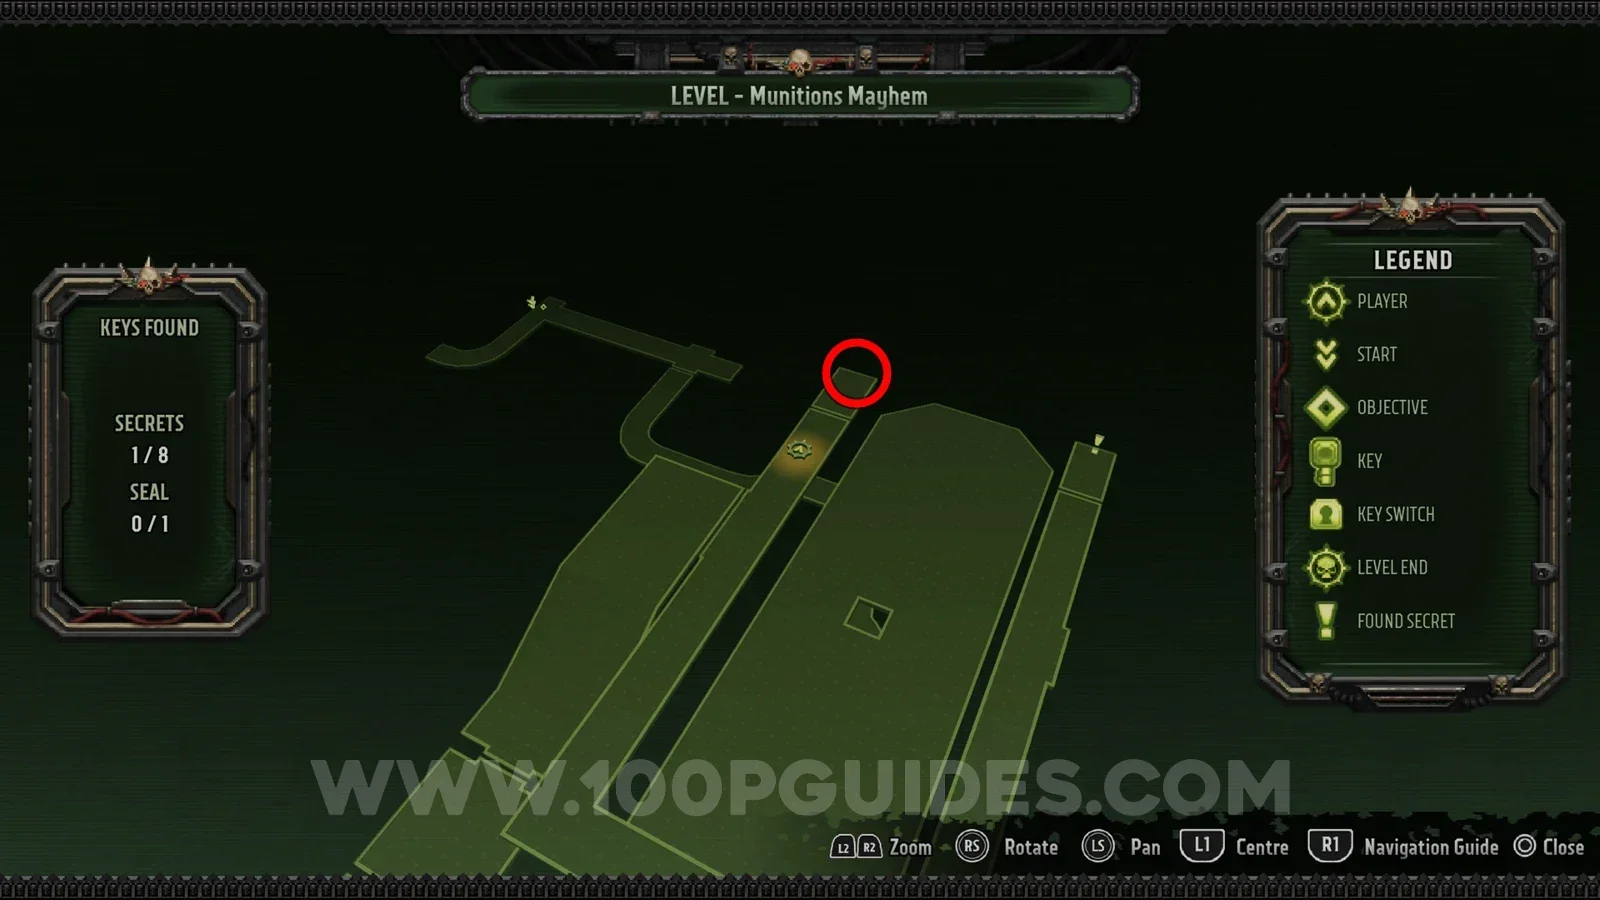
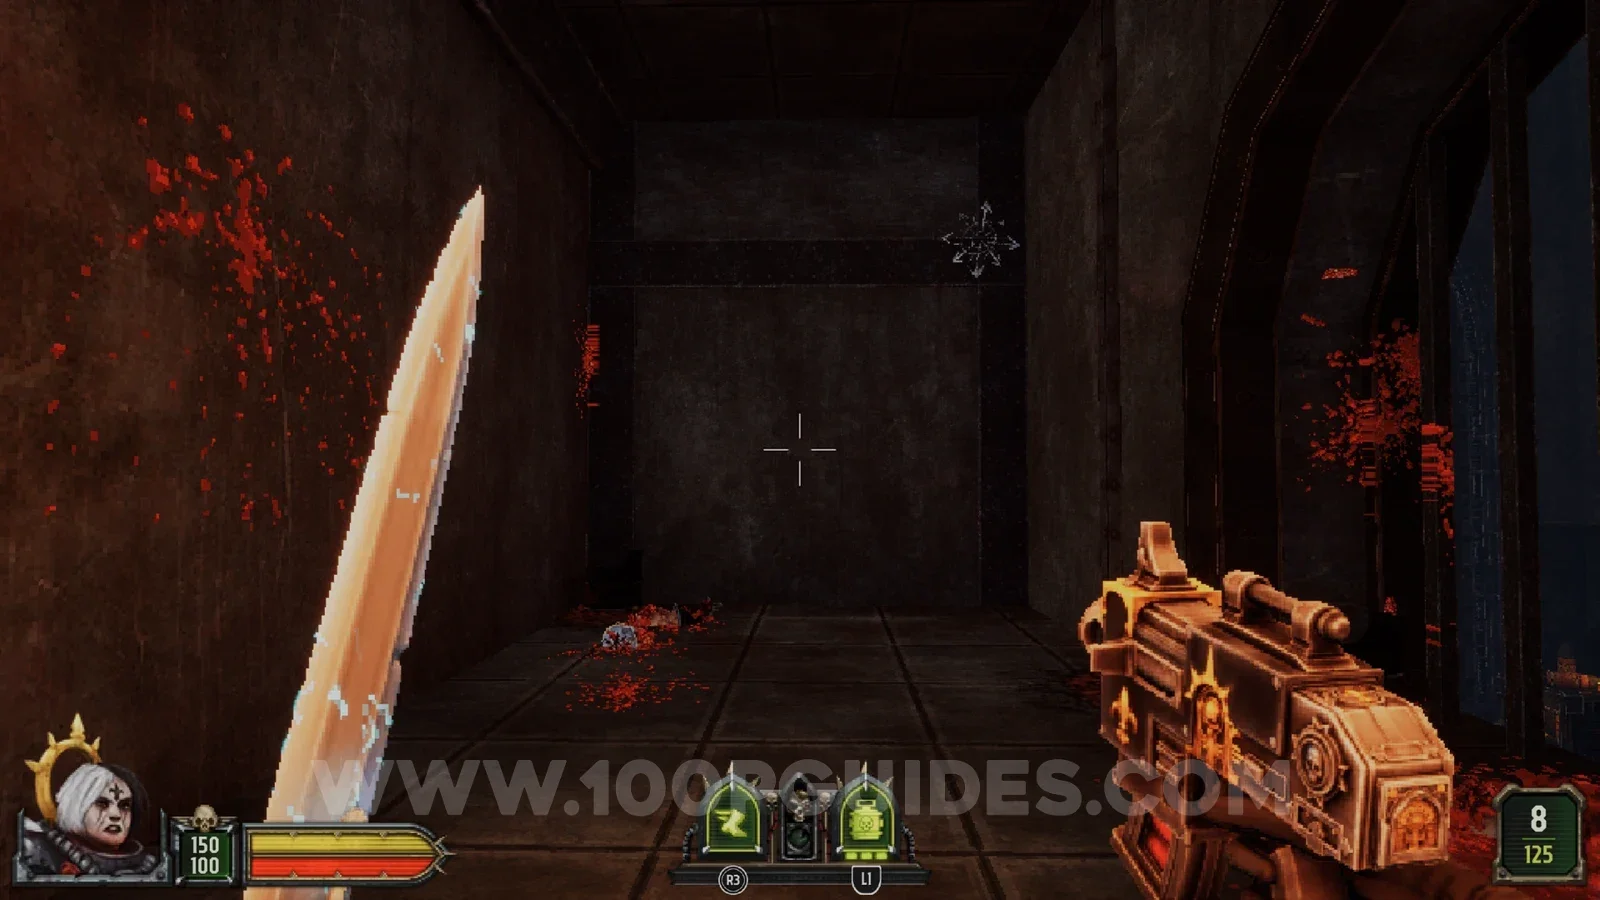
The same again on the other side: press against the wall at the end of the corridors on the opposite side of the first Purge's upper area.
Secret 4/8
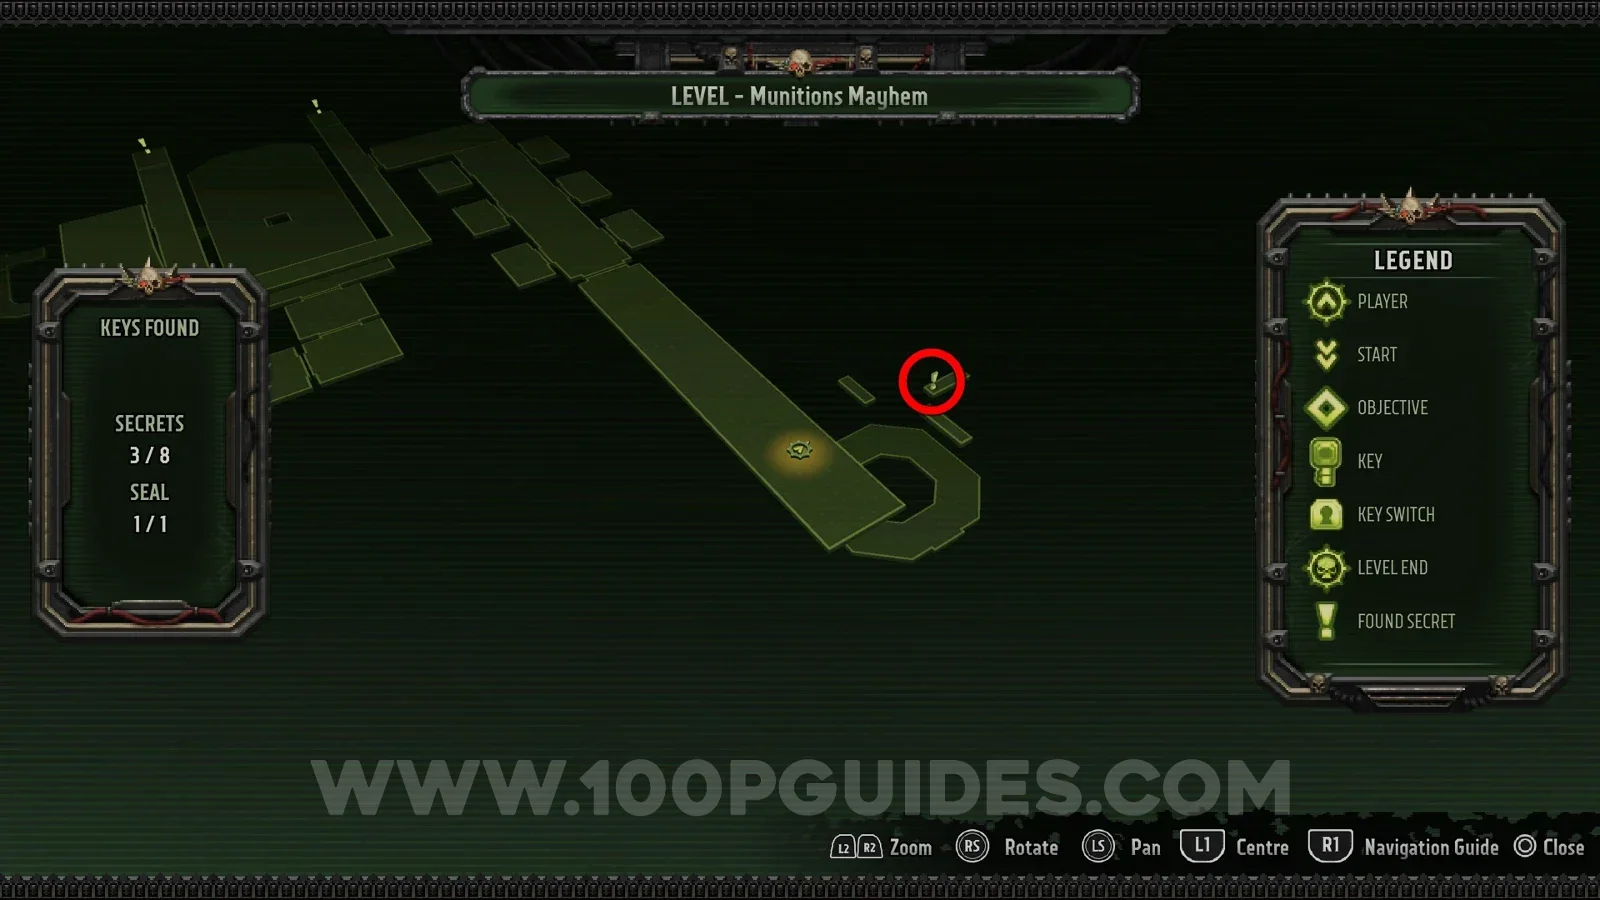
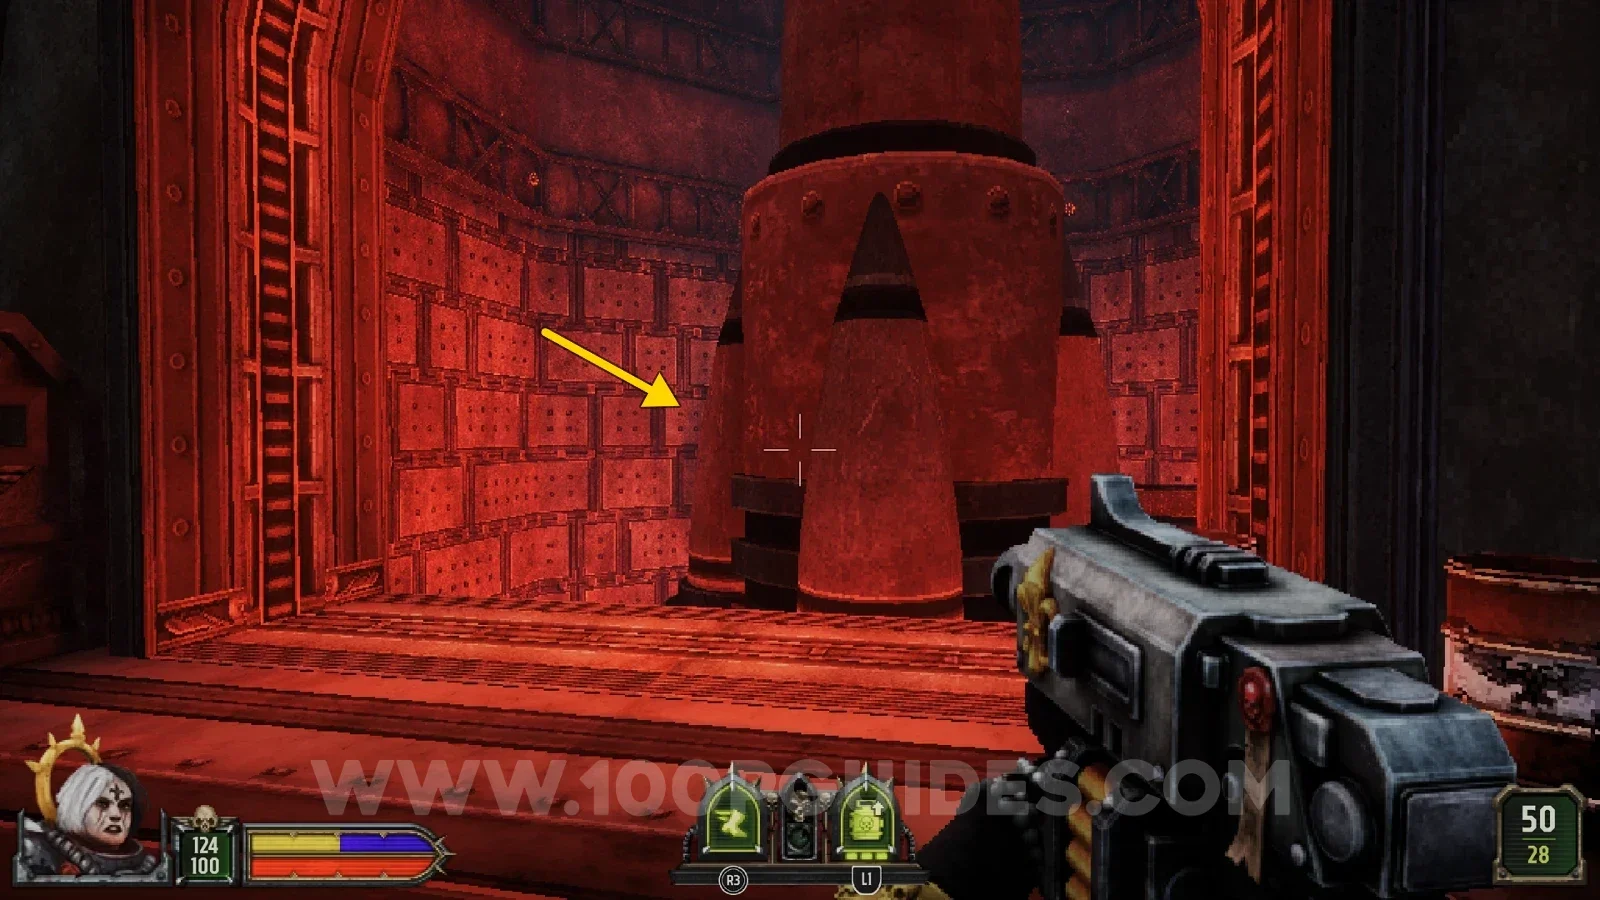
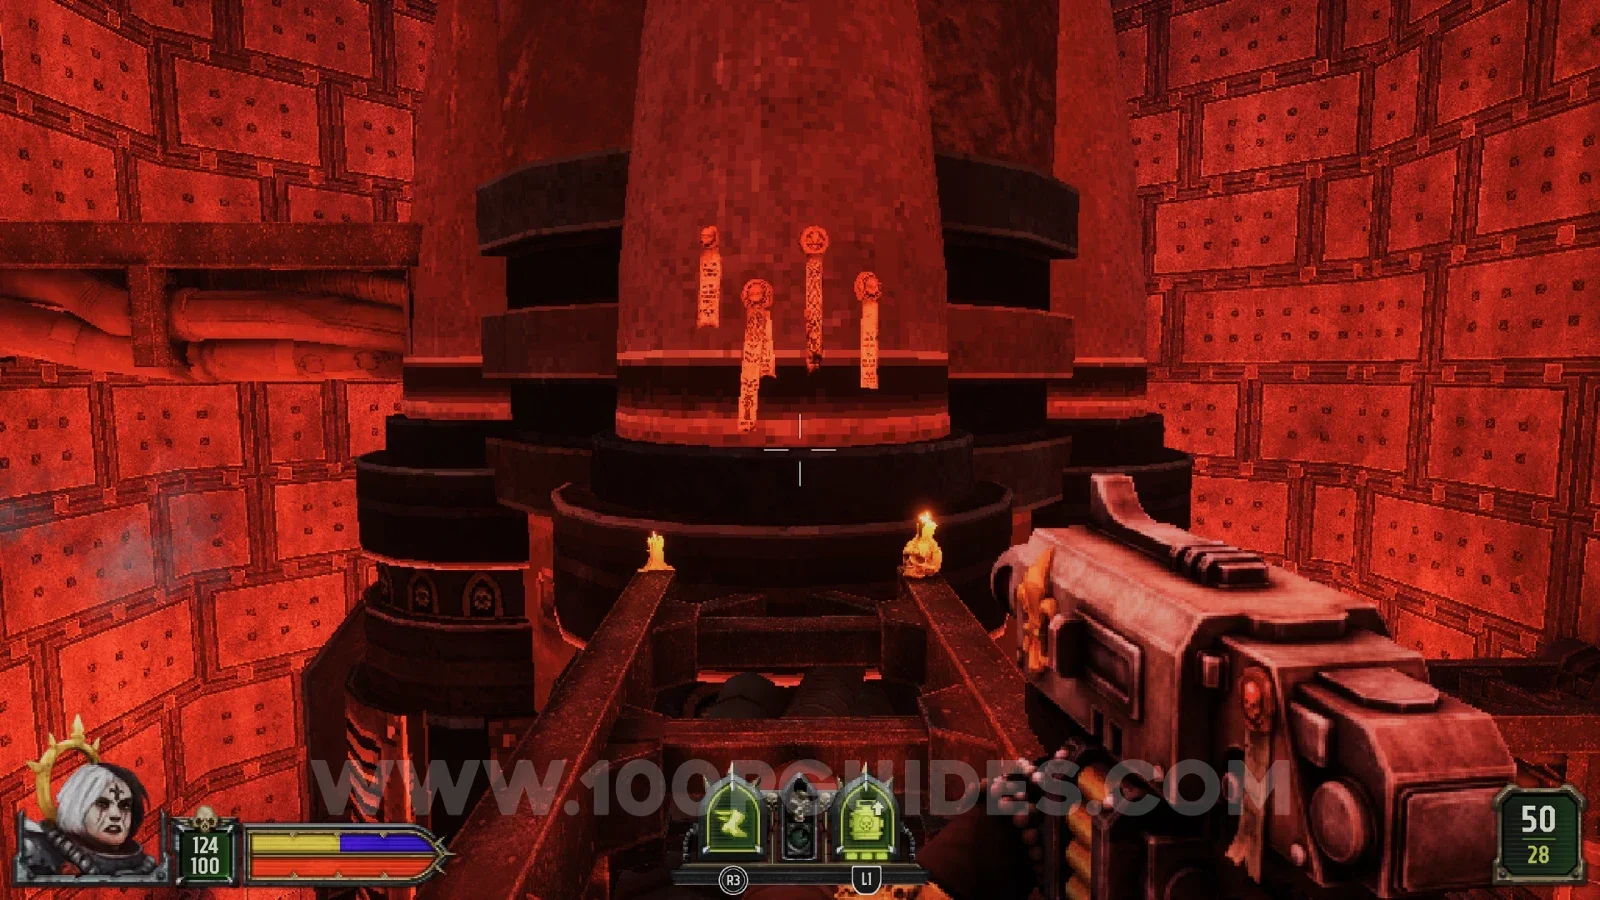
Continue until you reach a silo with a missile in it that you have to jump down. Before you do, jump to the back of the top of the missile to find the secret.
Seal 1/1
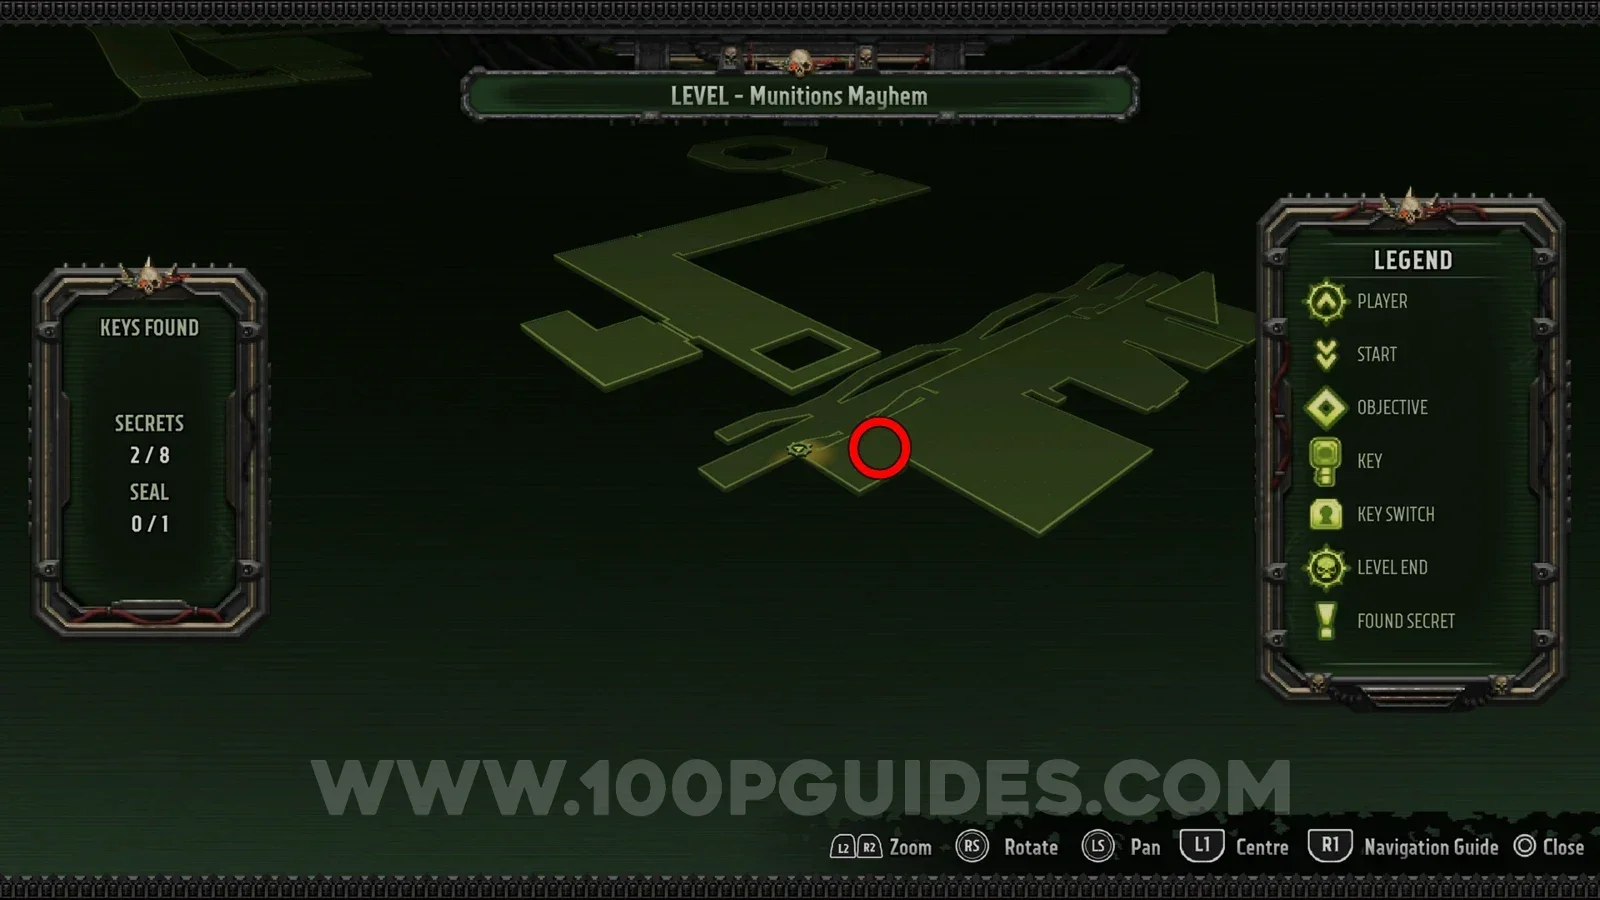
Once you get to the underground train station, the seal is inside the airship parked on the right.
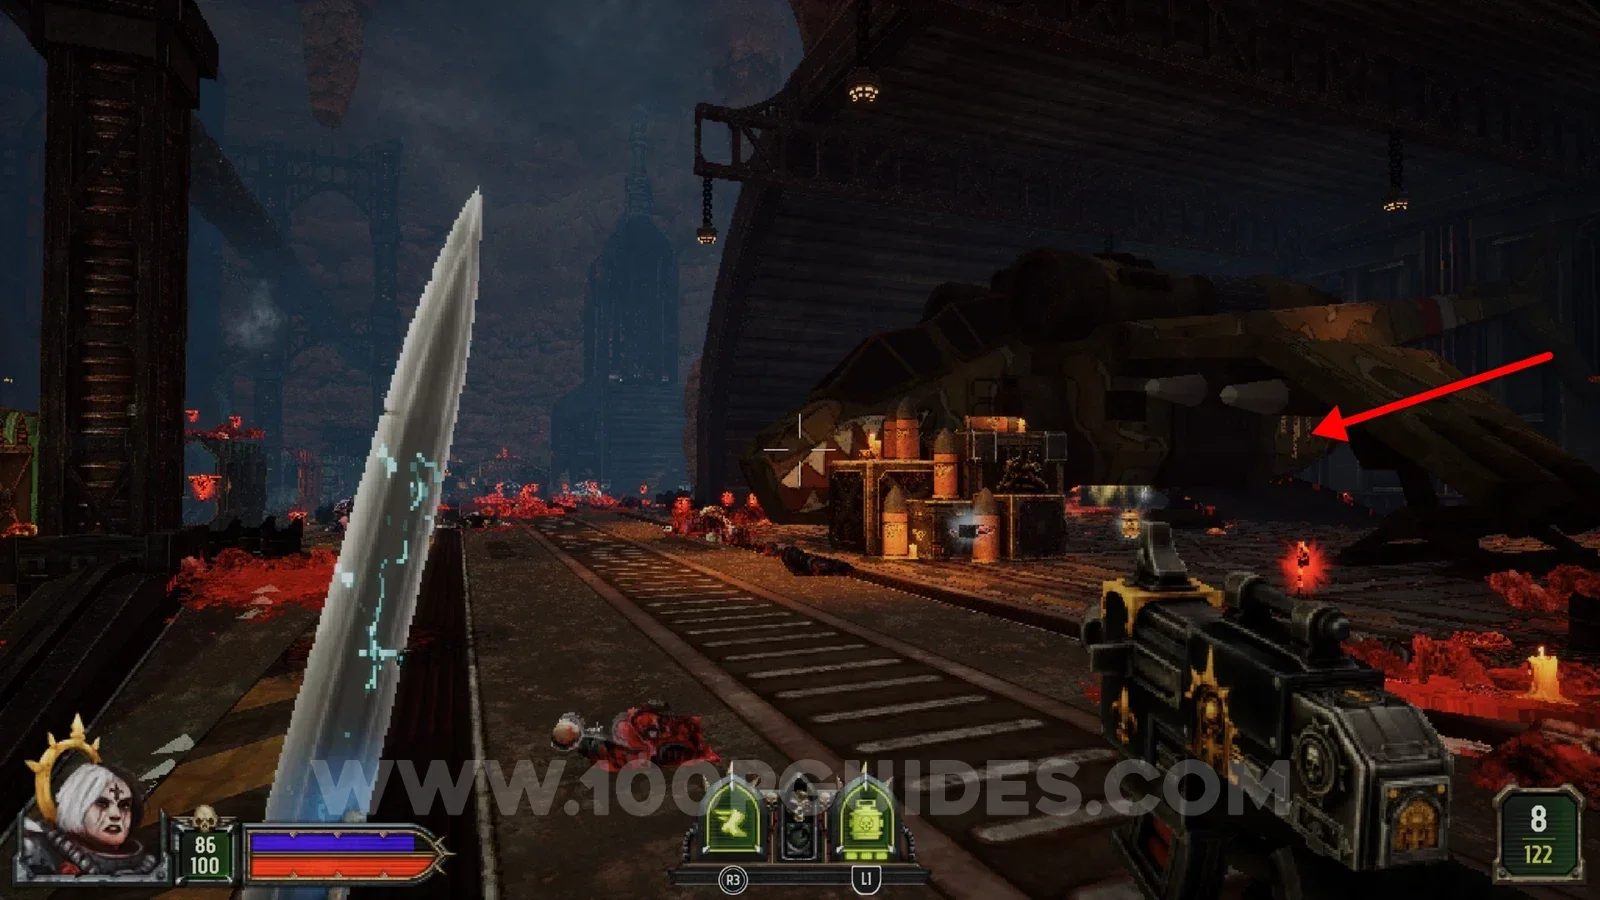
Secret 5/8
Also in the underground train station, at the back of the far train.
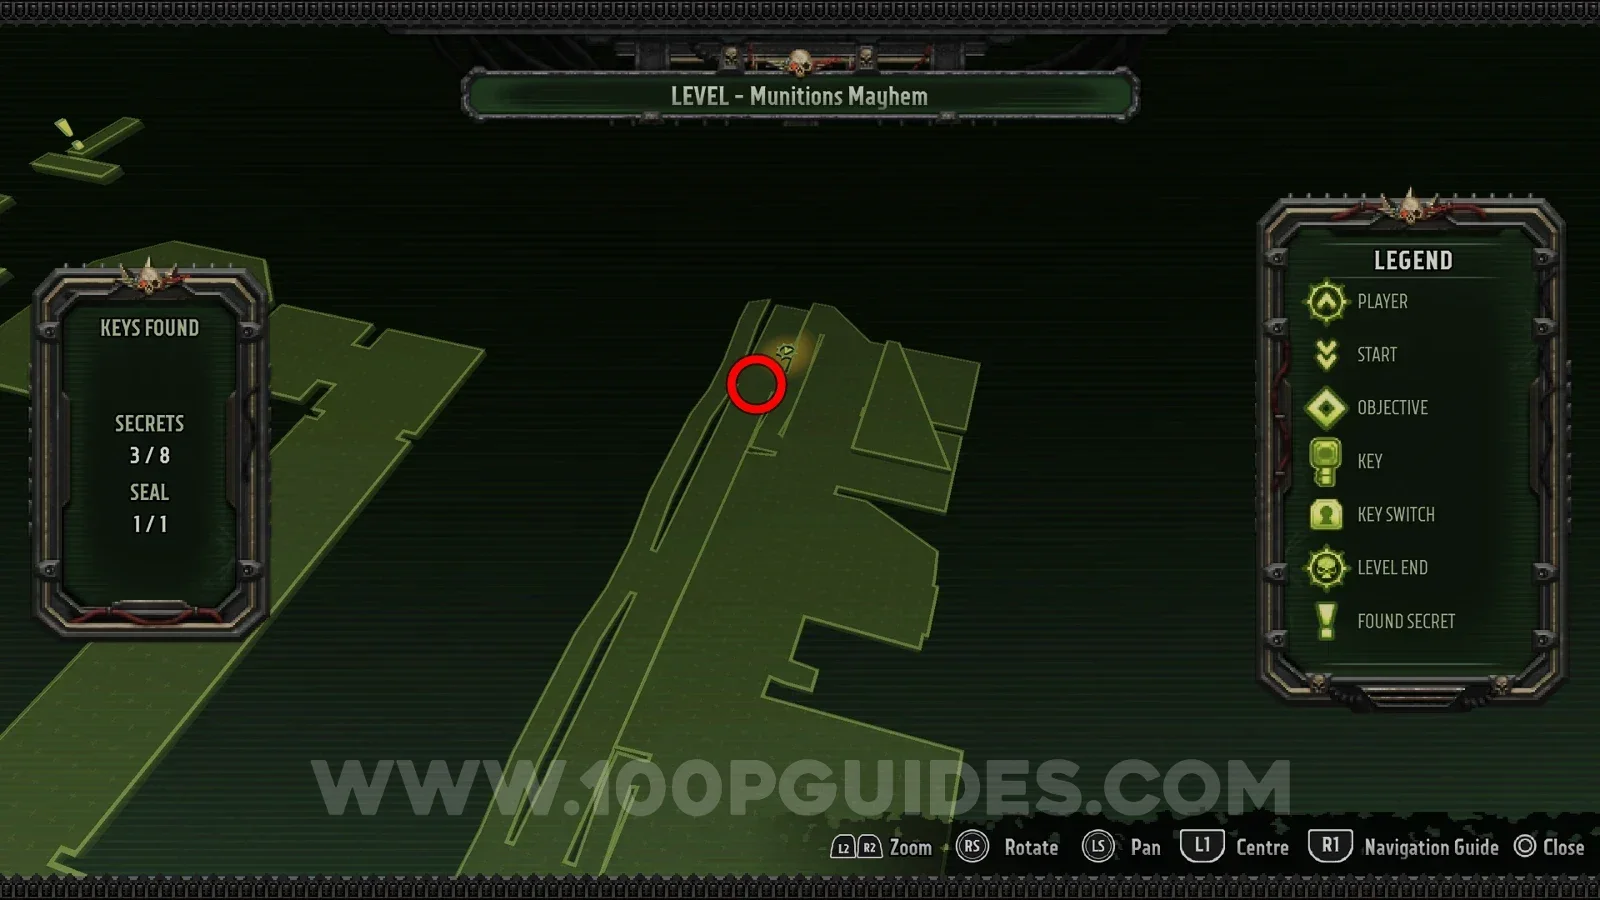
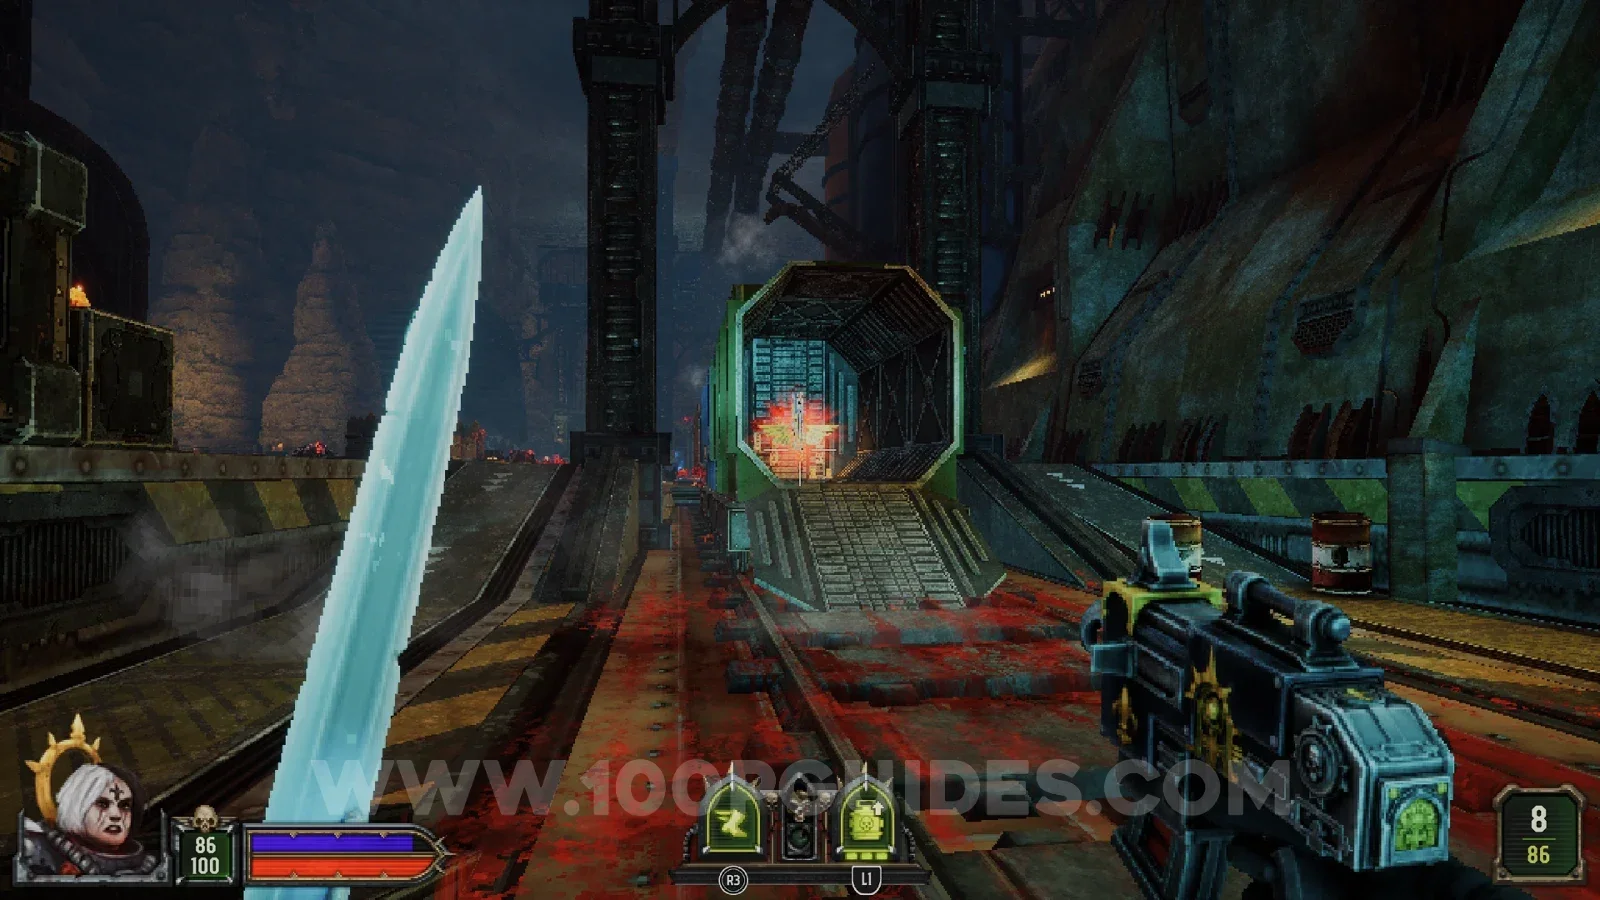
Secret 6/8
Also in the underground train station, on top of the metal structure close to the train with the previous secret in it. Use the rocks to climb up.
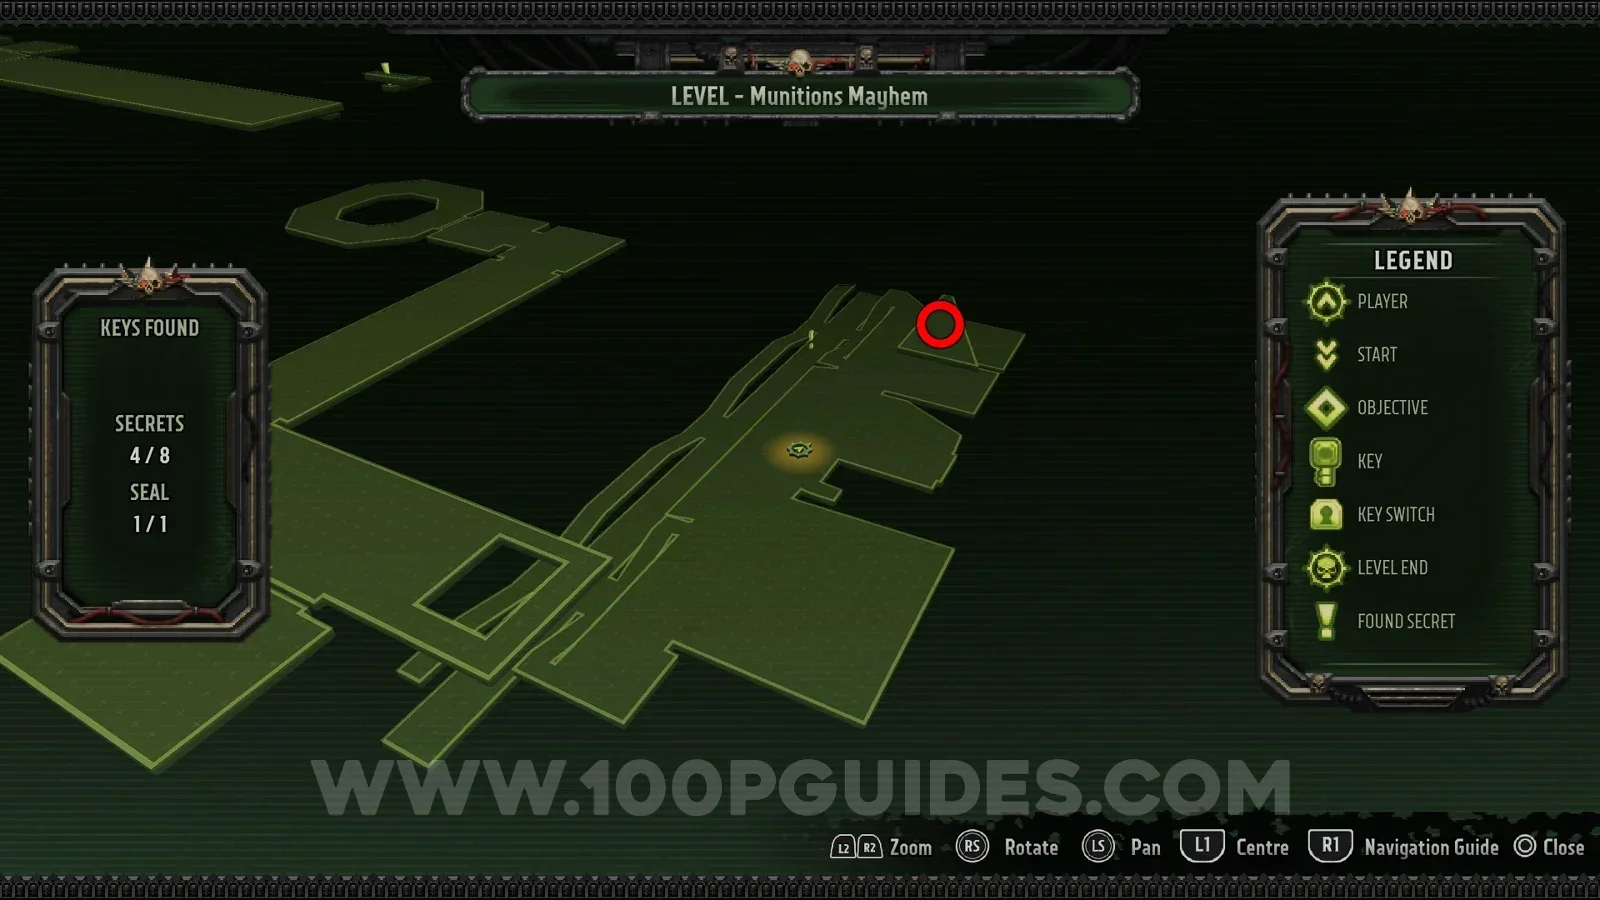
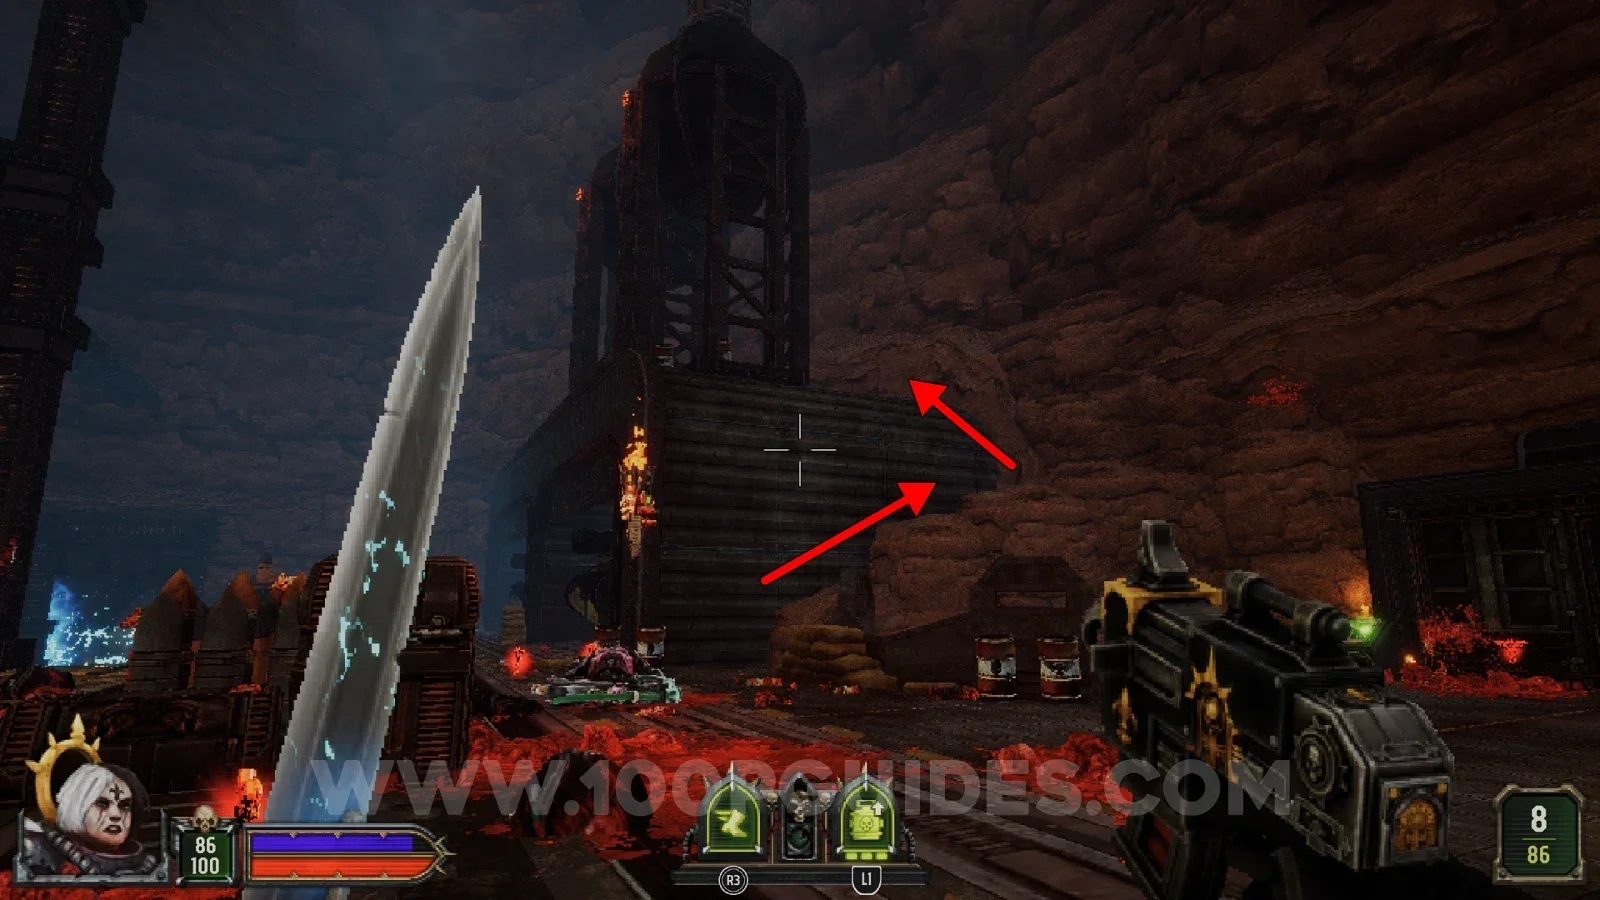
Secret 7/8
In the final area, where the Purge is, press the green switch next to the globe projection. This activates a jump pad that takes you to the secret.
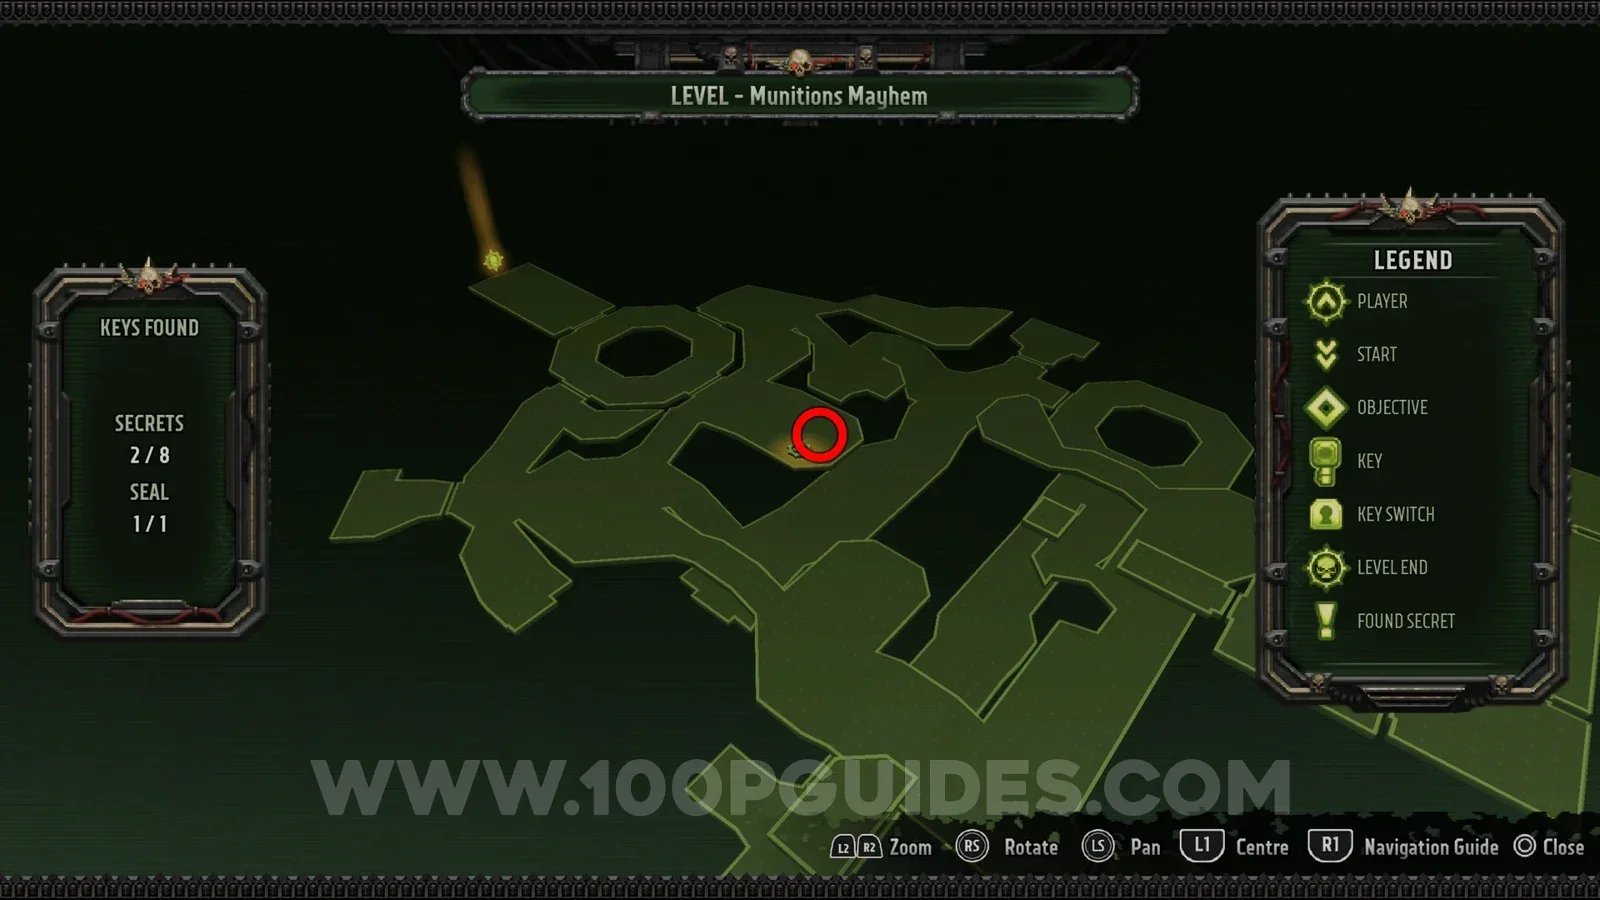
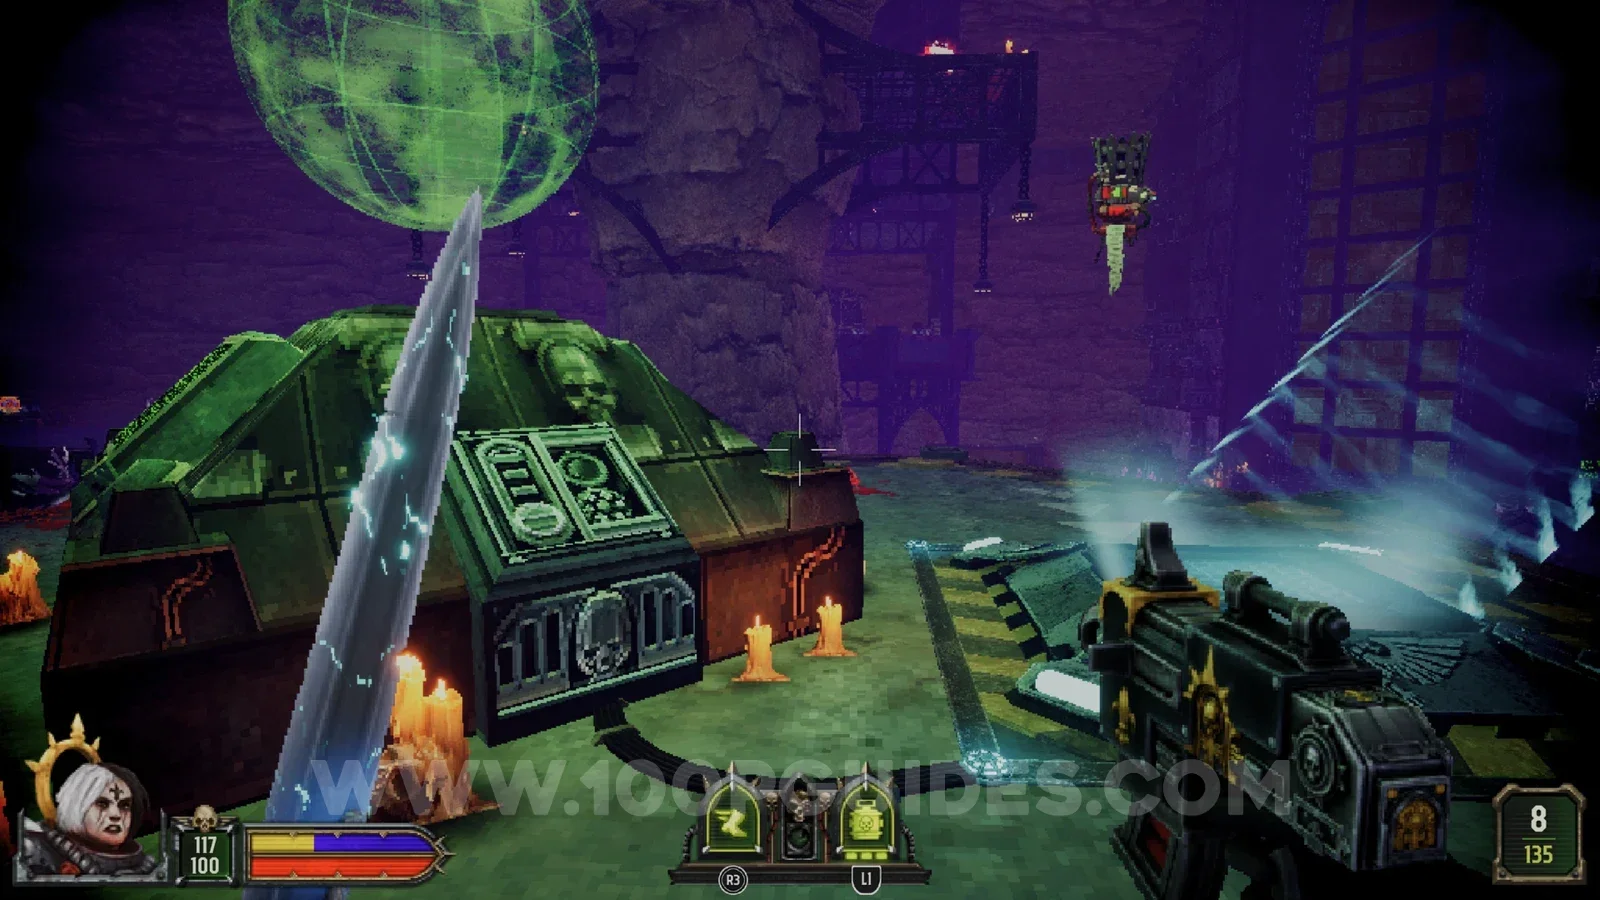
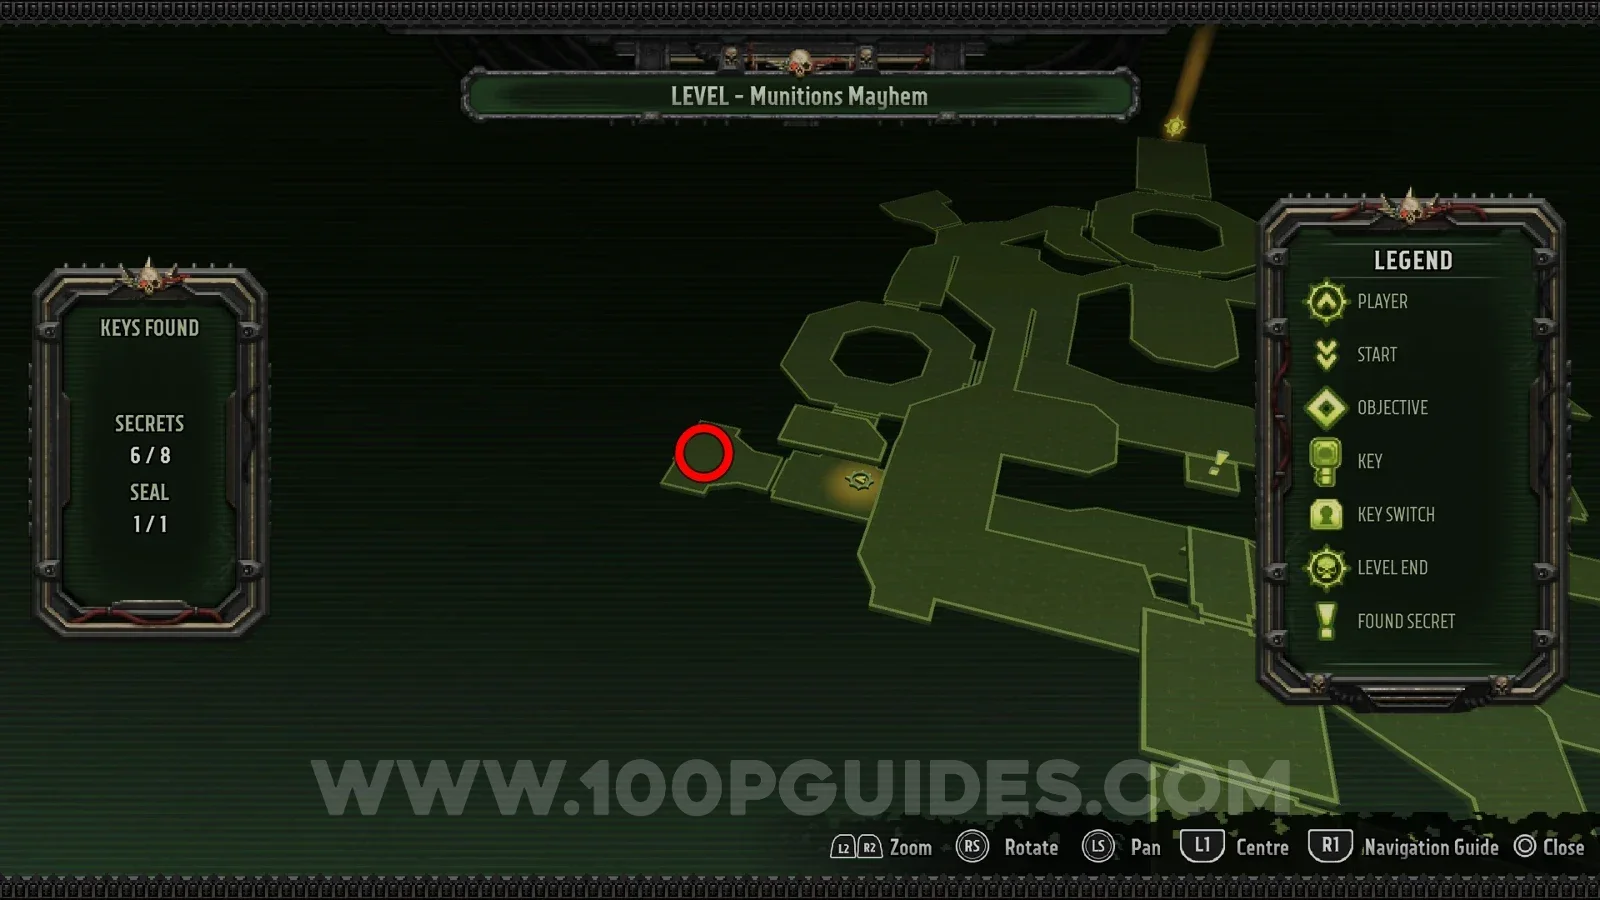
Secret 8/8
Also in the final area with the Purge and the launching missiles, press against the wall in the small room at the side of the area to reveal the secret on the other side.
Chaos In The City Path B
Secret 1/5
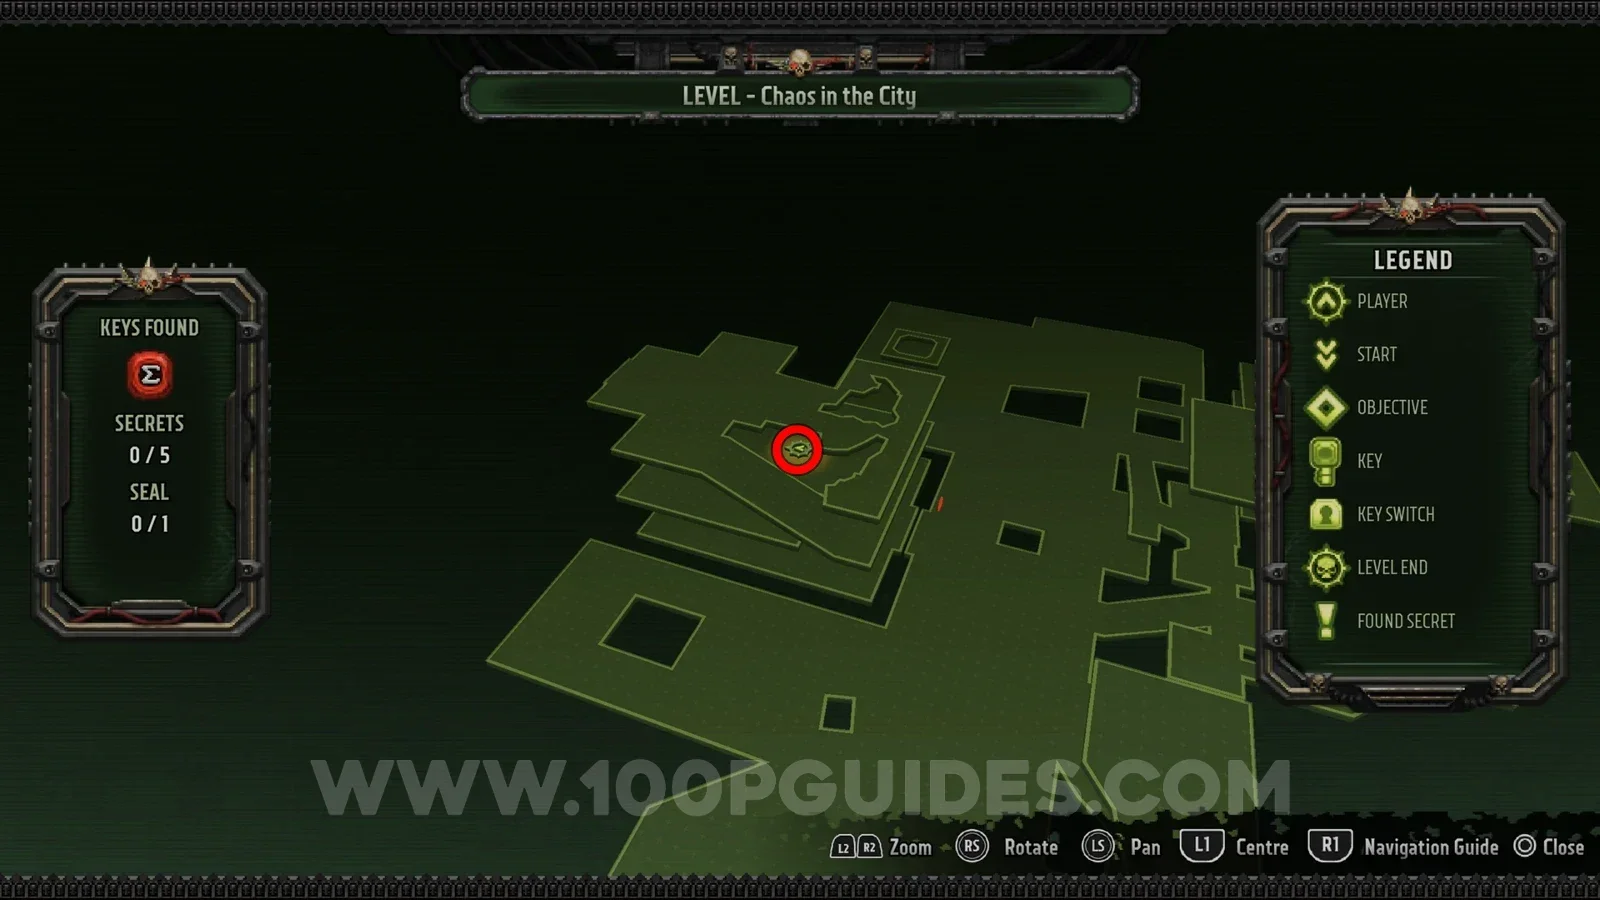
After using the red key you enter a building that you have to climb. On the second floor, look for a hole in the wall. The secret is just outside it.
Secret 2/5
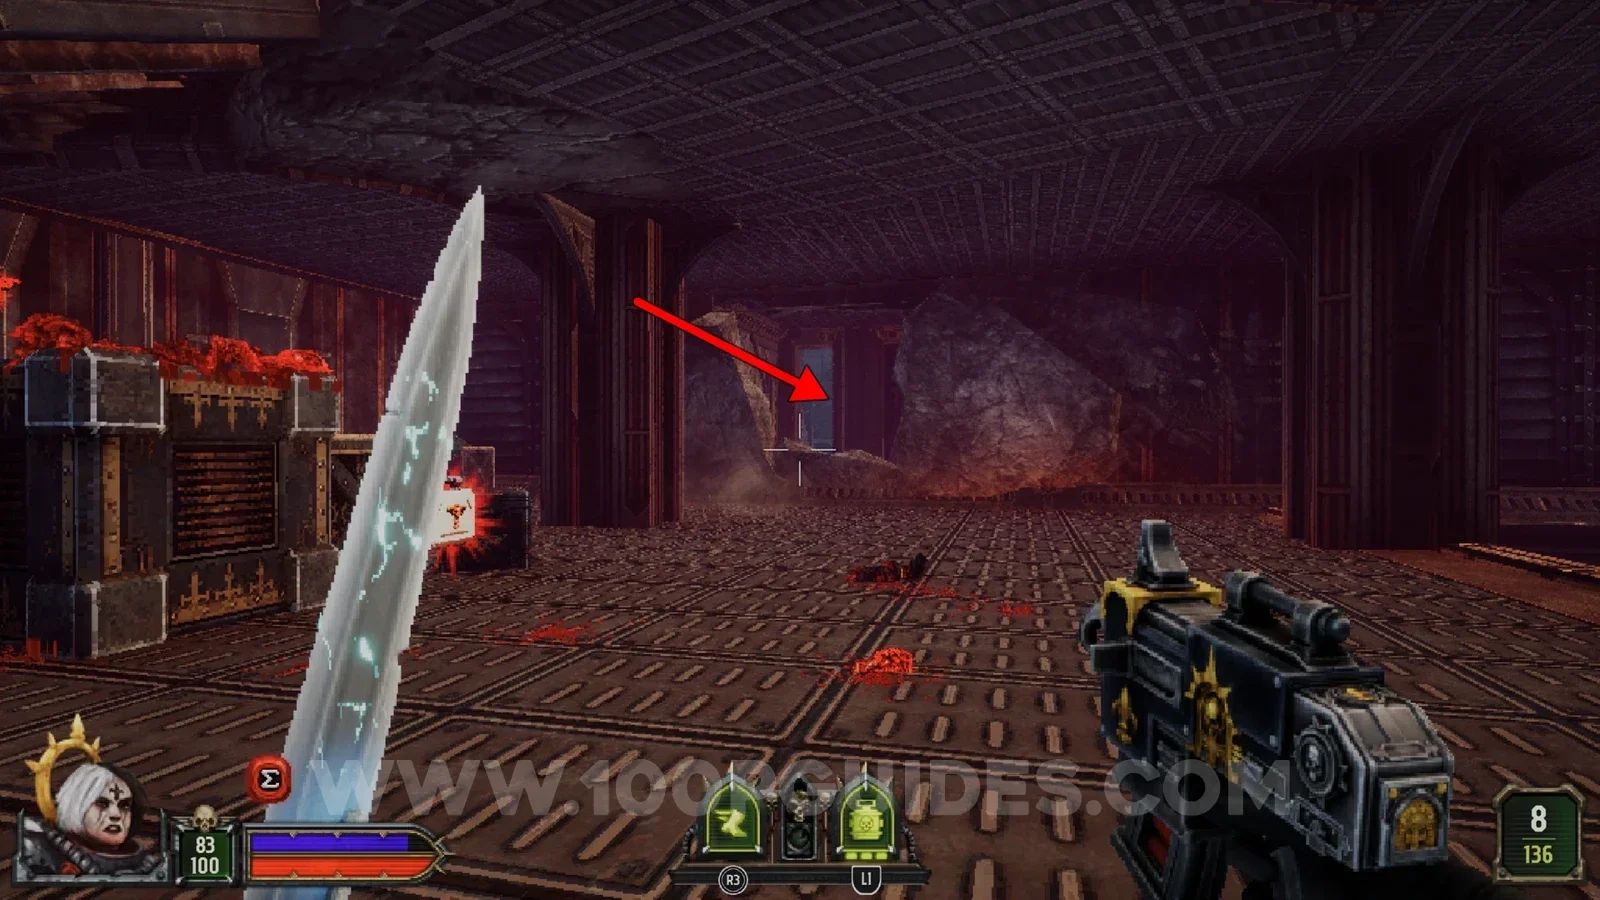
After climbing that building you cross a bridge. At the end of it, use the destroyed column to reach the secret on the other side.
Seal 1/1
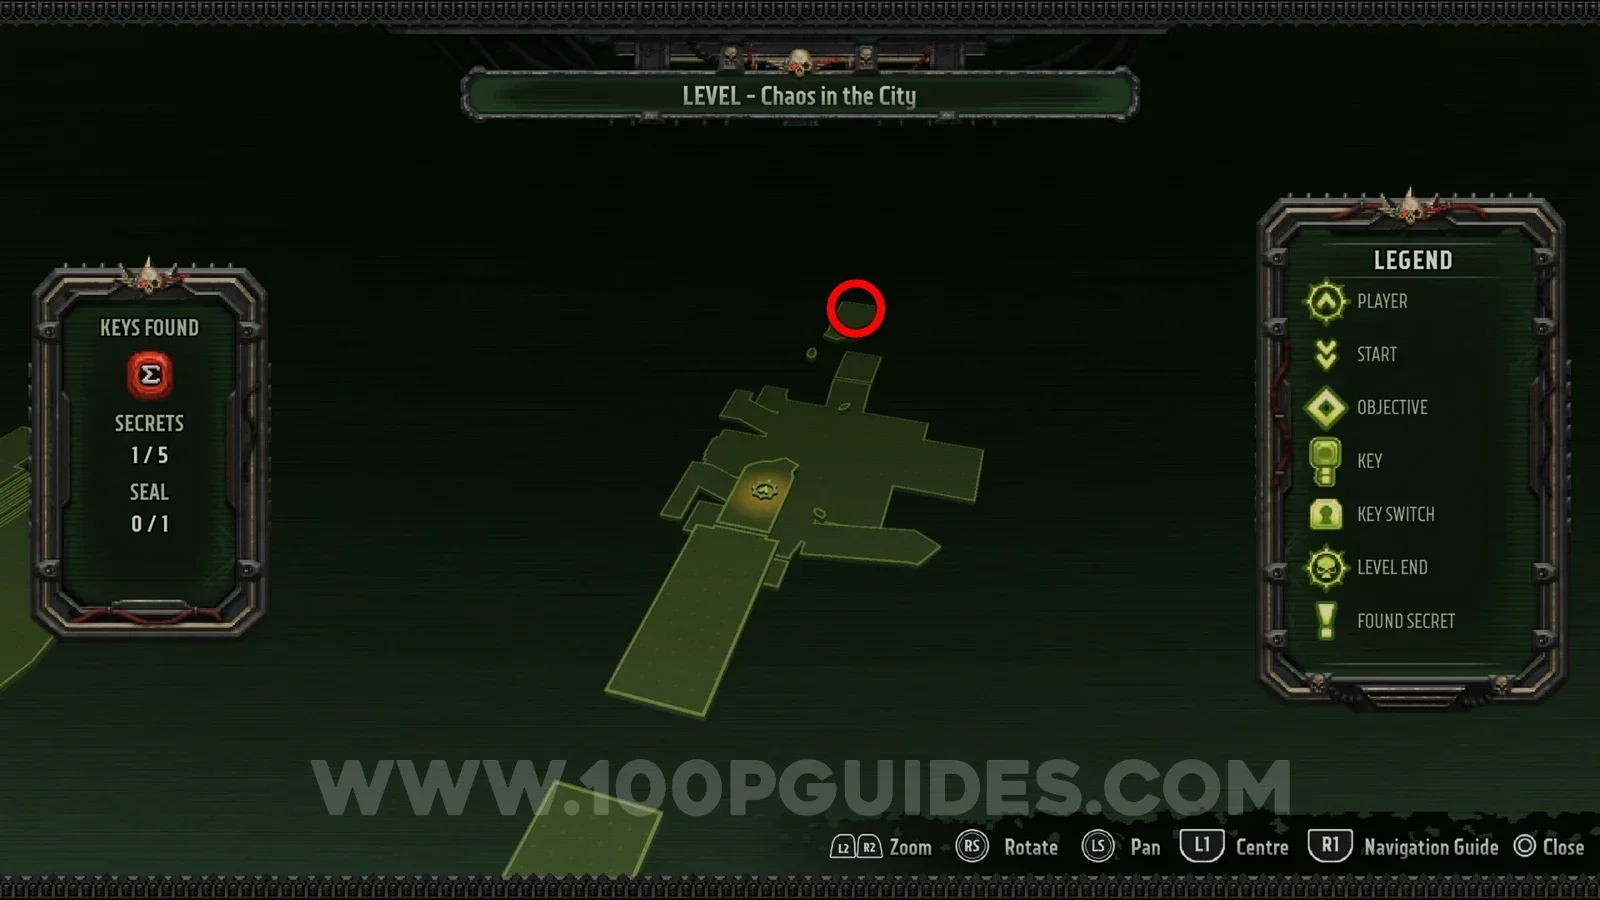
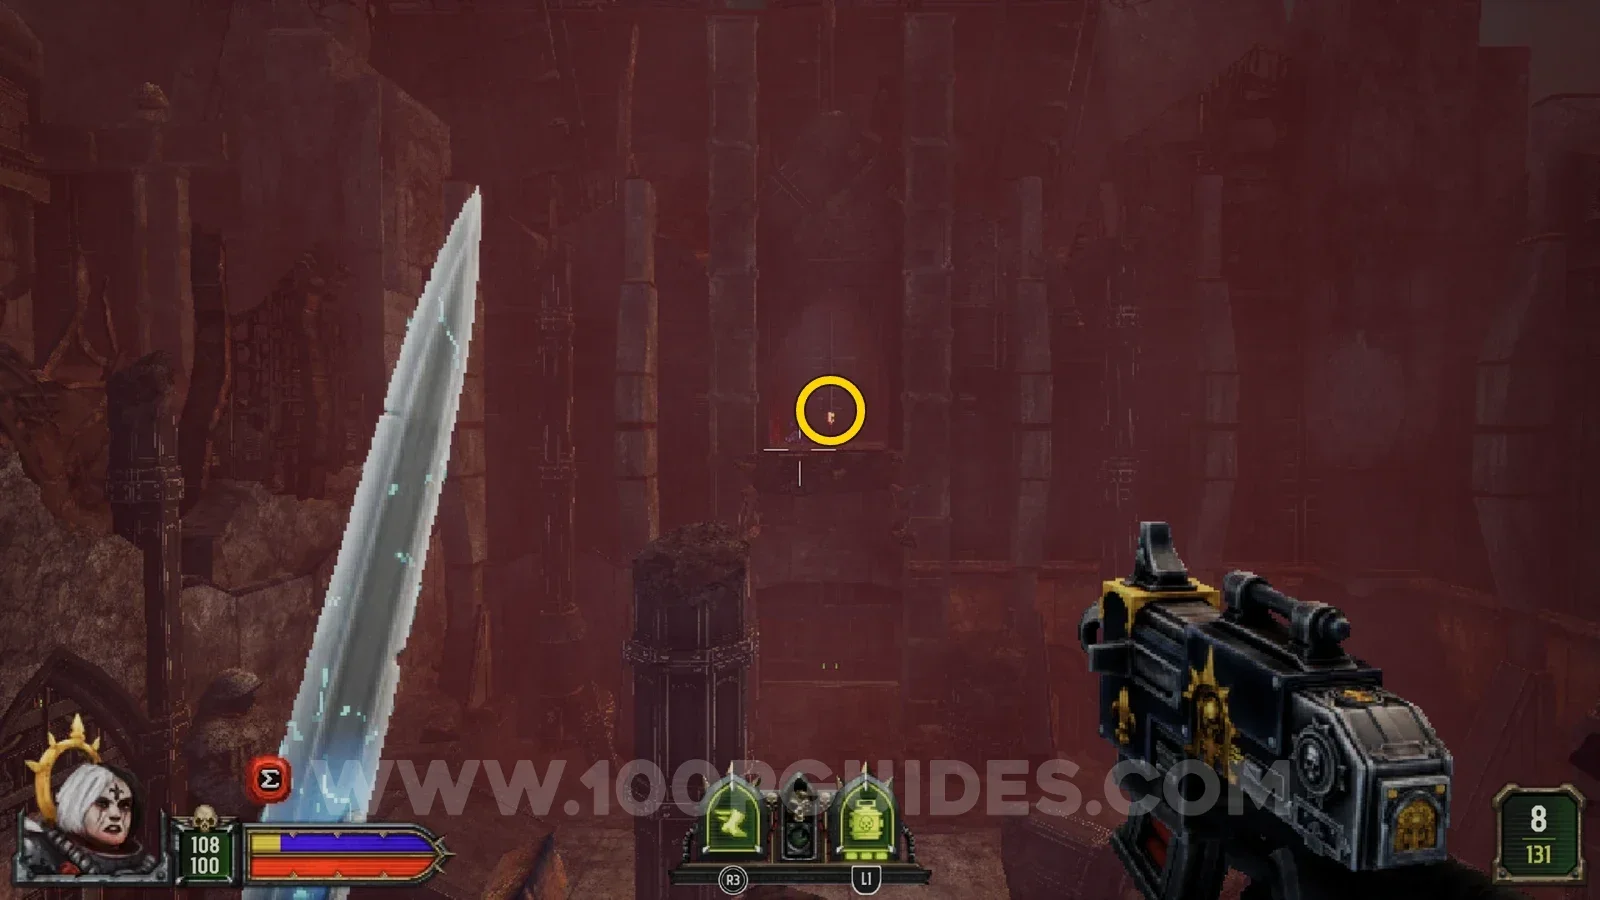
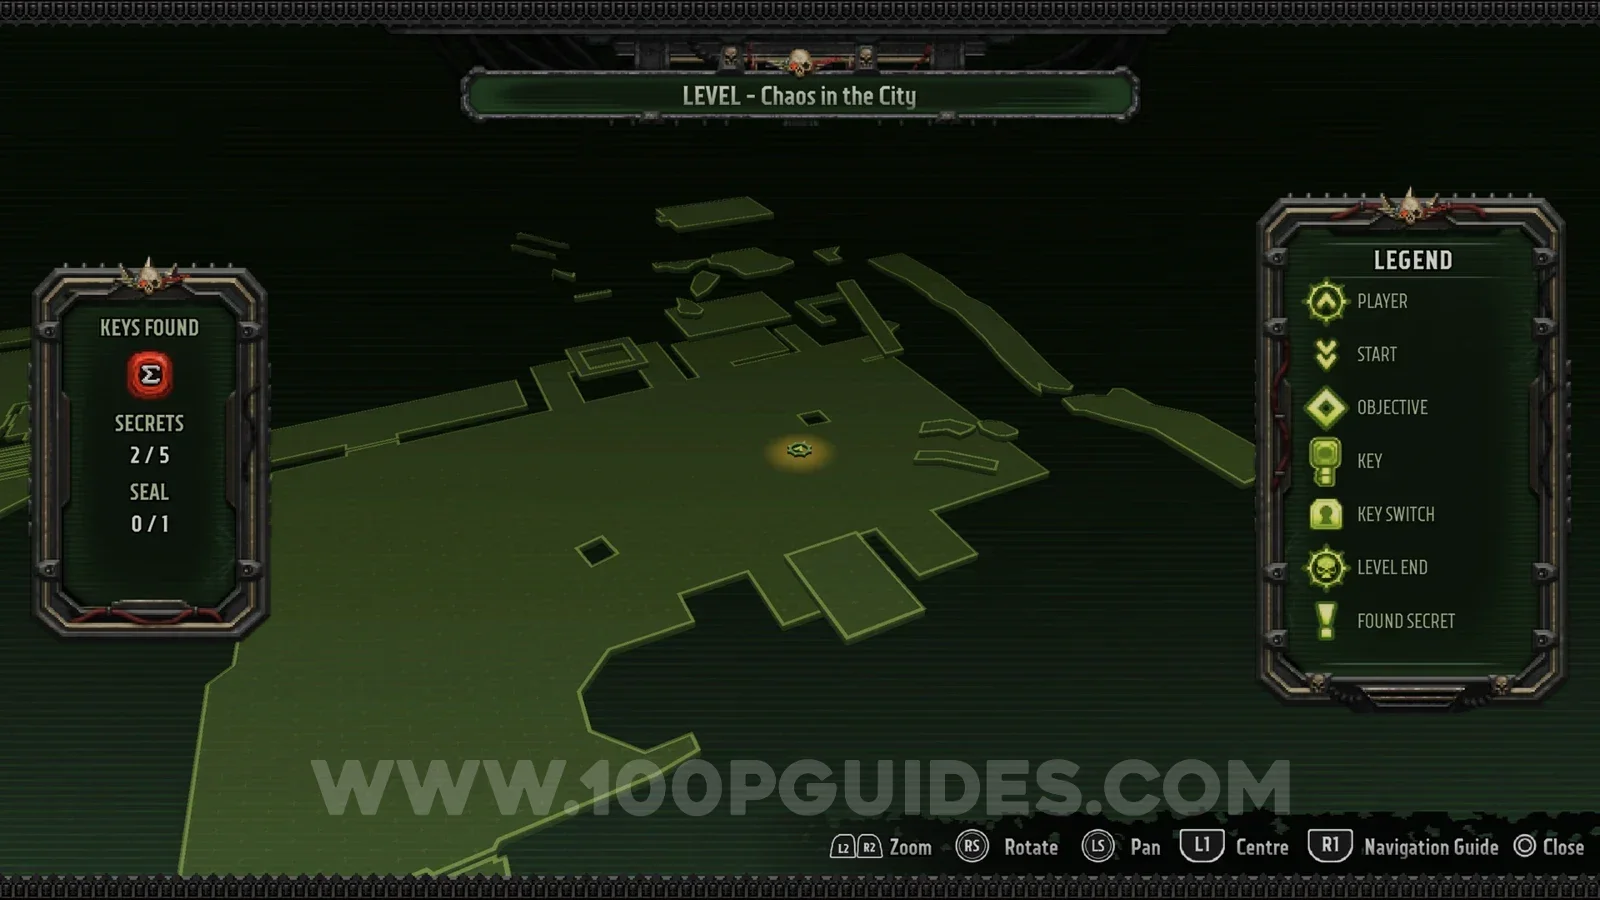
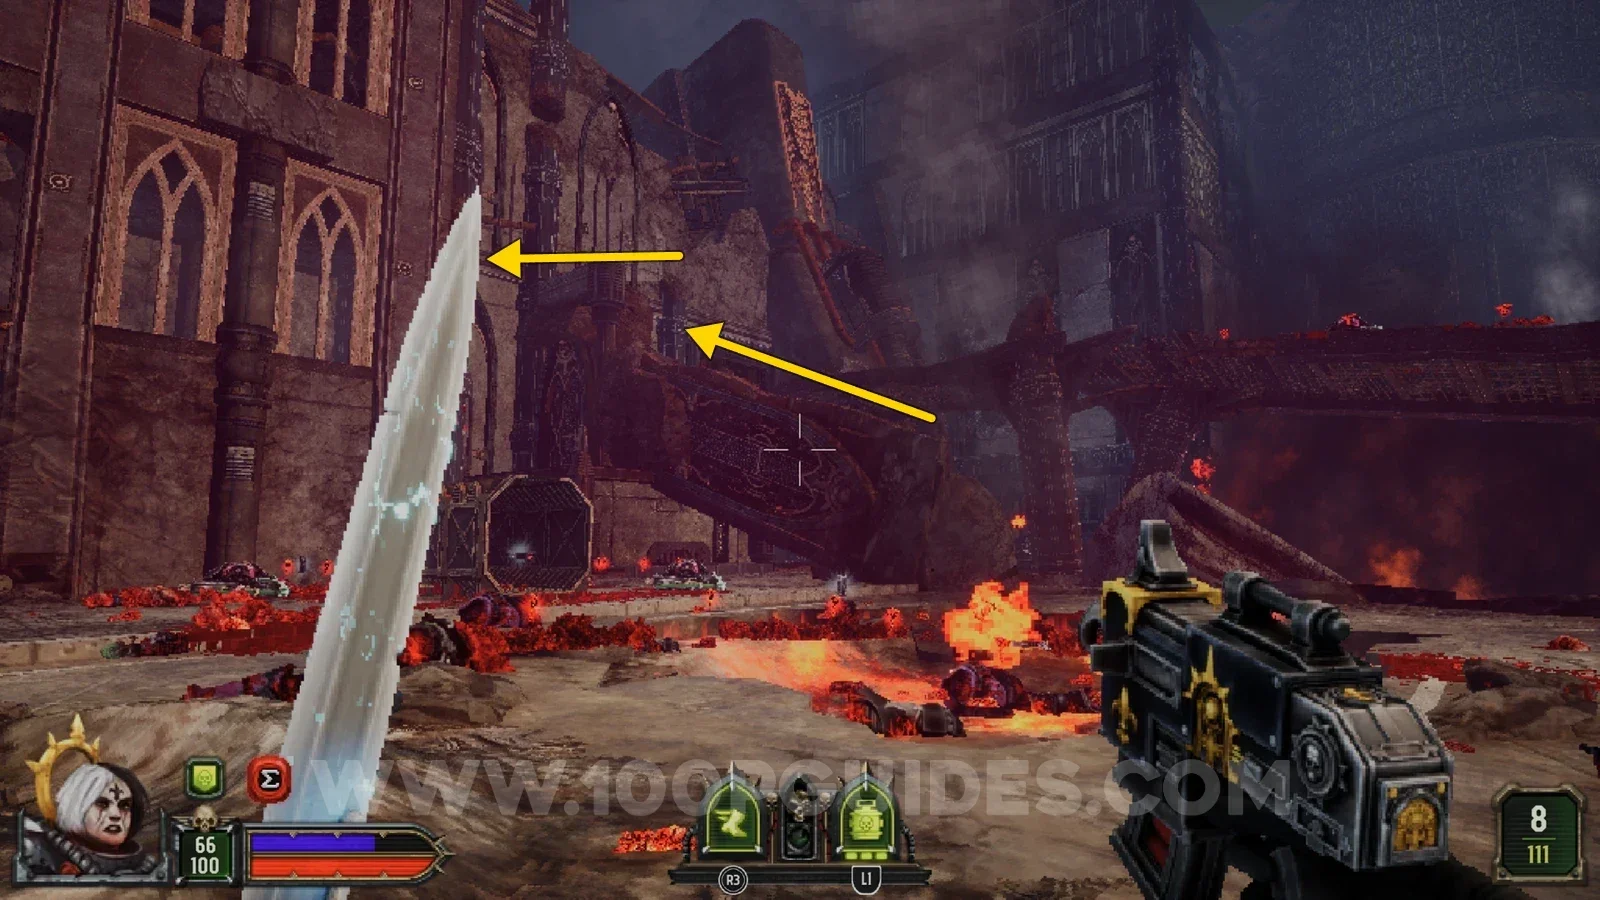
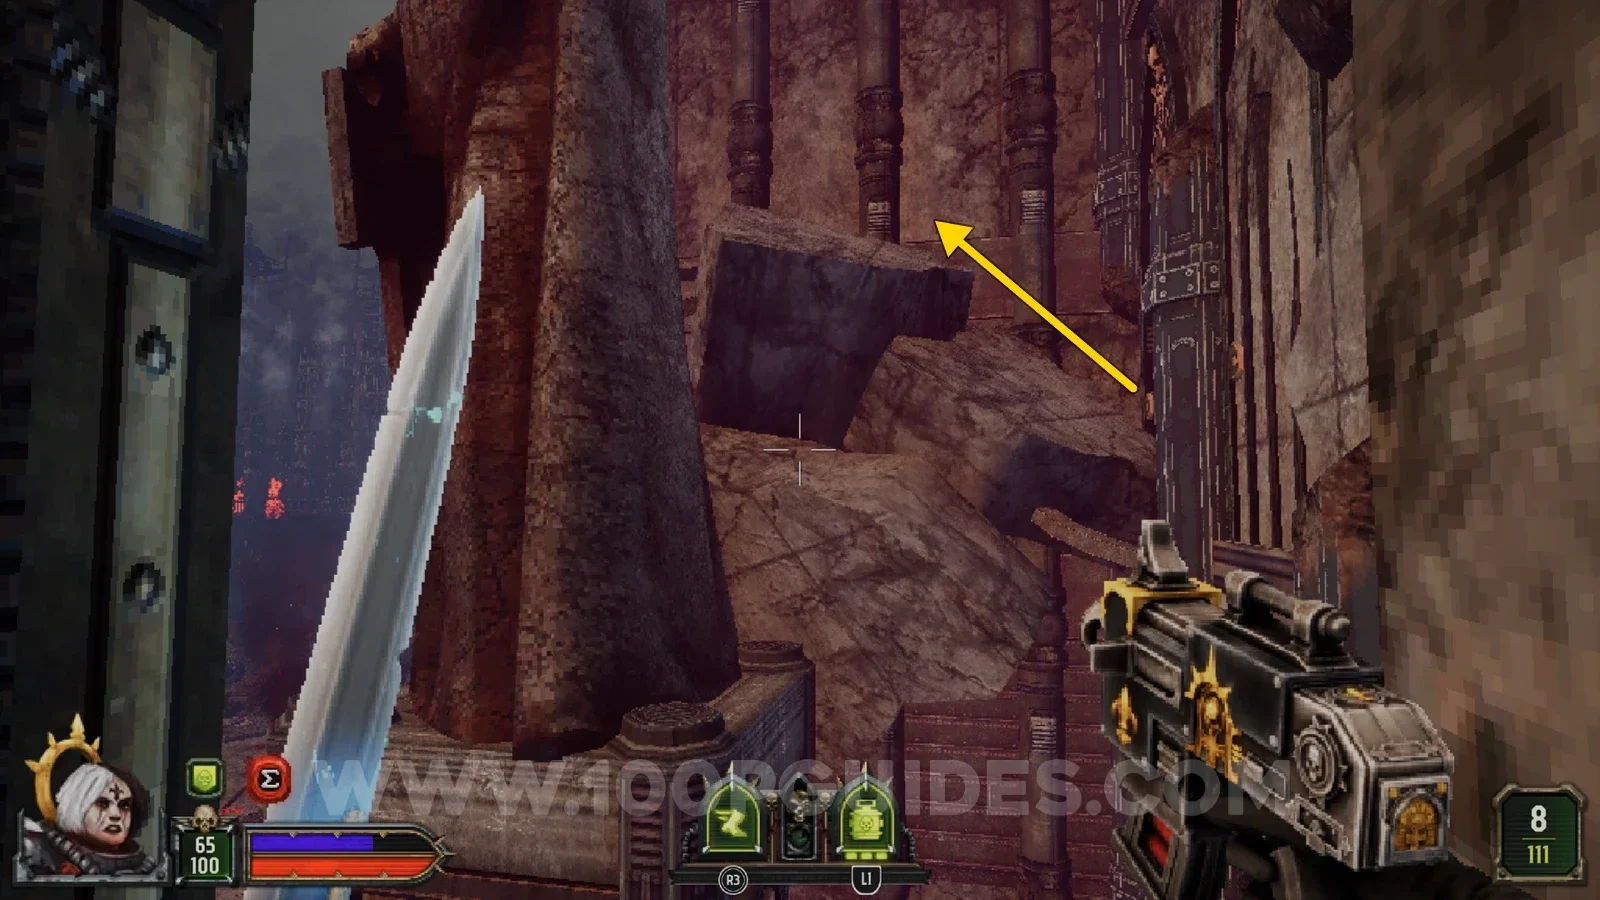
After the Purge below the previous secret you press a few switches and reach another large open area full of allies and enemies. Climb the debris to reach the room at the top of the destroyed buildings on your left. The seal is up there.
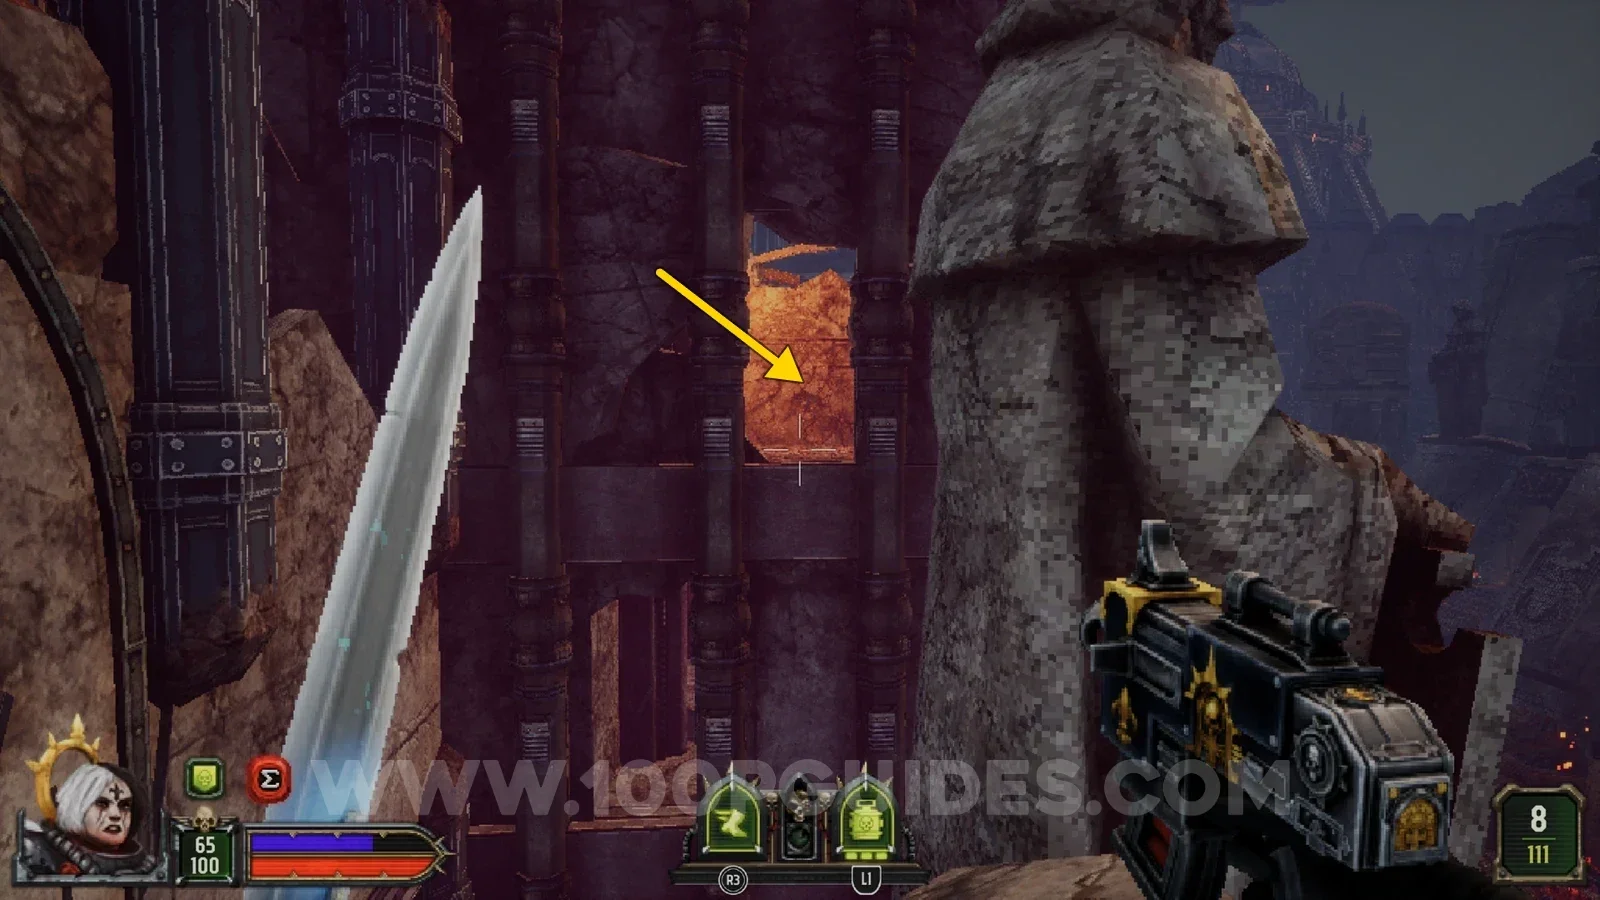
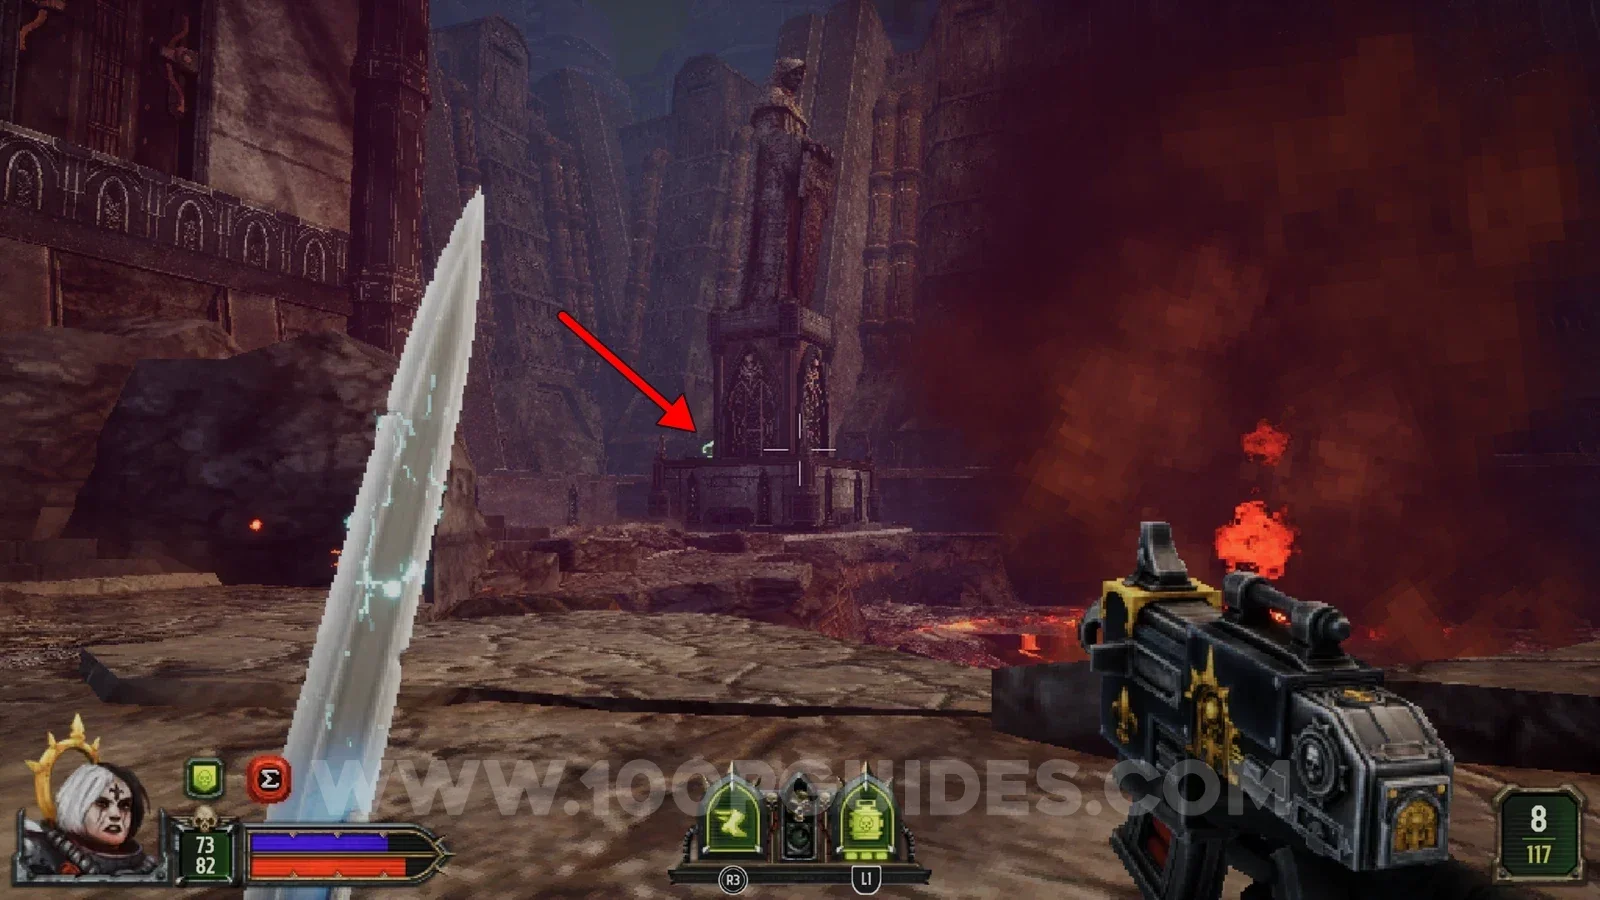
Secret 3/5
Soon after the previous collectible you will see a walkway over the road with enemies shooting at you from it. Just before you go under it, head left and look behind the statue for the secret.
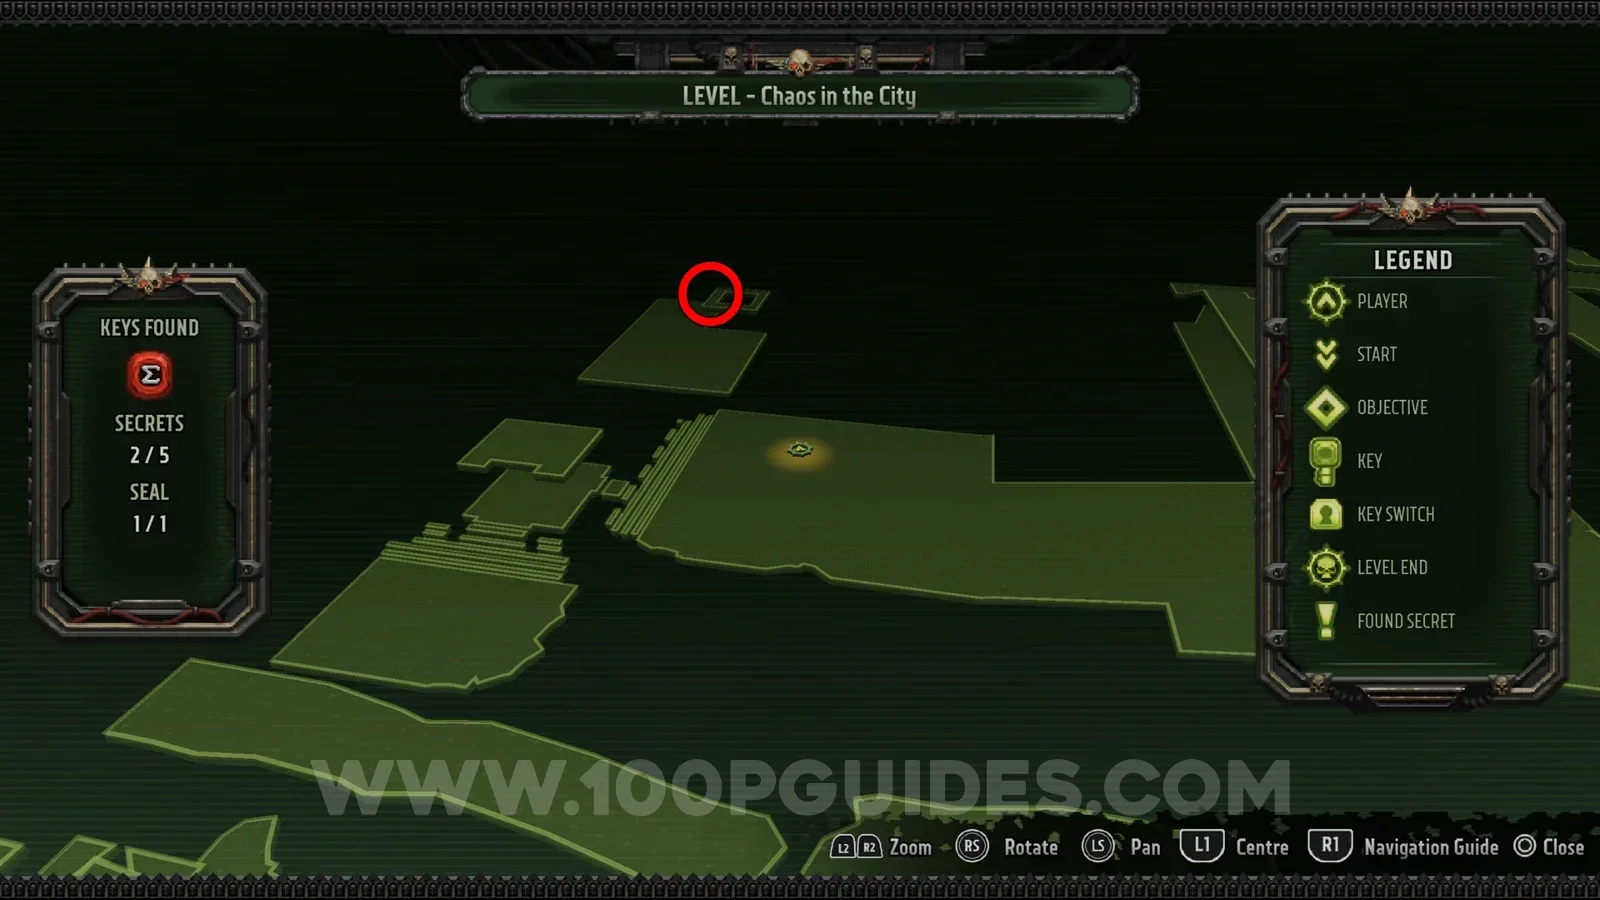
Secret 4/5
In the room where the 2 corridors meet above the purple door. Use the metal structure to jump up to the upper ledge, where the secret is.
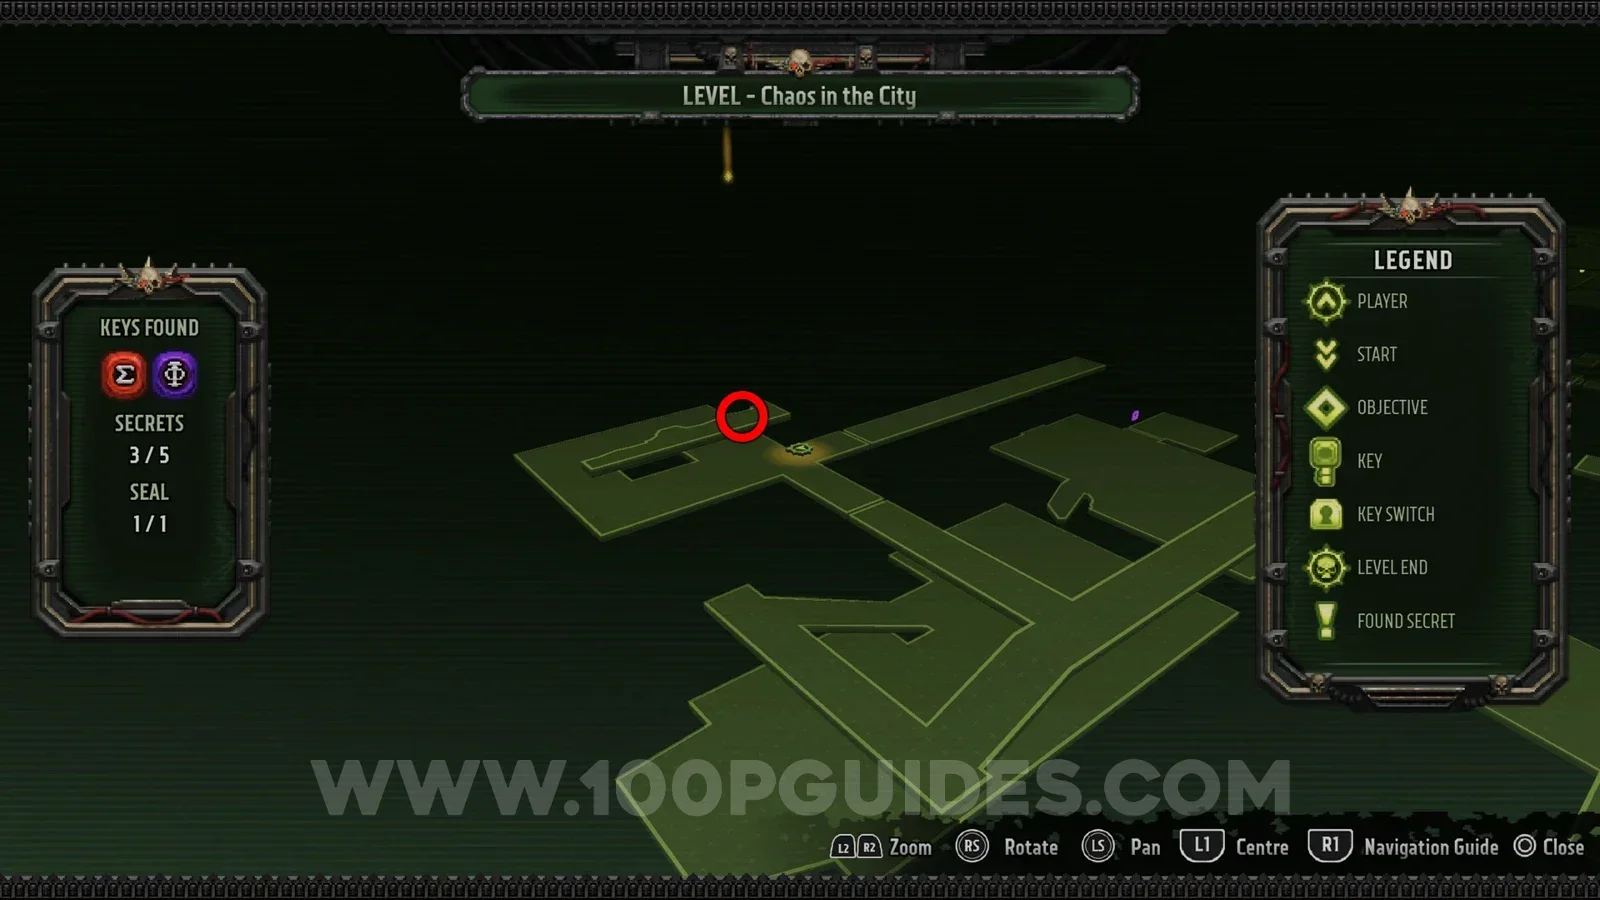
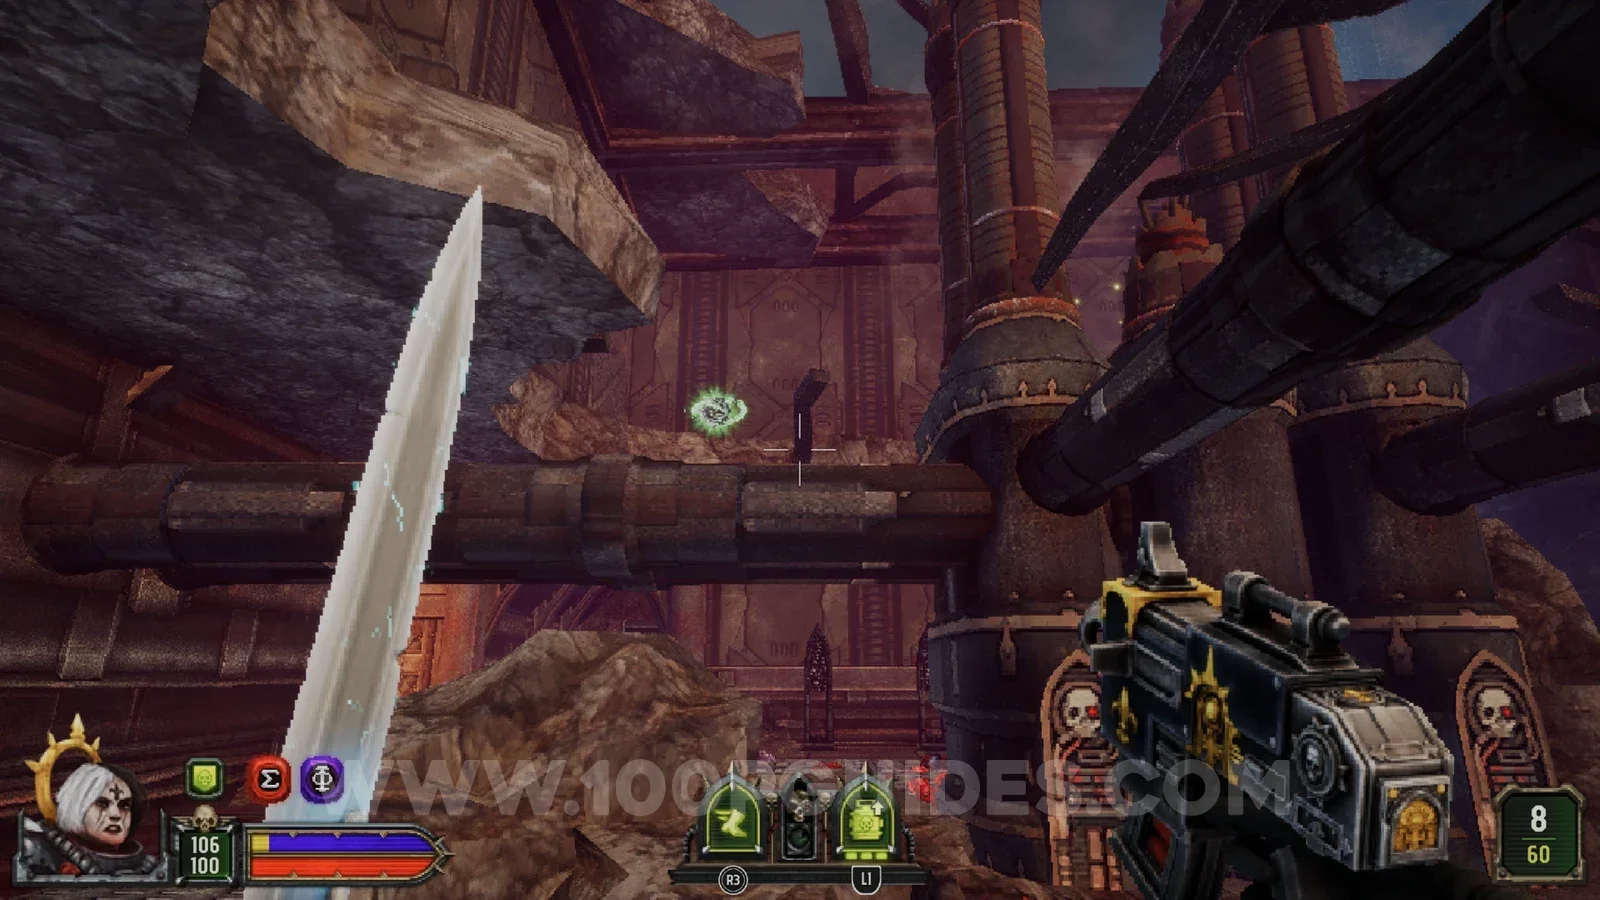
Secret 5/5
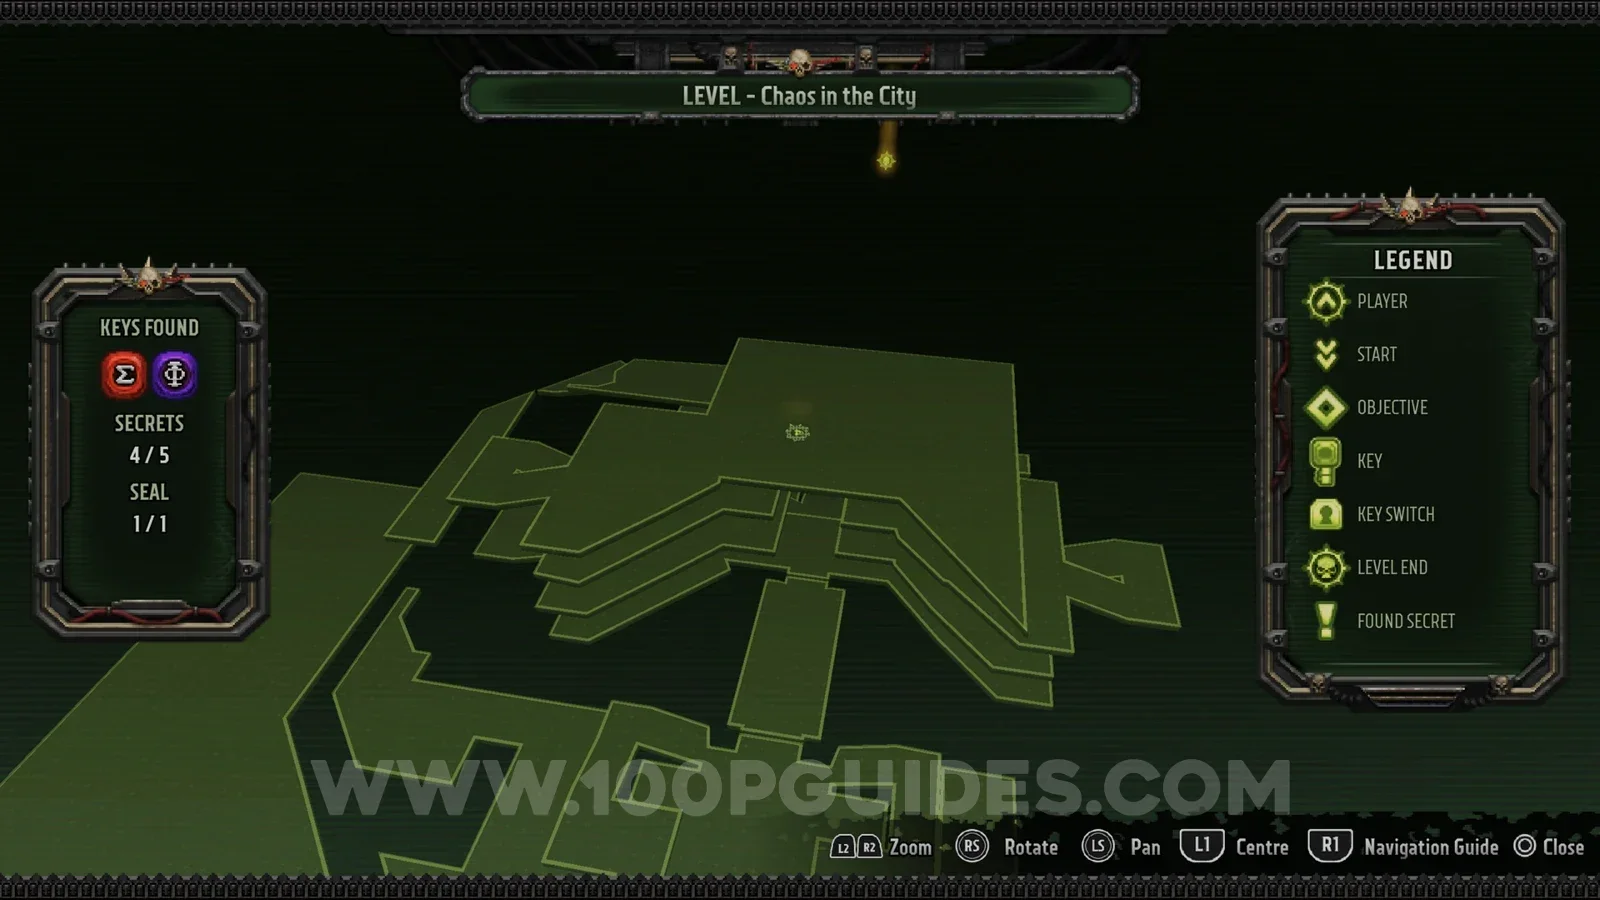
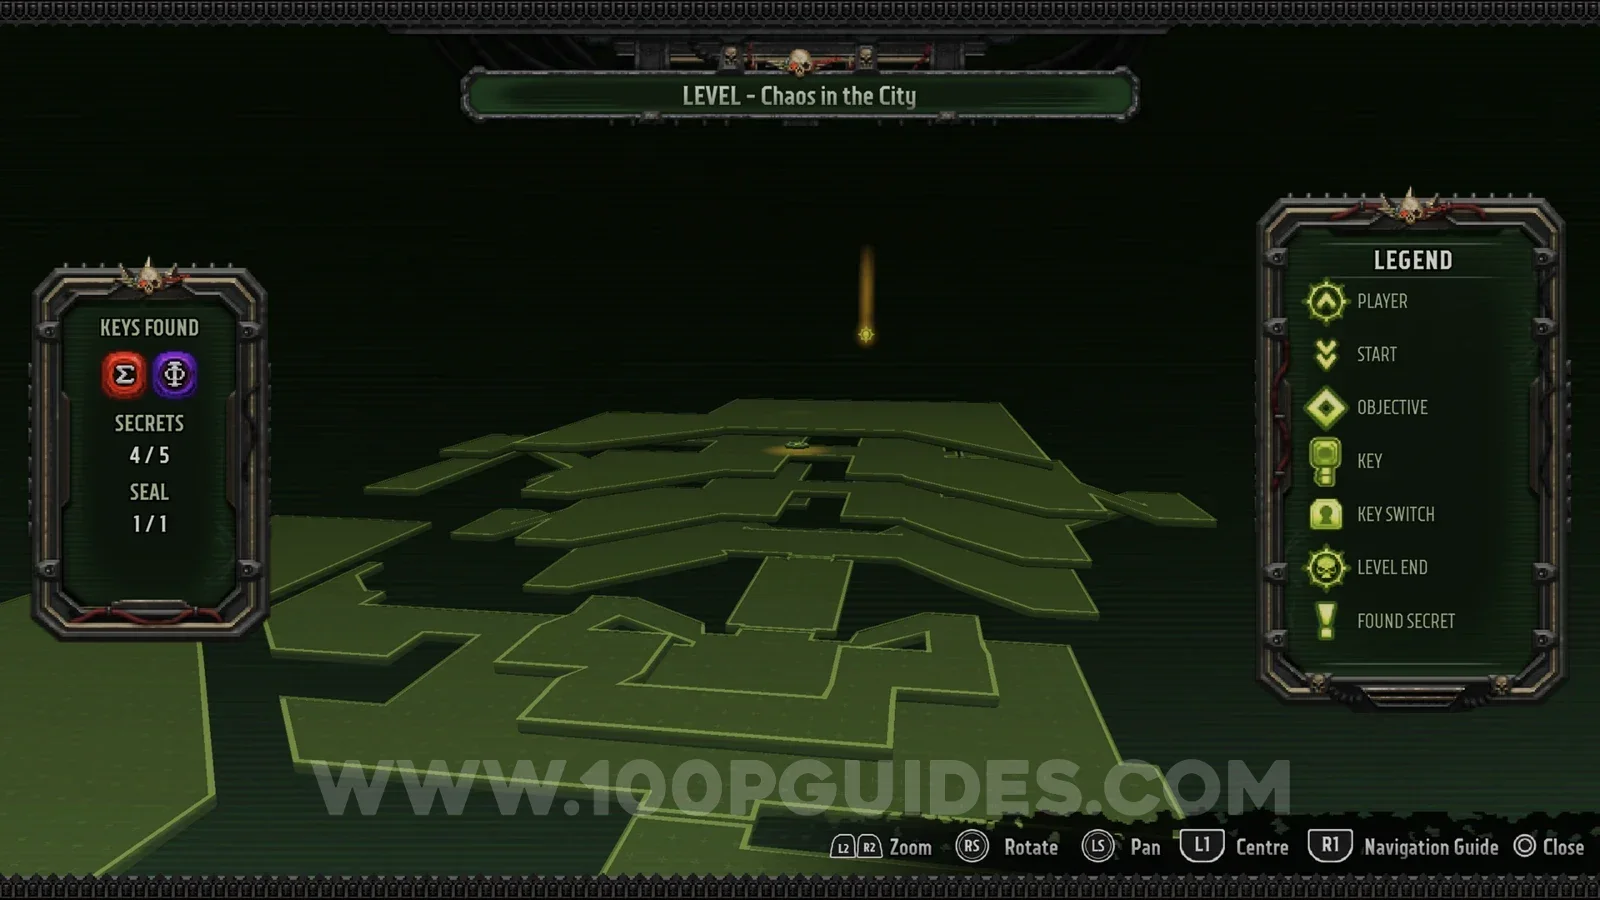
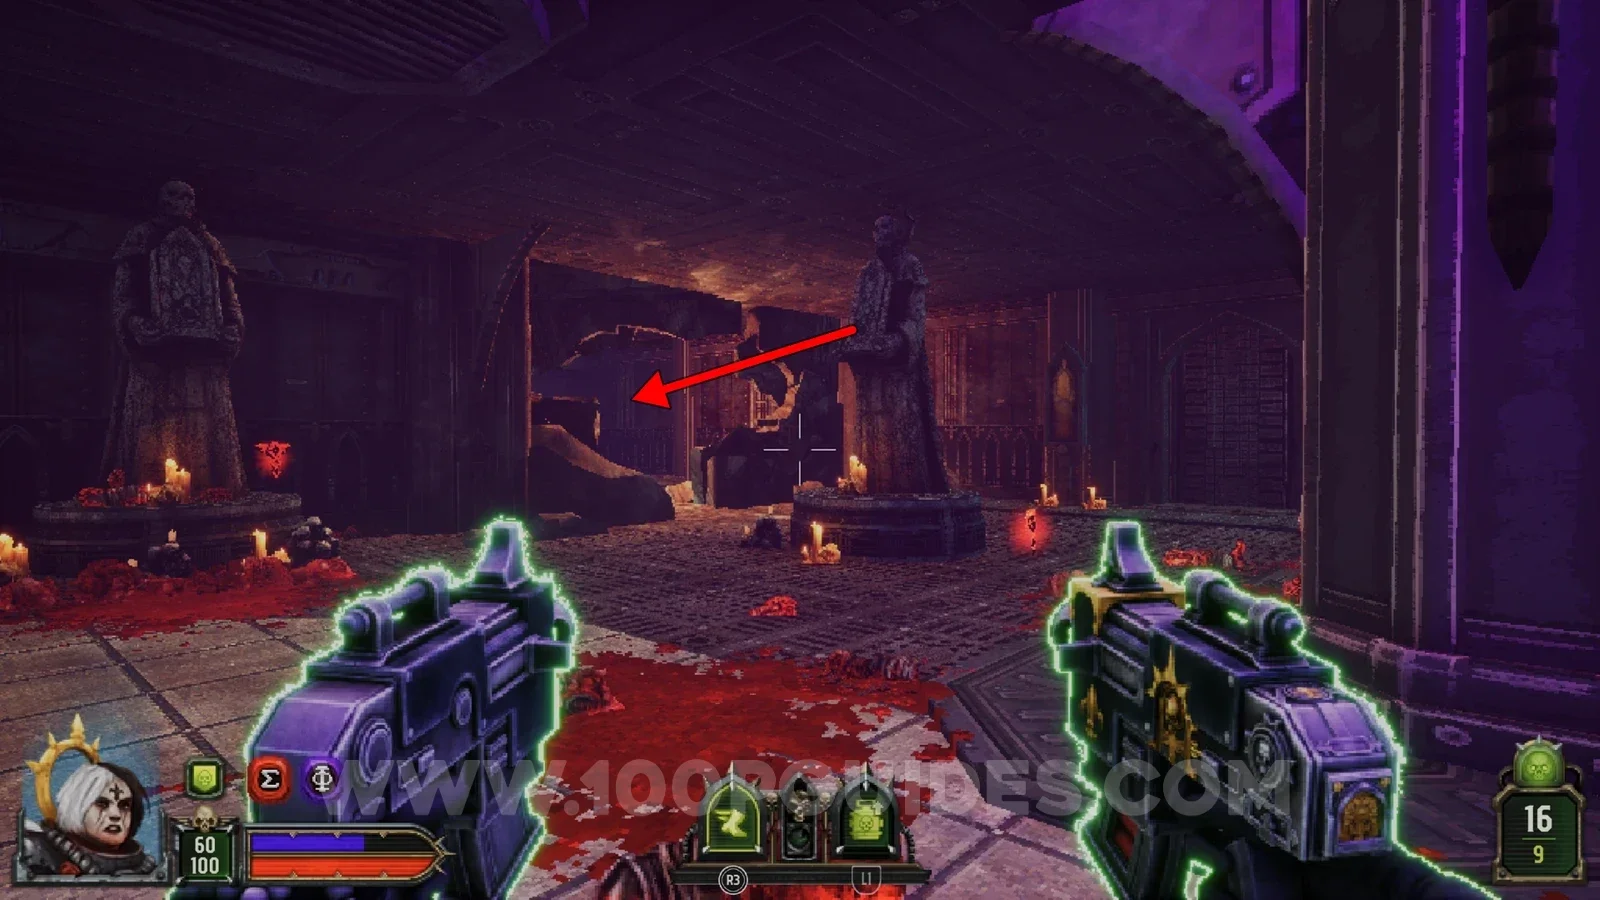
Once you reach the large building with several floors and lots of enemies just before the end of the level, head up to the third floor and look for a statue on the left side. Go through the hole in the wall behind it, then make your way around the outside of the building on the left to find the secret.
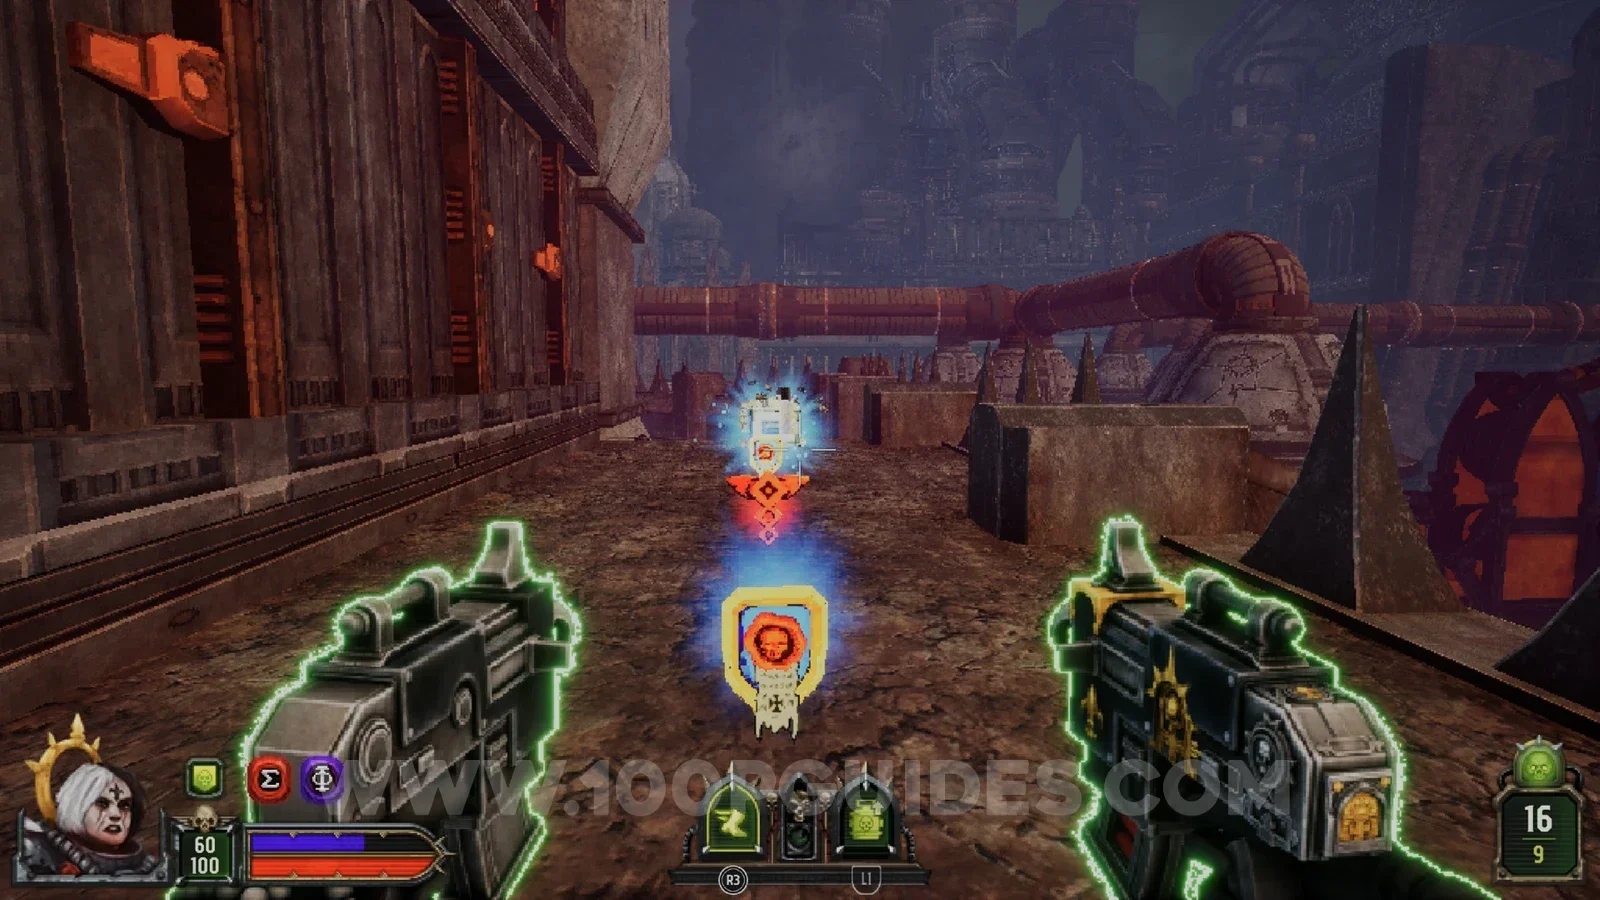
Dilapidated Prison
Secret 1/4
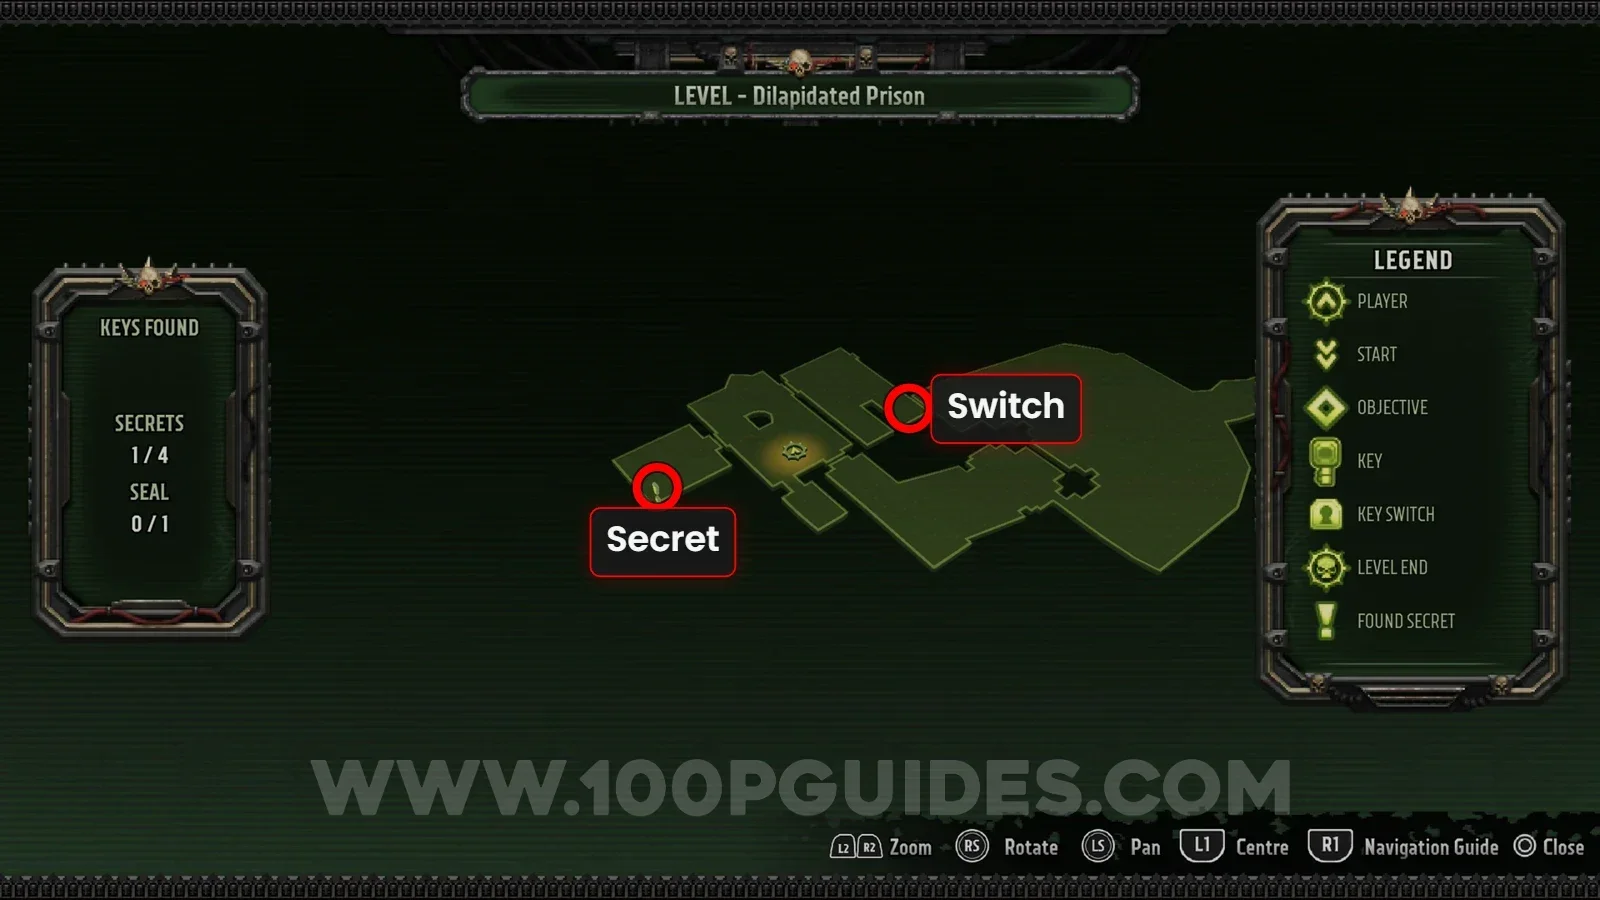
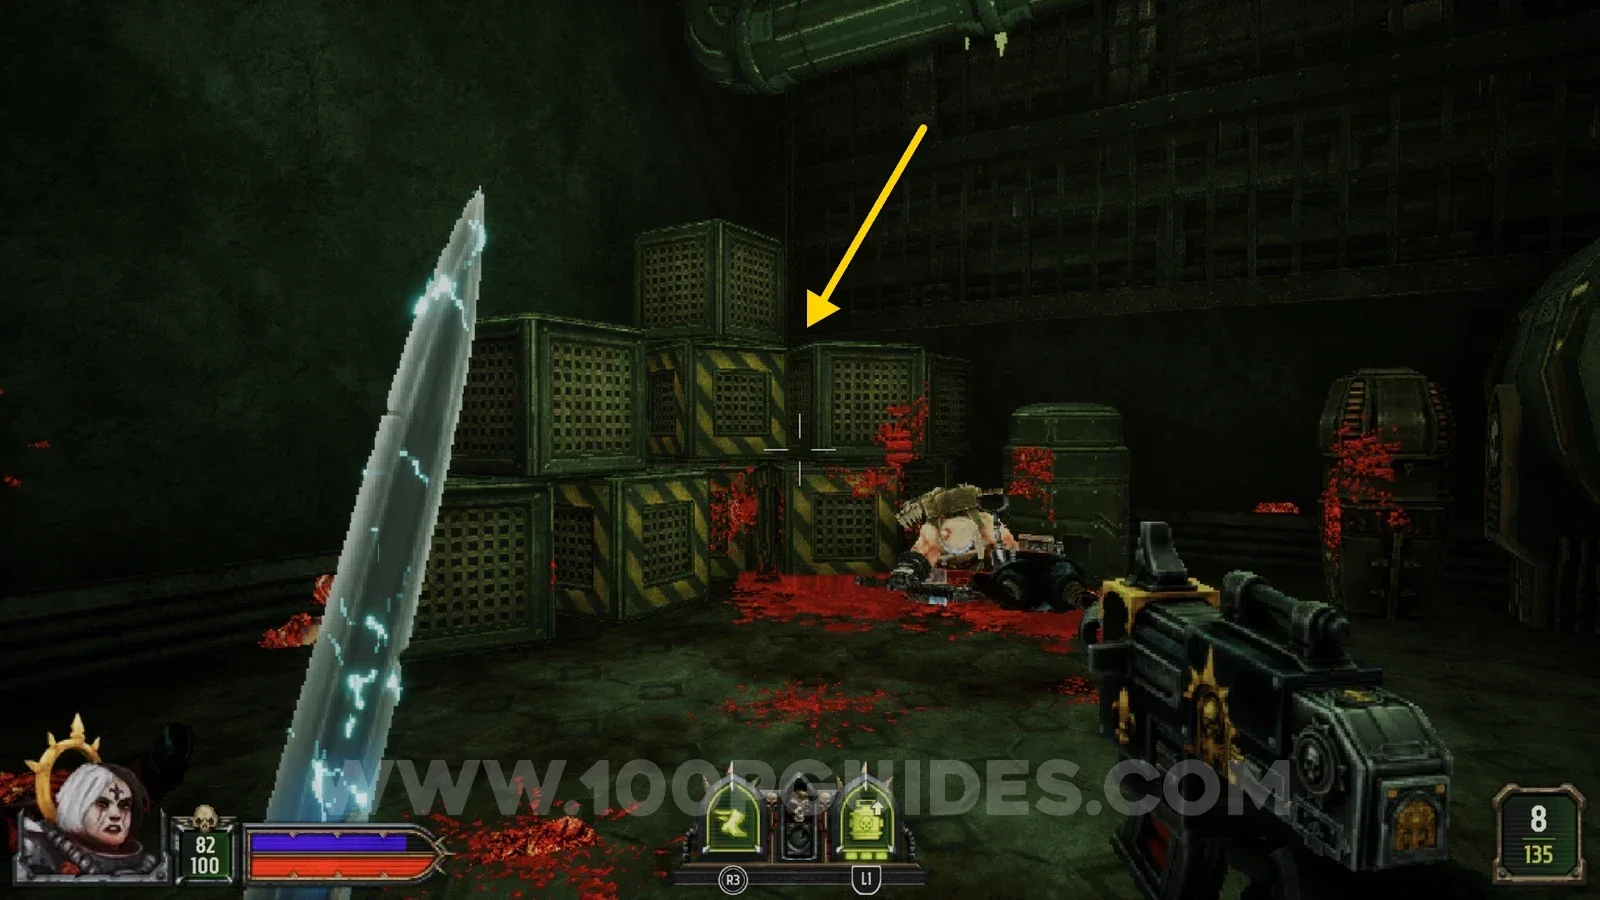
After shooting the switch that opens the door near the start of the level, head through. In the next hall, go through the right-hand door and look right to find a green switch. Press it to open the door on the left of the previous hall, then head through that to find the secret behind the pile of boxes.
Secret 2/4
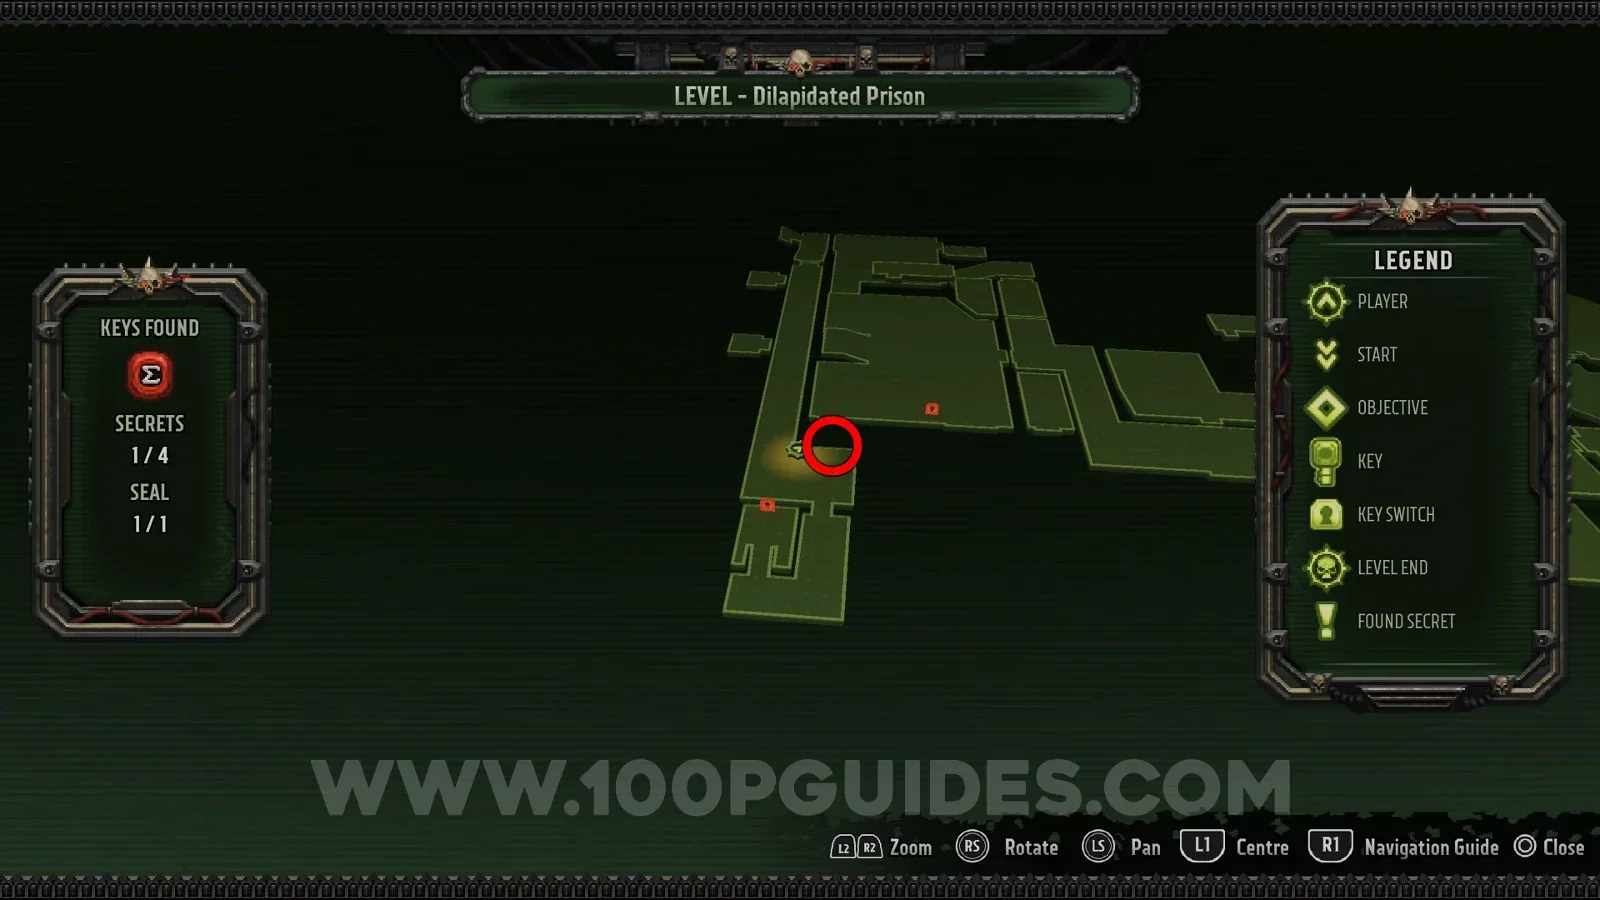
Once you have the red key and need to activate the console with it, you will see the secret behind some metal bars just outside the console room. Look through the hole and shoot the skull next to the secret to open the door. Then, after you backtrack to the area with the red door, you can walk in and grab it.
Seal 1/1
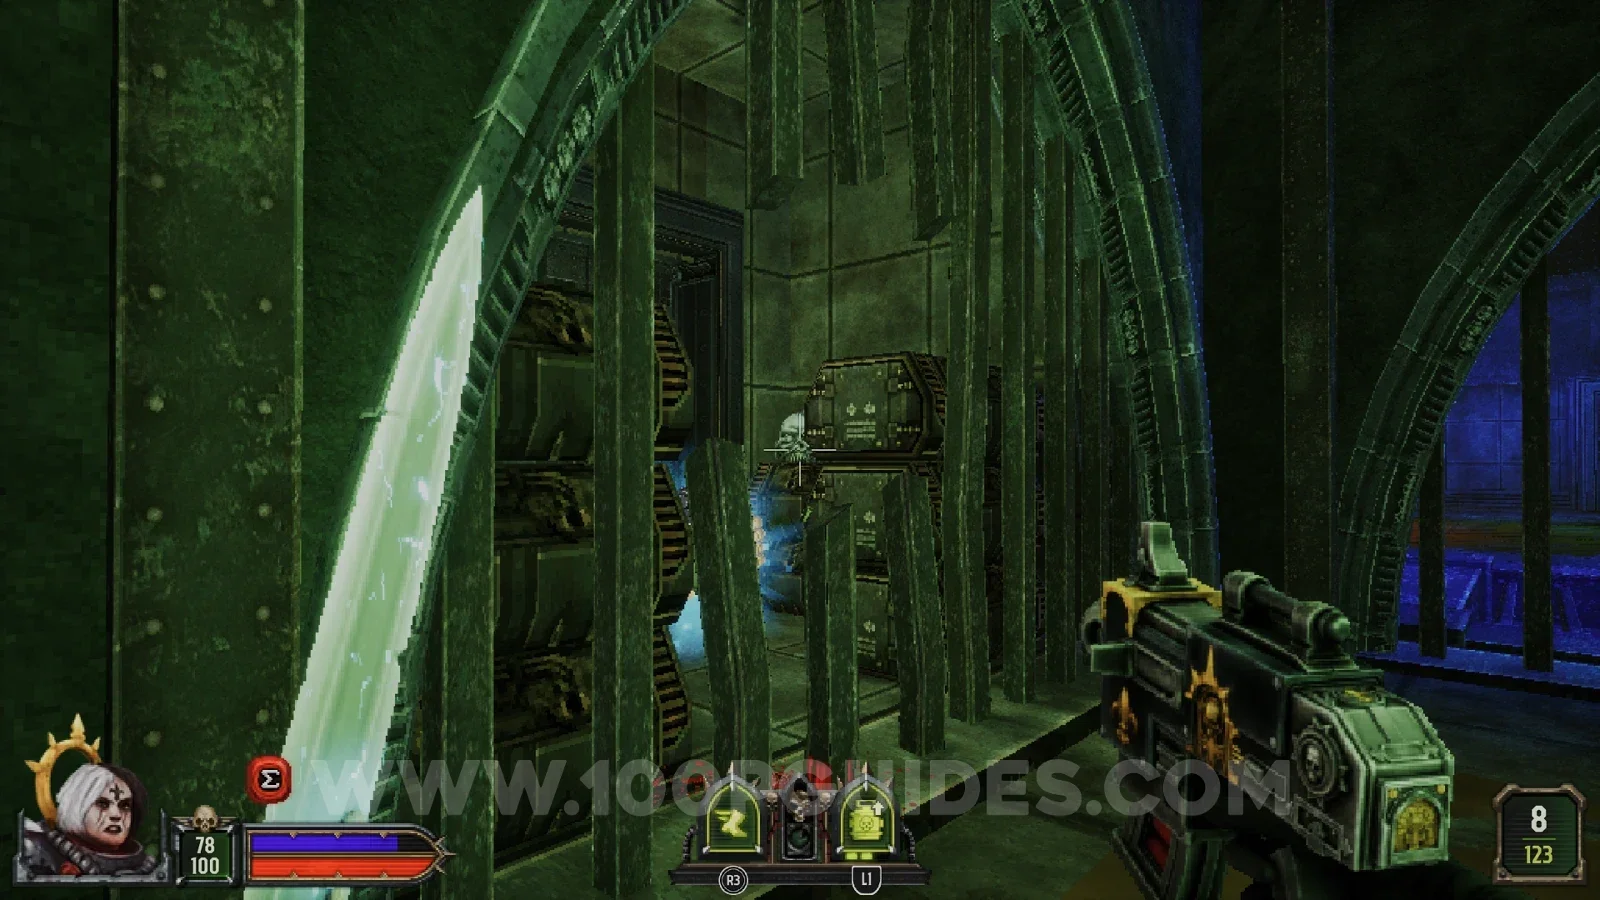
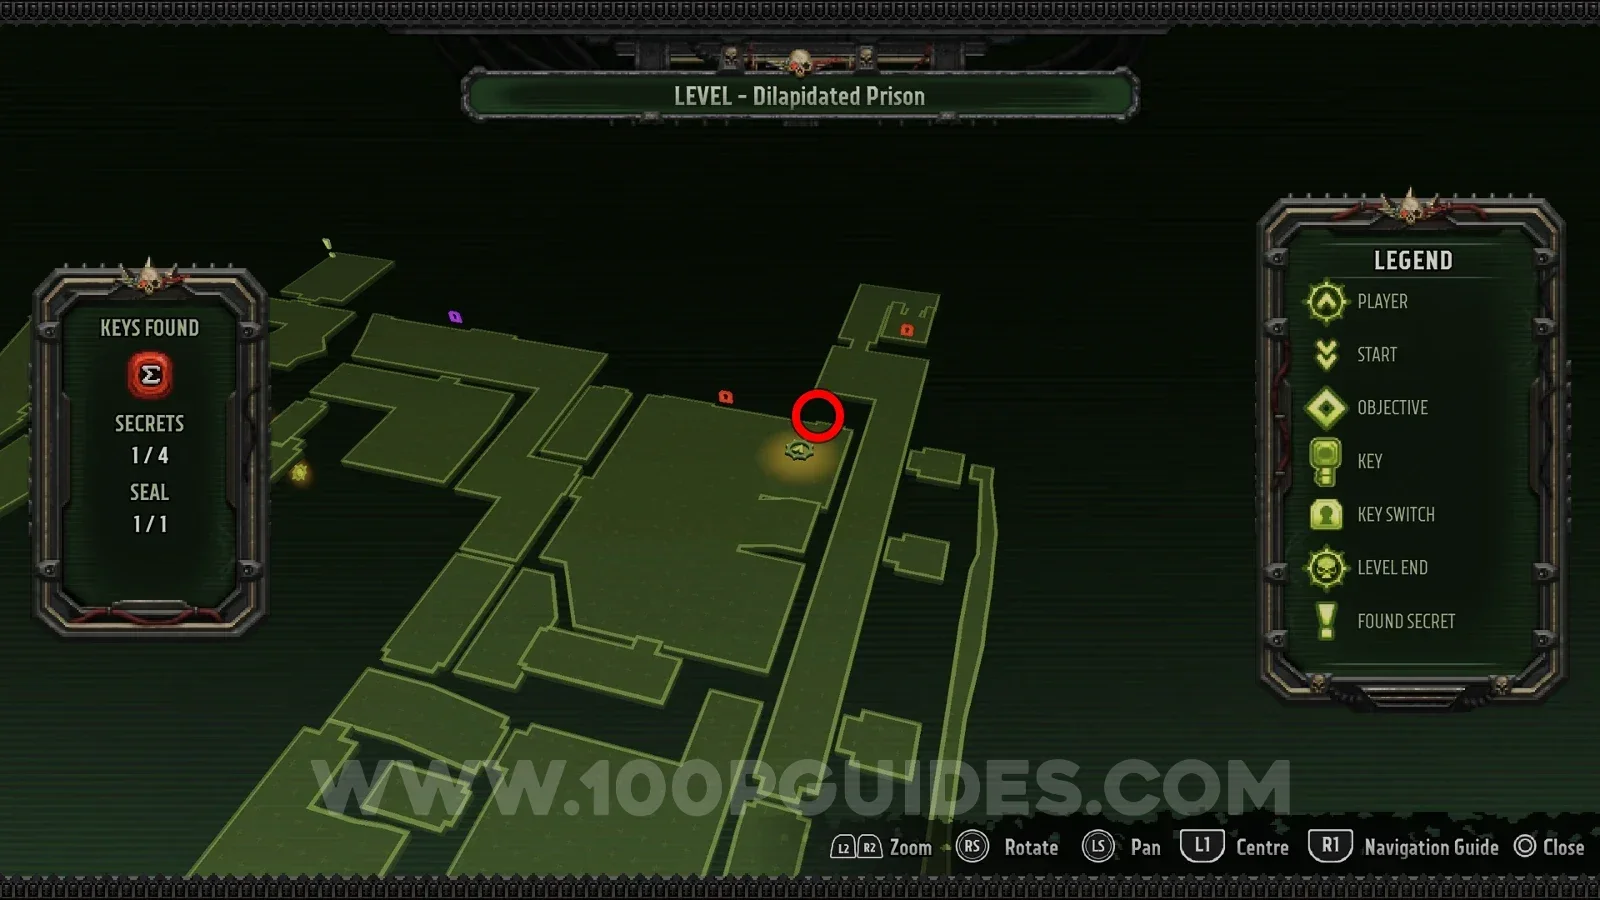
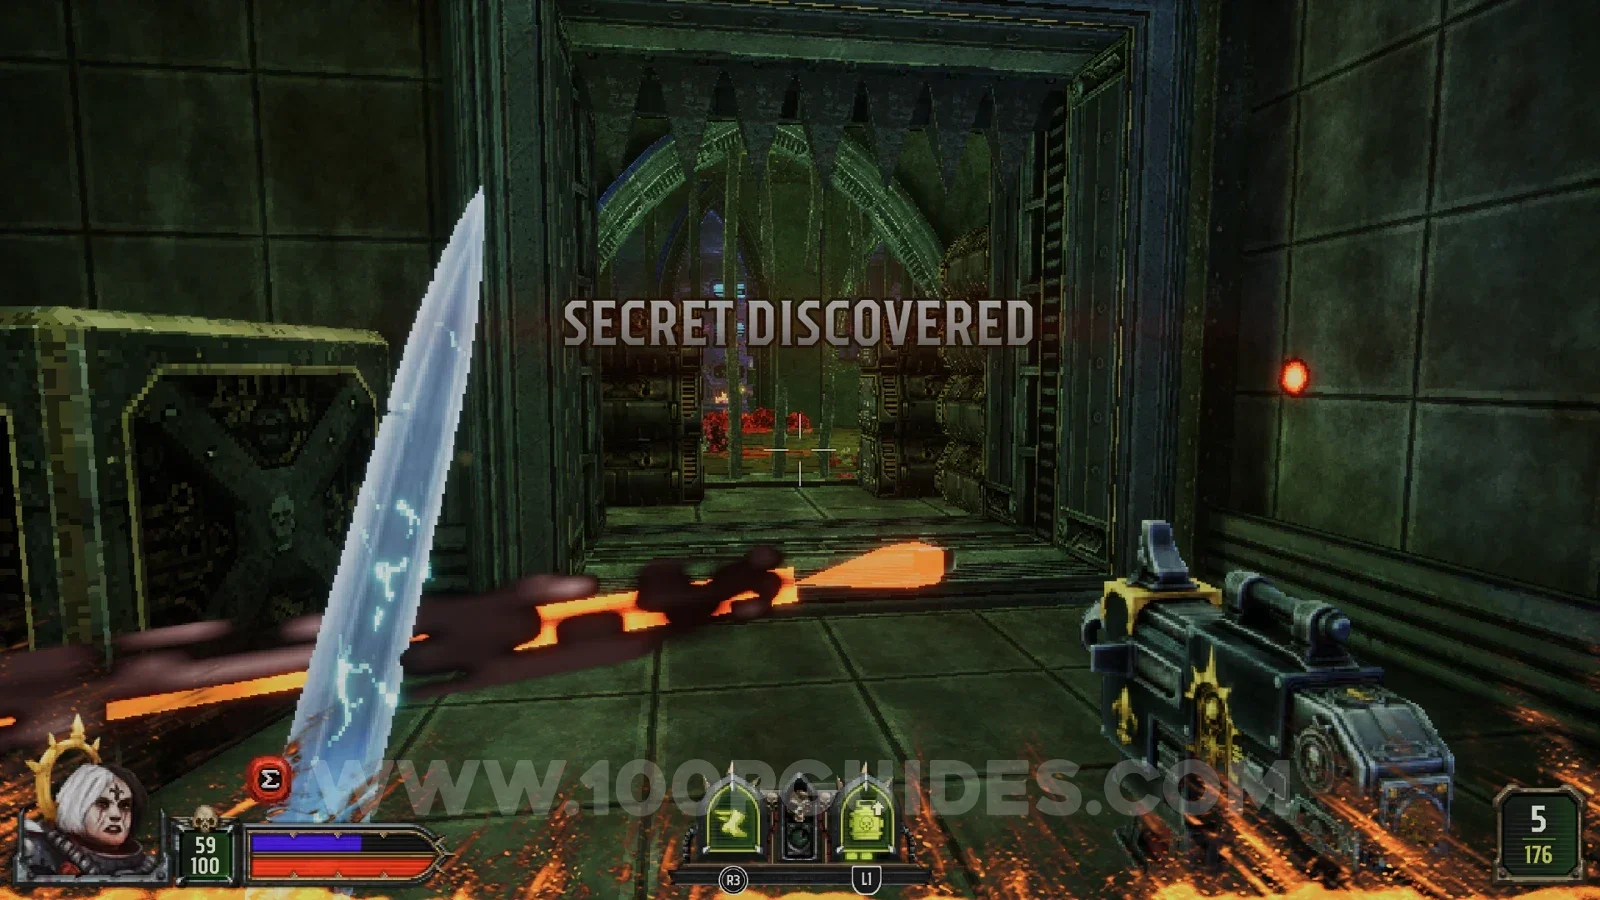
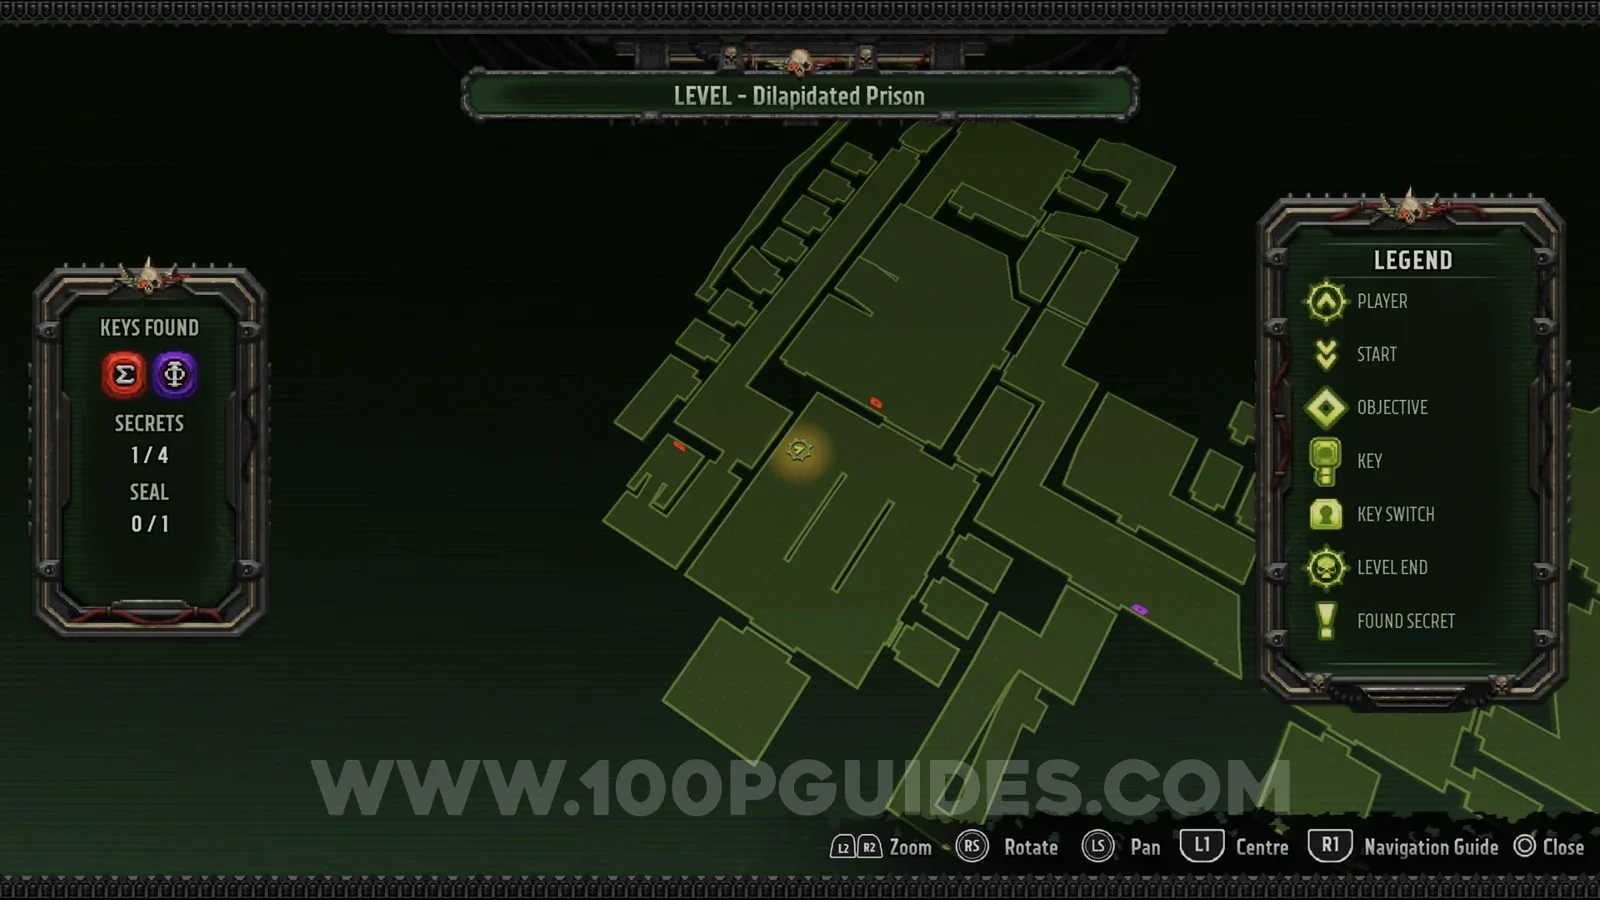
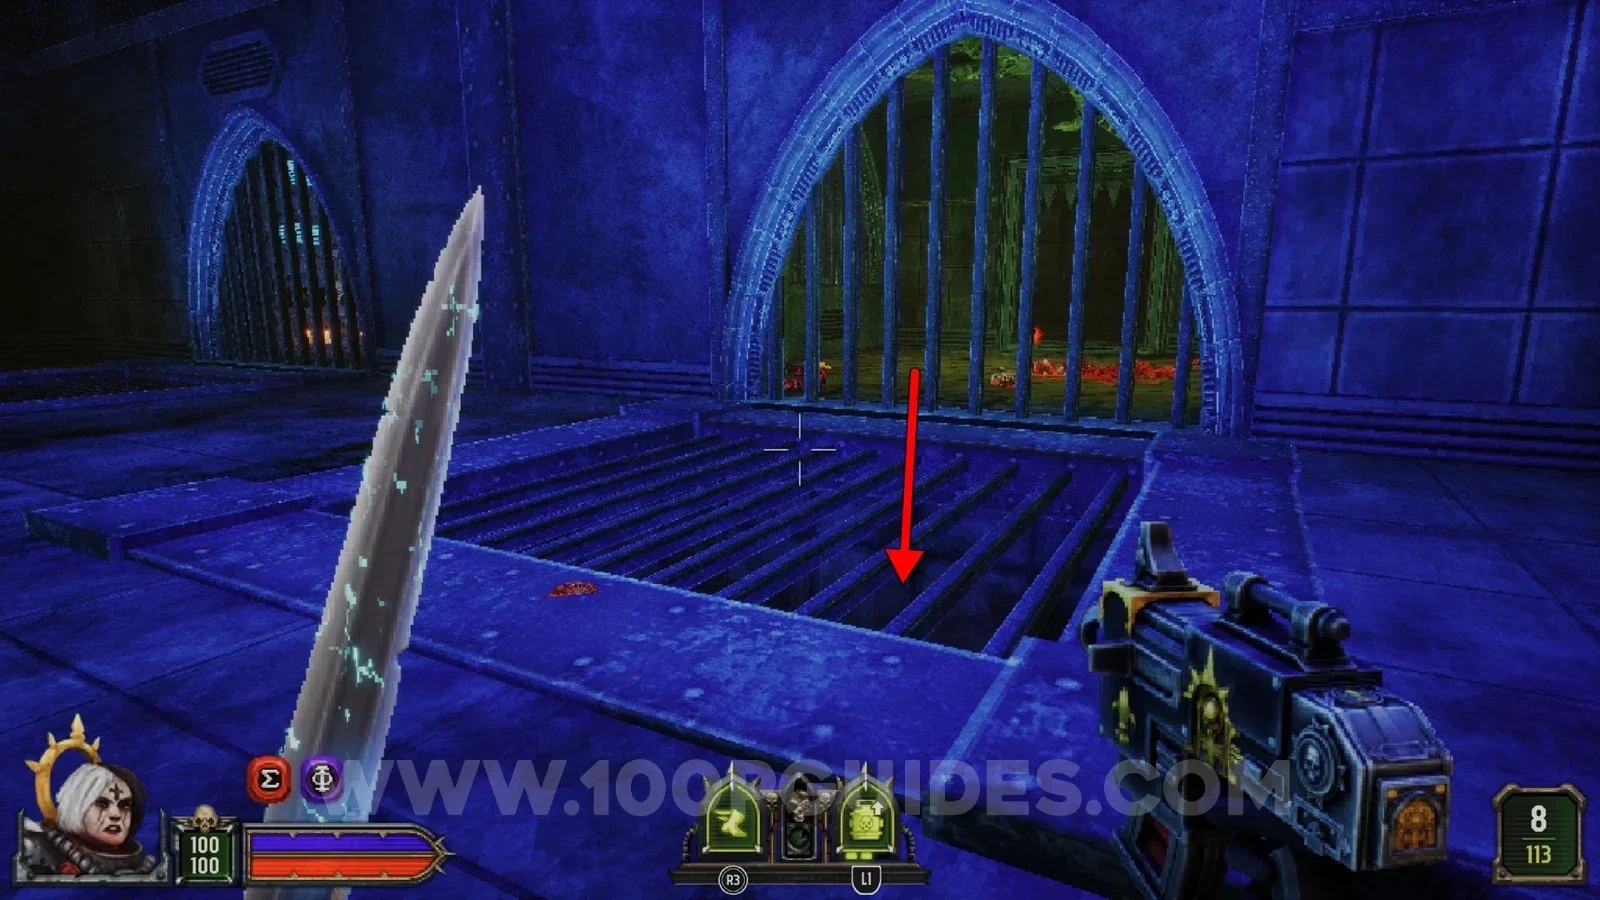
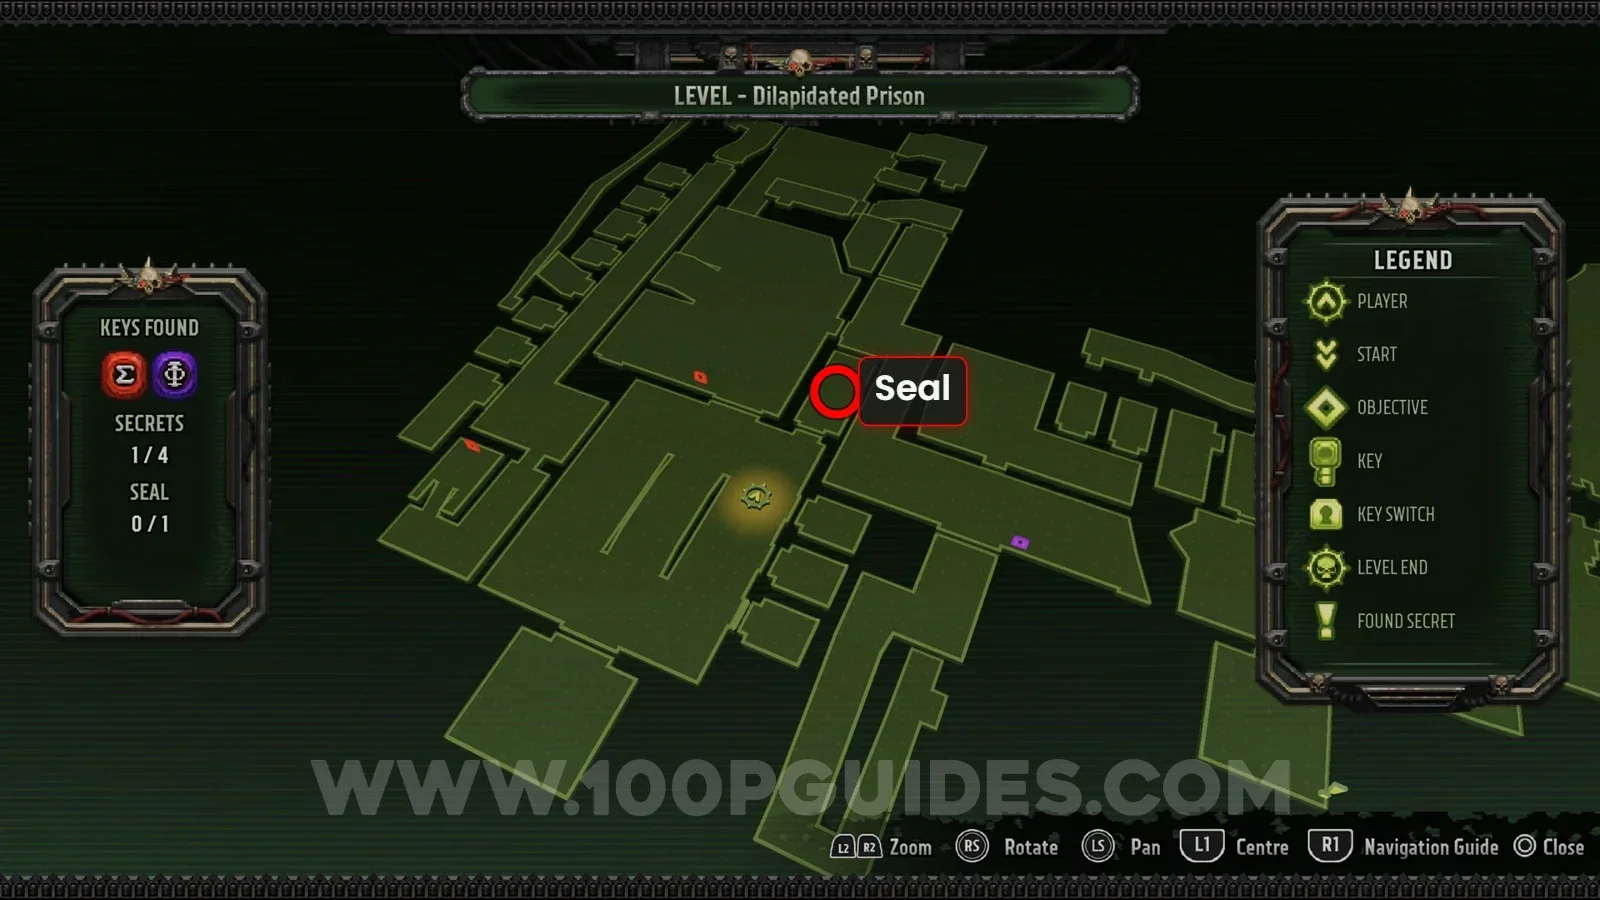
In the room where you pick up the purple key, look through the metal gratings in the floor and shoot the enemies below. This opens the door in the corner of the room, letting you pick up the seal.
Secret 3/4
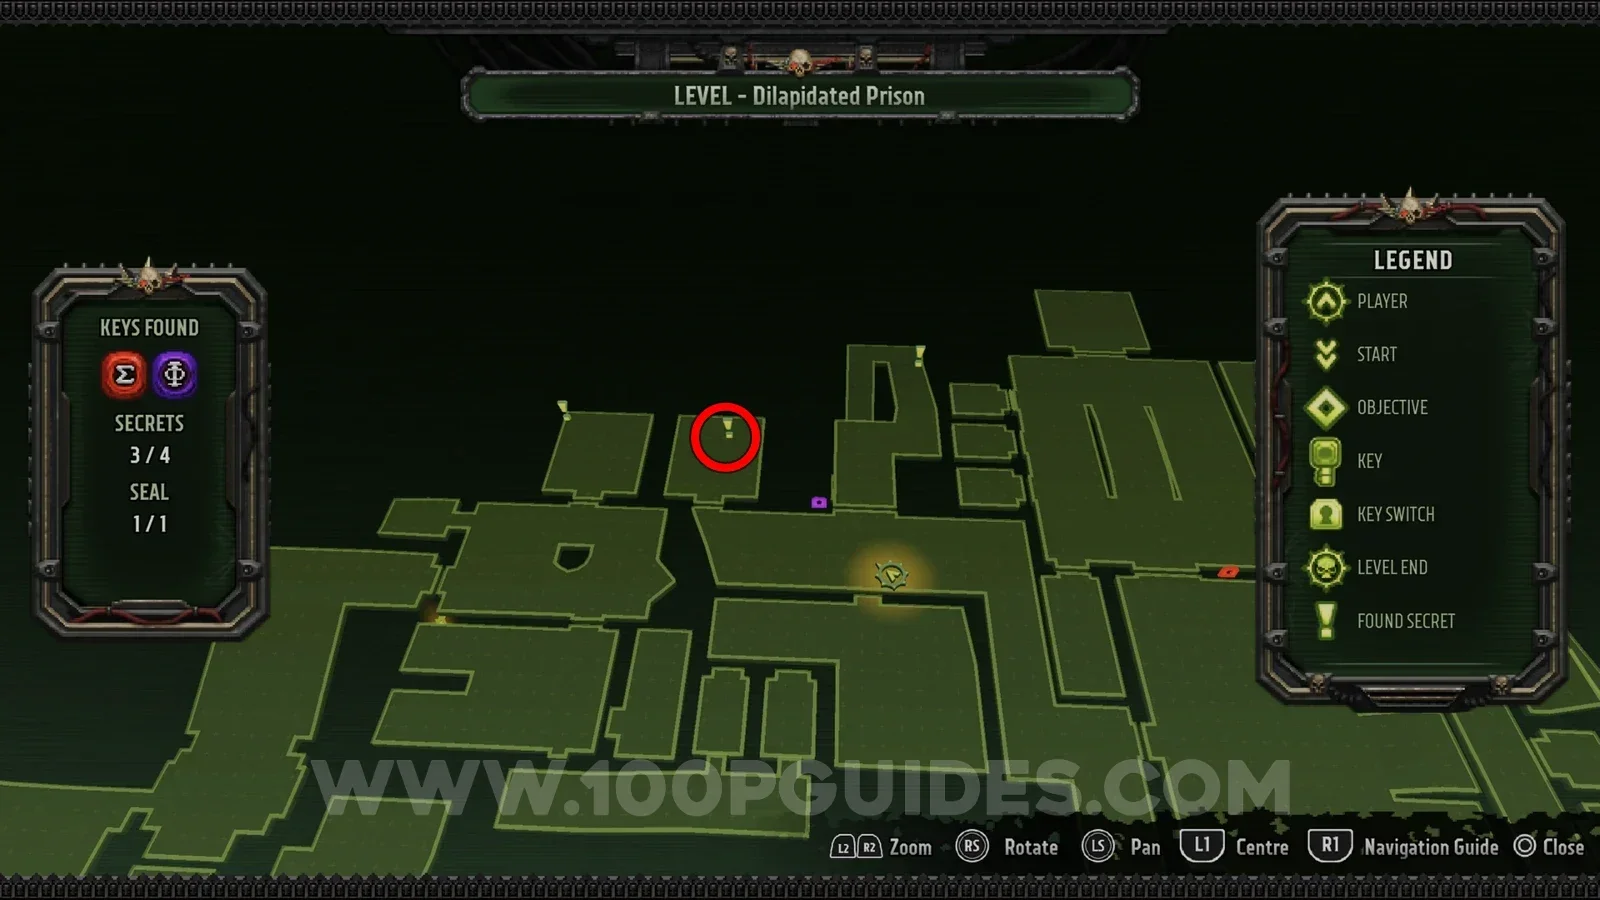
In the room to the left of the purple door. Jump over the machinery inside to reach it.
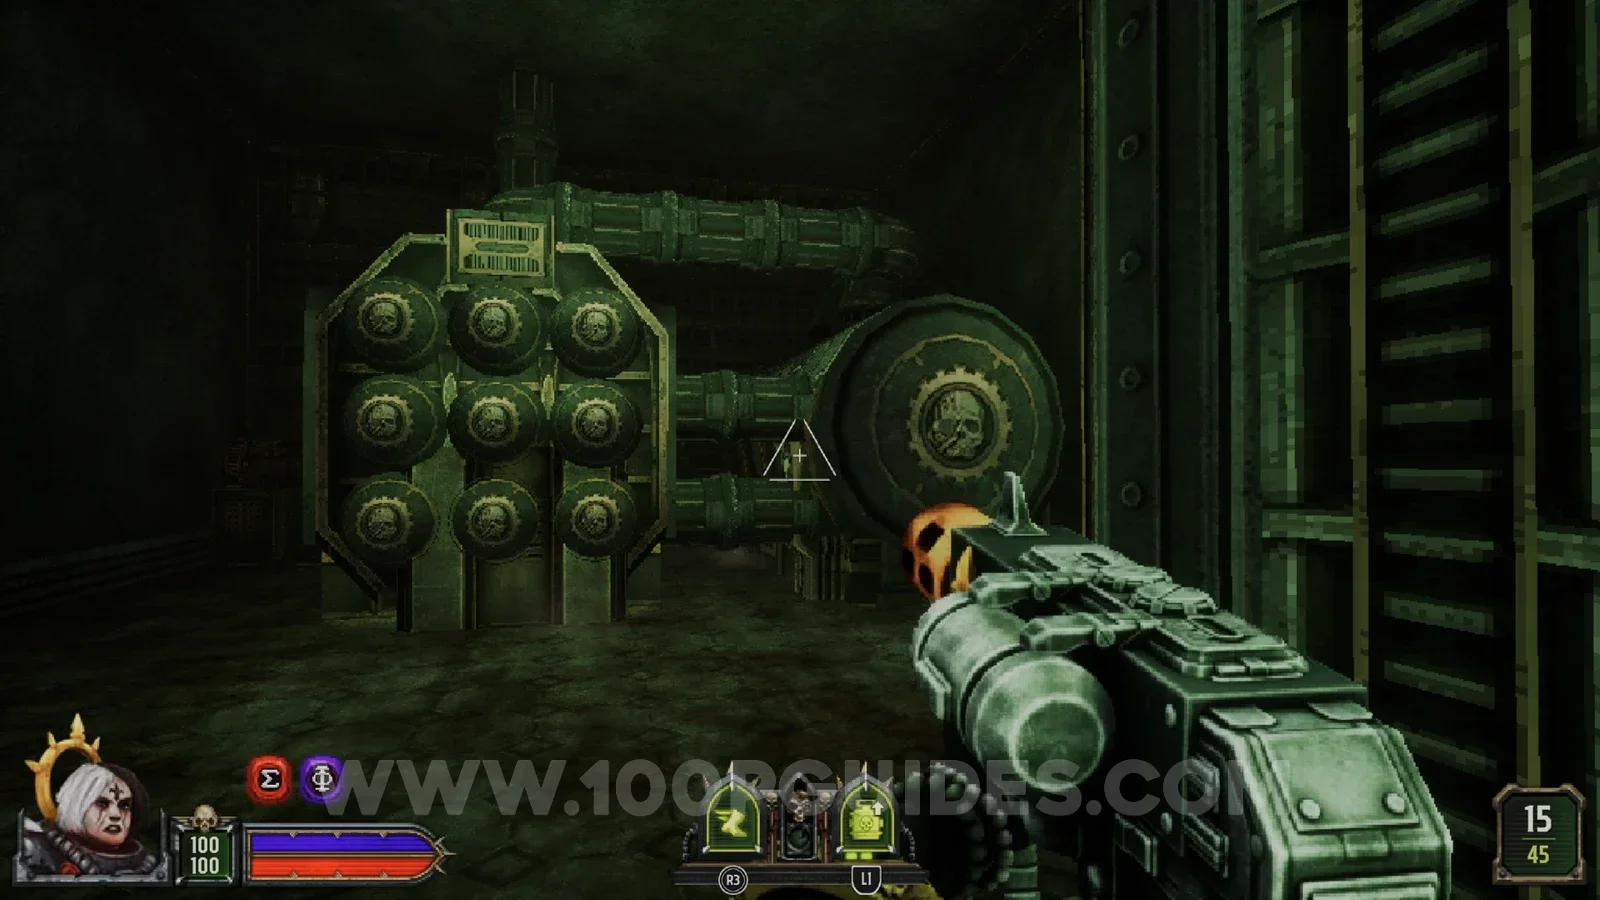
Secret 4/4
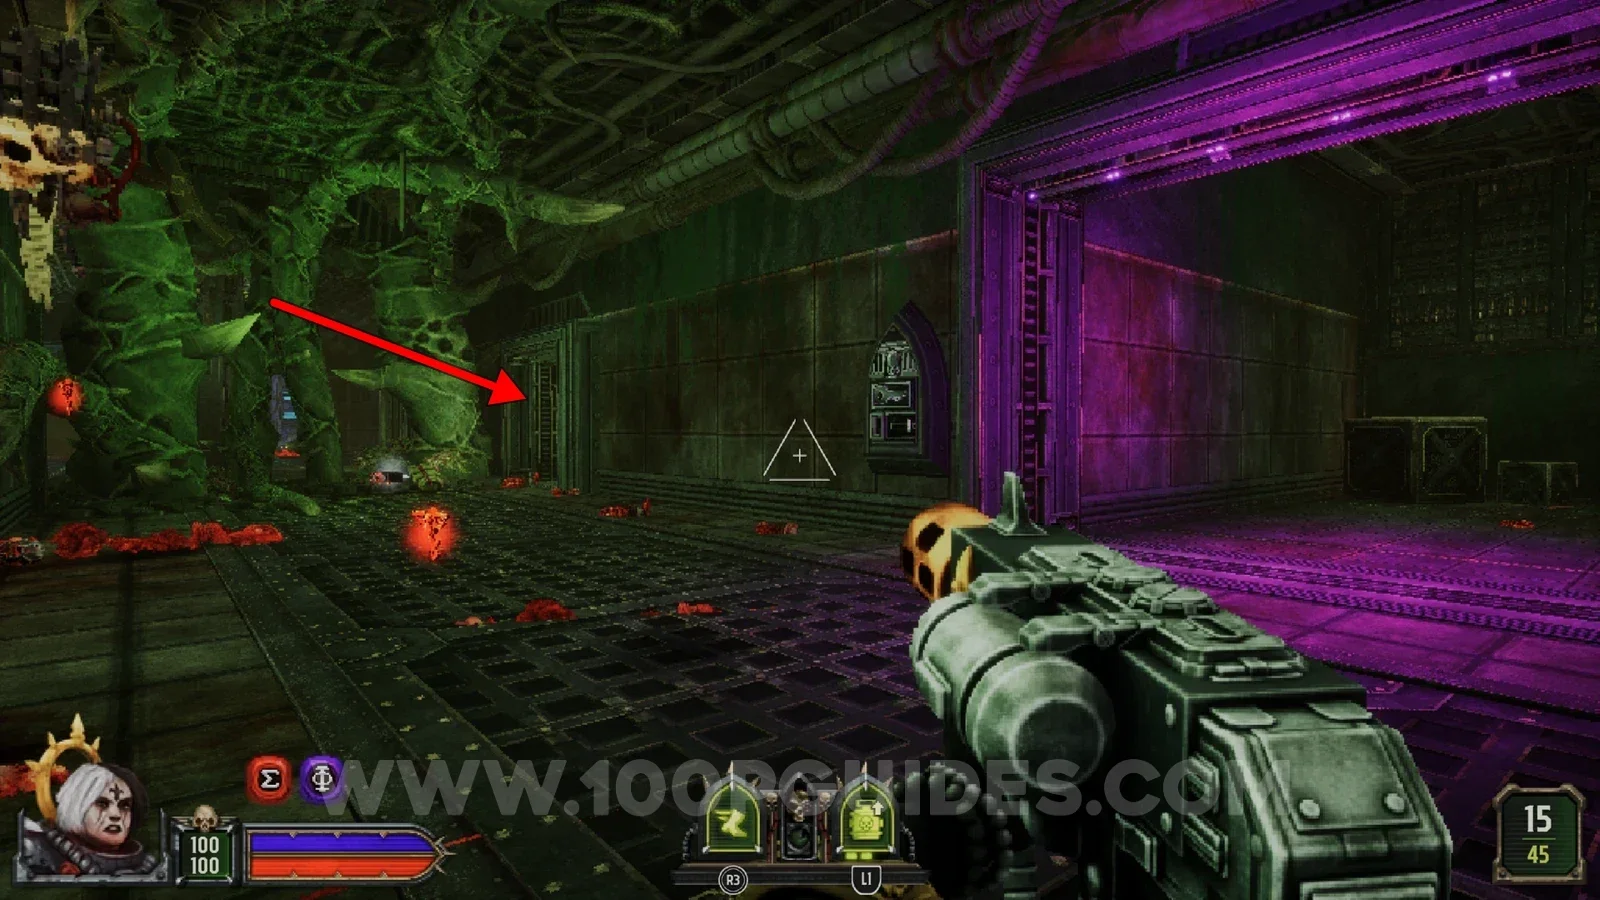
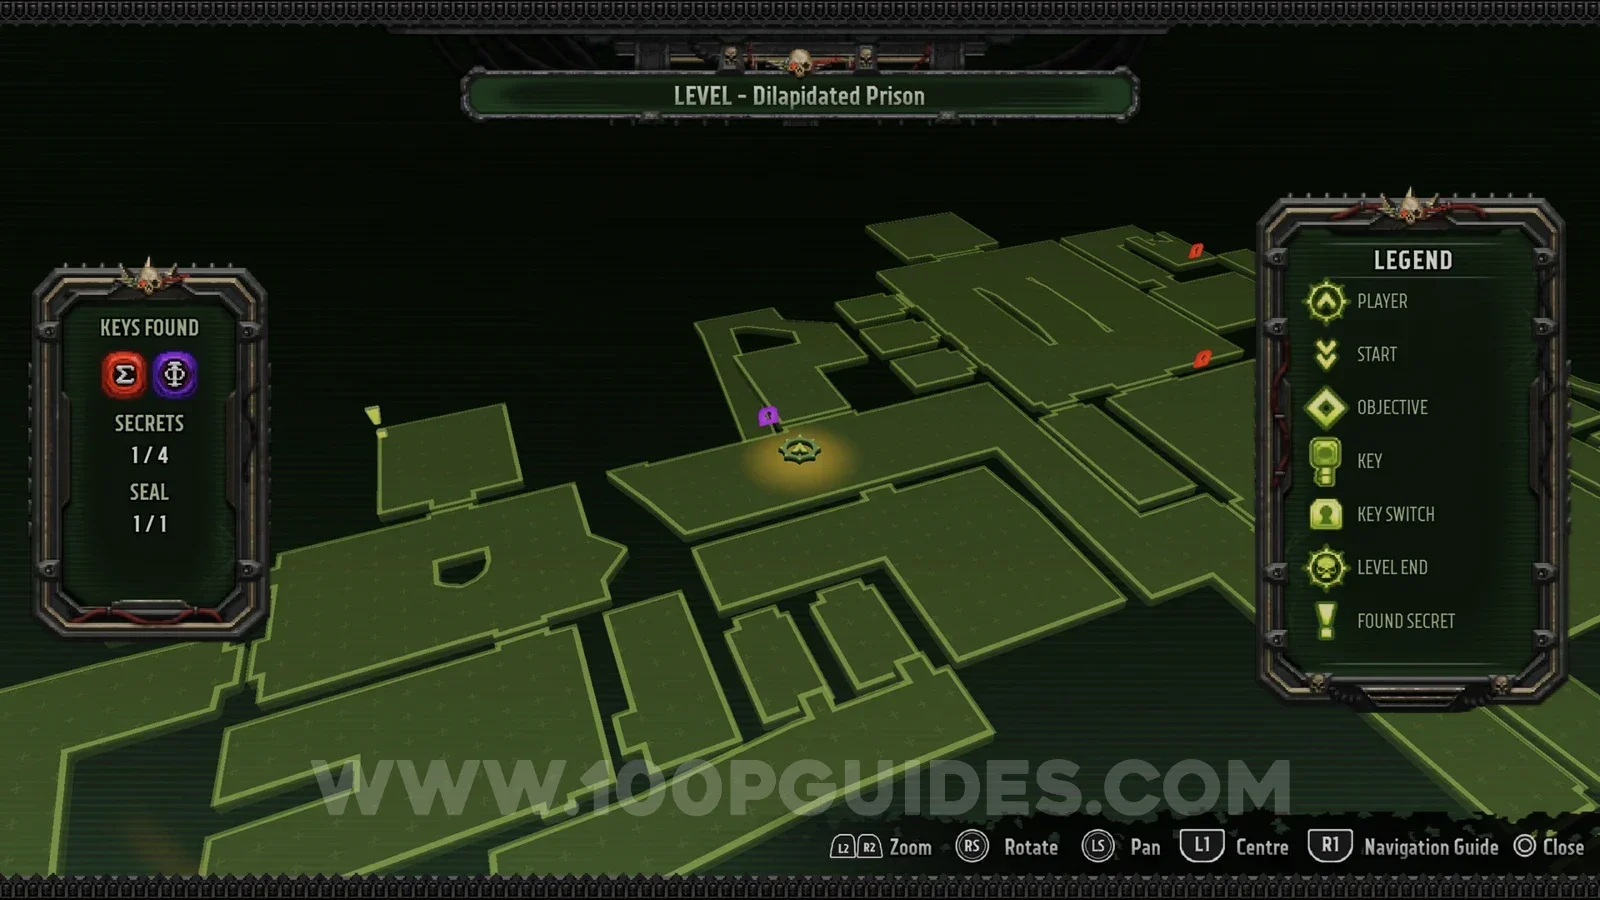
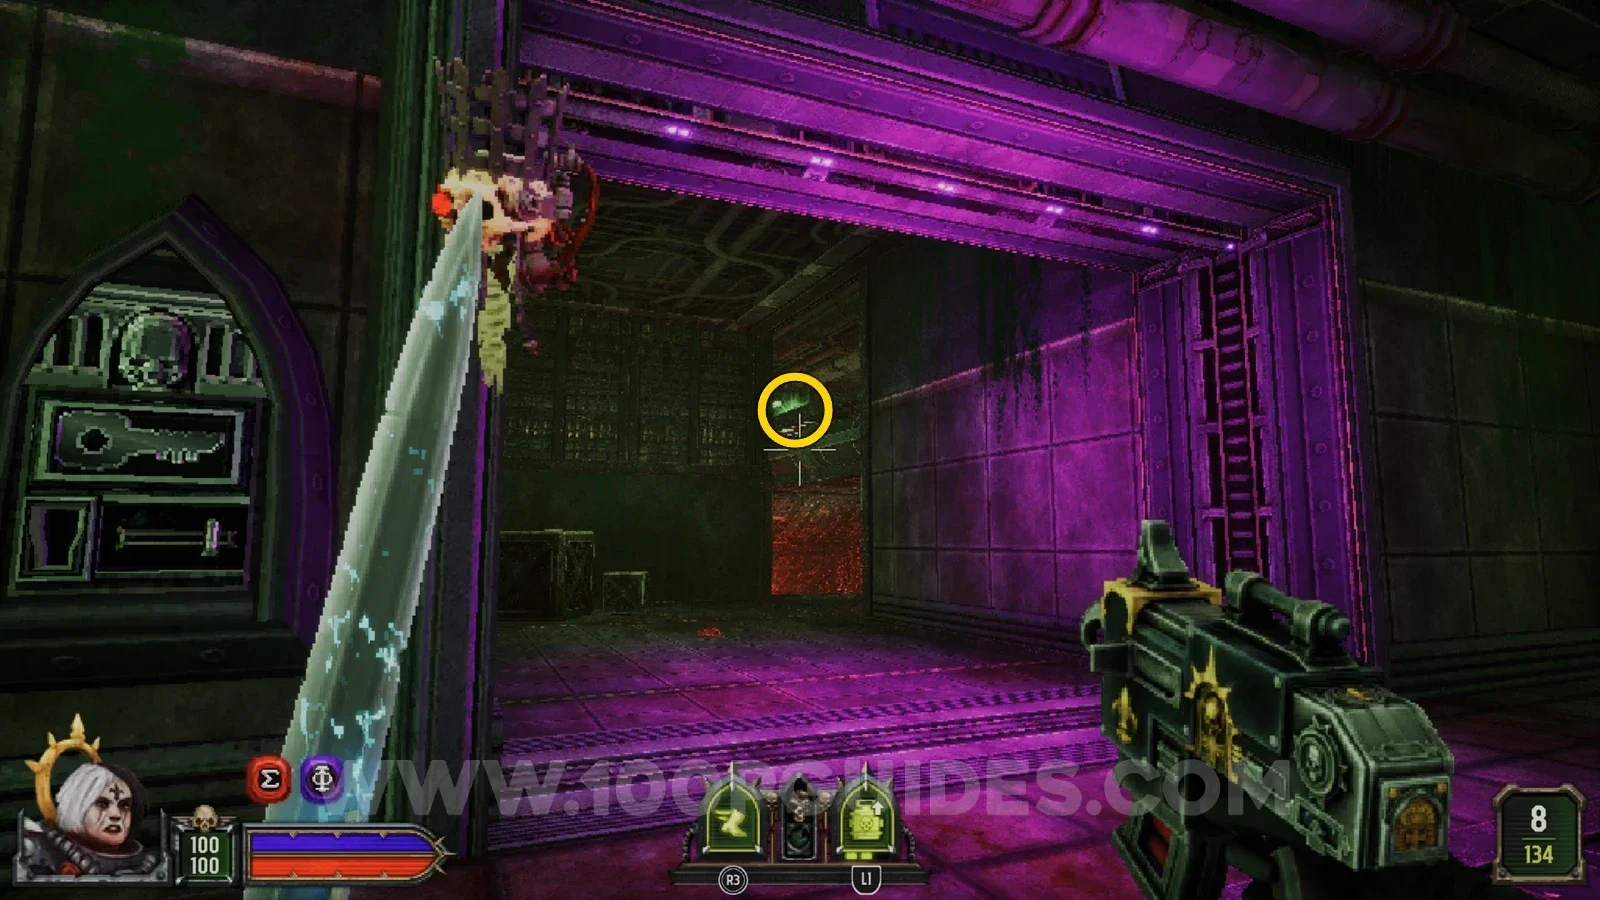
On the pipes above the hall on the other side of the purple door. Use the boxes to reach it.
Blood Fortress
Secret 1/4
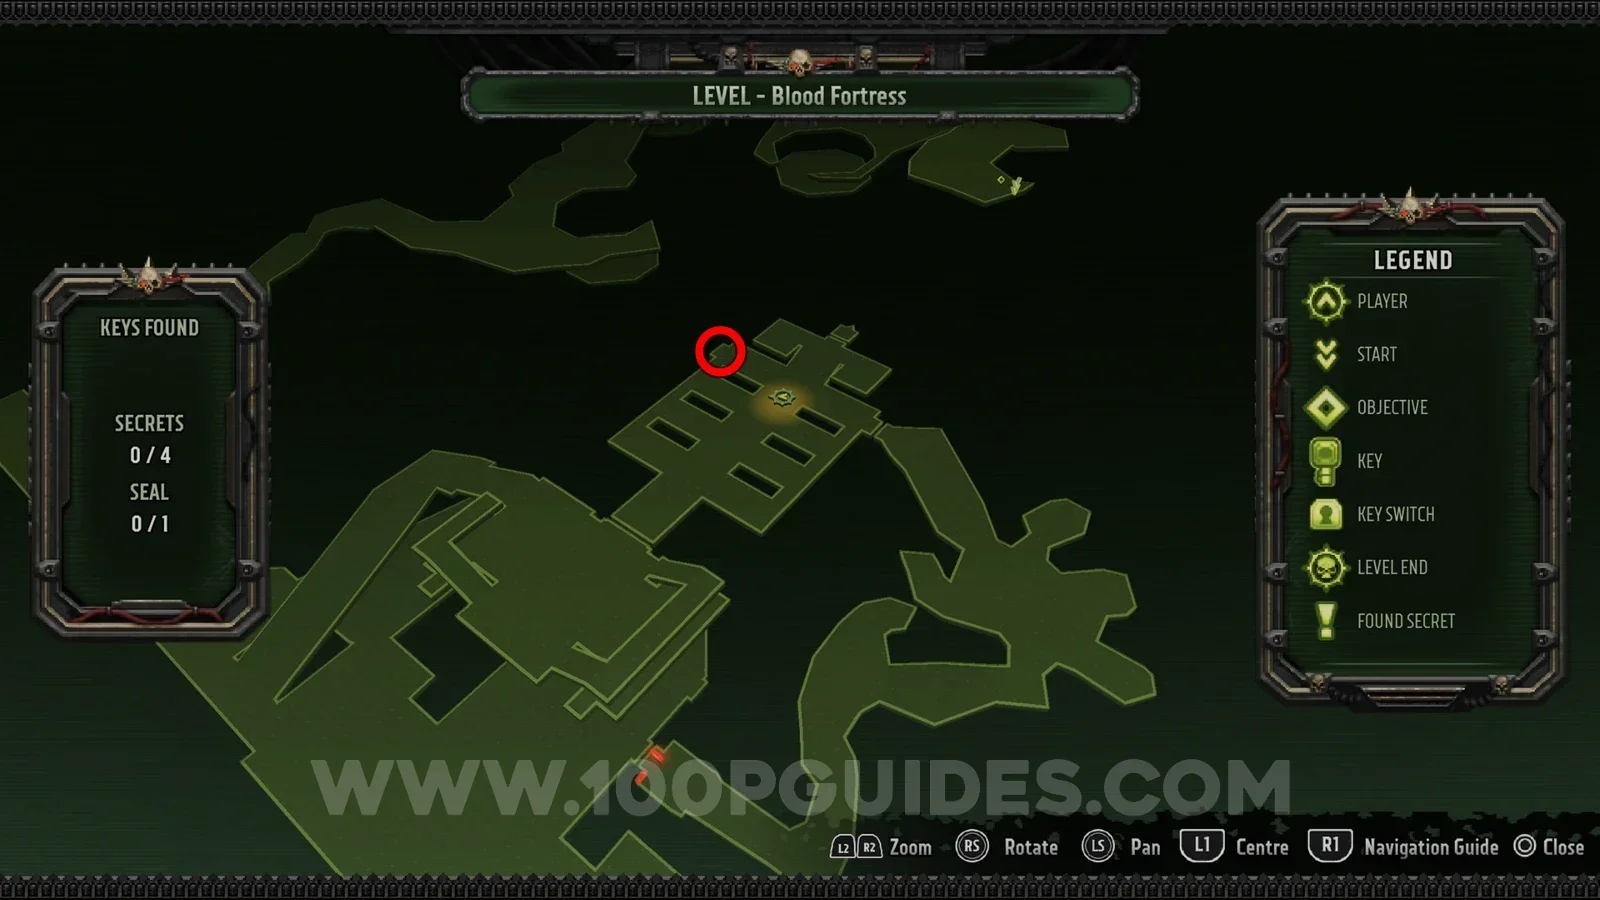
On your way to the red key you go through a room with some metal structures in it. Look for a skull on one of them and shoot it to open the small side room with the secret inside.
Seal 1/1
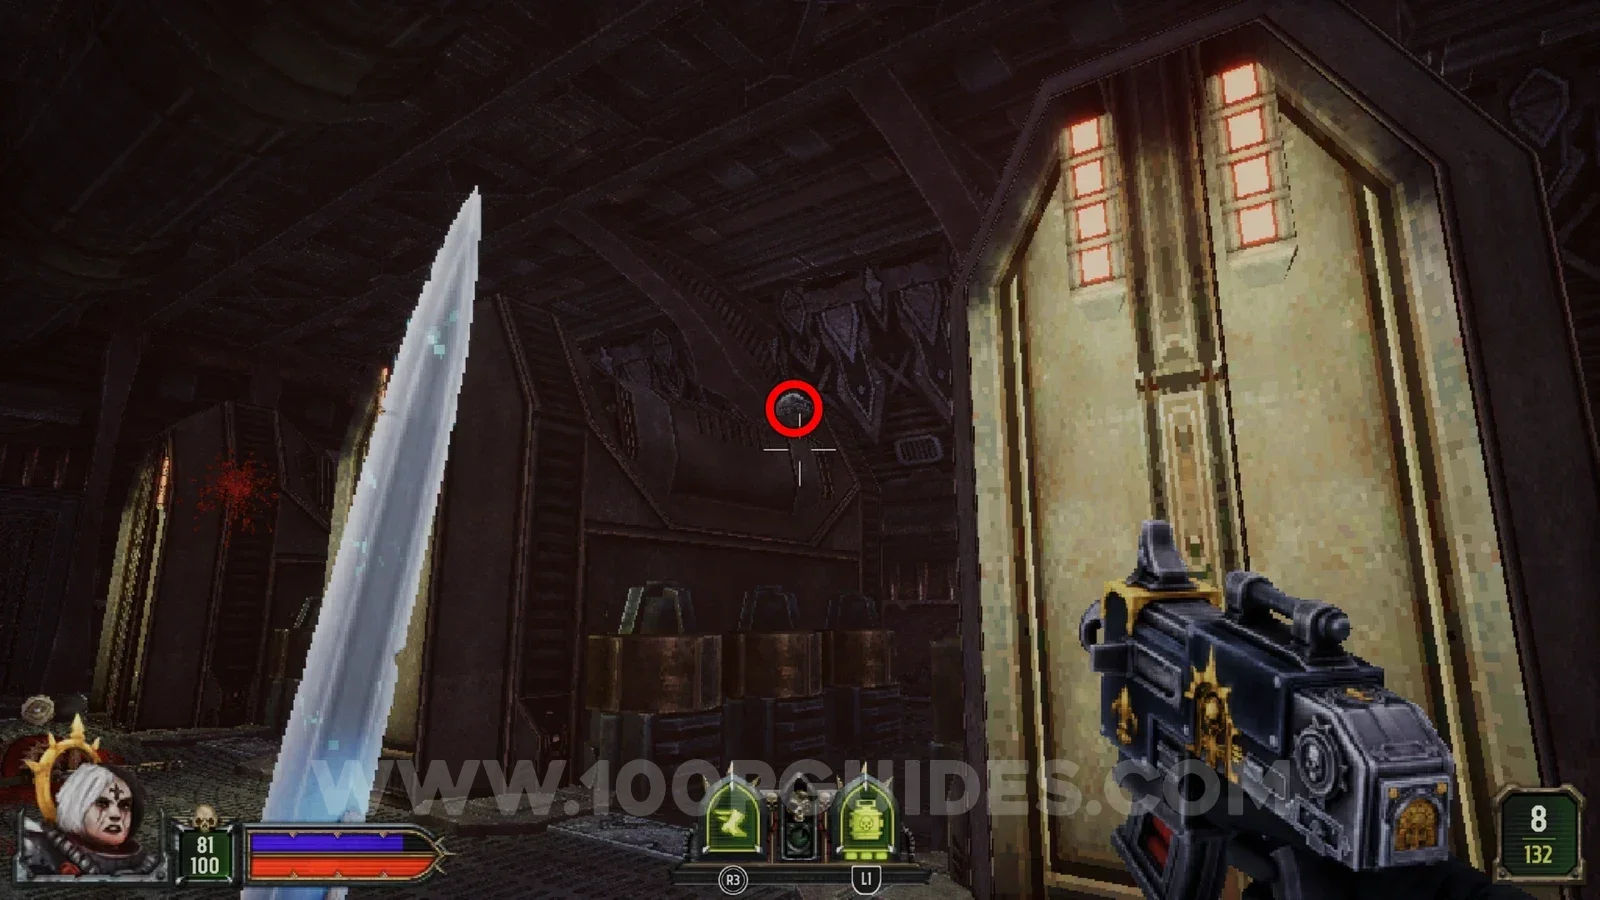
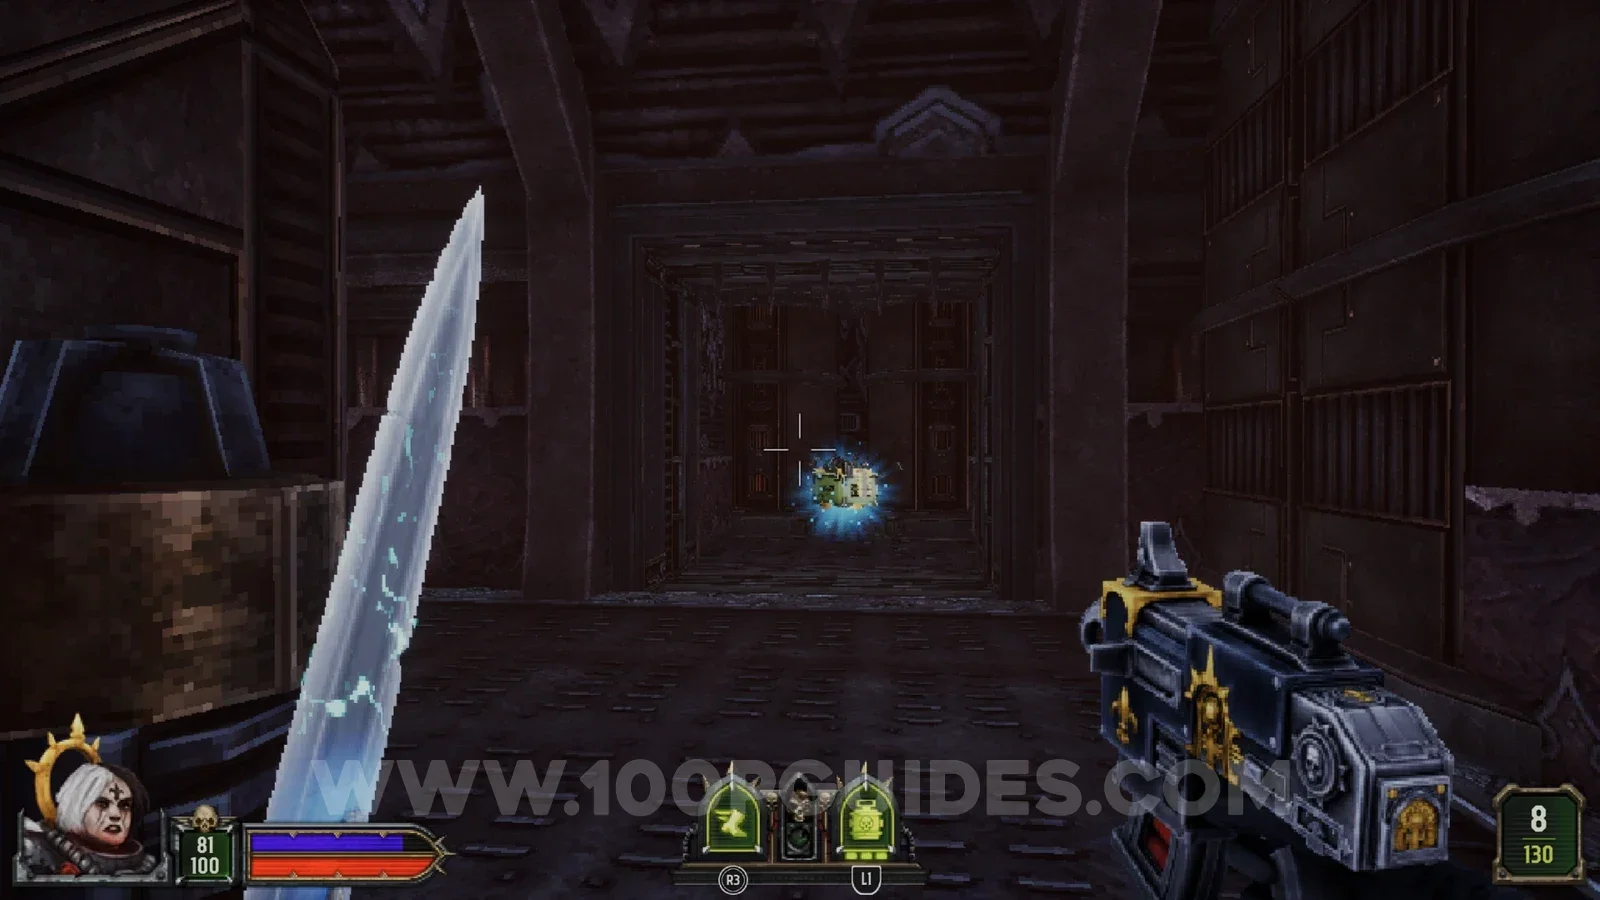
After going through the red door you have to reach the switch that lowers the drawbridge. From the switch, look for a skull on top of the tall structure in front of you. Shoot it to activate a jump pad on your left that takes you to the seal.
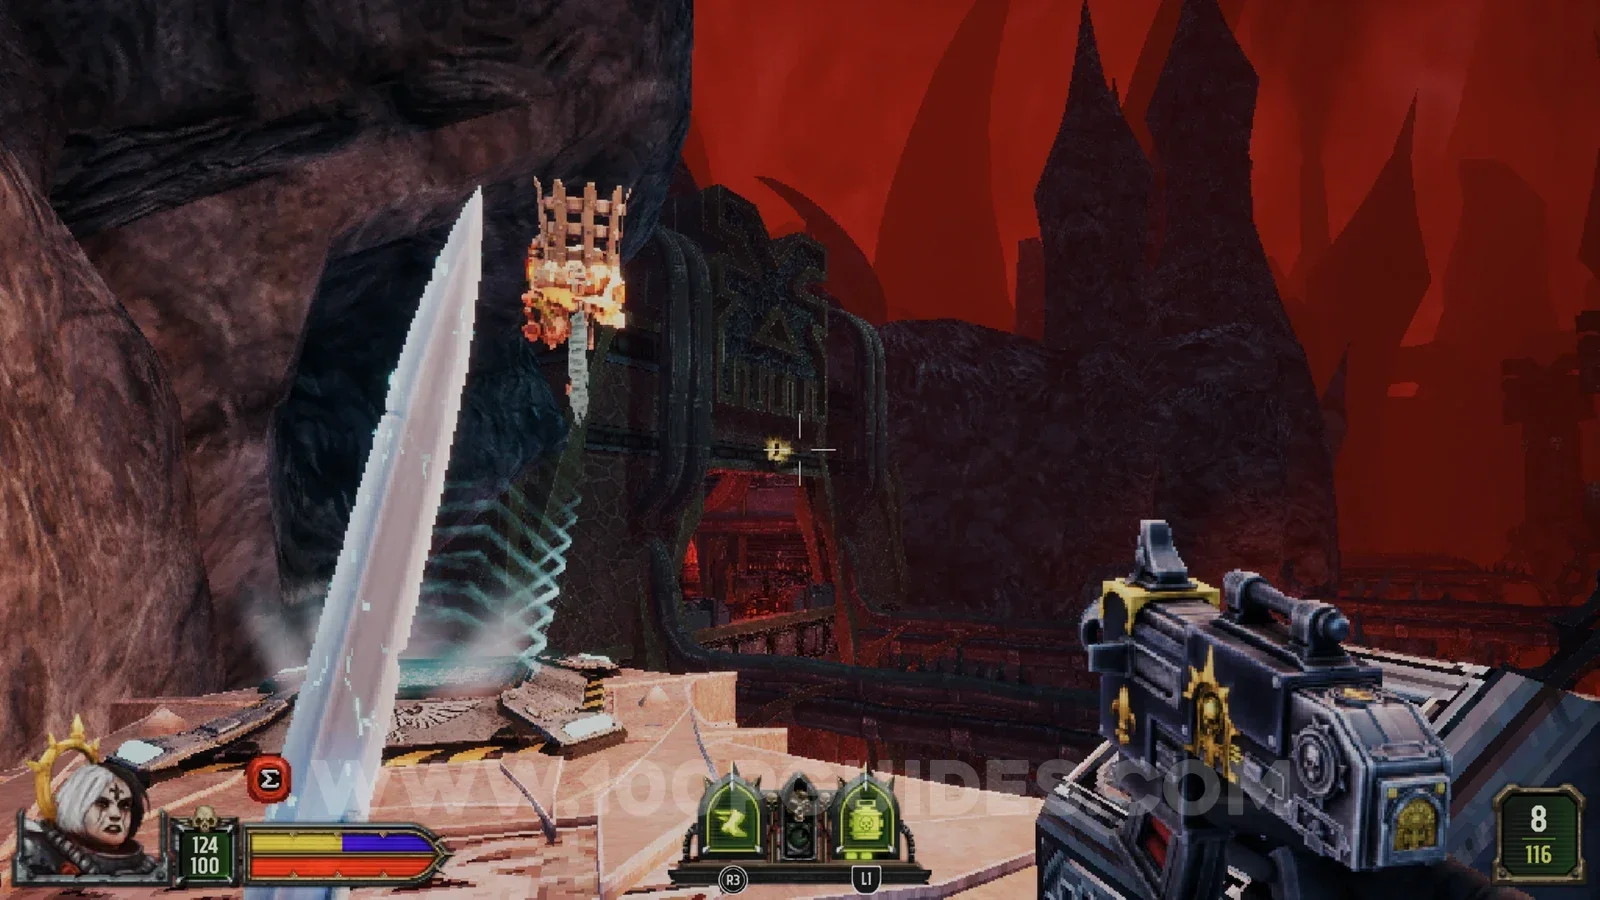
Secret 2/4
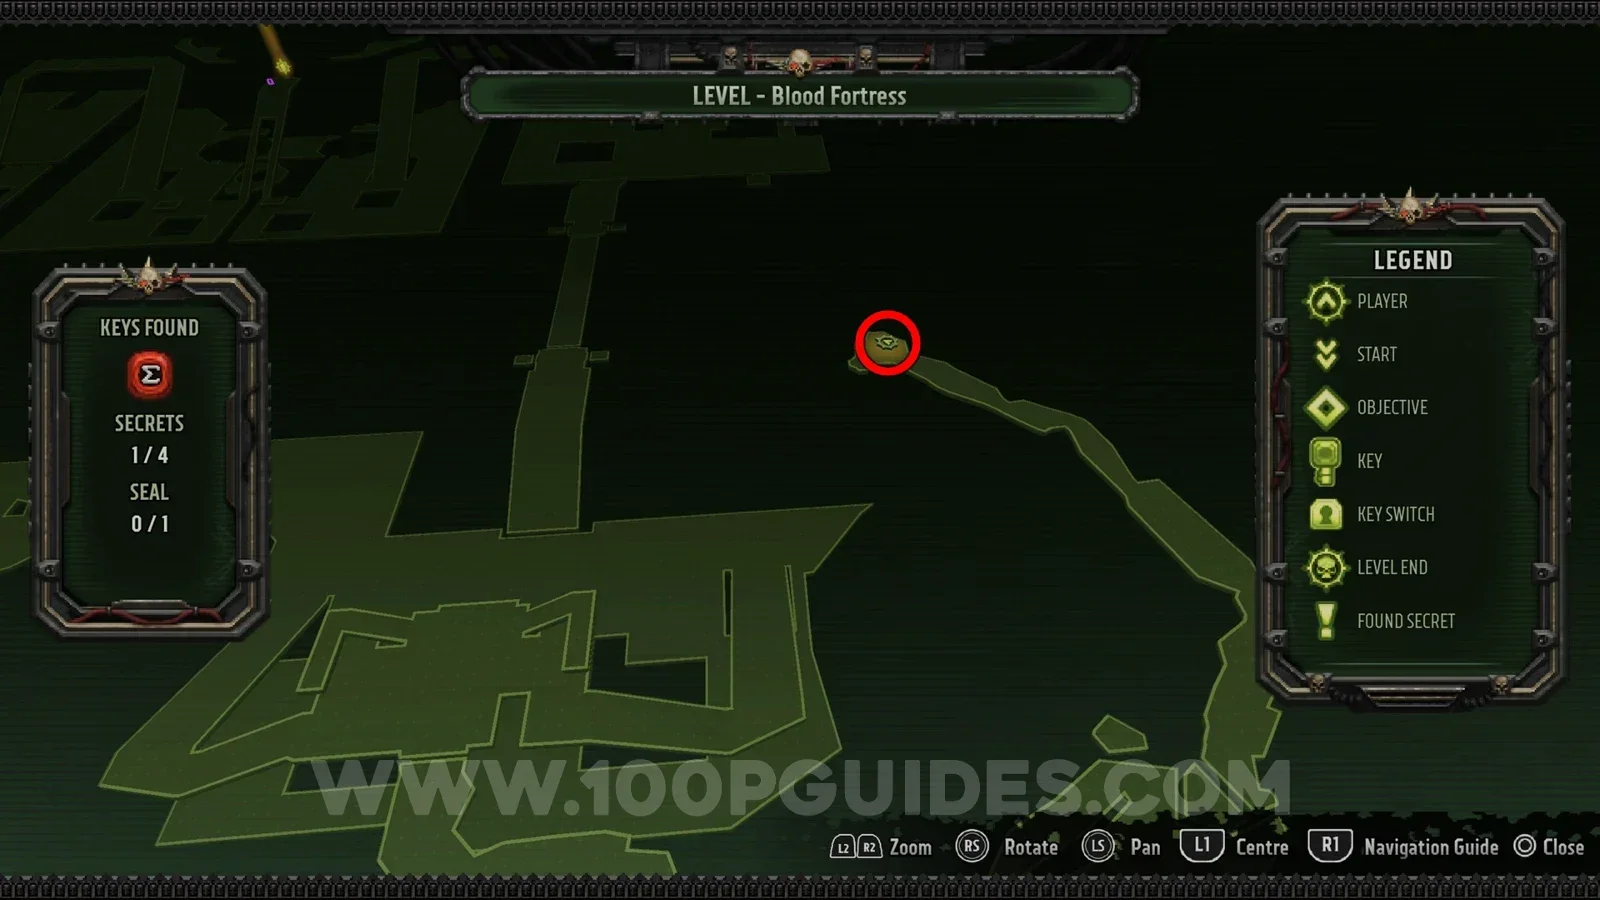
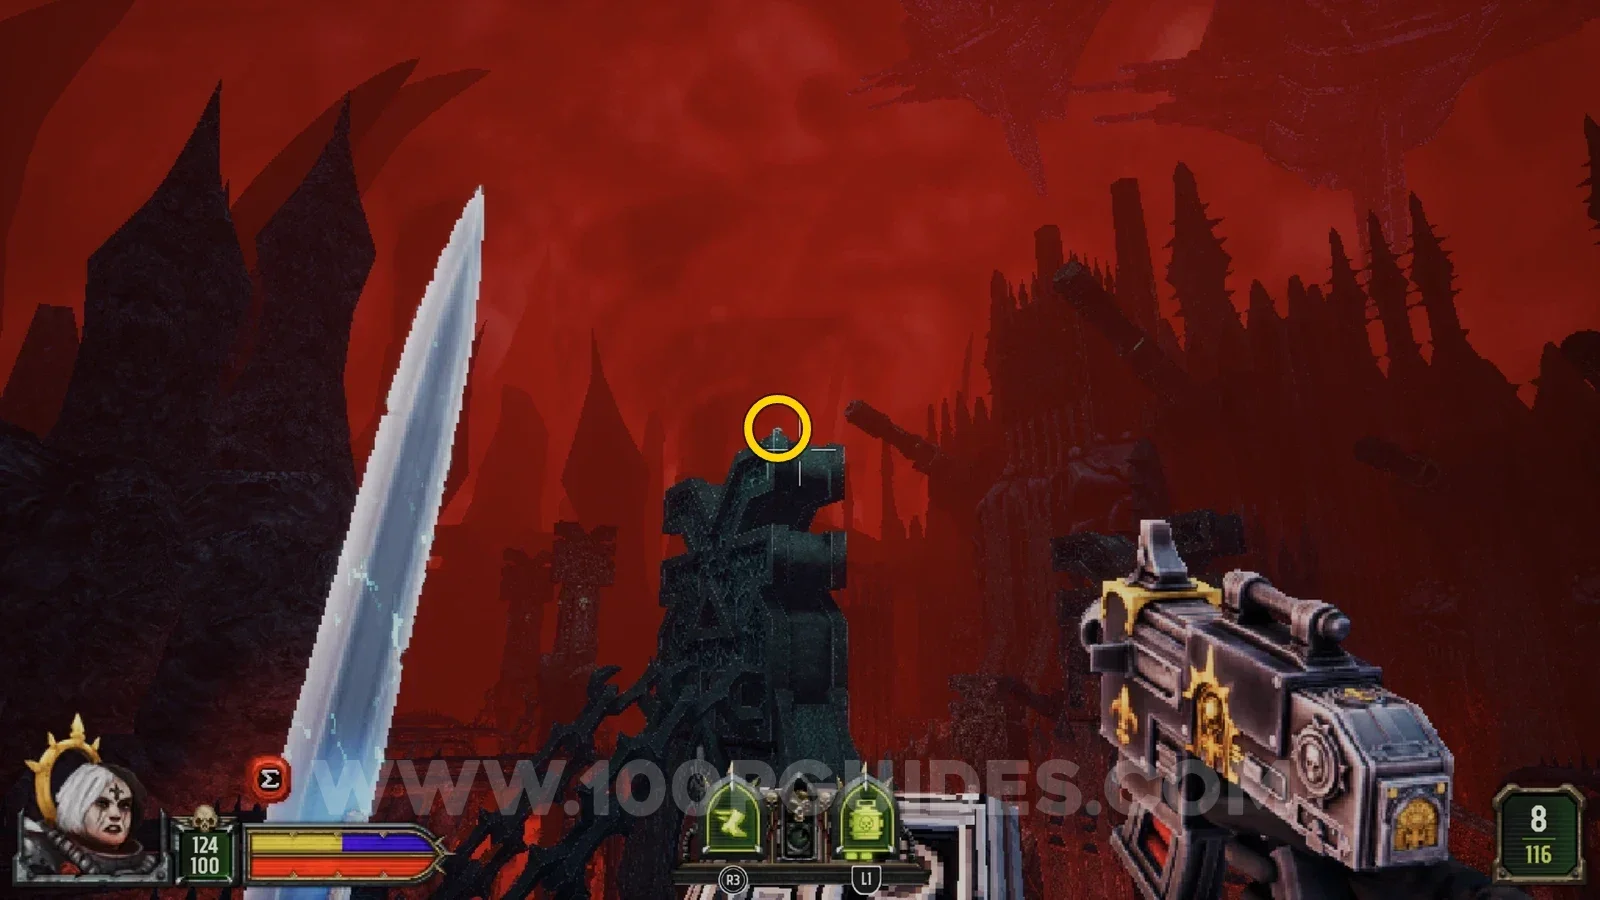
As soon as you cross the drawbridge, look right to see a locked door with a skull on the rocks next to it. Shoot the skull to open the door.
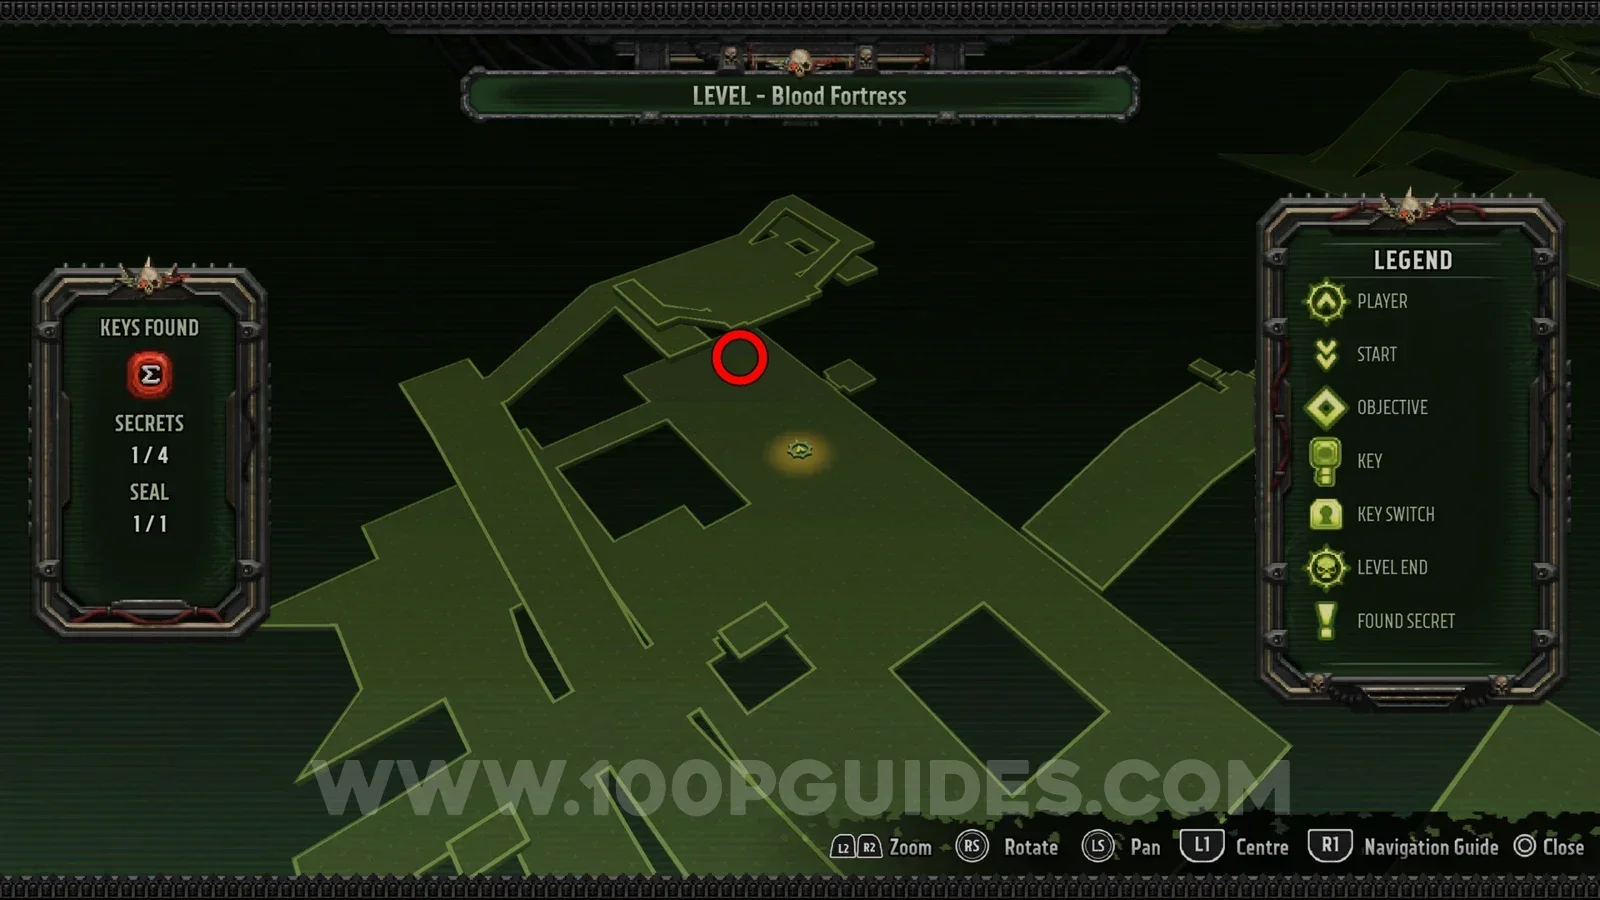
Secret 3/4
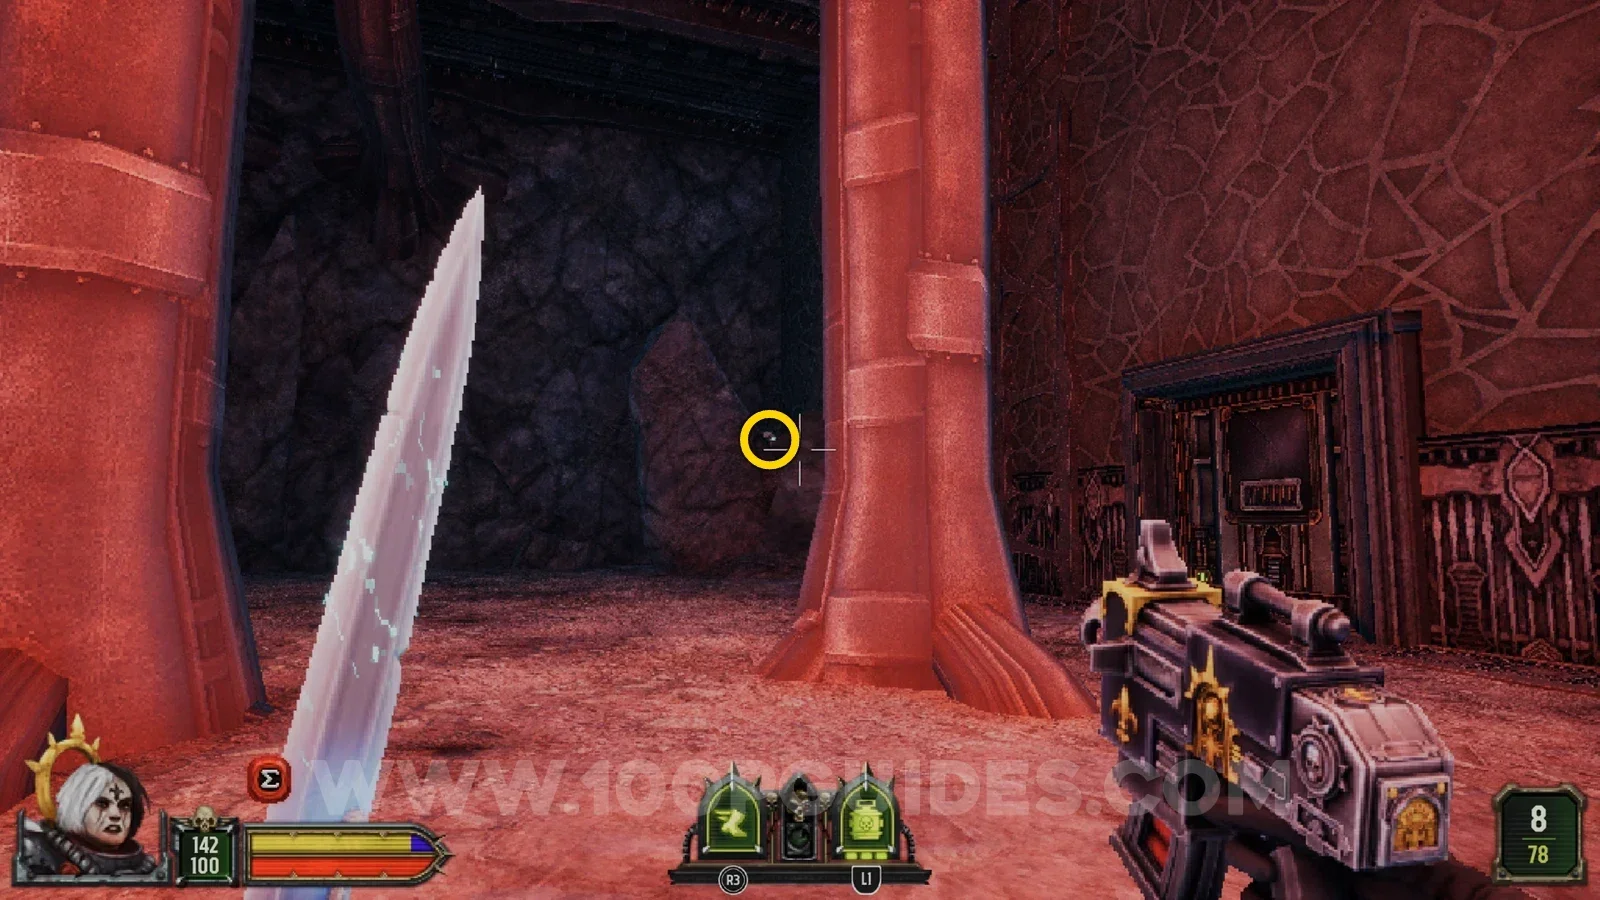
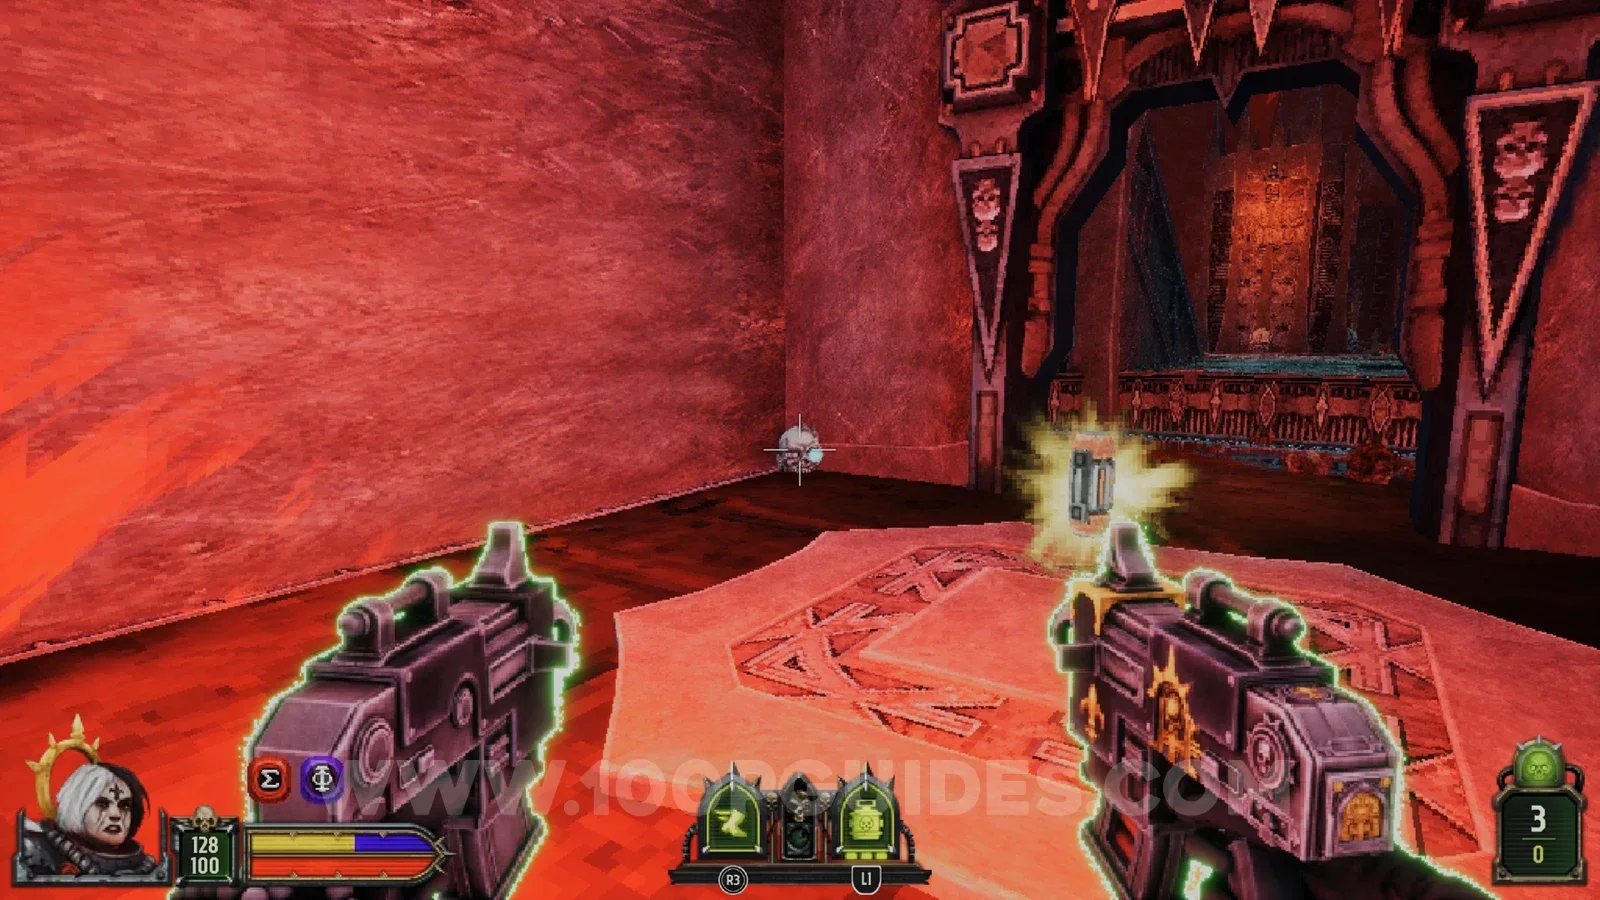
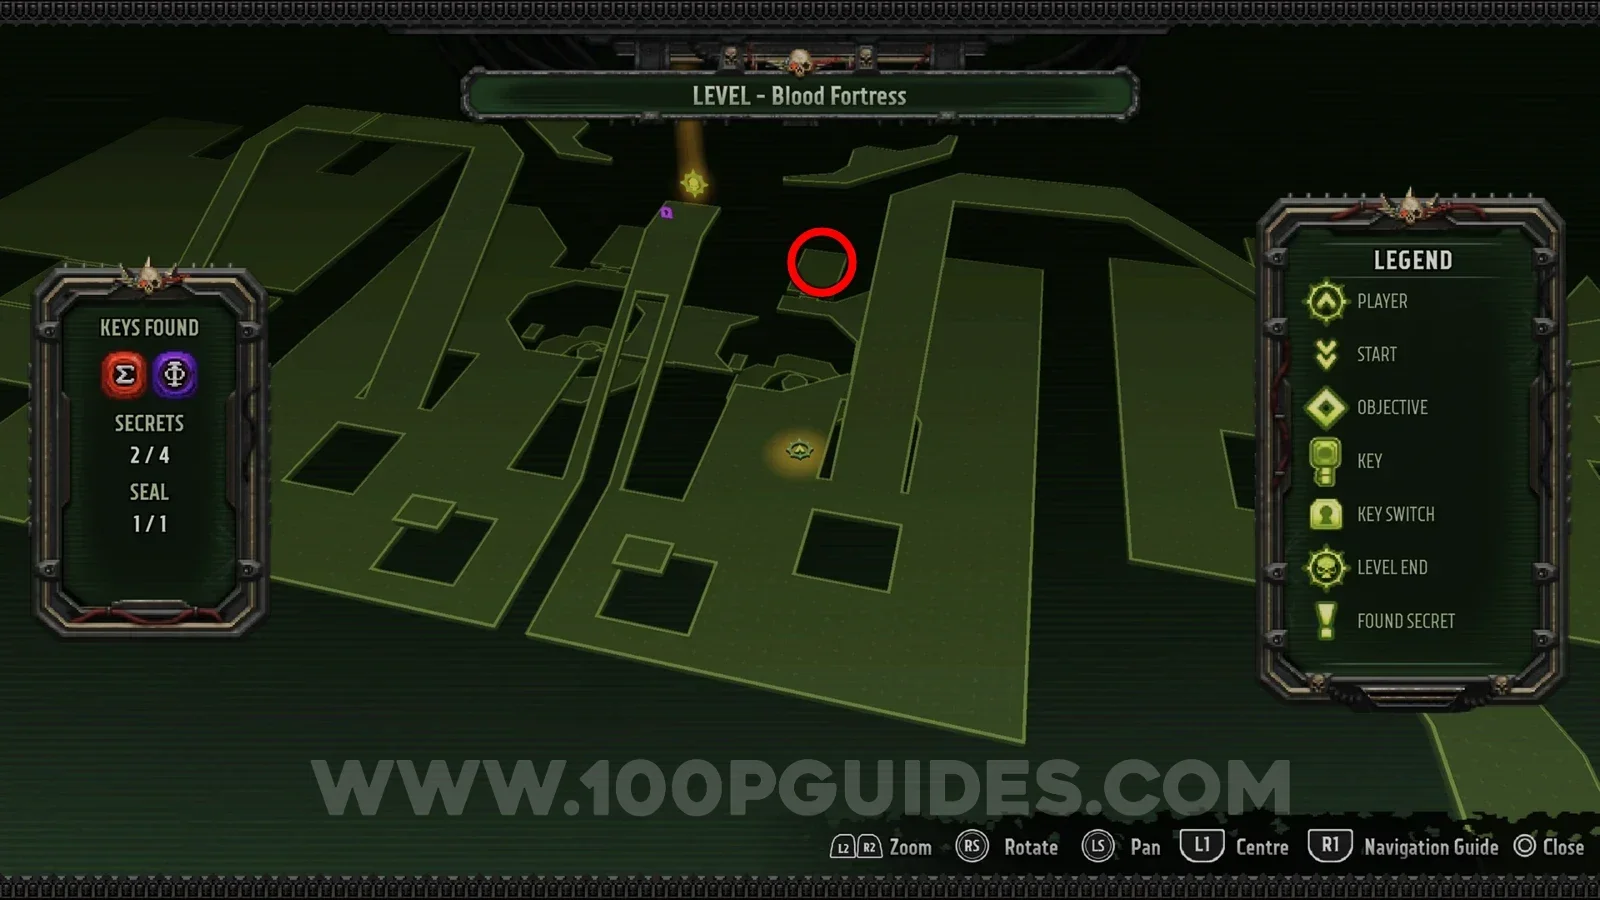
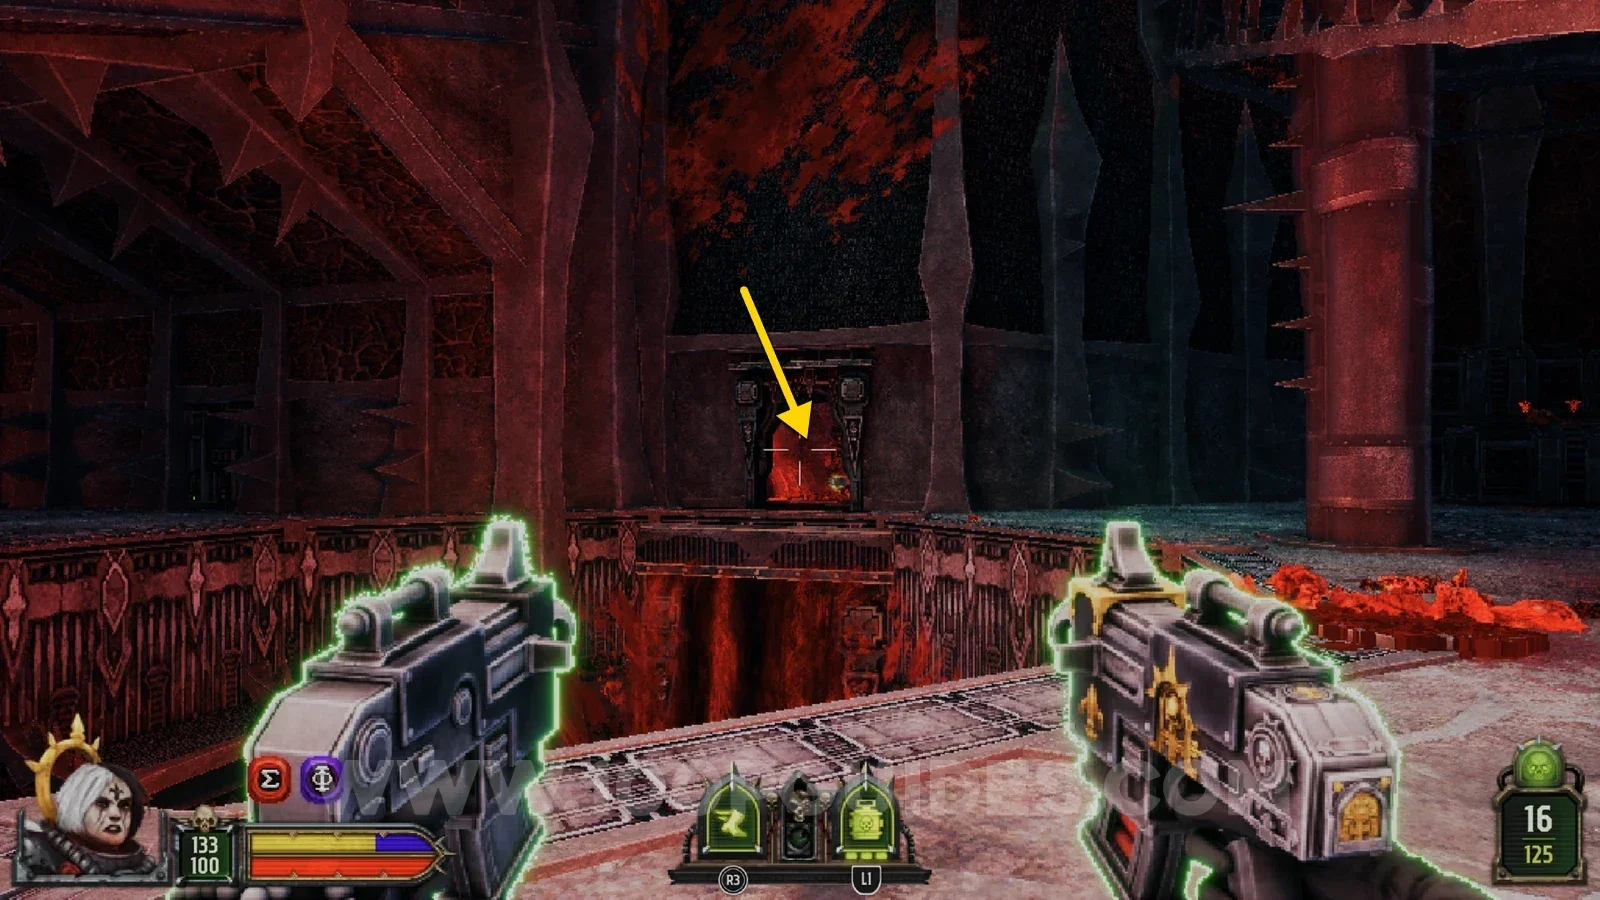
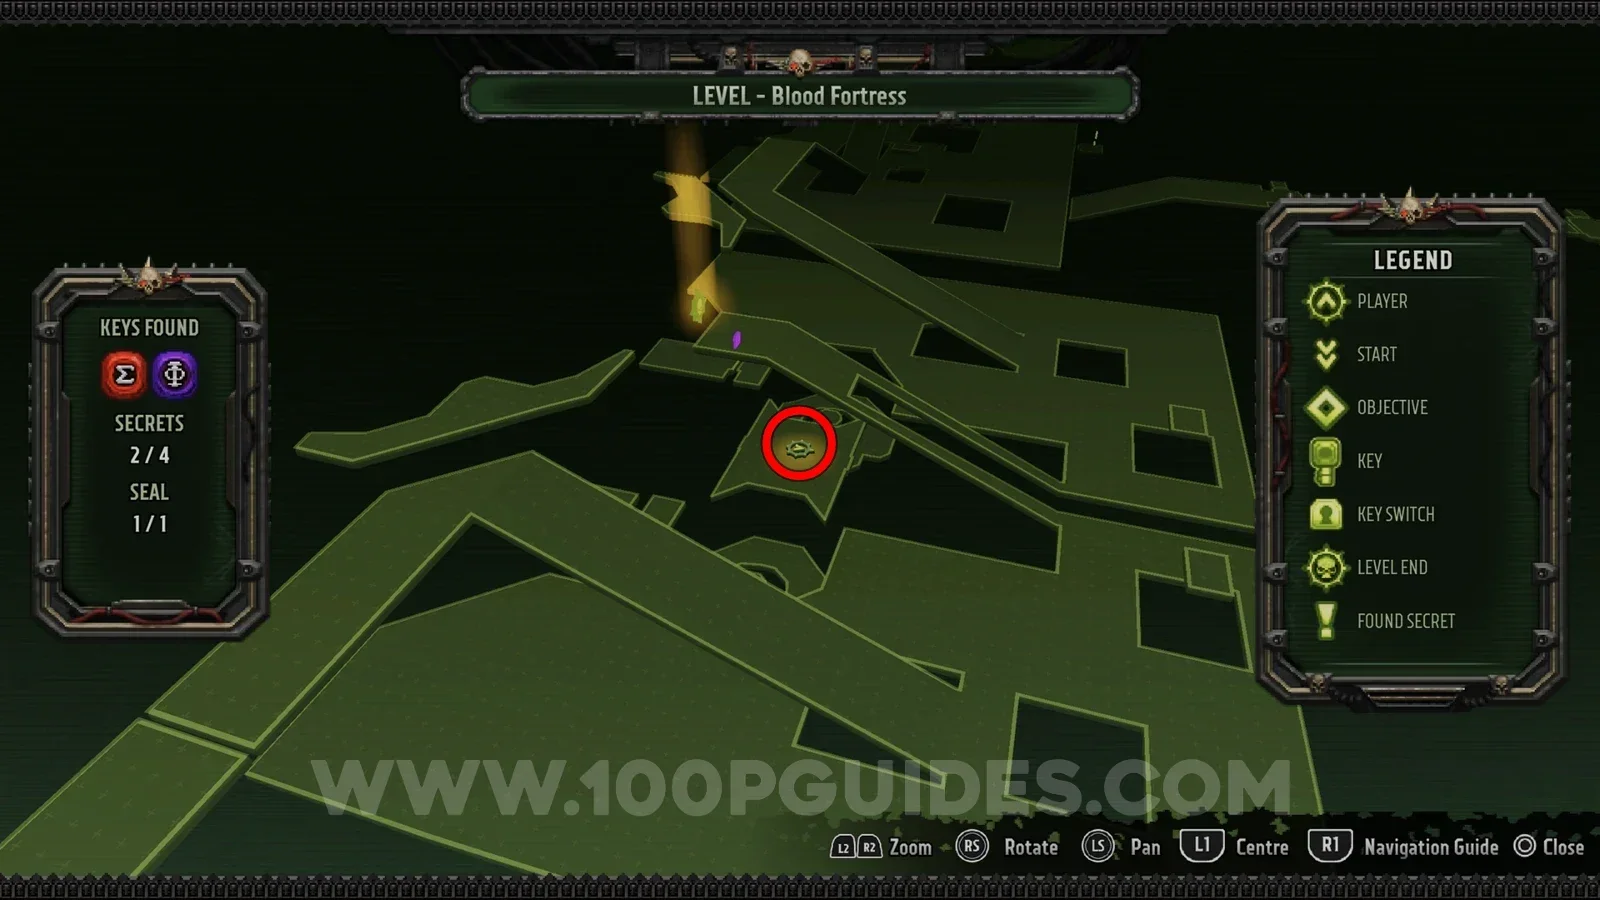
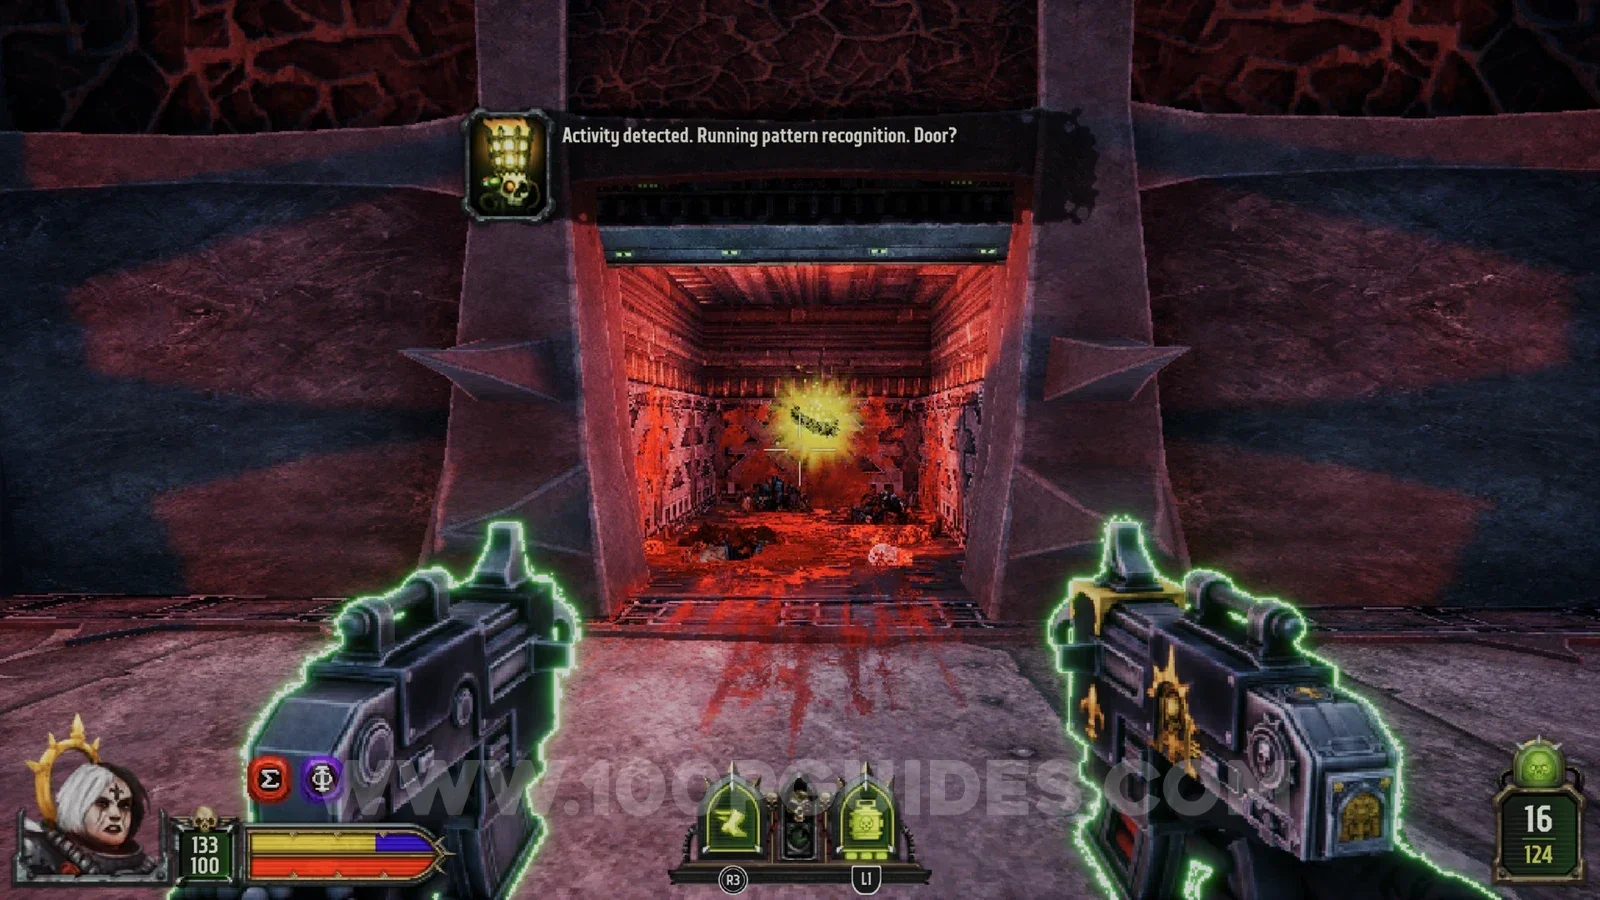
For this one you must shoot 2 skulls in the area below the end of the level.
The first one is in the small room on the left, below the end of the level.
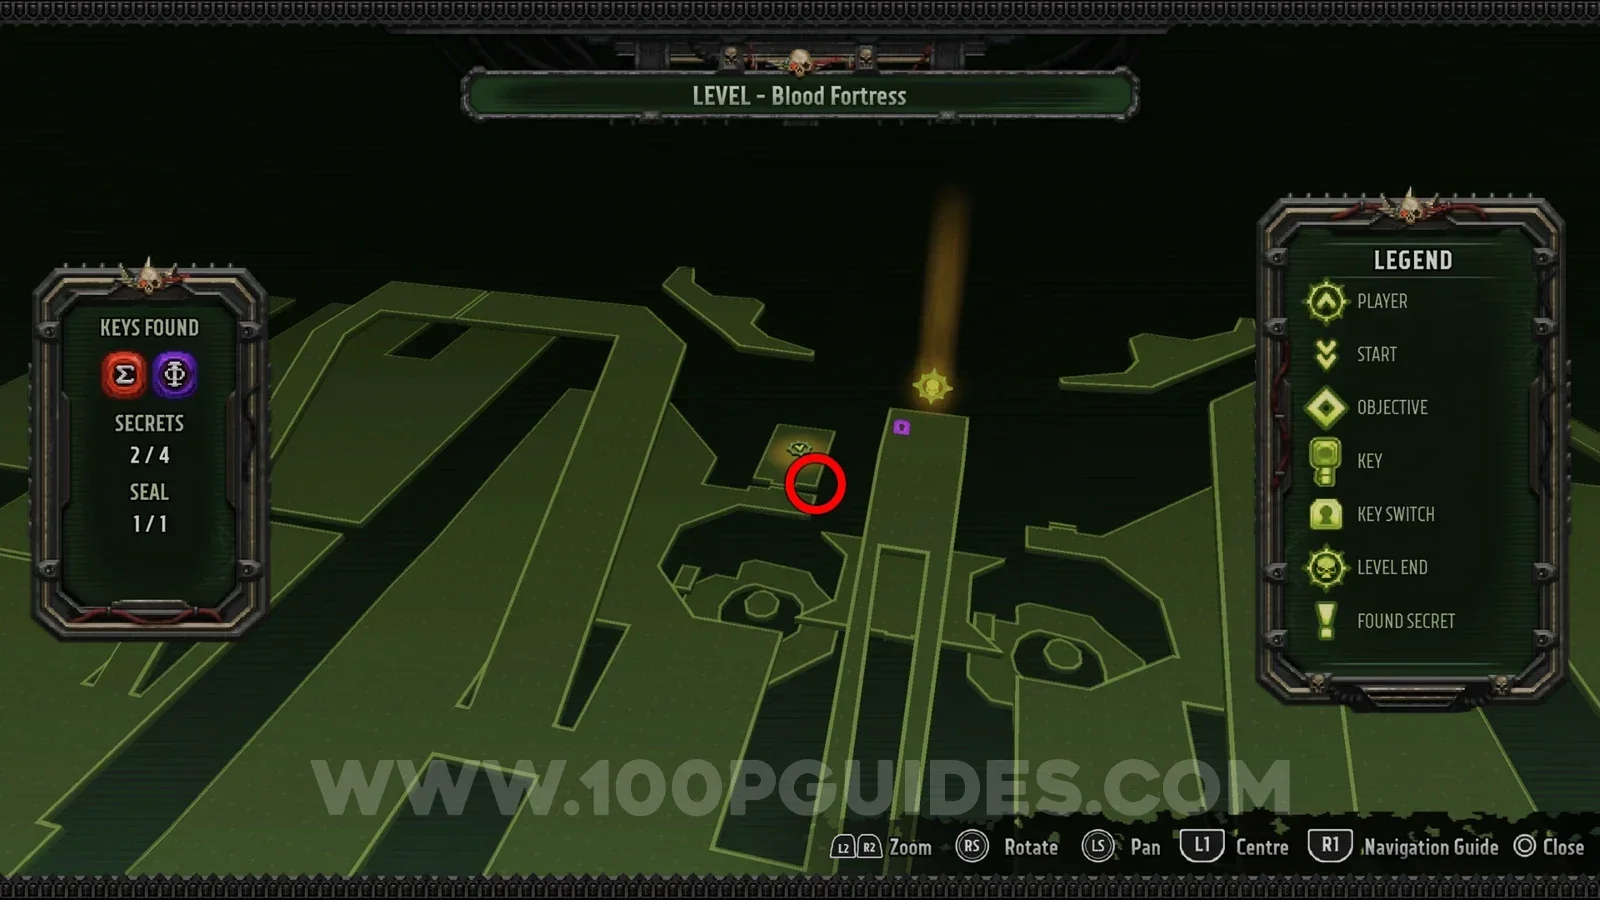
The second skull is in the small room on the right, below the end of the level.
Once both skulls are shot, the door under the ramp to the end of the level opens and you will find the secret inside.
Secret 4/4
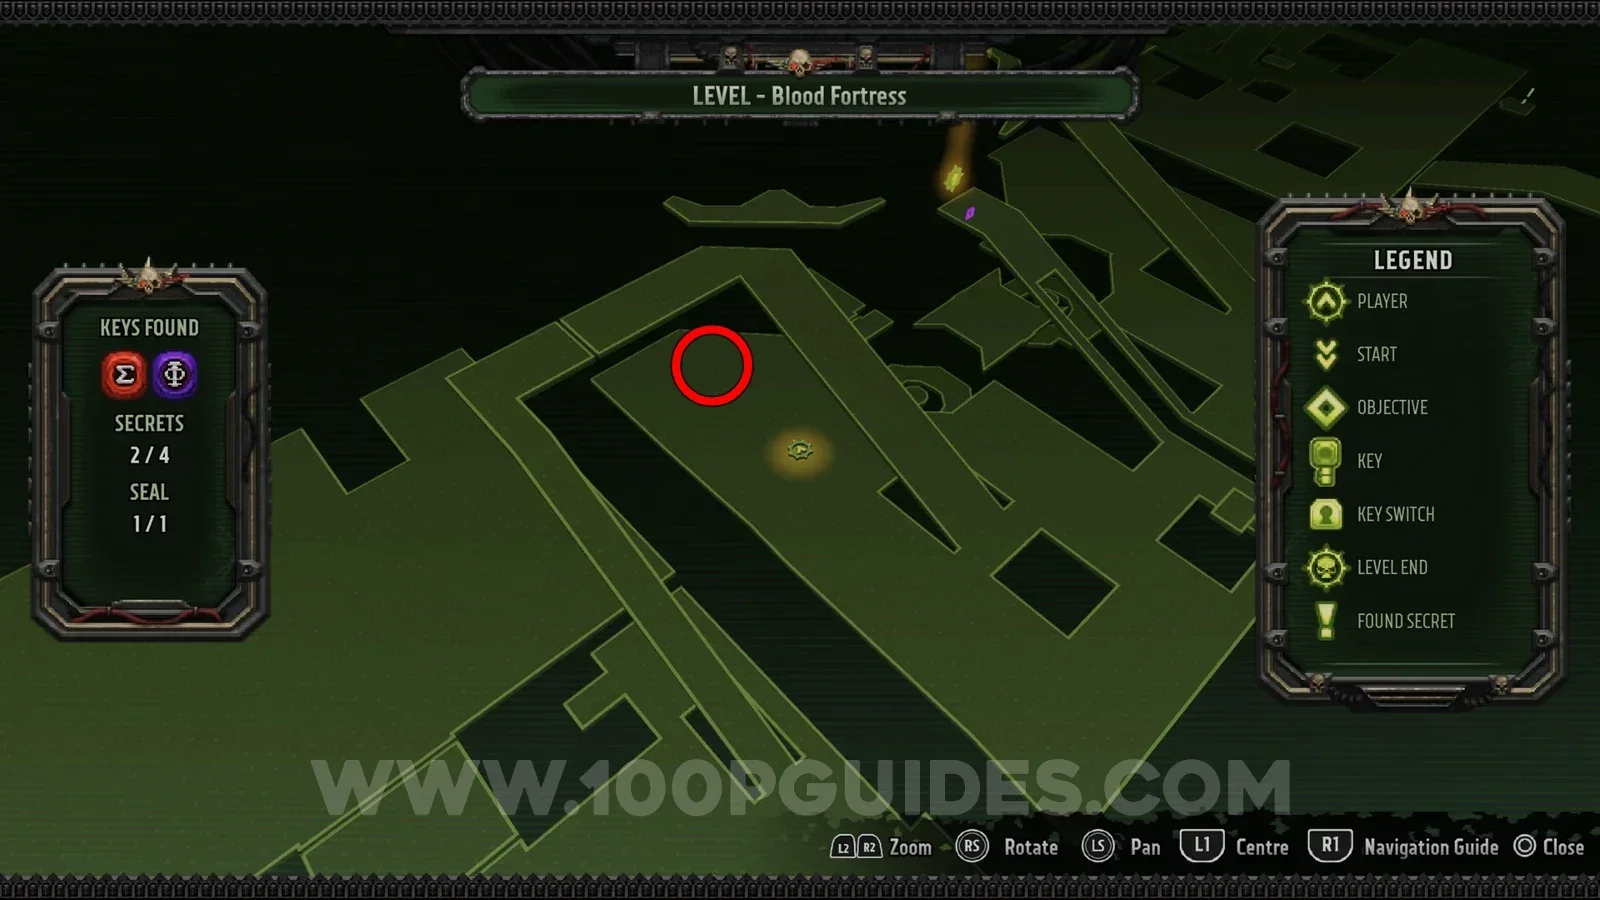
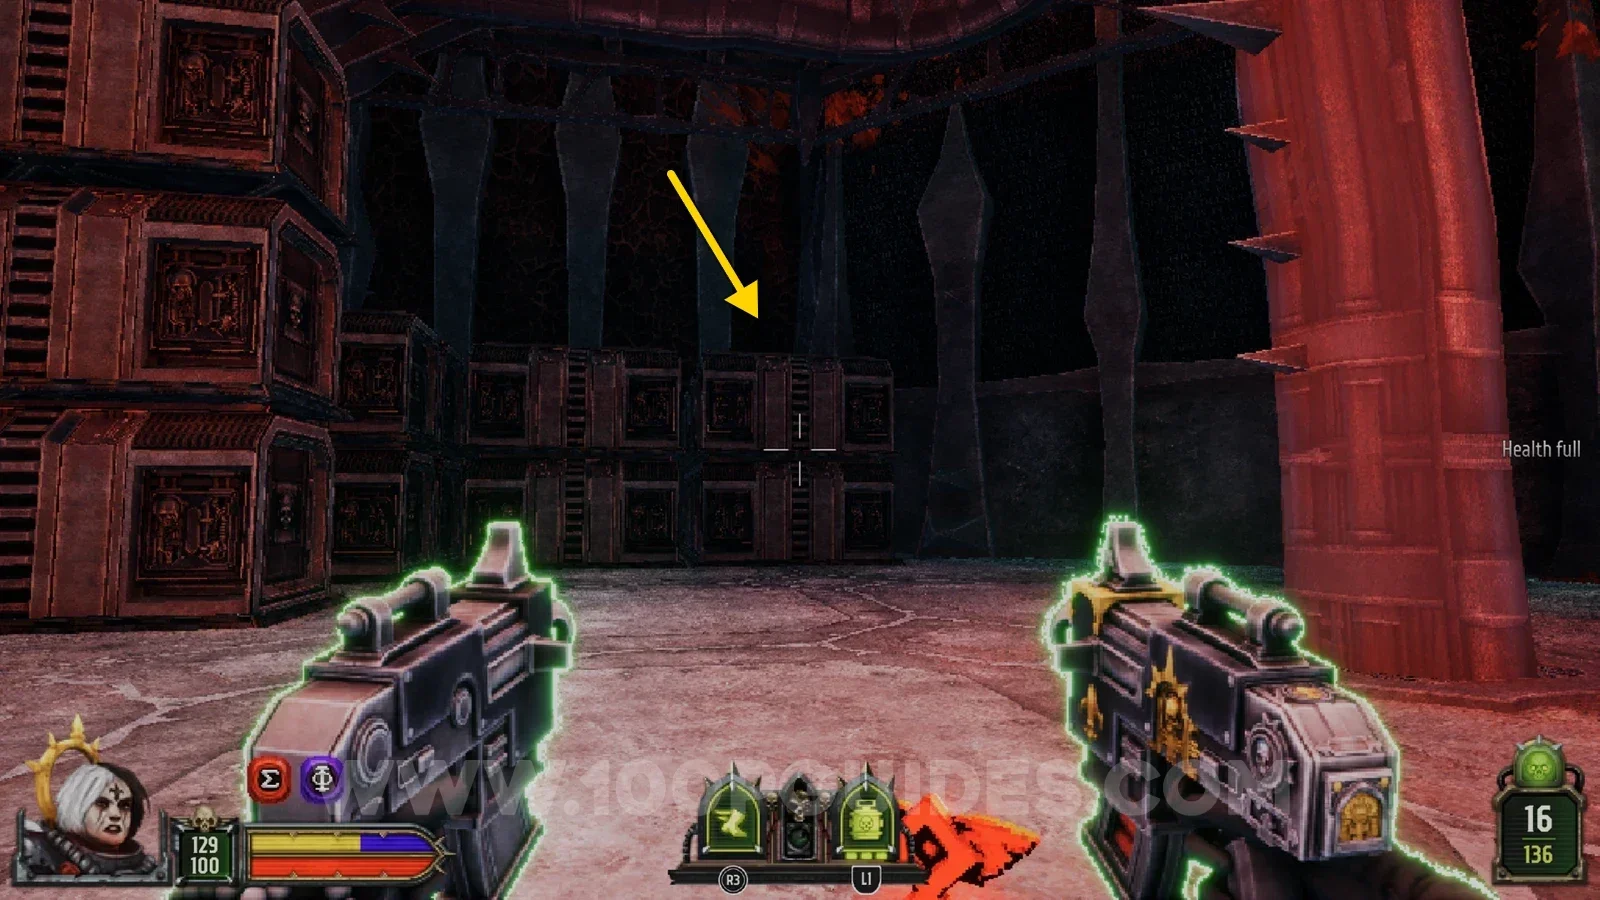
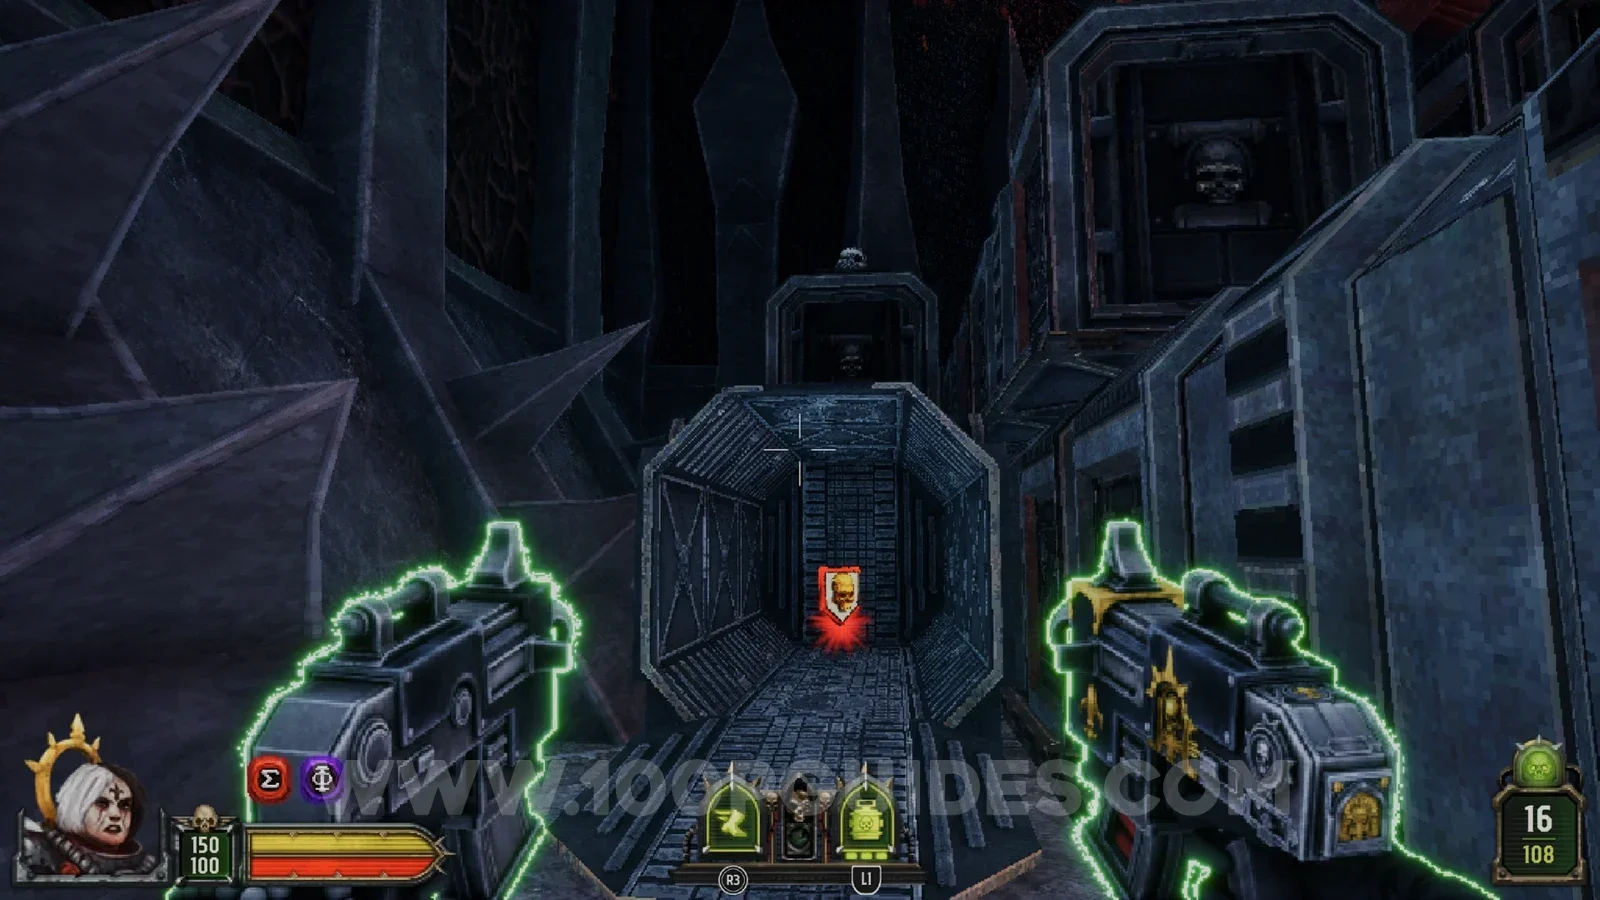
First, shoot the skull on the containers in the lower area to the left of the end of the level. You can get there by jumping off the ramp above. This opens a container below the skull, behind the rest of the containers.
Blood Cascade
Secret 1/4
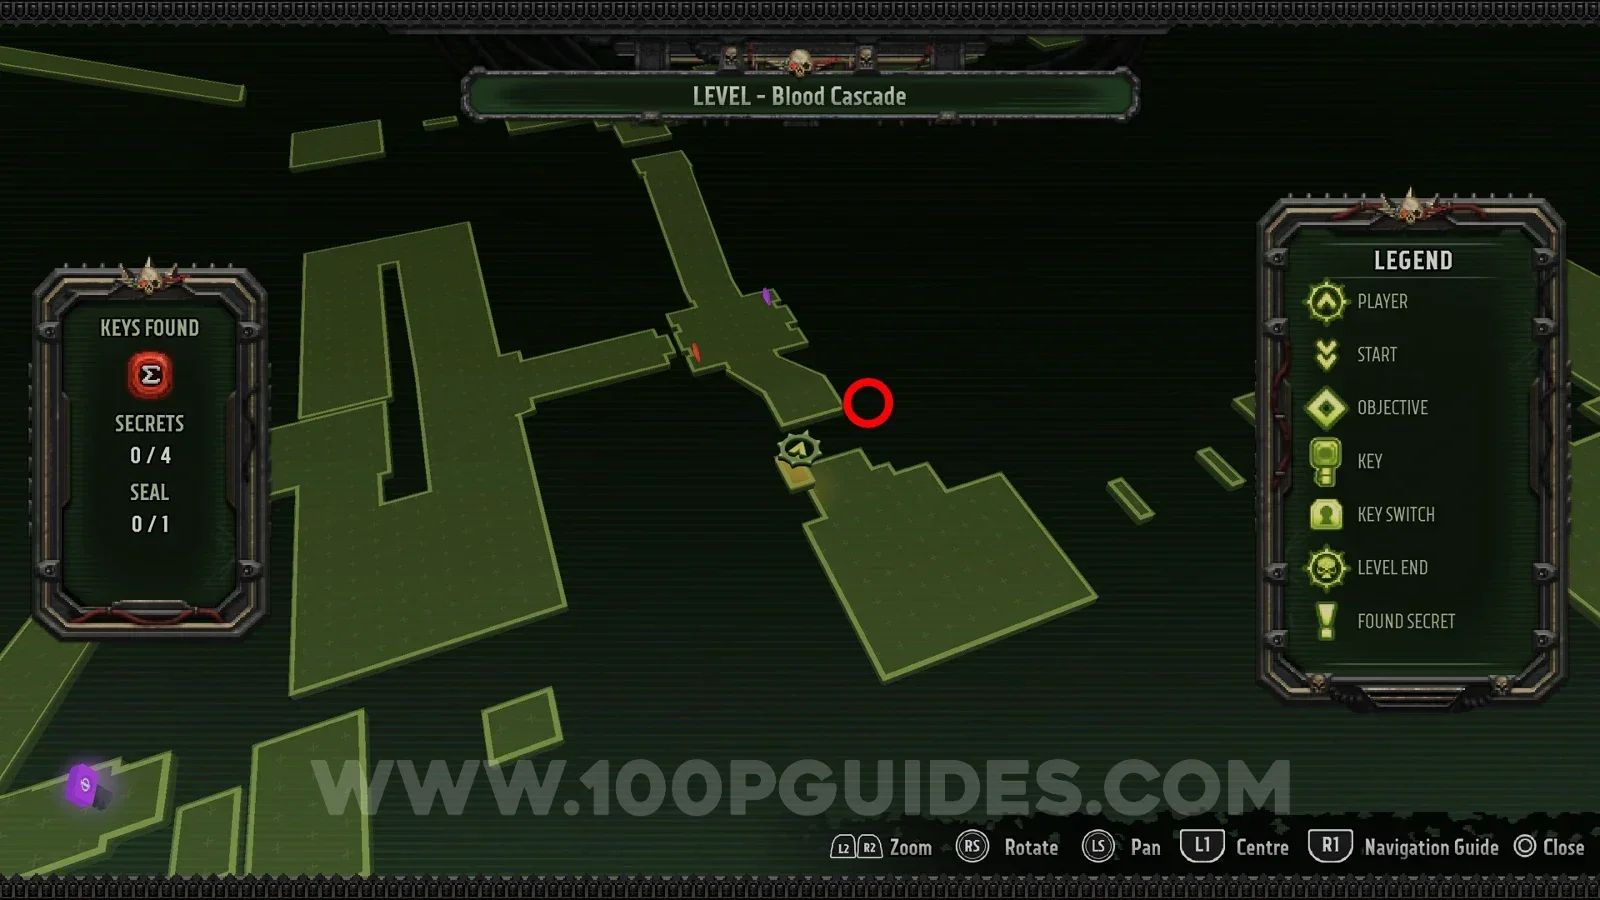
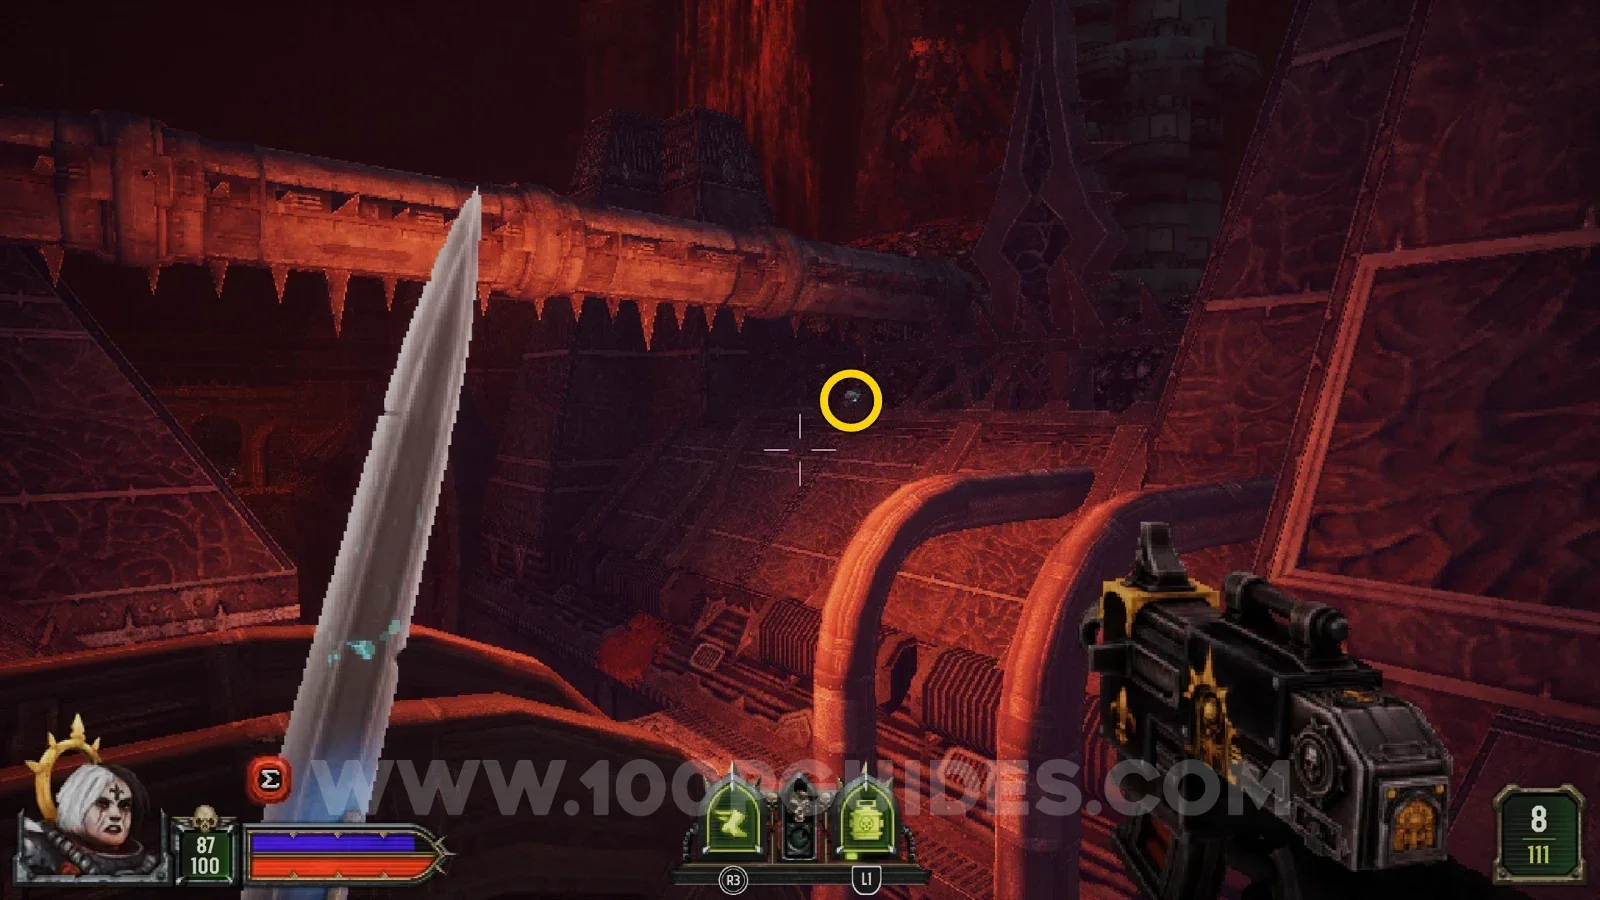
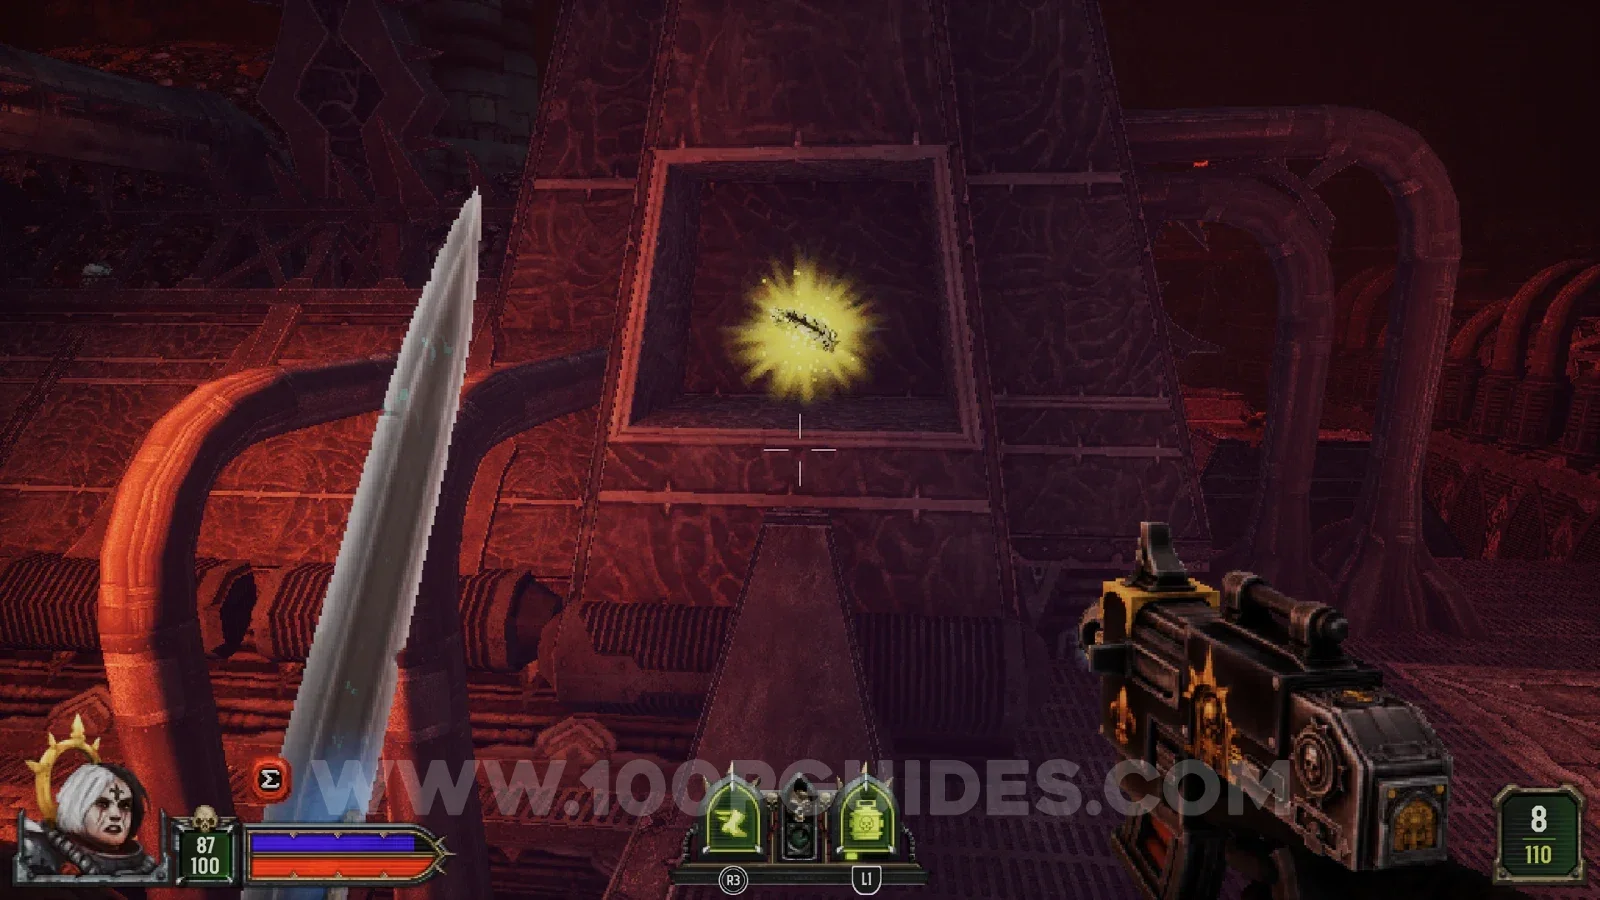
Just past the red and purple doors, climb up into the space the enemy is shooting at you from and look across to the other side of the path to find a skull. Shoot it to open the wall in front of you, where you will see the secret.
Secret 2/4
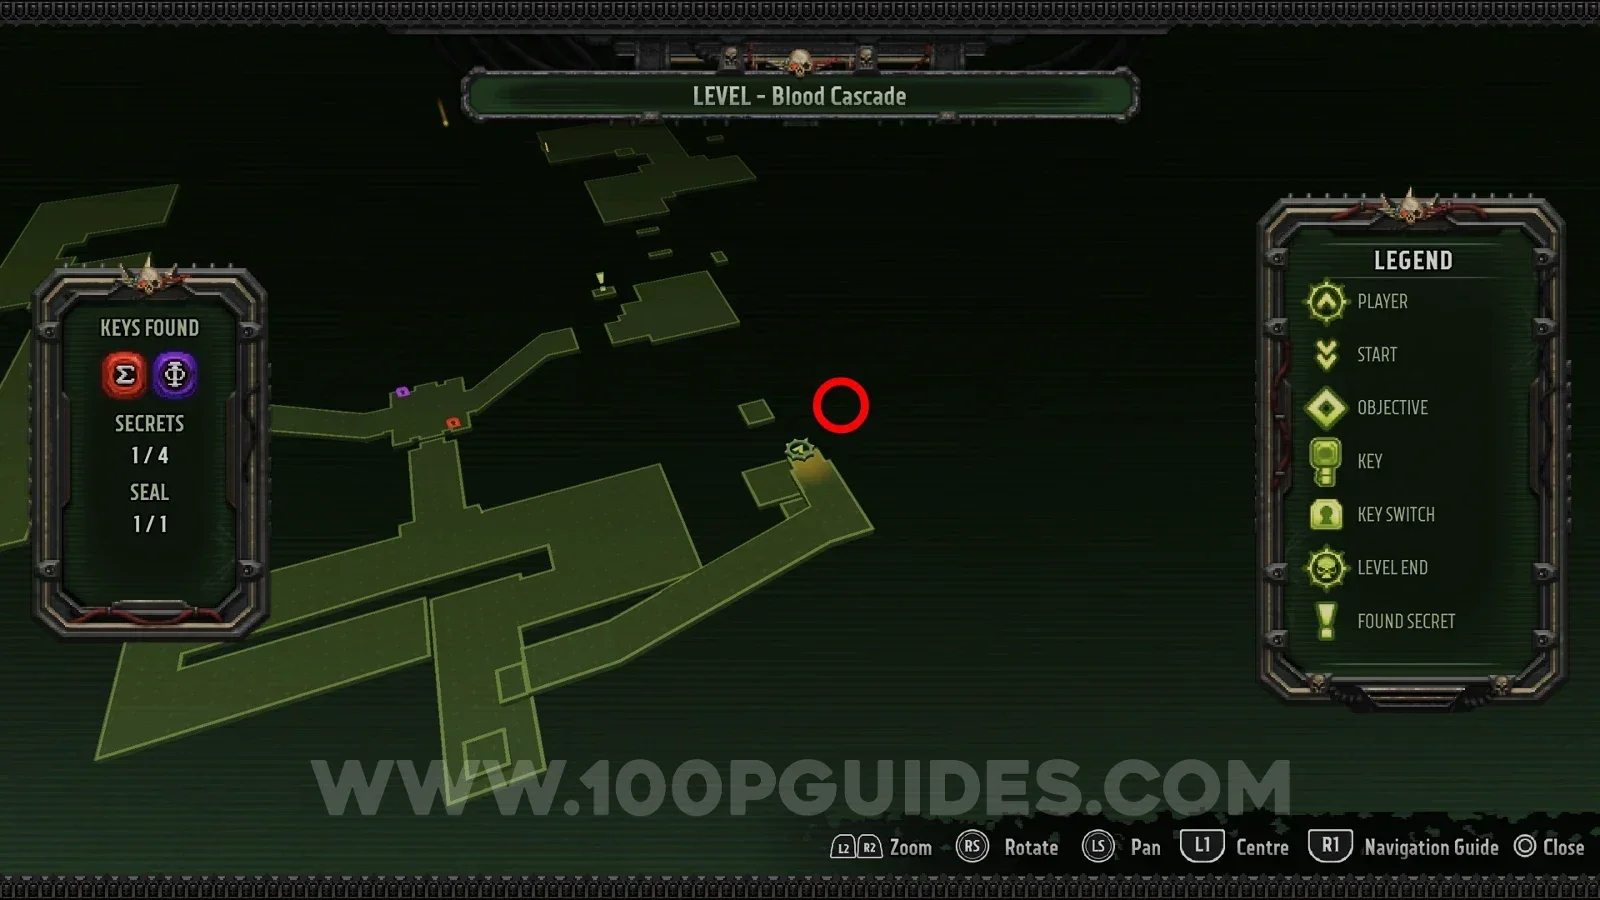
After going through the red door and reaching the purple key, look right as soon as you pick the key up and shoot the skull. Then drop straight down from where you are and turn around to find the secret.
Secret 3/4
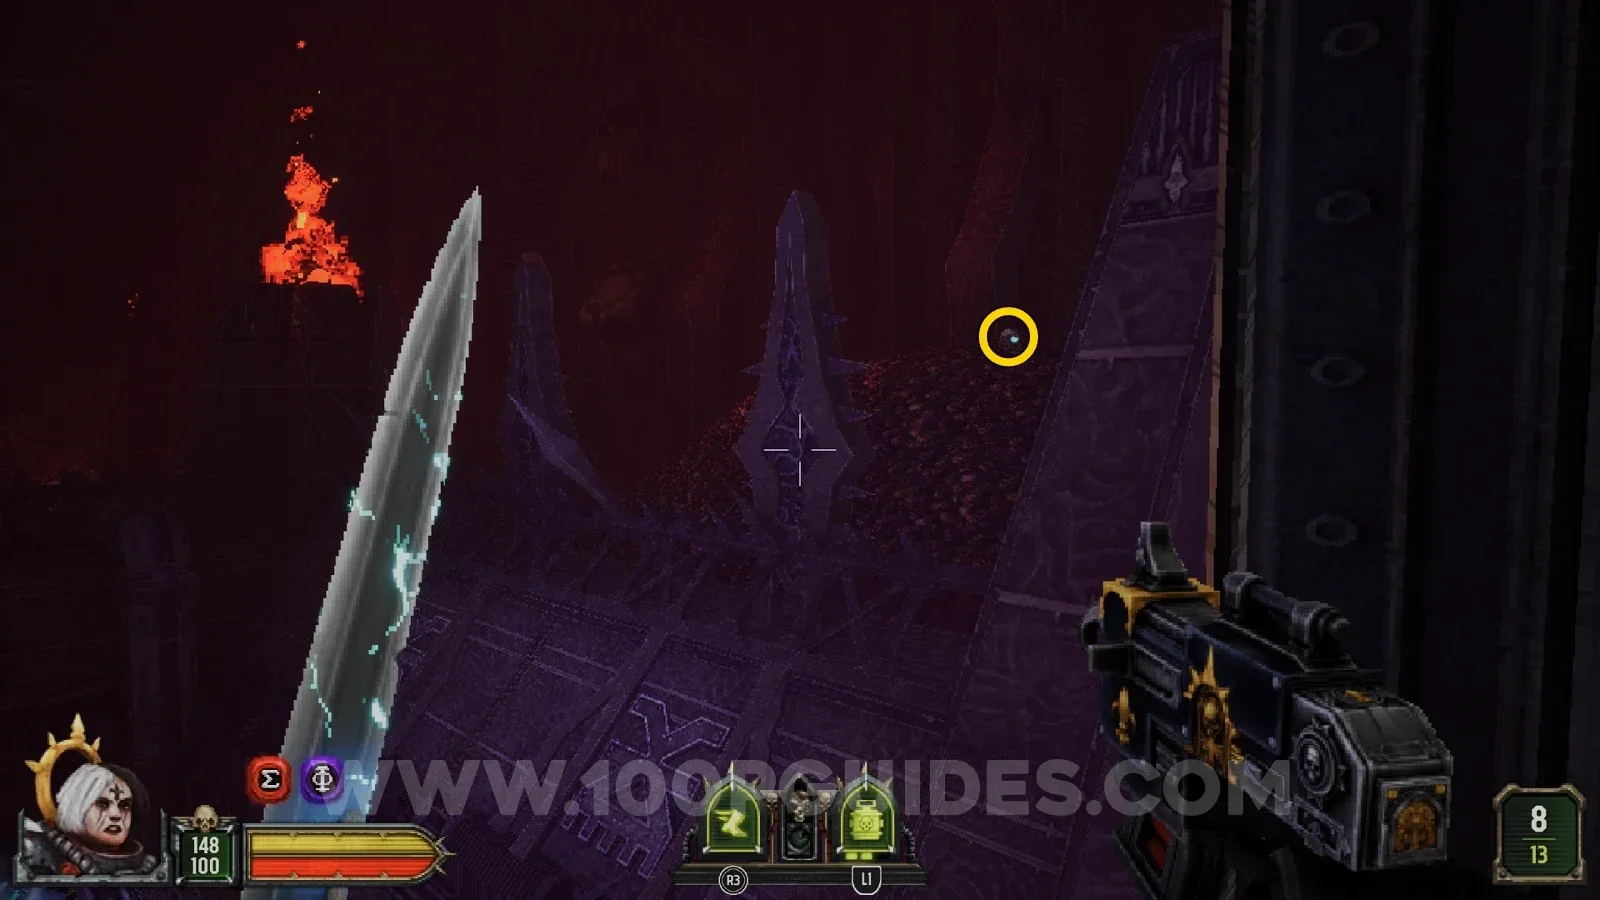
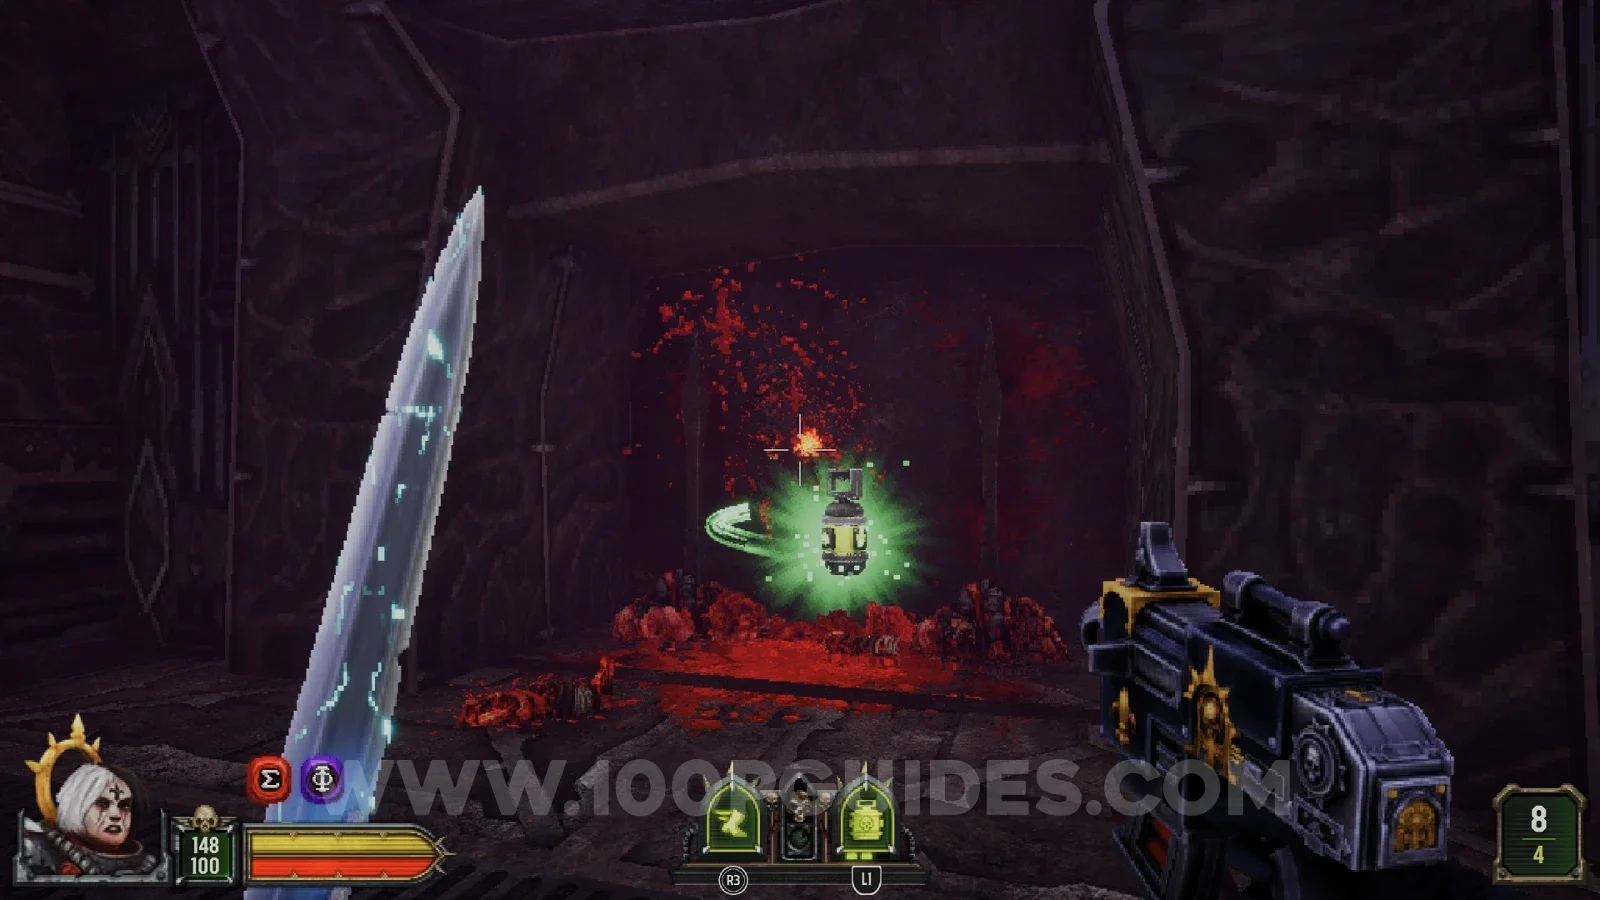
After going through the yellow door you have to survive a Purge. In the same area, look down the far hole to see a skull on the spikes and a secret behind some bars. Shoot the skull to open the way to the secret.
Seal 1/1
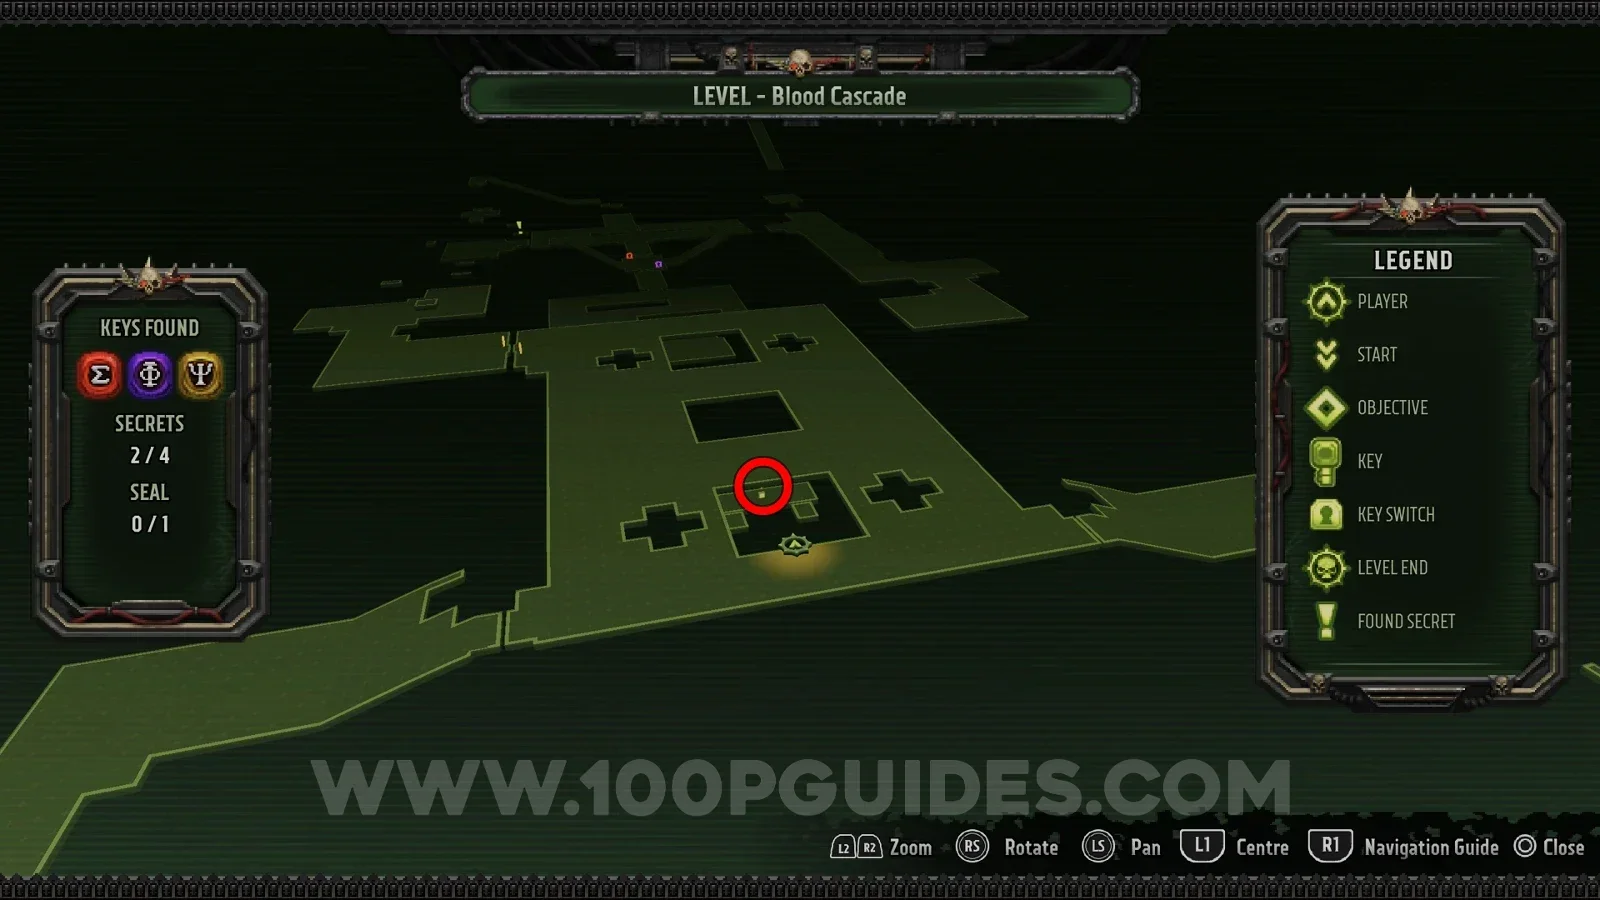
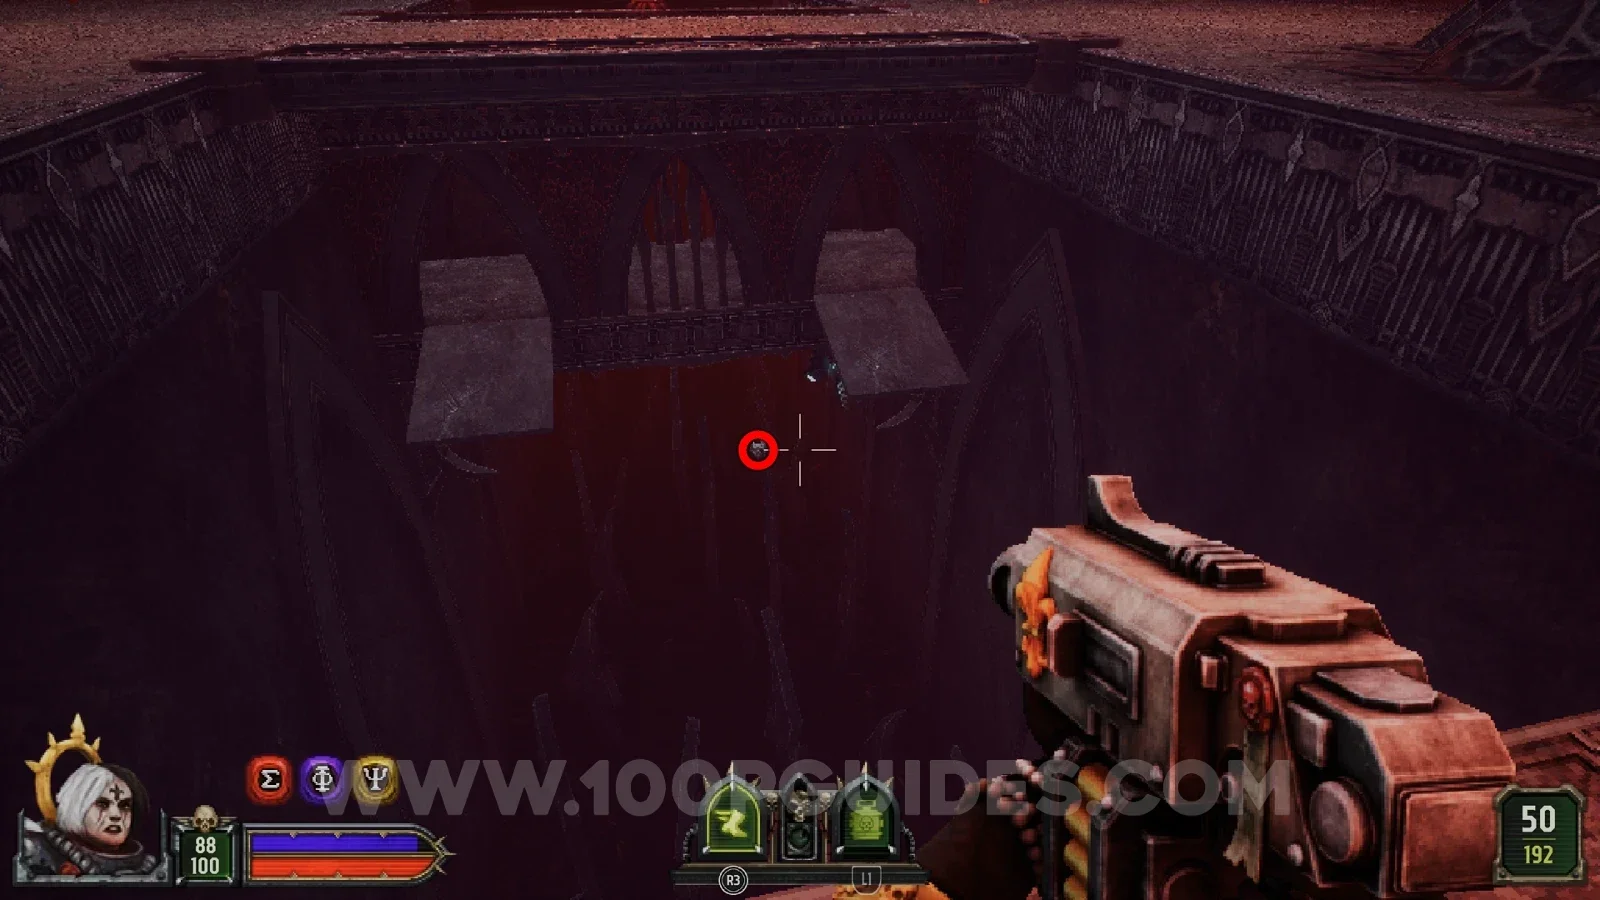
After the Purge in the area with the previous secret, head down the right-hand path to the second yellow door. There are two hidden skulls here that you must shoot: one above the switch for the door, and the other above you on the opposite side from the switch. Once both are shot, a platform appears that lets you reach the seal in the same area.
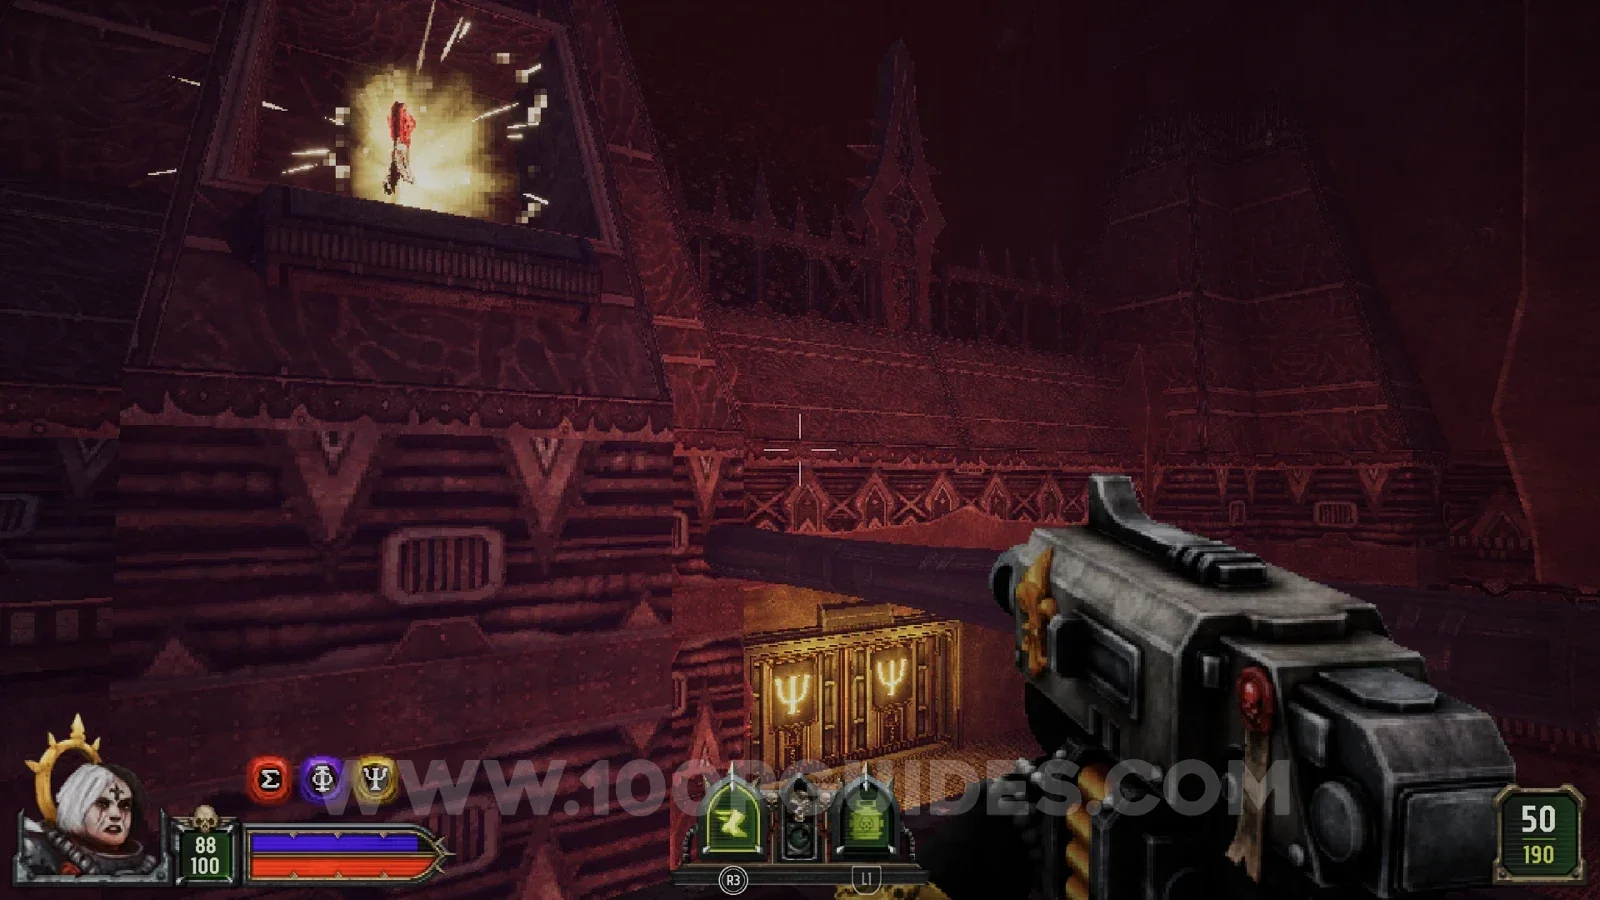
Secret 4/4
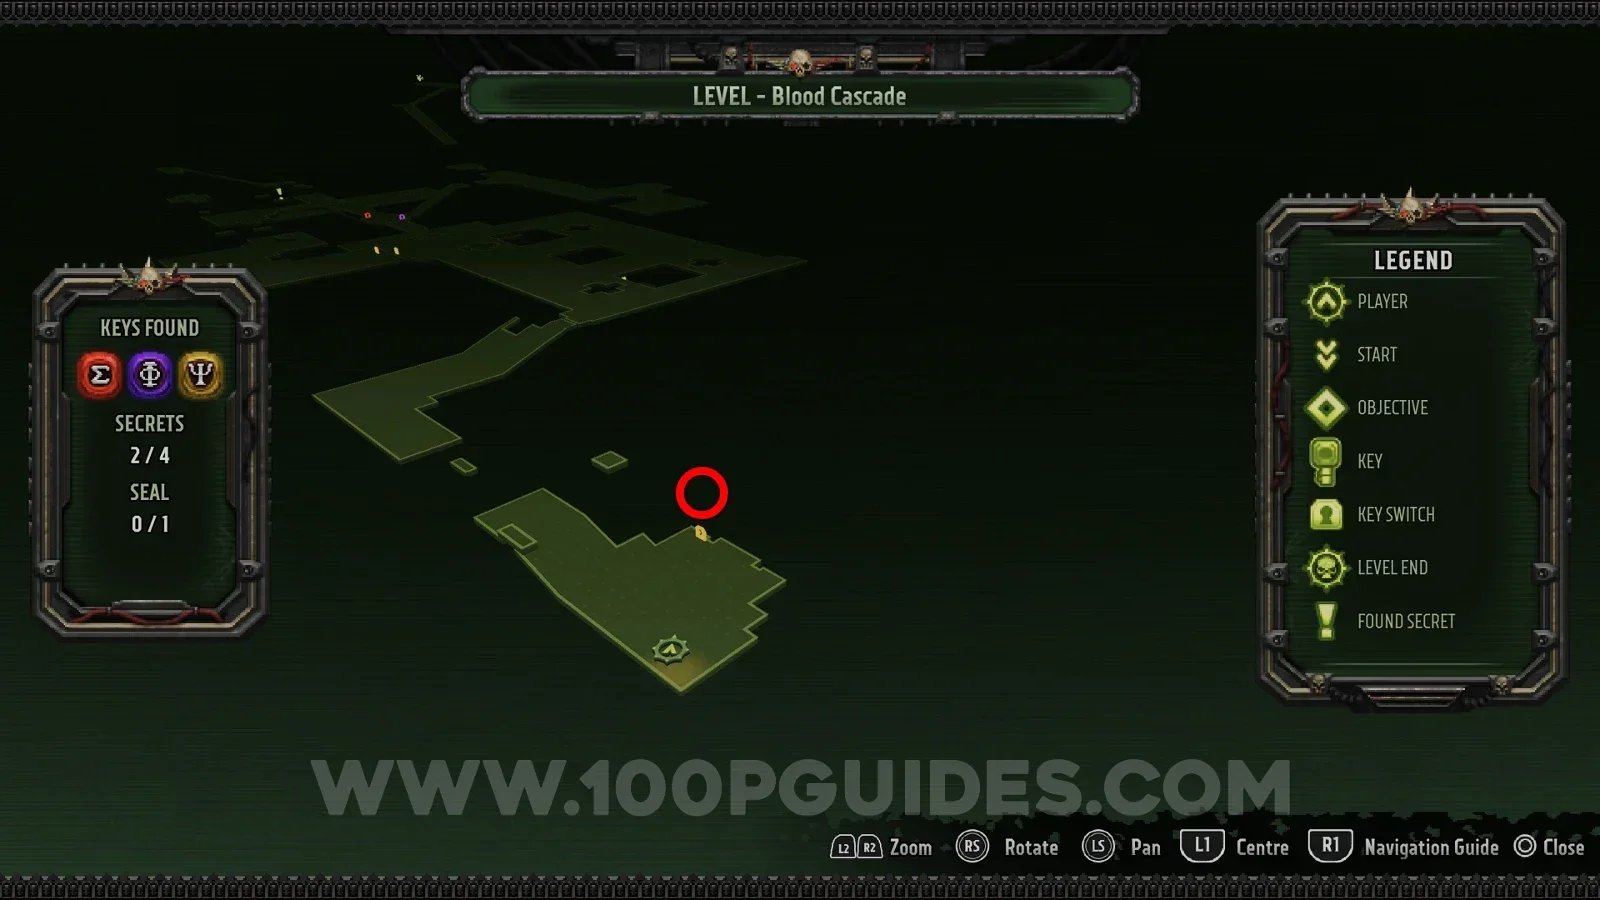
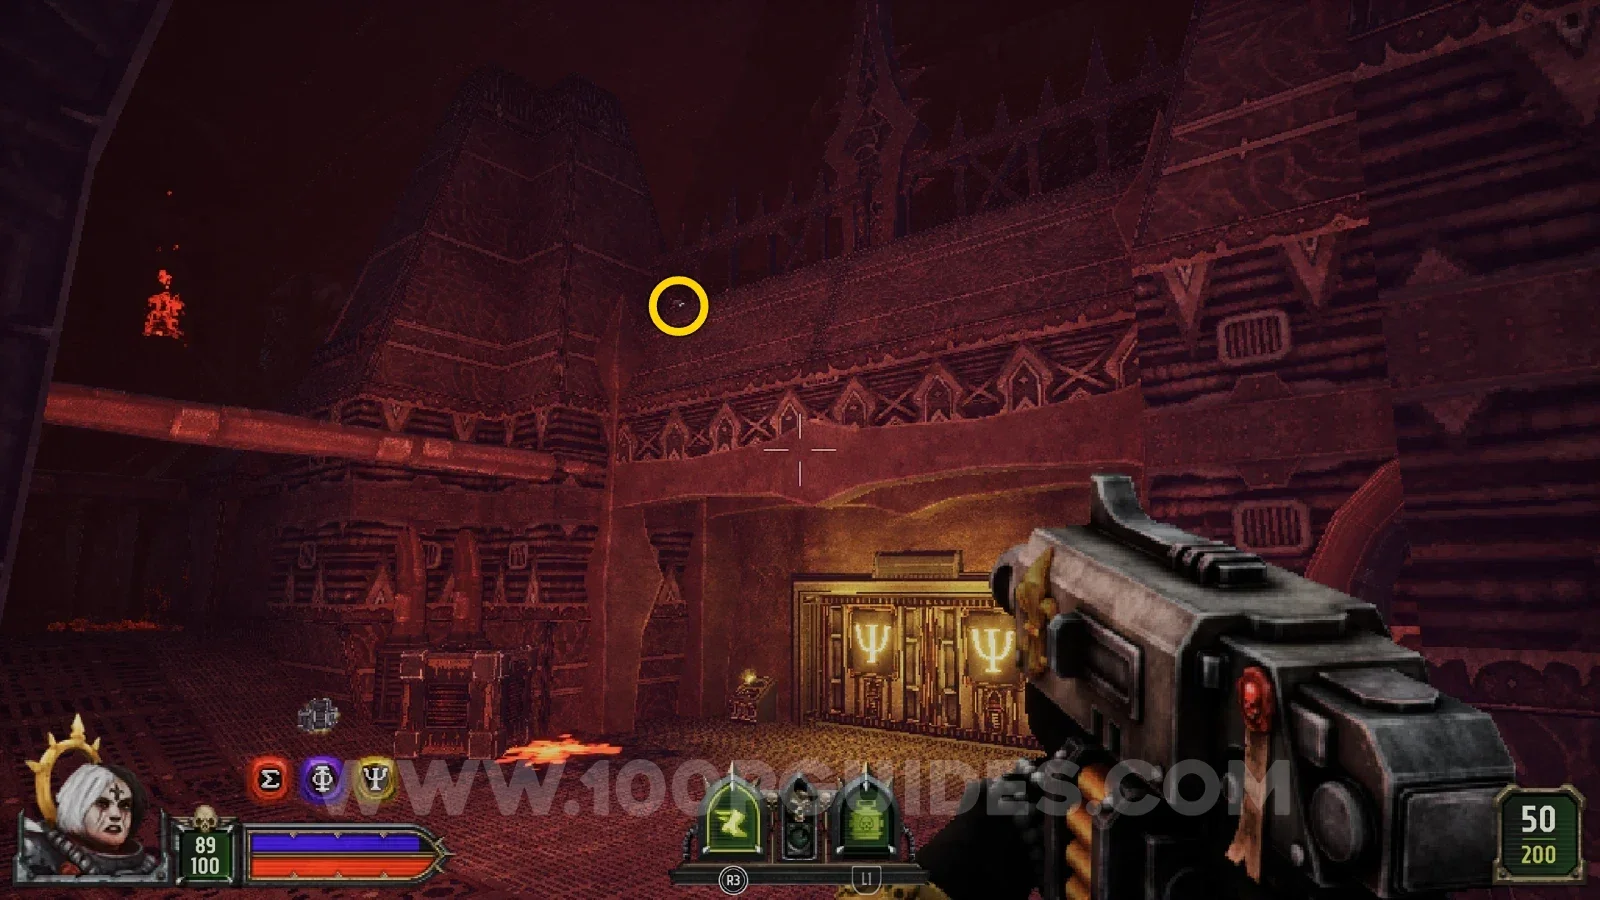
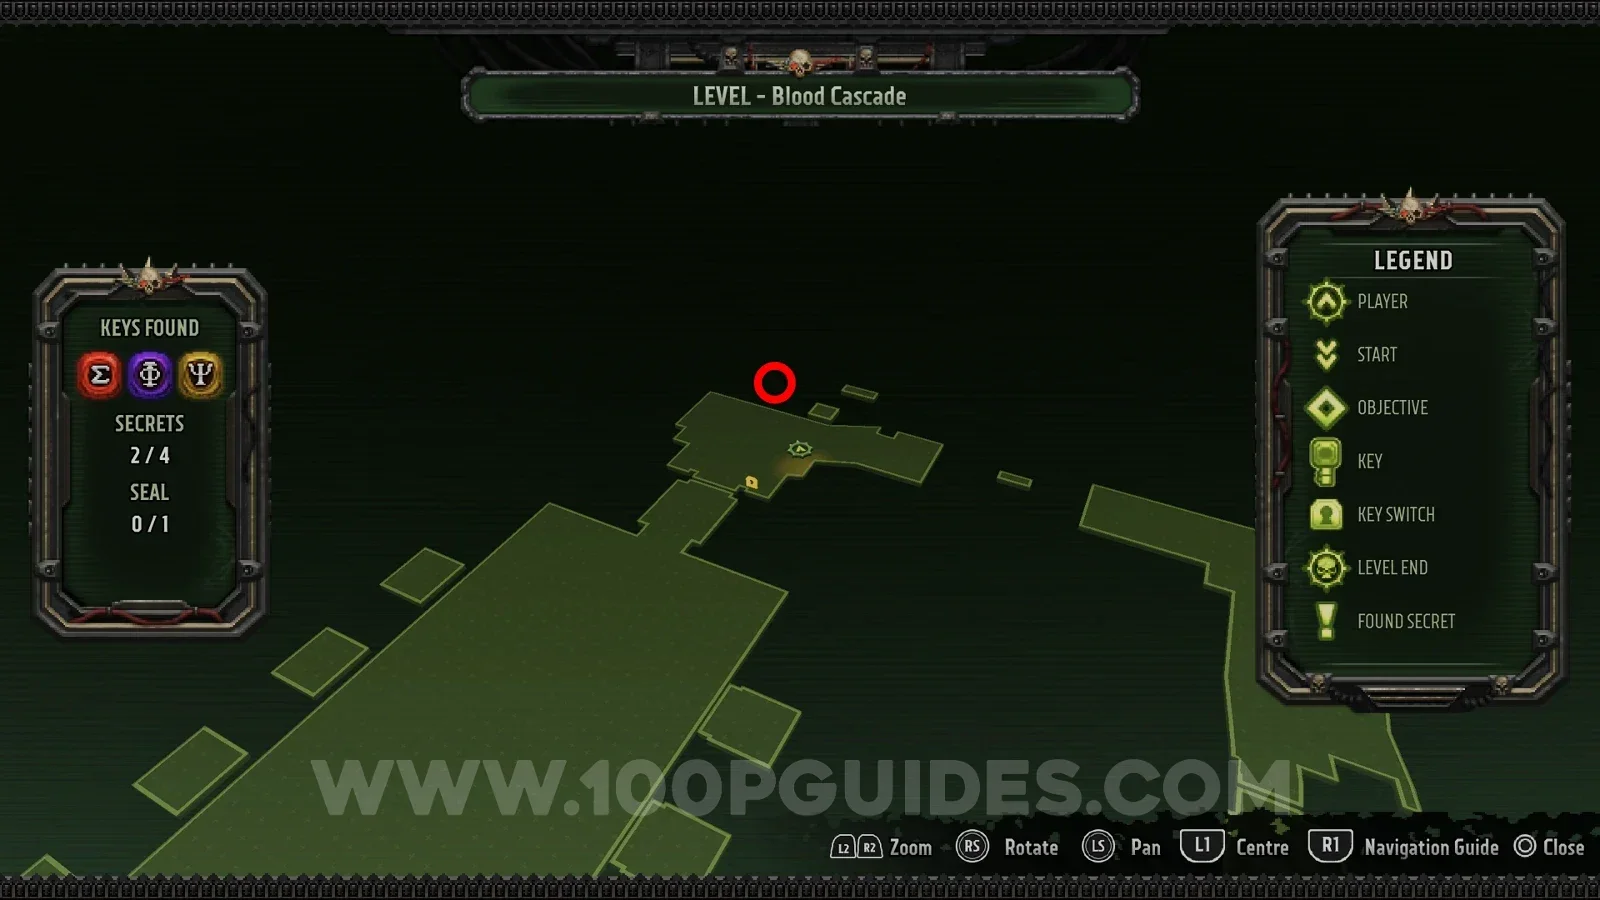
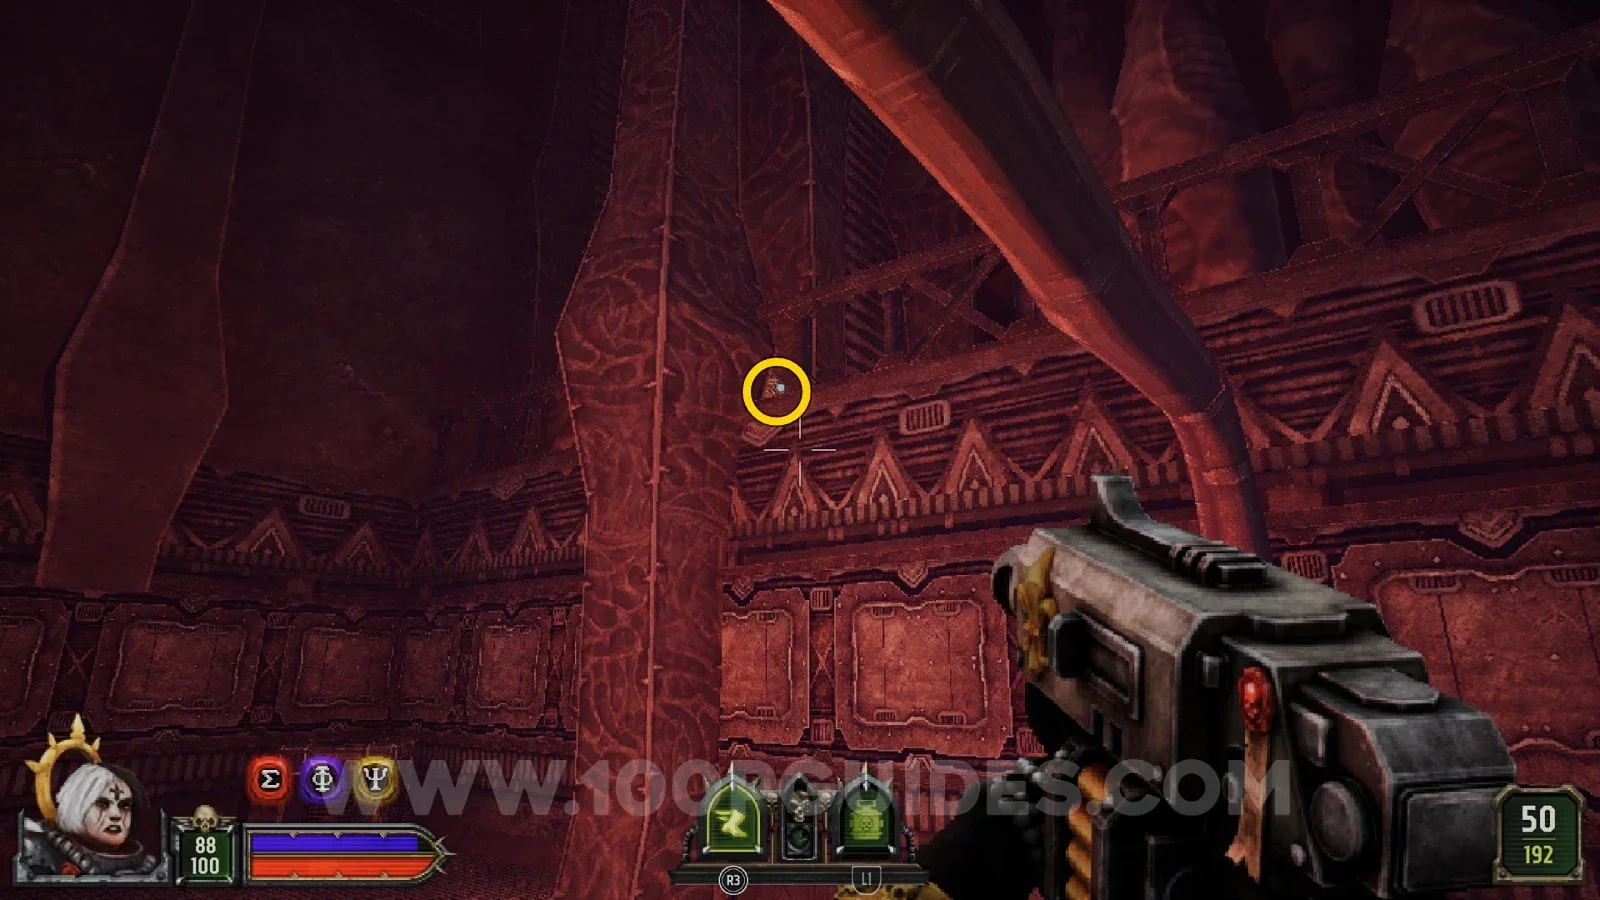
After the seal, head through the yellow door. In the next room the floor starts opening up and some small side rooms open at the same time. In the second room on the right there is a skull. Shoot it and the secret spawns in that same room.
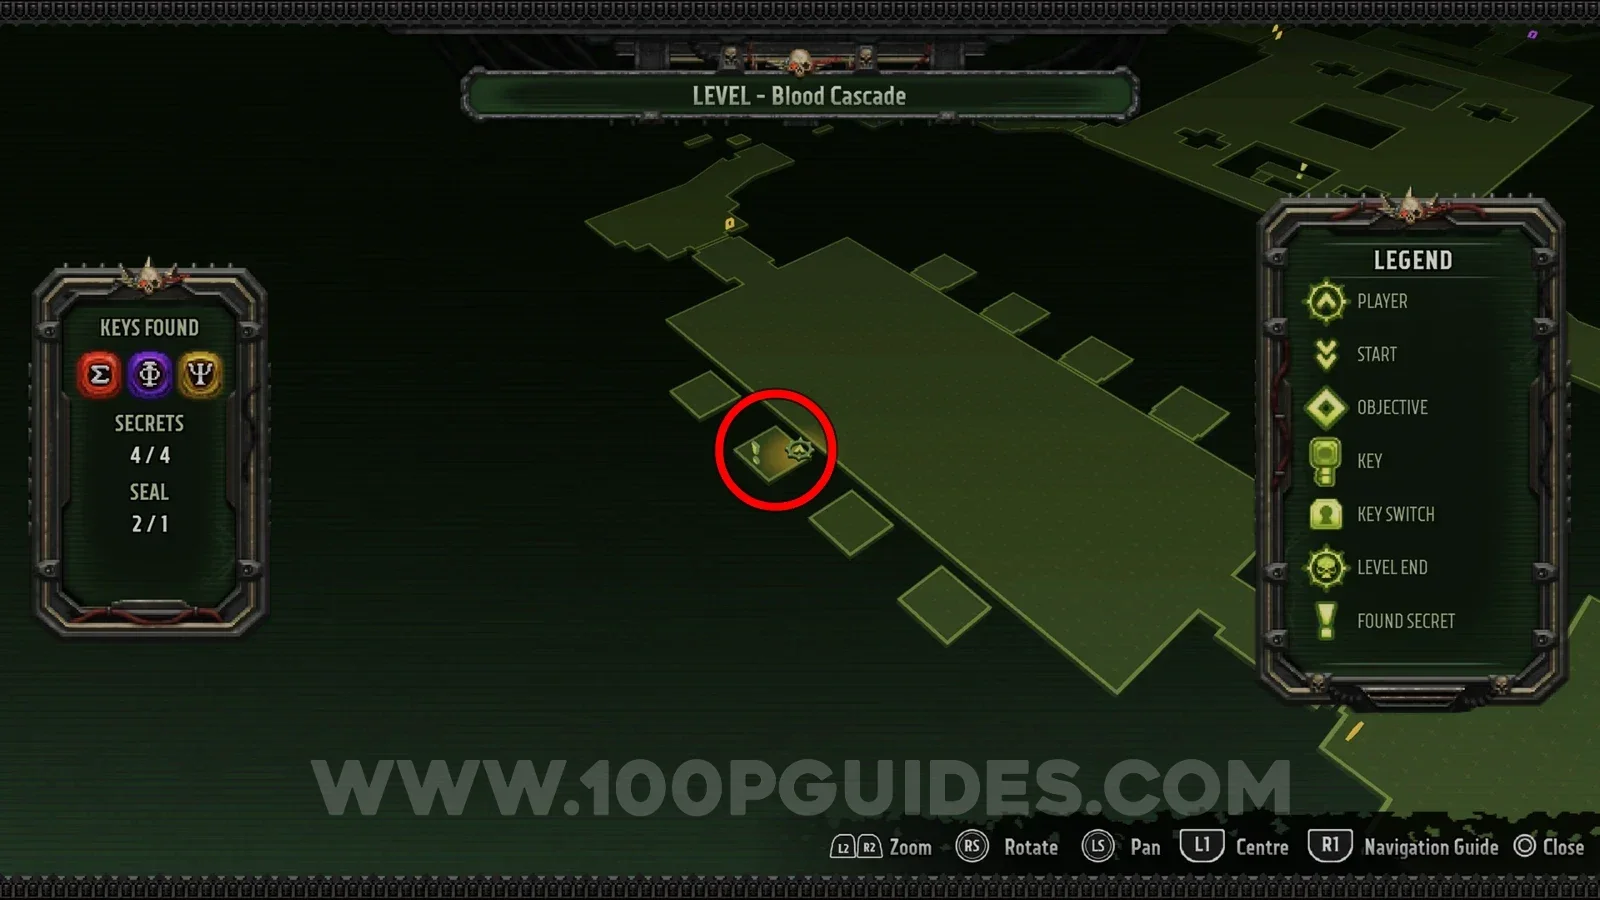
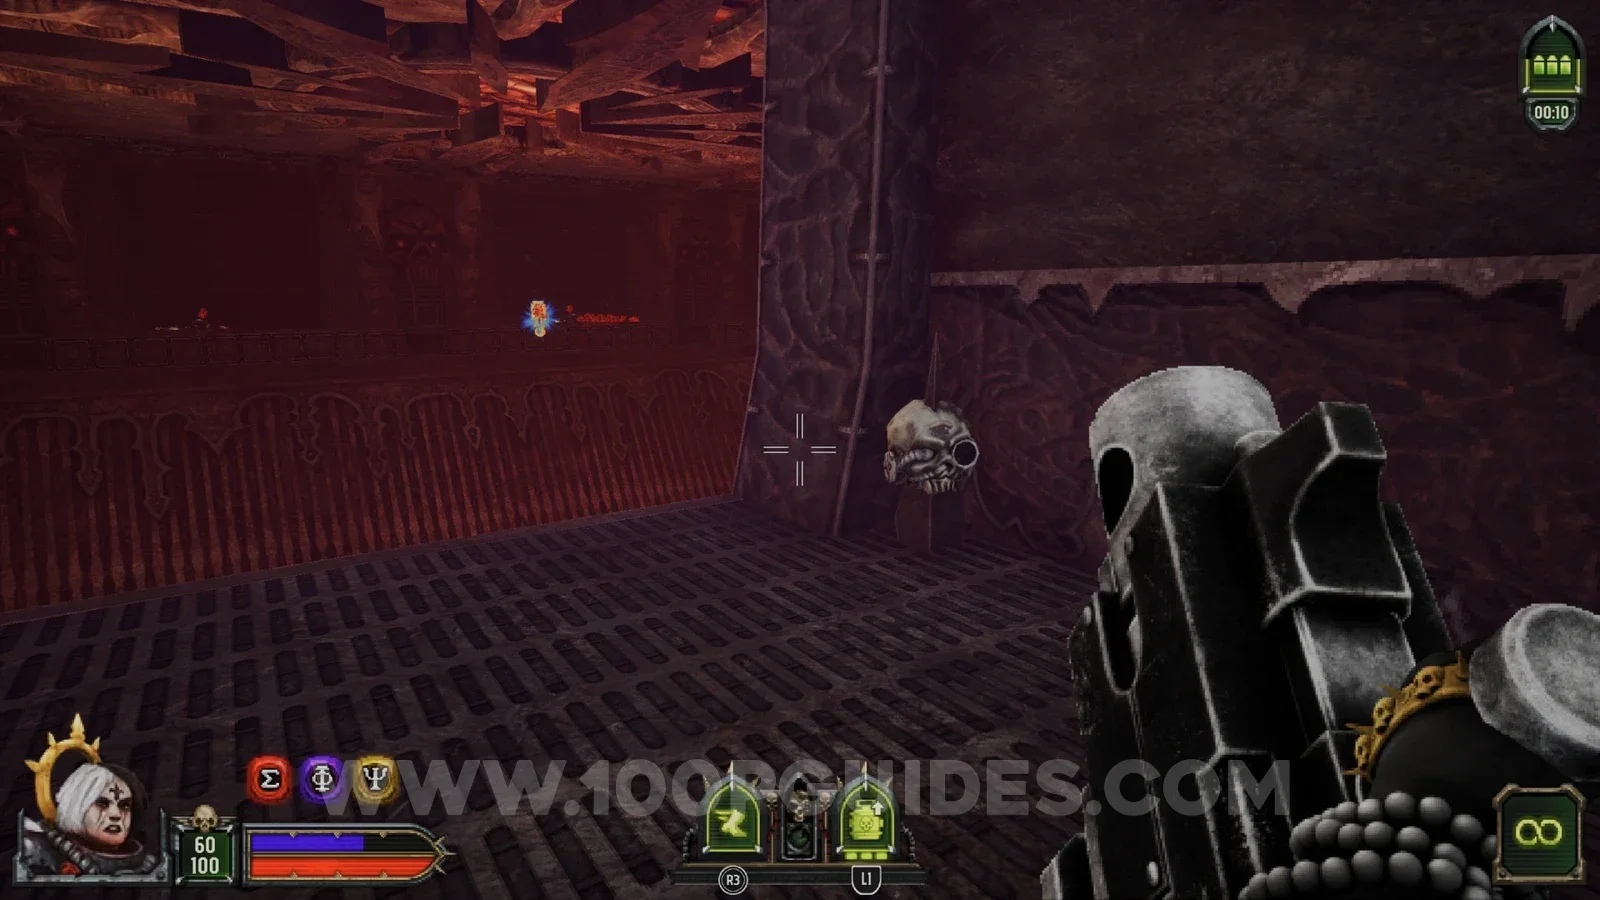
Blood Machine
Secret 1/4
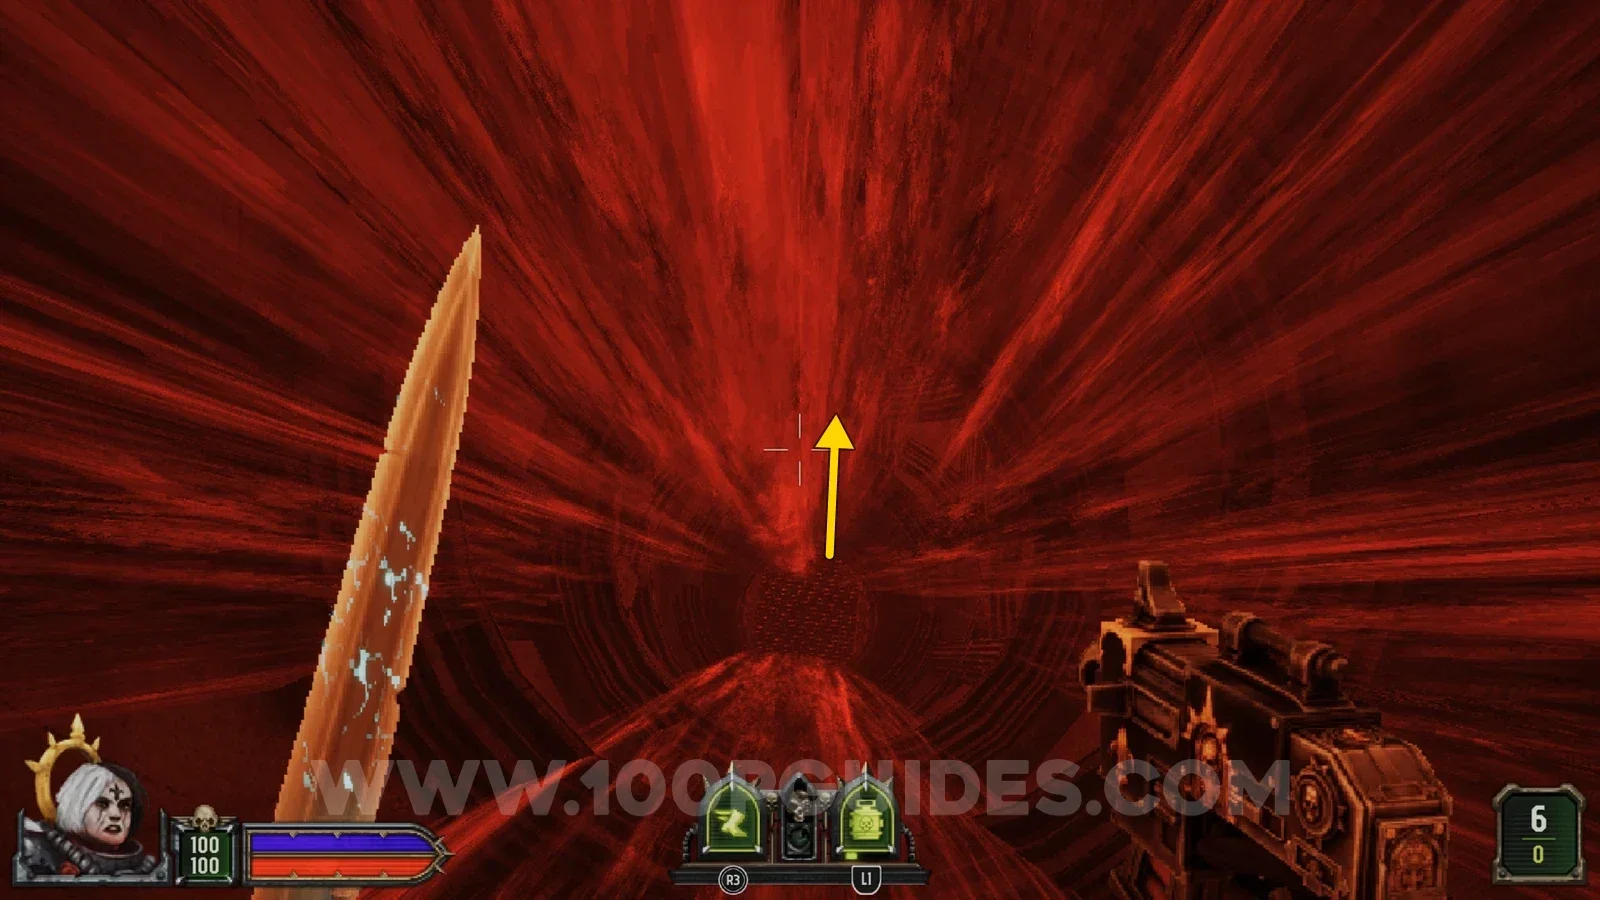
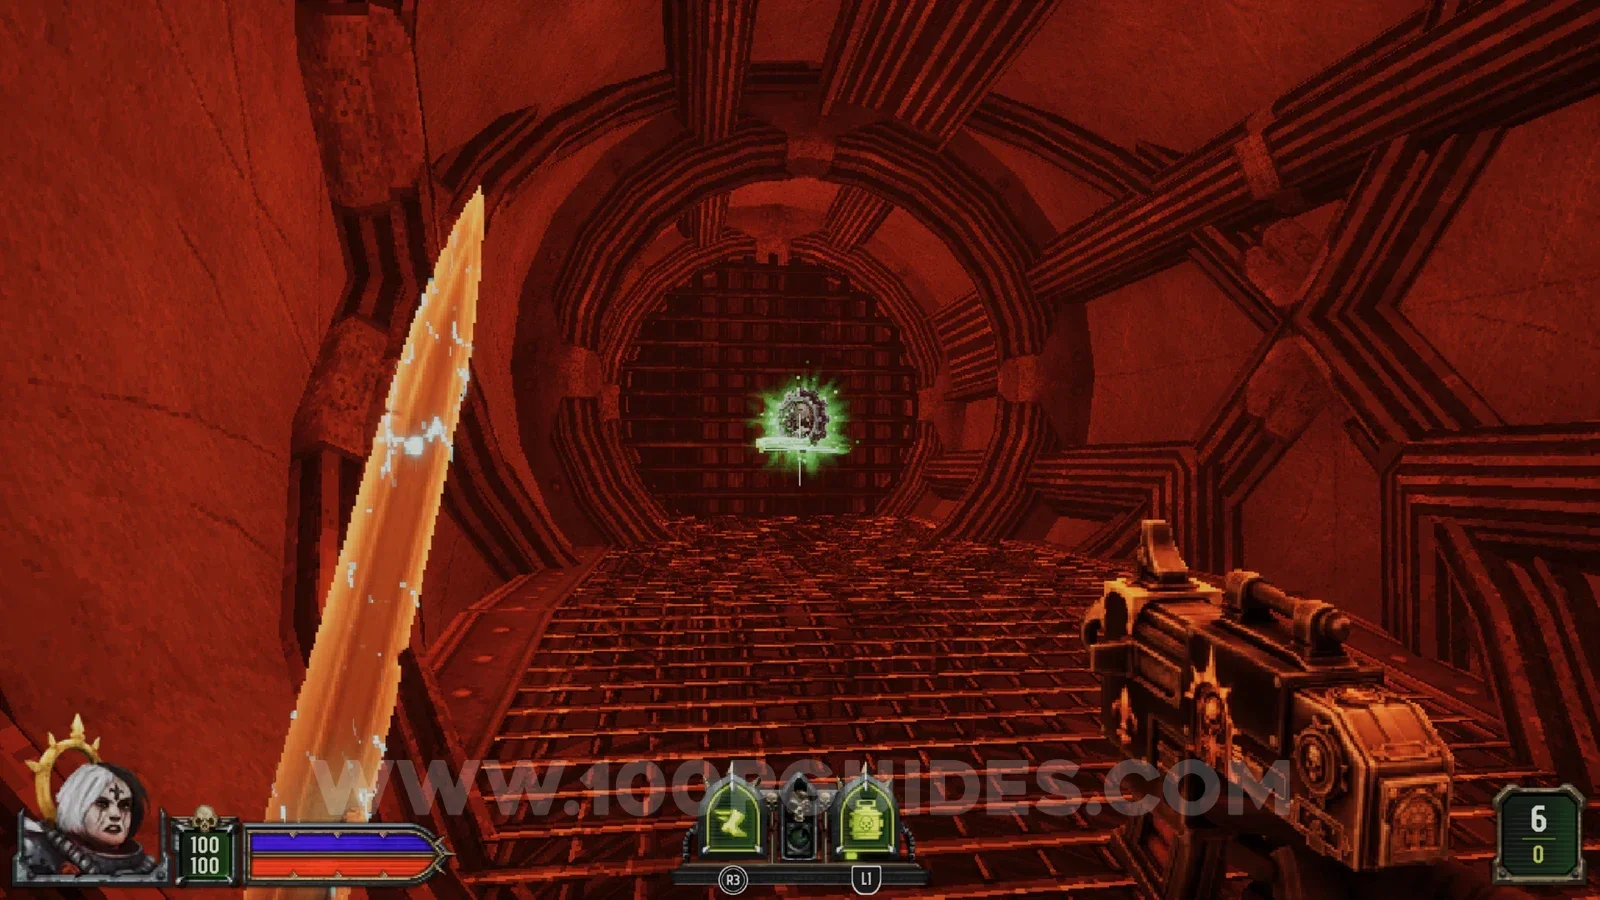
At the start of the level you fall down 2 holes filled with blood. As you fall down the second one, hold back on the left stick to land on a ledge behind you halfway down, where the secret is.
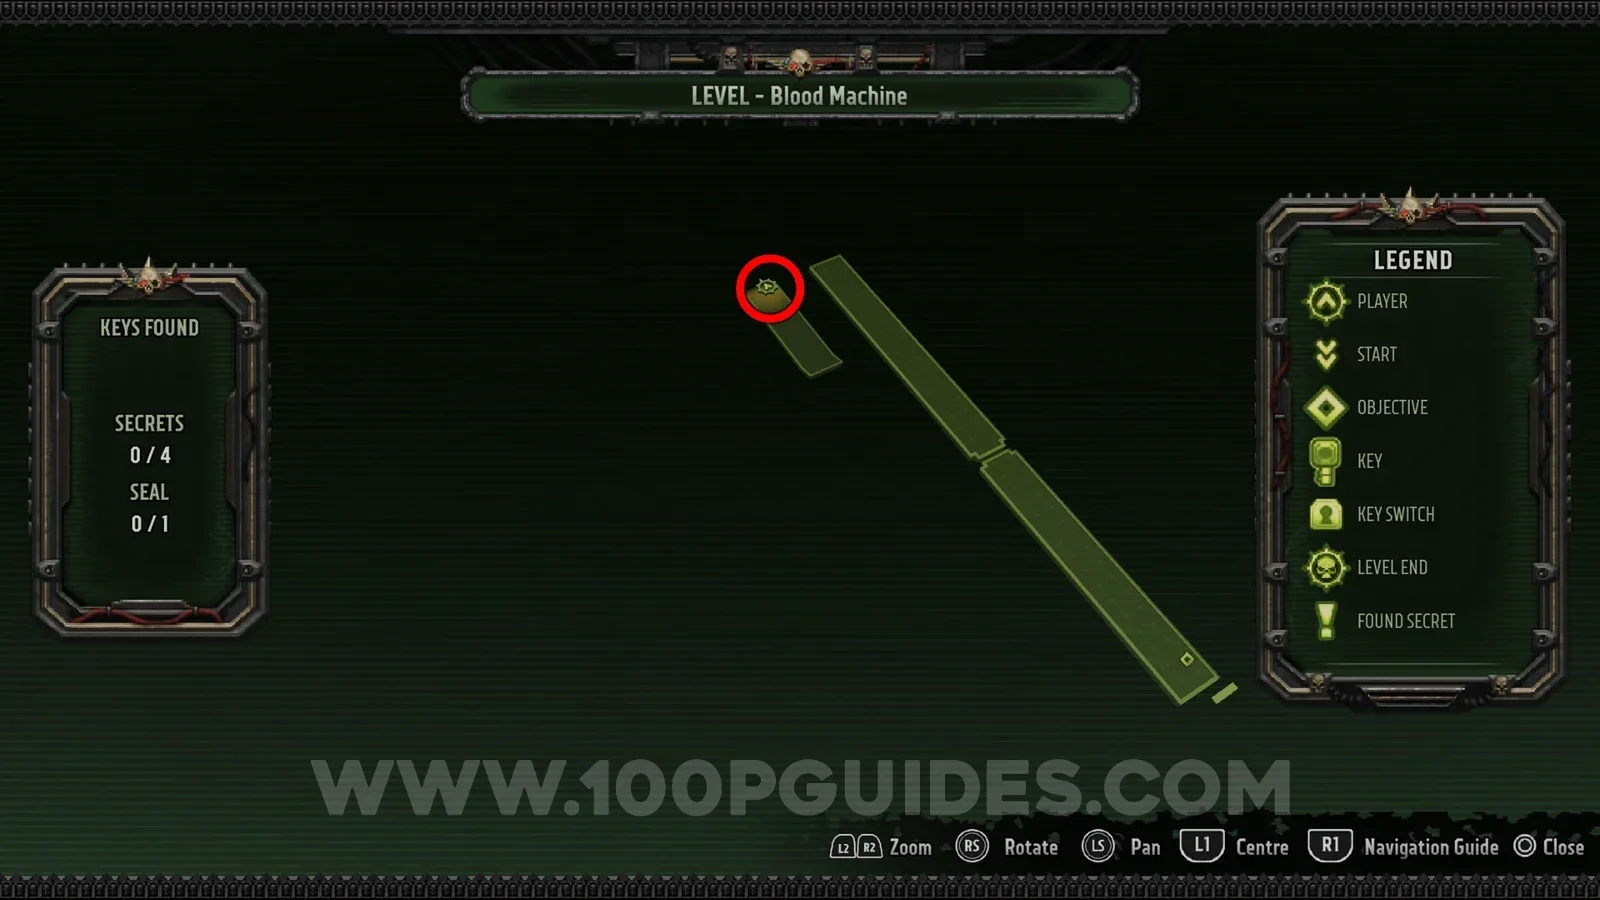
Secret 2/4
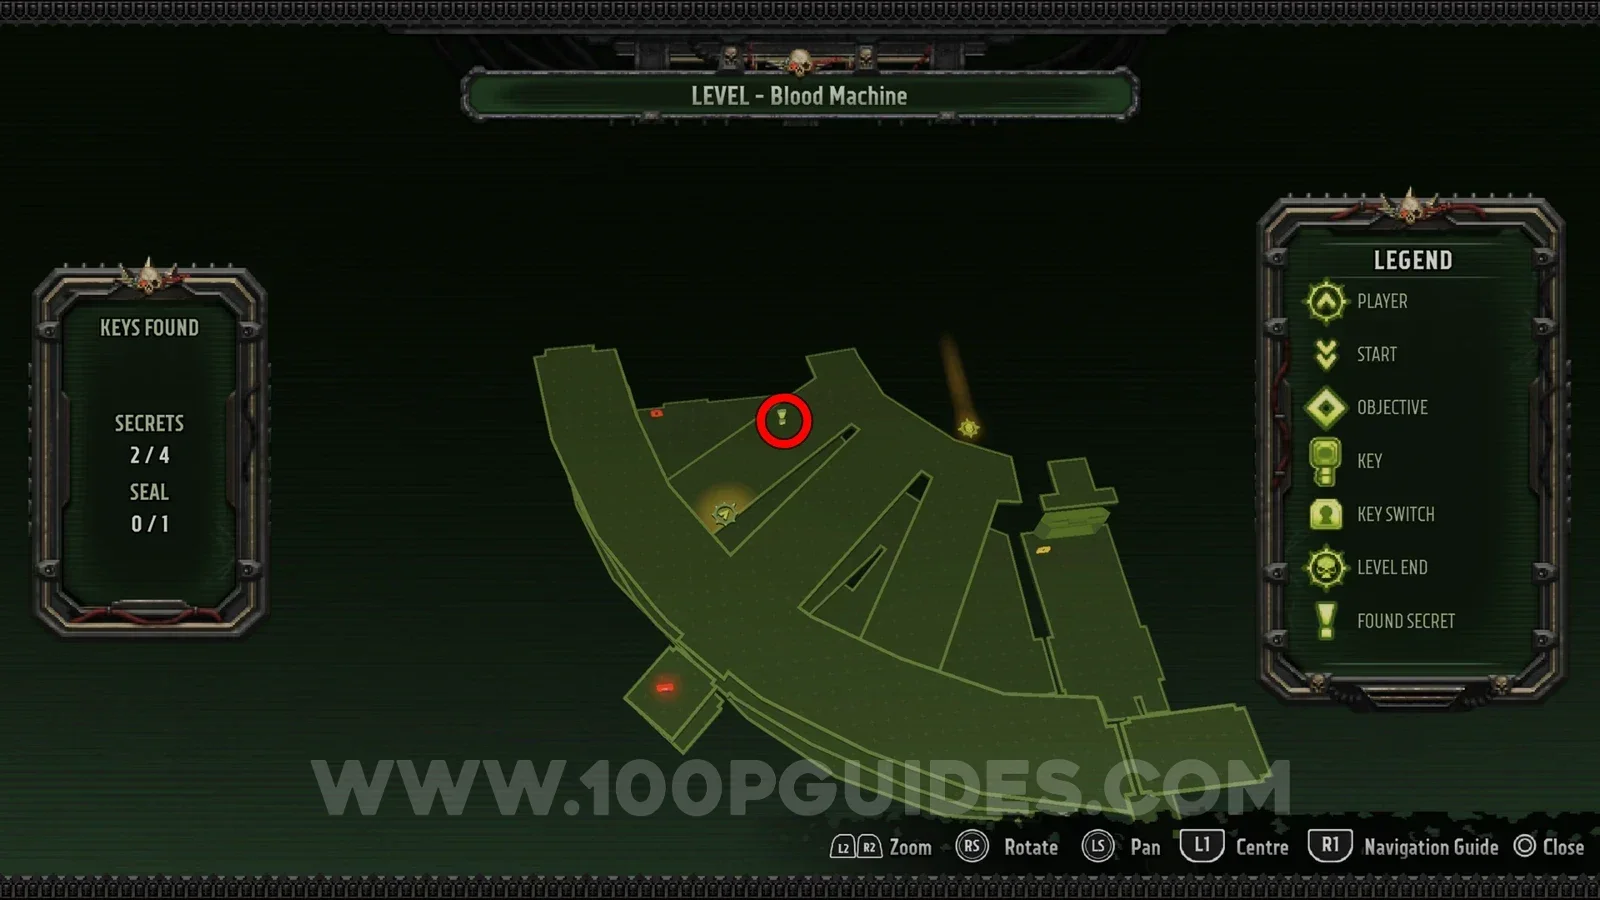
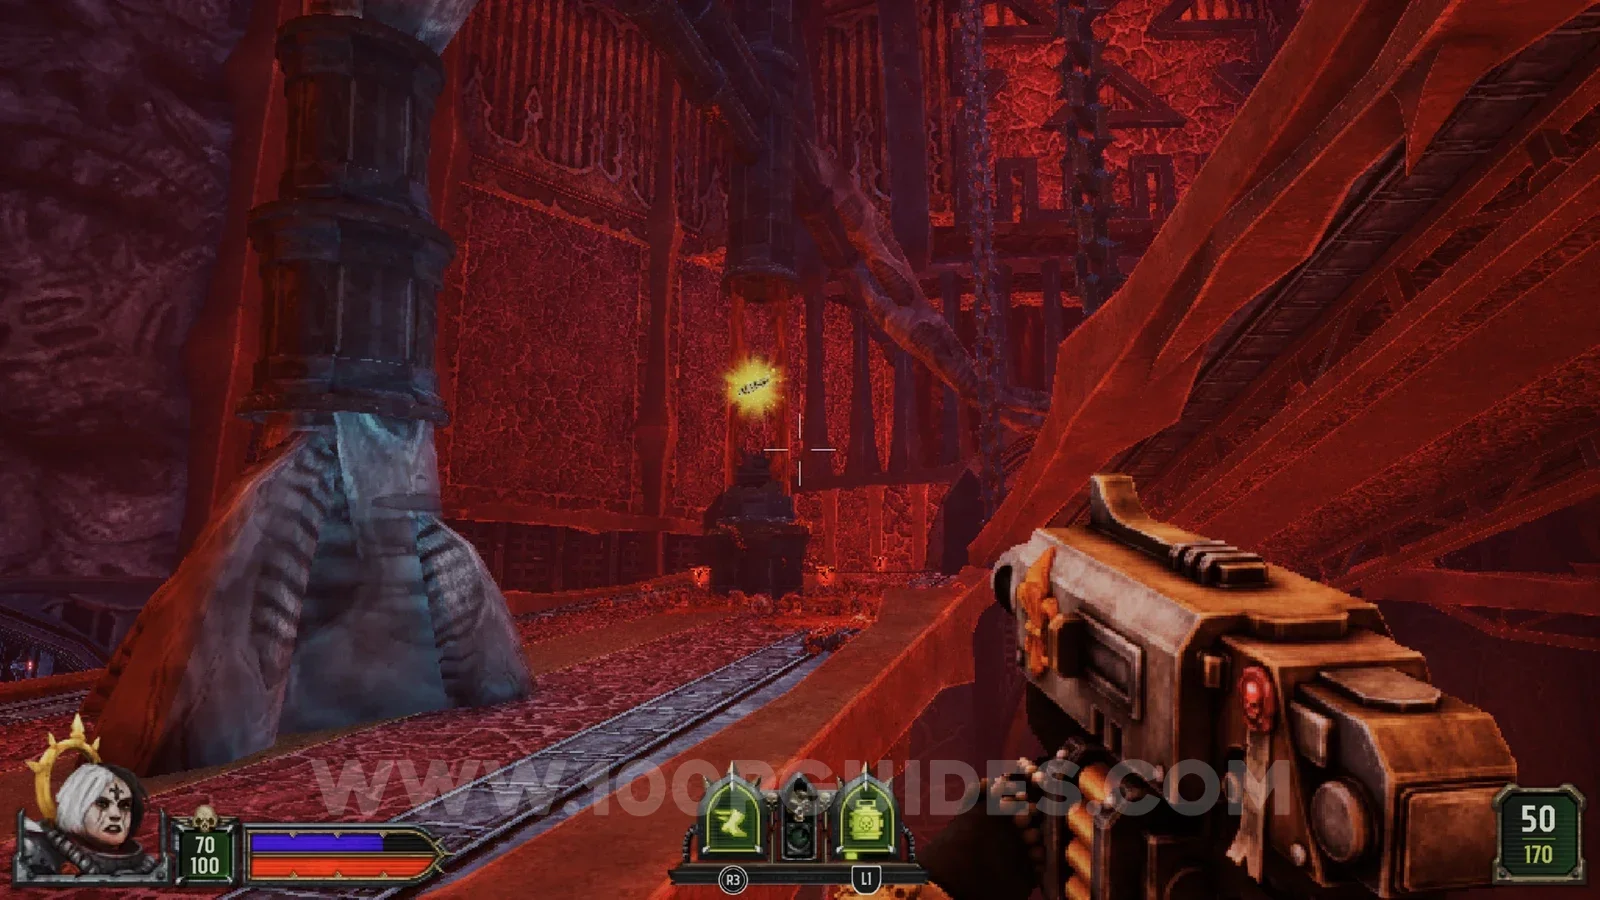
In the area with the red key. Destroy one of the nodes on your way up to find it.
Secret 3/4
From the room with the red key, head left and enter the small room (you may have to destroy the nodes around the room to open its door). Inside, look left to see the secret on the pipe.
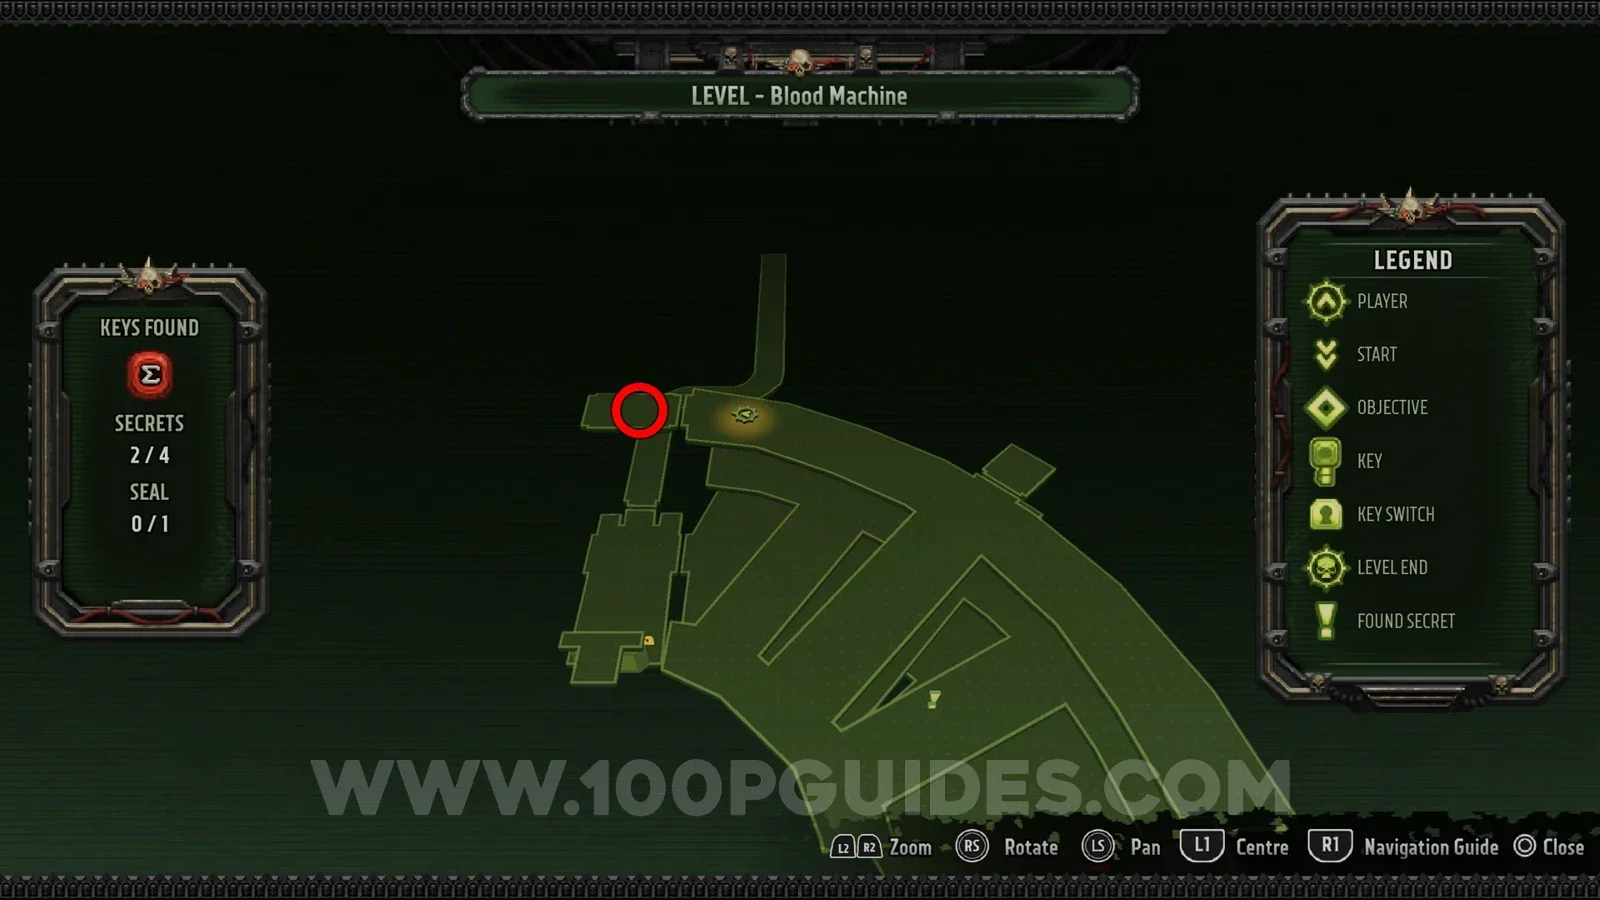
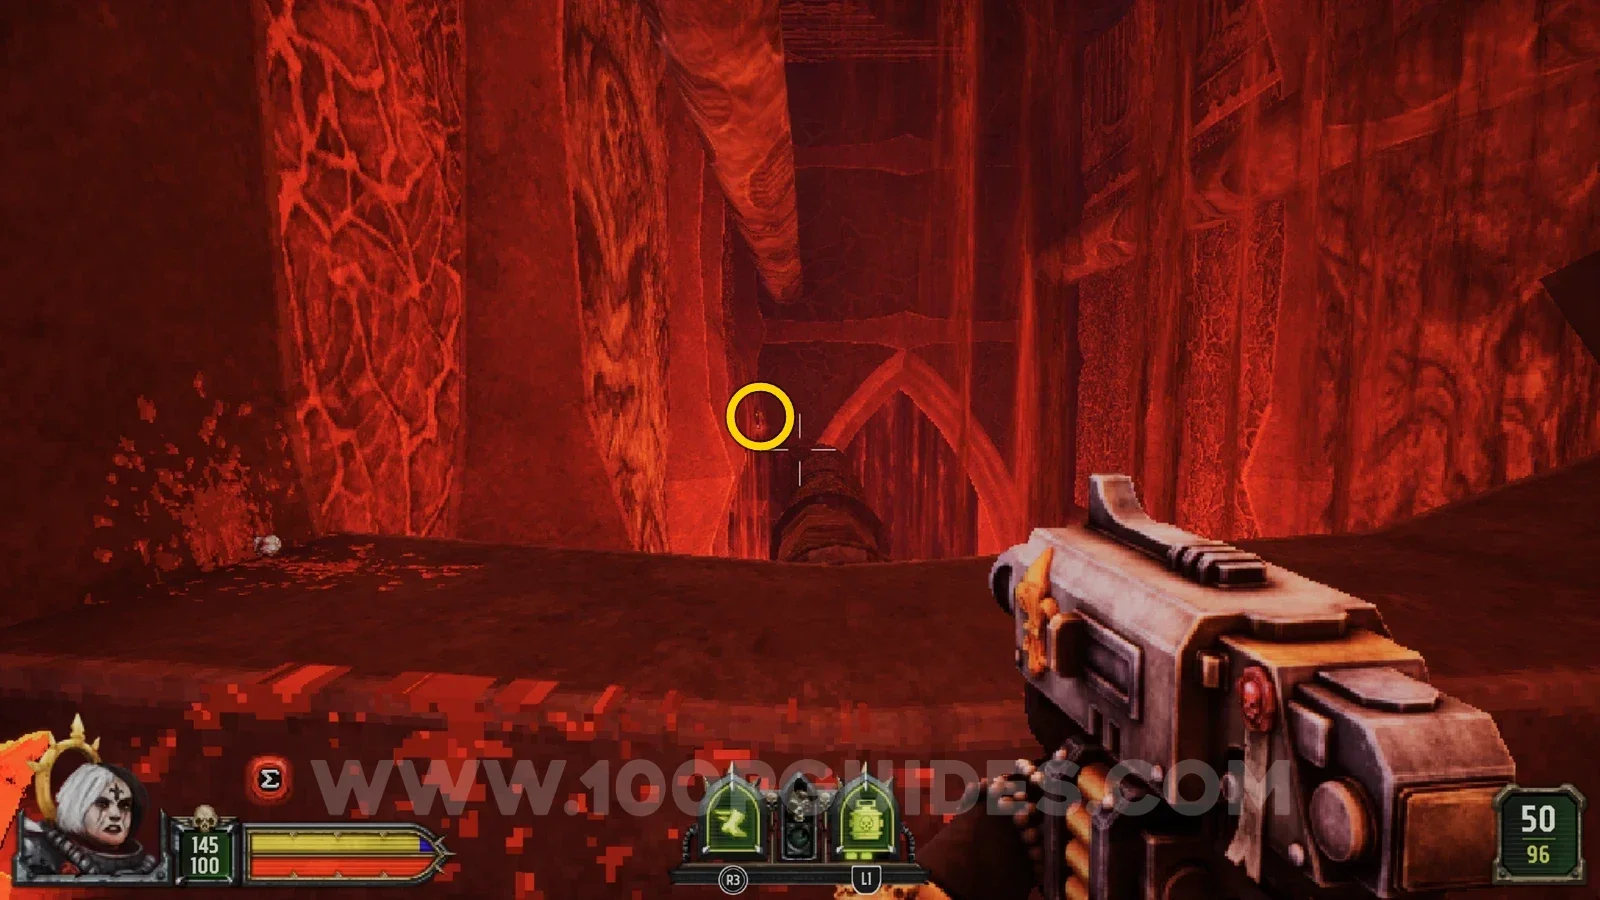
Secret 4/4
After using the red key on the red door you go through another semicircular room, then a small connecting room, before entering a third semicircular room. In that small connecting room, shoot the blue panel on the wall to open a door, then quickly run through it to find the secret.
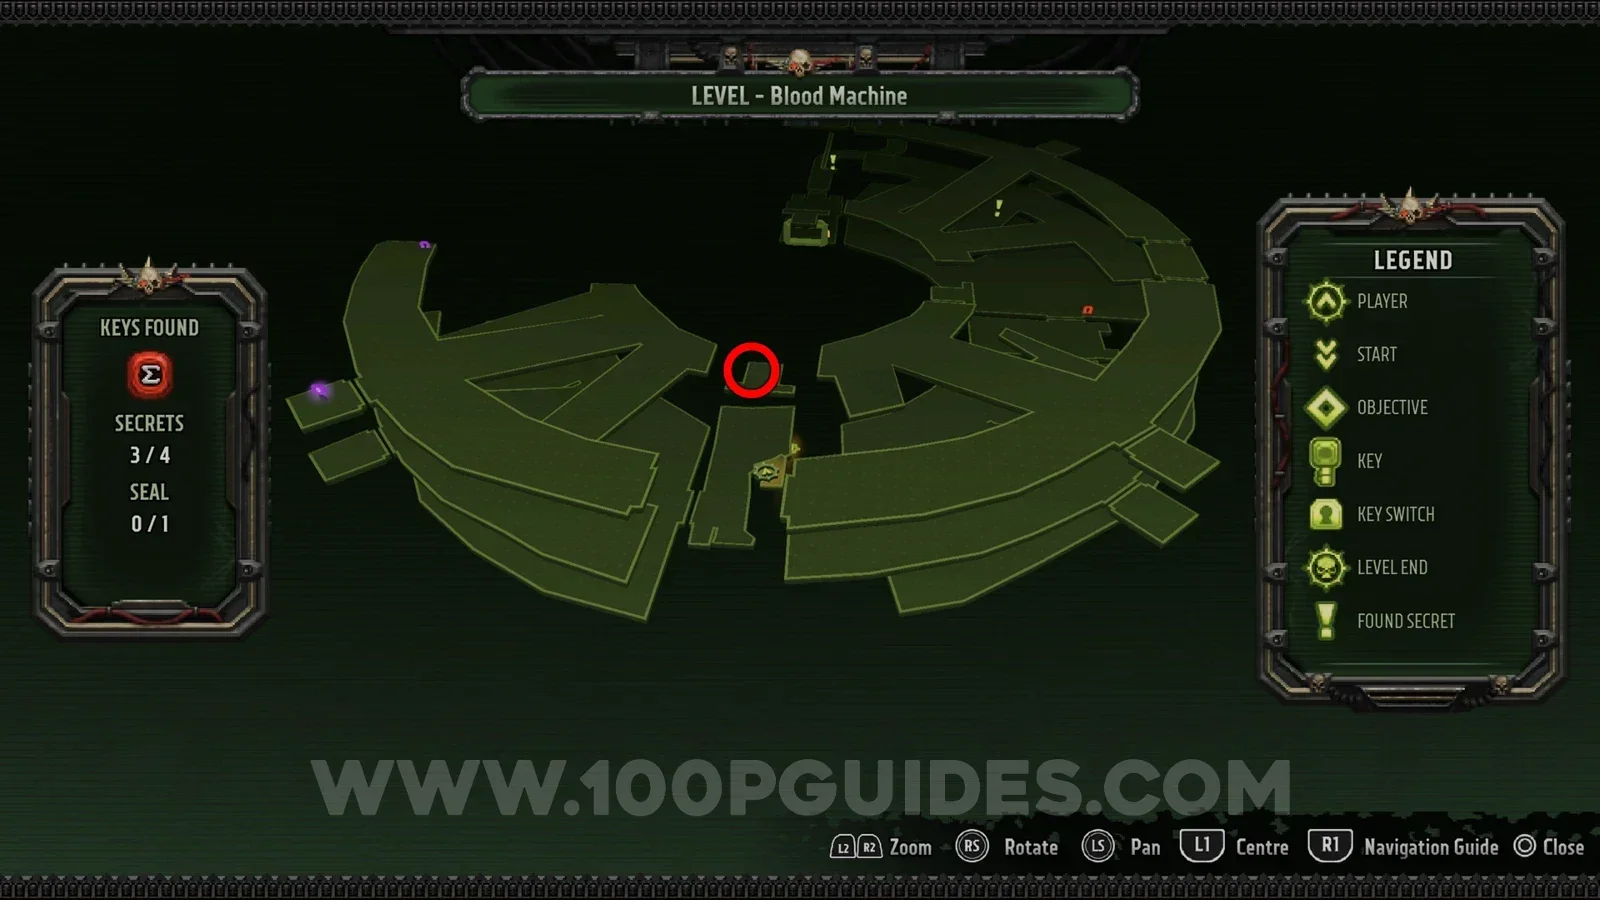
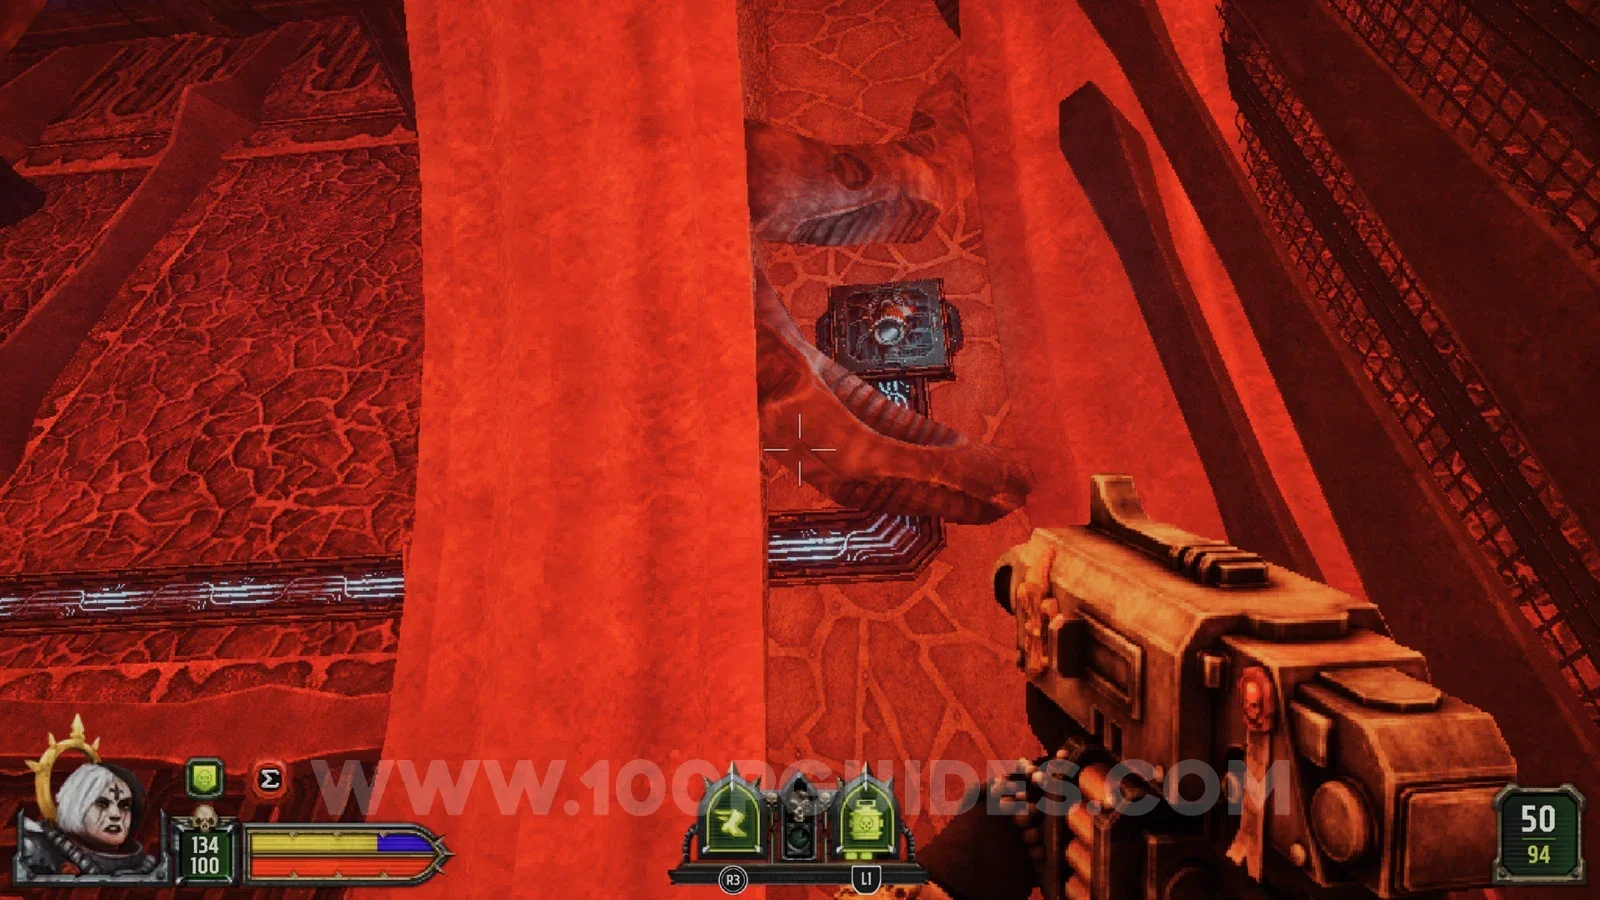
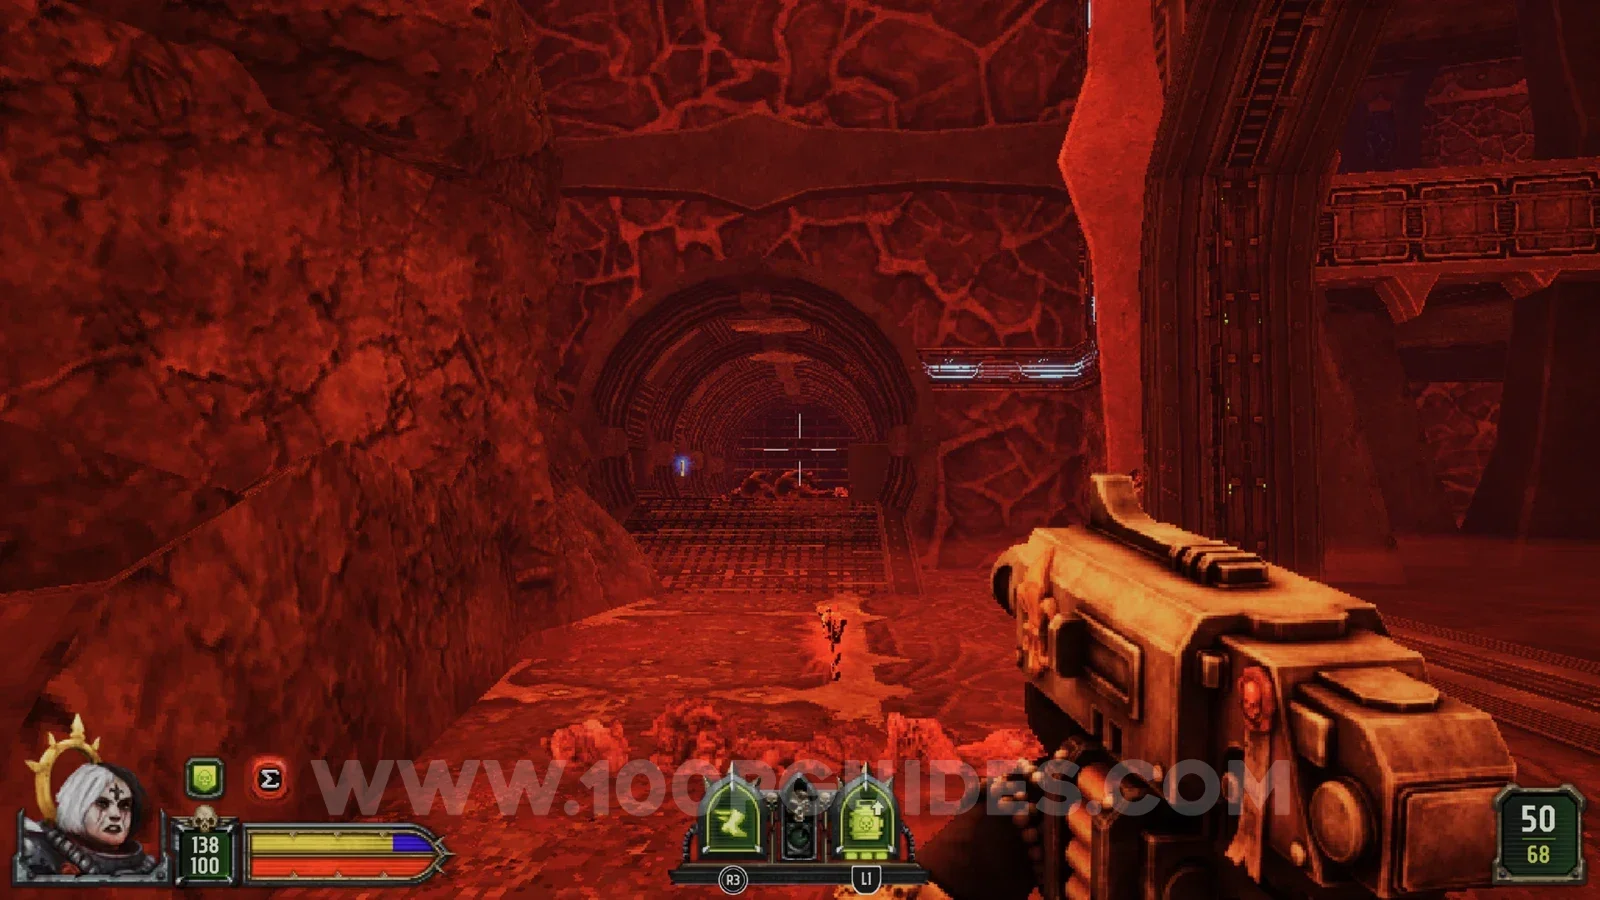
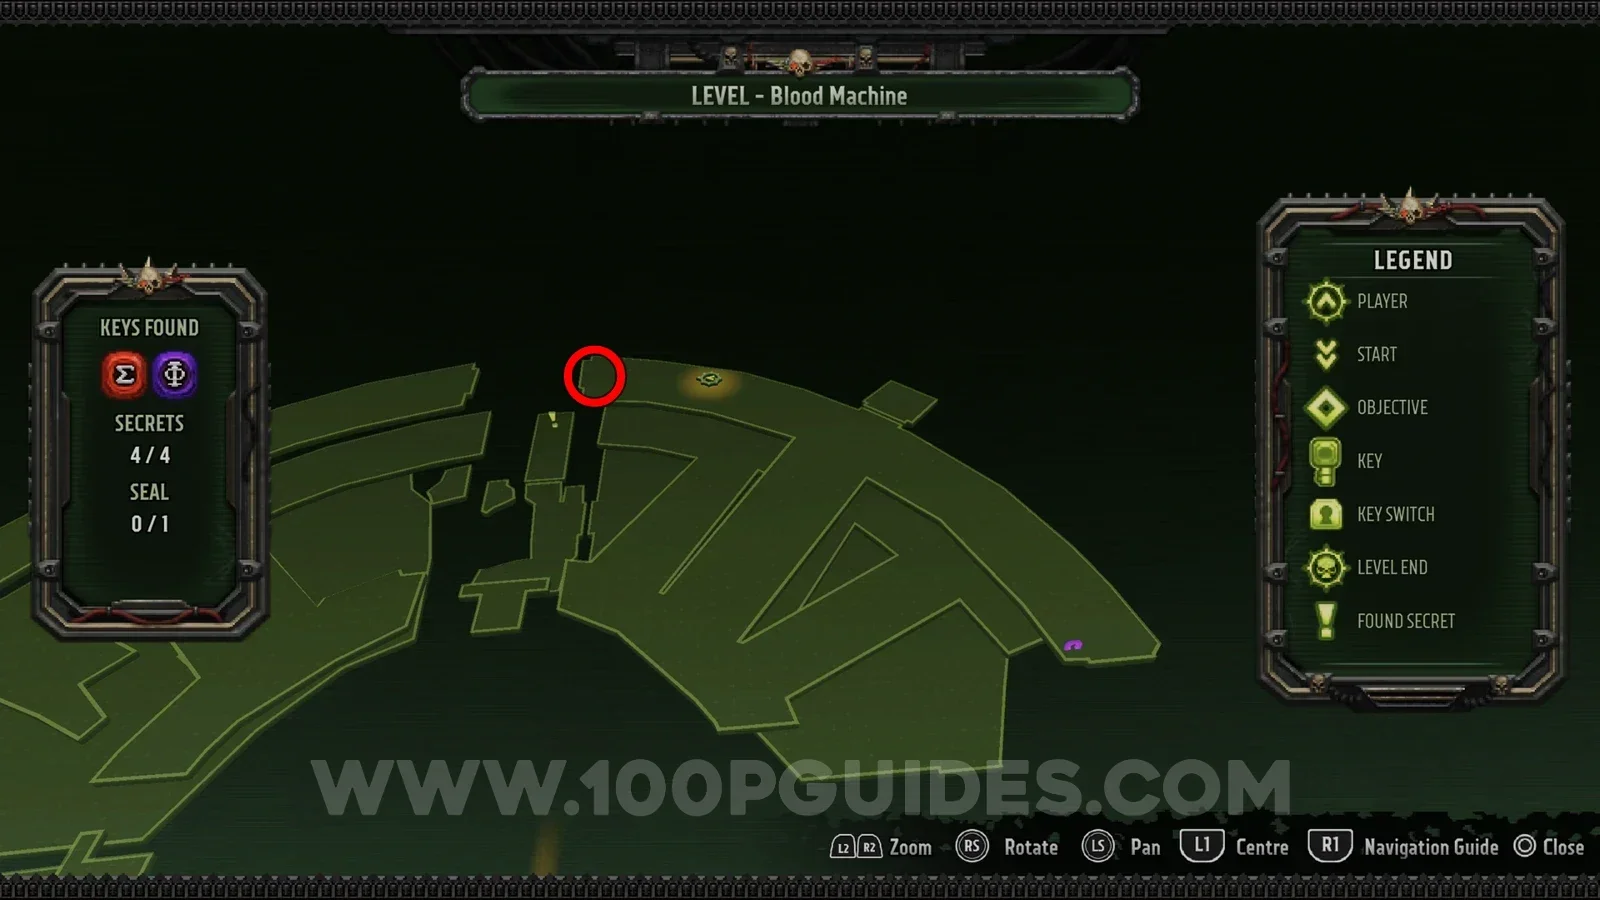
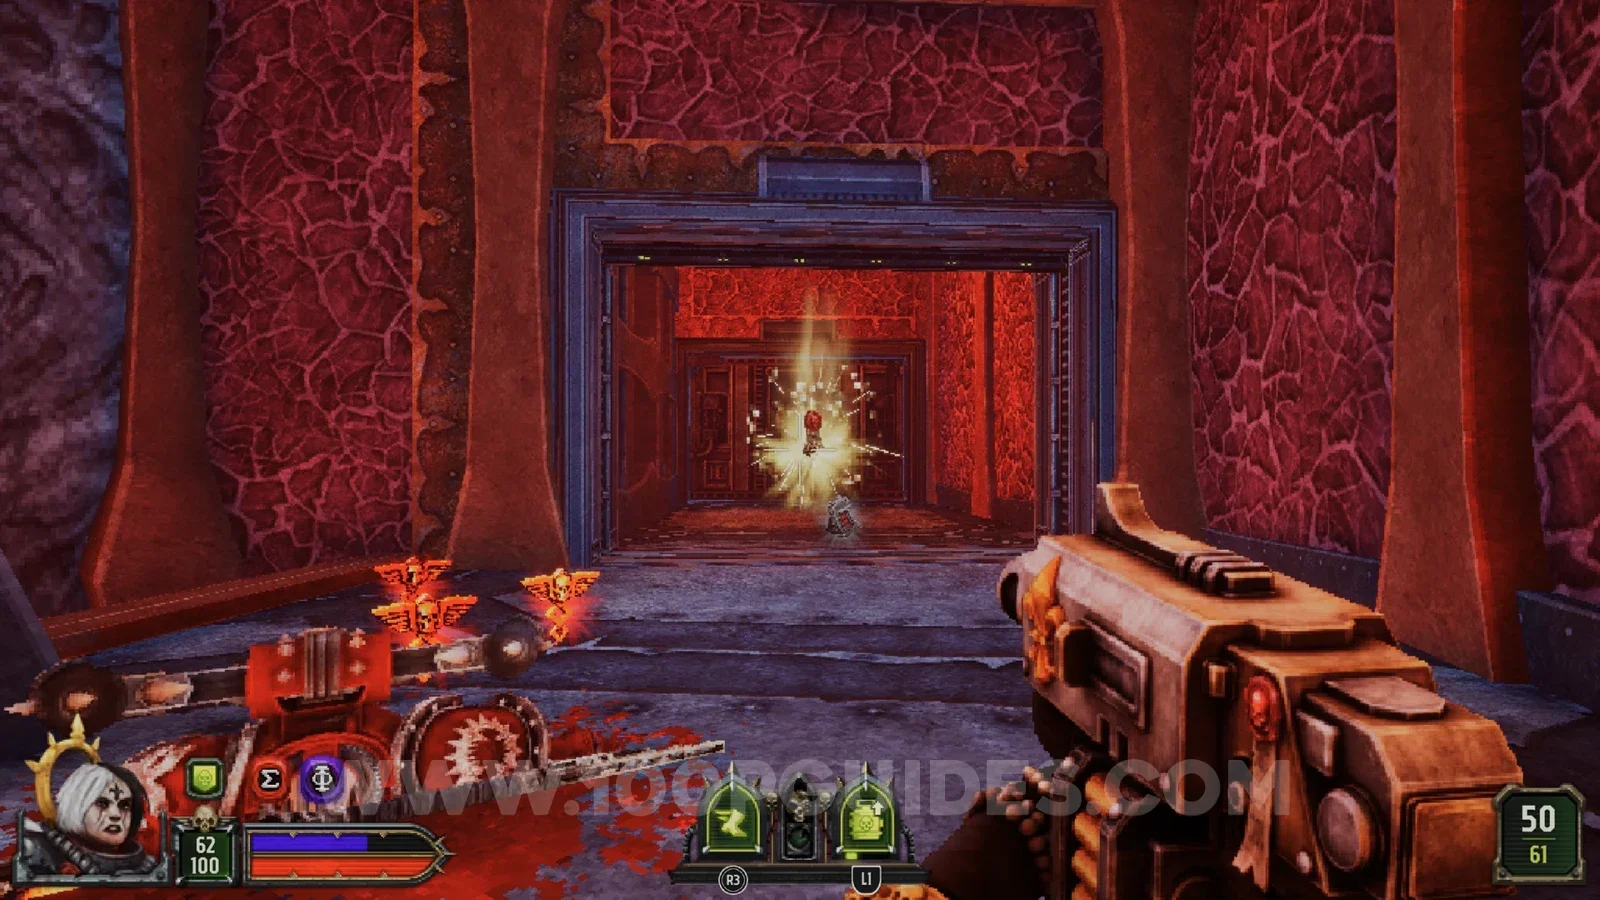
Seal 1/1
In the small room to the left of where you find the purple key. You have to destroy the nodes around the room first.
Uninvited Guests
Secret 1/6
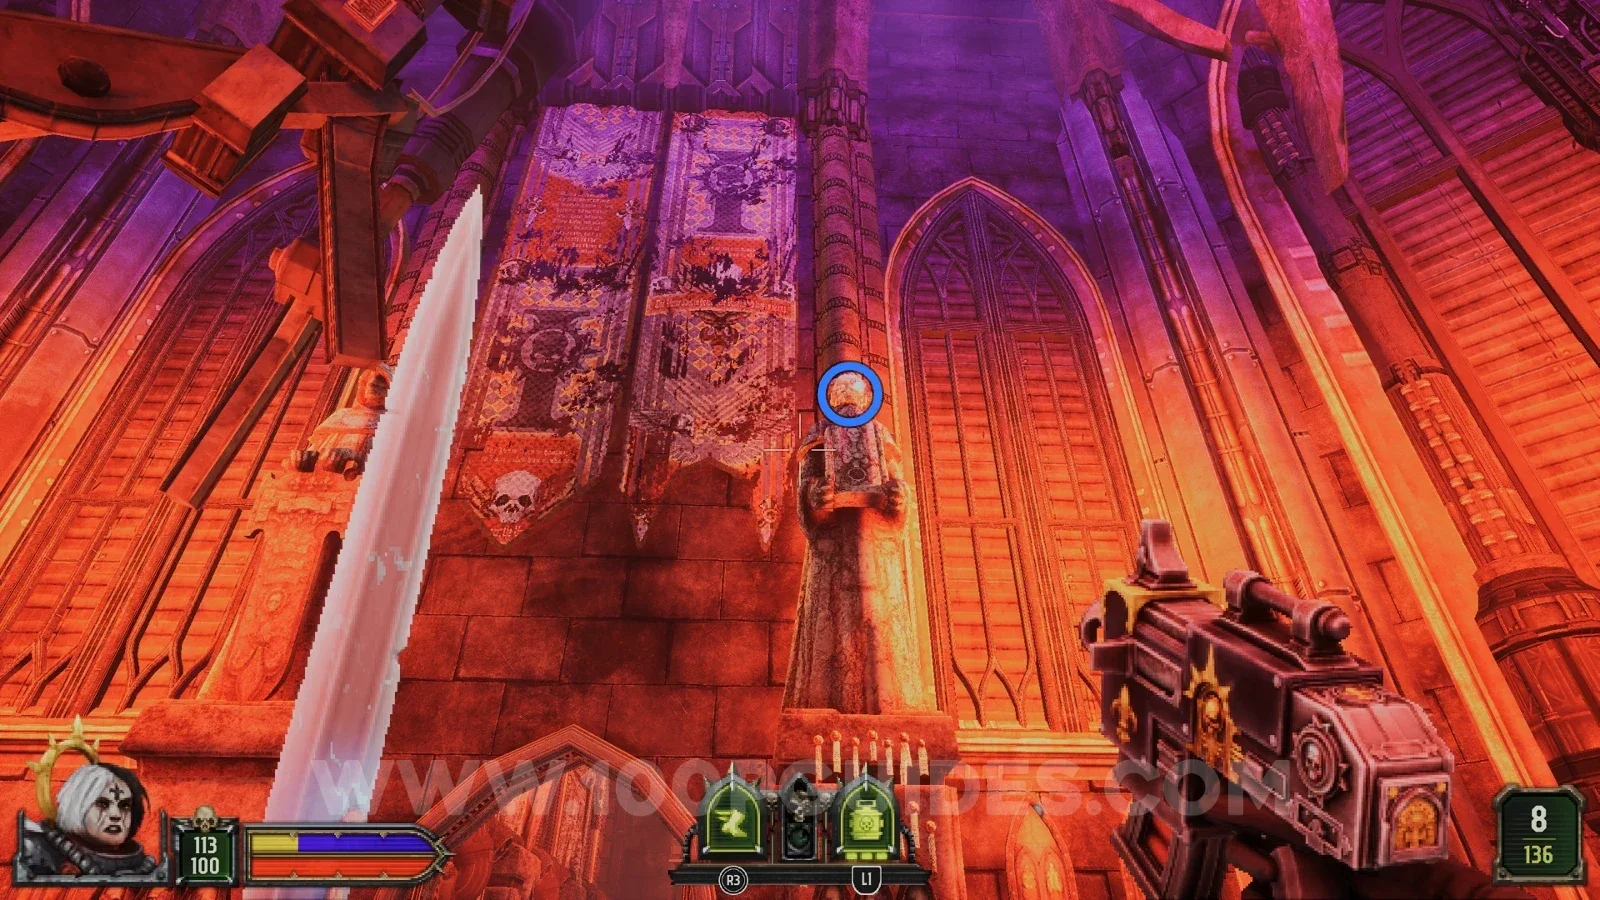
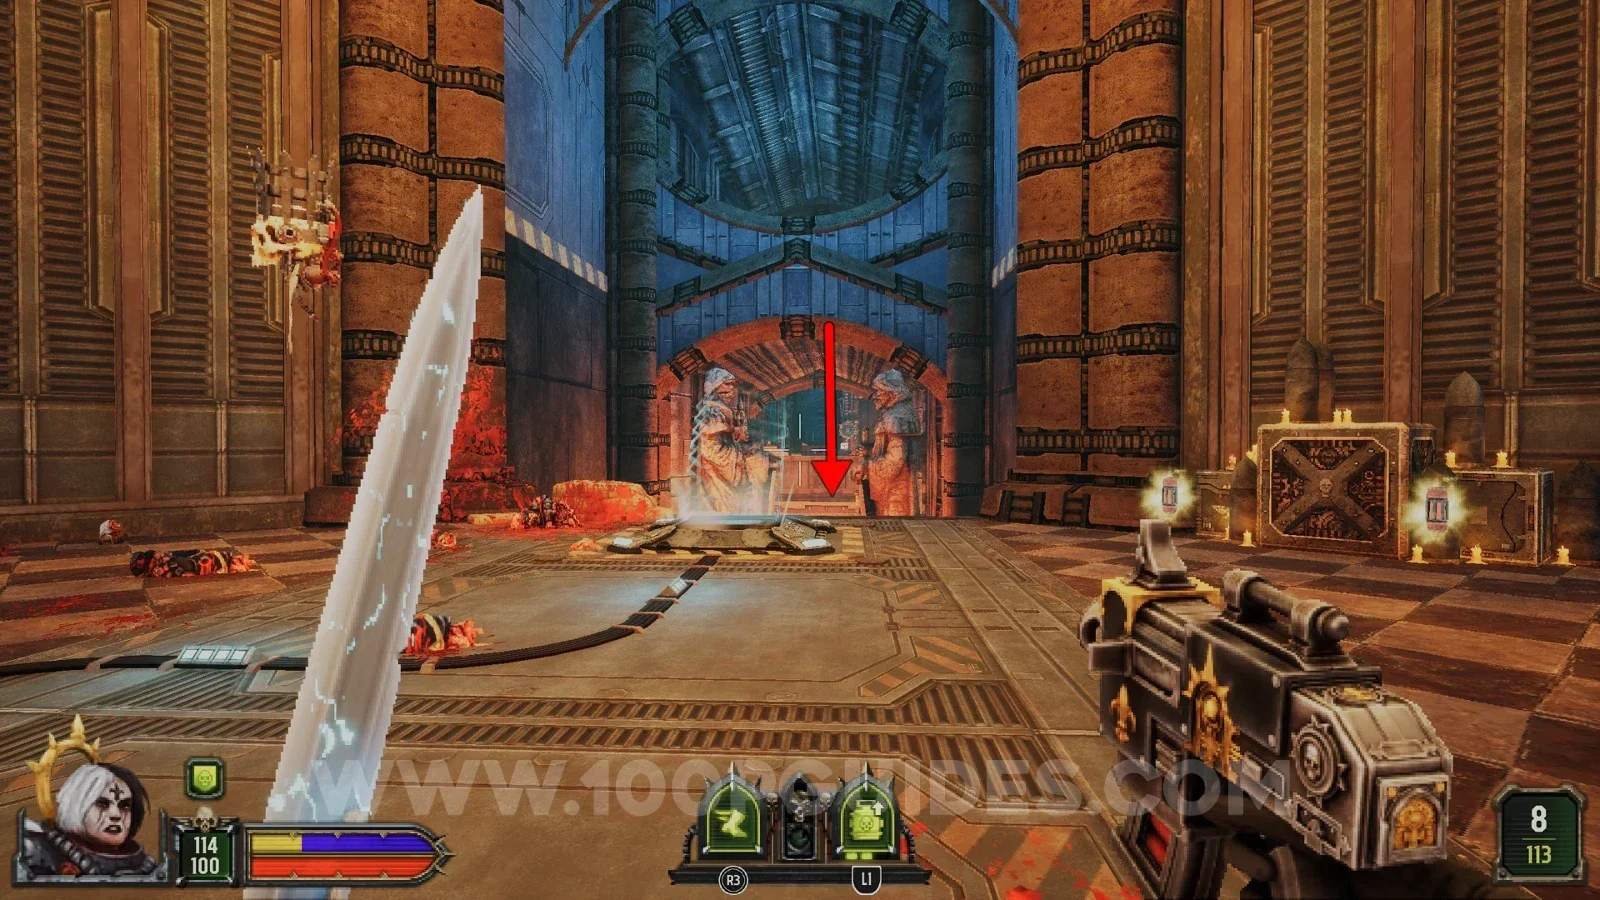
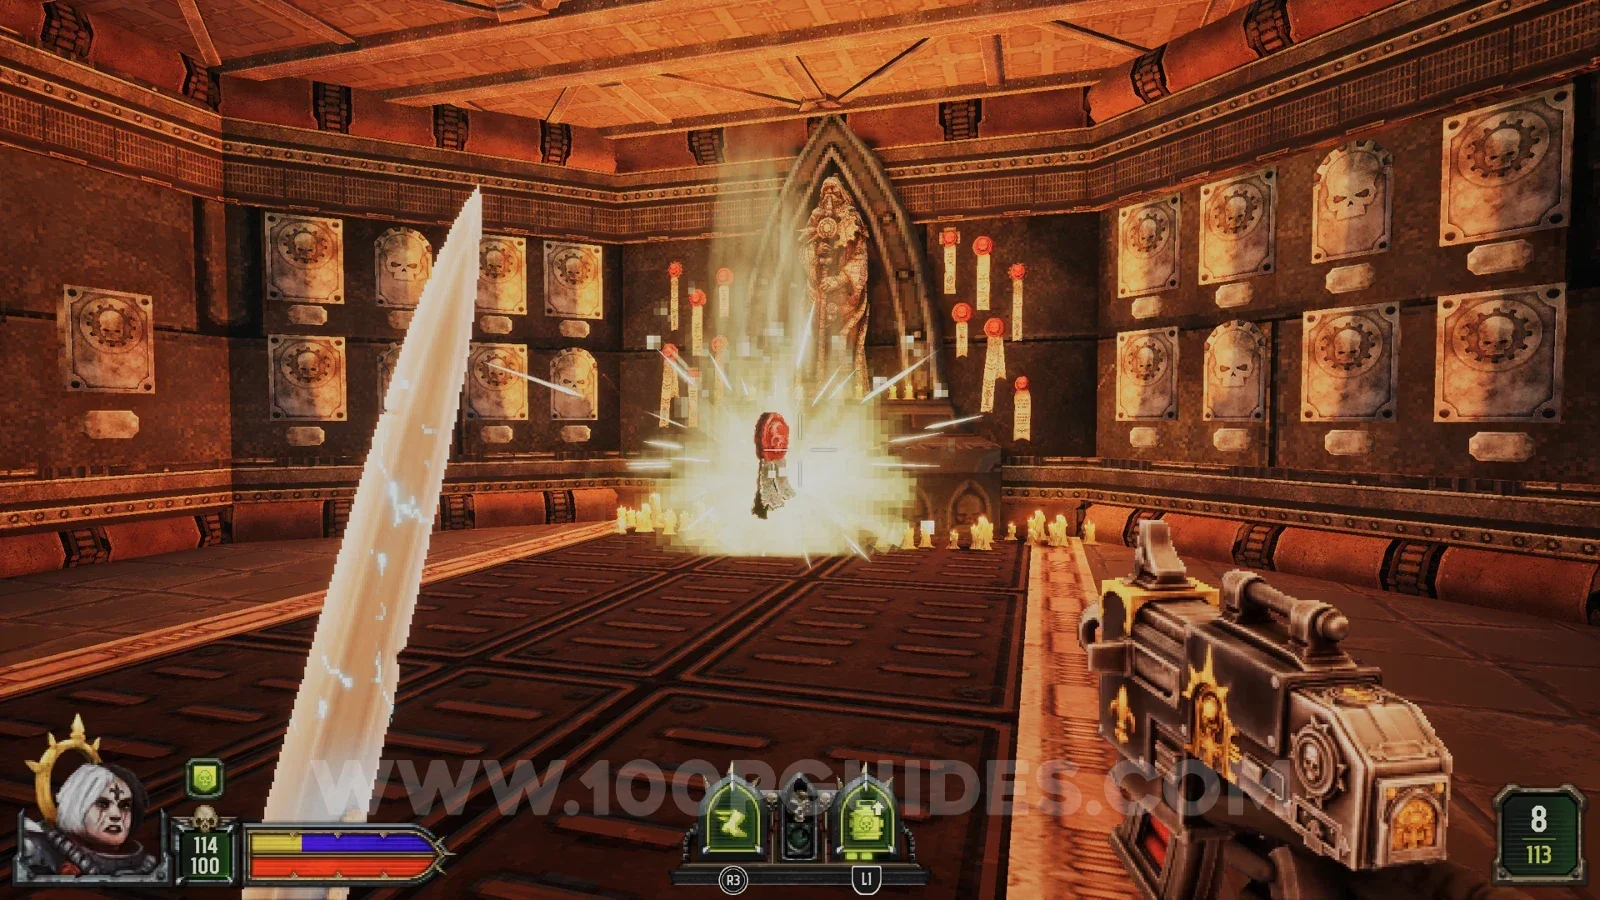
In the large room at the start where the Purge takes place, before going down the hall to continue, look for a skull disguised as one of the statue heads. Shoot it and the secret spawns to the right of that statue.
Secret 2/6
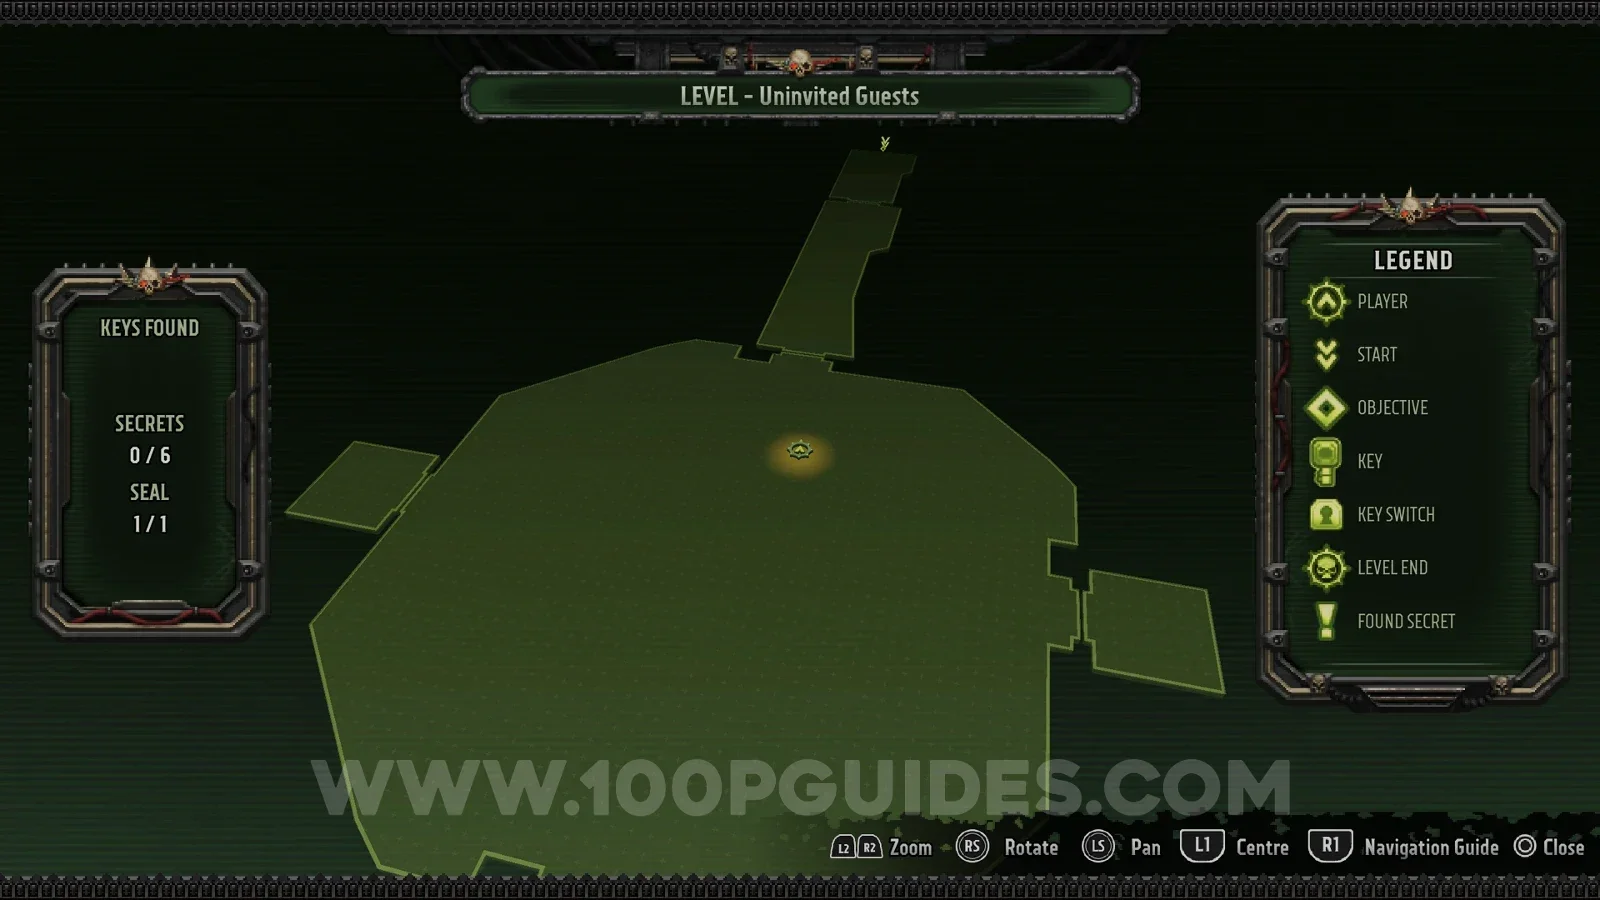
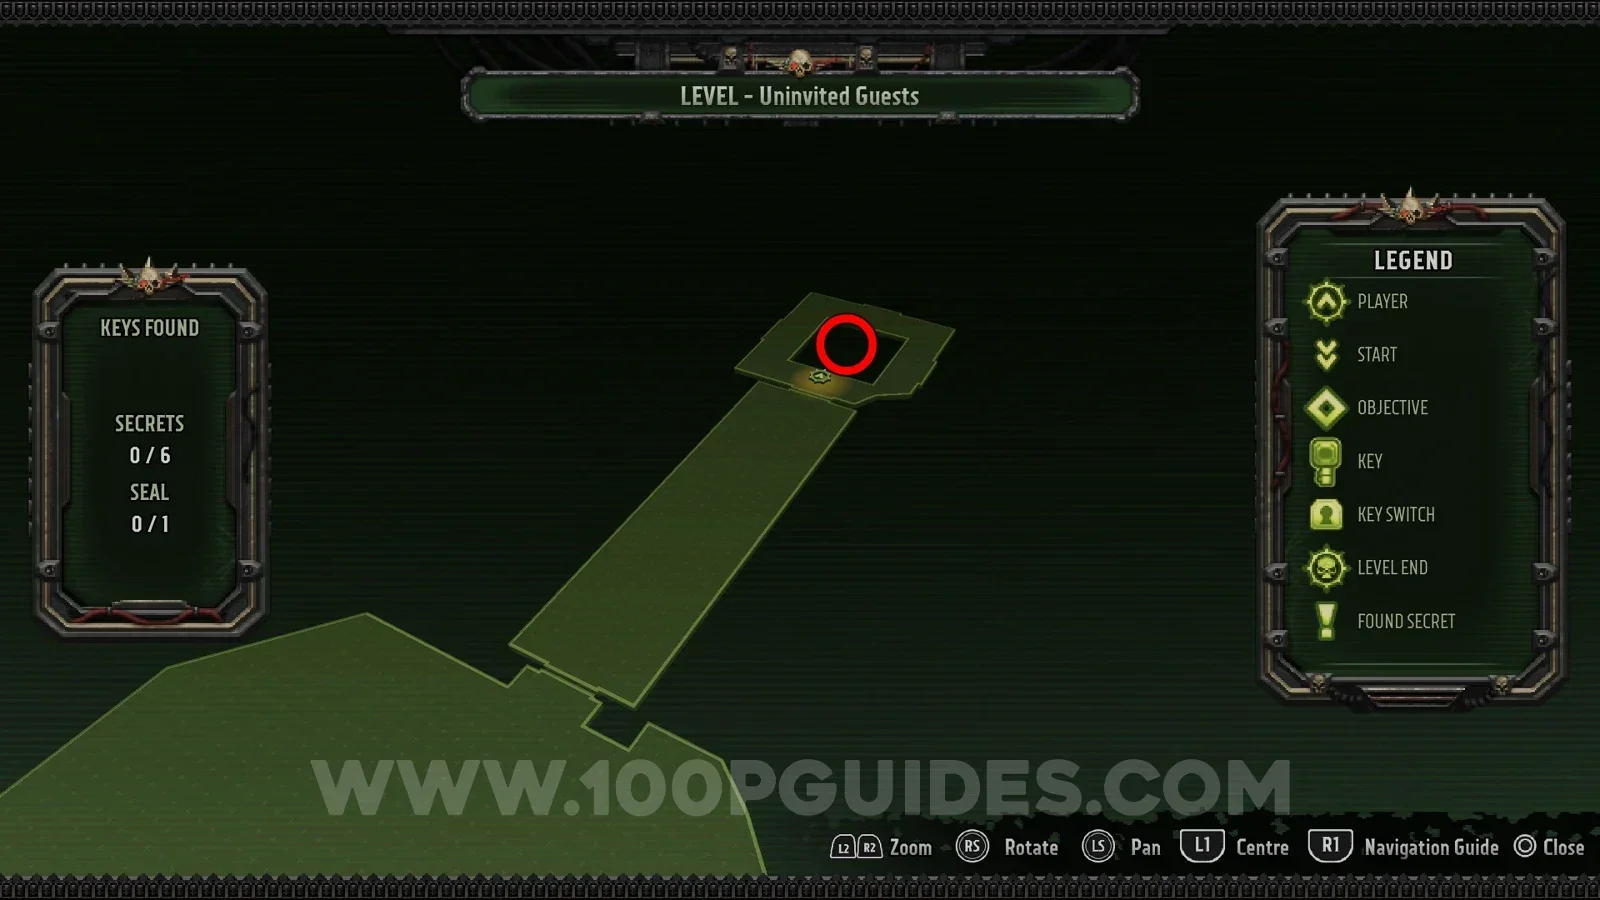
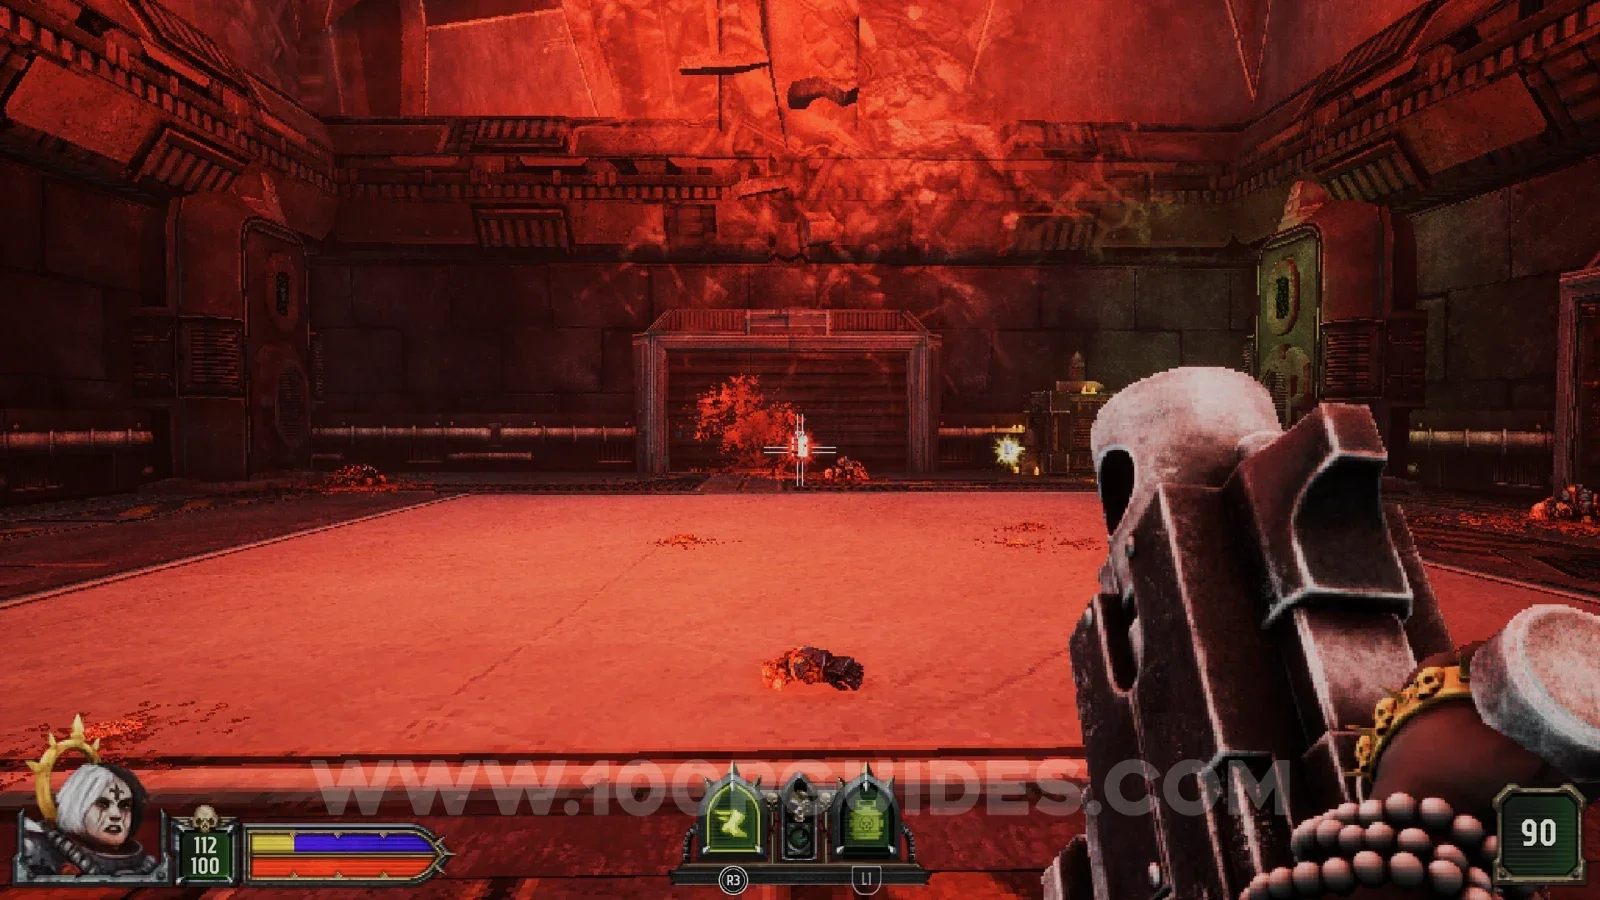
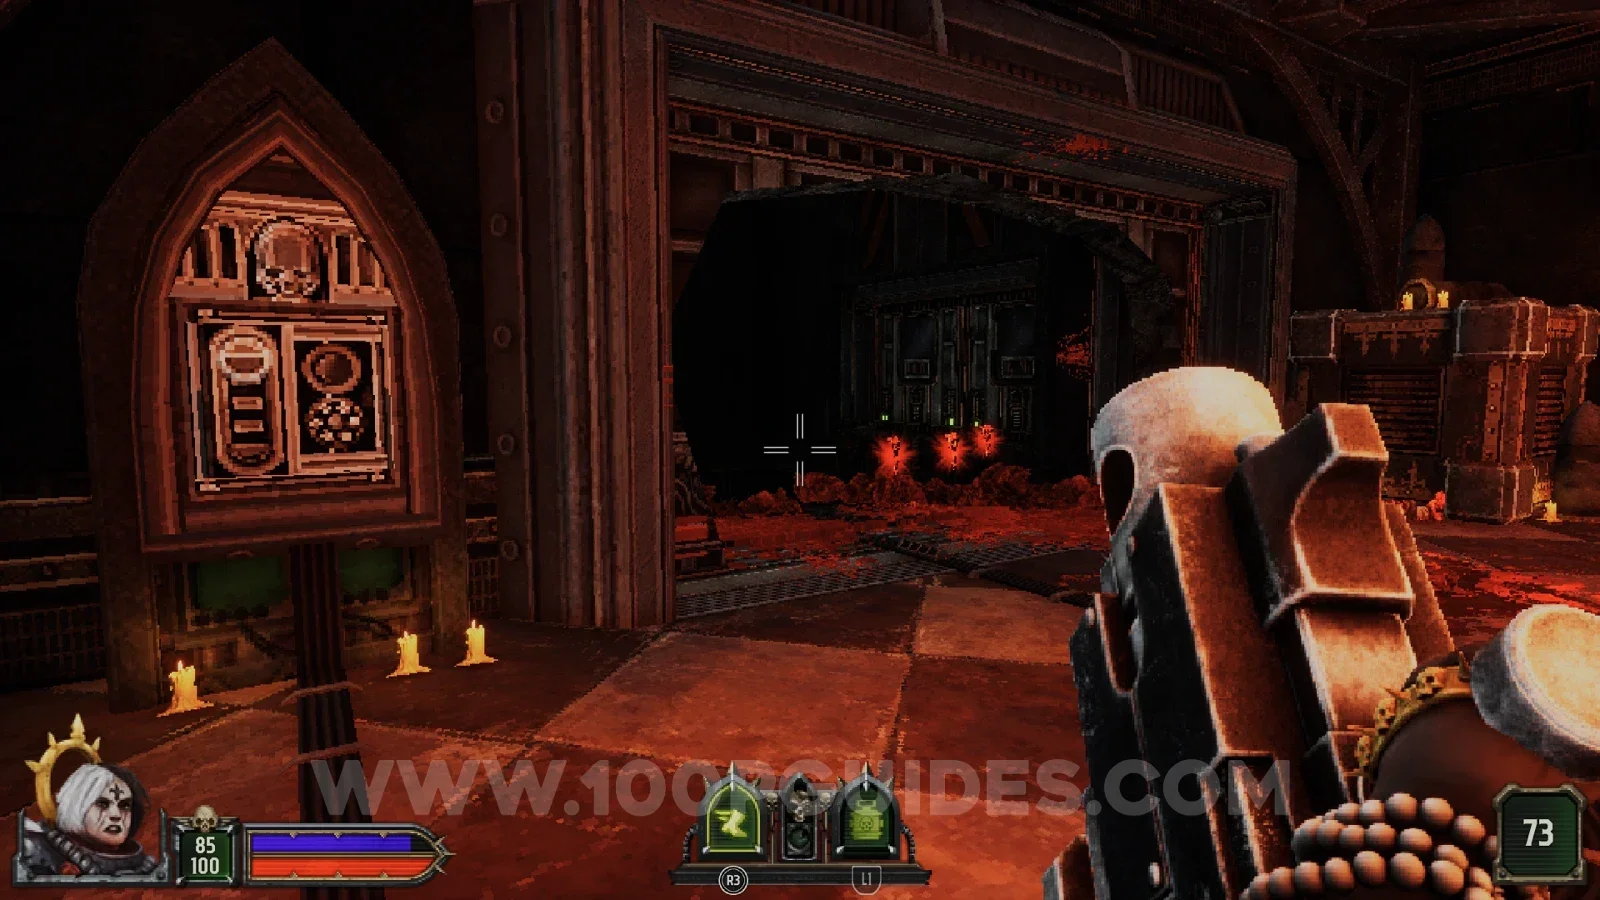
Just after you clear the first Purge at the start of the level you ride a lift down. On the way, look out for a platform you can reach in the middle of the descent. Press the switch there, then jump to the opening on the other side of the shaft and do the same. This opens a third opening, where the secret is, as well as the door for the next secret.
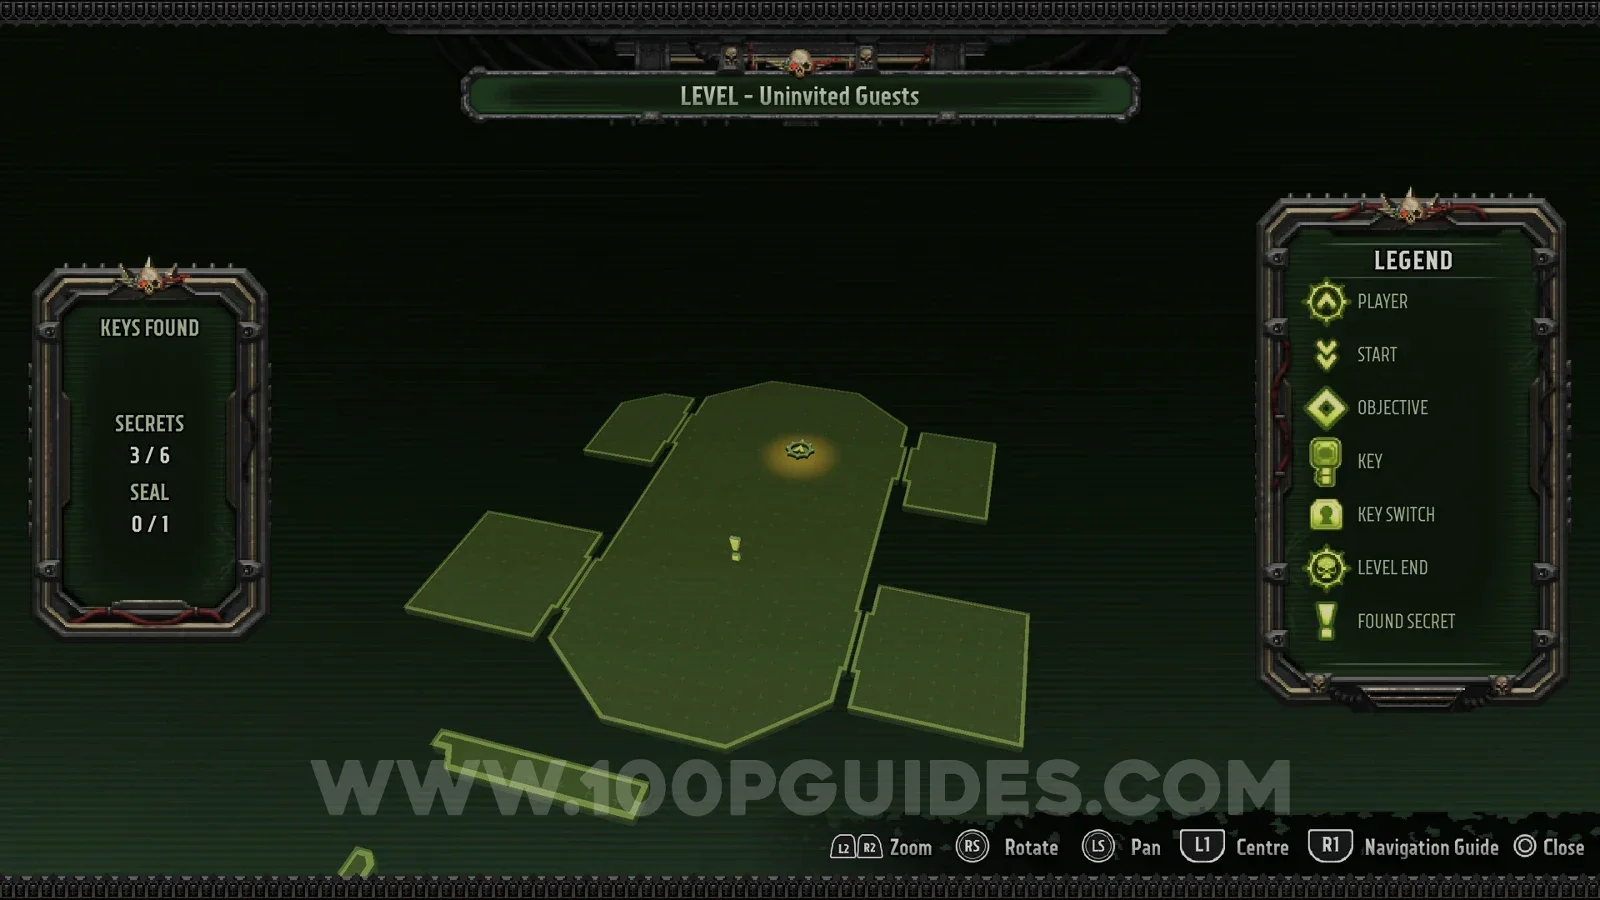
Secret 3/6
Jump down from the previous secret and land on the lift again. Before it carries on down, get off it once more to find the secret in one of the side rooms (you must have pressed the switch near the previous secret).
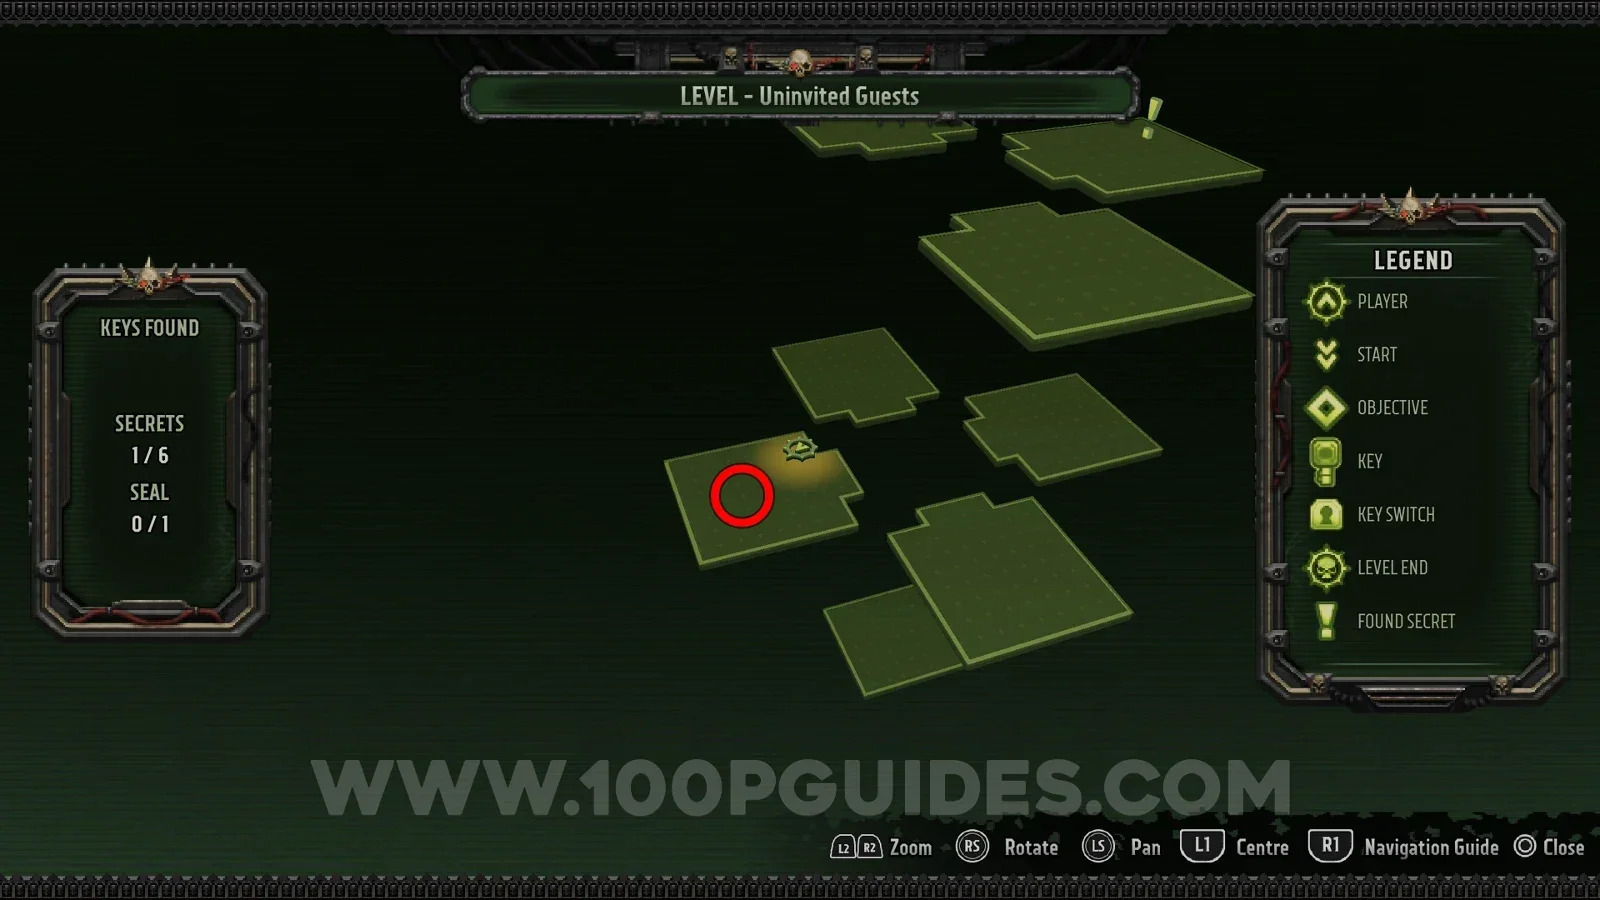
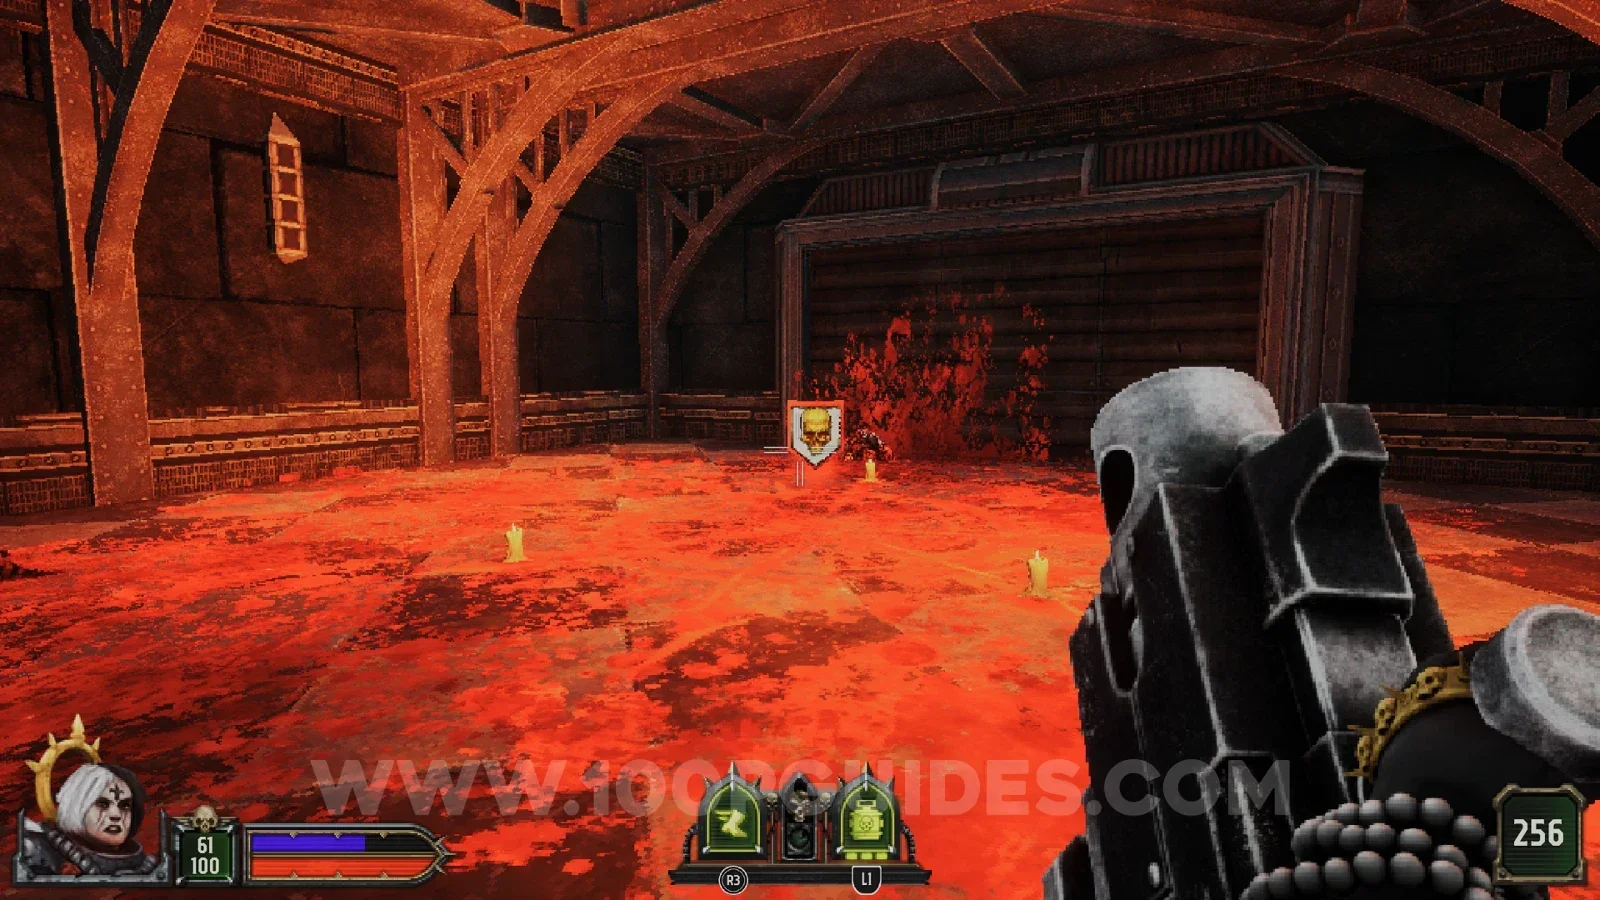
Secret 4/6
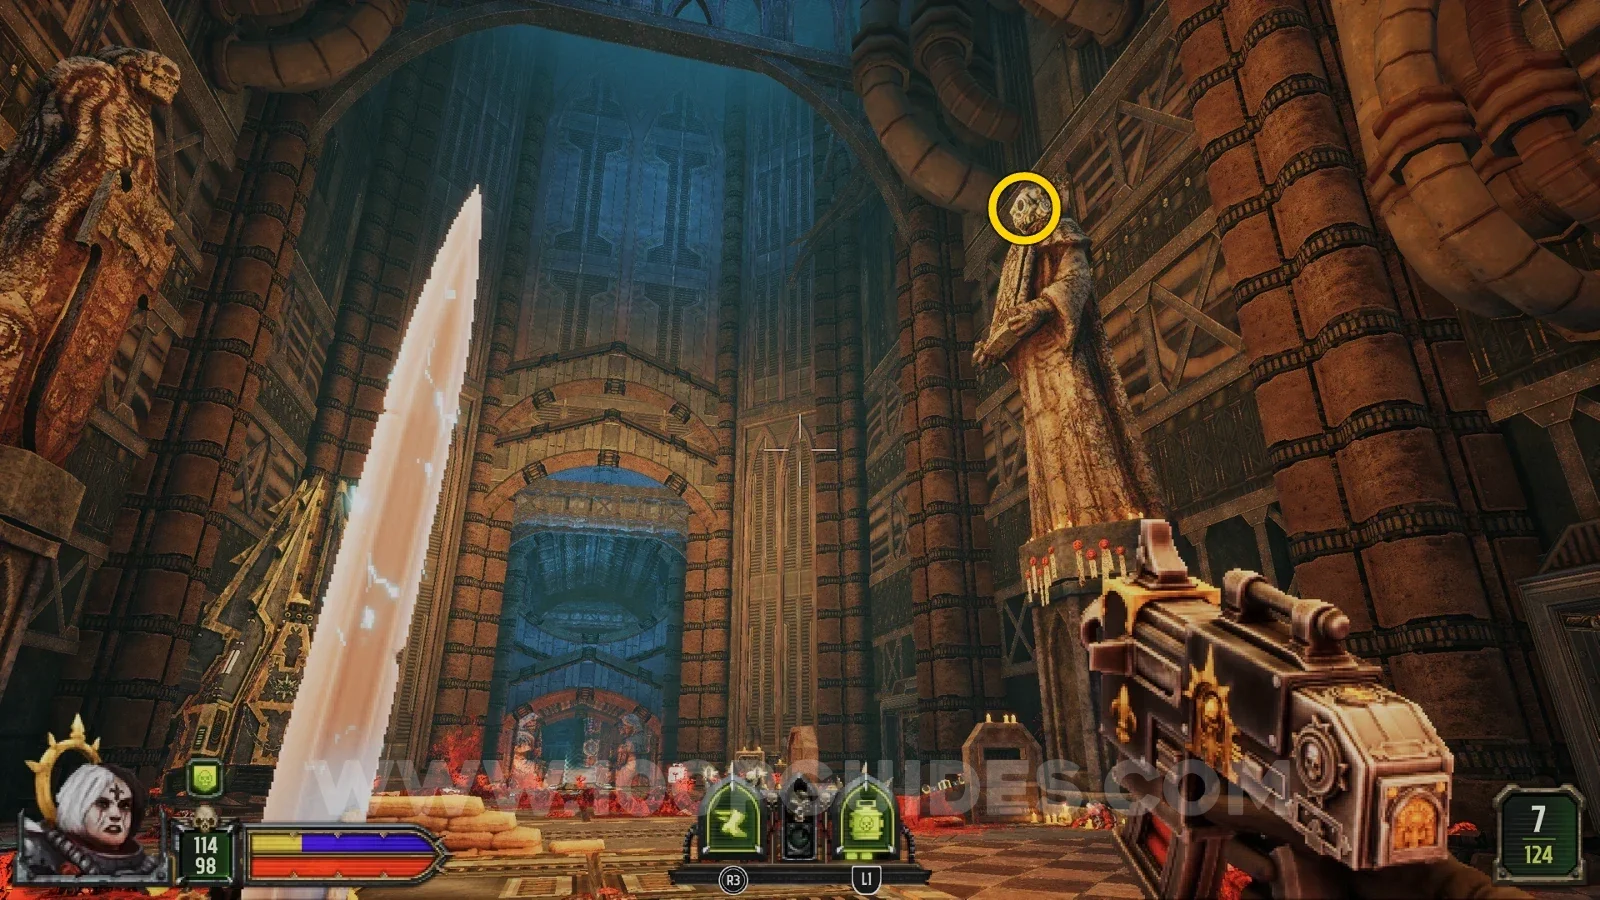
After using the platforms that come out of the wall to wall run across the gap, you reach an area where enemies attack you. Shoot the skull disguised as the statue's head and the secret rises up out of the floor.
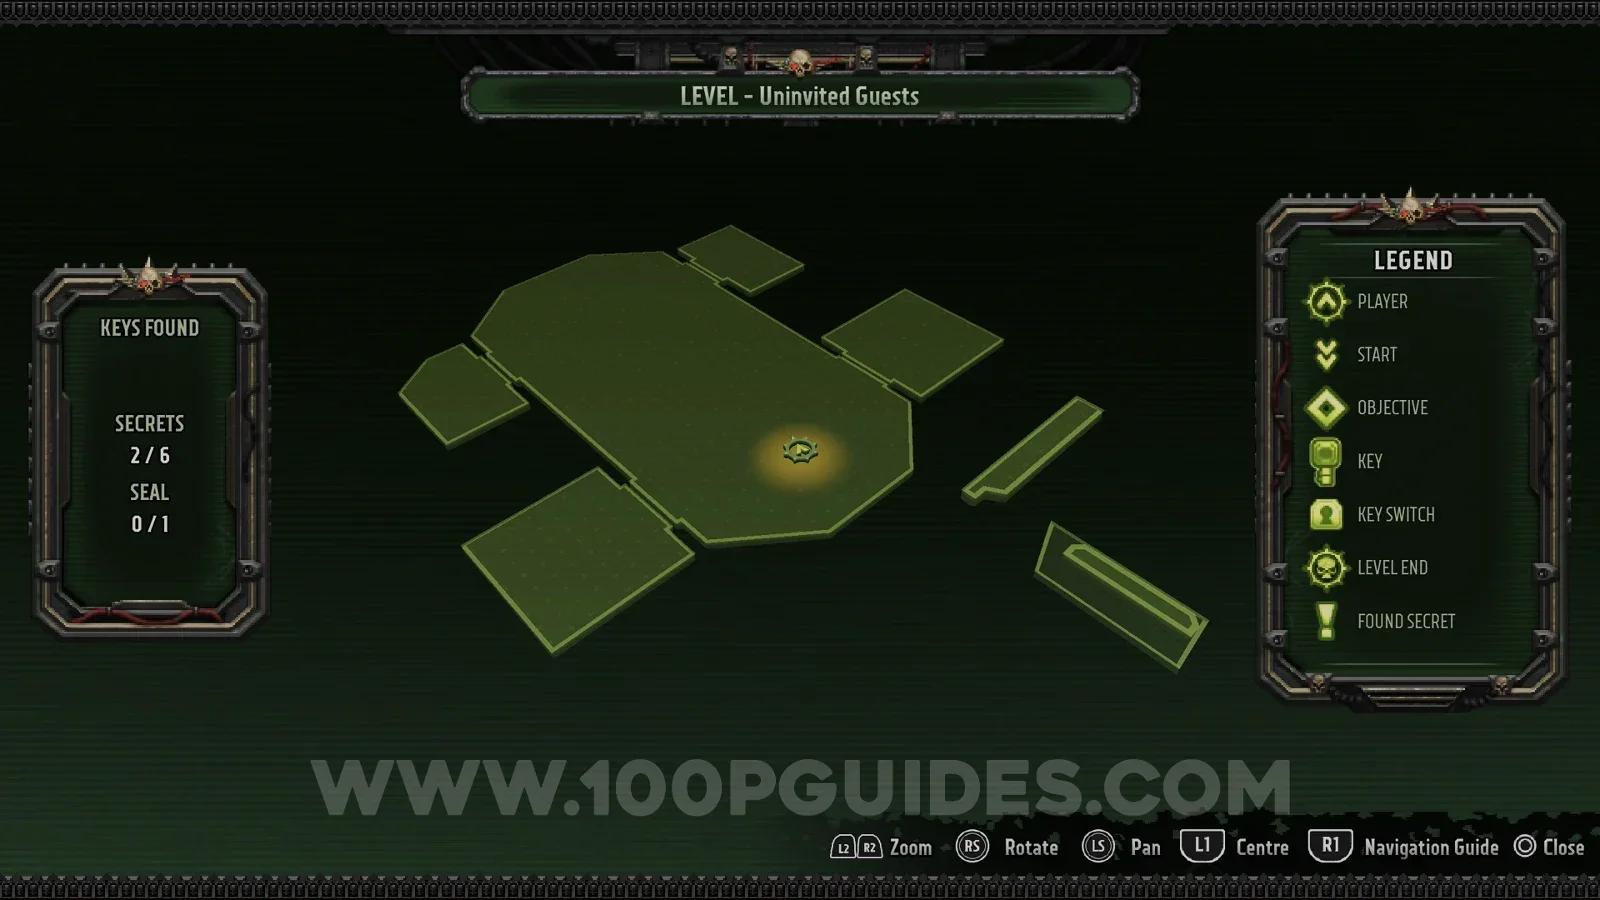
Seal 1/1
In the same area as the previous secret you need to use a jump pad to continue. Before you do, drop down below it to find the seal.
Secret 5/6
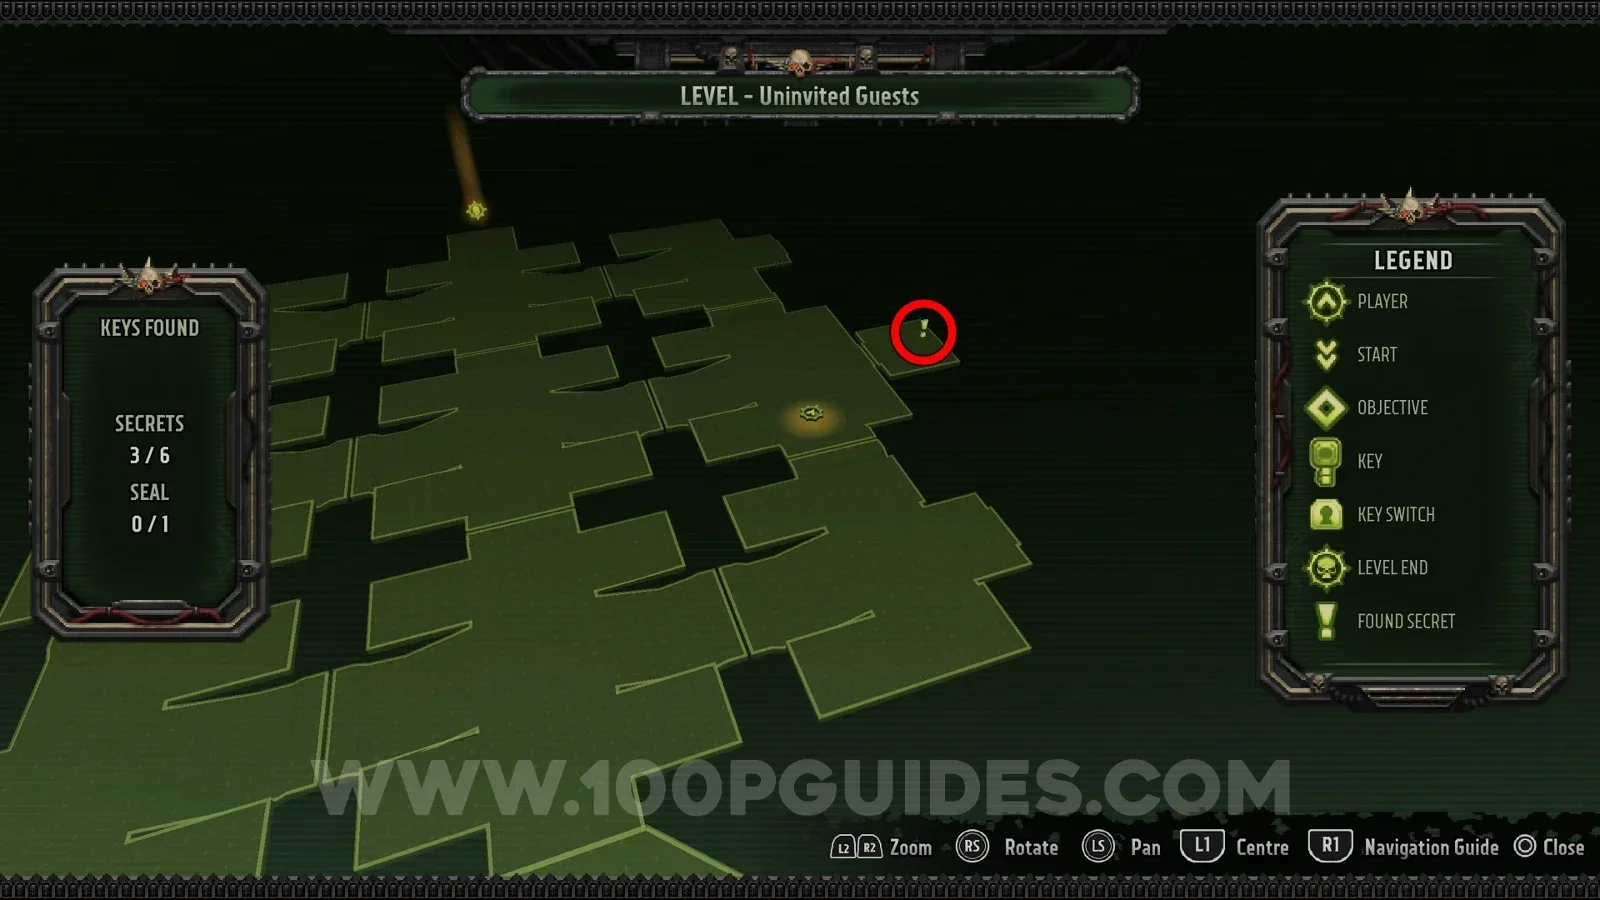
After reaching the command bridge you drop down into a large area with a second Purge. Head into the room on the right to find the secret.
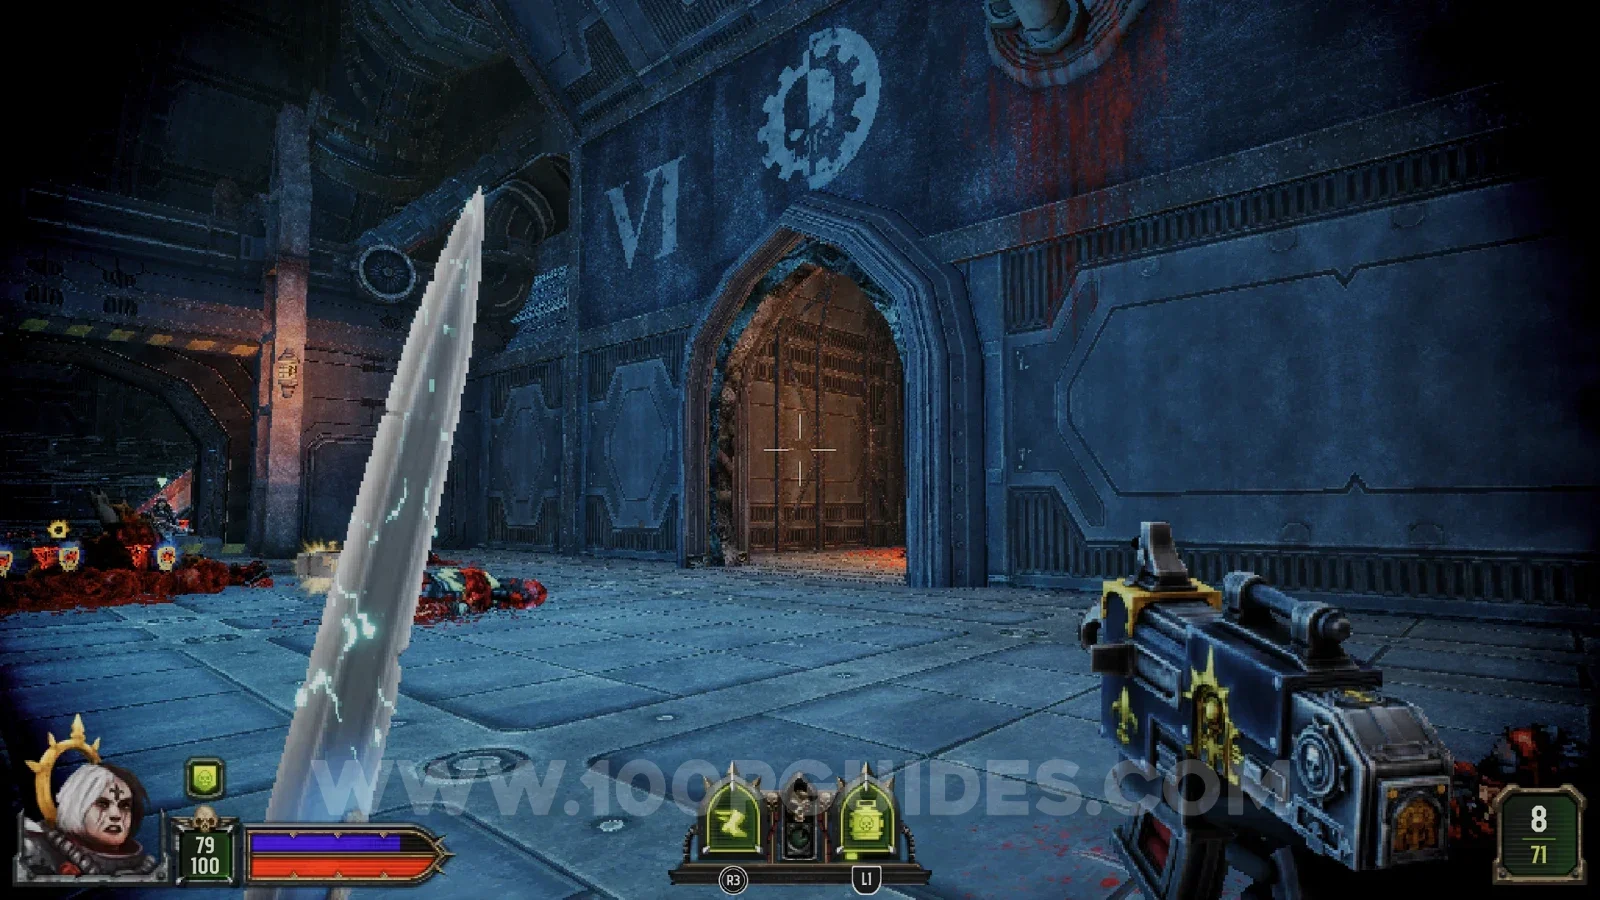
Secret 6/6
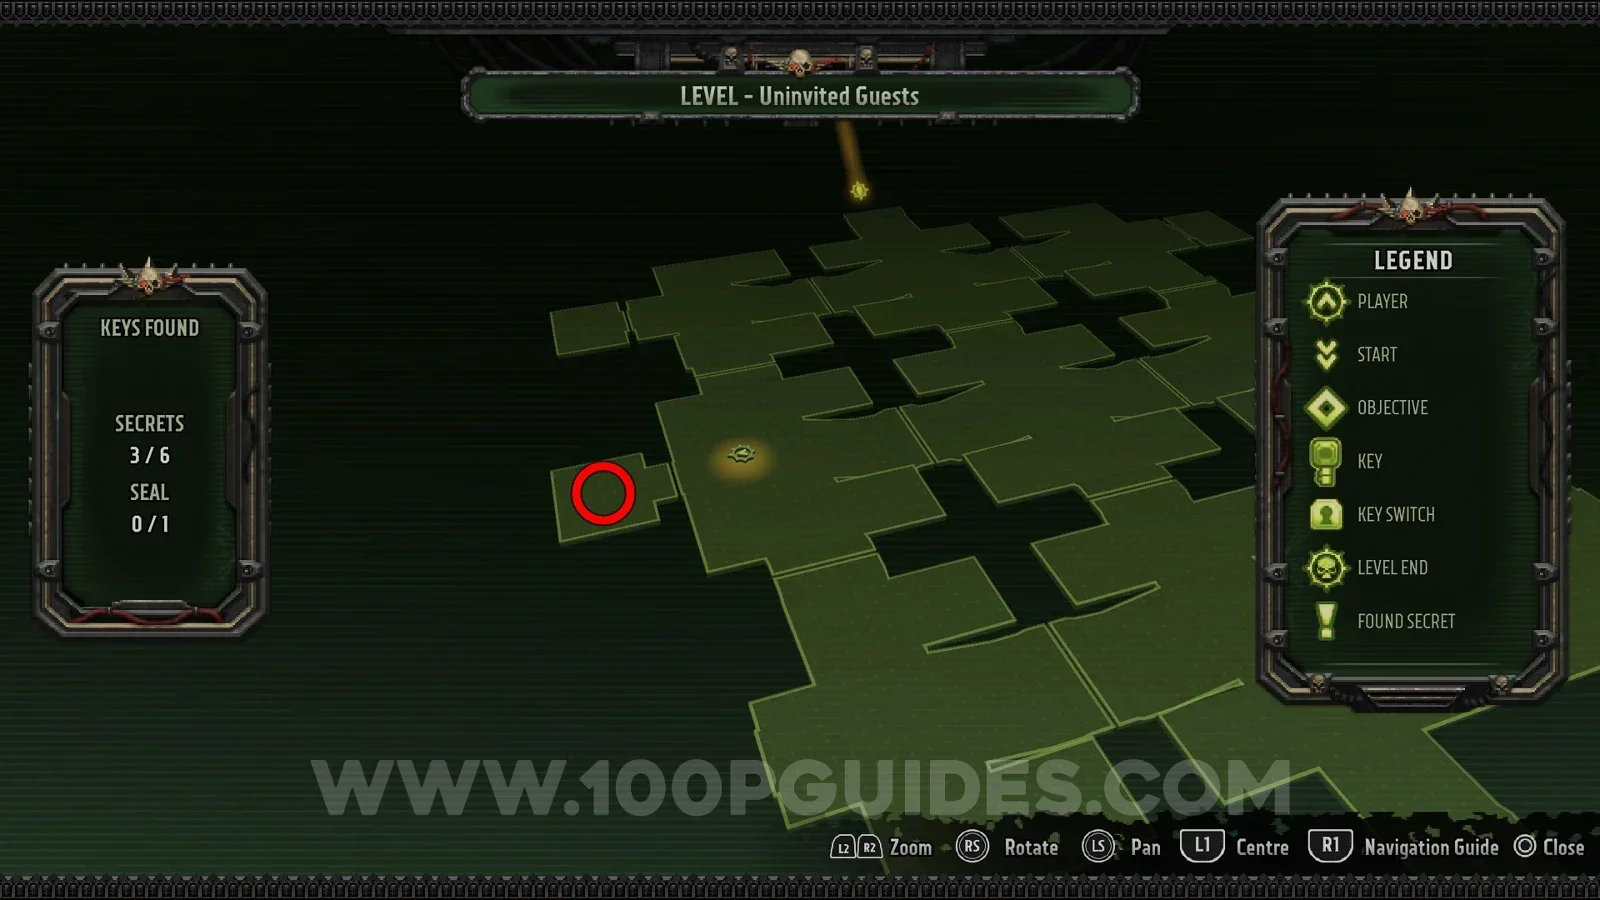
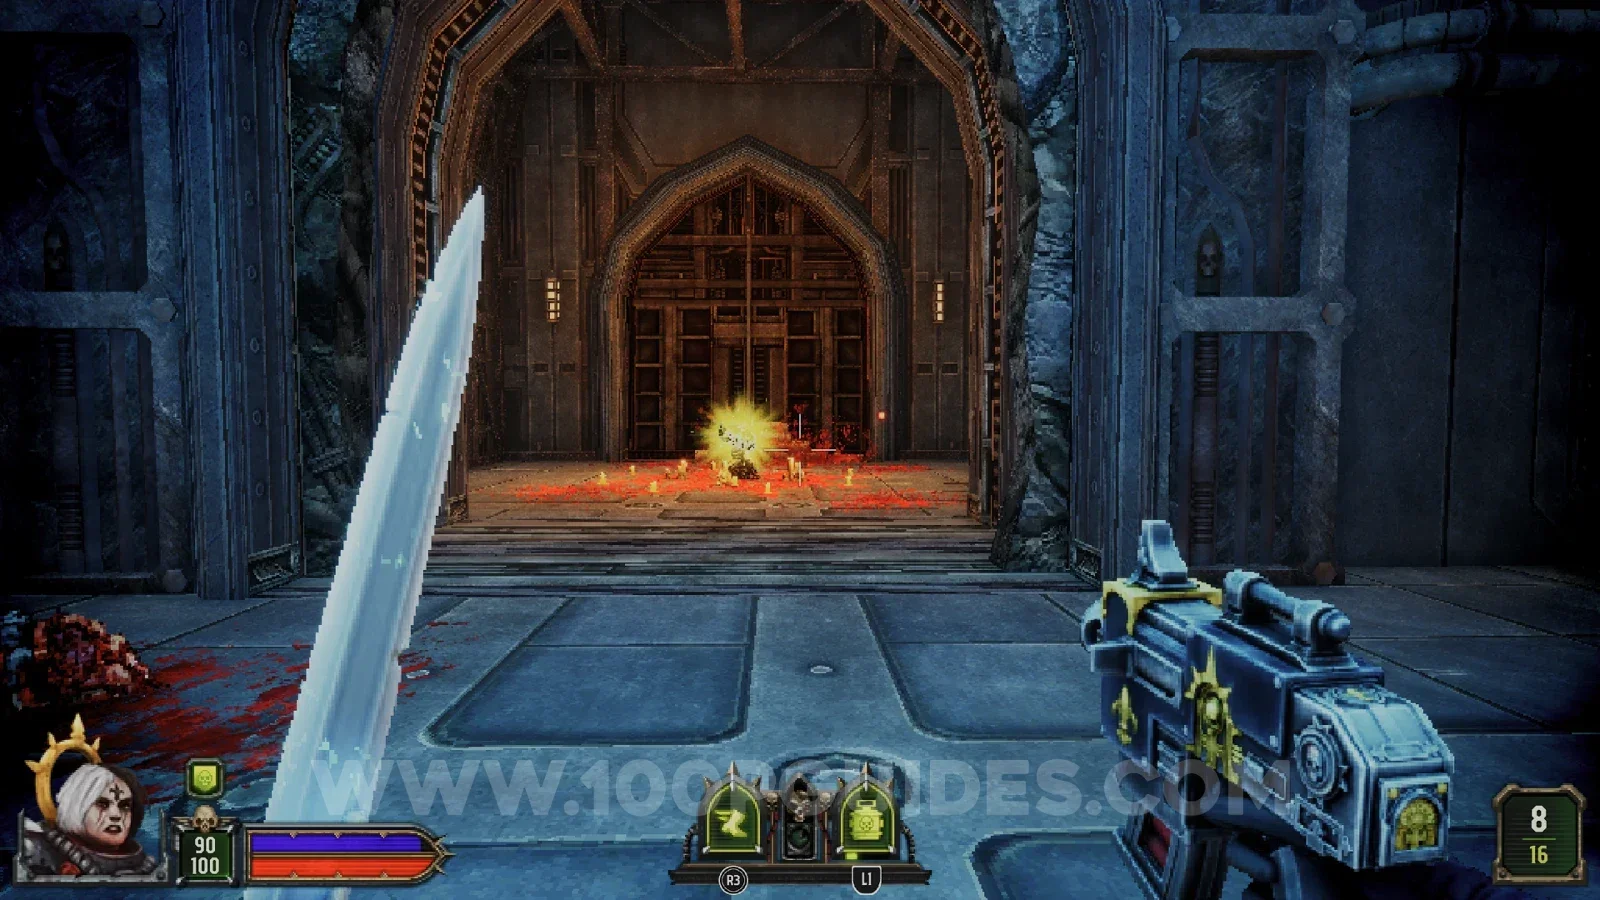
Also in the large area at the end with the second Purge, this time in a small room on the right-hand side.
At this point in the campaign you have to pick one of two paths. Path A is the one shown first in the Level Select menu:
- Path A Frozen Terror (3 levels): Breaking The Ice > Flash Freeze > Bitter Bloodshed.
- Path B Blood In The Water (3 levels): Inundated By Chaos > Infested Depths > Rigged To Blow.
Once you pick one, the levels of the other path stay locked until you play through a new campaign and pick that path. After that you can replay any of them through Level Select.
Breaking The Ice Path A
Secret 1/7
Under the platform you start the level on. Shoot the ice around the left side to get through.
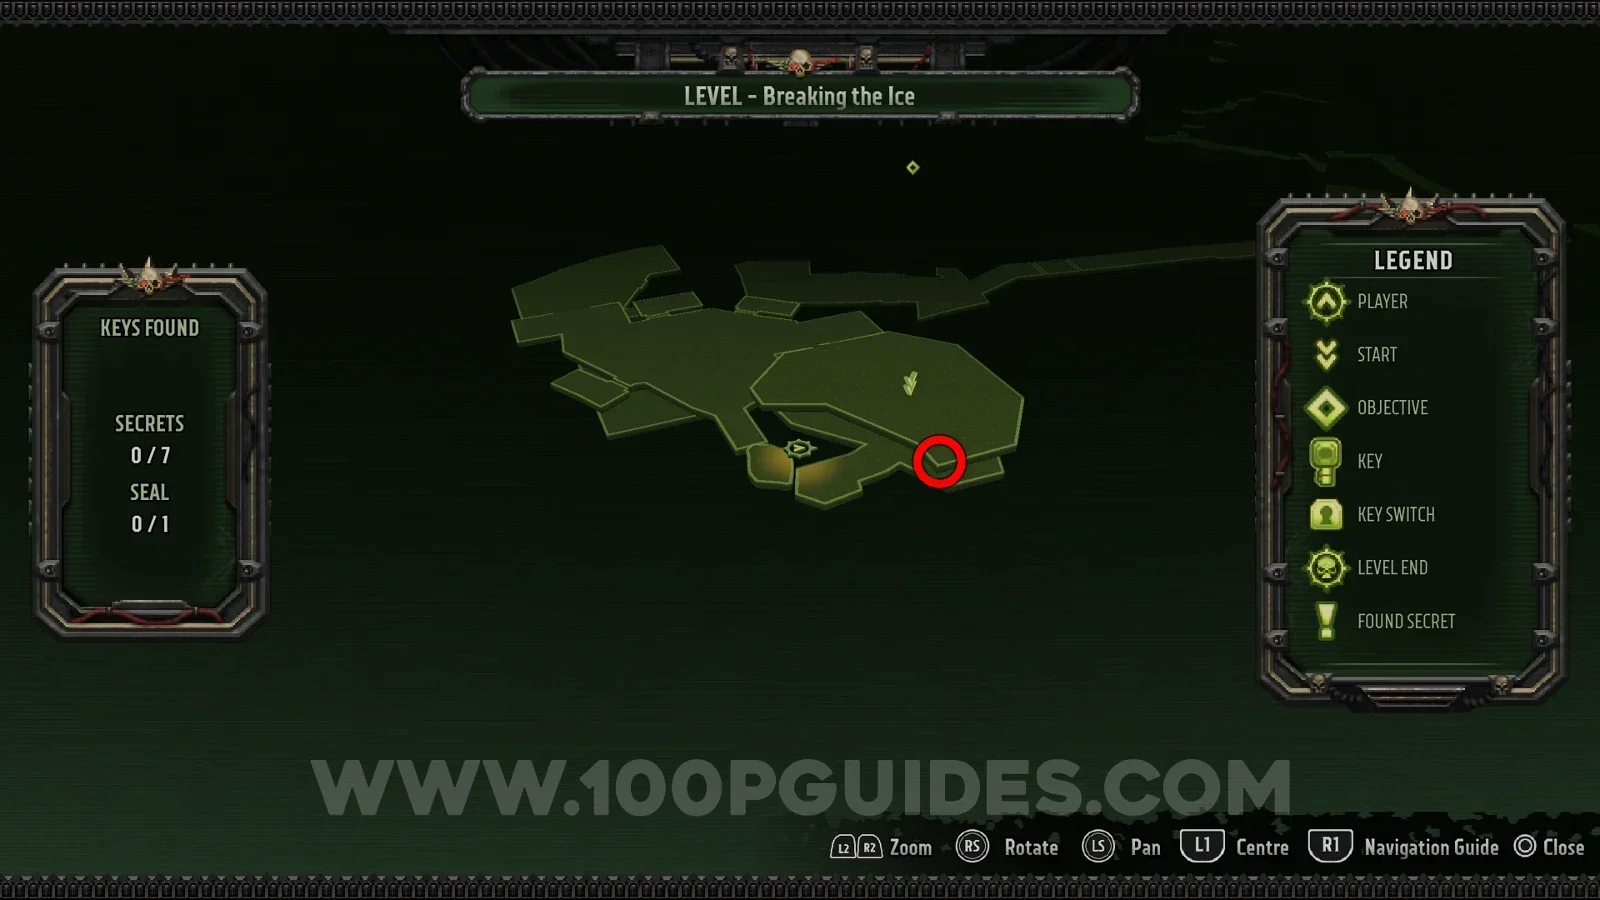
Secret 2/7
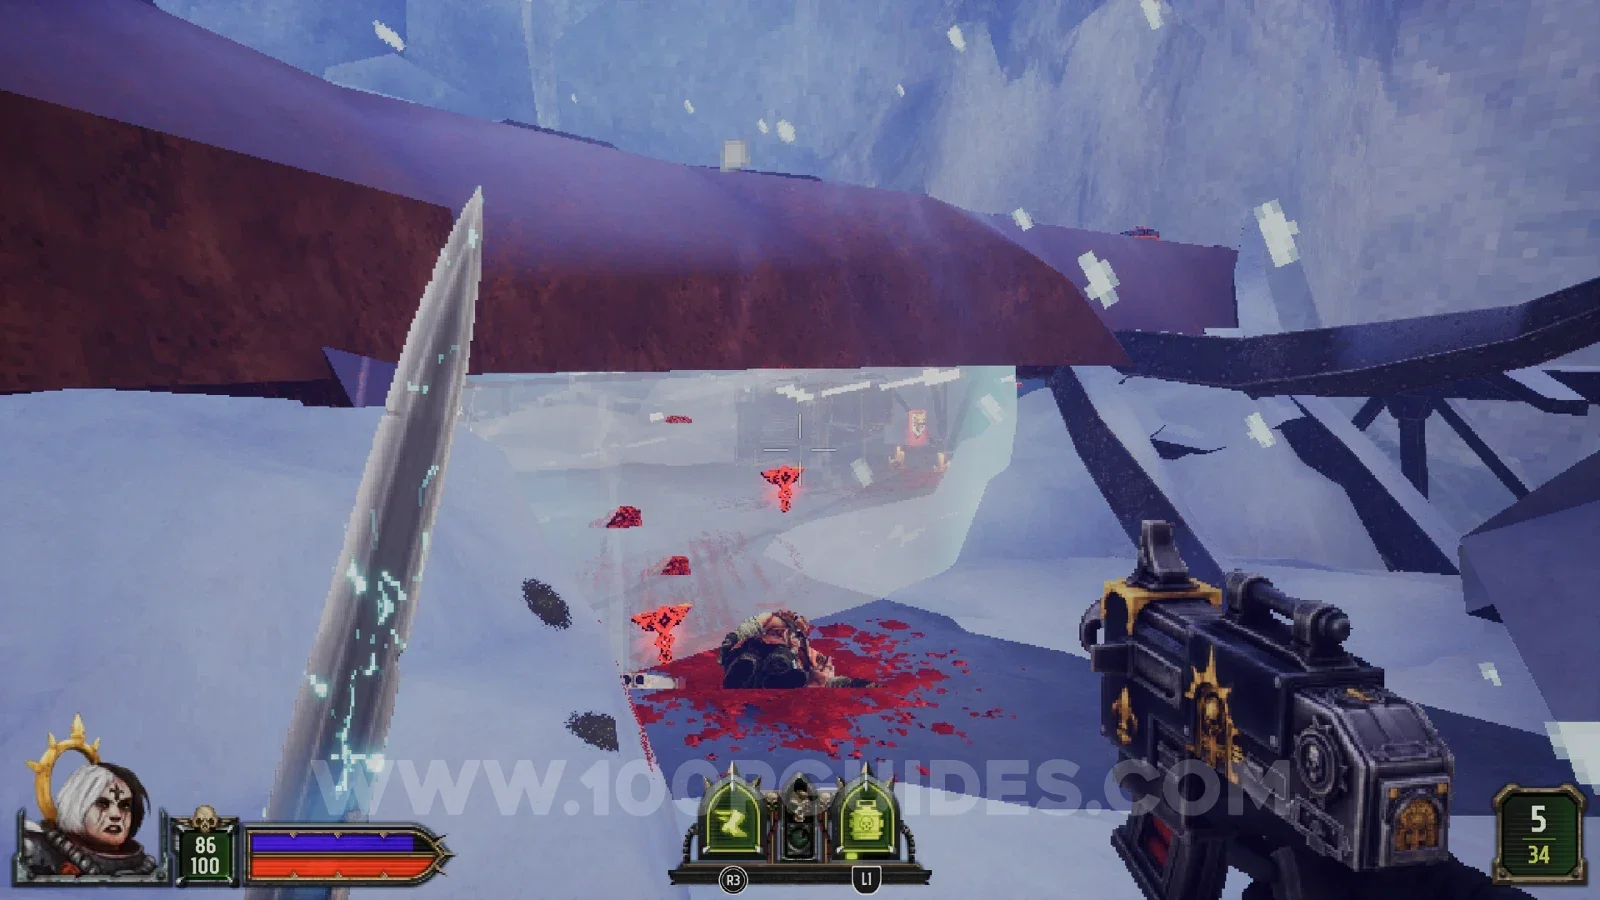
At the start of the level you have to press a switch in a building on the left to open the gate. Before heading through the gate, go under the bridge just before it to find the secret.
Secret 3/7
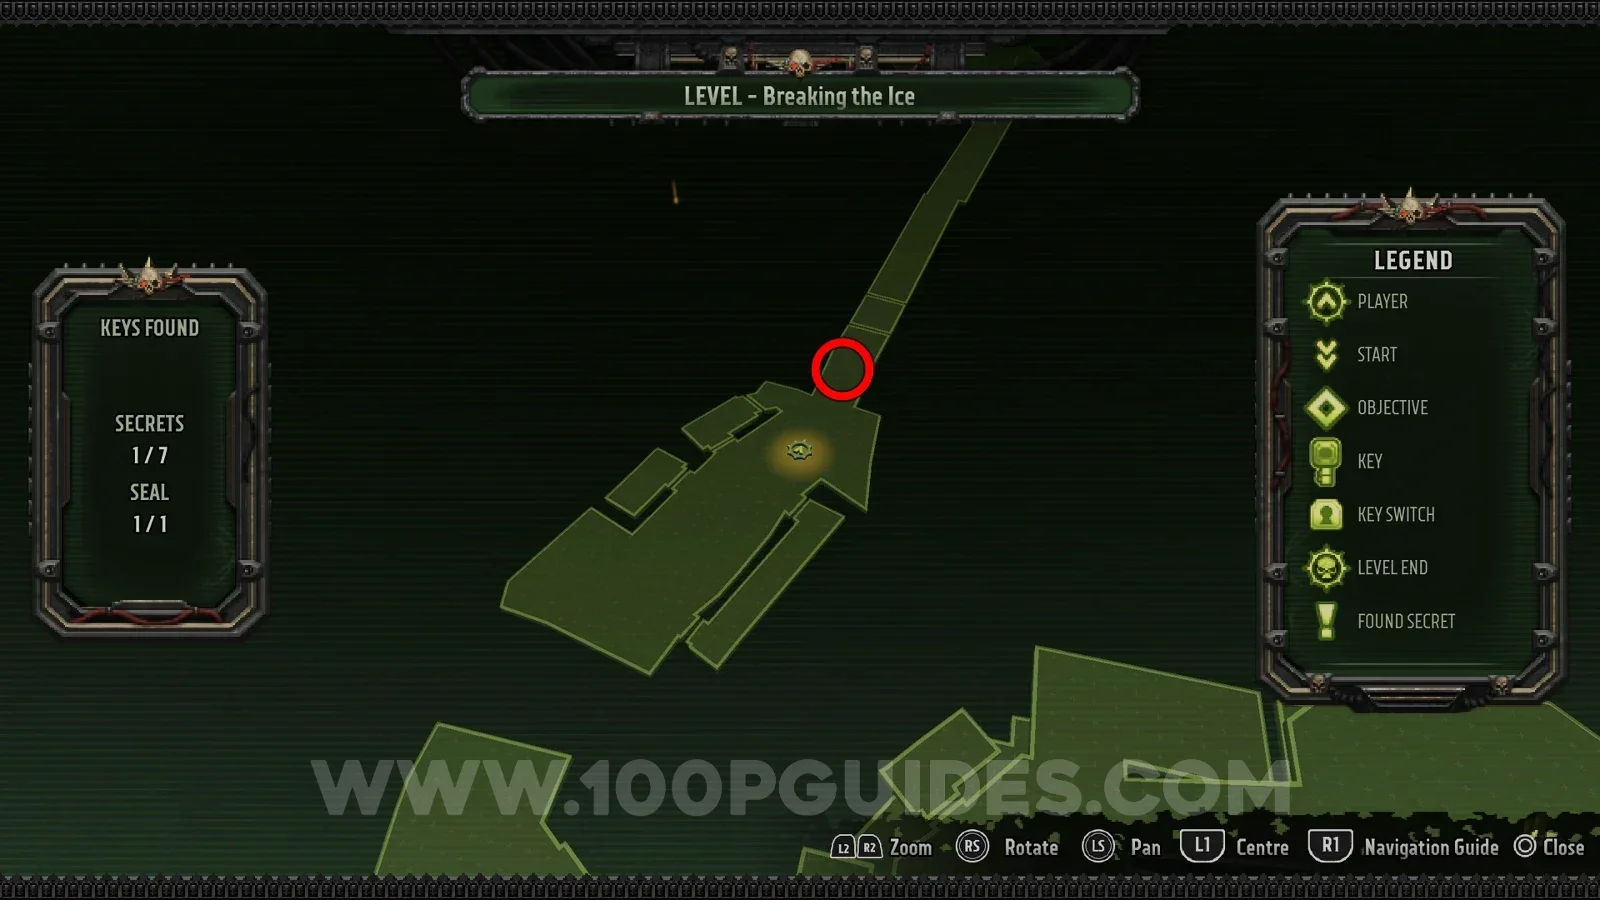
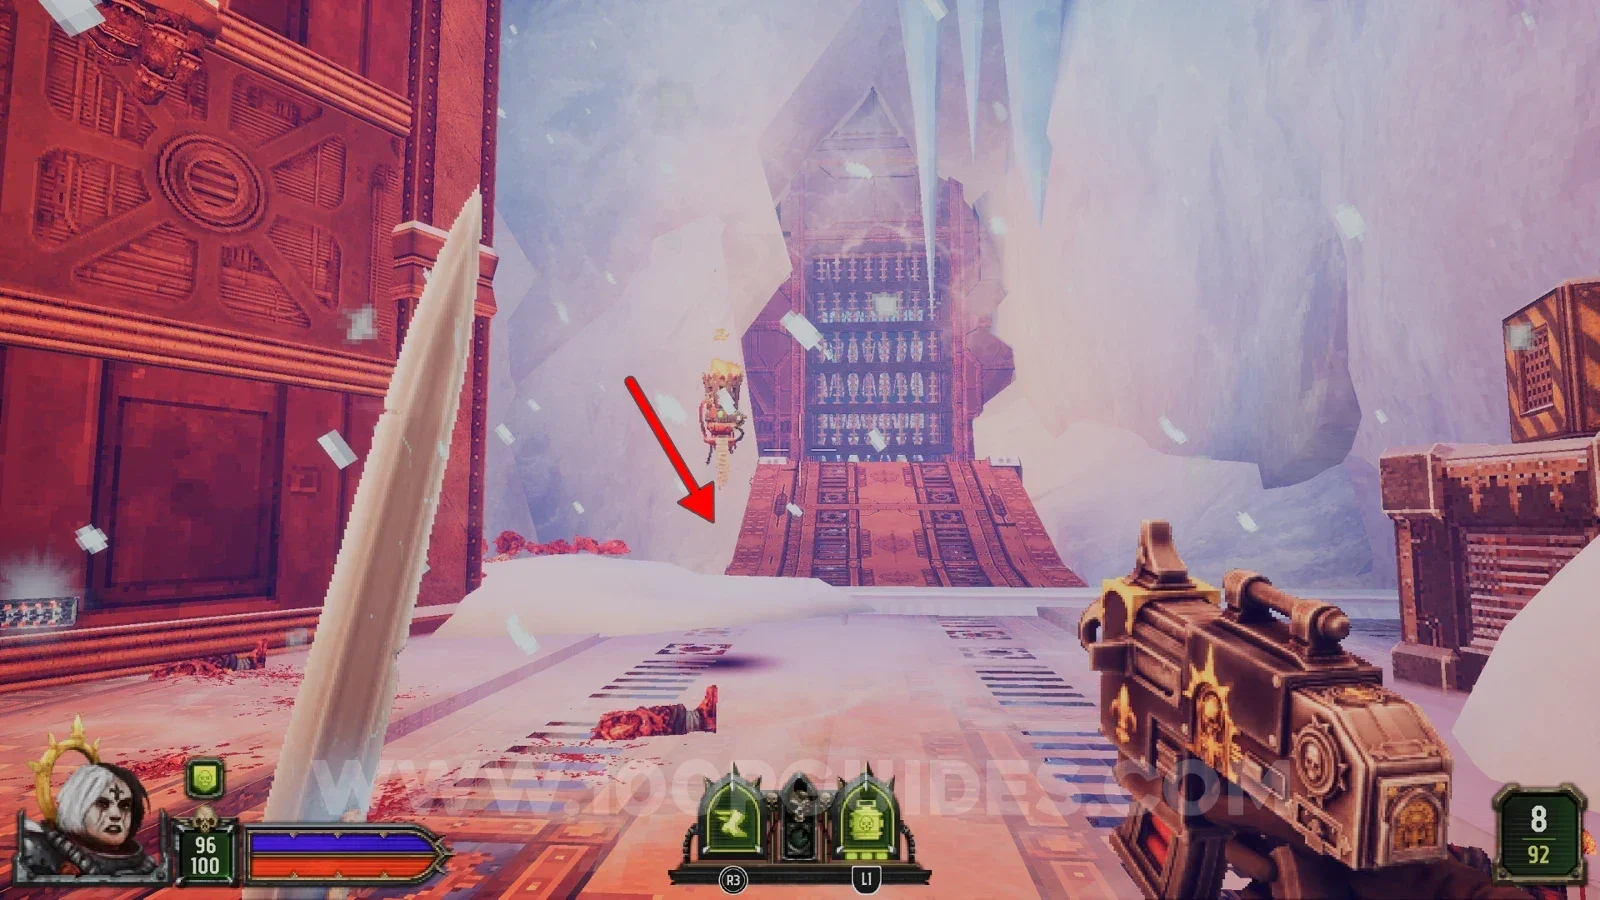
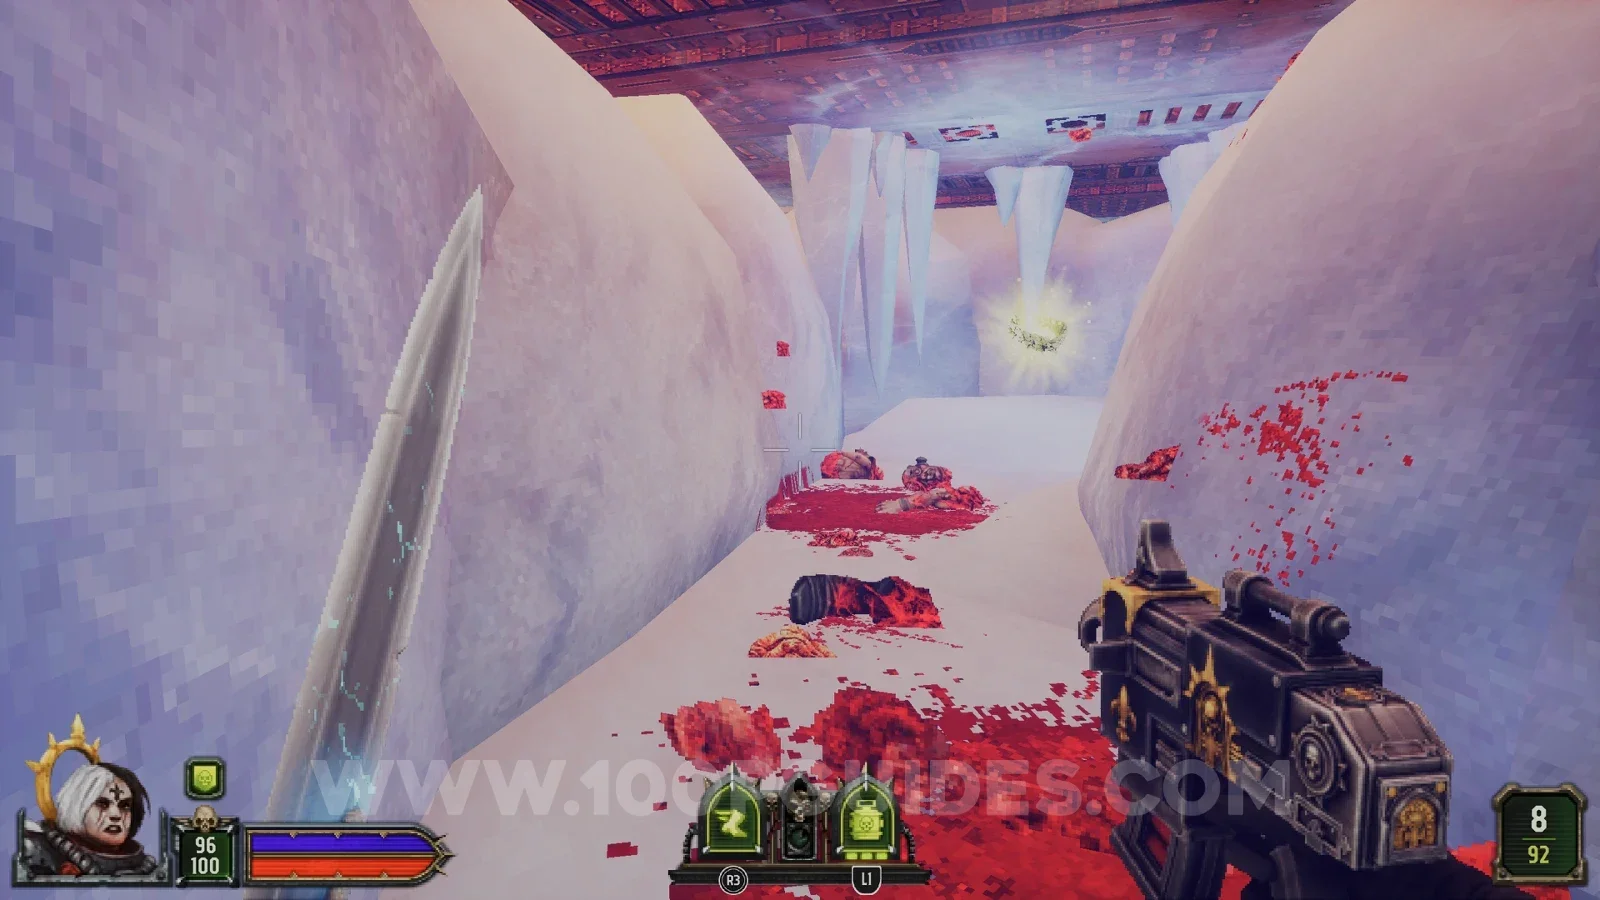
Continue through the level until you open a gate and reach an area with a massive red symbol on the wall in front of you. Go through the building on your left and break the ice to reach the secret.
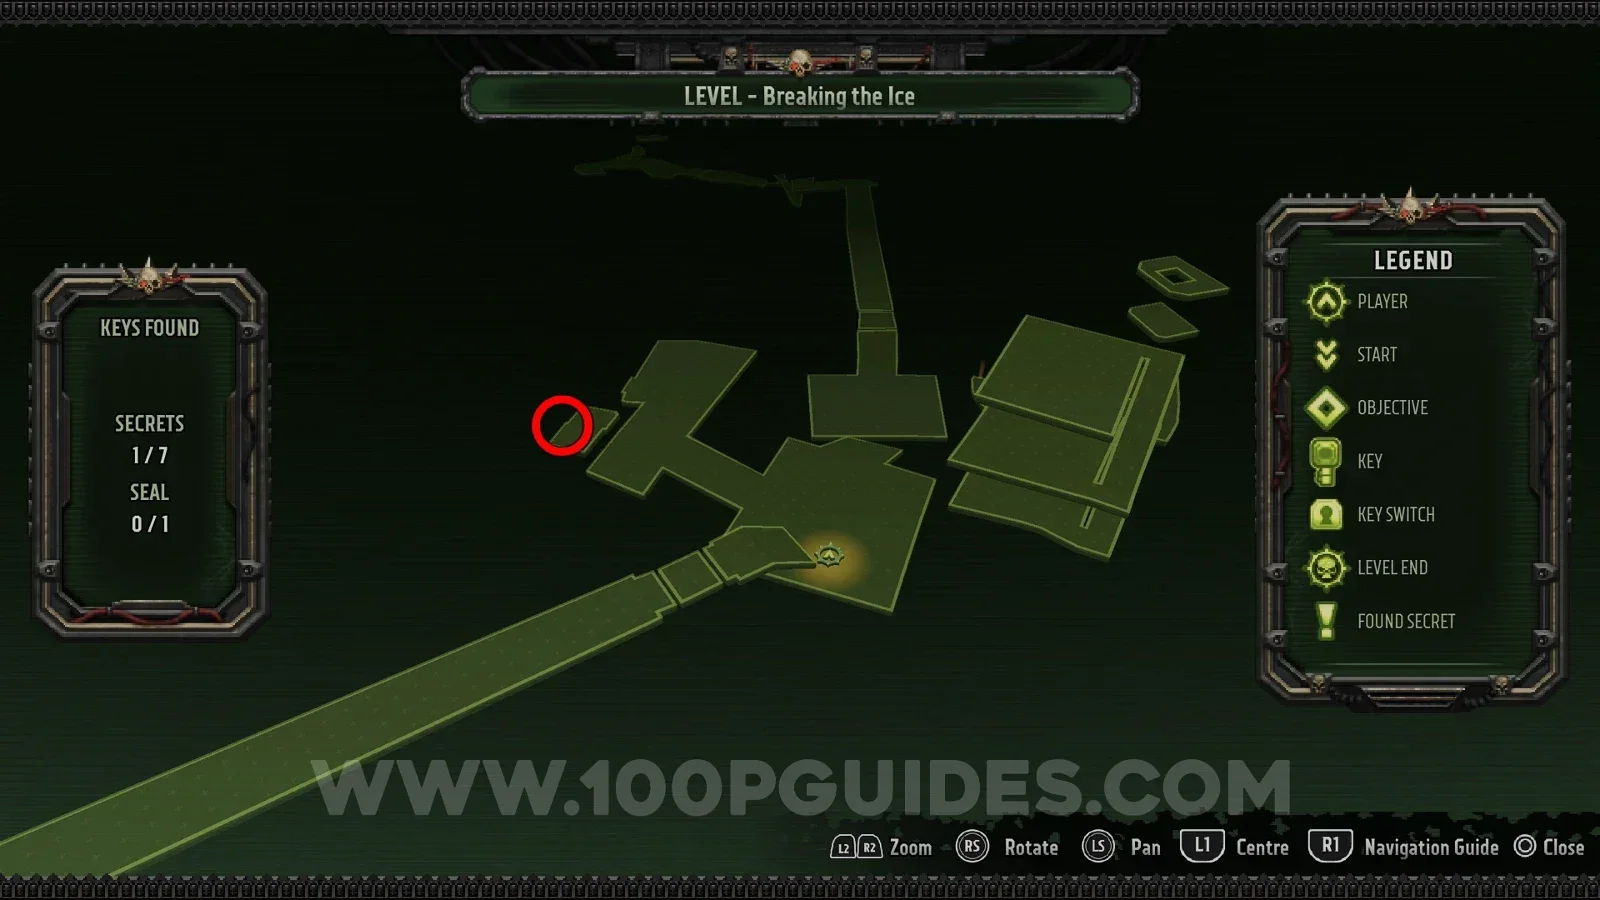
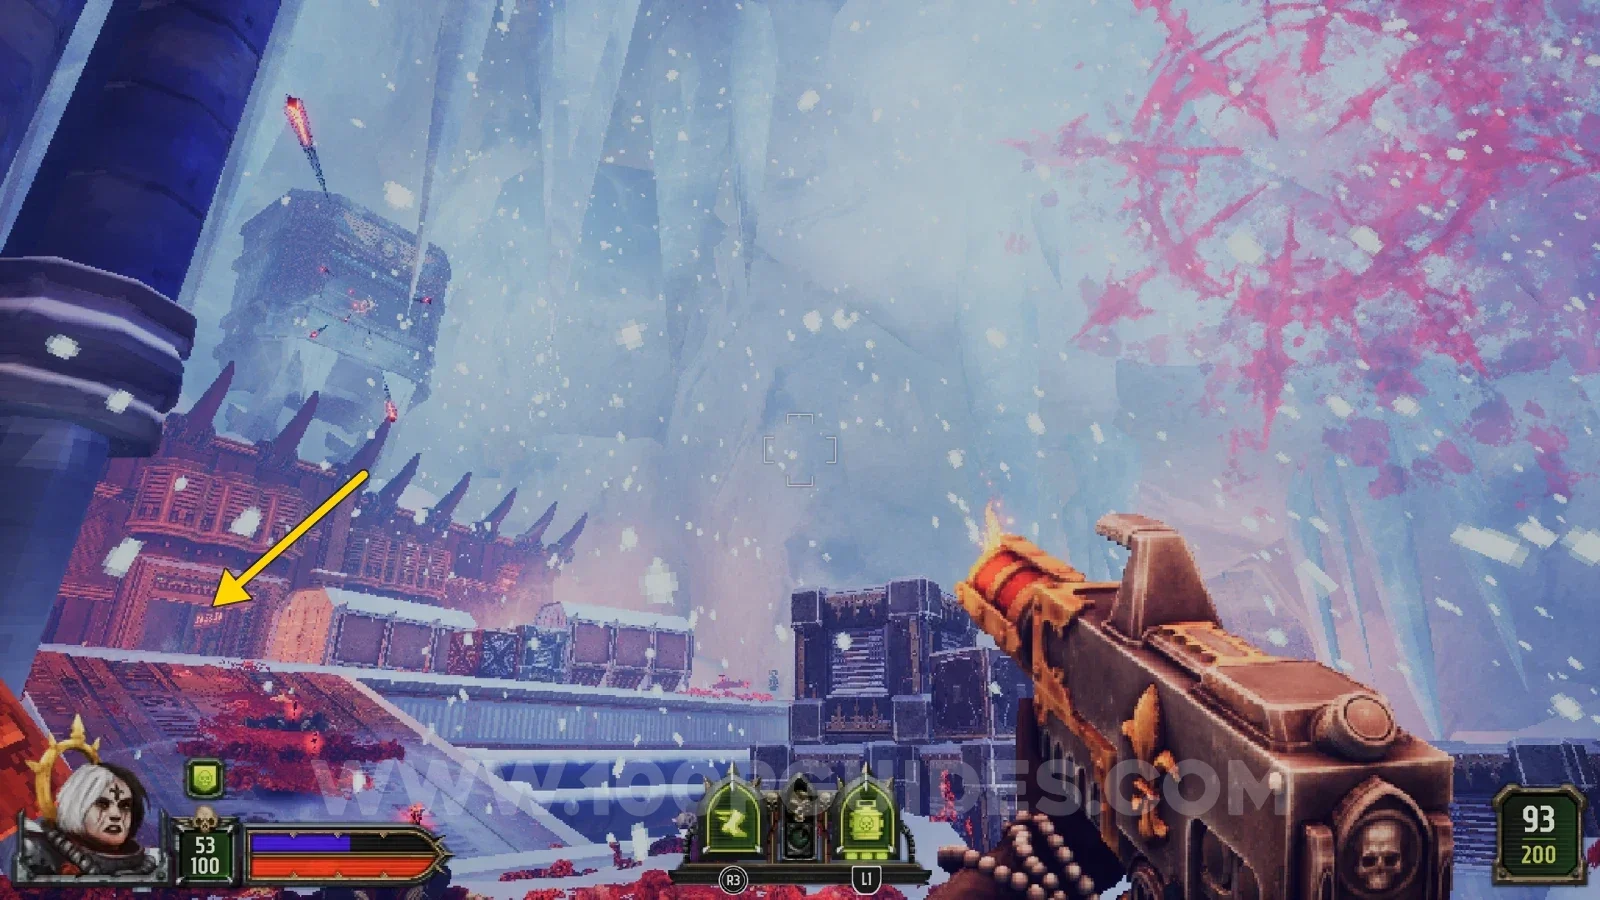
Secret 4/7
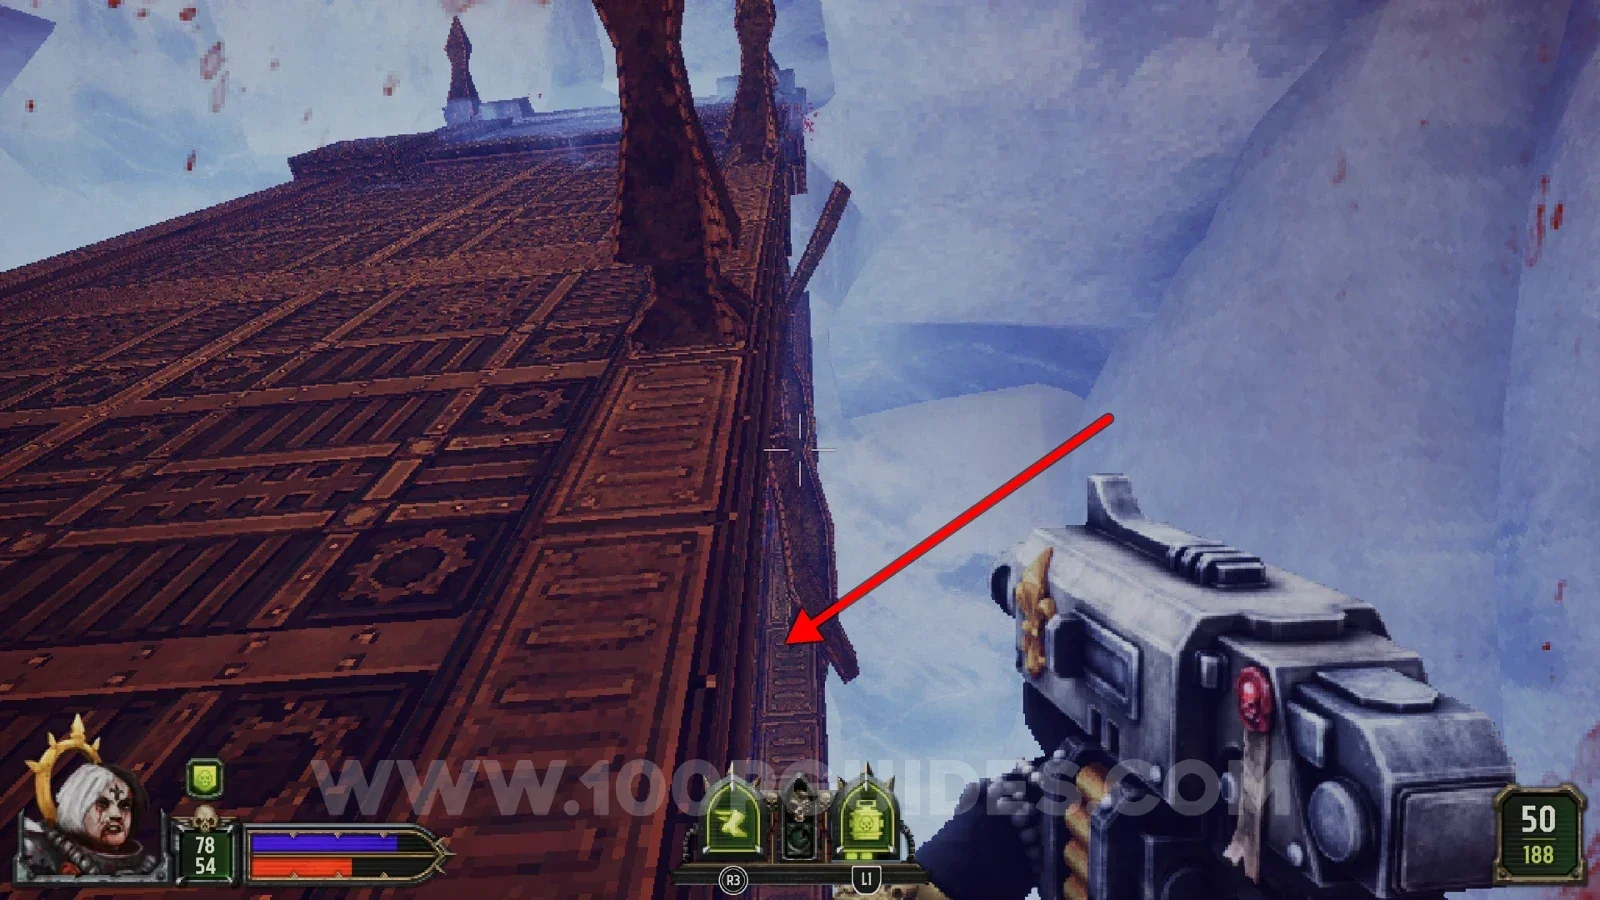
Continue through the level until you cross a bridge and reach an area with a destroyed metal bridge and two guard towers on your right. Follow the right-hand side of the metal bridge structure until you are just past the second guard tower, then carefully drop off the right side and land under the bridge to find the secret.
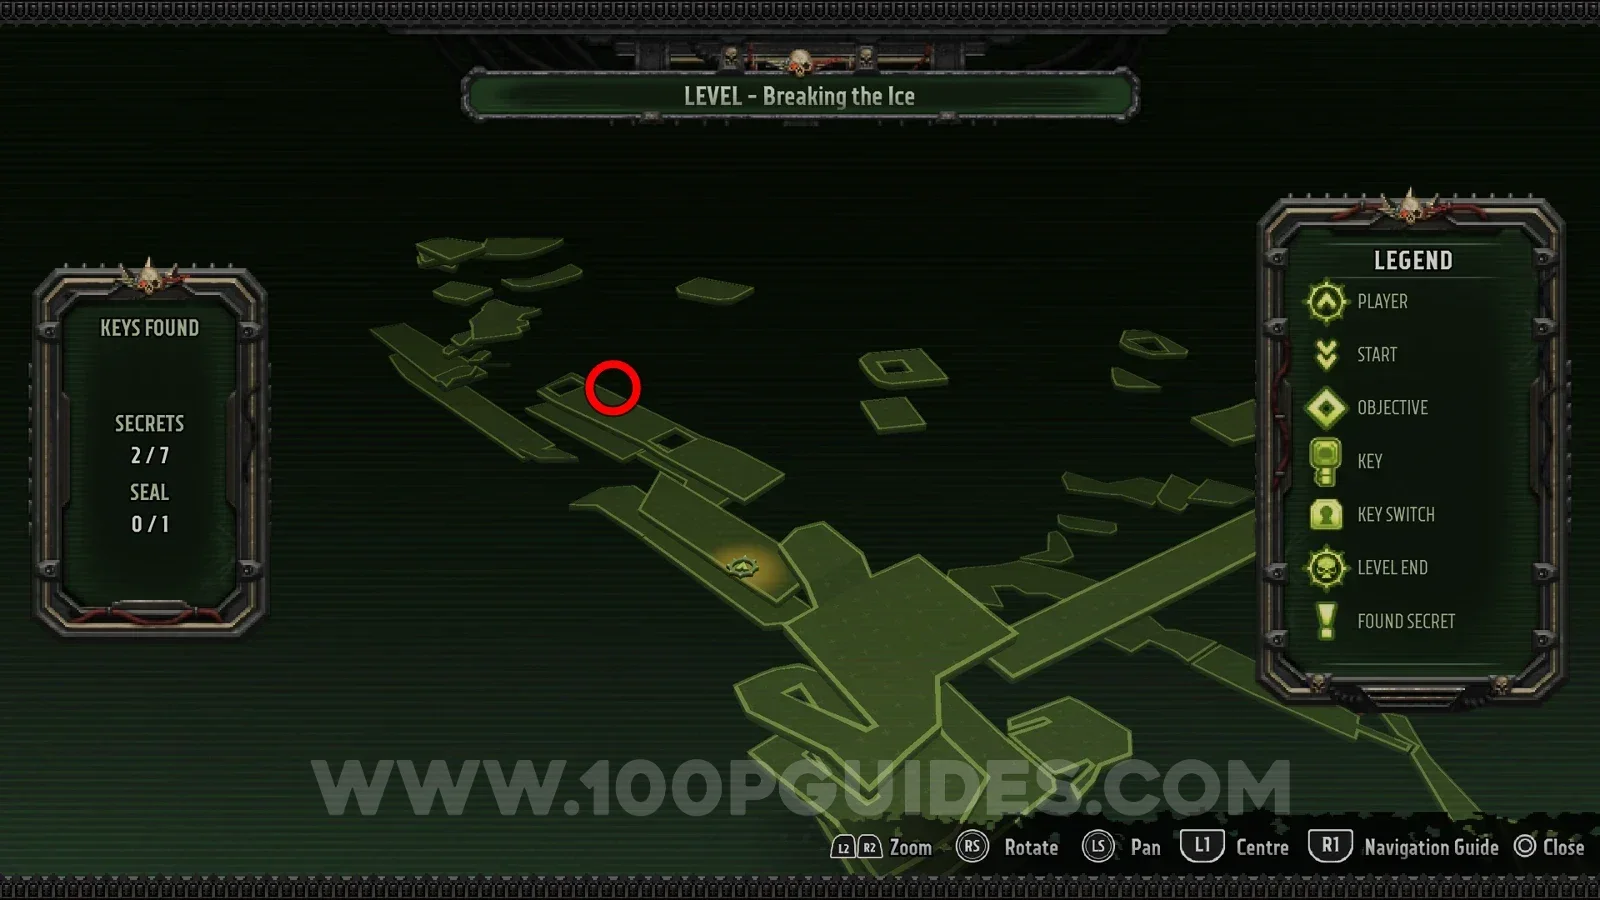
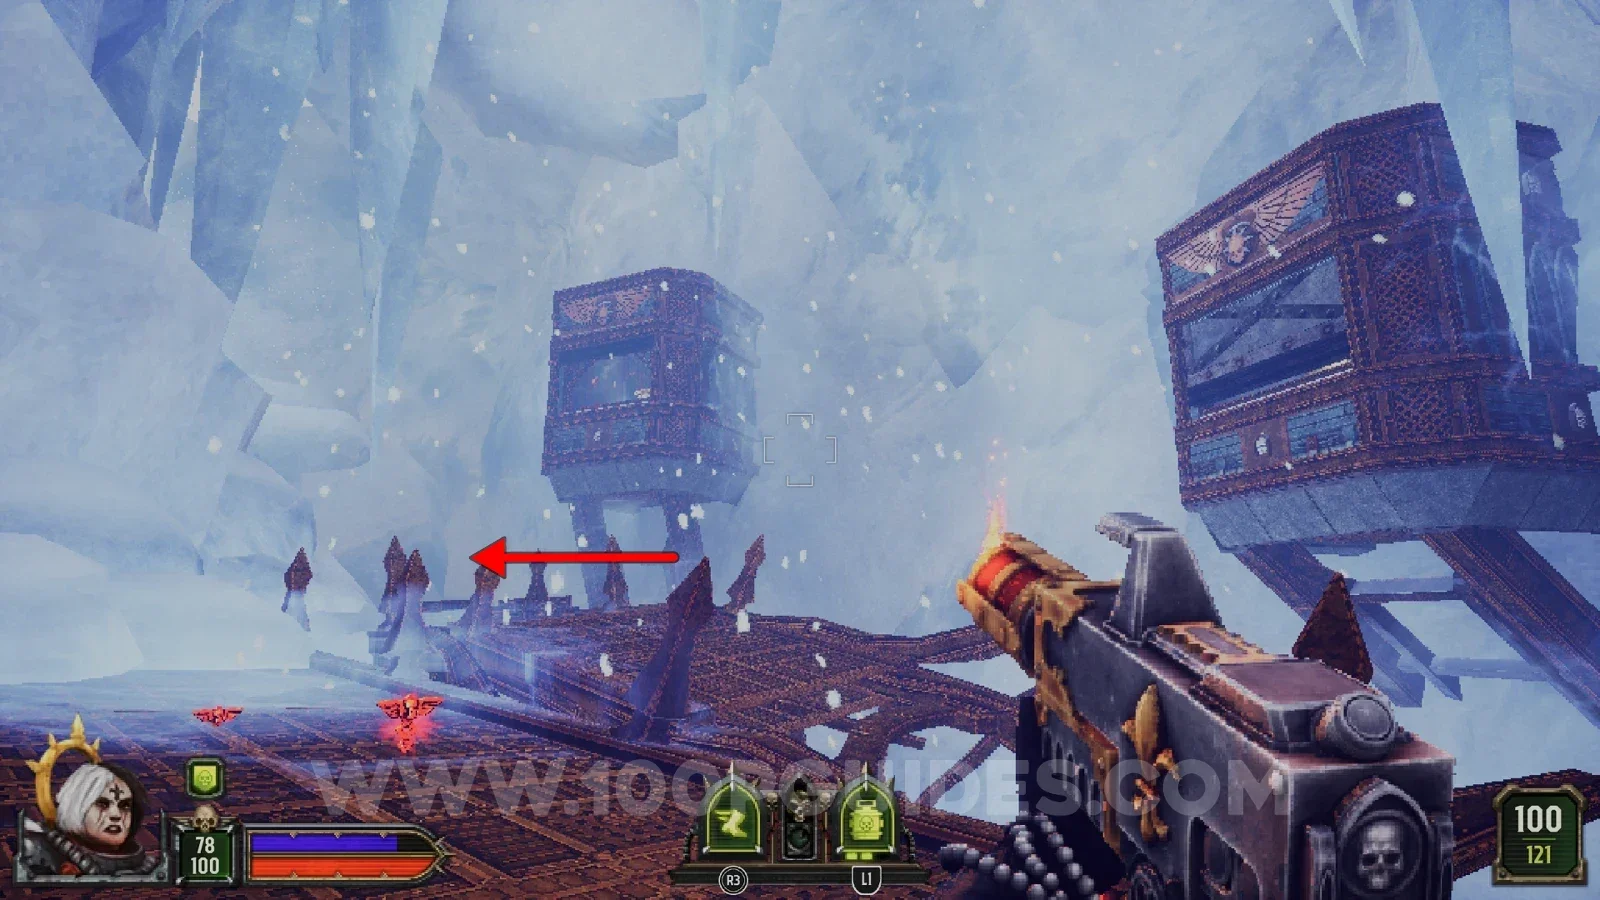
Seal 1/1
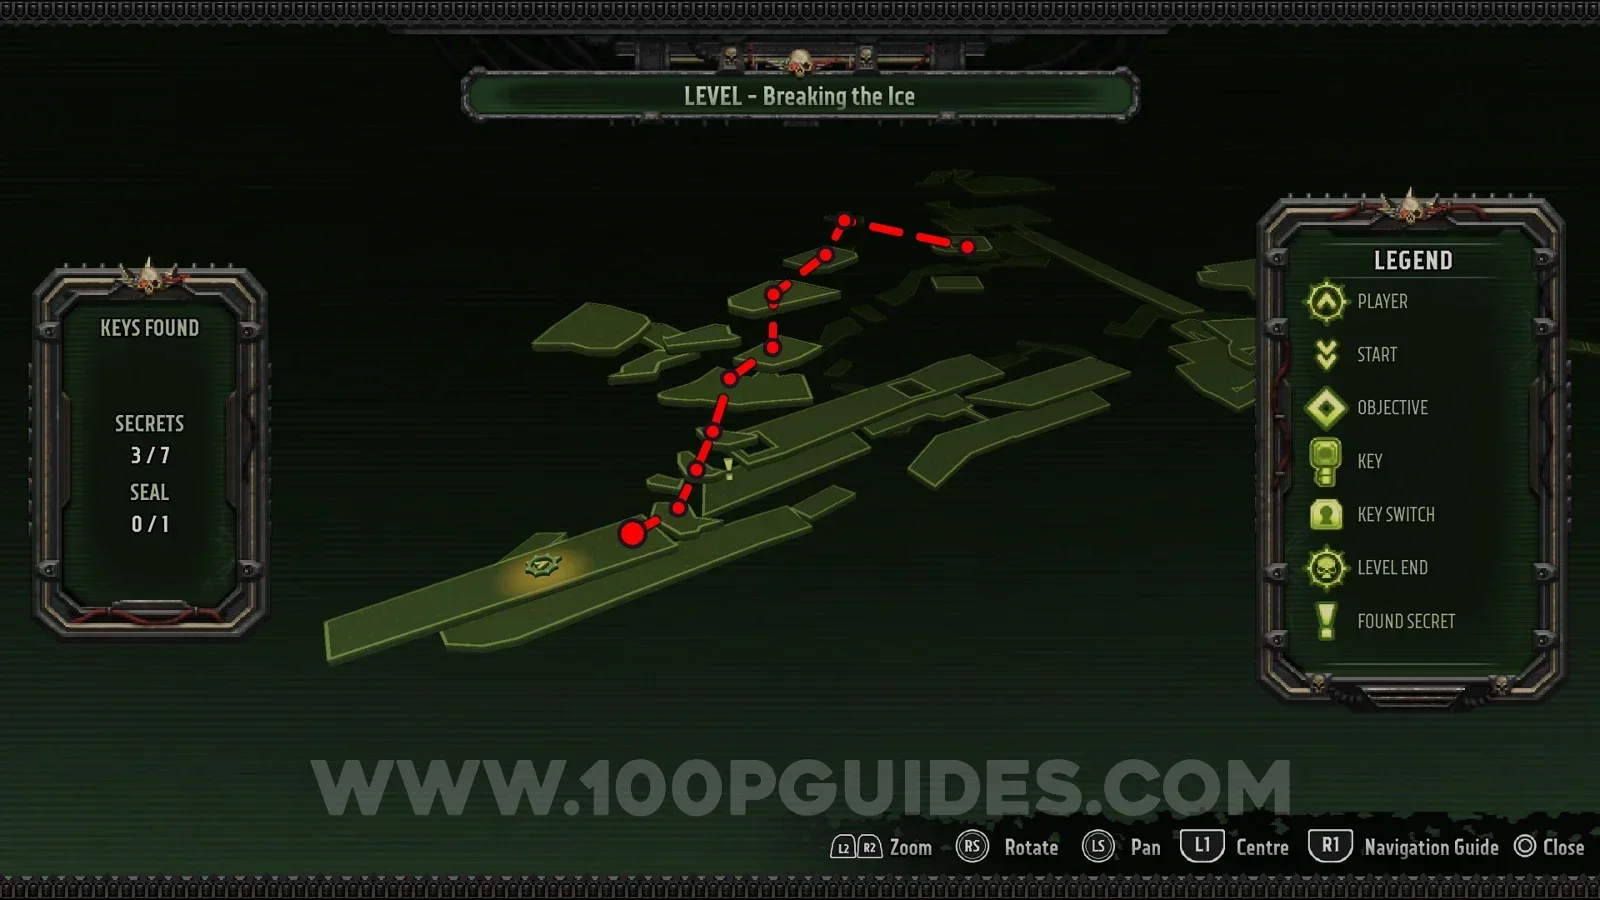
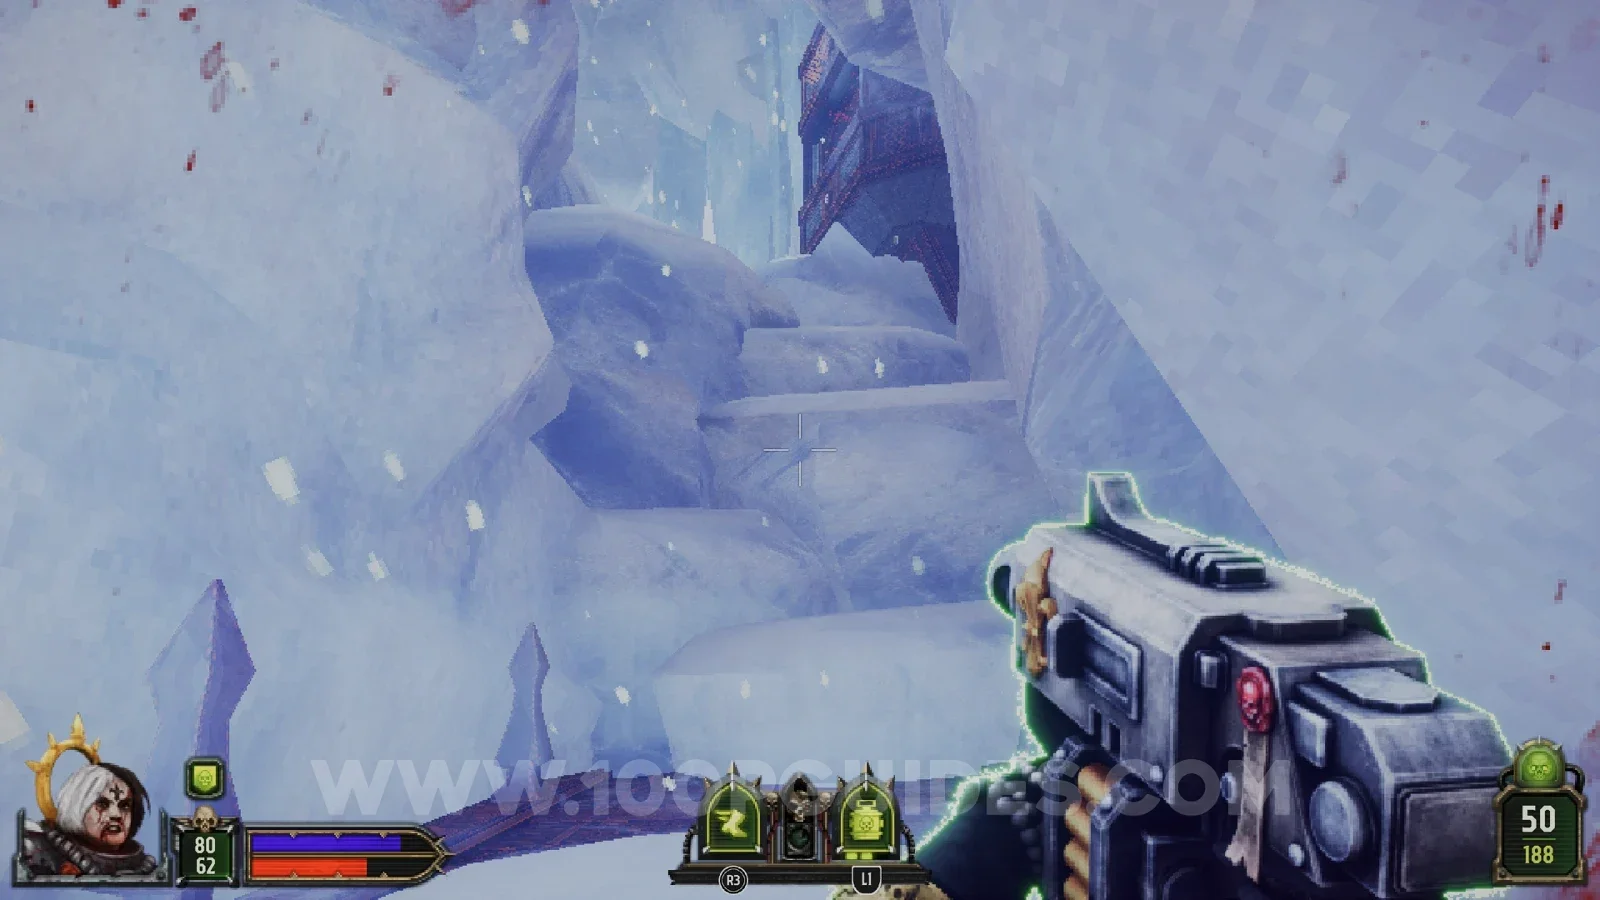
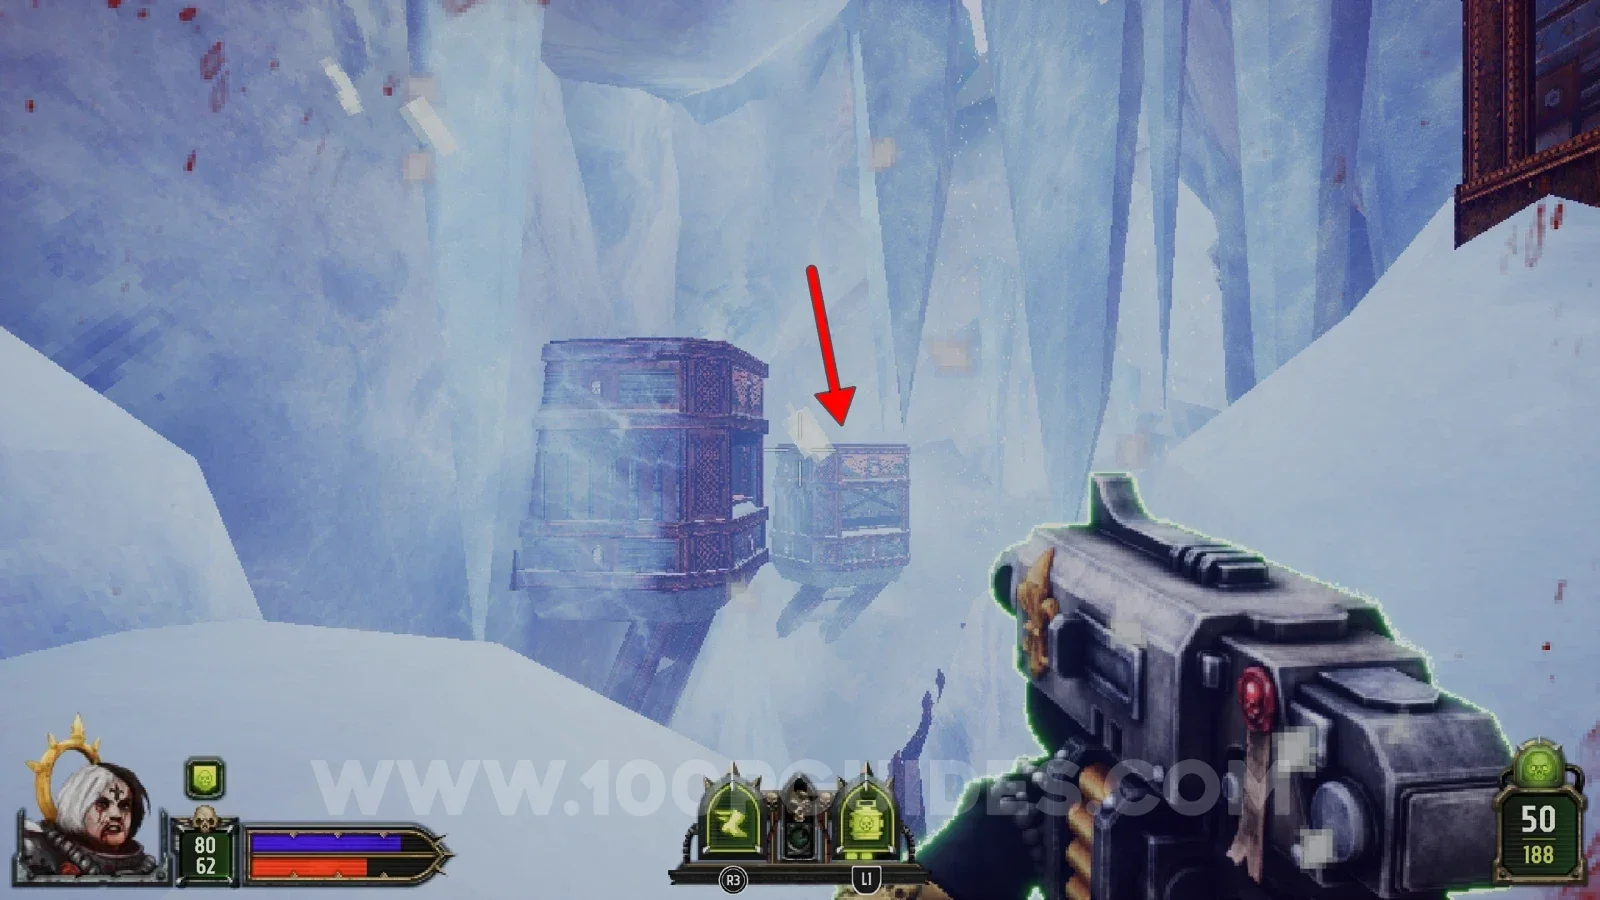
After using the lower areas to get past the destroyed bridges and guard towers where the previous secret was, turn around and climb the snowy platforms to return to that area higher up. Climb onto the roof of the guard tower on your right, jump across the tops of the guard towers and drop down into the last one (the first one you came across when entering the area) to find the seal.
Secret 5/7
After sliding down the ice slope you land in a large room and have to survive a Purge. After that, go through the cave to the left of the red door to find the secret at the end.
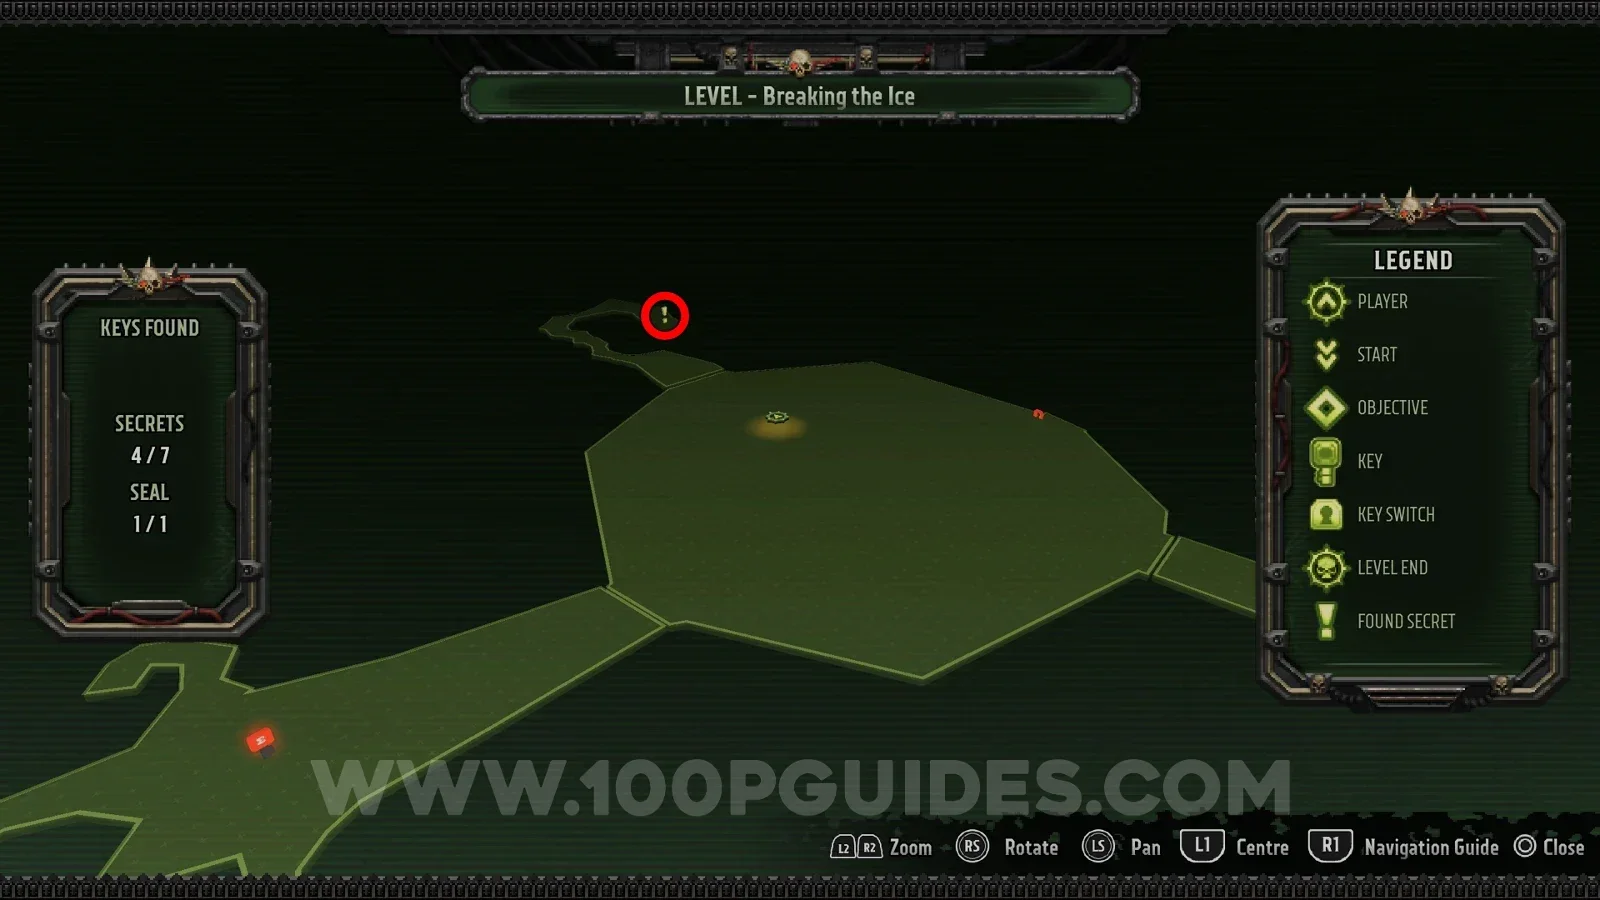
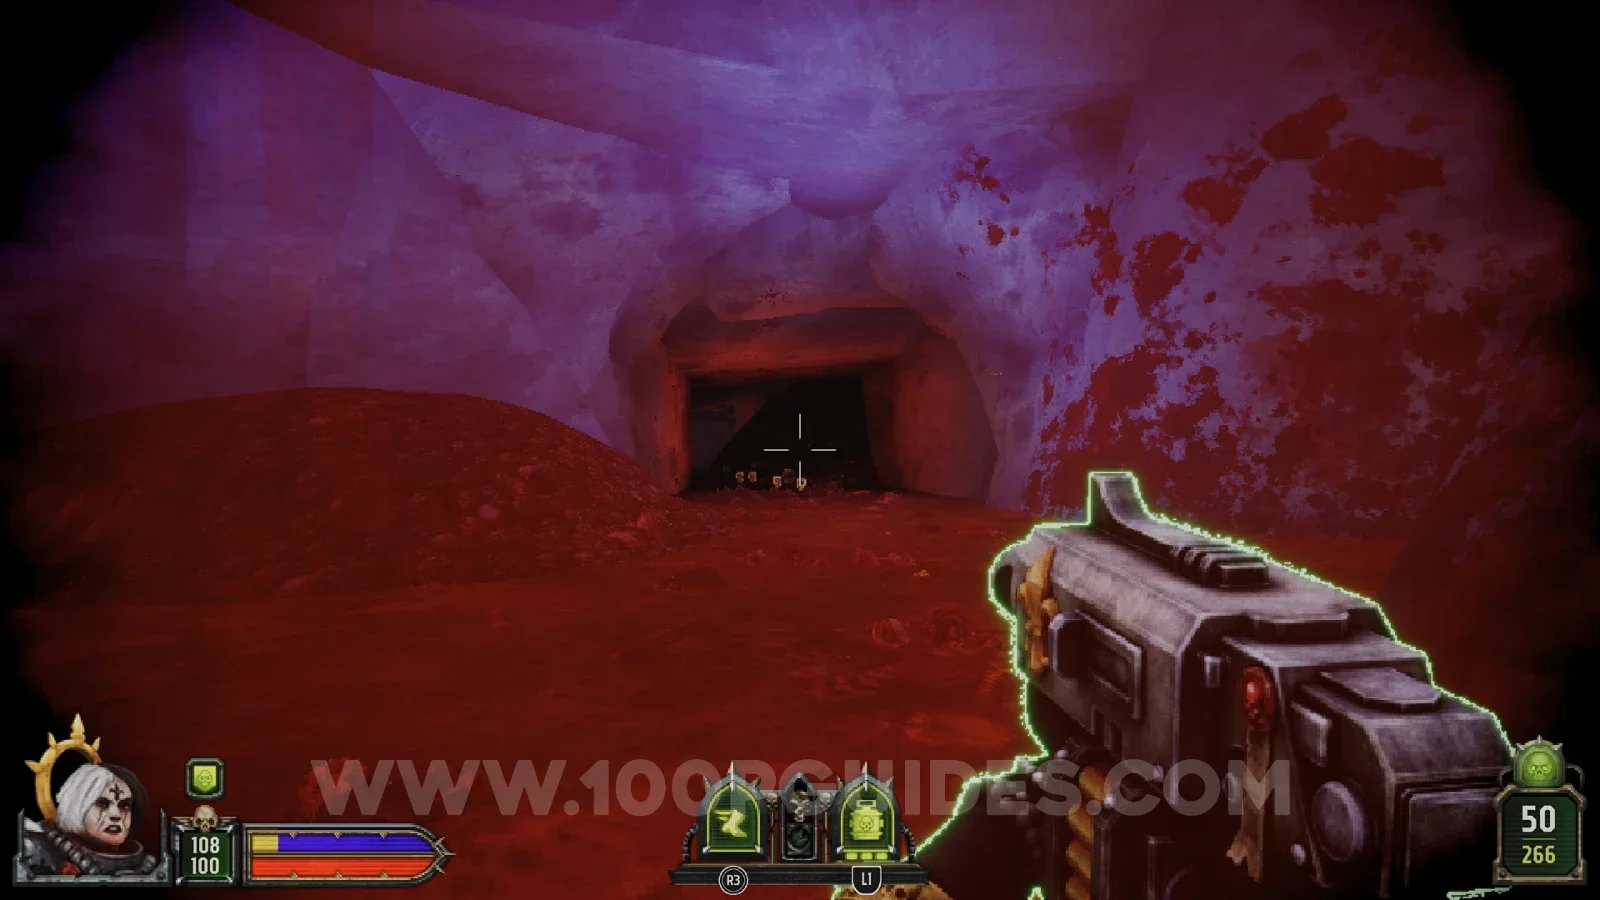
Secret 6/7
Go through the cave to the right of the red door and climb the platforms to the top. Then drop down the other side to find the secret.
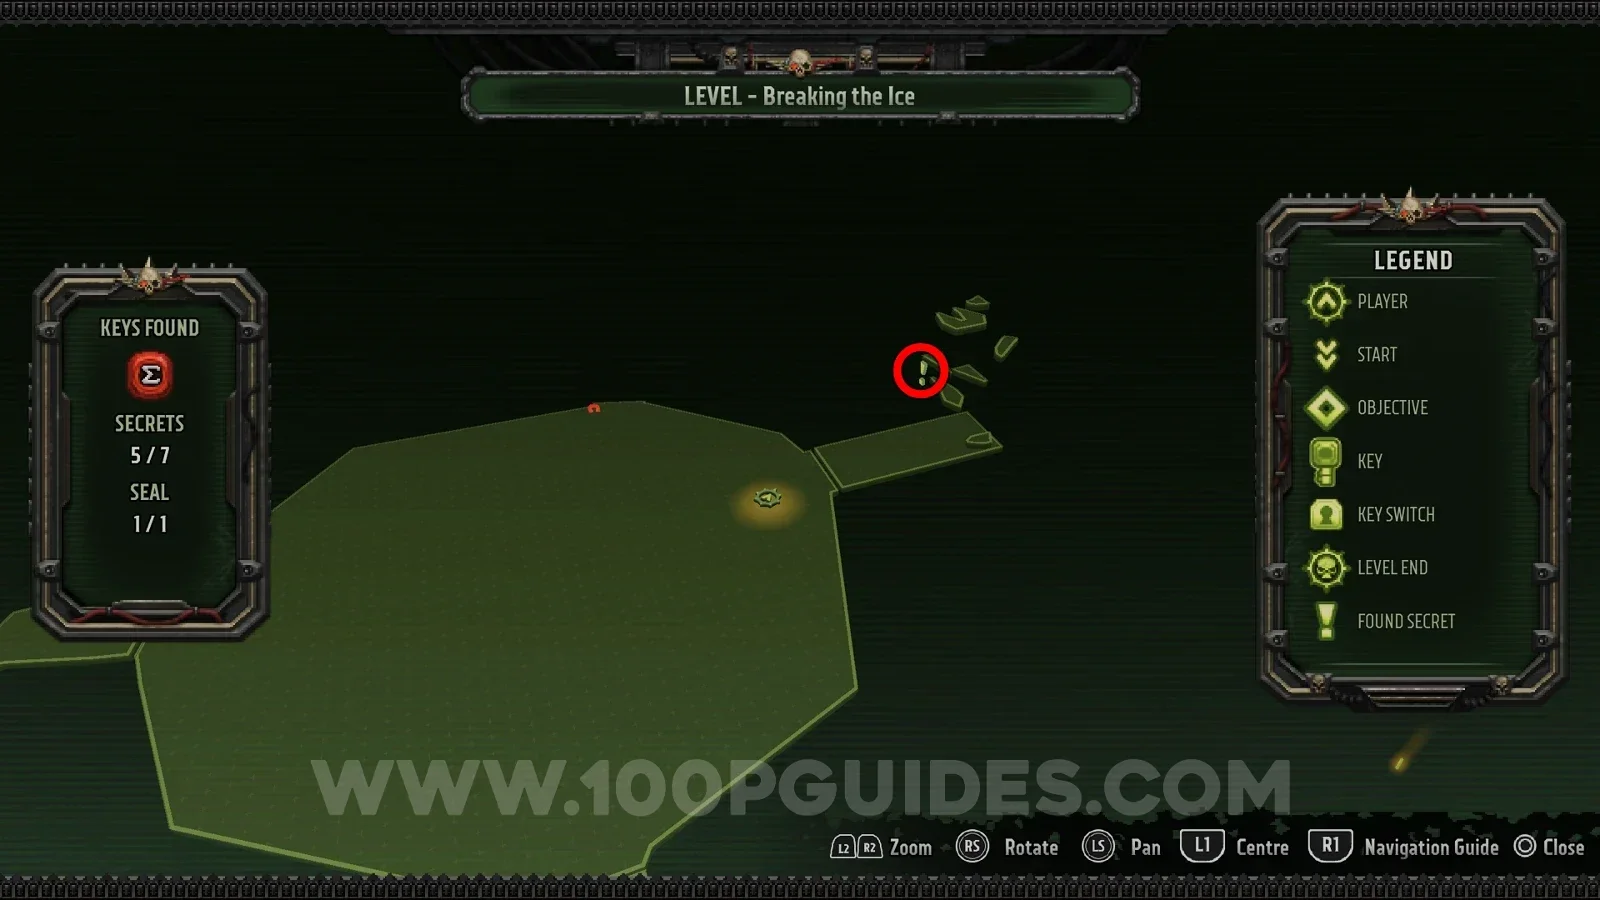
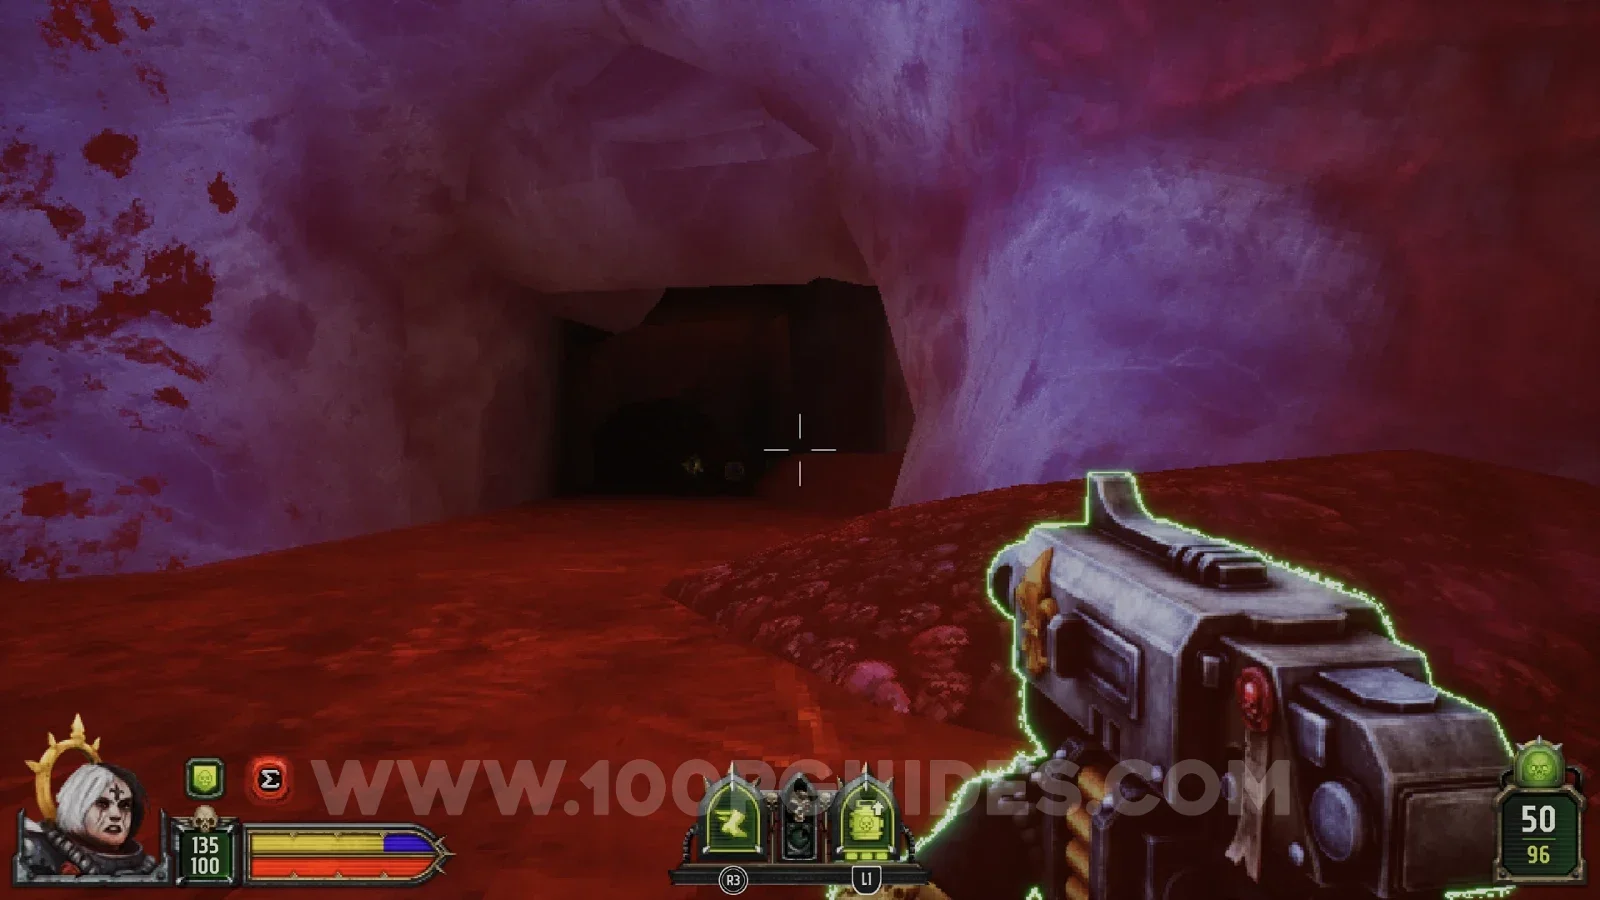
Secret 7/7
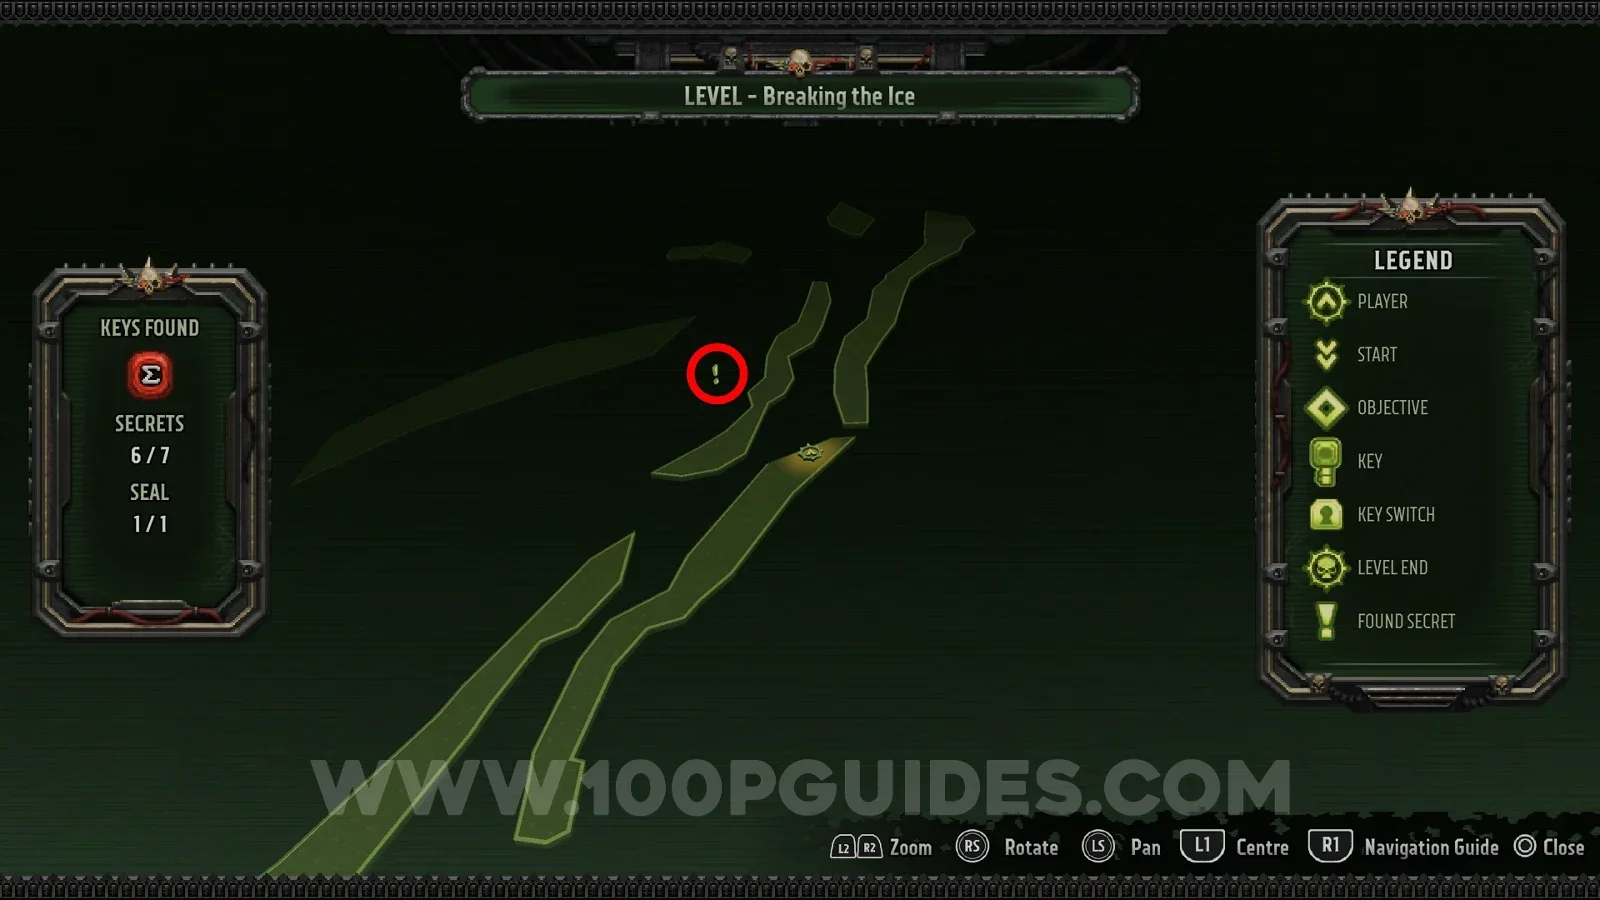
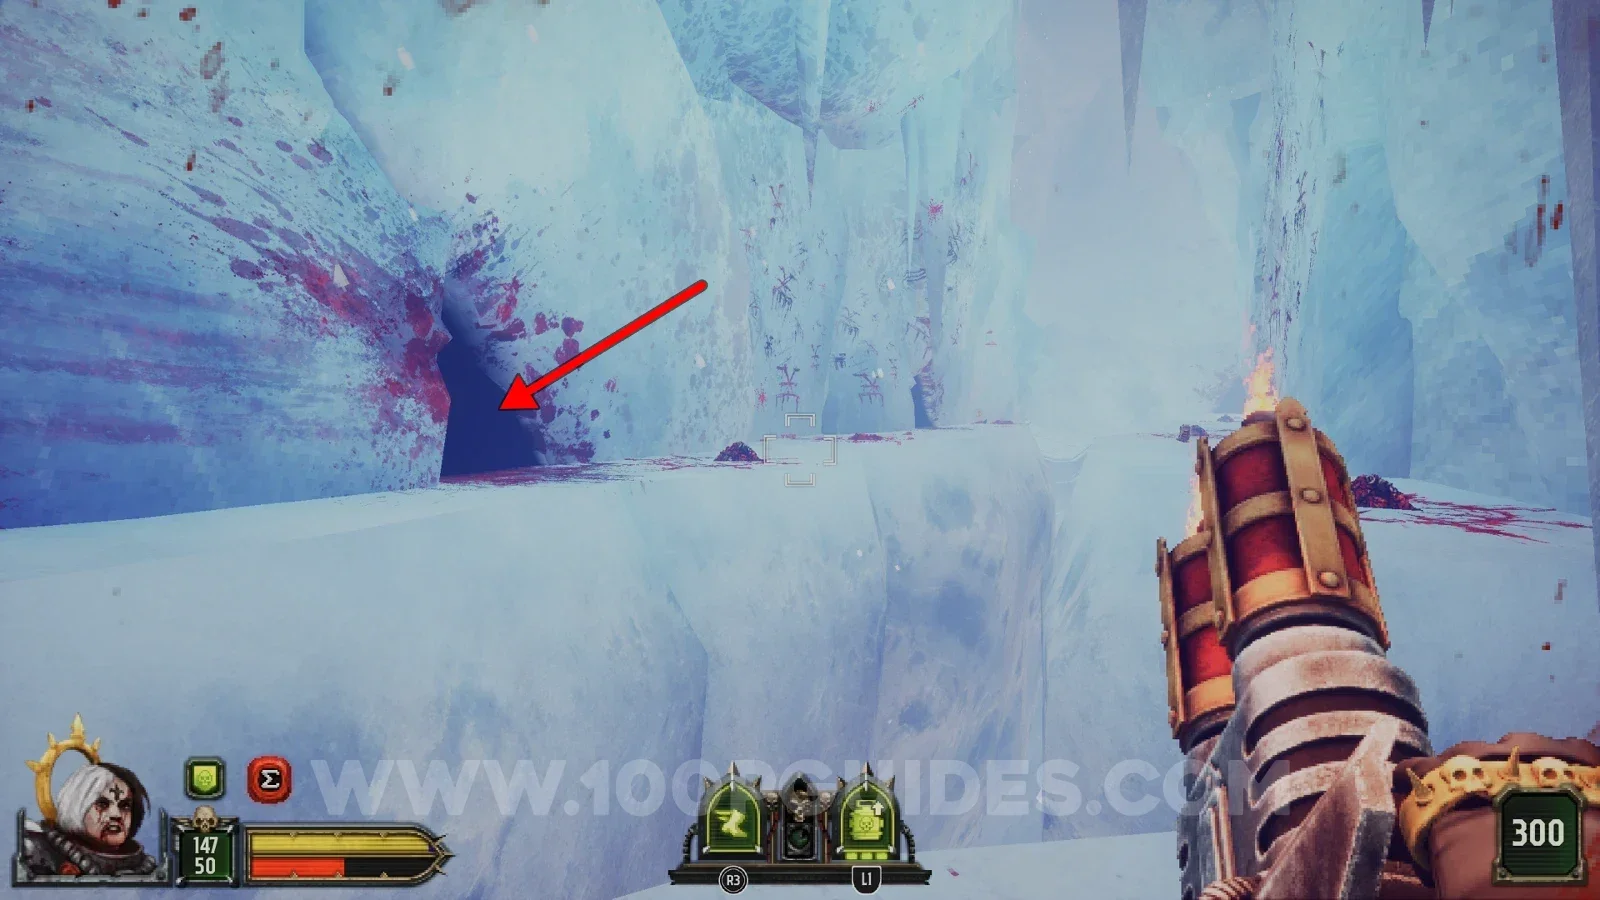
Once you get outside you go through a canyon where enemies come out of caves to attack you. The secret is in the third cave on the left-hand side.
Flash Freeze Path A
Secret 1/8
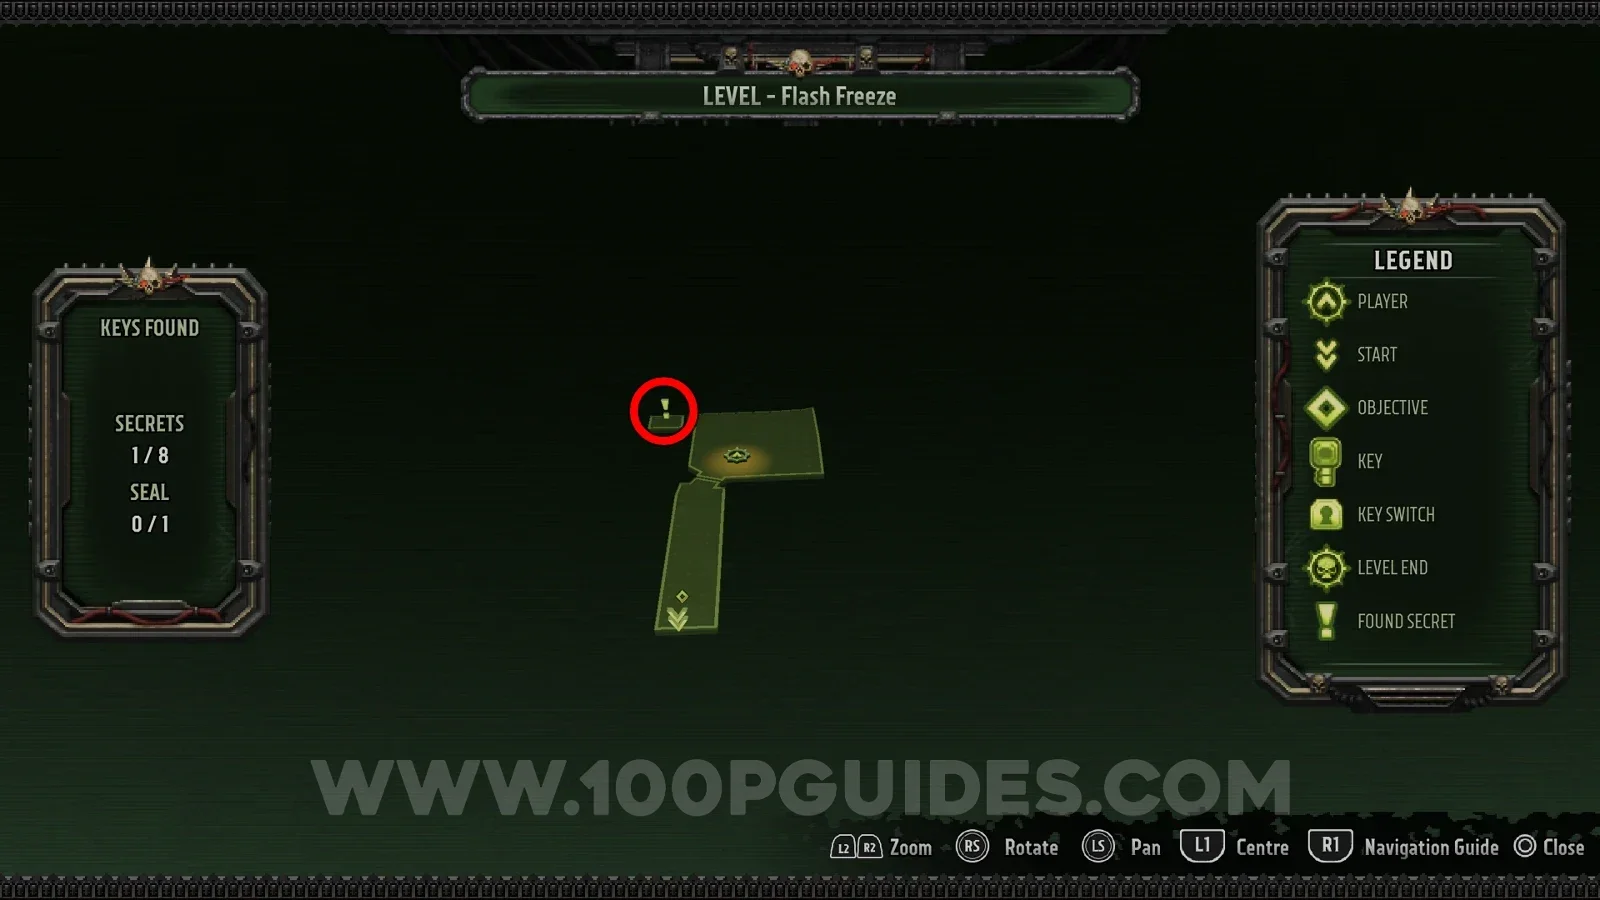
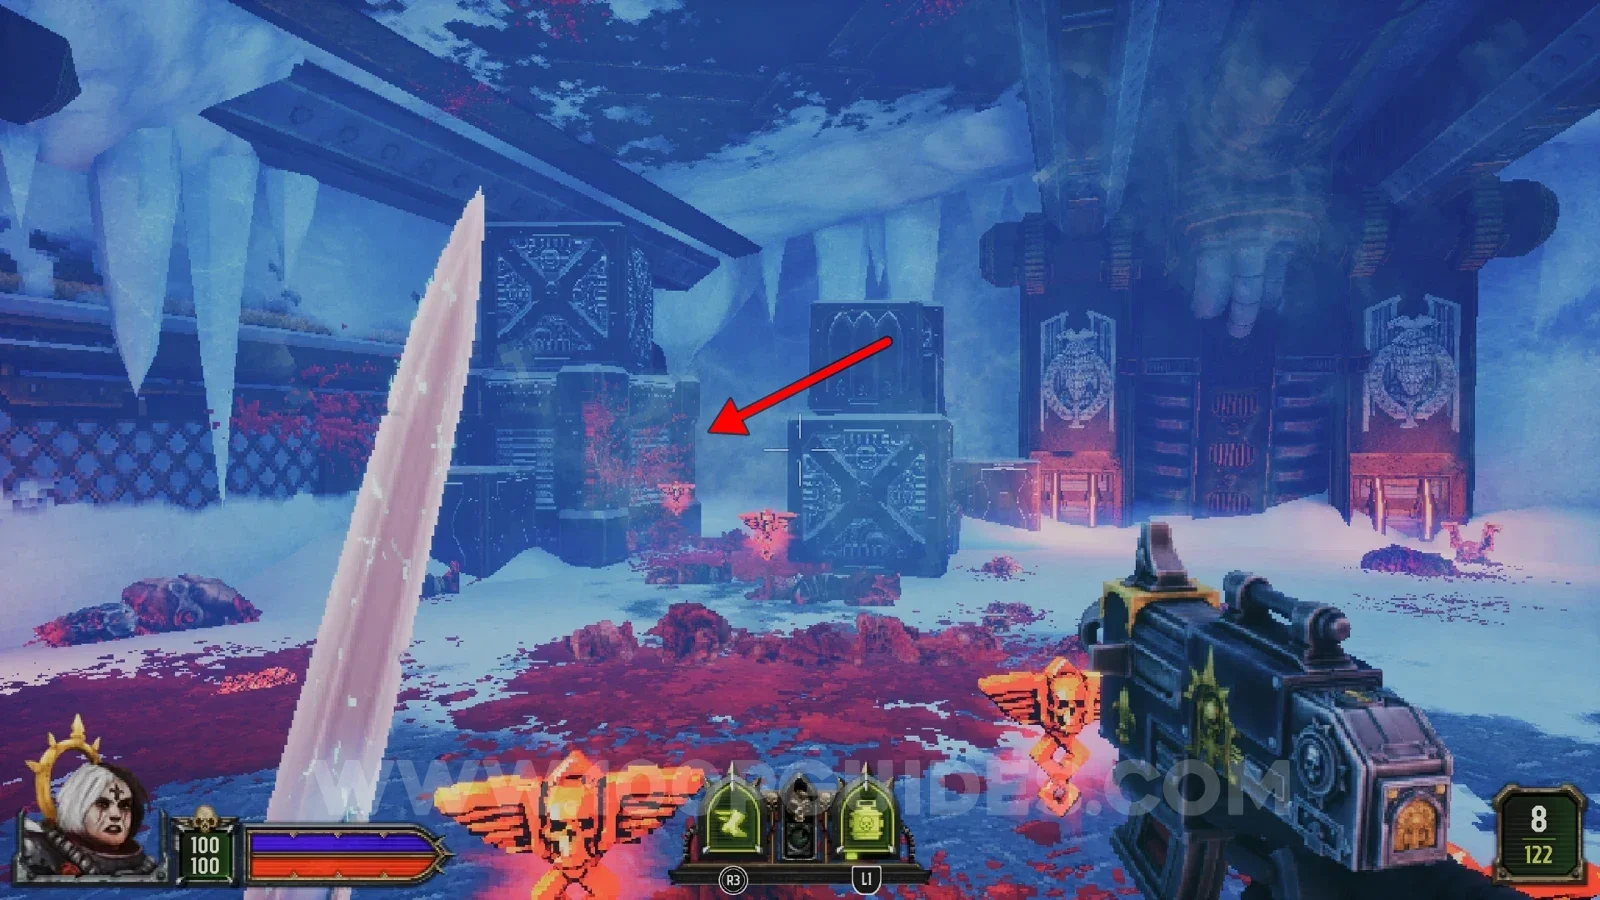
In the very first room, go between the boxes on the left and destroy the ice.
Secret 2/8
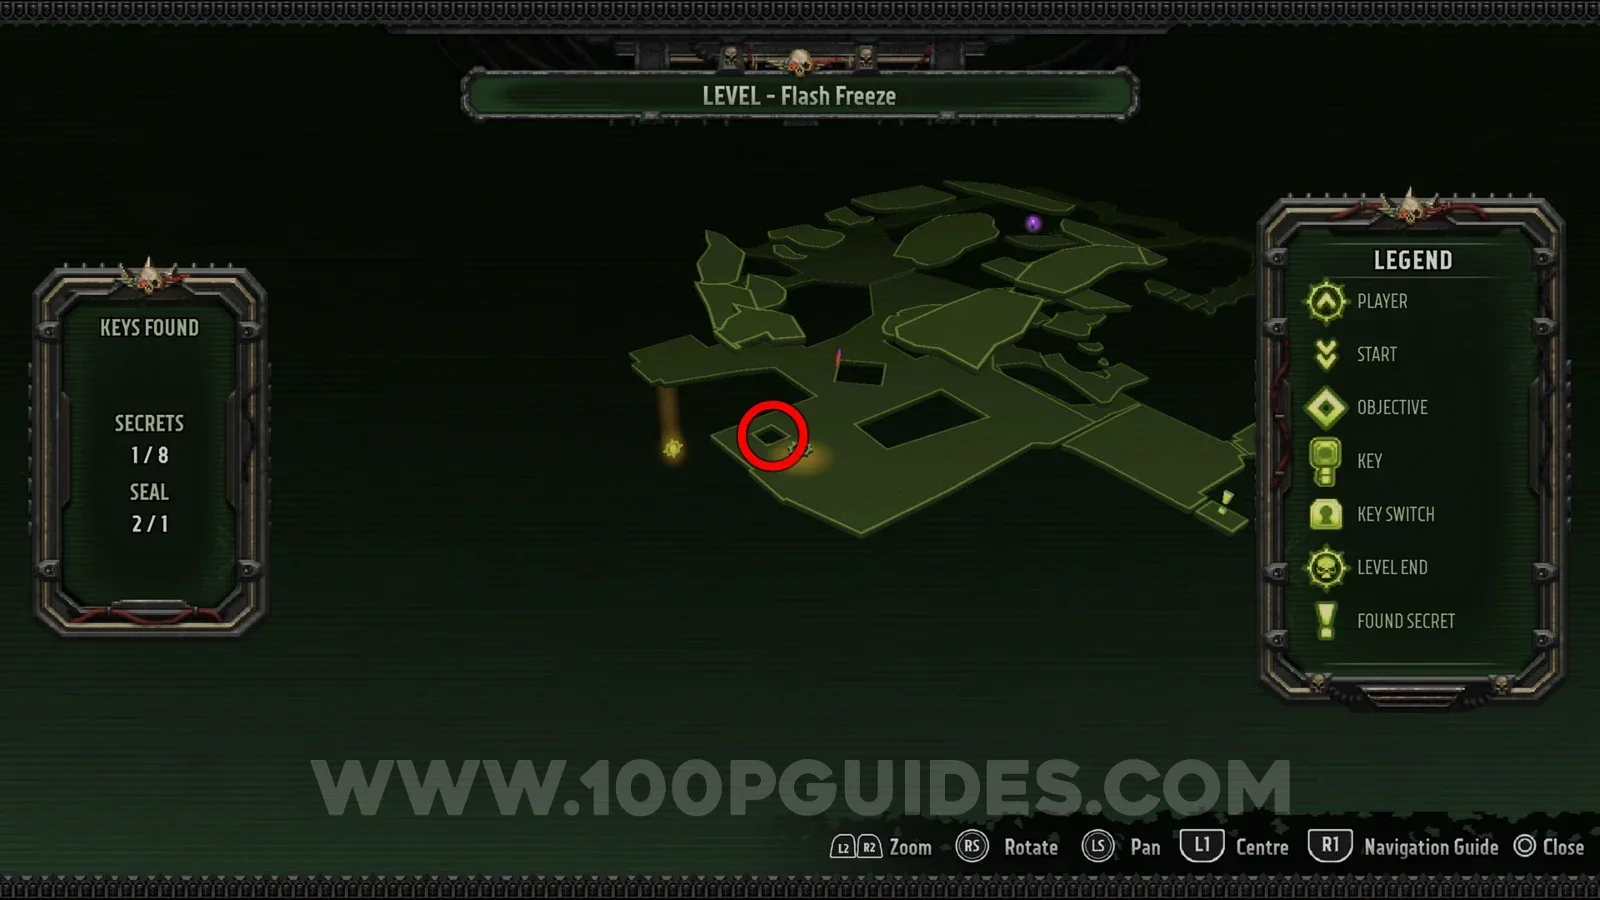
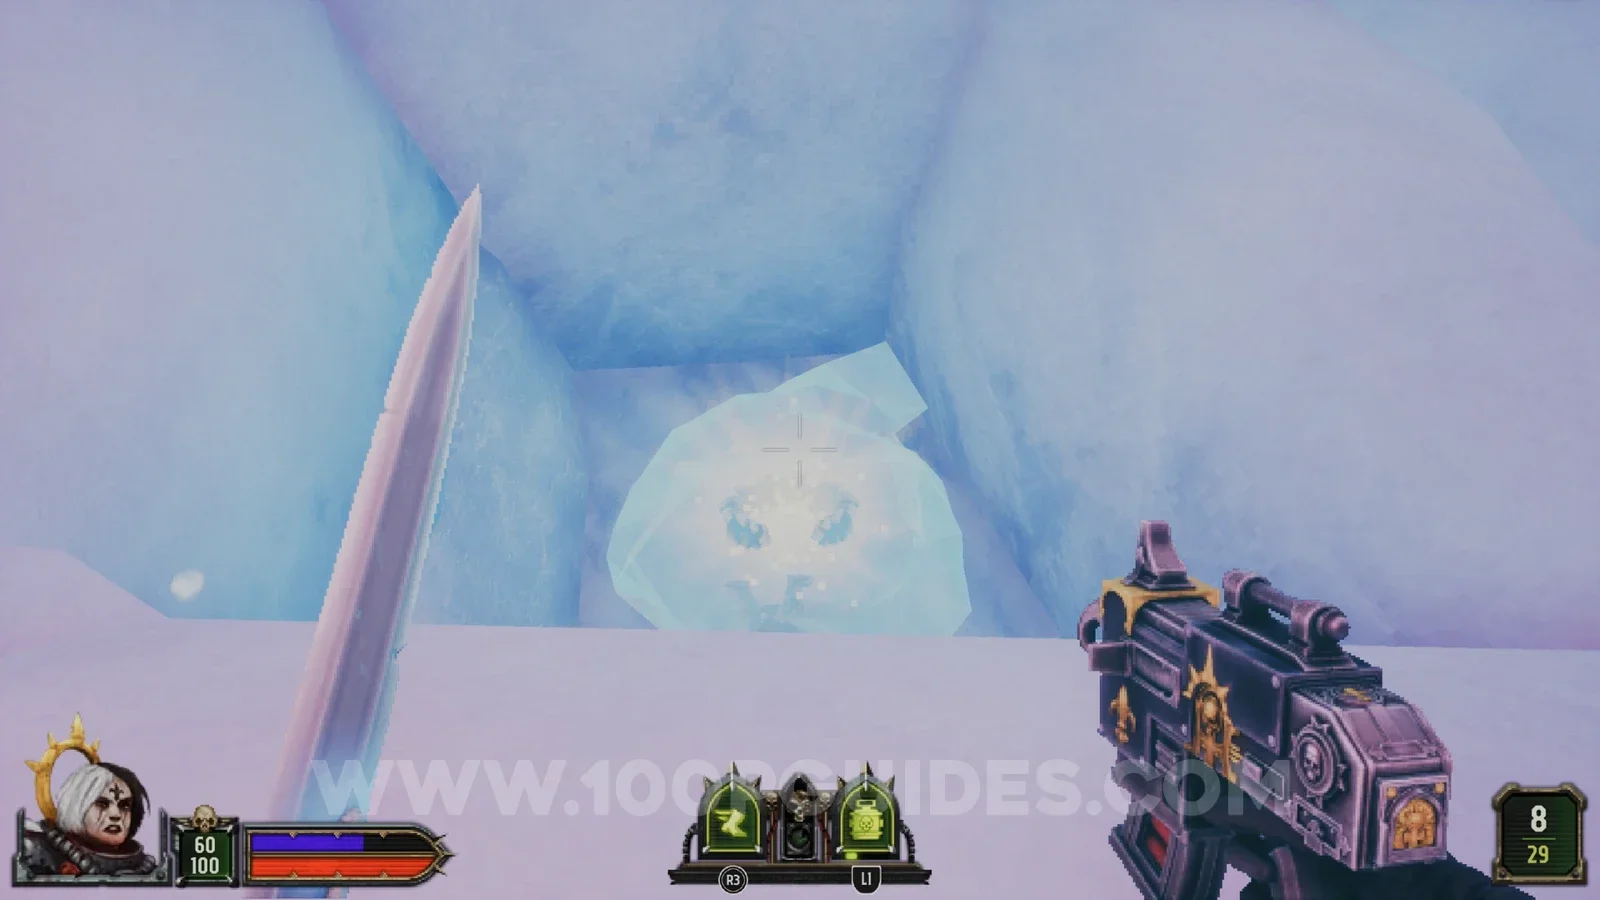
After going through the first door you reach a large area with frozen enemies and a red and a purple console that need keys. Look for a square hole in the ground to the left of the consoles. The secret is in the hole.
Secret 3/8
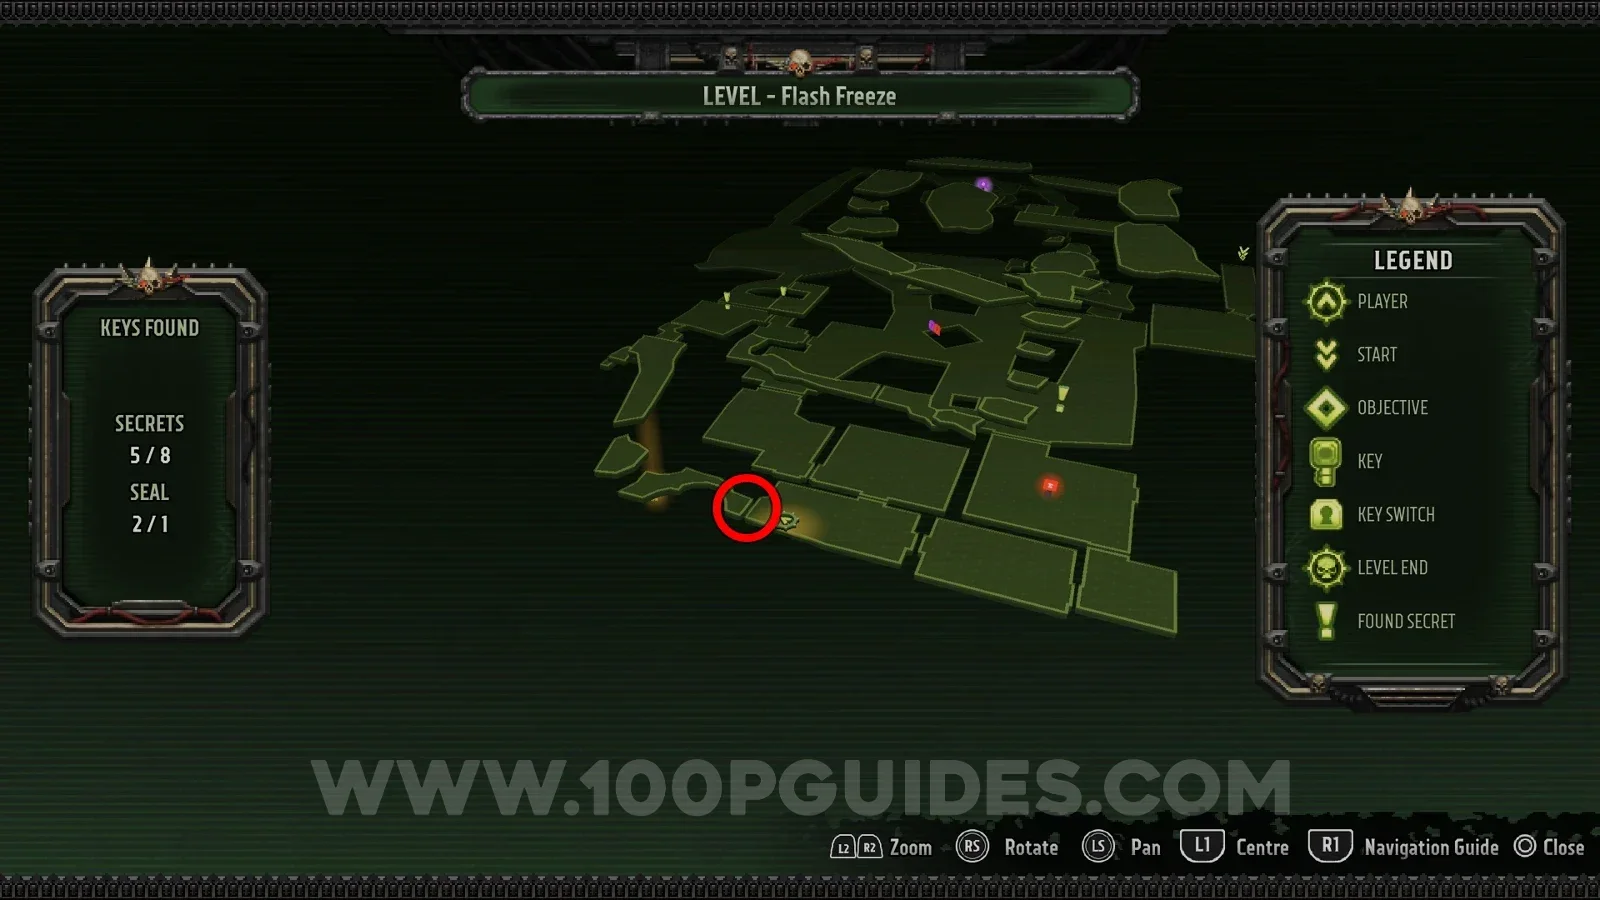
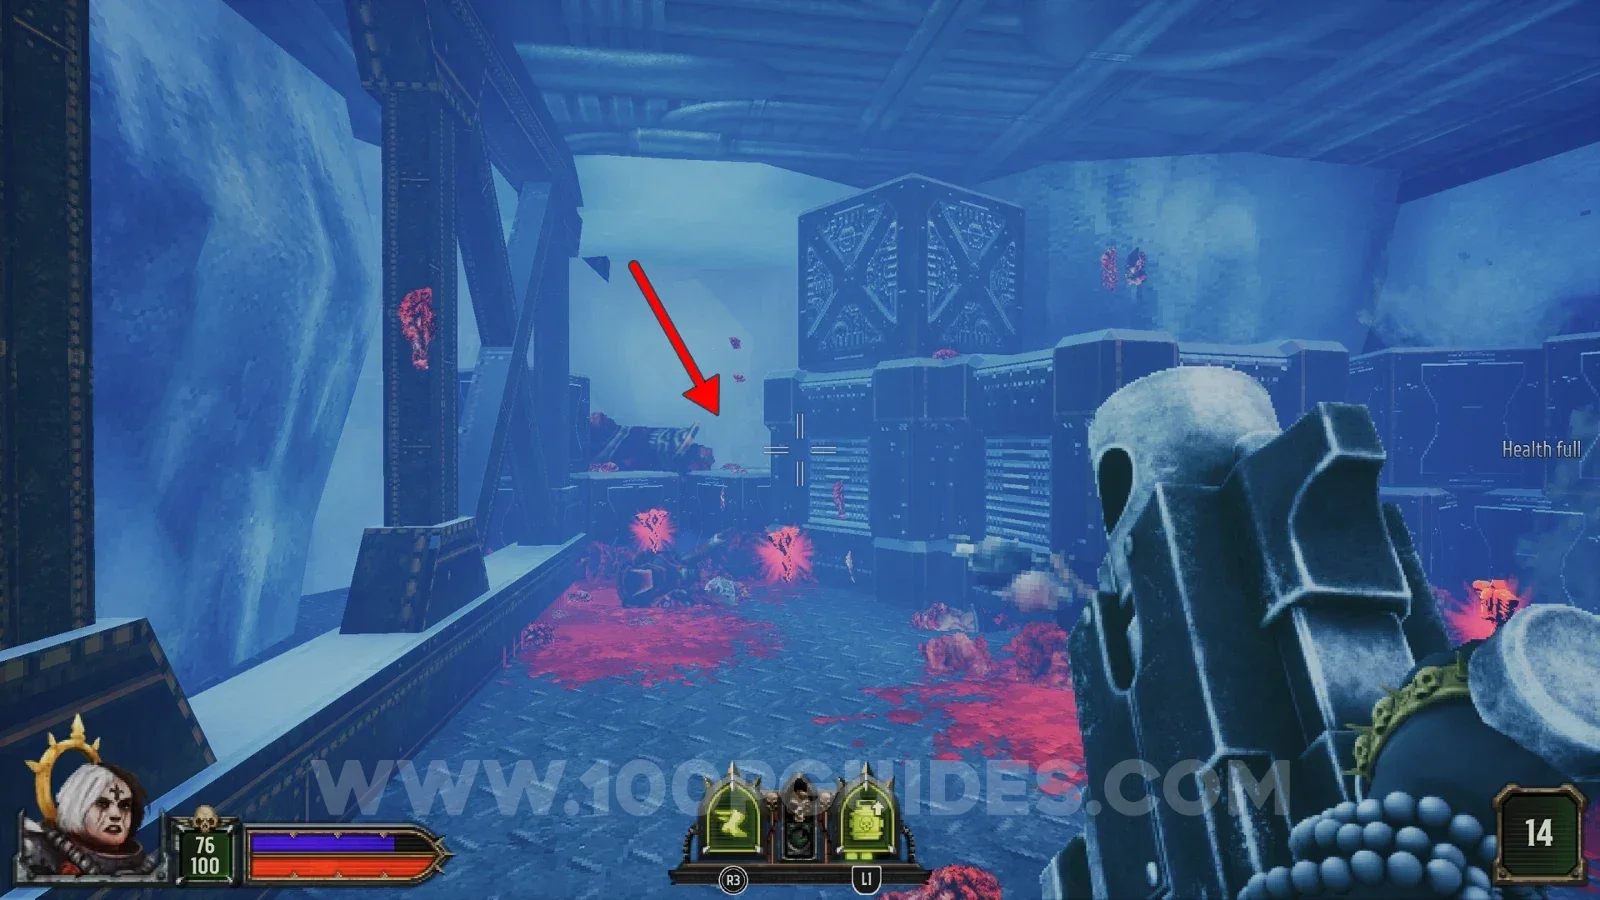
From the consoles, head left into the buildings (the ones where the red key is). In the third room, look right, go through the gap behind the boxes and follow the path to the end to find the secret.
Secret 4/8
Follow the path until you reach the red key. In the same room, activate the switch on the wall to open another short path out of the room. Head through it to find the secret.
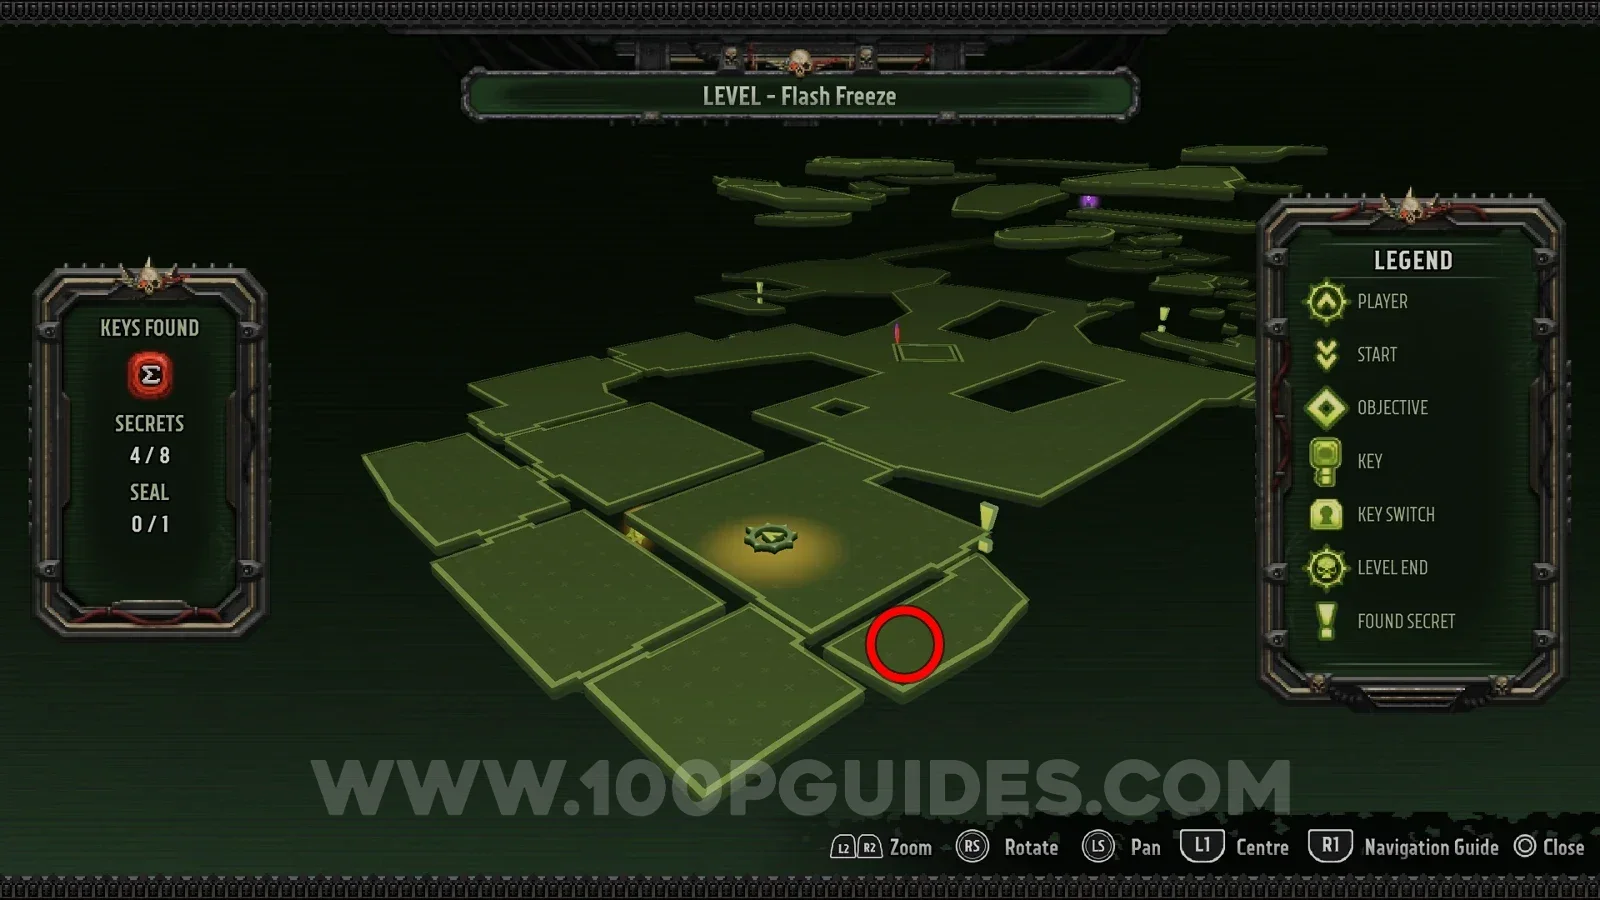
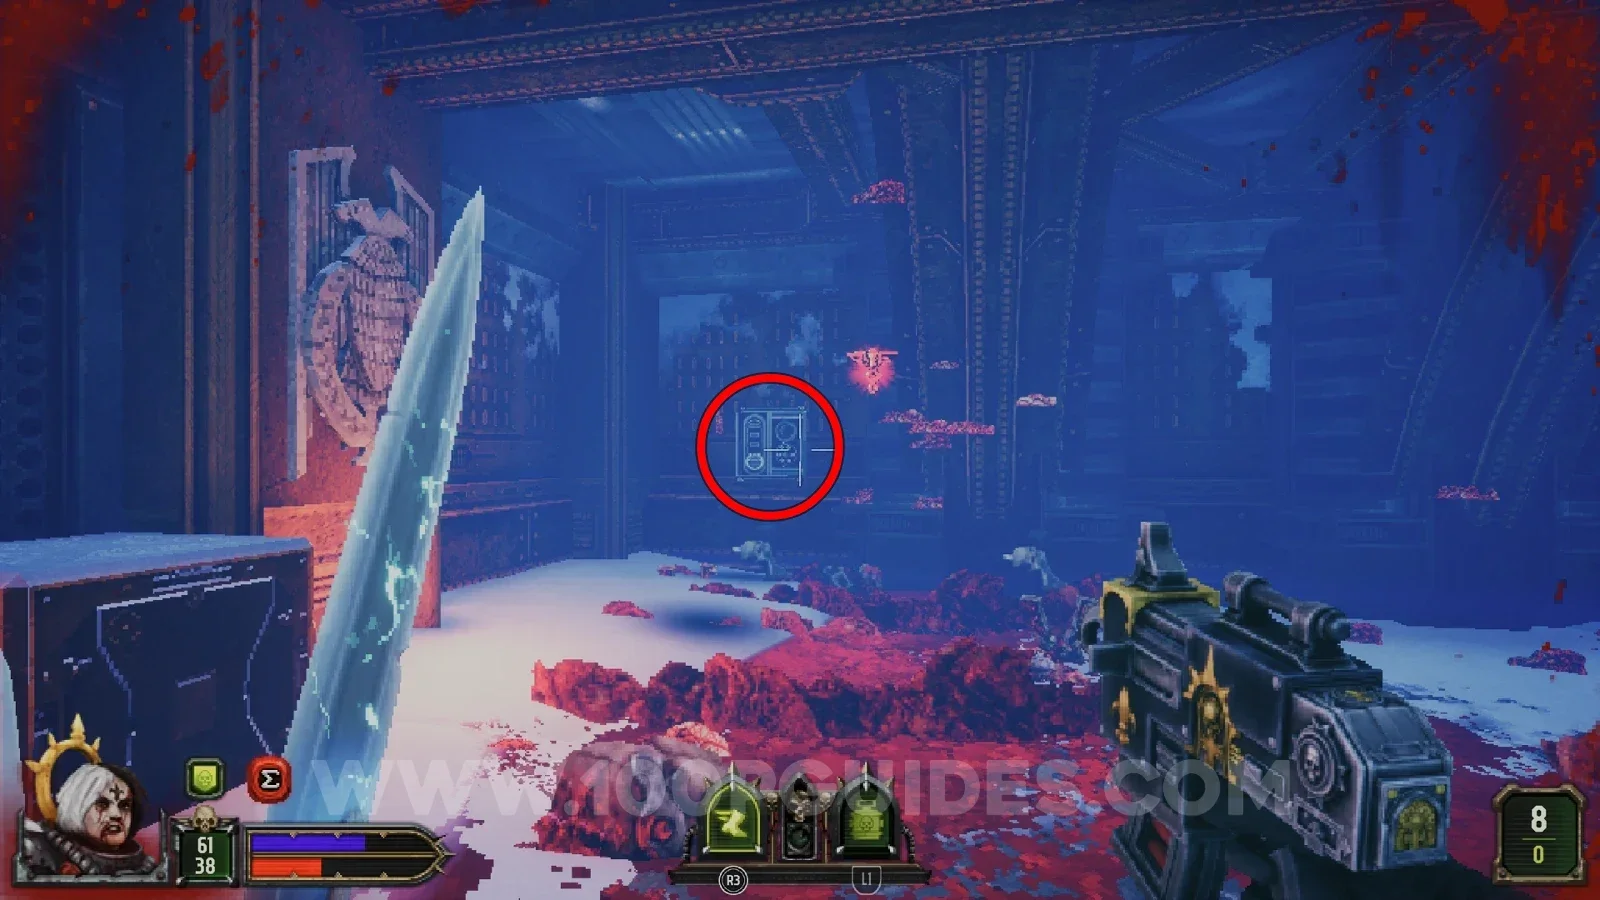
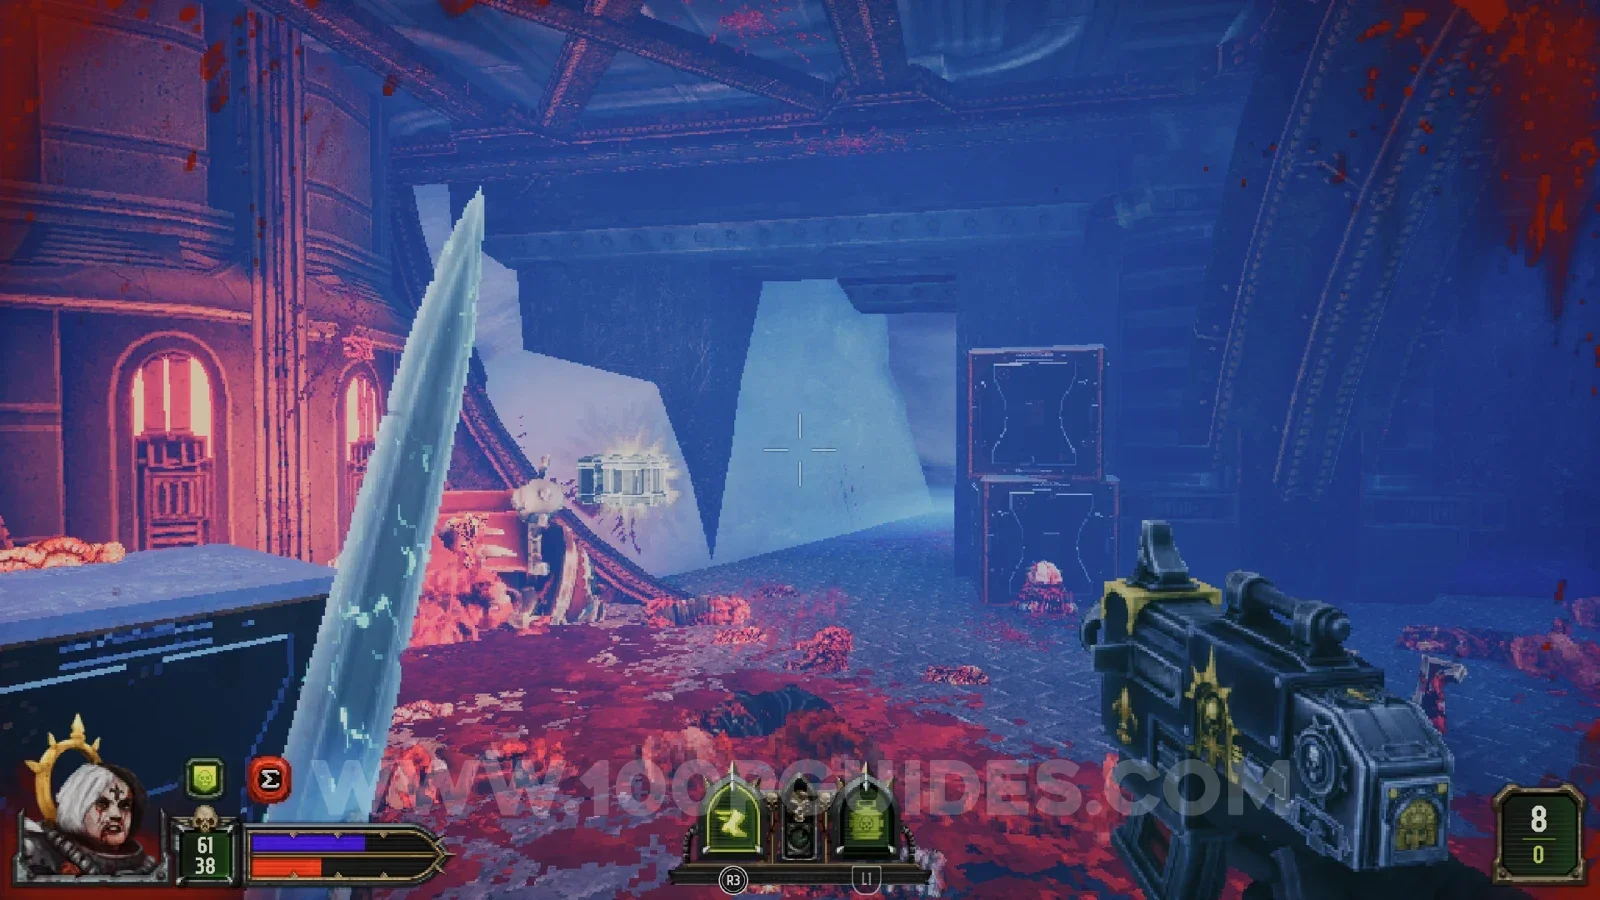
Secret 5/8
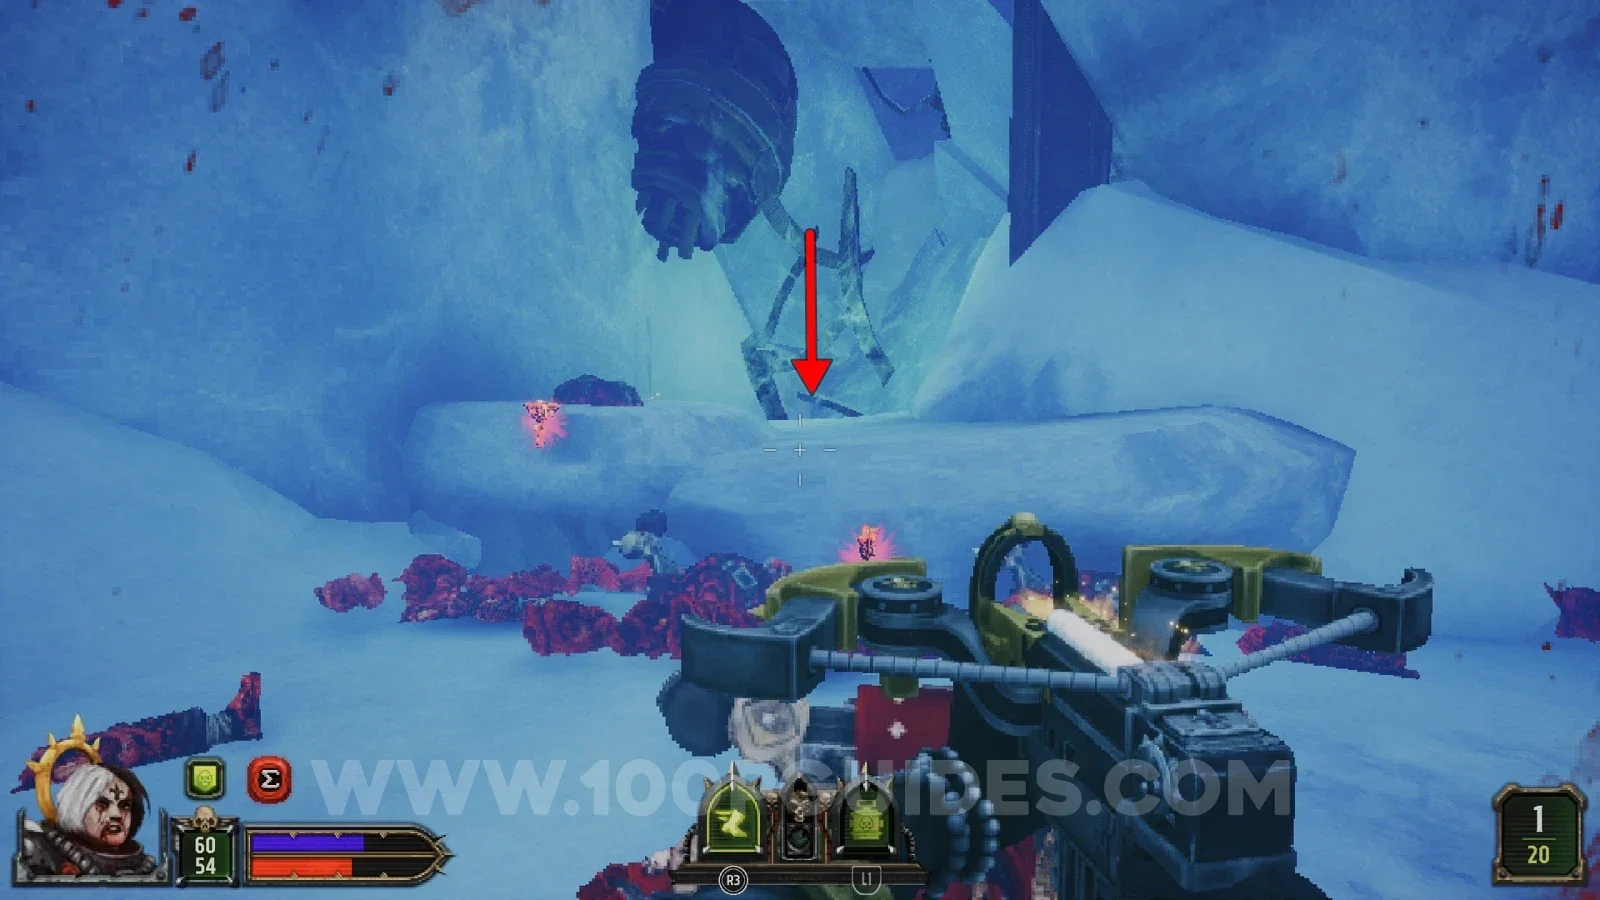
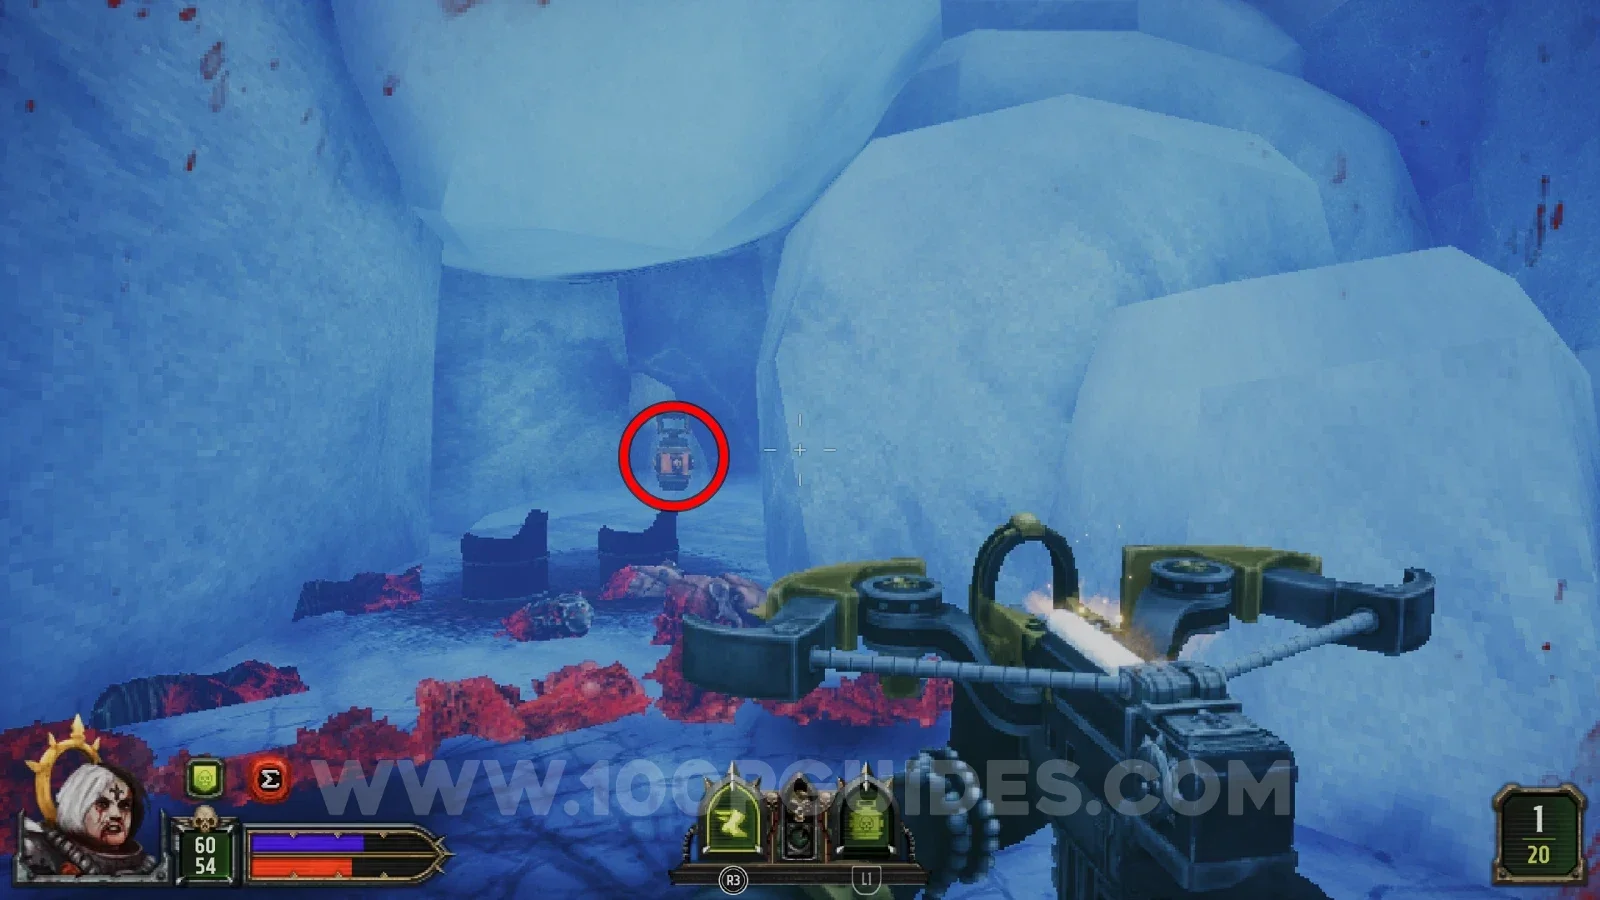
In the large area with the two consoles and the frozen enemies, stick to the right-hand wall until you see some metal structures in the wall with a frozen hole below them. Destroy the ice and drop down, then continue until you climb up the other side. Just after grabbing the first platform, look for the secret to the left of the platforms you use to keep climbing.
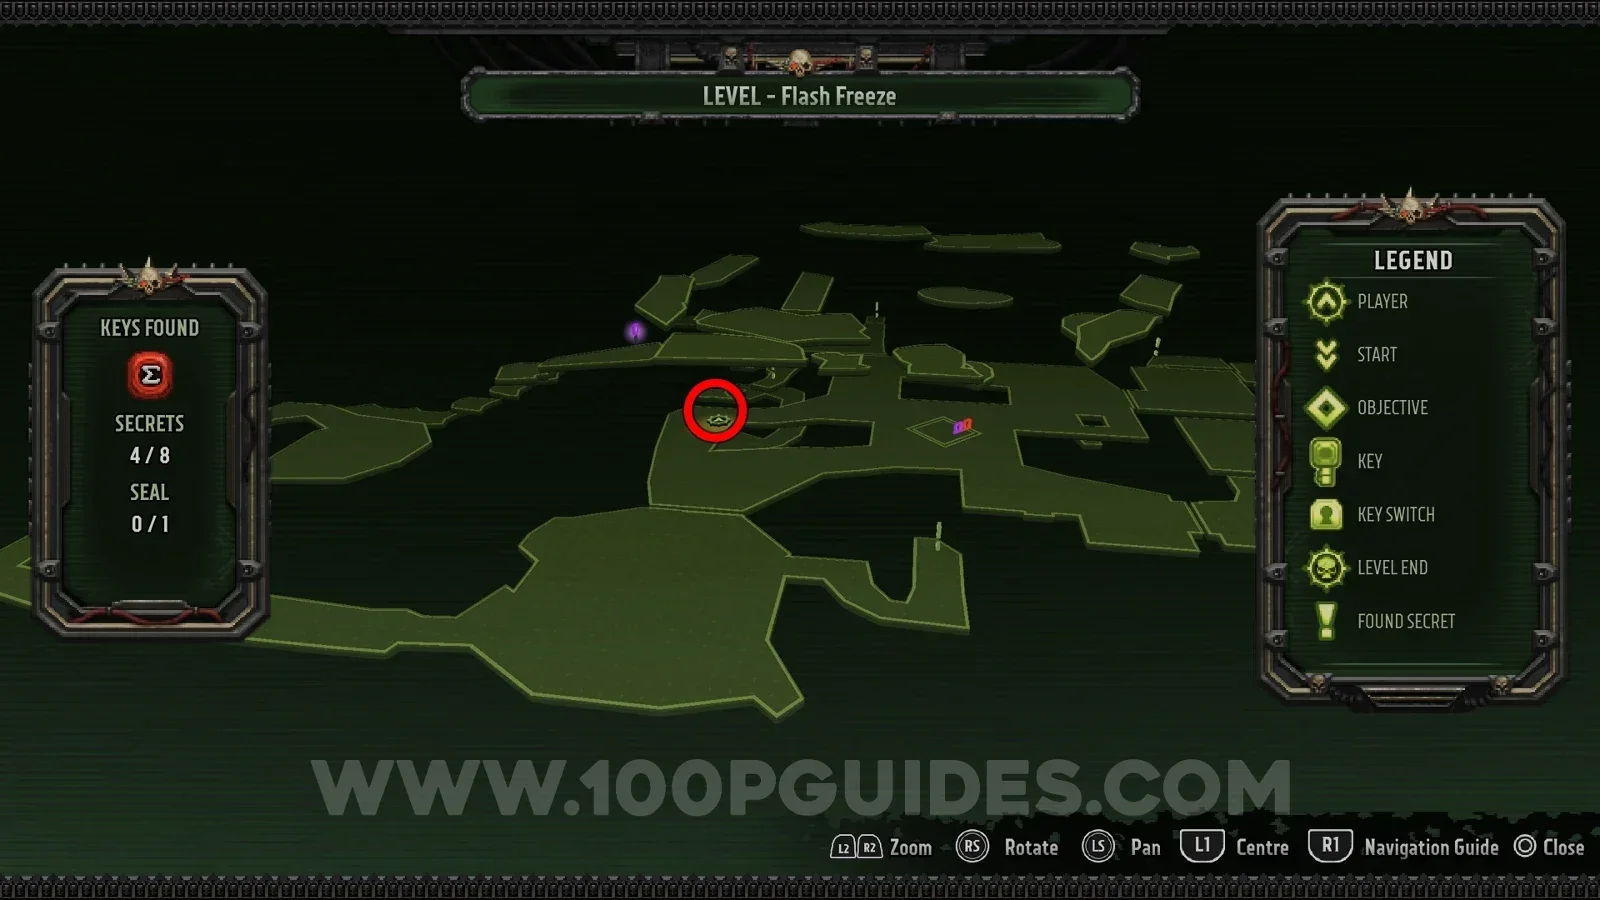
Secret 6/8
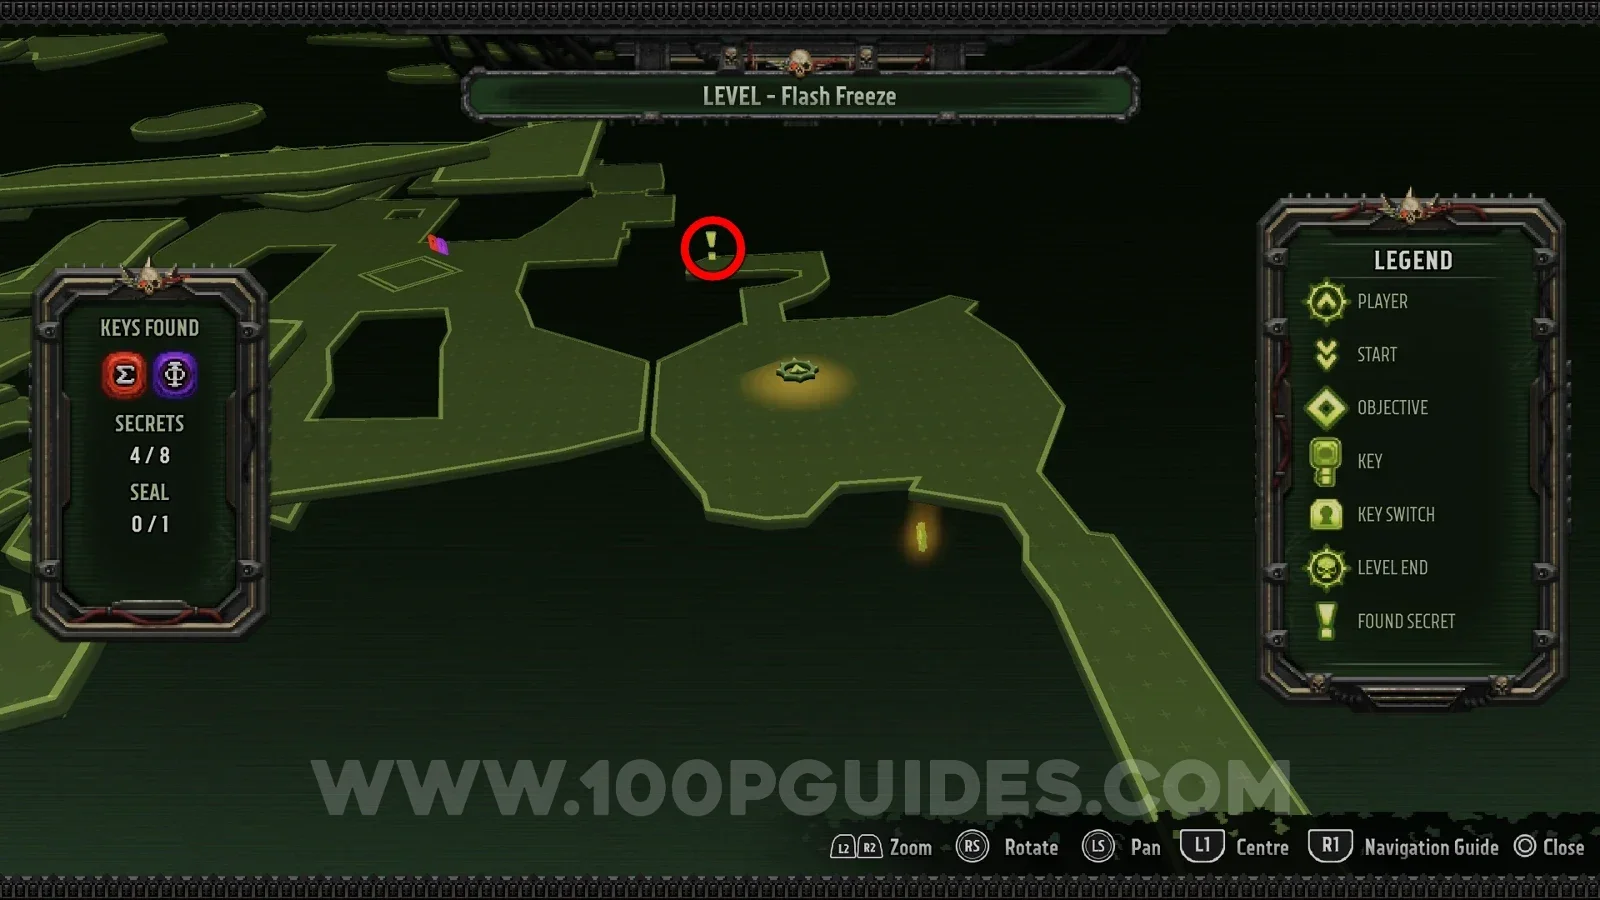
Also in the large area with the frozen enemies and the two consoles, through a frozen passage on the left just past the consoles.
Seal 1/1
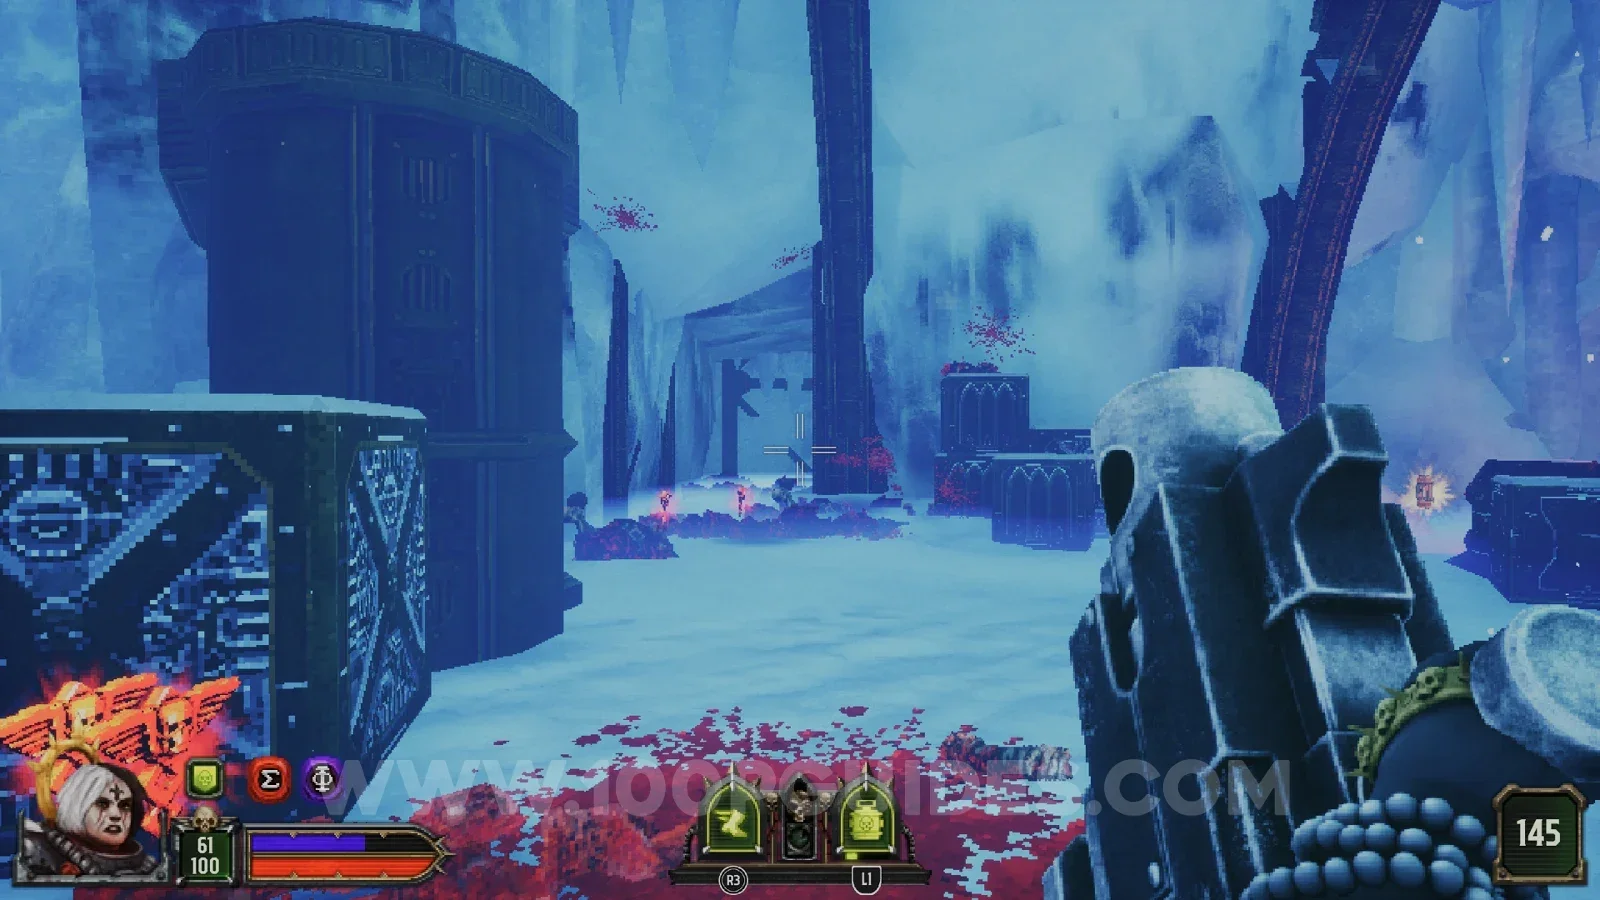
Defeat the enemies in the small room just off the path to the purple key.
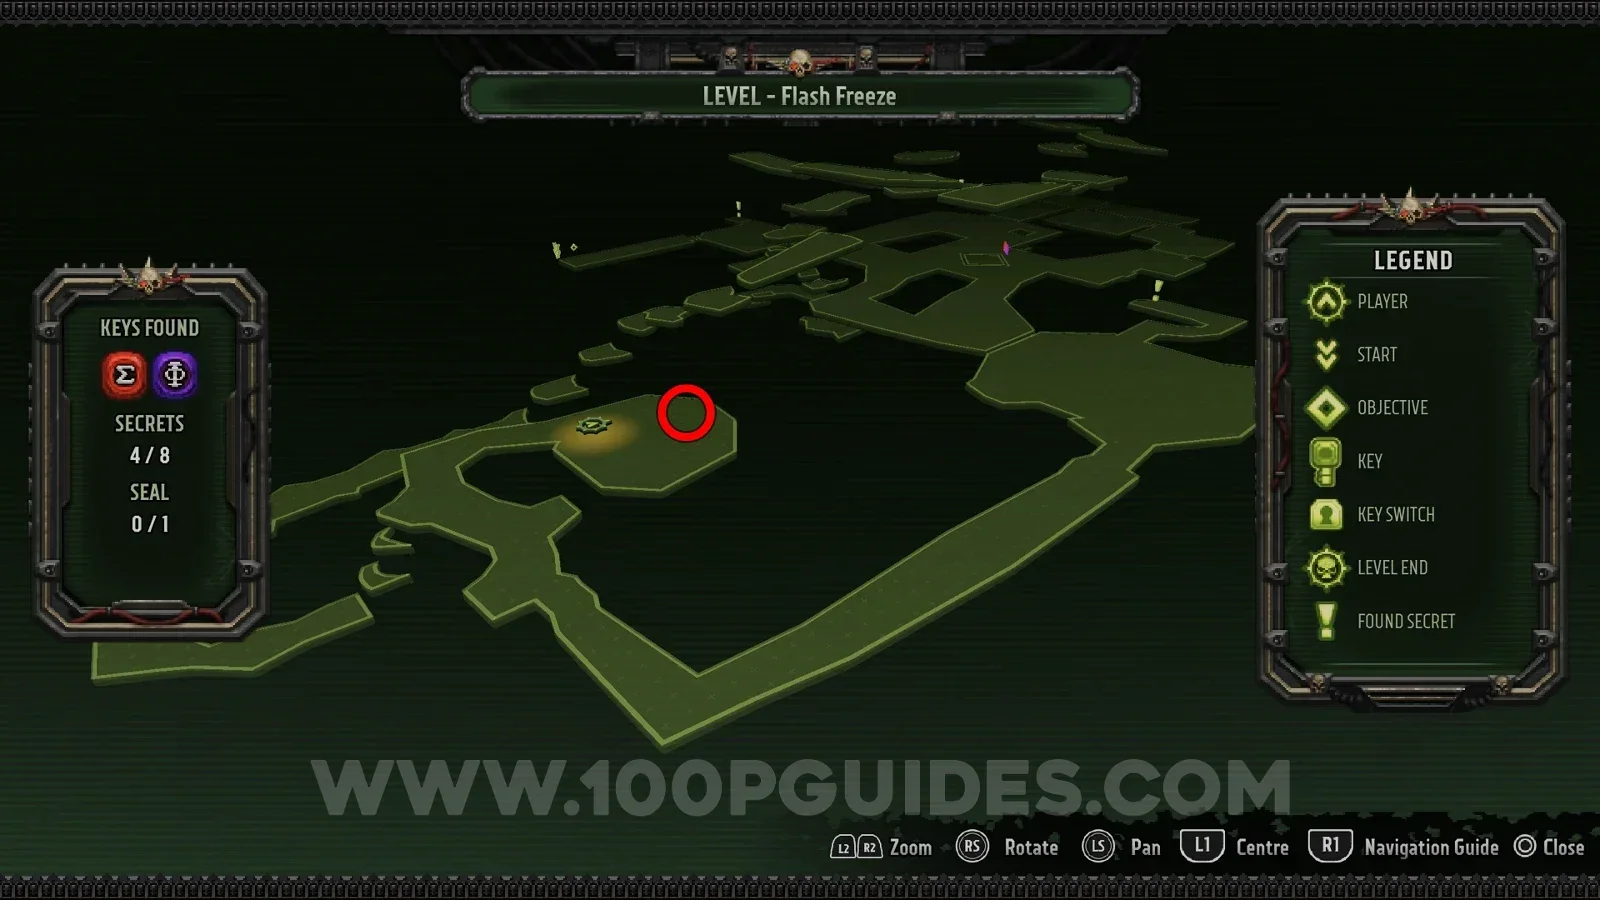
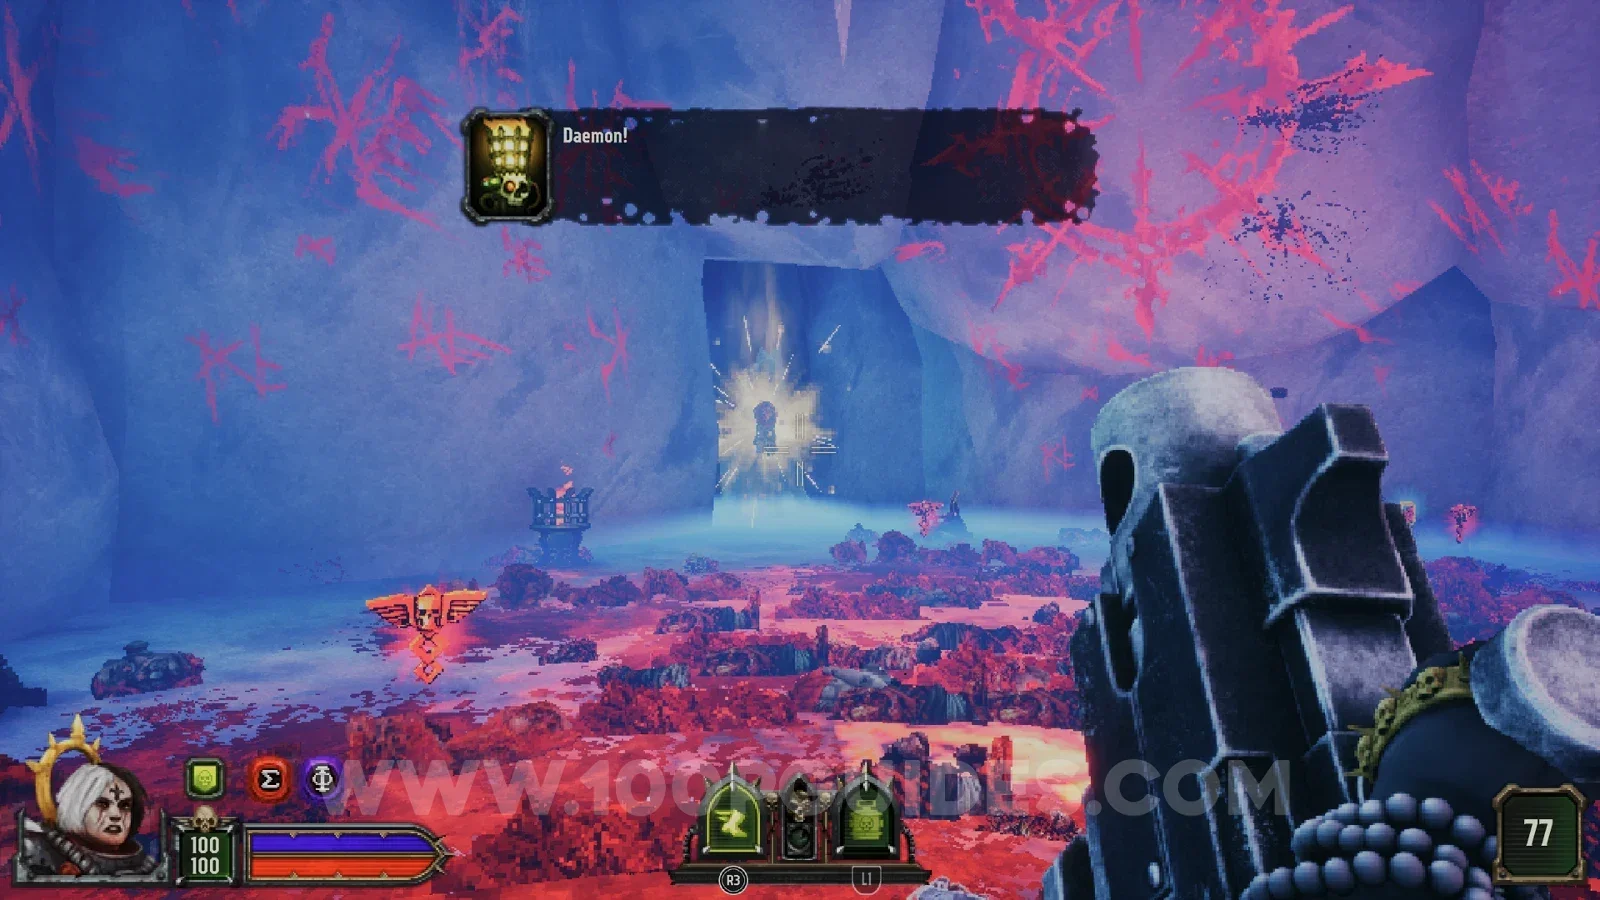
Secret 7/8
In the upper area above the consoles (you can reach it from where the purple key is), look for a path that goes down some stair-like structures. Head down it and, at the bottom of the last "stair", shoot the skull hidden behind the ice on your right. Then turn around to find the secret behind the metal door that has just opened.
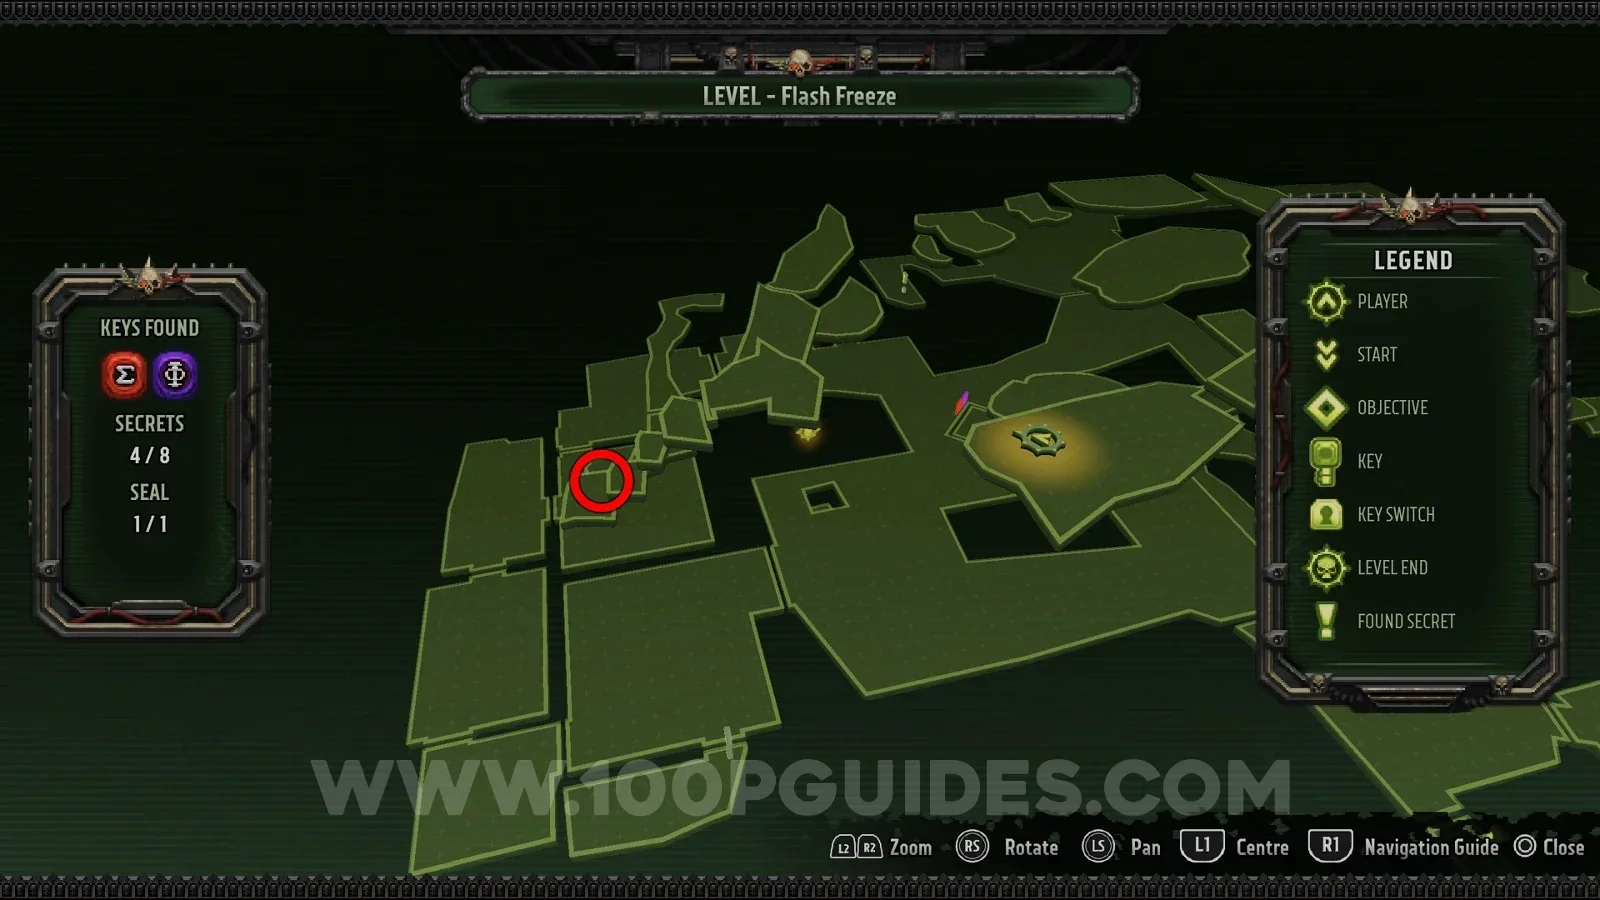
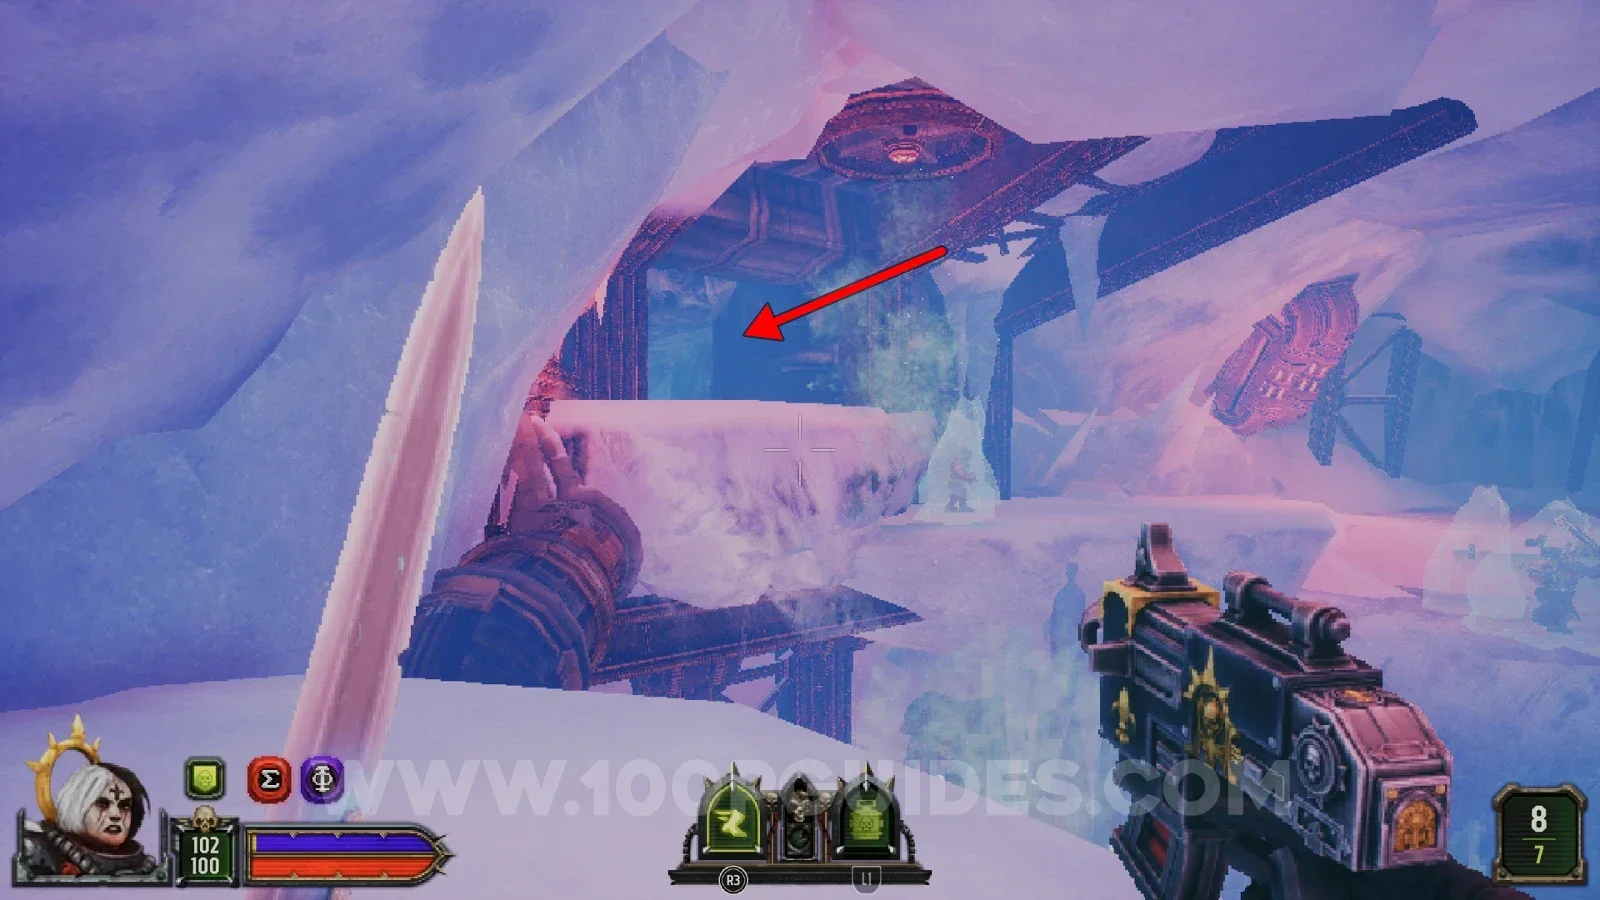
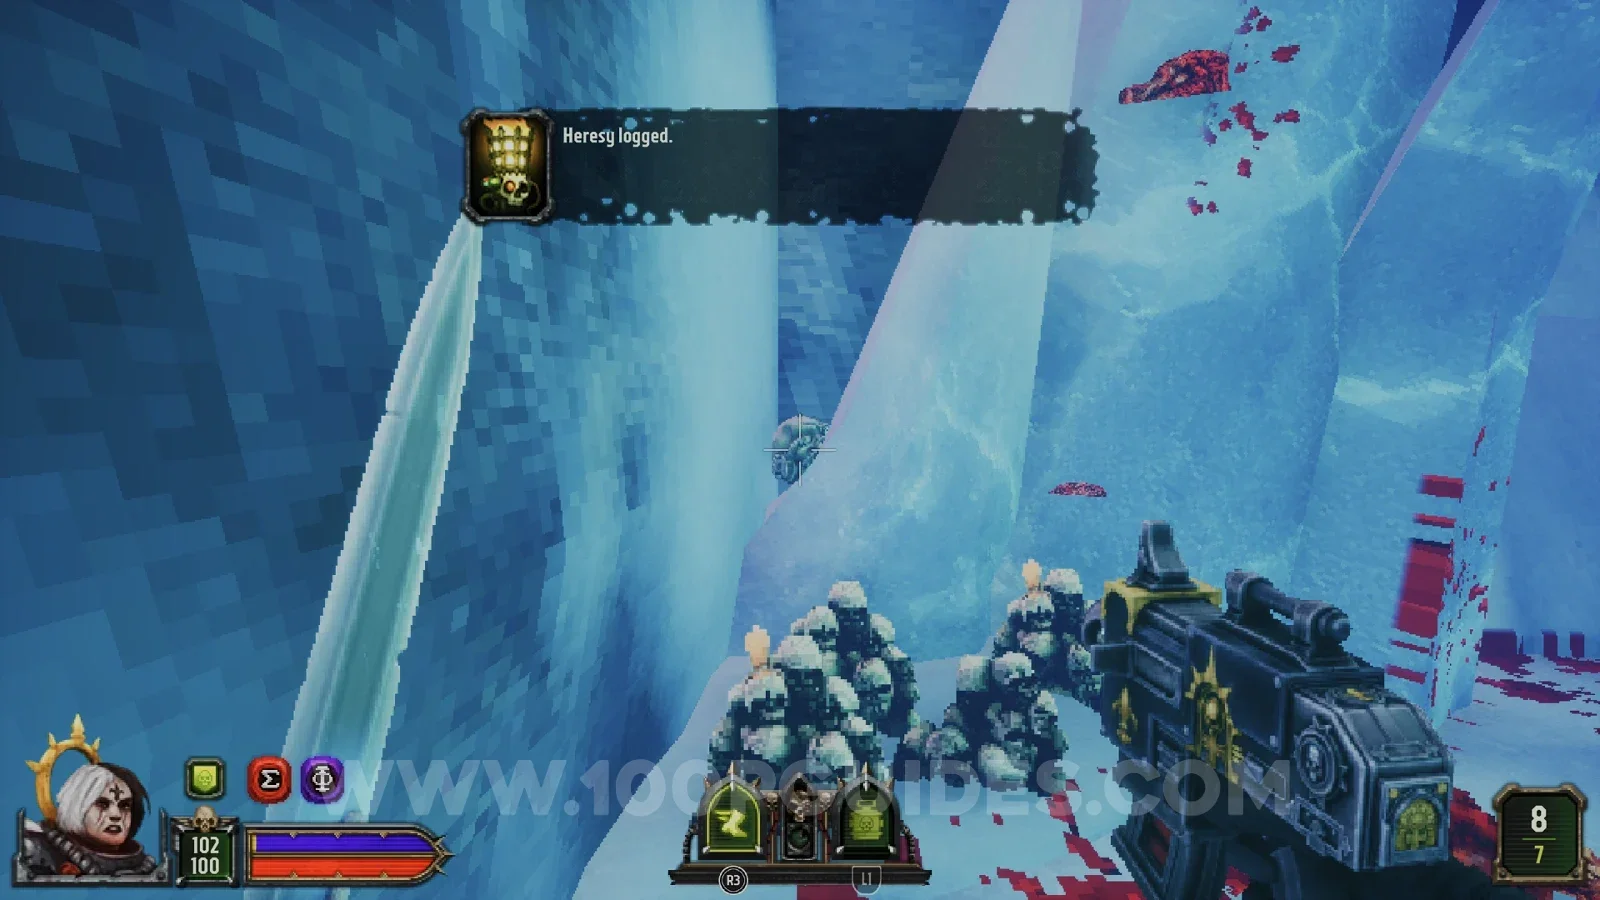
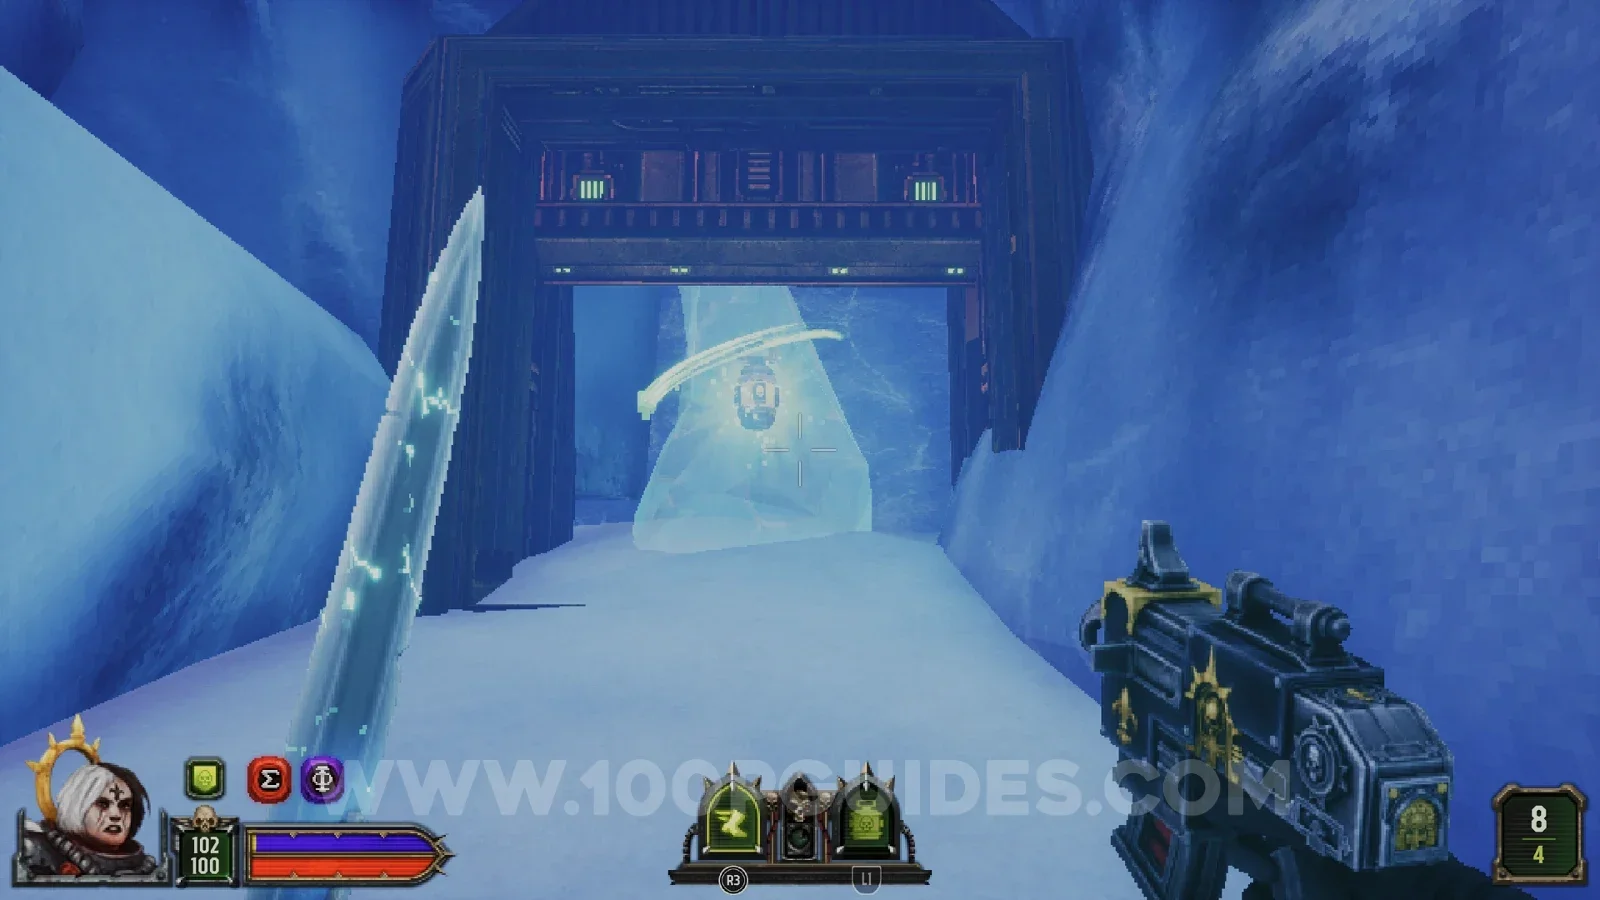
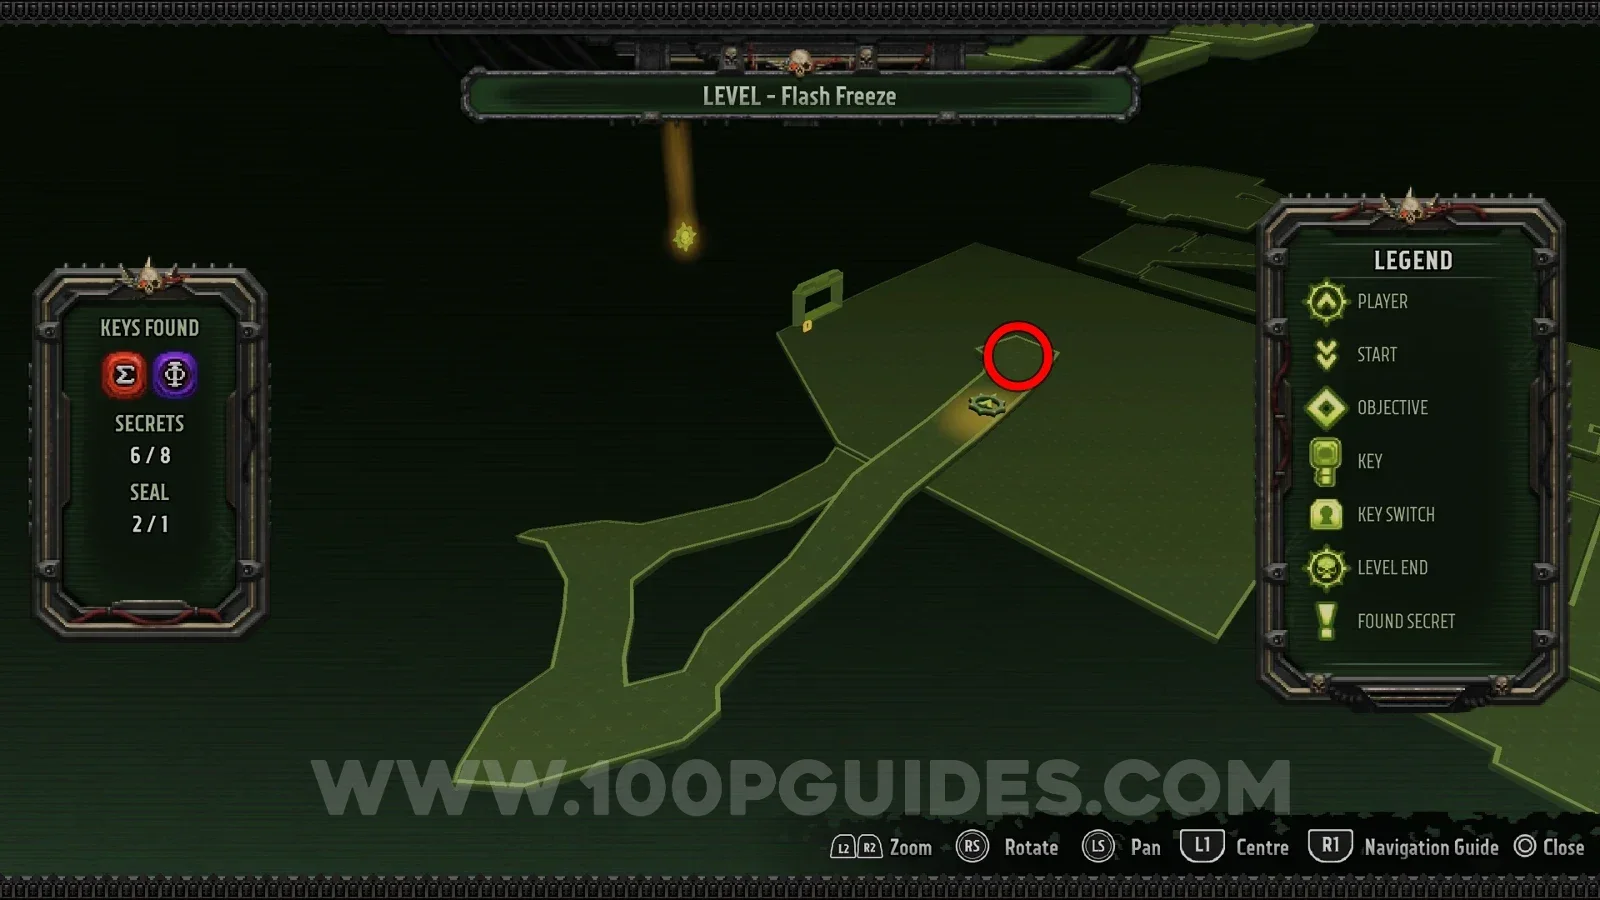
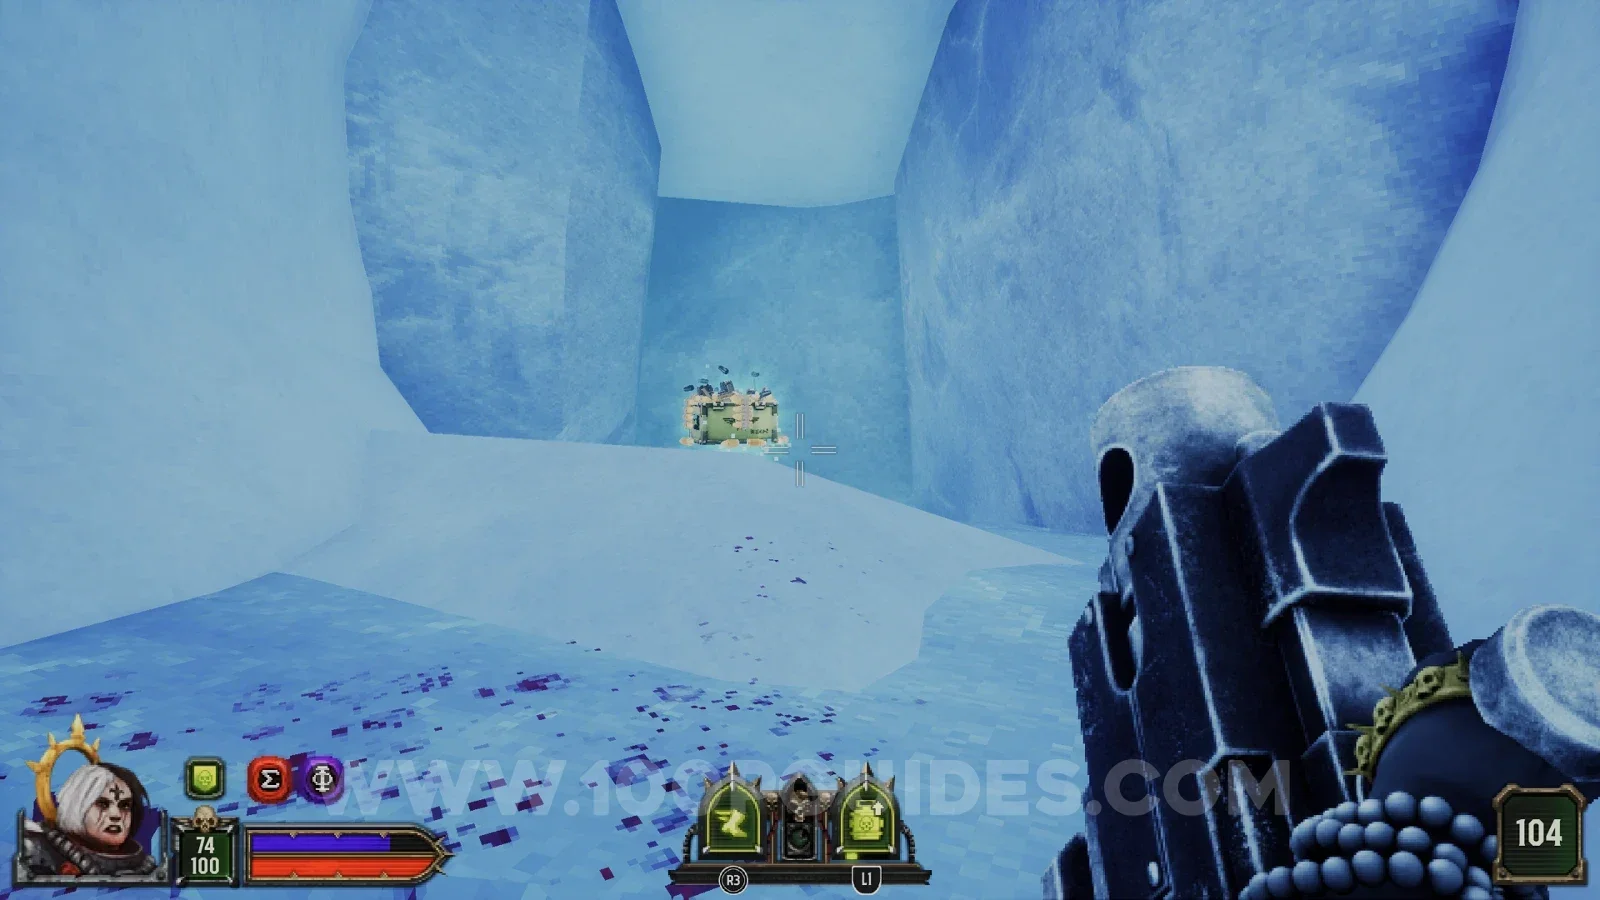
Secret 8/8
After activating the purple and red consoles and riding the lift down, go through the cave to the left of the yellow door to find the secret at the end.
Bitter Bloodshed Path A
Secret 1/3
Very close to the start of the level you will see some fans you have to jump to. Just before you do, turn around and look for some pipes above you in the dark that you can jump onto. Follow them to find the secret.
Secret 2/3
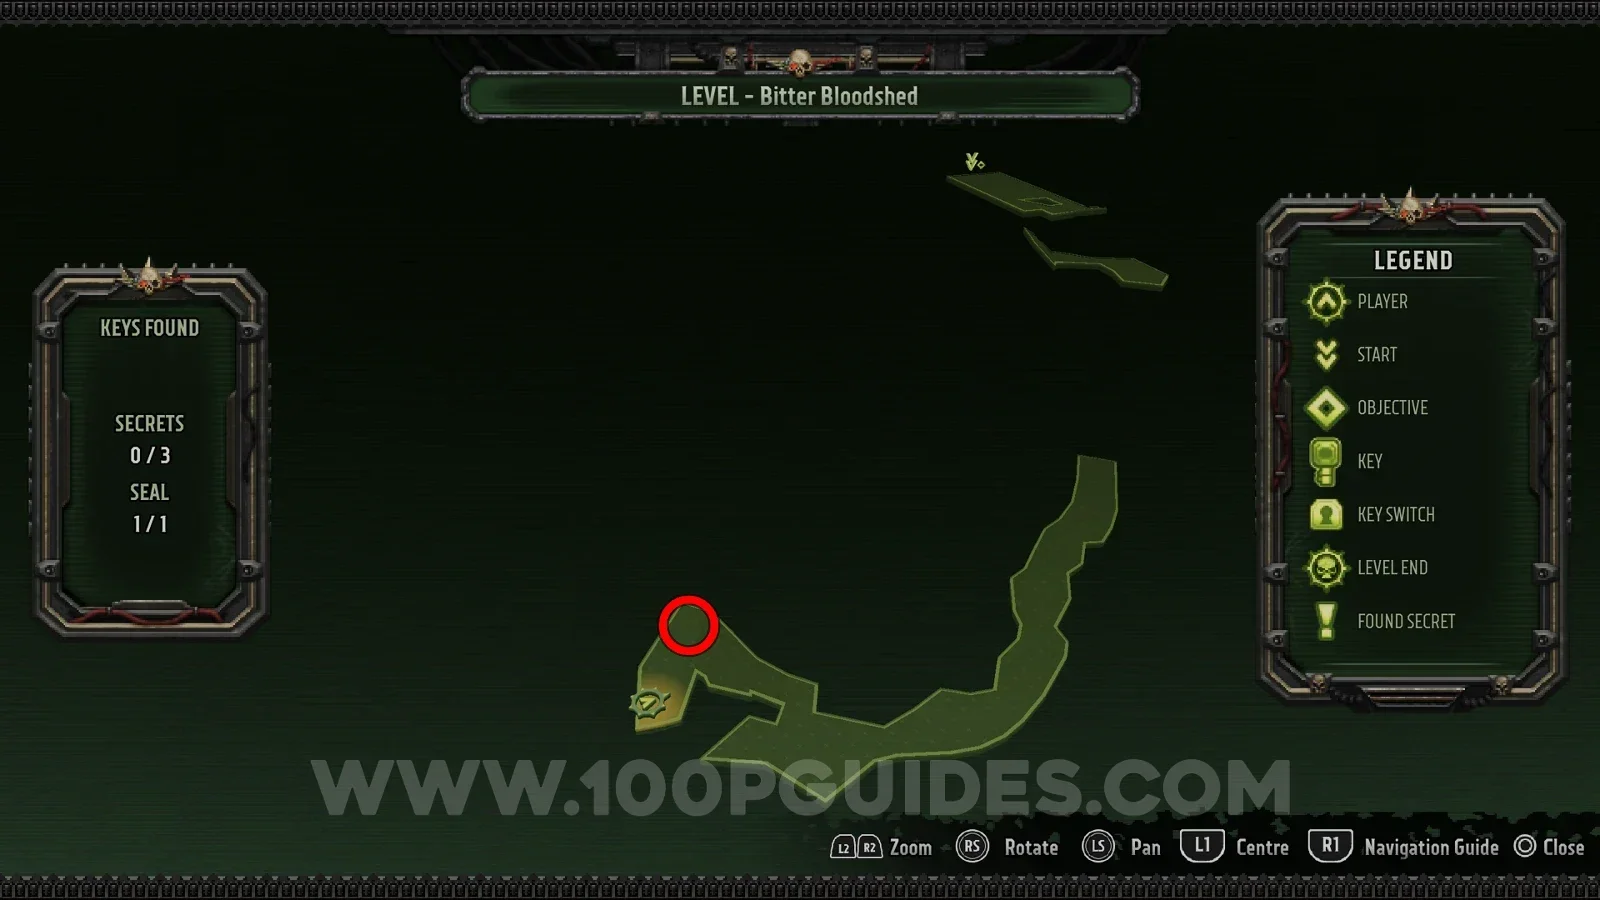
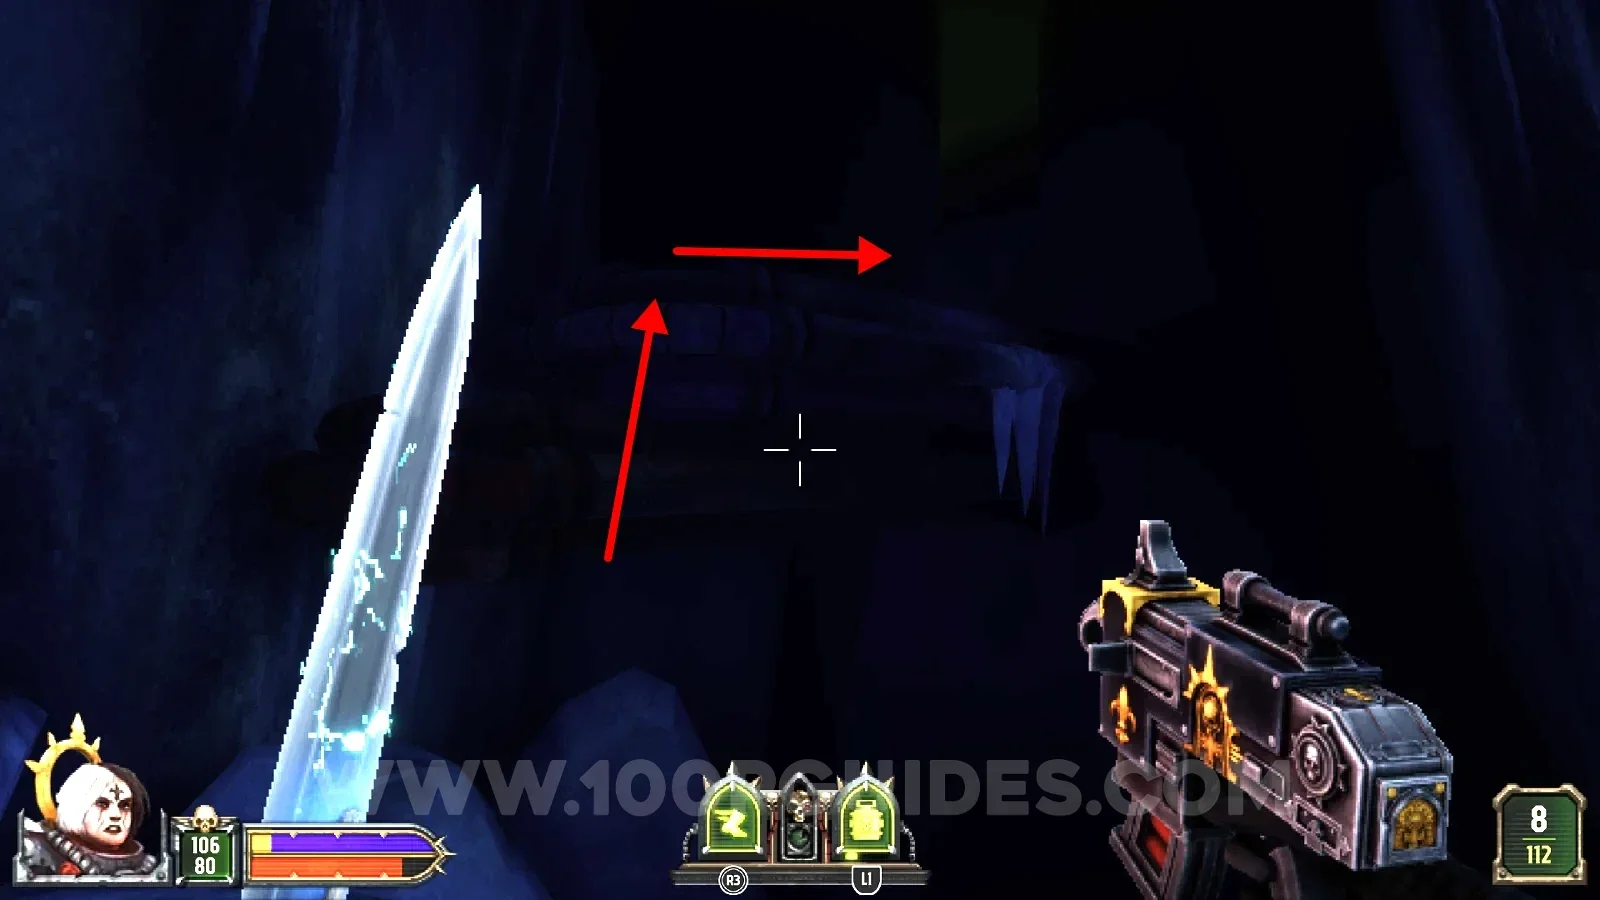
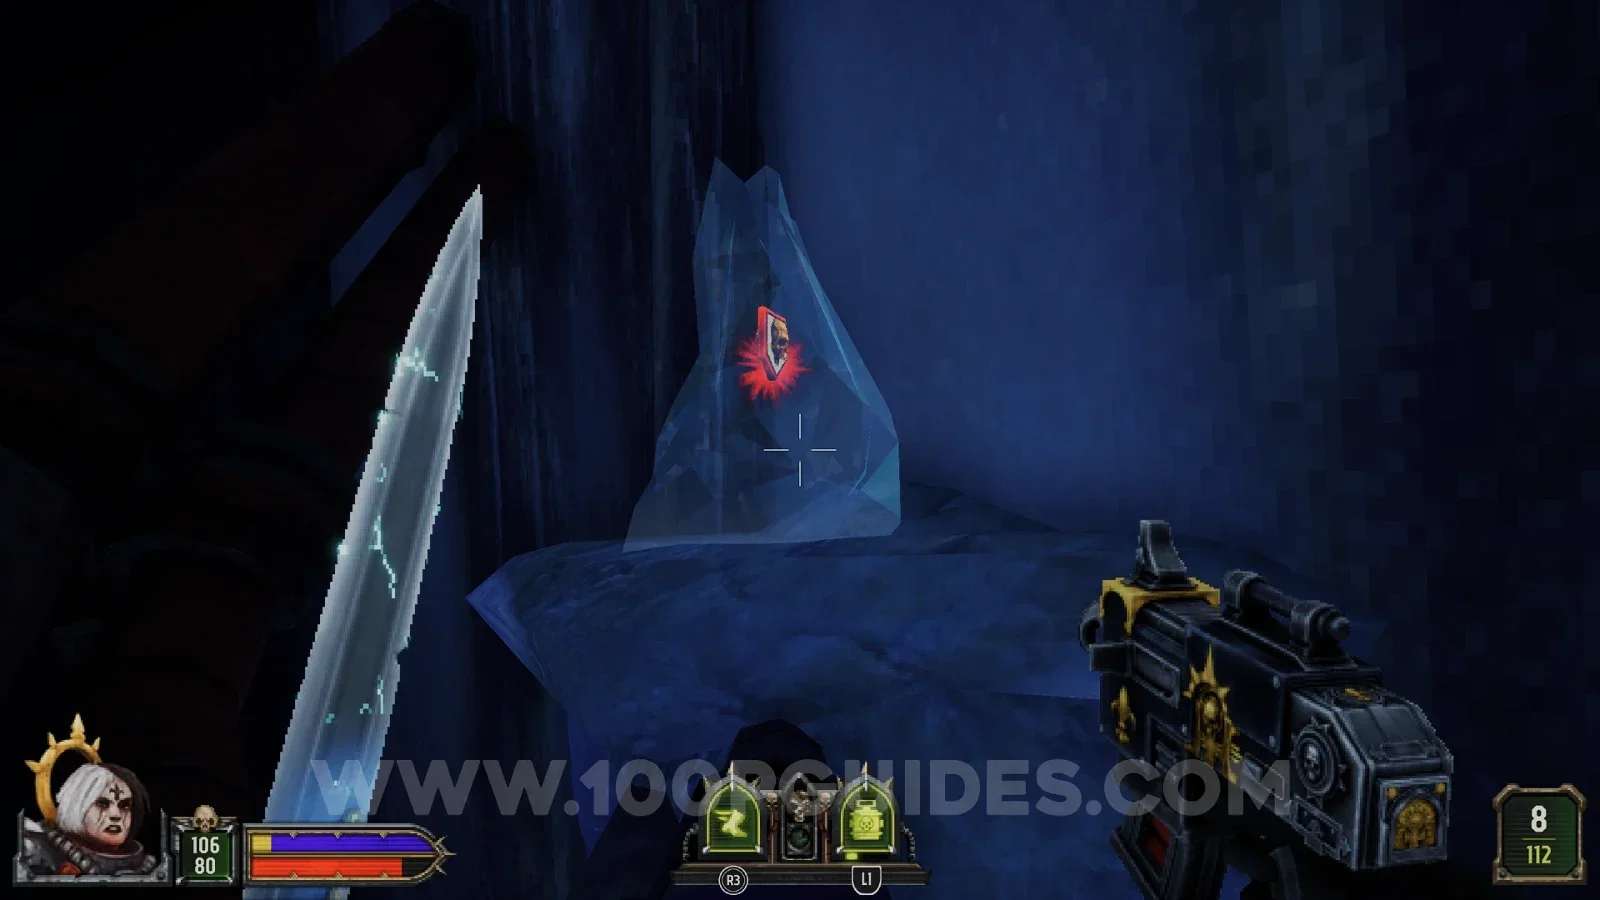
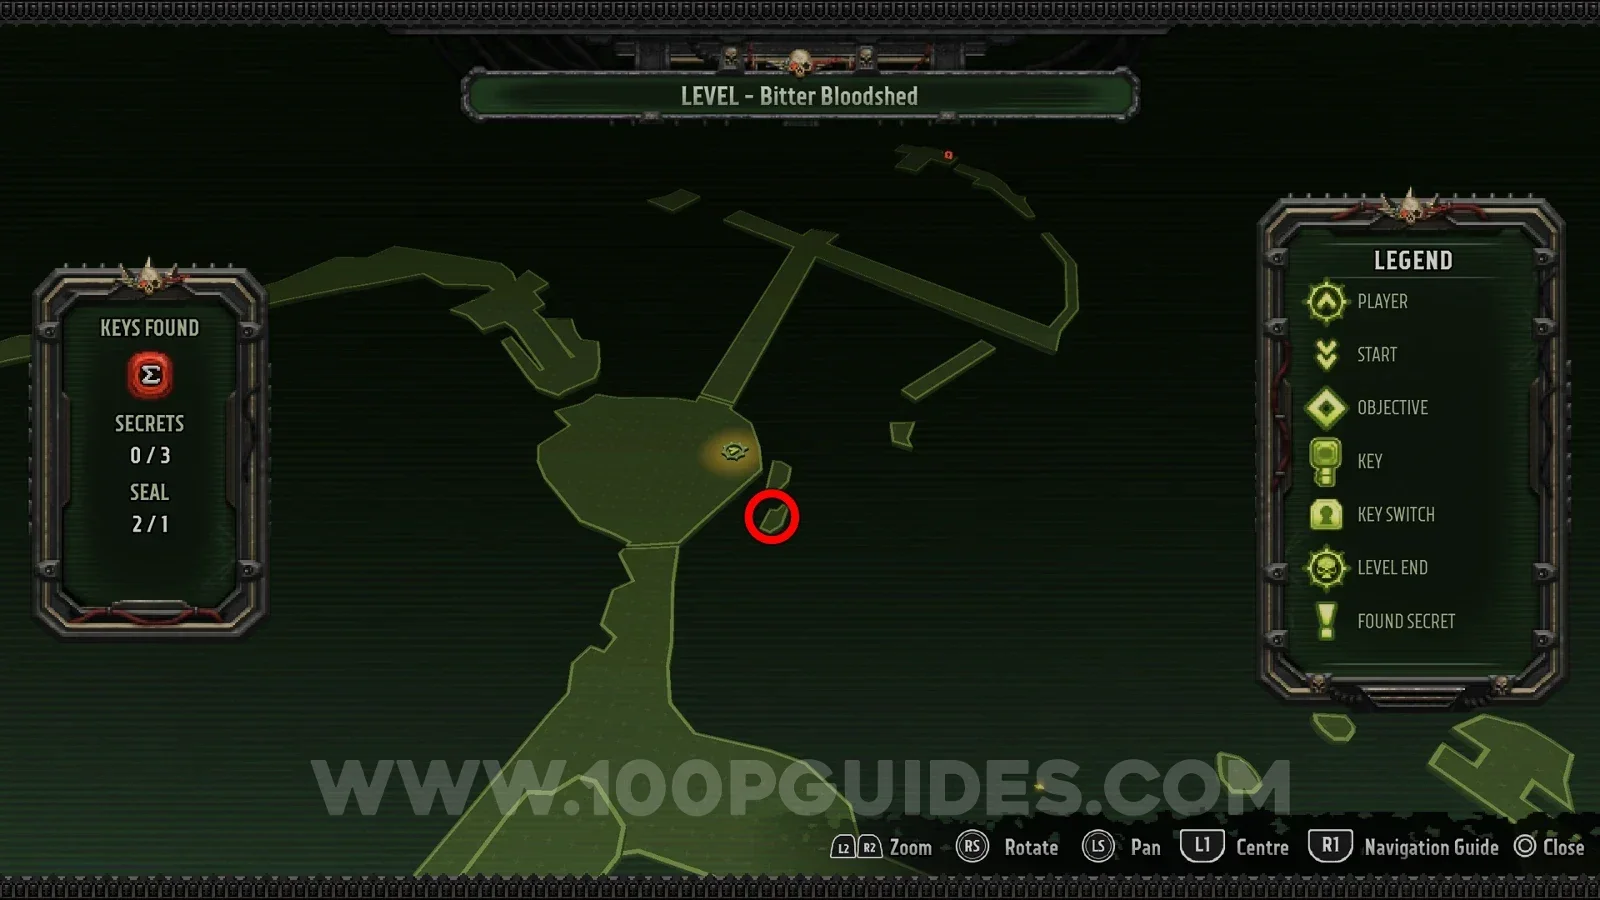
On the side of the central platform in the dark cave where you get the red key and open the red door.
Seal 1/1
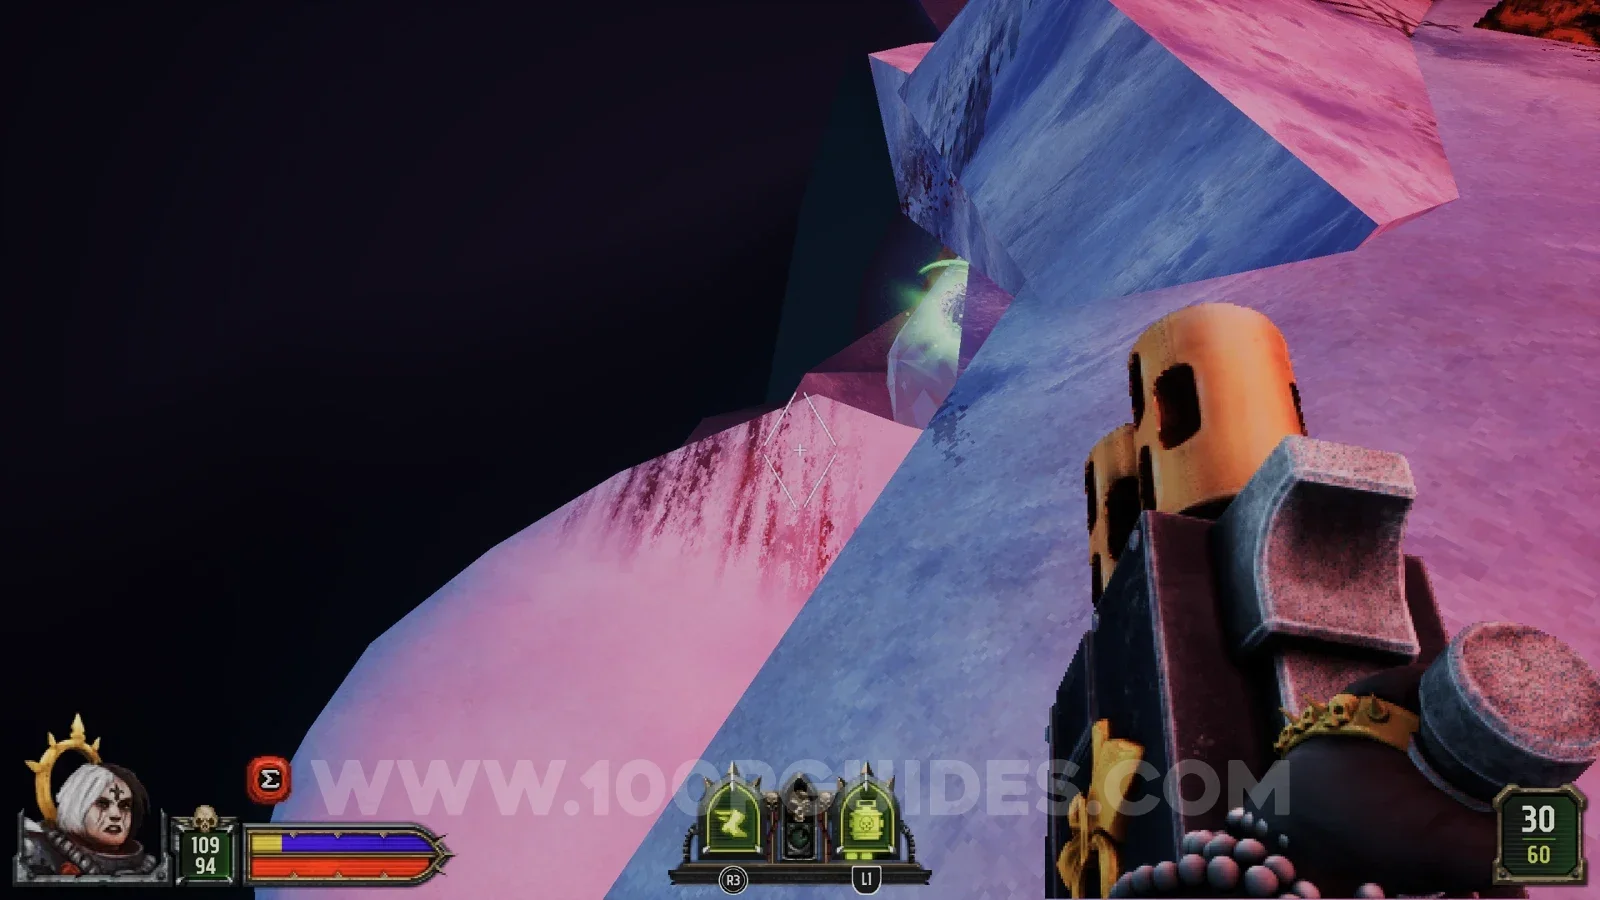
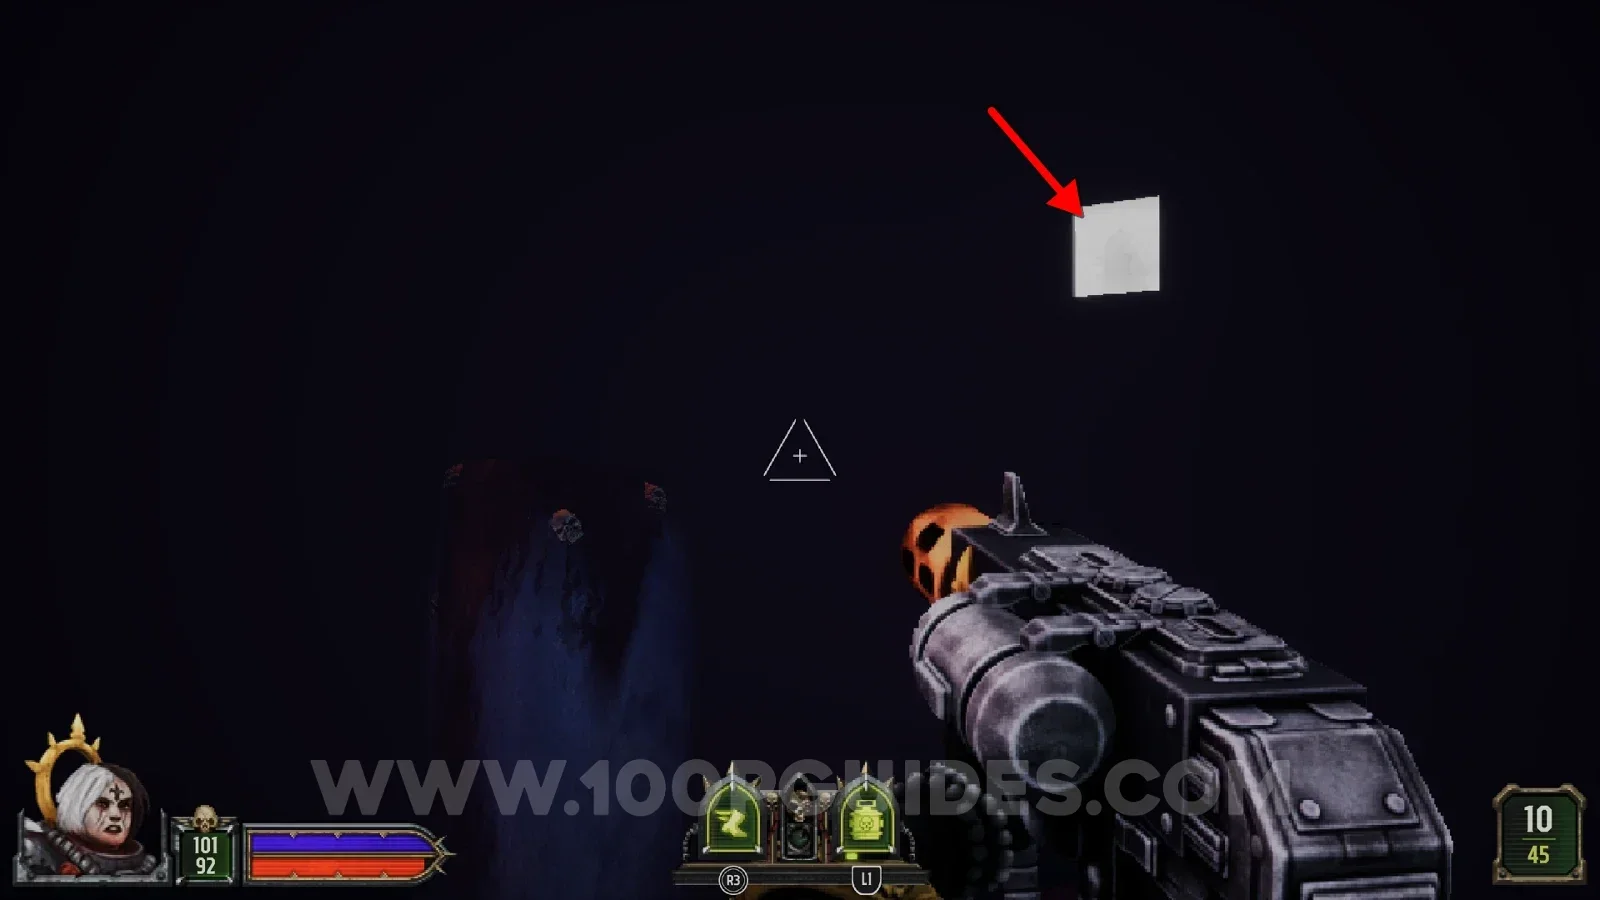
On your way to the red key in the dark cave, look for a small room on the left. Head inside and shoot the skull in the corner. Then leave the room and use the columns directly in front of you to reach the white door on the other side of the chasm, where the seal is.
Secret 3/3
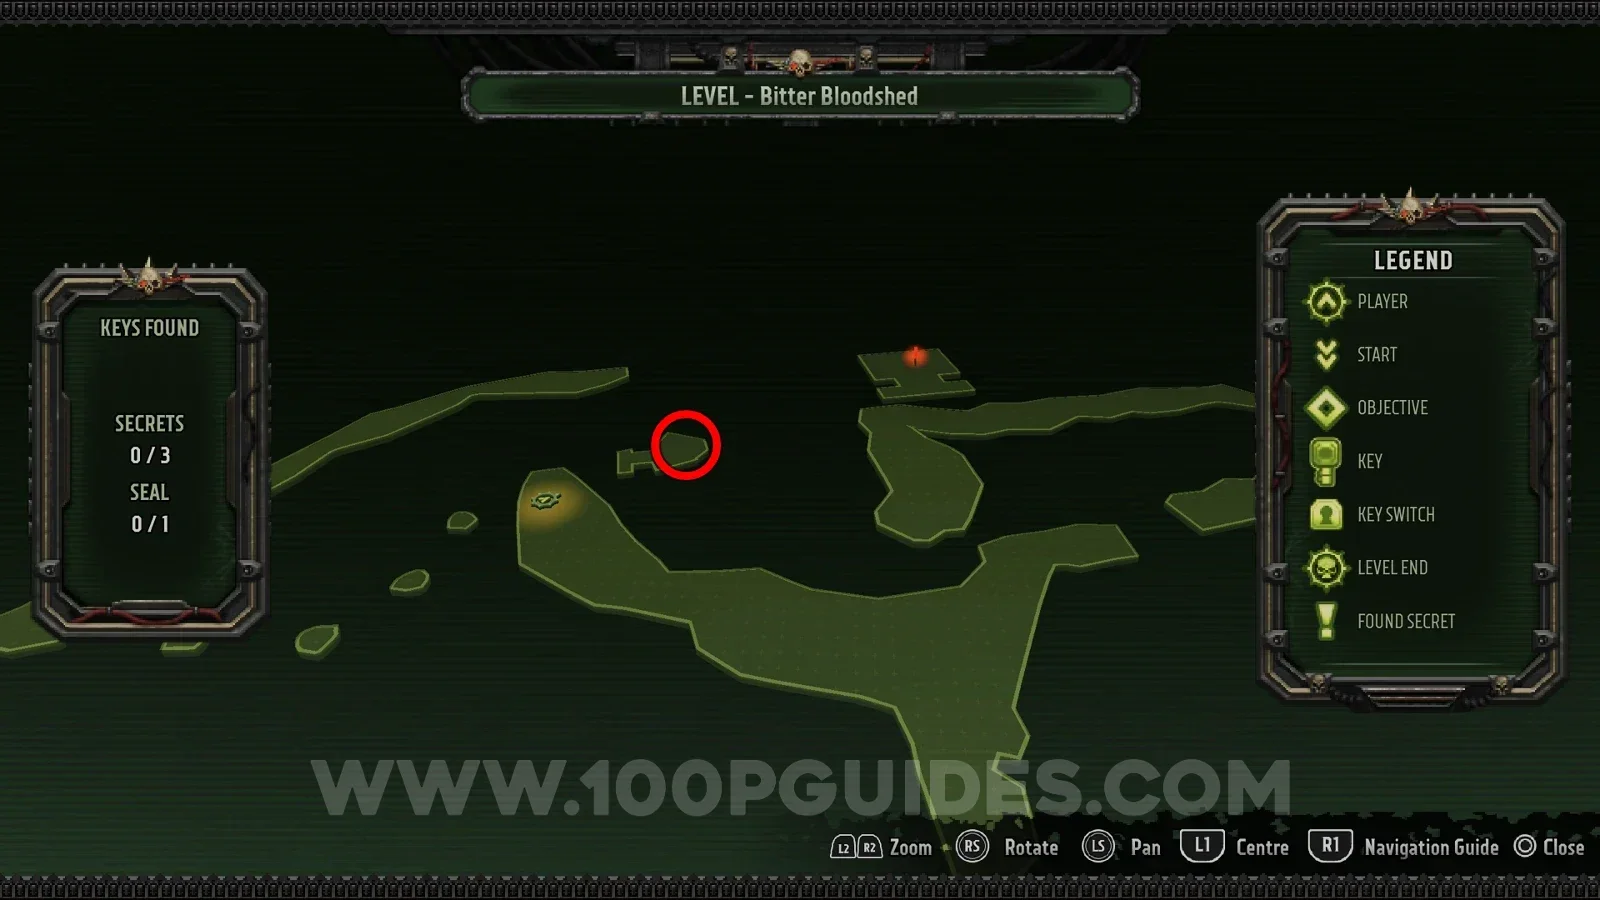
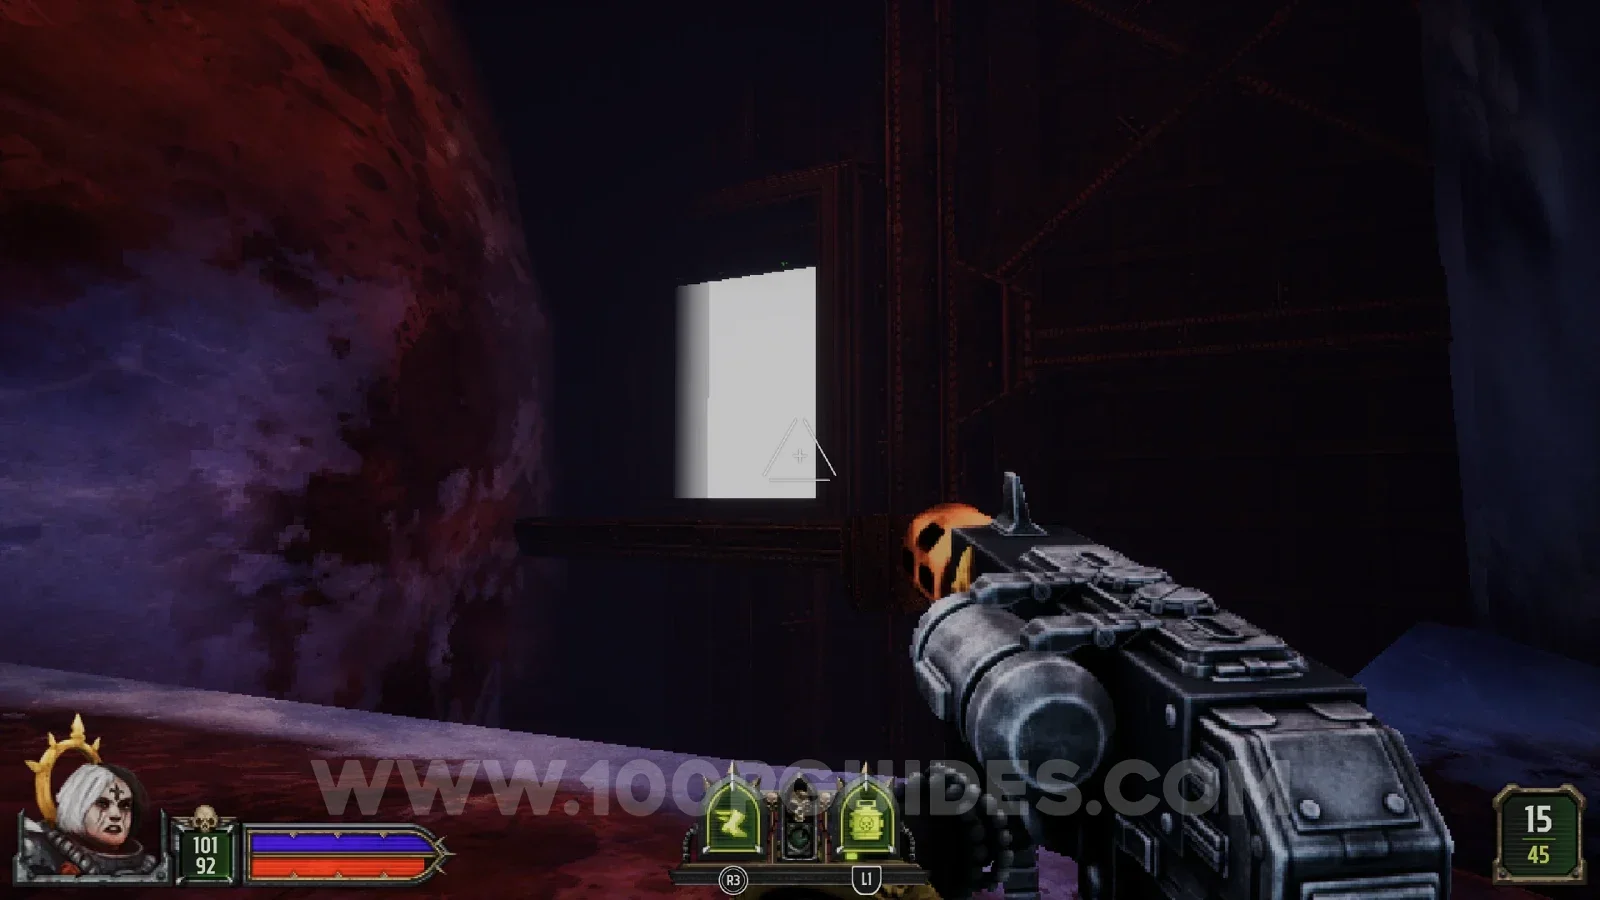
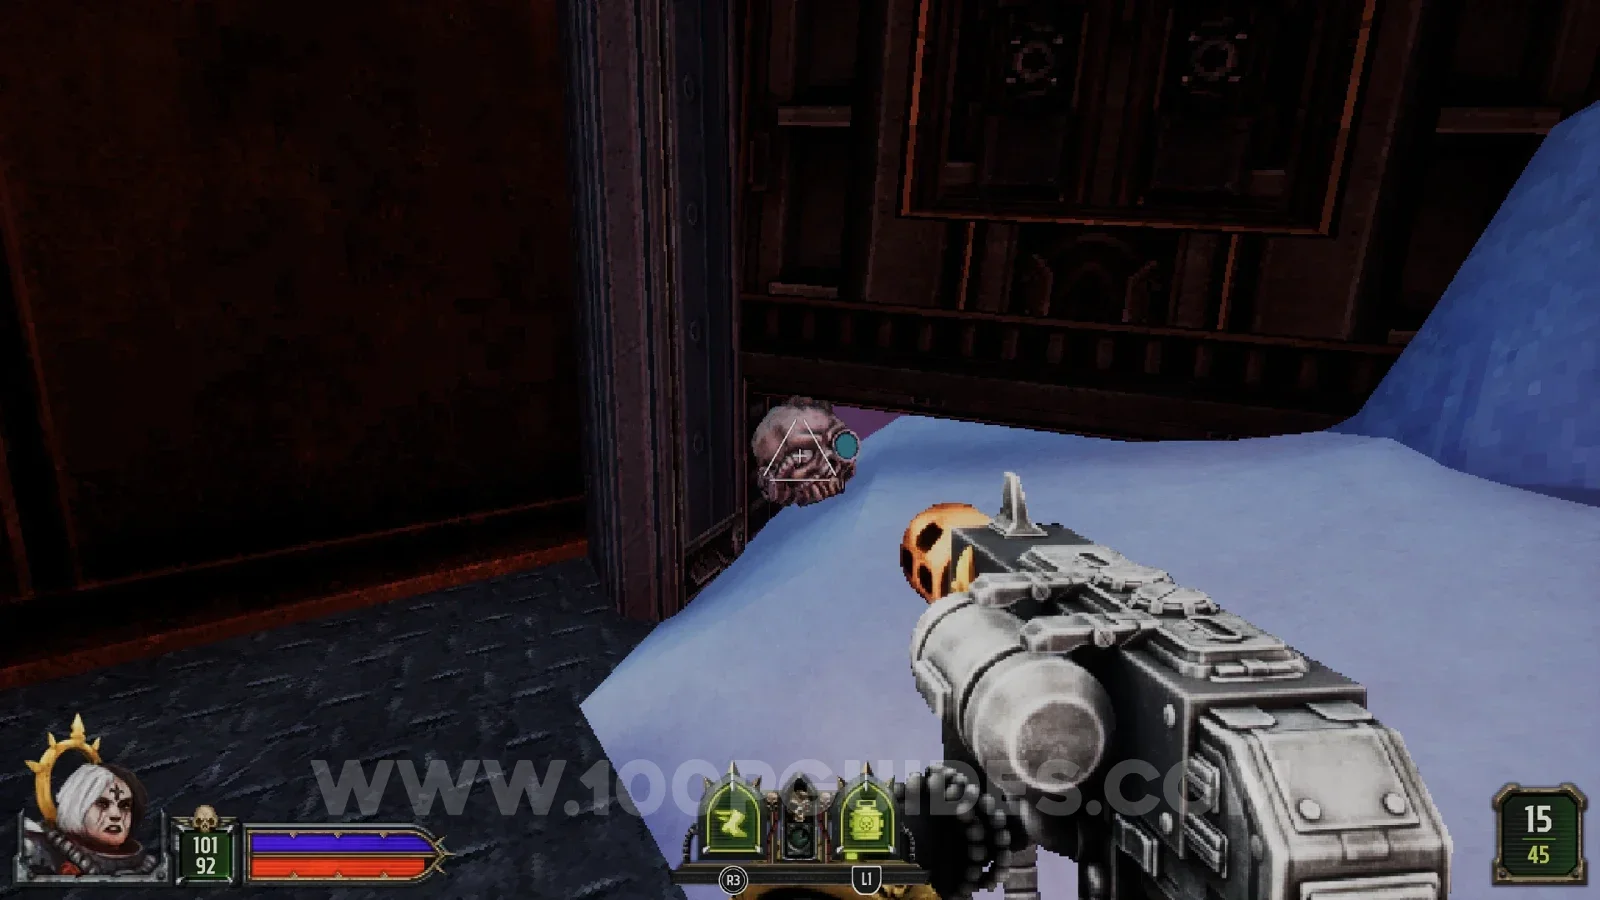
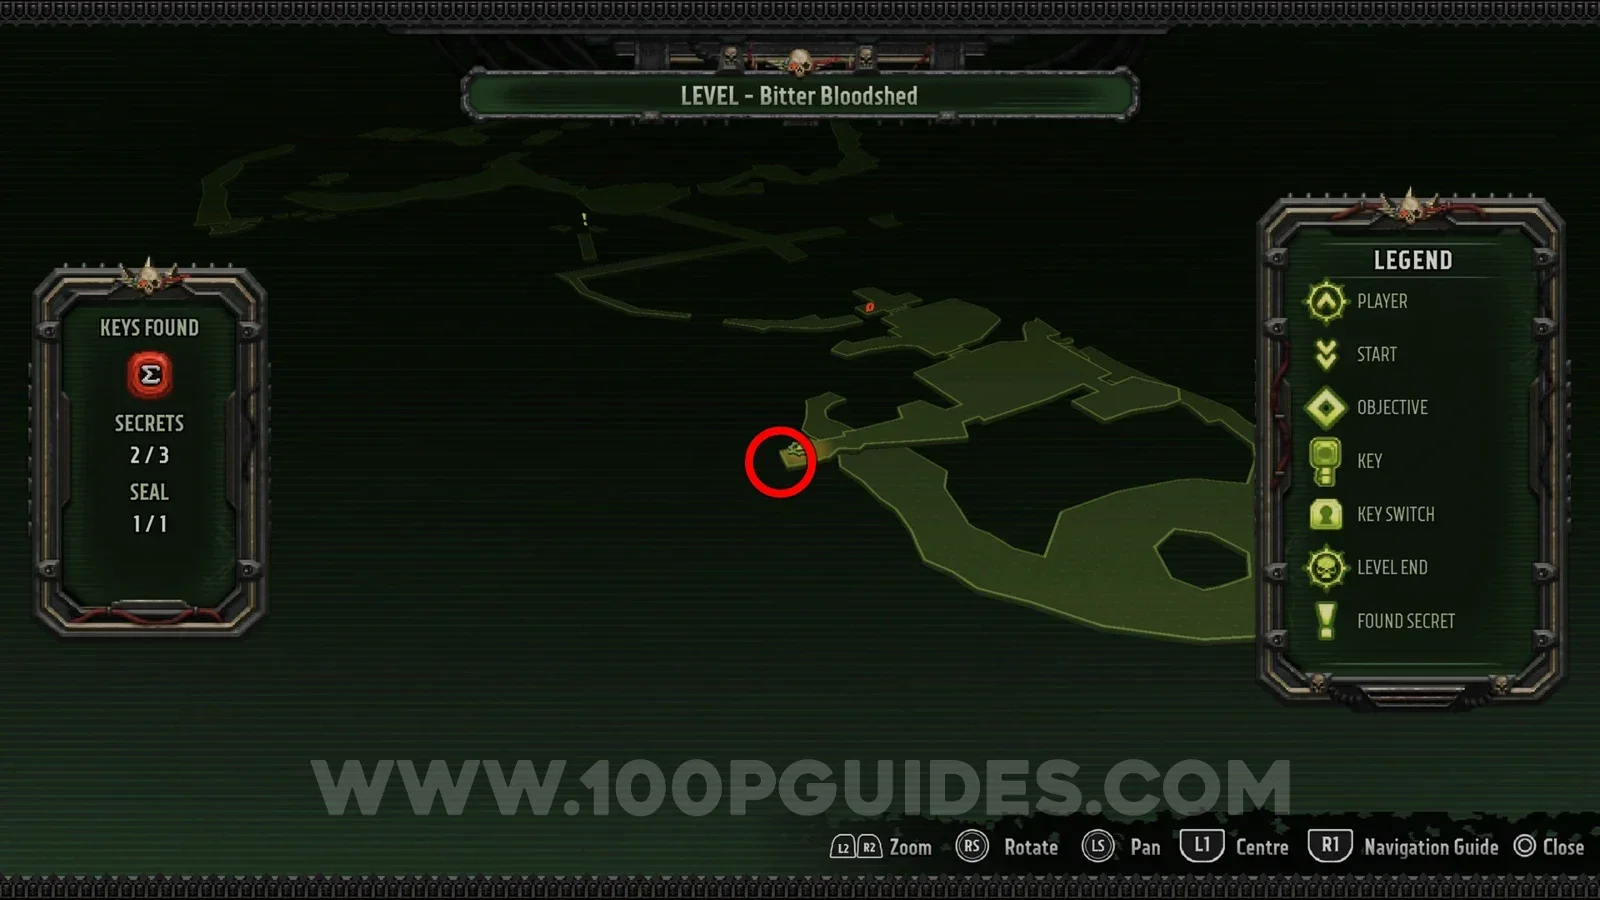
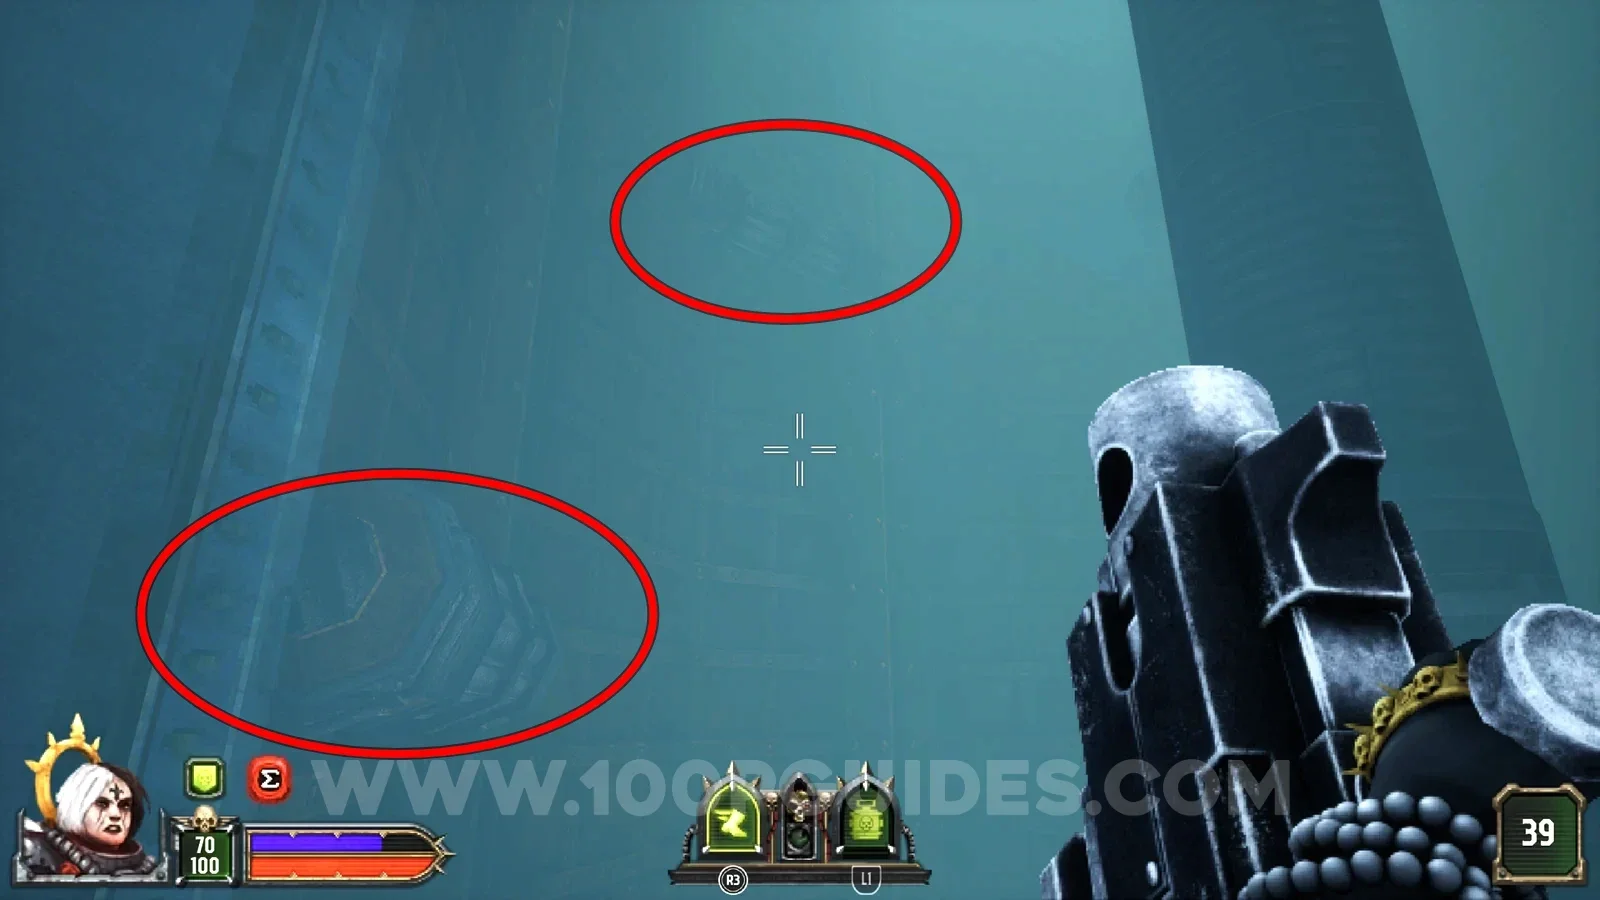
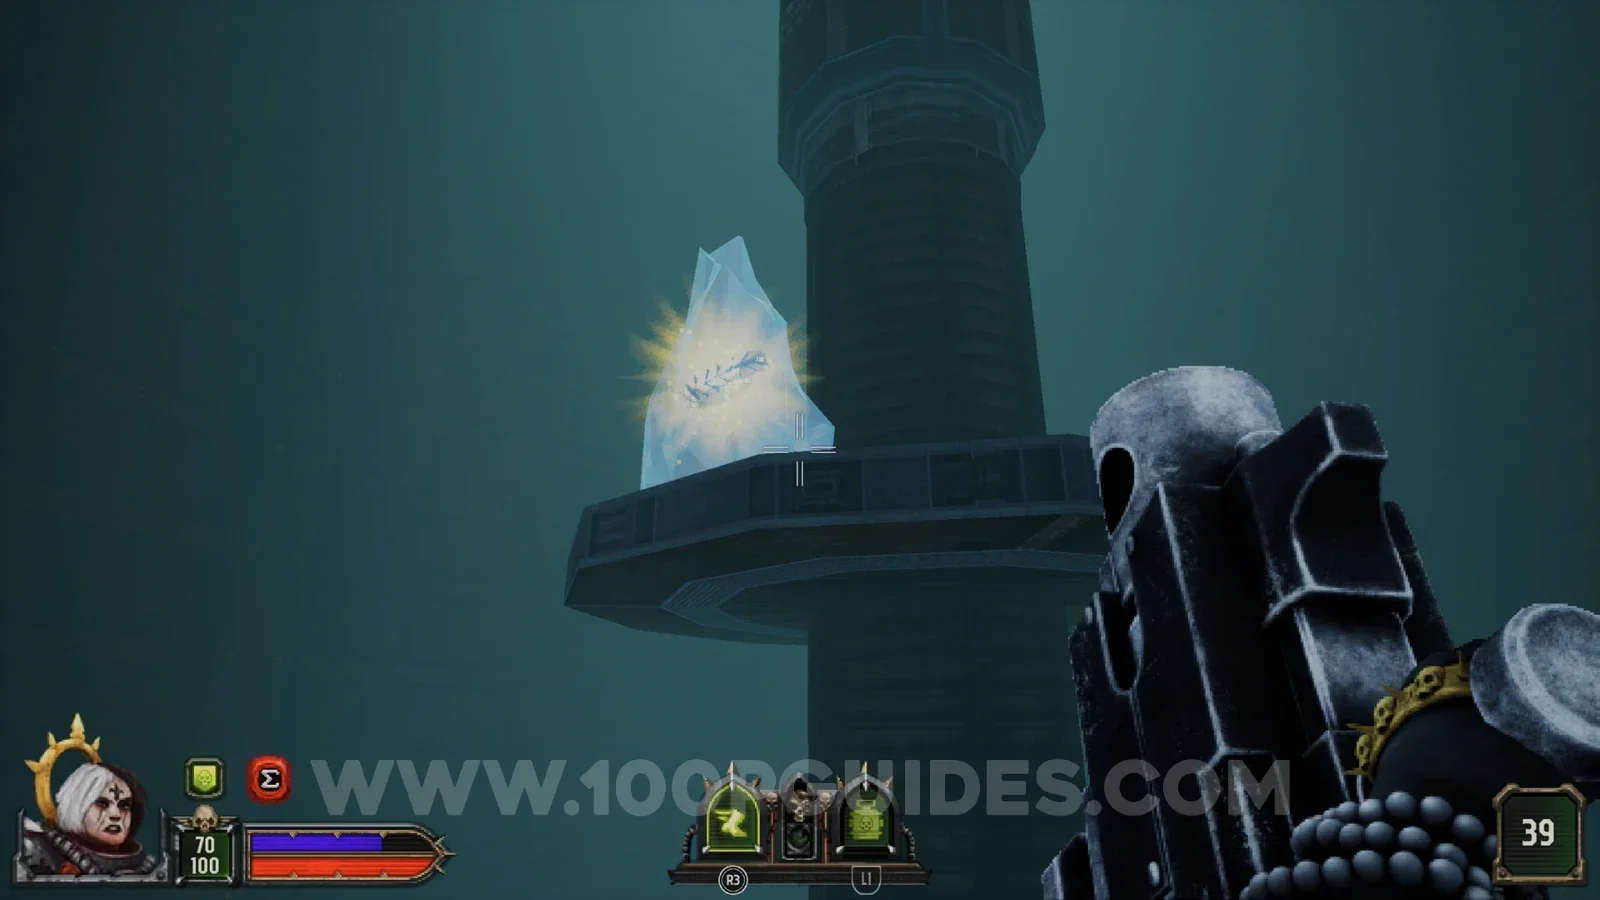
Soon after going through the red door you reach a frozen shaft that you have to fall down. Before you do, use the small pipes sticking out of the sides to climb around to the top, where you will find the secret.
Inundated By Chaos Path B
Secret 1/4
Once you get outside, take the first path on the left and shoot the skull on the back of the structure. Then shoot down the hanging container to get to the secret.
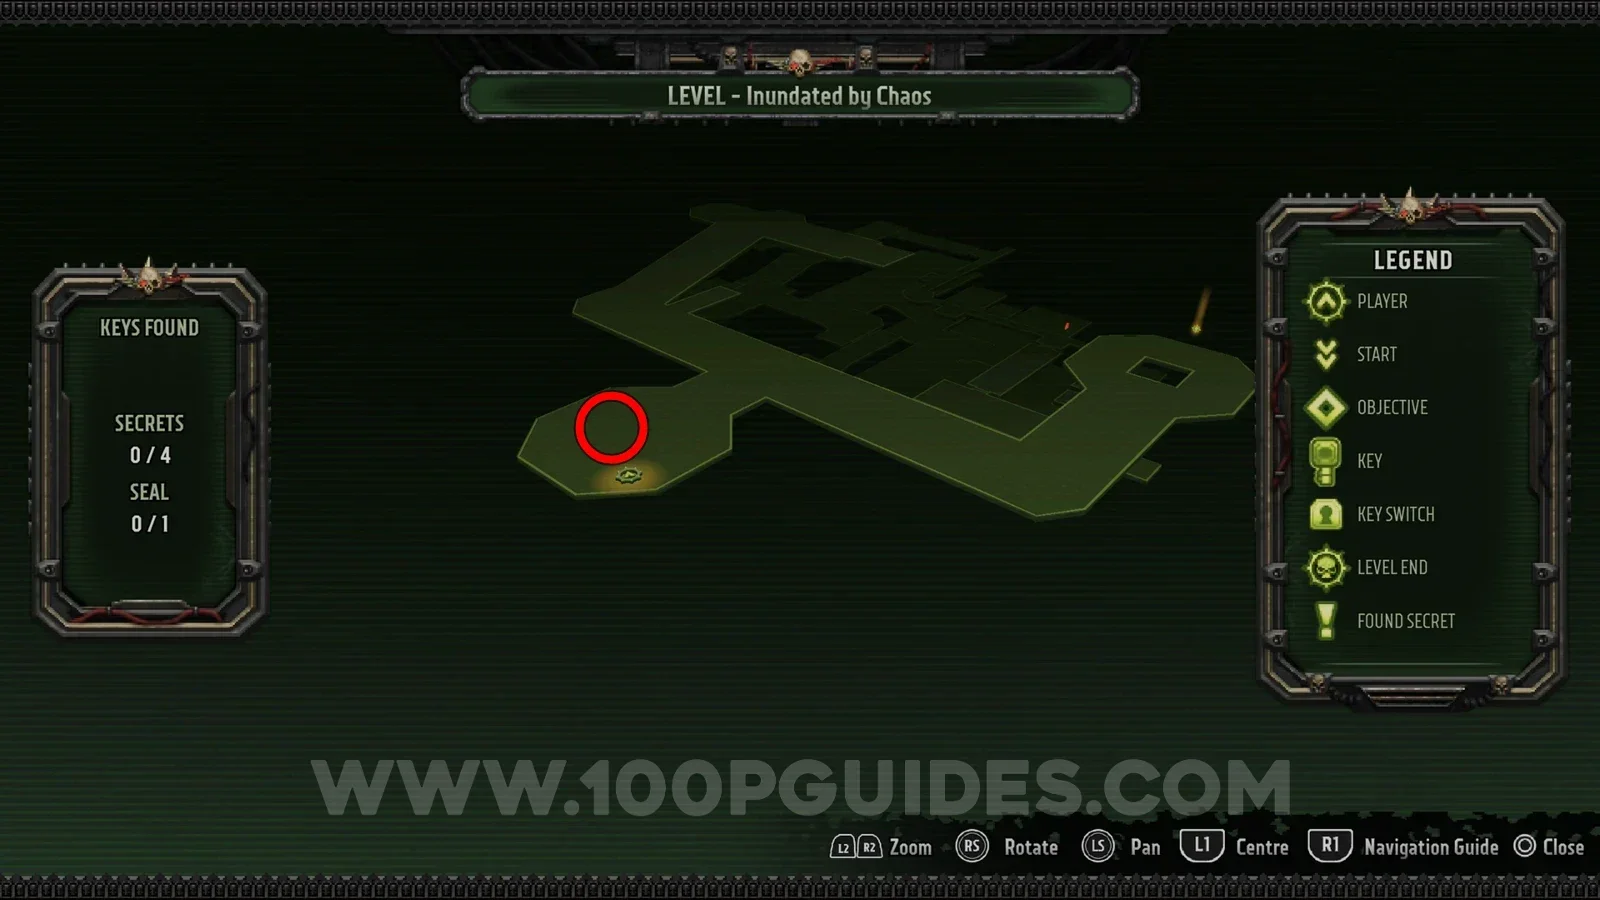
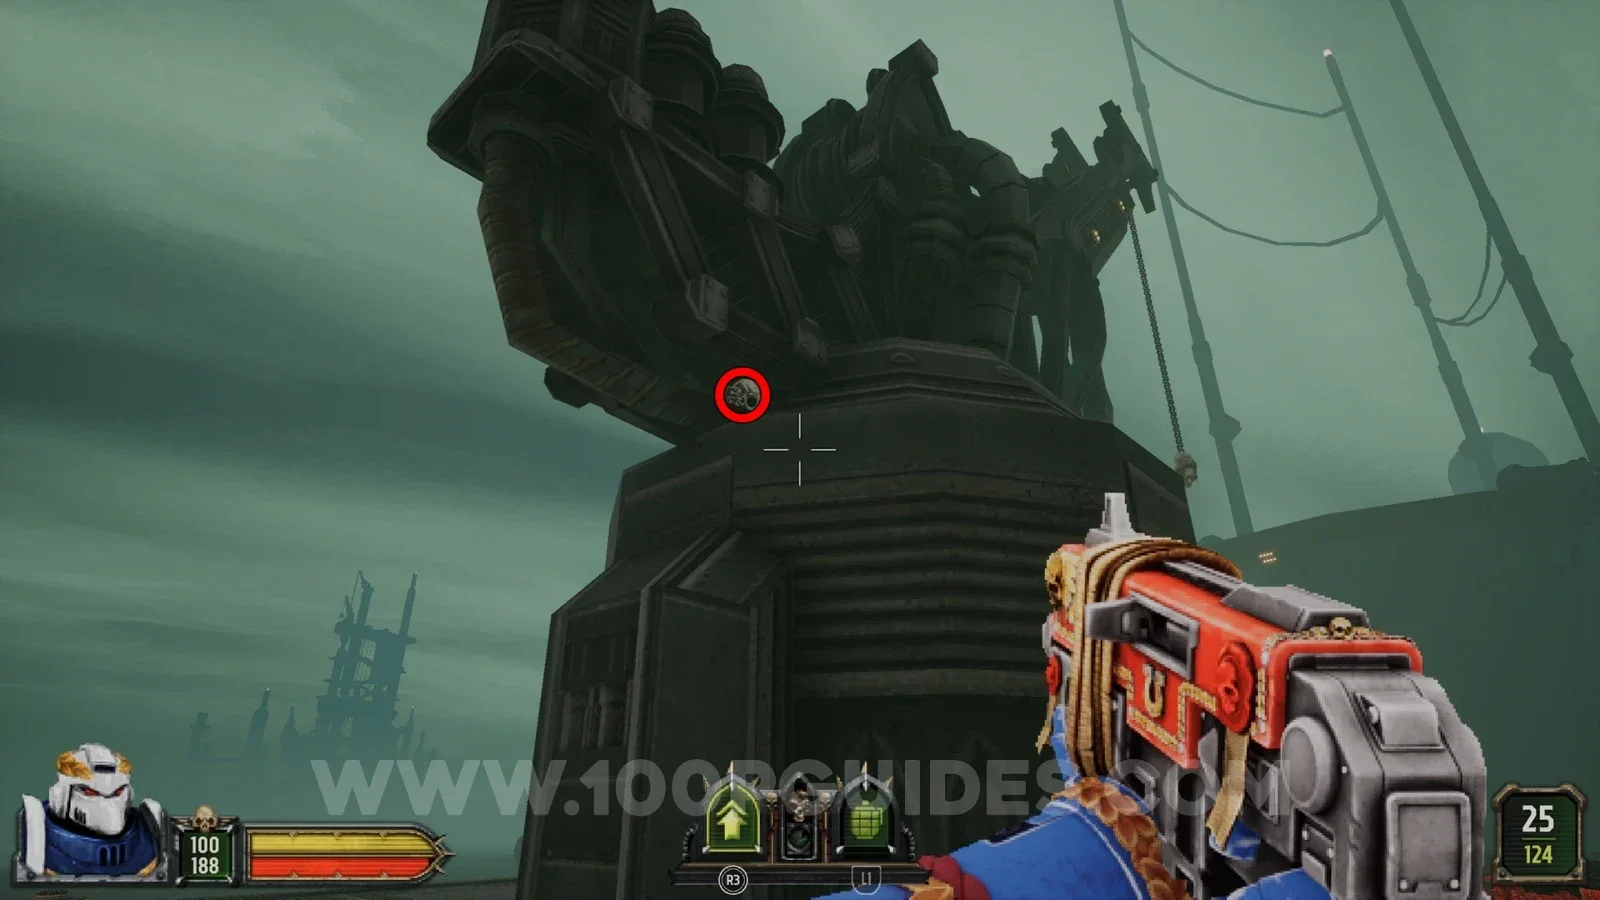
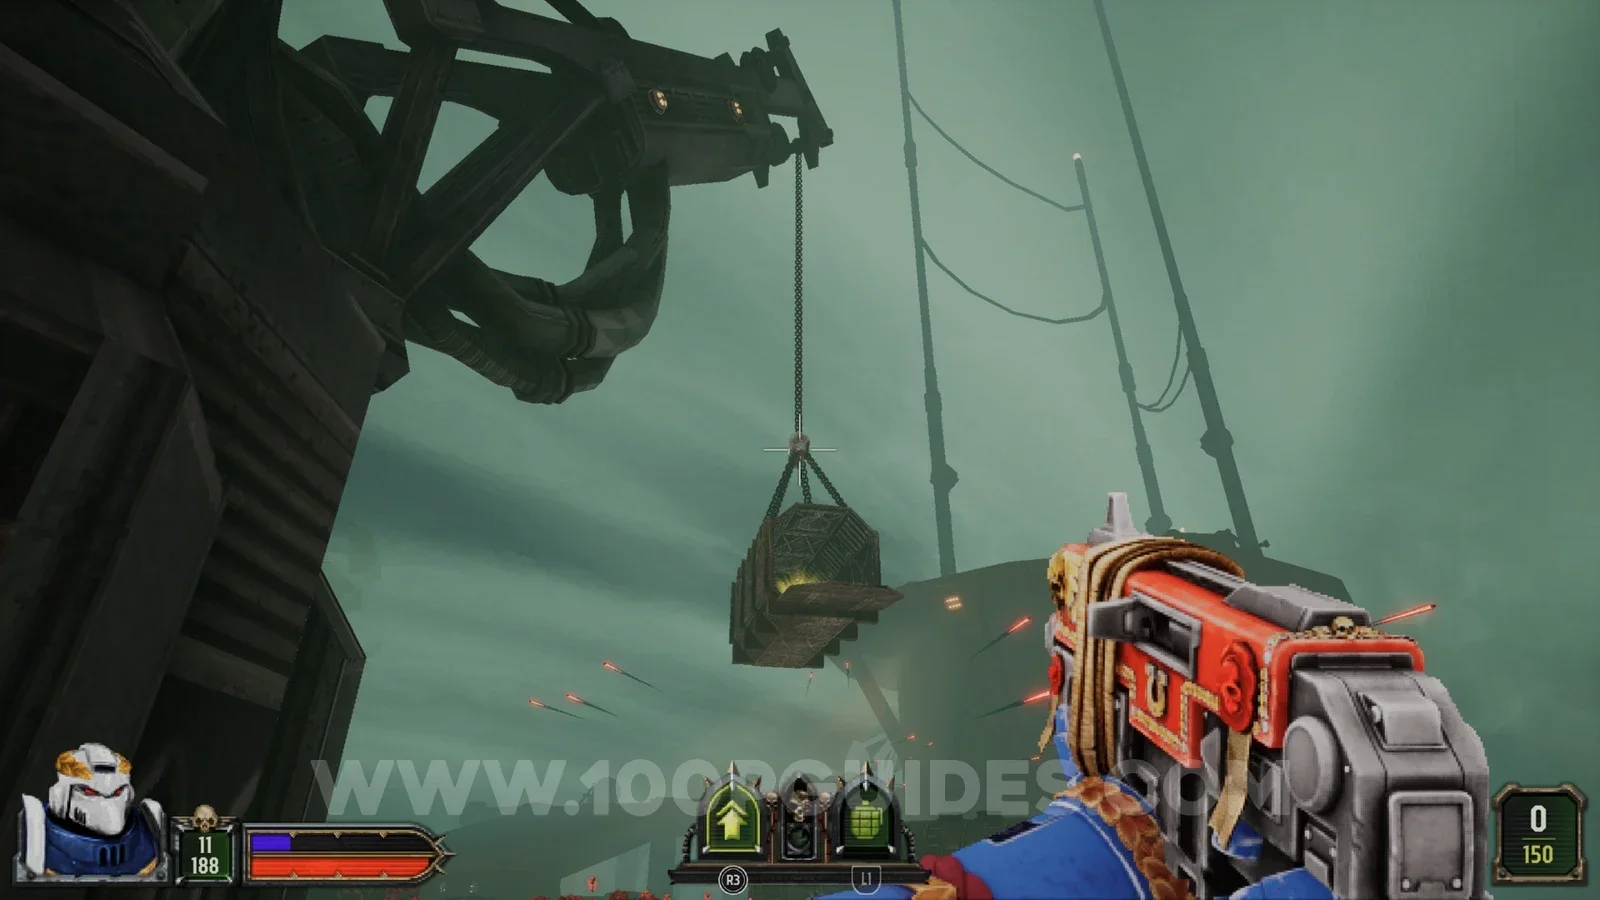
Secret 2/4
Drop off the side right where the ramps that take you up to the red key meet, at the top of the outside area.
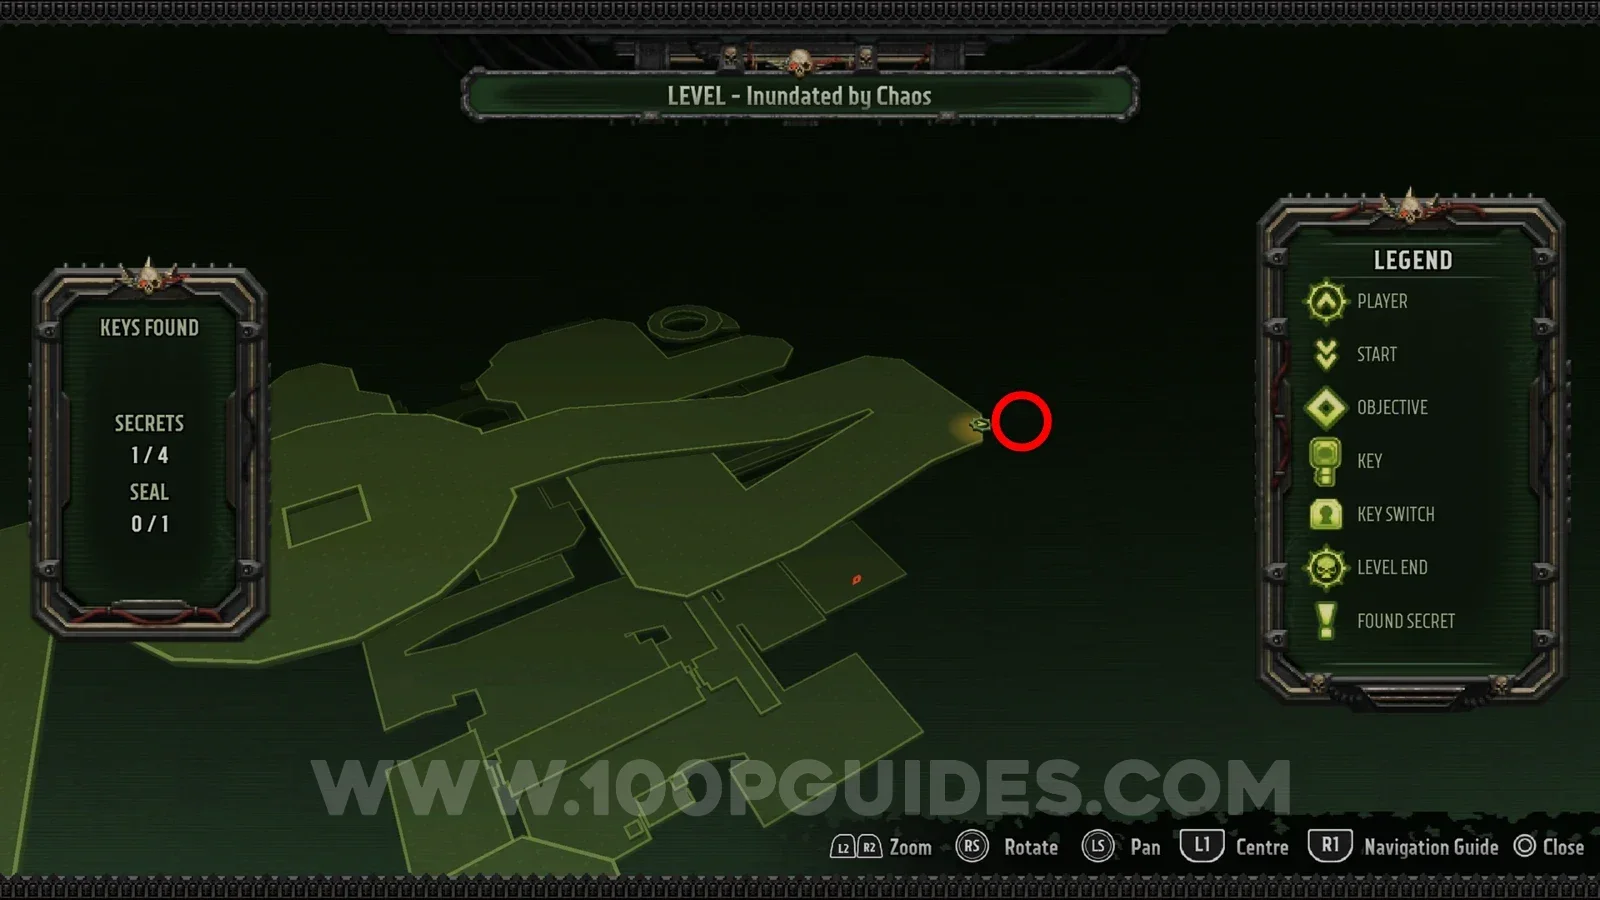
Secret 3/4
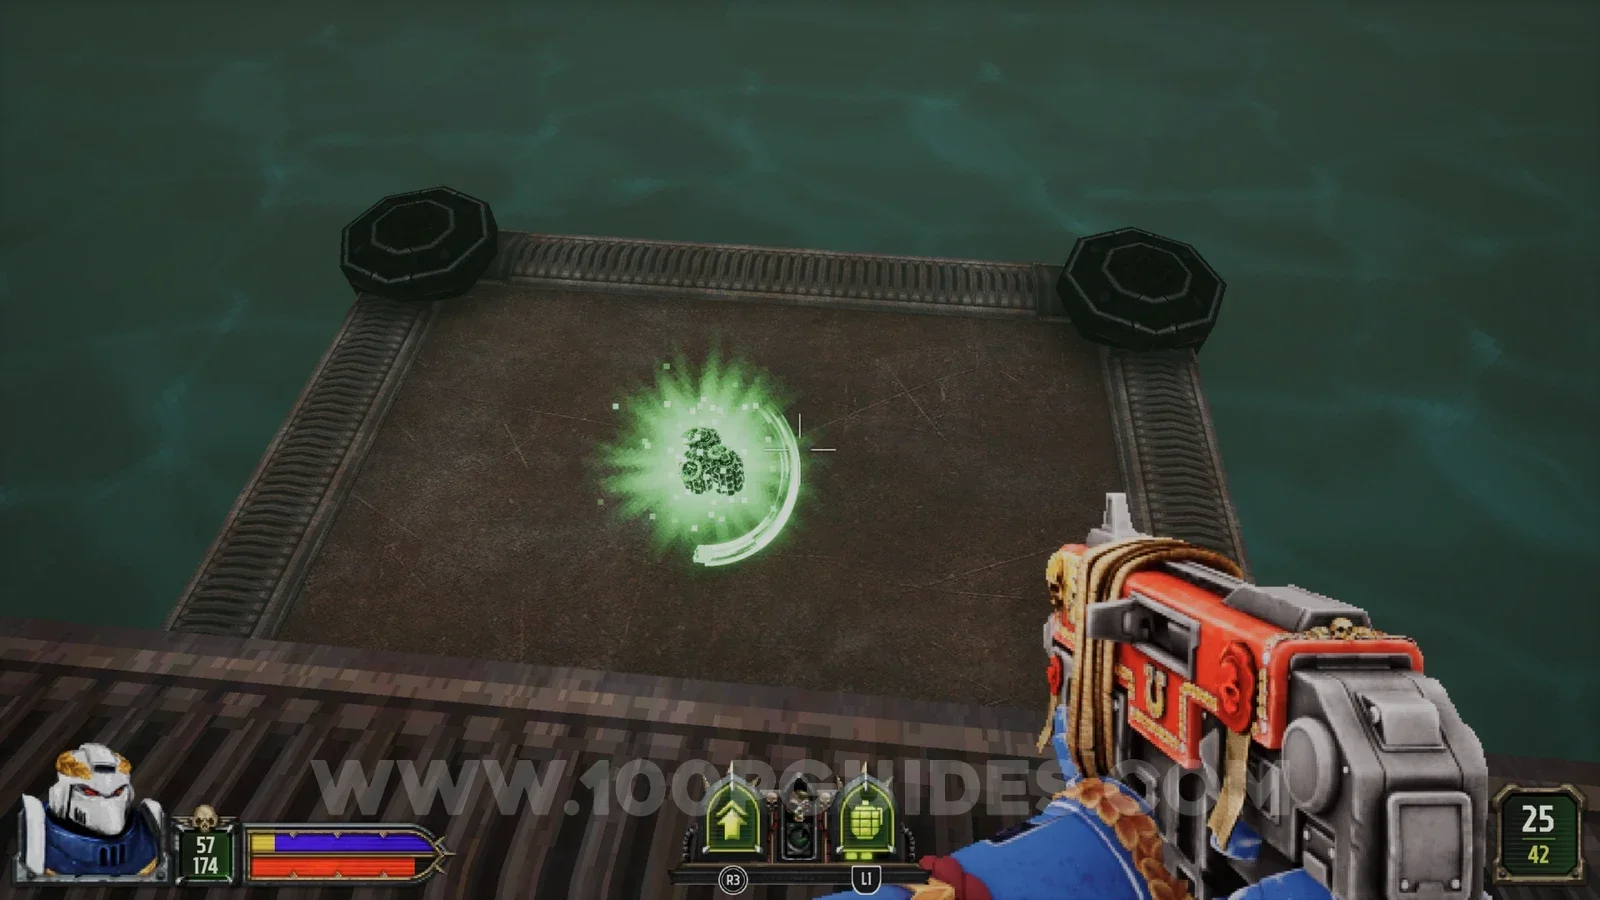
After reaching the purple door you have to find its key. On the way you have to ride a lift up. Before you do, press the console and send the lift up without standing on it, then drop down the hole below the lift to find the secret at the end of the path.
Secret 4/4
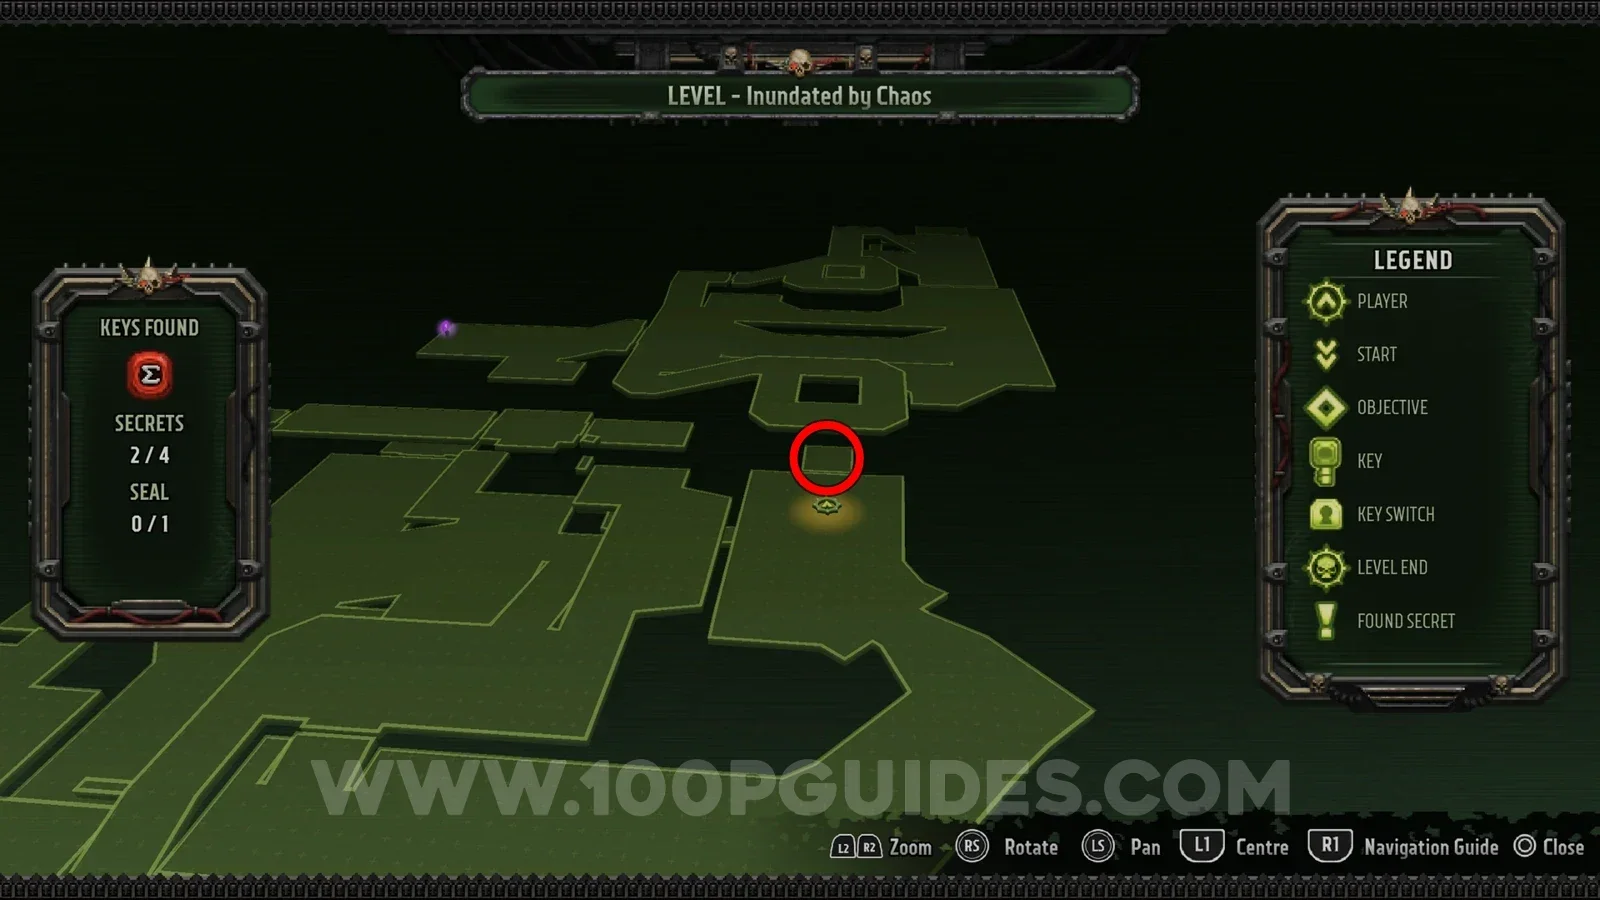
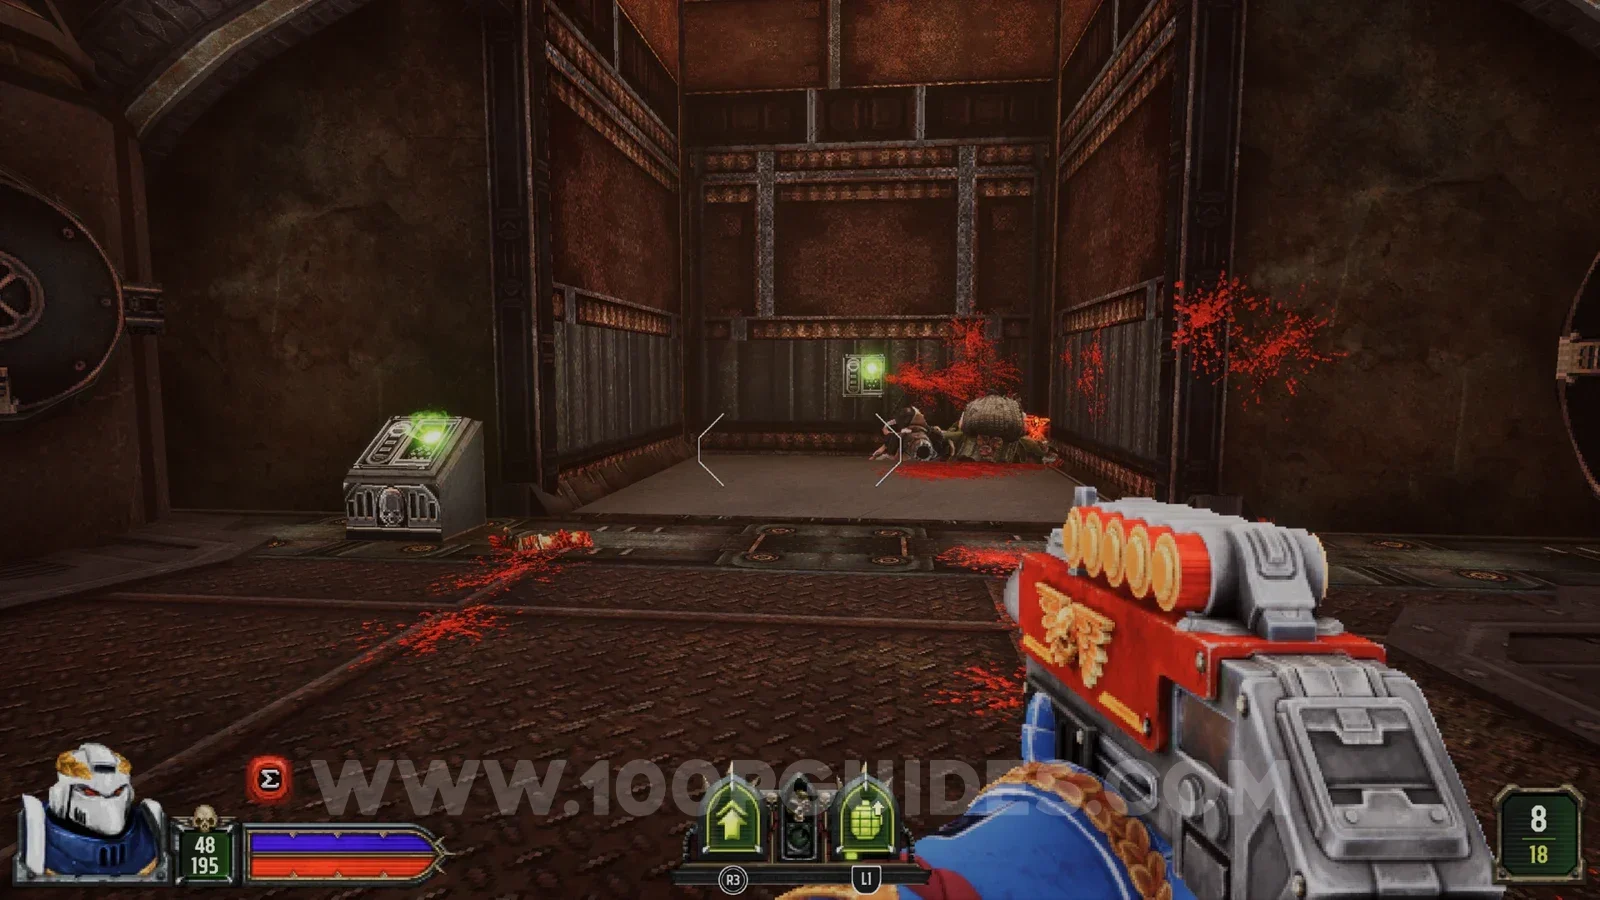
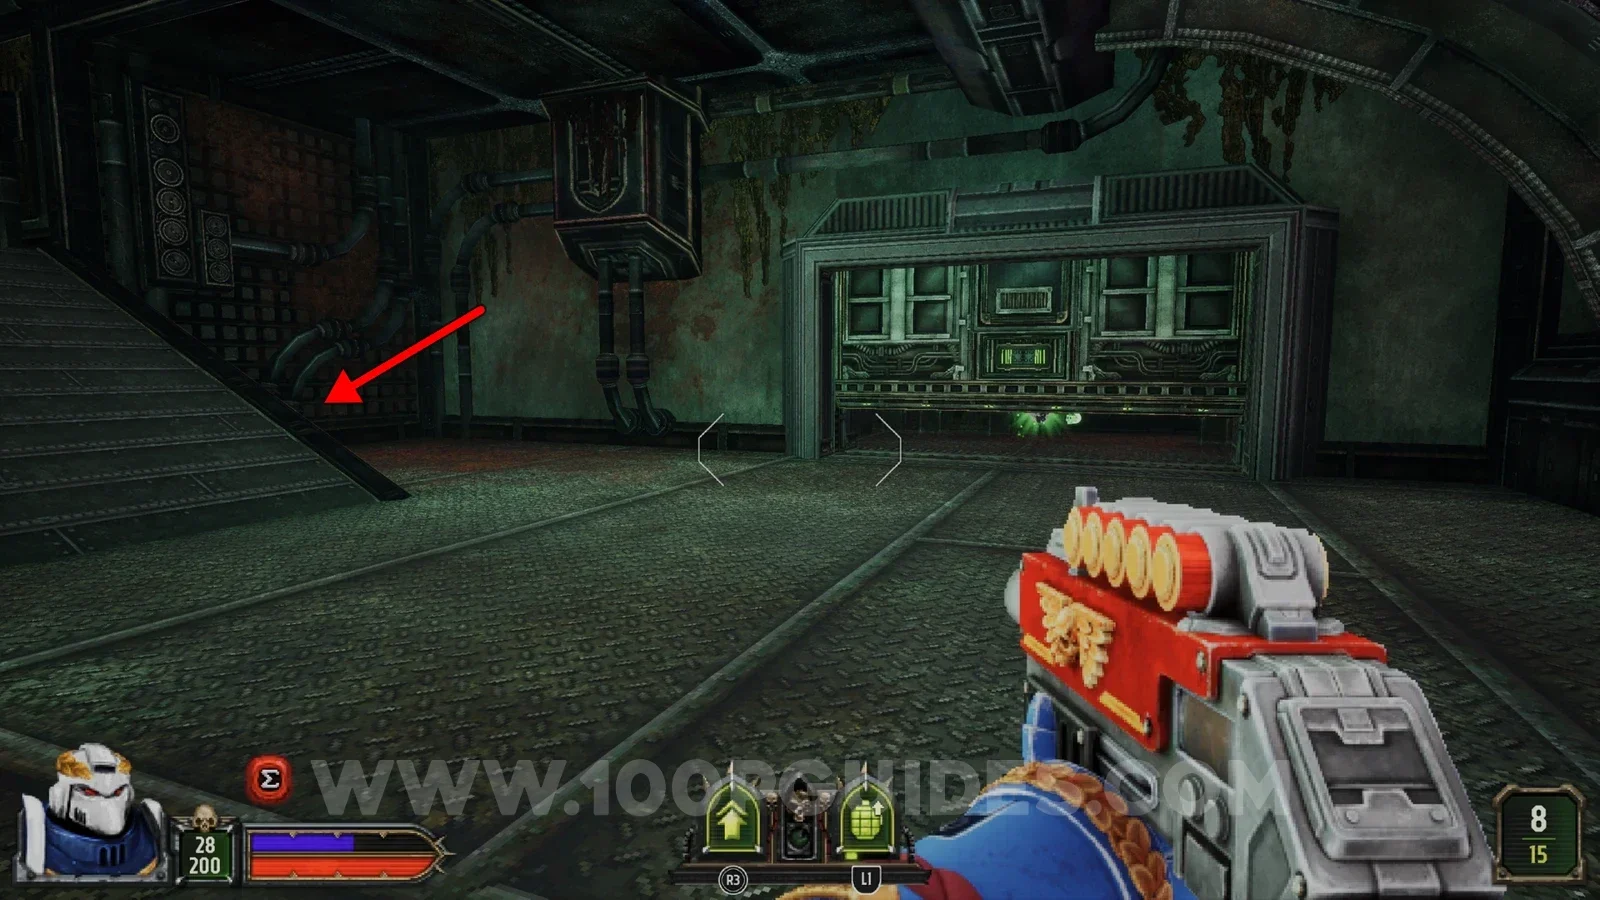
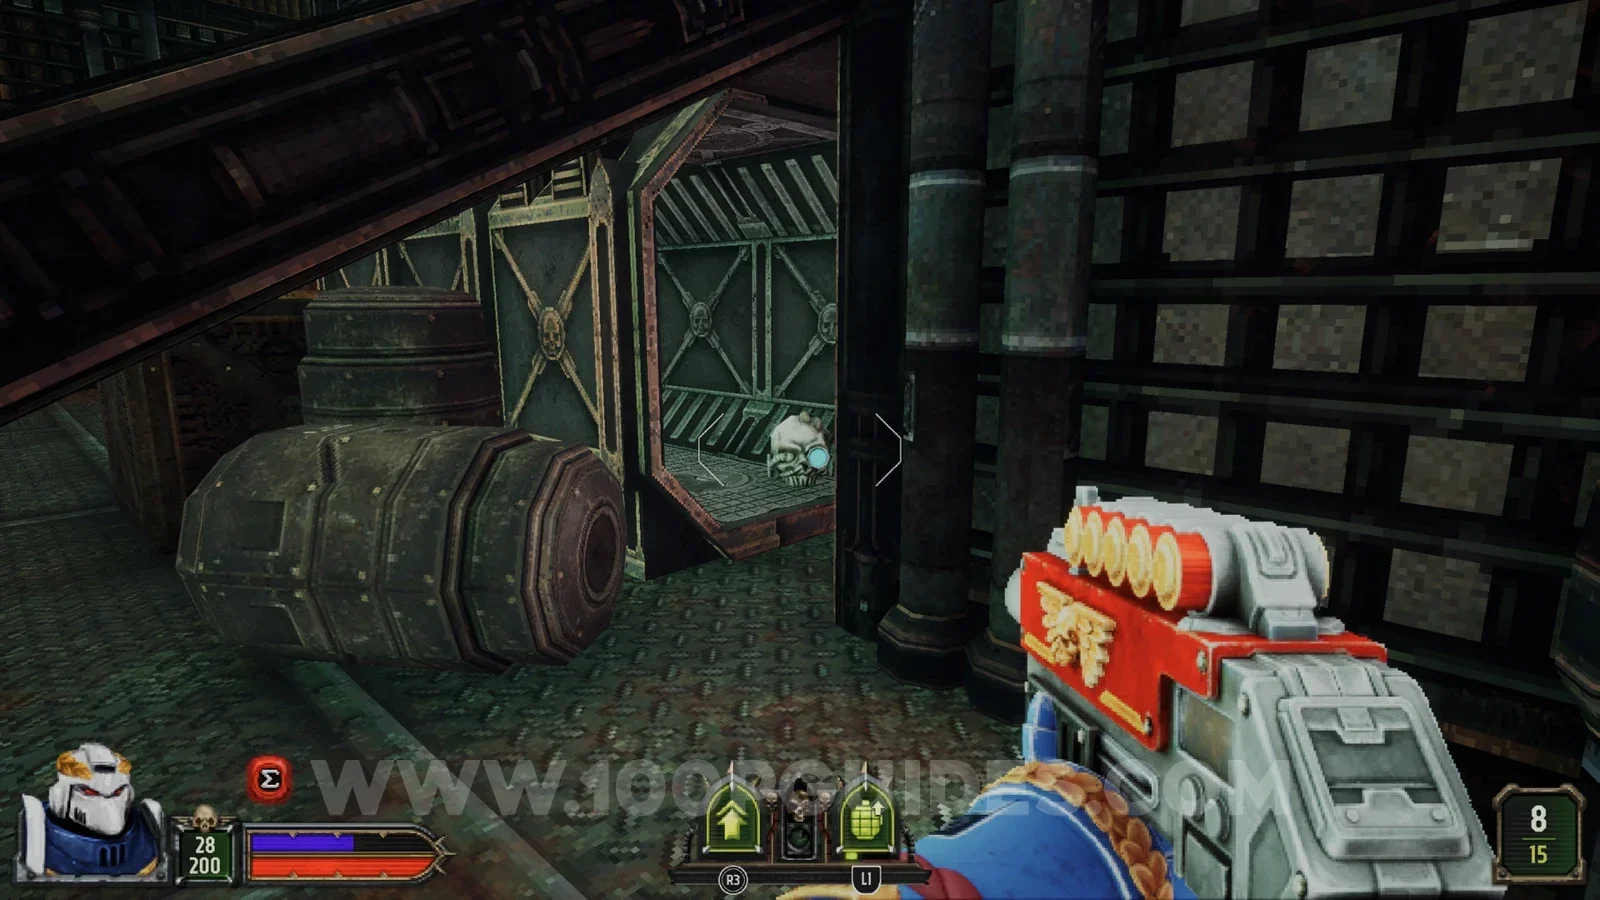
Just before you get to the purple key you will see a half-shut door with the secret behind it. To open it, shoot the skull in the open container below the ramp to the left of the door.
Seal 1/1
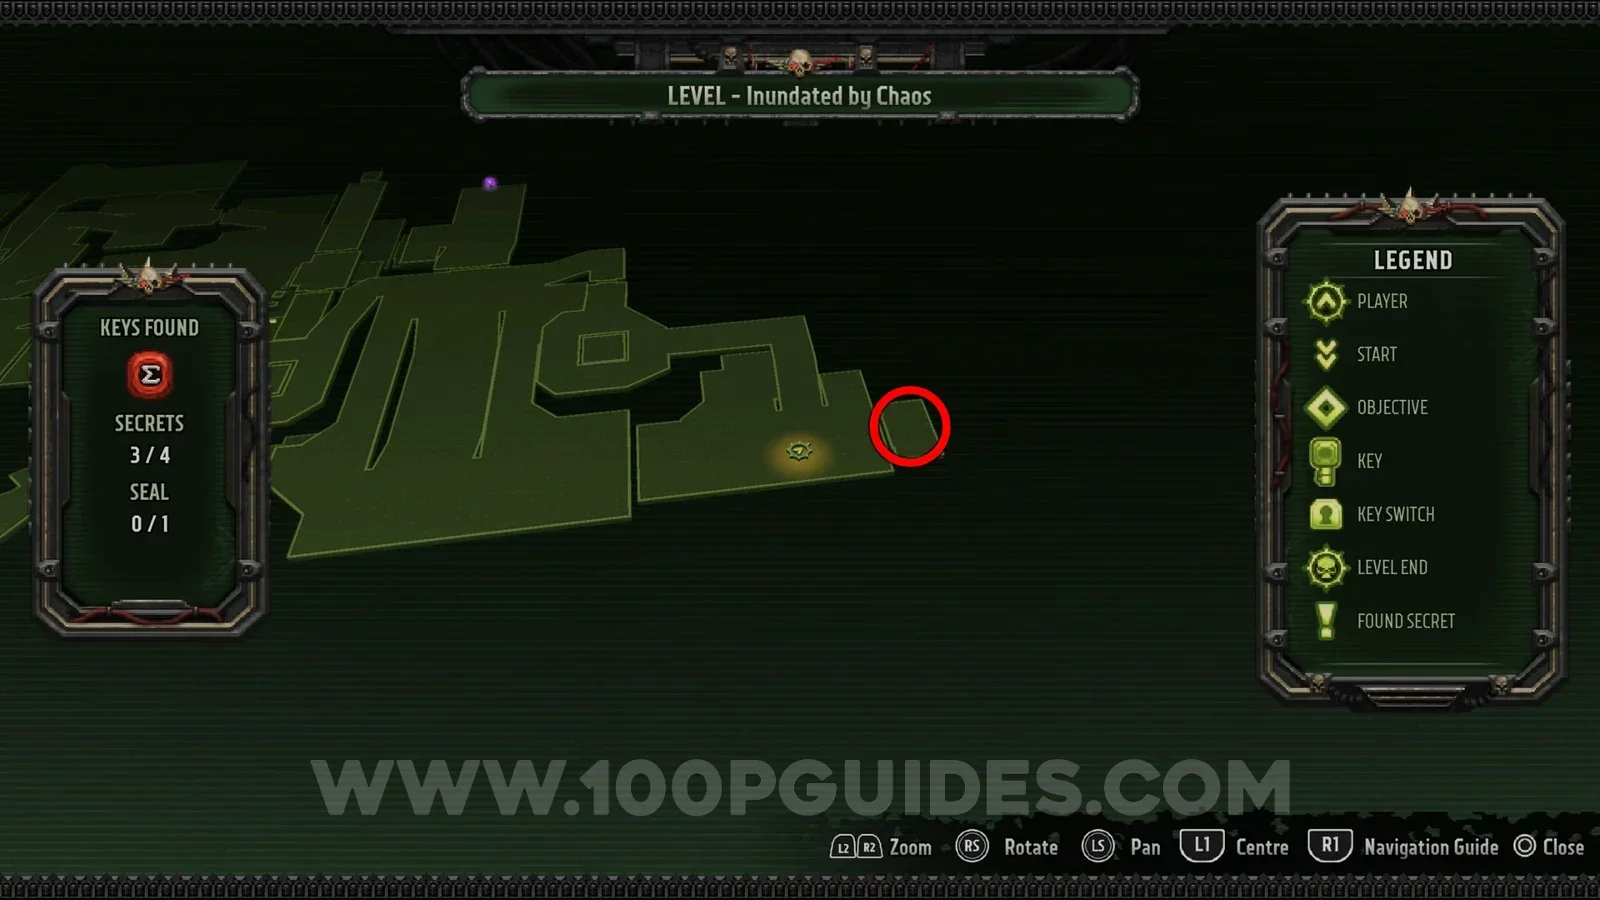
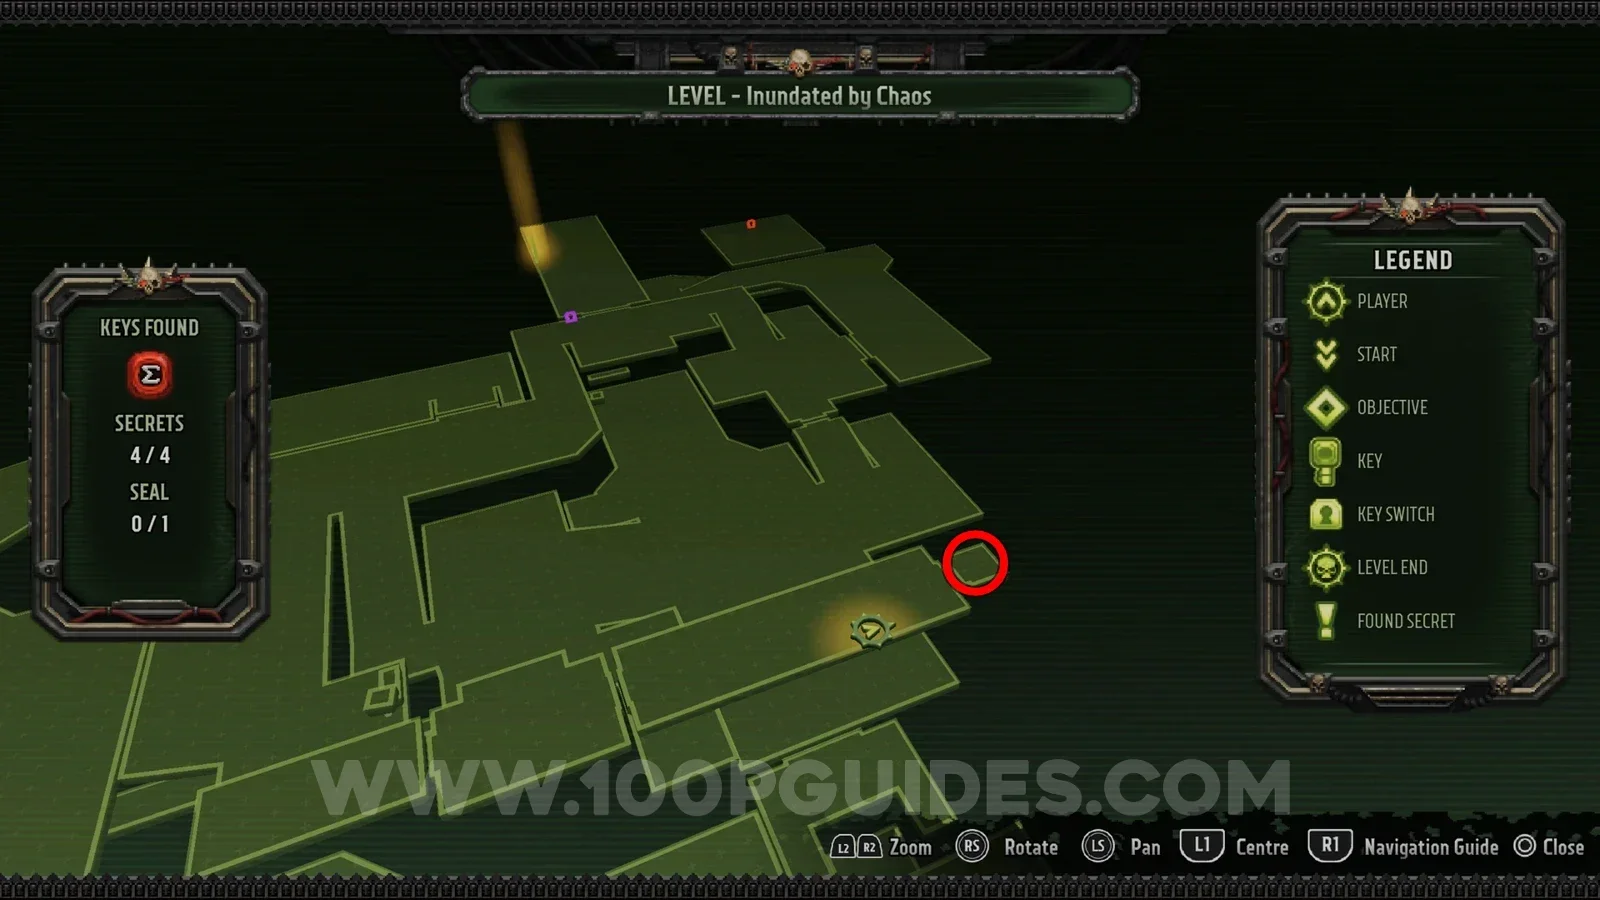
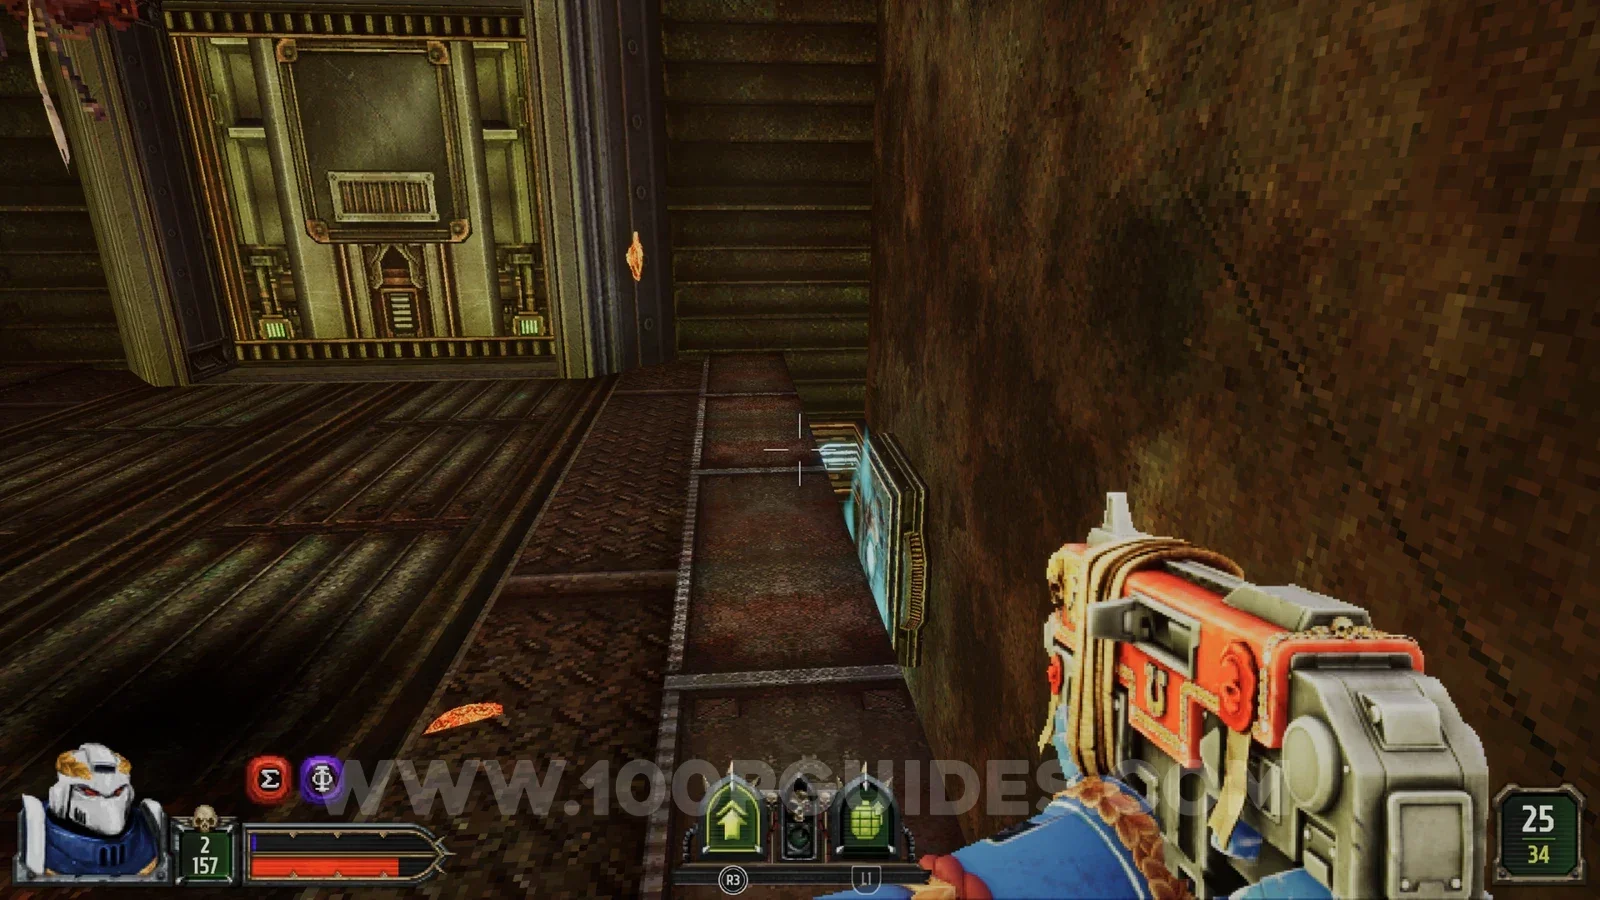
Through the door on the upper path in the large room with the purple door. Shoot the panel hidden just under the path on the right to open it.
Infested Depths Path B
Seal 1/1
At the start of the level you have to shoot a blue panel to open a door that you then jump to. Before you do, shoot the skull above you and the seal drops out of the hole above the platform you jump to the door from.
Secret 1/4
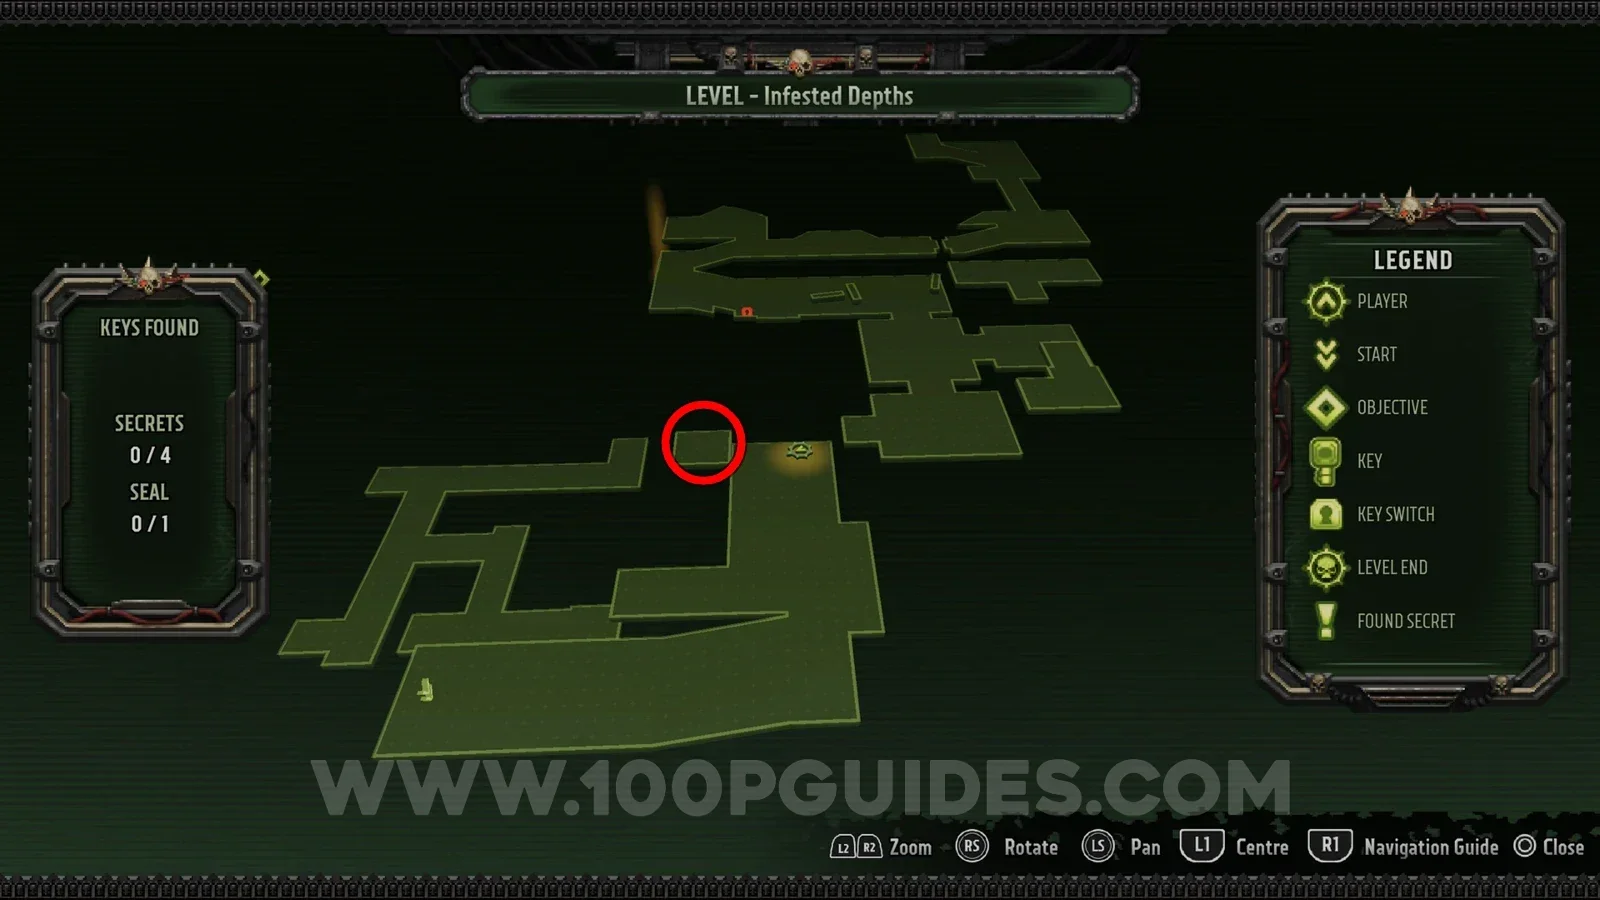
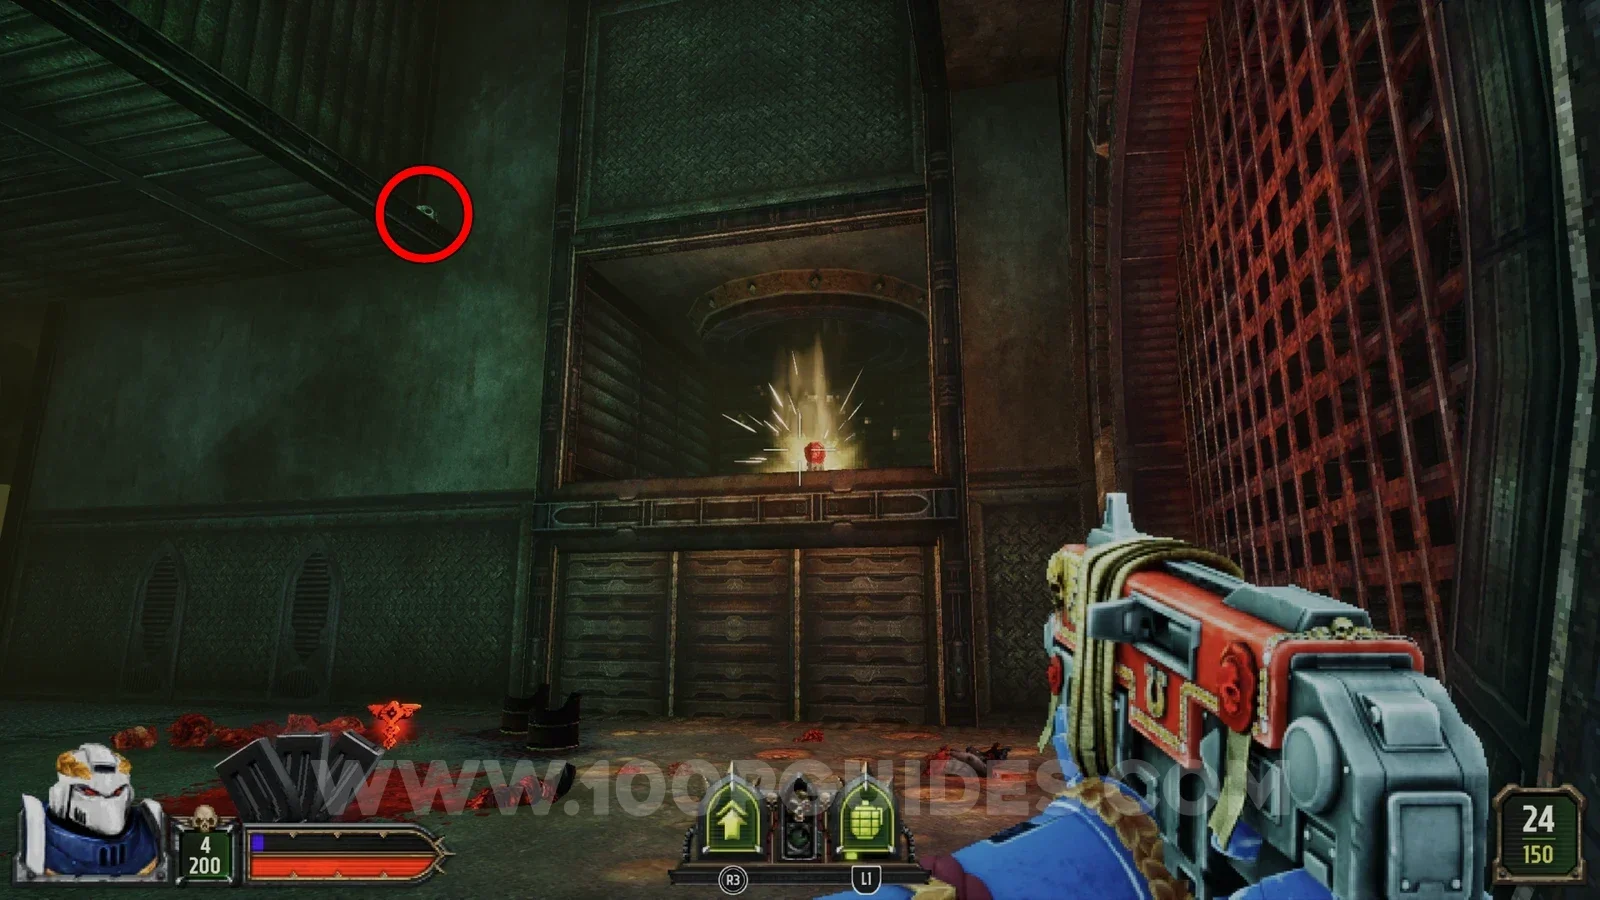
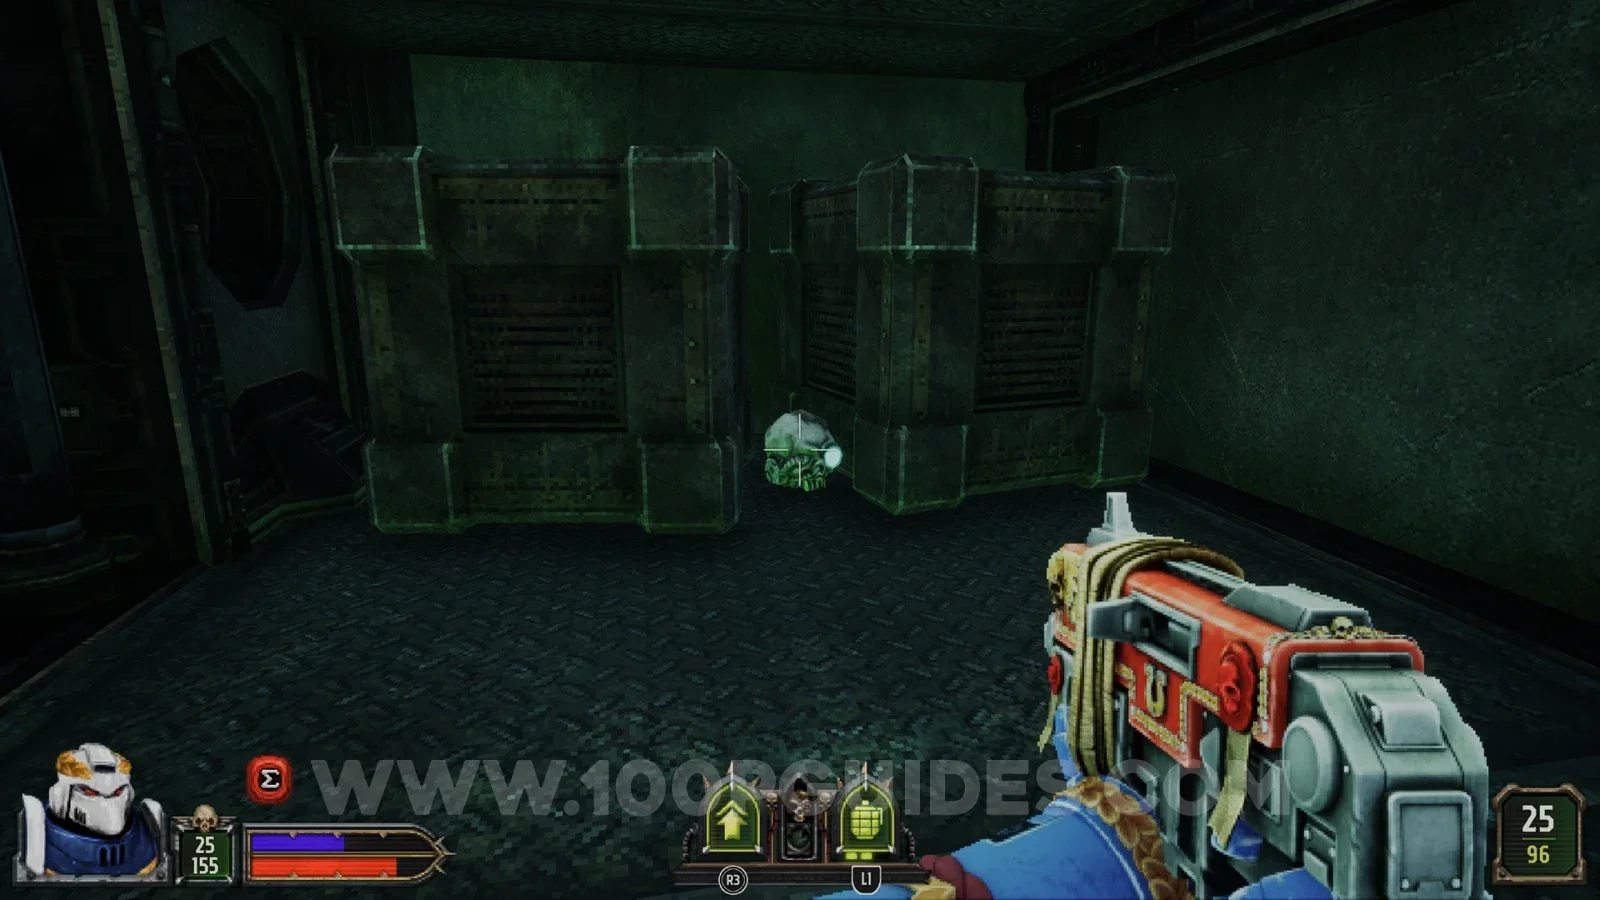
Once you reach the purple door you have to shoot a blue panel to continue. Near the panel, head under the 2 wooden planks that form a ramp and shoot the skull between the boxes on your left. This opens up the wall right next to you, with the secret inside.
Secret 2/4
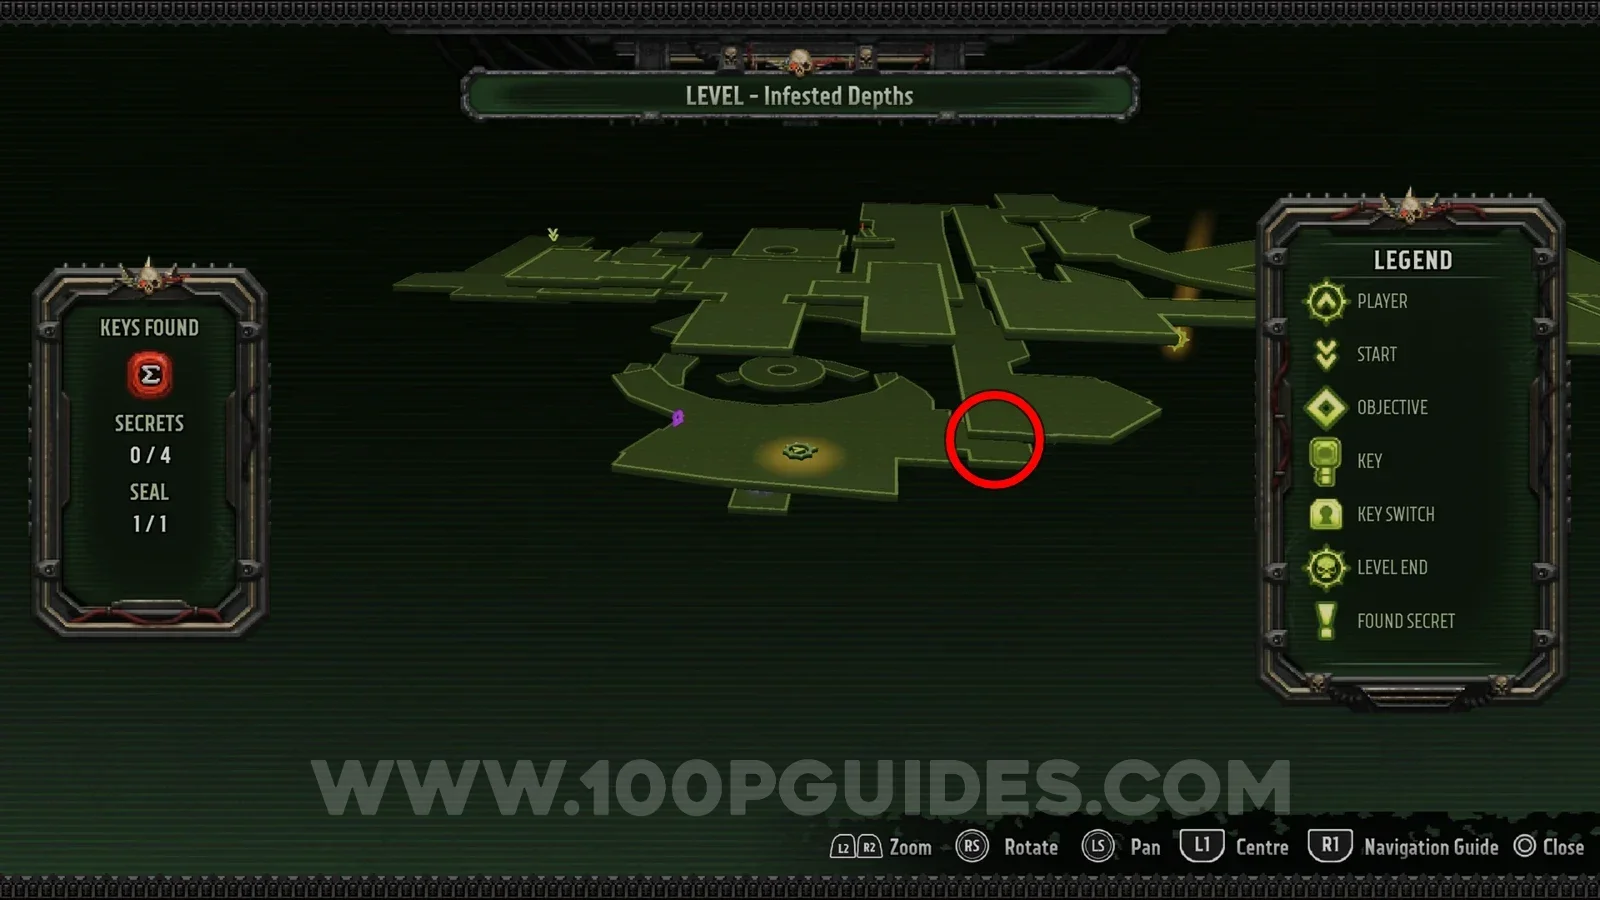
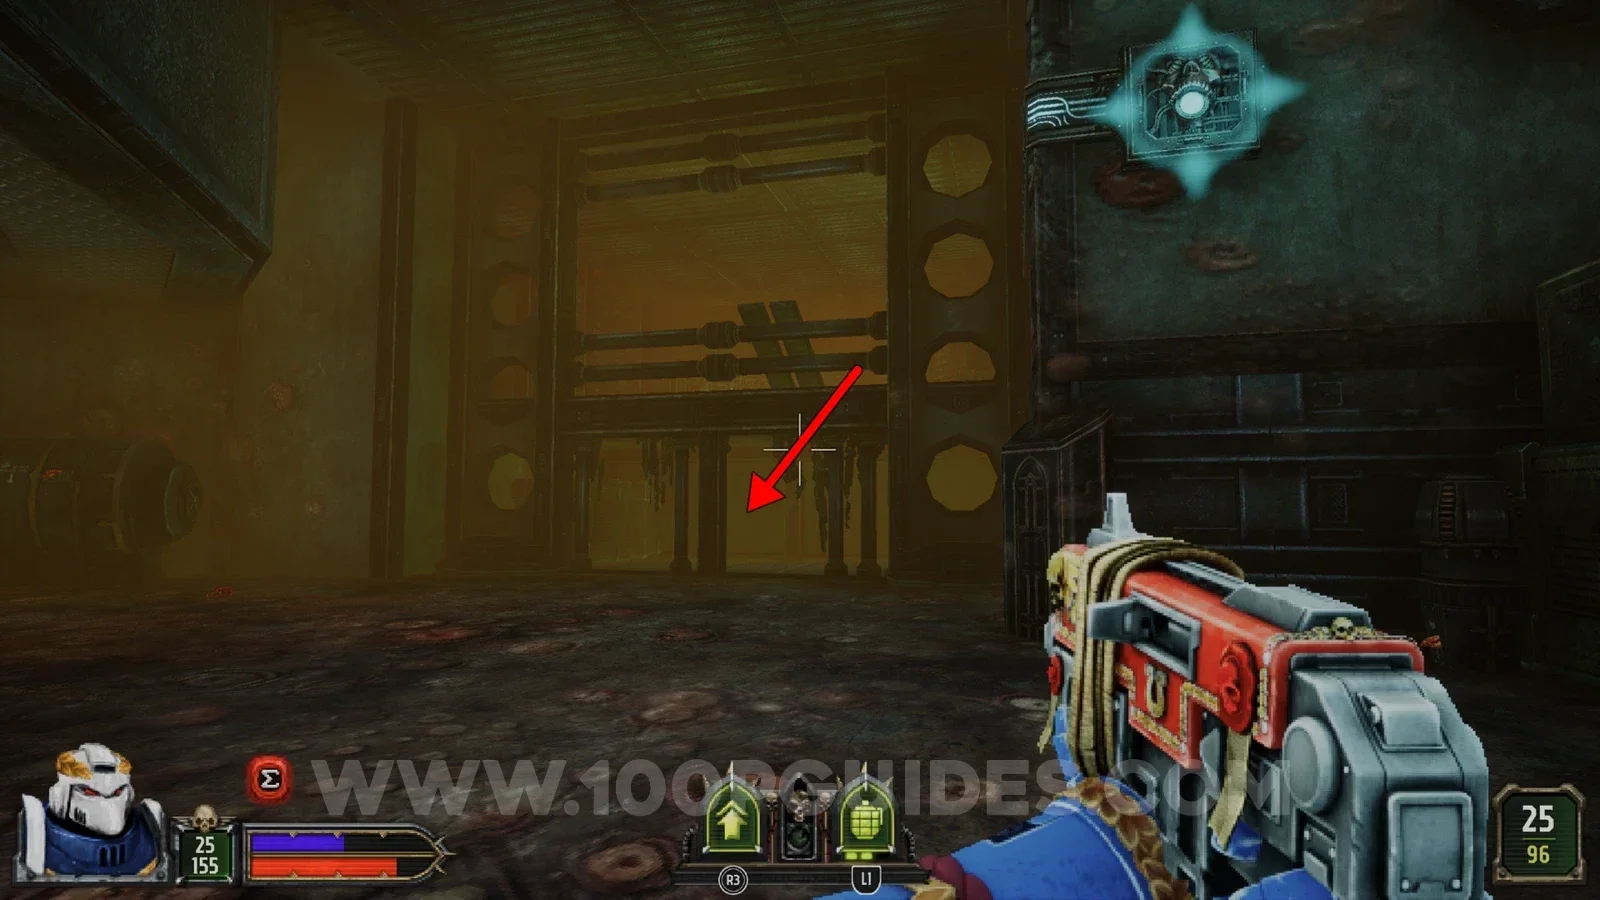
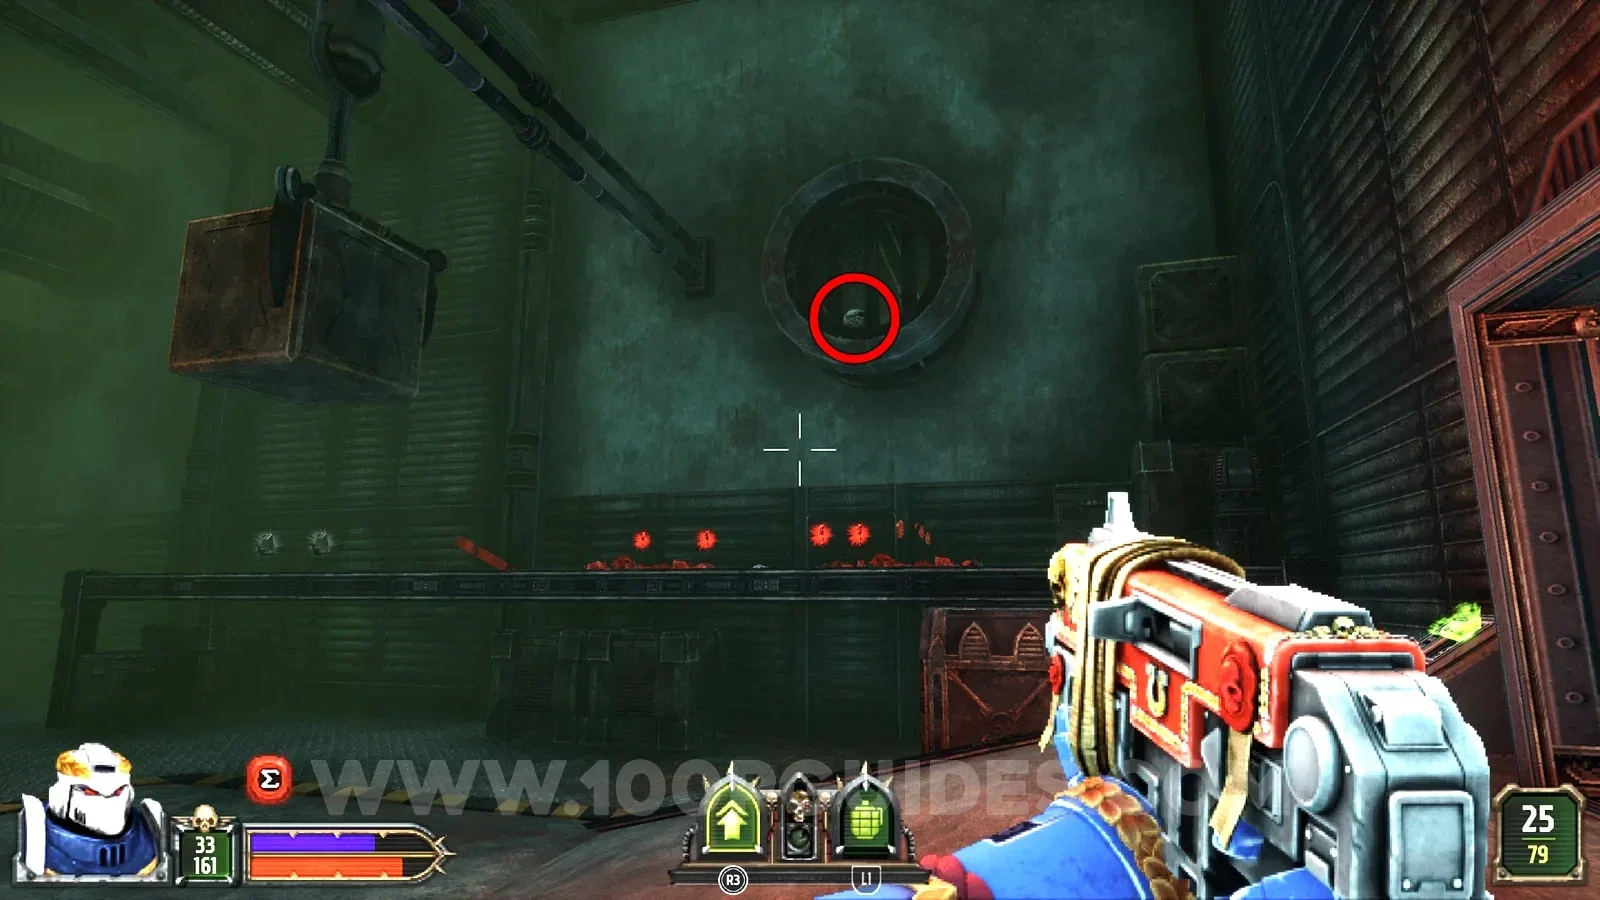
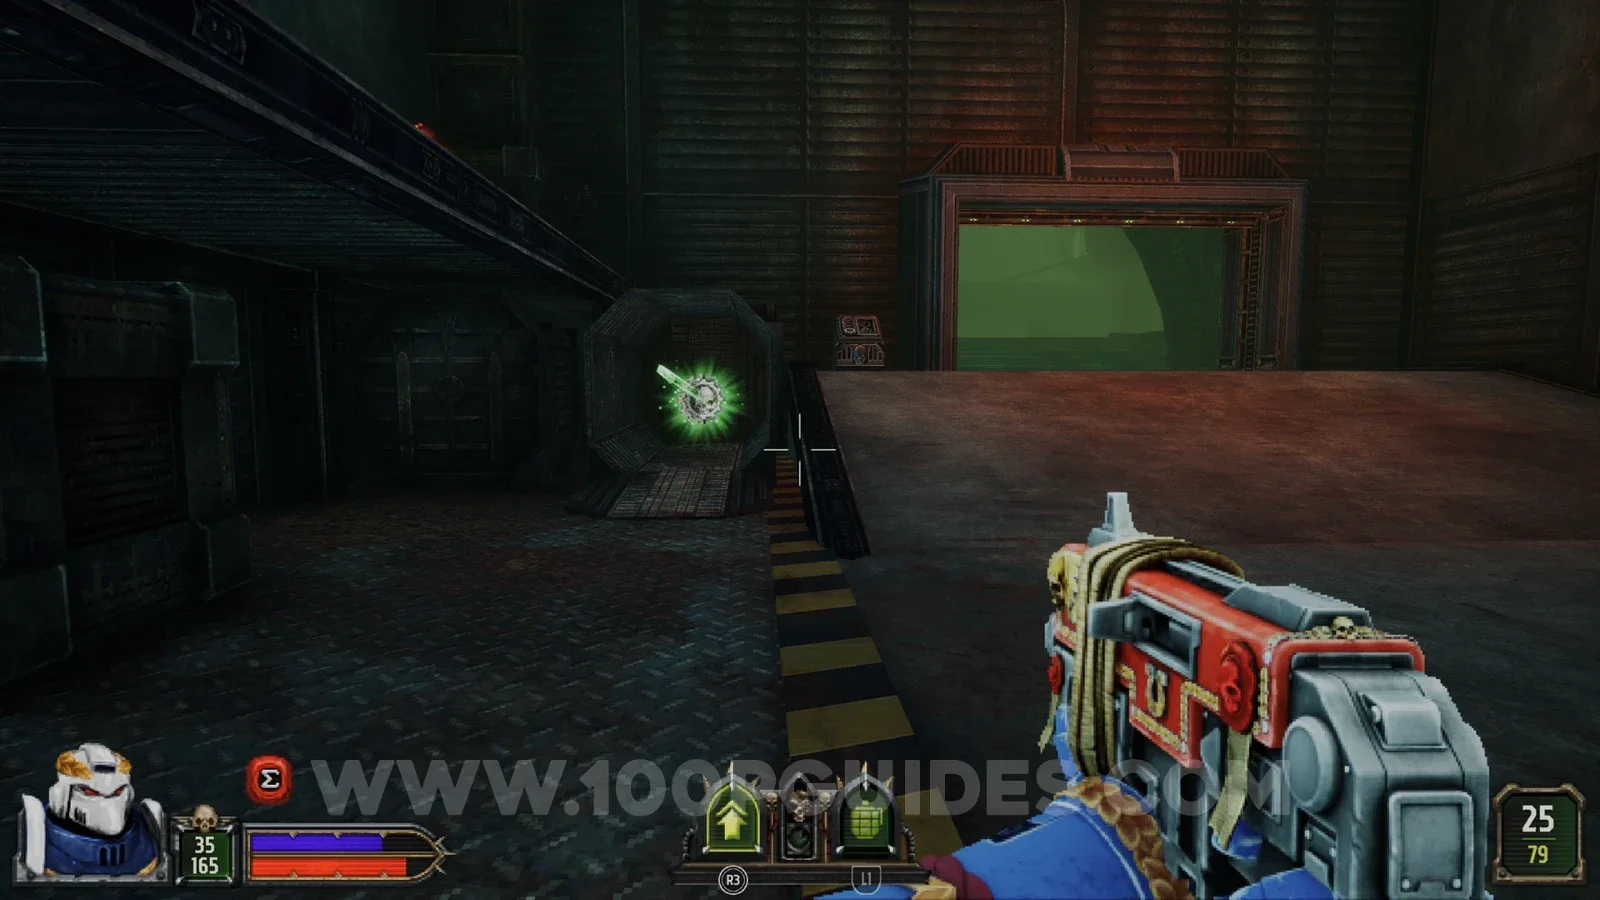
On your way to the purple key you go through some pipes. Once you drop out of the other end, look for a skull behind some metal bars in a pipe on the wall, close to the console that opens the door back to the previous room. Shooting it opens a container in this same room.
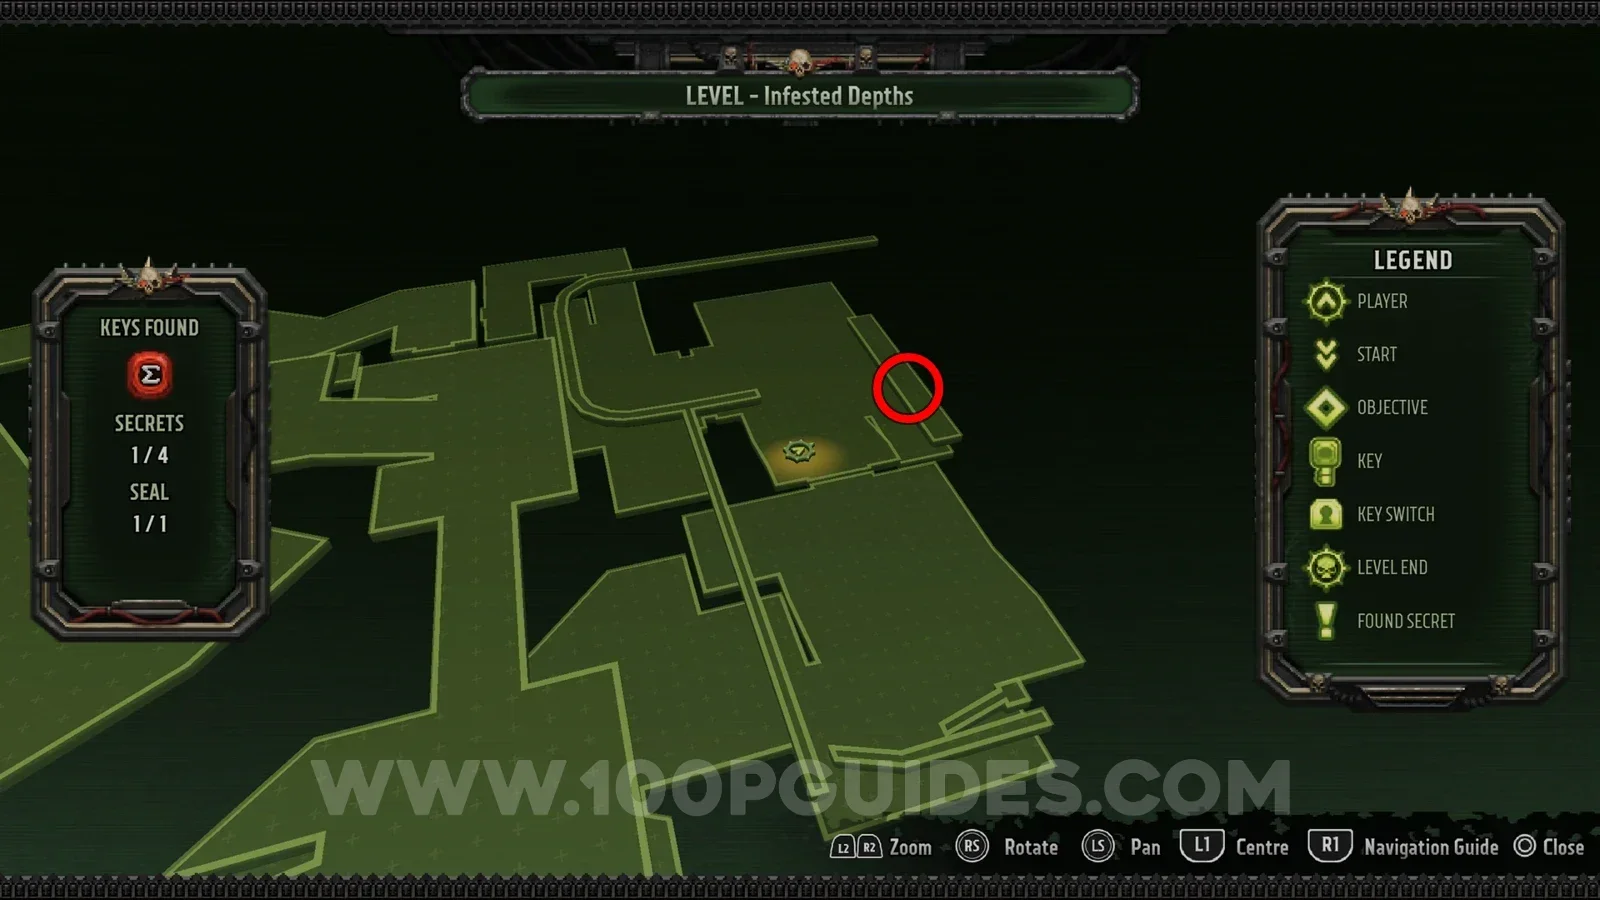
Secret 3/4
After going through the purple door you go through some pipes. From the start of the pipes, always stick to the left wall until you reach the secret.
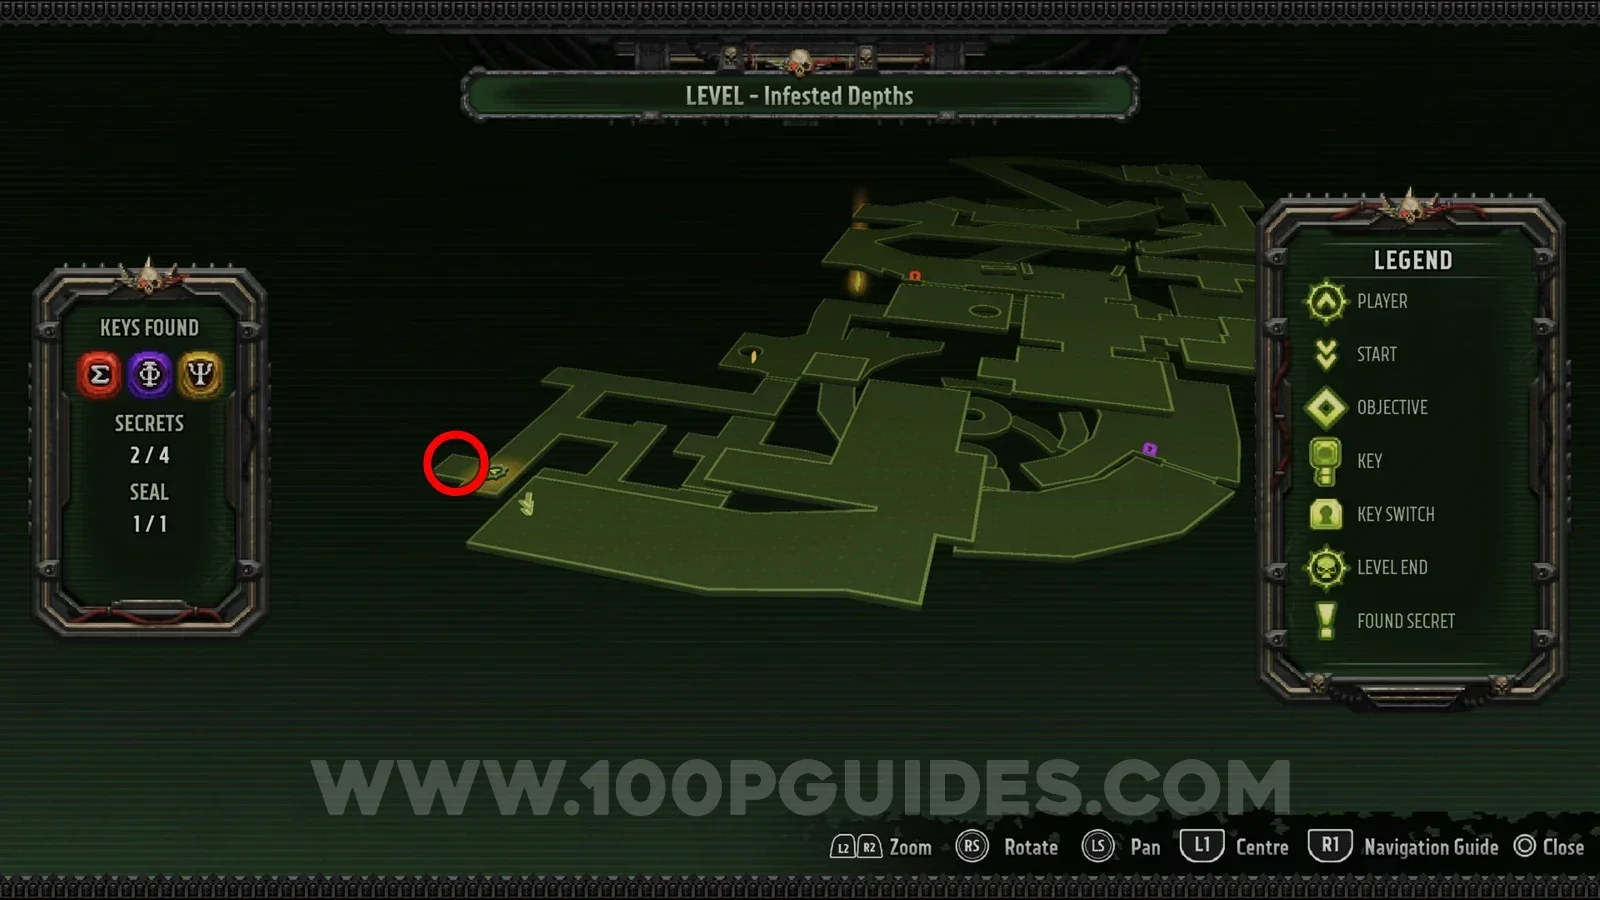
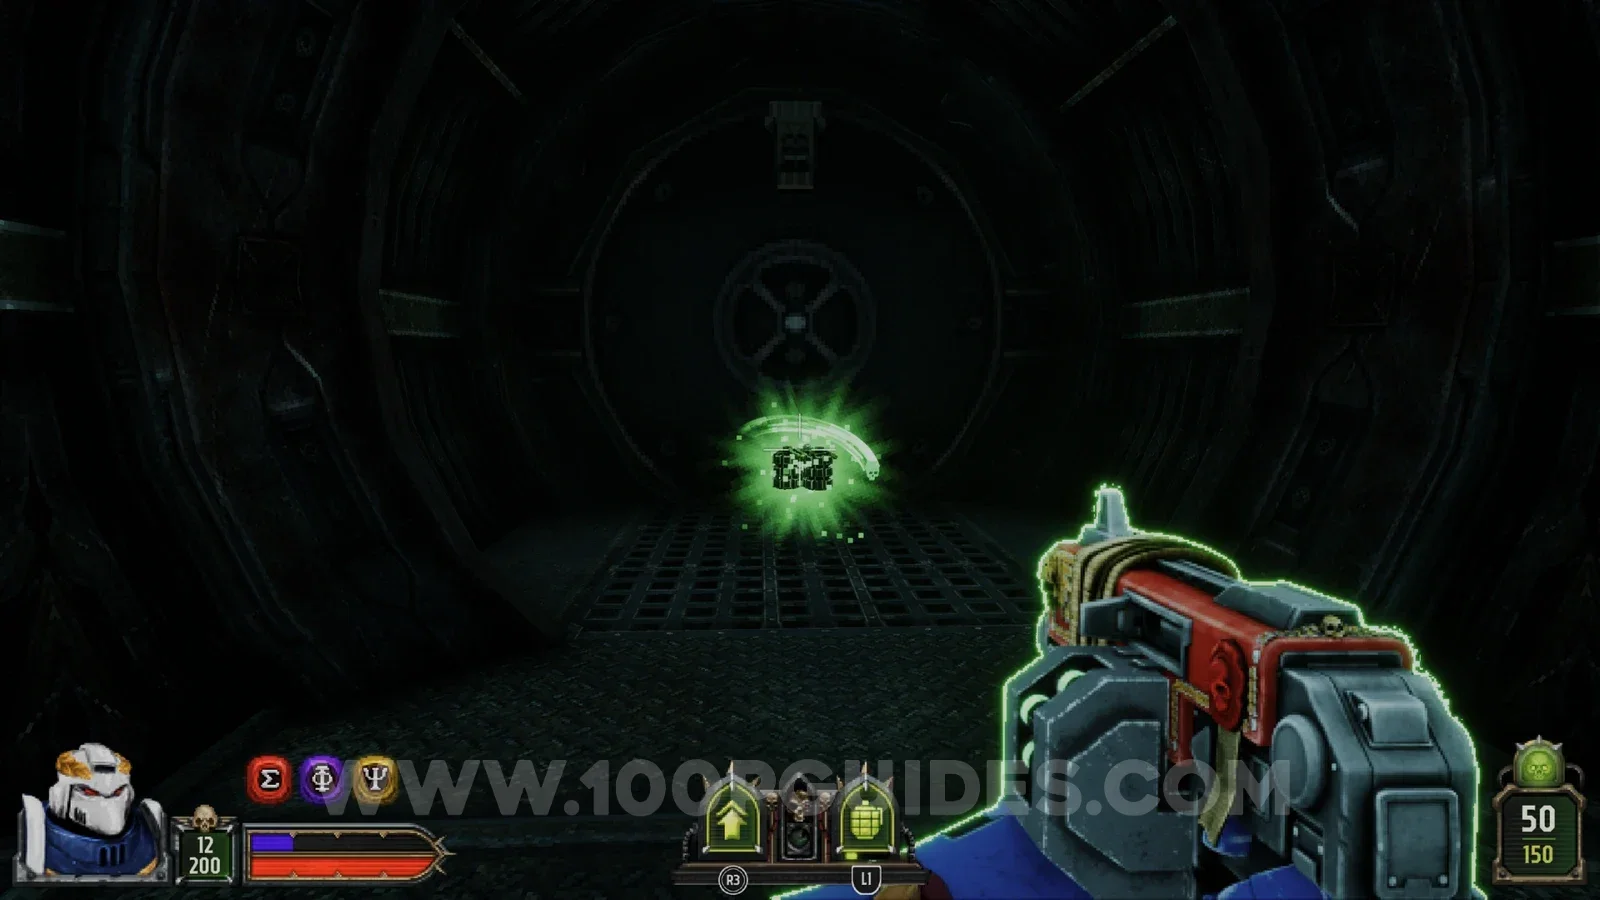
Secret 4/4
After activating the yellow console and jumping down the hole, go through the pipe until you drop into a small room blocked off by metal bars. The secret is on top of the pipe you just came out of.
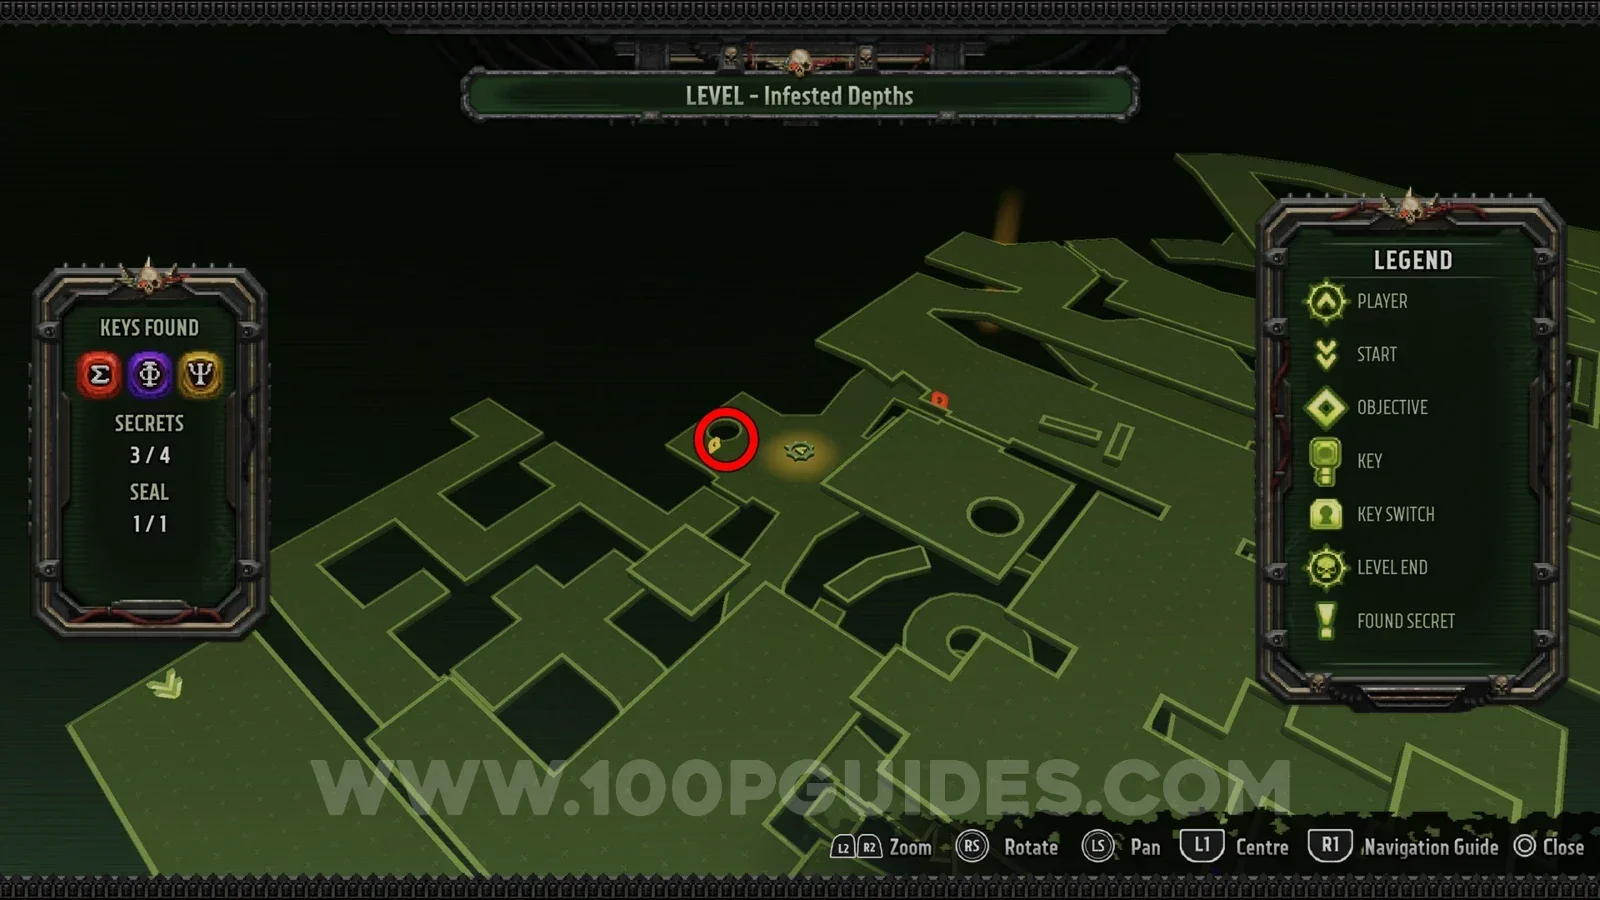
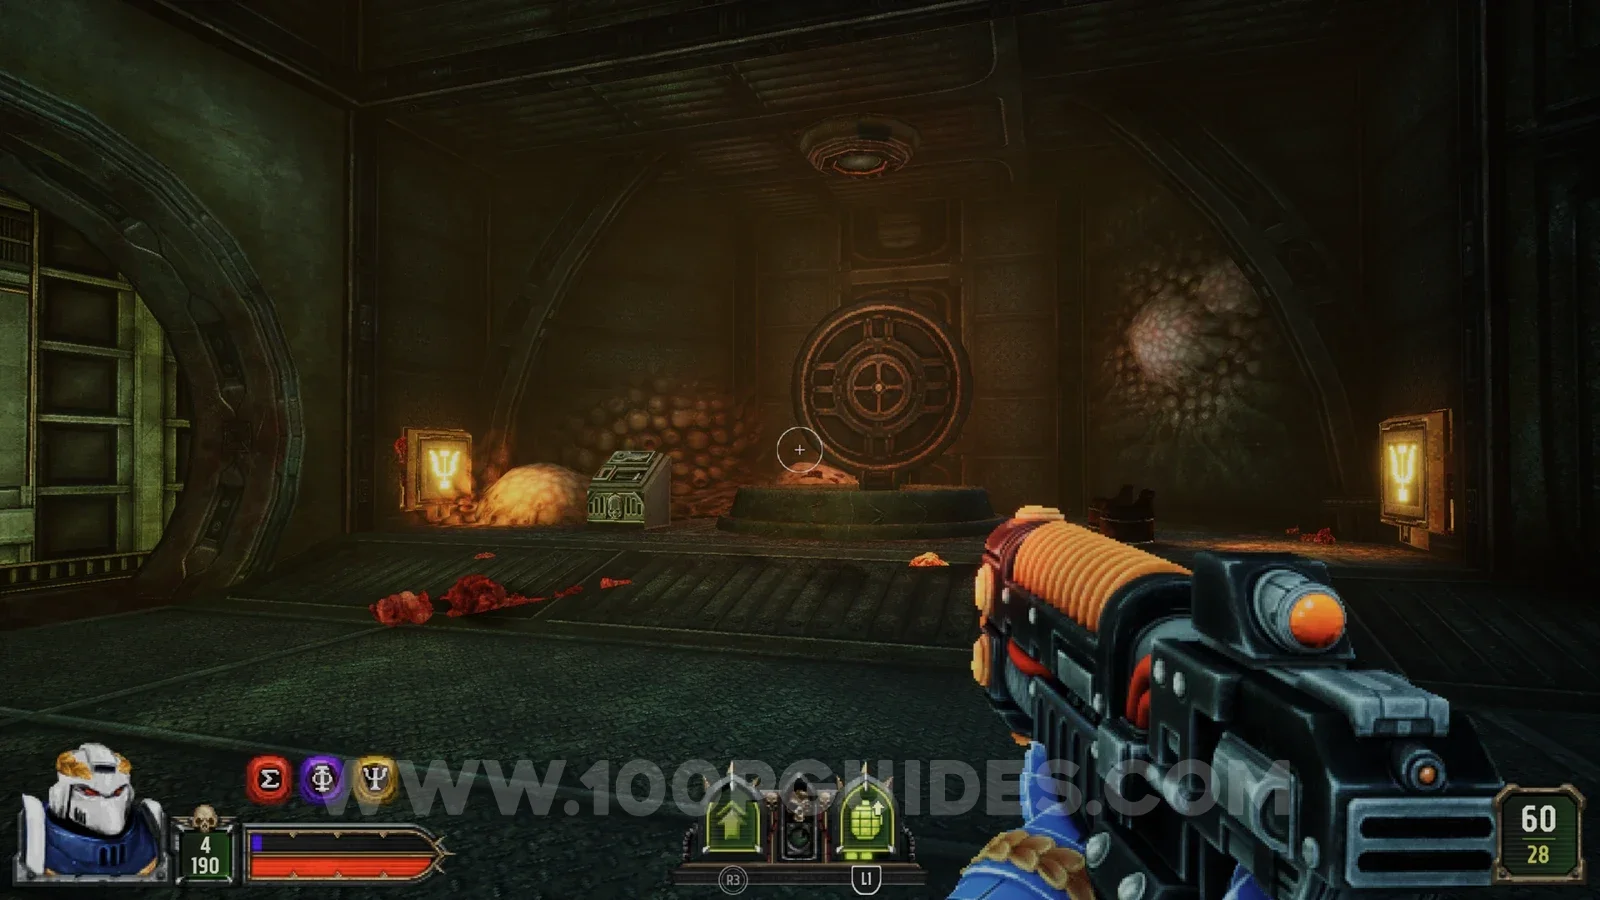
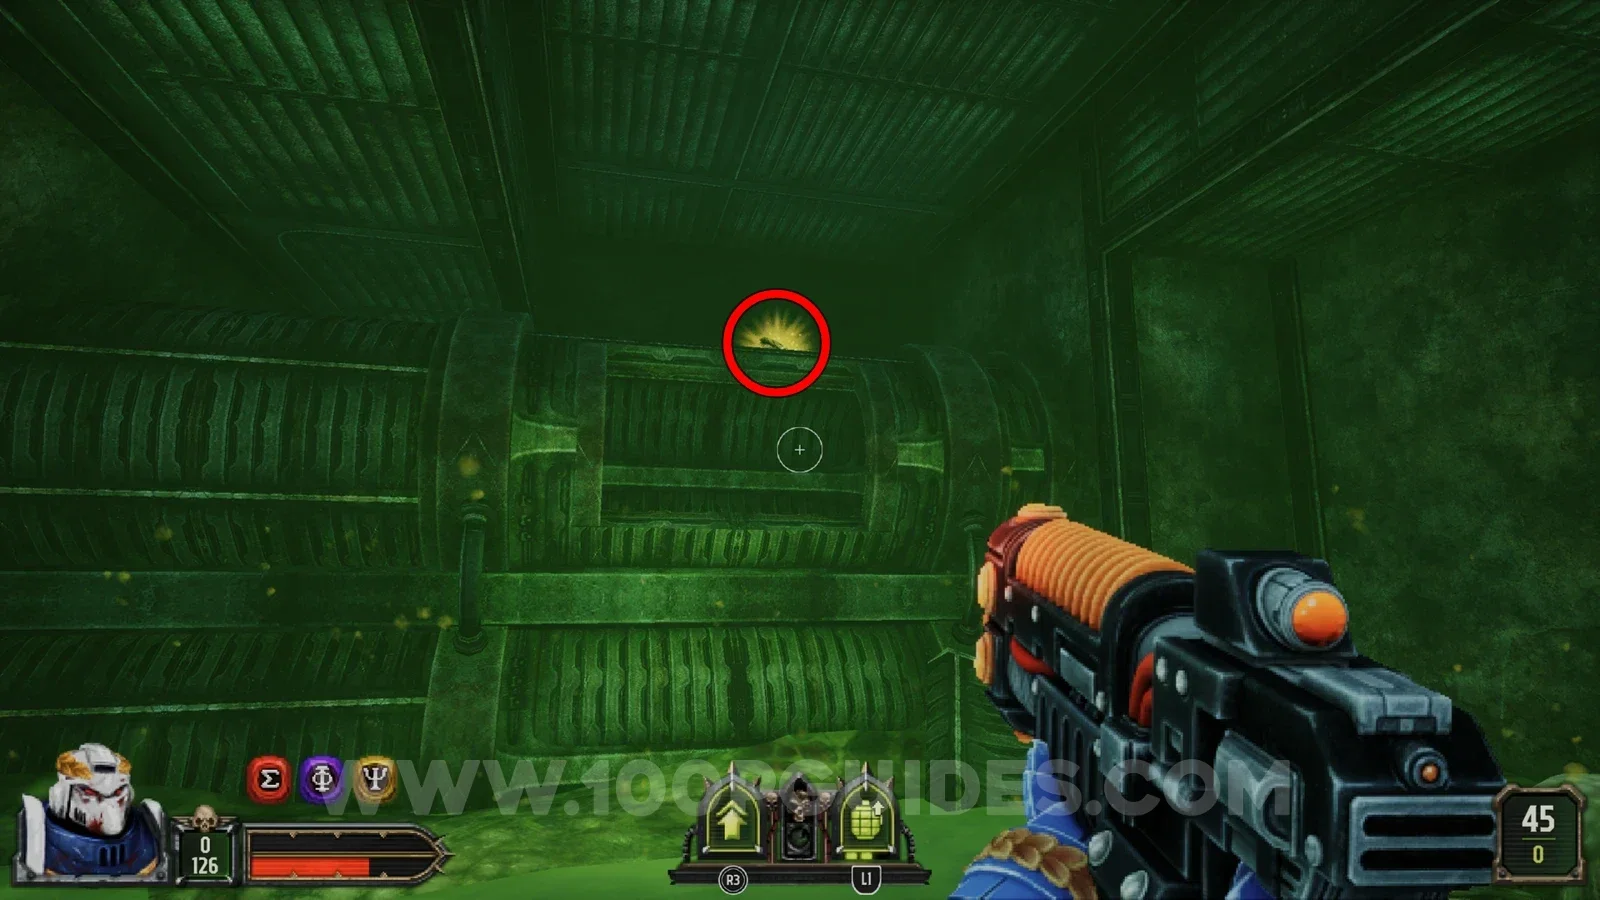
Rigged To Blow Path B
Secret 1/9
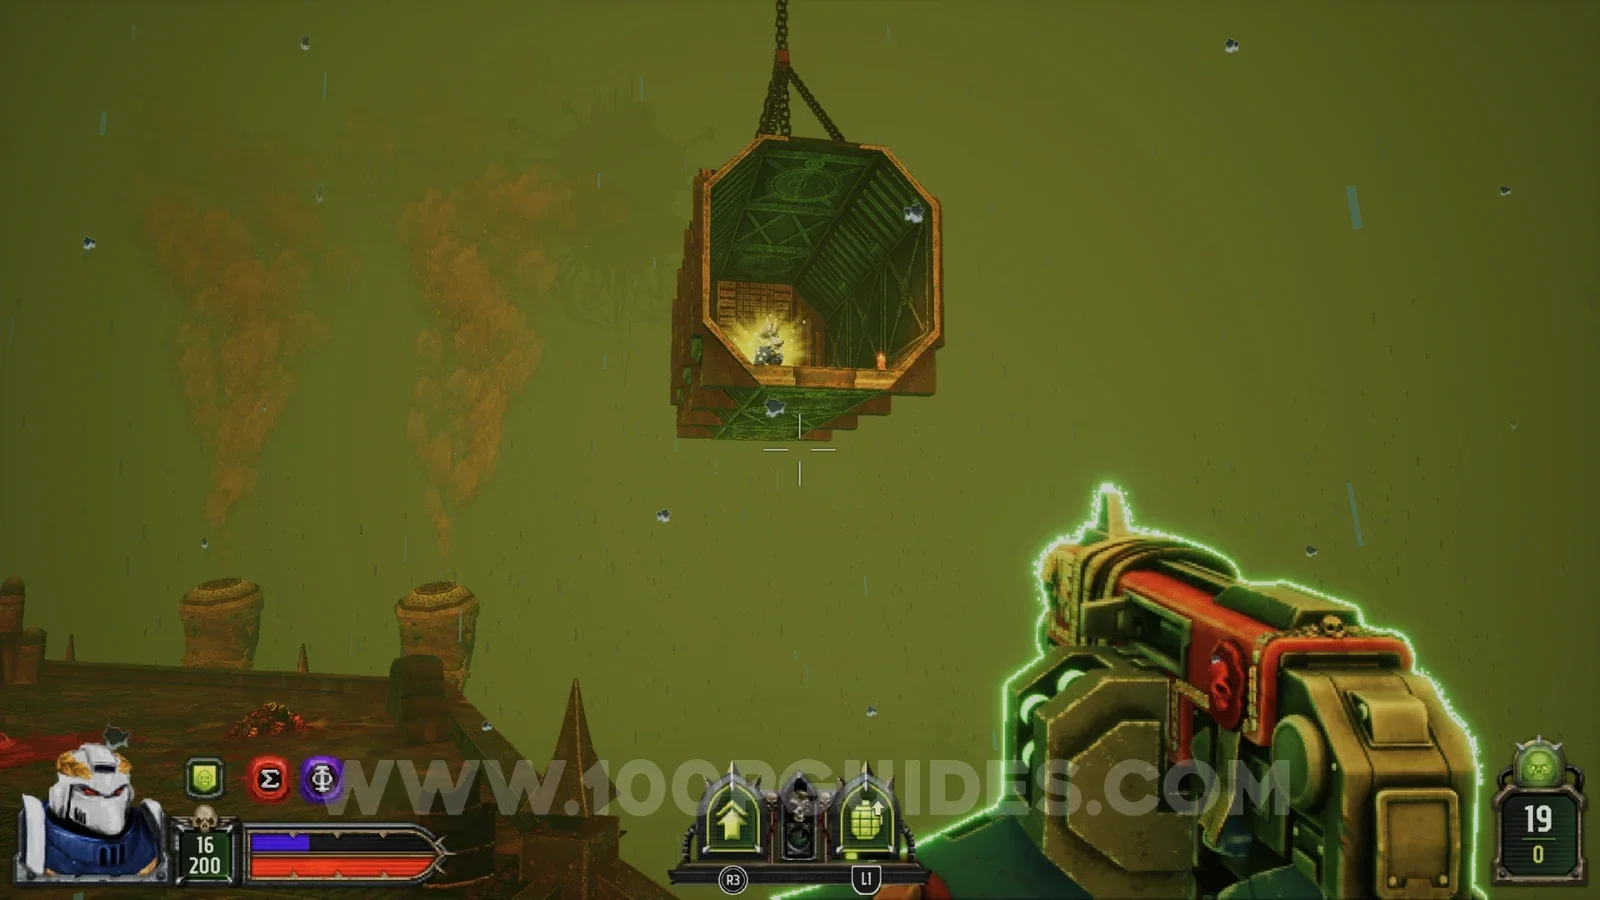
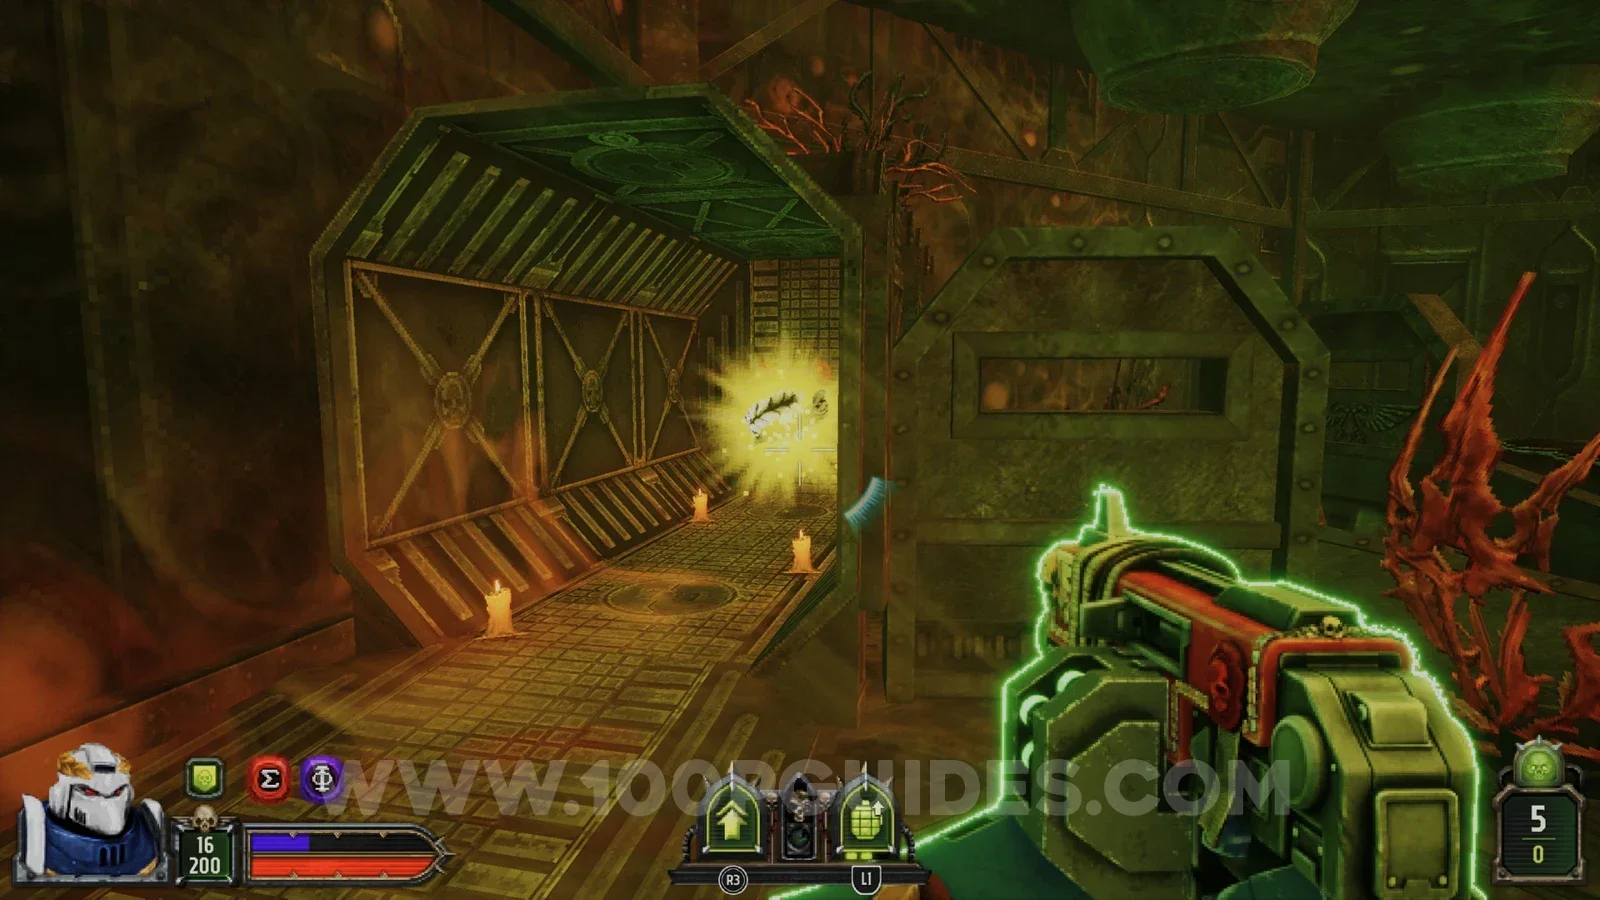
Shoot down the hanging container close to the start of the level.
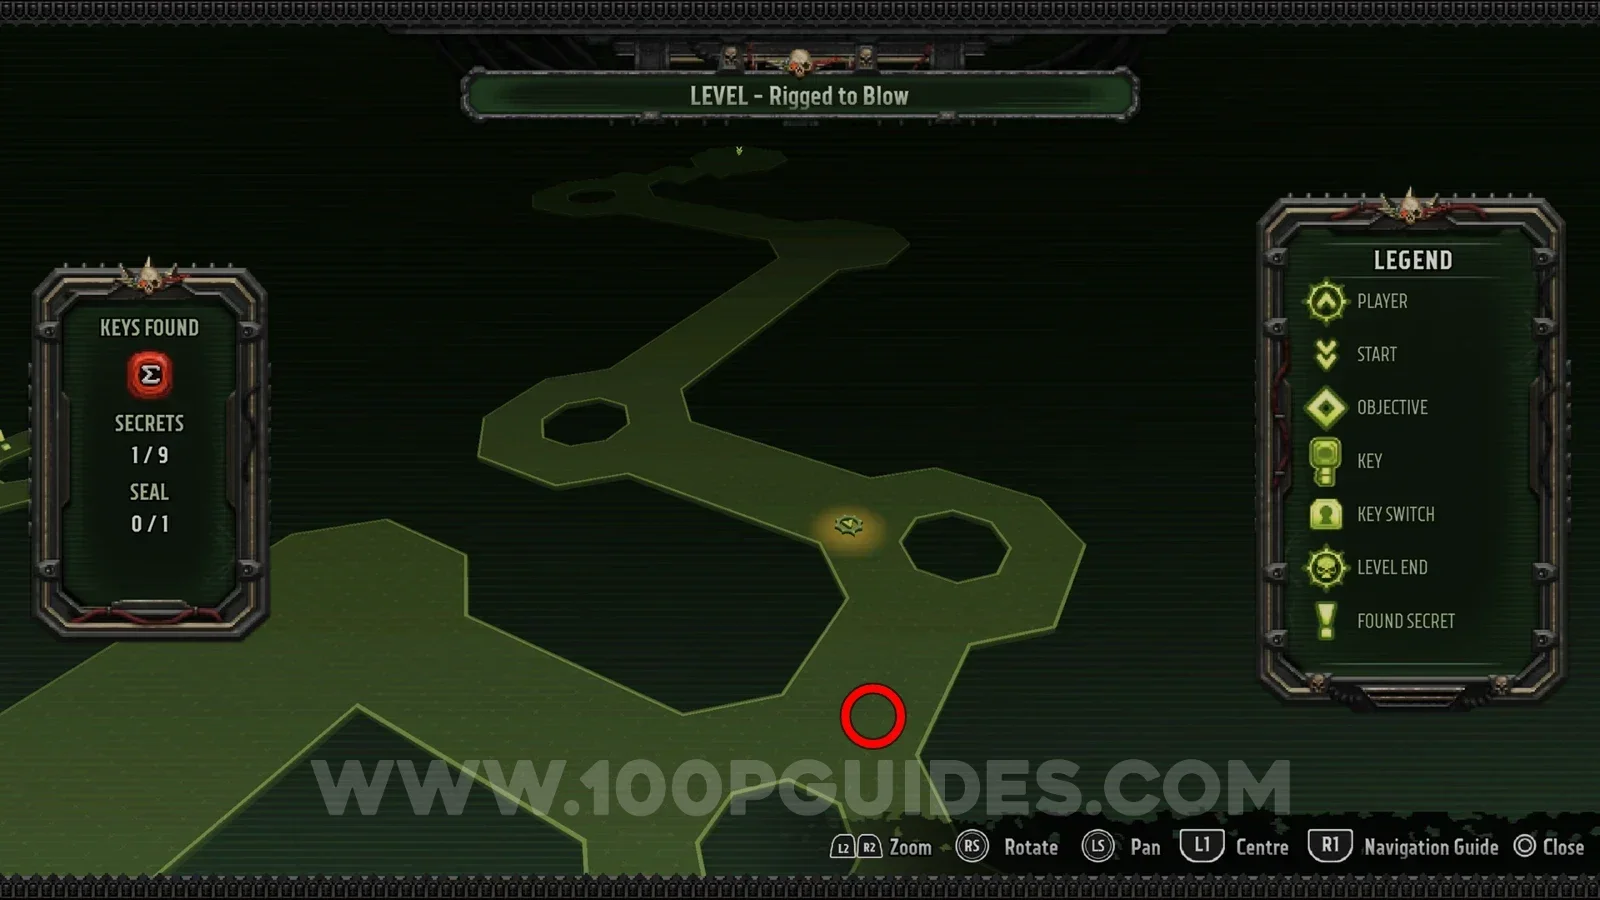
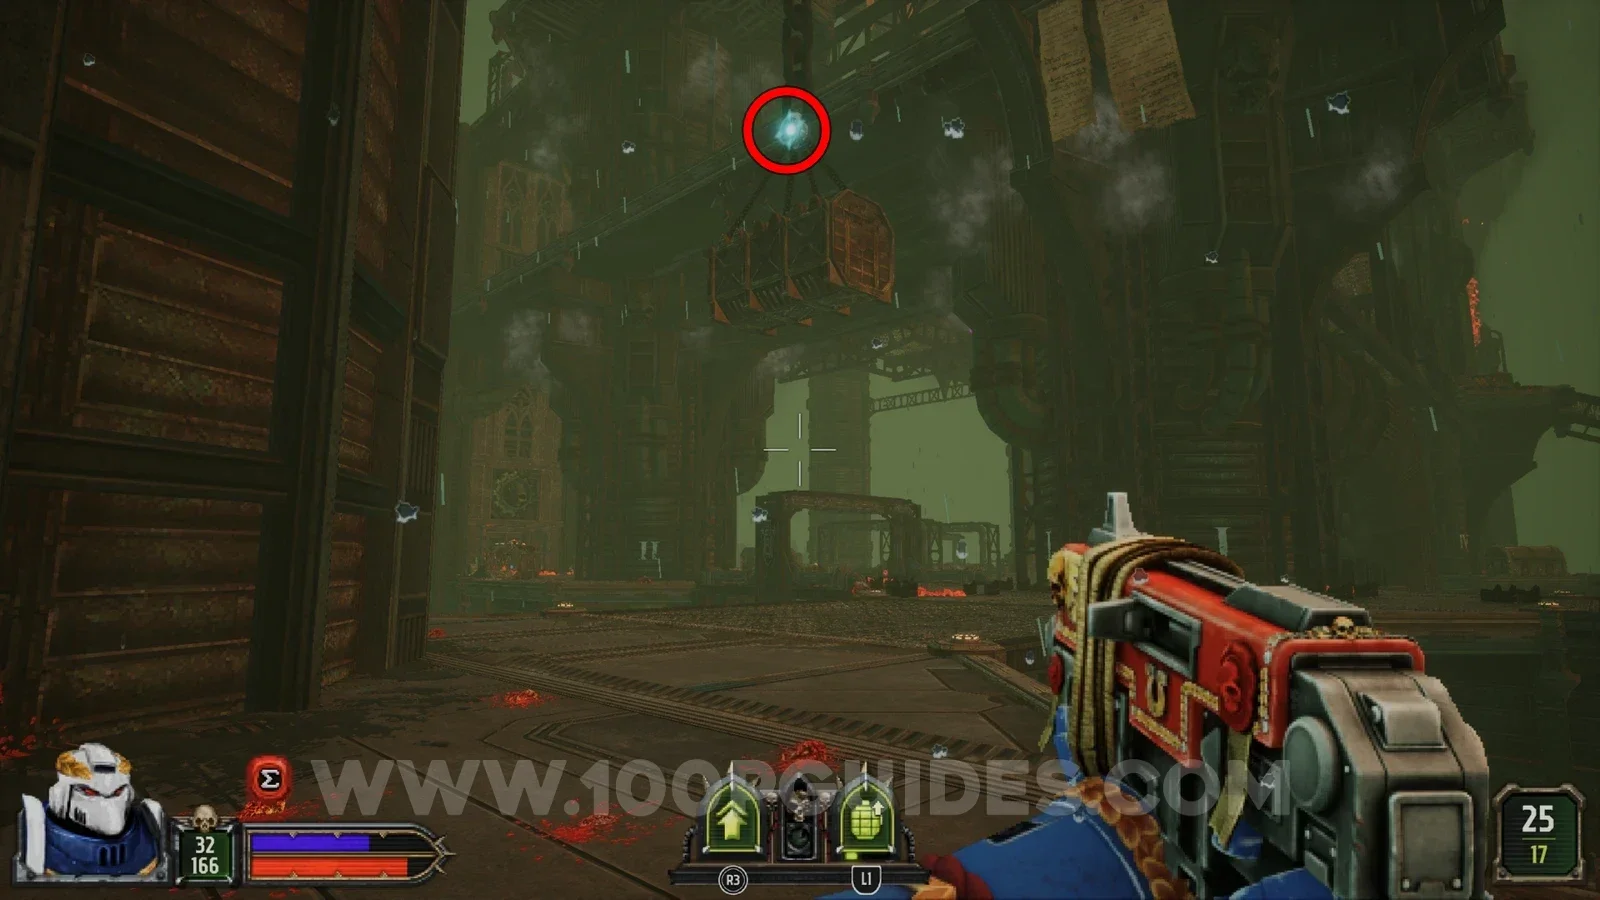
Secret 2/9
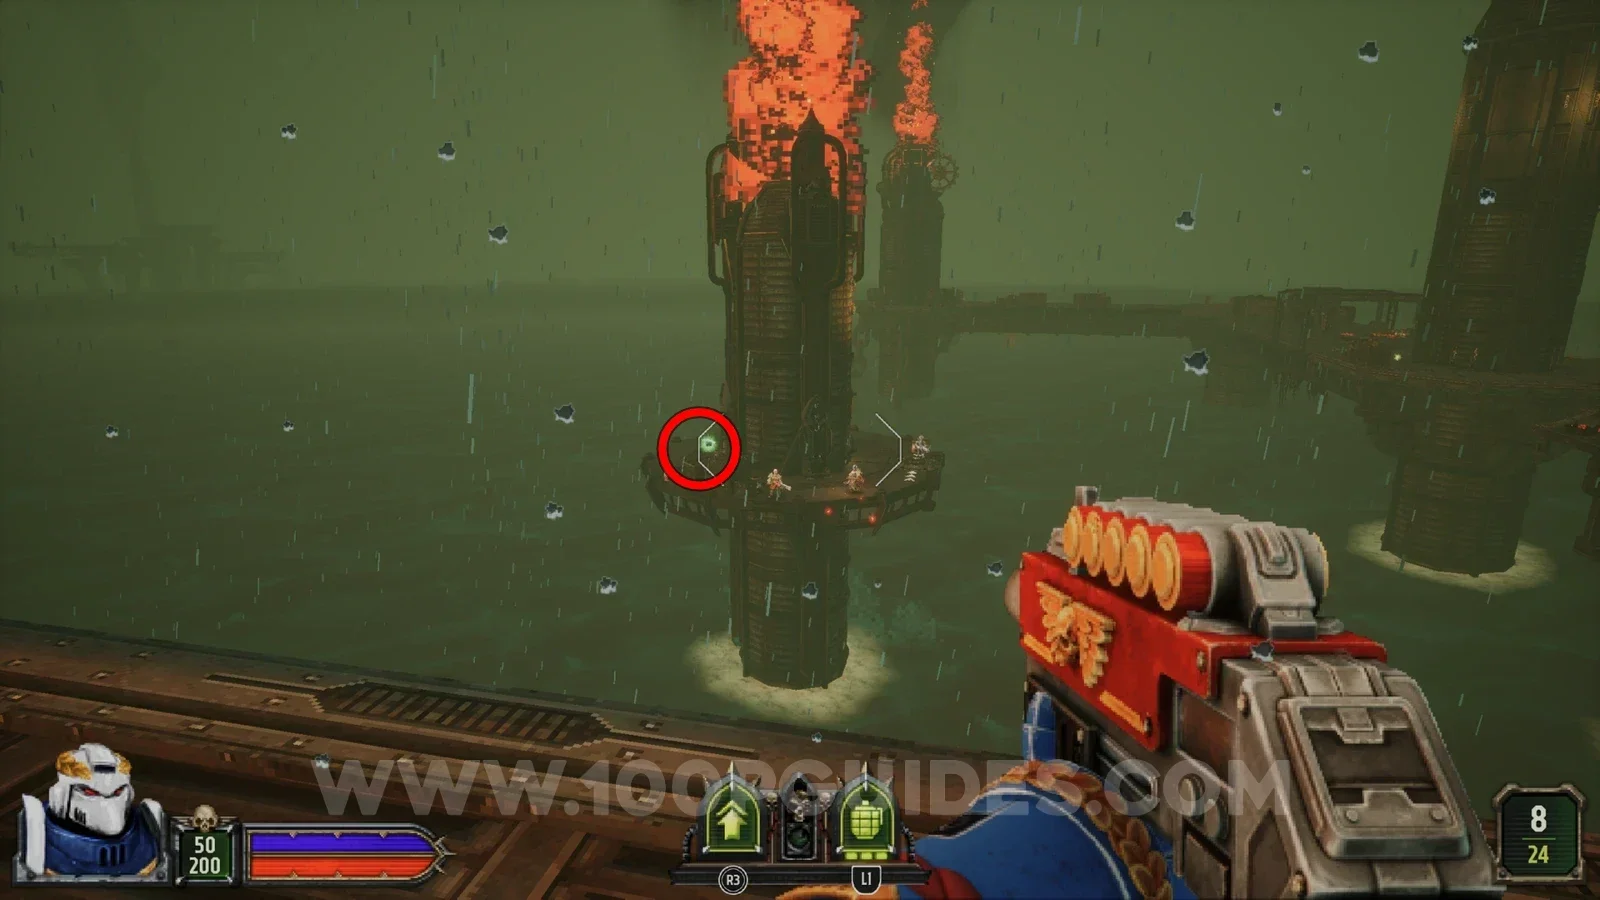
In the first area of the level, circle around and head up the ramp towards the red door. From there, press to dash towards the lone platform, where you will find the secret.
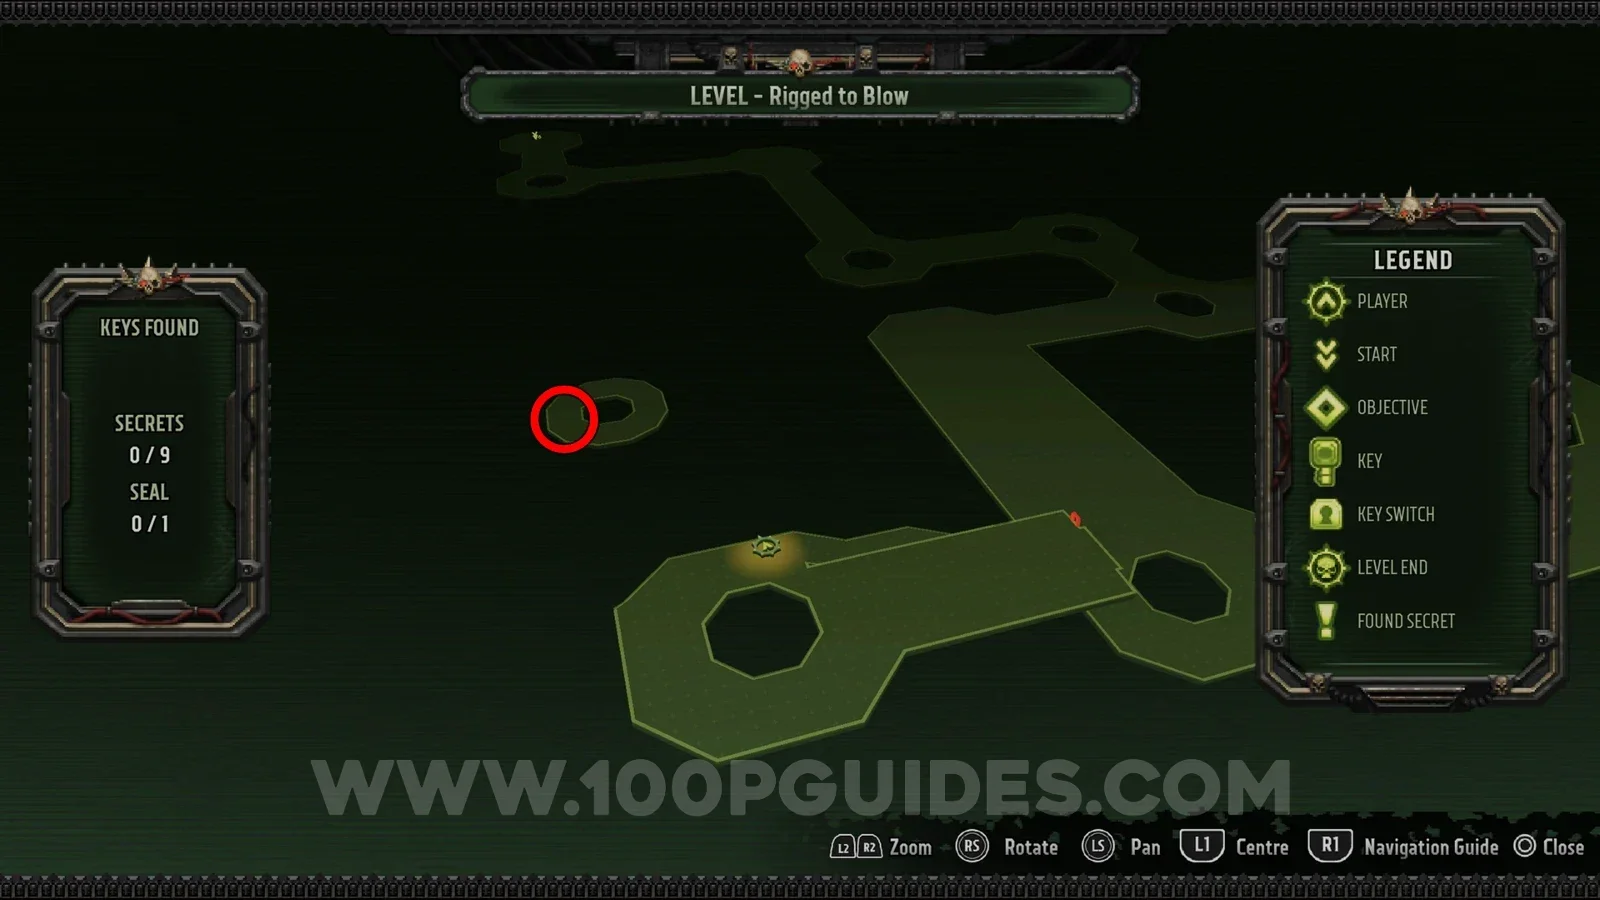
Secret 3/9
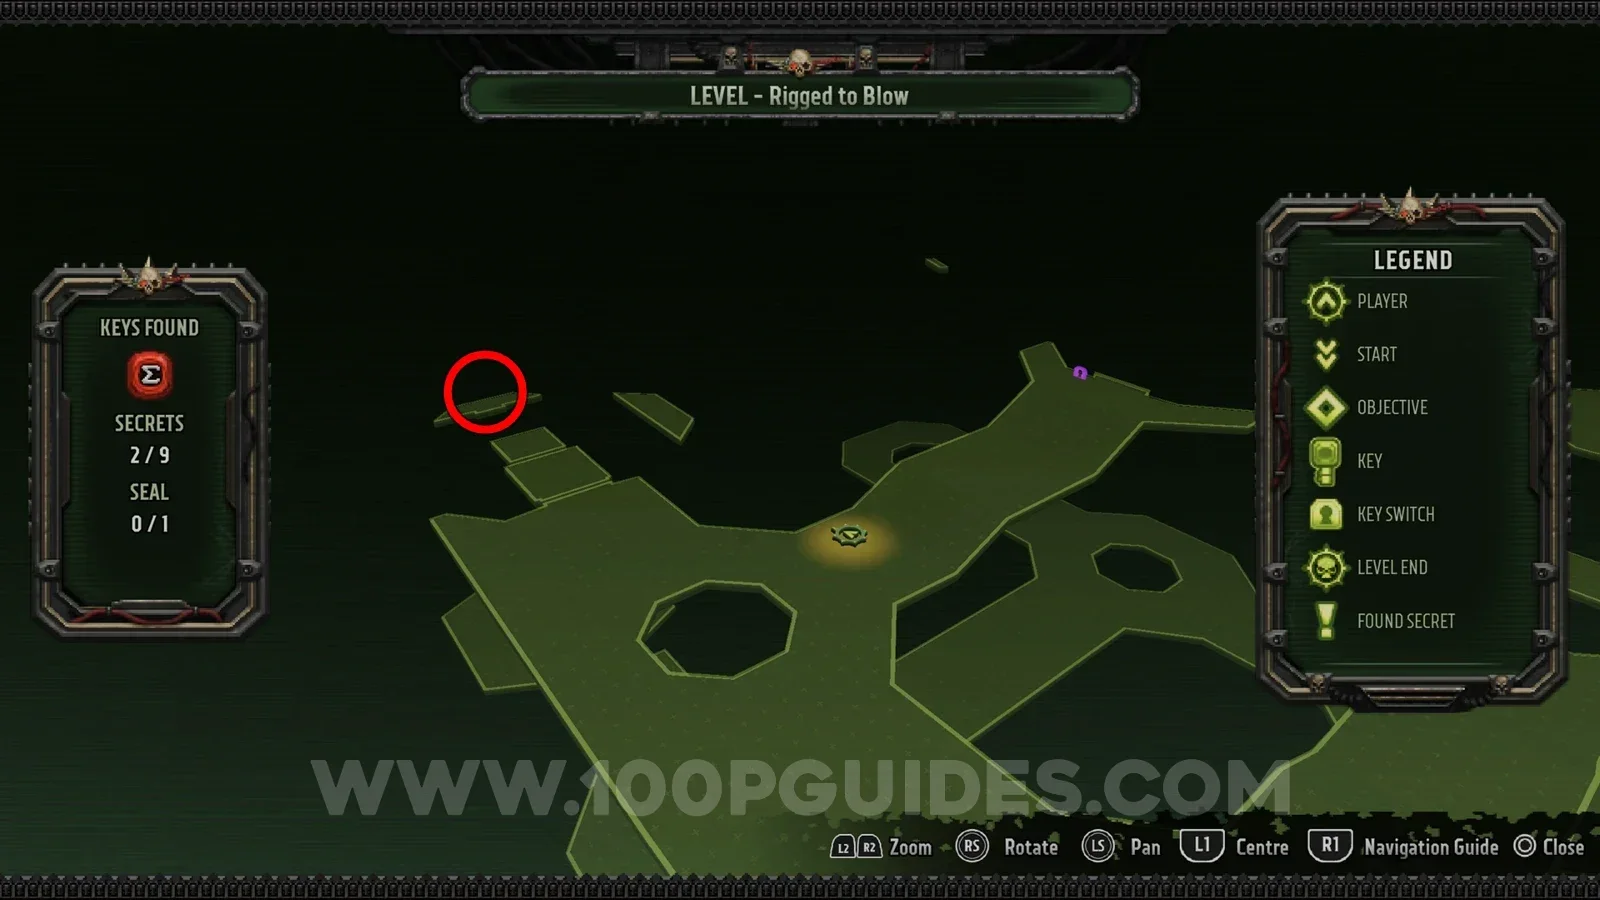
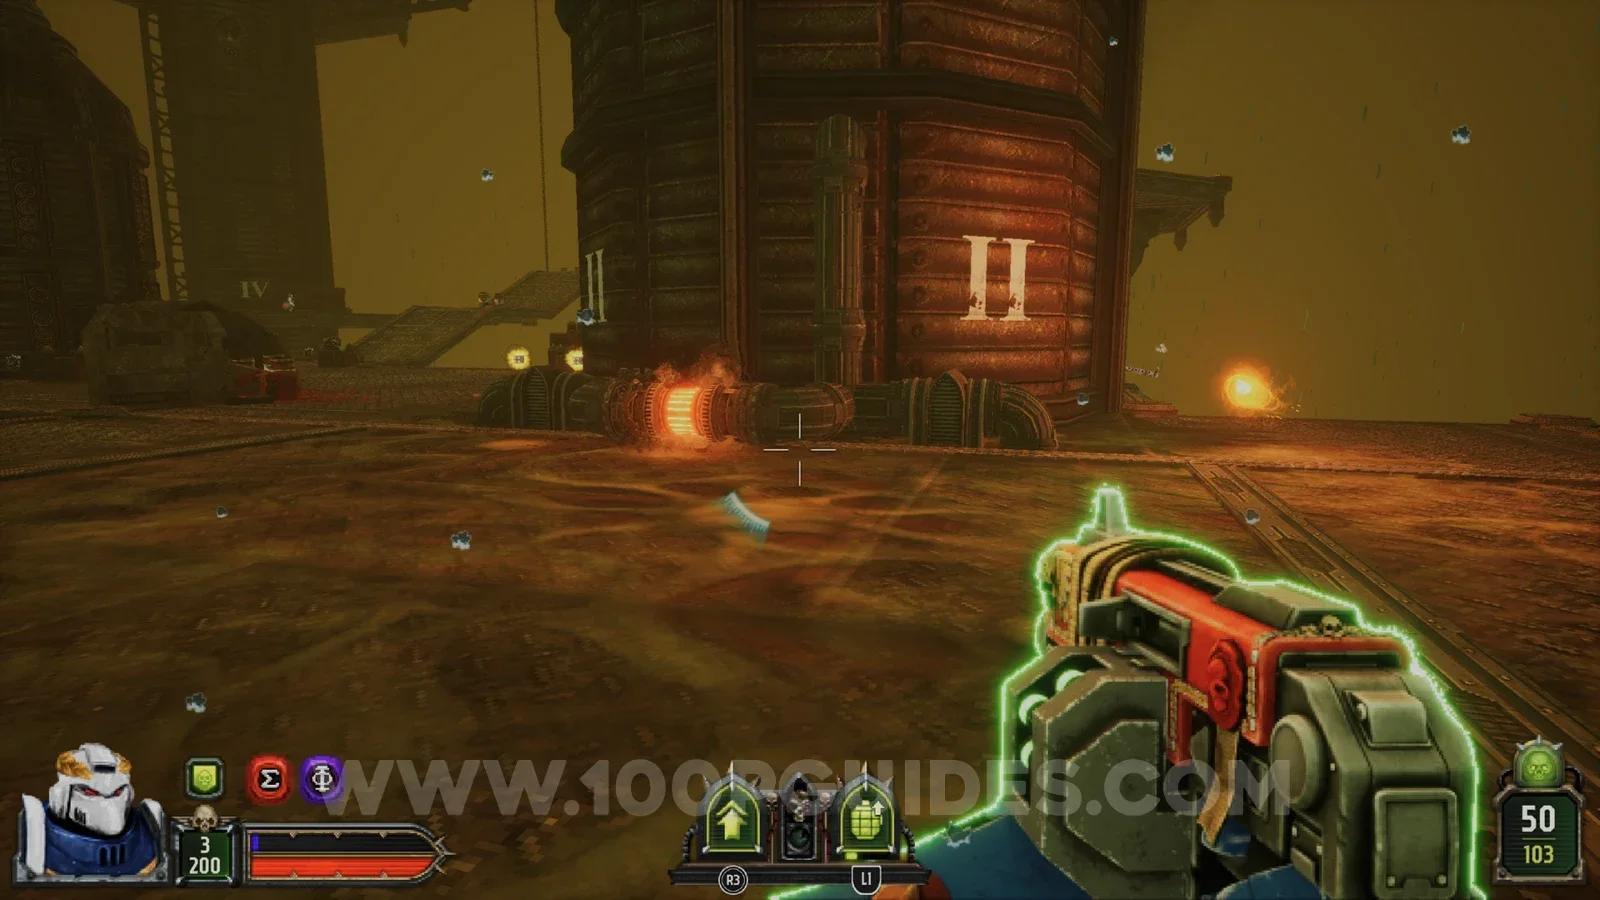
Jump around the right side of the building just before the purple door.
Seal 1/1
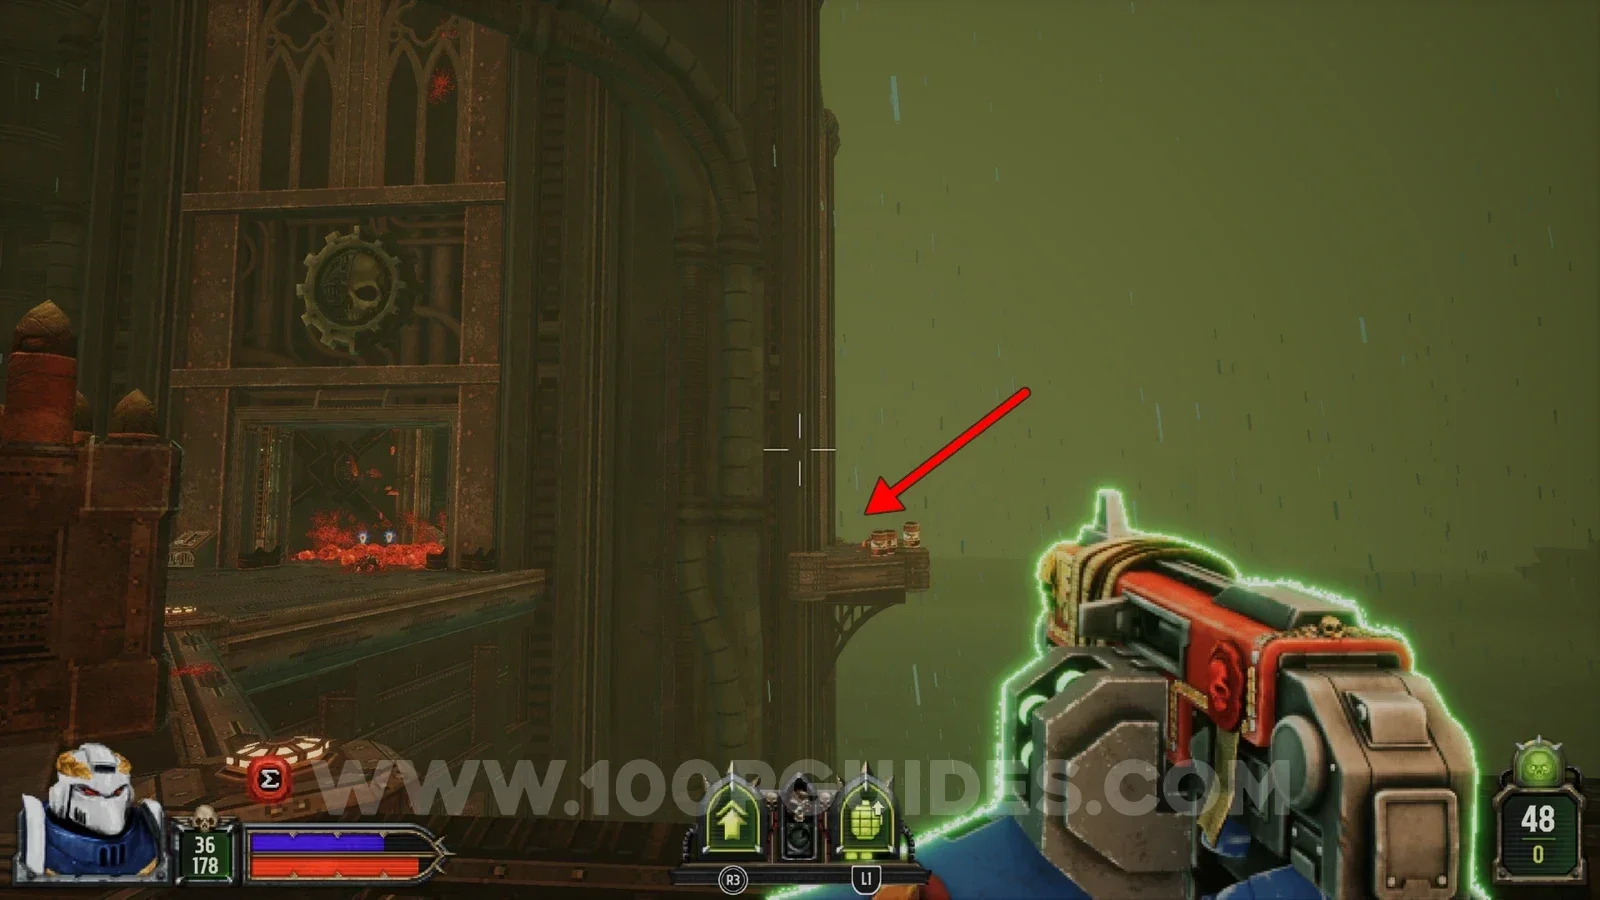
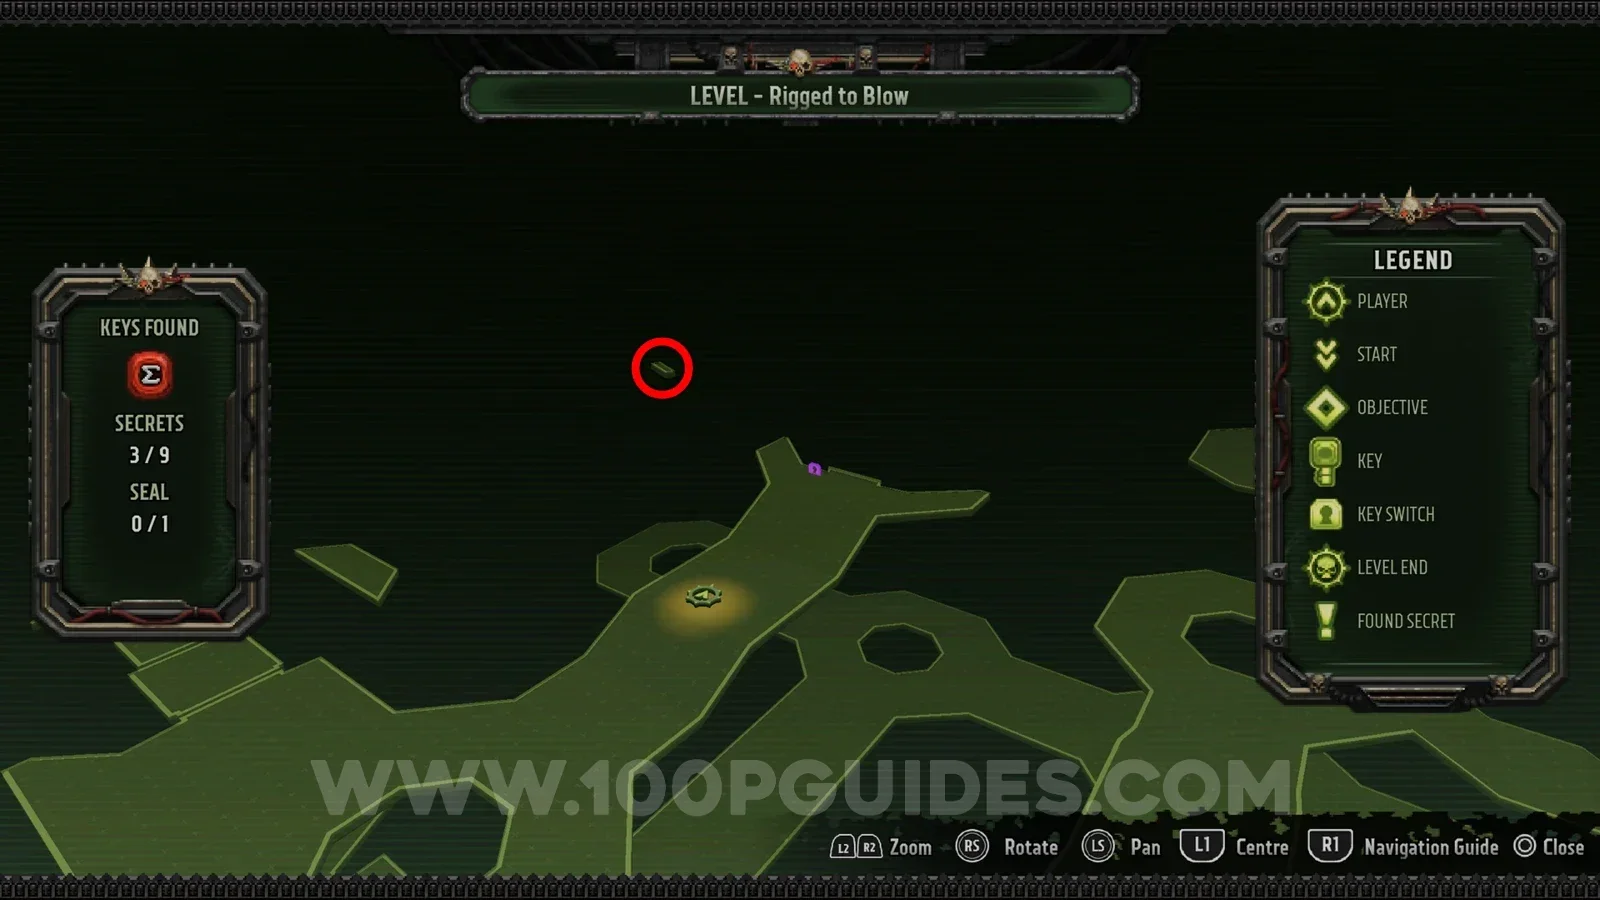
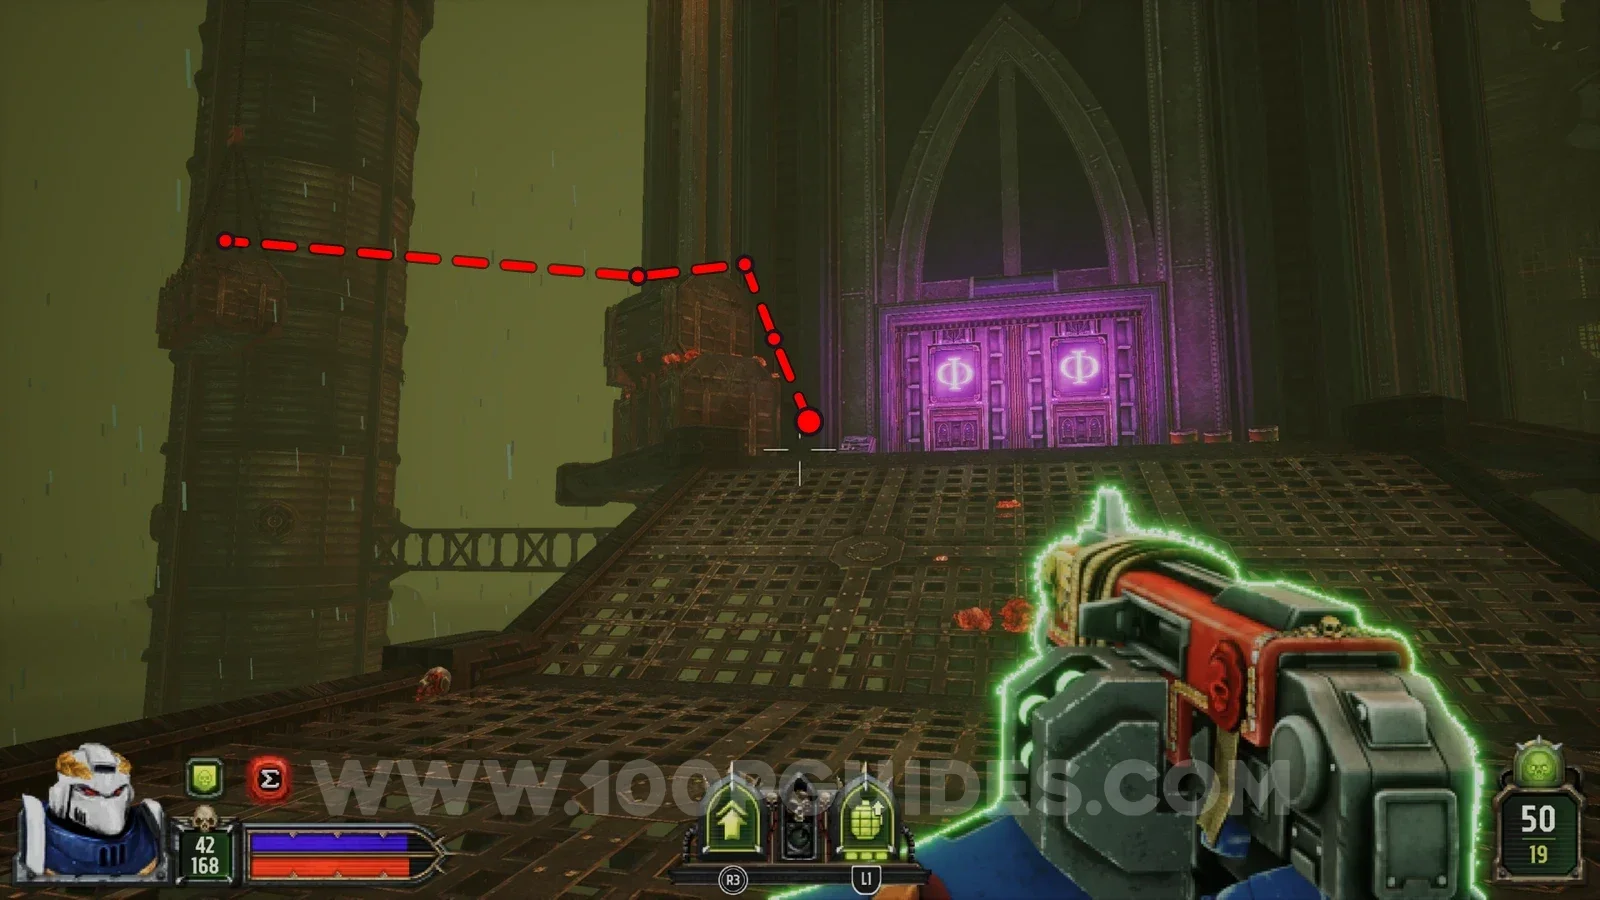
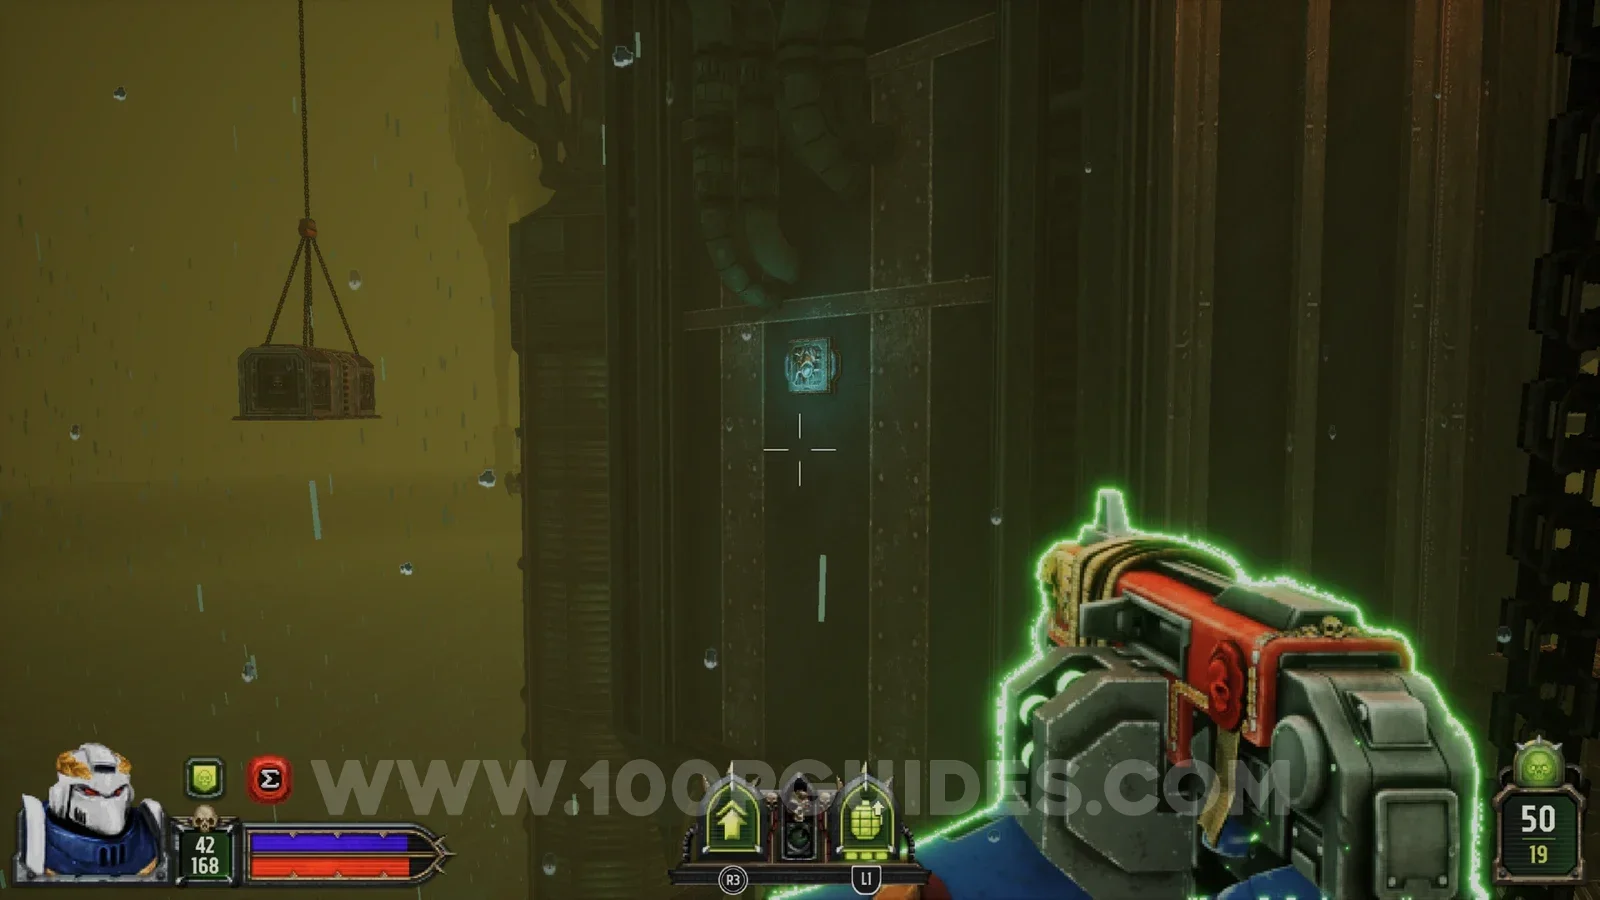
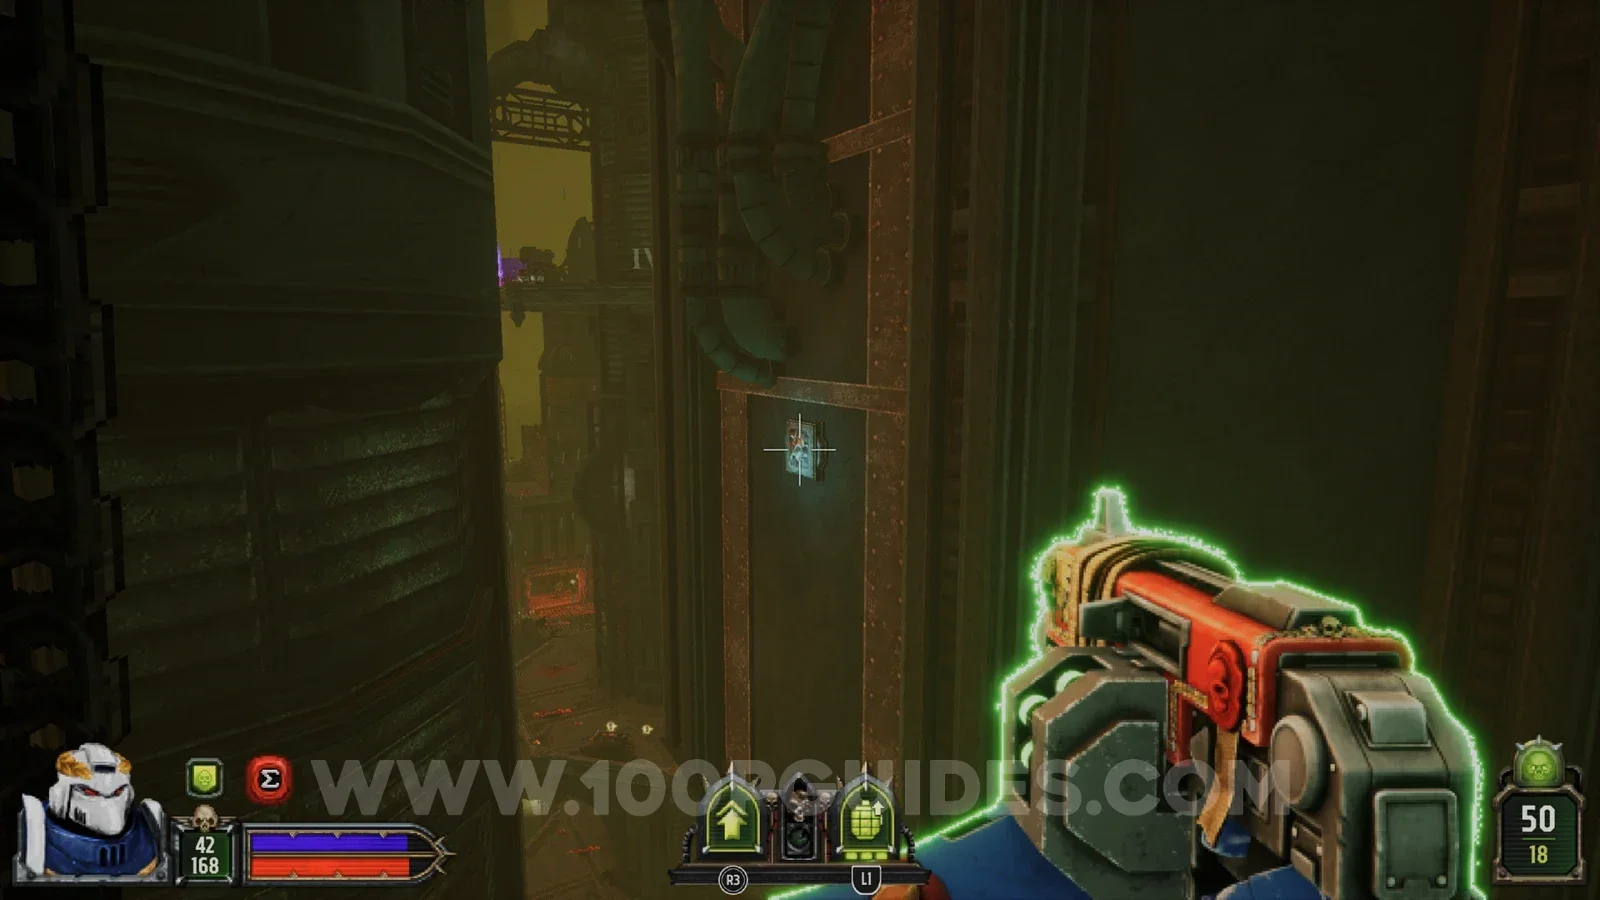
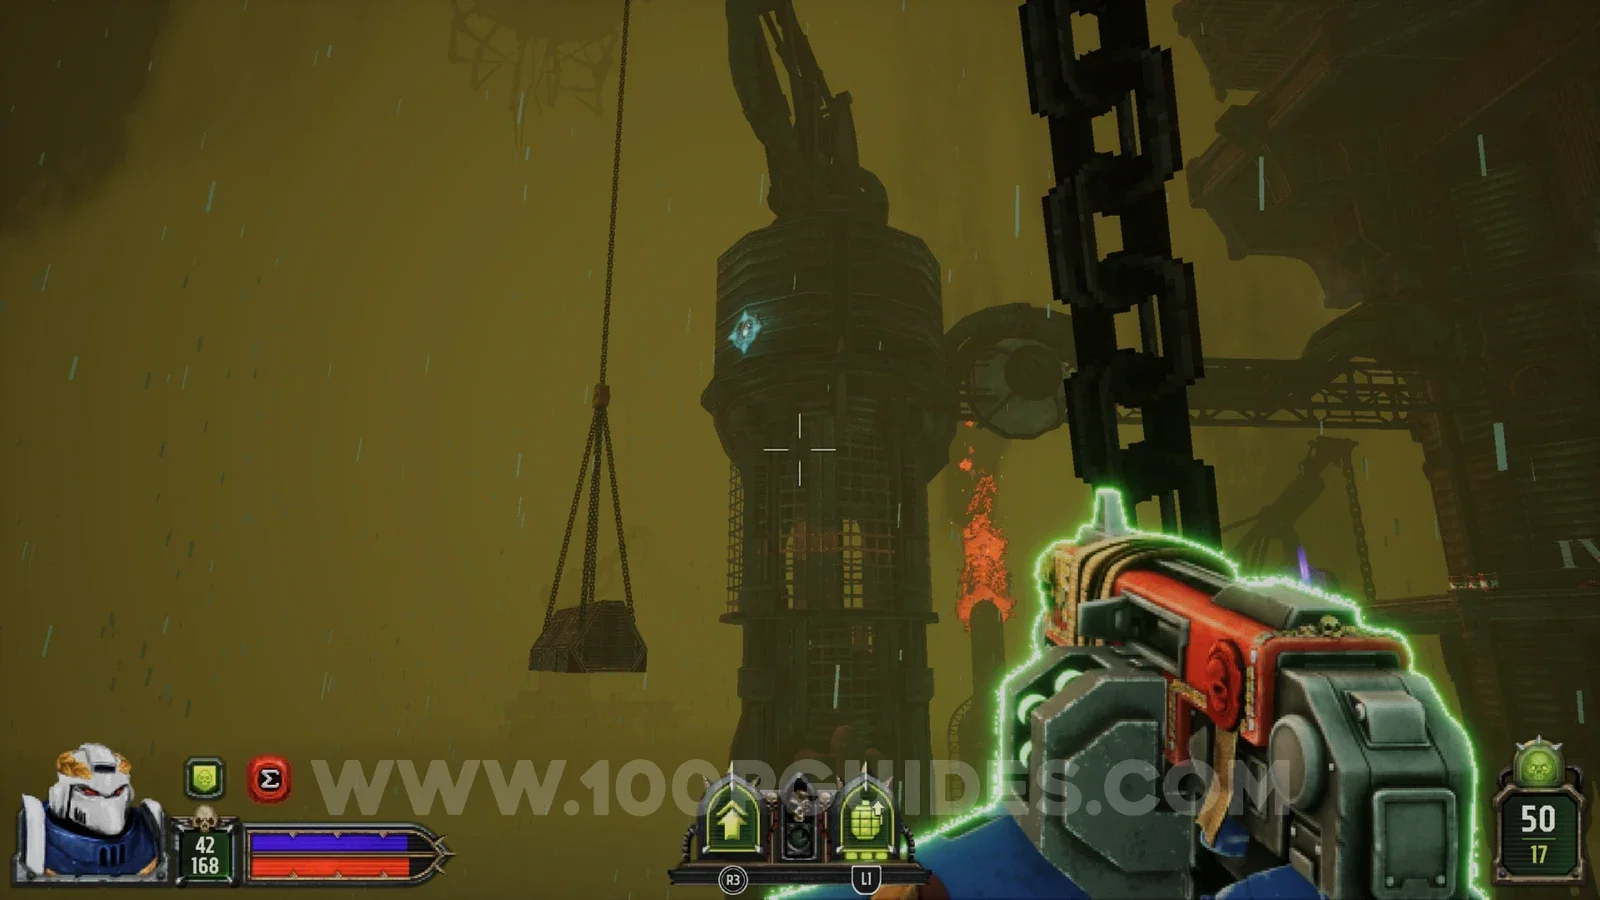
At the purple door, jump onto the container on the left, then hold to dash towards the hanging container and jump up to it in mid-air. From there, turn around and shoot the blue panel on the side of the structure to move the container towards another one. Jump onto that container and shoot another panel to move it towards a third container. To reach that one, dash with and jump in mid-air as you get to it. Finally, shoot the last panel and jump across to the lone platform to find the seal.
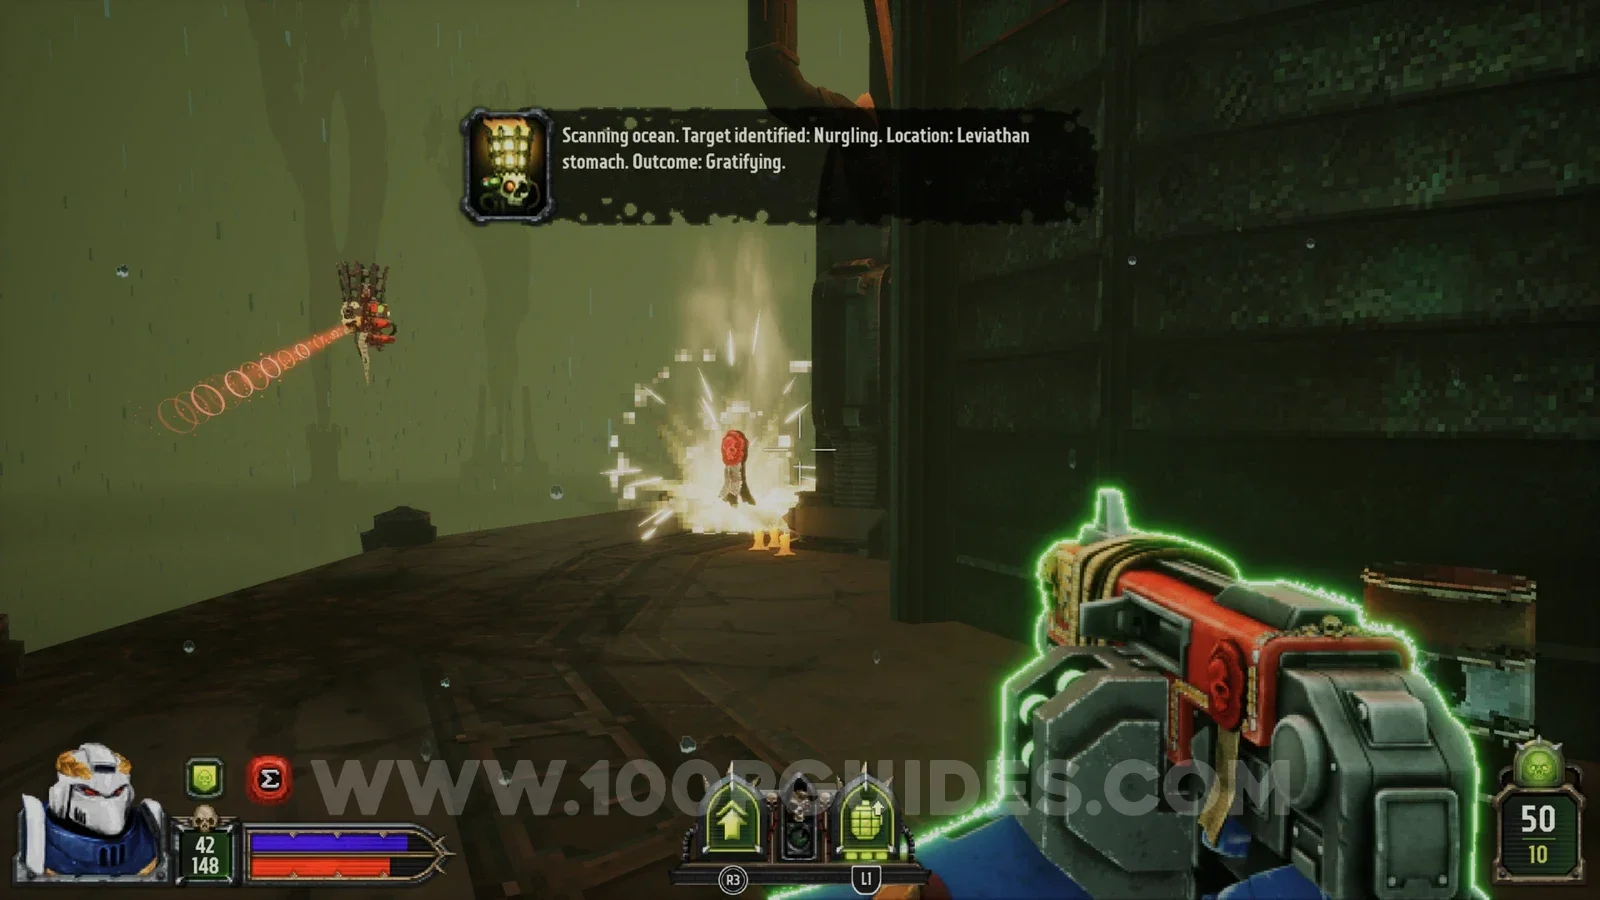
Secret 4/9
On your way to the purple key you ride a lift up. At the top, look over the right side of the platform to find a panel you can shoot. This brings around a container with the secret inside.
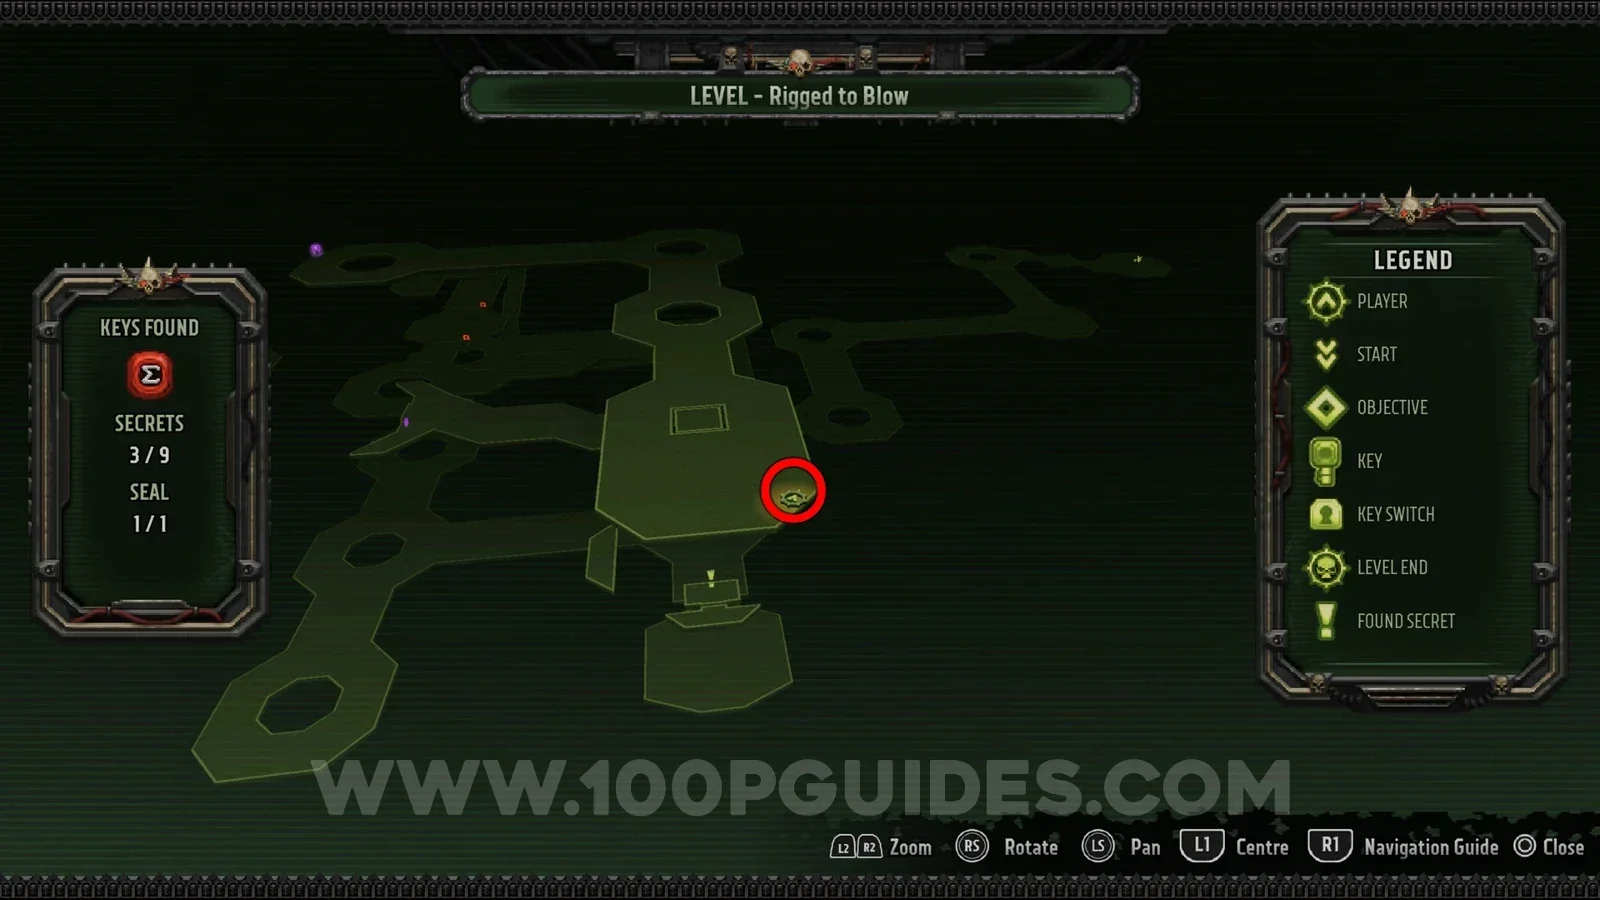
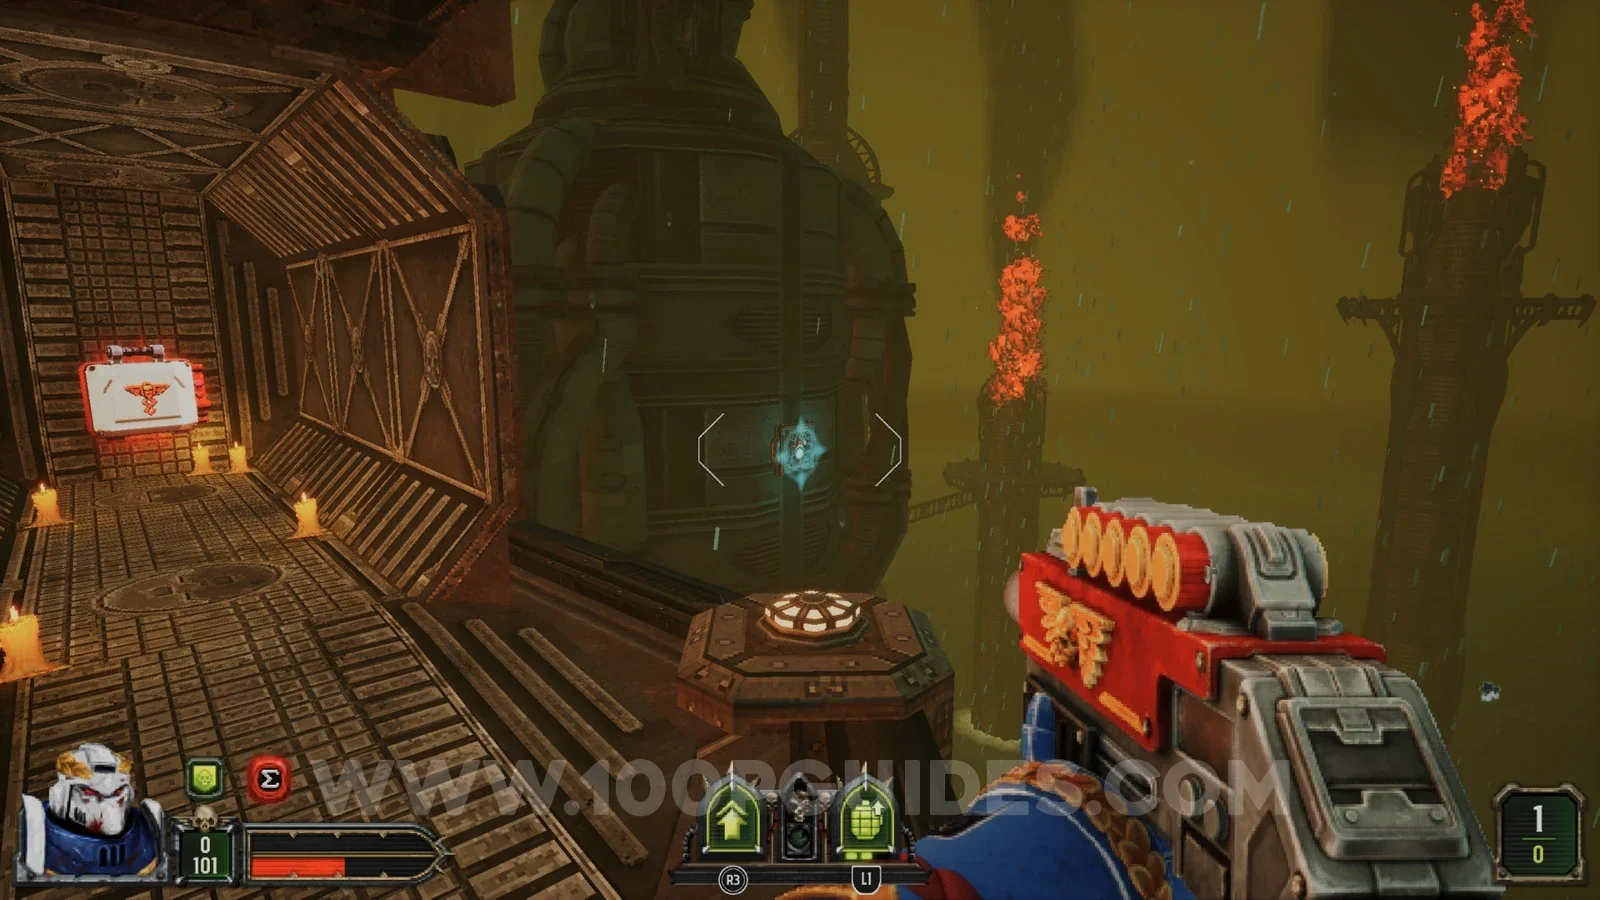
Secret 5/9
From the purple key, jump down onto the rooftop of the building below you on your right. Use the console there to open the door and head inside for the secret.
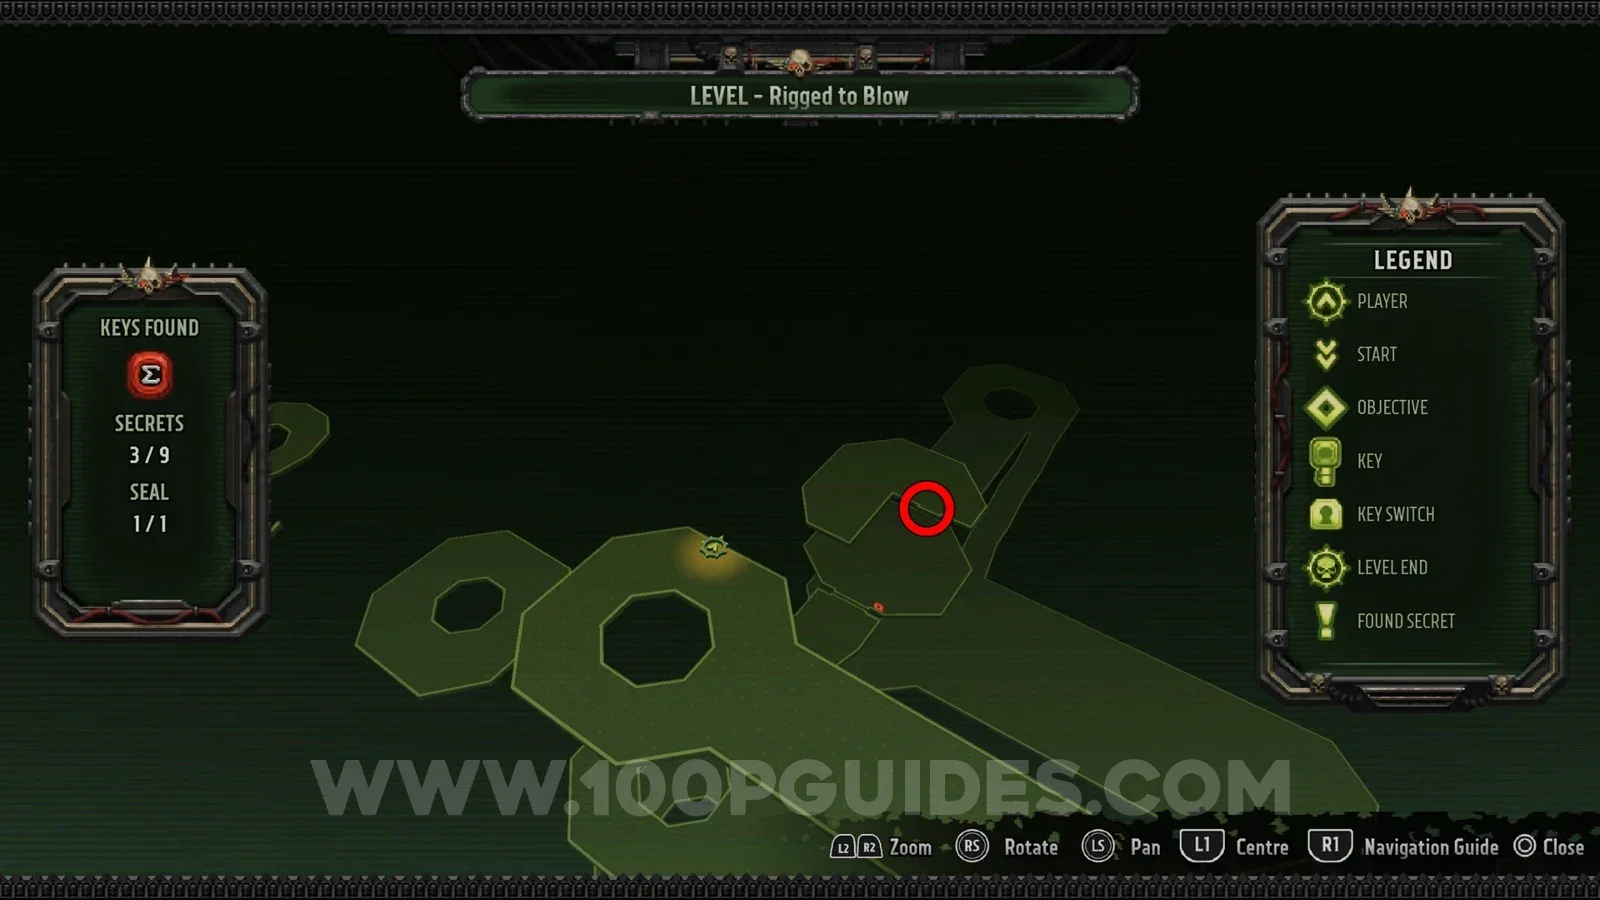
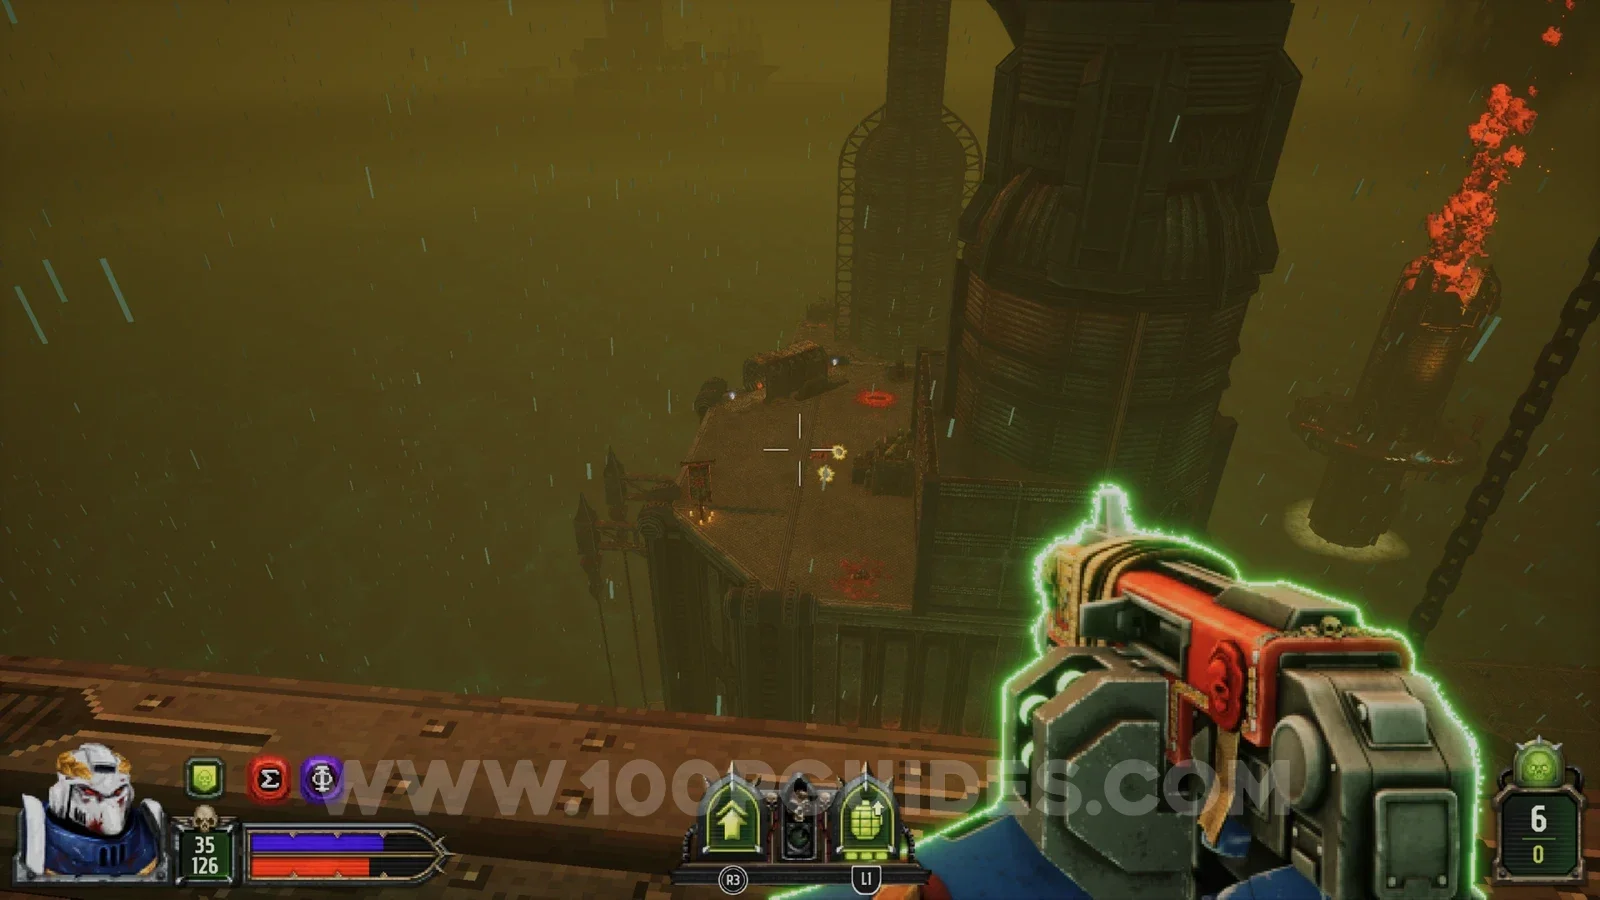
Secret 6/9
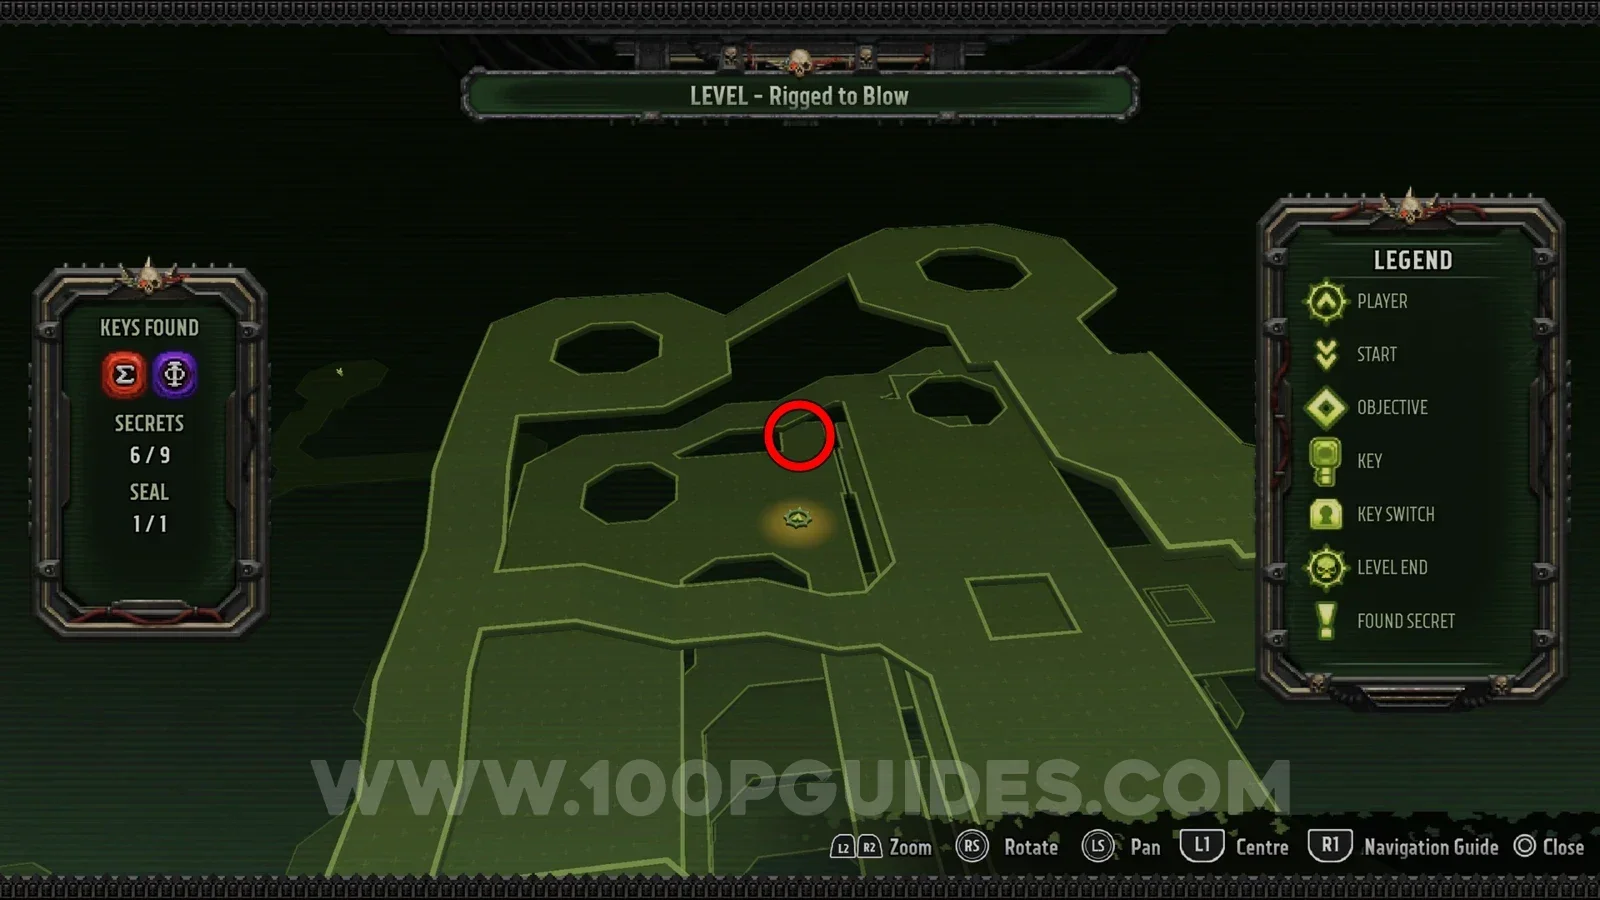
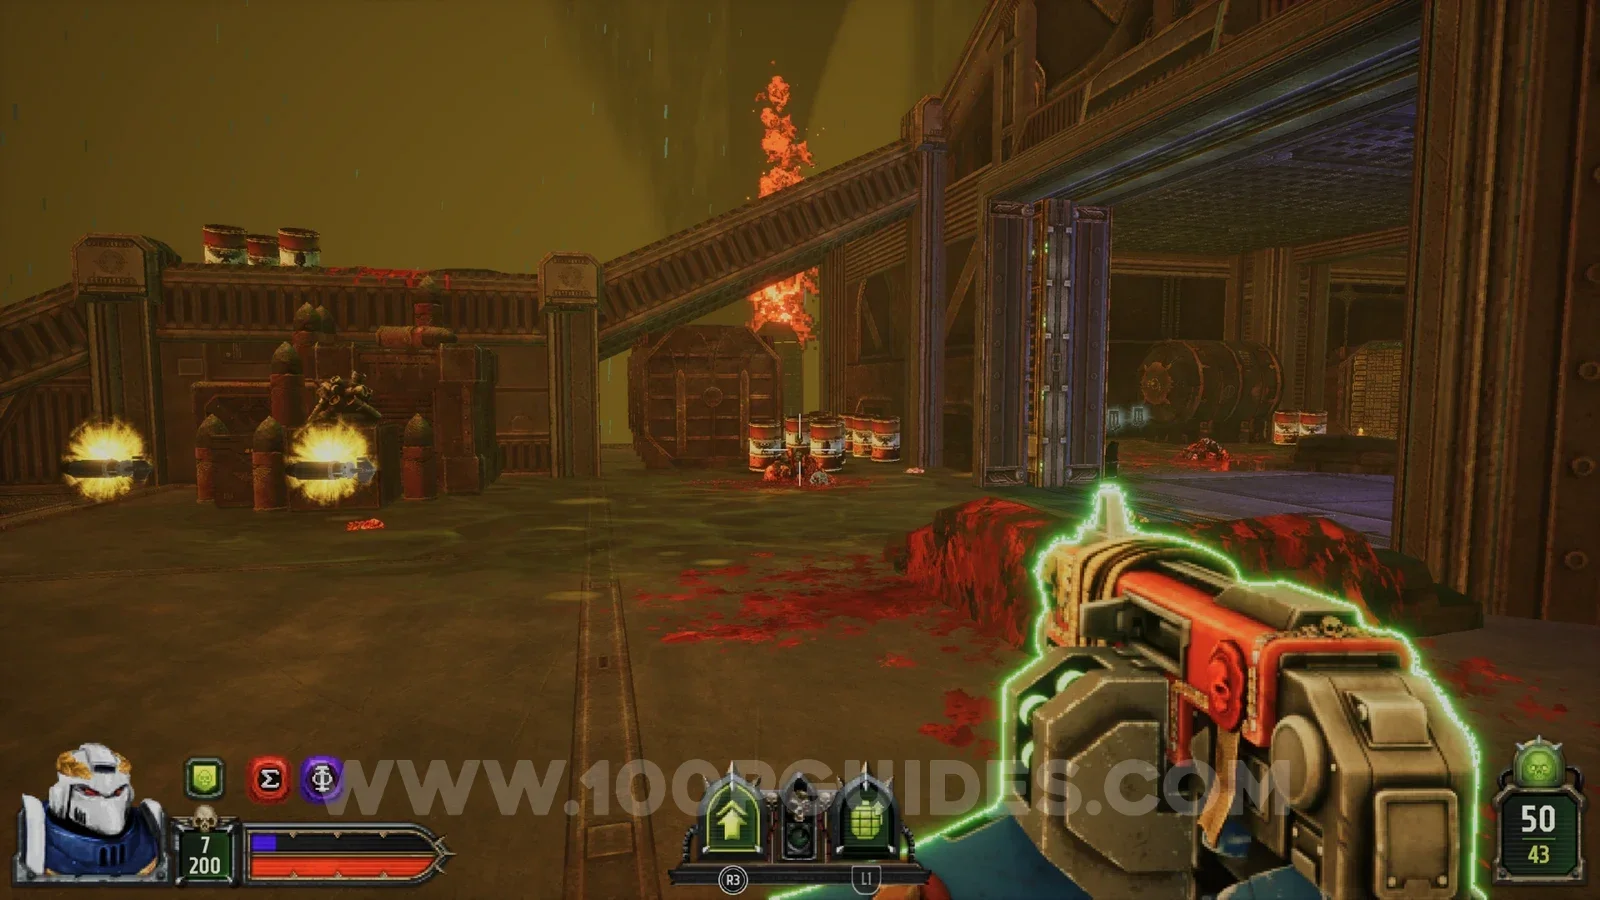
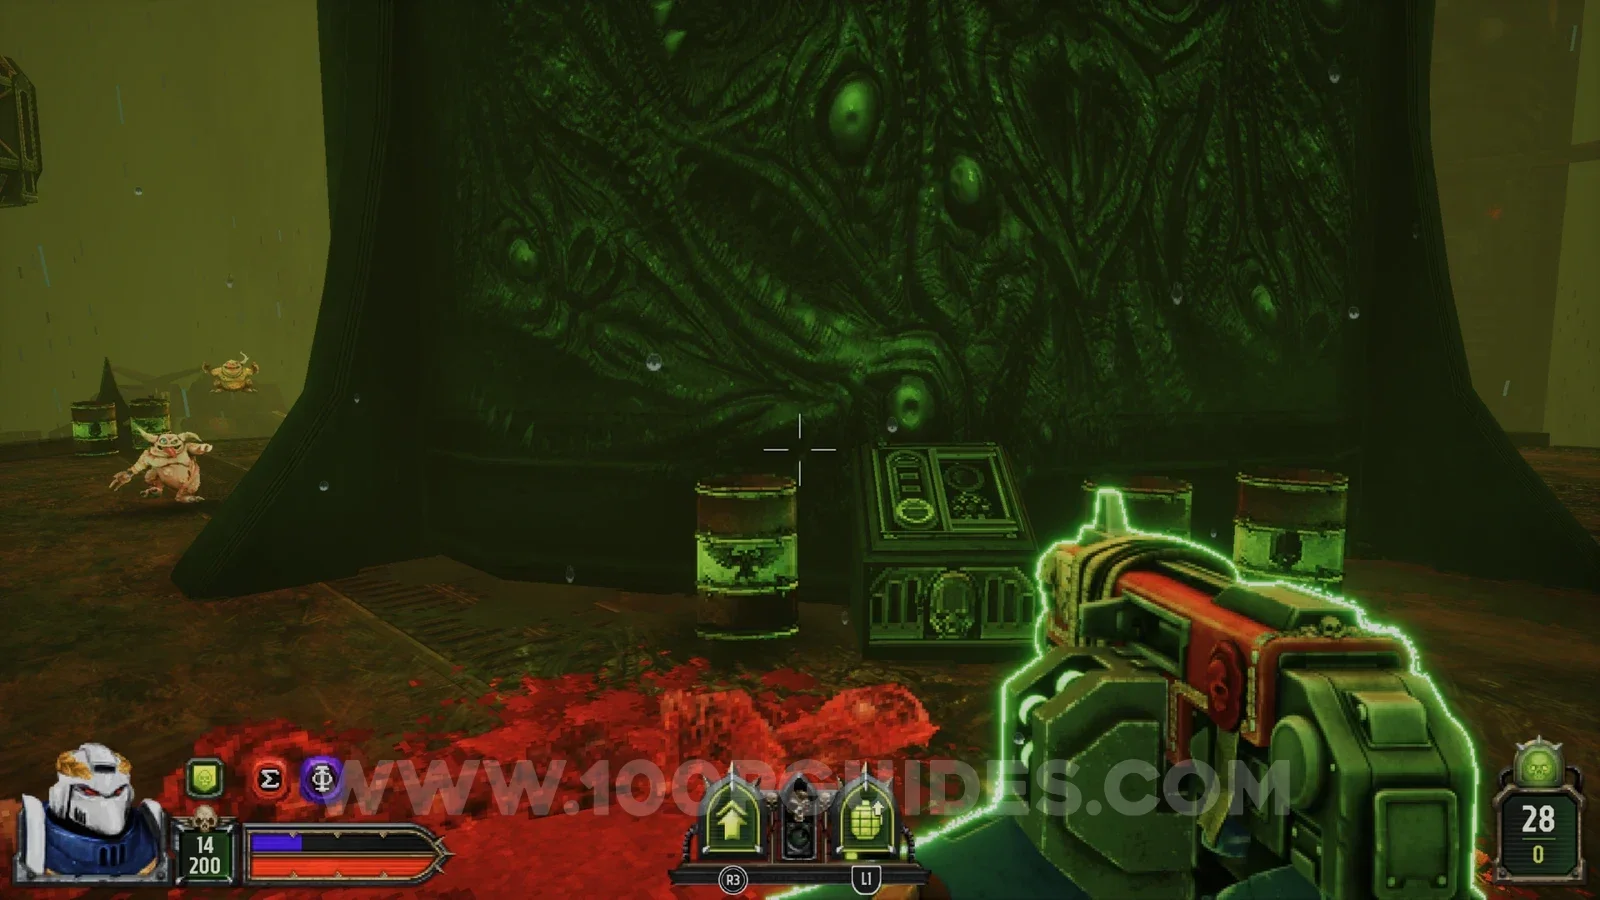
Open the purple door and ride the lift up. At the top, head outside and you will see a ramp going up to the next floor. The secret is inside the container under the ramp, next to the explosive barrels.
Secret 7/9
Head up the ramp above the previous secret. At the top, go around the back of the circular structure and destroy the node on the pipe to reveal a hole with the secret in it.
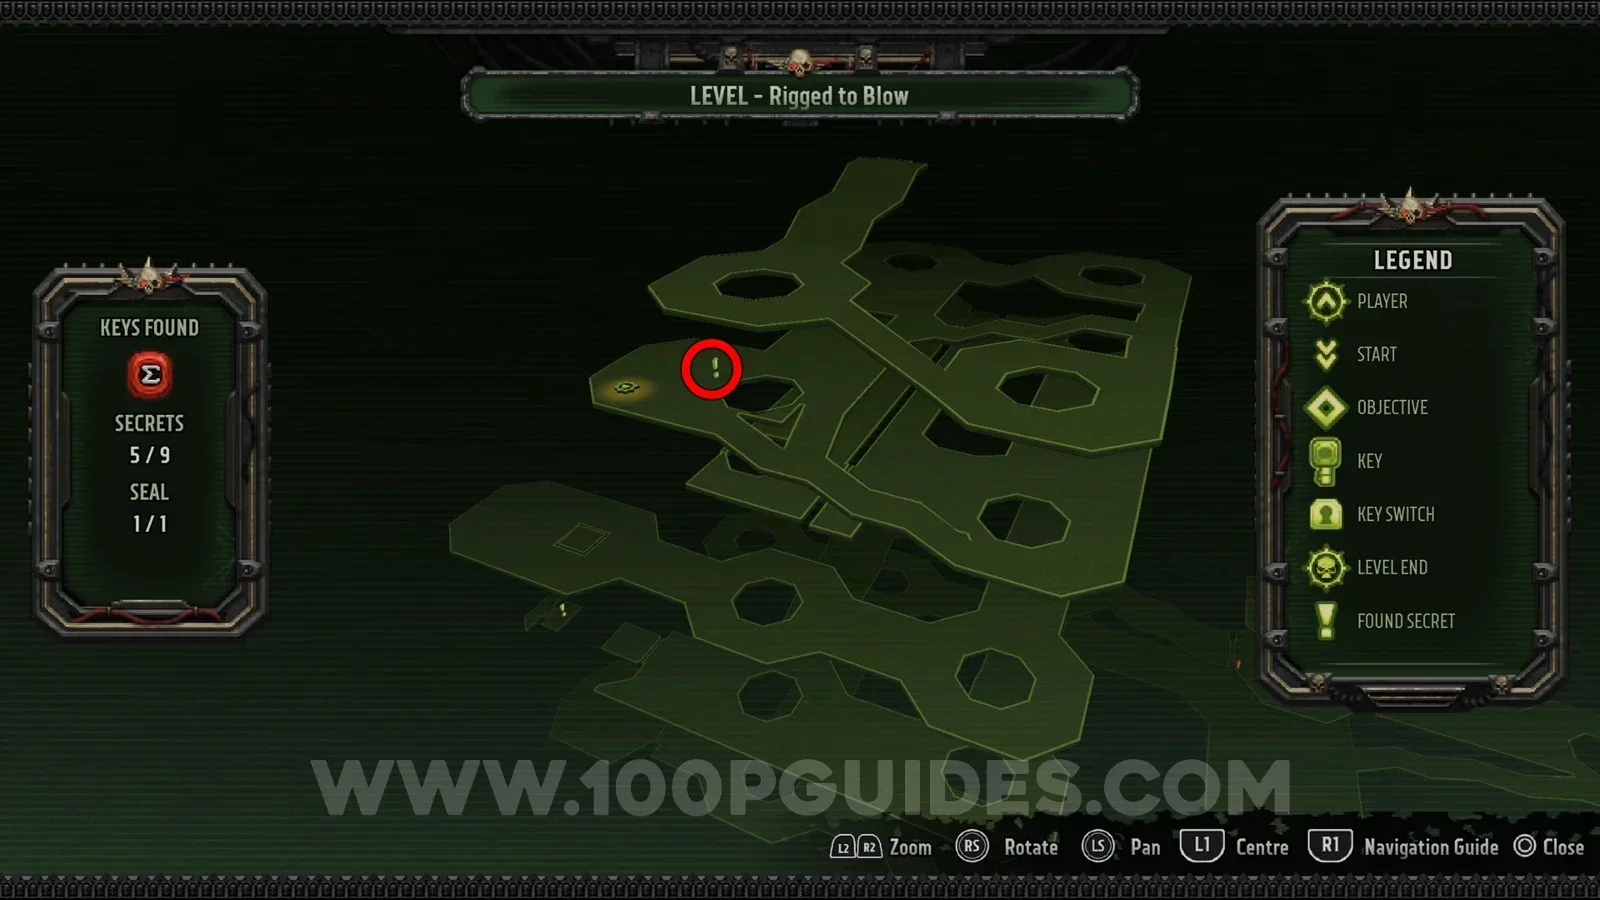
Secret 8/9
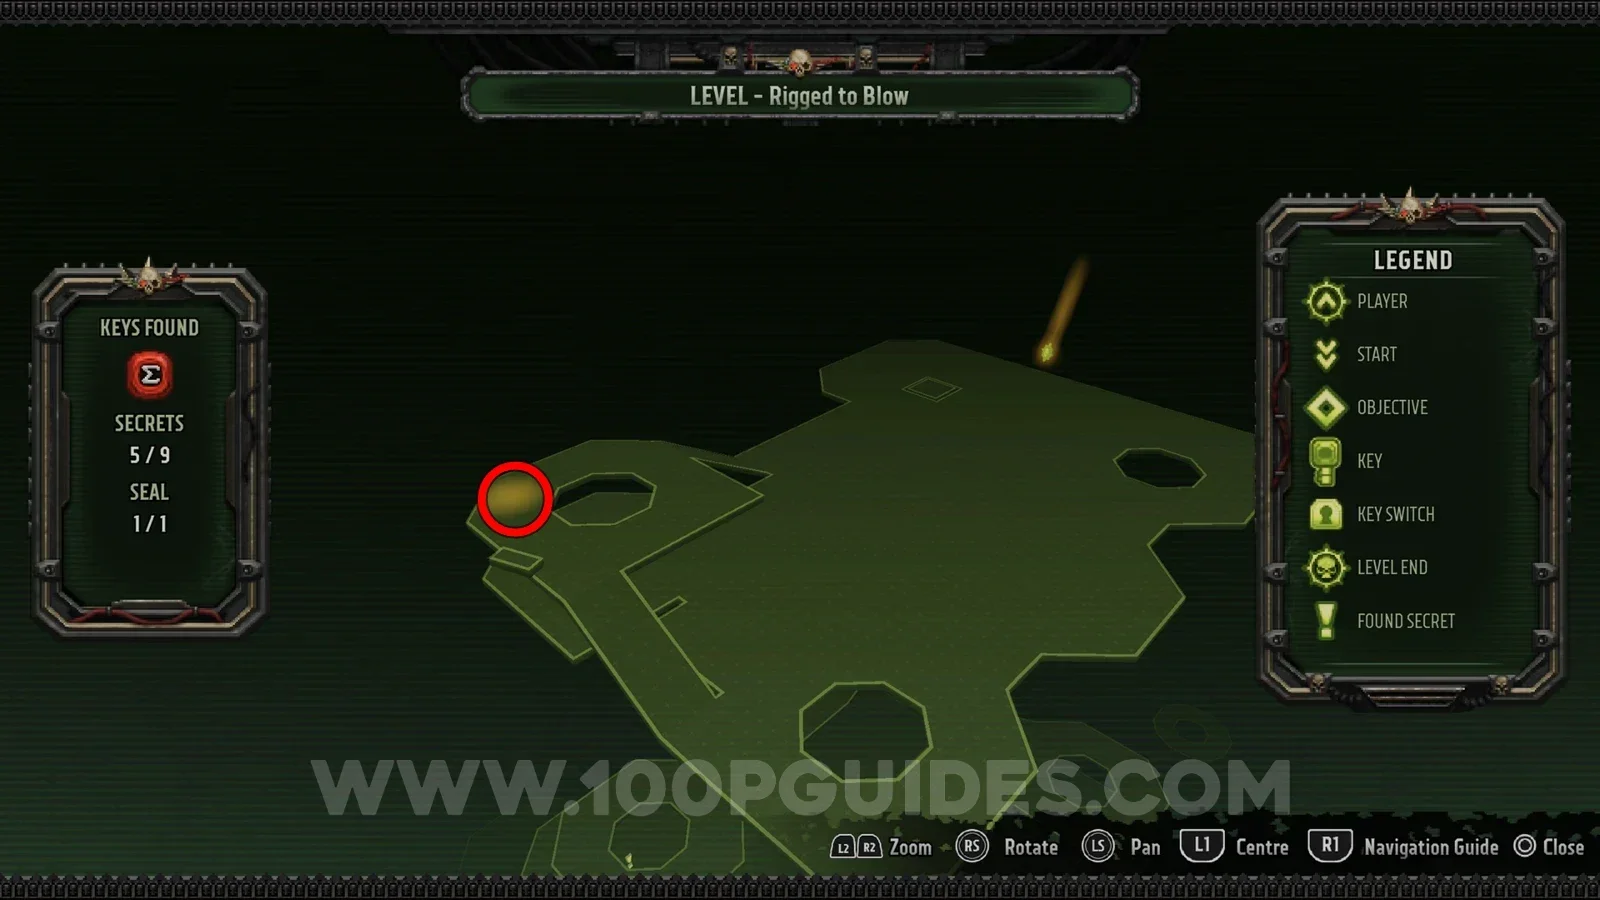
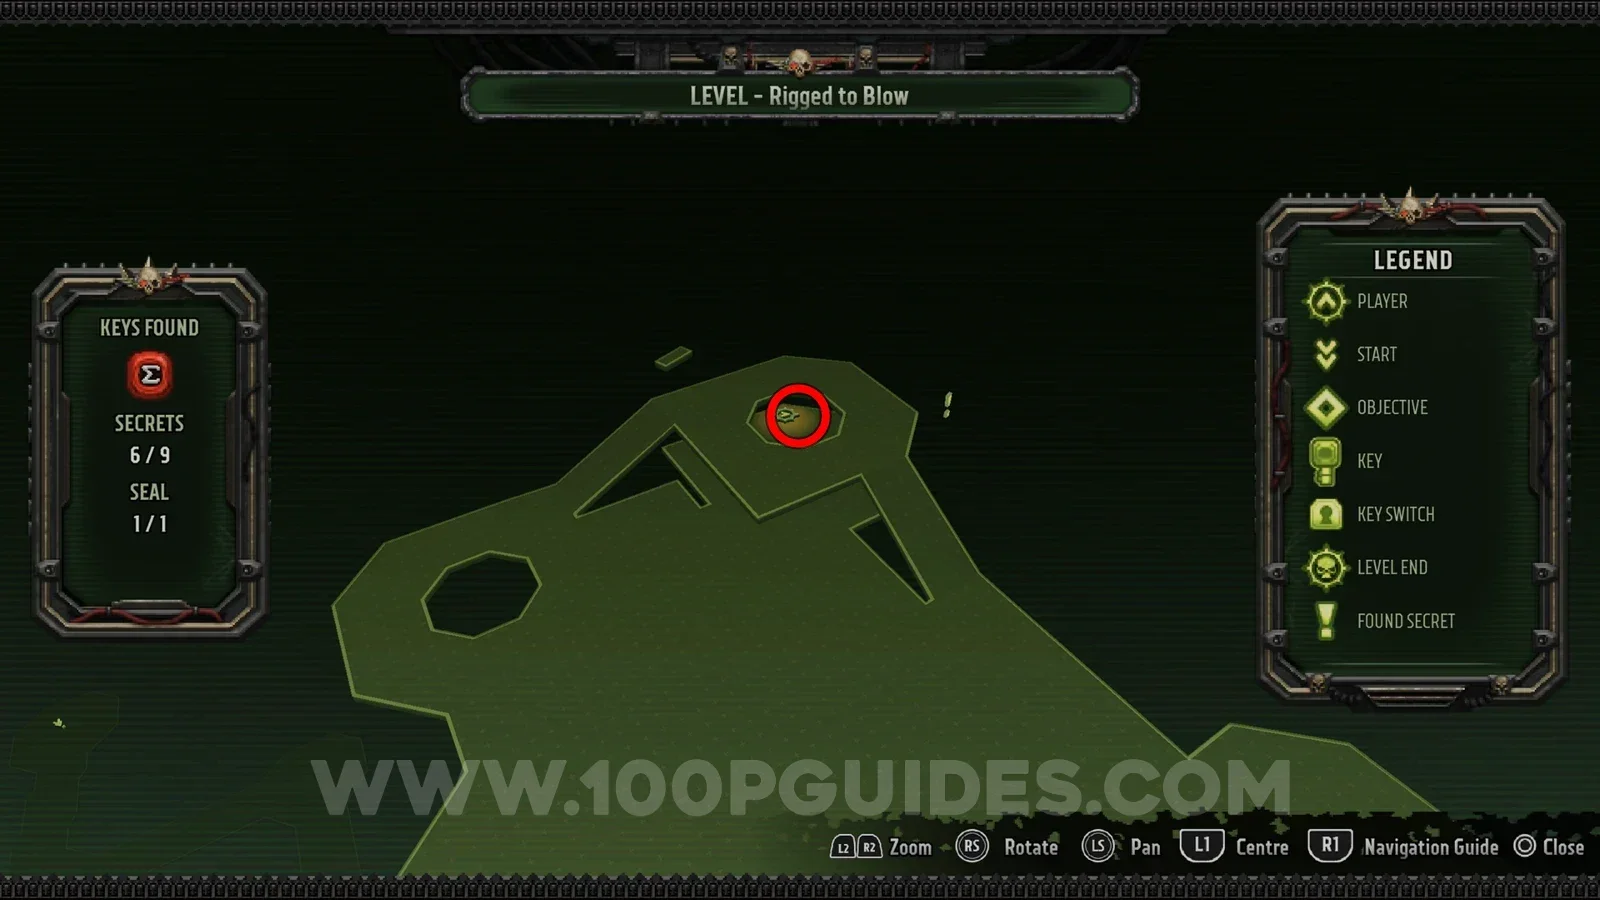
At the very top of the level, where you fight the boss, head up to the circular structure in the corner and press the console behind it. This brings the hanging container around so you can jump to it.
Secret 9/9
Inside a container in the building under the previous secret.
Crucible
Secret 1/7
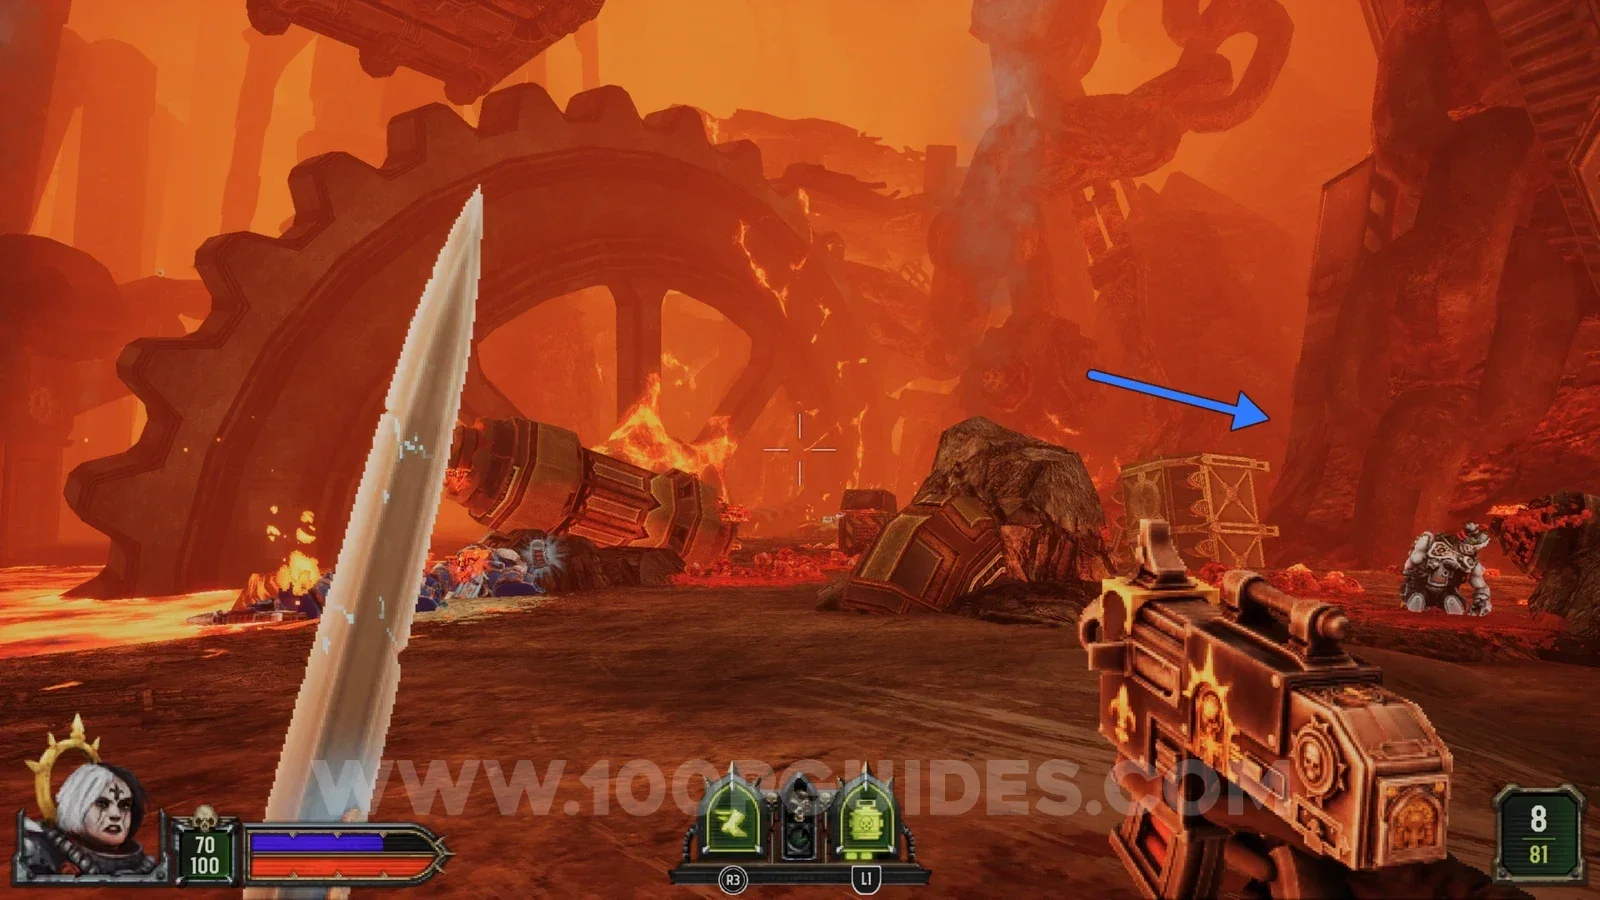
After dropping down to the lava area and going through the first metal structure you will see a giant cog in the lava. Just before you go through it, head right to find the secret.
Secret 2/7
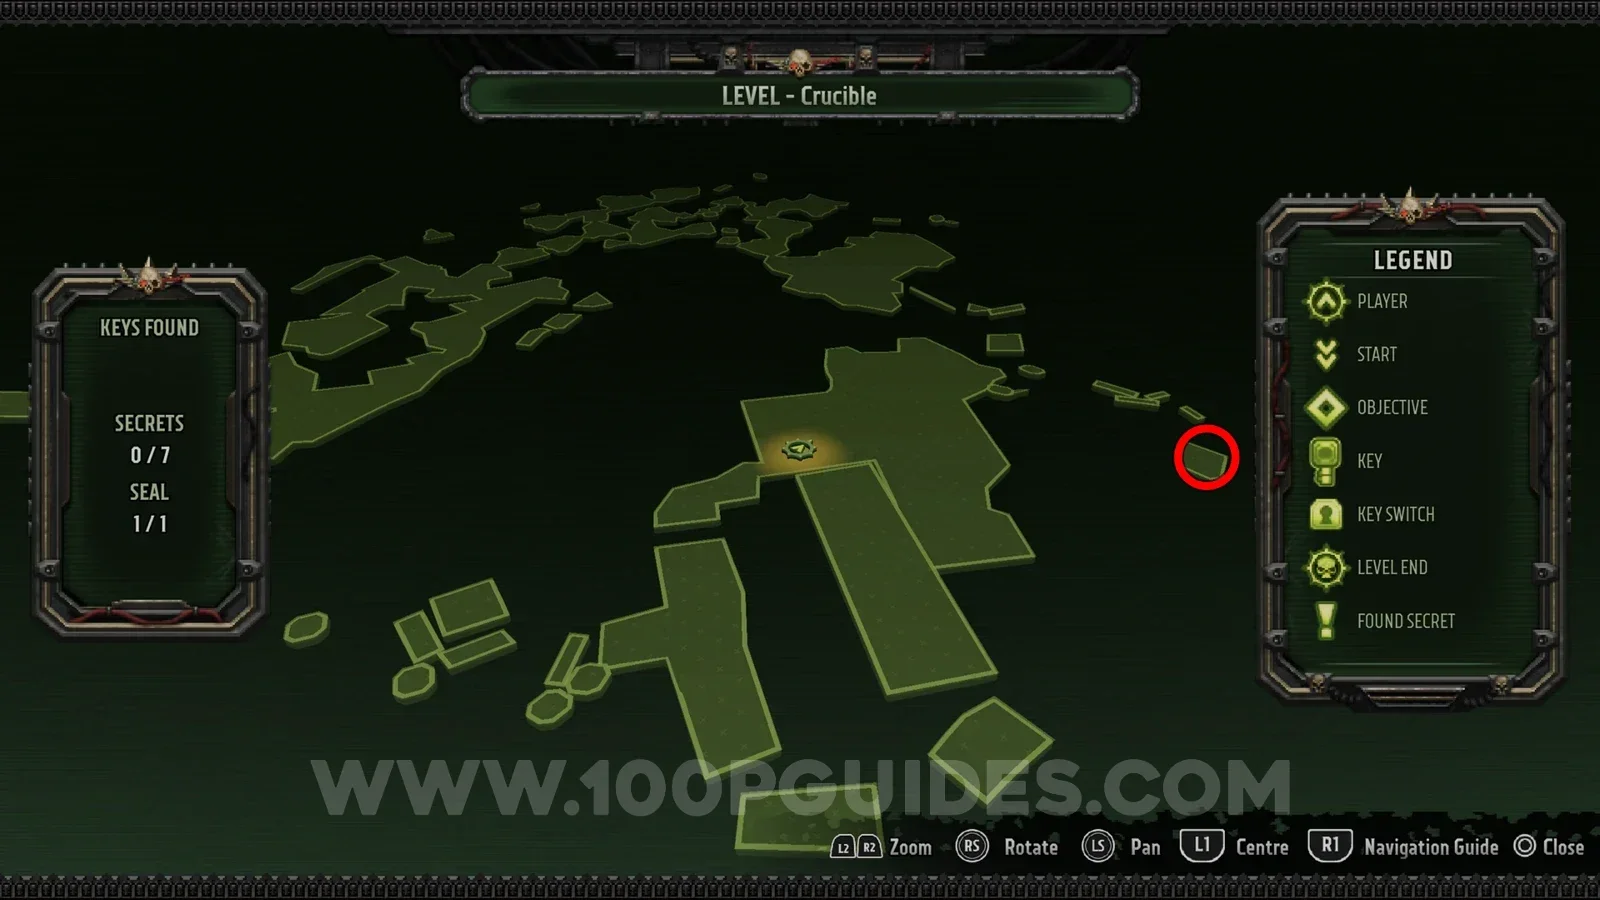
After defeating the first few enemies you reach an area with lots of metal columns in your path. Look for an open, upright container in the lava on your right. Jump inside to find the secret.
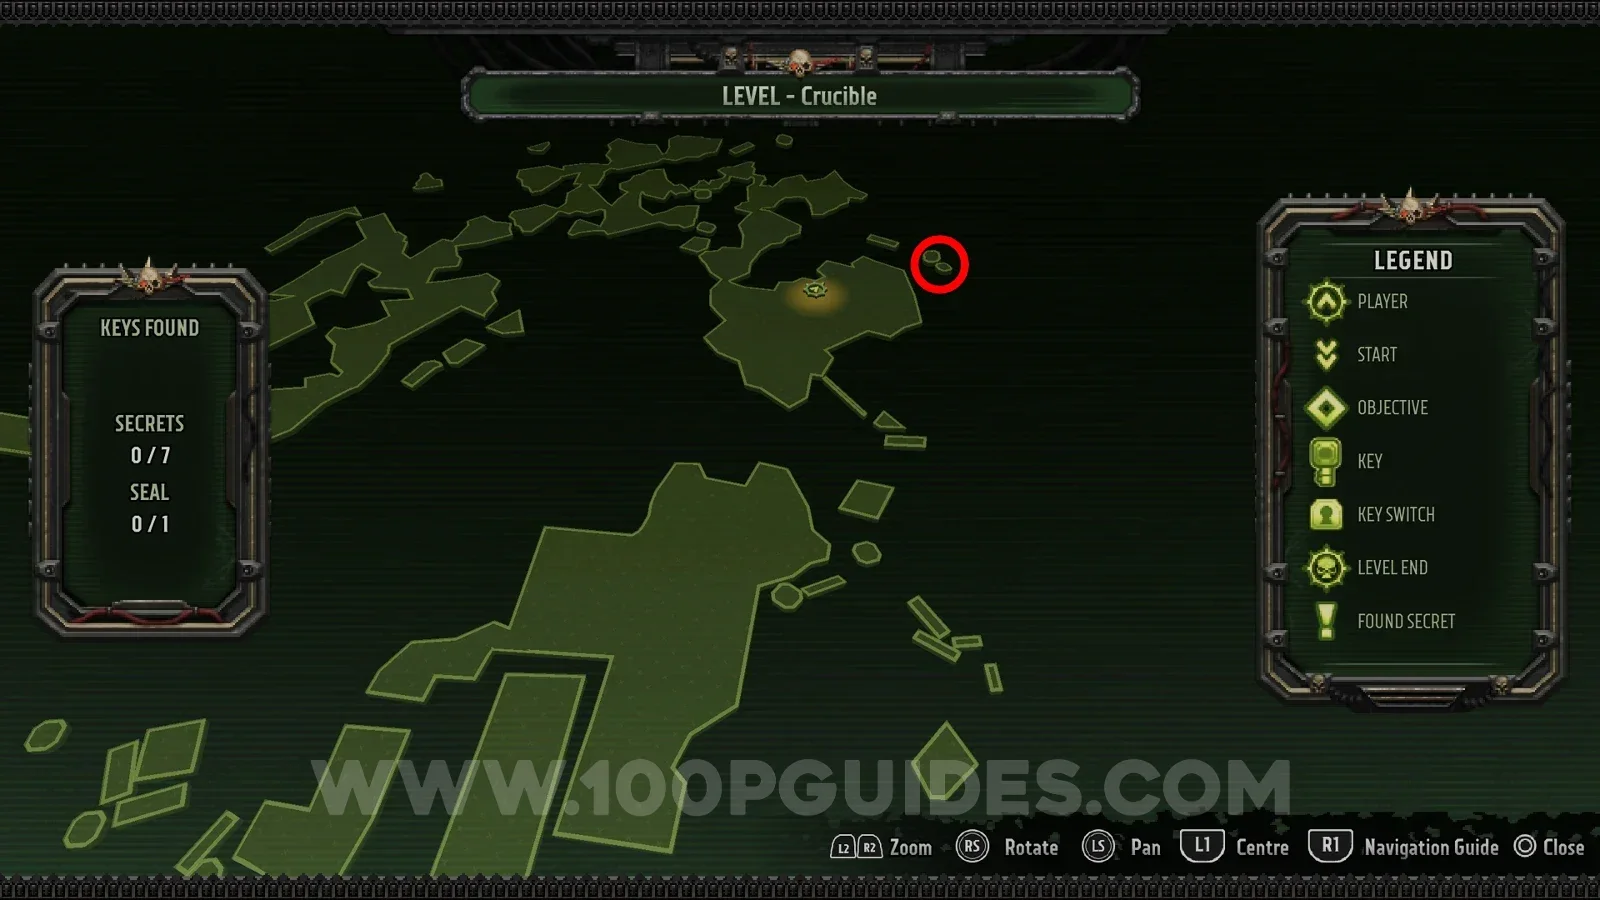
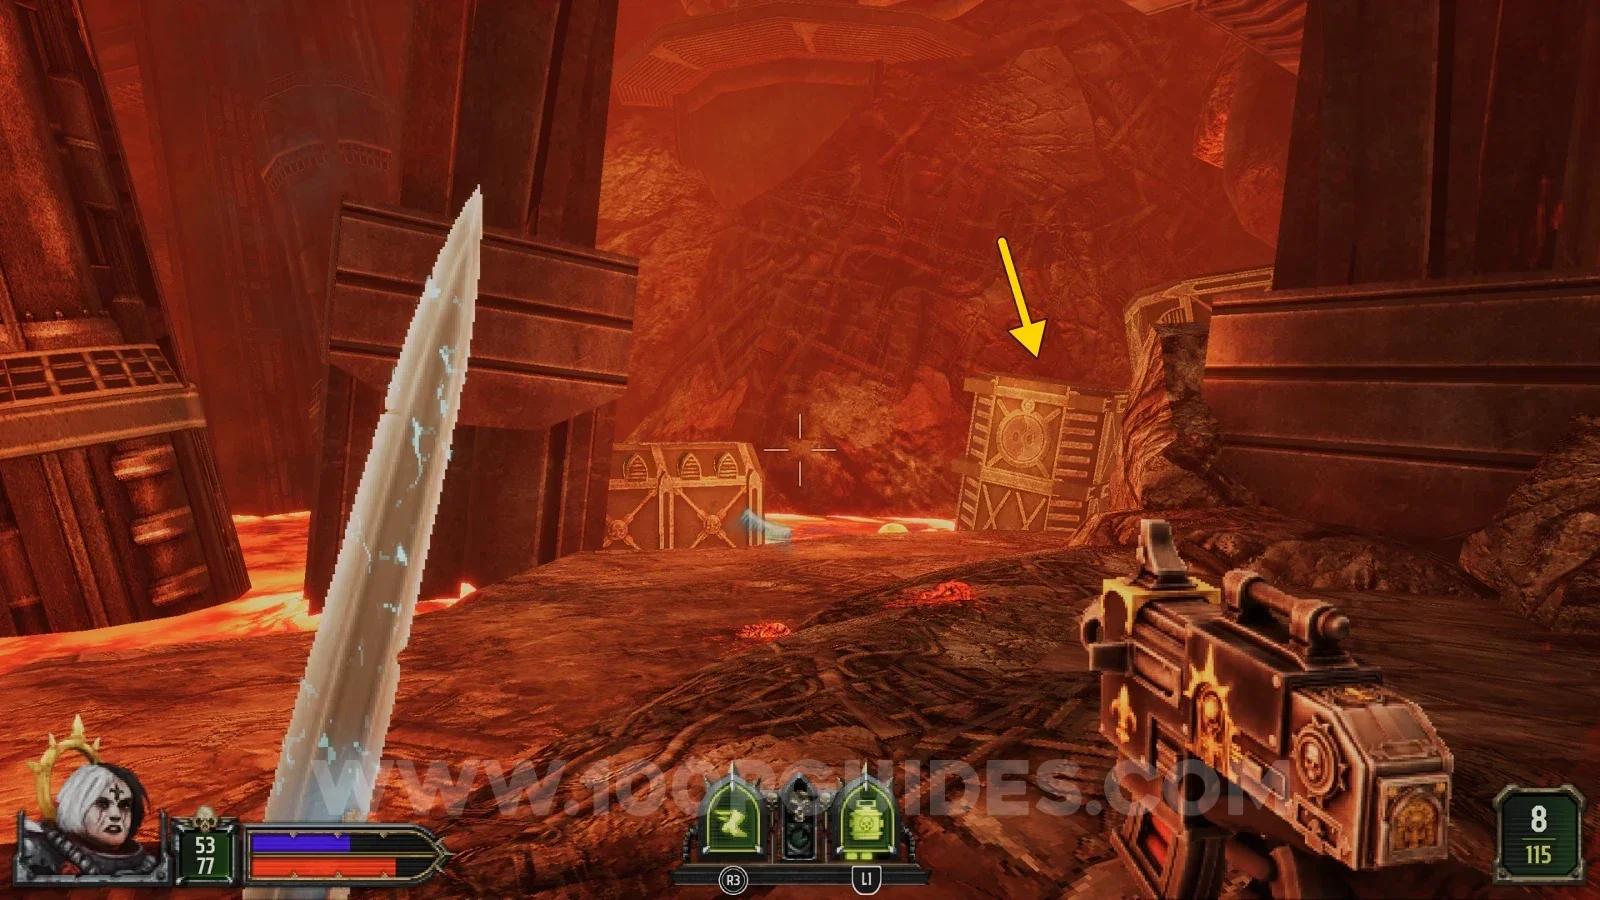
Secret 3/7
After the previous secret you go through an area full of metal columns and pipes. As you come out the other end, stick to the left and go around the left side of the structure with white squares on it to find the secret.
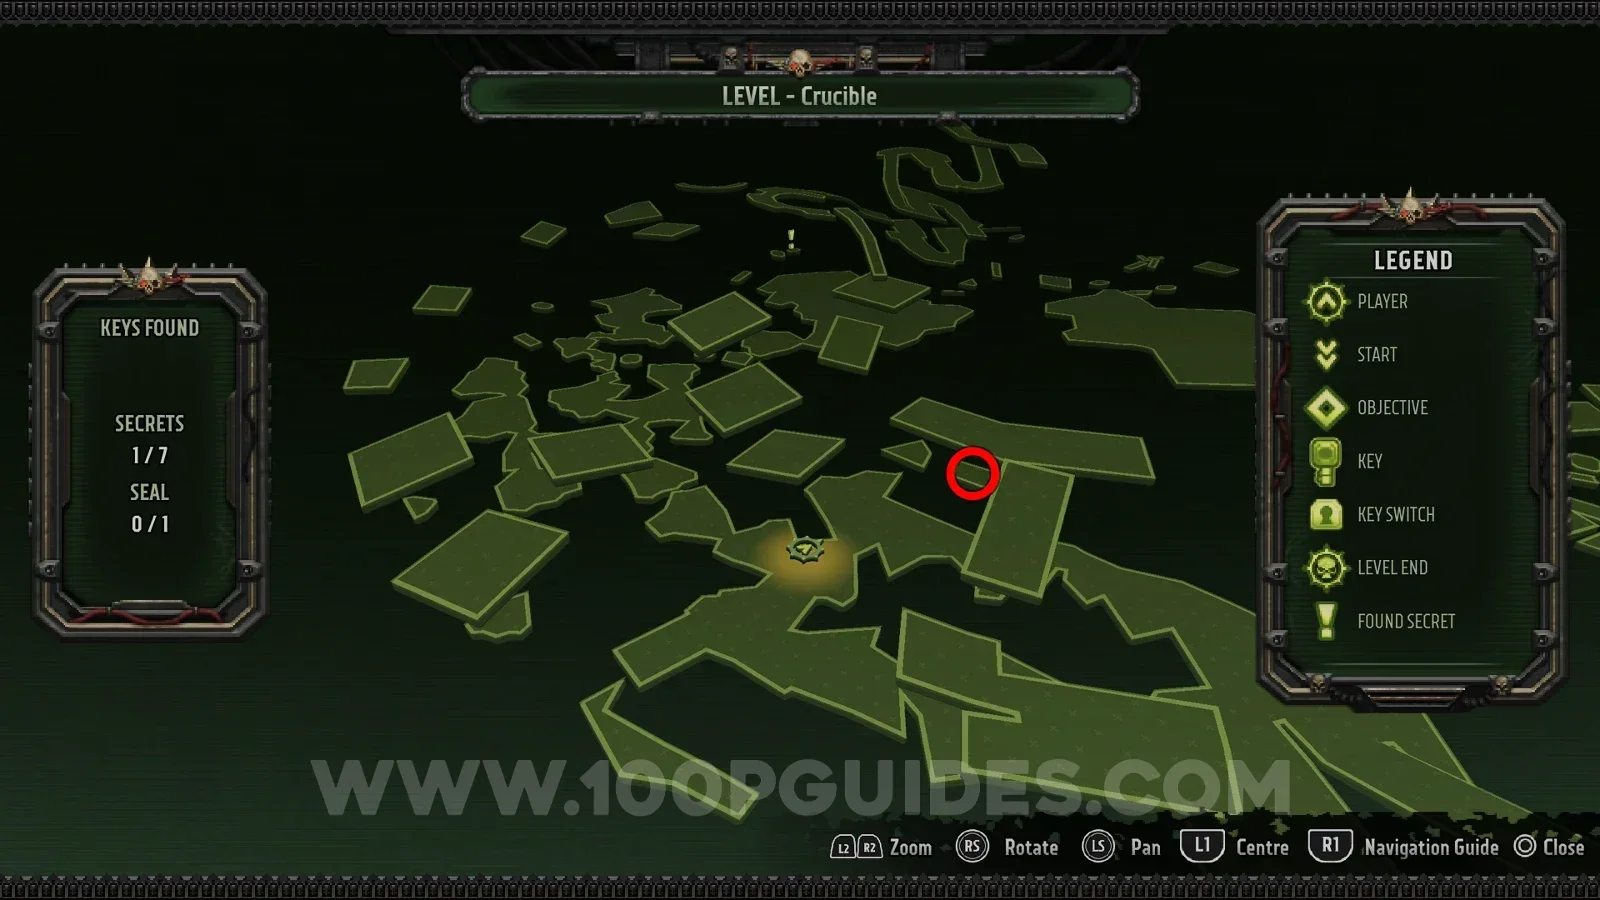
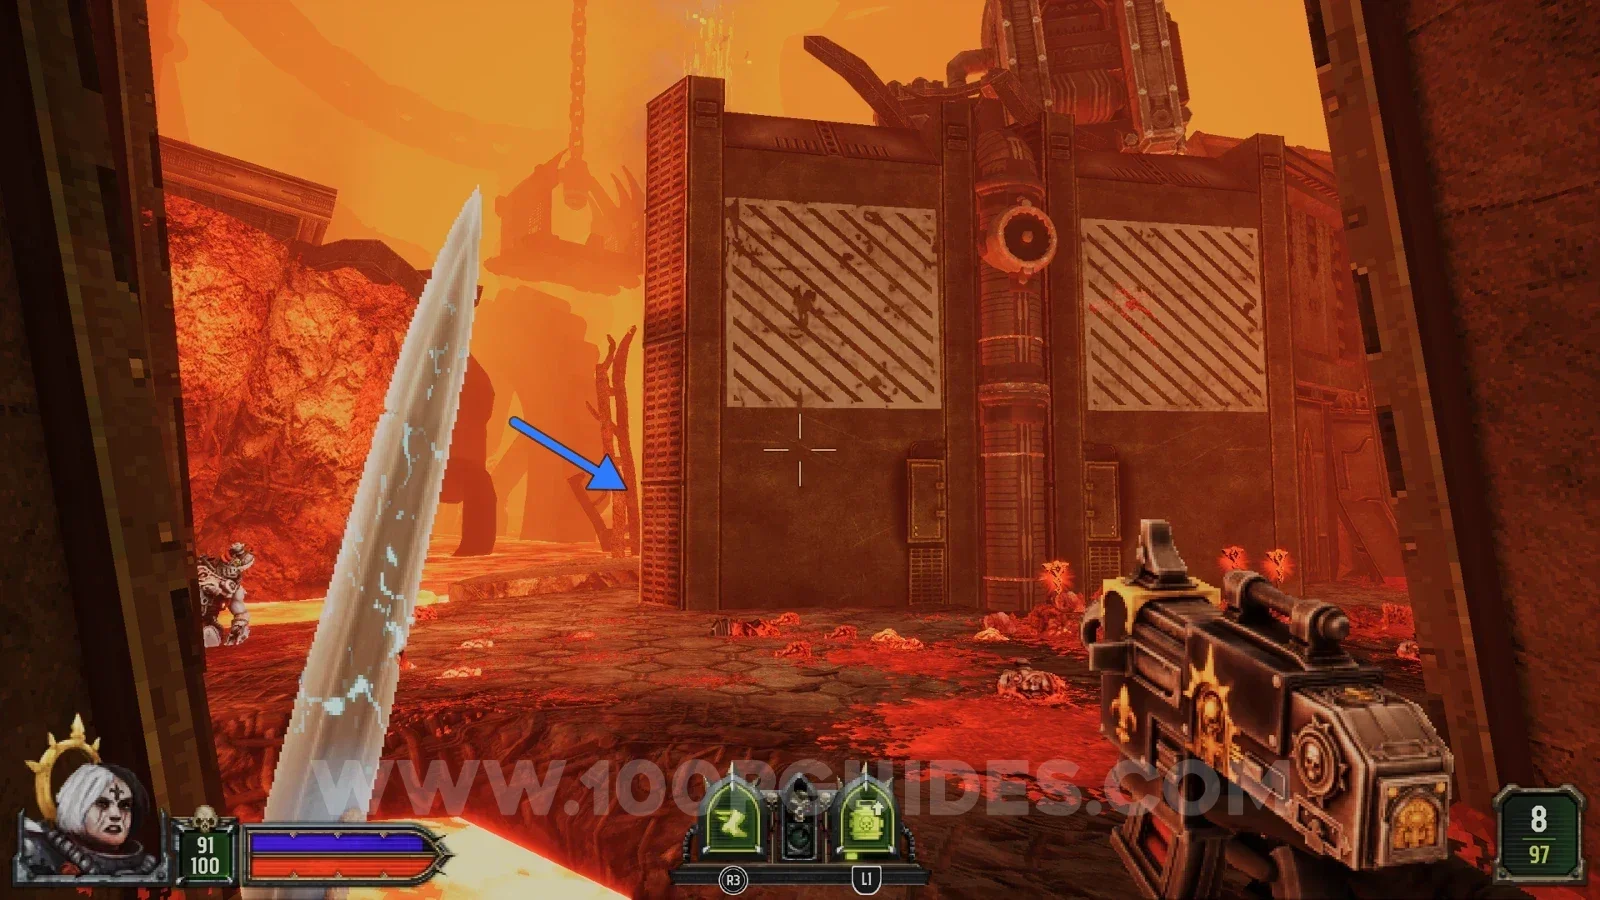
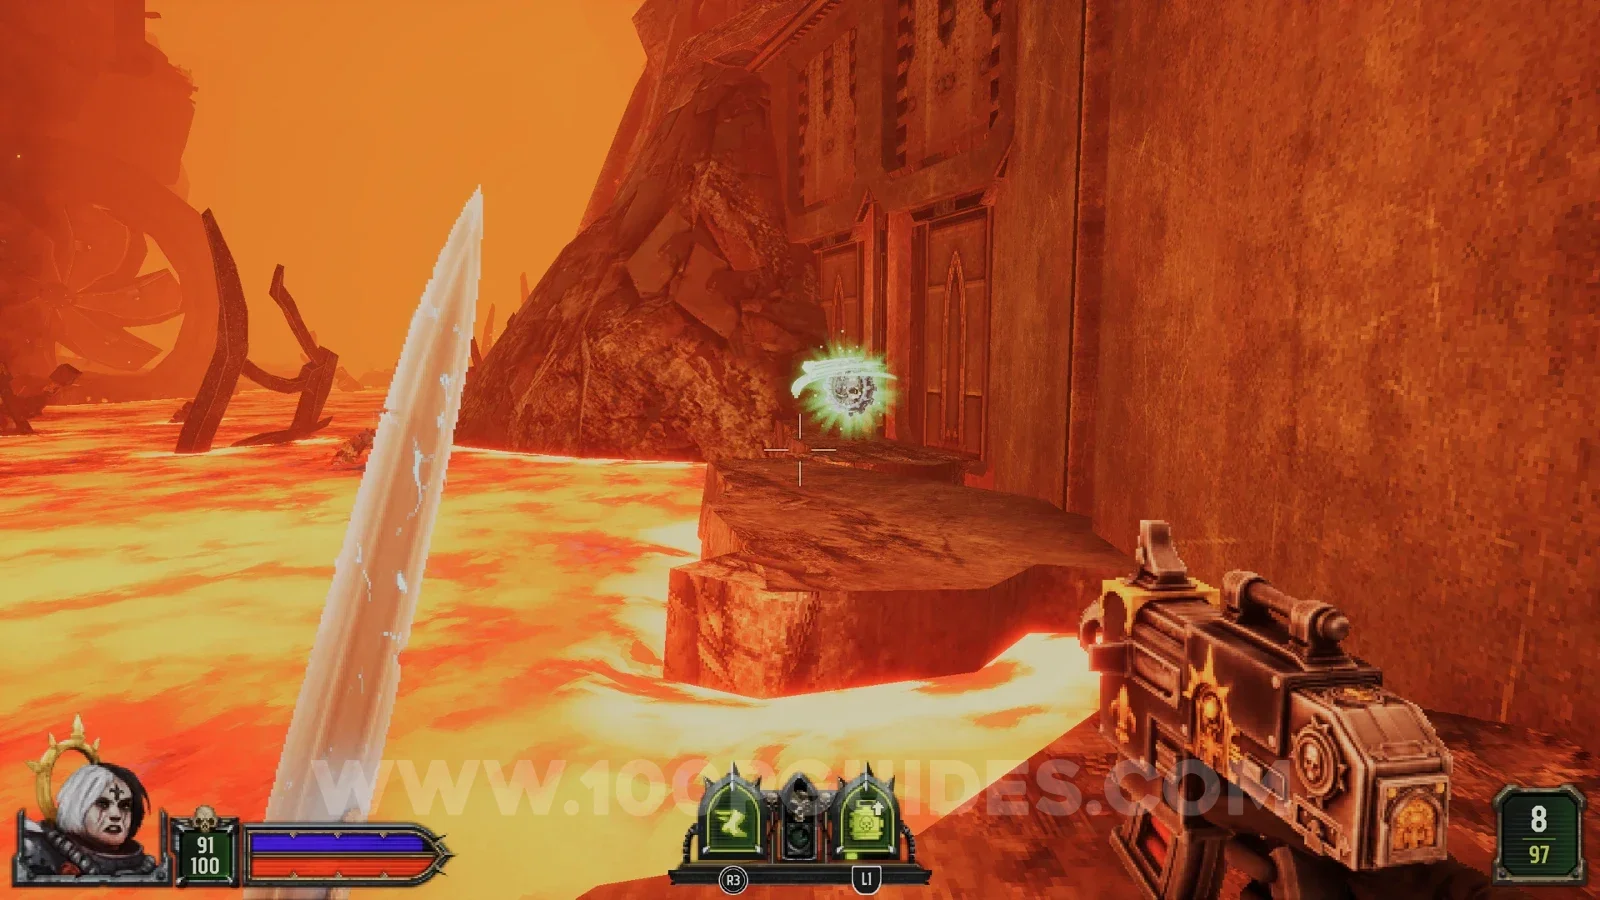
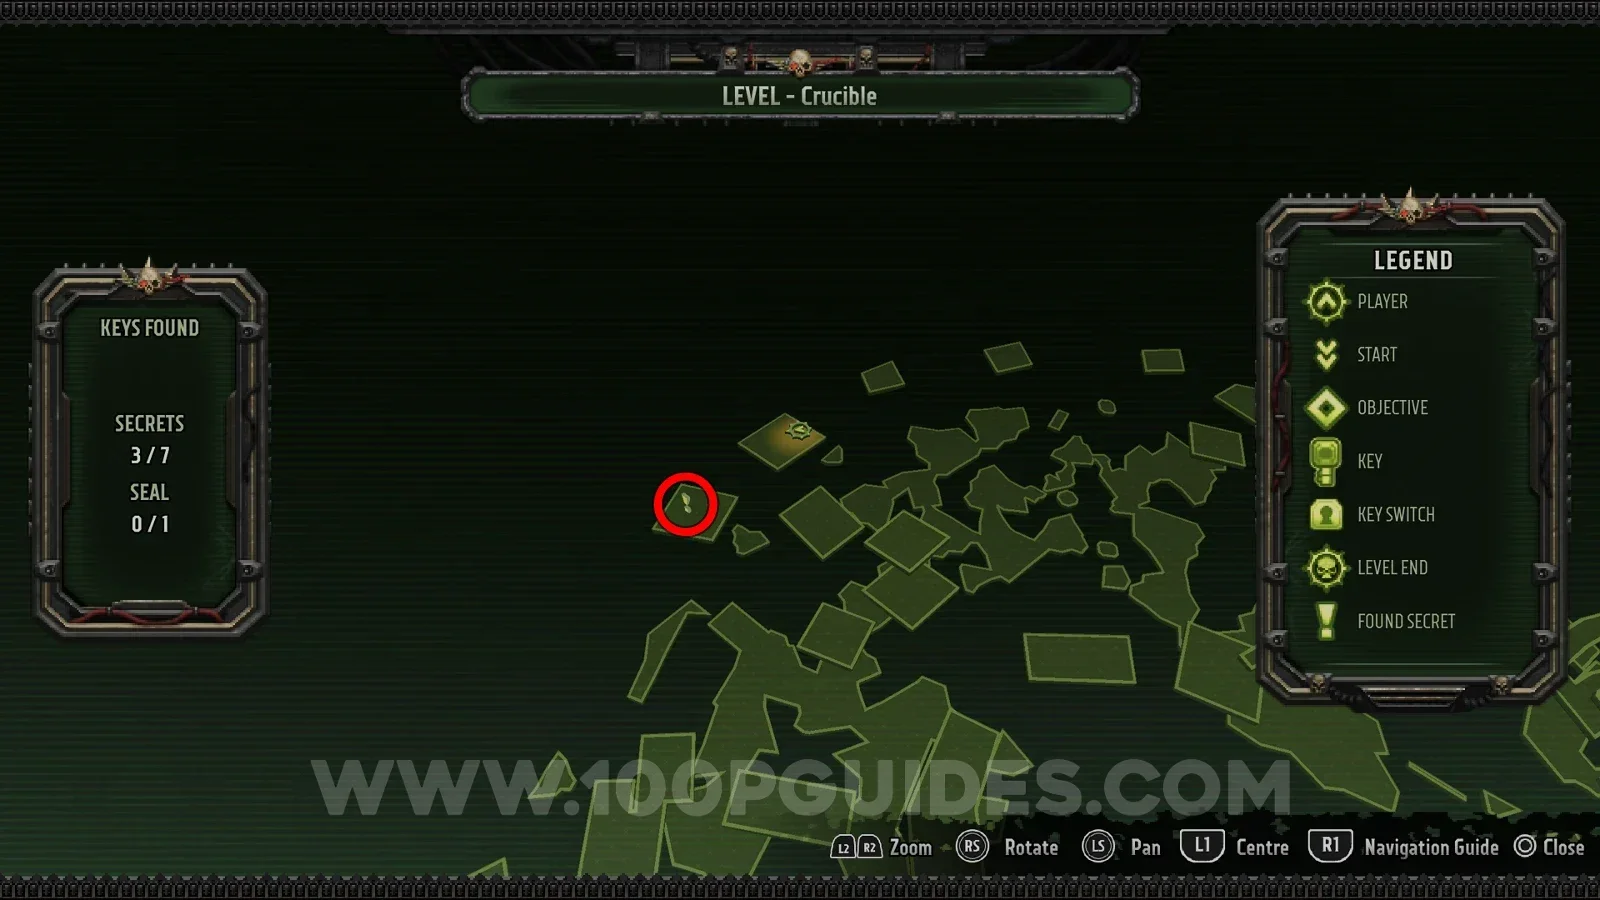
Secret 4/7
Once you start climbing the metal platforms you soon reach one that touches the cliff. From there, jump to the platform on your left to find the secret.
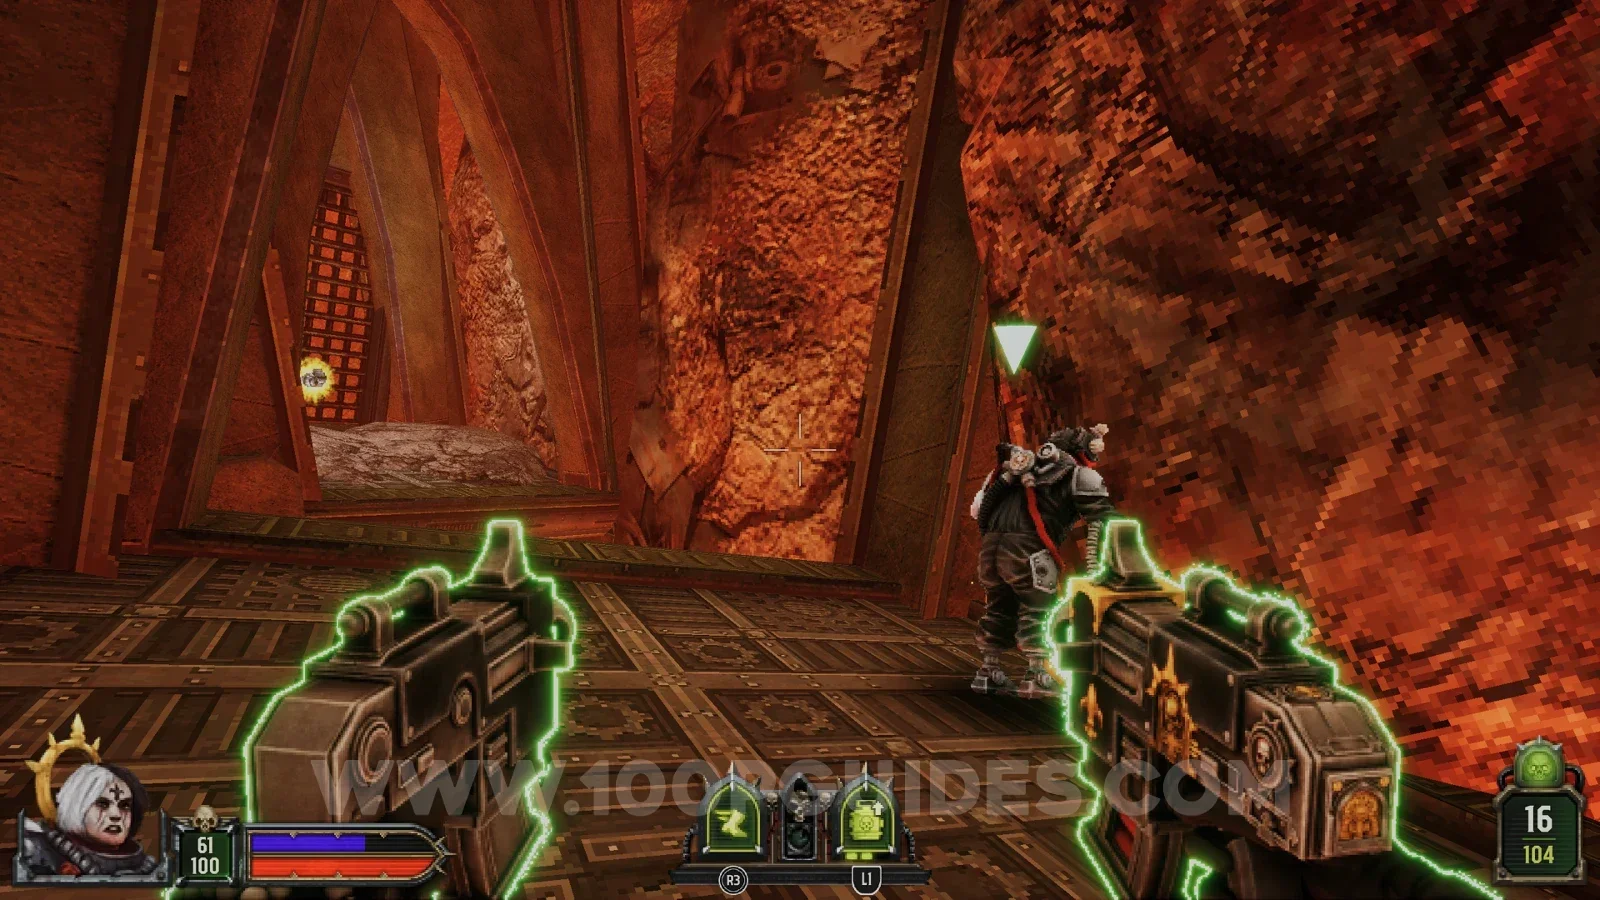
Secret 5/7
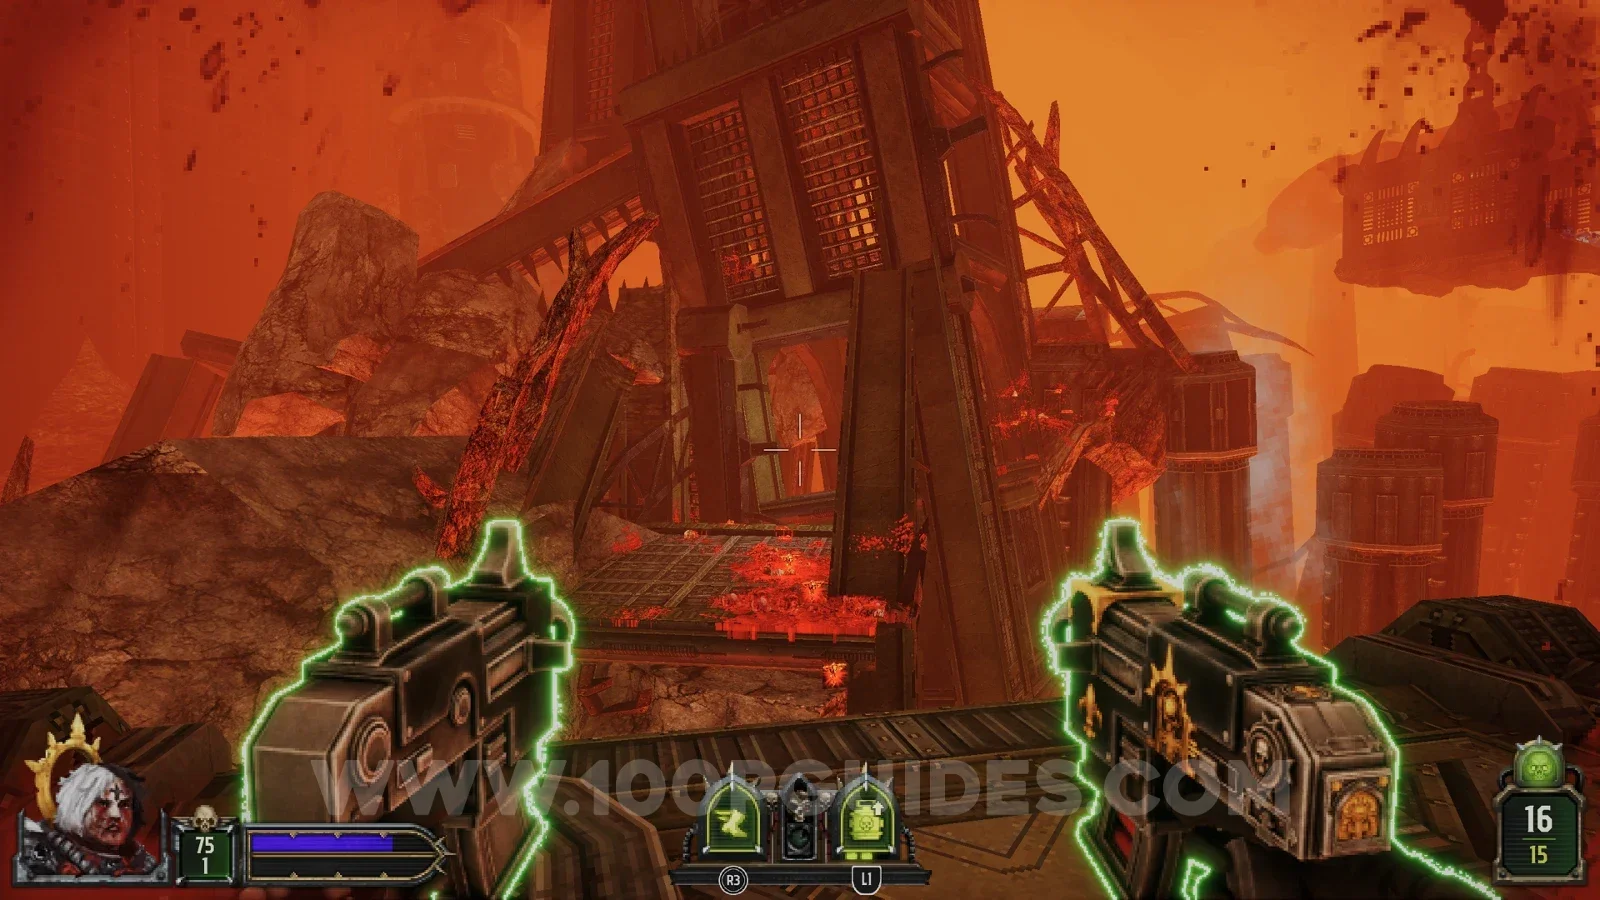
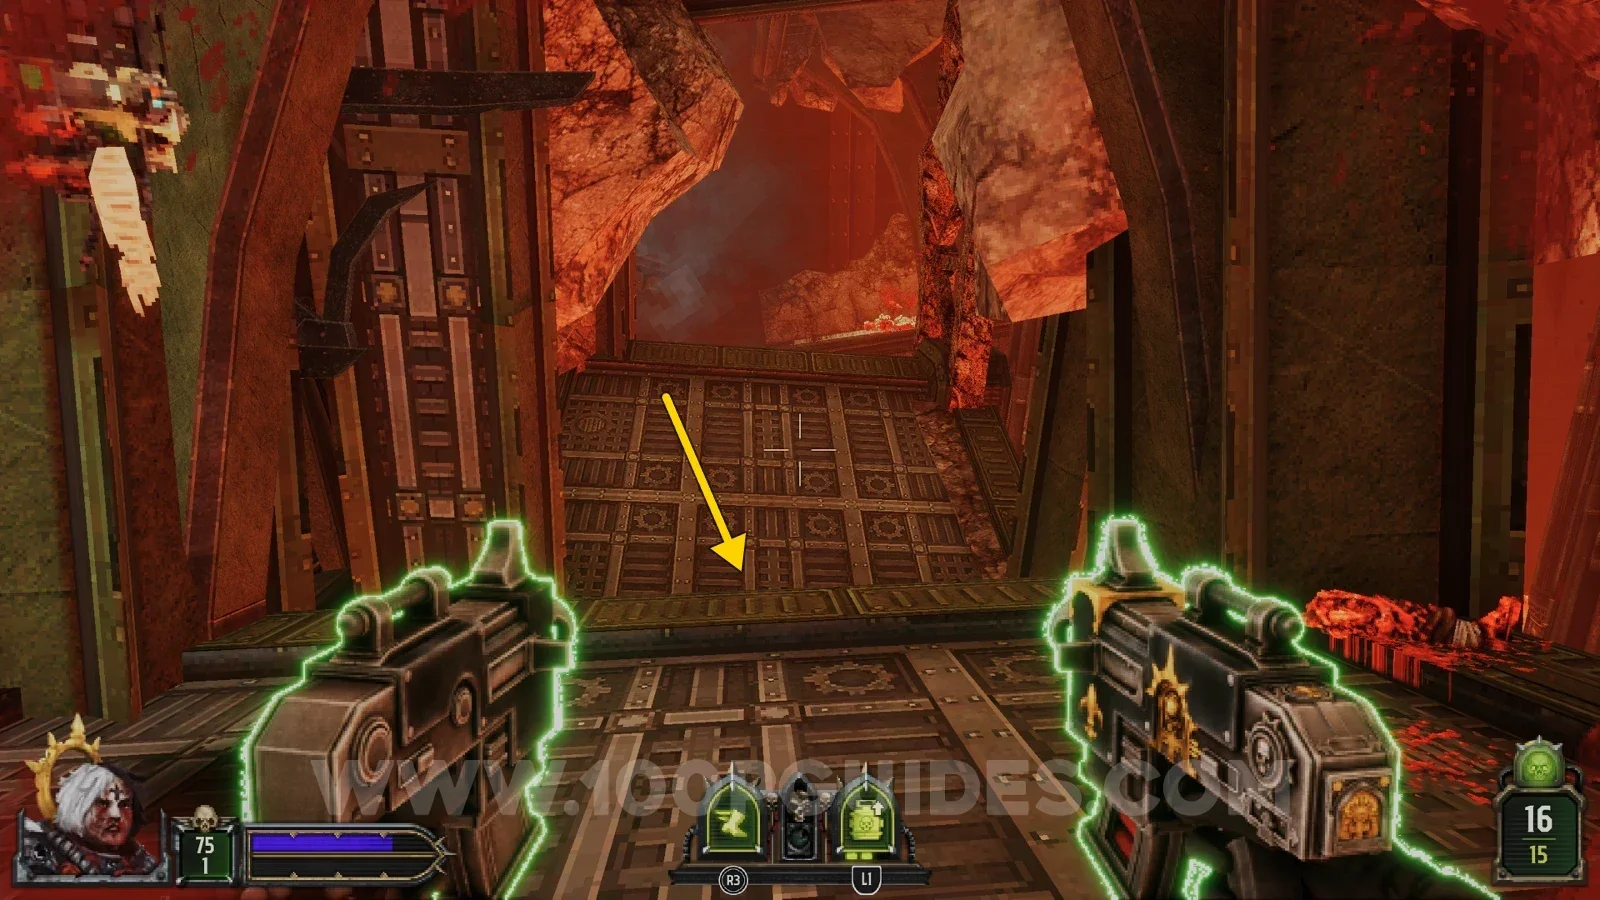
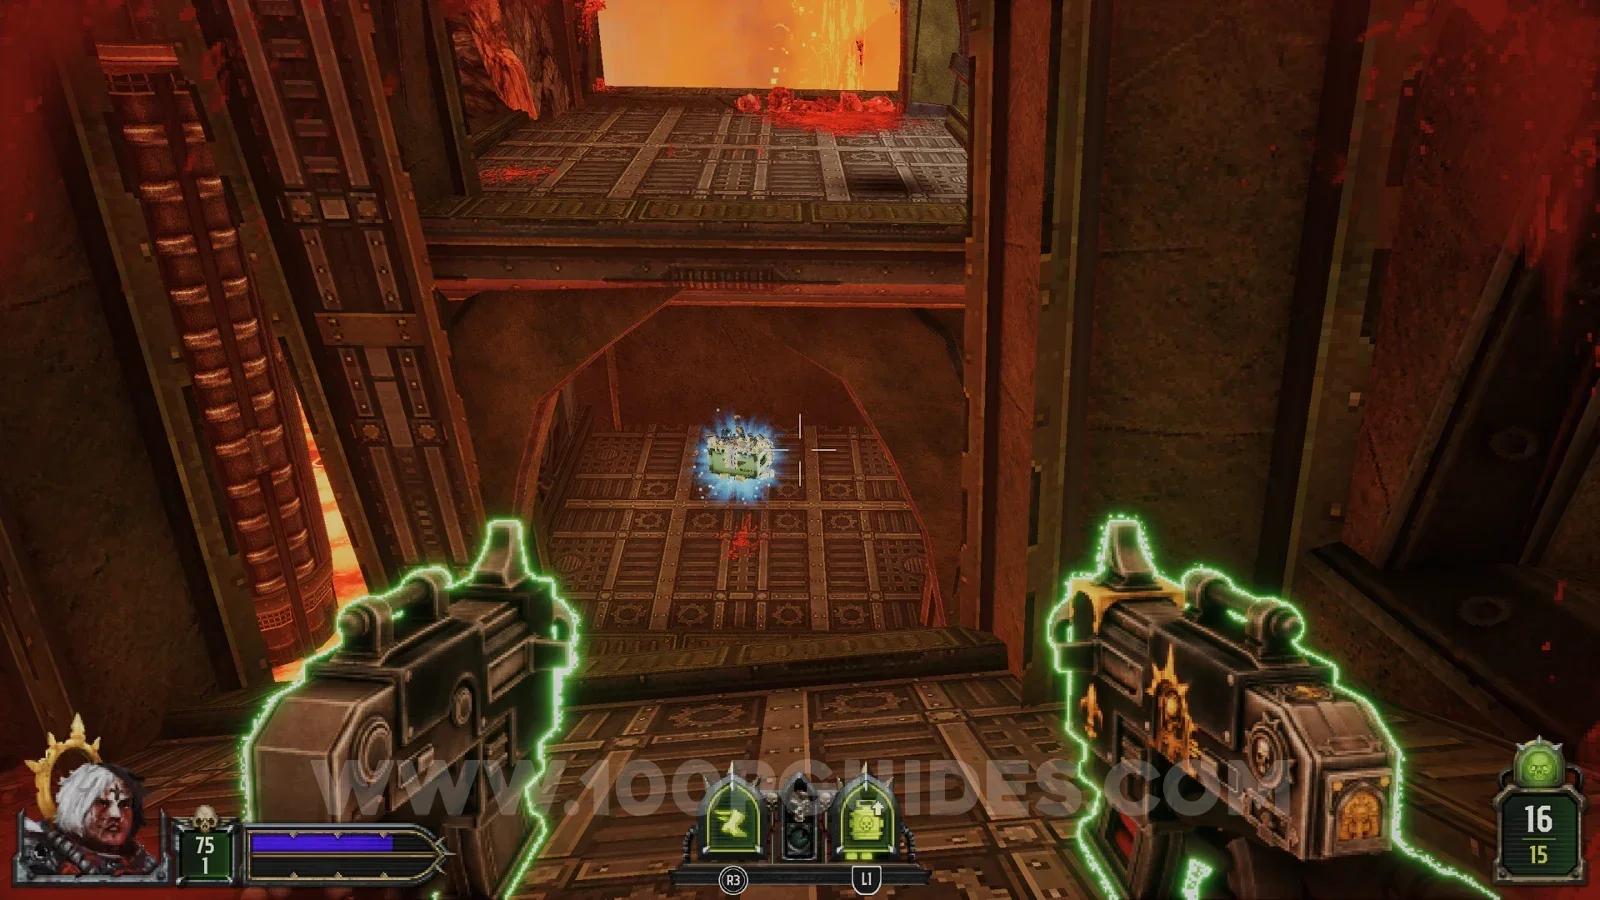
After pressing the first switch that raises the lava, continue until you shoot down a platform by hitting the blue glowing part above it. Immediately after that you go through a destroyed metal structure. On the third platform (the one on a slight incline), turn around to find the secret below the previous platform.
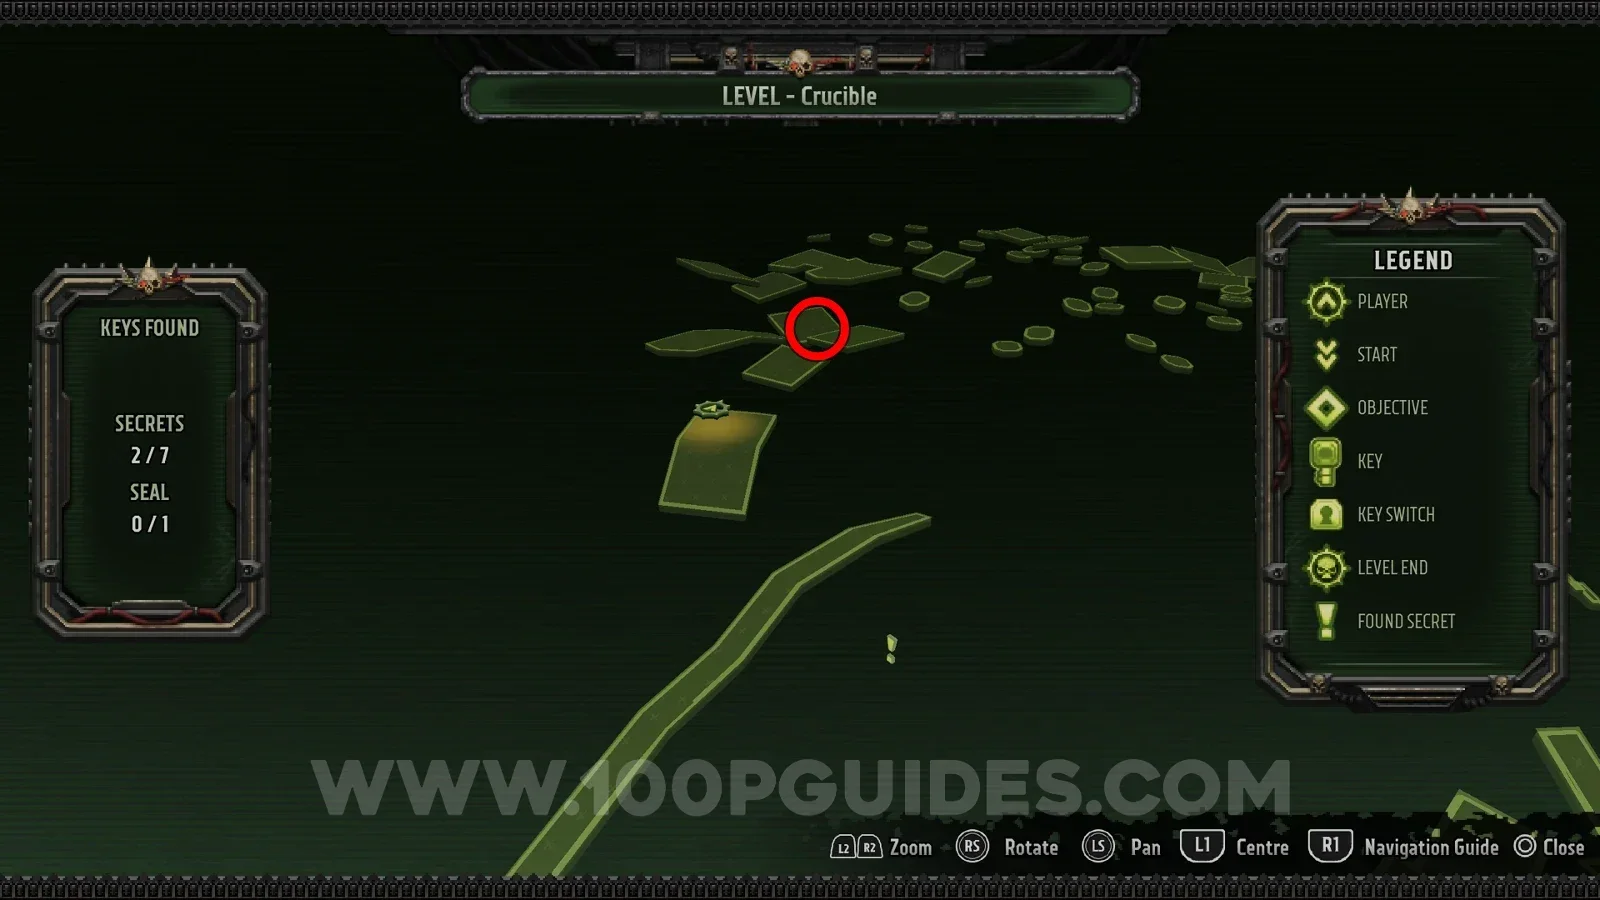
Secret 6/7
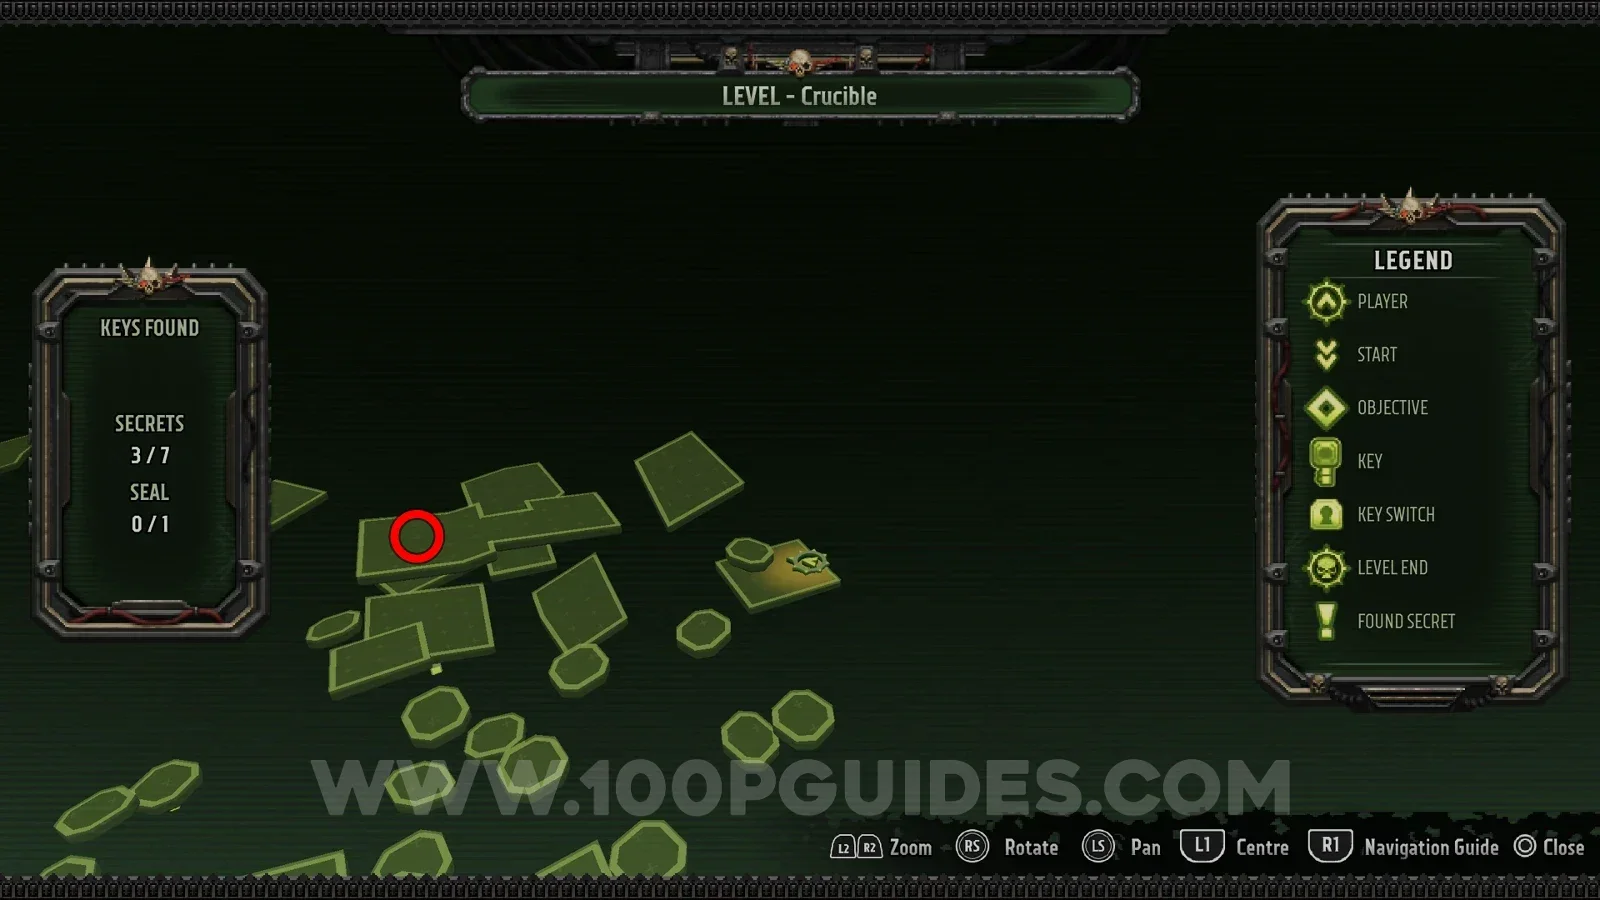
Just after the previous secret you jump to a platform with two metal beams heading upwards. Take the higher one to find the secret at the top.
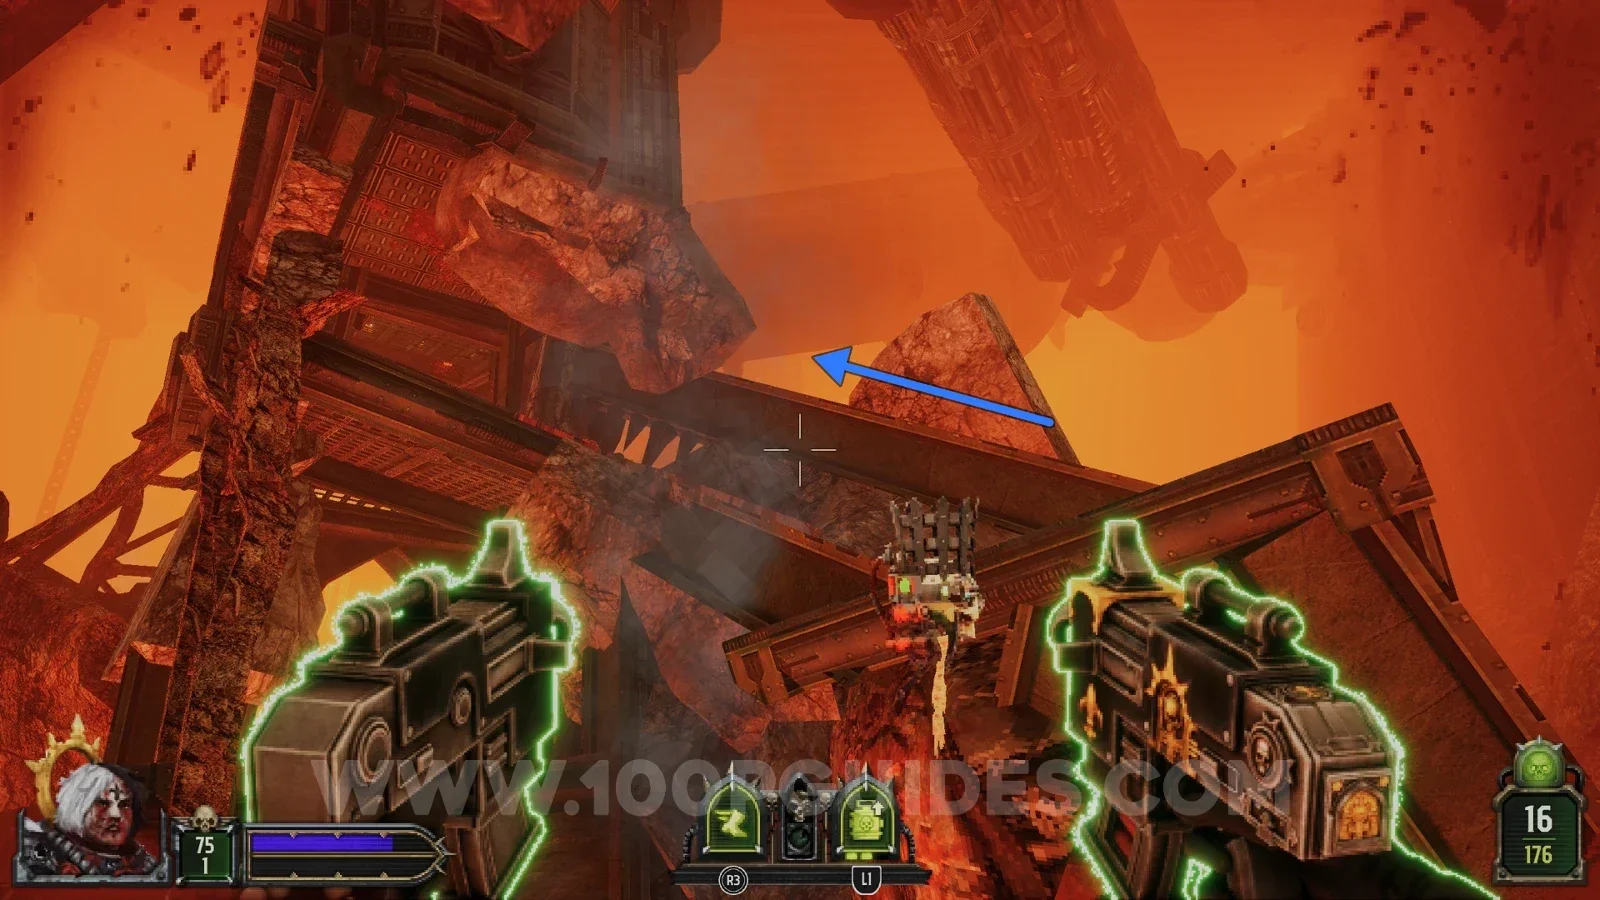
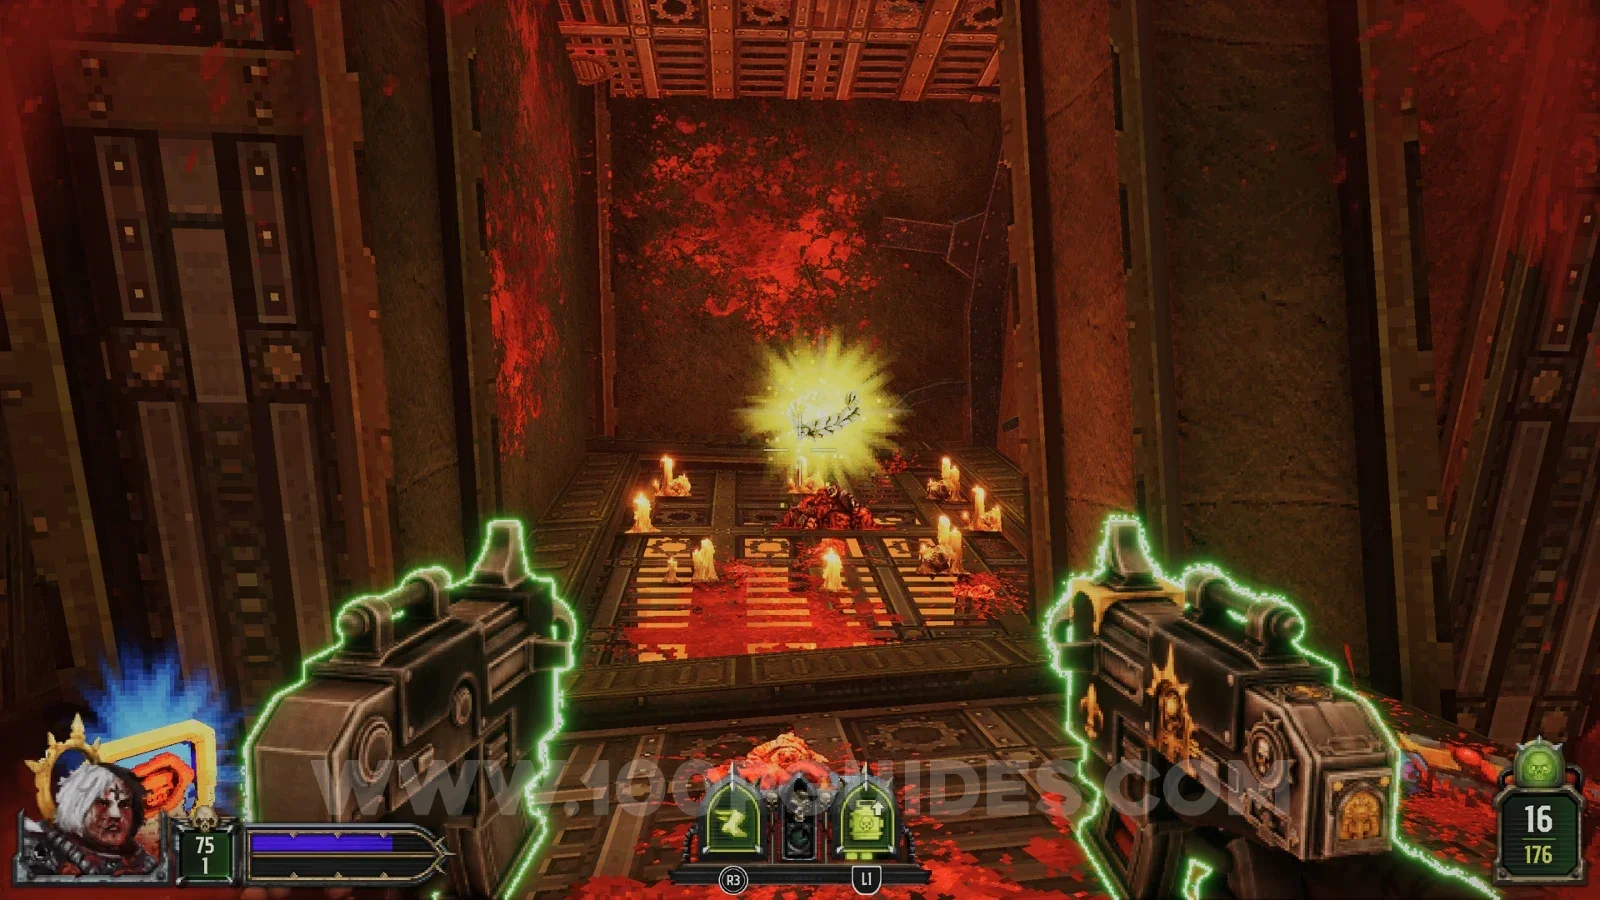
Seal 1/1
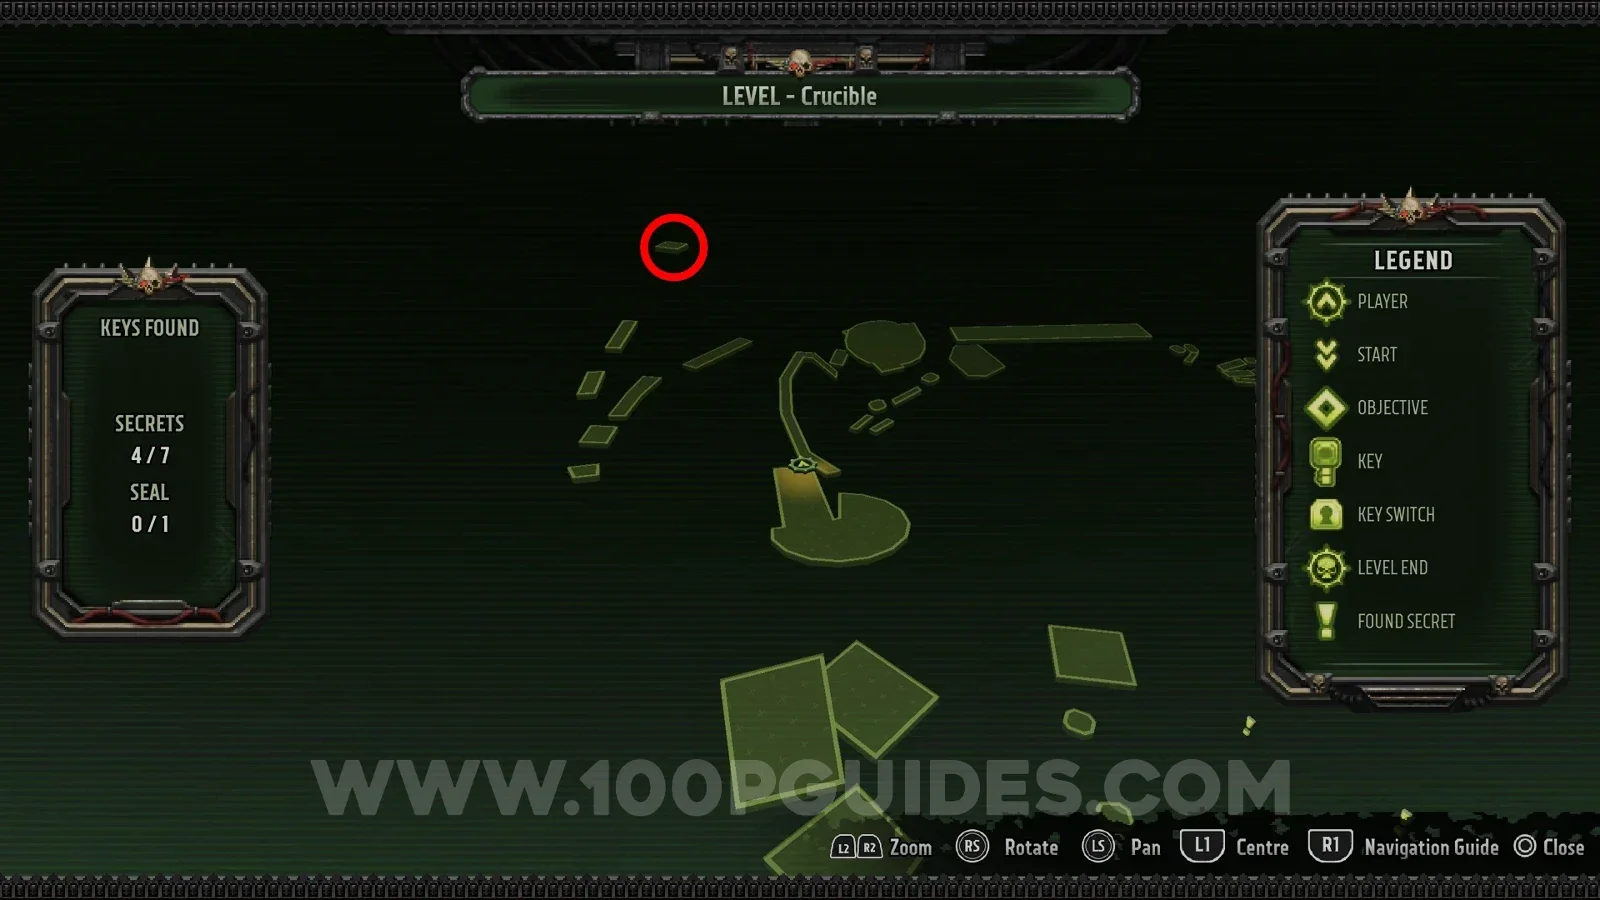
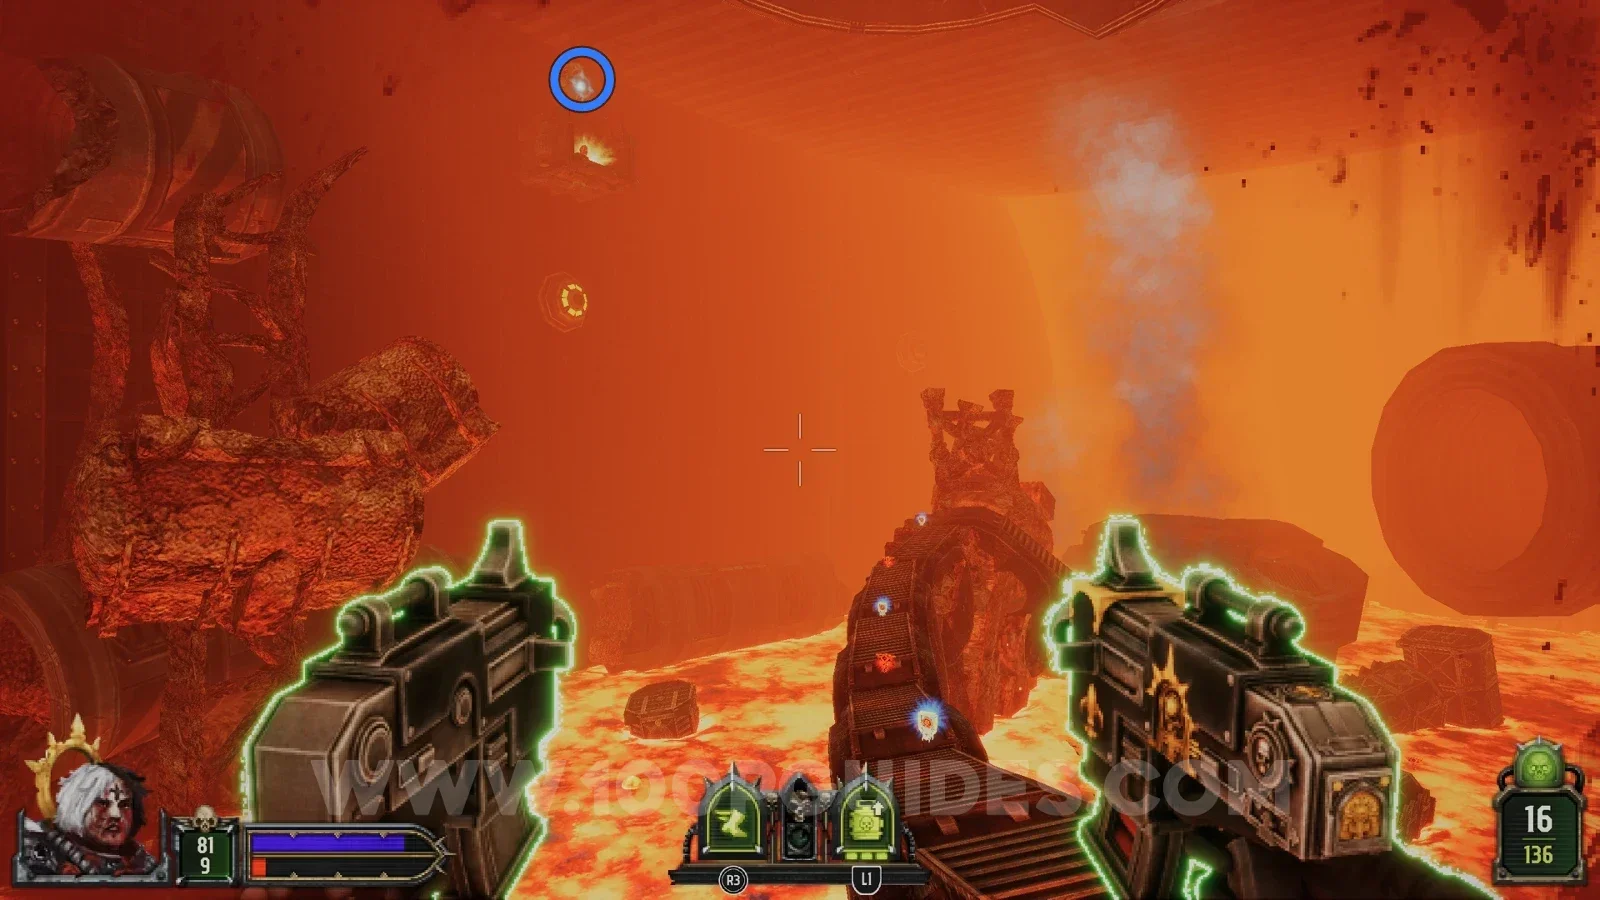
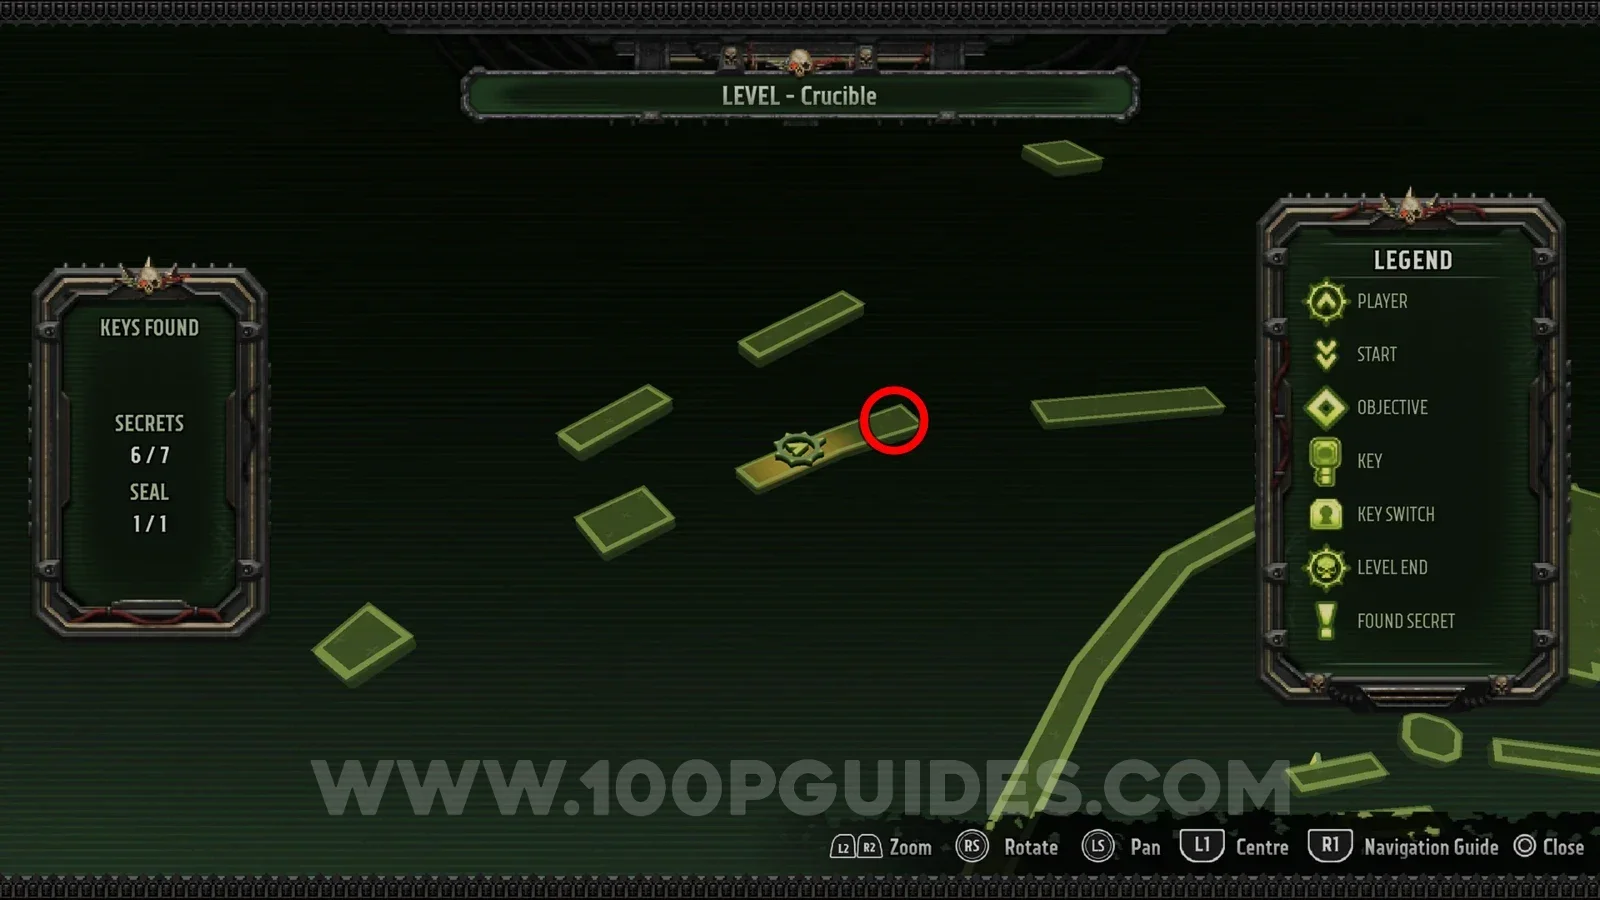
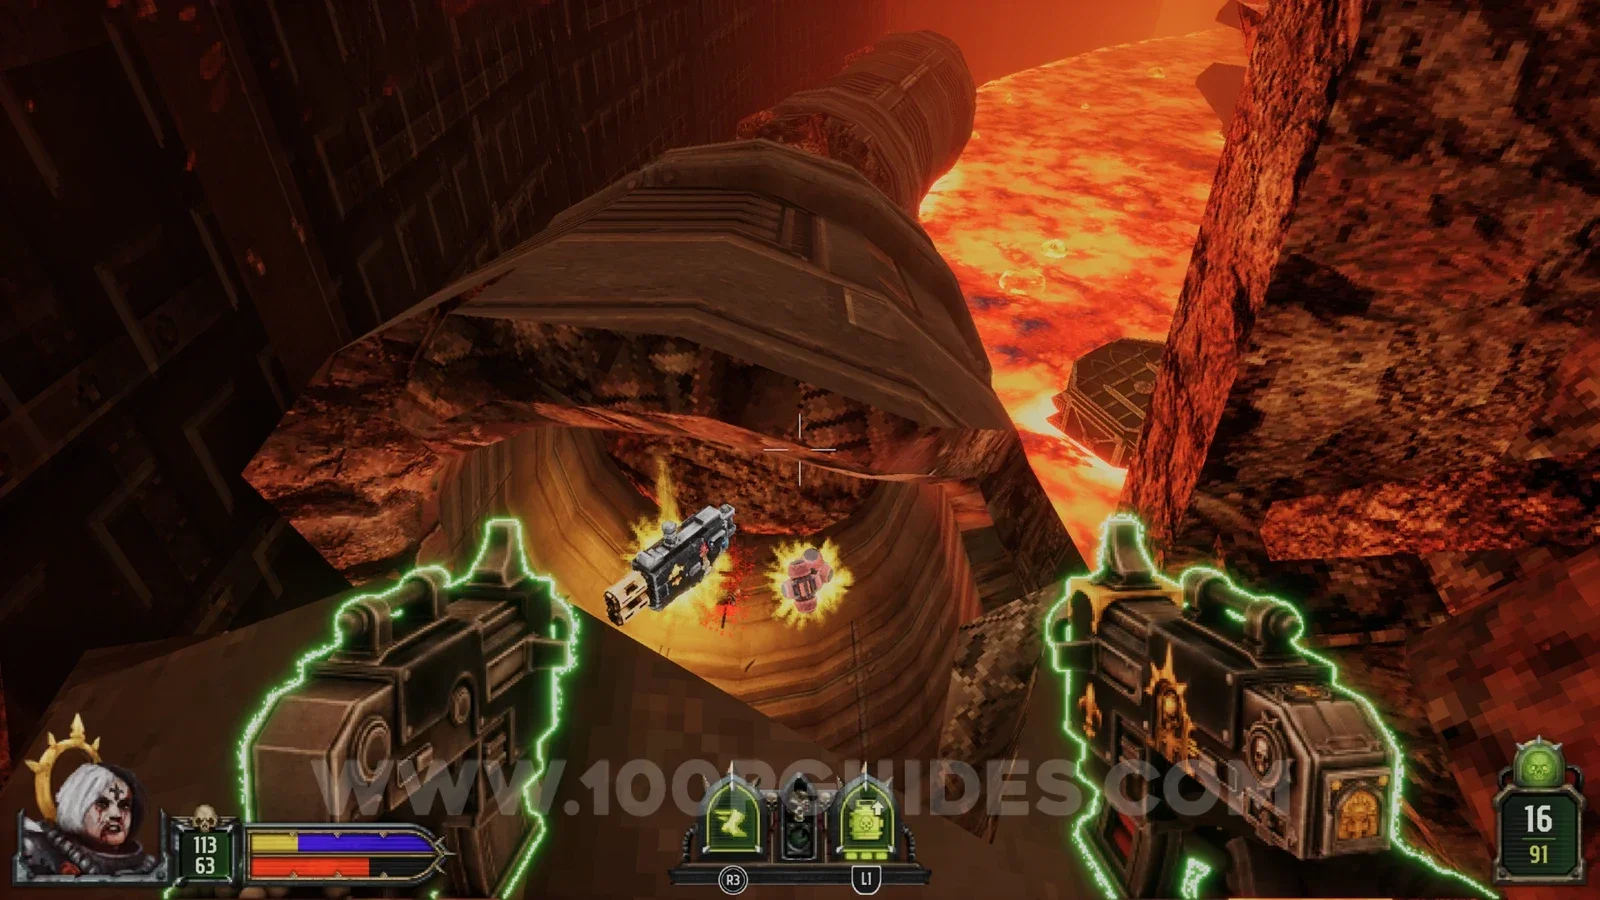
Soon after pressing the second switch that raises the lava you come to a narrow path. You will see the seal up high on your left, on a platform hanging from a hook. Shoot the blue glow above it to make it fall to the platform below, then climb up to it using the broken pipes on the left.
Secret 7/7
Inside a broken pipe under the seal. This is one of the pipes you used to reach the seal.
Underhive
Secret 1/5
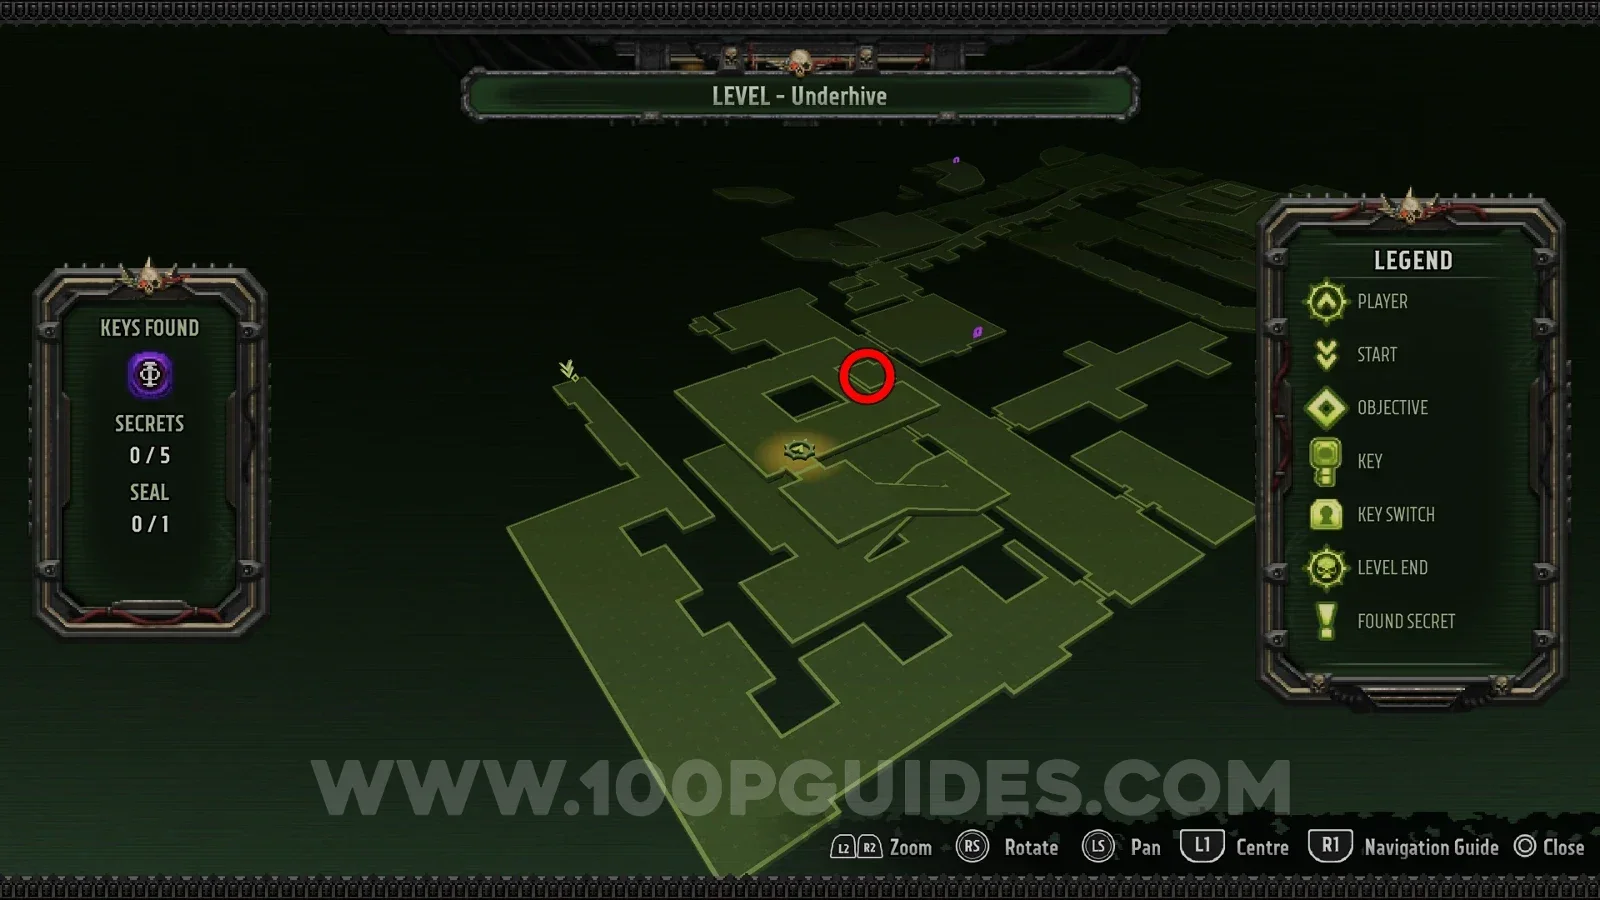
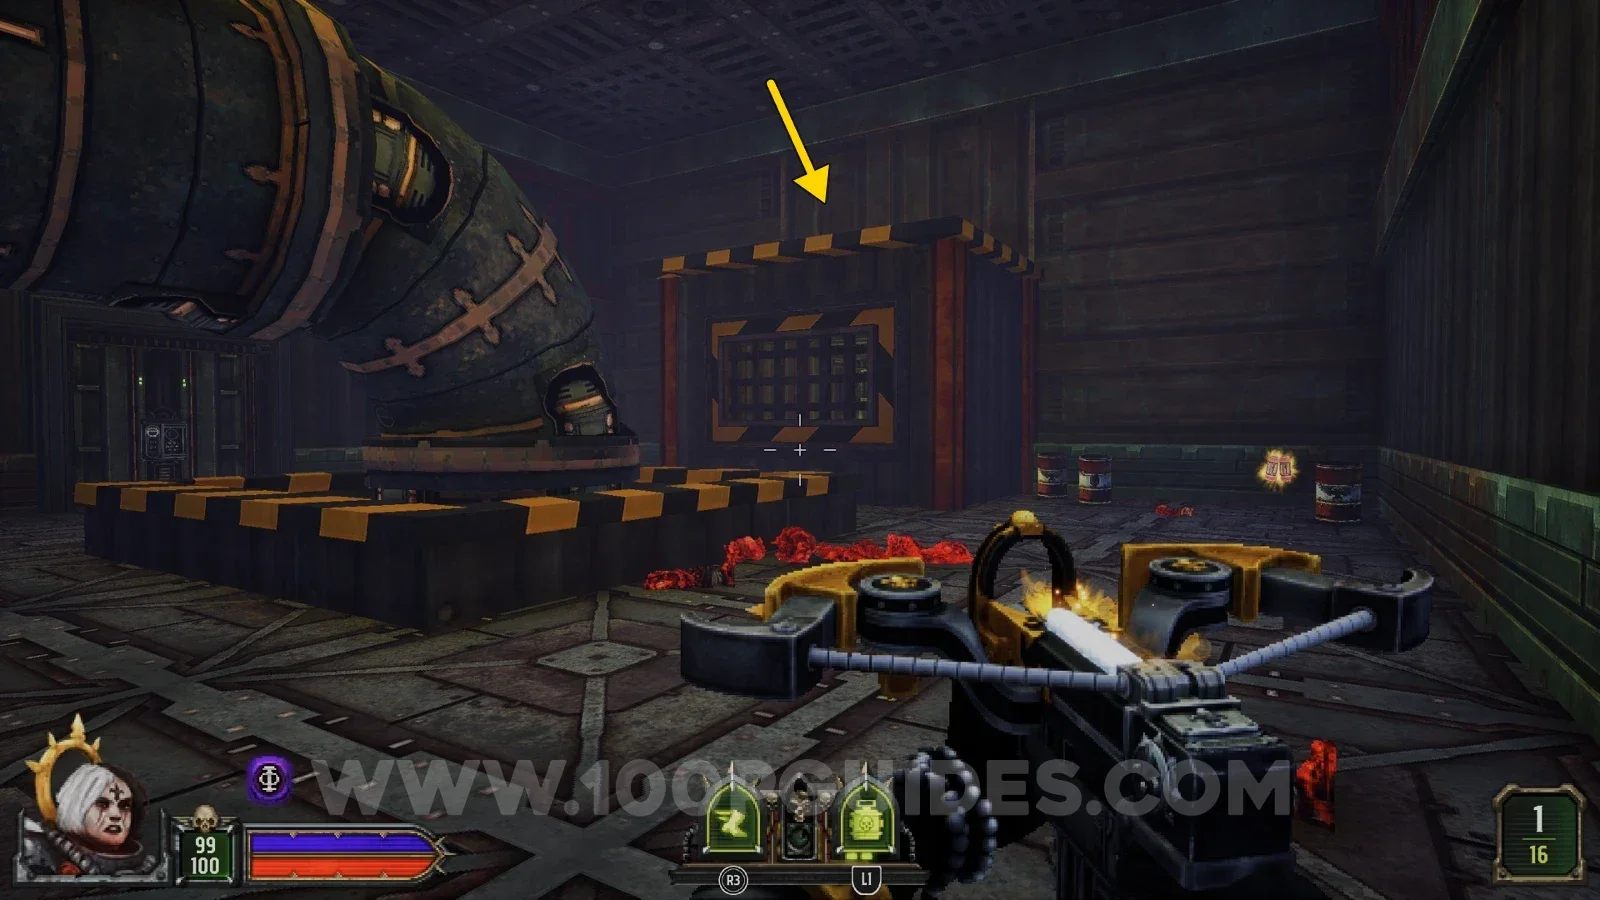
In the corridor with doors on either side near the start, head through the first door on the left and press the switch to change the direction of the gas. Use the box in the corner to jump over it and make your way to the room above. Use the pipe in the middle to jump onto the top of the small structure at the side of the room, then drop down inside it to find the secret.
Secret 2/5
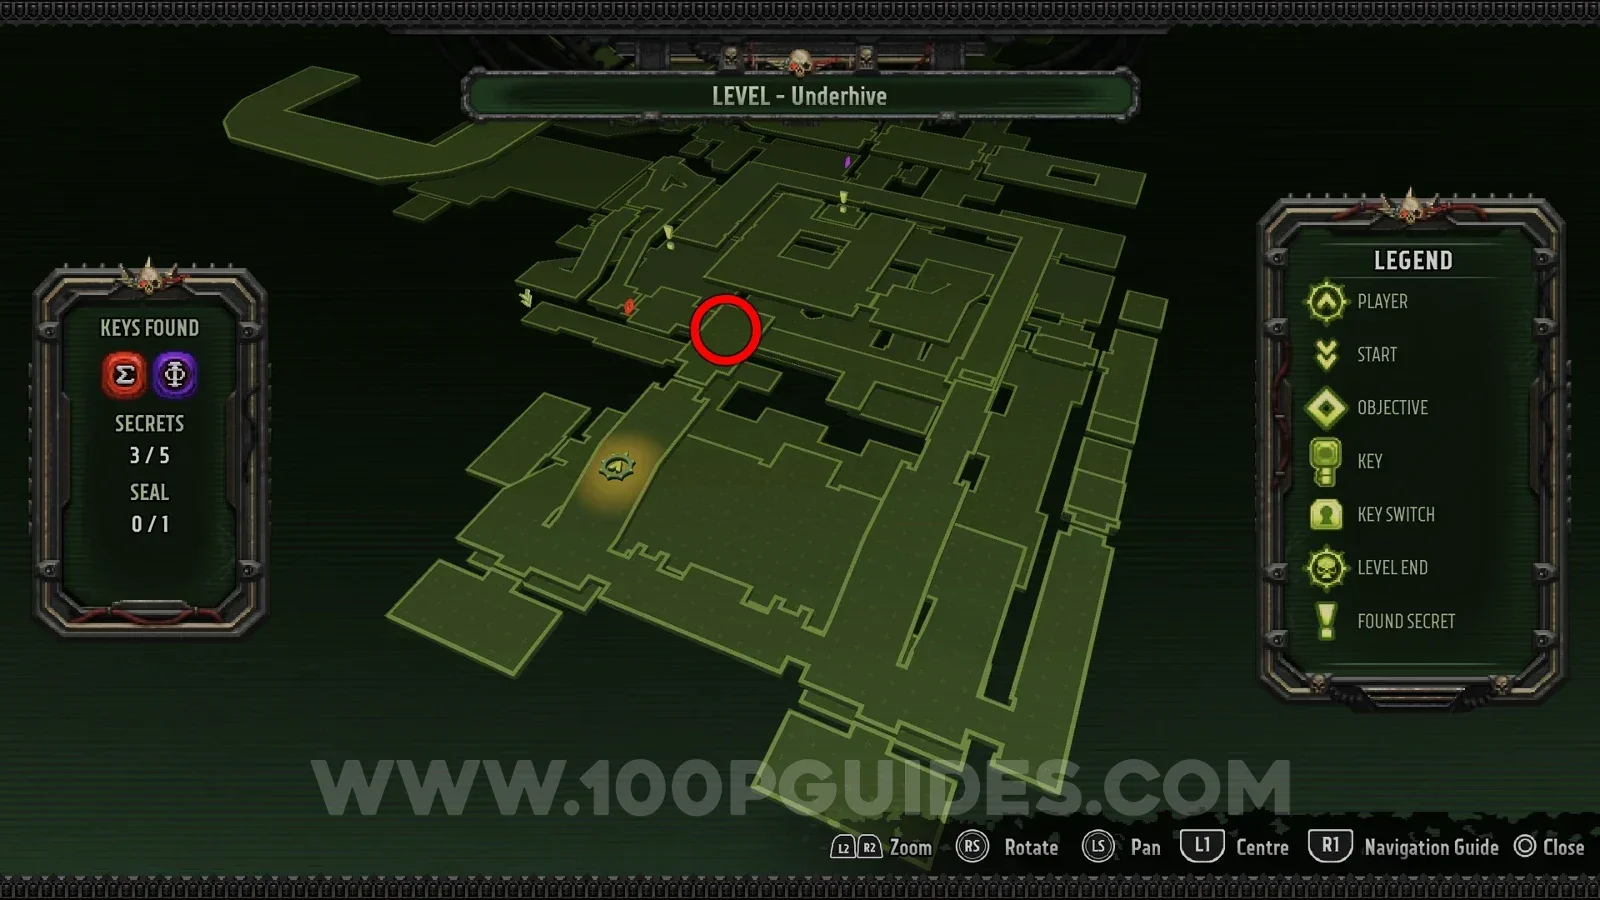
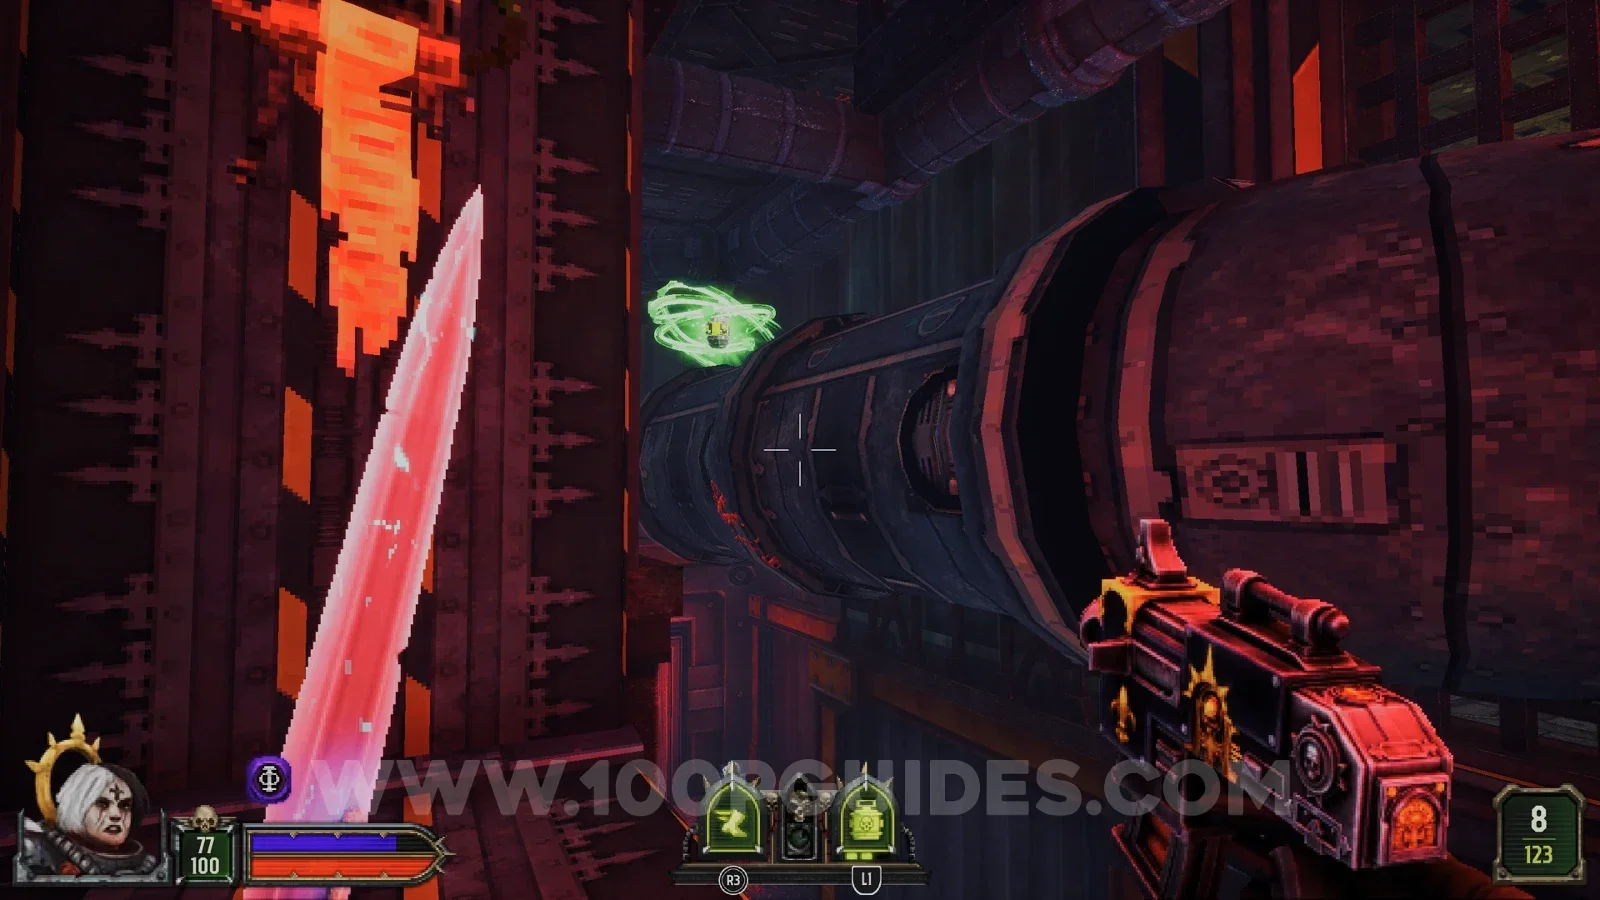
In the room where you get the red key, head up the left-hand ramp and jump from its end to the large pipe with the secret on it.
Secret 3/5
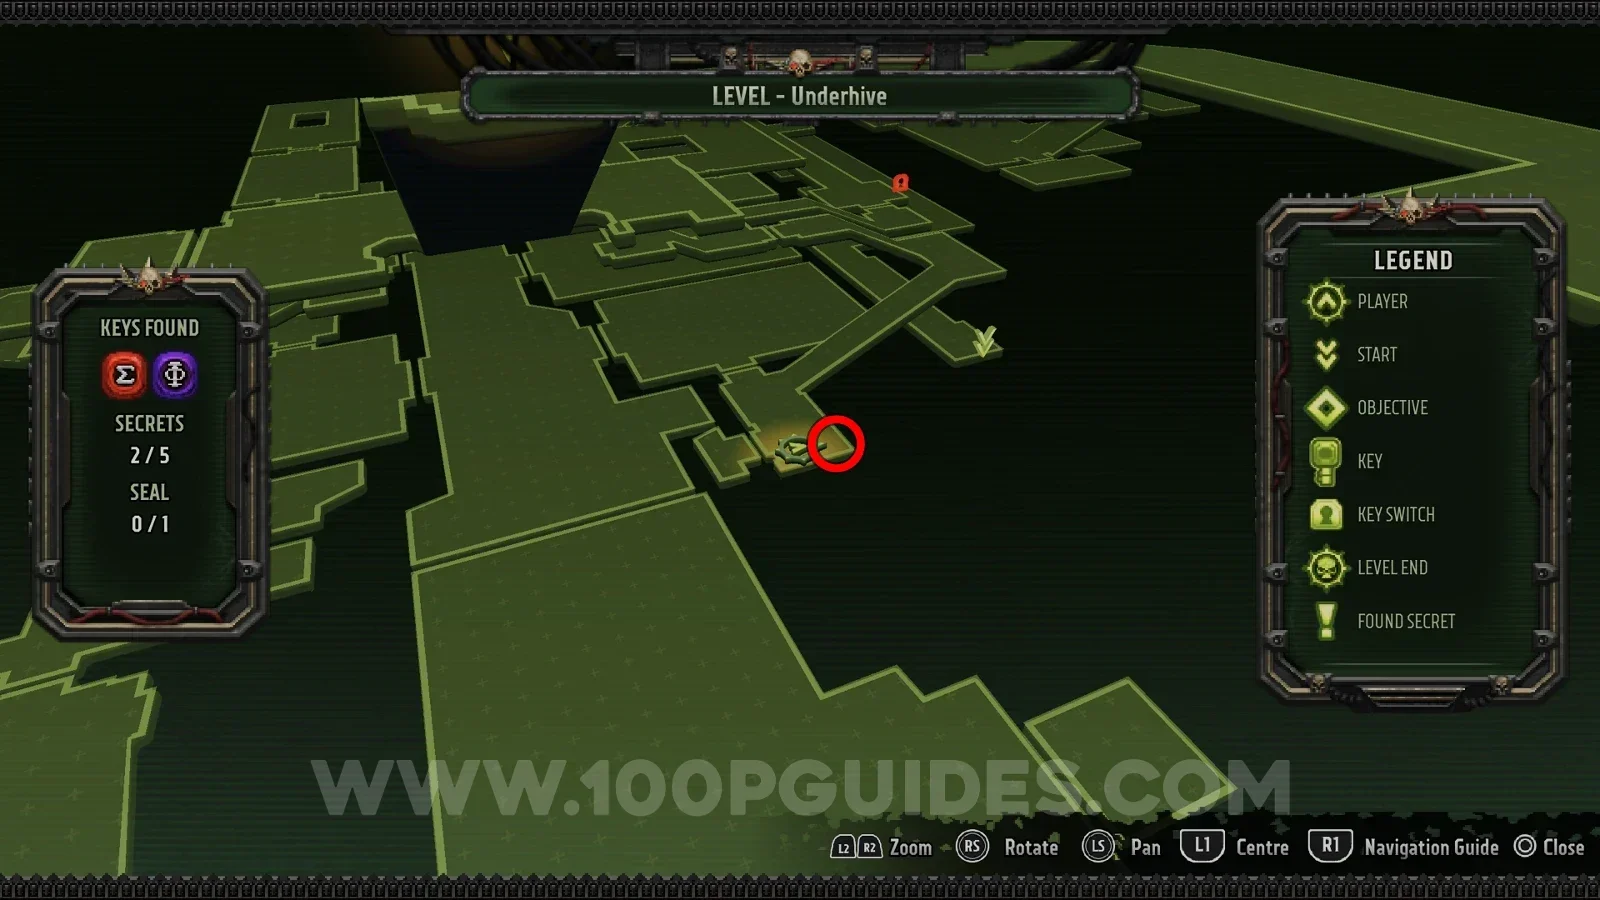
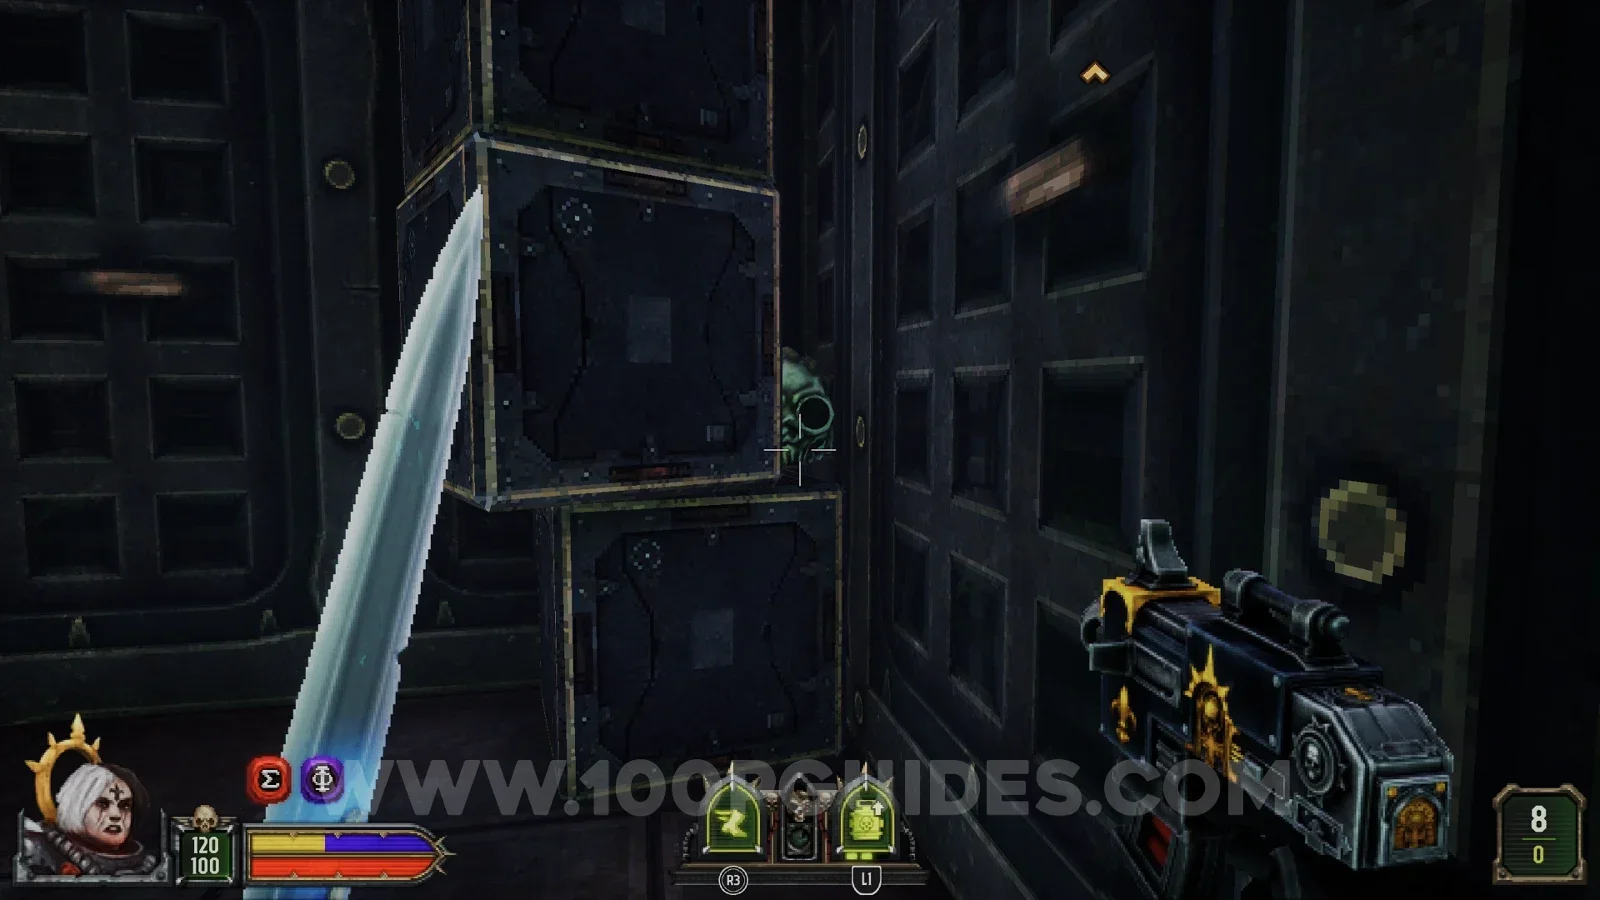
After using the red key on the red door and pressing the switch on that side of the map, you go down a ramp back towards the main corridor in the middle of the level. At the bottom of the ramp, head into the small room full of boxes piled on top of each other. Look for a skull in the corner of this room and shoot it to open the door in the same room, with the secret on the other side.
Secret 4/5
On your way to the purple key you go through a square room where you can see the key through a gate. In this room, climb up to the large circular hole using the vent ends on the wall to find the secret.
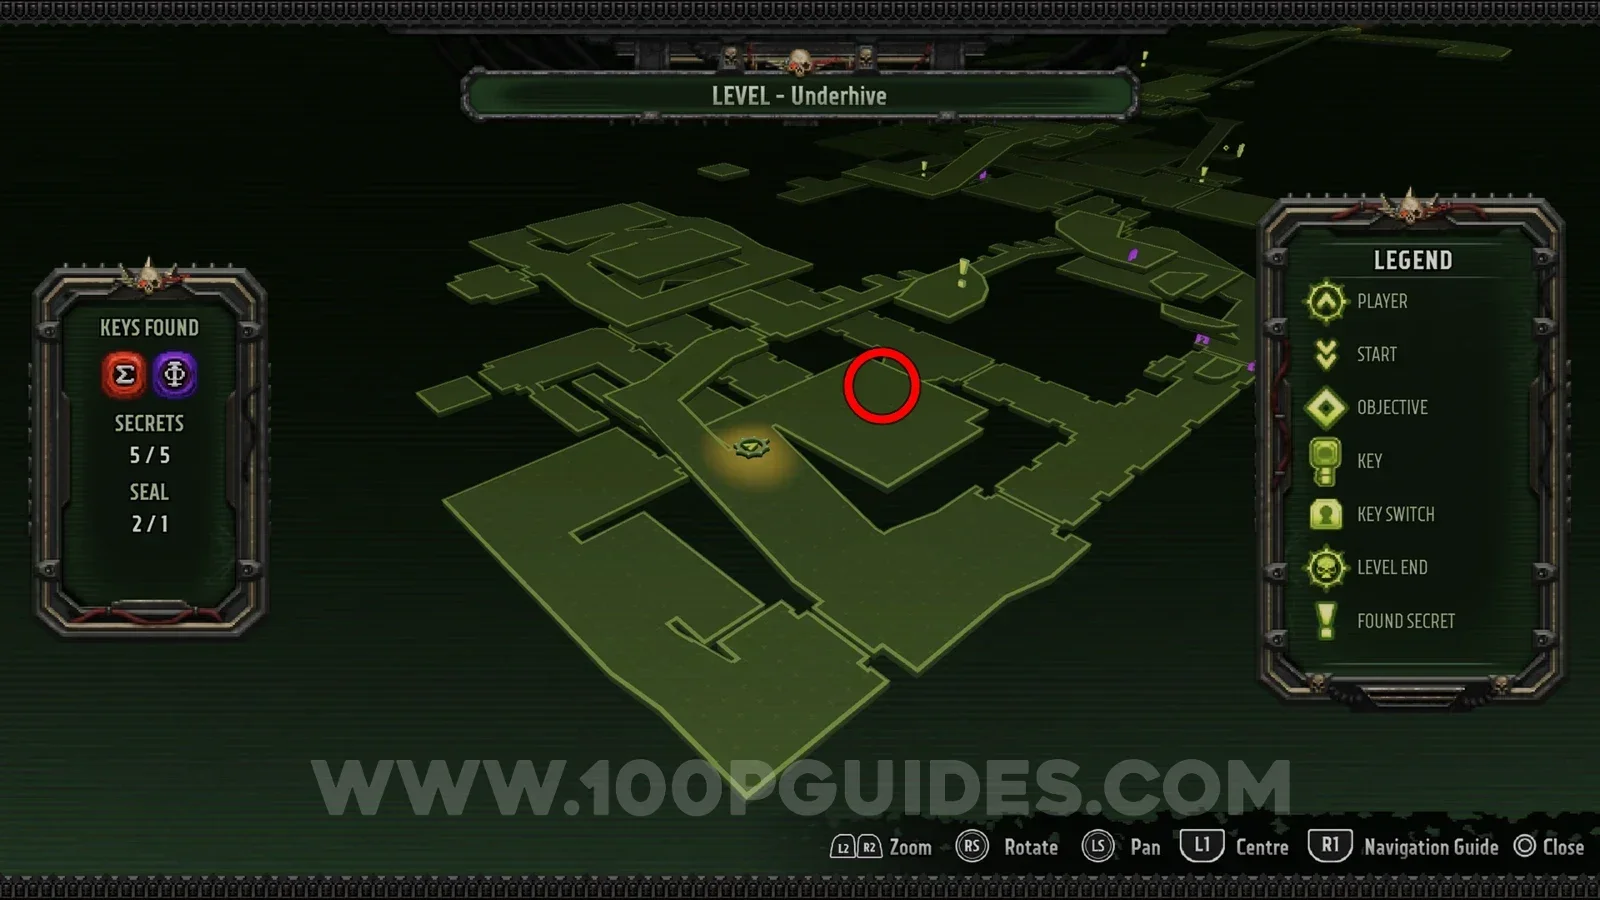
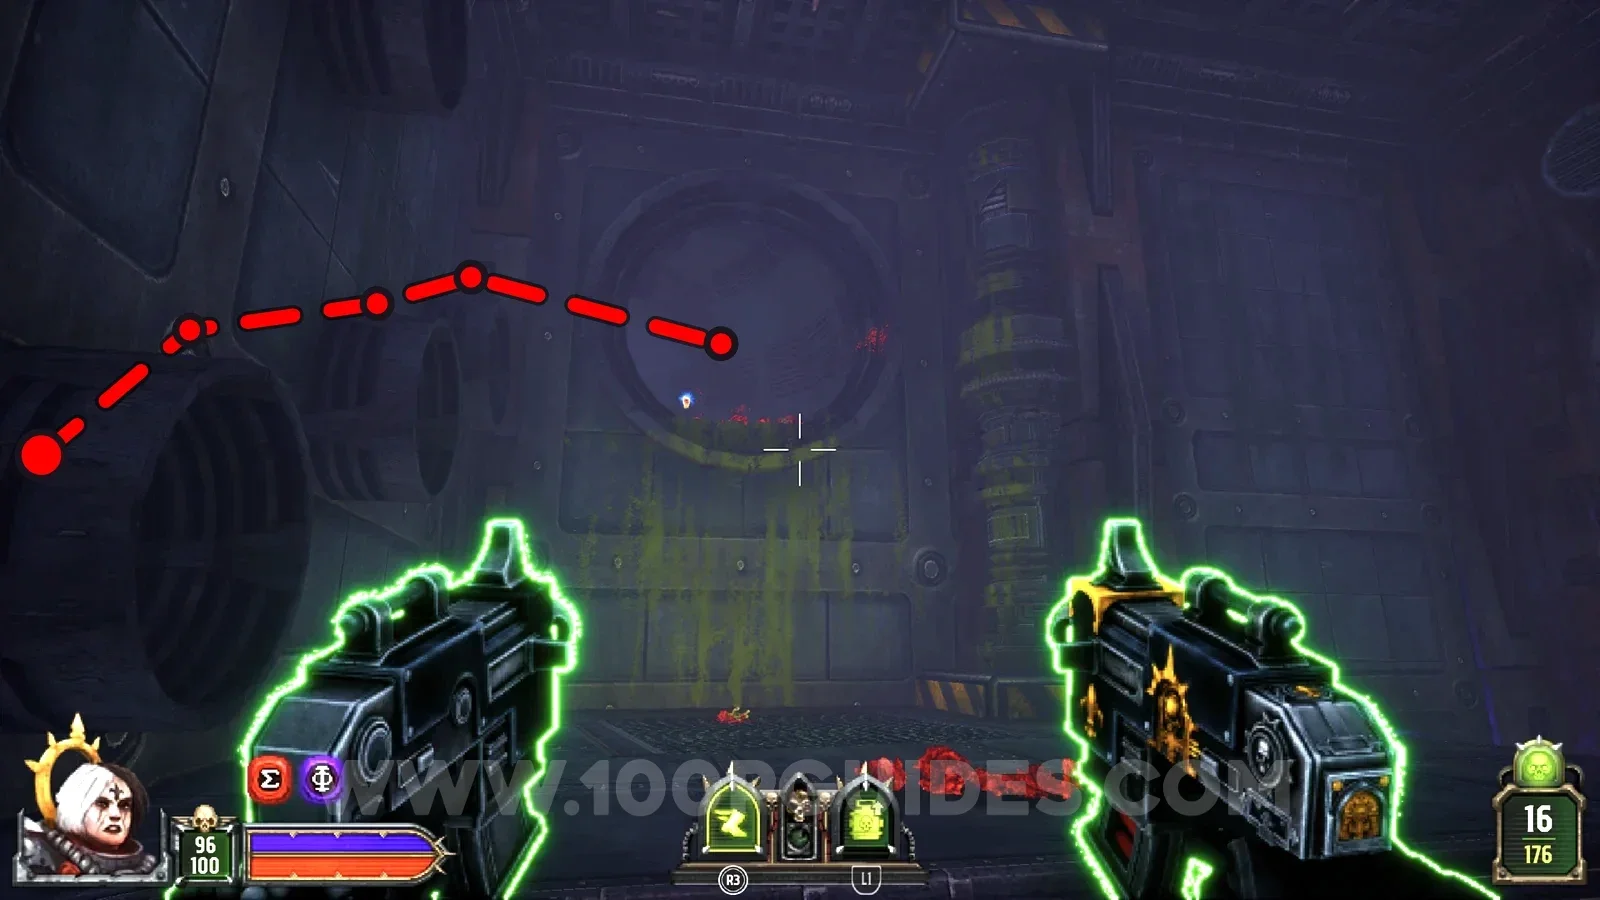
Secret 5/5
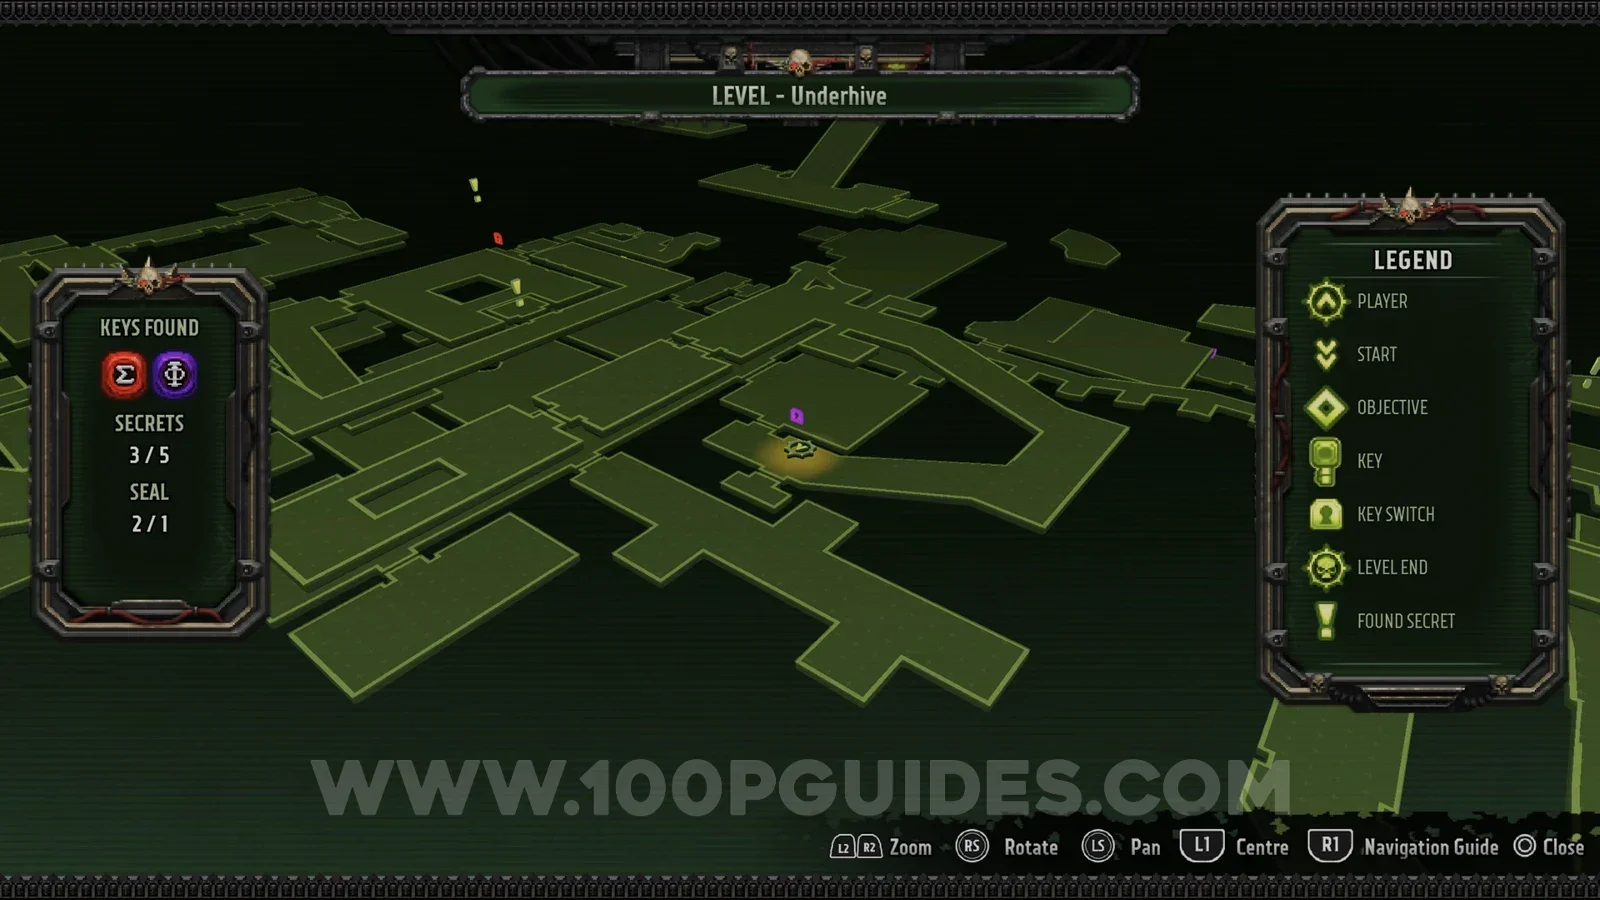
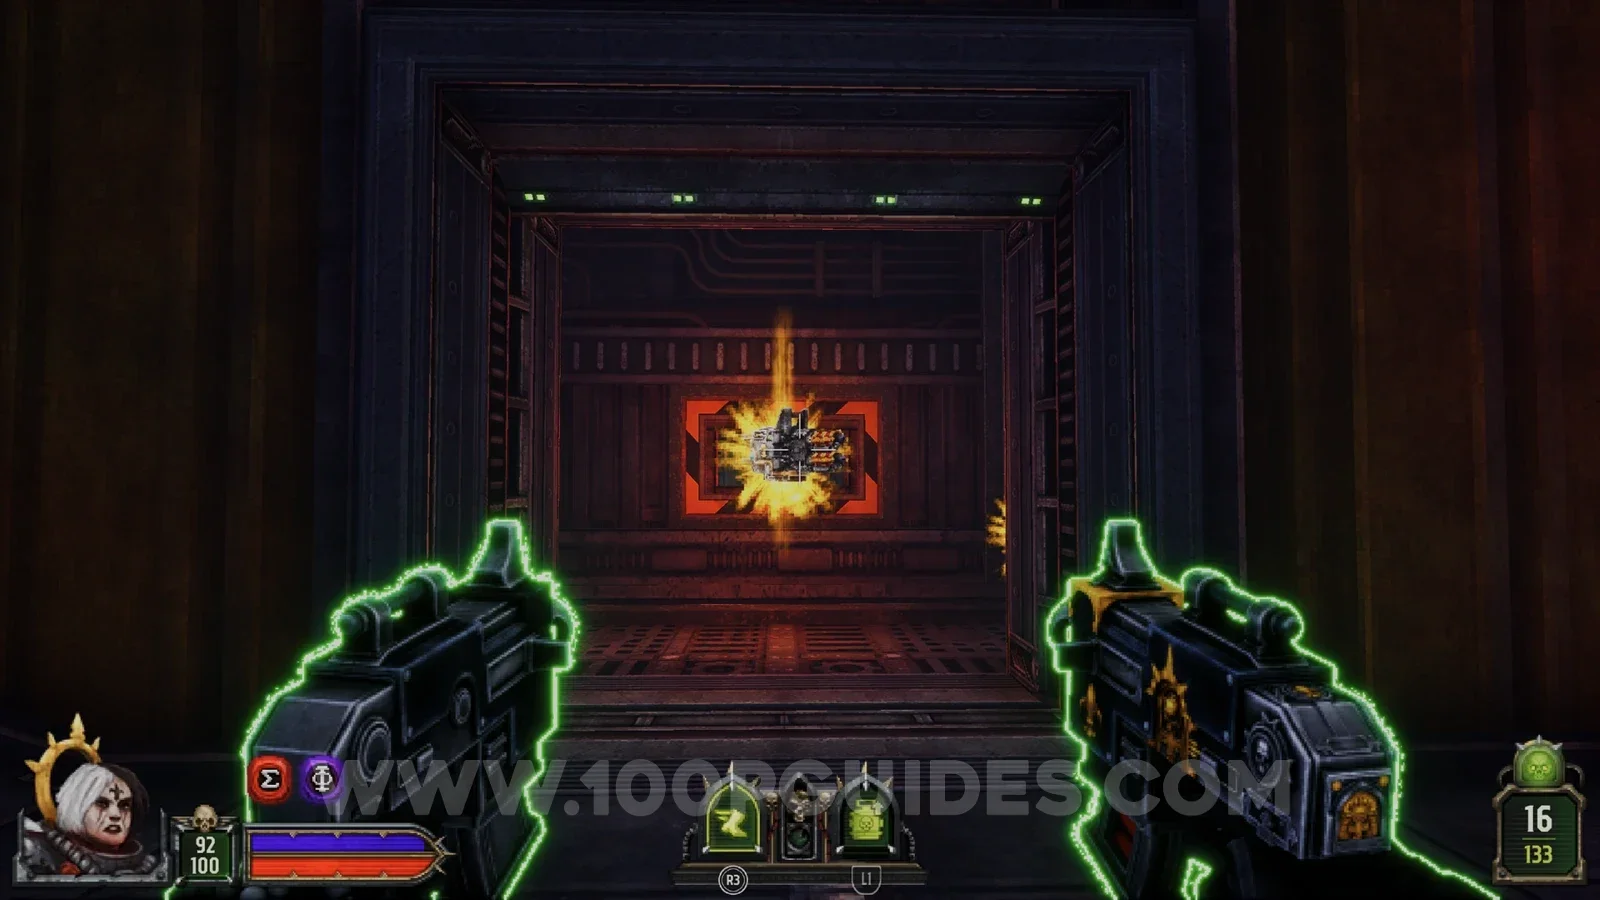
After getting the purple key, head through the first door on the right in the main hall and shoot the skull through the hole in the wall on your left. Then go through the purple door to find the secret.
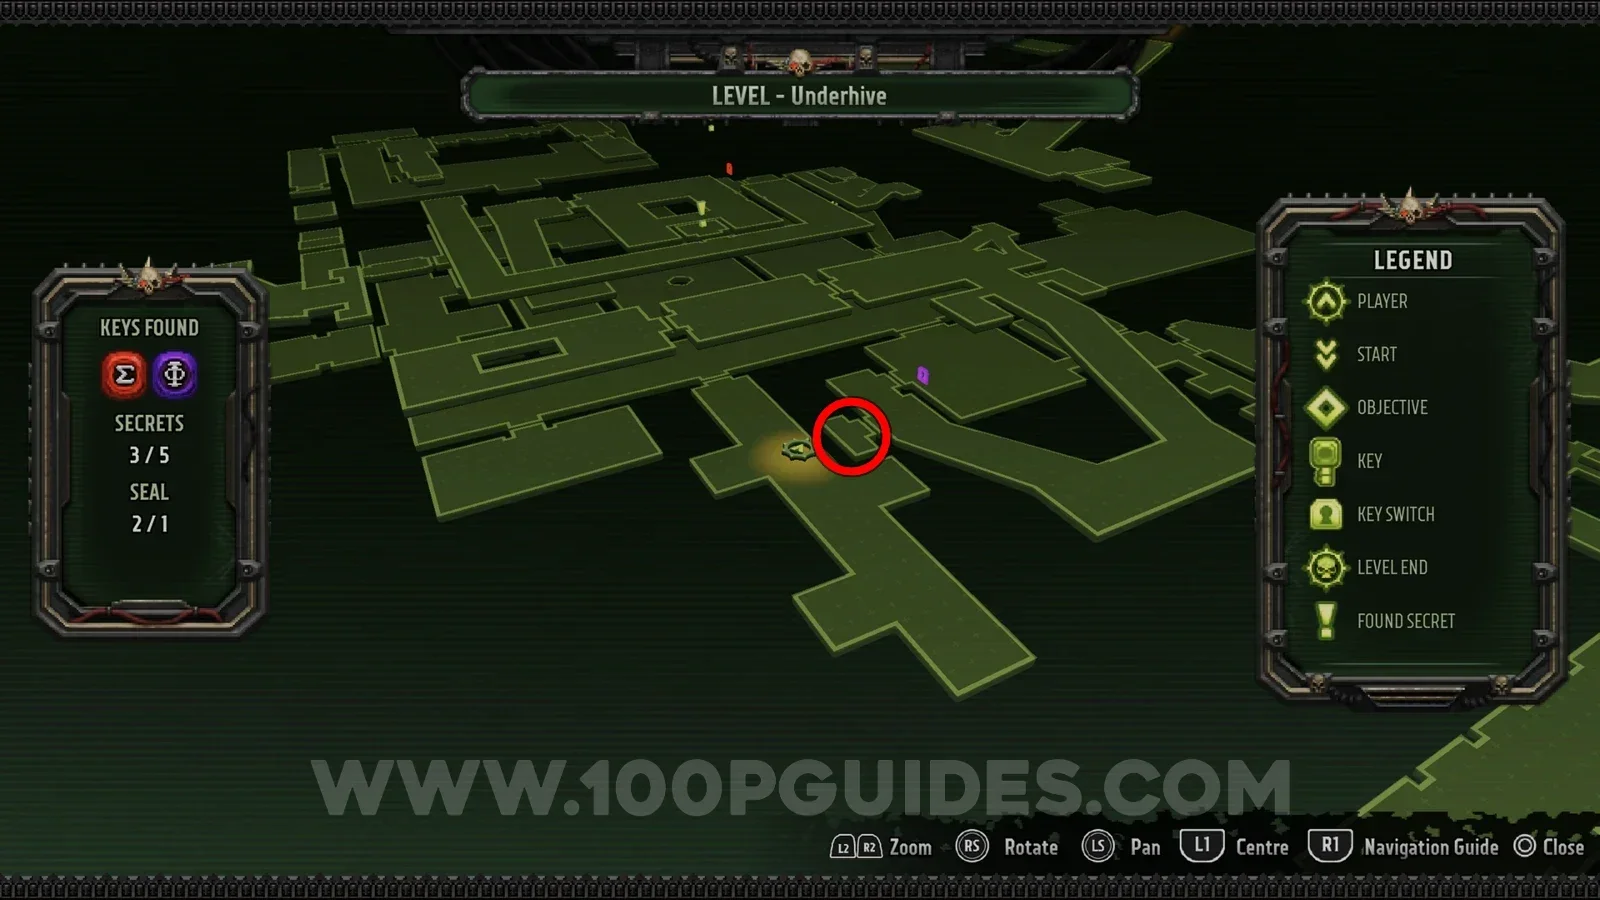
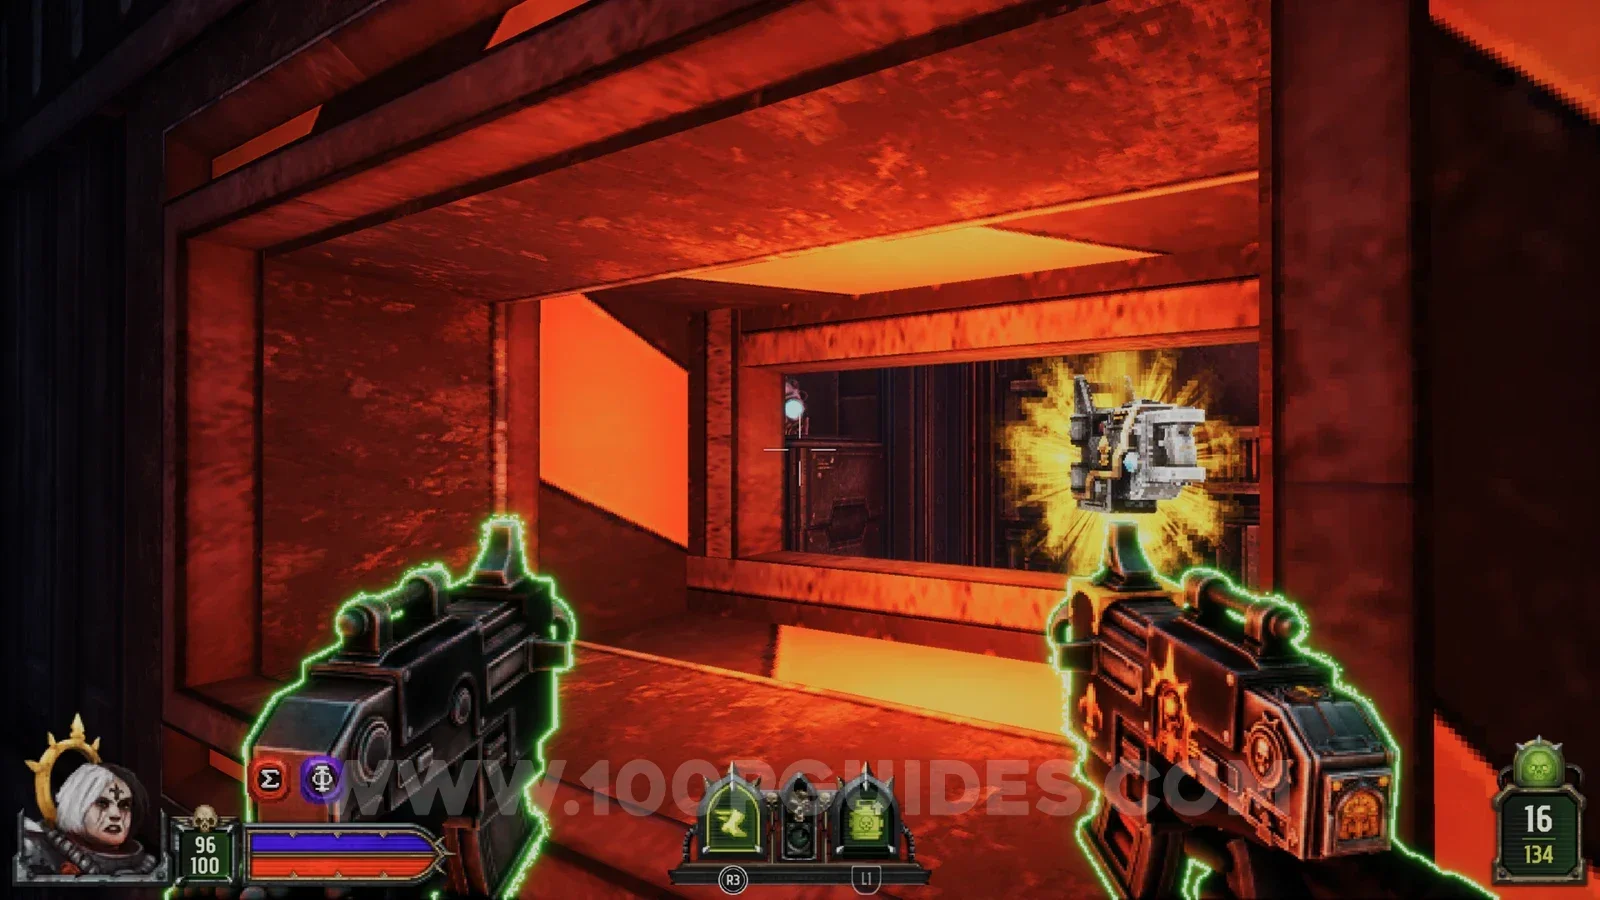
Seal 1/1
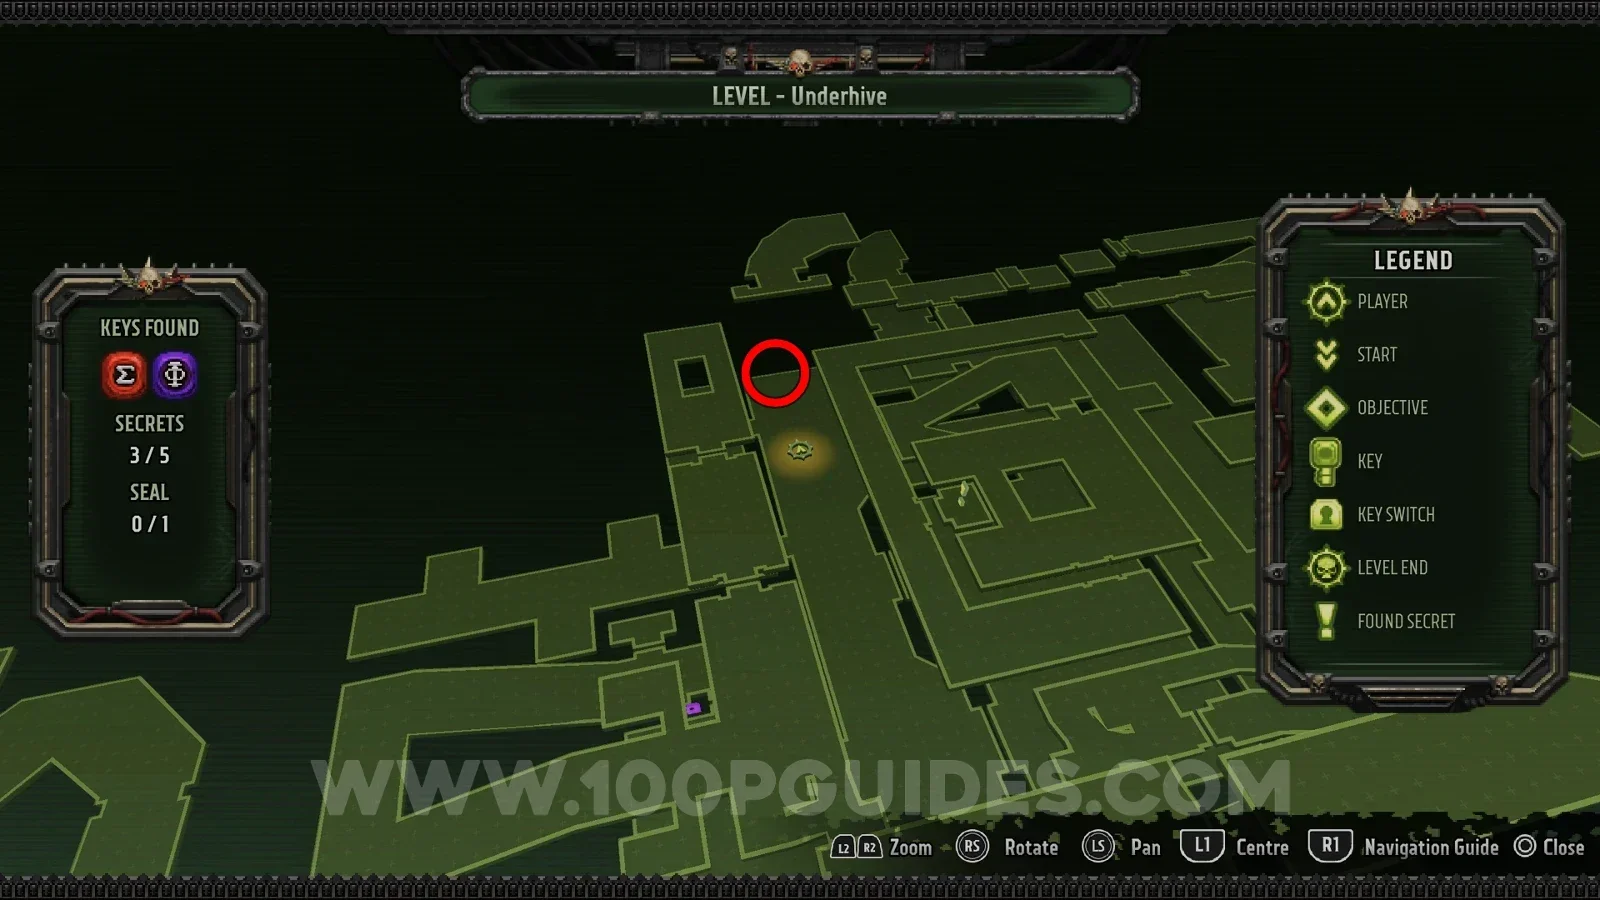
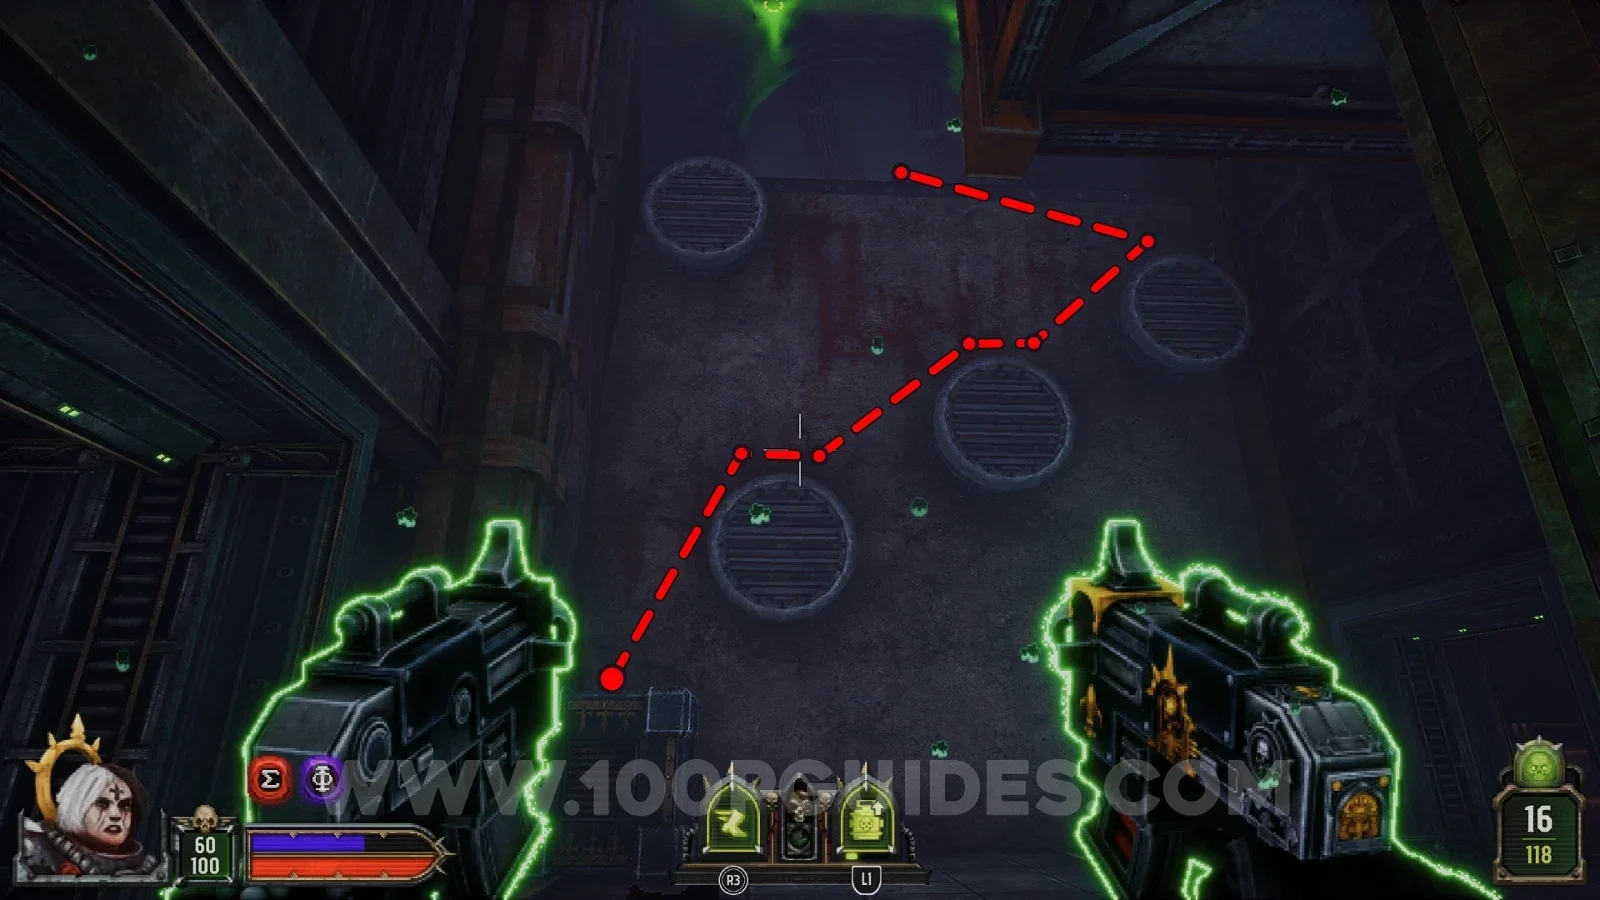
After pressing the level's two main switches to open the large gate, head back to the opposite end of the corridor and climb the vents to reach a tunnel. Then drop down into the tunnels, where the seal is.
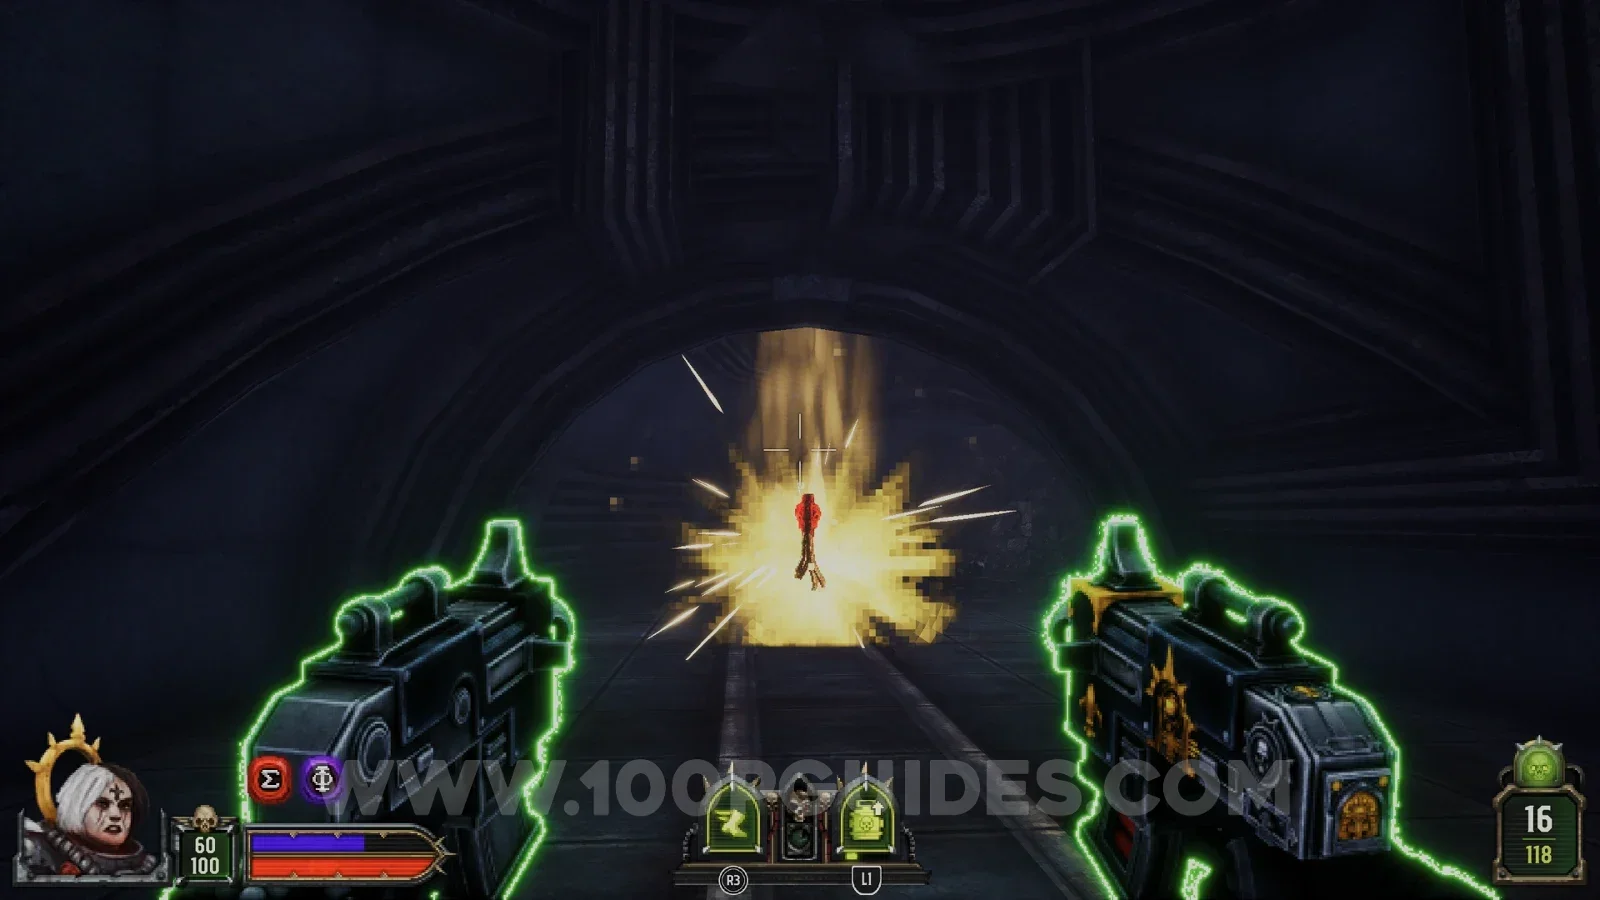
Demonic Symphony
Secret 1/5
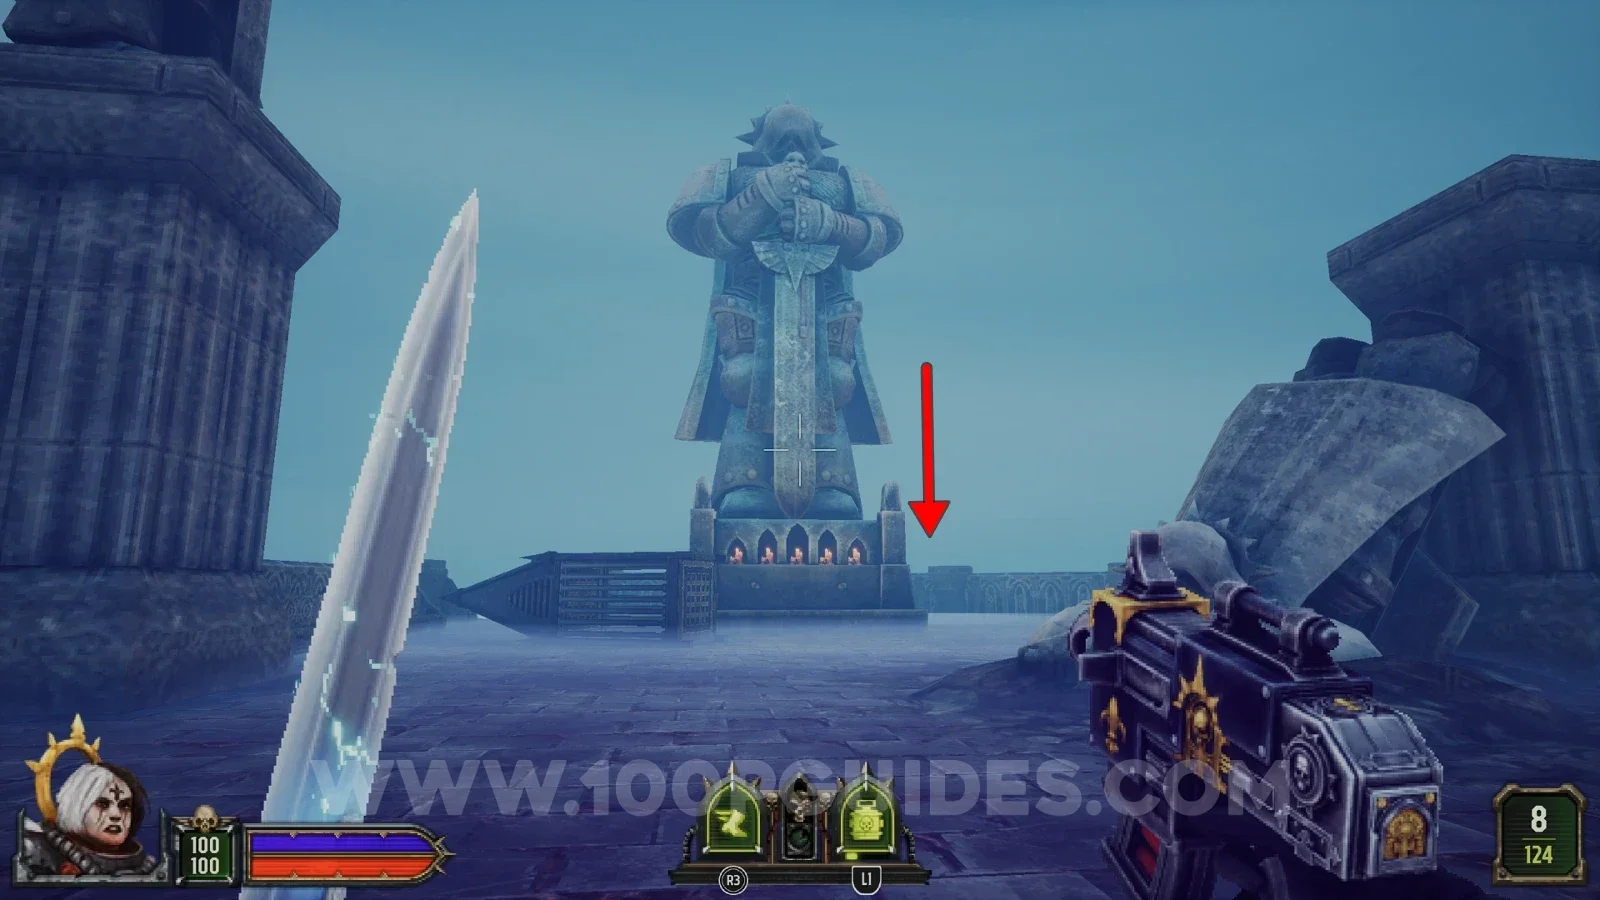
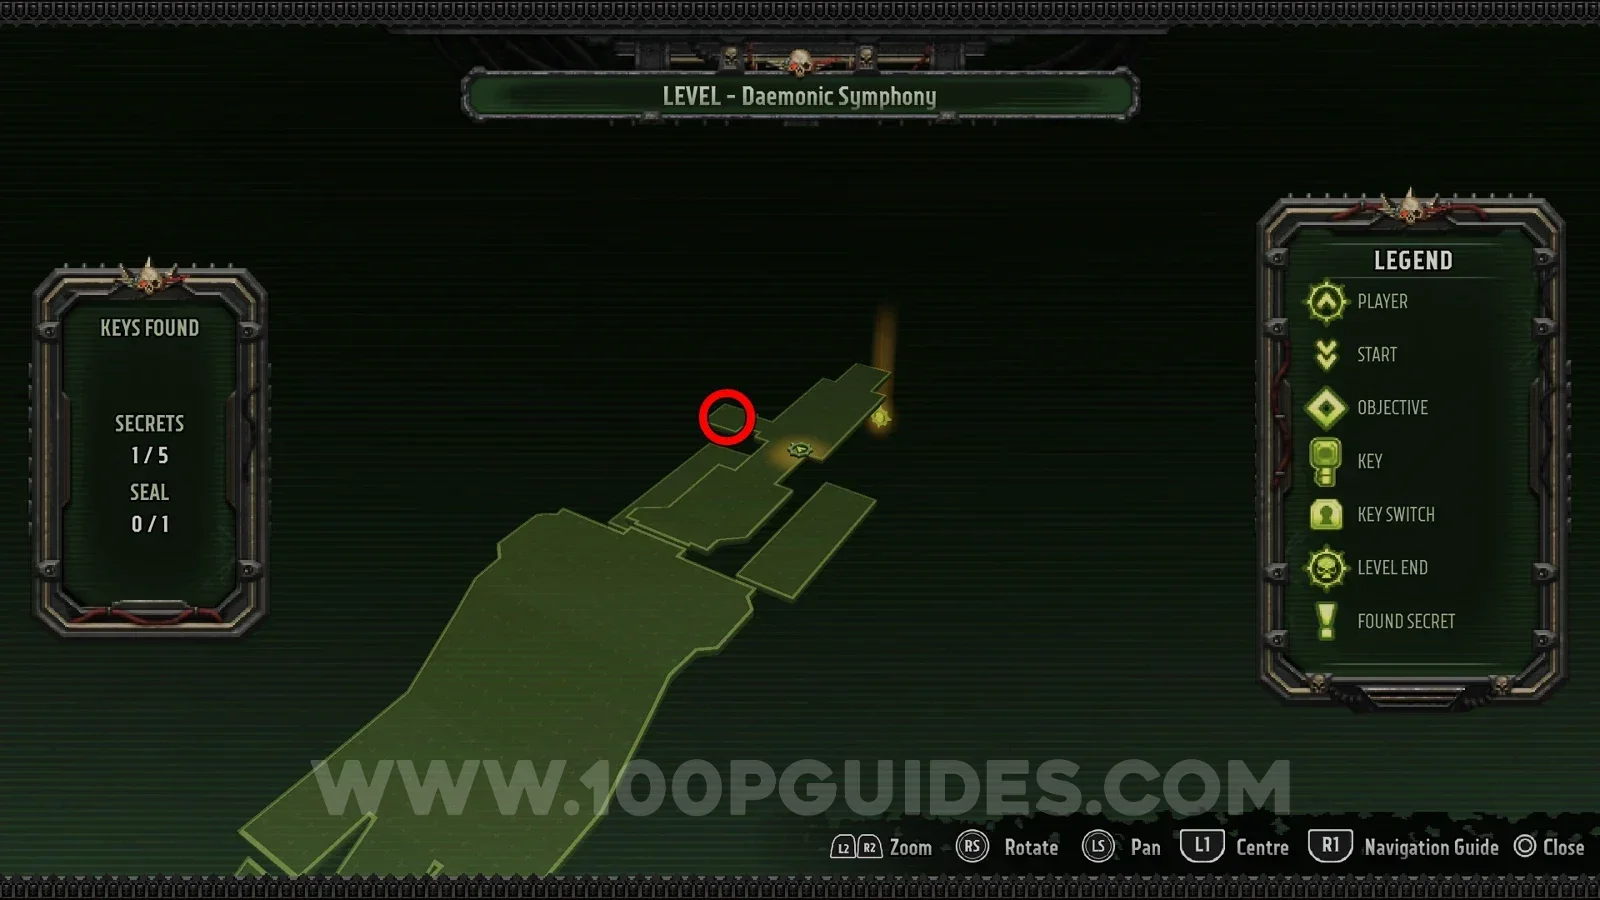
As soon as you get off the lift, go to the area behind it and drop down behind the statue.
Secret 2/5
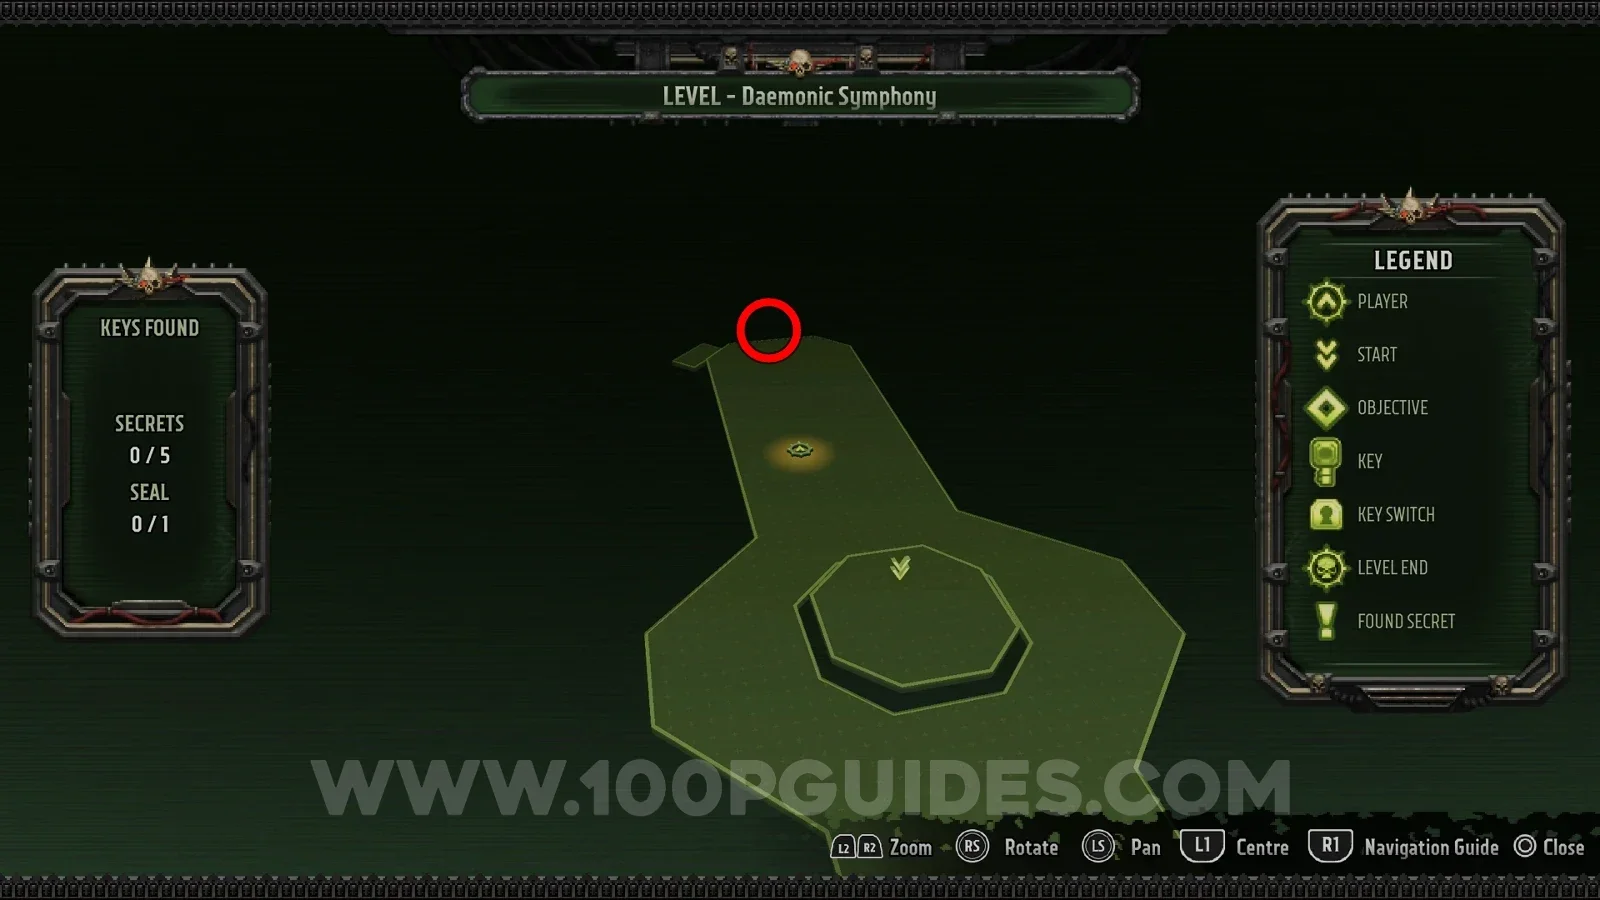
After going through the main door, look for a cracked wall on the left. Shoot the barrel through the crack to destroy the wall and find the secret.
Seal 1/1
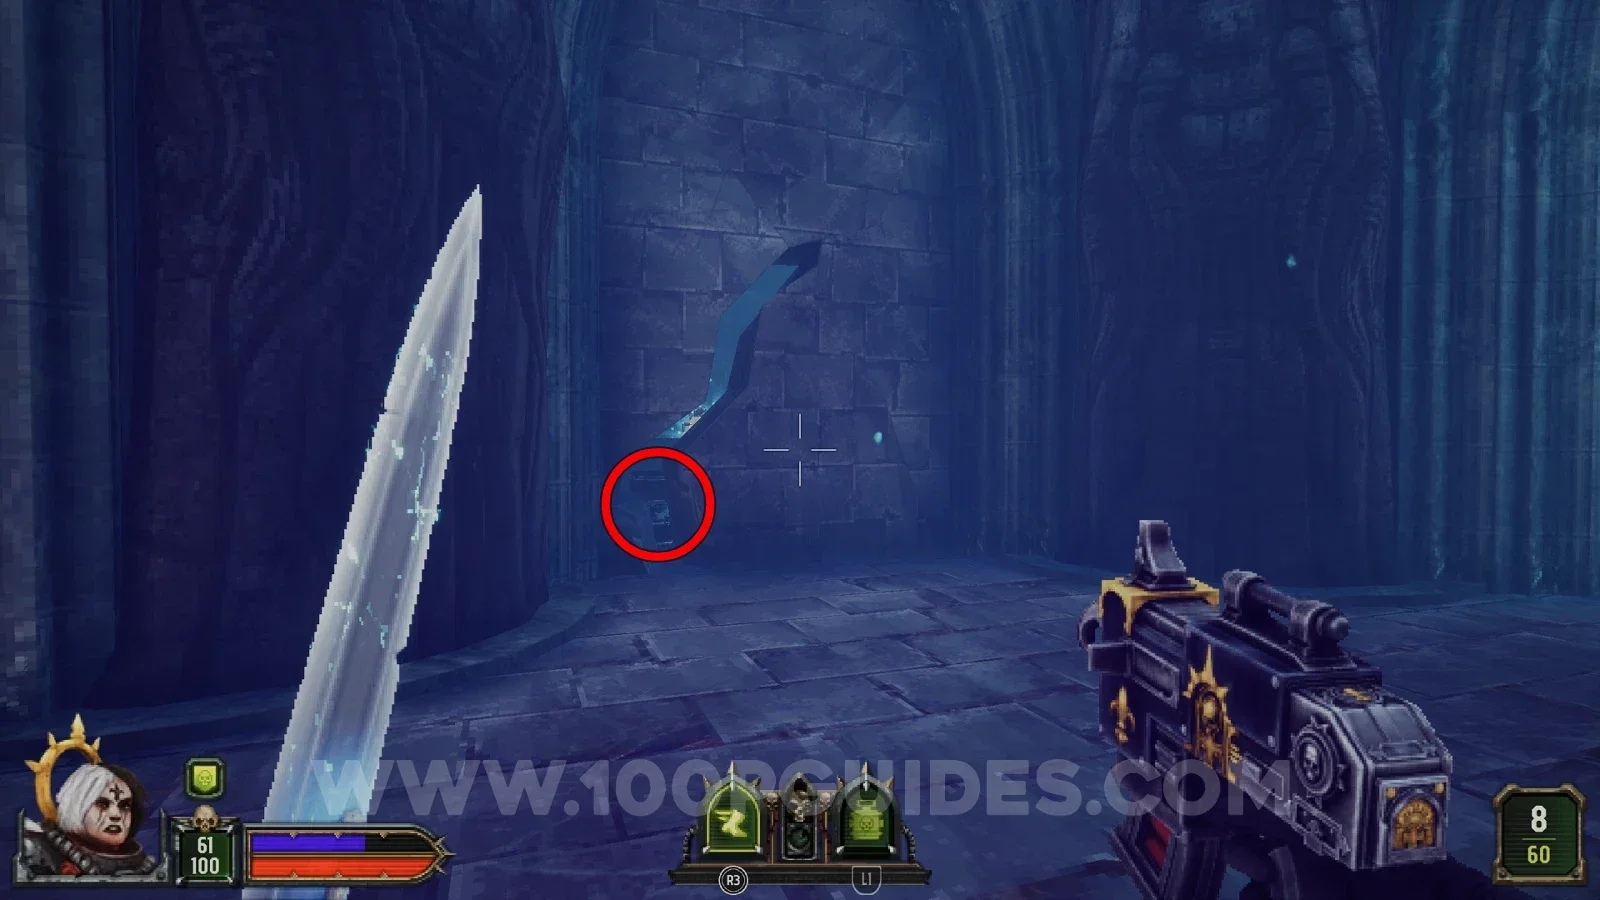
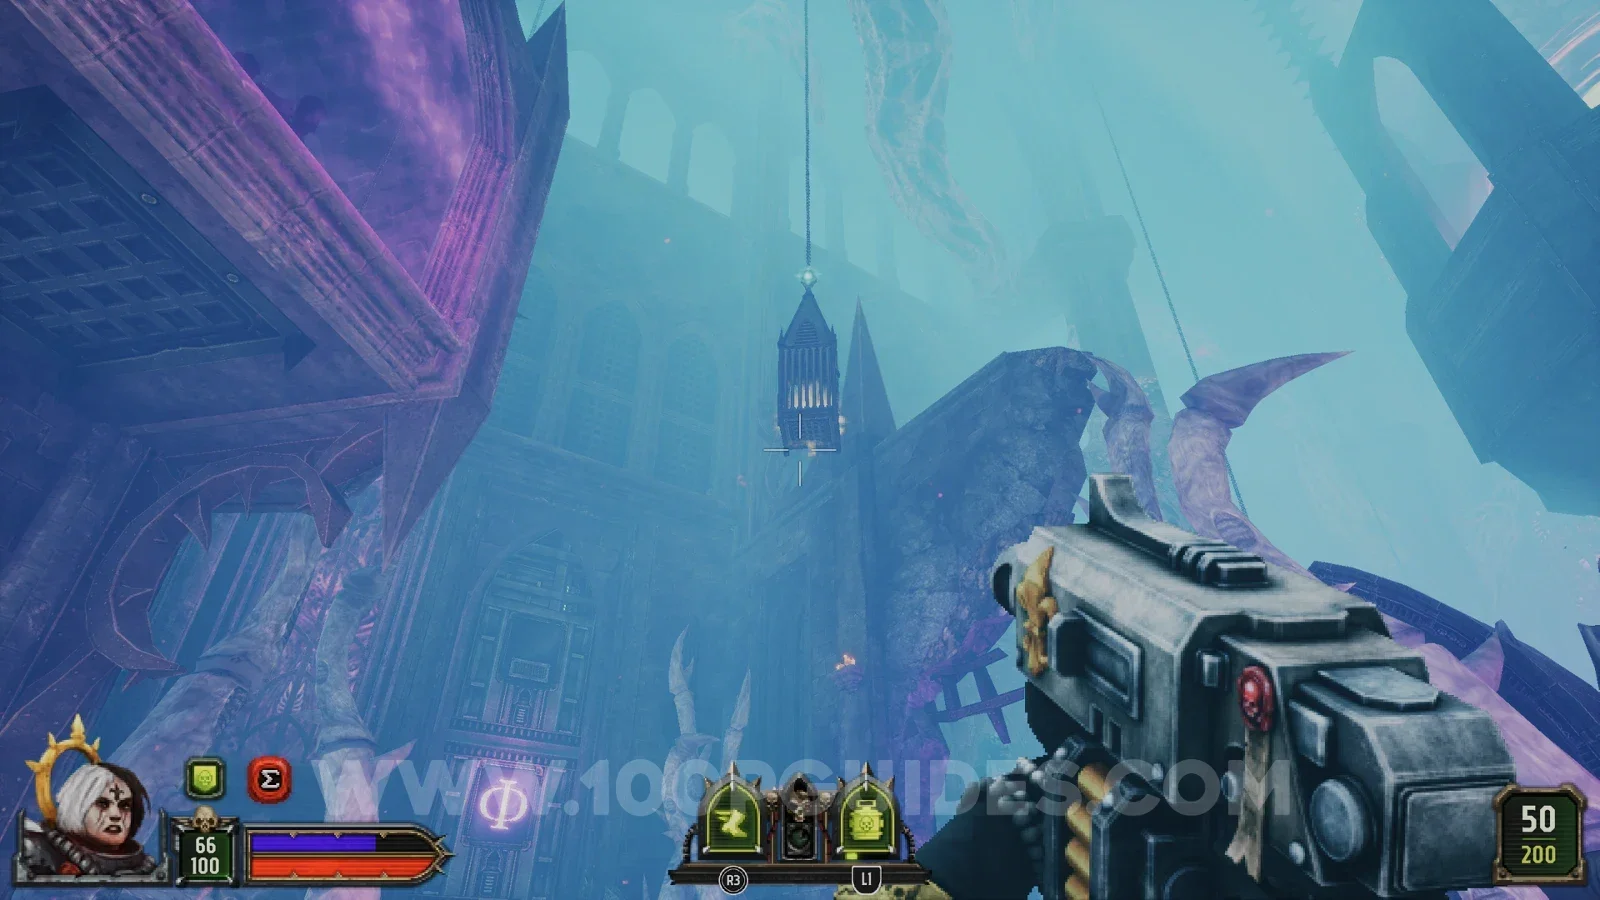
In the area where you survive the Purge to get the red key, look up and shoot the chain to drop the cage with the seal inside.
Secret 3/5
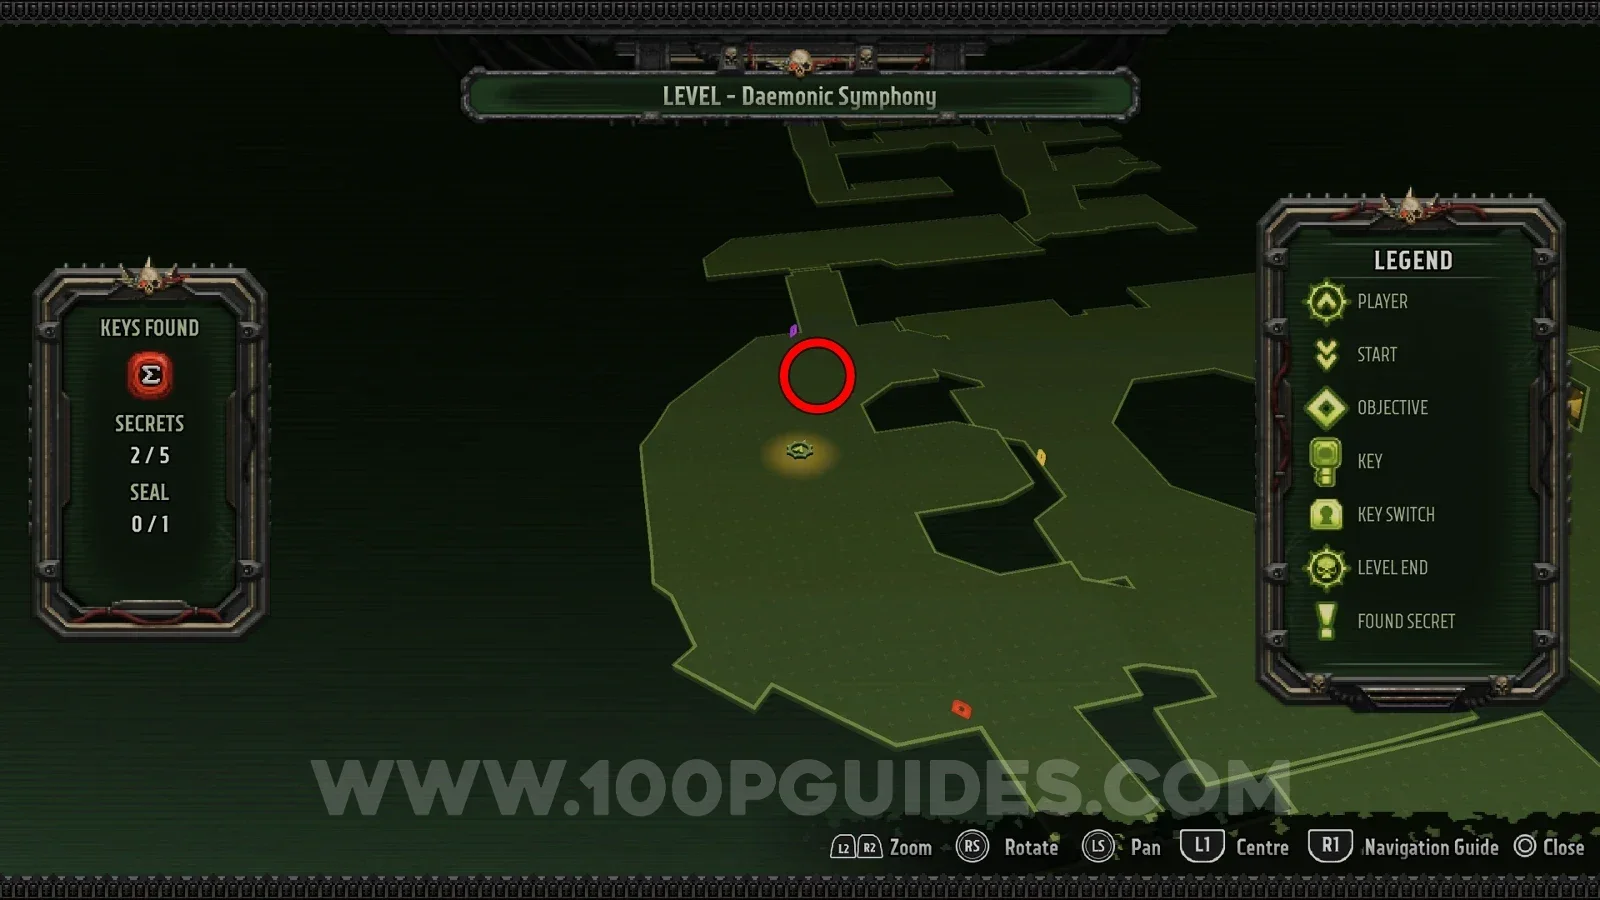
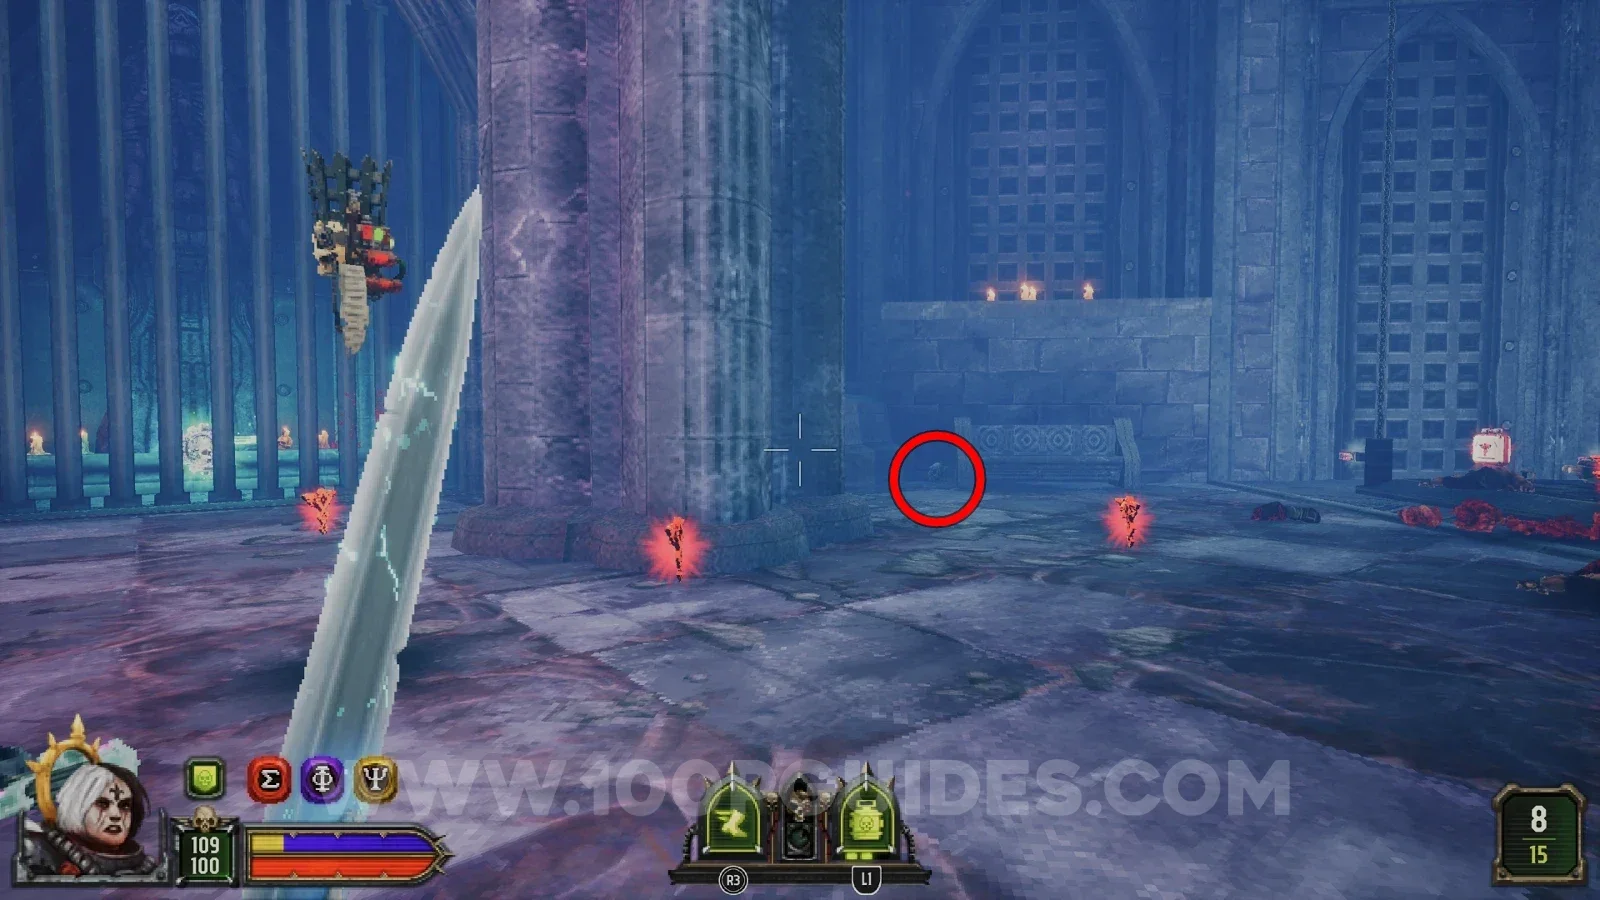
Behind some metal bars in the area where you get the red key. Shoot the skull next to the stone bench to the right of the bars to open them.
Secret 4/5
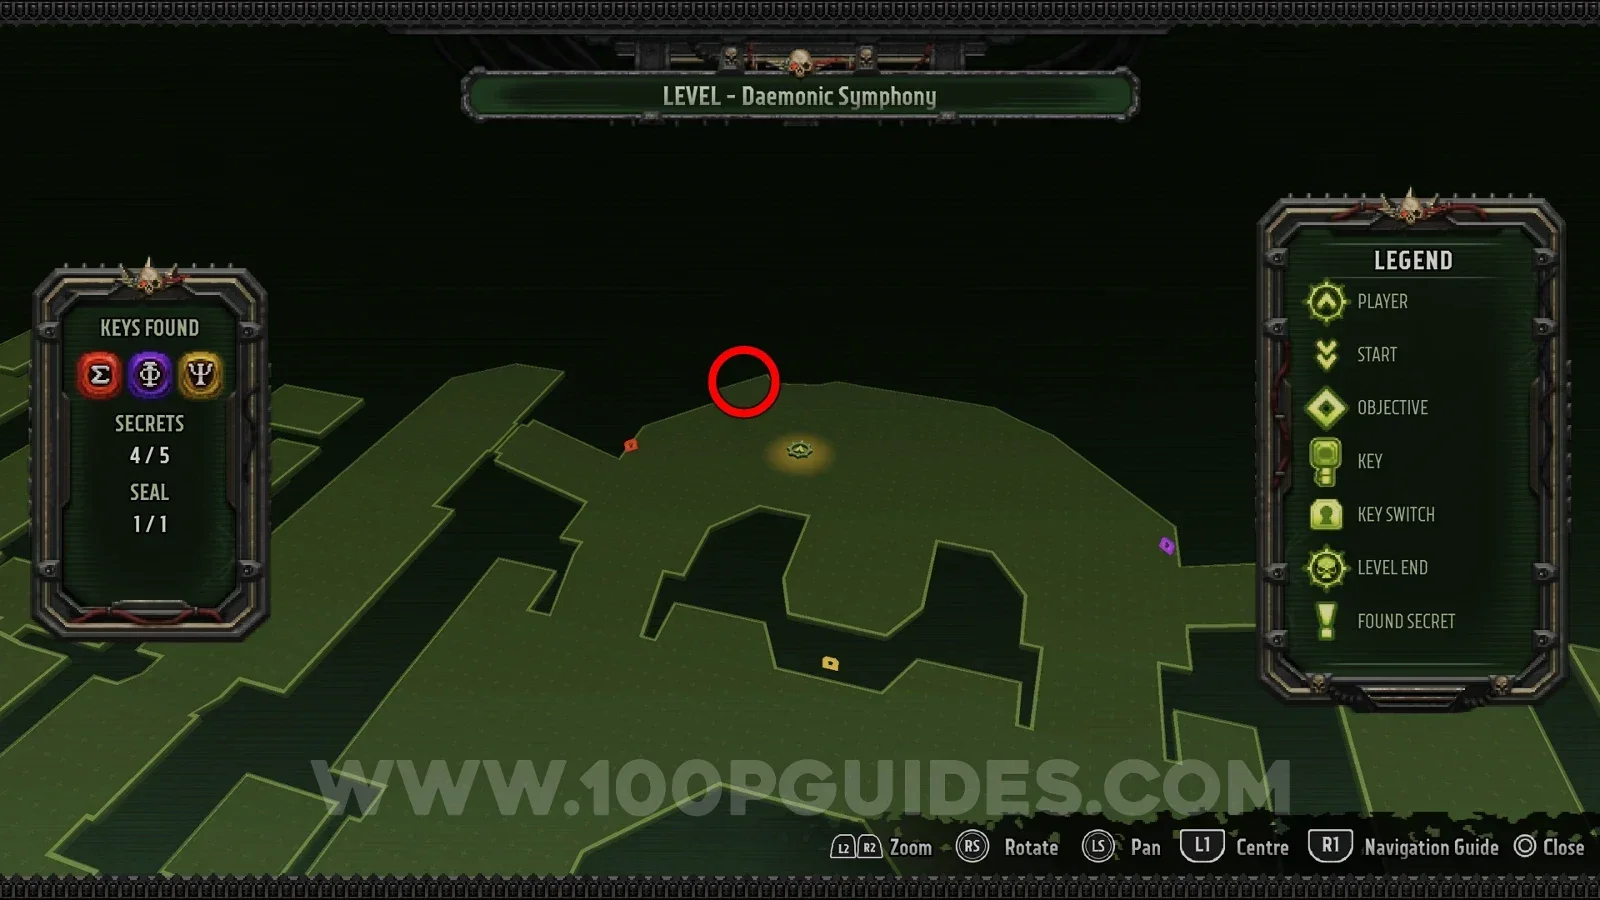
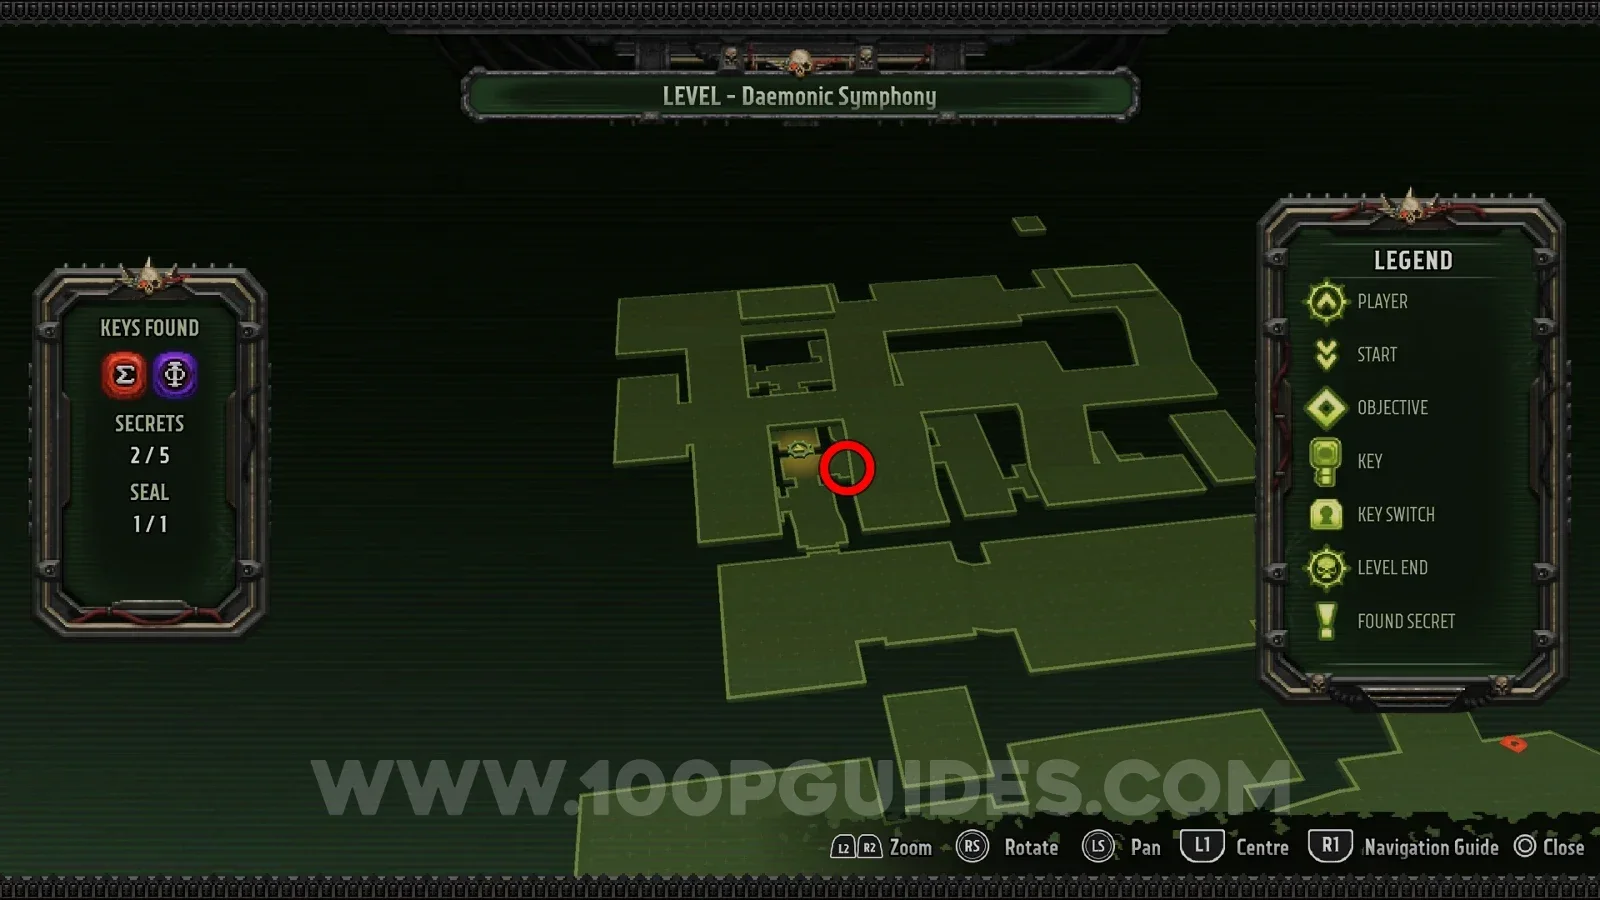
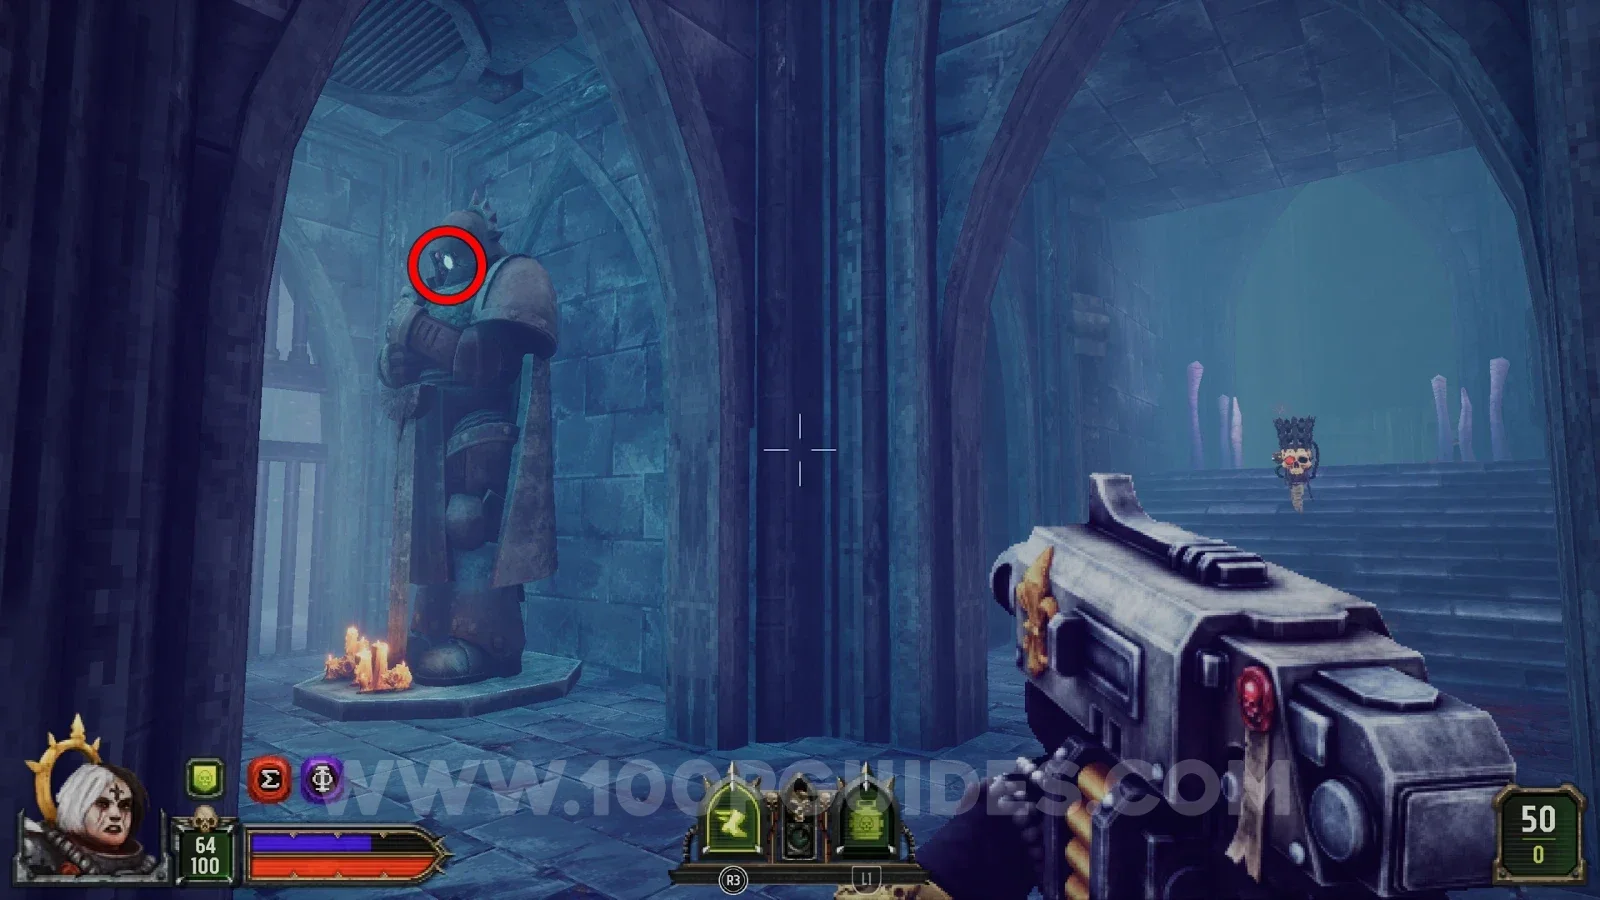
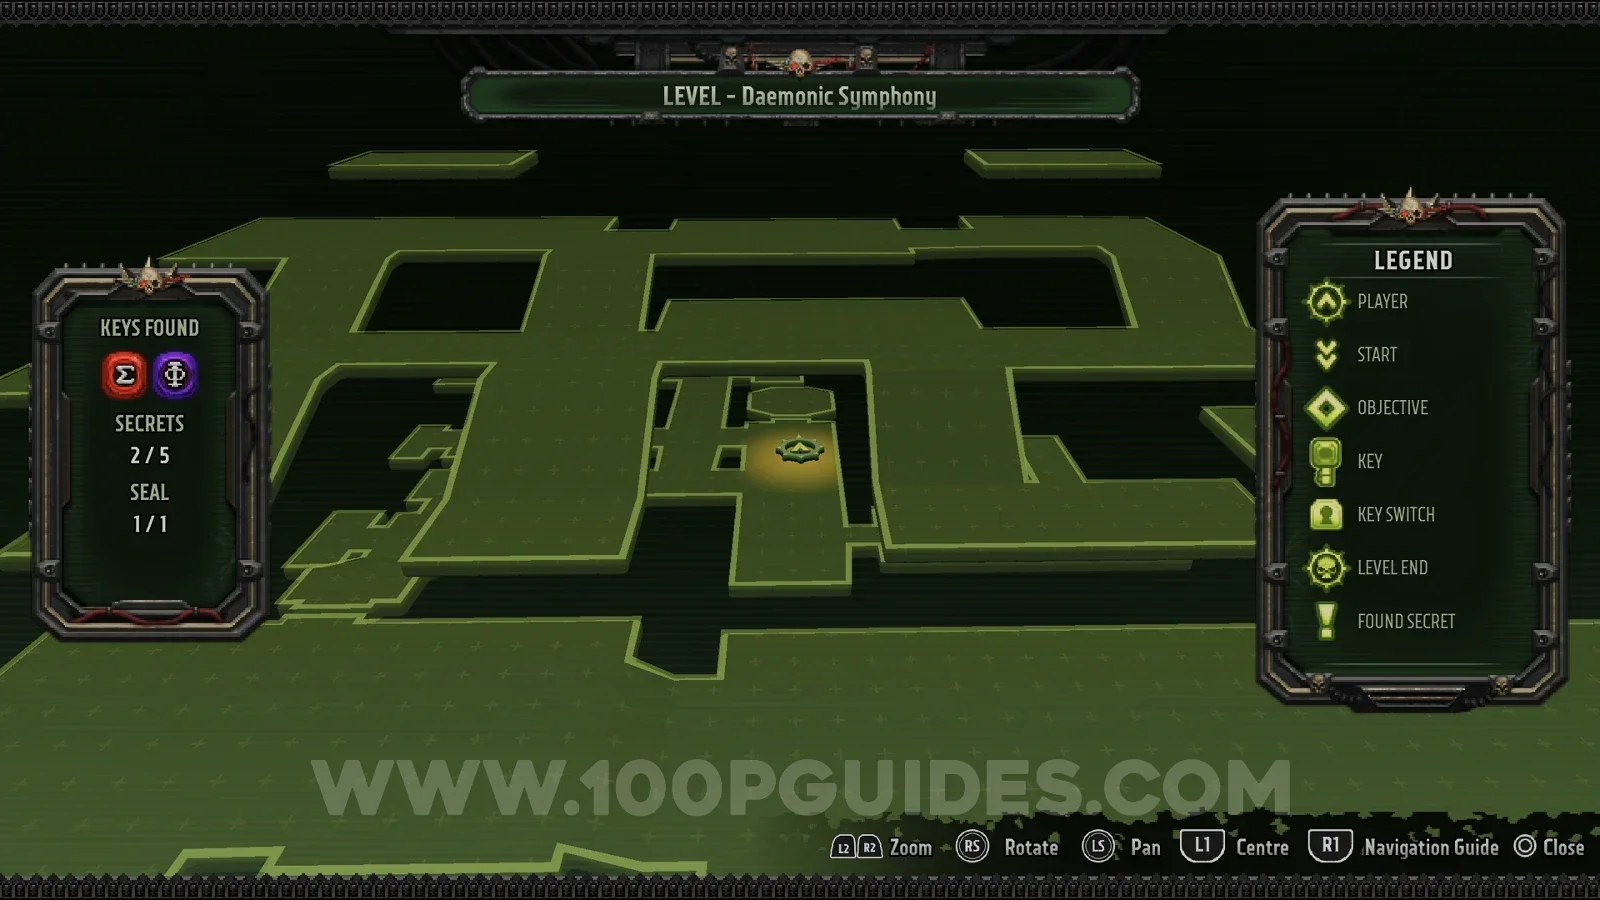
After using the key on the red console and going through the door to the crypt, you drop down a hole with purple lighting to reach the lower area. Just before the switch you use to leave the lower area and collect the purple key, look left to find a skull disguised as a statue's head. Shoot it to open the metal bars blocking the secret, a little further back in the lower area of the crypt.
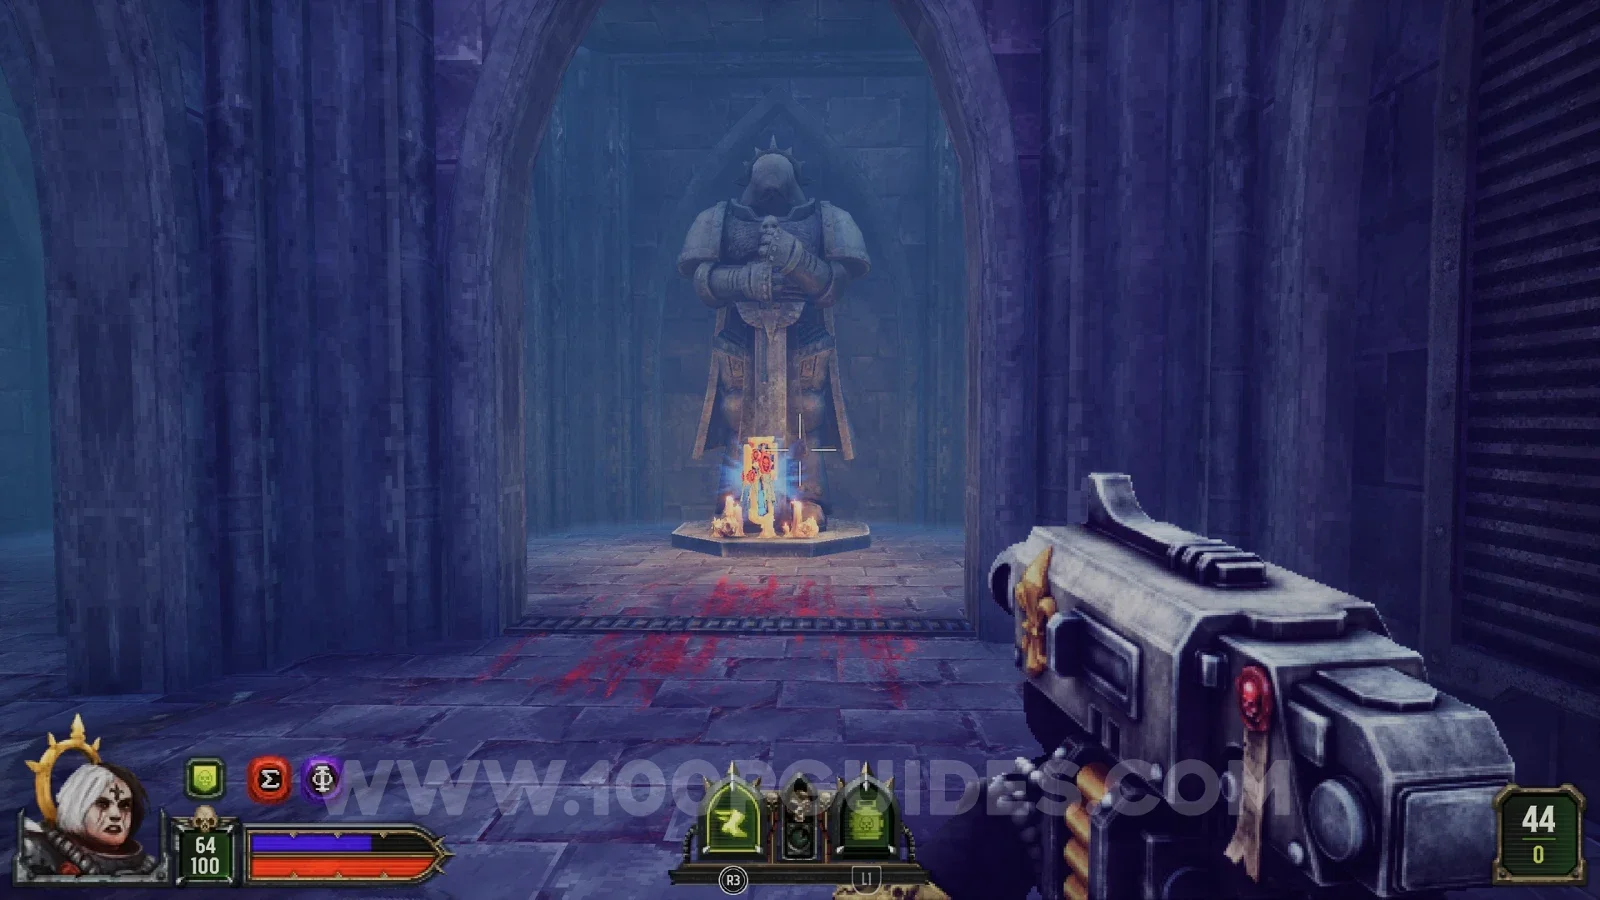
Secret 5/5
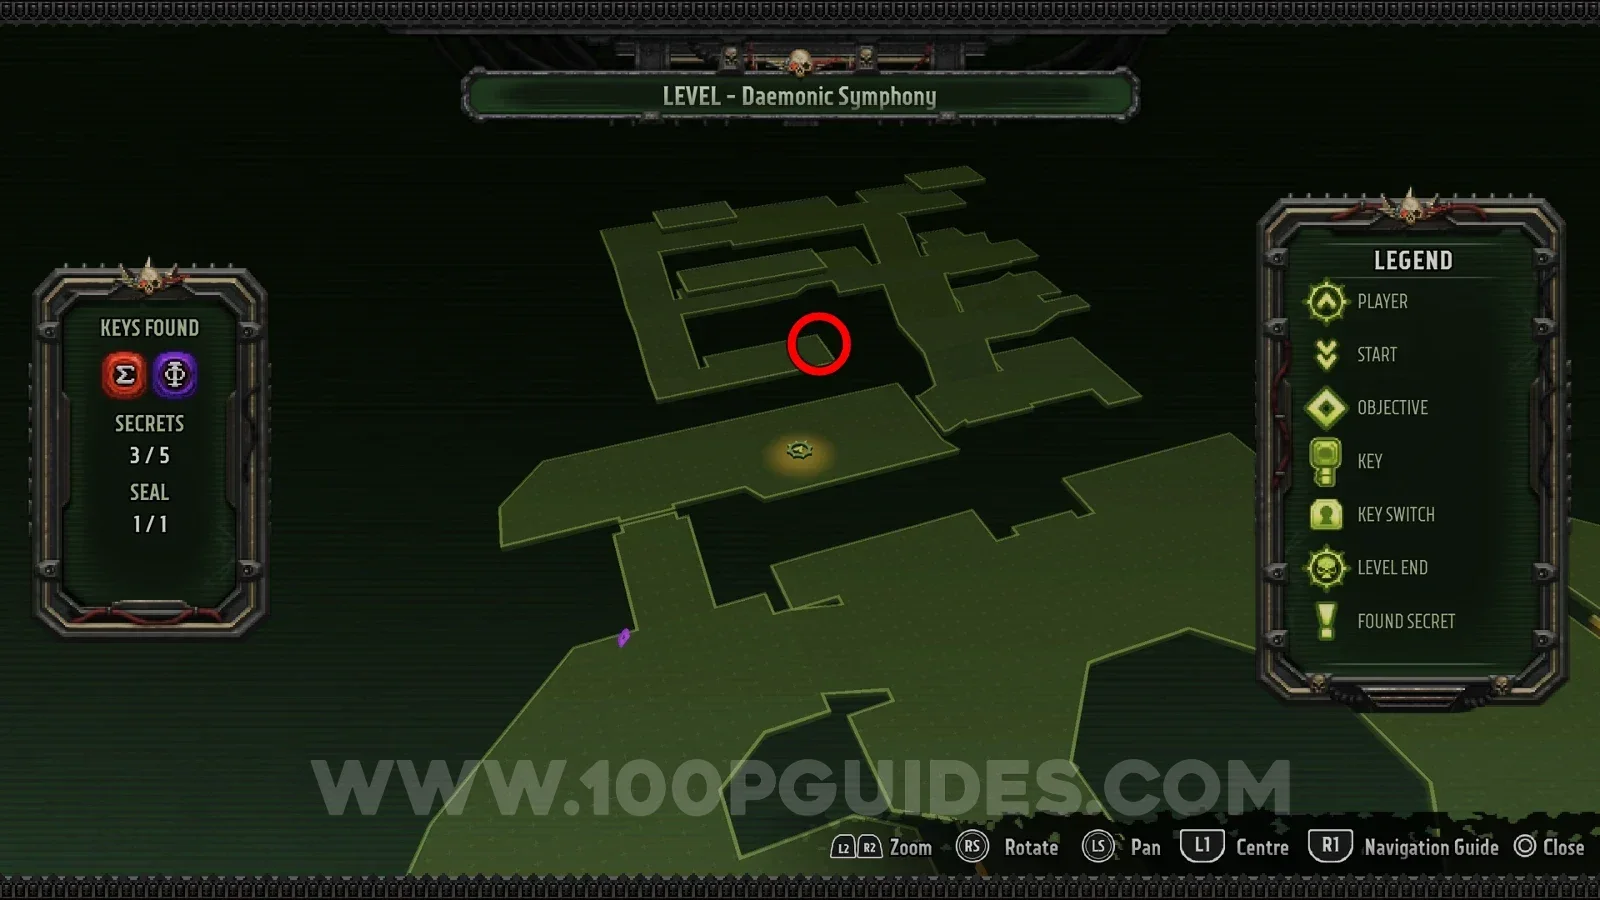
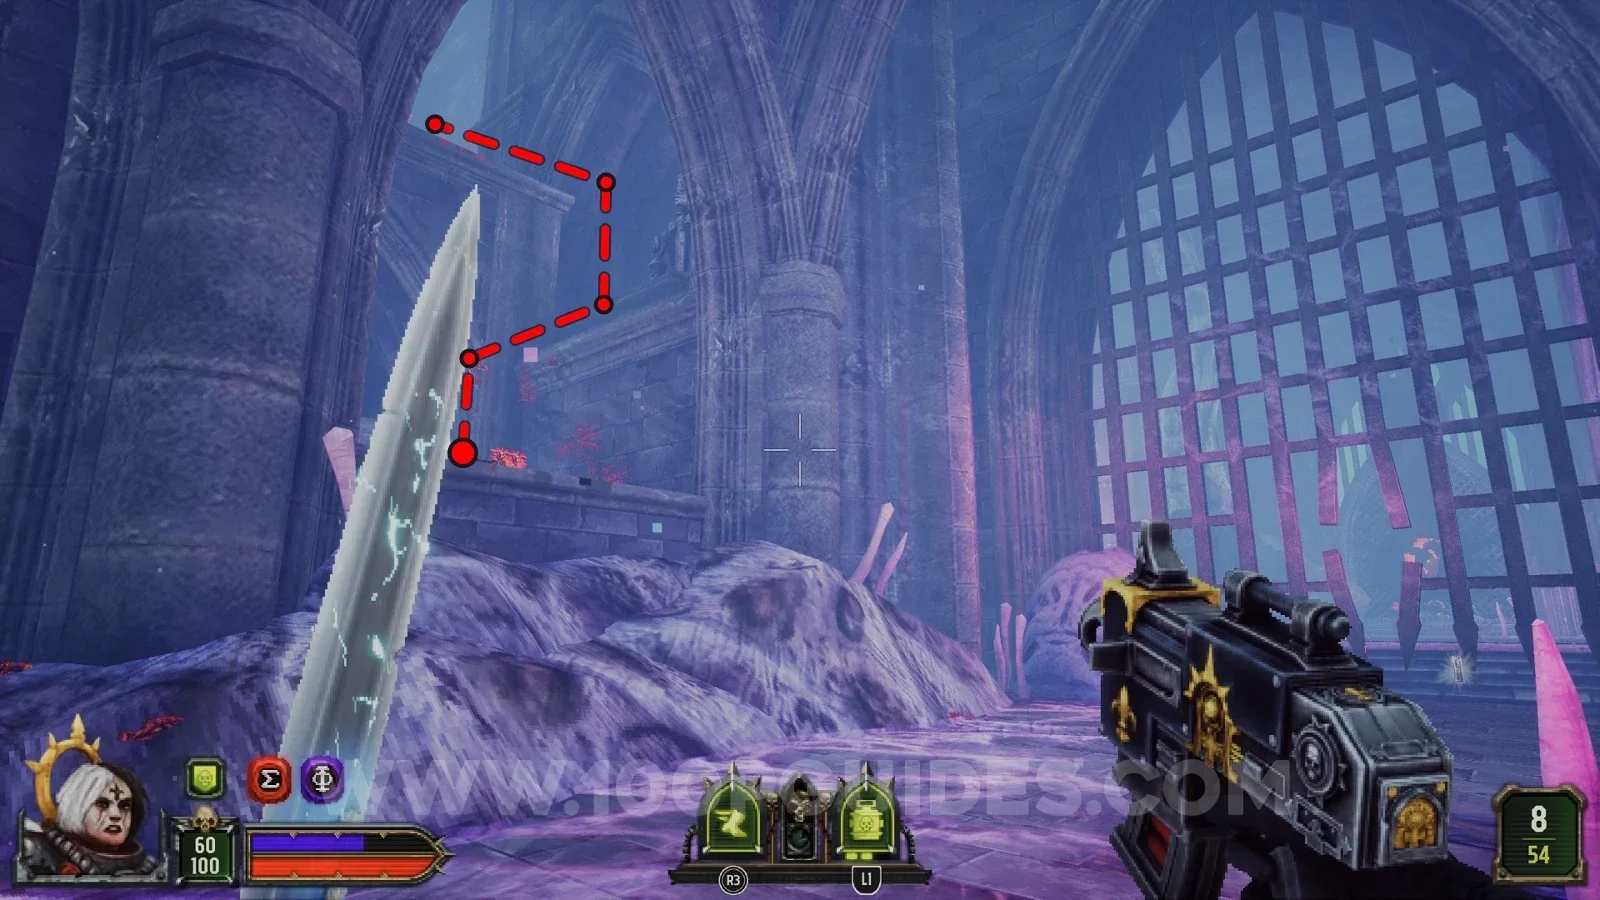
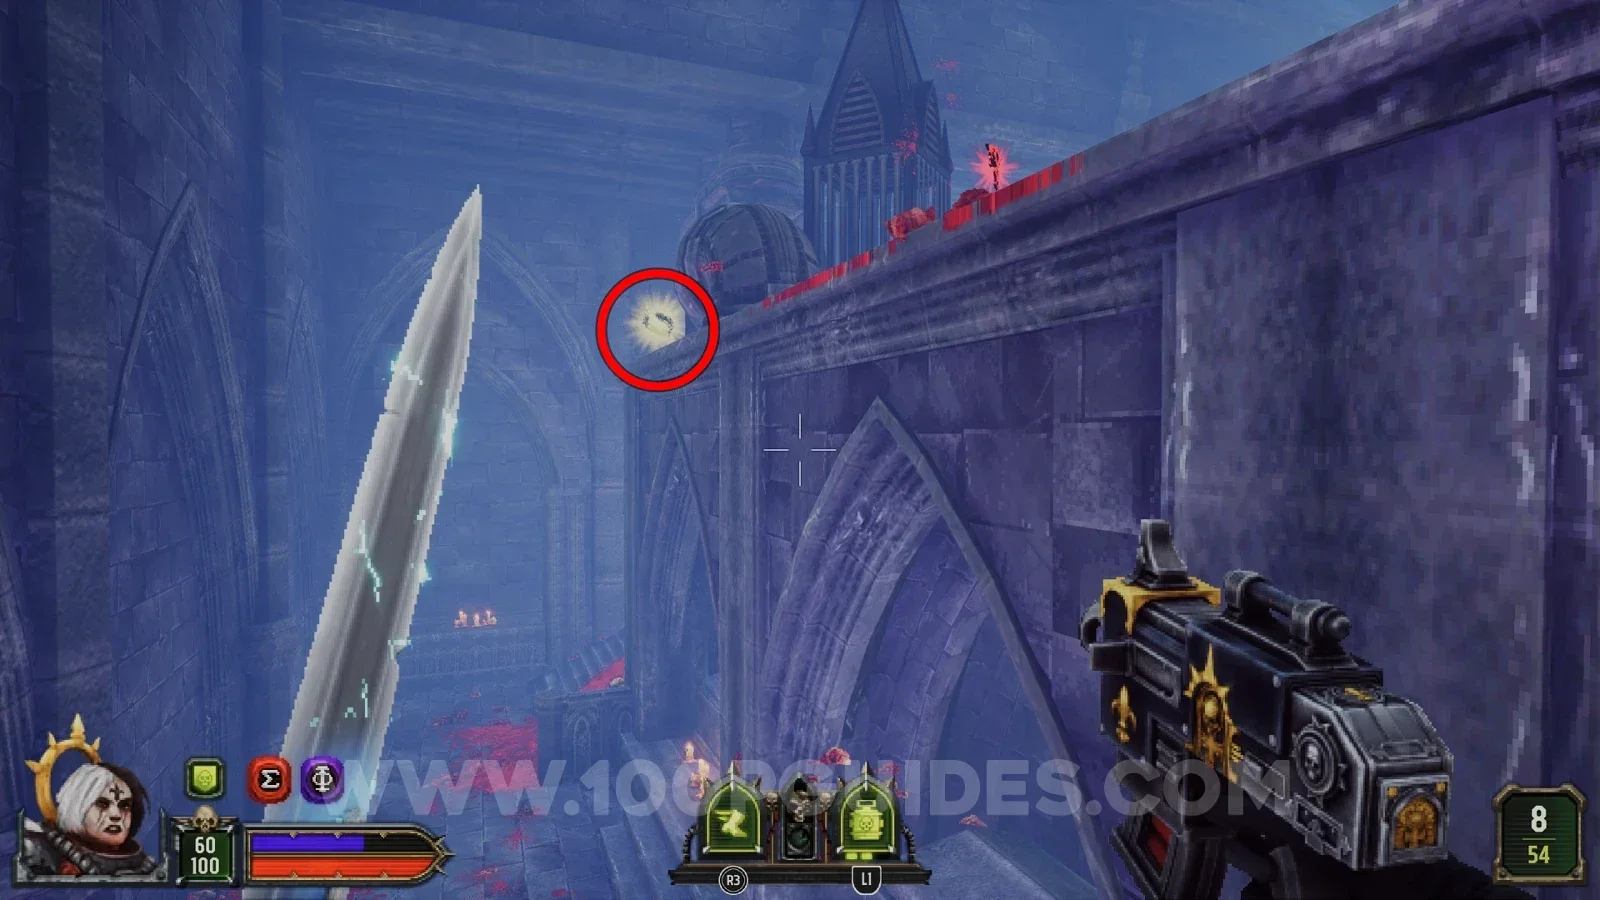
After going through the purple door you reach a gate with an enemy launching shockwaves at you. At the gate, head through the gap on your left and immediately climb up to the statue on your right. From there you can climb up to the platform where the secret is.
Crushing Heresy
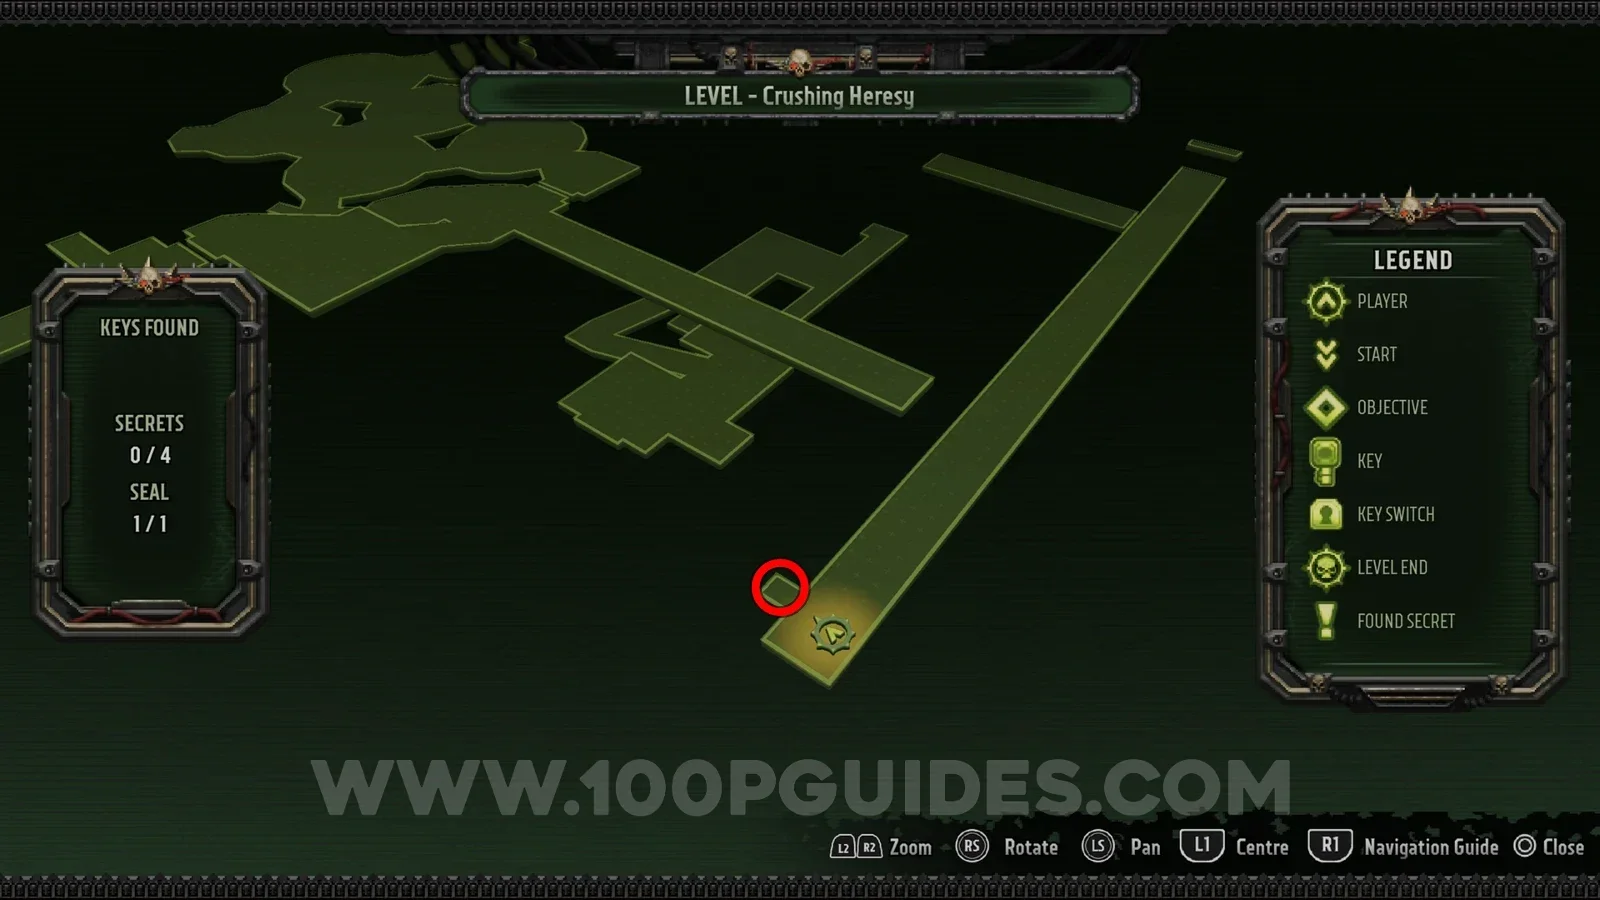
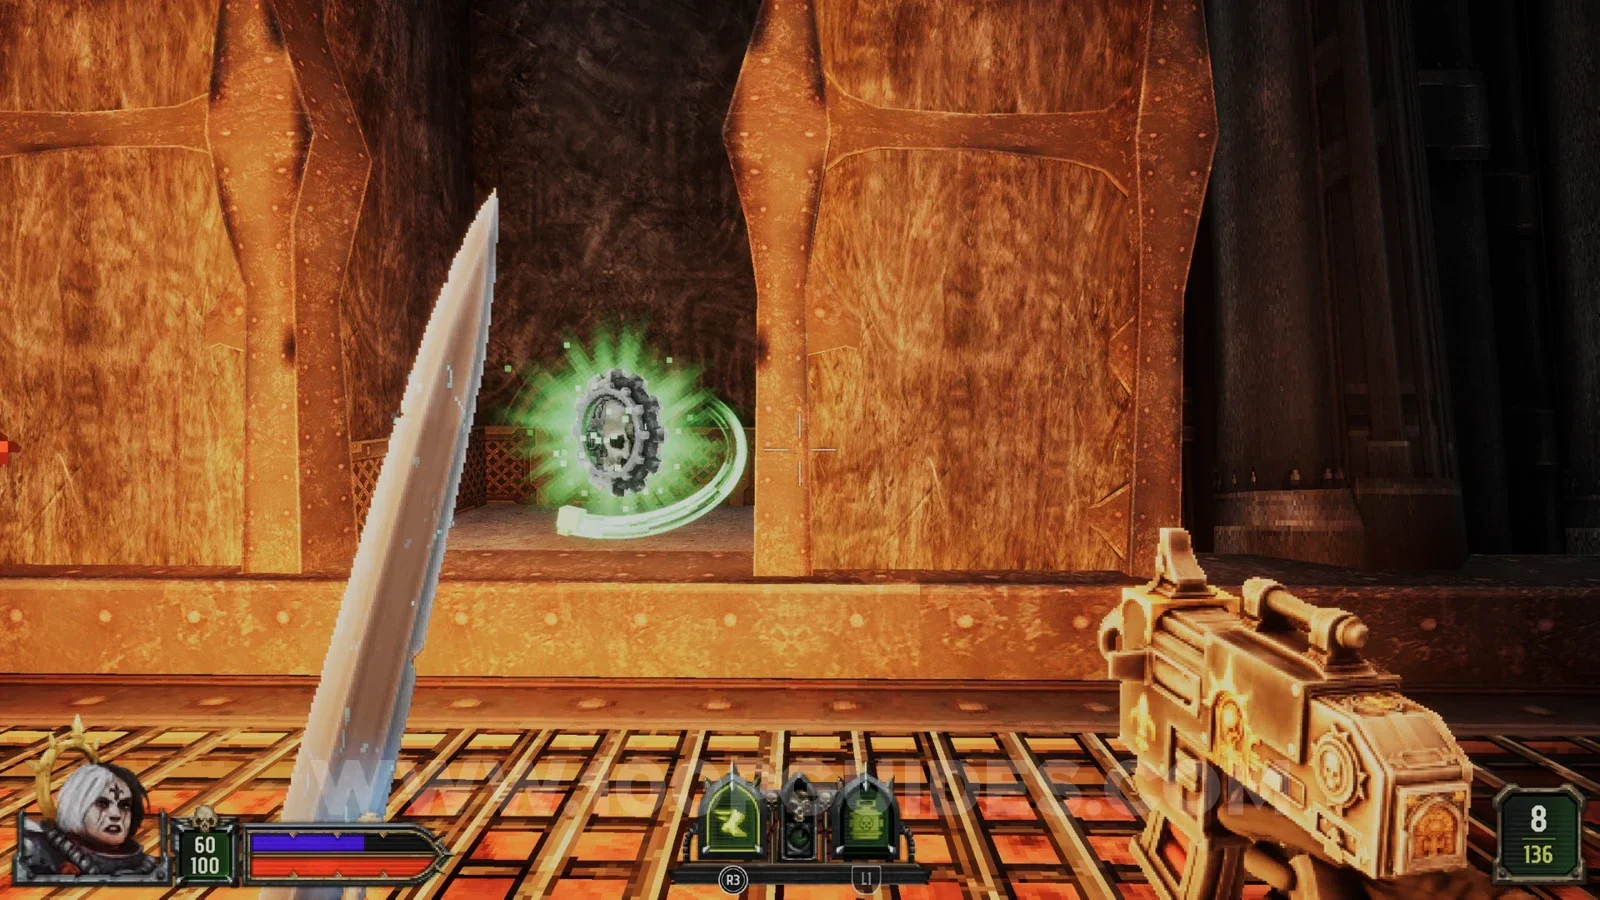
Secret 1/4
On your way to the red key you drop down onto a conveyor belt with pistons that try to squash you. Go against the conveyor belt to find the secret at the end.
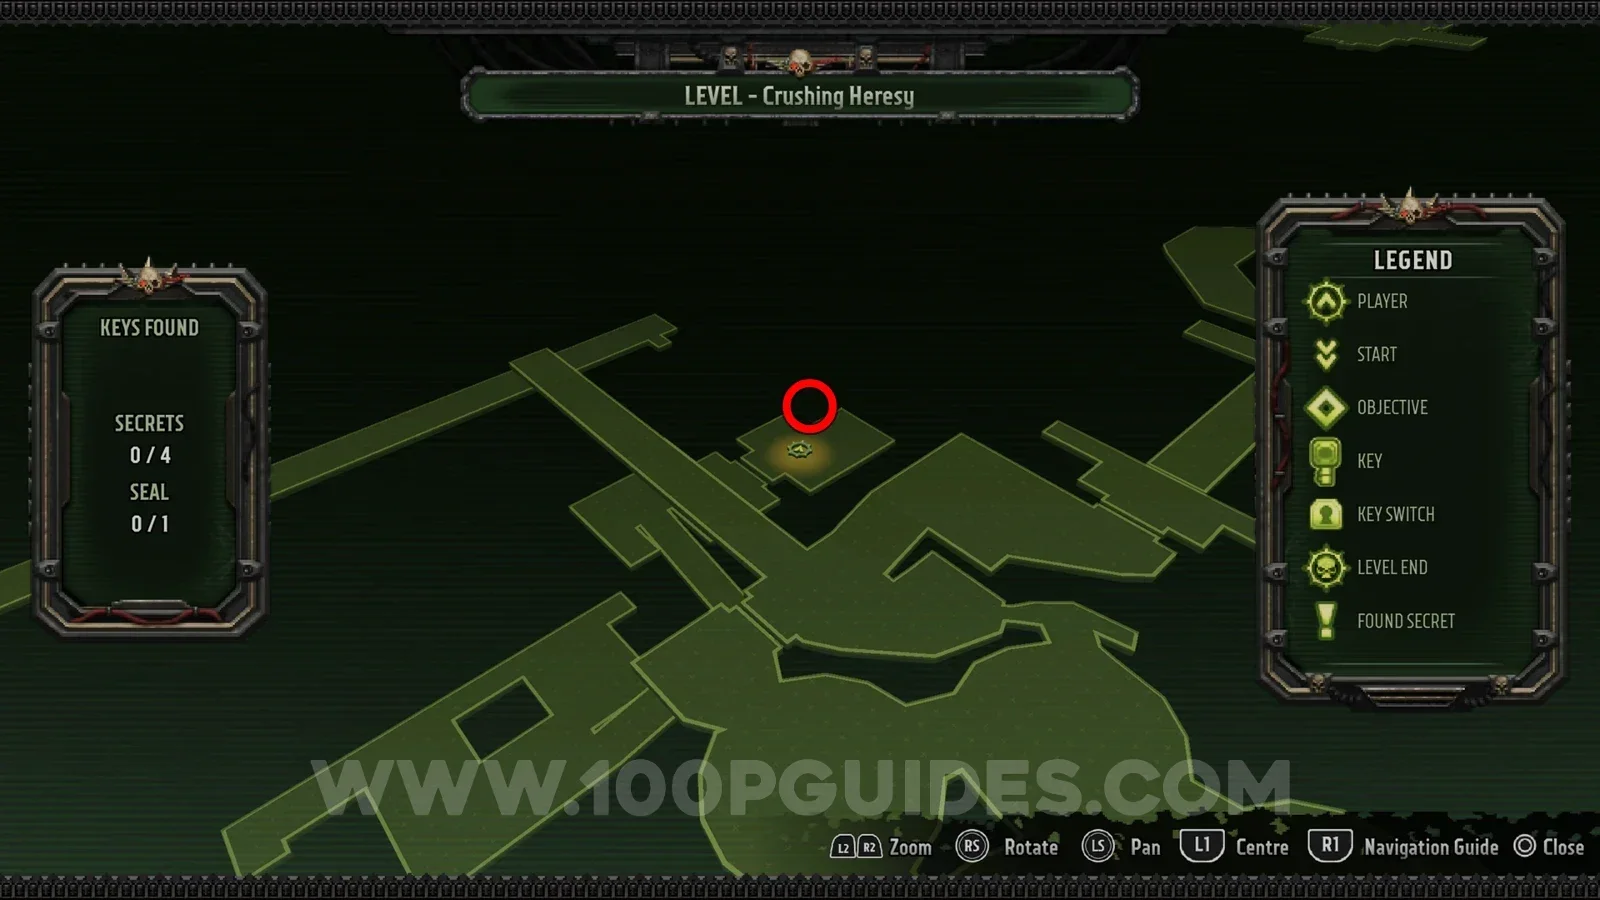
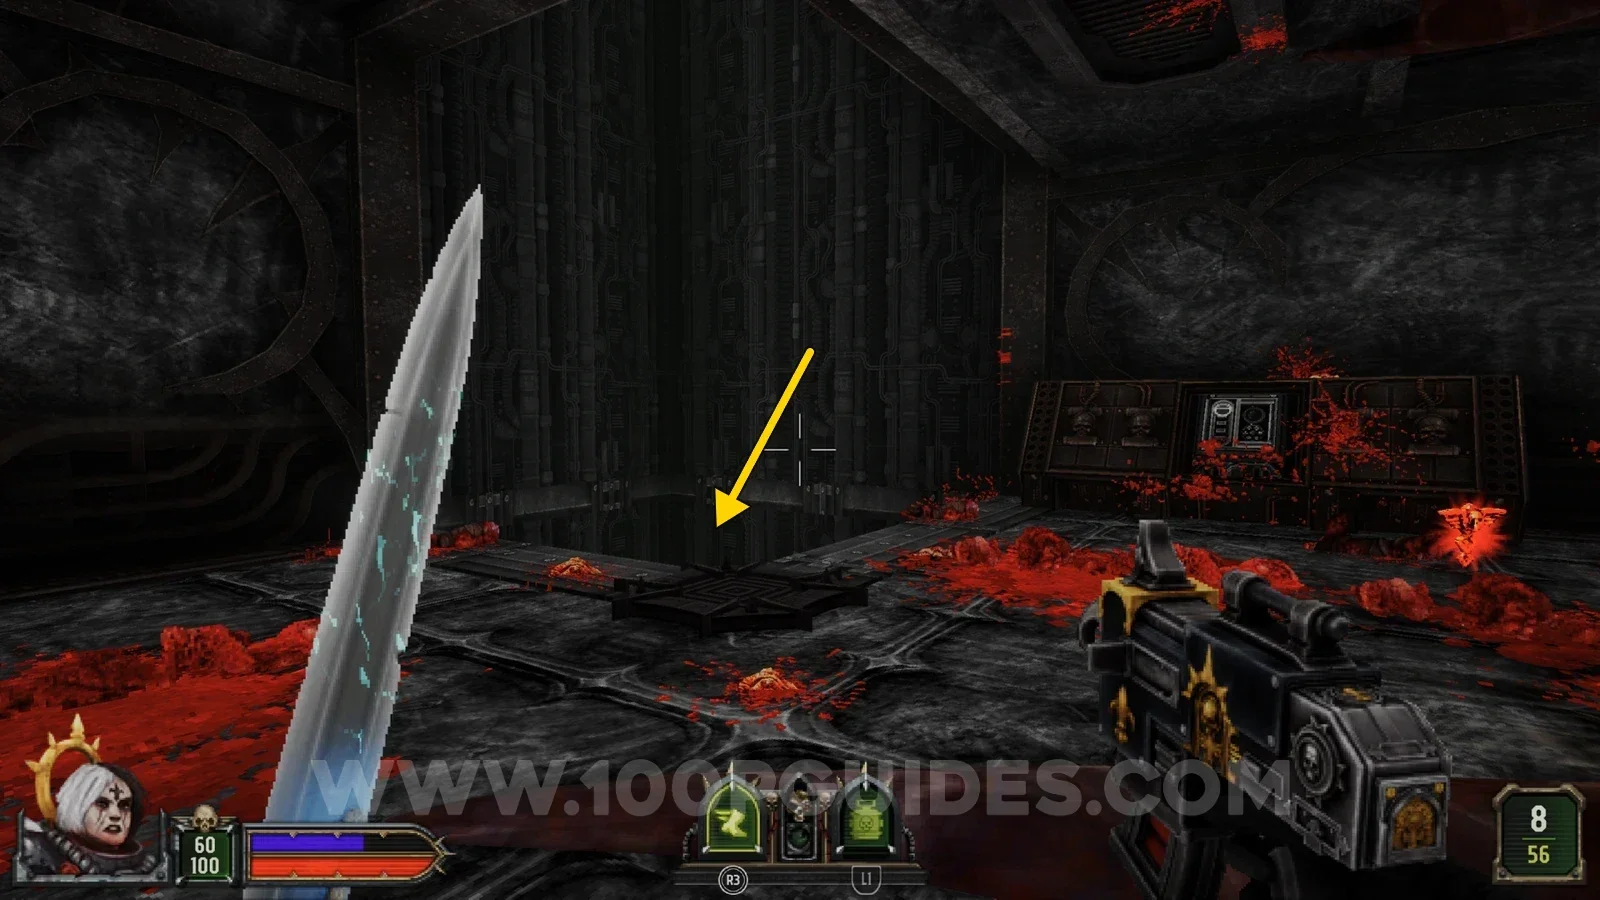
Secret 2/4
Soon after the conveyor belts with the pistons, still on your way to the red key, you have to ride a lift in the corner of the room. Drop down the hole under the lift to find the secret.
Seal 1/1
Once you get to the area with the spinning cogs, climb the wire on the left and jump along the wires above the cogs to find the seal.
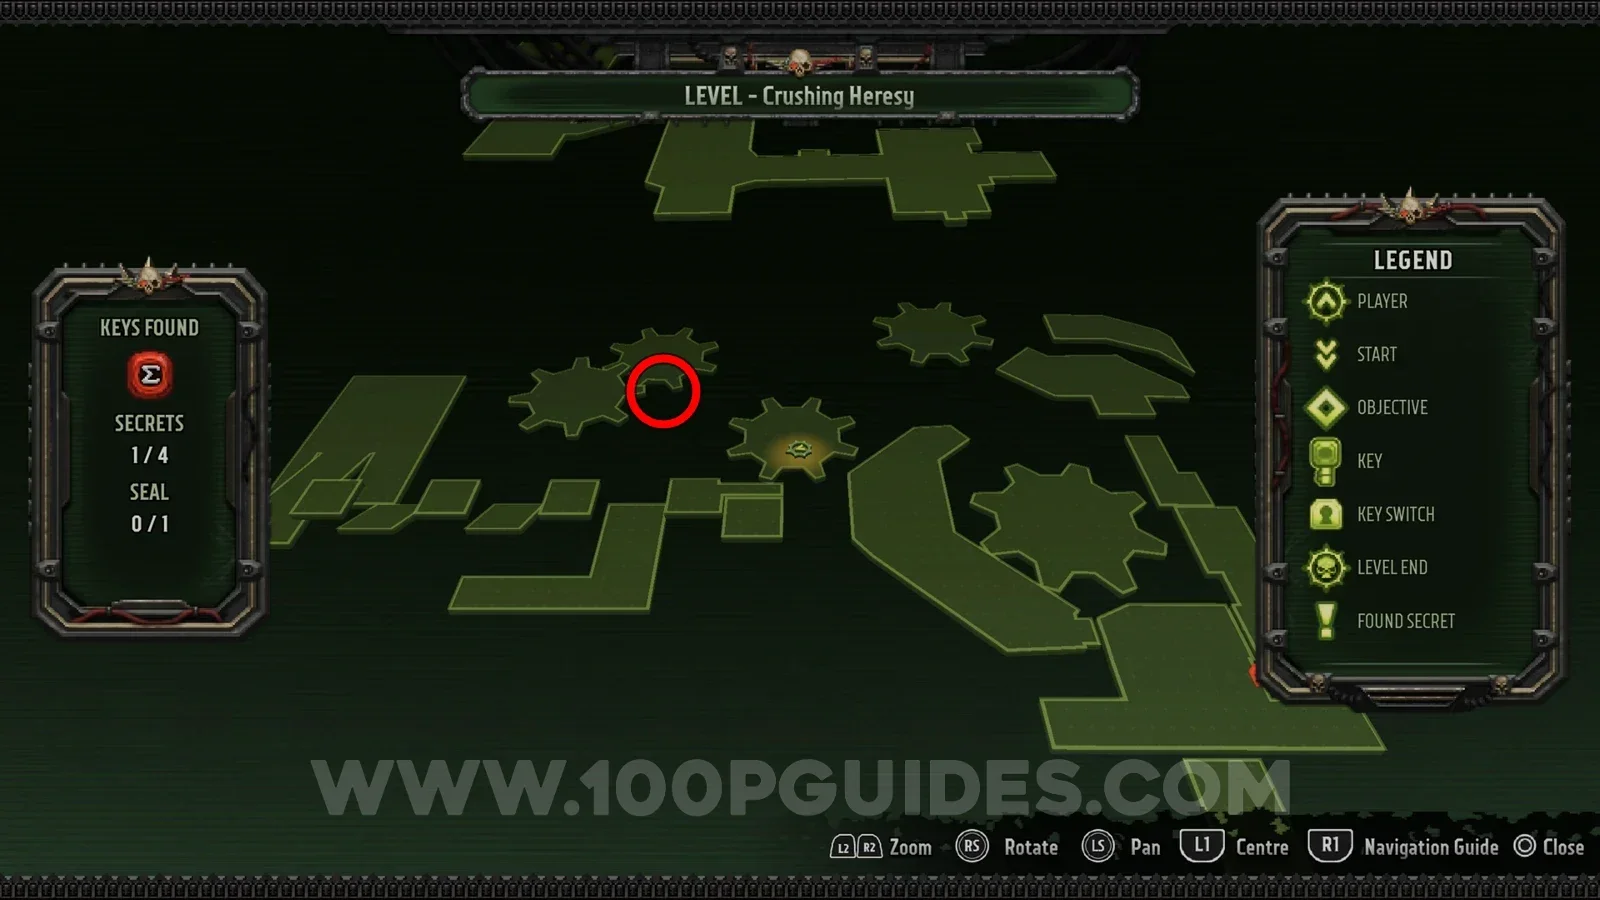
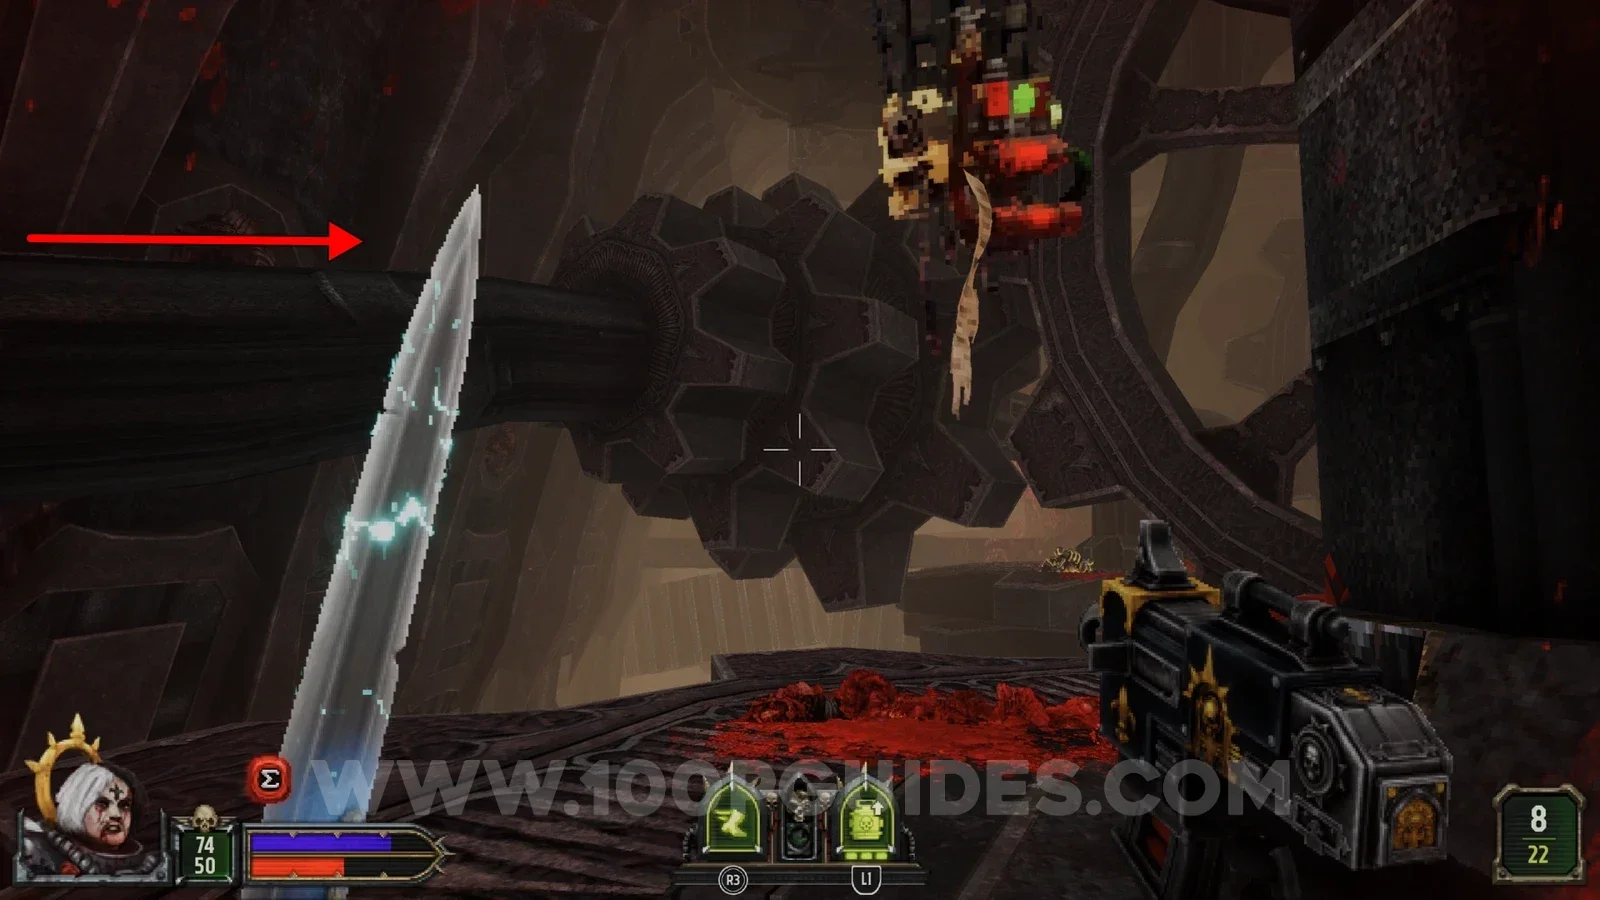
Secret 3/4
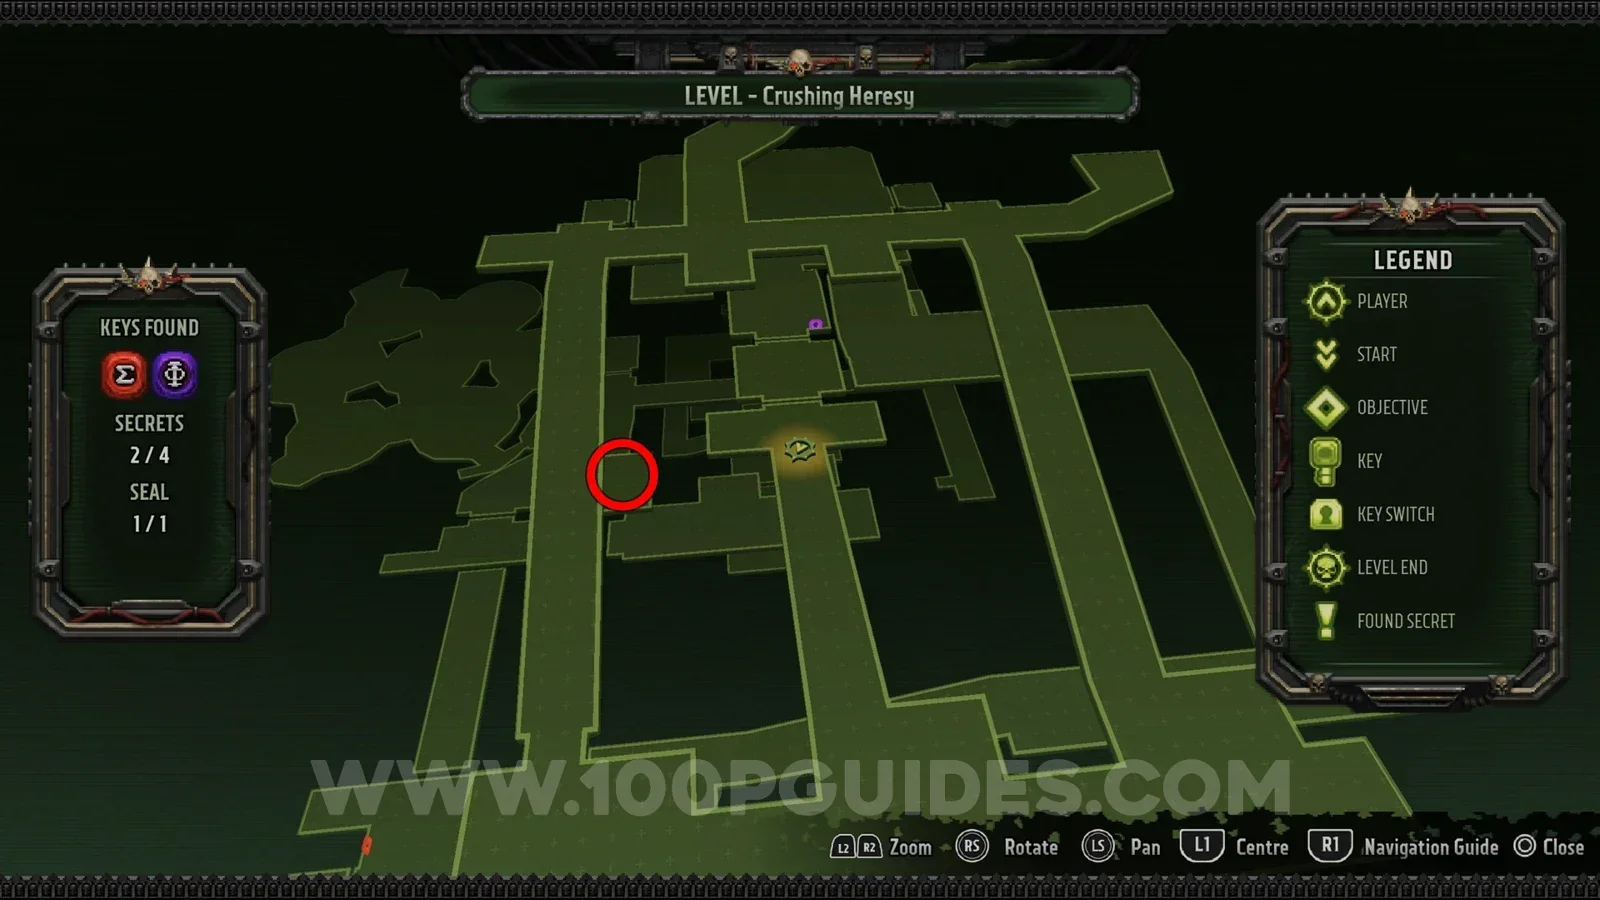
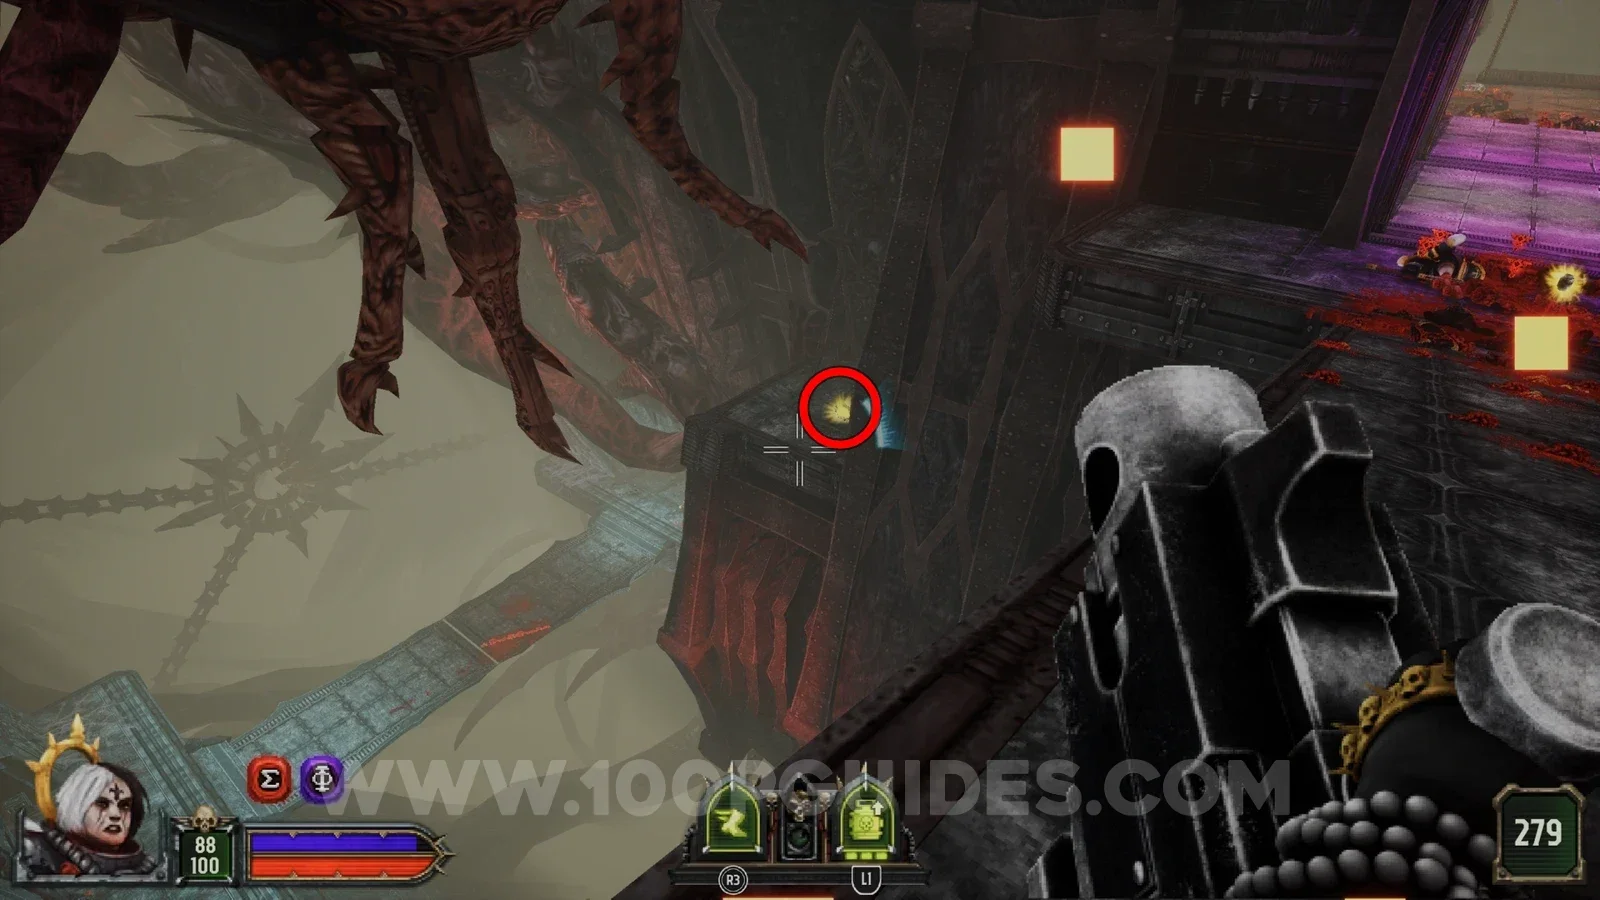
After the cog area you go through a hall with gaps along the sides. The secret is in the last gap on the right.
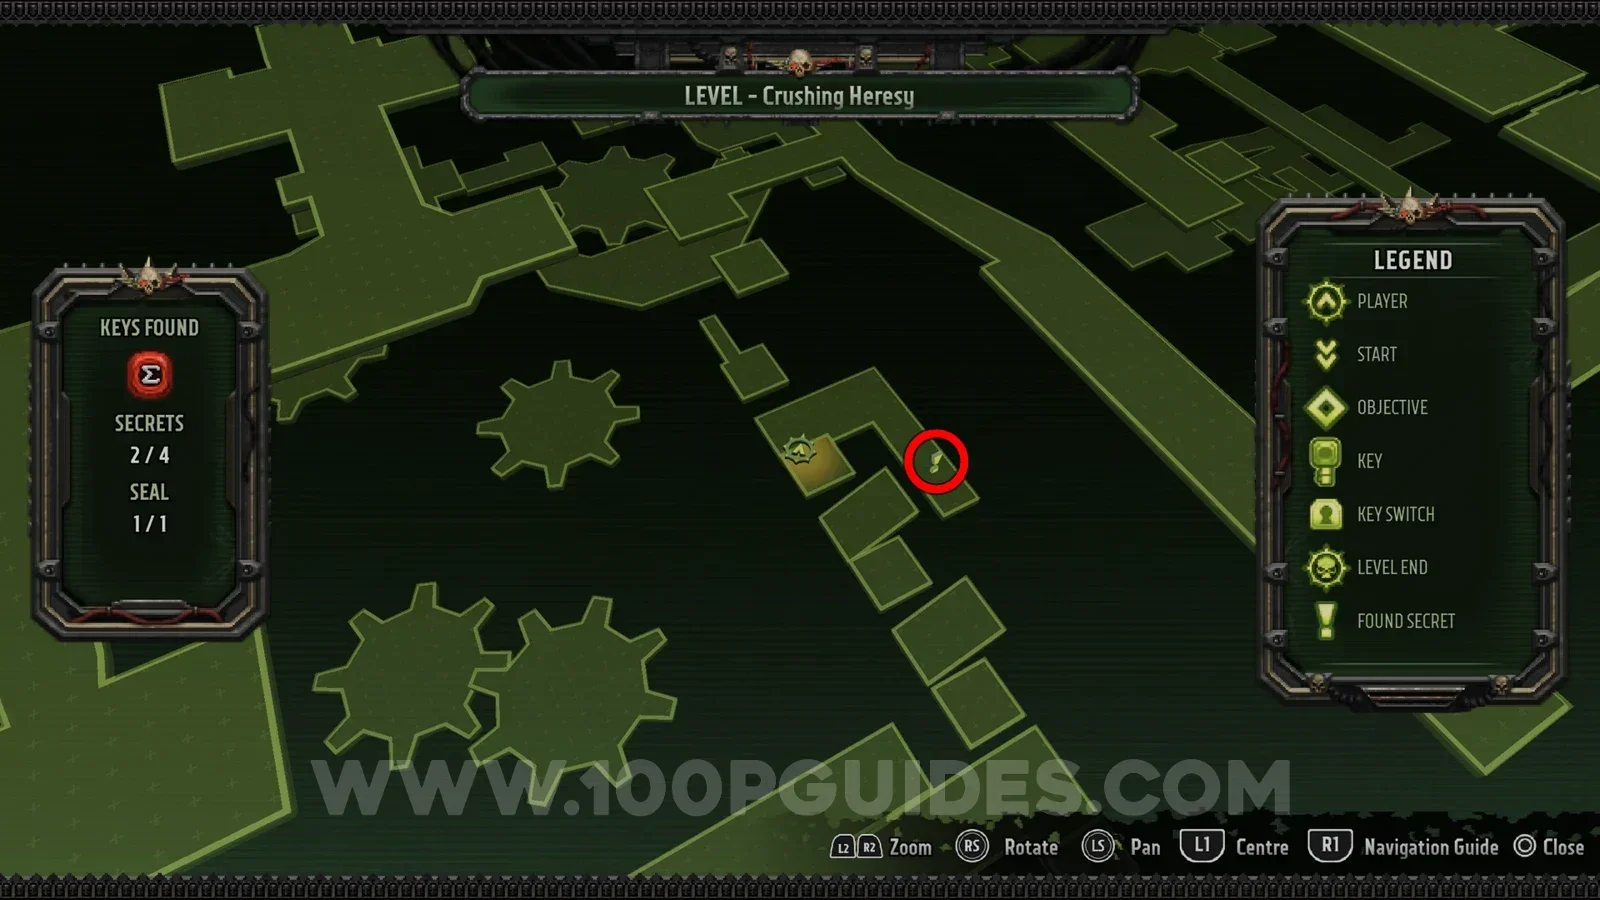
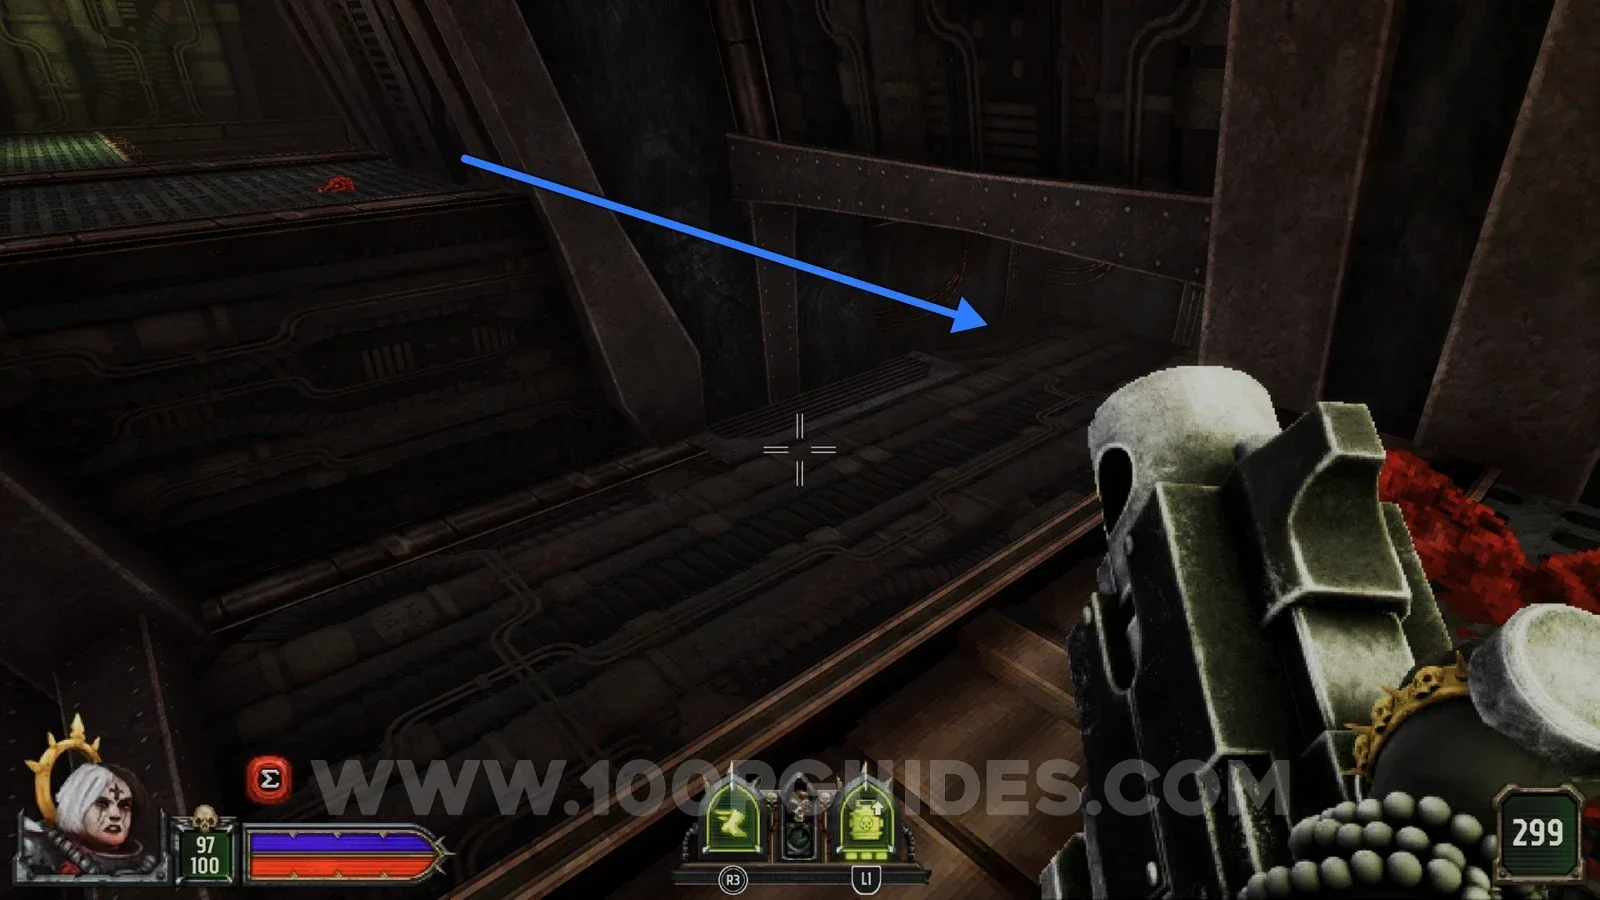
Secret 4/4
As soon as you go through the purple door, look right and jump down to the secret on the platform below.
Vicious Circles
Secret 1/5
Below the main platform with the consoles there is one door that is shut. Go up to it and press to open it and find the secret.
Secret 2/5
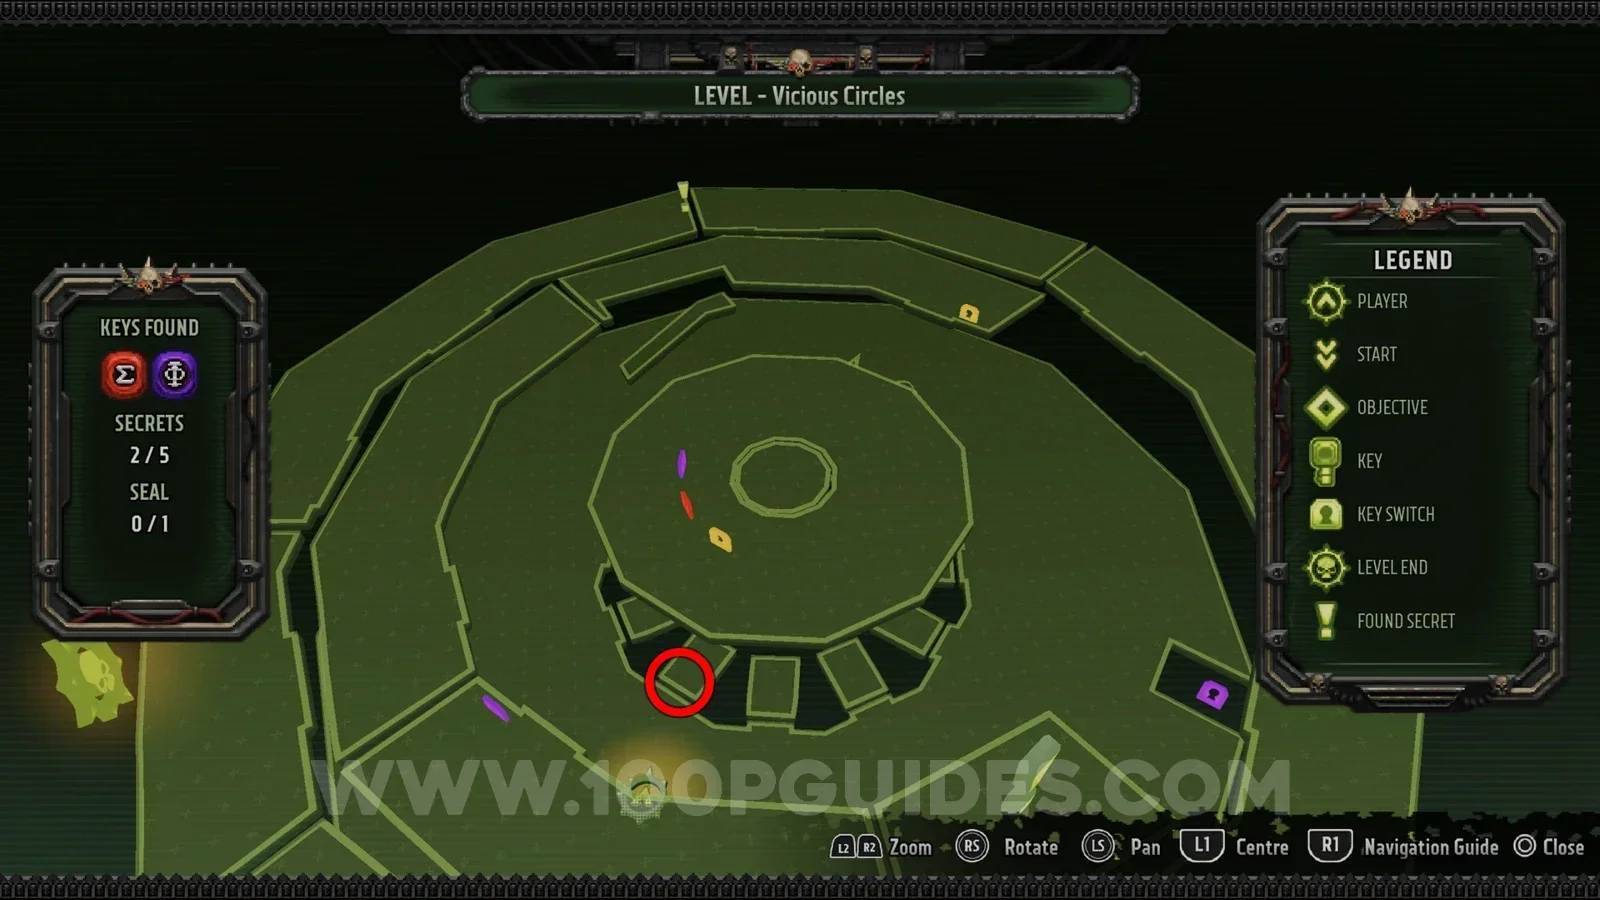
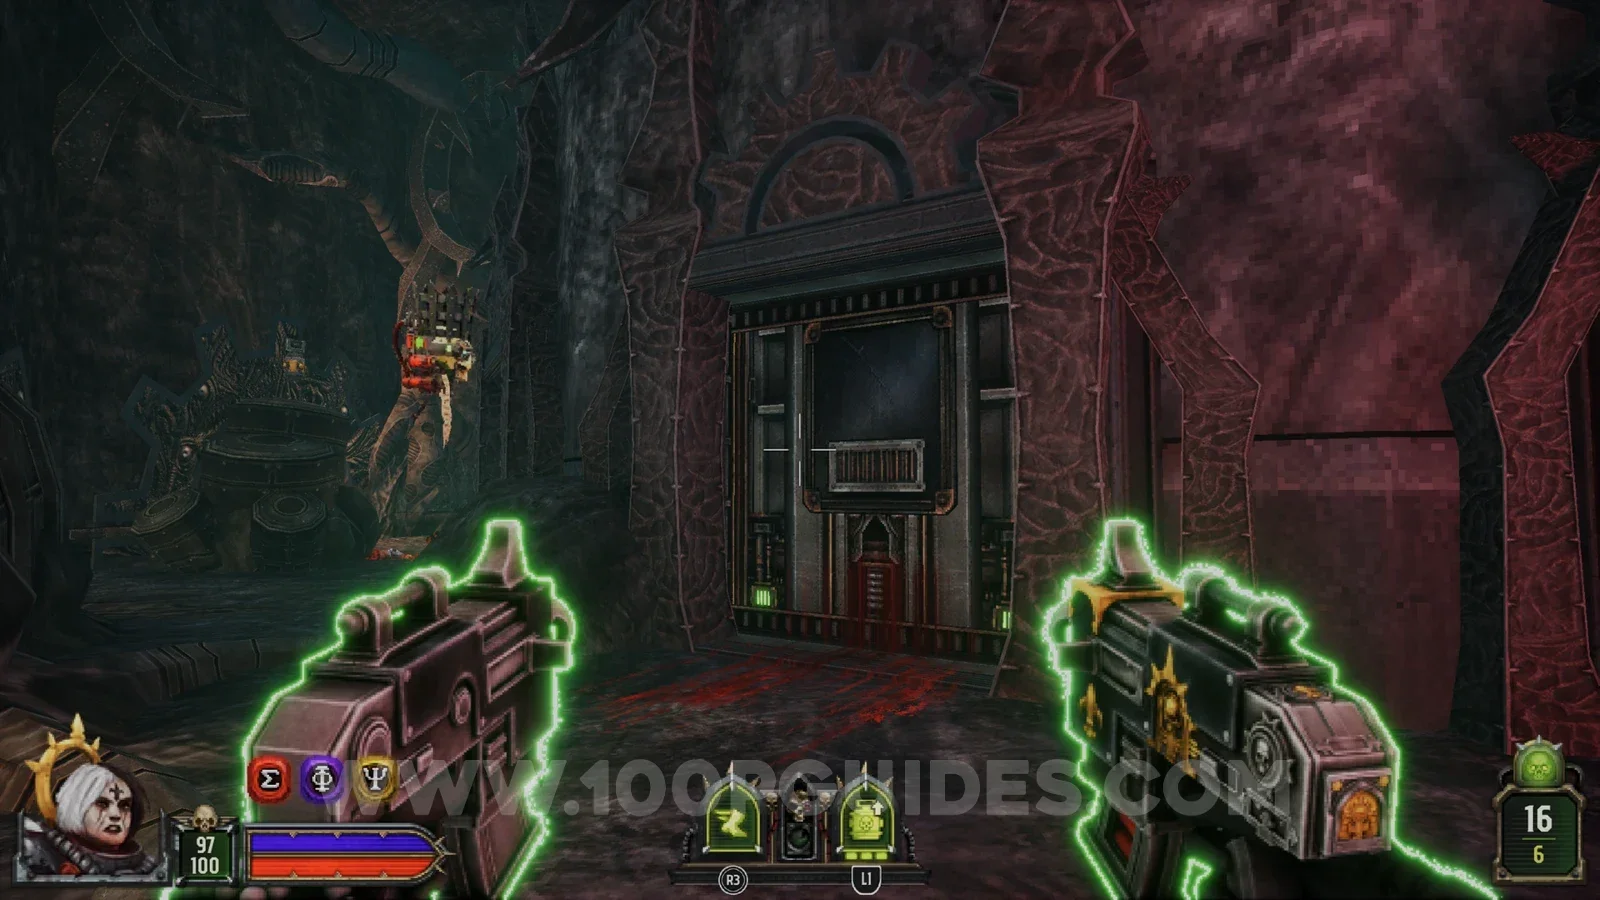
After using the purple console in the middle of the circular room you have 2 doors you can go through. Take the one on the left, then go left and around to the right to find the secret at the end.
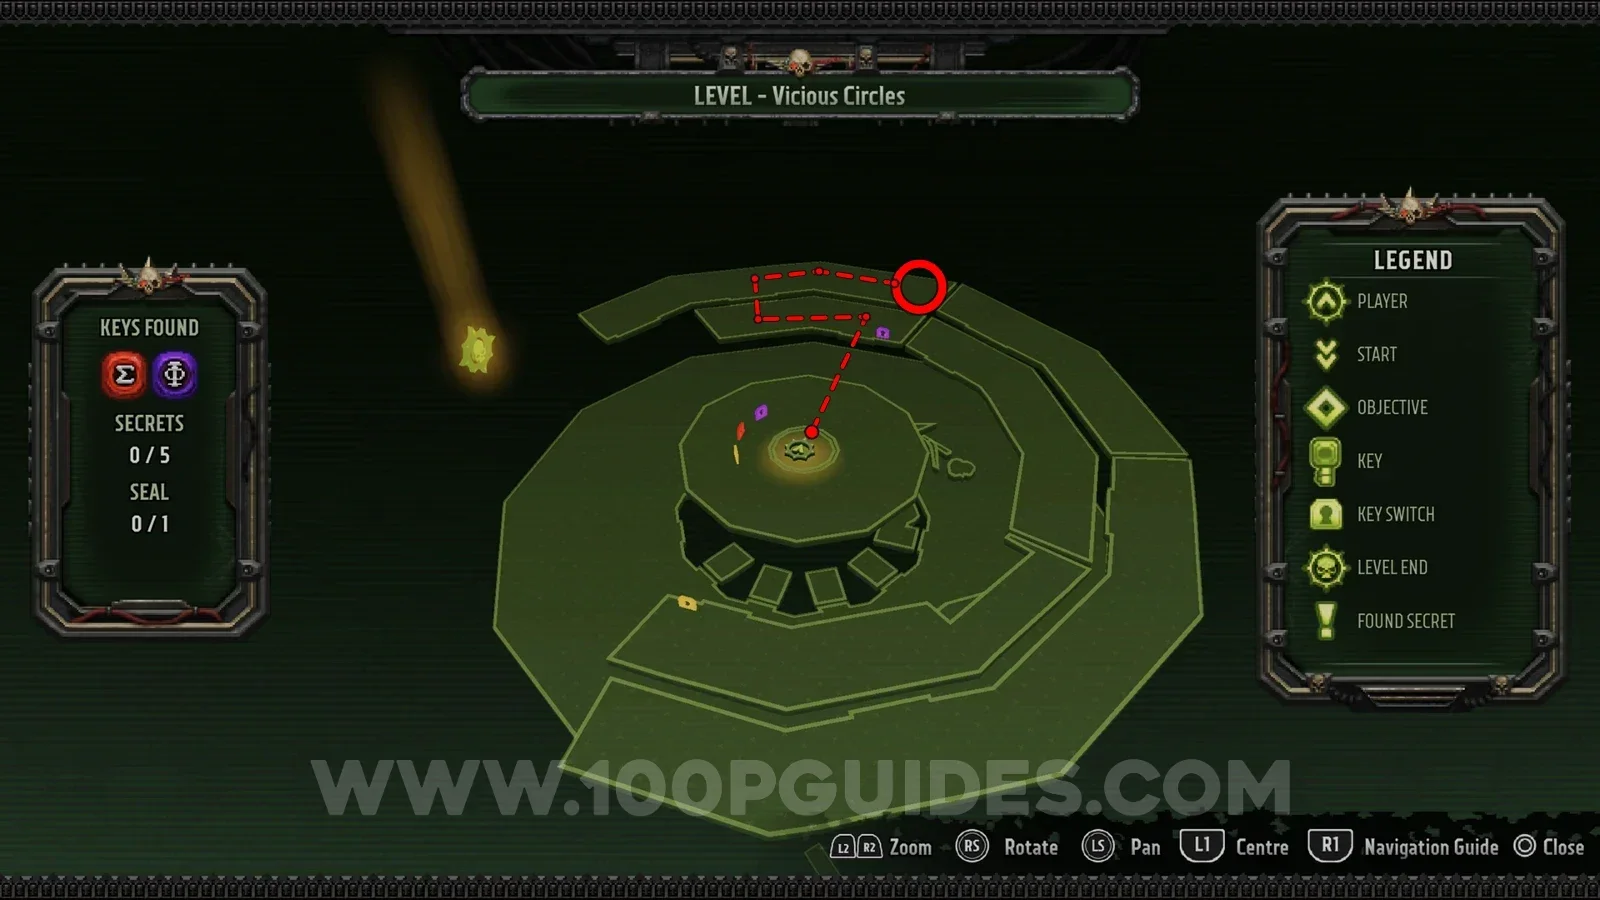
Secret 3/5
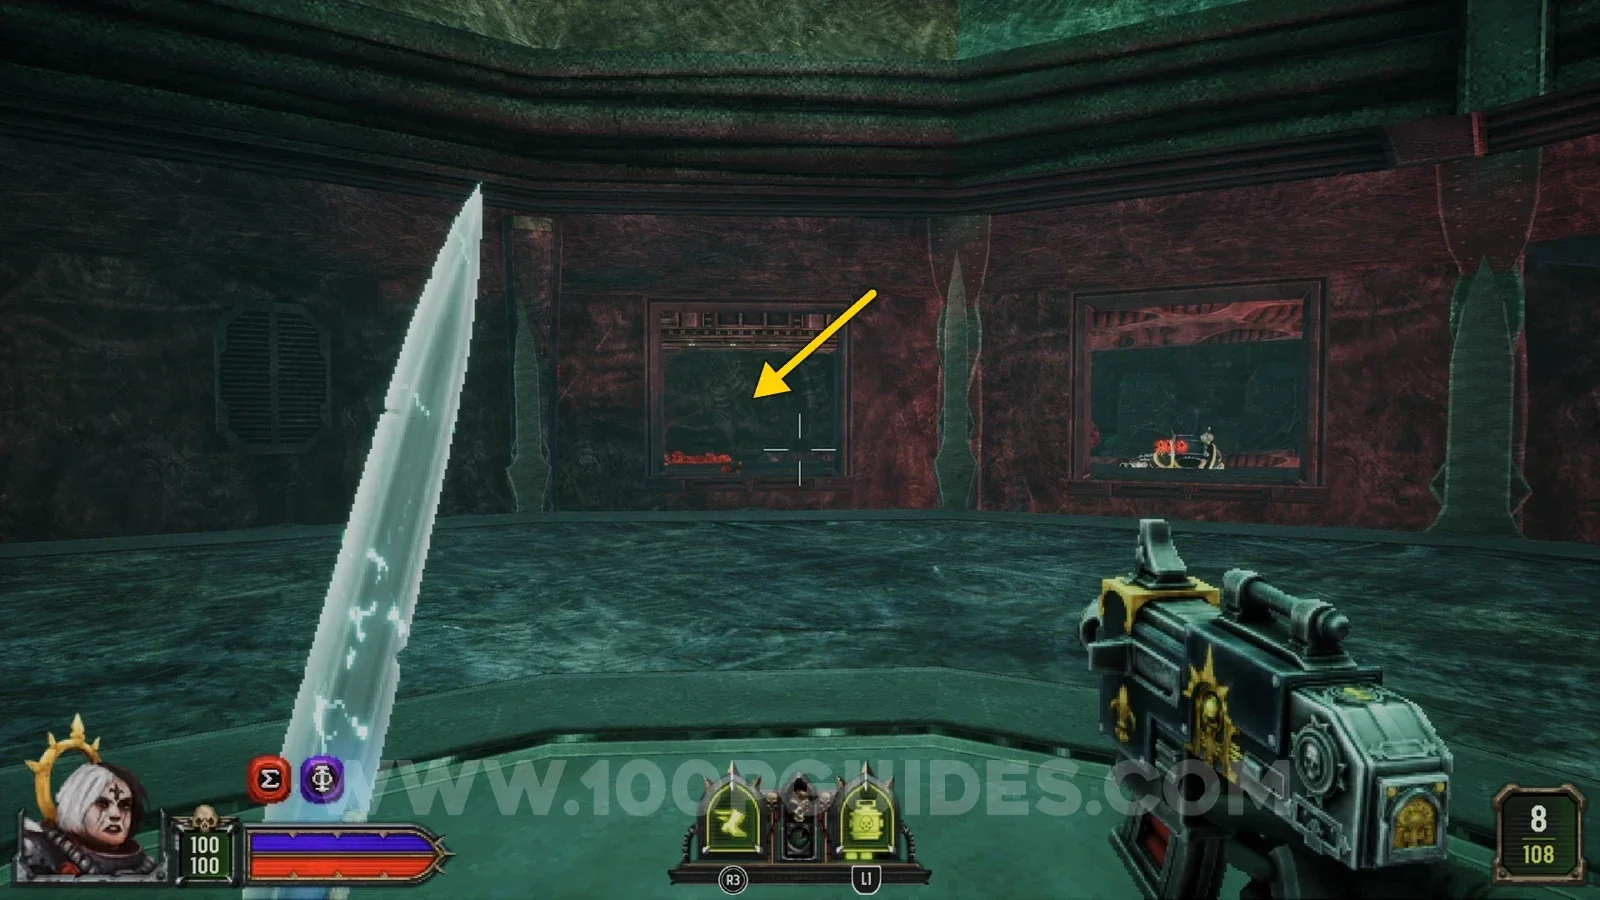
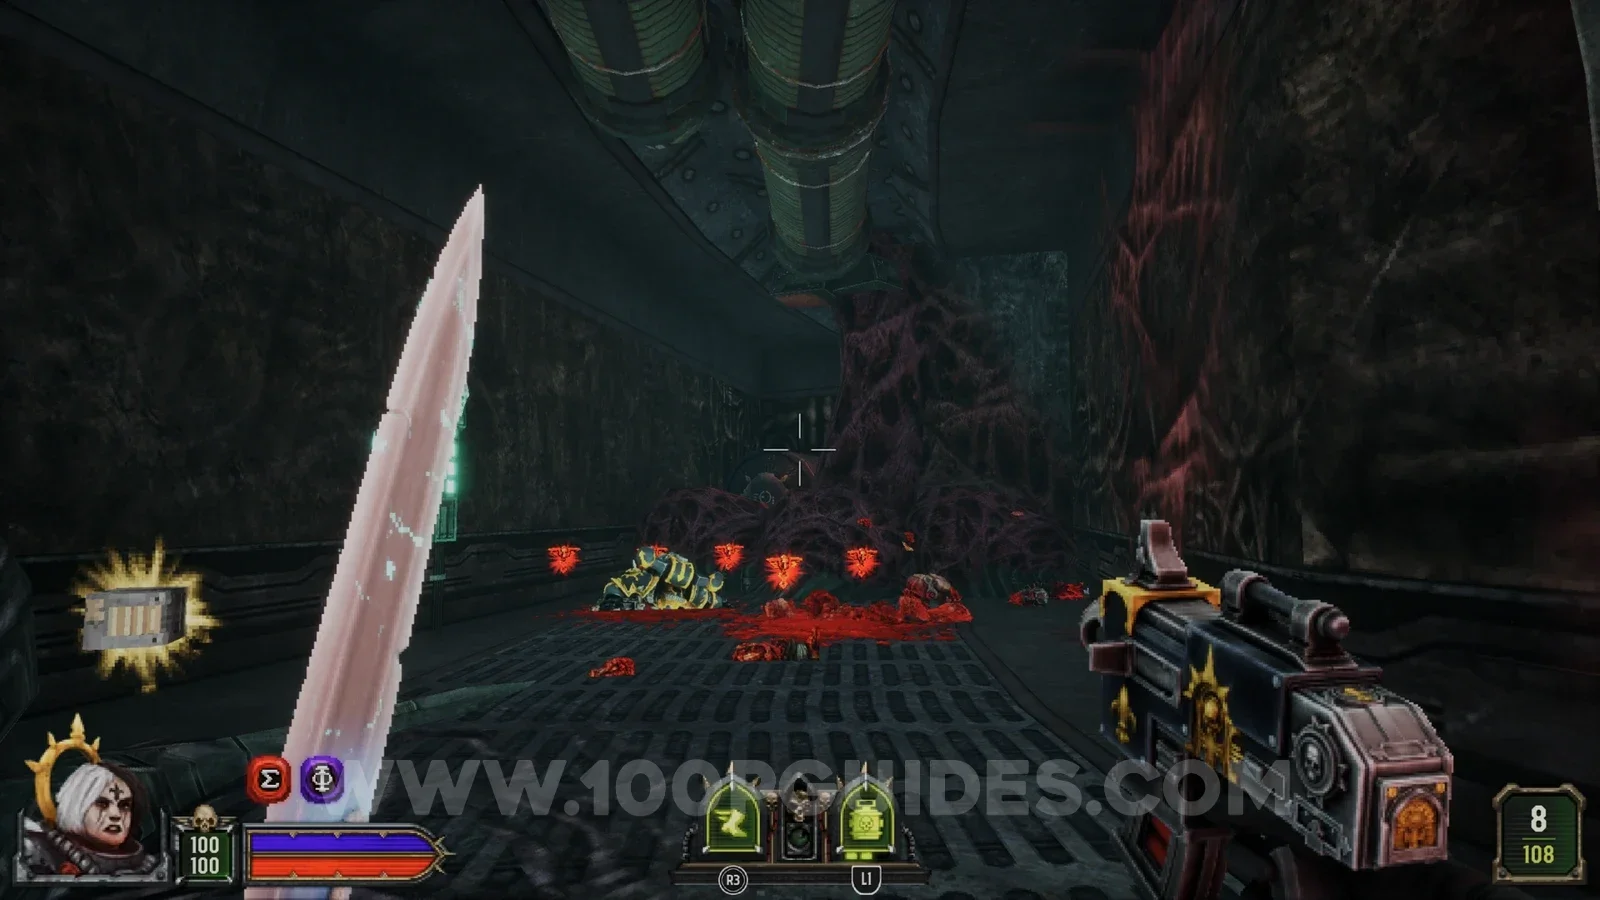
At the opposite end of the same room as the previous secret. Shoot the panel on the wall through the metal bars, then go around to the right to get the secret.
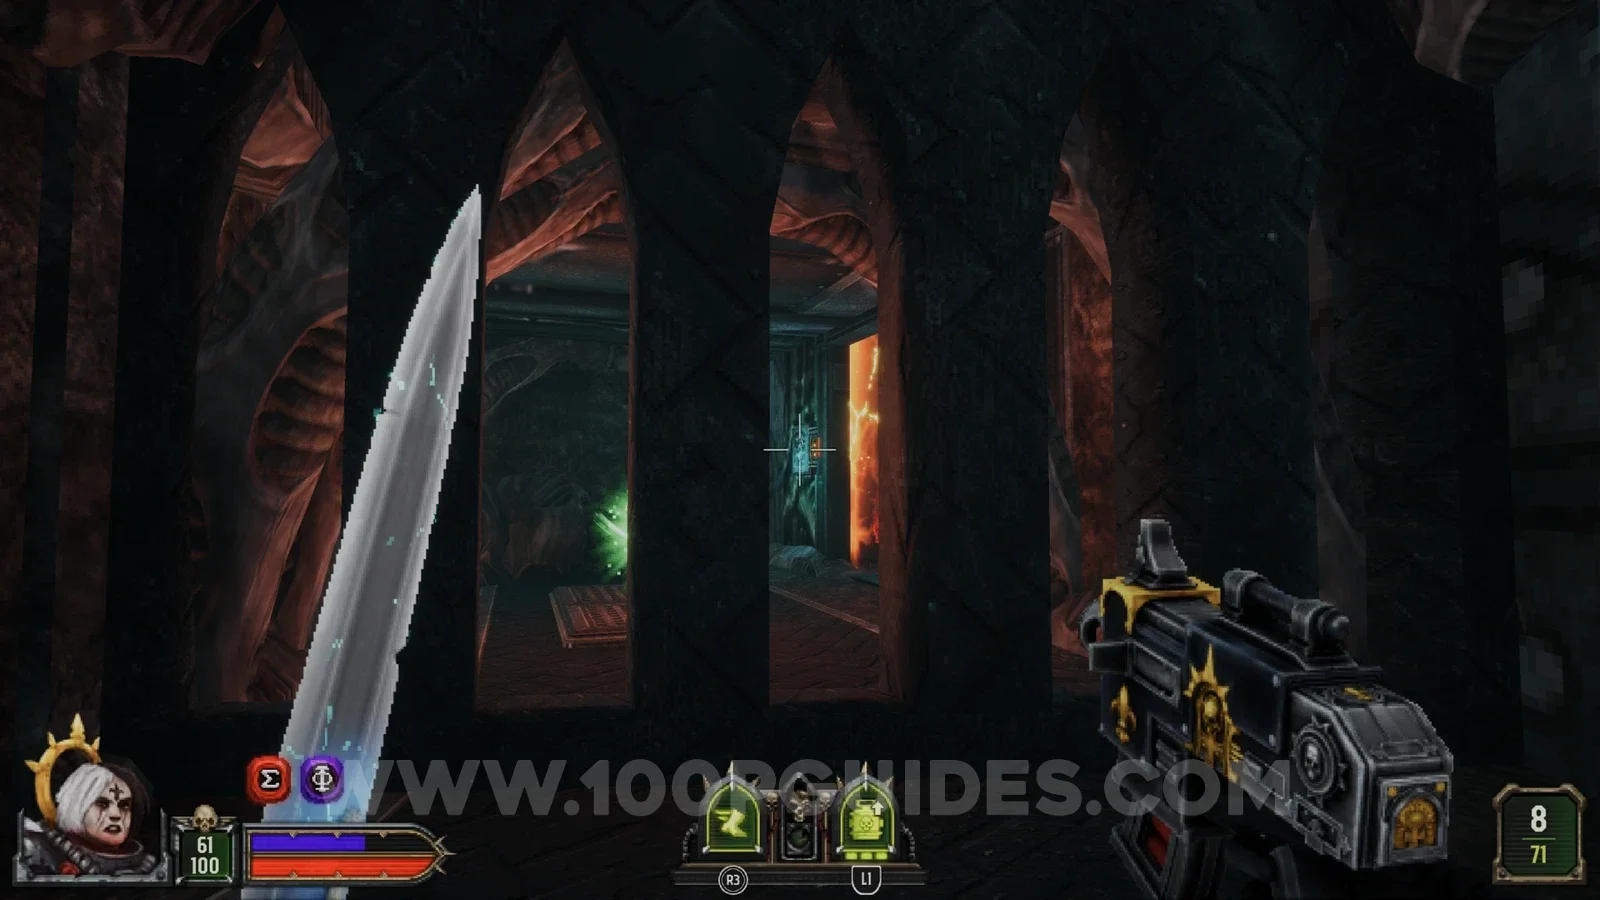
Secret 4/5
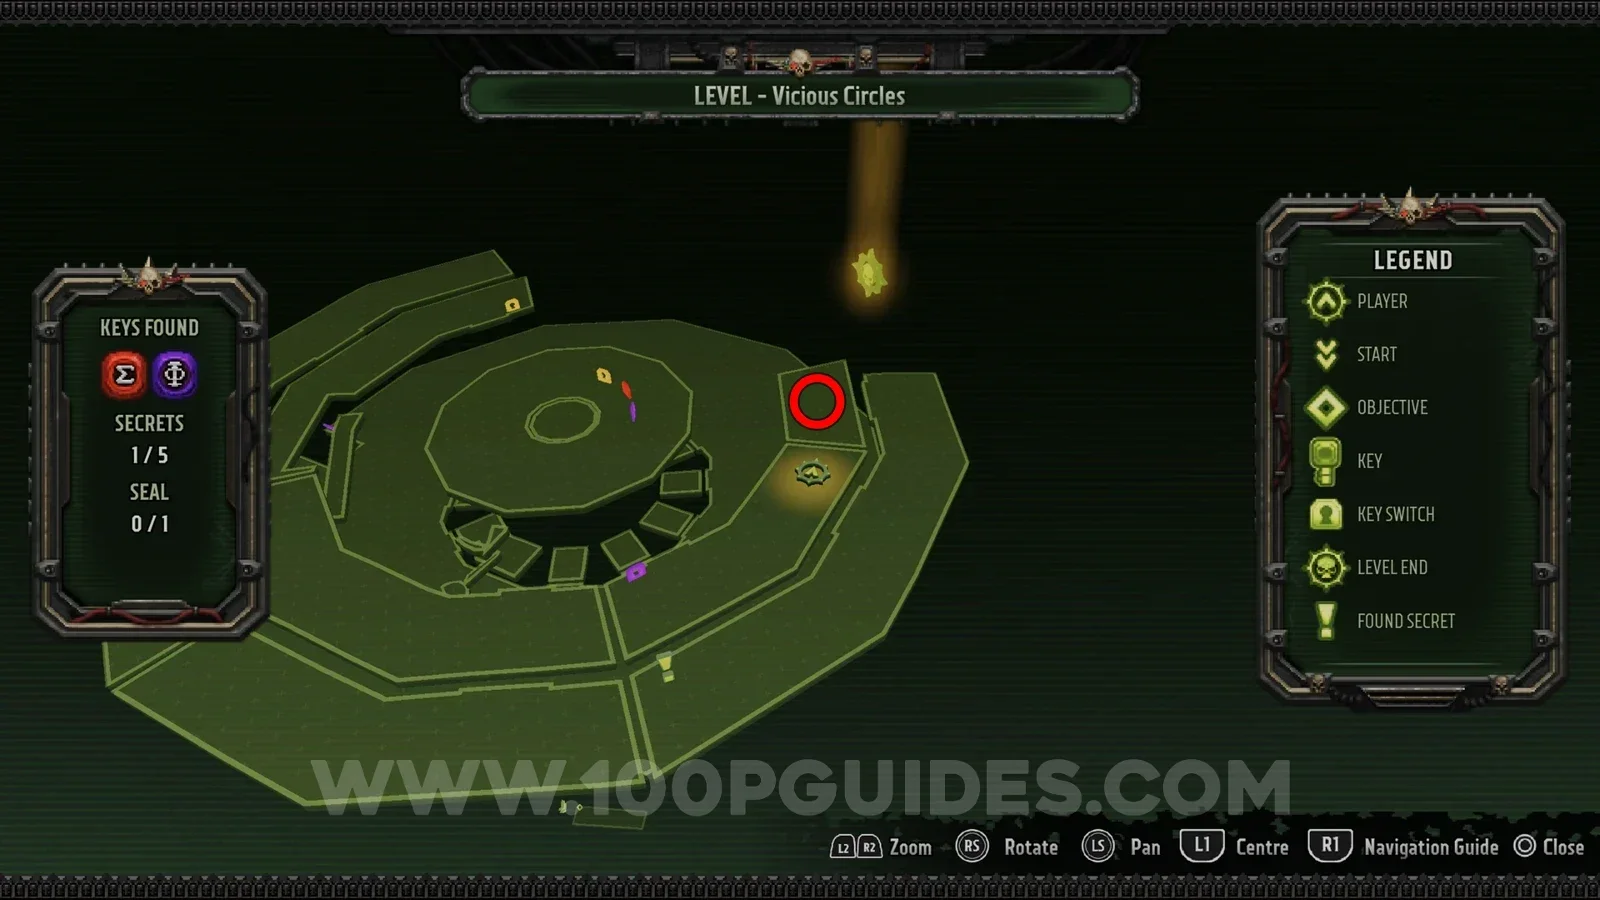
Over the outer edge of the outside area, on a ledge that sticks out from the outer wall.
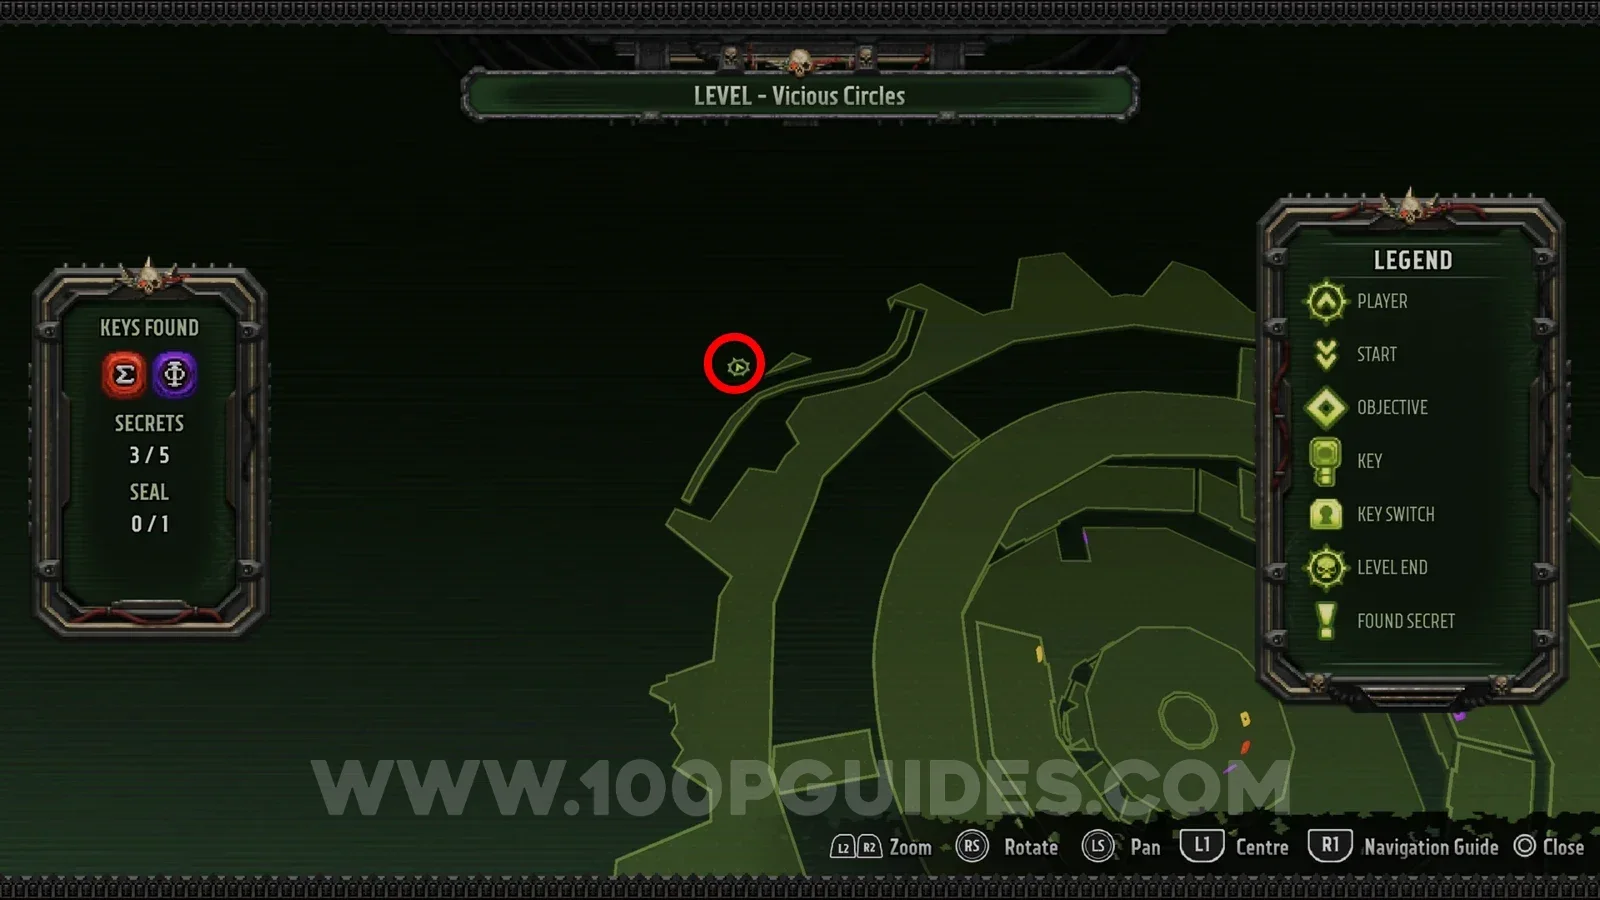
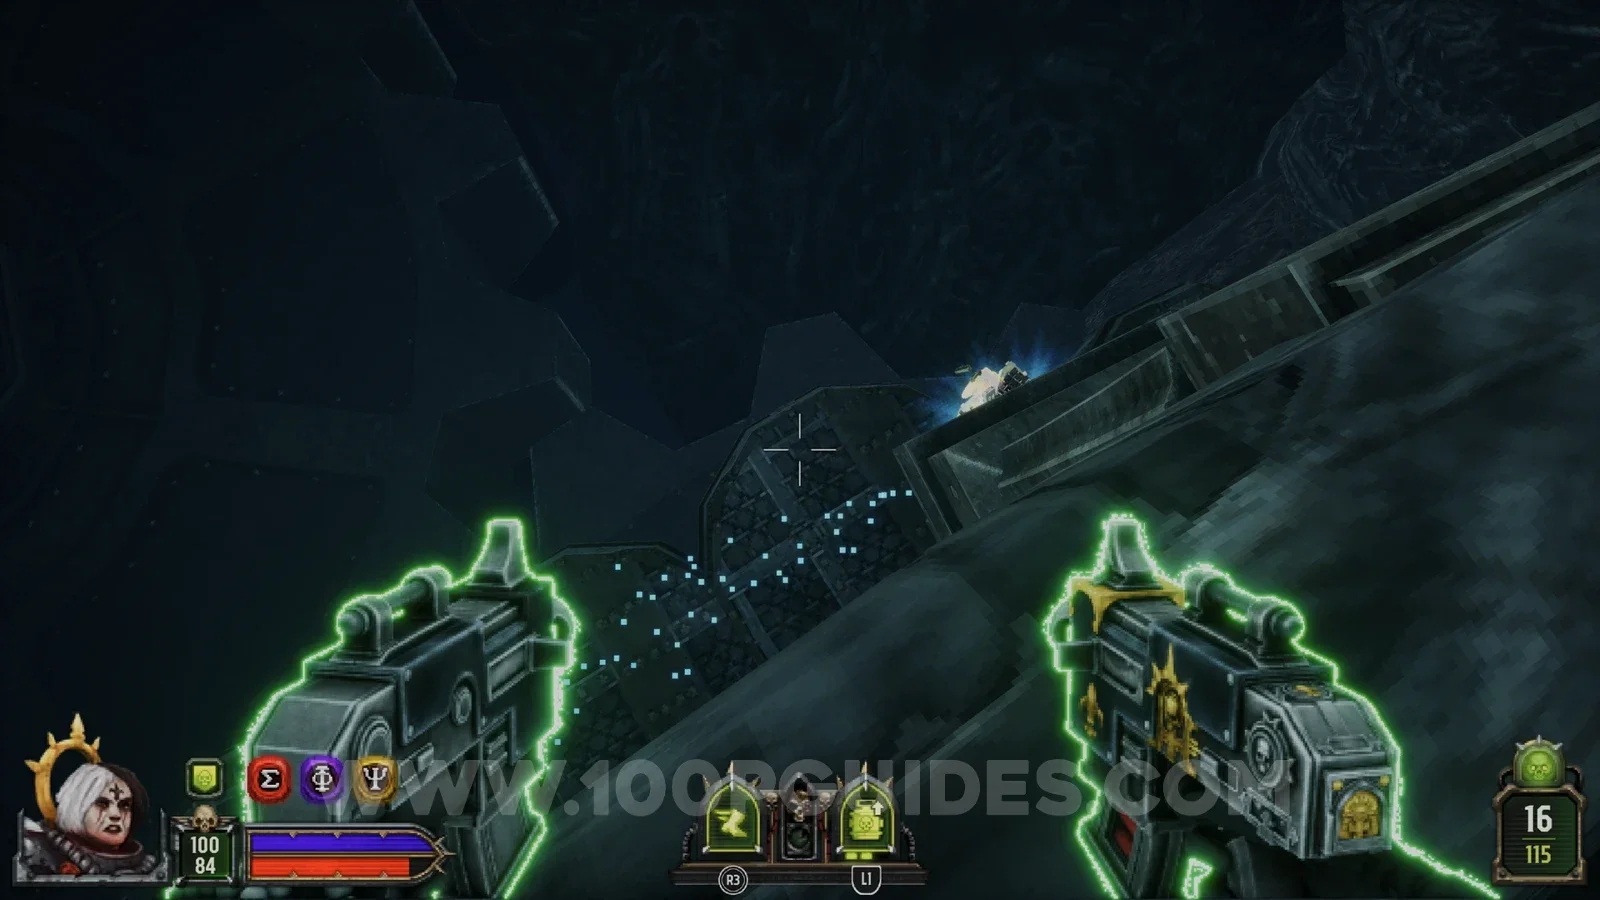
Secret 5/5
Look down into the gap in the middle of the outside area and find the panel on the inner spinning wall. Shoot it and a door opens above it, with the secret inside.
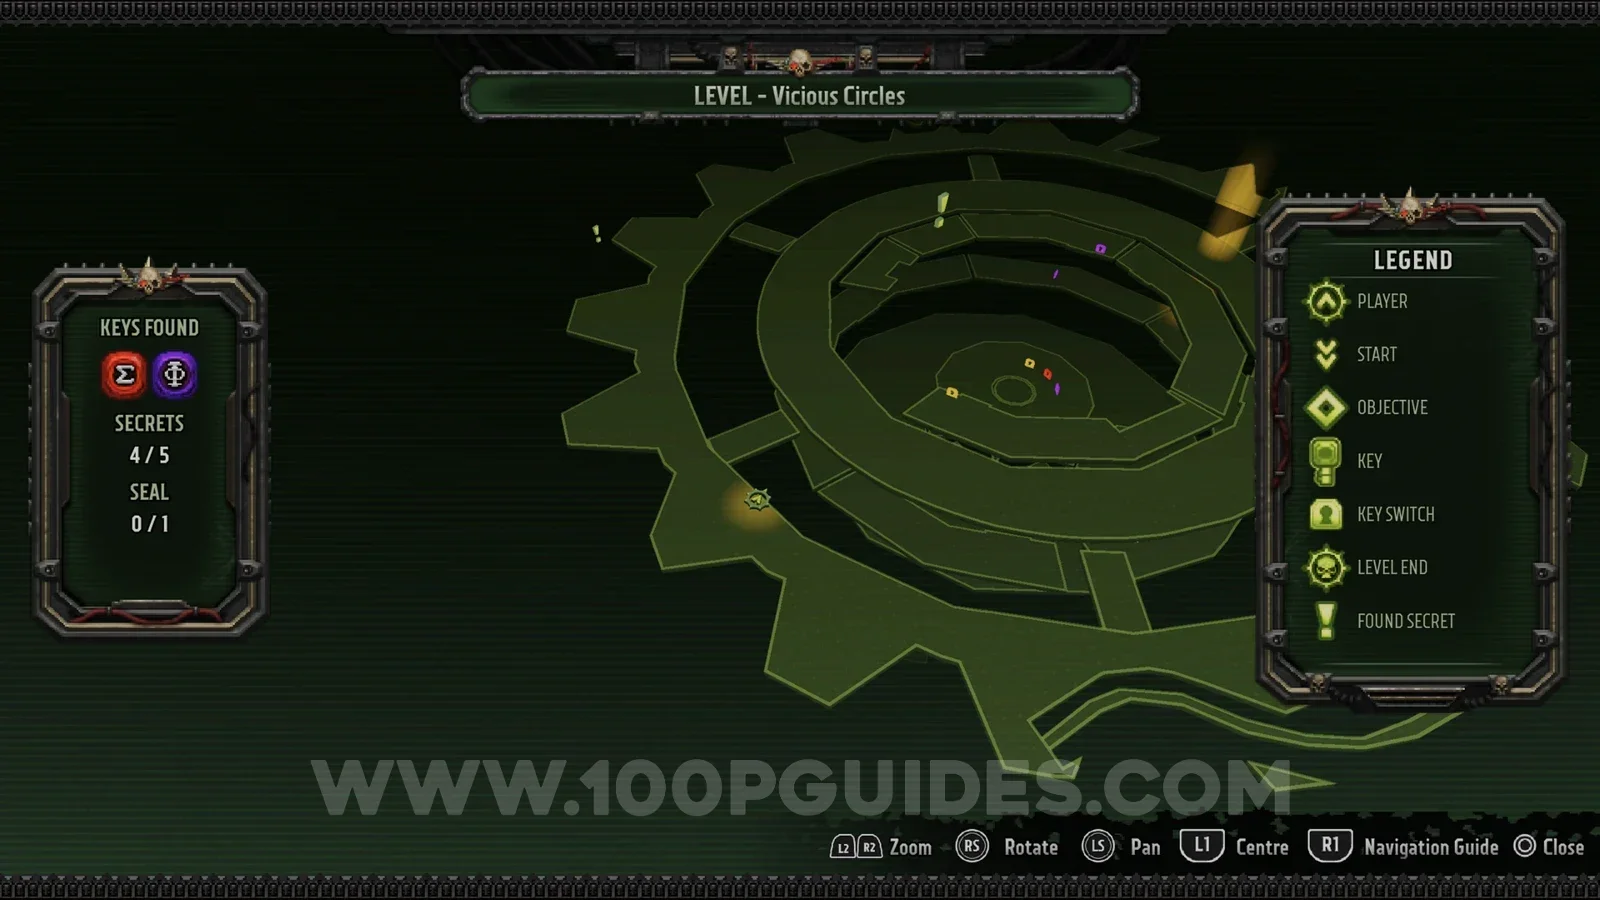
Seal 1/1
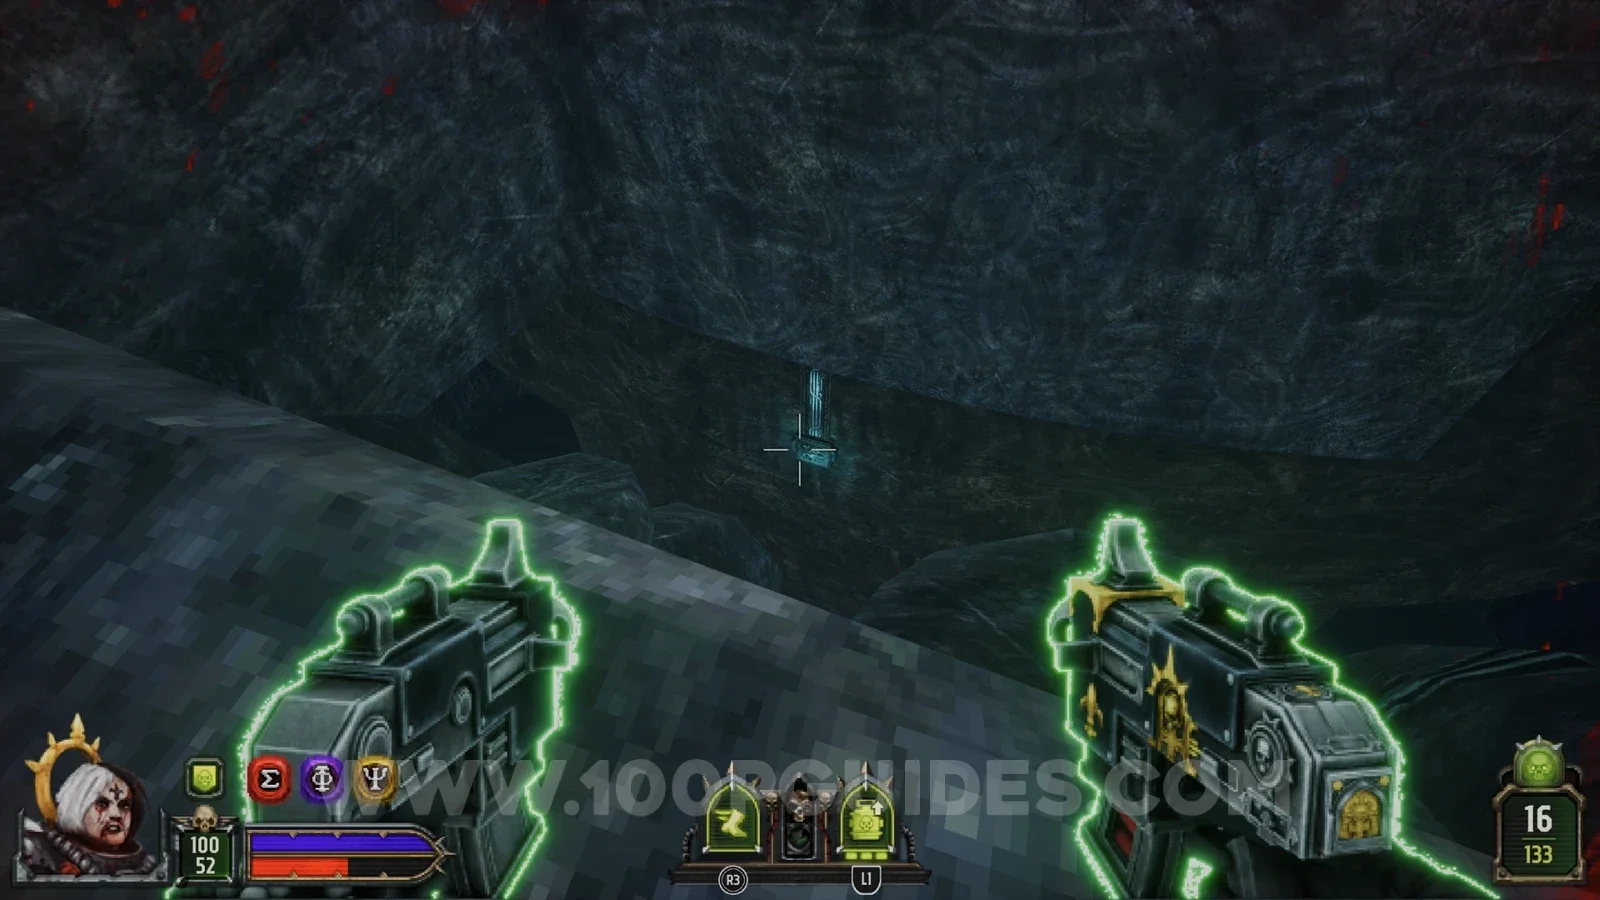
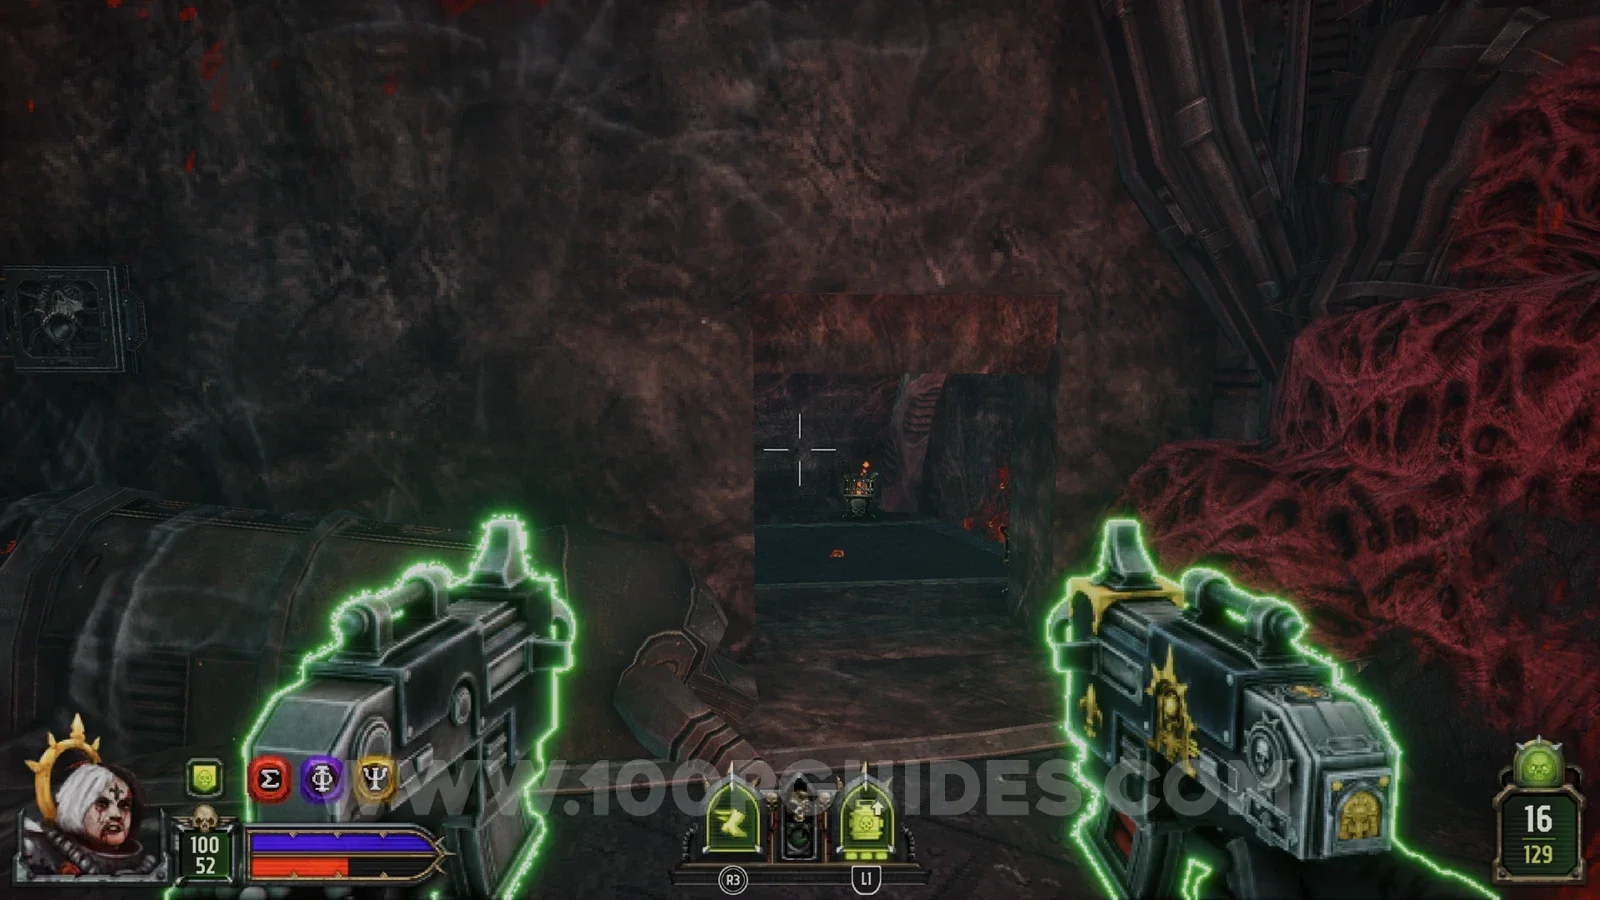
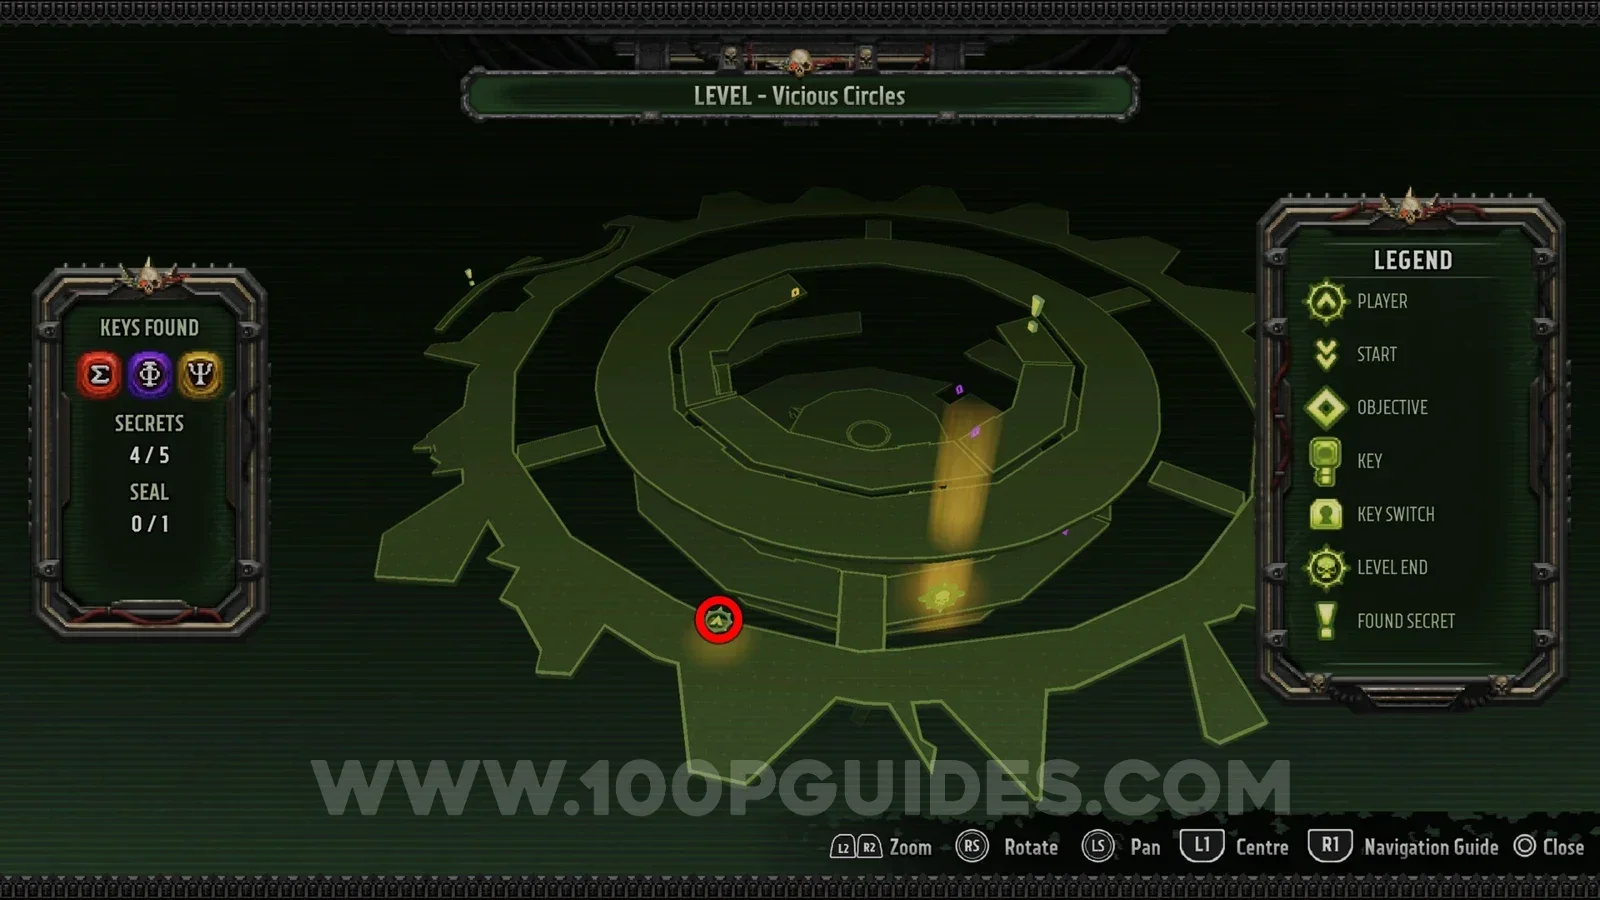
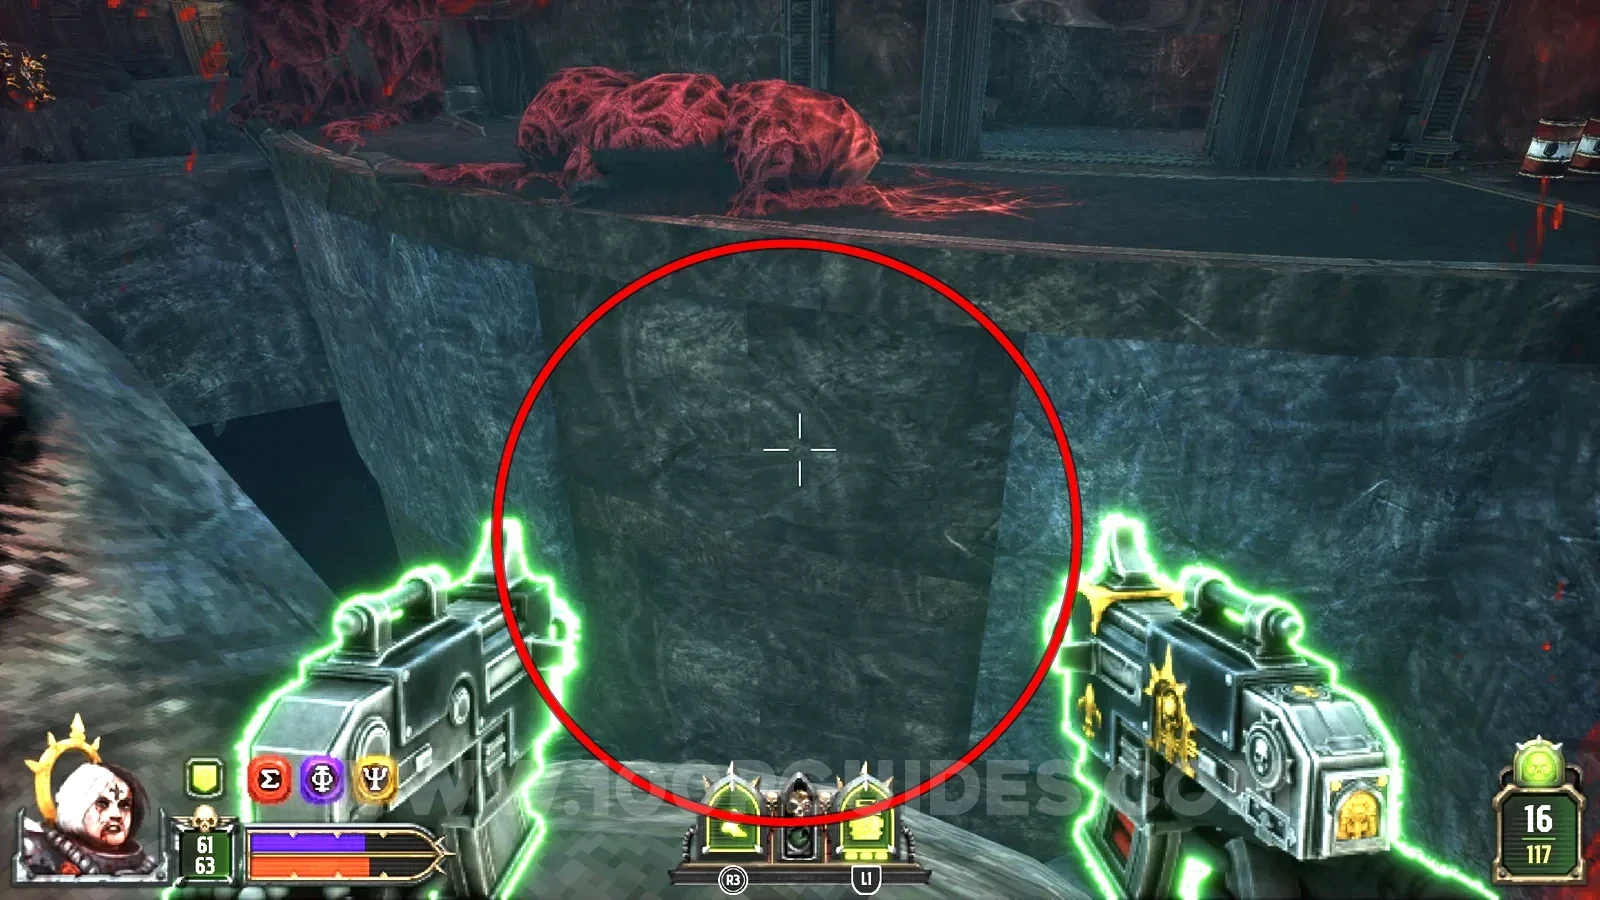
Go around the outside area until you see a gap in the grey part of the inner ring. Wait until a hidden room lines up with it and jump in to find the seal.
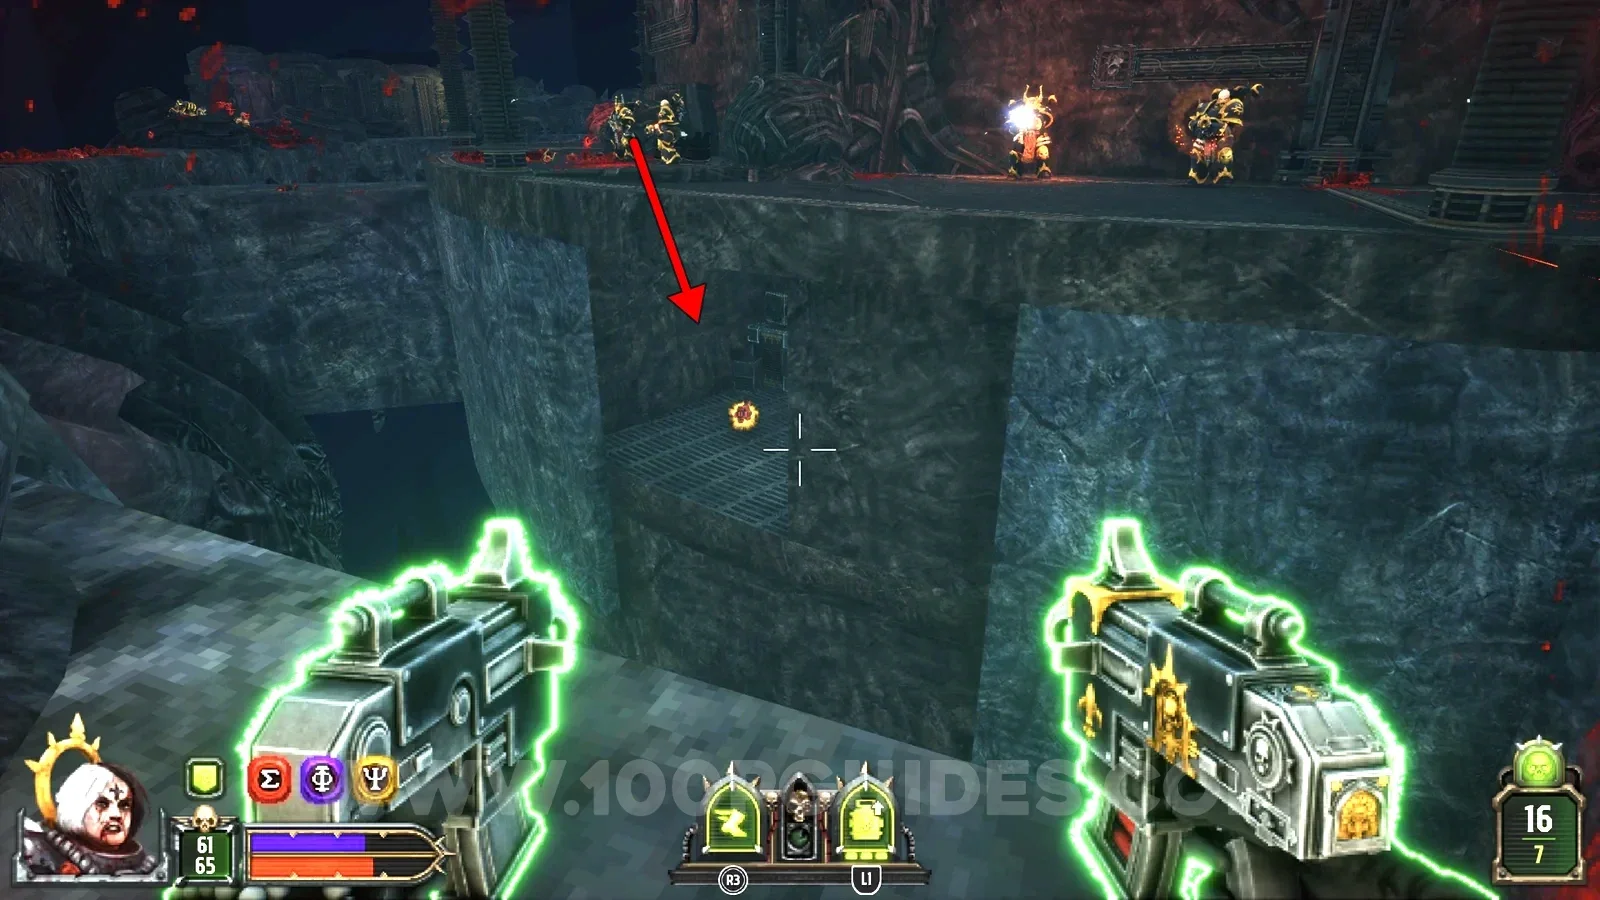
Ascend Of The Arkifane
Seal 1/1
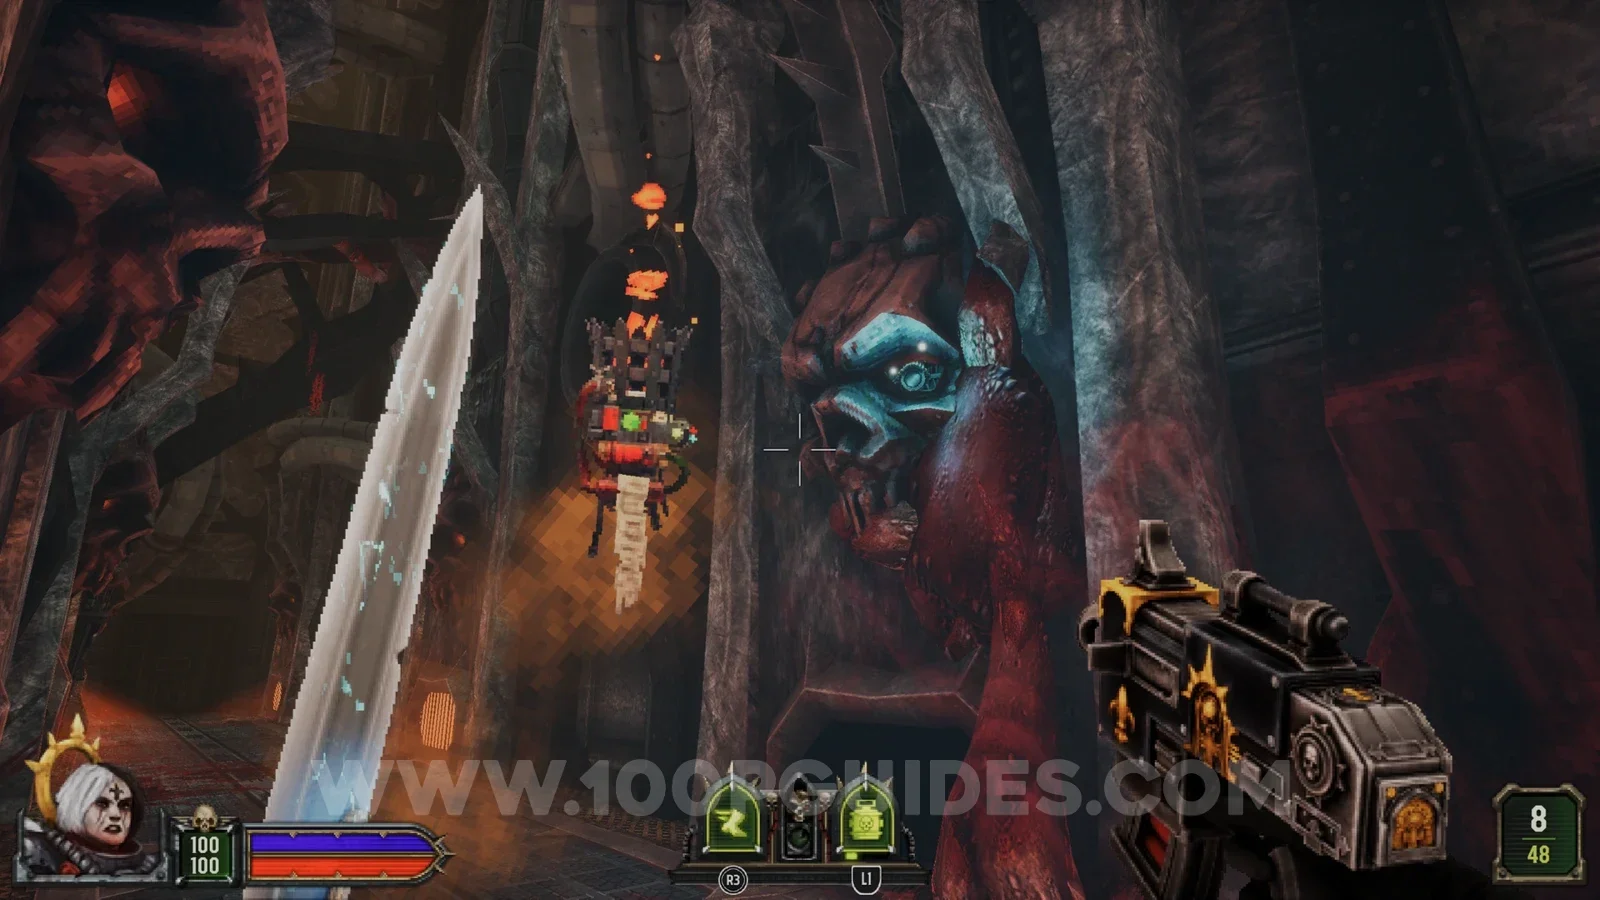
In the first corridor, look for a skull with a blue eye on the wall. Shoot the eye and the seal spawns.
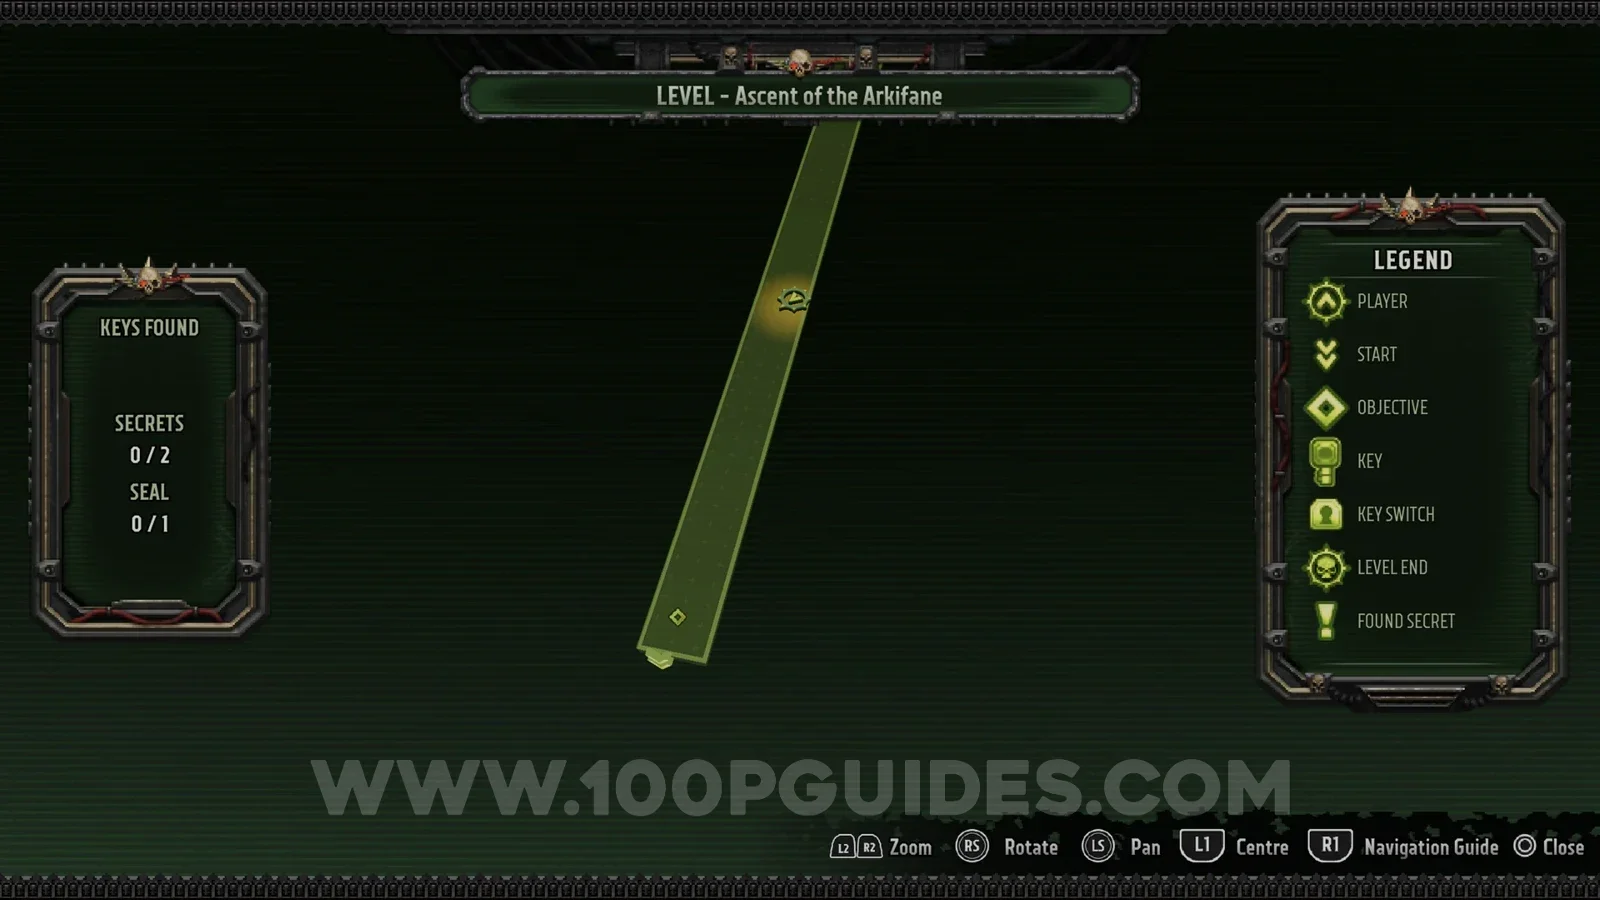
Secret 1/2
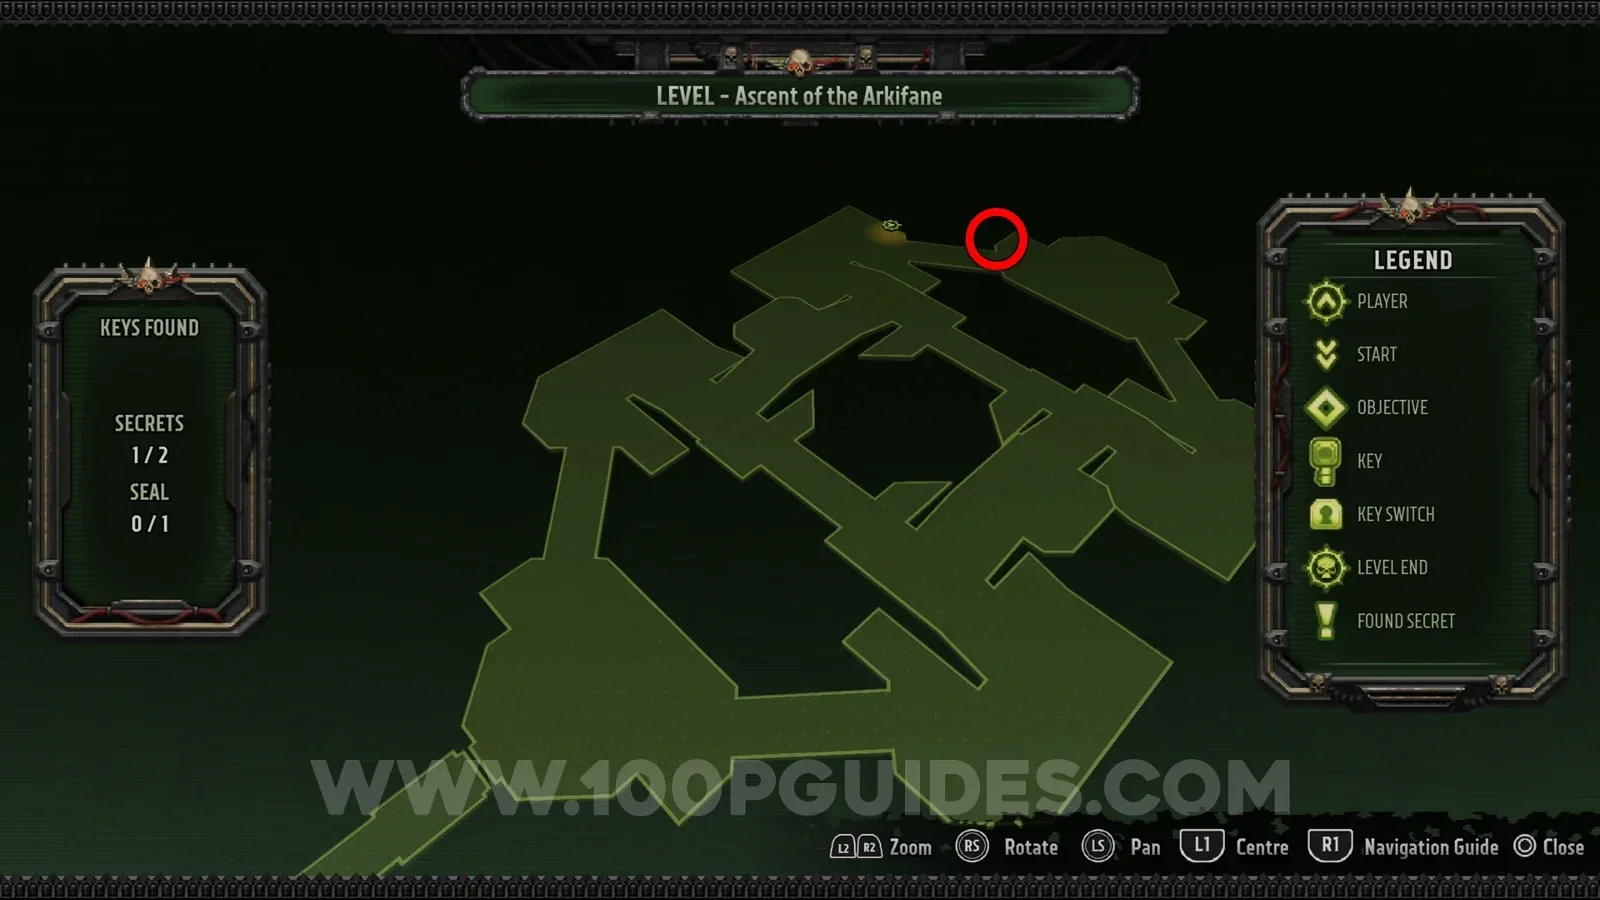
Once you reach the main elevator room, go right and look for the secret under the small bridge.
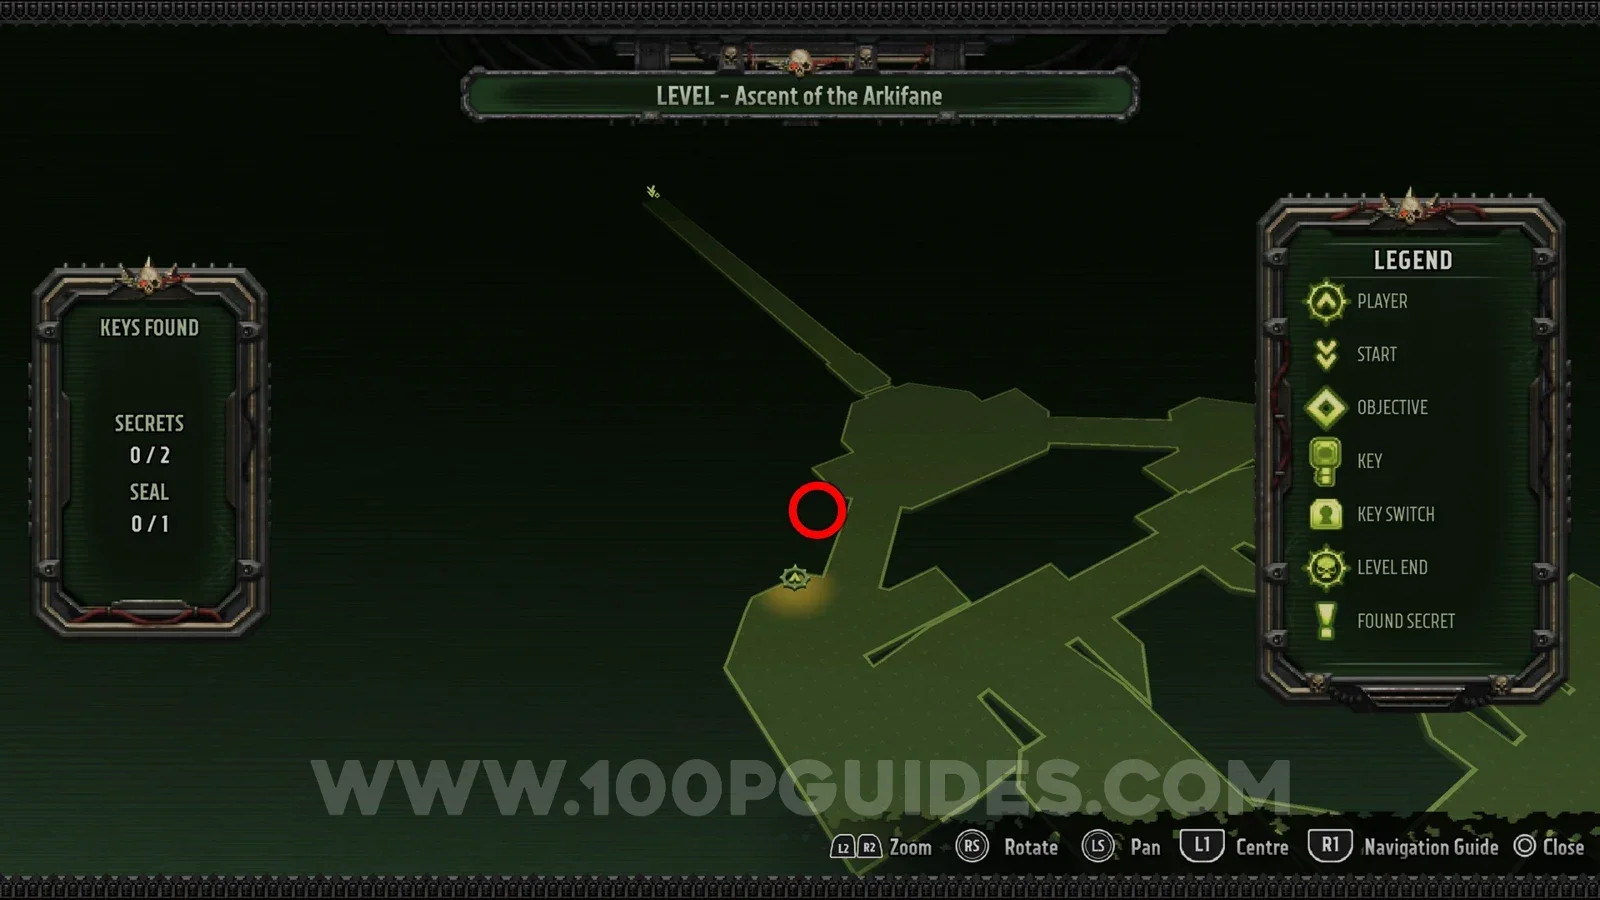
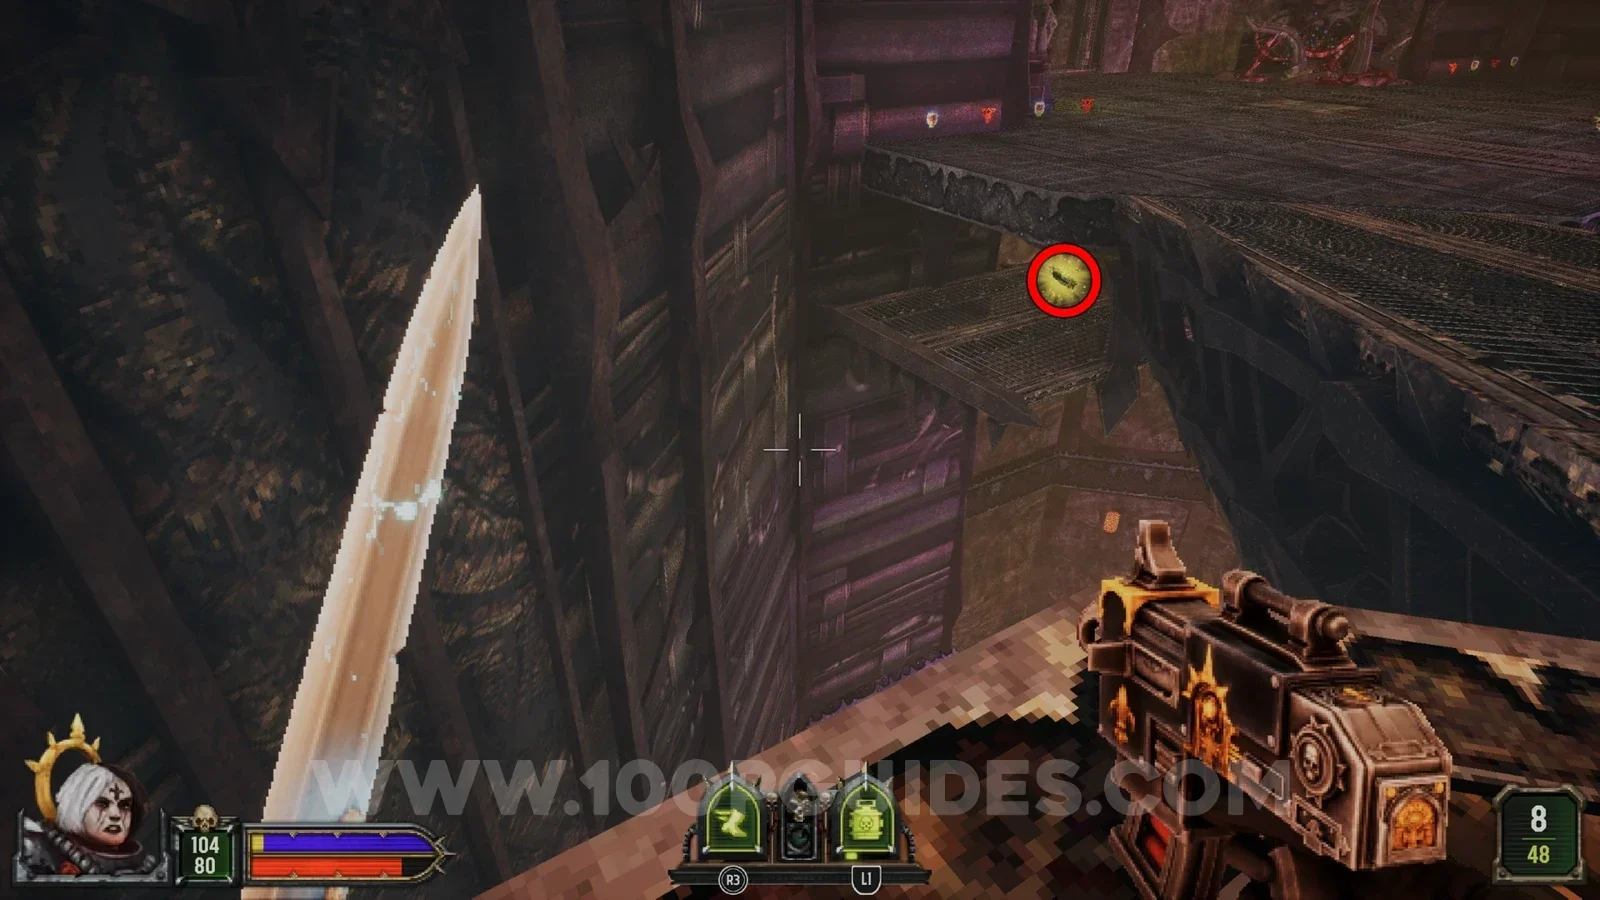
Secret 2/2
The same as the previous secret, but under the bridge on the other side of the room.
At this point in the campaign you have to pick one of two paths. Path A is the one shown first in the Level Select menu:
- Path A Forged In Battle (3 levels): Train Wrecked > Tank Manufactorum > Advance!.
- Path B Corrupt Core (3 levels): Renegade Train > Despoiled Quarry > Rapid Ascent.
Once you pick one, the levels of the other path stay locked until you play through a new campaign and pick that path. After that you can replay any of them through Level Select.
Train Wrecked Path A
Secret 1/7
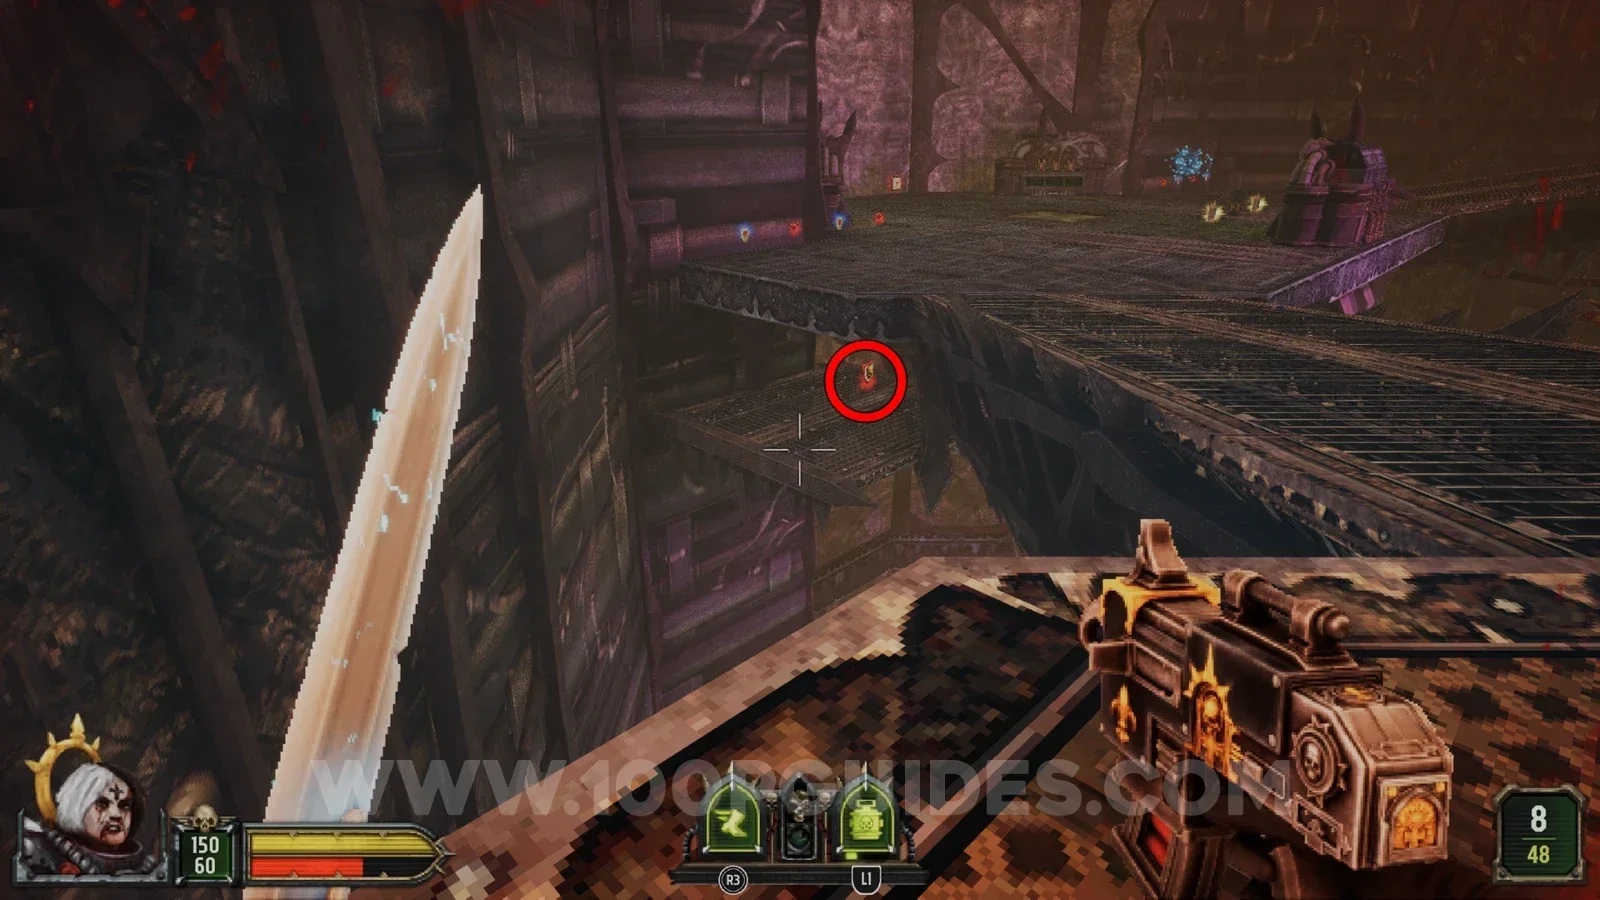
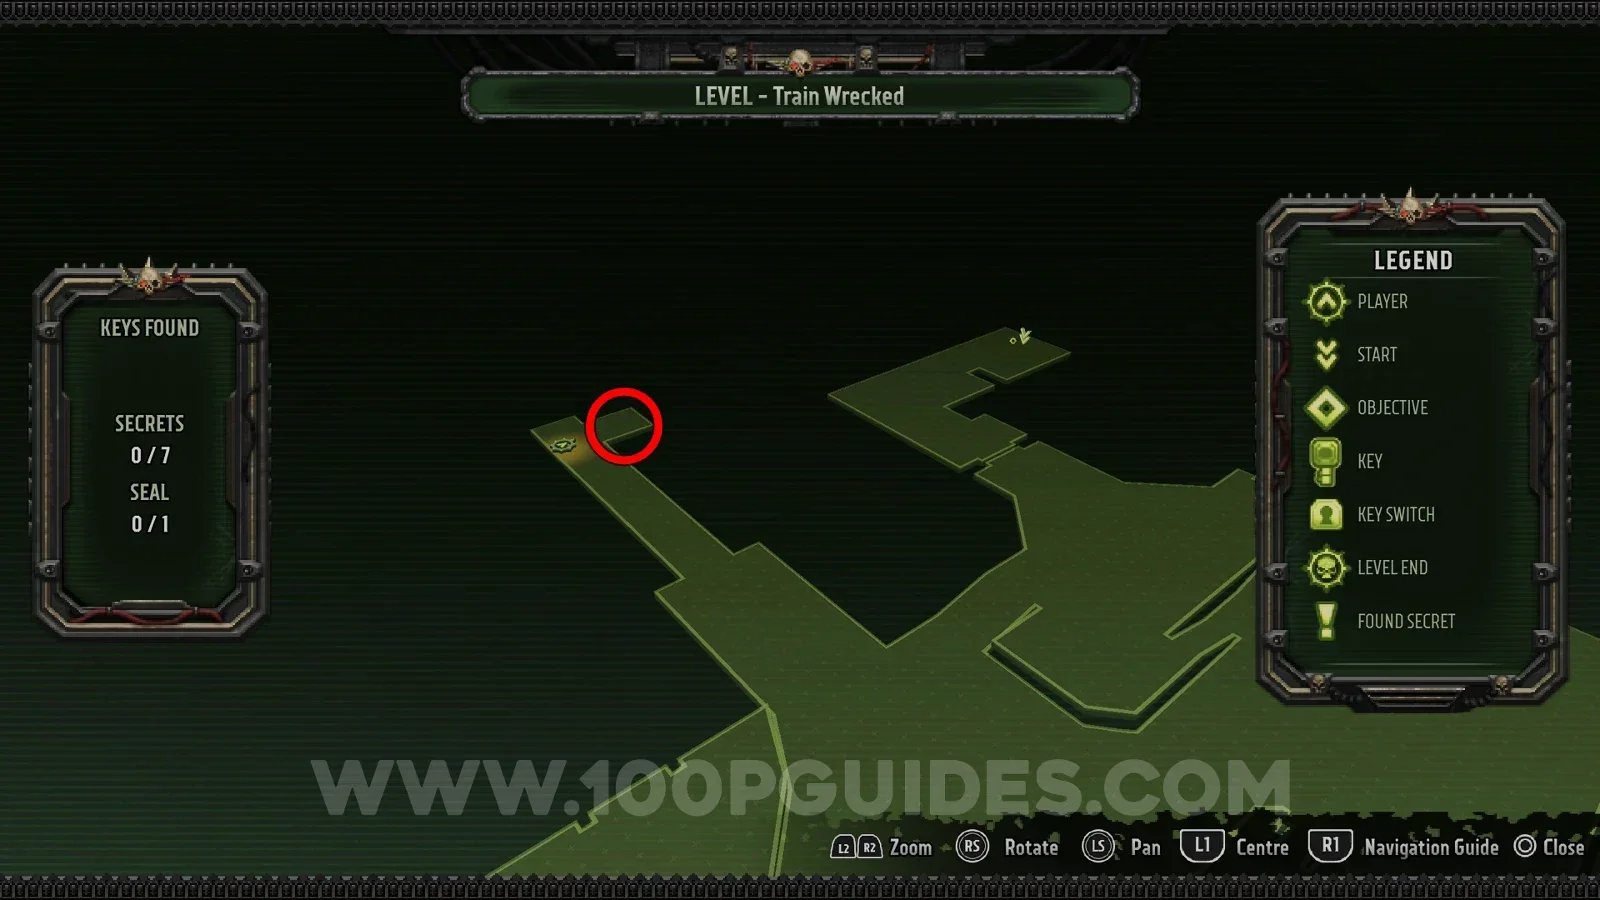
As soon as you get to the open area at the start, go right and then down the tunnel on your right. Go to the end of it to find the secret.
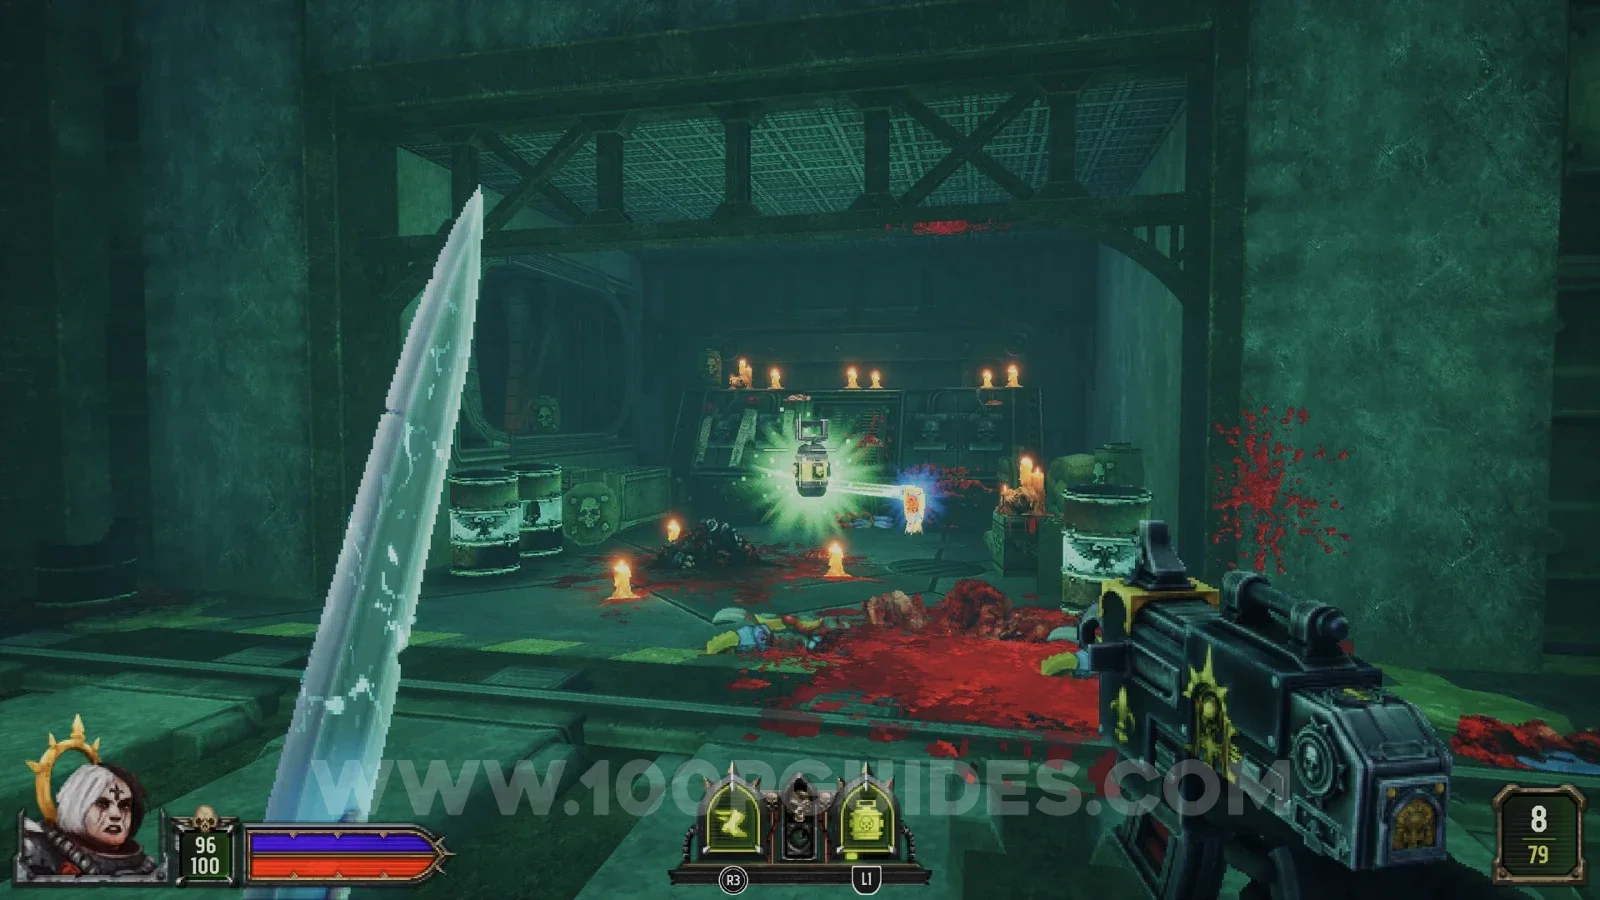
Secret 2/7
On the left side of the open area you will see a malfunctioning shutter that keeps going up and down a little. When it goes up, shoot the skull on the other side of it to open it. The secret is inside.
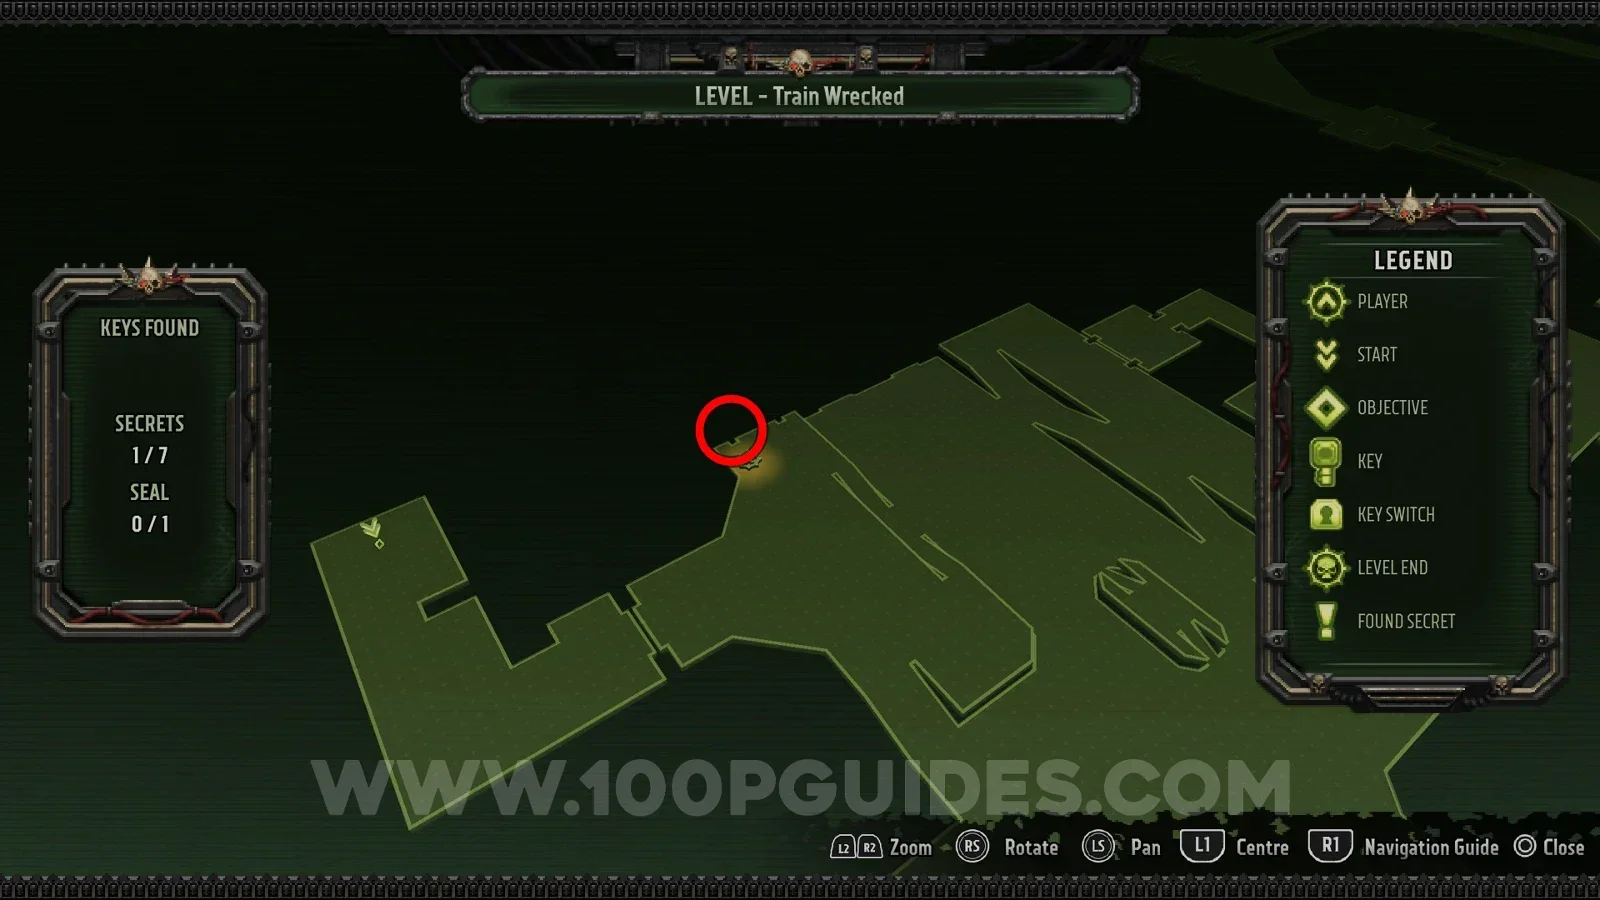
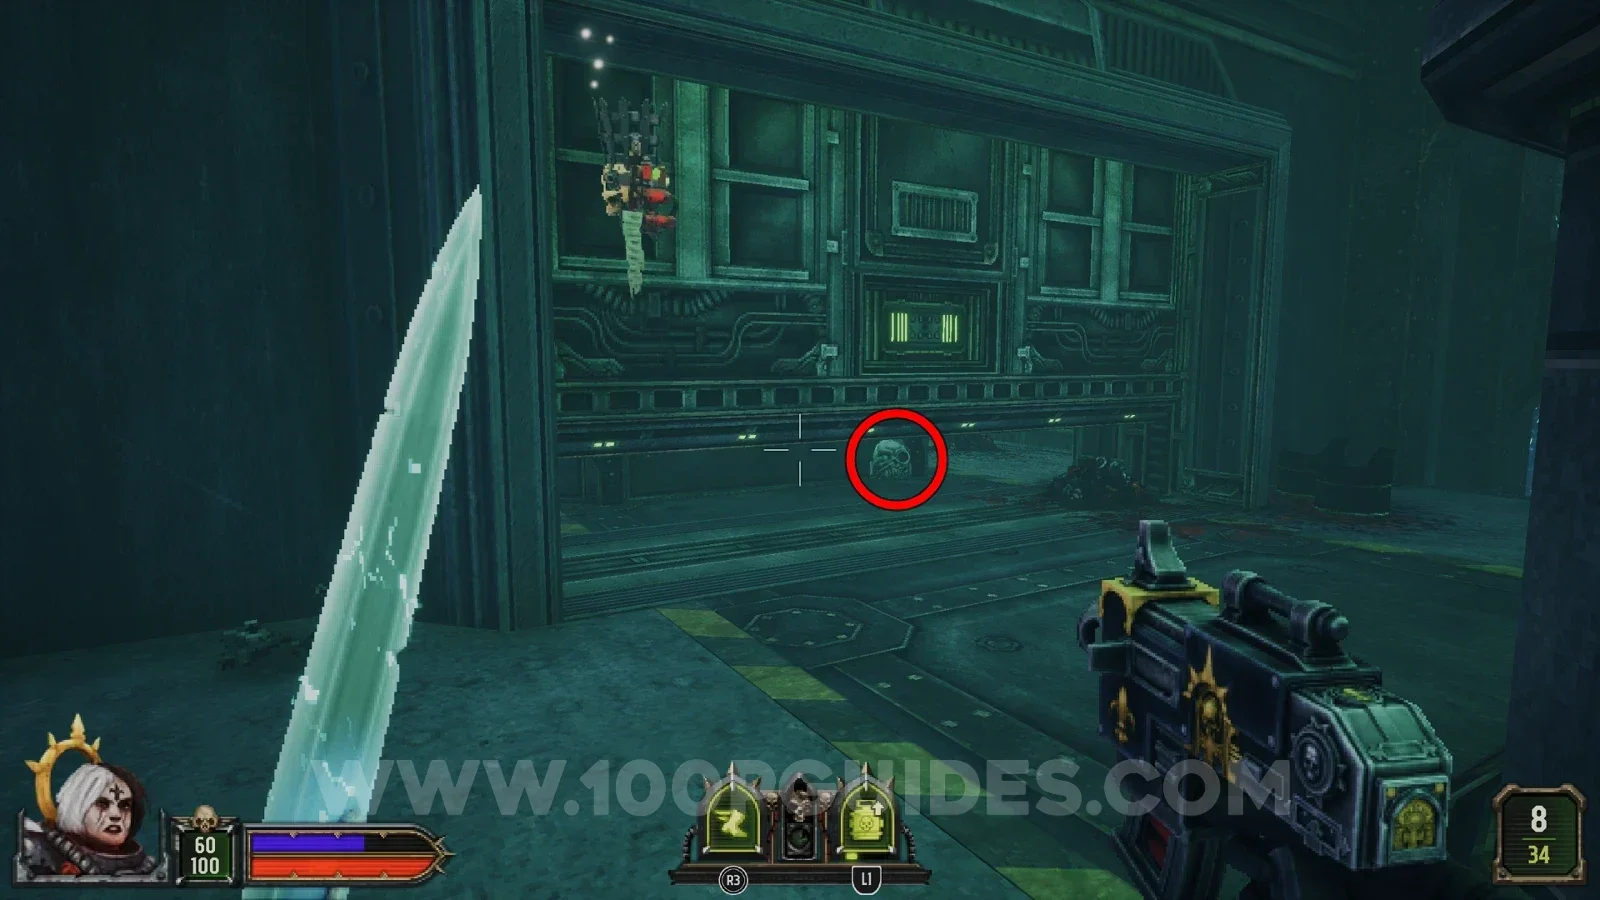
Secret 3/7
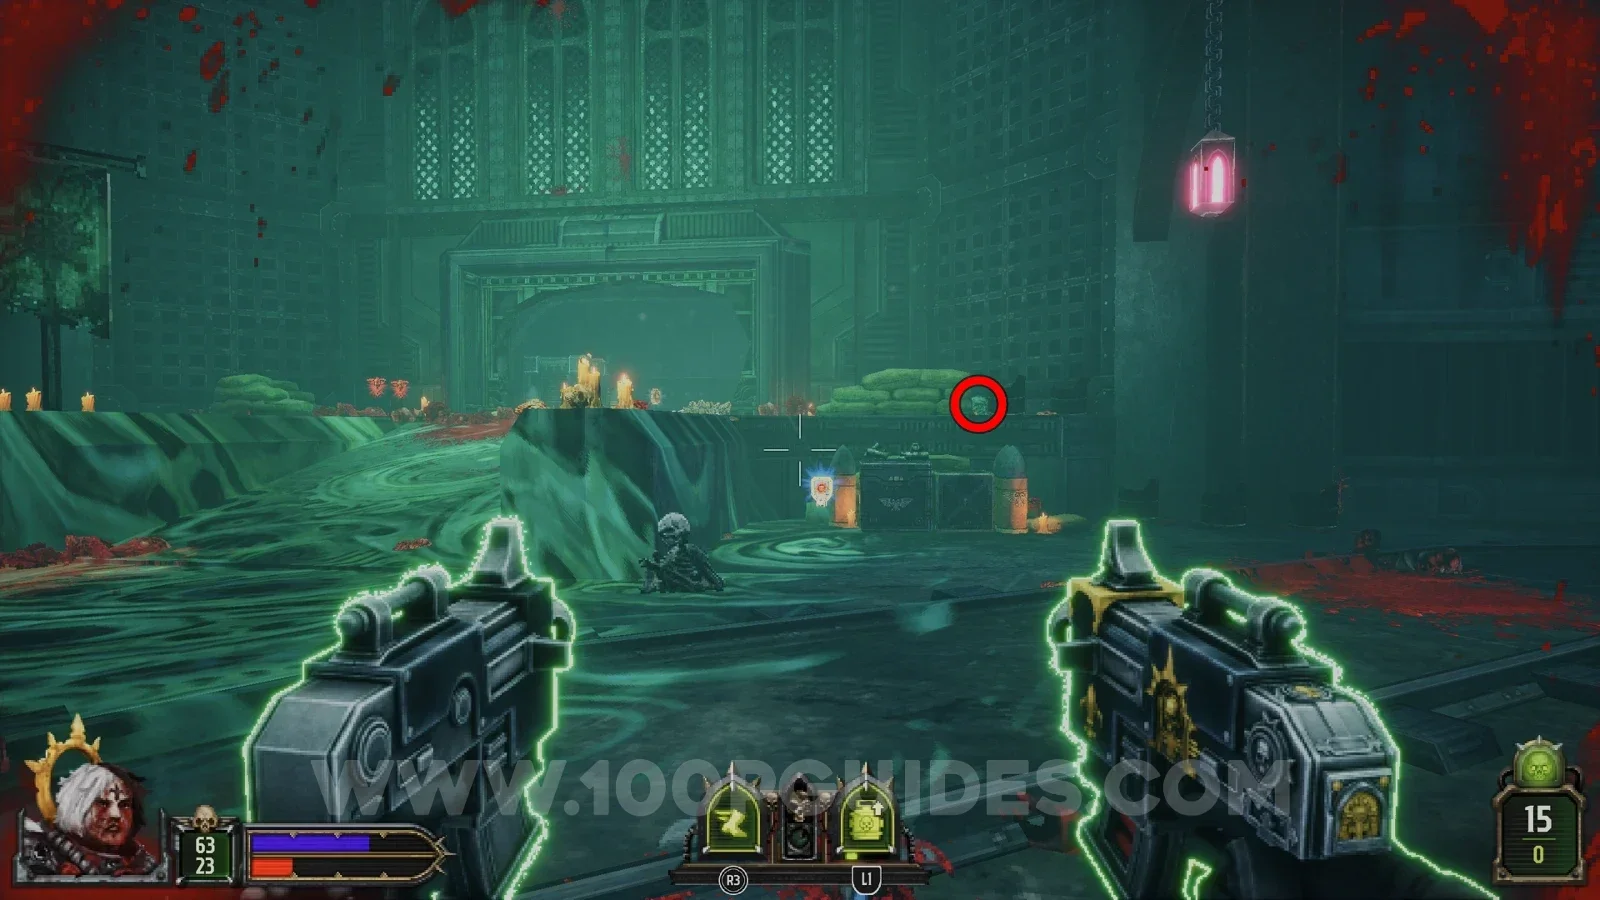
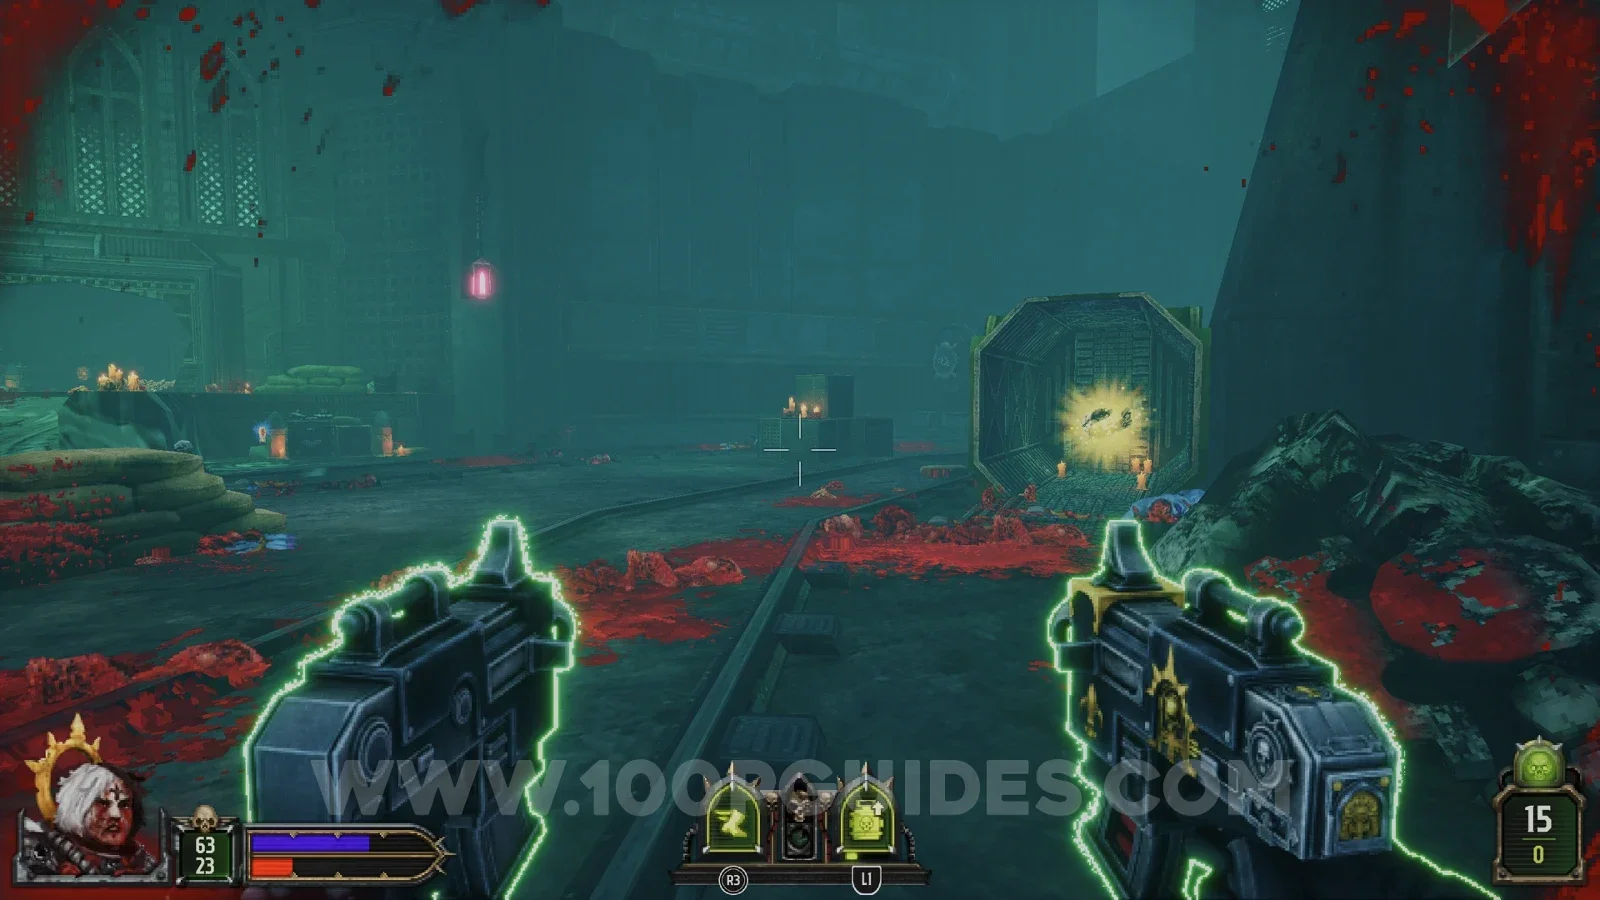
Advance through the level until you reach an area where two train tracks go around a corner. Look for a skull just outside the small room on the left at the corner. Shoot it to open the nearby container with the secret inside.
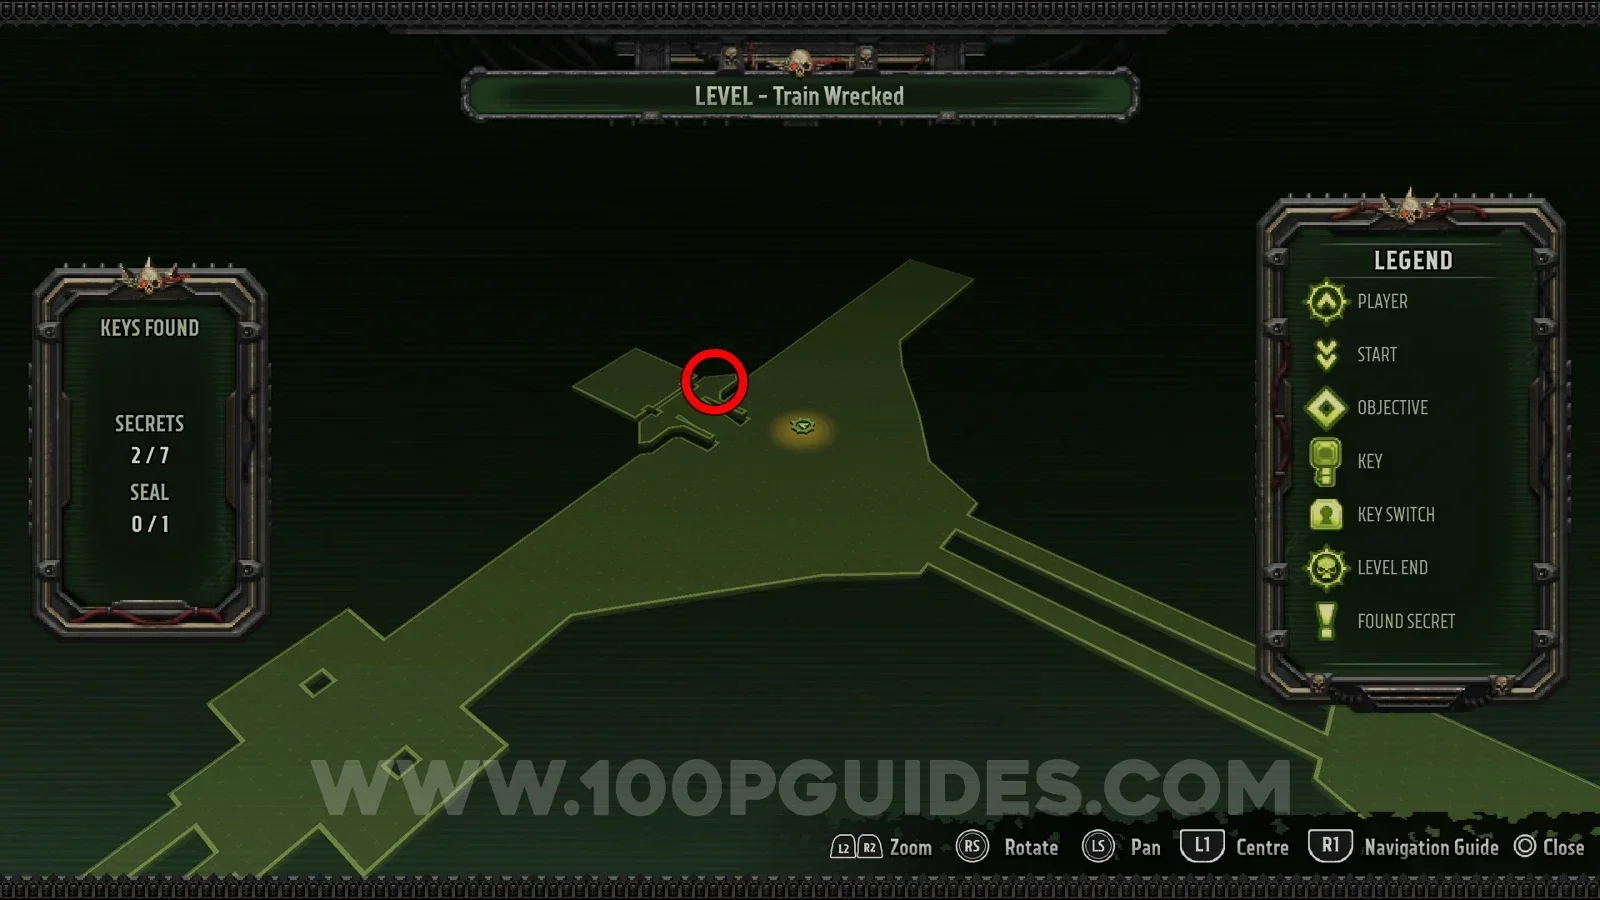
Secret 4/7
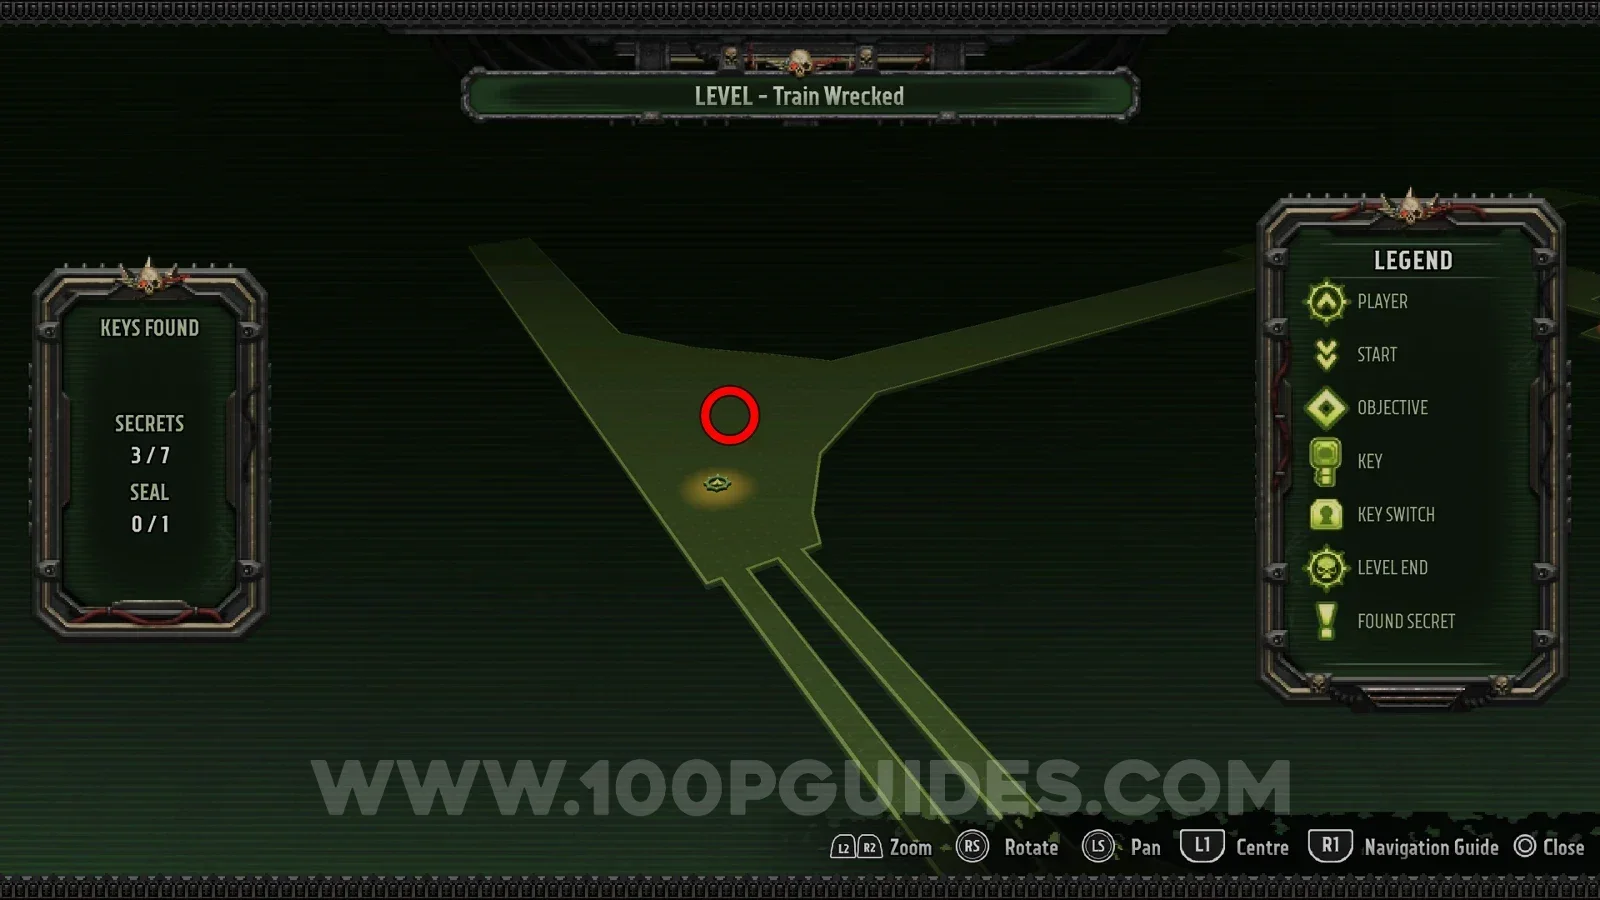
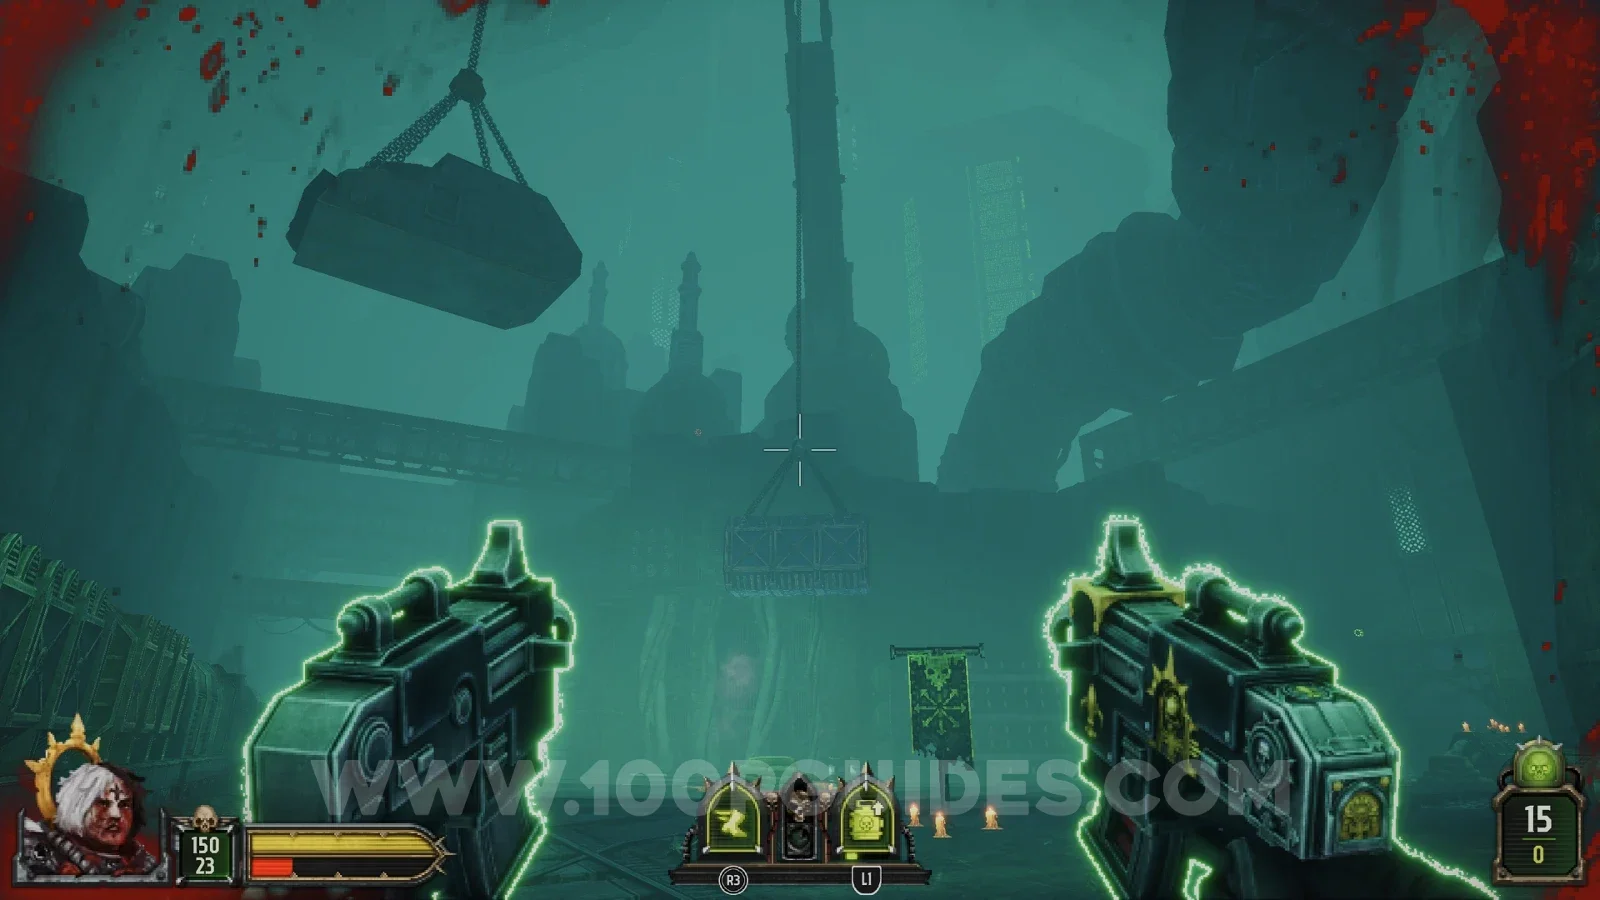
Follow the tracks down the next straight after the previous secret and you will see a hanging crate at the next corner. Shoot it down to find the secret inside.
Secret 5/7
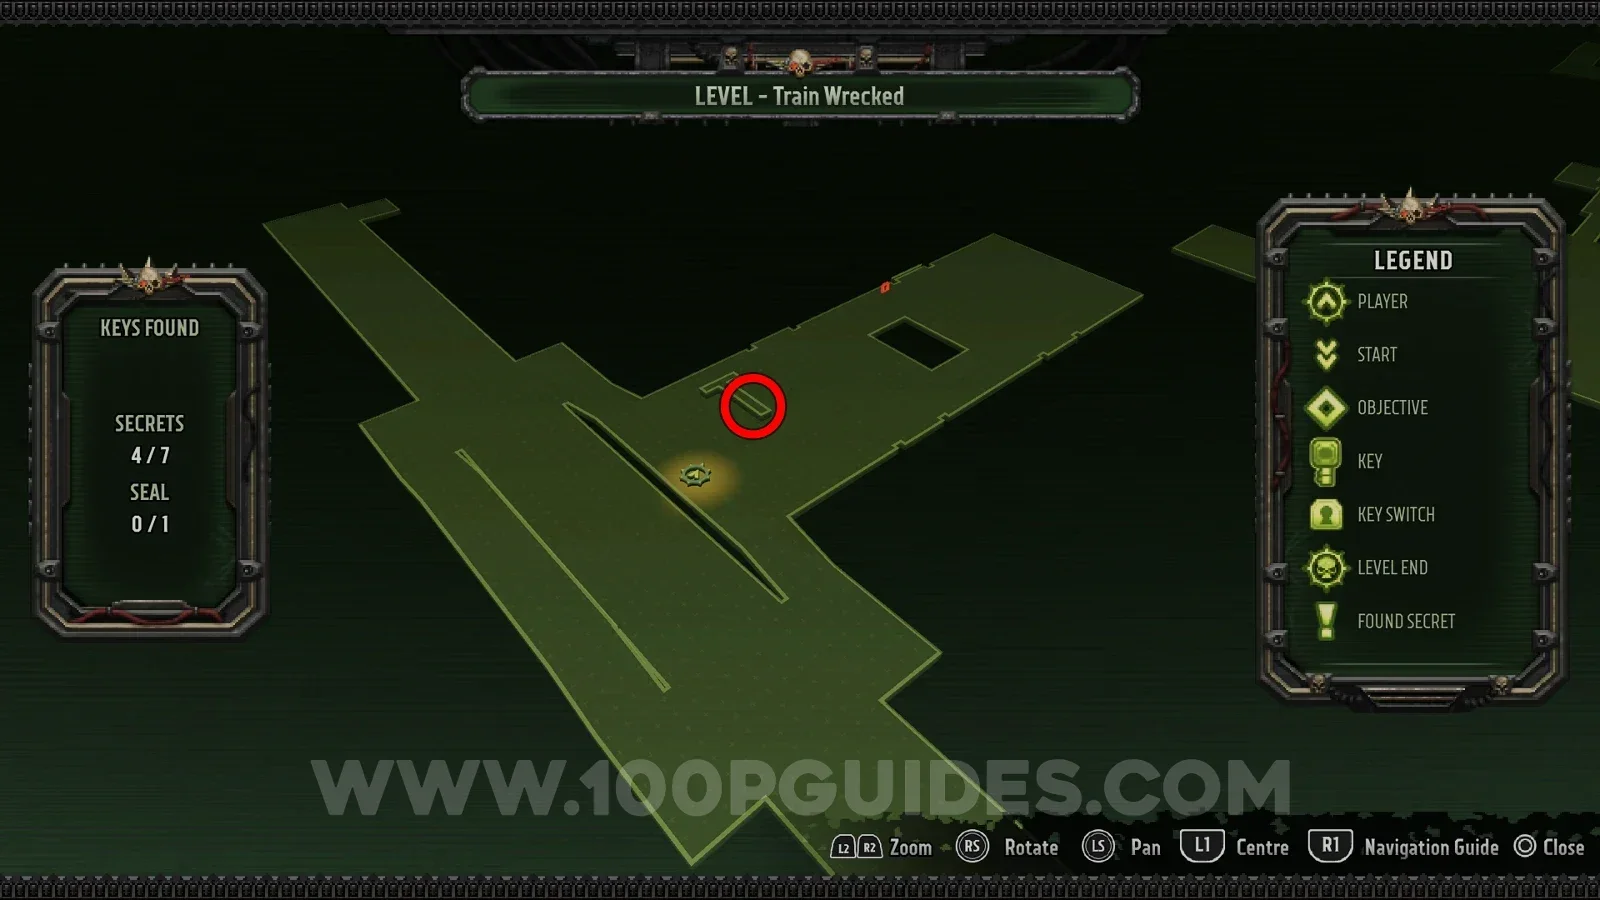
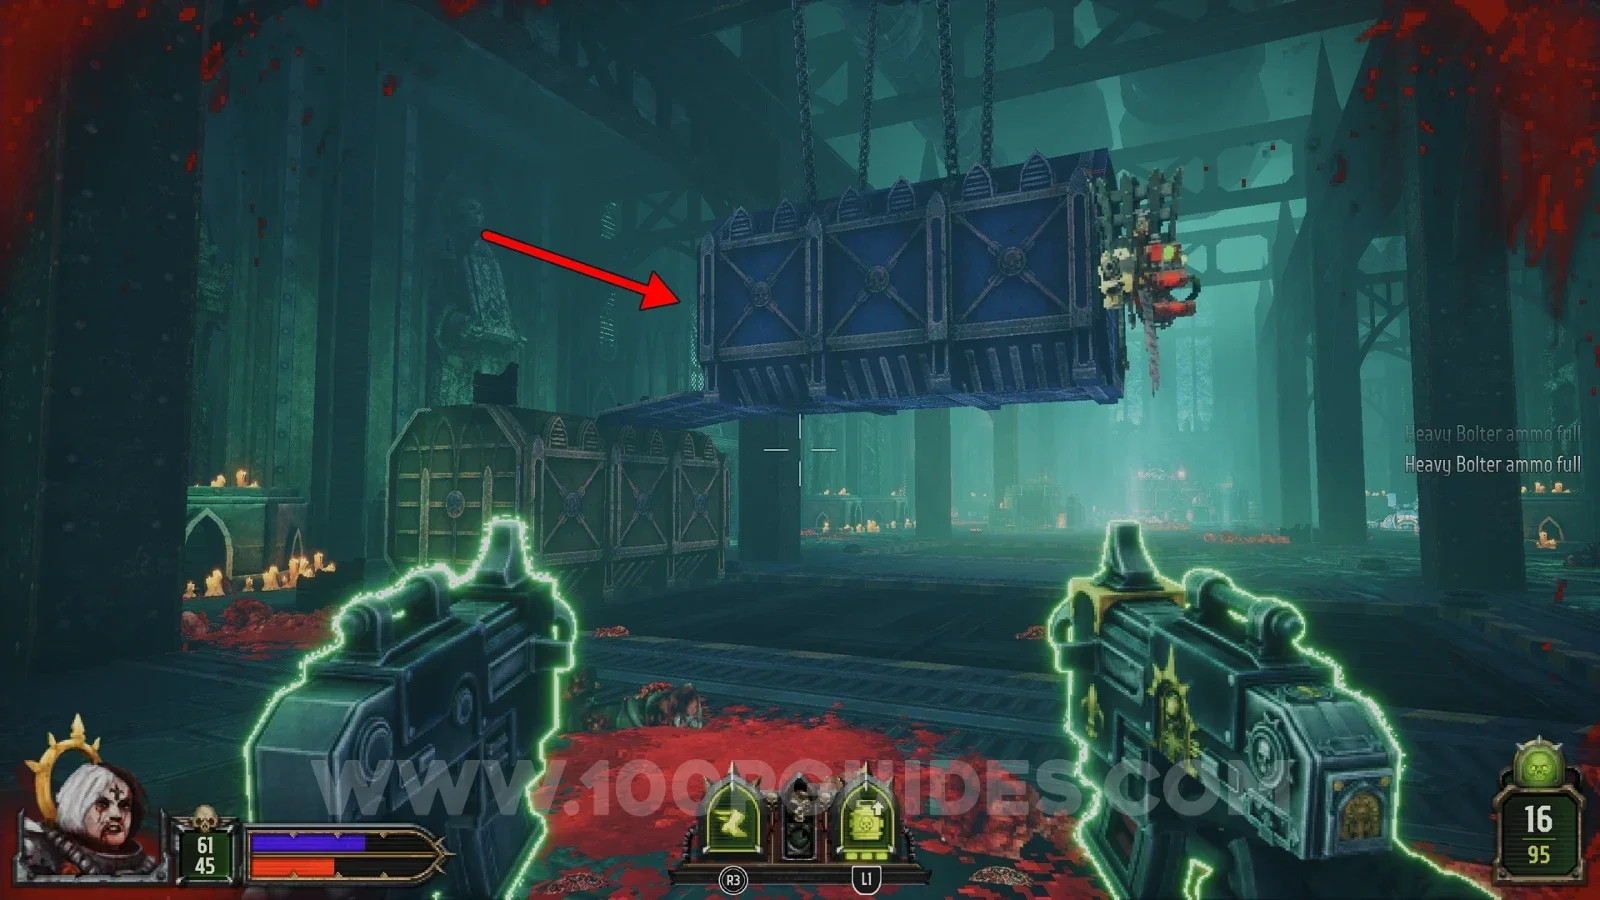
In the container, once you reach the train station where the red door is.
Secret 6/7
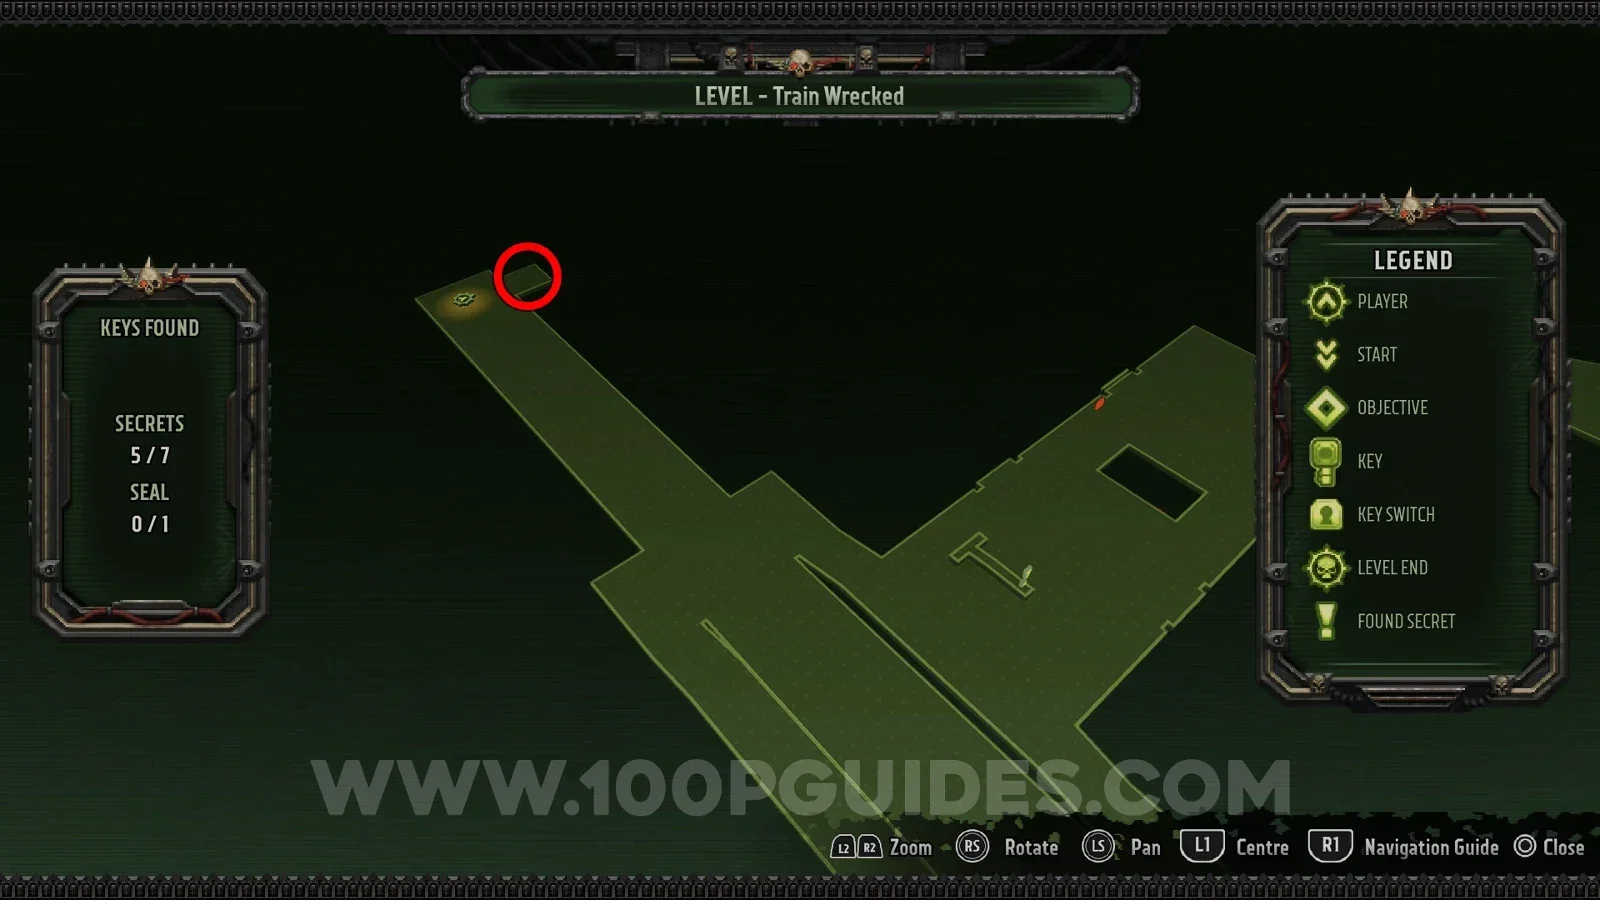
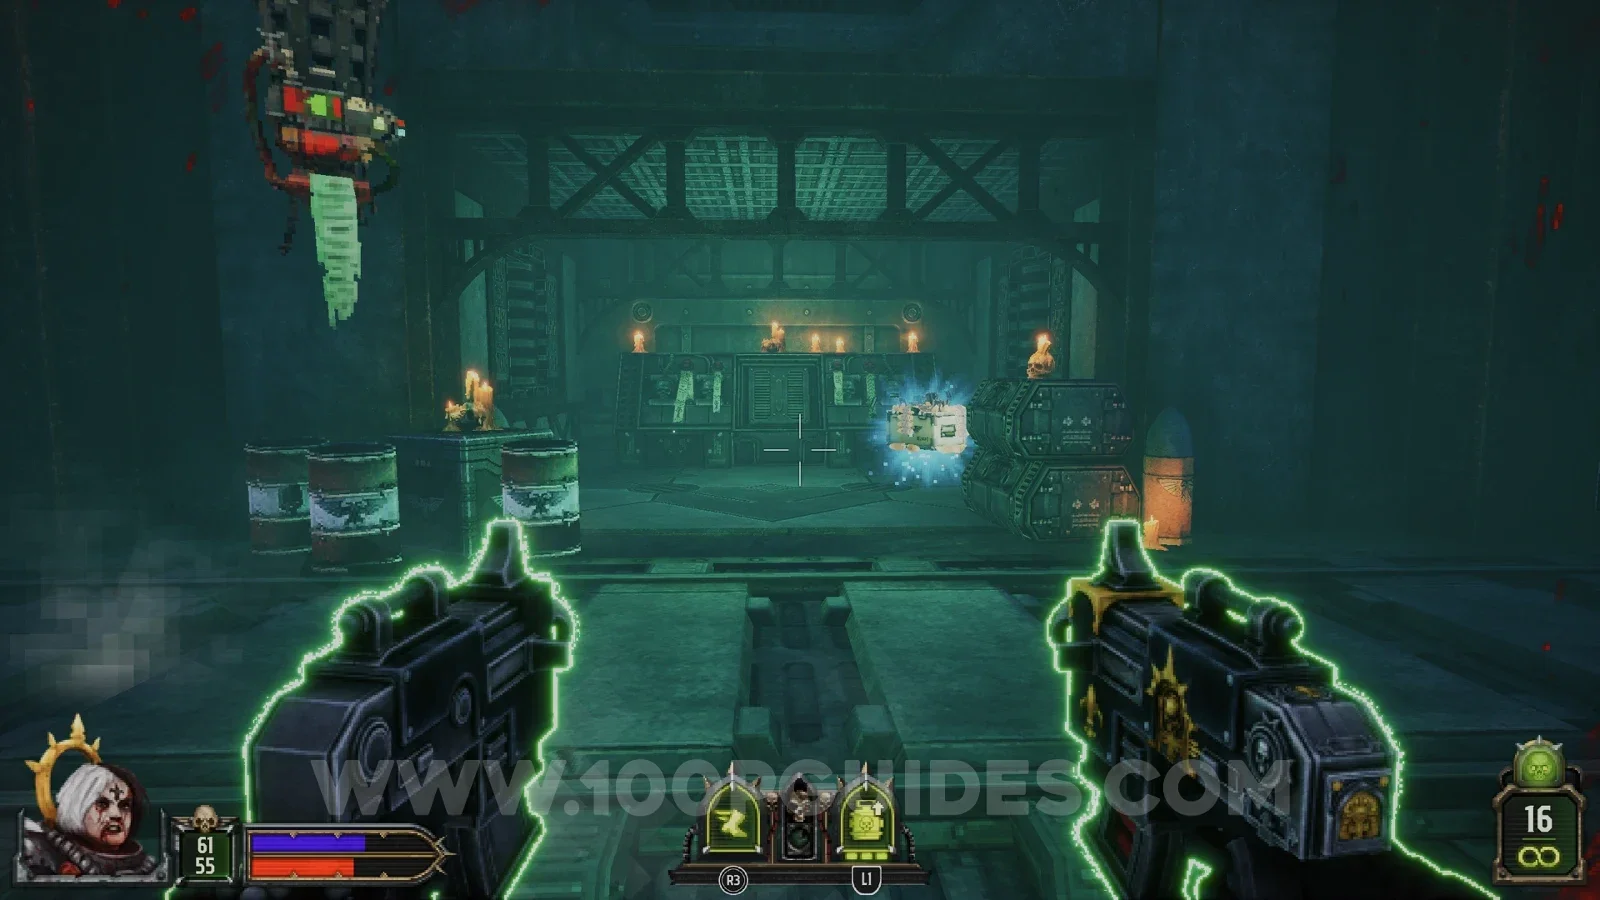
At the end of the tunnel near the train station where the red door is.
Seal 1/1
After going through the red door, turn around and use the narrow ledges on the sides to reach the statue. The seal is behind it.
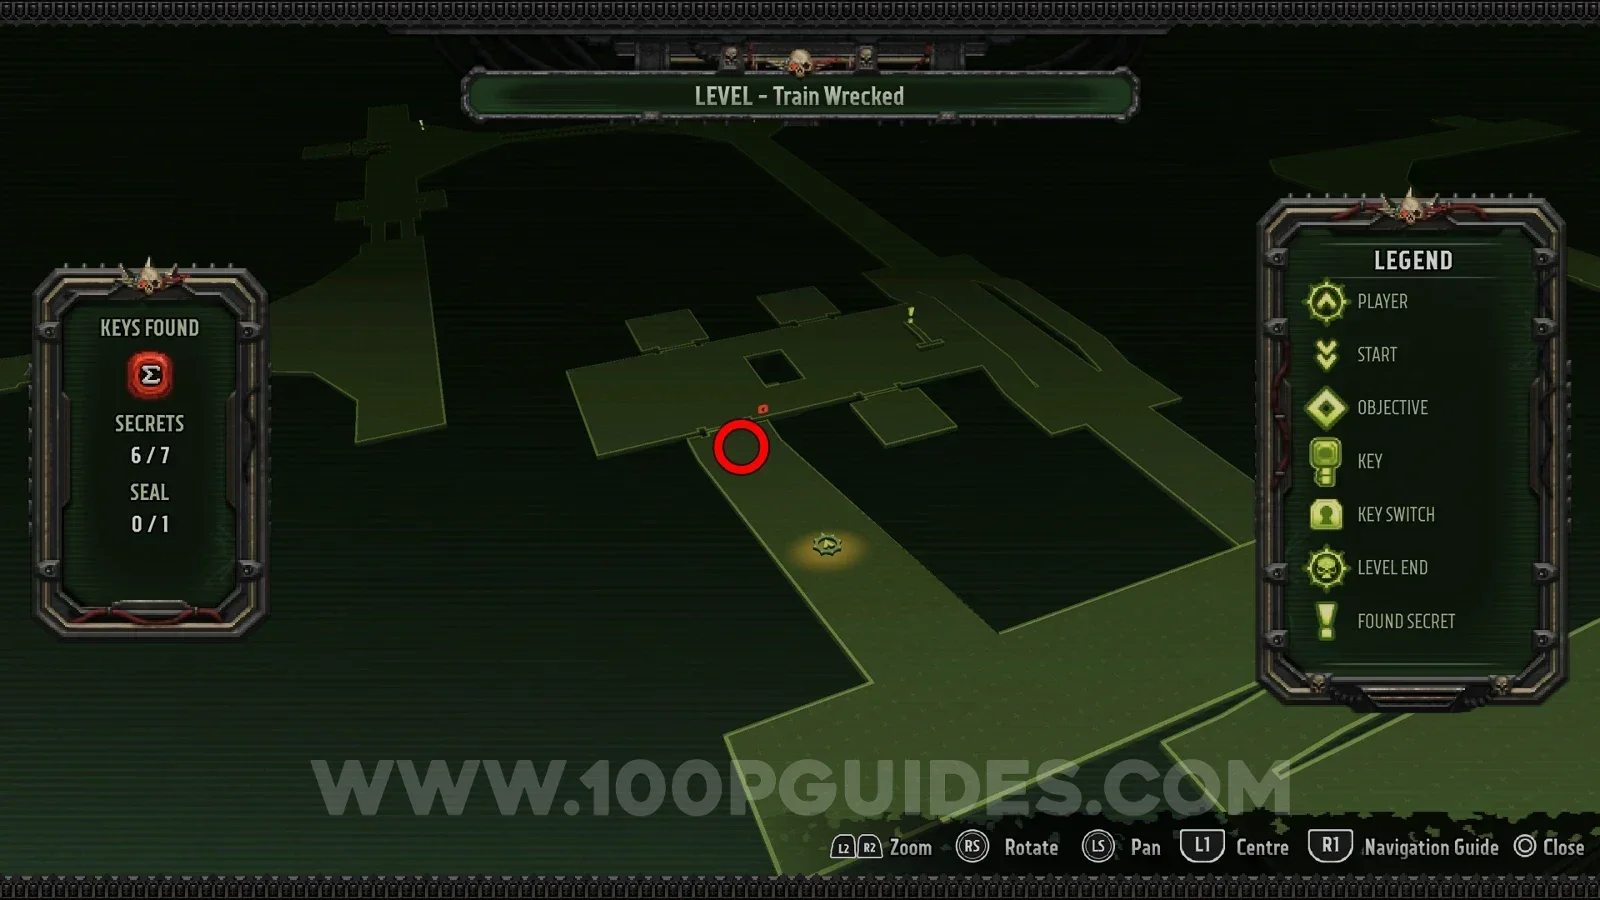
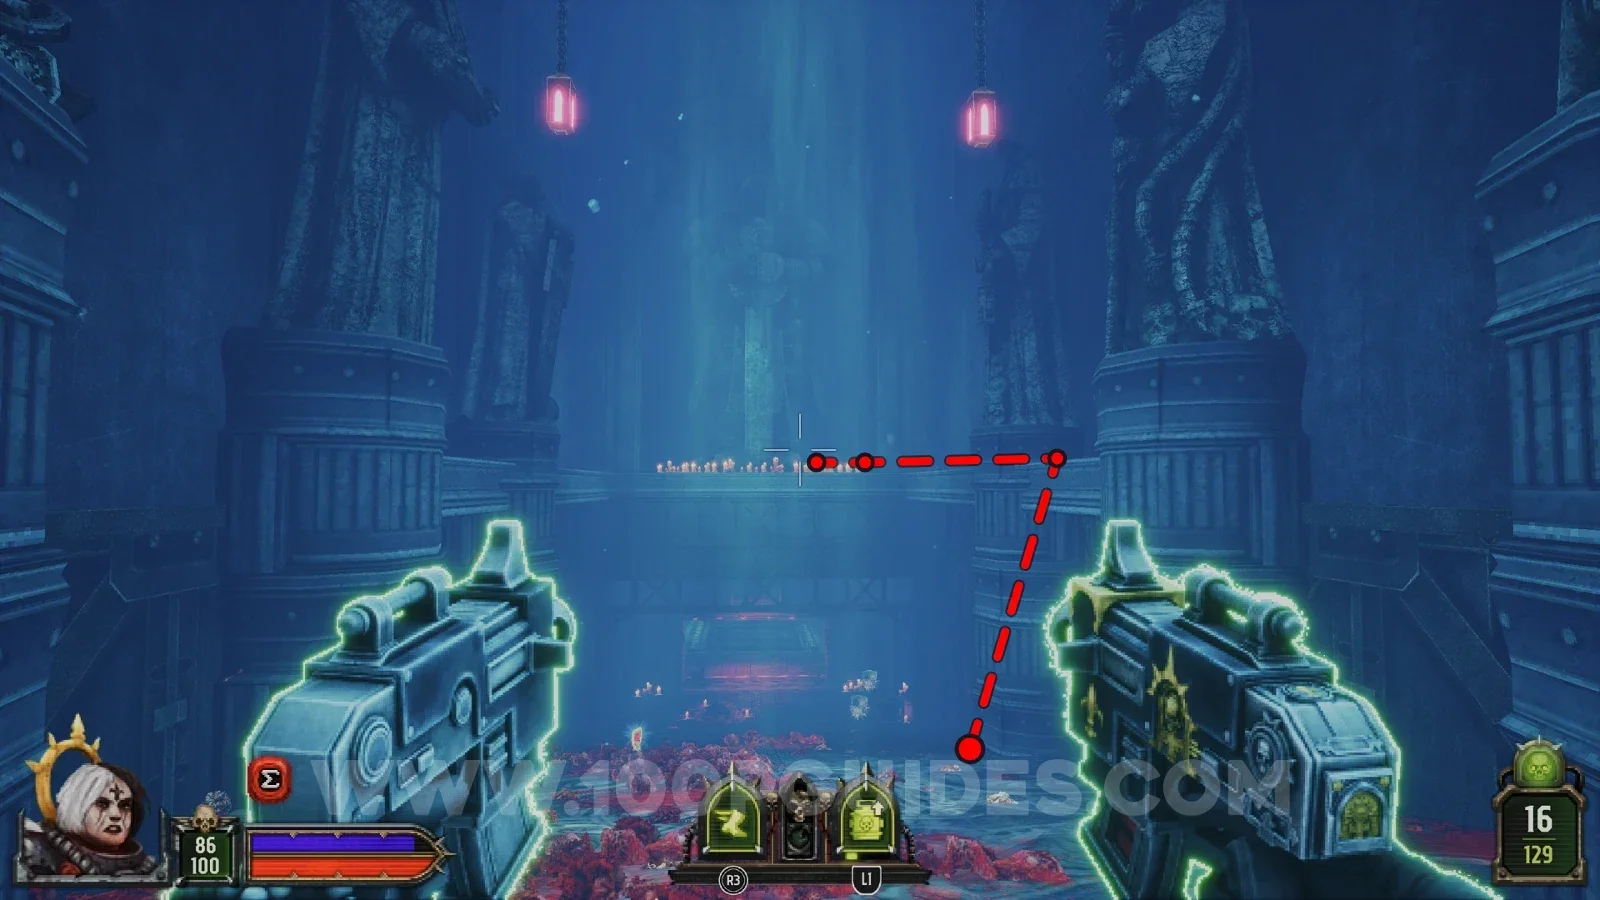
Secret 7/7
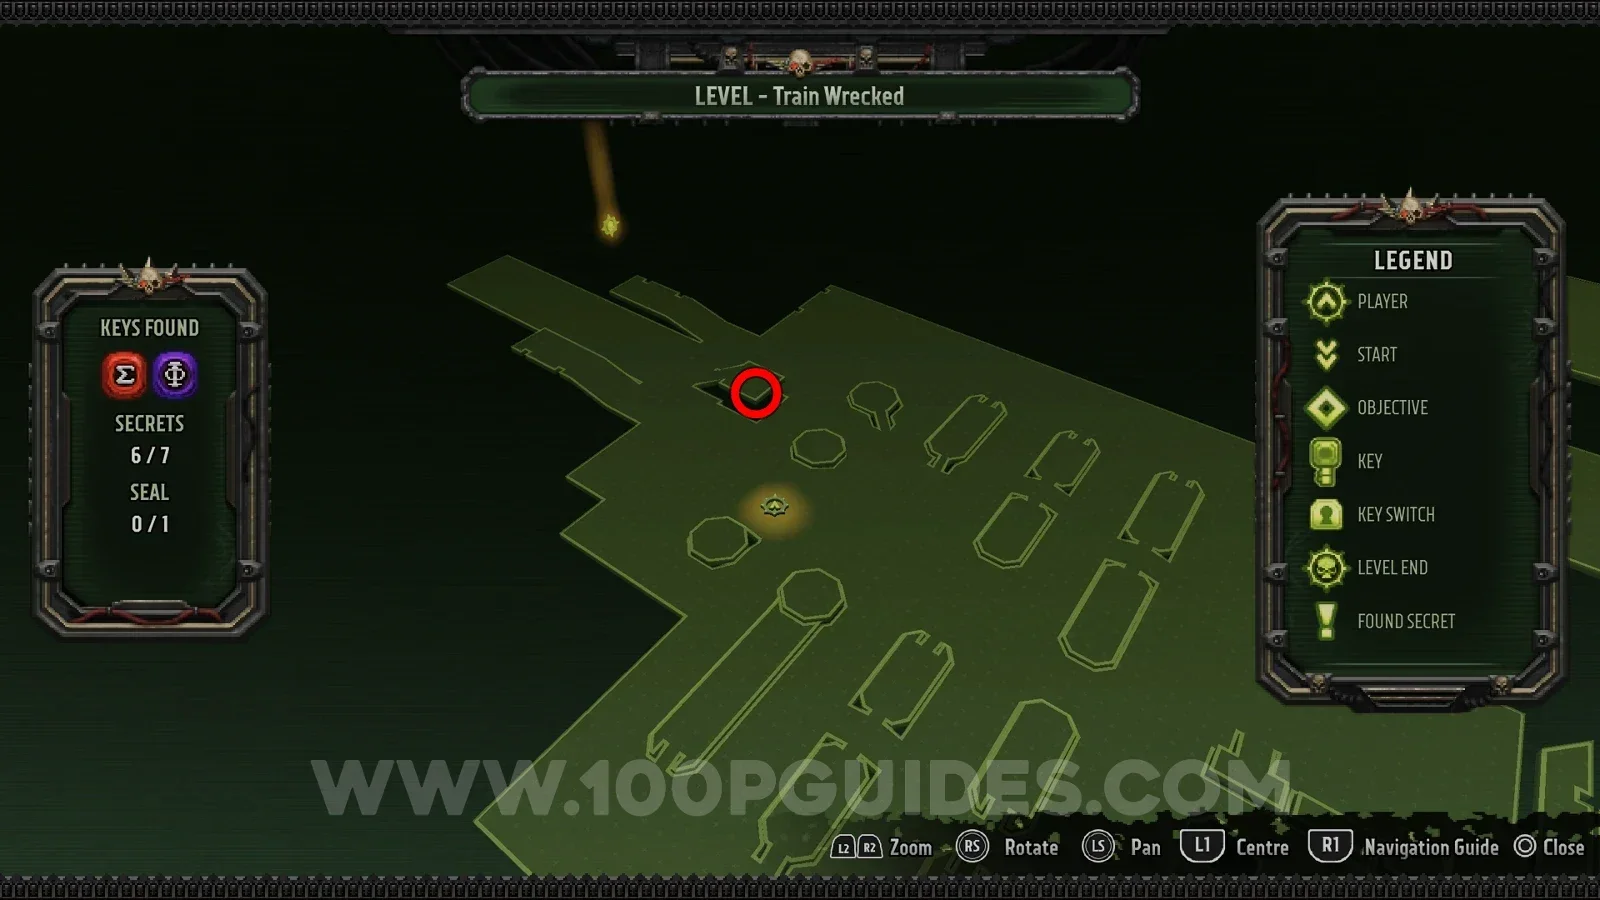
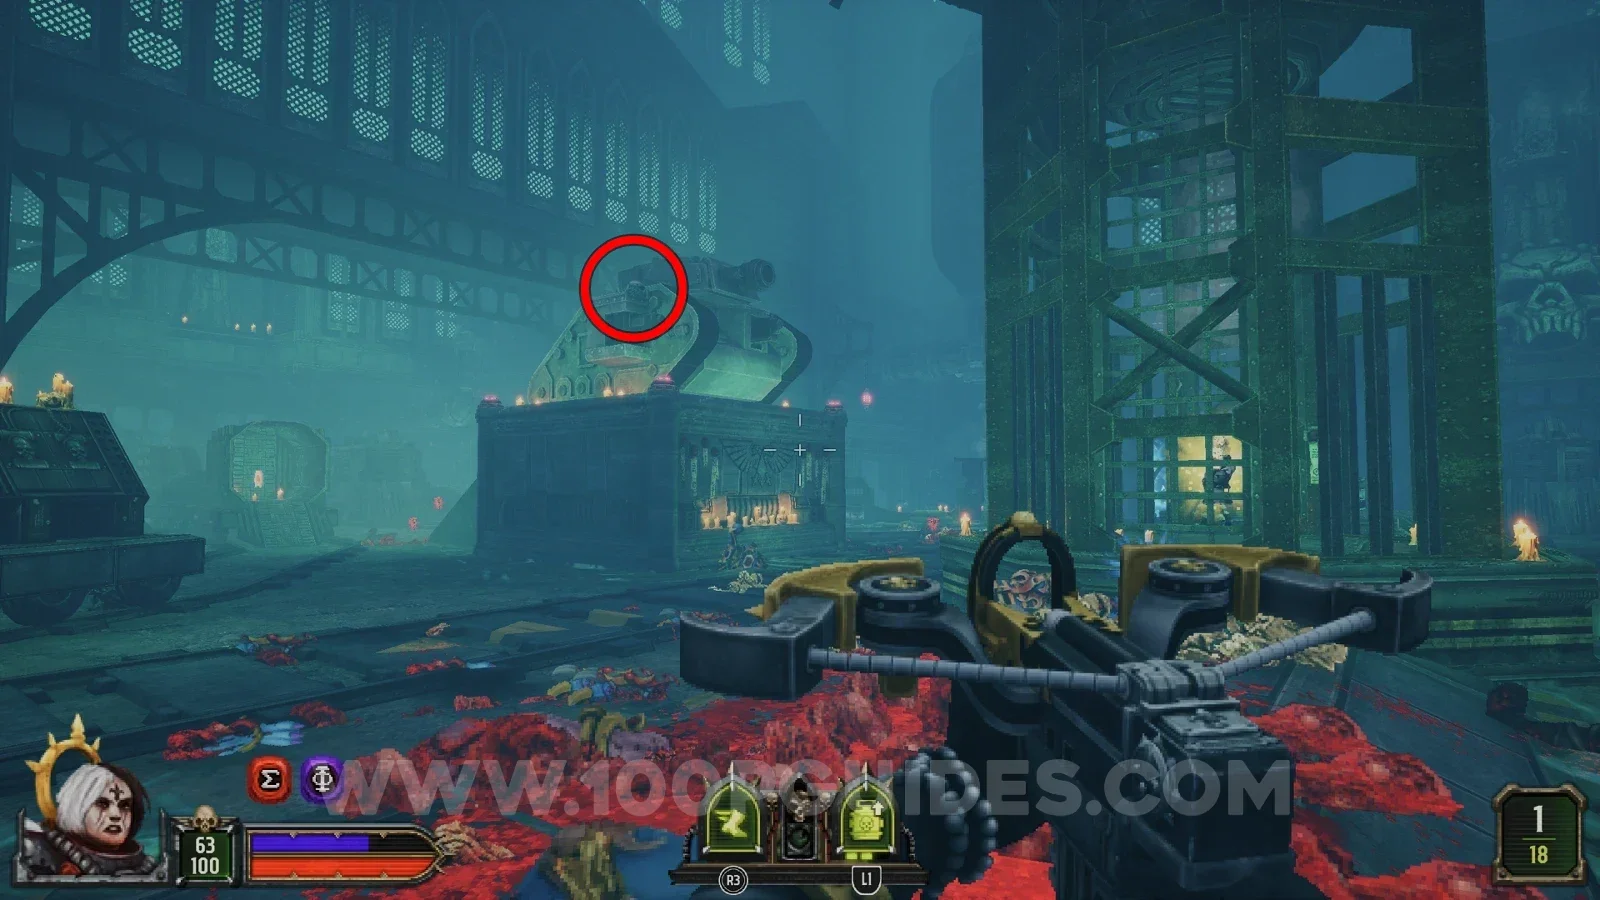
In the final area with the Purge you can see the secret in a cage. The skull that opens it is next to the tank on the nearby platform.
Tank Manufactorum Path A
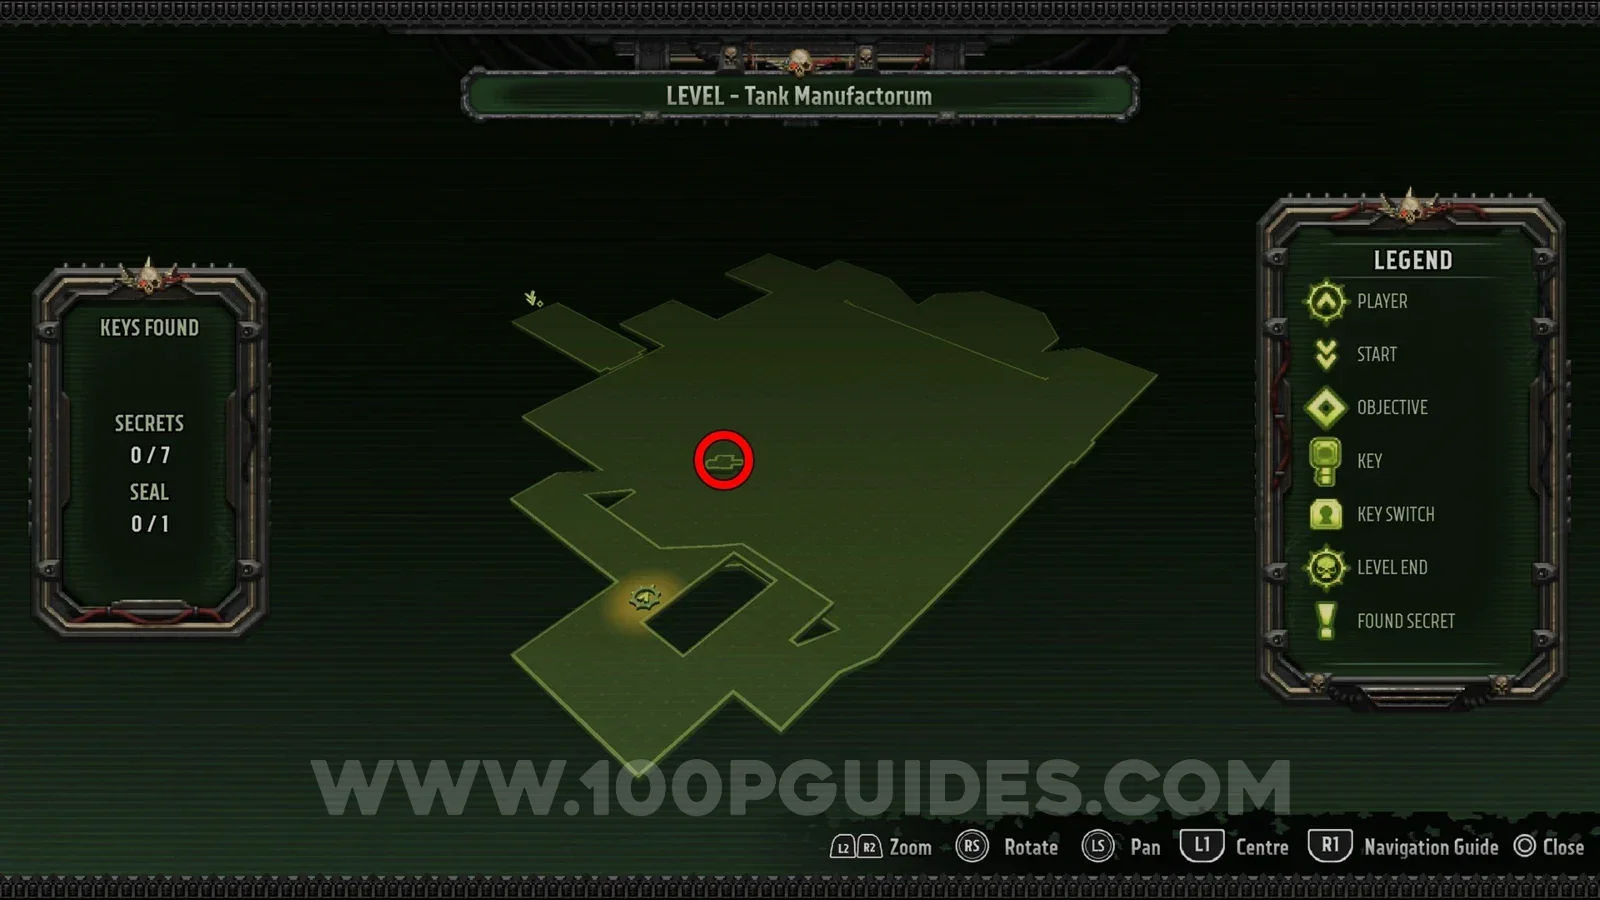
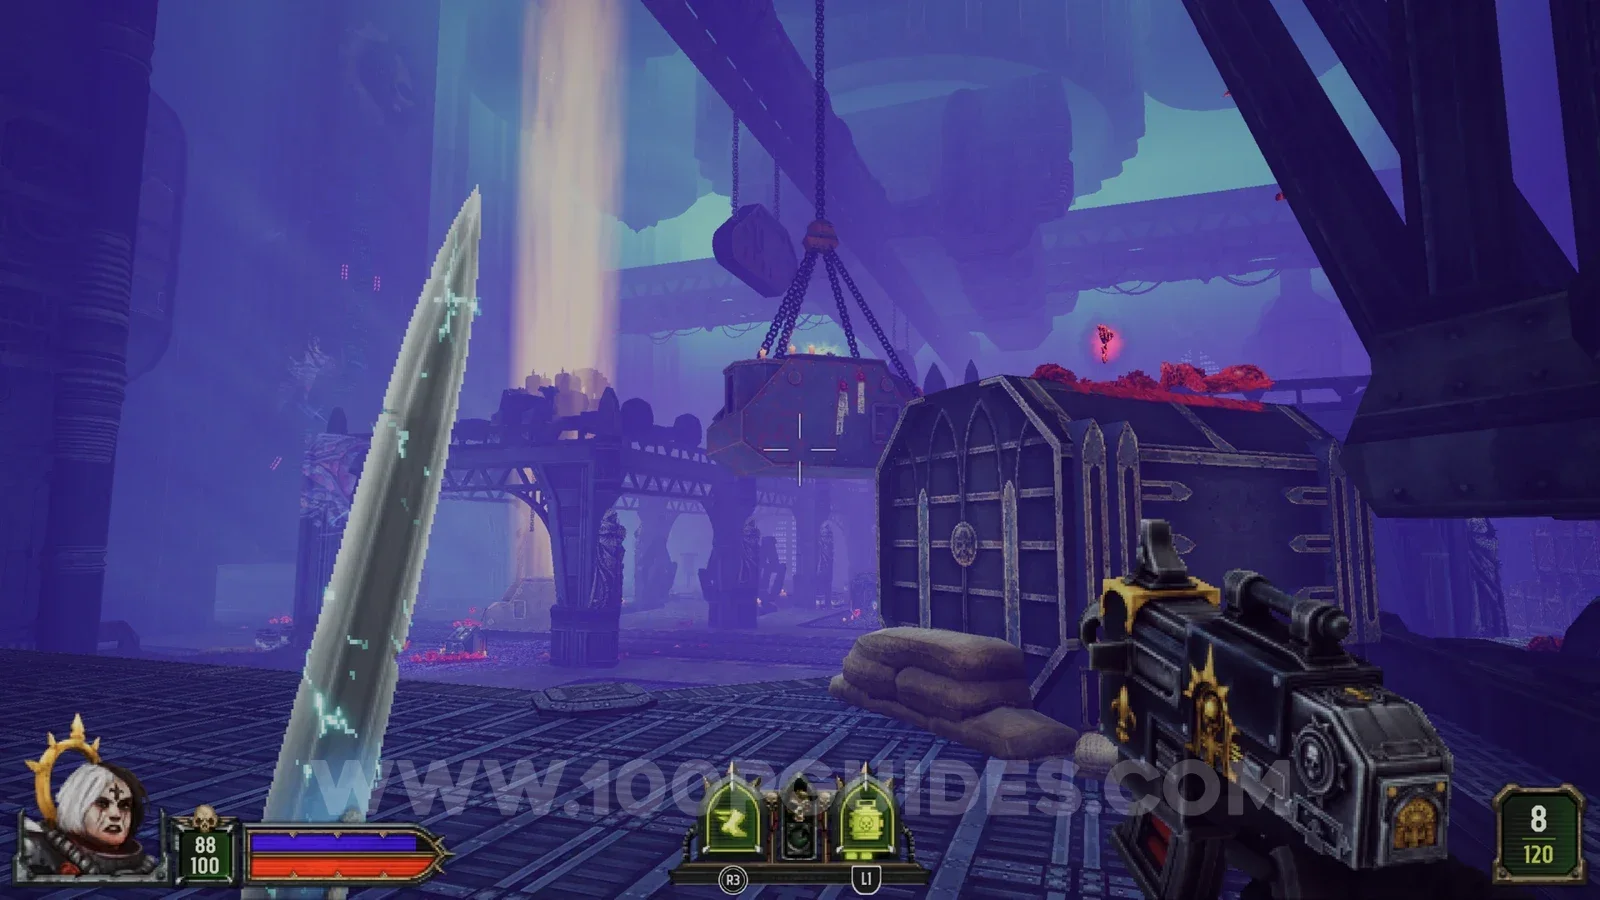
Secret 1/7
In the first large area at the start, on a hanging tank part.
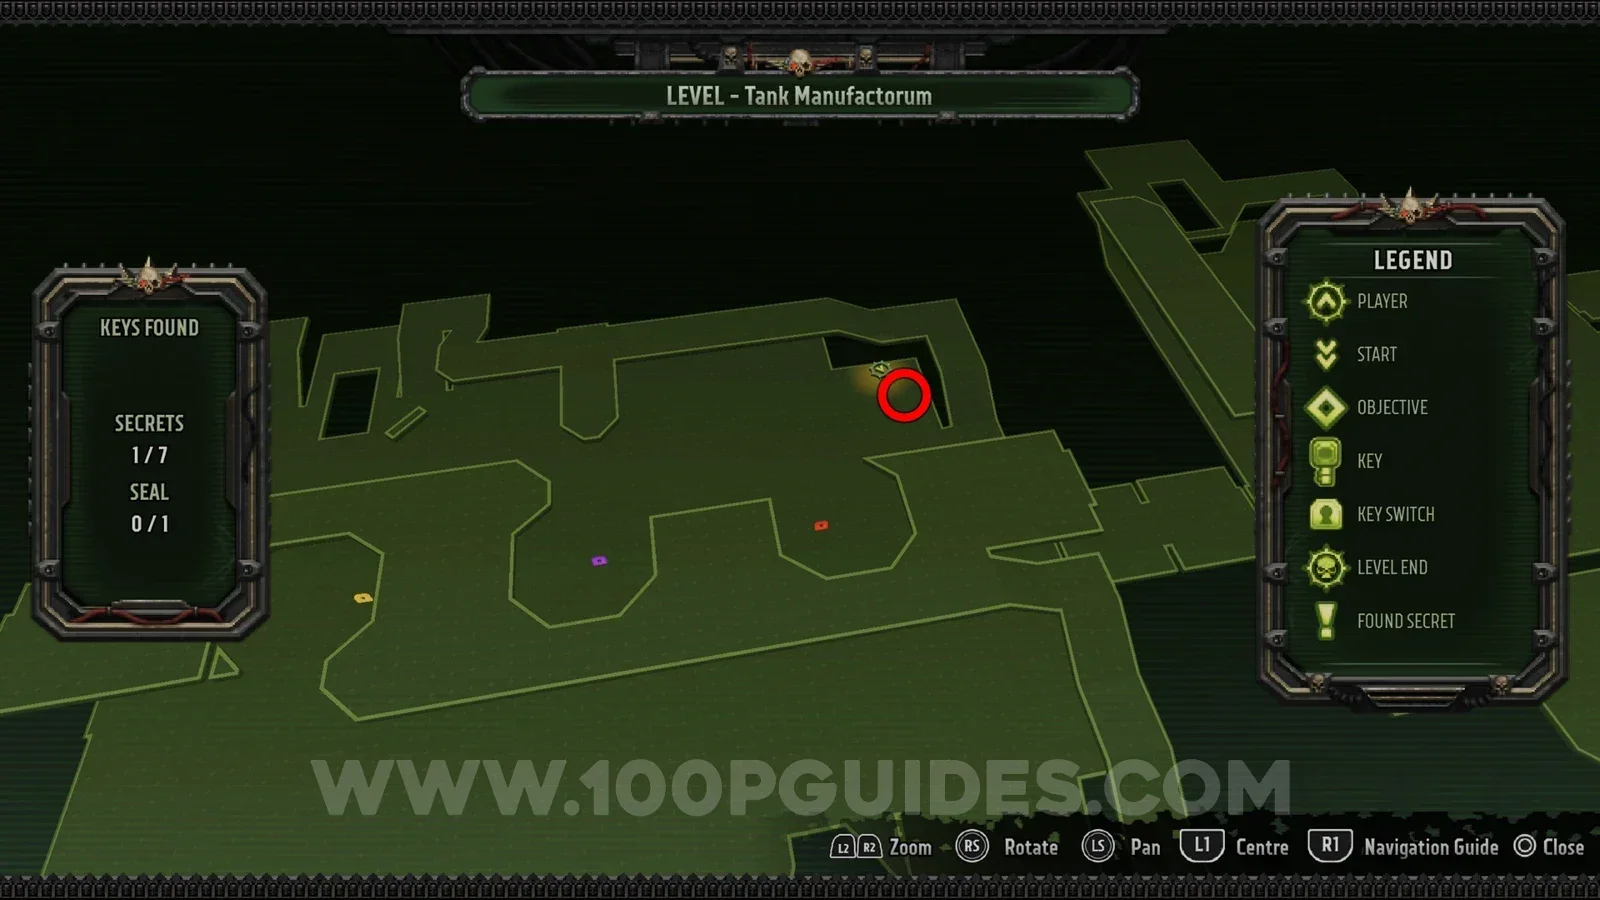
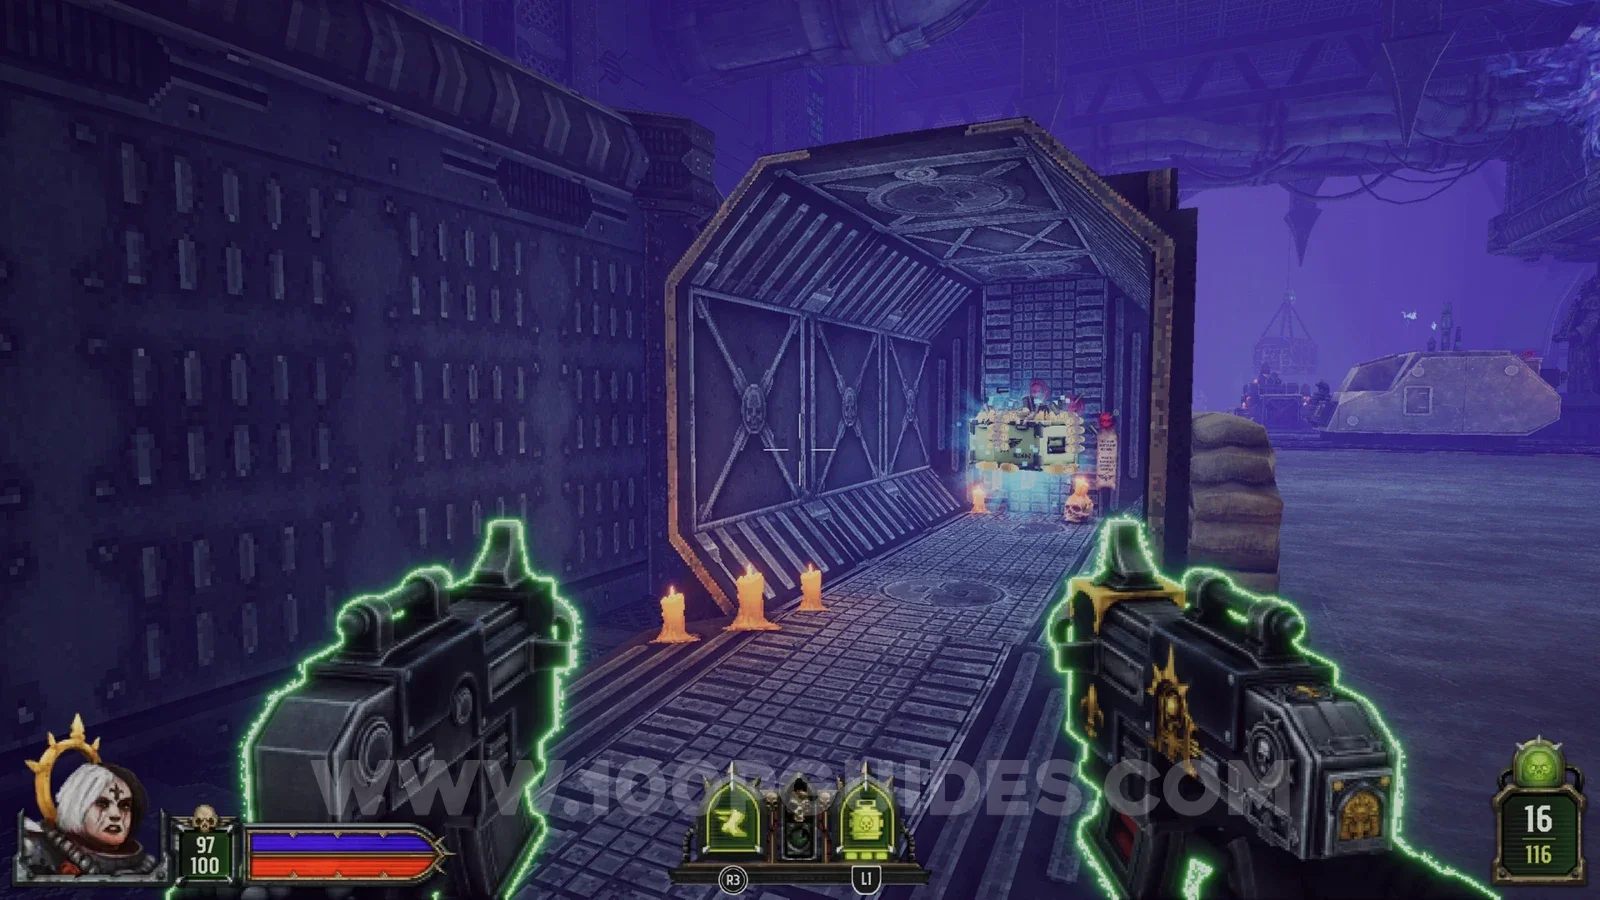
Secret 2/7
In a container under the ramp next to the red console in the area with the 3 consoles.
Secret 3/7
In a hanging container near the red key in the area with the 3 consoles.
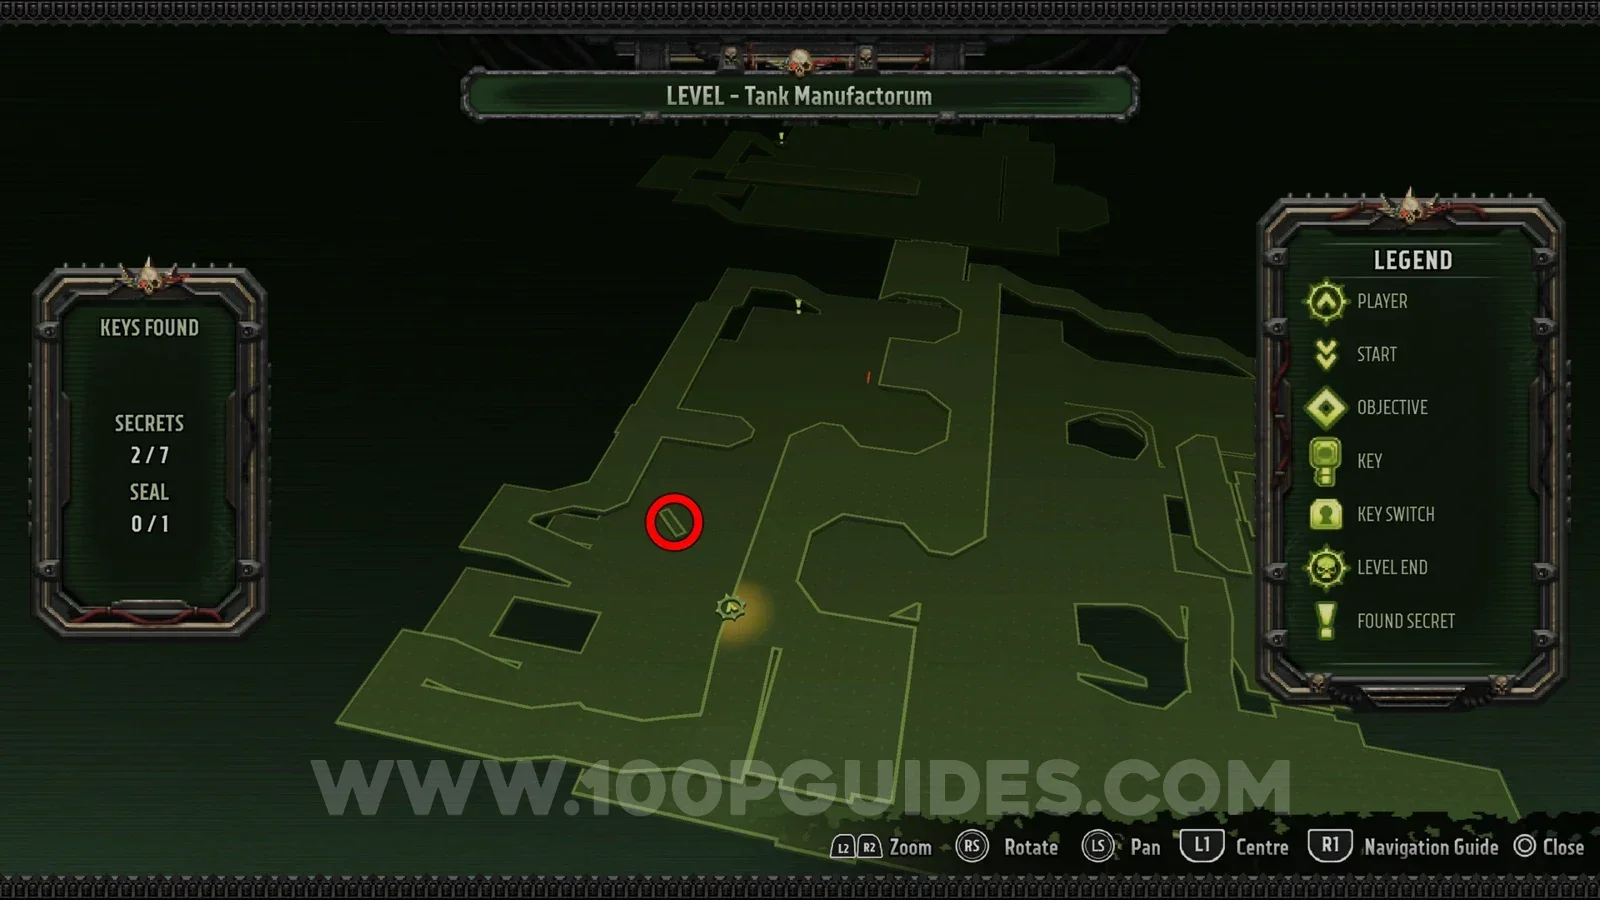
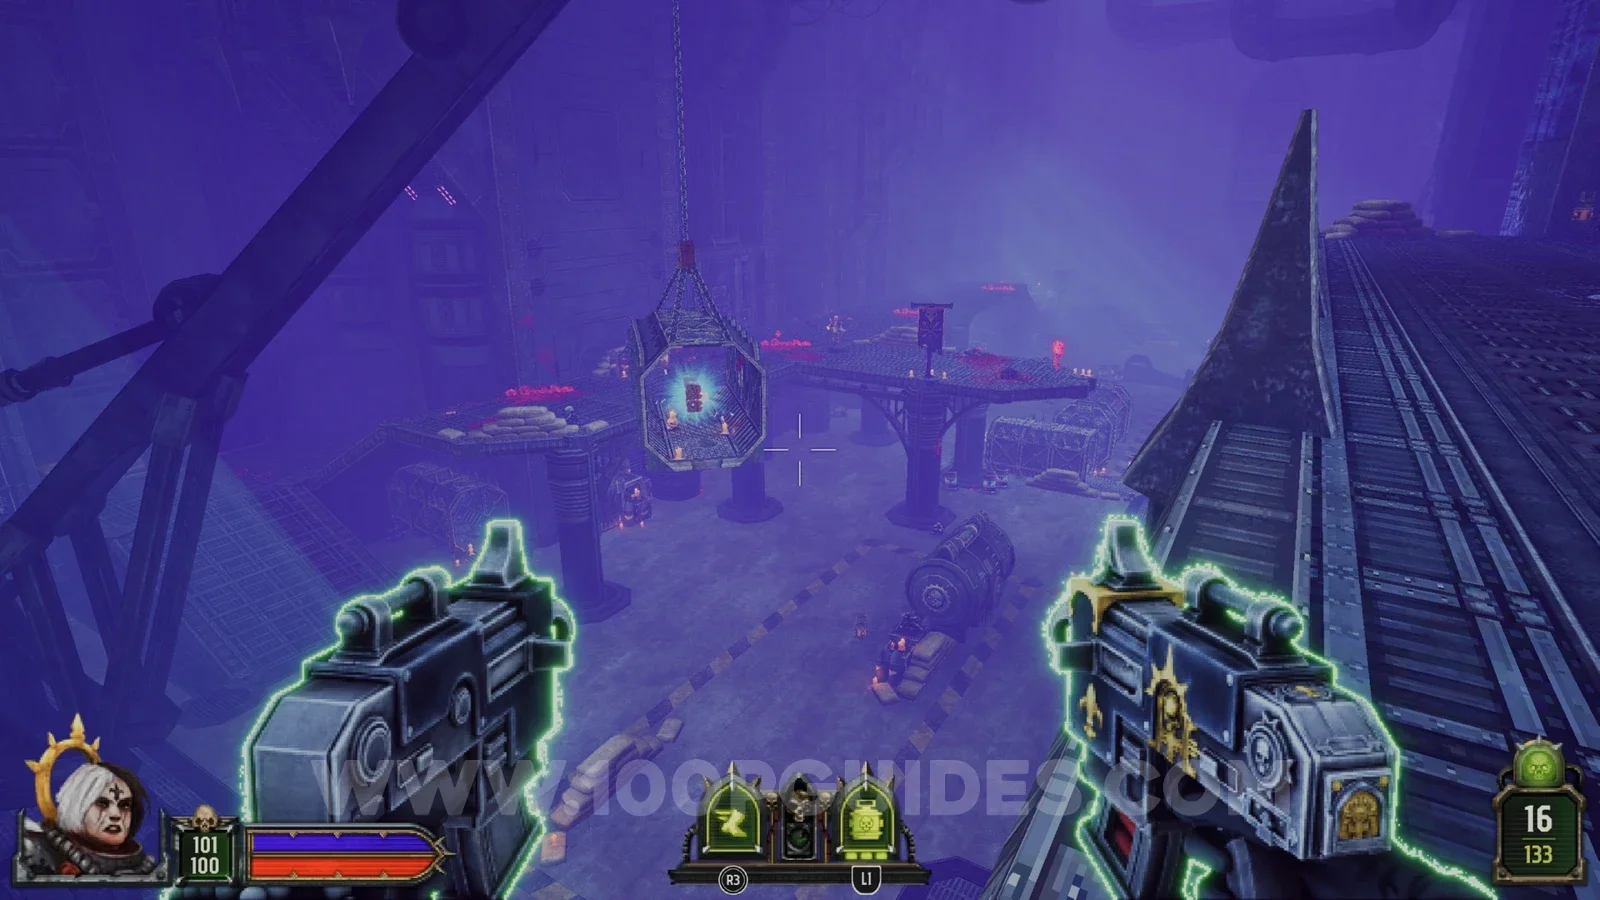
Seal 1/1
In a container at the end of the path near the yellow console in the area with the 3 consoles.
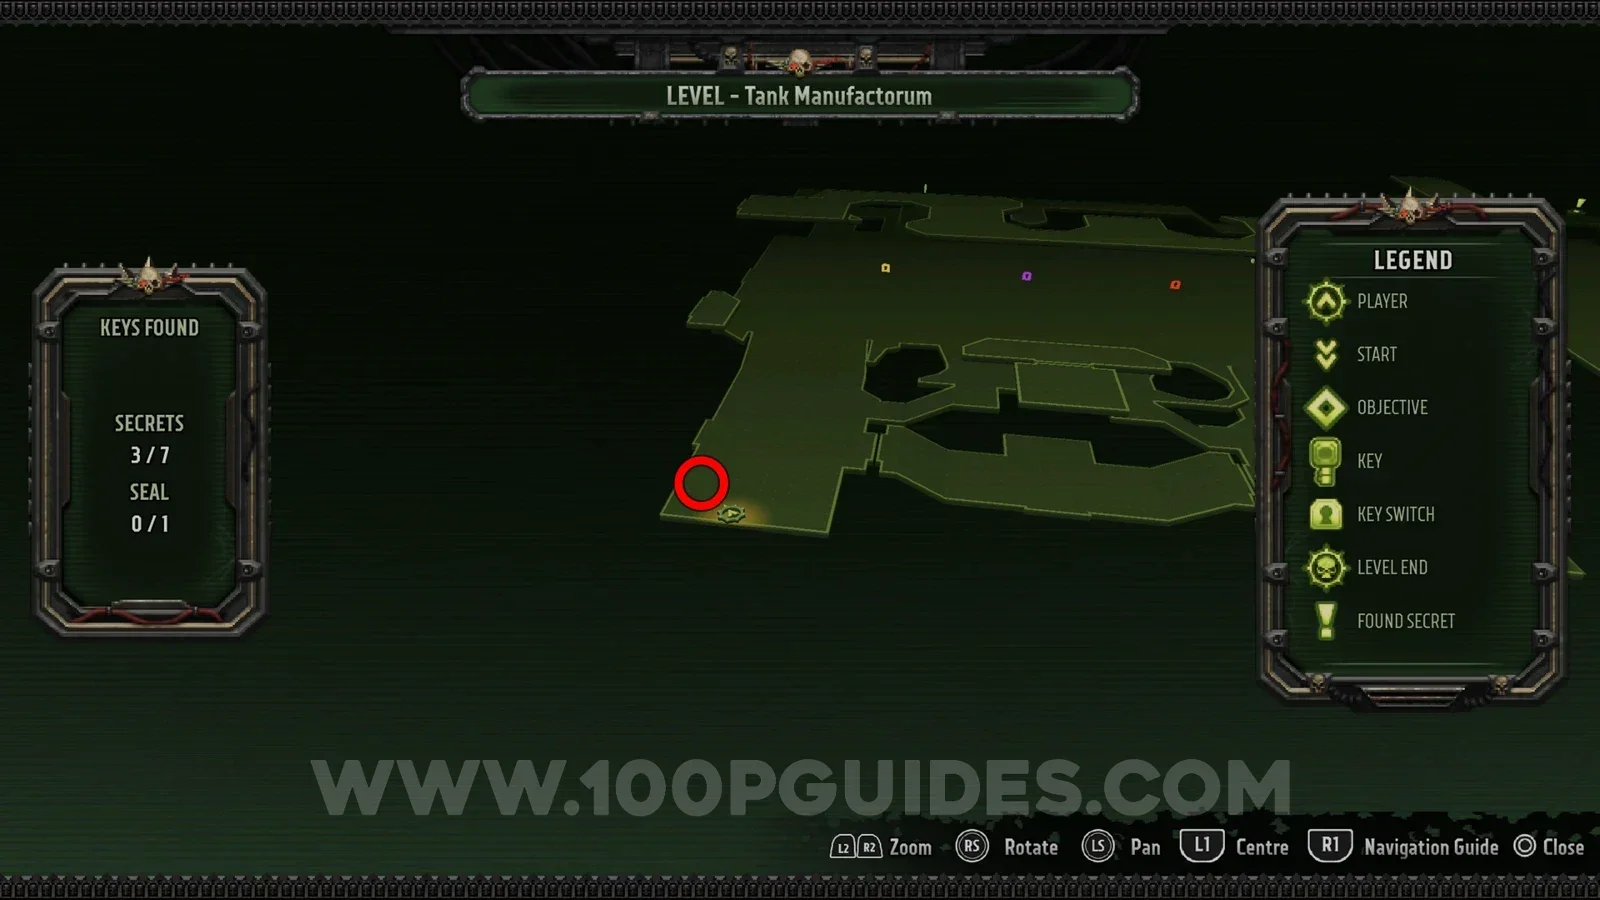
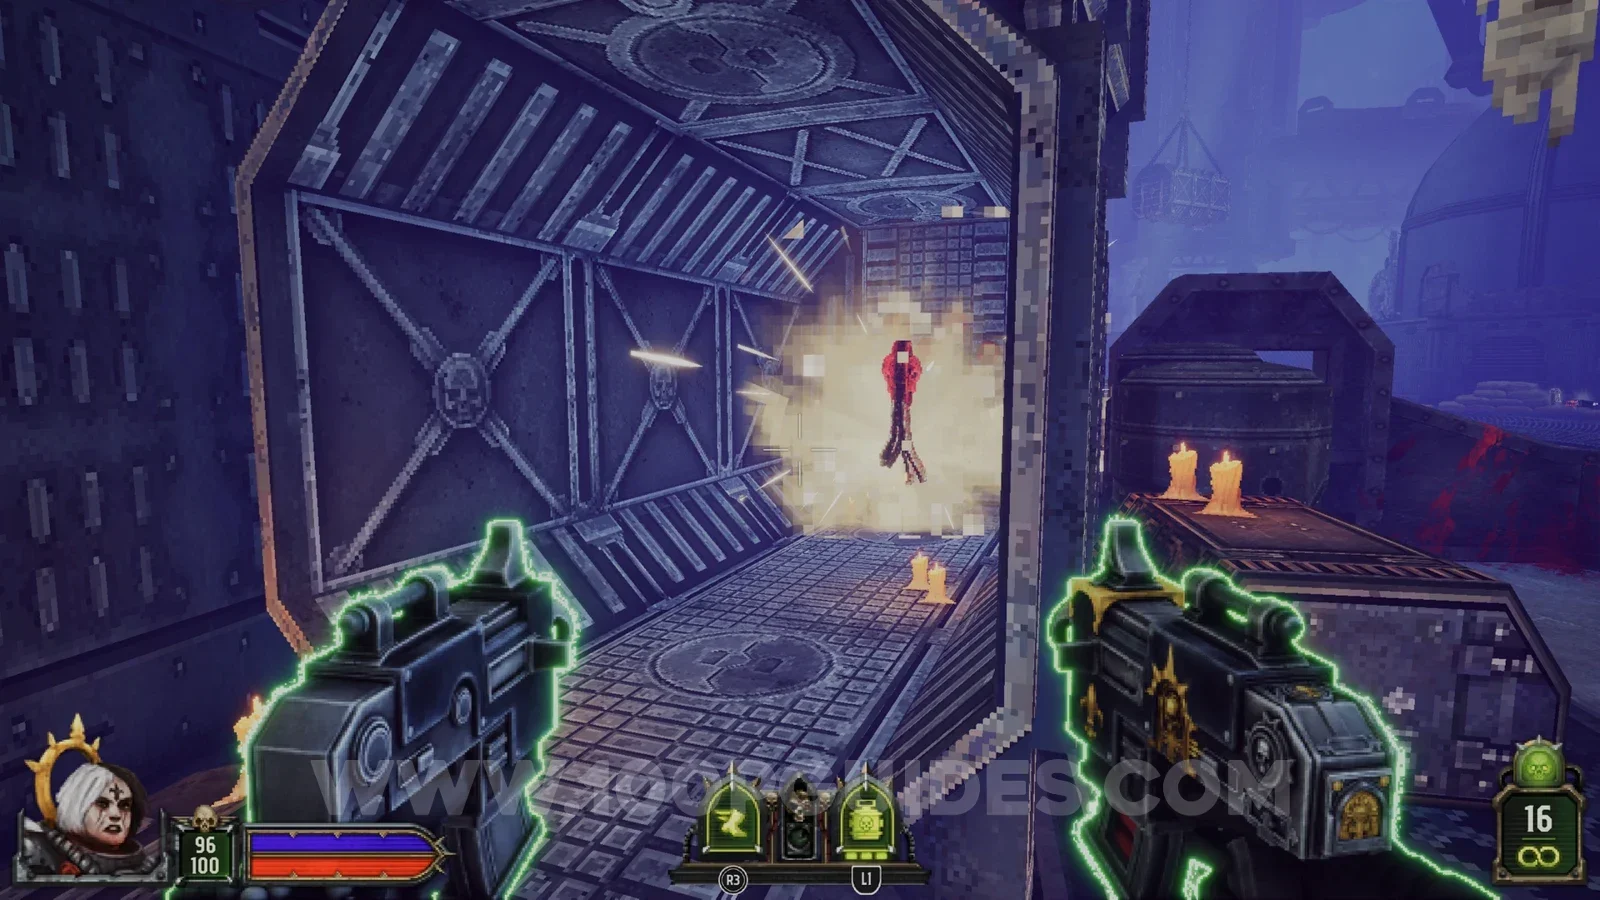
Secret 4/7
Shoot down the hanging container near the yellow console in the area with the 3 consoles.
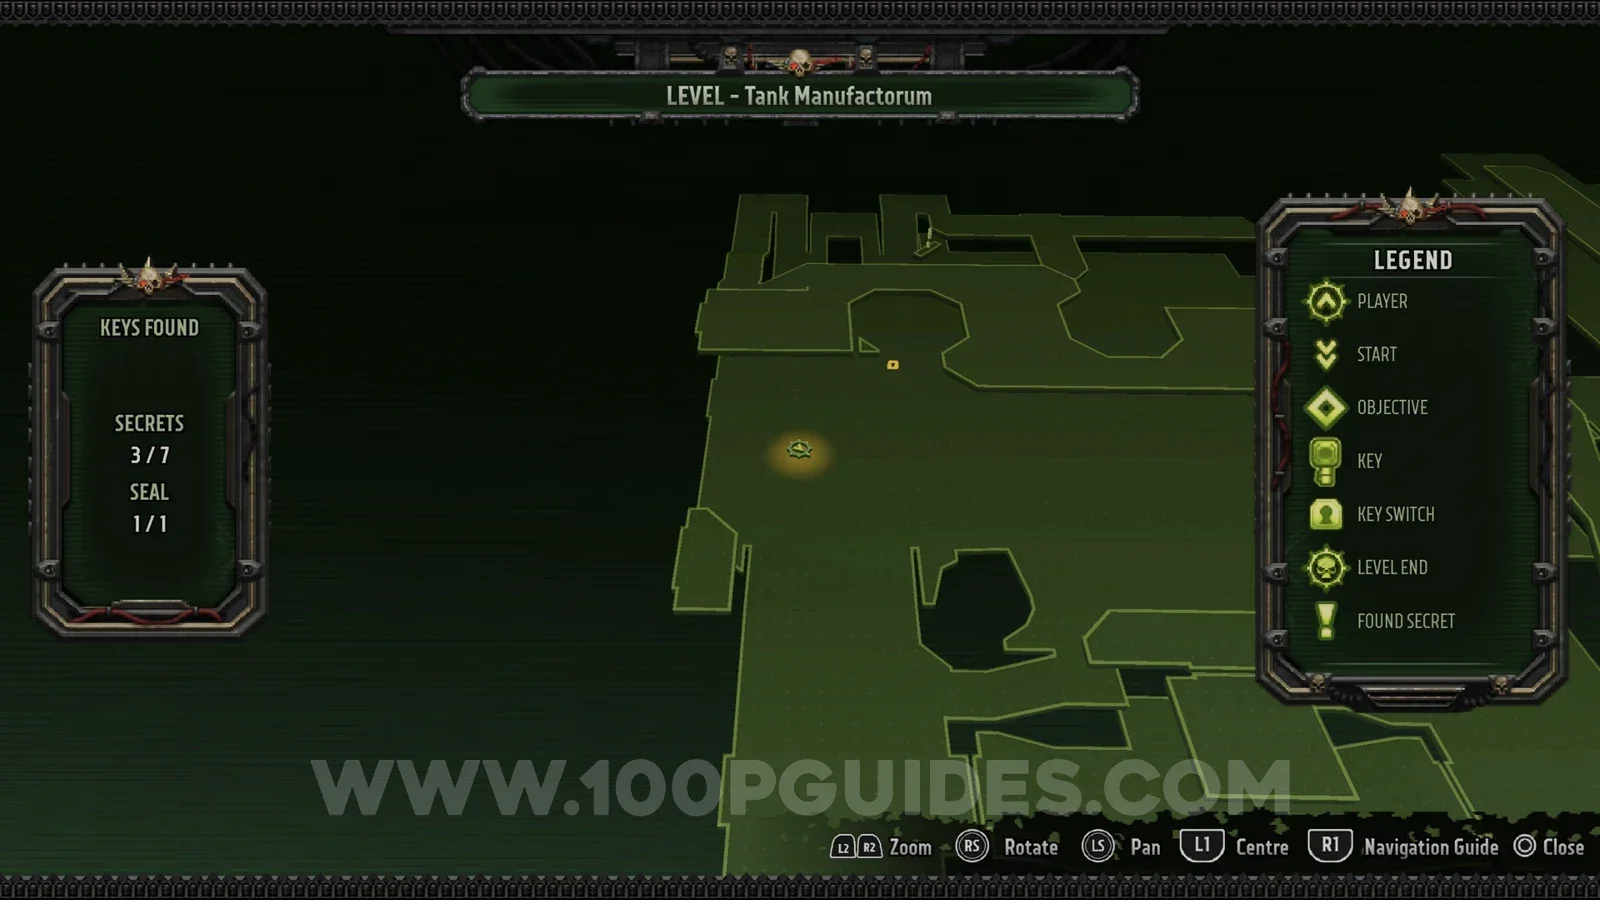
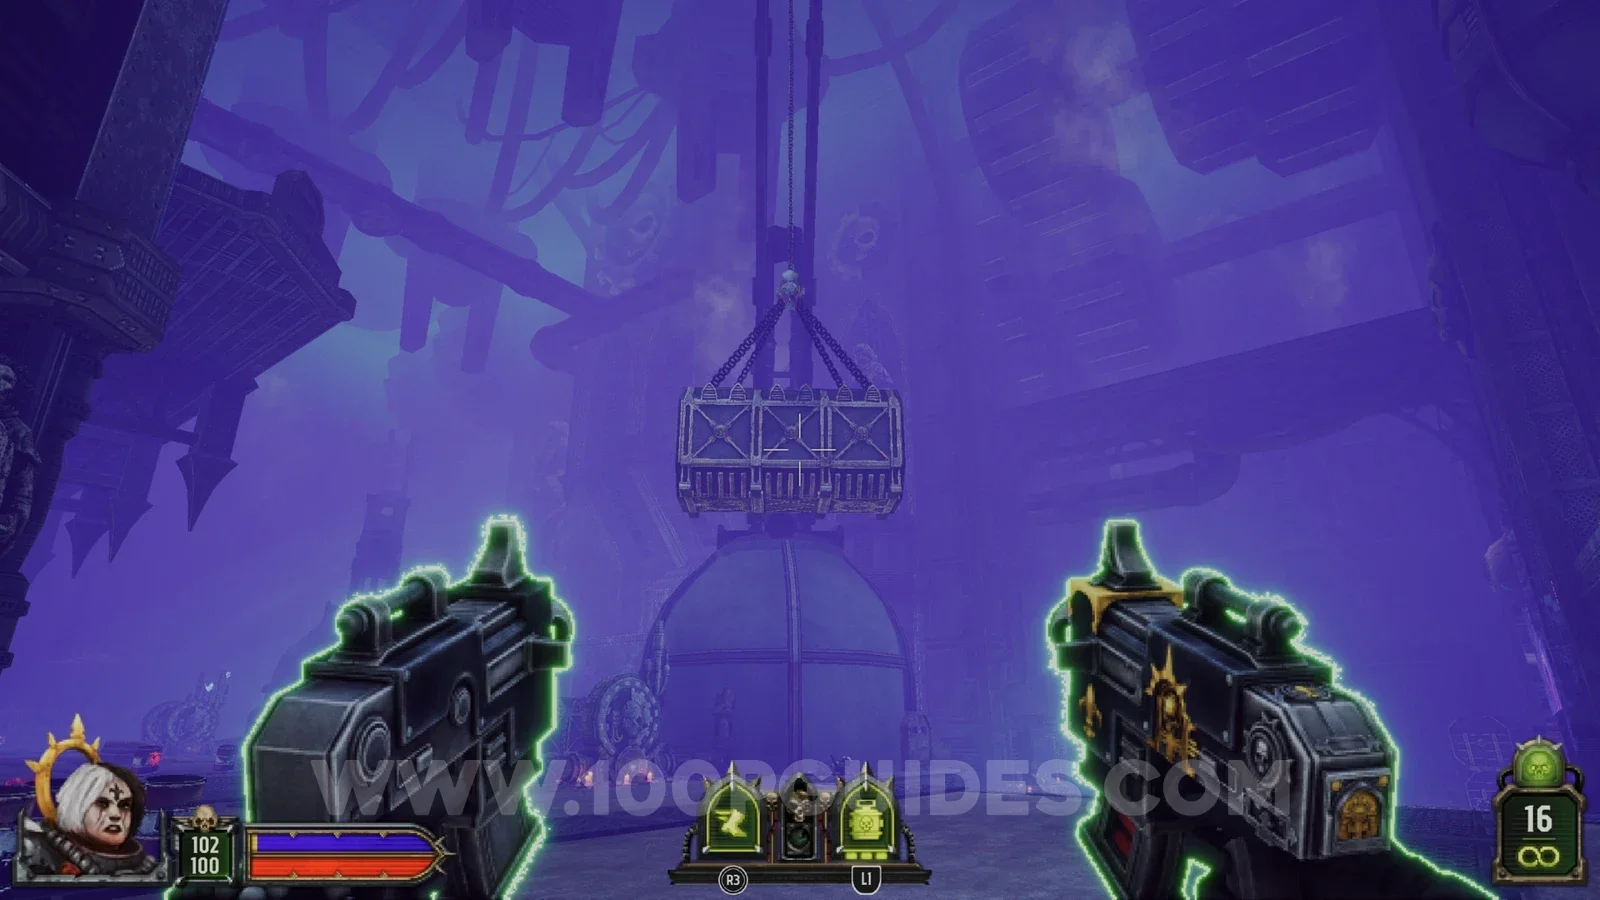
Secret 5/7
Shoot down the hanging container near the red console in the area with the 3 consoles.
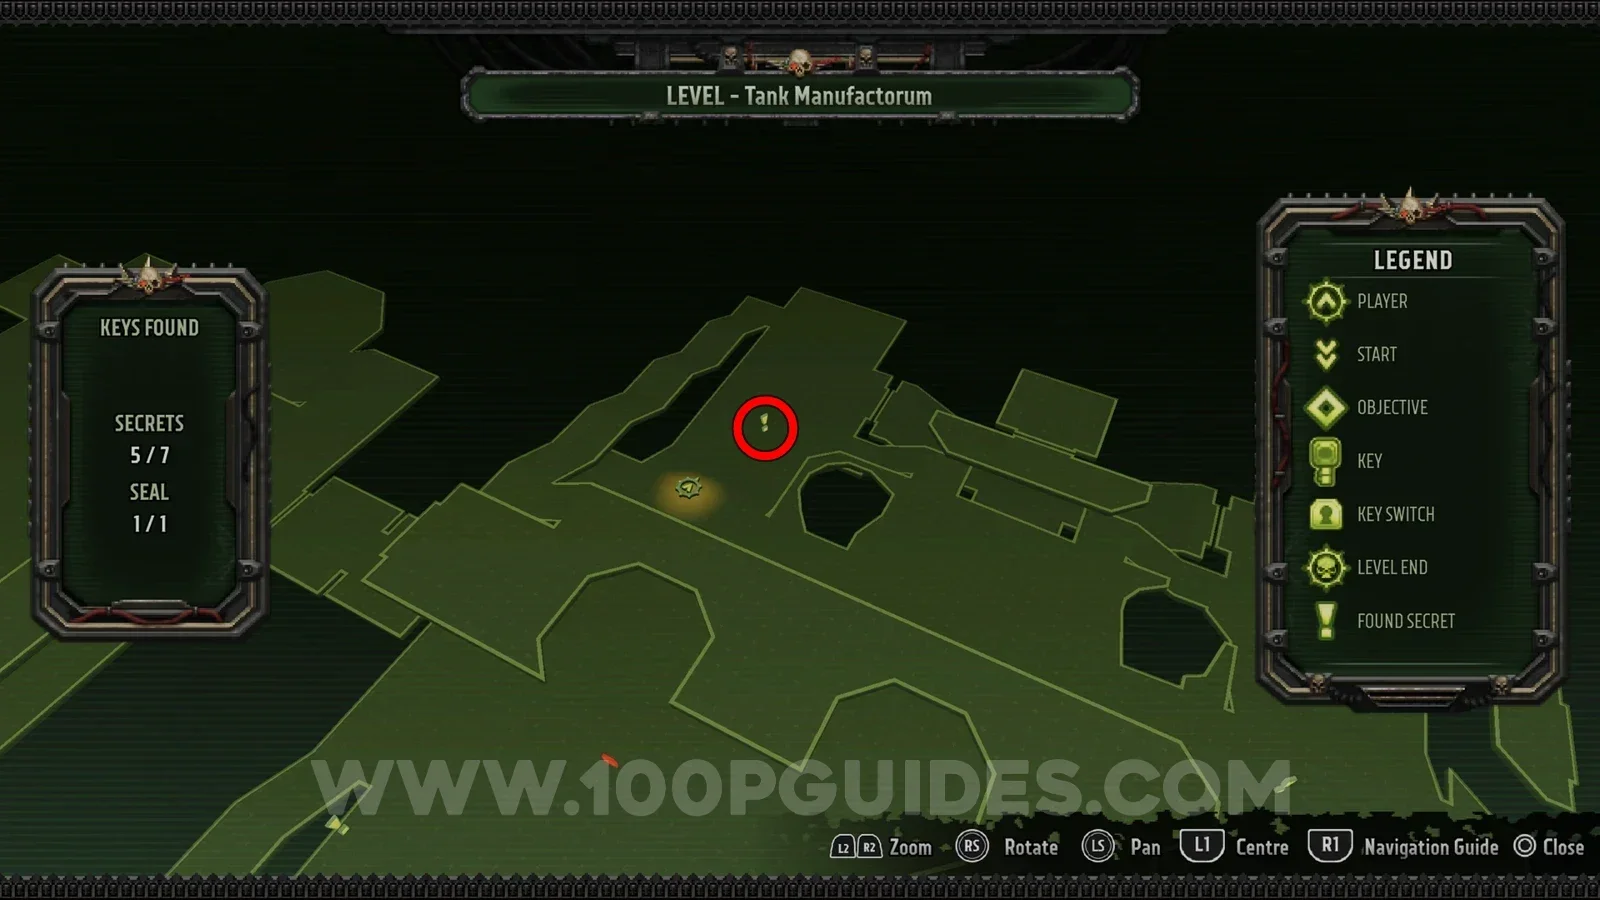
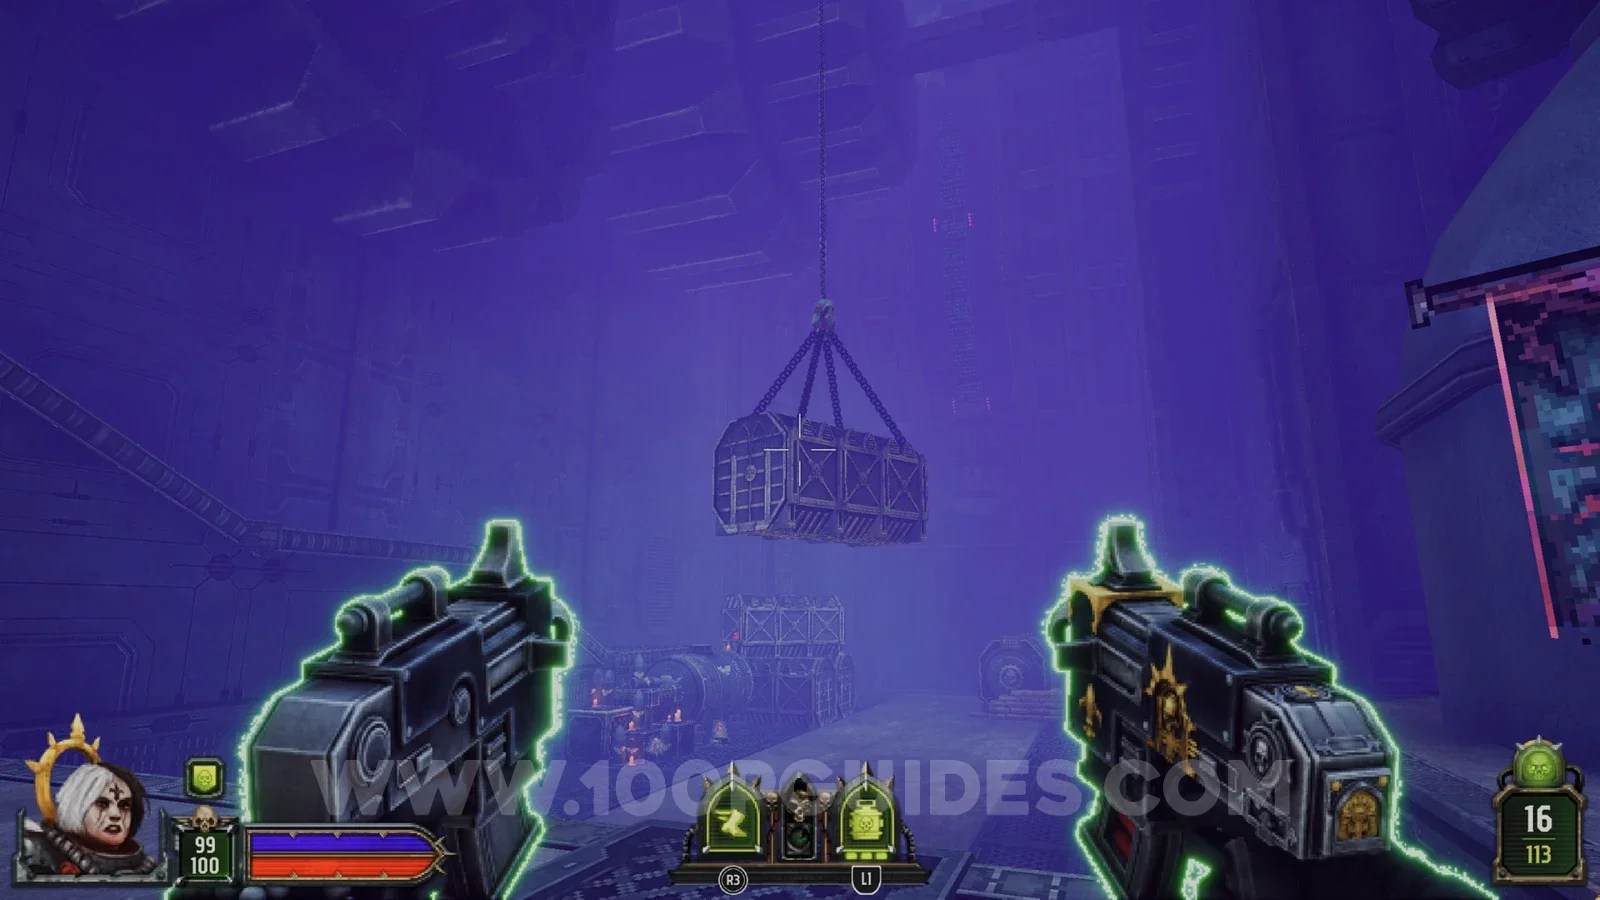
Secret 6/7
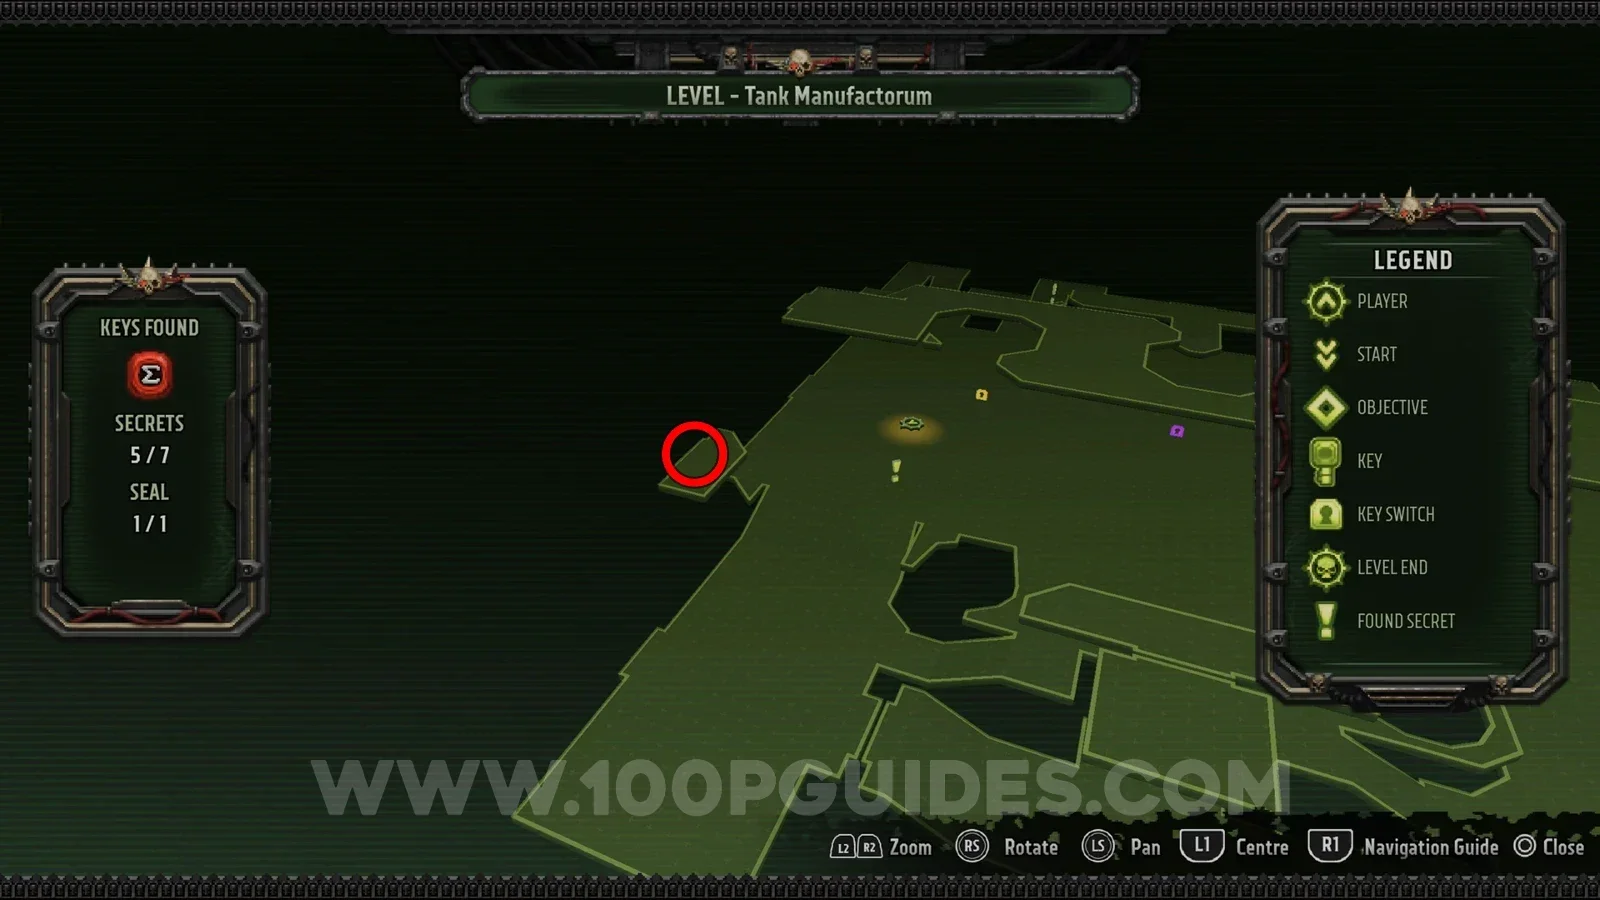
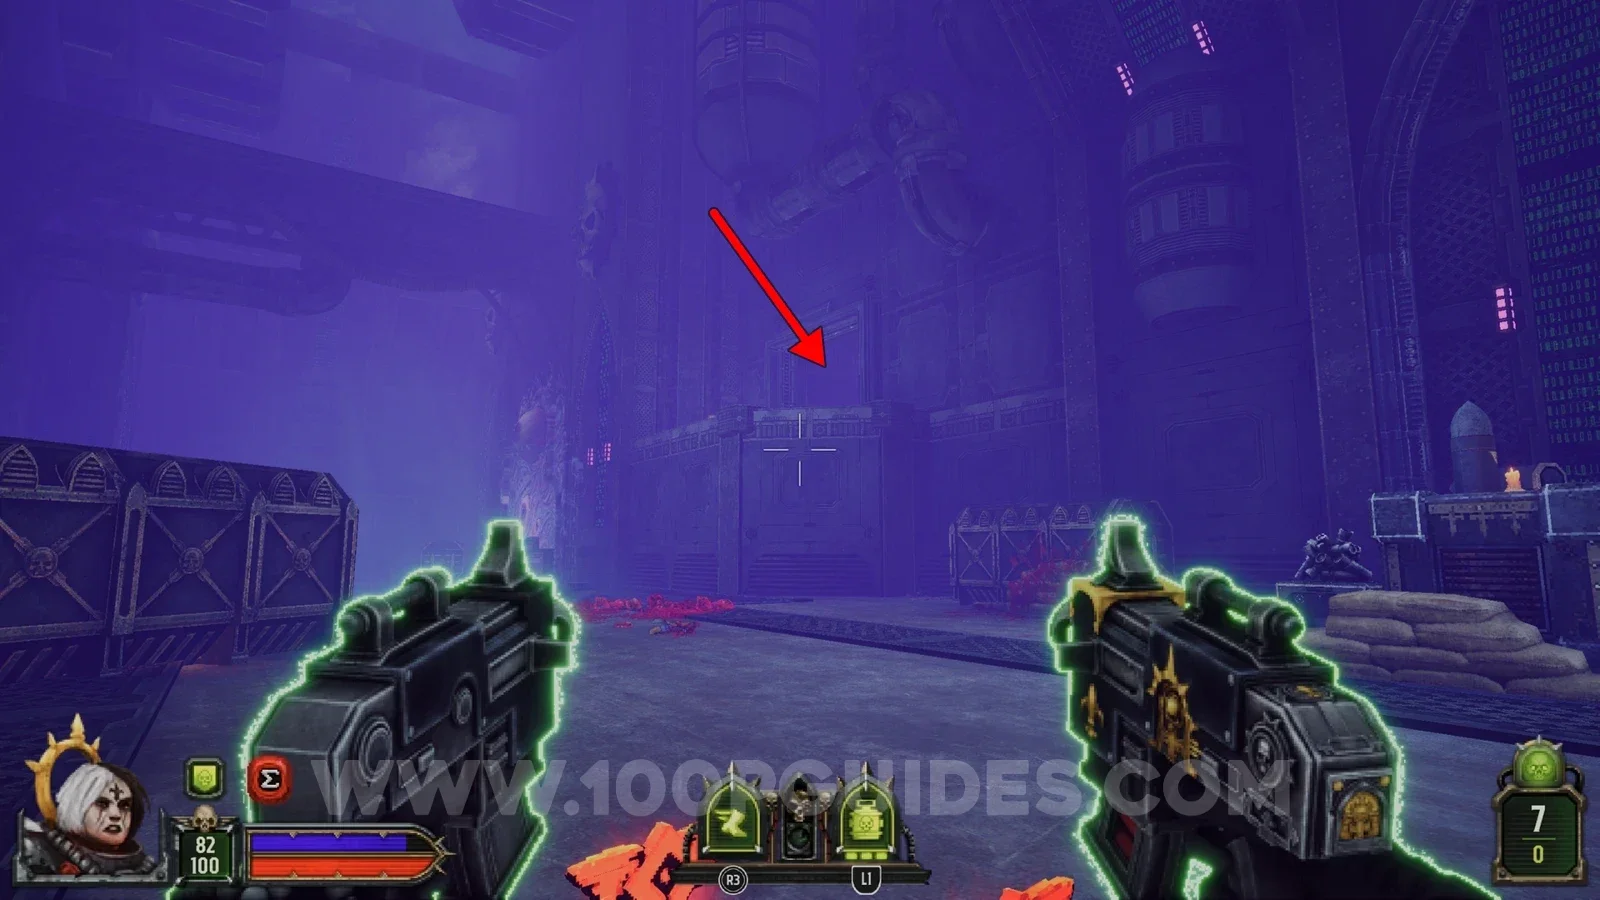
After using the red key on the console, some new doors open in the area. One of them is just above the path next to the yellow console, and the secret is inside.
Secret 7/7
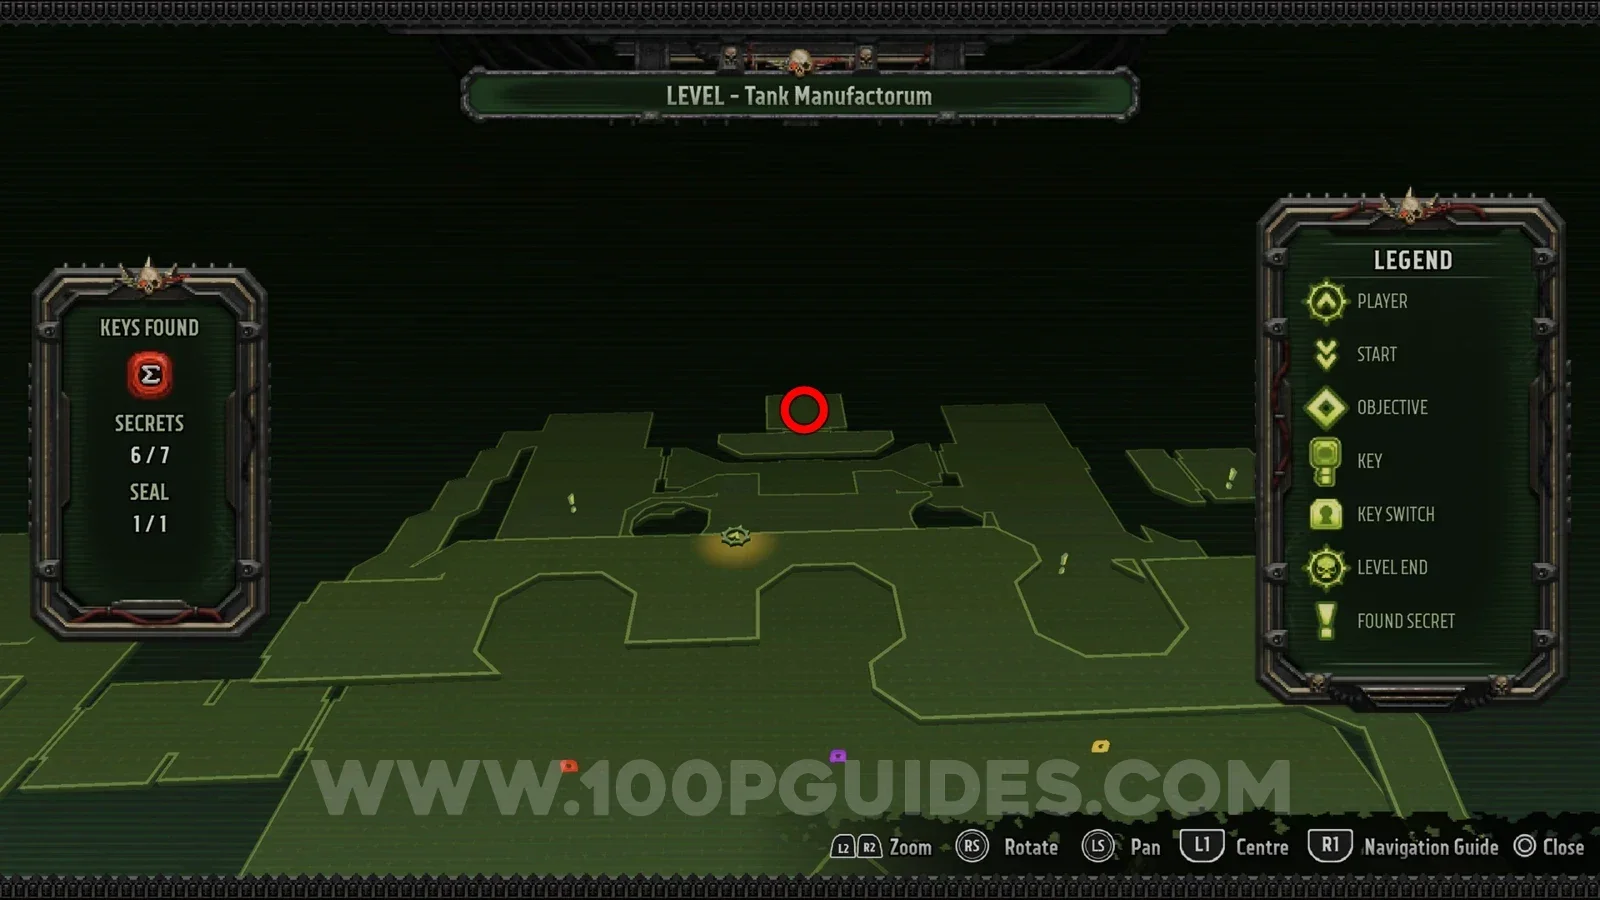
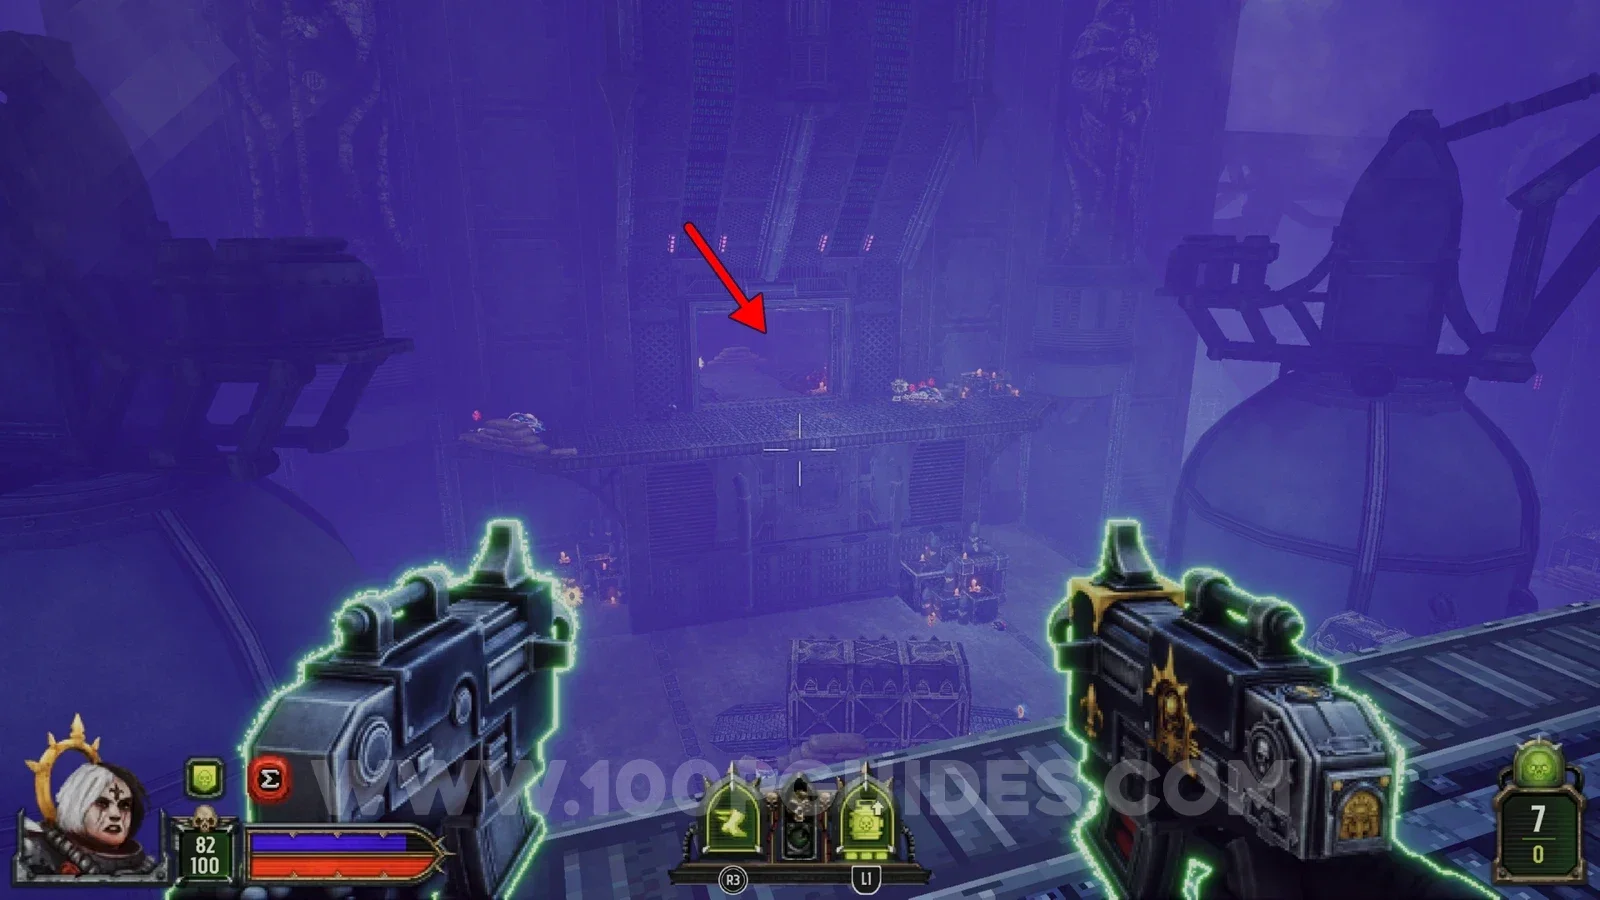
Another door that opens after using the red console is the one in the middle. To reach it, jump from the middle upper level. The secret is inside.
Advance! Path A
Secret 1/7
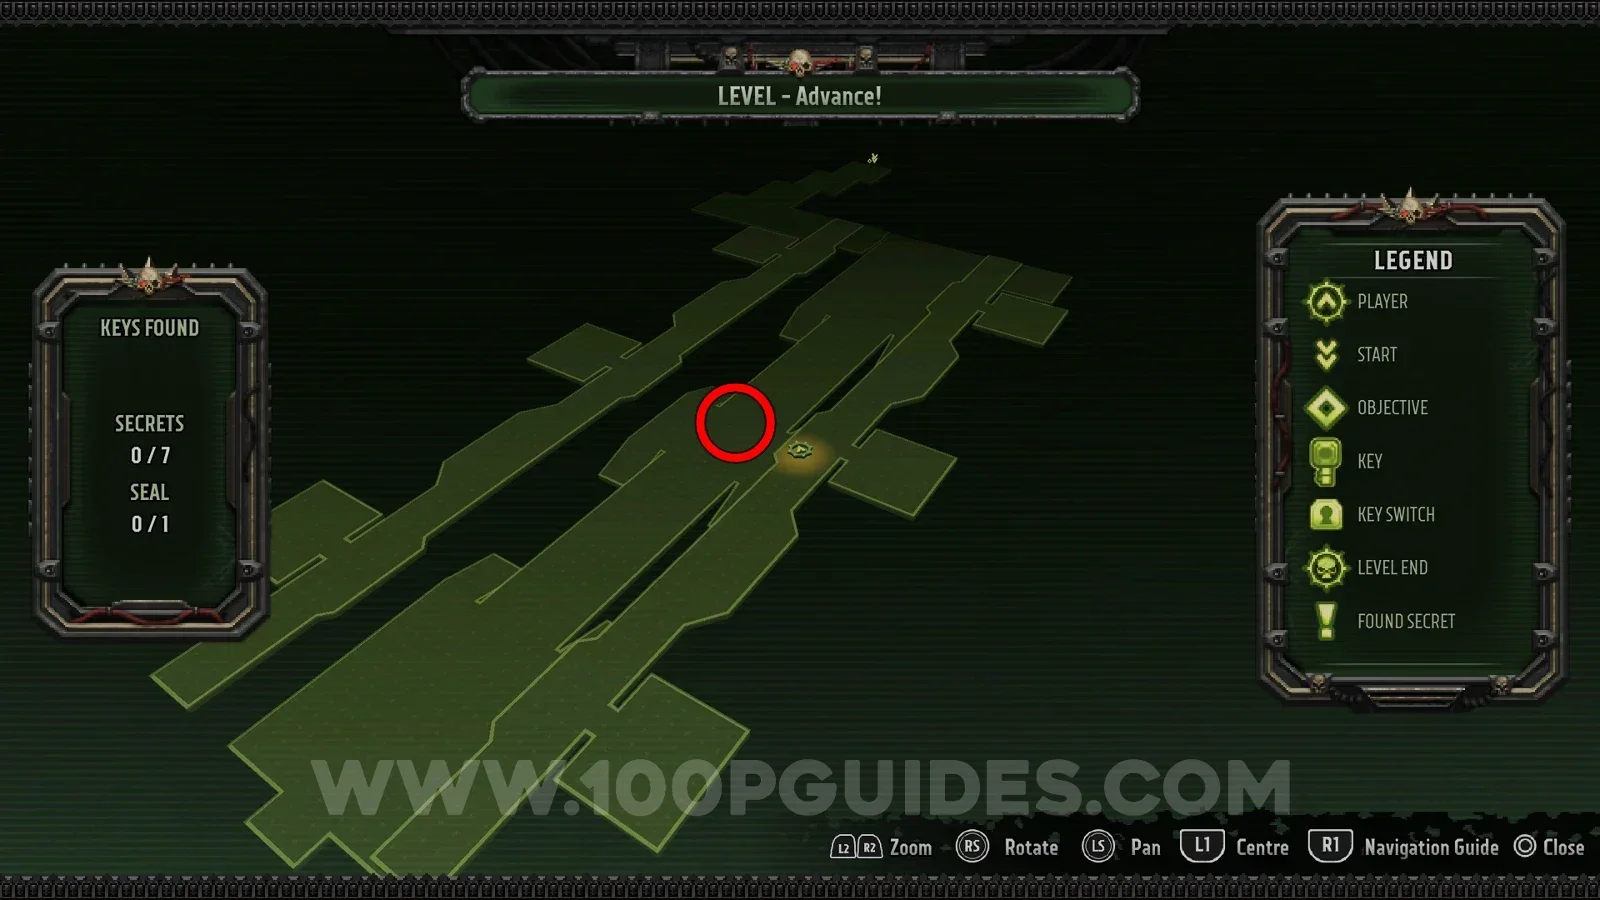
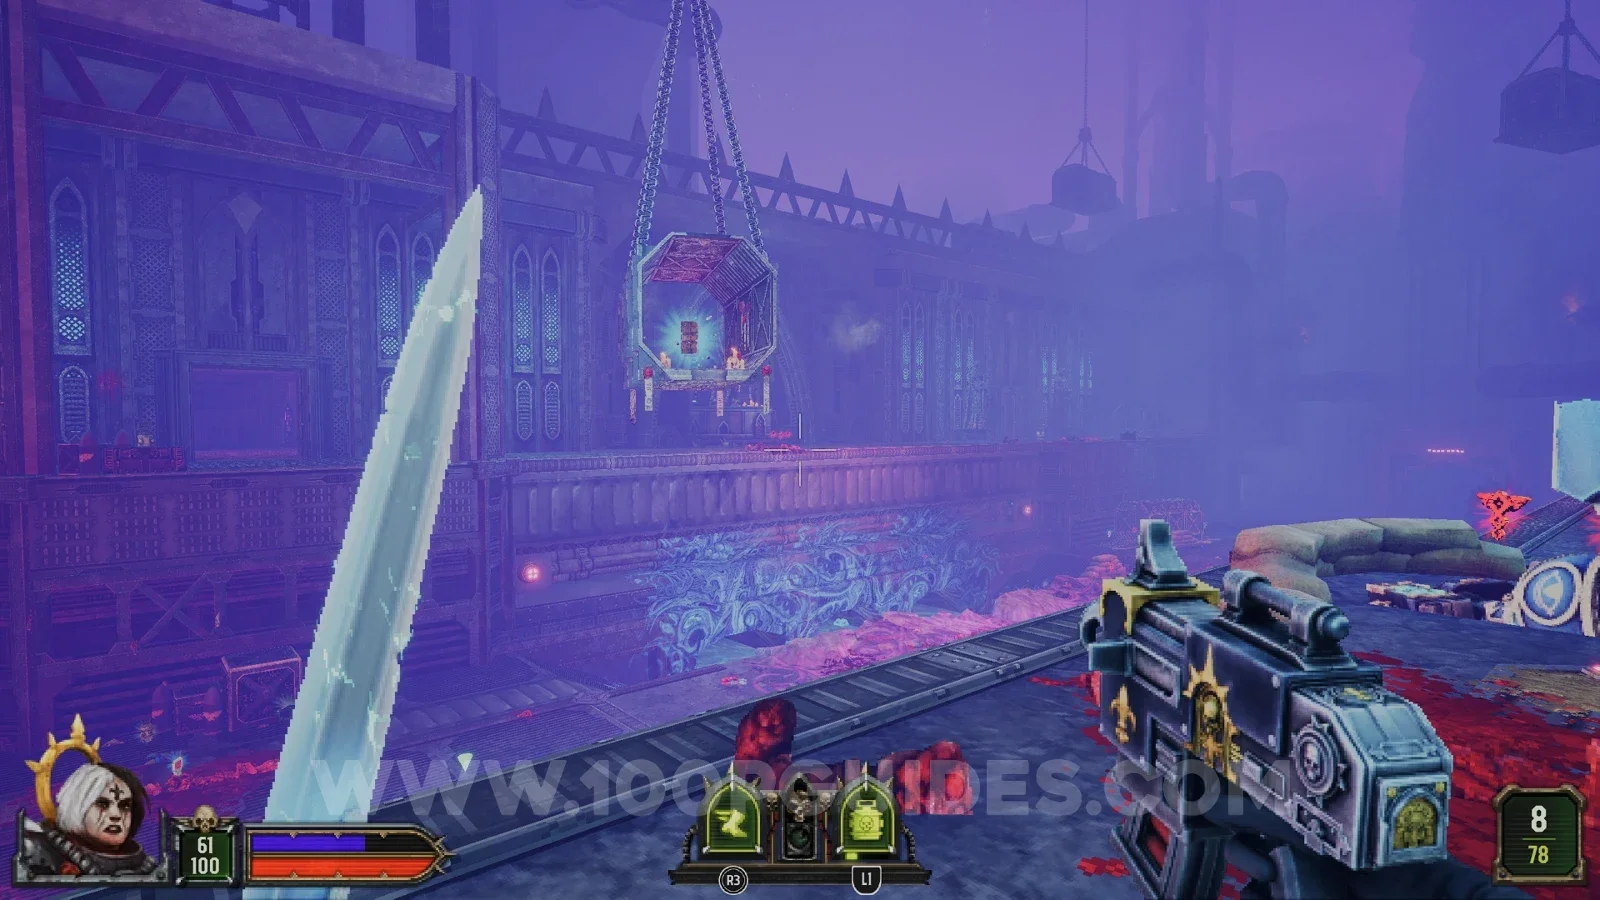
In a hanging container above the first large area.
Secret 2/7
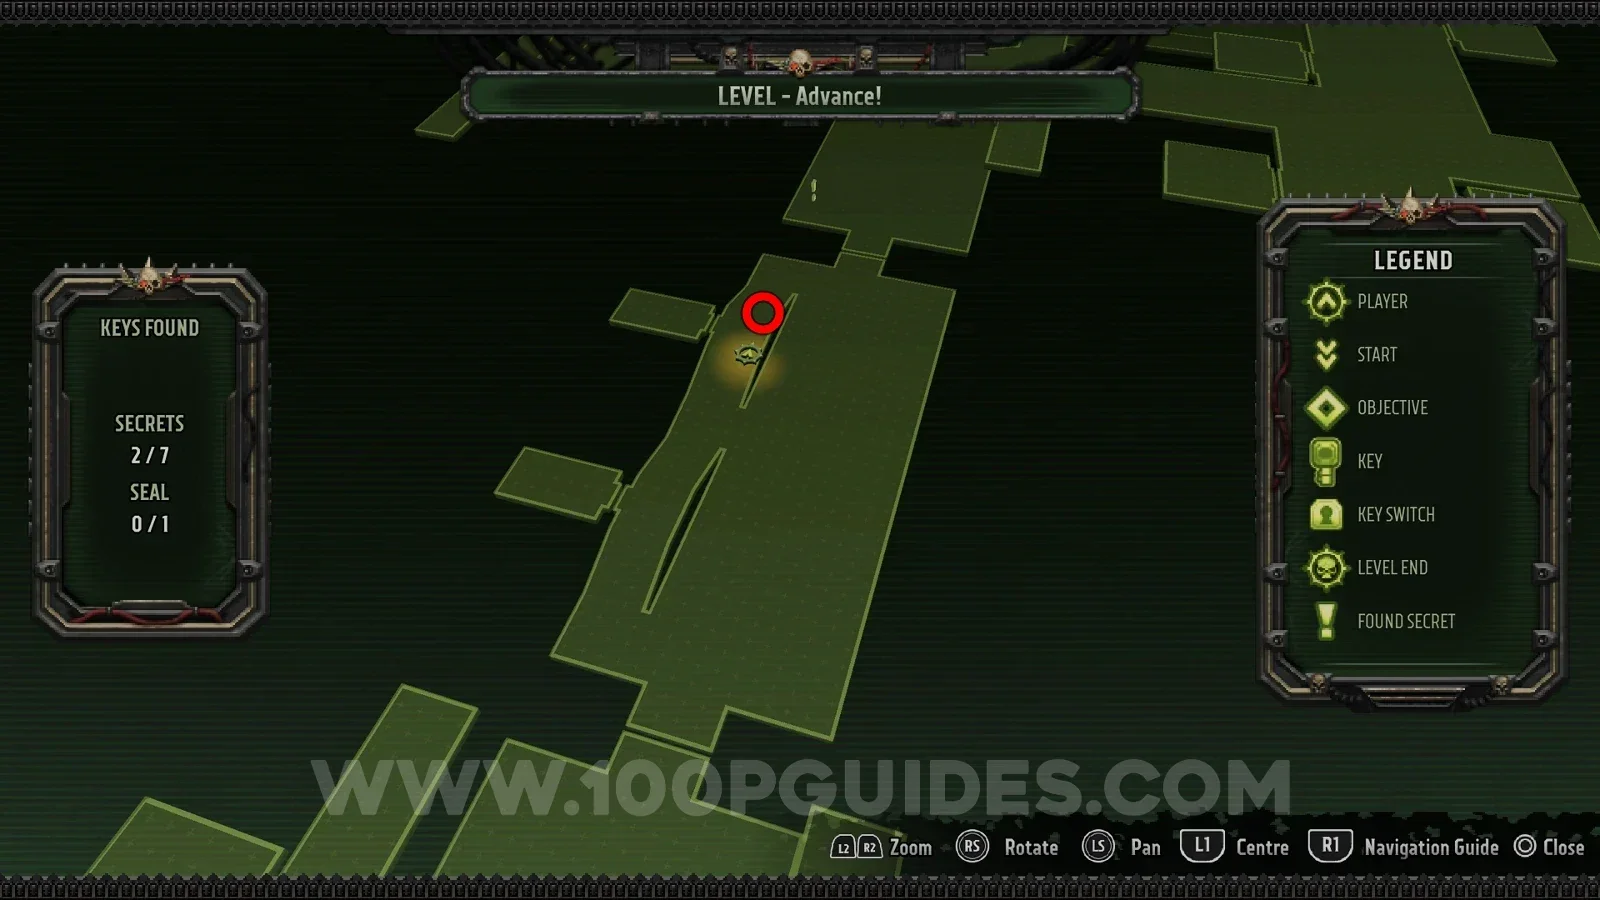
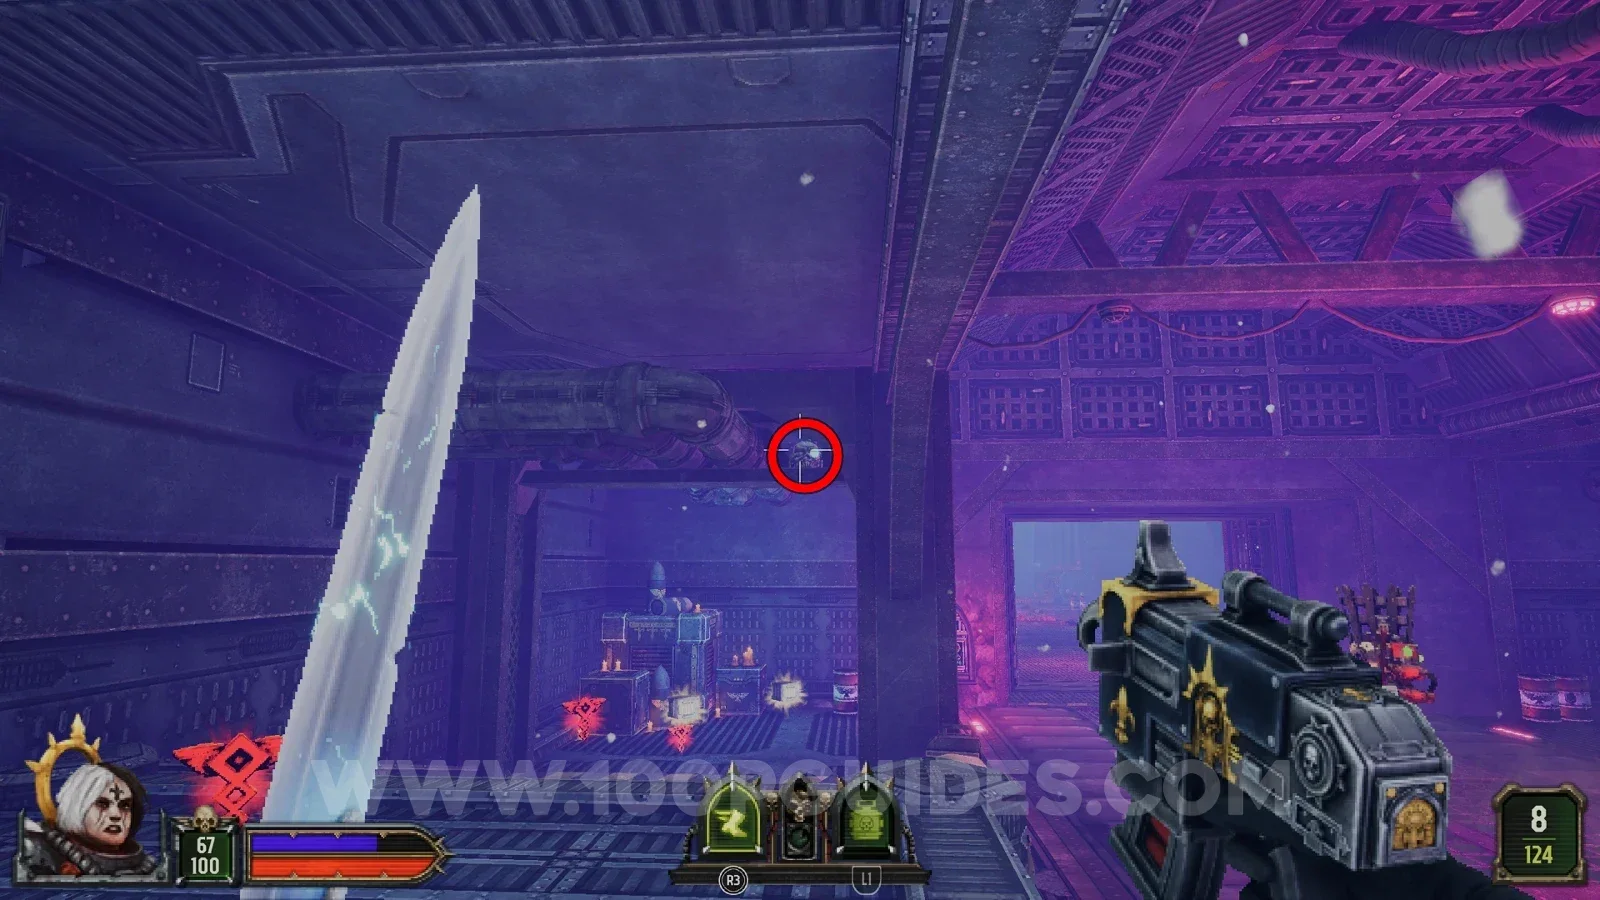
After leaving the first area you go through a small tunnel. Look for a skull on a metal beam on the left side, next to a door. Shoot it to open the door and find the secret inside.
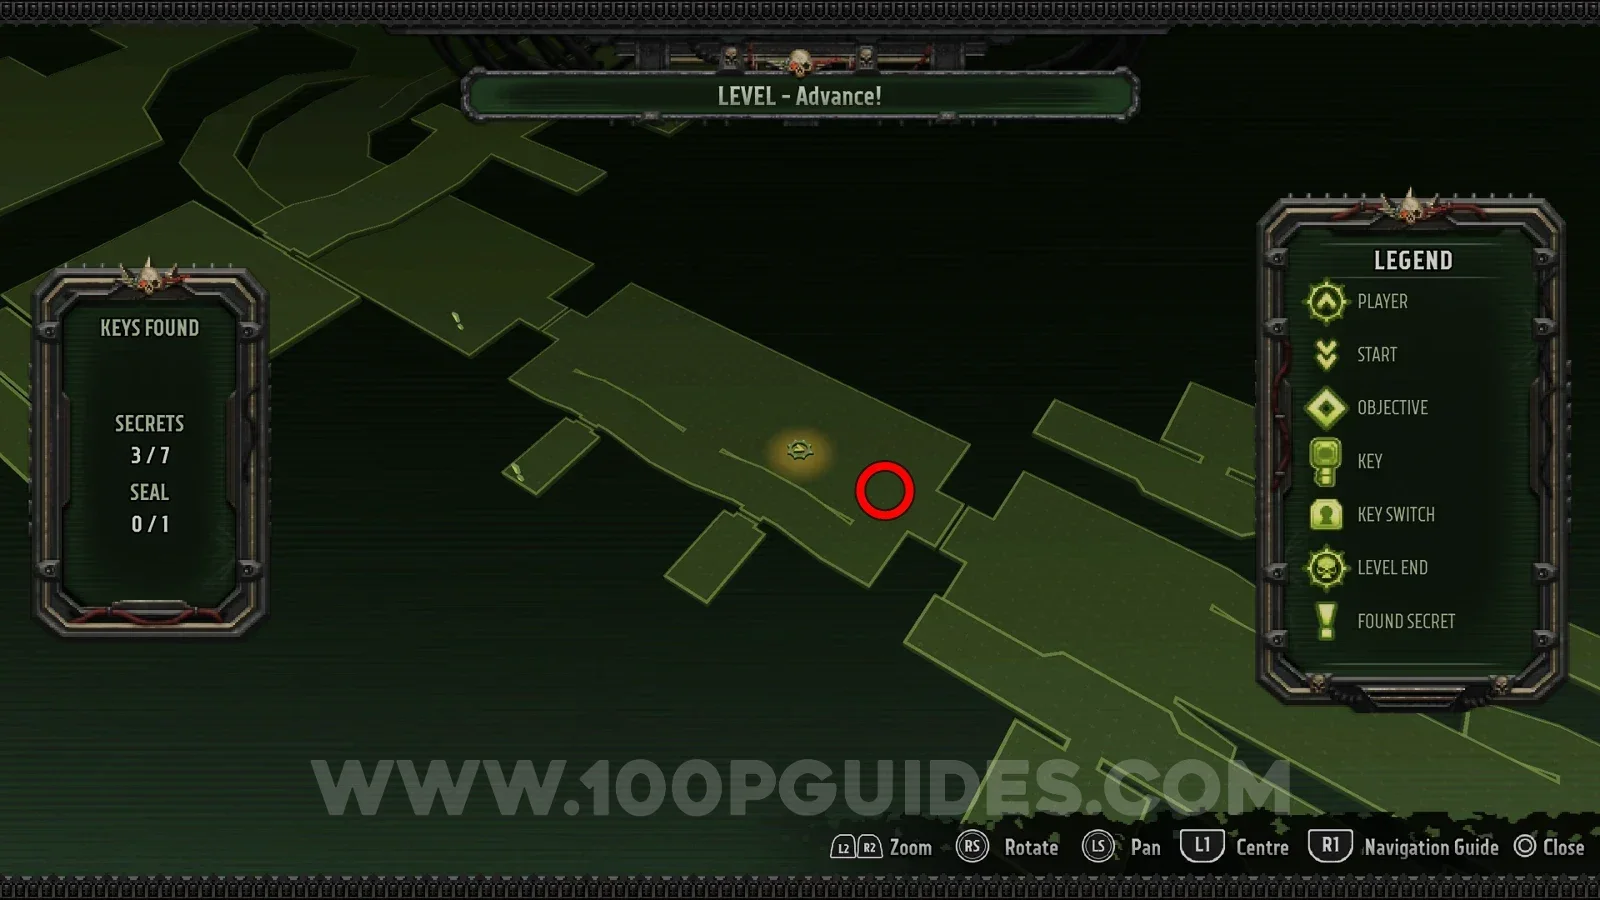
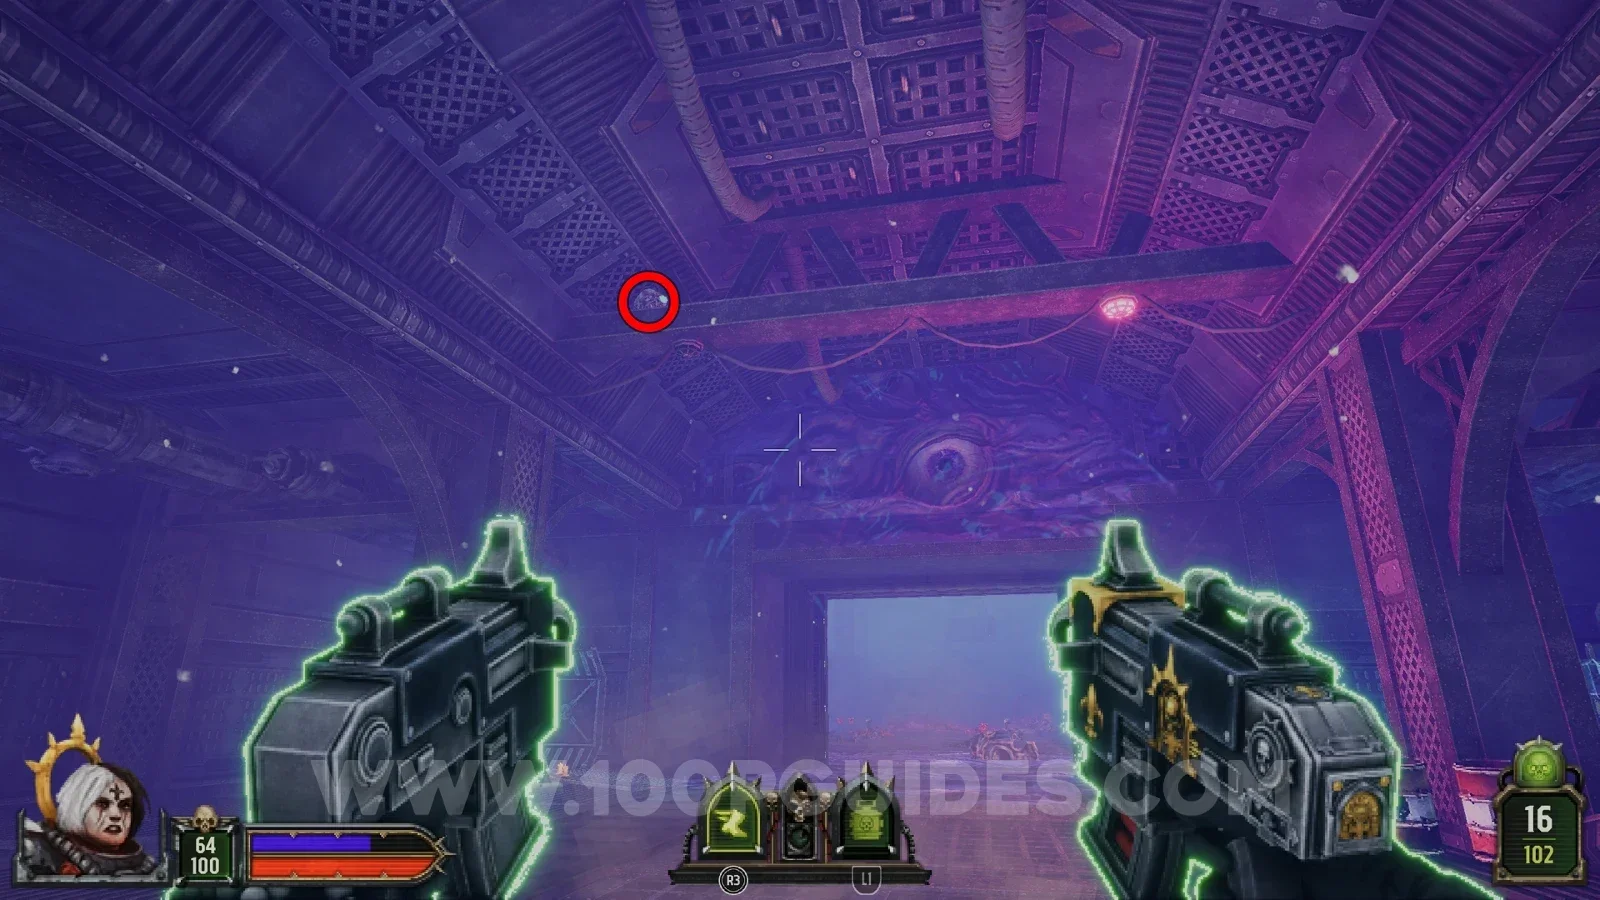
Seal 1/1
Also in the small tunnel with the previous secret. Look up at the higher metal beams close to where you entered the tunnel and you will see another skull. Shoot it to open the other door, where the seal is.
Secret 3/7
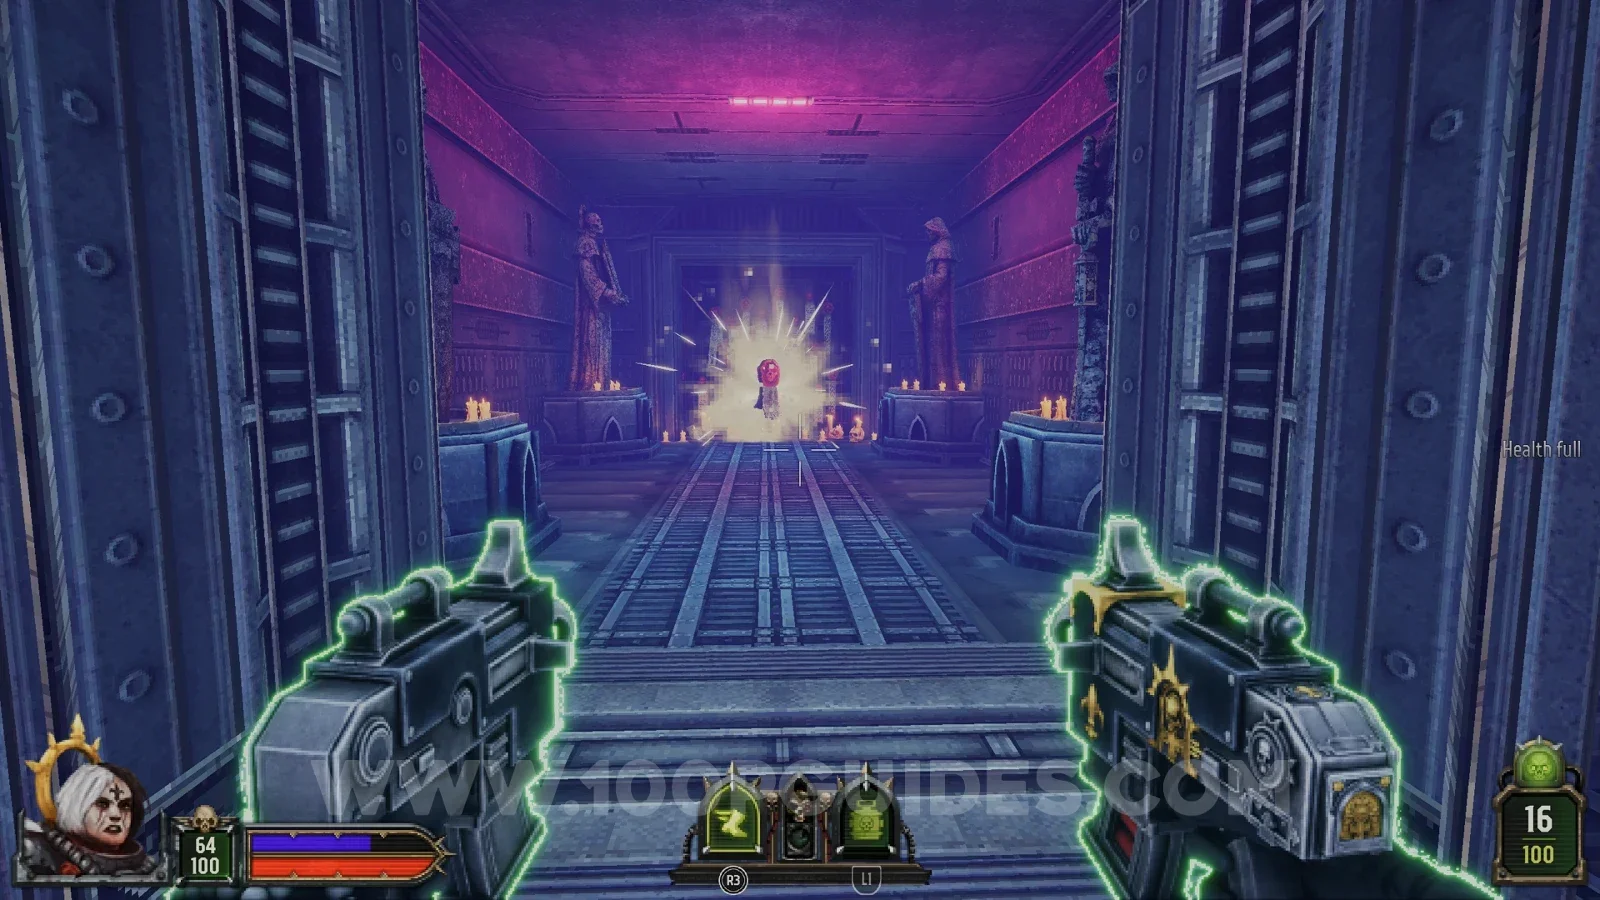
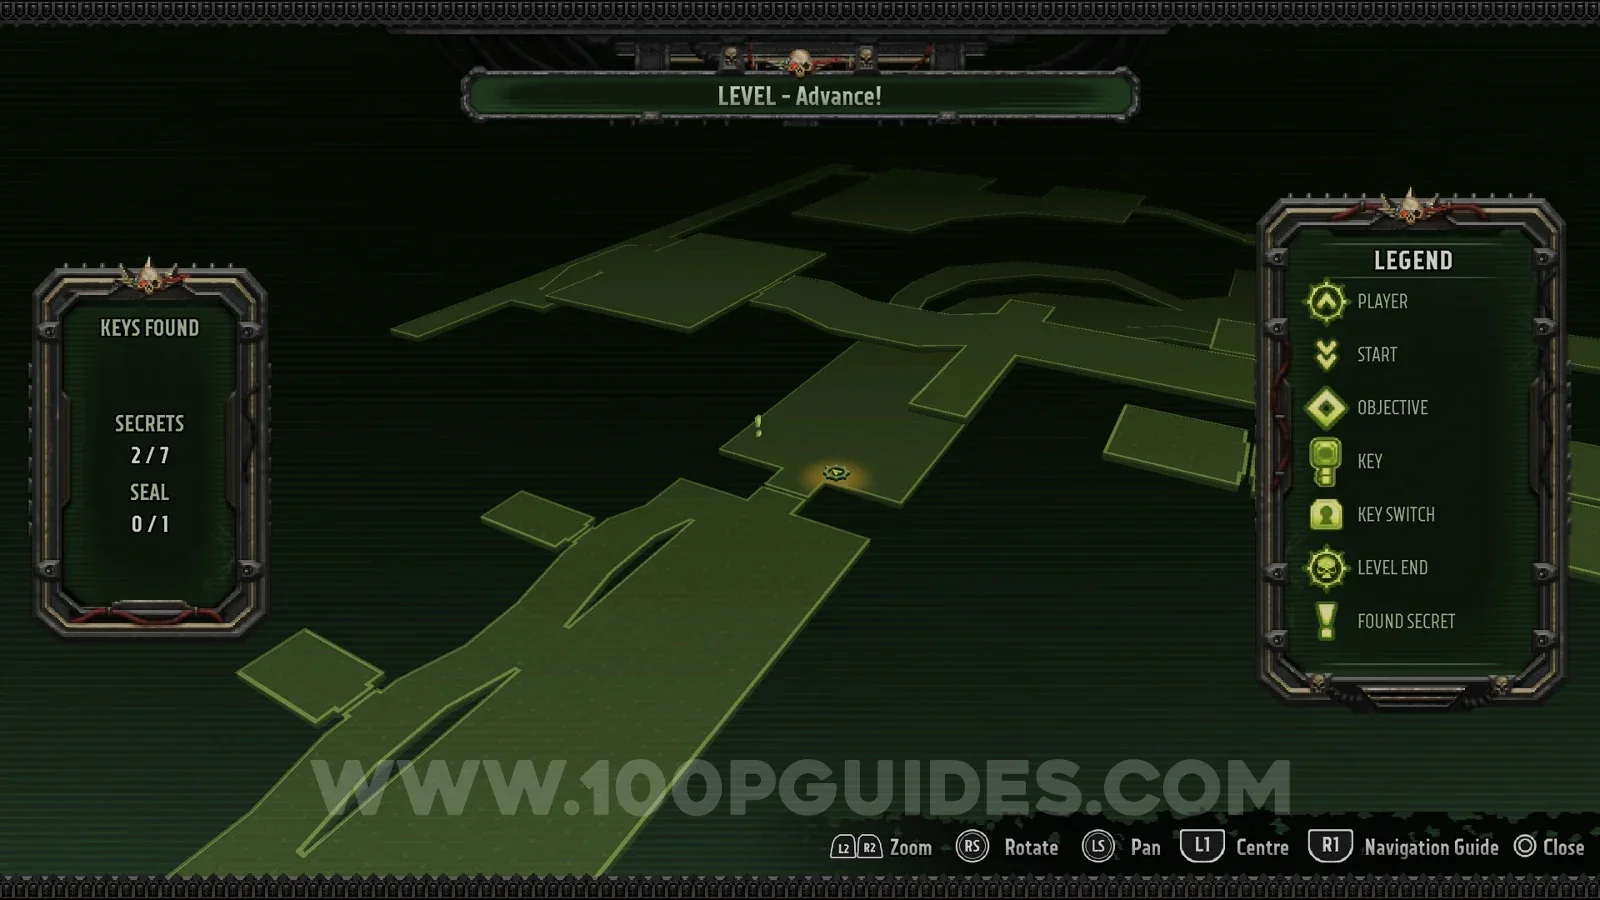
As soon as you leave the short tunnel, look left, jump over the container and find the secret inside another container.
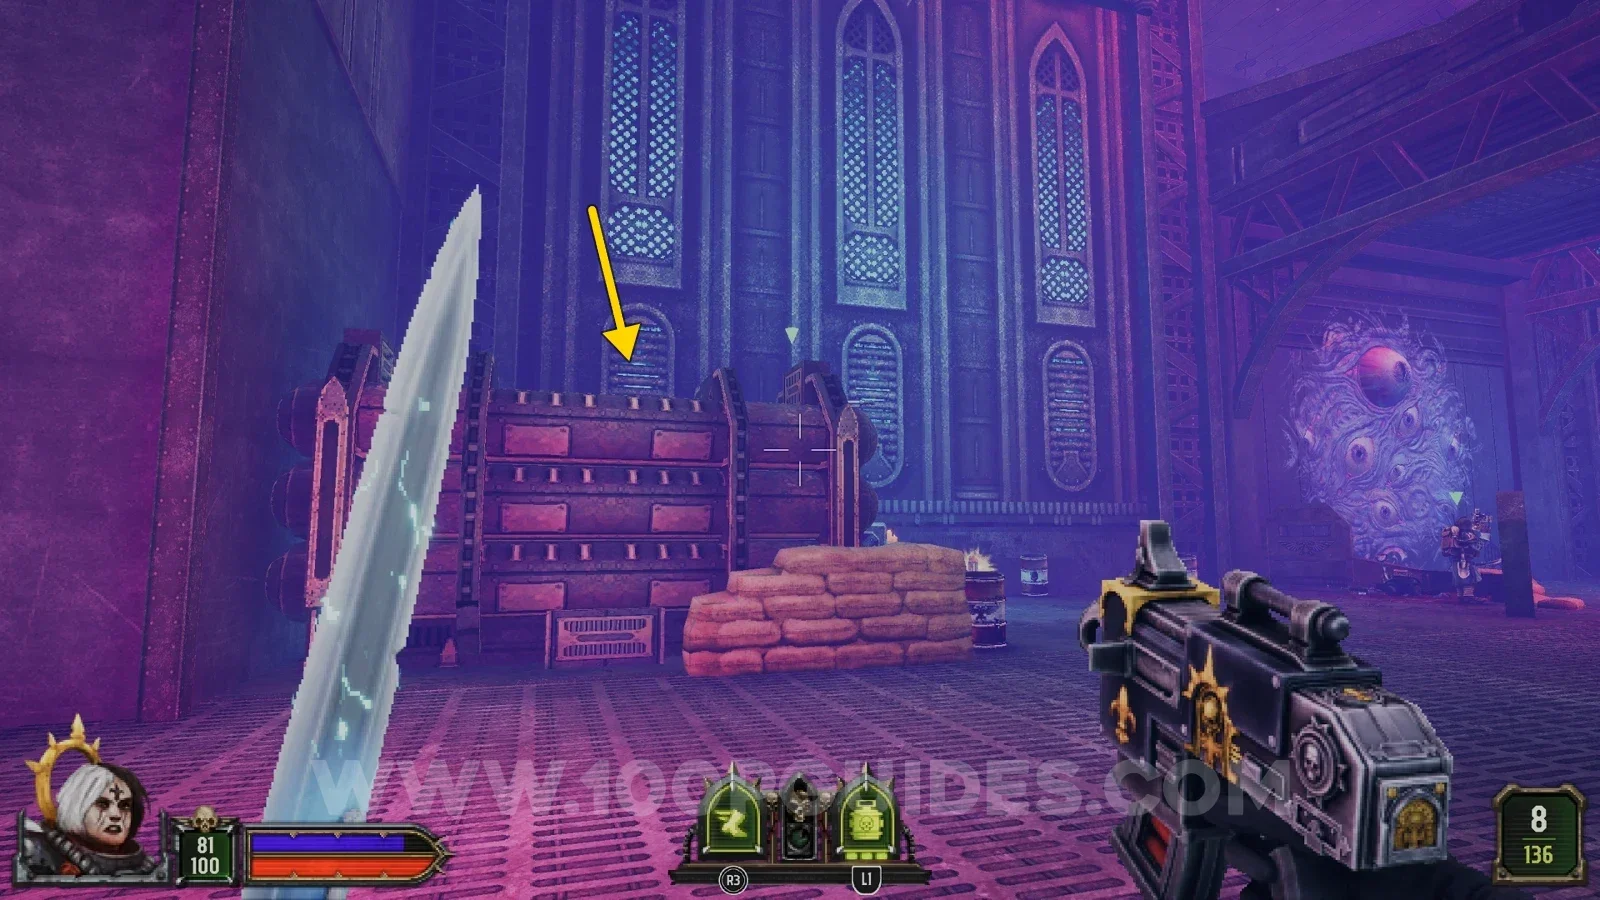
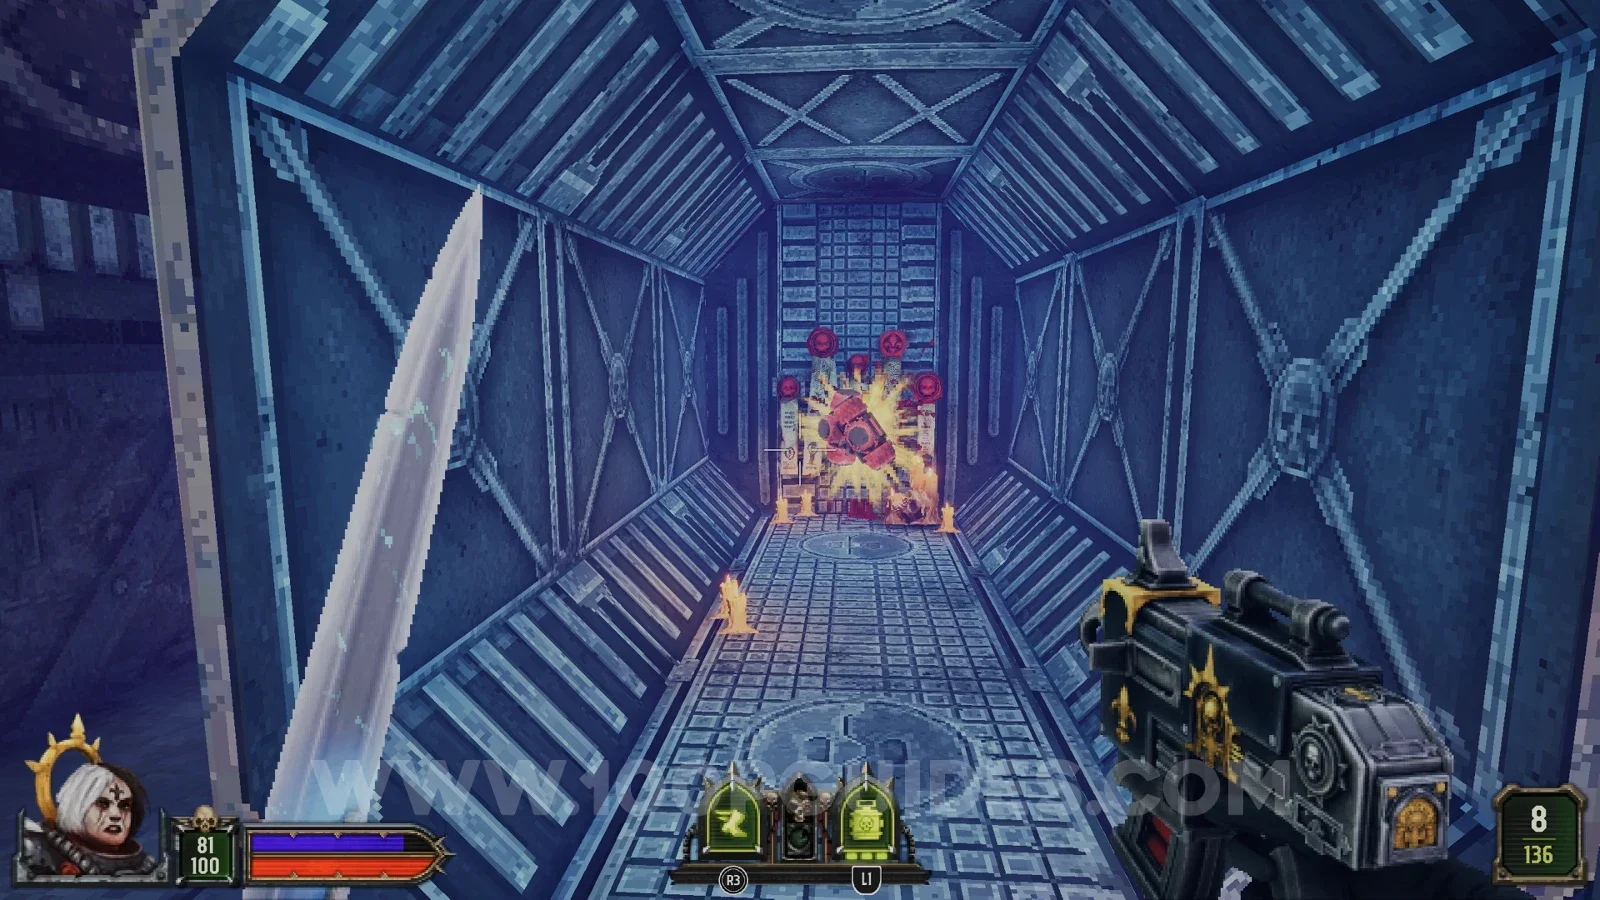
Secret 4/7
In a container inside one of the small rooms that enemies spawn from, close to the red key.
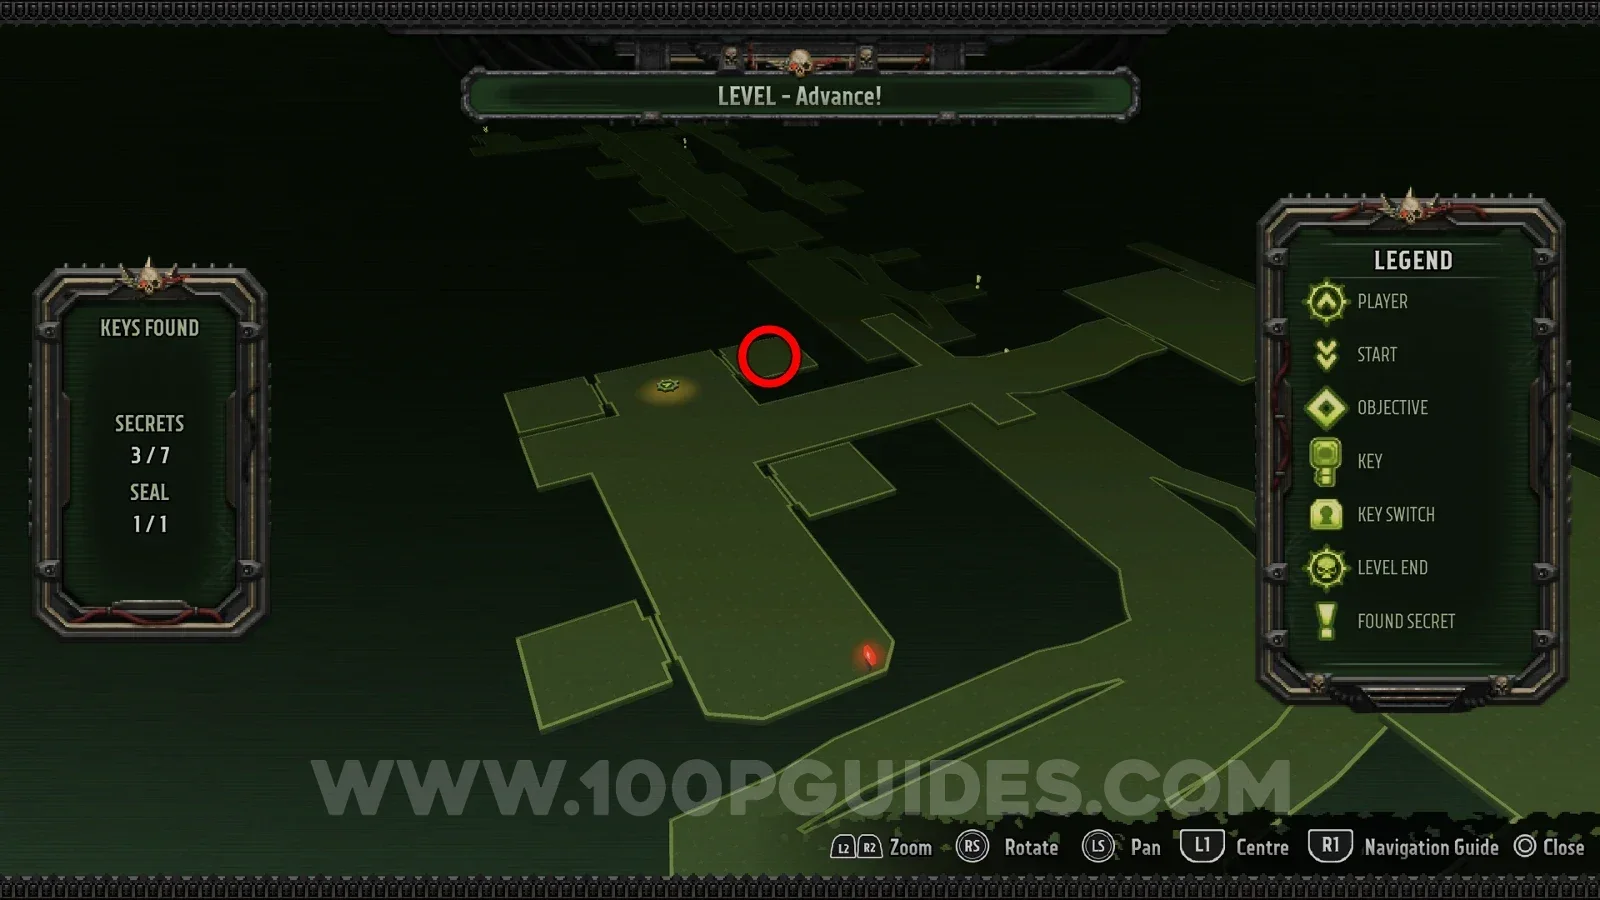
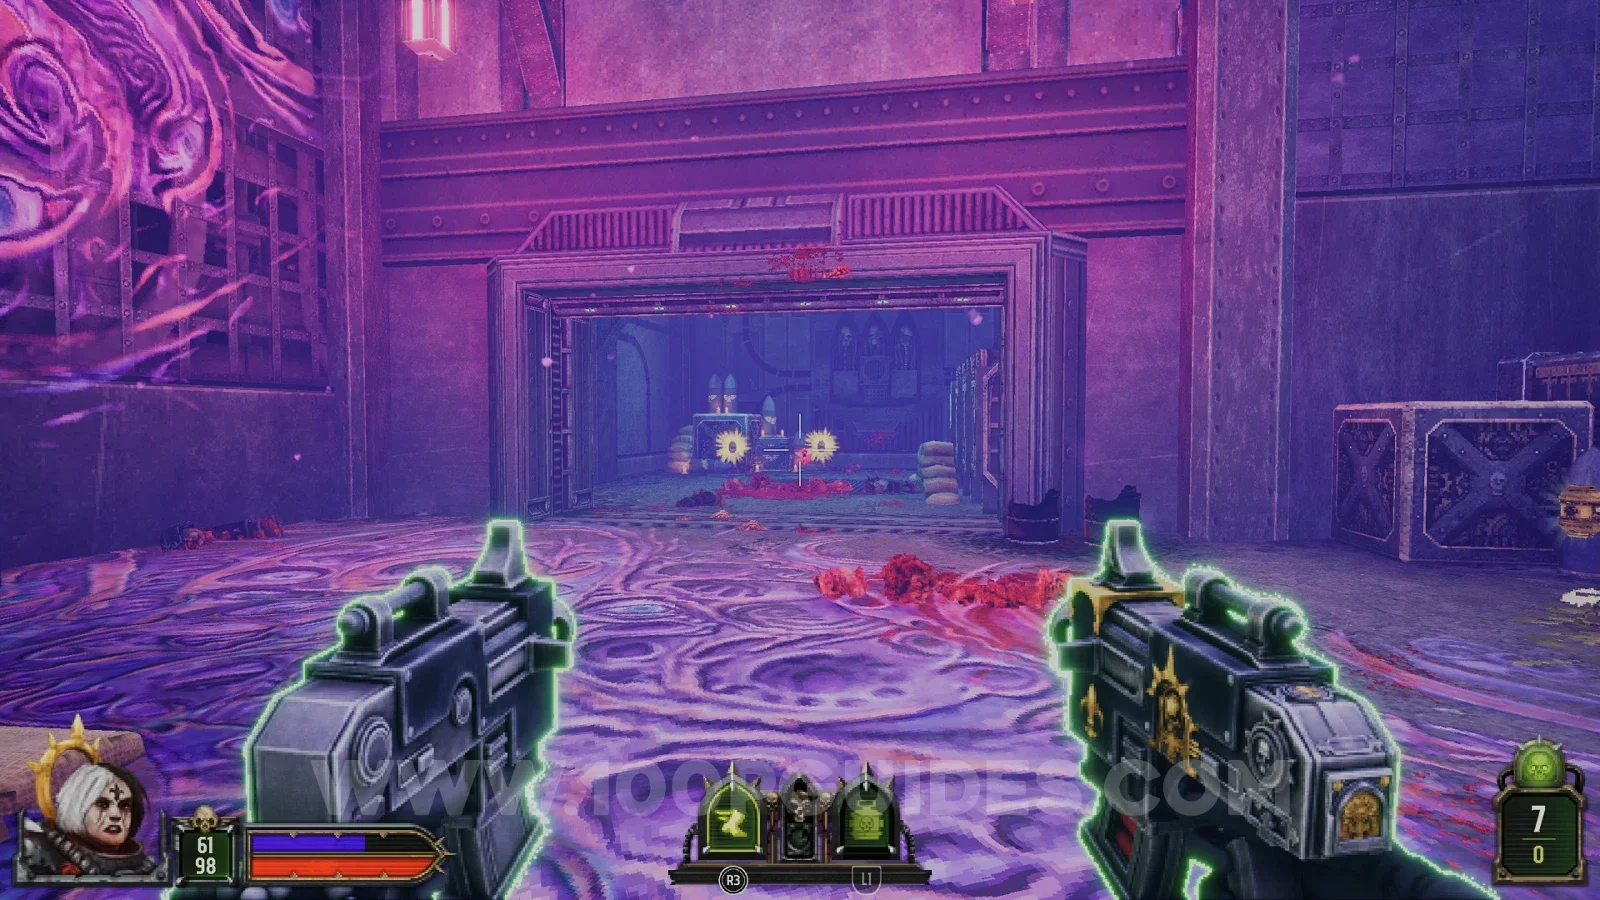
Secret 5/7
In a container on the left side of the final area.
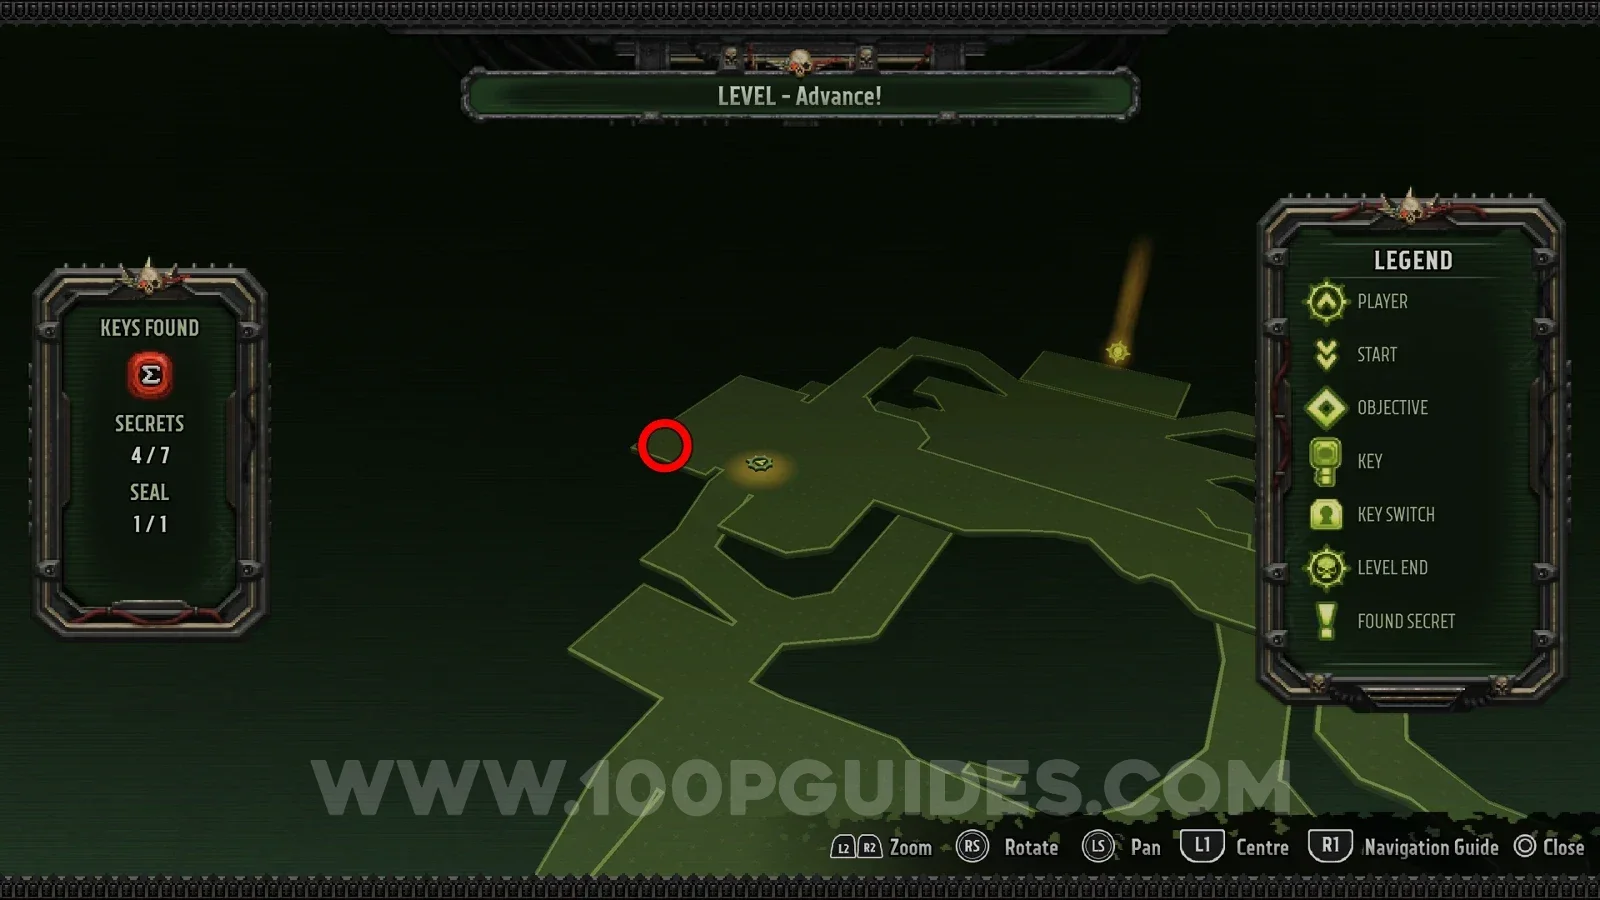
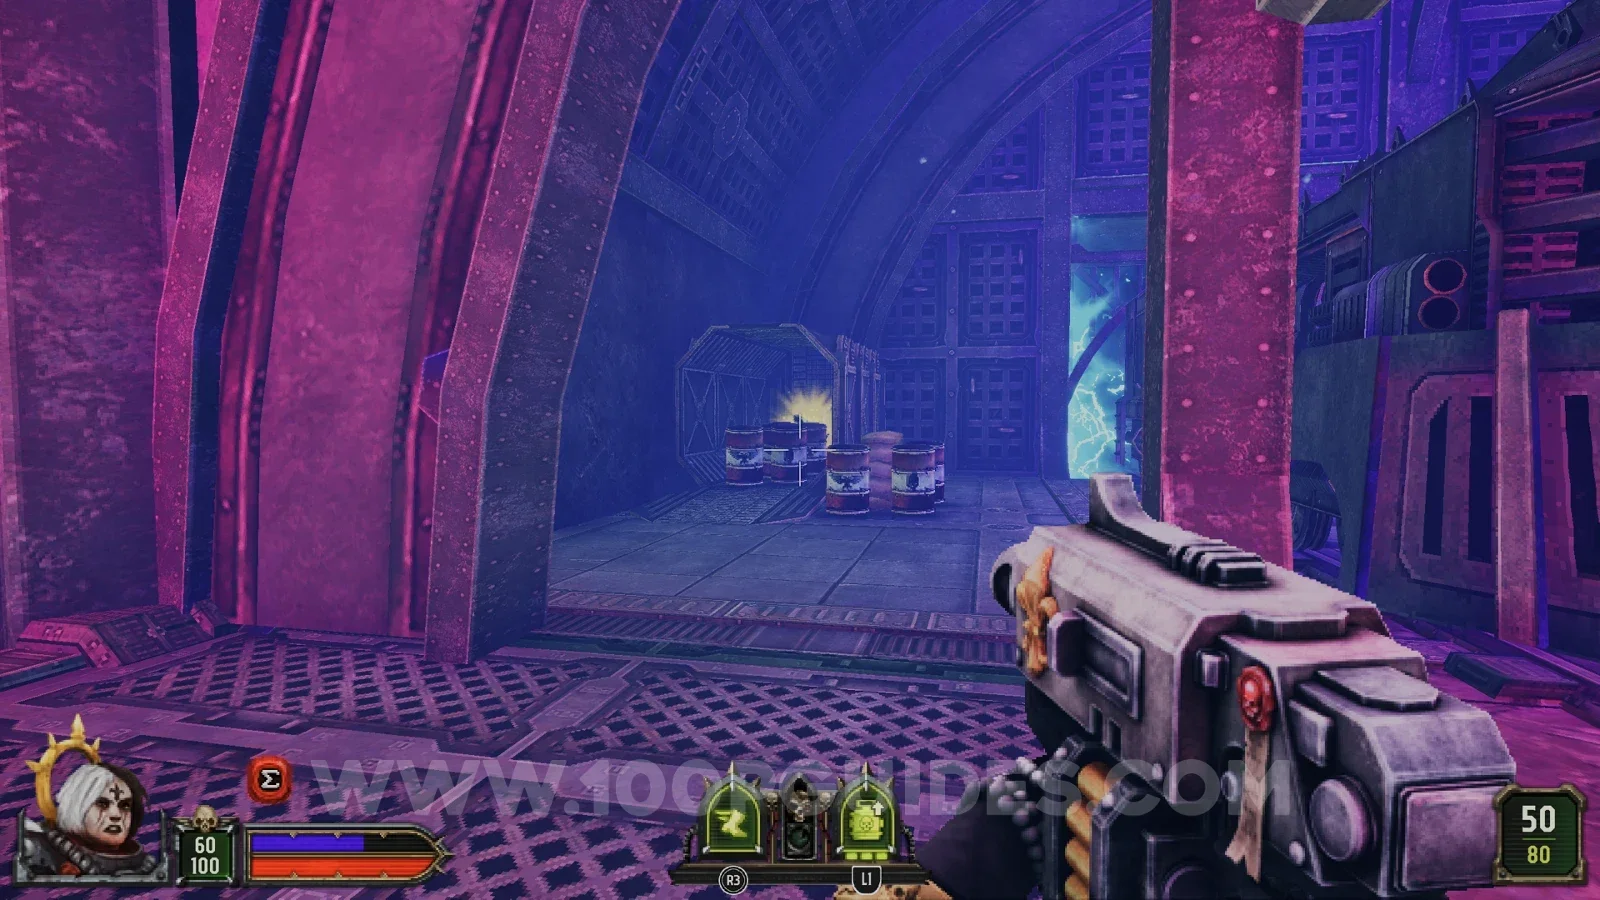
Secret 6/7
In a container close to the hole in the middle of the final area.
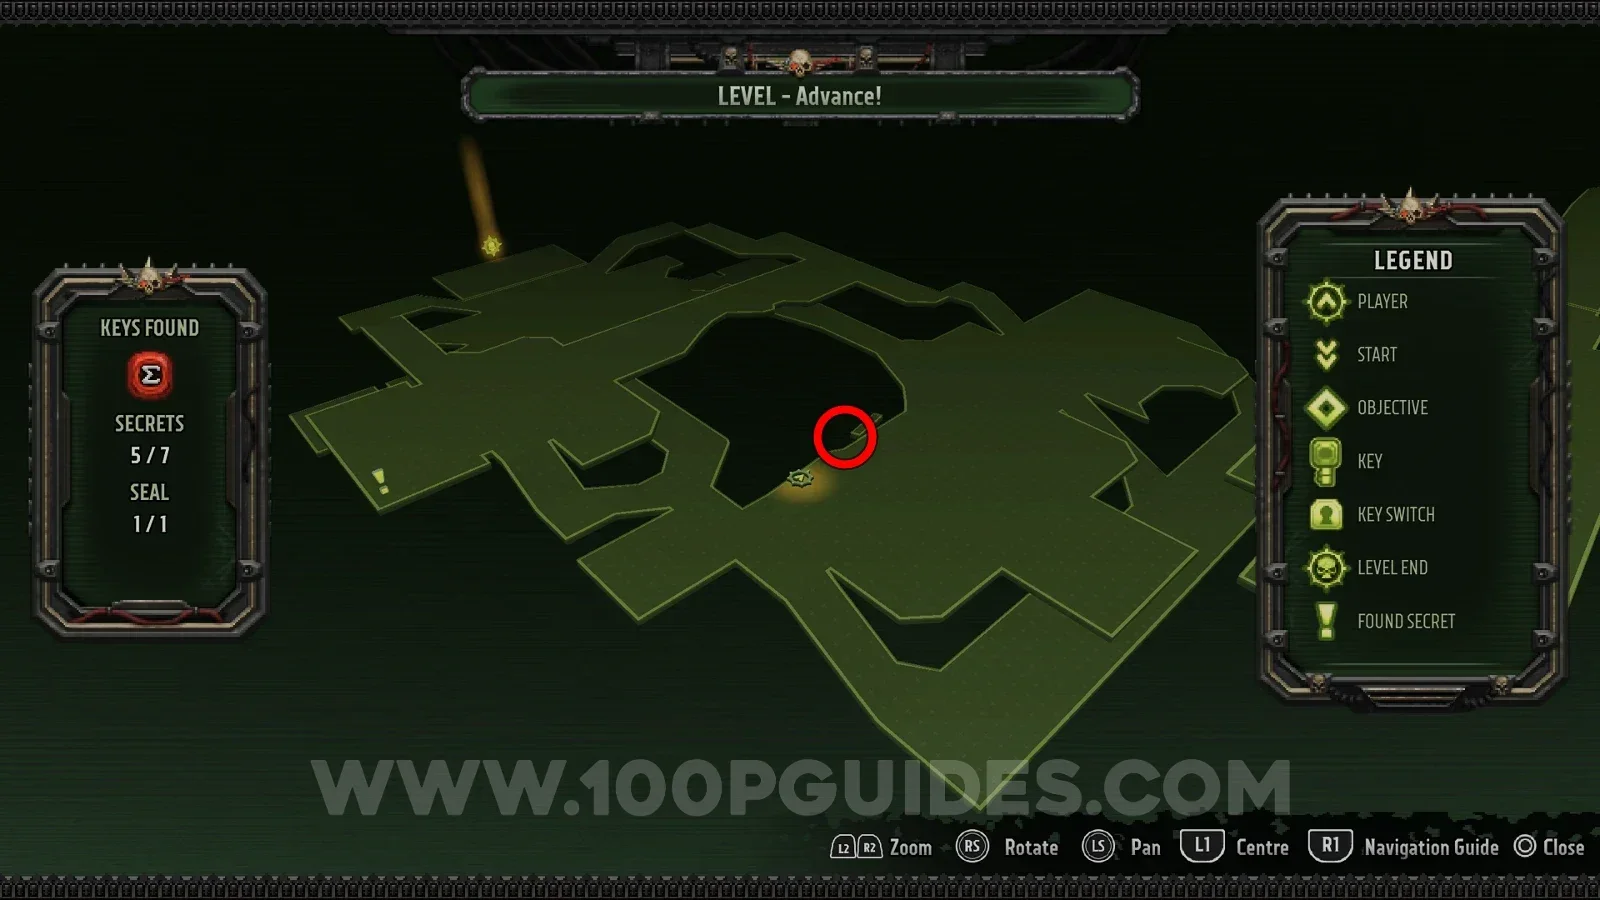
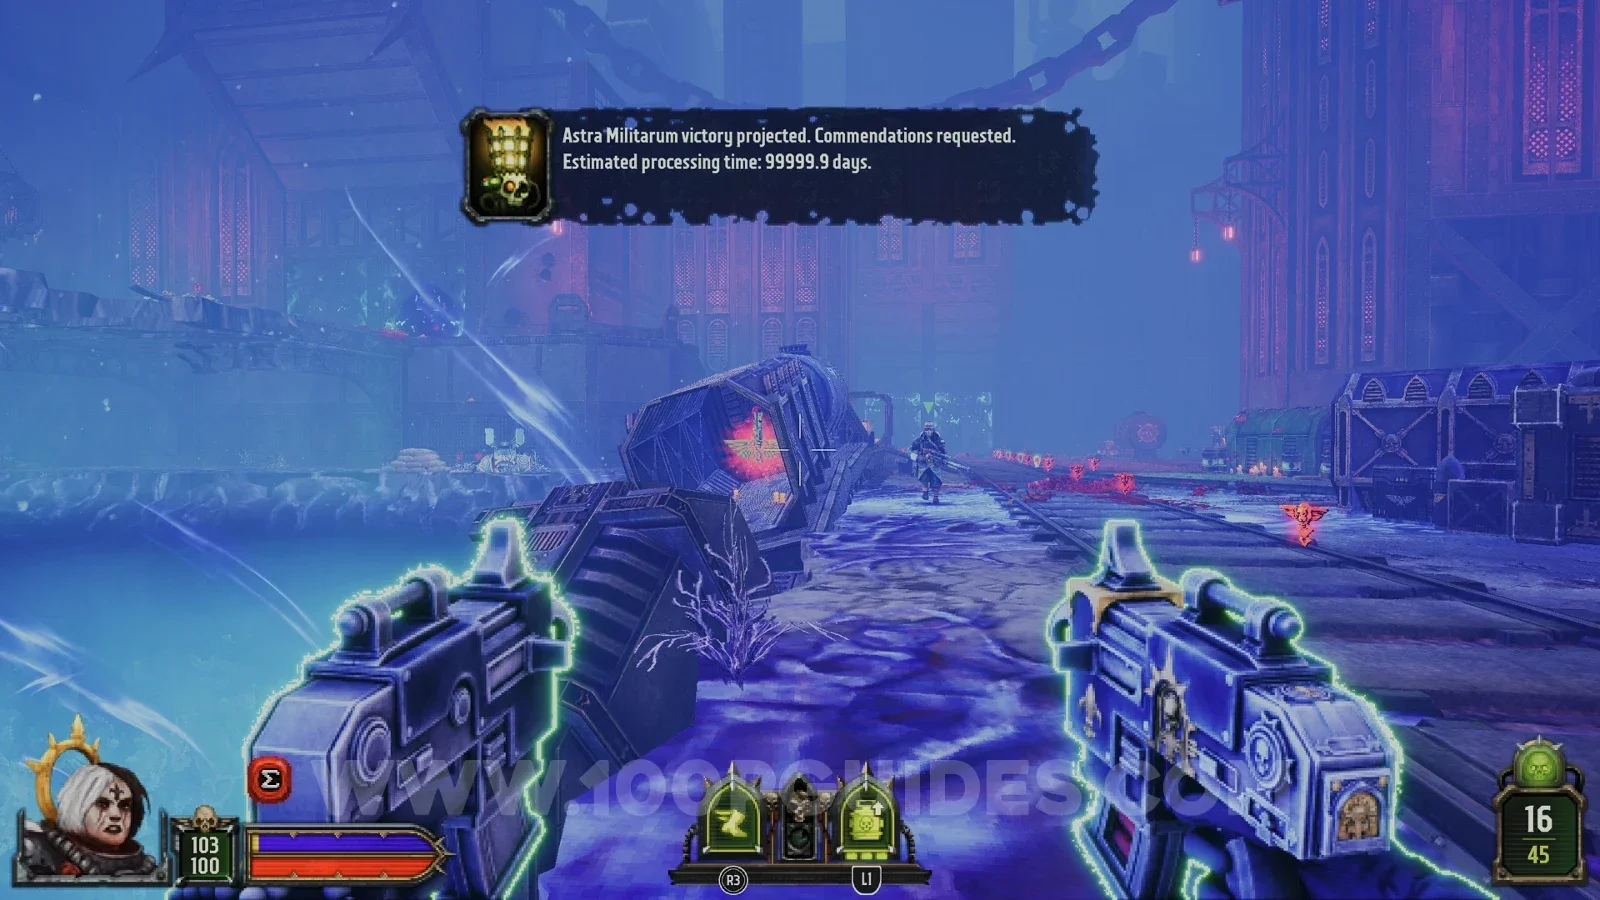
Secret 7/7
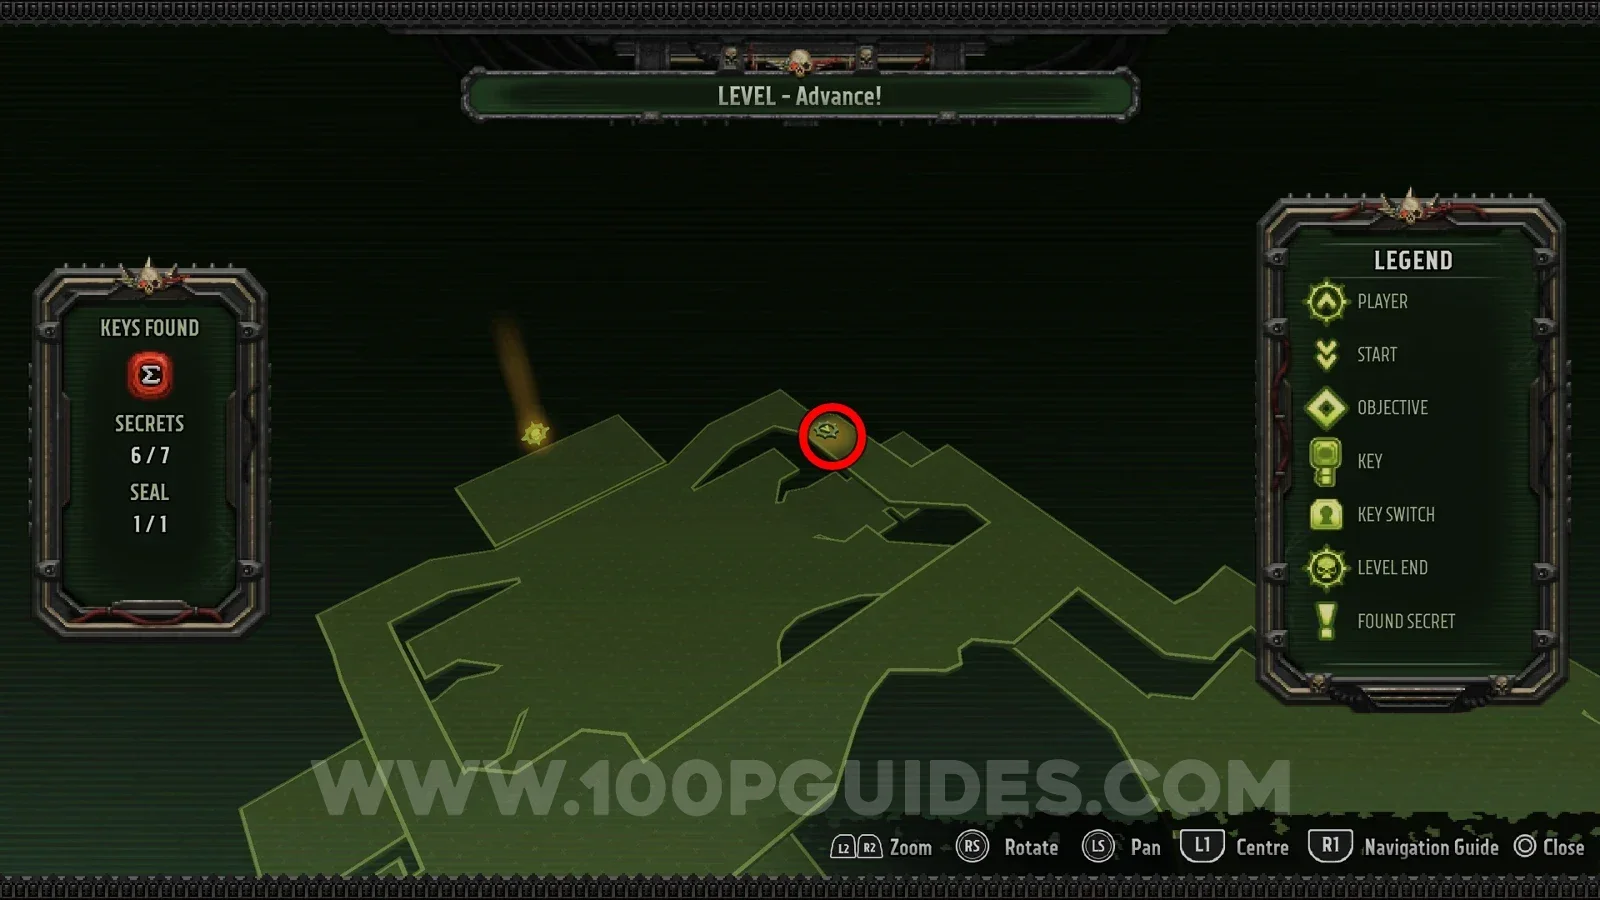
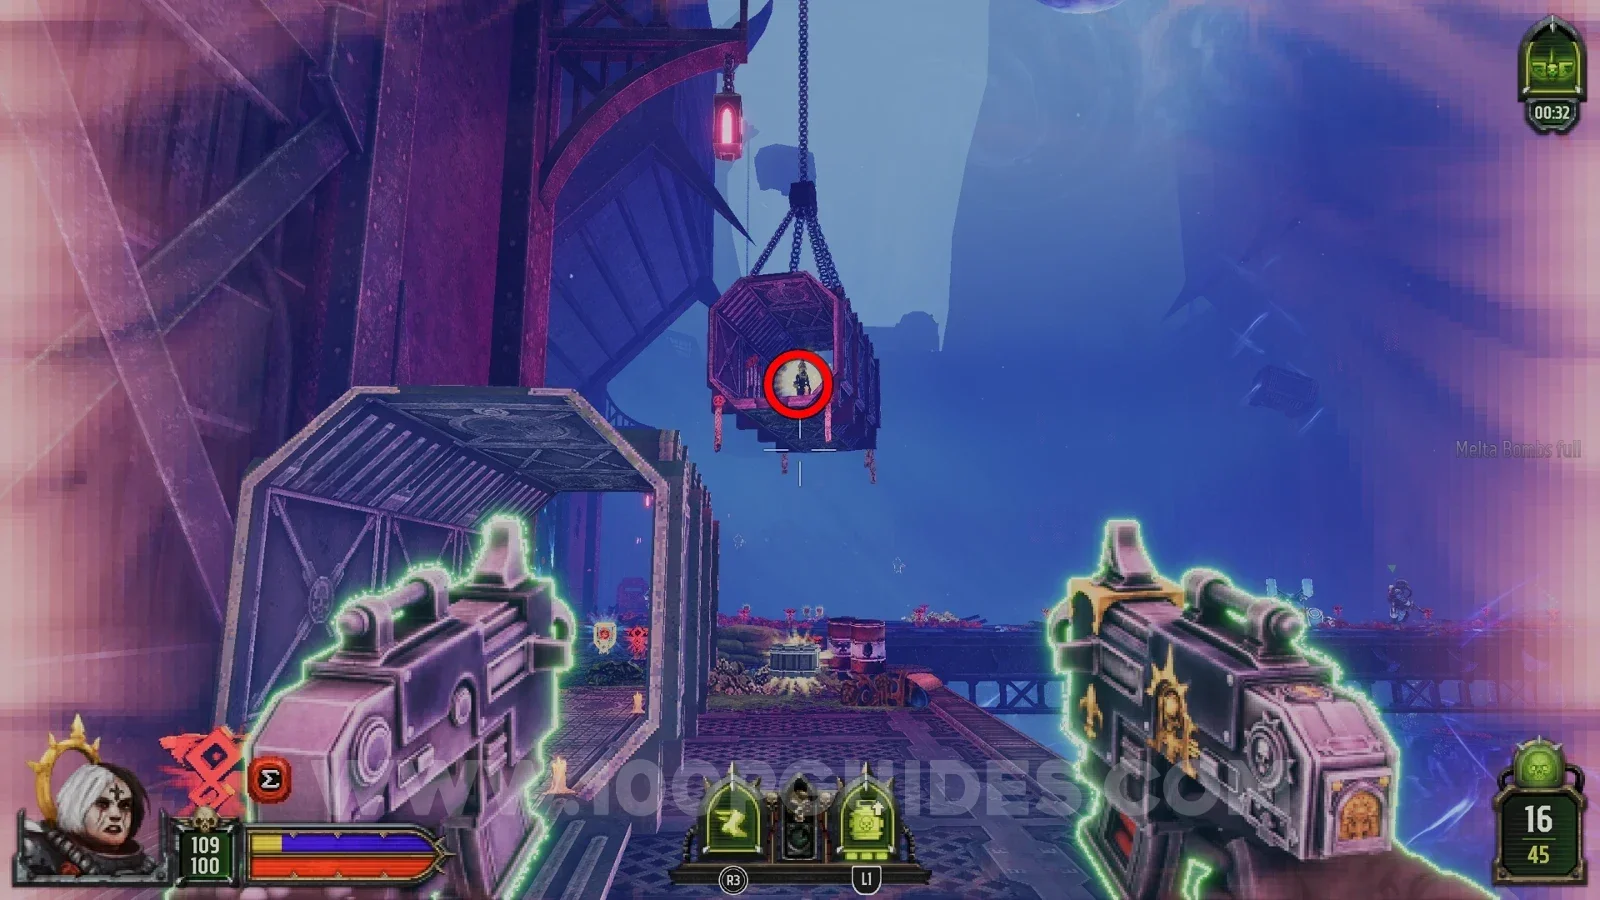
In the hanging container on the right of the final area. Use the container below it to reach it.
Renegade Train Path B
Secret 1/6
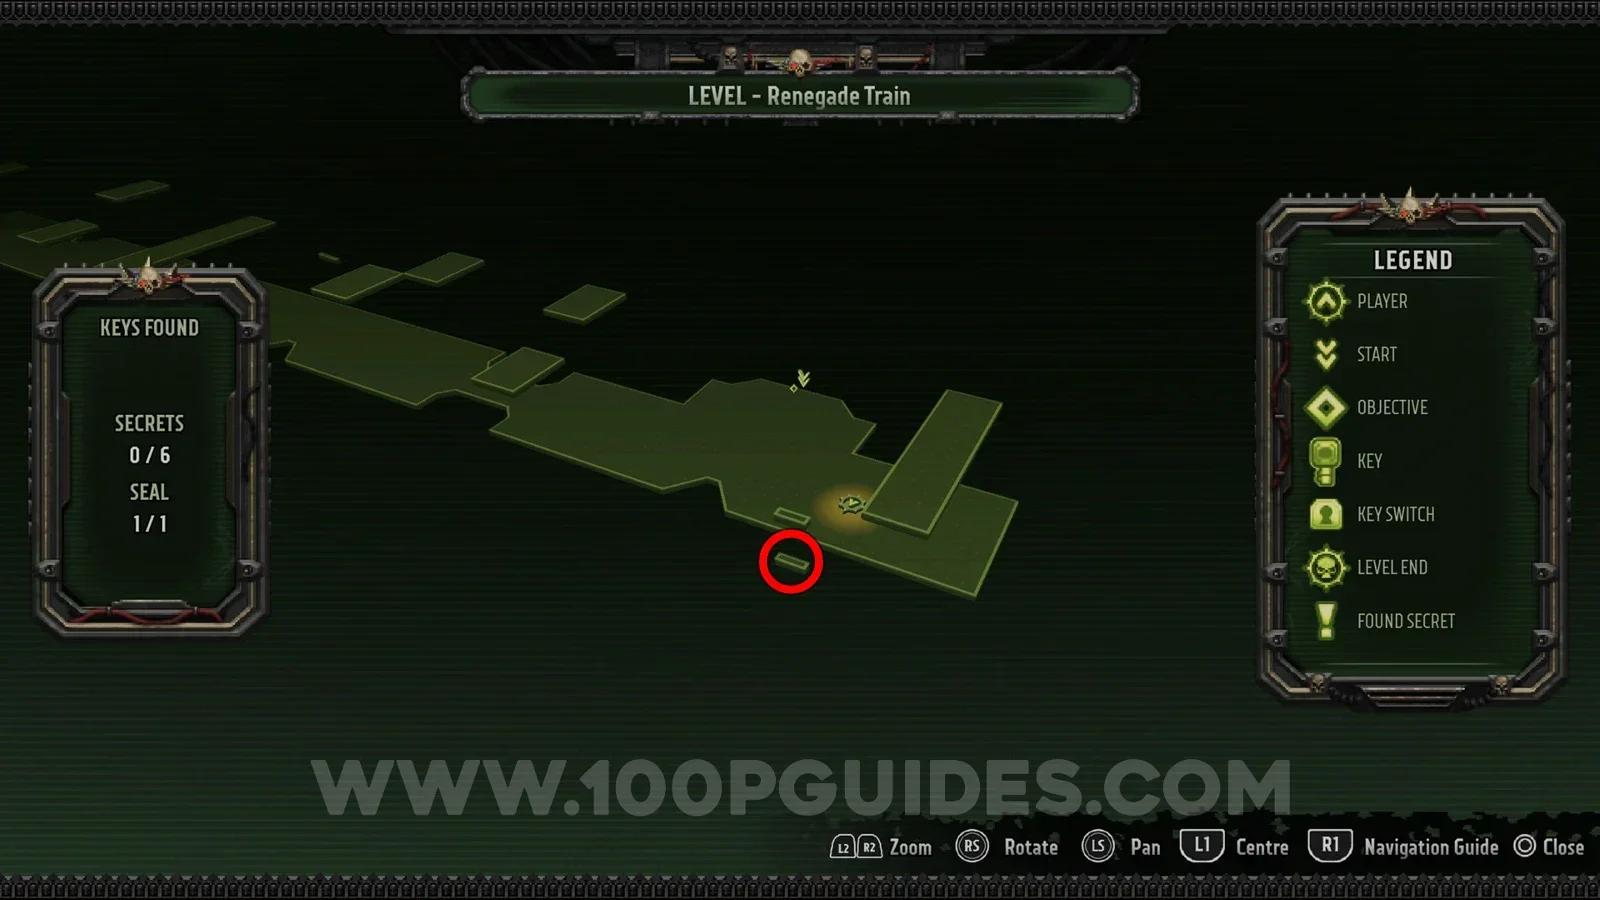
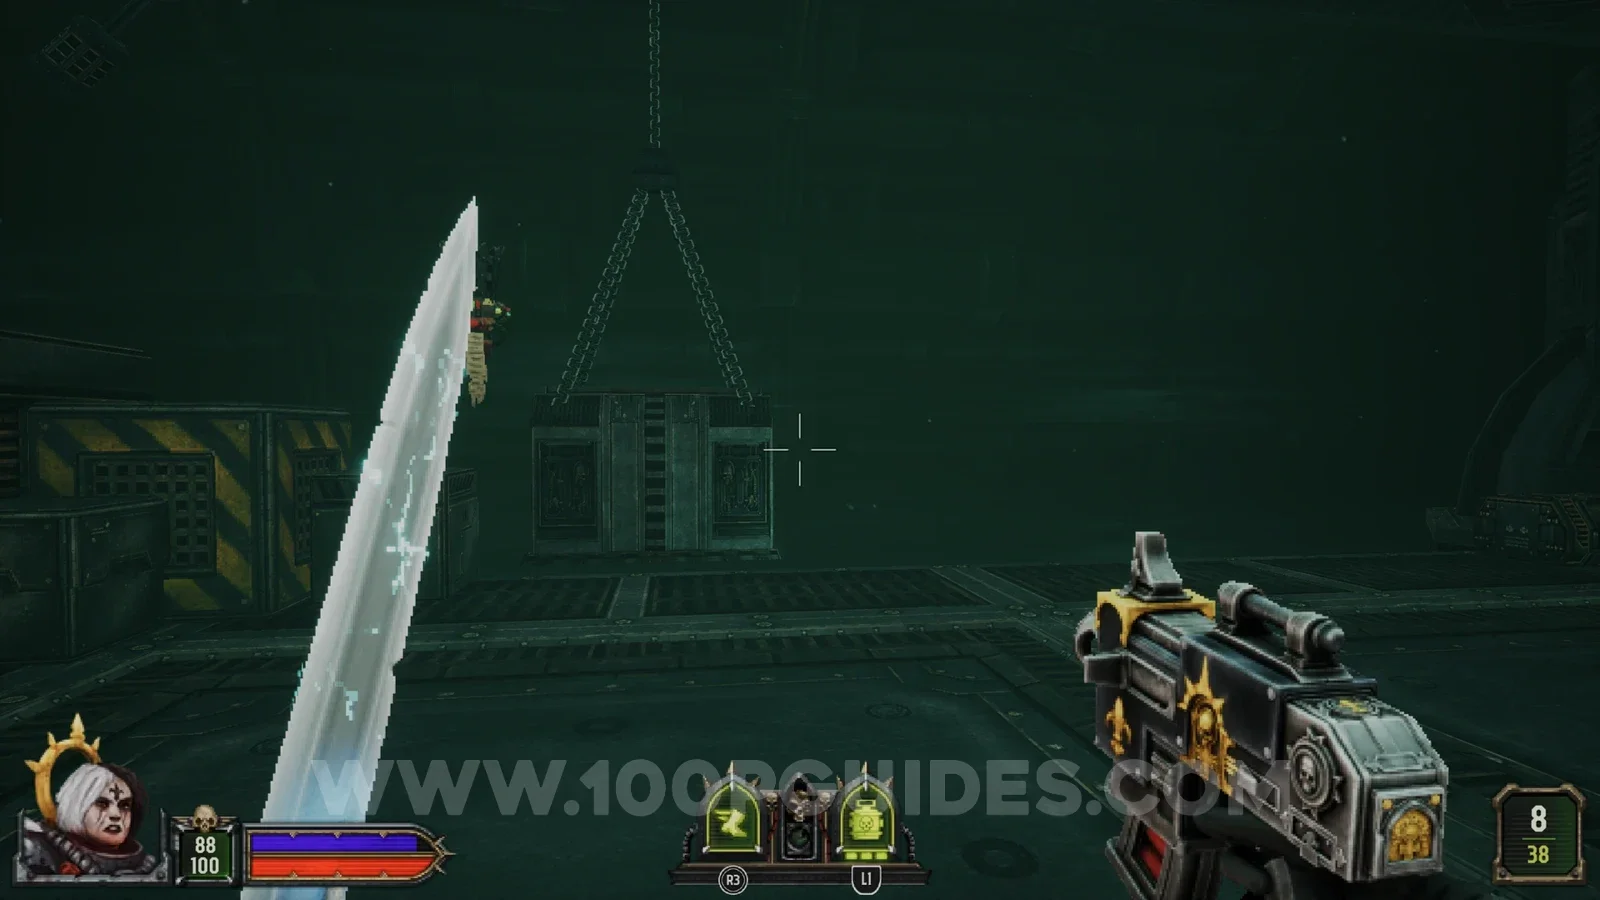
At the very start, look for a hanging container on your left and jump onto it. Then turn around and shoot the panel so the container carries you up to the upper platforms, where you will find the secret.
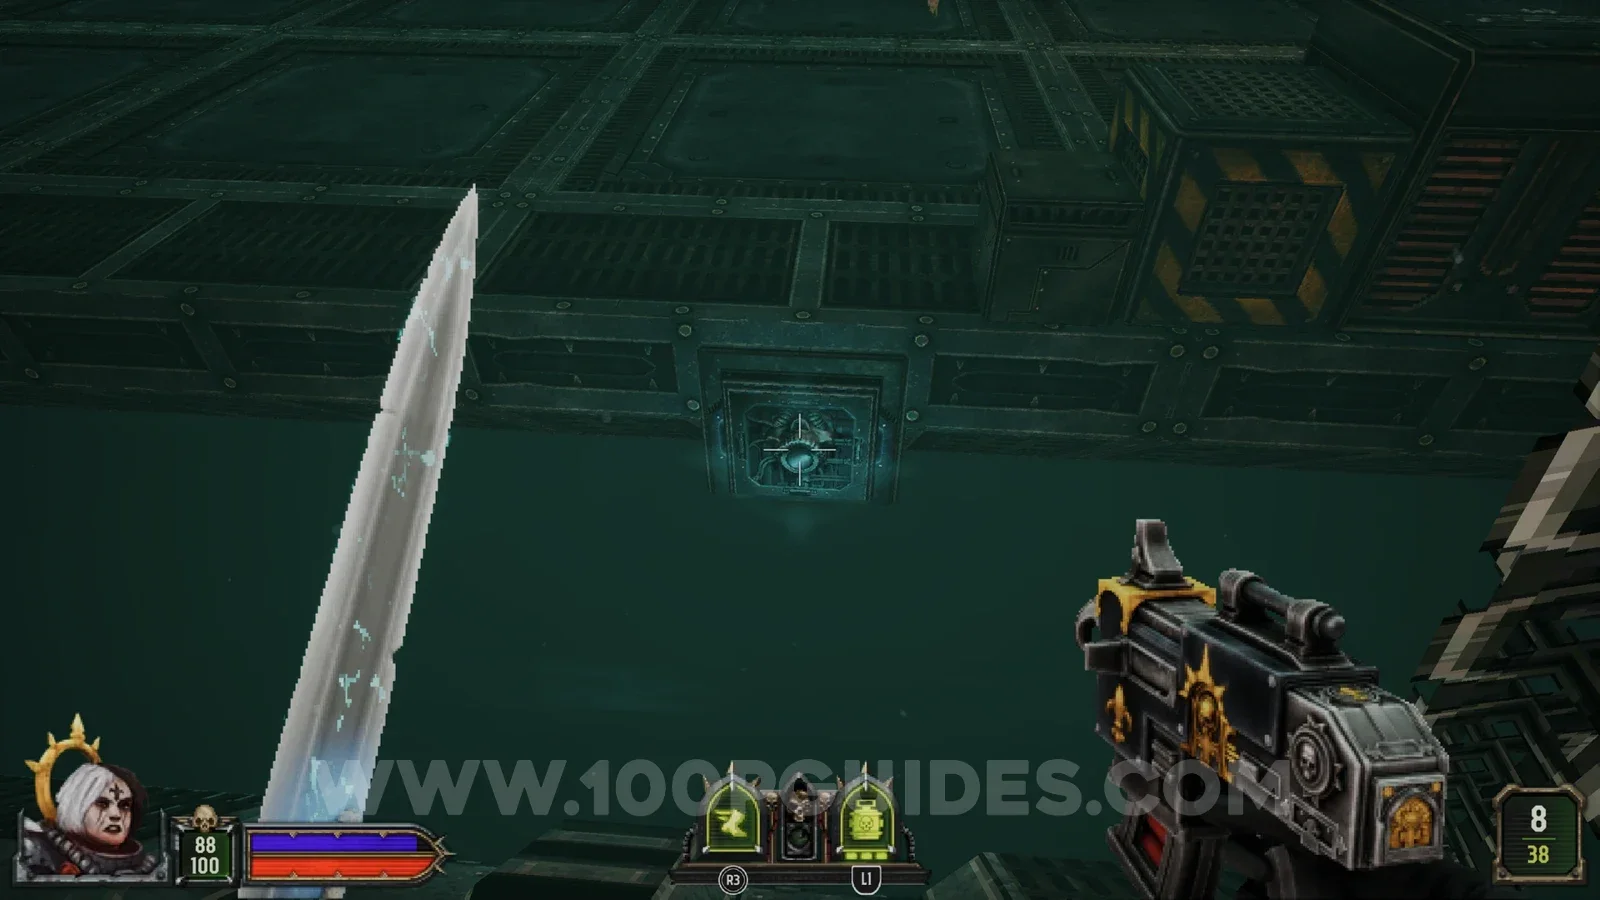
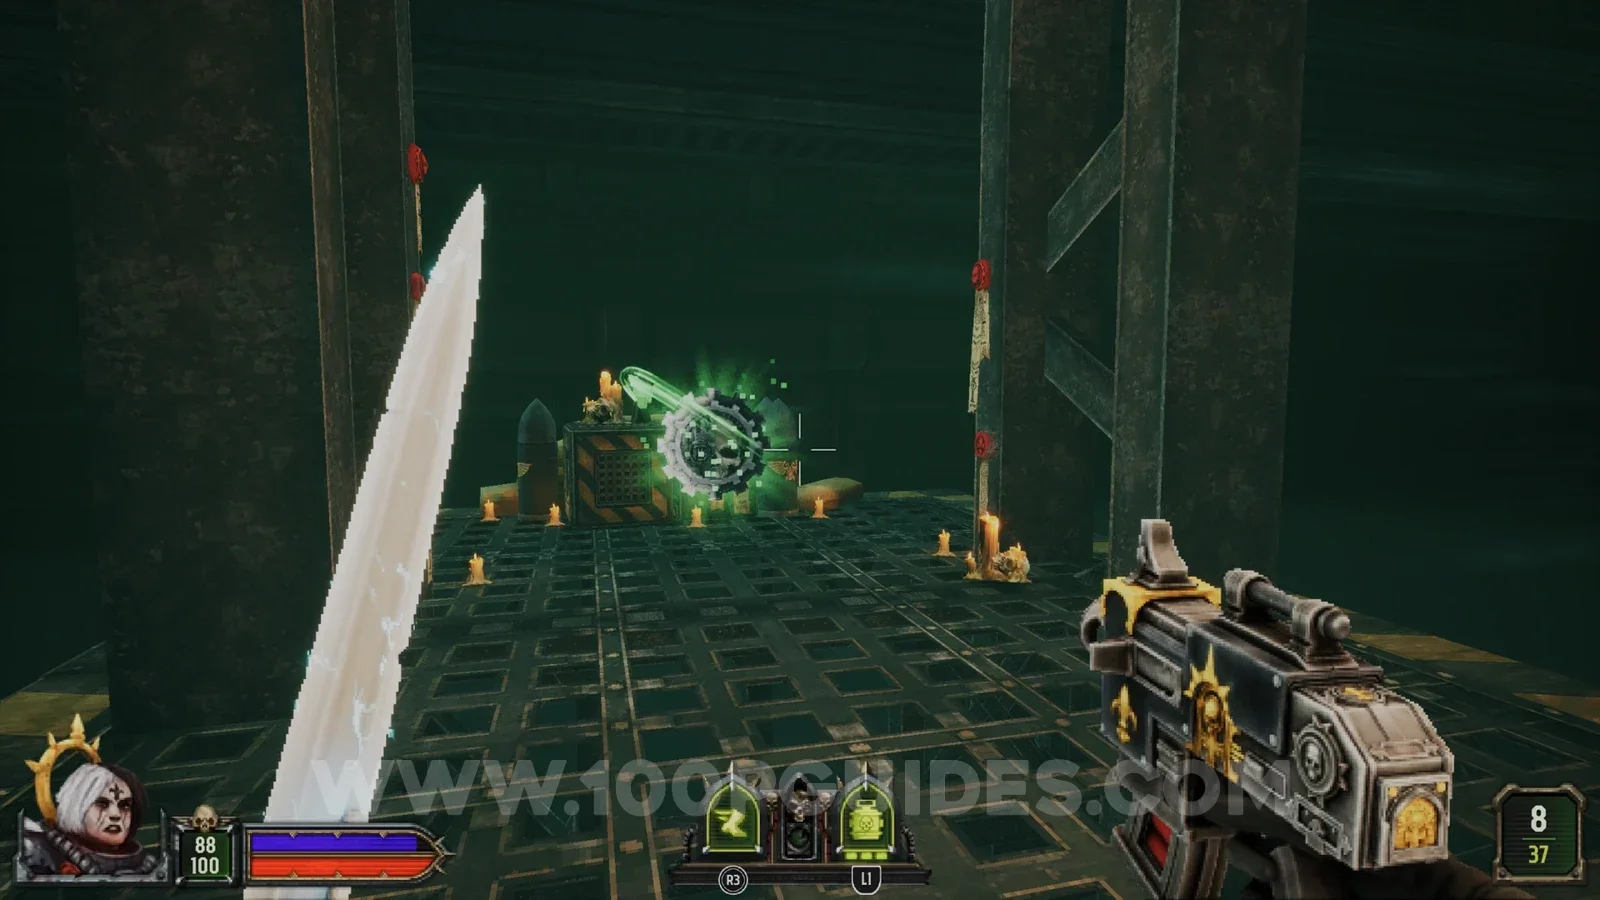
Secret 2/6
From the previous secret, keep jumping along the upper platforms until you reach the one at the far end. The secret is in the container there.
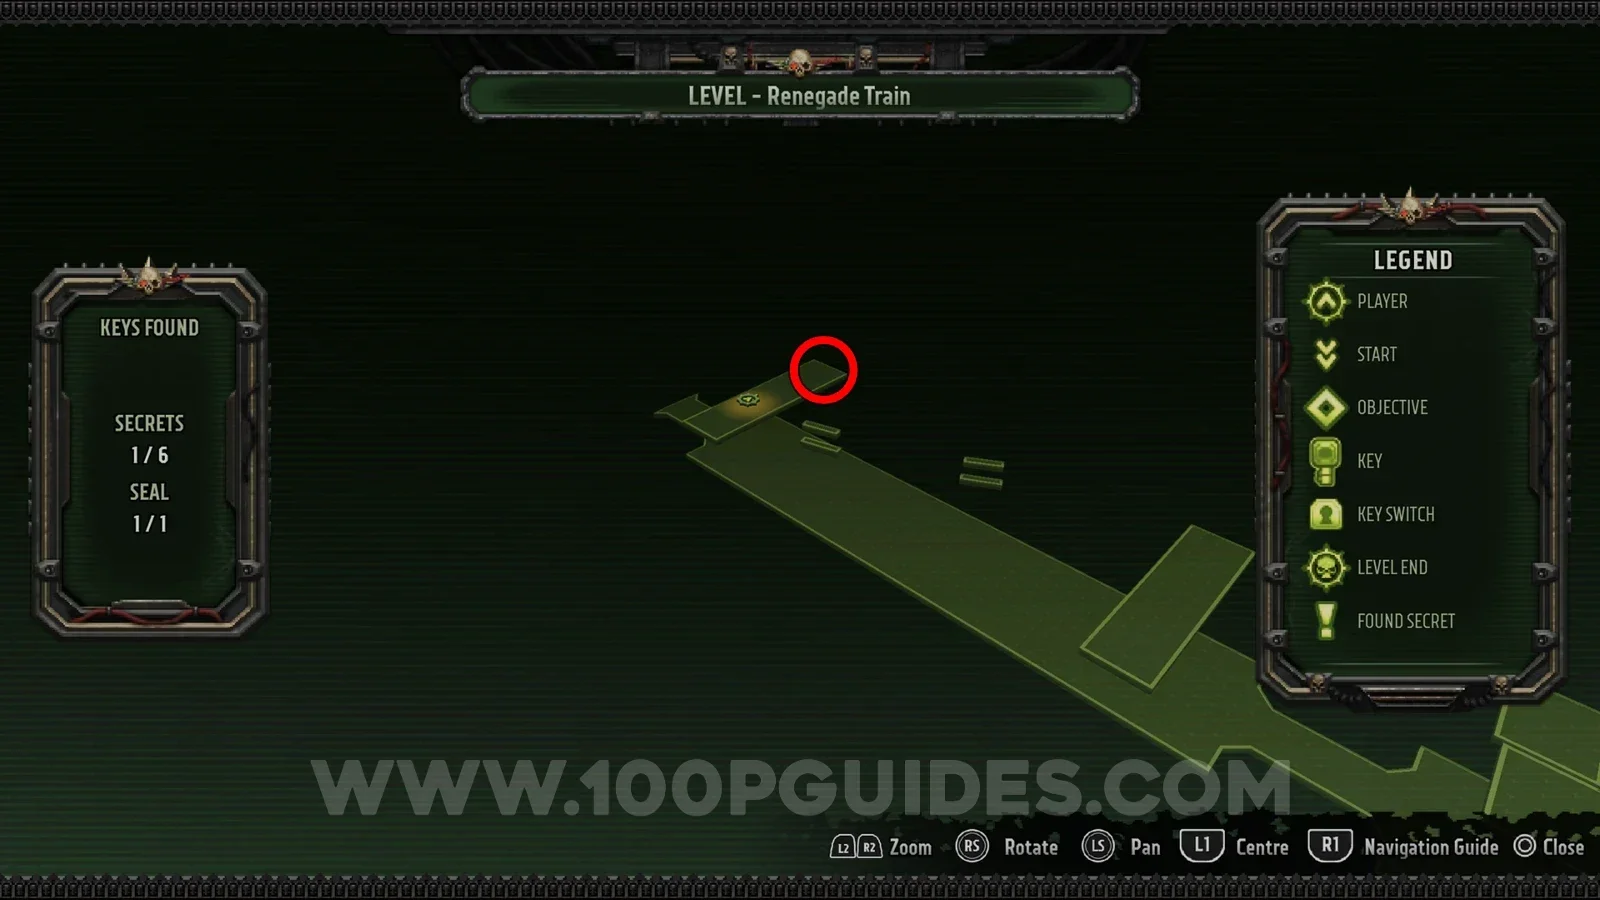
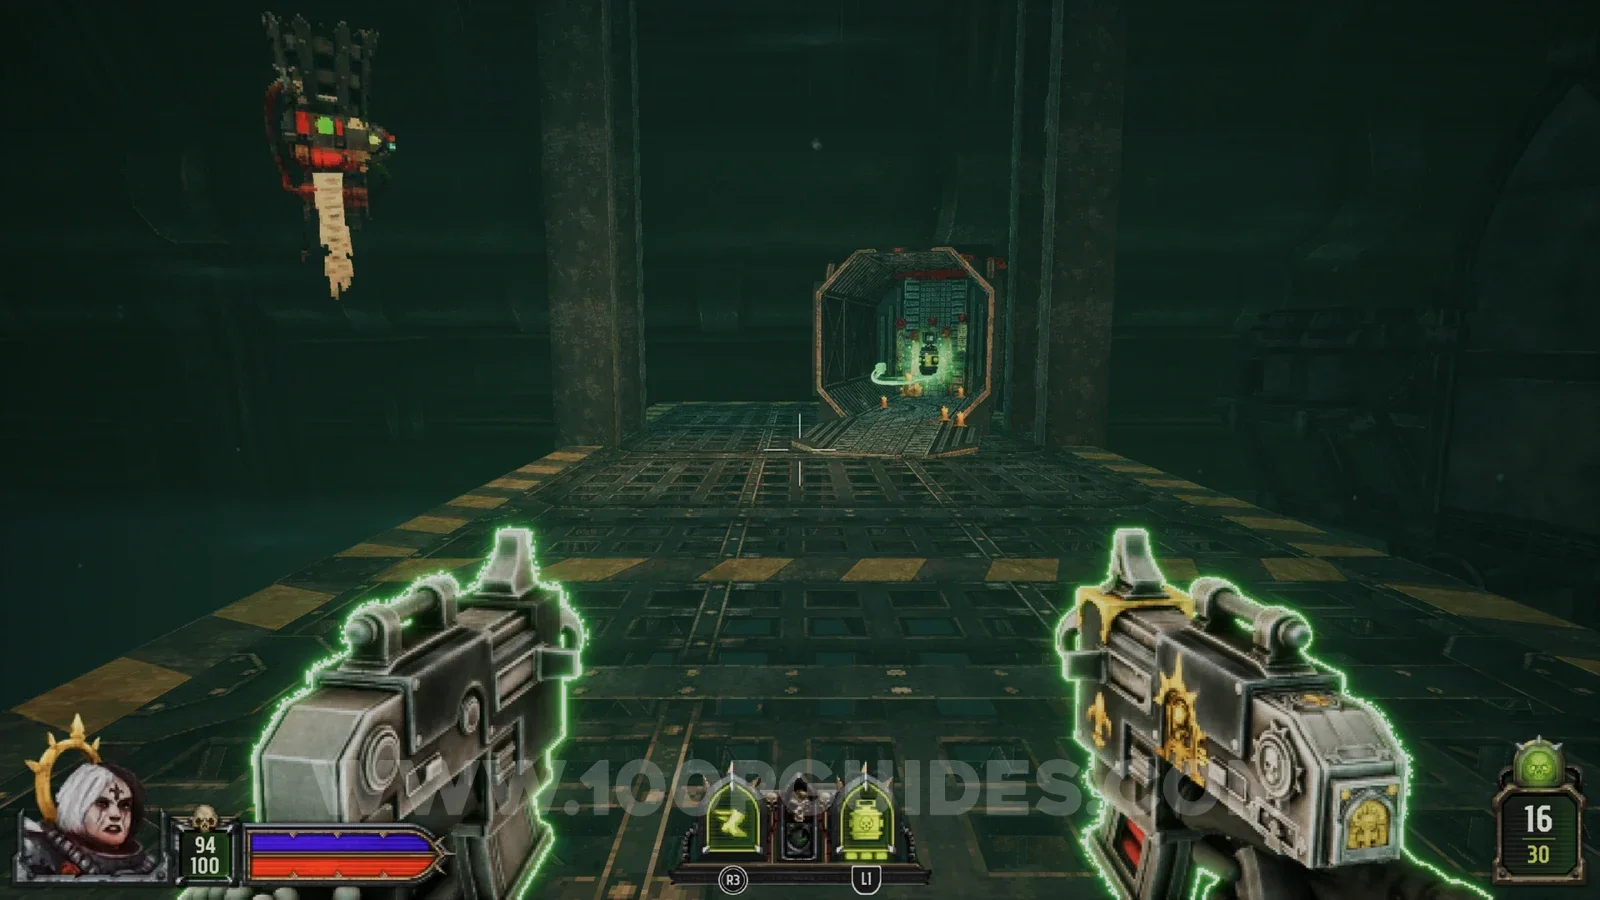
Secret 3/6
After going through the purple door you reach an open area with platforms hanging from chains. Jump onto the first platform and turn around to find the secret below.
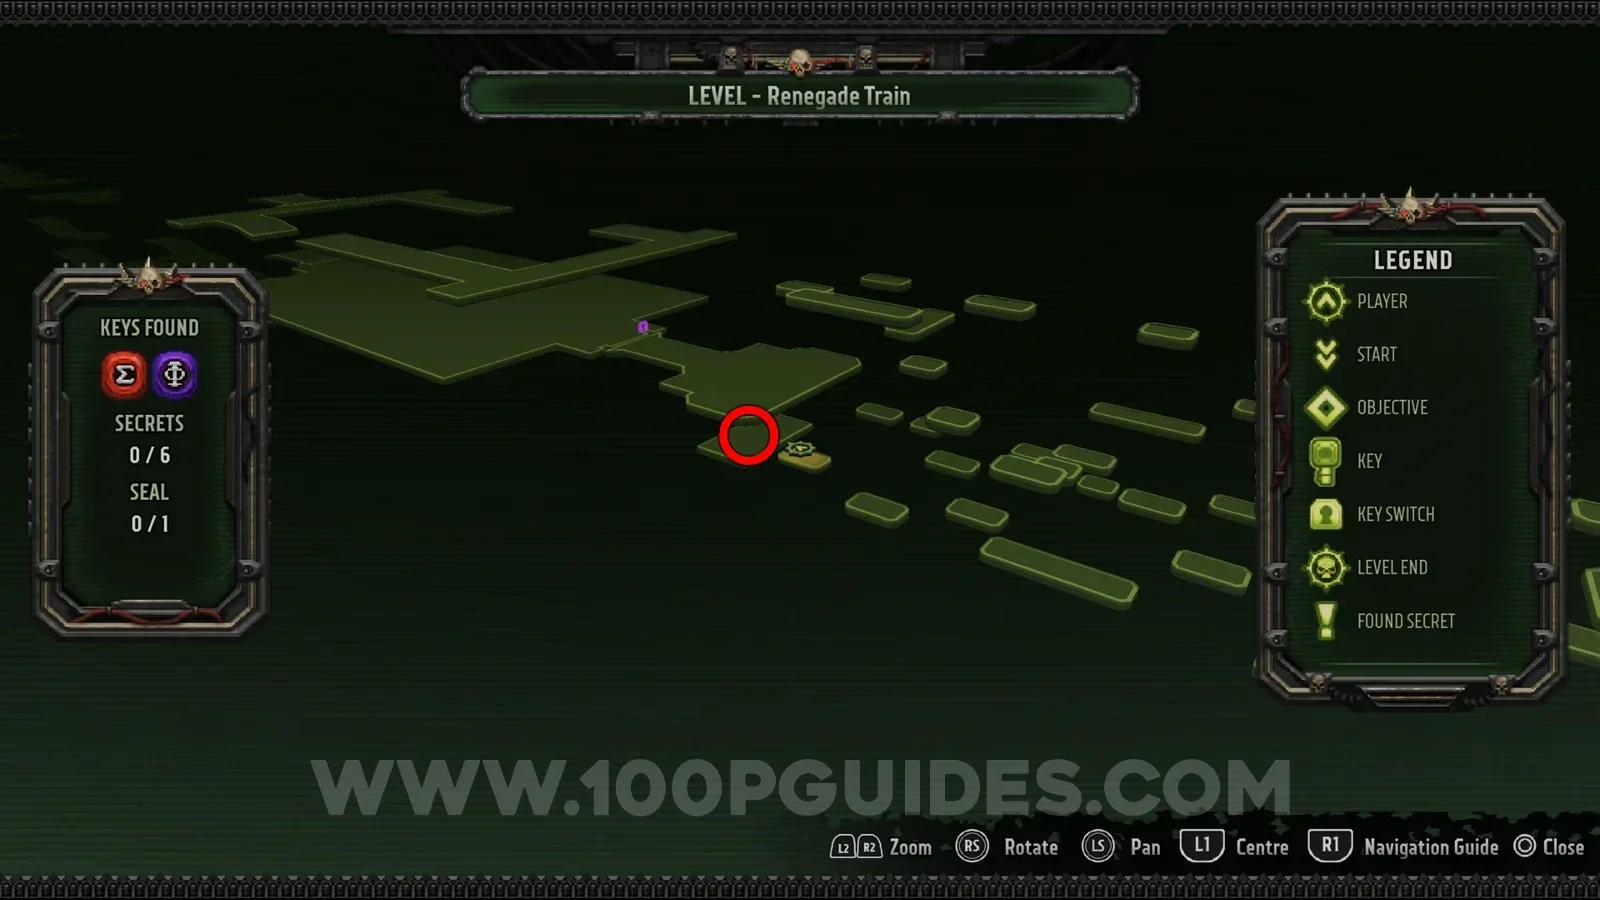
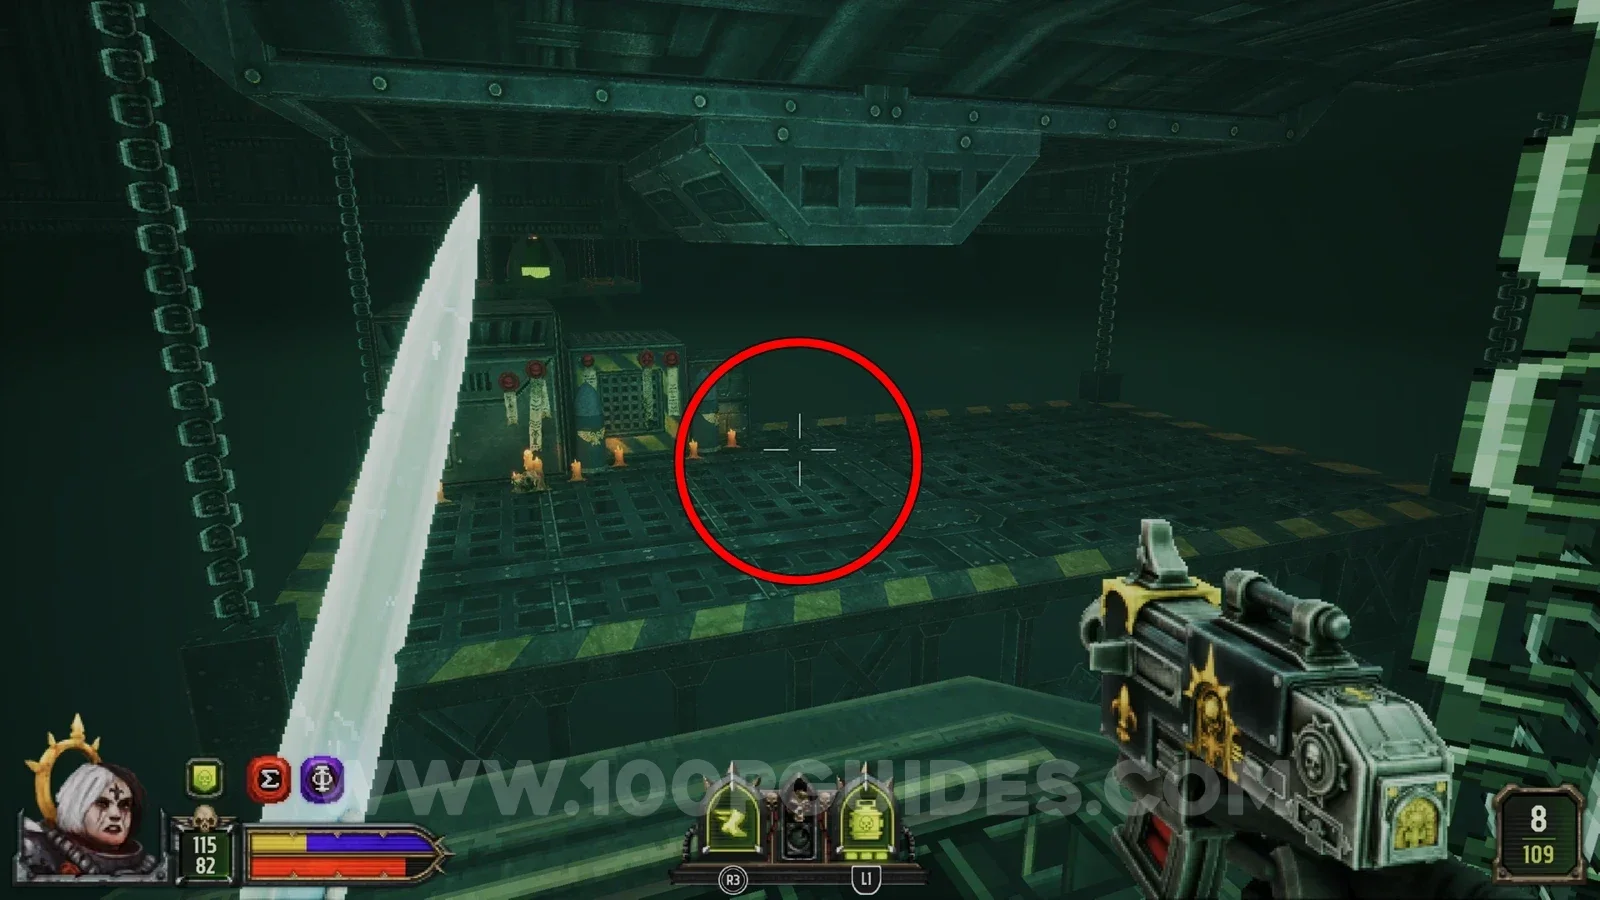
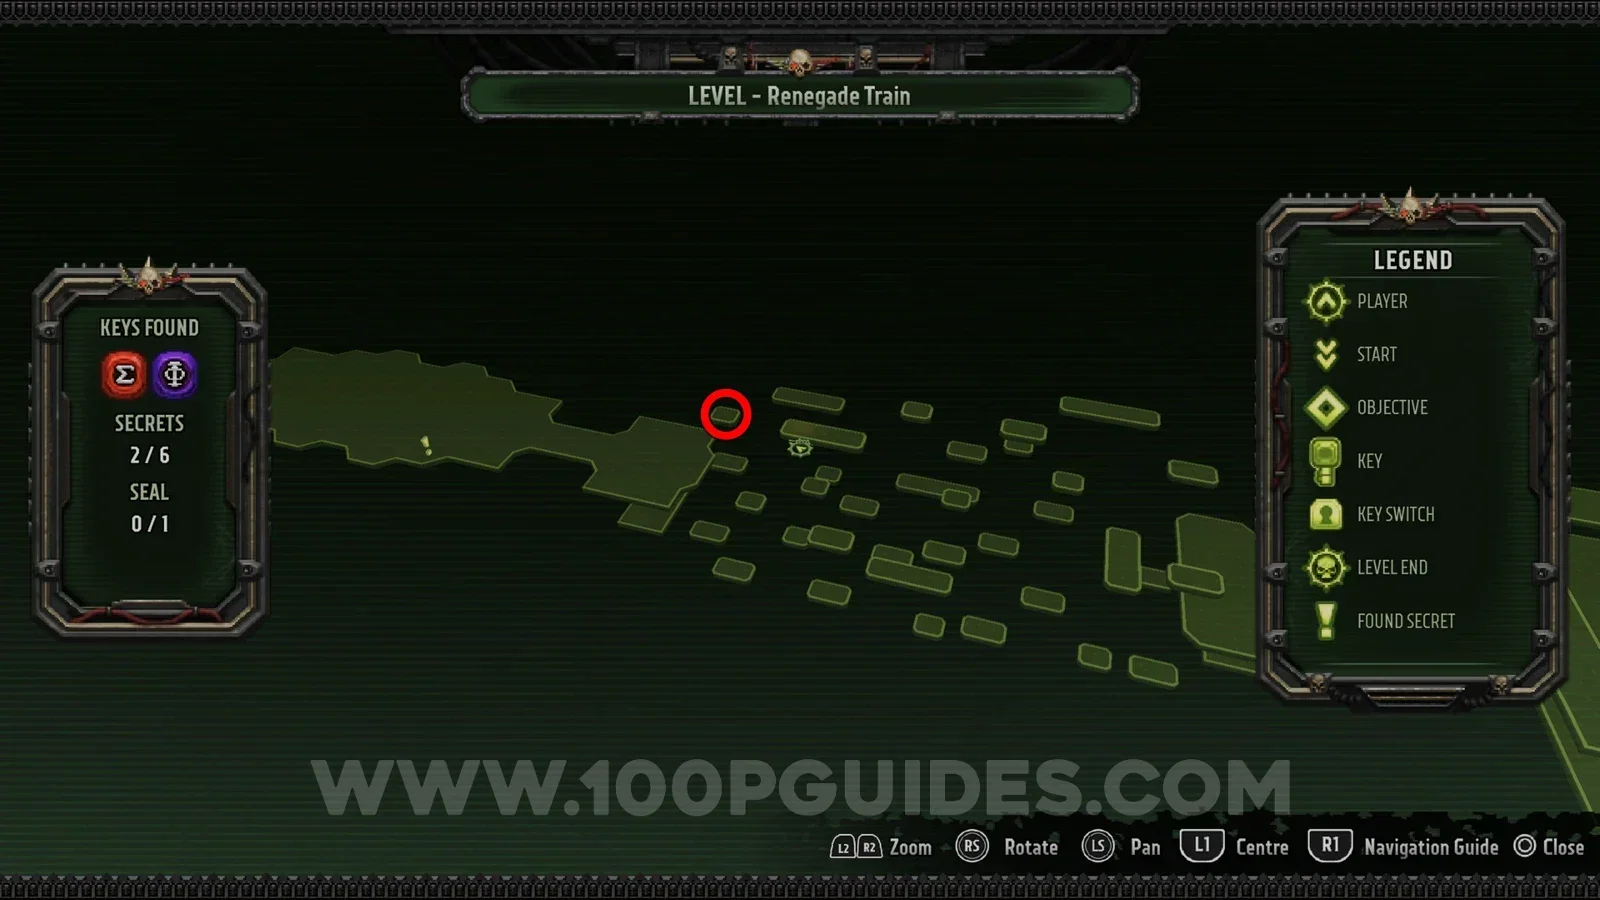
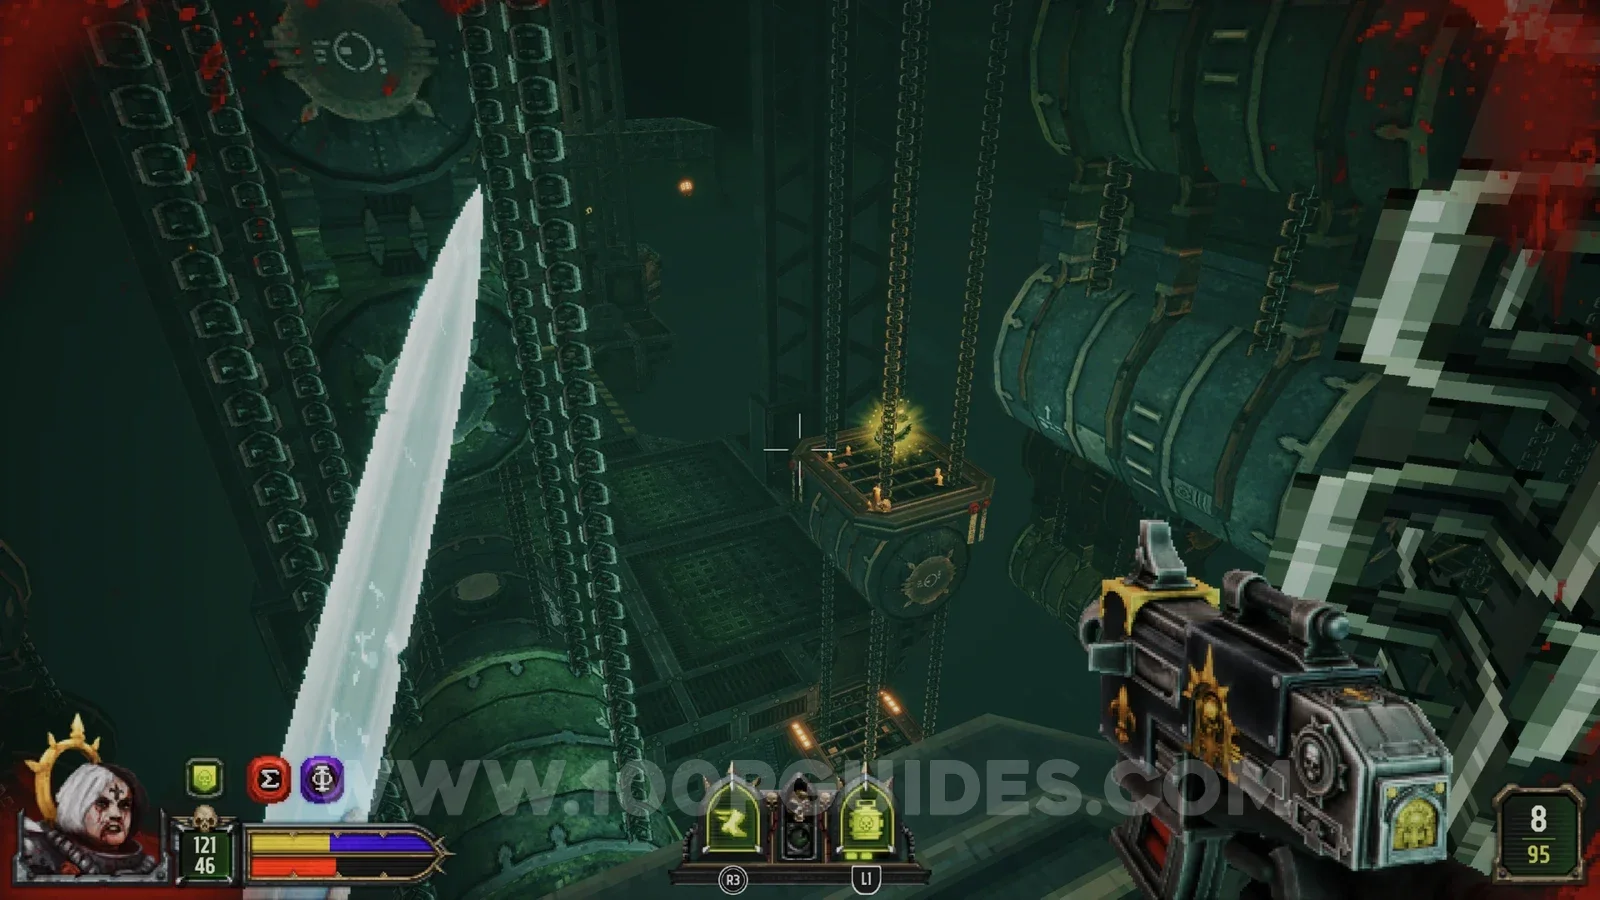
Secret 4/6
On a platform hanging from the chains in the same area as the previous secret.
Secret 5/6
In the container on the left after the chained platforms with the previous secrets.
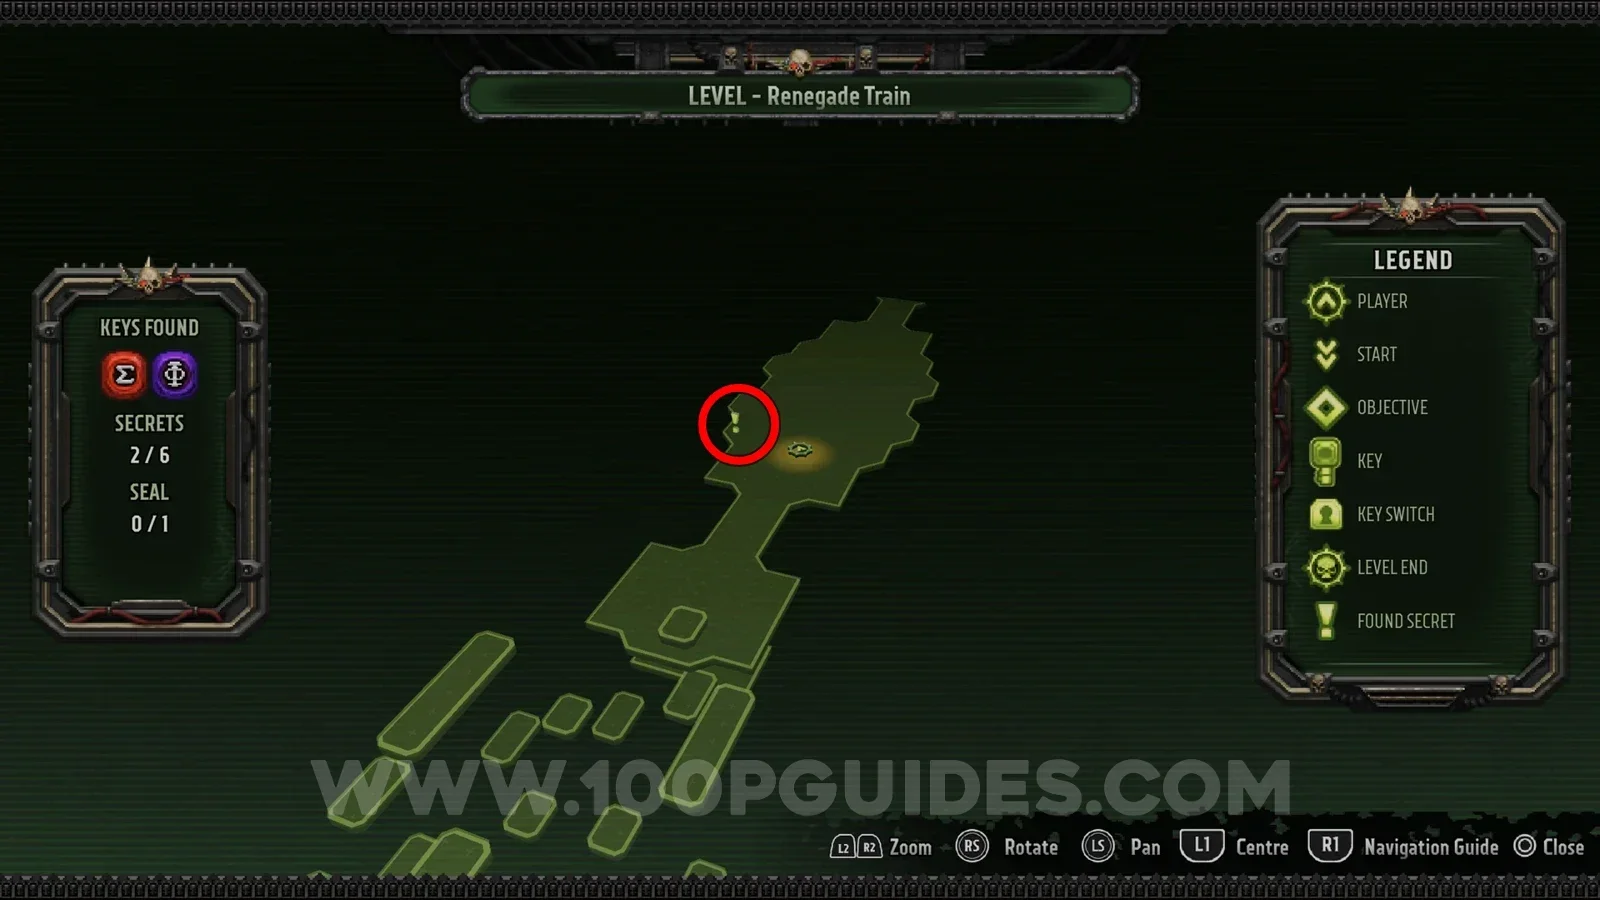
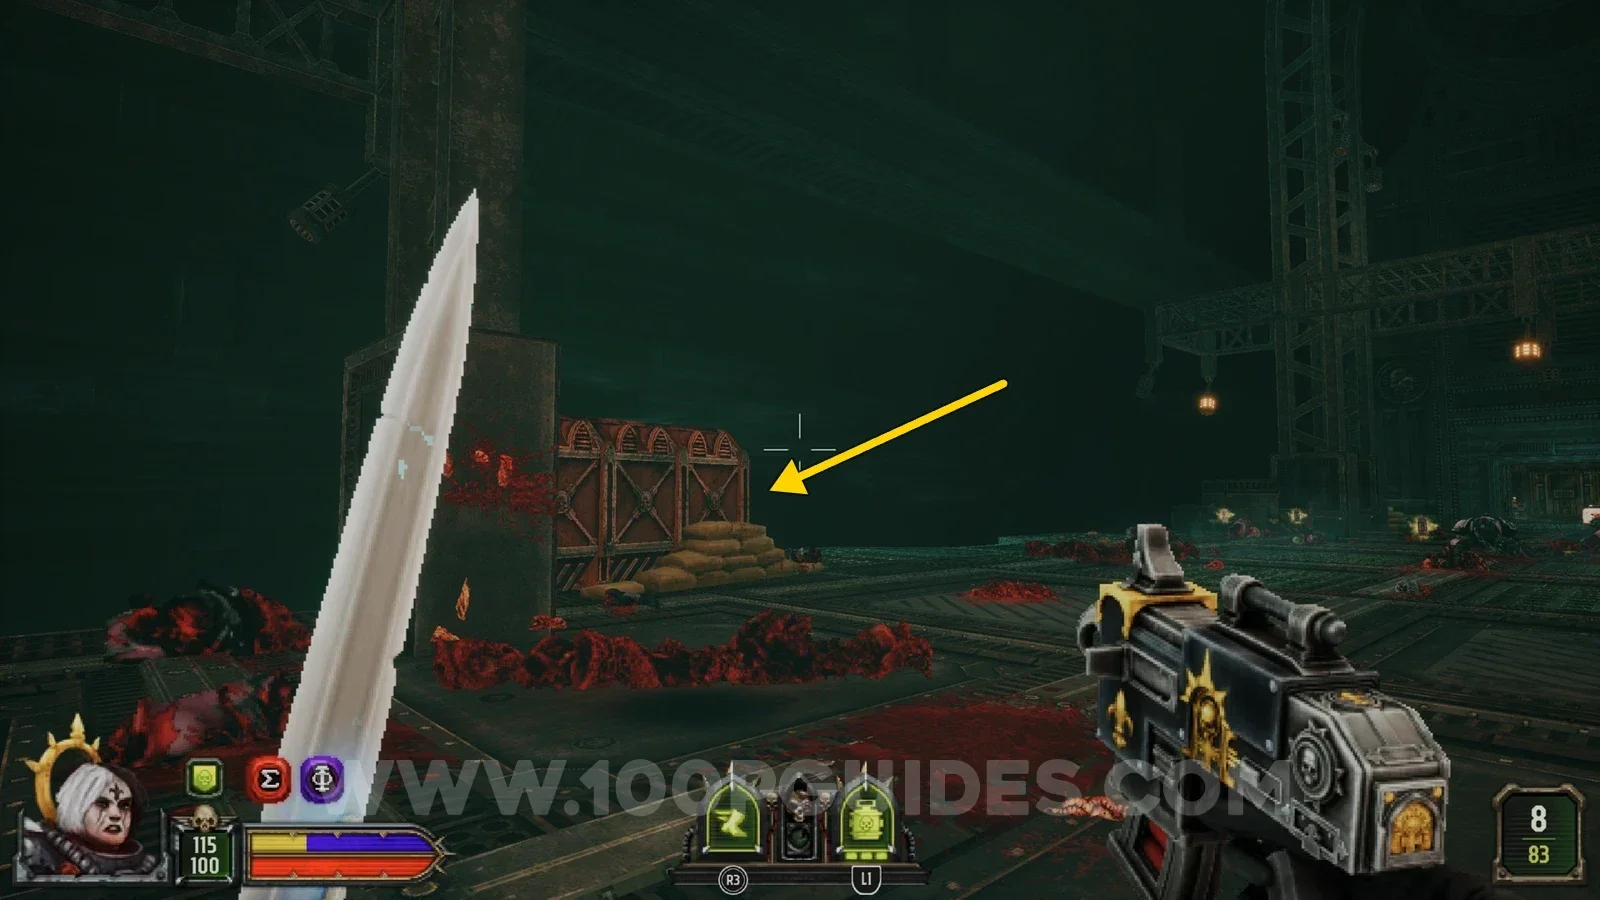
Seal 1/1
After passing through the blue spinning barriers, use the jump pad to reach the upper floor. Use the console, then shoot the panels on the wall and wall run along the extended platforms to the opposite end of the upper floor. Go left there to find the seal.
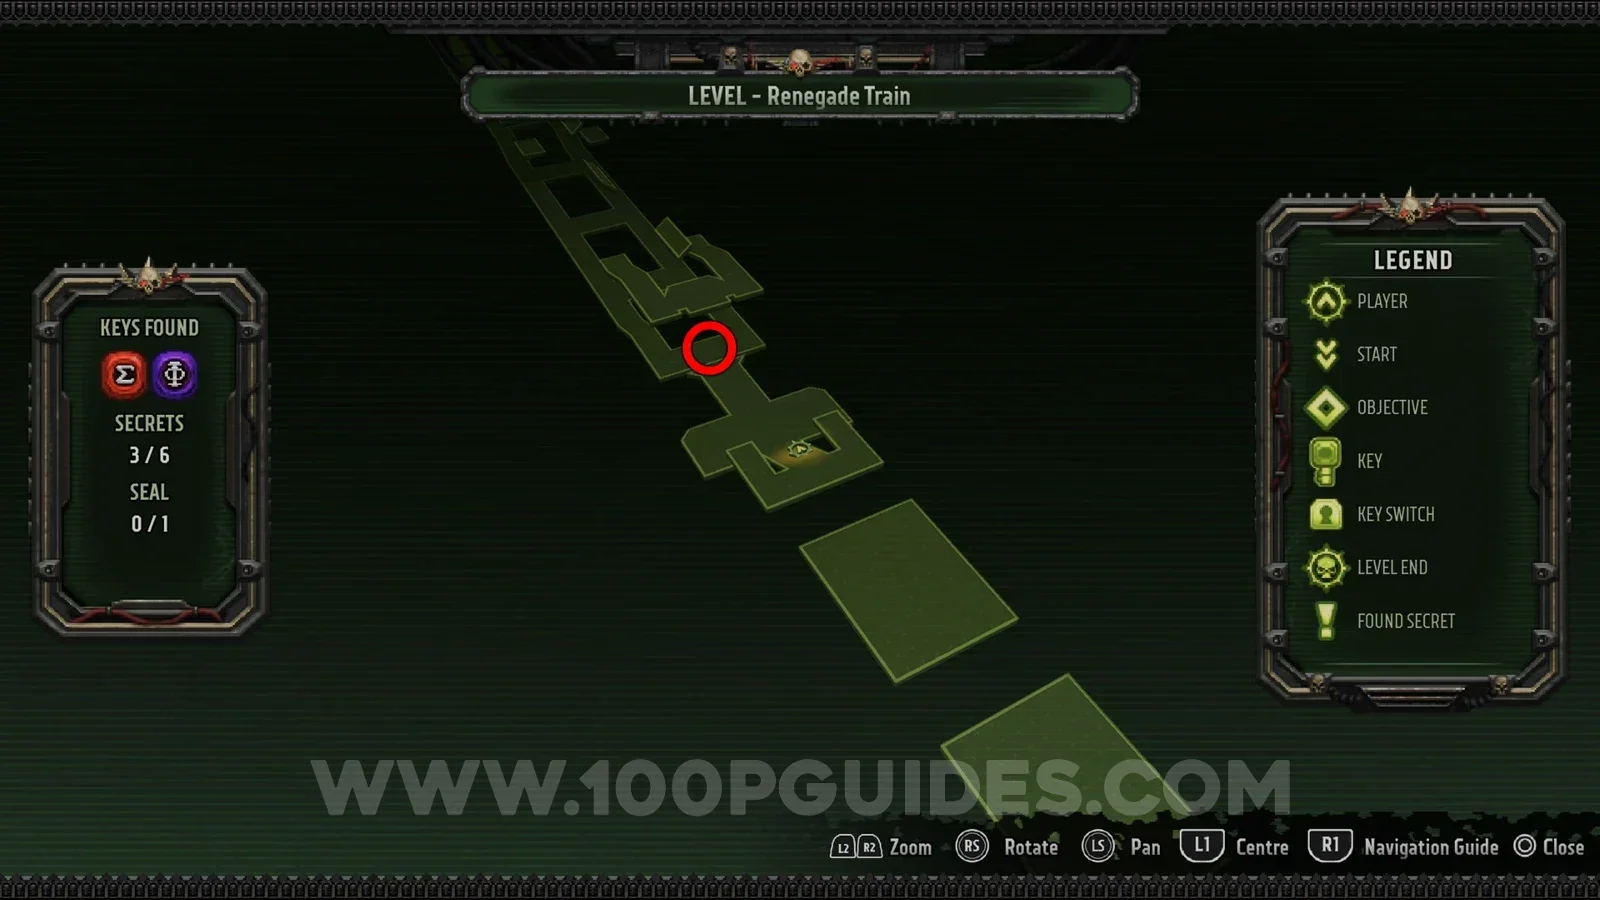
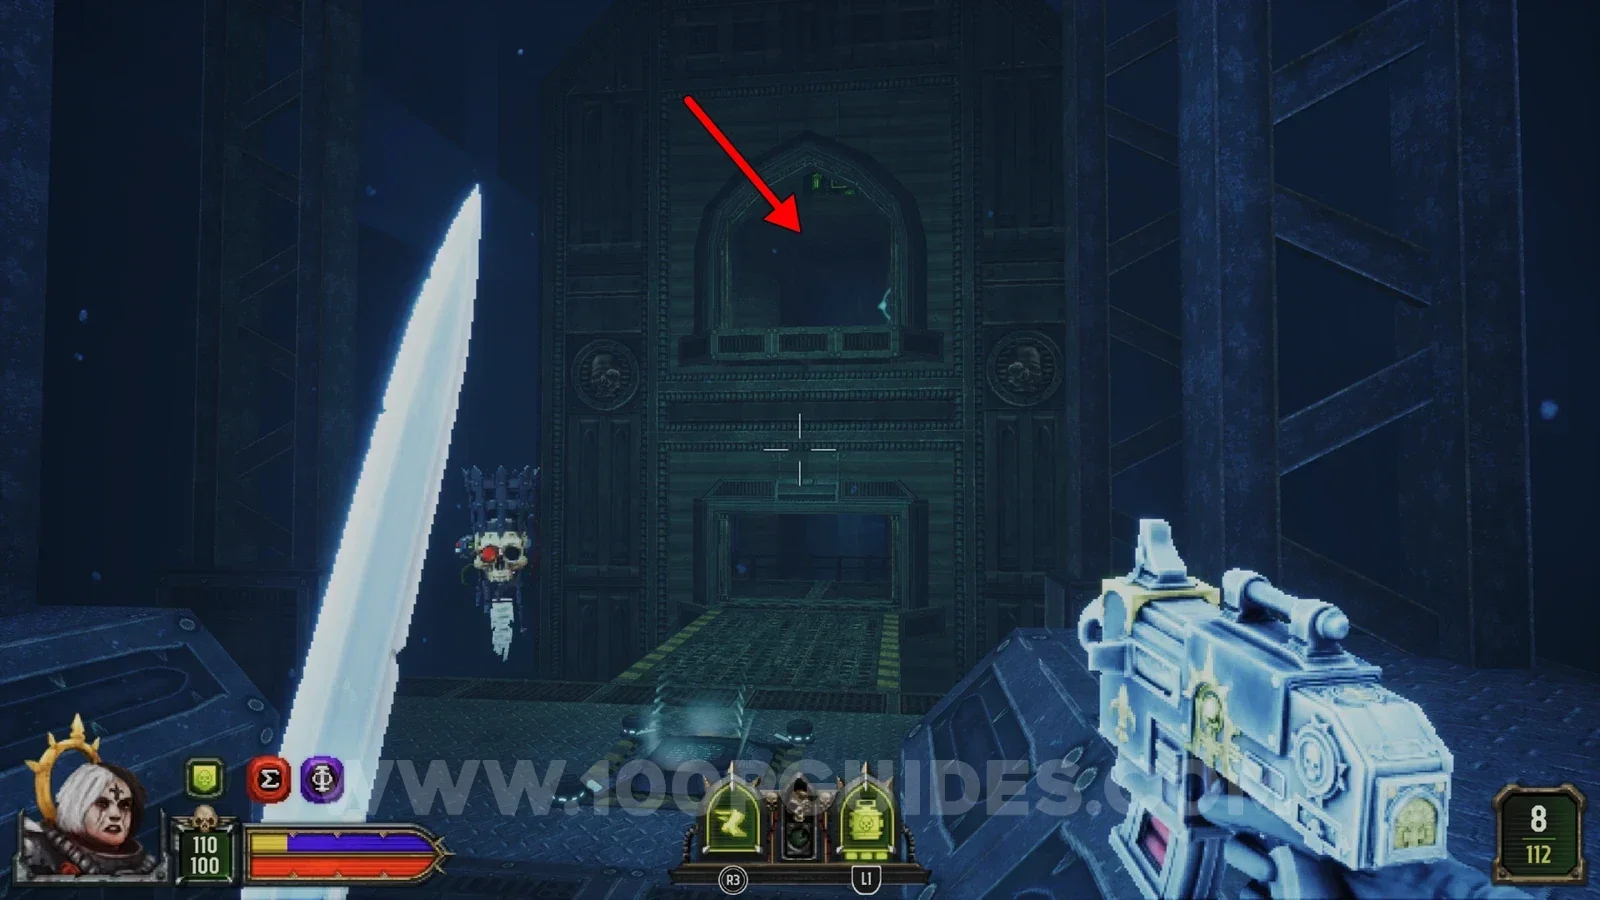
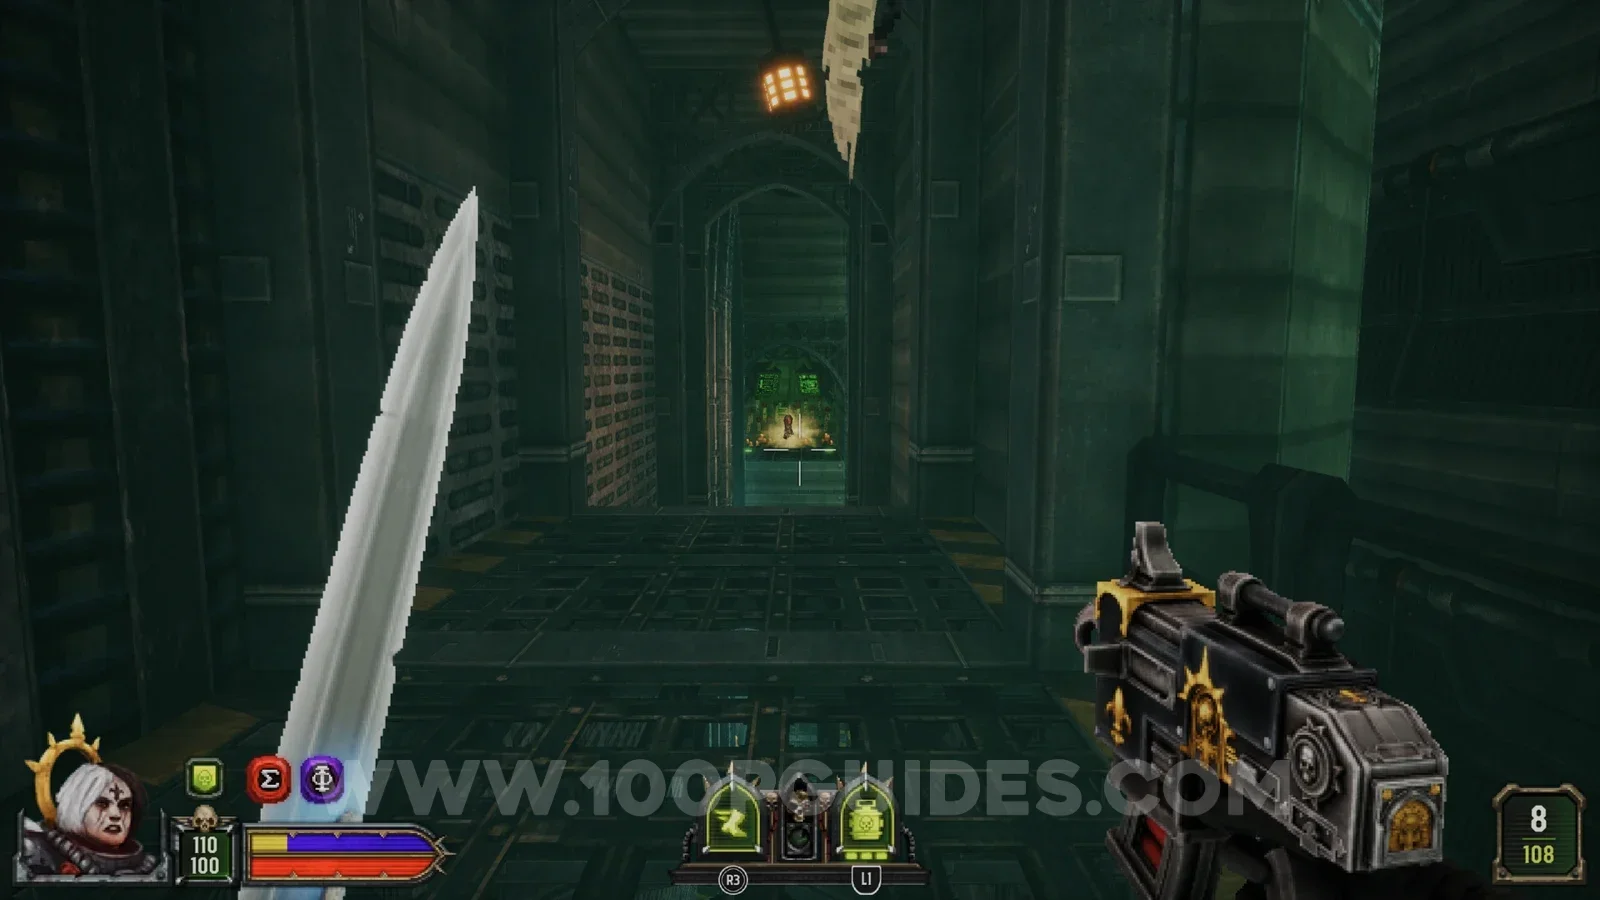
Secret 6/6
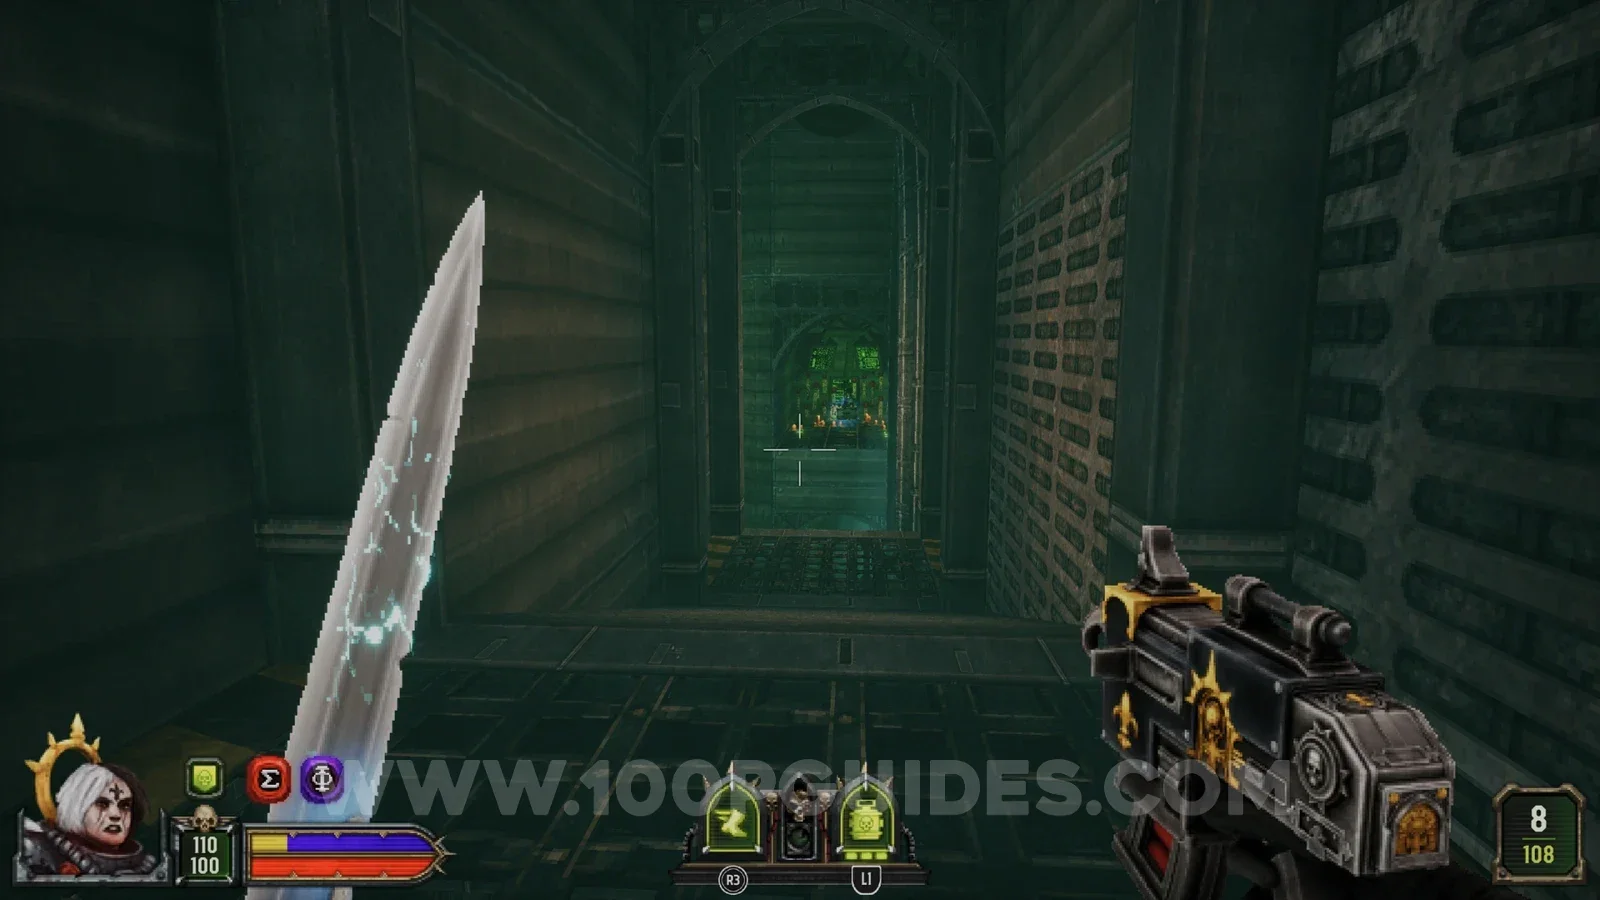
The same as the previous collectible, but on the opposite side of the upper level.
Despoiled Quarry Path B
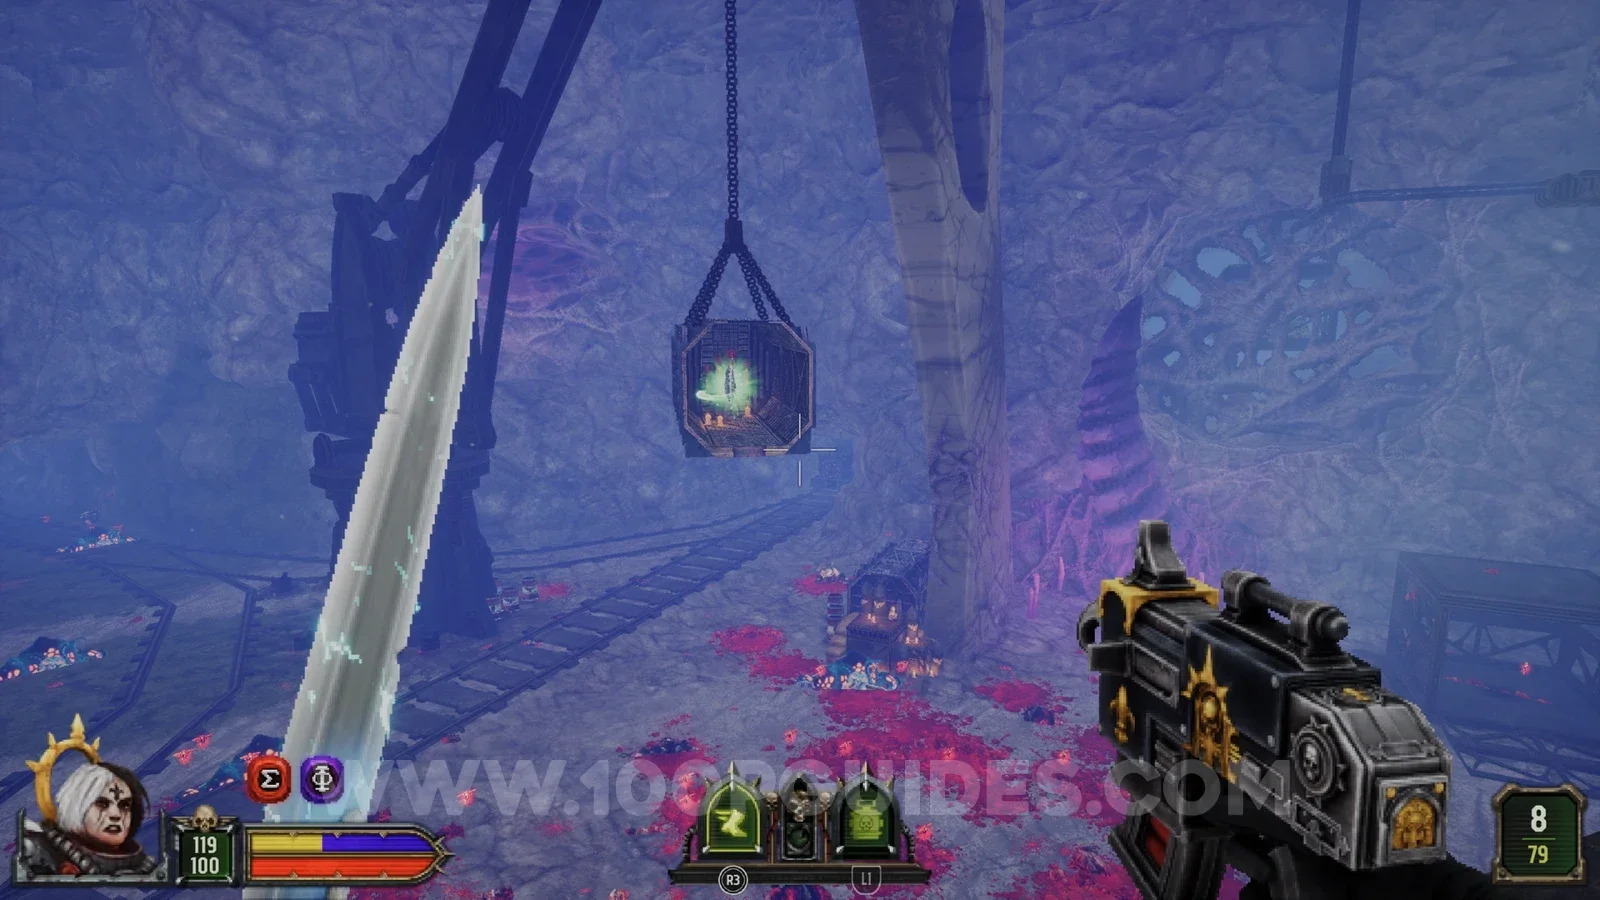
Secret 1/6
In the area with the purple door, look for a skull just to the left of the door. Shoot it to swing the hanging container around, then use the purple part to the right of the skull as a ramp to get to the container.
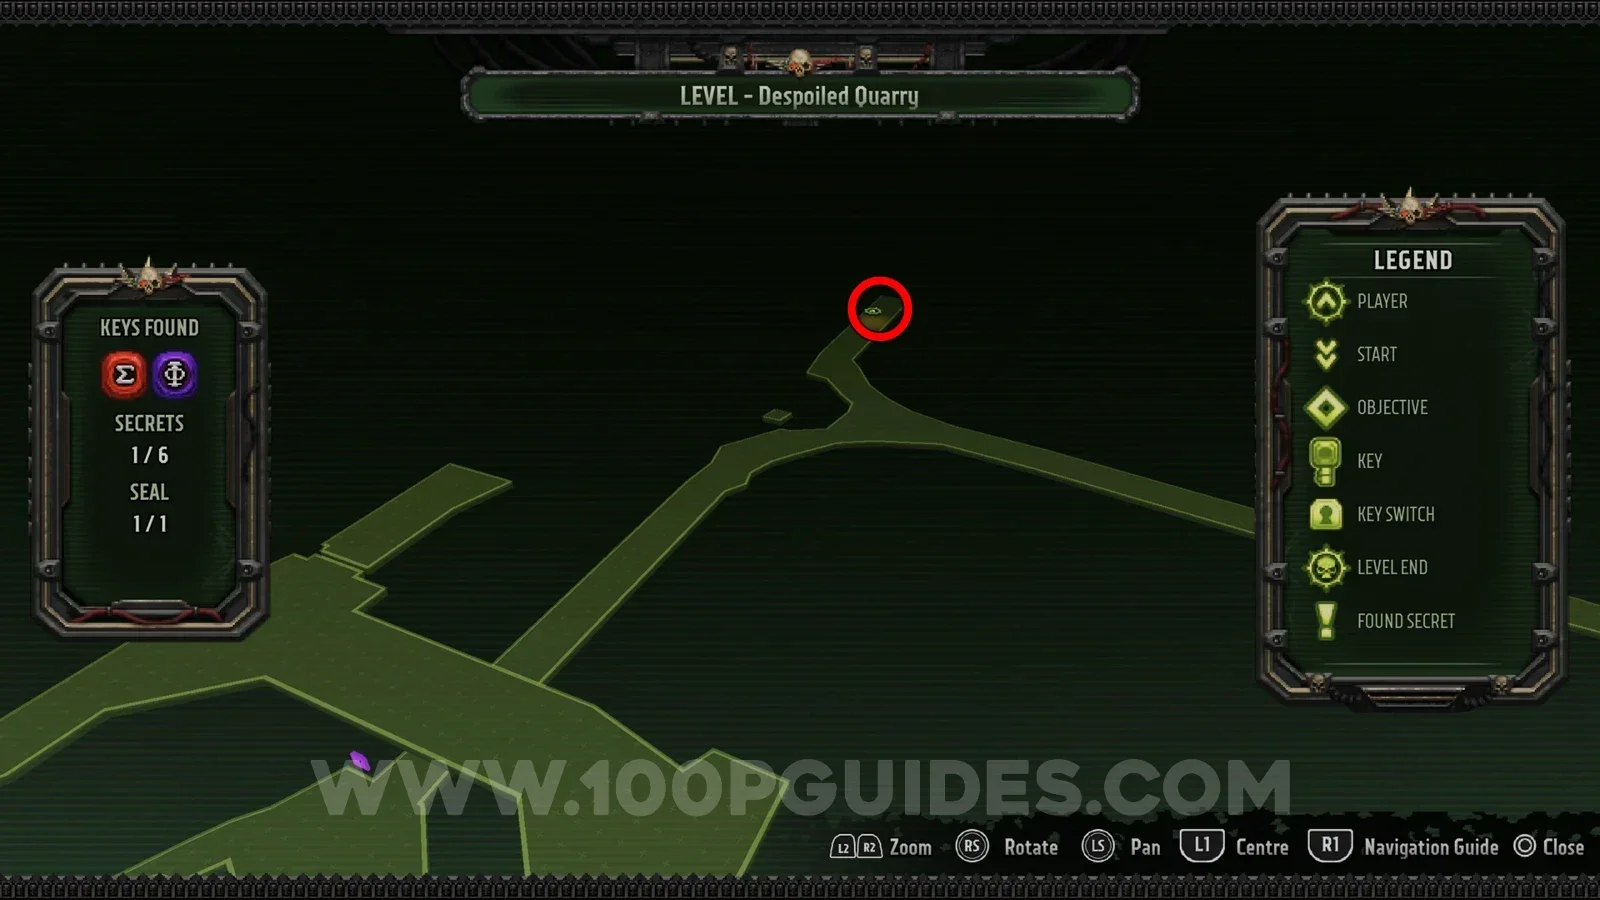
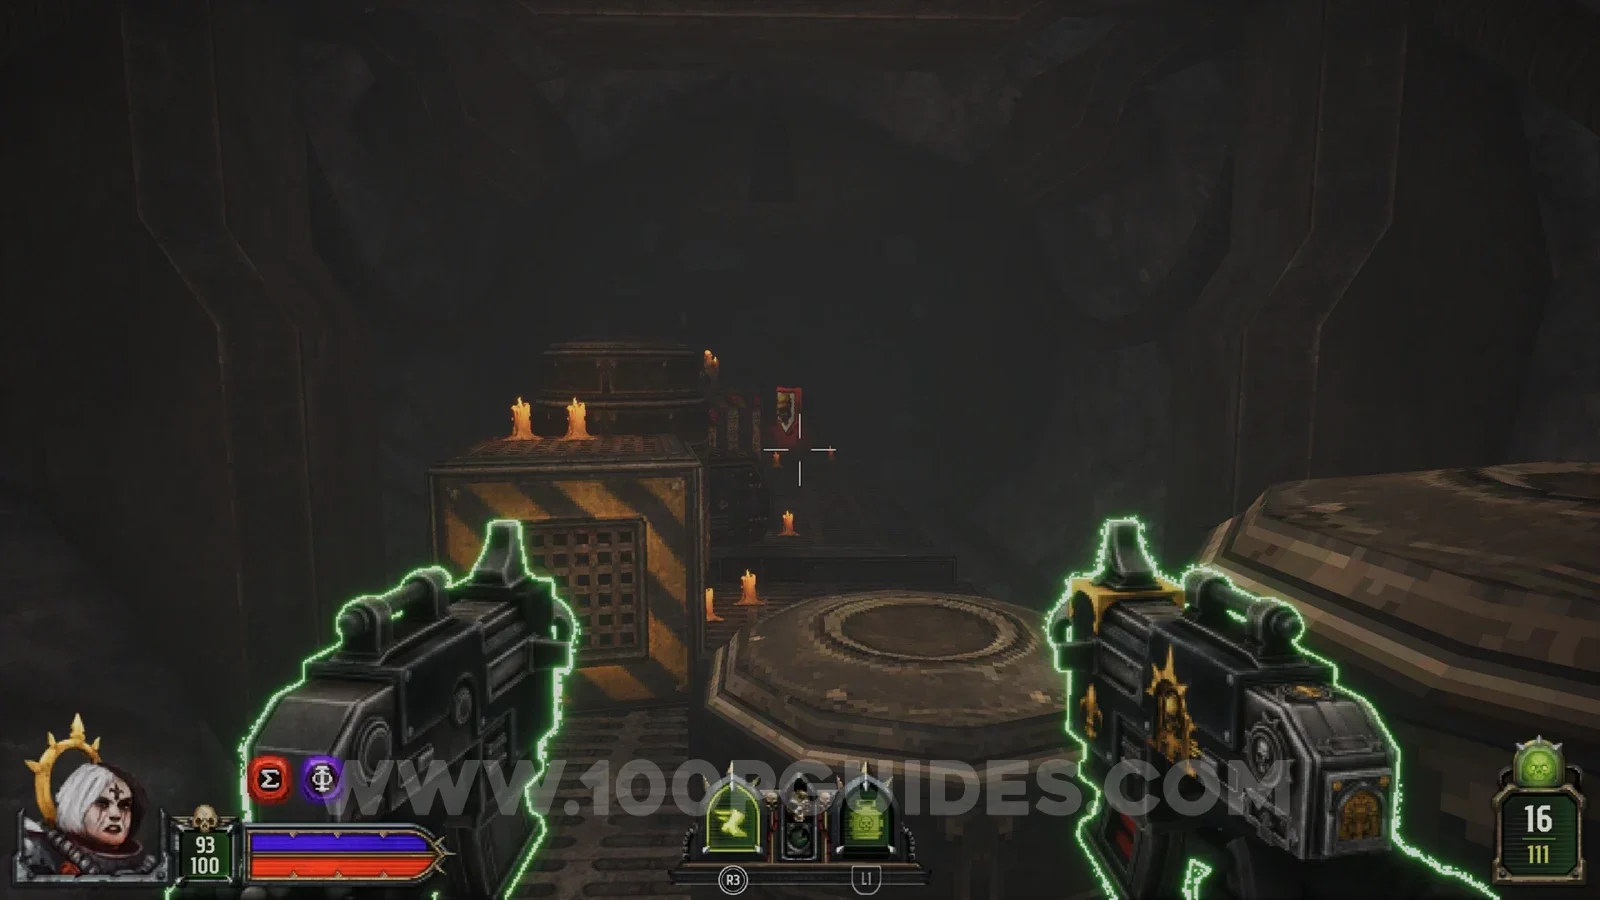
Secret 2/6
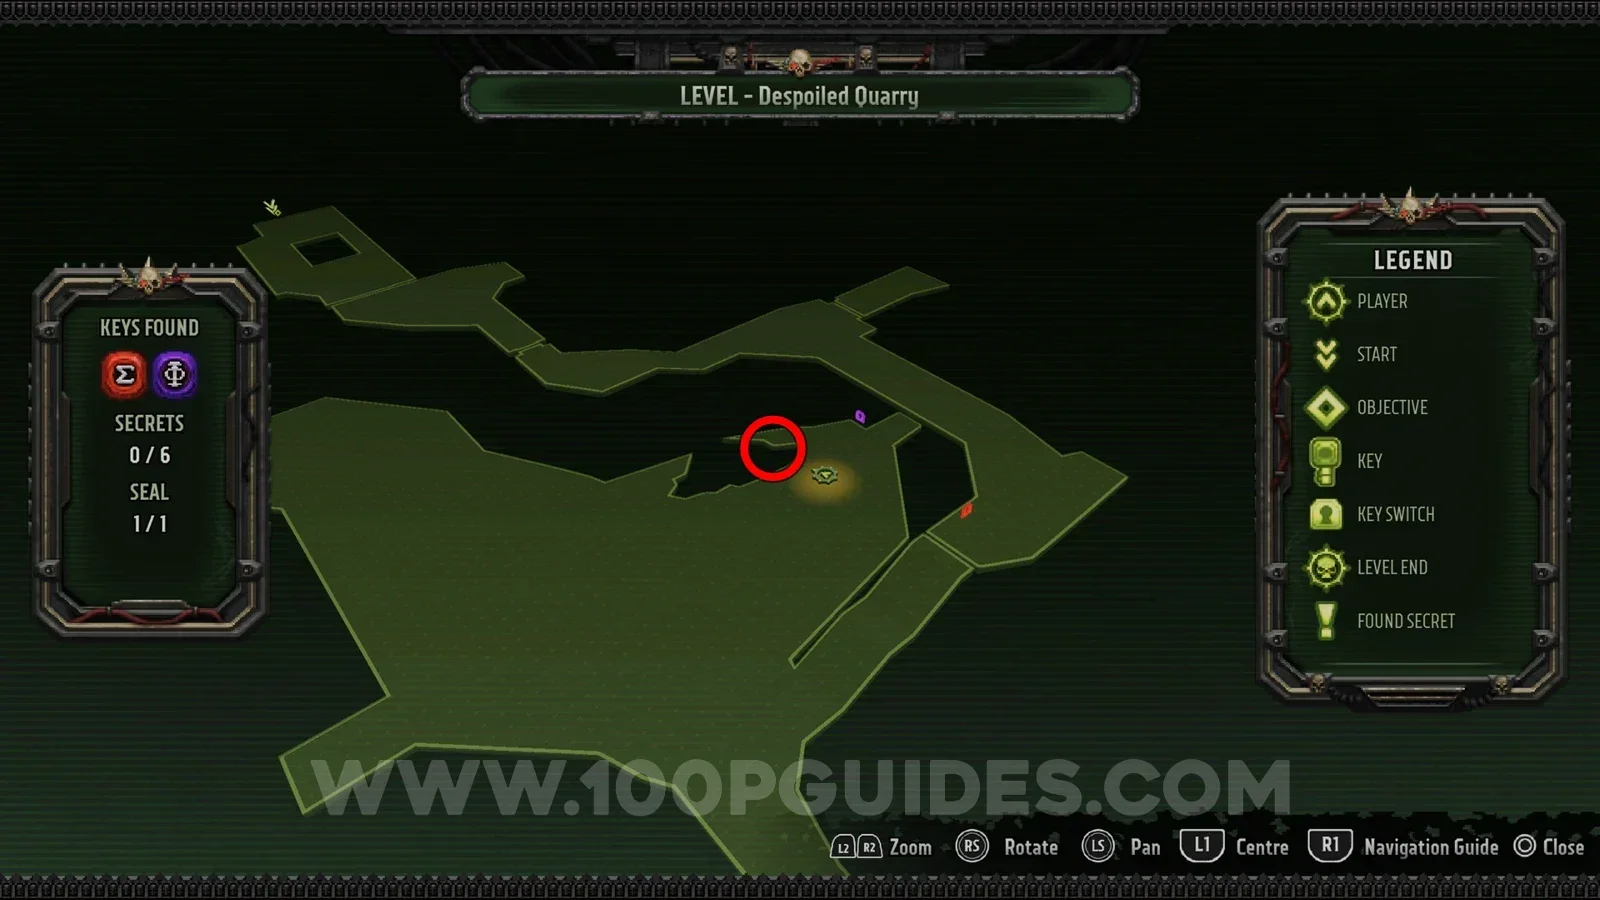
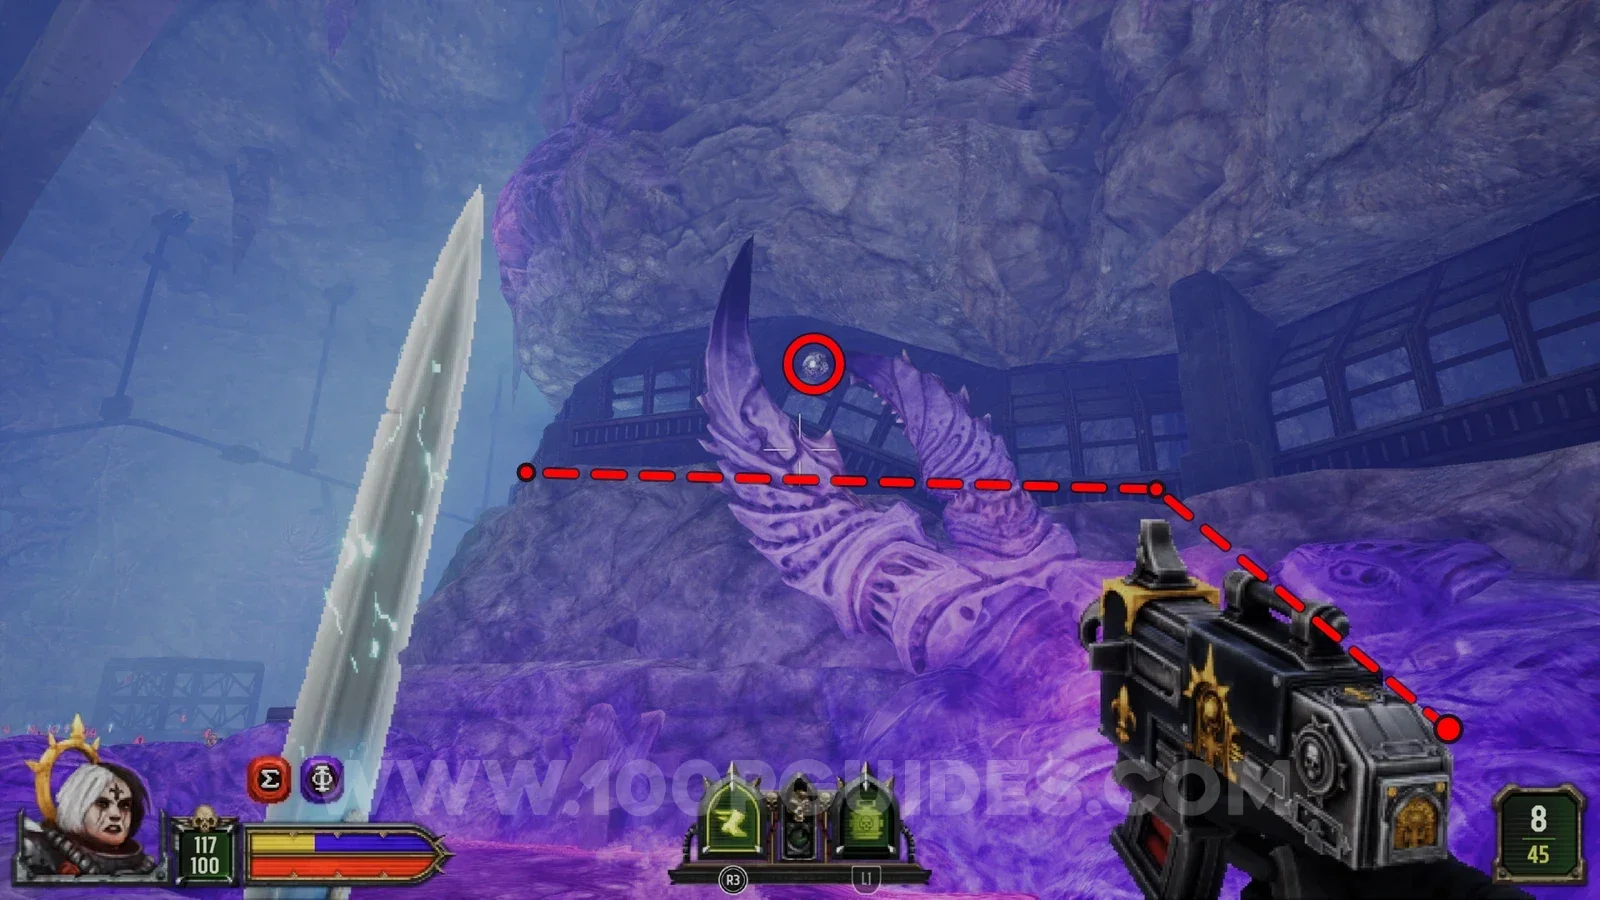
Open the purple door and, instead of jumping onto the cart and following the tracks, head straight on to find the secret at the end.
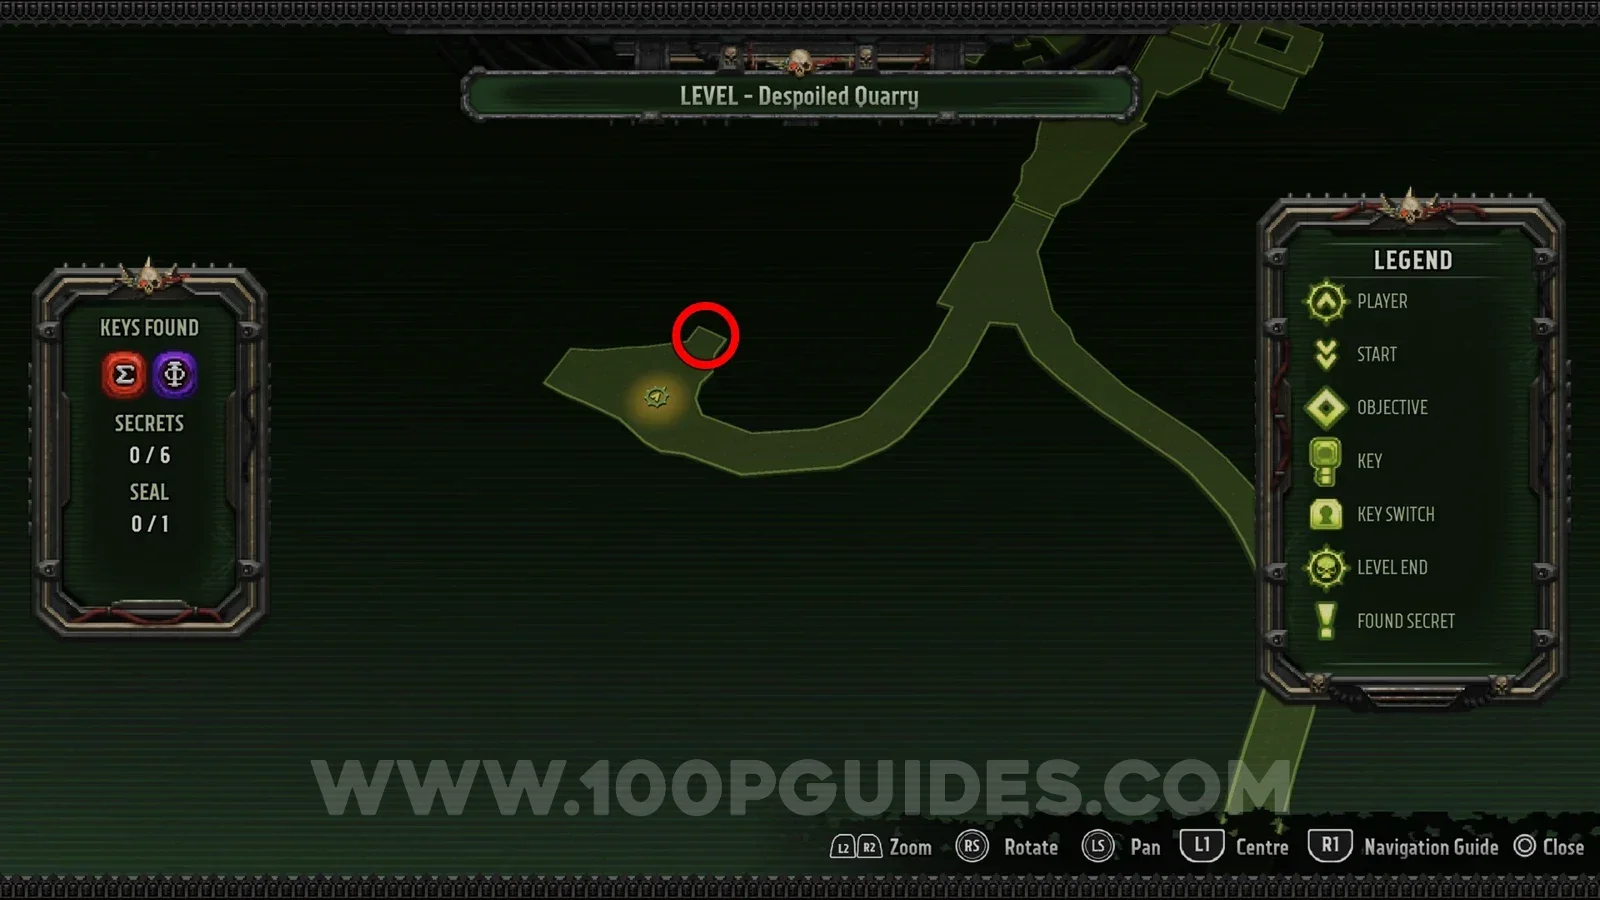
Secret 3/6
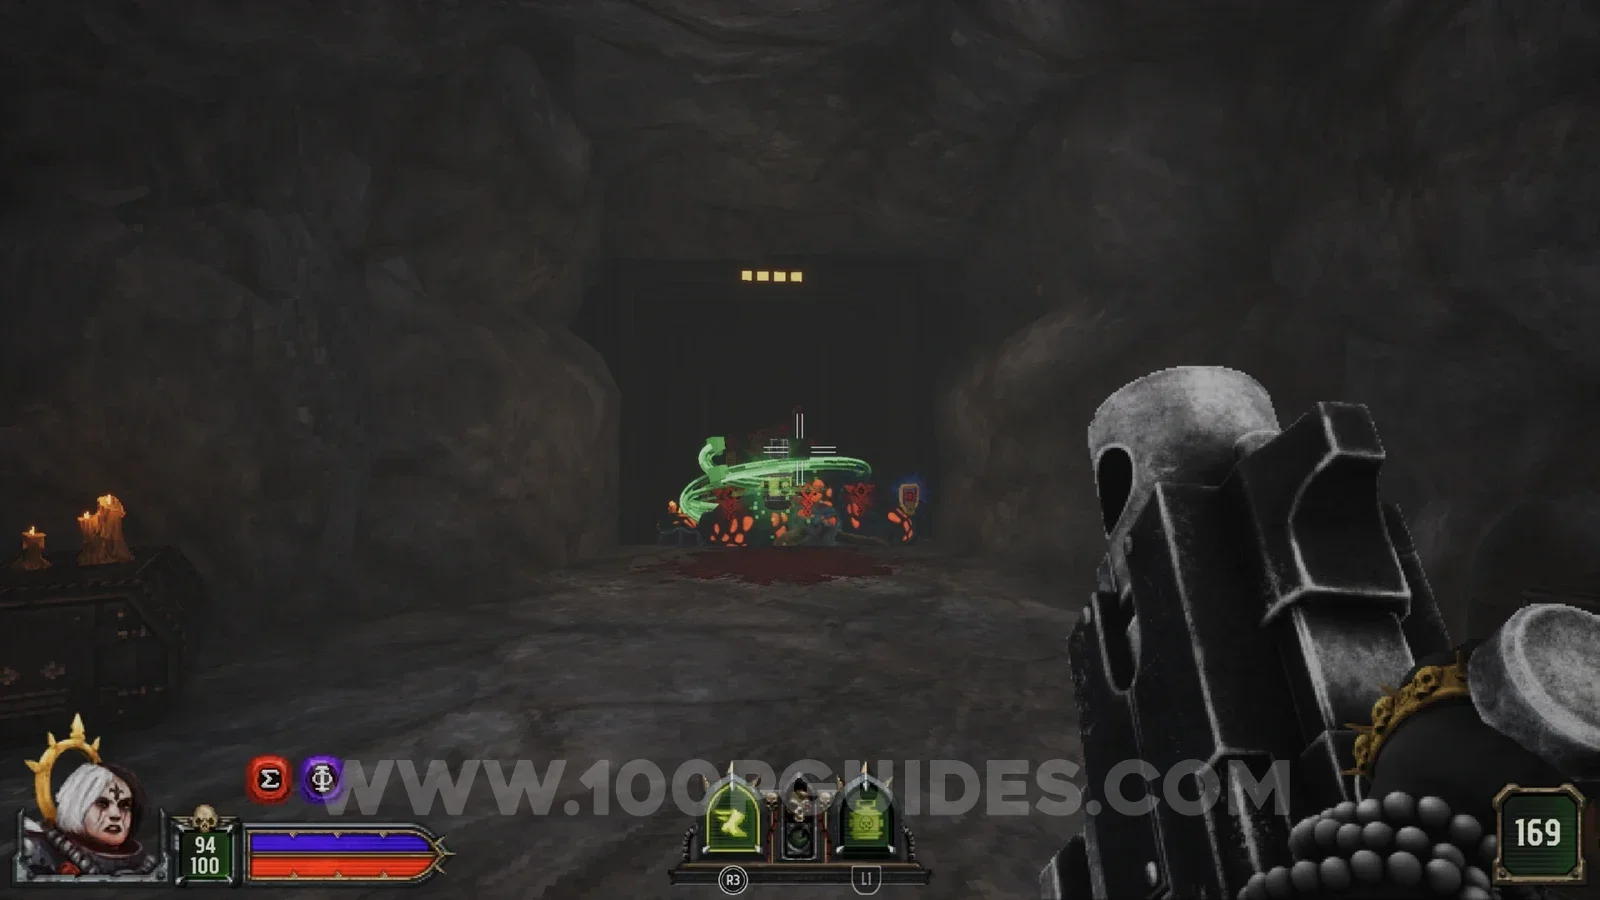
Now ride the cart after the purple door and jump off when you see the path split. Head up the left-hand path to find the secret.
Seal 1/1
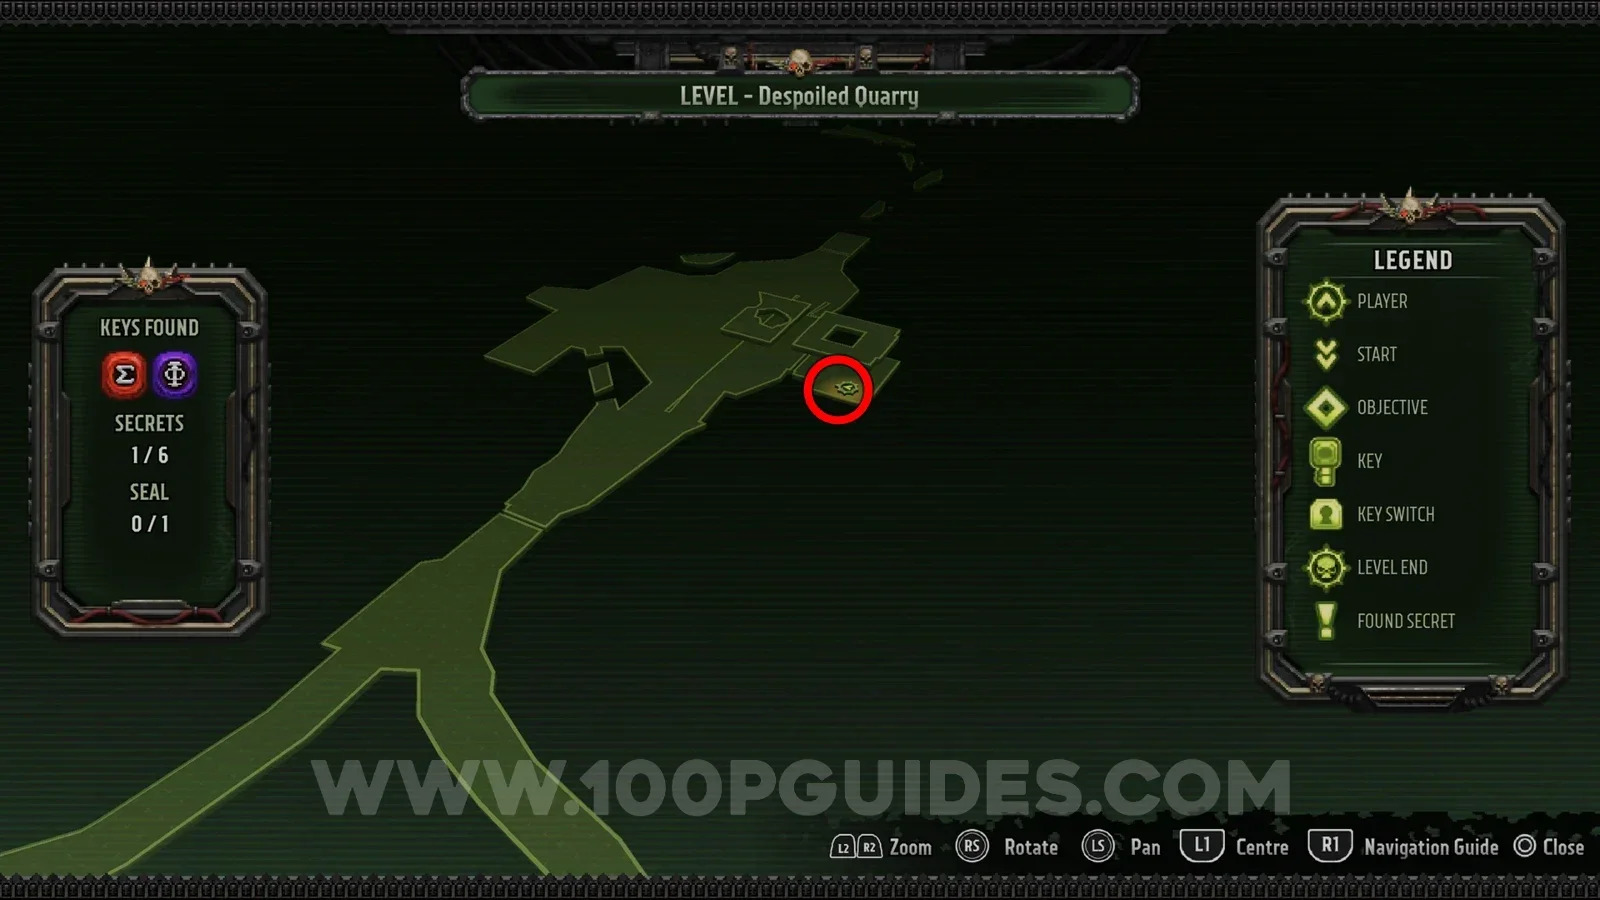
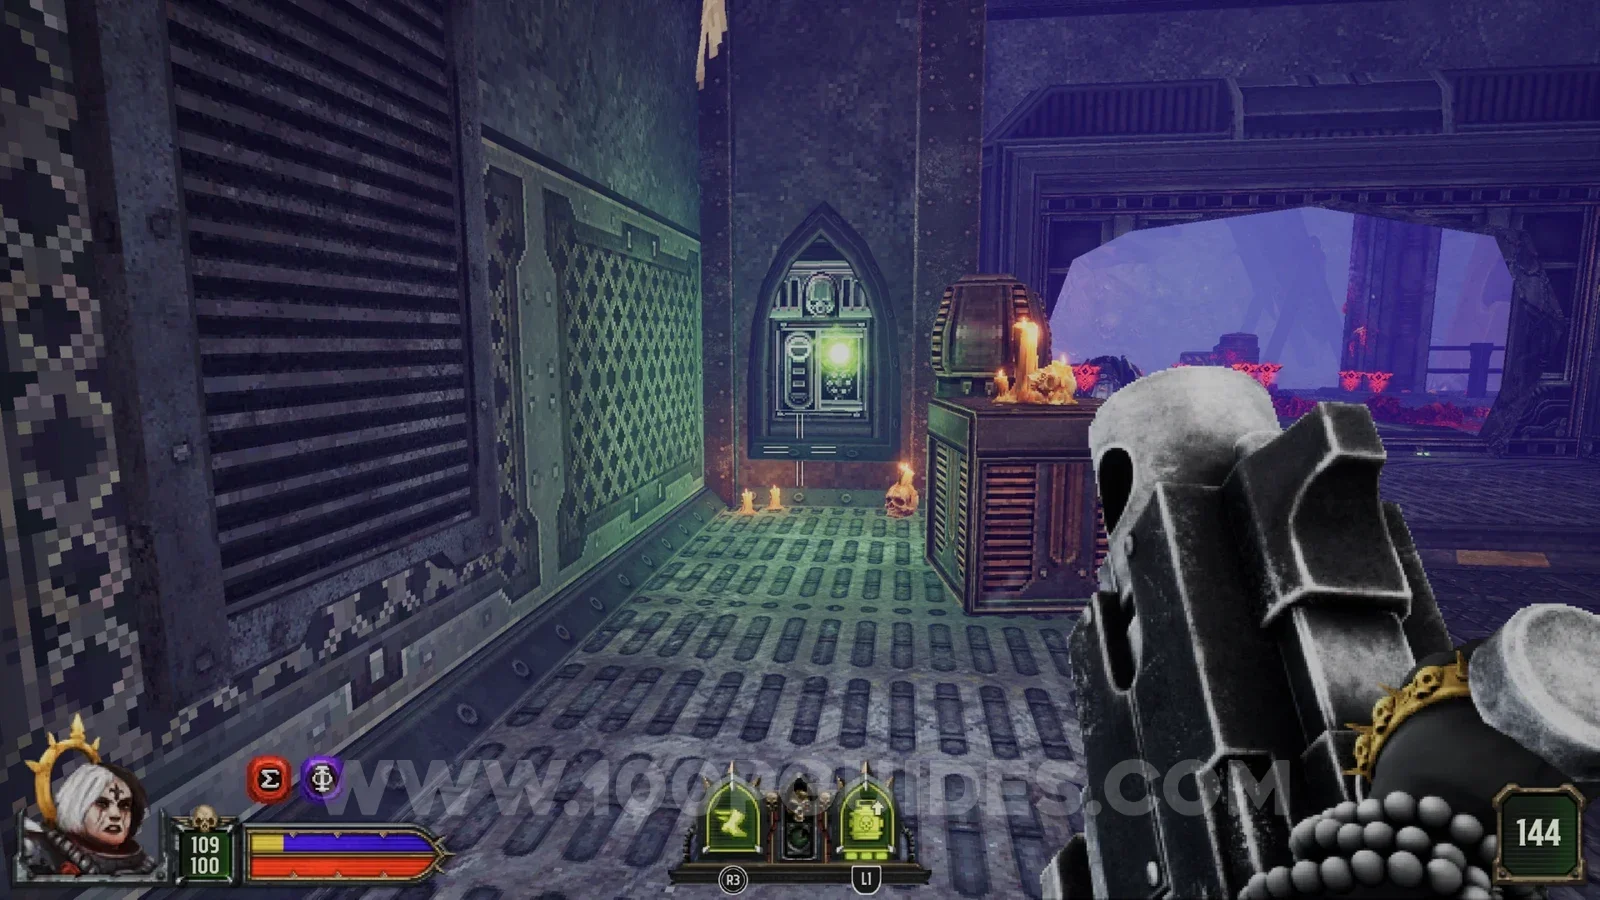
After the previous secret, head into the next open room, where the cart ends up. Enter the building on the right and press the green button on the right inside. Then ride the lift up and find the seal behind the container on the top floor.
Secret 4/6
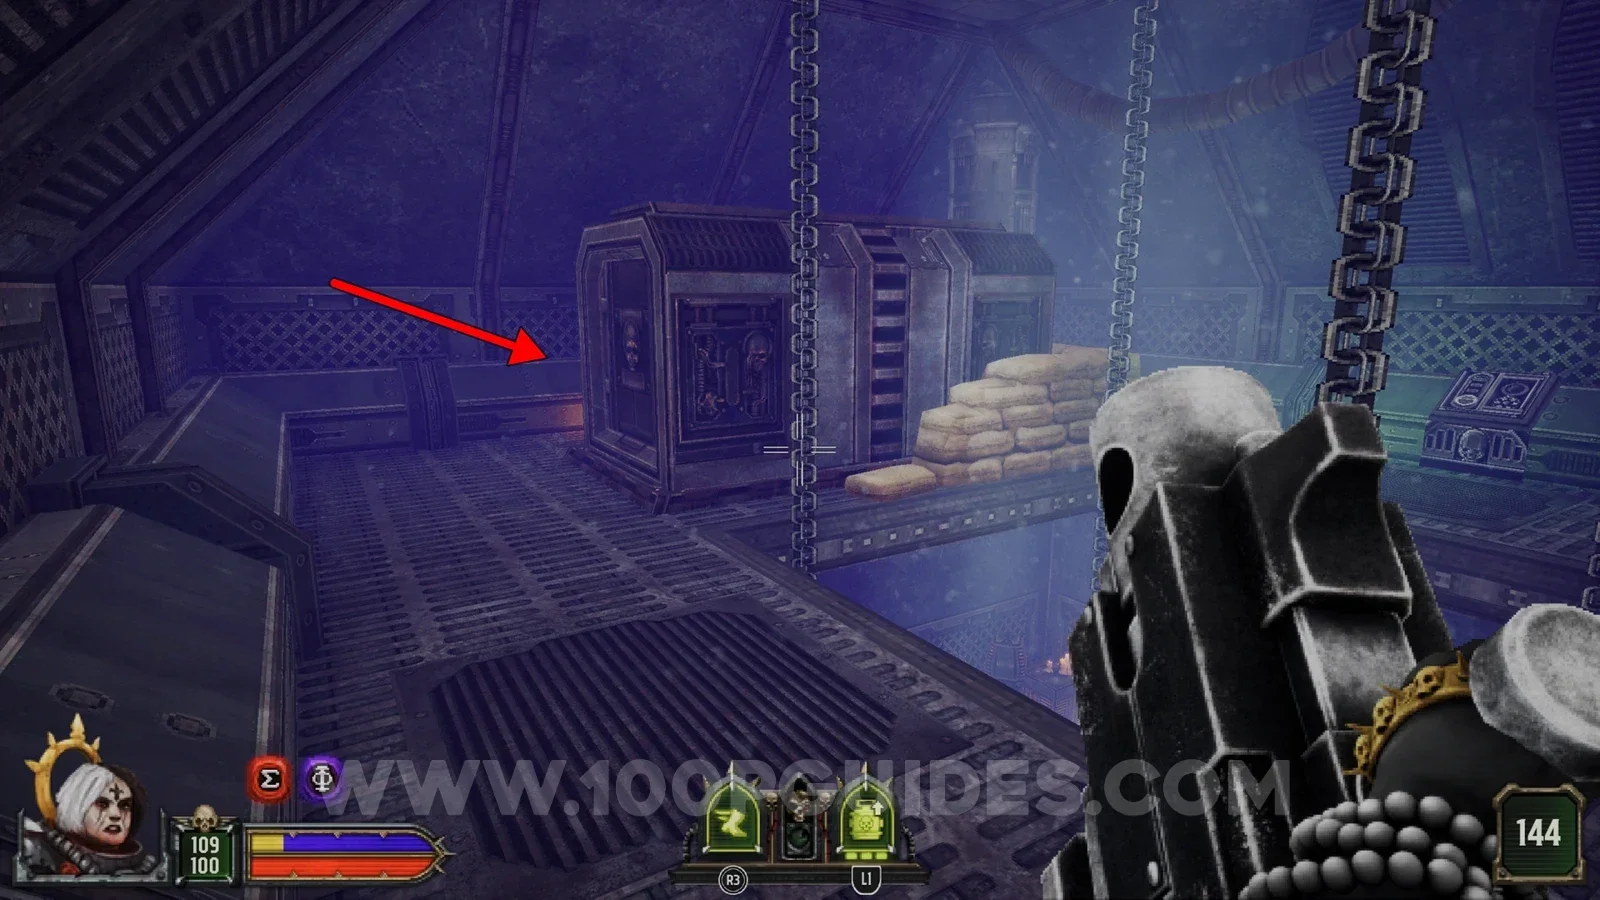
Press the switch on the top floor of the same building the seal was in to open the door on the upper floor. In the next room, press the switch there. This makes a drill carve a hole in the room behind. Drop down it, enter the train carriage and shoot the skull. This opens the carriage behind you, with the secret inside.
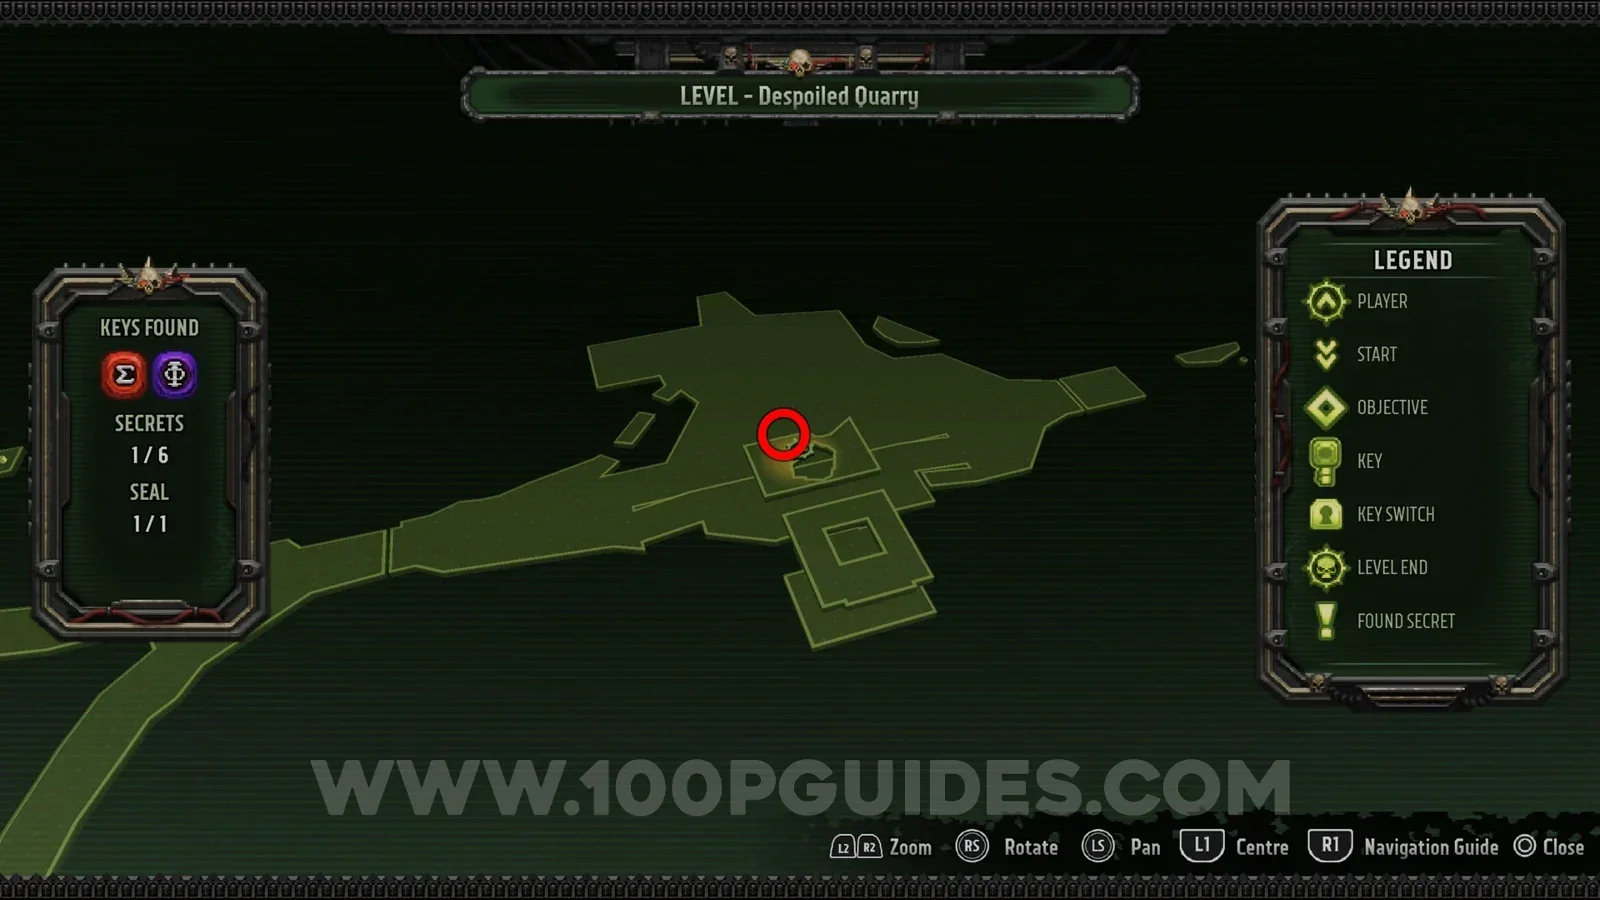
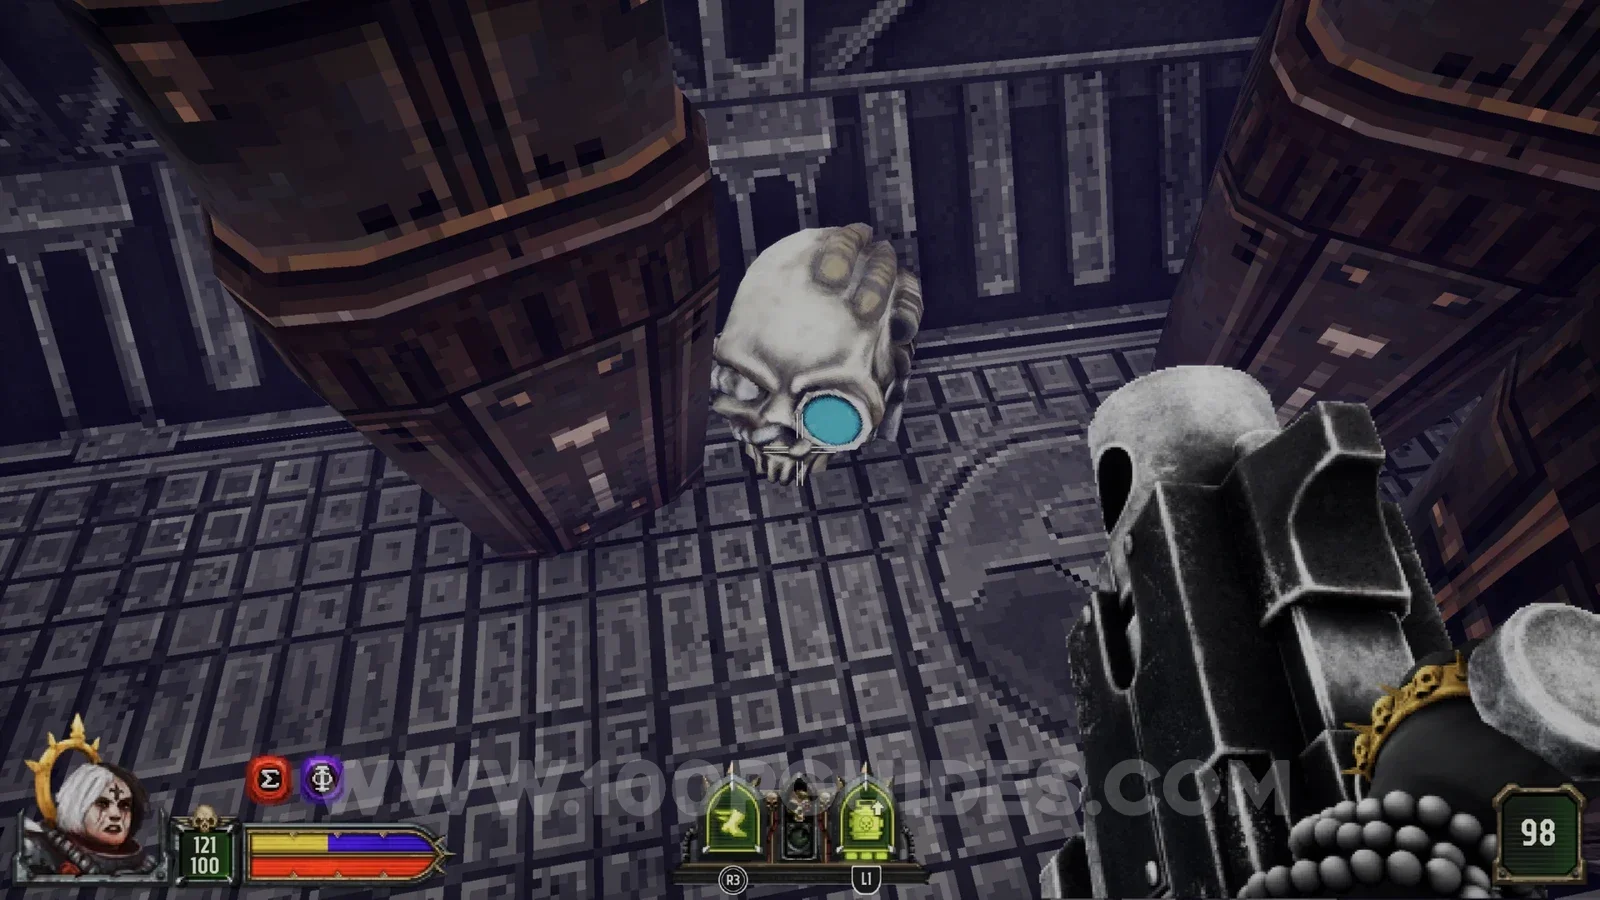
Secret 5/6
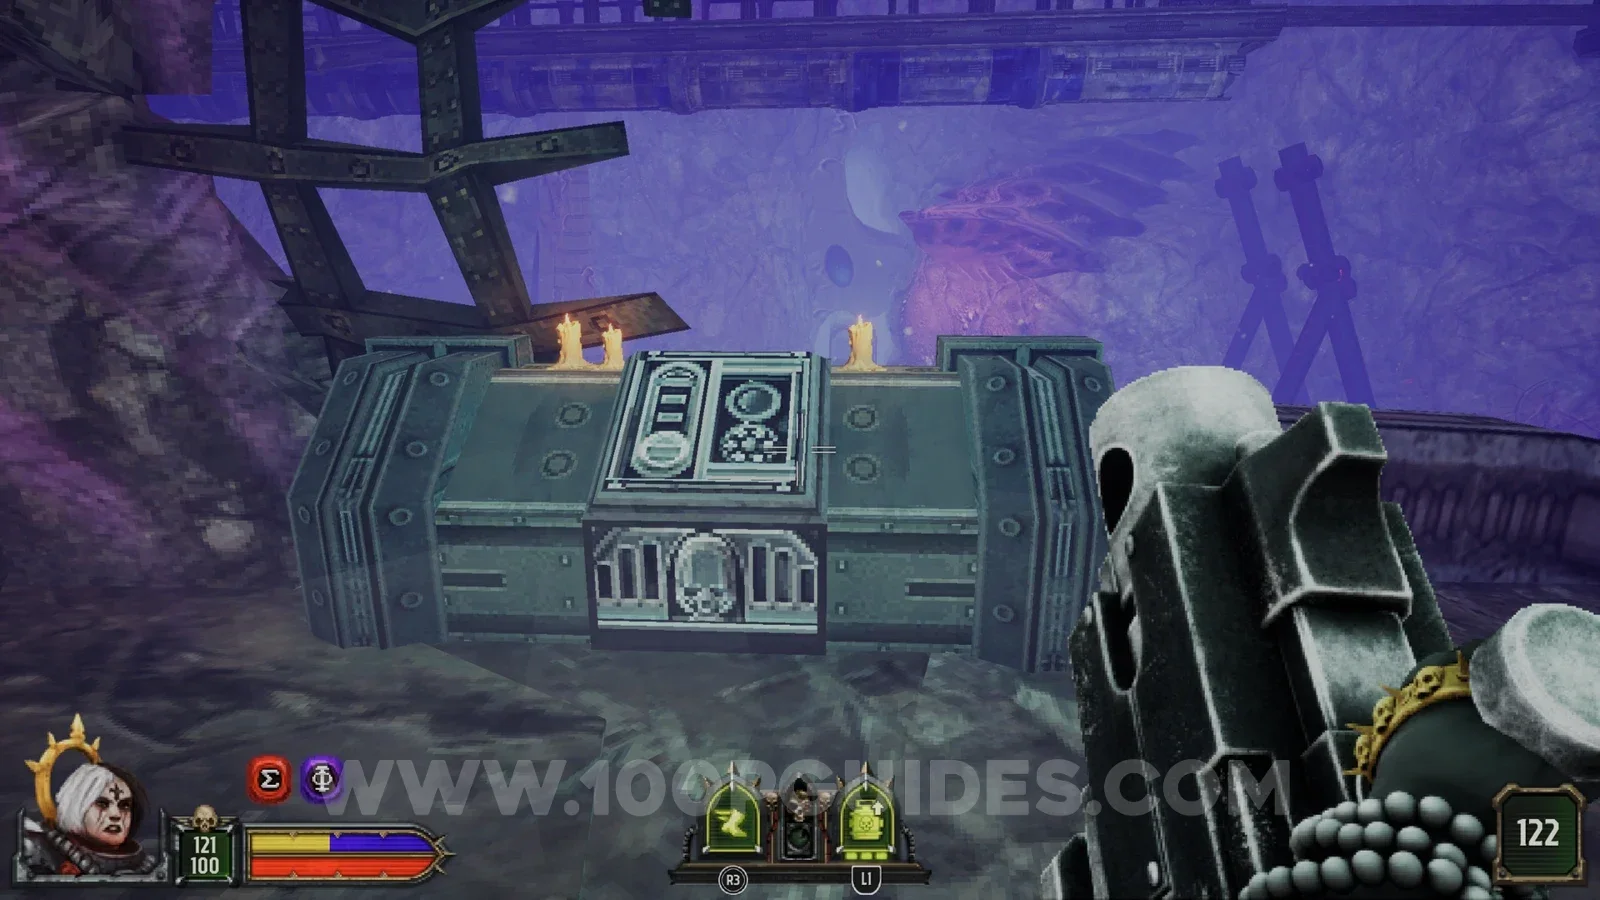
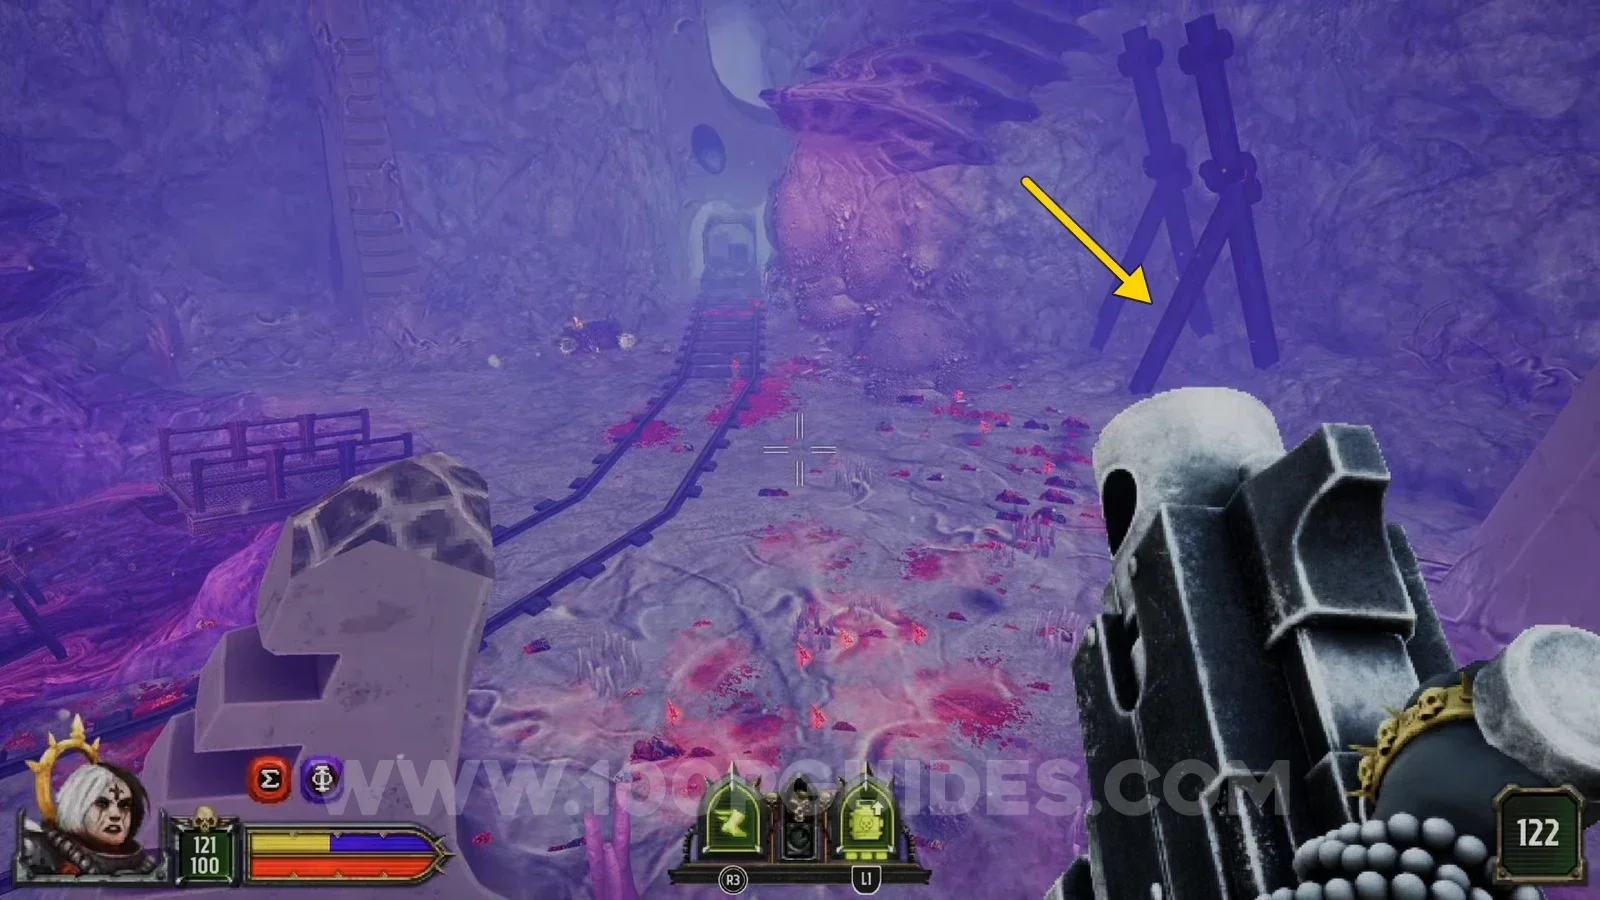
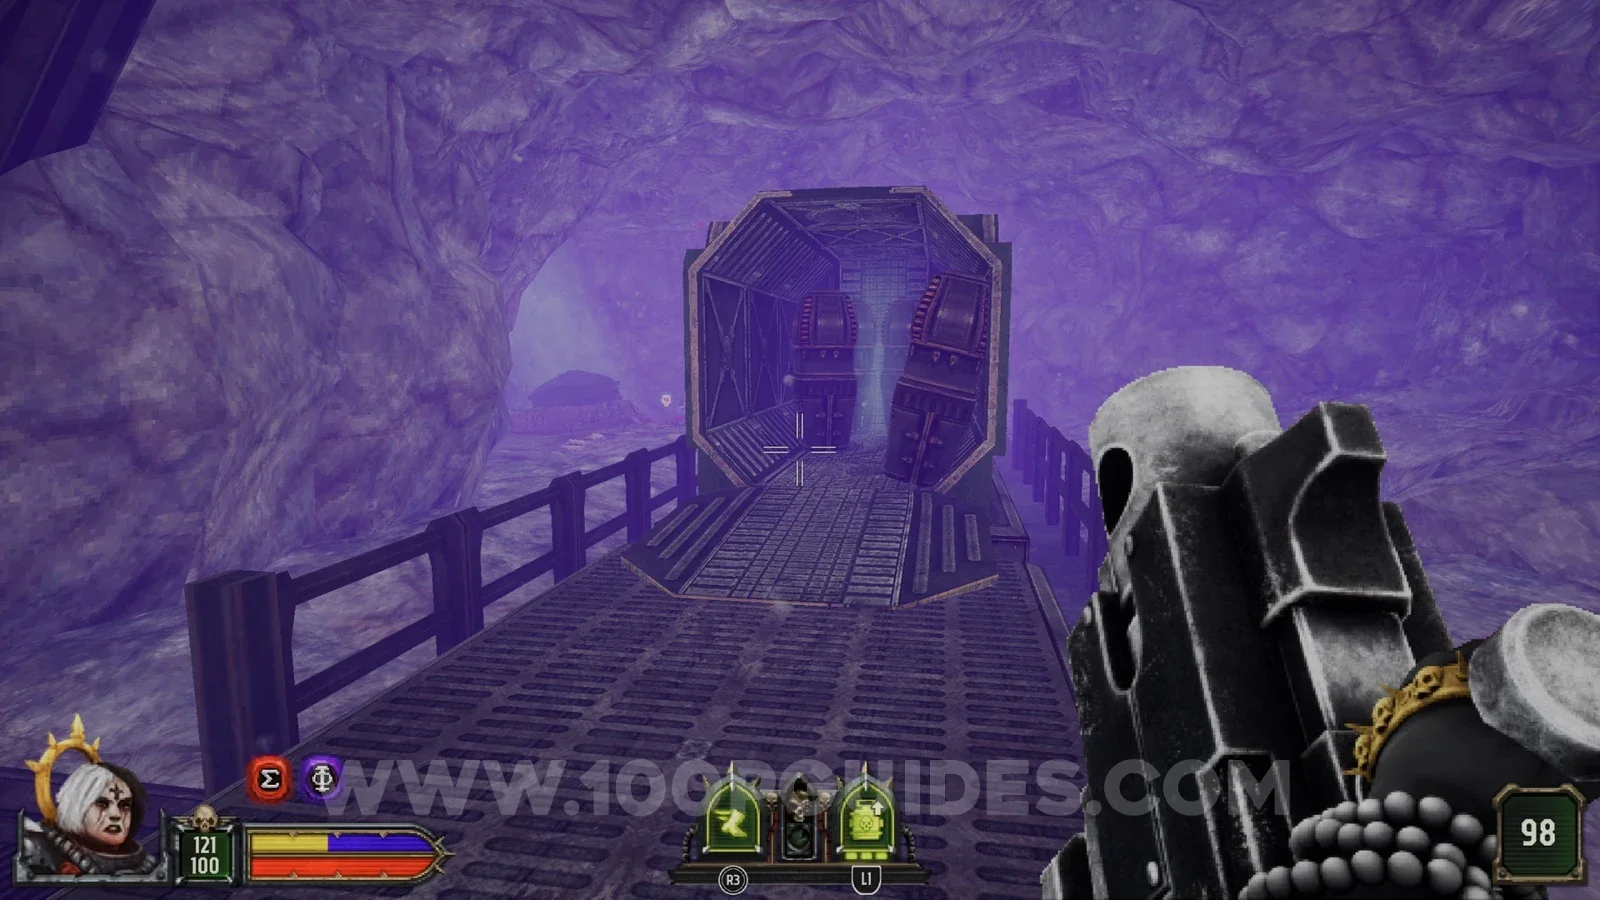
After using the yellow key and jumping down the hole the drill made, ride the cart until you see a path on your left. Jump off there and go to the end of that path to find the secret.
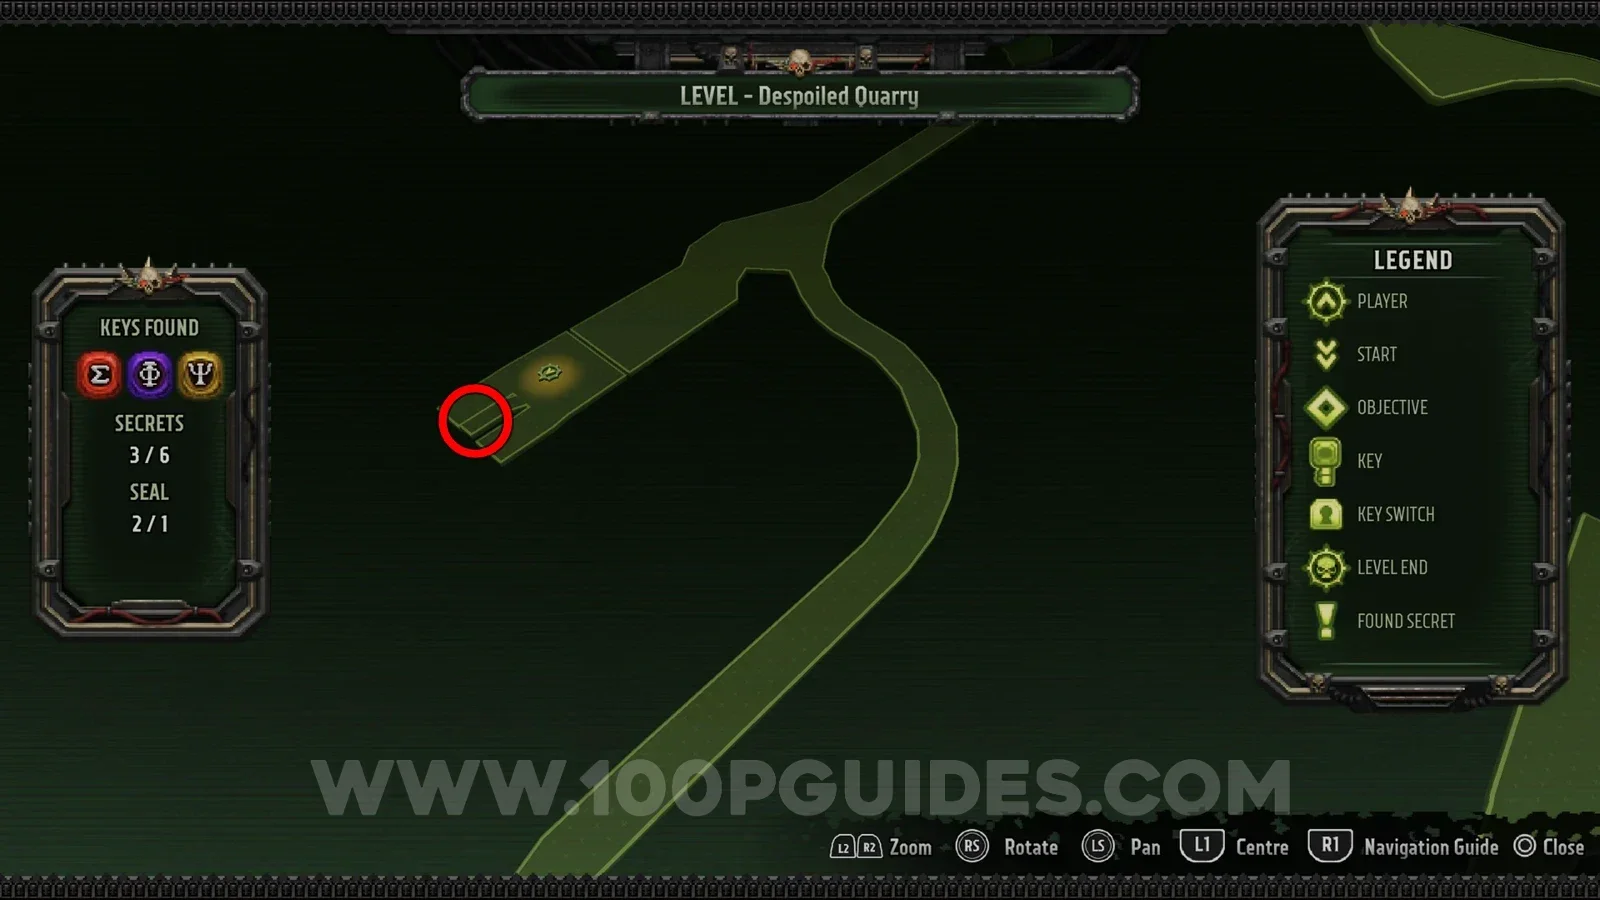
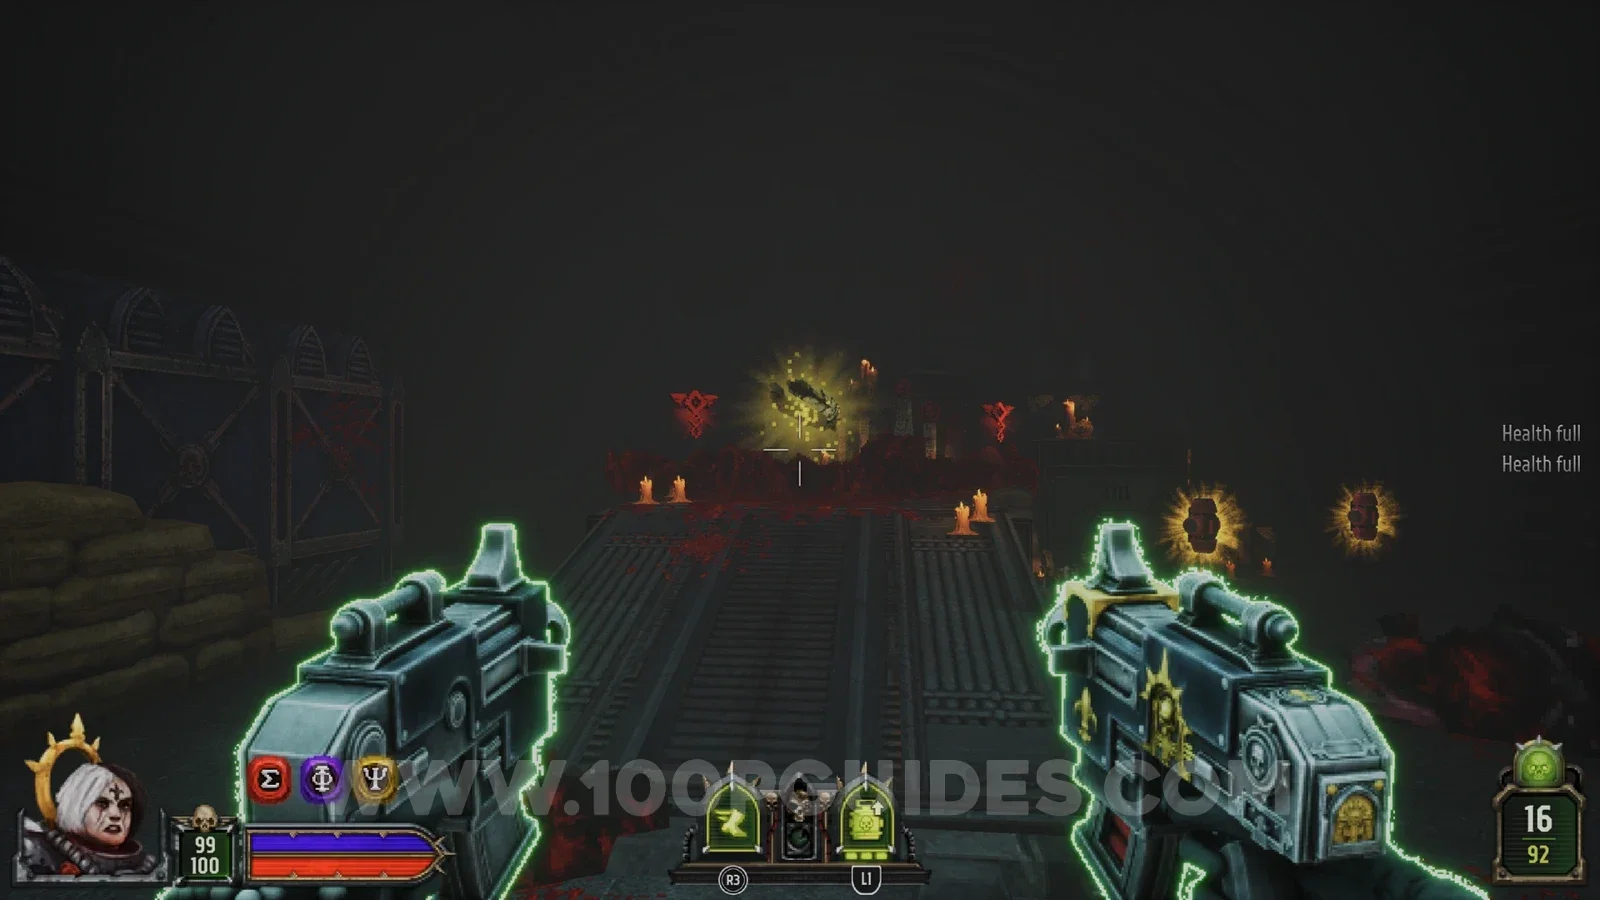
Secret 6/6
Behind a destructible wall in the final area, where the Purge takes place.
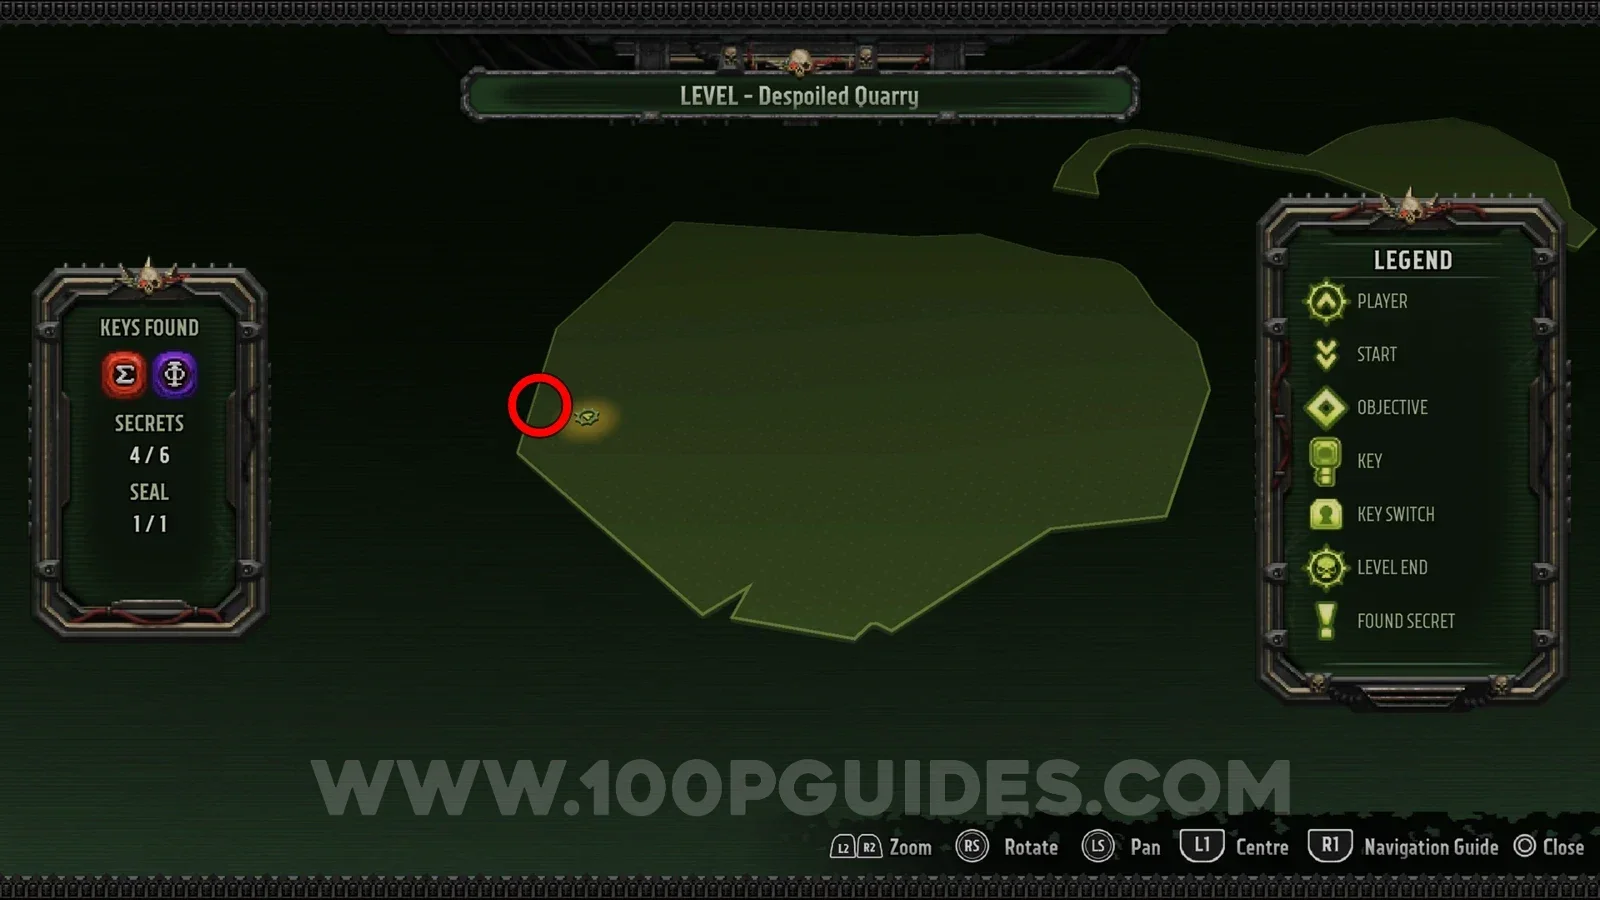
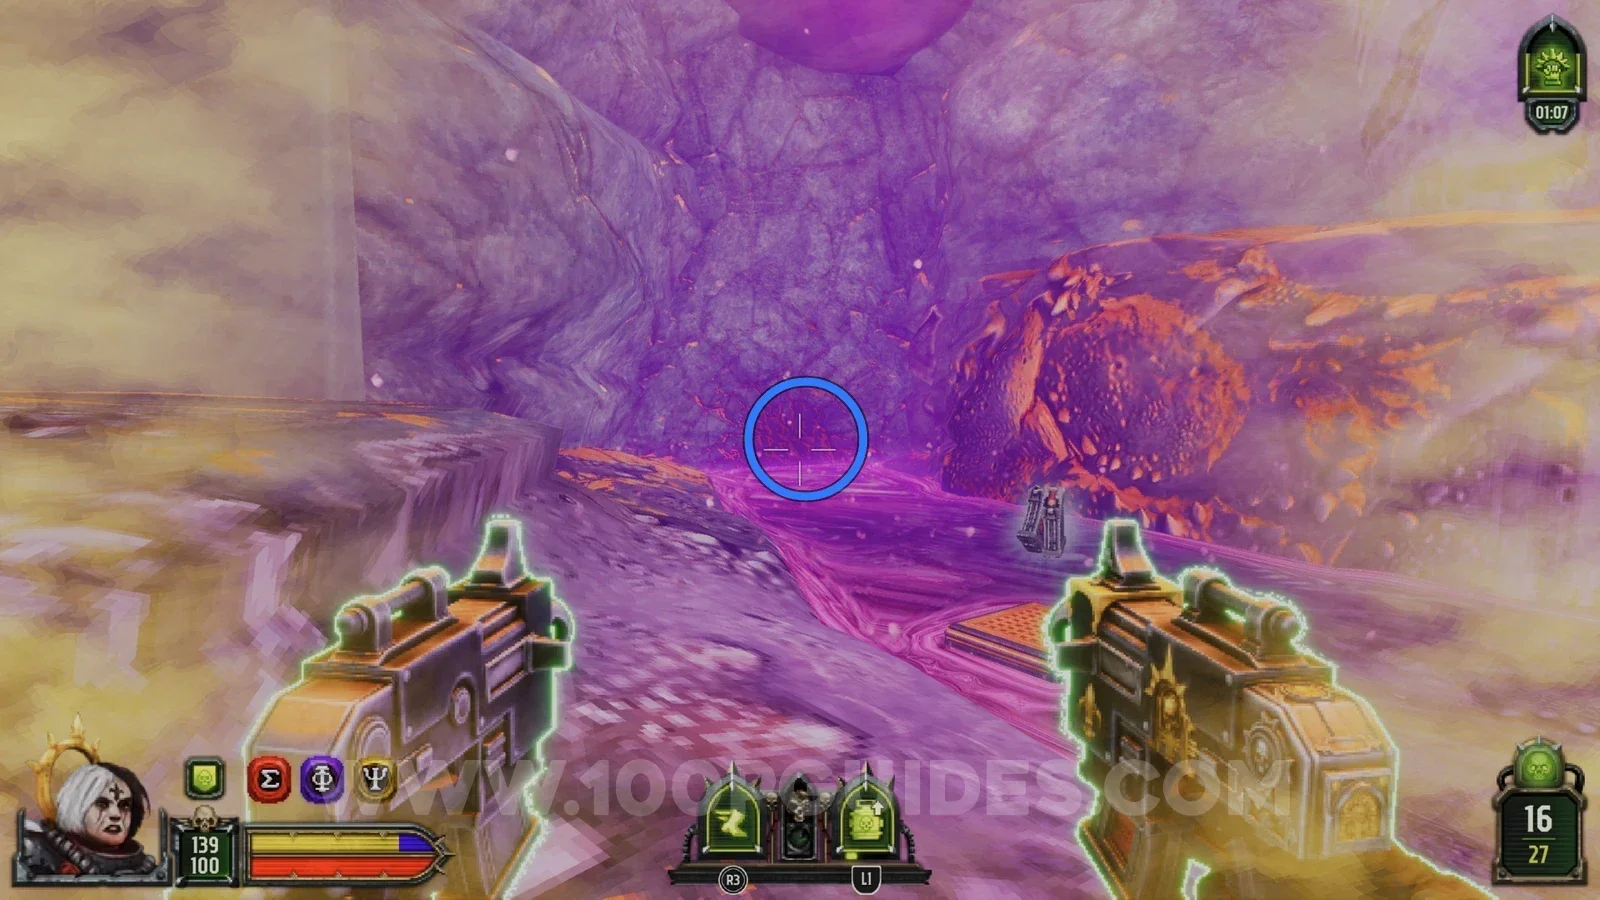
Rapid Ascent Path B
Secret 1/6
After riding the first platform up and getting off, some enemies burst out of the door on your left. Head inside and shoot the skull to open the container in the same room, with the secret inside.
Secret 2/6
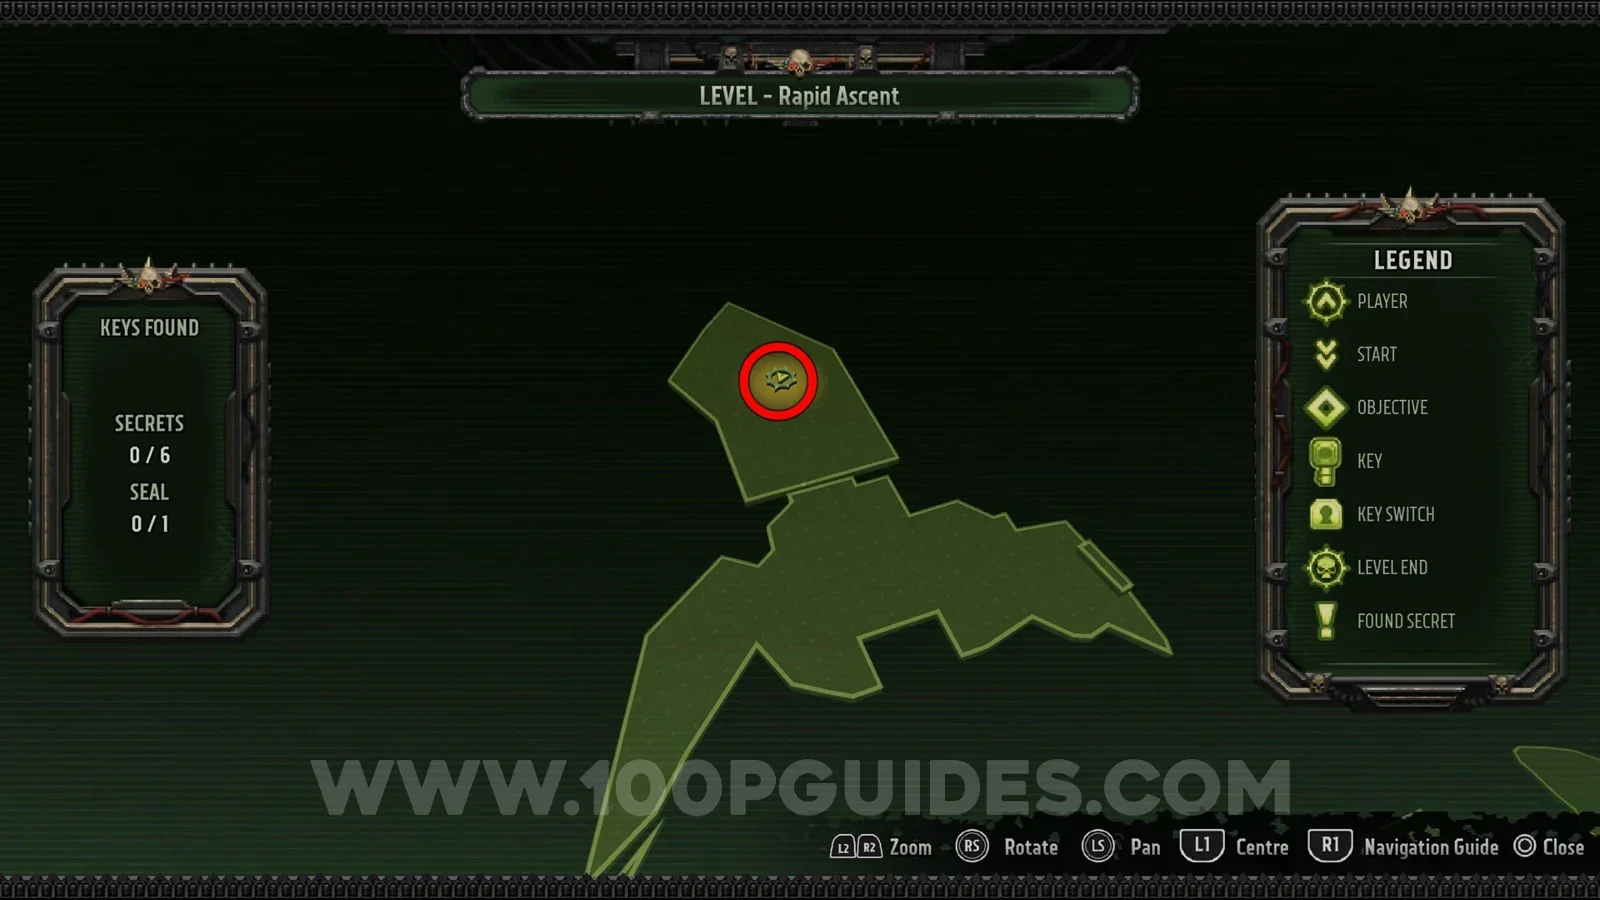
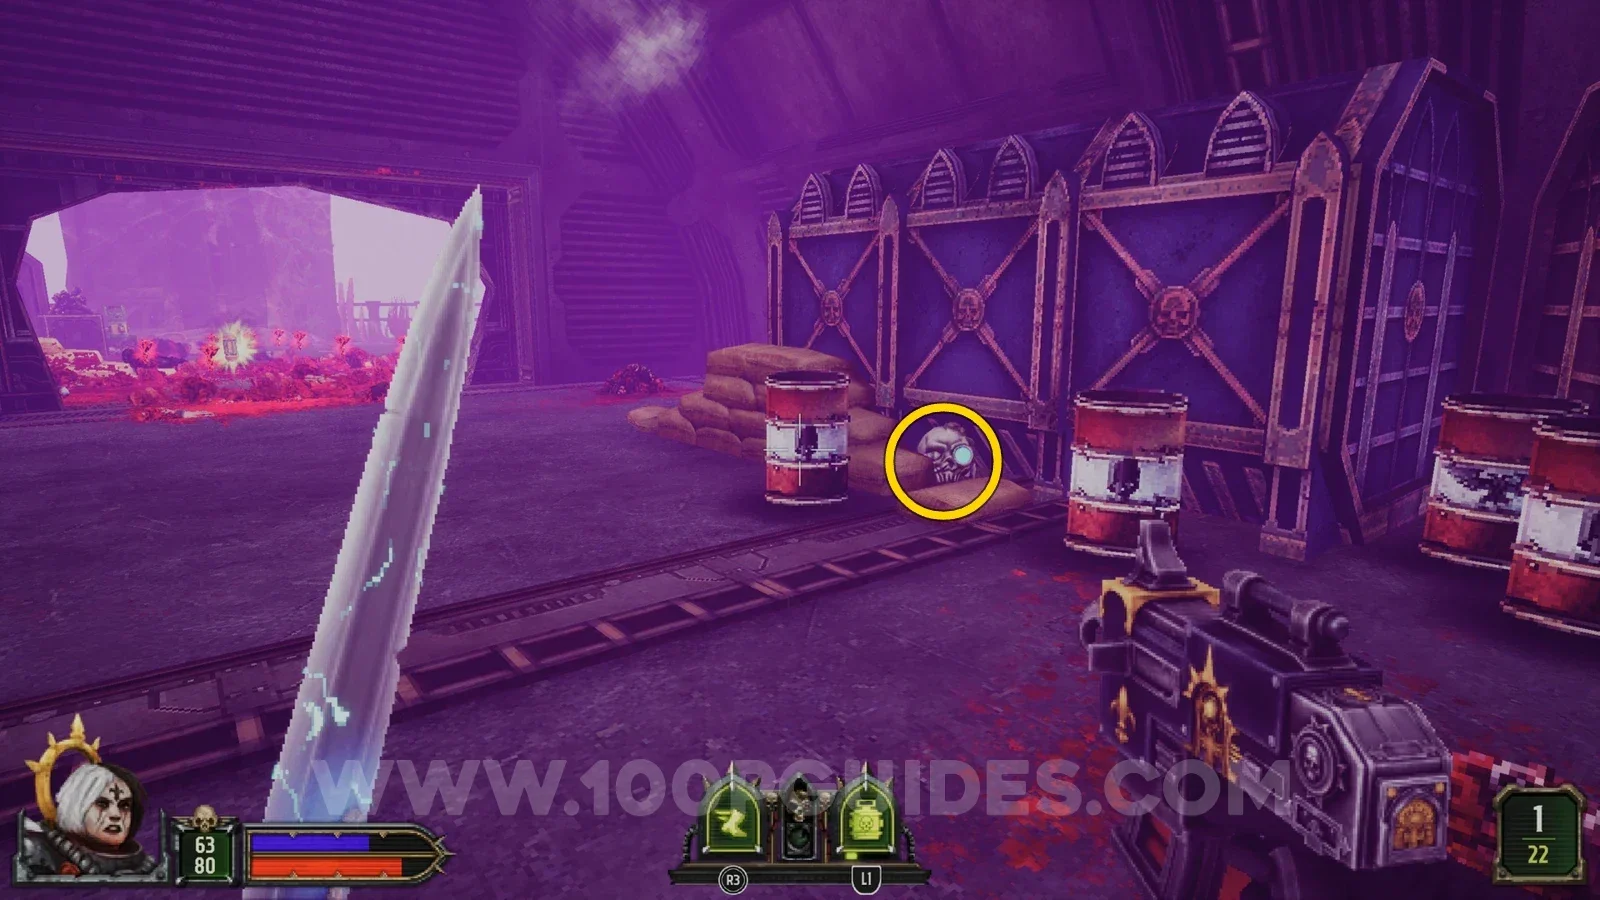
After getting the red key and using the jump pads, instead of climbing up the right side, climb one platform, jump across to the platform on the left and continue to the end to find the secret.
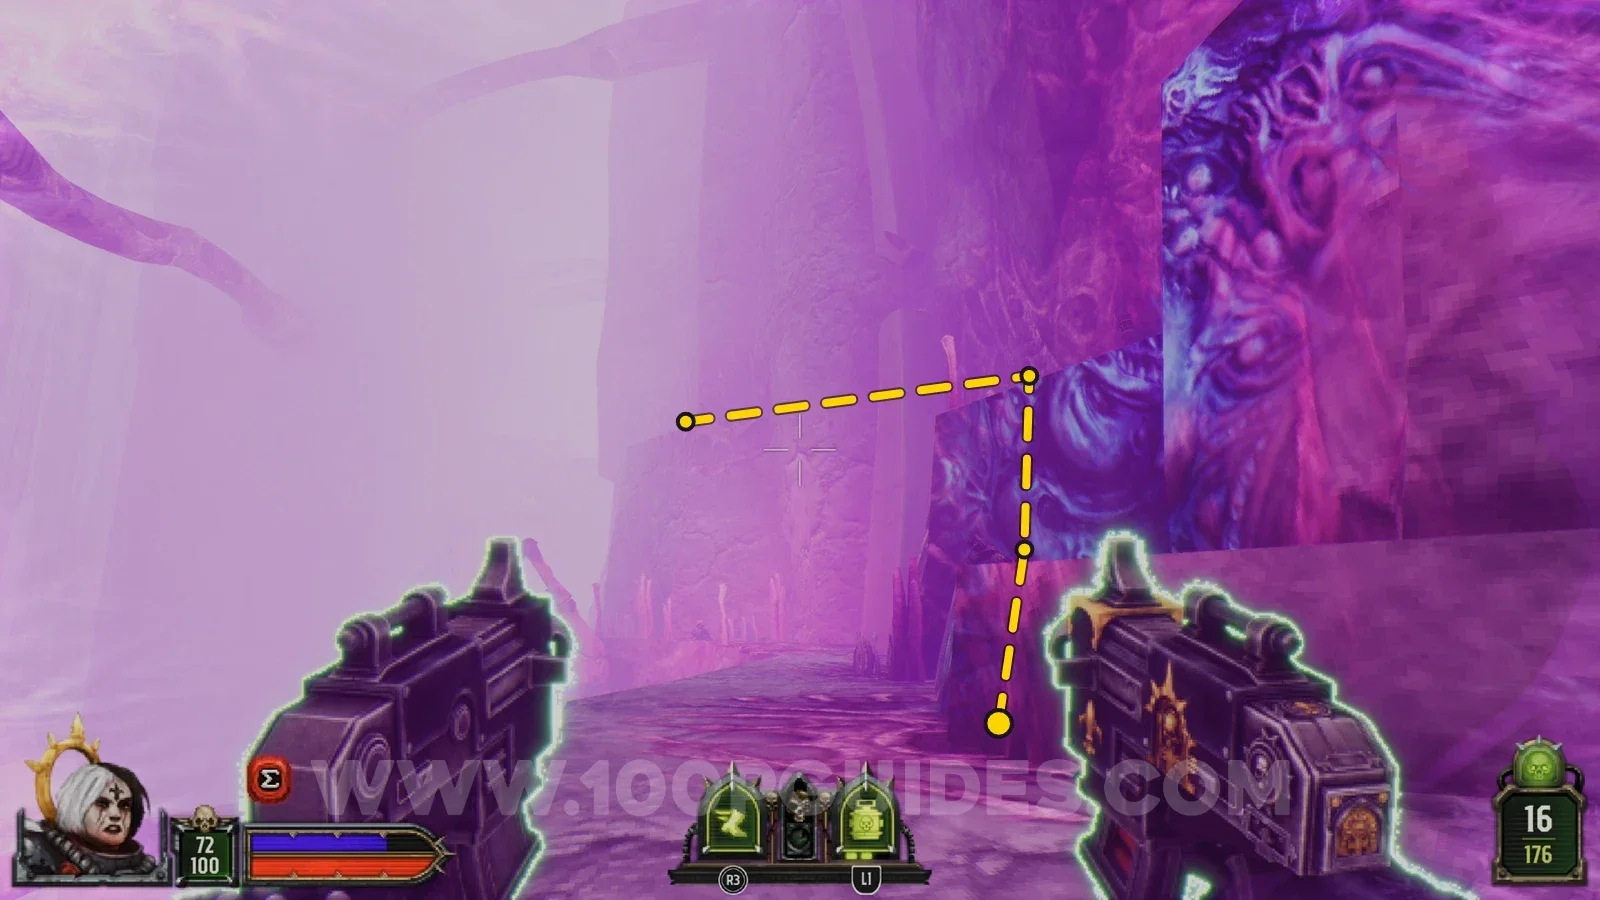
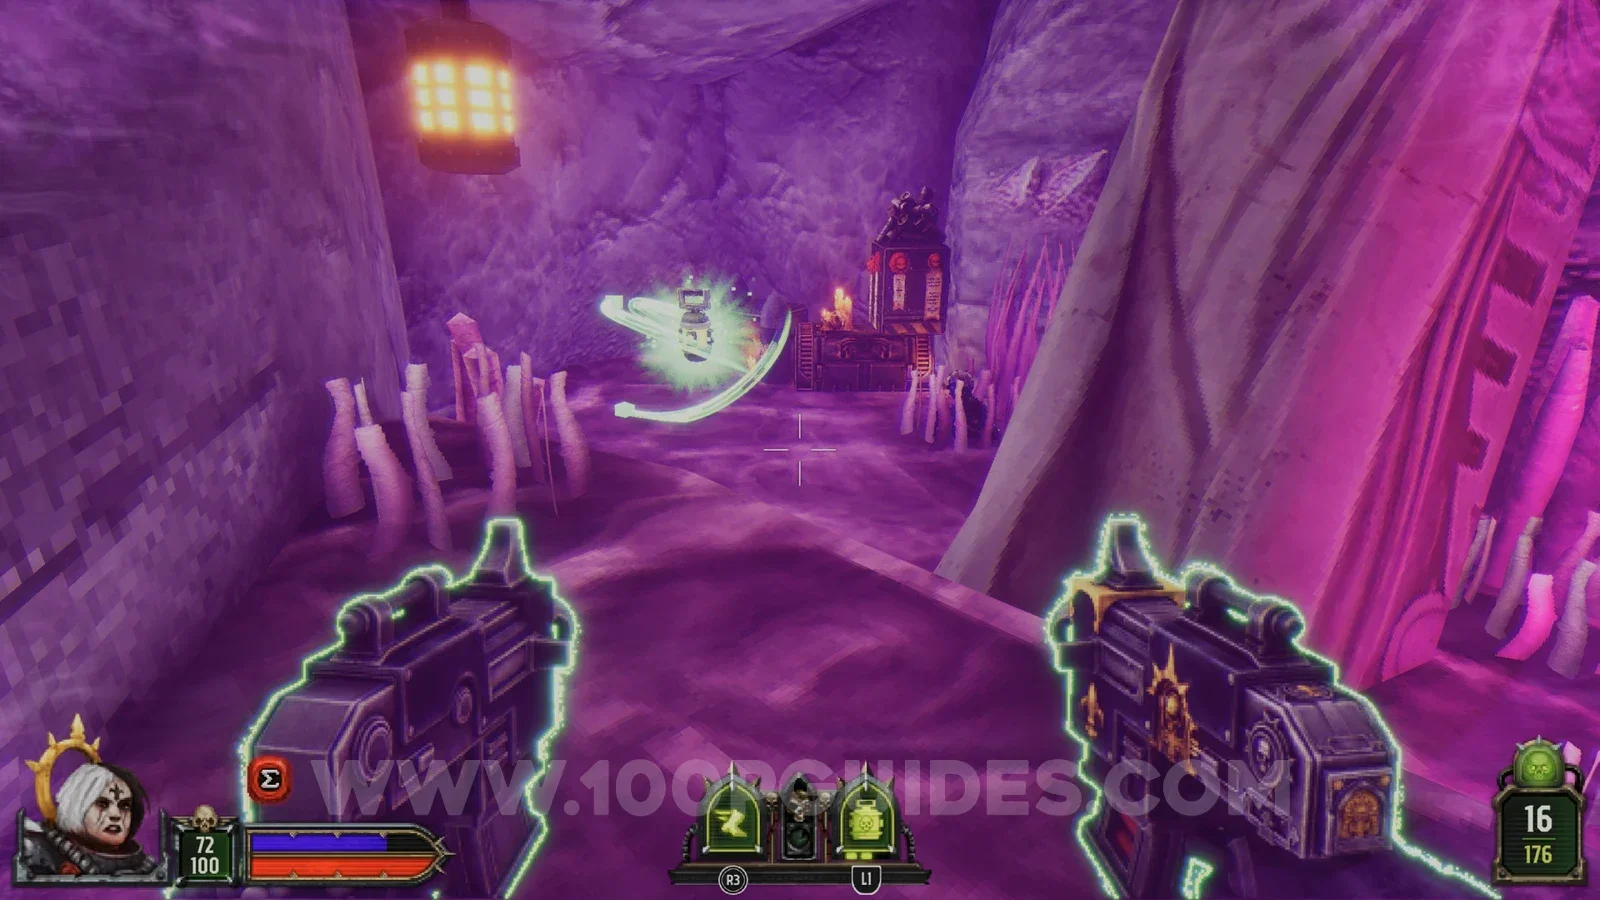
Secret 3/6
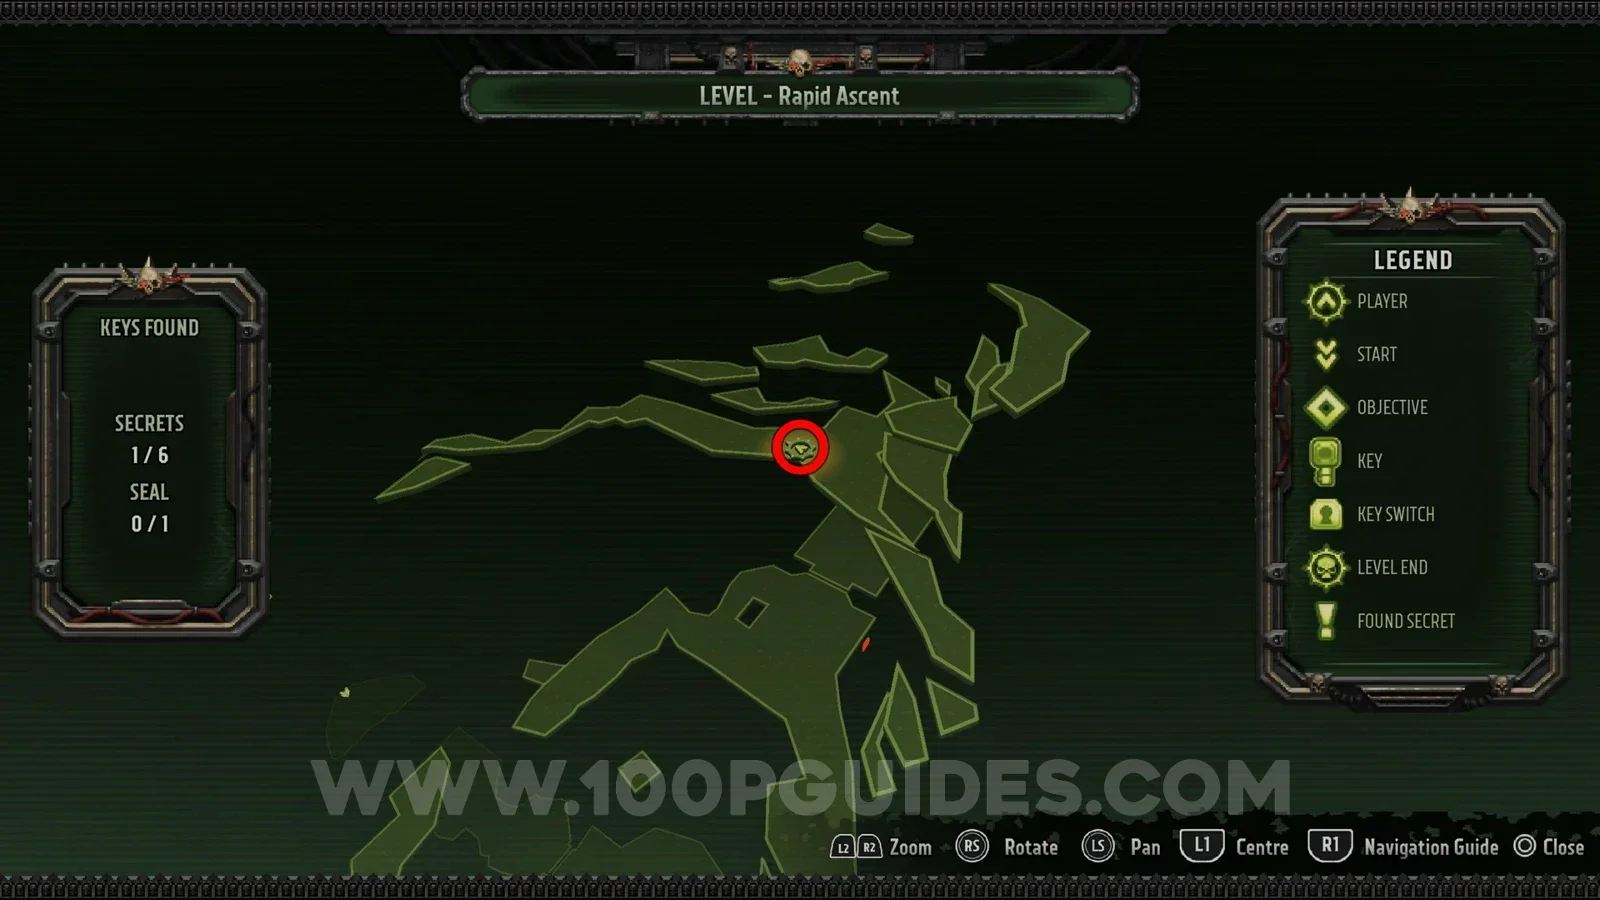
In an alcove below the previous secret.
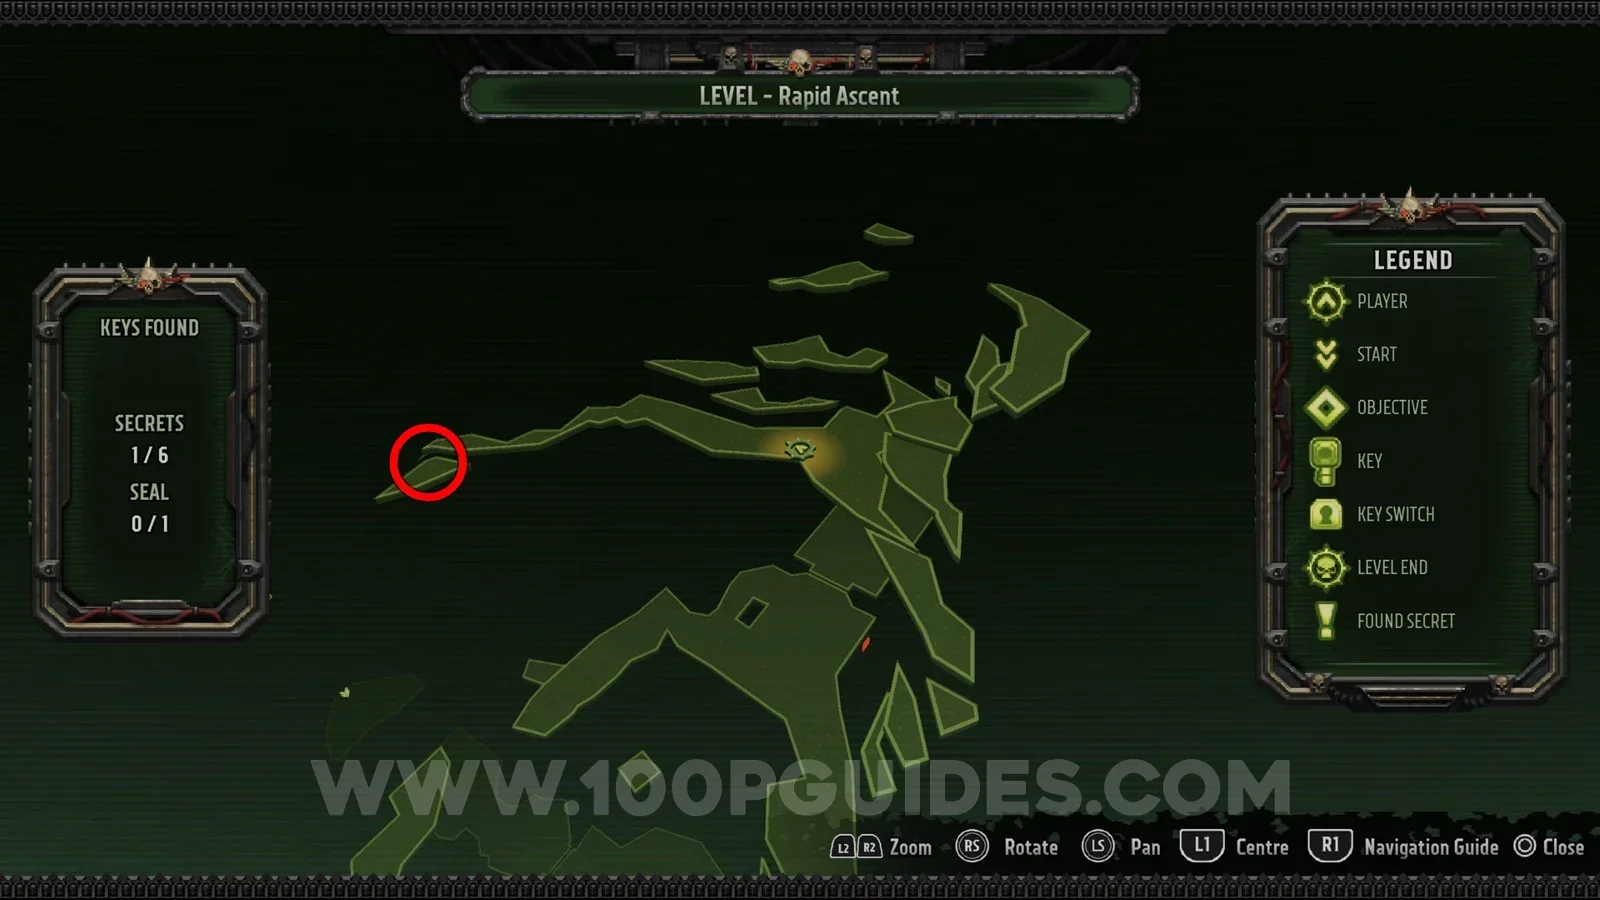
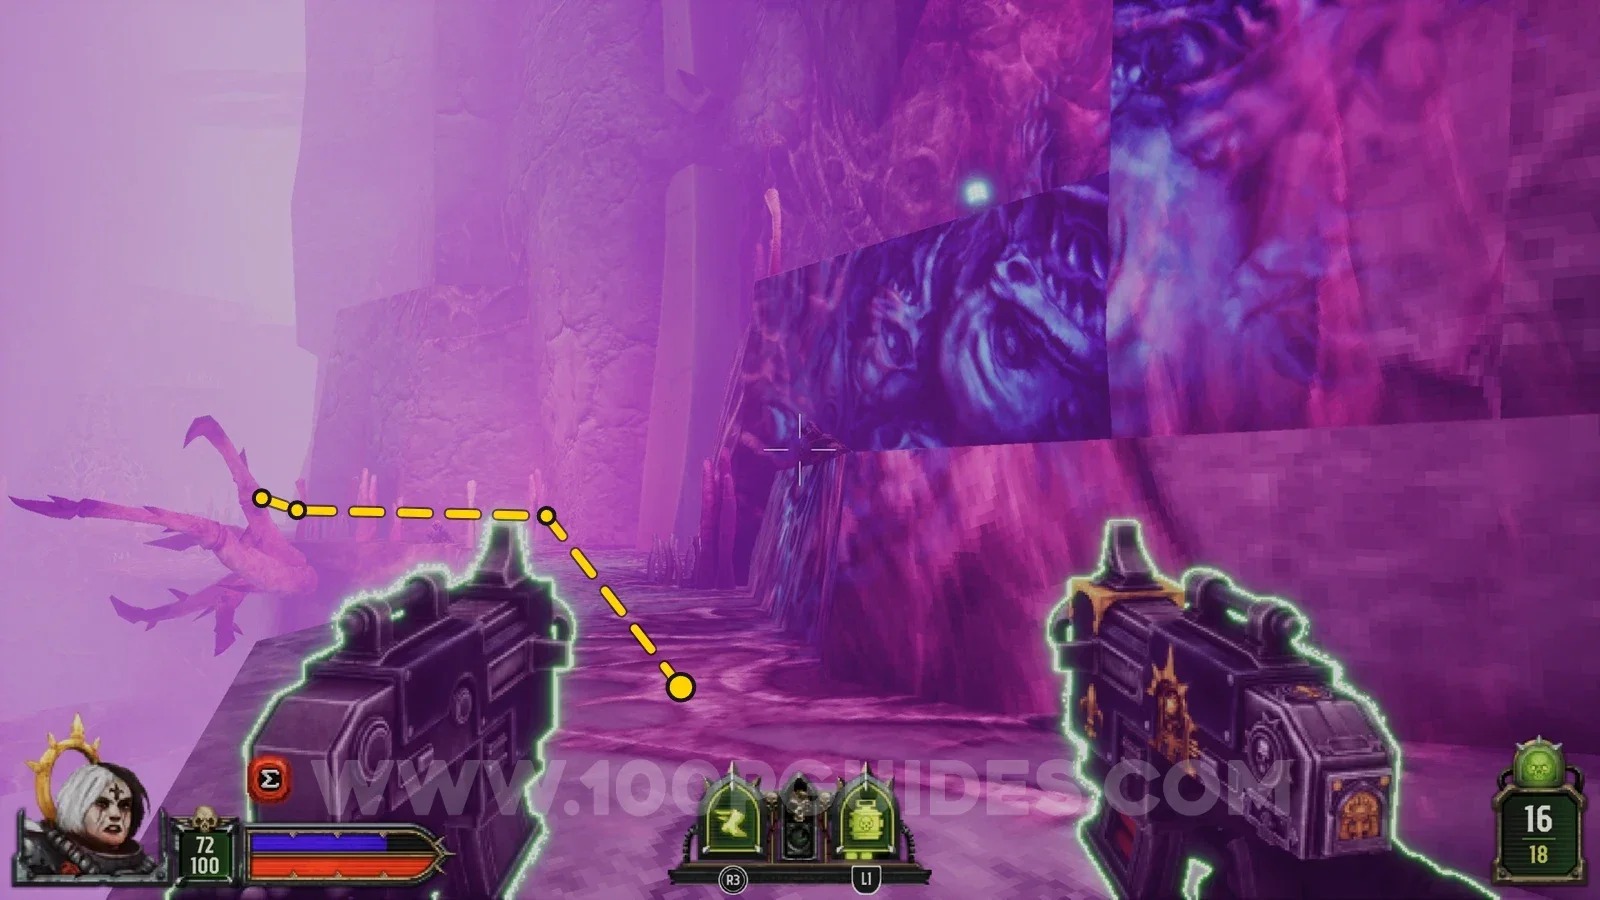
Secret 4/6
After going through the purple door, look for some train tracks on your left that you can jump down to. Do that and go forwards until you find the secret.
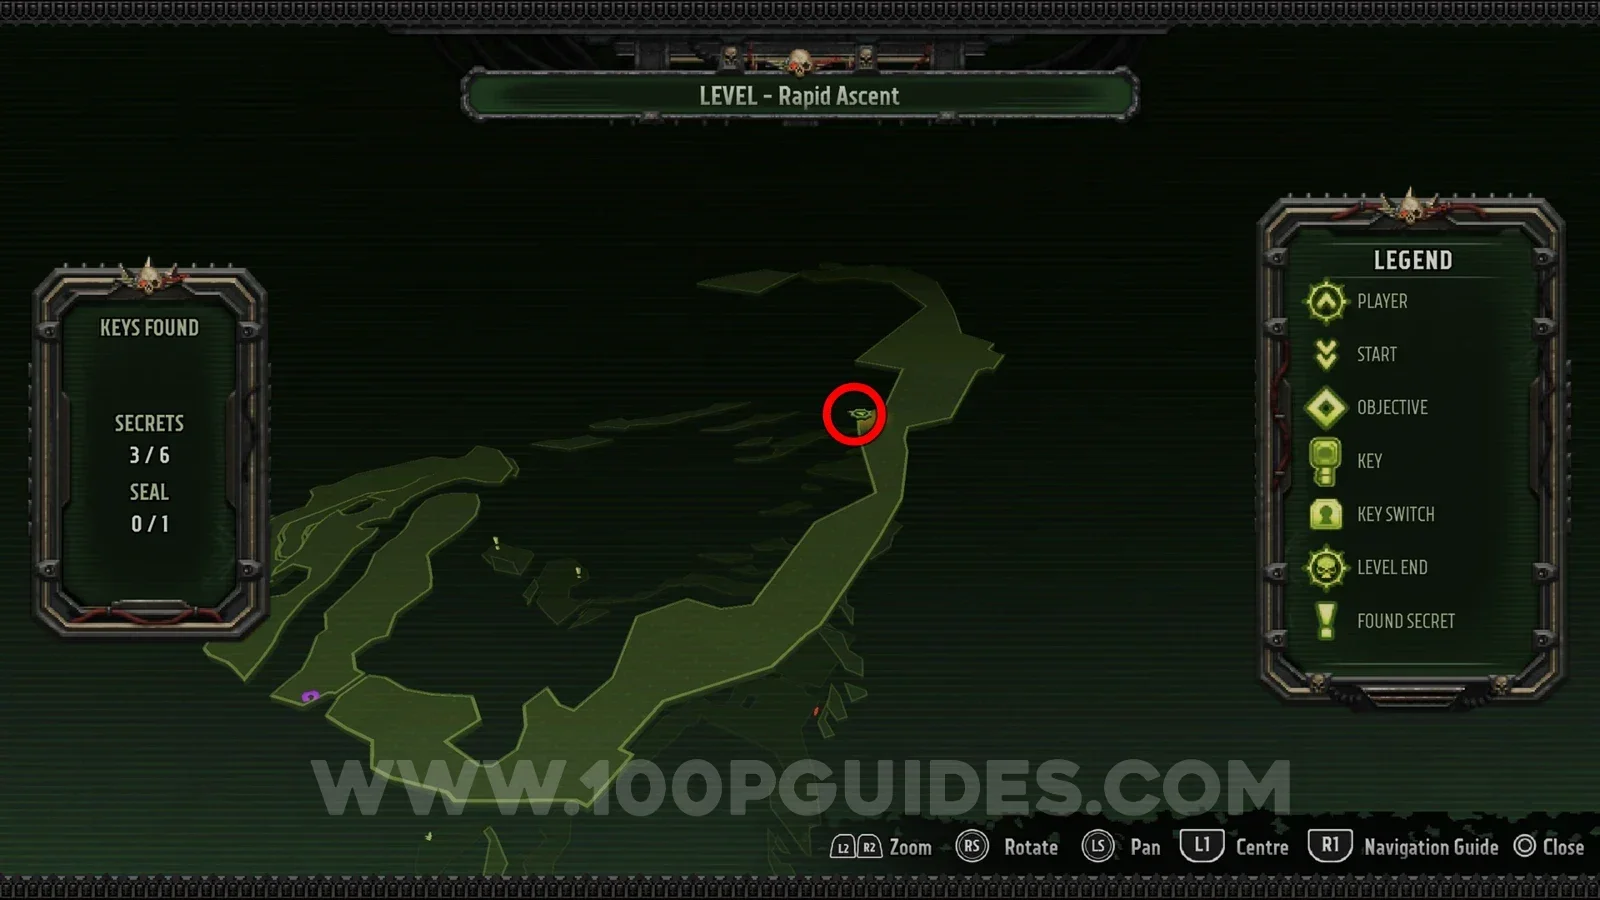
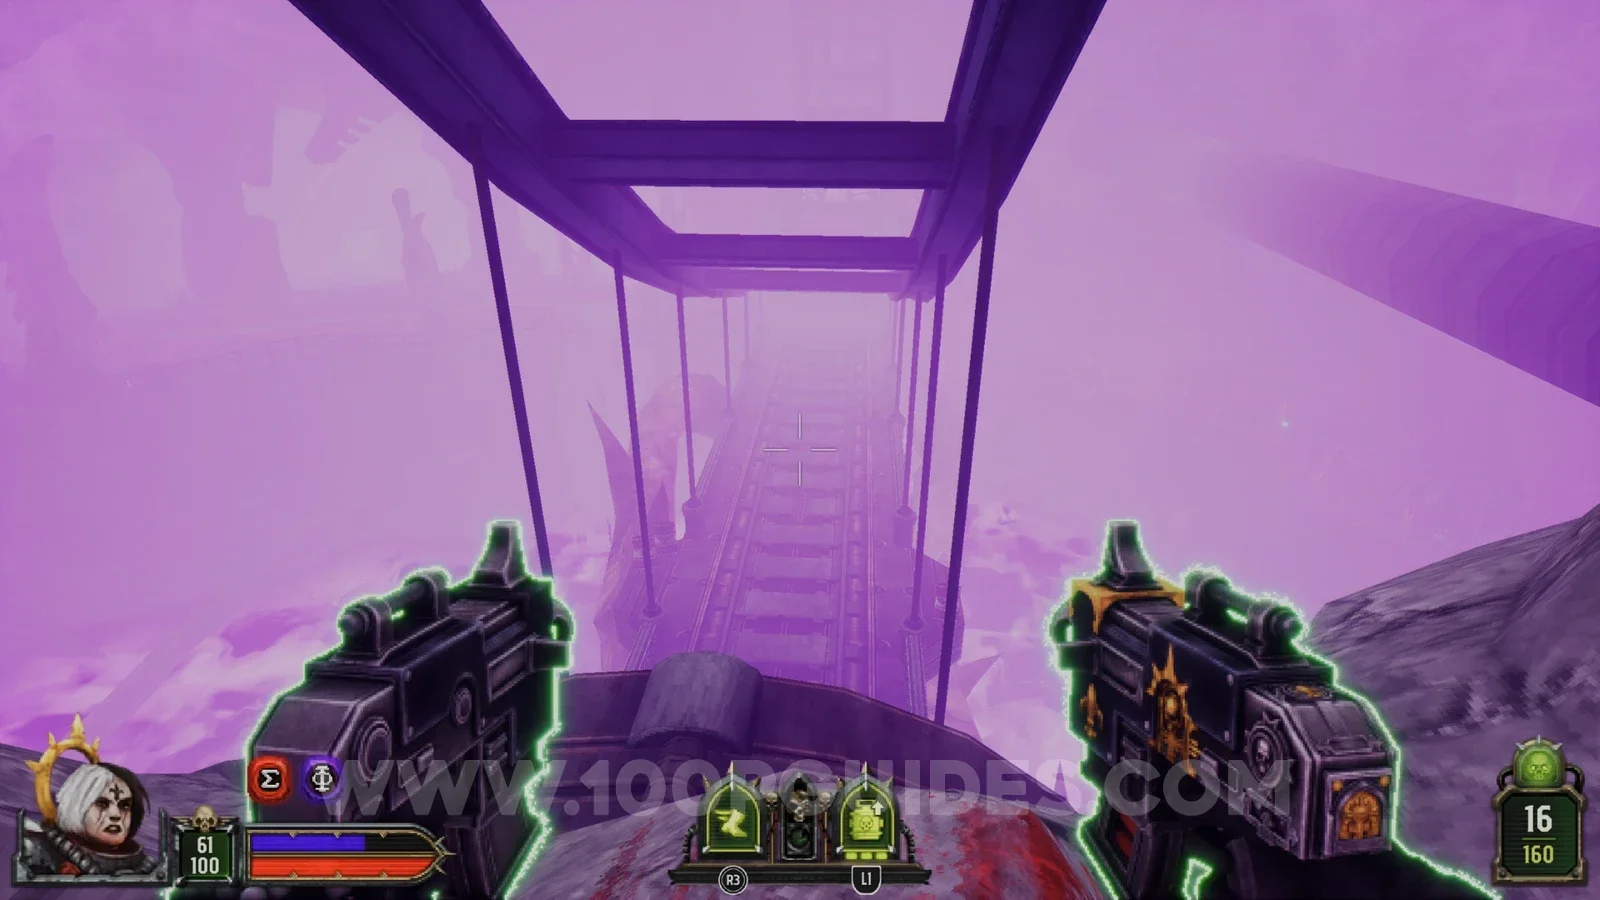
Secret 5/6
From the previous secret, turn around and follow the tracks into the tunnel. You will see the secret at the end, on your right.
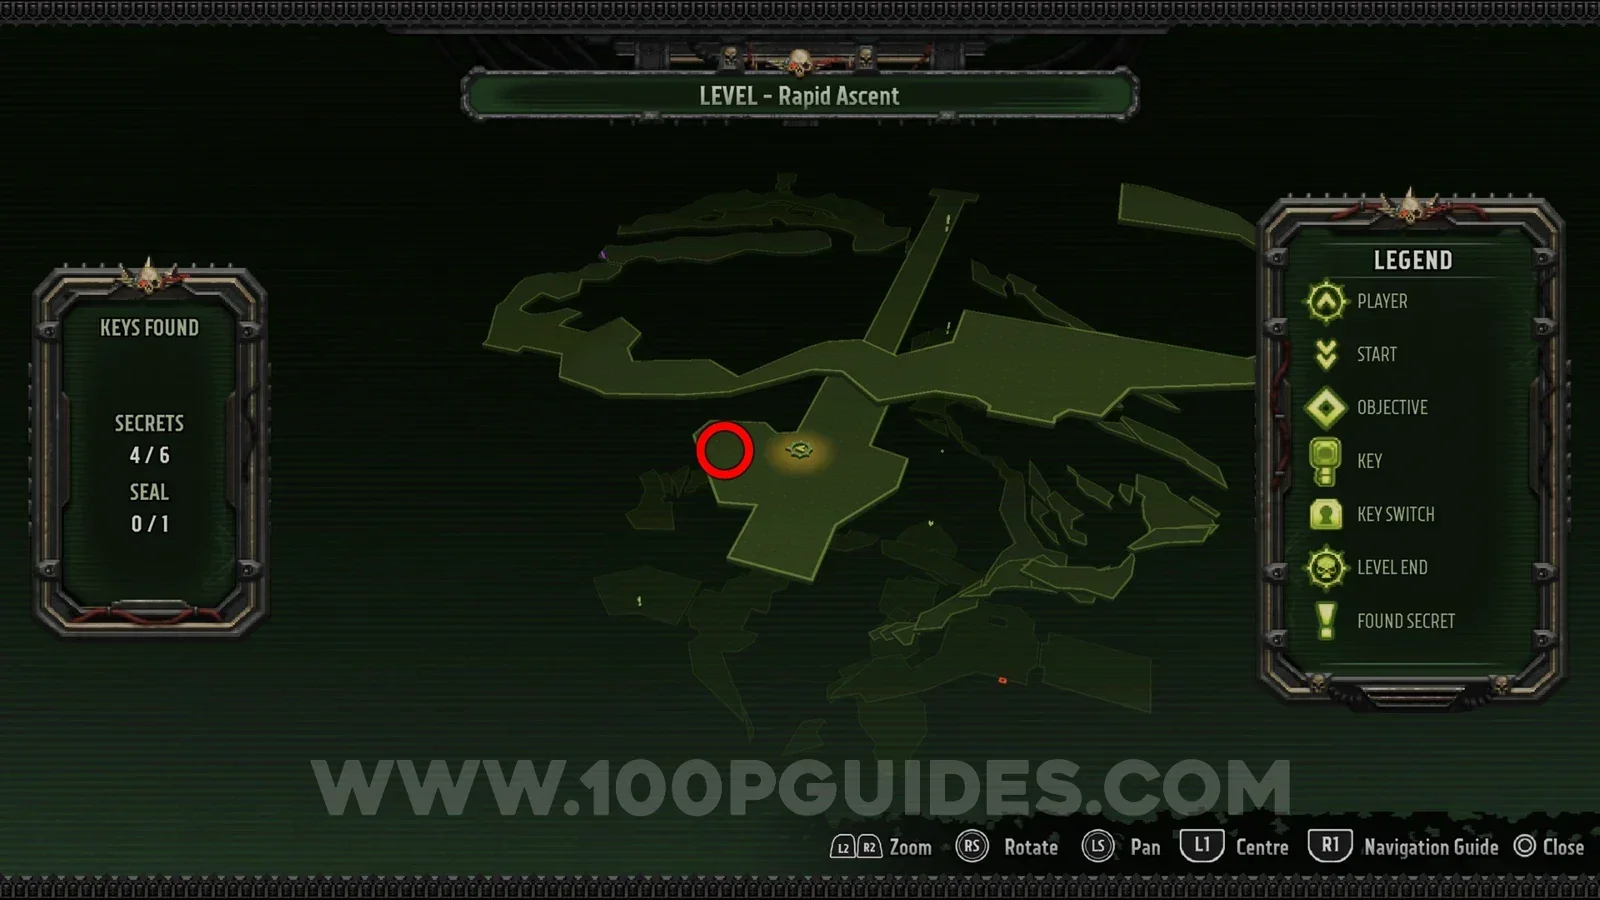
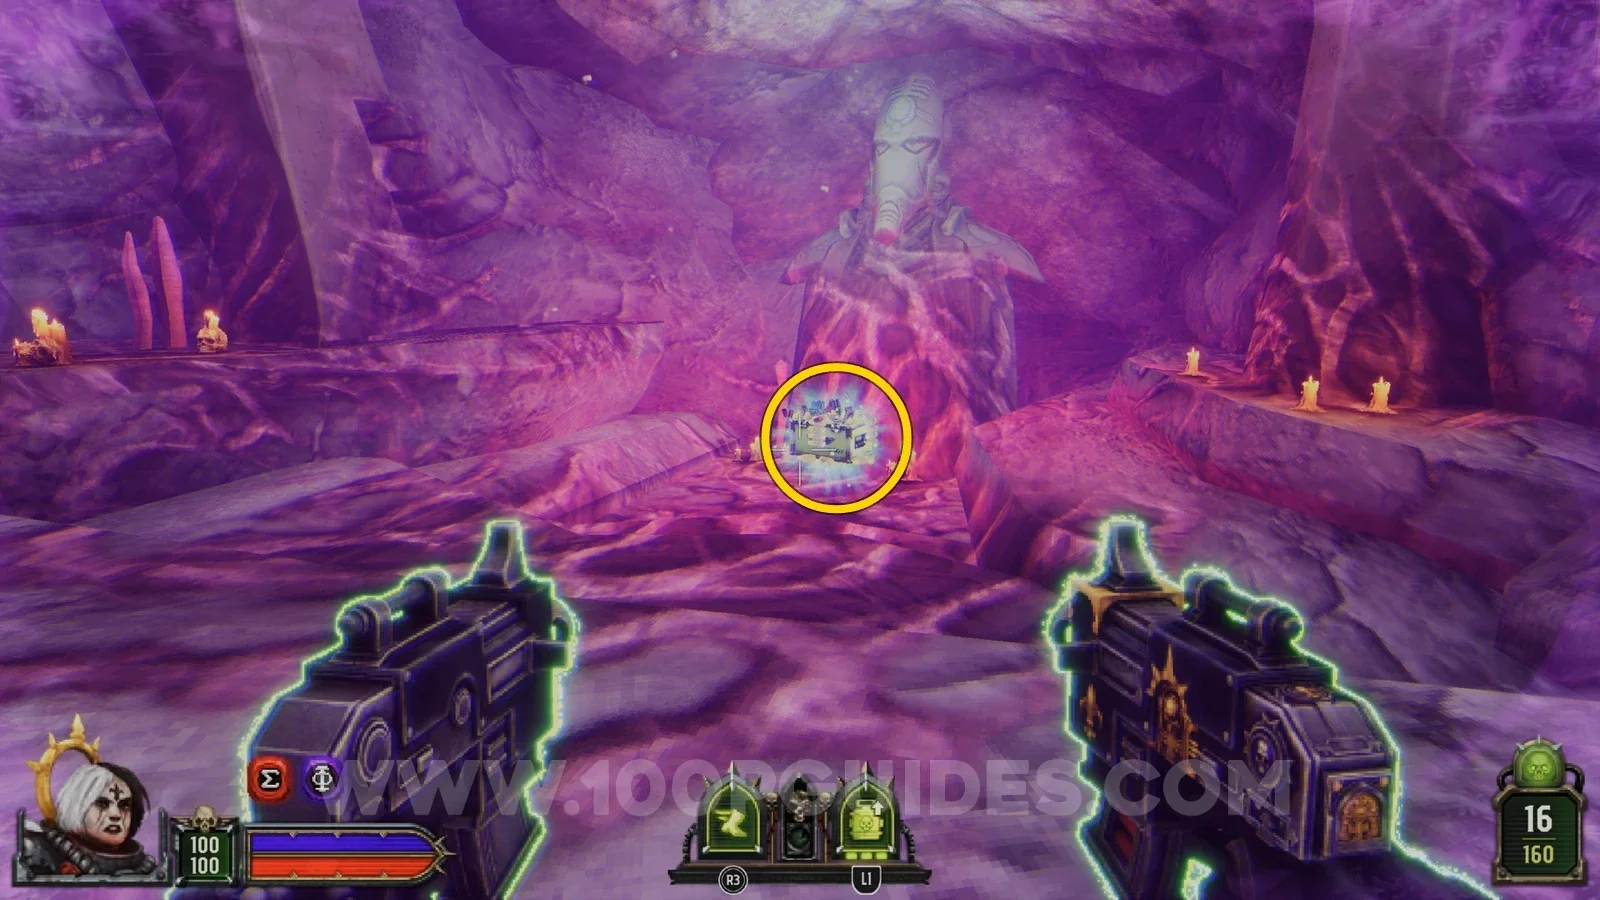
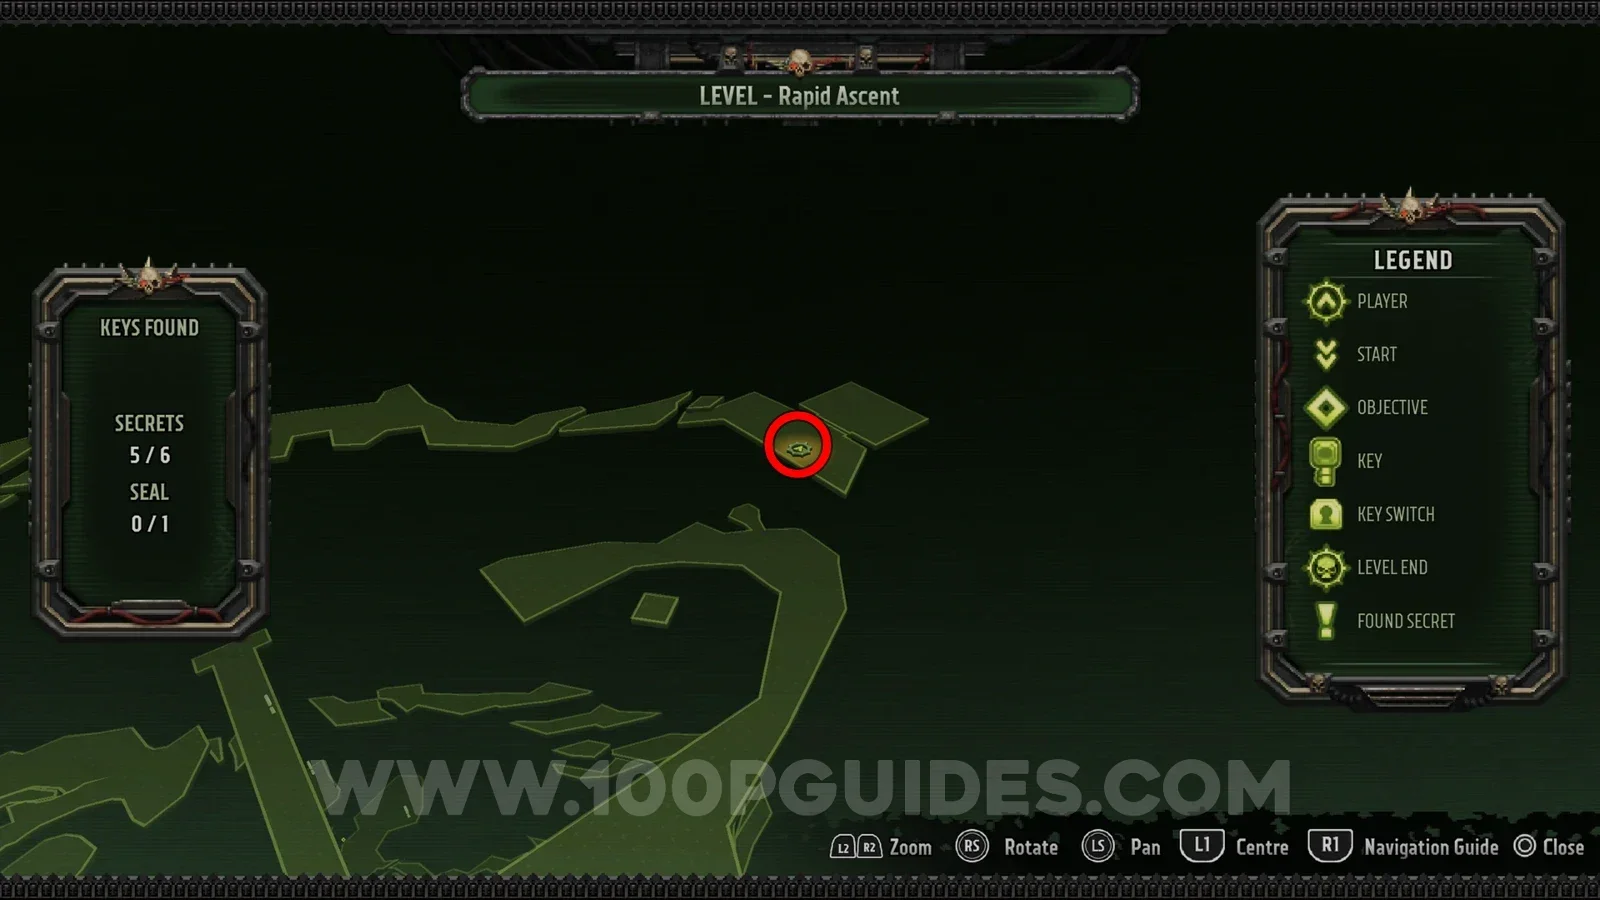
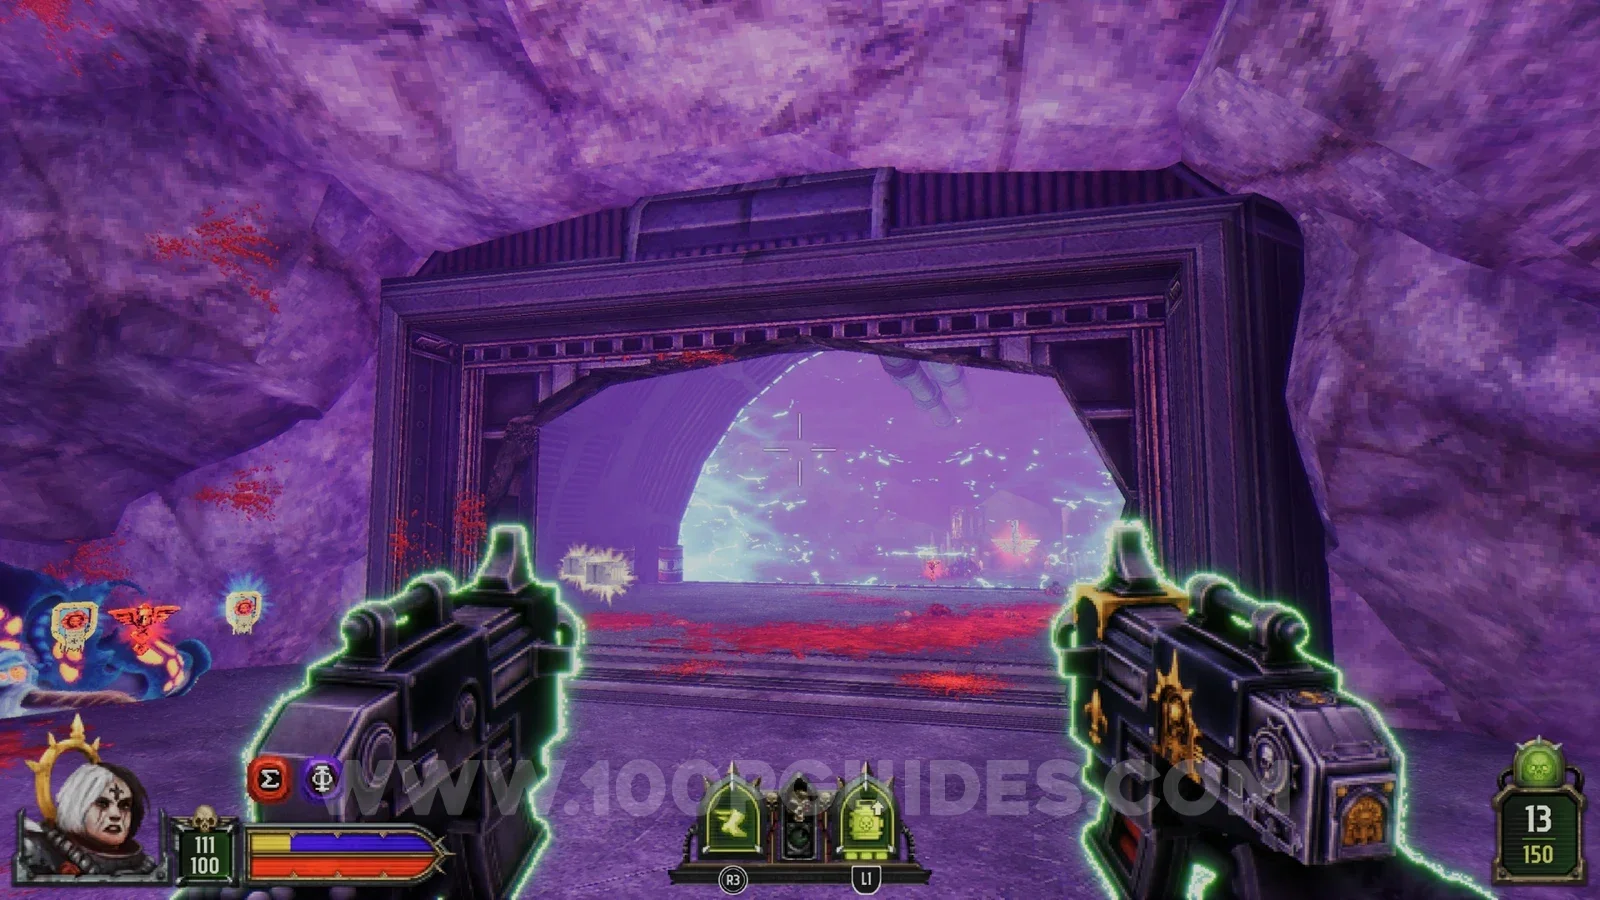
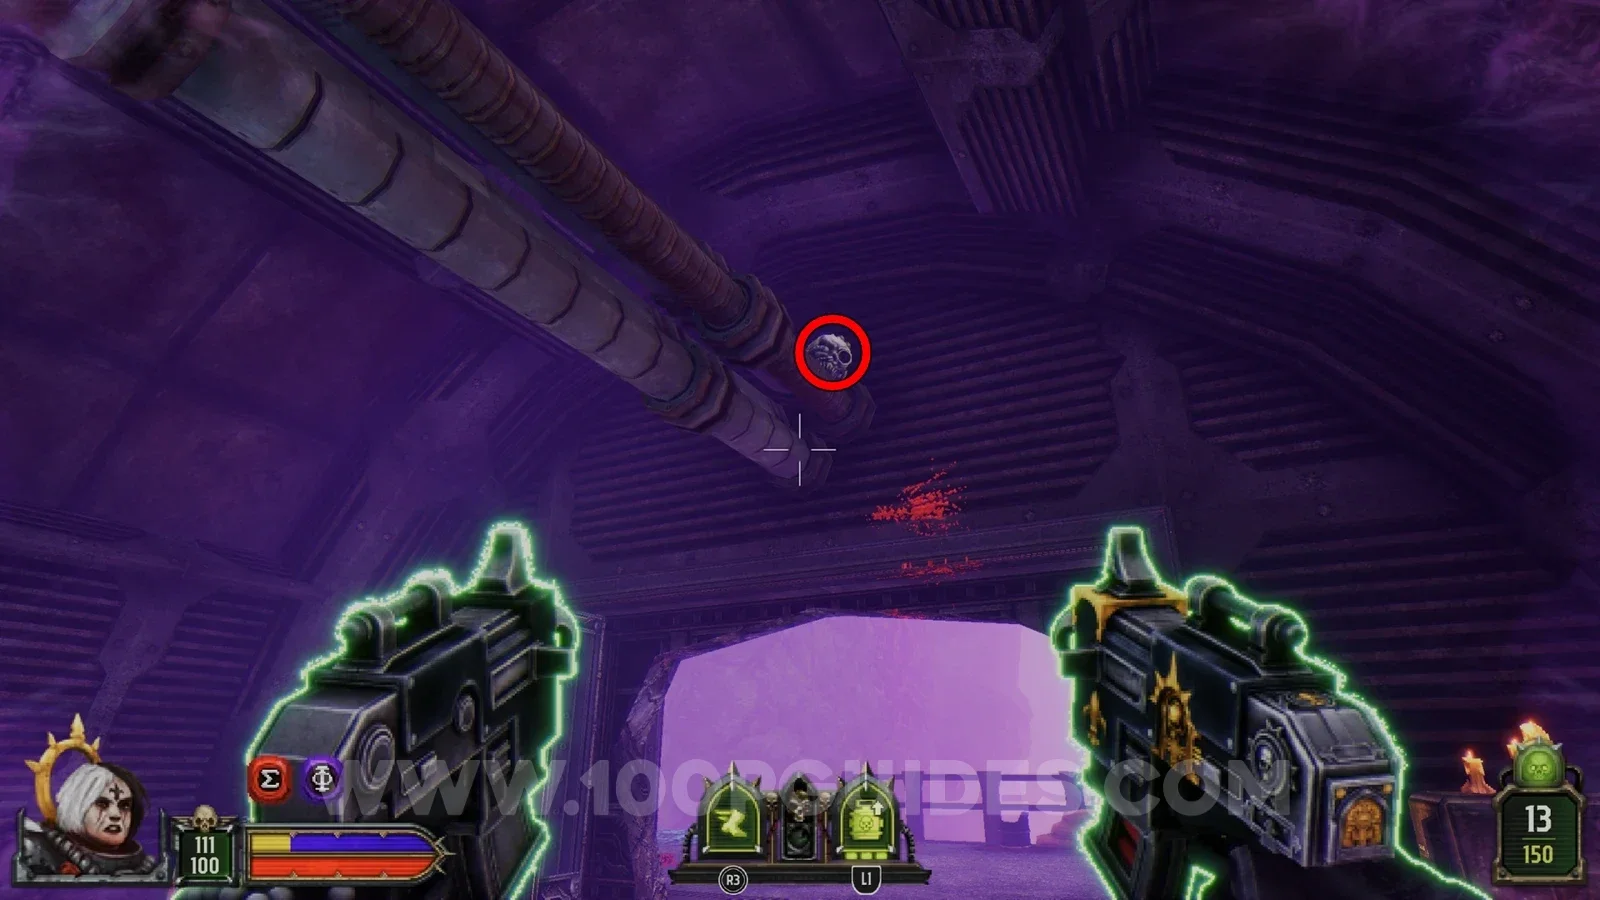
Secret 6/6
Continue climbing until you ride another platform. As soon as you get off it, enter the building on your right. Inside, shoot the skull on the wires above you to get rid of the barrier in front of the secret.
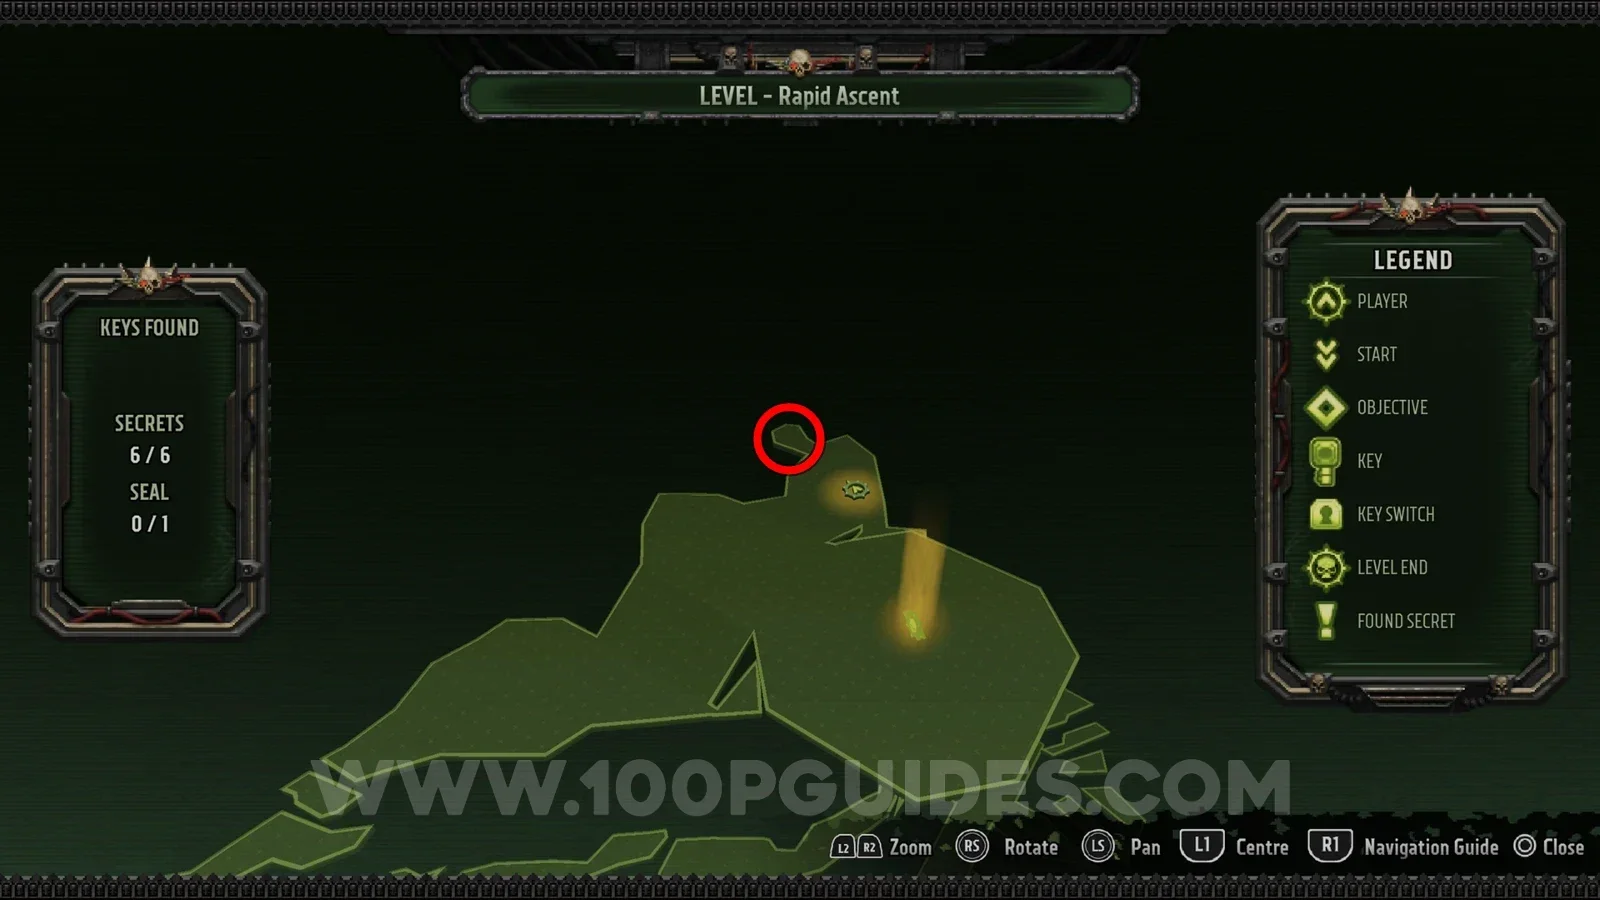
Seal 1/1
In a small cave at the side of the area where the level ends.
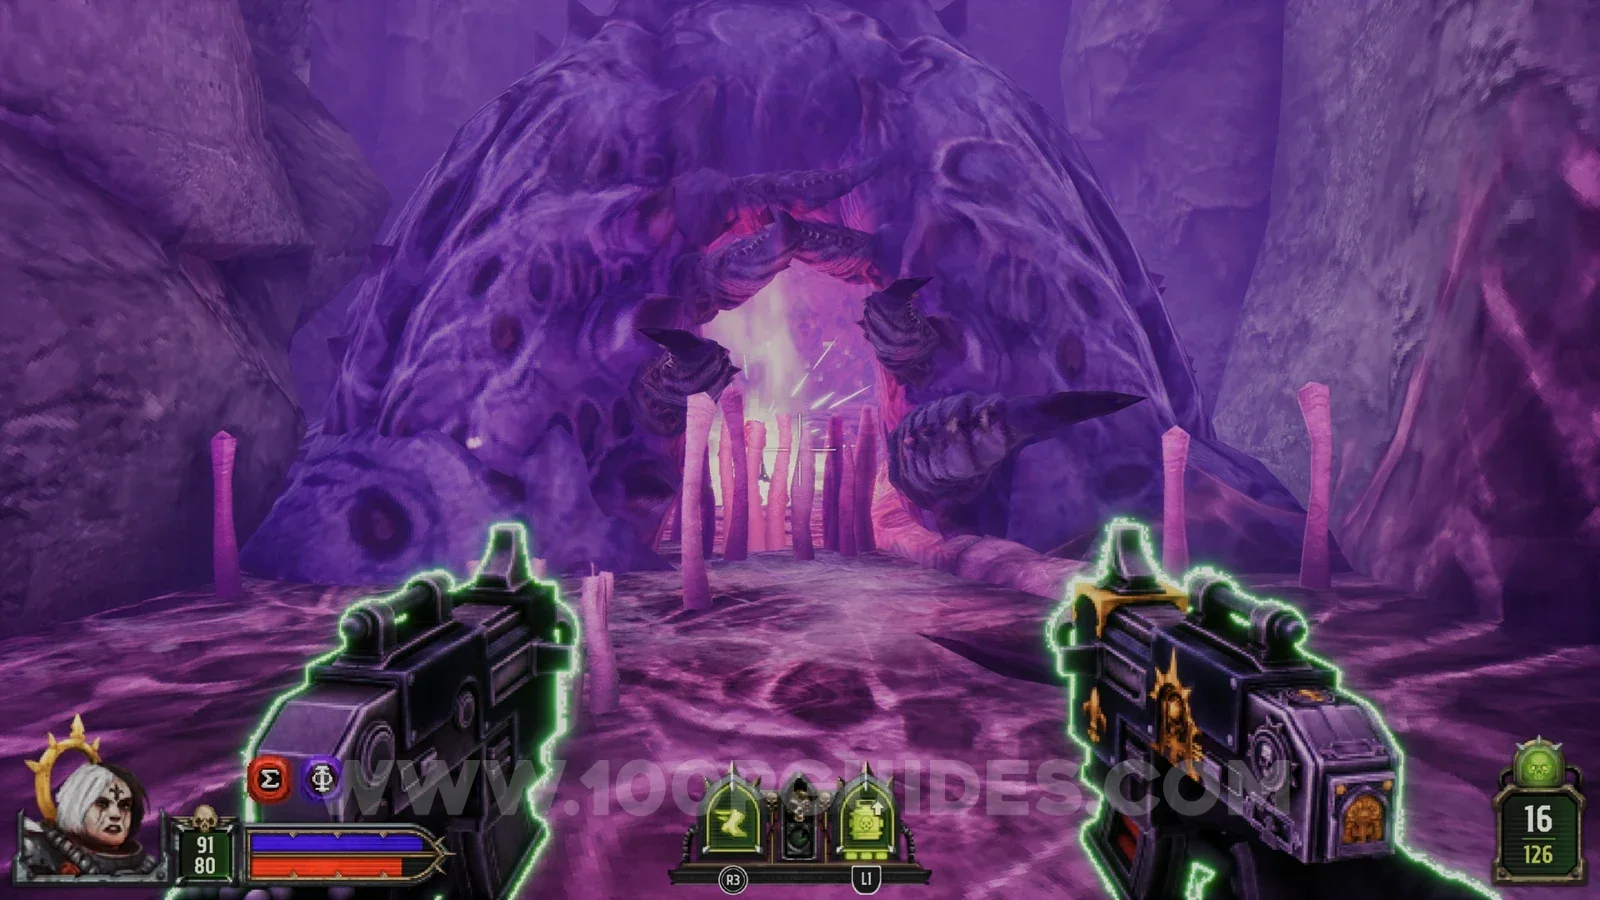
God In The Machine
Secret 1/9
Behind a small barrier in the first large area with enemies.
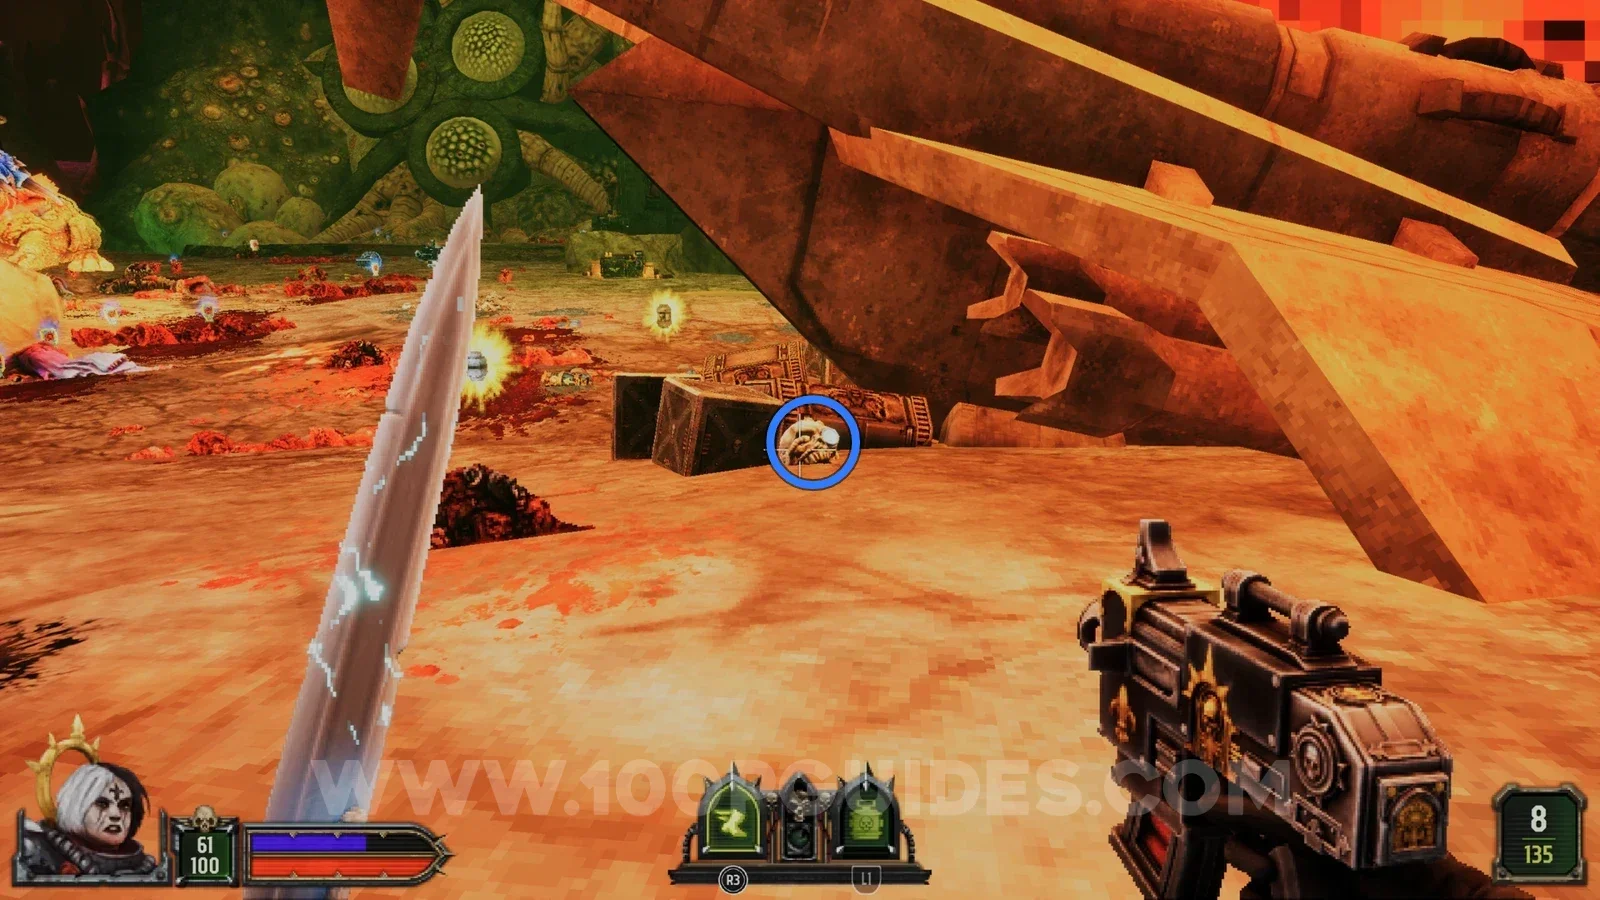
Secret 2/9
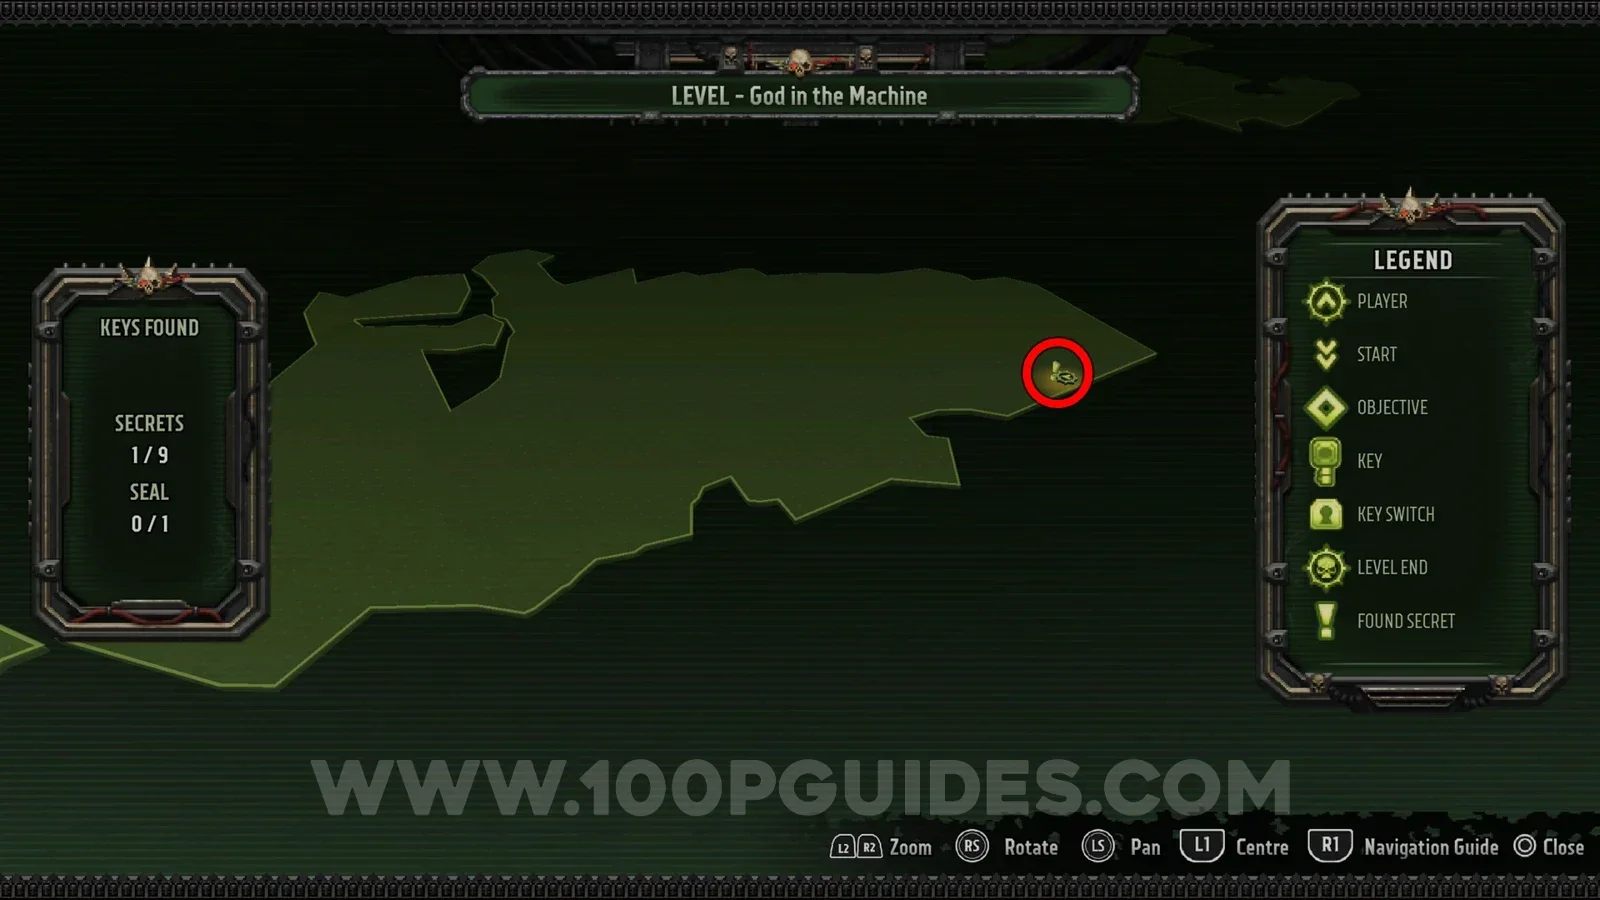
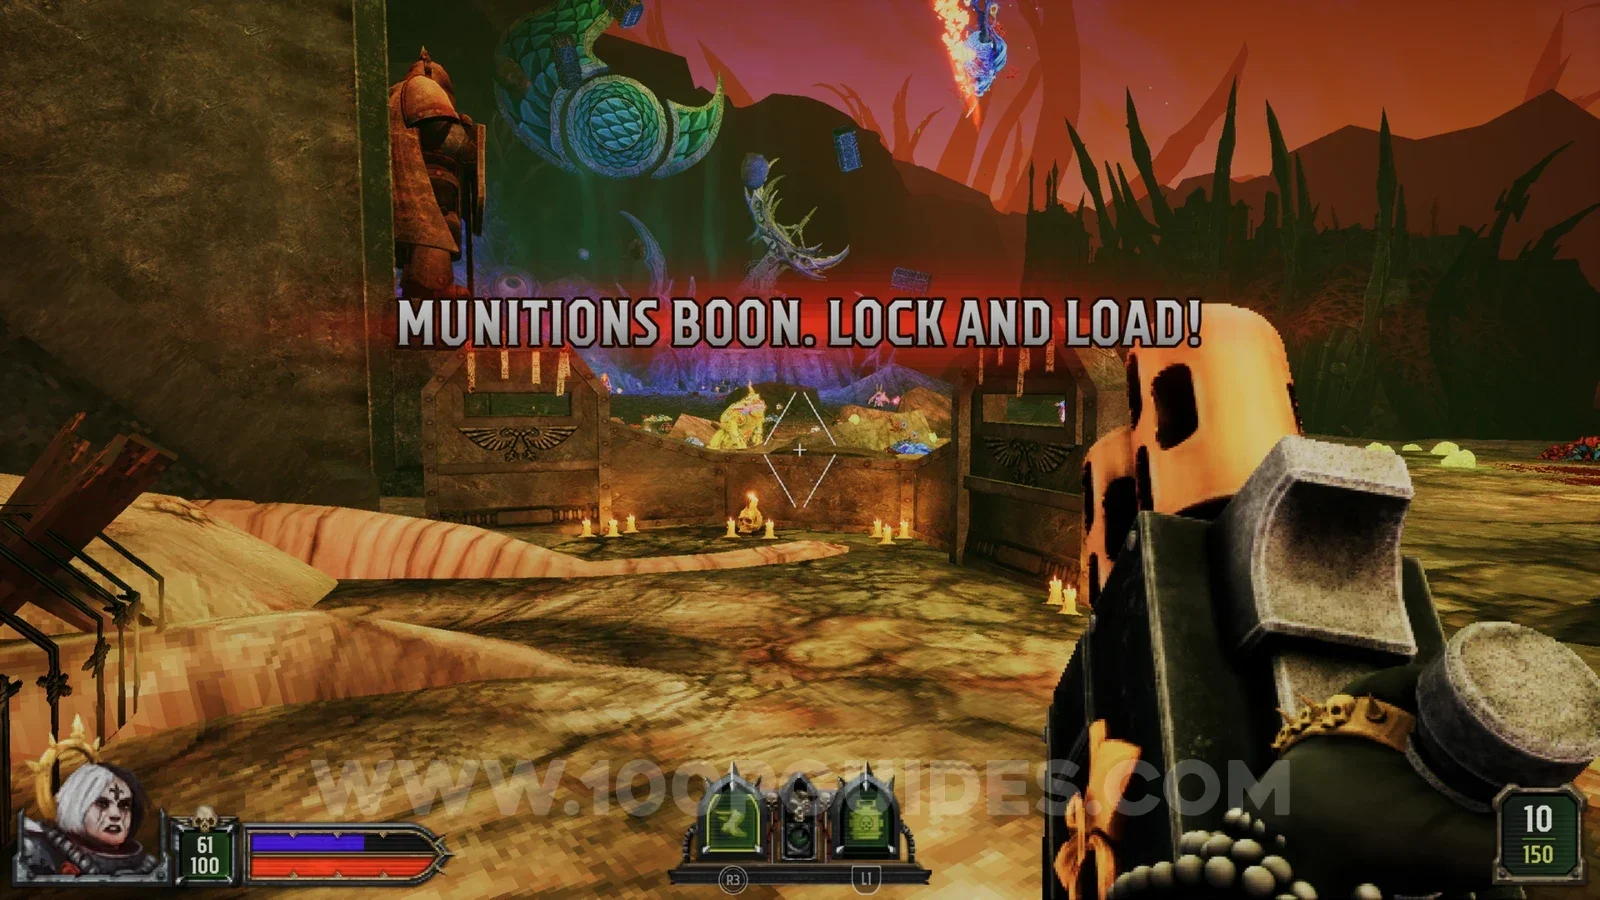
In the first large area with enemies, look for a skull next to a crashed airship. Shoot it to open the back of the airship and find the secret inside.
Seal 1/1
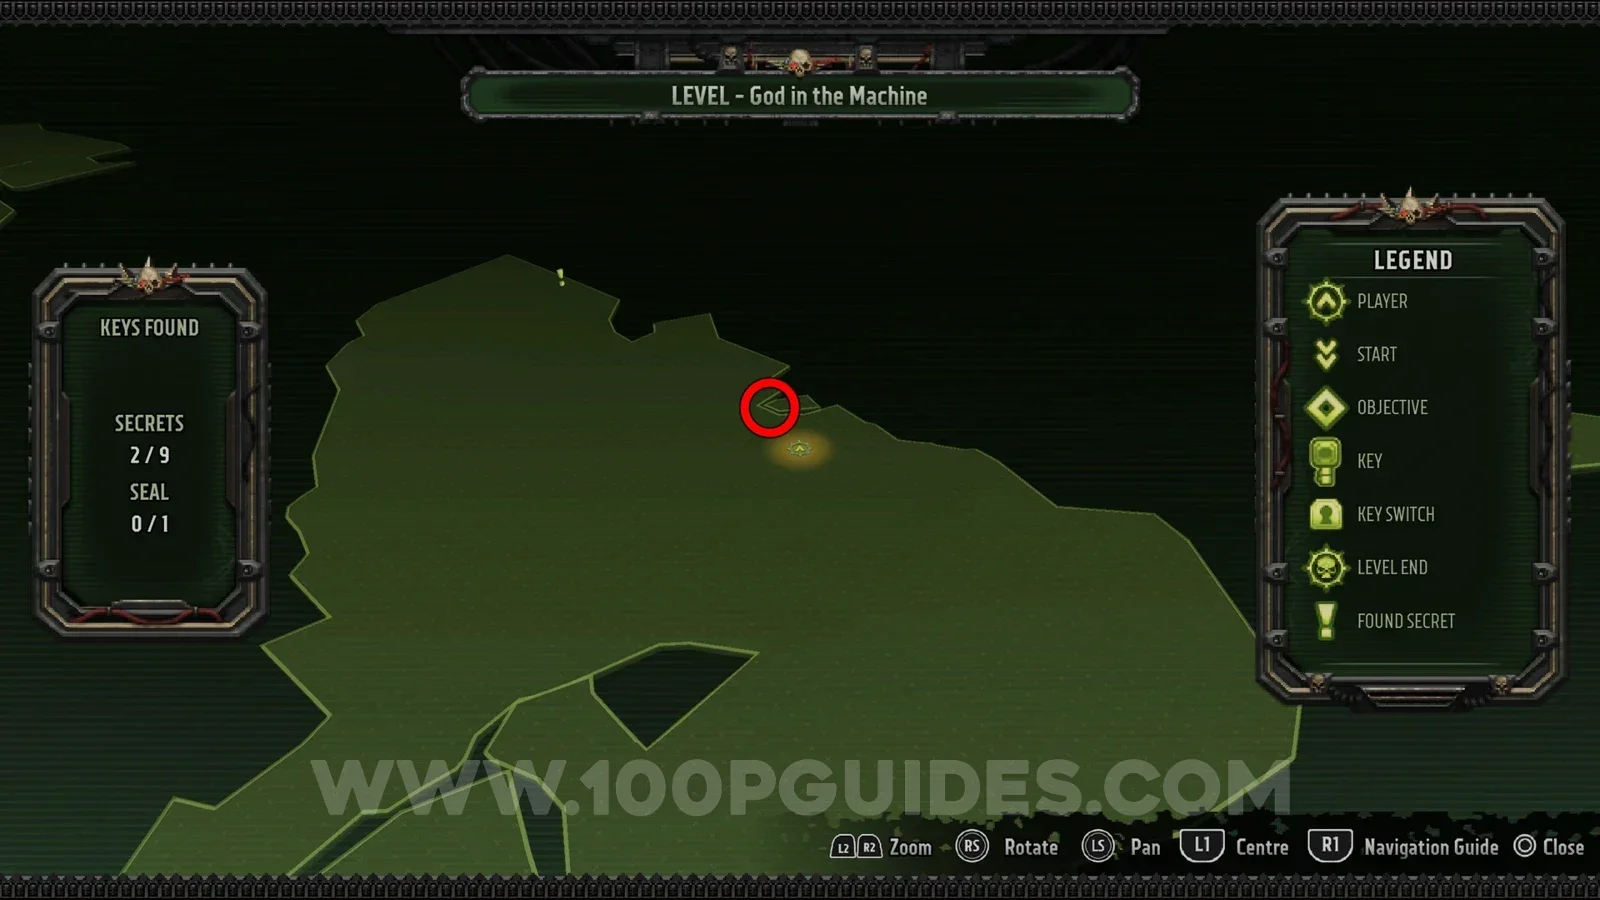
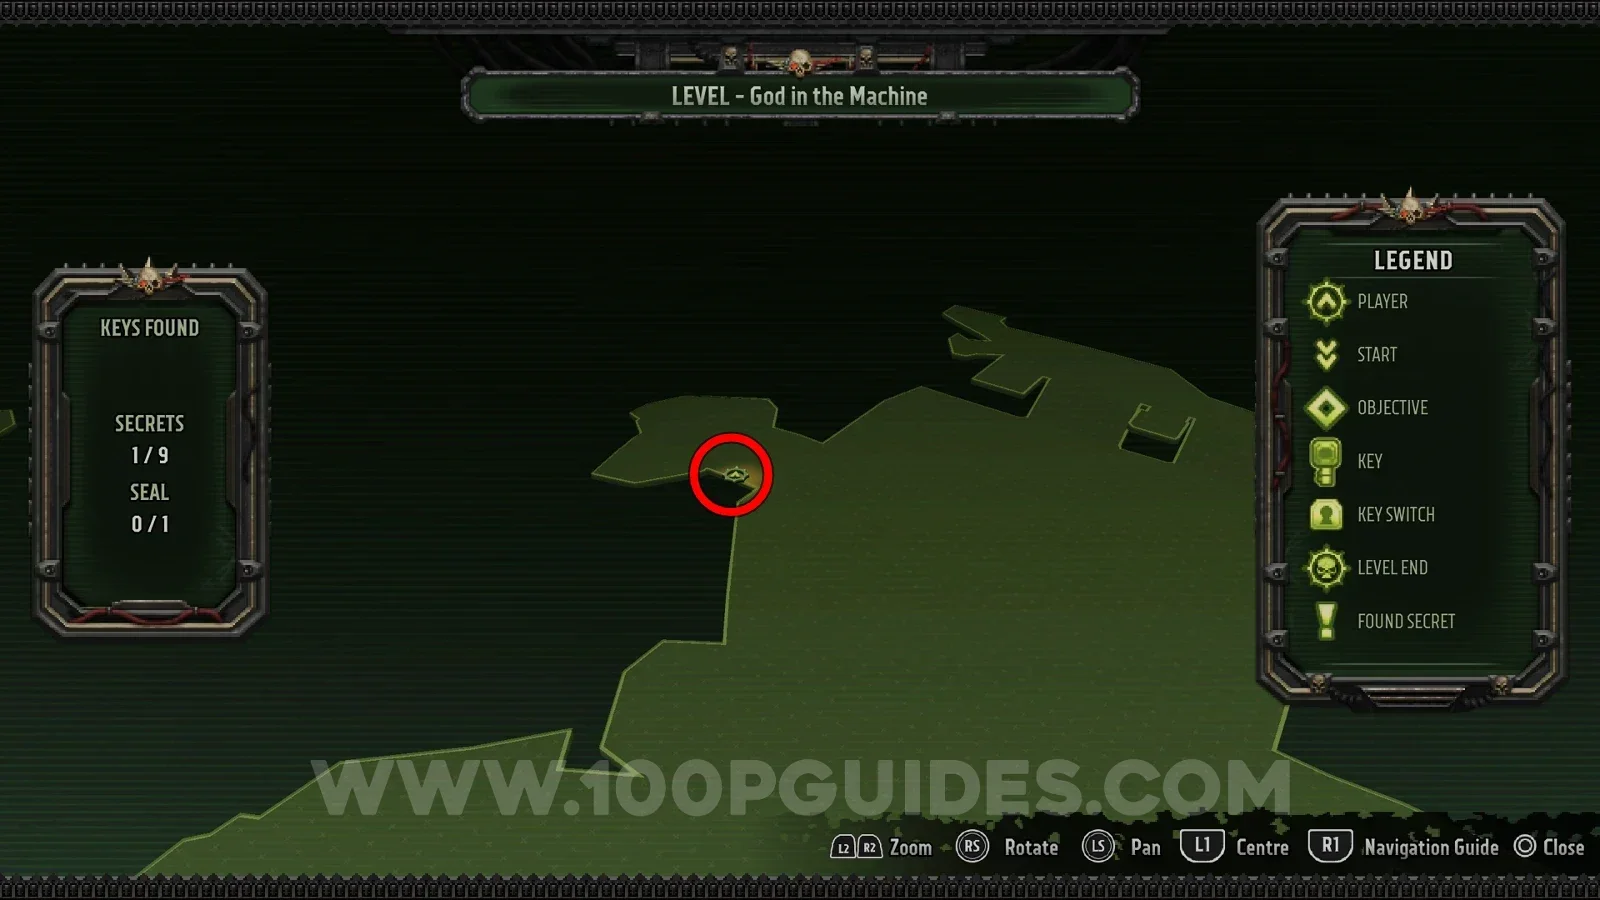
After defeating the enemies in the first area you are teleported to another. Go to the edge of the area, where the airship is. Next to it you will see a skull. Shoot it to open the airship and find the seal inside.
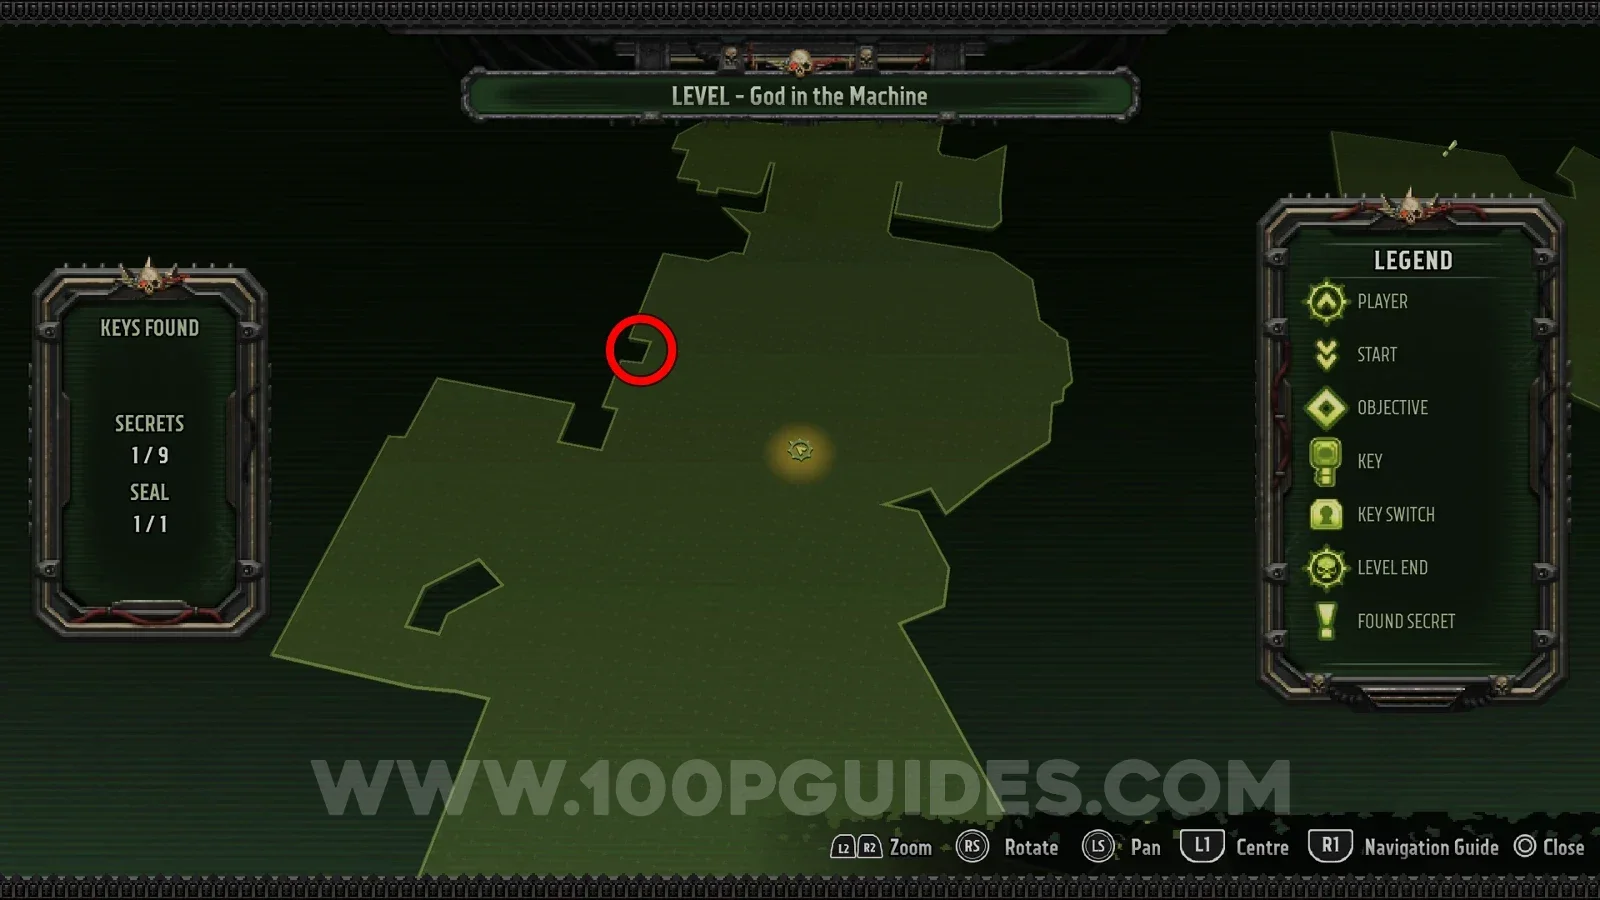
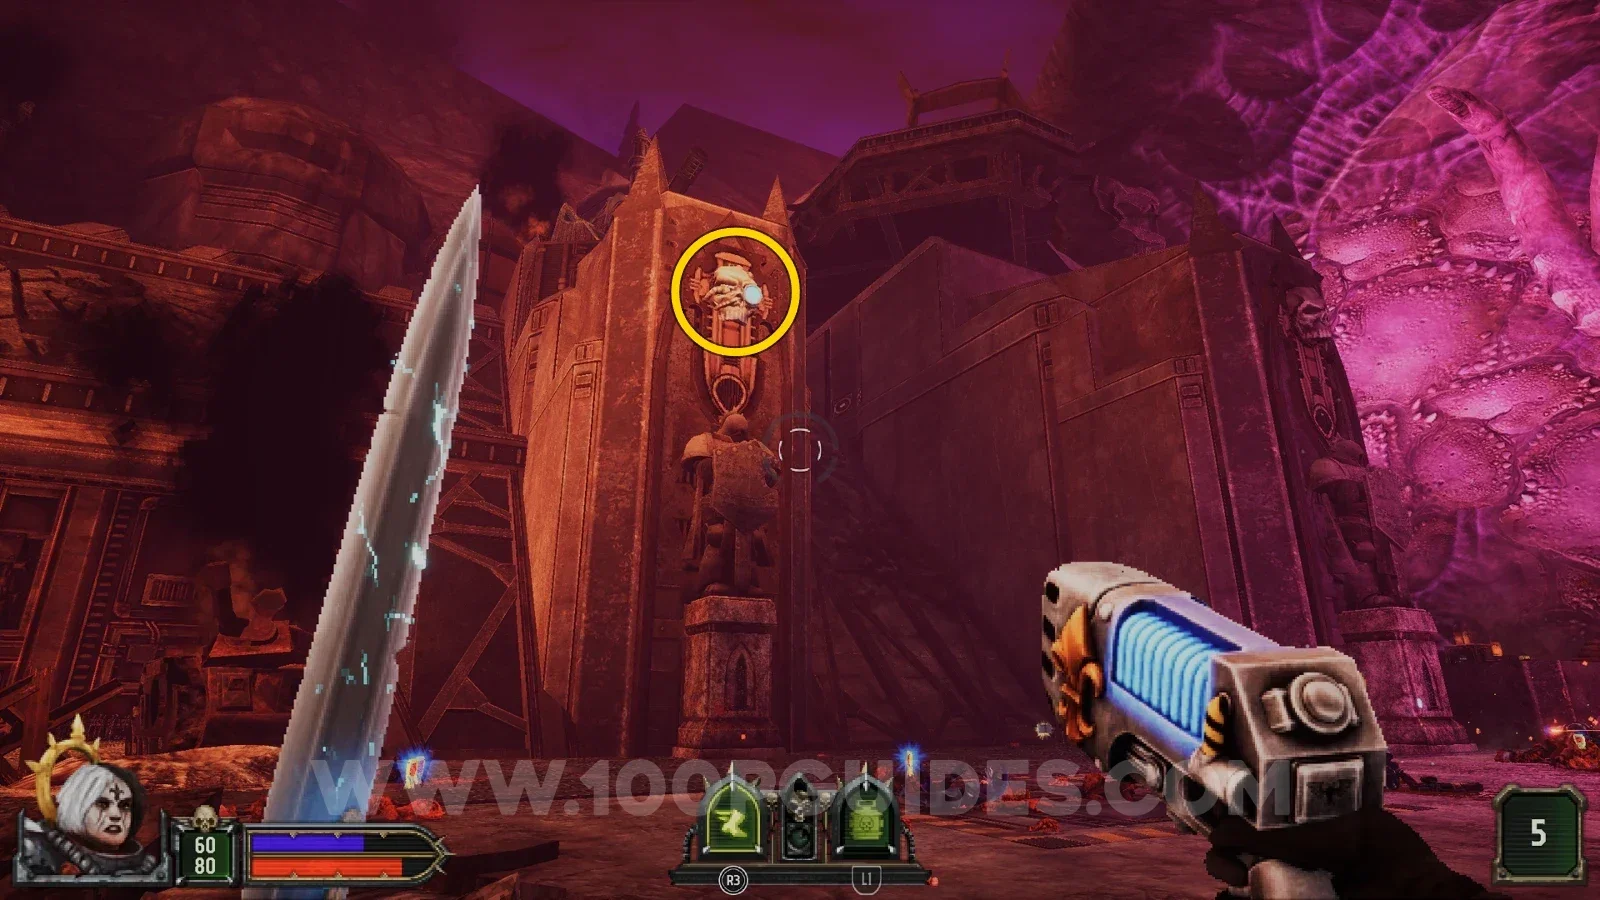
Secret 3/9
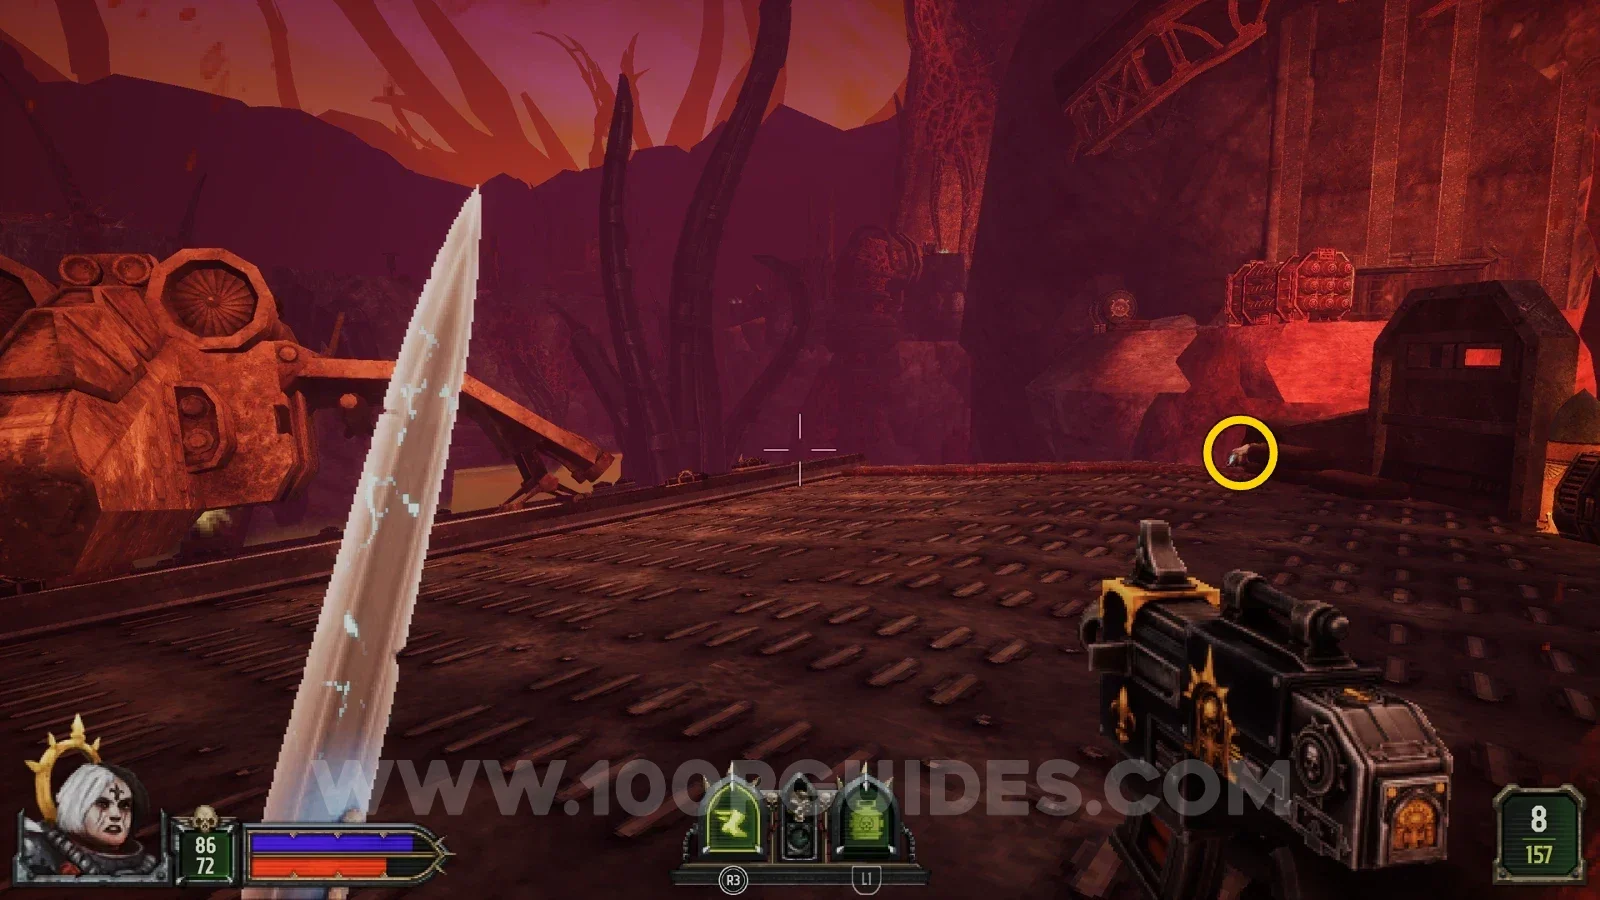
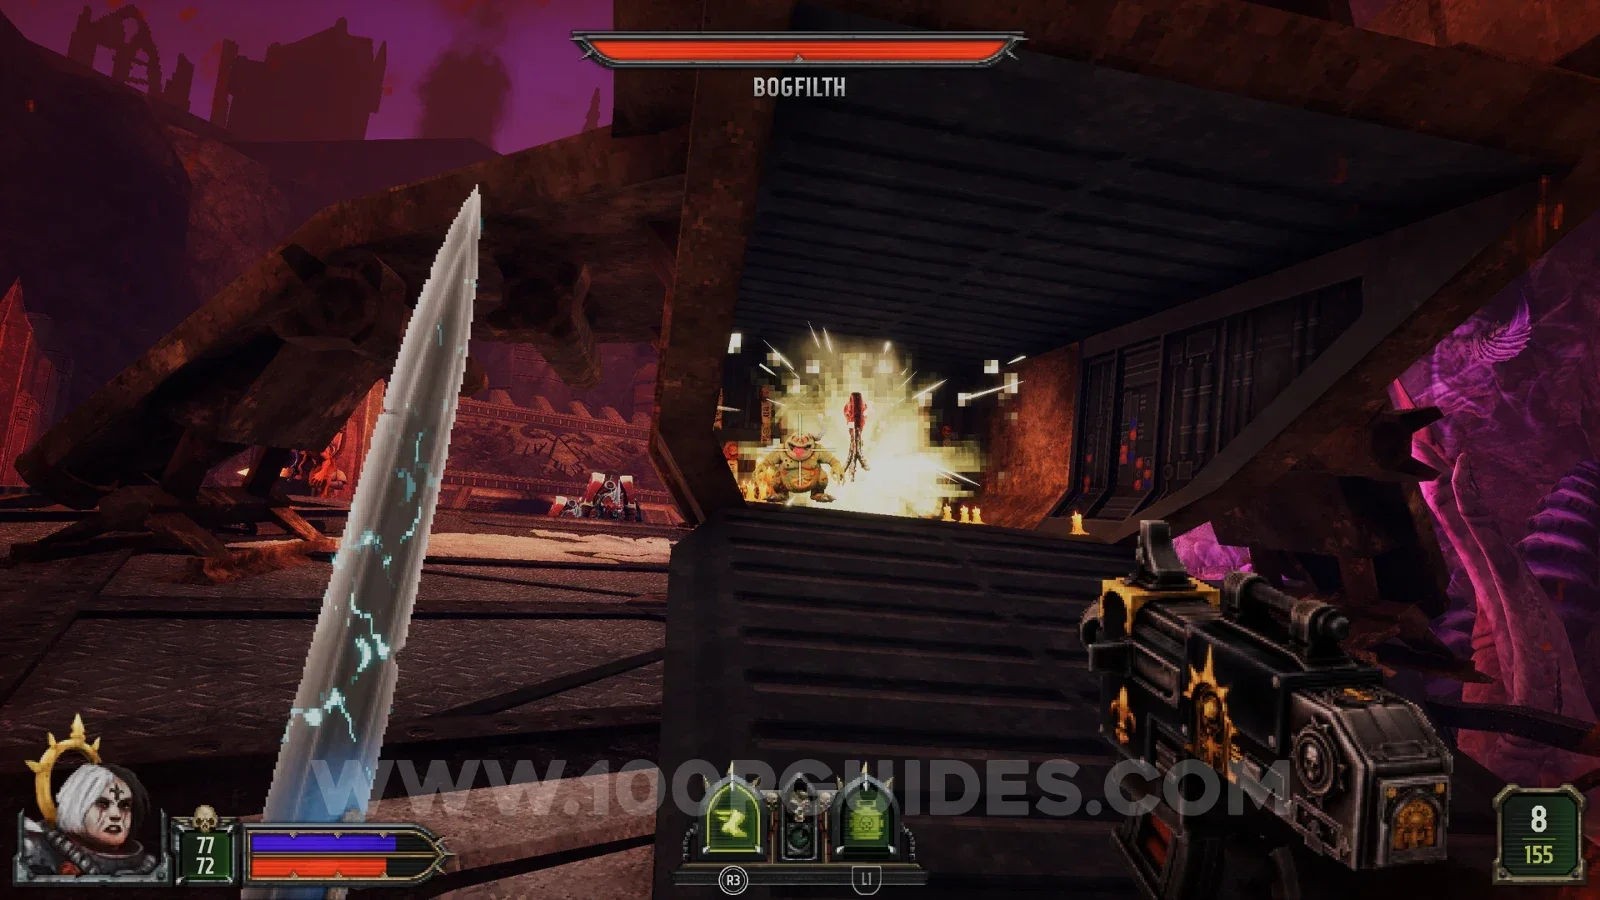
In the same area as the airship, shoot the blue flashing eye of the giant skull on the wall. The secret comes up out of the ground.
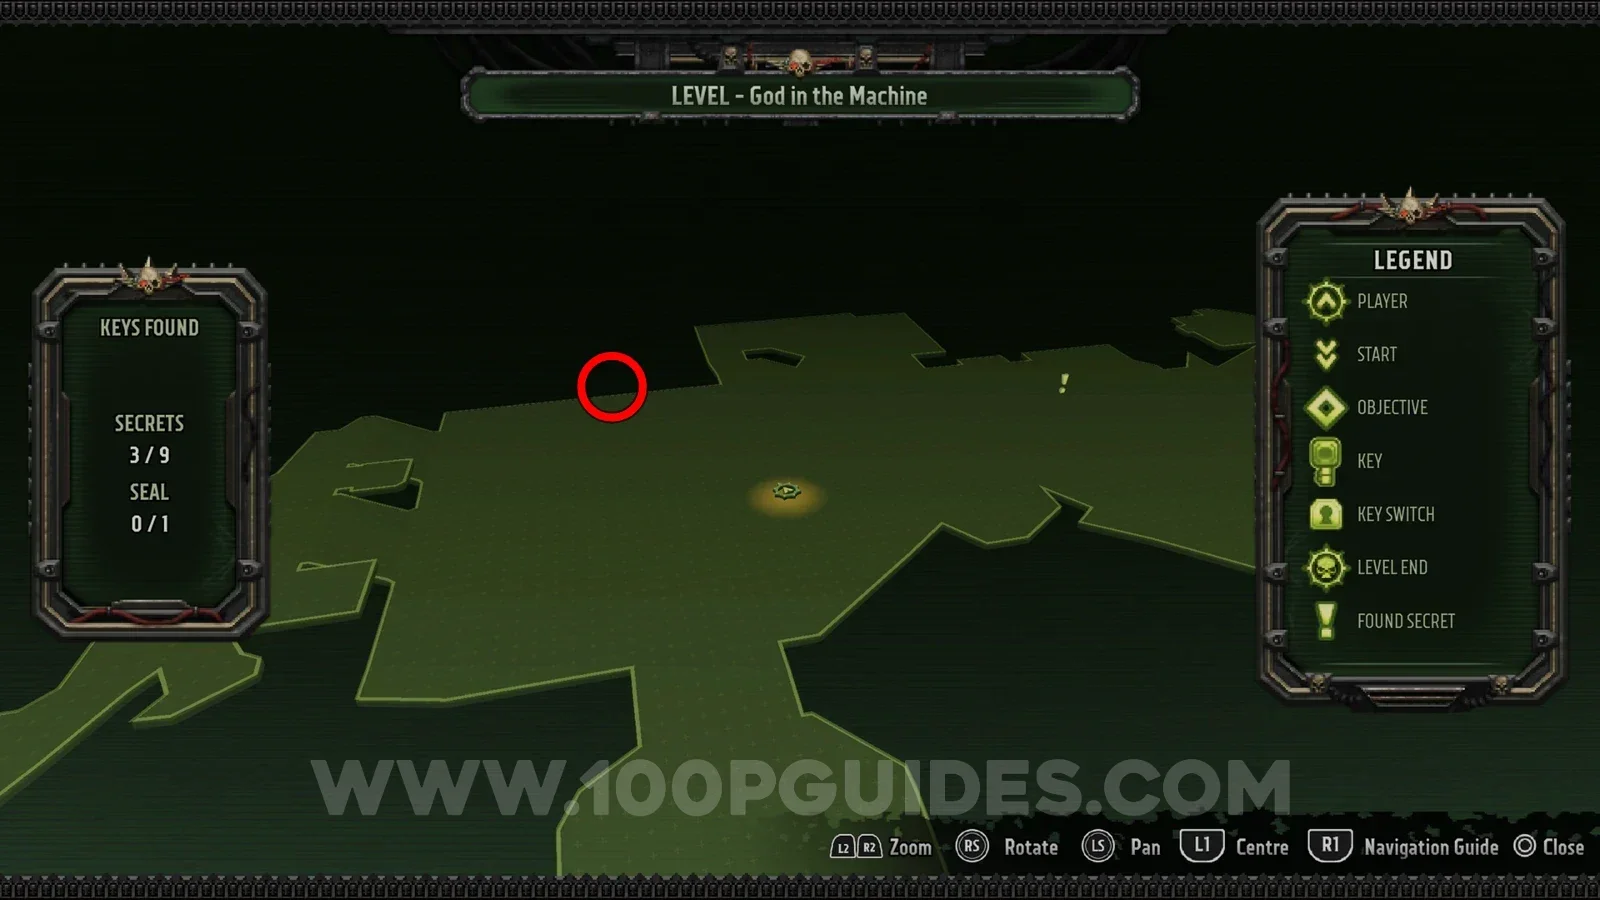
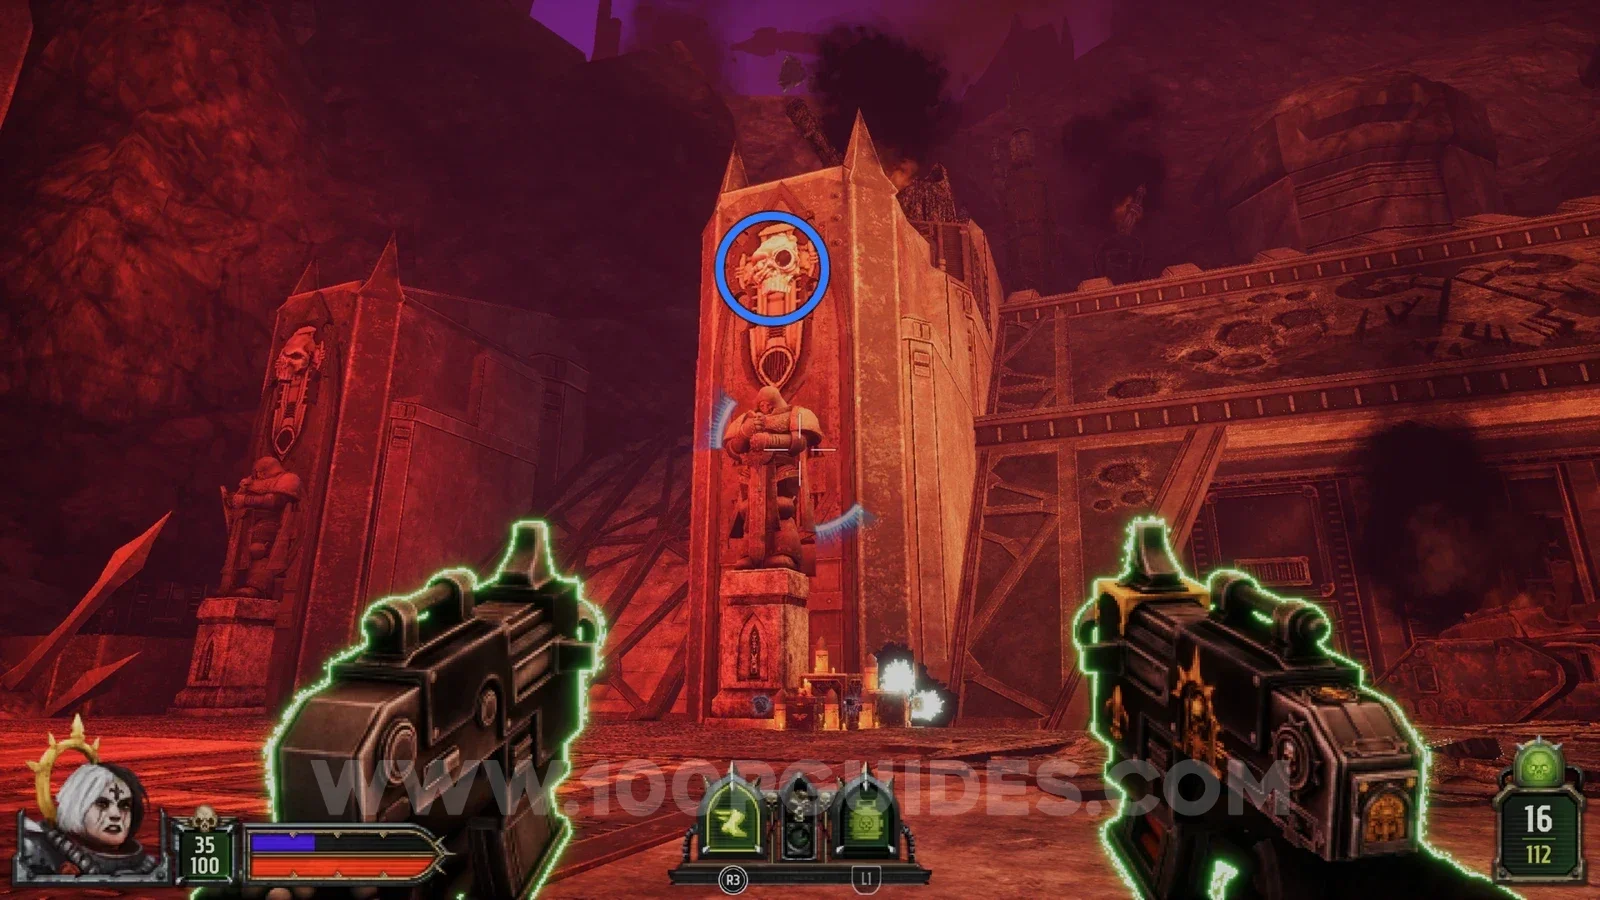
Secret 4/9
The same as the previous secret, but with the skull on the wall further to the left.
Secret 5/9
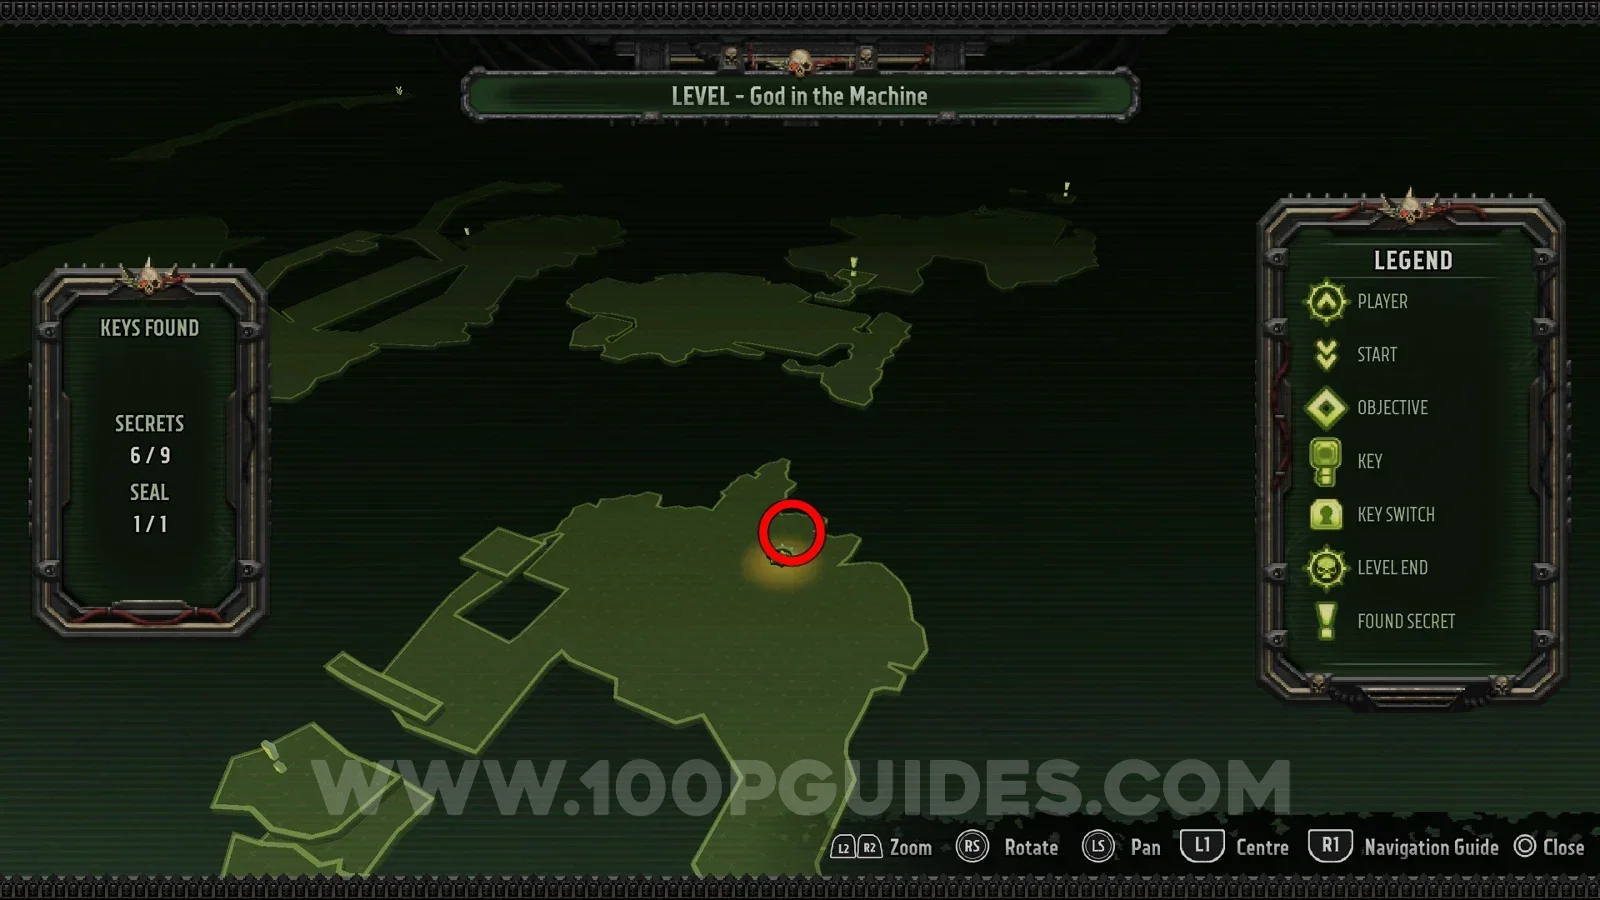
In the corner of one of the ruins in the area where you fight the final boss.
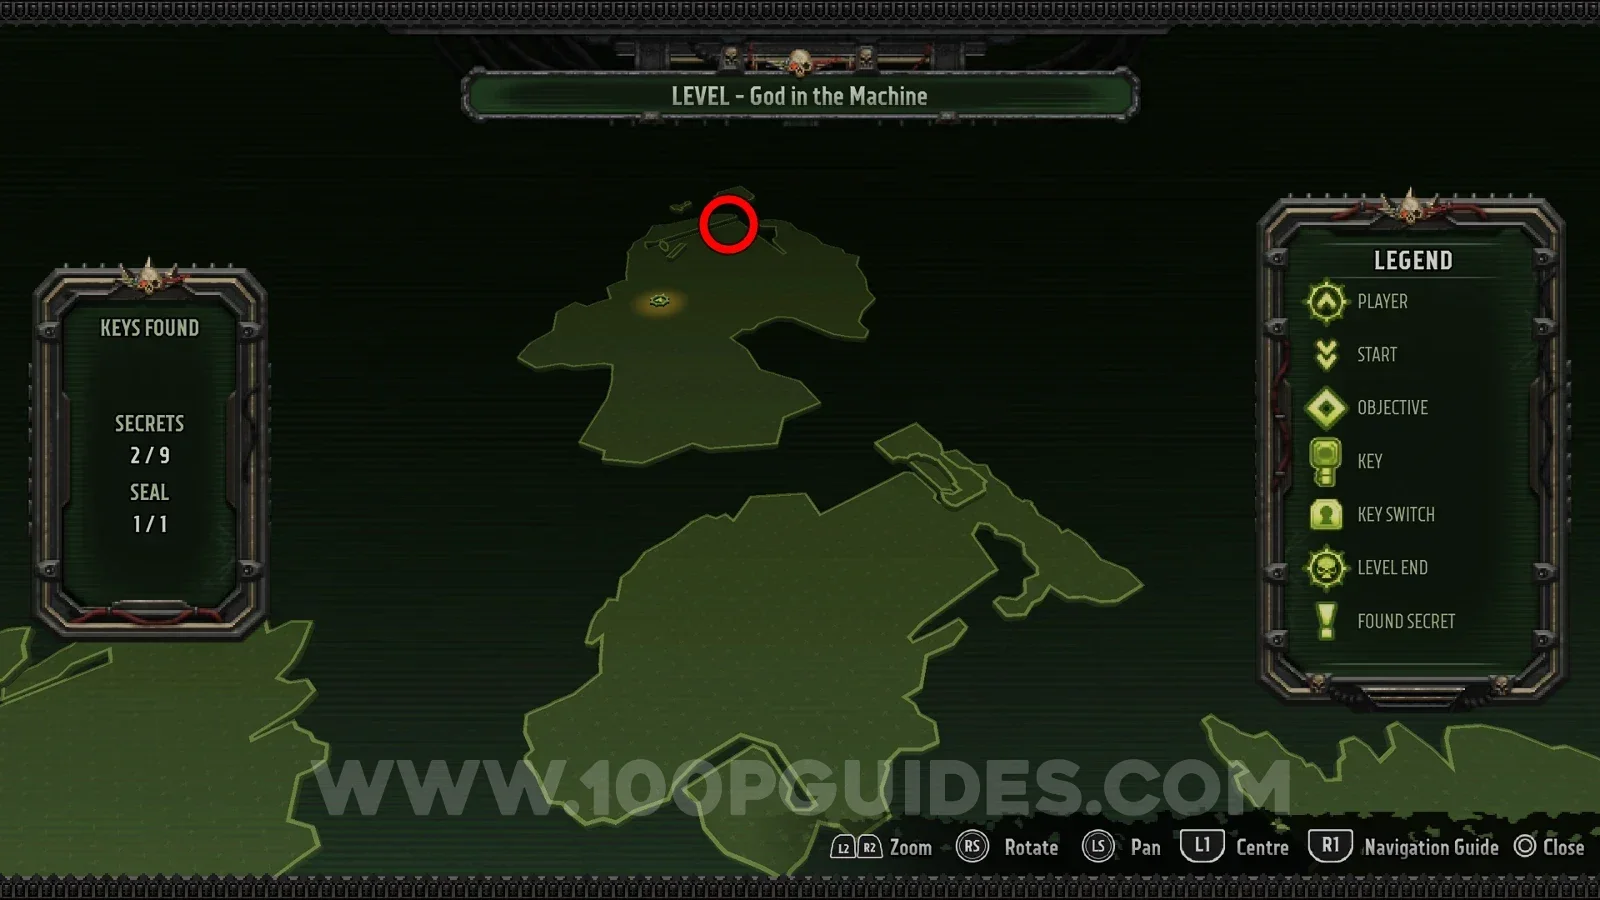
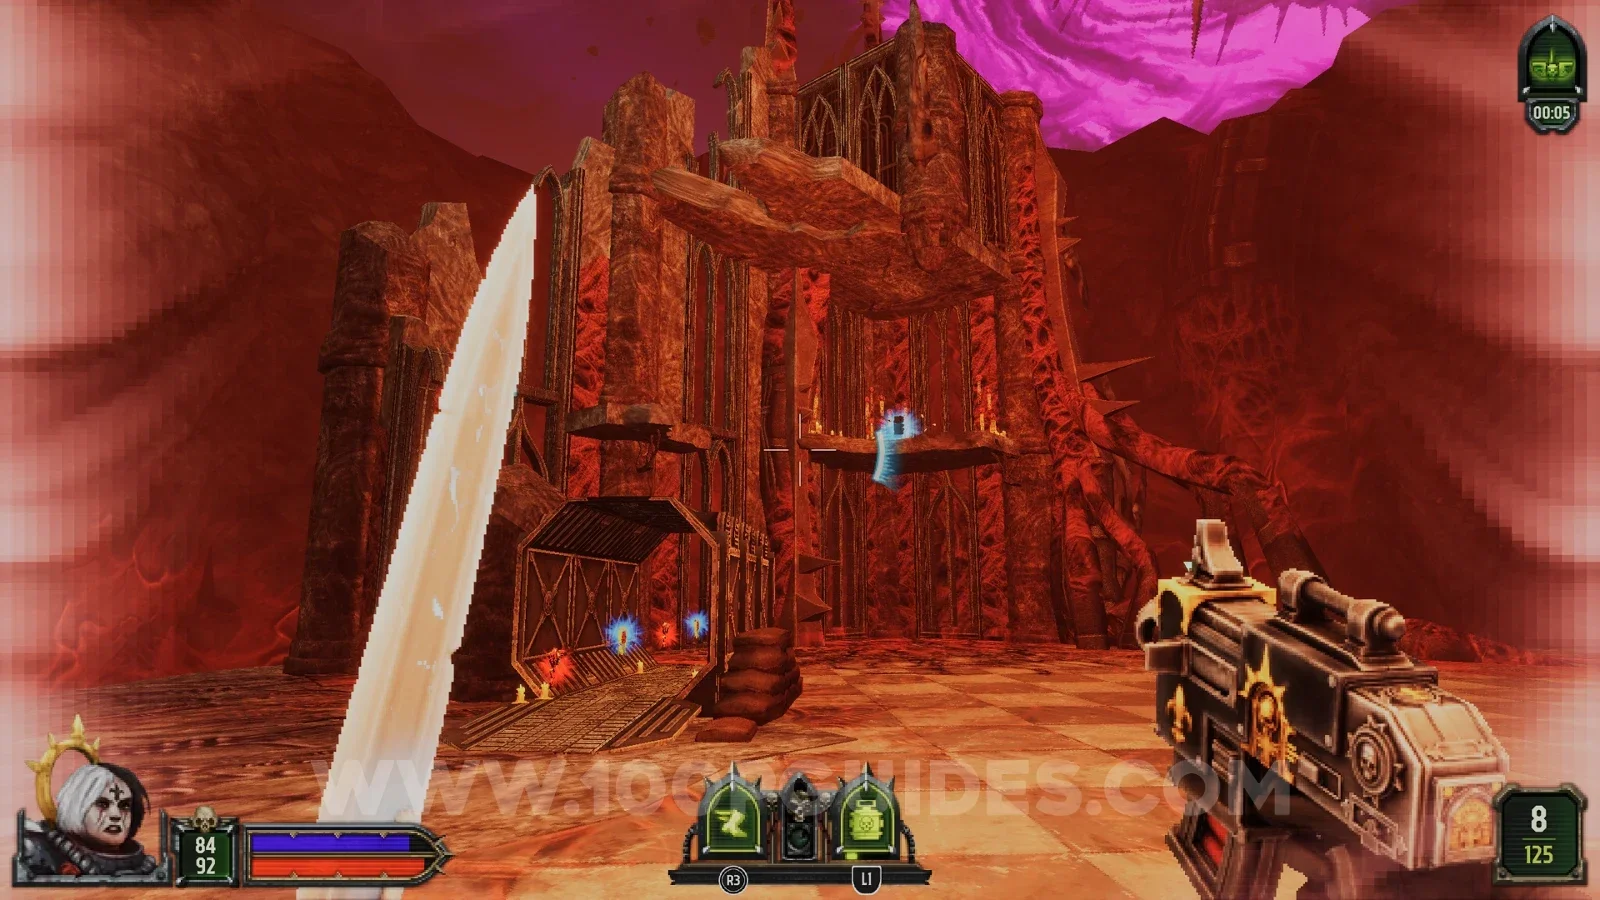
Secret 6/9
Around the right side of the building on the middle island where you fight the final boss.
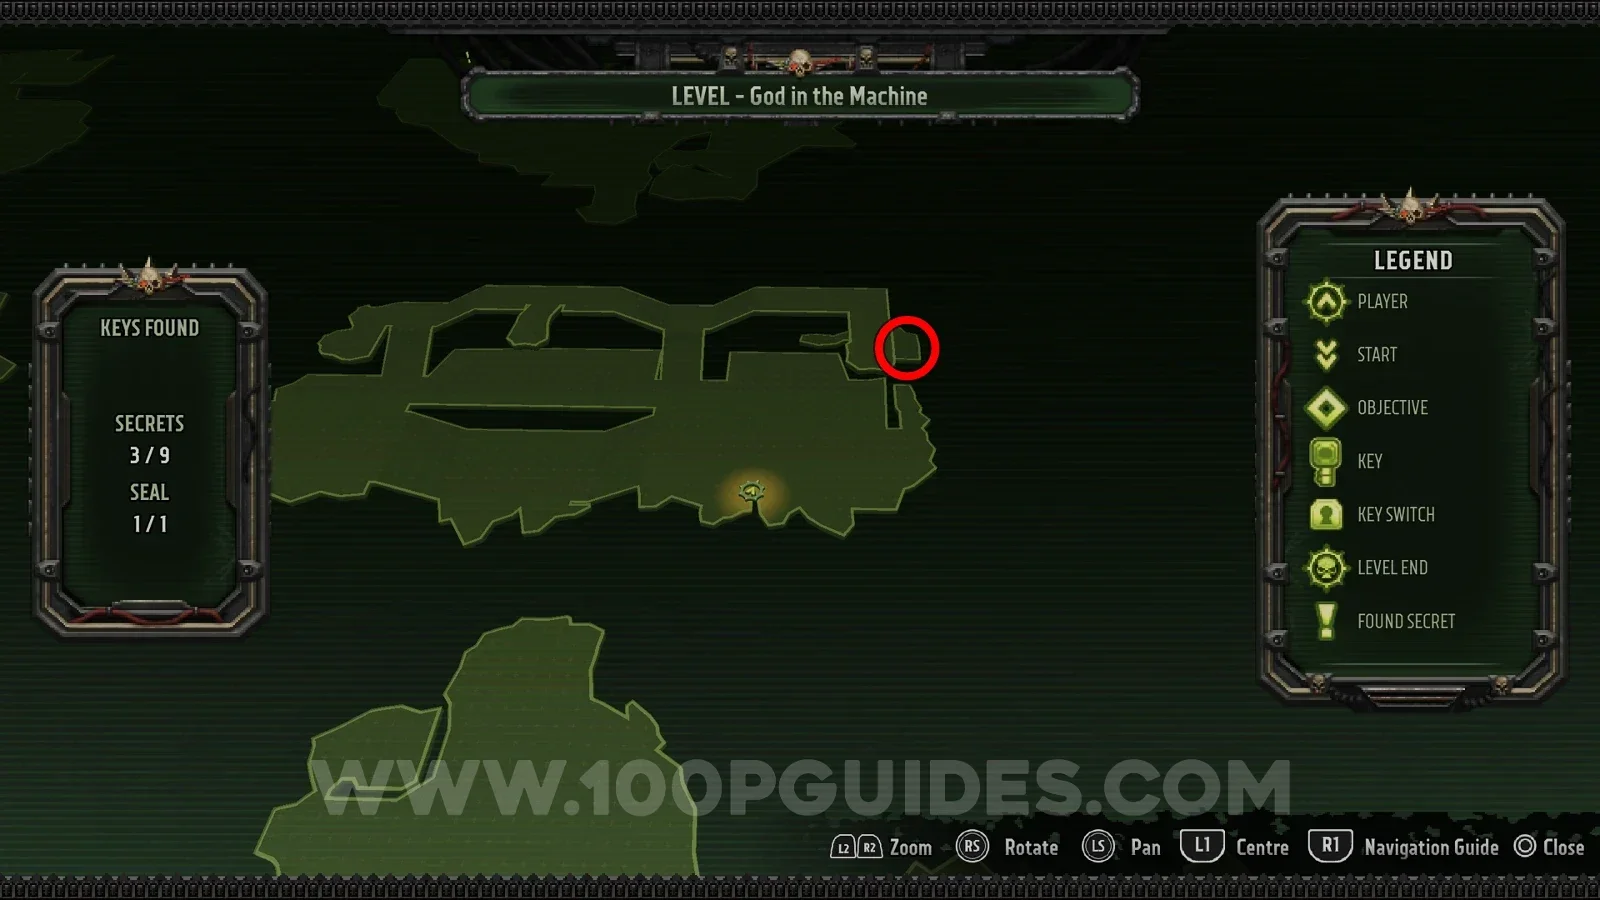
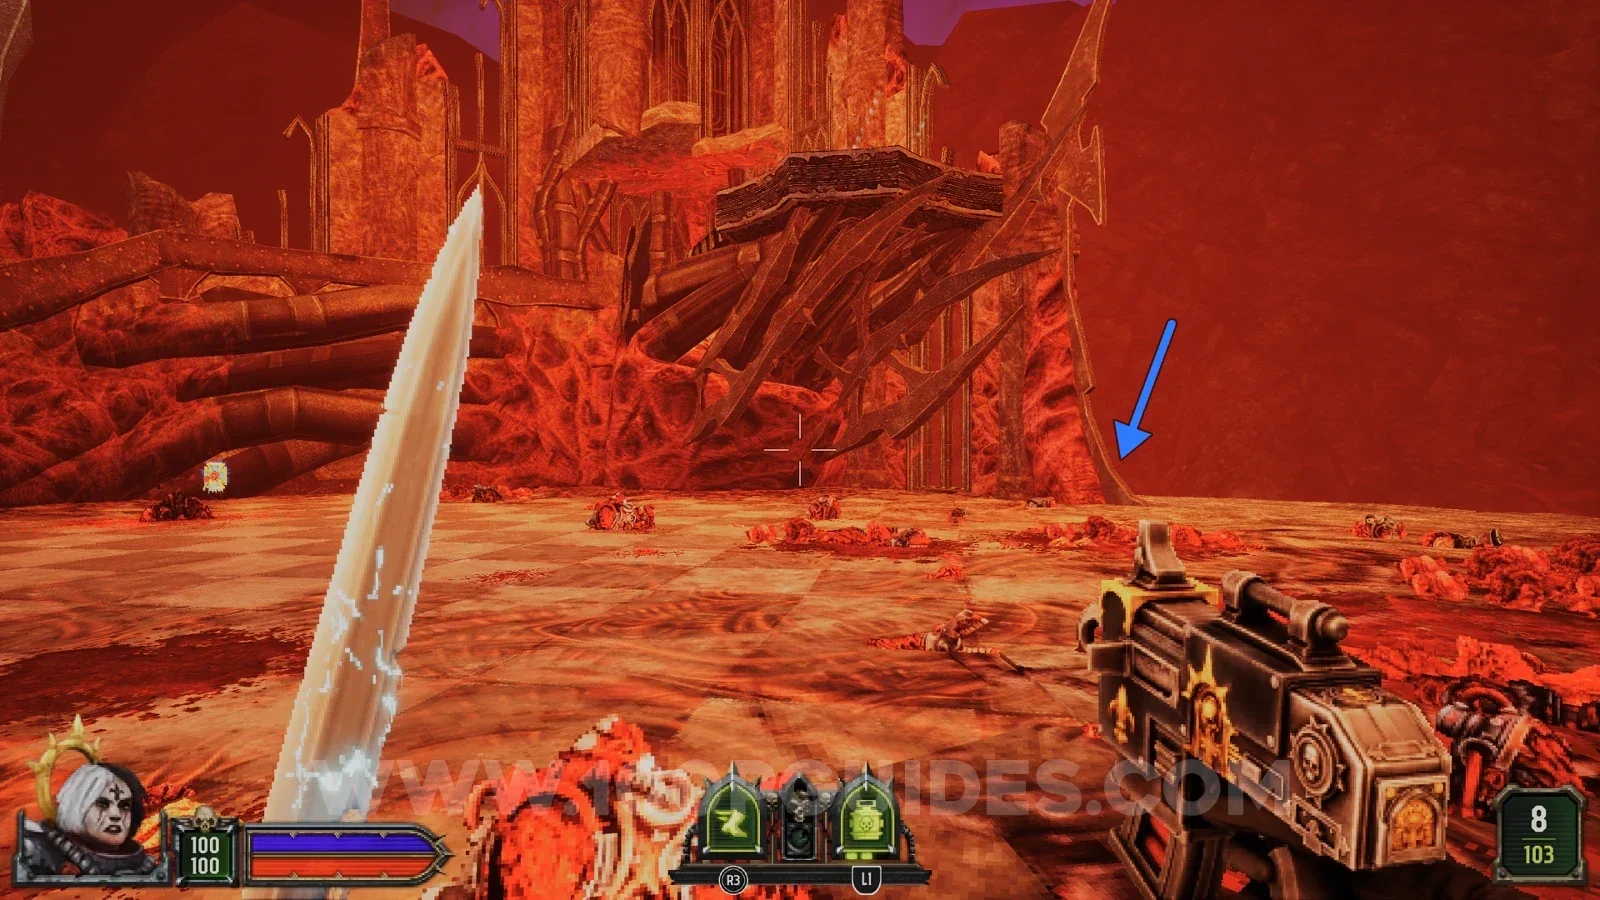
Secret 7/9
Head around the left side of the building on the right island during the final boss fight.
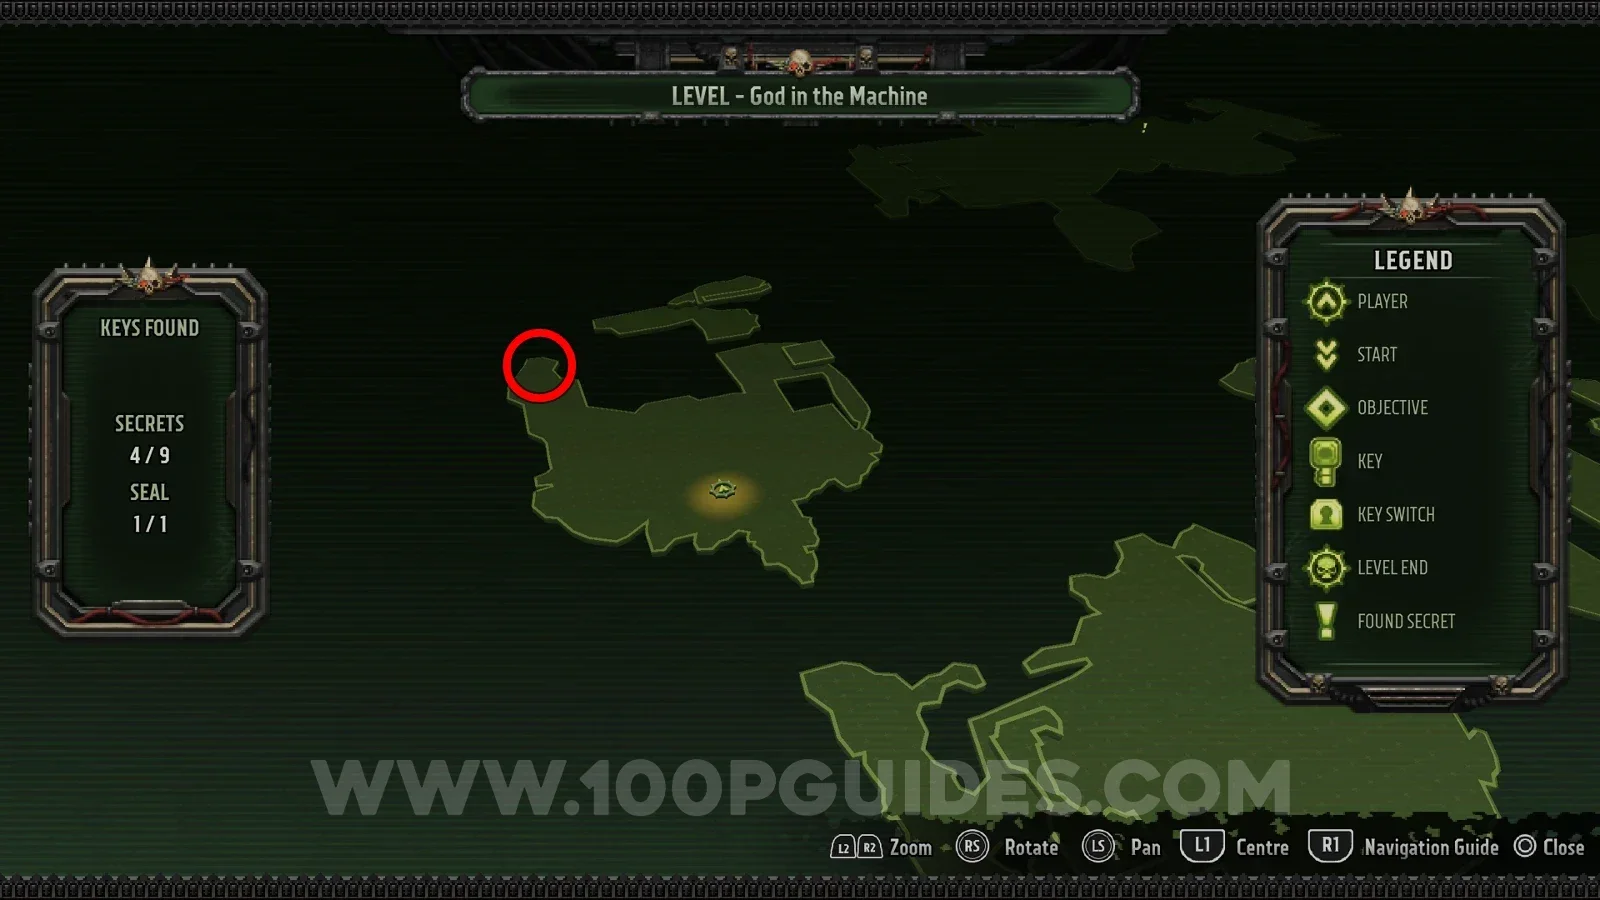
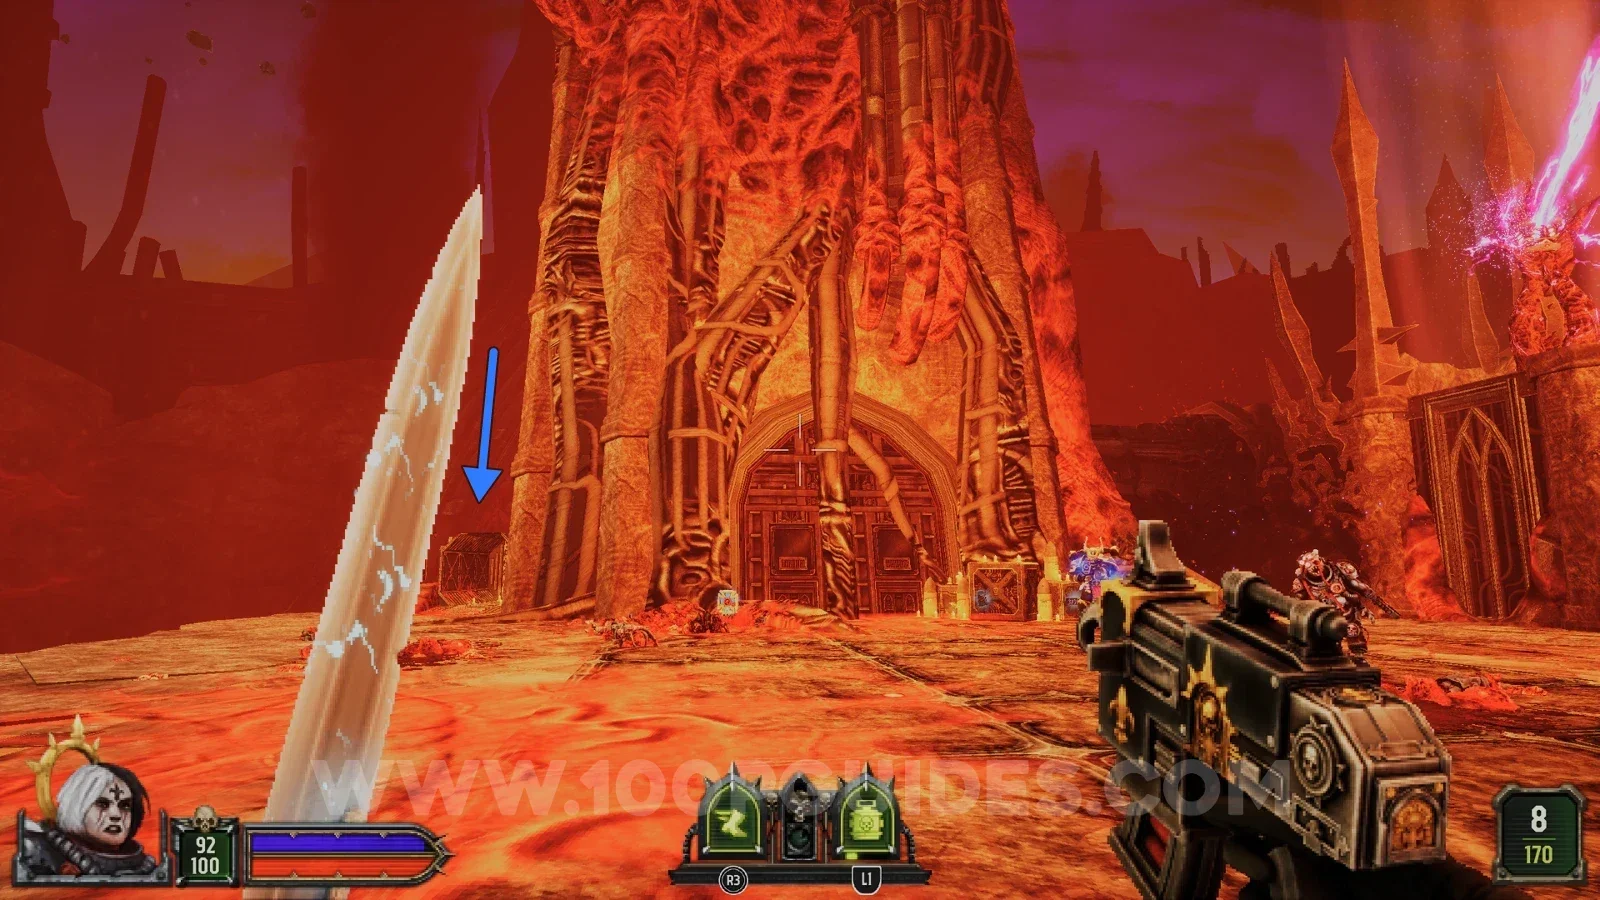
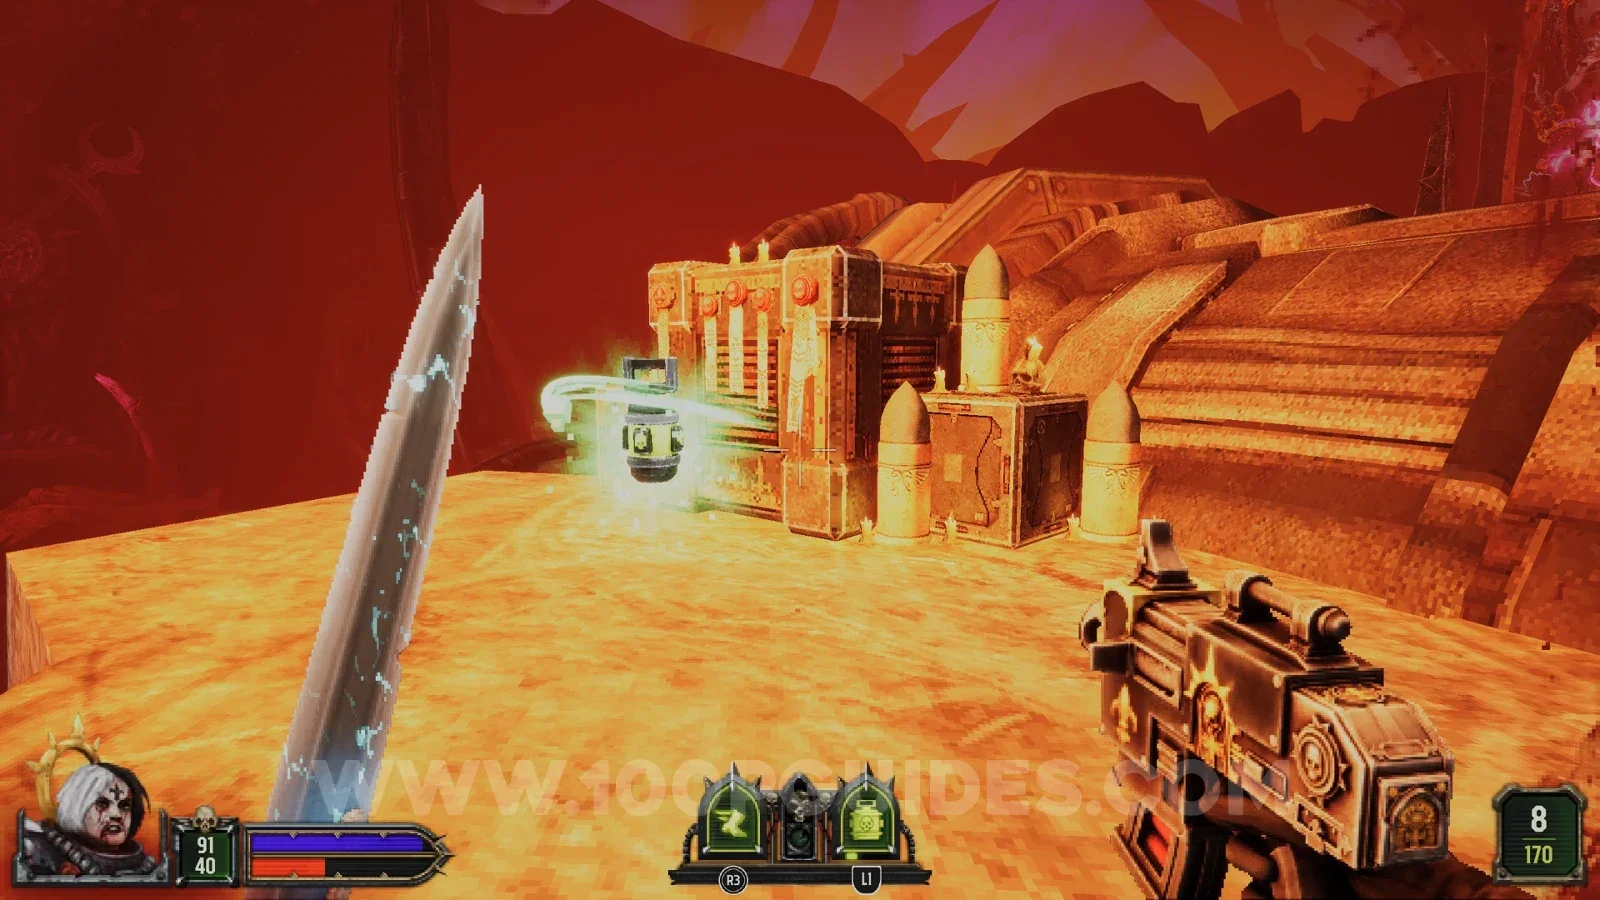
Secret 8/9
On the middle island during the final boss fight.
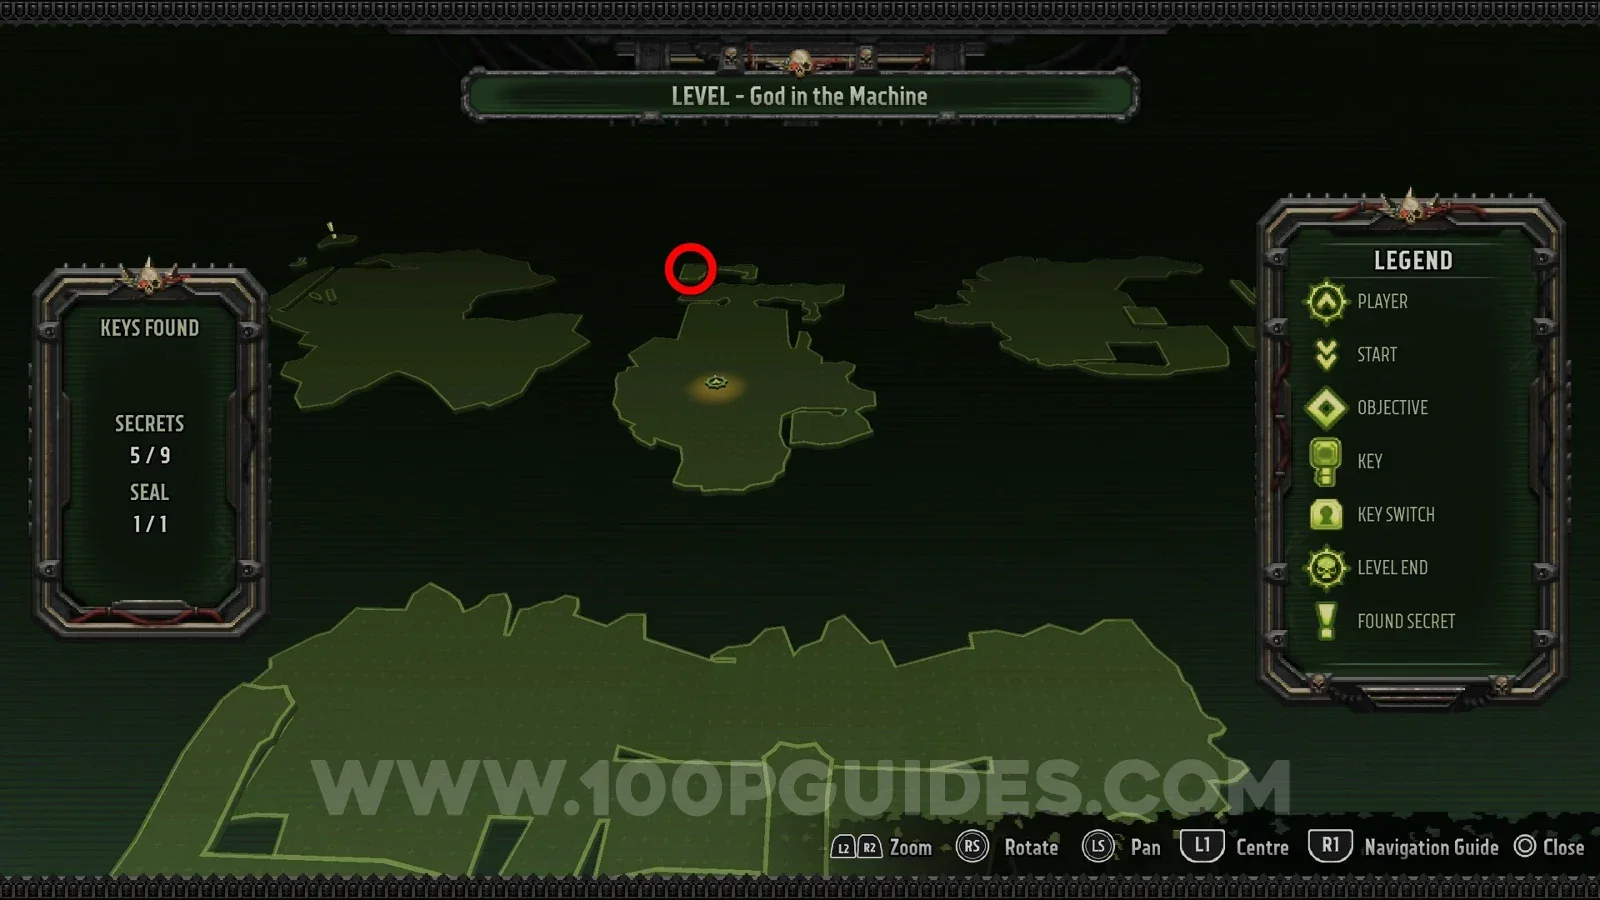
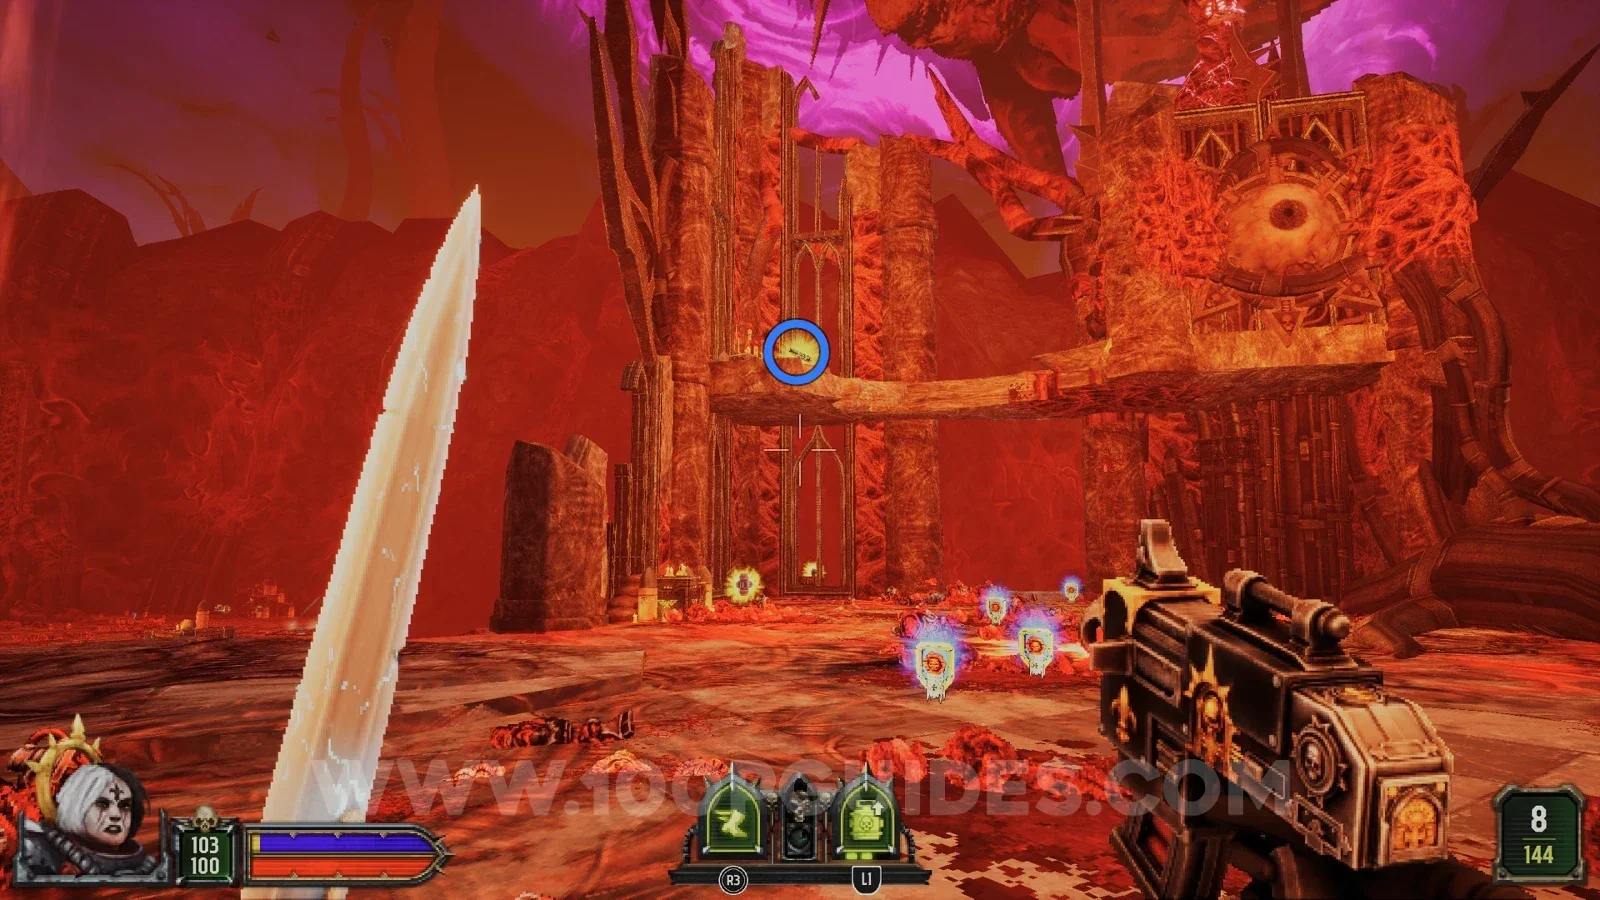
Secret 9/9
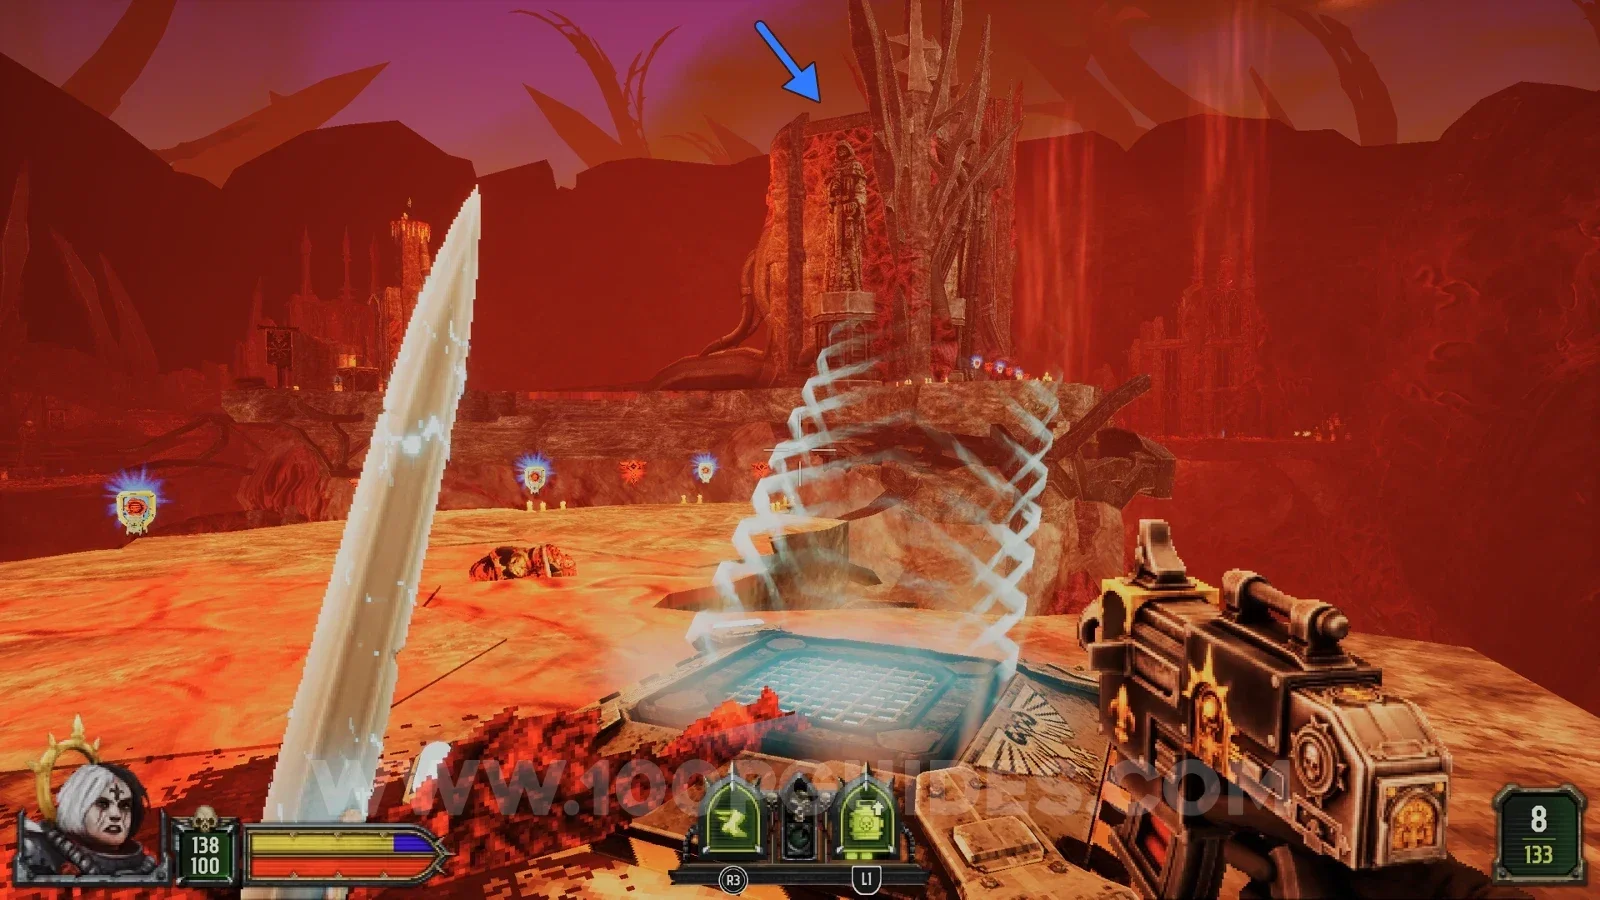
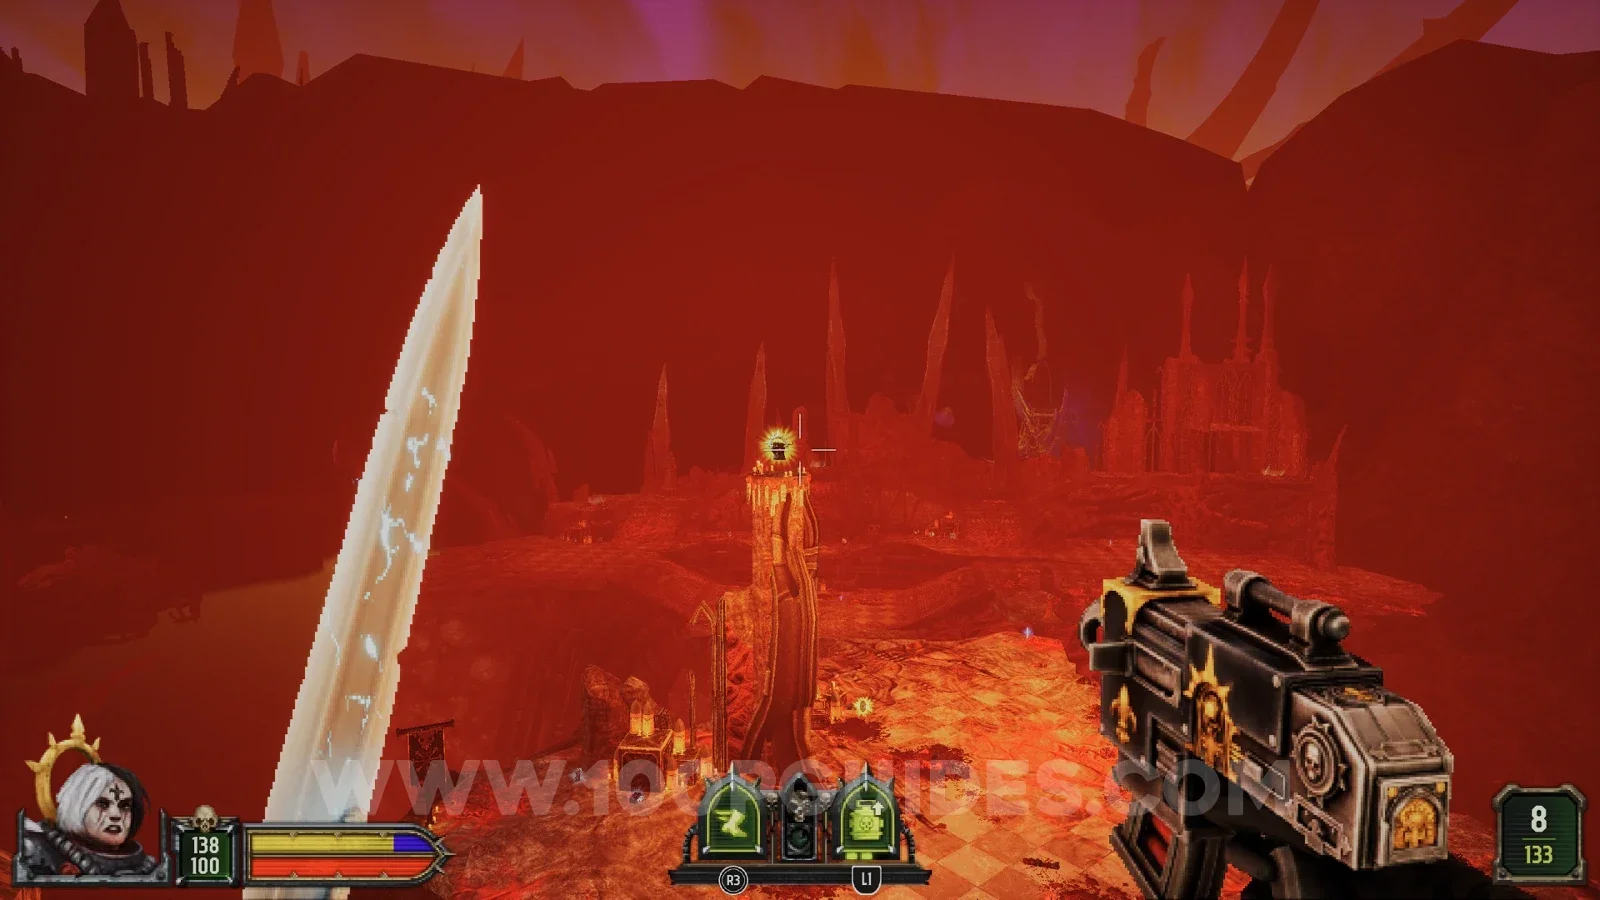
During the final boss fight, use the jump pad on the right-hand island to reach the upper platform of the middle island (the one where one of the healing totems was). From there, jump to the secret on top of the pillar.