Call of the Elder Gods All Clue Locations
This guide will show you where to find every Clue in Call of the Elder Gods.
In Call of the Elder Gods, certain items and notes will be added to your journal as Clues. These are important for solving the main story puzzles throughout the game. Collect every clue and complete the journal to 100% in order to unlock the …For the Sake of Clarity trophy. Nothing is missable and you can return to any chapter through the Chapter Select option.
PROLOGUE
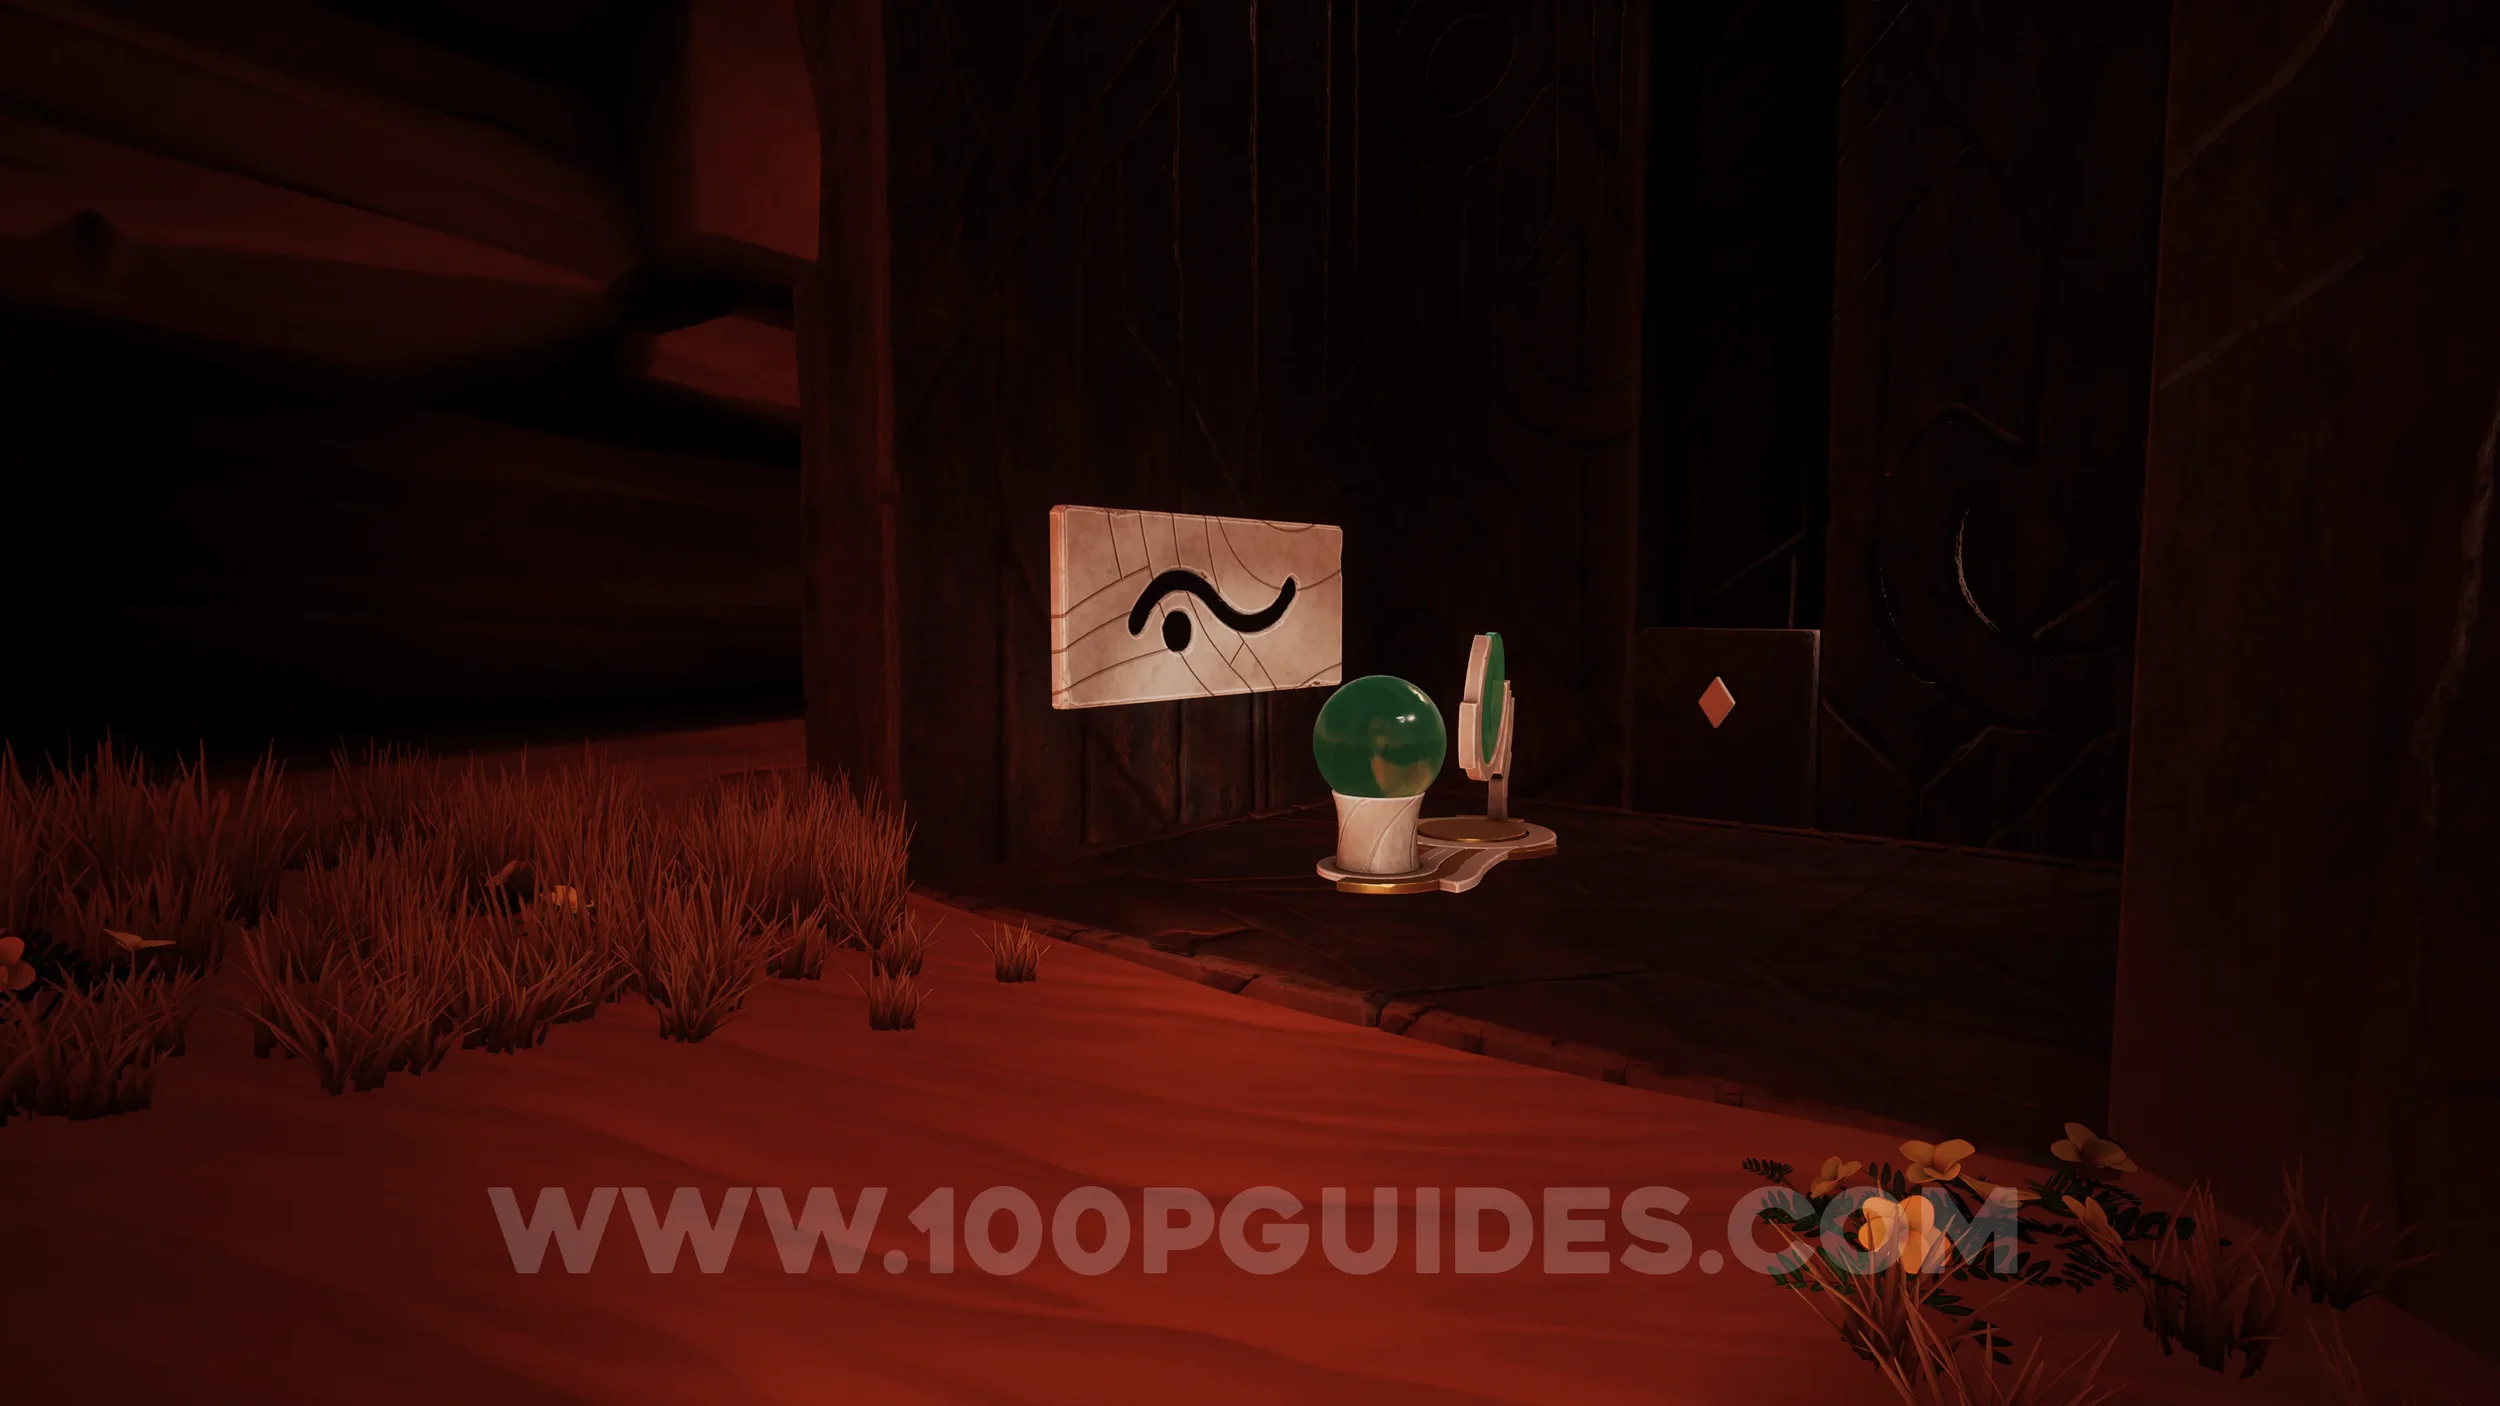
Clue #1. Unlocked automatically after leaving your room and entering the room with the piano.
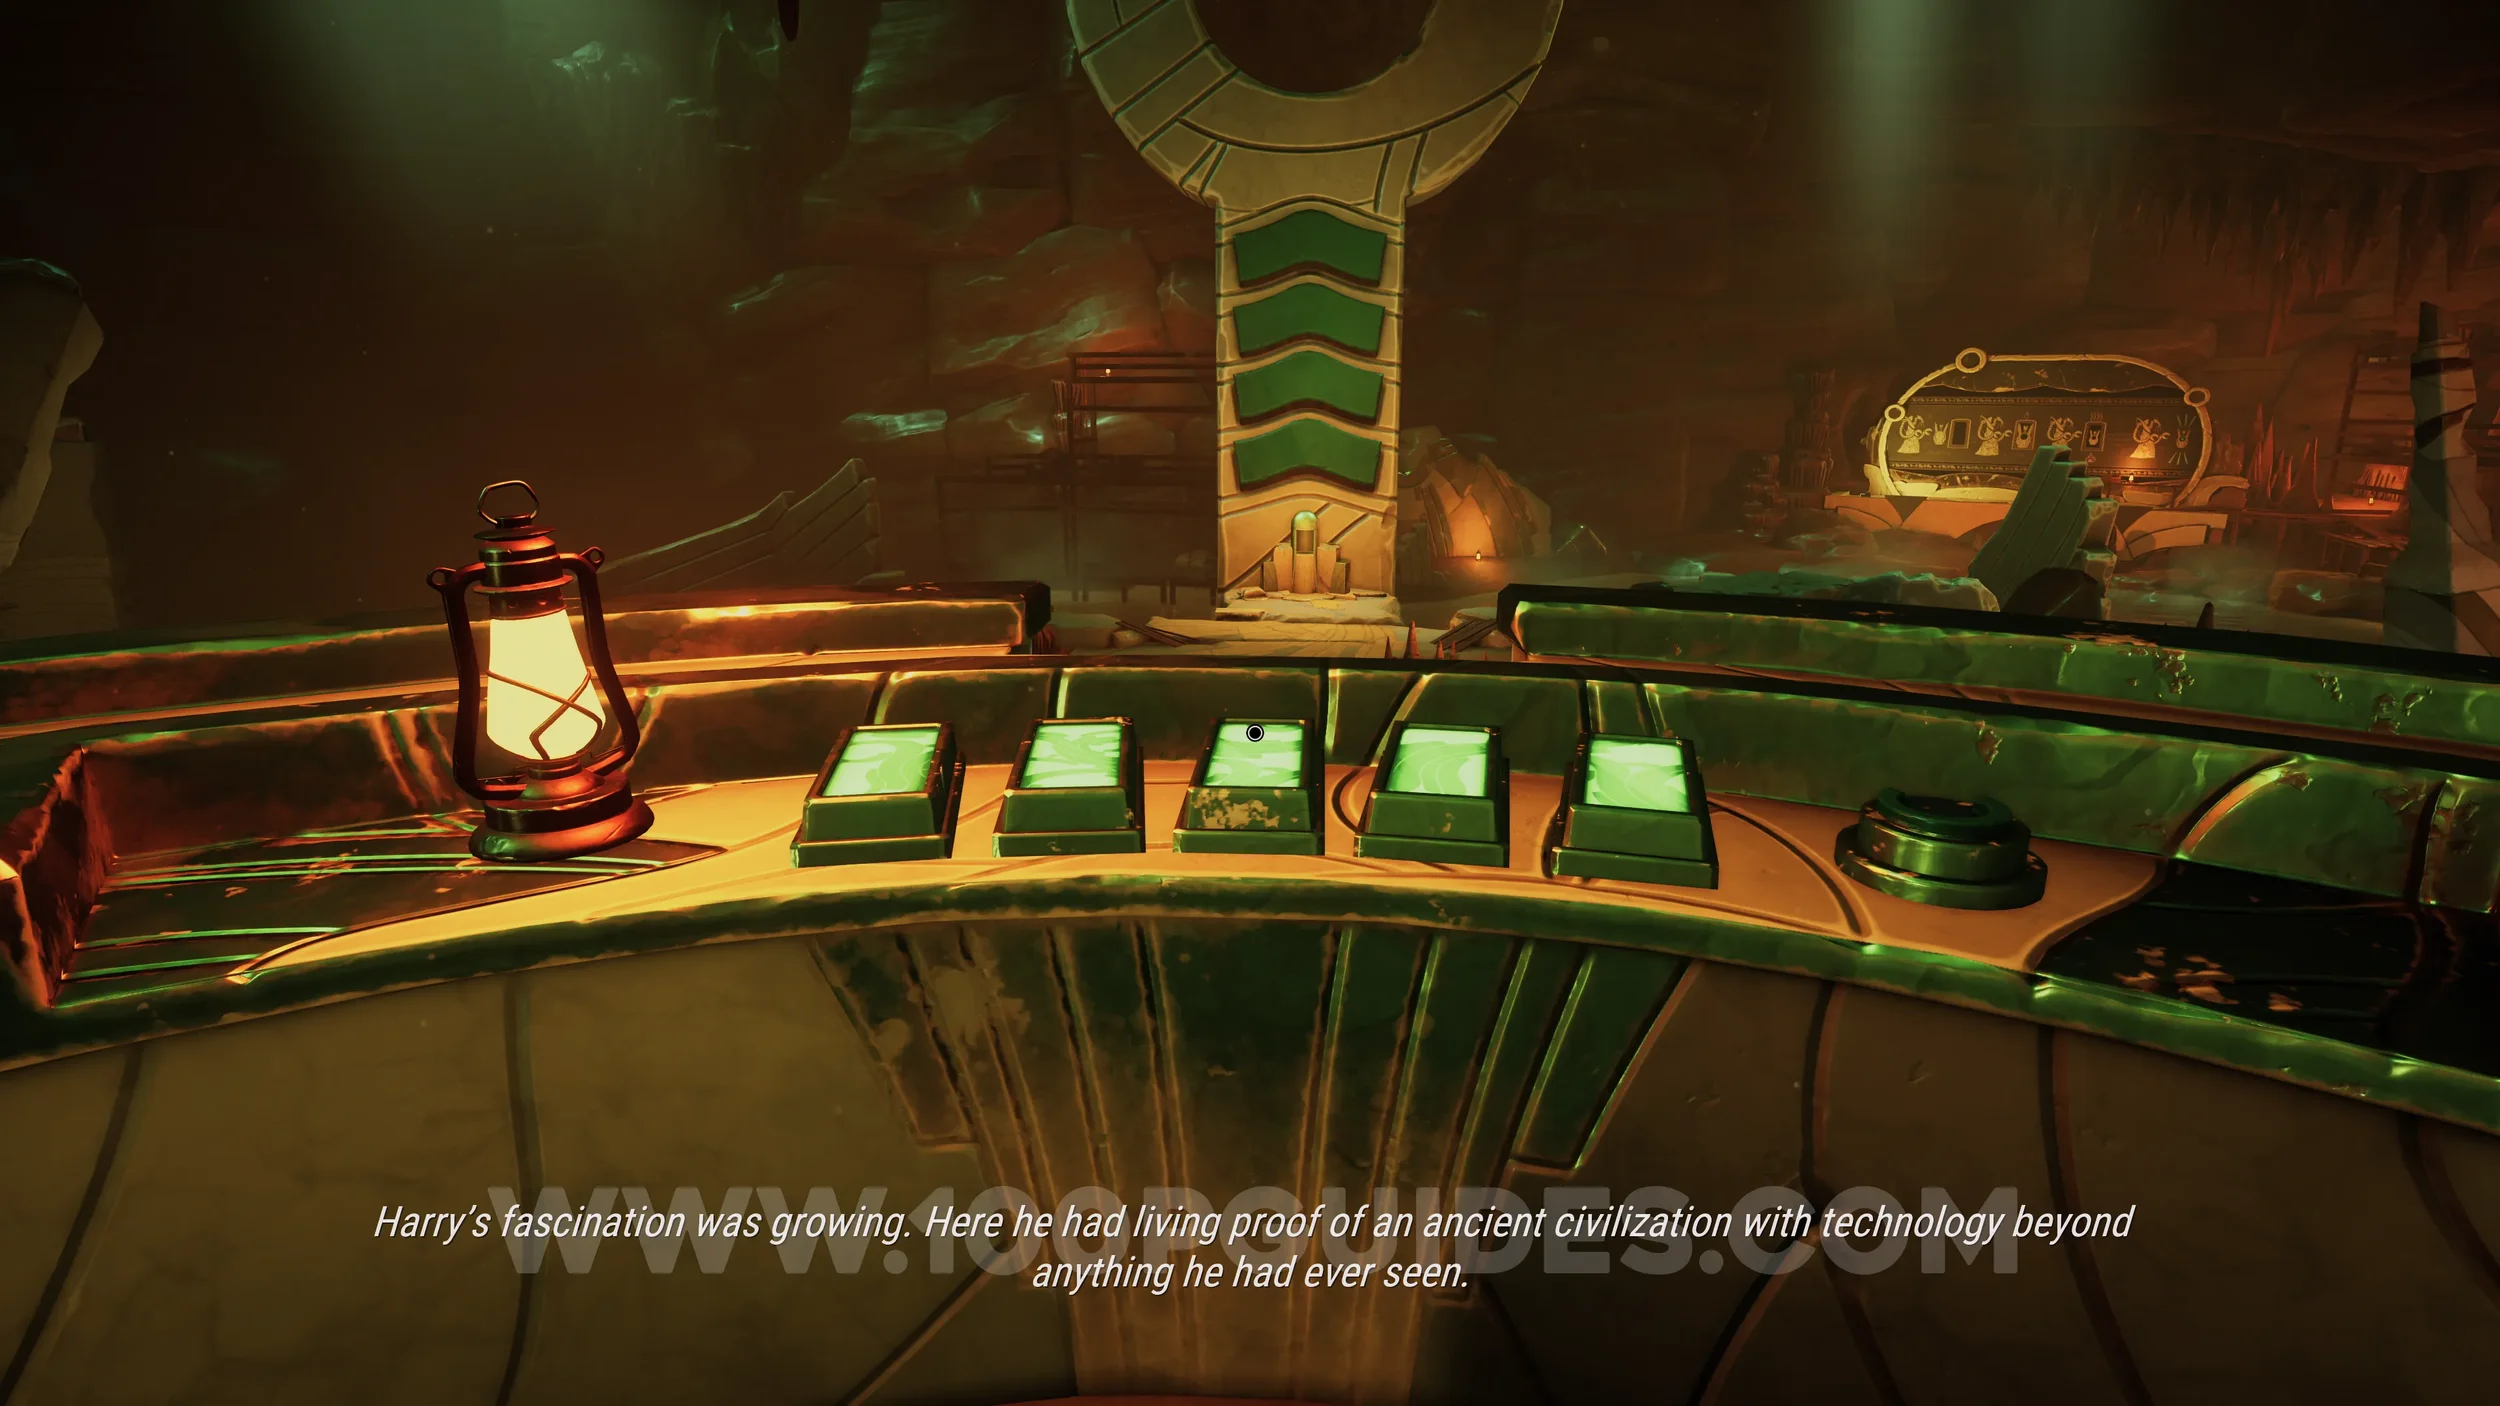
Clue #2. Interact with the piano and make sure you press every key to fill in the journal with the shapes.
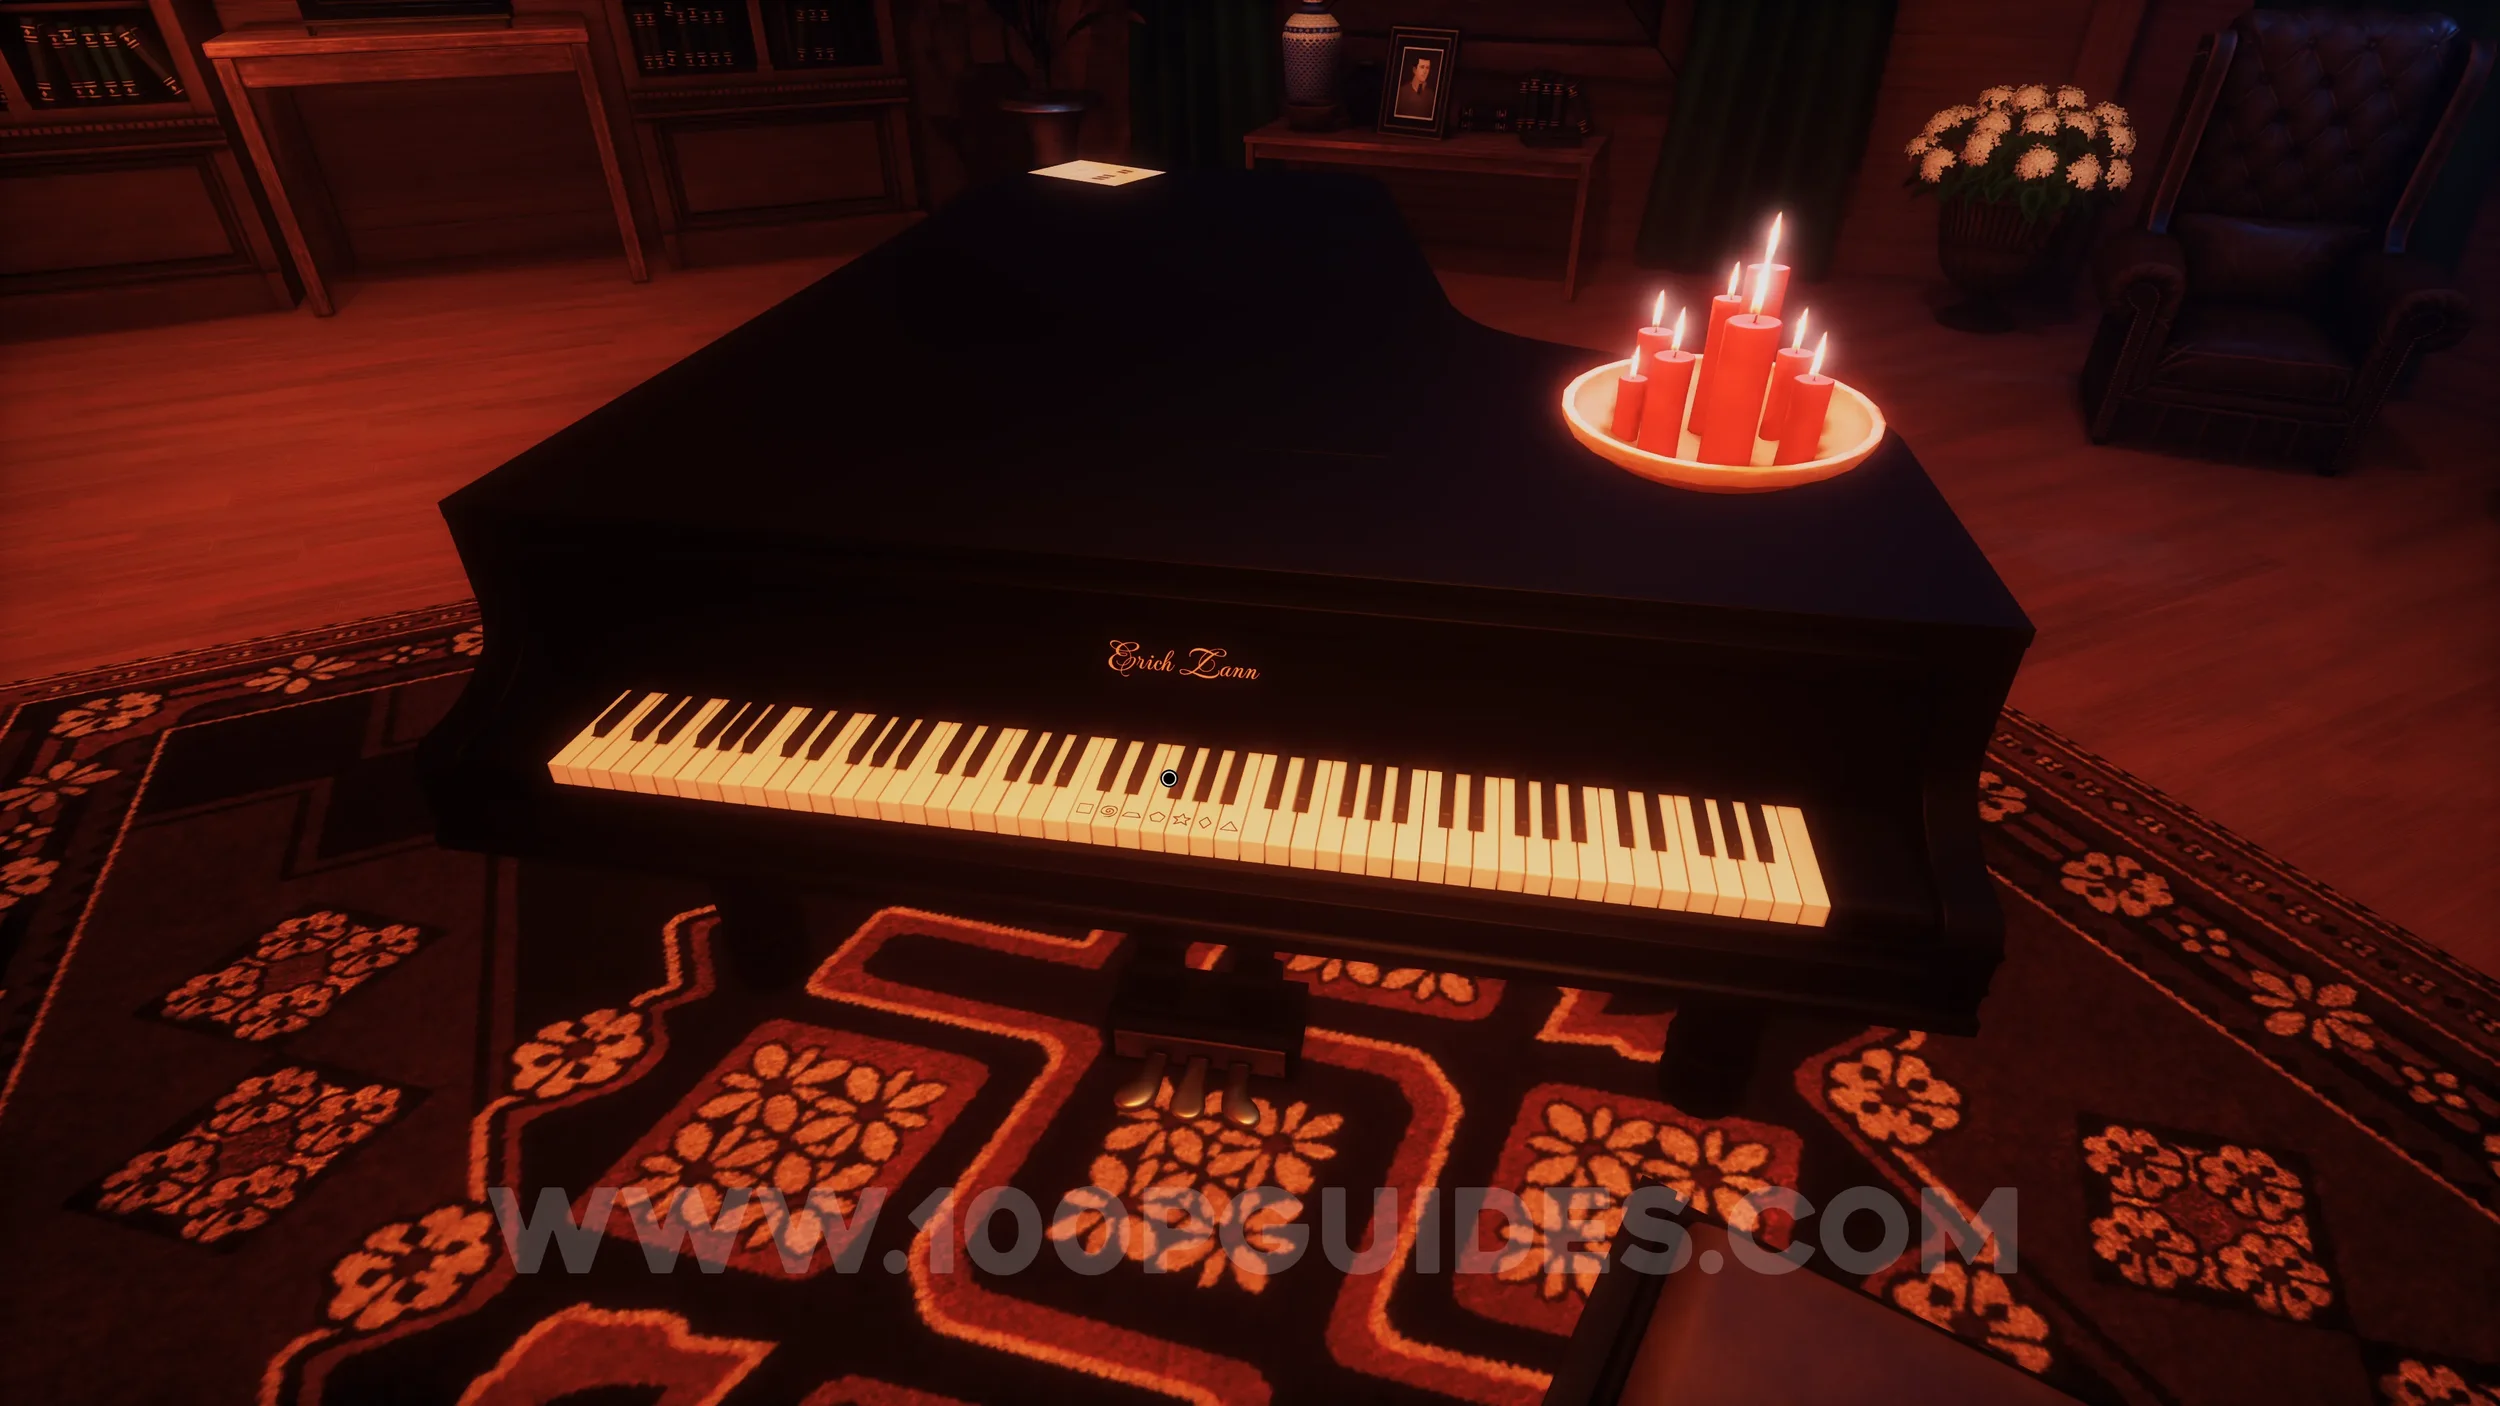
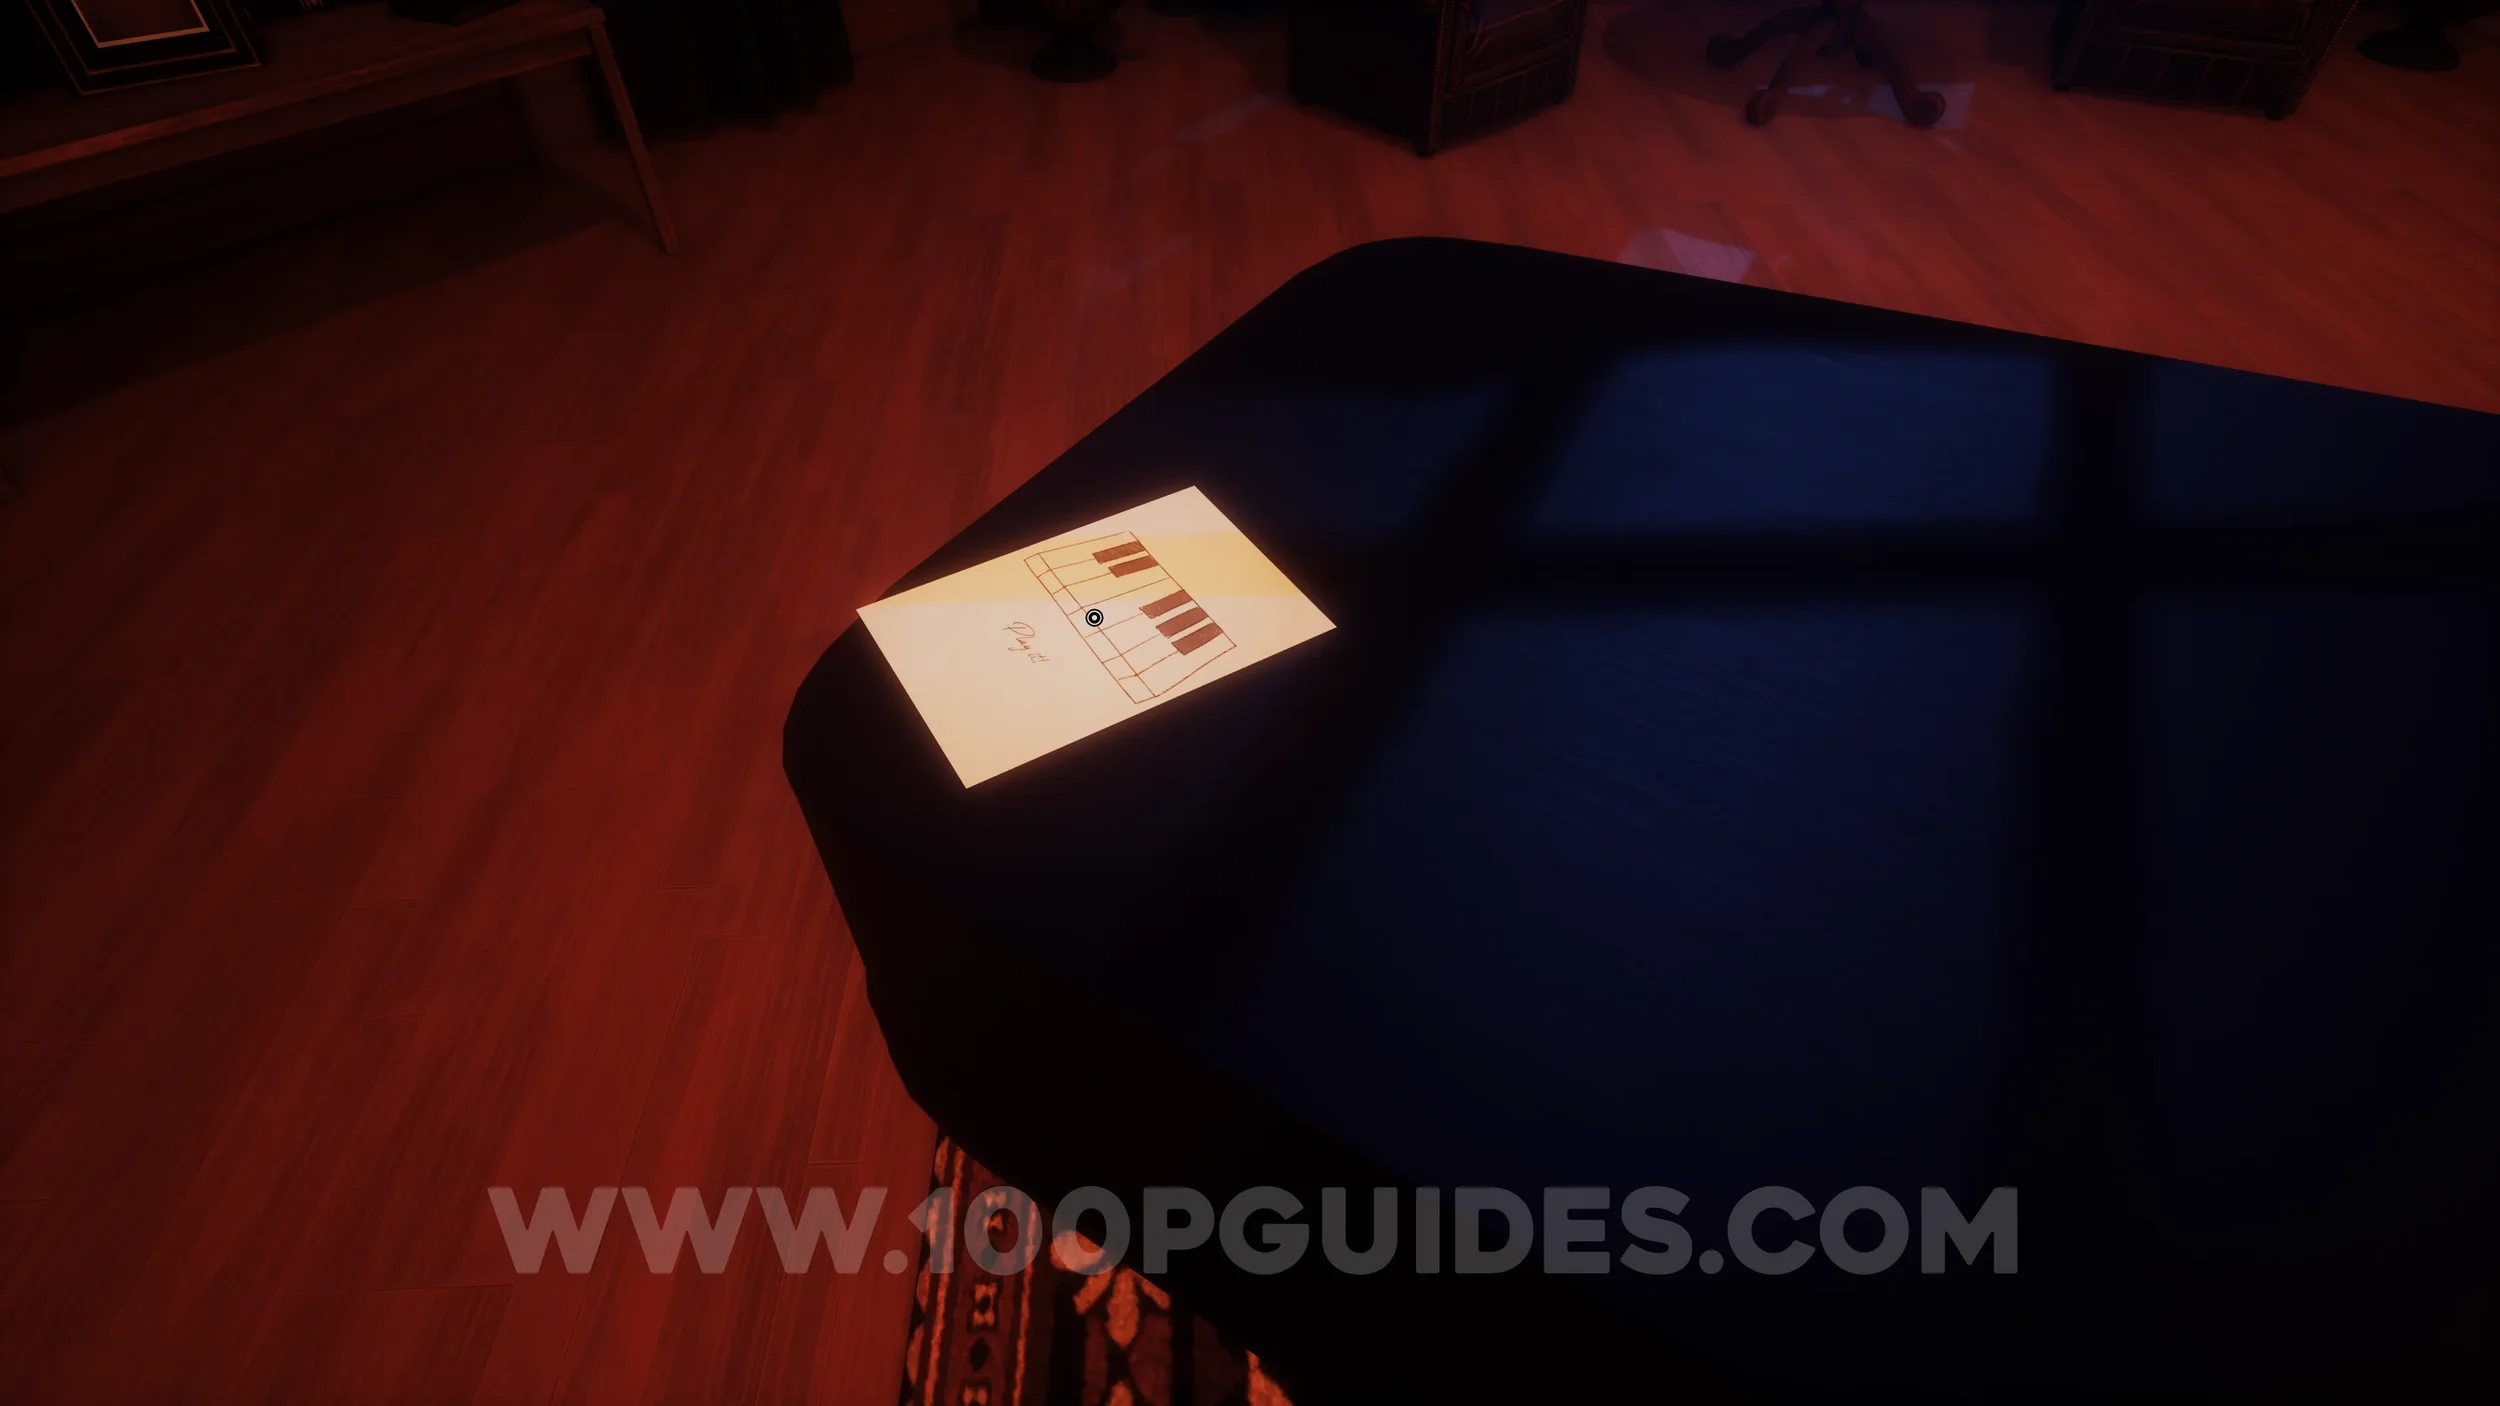
Clue #3. The paper on the piano. Make sure you flip it over.
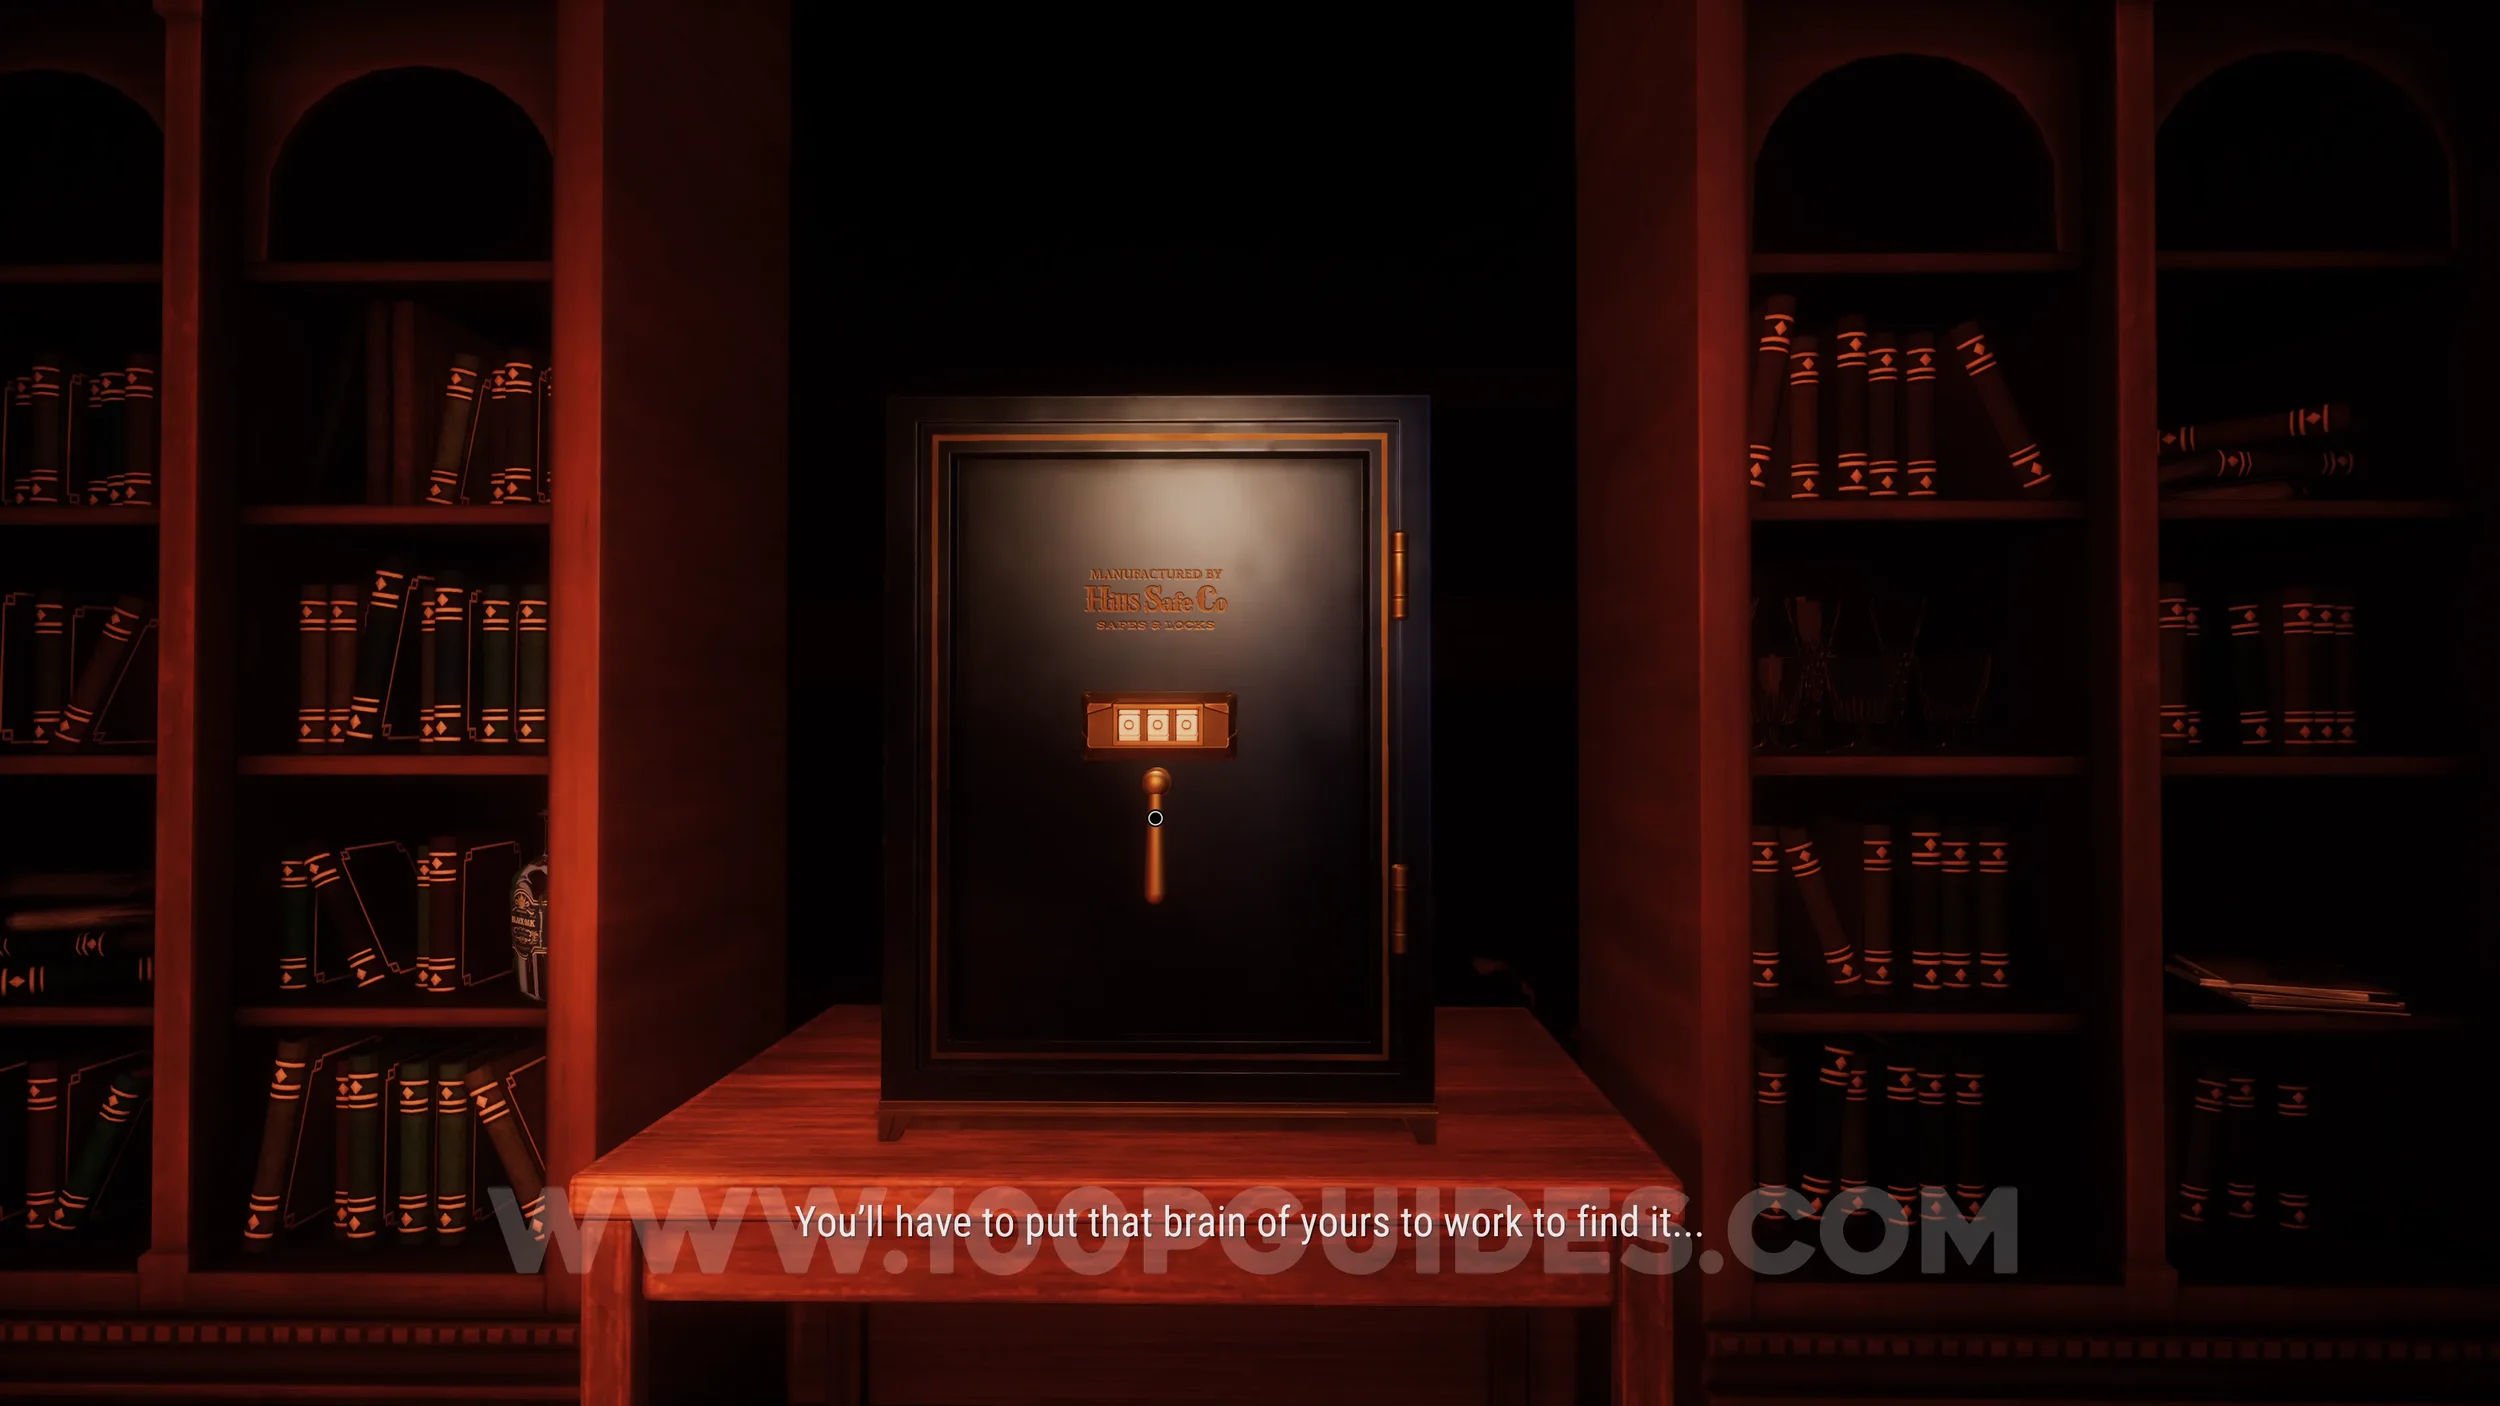
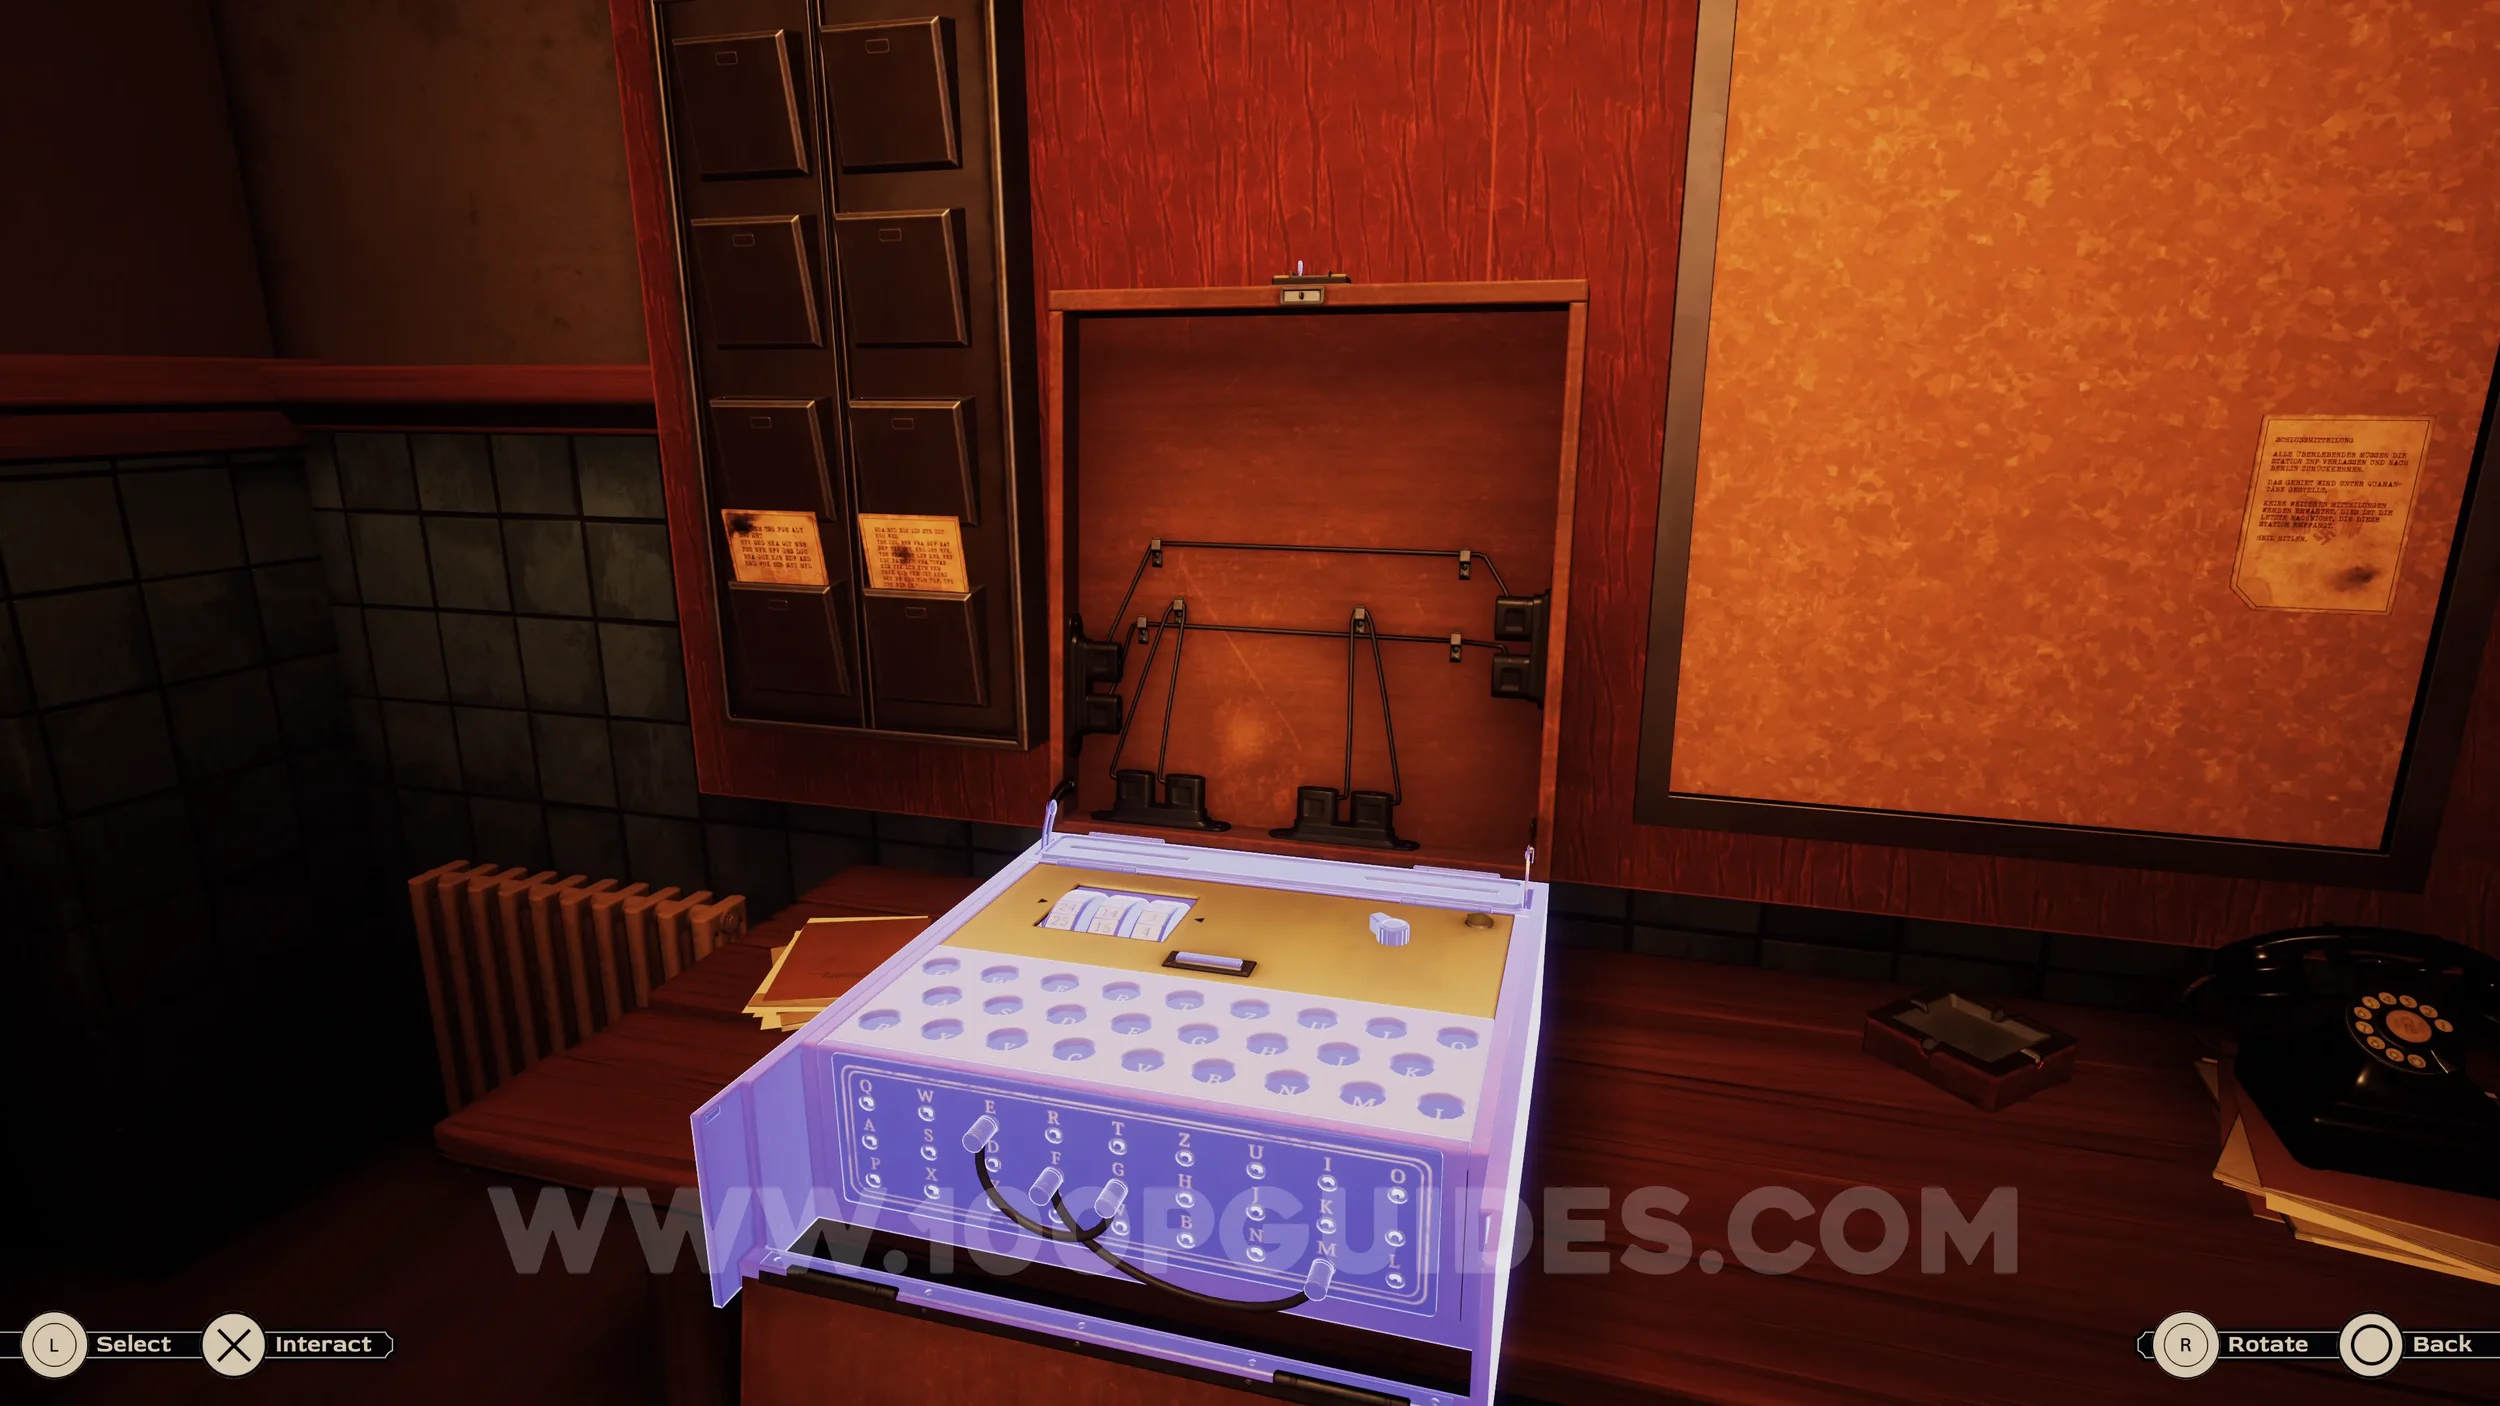
Clue #4. Examine the safe on the other side of the room.
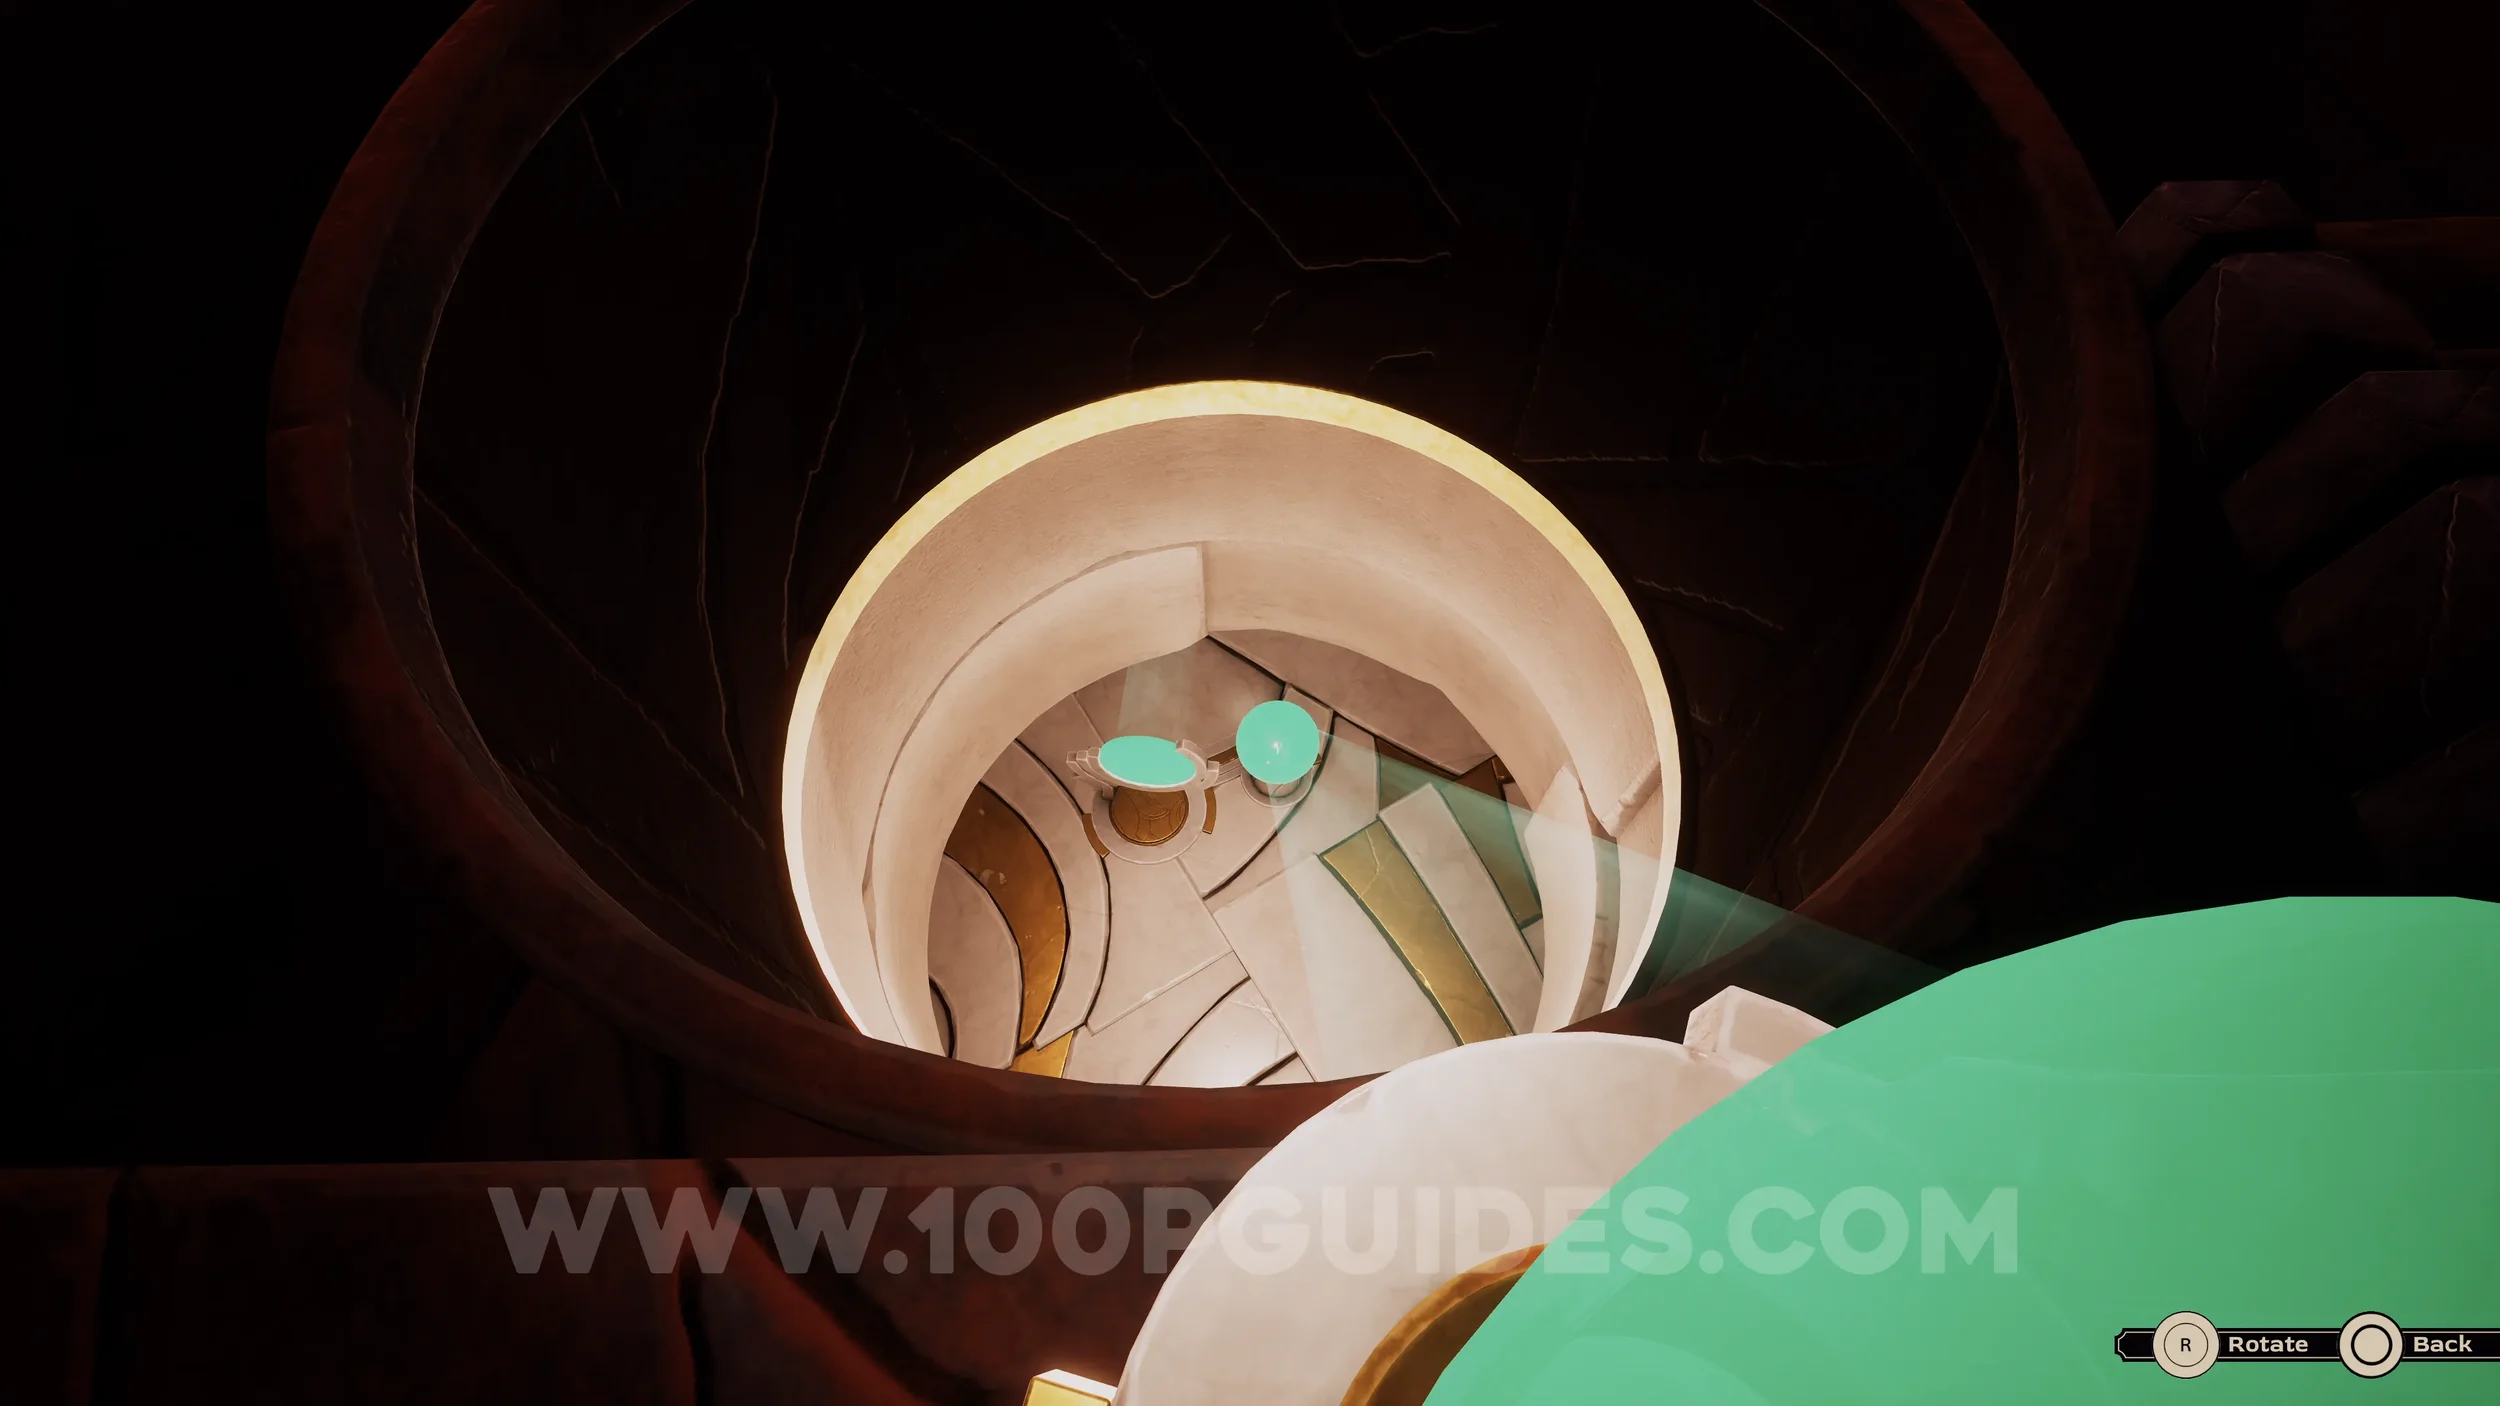
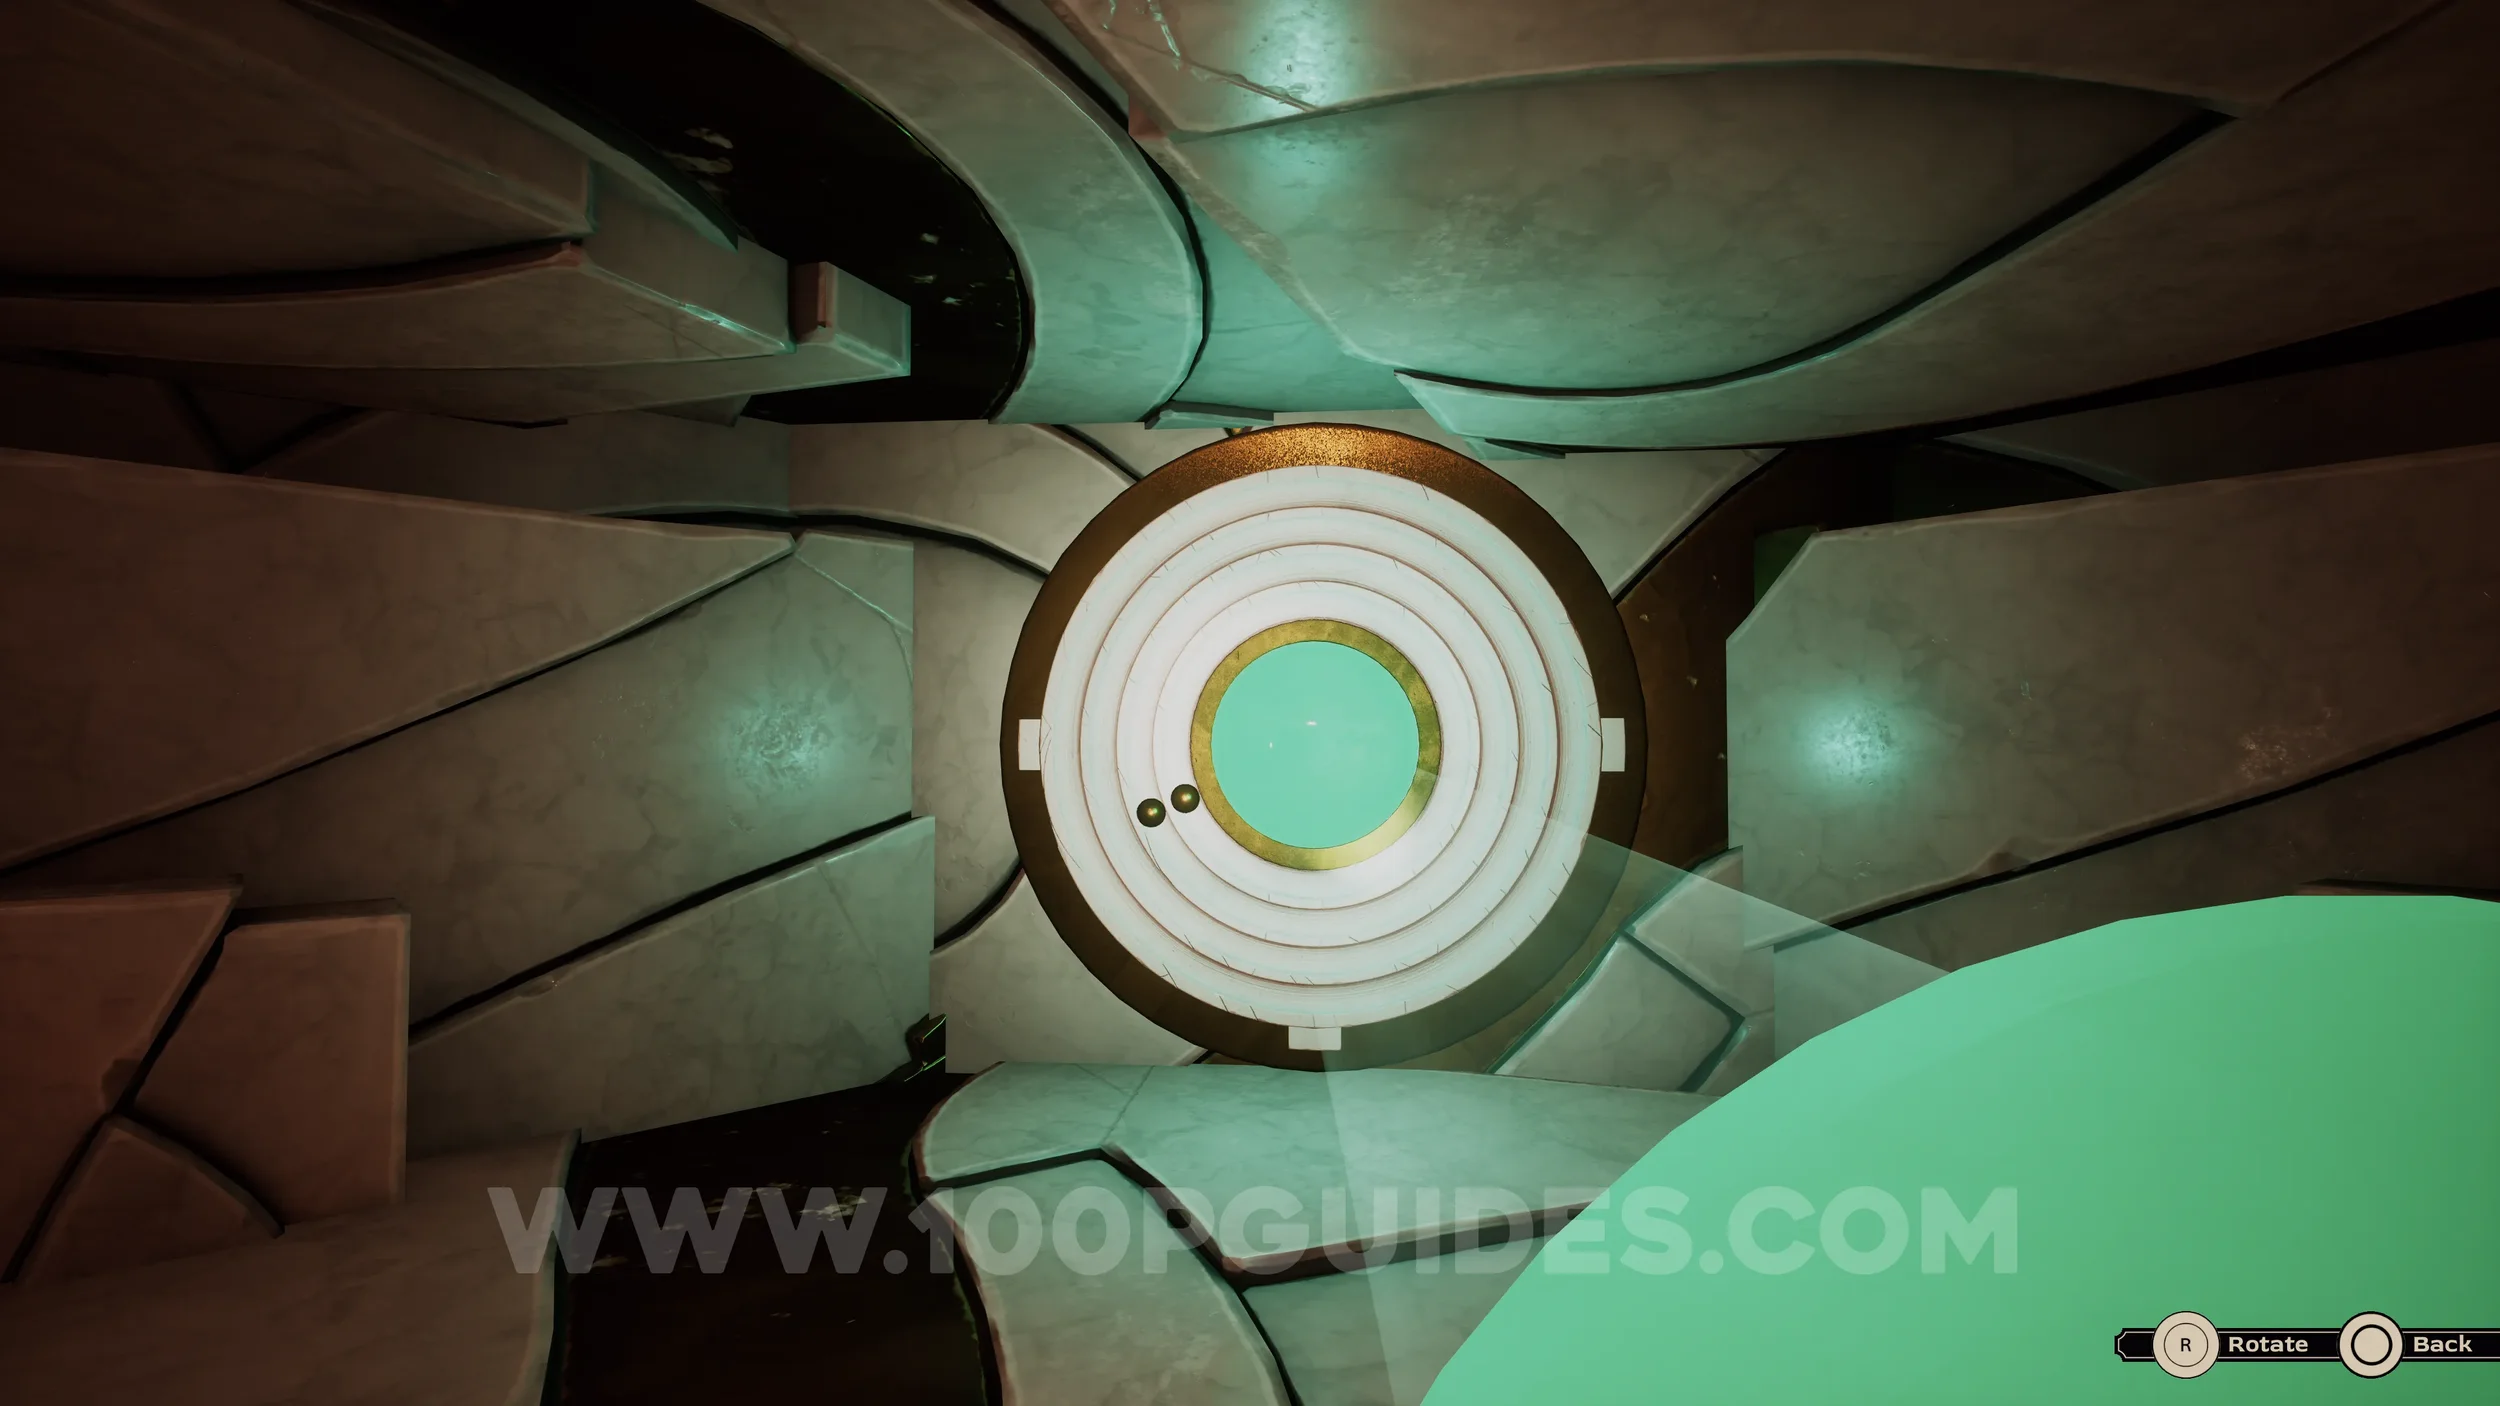
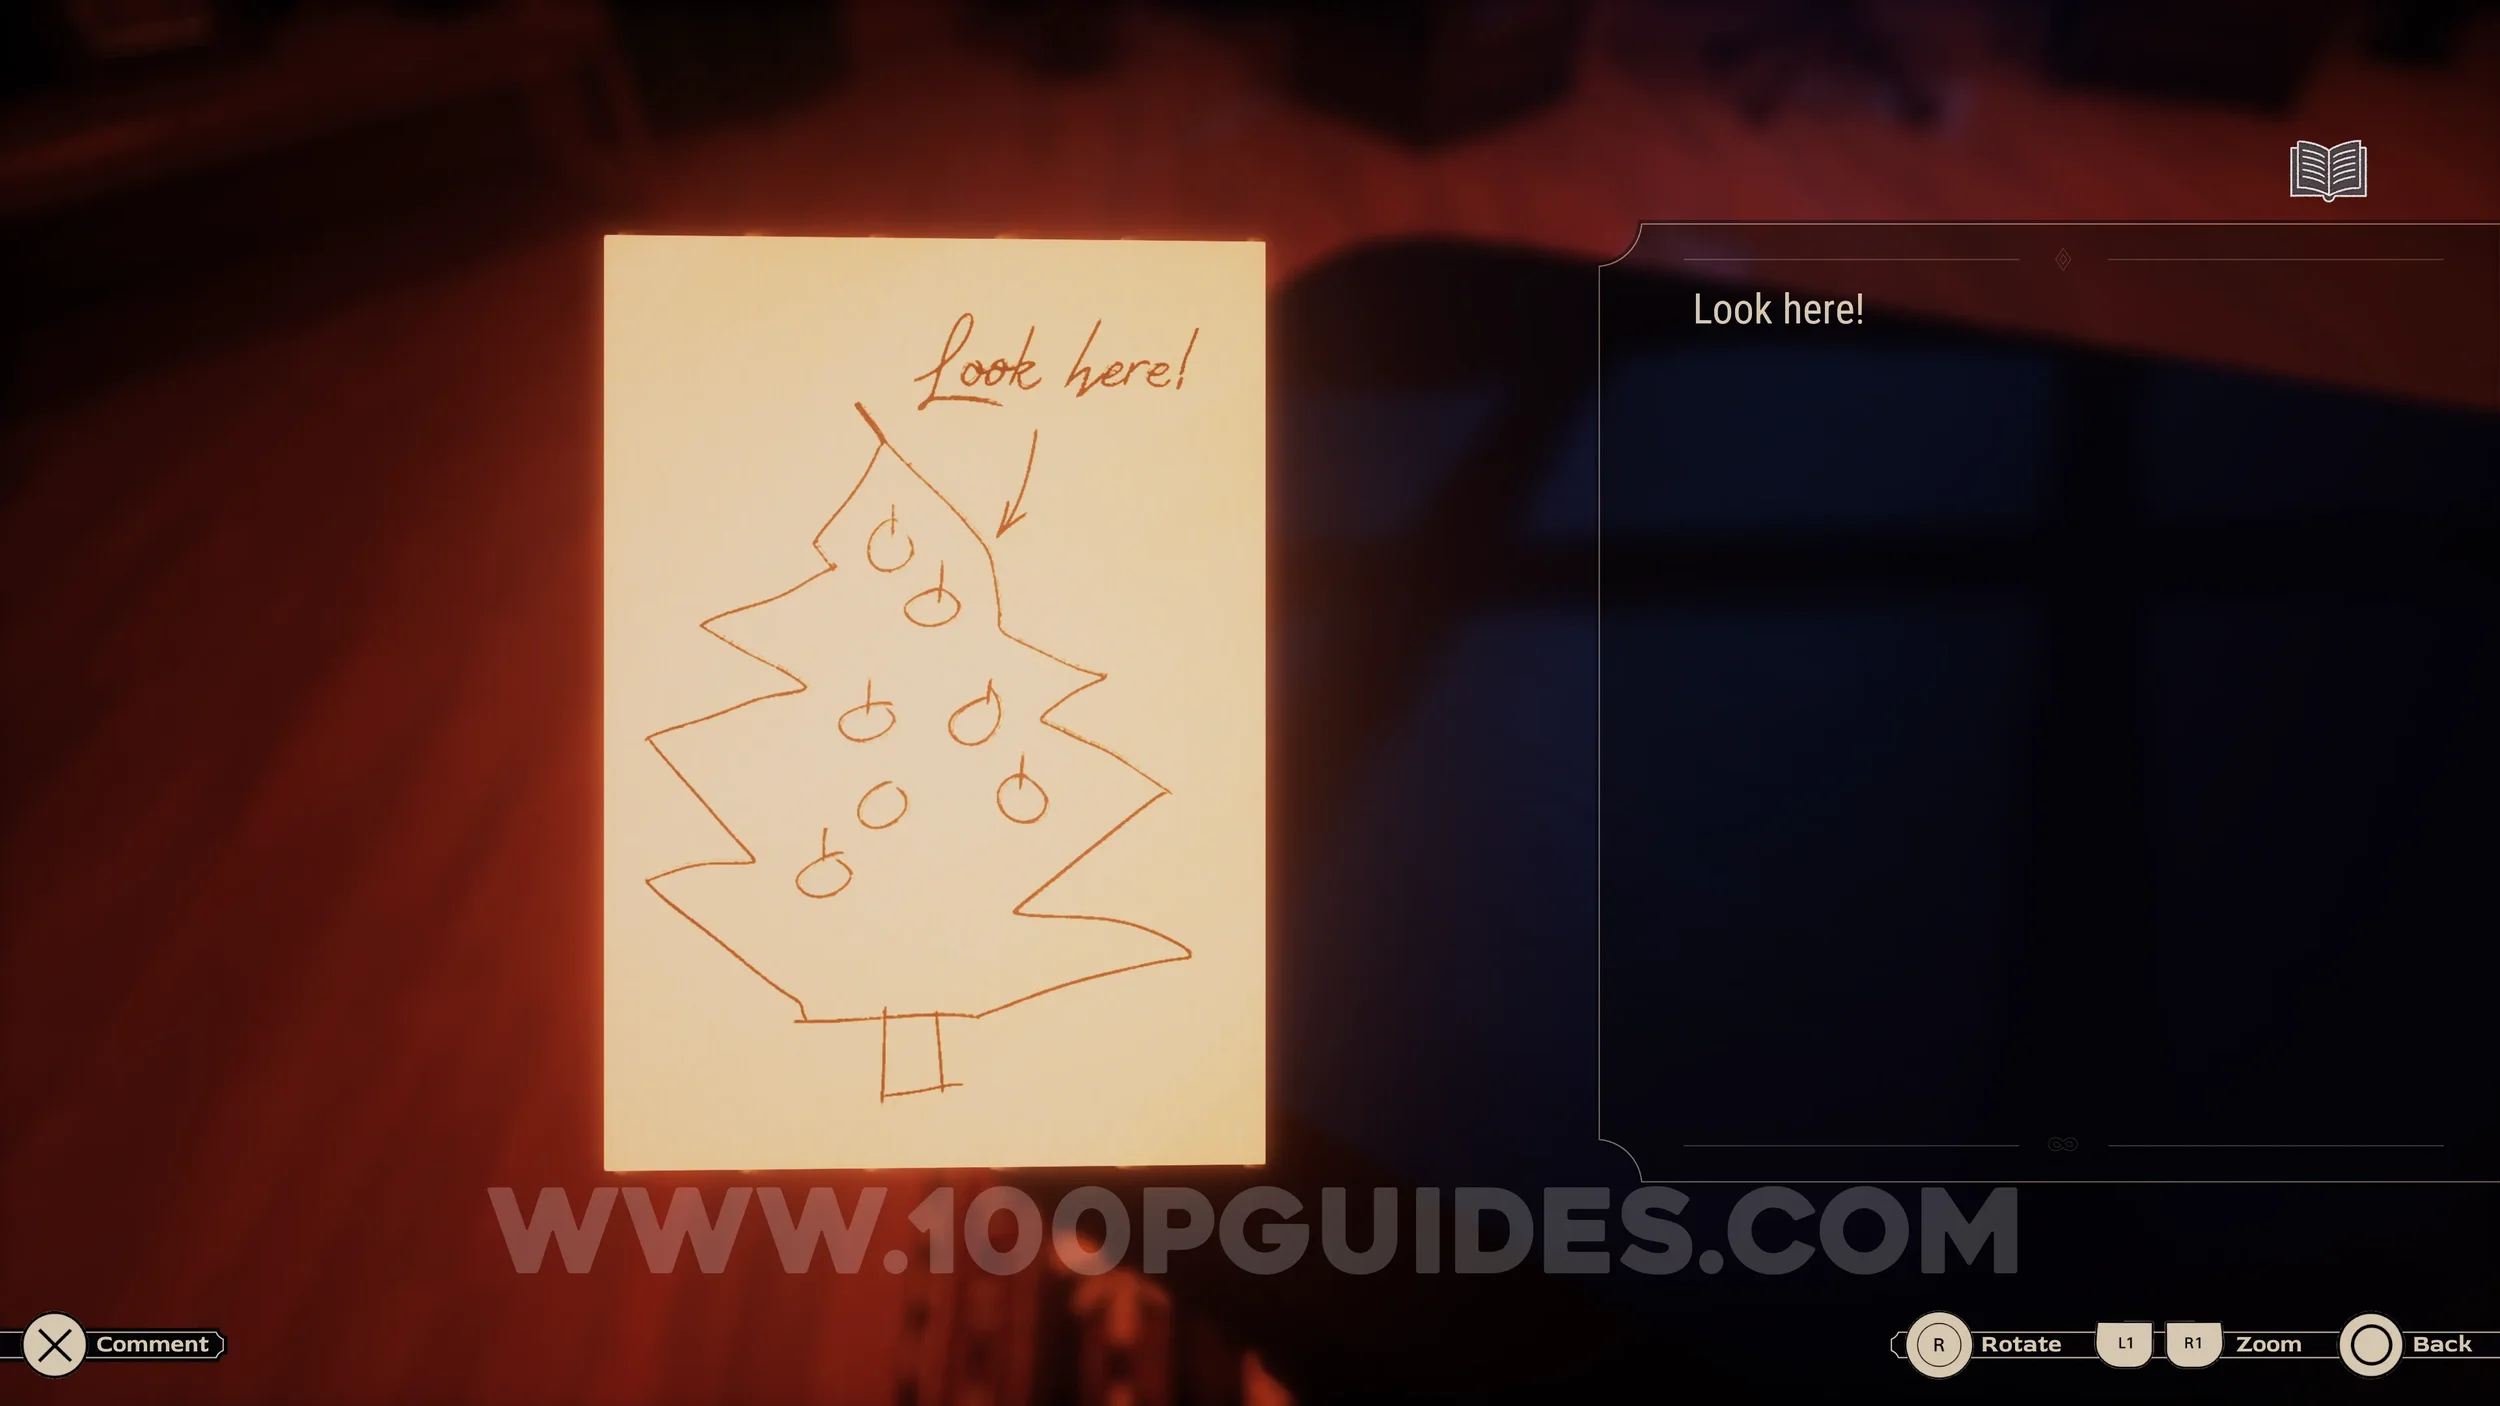
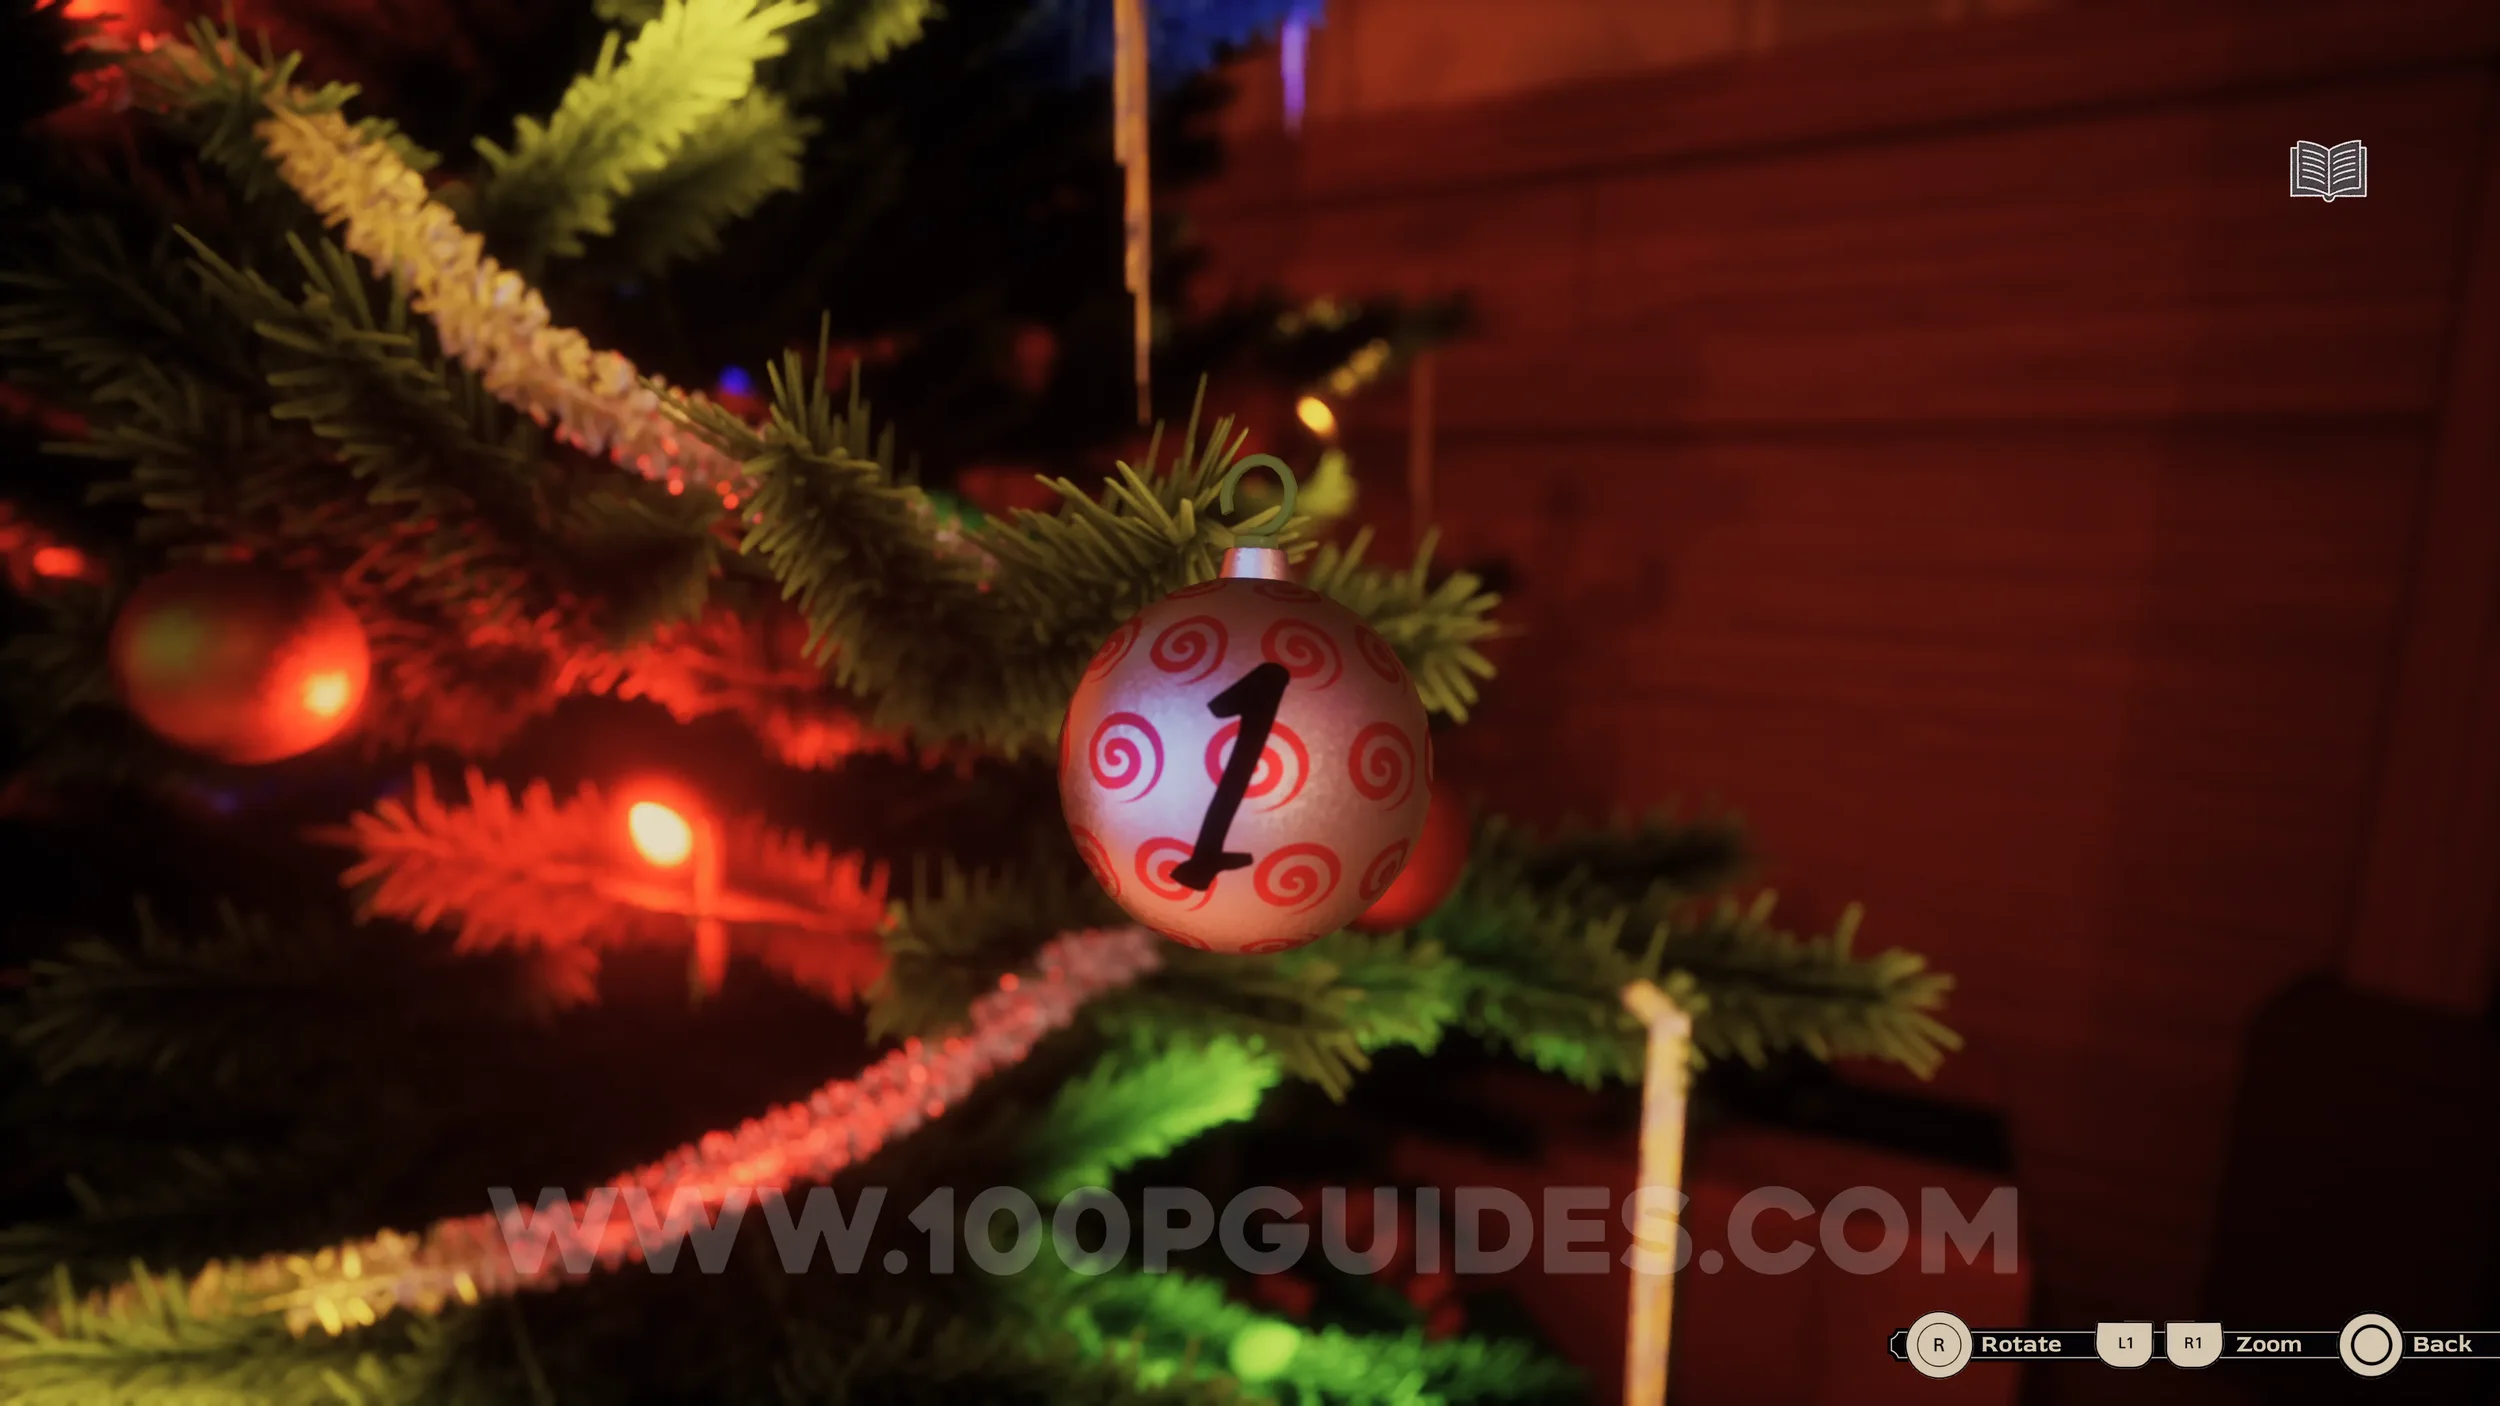
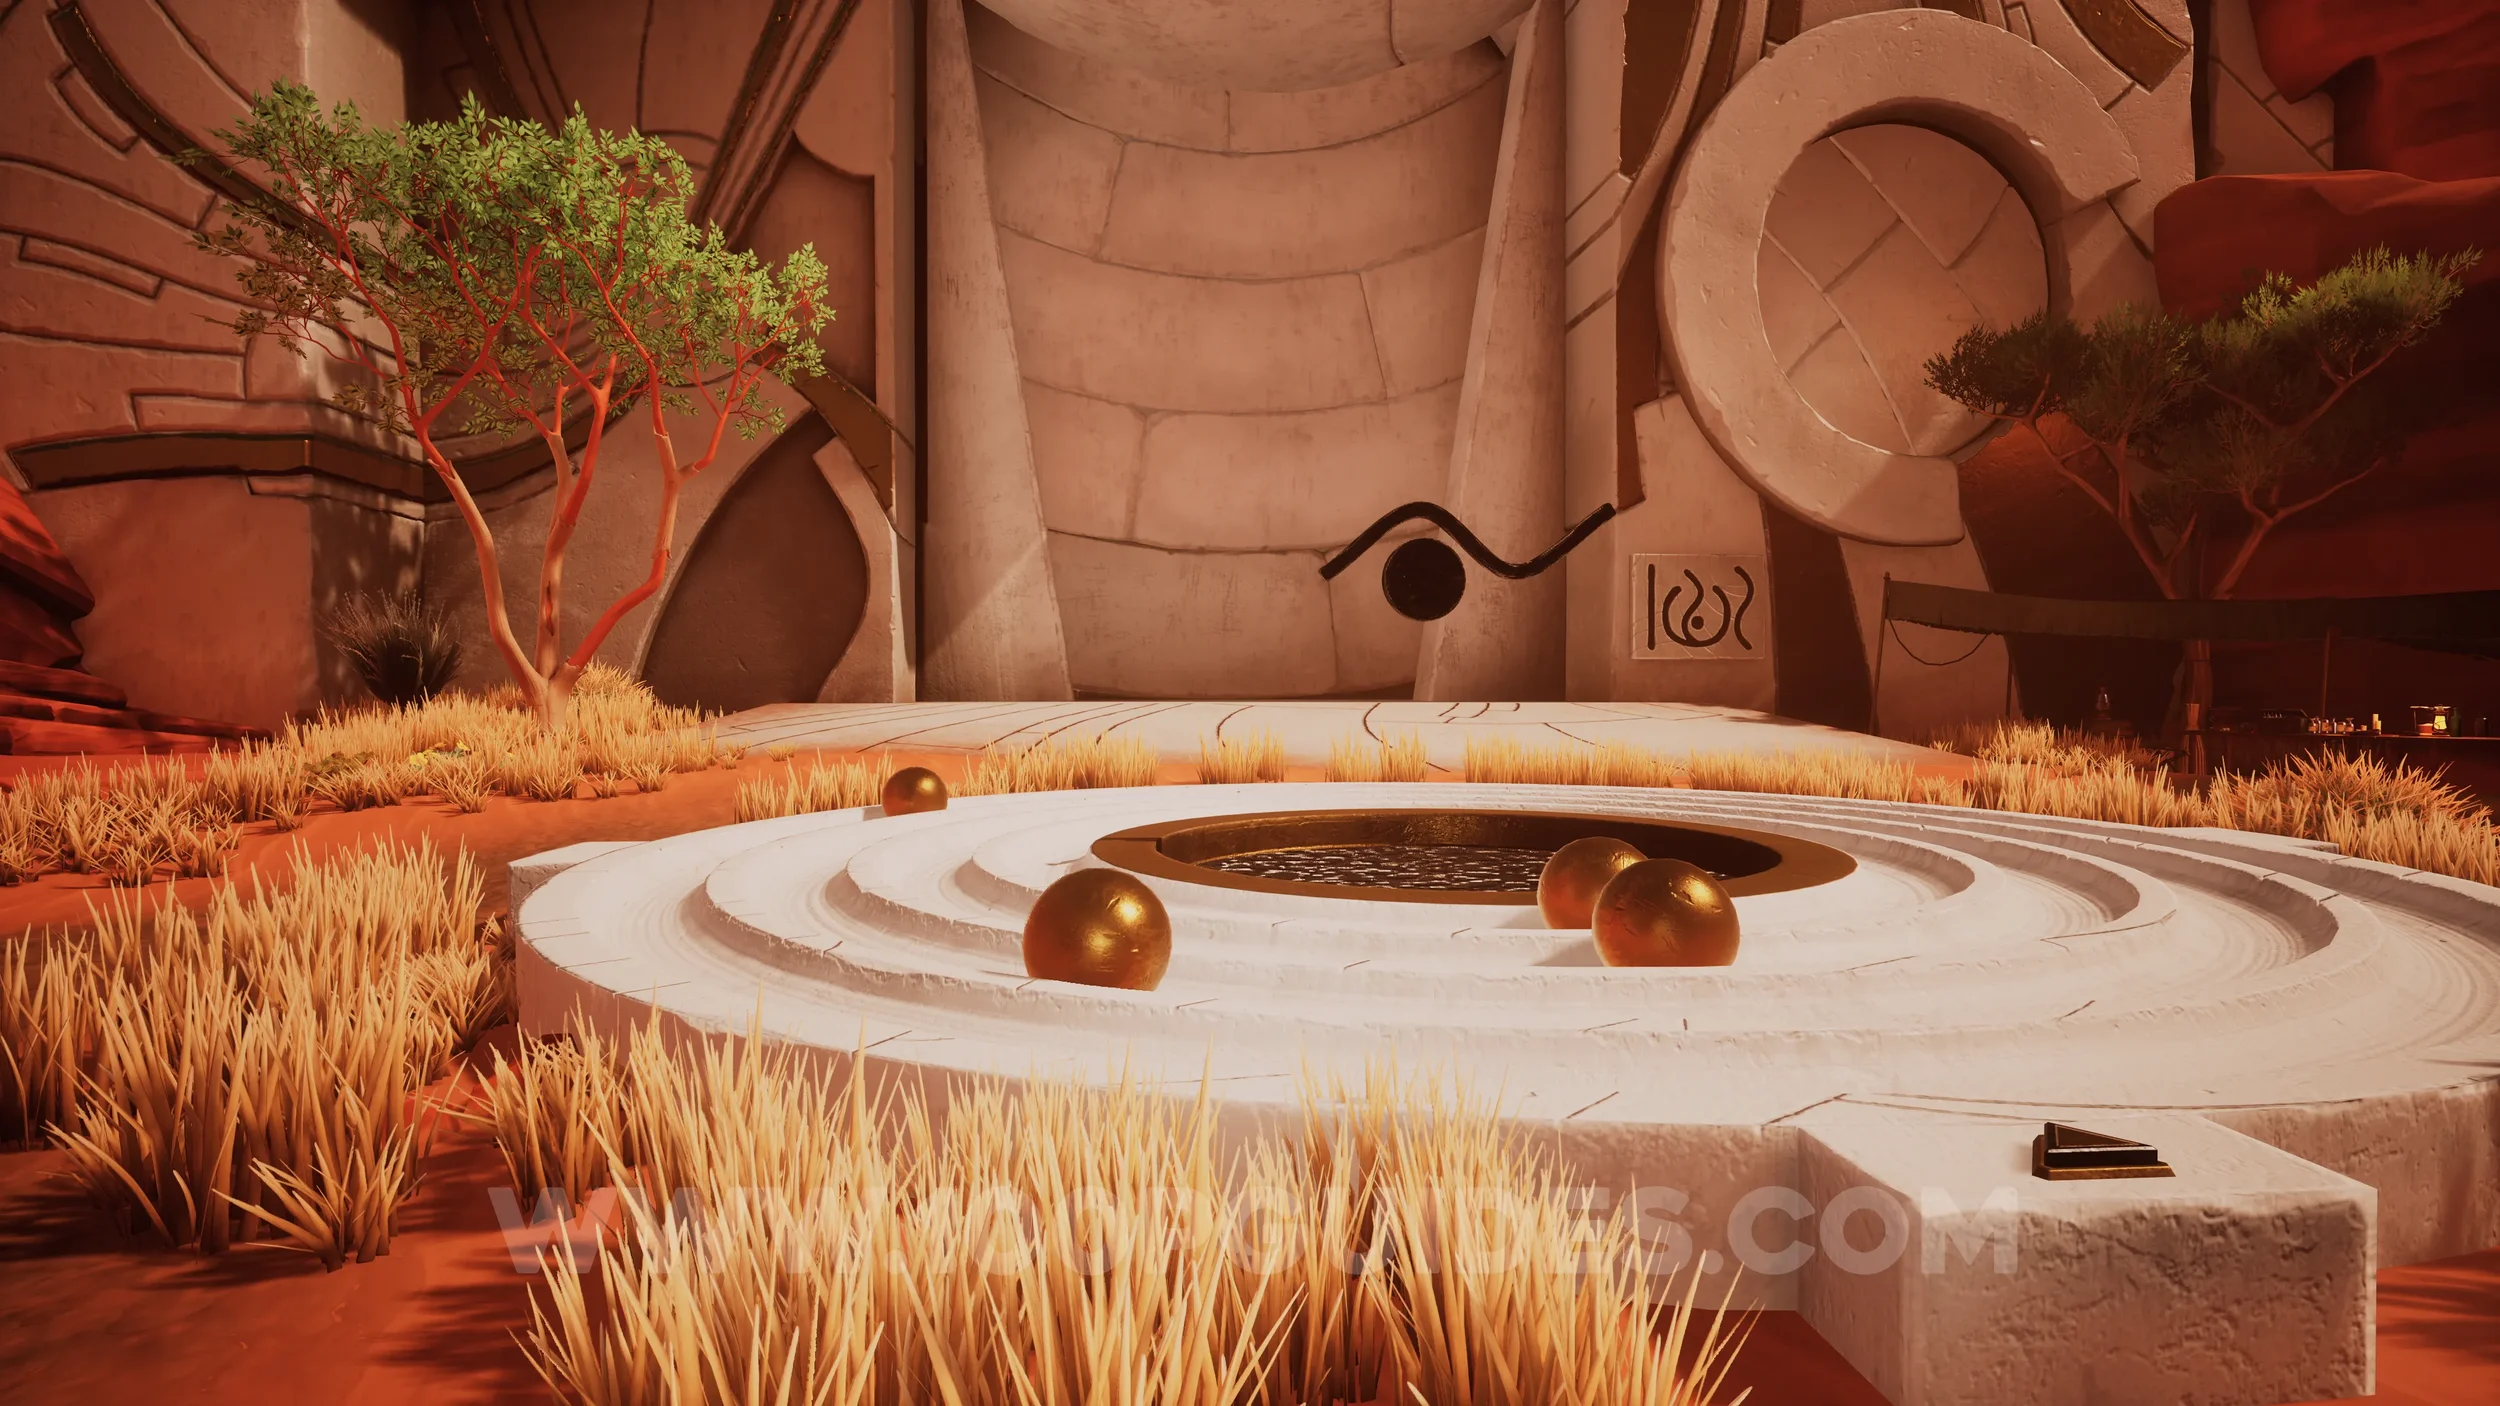
Clue #5-11. Examine the seven ornamental balls on the tree and rotate them to reveal the numbers.

CHAPTER 1
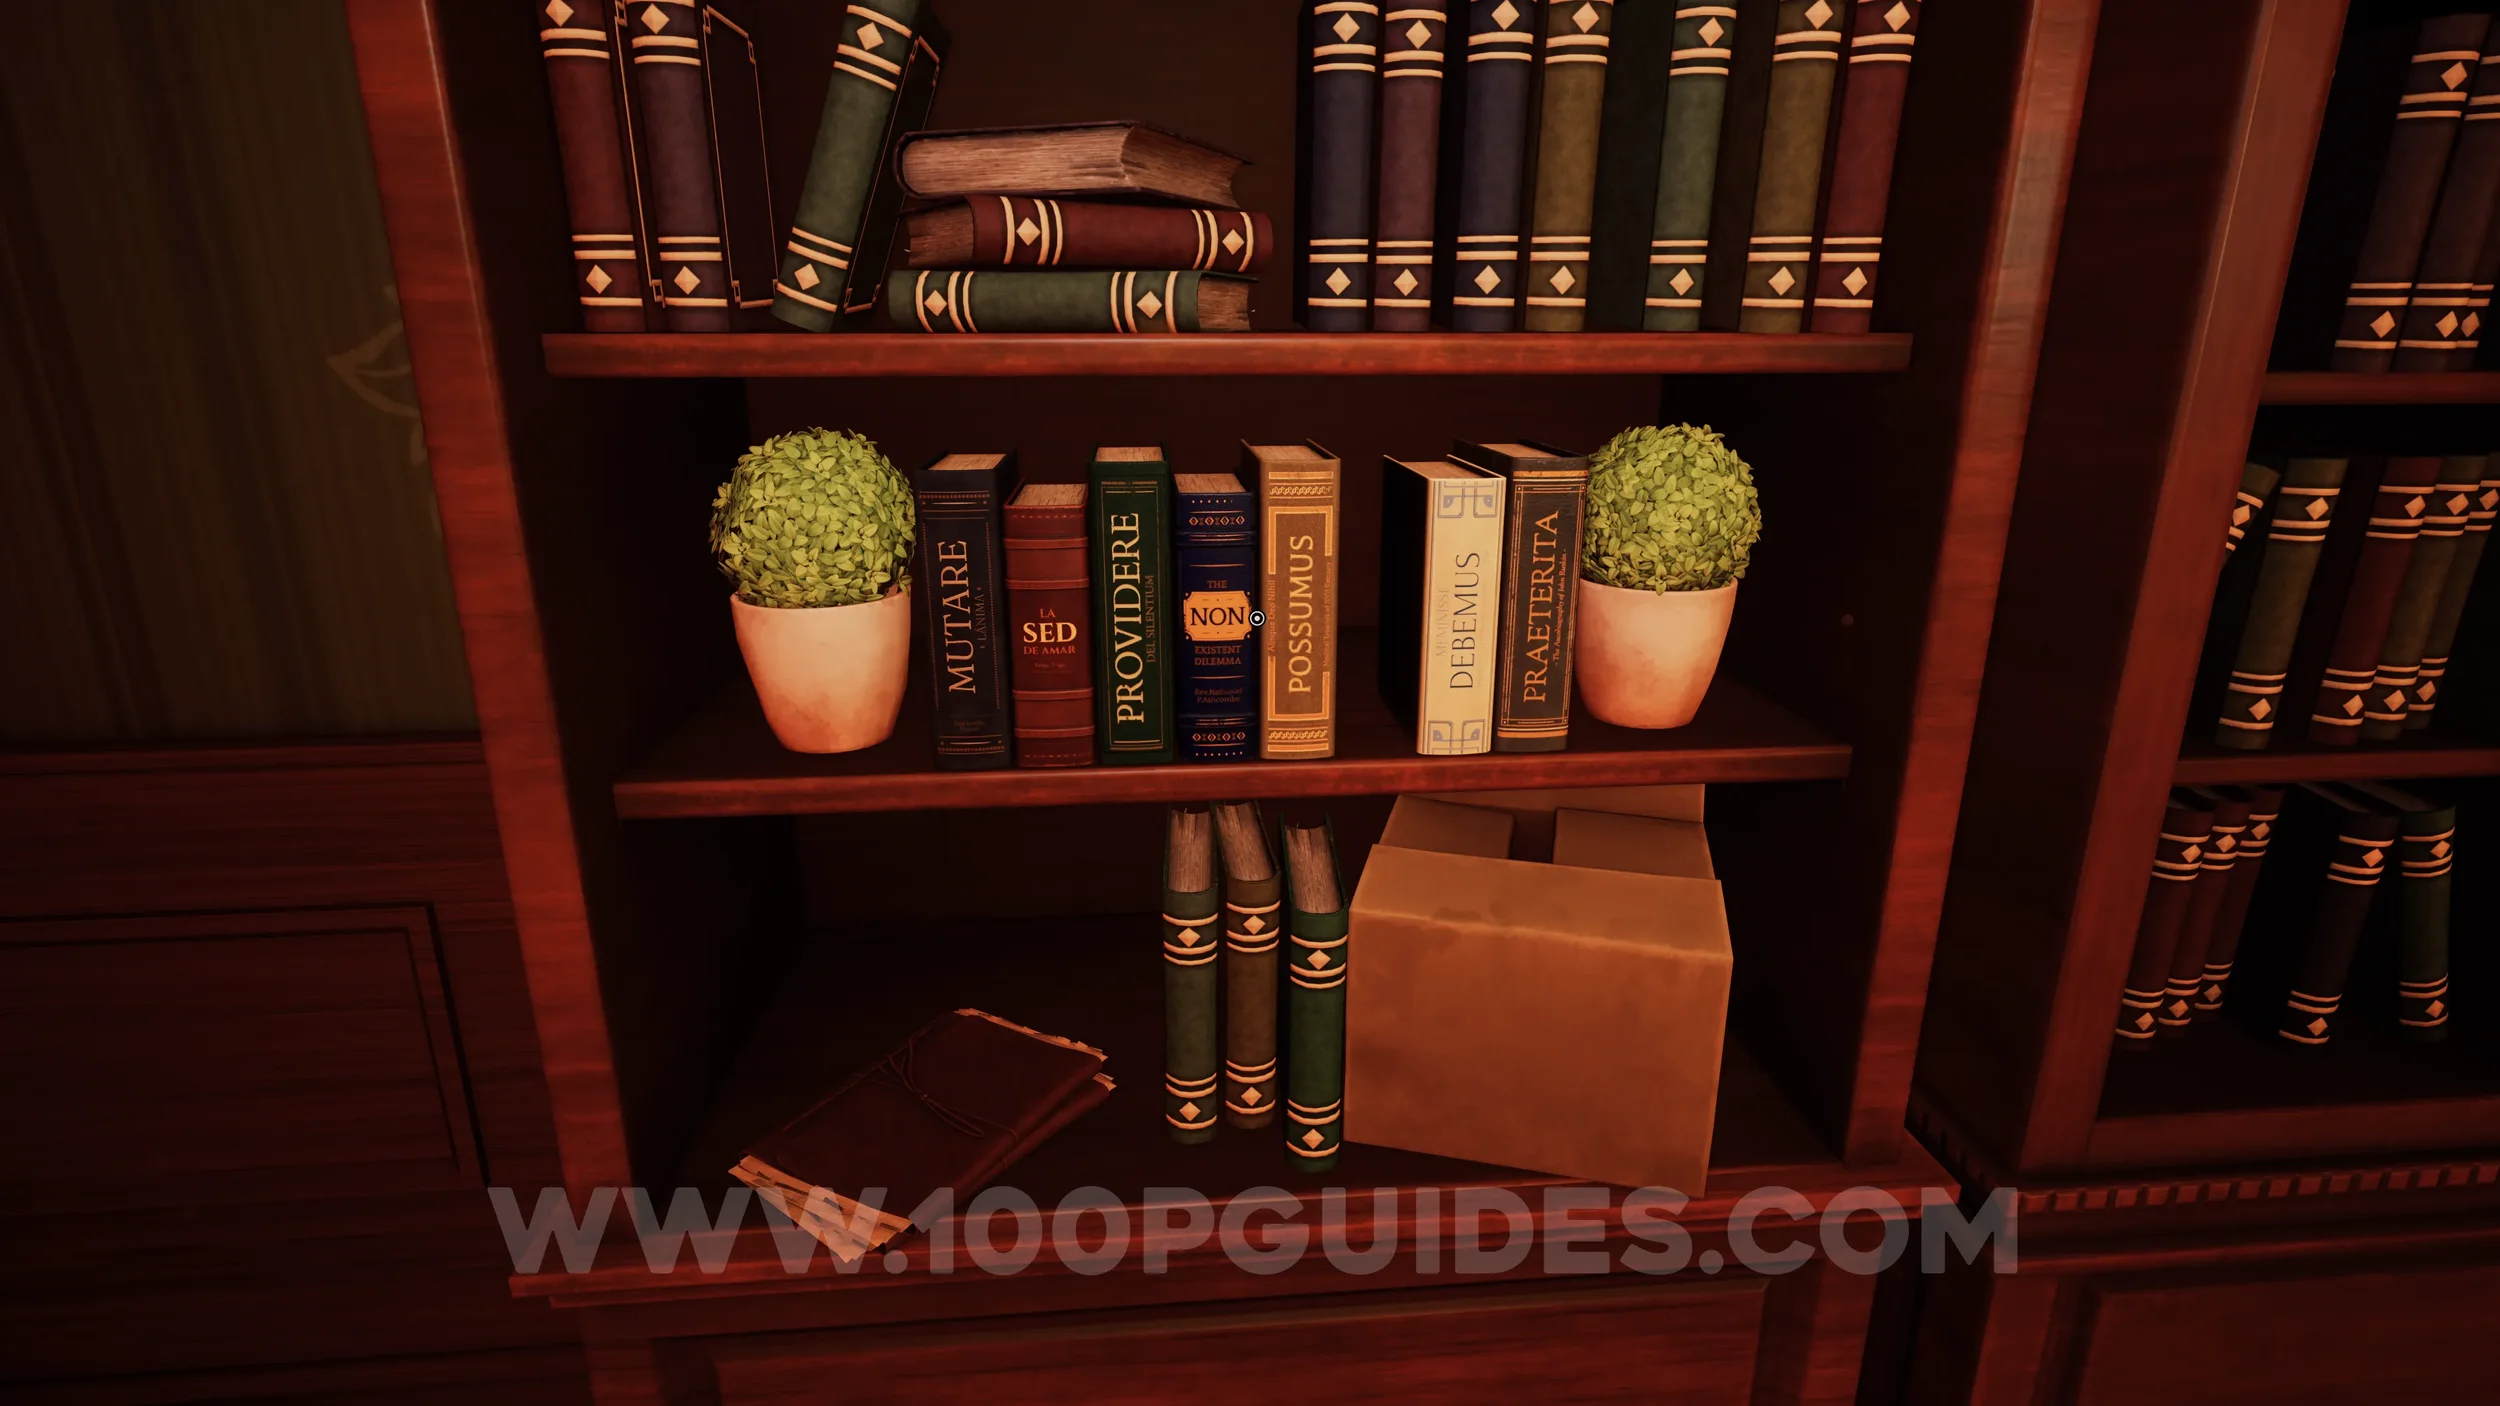
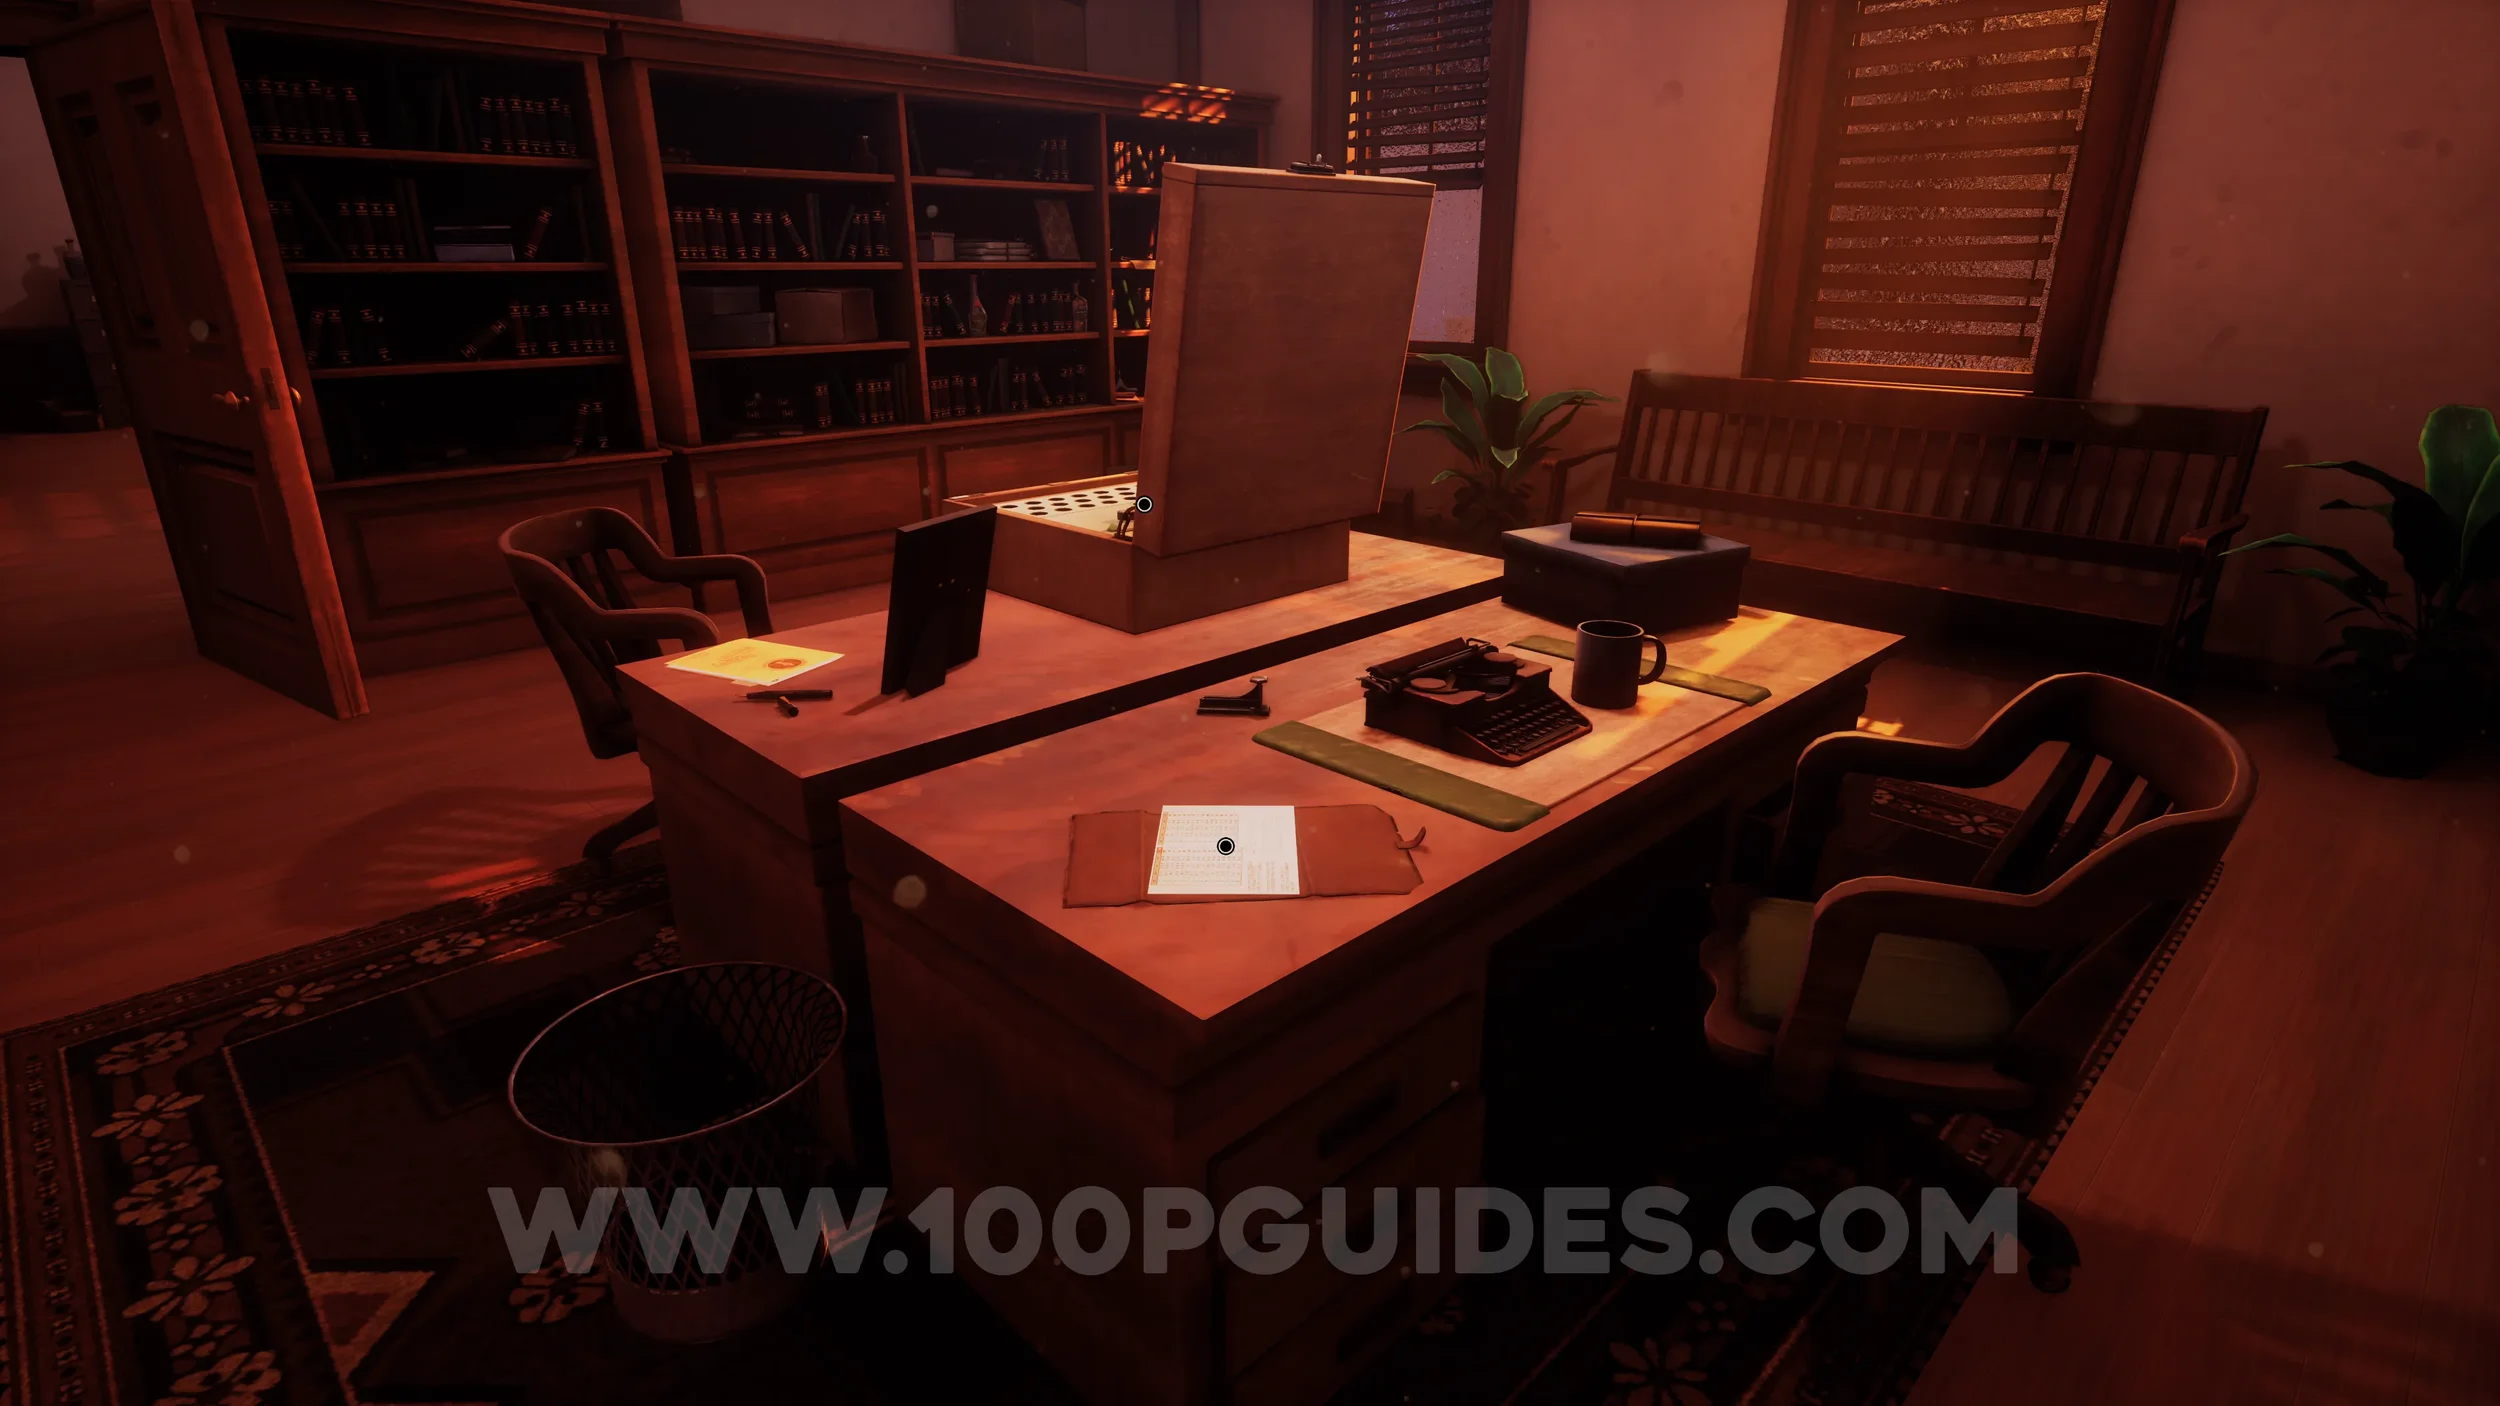
Clue #12. Once you reach the main library room, enter the small office through the door on the left side. Inside, examine the books on the left.
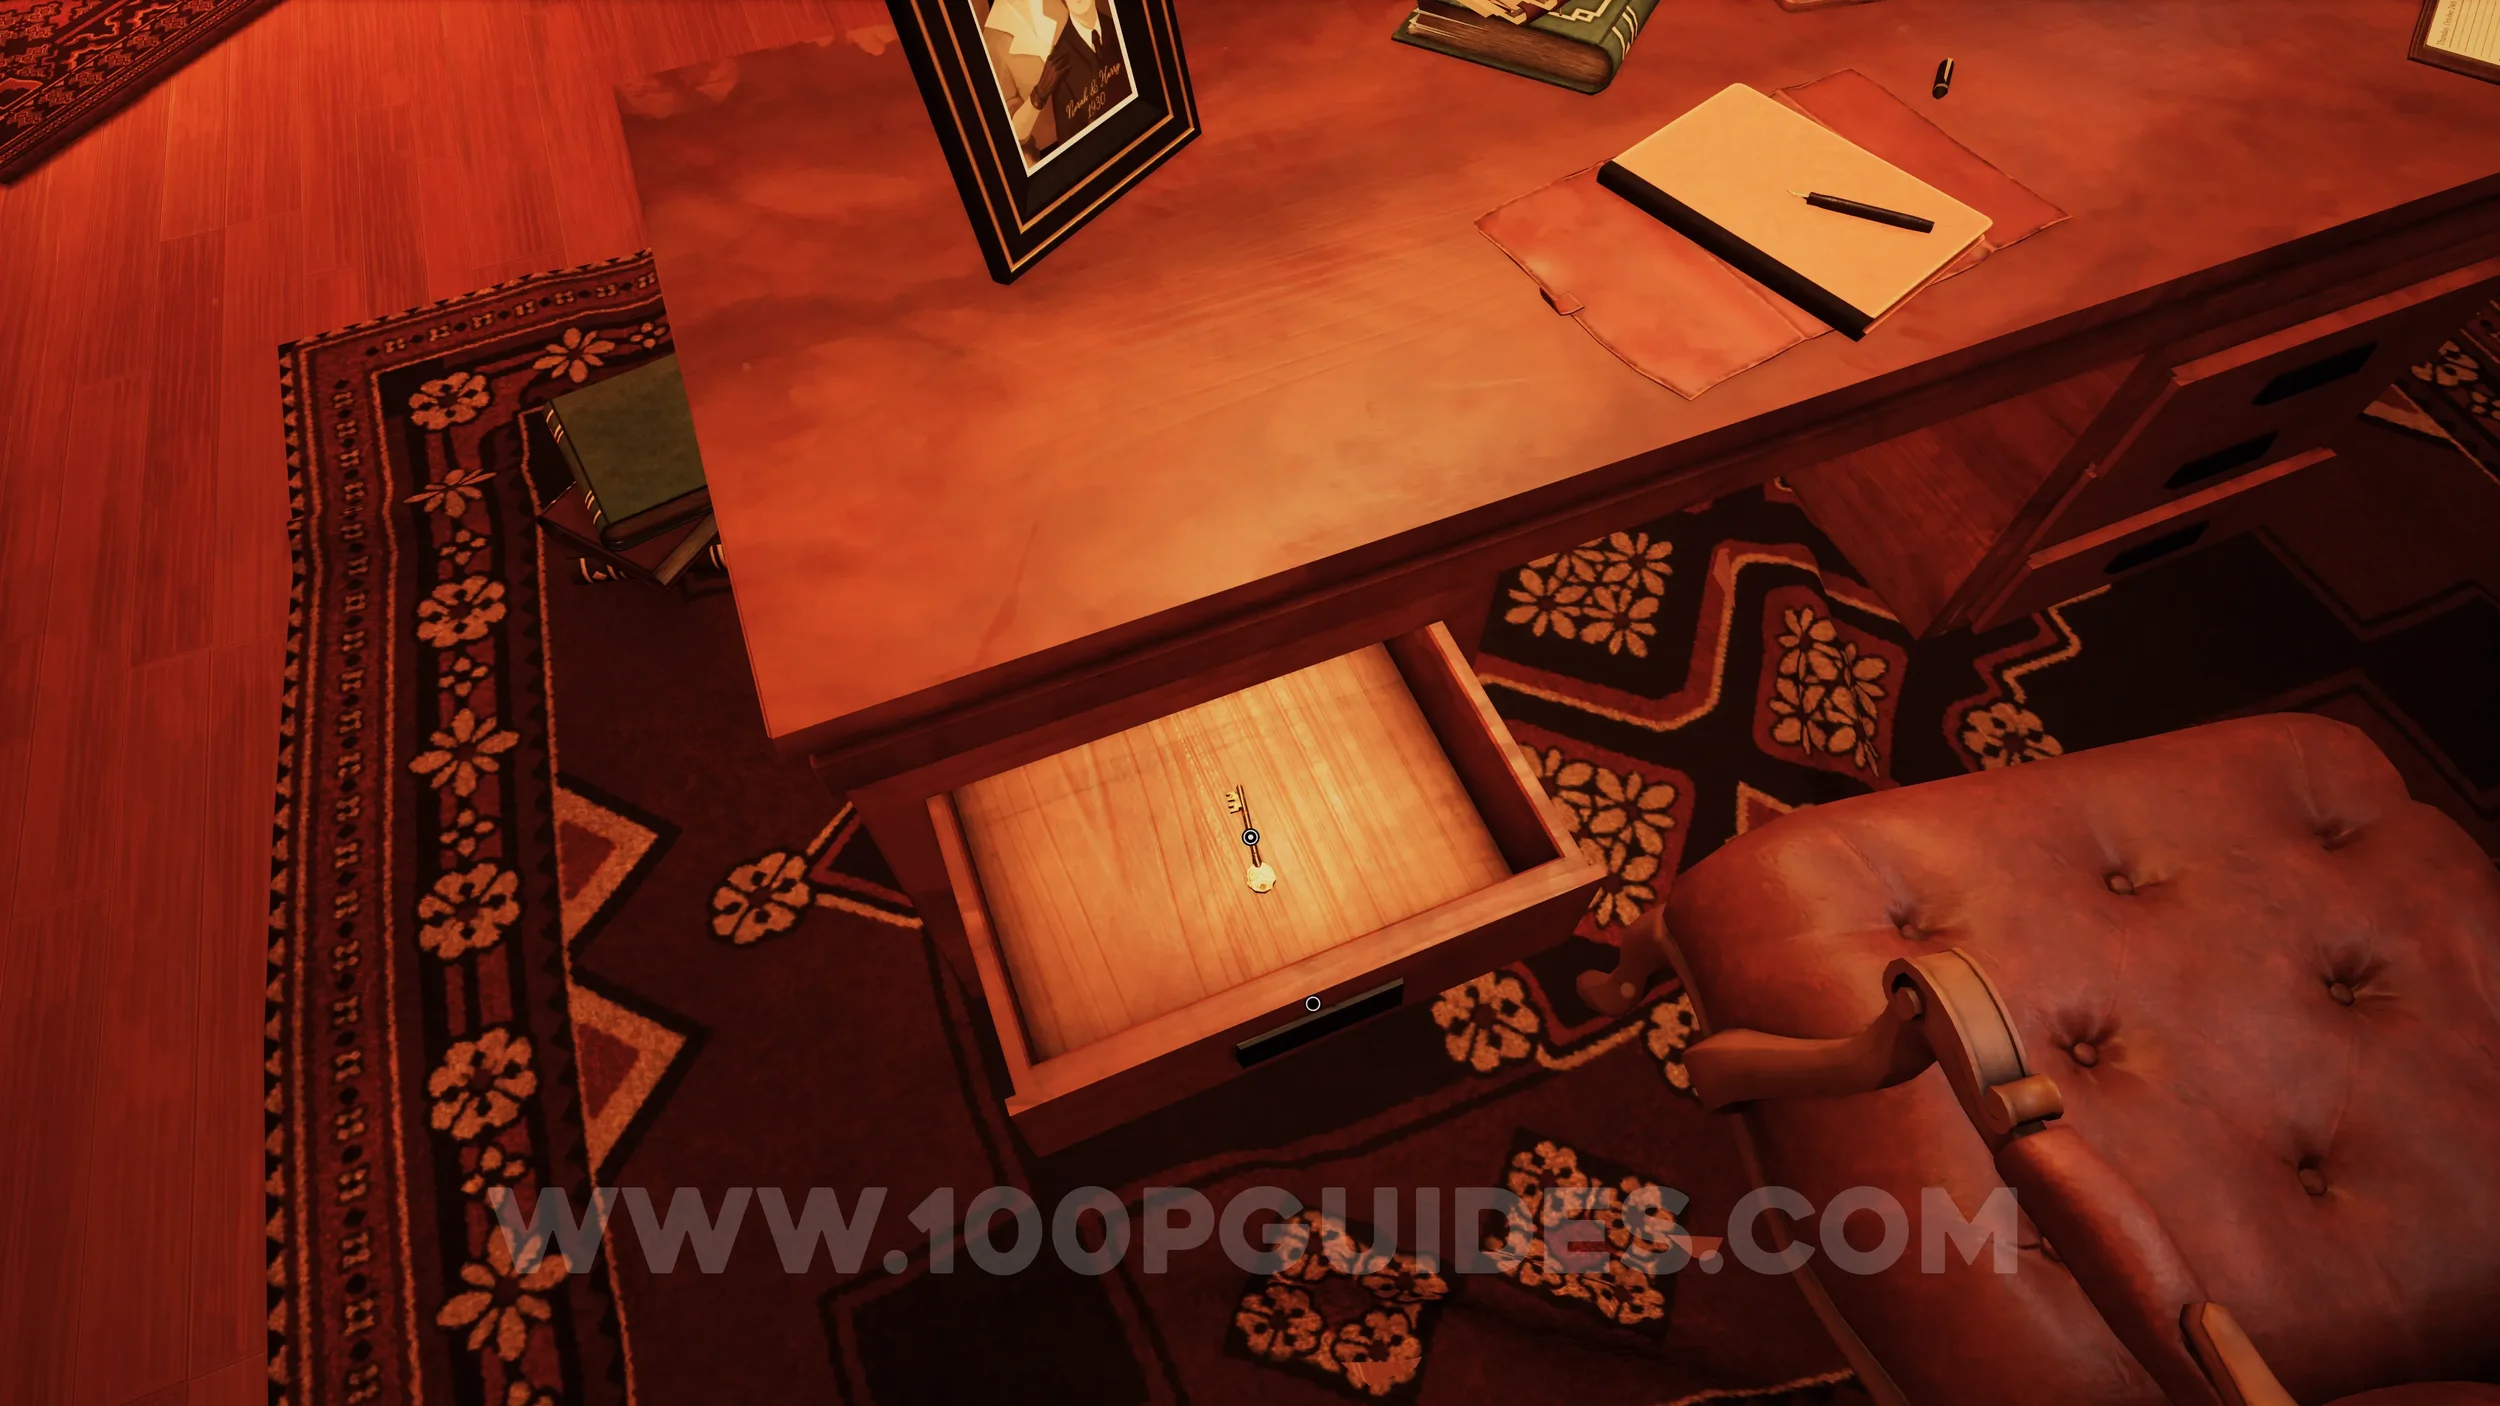
Clue #13. In the same office, pick up the key from the drawer.
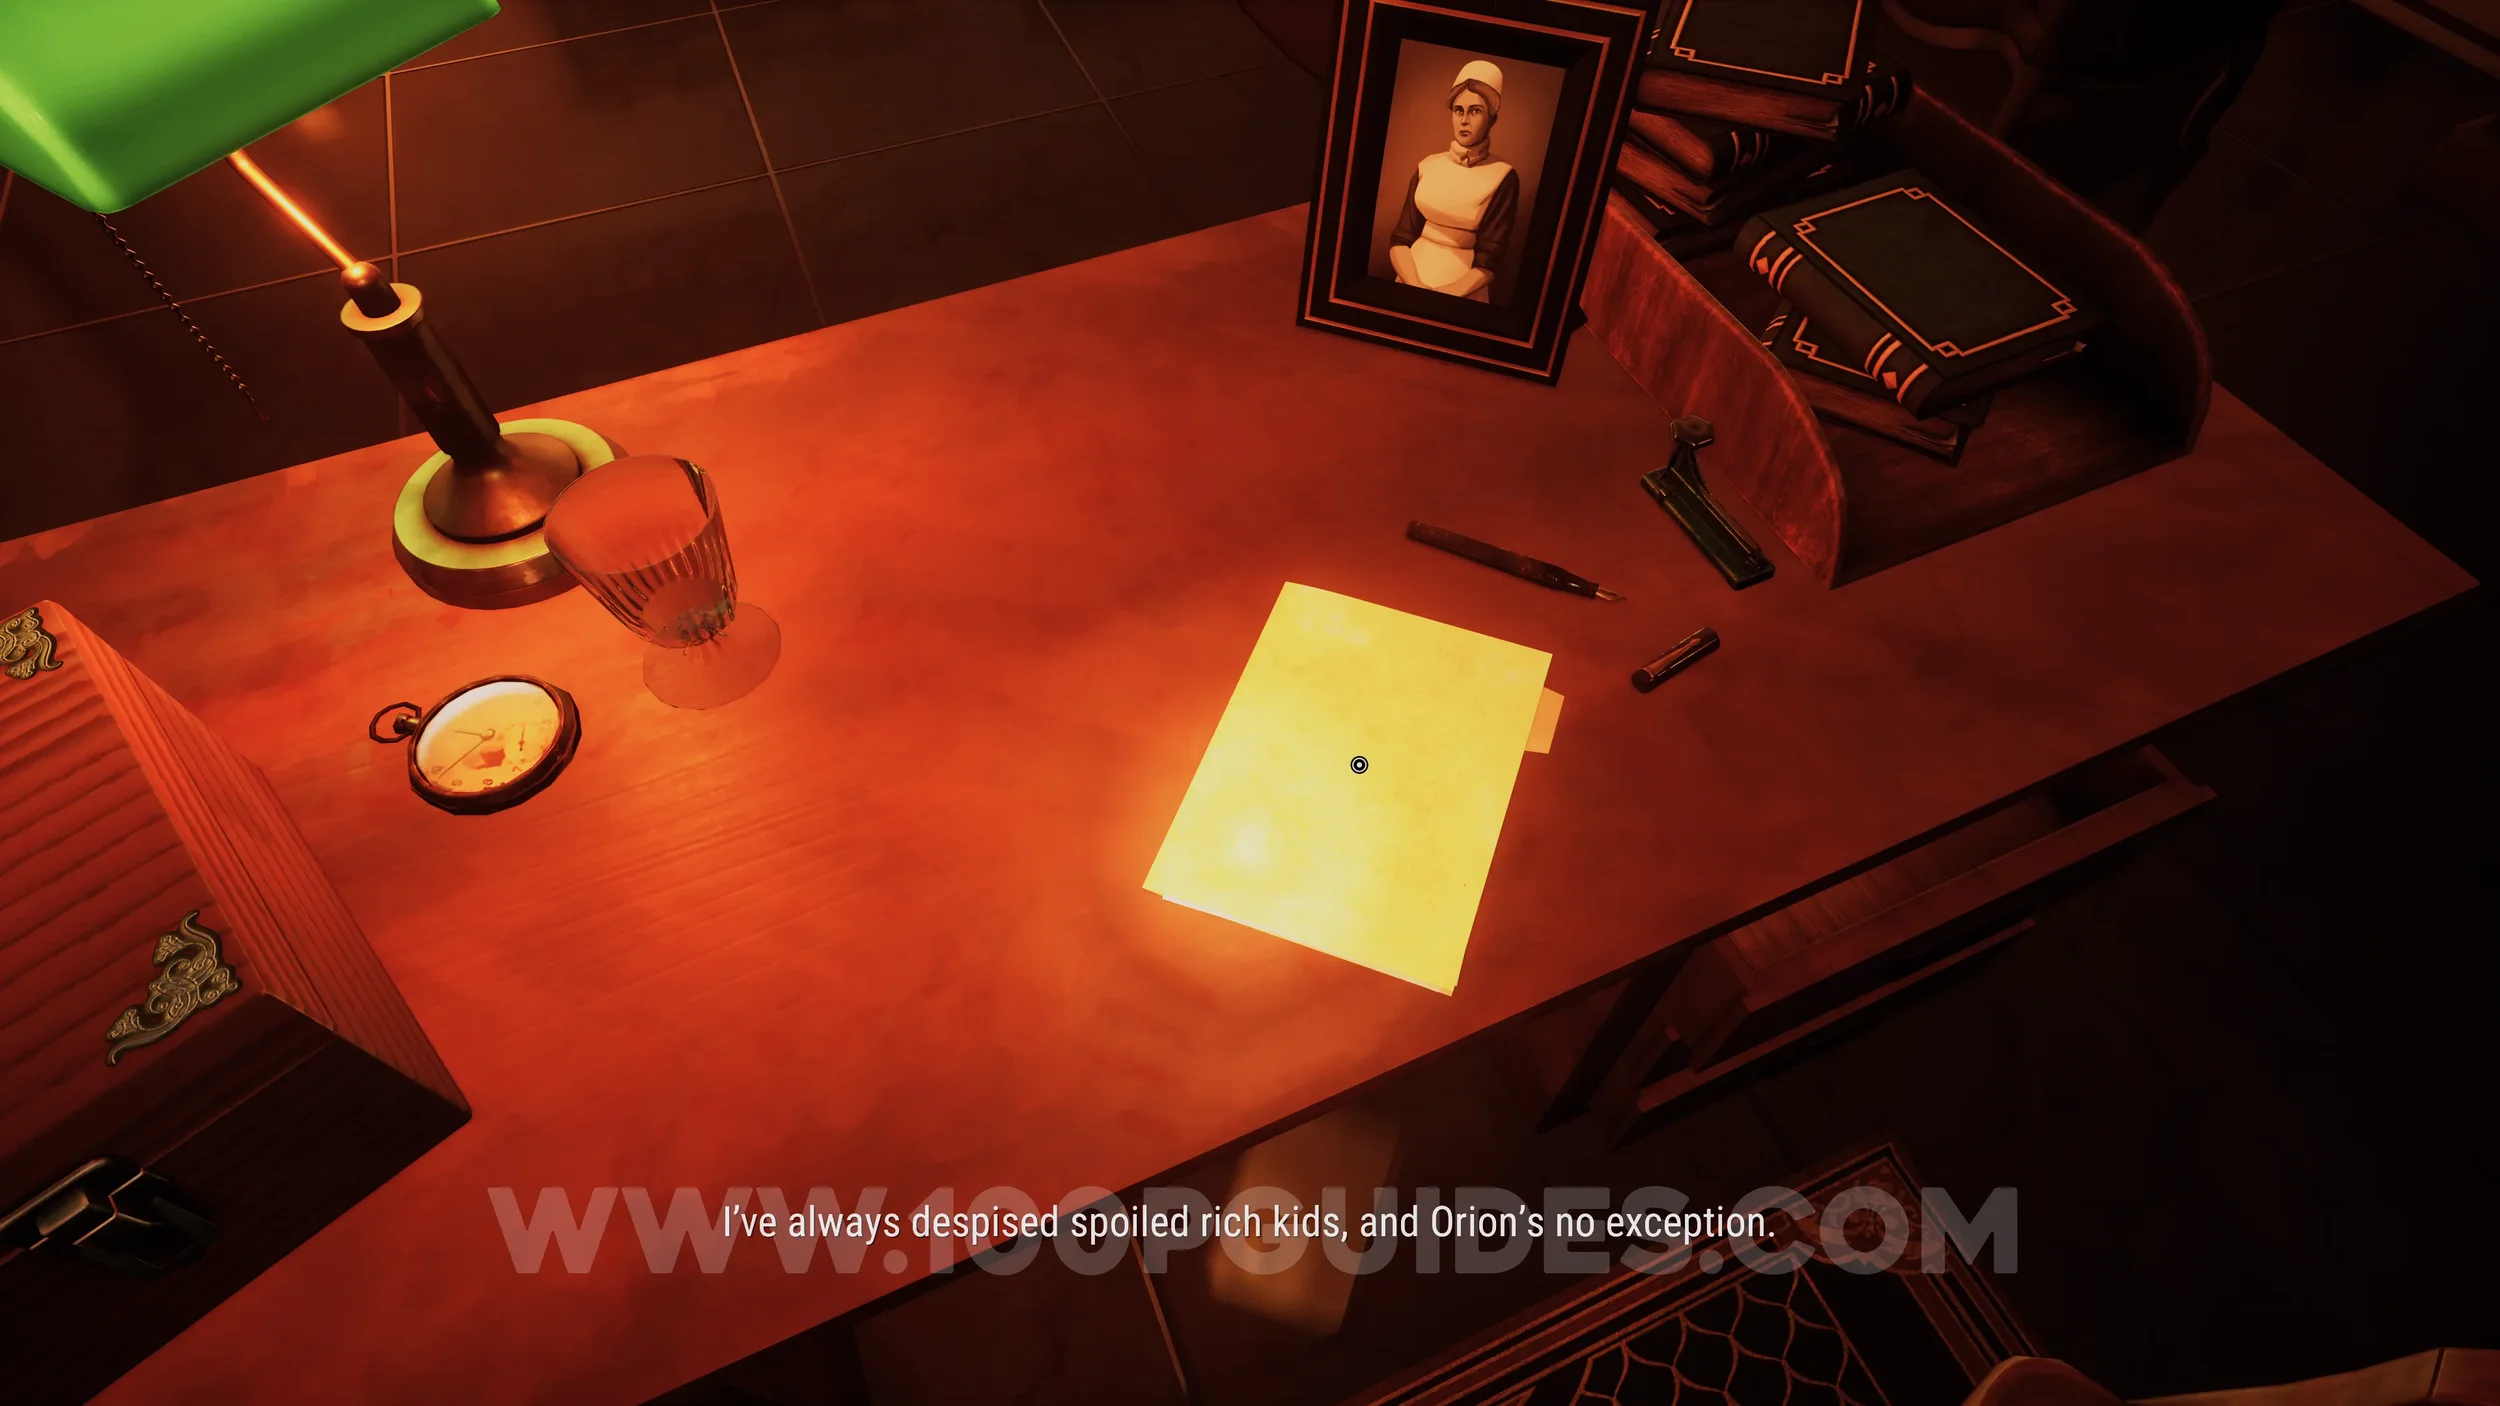
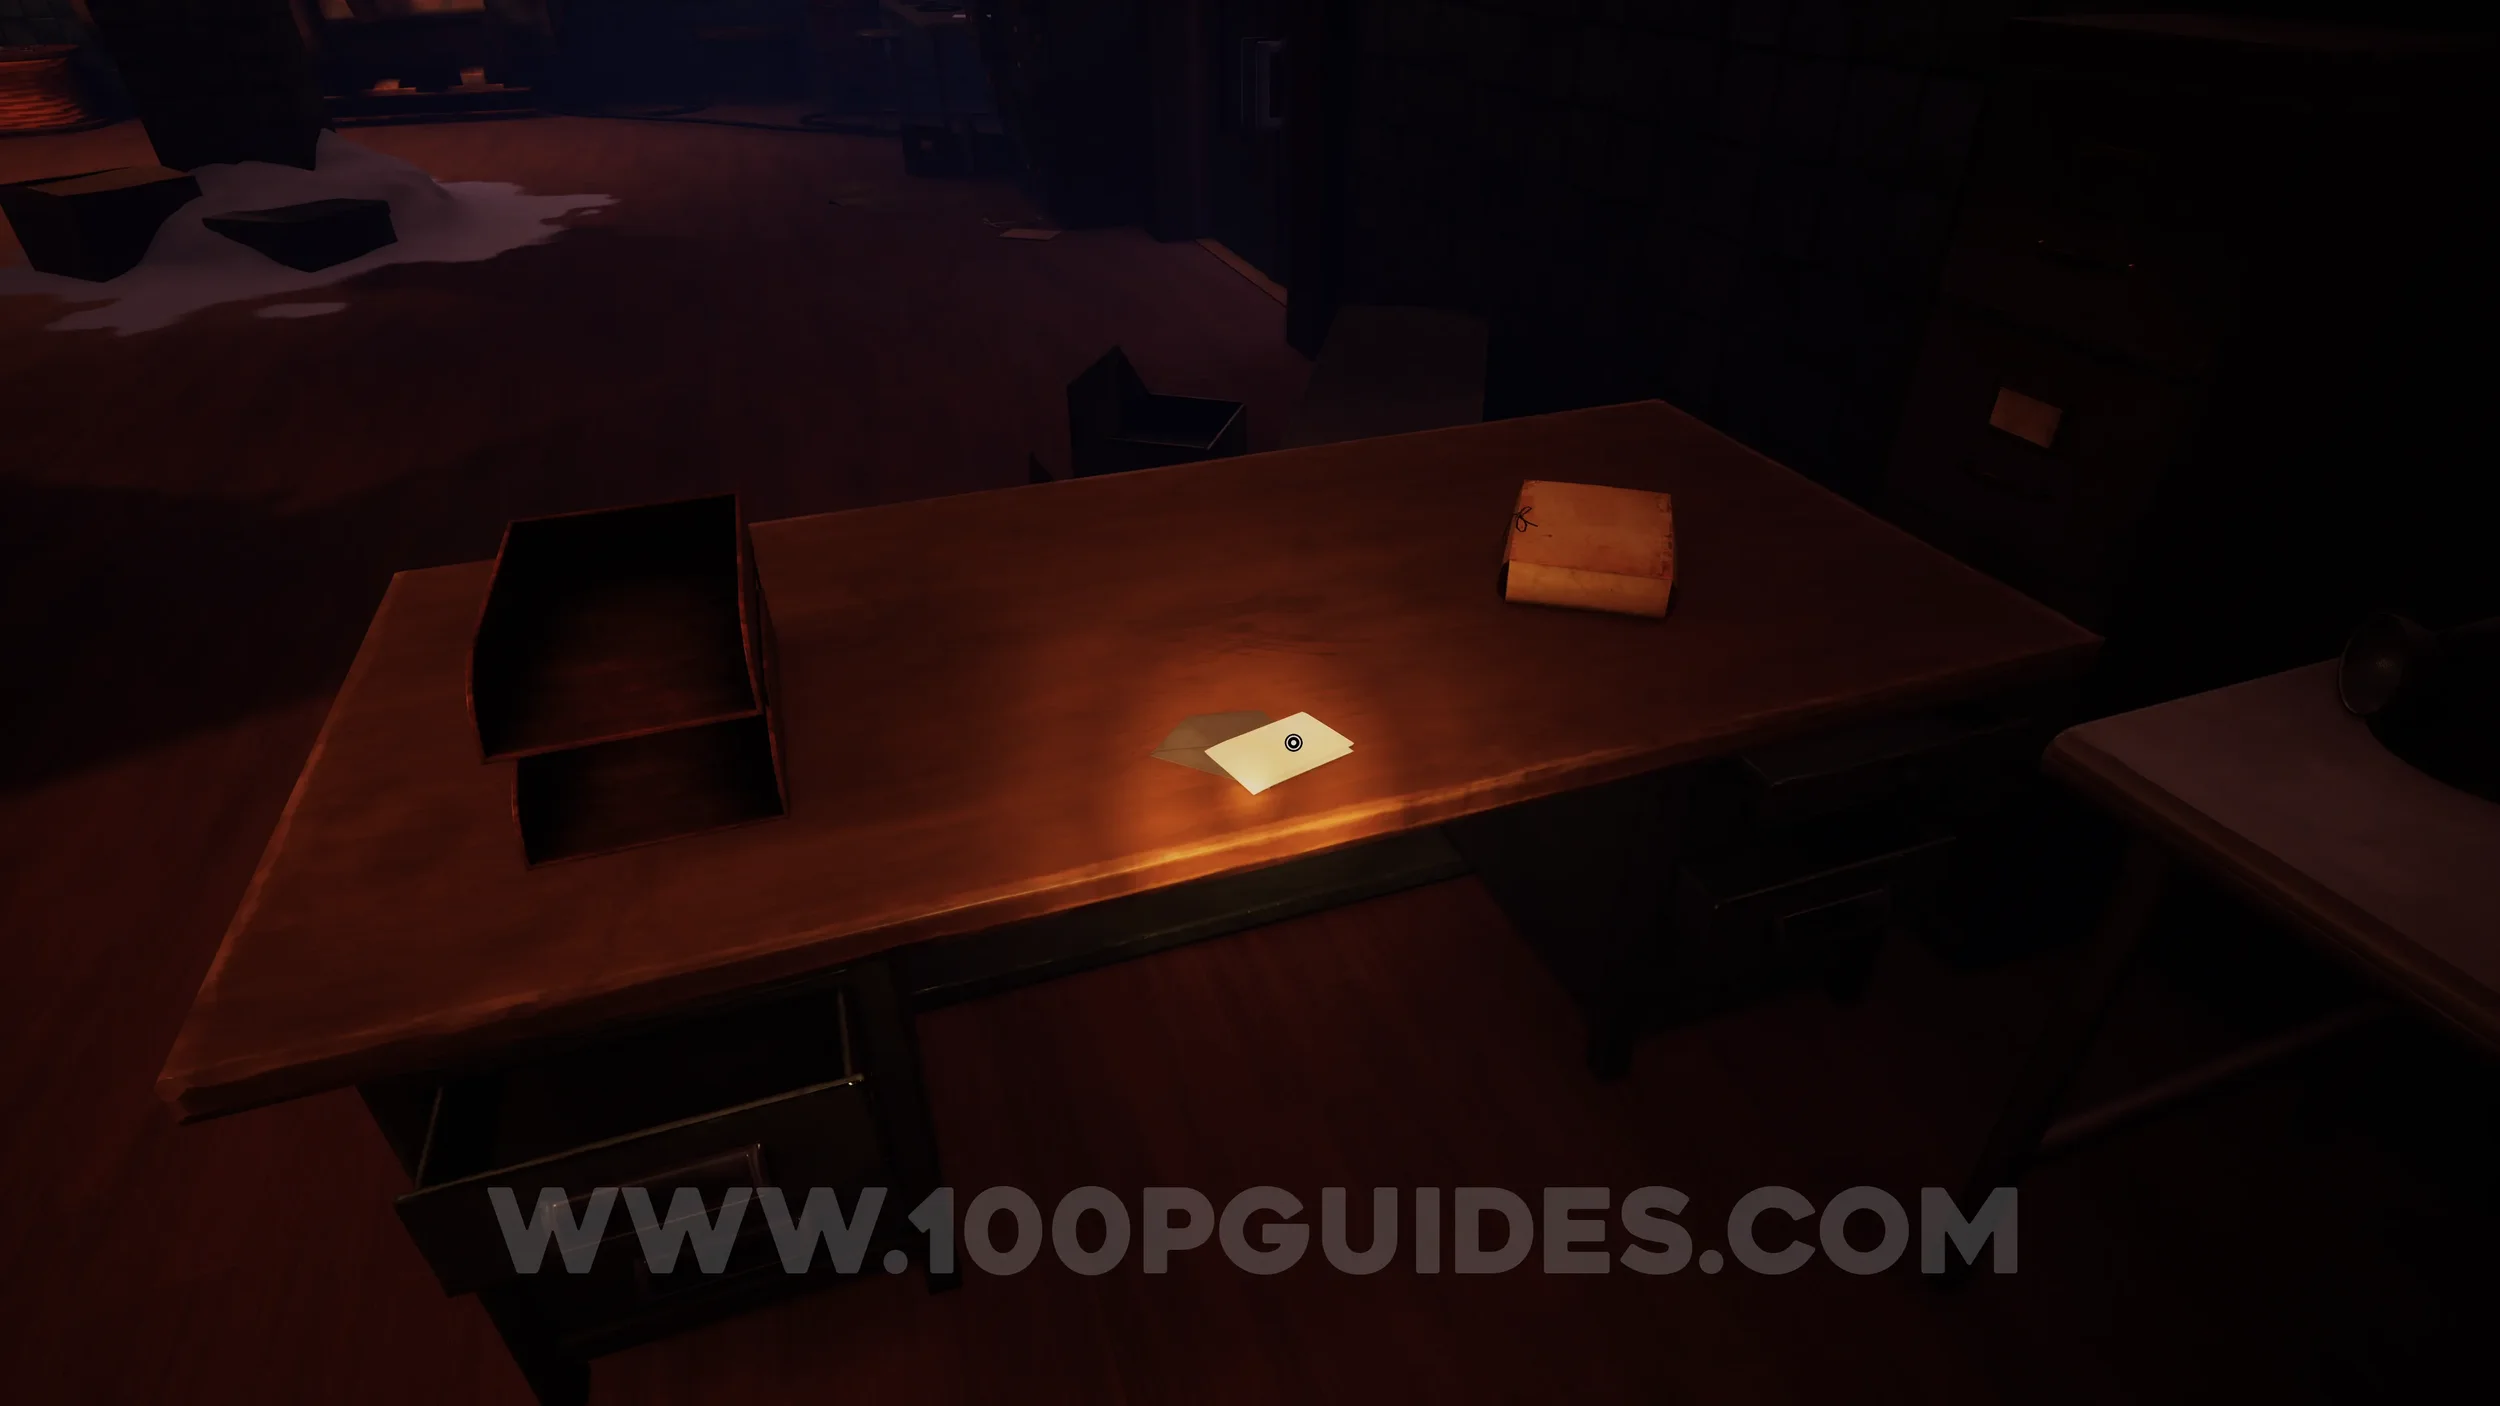
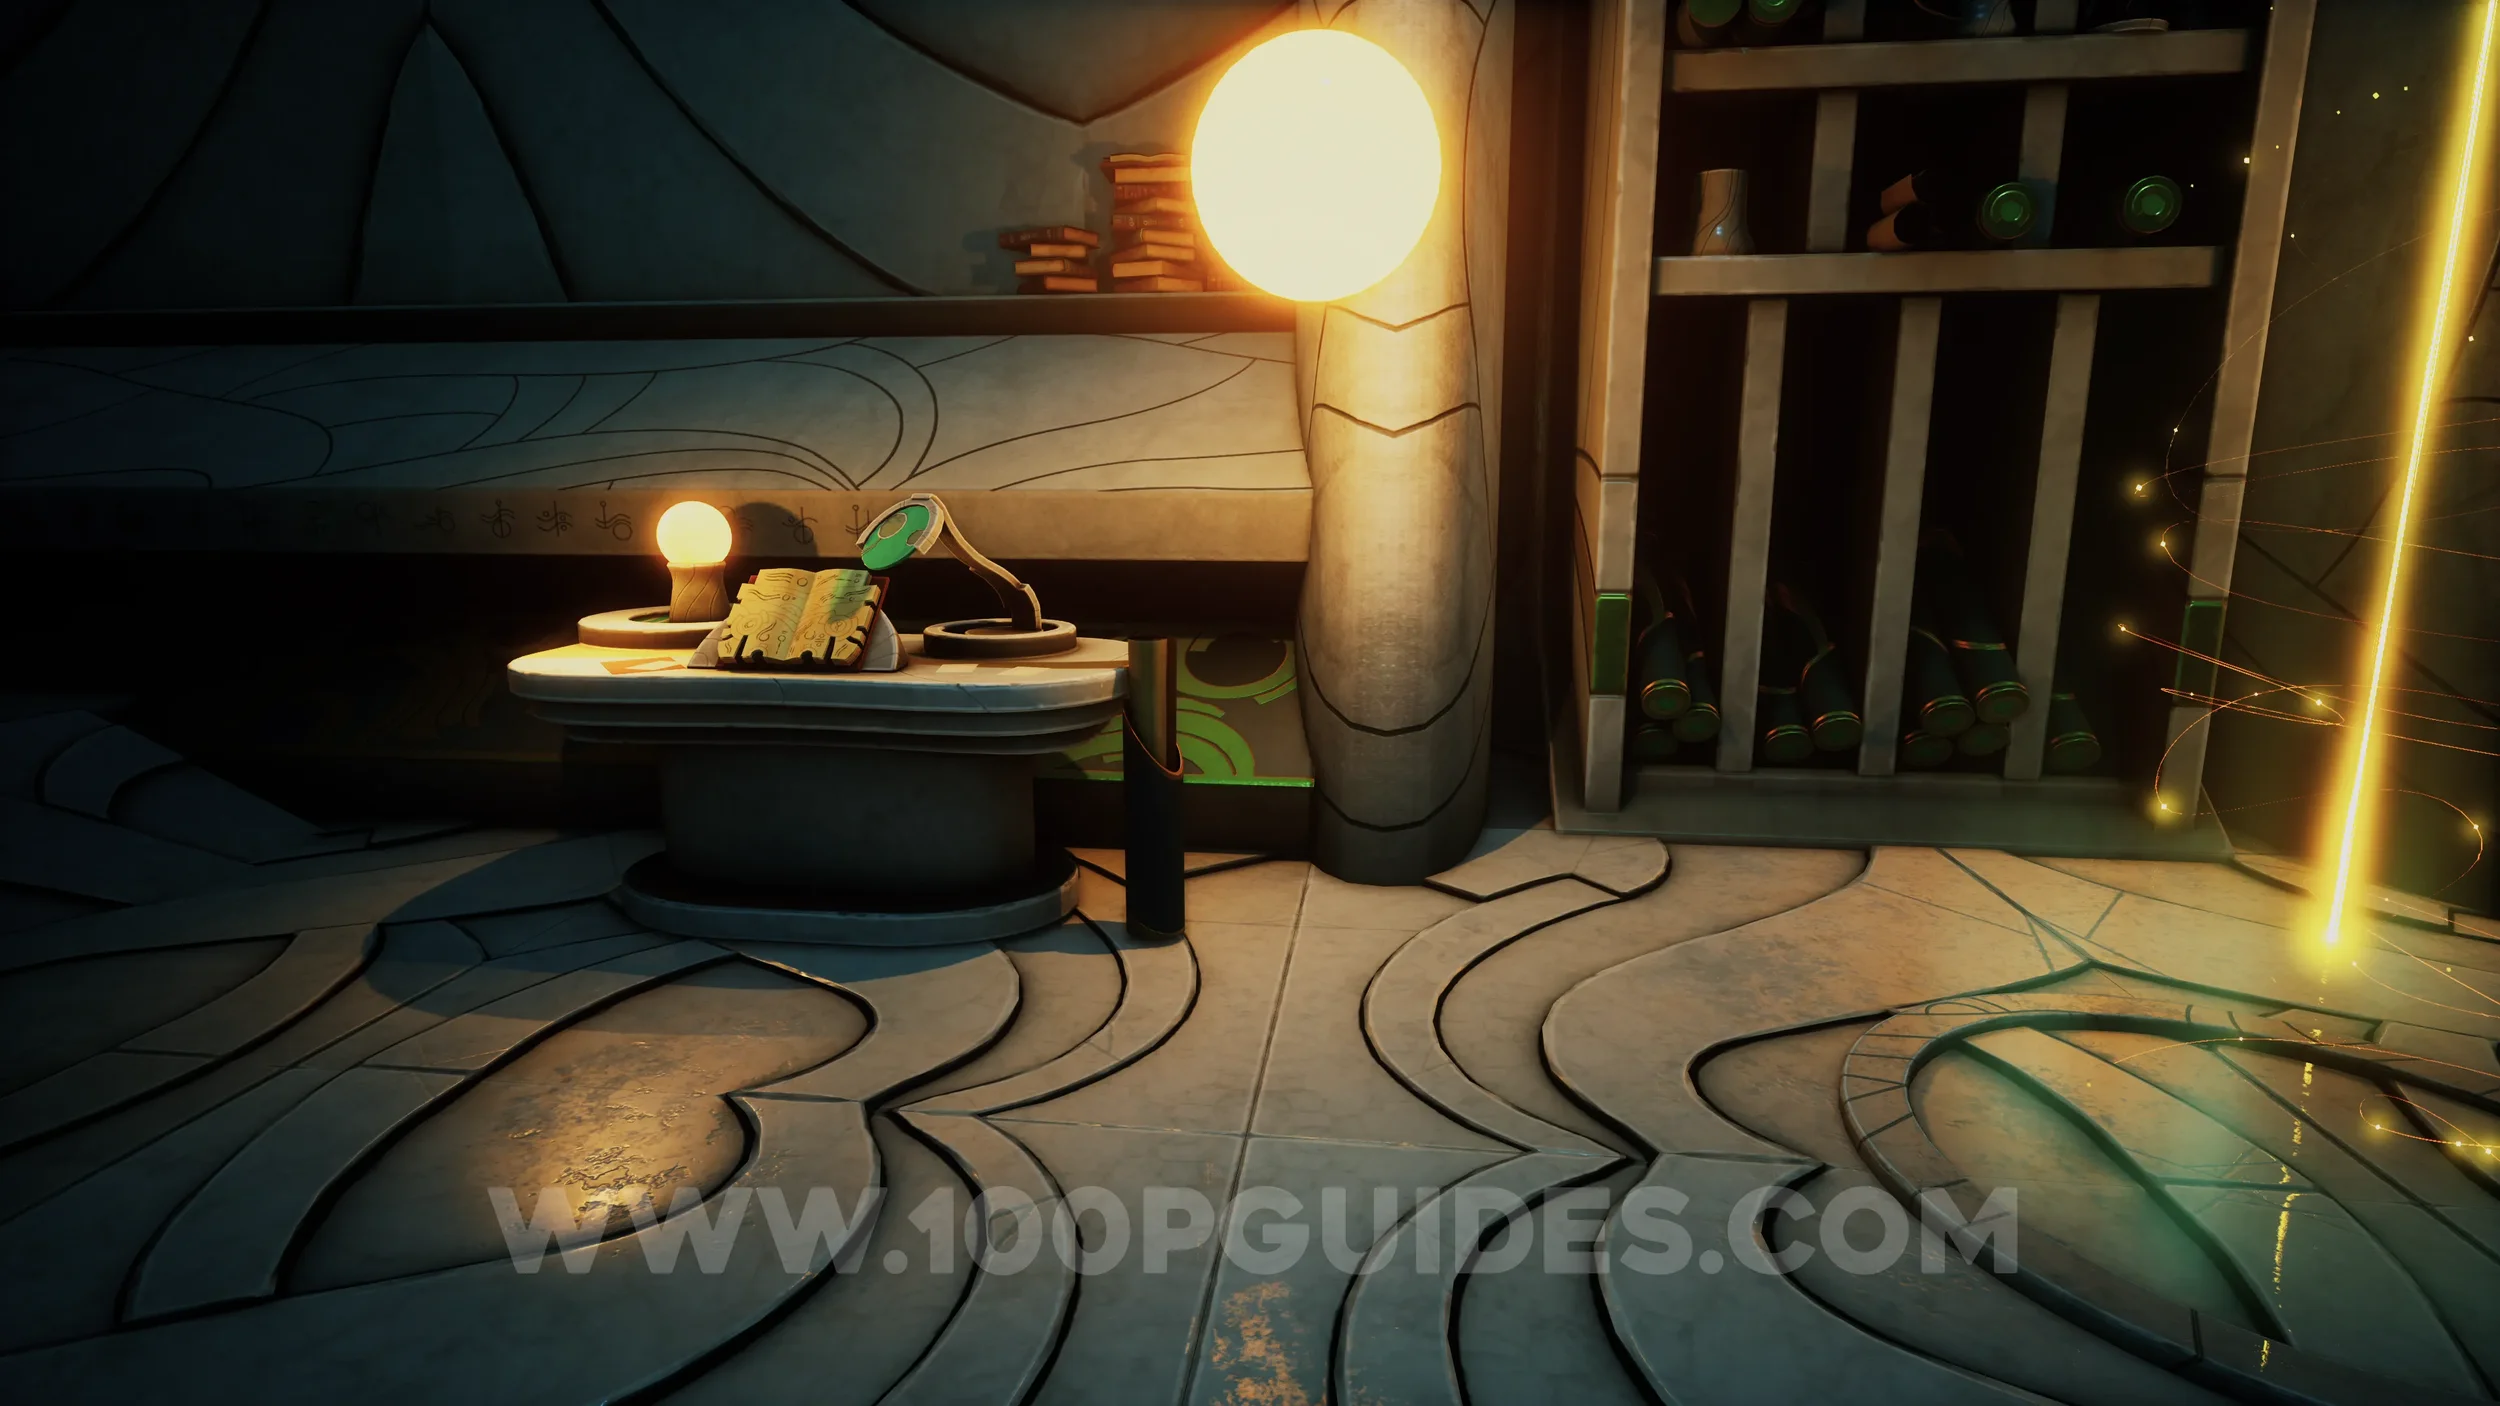
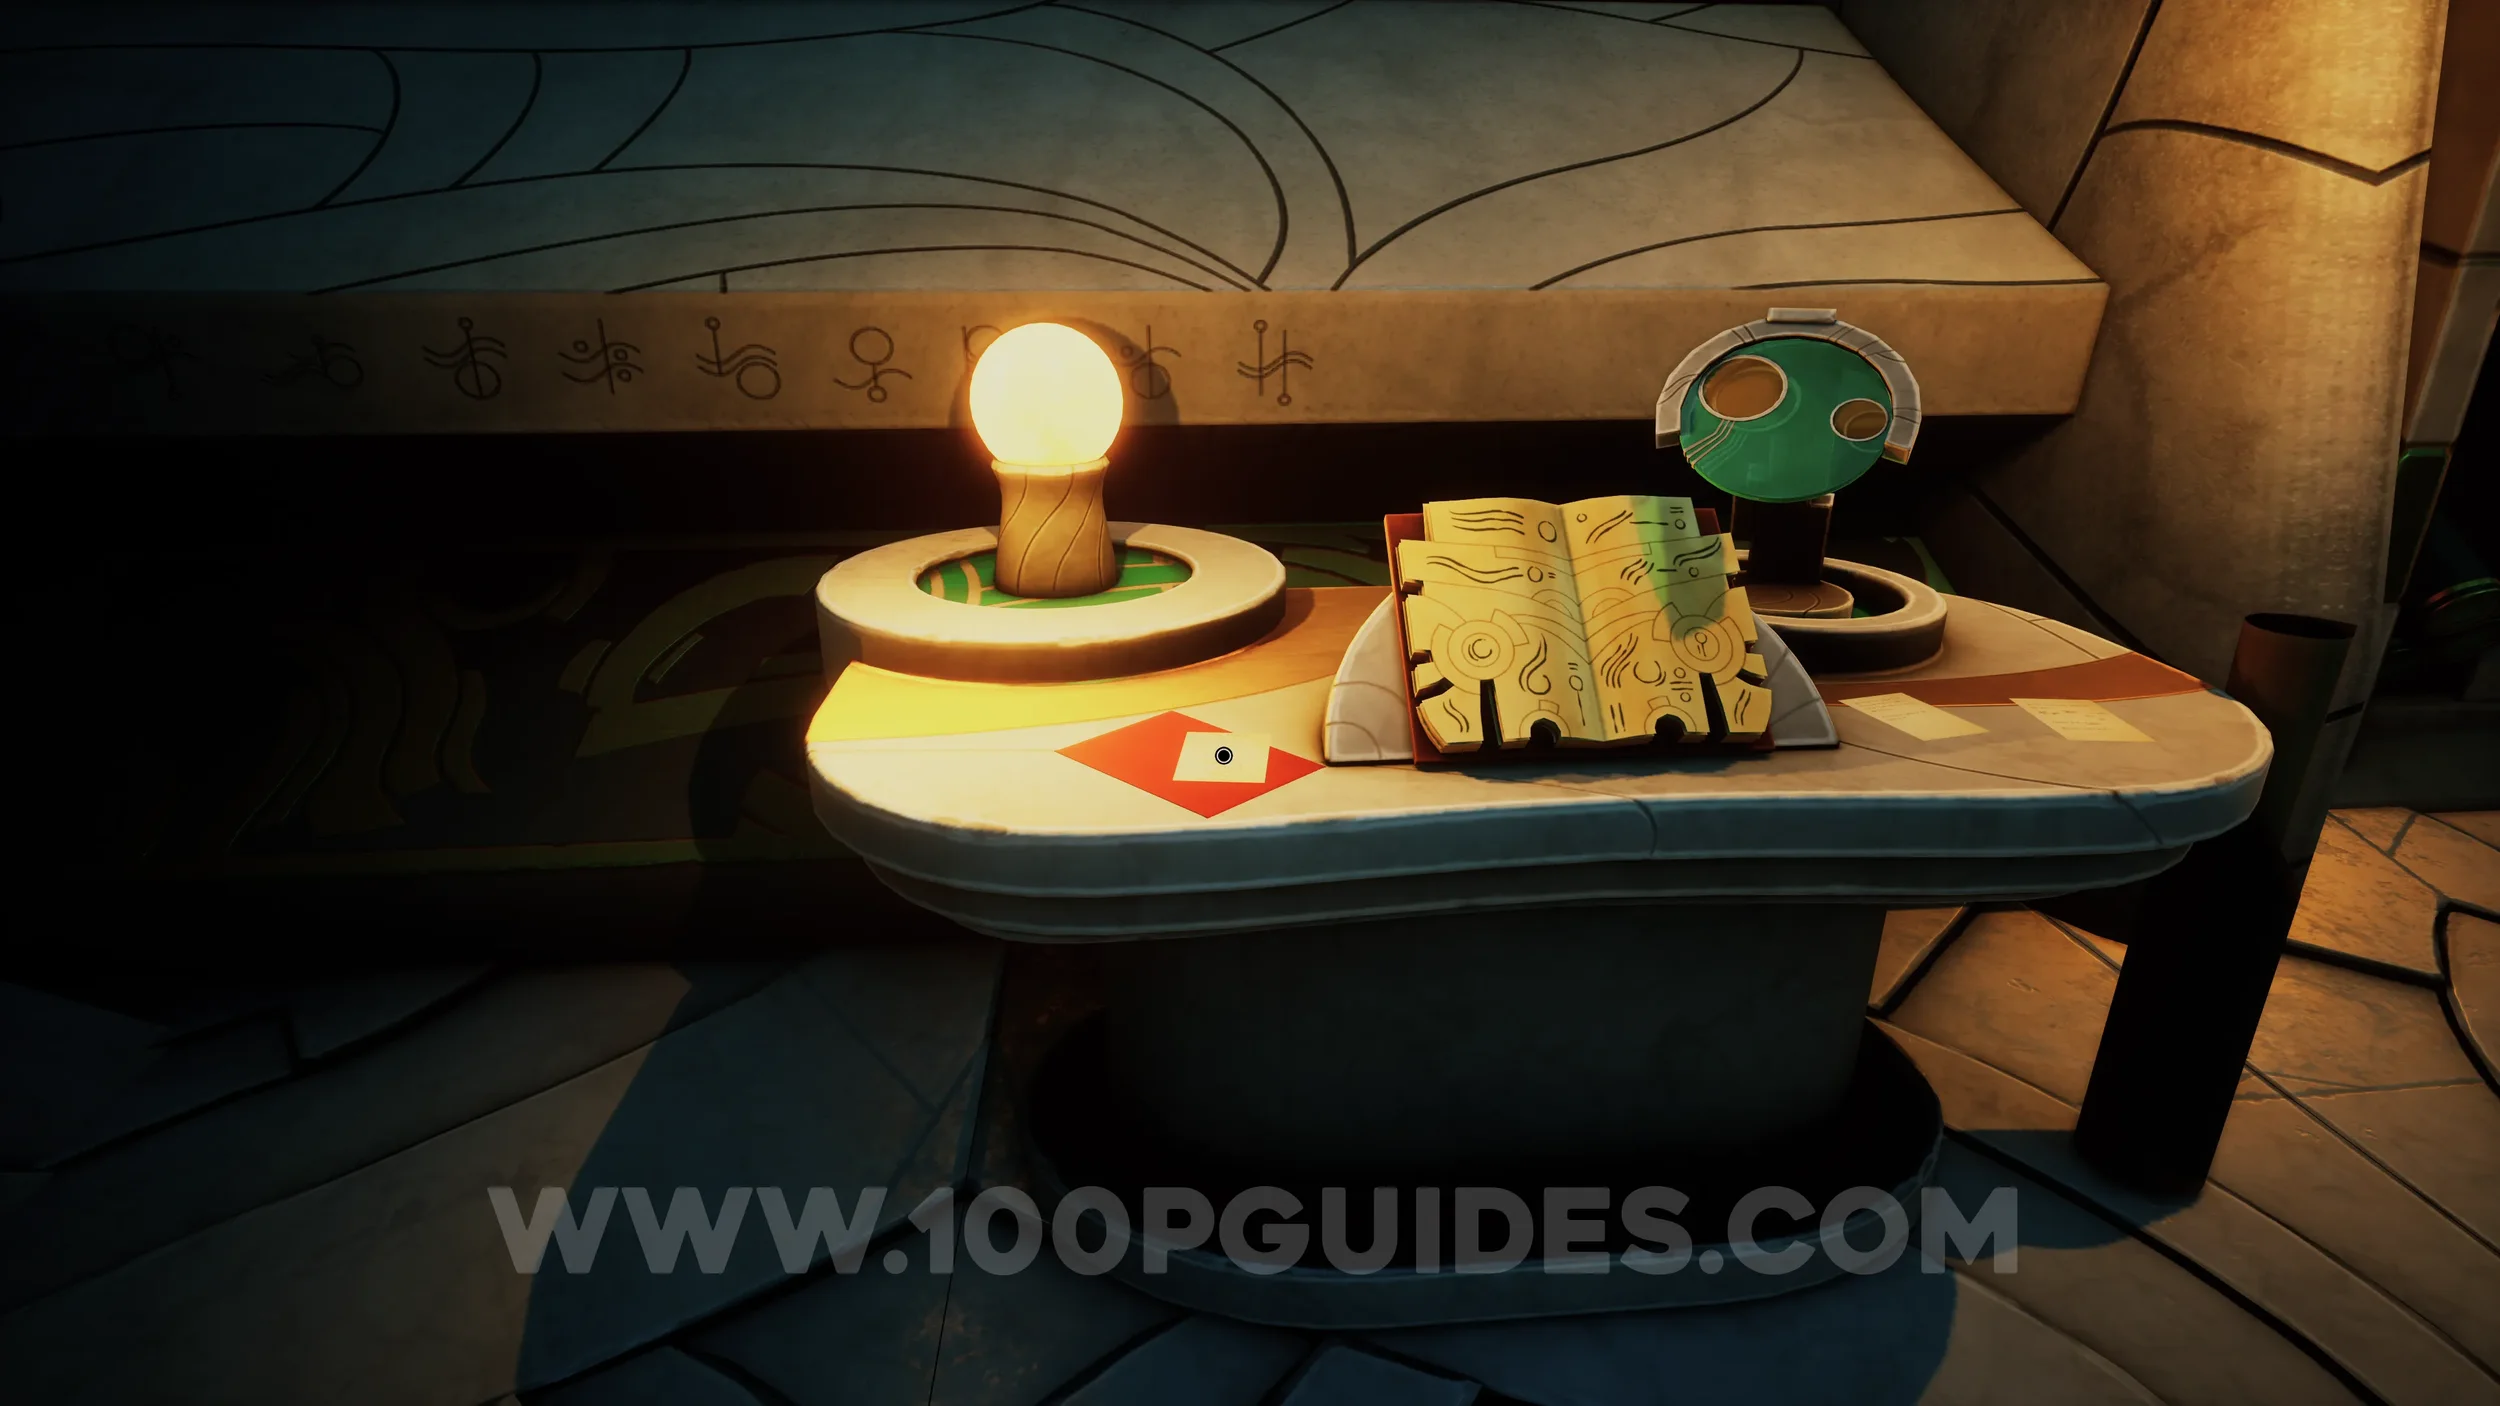
Clue #14. Return to the large library room and head to the opposite side to find the clue (the note) on a round table.
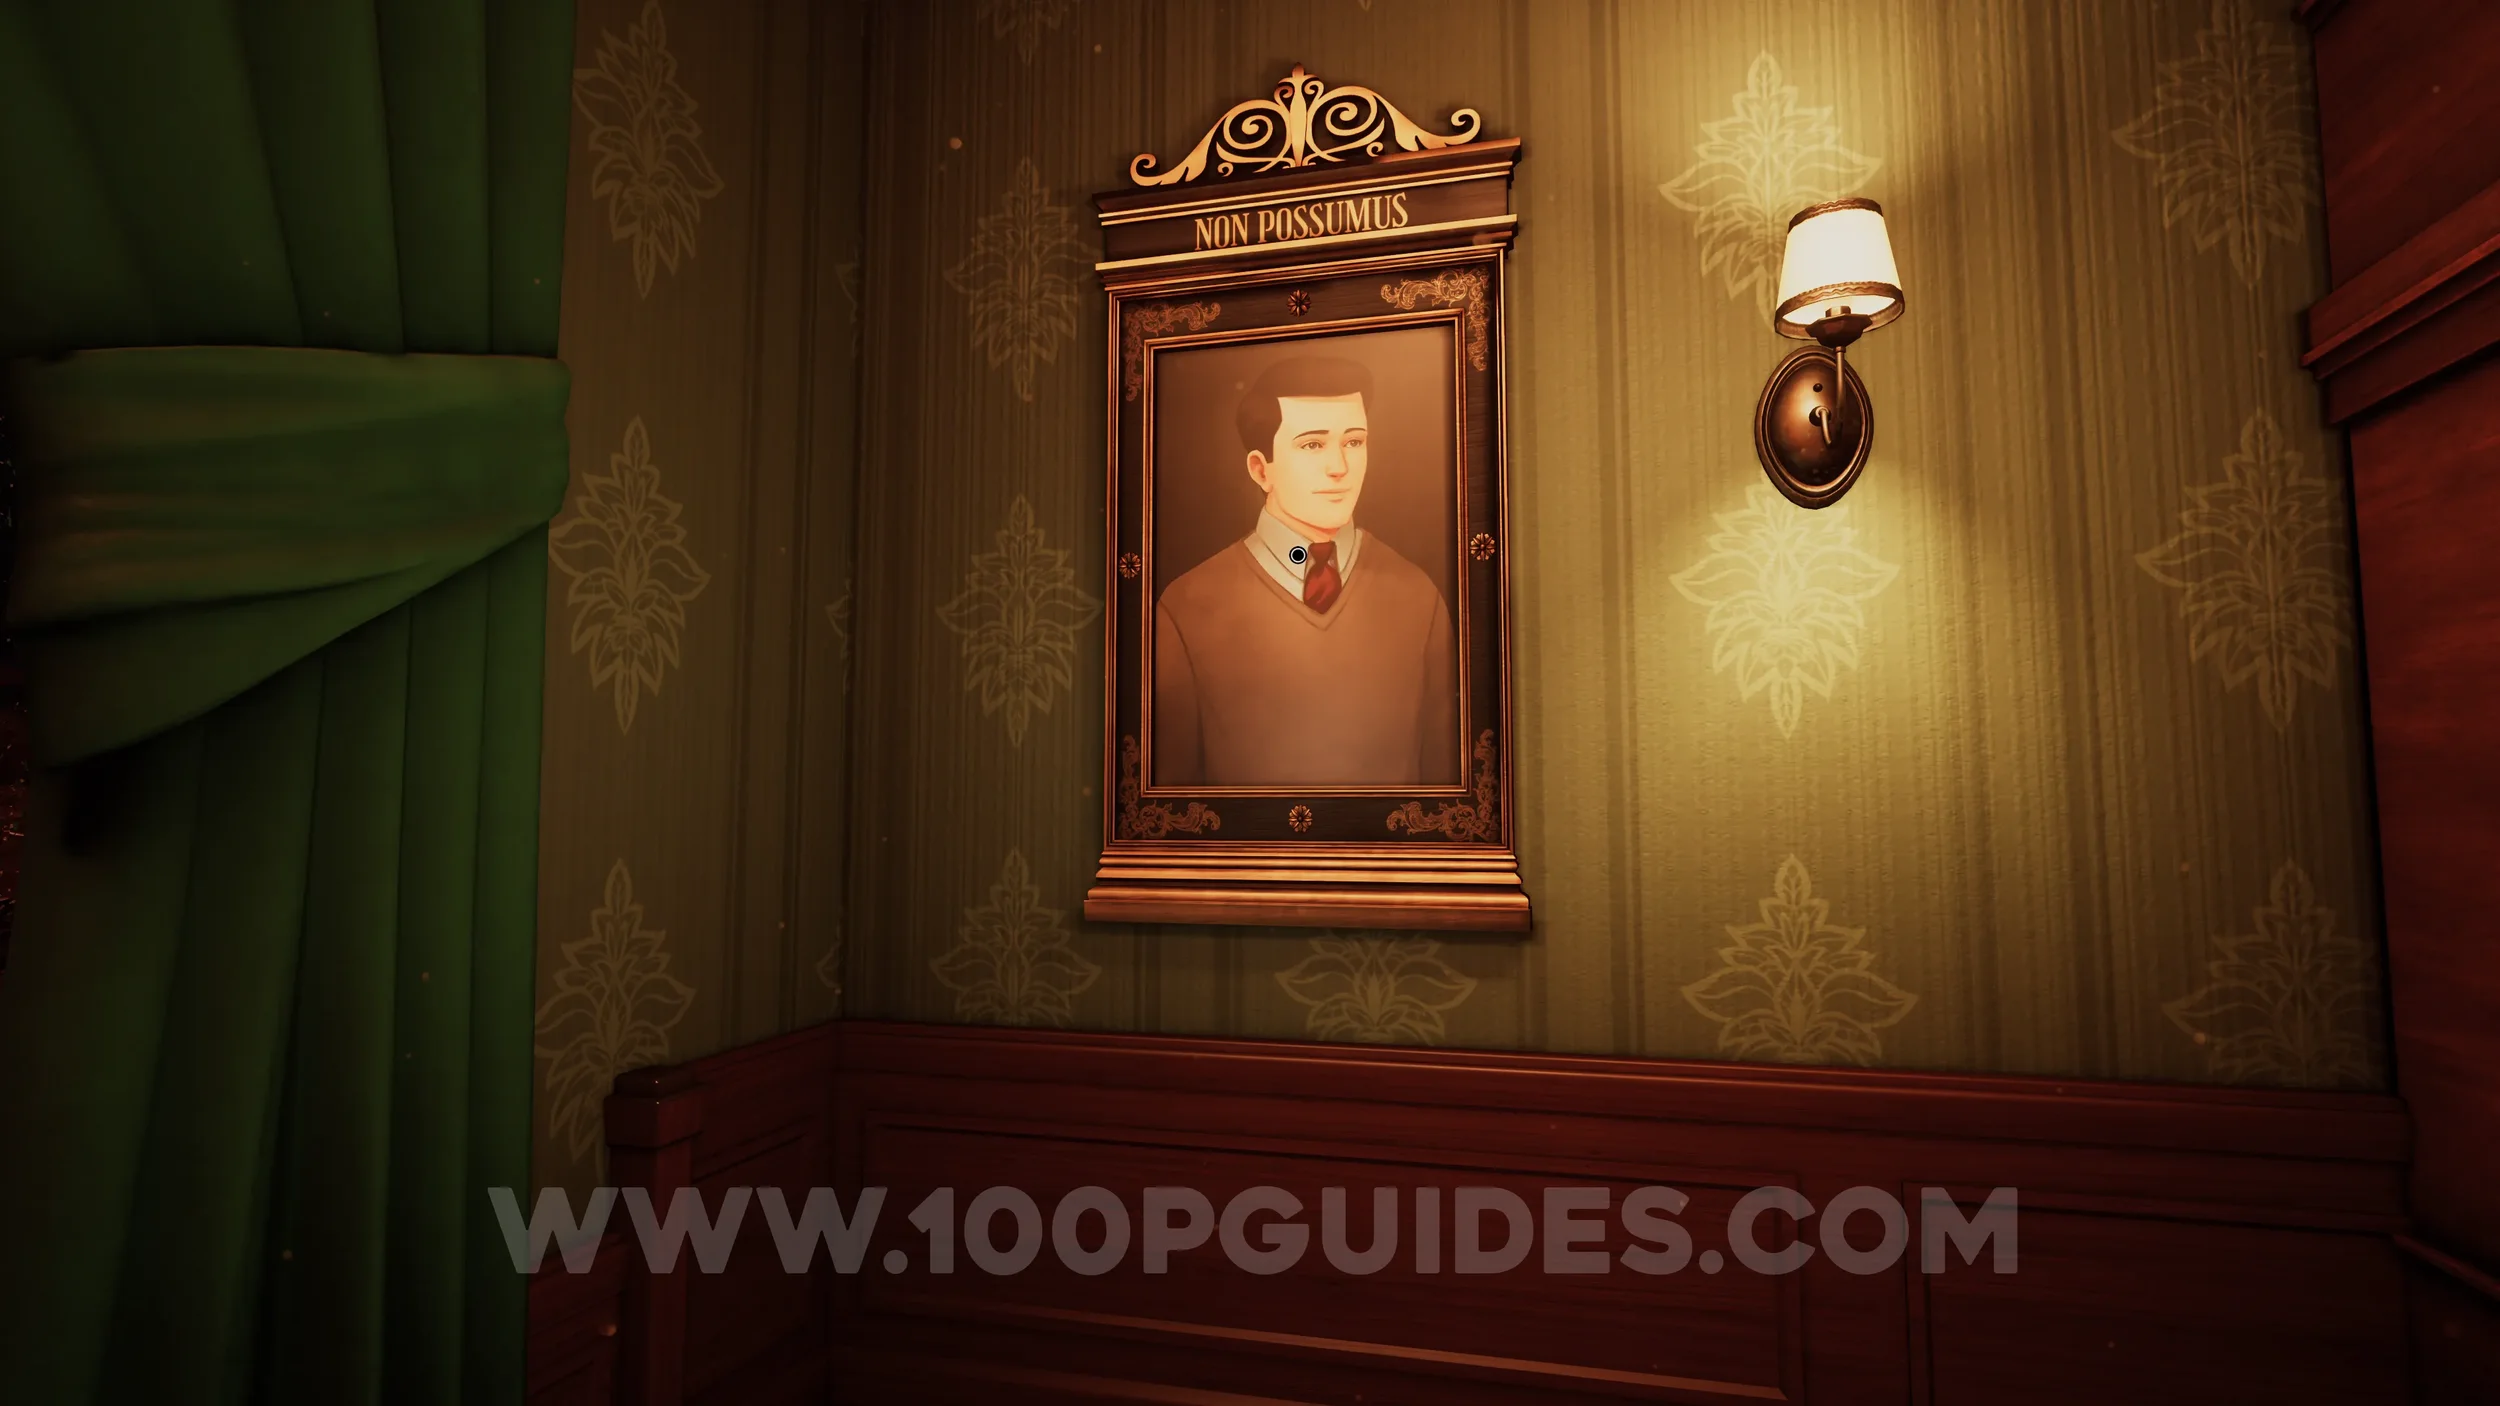
Clue #15. Examine the portrait on the wall to the right of the previous clue.
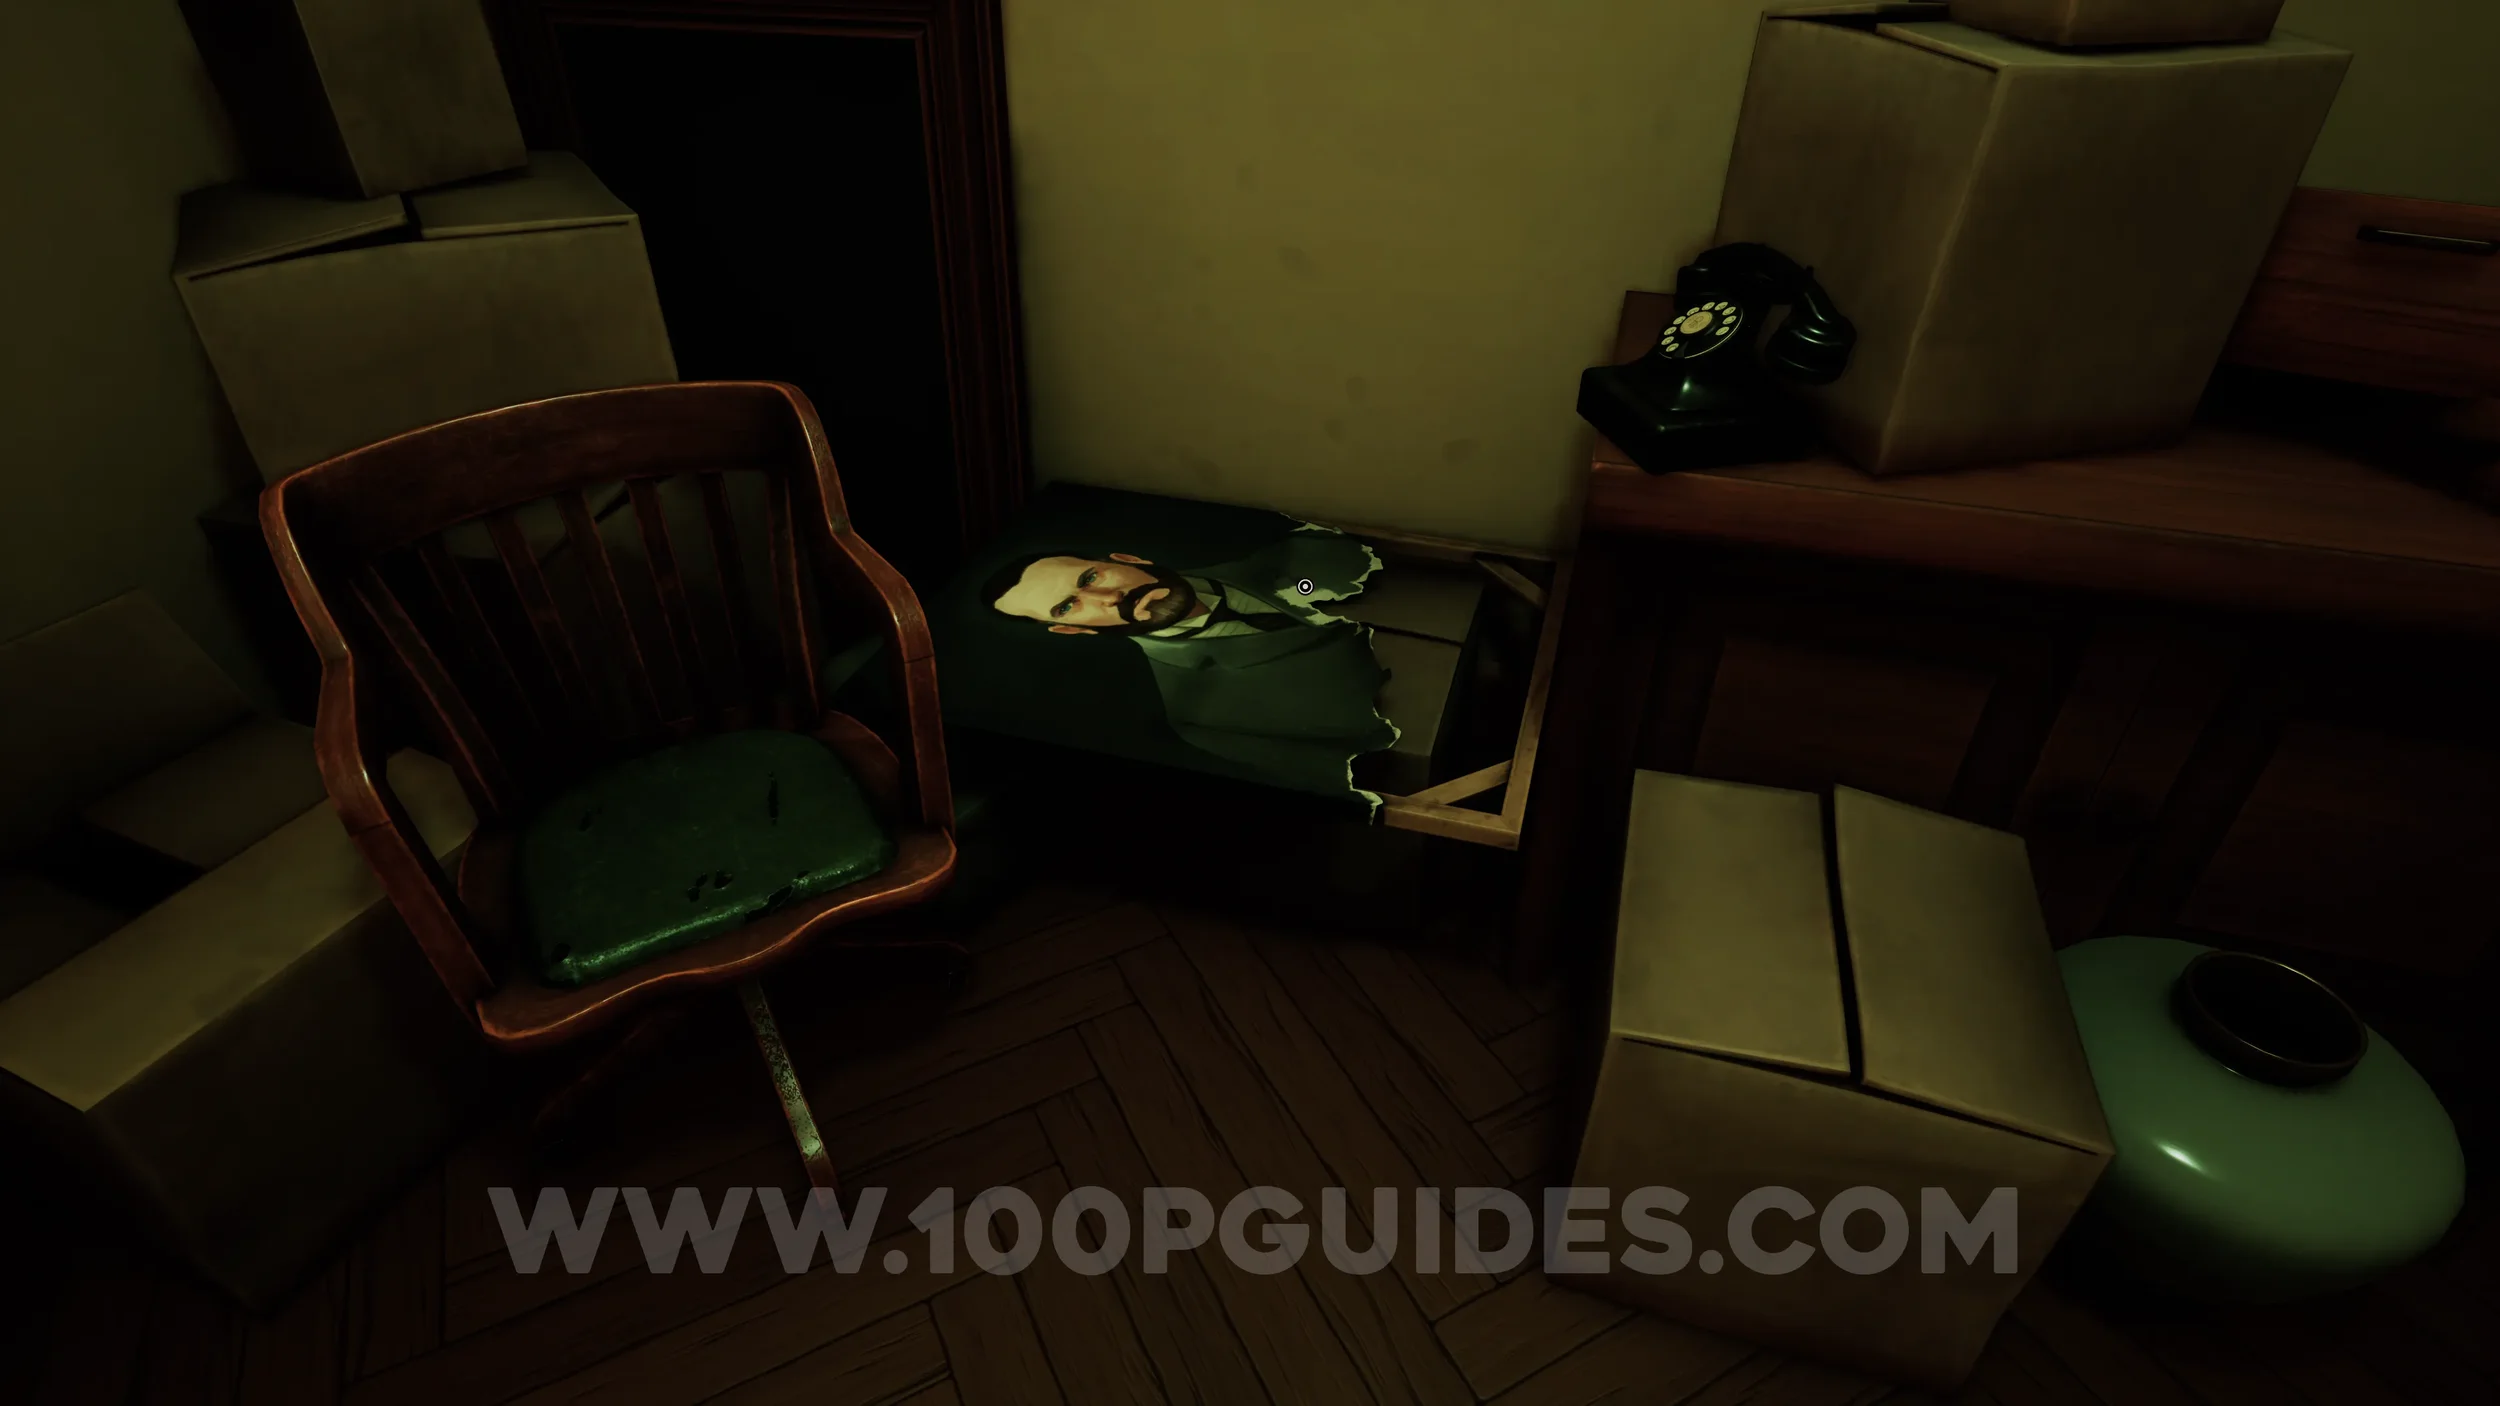
Clue #16. After using the key on the door in the large library room, go through the door on the left to enter a small storage room. Inside, examine the torn portrait.
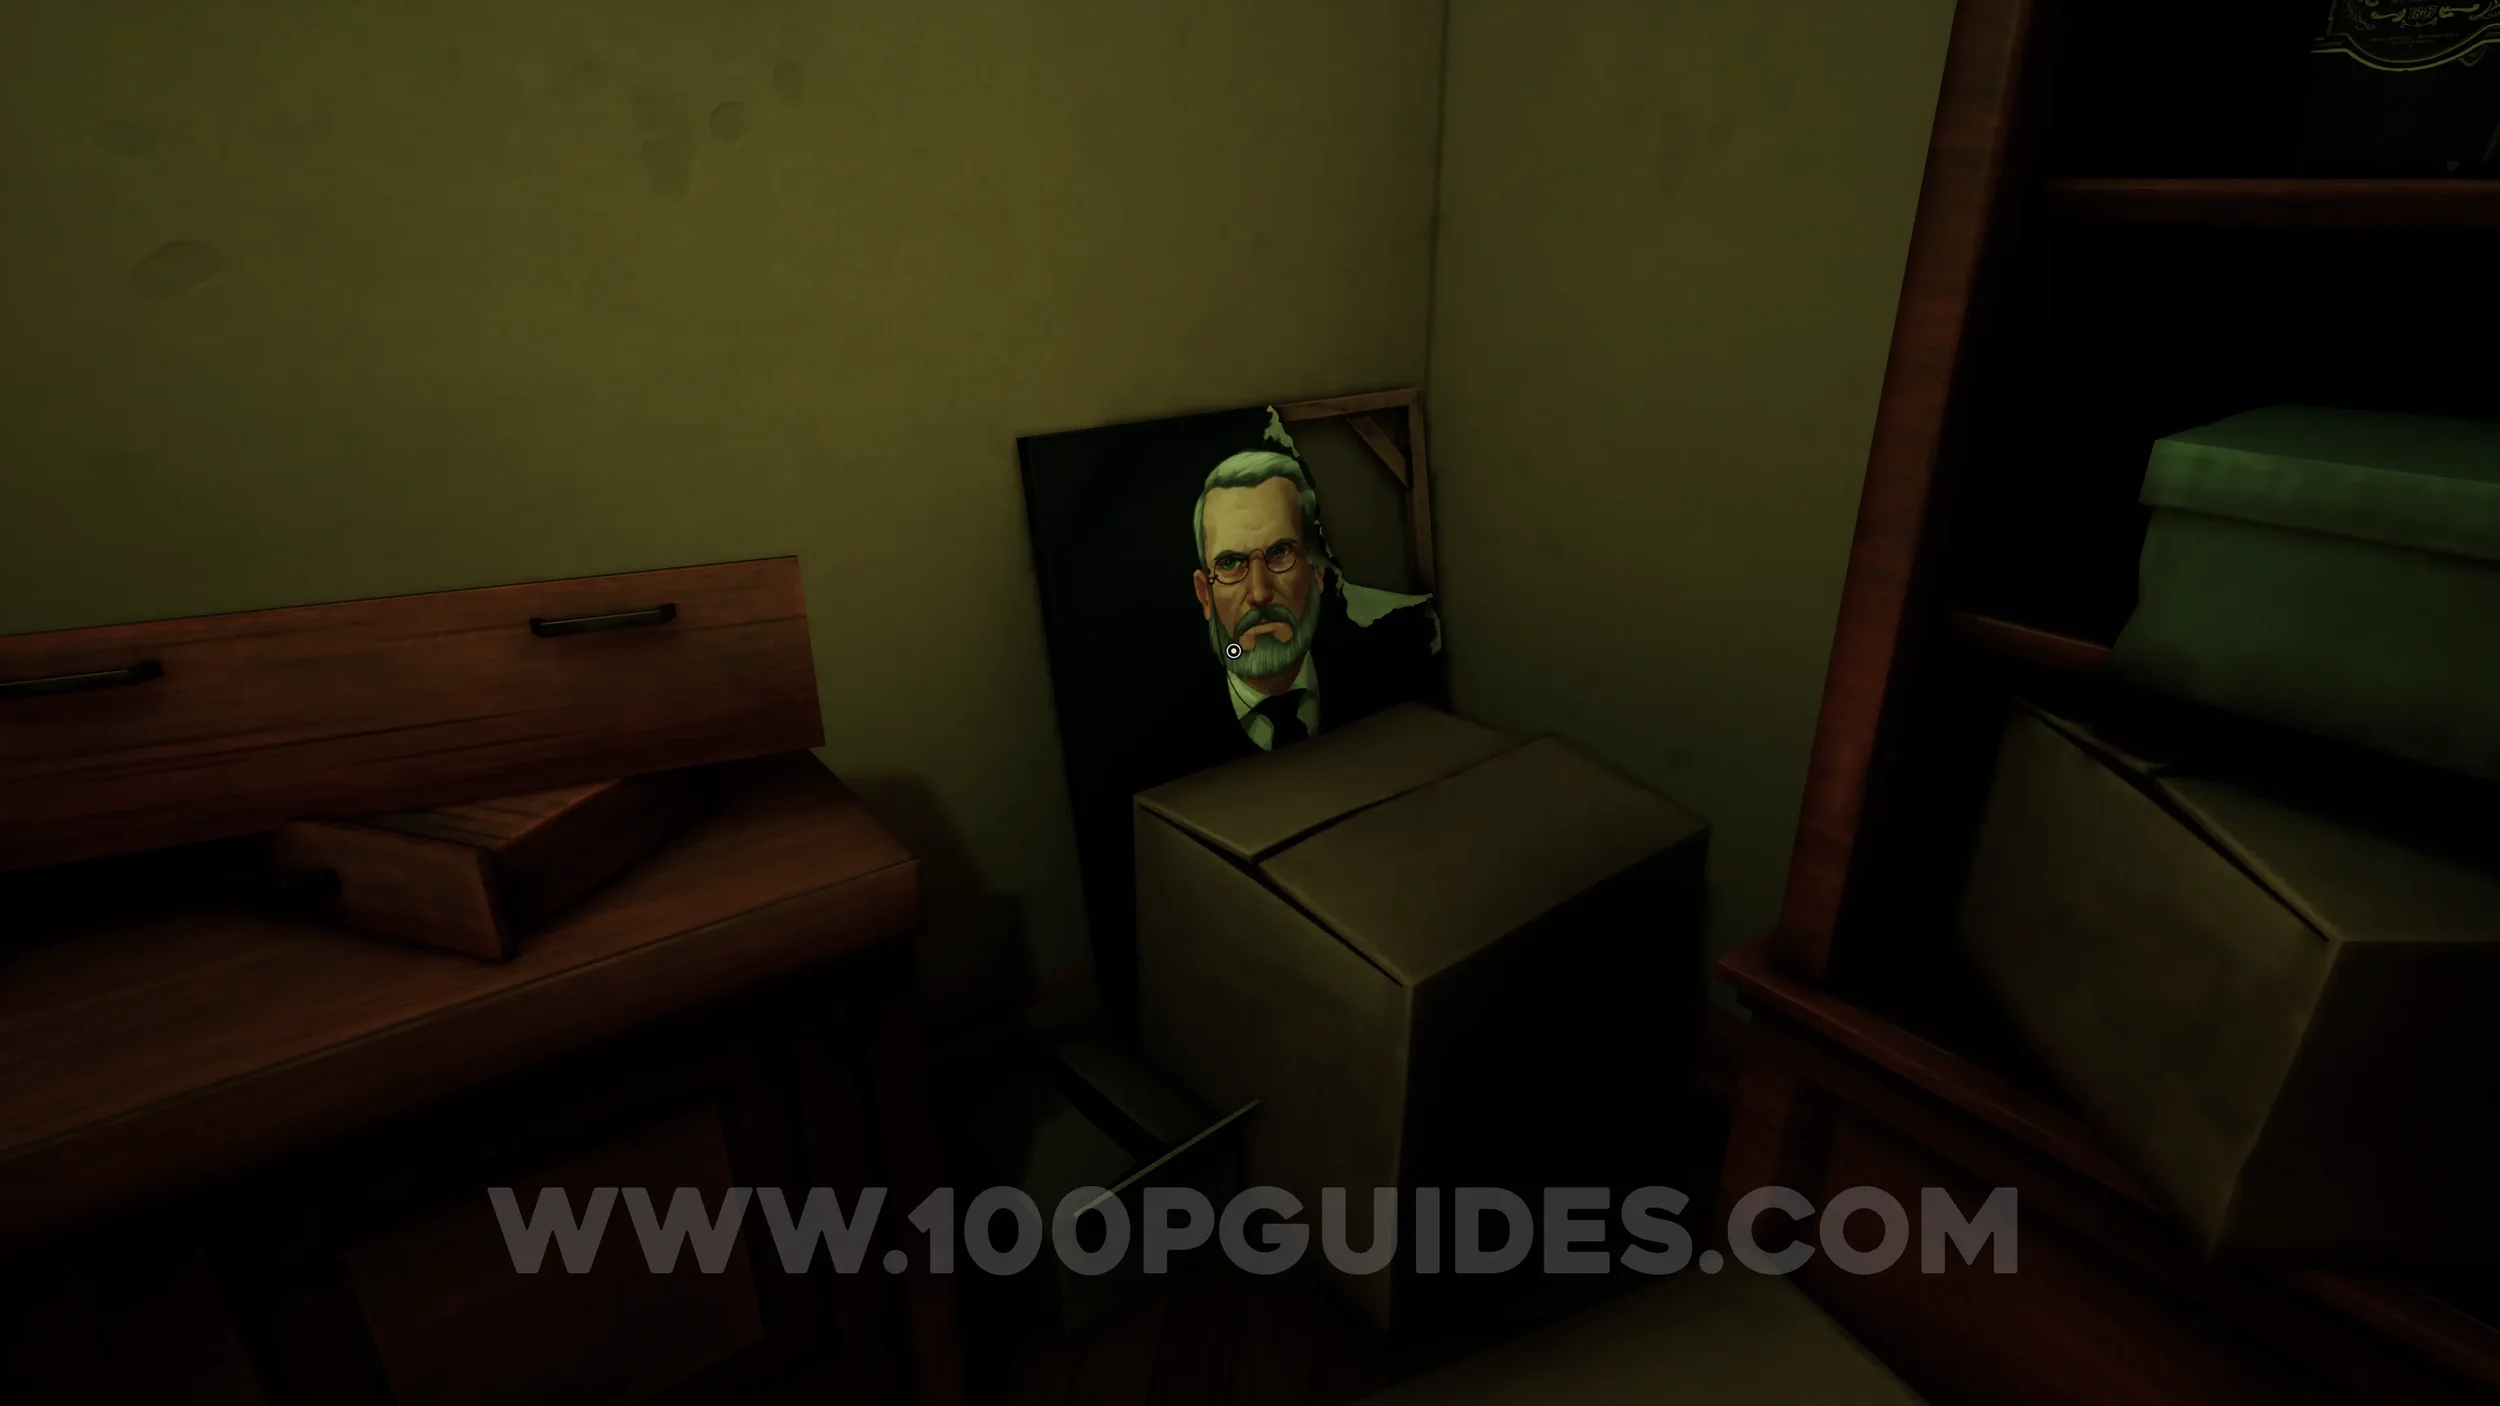
Clue #17. Another torn portrait in the same storage room.
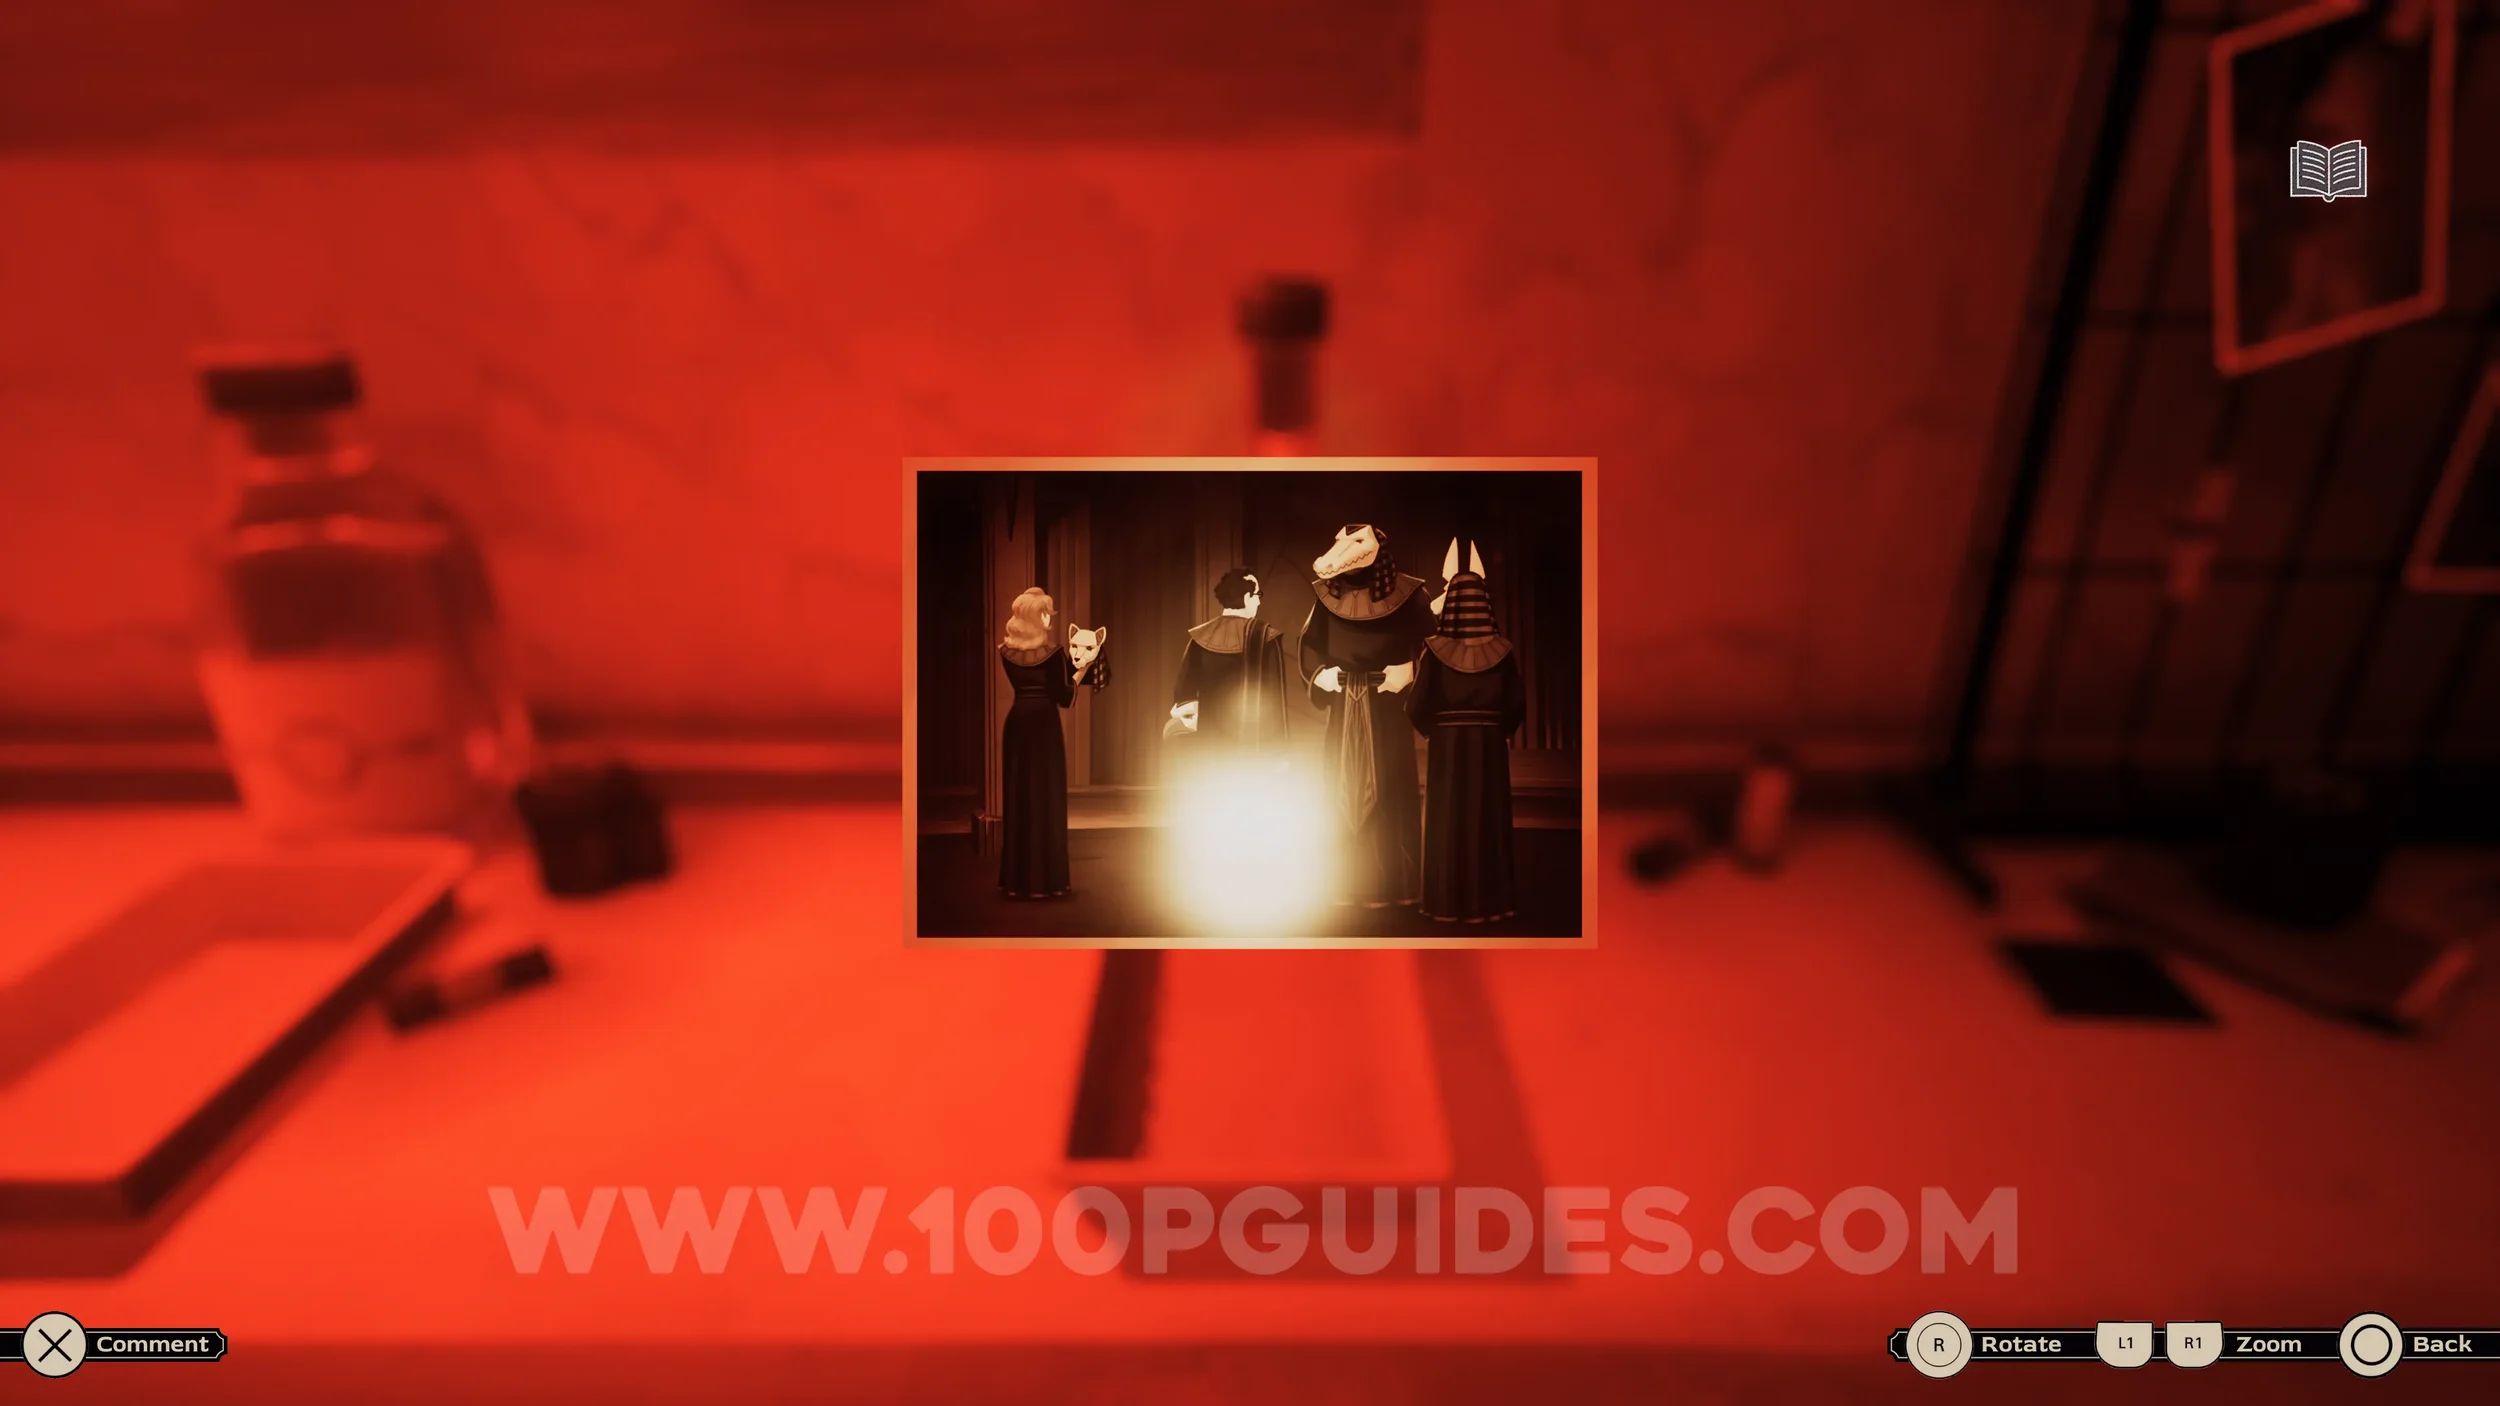
Clue #18. Head upstairs, then turn right and enter the dark room. The clue is the large frame on the left side of the room.
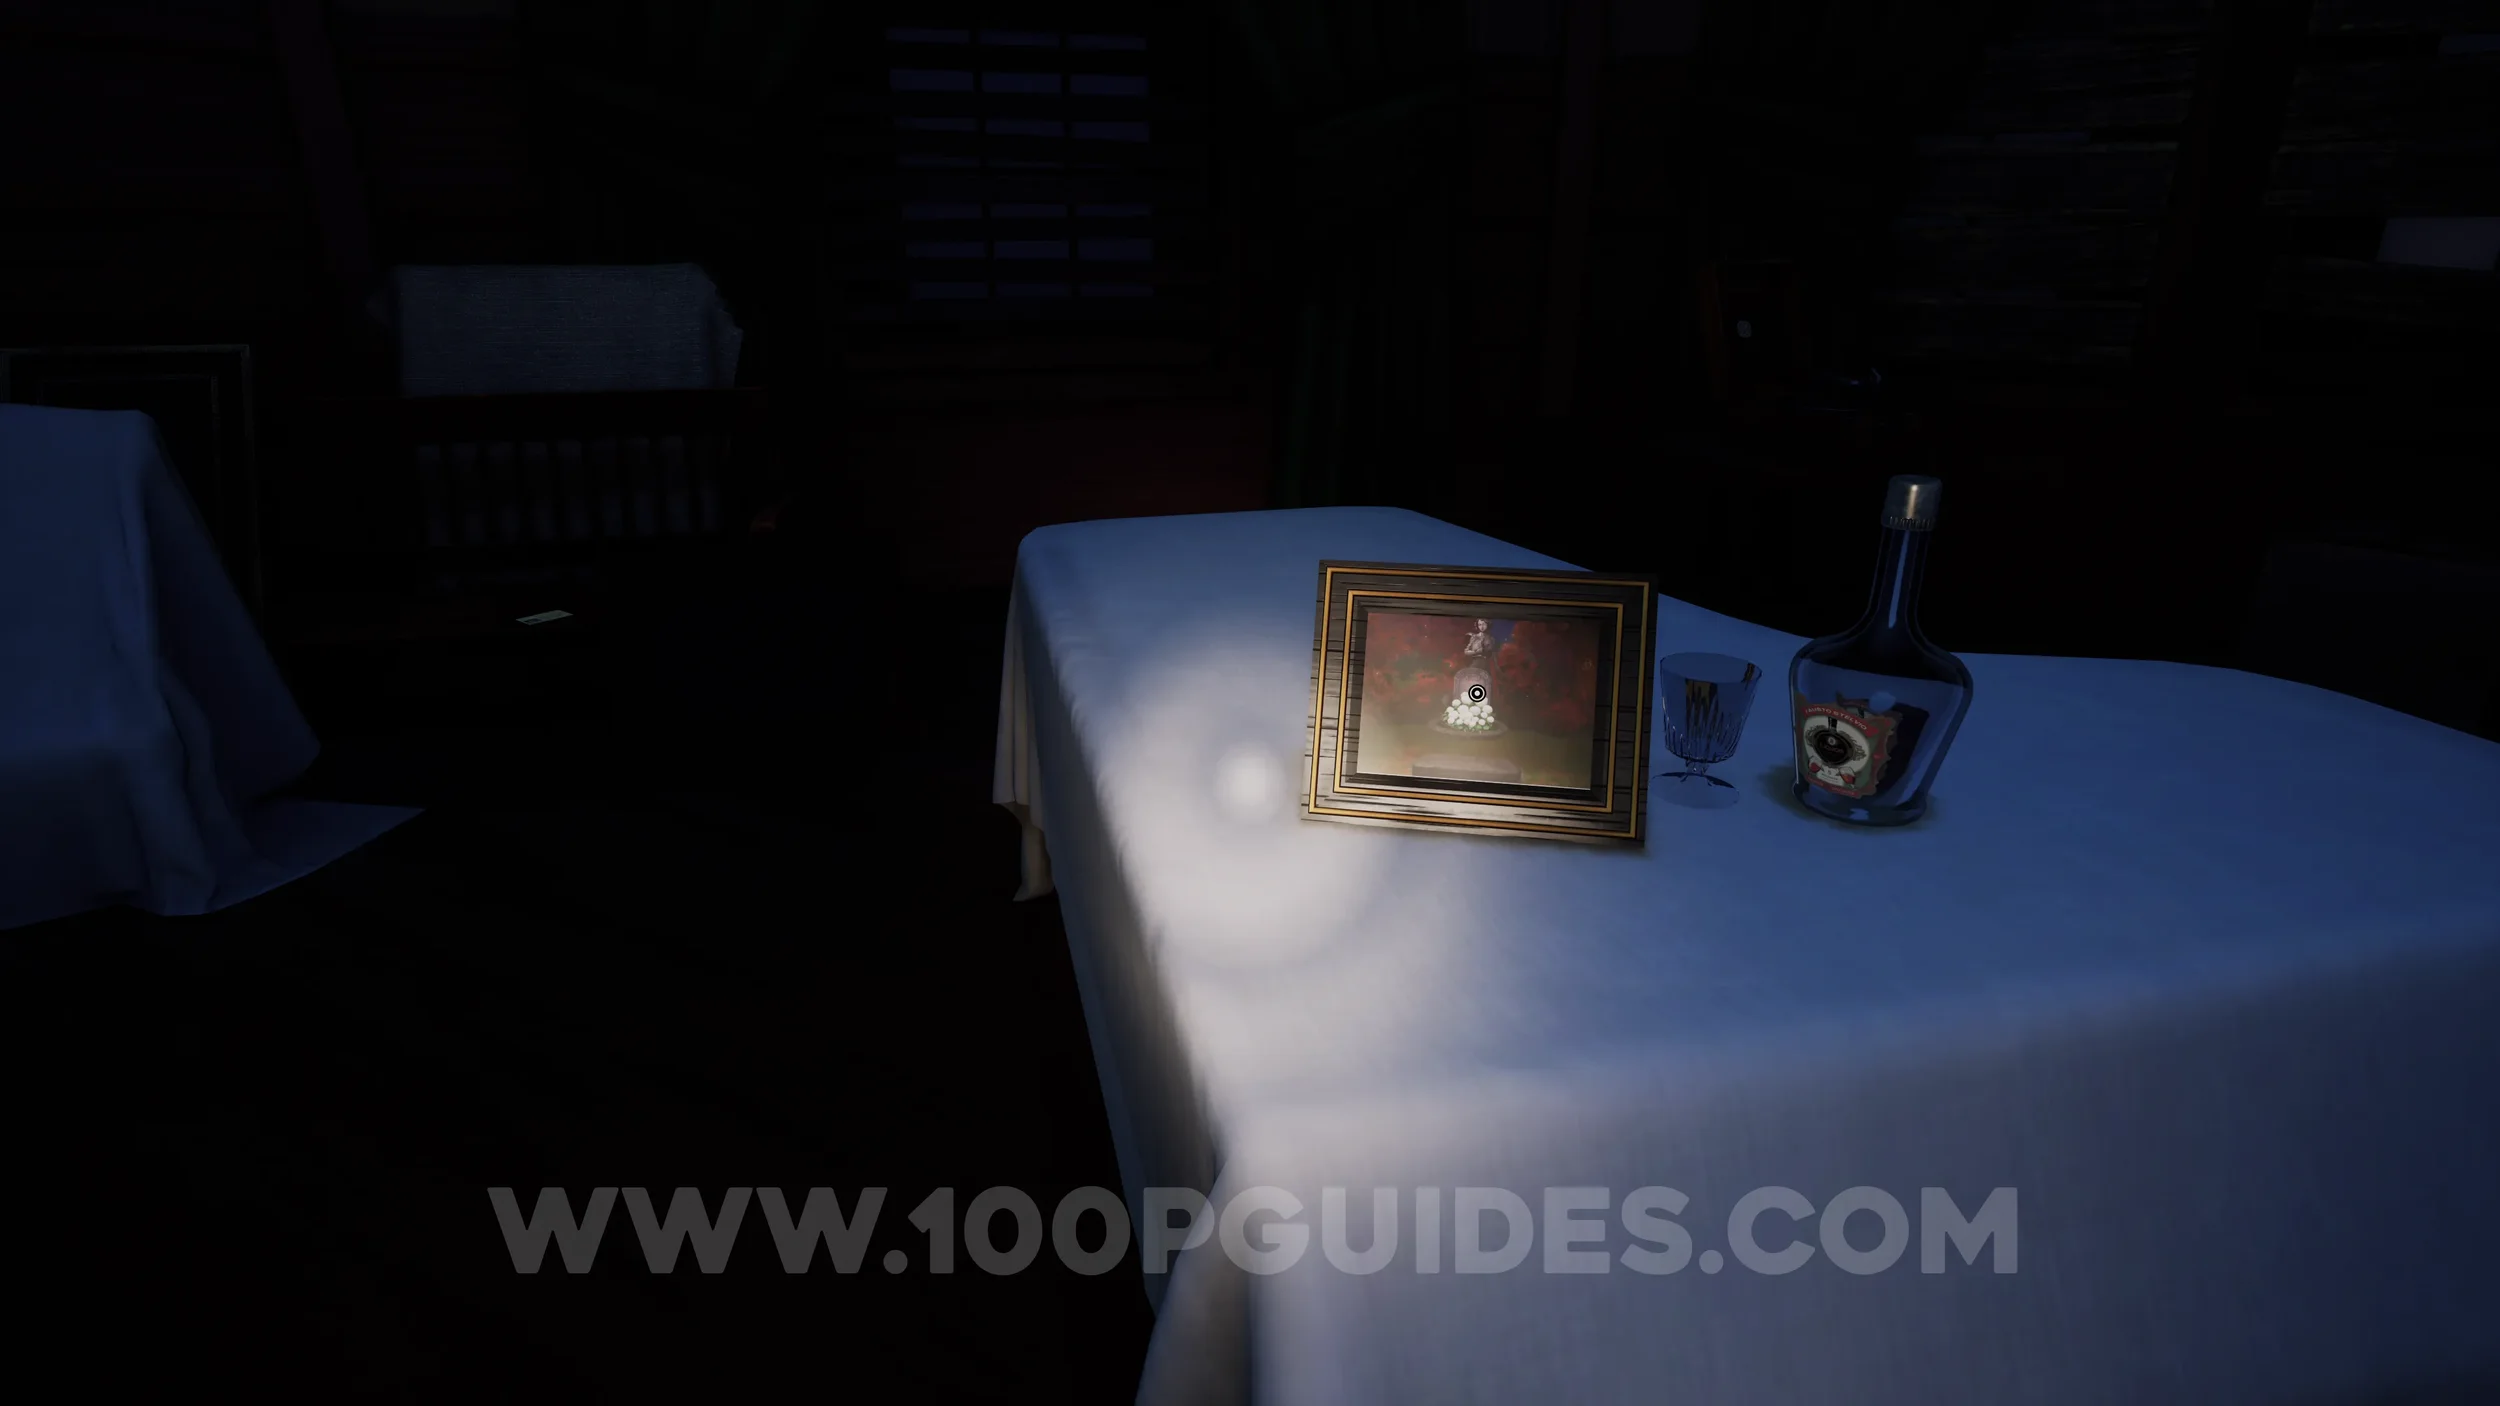
Clue #19. The photo on the table in the middle of the dark room.
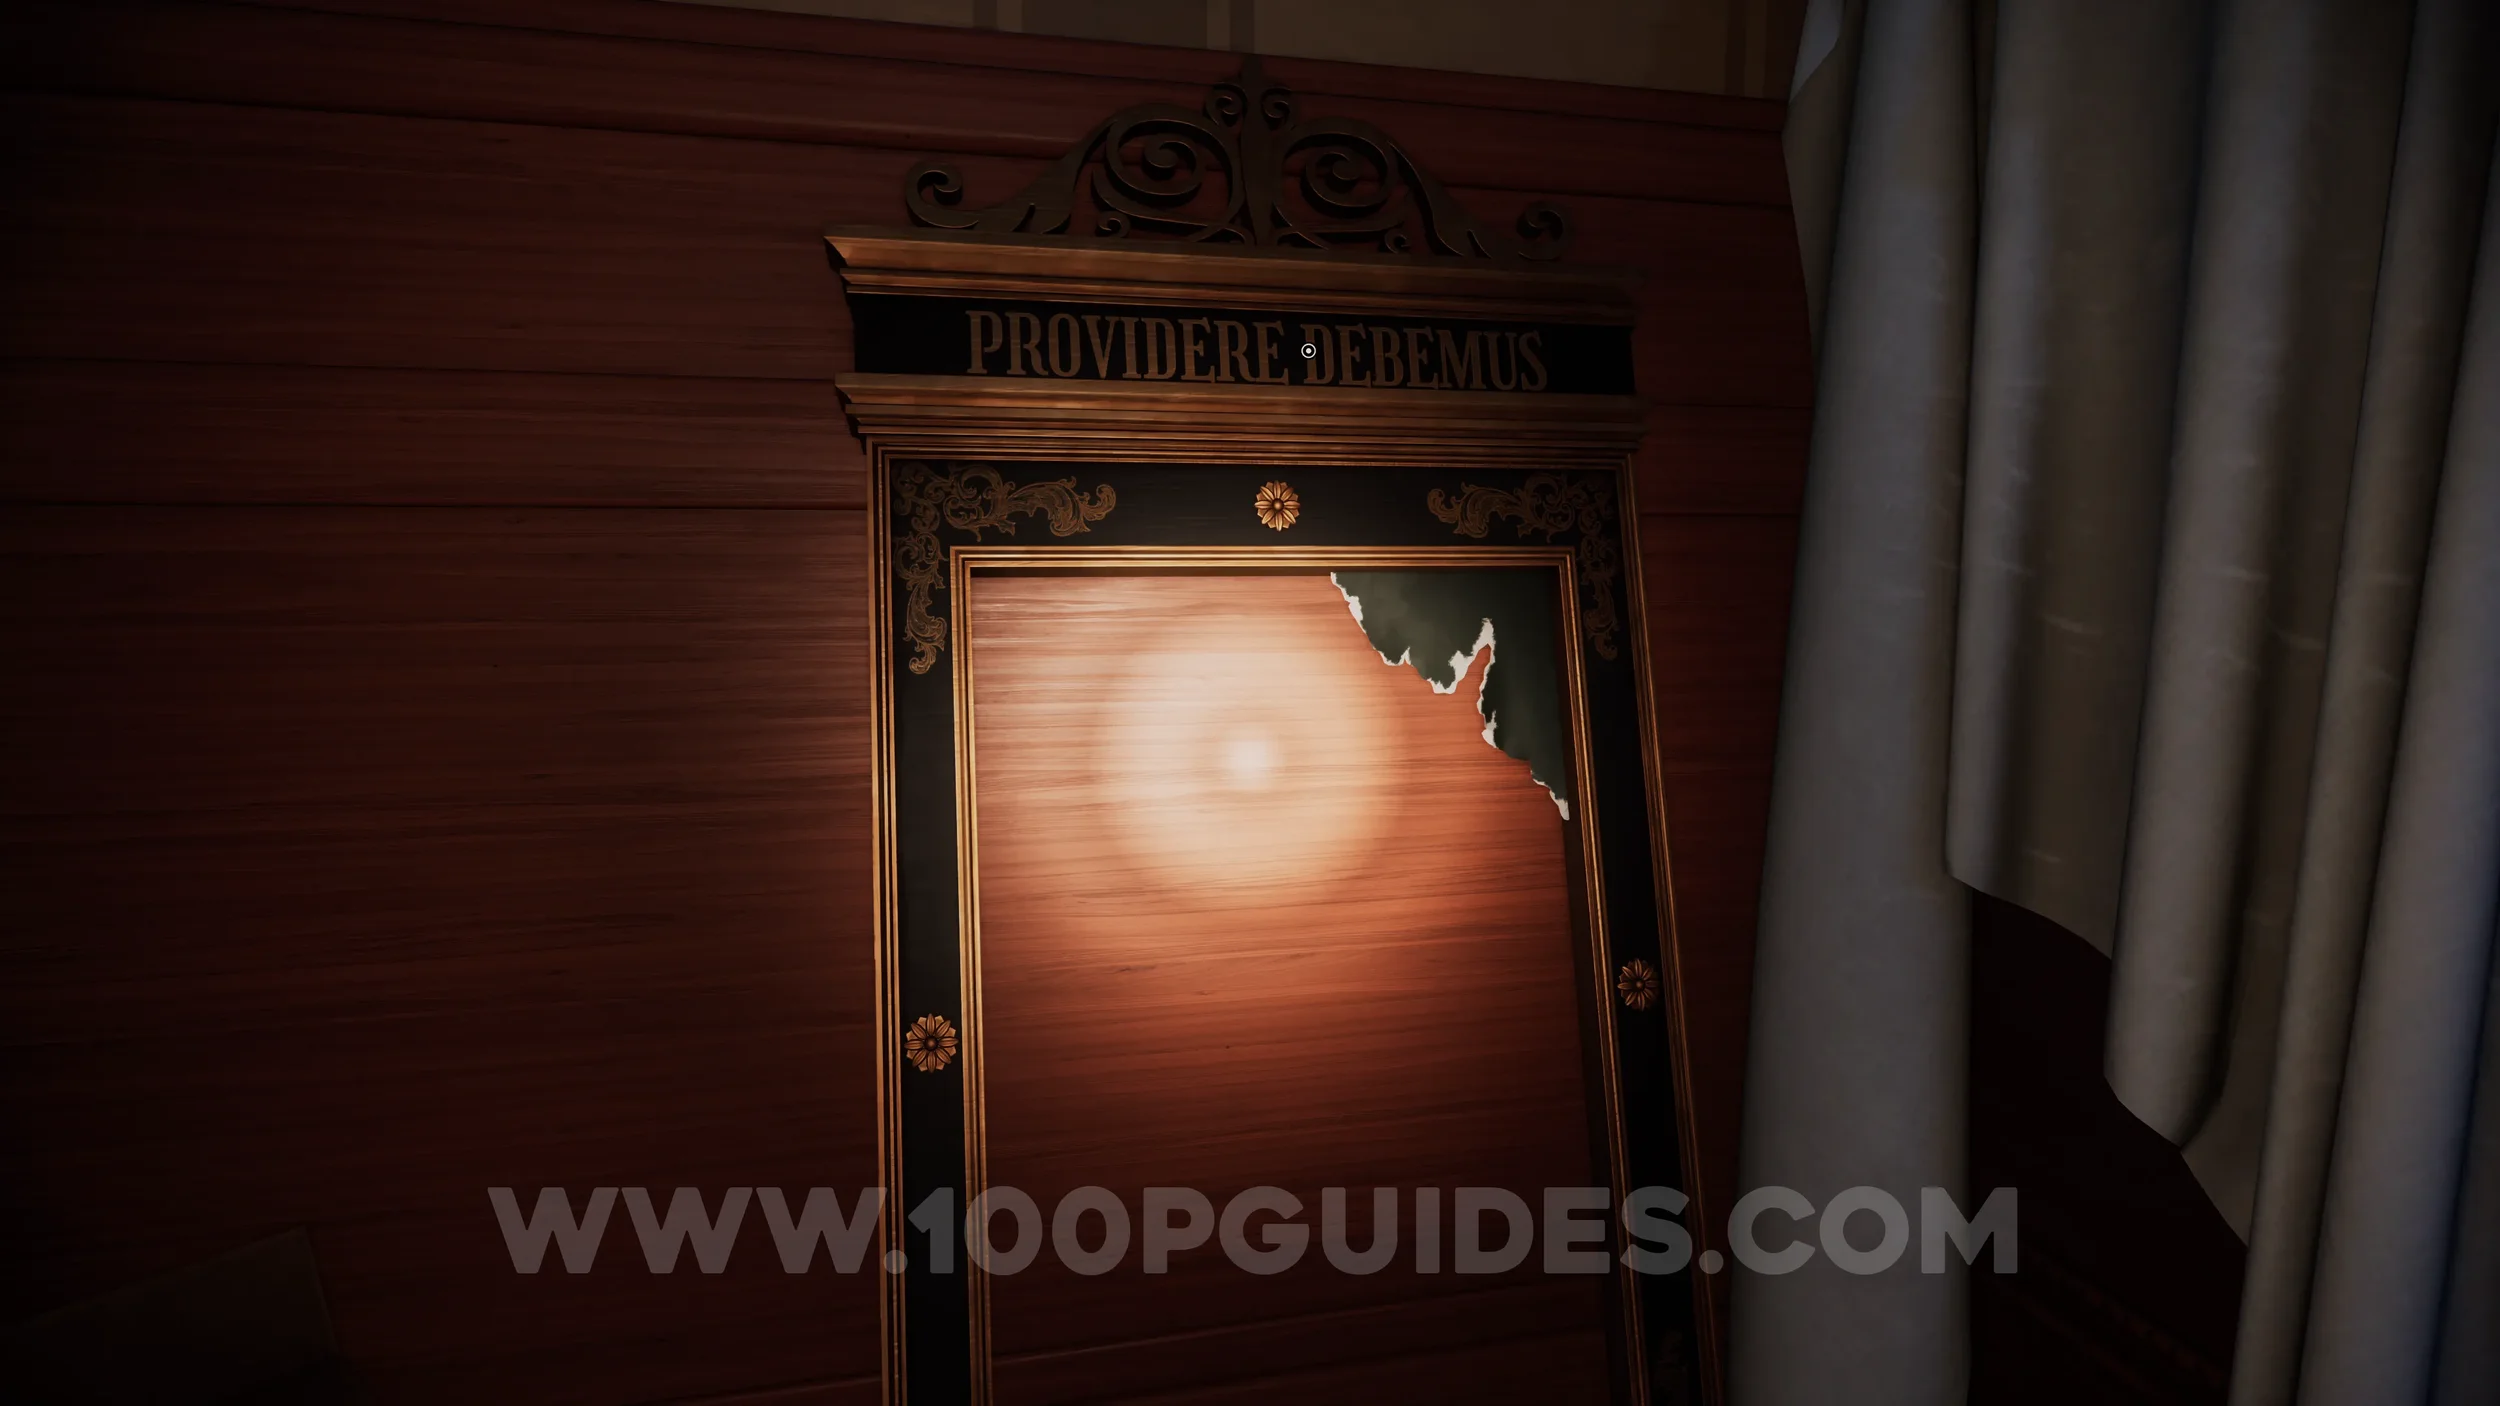
Clue #20. Exit the dark room and go through the door in front of you to reach the balcony. From here, head left to find another frame hanging on the wall to your left.

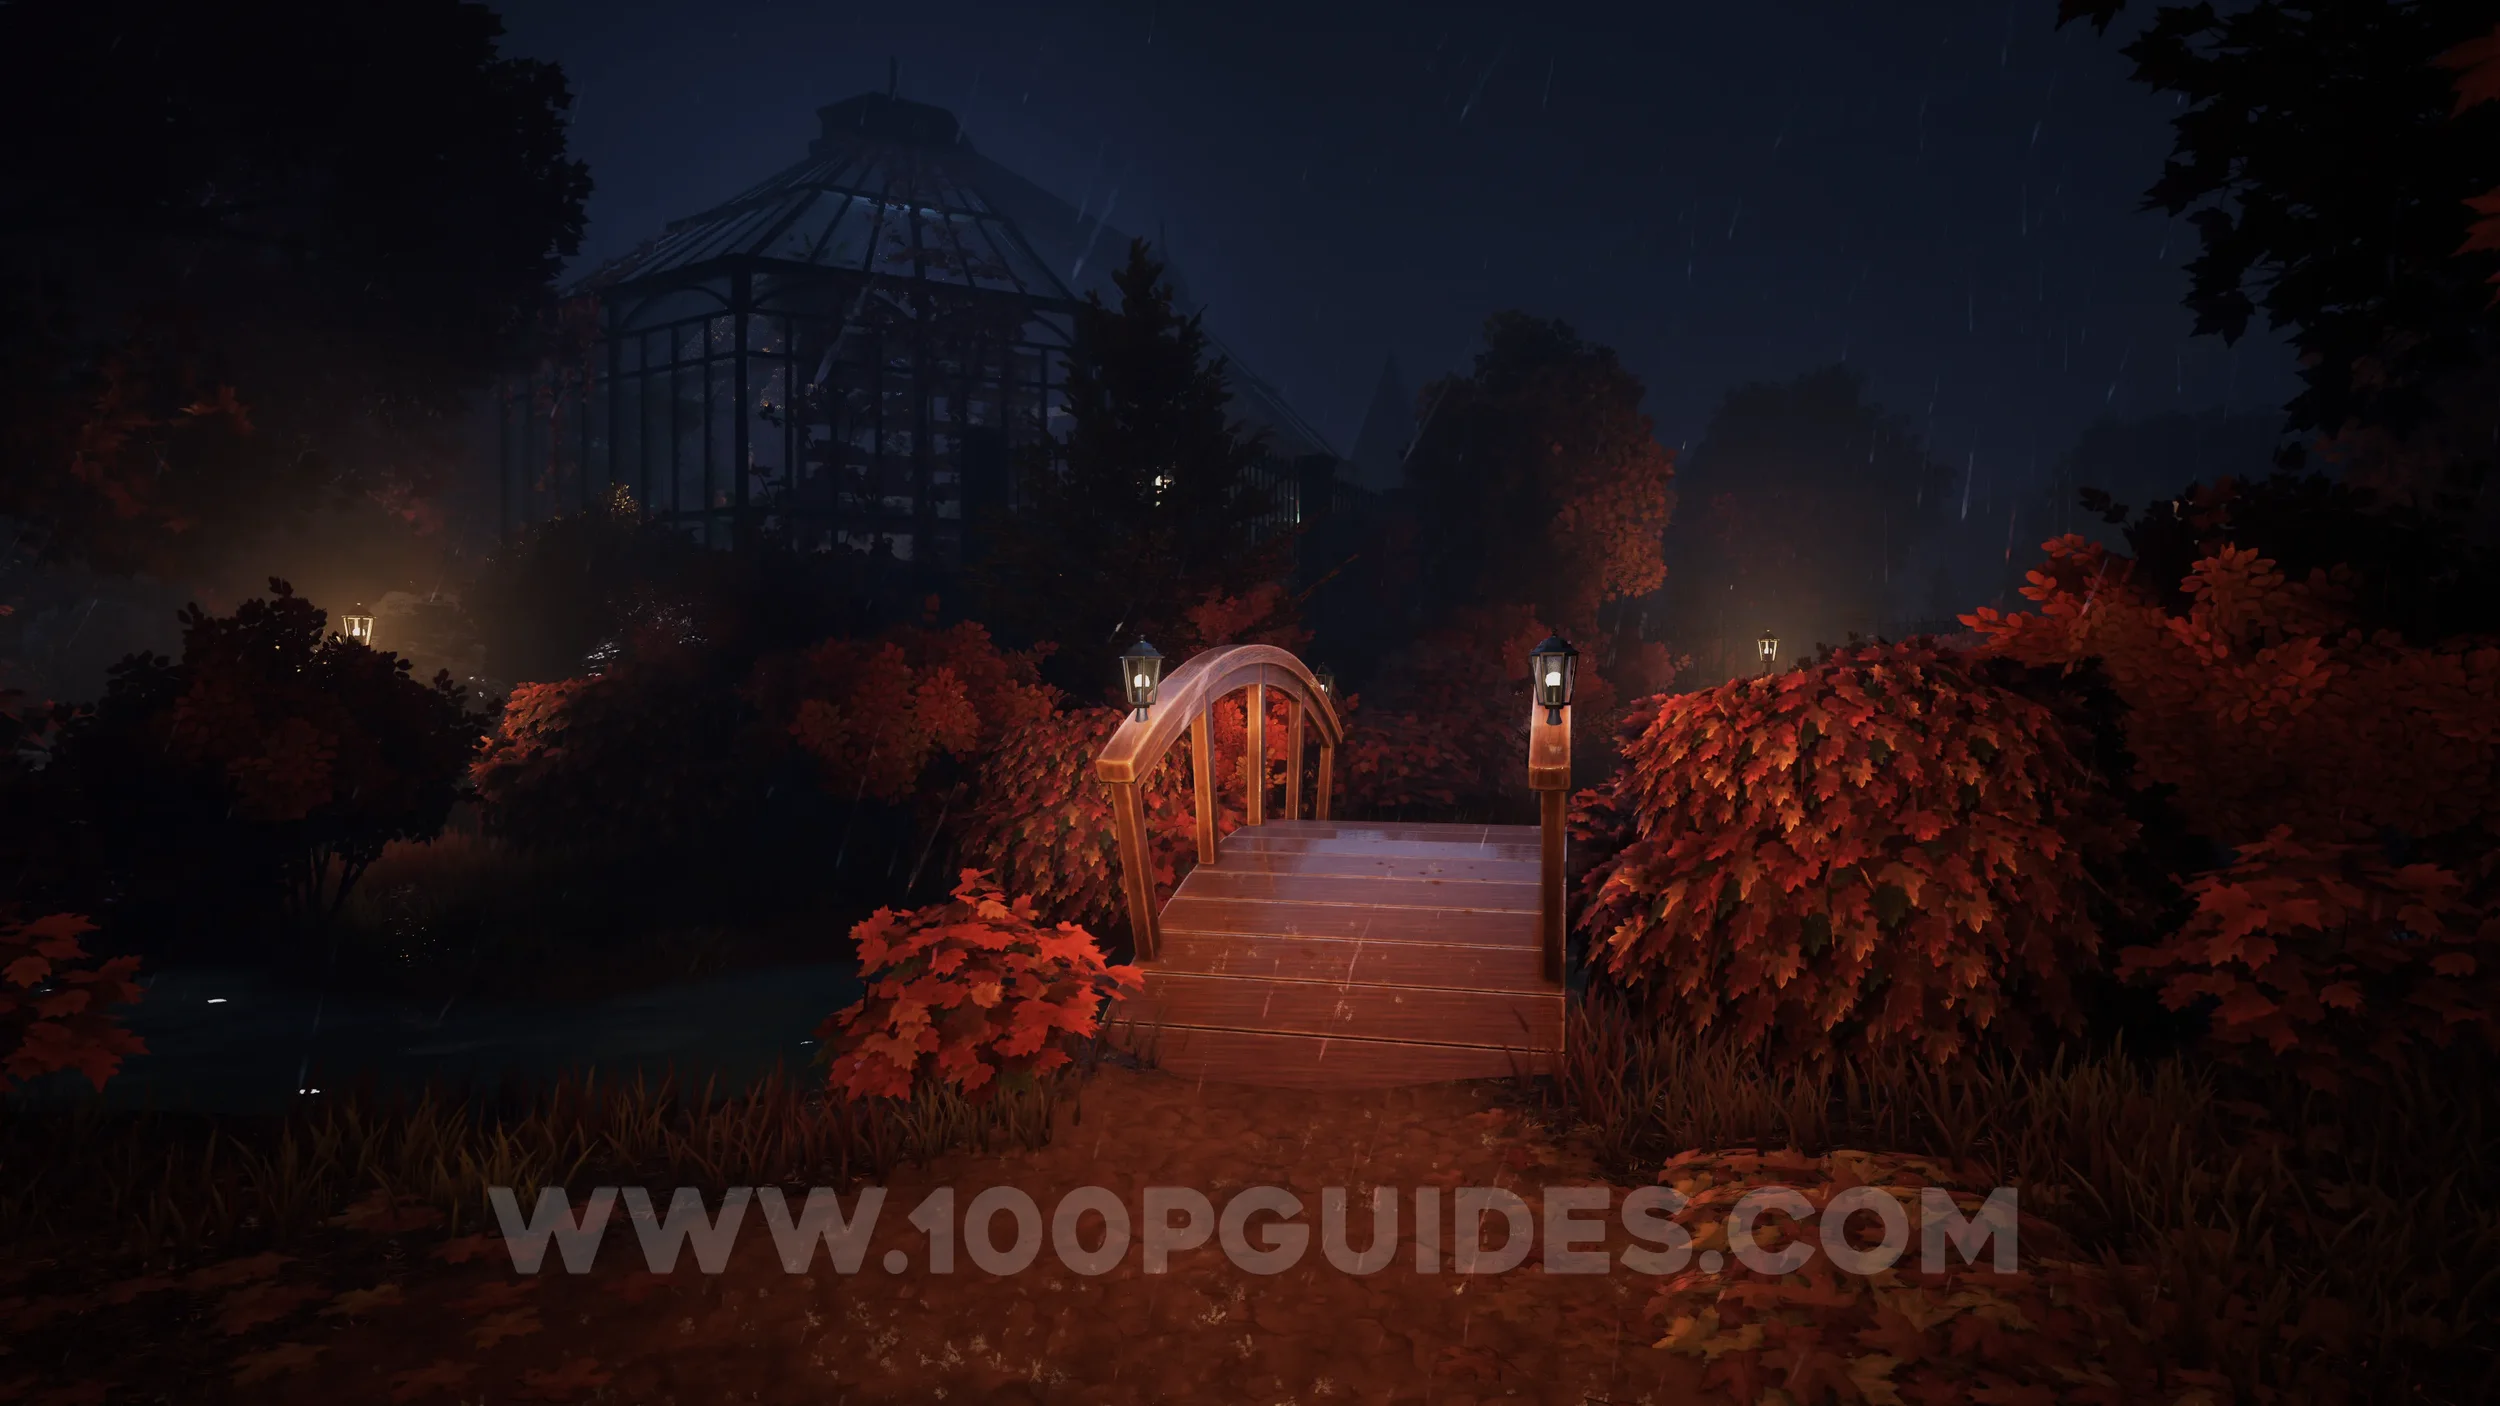
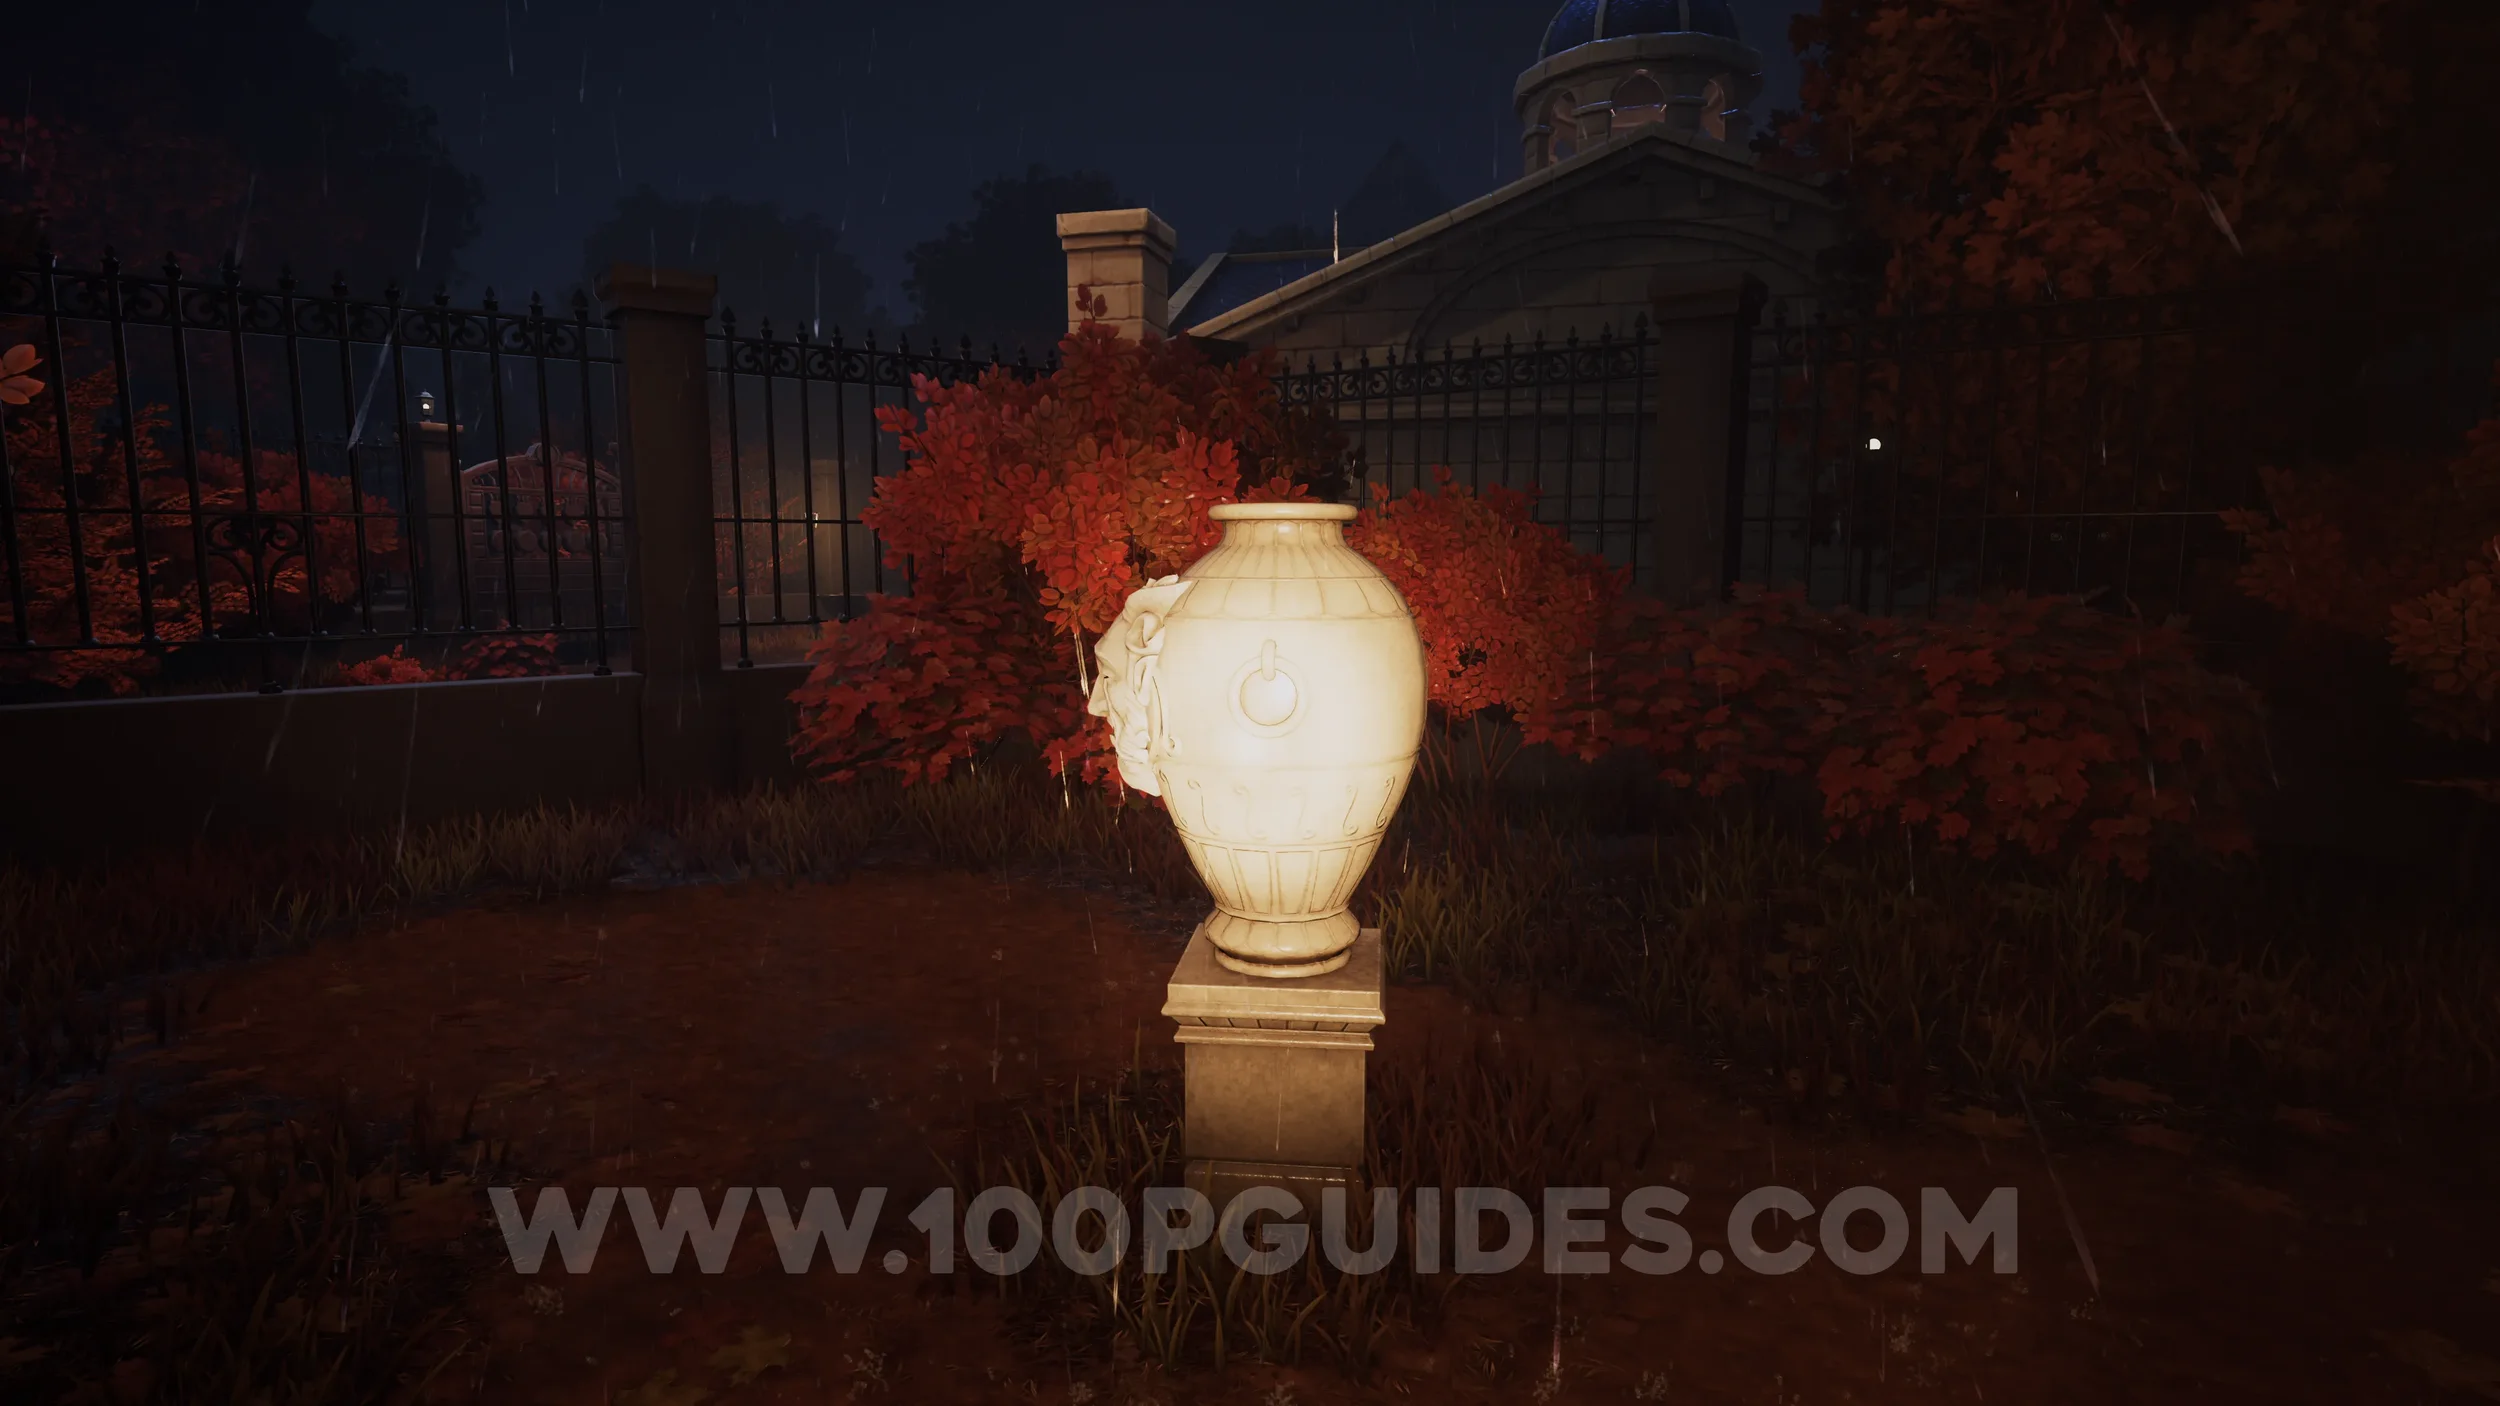
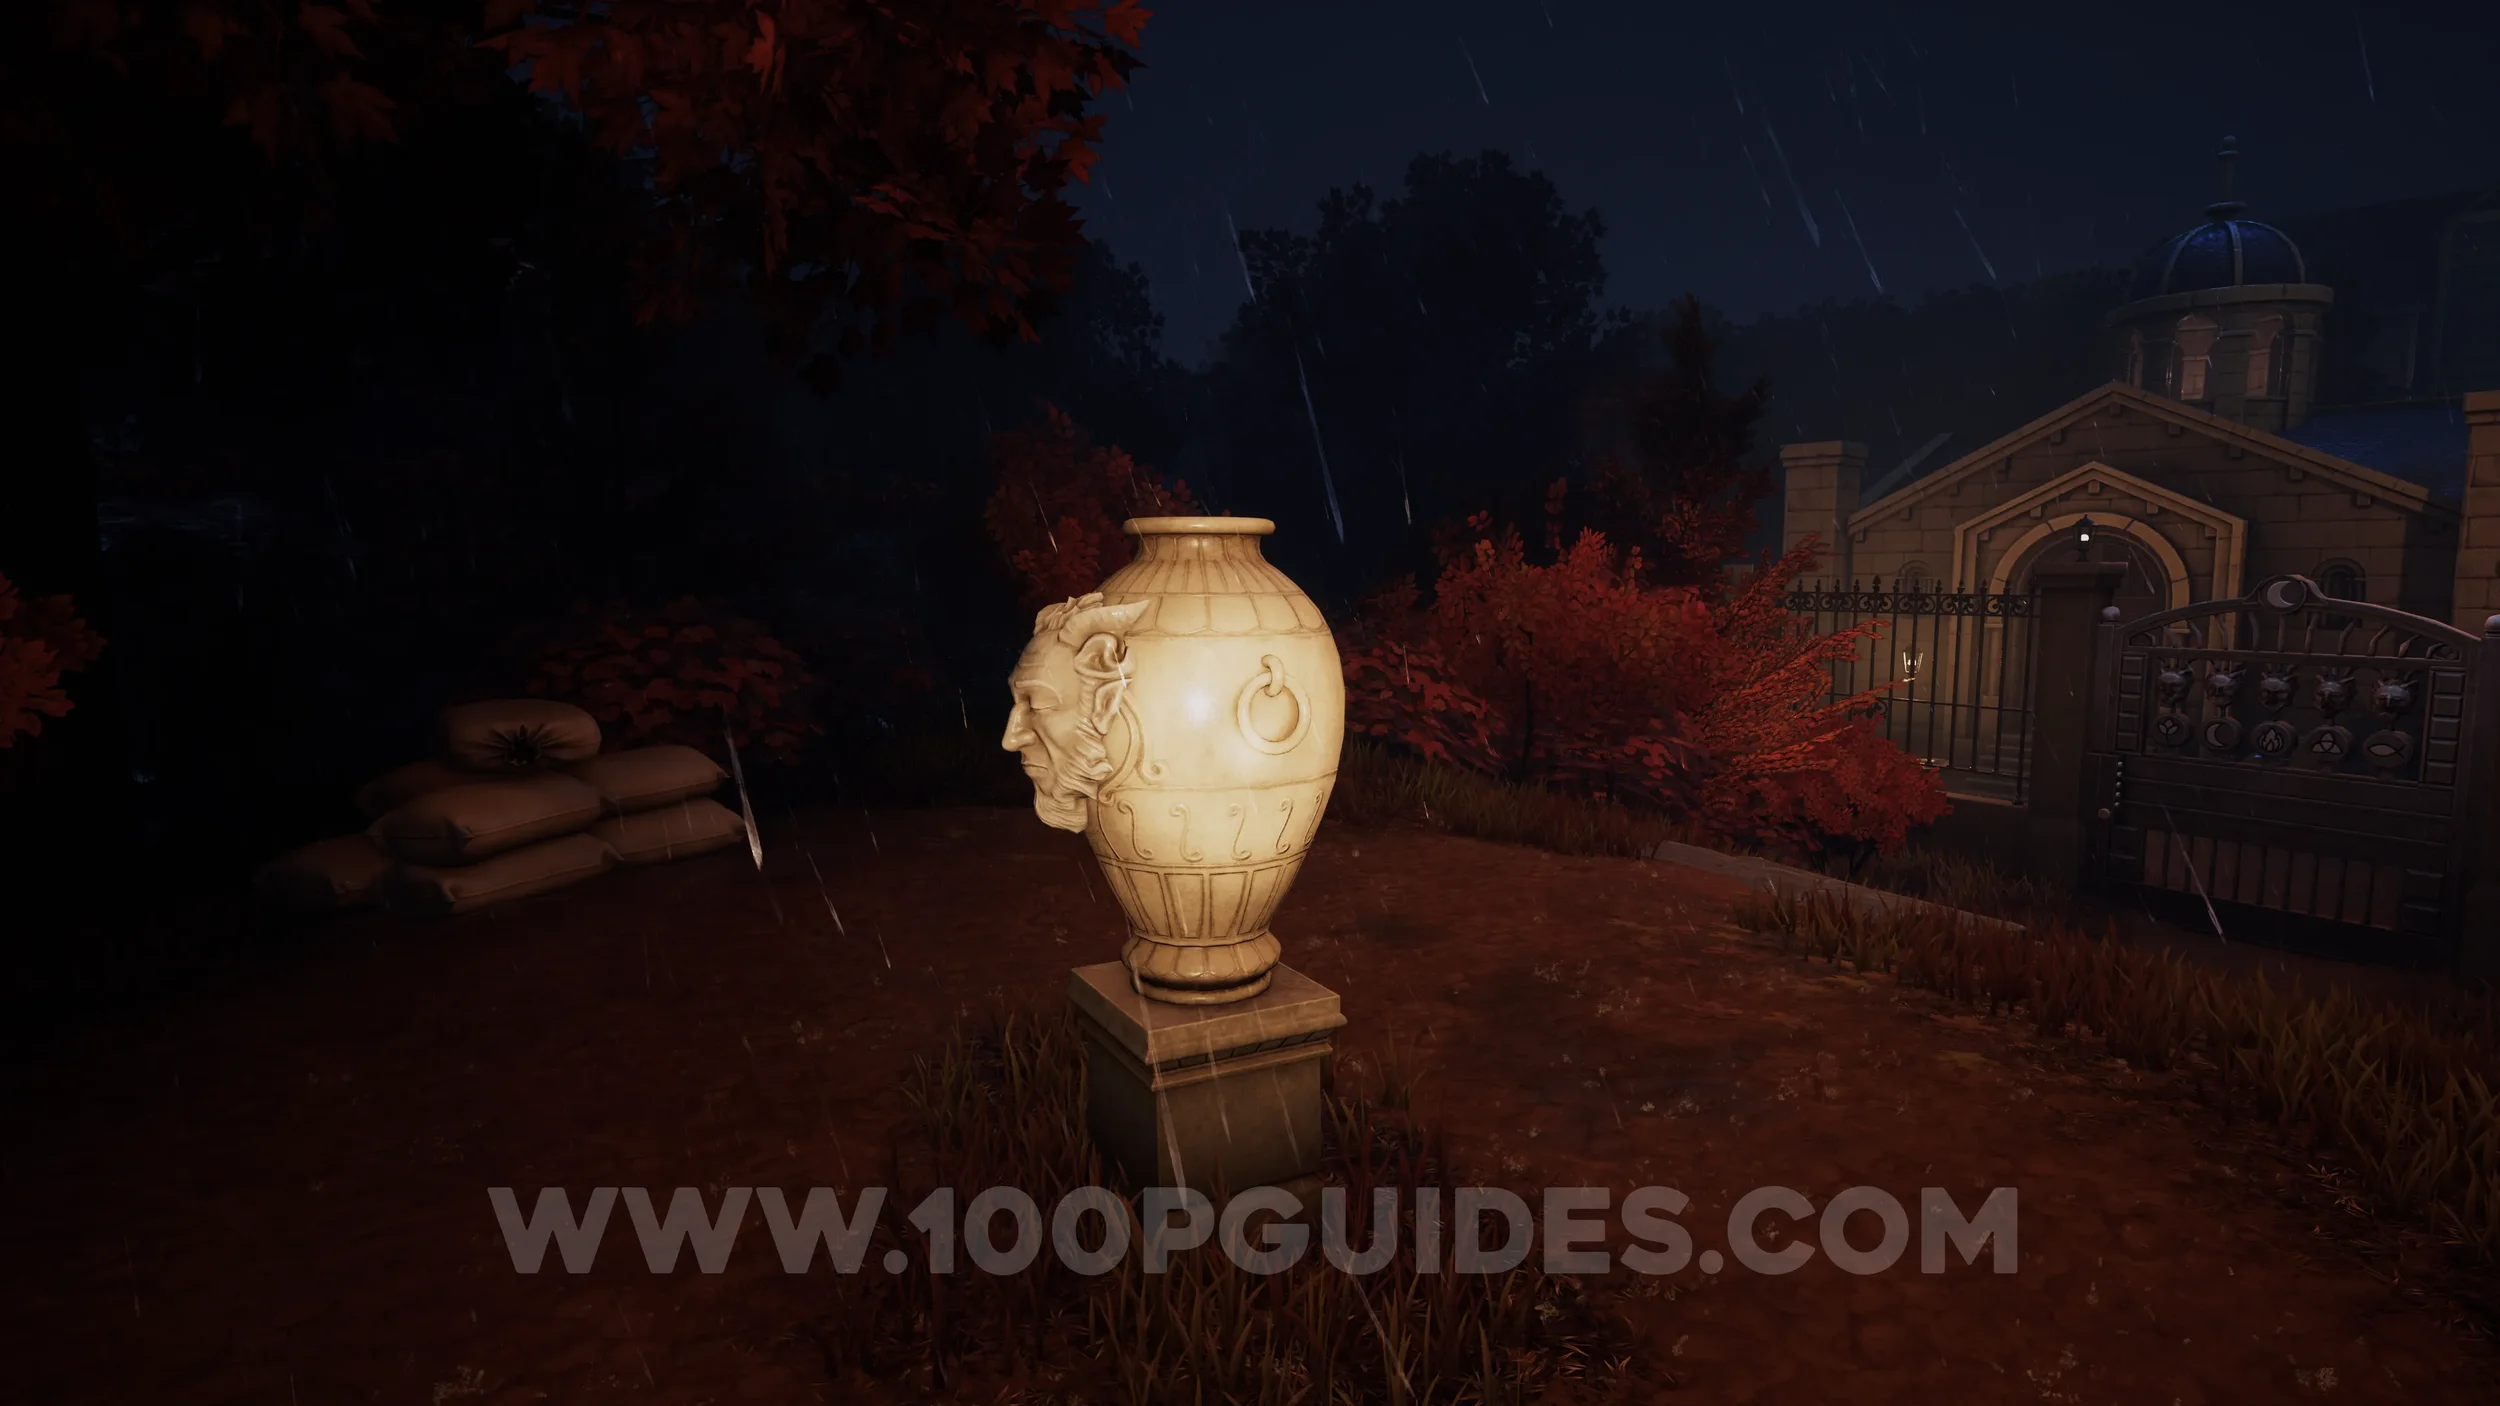
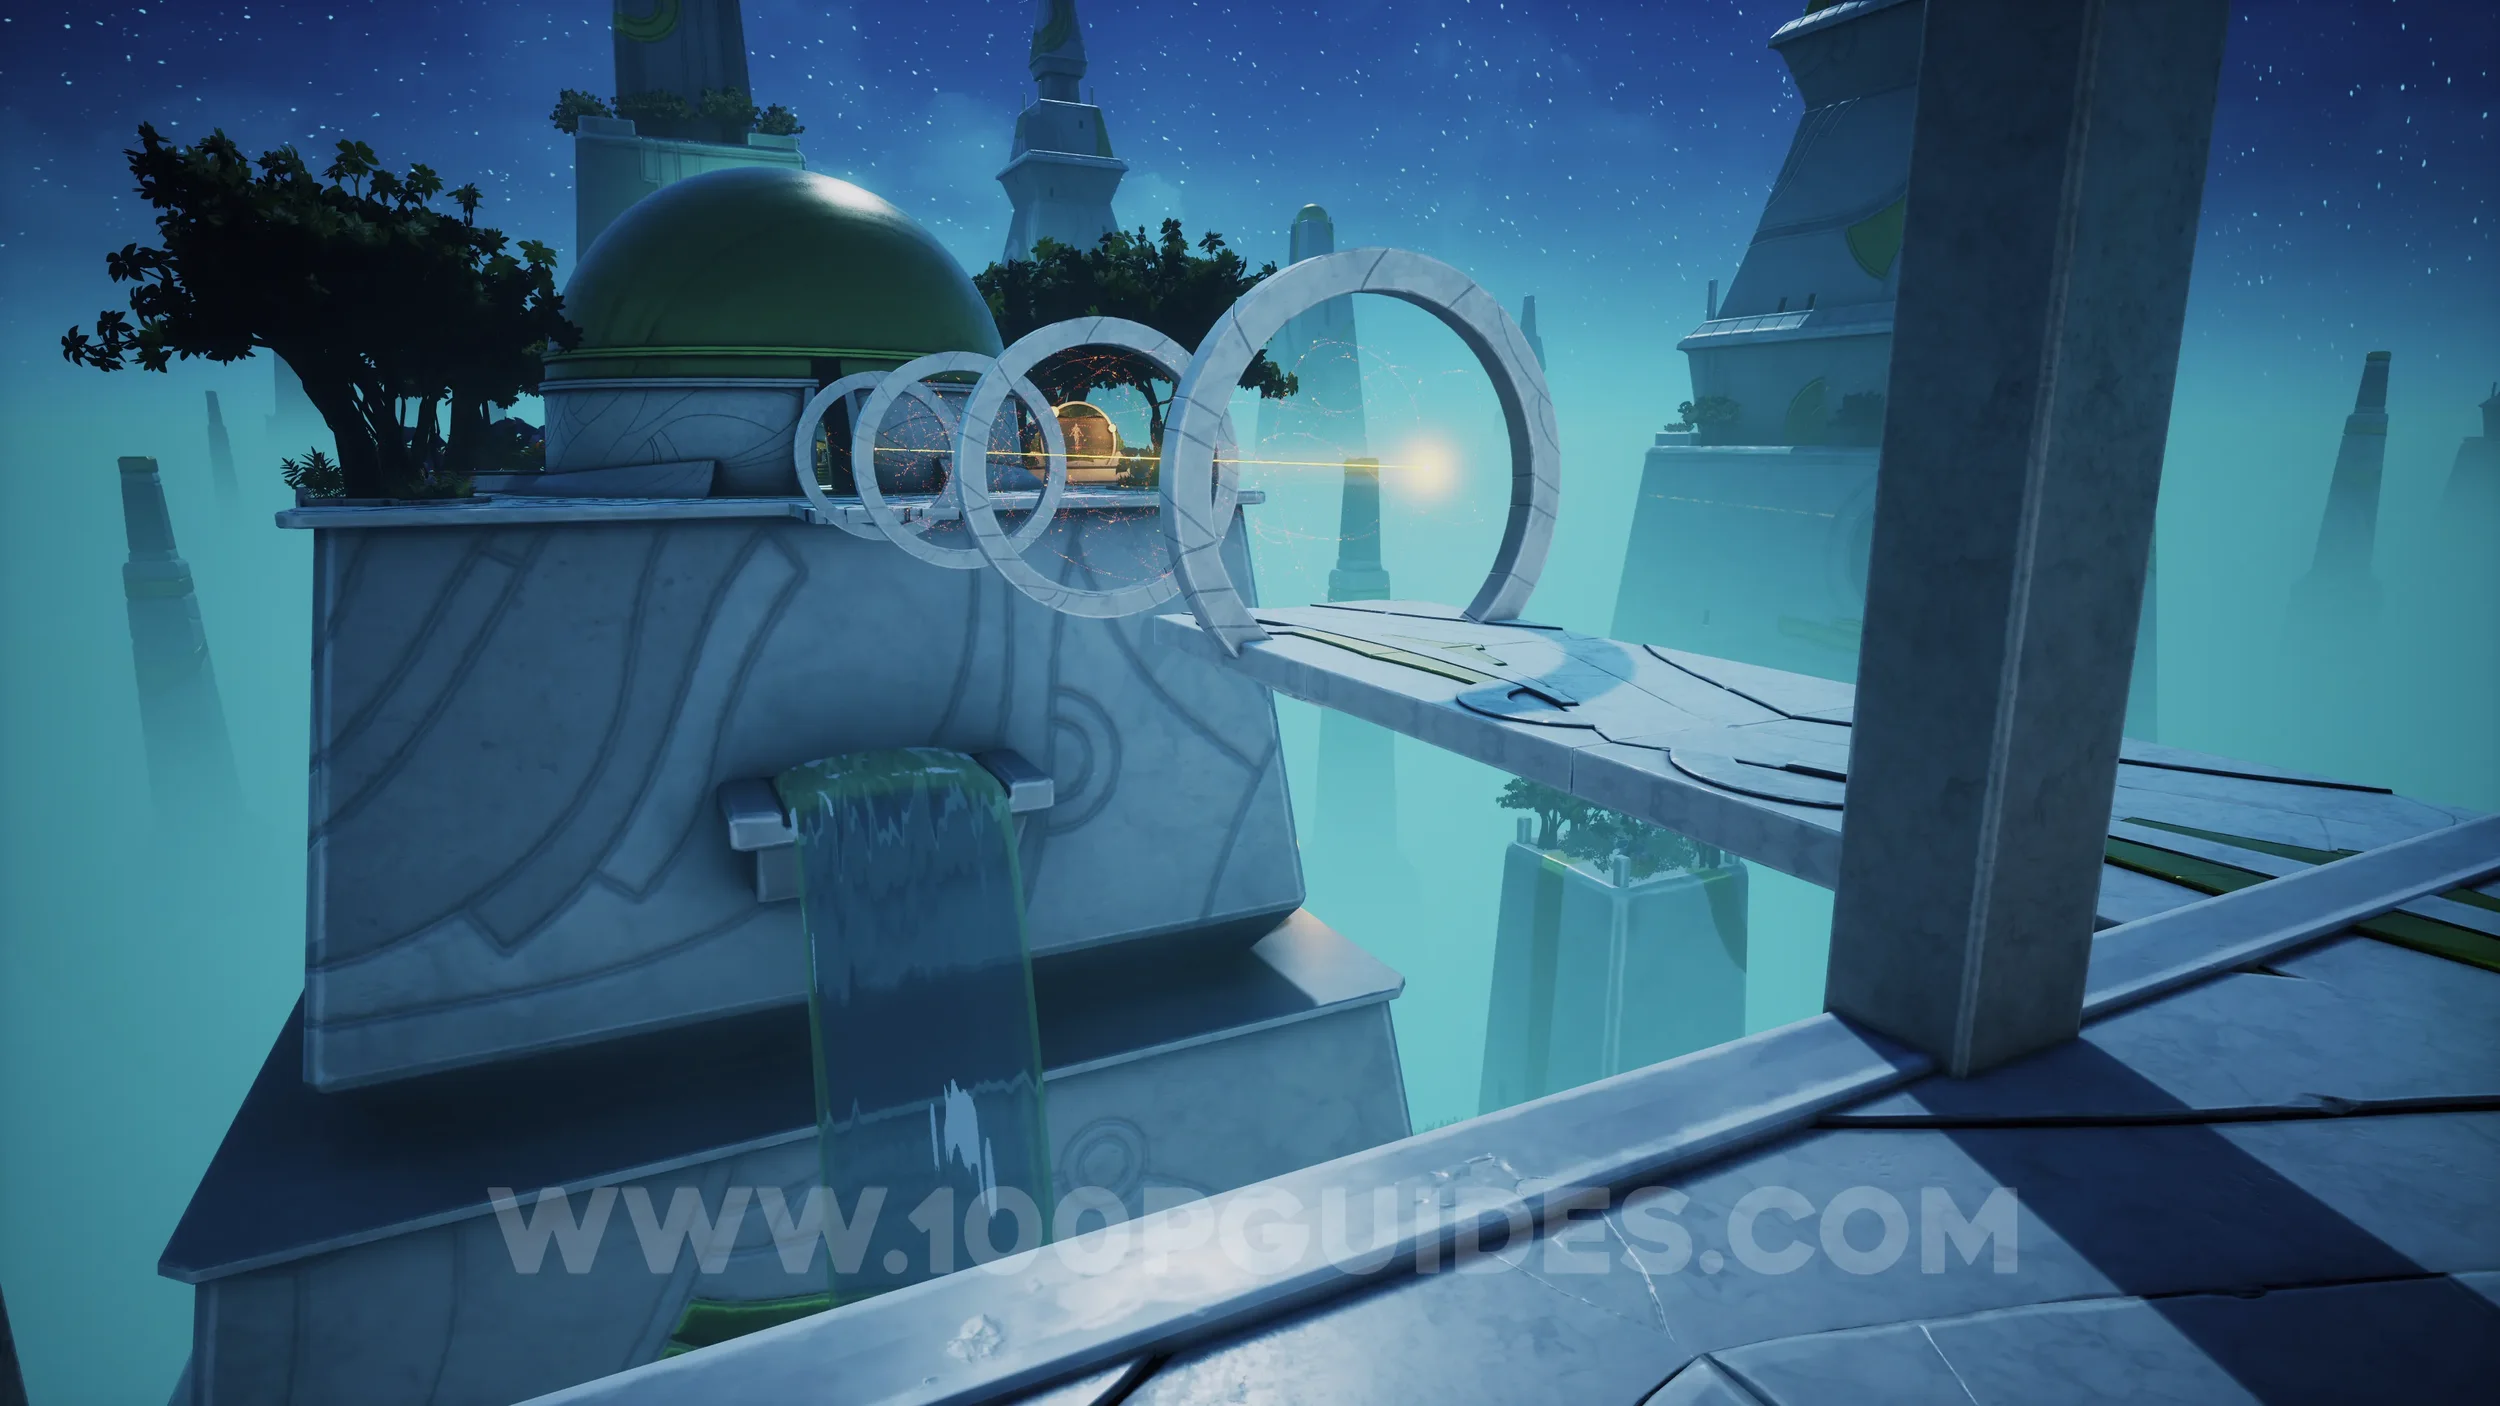
Clue #21. Once you reach the garden area, cross the small wooden bridge on the right and spin the vase.
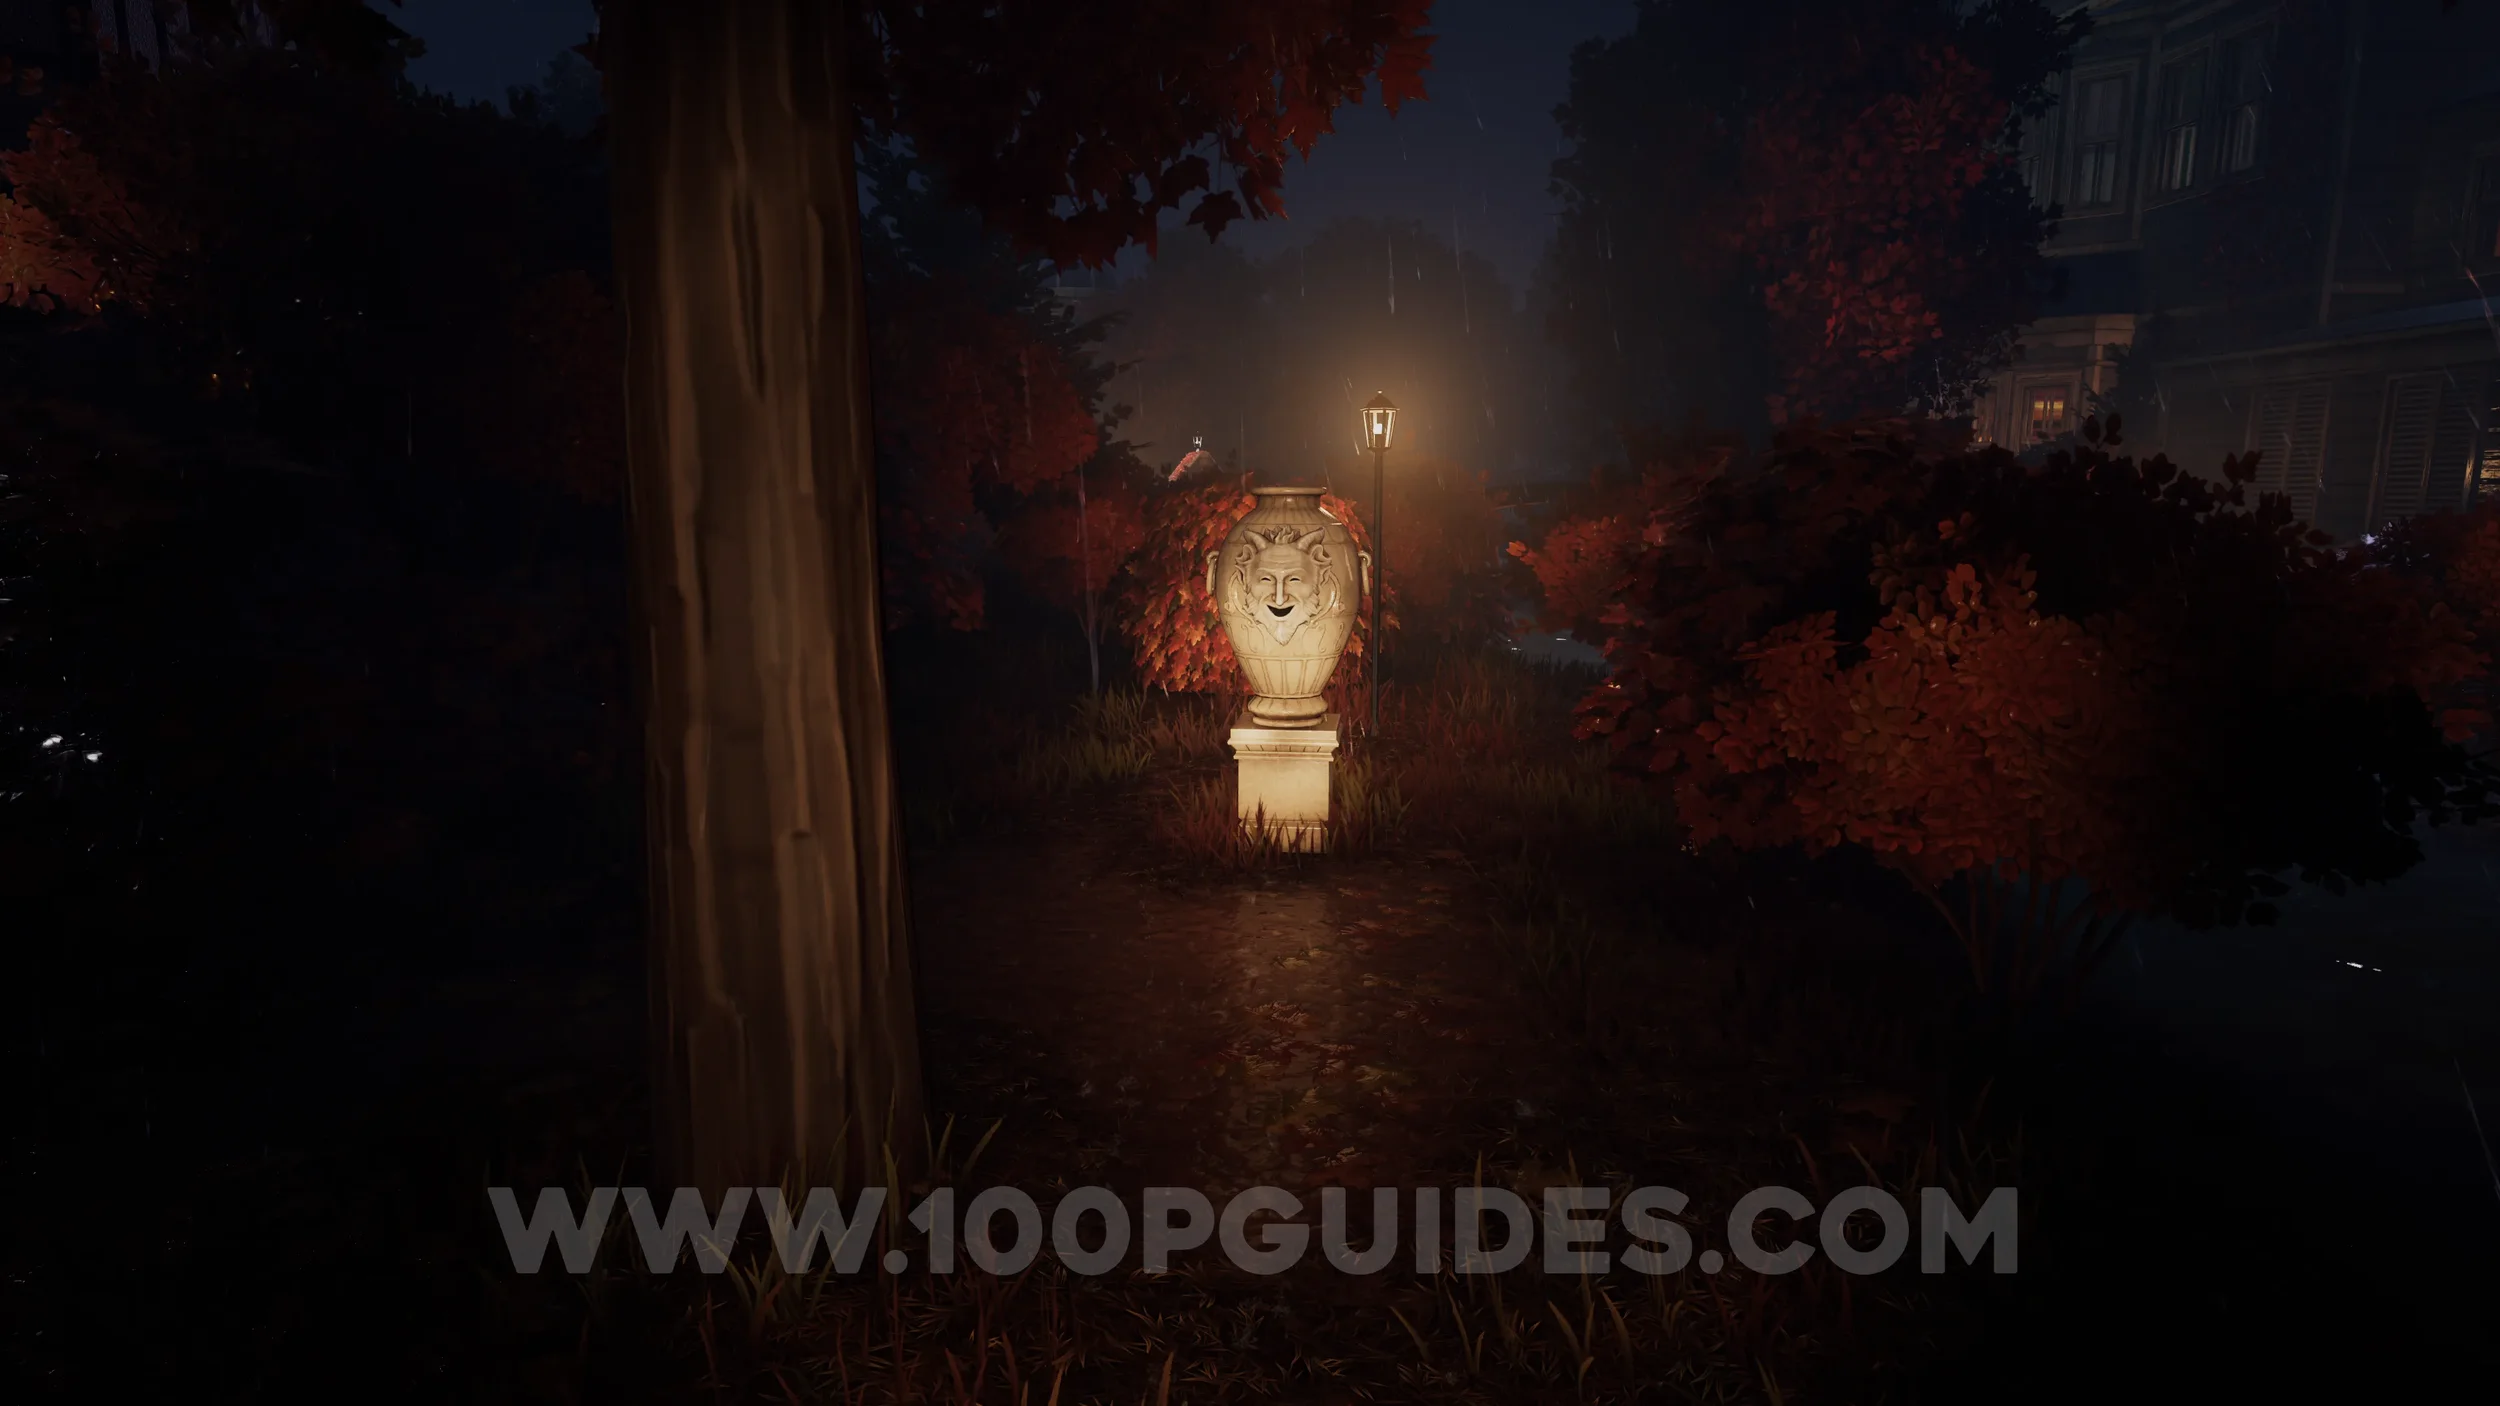
Clue #22. Return to the start of the garden area, and this time cross the wooden bridge on the left. On the other side, look to your right and spin the vase.
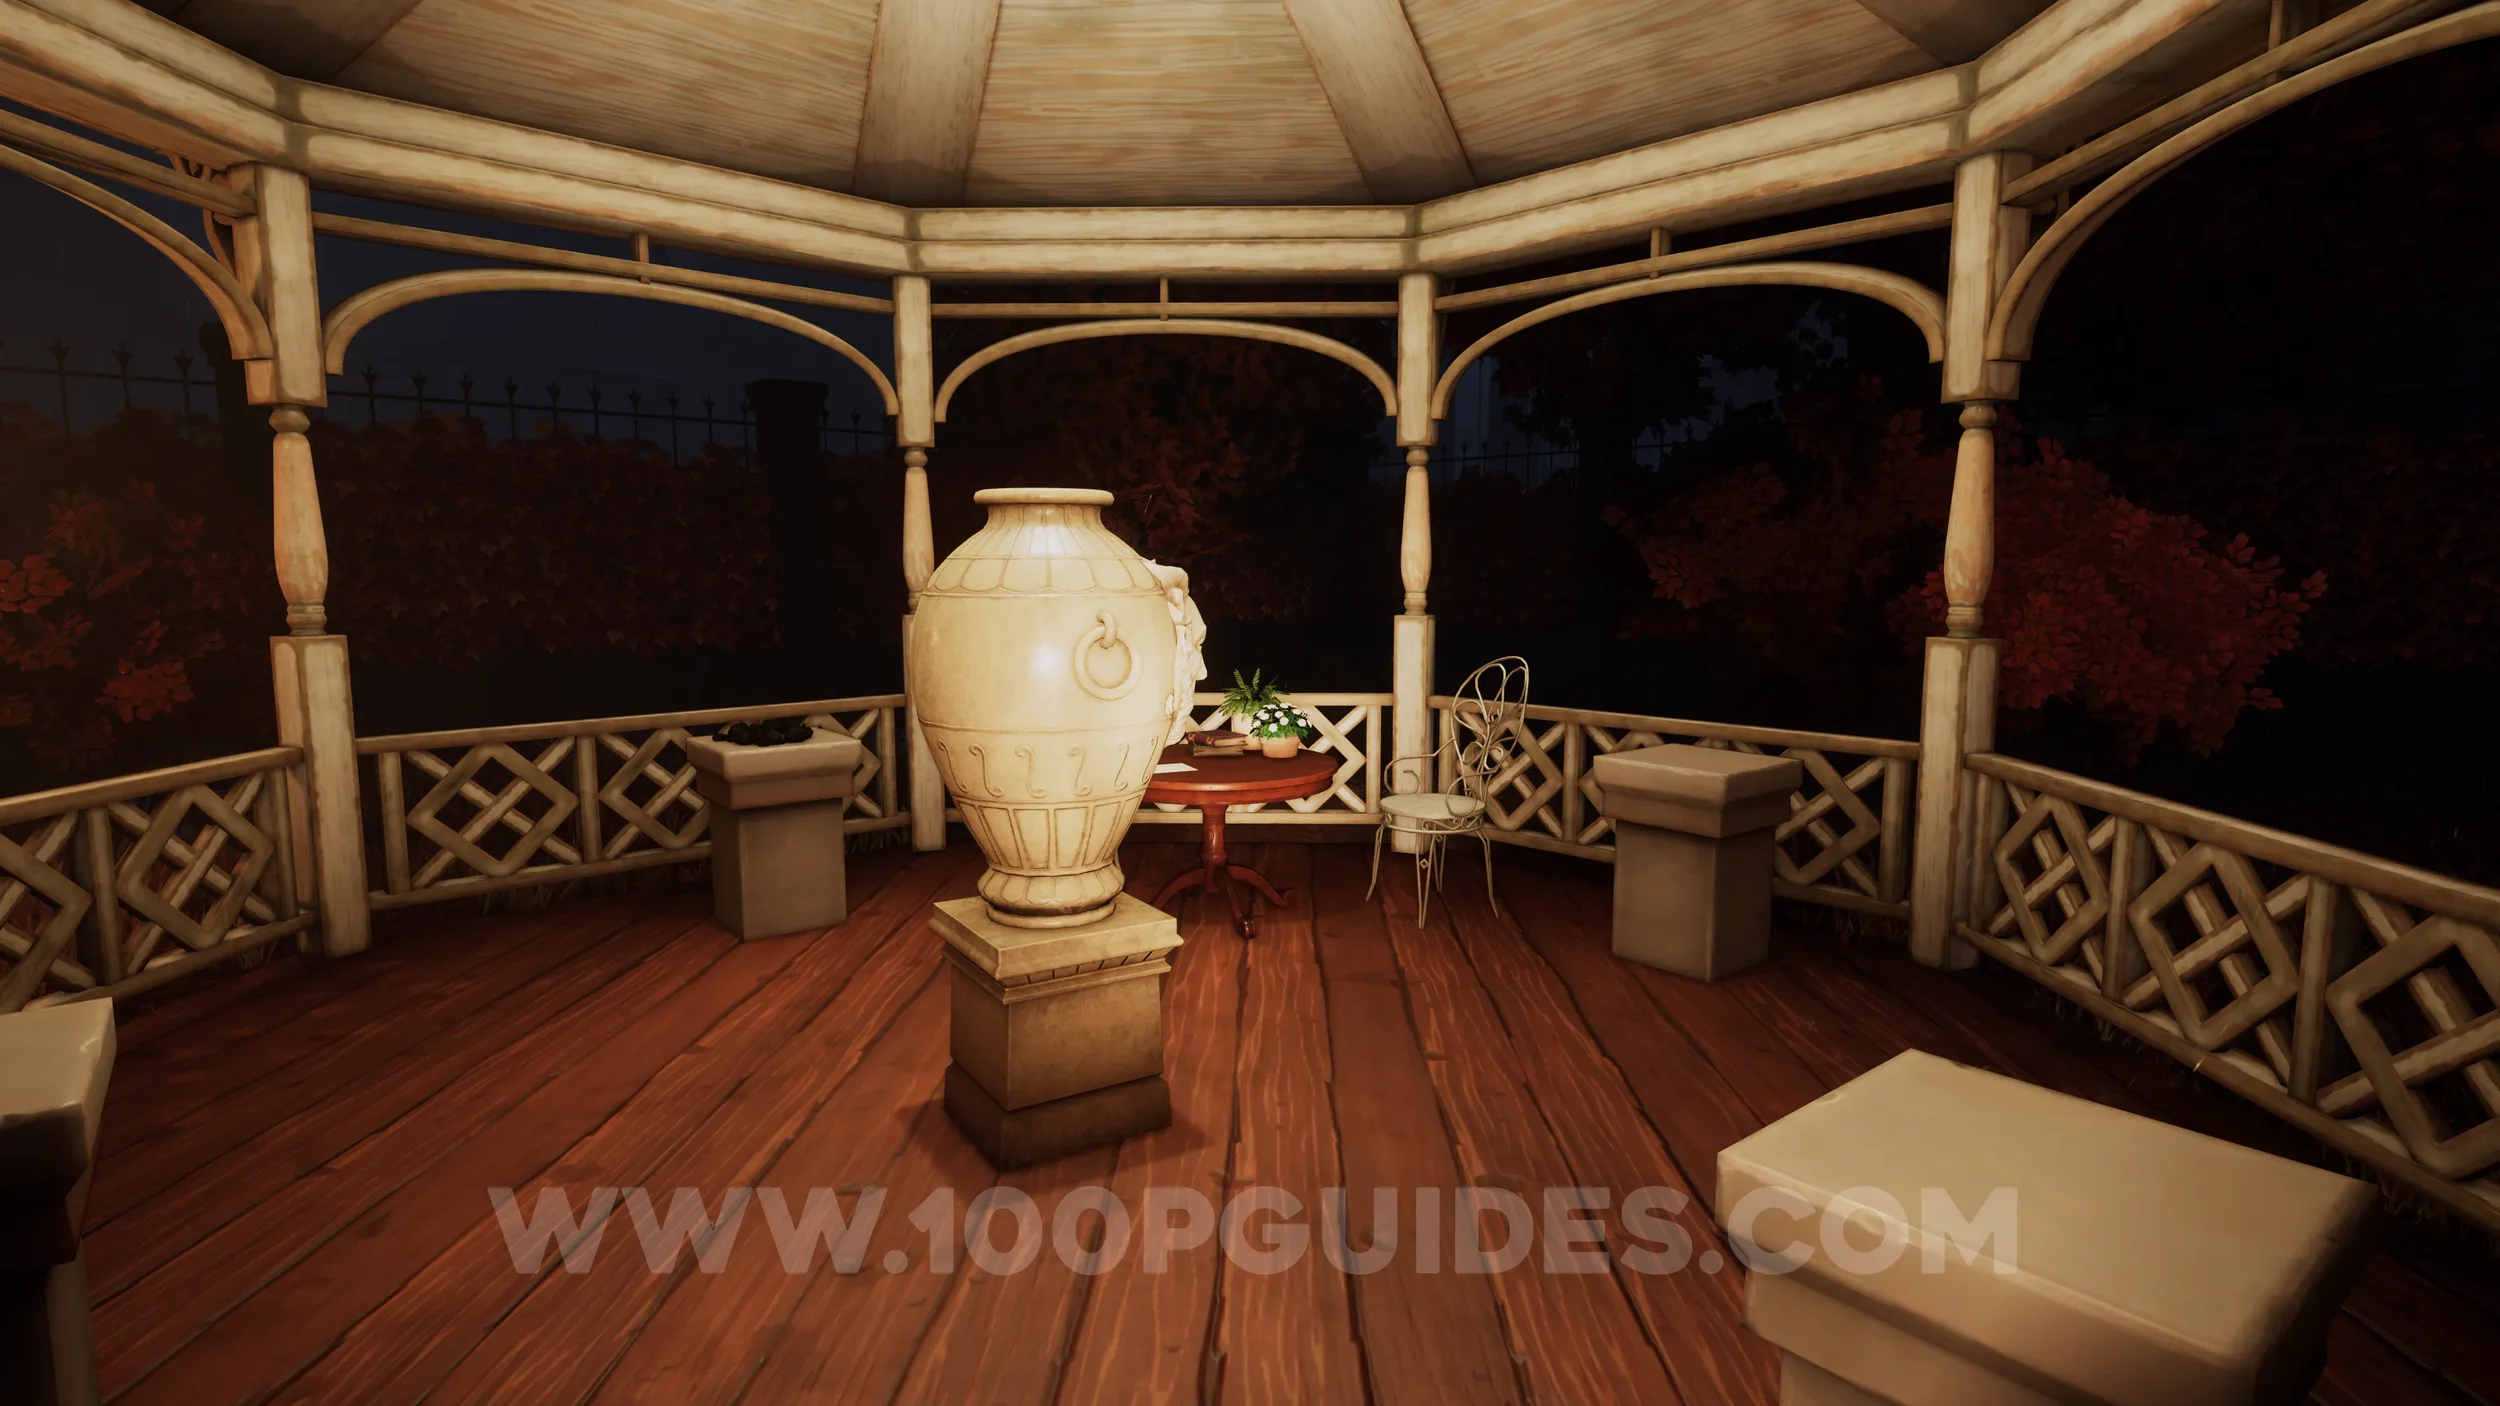
Clue #23. Continue through the garden until you reach the area with the greenhouse on your right and a gate on your left. Go through the gate and spin the vase inside the pagoda.

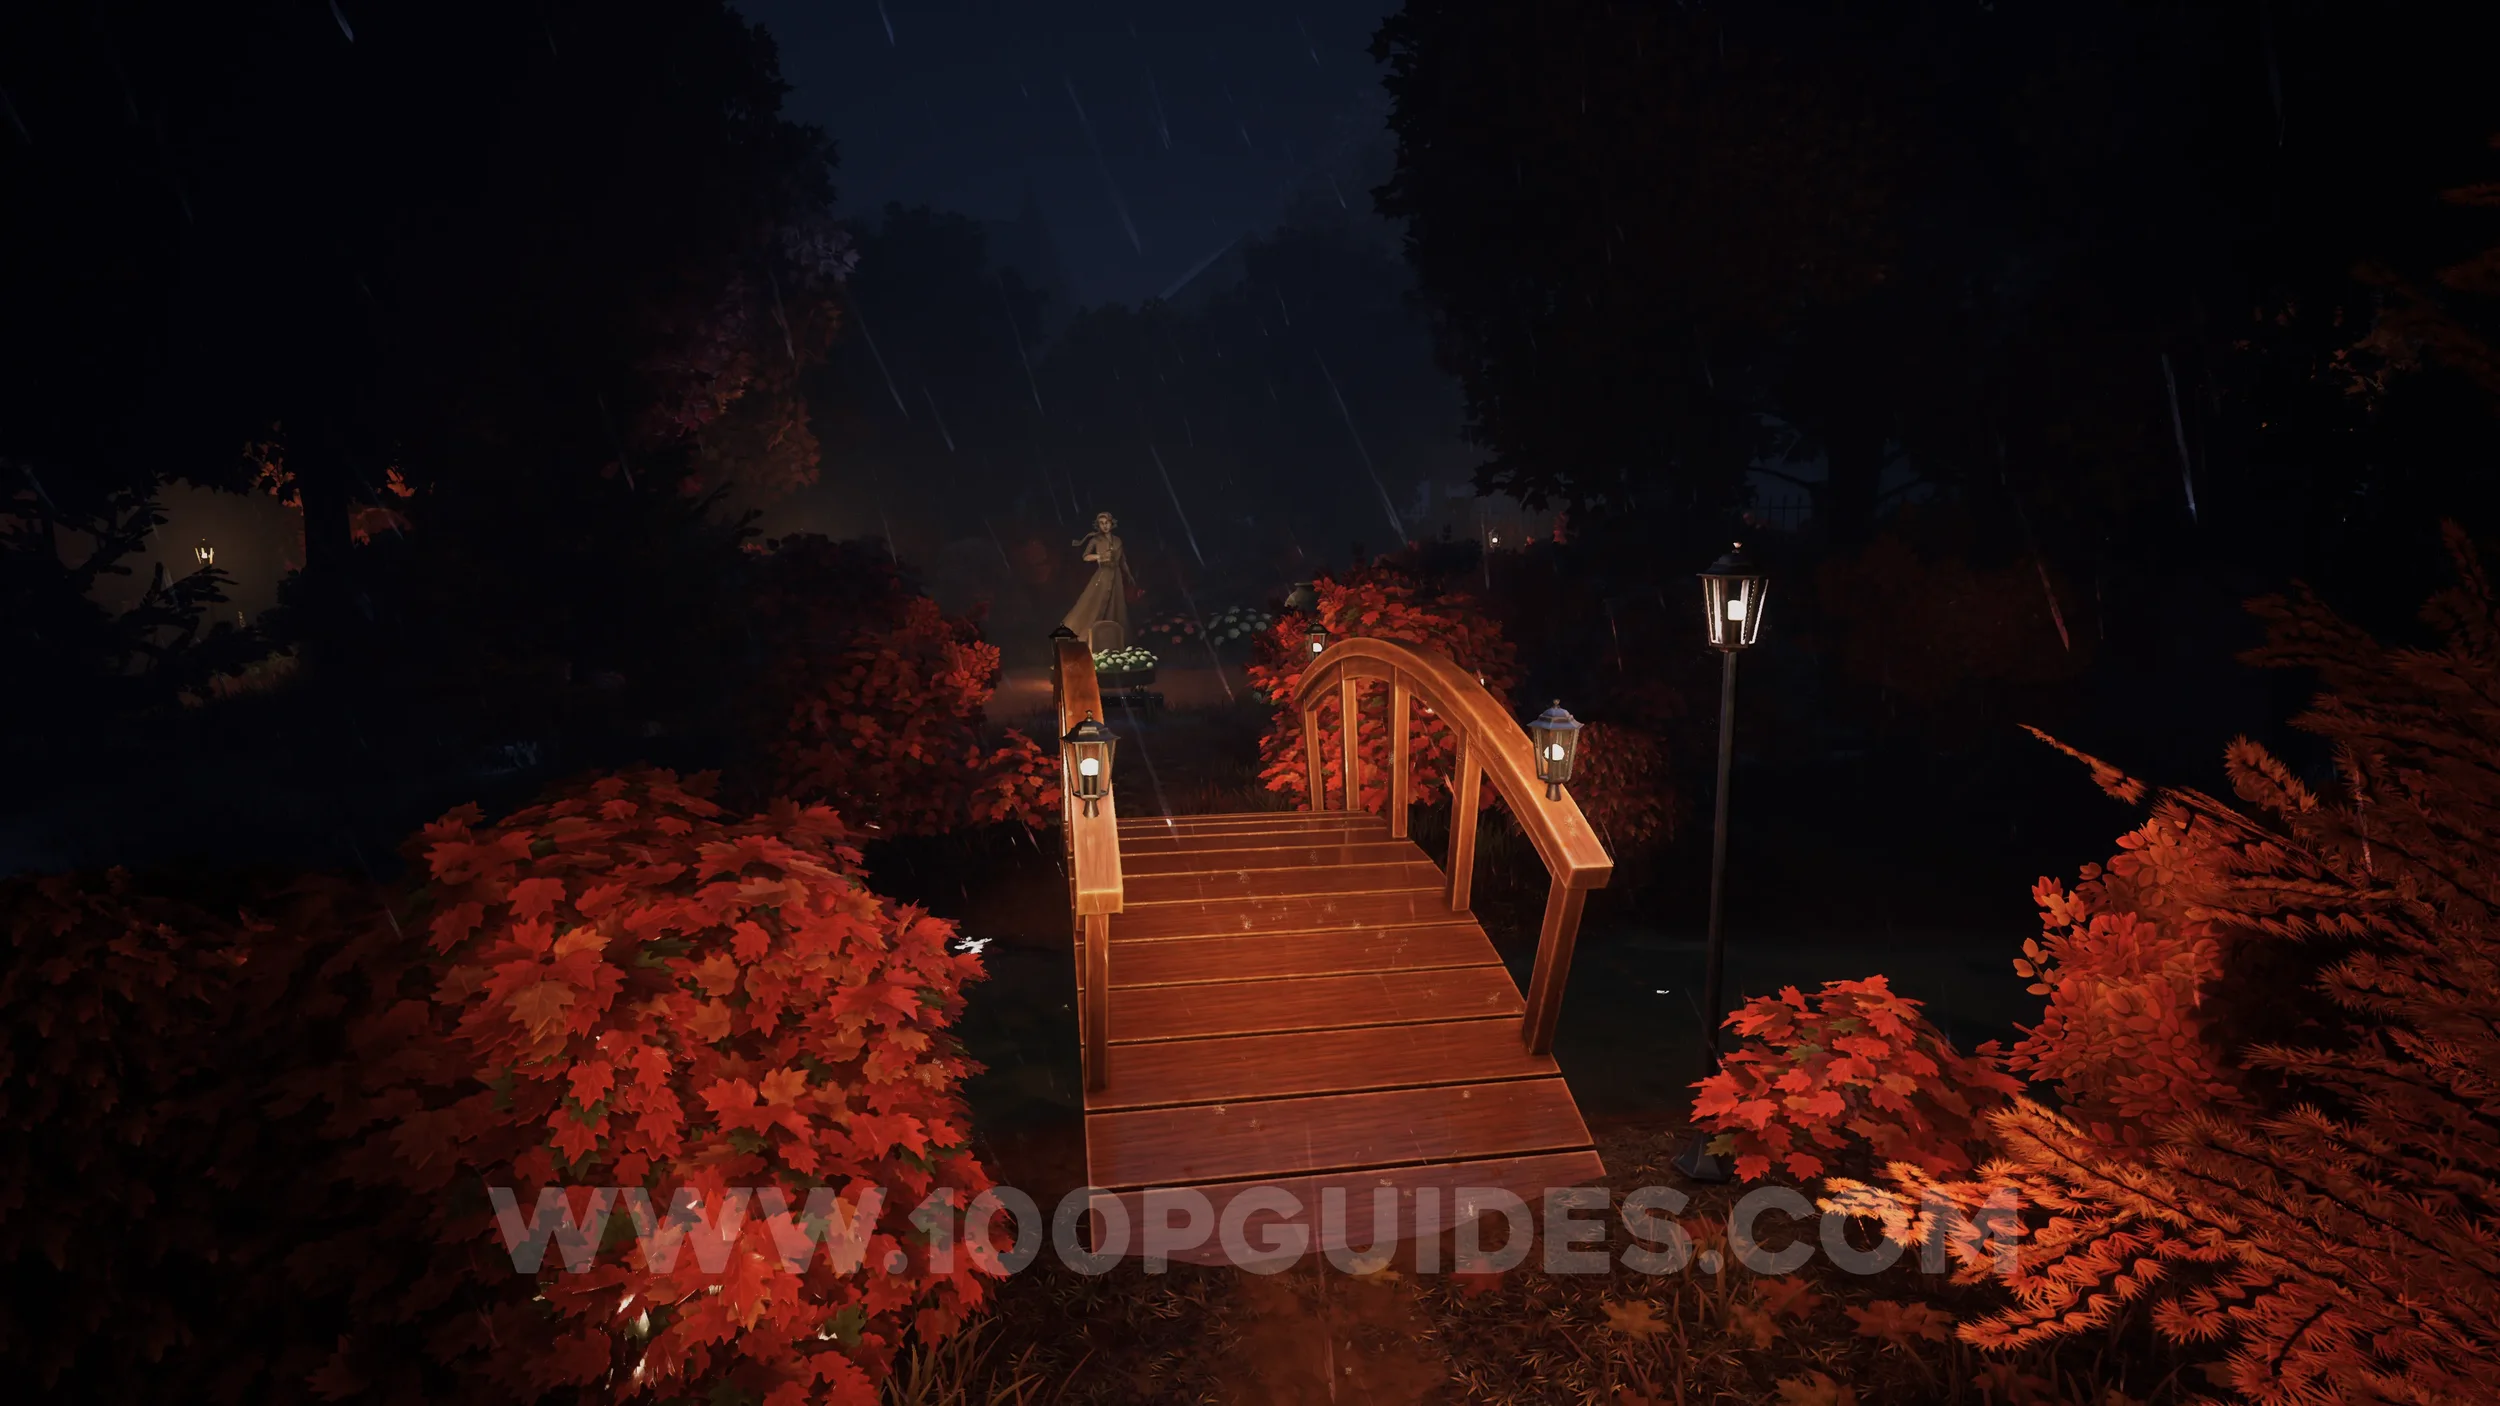
Clue #24. Continue past the pagoda and cross another wooden bridge to reach an area with a statue of a lady and another vase. Spin the vase to register it as a clue.

Clue #25. Return to the greenhouse and circle around the left side to find another vase. Spin it to register it as a clue.
Clue #26. Examine the metal gate just past the previous vase.

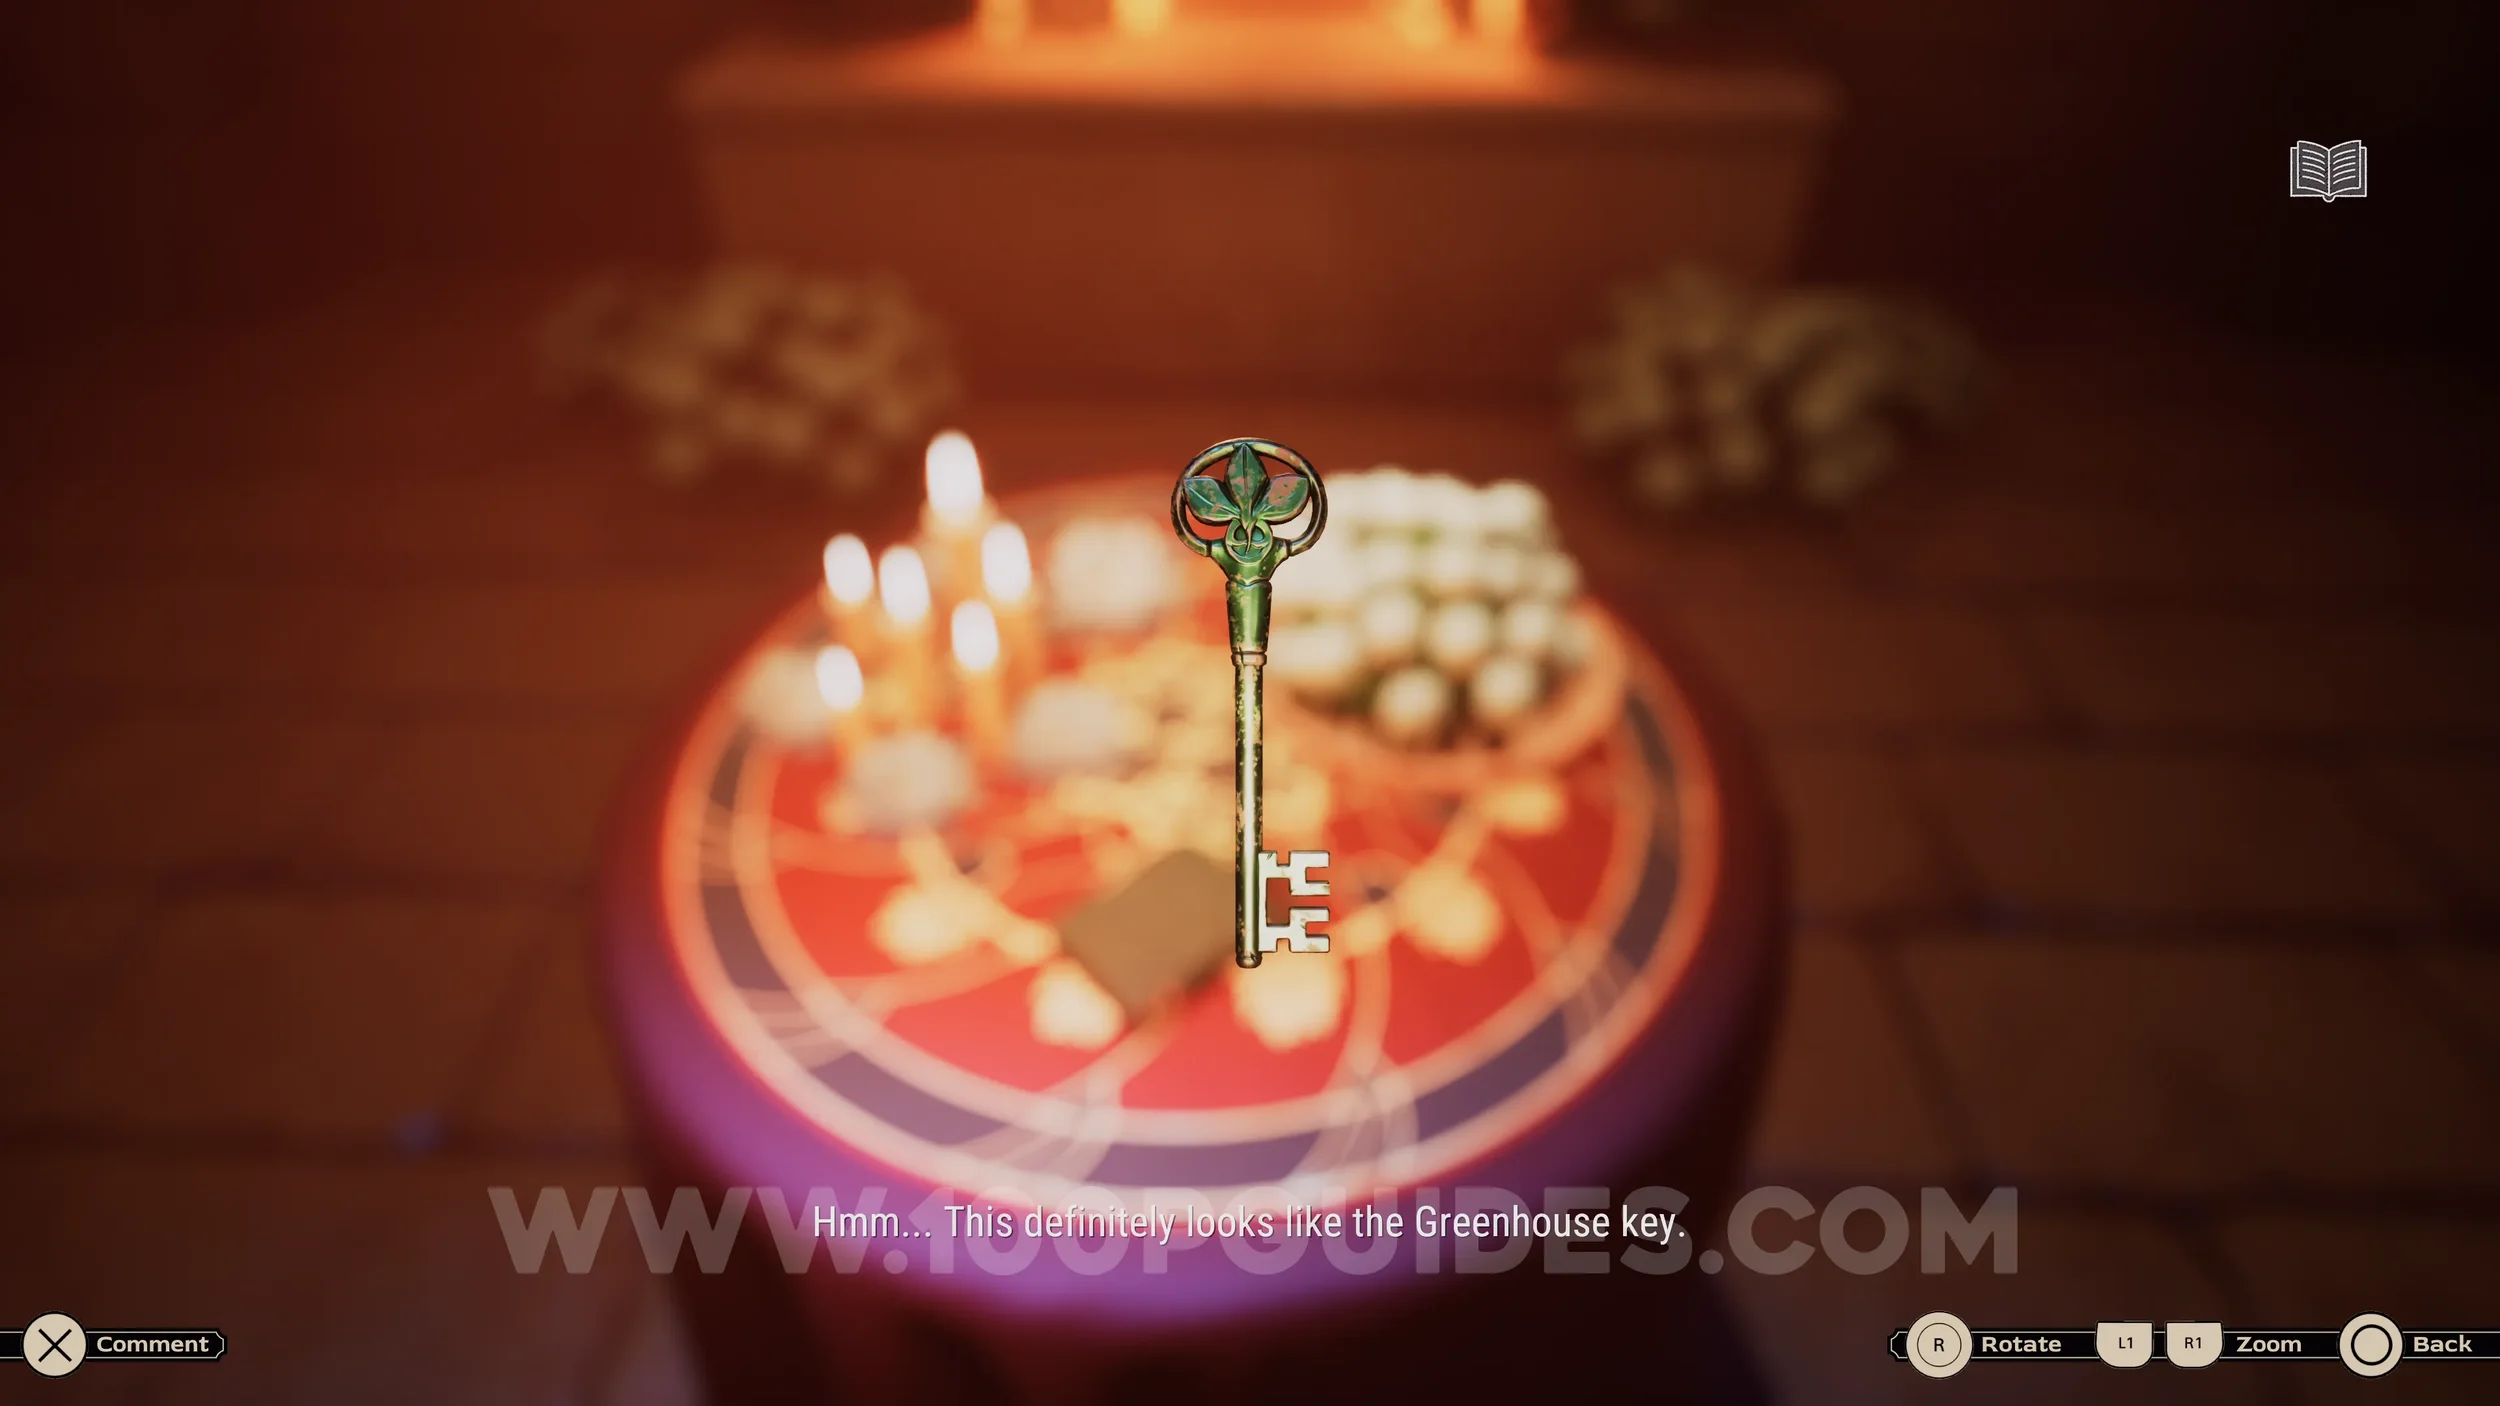
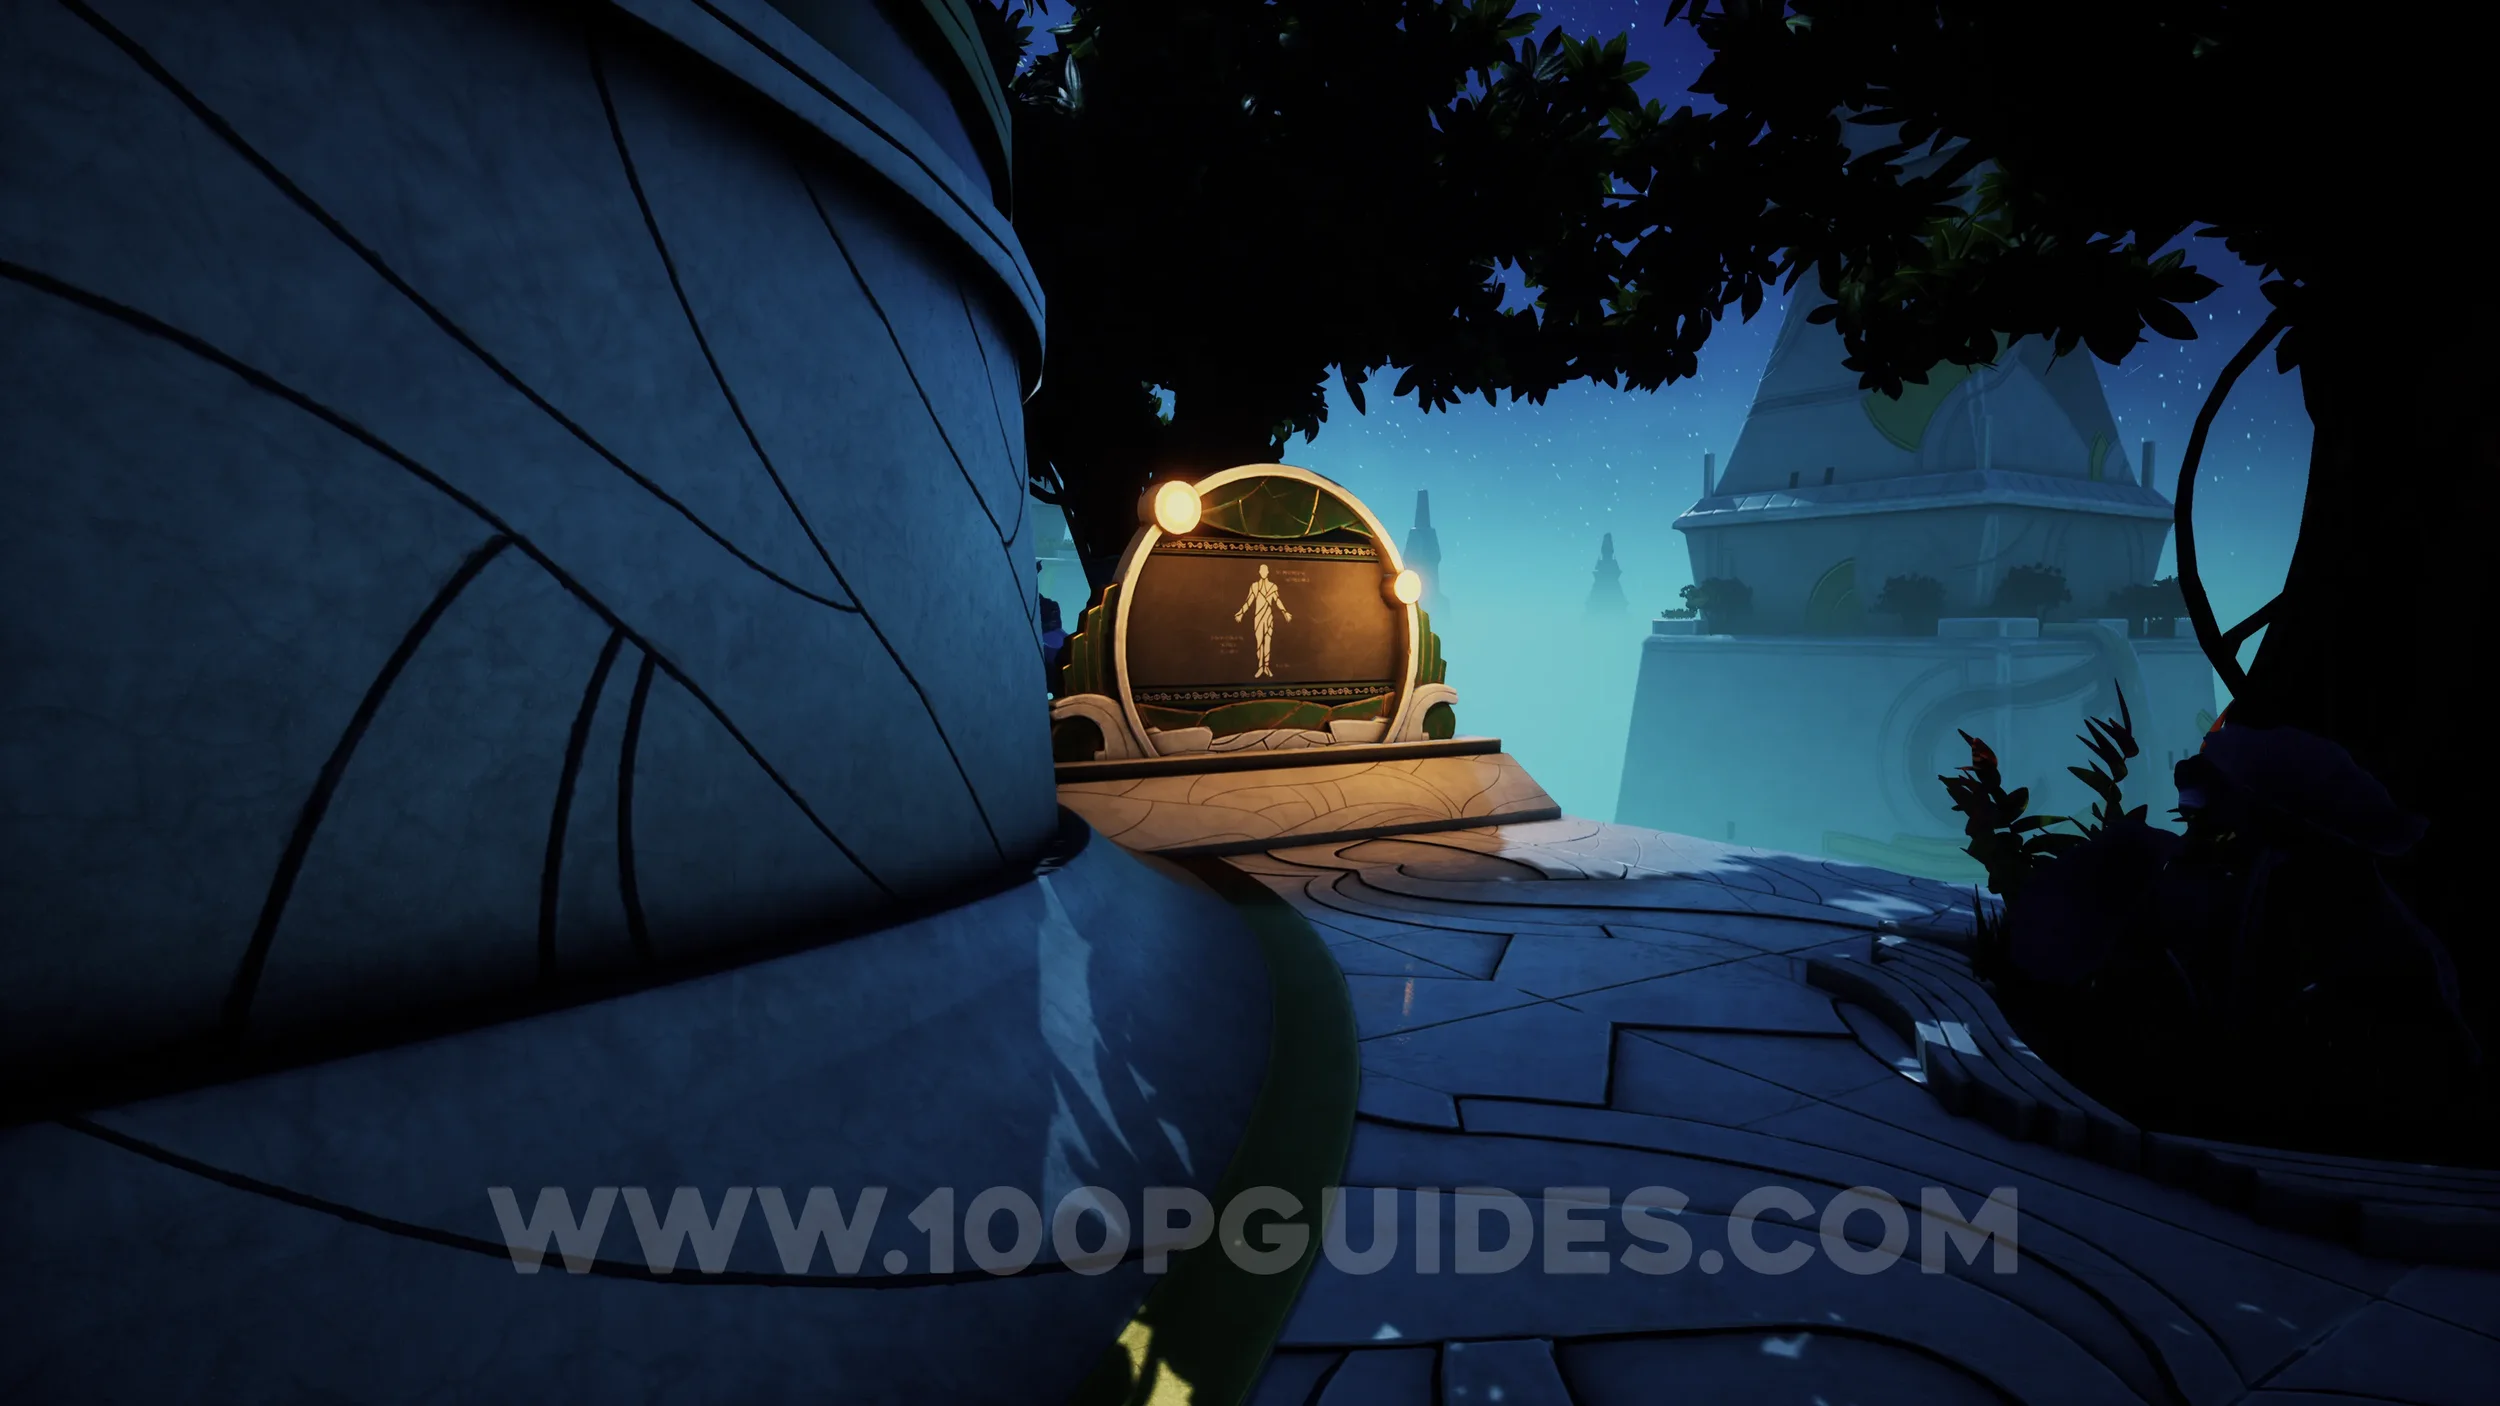
Clue #27. The greenhouse key found inside the small chapel in the garden after opening the gate.
Clue #28. Examine the portrait of the baby in the chapel where you get the greenhouse key.

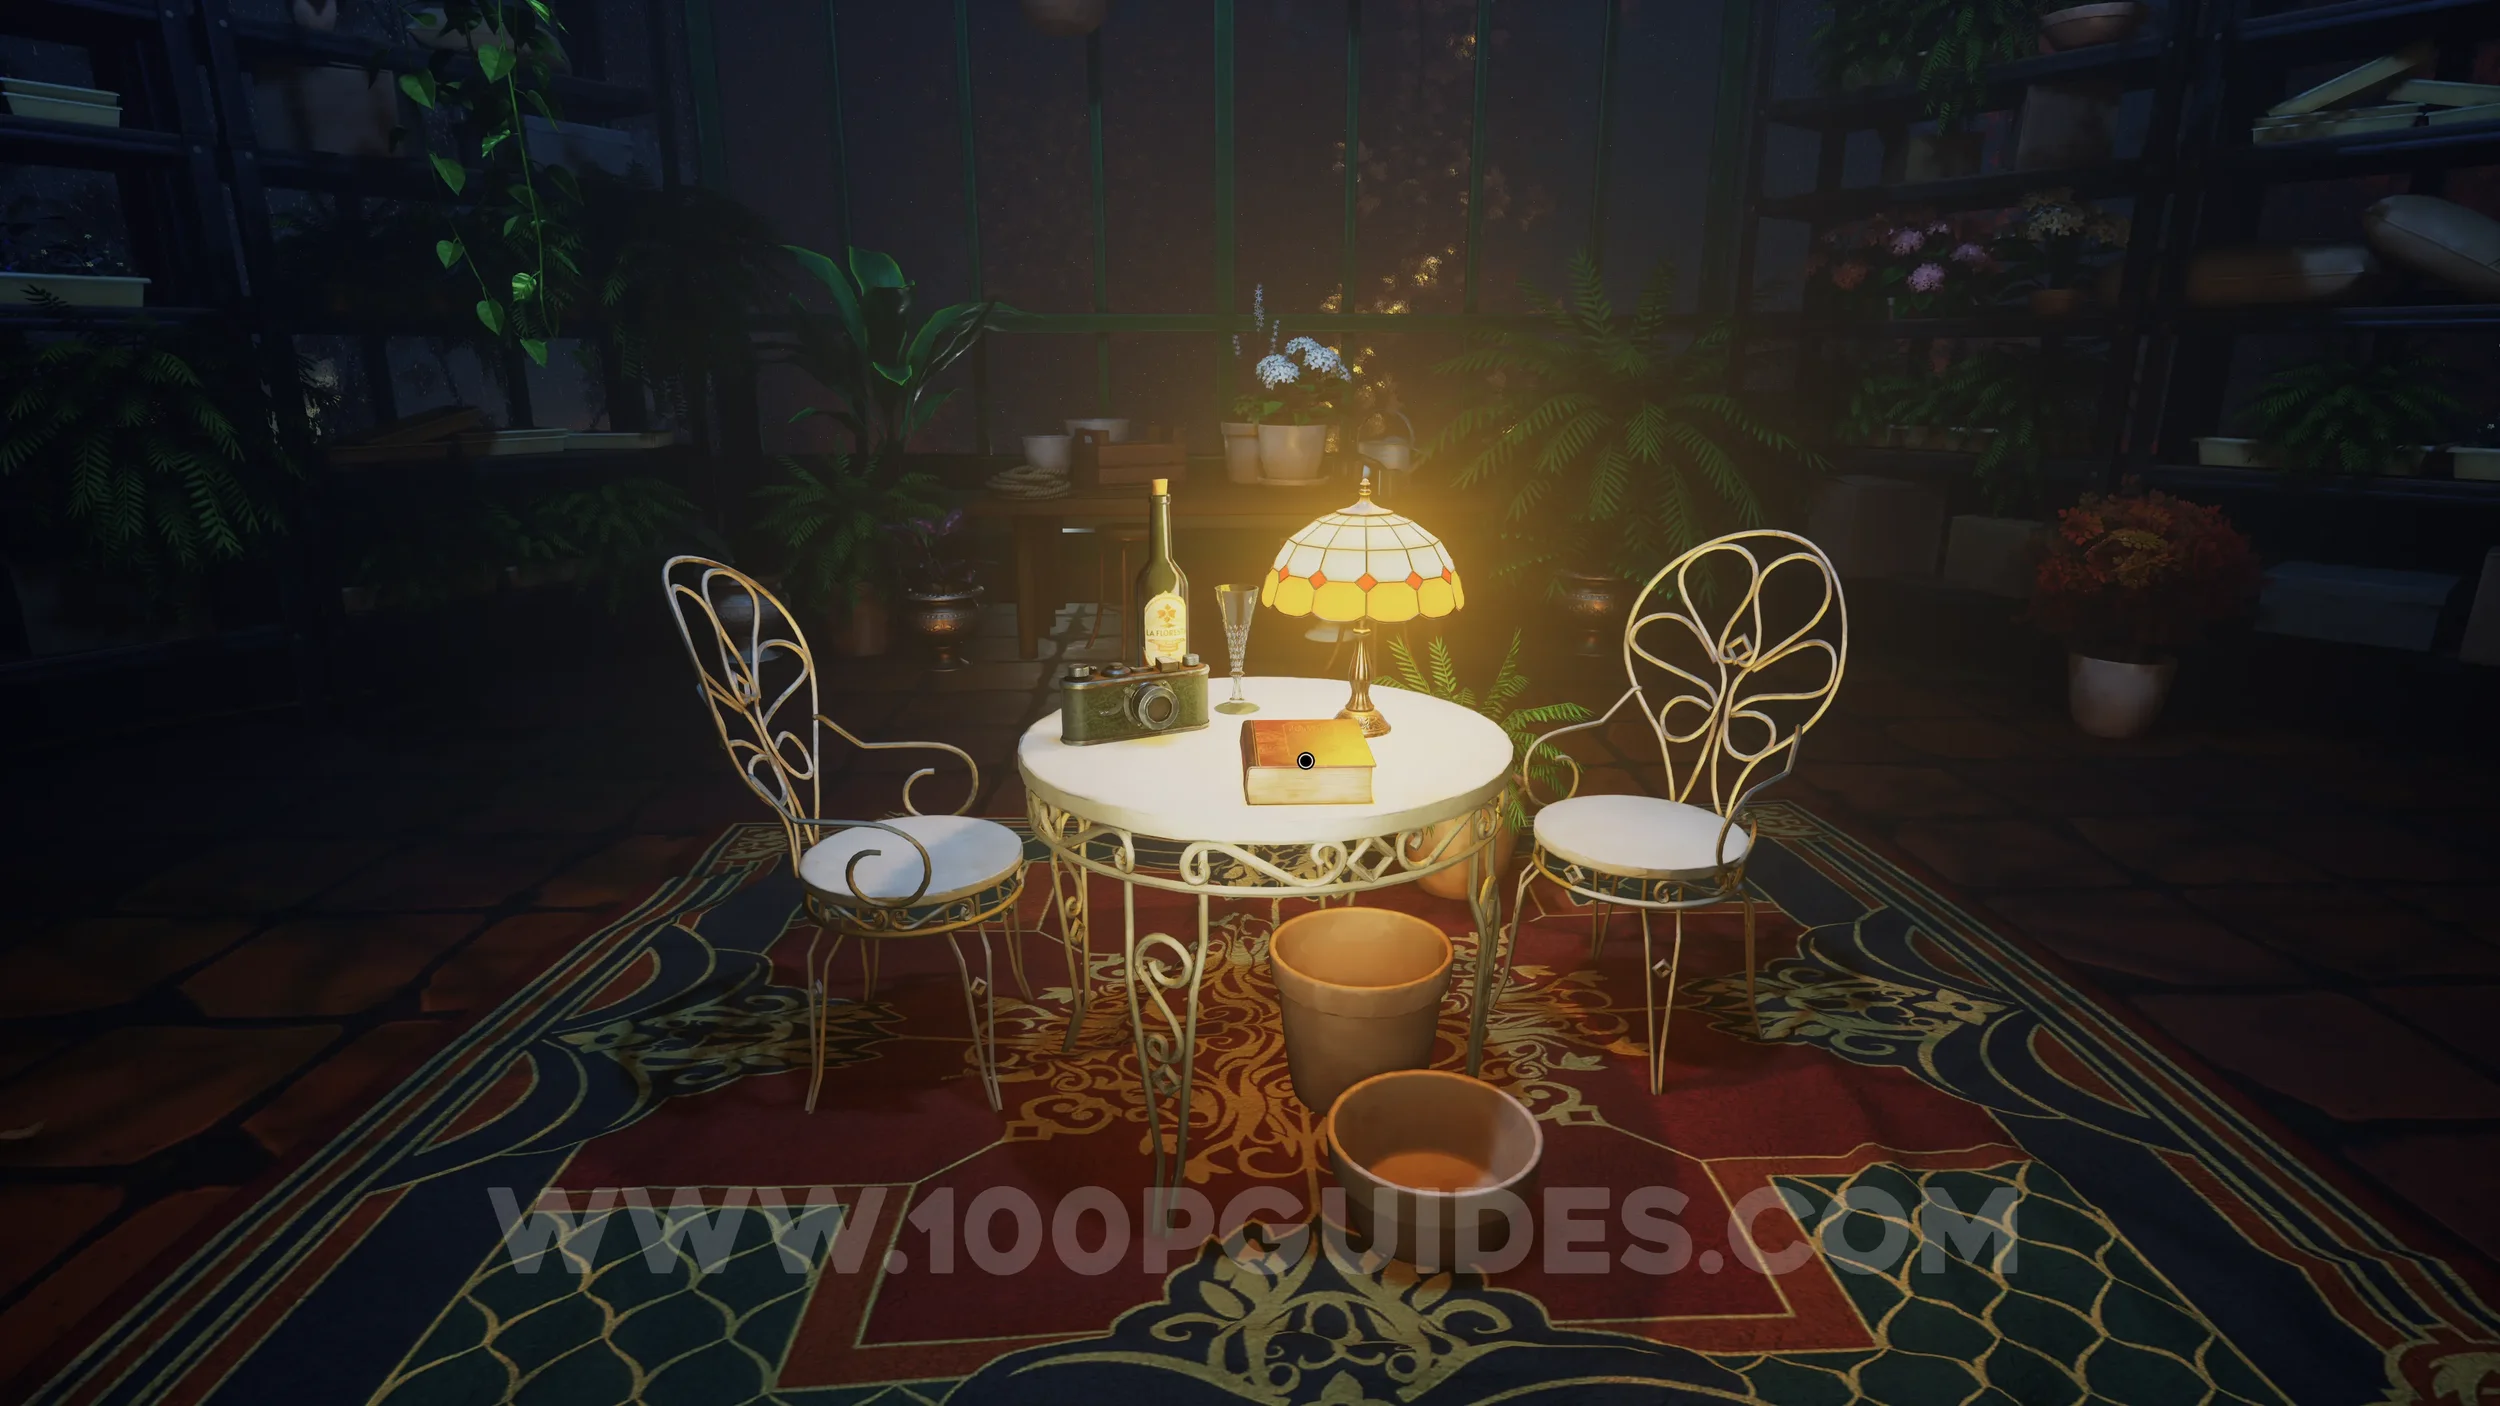
Clue #29. The missing book for the main puzzle. Found on the table in the greenhouse.
CHAPTER 2
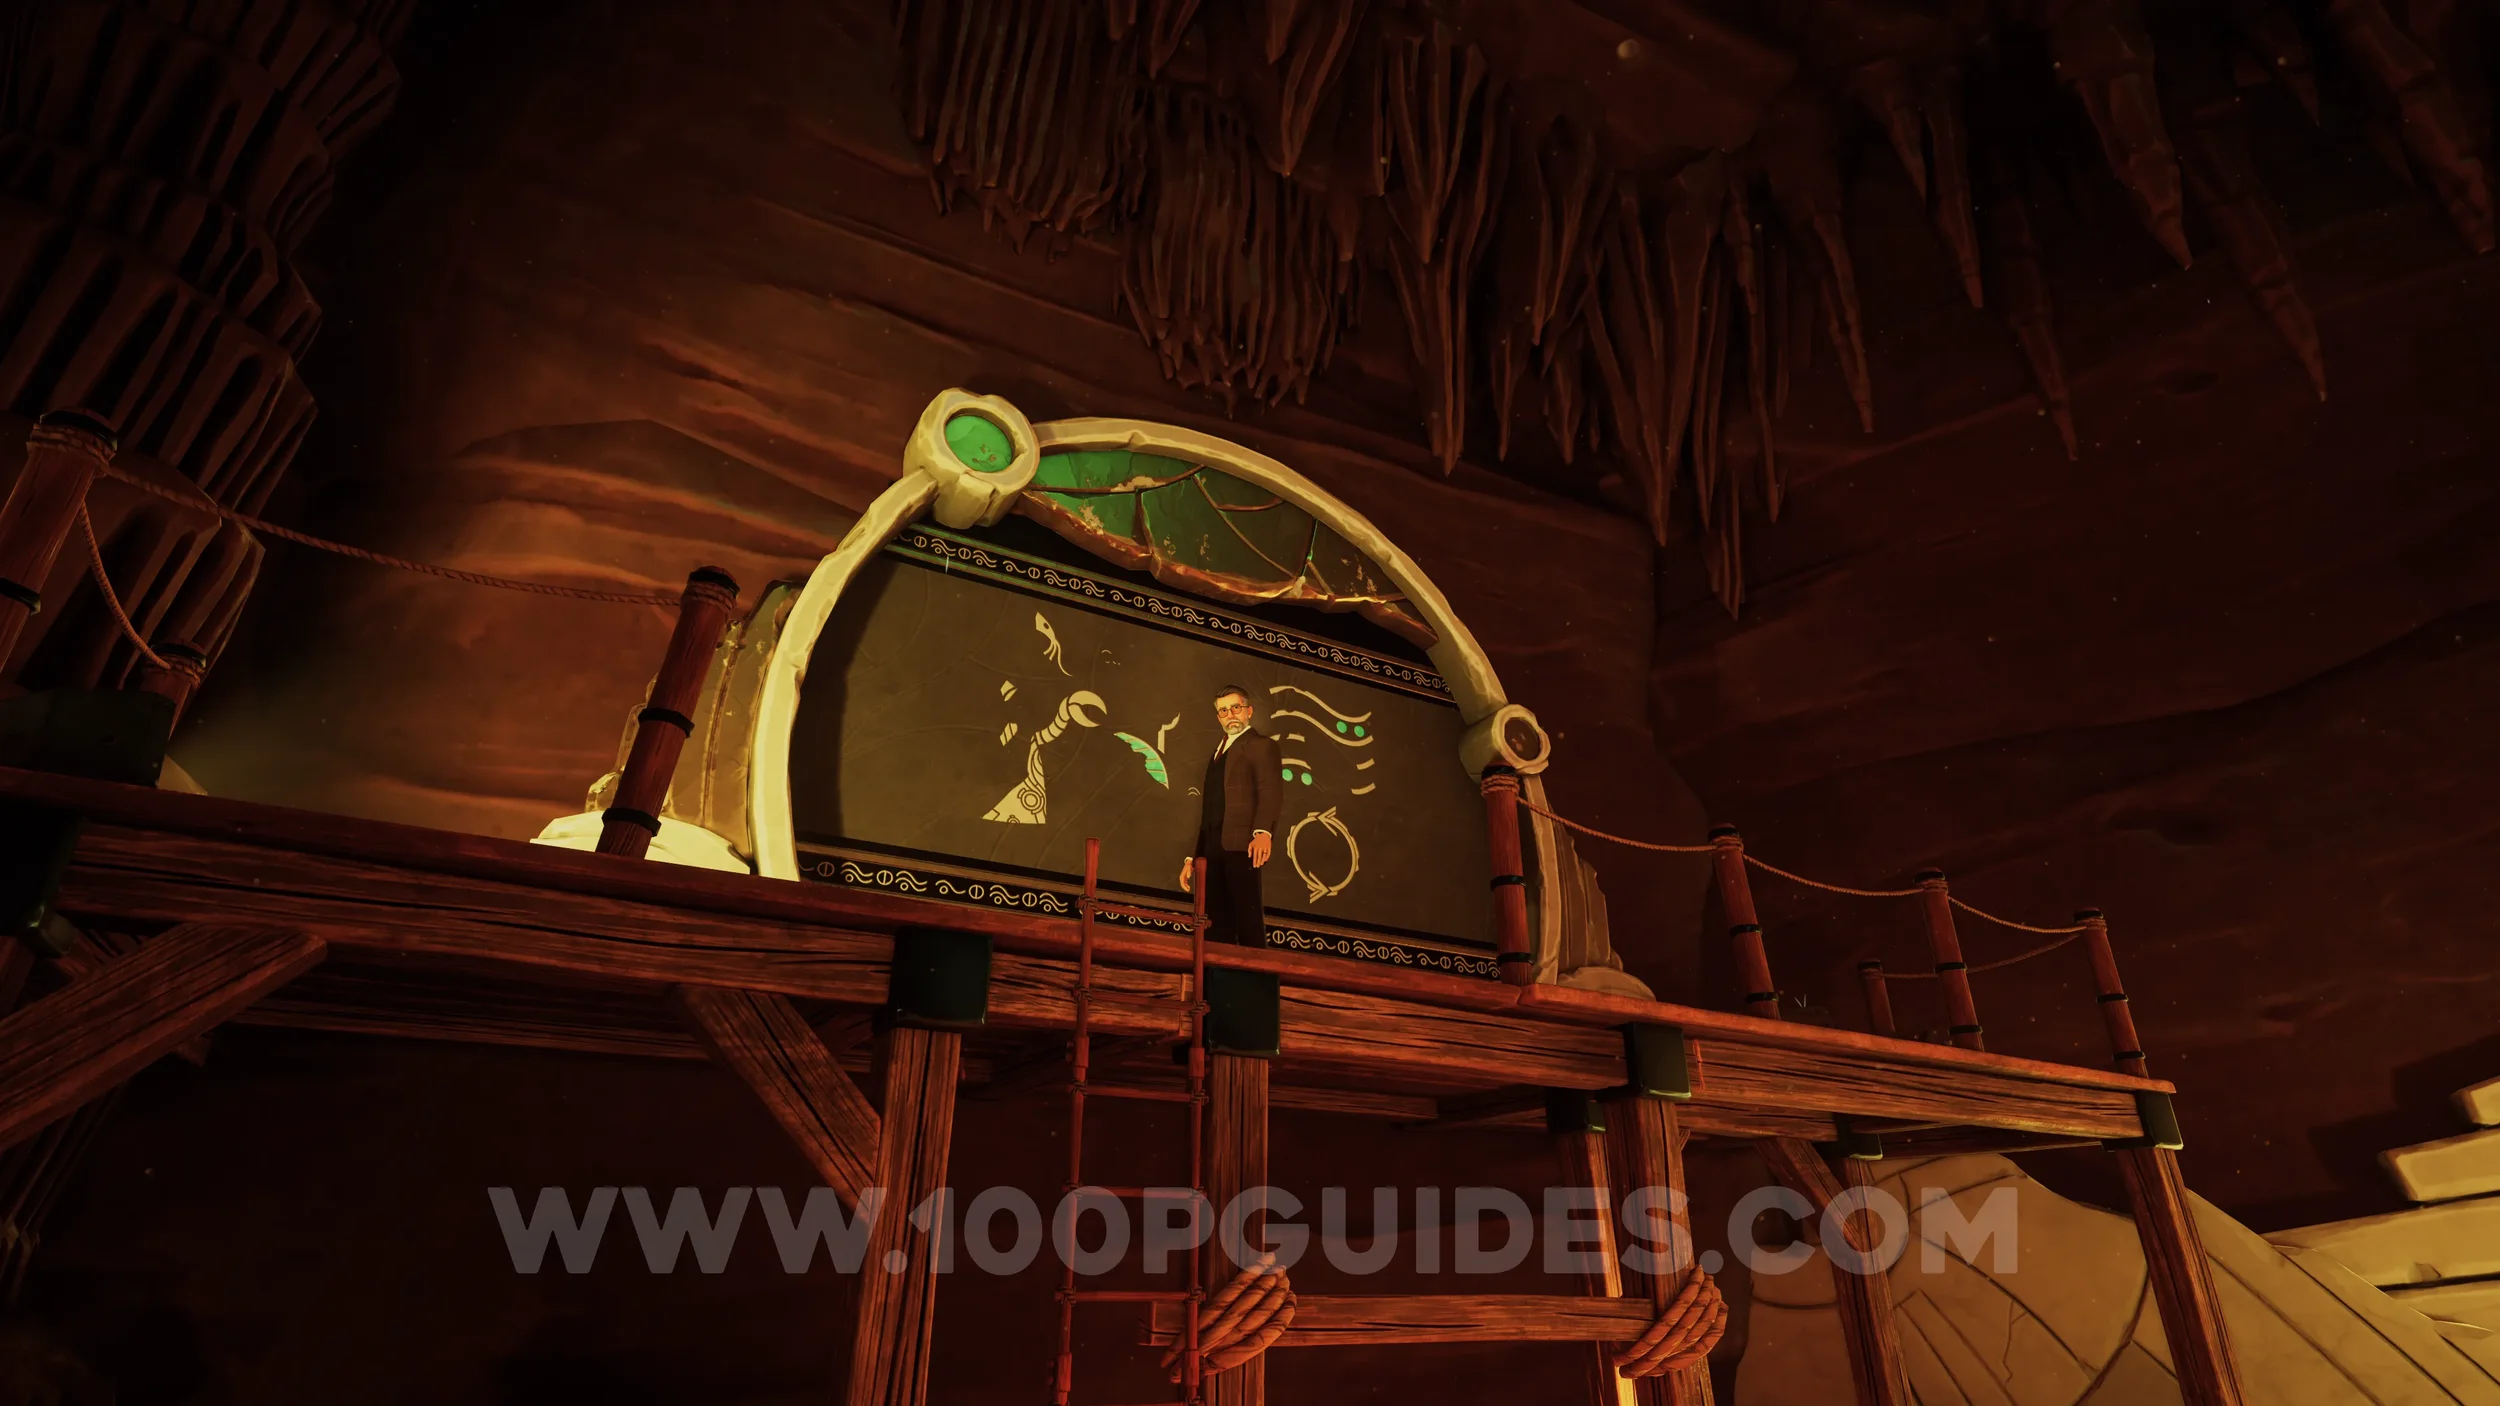
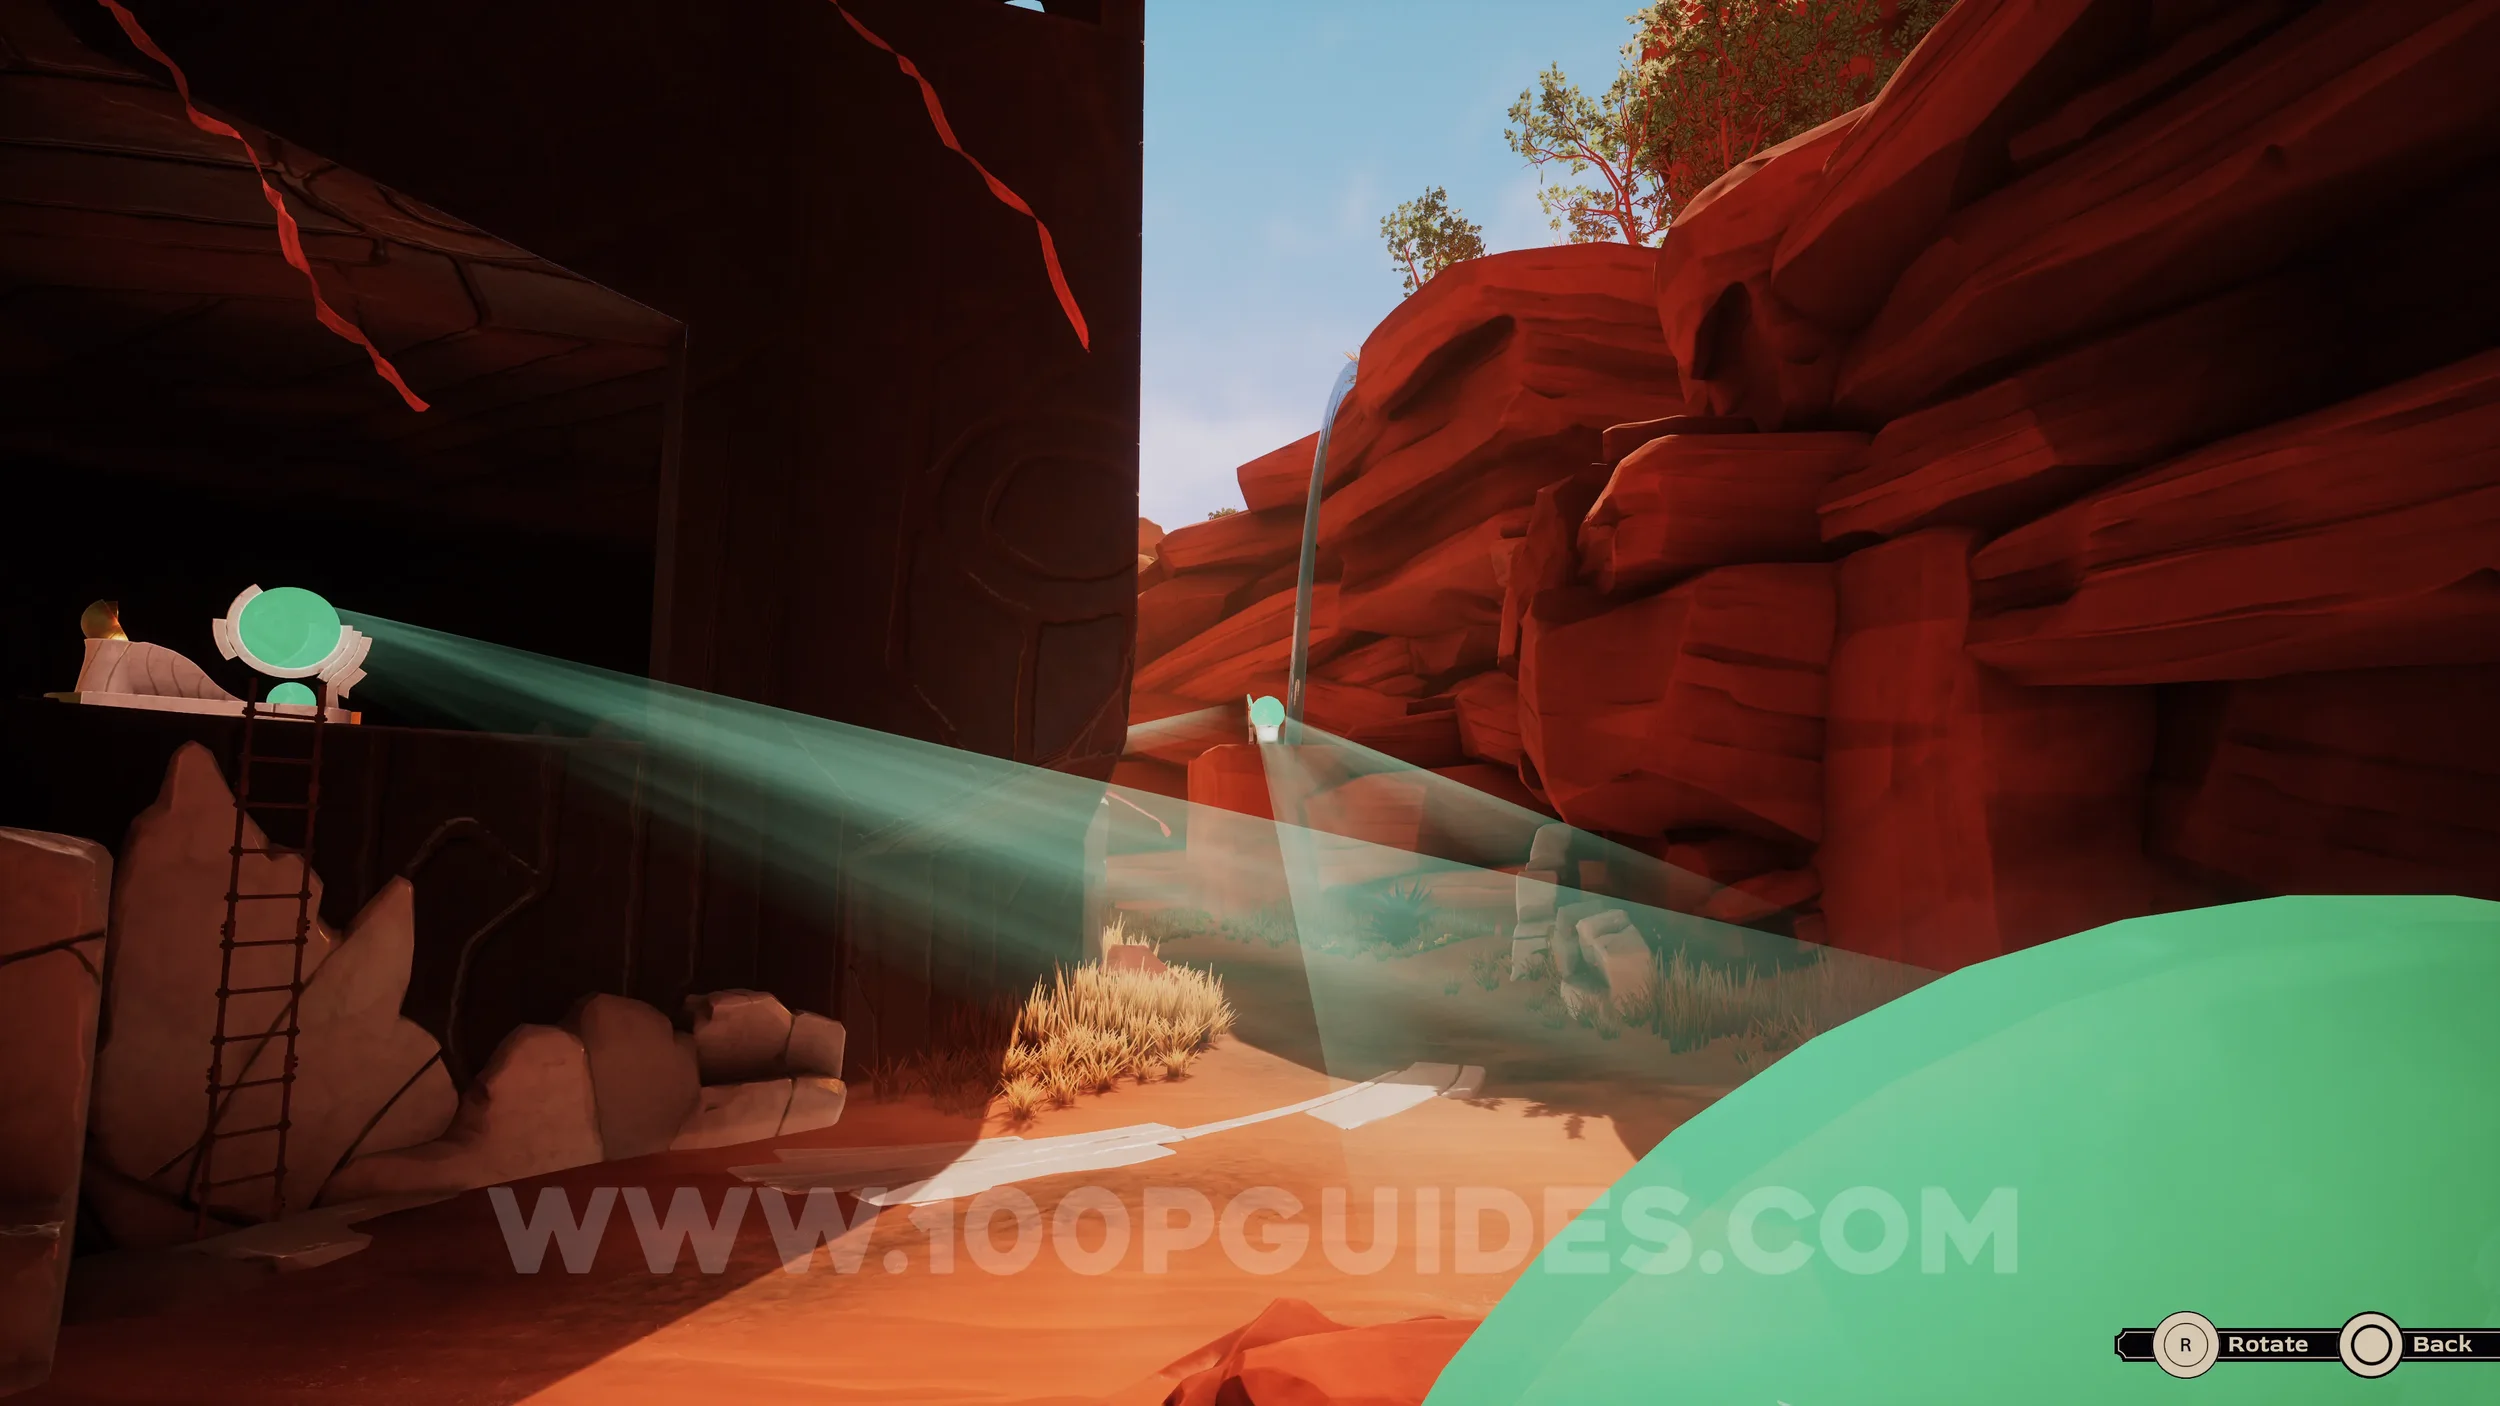
Clue #30. Once you reach the main area, climb up and speak to the professor on your left. Then examine the mural behind him.
Clue #31. Climb down the ladder from where the professor is standing and take the path on the right. Follow the right wall until you go down a slope. At the bottom, enter the cave on the right and examine the mural on the wall.
Clue #32. Exit the cave and head right. You will soon come across some diving gear. Ignore it for now and continue to the end of the path to find another mural. Examine it to register the clue.

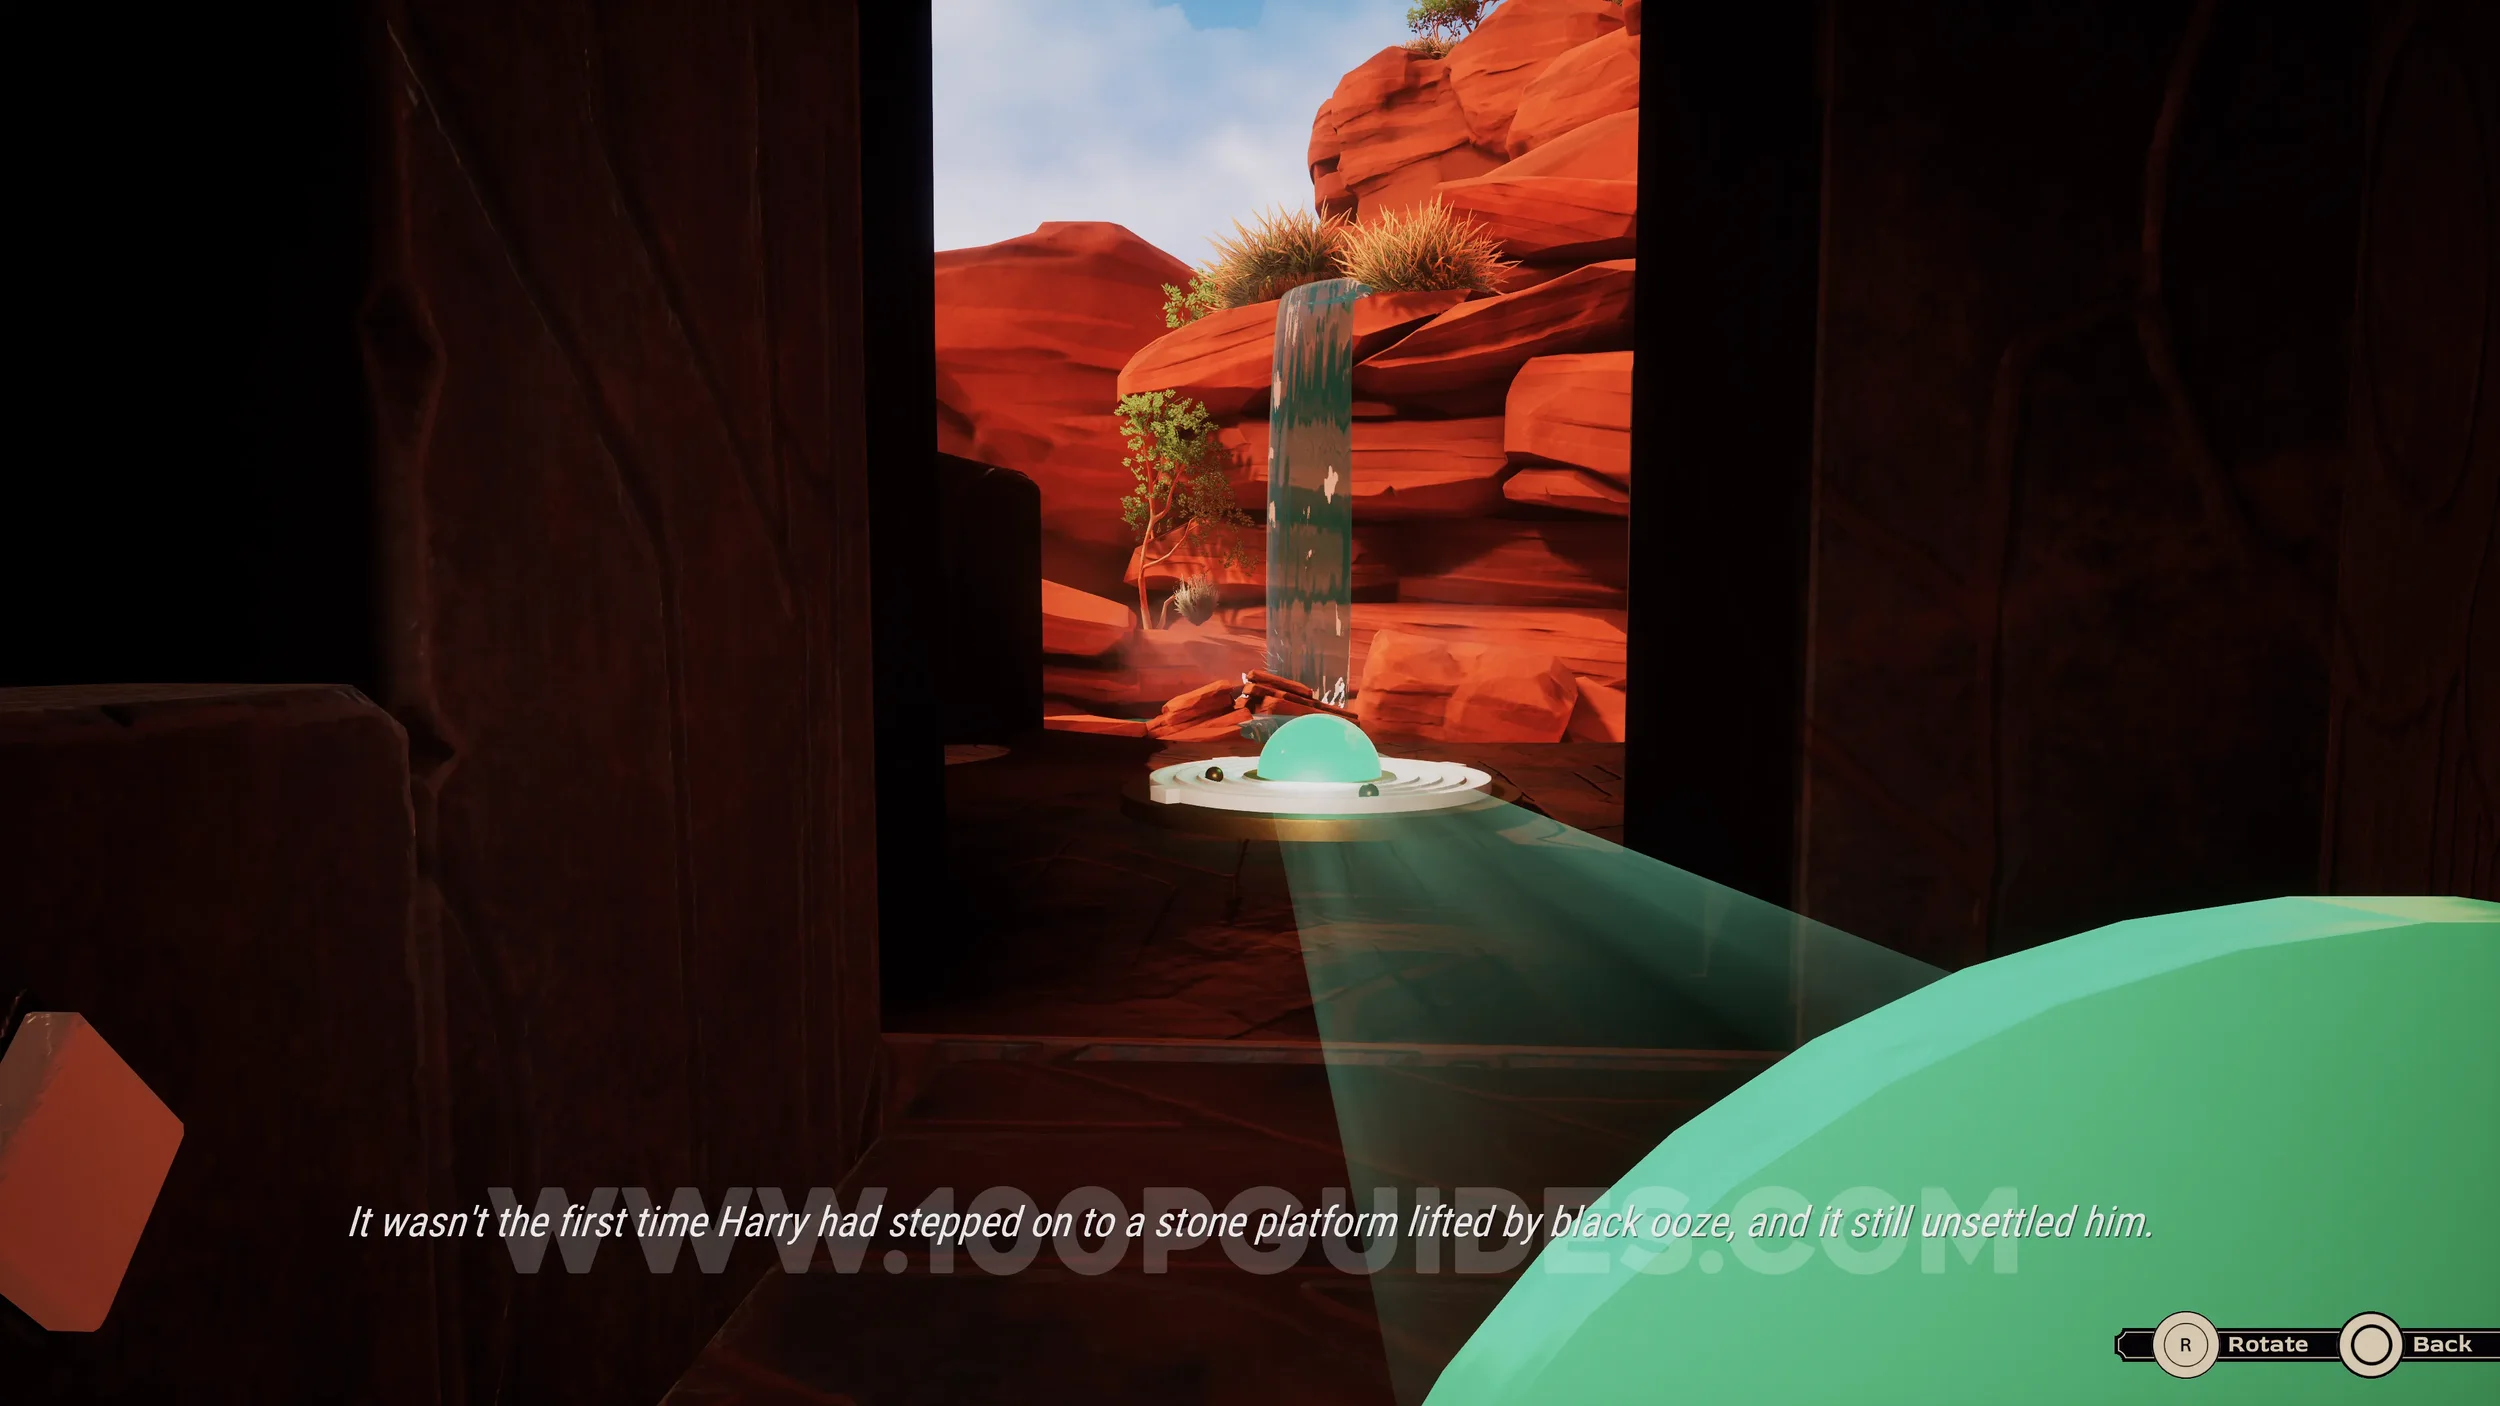
Clue #33. After using the diving gear and swimming underwater, you will reach an underwater cave. The first mural can be found directly ahead in plain sight.
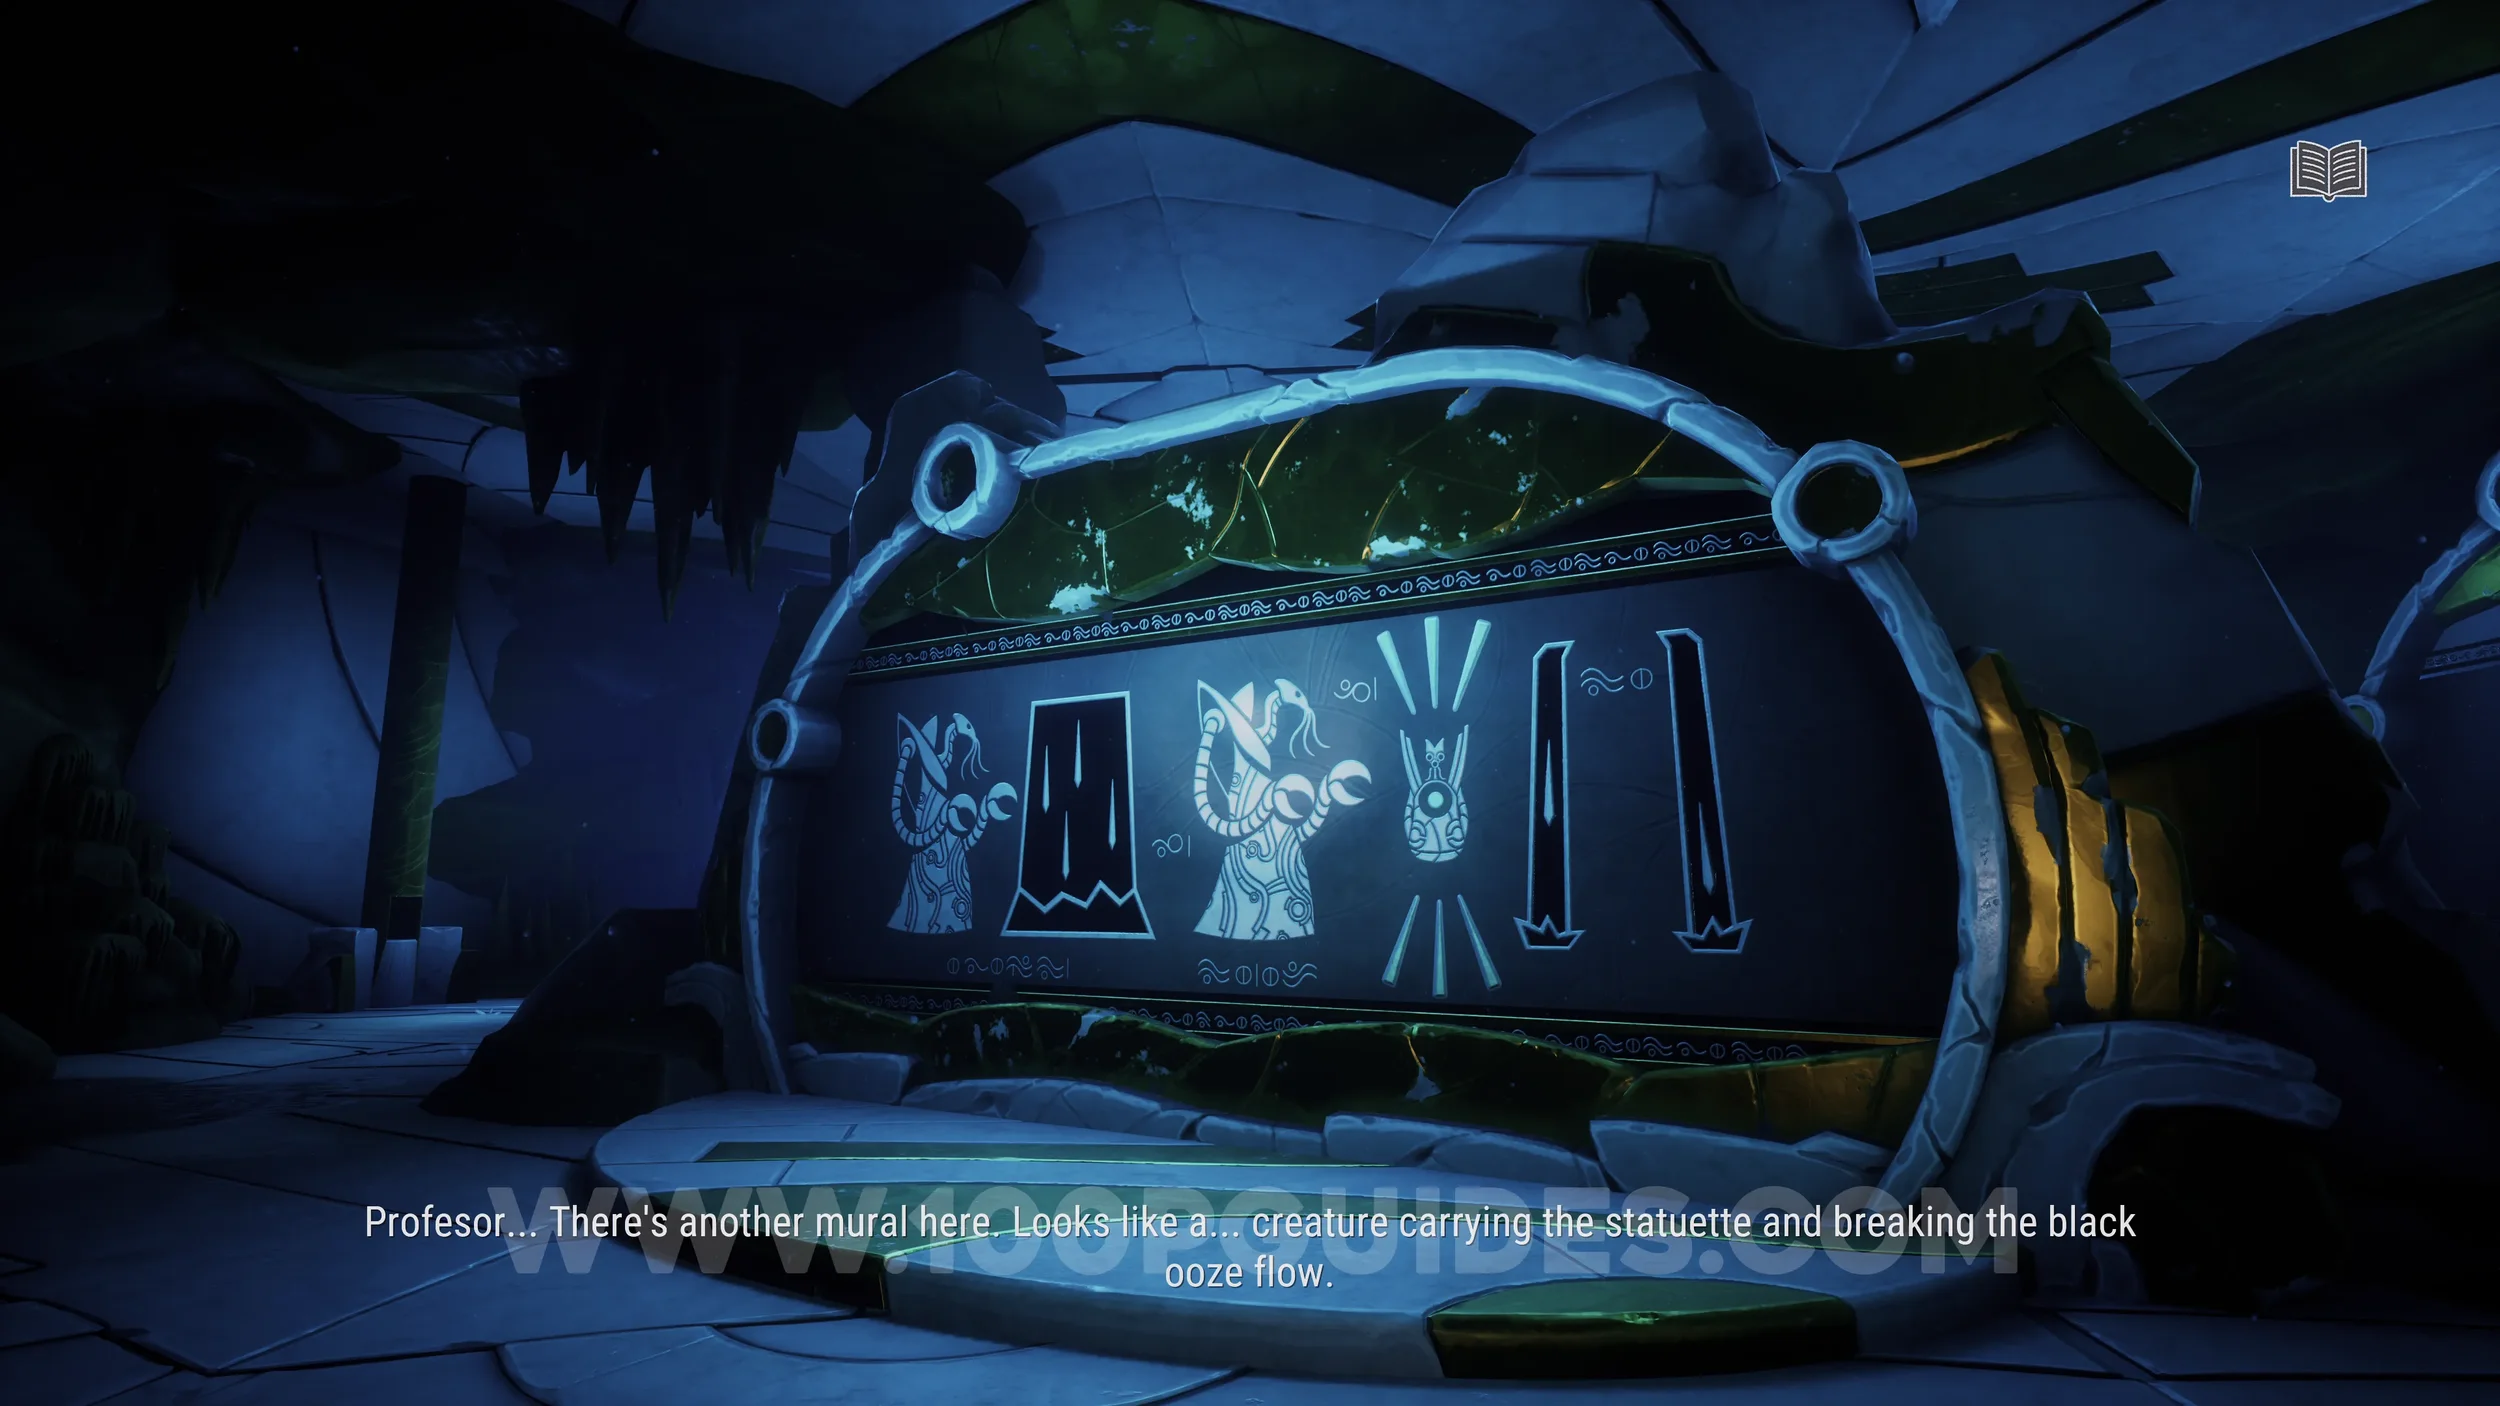
Clue #34. Examine the bottom section of the mural to the left of the underwater puzzle where you need to fill the container with black ooze.
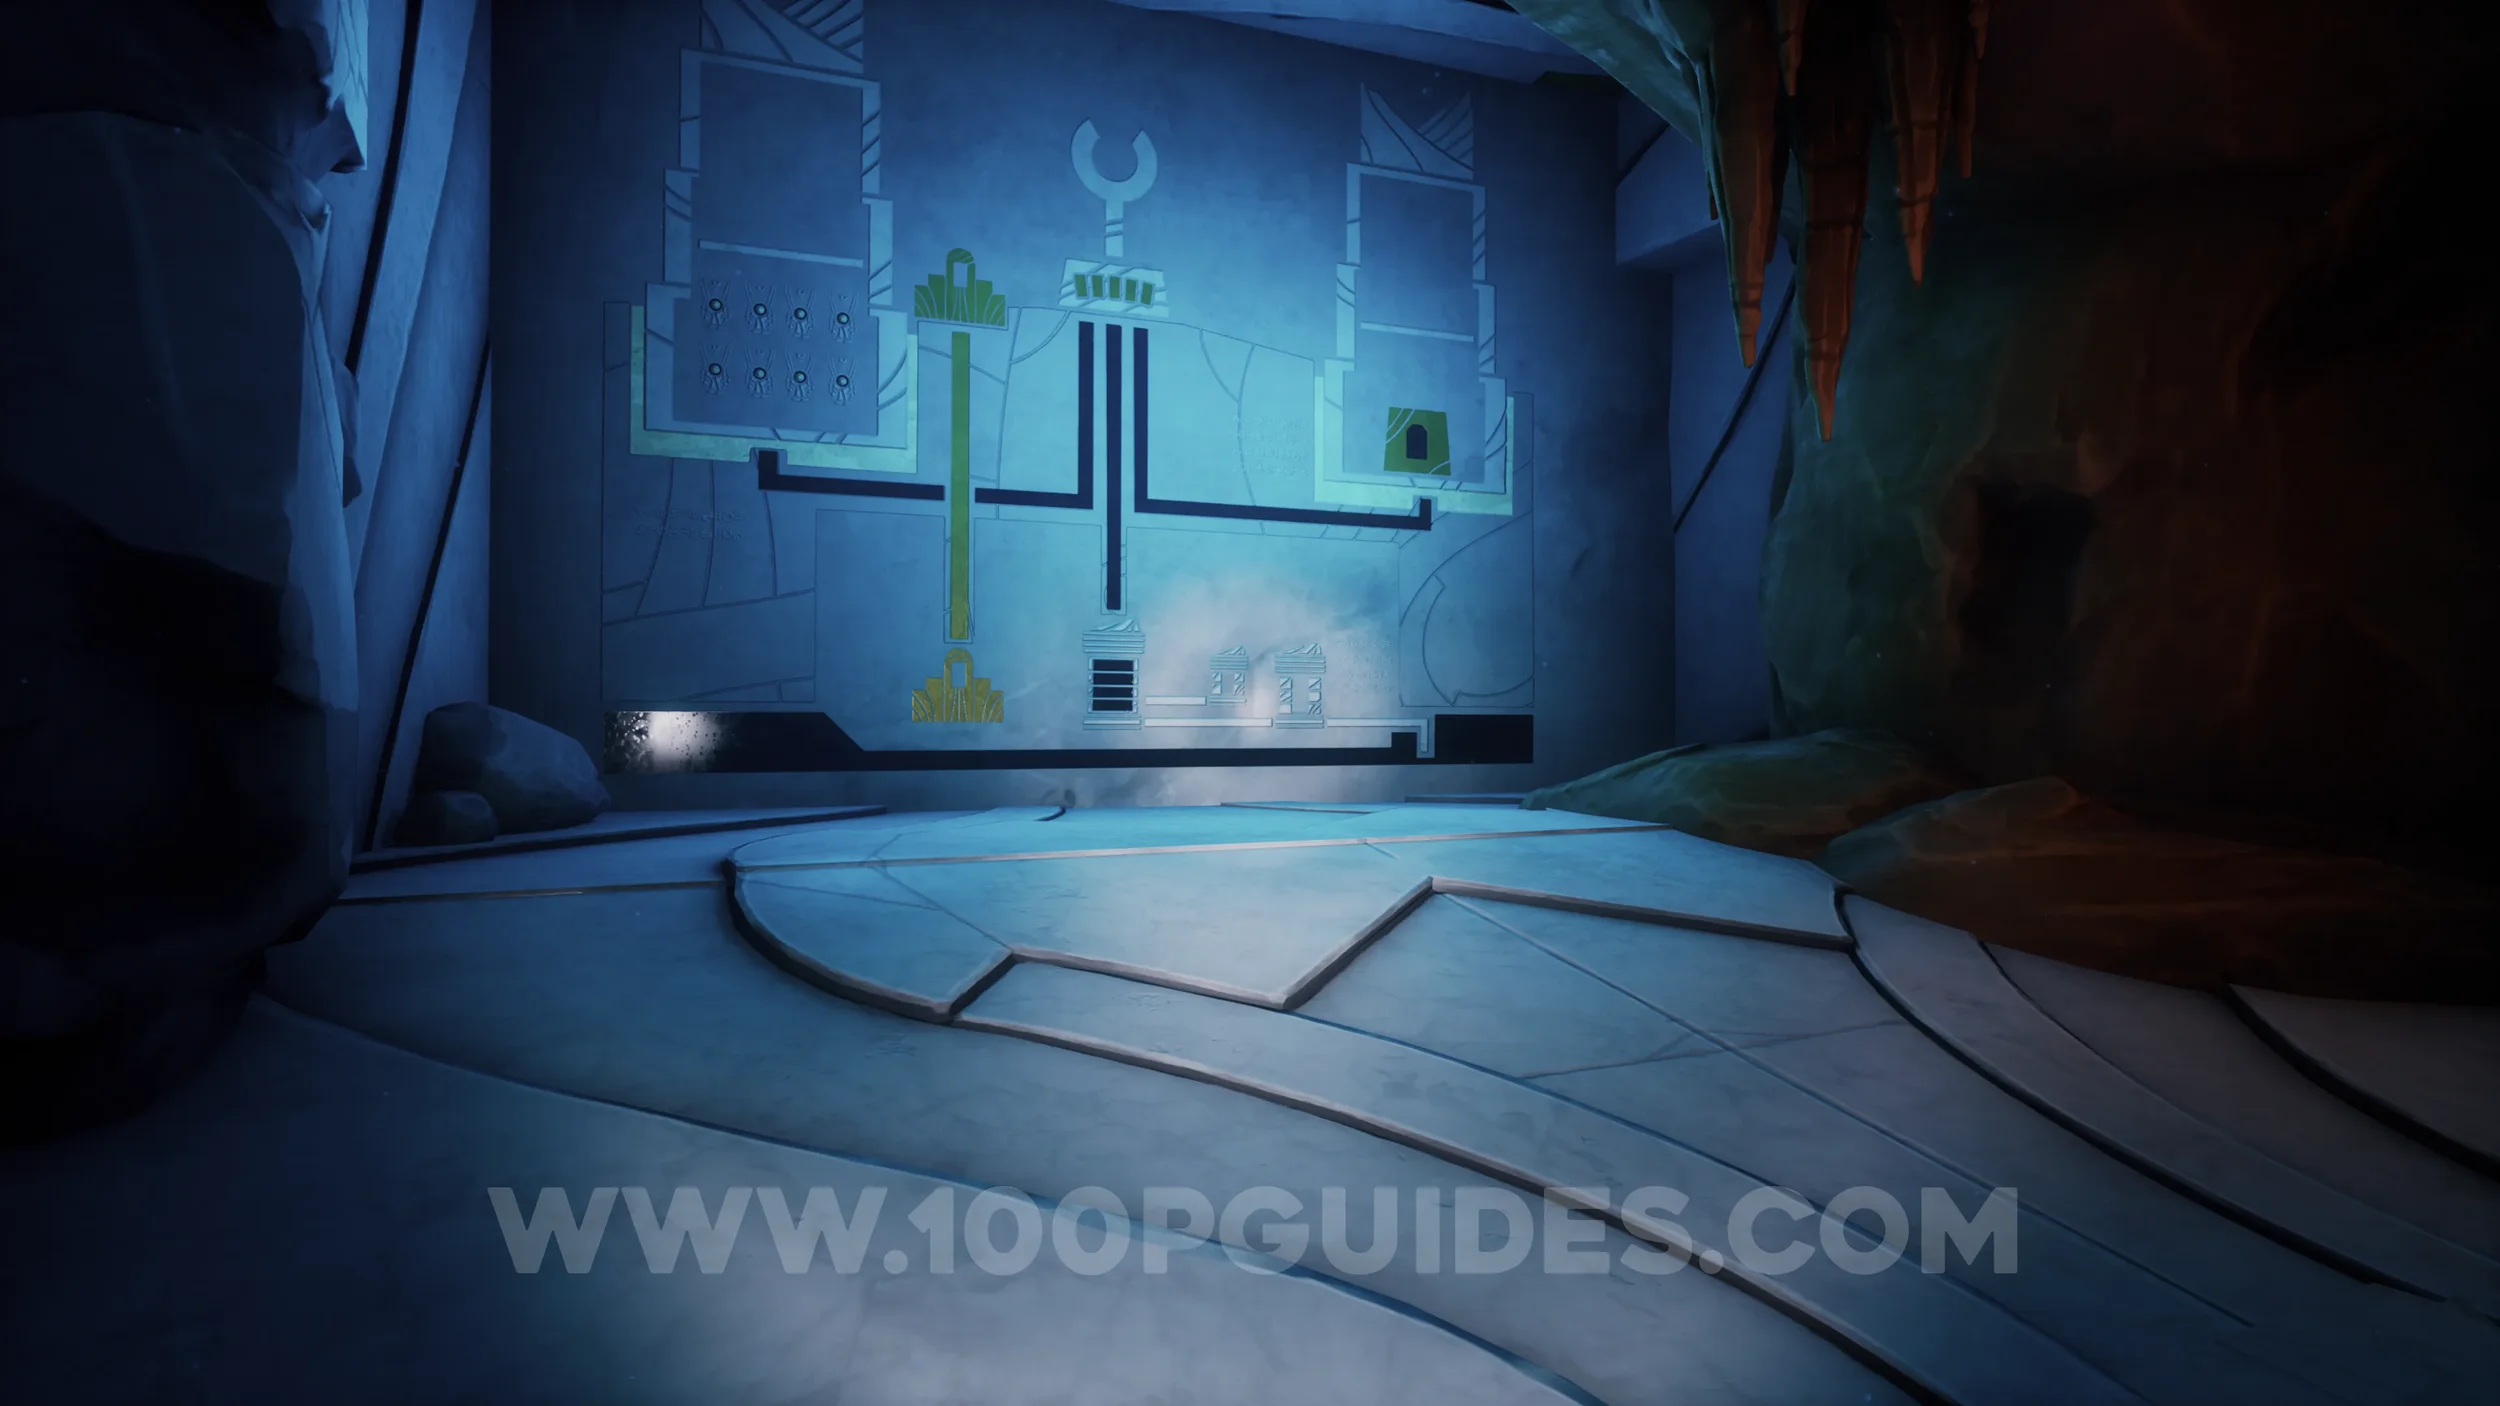
Clue #35. After solving the underwater cave puzzle, you will take control of the professor above ground and gain access to the “piano” keys. First press 1-2-4-5 to raise the two buildings. Then rotate them anticlockwise by pressing 1-1-4-4. Enter the building on the left and examine the mural inside.
Clue #36. Rotate the buildings clockwise so they return to their original position by pressing 4-4-1-1. Then raise them further by pressing 1-2-4-5. Enter the building on the right to find another mural beside the slot where you place the main puzzle statuette.
CHAPTER 3
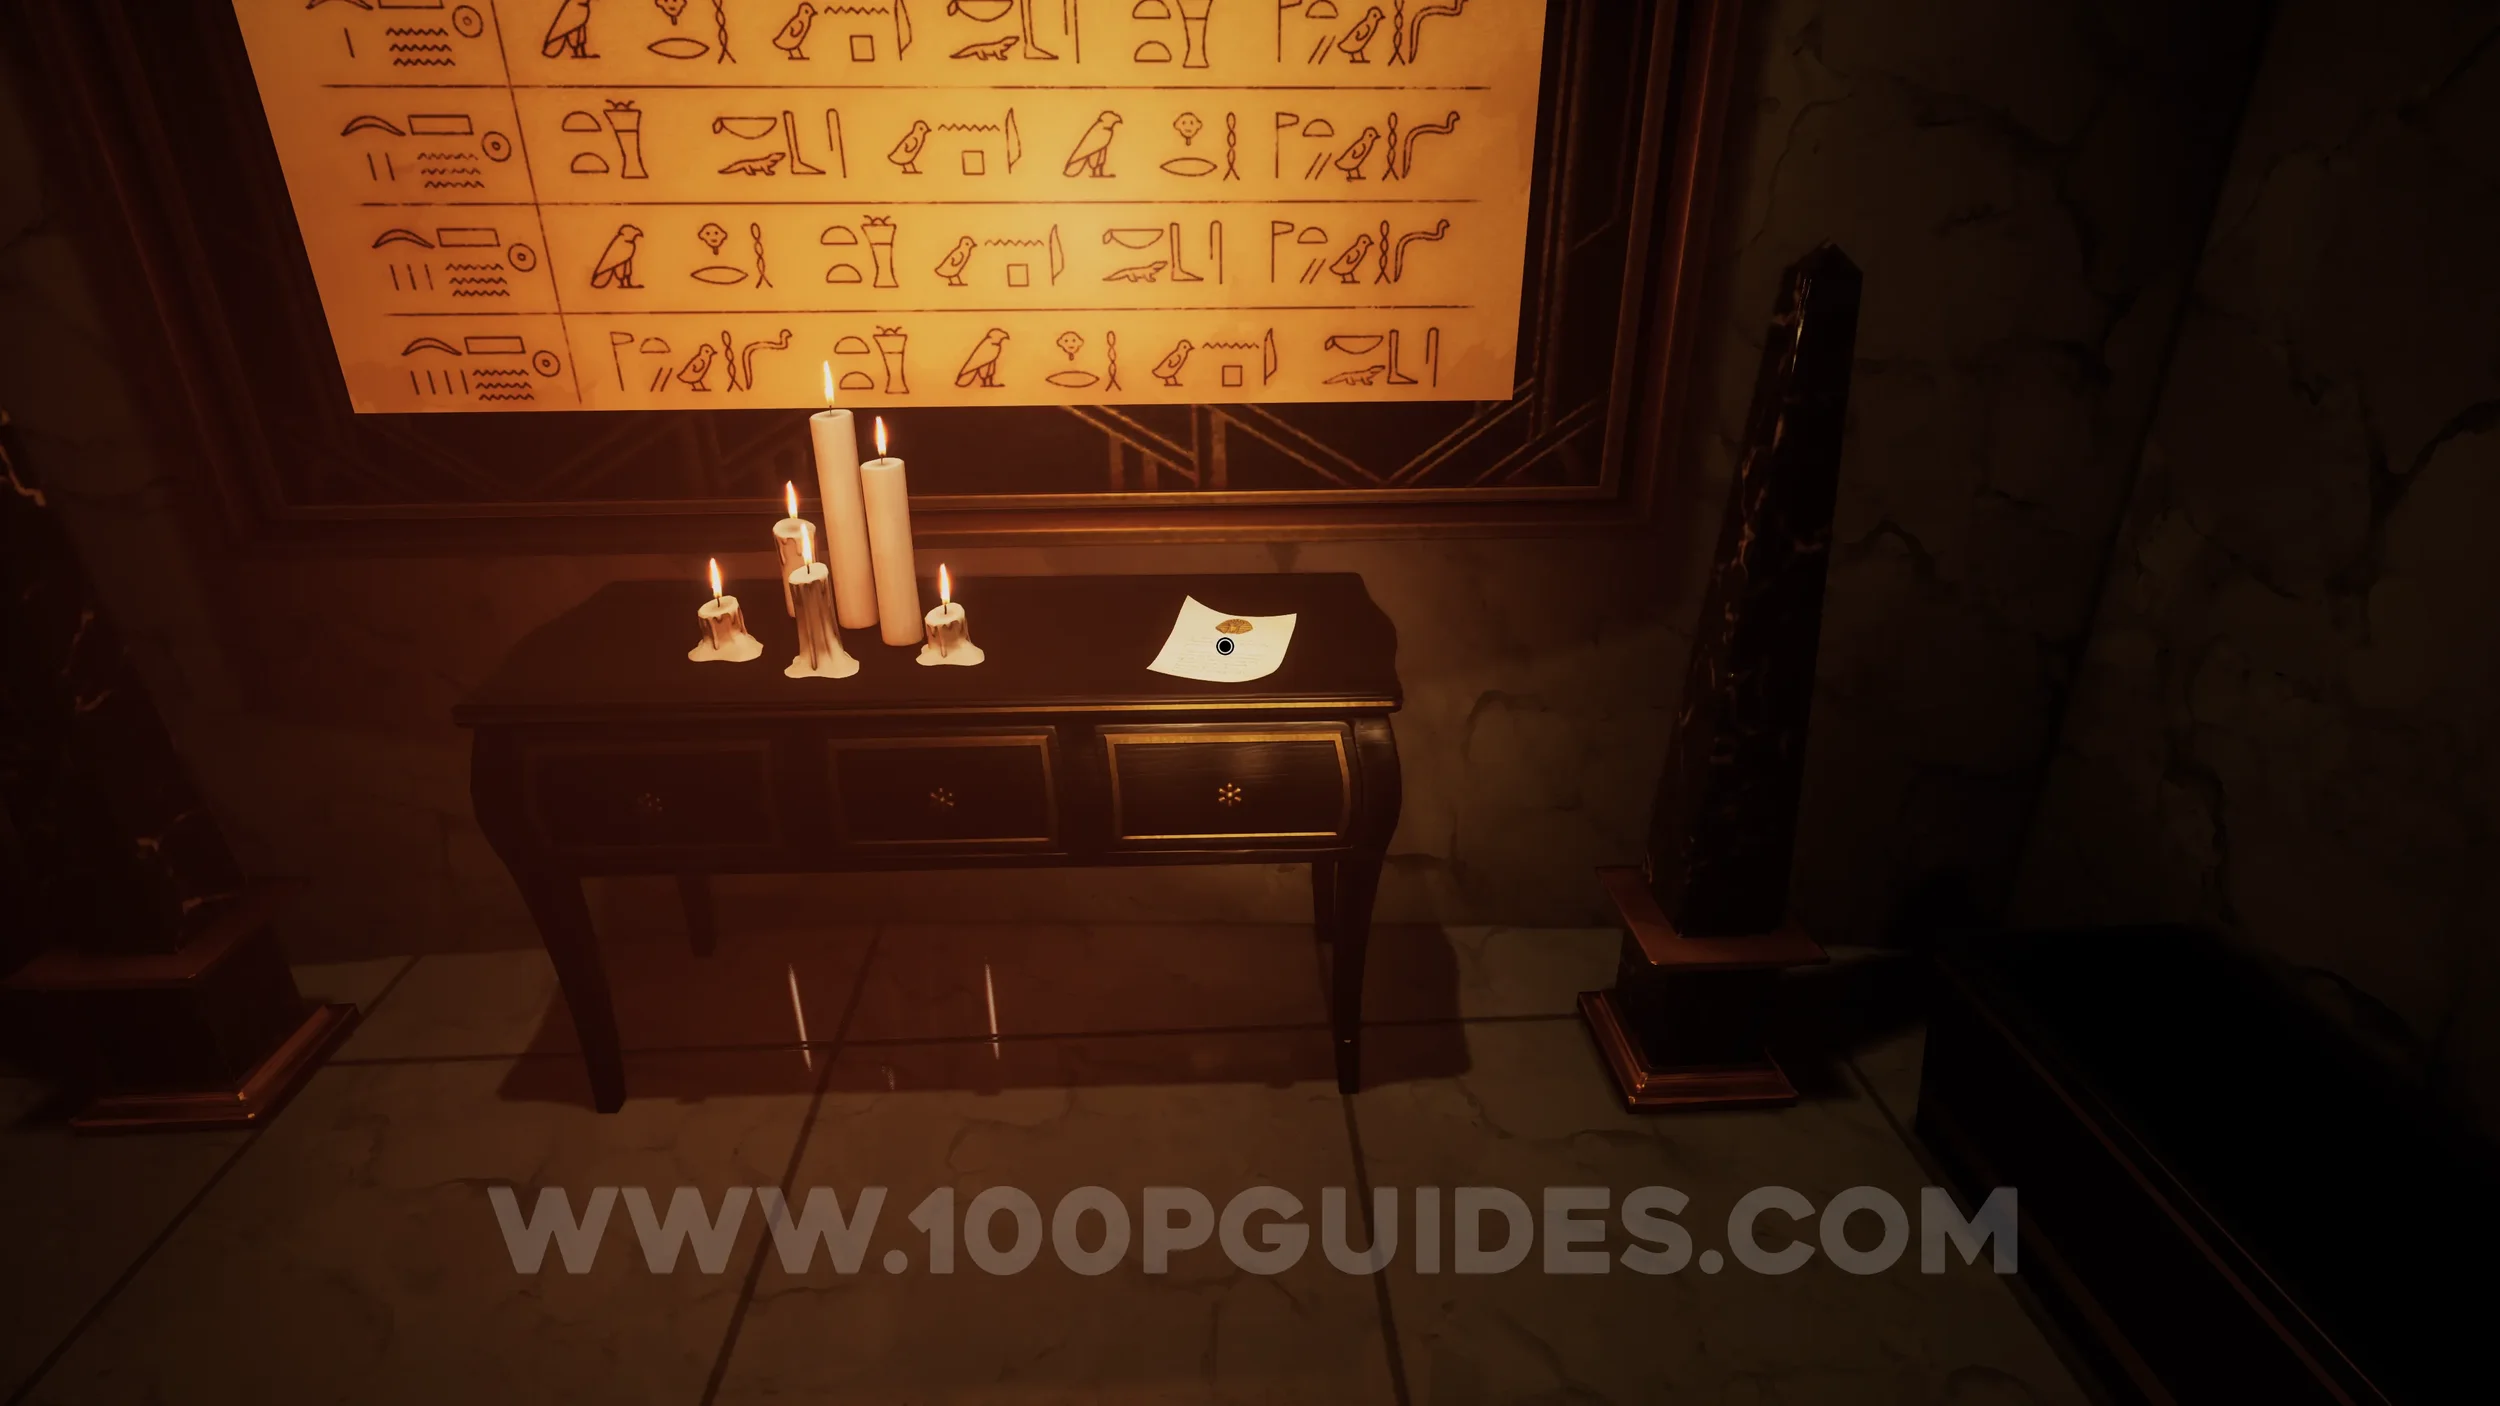
Clue #37. Once you reach the main puzzle in the circular room with the large Egyptian statues, examine the hieroglyphs on the wall.
Clue #38. The paper below the hieroglyphs.
Clue #39. Head upstairs and solve the pyramid puzzle. Then go up the stairs on the left side and enter the first door to find the clue.
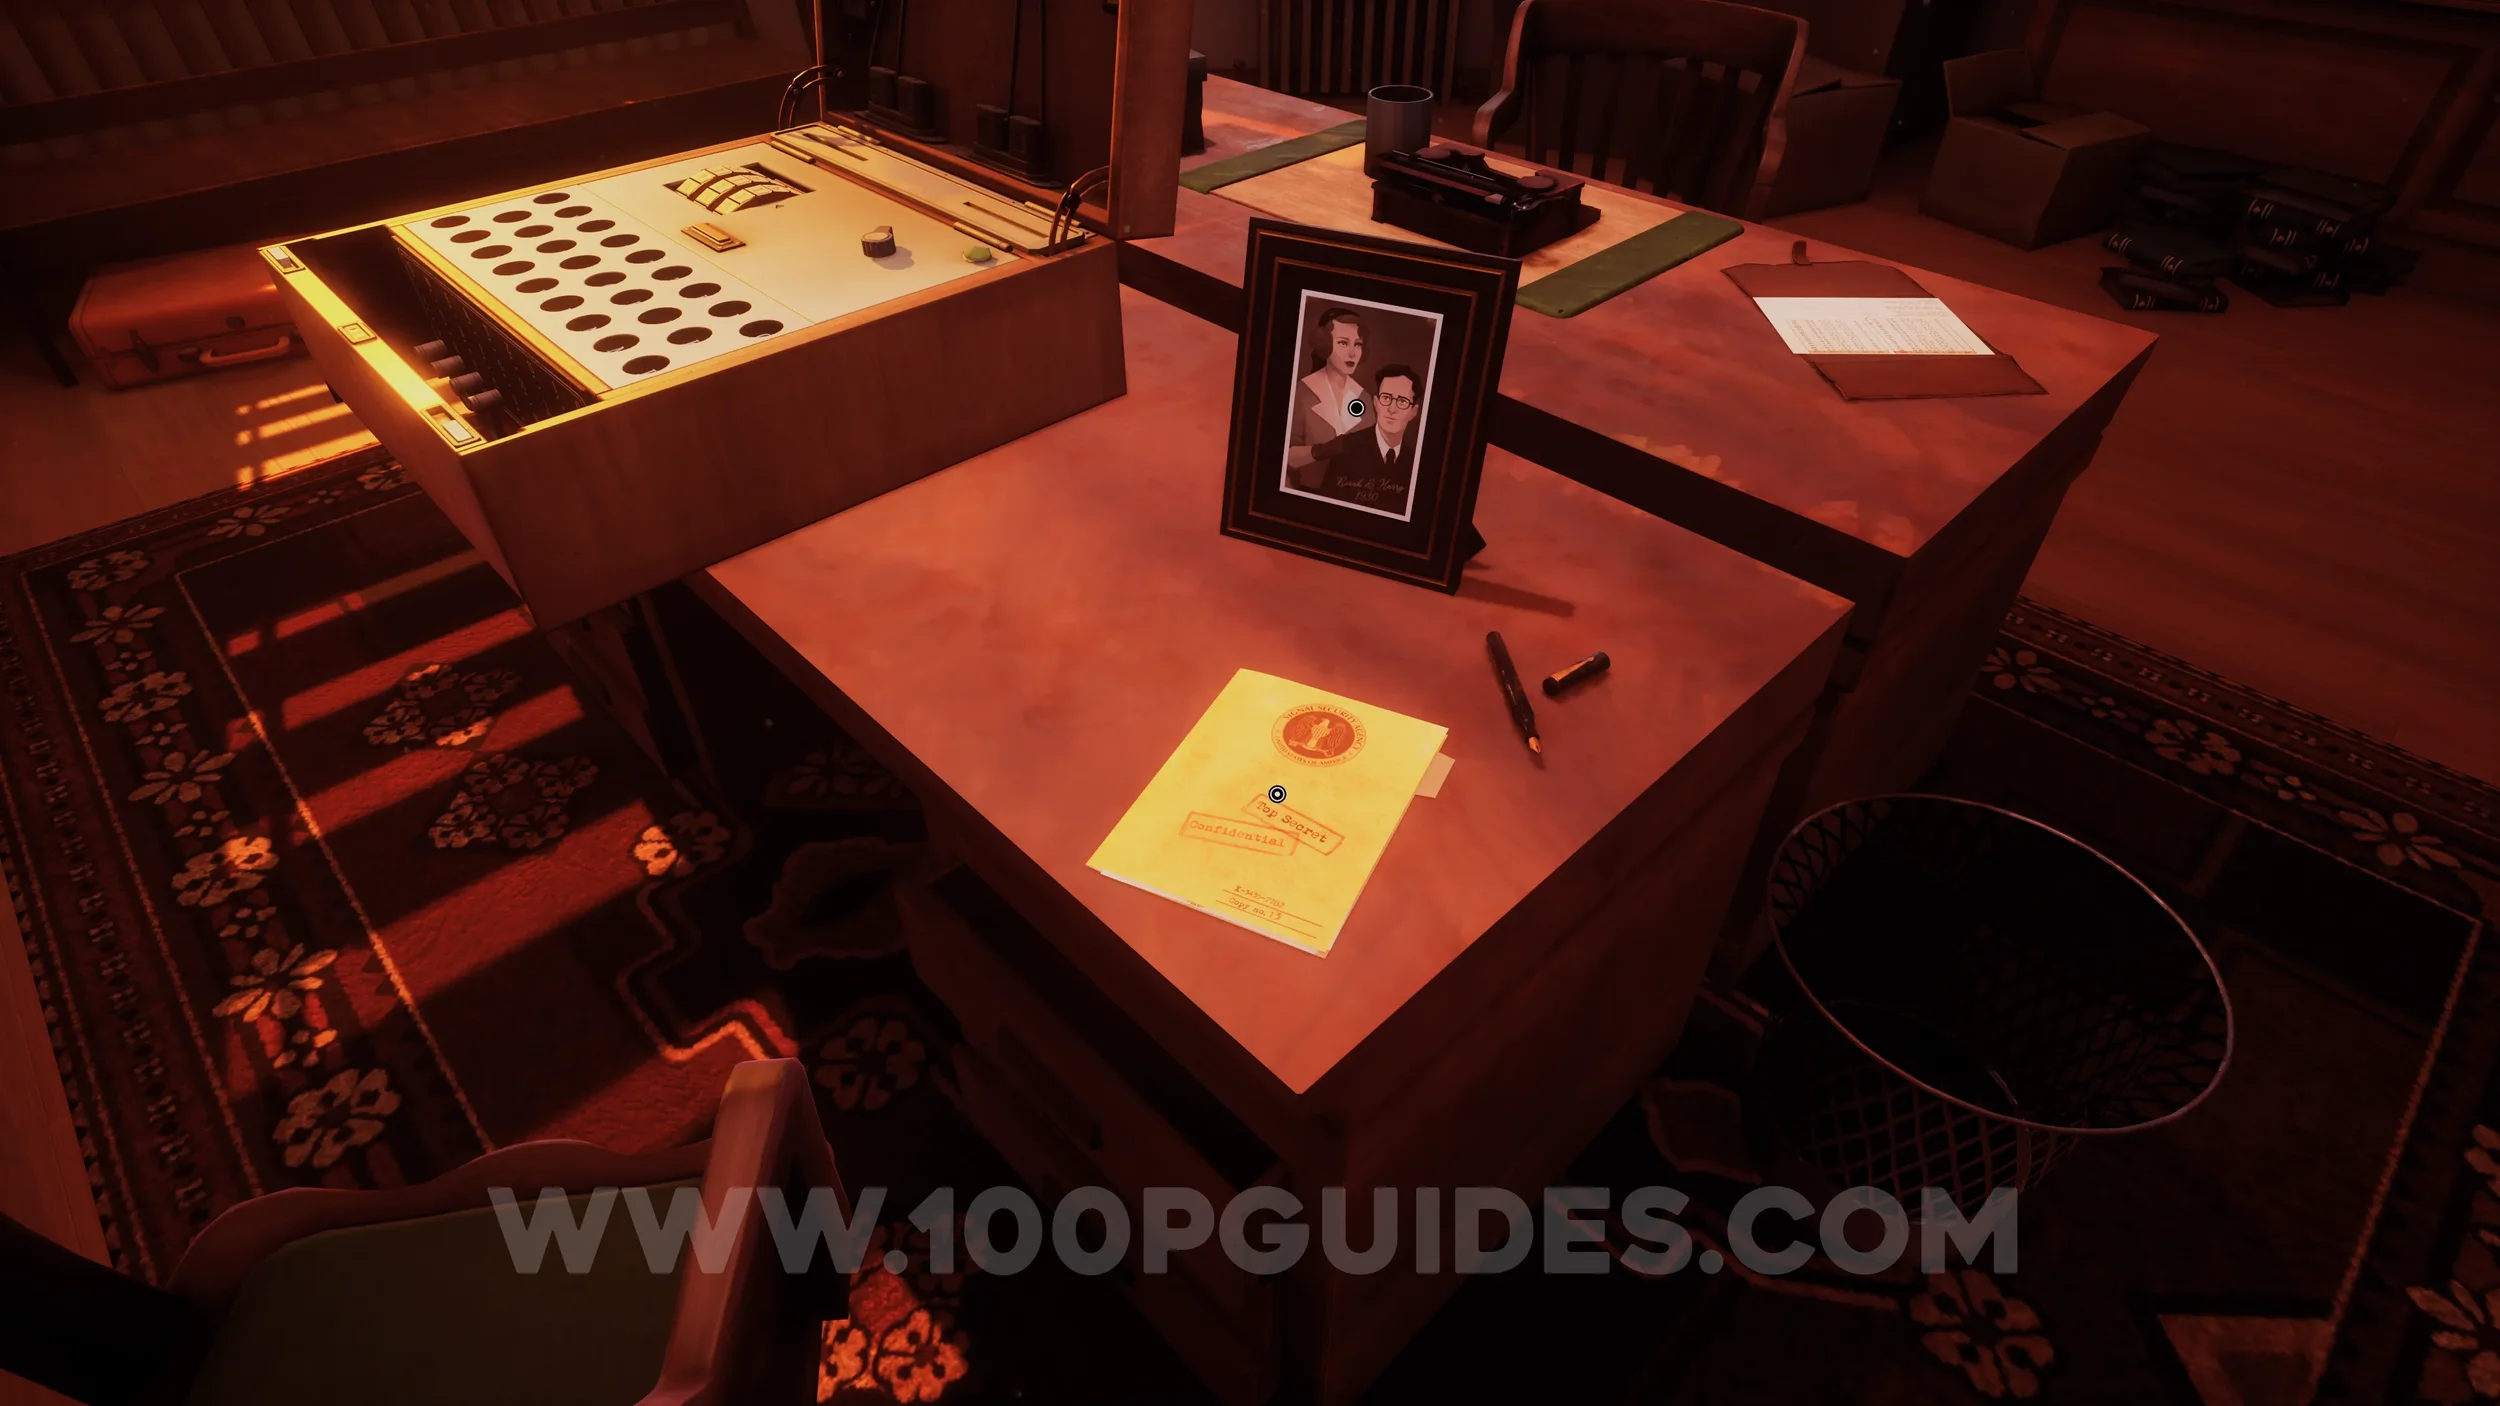
Clue #40. The clue can be found on the table to your left after going through the door mentioned in the previous clue.
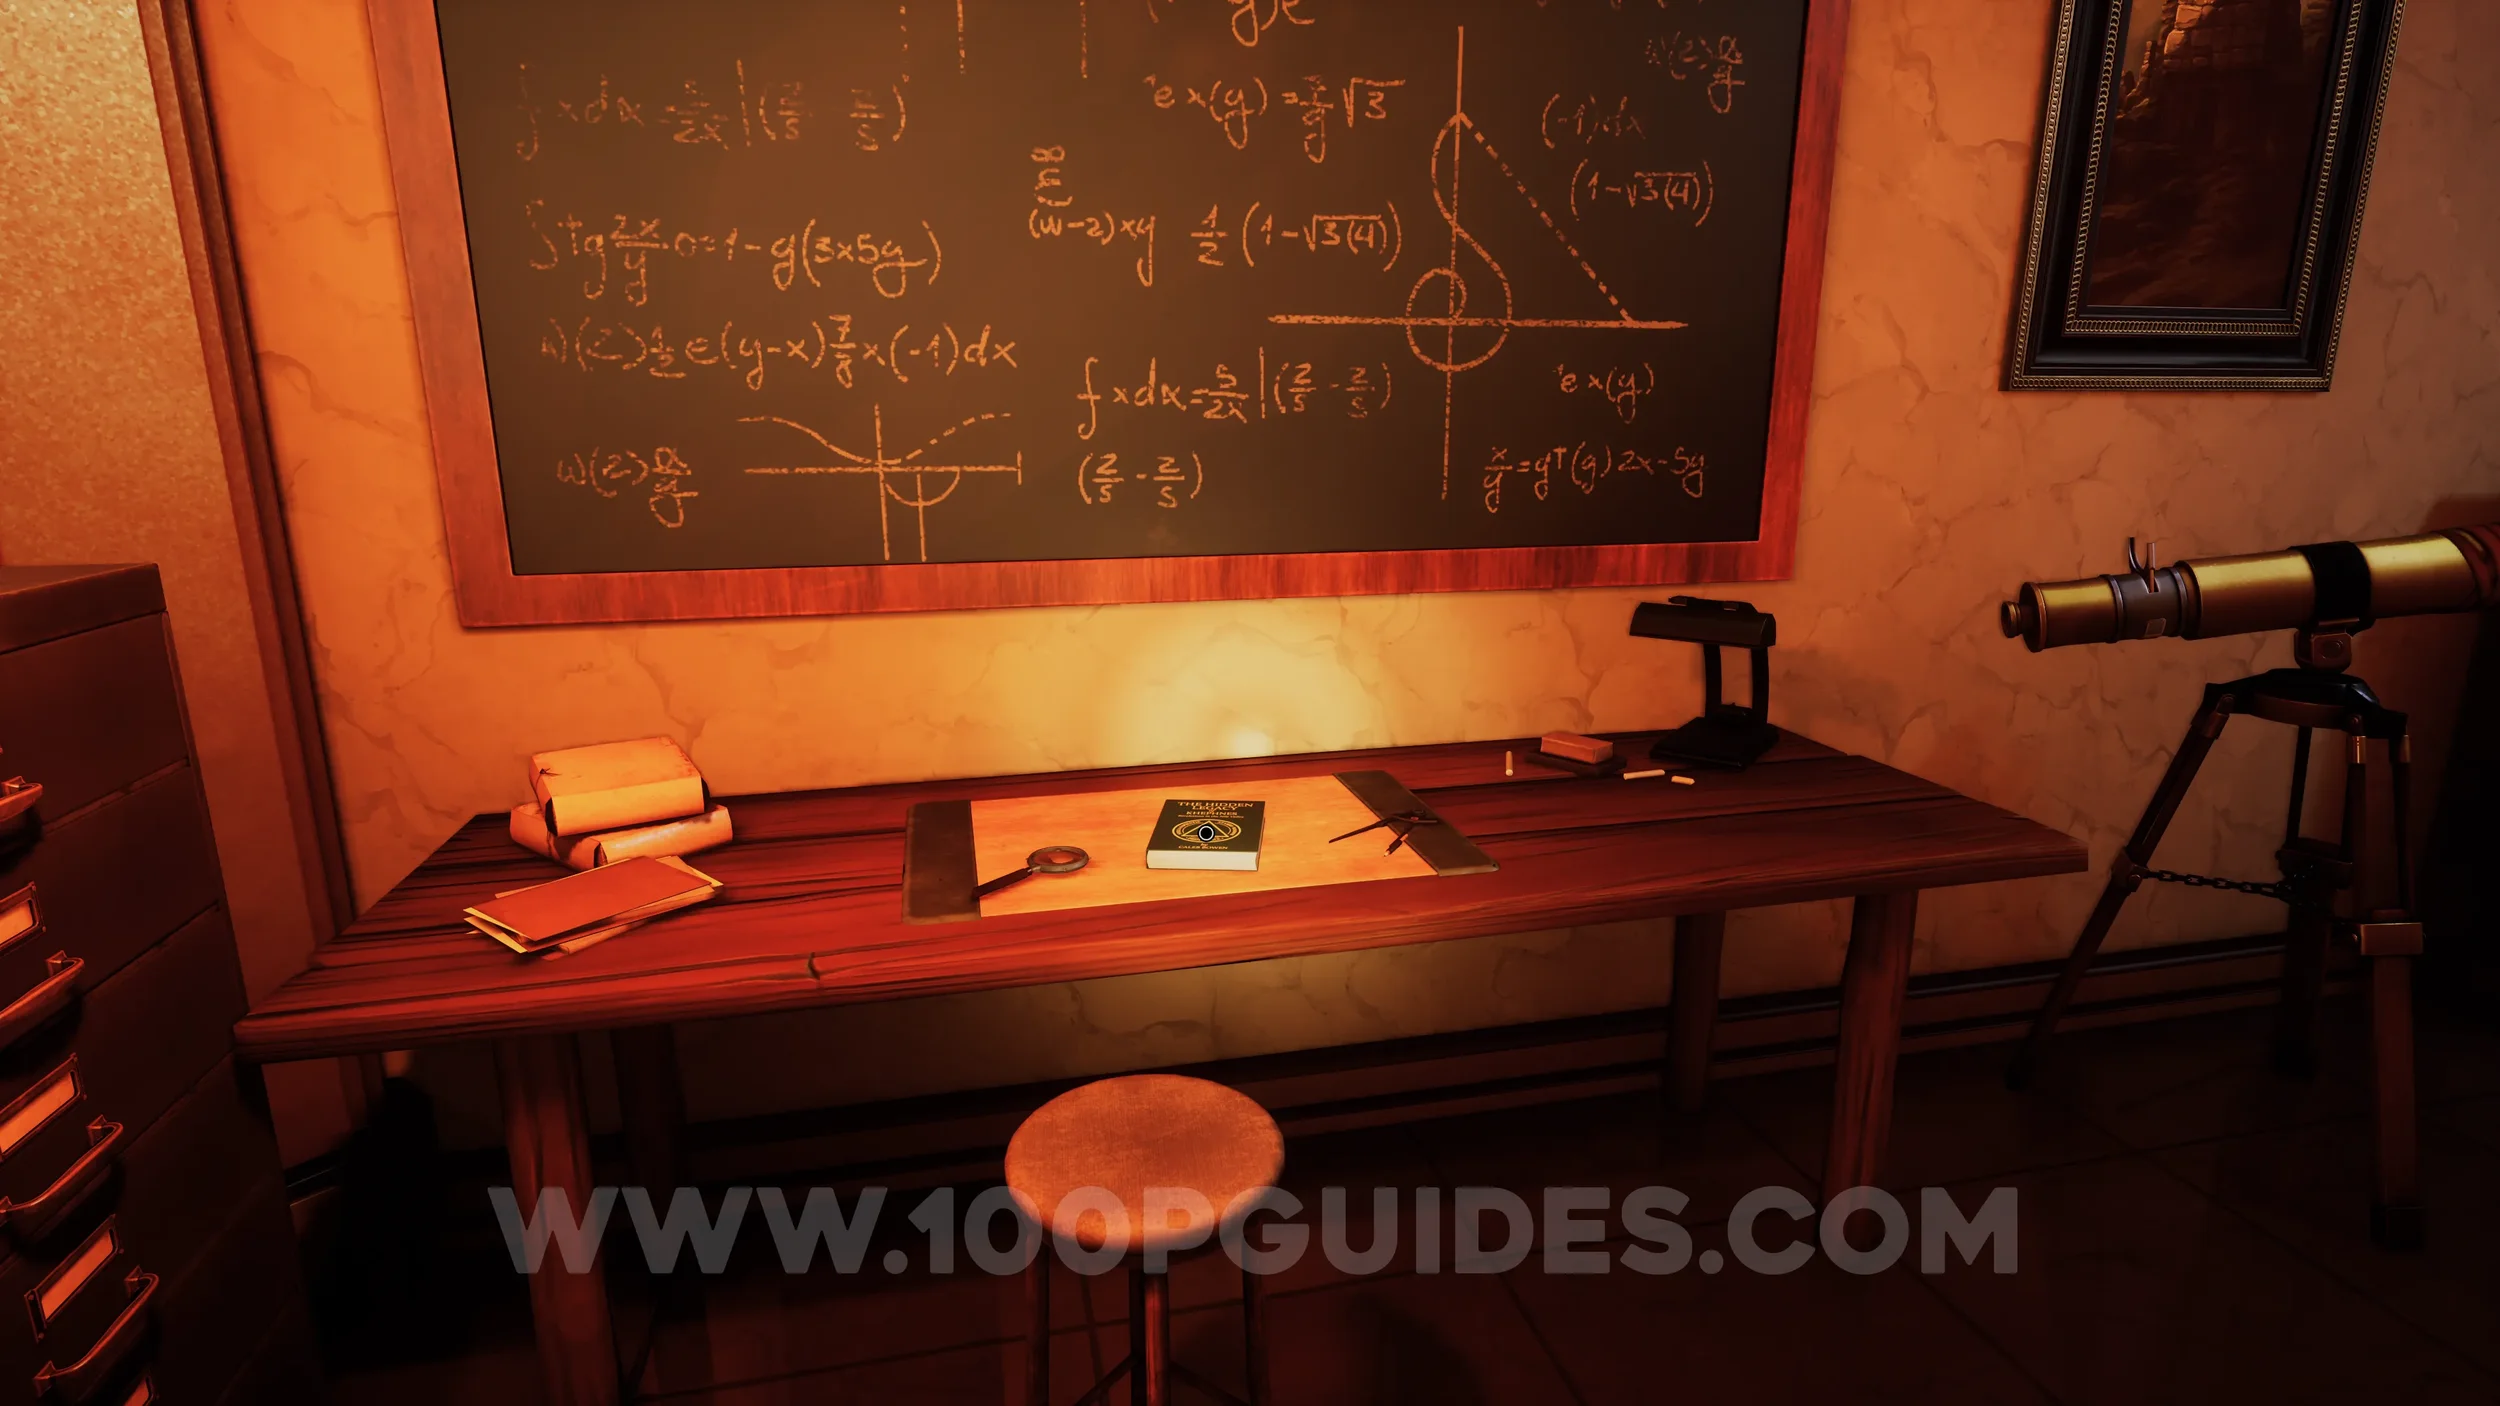
Clue #41. On the desk in the same room as the previous clue.
Clue #42. On the right side of the same office as the previous clue.
Clue #43. Obtained when entering the next office.
Clue #44. The clue is located on the left side inside the second office.

Clue #45. Examine the camera in the second office.
Clue #46. On the desk in the second office.
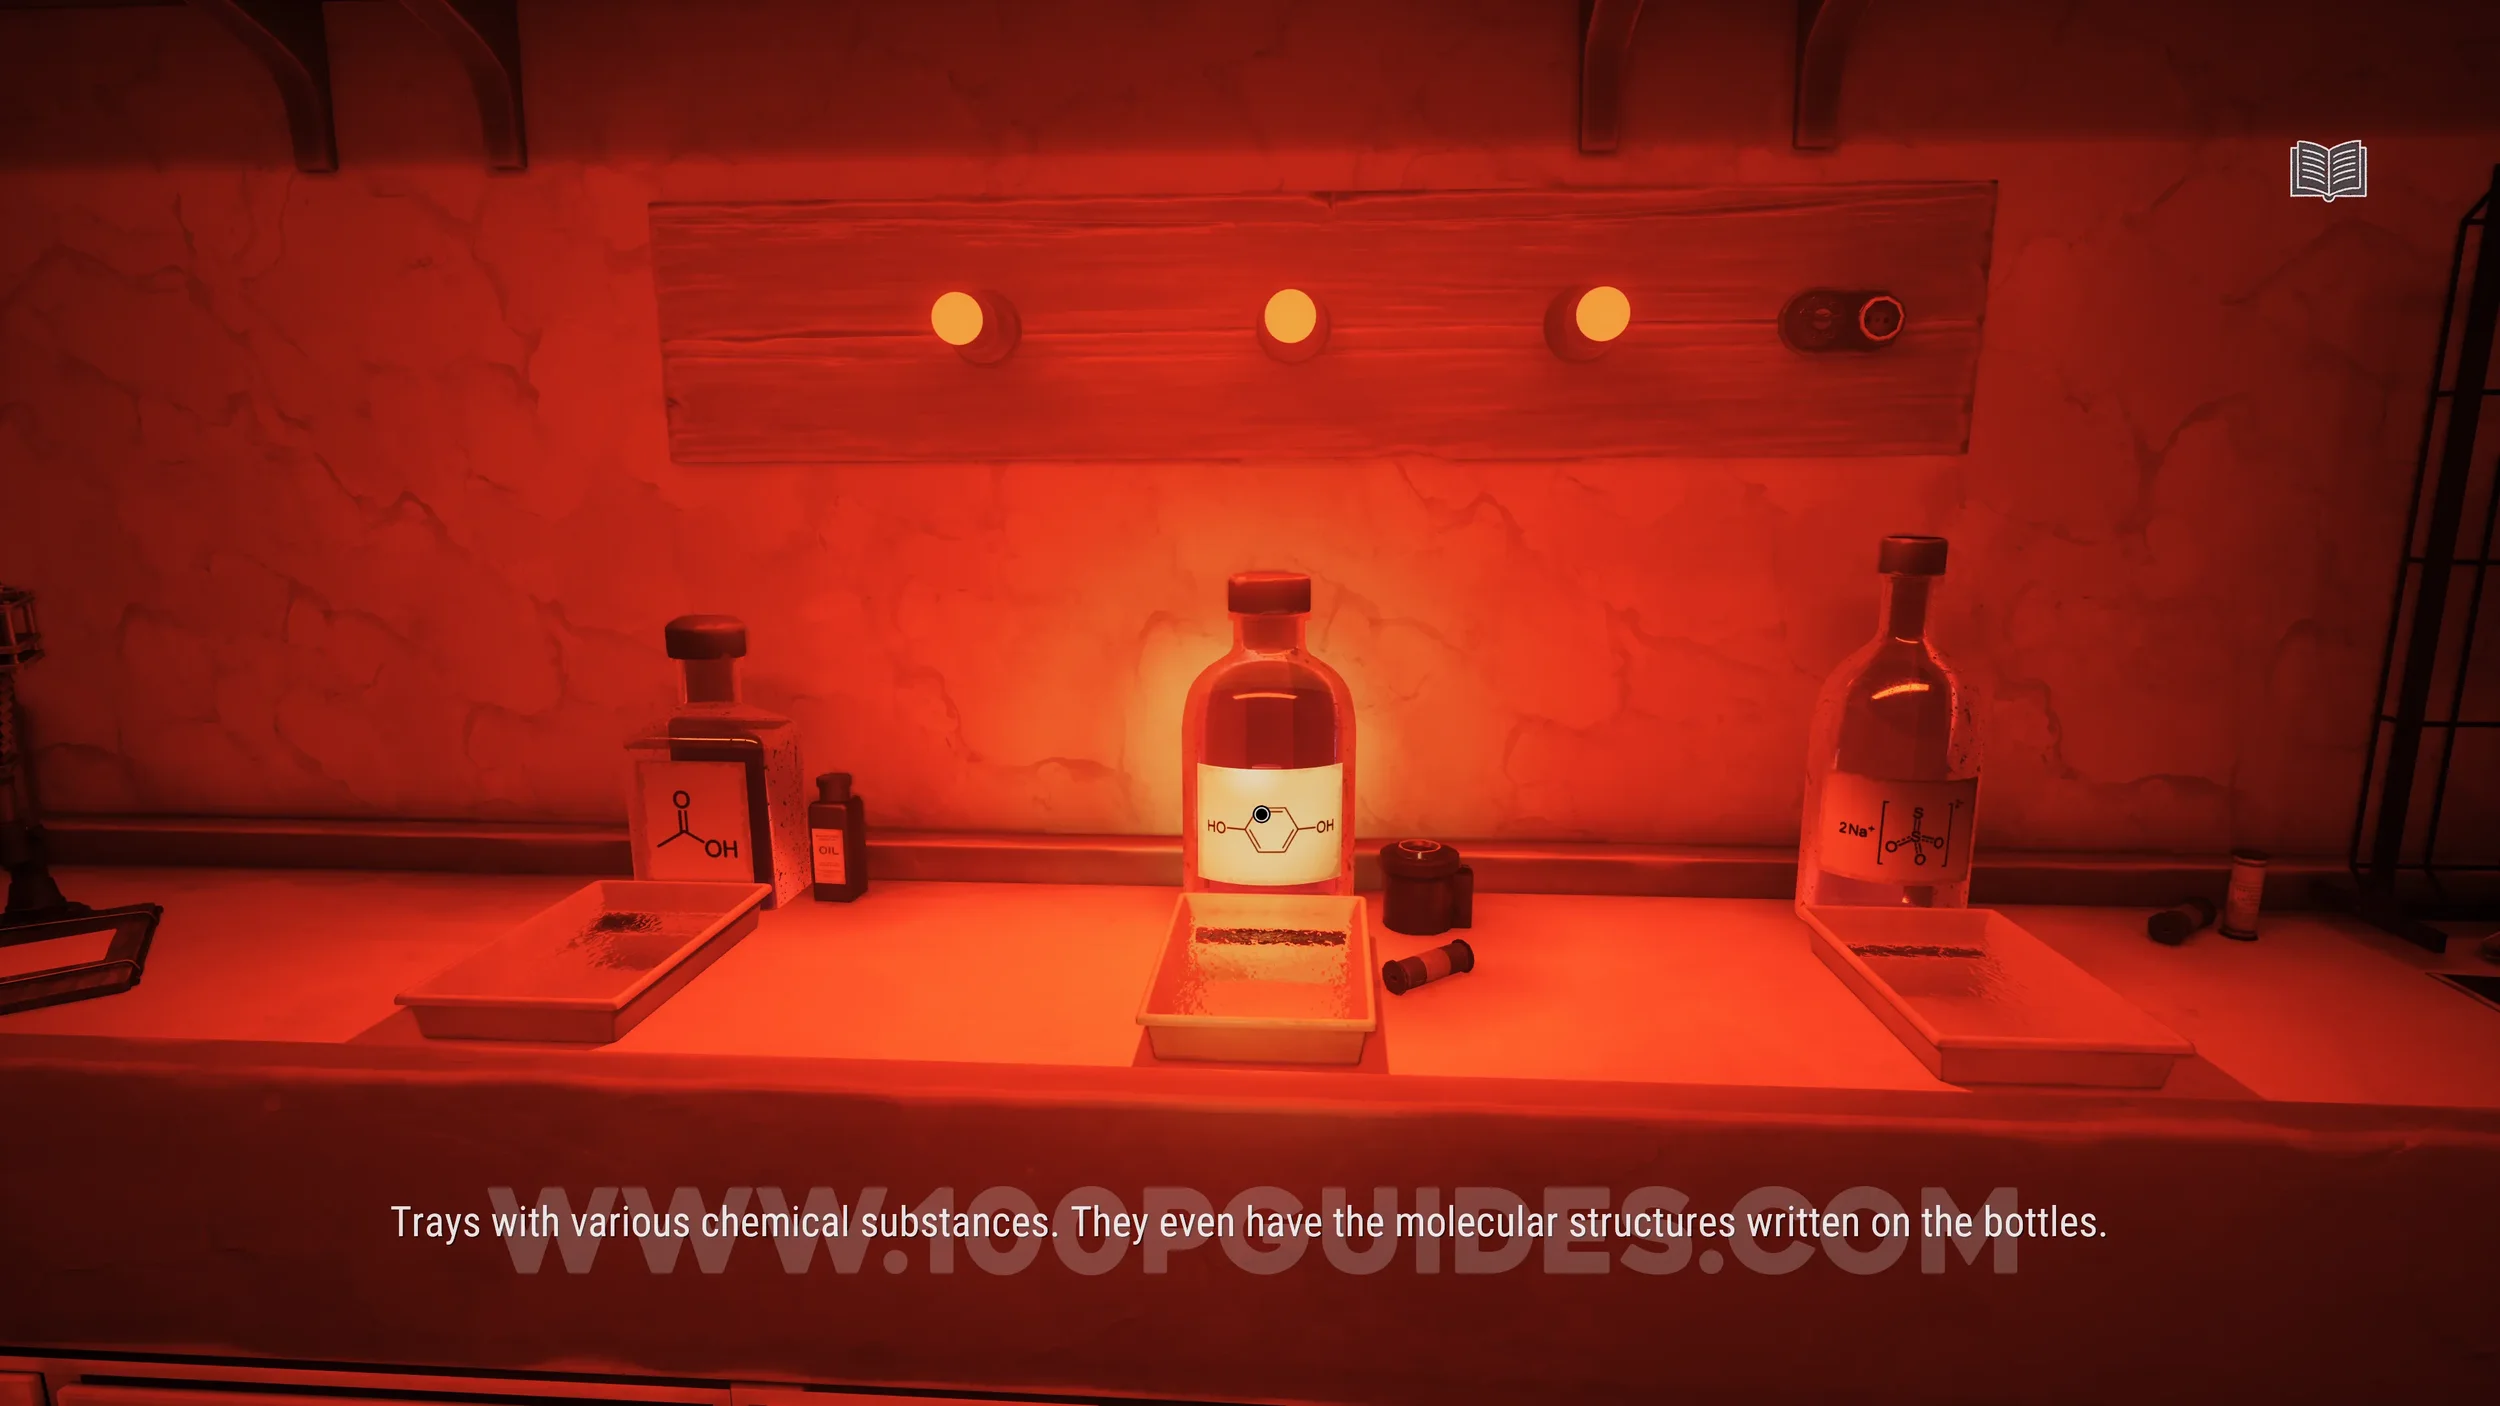
Clue #47. Examine the trays filled with chemicals in the back room of the second office.
Clue #48. Obtained automatically when entering the third office.
Clue #49. The clue can be found on the table to your left inside the third office.
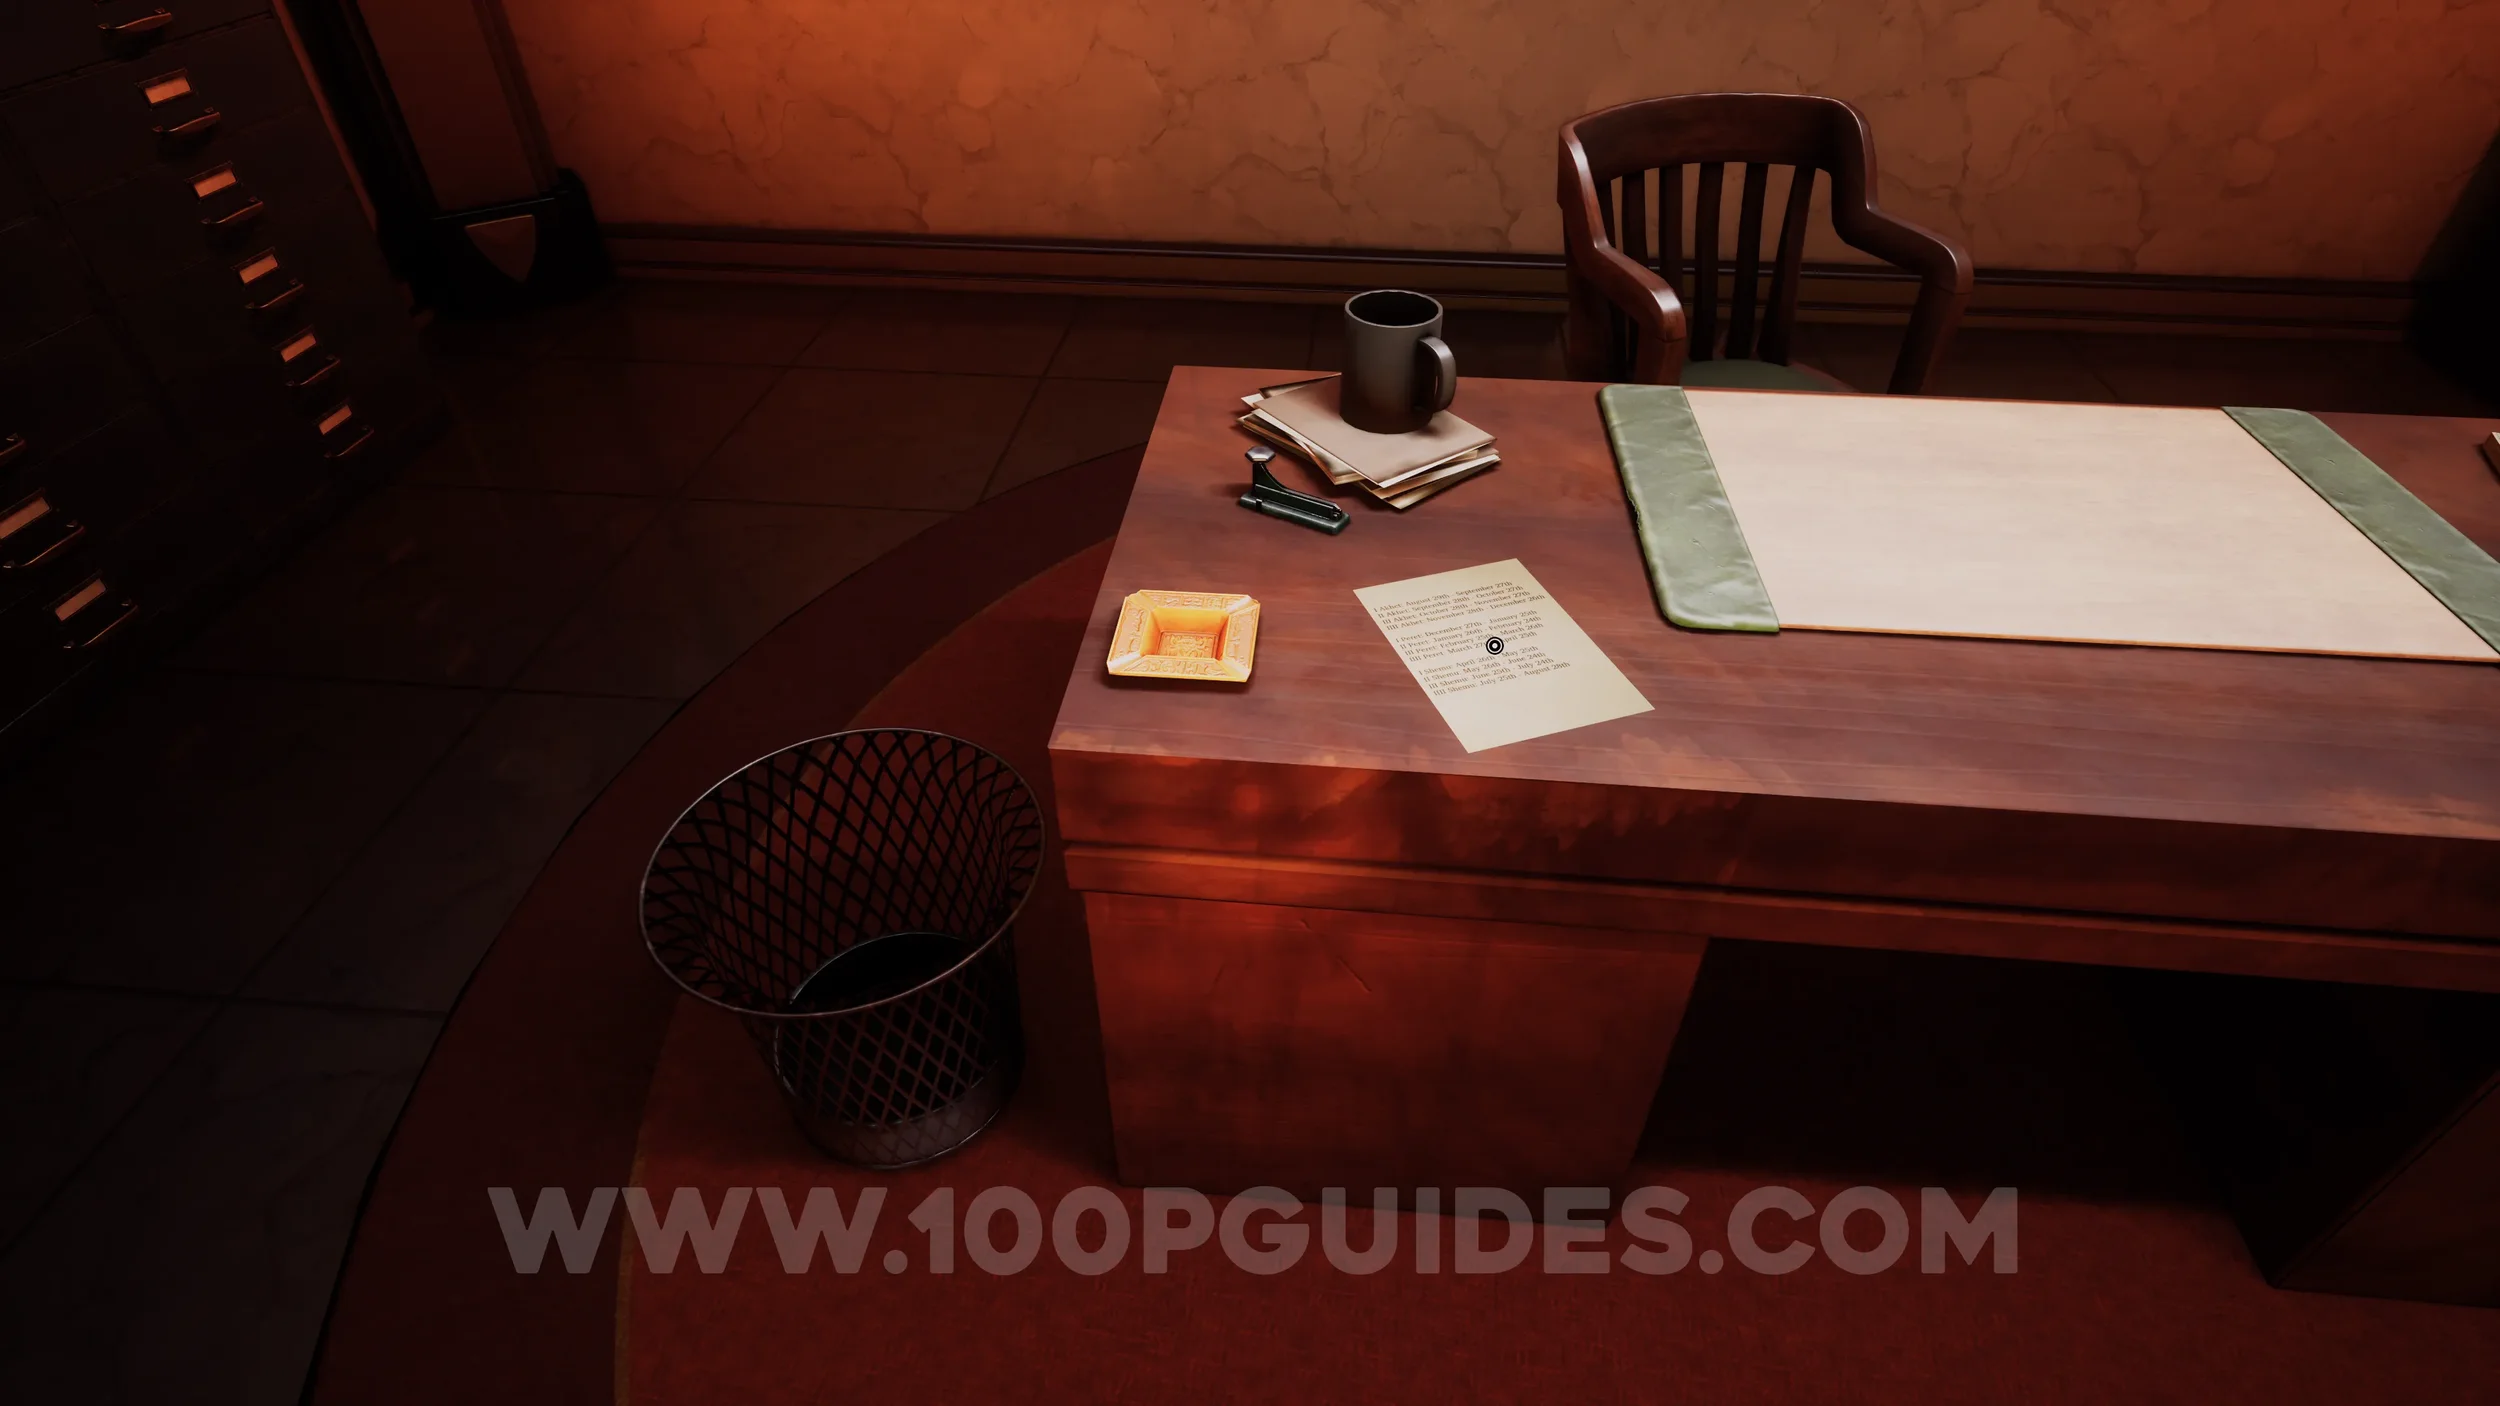
Clue #50. On the desk in the third office.
Clue #51. Also on the desk in the third office.
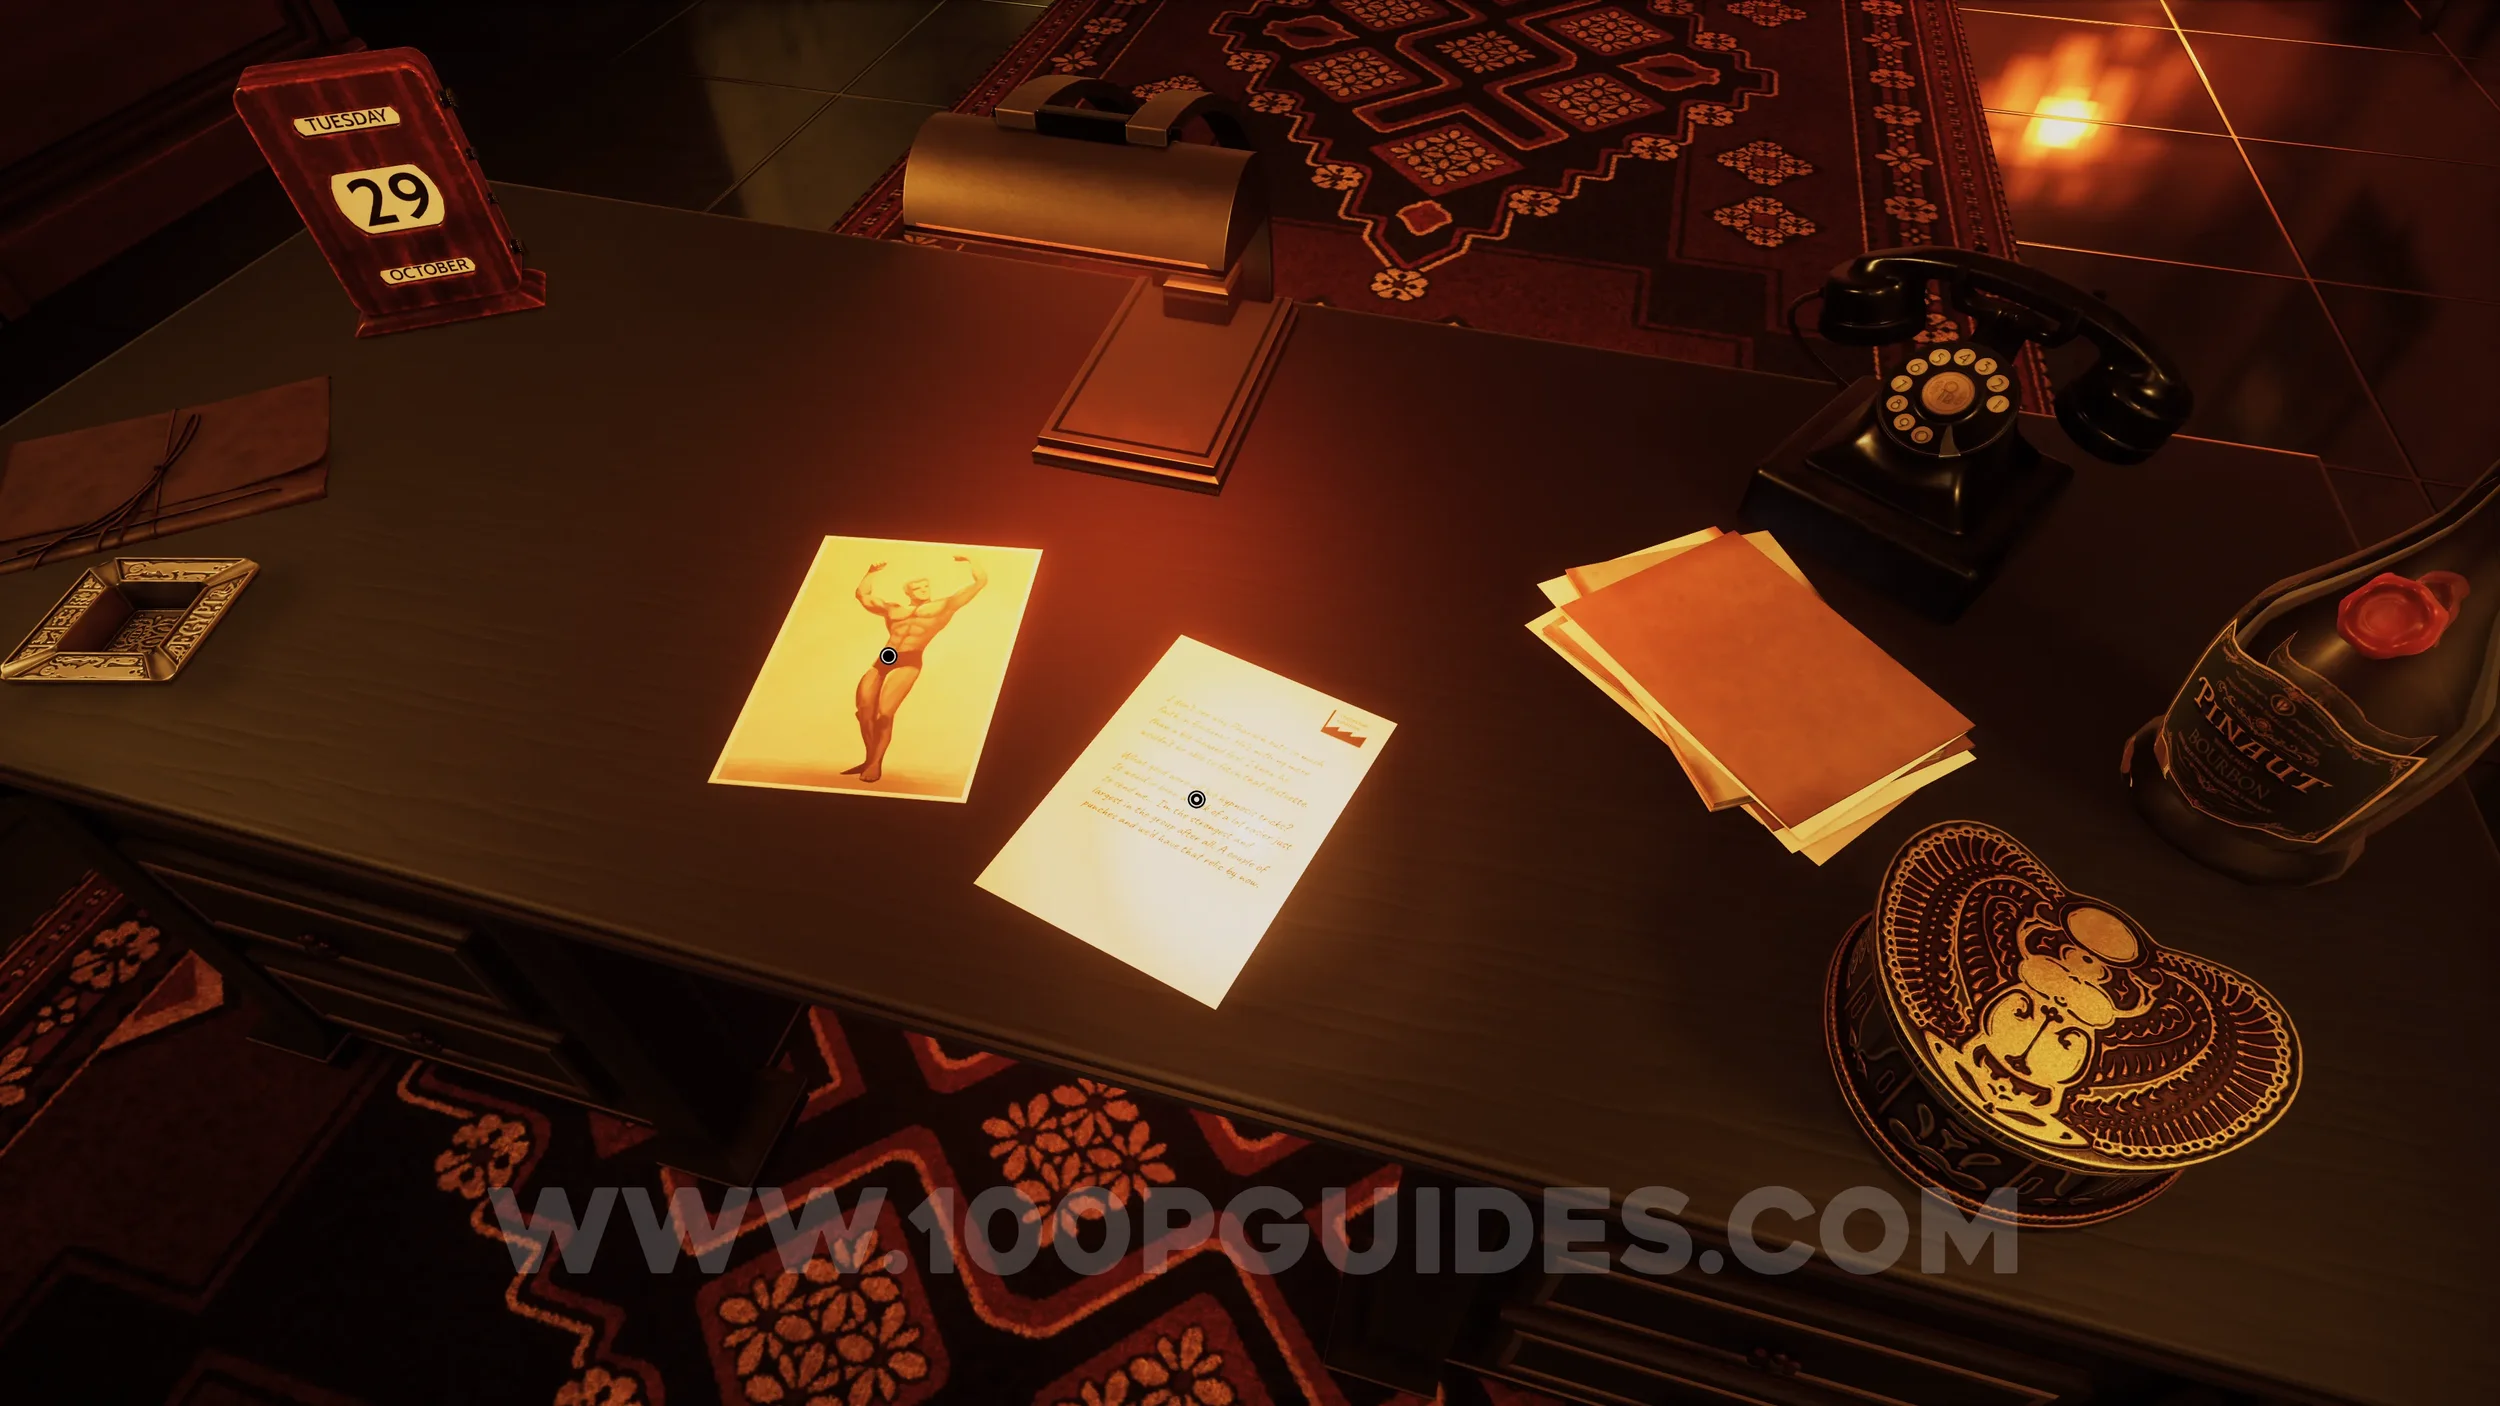
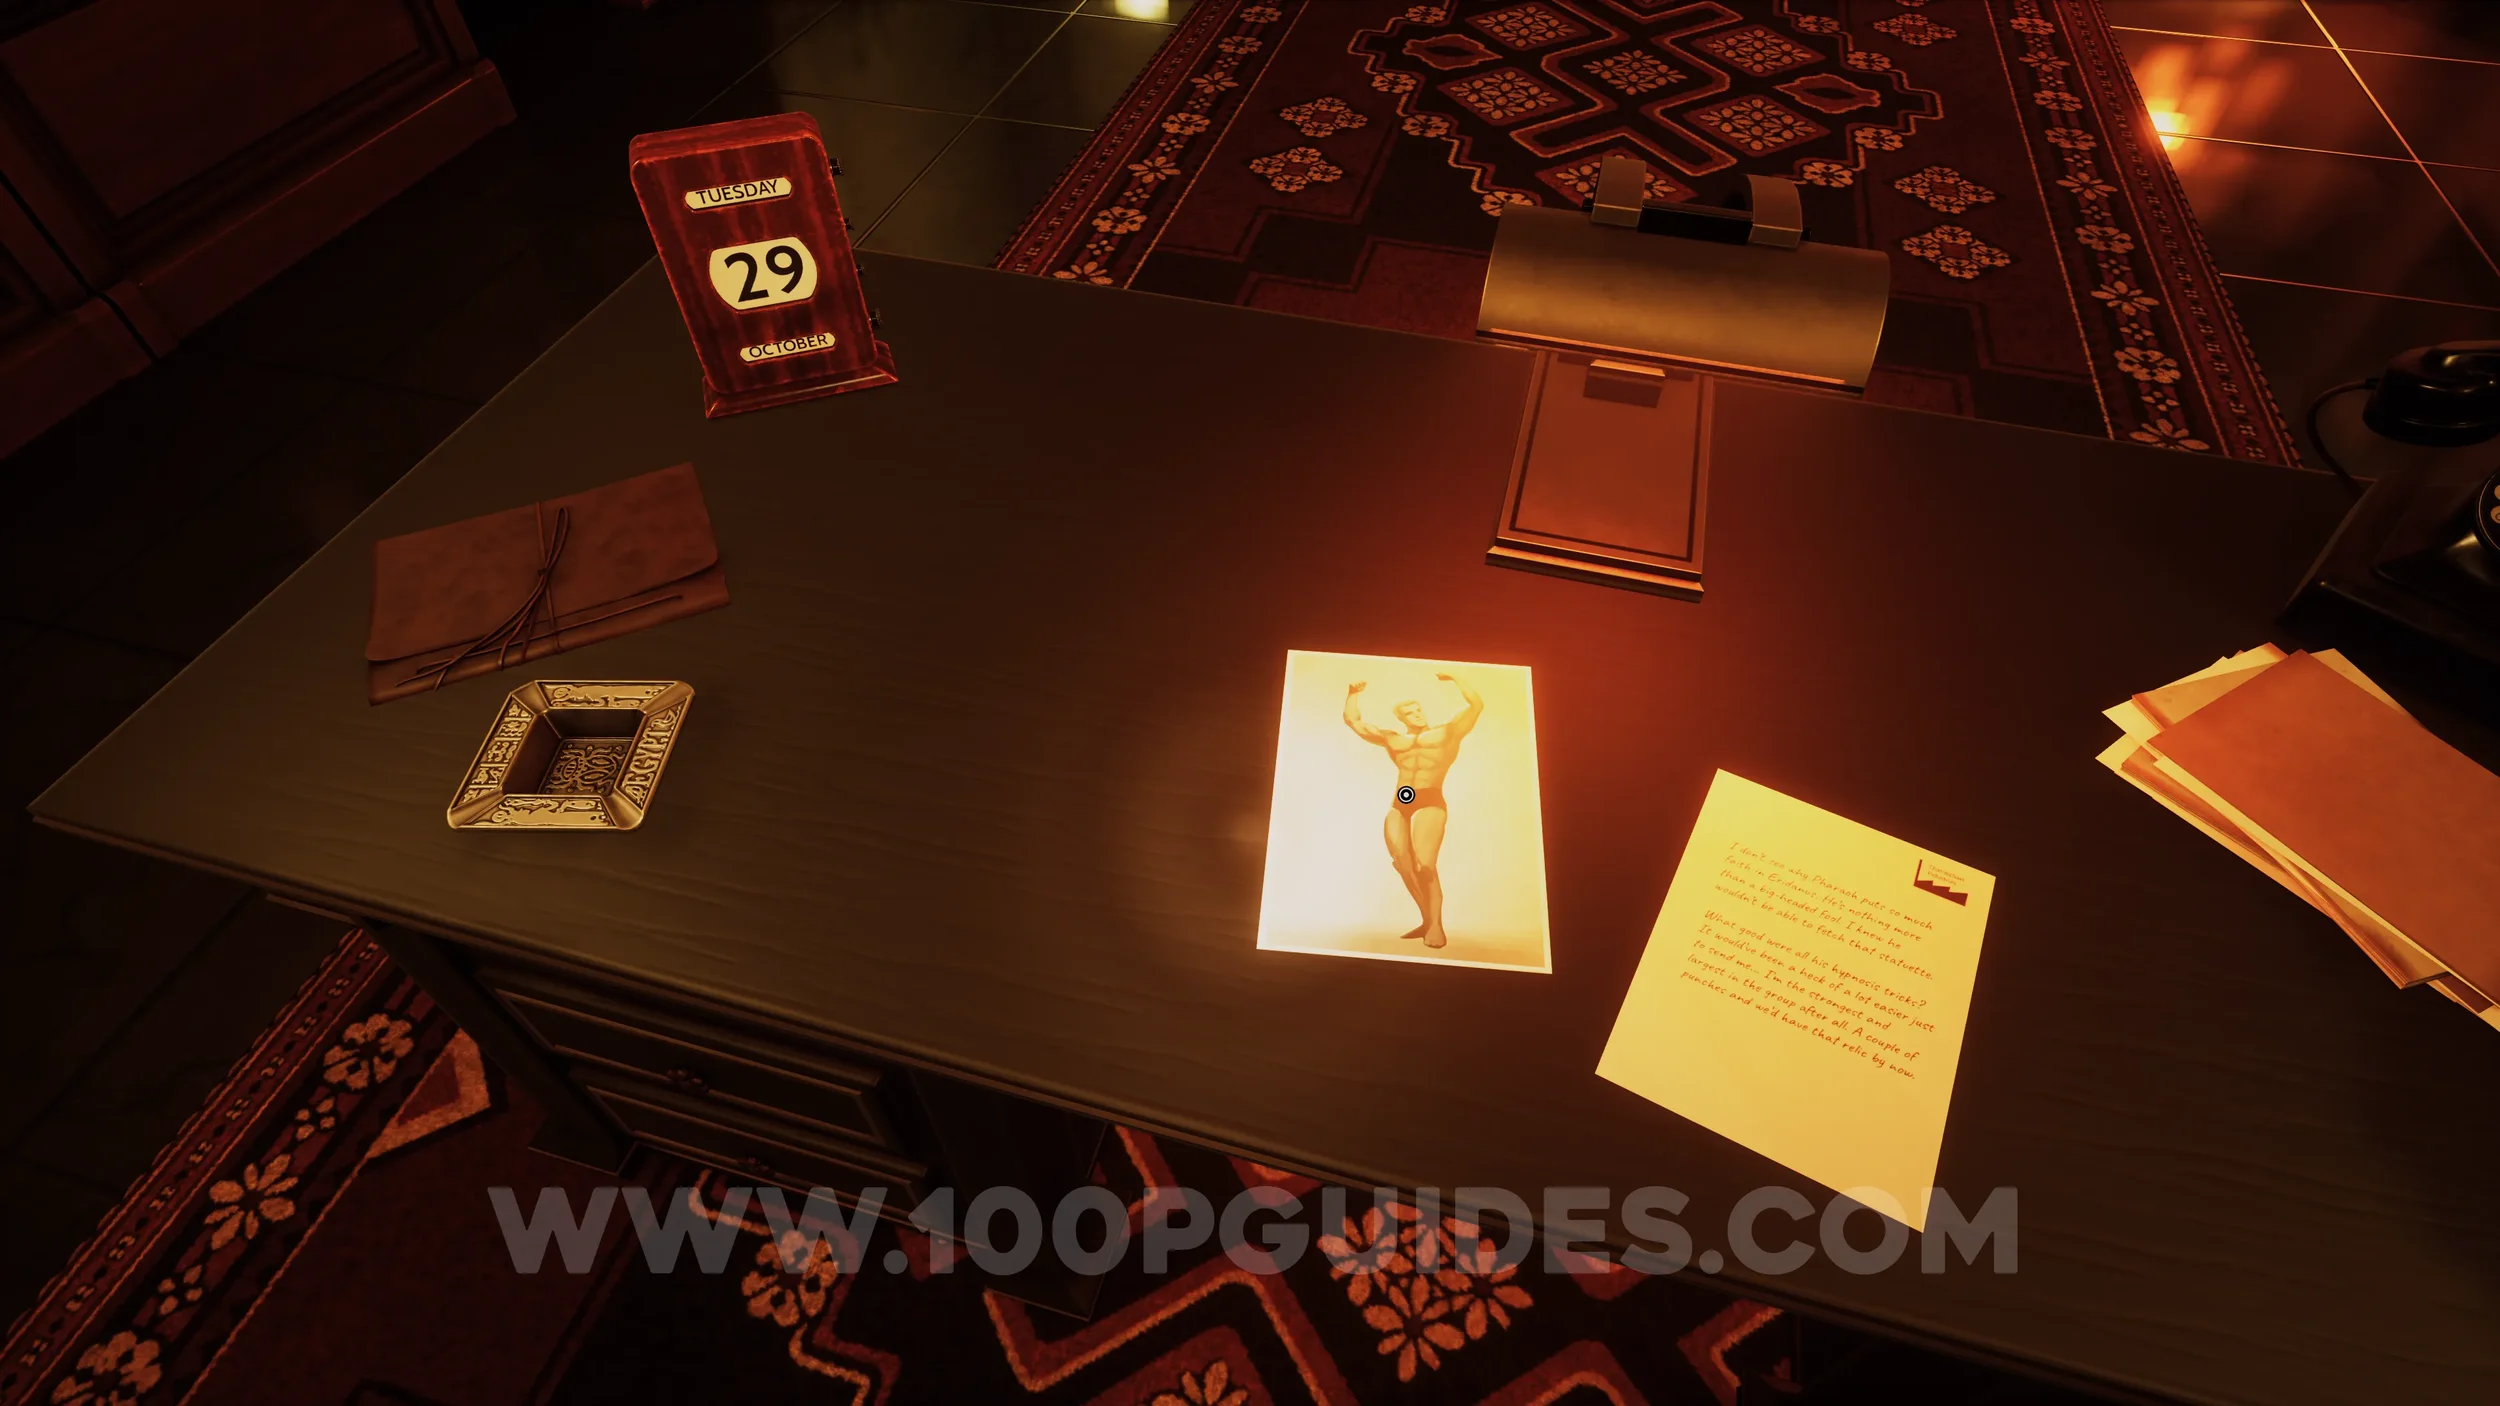
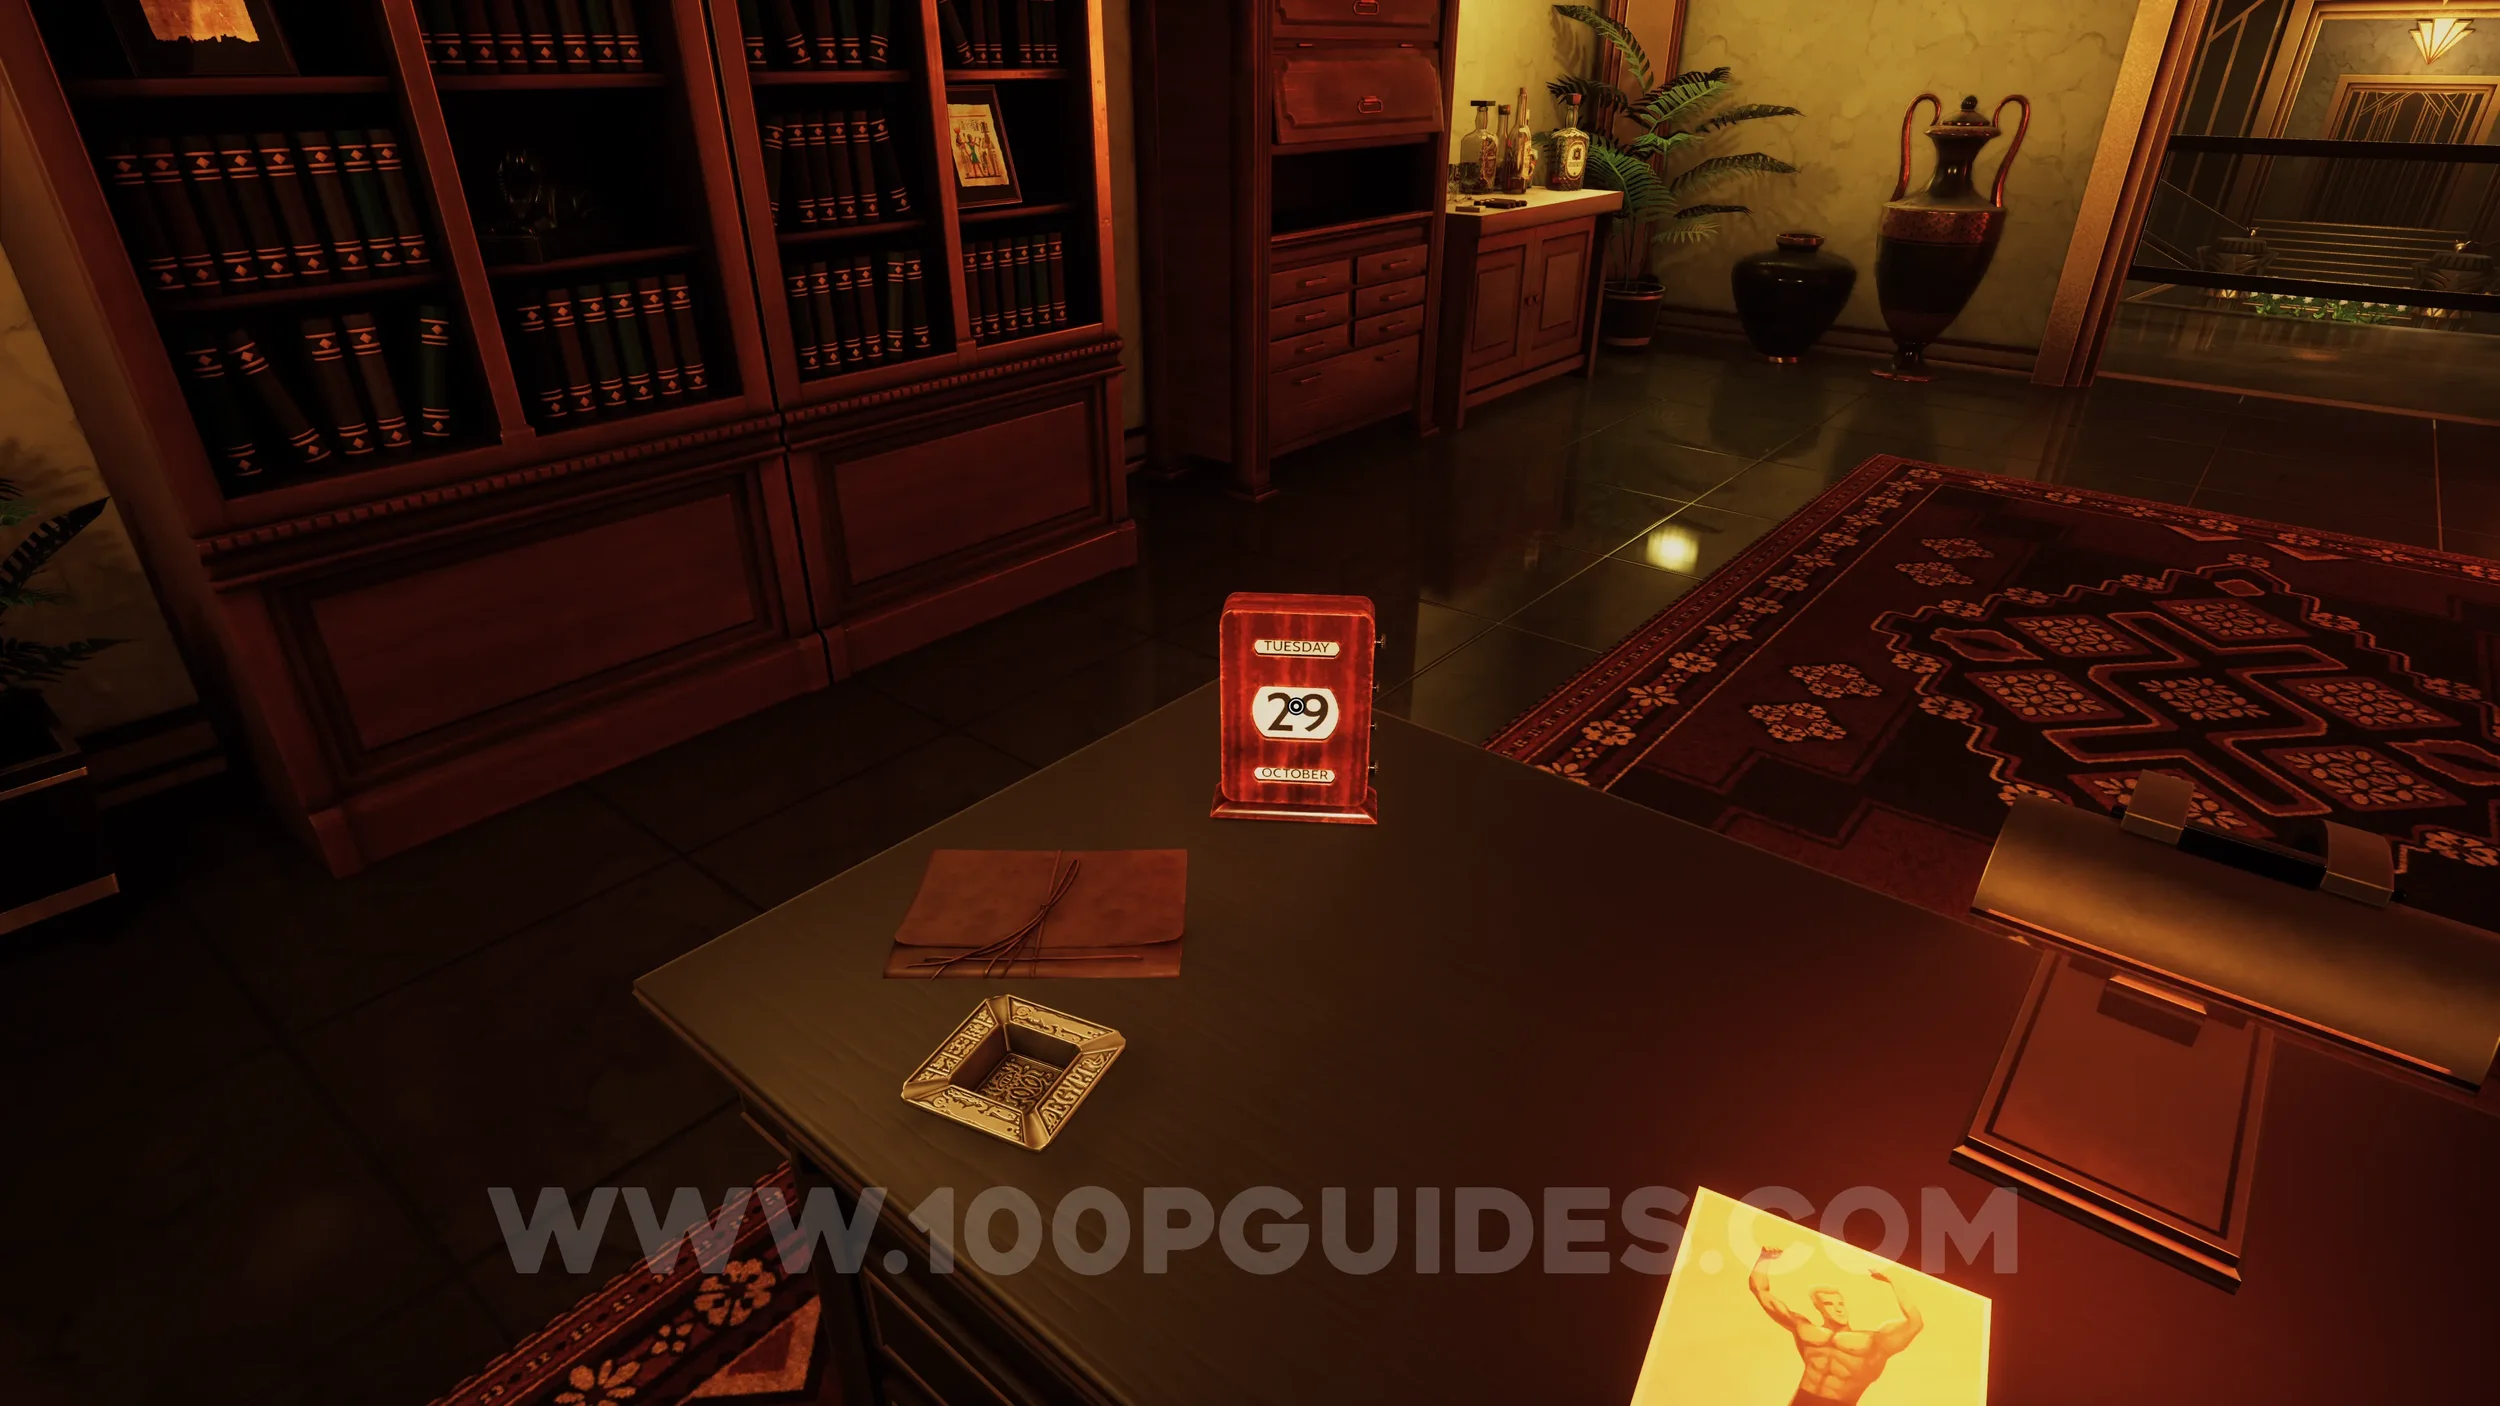
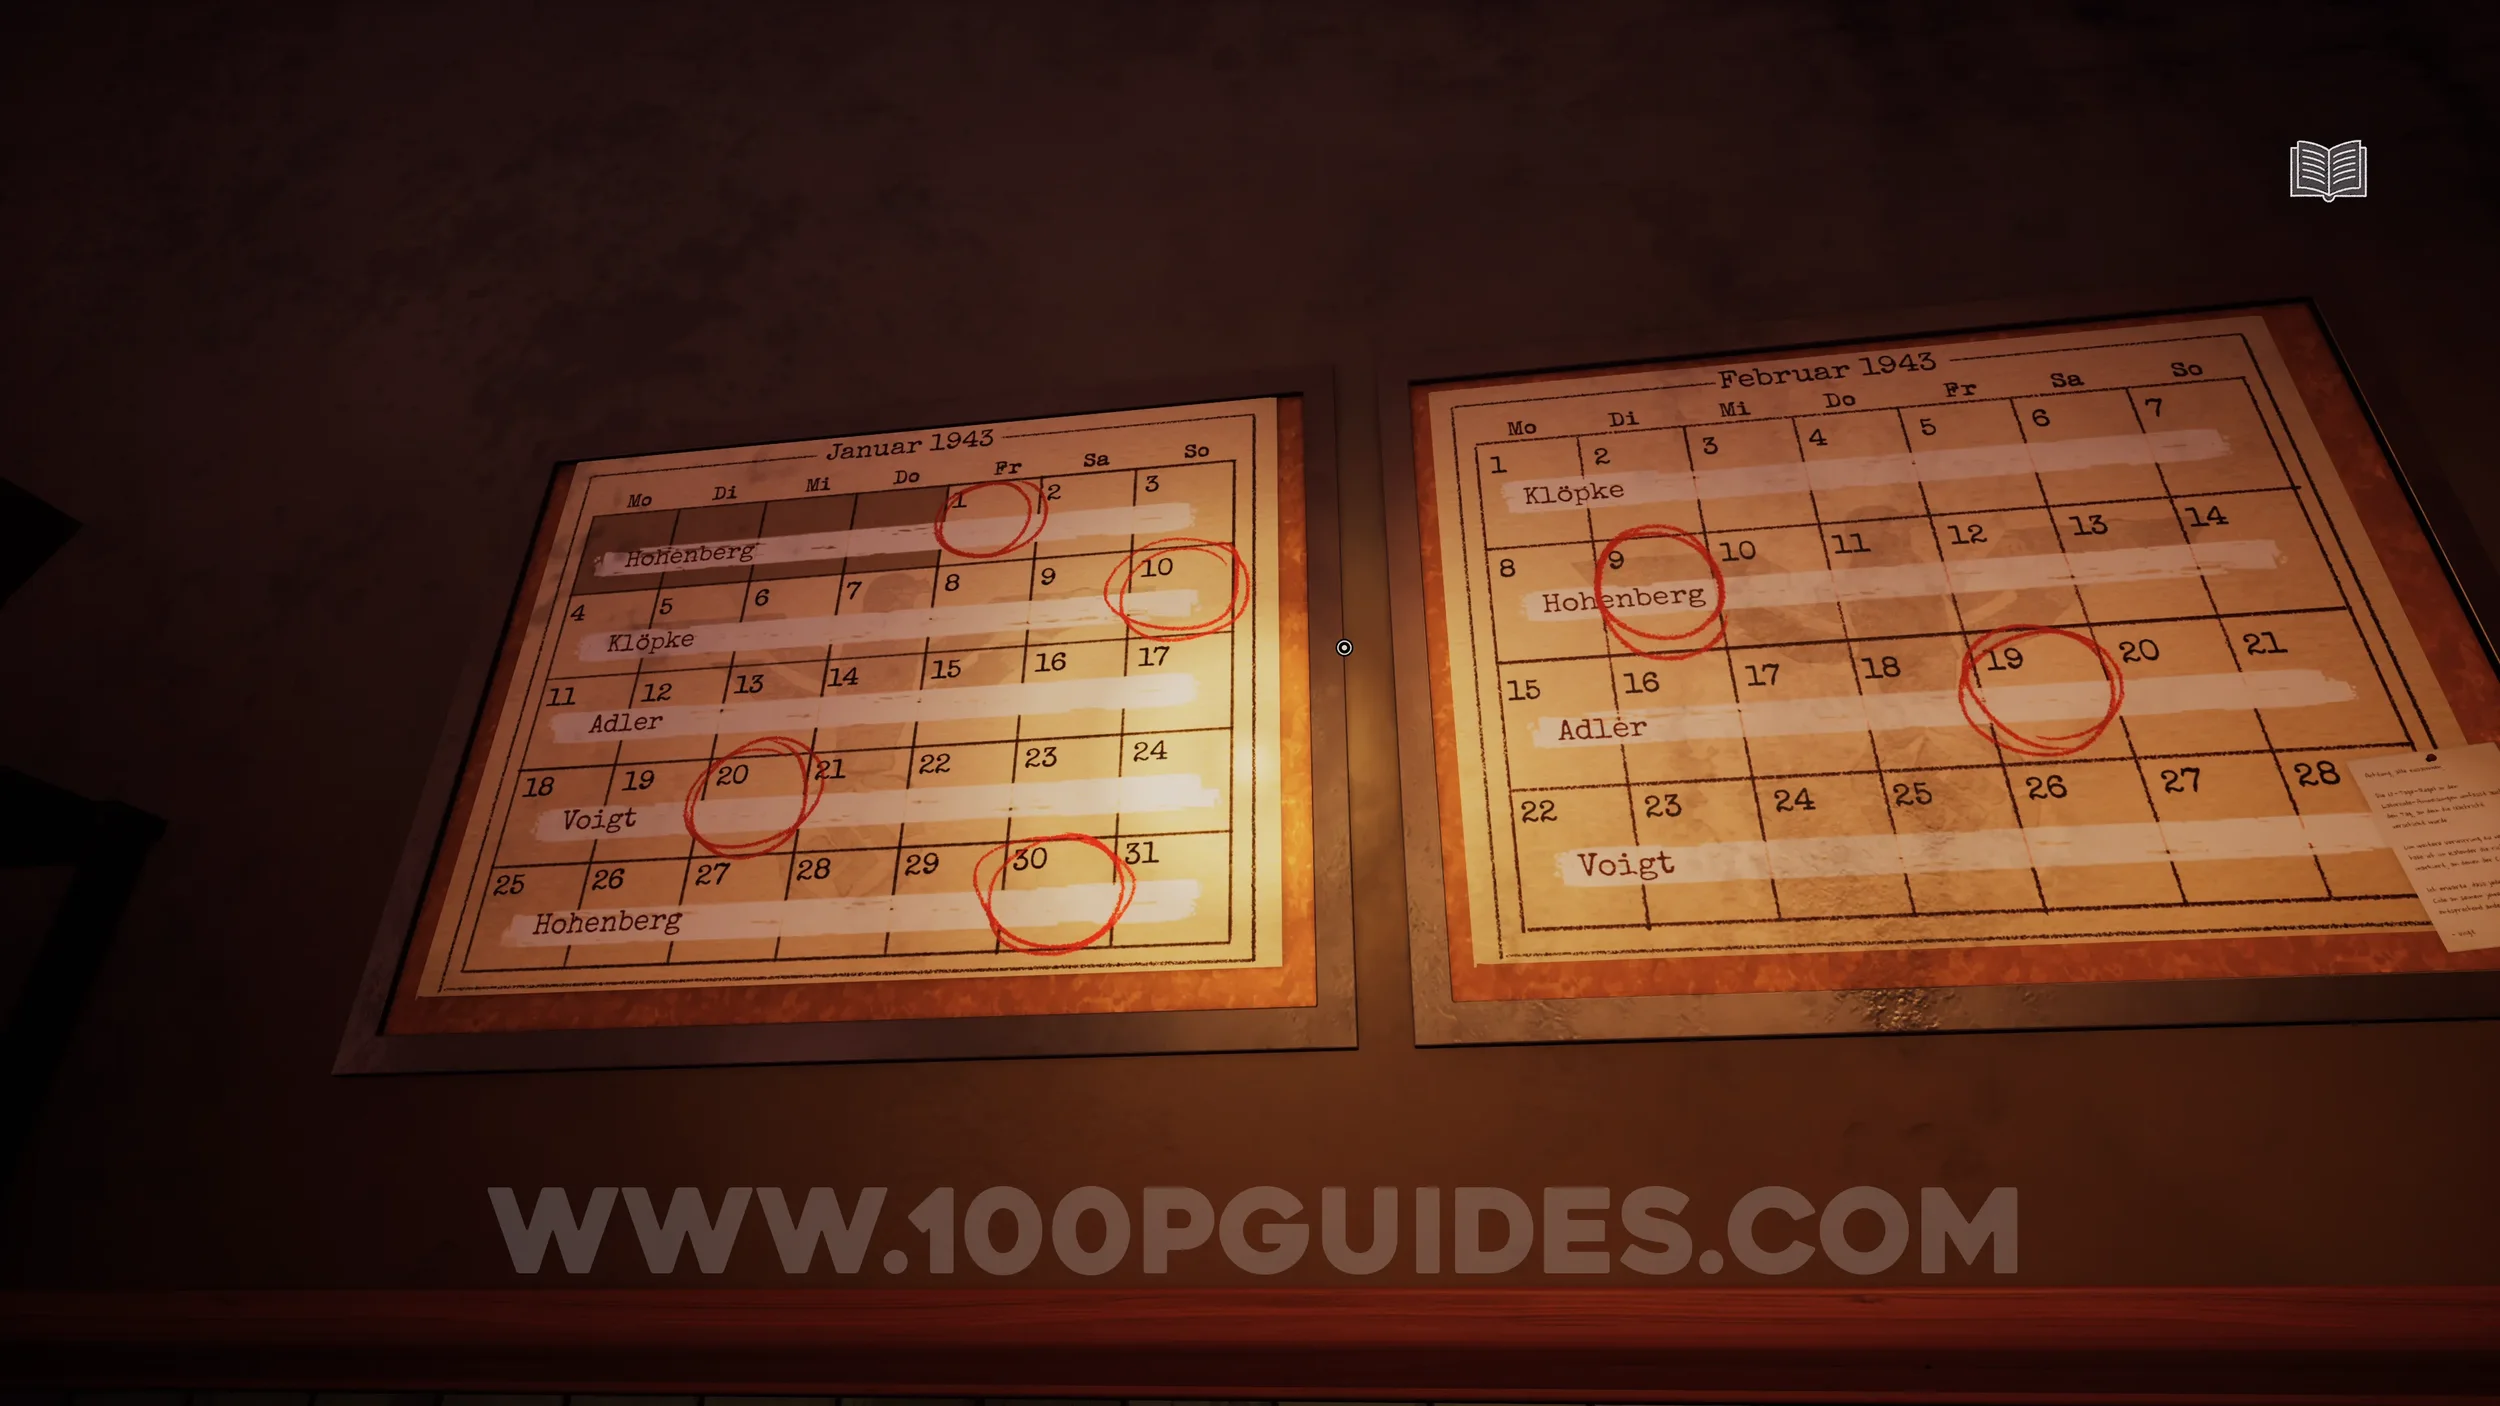
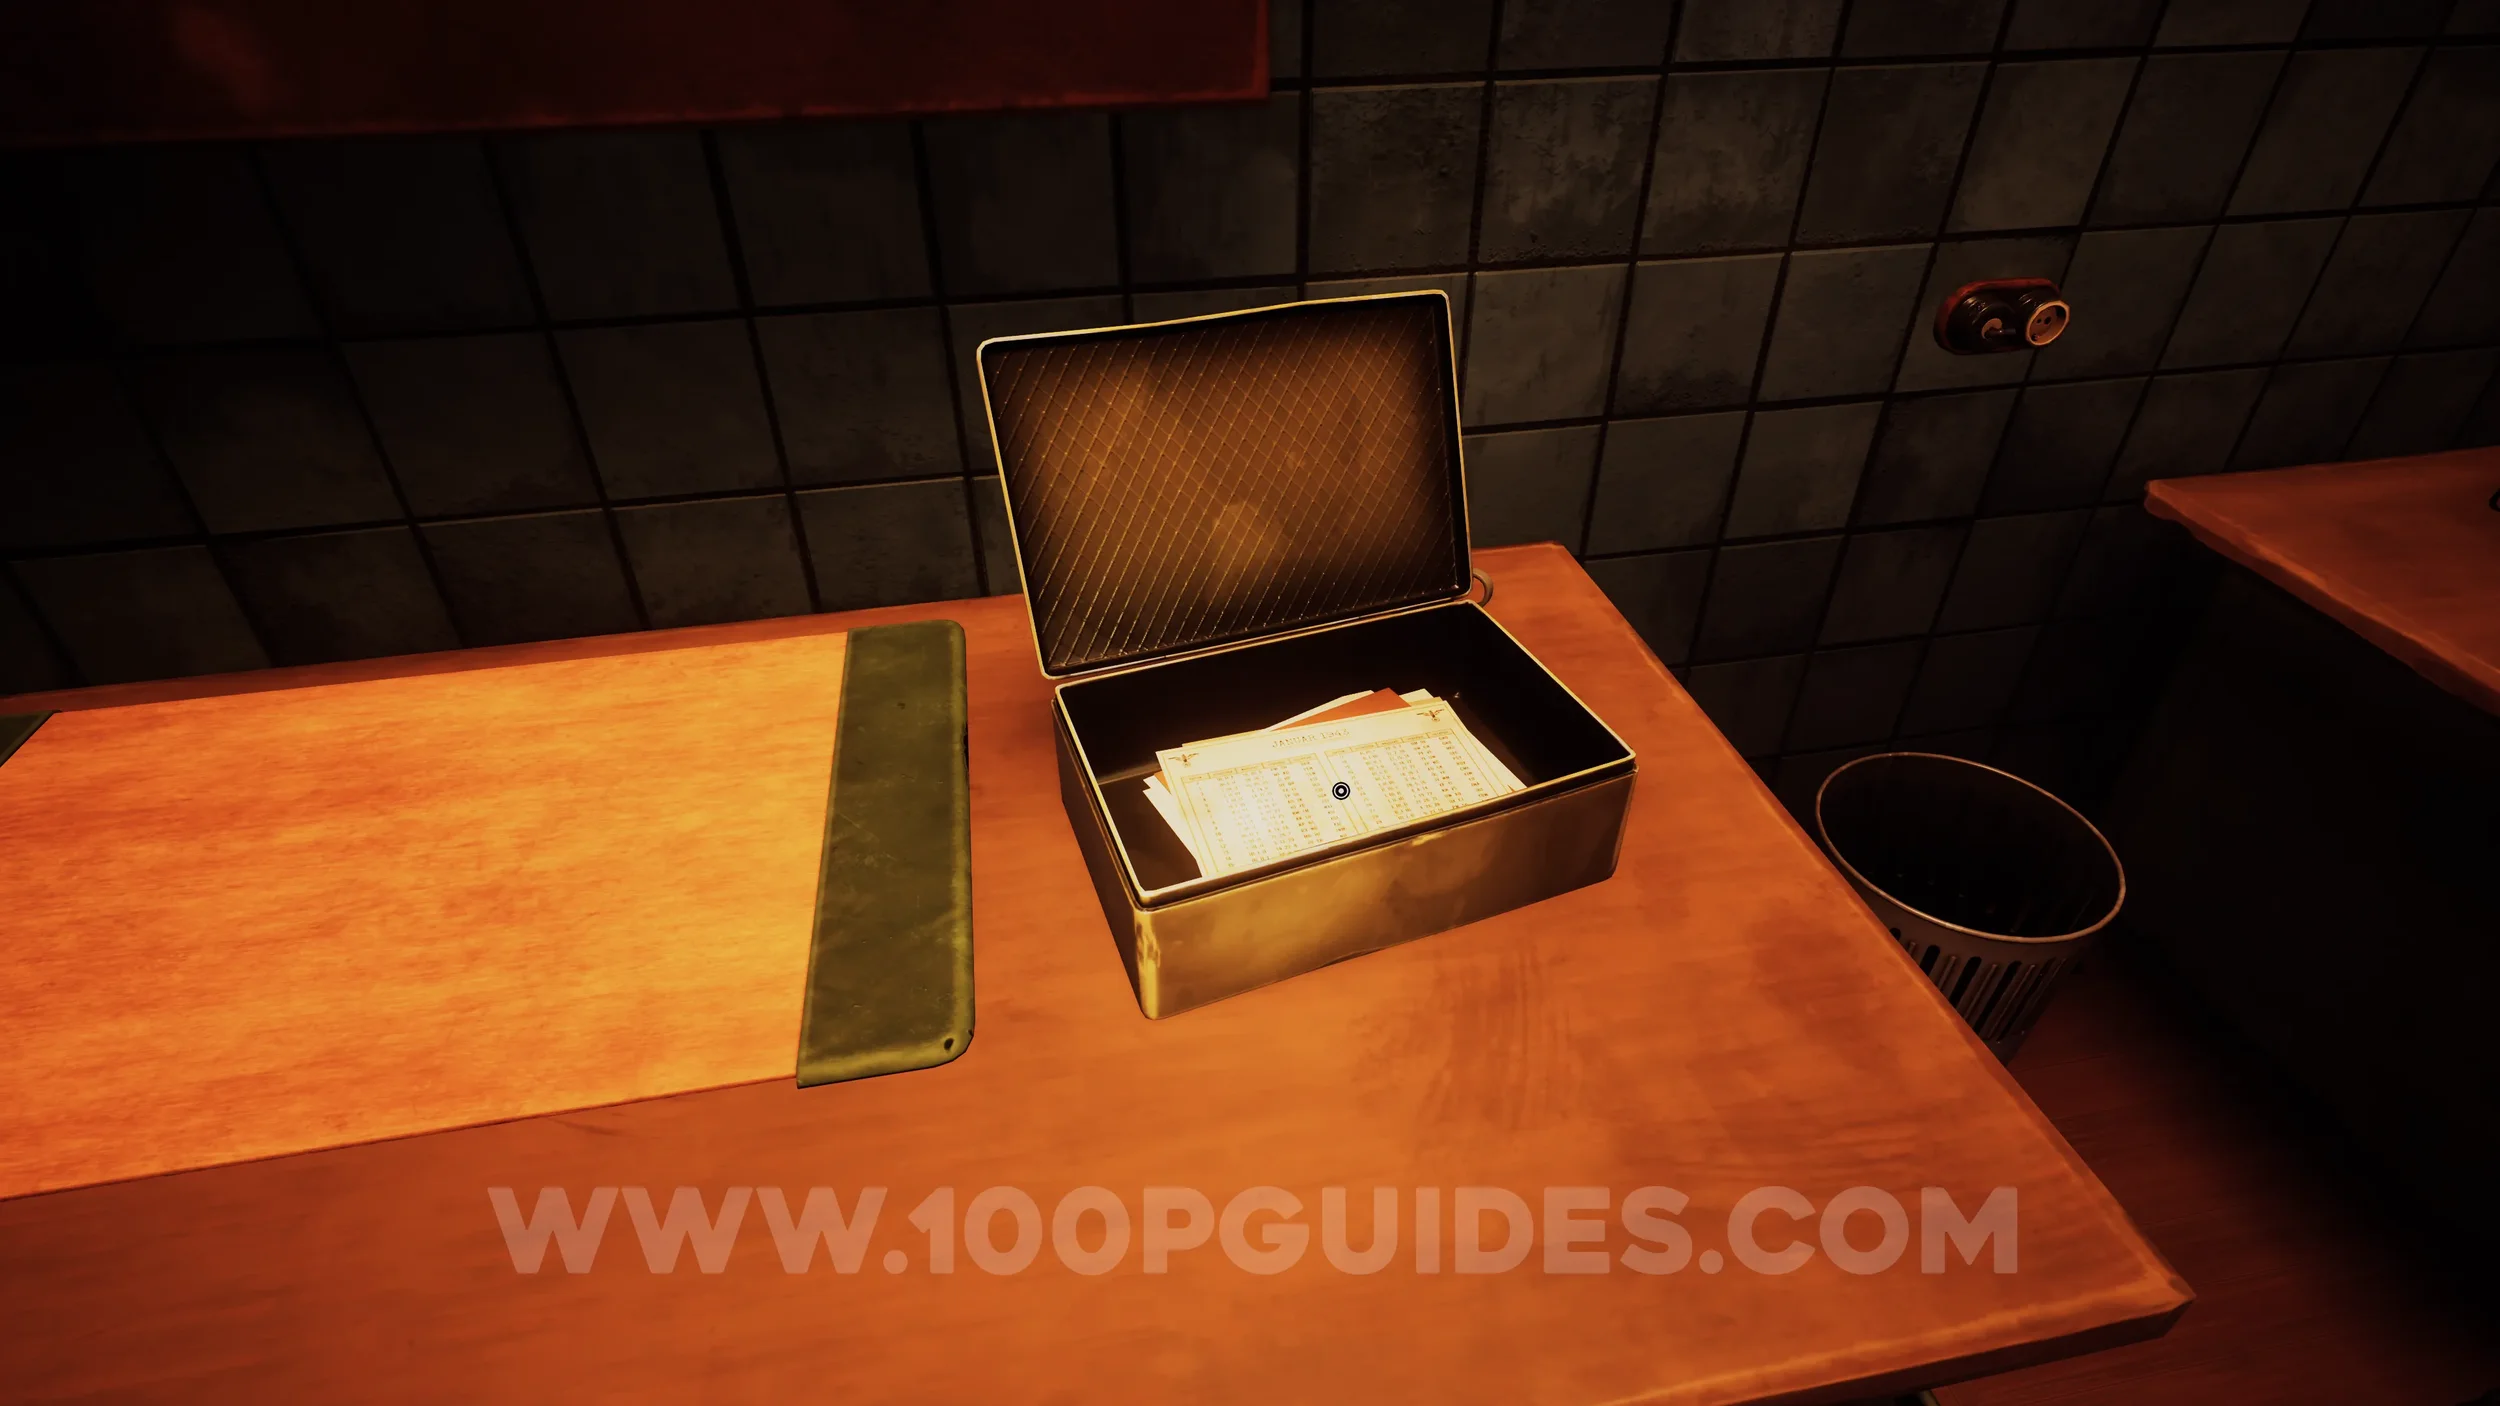
Clue #52. Examine the calendar on the desk in the third office.
Clue #53. Unlocks as soon as you walk into the fourth office.
Clue #54. On the table in the fourth office.
Clue #55. Also on the table in the fourth office.
Clue #56. On the desk in the fourth office.
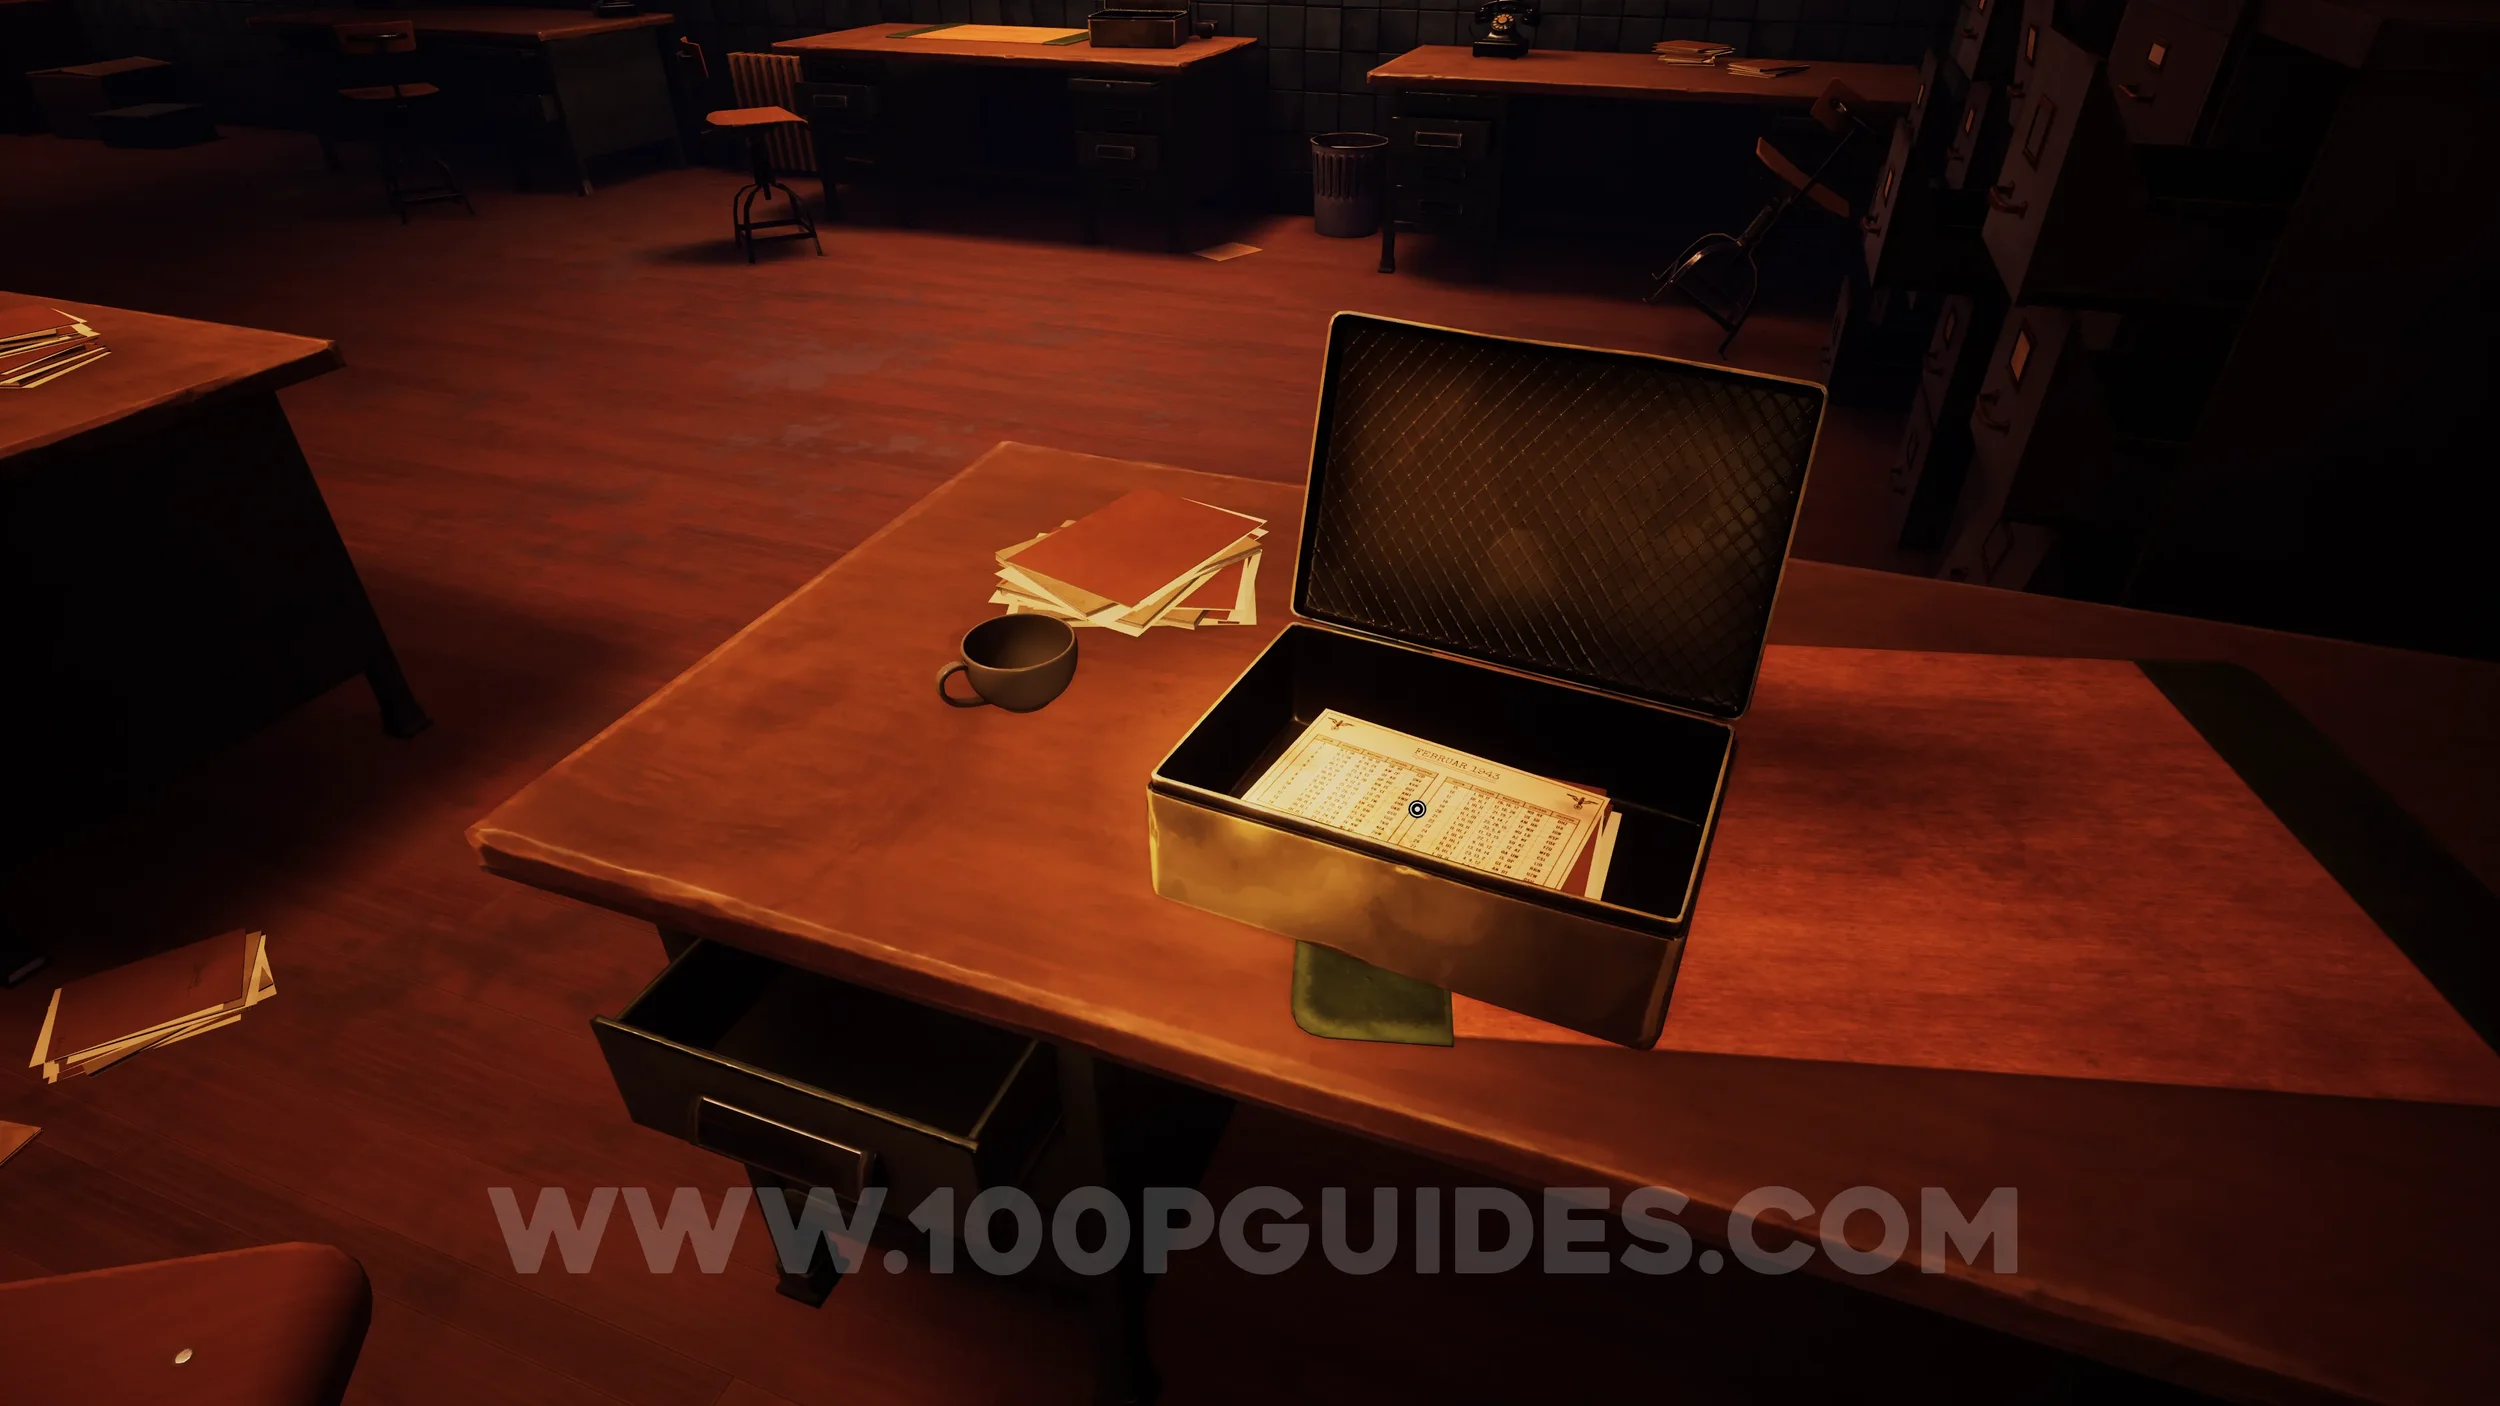
Clue #57. The clue is inside the suitcase on the desk in the fourth office.
Clue #58. Obtained automatically upon entering the fifth office.
Clue #59. On the desk in the fifth office.
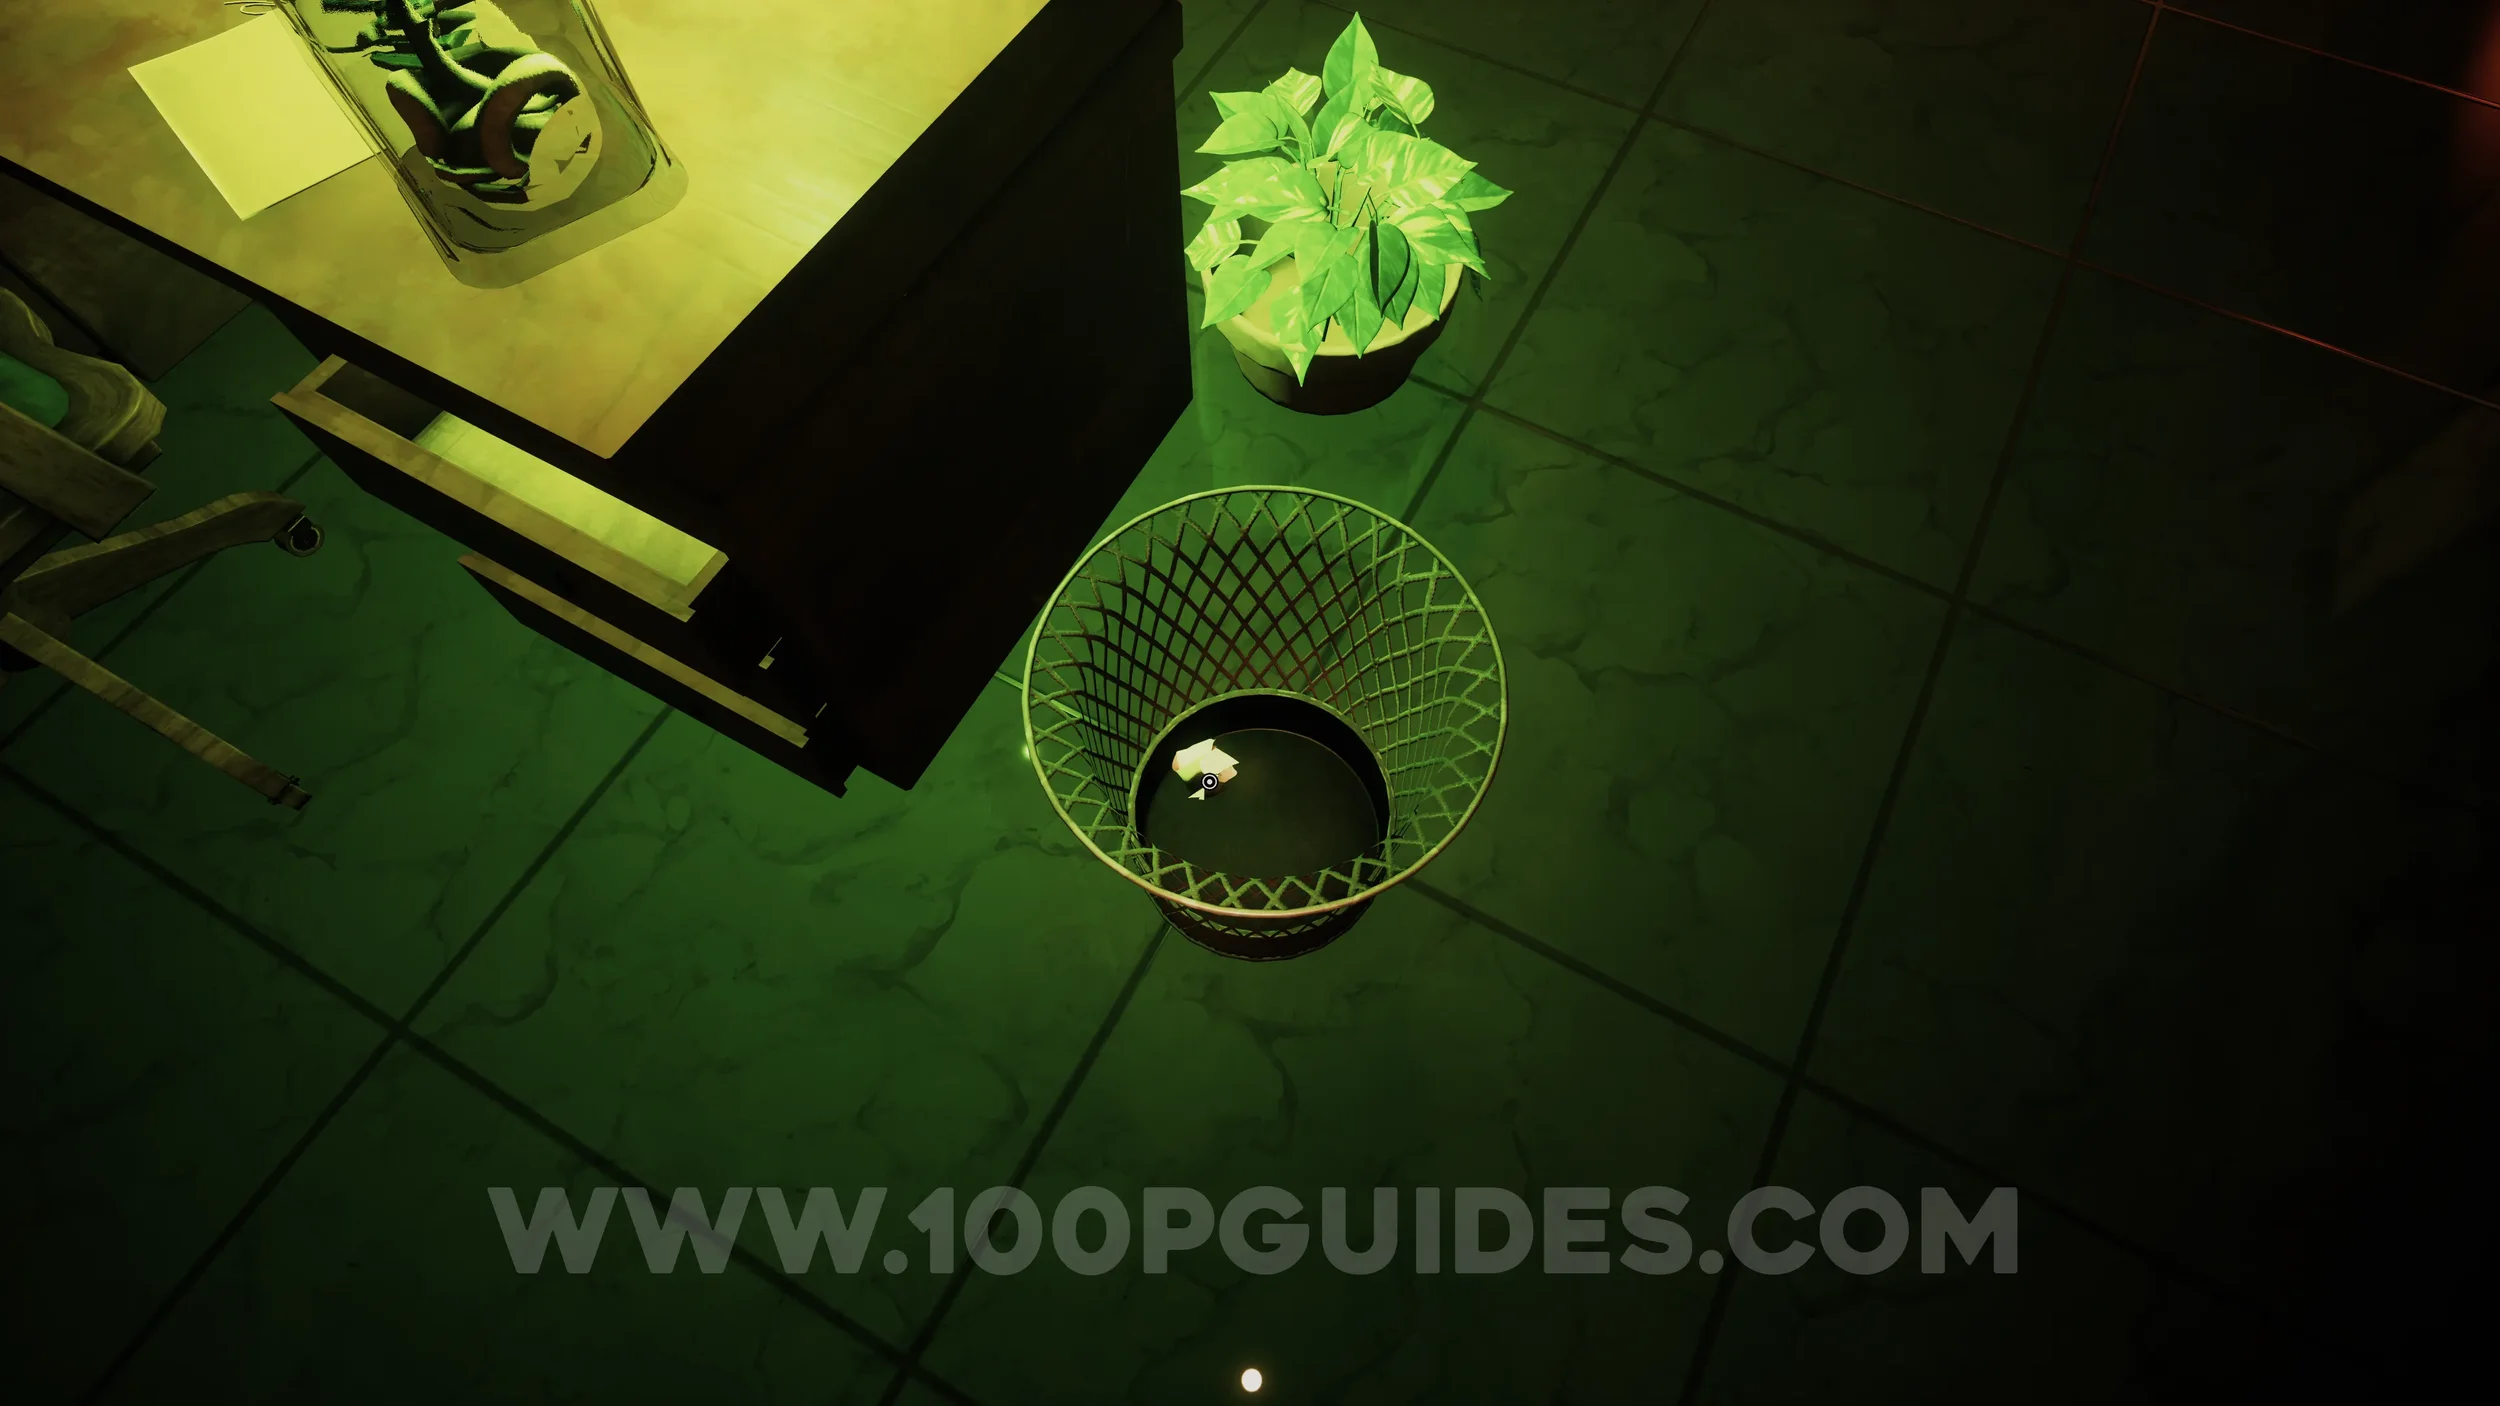
Clue #60. In the bin next to the desk in the fifth office.
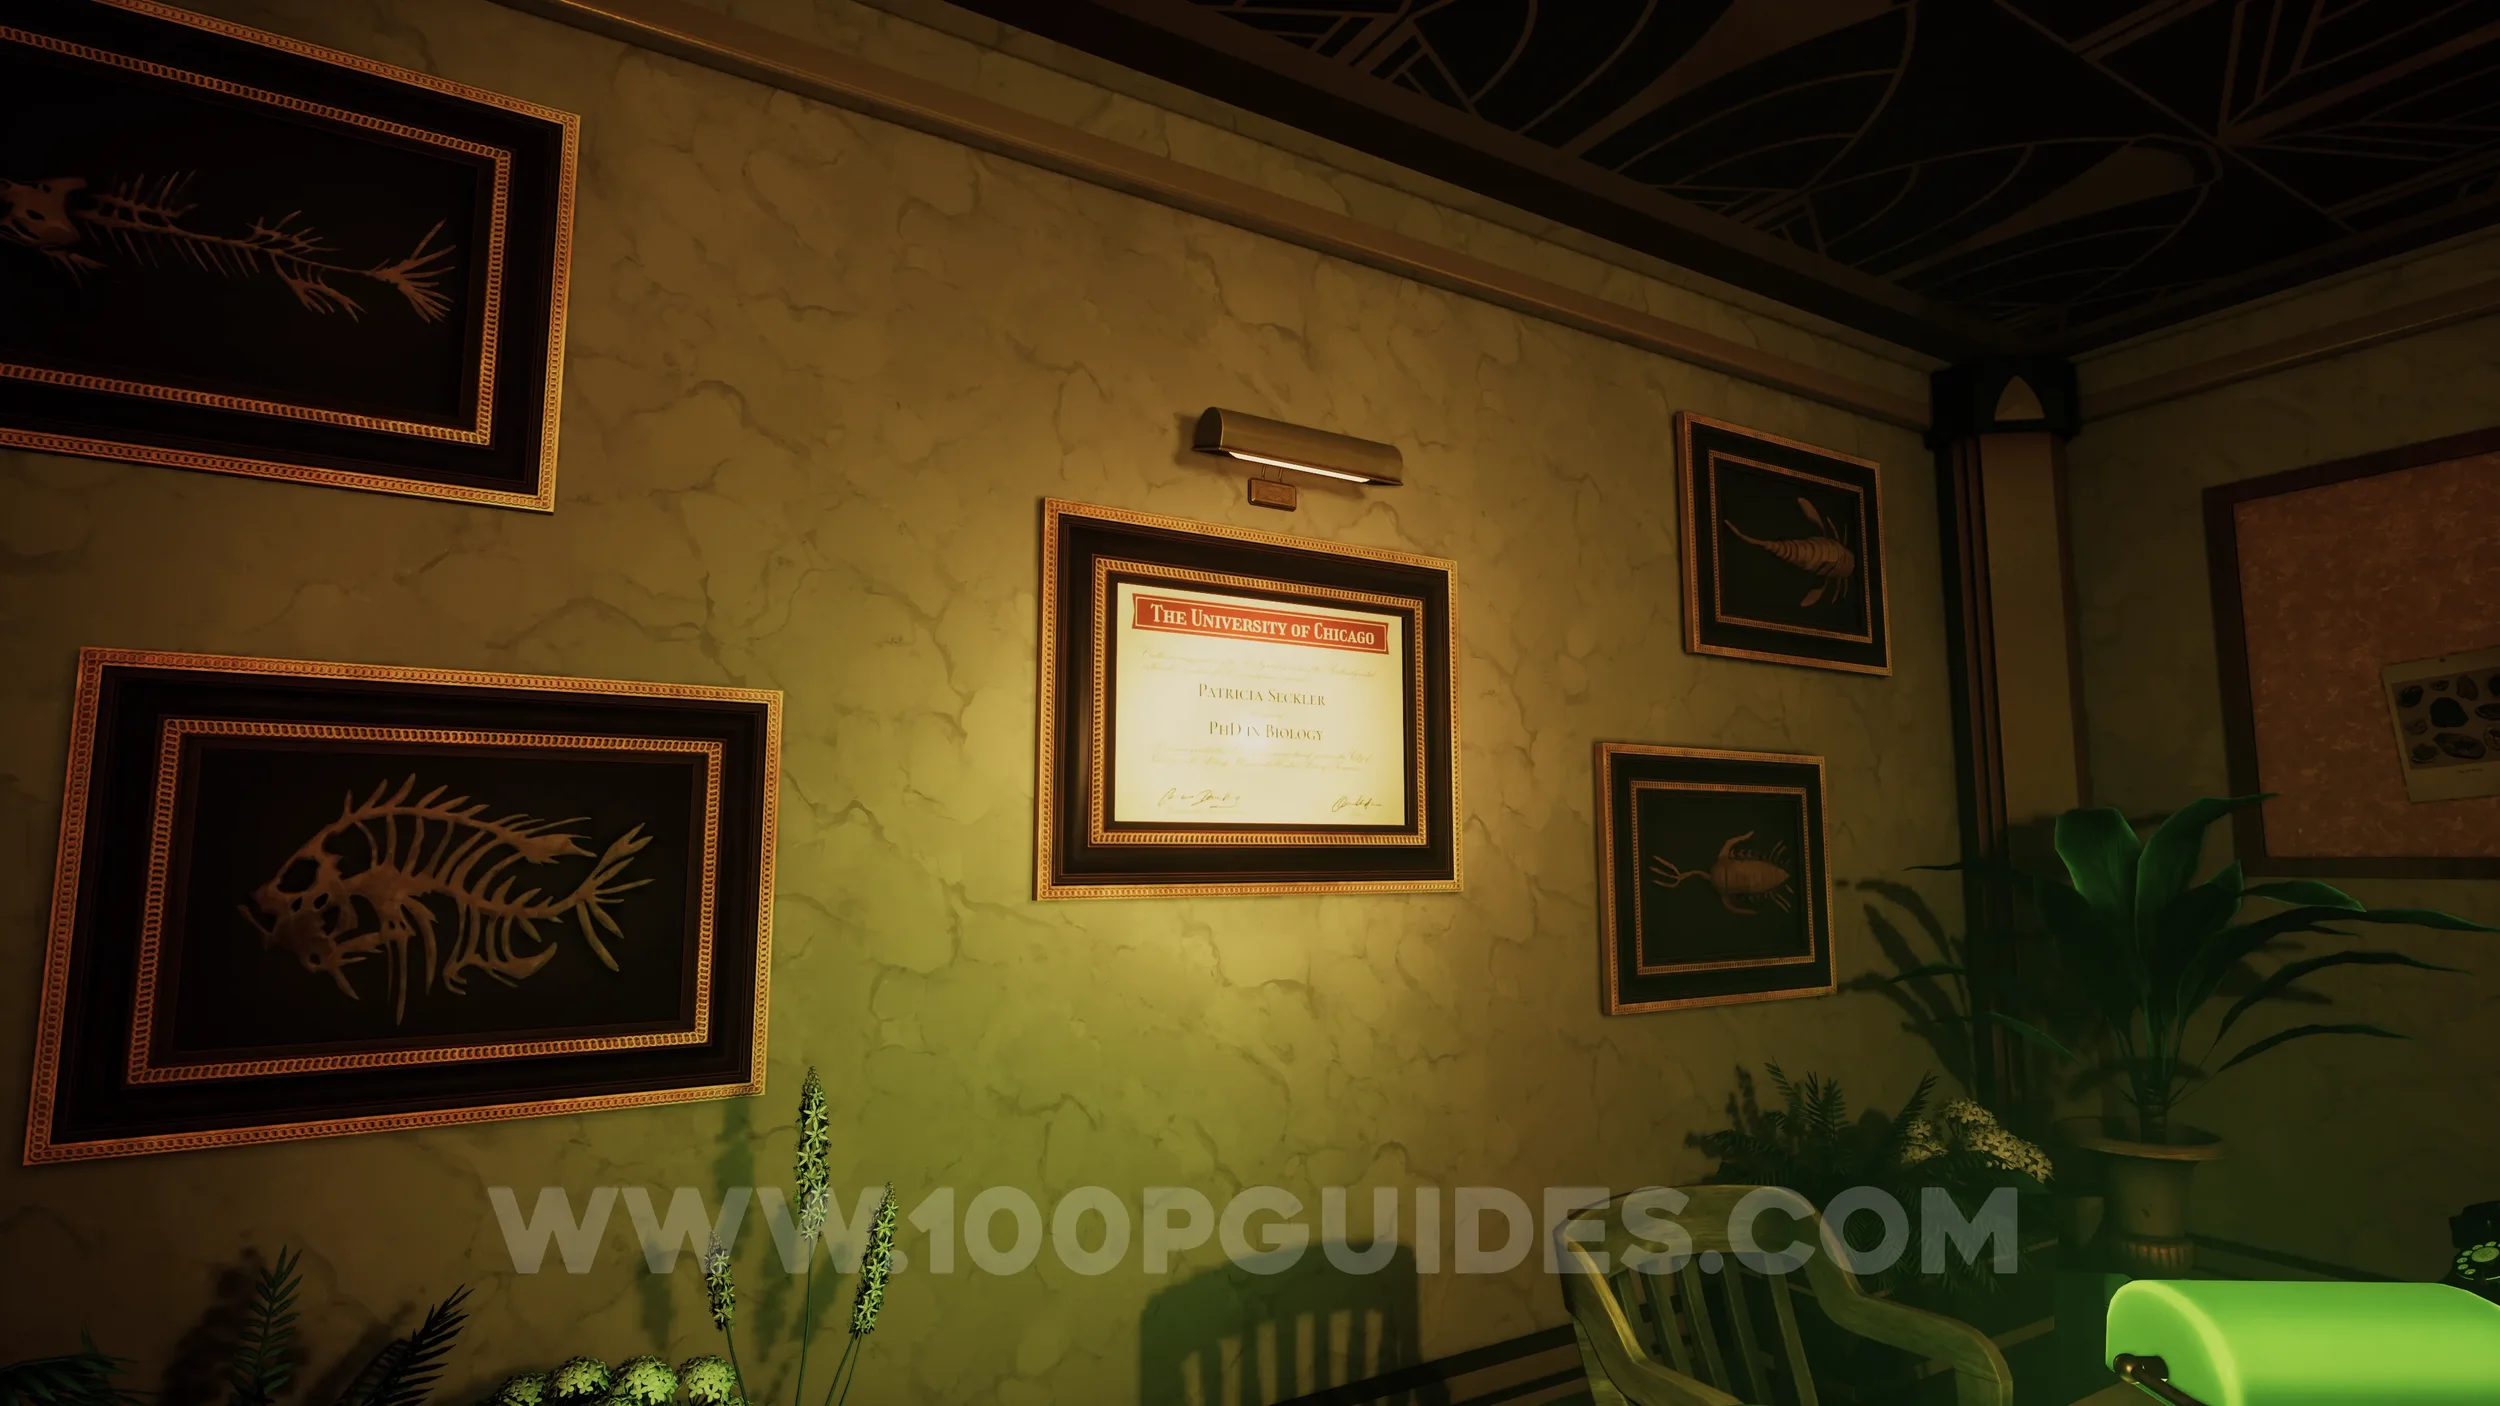
Clue #61. The diploma on the wall behind the desk in the fifth office.
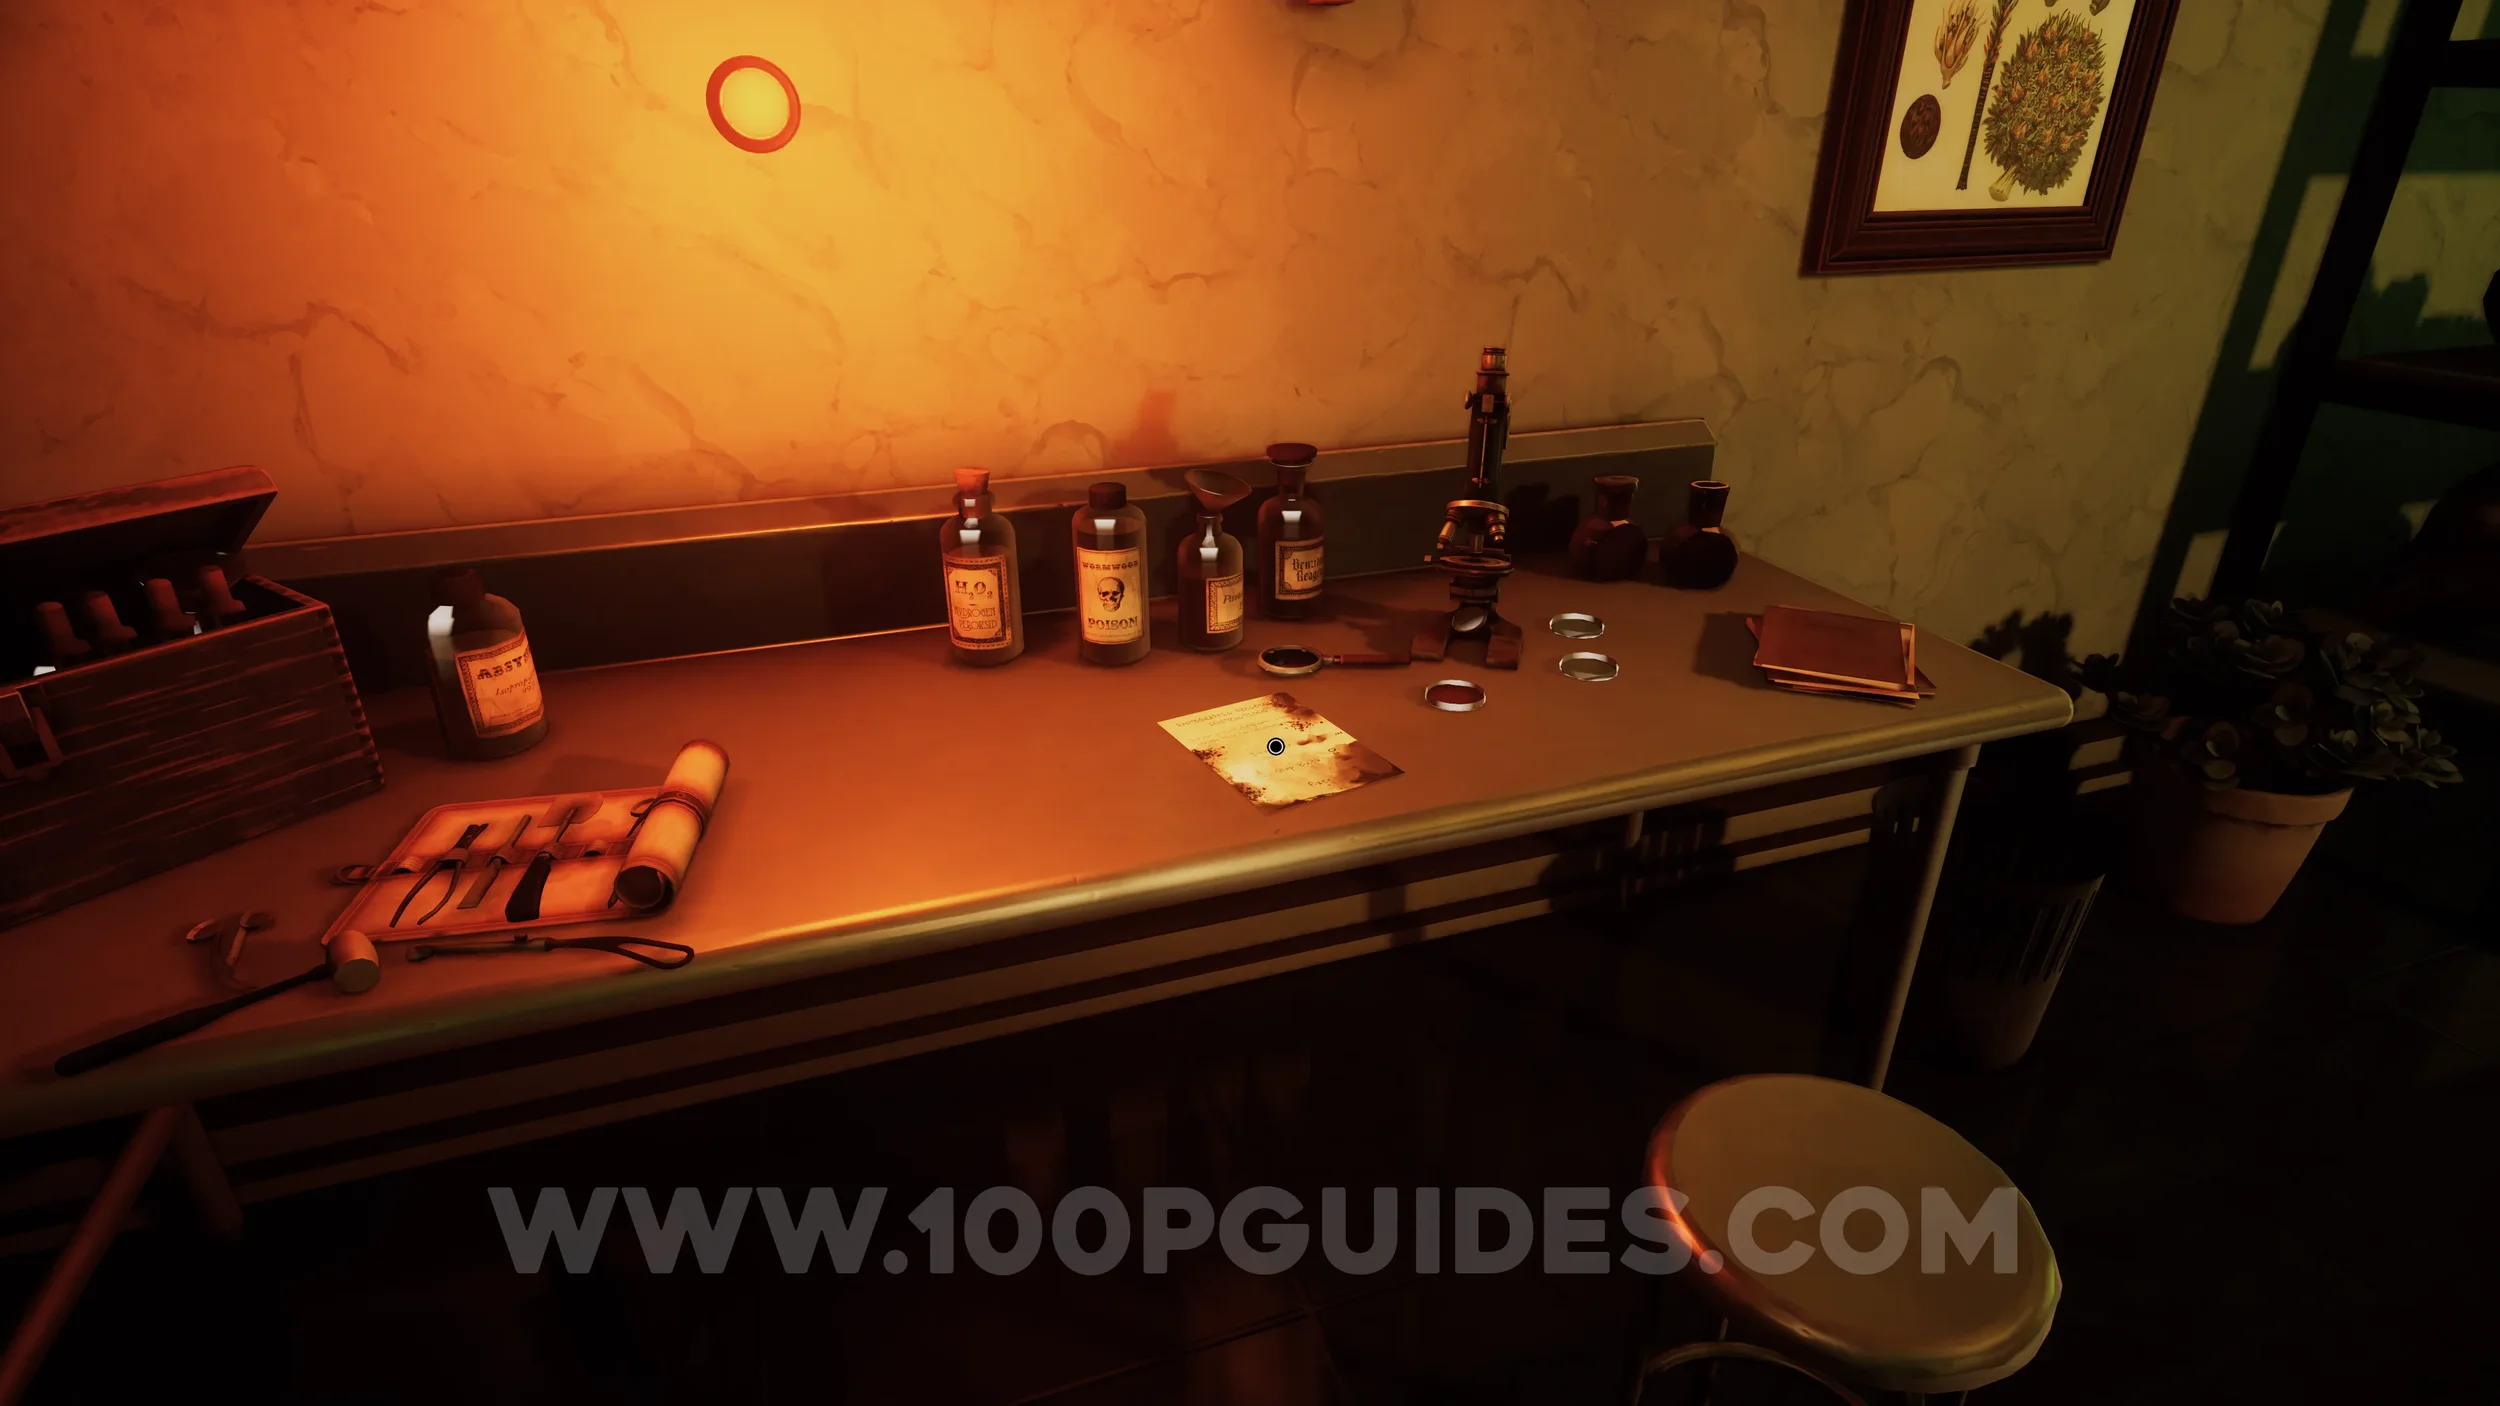
Clue #62. On the table on the left side of the fifth office.
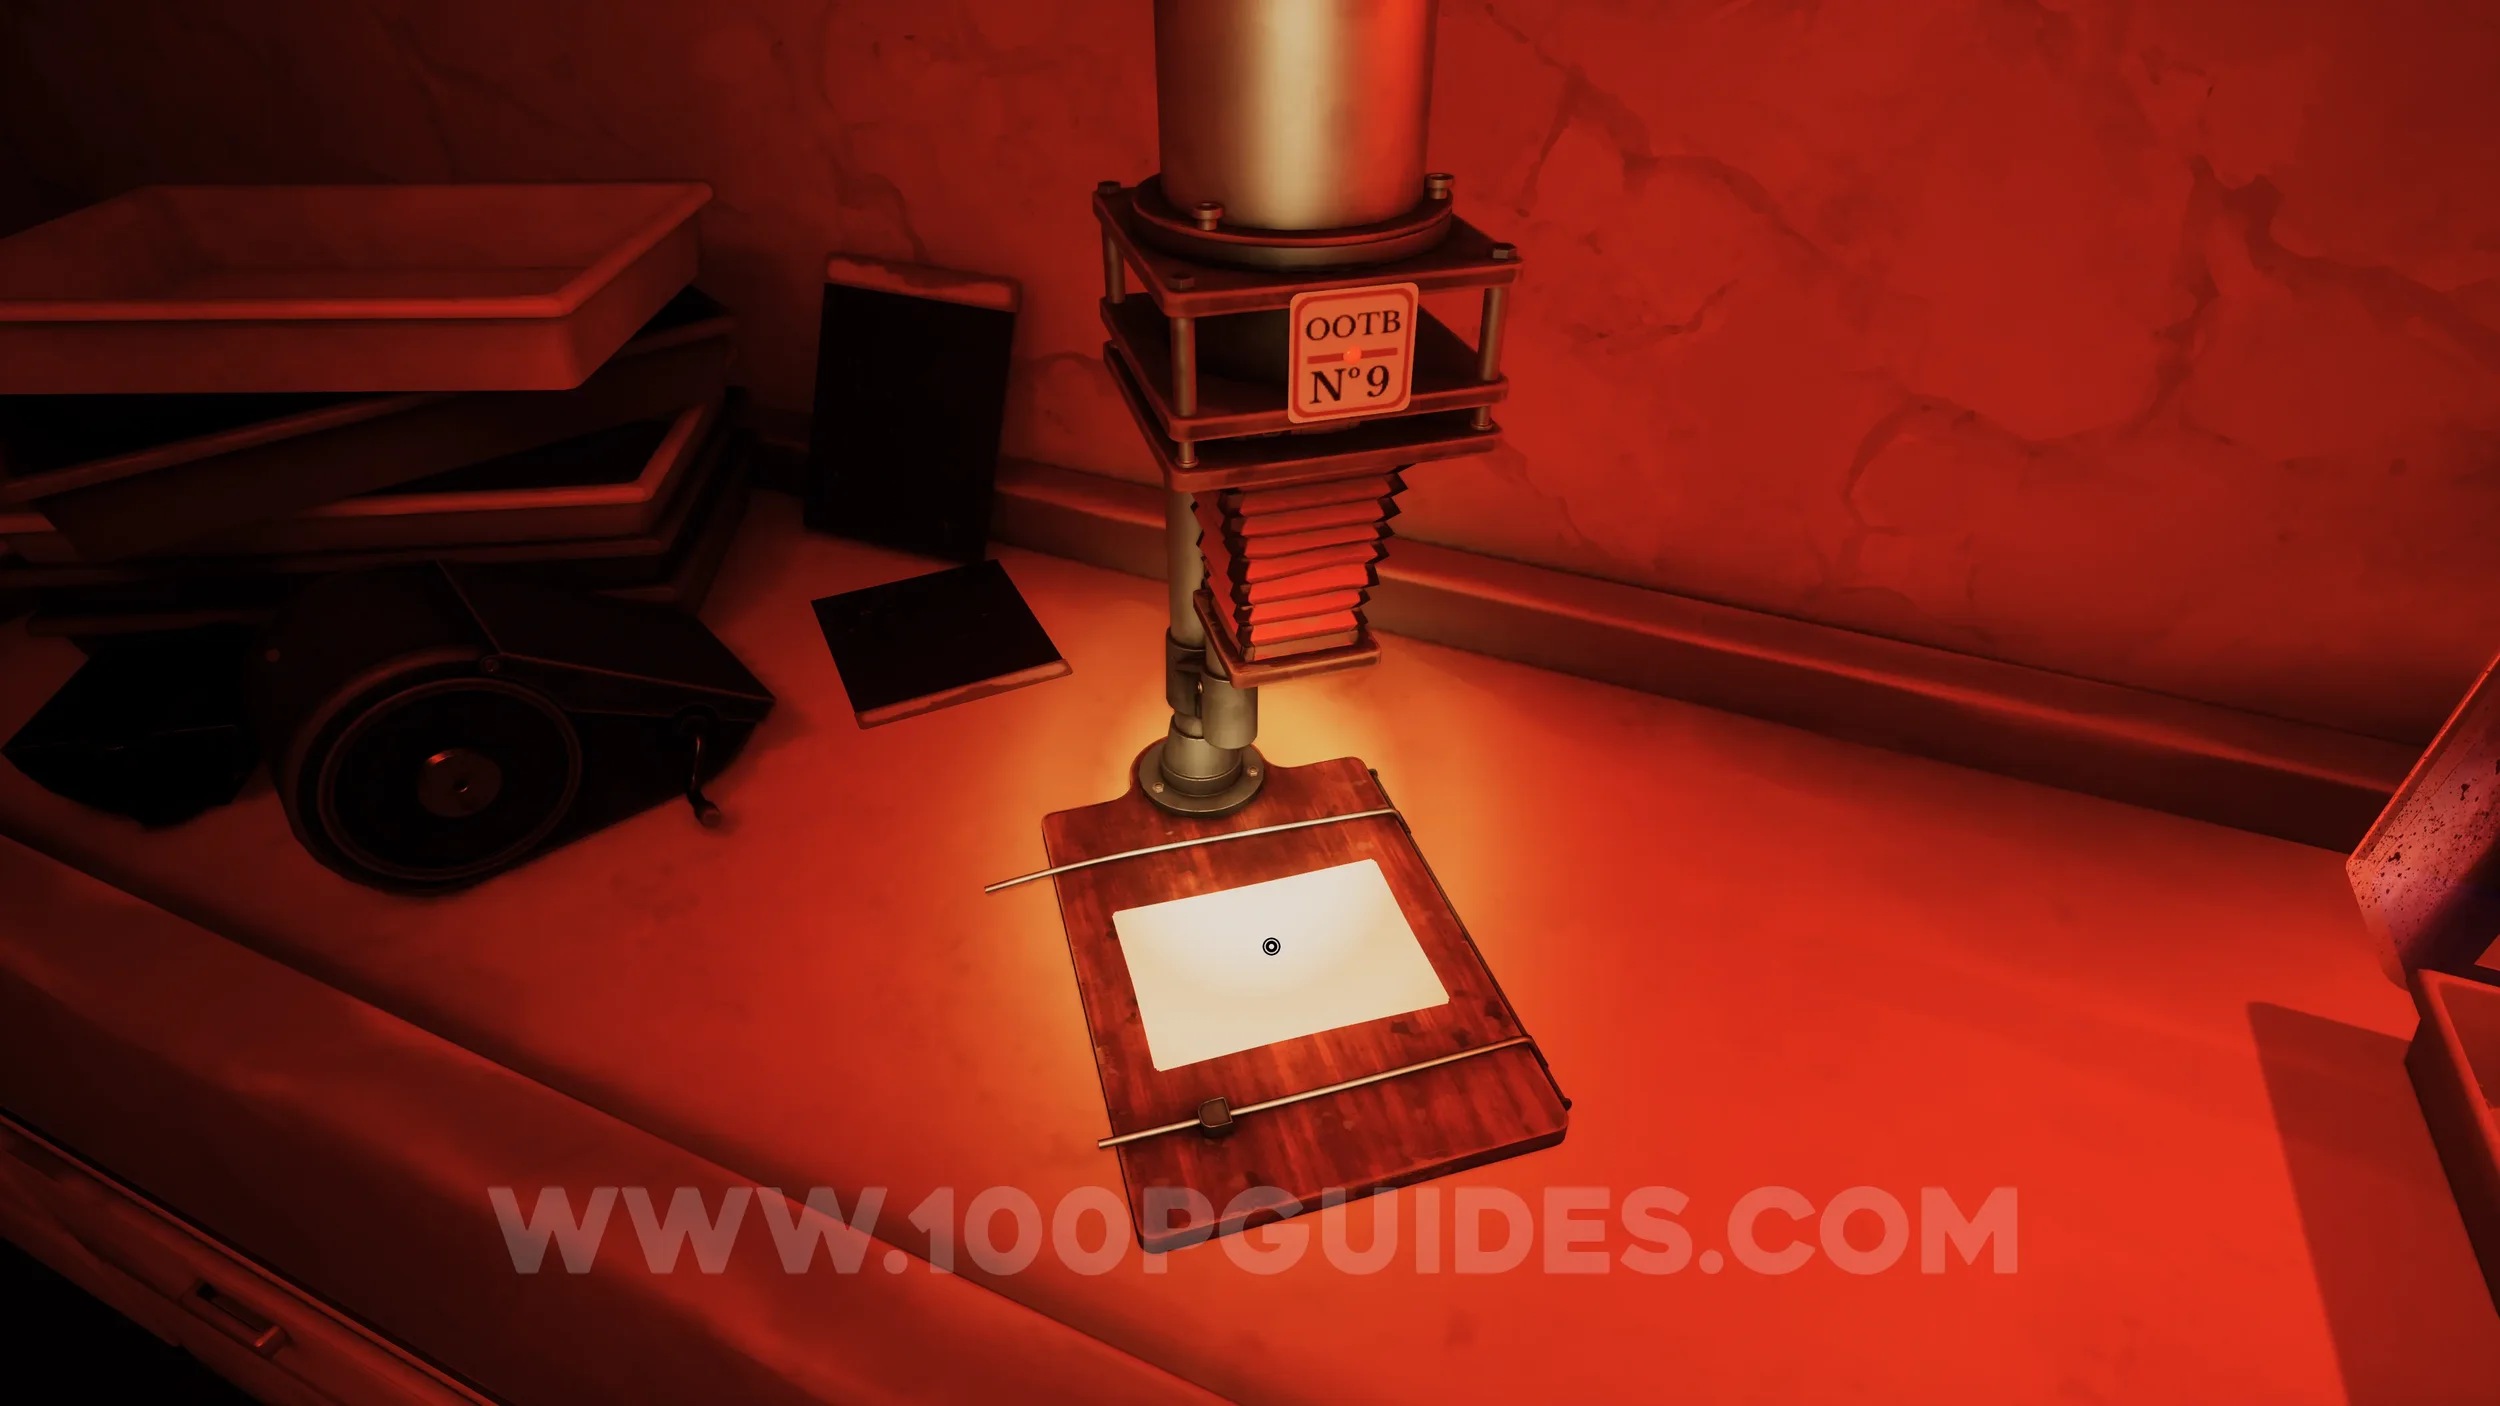
Clue #63. Take the film from the suitcase in the fifth office to the back room of the second office and insert it into the machine on the left side of the chemicals. Then pick up the paper and place it into the middle chemical tray, followed by the left tray and finally the right tray to develop the photo.
CHAPTER 4
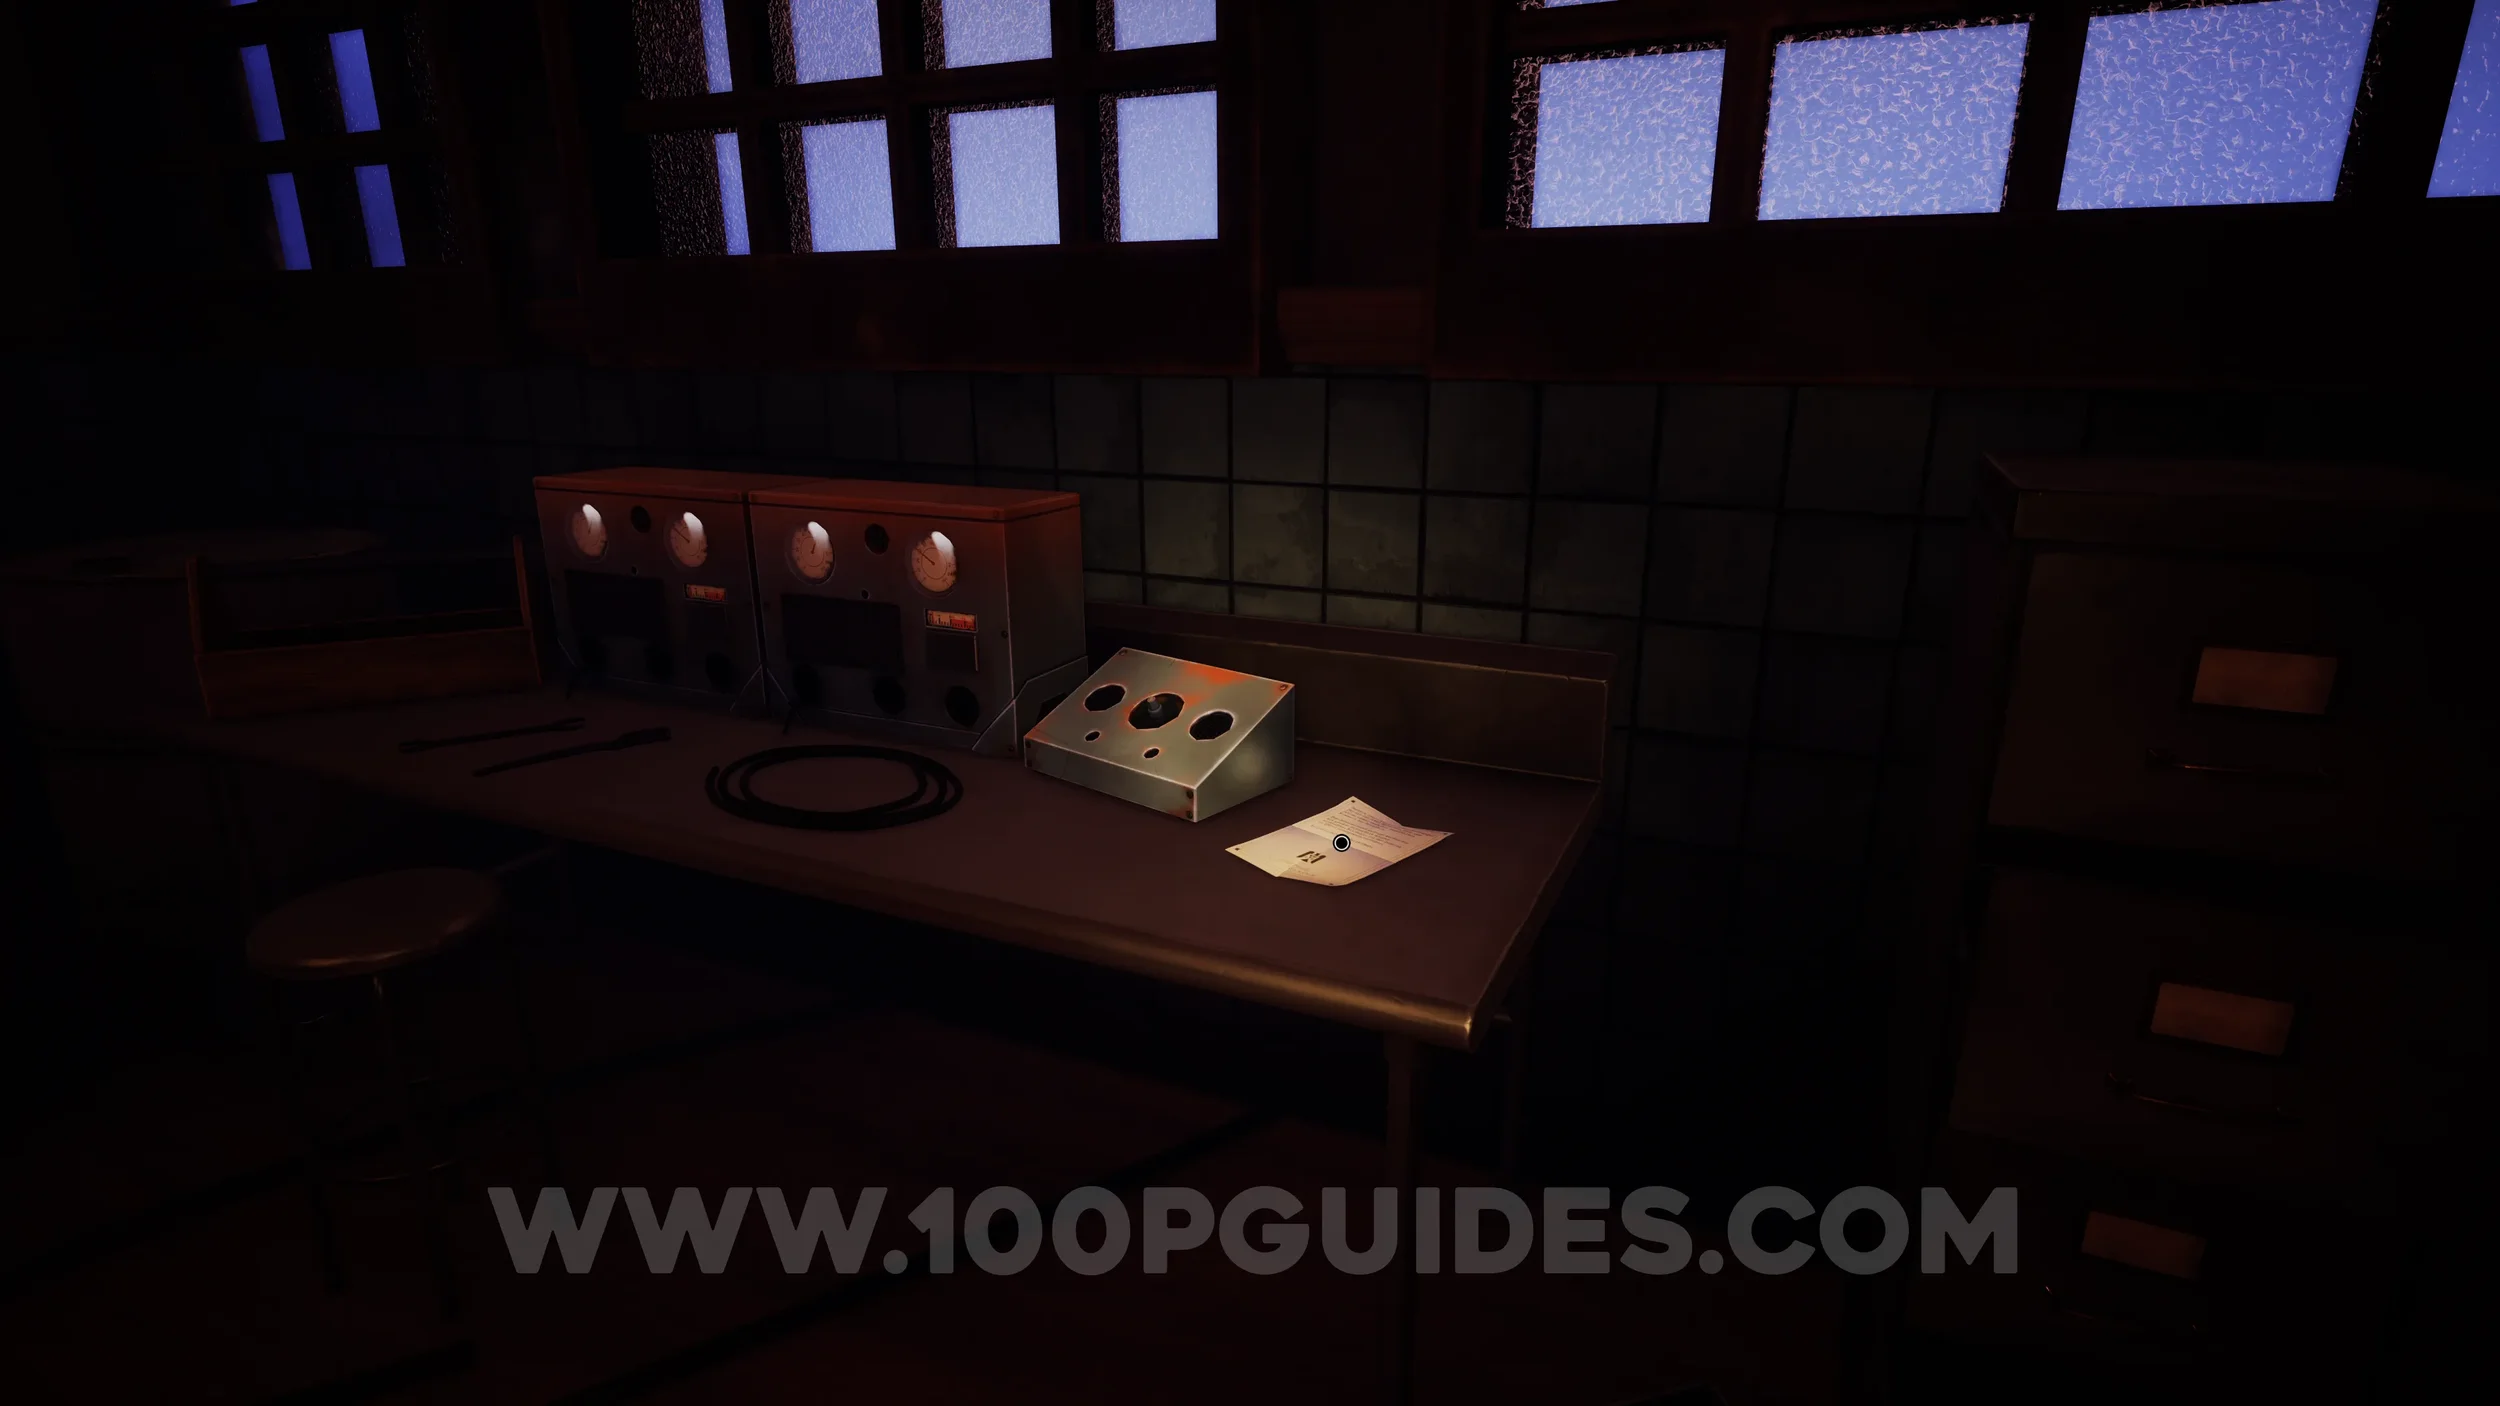
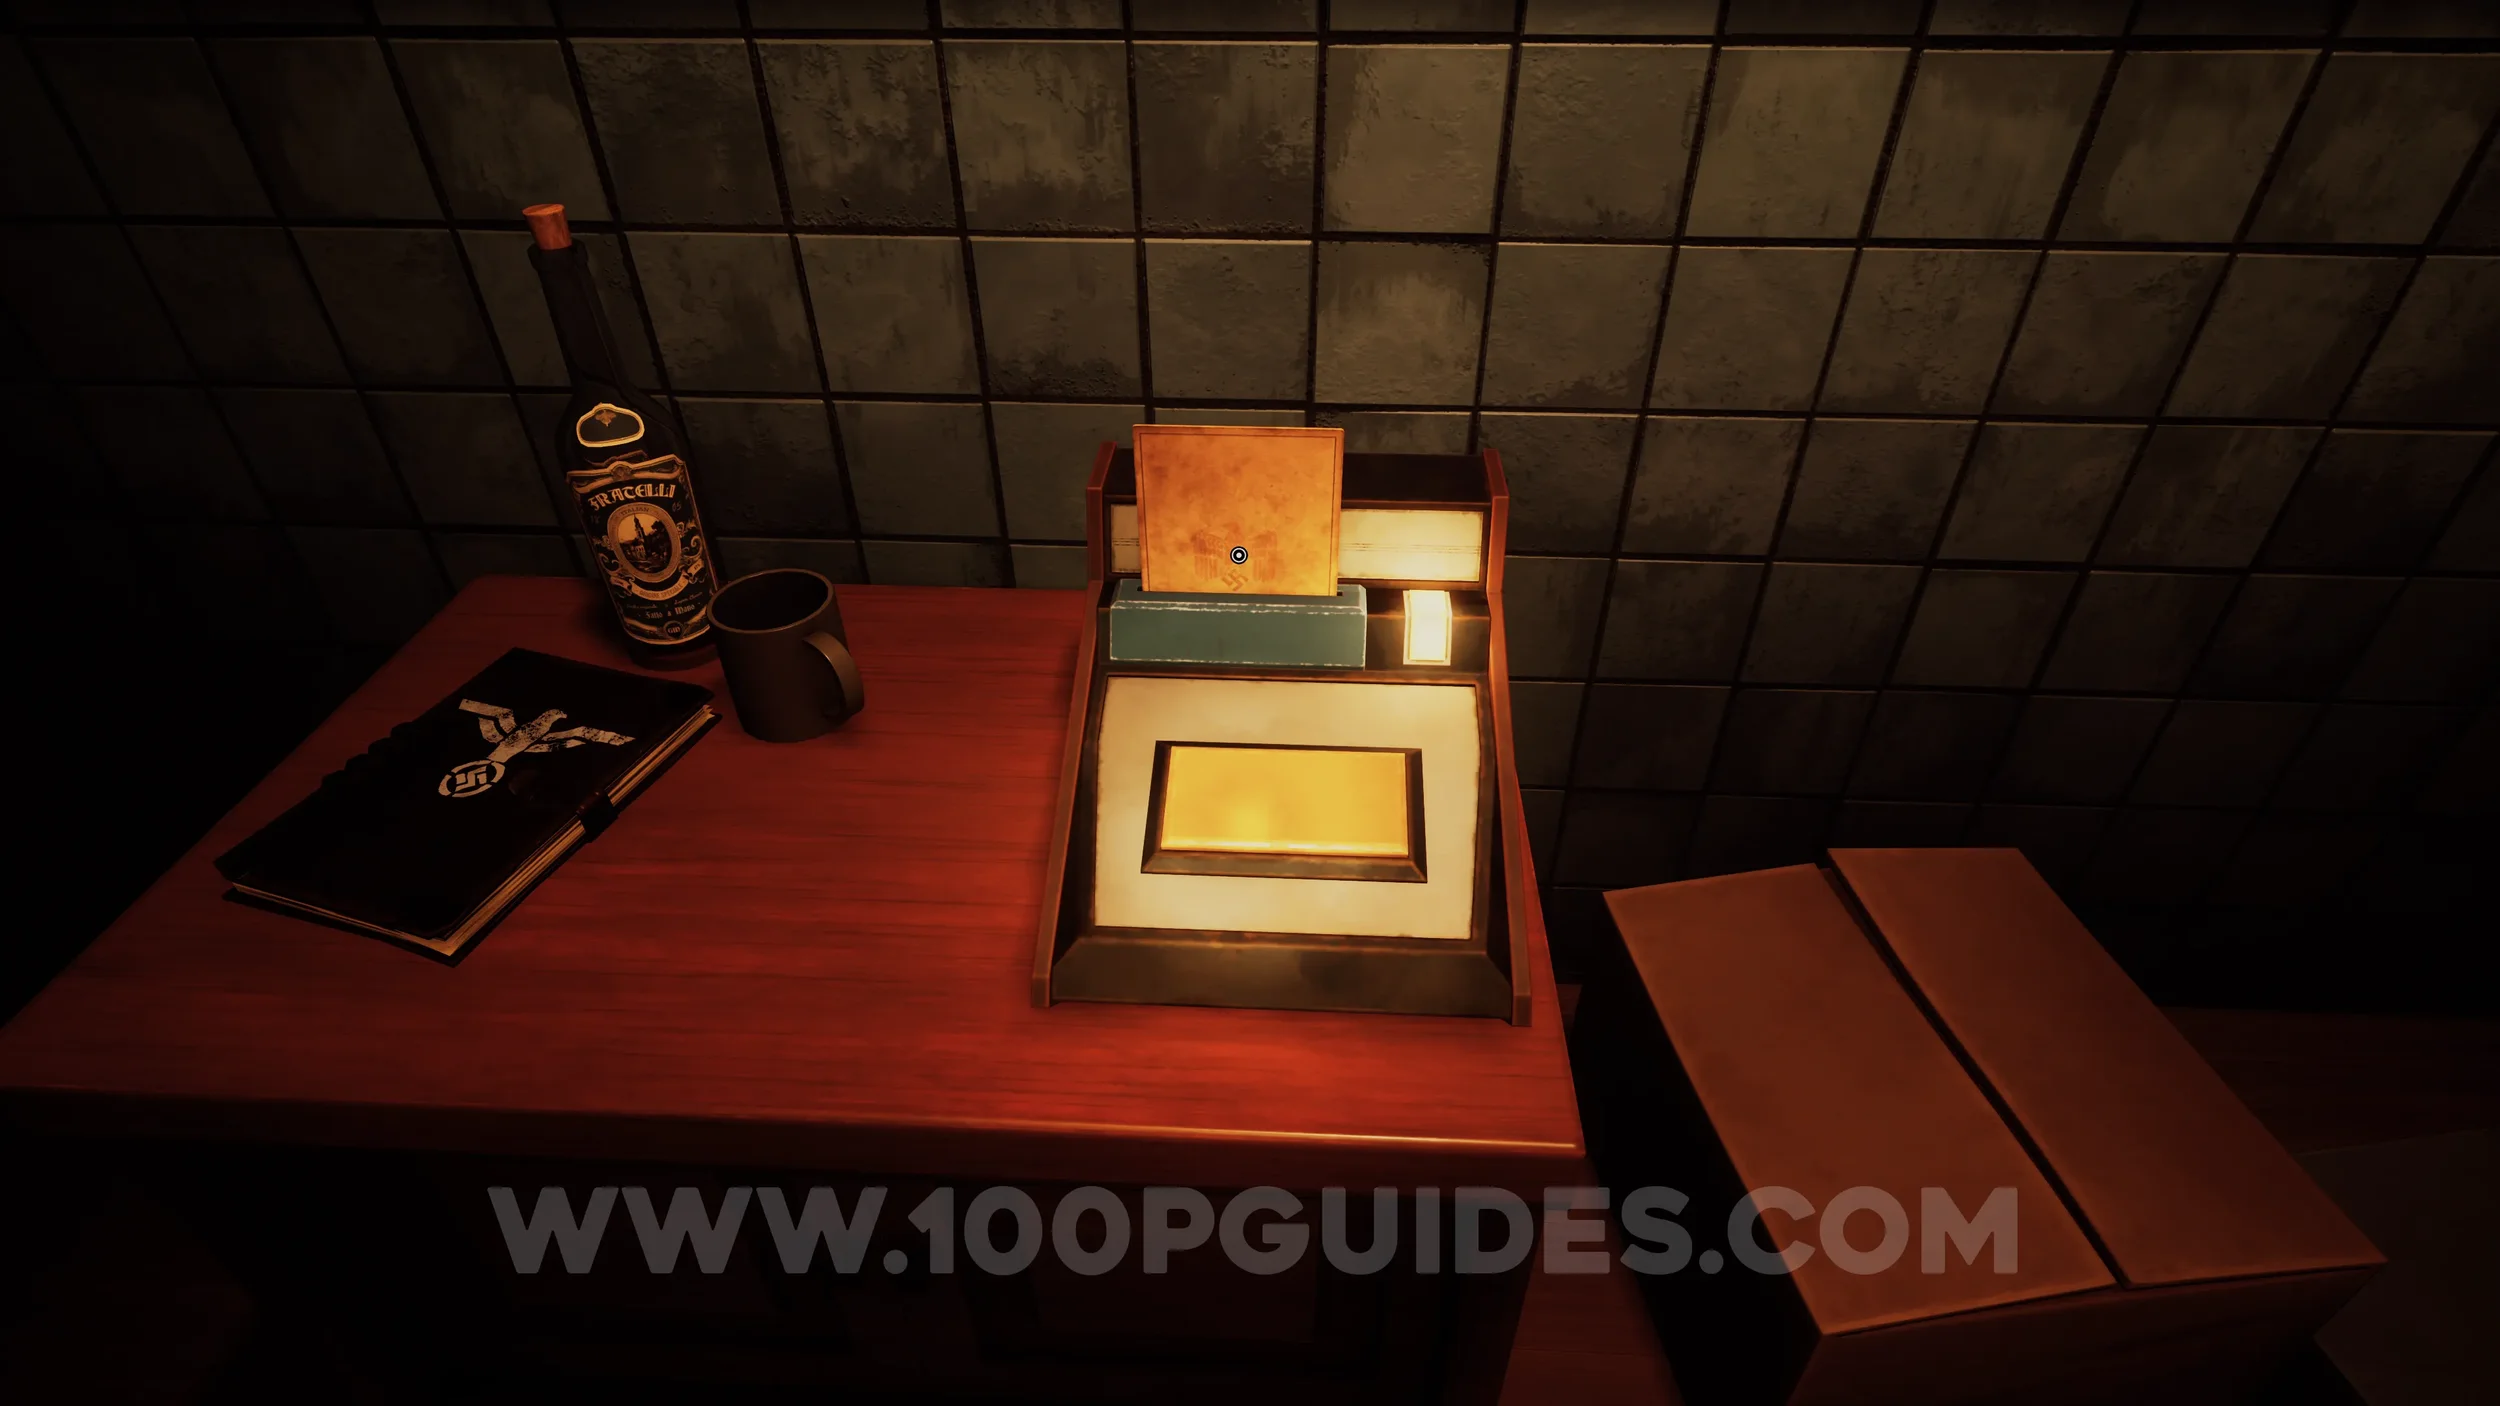
Clue #64. After restoring the electricity, you will enter a past memory sequence. The clue can be found on the same table as the deciphering machine.
Clue #65. On the same table.
Clue #66. After completing the deciphering machine puzzle in the past, you will return to the present day inside the large building. First, head downstairs and find the clue to the left of the door you originally used to enter the building.
Clue #67. On the table to the right of the door you originally used to enter.
Clue #68. Examine the calendars on the wall behind the desk where the previous clue was located.
Clue #69. A photo on a book under the stairs heading to the top floor.
Clue #70. Head back upstairs and make your way to the far-right corner of the room. Here, you will find a device with a large button. Press the button and pick up the paper that appears.
Clue #71. In a box on a table to the right of the previous clue.
Clue #72. In a box on another table in the same room.
Clue #73. On one of the middle tables on the top floor.
Clue #74. On the other table in the middle of the top floor.
Clue #75-77. These three clues are obtained after deciphering the three messages using the deciphering machine.
CHAPTER 5
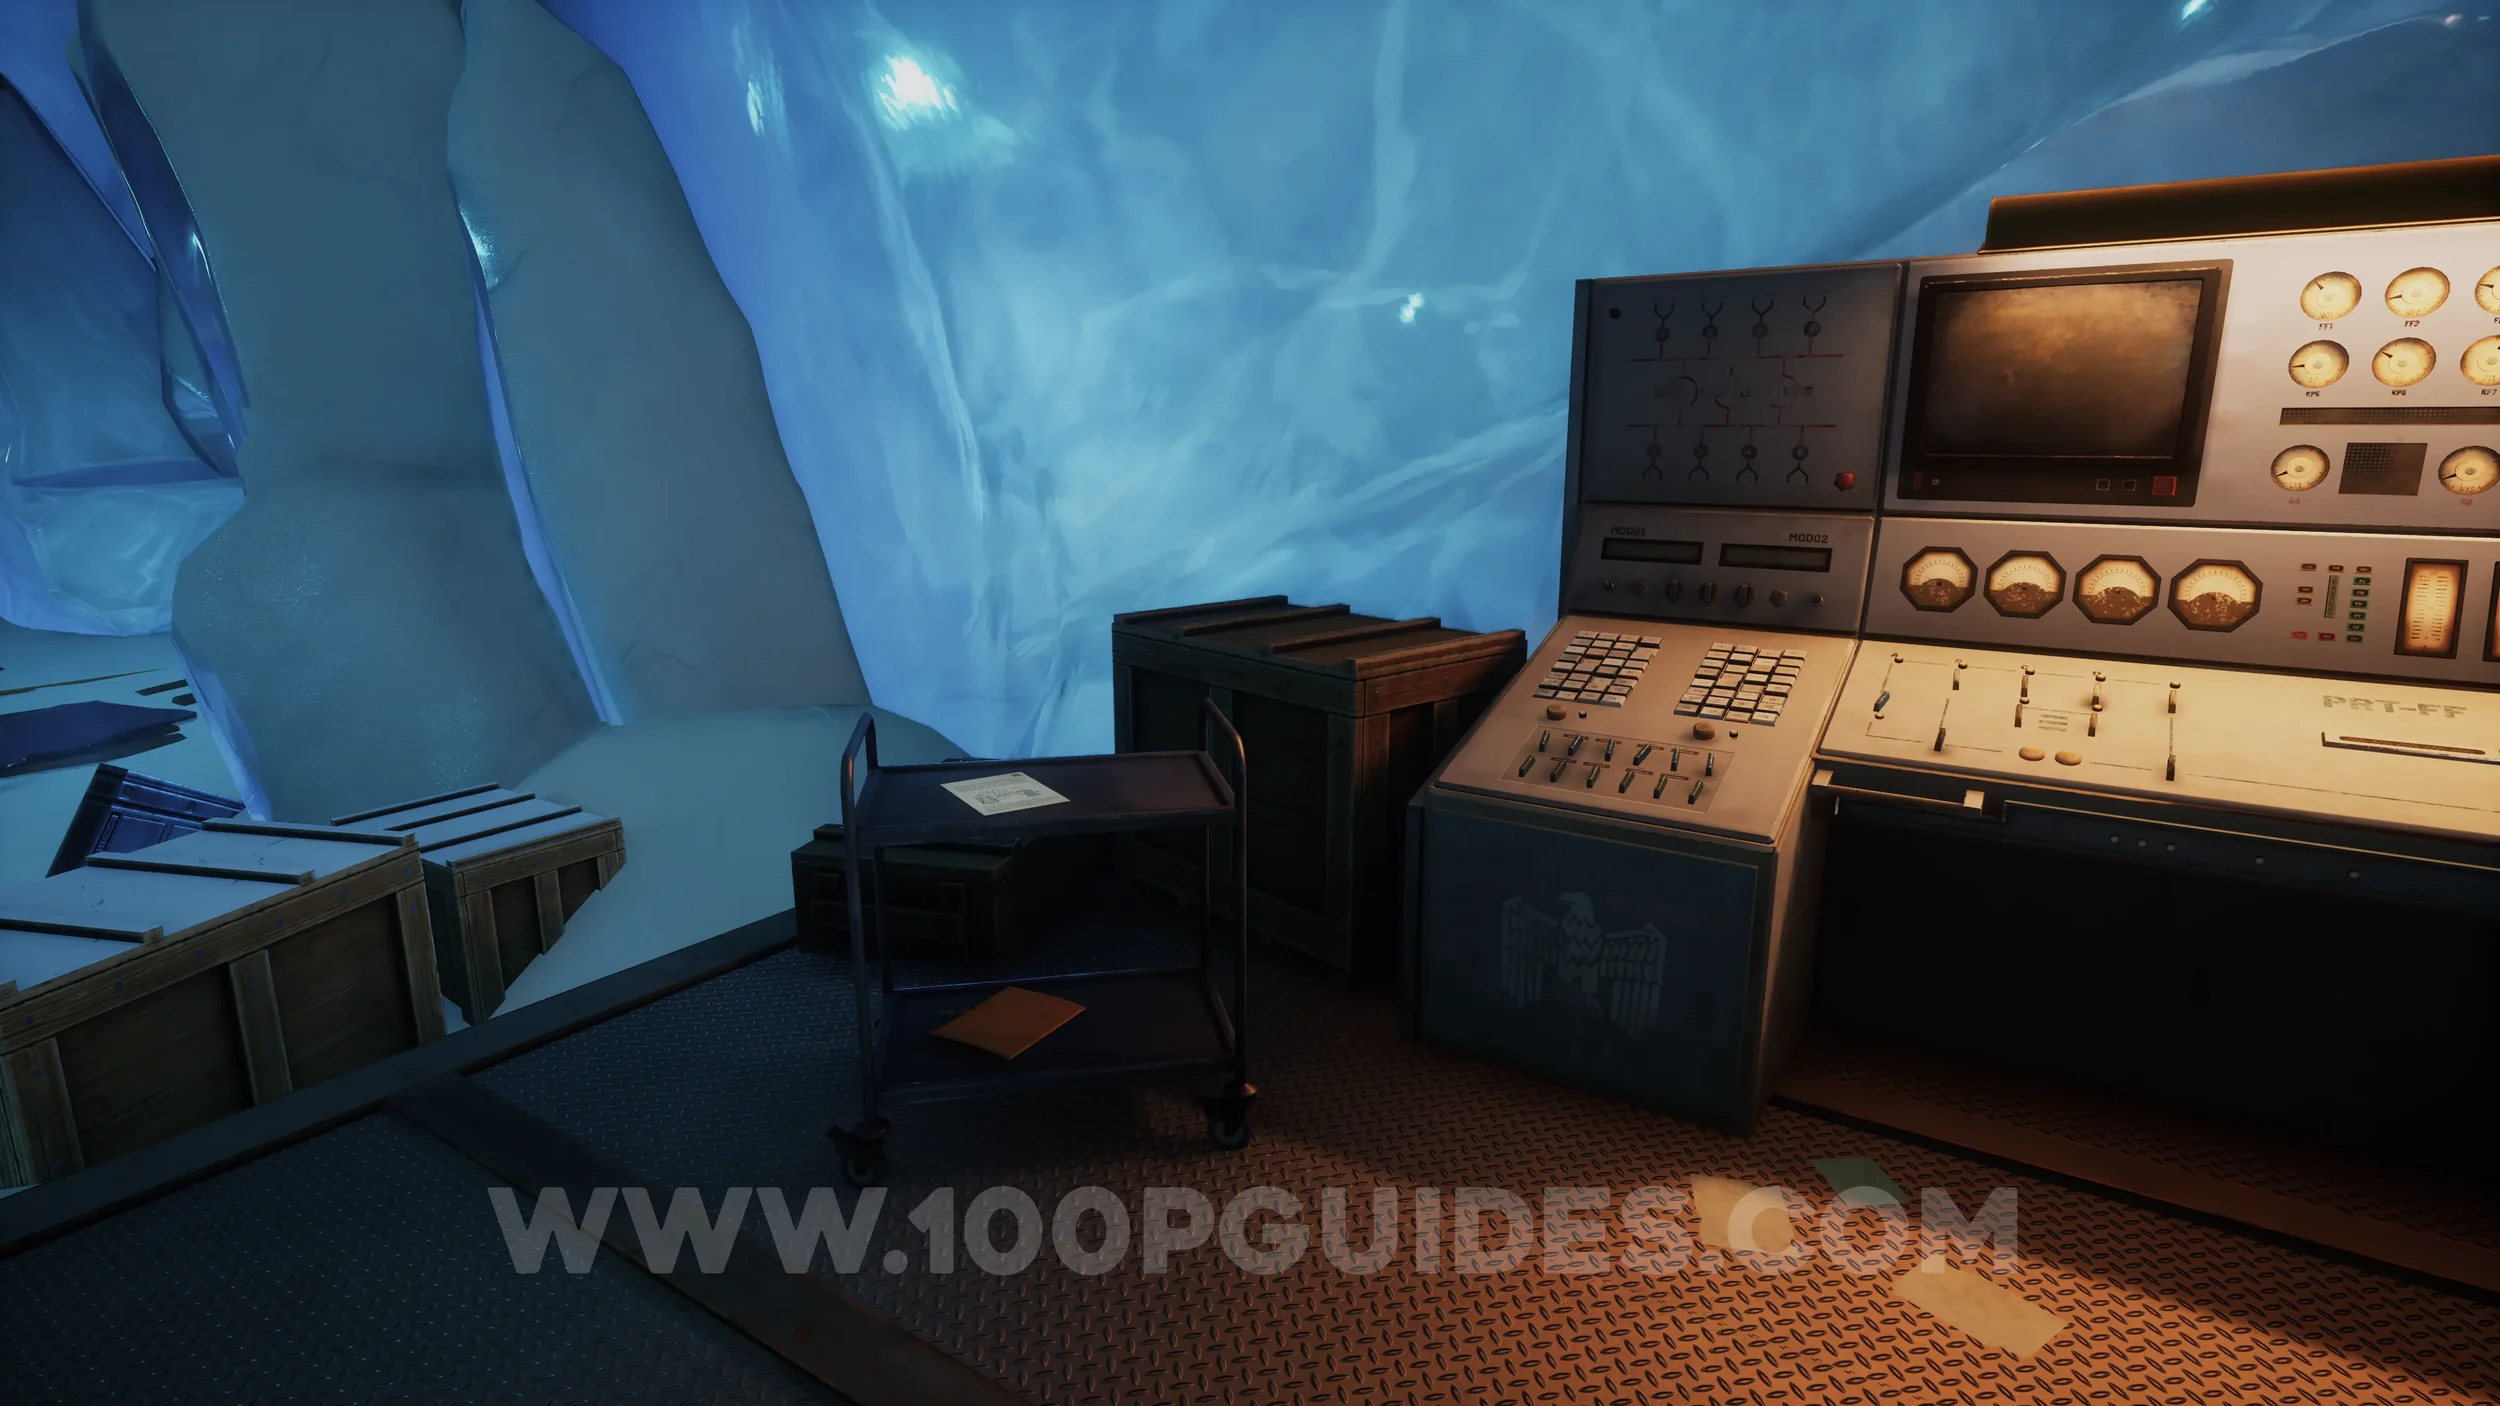
Clue #78. On a cart near some machinery, in the first area with the frozen creature.
Clue #79. In the first area with the frozen creature in the center, go up the stairs on the left side and interact with the chair.
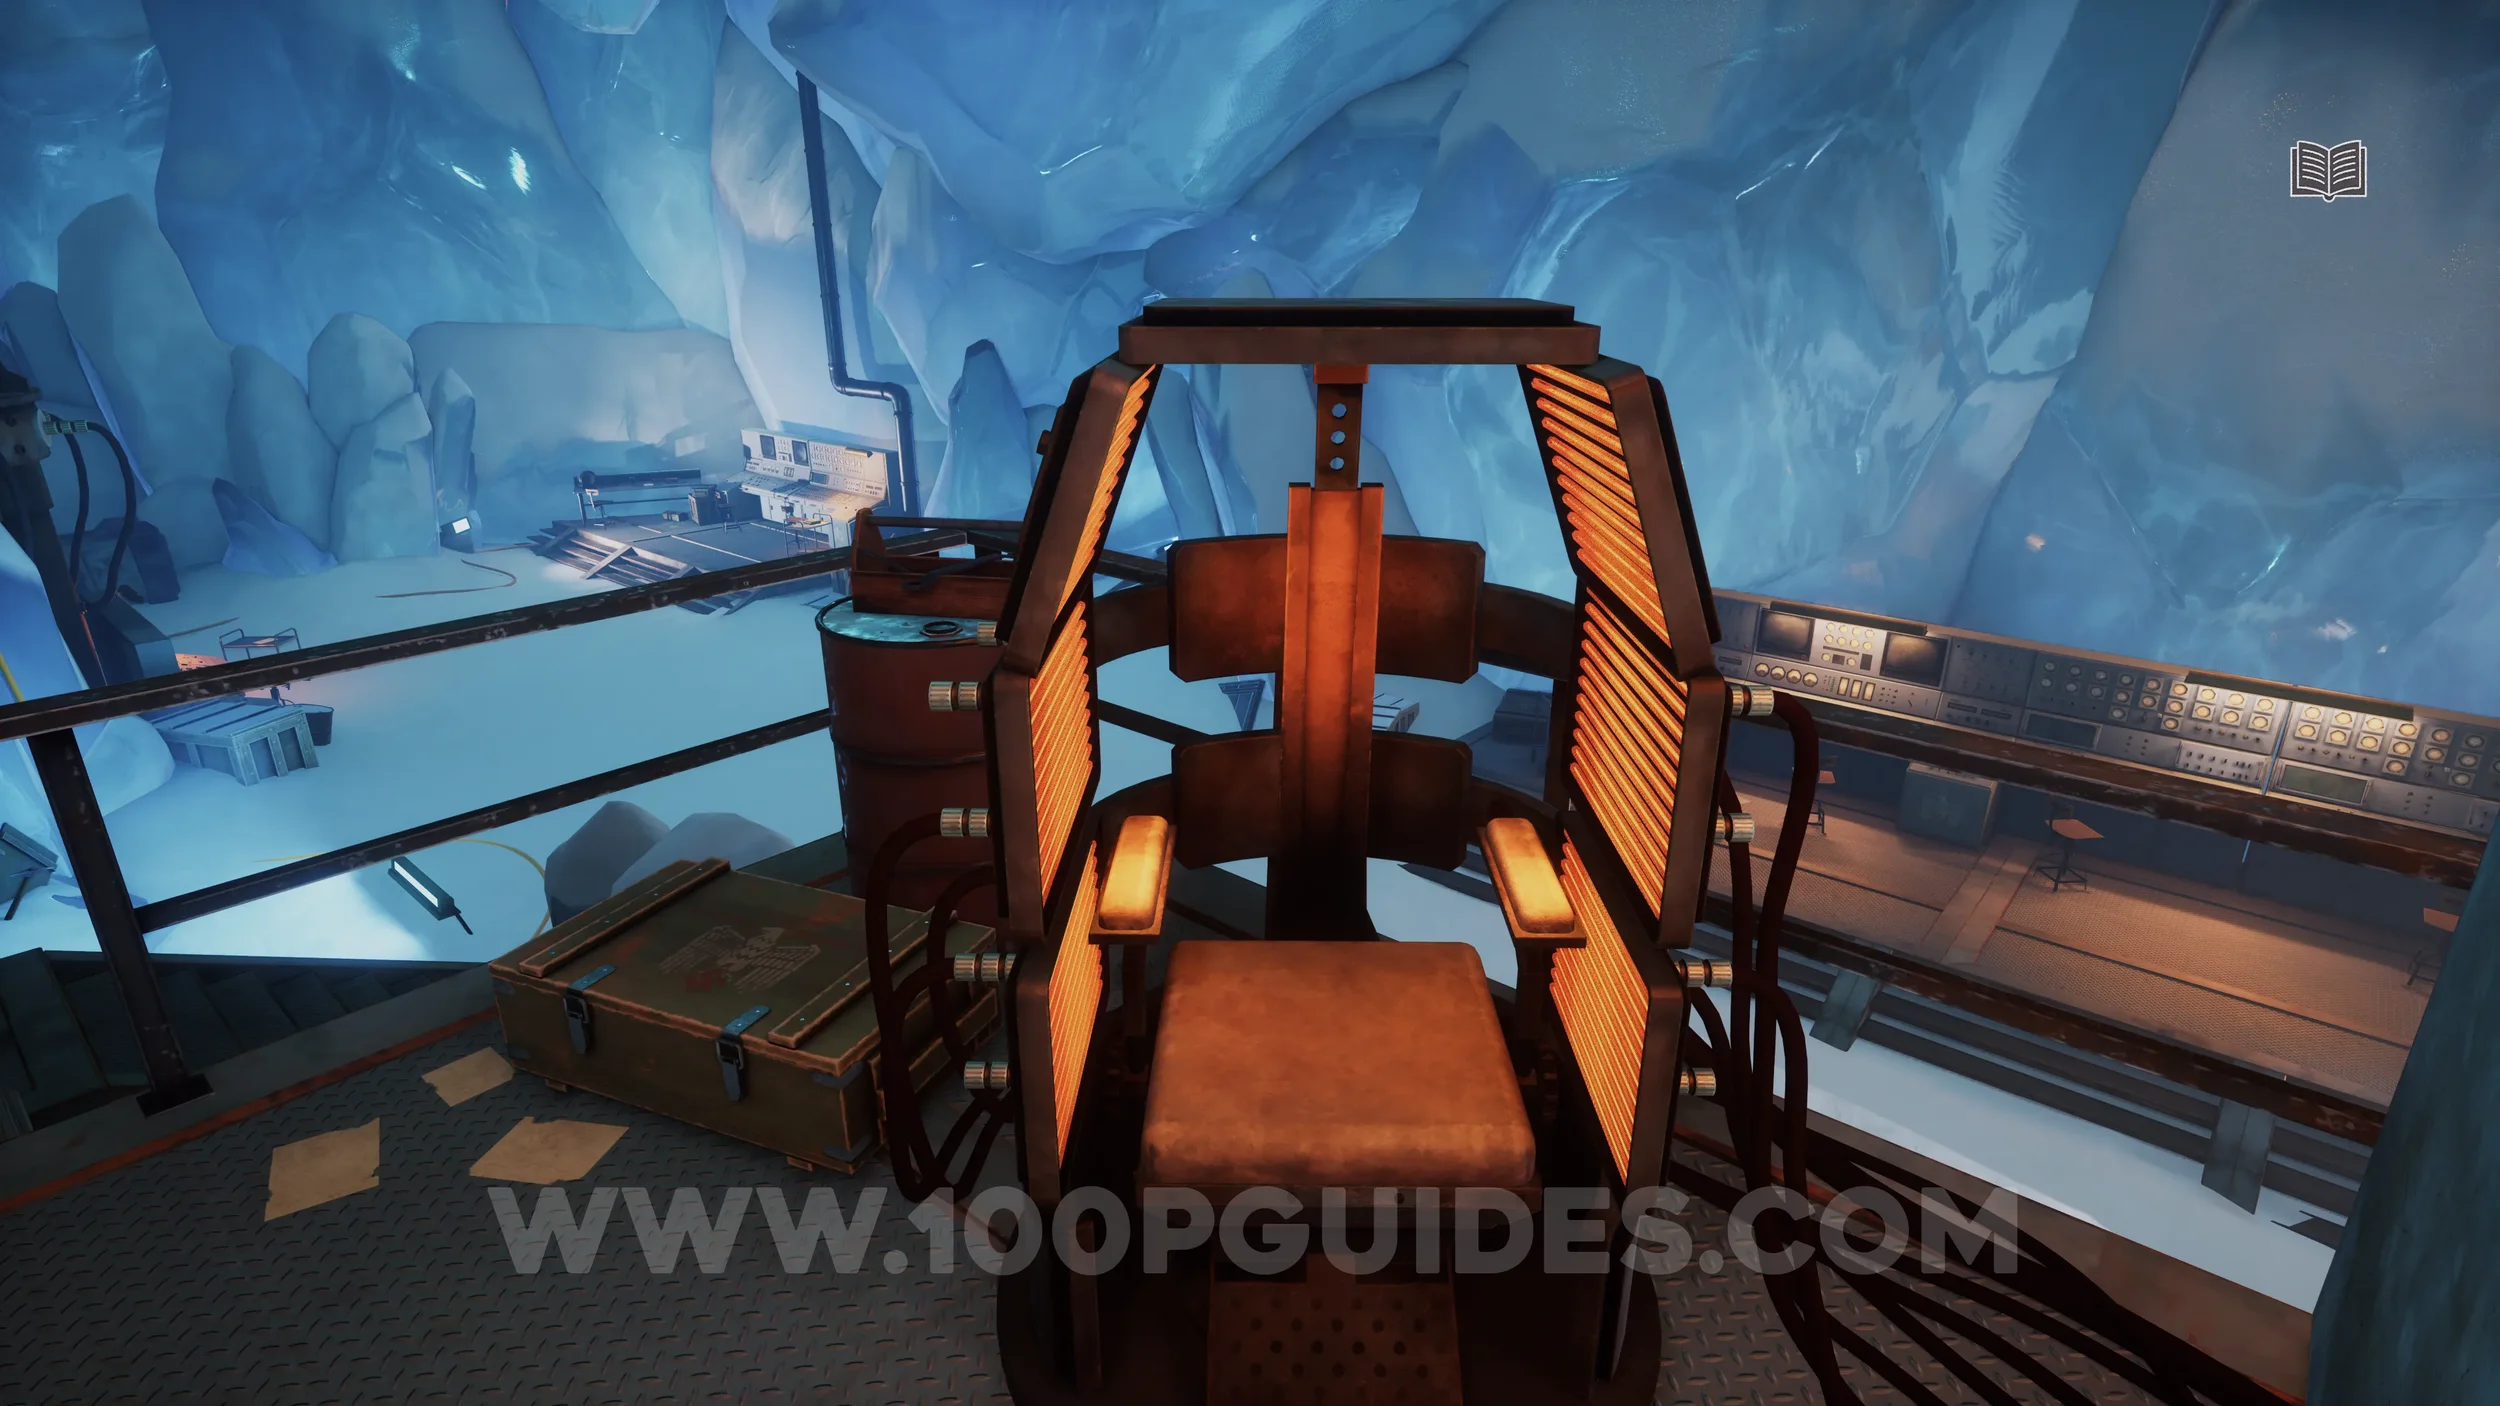
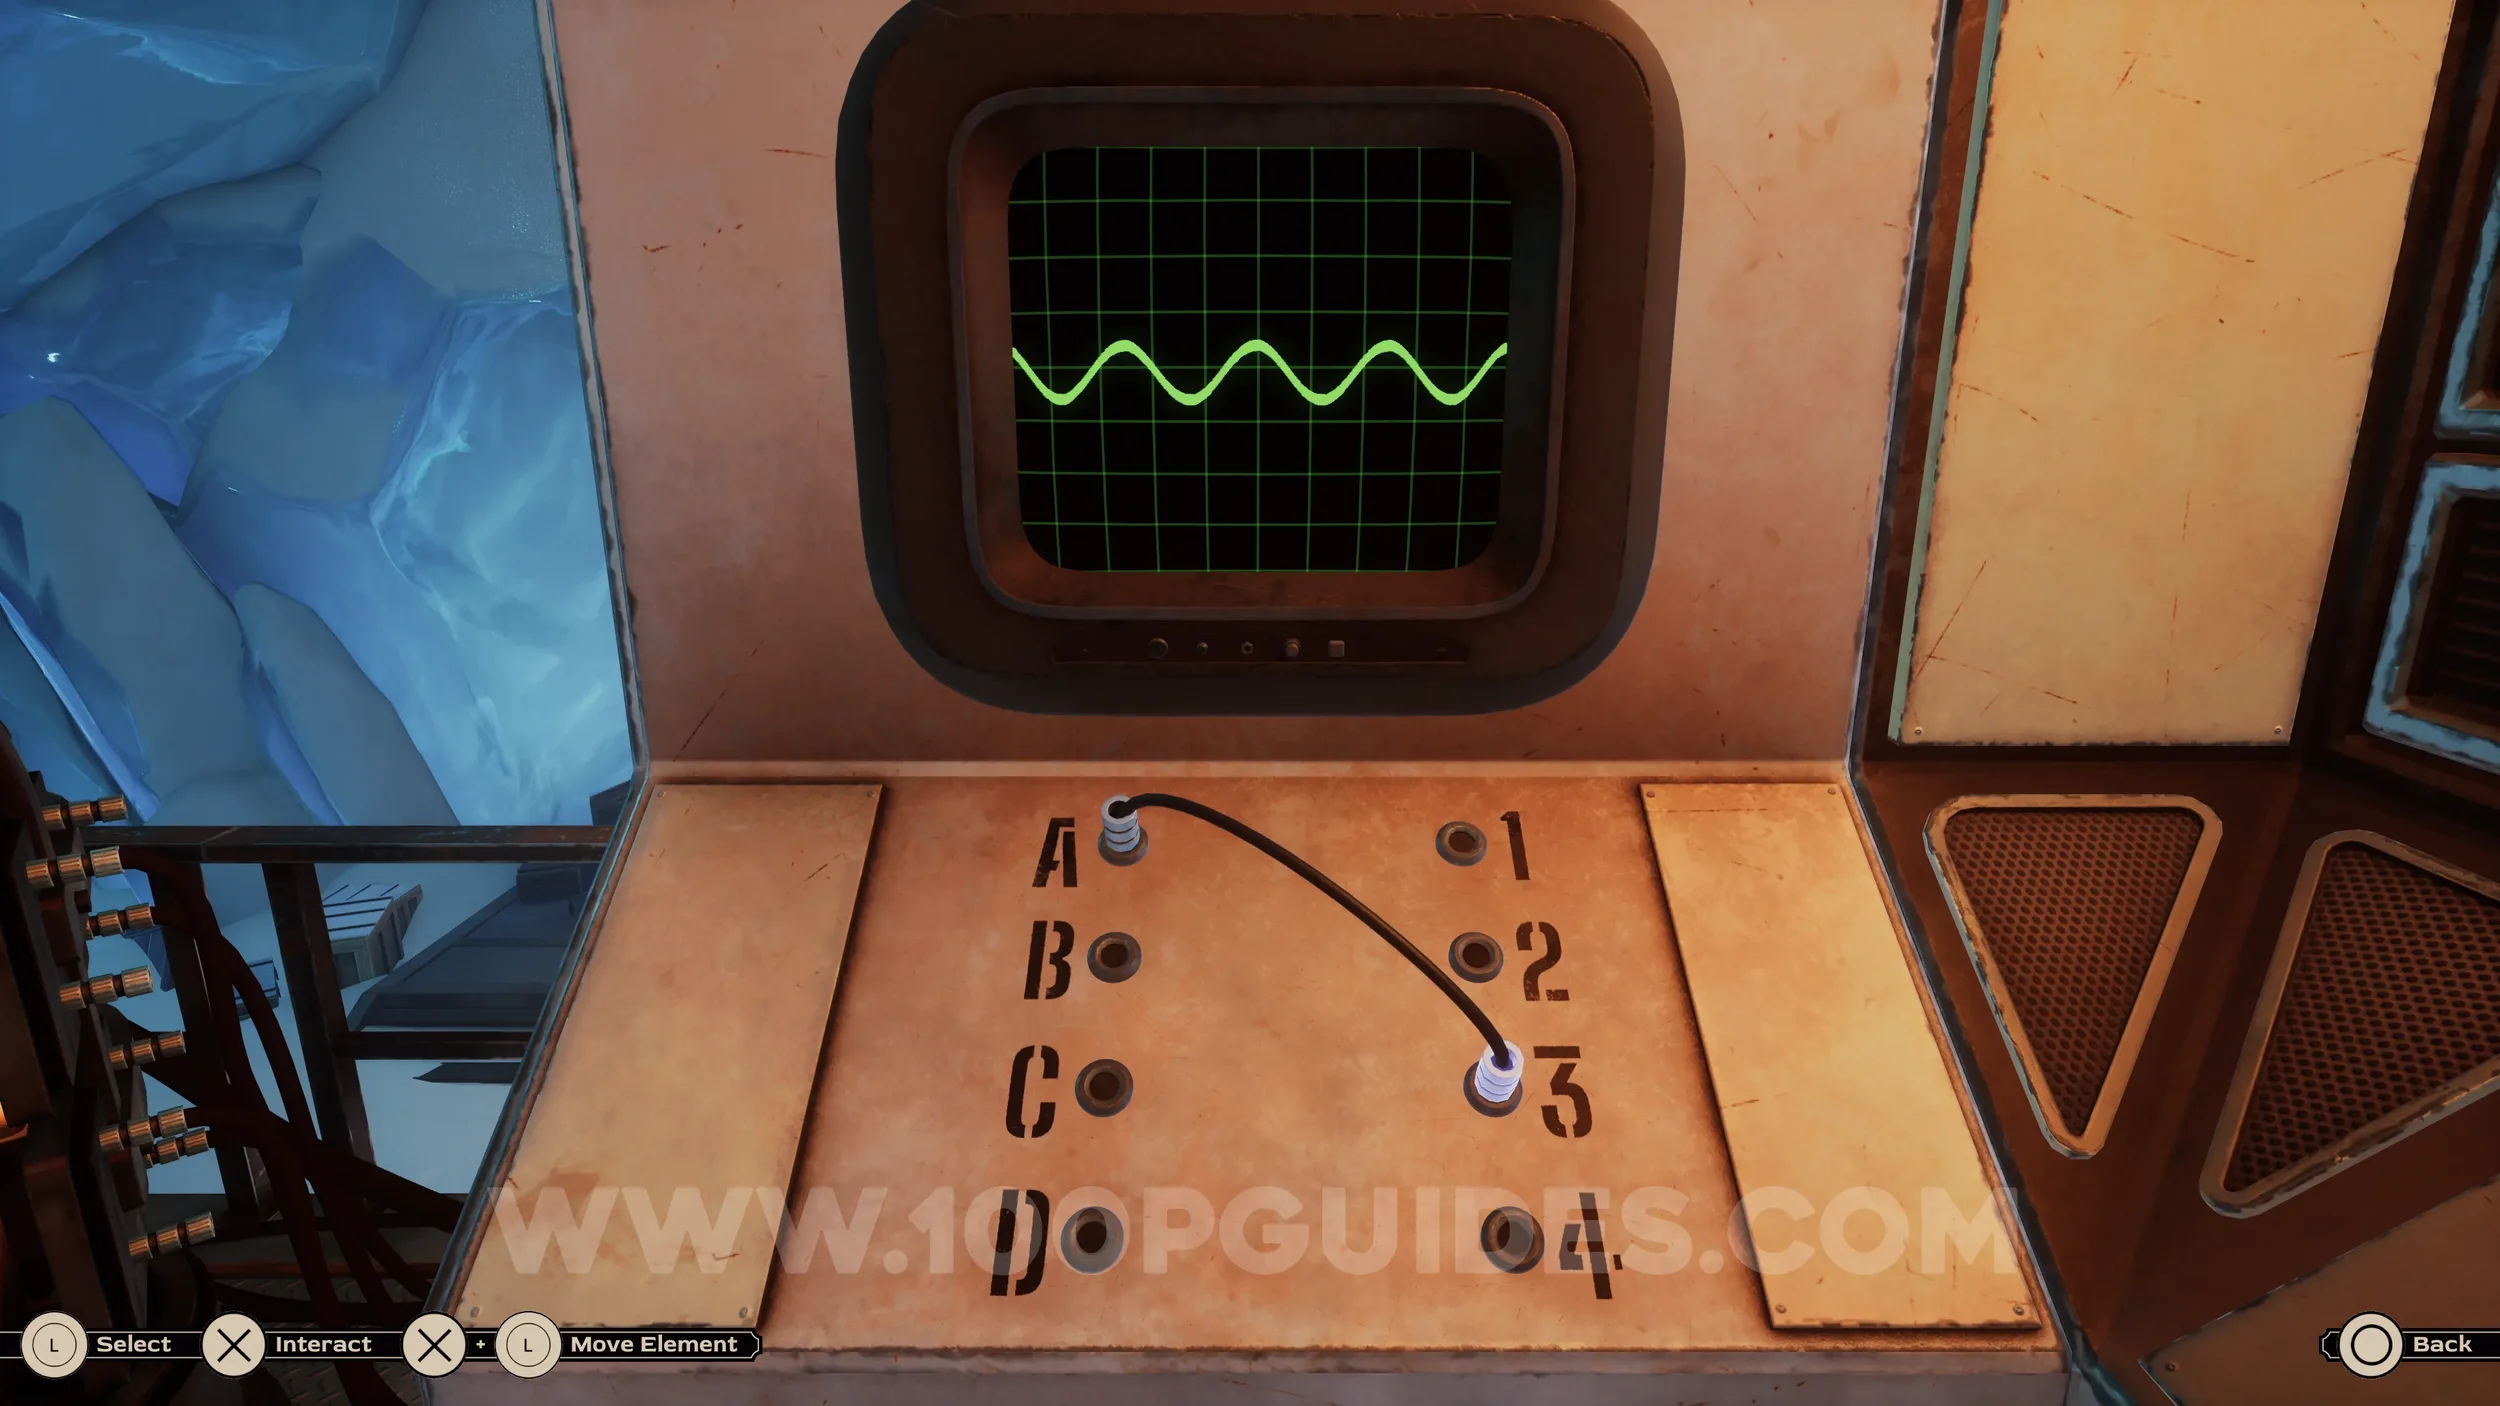
Clue #80-86. After turning on the brainwave machine next to the chair, connect the cable to the different letter and number combinations to register the various waves in the journal. Make sure to open the diary after entering each combination. The required combinations are: A-3, B-1, B-2, C-2, C-4, D-3, and D-4.
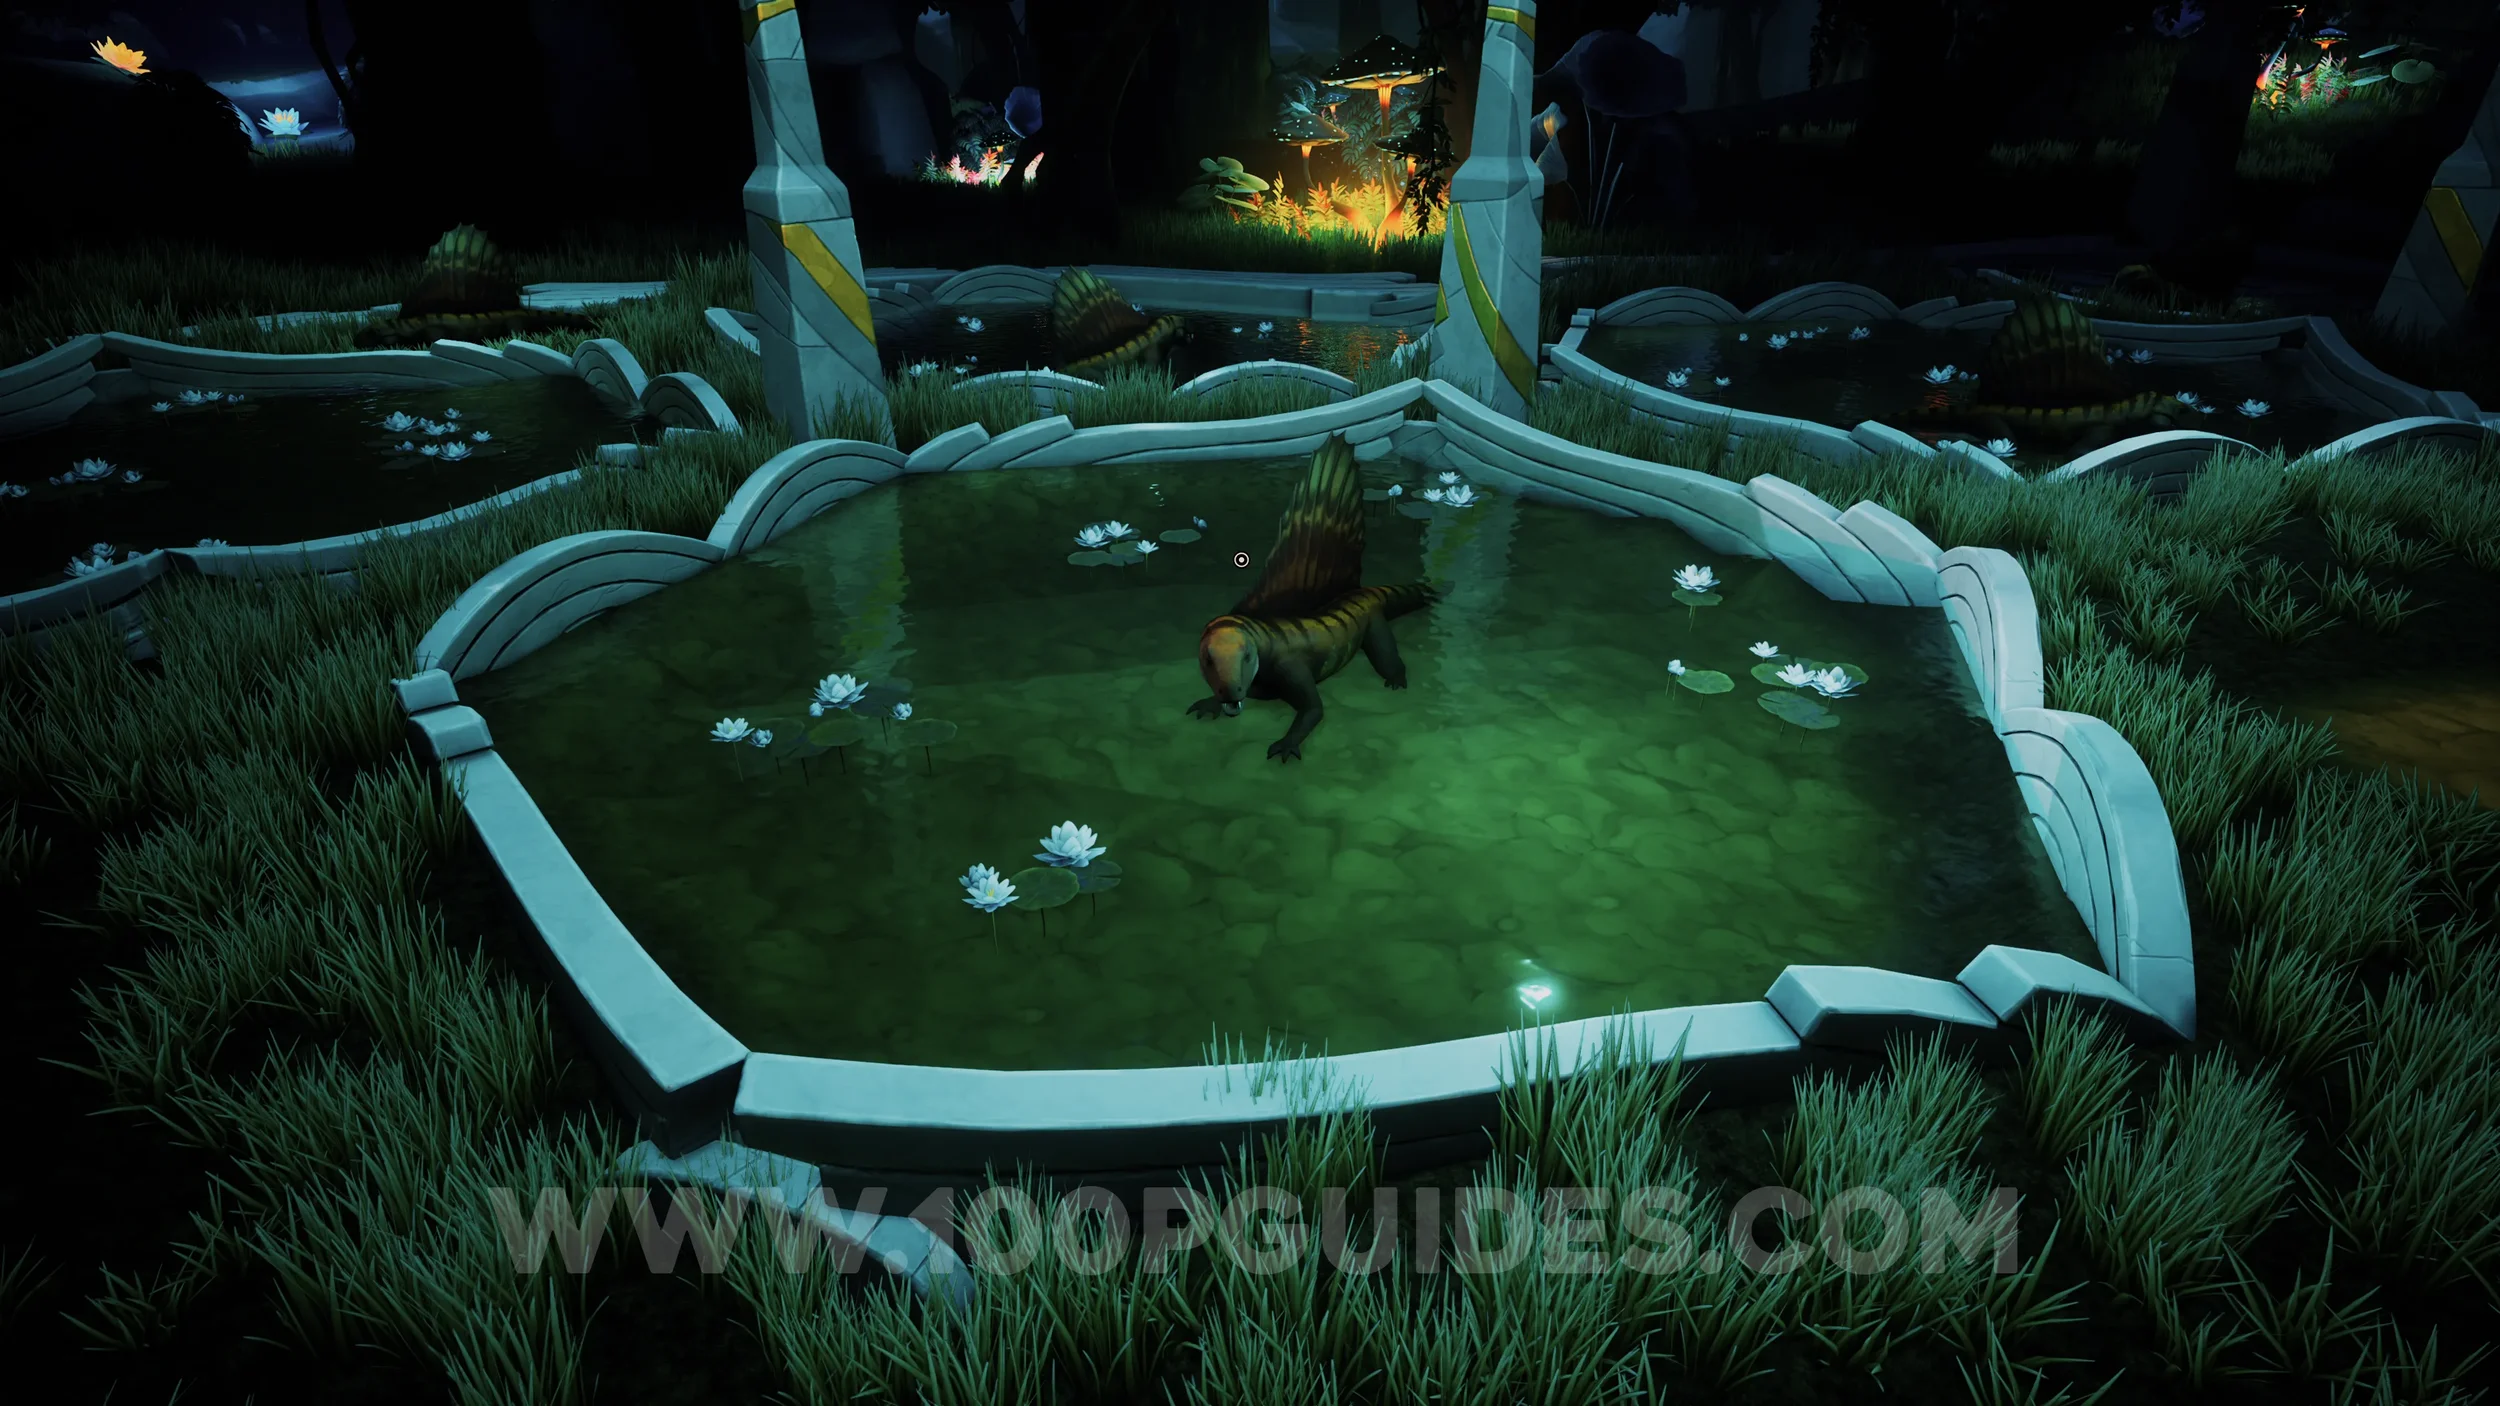
Clue #87. Once you reach the garden area after using the brainwave machine, take the first path on the left and examine the small creature in the pond.
Clue #88. From the previous clue, turn around and then go left and examine the mural.
Clue #89. After the garden section, you will enter a large building with tall corridors. Just before reaching the yellow beam that carries you around the corner, go through the door on the left and then turn left again to find the clue on the table.

Clue #90. Examine the large mural on the wall behind the previous clue.
Clue #91. On the table to the left of the previous clue.
Clue #92. Now head to the opposite side of the room where the yellow beam is located. Before using the beam, examine the desk on the right to find the clue.
Clue #93. On the other desk near the previous clue.
Clue #94. On the table to the left of the yellow beam.
Clue #95. On the same table.
Clue #96. Use the yellow beam to go up and examine the mural on your right.
Clue #97. Examine the mural on the left side after using the yellow beam.
Clue #98. Continue onward and use the yellow beam to reach the lone building on the opposite side. Once there, examine the mural on the right wall.
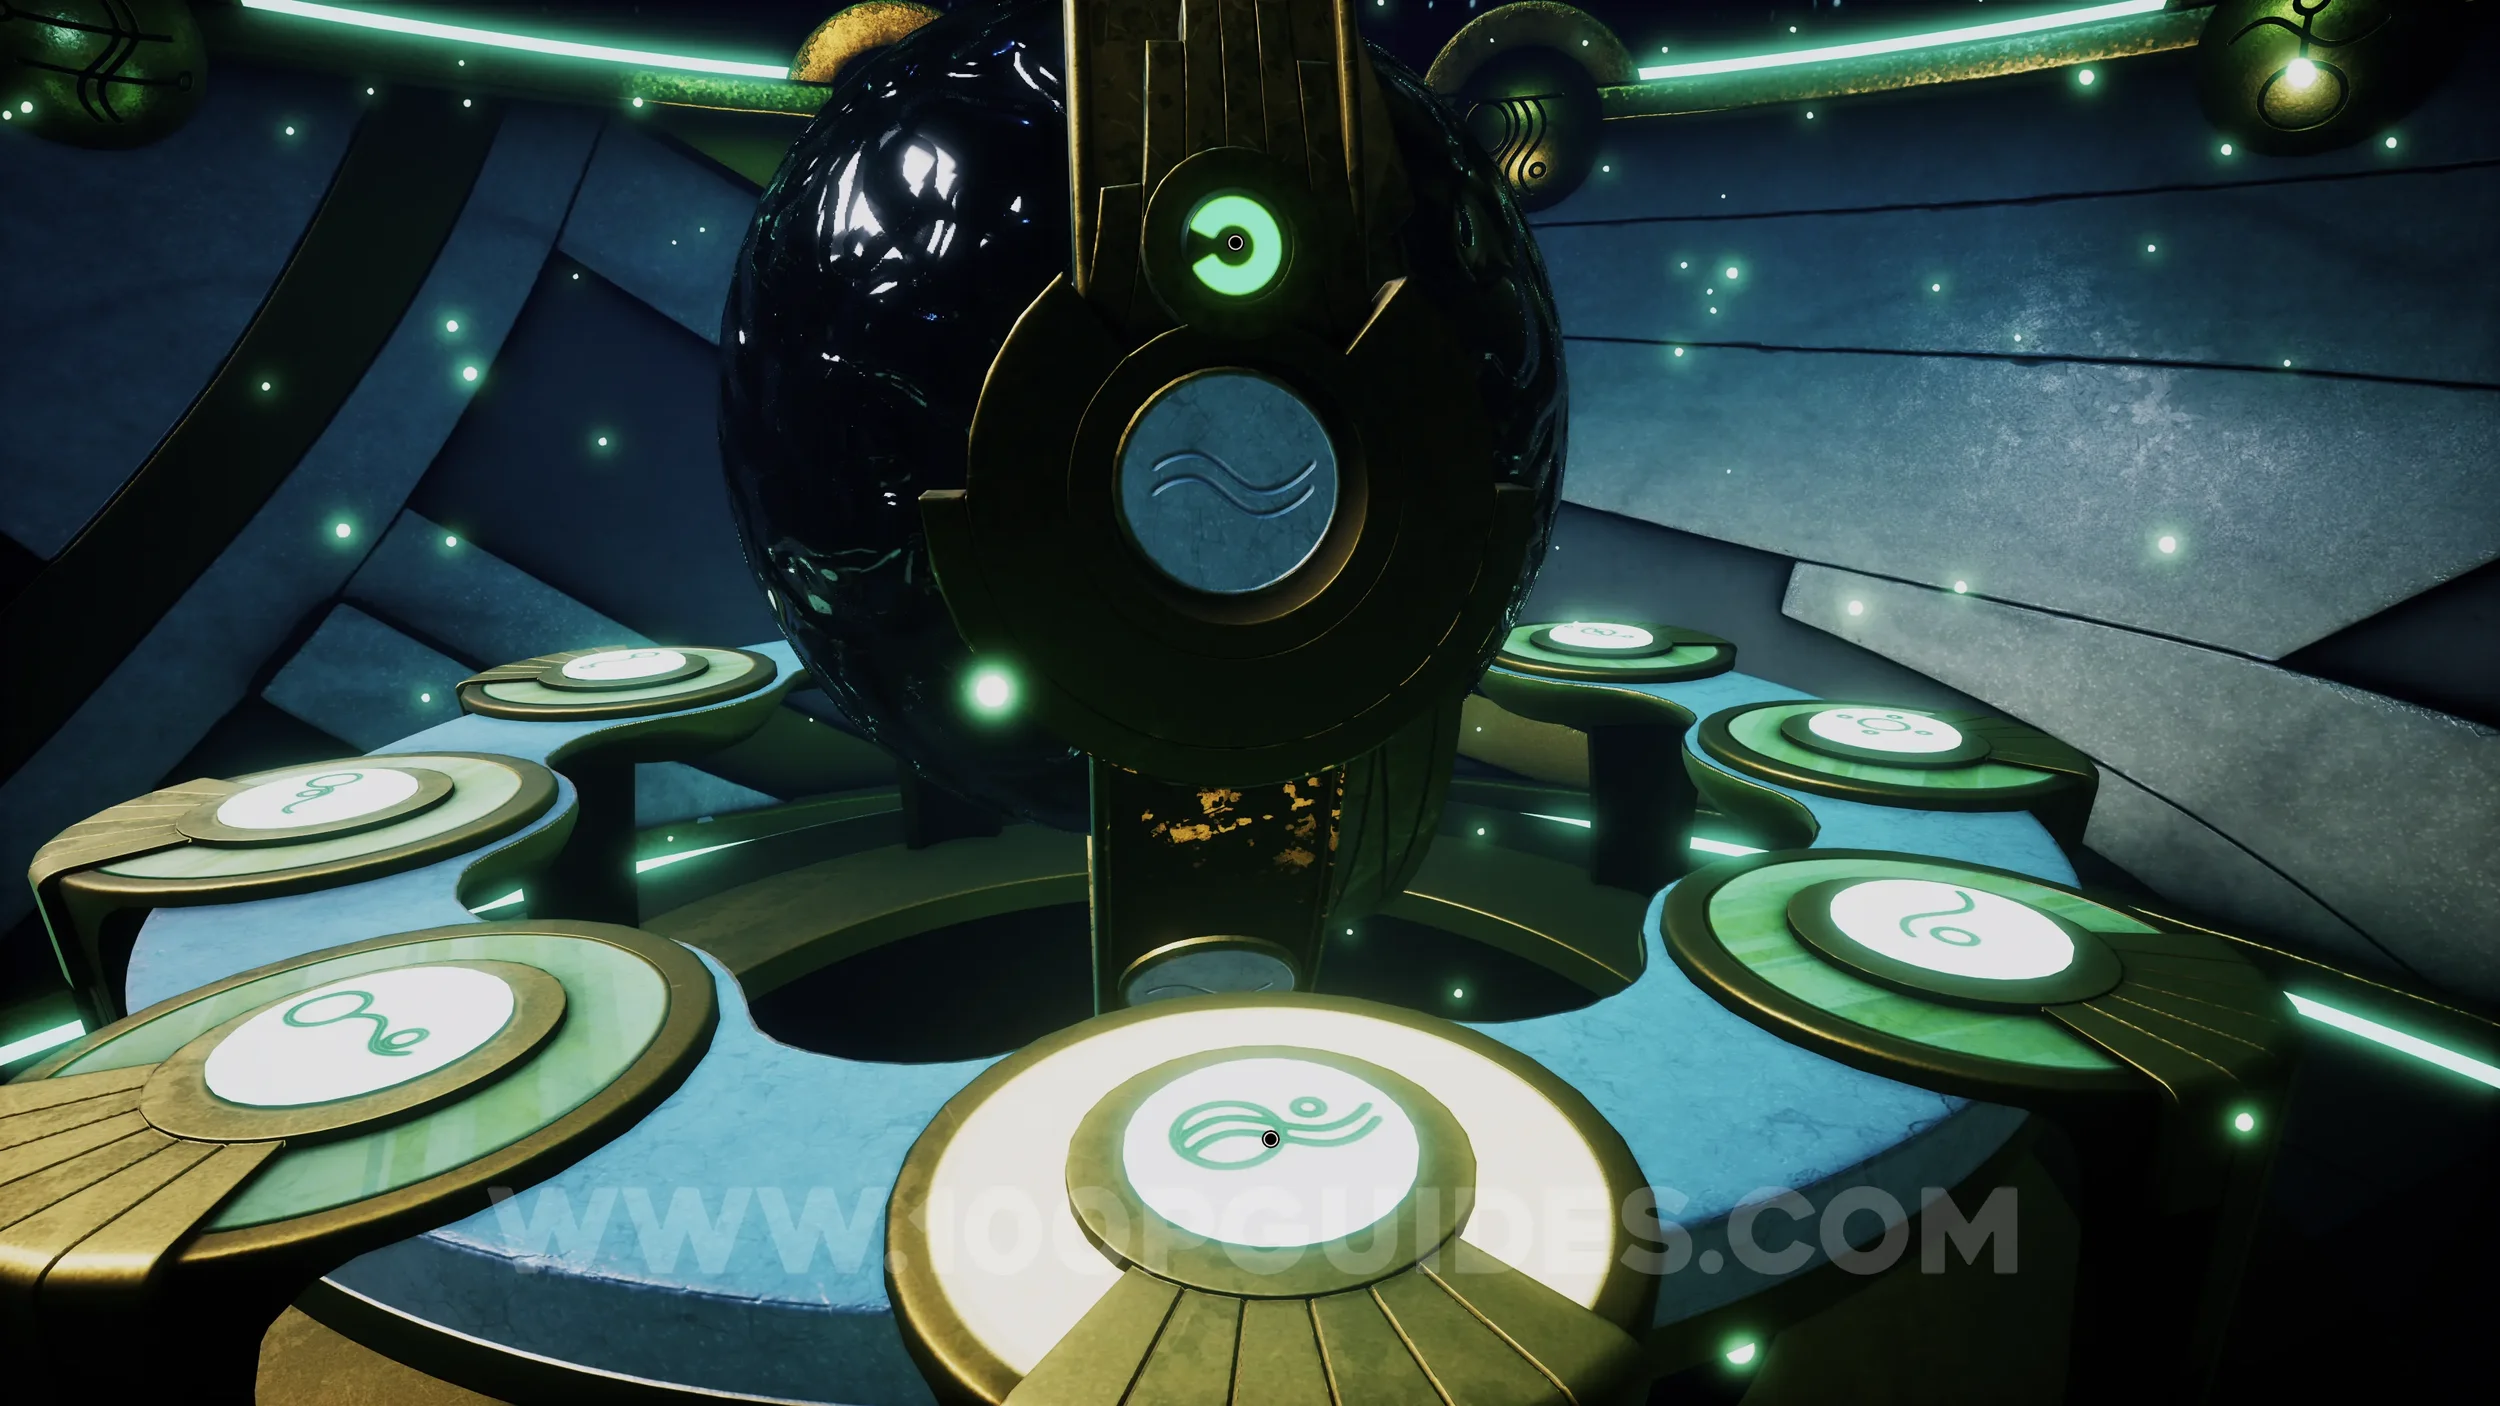
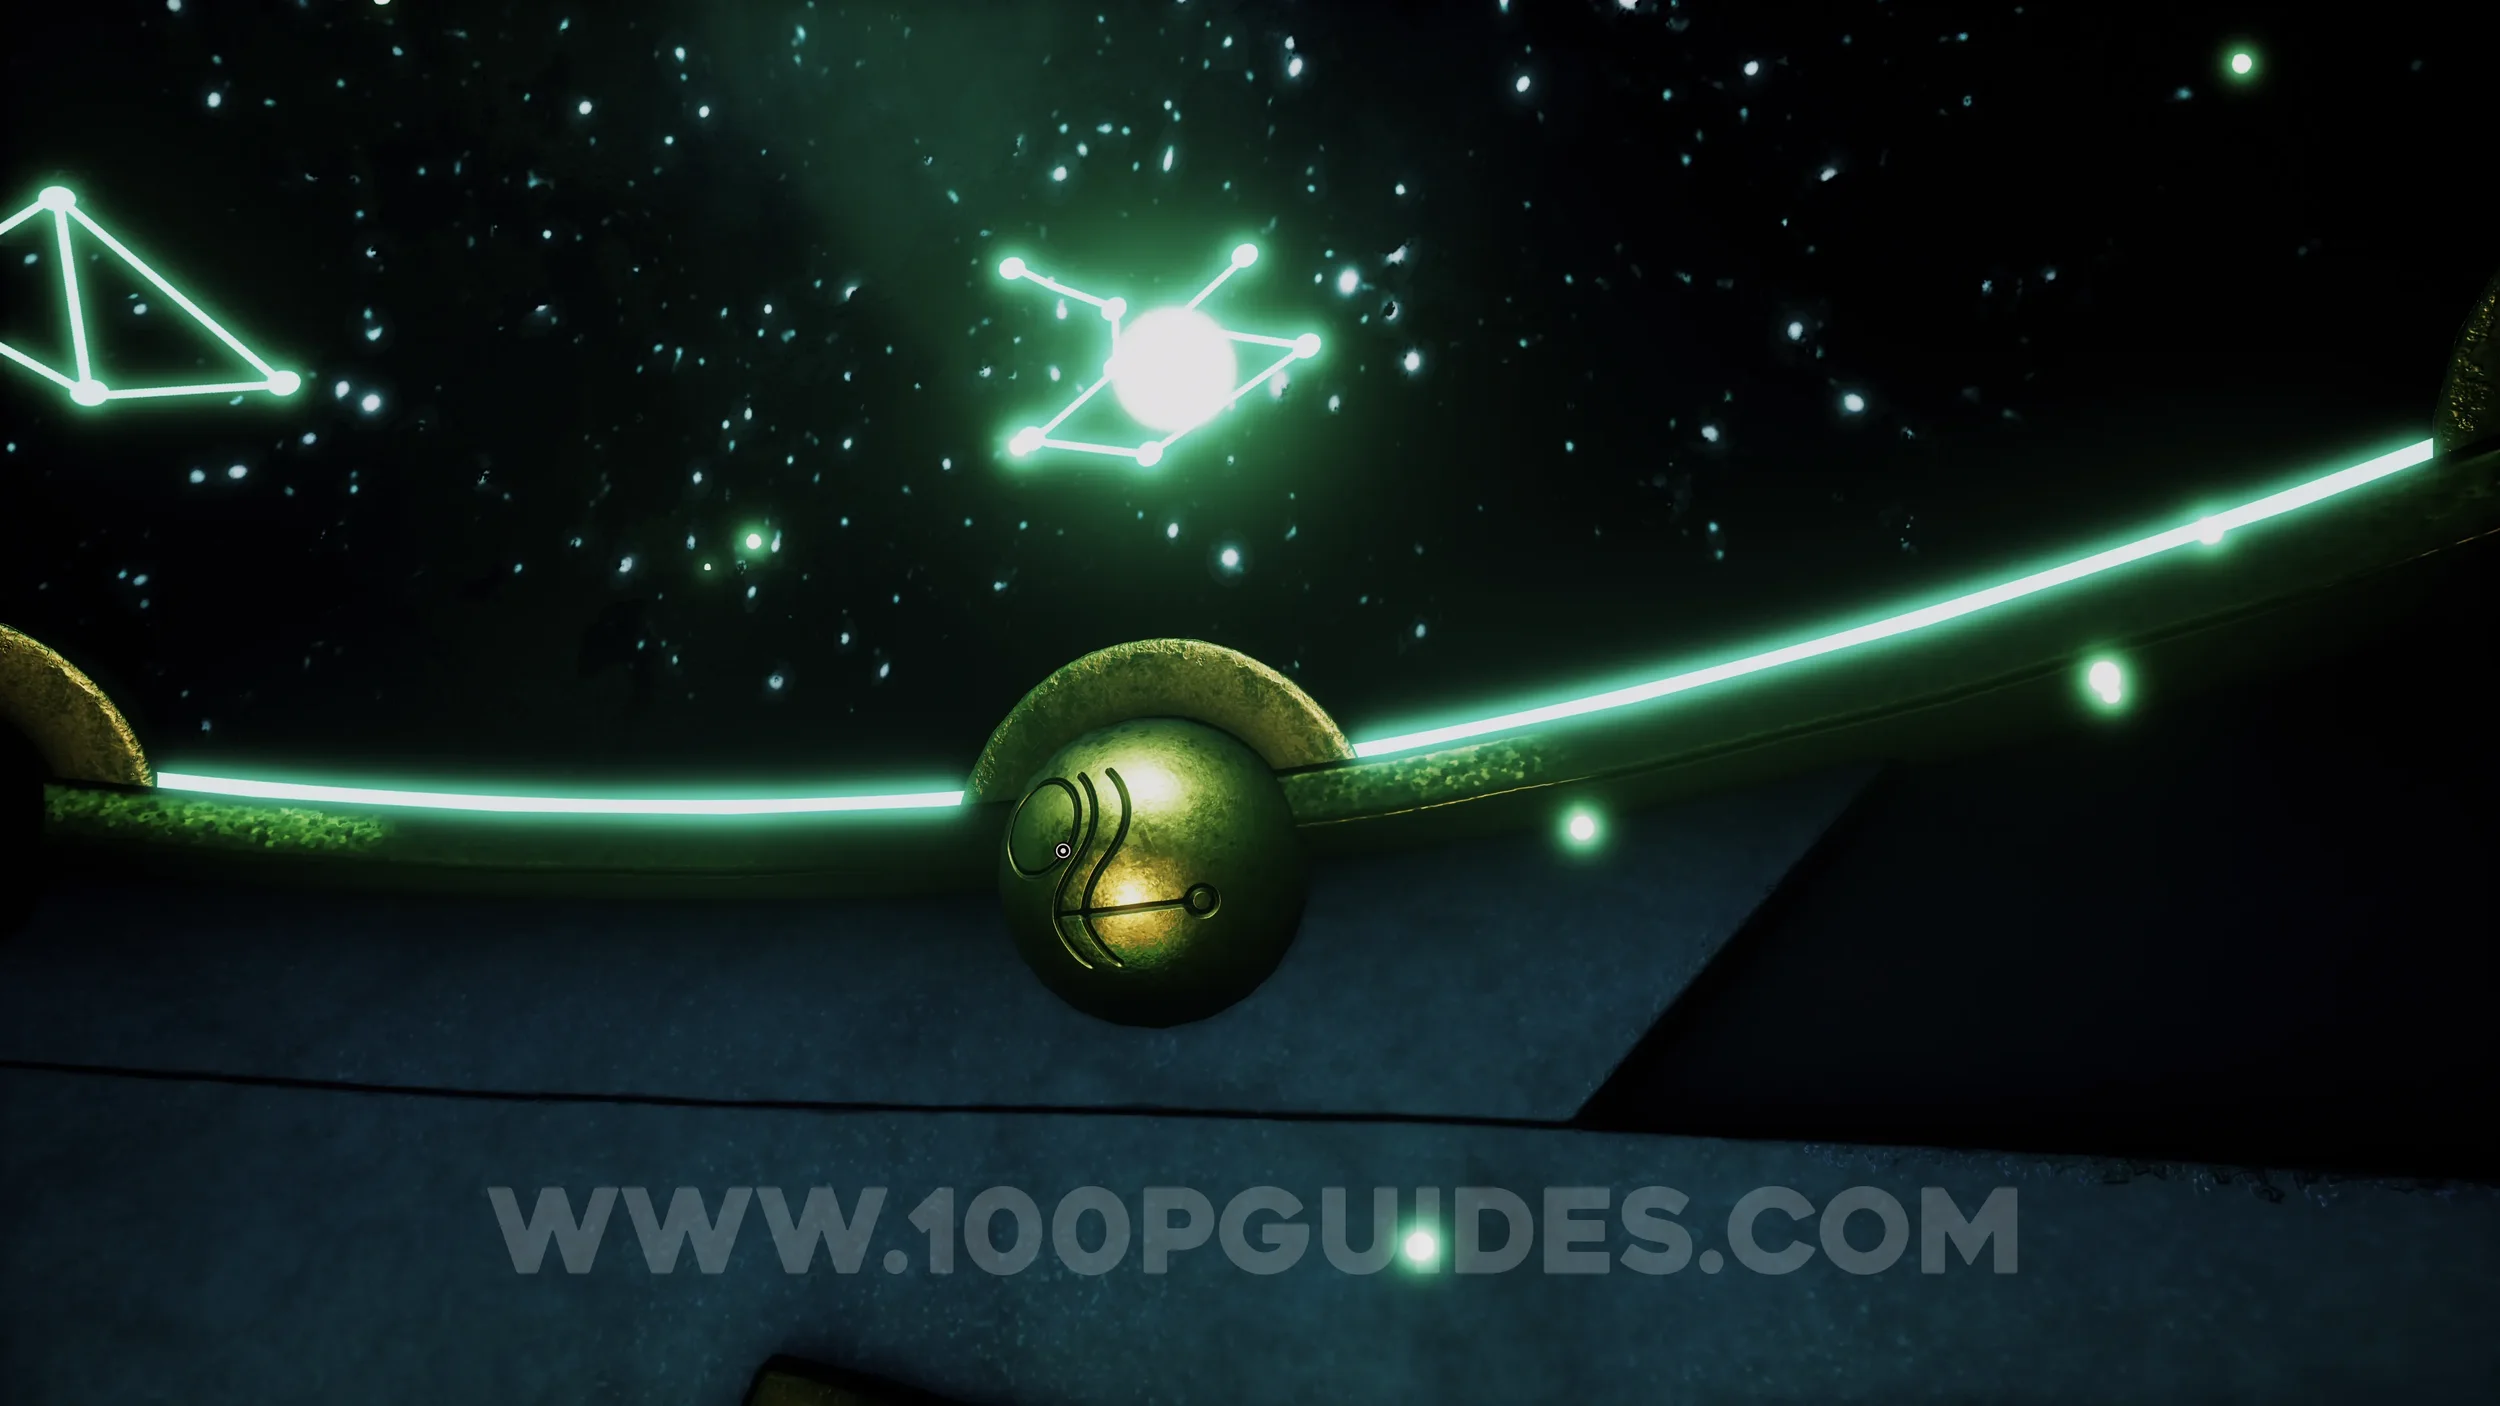
Clue #99. Enter the lone building and align the symbols to match the image below. Once done, press the button on the back of the machine to reveal the constellations. Then interact with the correct constellation shown in the image below.
Clue #100. Now backtrack to the entrance of the large building and return to the yellow beam at the start. Use it to travel around the corner, then take the yellow beam directly ahead to reach a room with a telescope. Once there, interact with the telescope.
Clue #101. From the telescope, go back down the yellow beam and into the room on your right to find another mural.
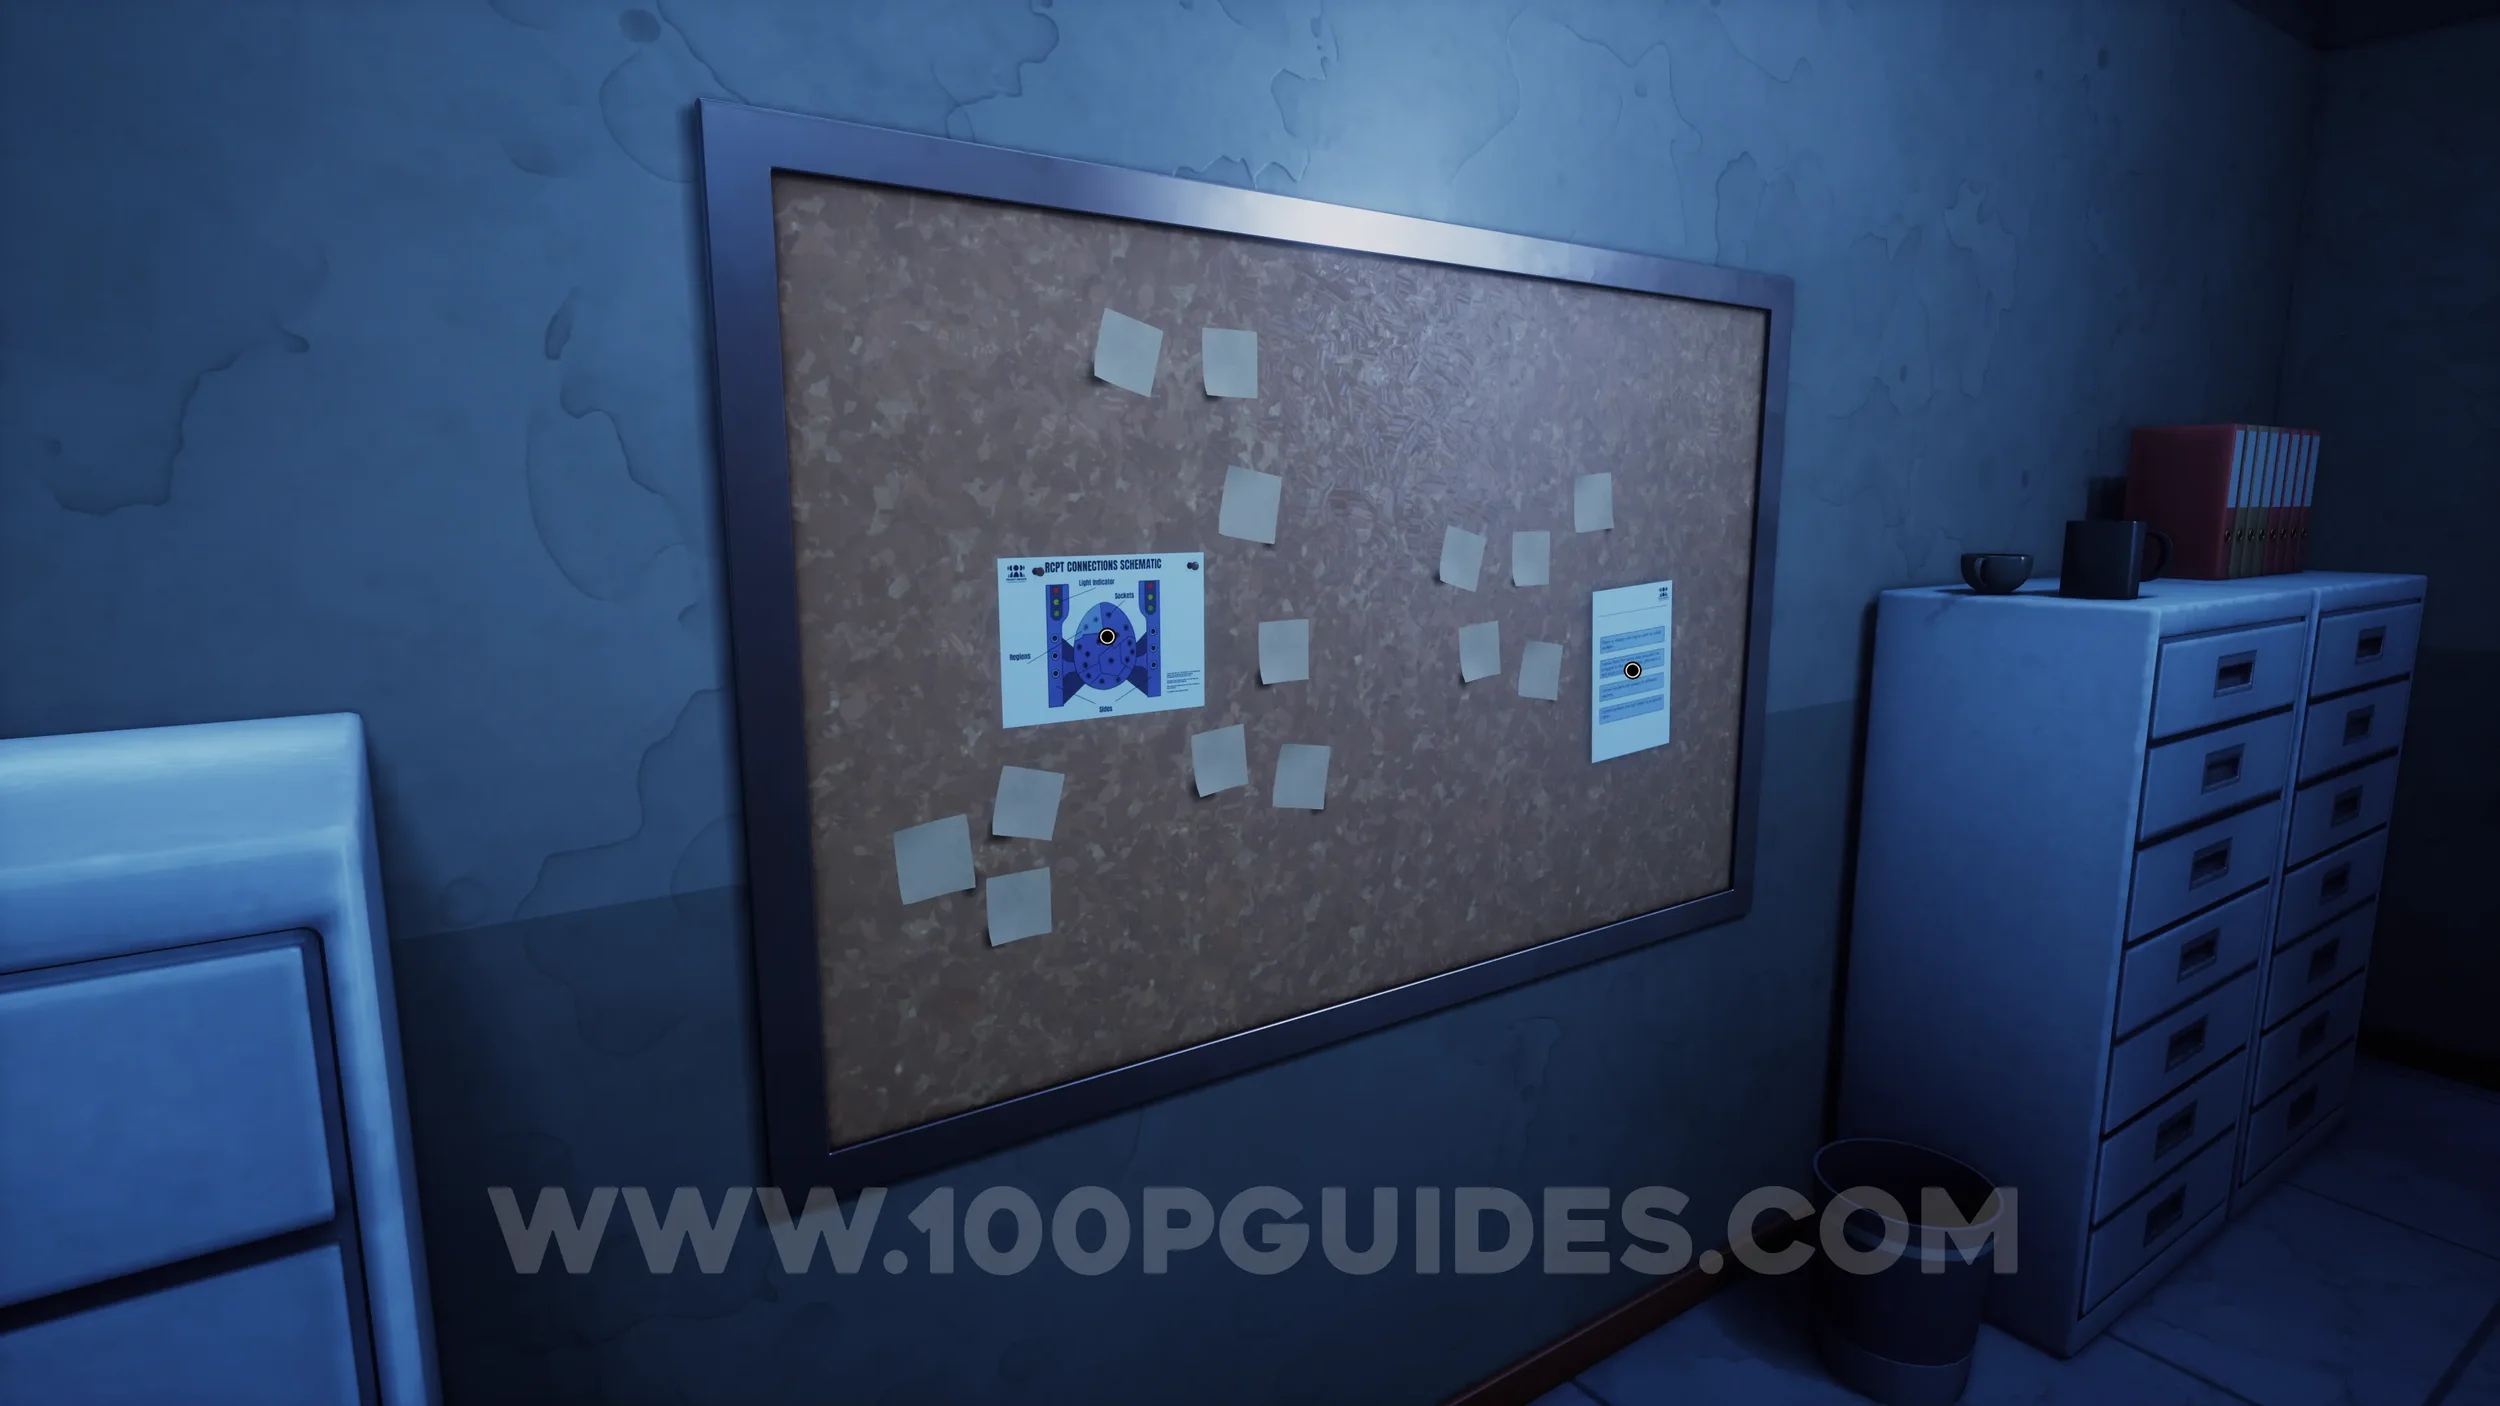
Clue #102-103. After waking up in the lab area, leave the first room through the door on the left. Head slightly left from there and enter the first door on your right. Inside the room, turn left to find two clues pinned to the board.
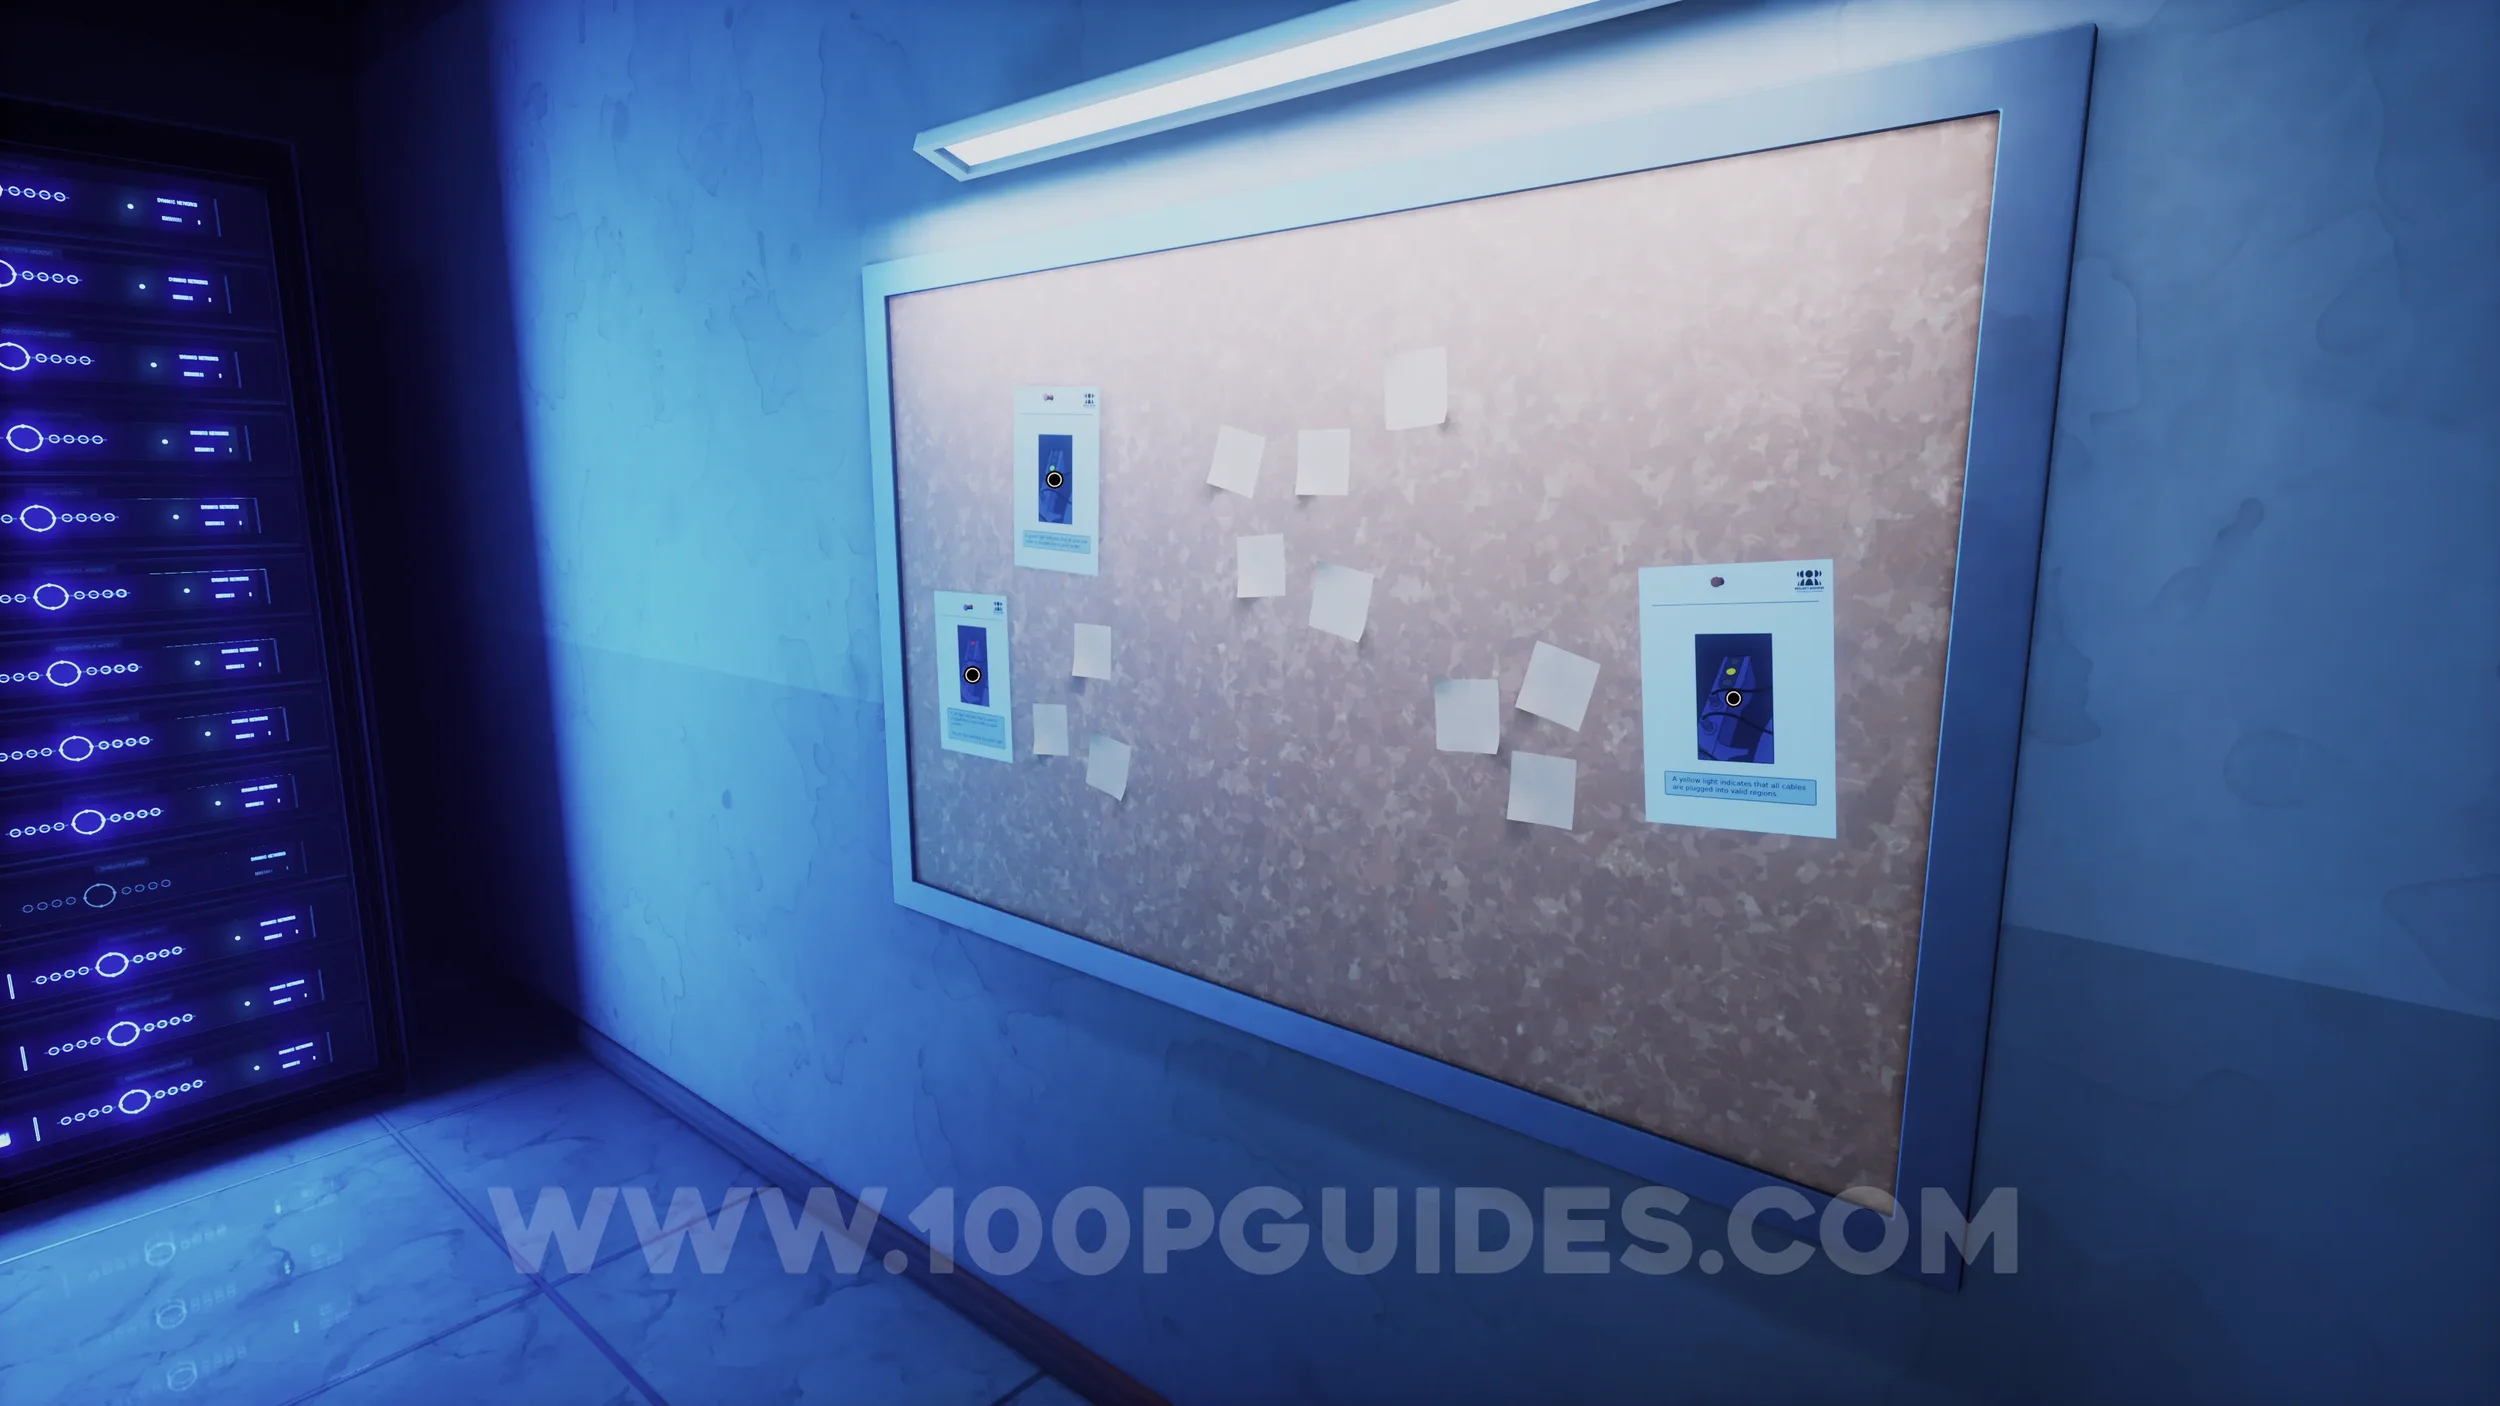
Clue #104-106. Exit the room where the previous clues were found and head down the hallway to your right. Continue all the way to the end and enter the door on the right. Inside, you’ll find three clues pinned to the board on the right side of the room.
Chapter 6
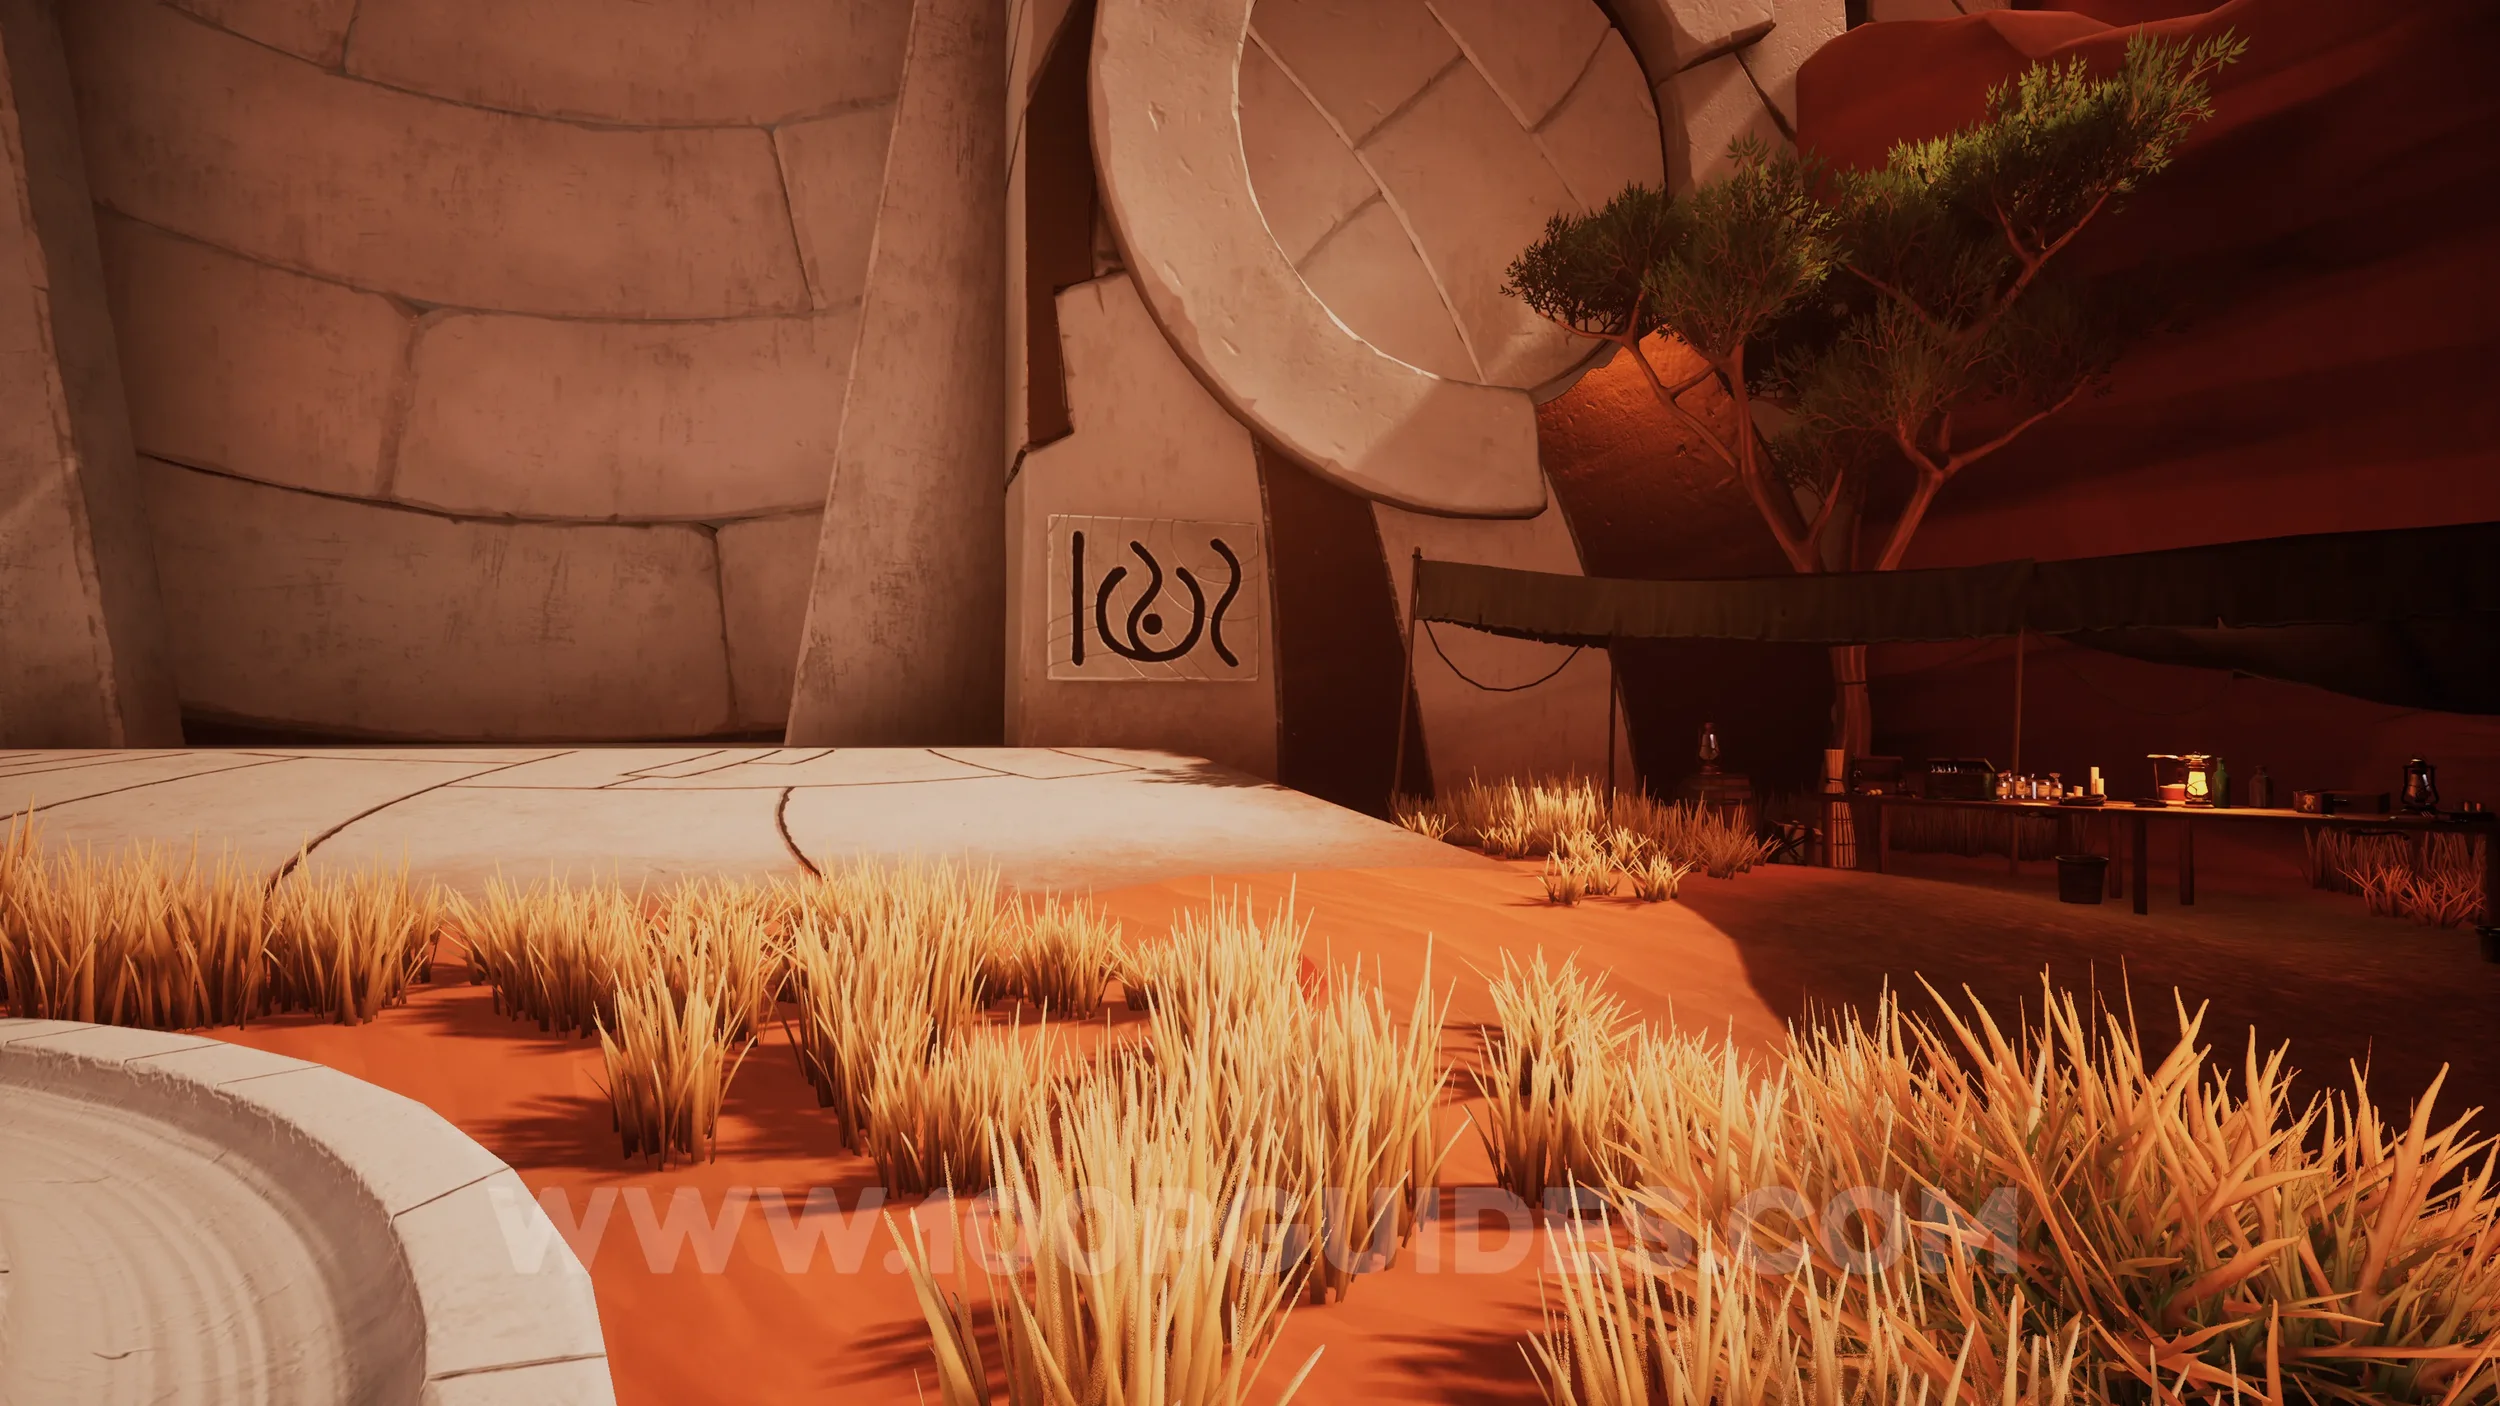
Clue #107. Once you reach the area with the main puzzle, the clue can be found inside the first tent on your left.
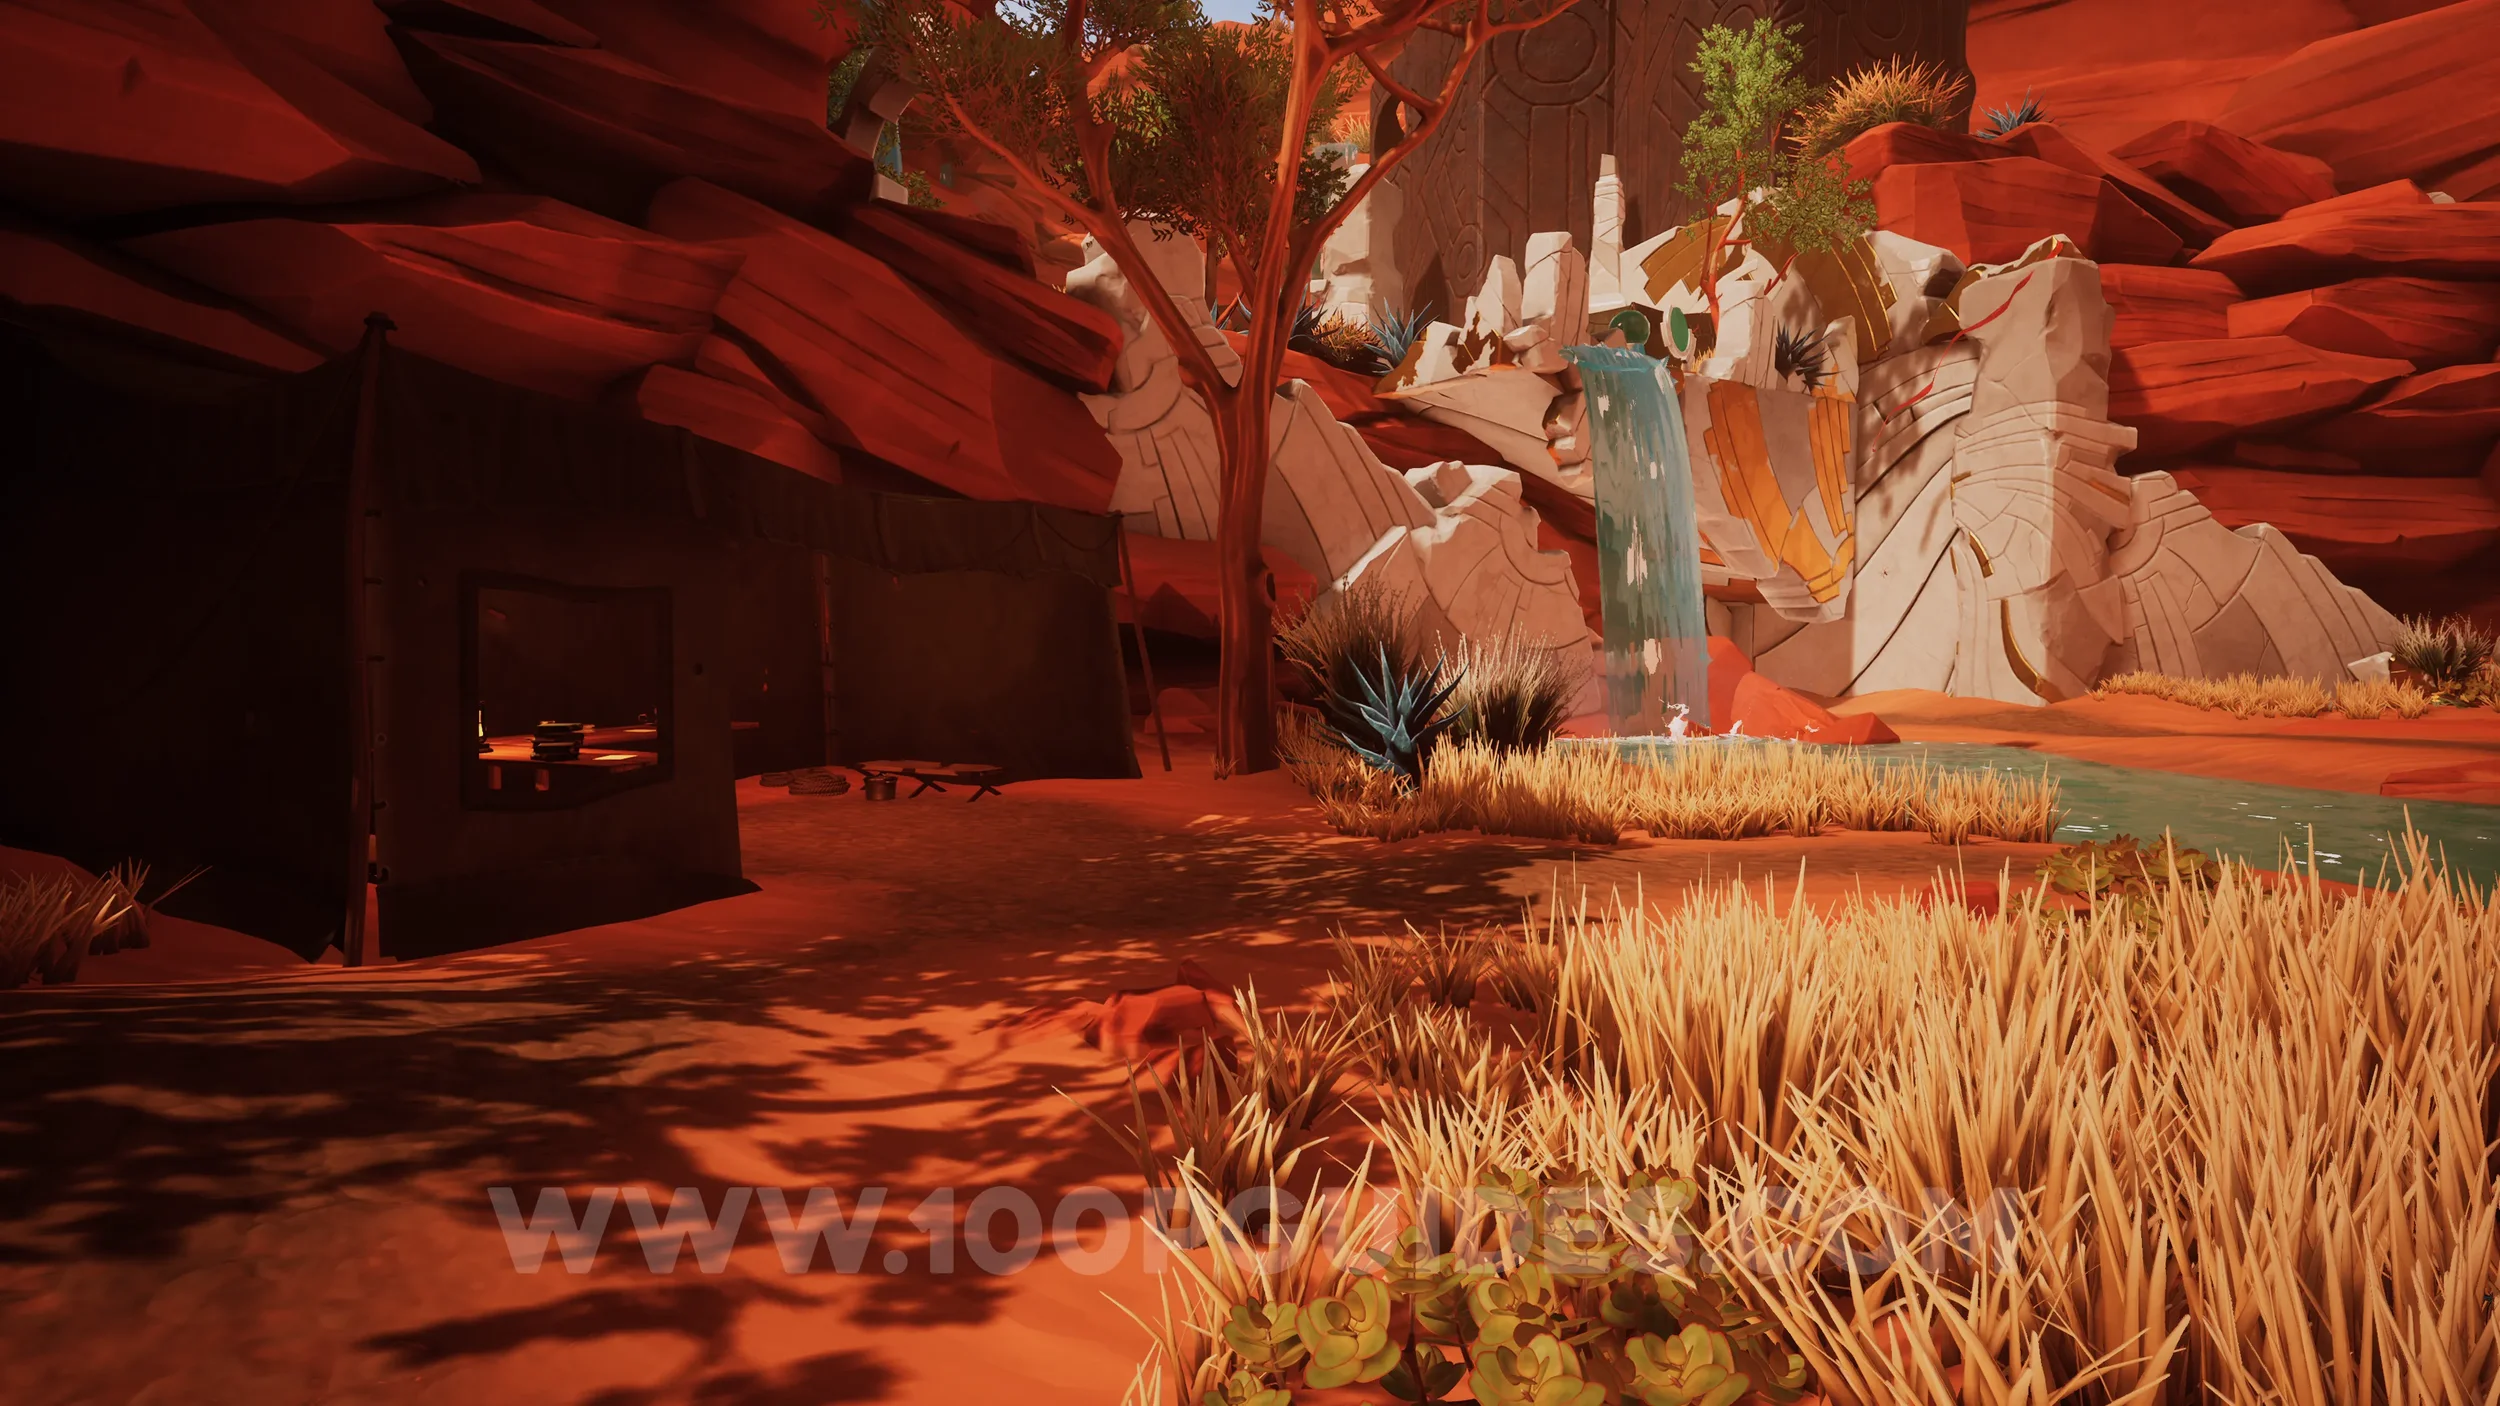

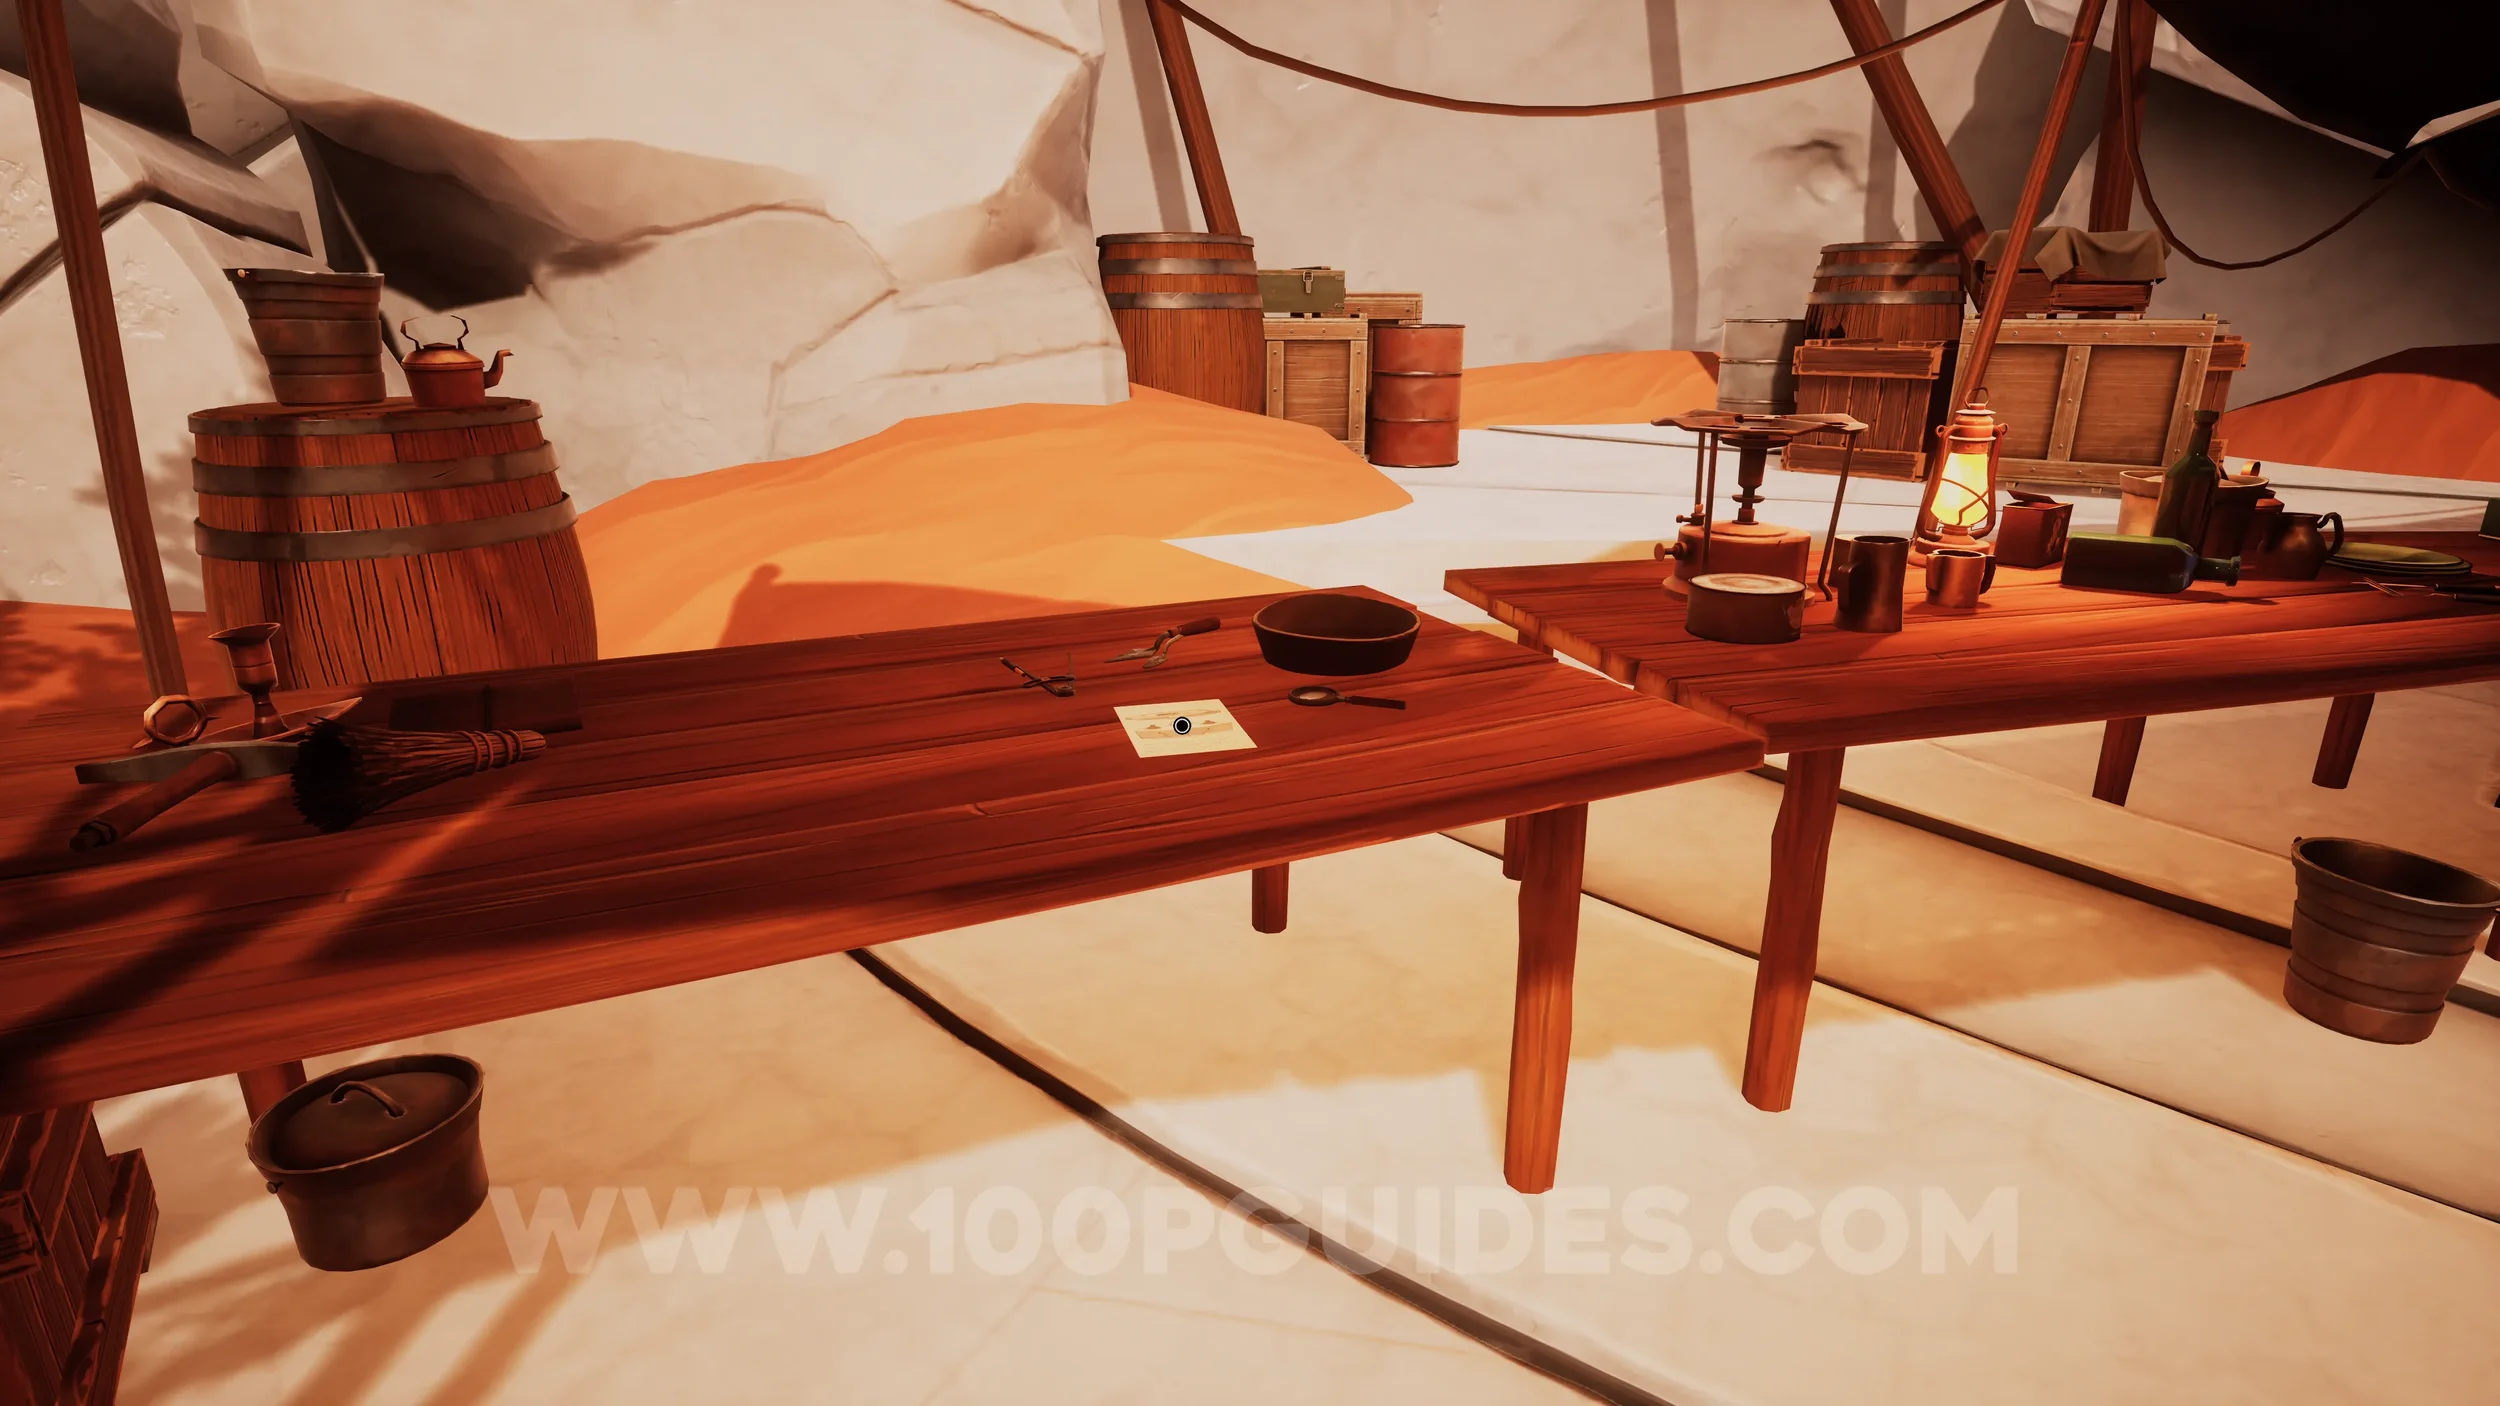
Clue #108. Continue past the first tent and head to the far end of the area, where you’ll find several tables under a shelter. Pick up the paper on the leftmost table and flip it over.
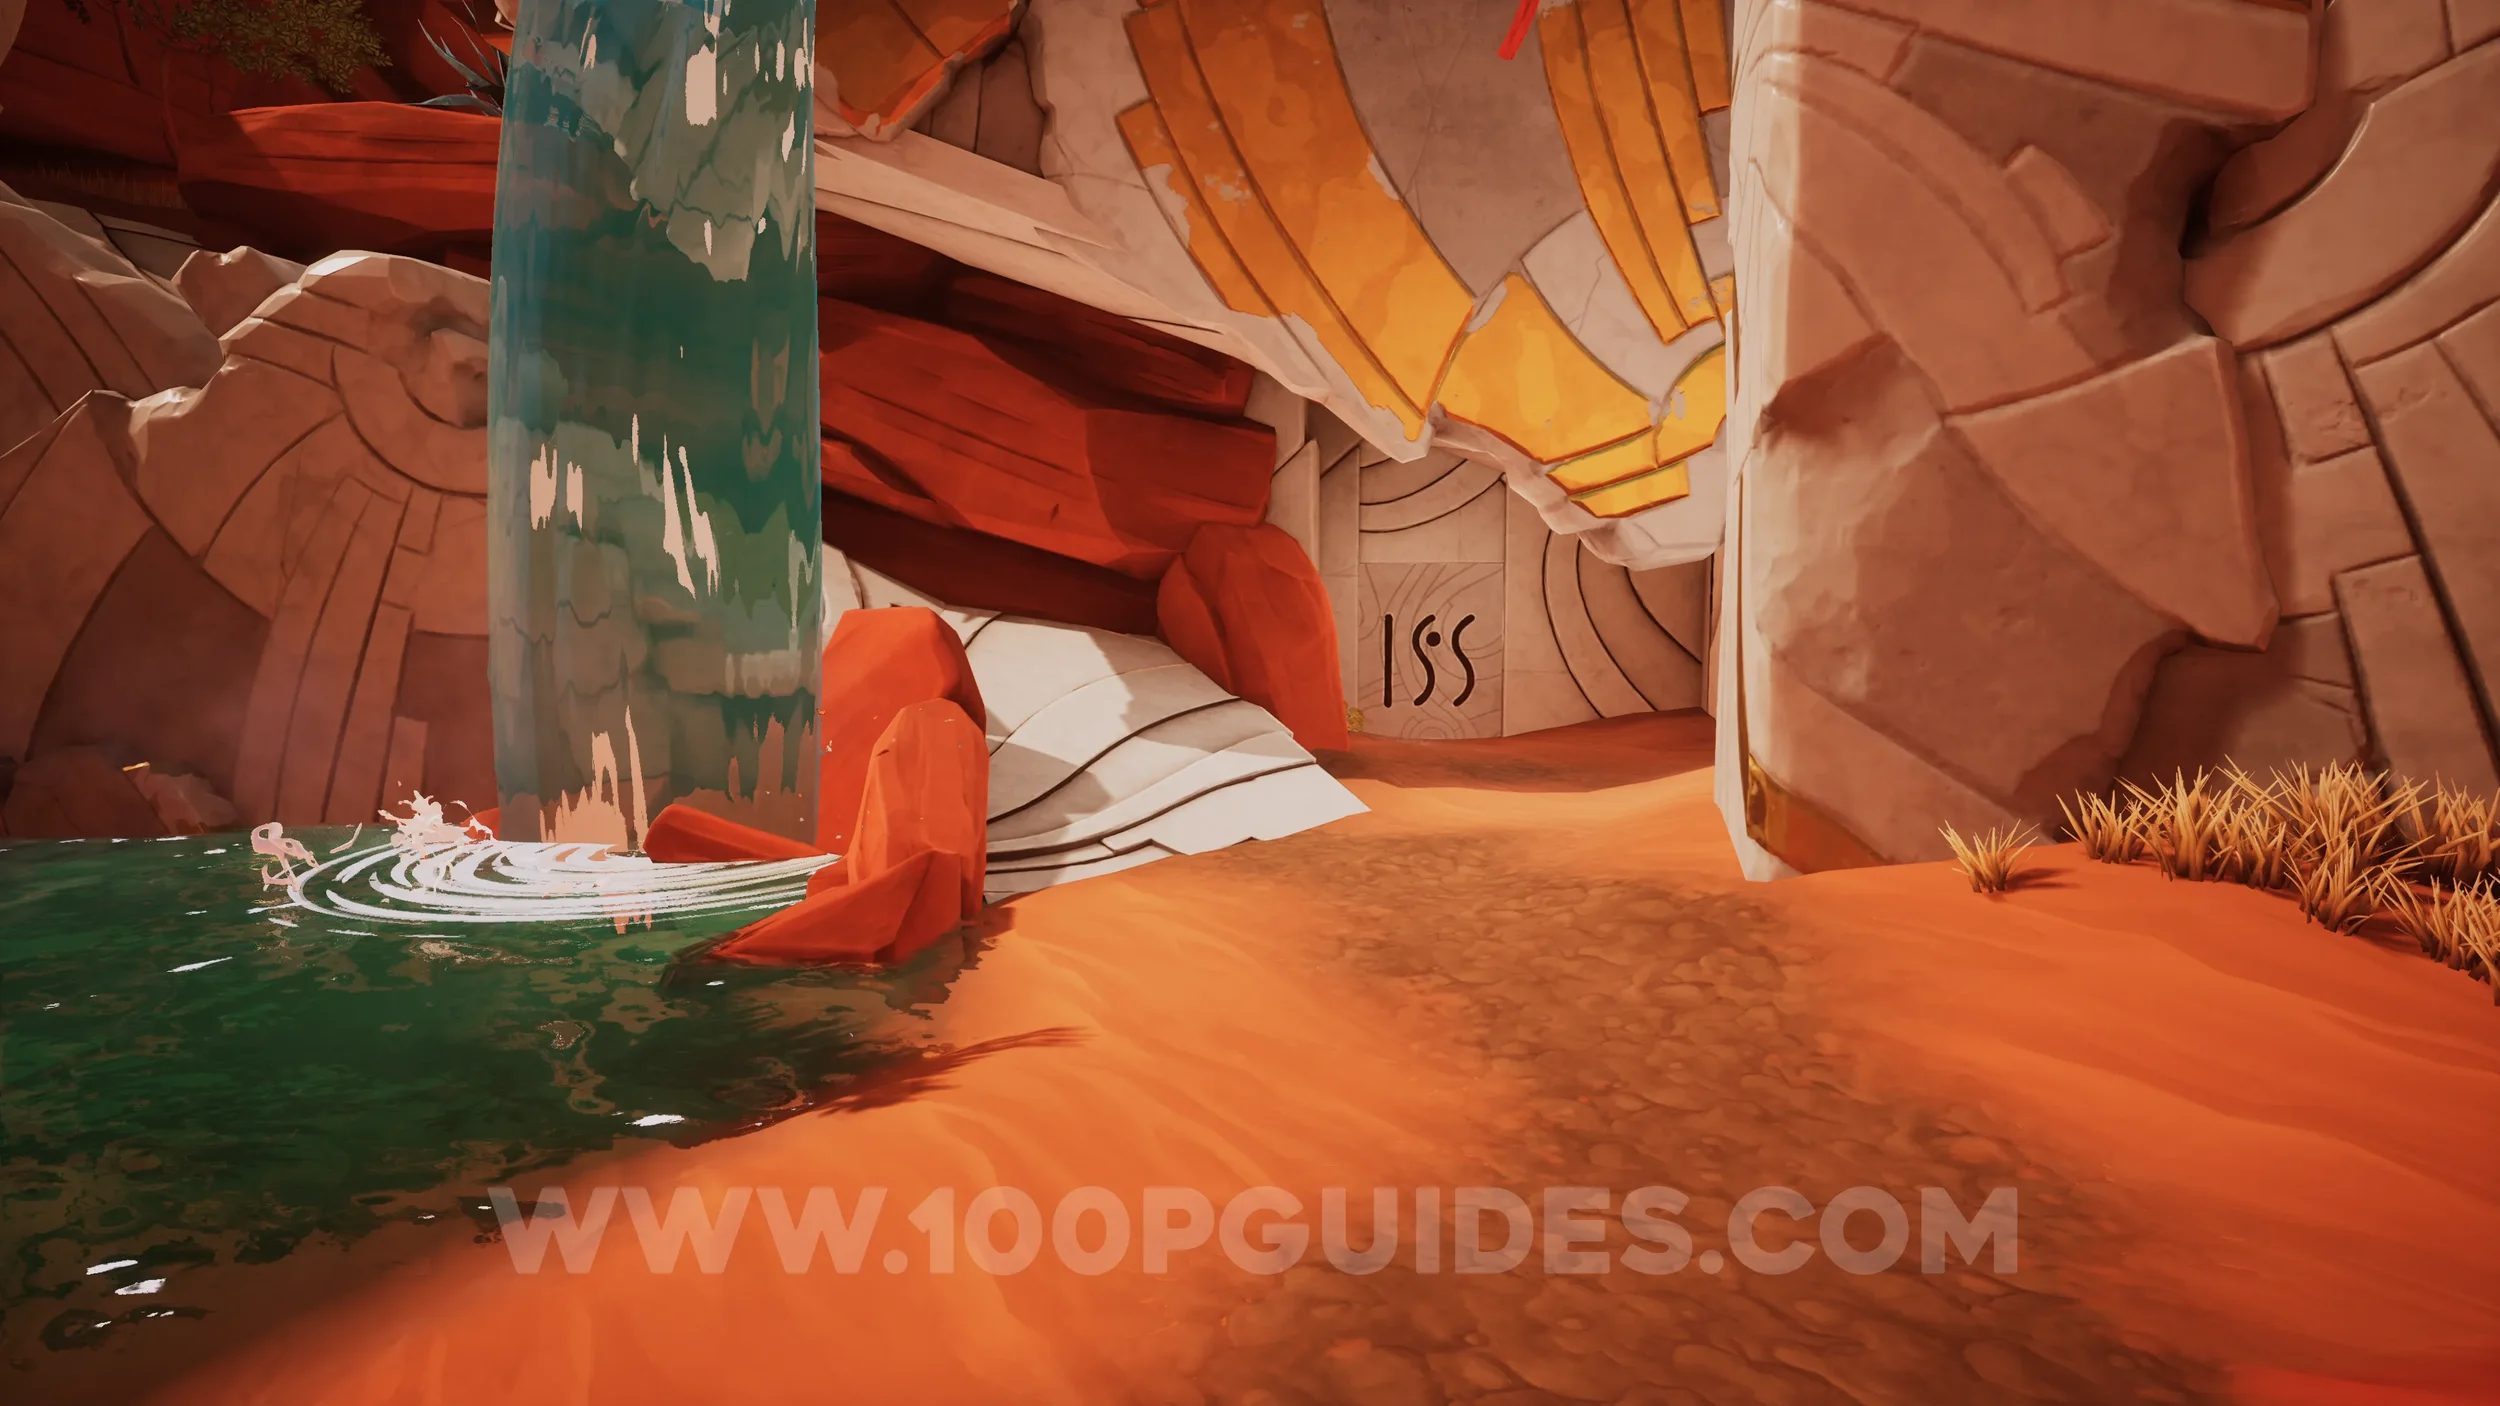
Clue #109. Near the main puzzle in the open area you will see a massive stone door. To the right of the door you will see a sign on the right. Examine it.
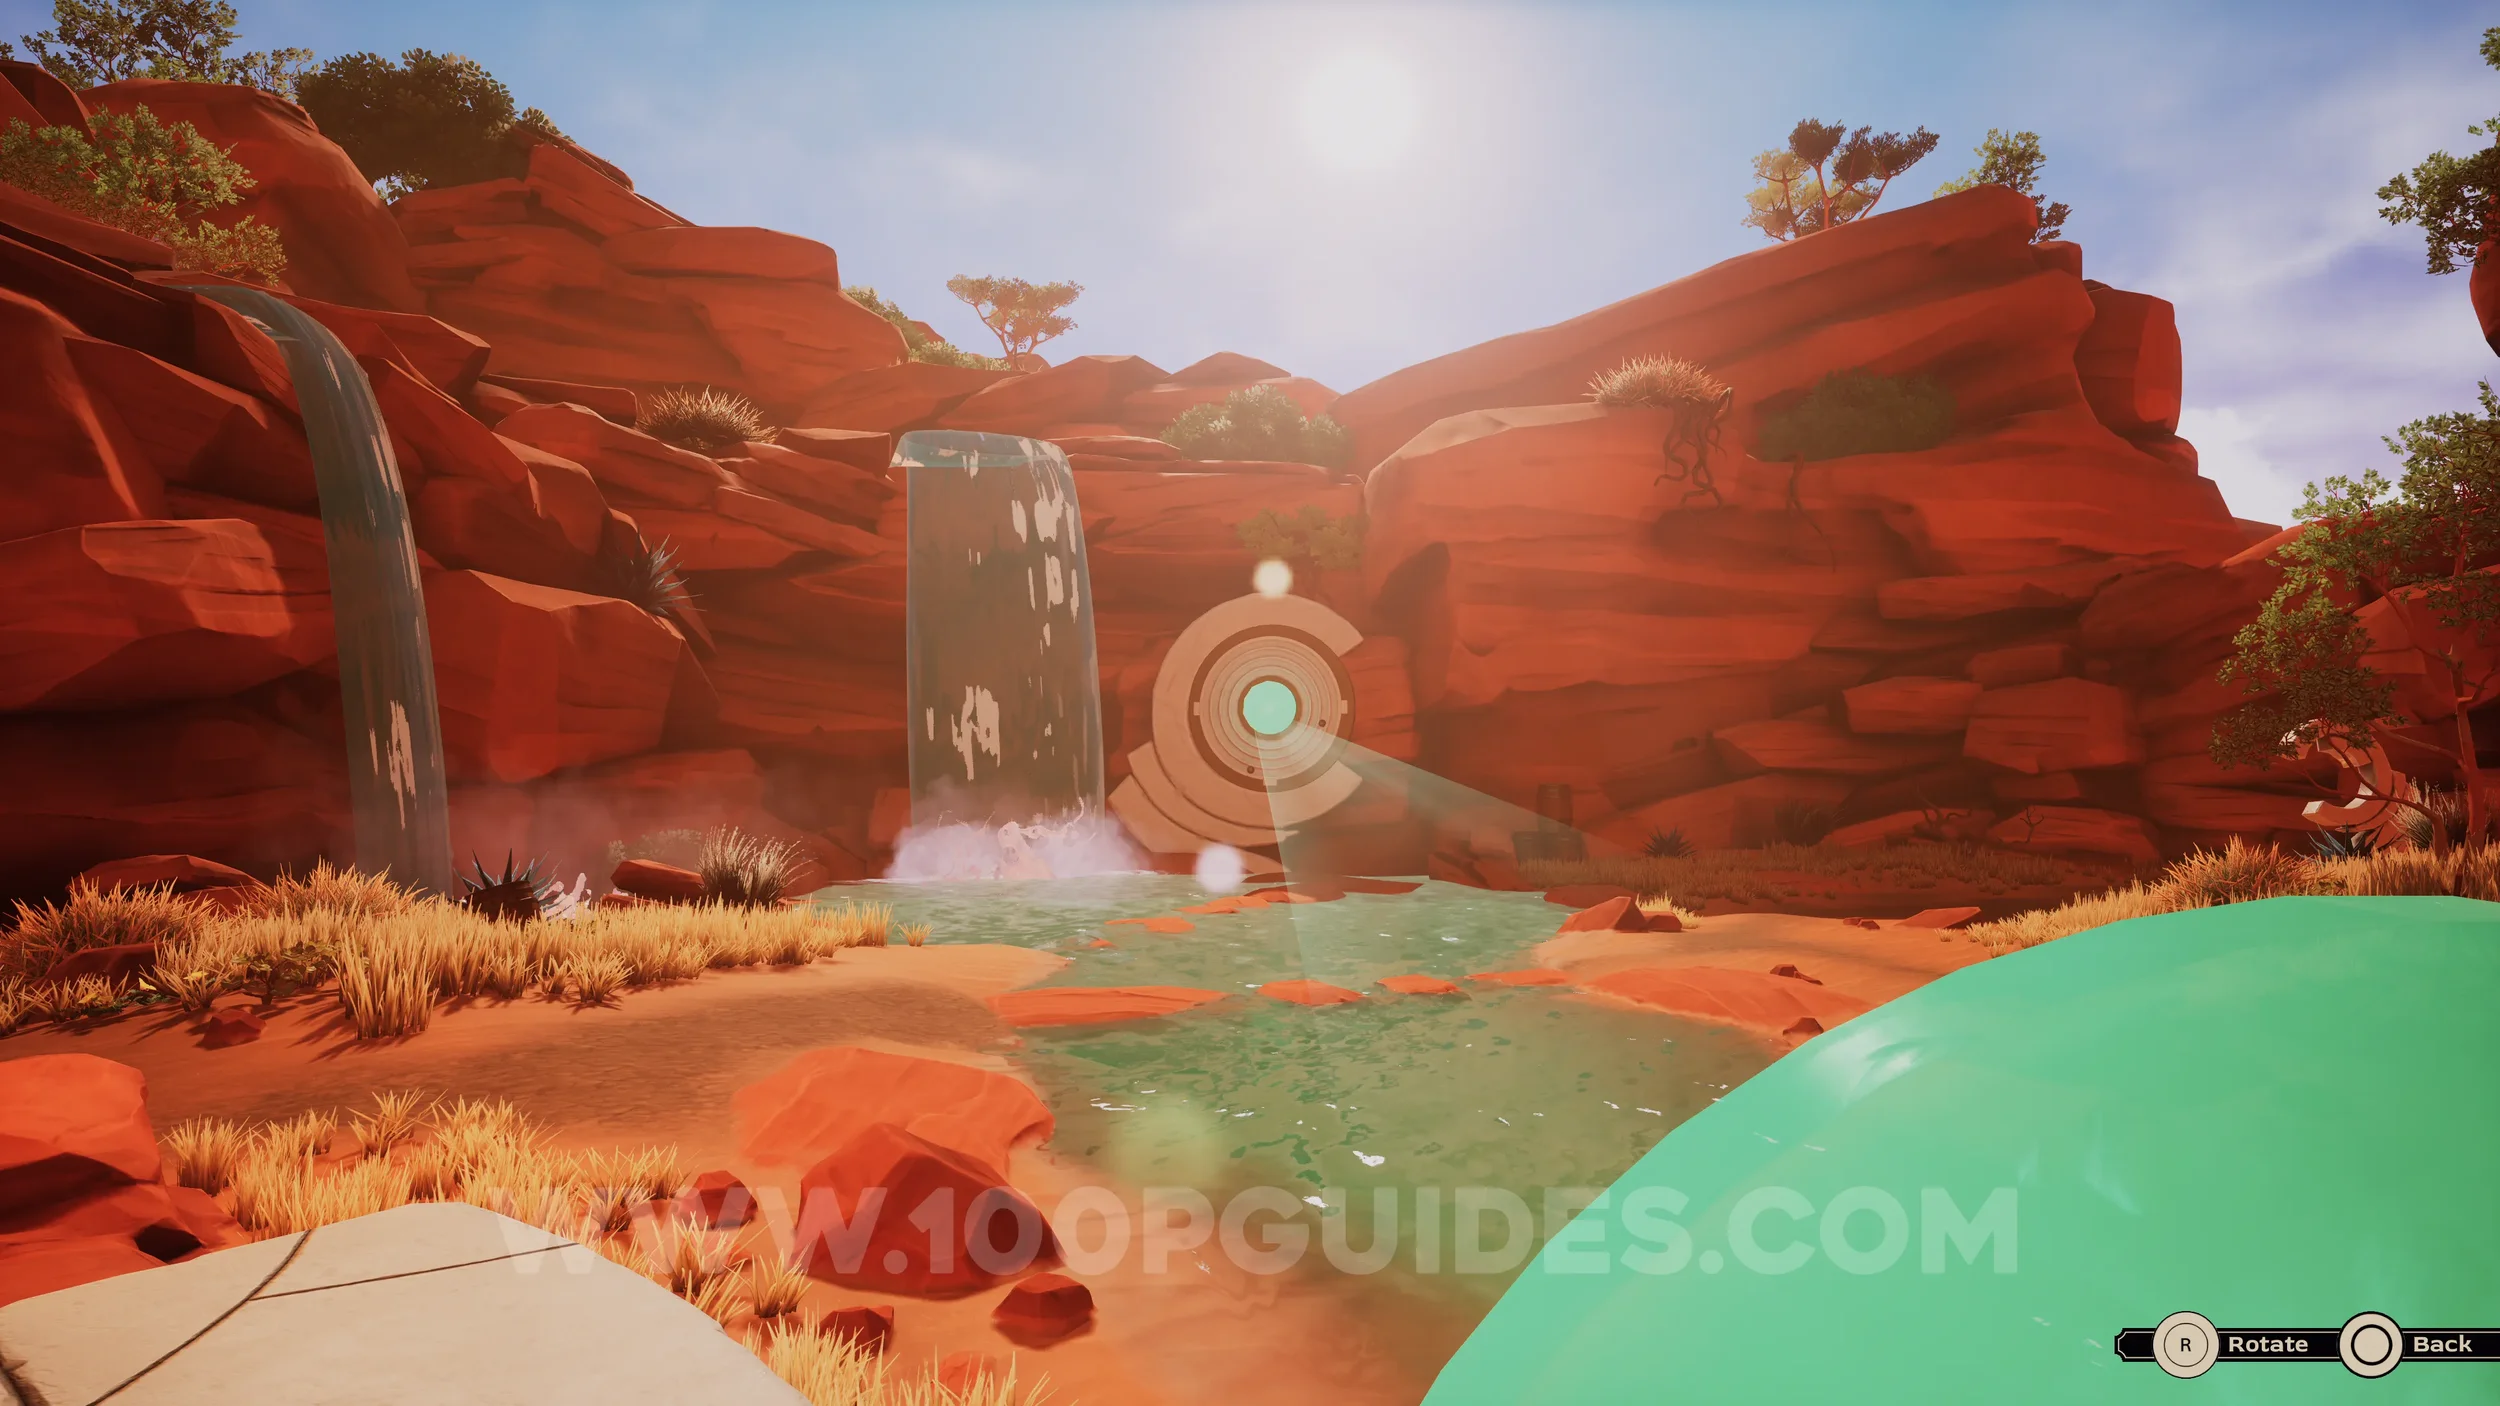
Clue #110. From the main puzzle, turn around to face the waterfall. Just before the slope that leads up to the upper area behind it, you’ll see a sign mounted on the wall. Examine it.
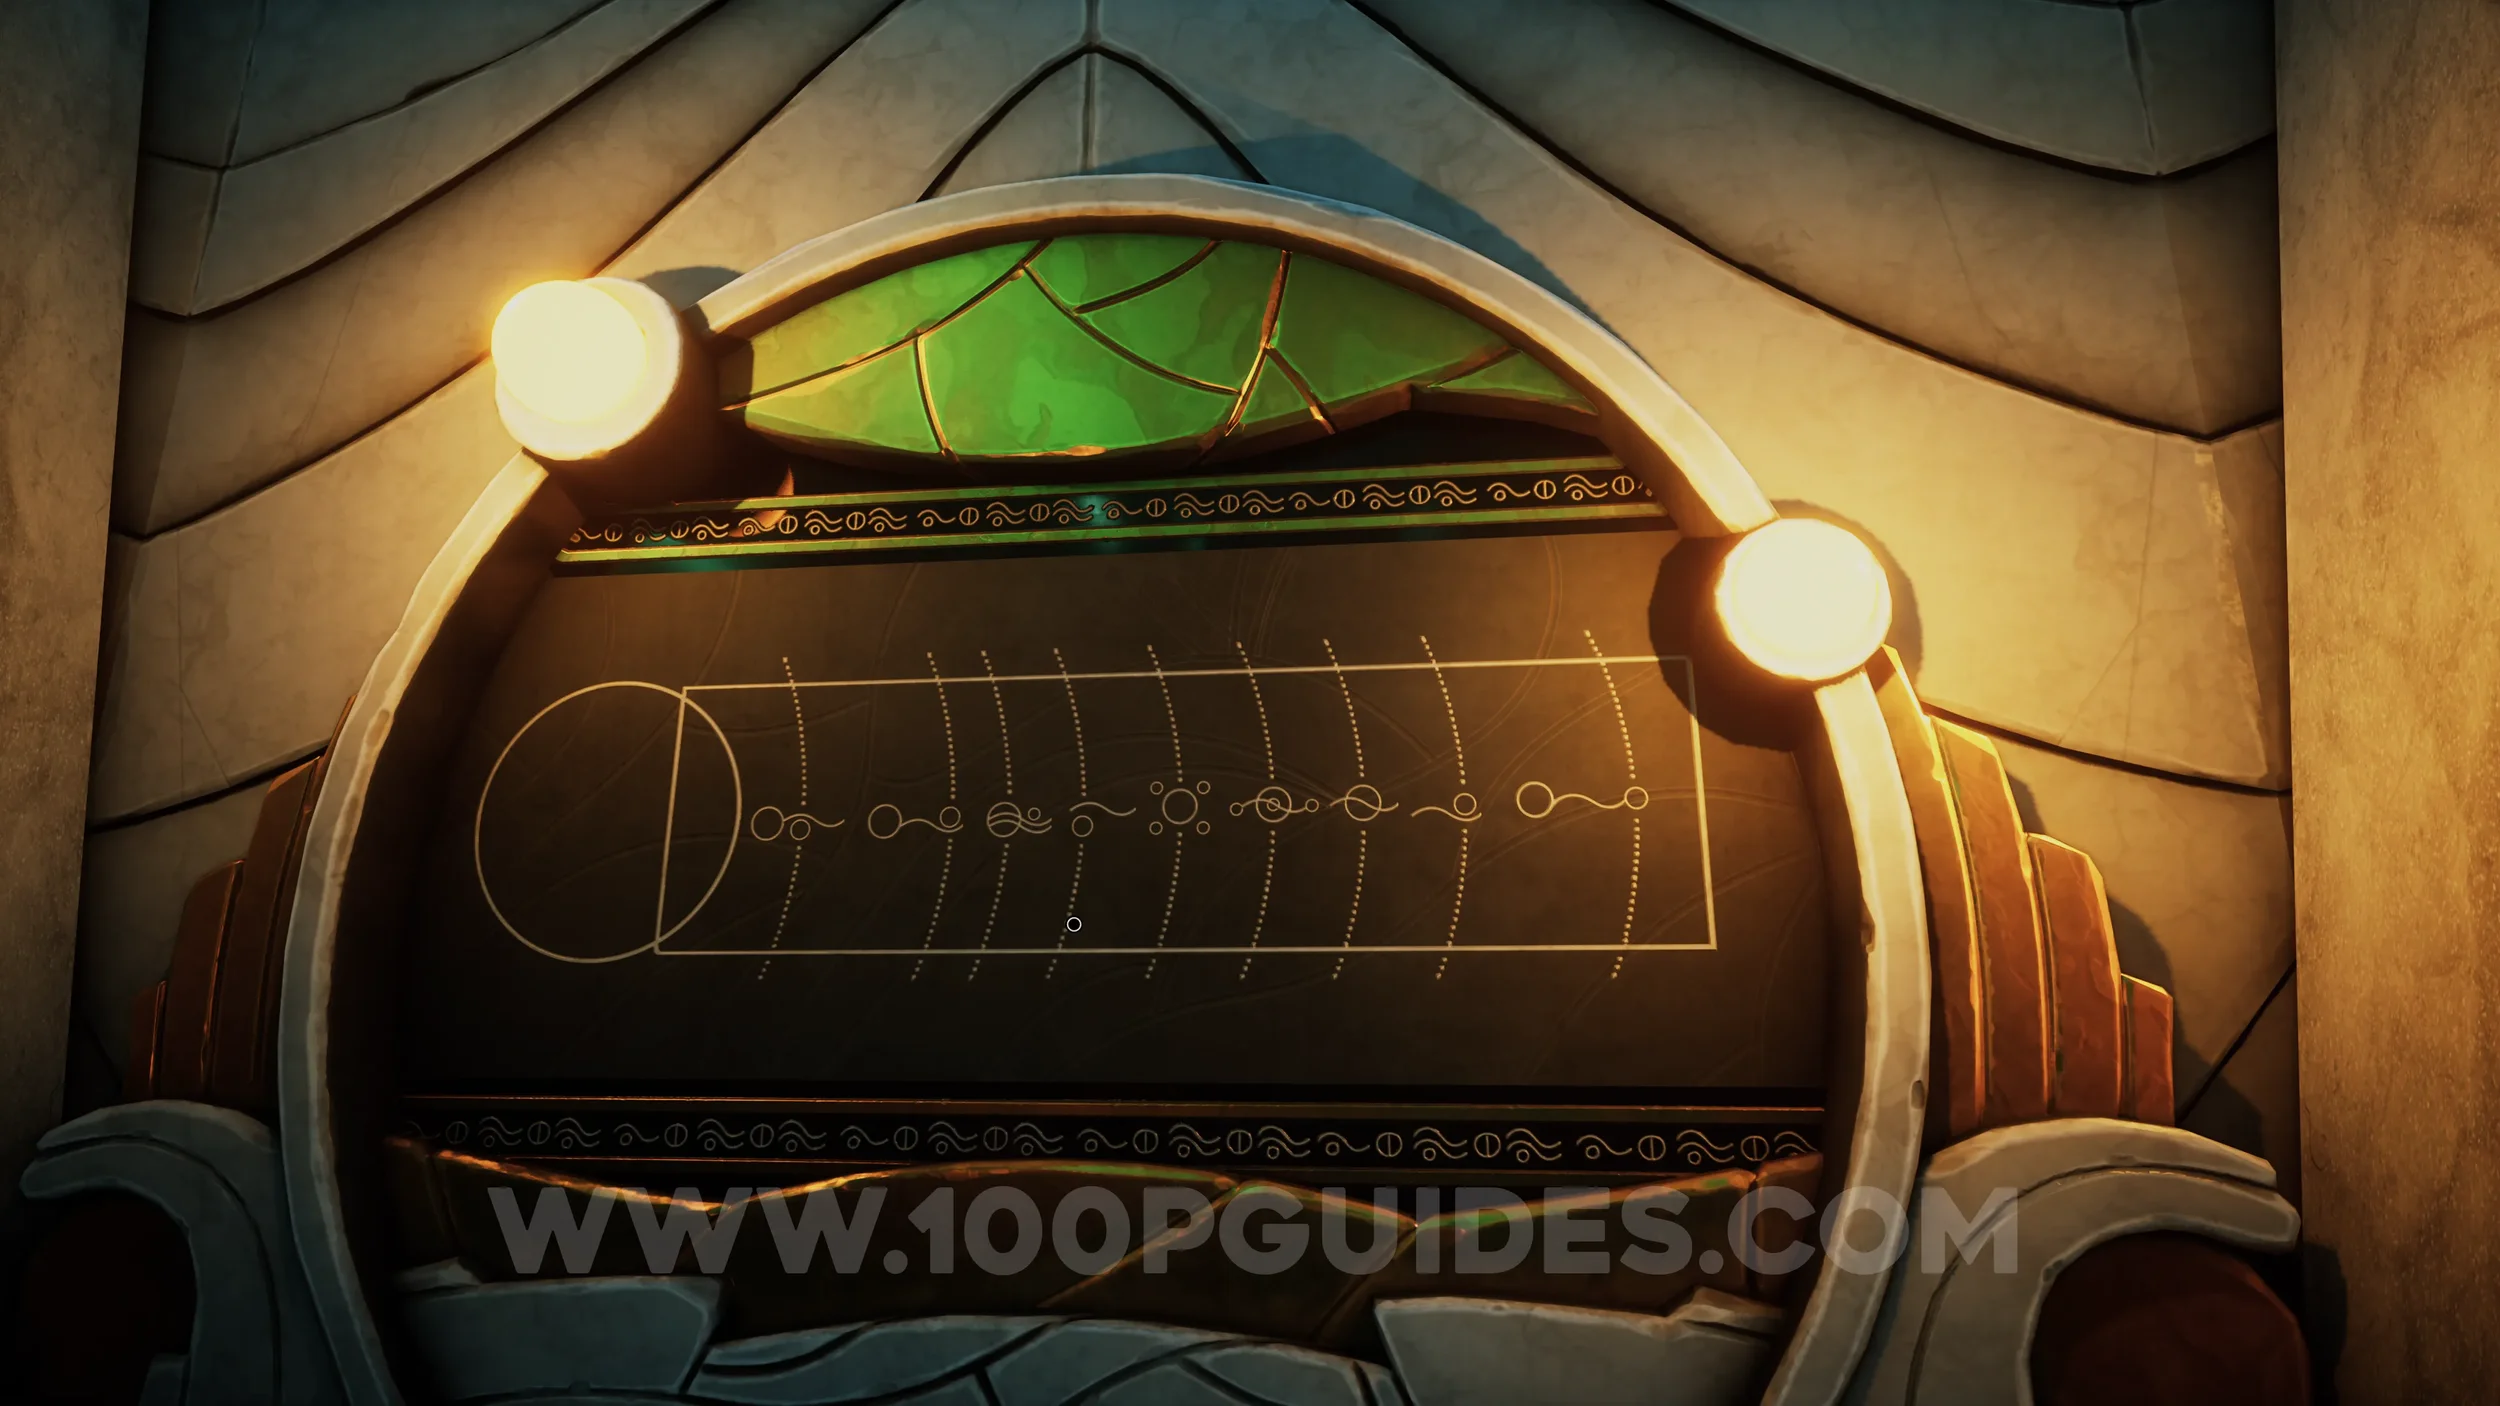
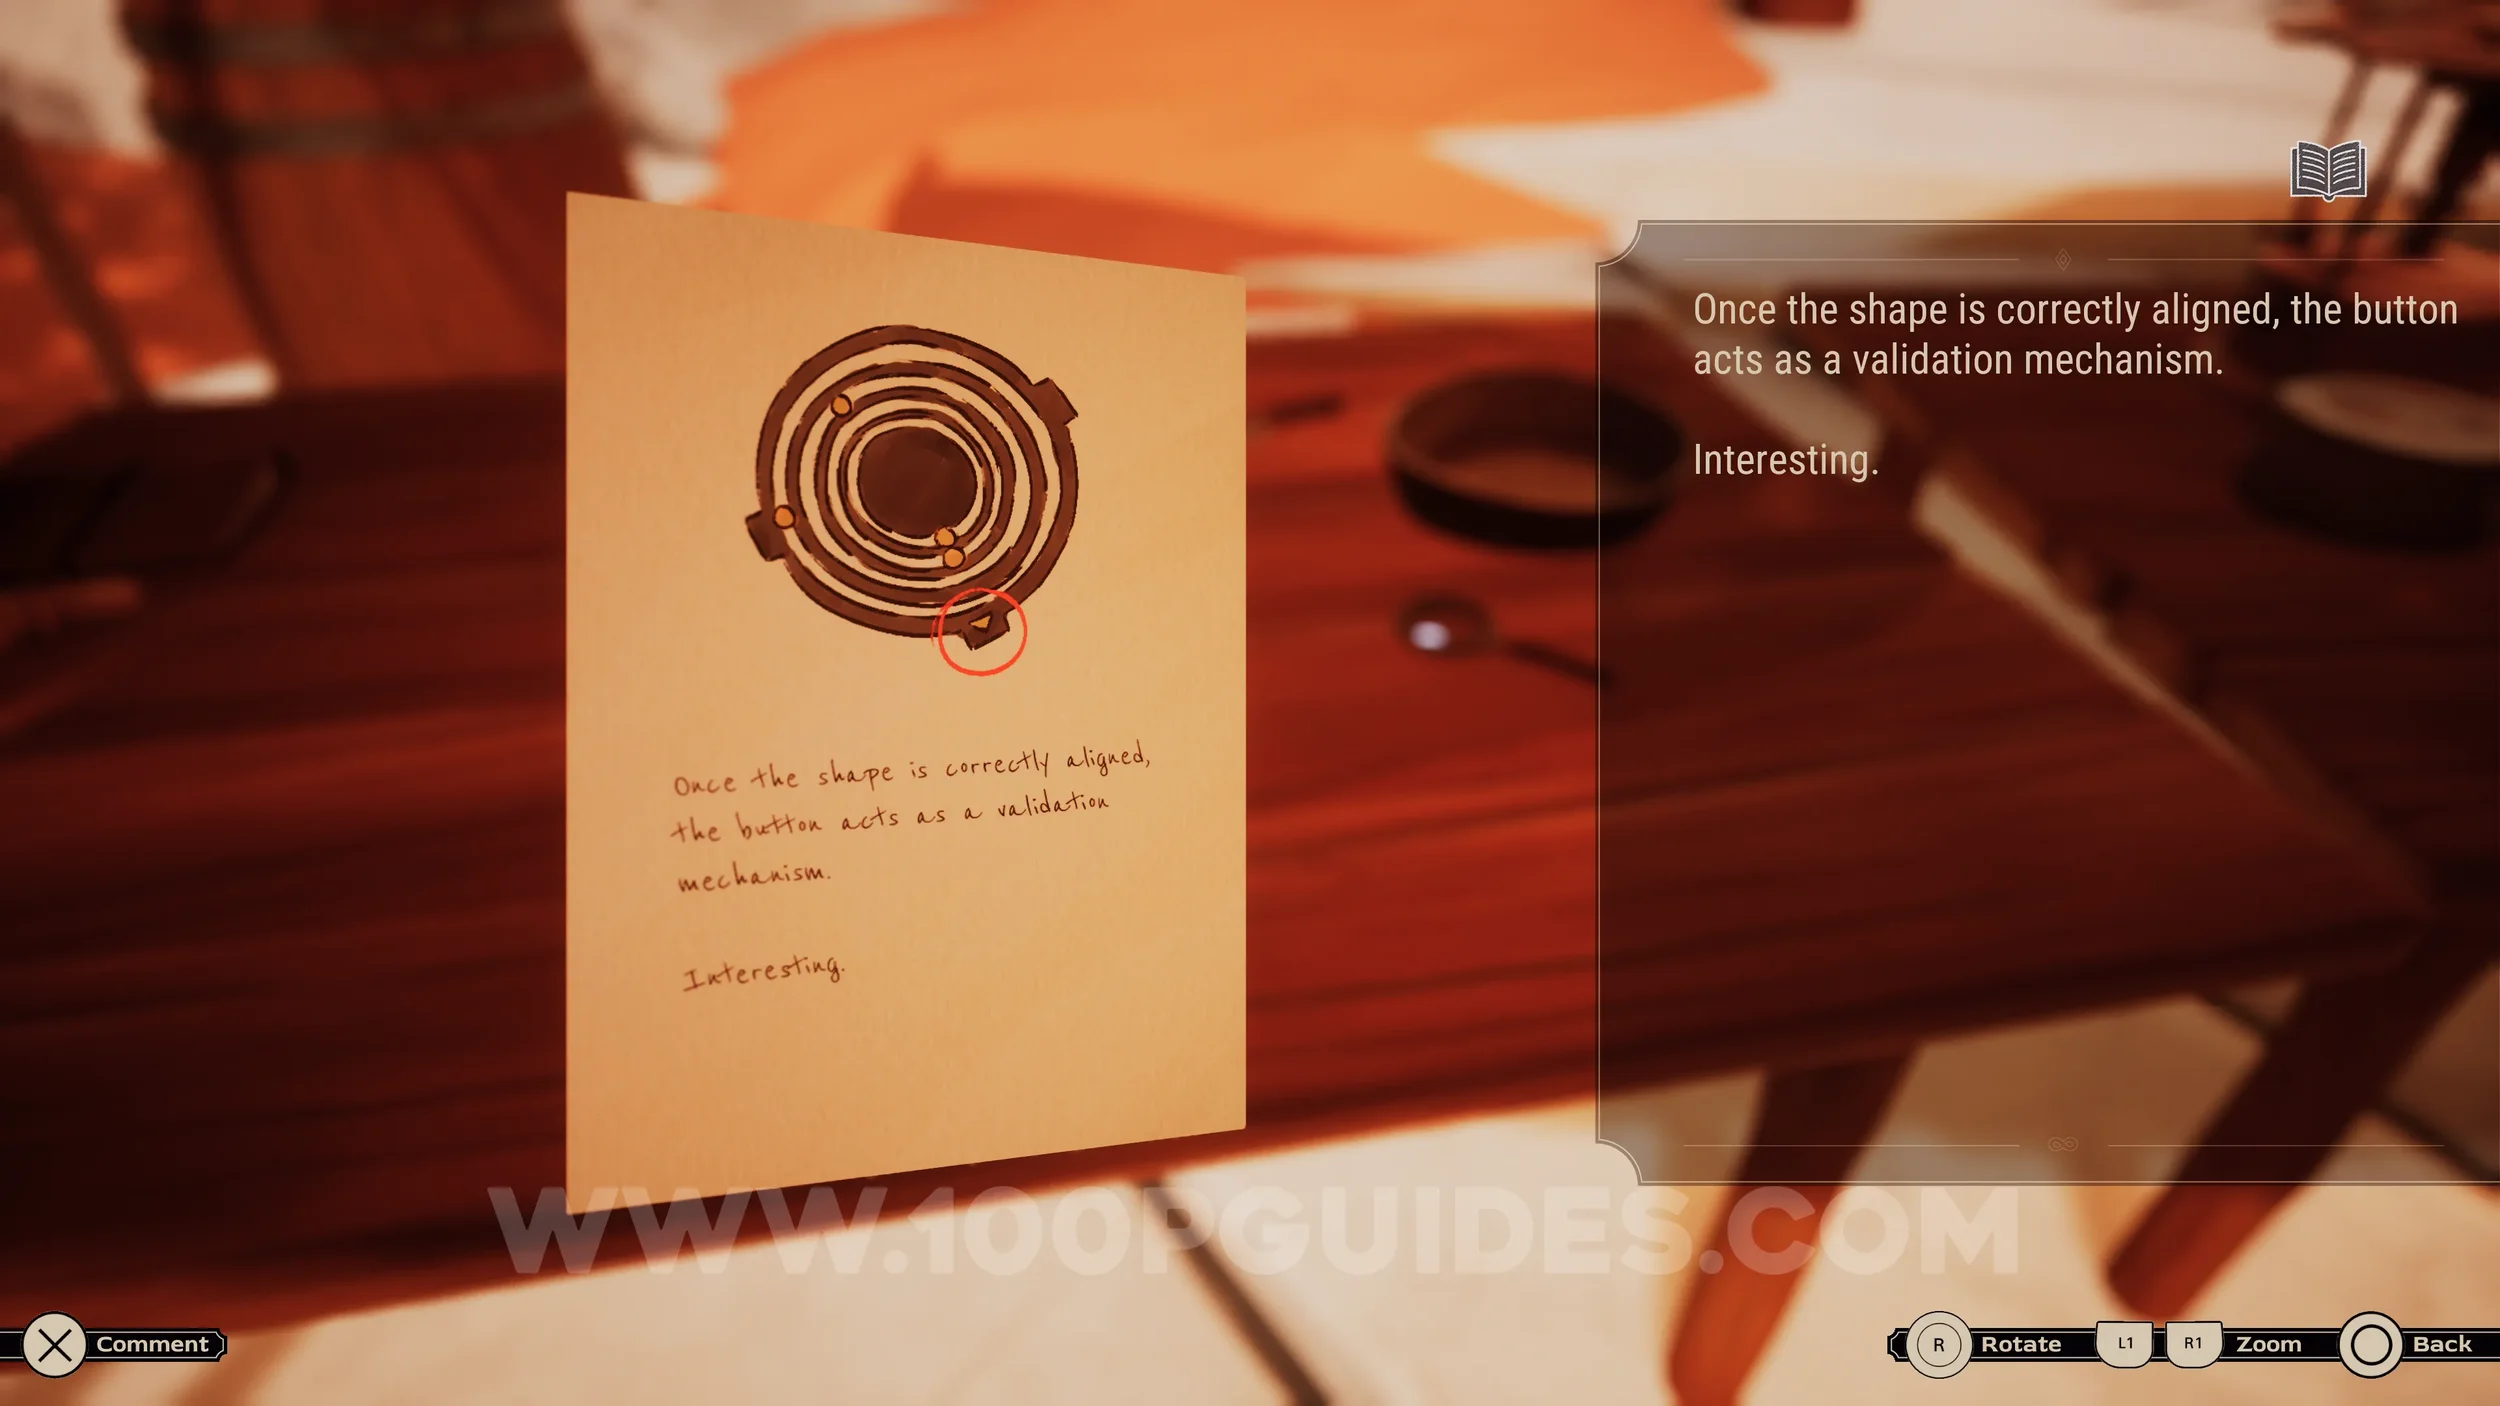
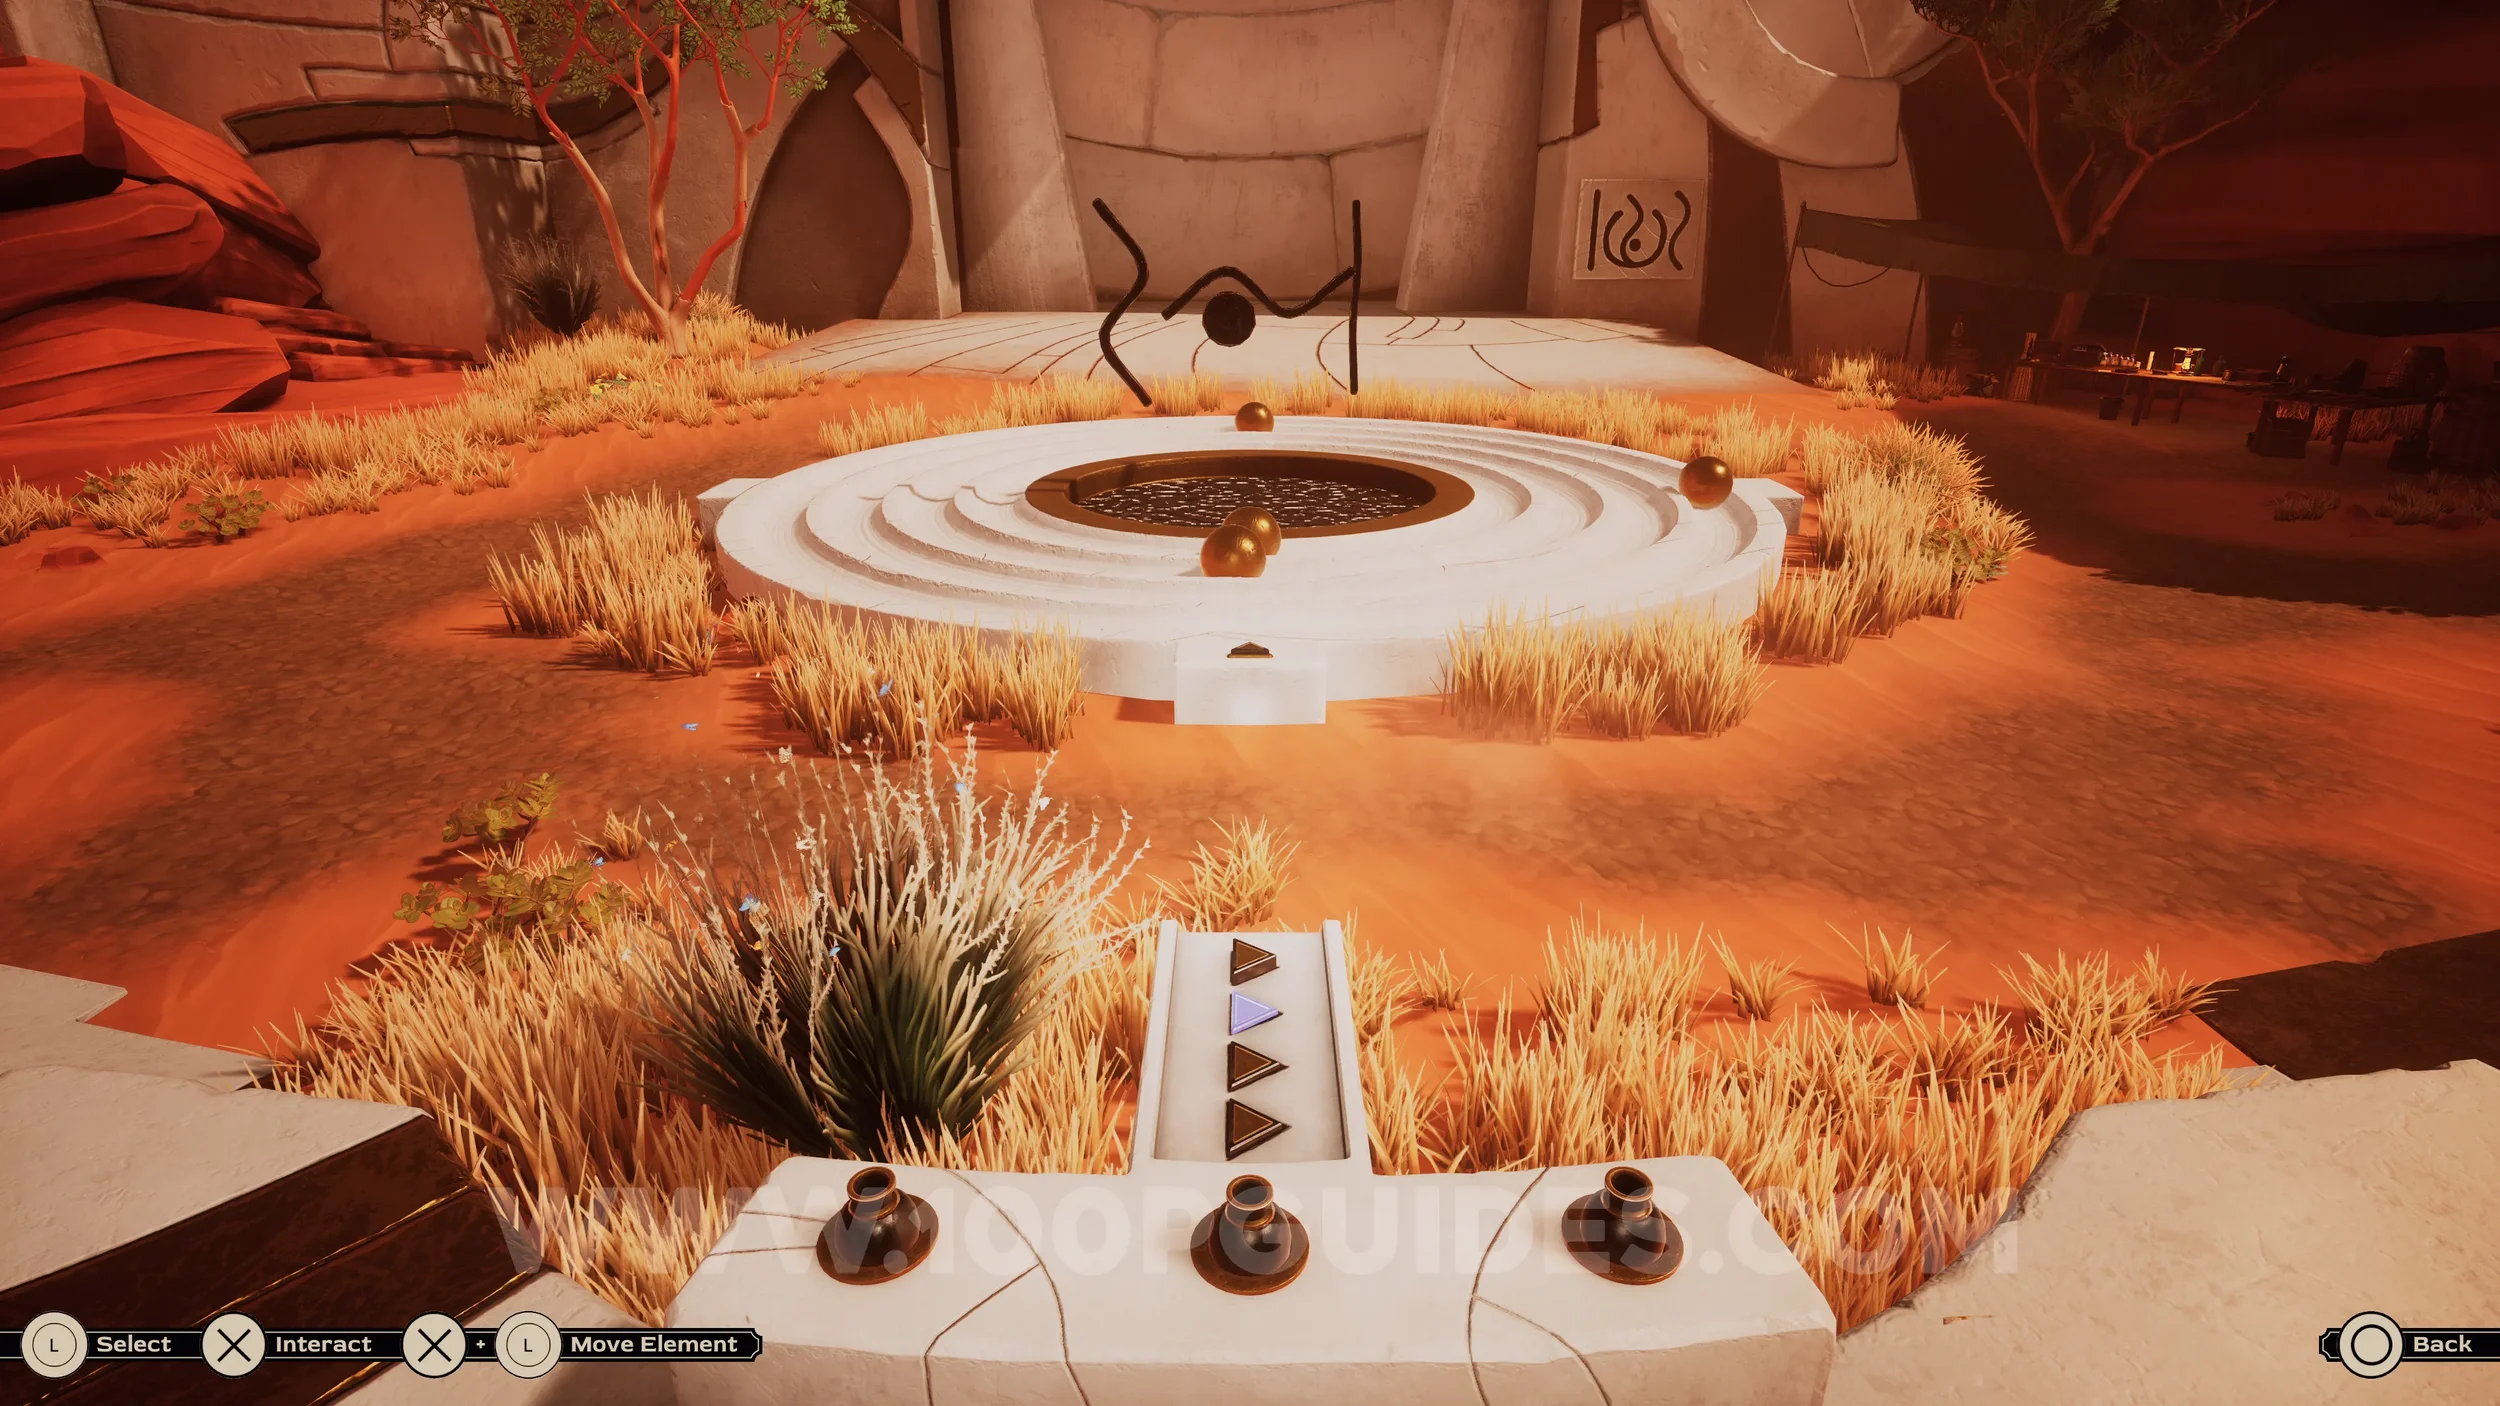
Clue #111-112. Next, head to the main puzzle and press the third triangular button from the top. When the ball reaches the far-right position, press the triangular button closest to you. This will cause a symbol to appear in the center. Use the knob-shaped buttons to rotate it until it matches the image below. Then press the triangular button on the circular structure where the balls are rolling.

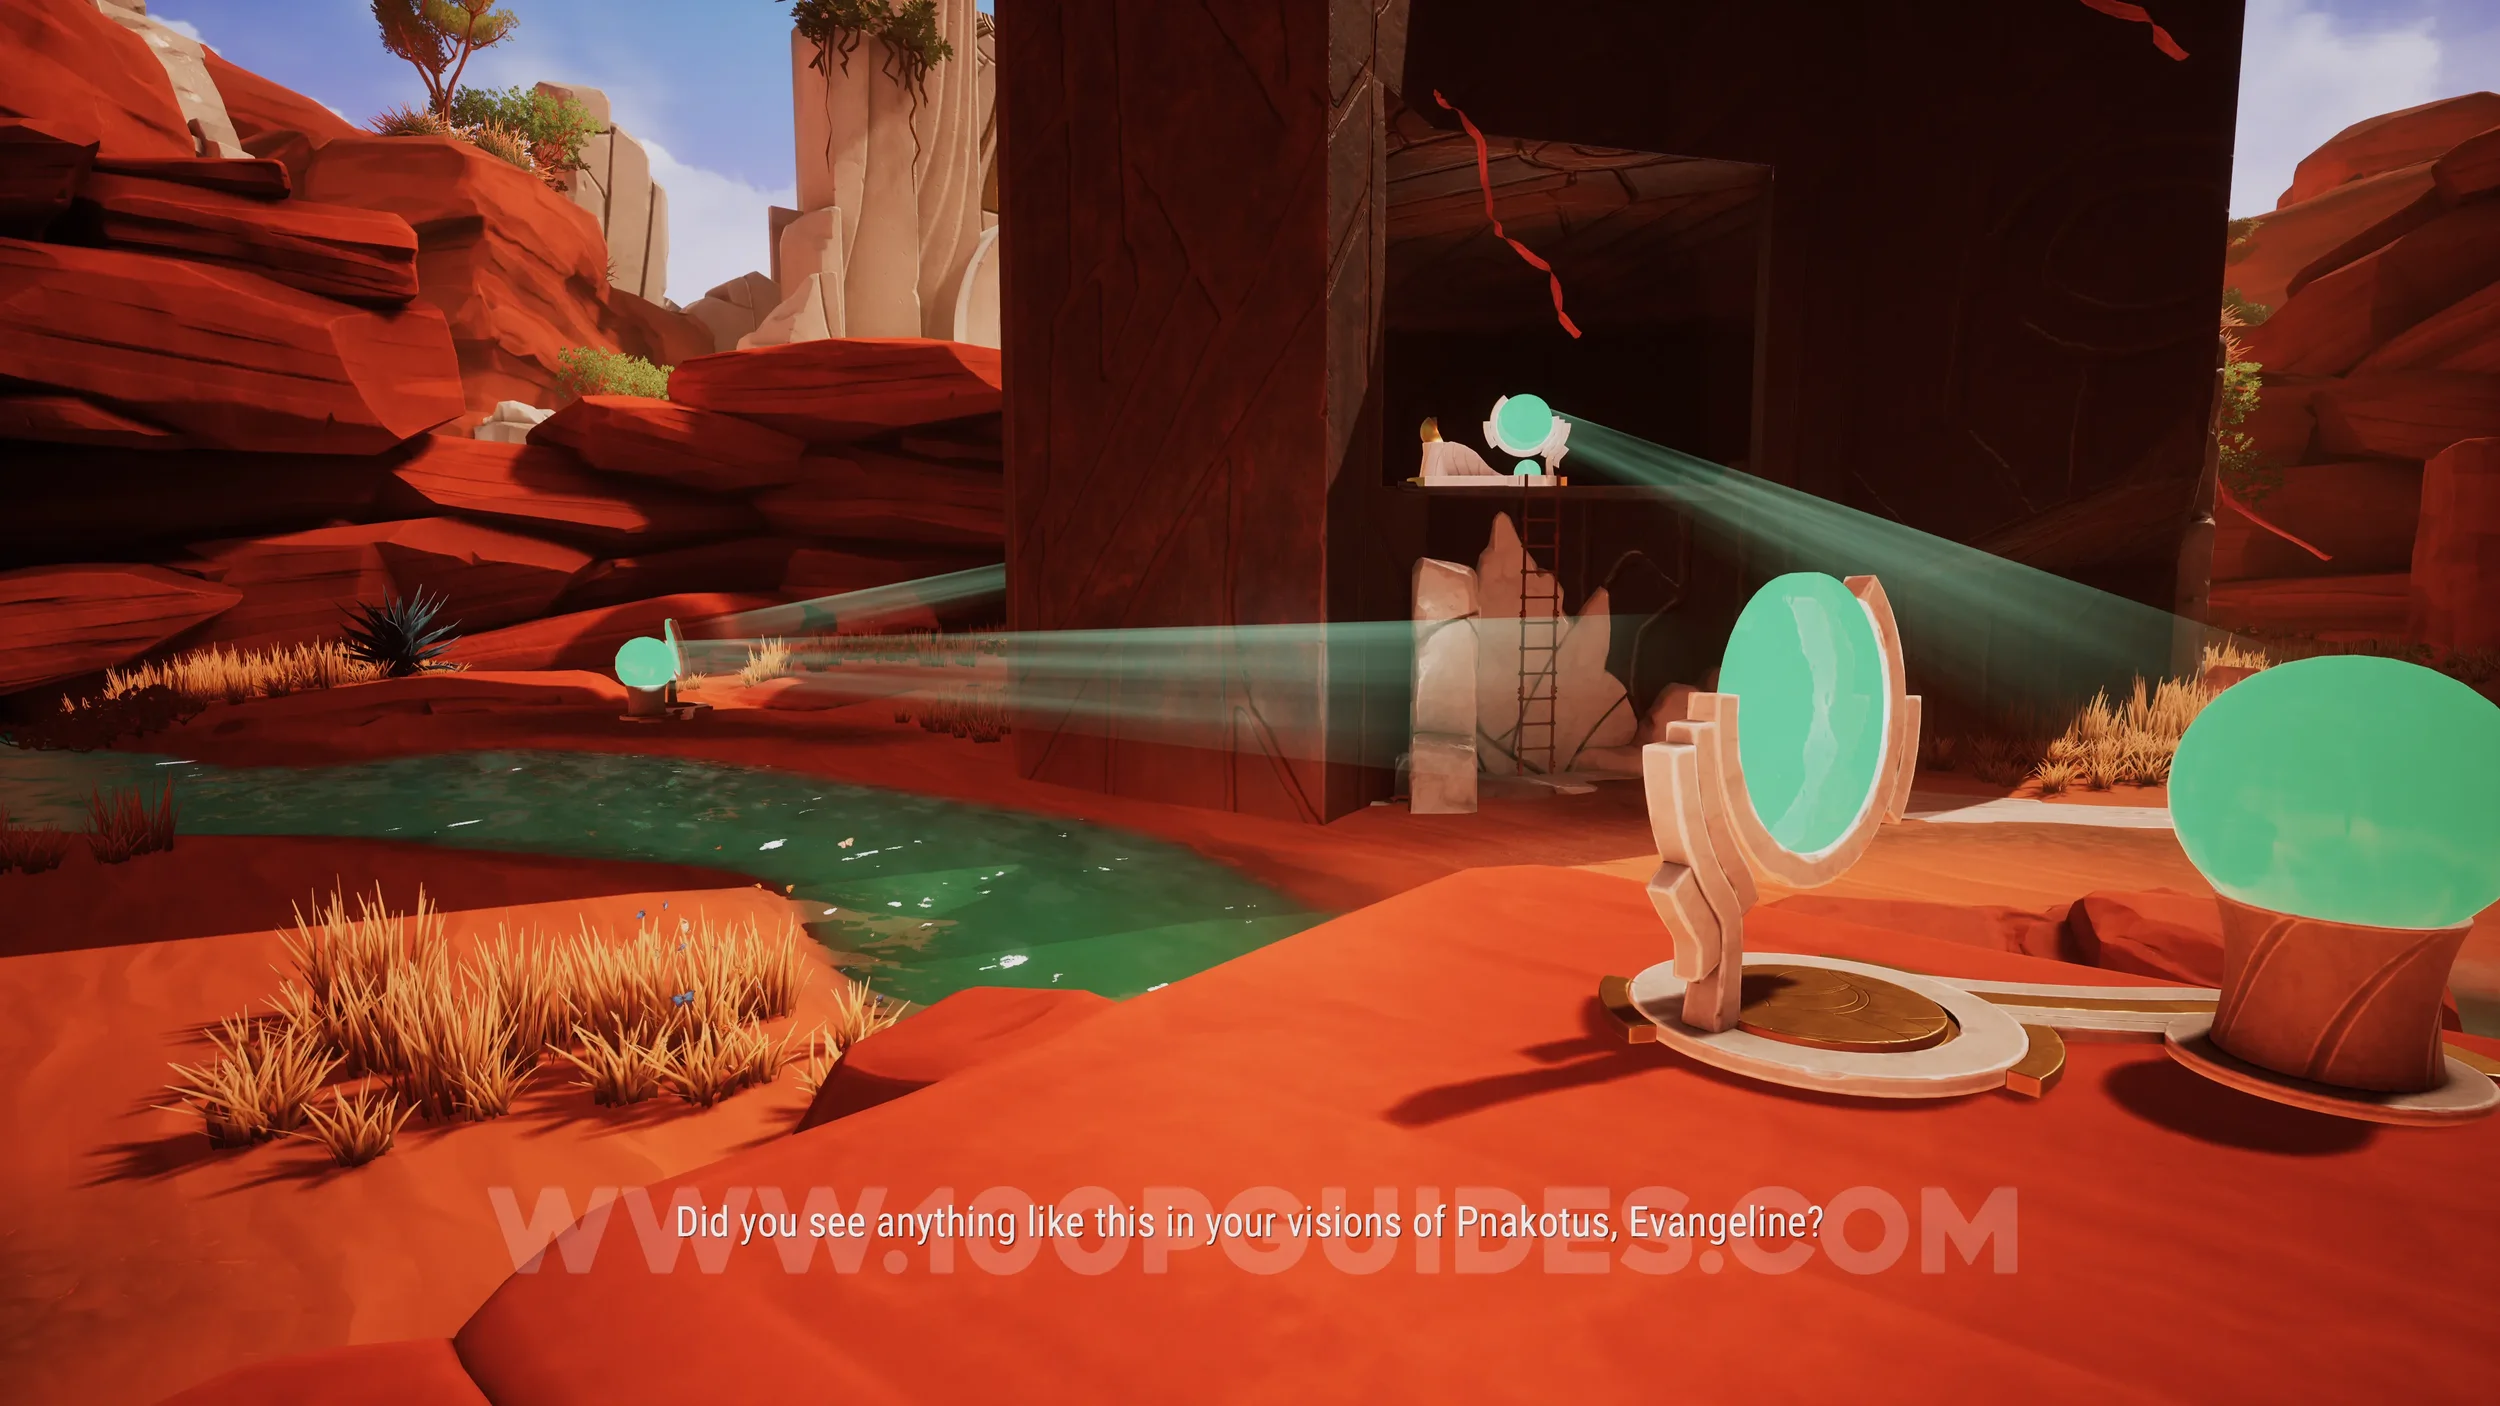
After that, head up the slope behind the waterfall and climb the ladder on the right. At the top, activate the mirror by interacting with the golden ball. Aim the mirror at the orb beside the next mirror below.
Now go down to that mirror and aim it at the orb next to the mirror on your left. Move to the next mirror and aim it high above the following mirror, targeting the circle at the top of the elevator.
Next, head to the elevator, examine the symbol on the wall to register it as a clue and press the diamond button to raise the mirror. The light beam from the previous mirror should now hit it at the top. Finally, aim this mirror at the mechanism on the ground to activate it. Examine the mechanism to obtain the clue.
Clue #112. Return to the second mirror and, this time, direct the light toward the mirror on your right. Continue guiding the beam through the remaining mirrors until it reaches the main puzzle area below.
From there, redirect the light to the mechanism mounted on the rock wall to the right. Once activated, examine the mechanism to obtain the clue.
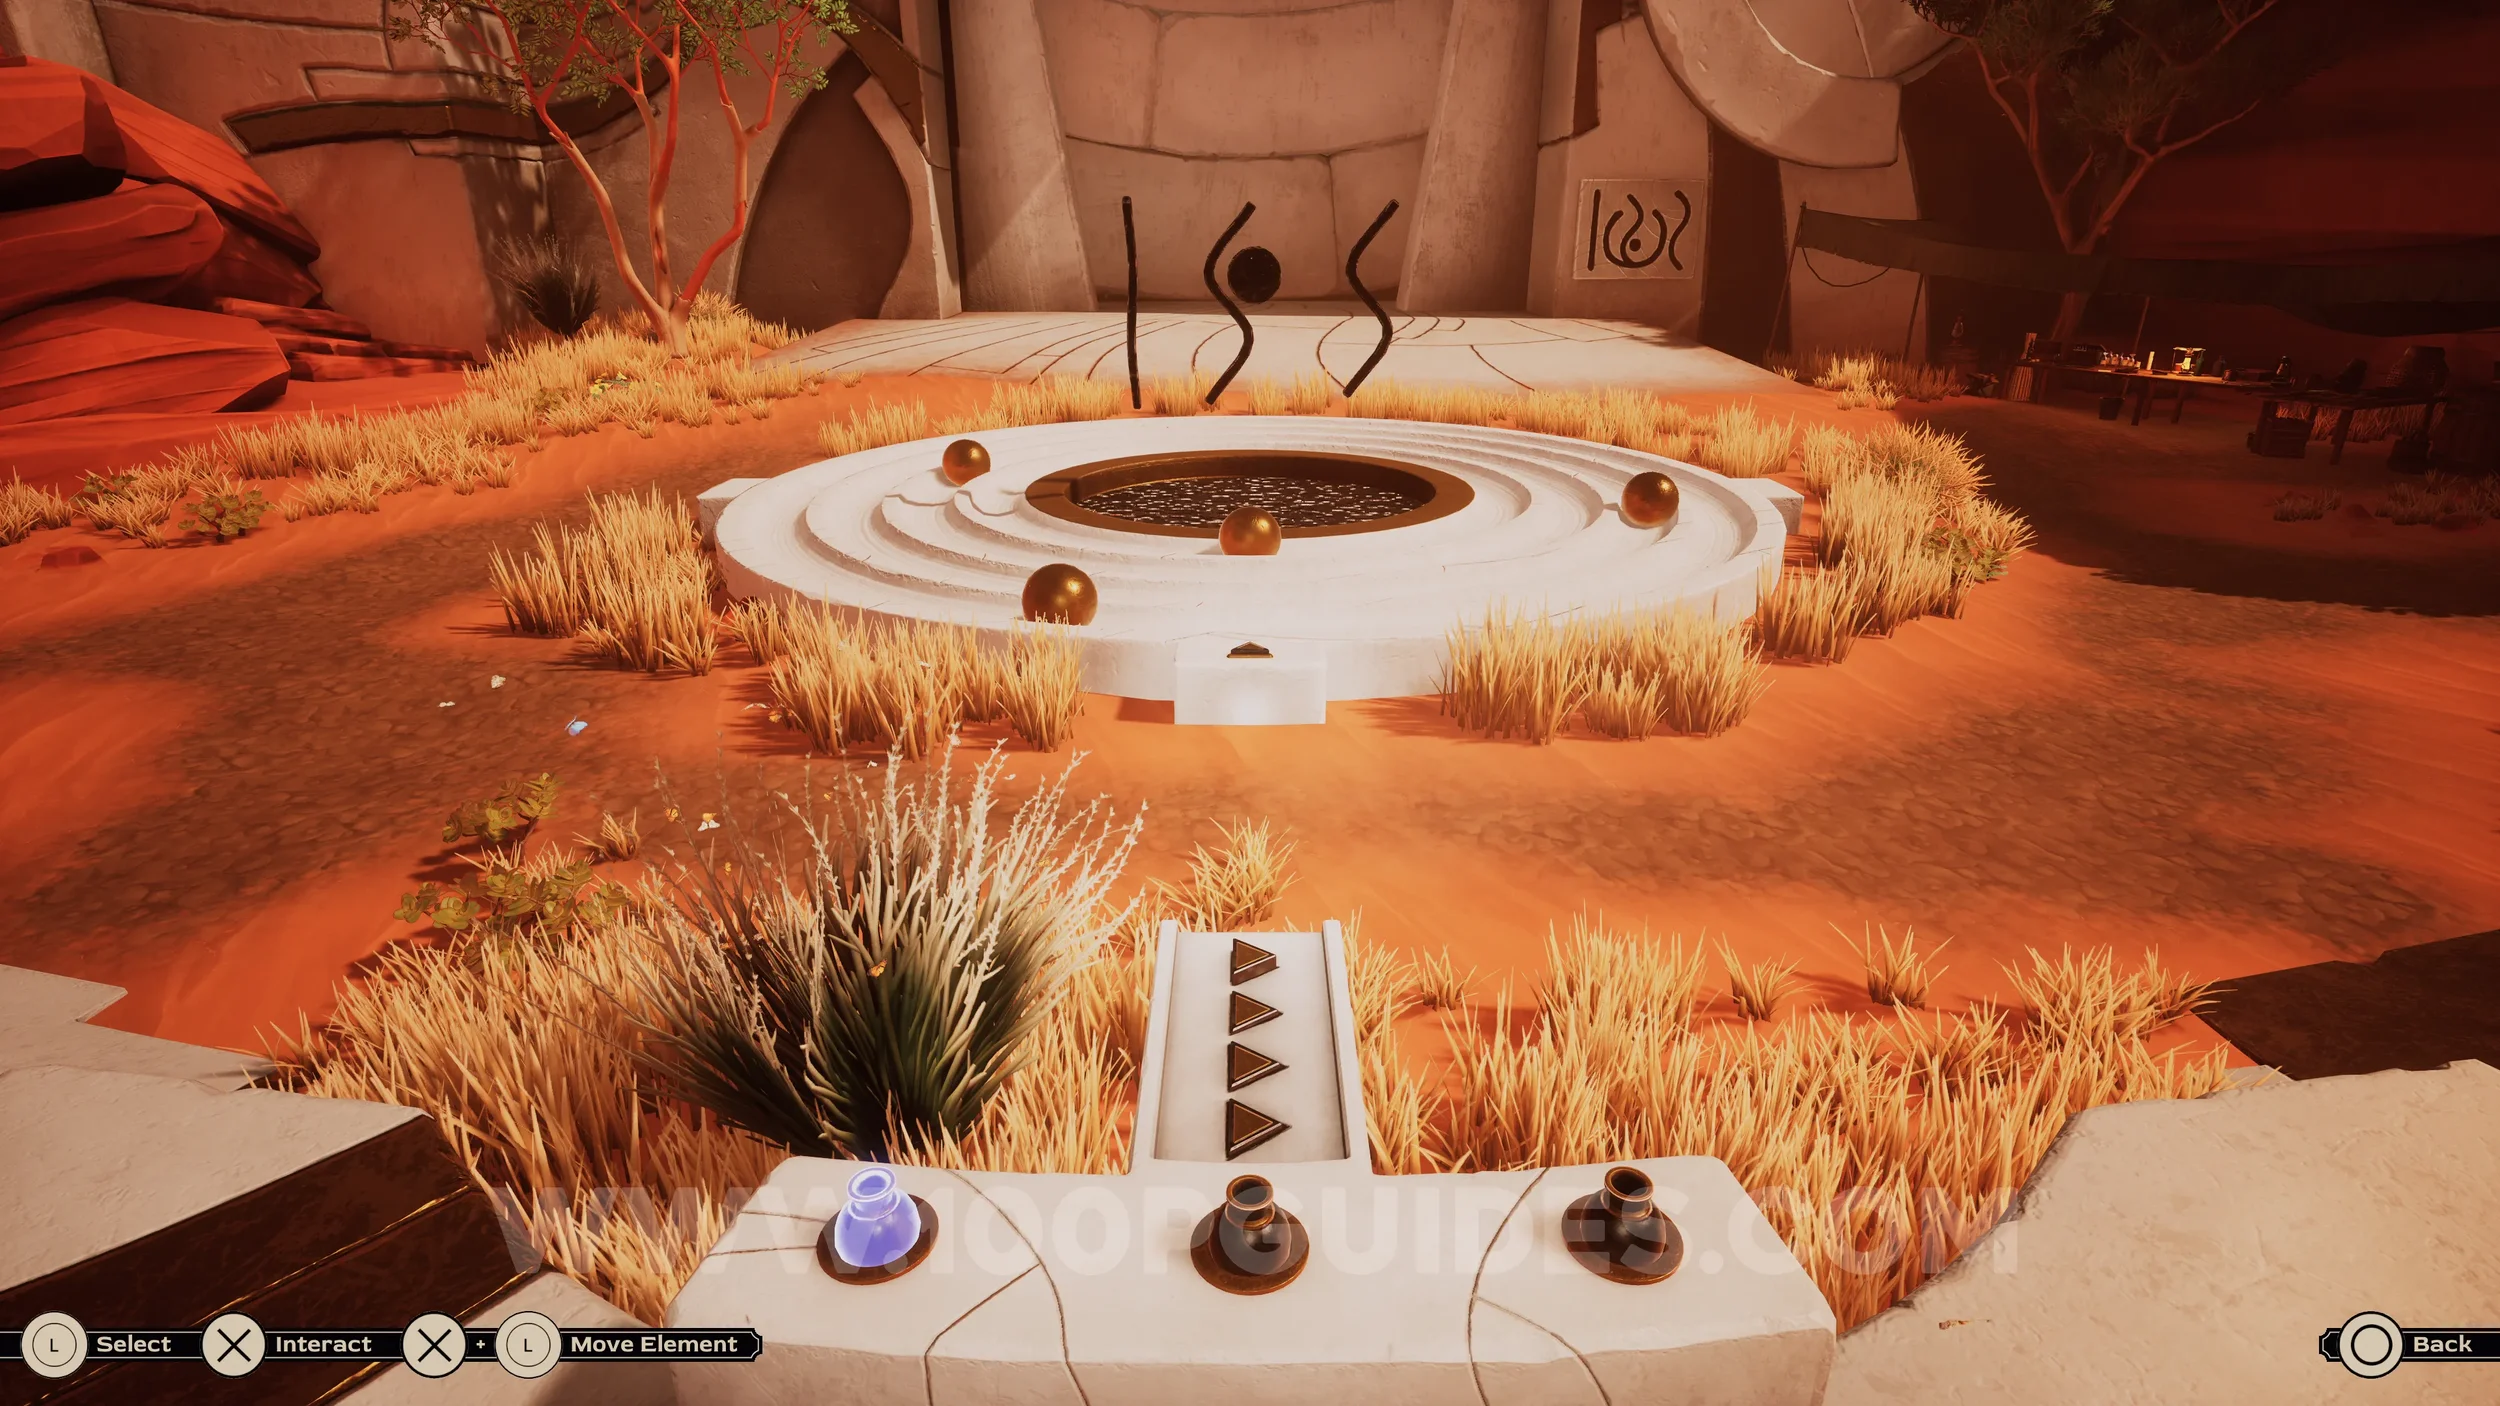
Clue #113. Return to the main puzzle and press the second triangular button from the top when the outer ball reaches the far-right position. This will cause two additional symbols to appear in the center. Use the knob-shaped buttons to rotate the symbol until it matches the image below, then press the triangular button on the ball structure. This will open the door near the slope and waterfall.
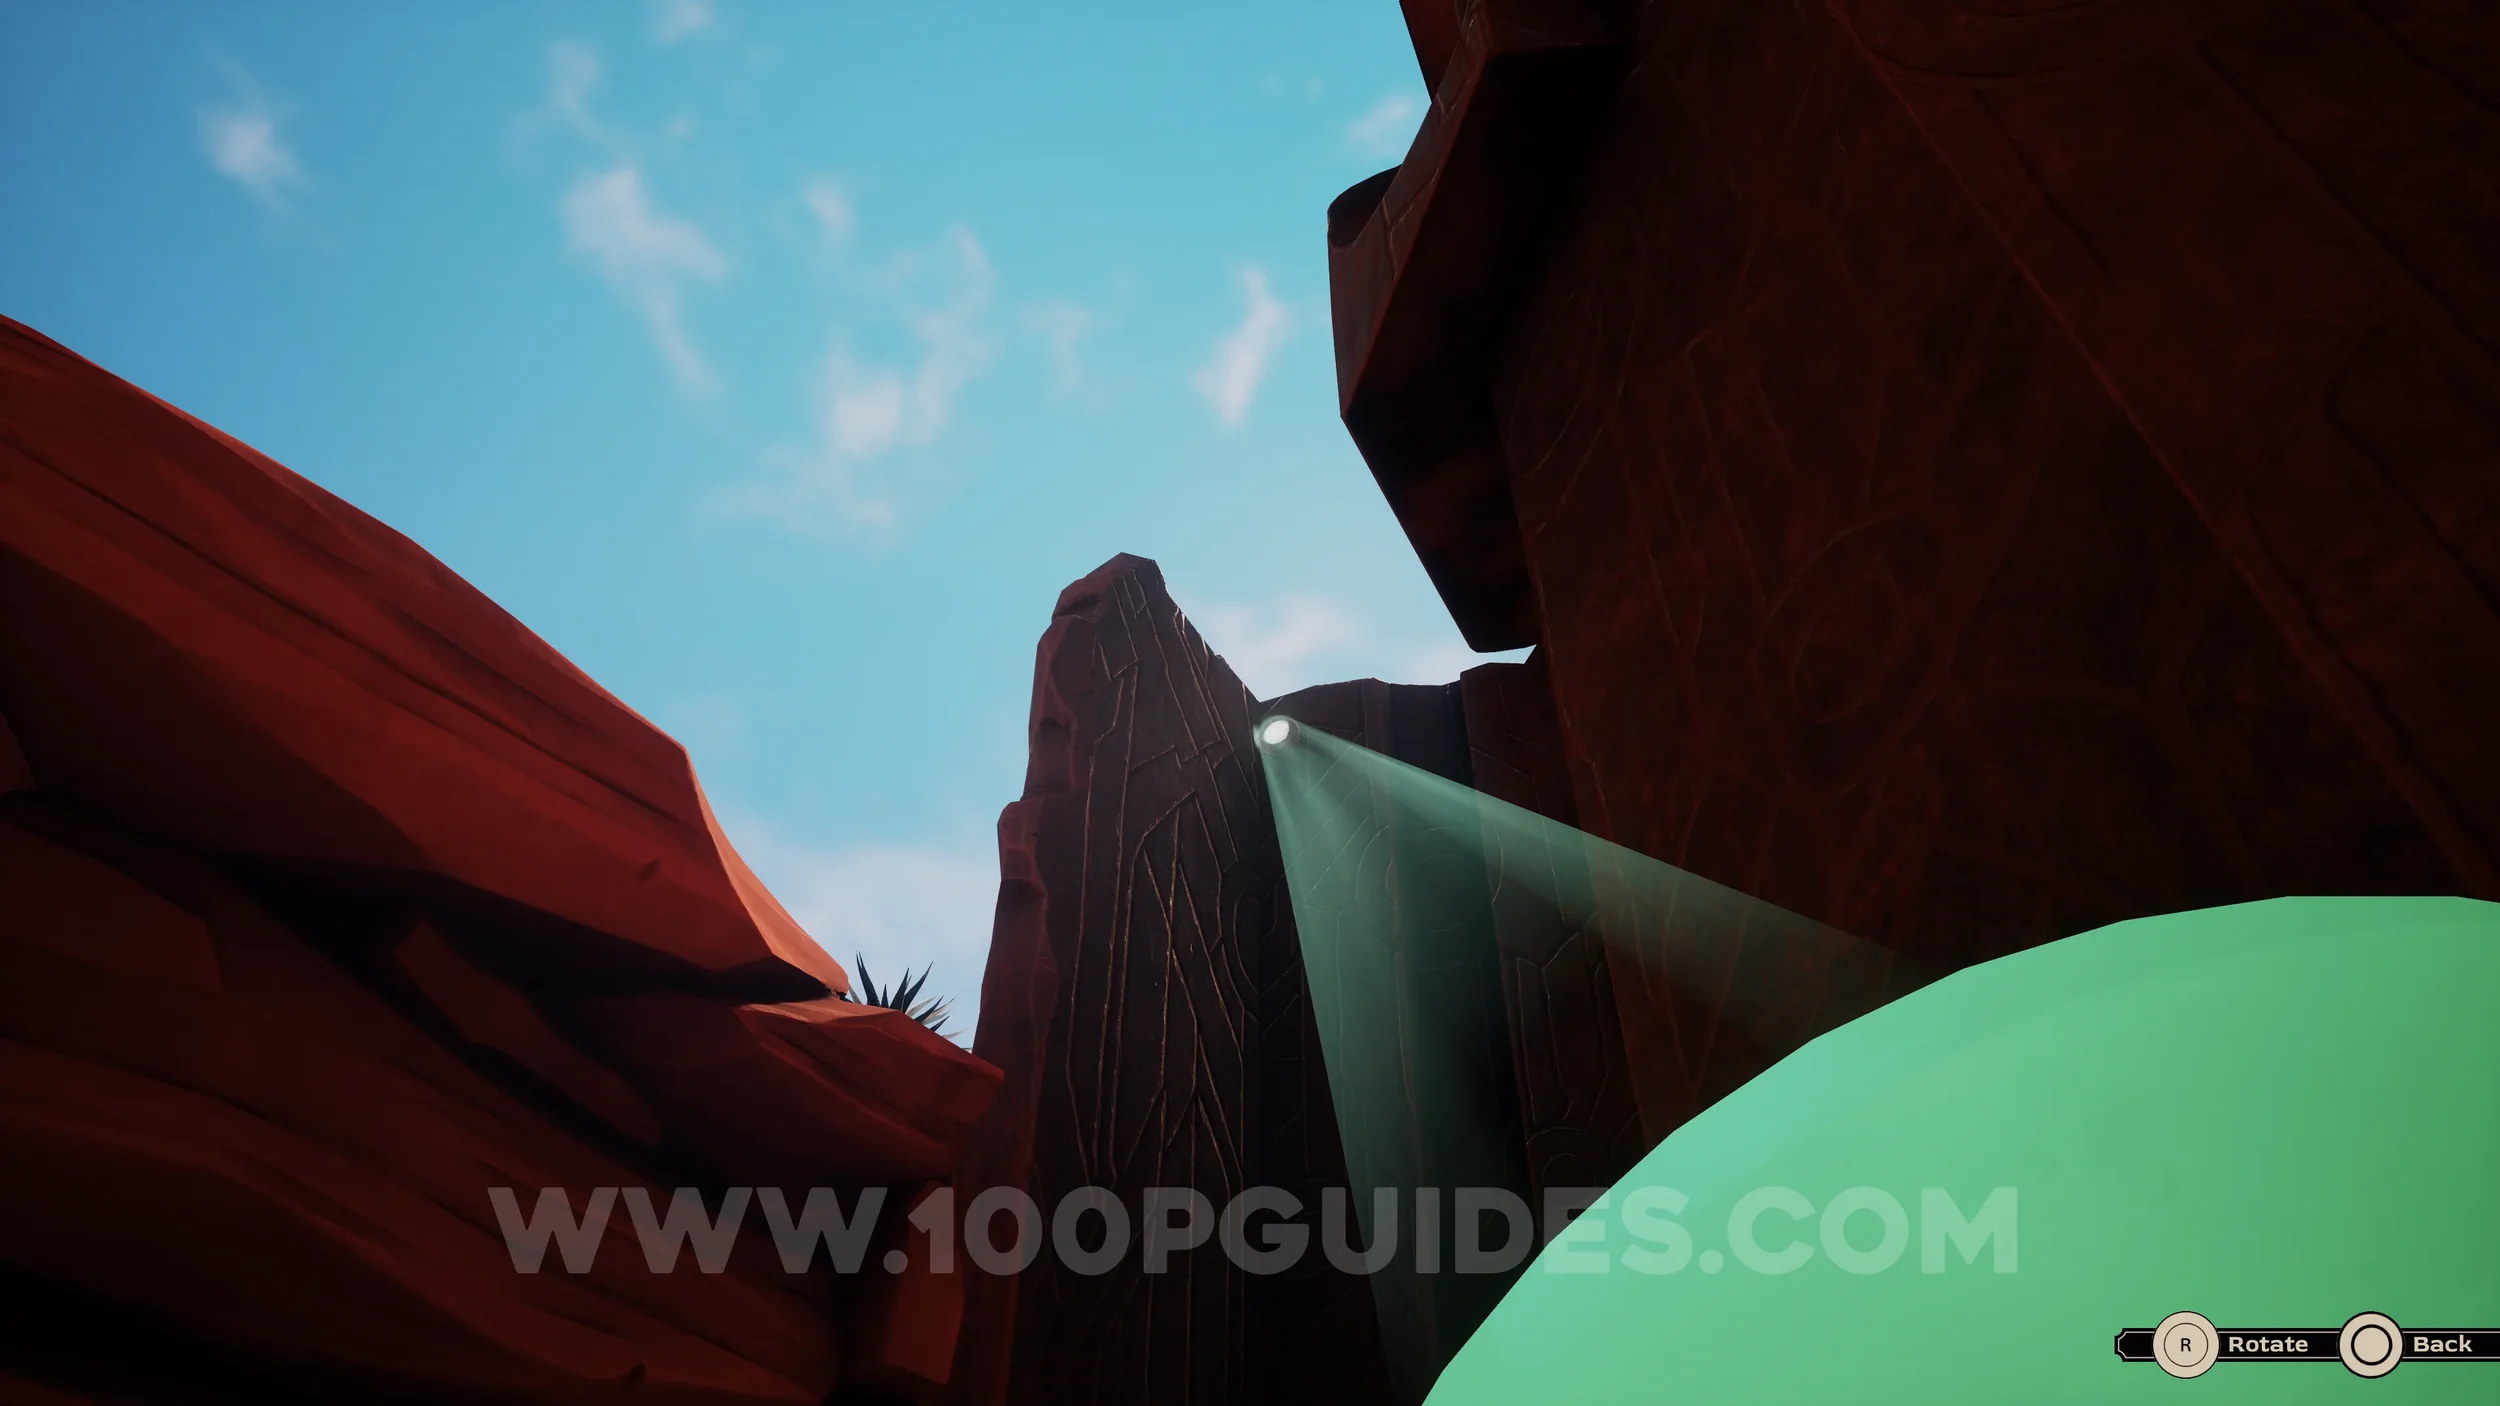
Before heading inside, make your way back up to the upper area and climb the ladder to reach the original mirror. Interact with it and aim the light down through the hole below so it hits the mirror beneath.
Now head down and enter the newly opened door beside the waterfall. Inside, you’ll find another mirror. Aim it at the circular structure on the wall, then examine the structure.