Crisol All Collectible Locations
This guide will show you where to find every collectible in Crisol: Theater of Idols.
You can find more Crisol: Theater of Idols guides here.
Author 100% Guides.
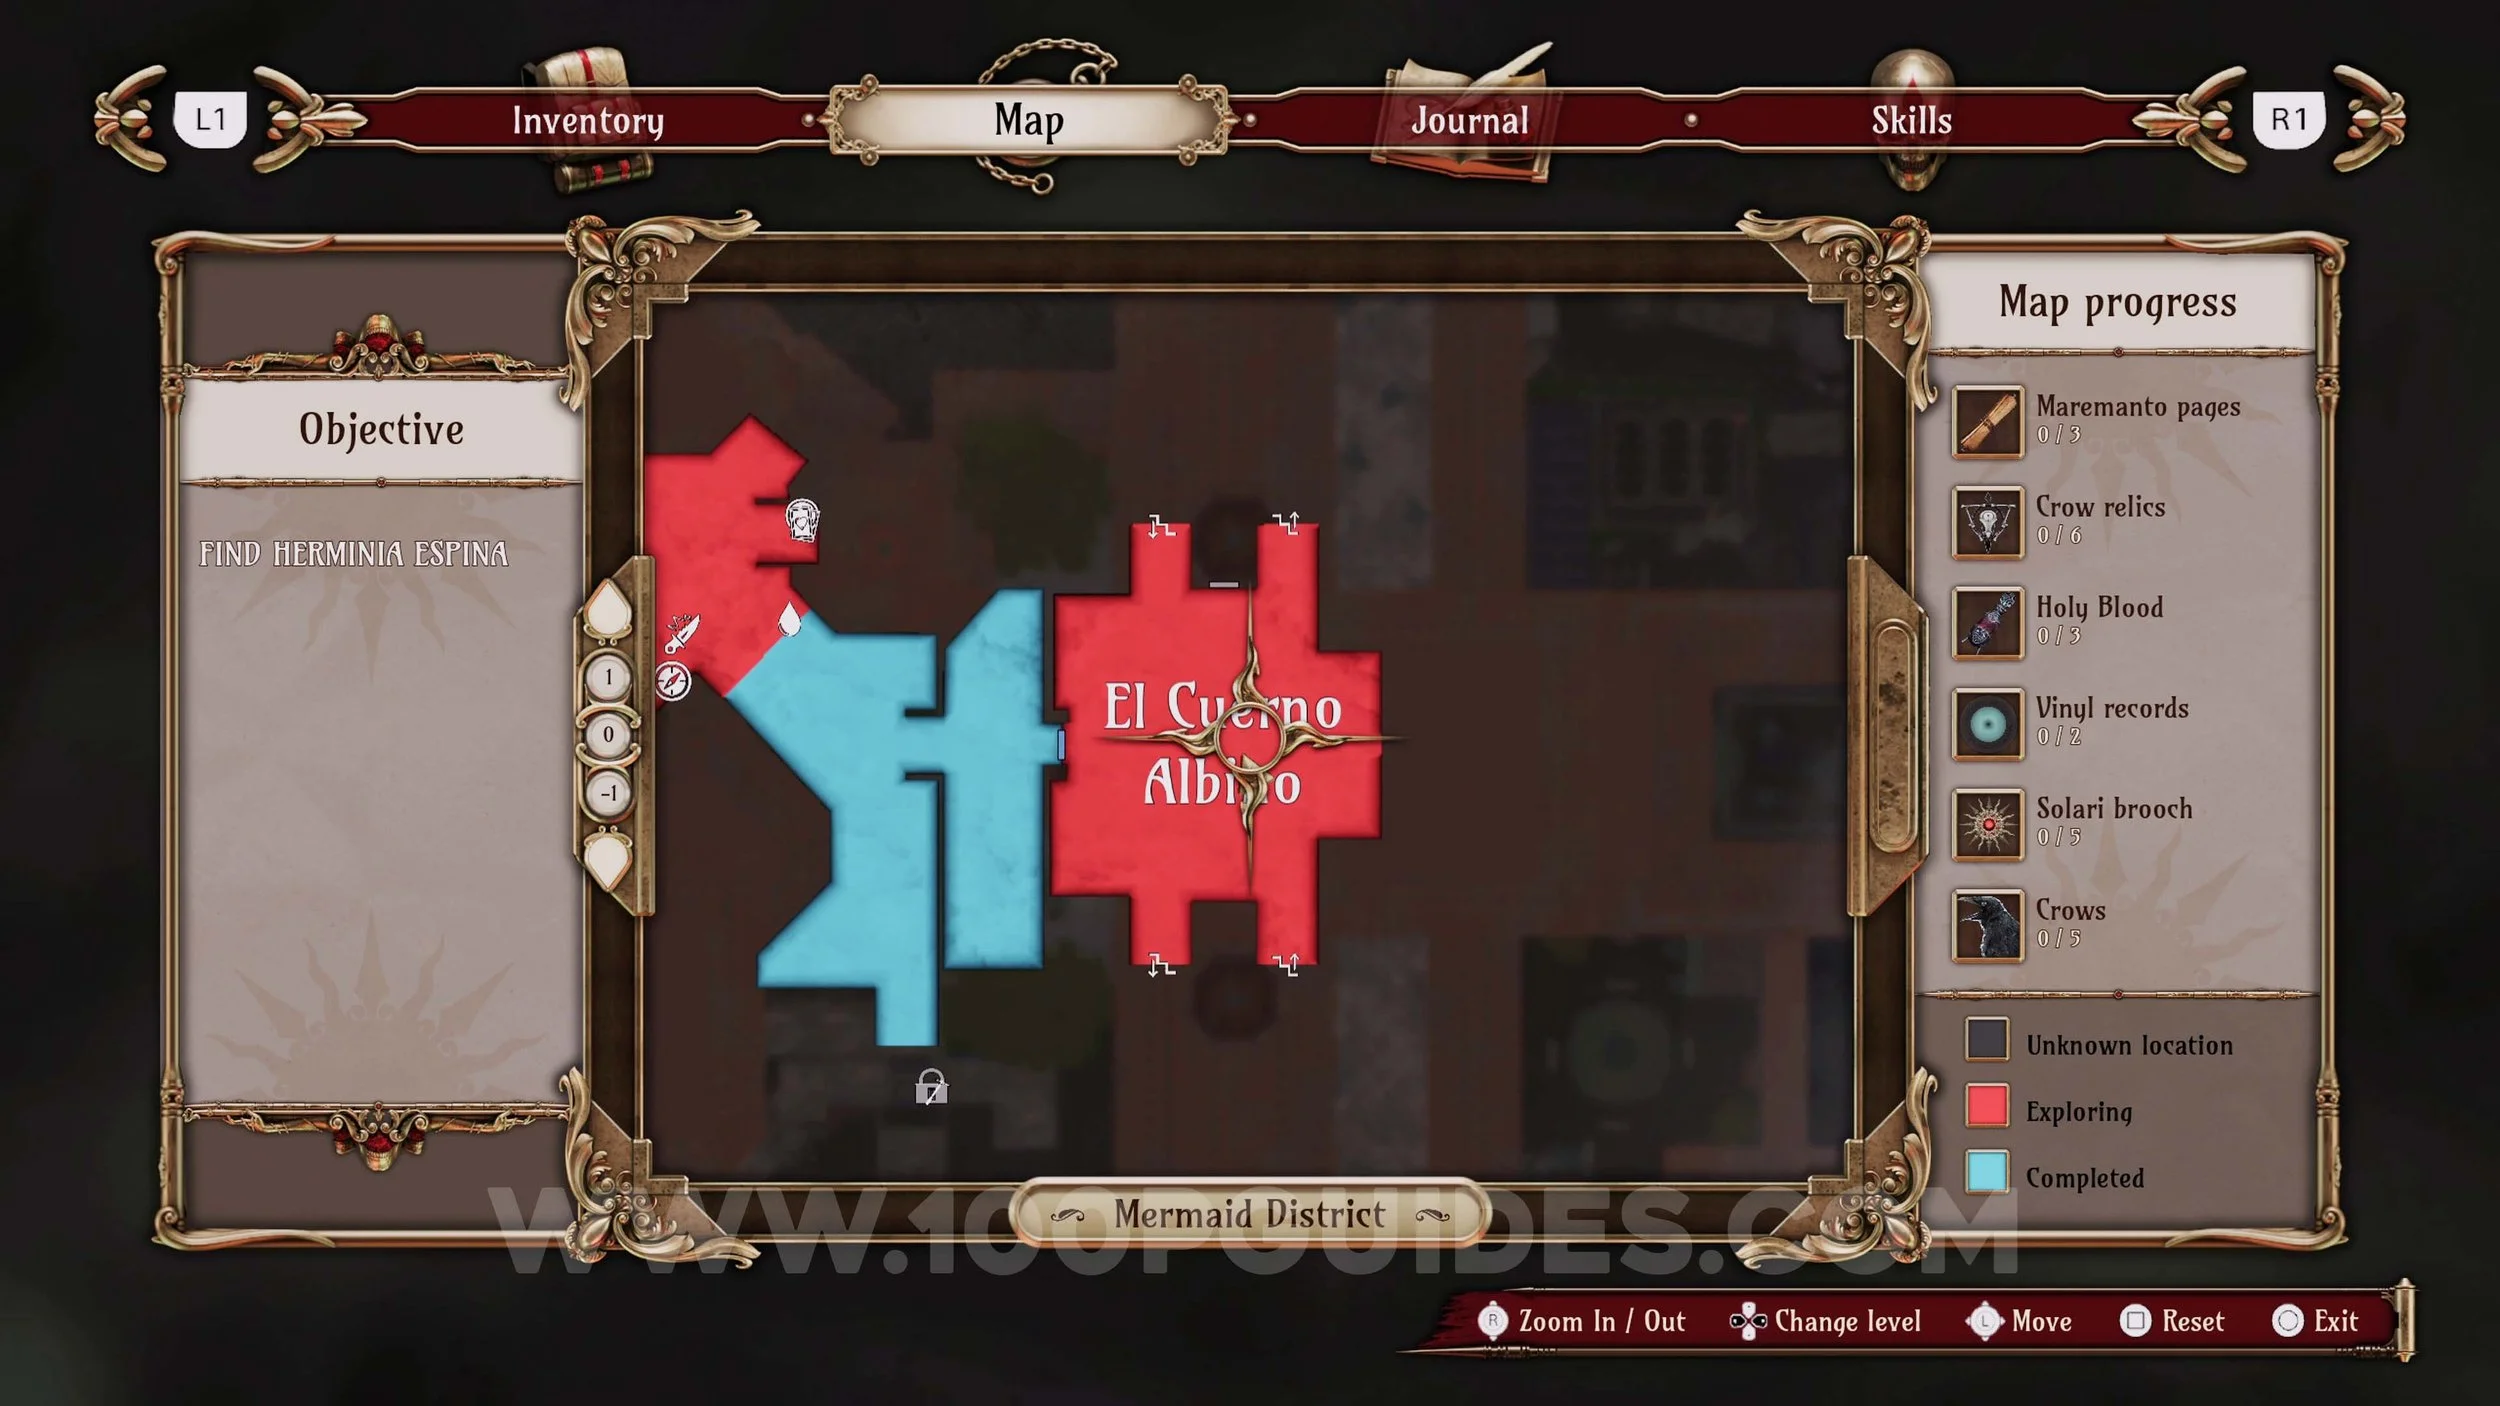
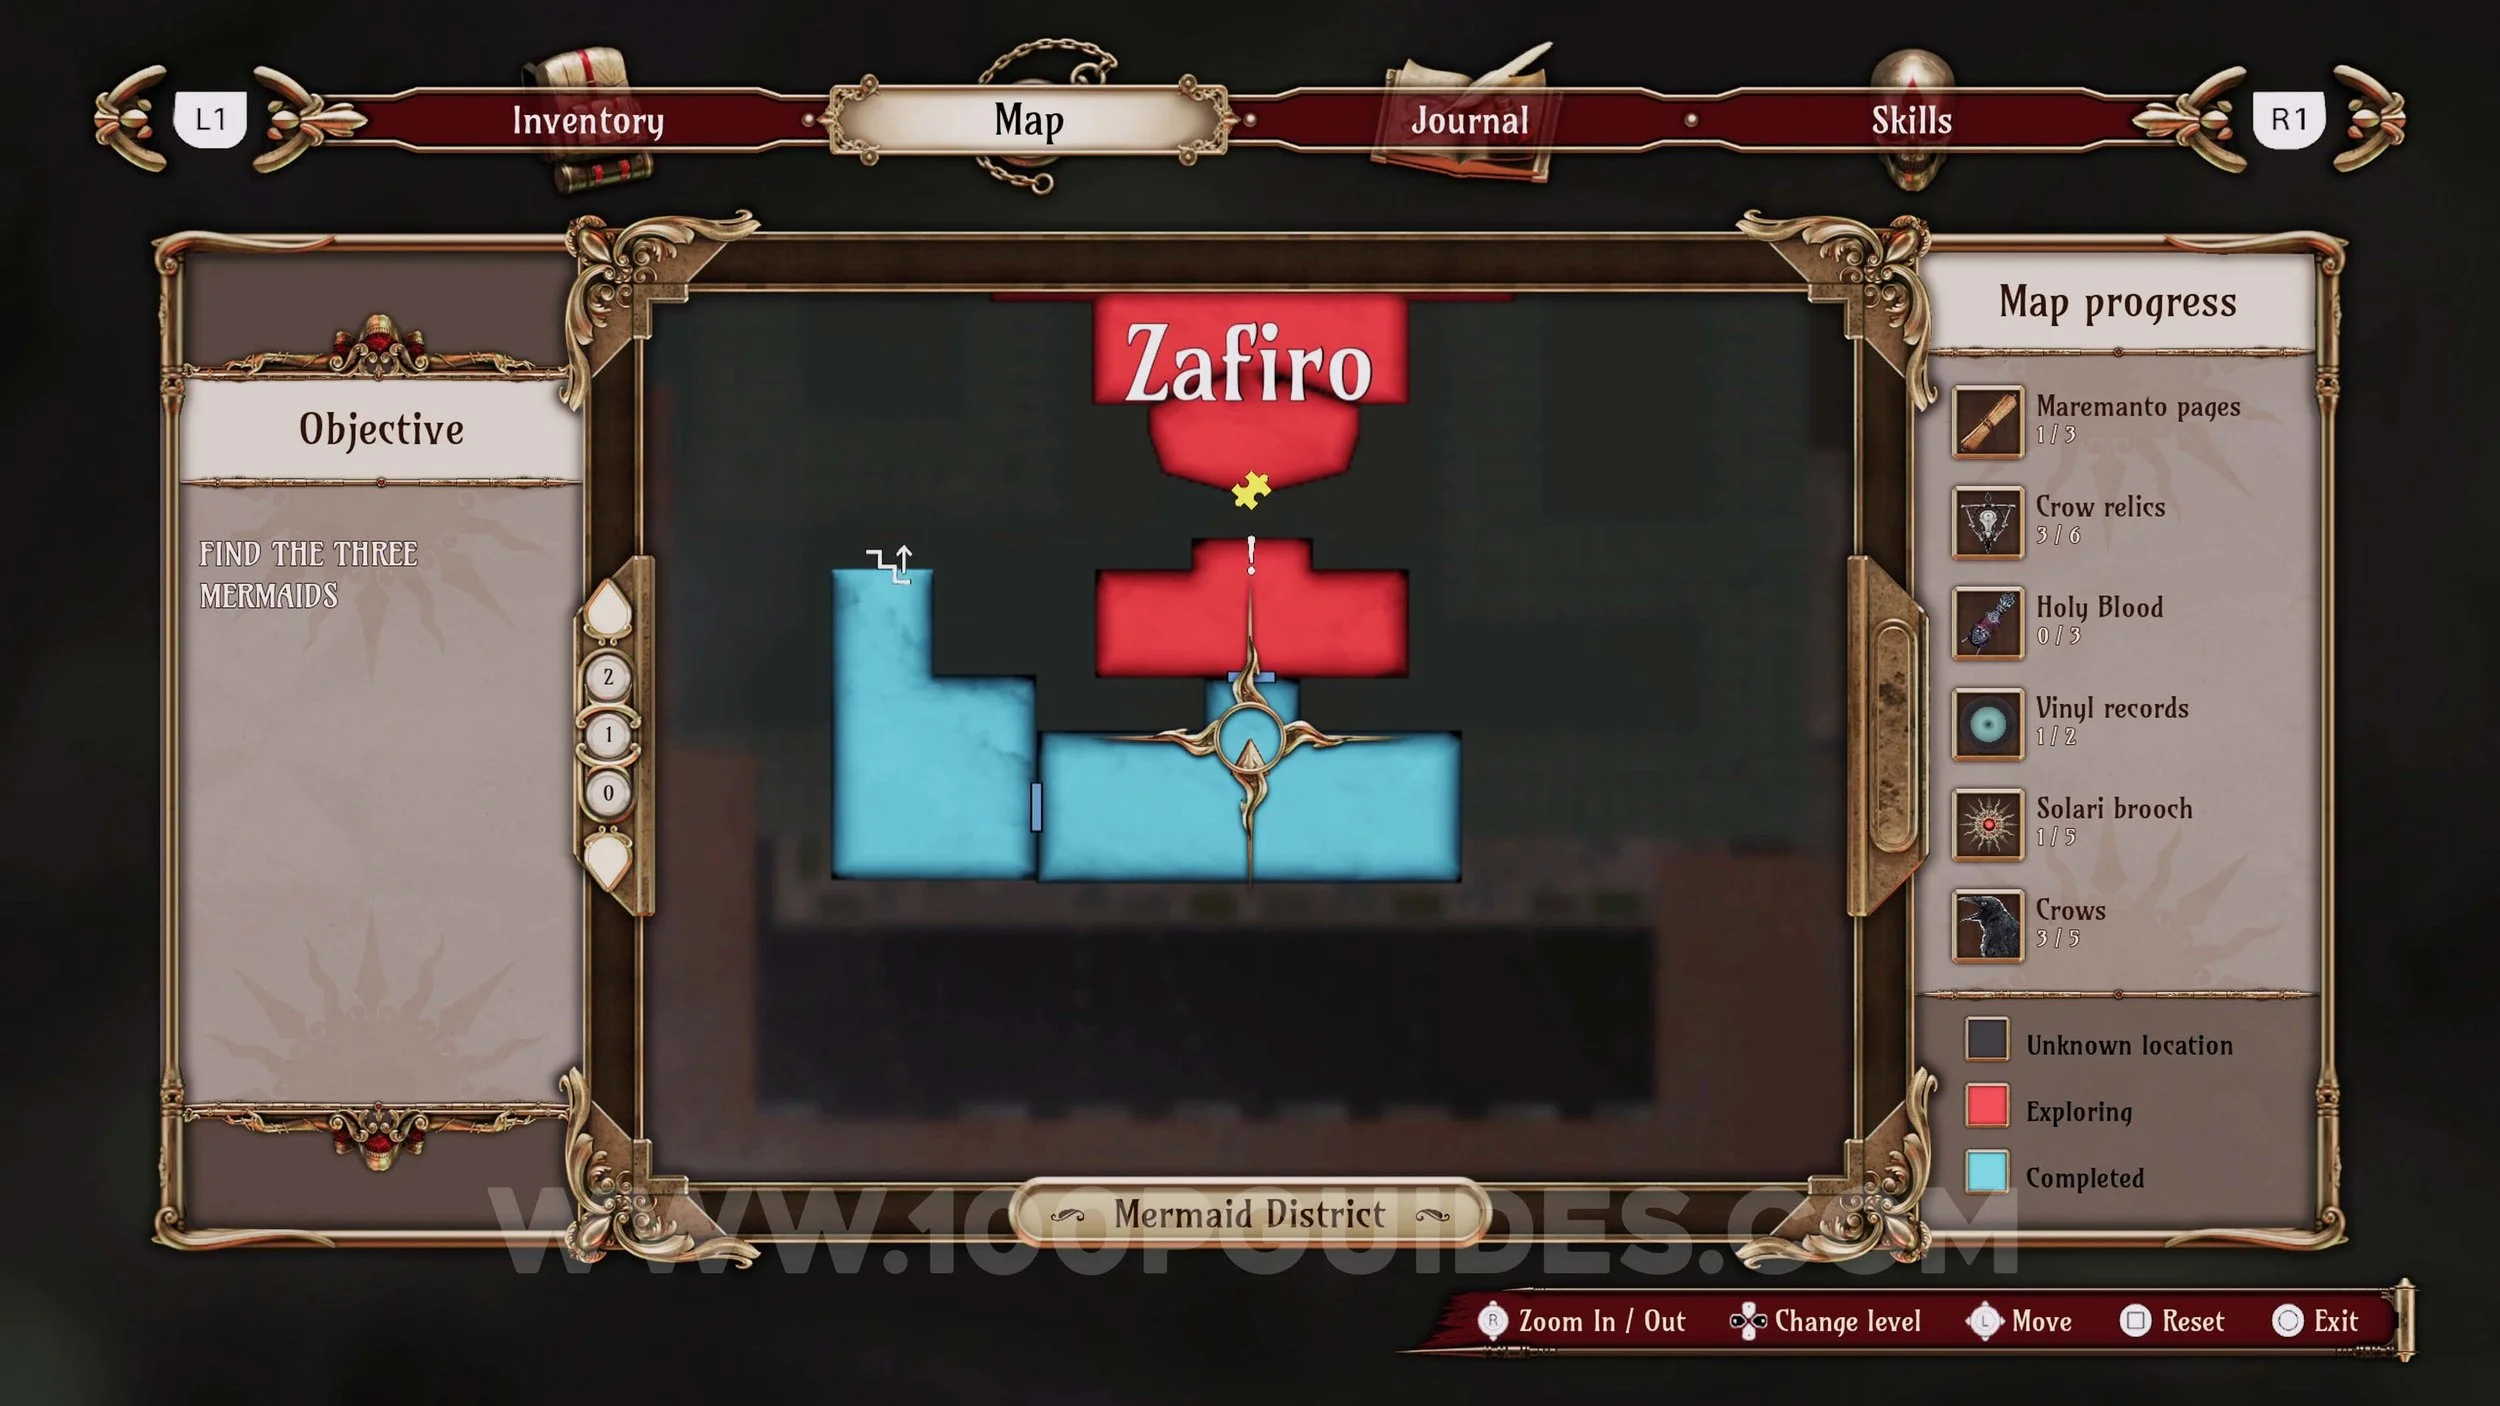
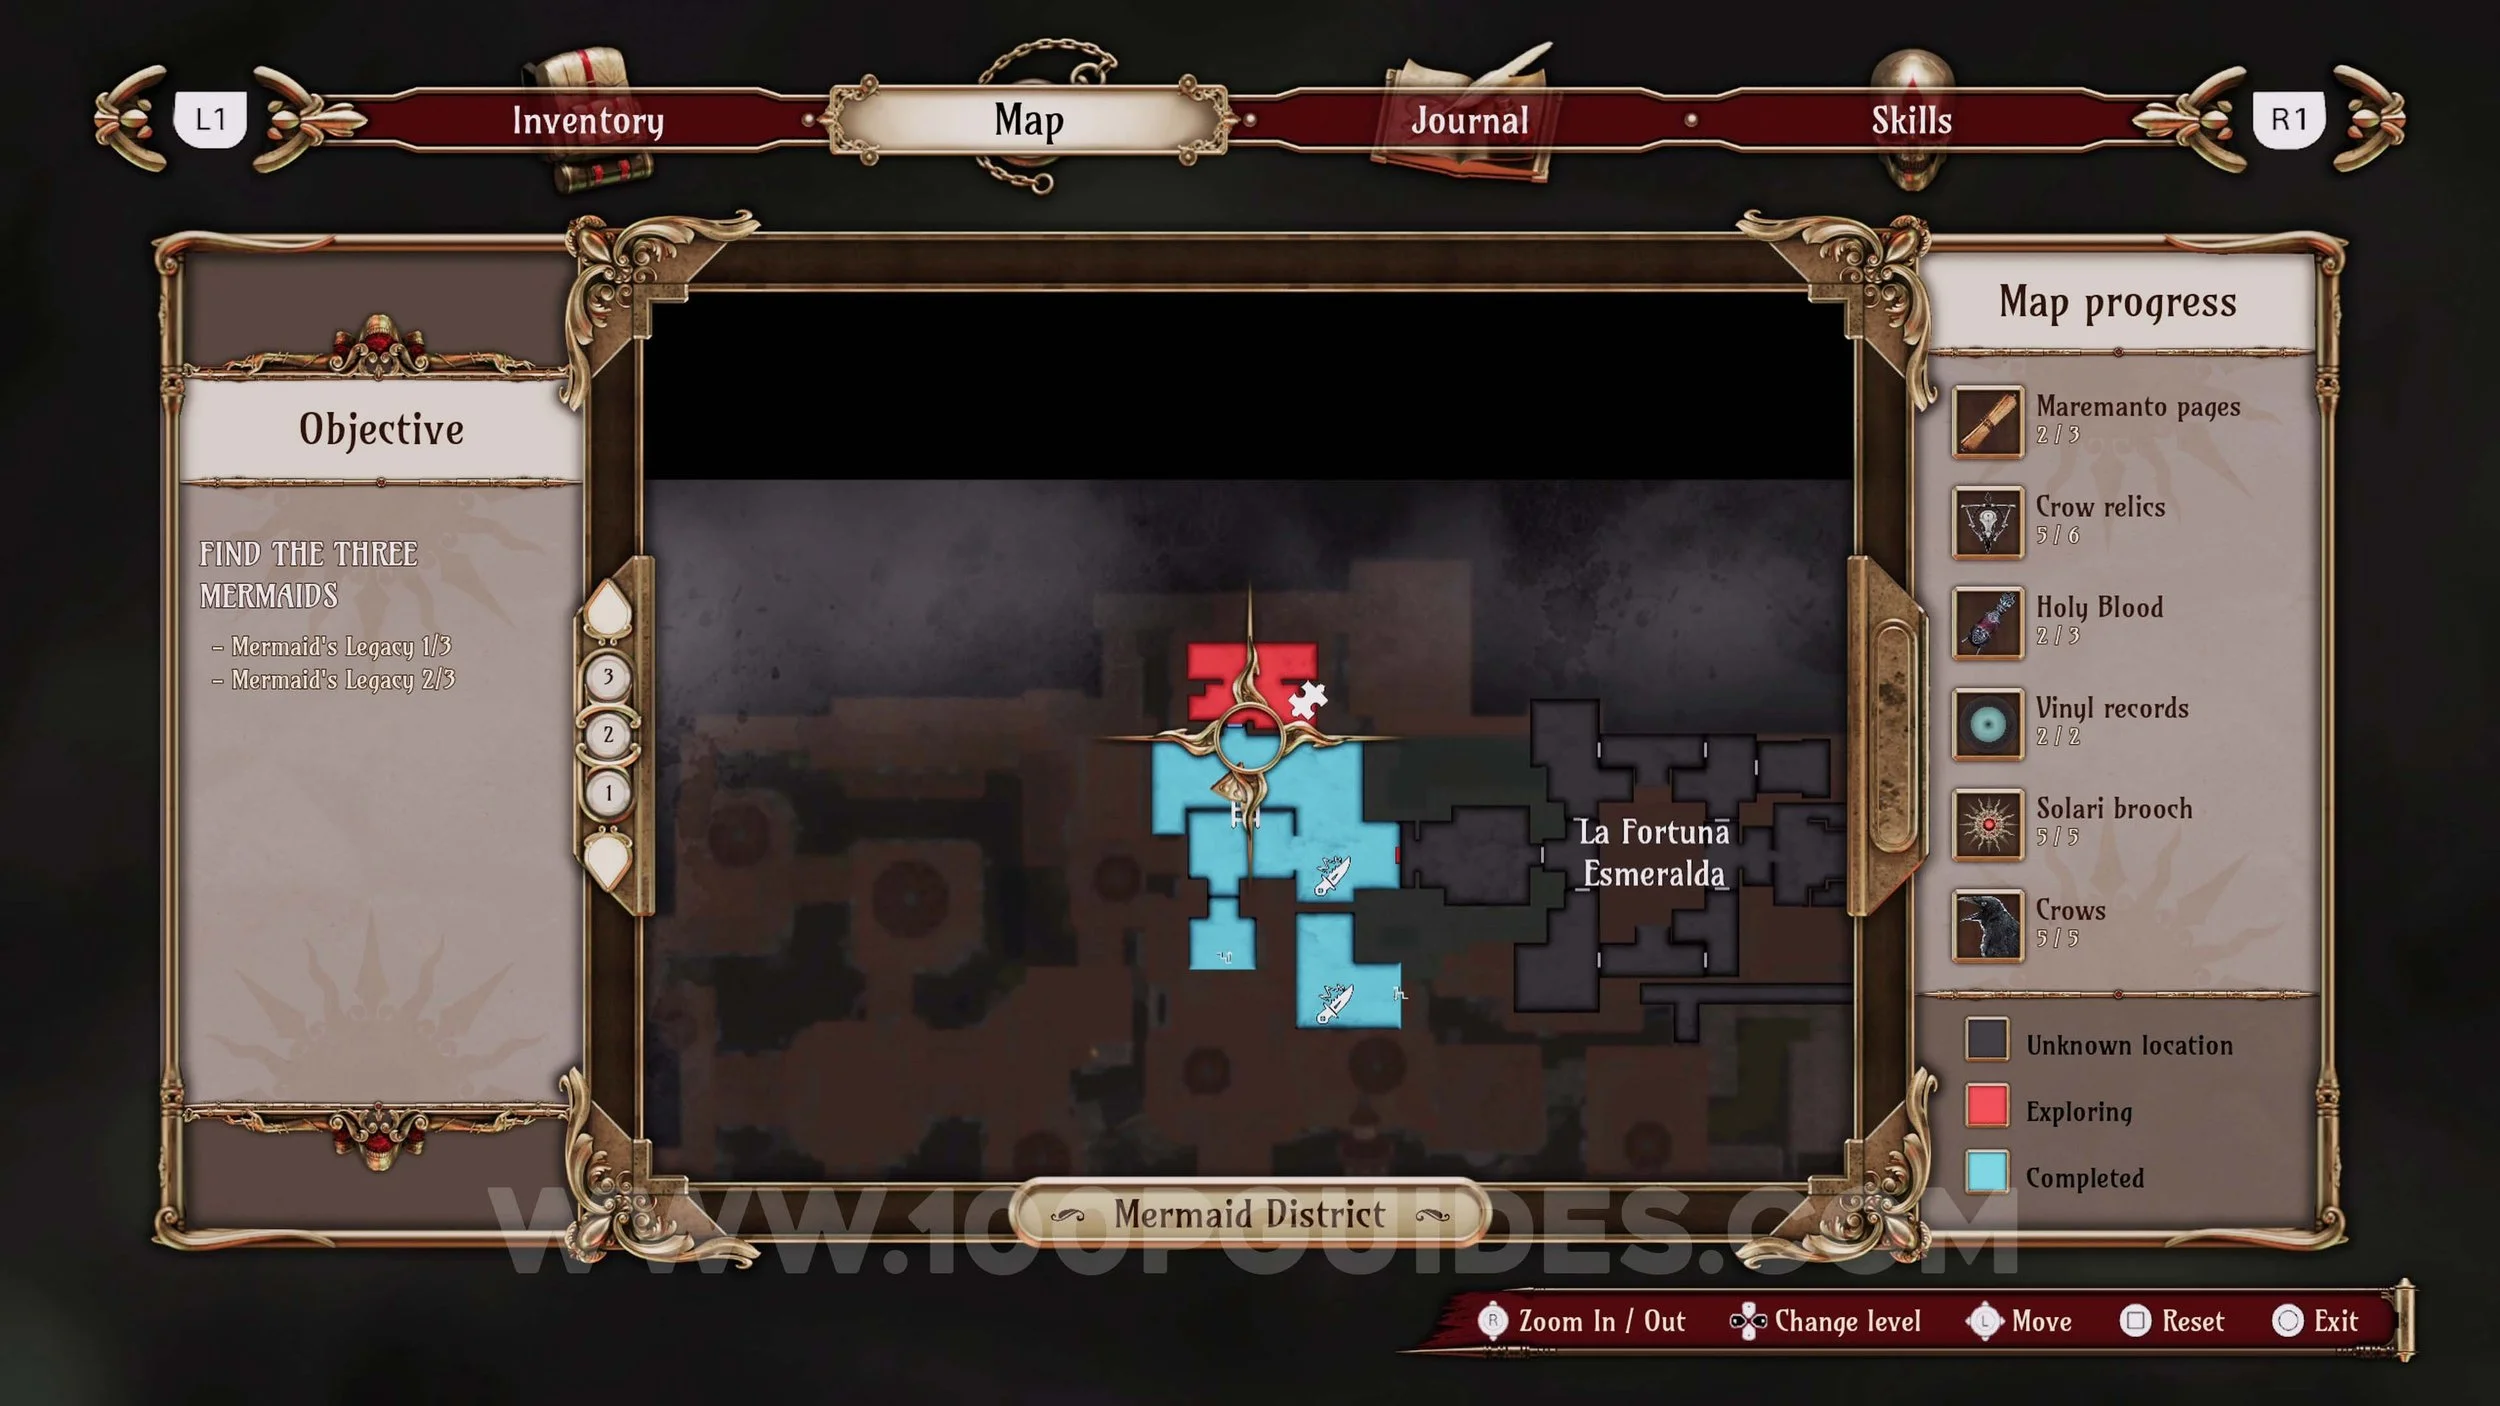
Crisol: Theater of Idols has a total of 227 Collectibles. These are: 44 Ulises Idols, 15 Solari Chests, 15 Solari Brooches, 69 Memories, 6 Weapons, 31 Crow Relics, 11 Maremanto Pages, 8 Vinyl Records, 3 Carnival Games, 15 Crows and 10 Holy Blood Upgrades.
All collectibles are missable, and there is no chapter select. Once you finish a chapter, you can never return to that area. Even within a chapter, a lot of places become unavailable after going through them. So make sure you follow the order in this guide and pick up the collectibles as soon as you can.
Index
Prologue
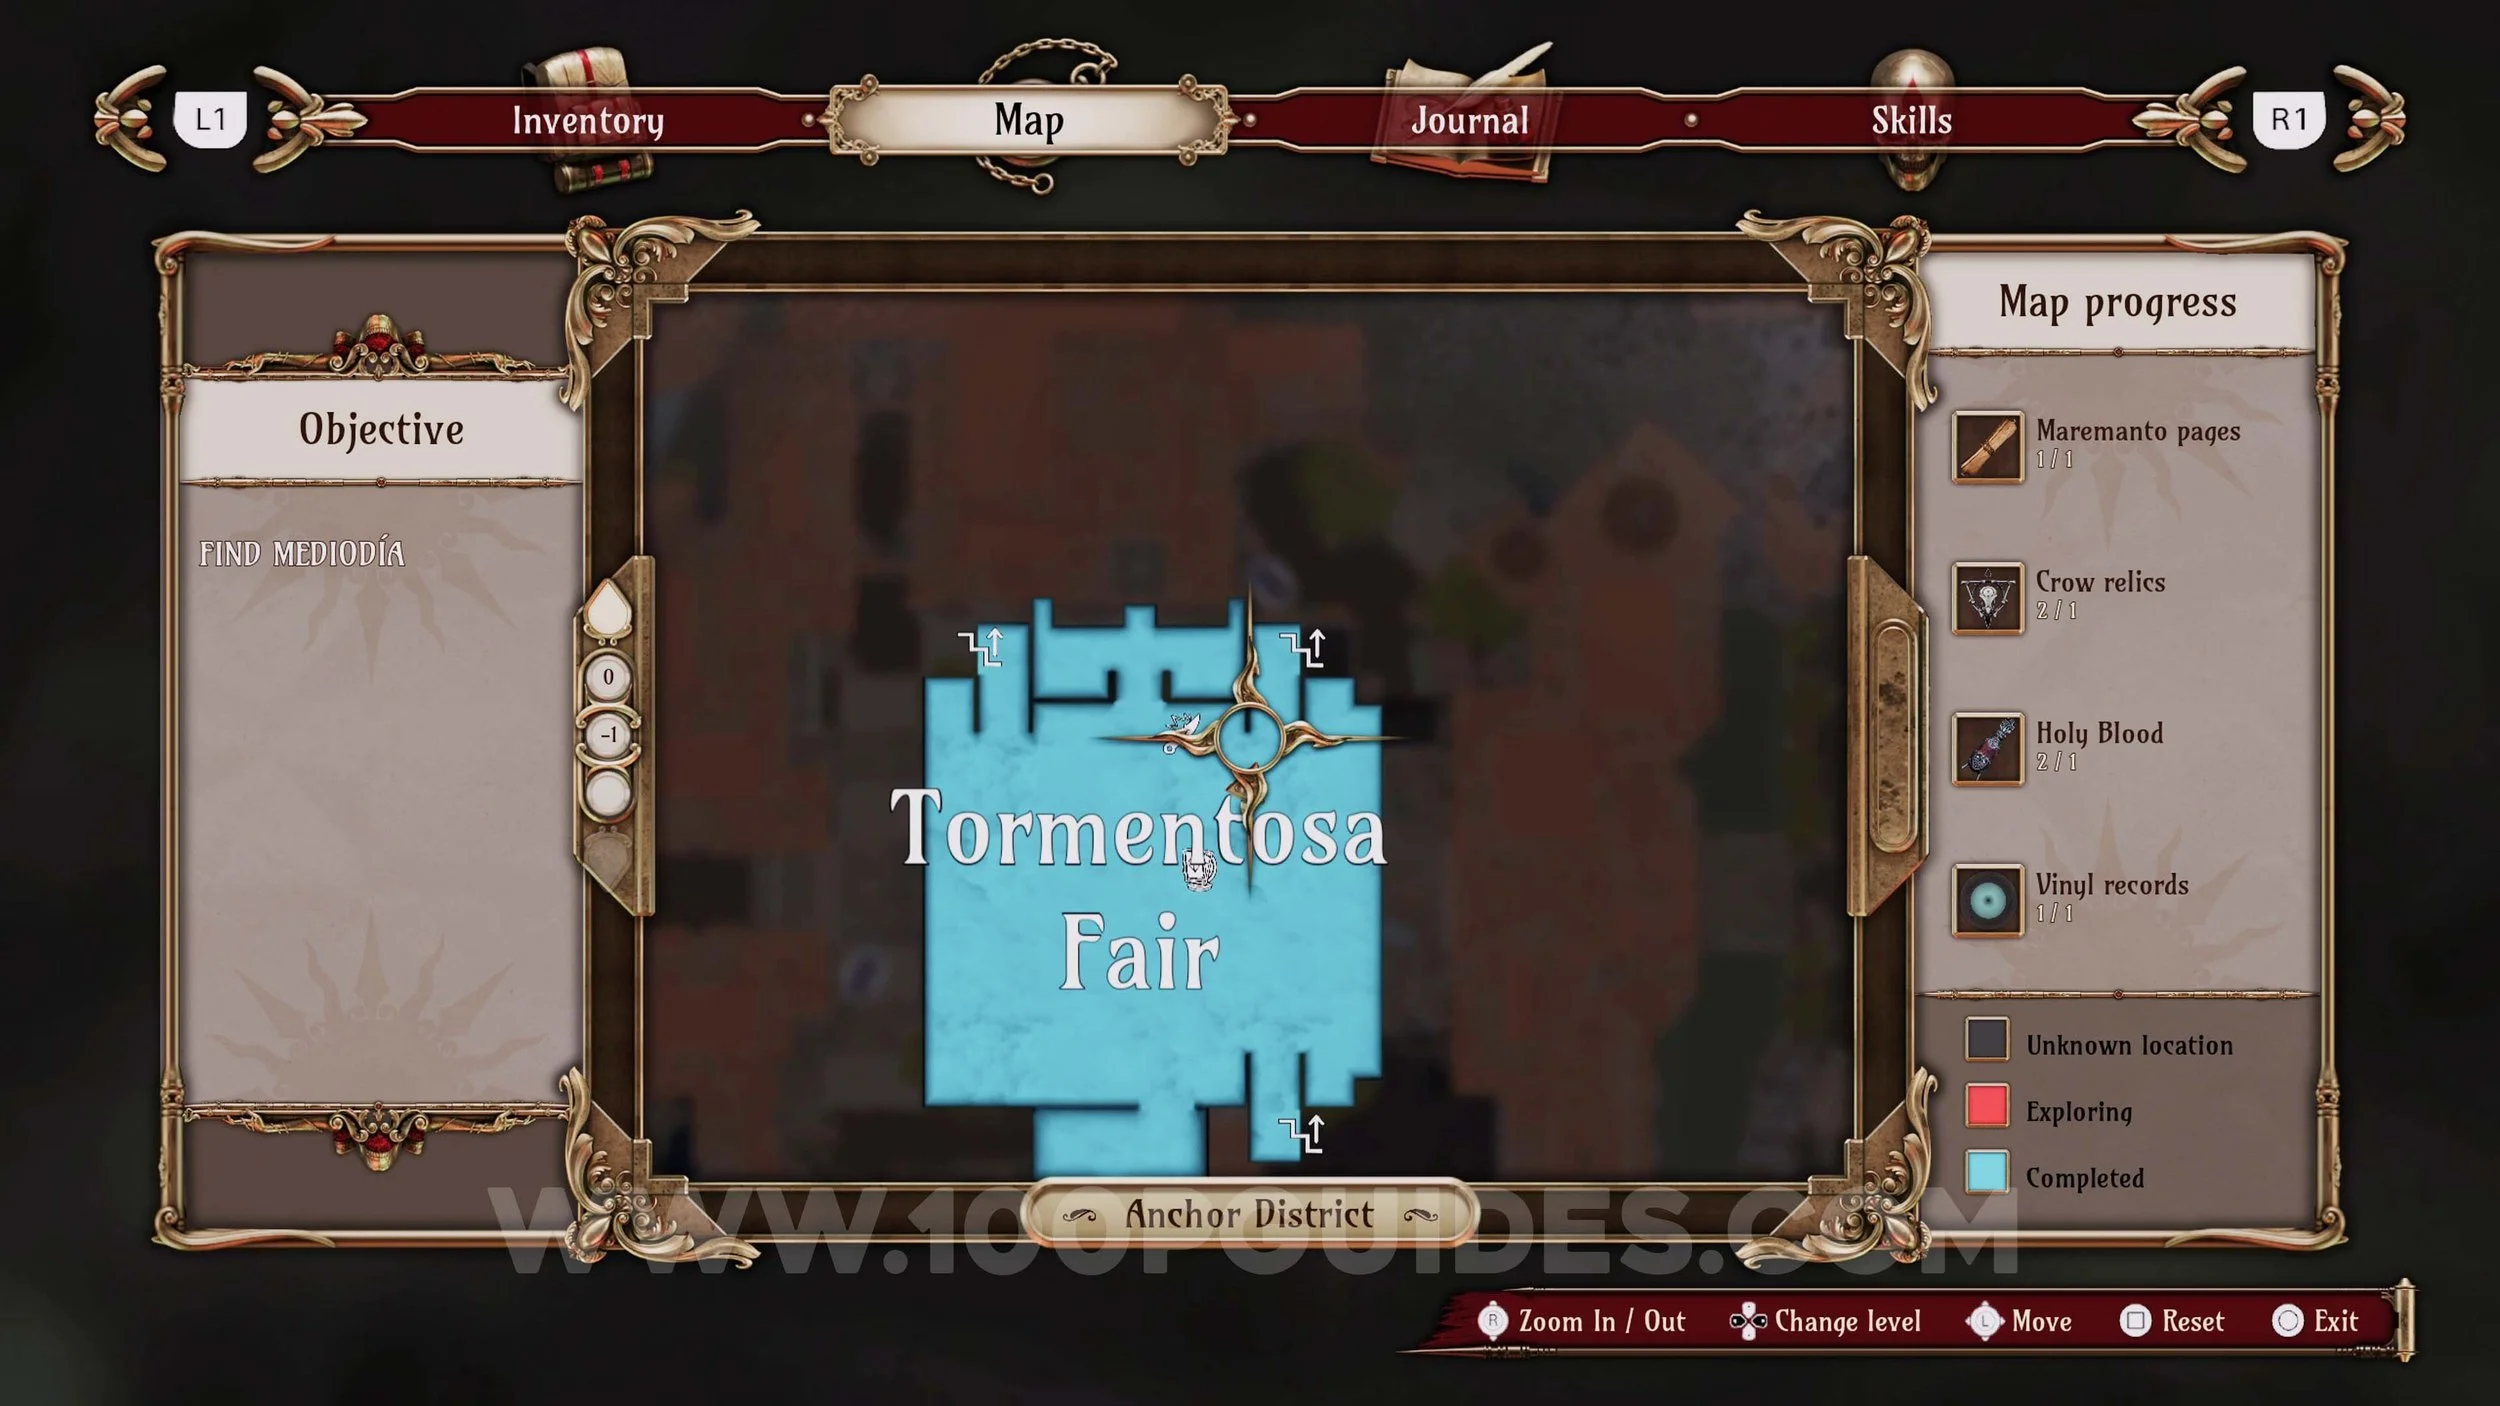
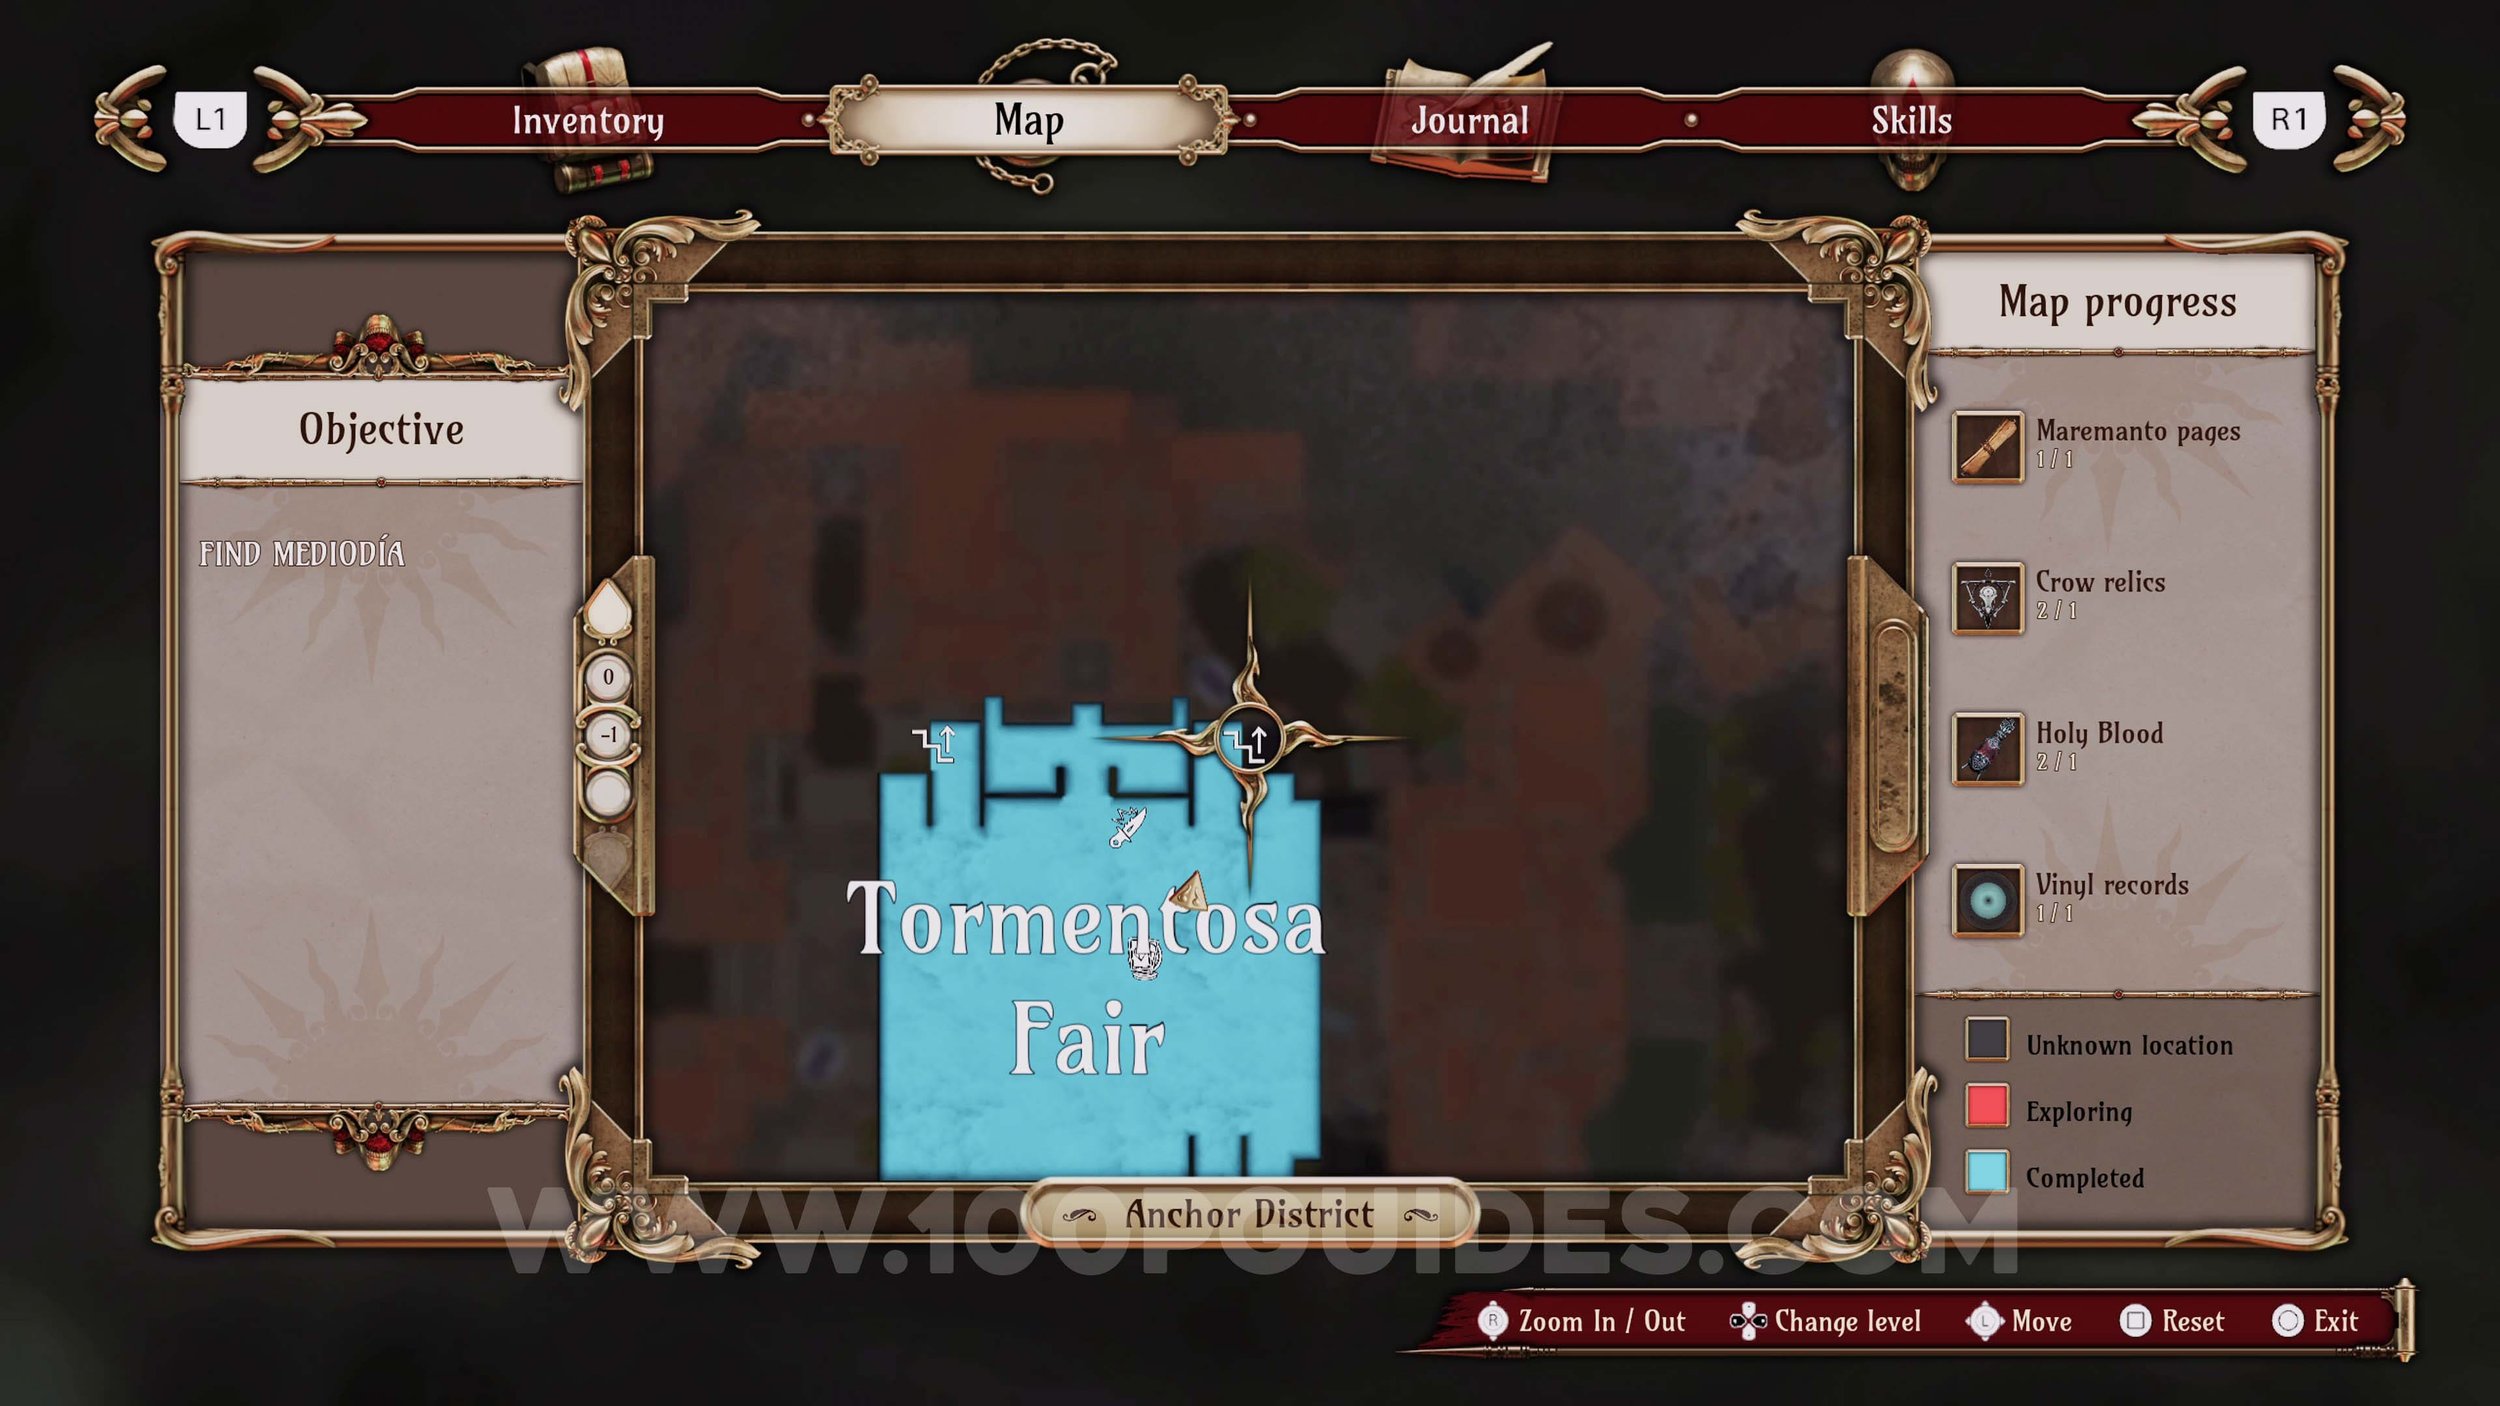
Tormentosa Fair (1st Visit)
Chapter 1
Tormentosa Fair (2nd Visit)
Chapter 2
Tormentosa Fair (3rd Visit)
Chapter 3
Final Chapter
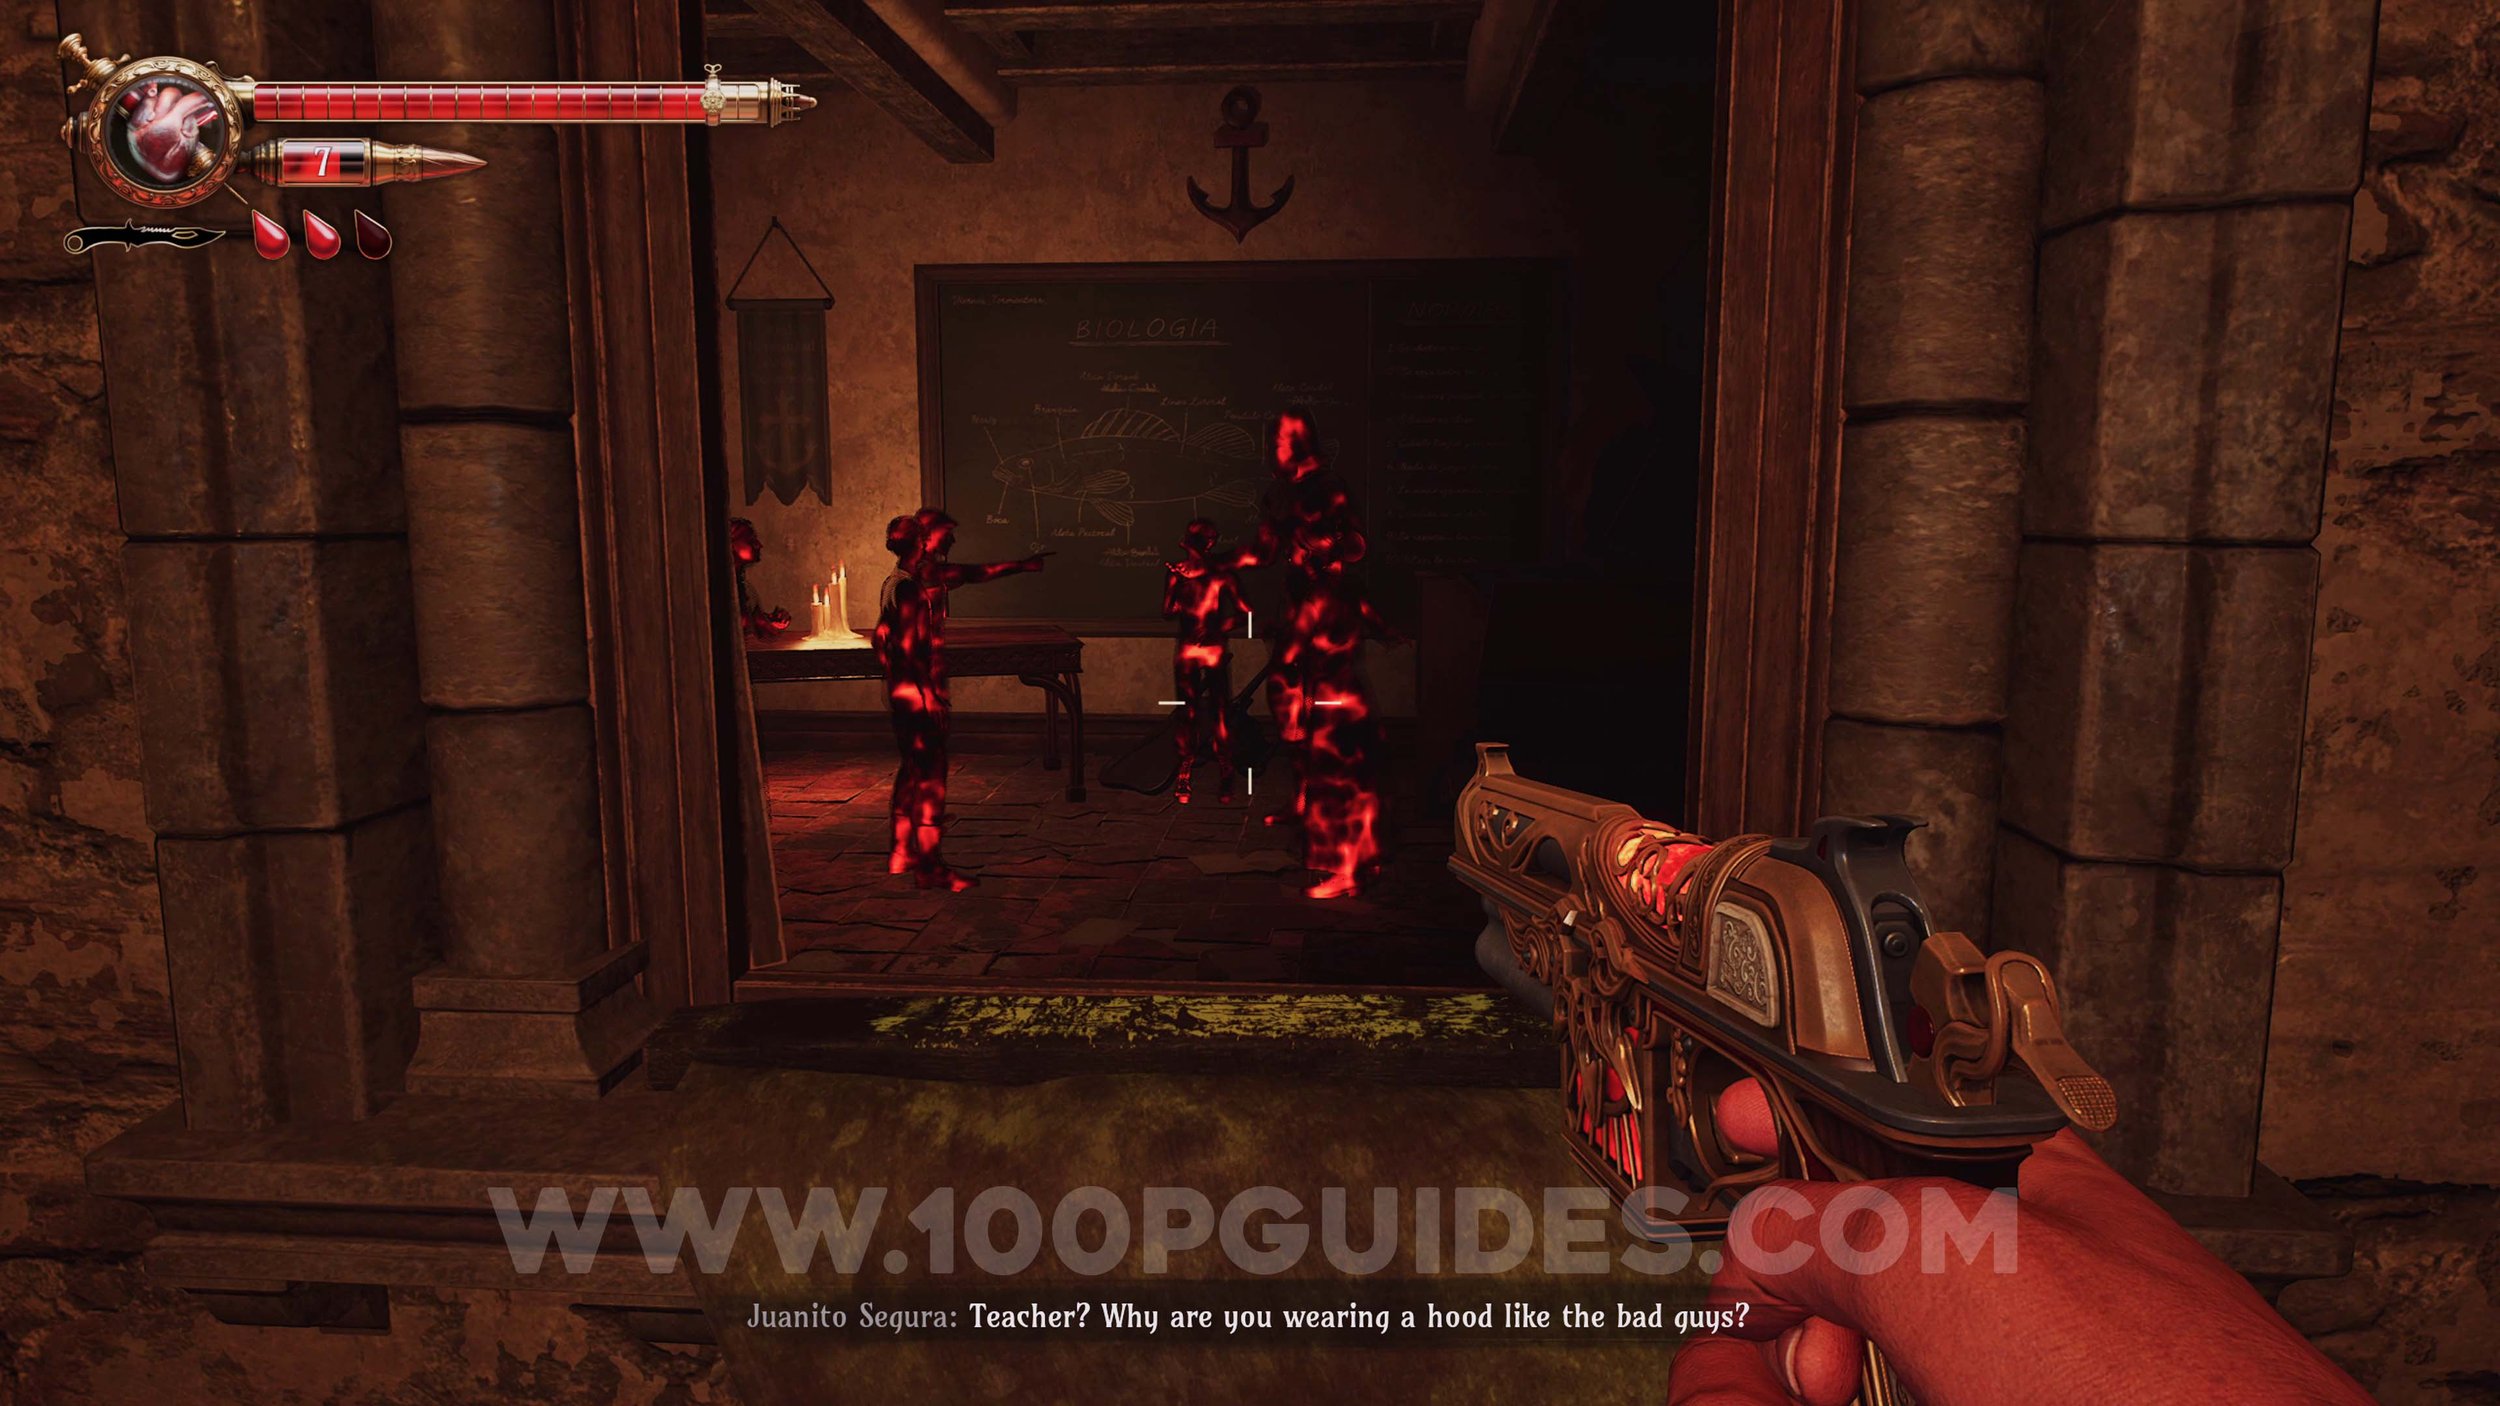
Prologue
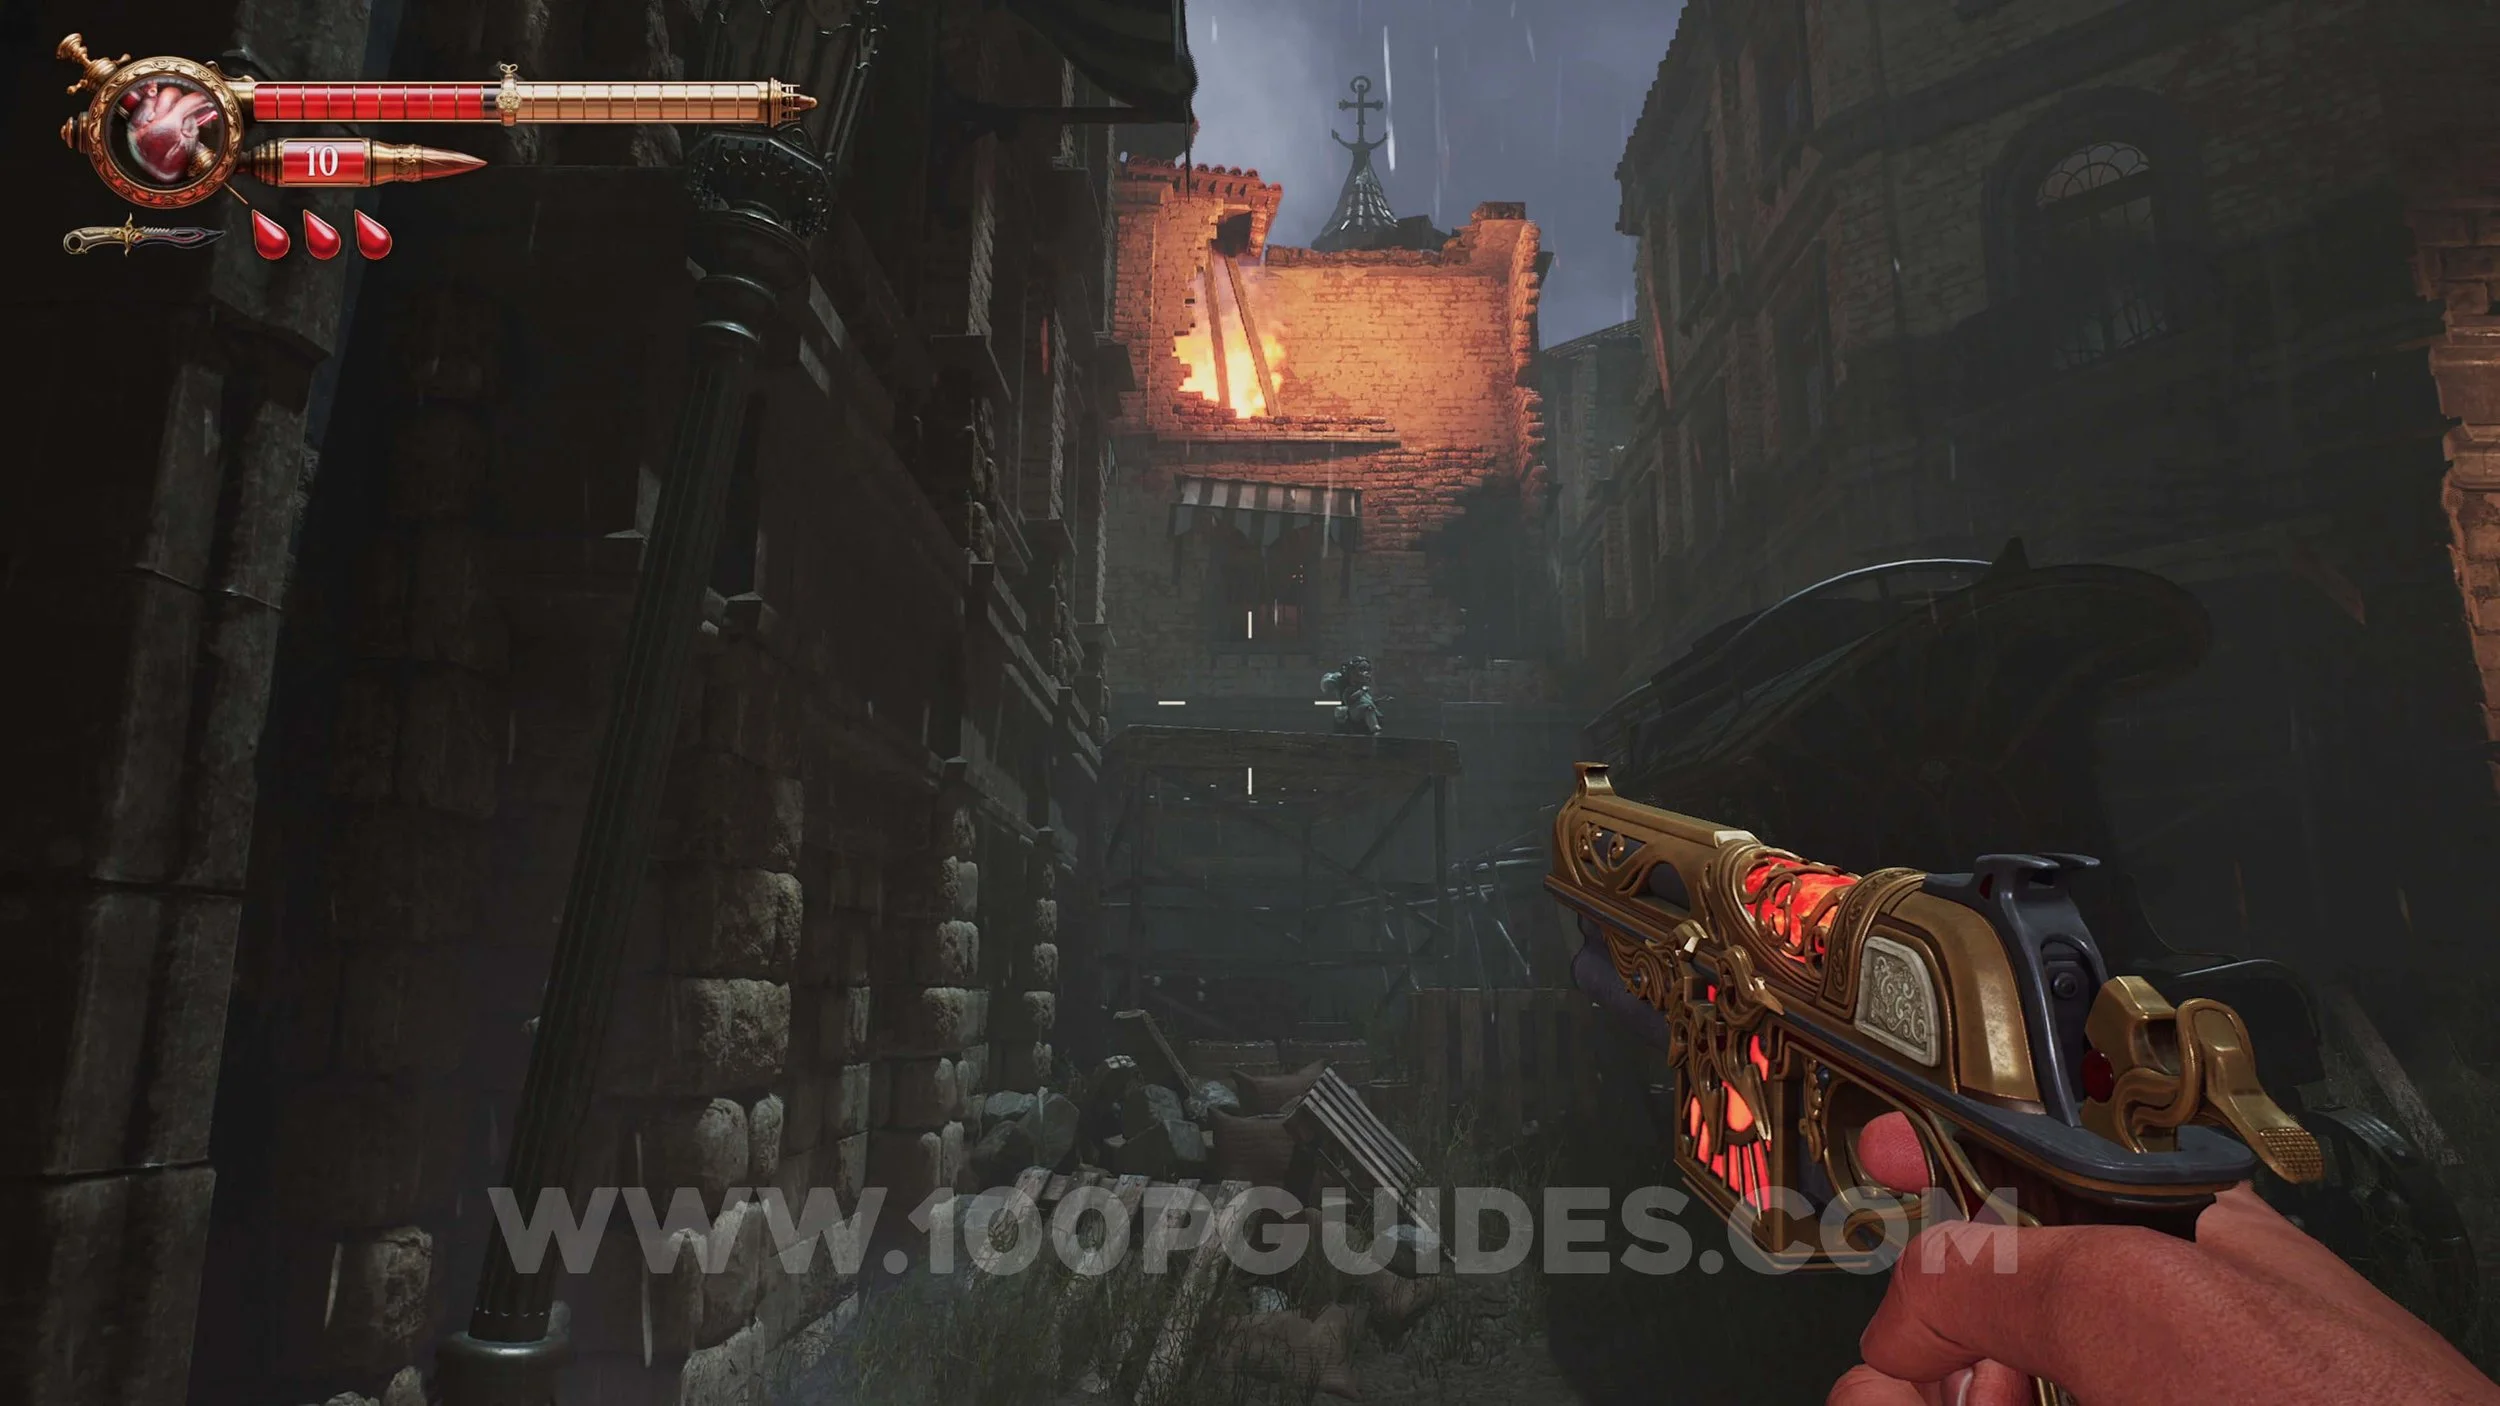
Weapon #1 - Pistol. Obtained automatically just before the first enemy of the game.
Weapon #2 - Knife. Obtained automatically soon after the first enemy of the game.
Memory #1. Unmissable, on the main story path.
Memory #2. Unmissable, on the main story path.
Memory #3. Unmissable, on the main story path.
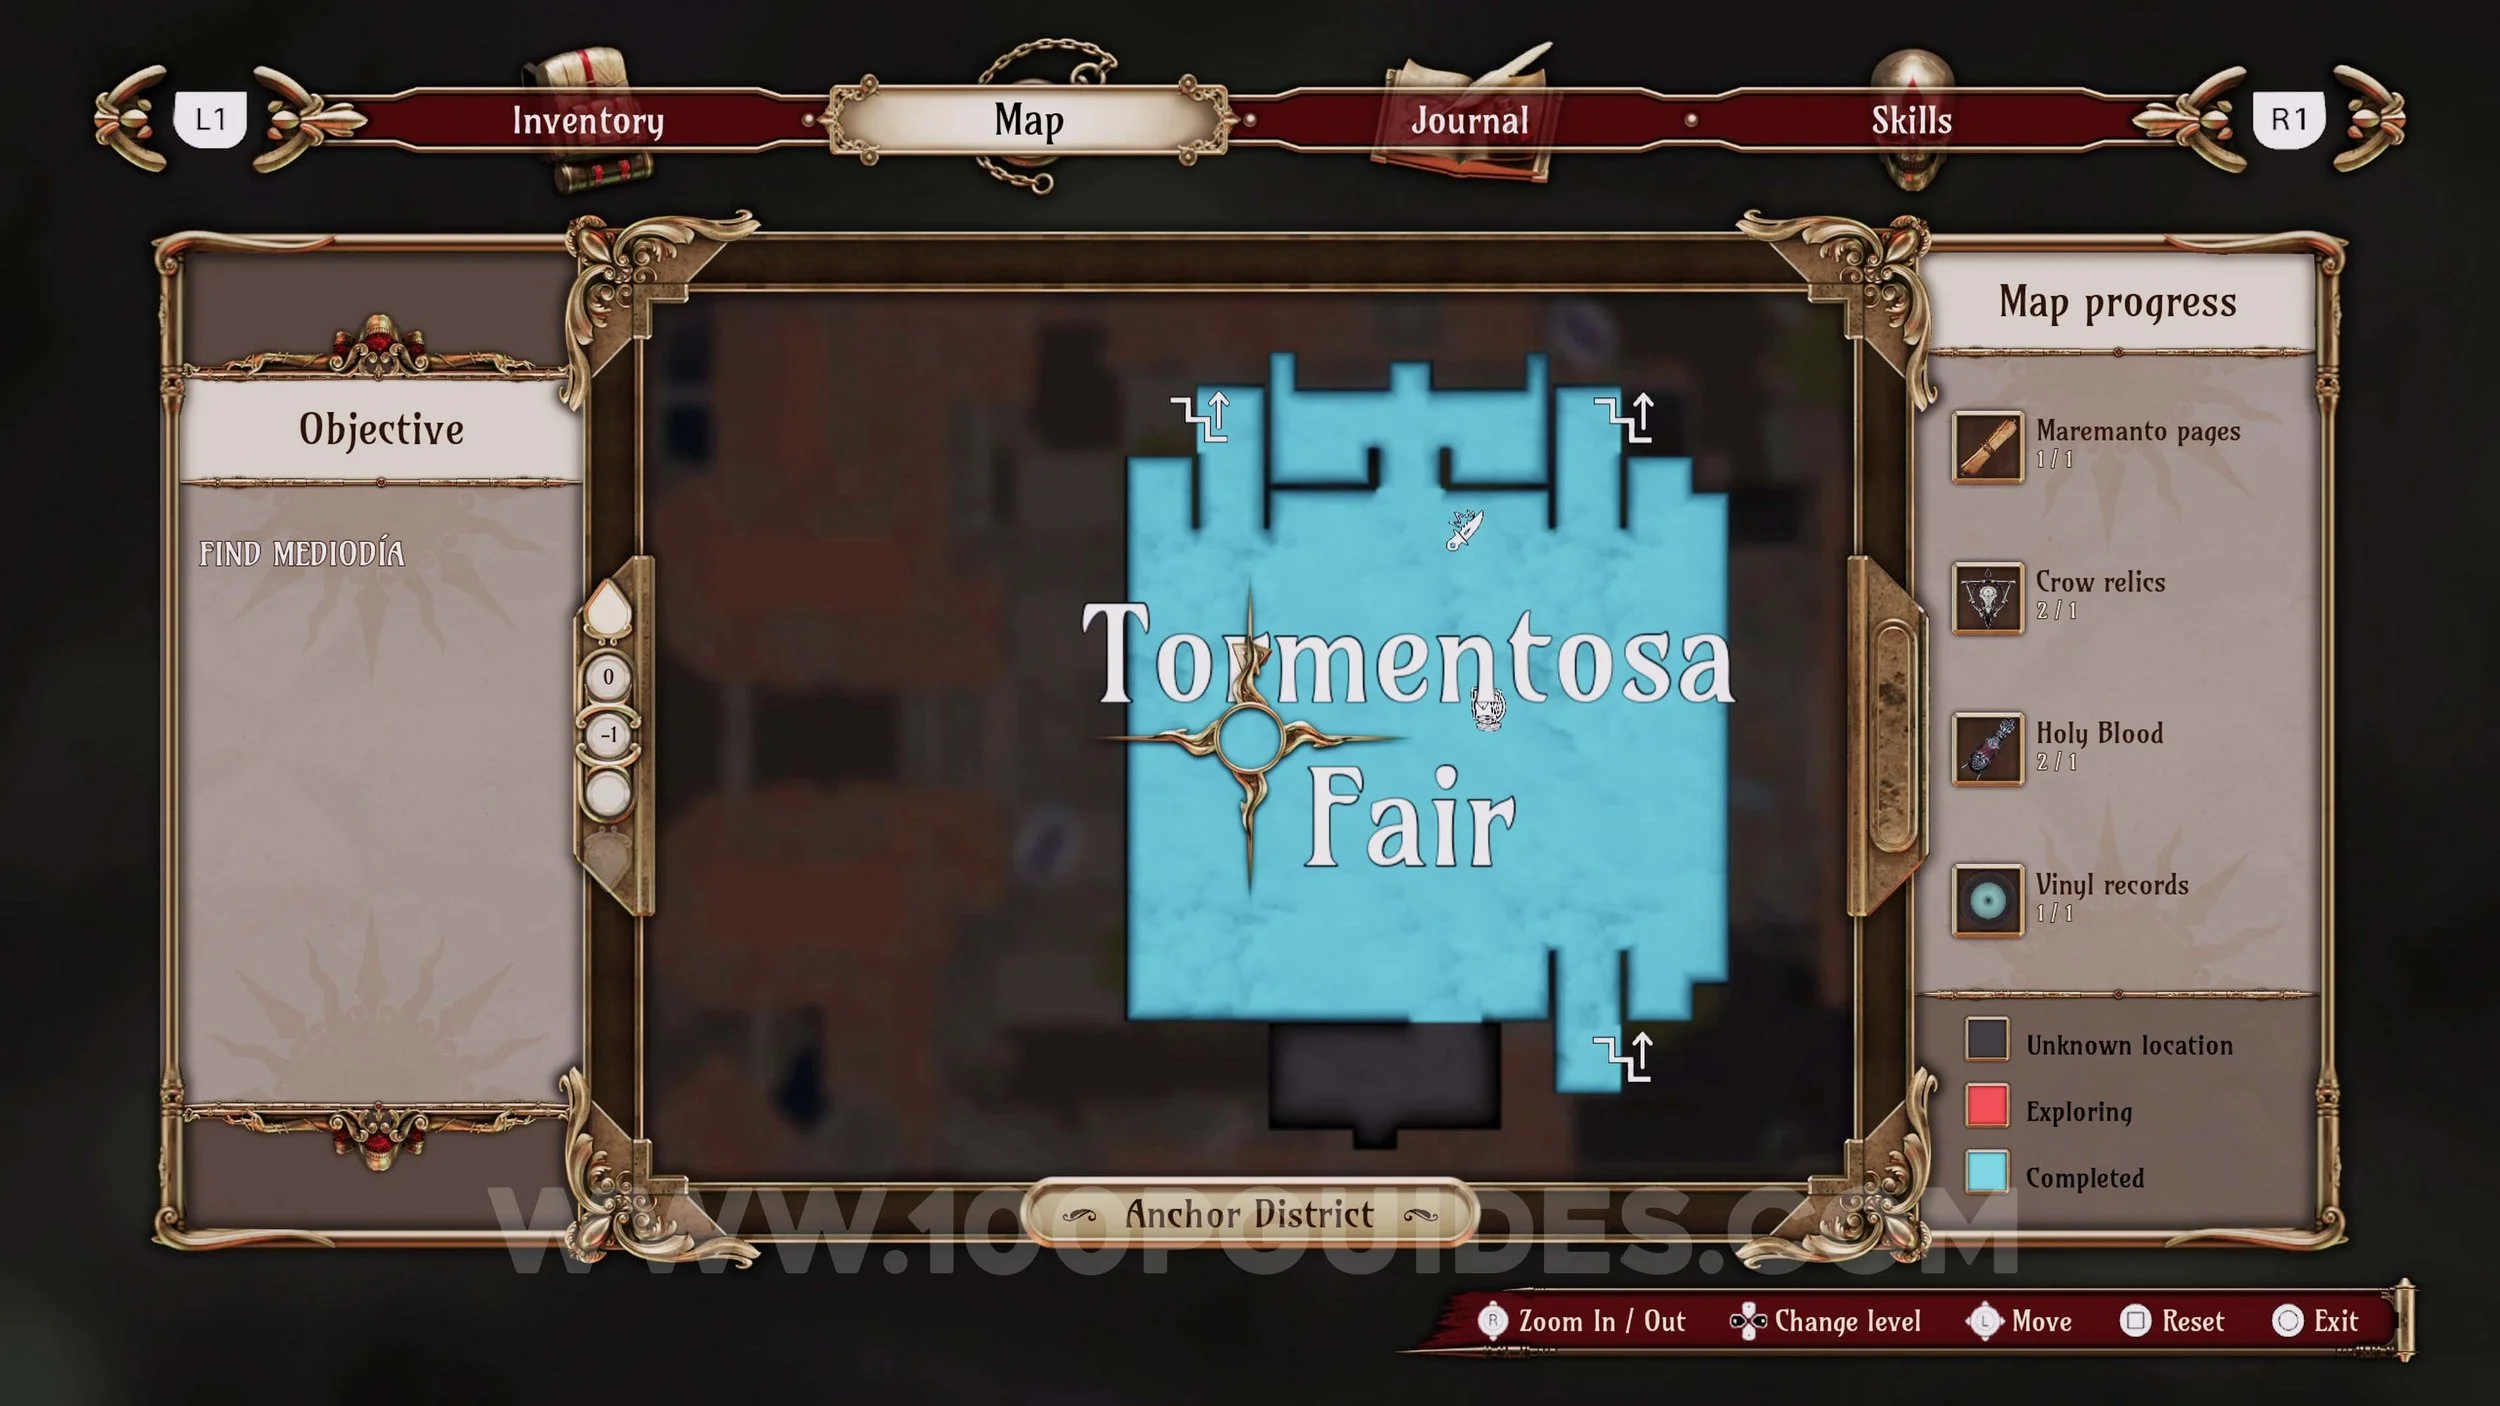
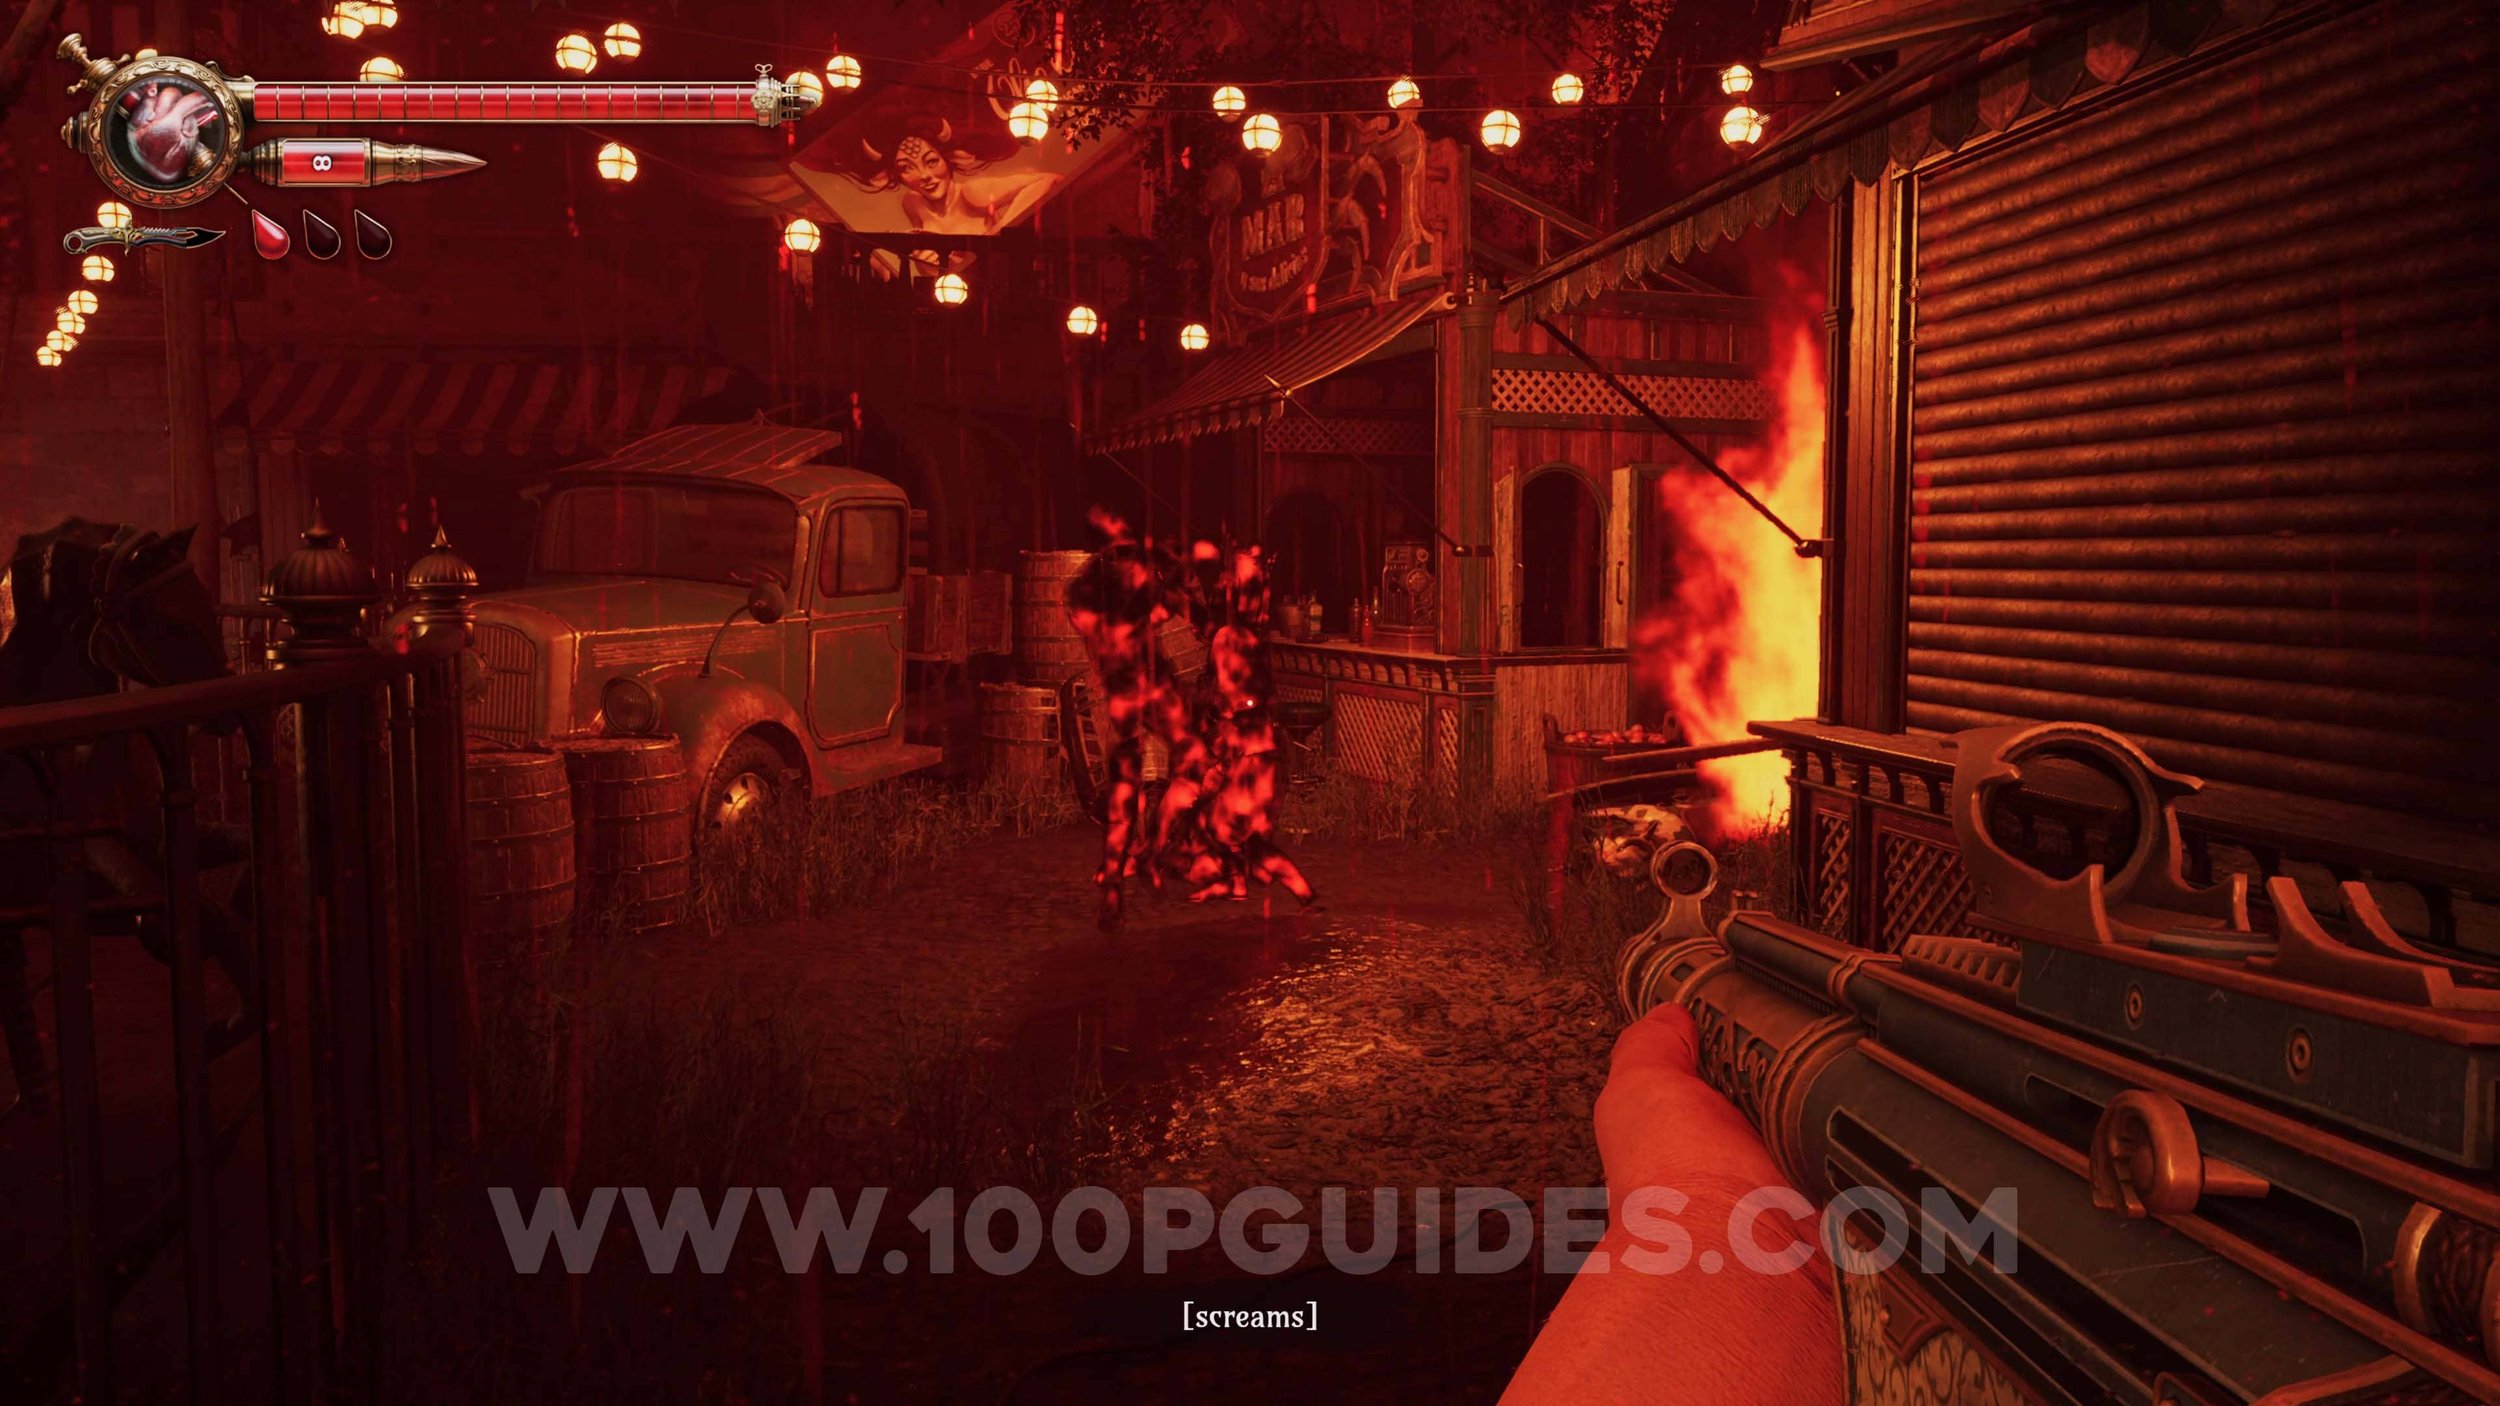
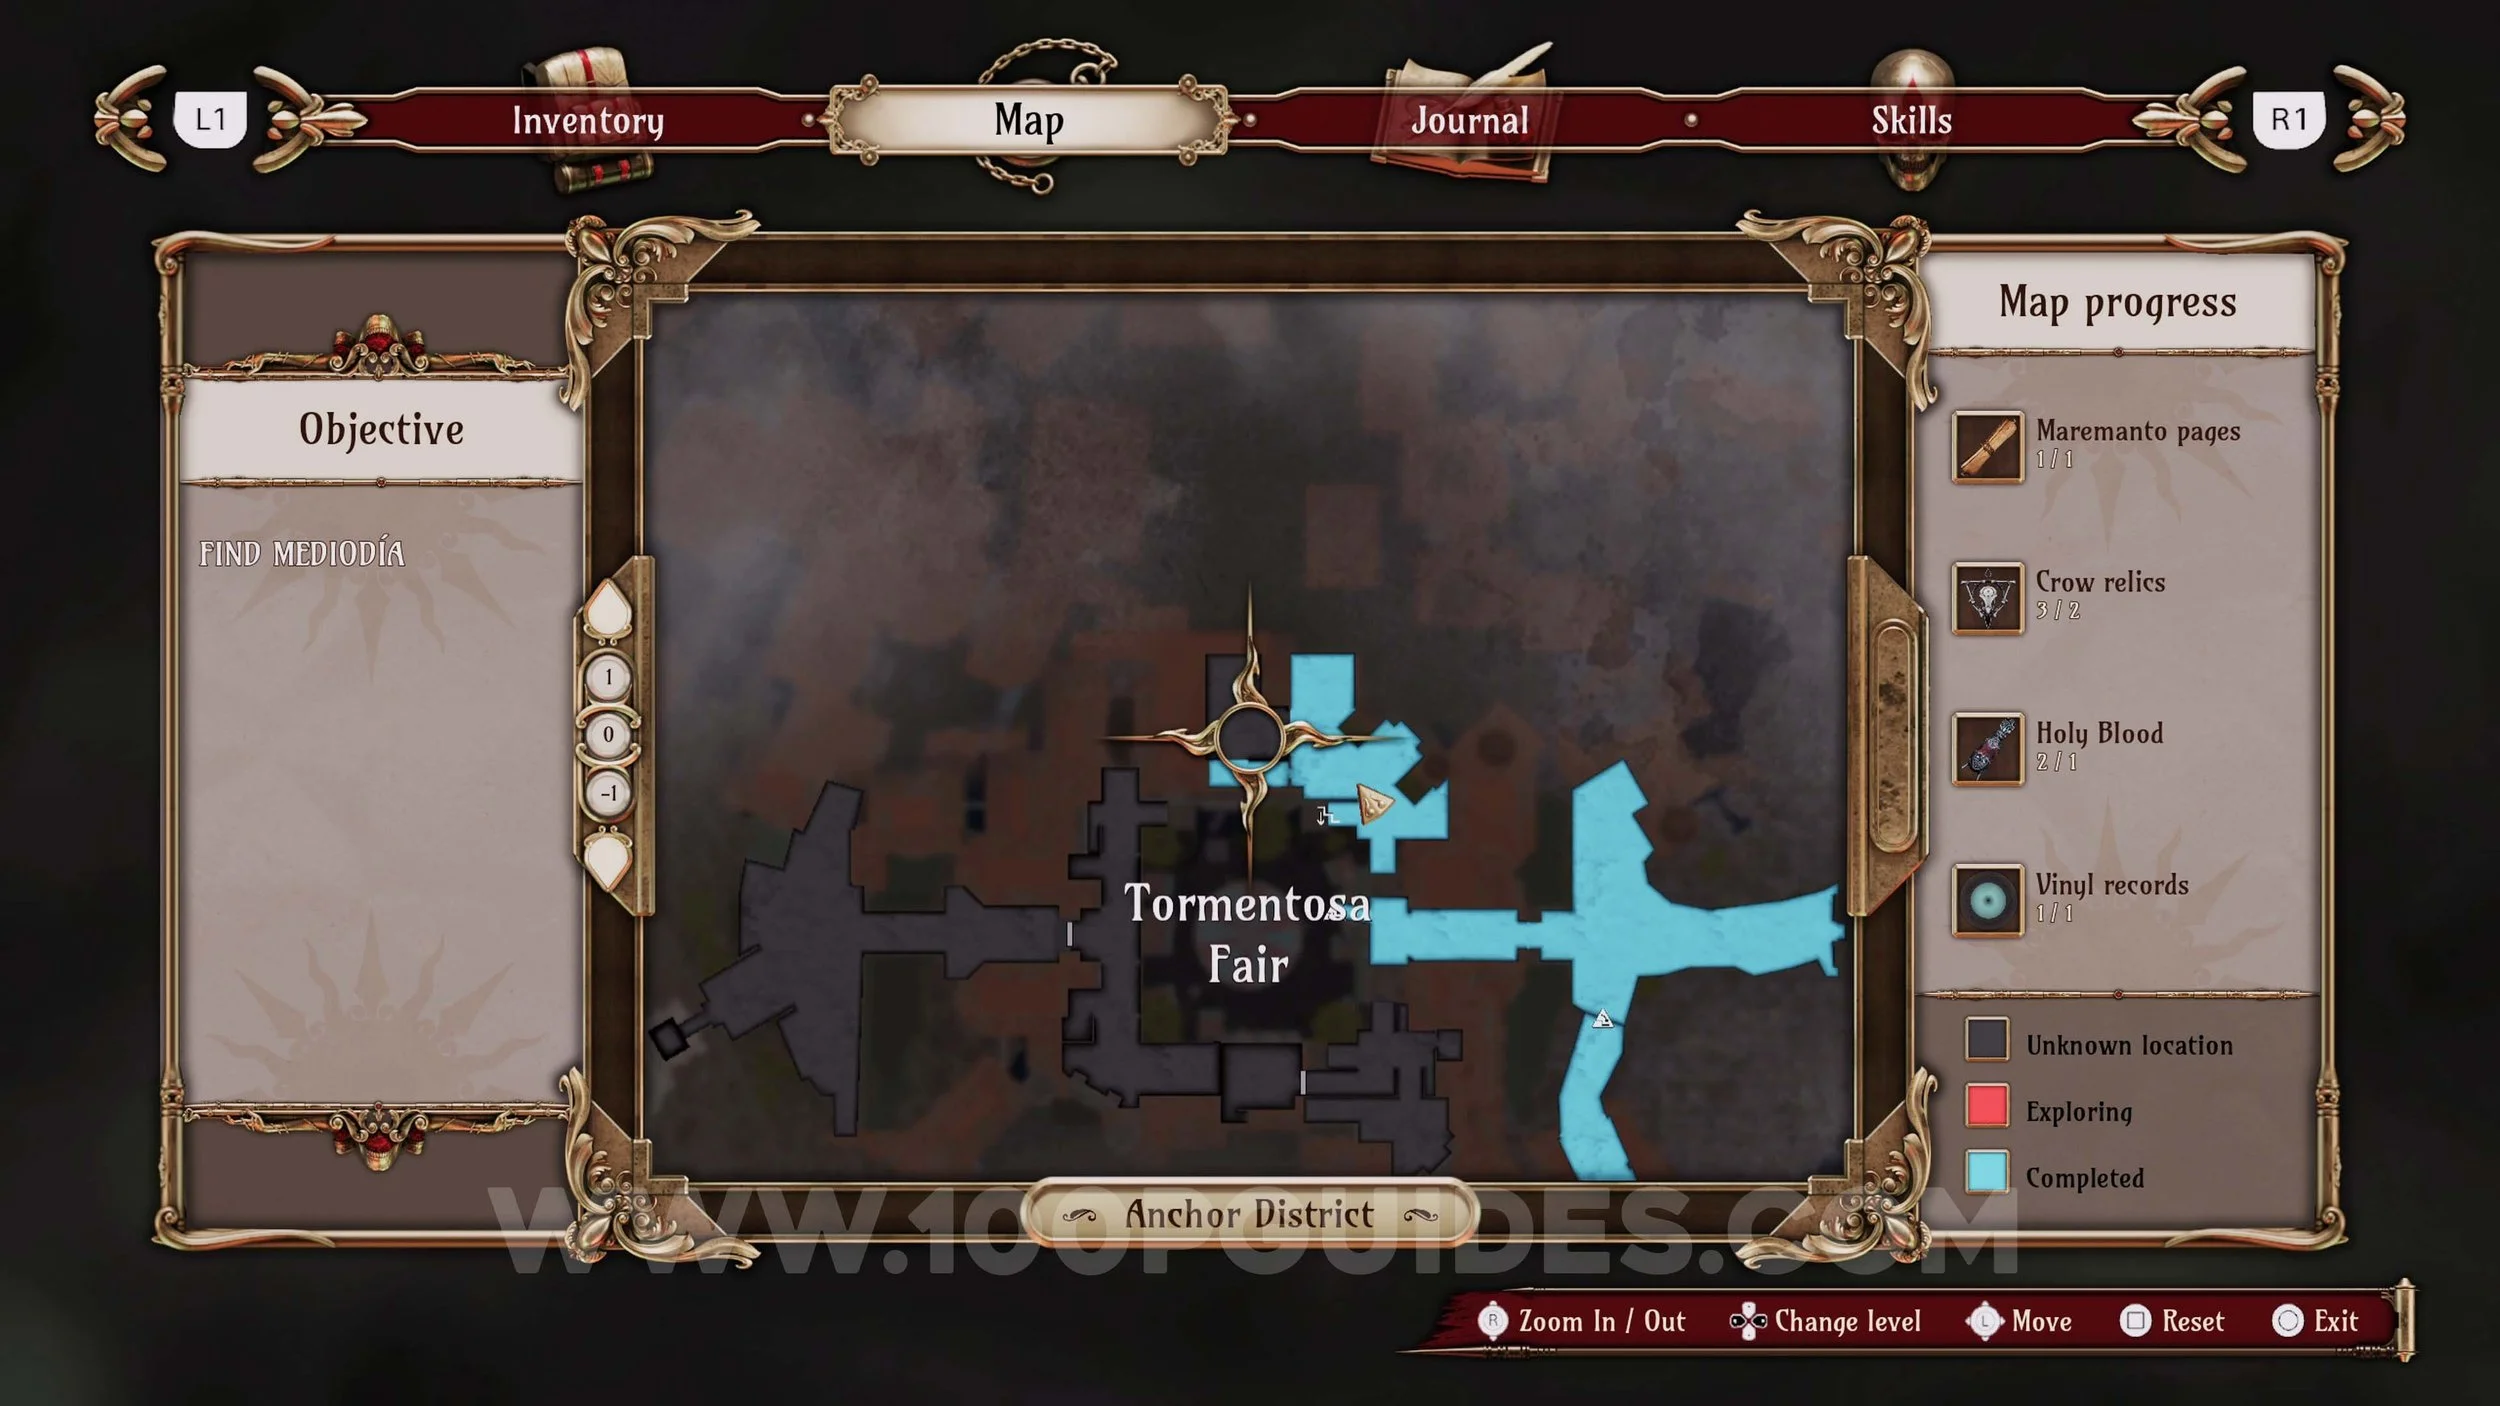
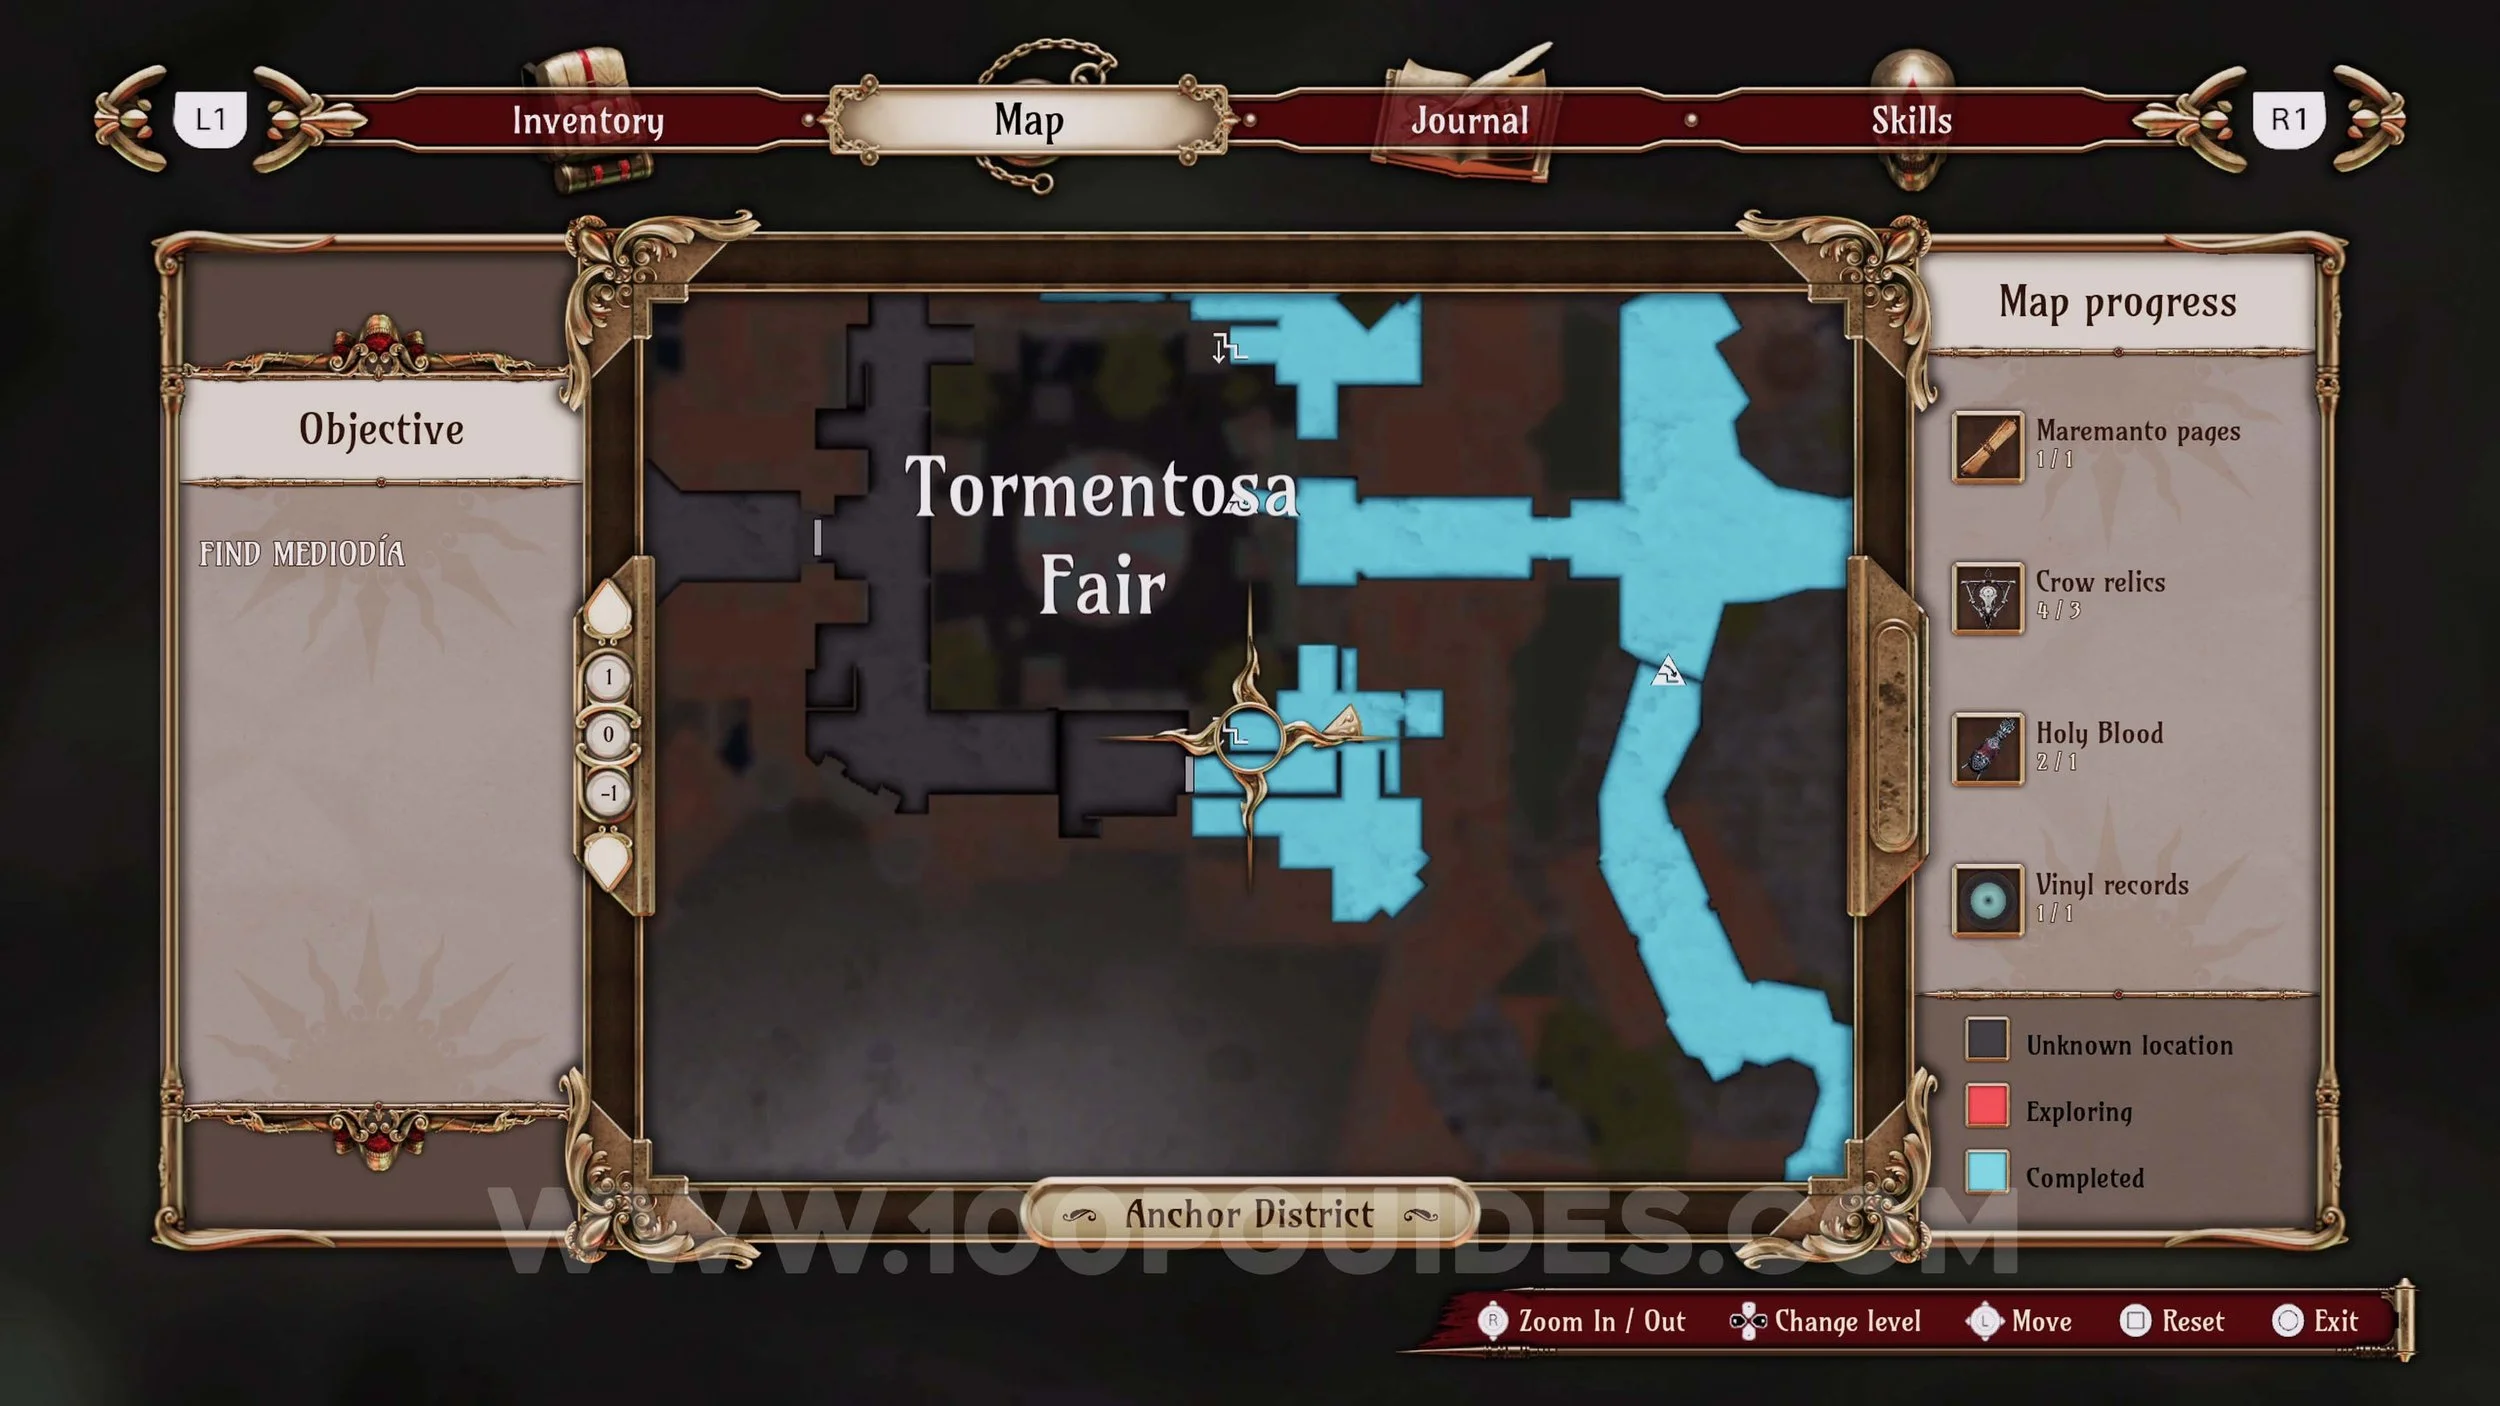
Tormentosa Fair (1st Visit)
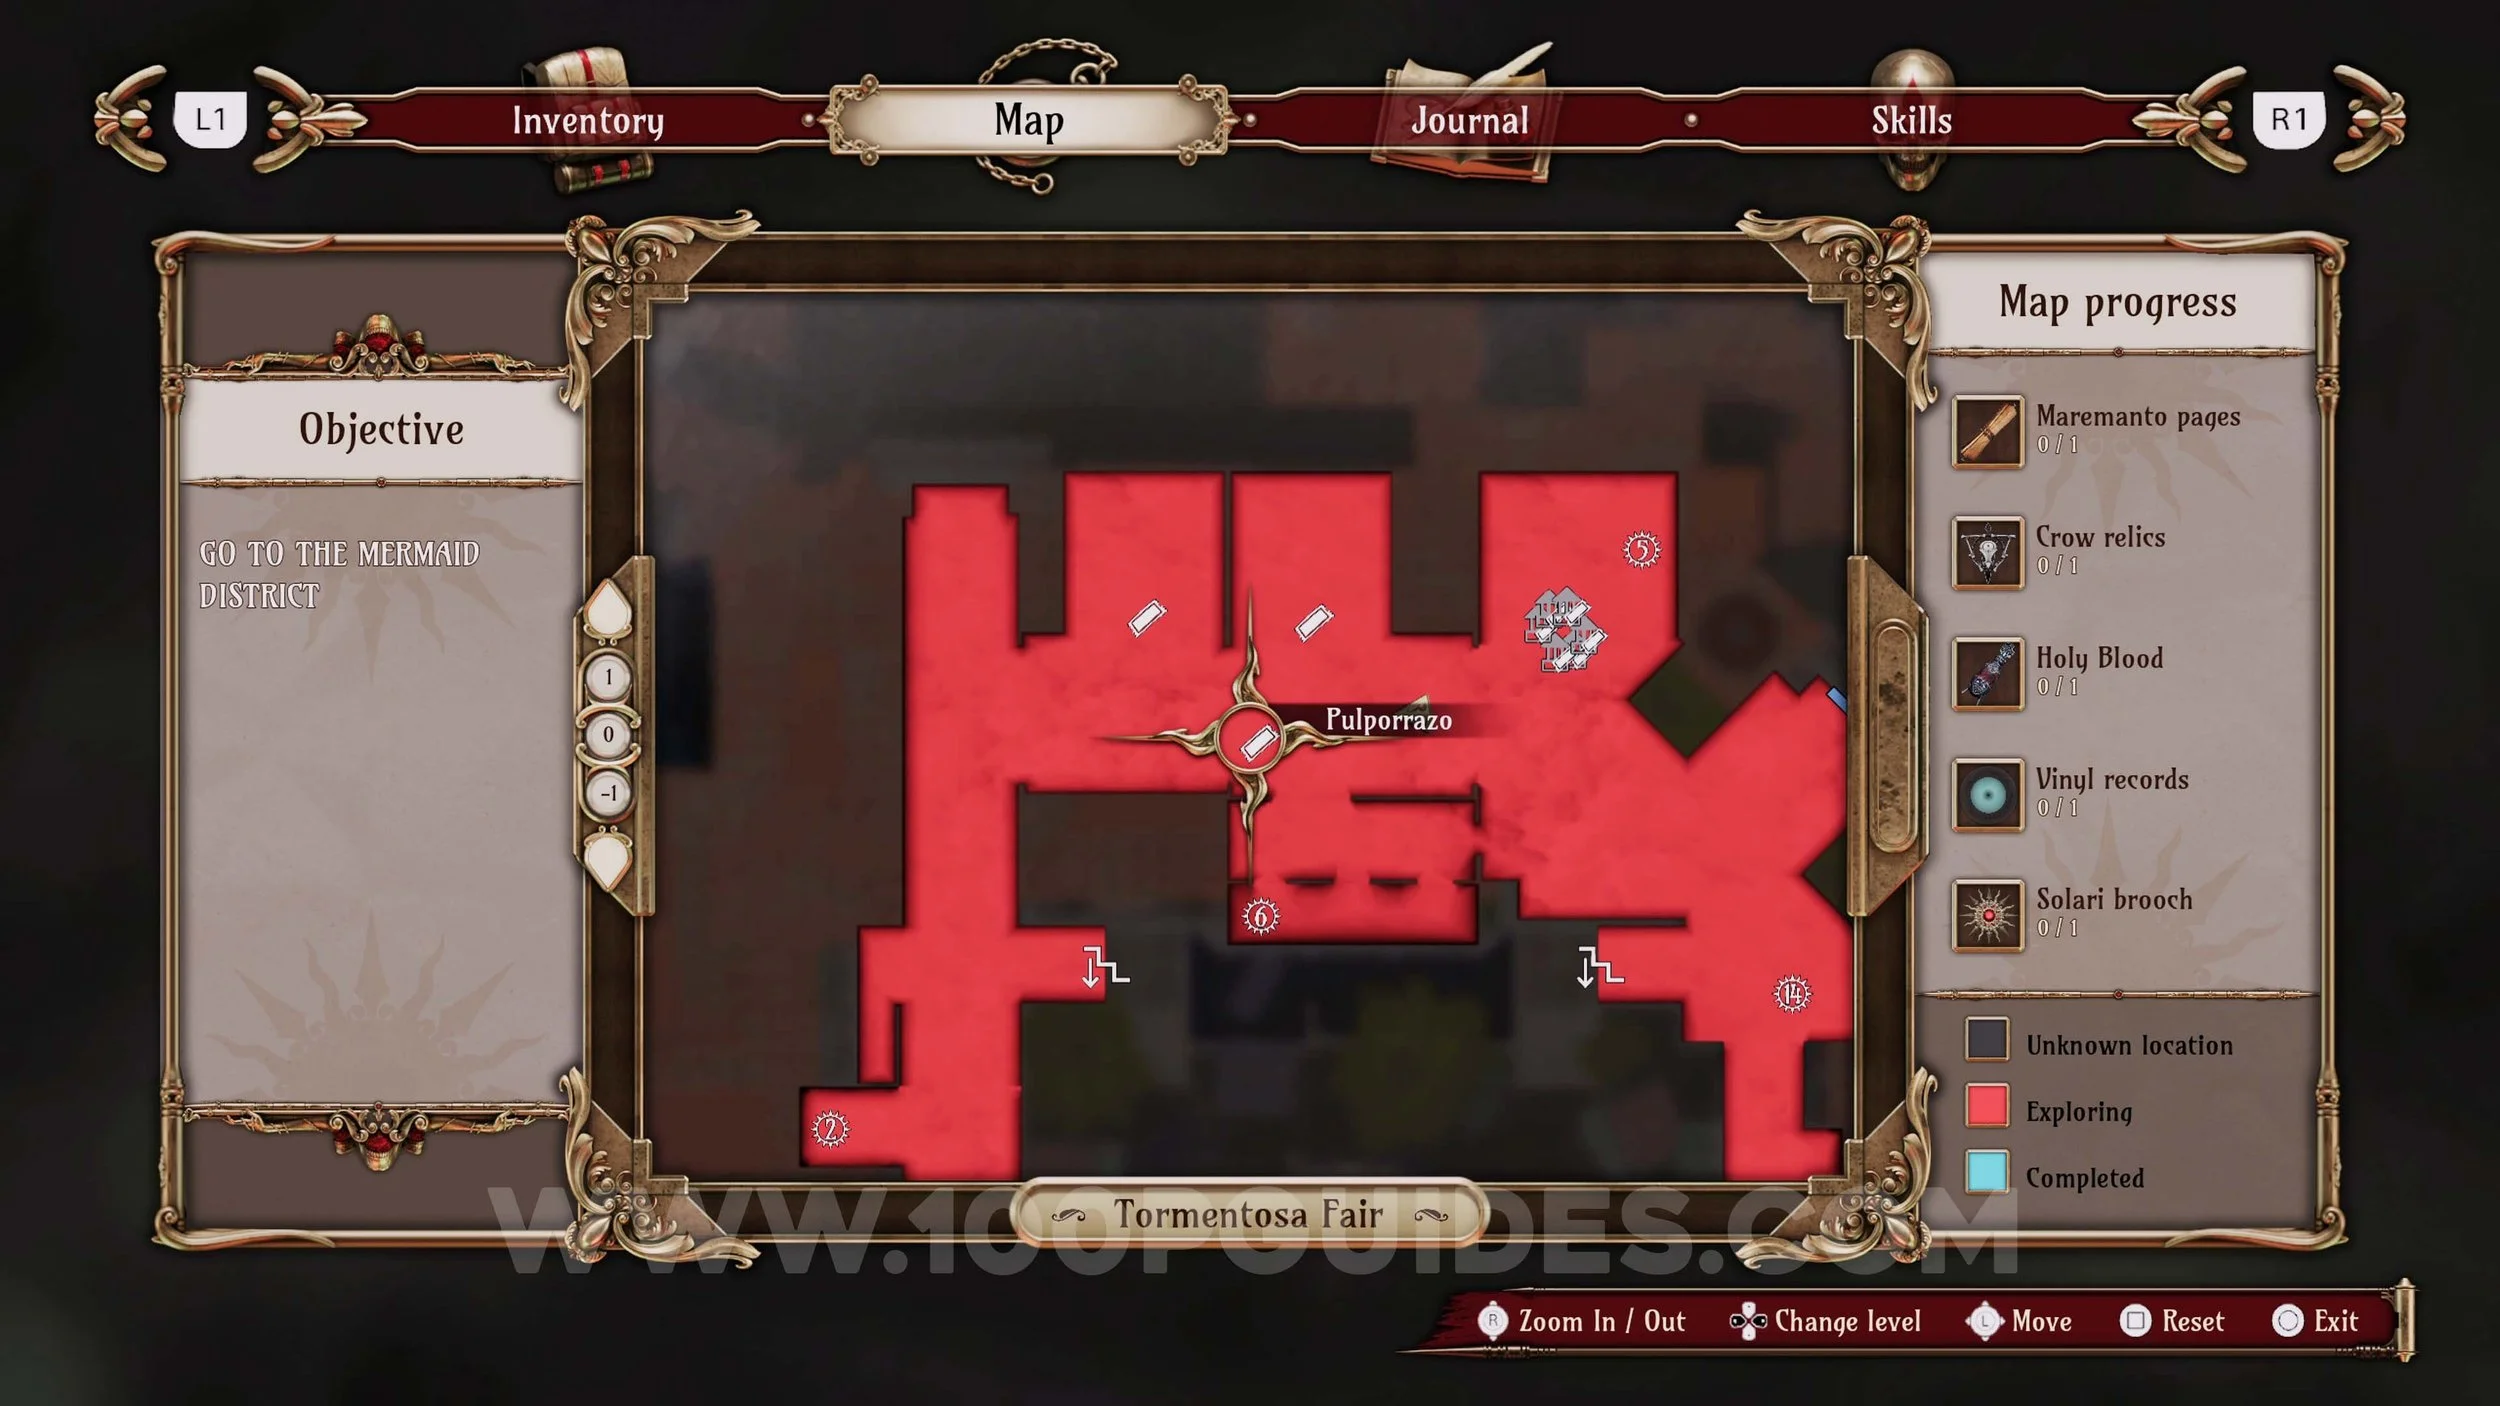
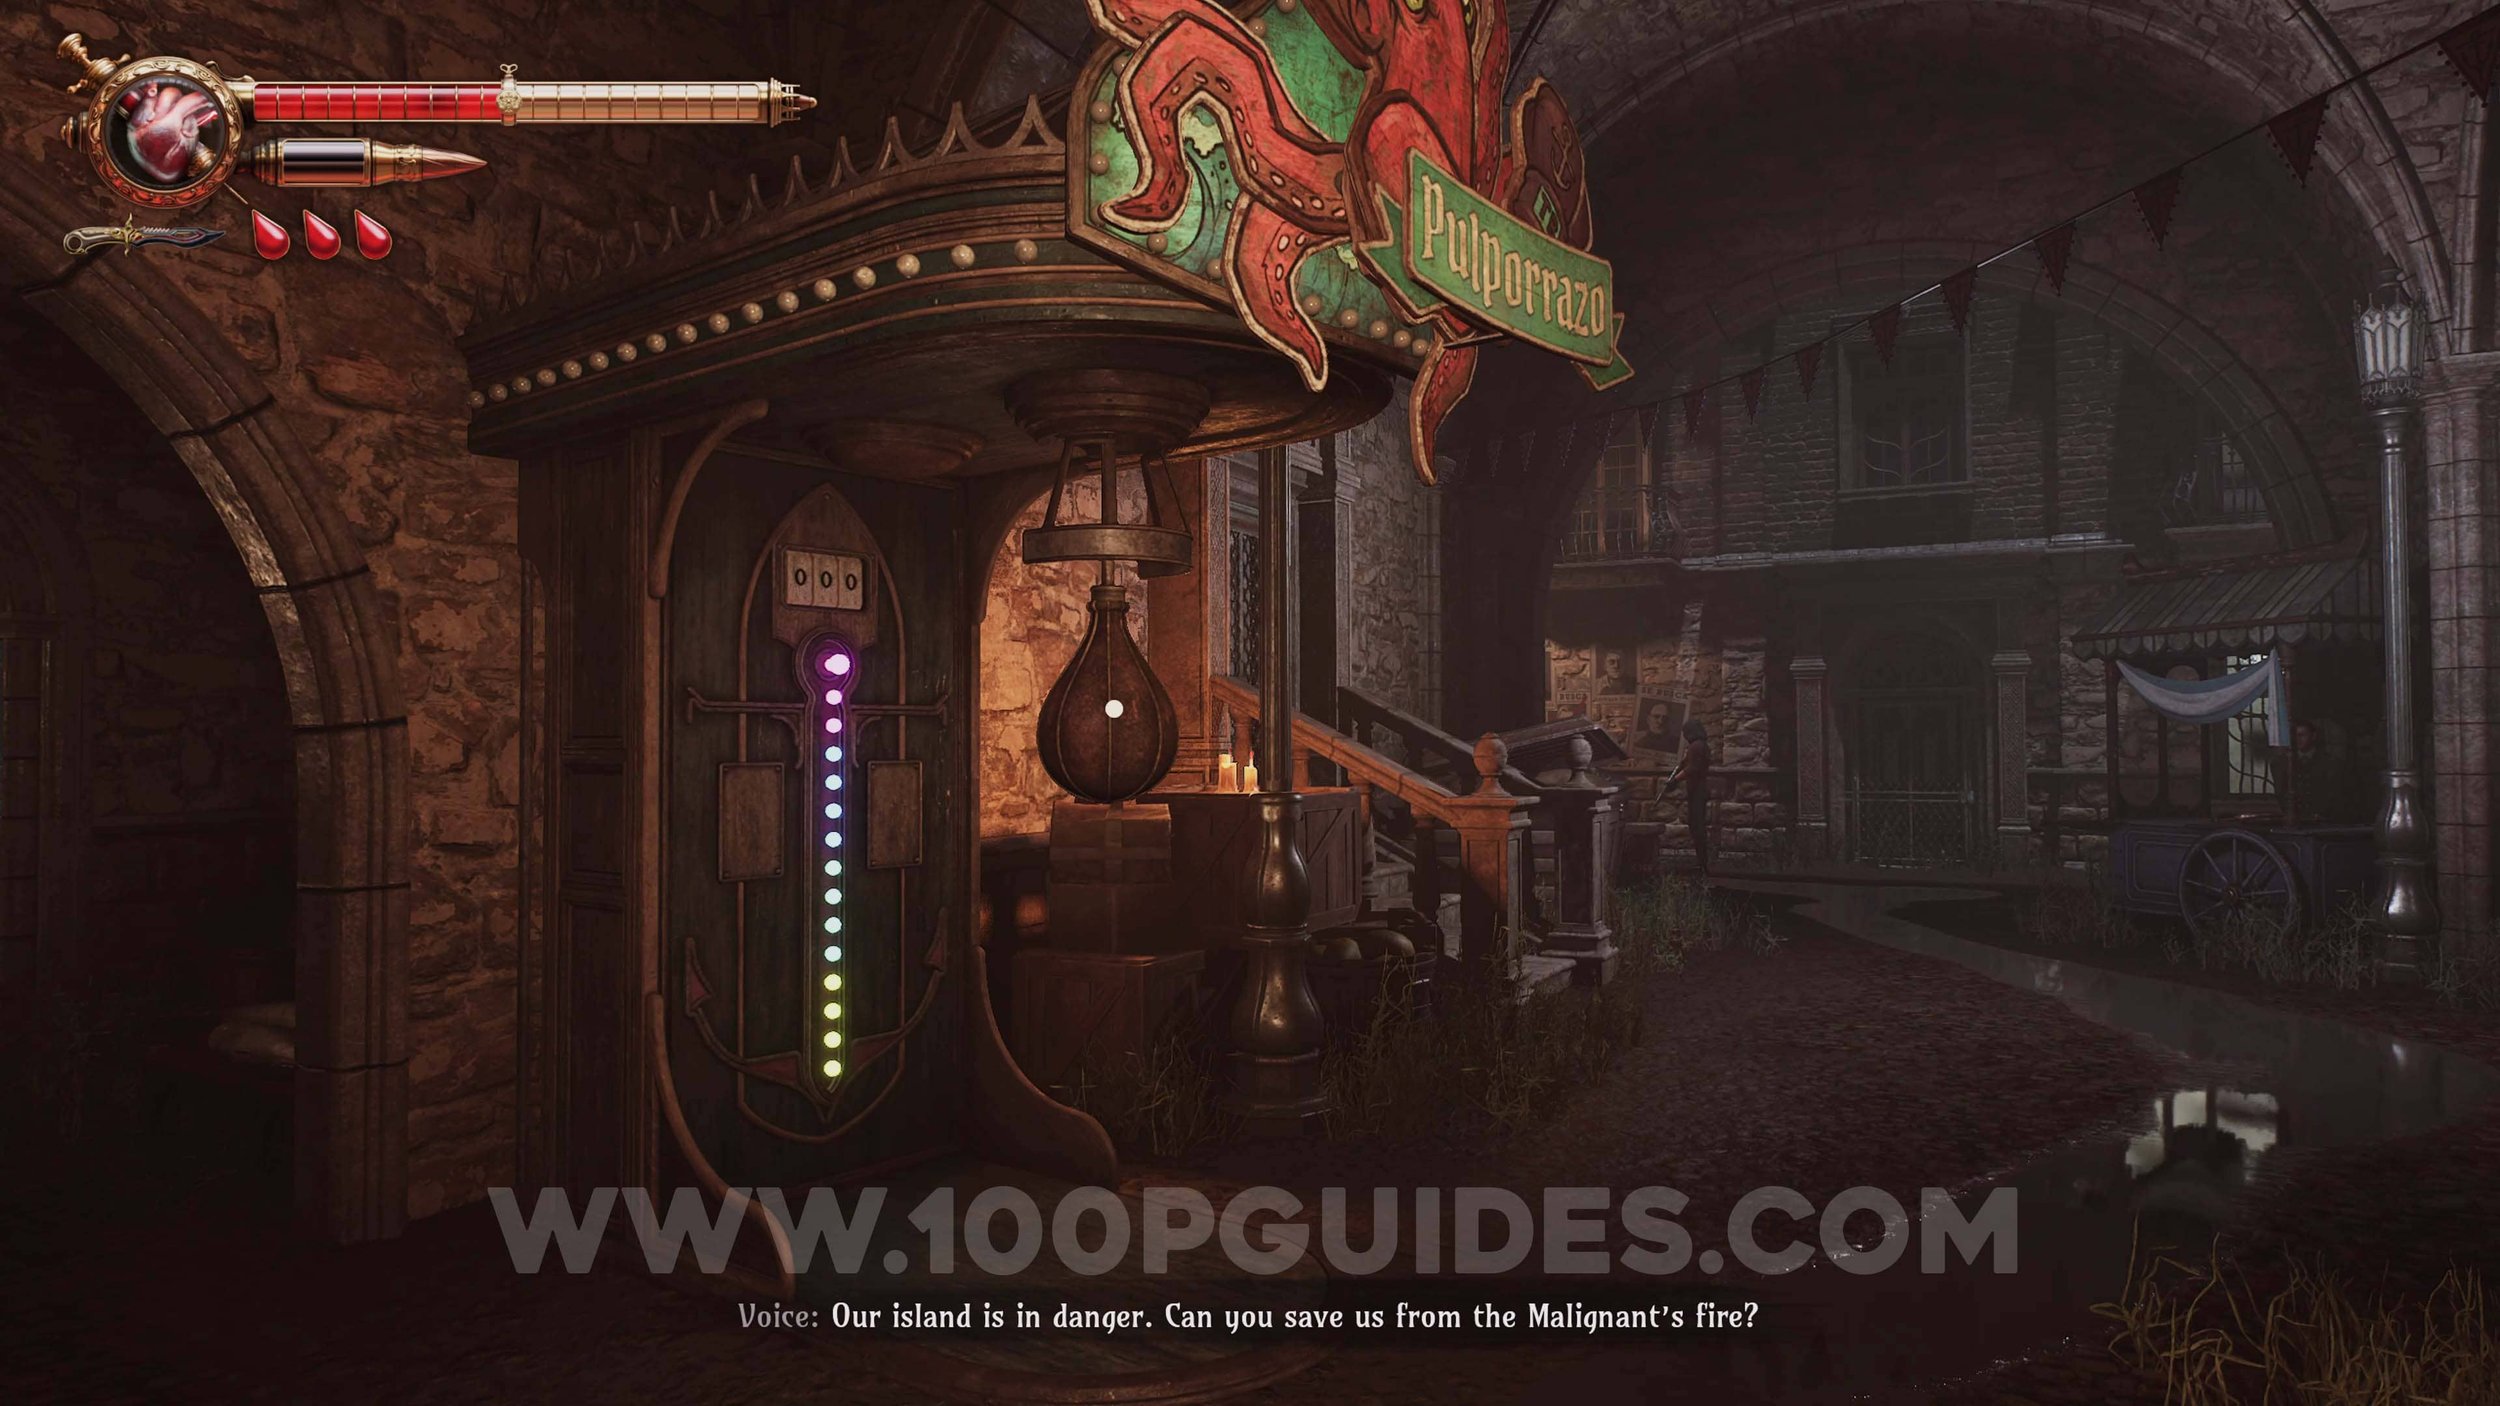
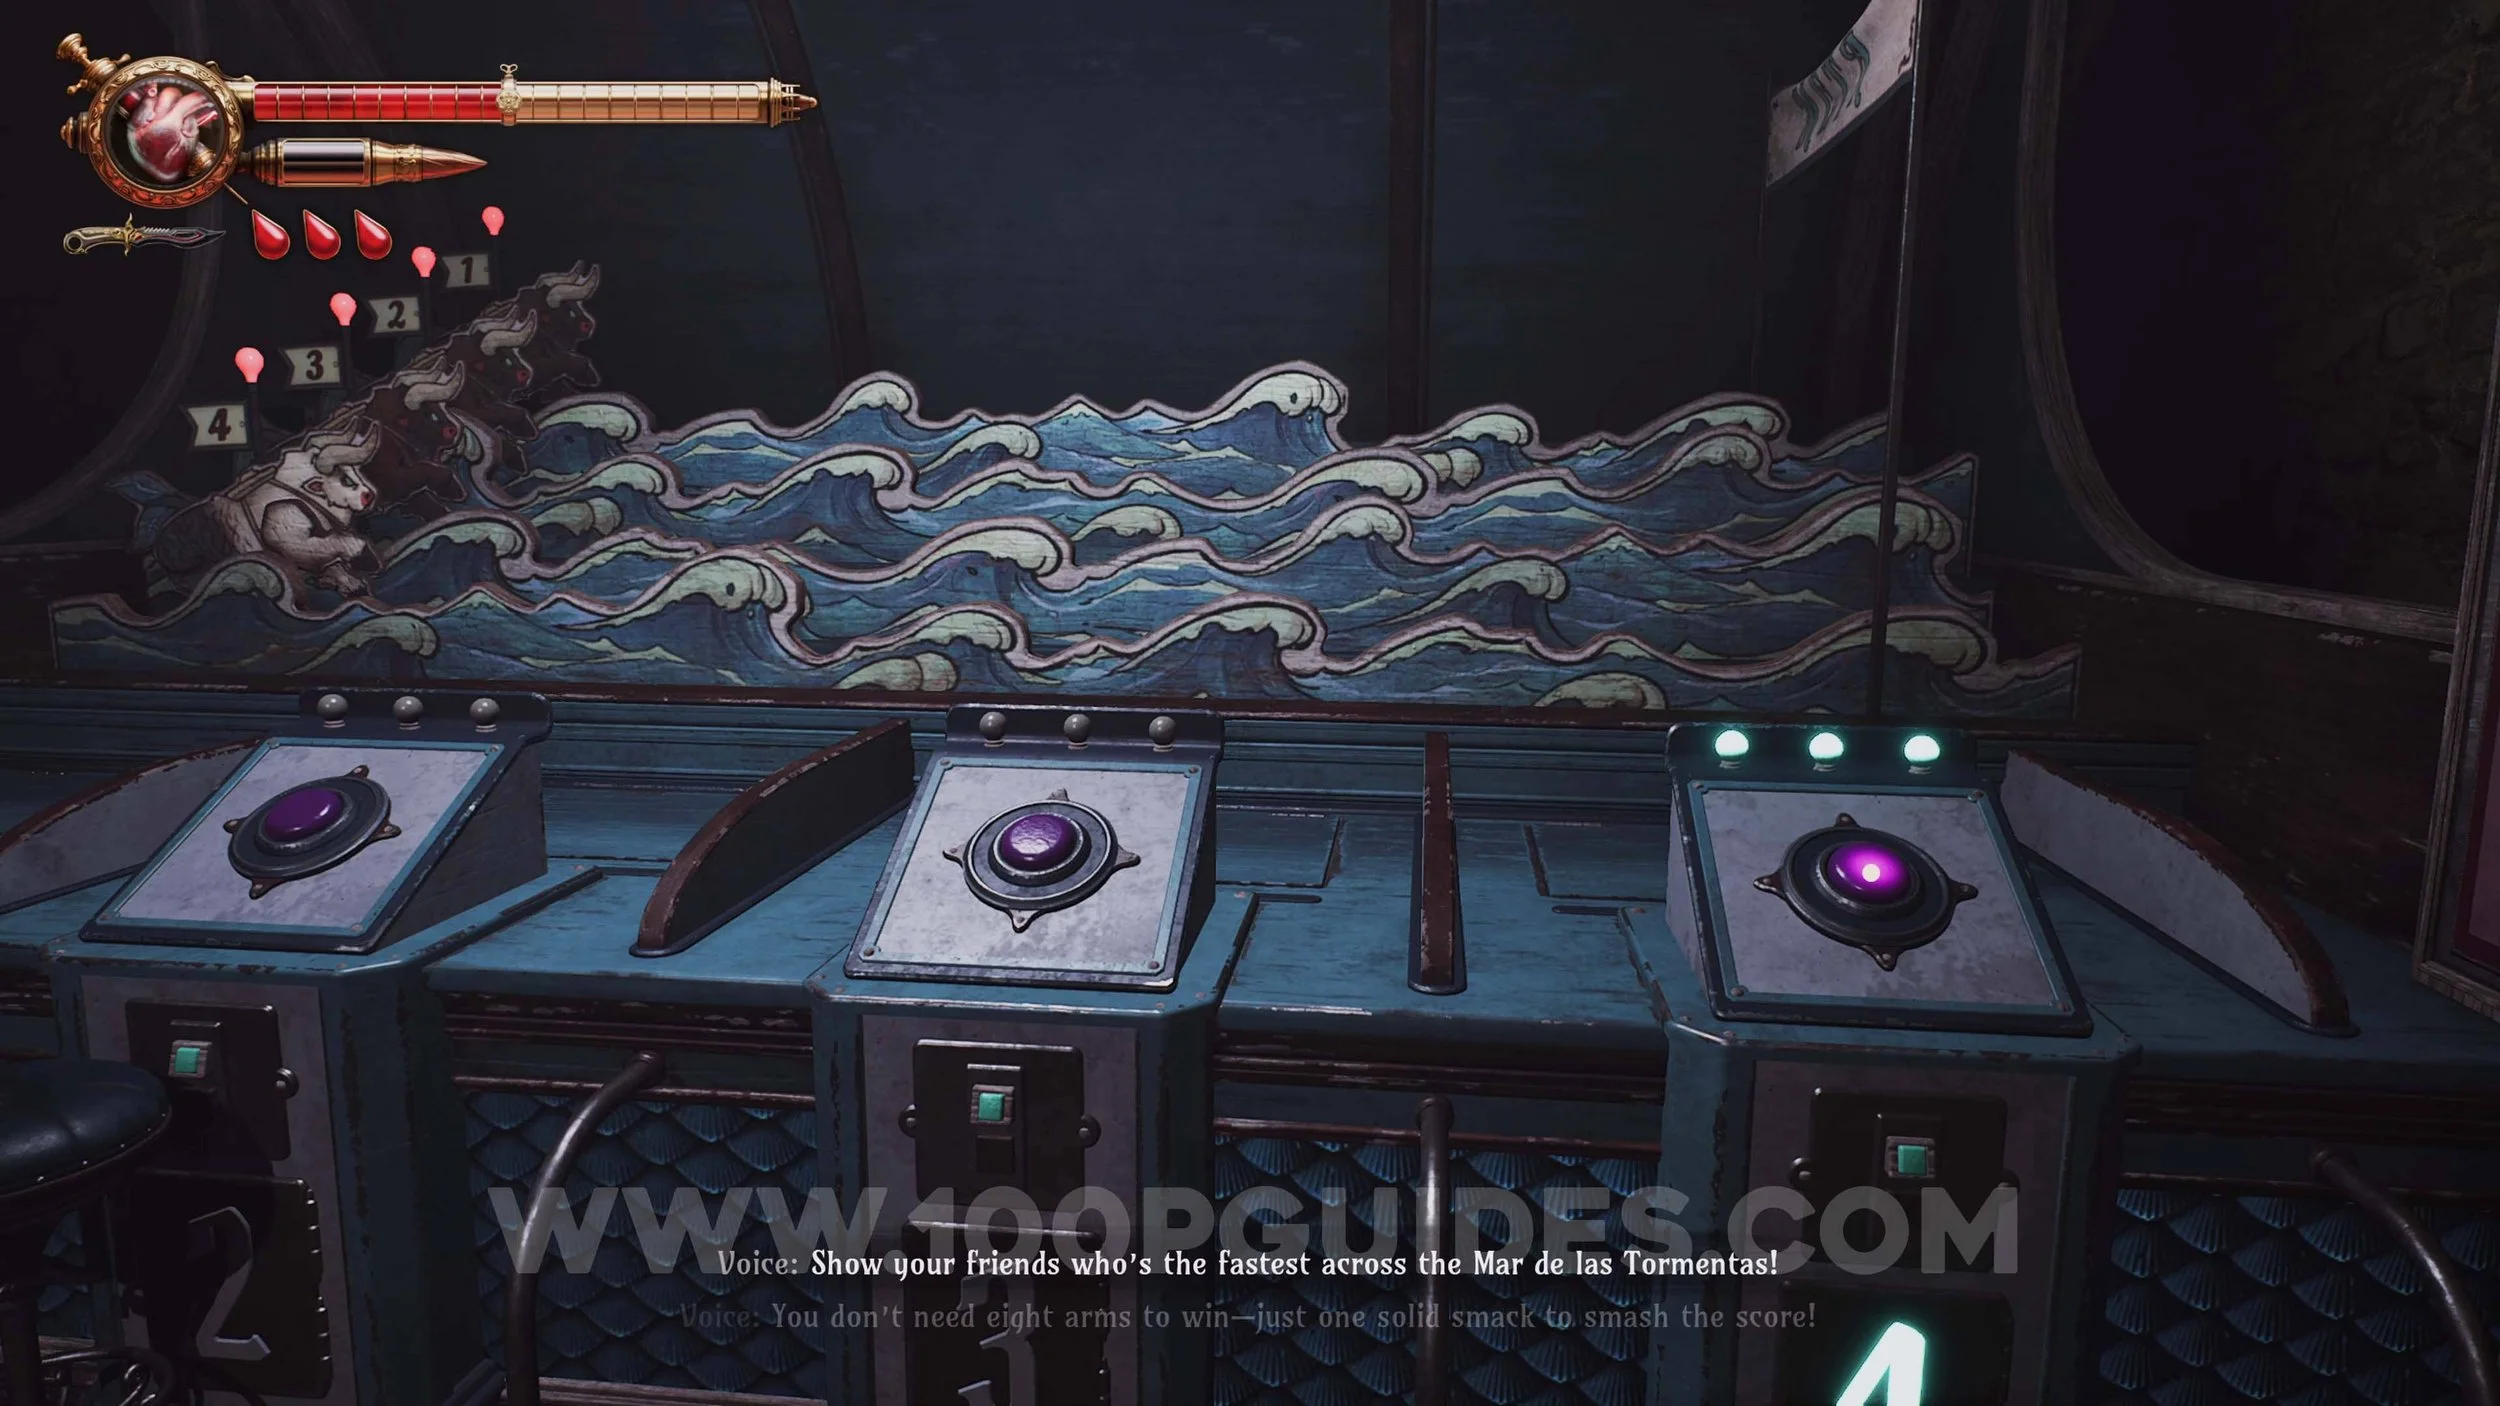
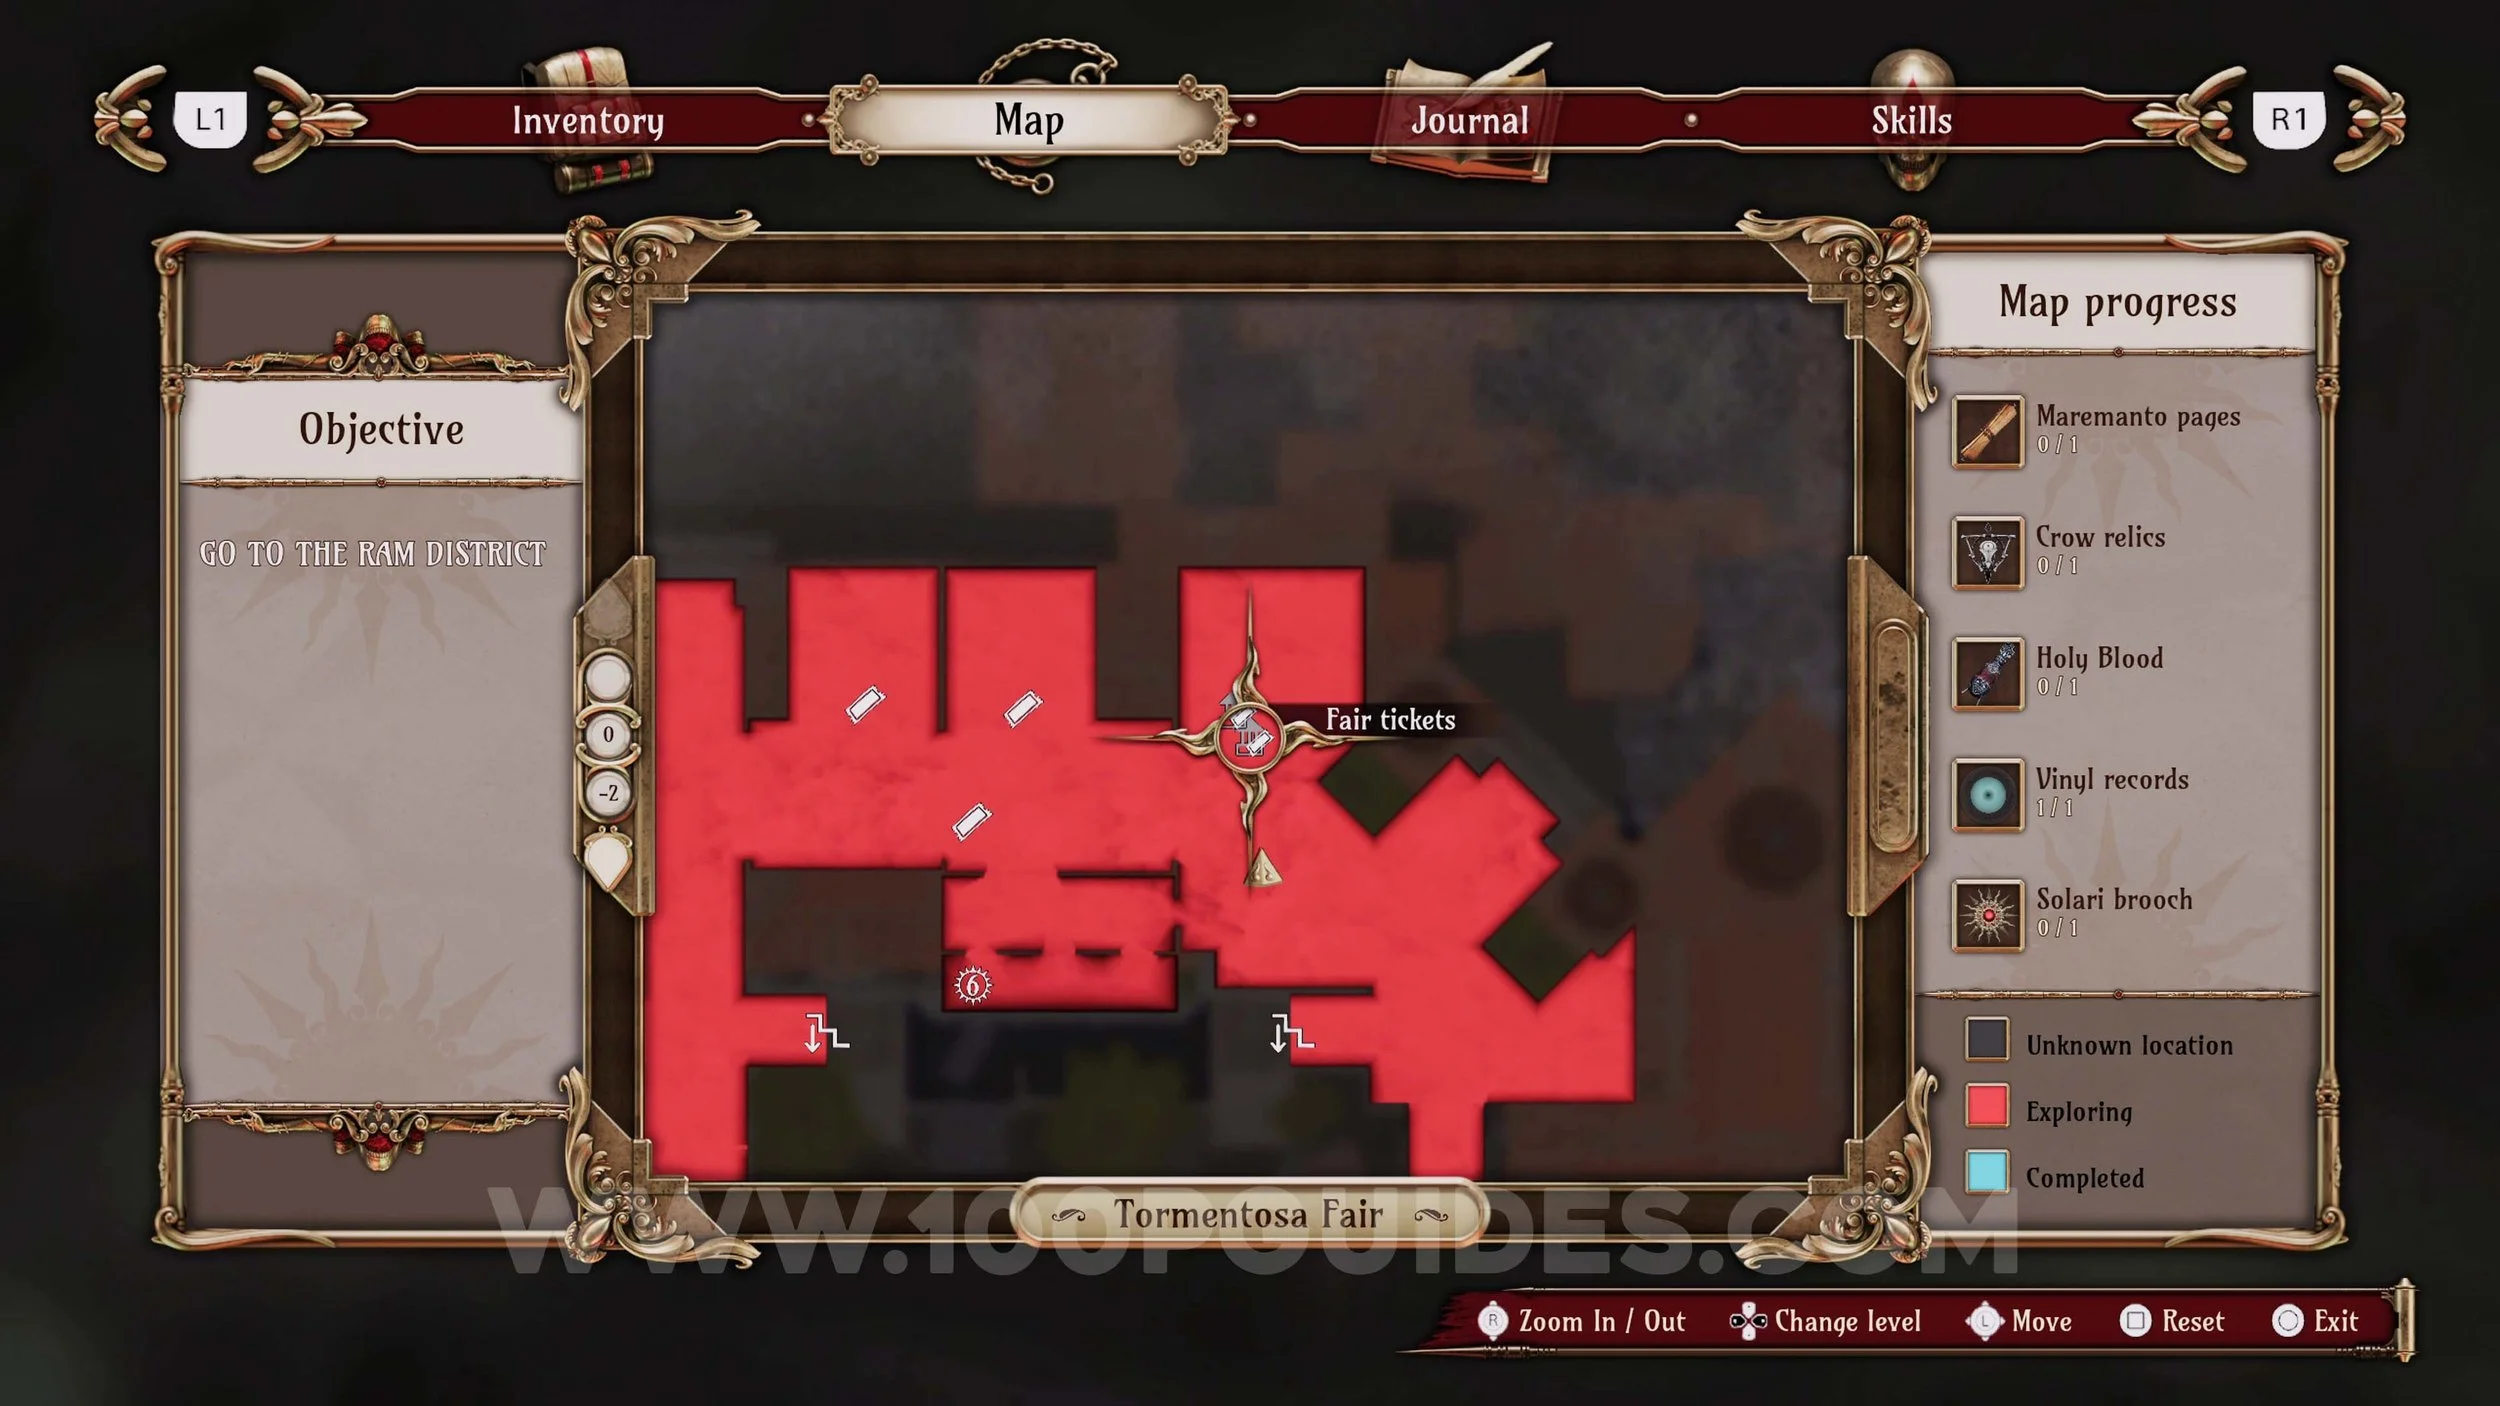
Carnival Game #1 - Pulporrazo. Once you exit the Cathedral after finishing the Prologue you will be in Tormentosa Fair. Head to the northern area where you can find the 3 carnival games. To win the Pulporrazo game, just press the button once all lights are on. You will get 200 Fair Tickets.
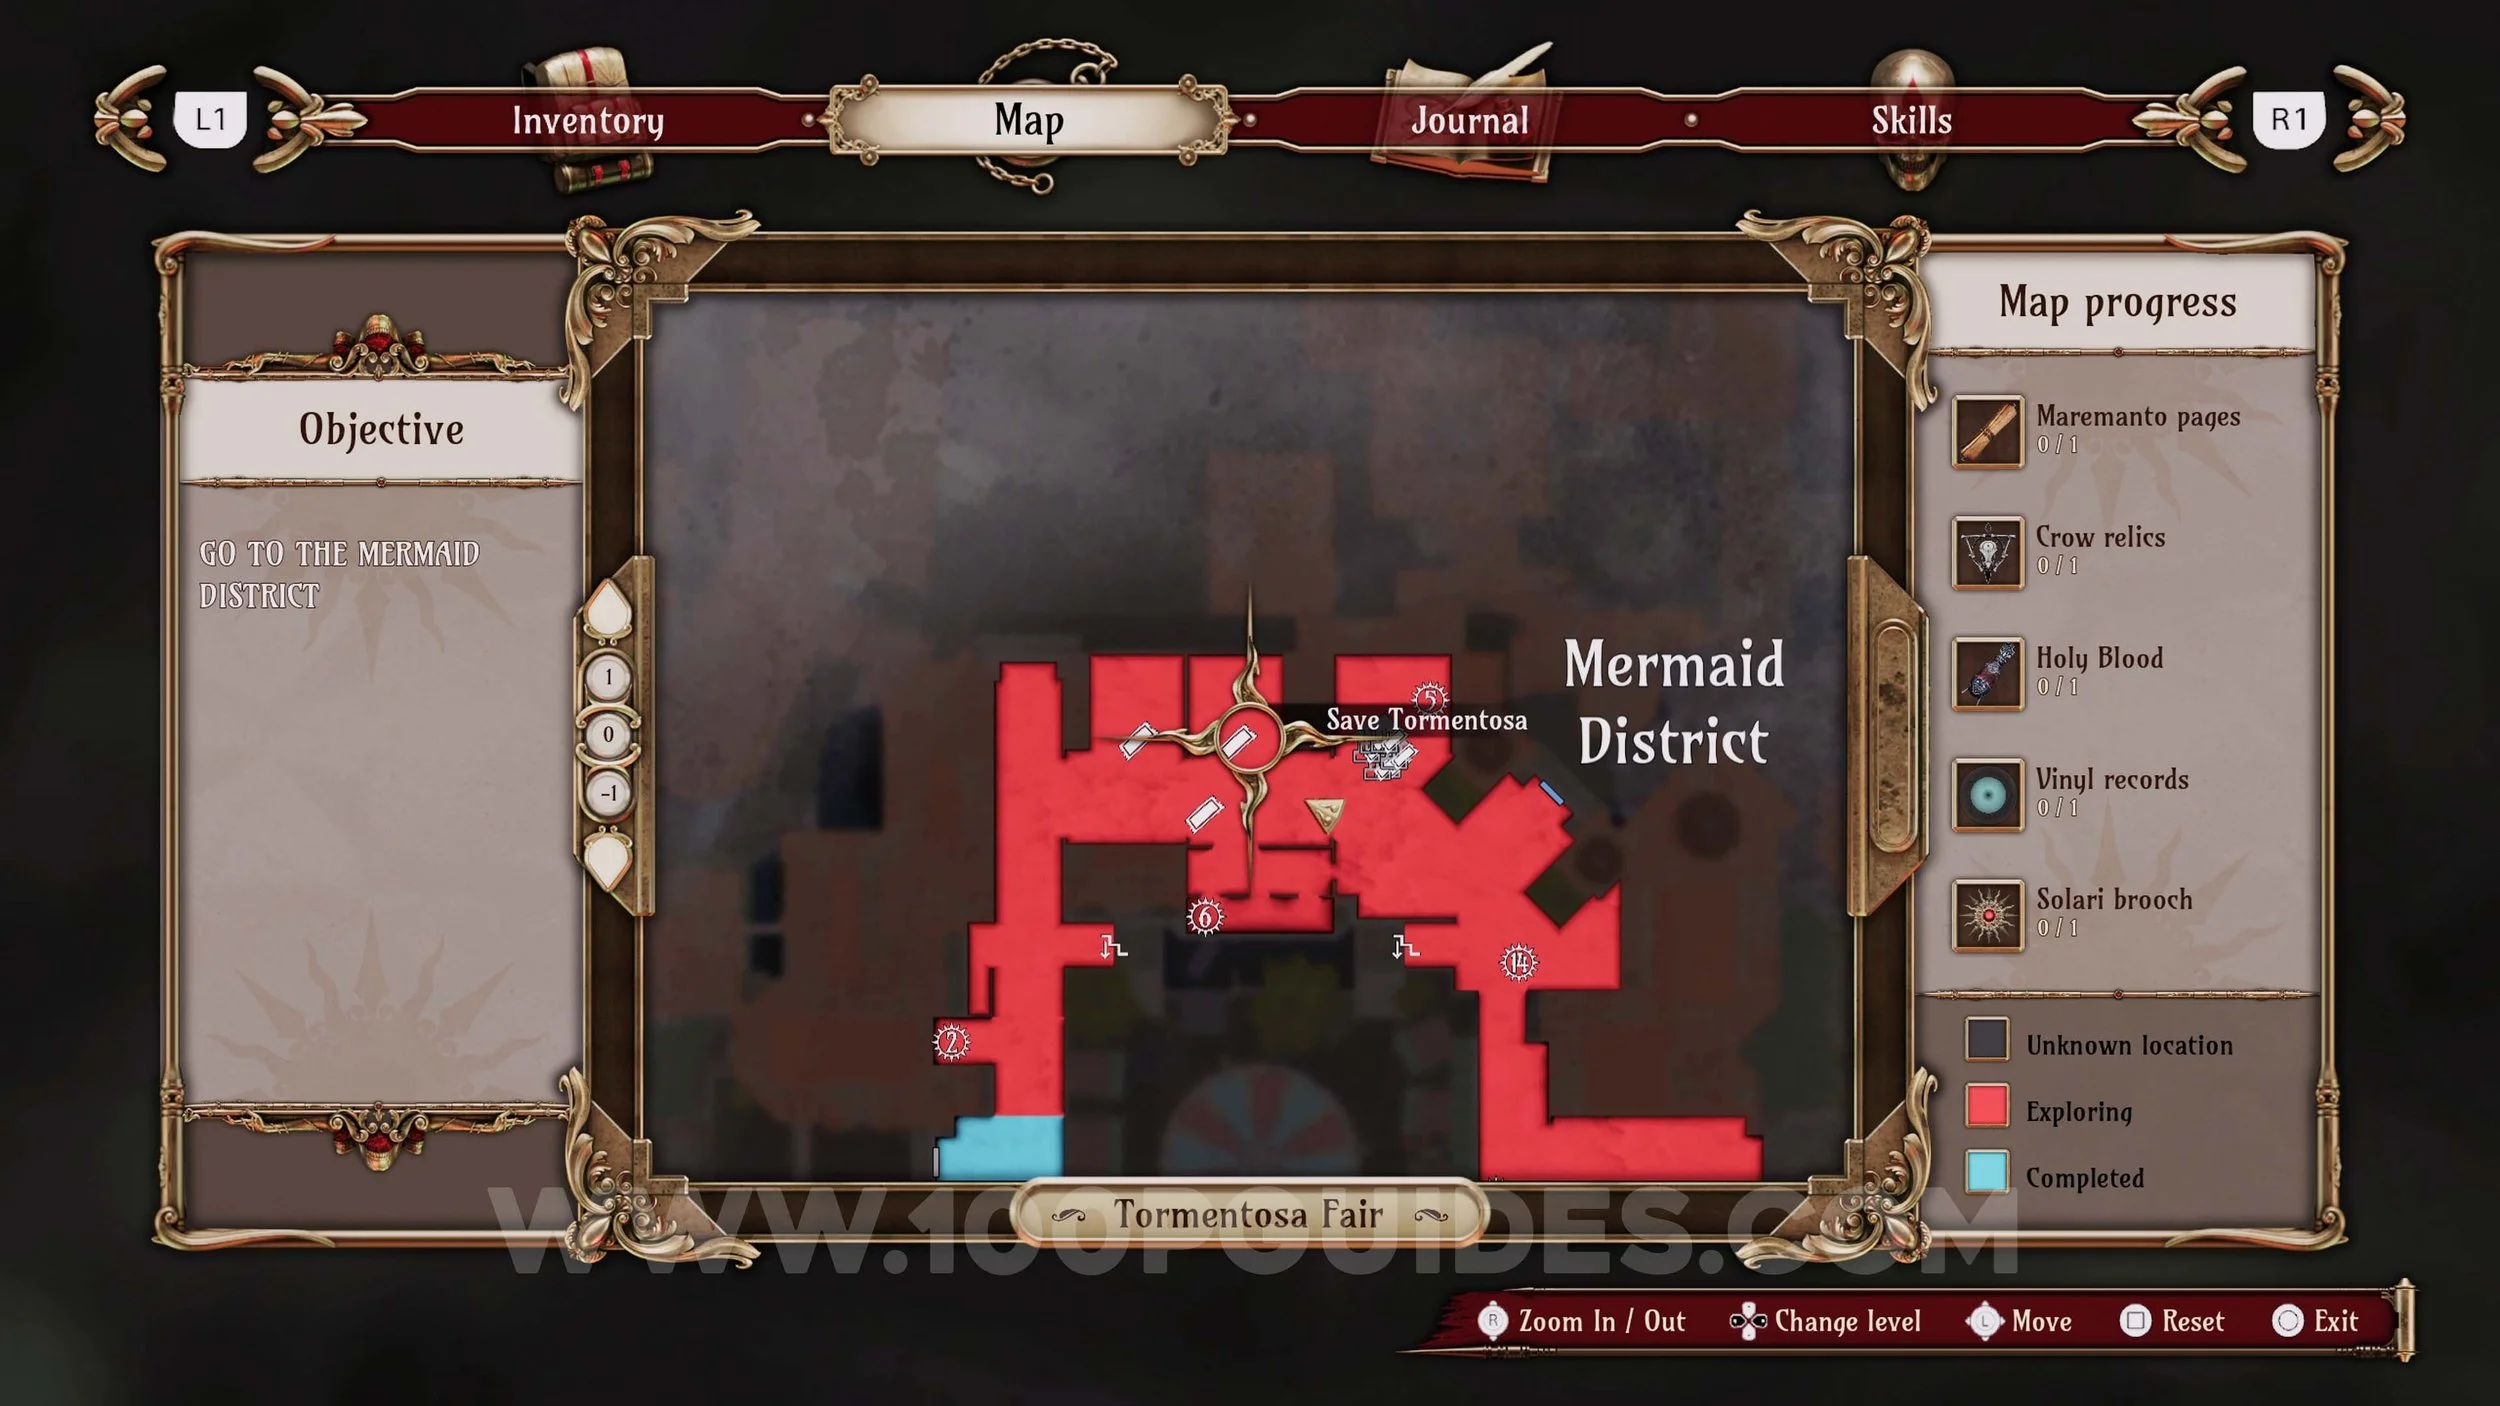
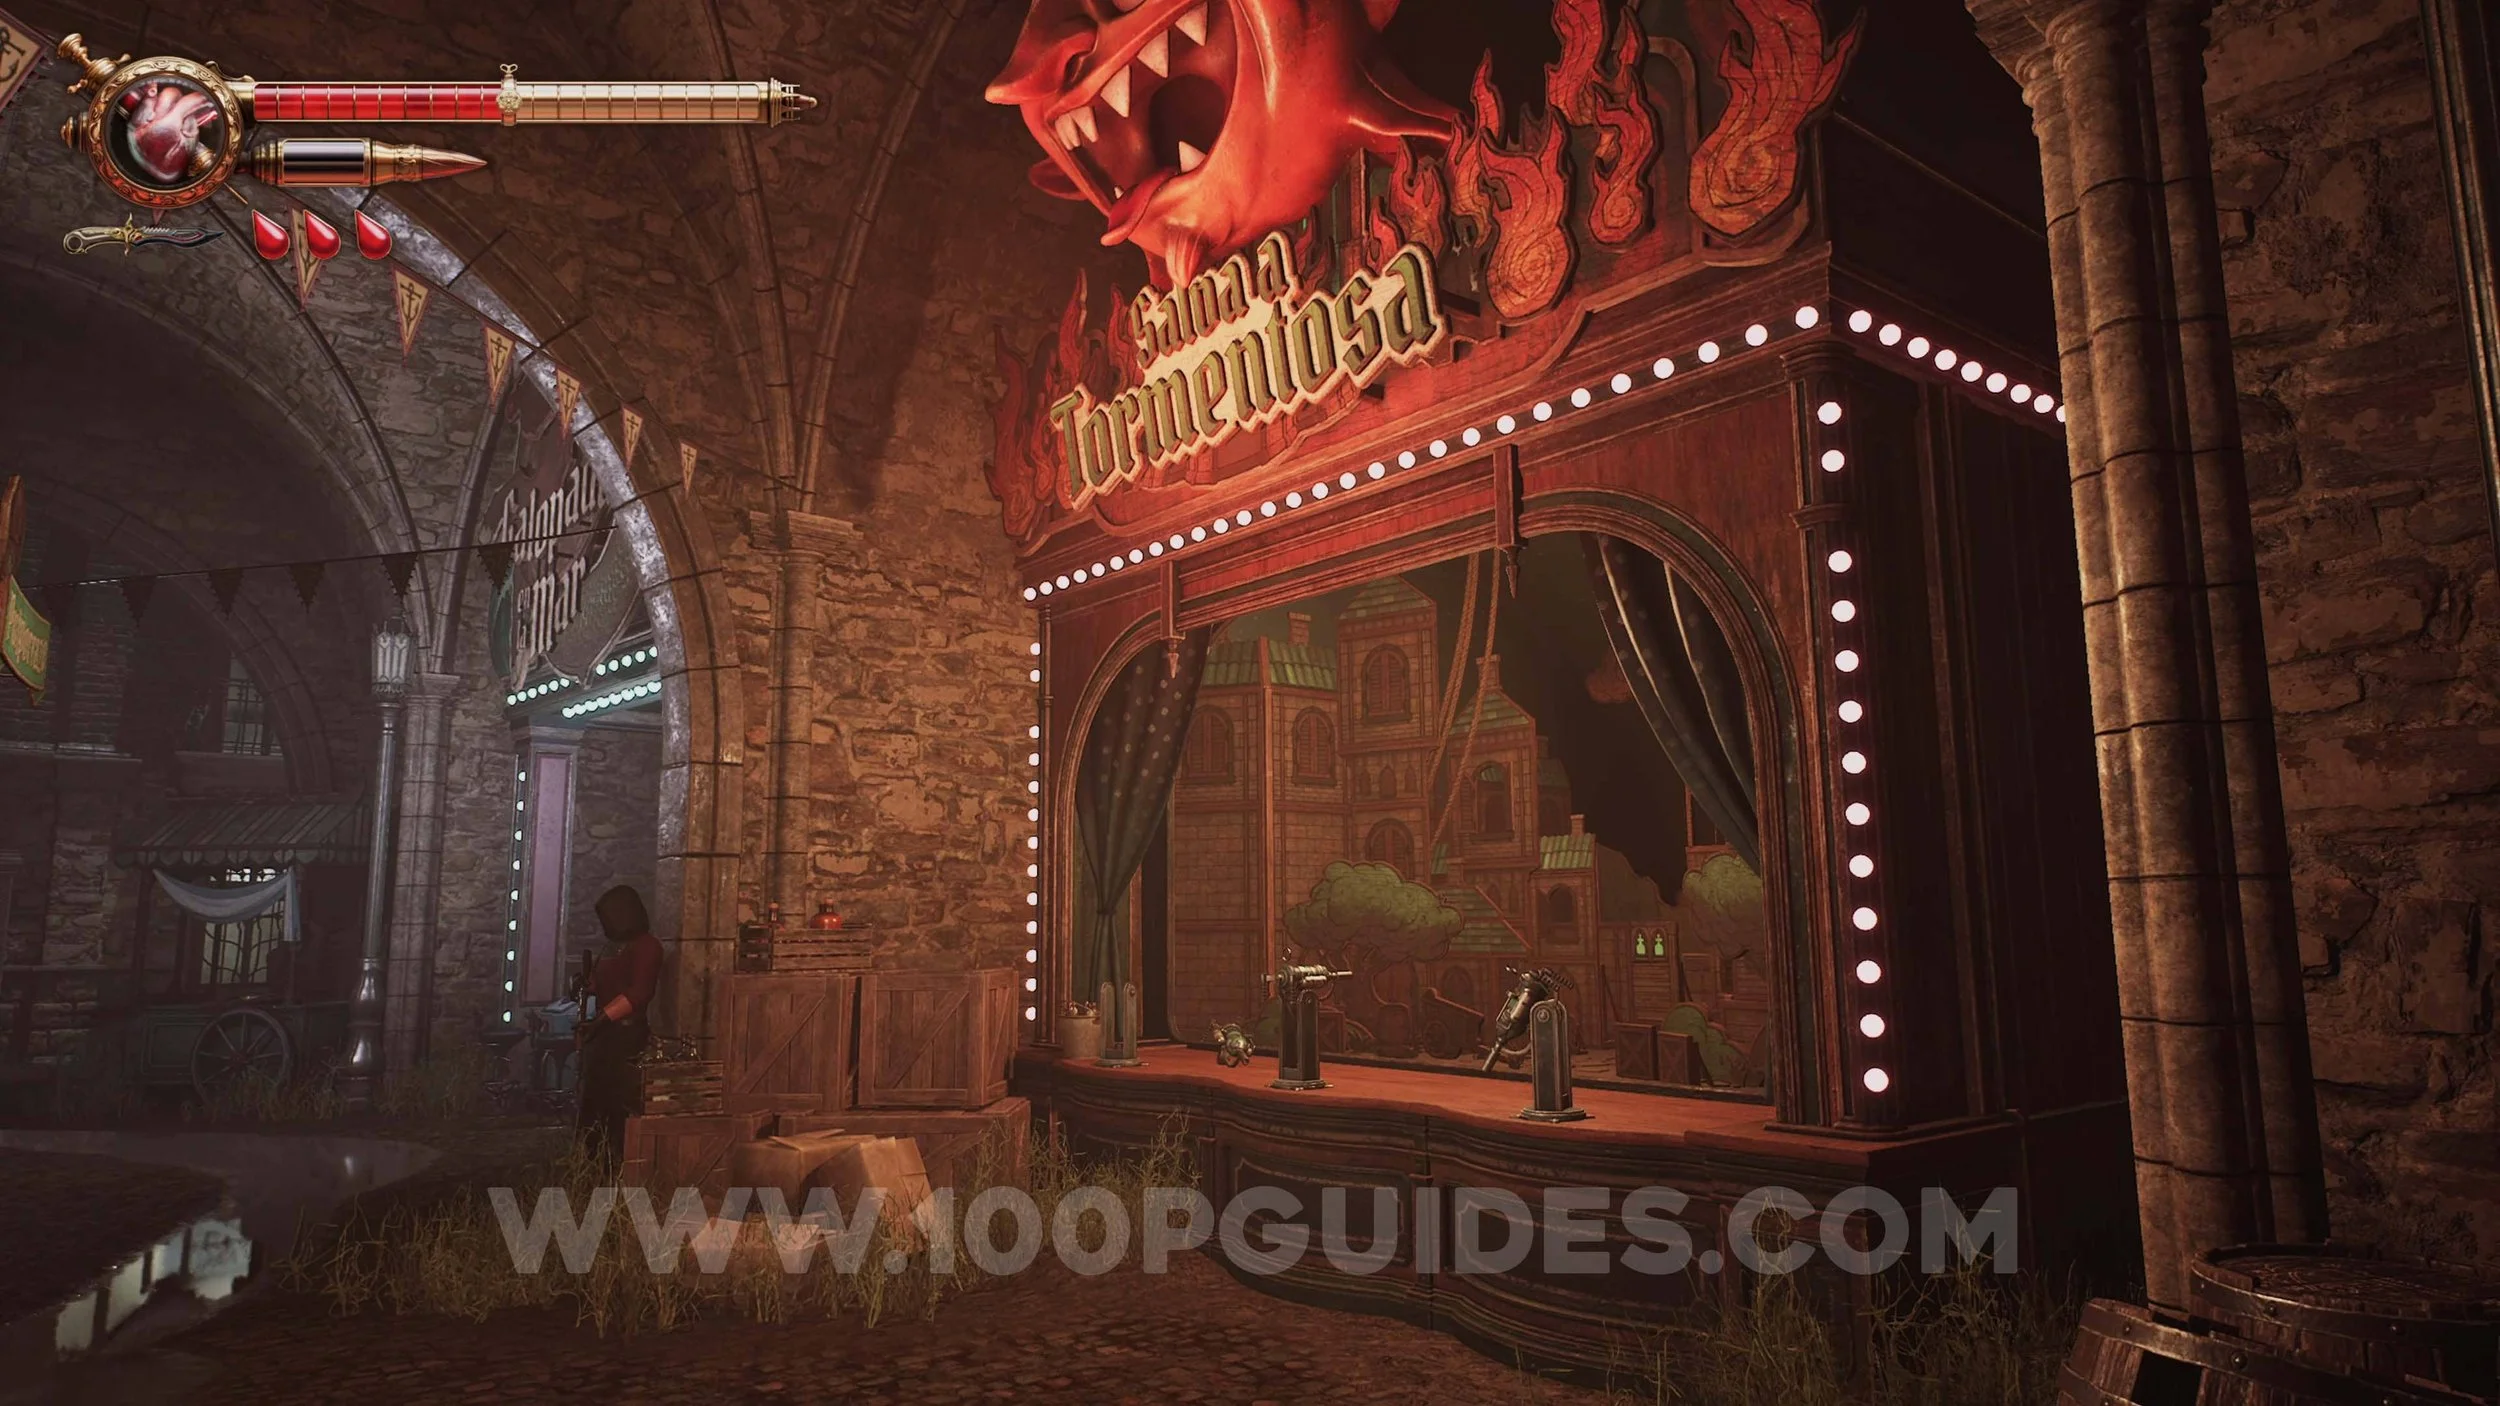
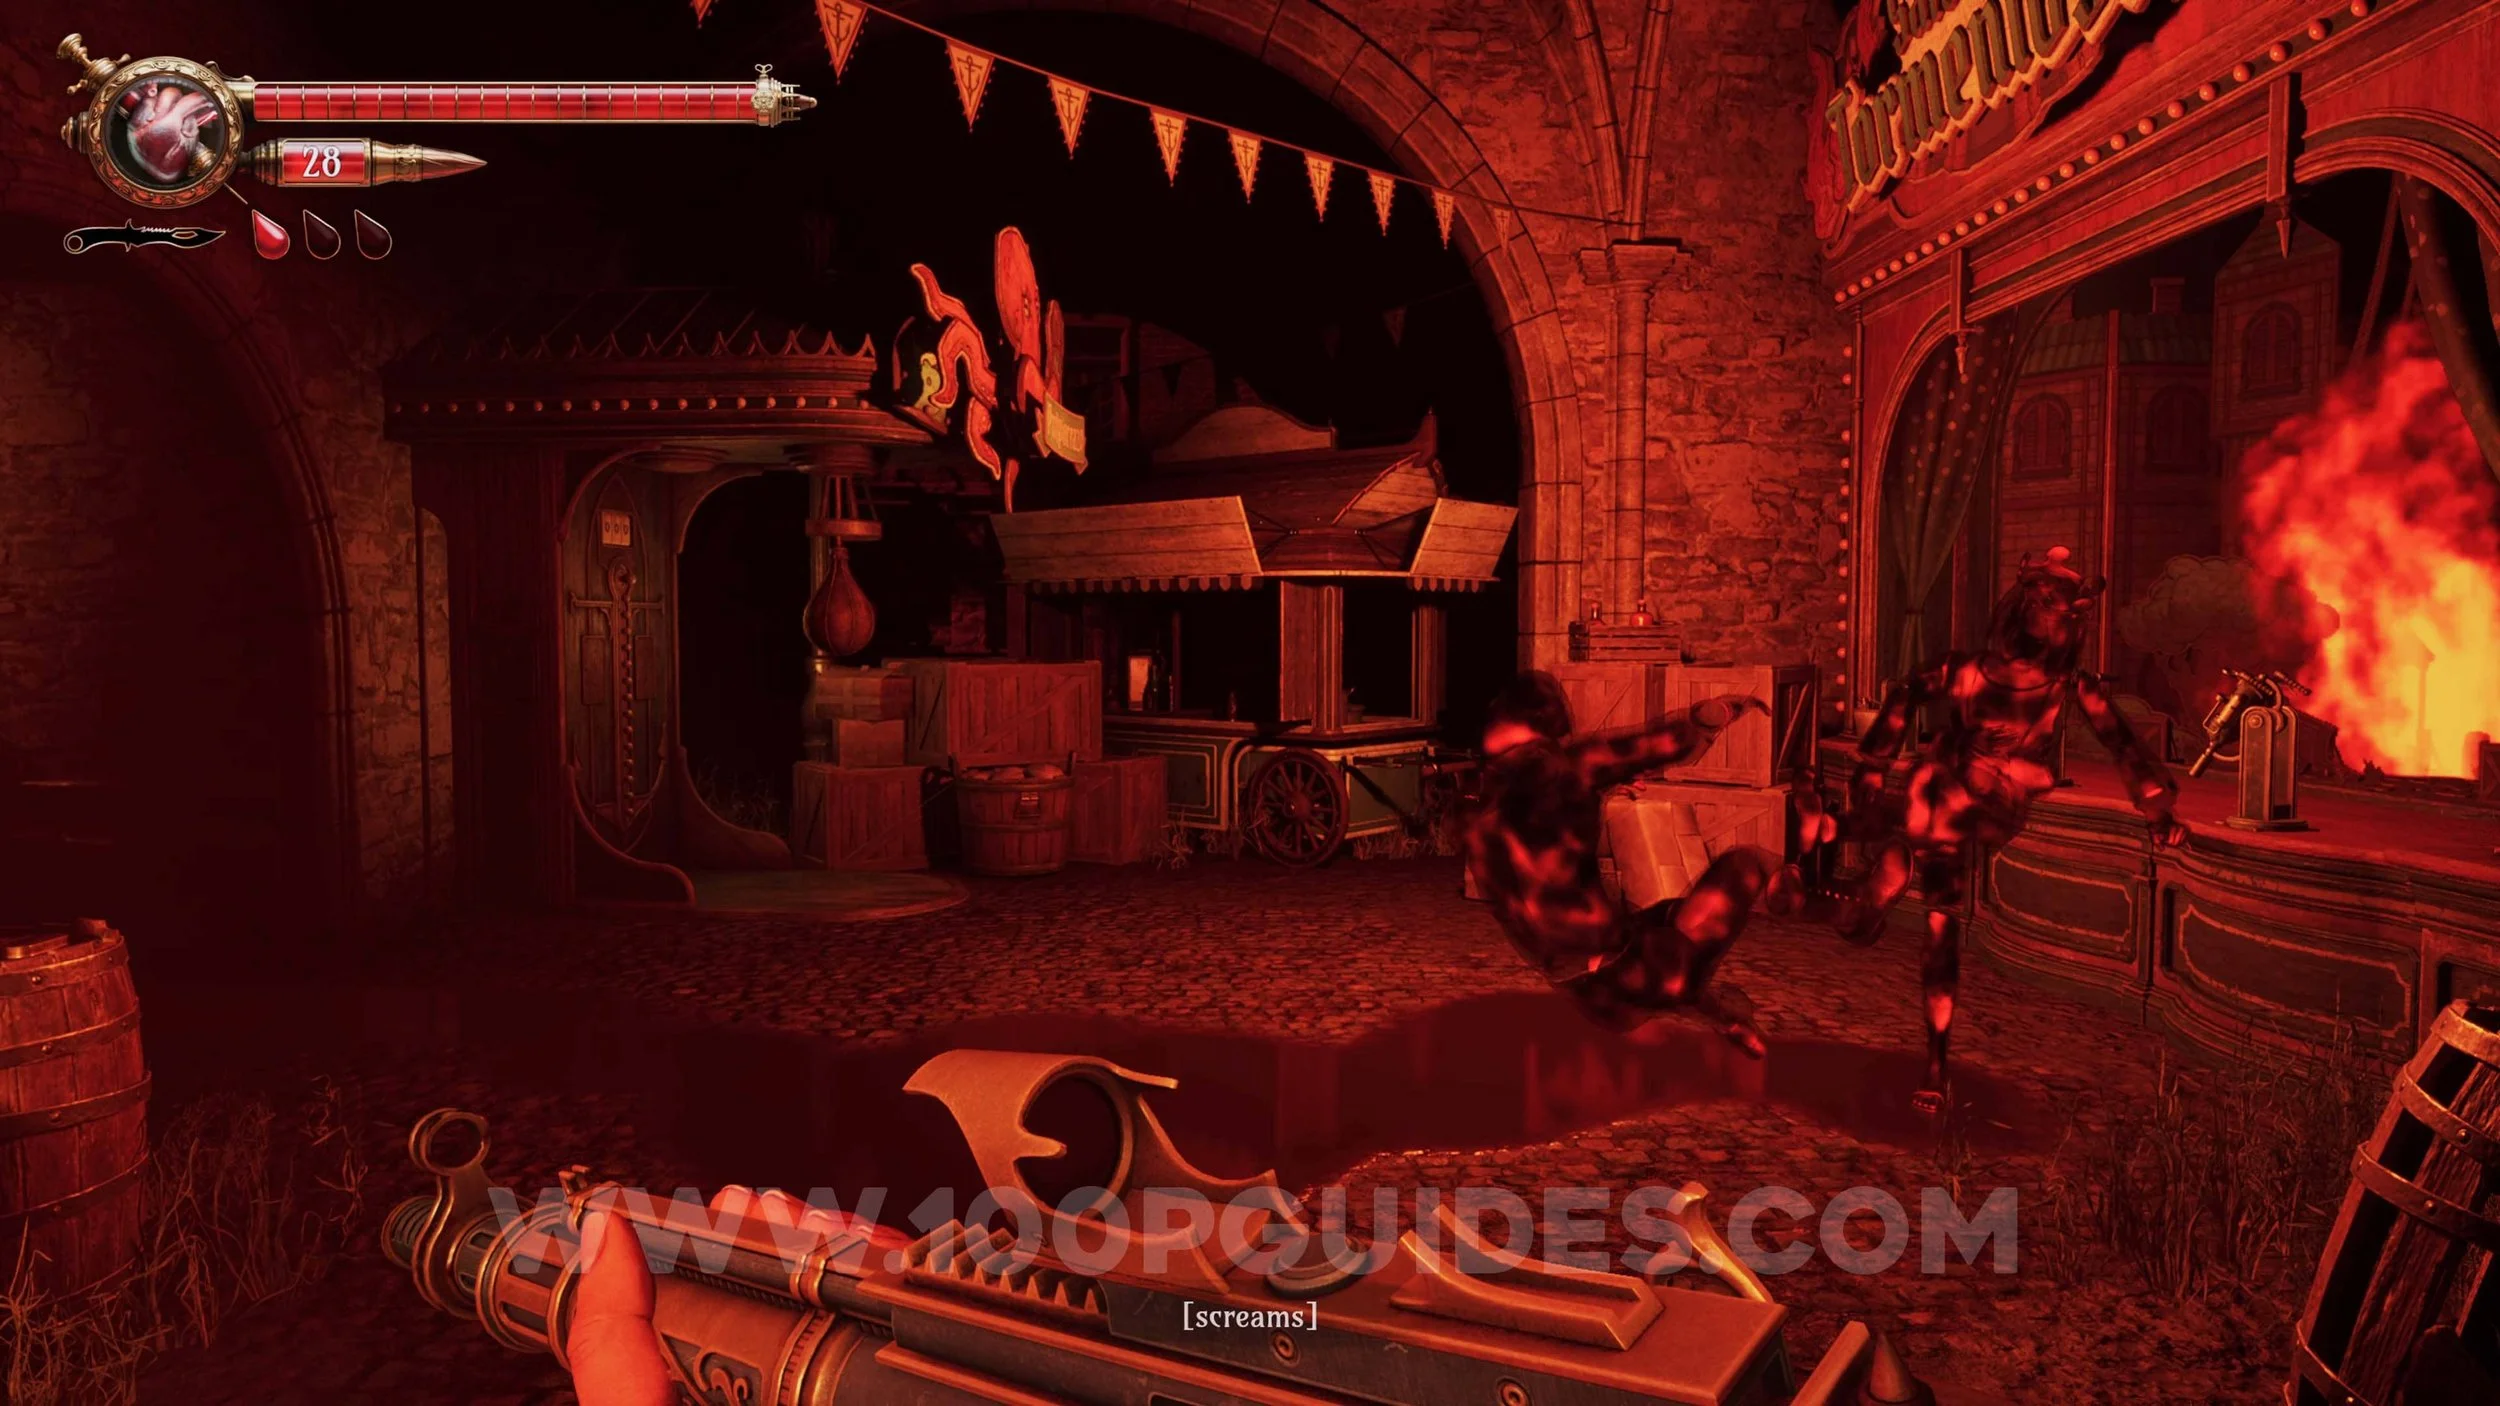
Carnival Game #2 - Save Tormentosa. Once you exit the Cathedral after finishing the Prologue, you will be in Tormentosa Fair. Head to the northern area where you can find the 3 carnival games. To win the Save Tormentosa game, you will have to extinguish every flame. You will get 300 Fair Tickets.
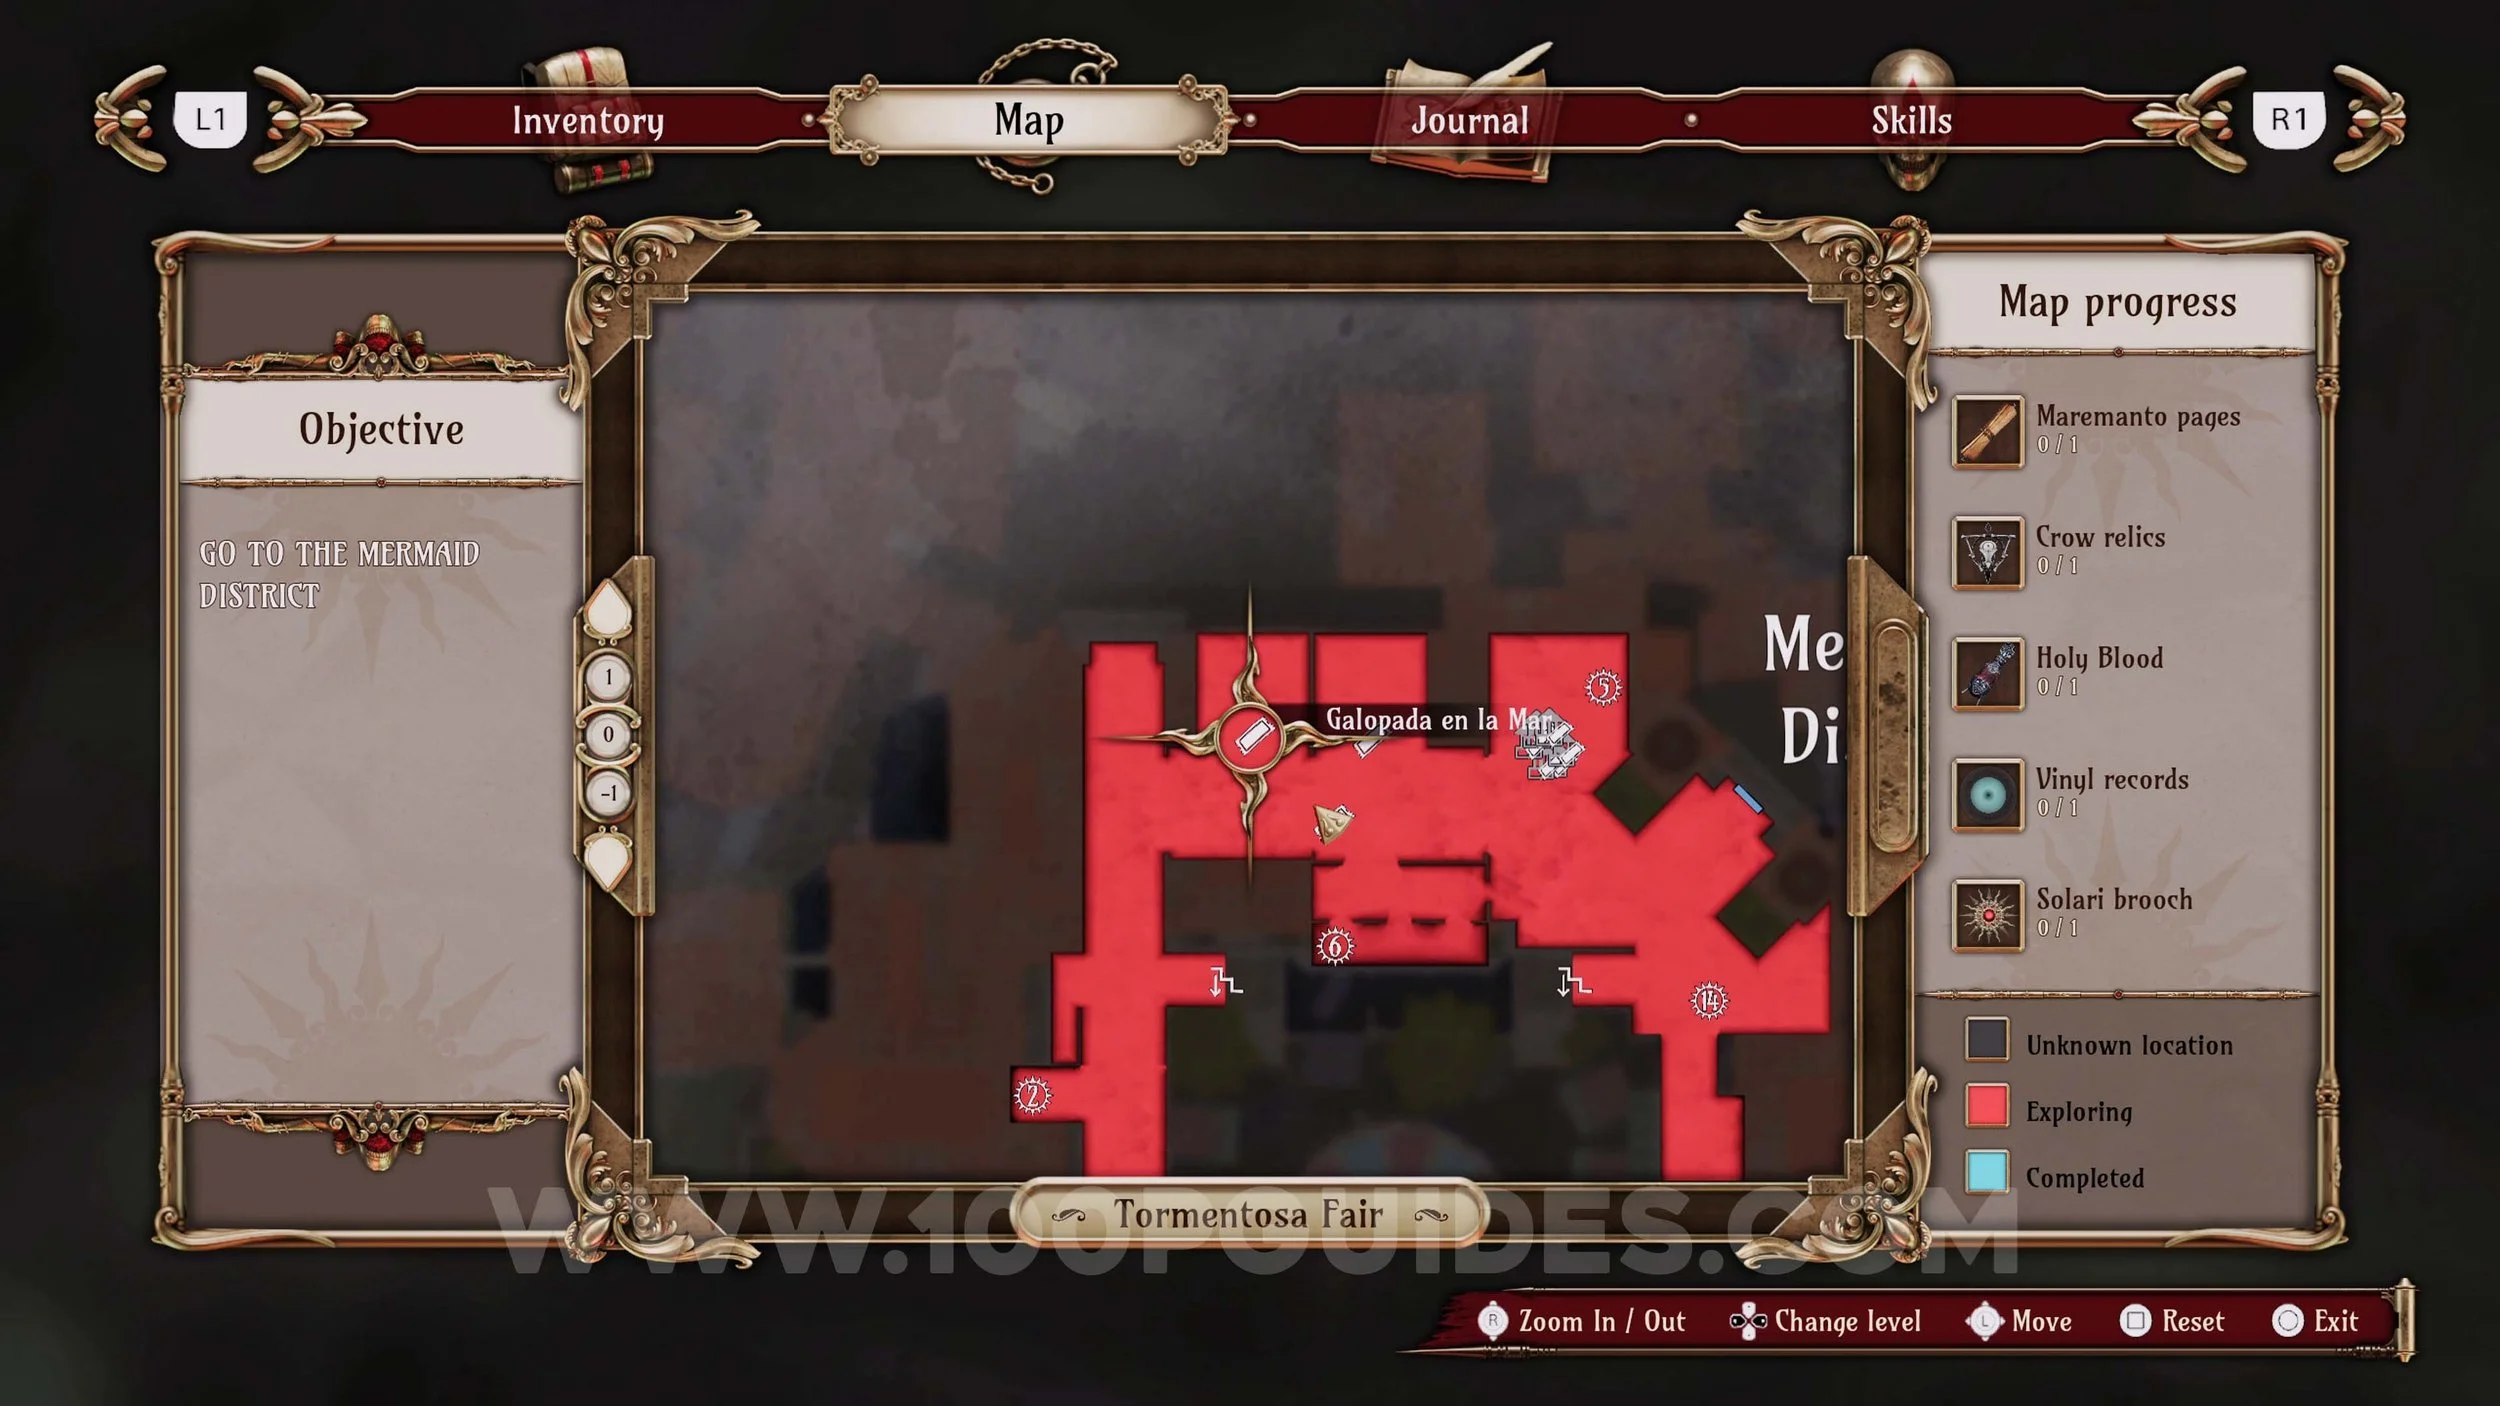
Carnival Game #3 - Galopada En La Mar. Once you exit the Cathedral after finishing the Prologue, you will be in Tormentosa Fair. Head to the northern area where you can find the 3 carnival games. To win the Galopada En La Mar game, just press the X button as fast as you can. You will get 300 Fair Tickets and the Carnival Trickster trophy.
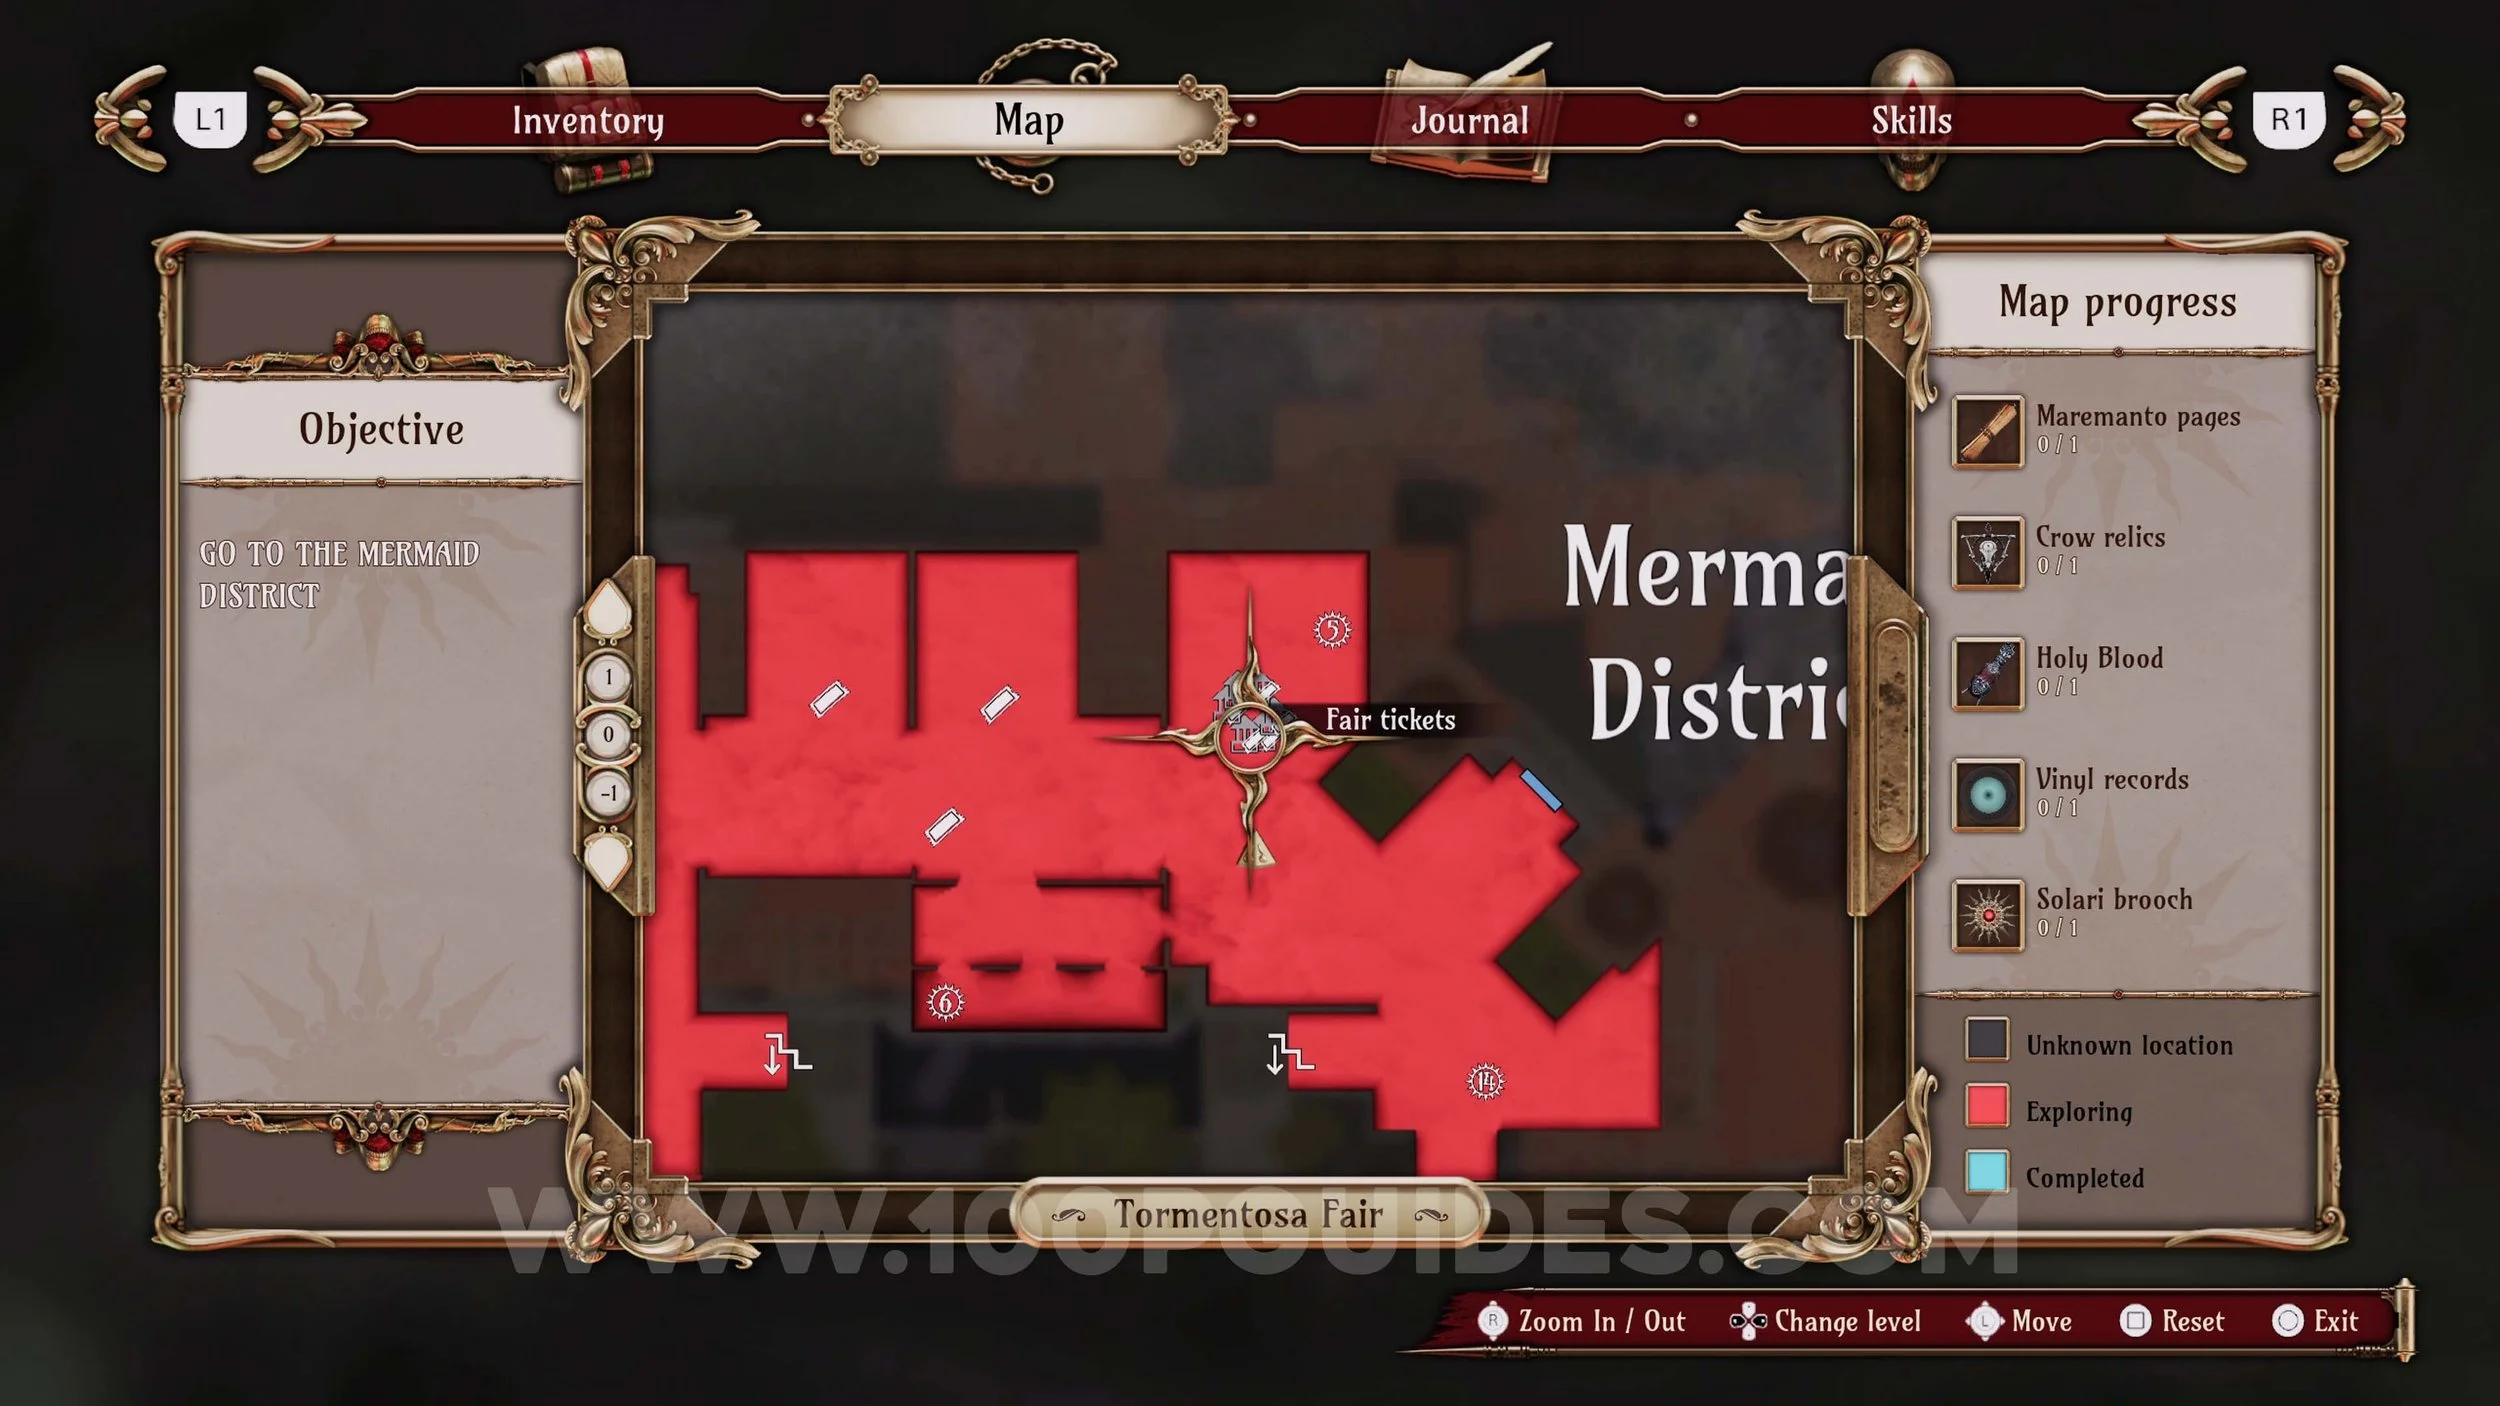
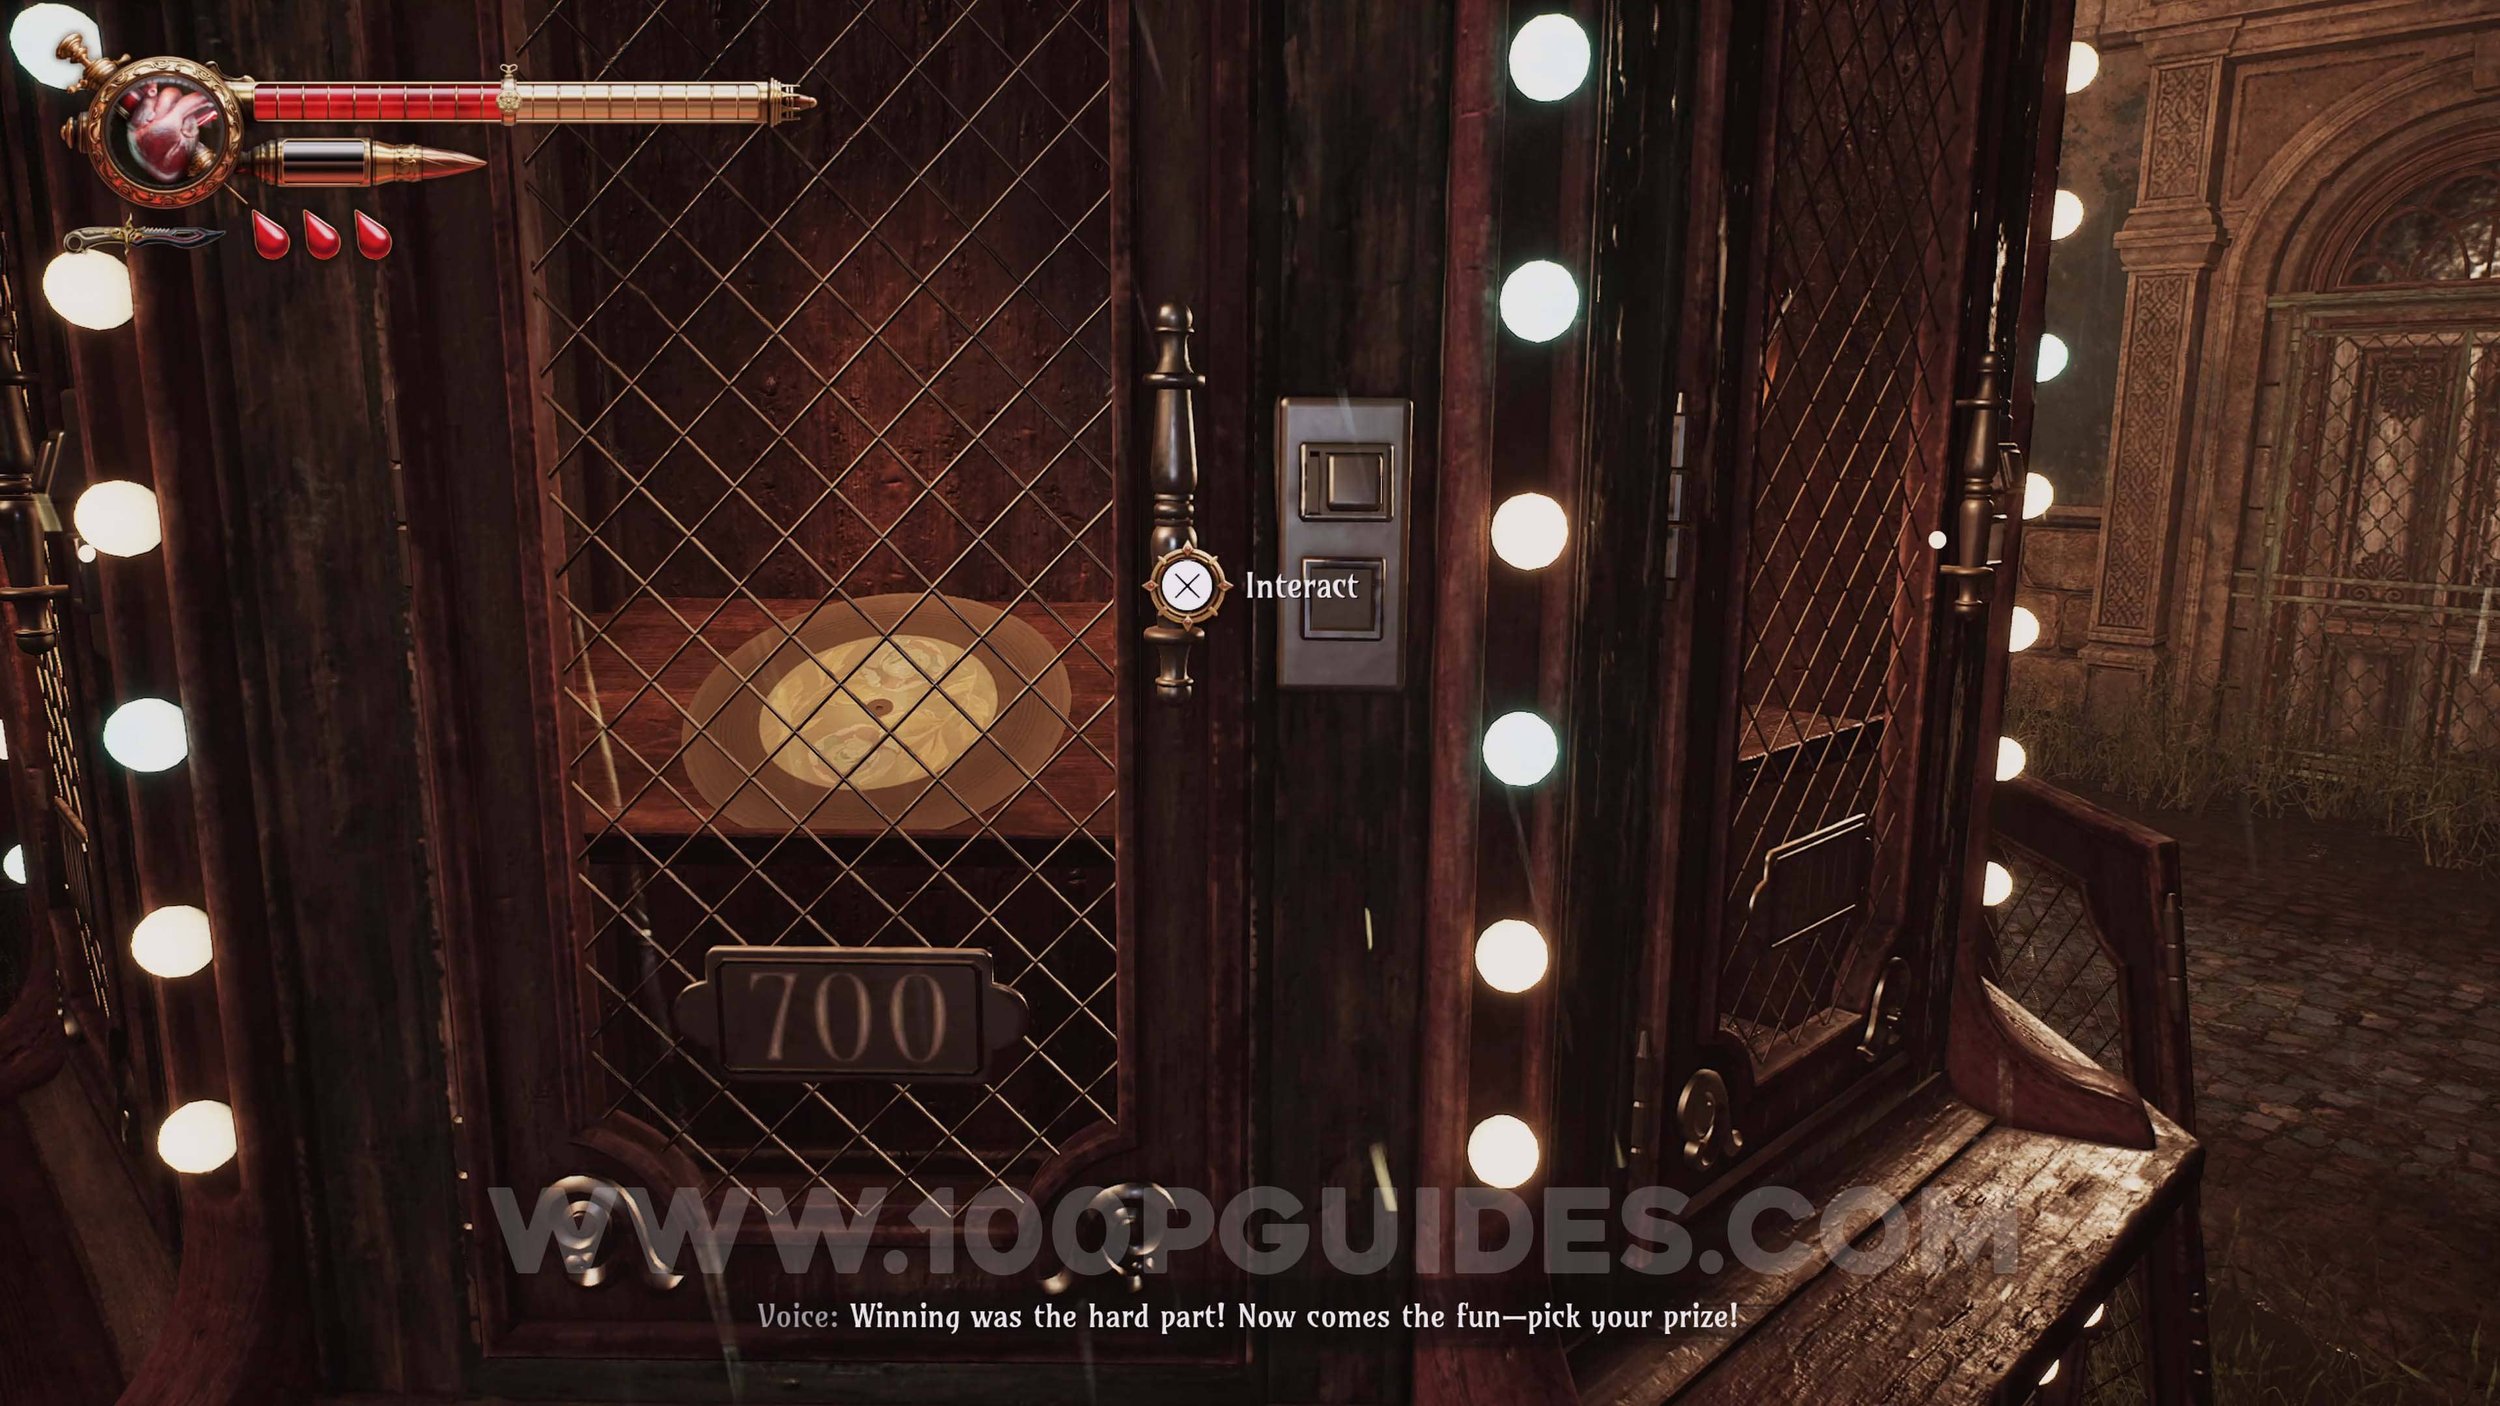
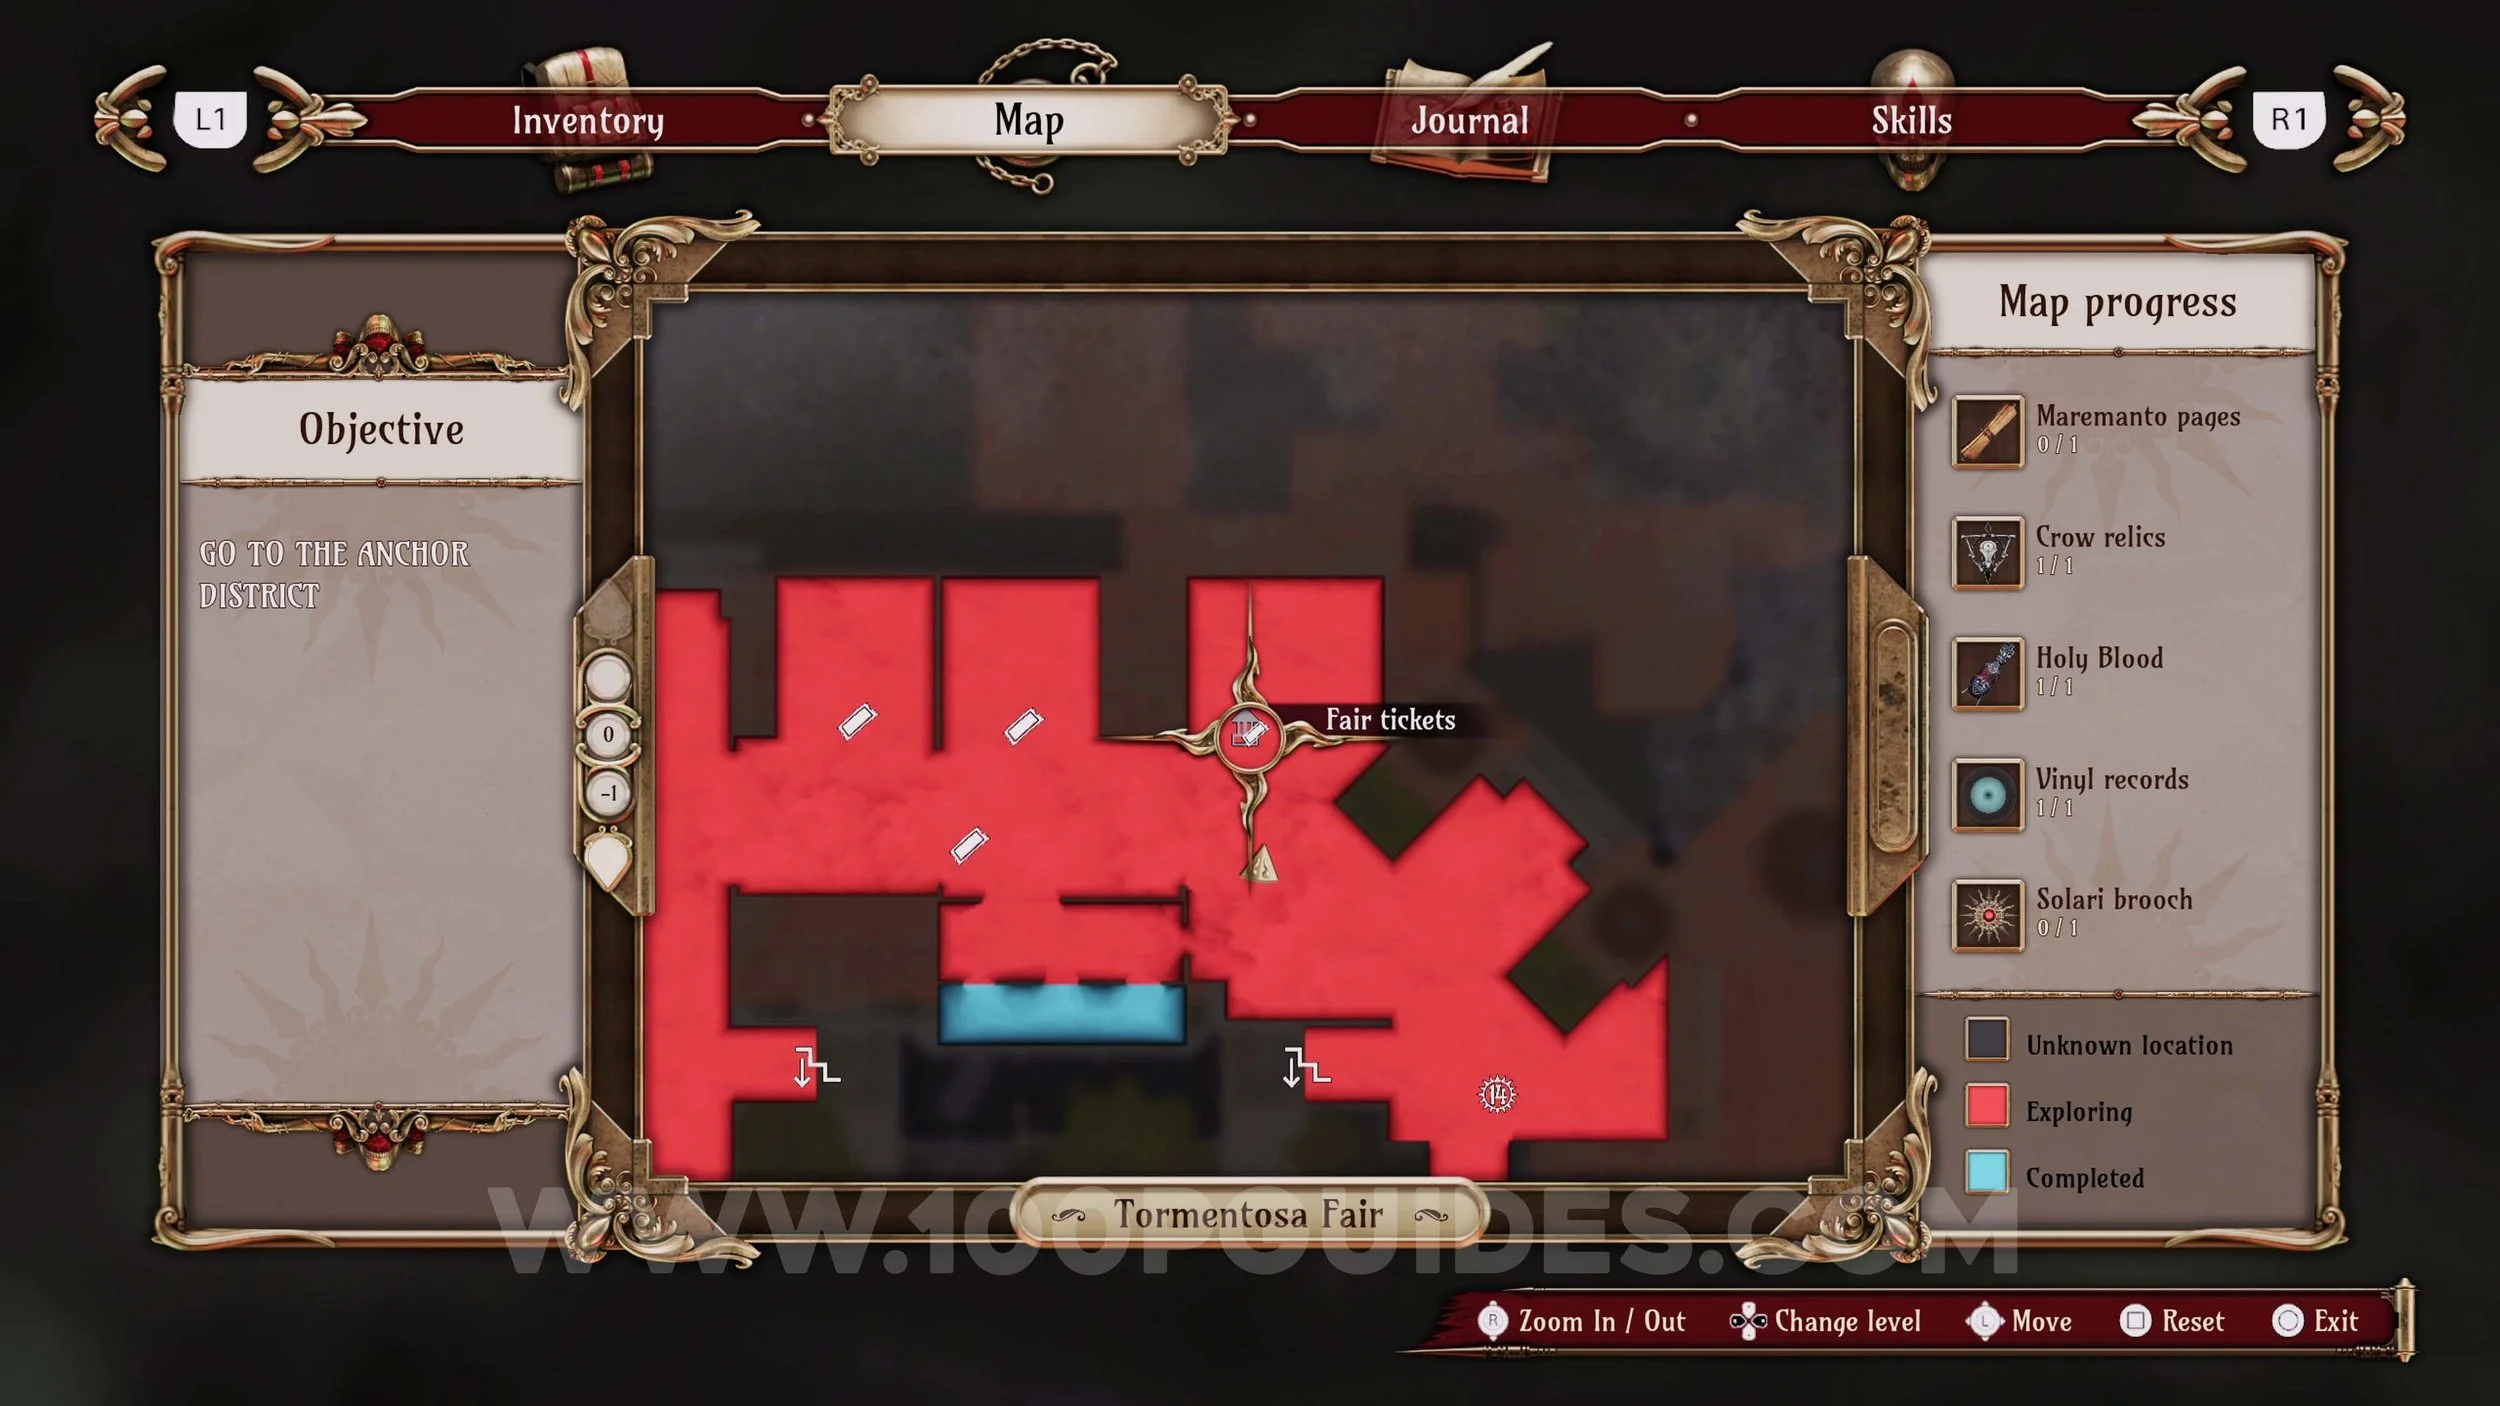
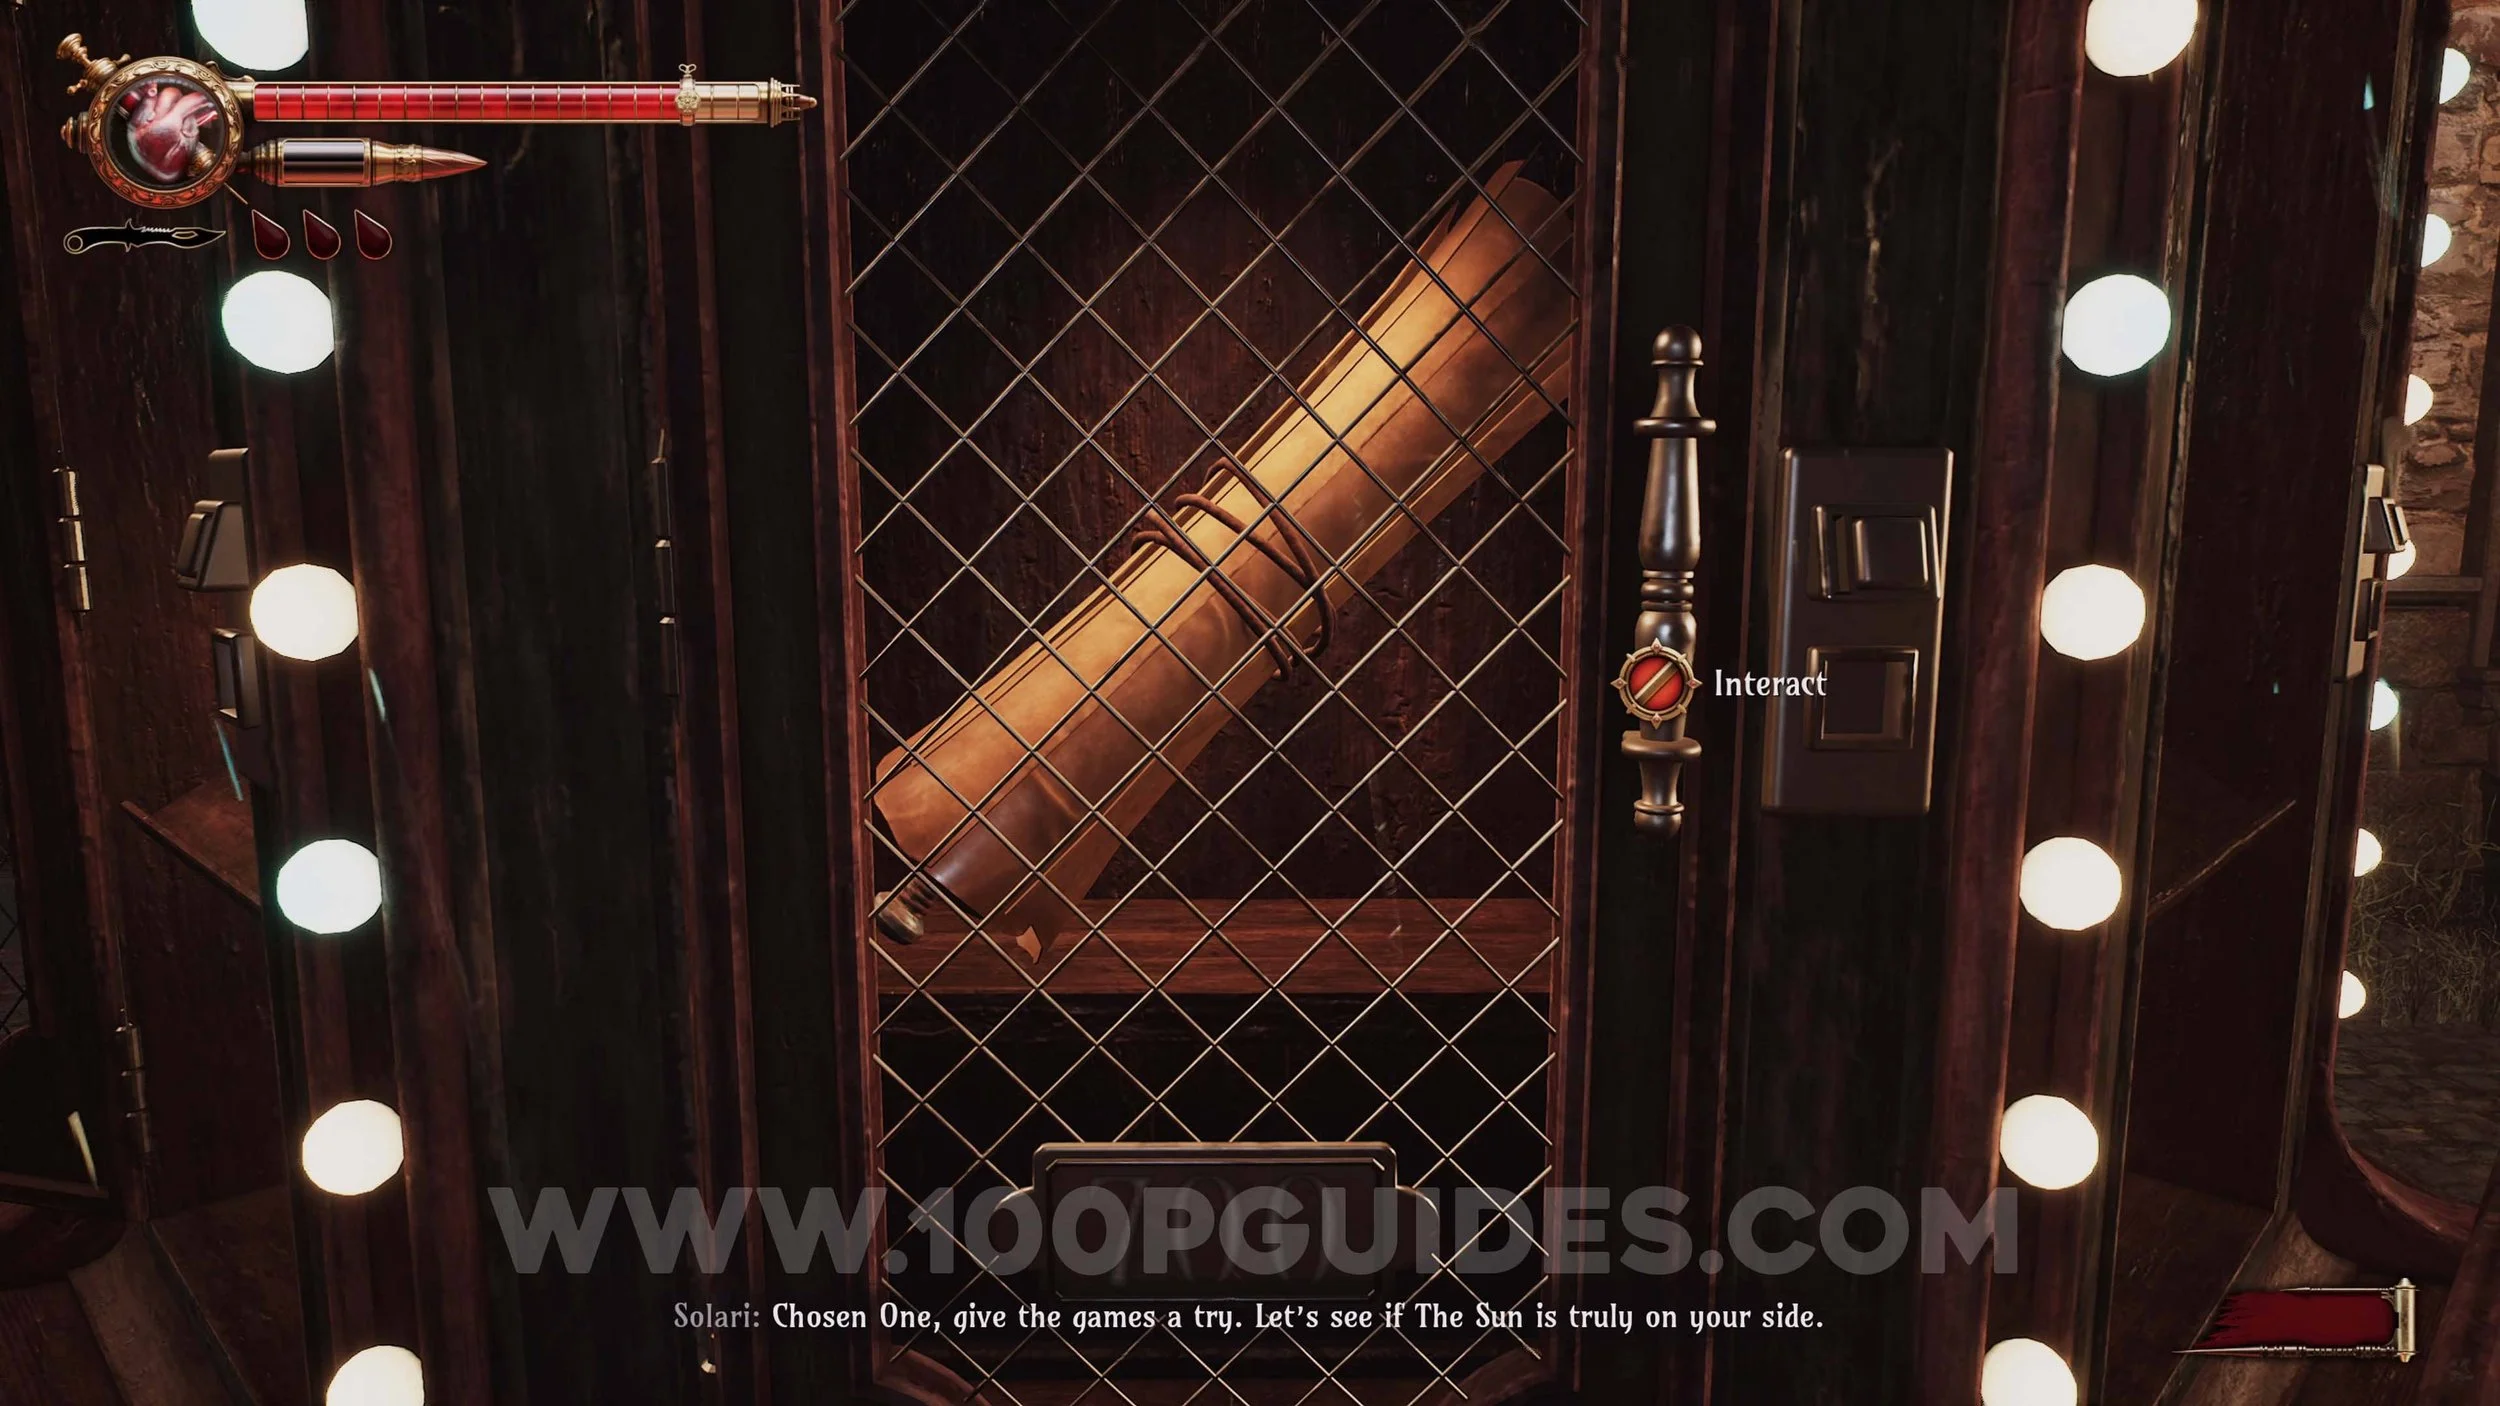
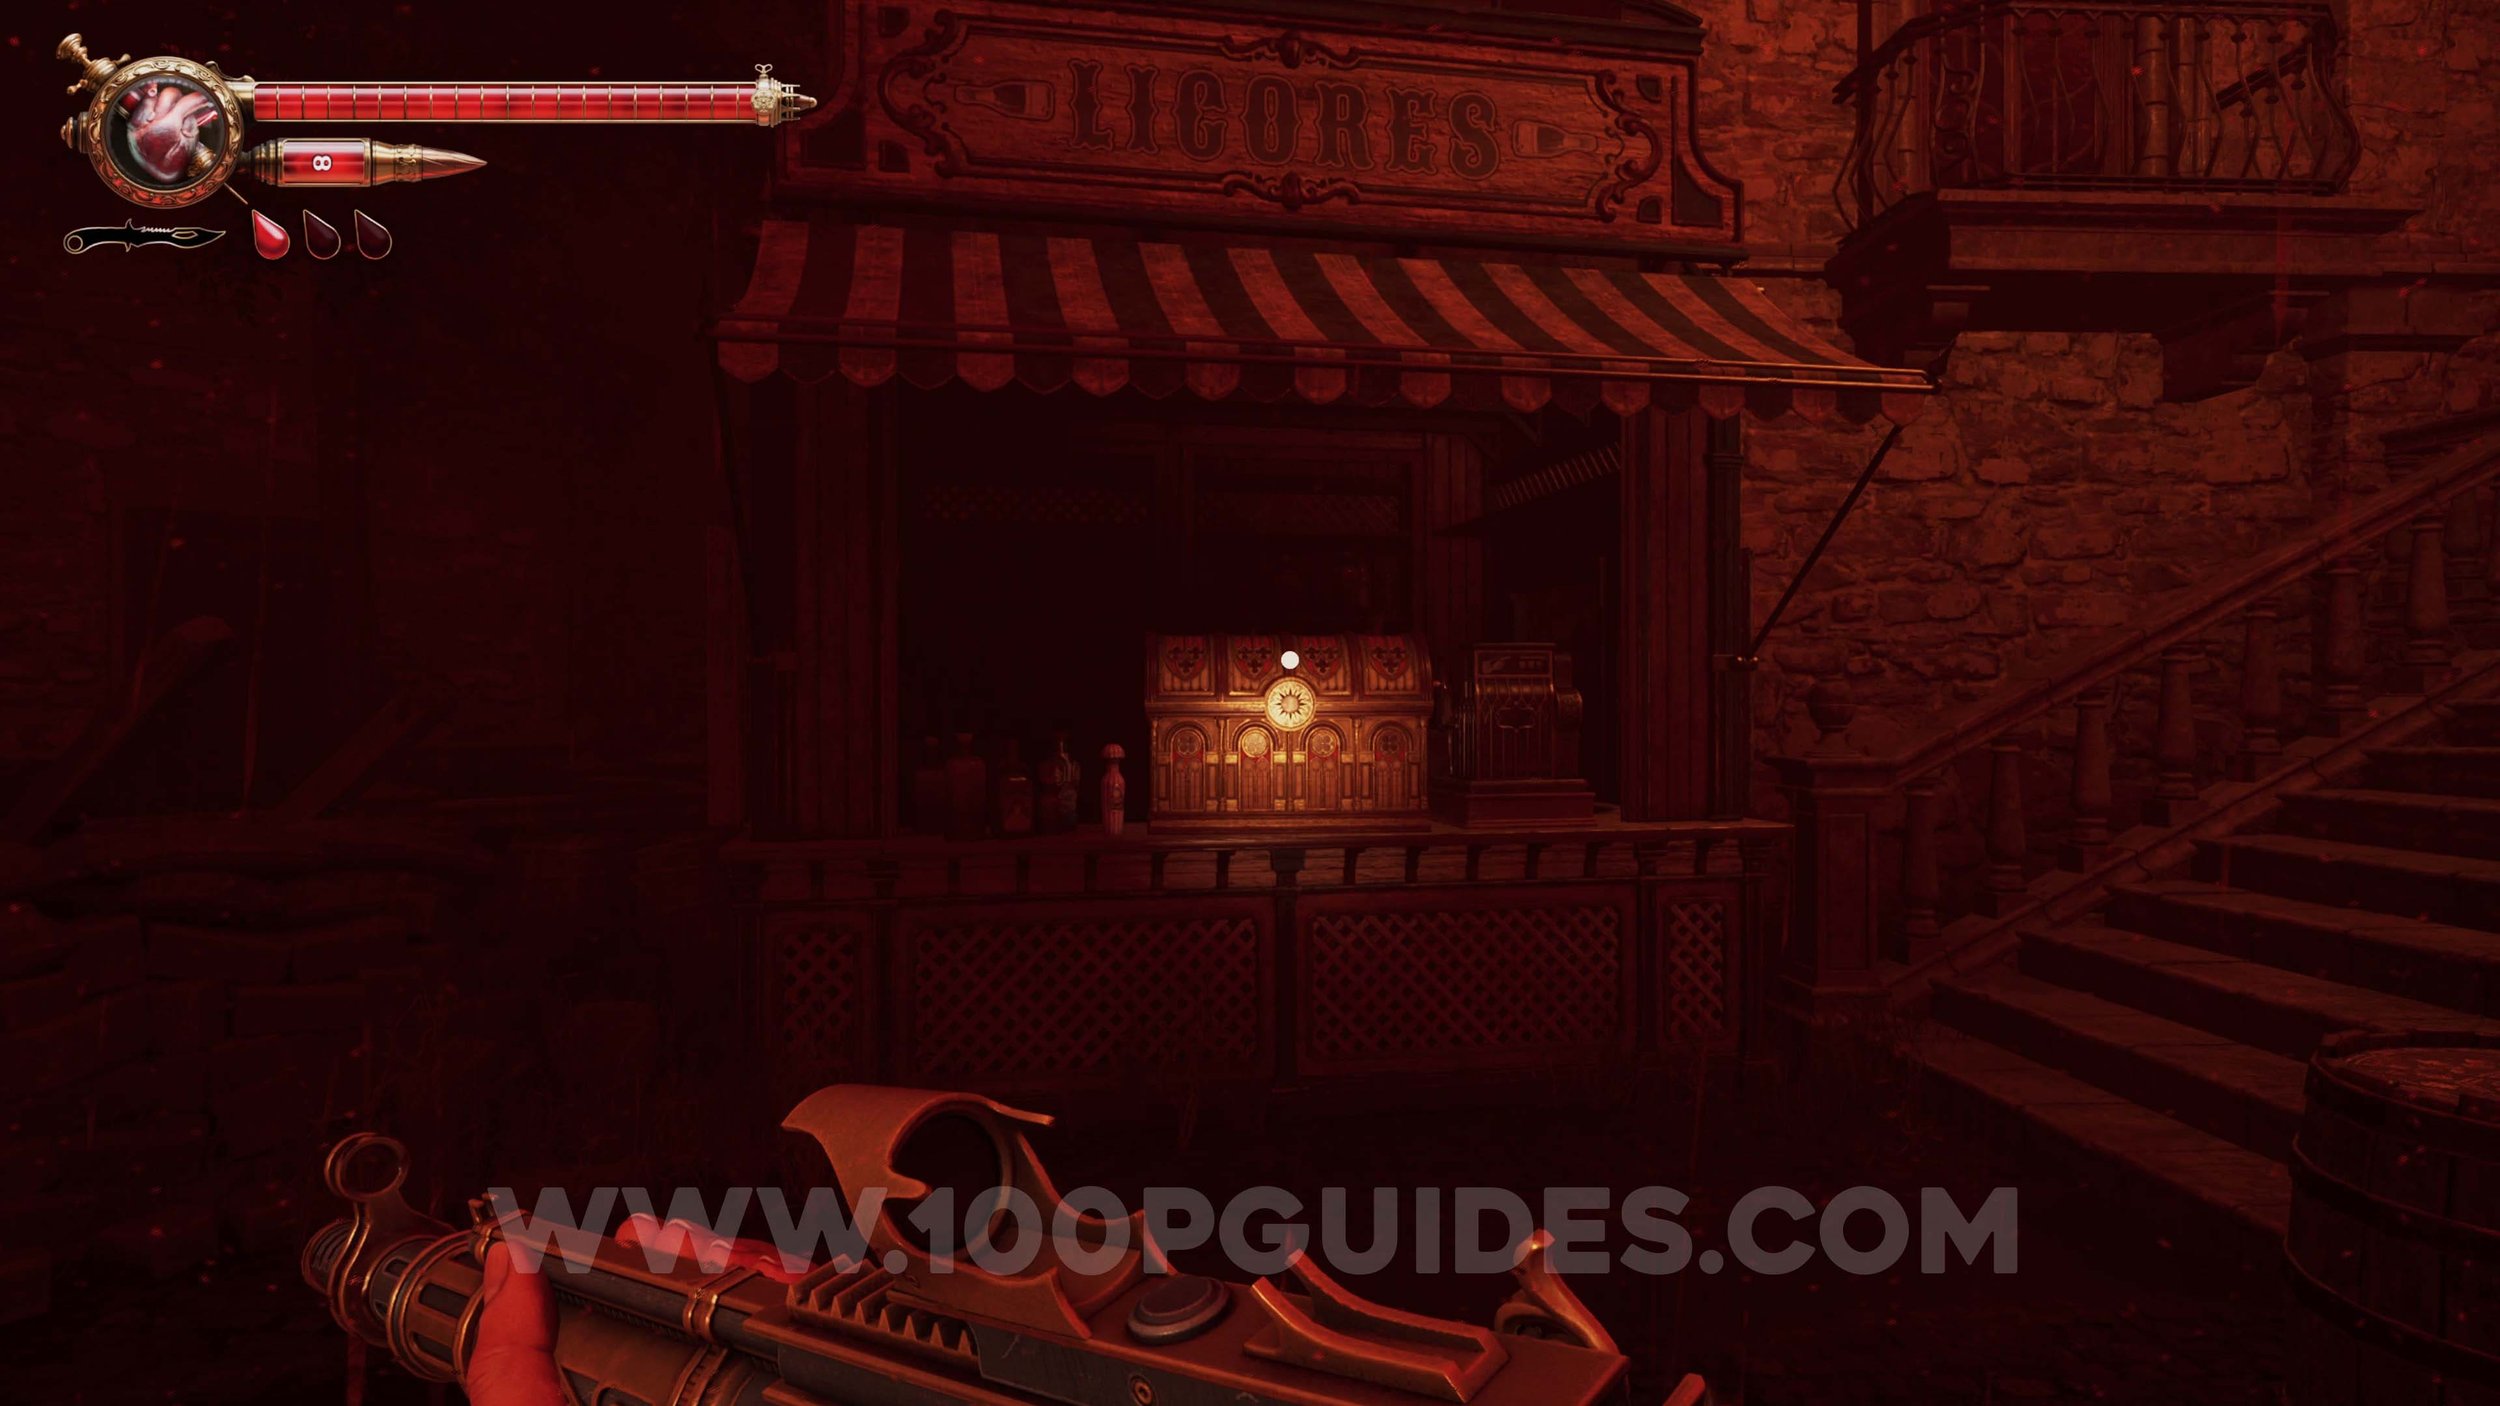
Vinyl Record #1. Go to the north-eastern corner of the Tormentosa Fair to find a booth where you can spend your tickets. After winning all 3 games, you should have enough to open 1 door. We picked the Vinyl Record.
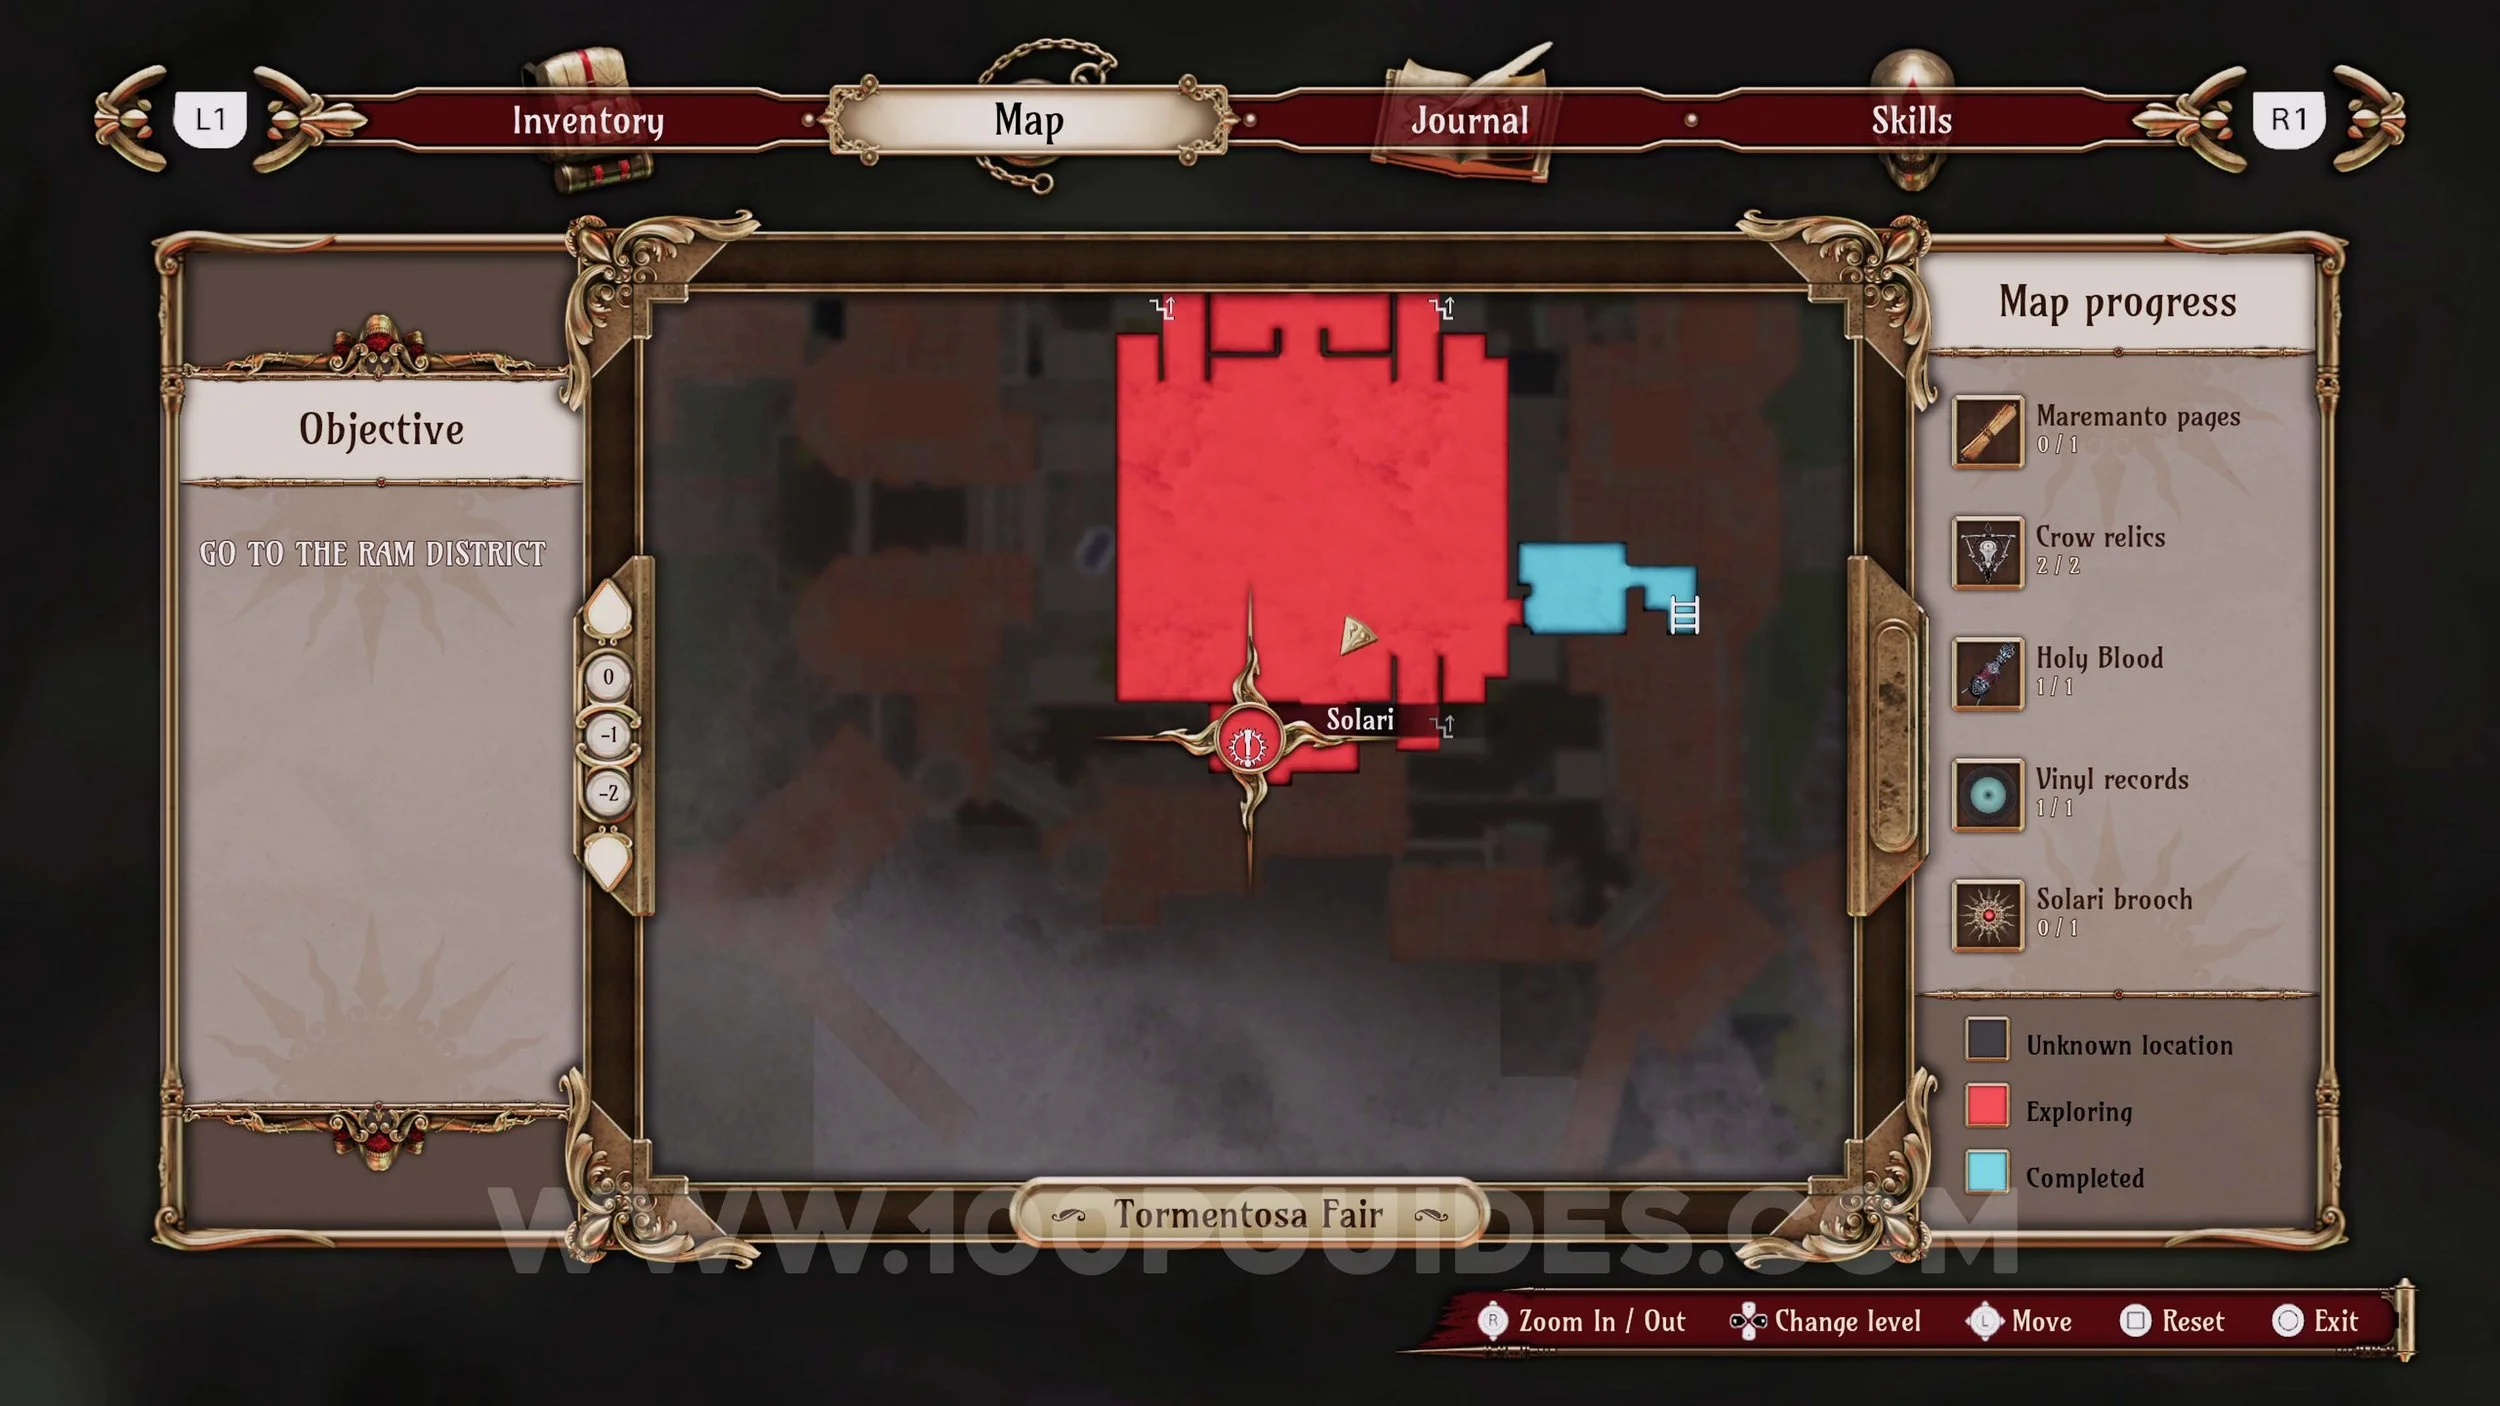
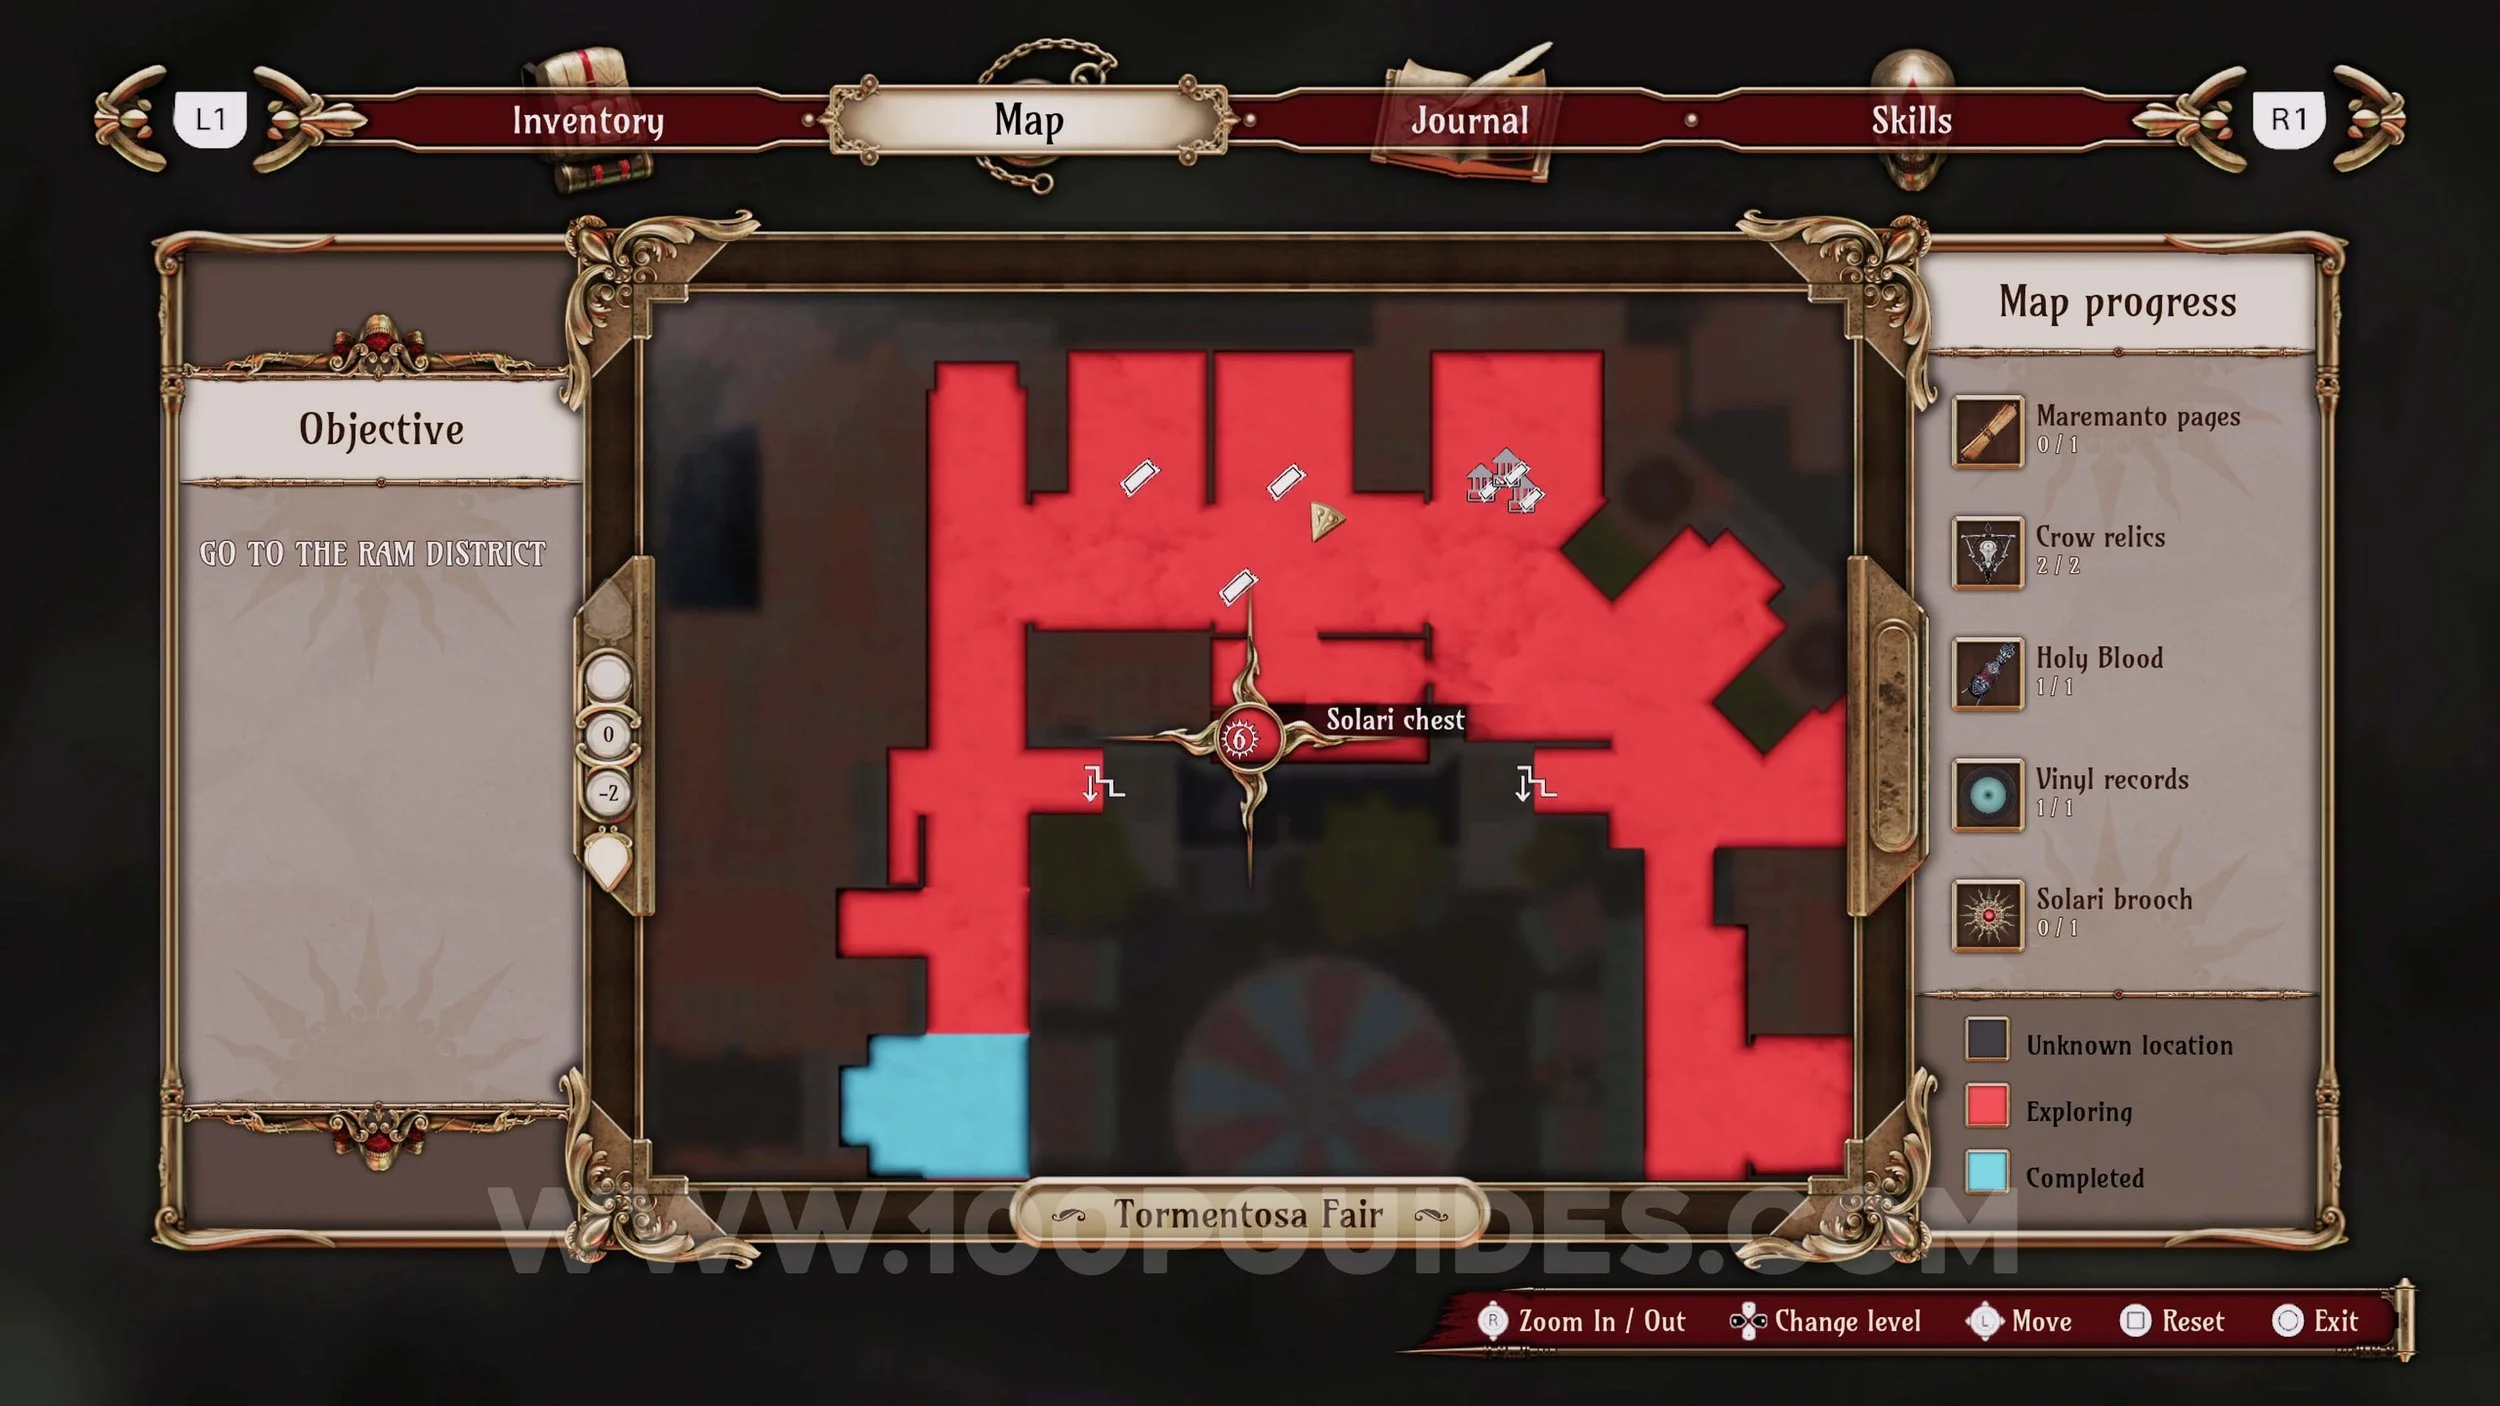
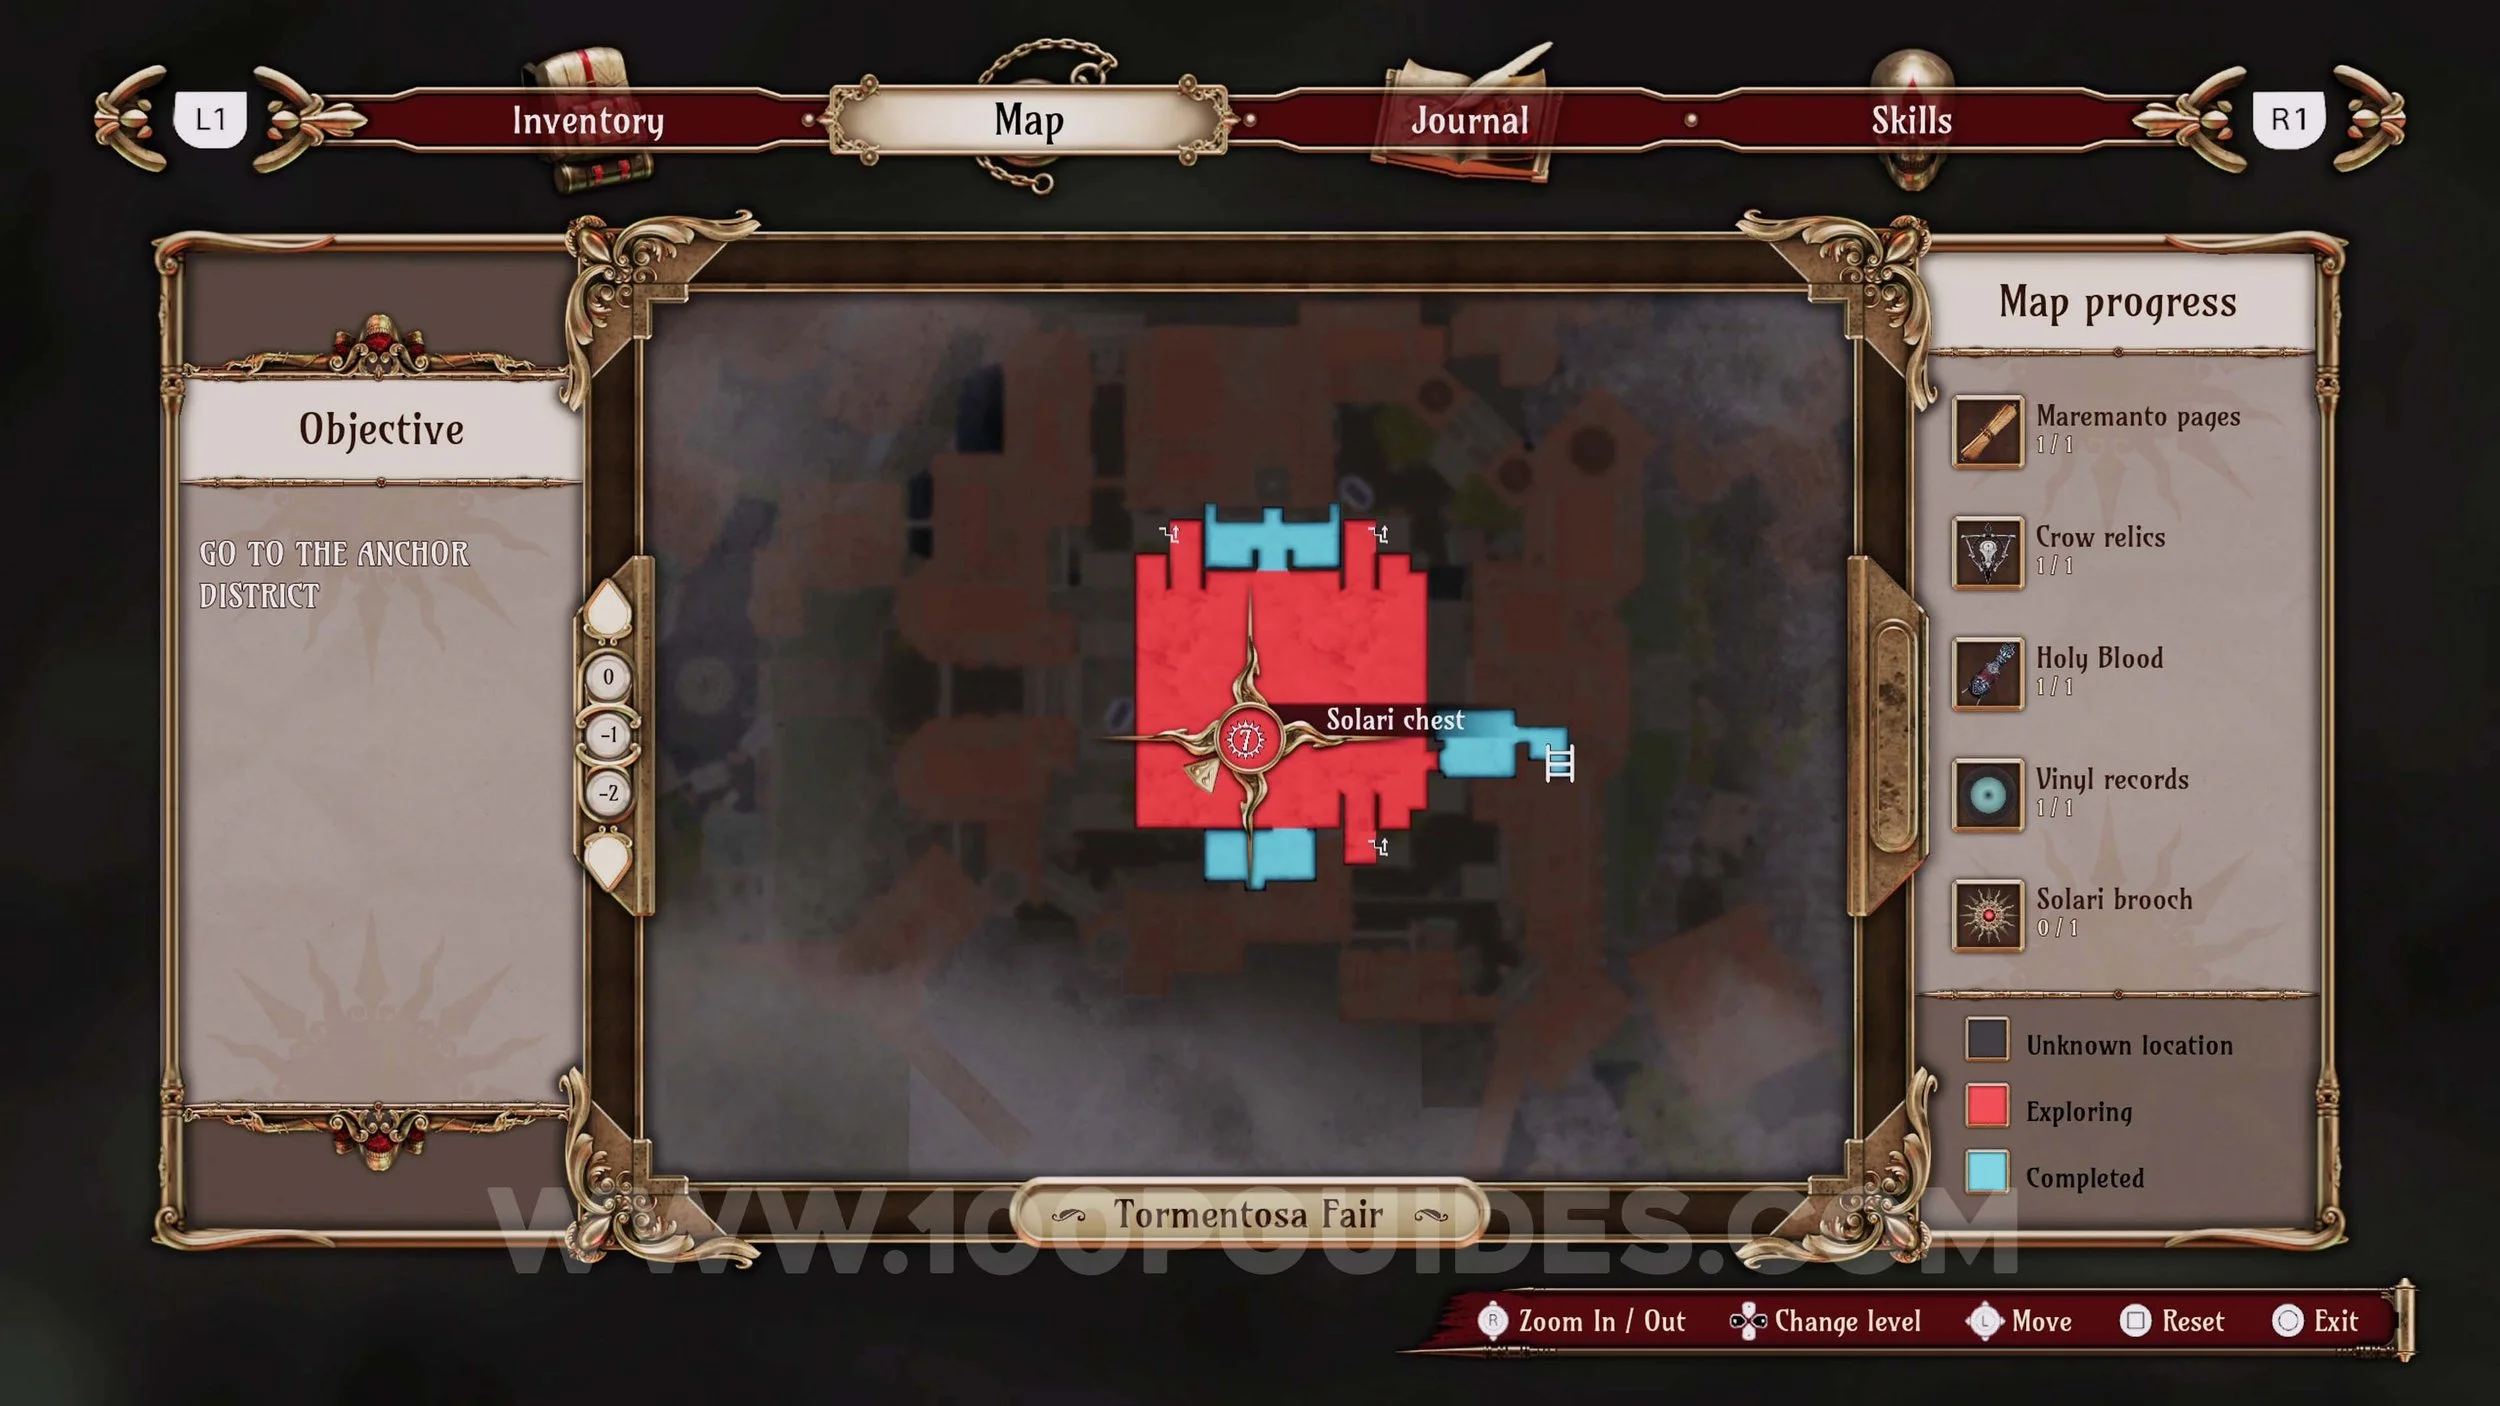
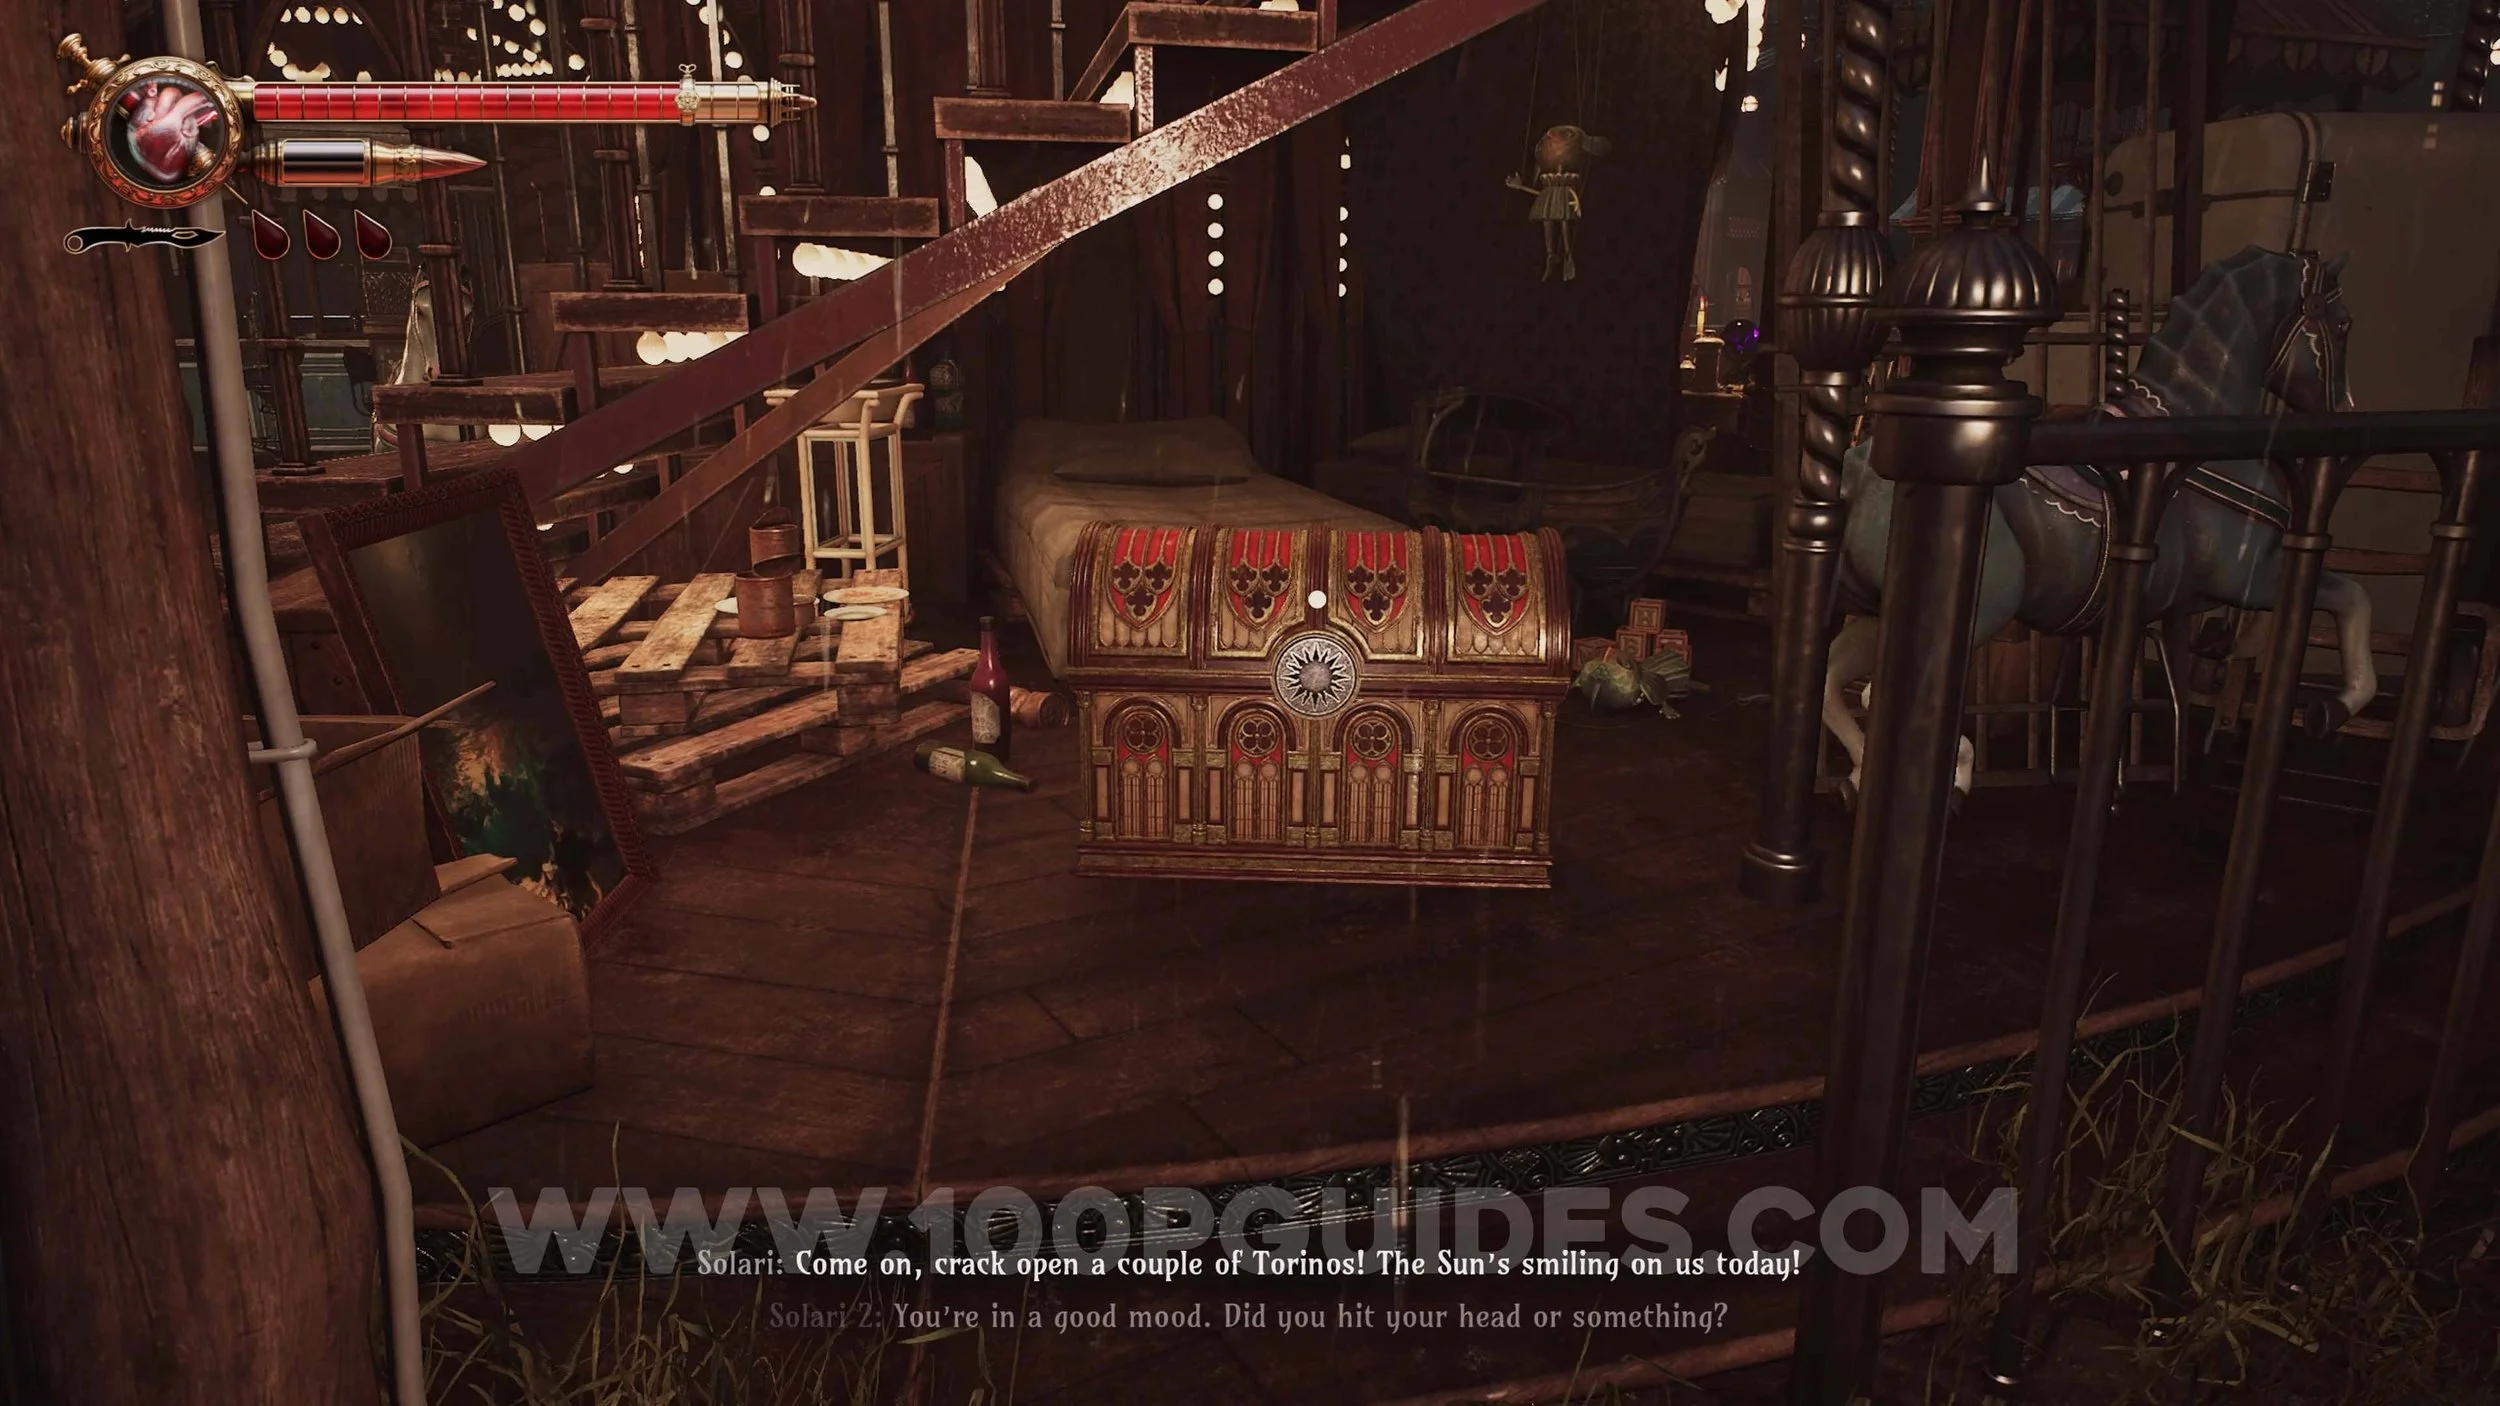
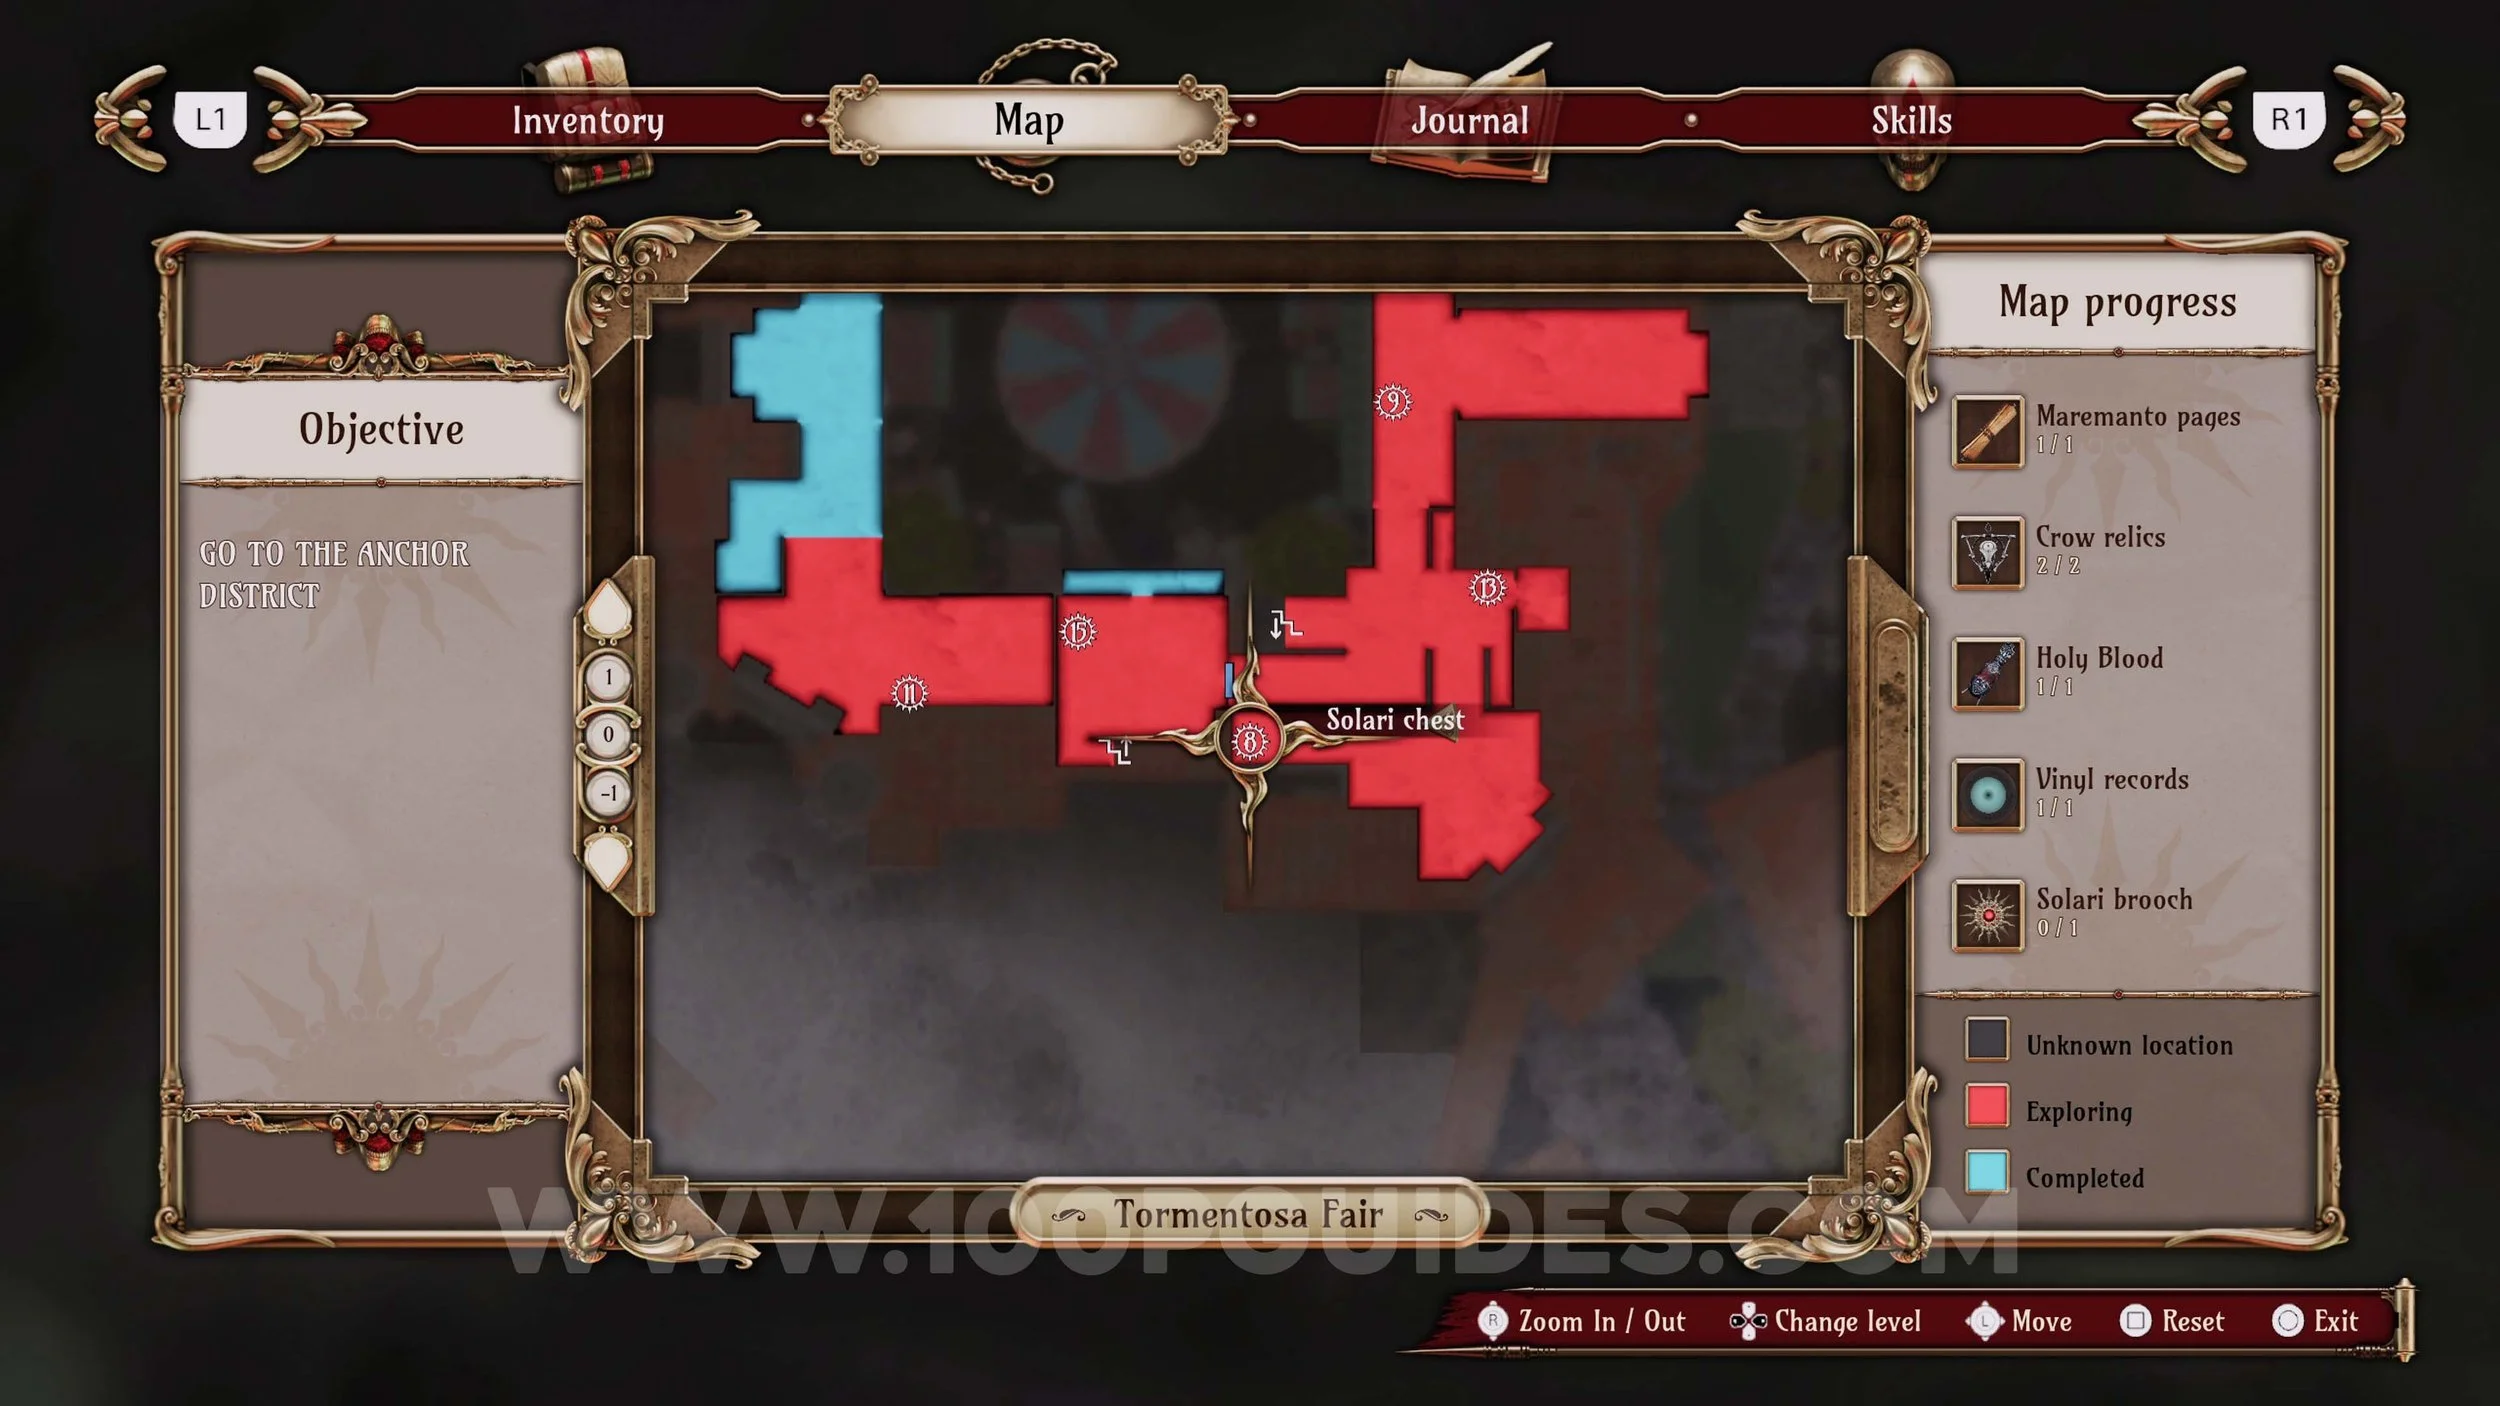
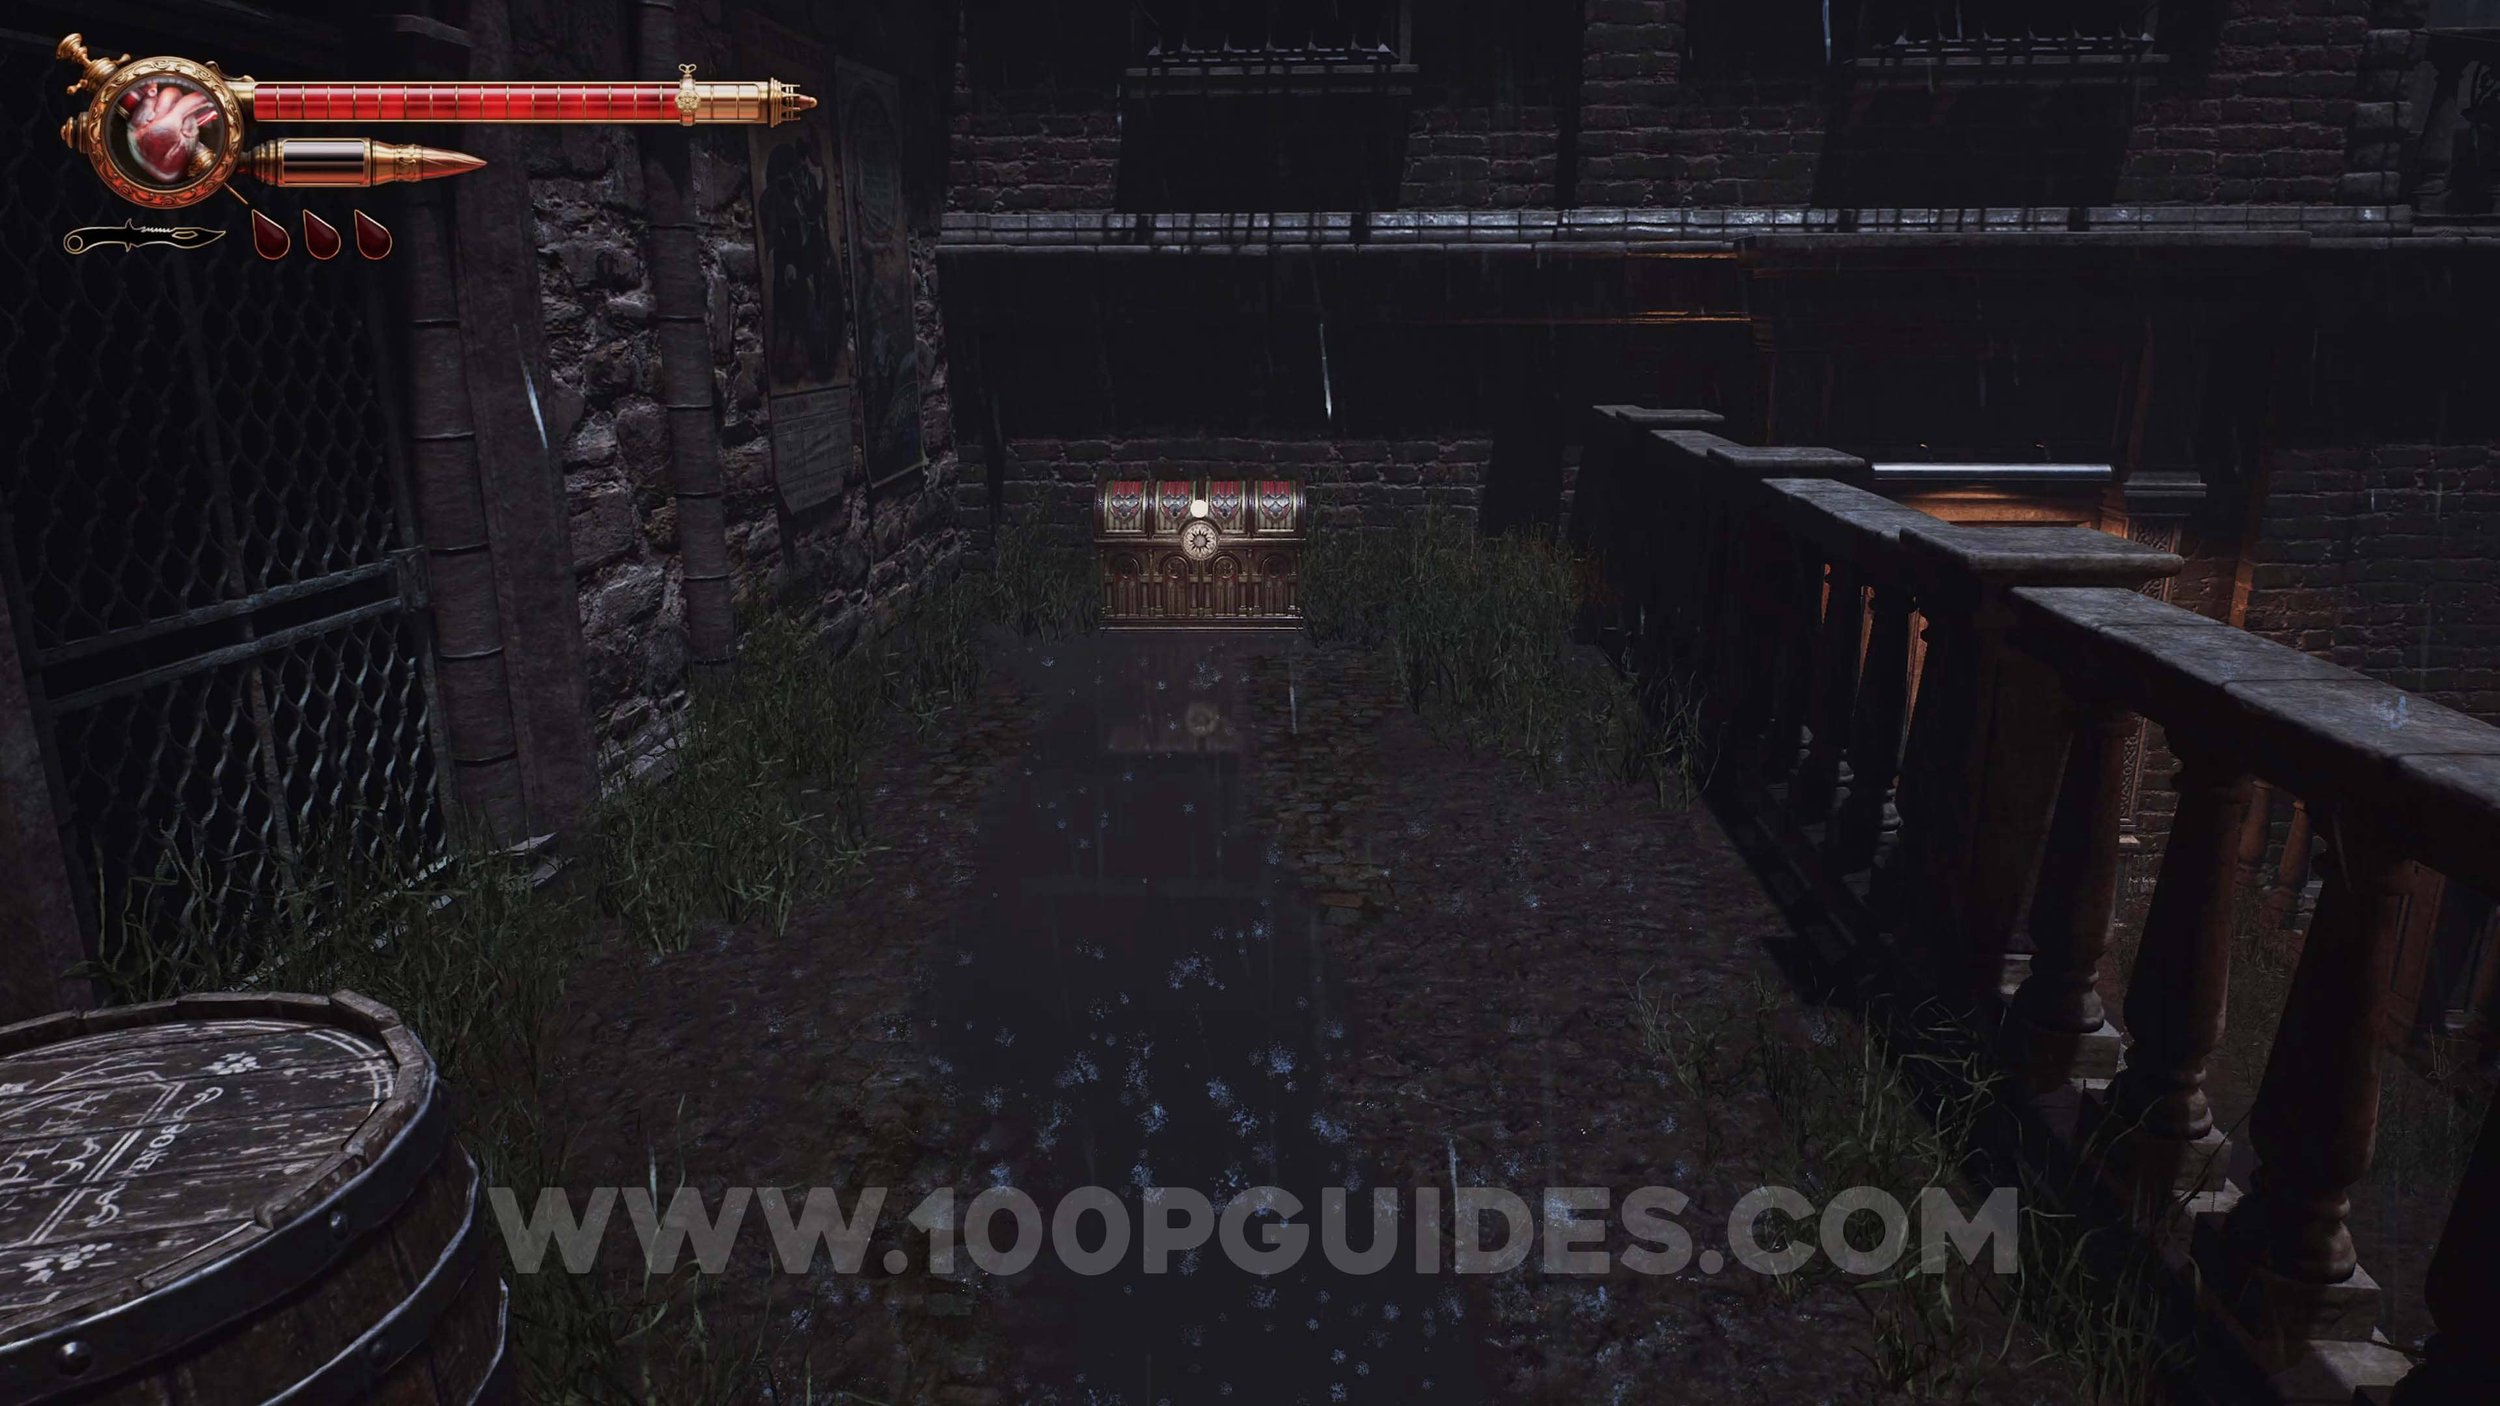
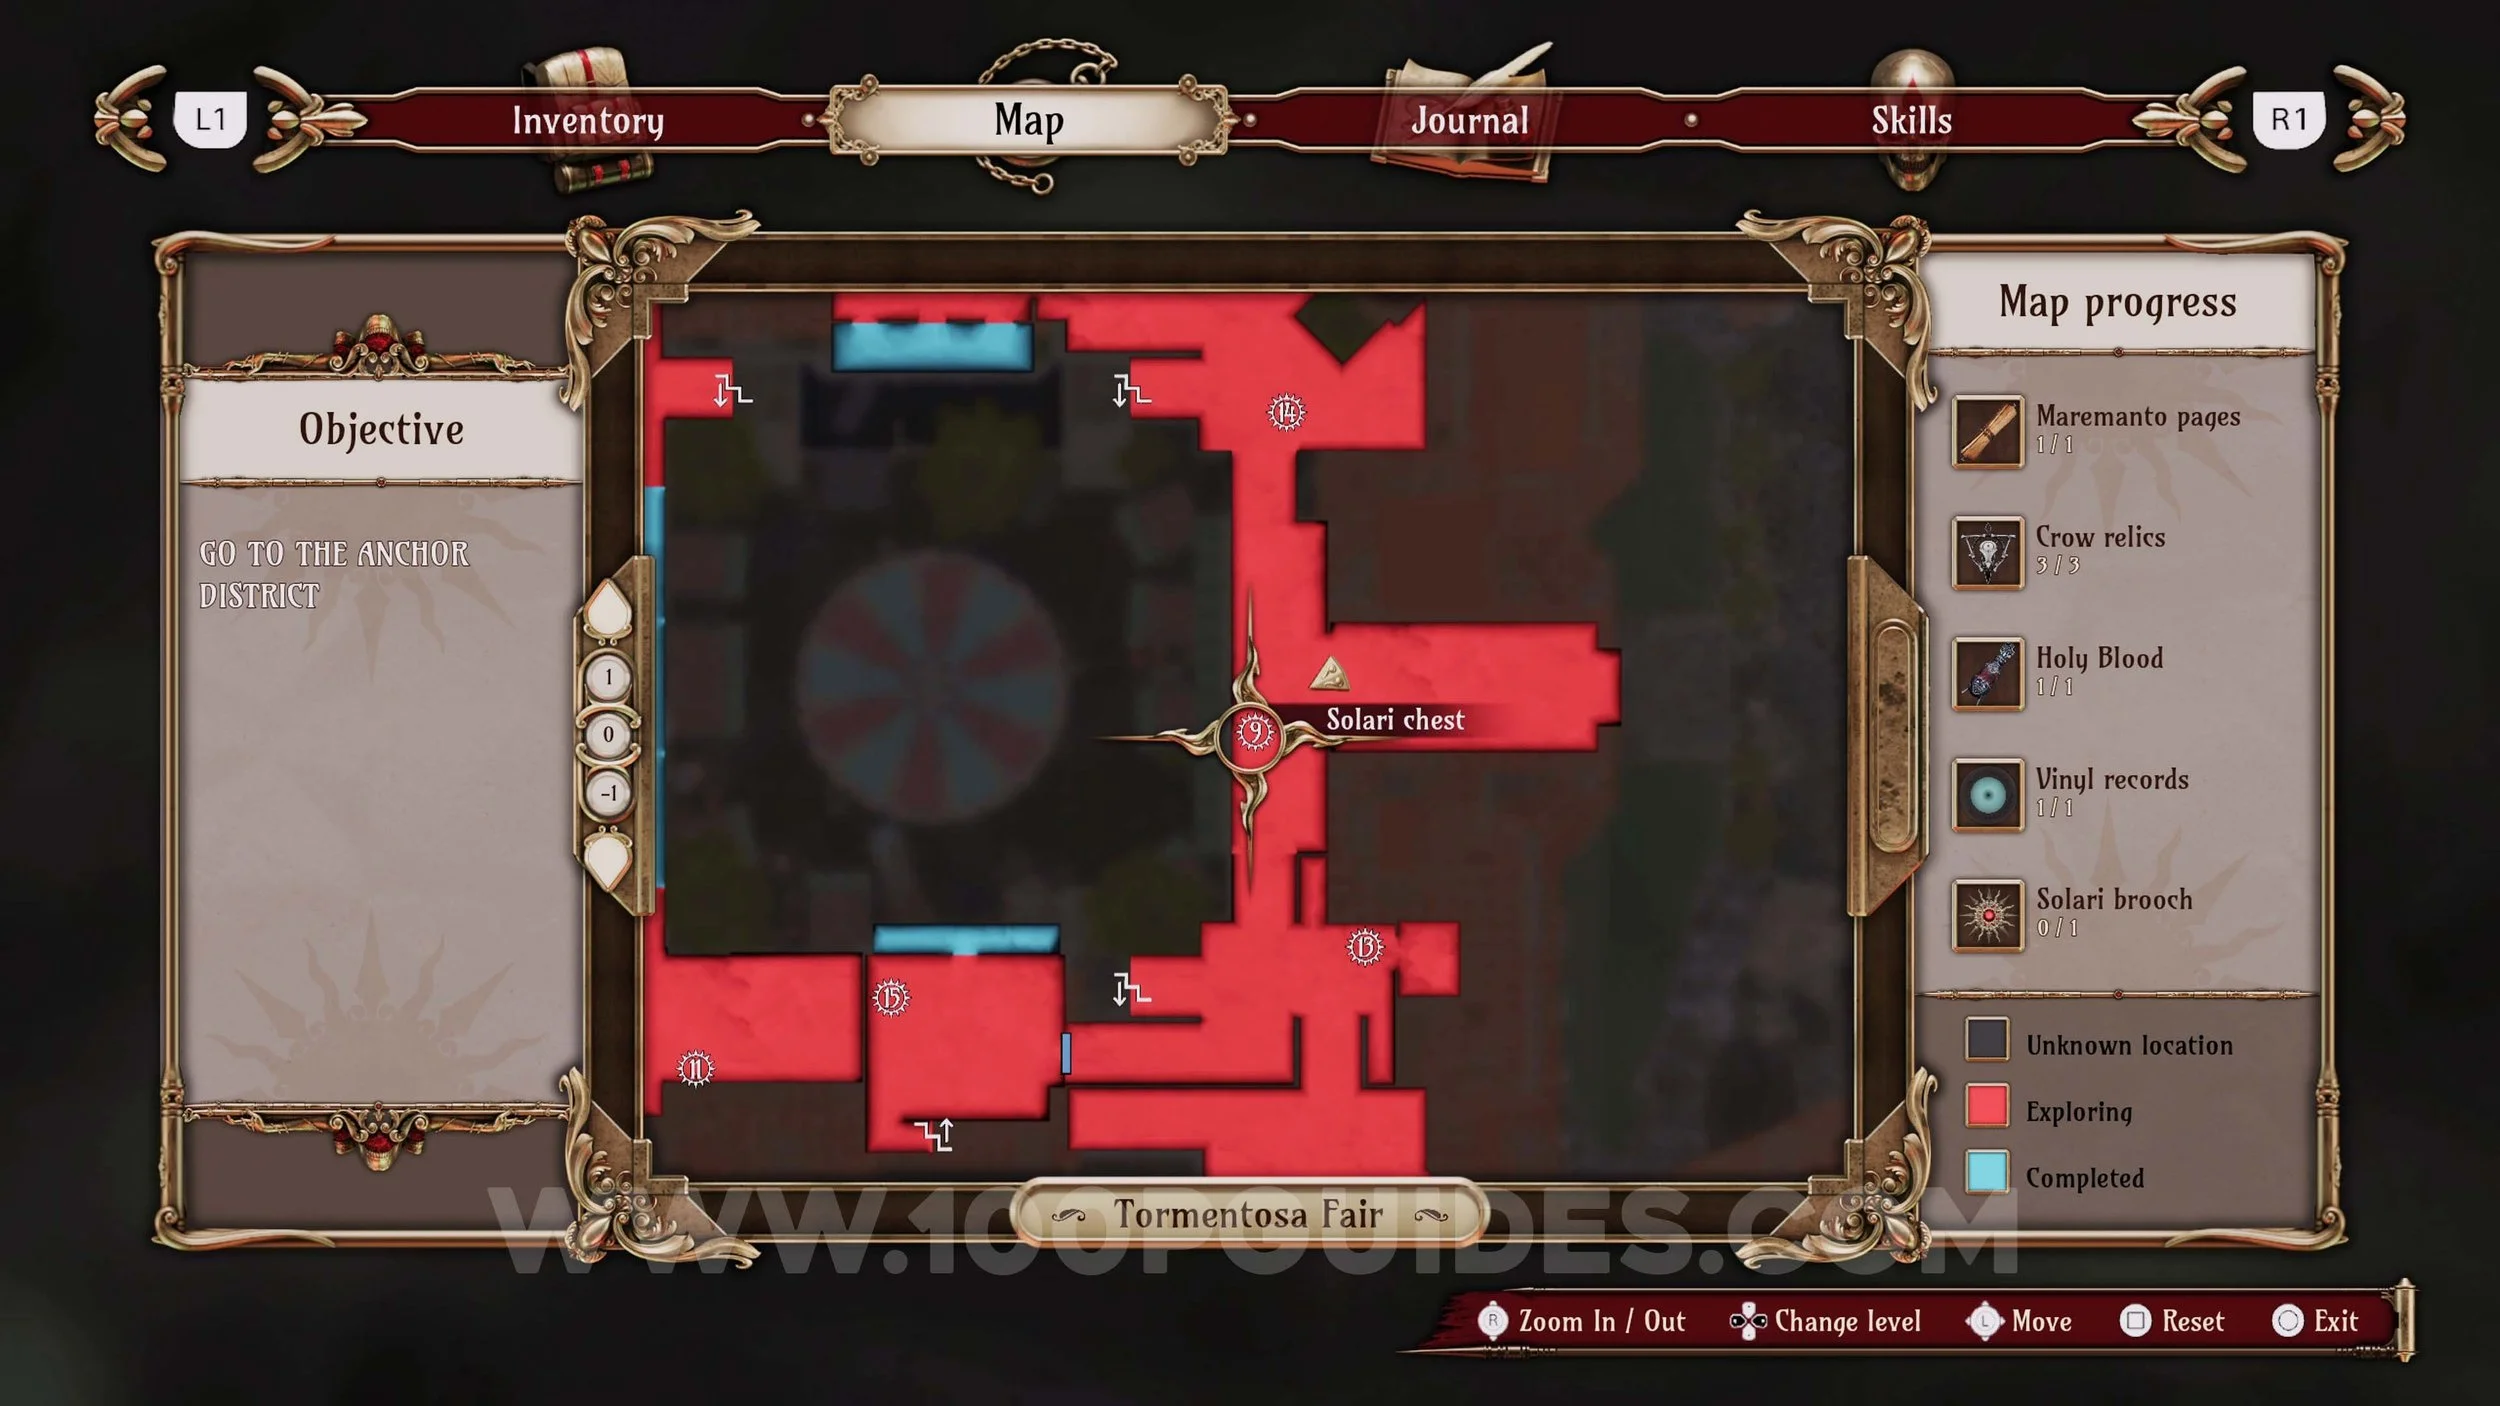
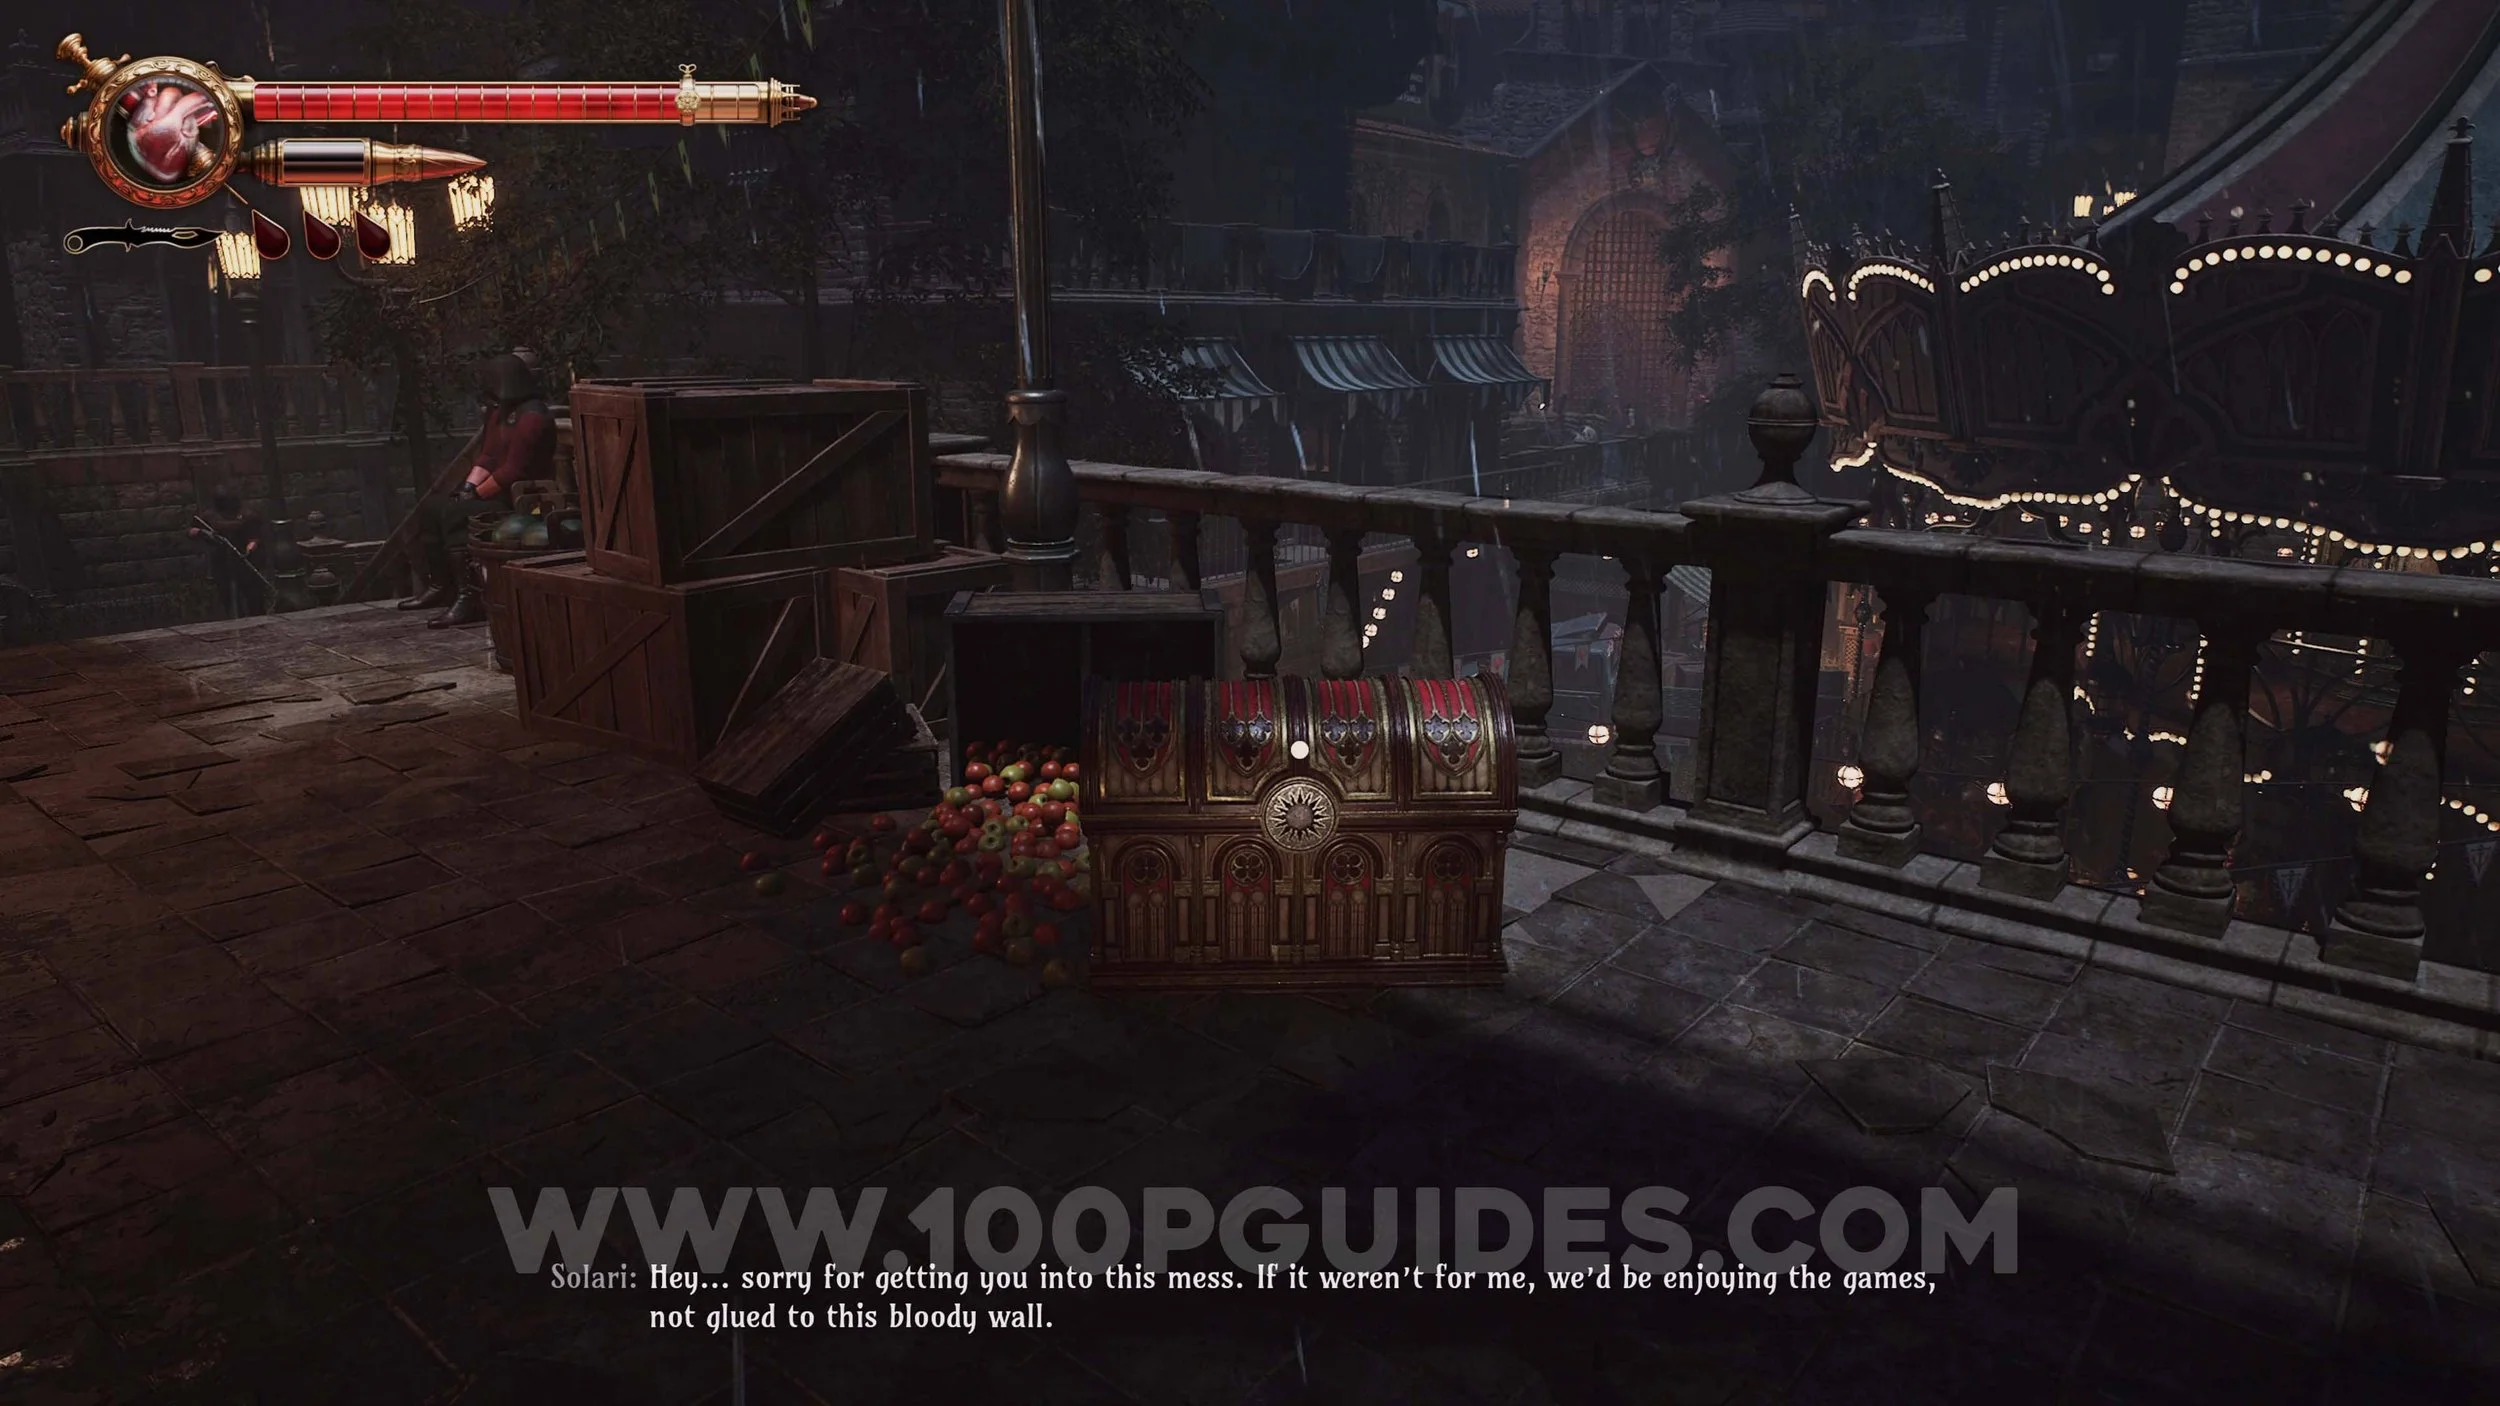
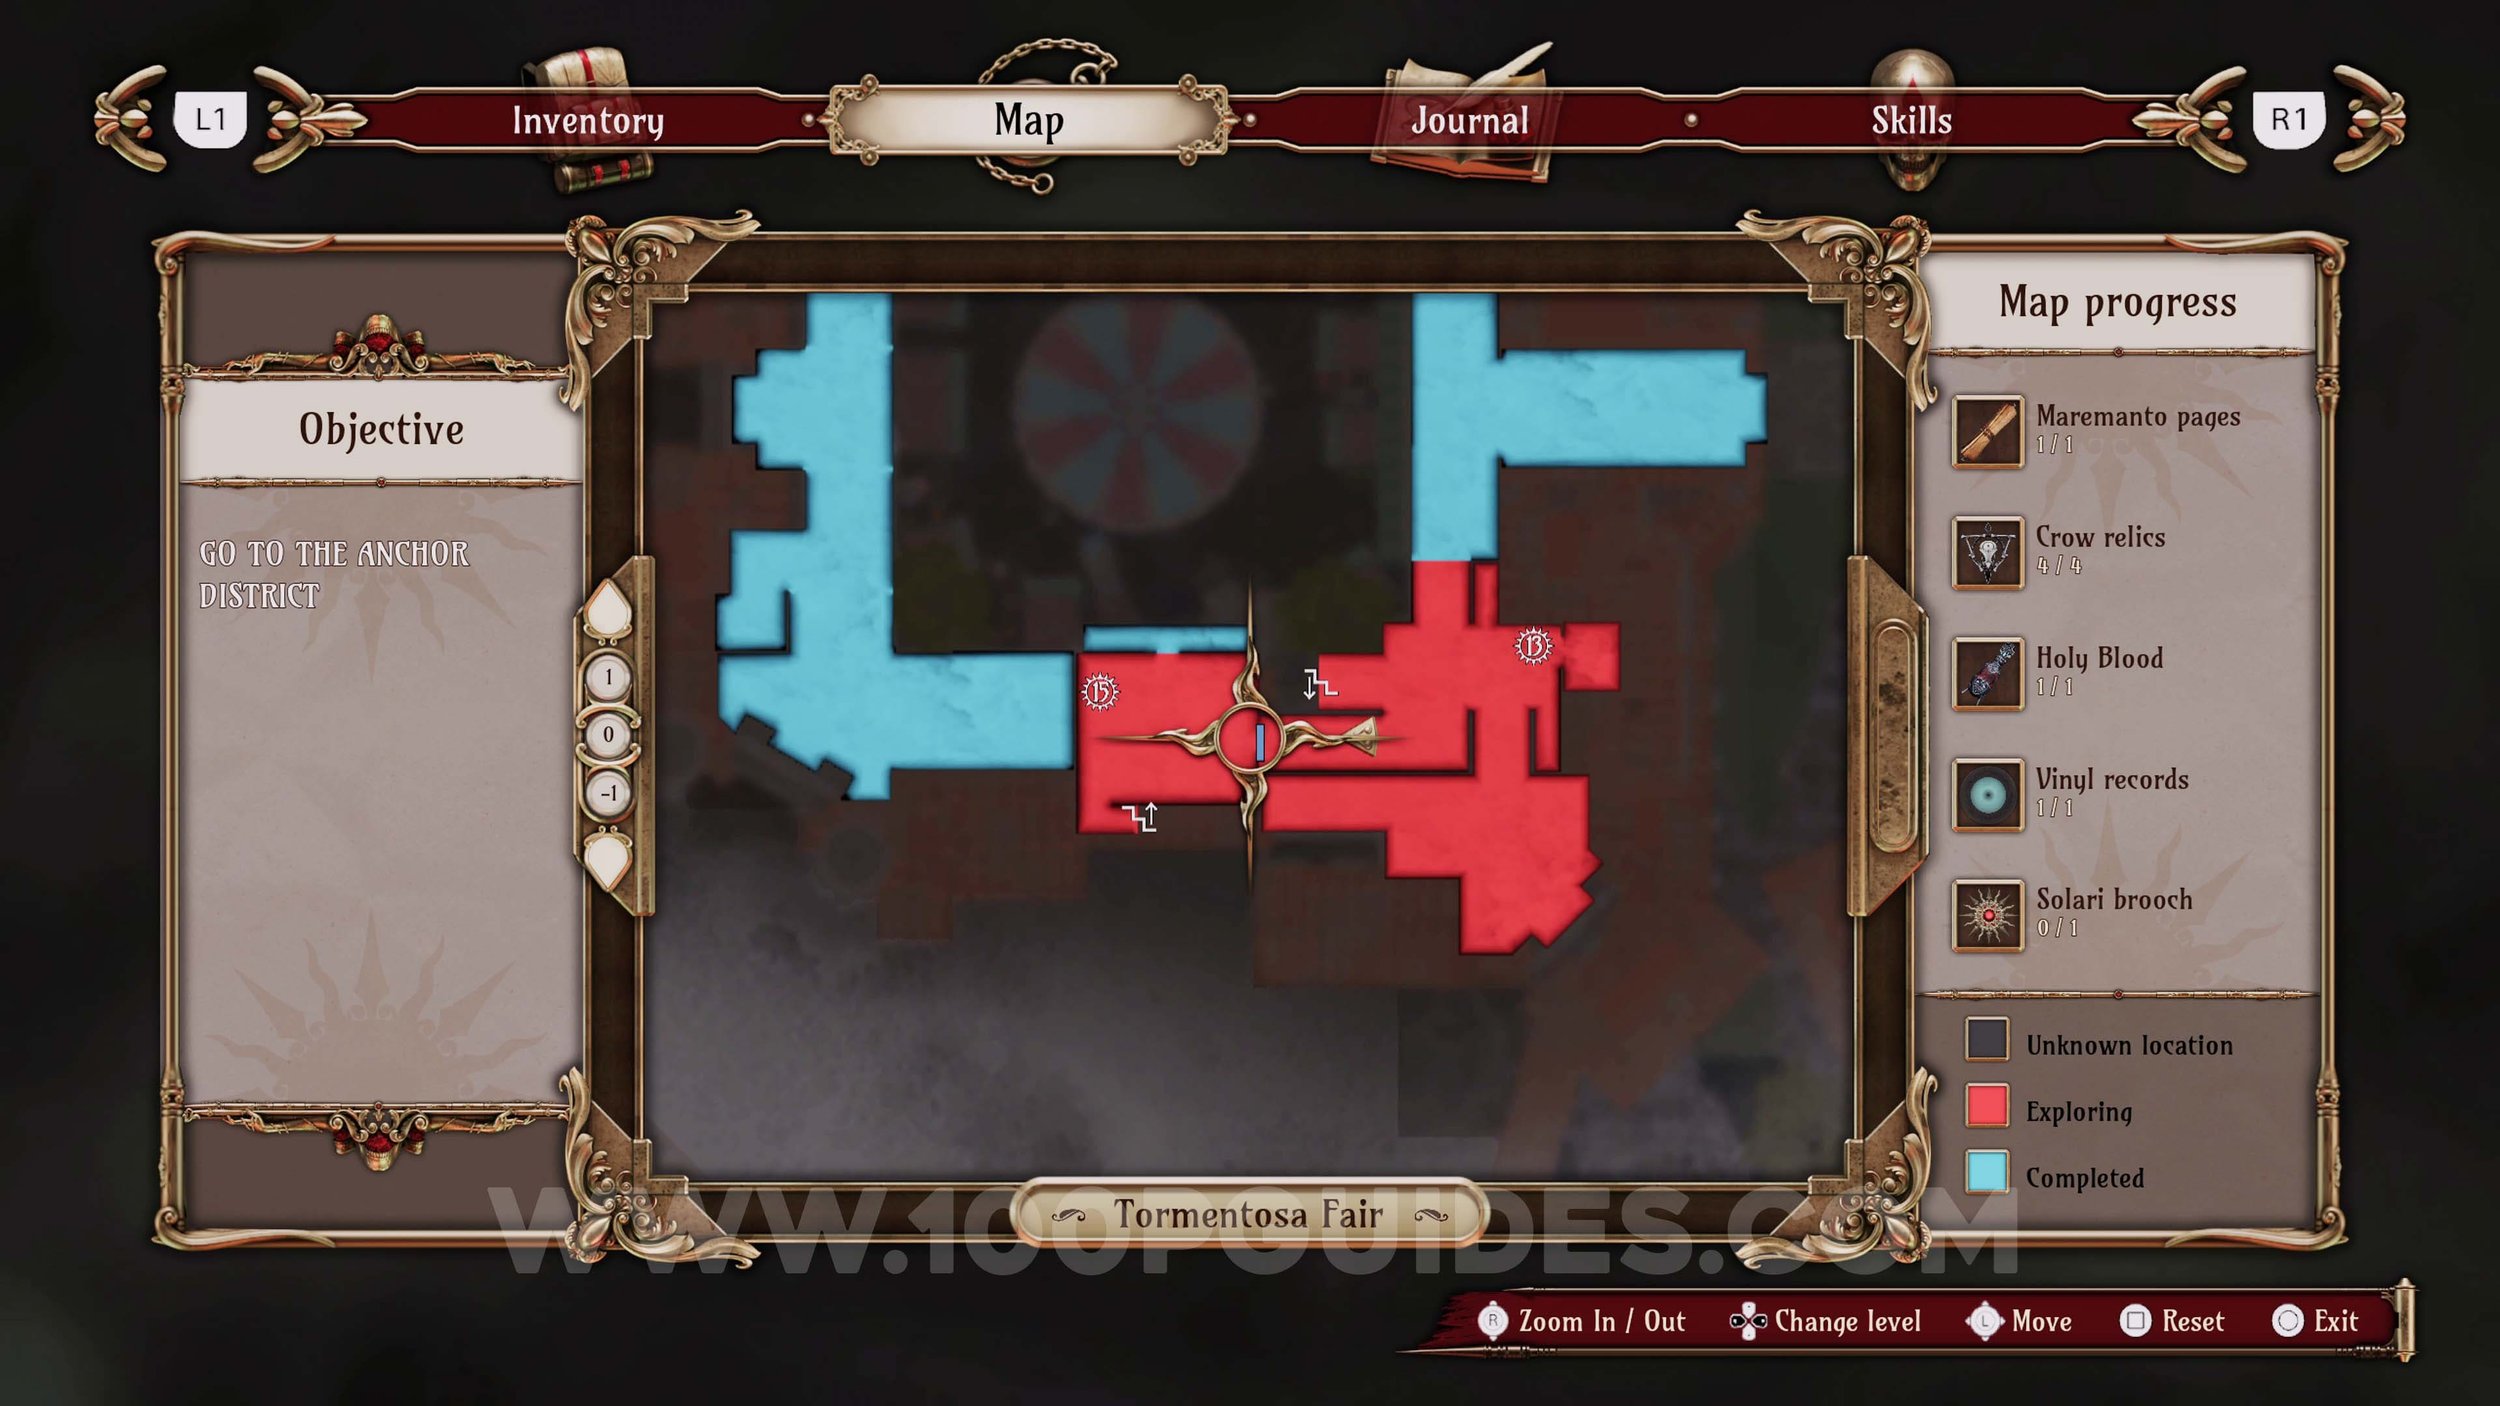
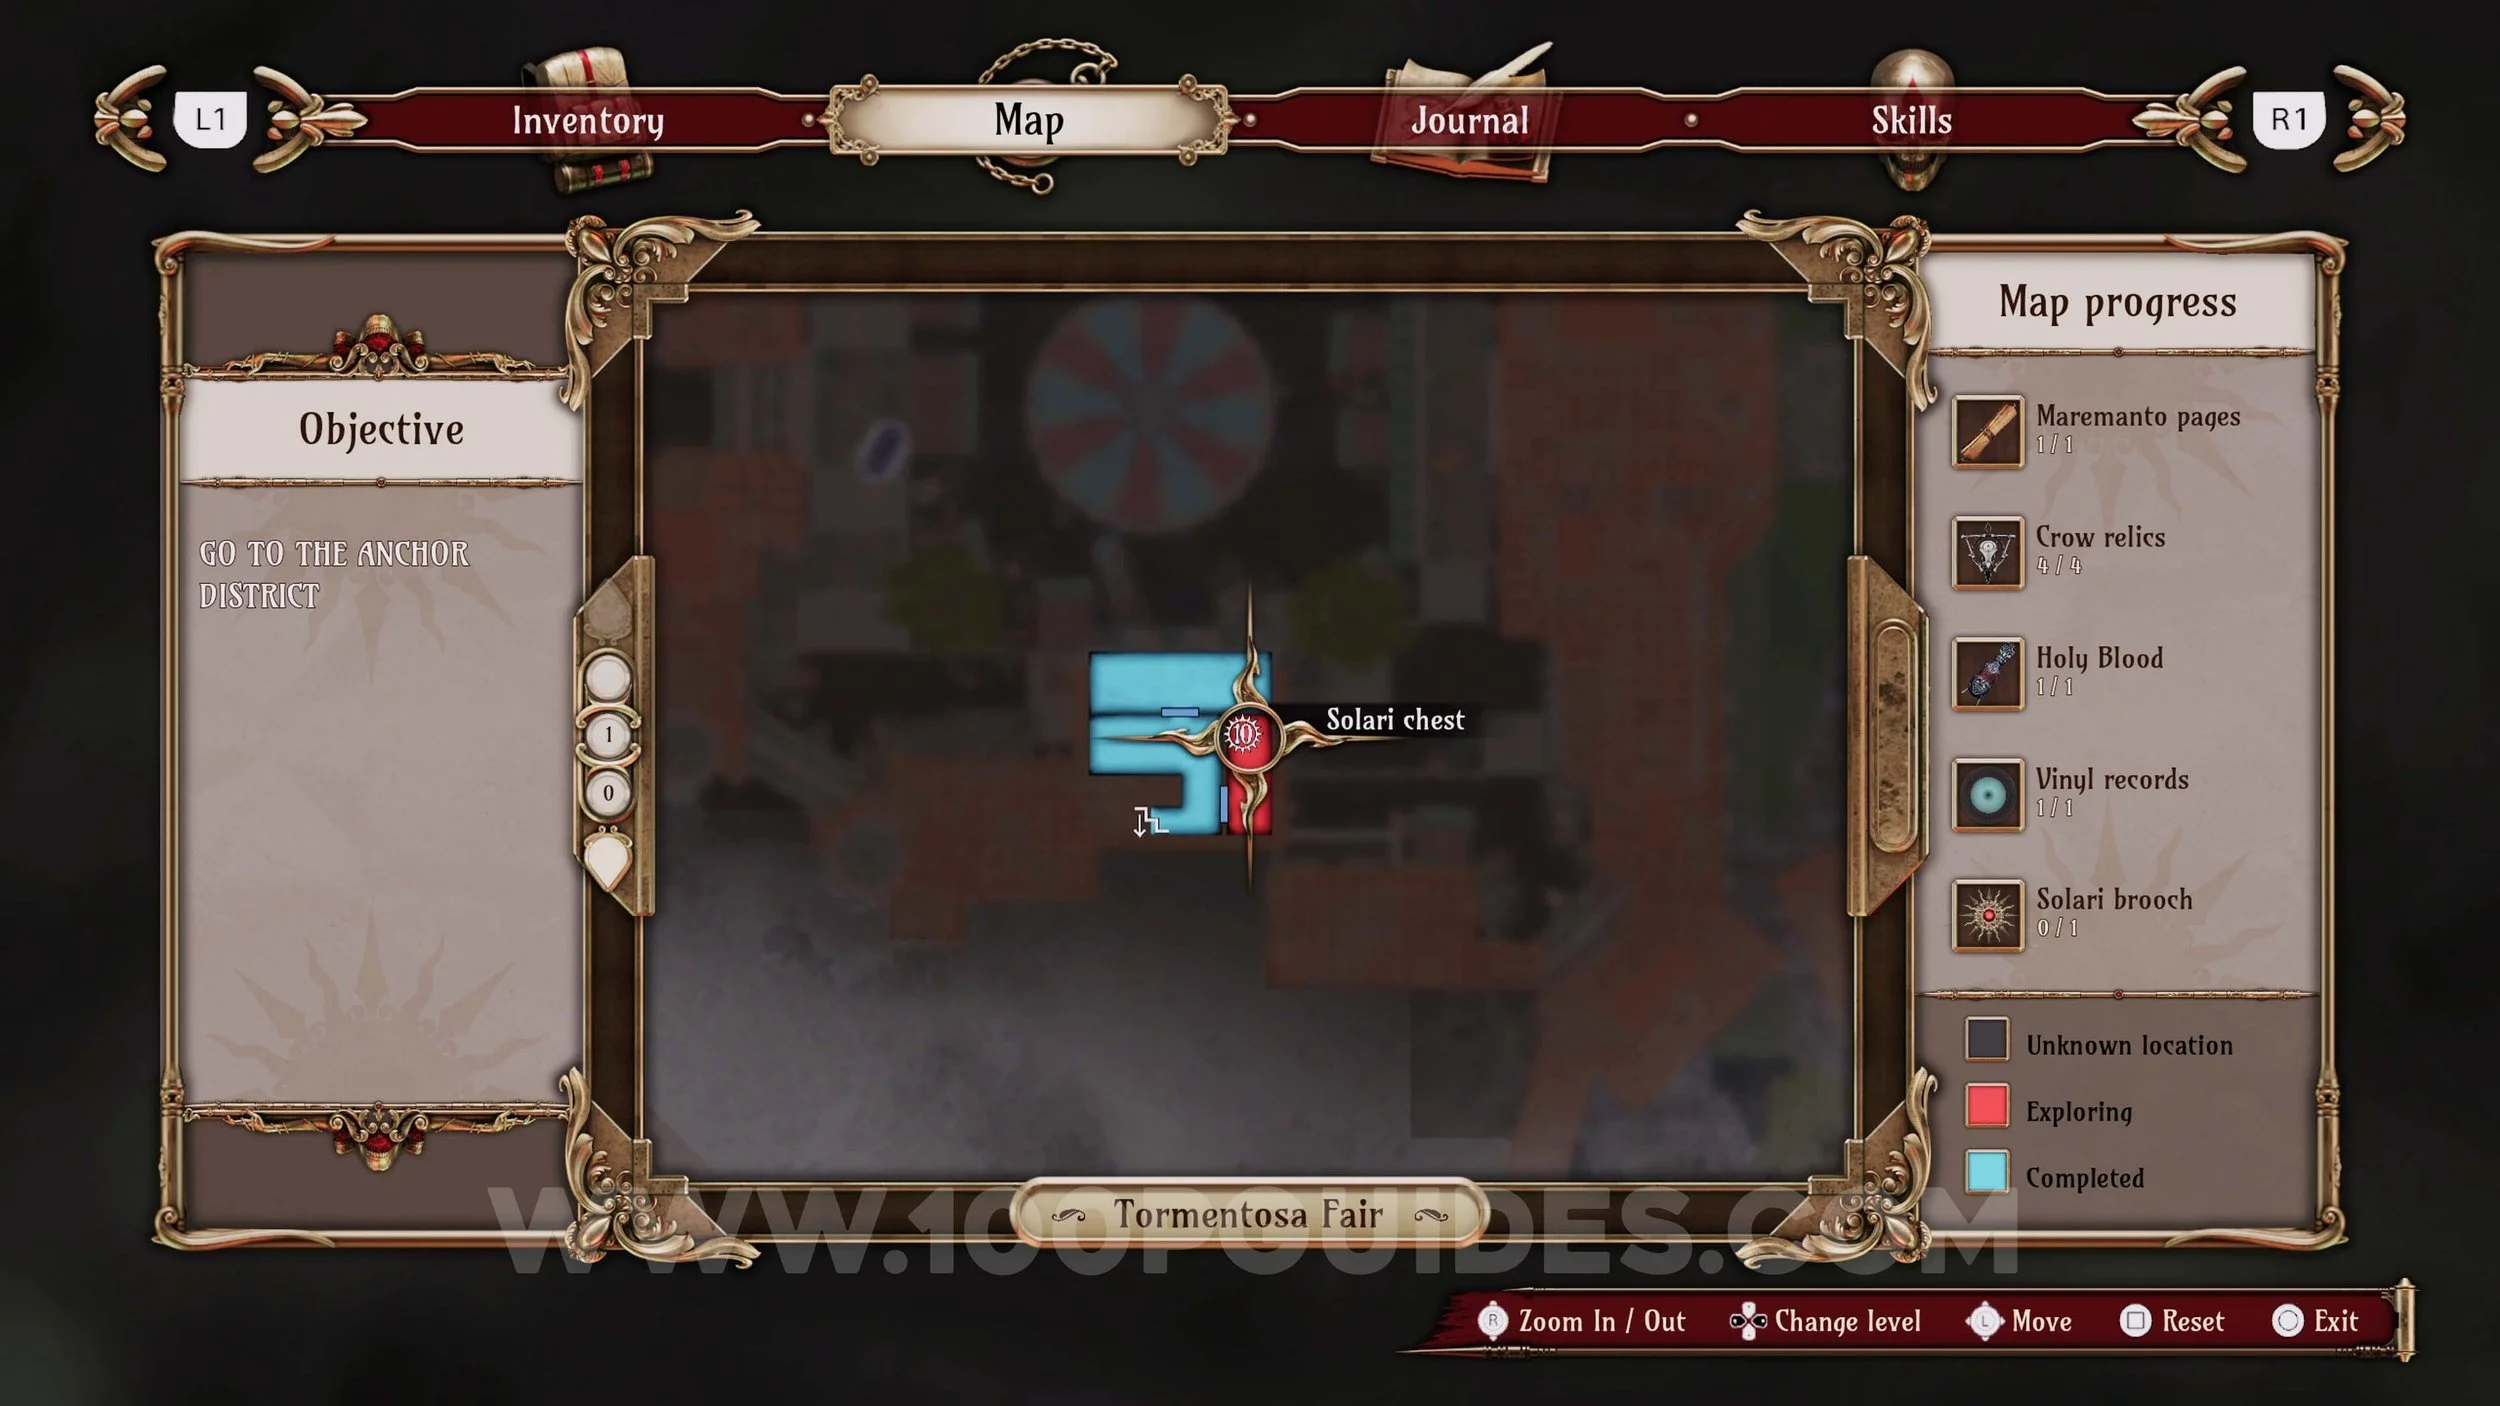
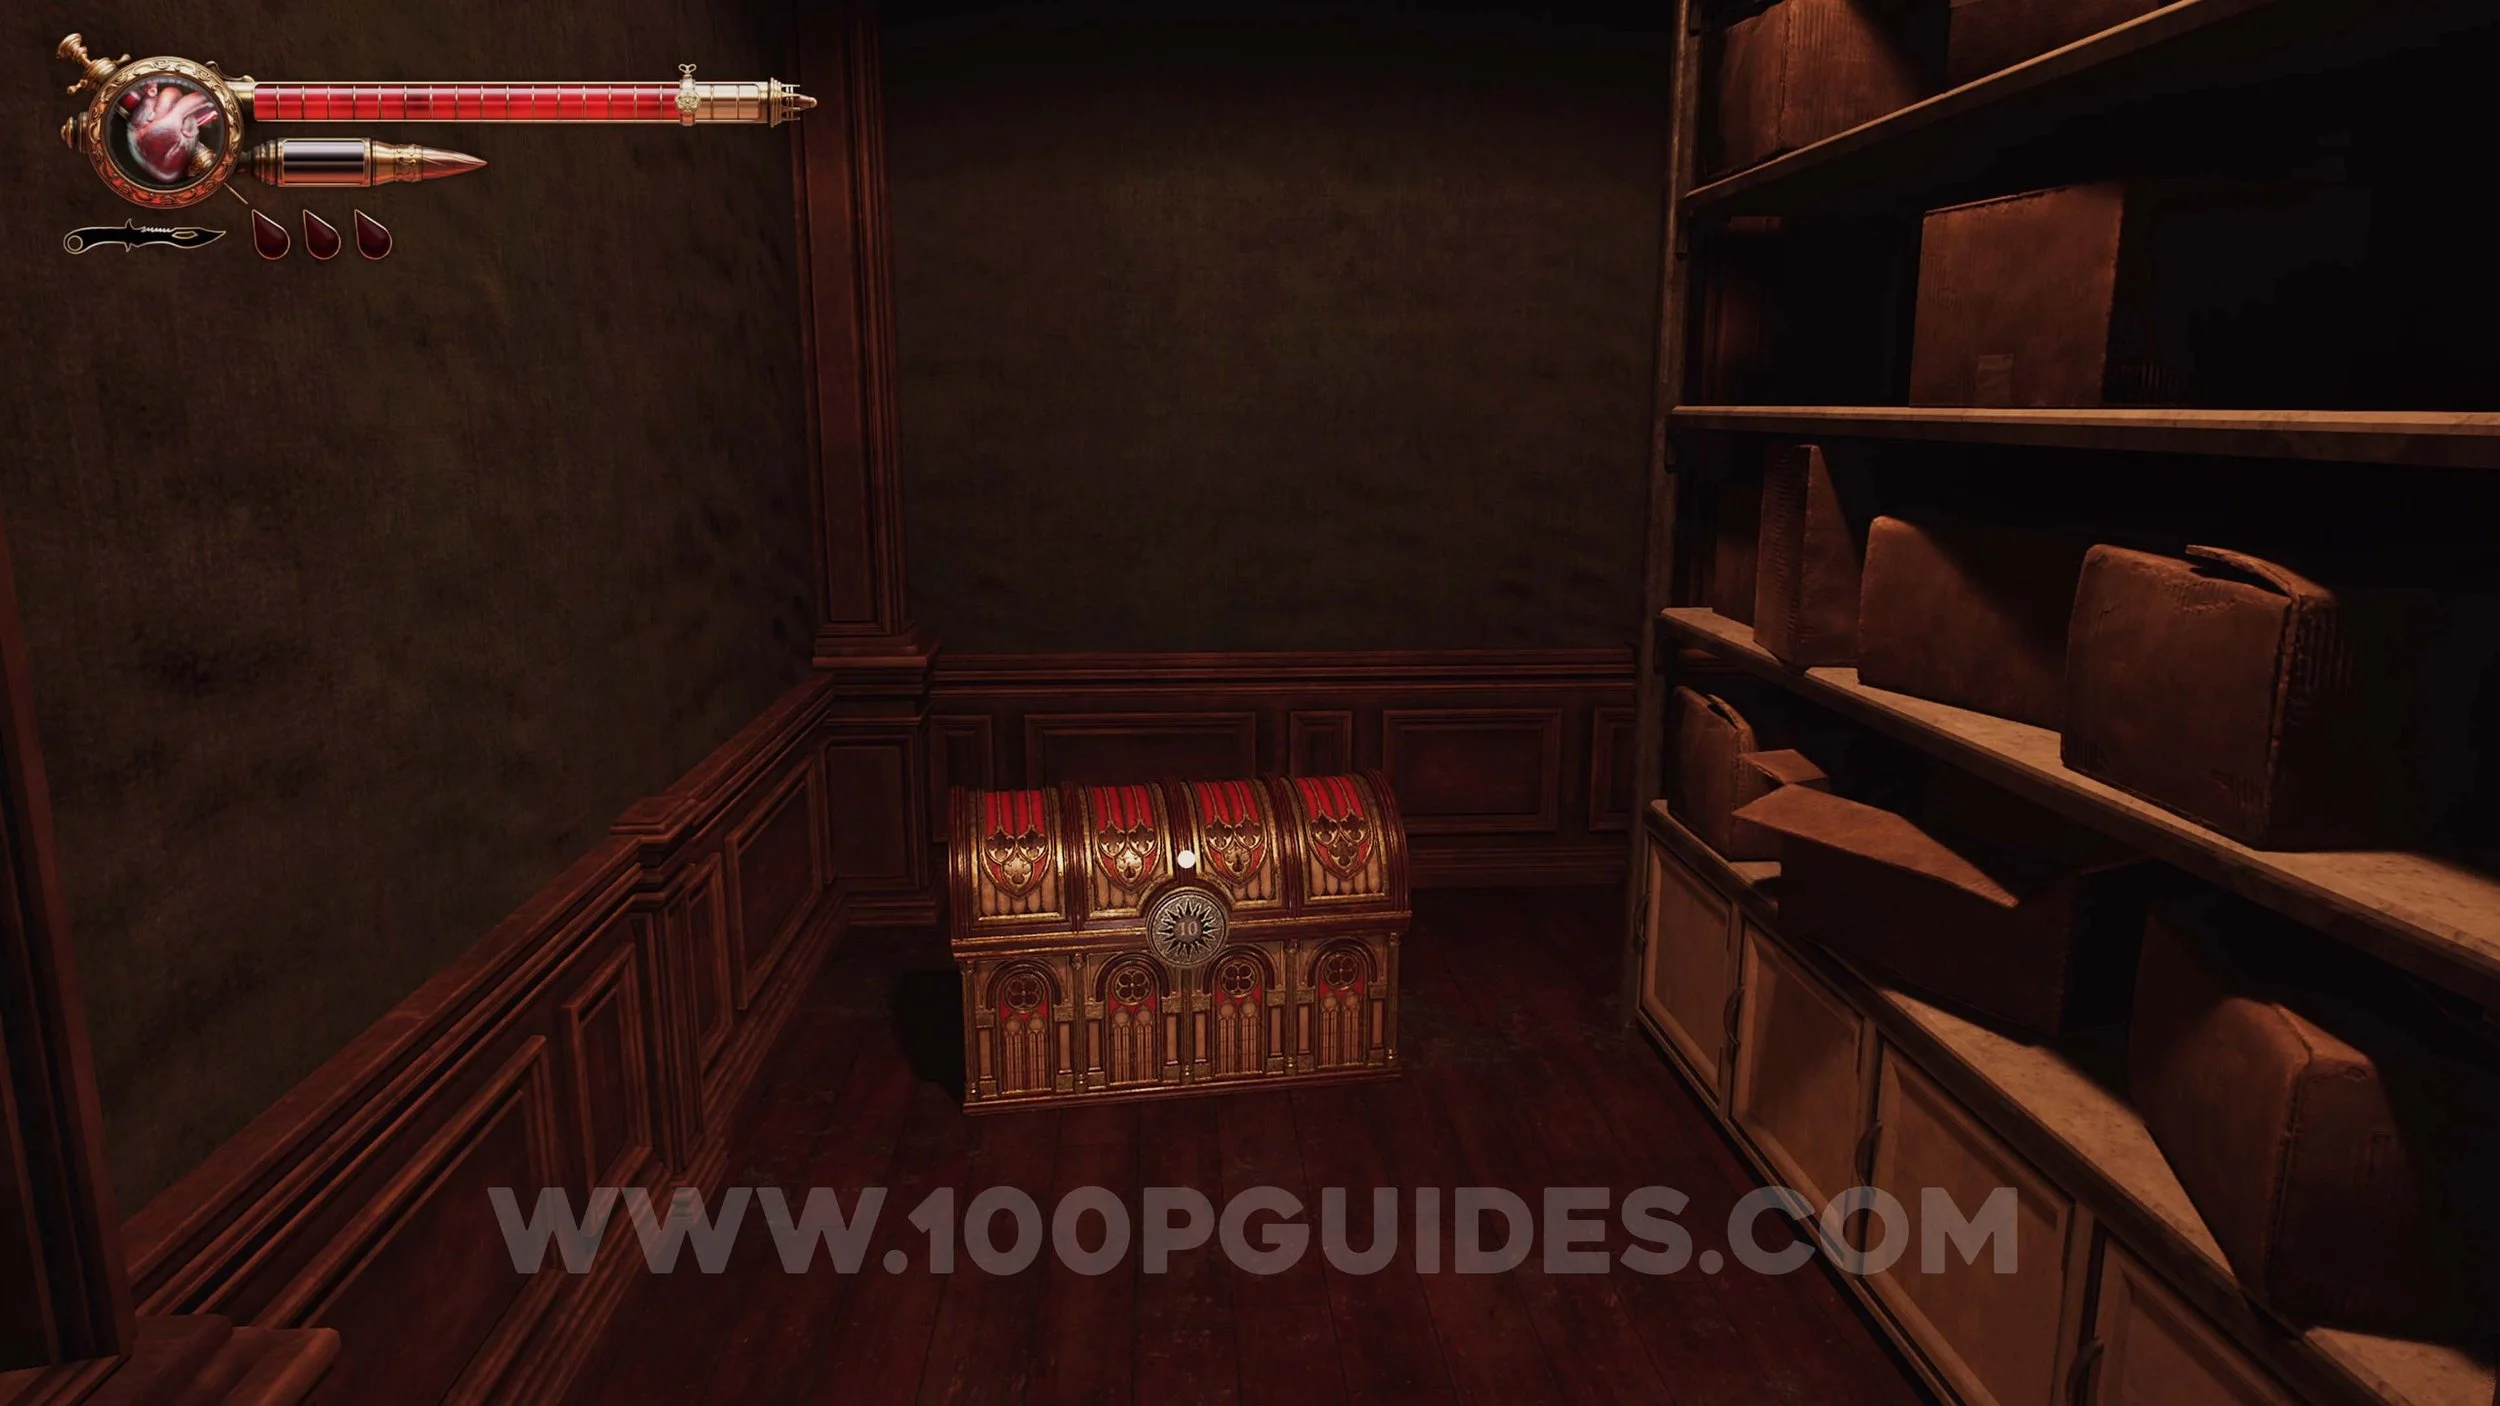
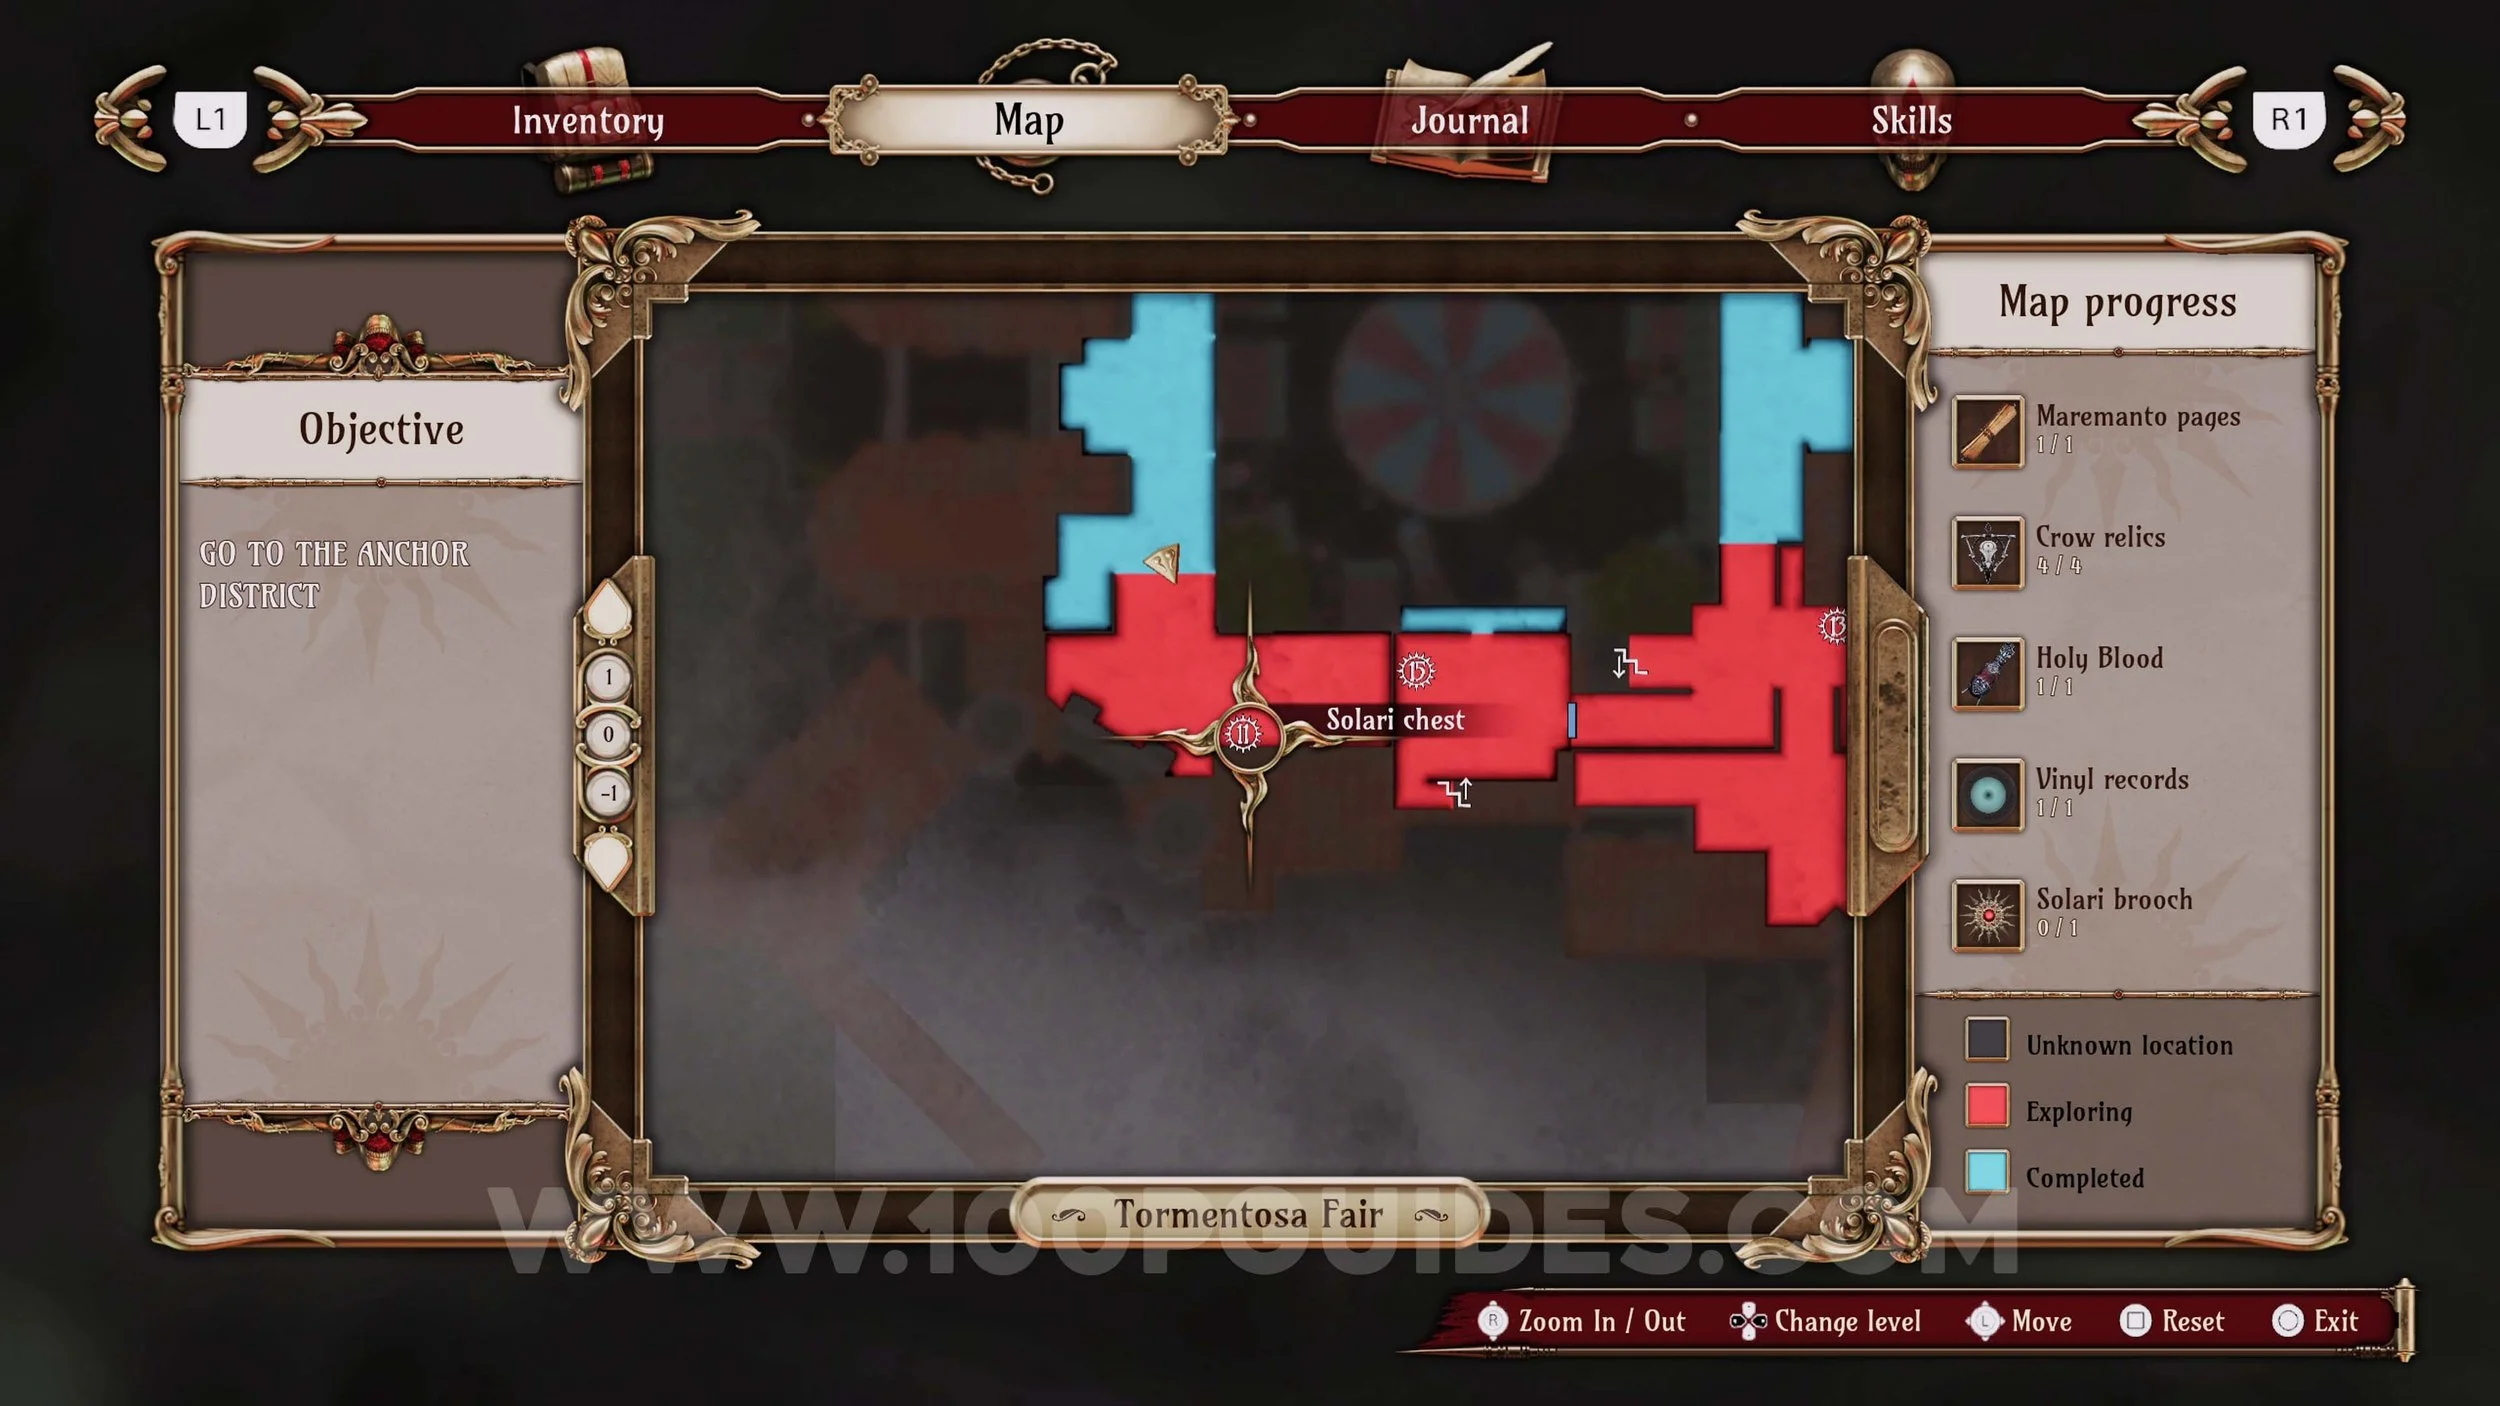
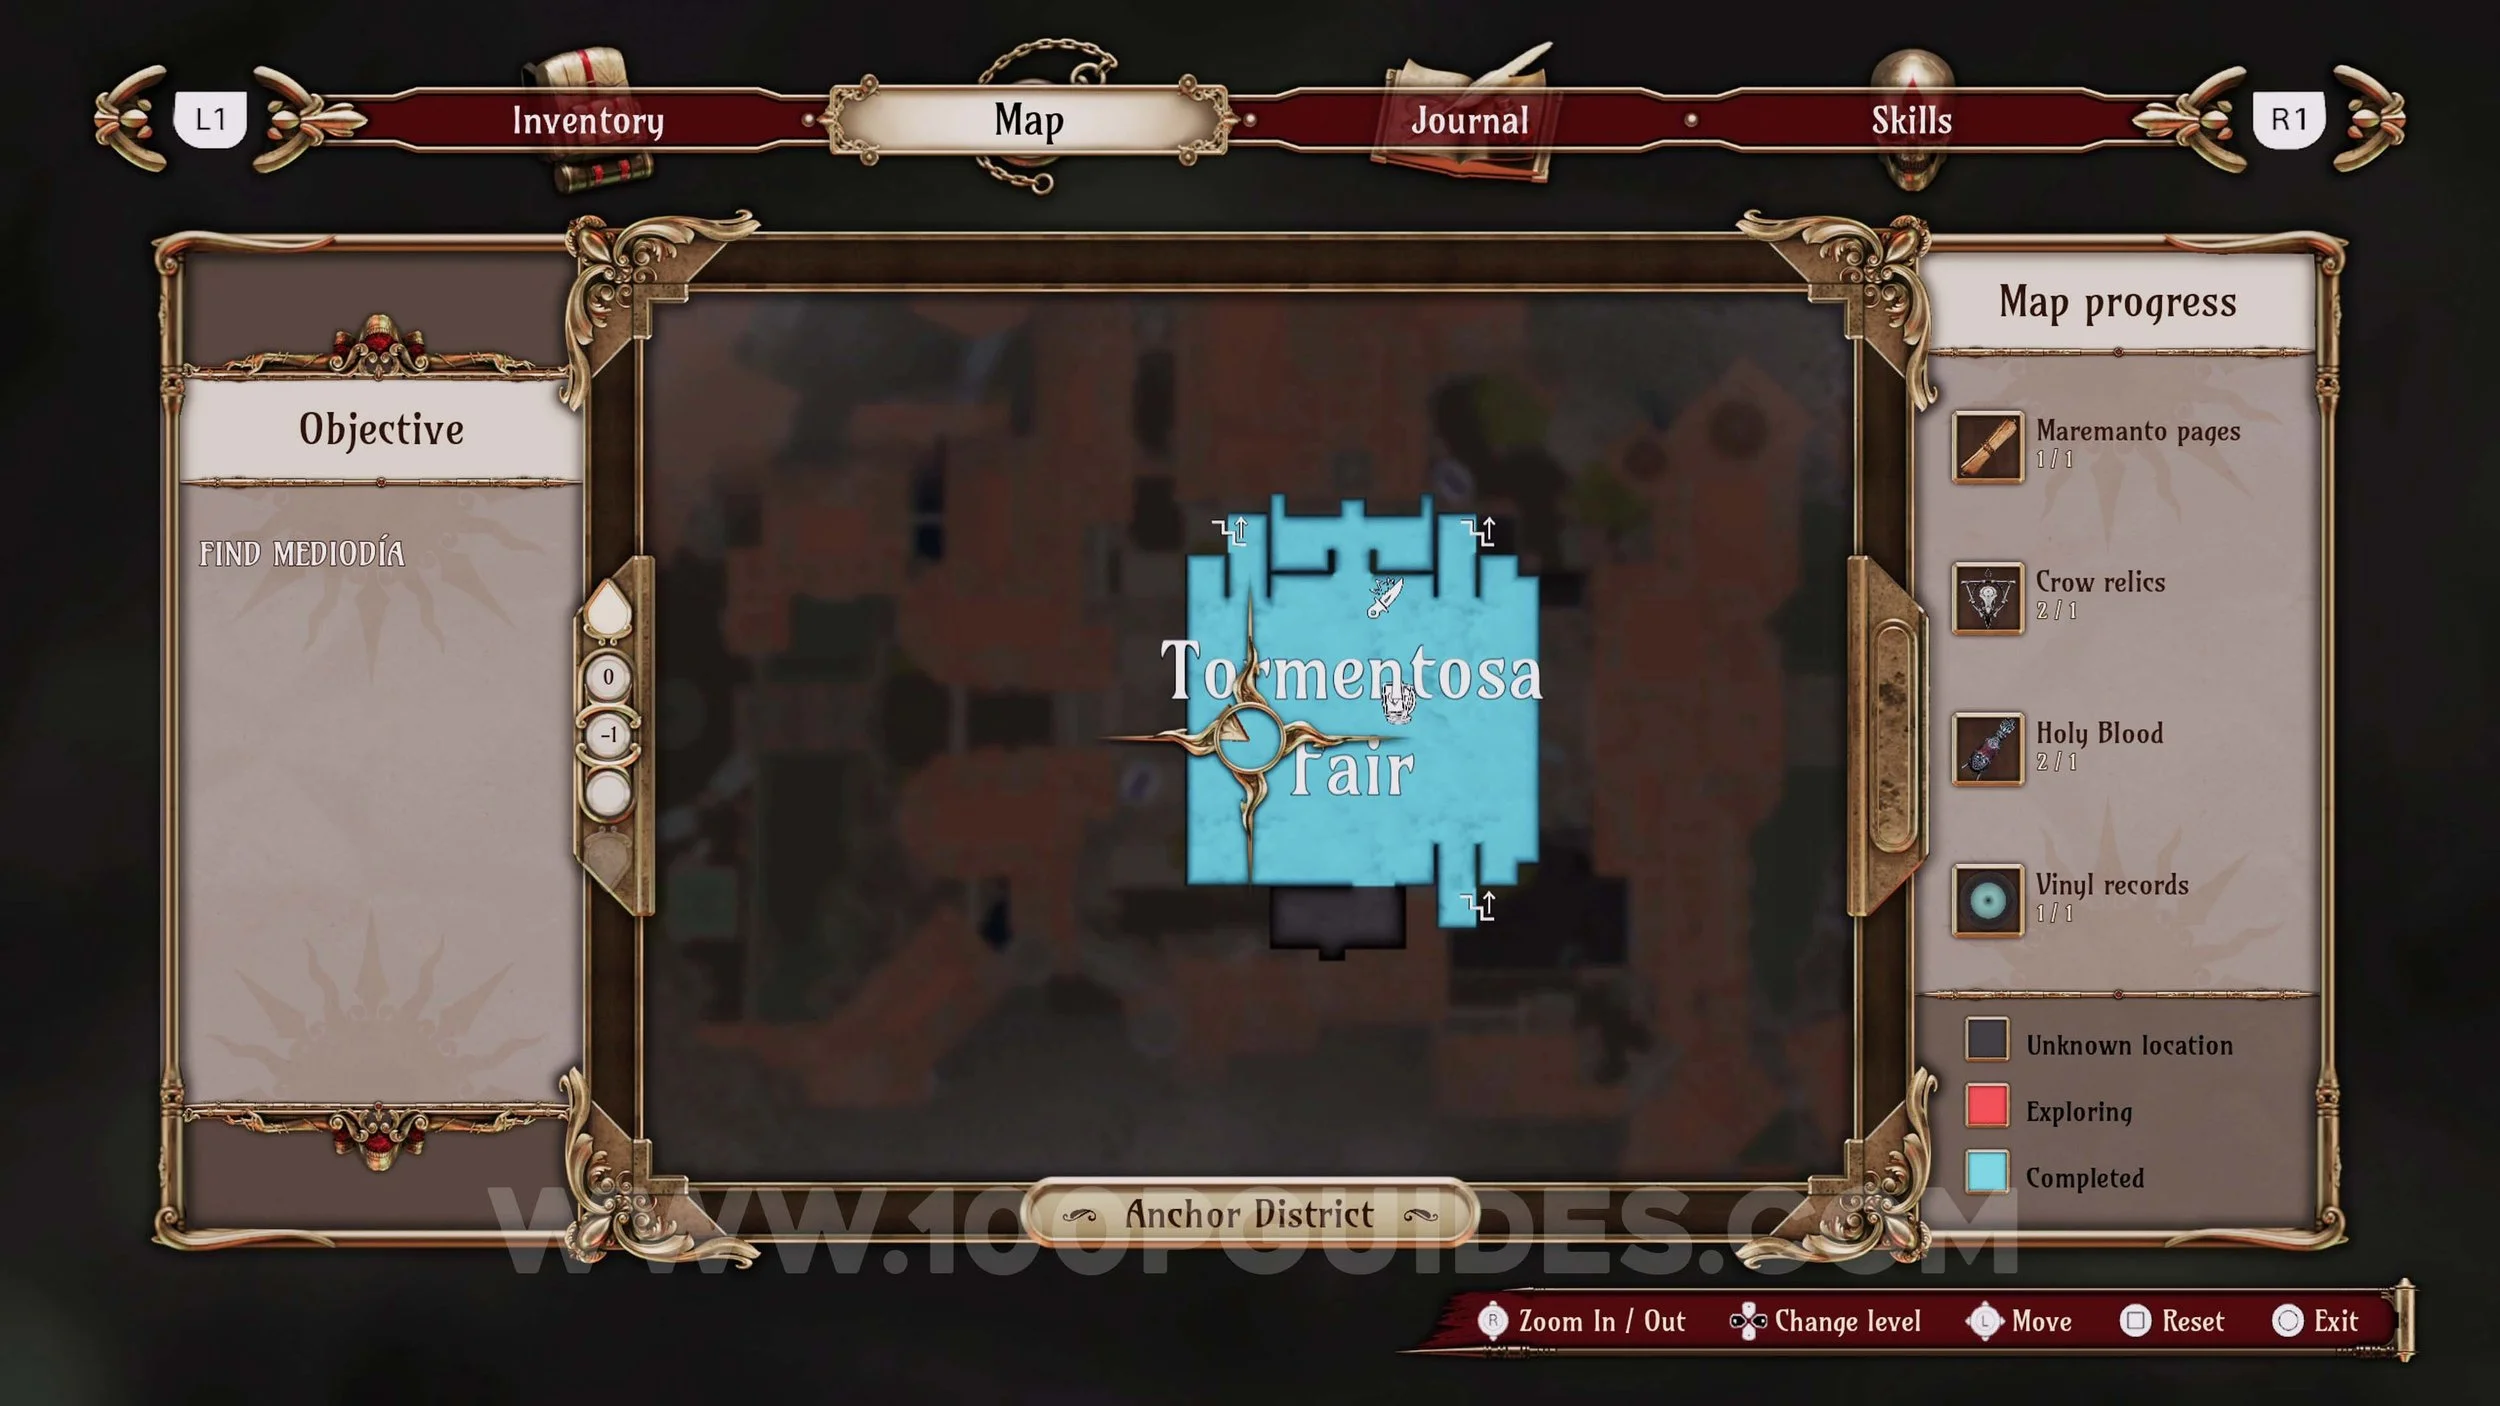
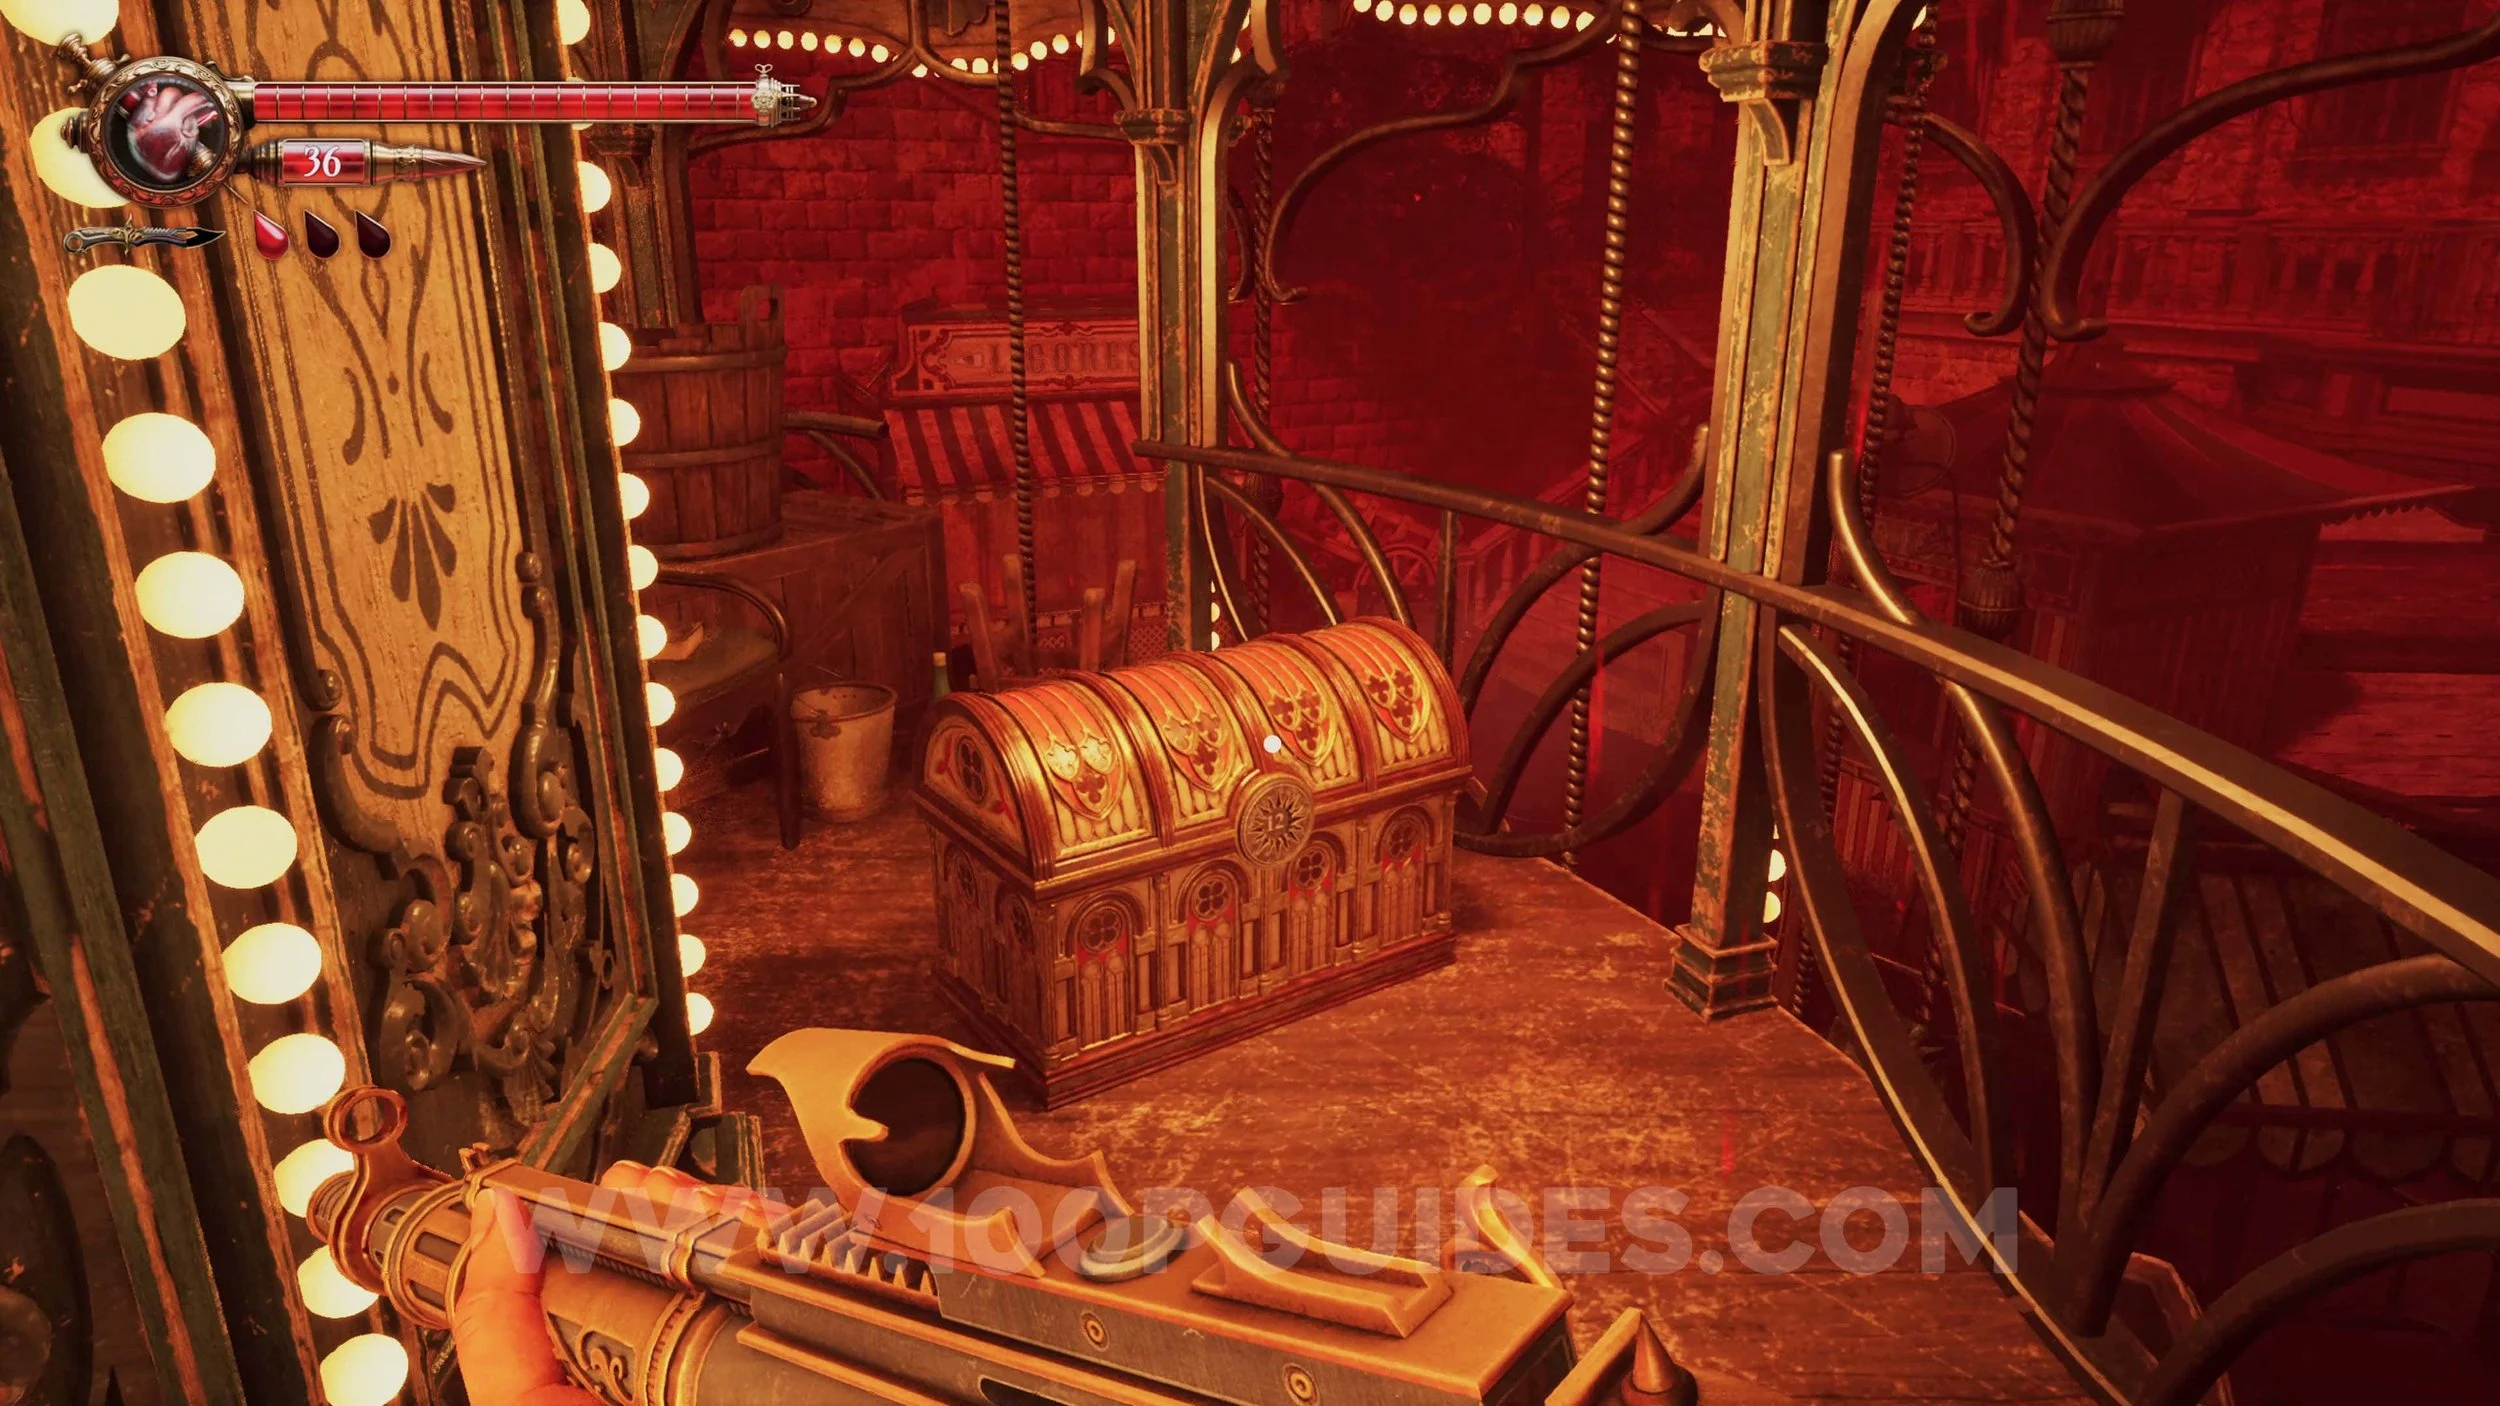
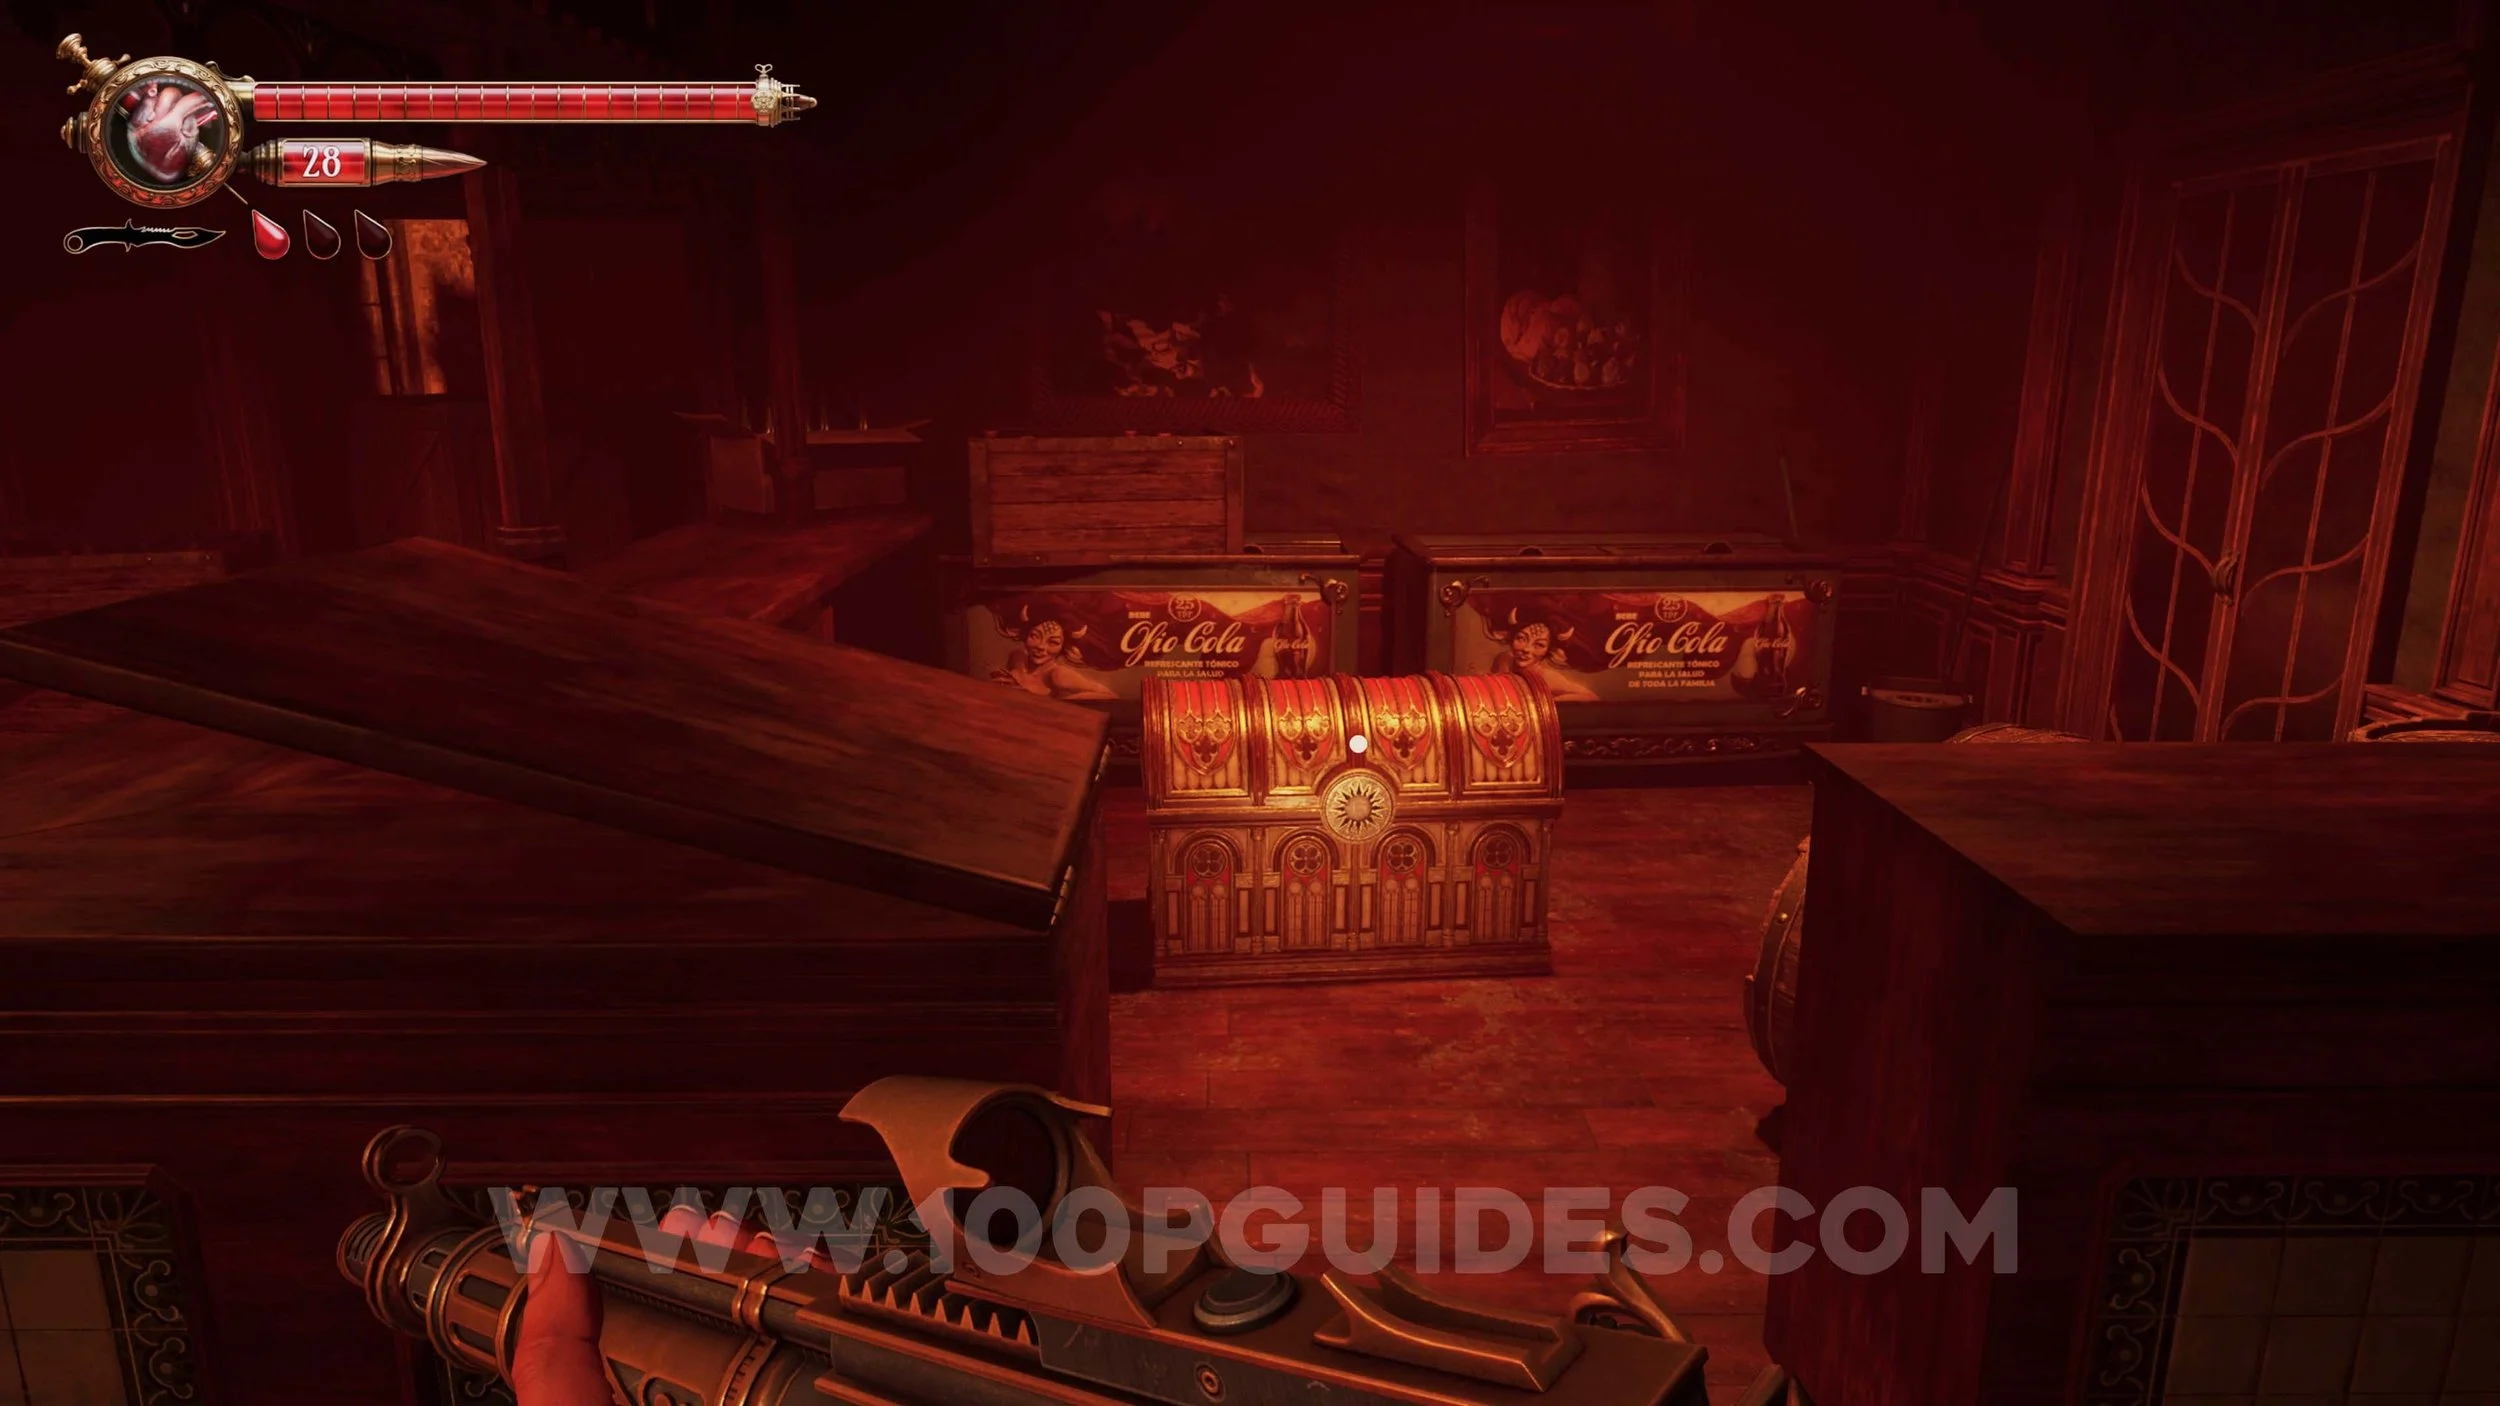
Solari Brooch #1 & Solari Chest #1. Both are found in the southernmost room of the central part of the fair. Absorb the corpse to get the Brooch that opens the chest.

Chapter 1
Memory #4. On the main path, unmissable.
Memory #5. On the main path after you enter a building, unmissable.
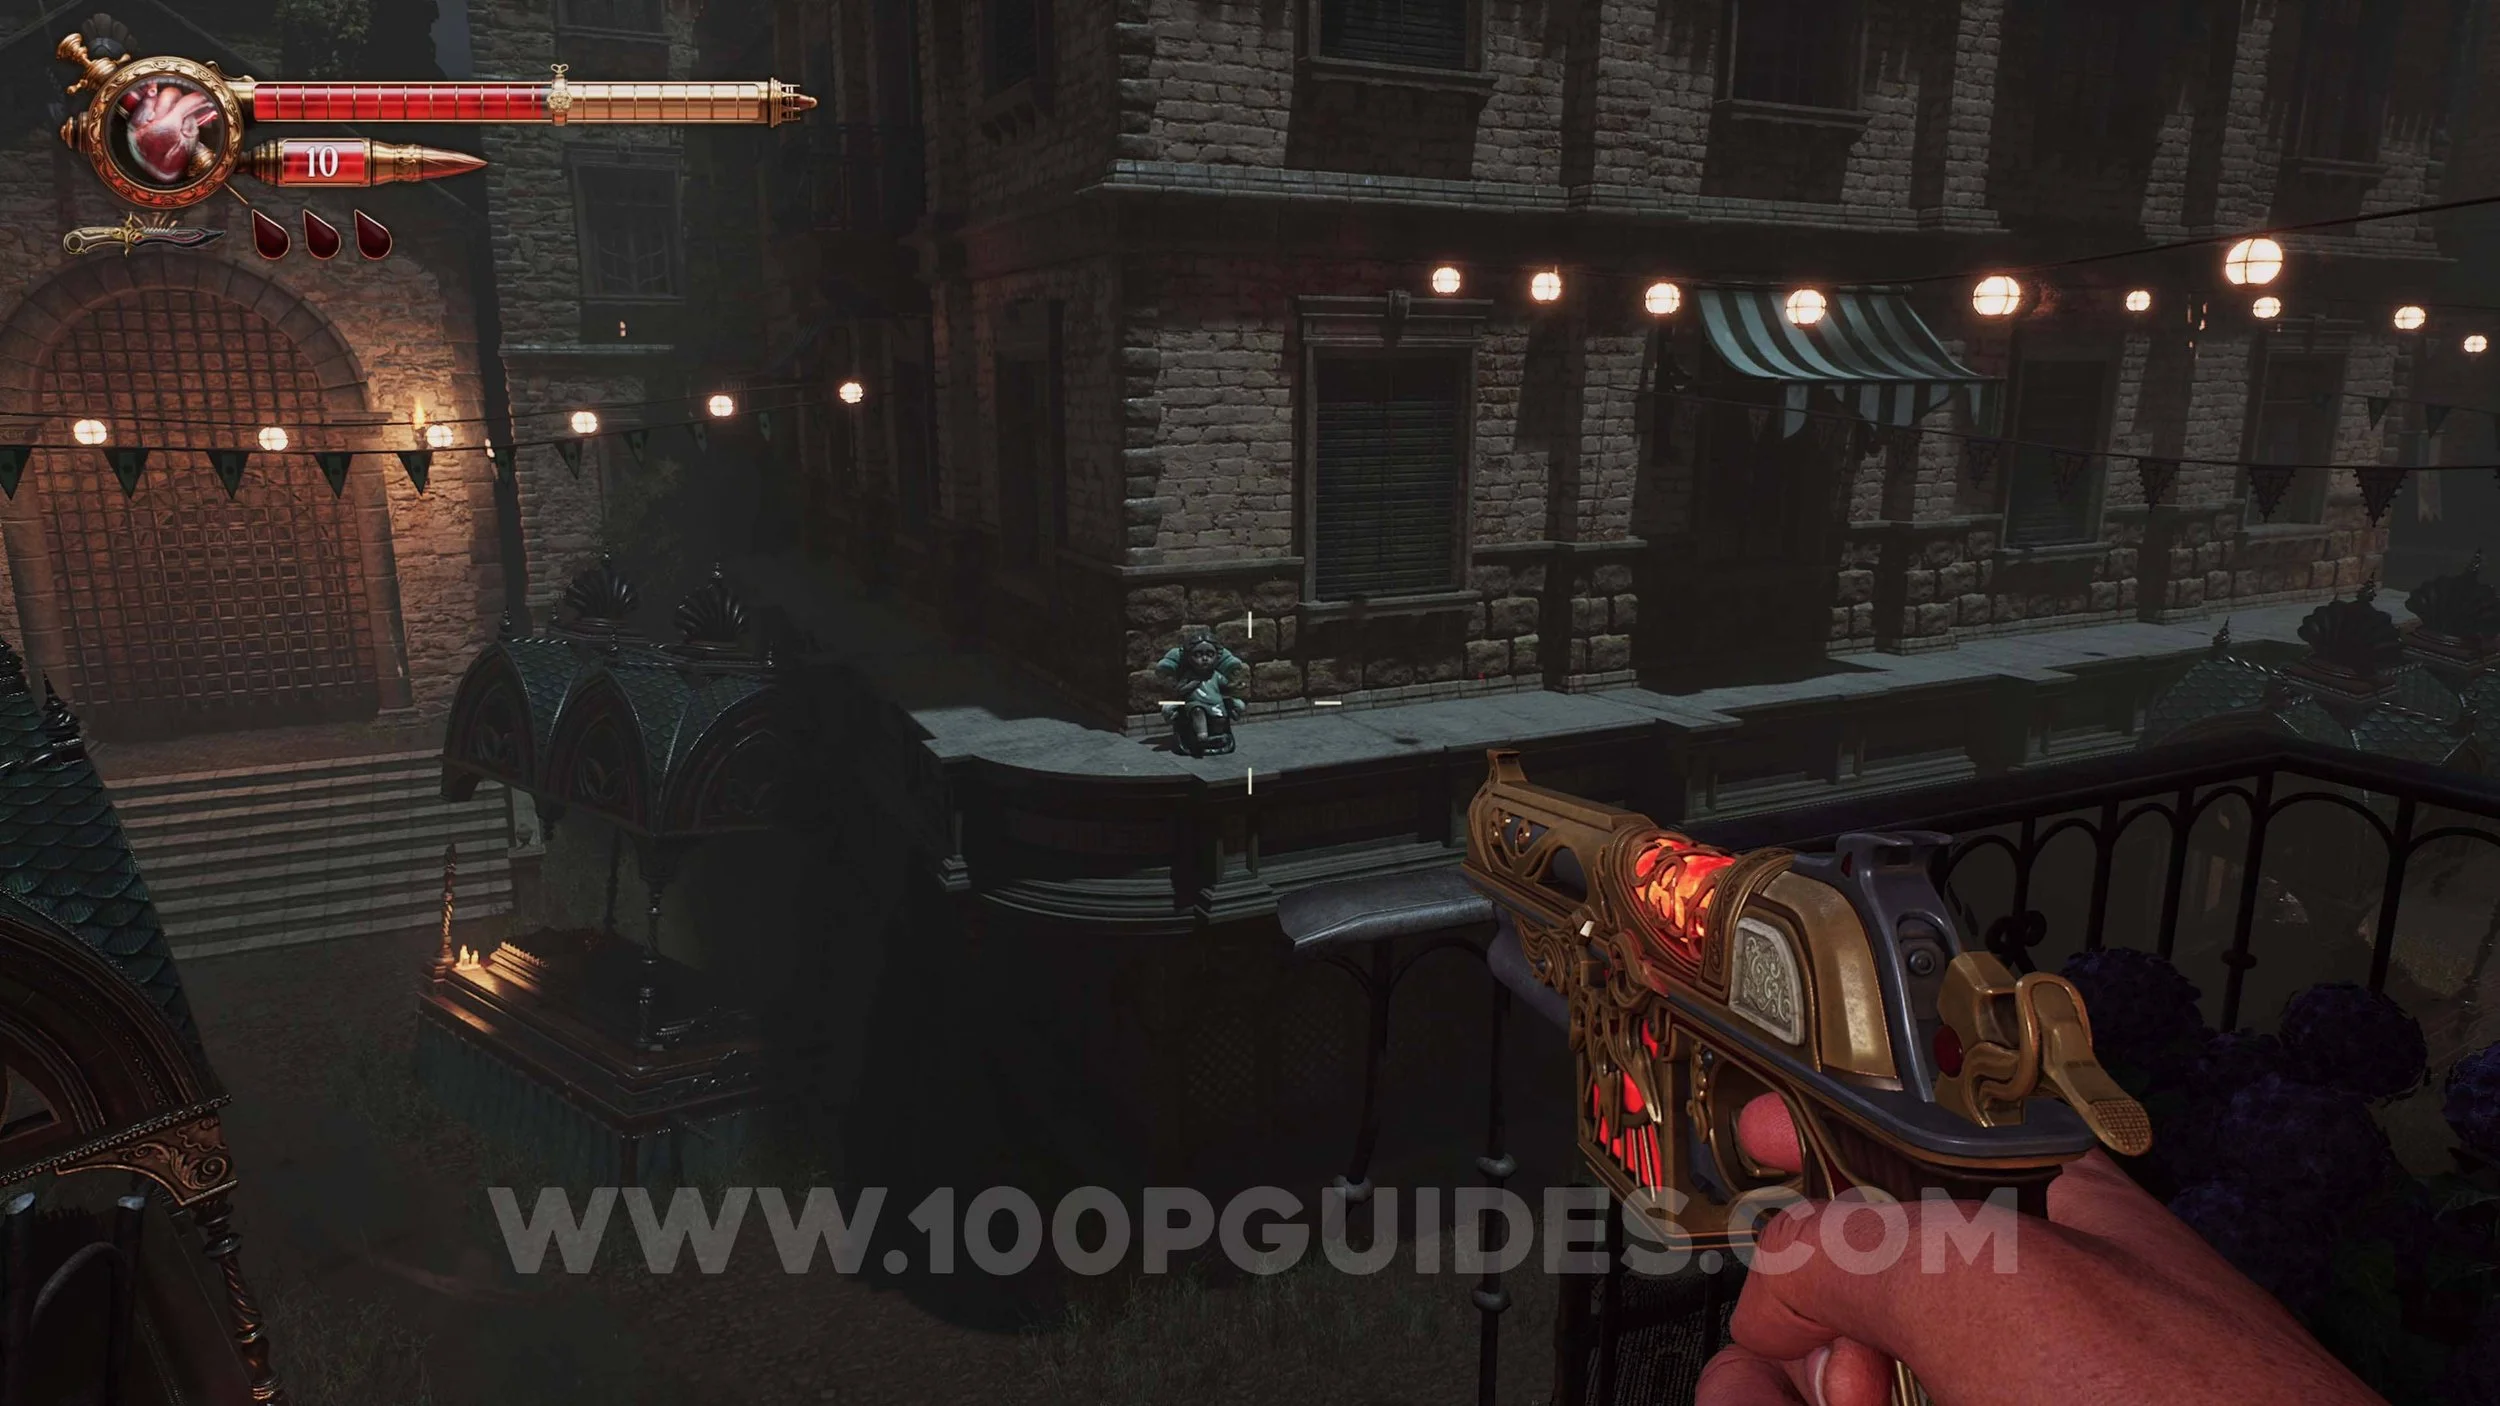
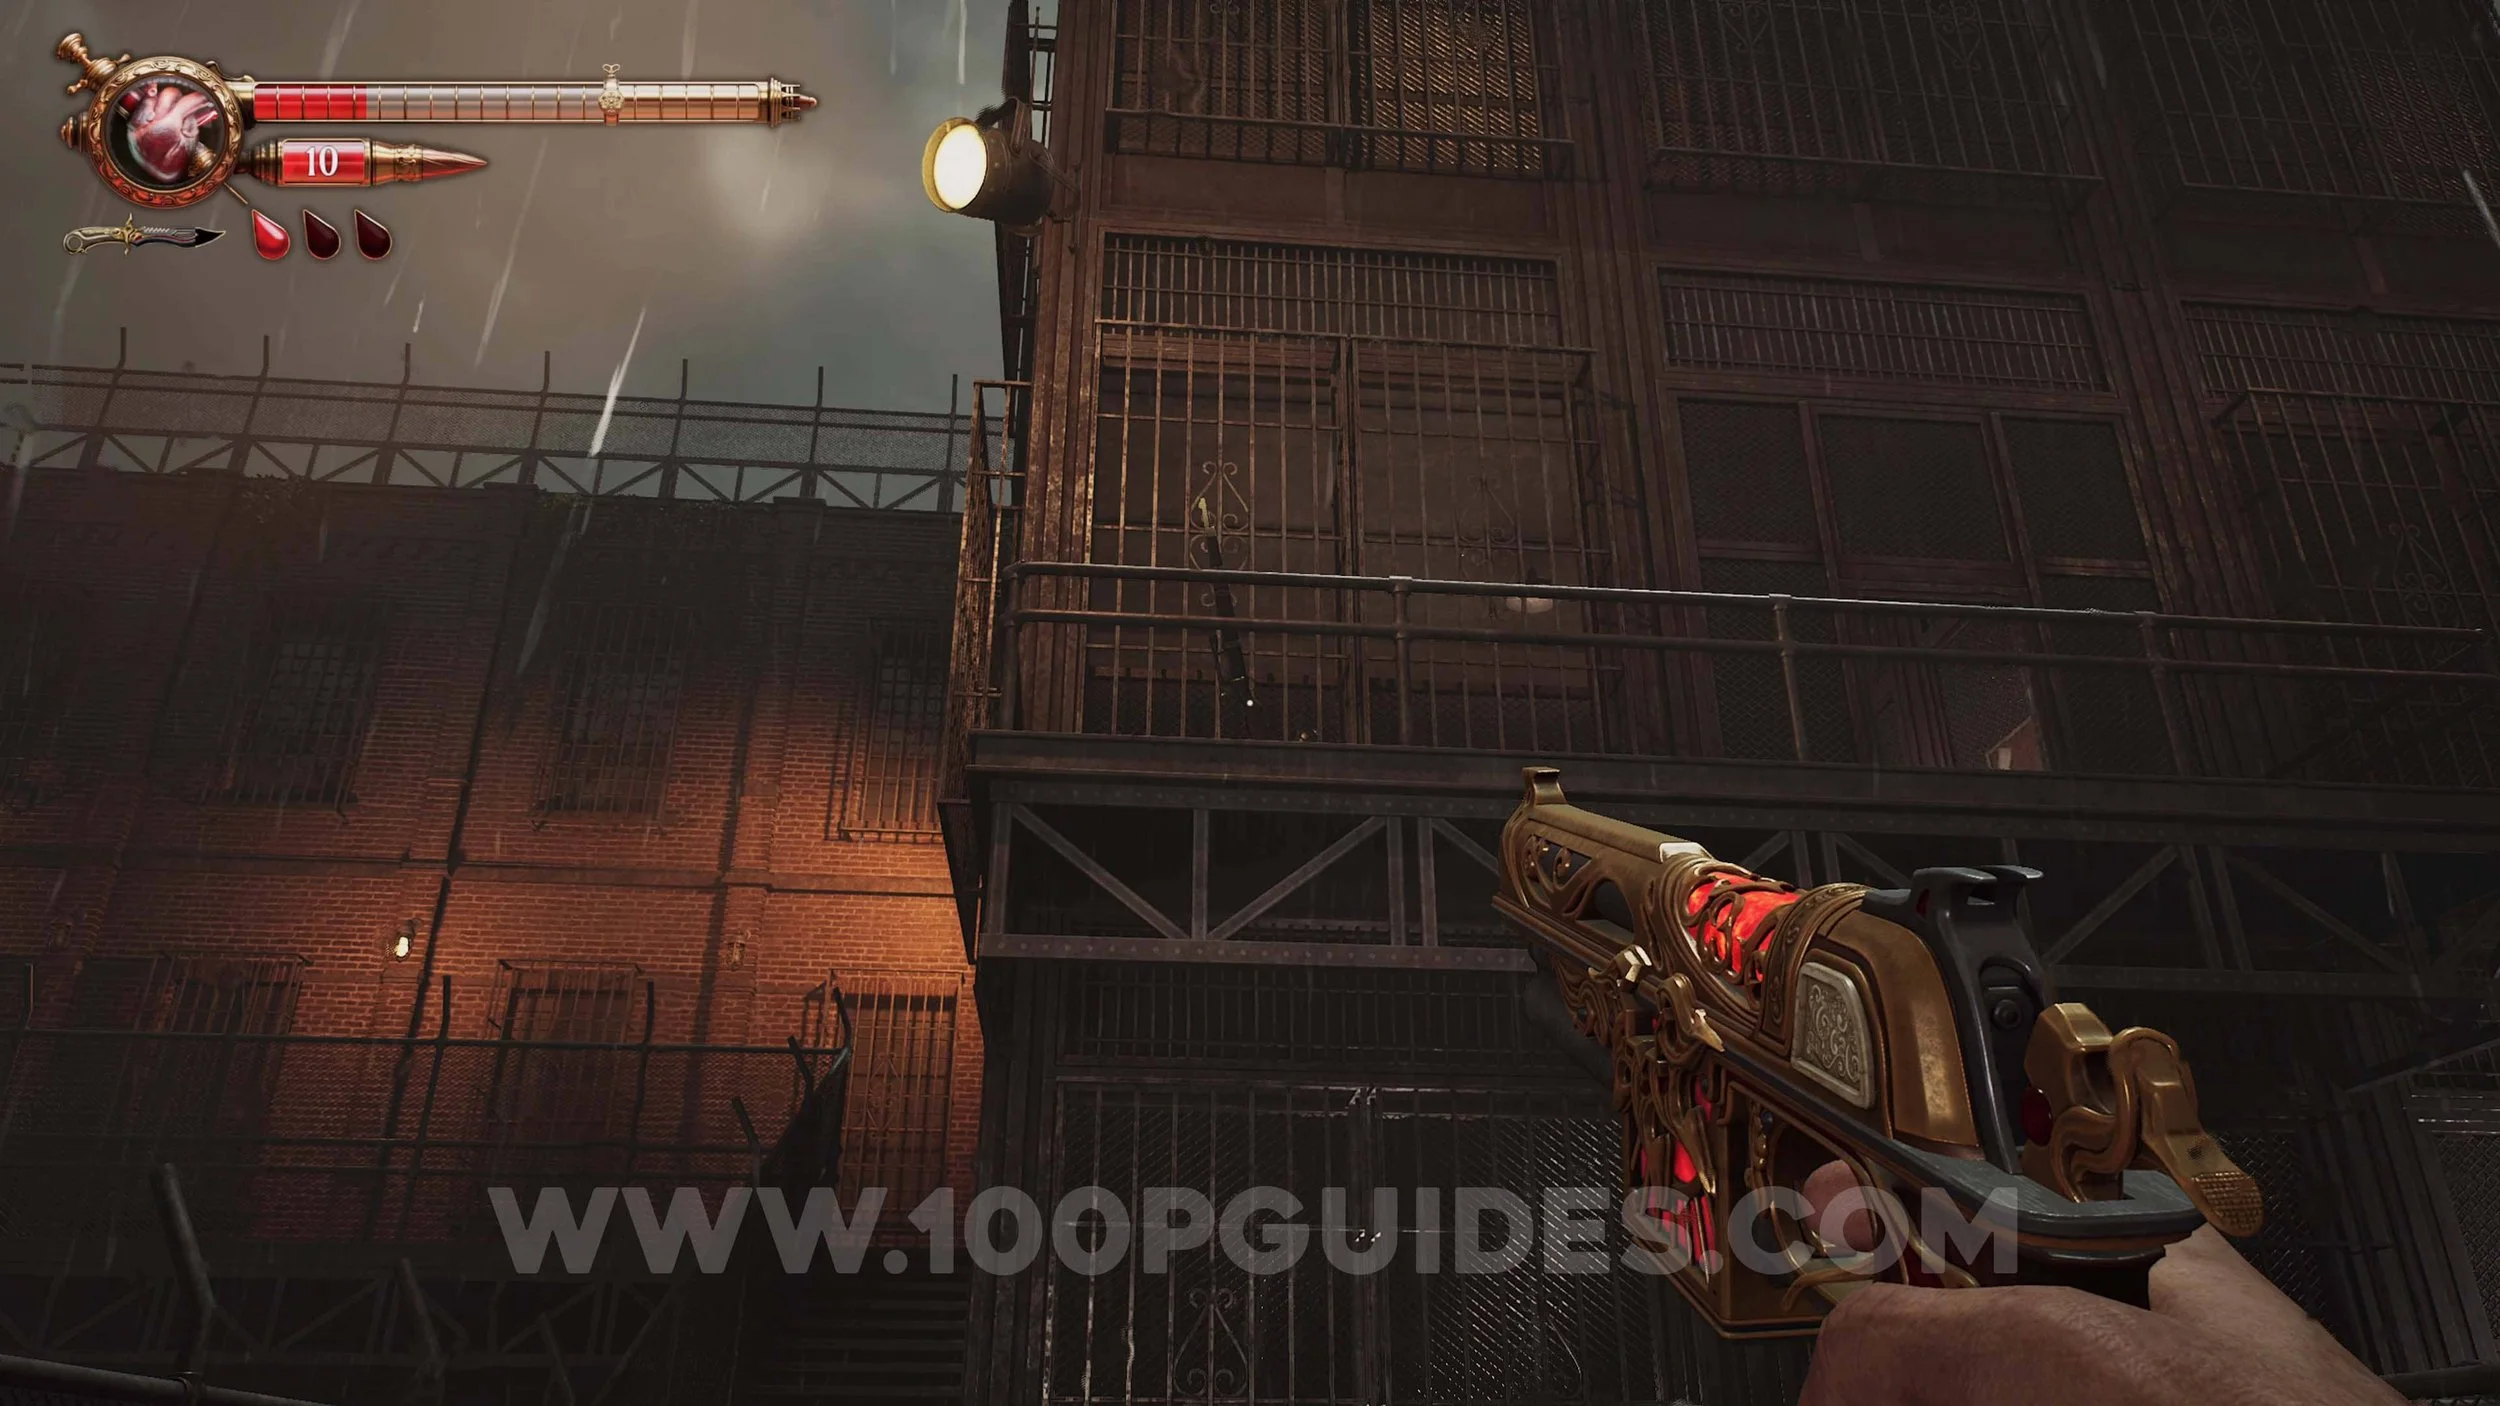
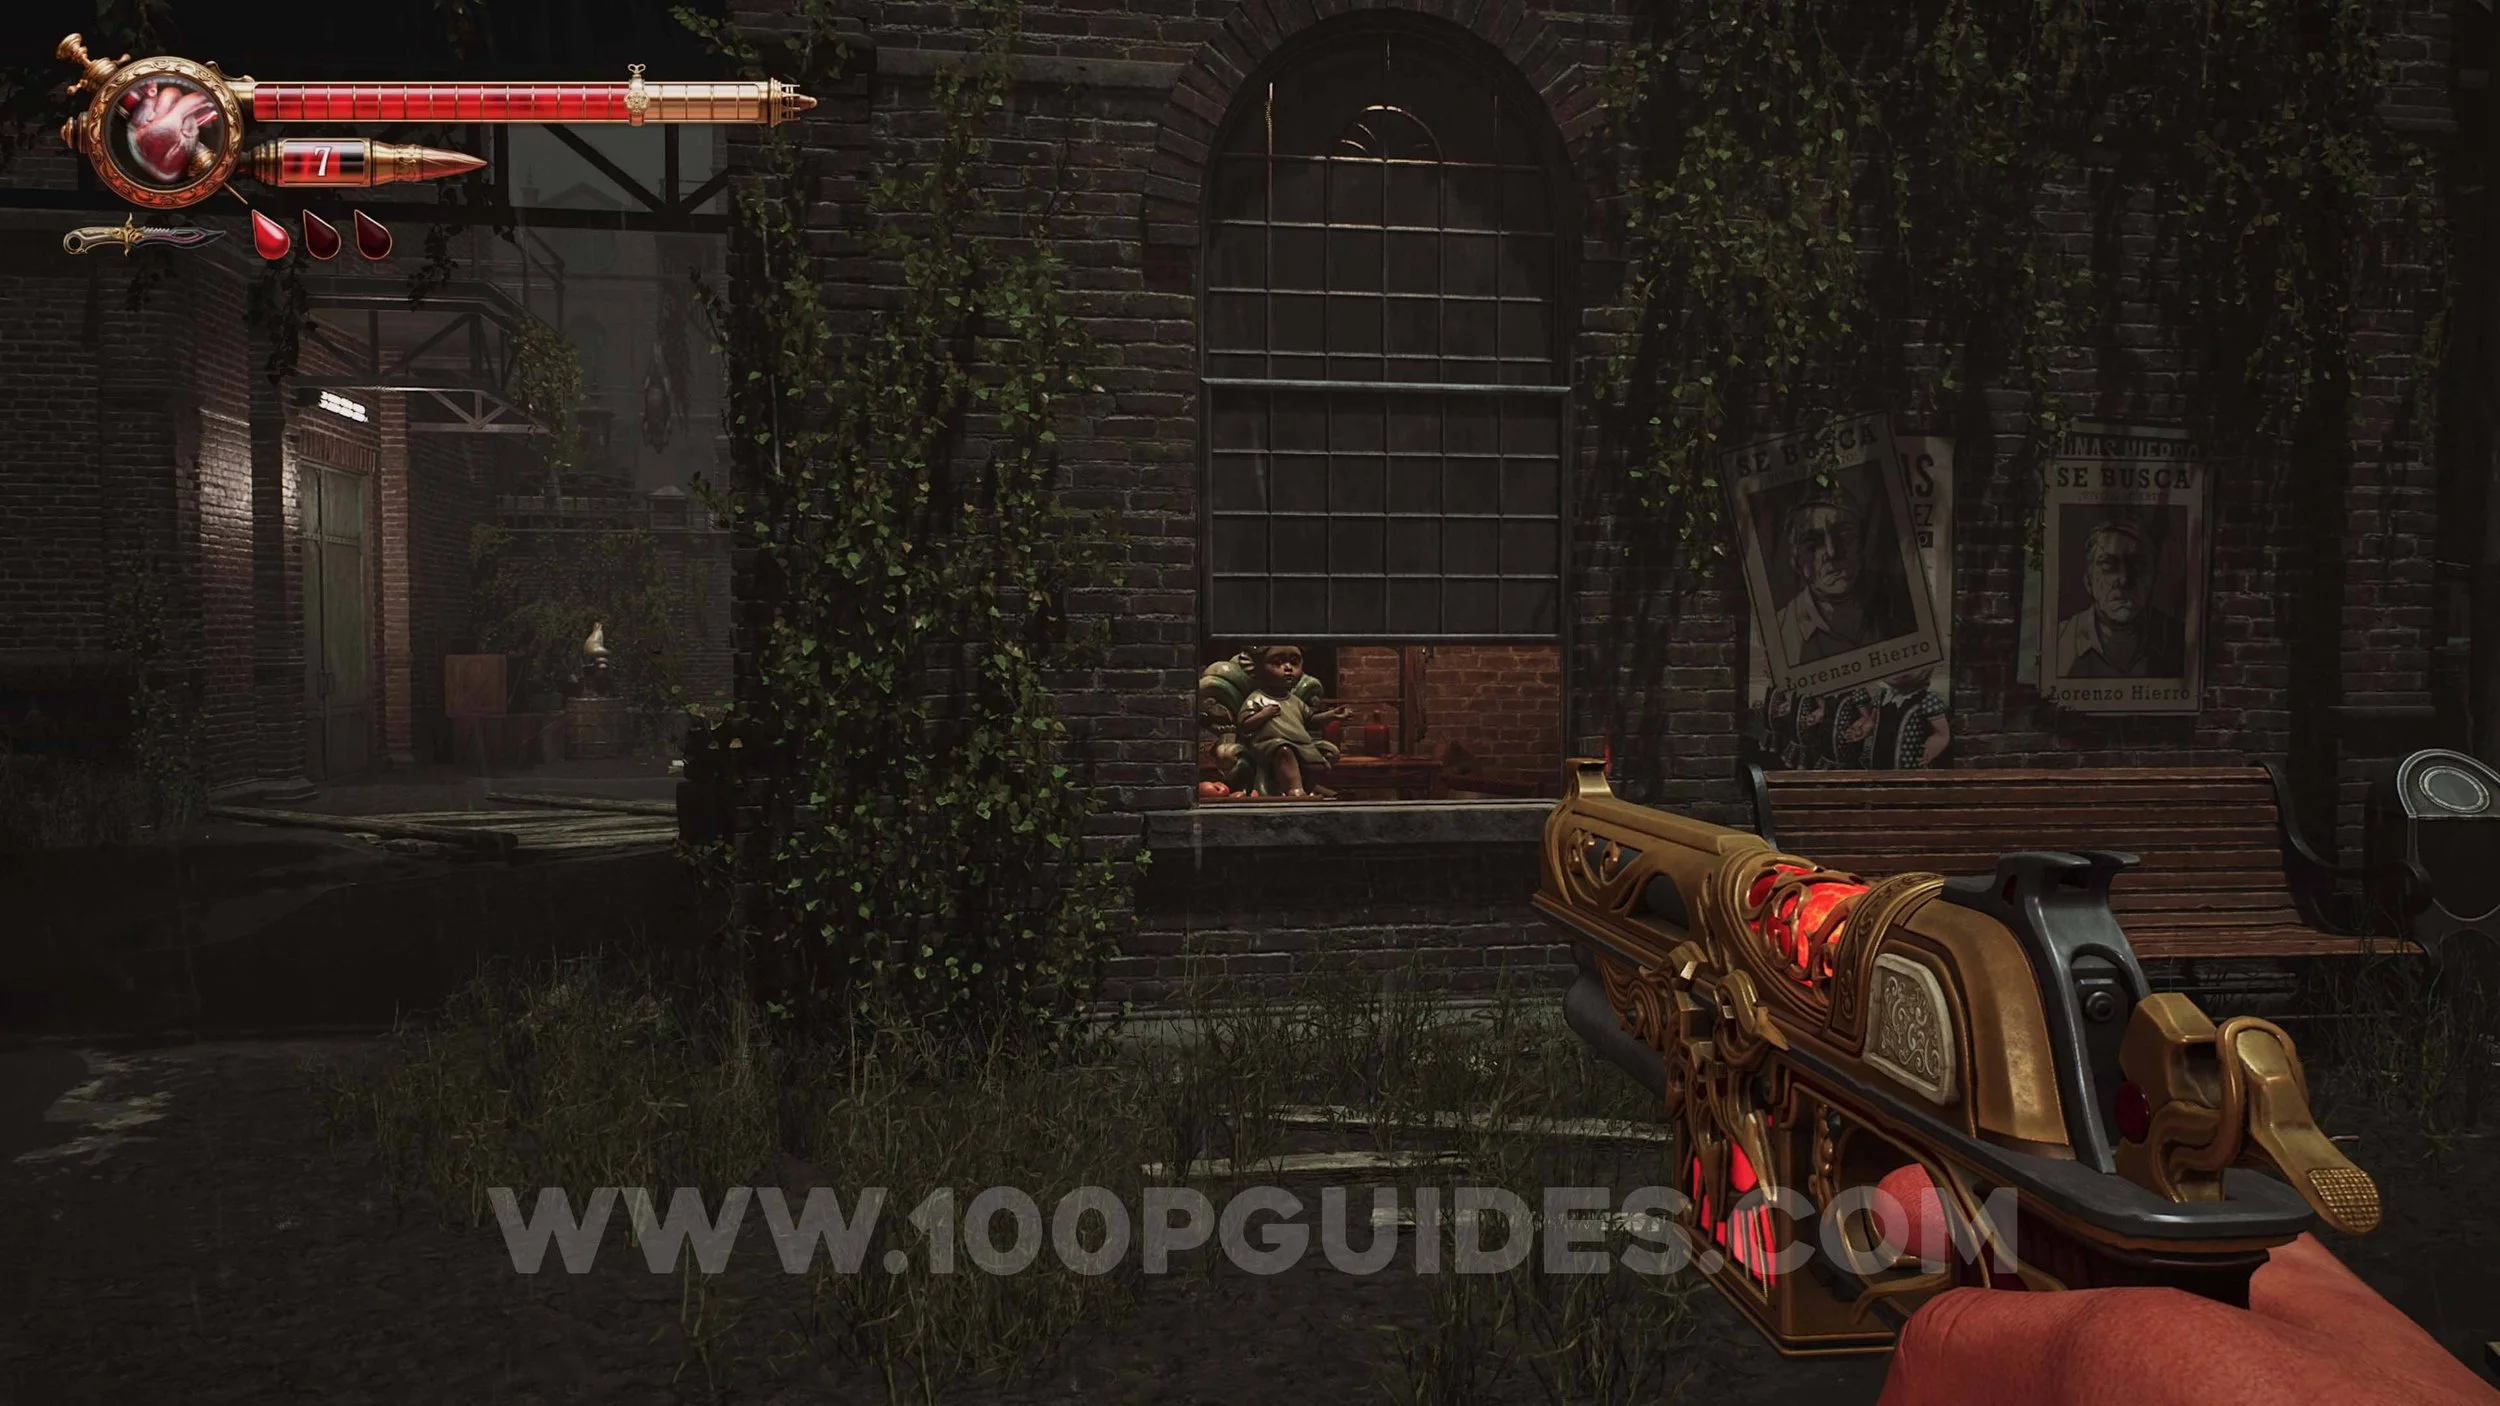
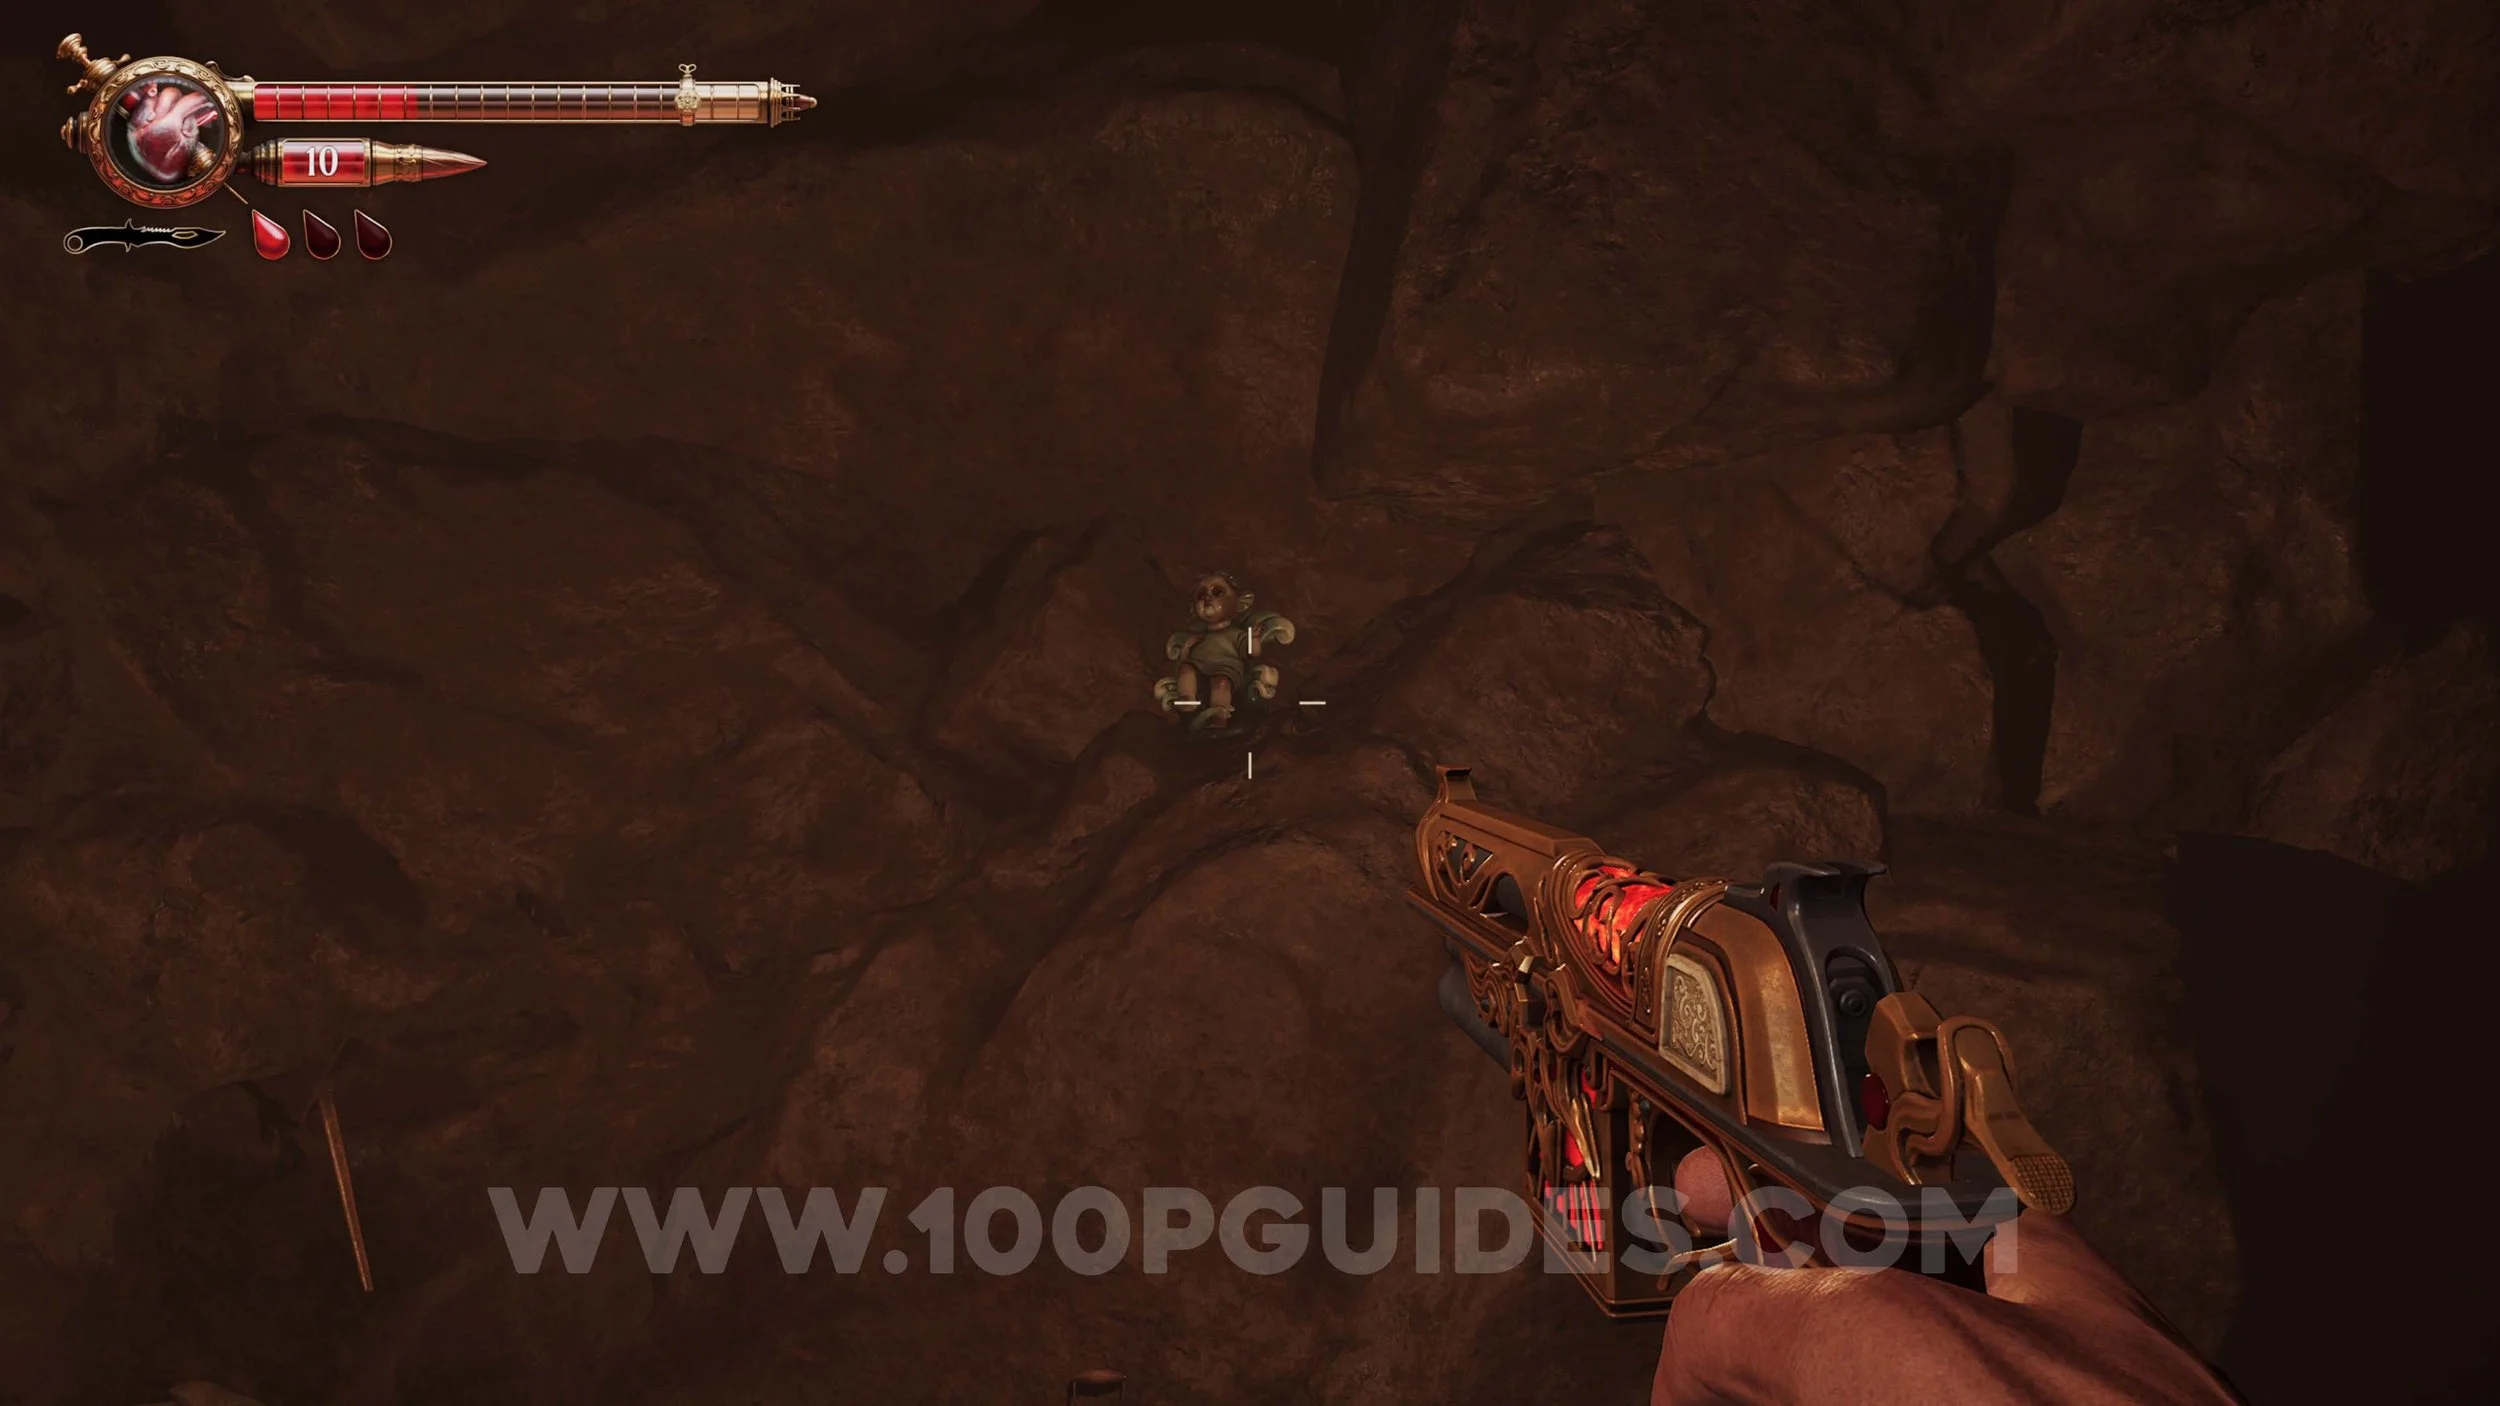
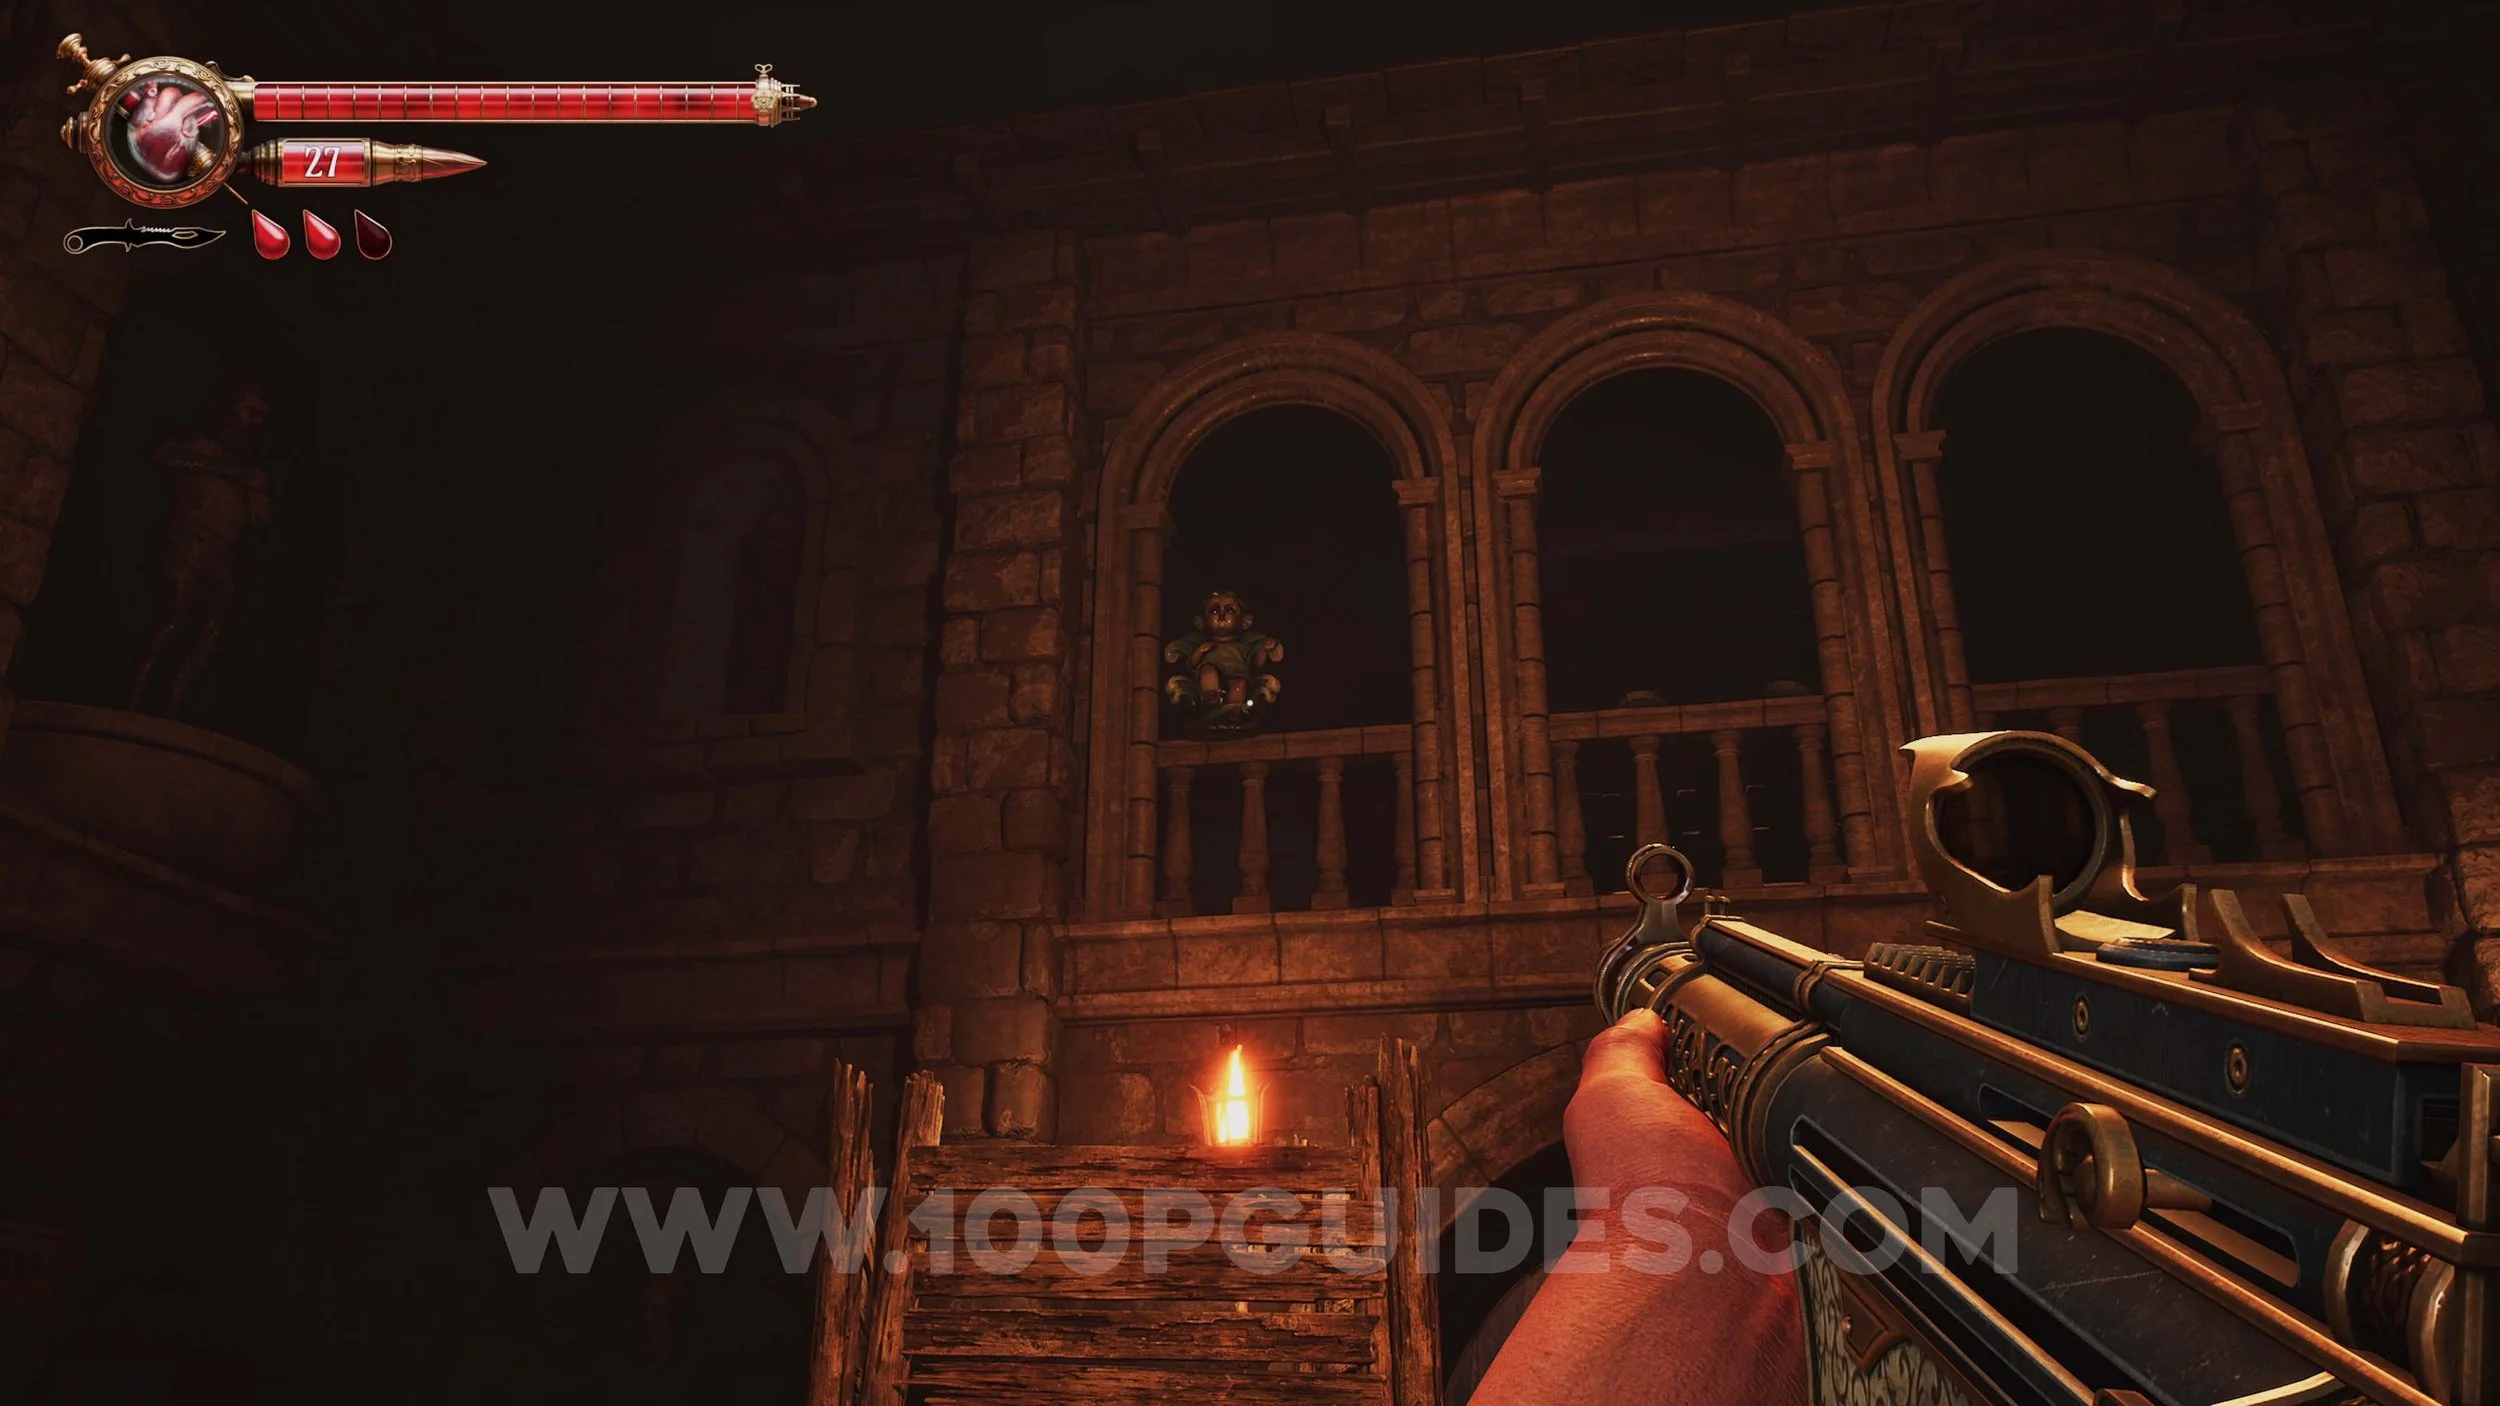
Ulises Idol #1. After going leaving the first building and getting back outside, climb the ladder on your left to find the doll in the window on the other side of the gap.
Ulises Idol #2. On a Balcony just after the previous idol.
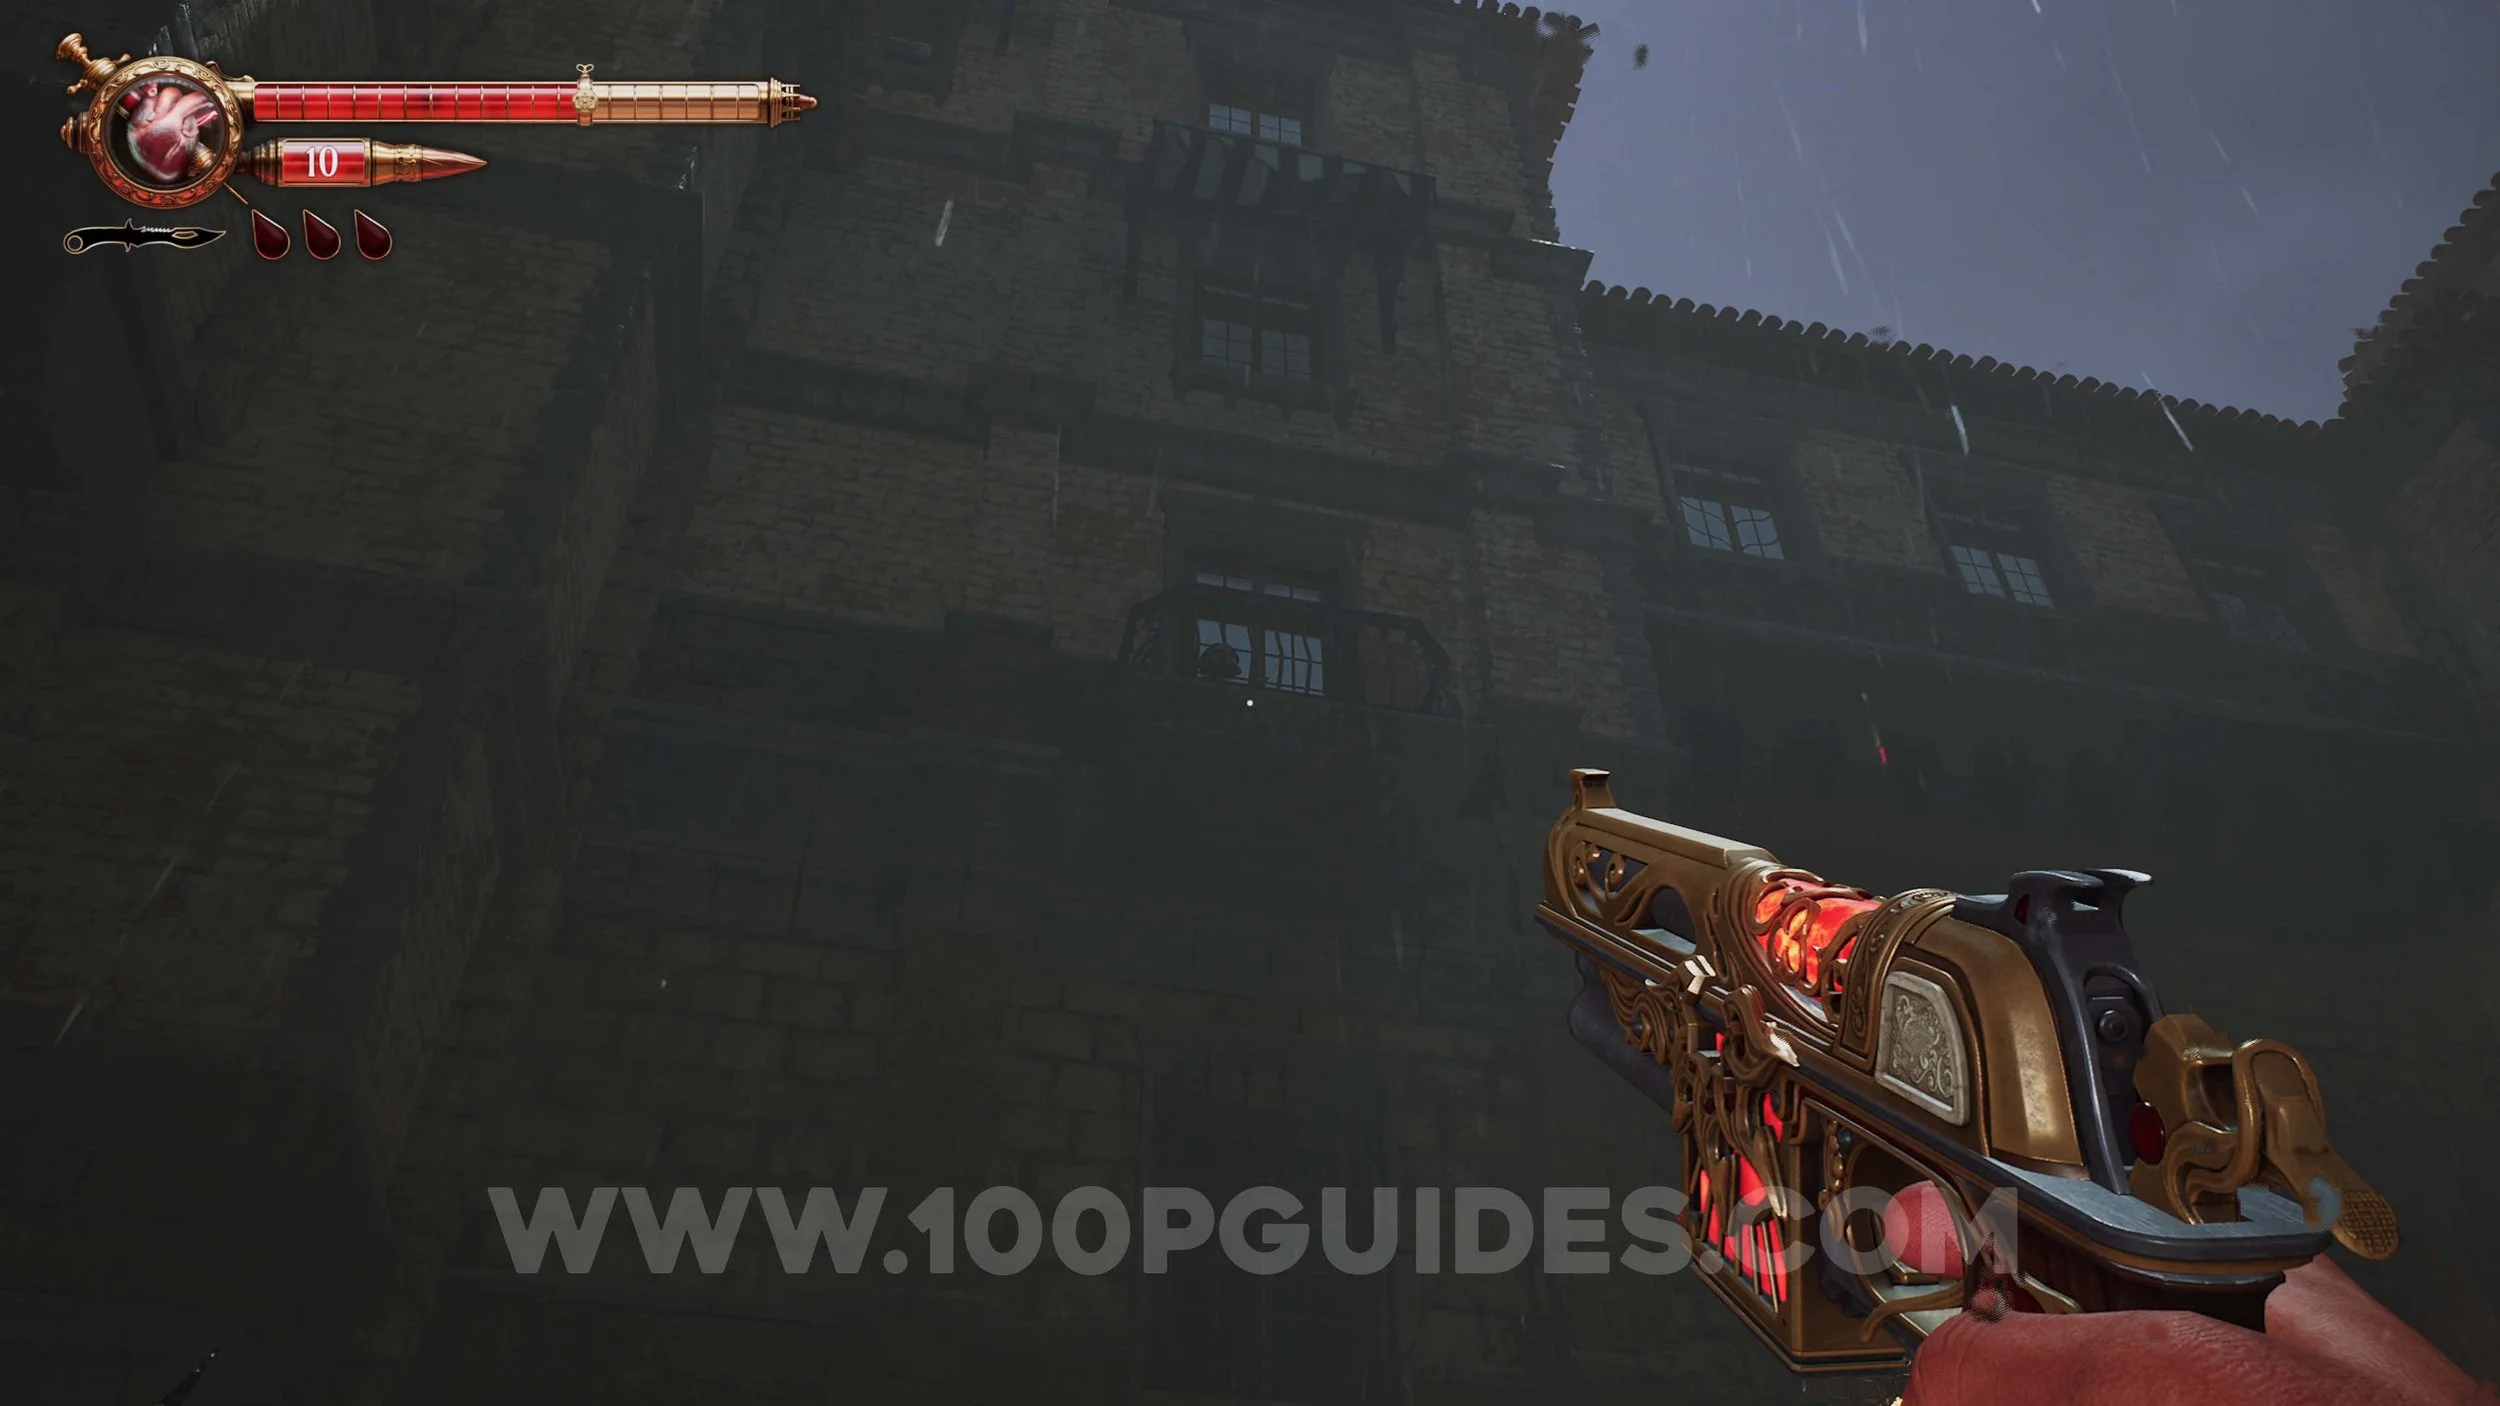
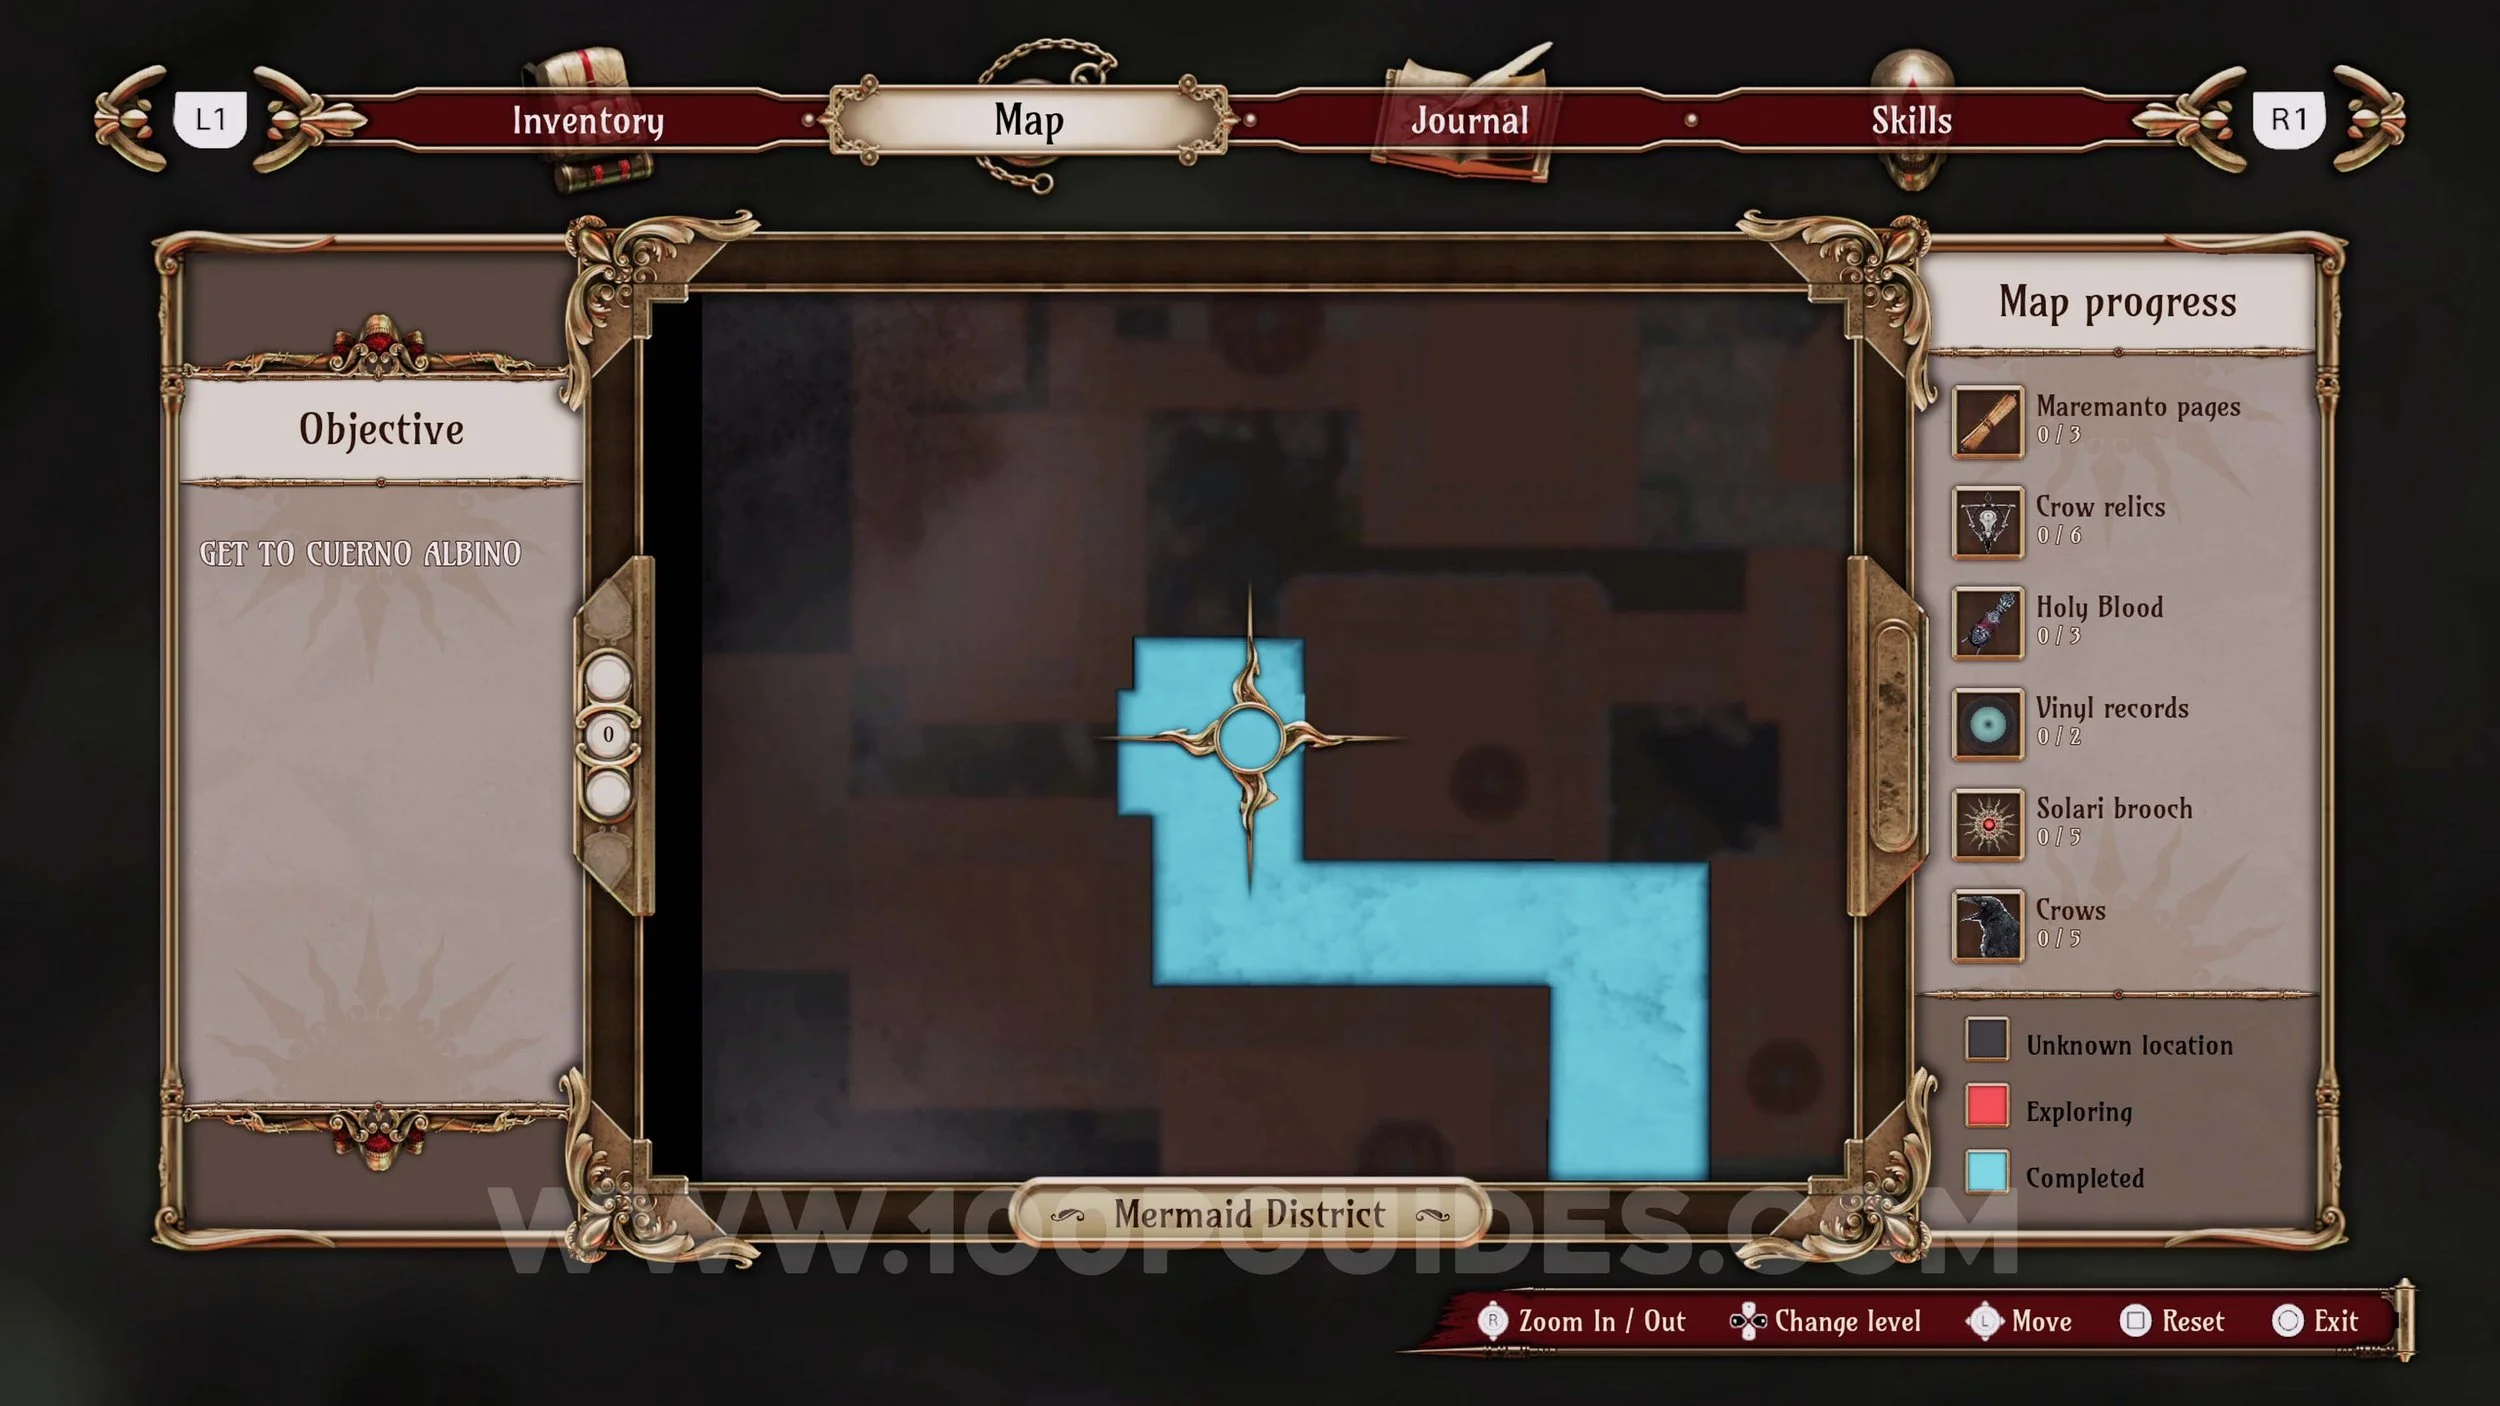
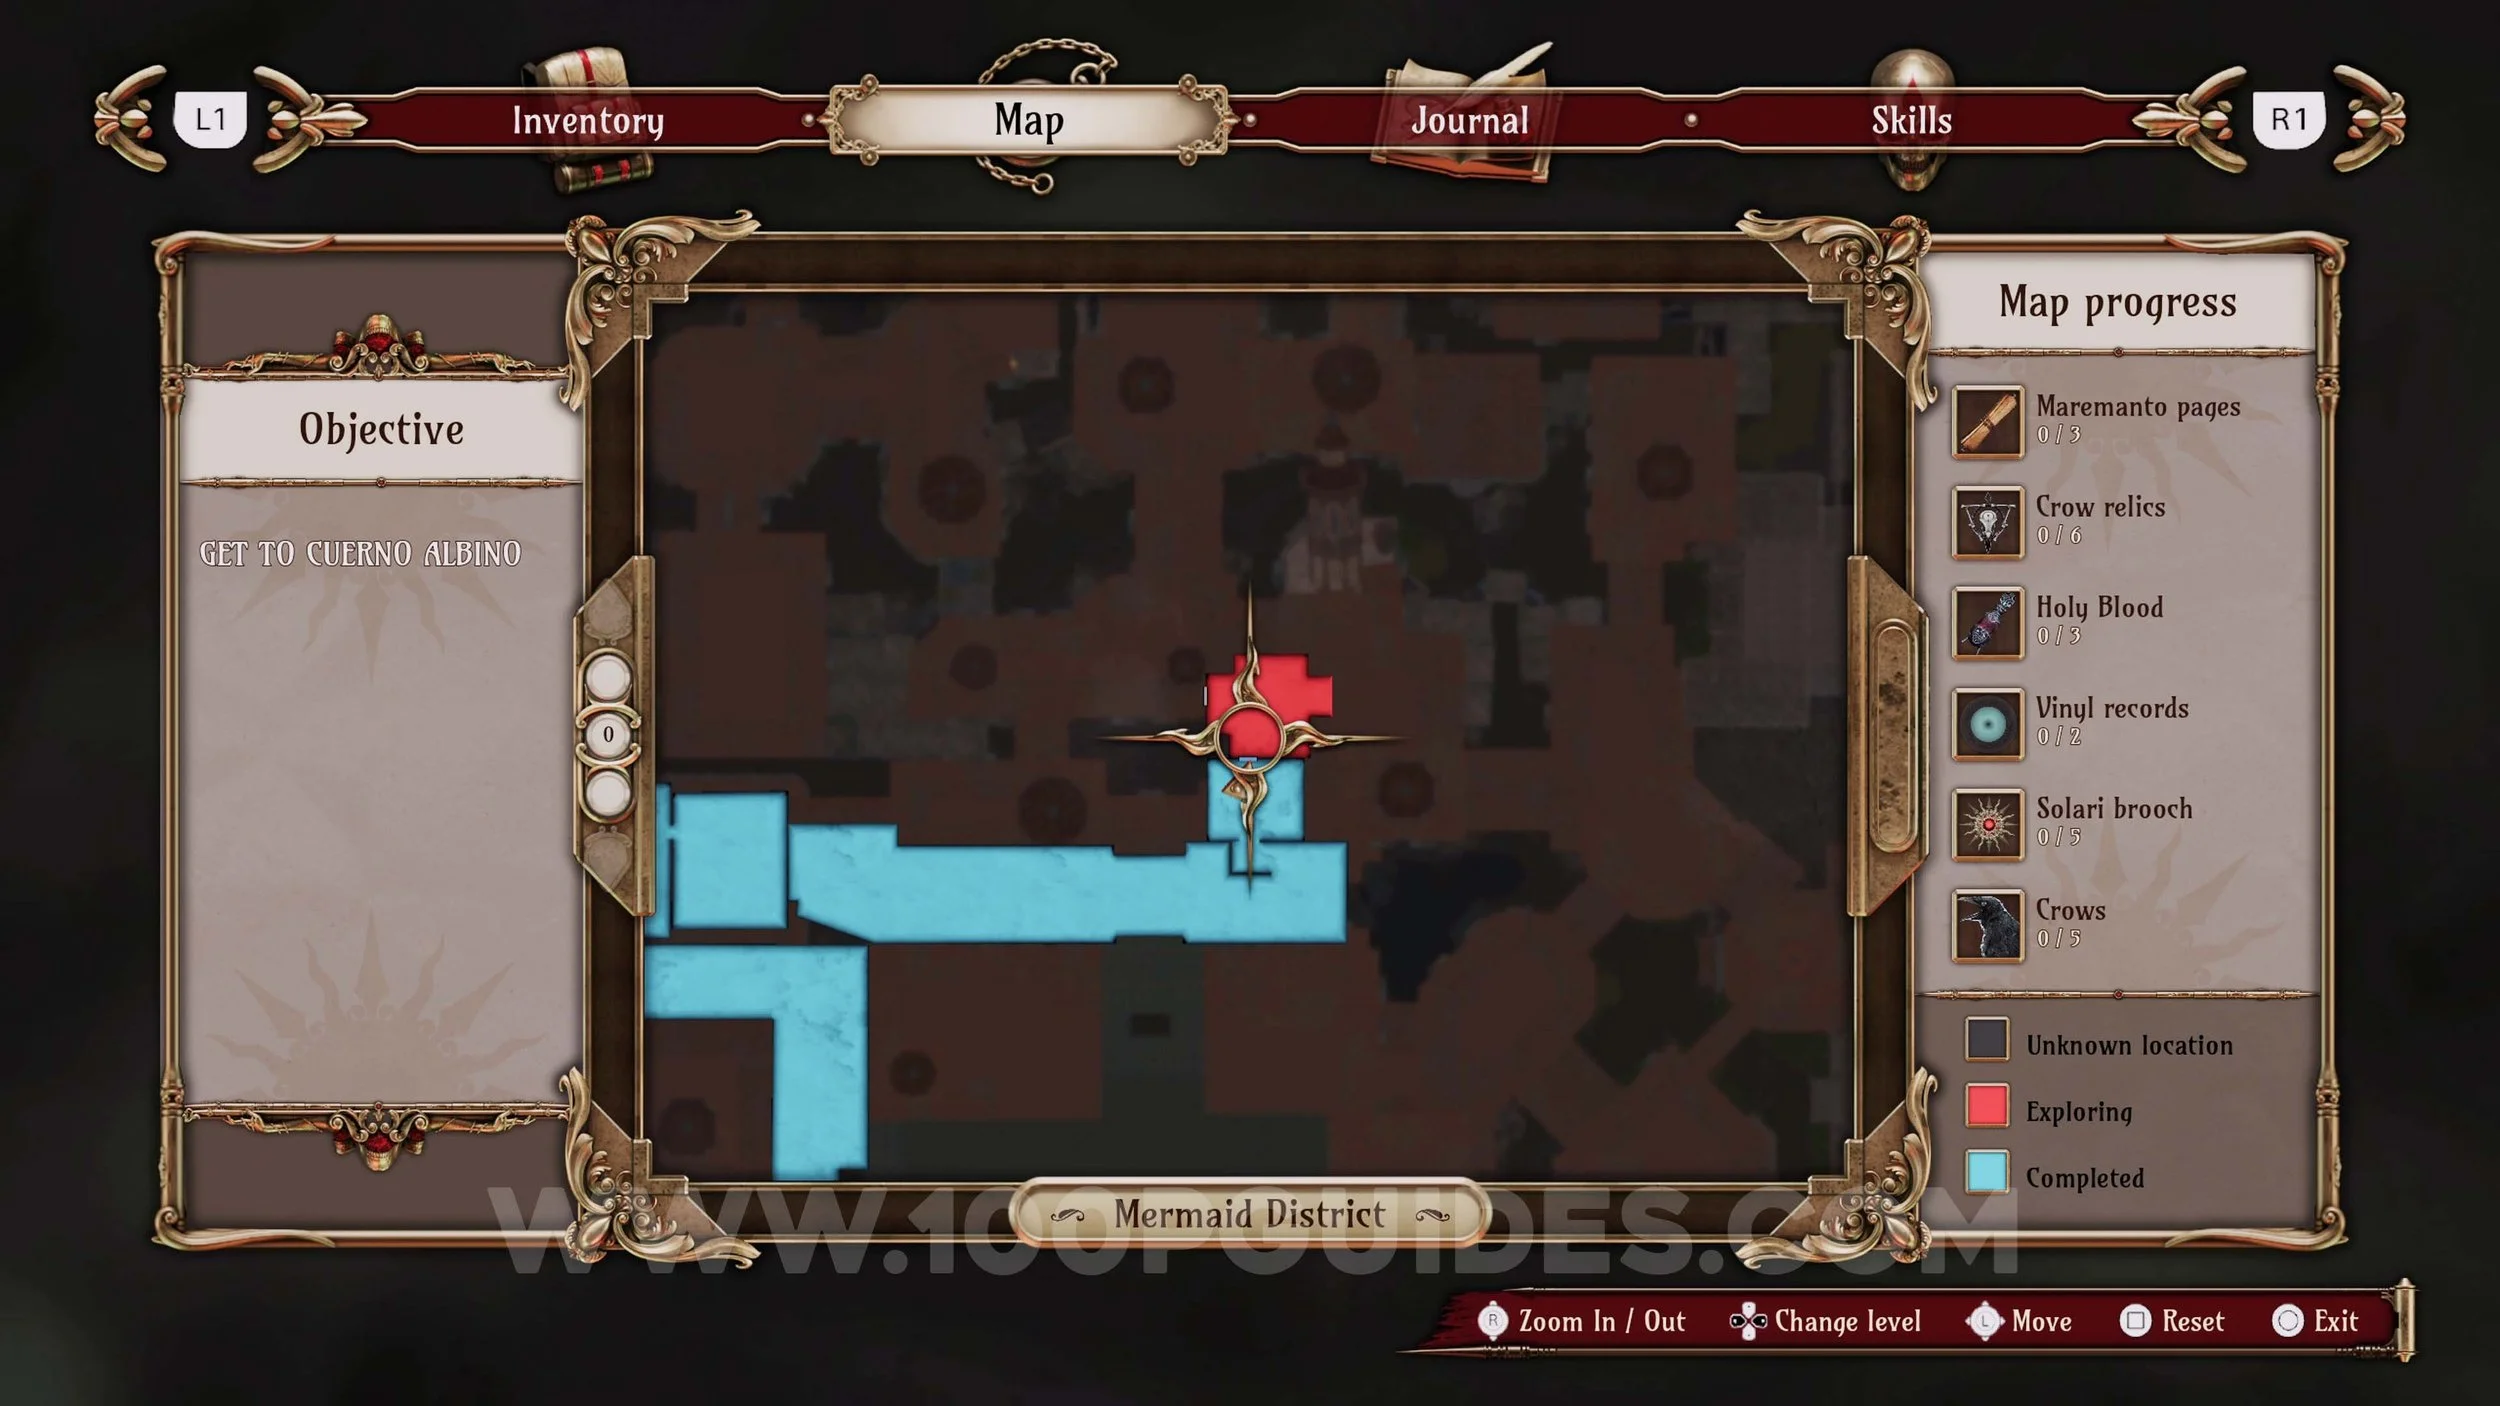
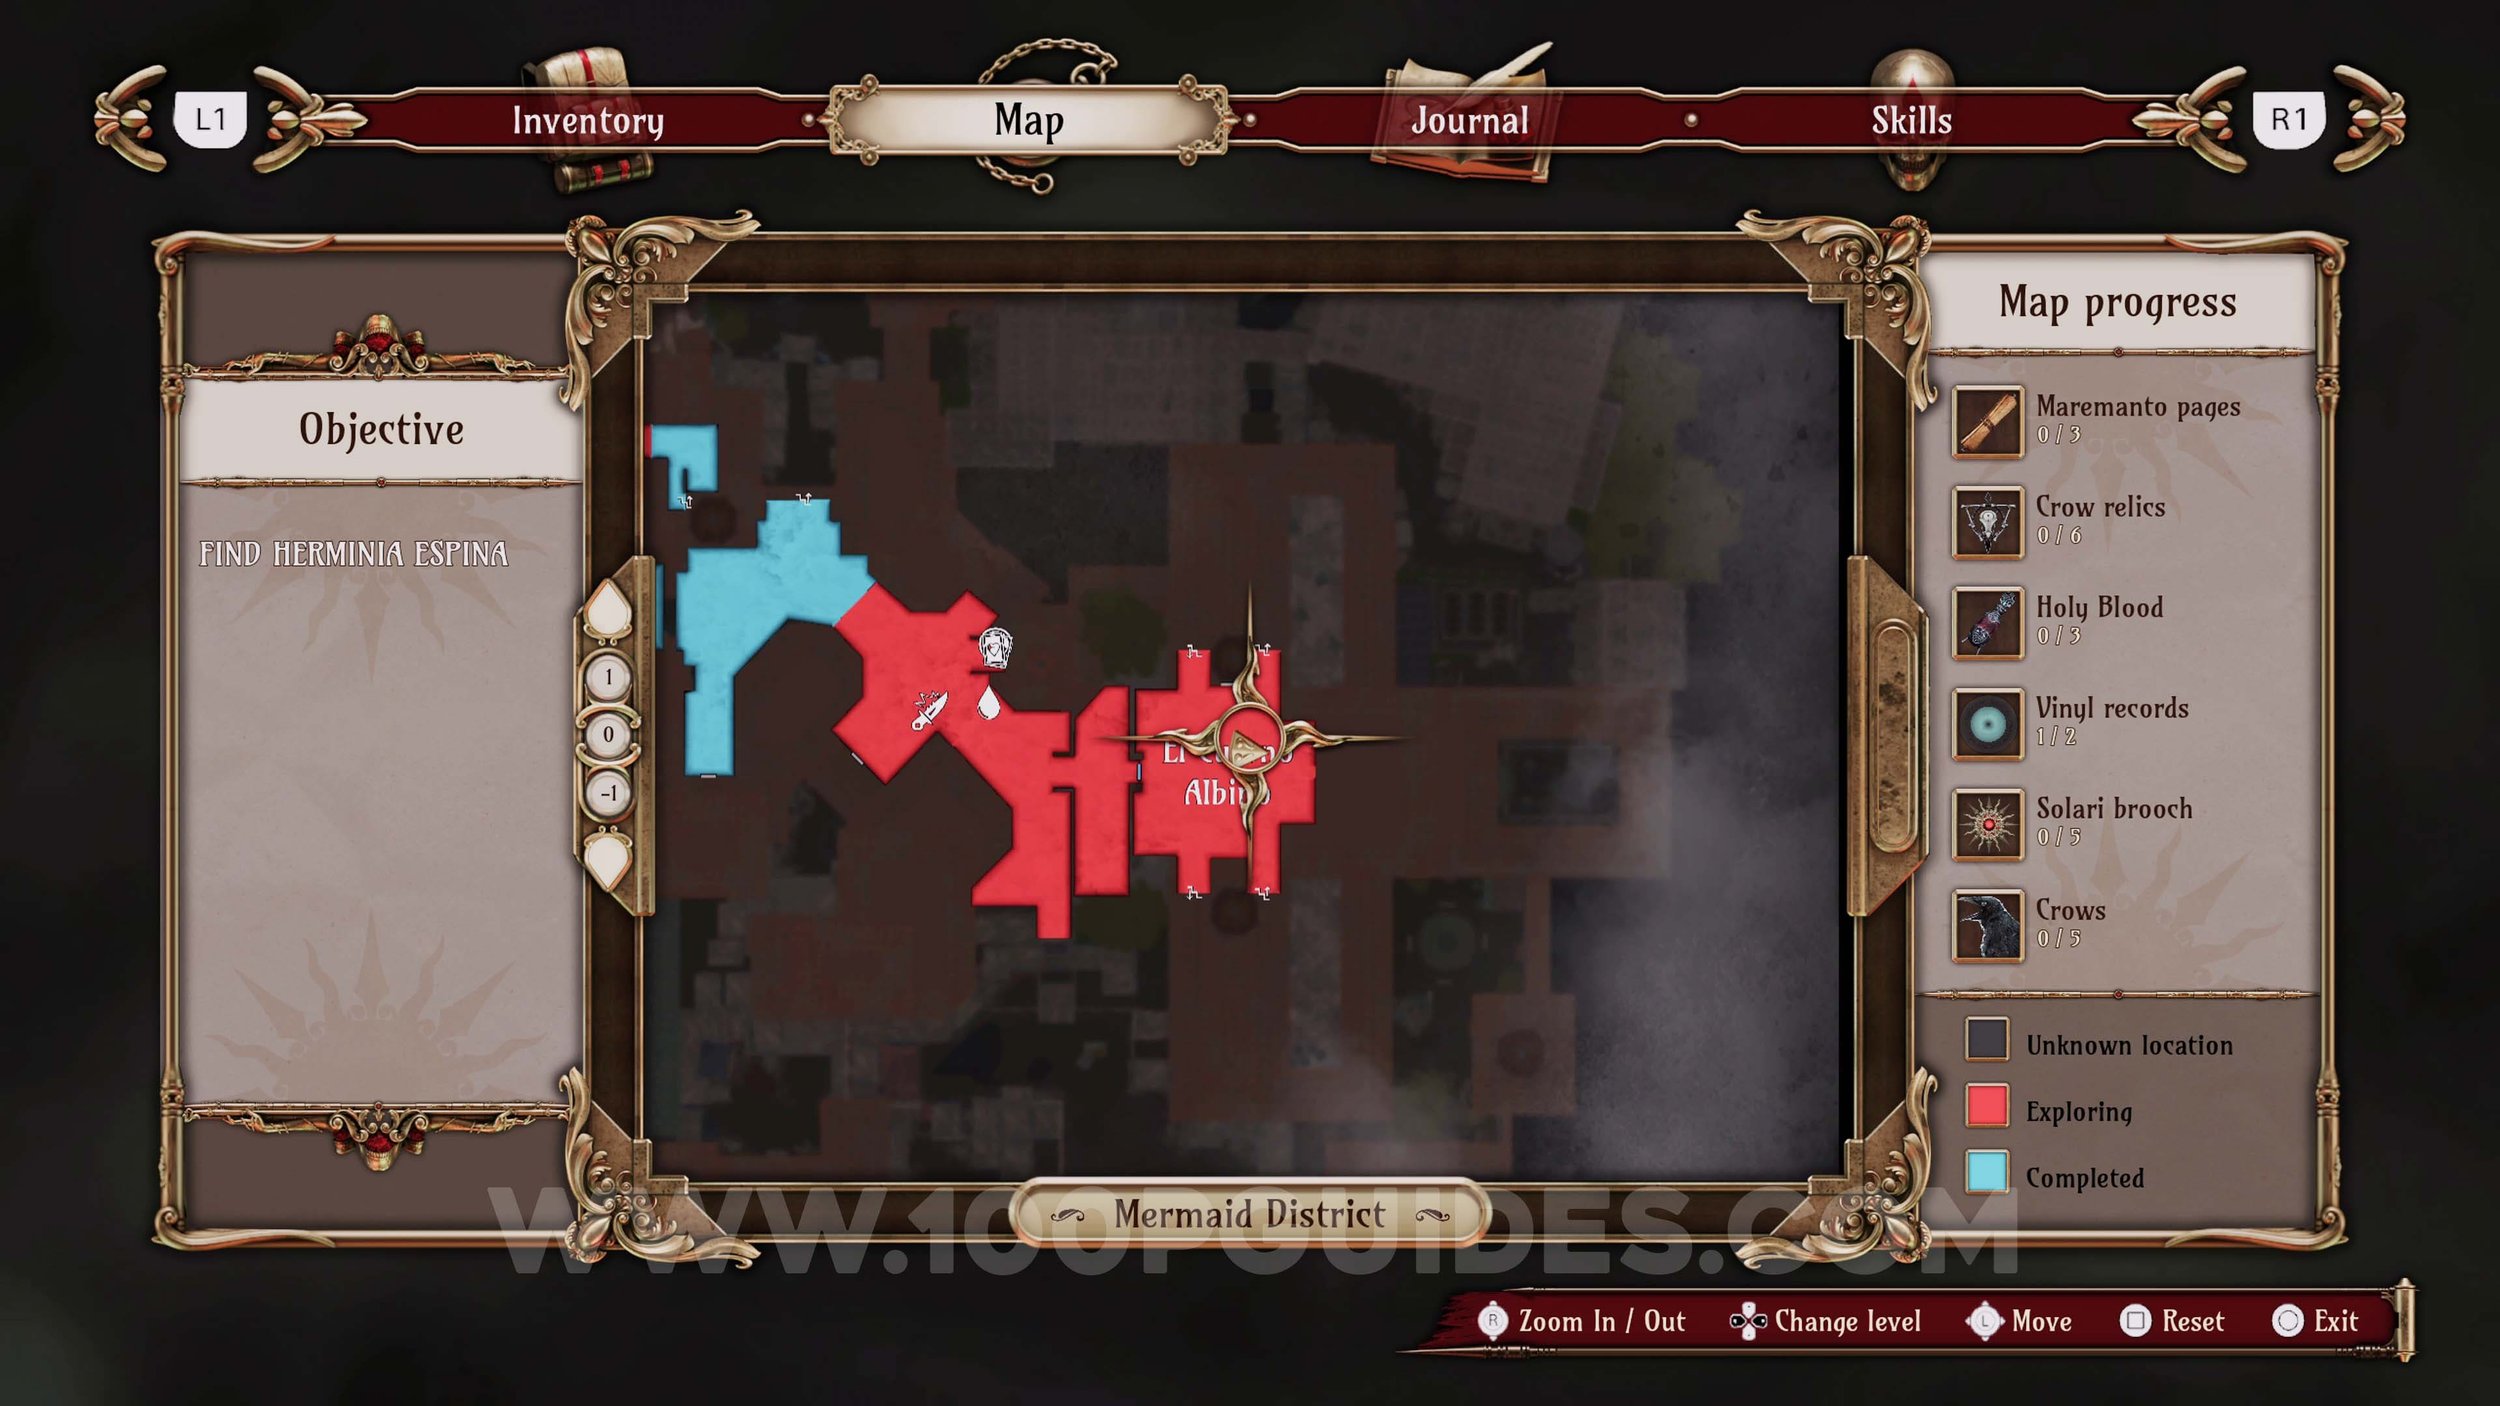
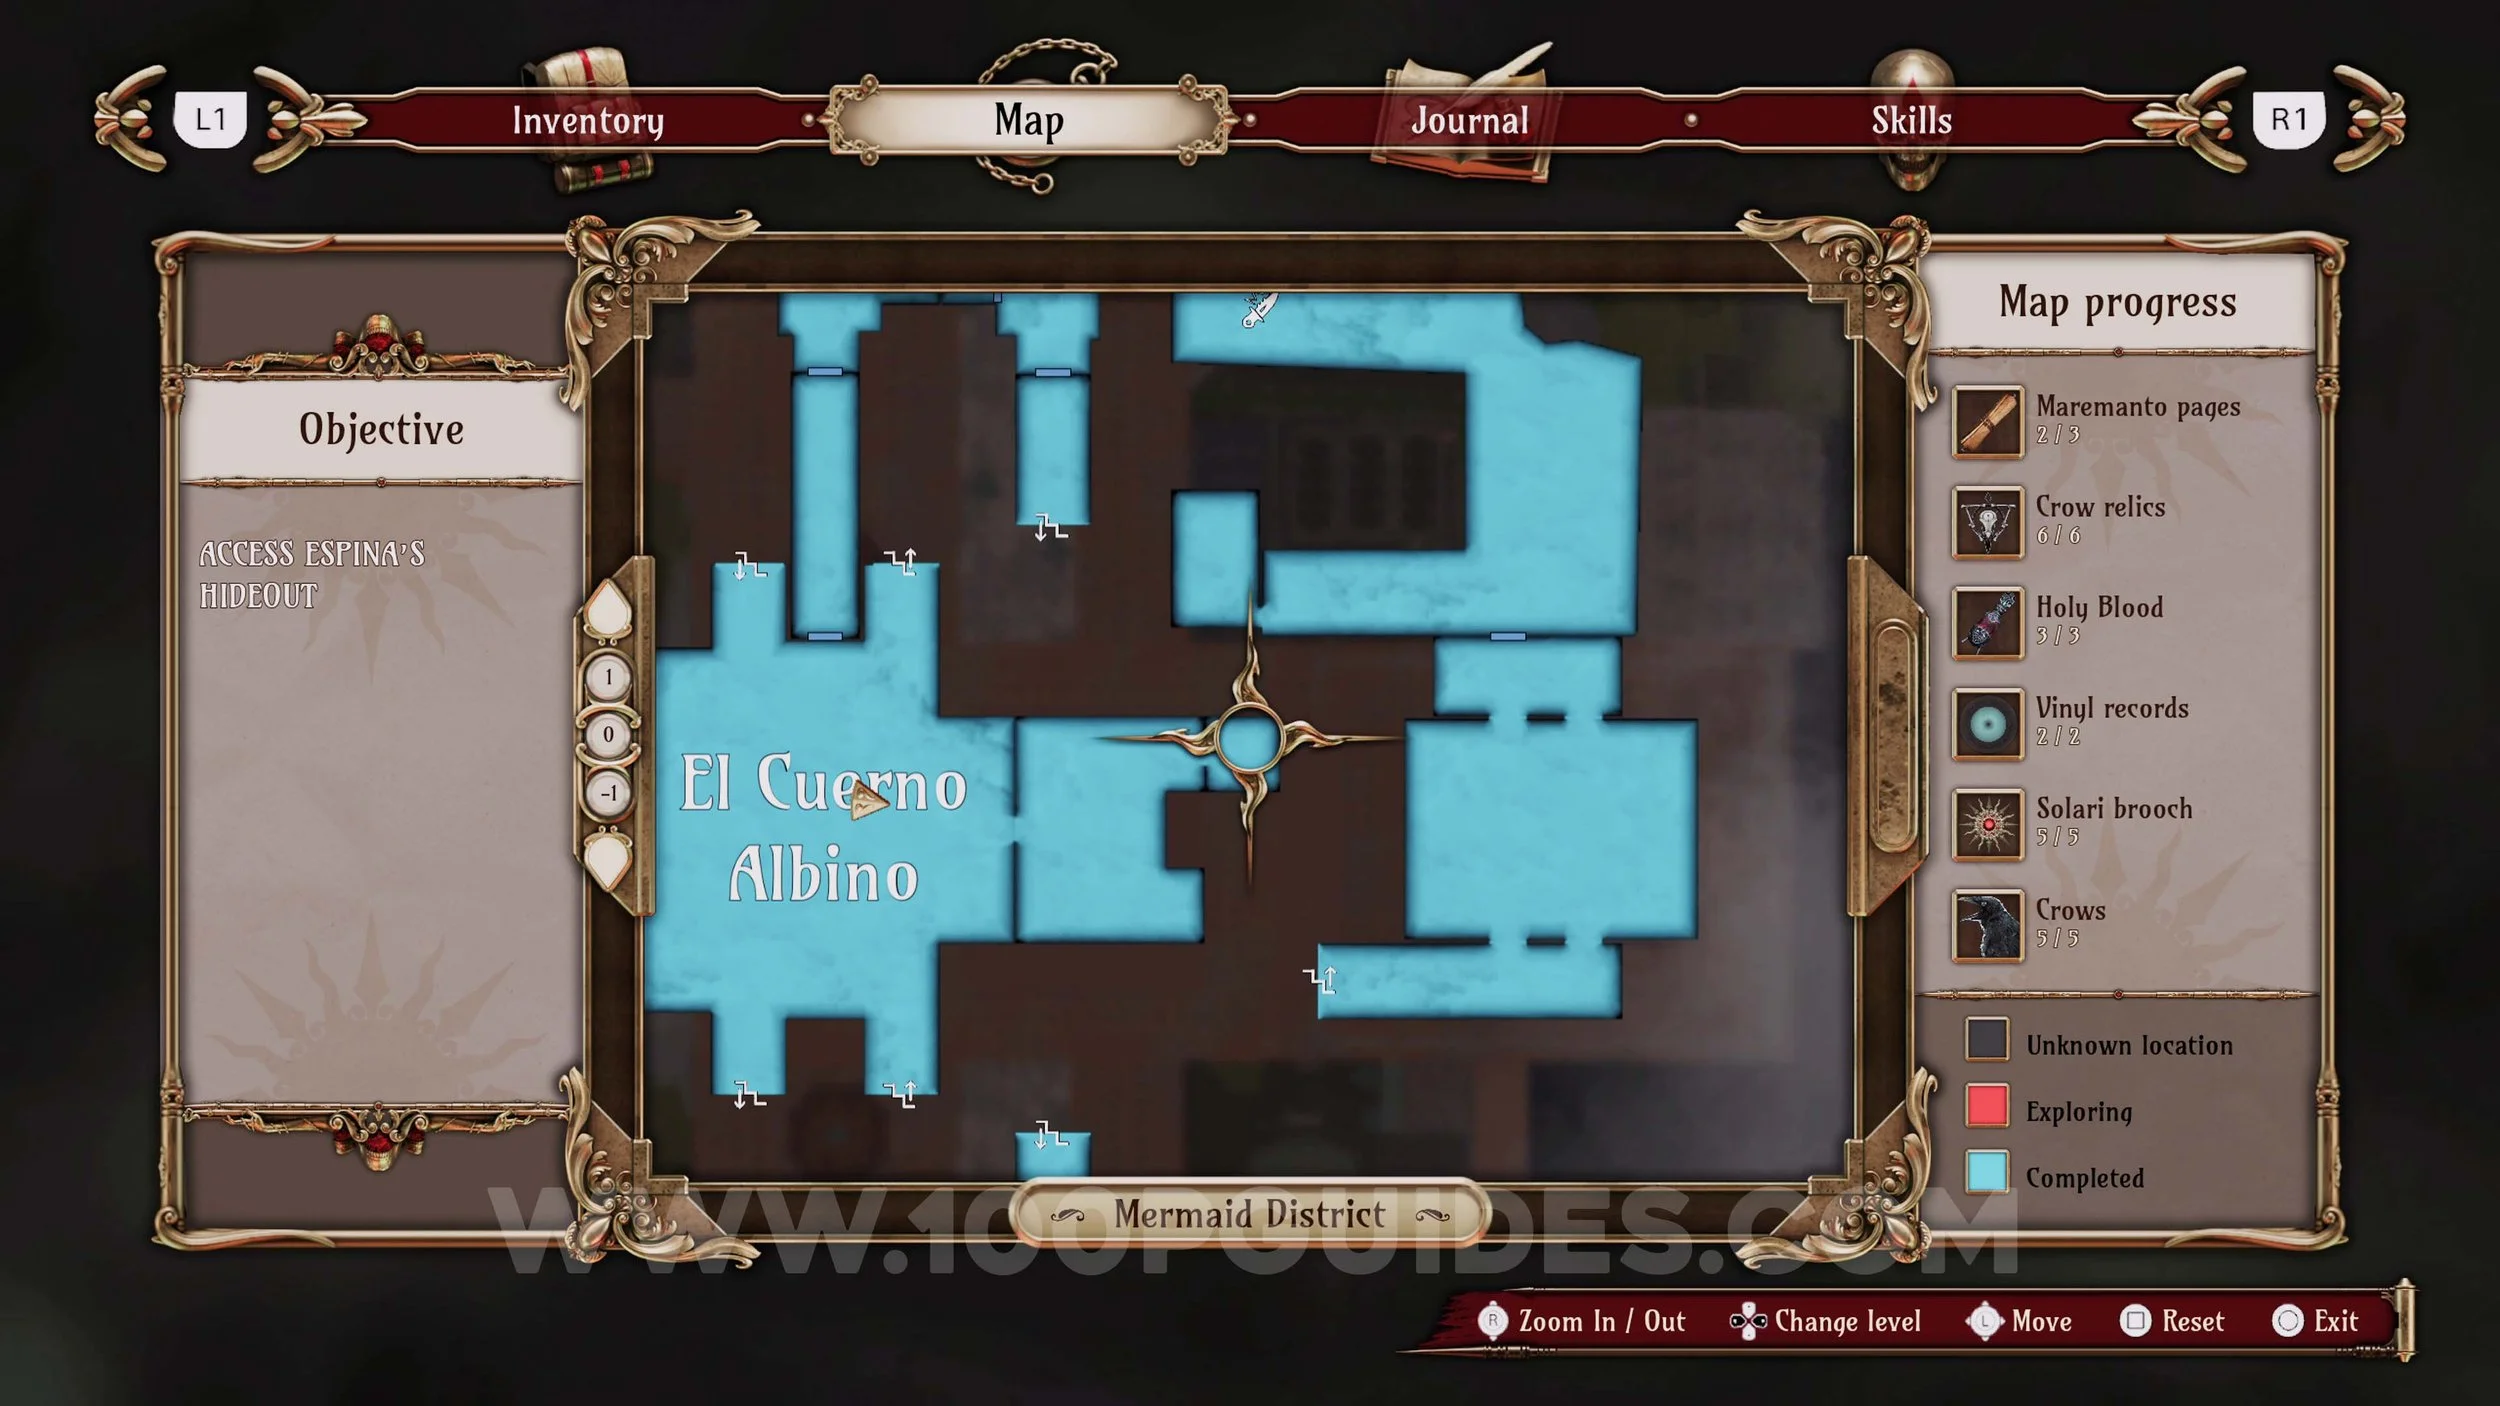
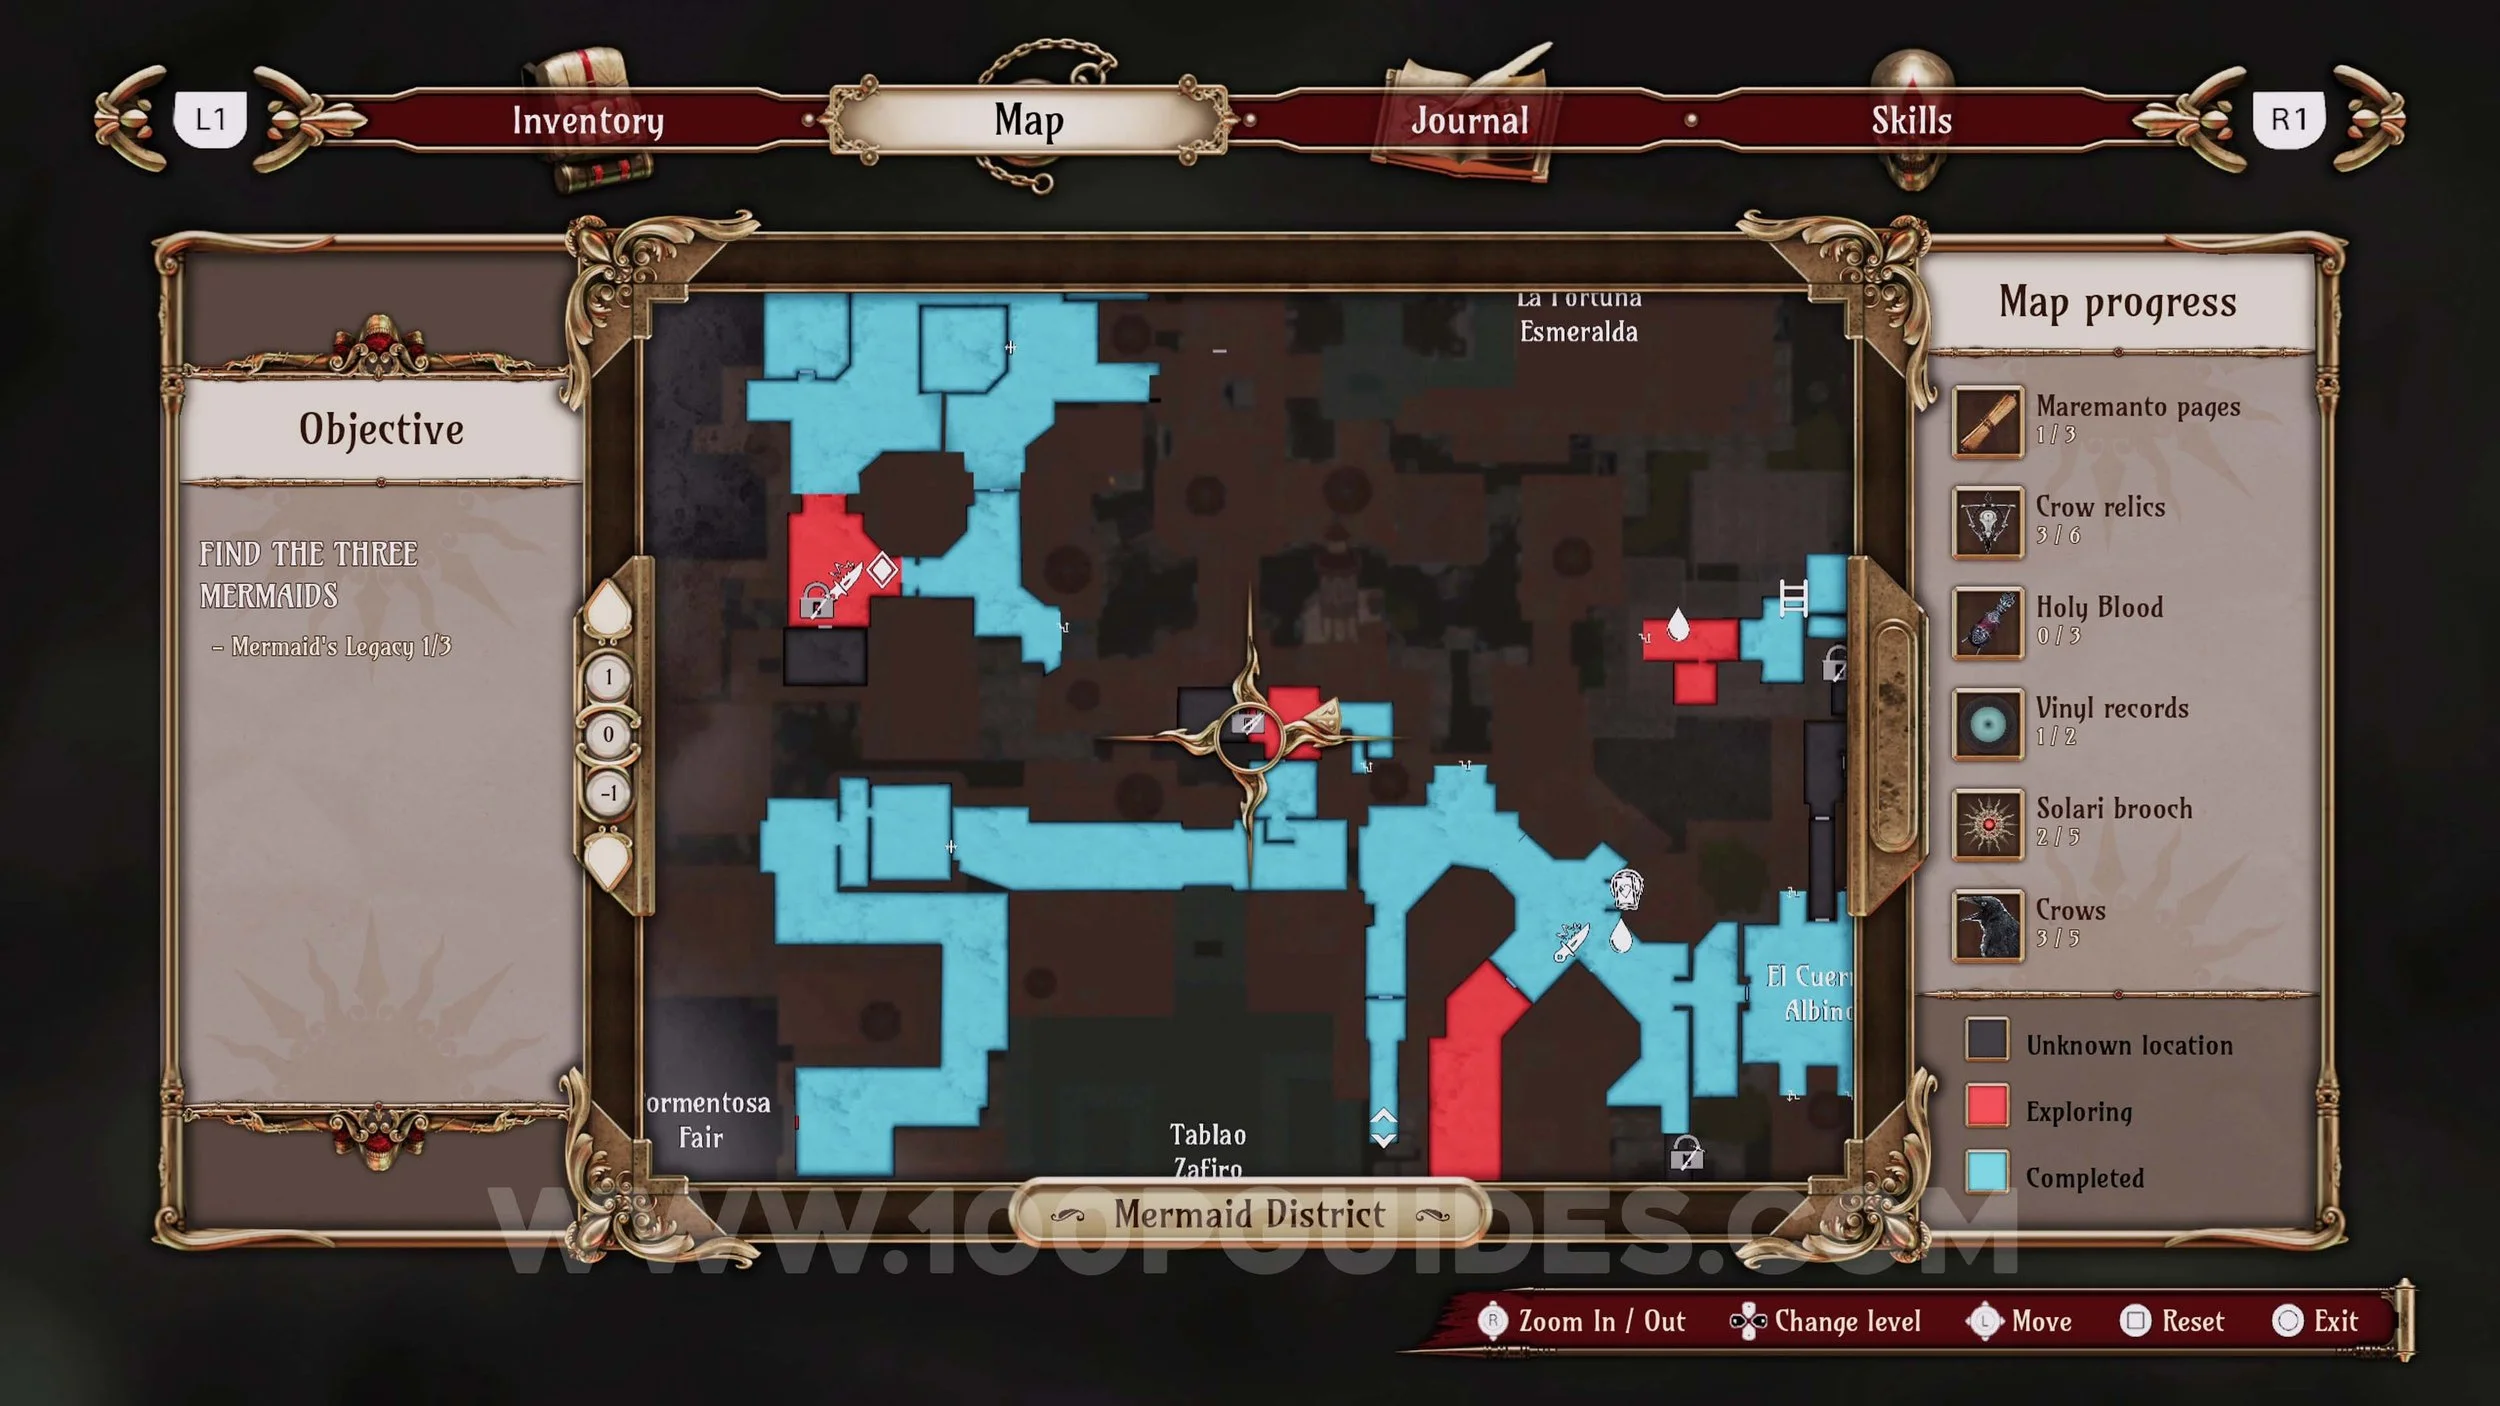
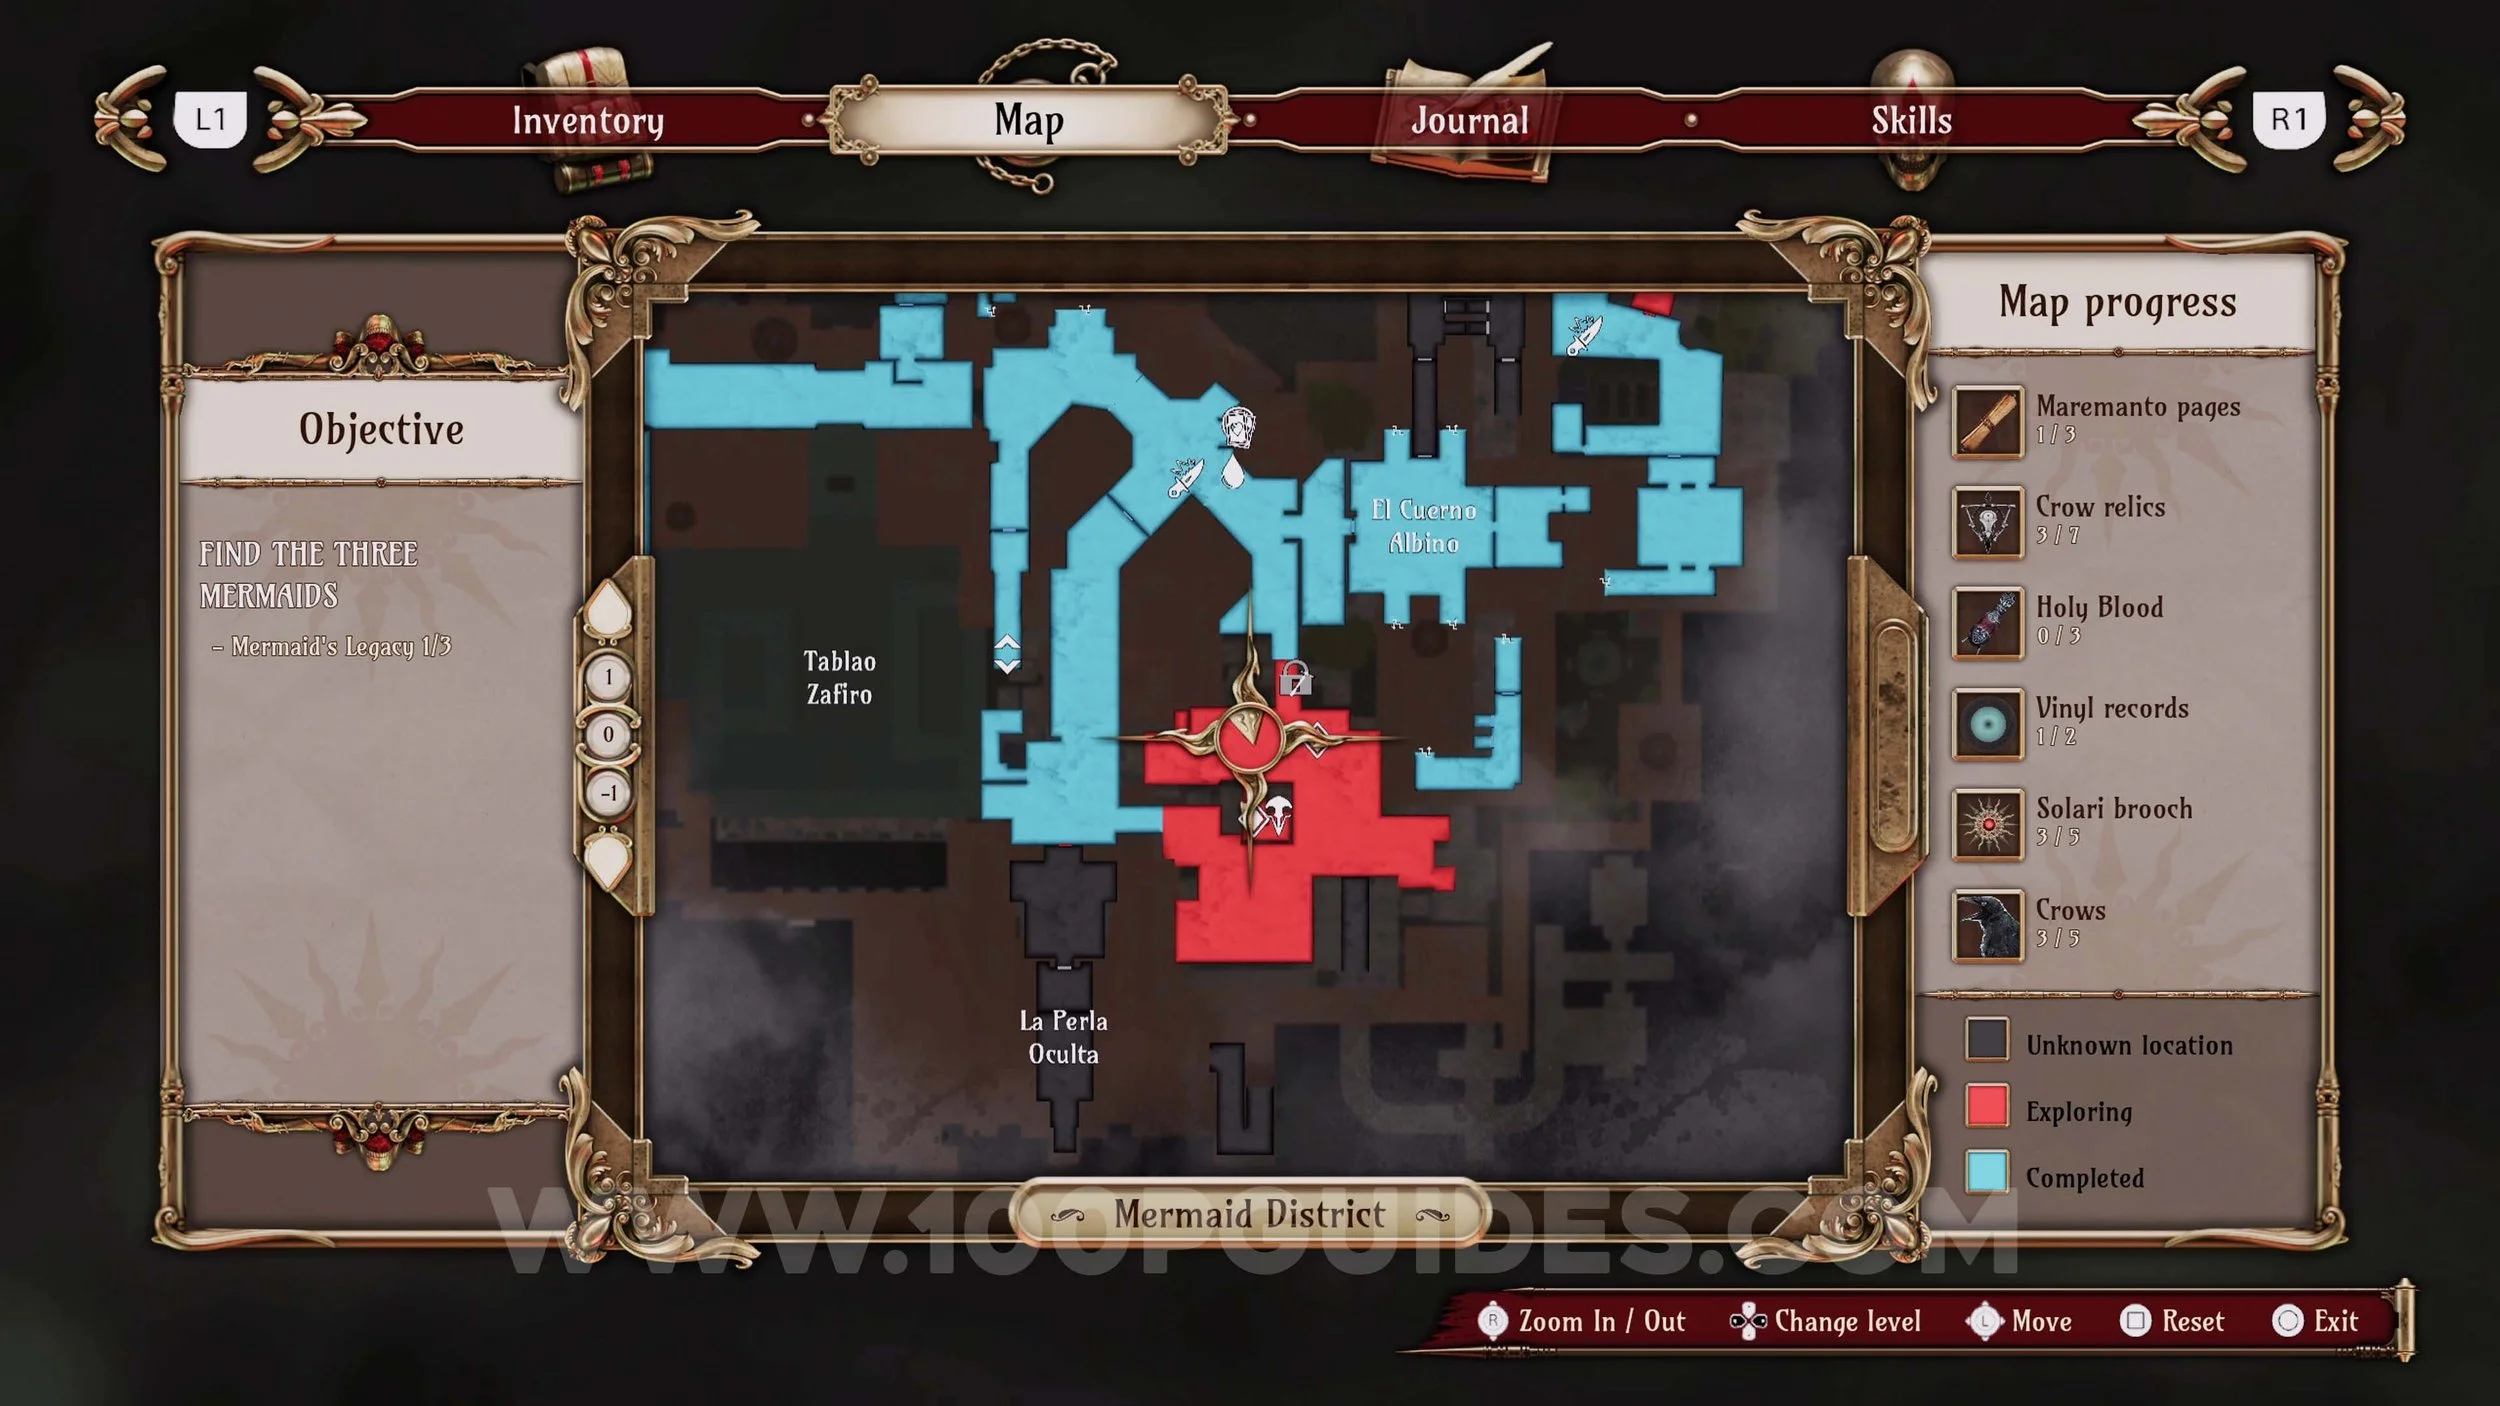
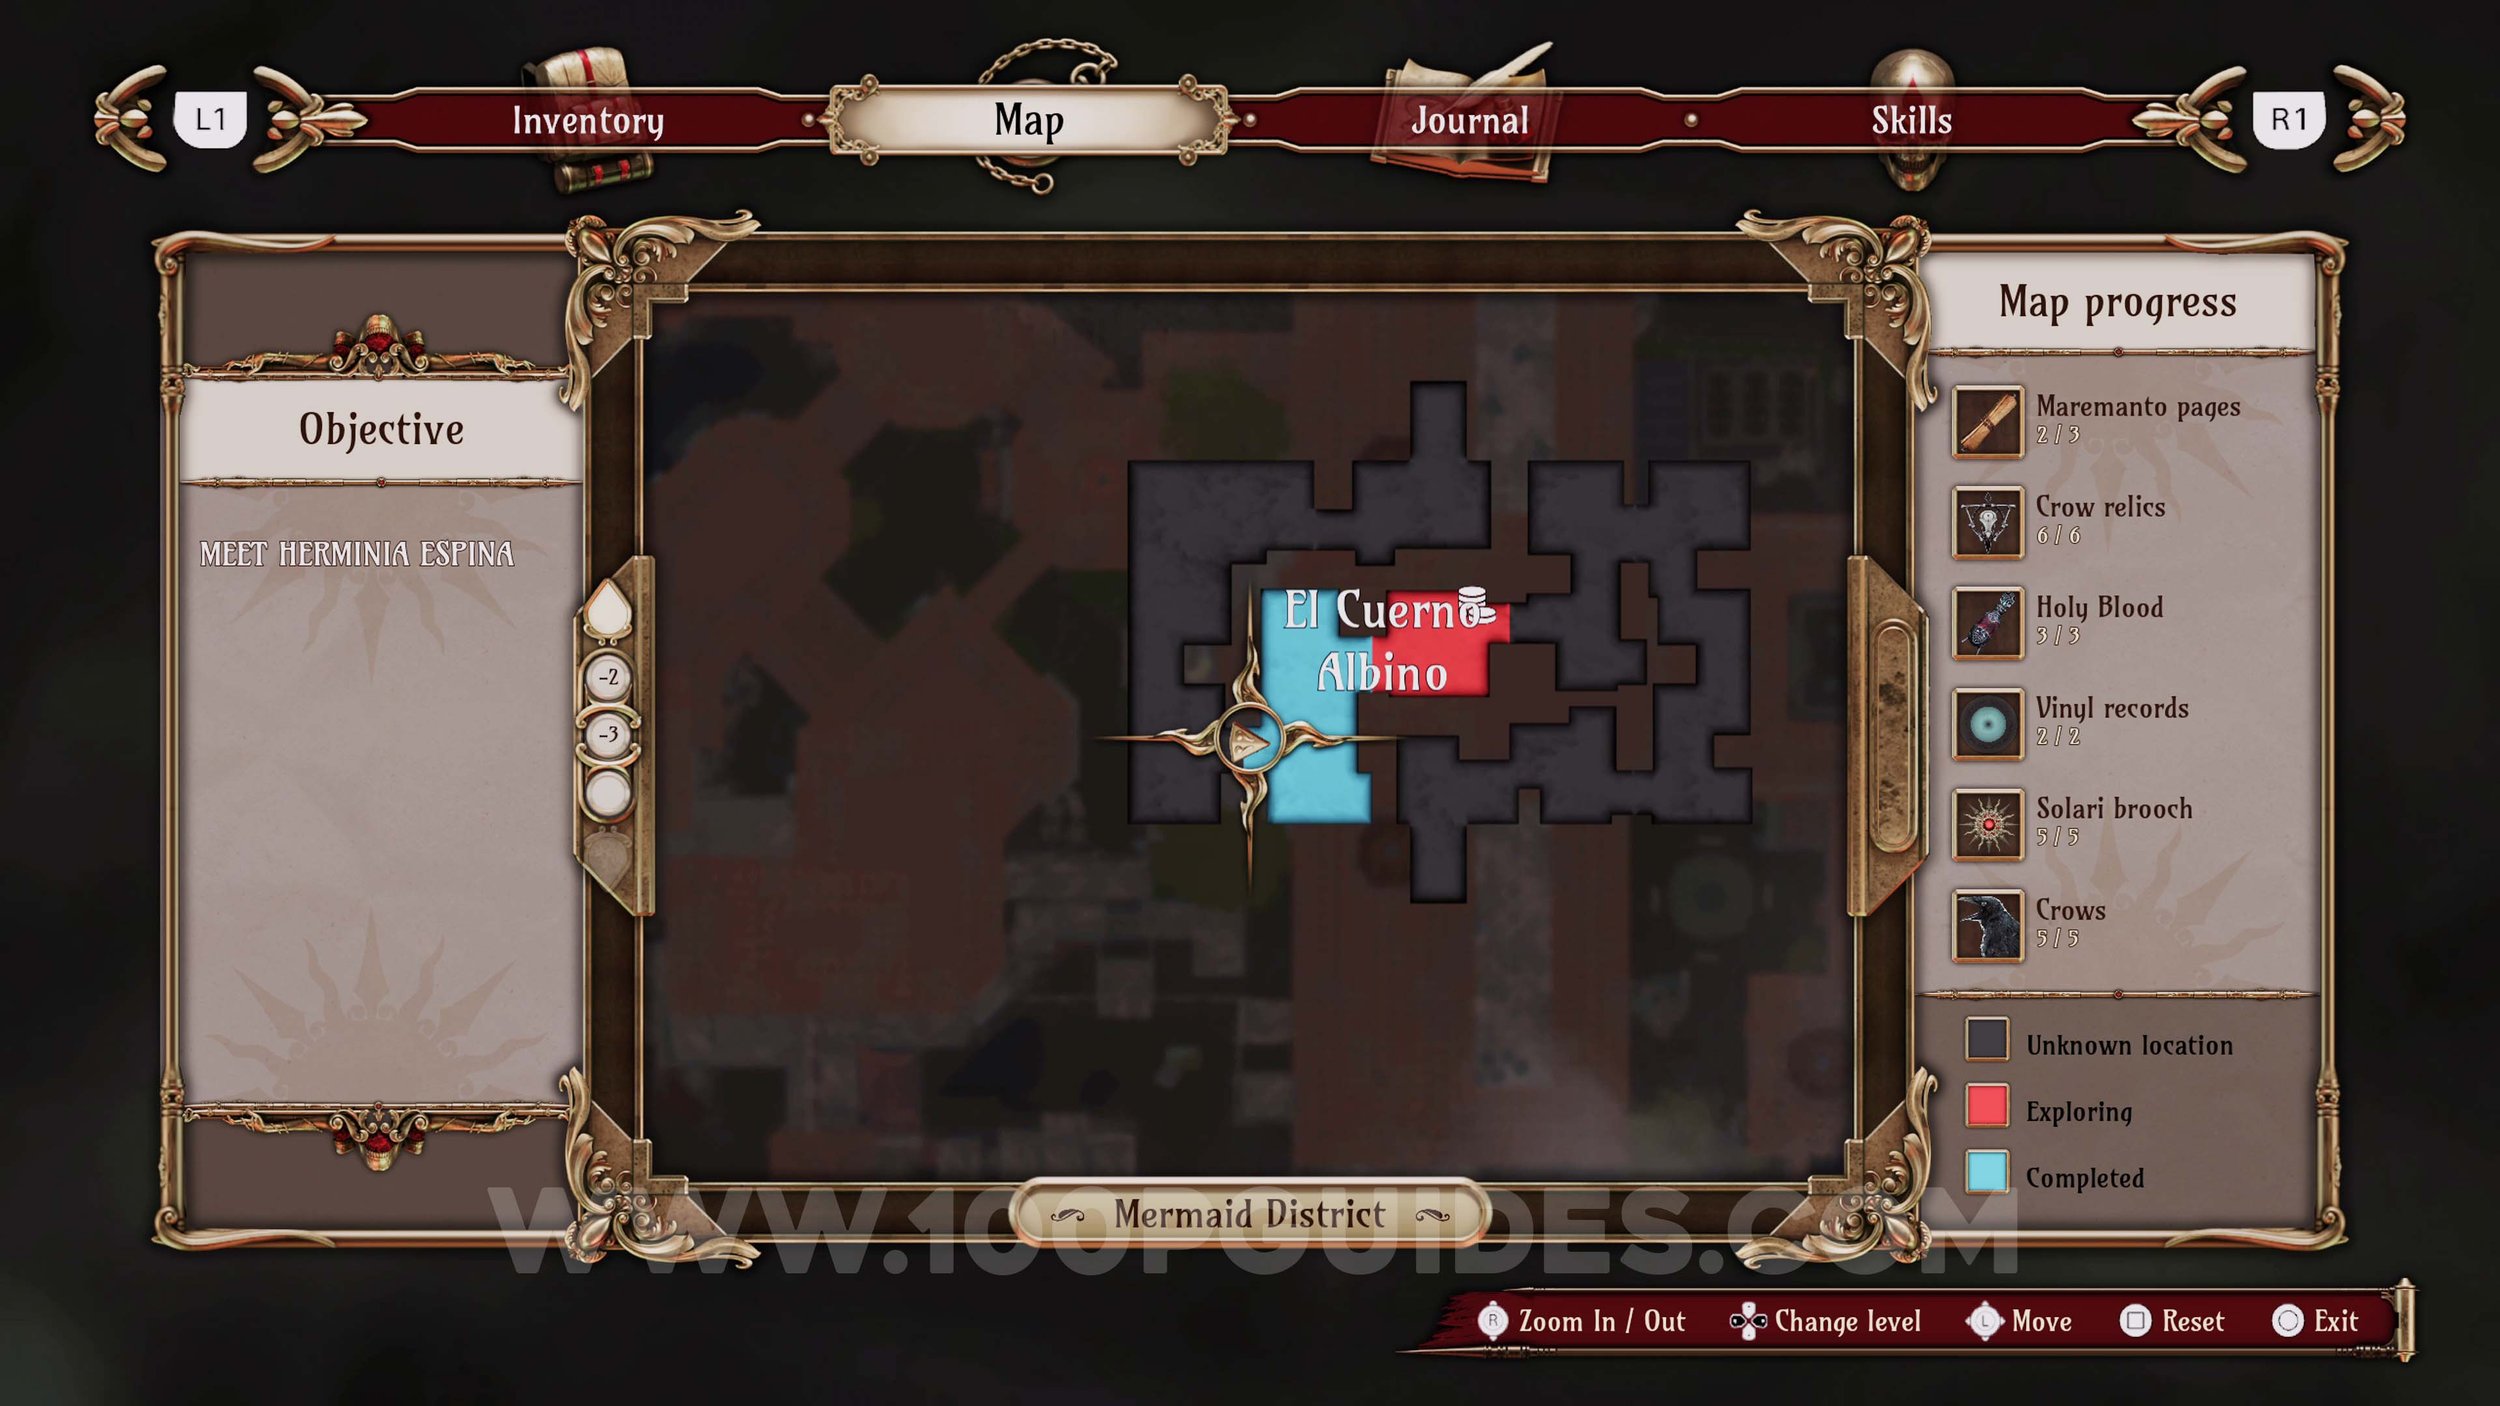
Ulises Idol #3. On the left just before you enter El Cuerno Albino.

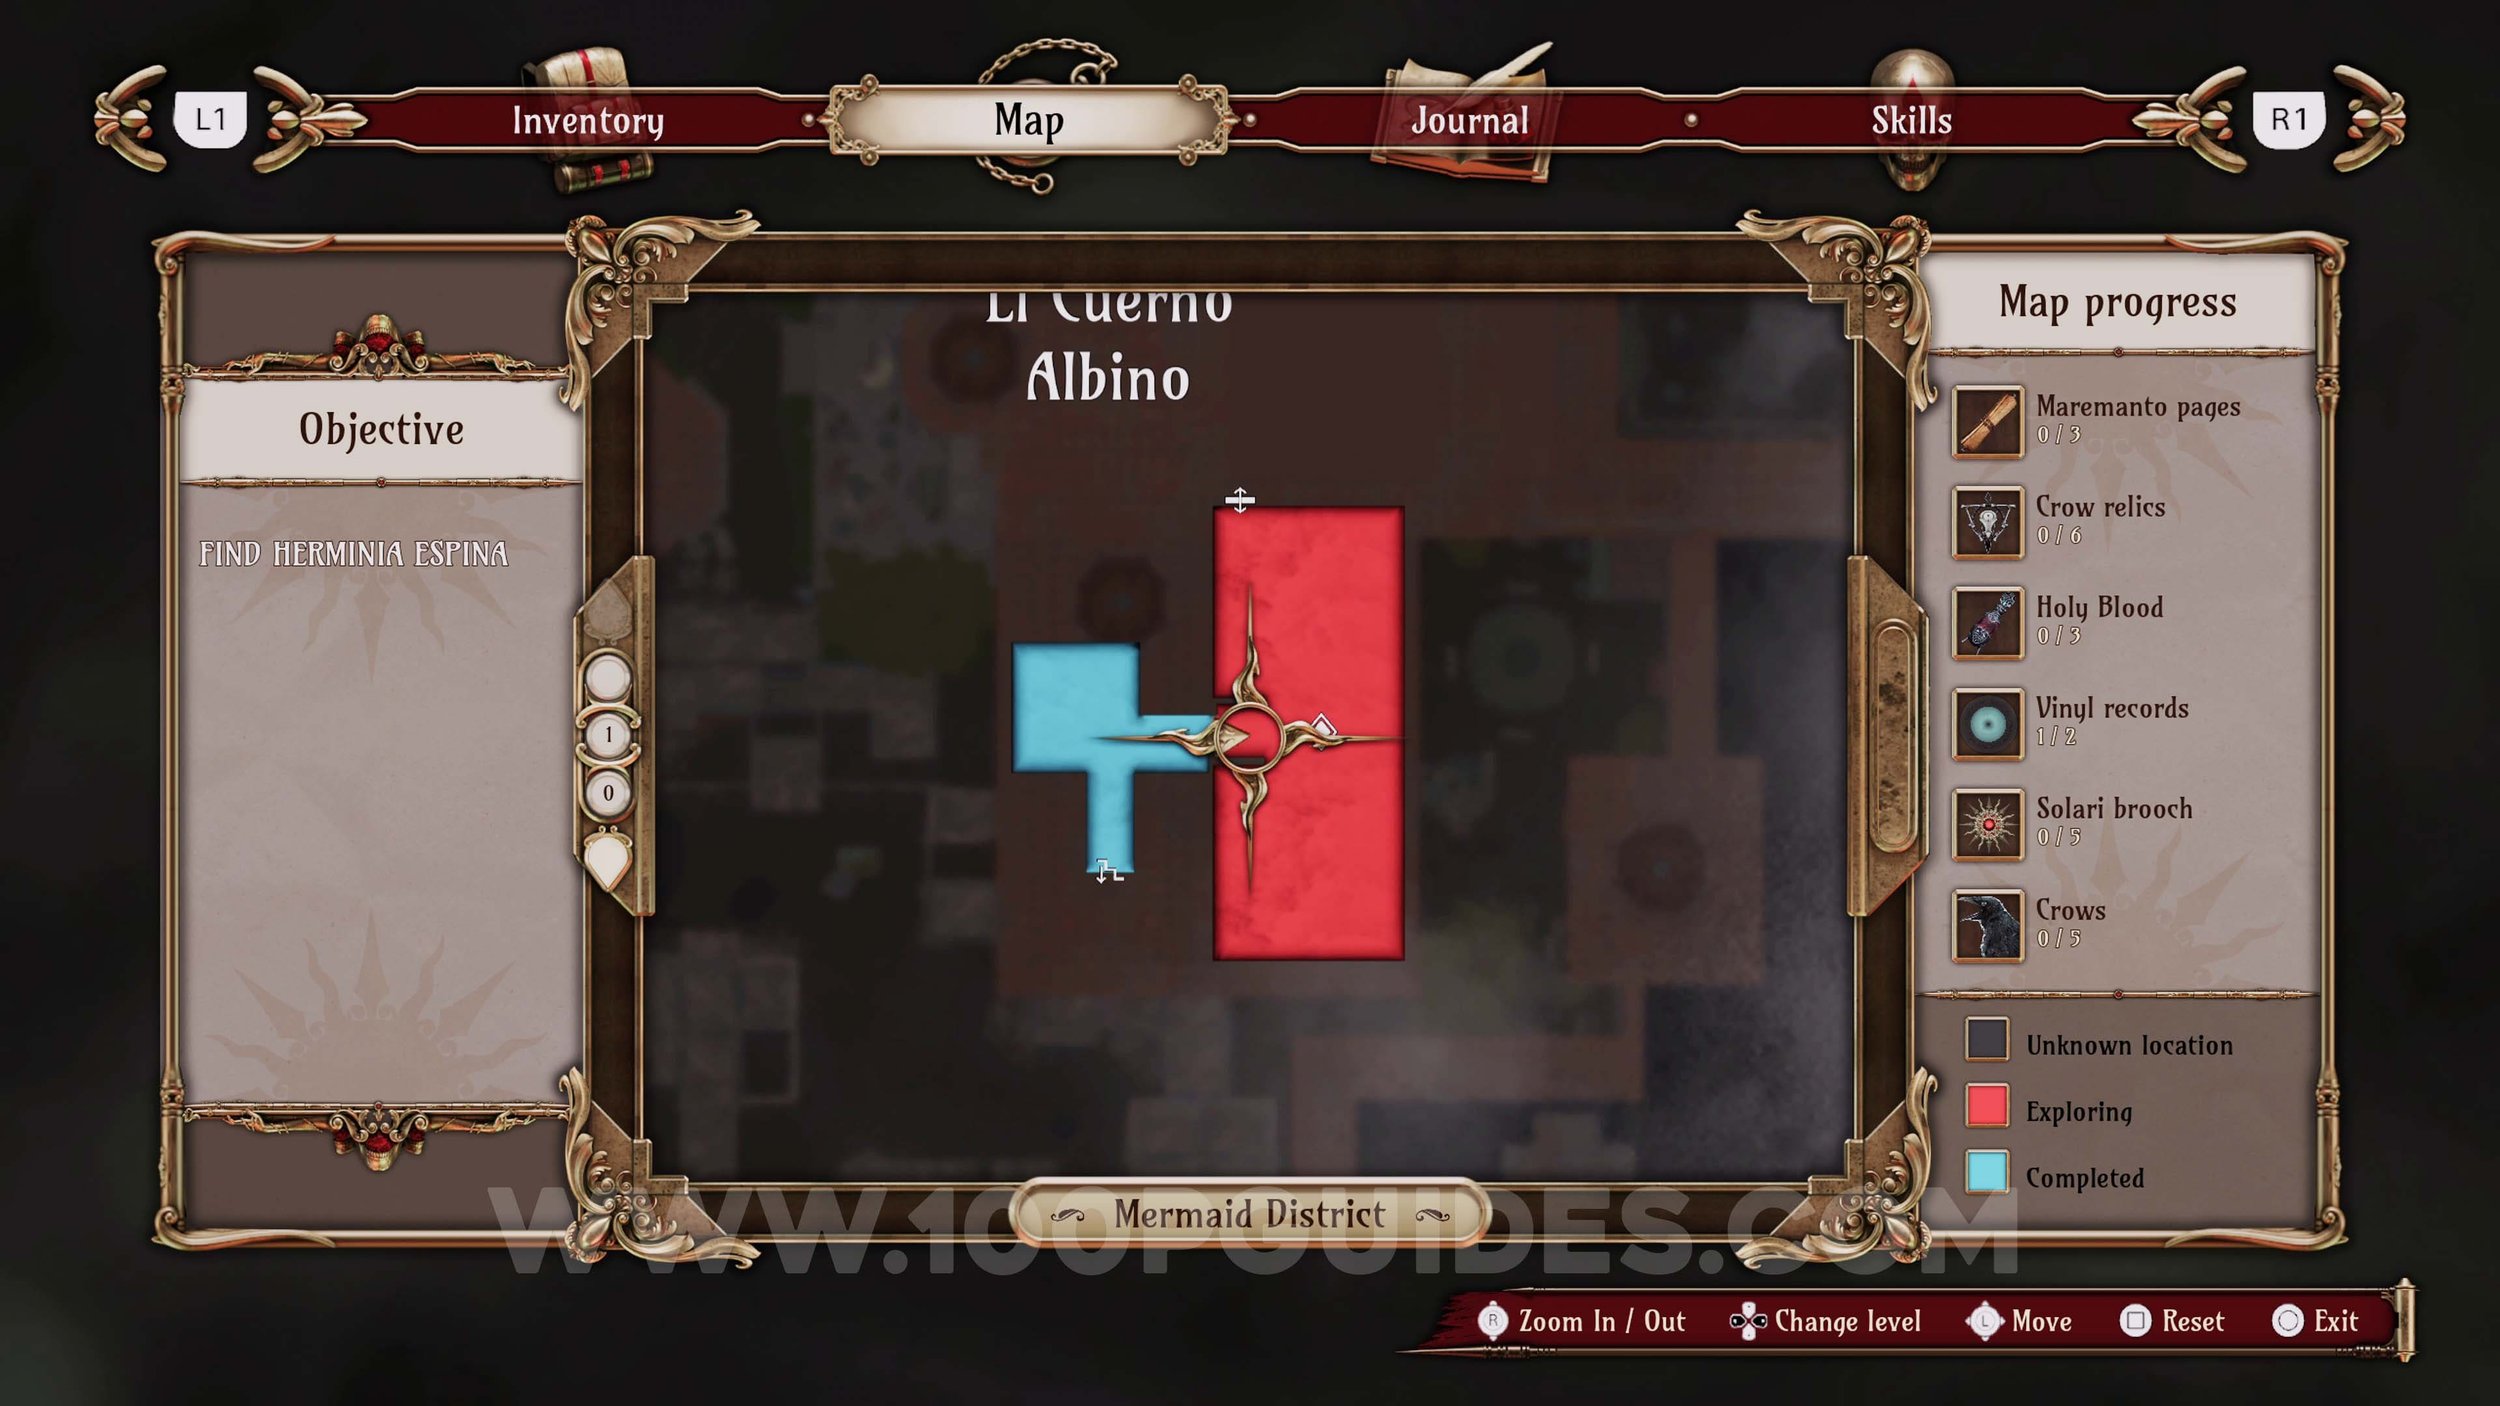
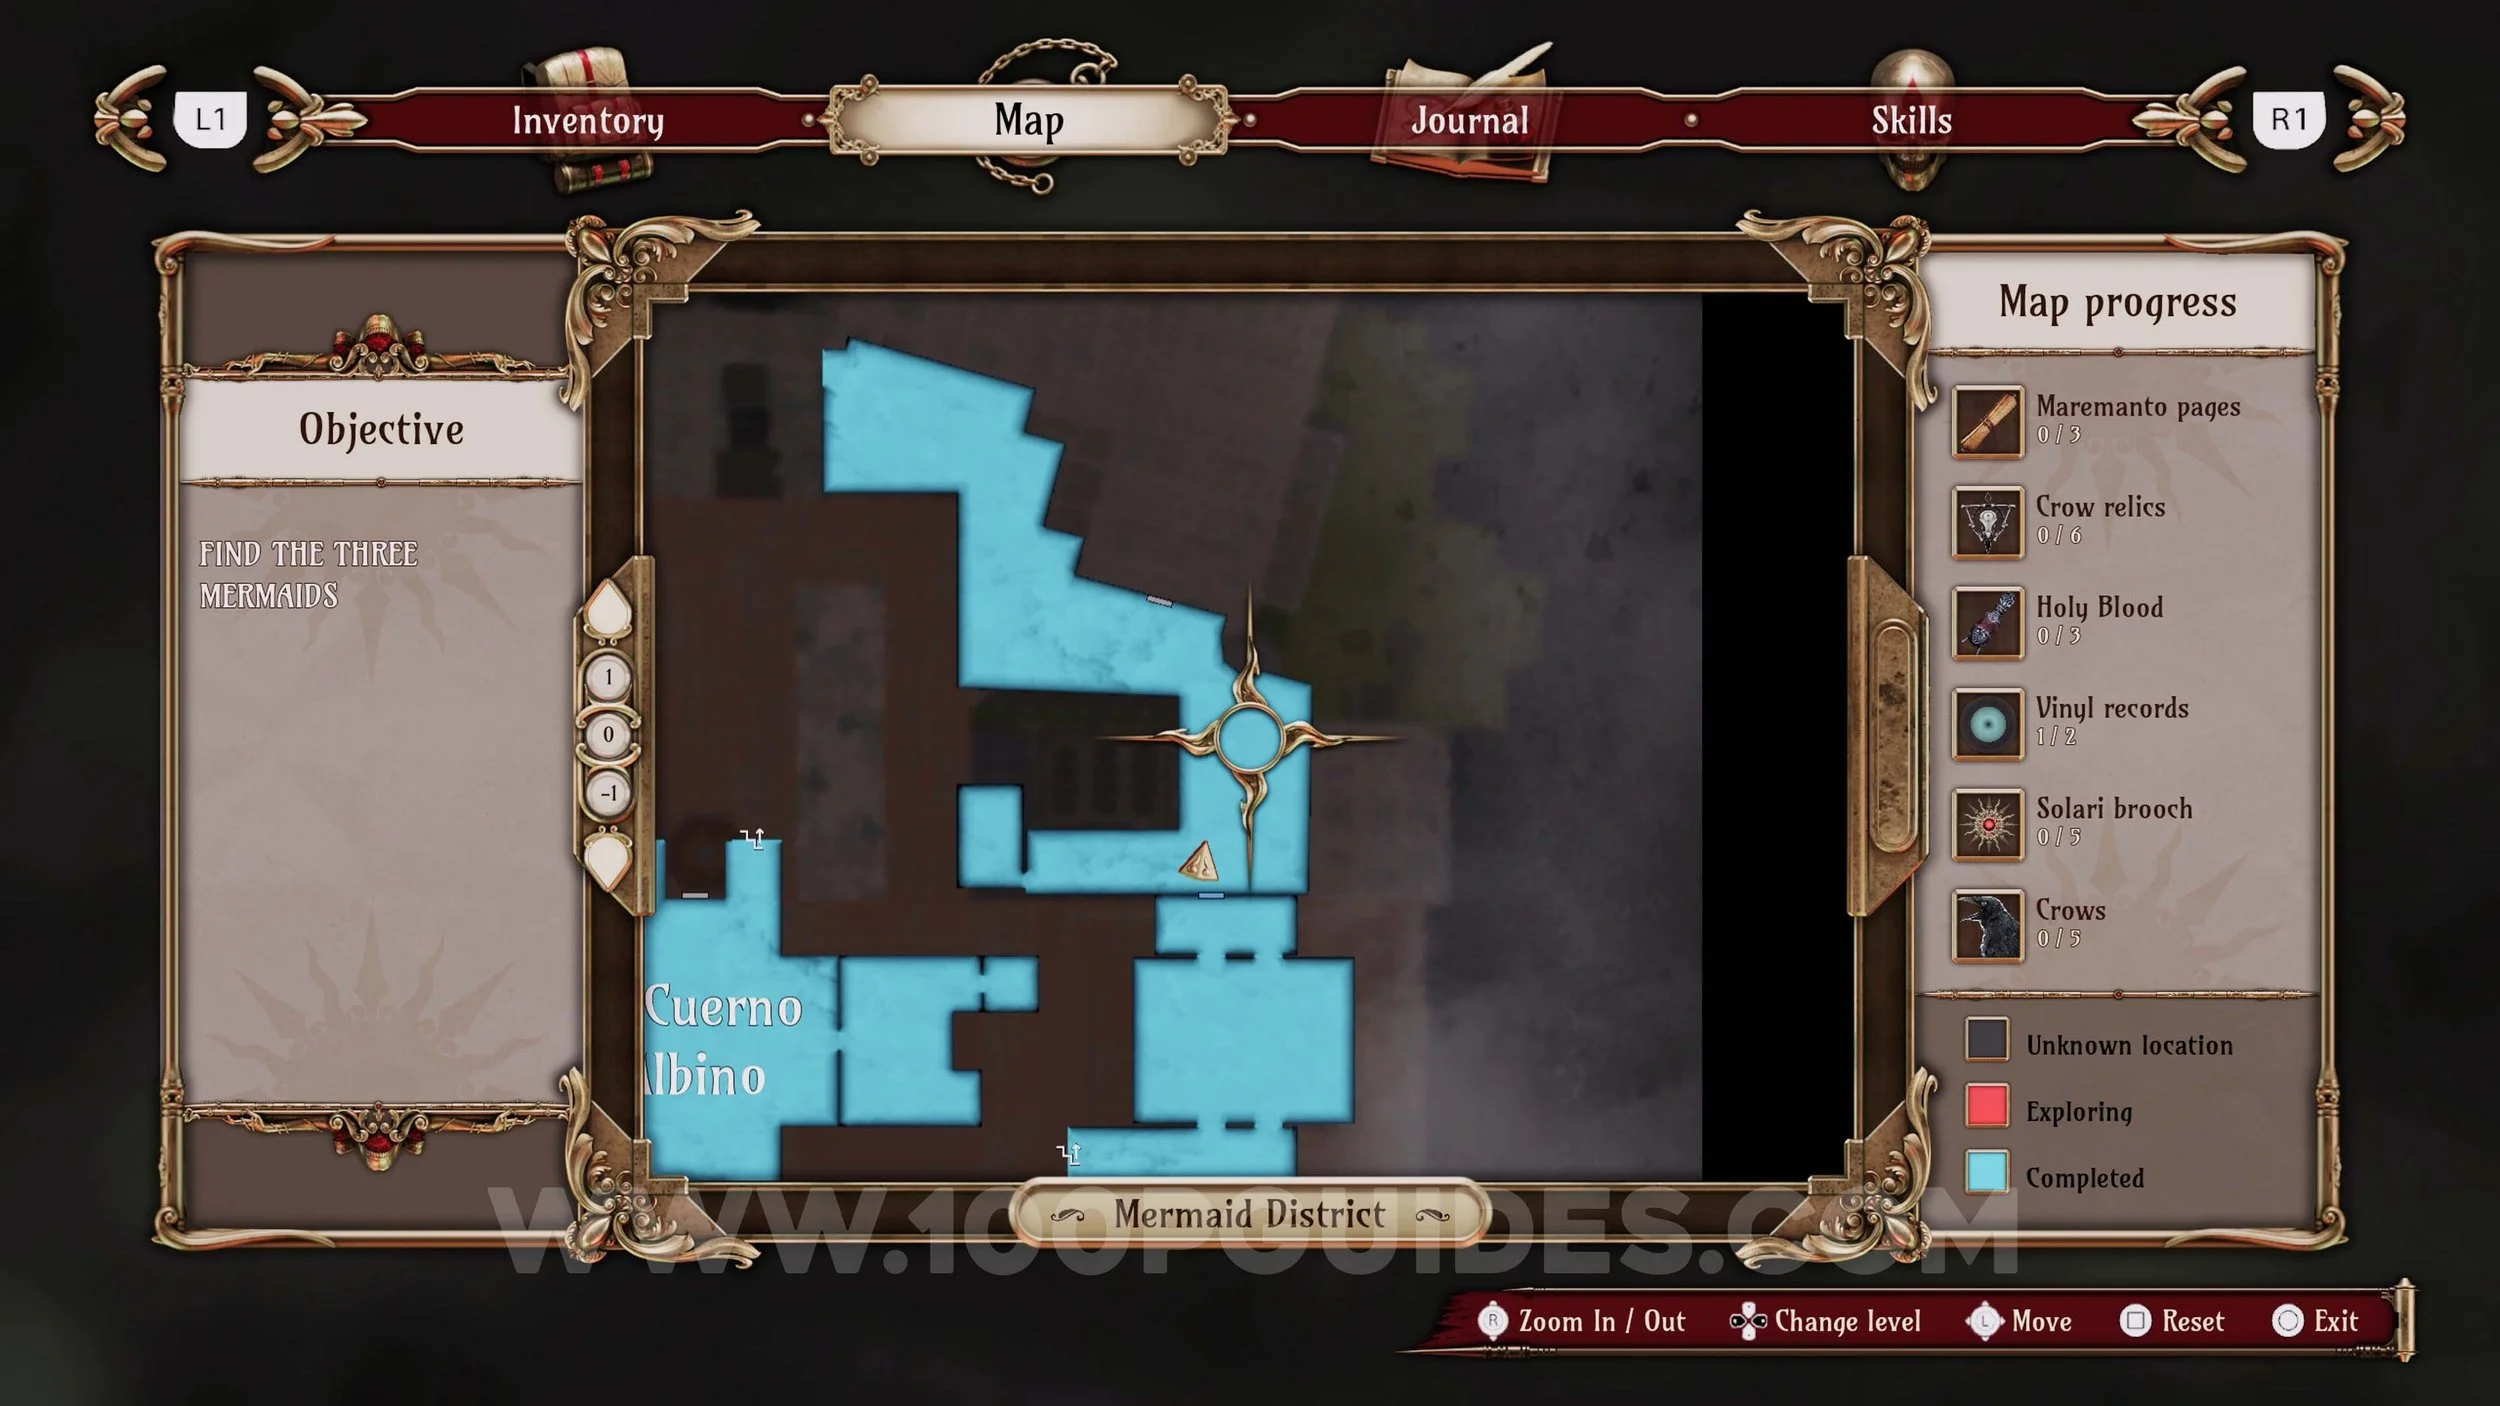
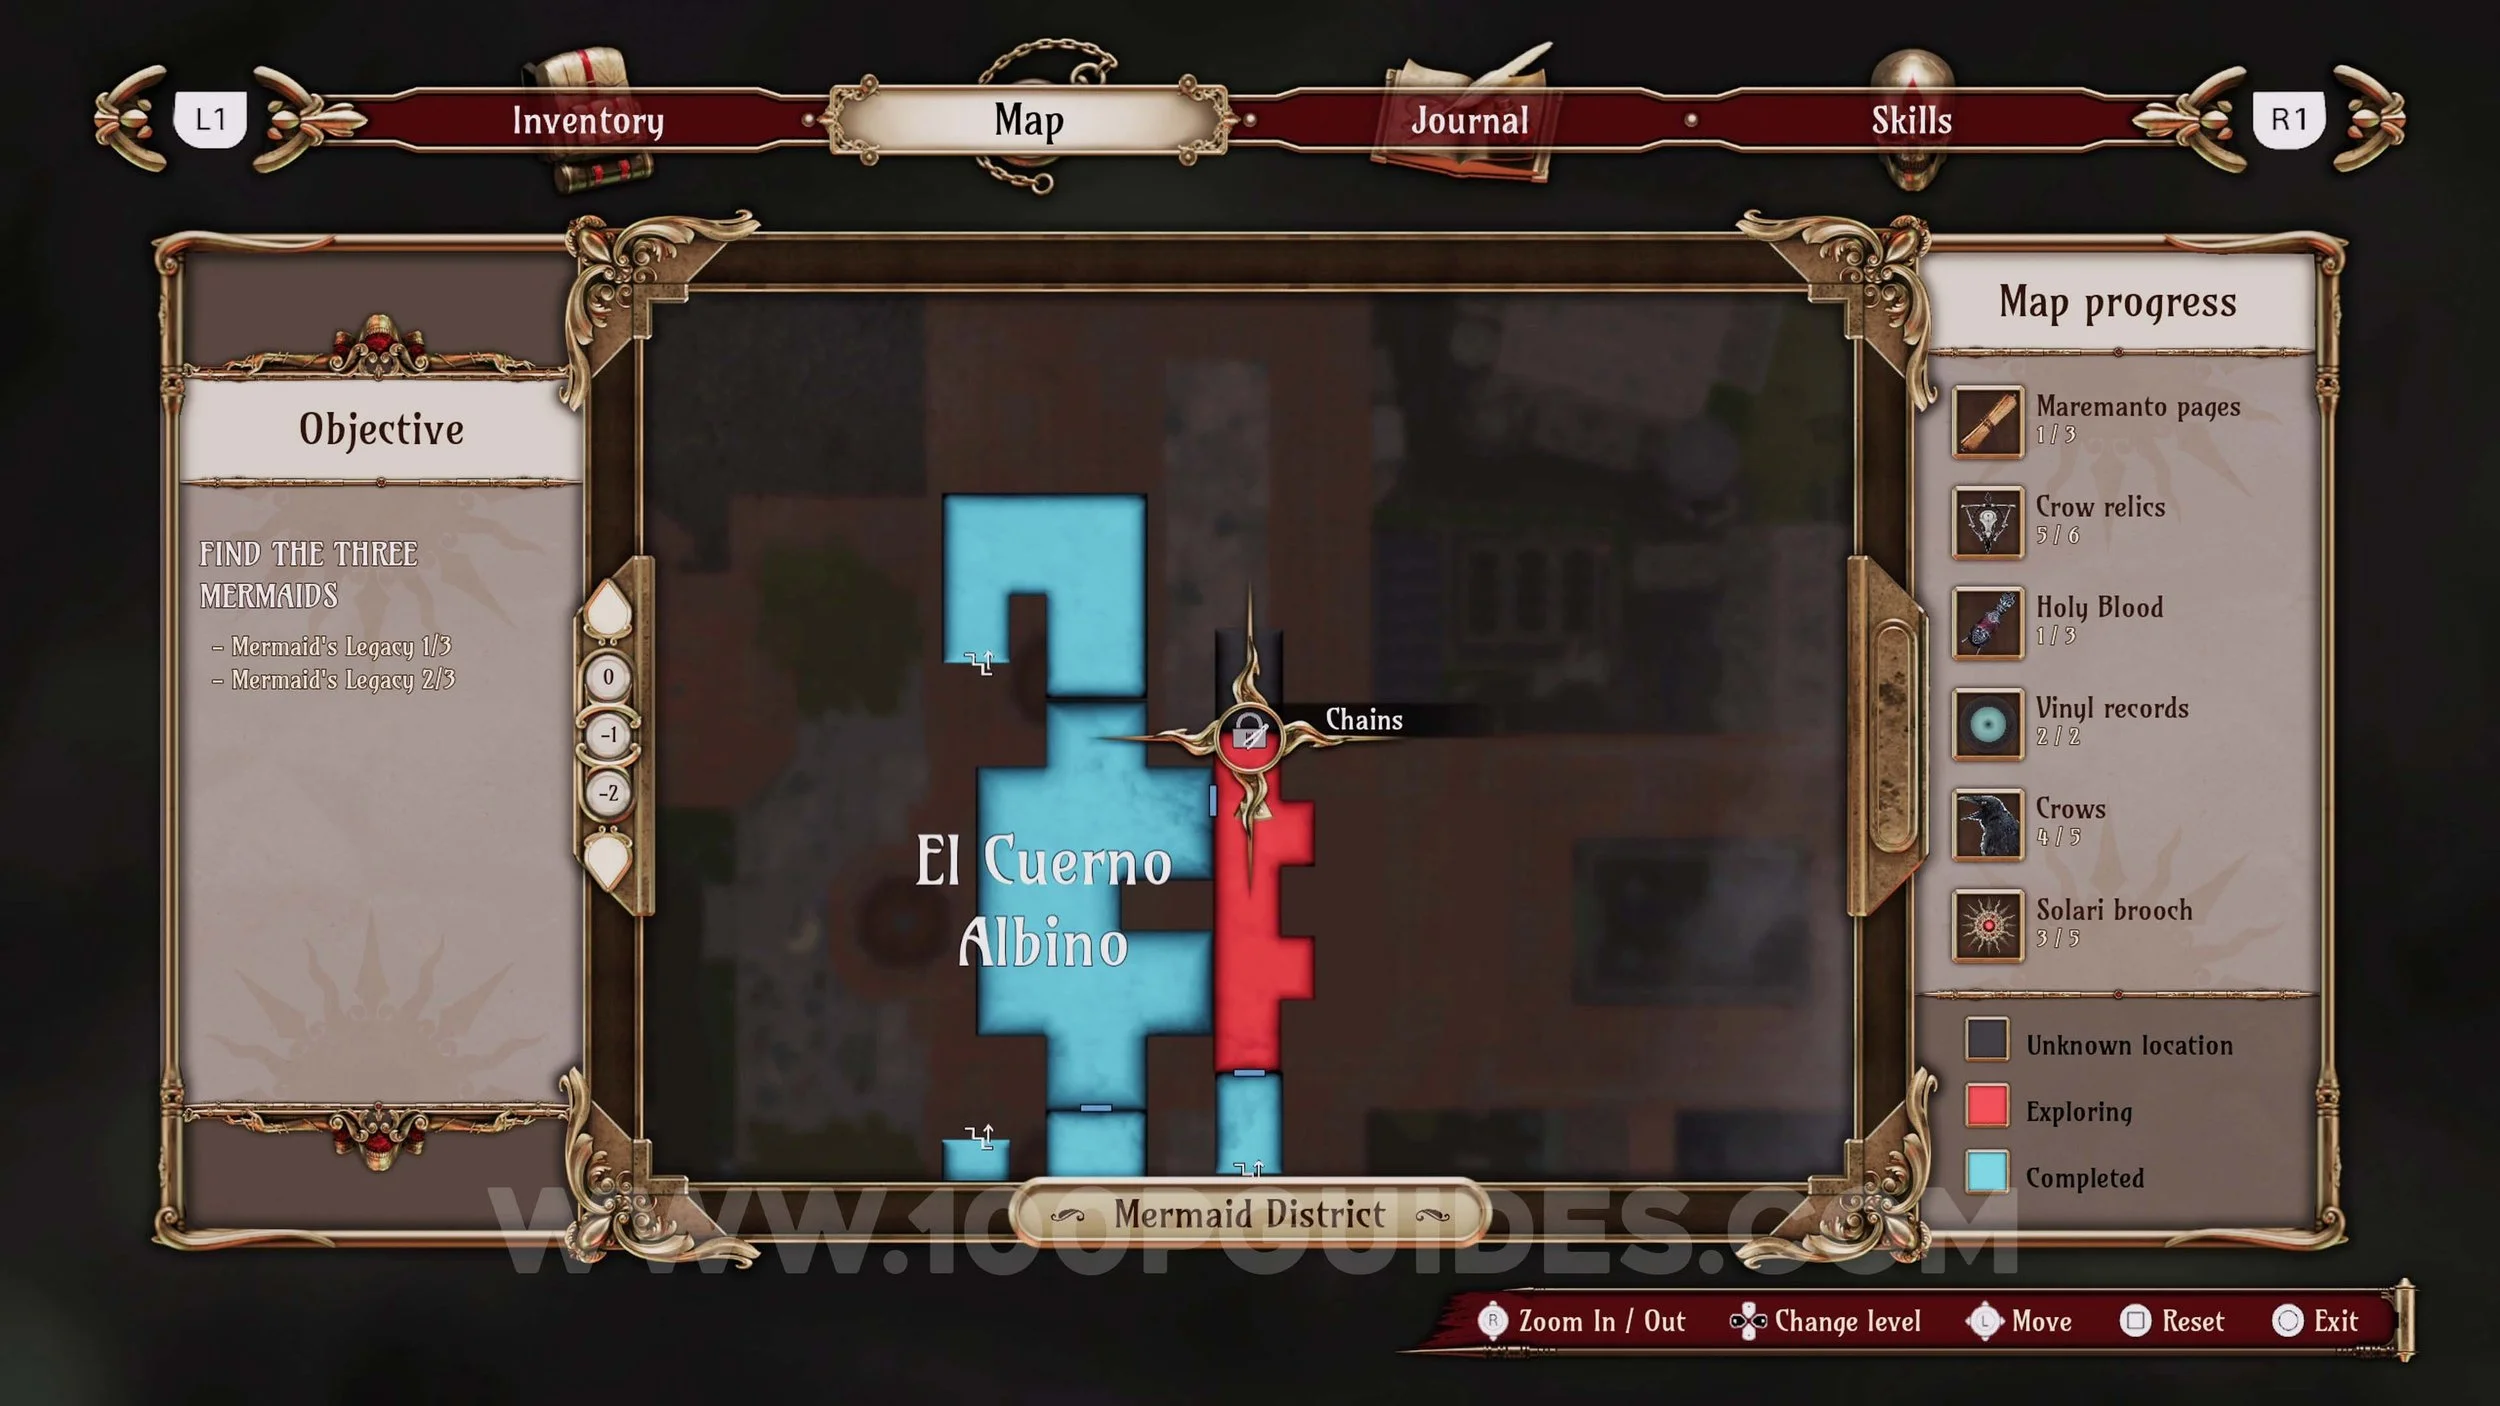
Vinyl Record #2. Once you reach the “El Cuerno Albino”, go down the stairs to the north-west to find the Vinyl at the end of the hall.
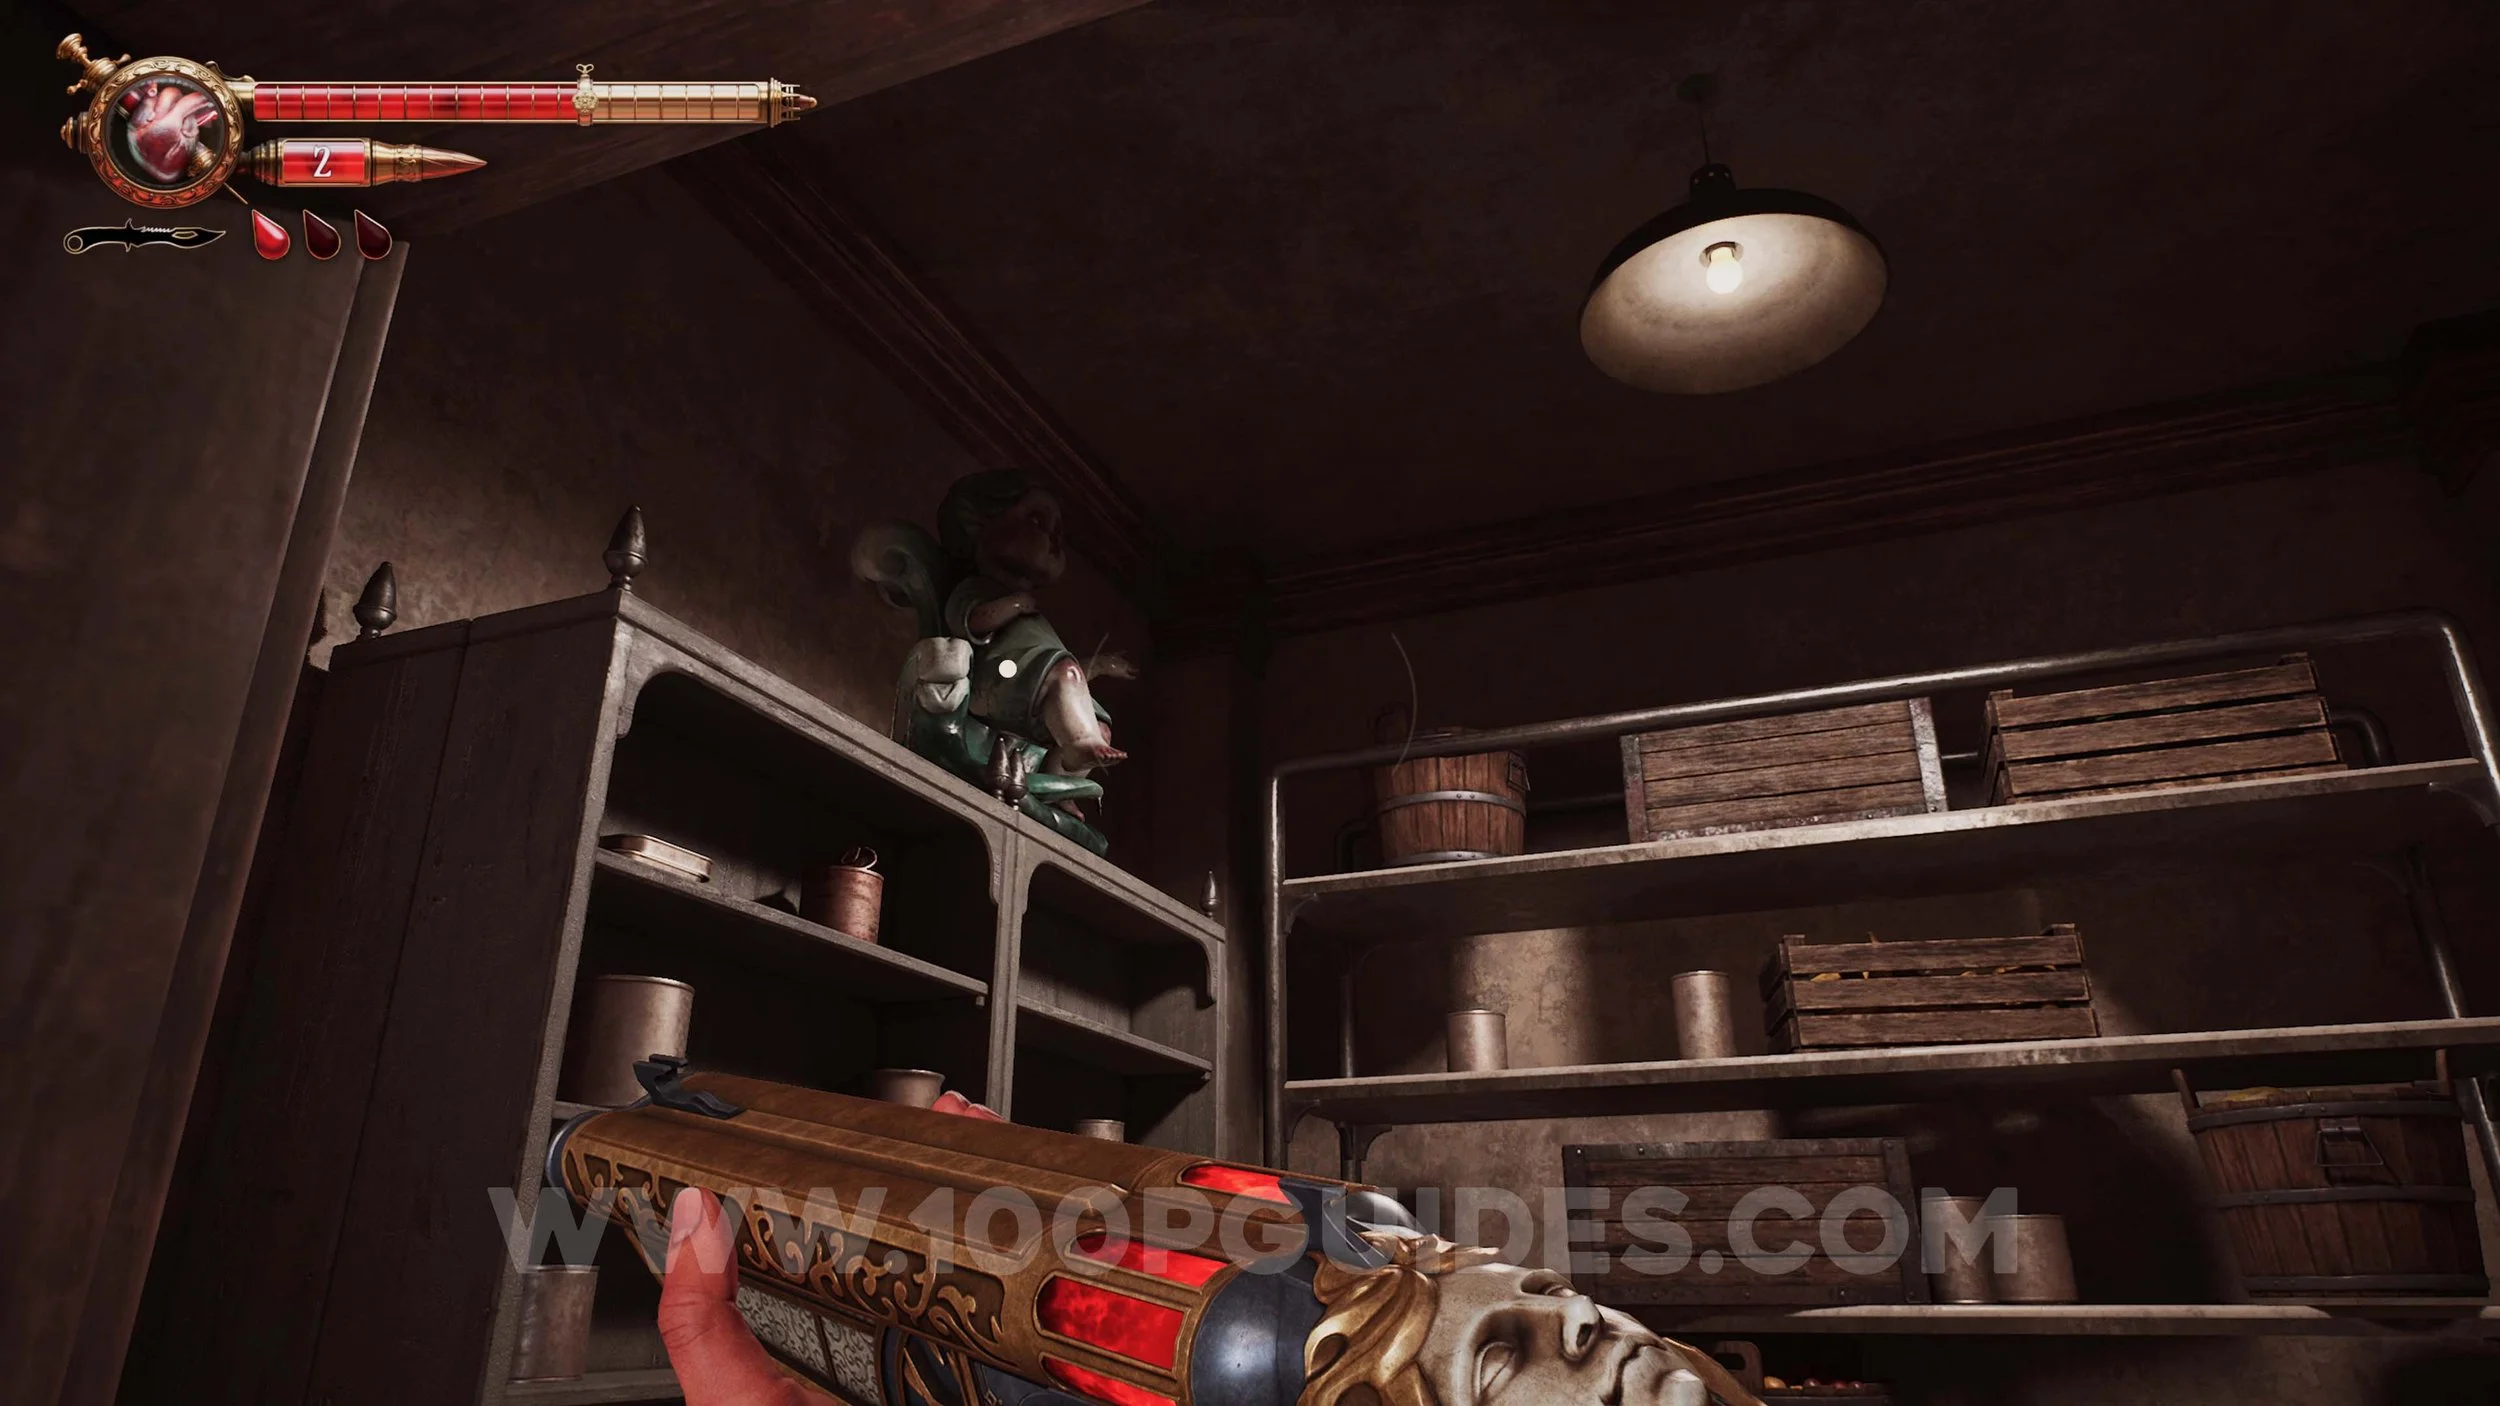
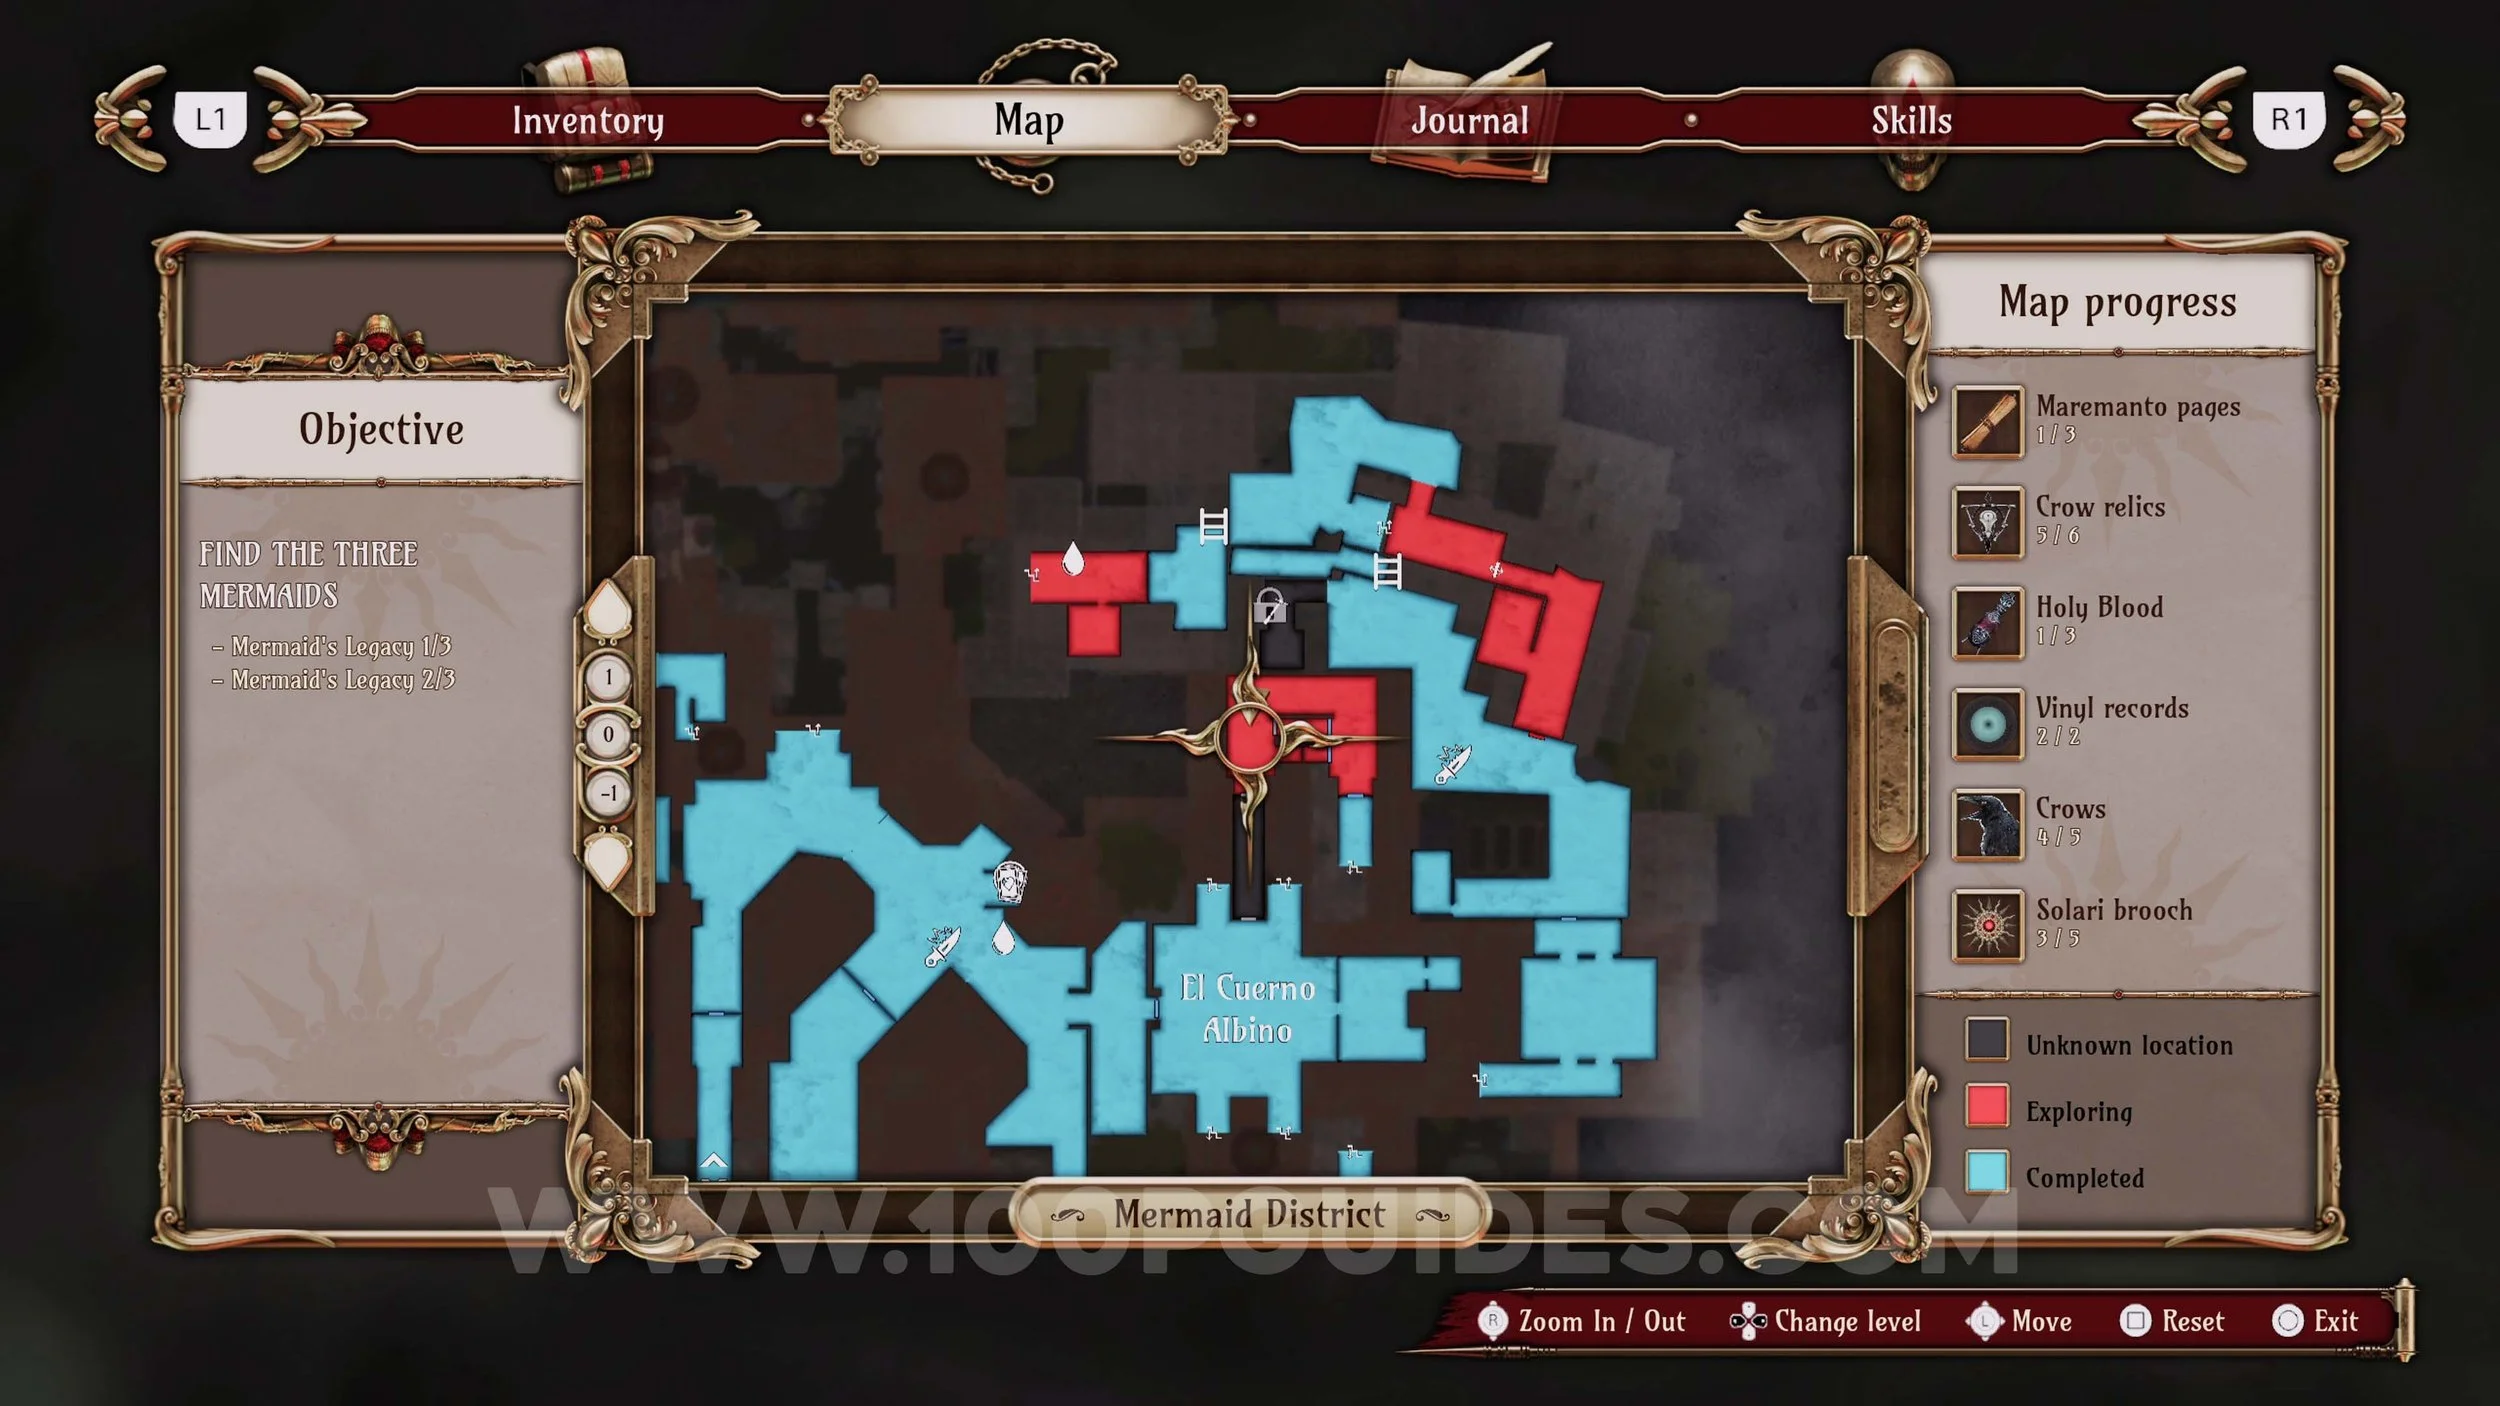
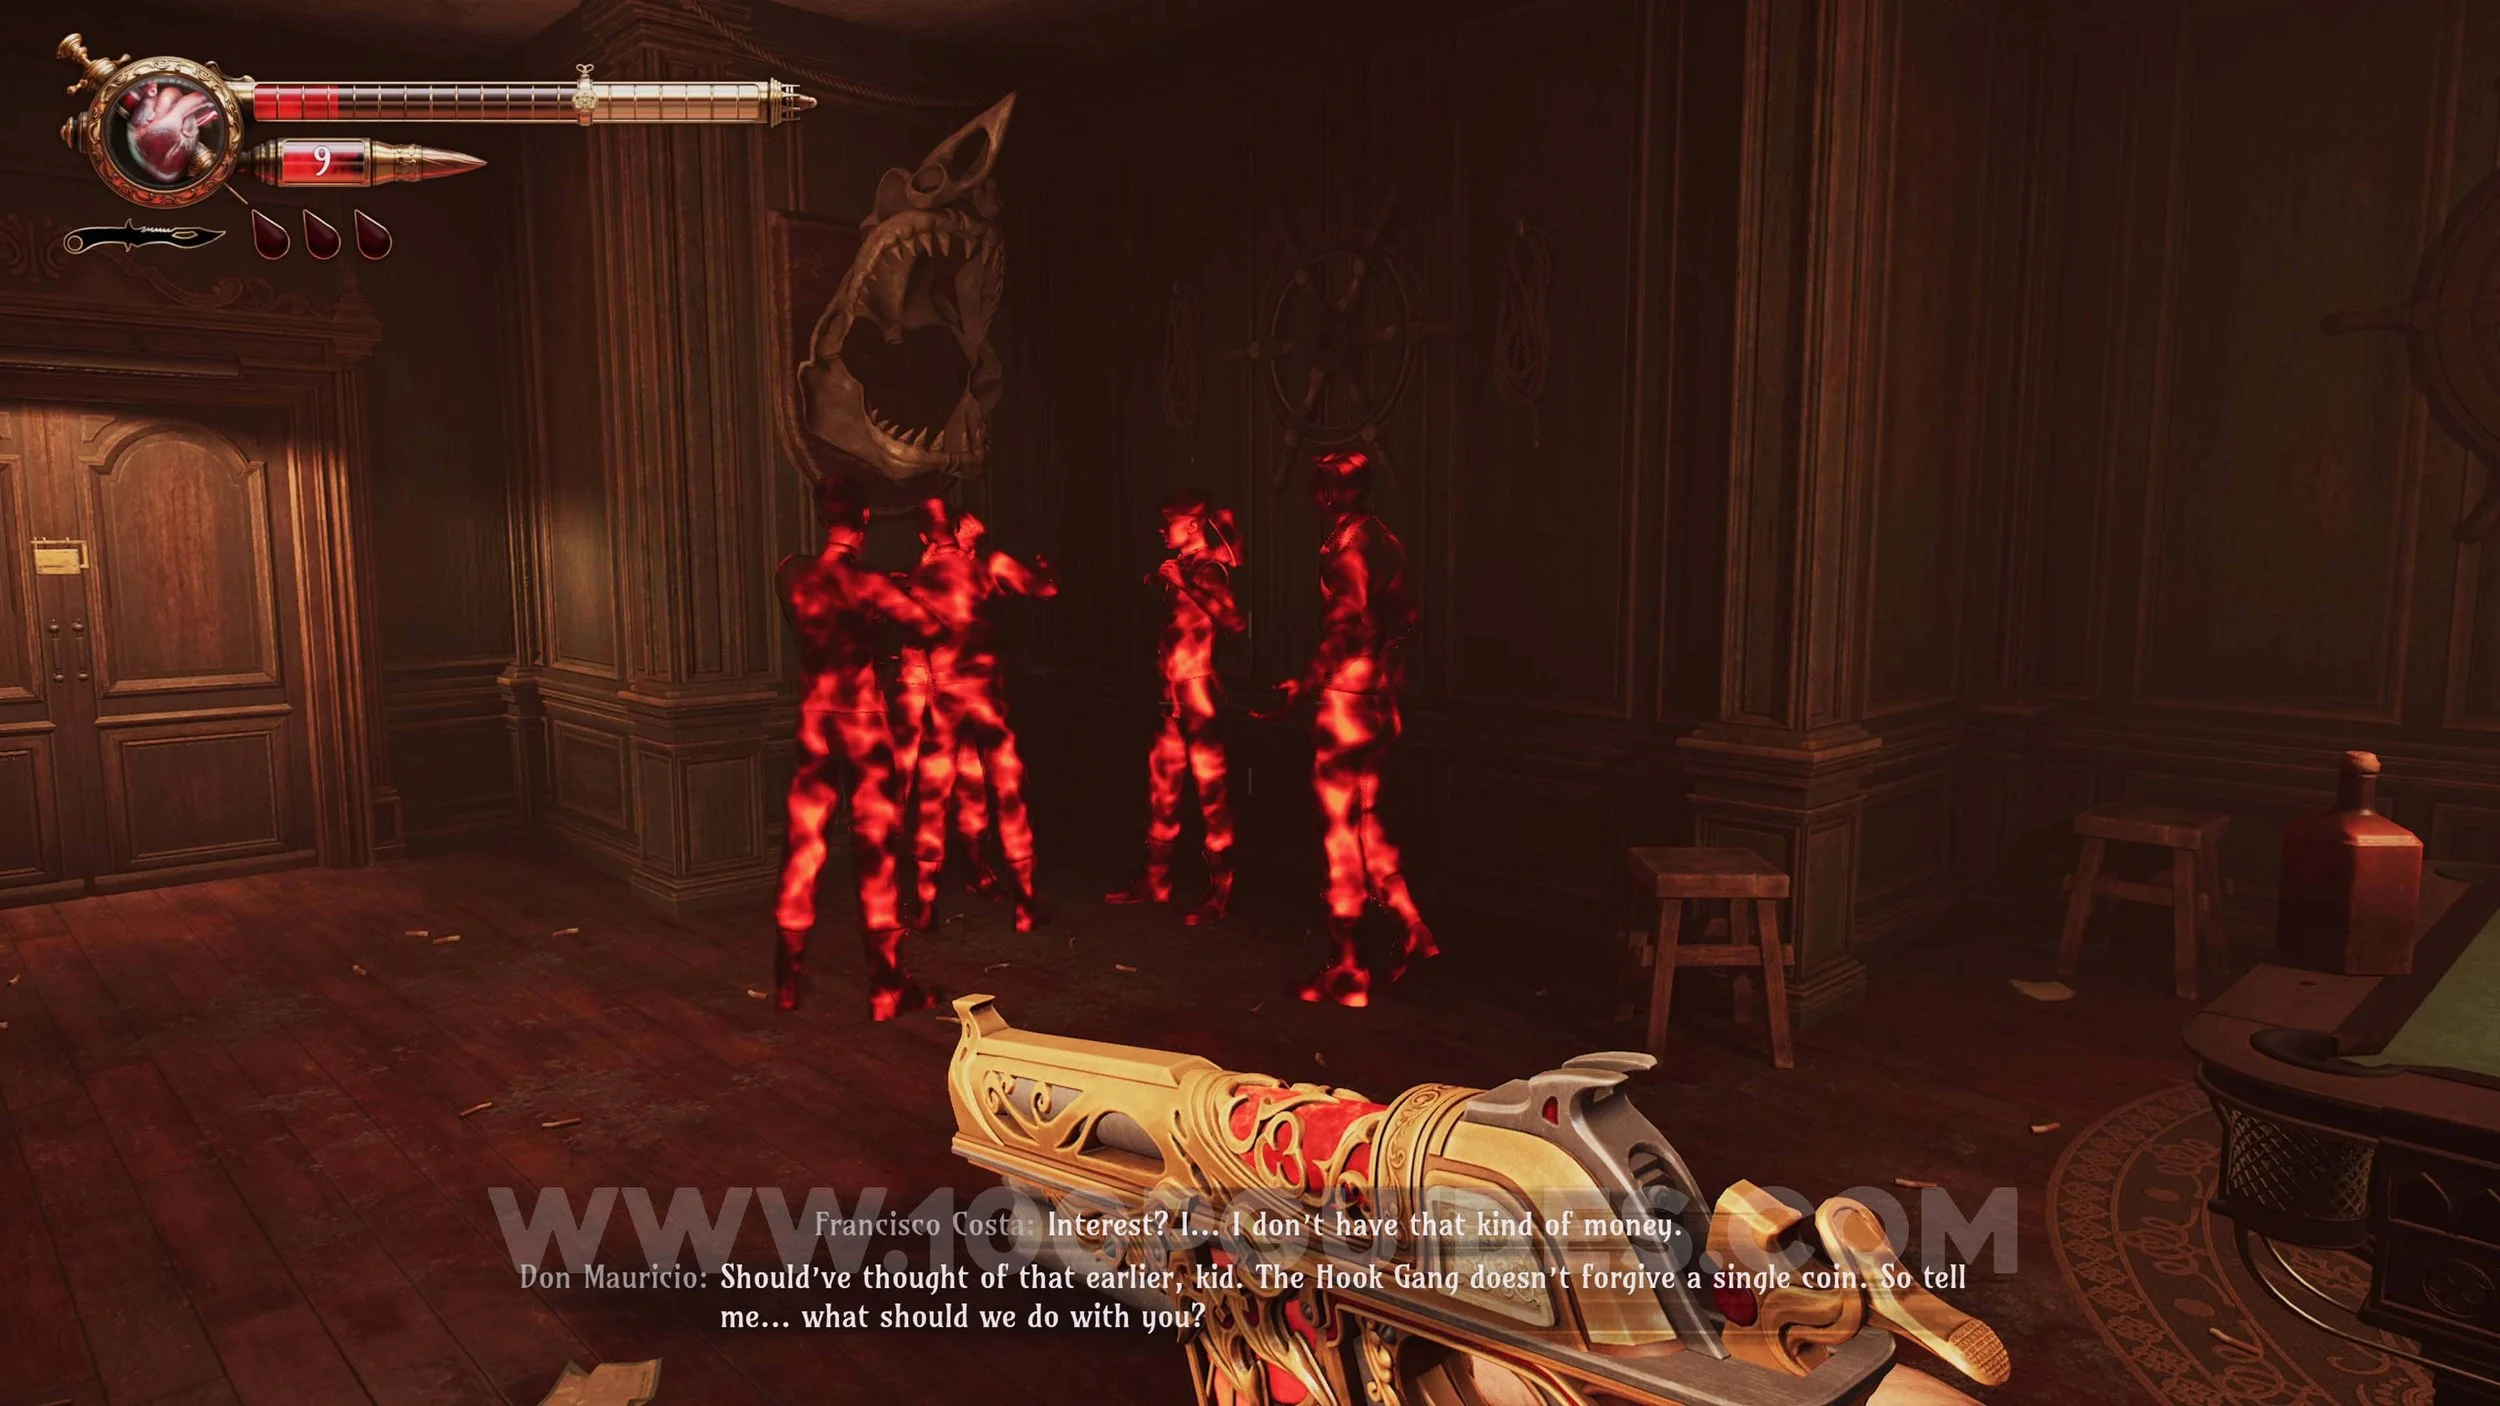
Memory #6. In the “El Cuerno Albino” go through the small room behind the bar to find the memory.
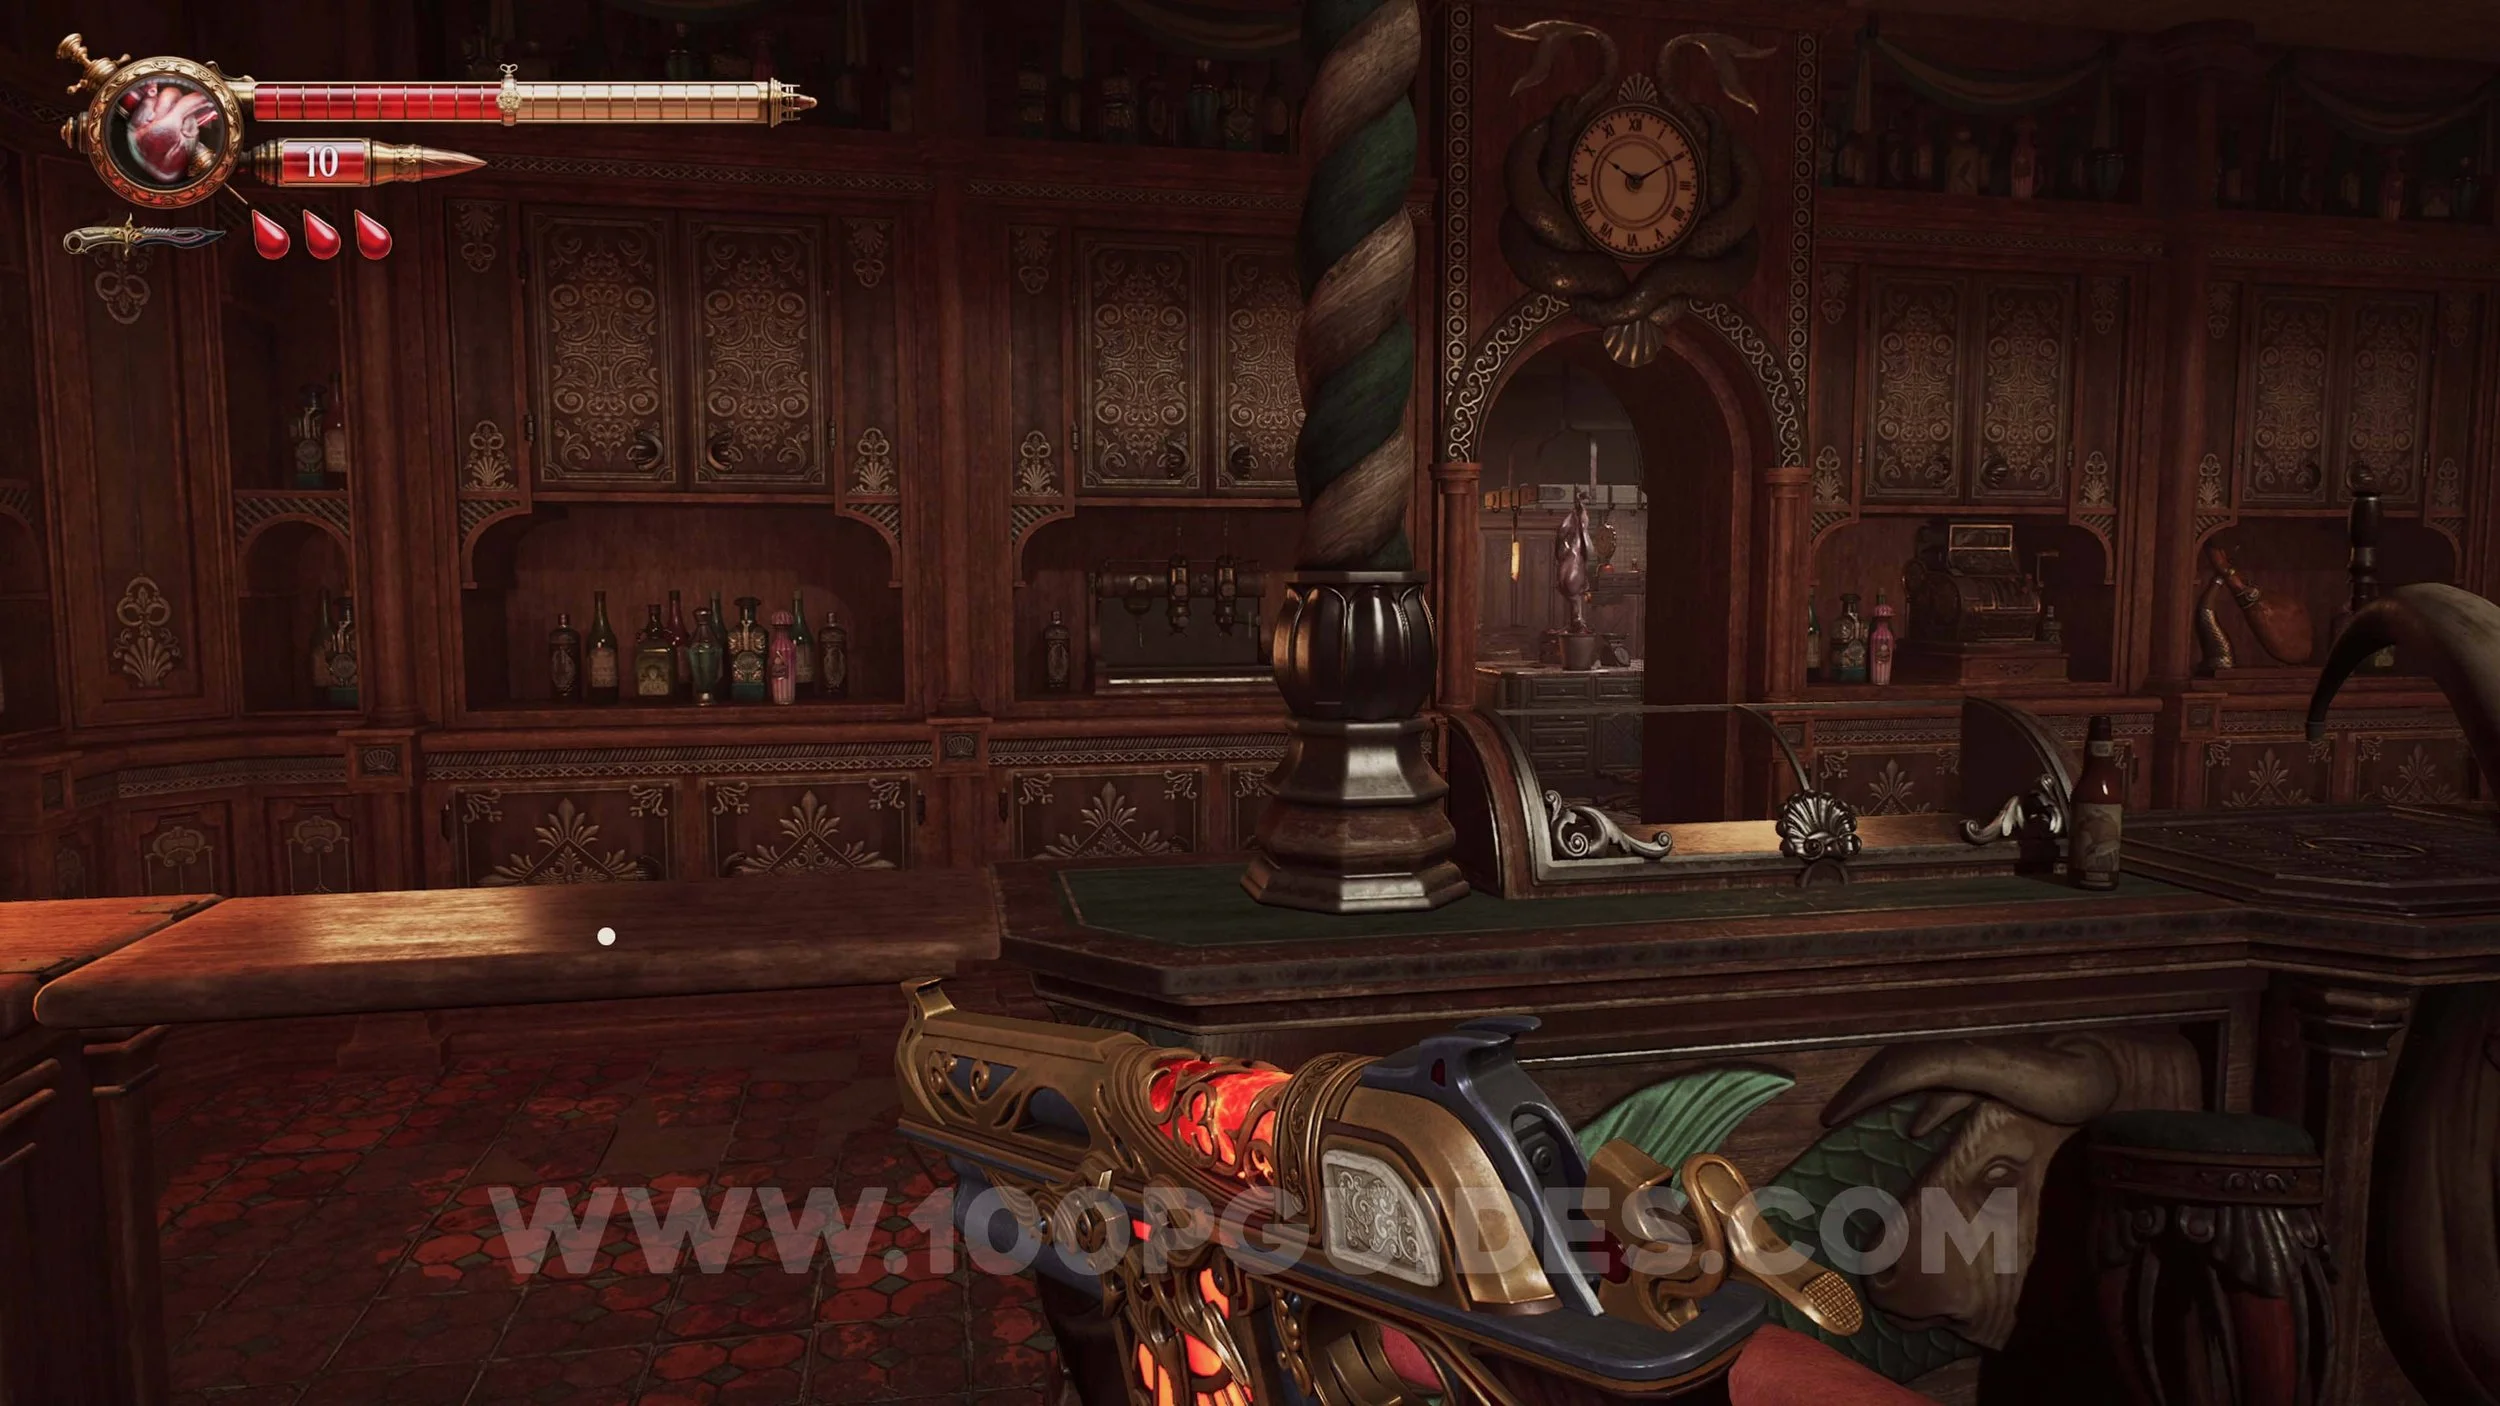
Ulises Idol #4. In the same room as the previous Memory.
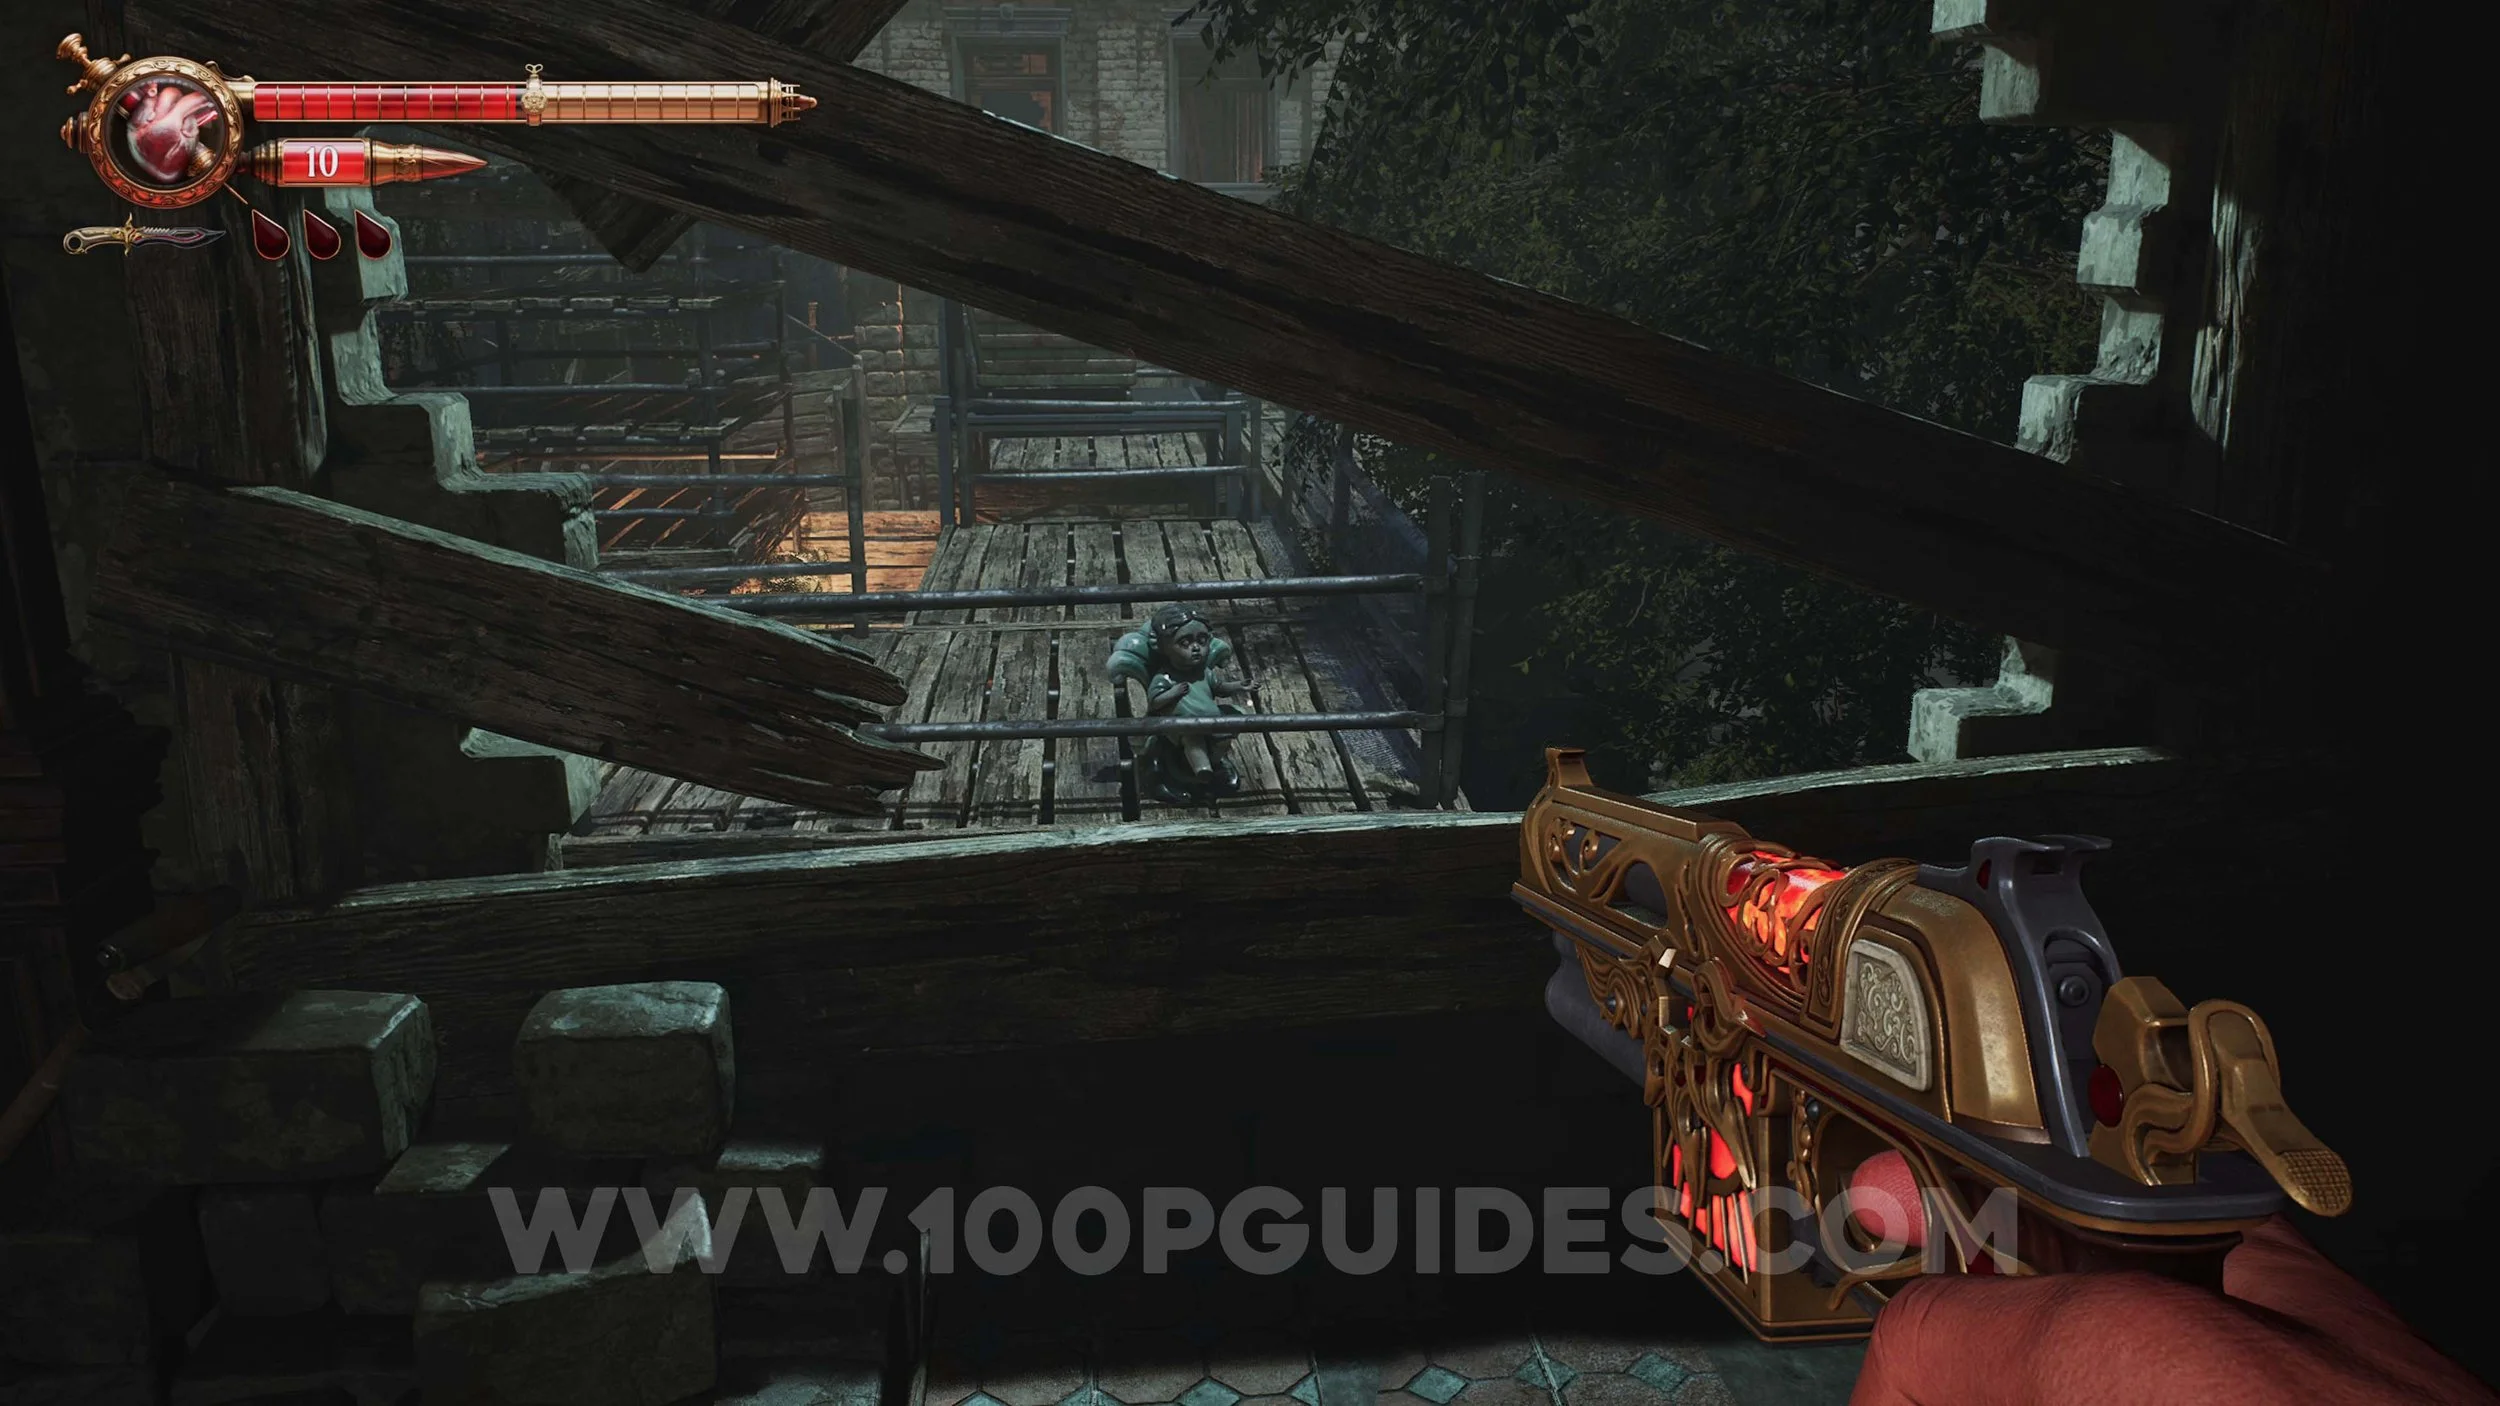
Ulises Idol #5. After going through the bottom floor of El Cuerno Albino, you will have to push a cart to advance. Just before this cart, turn around and look out the window to see the doll.

Memory #7. On the main path after pushing a cart. Unmissable.
Memory #8. Story related as soon as you reach the outside barn area after El Cuerno Albino.
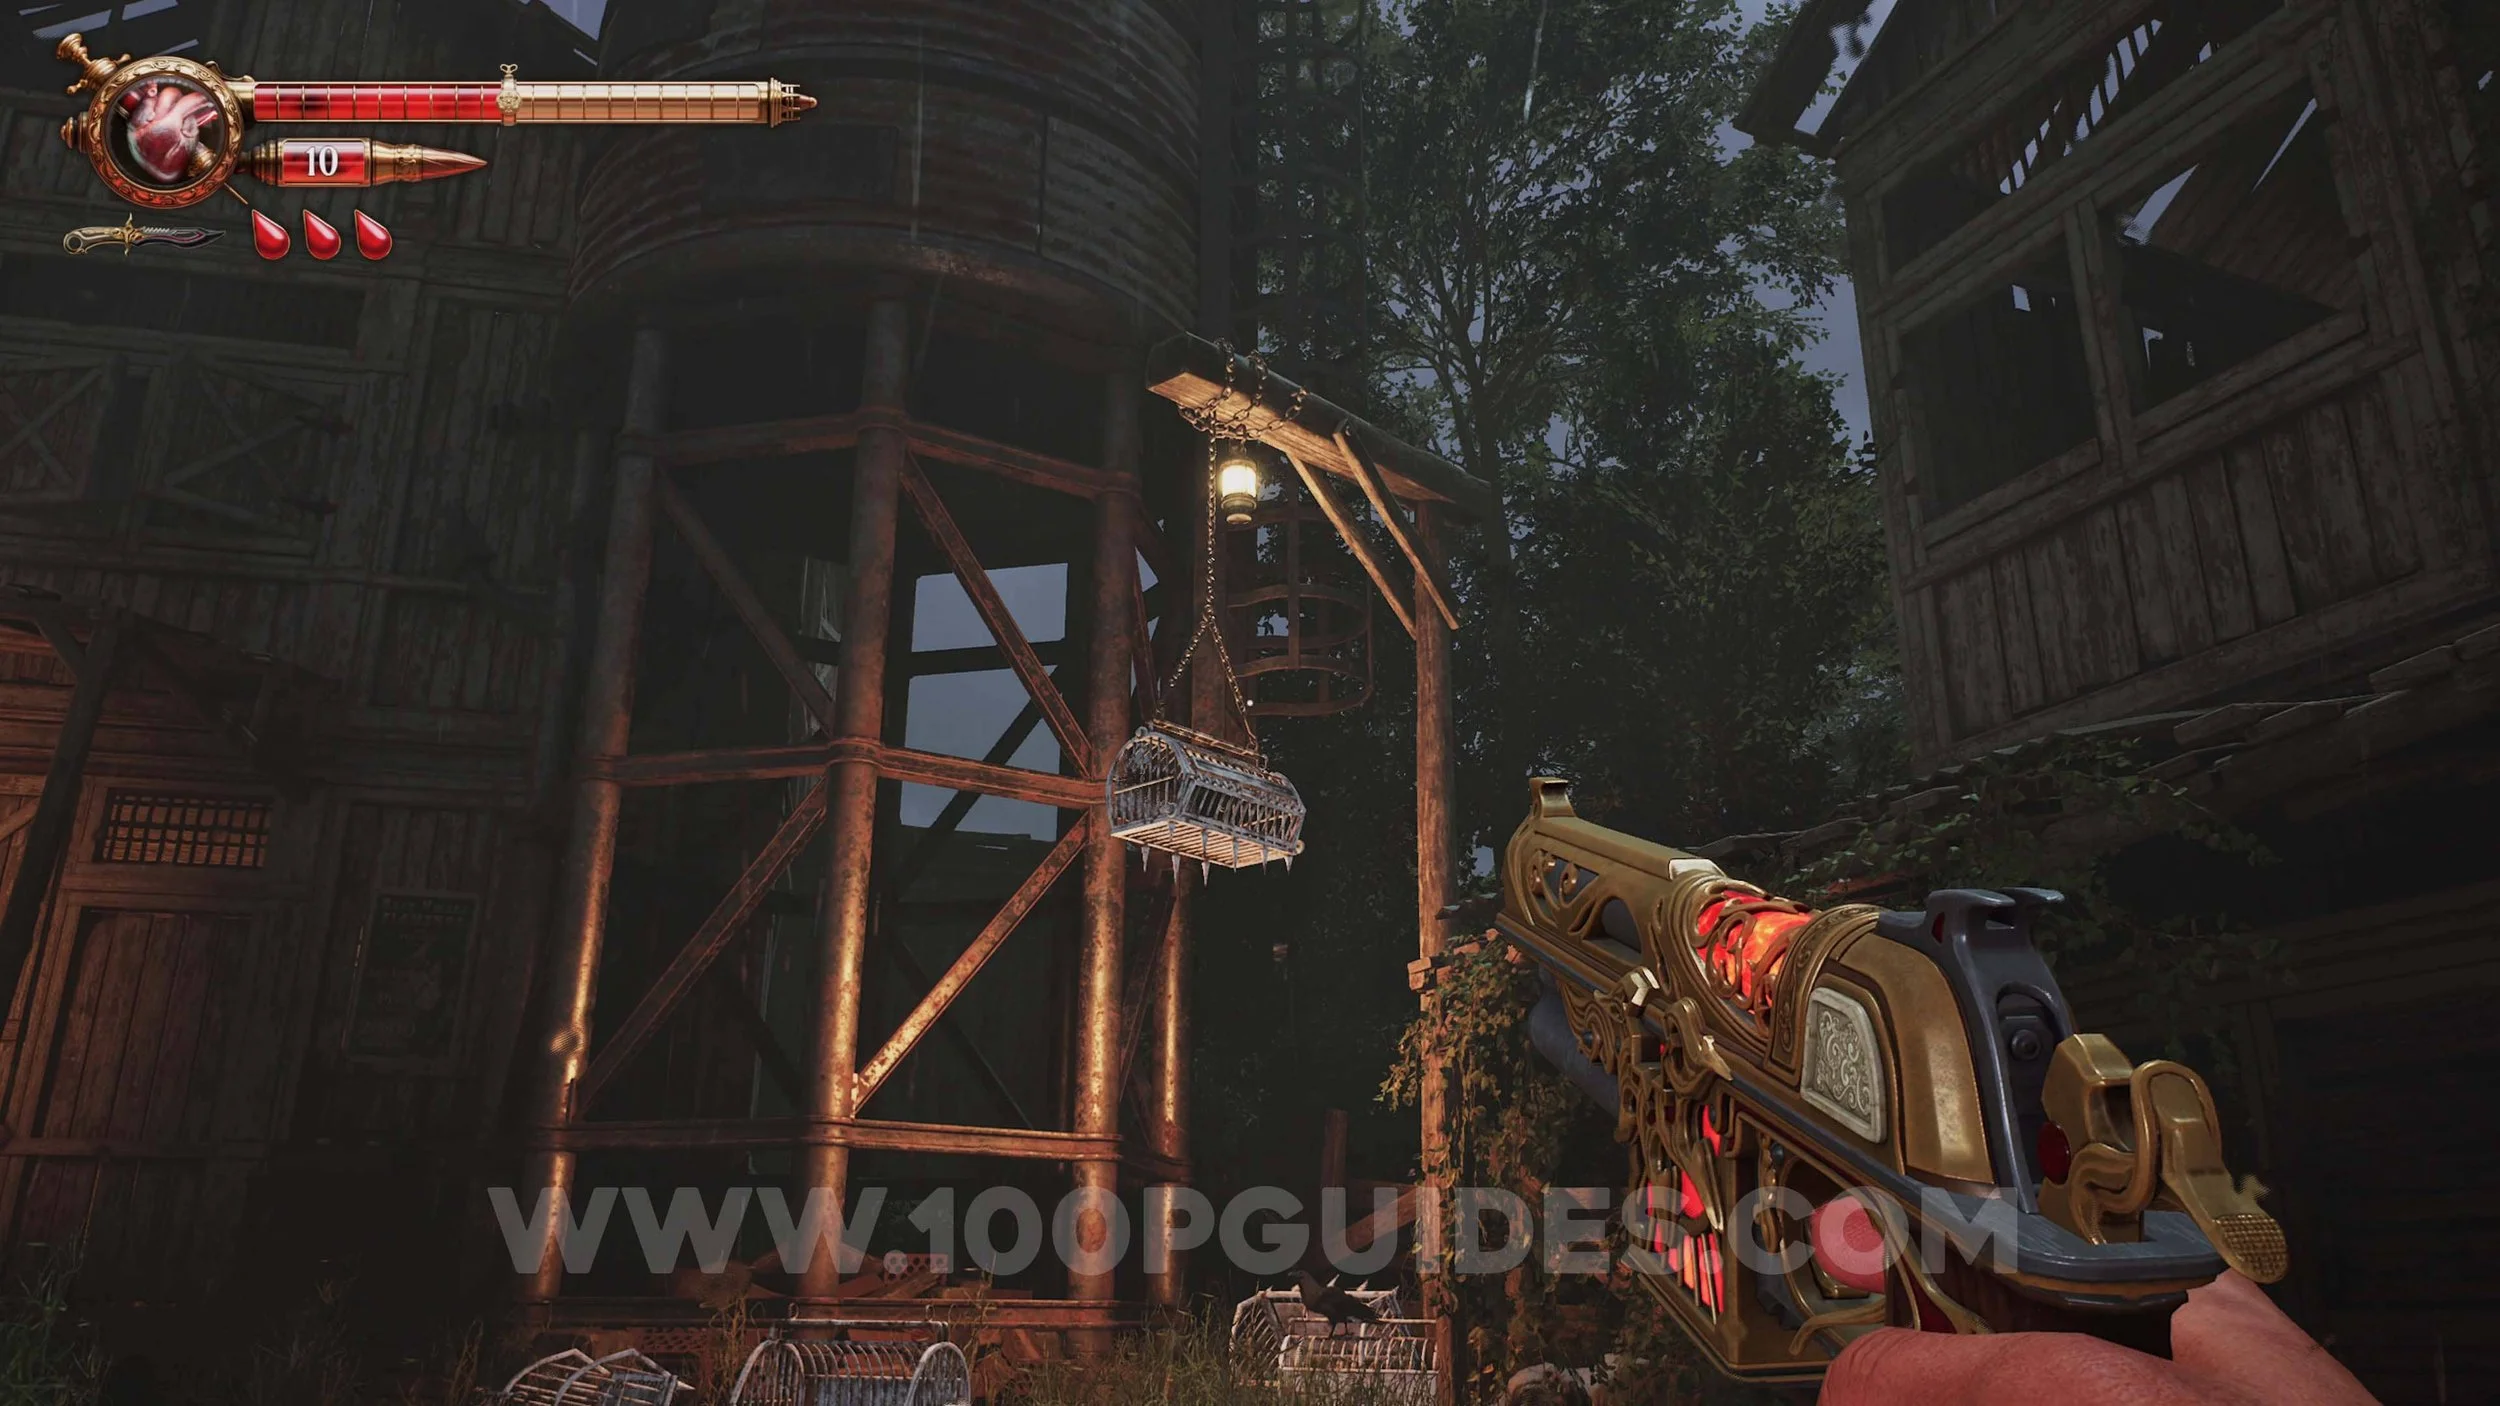
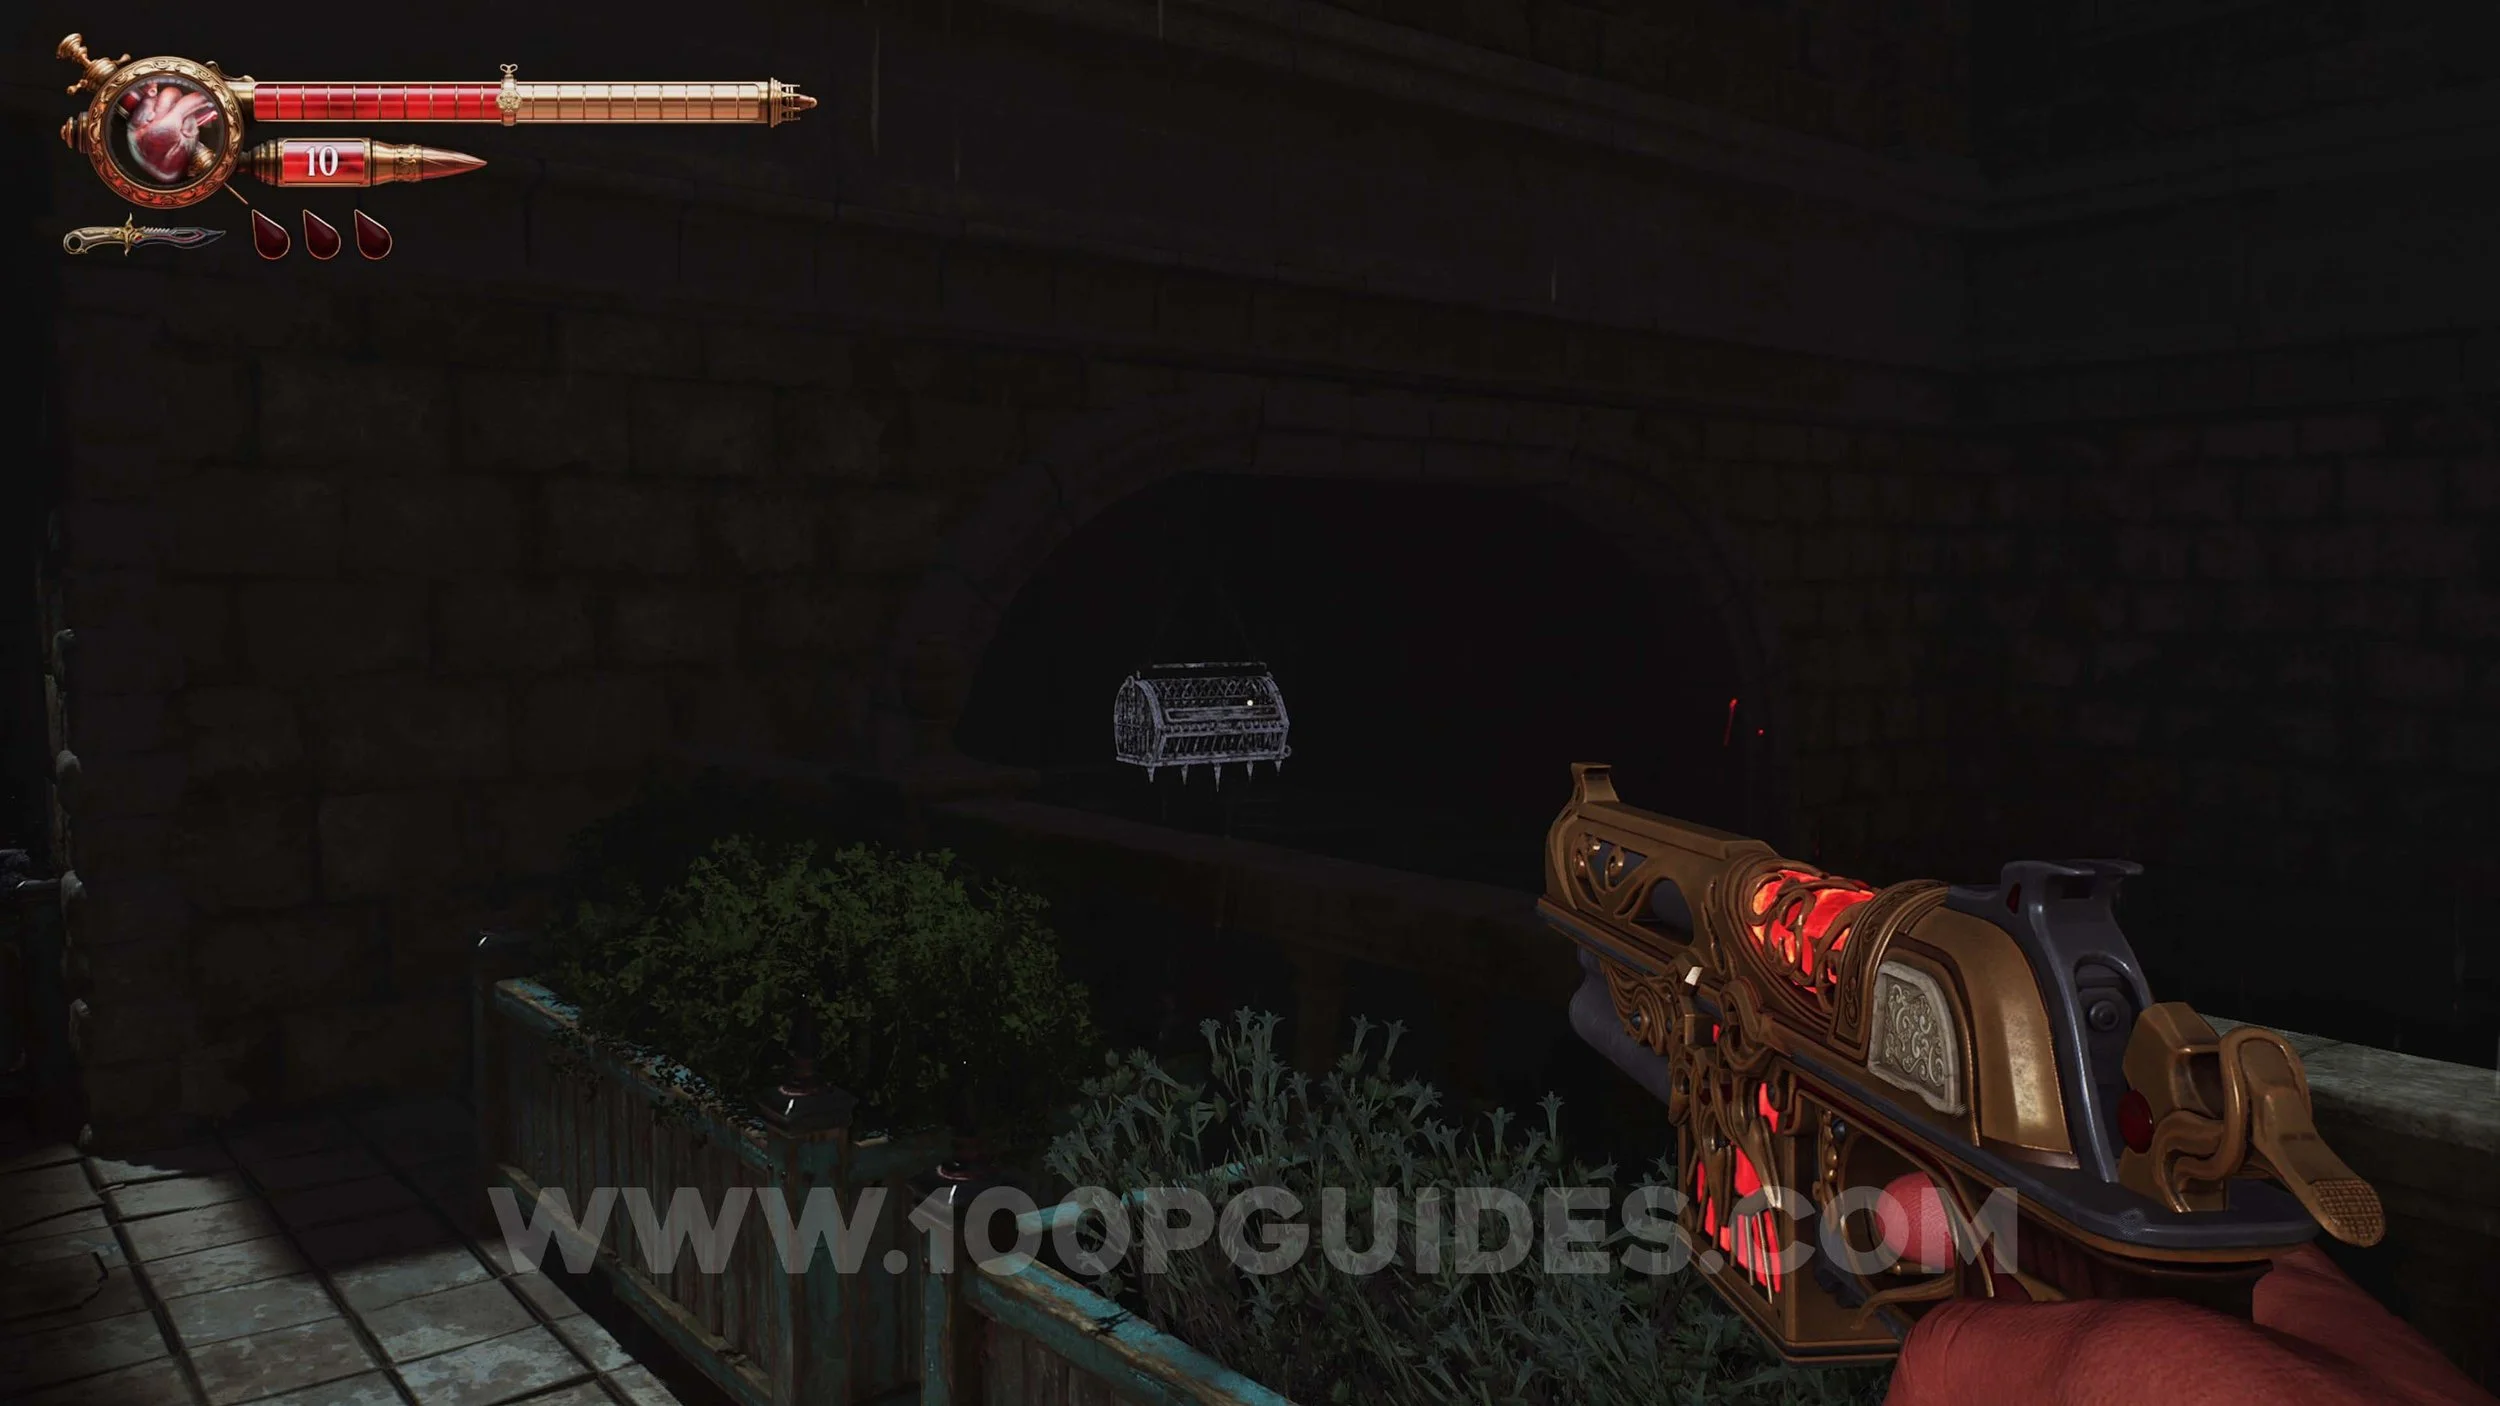
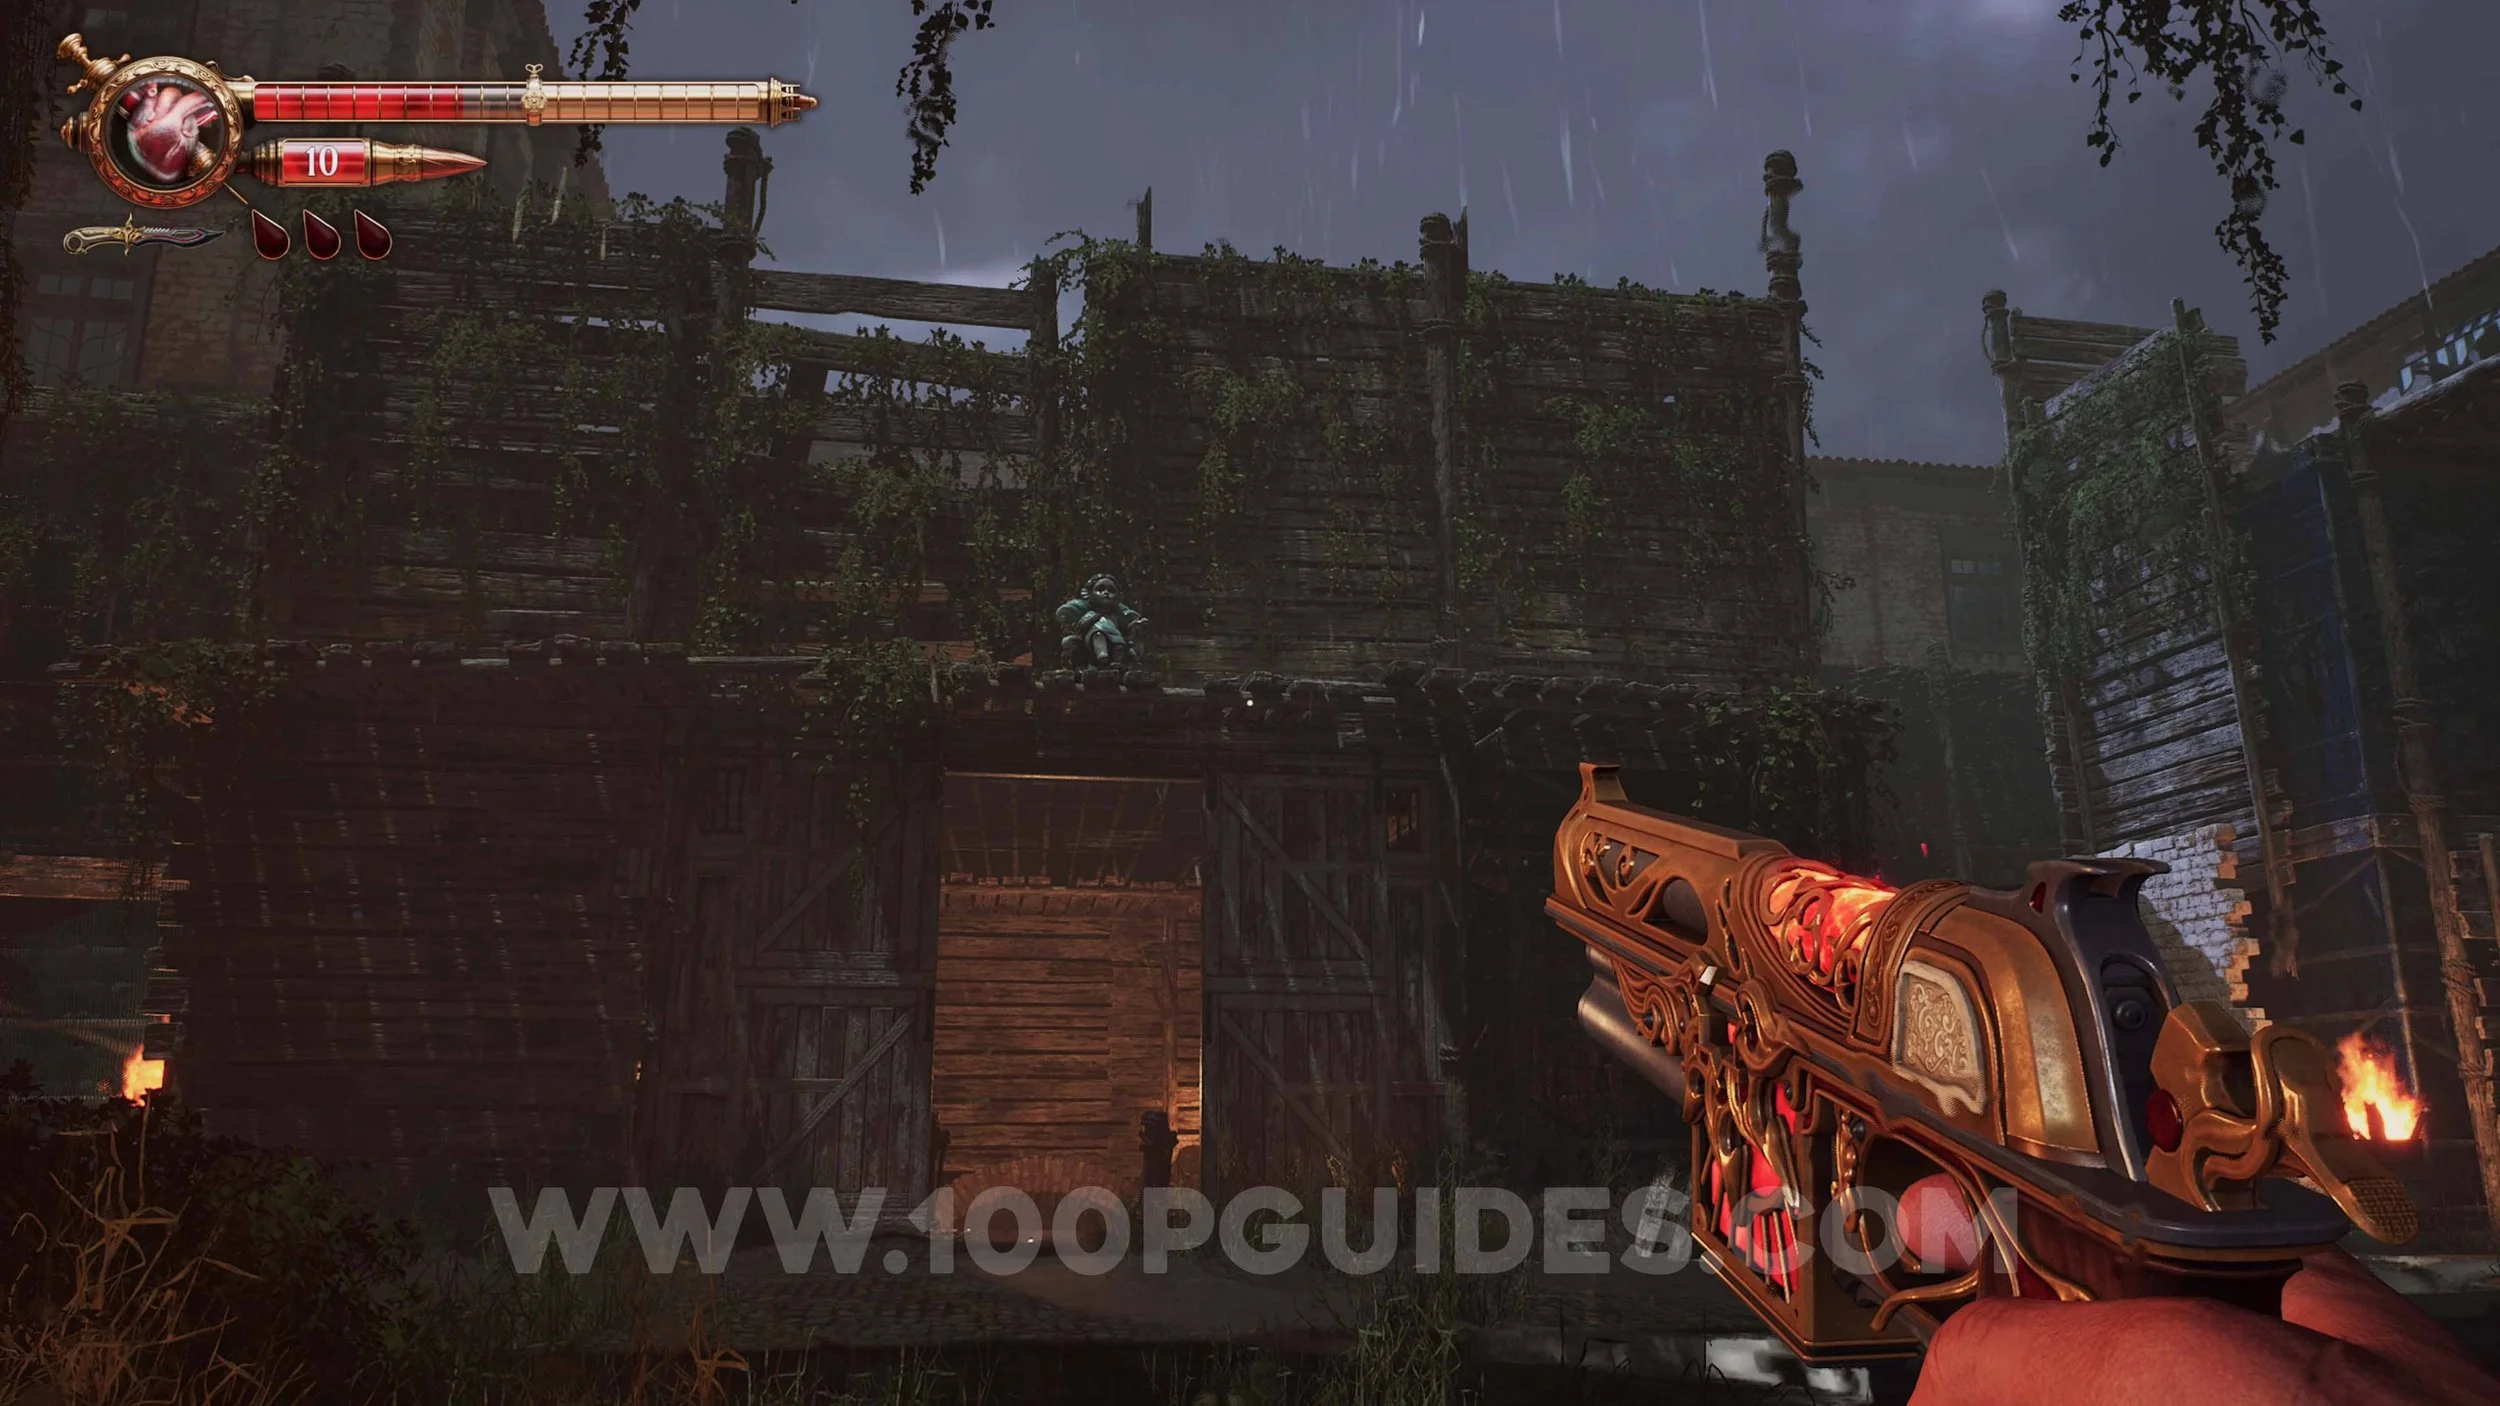
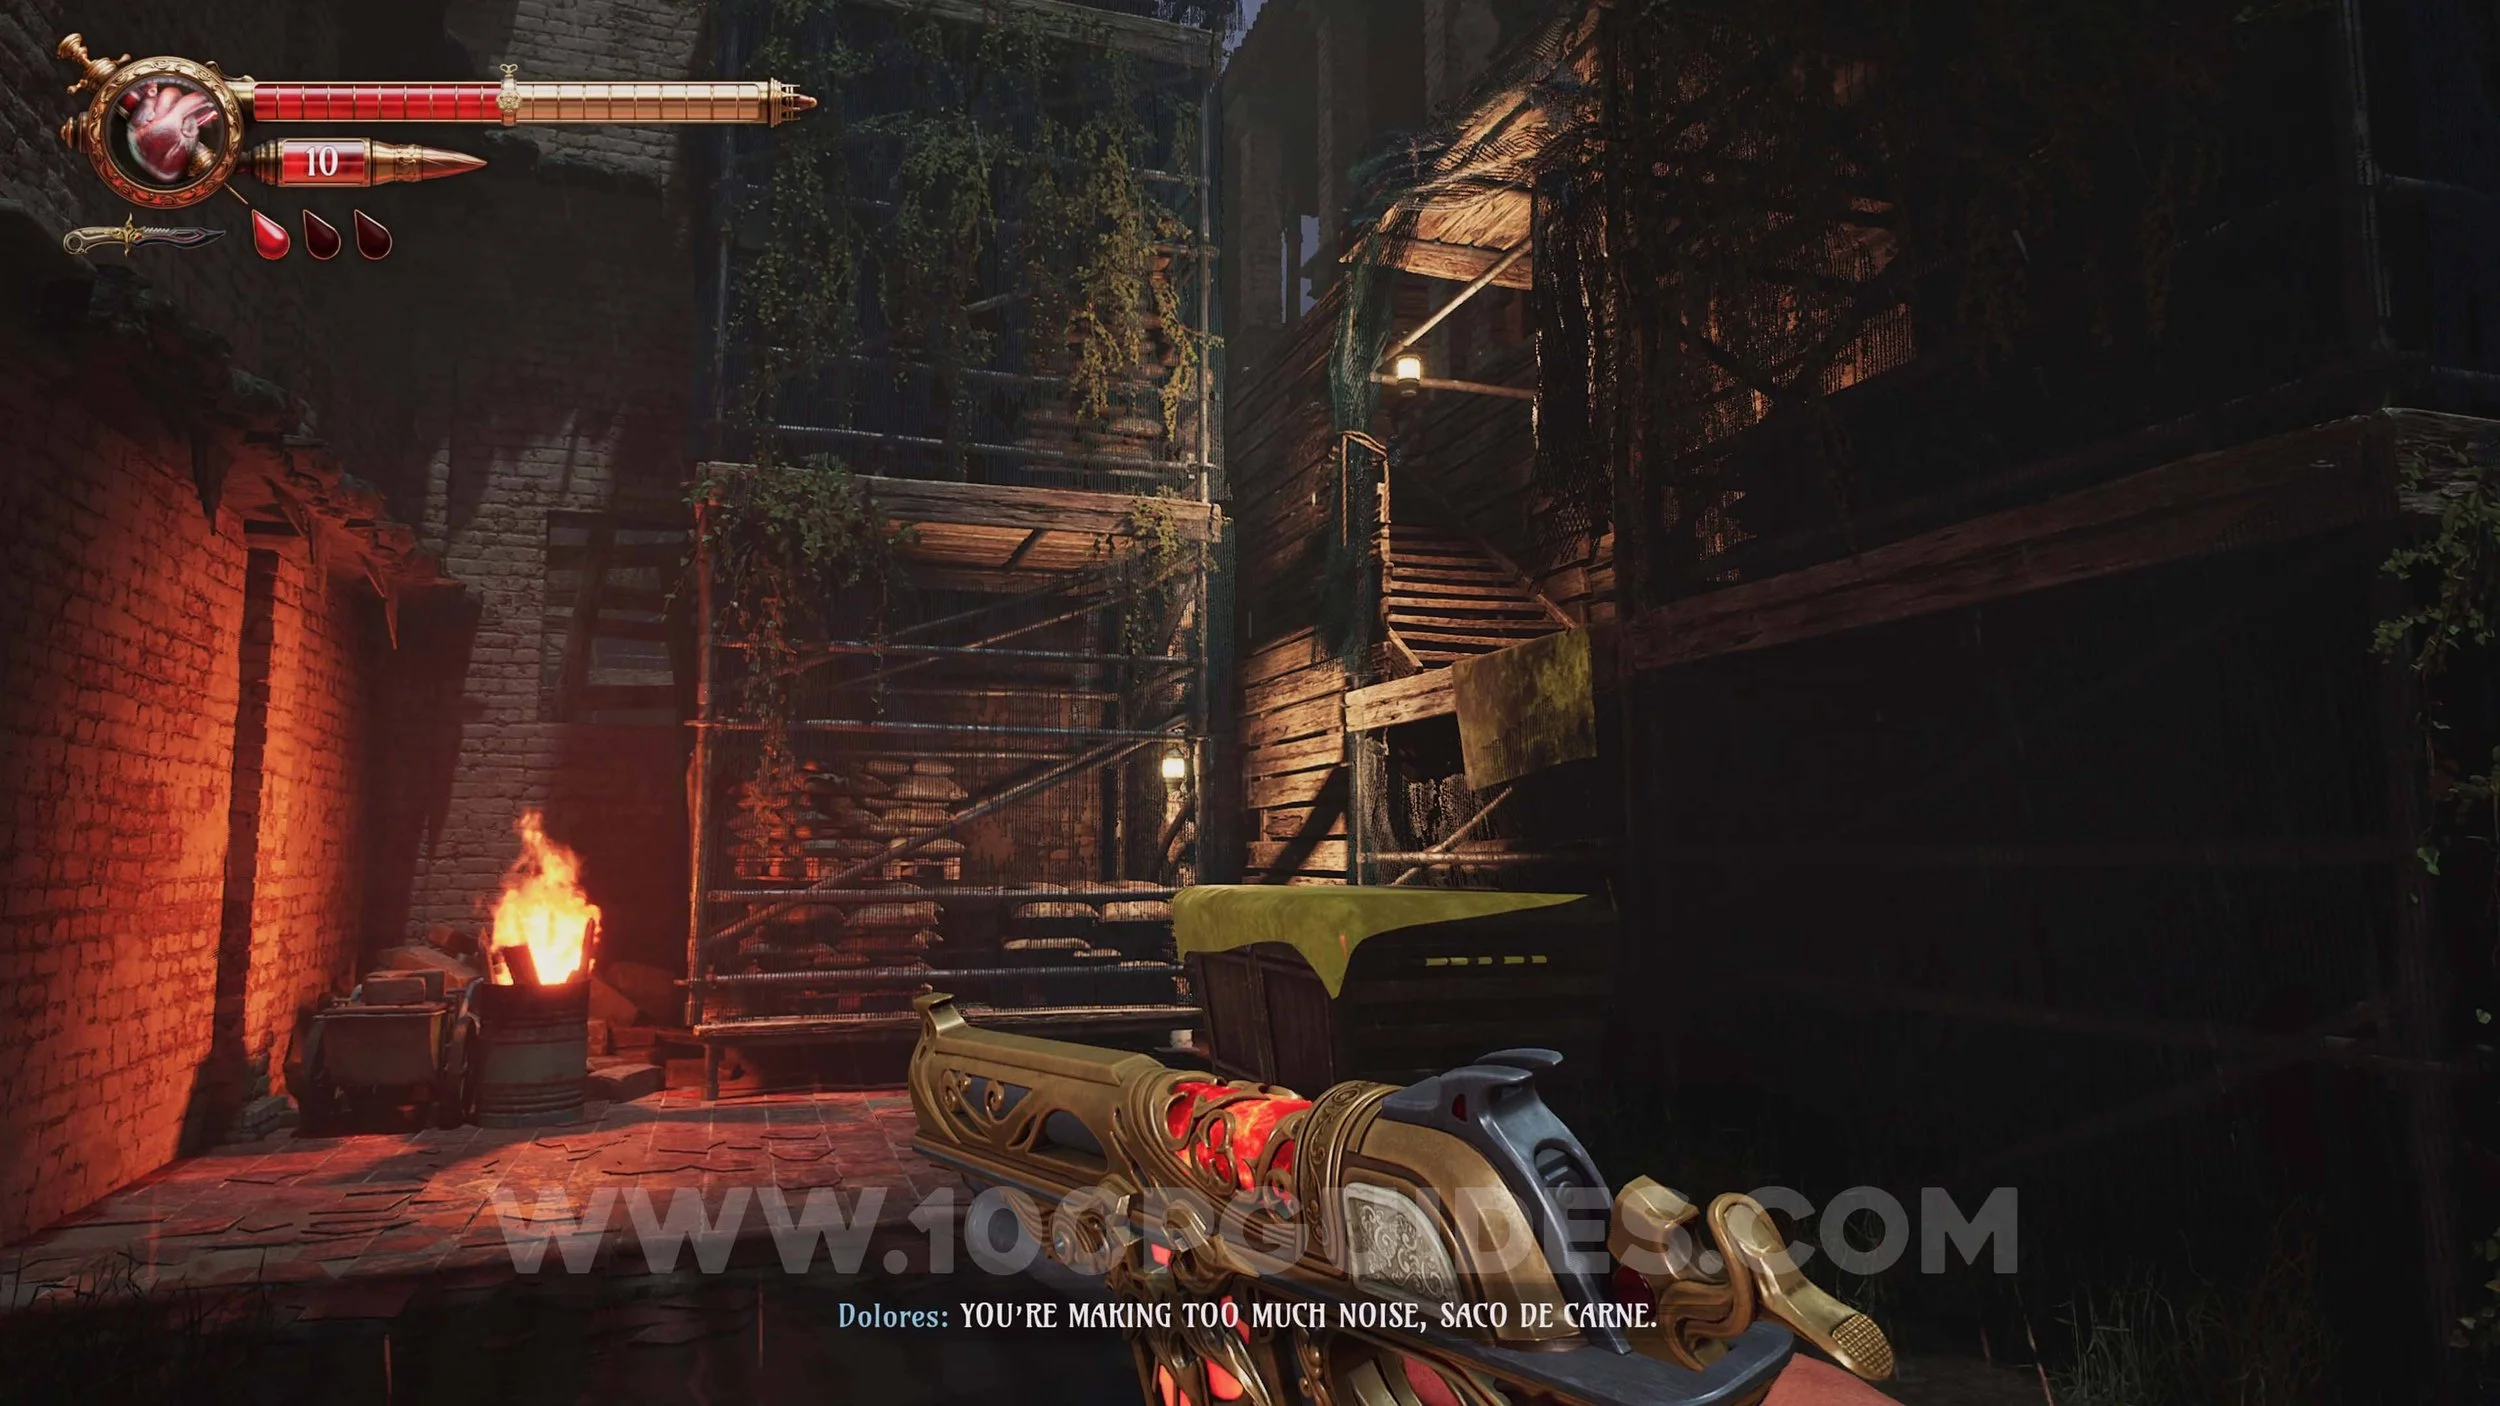
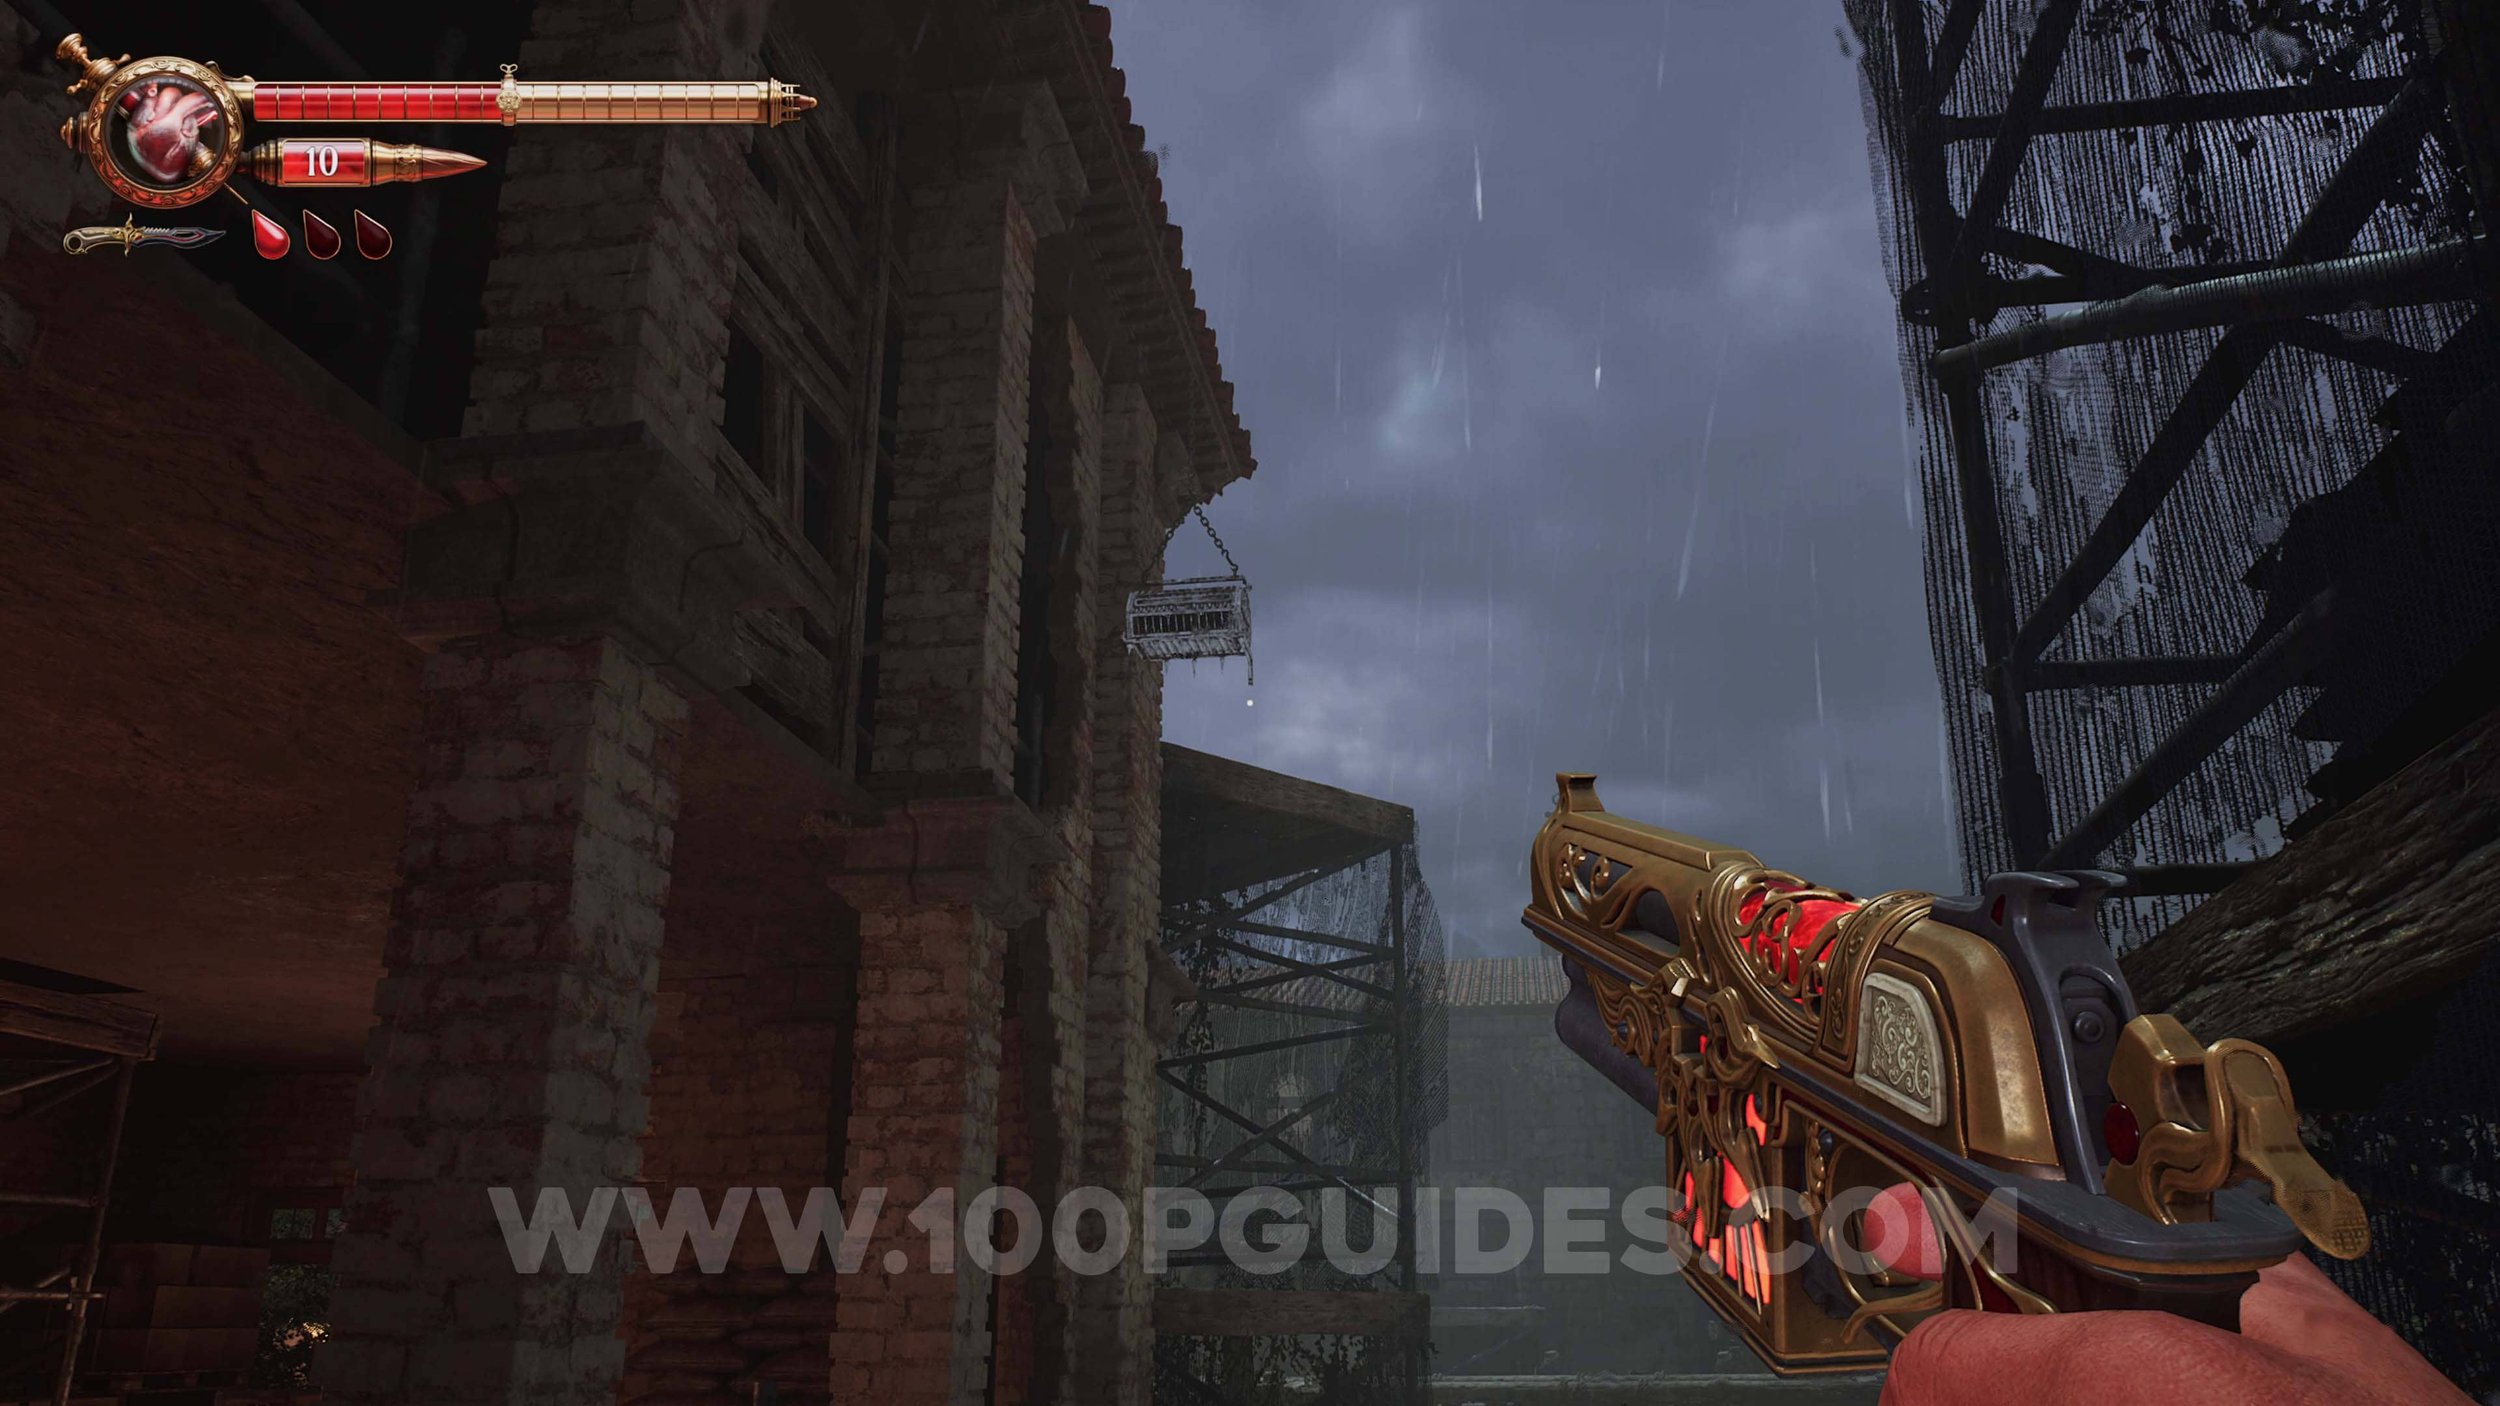
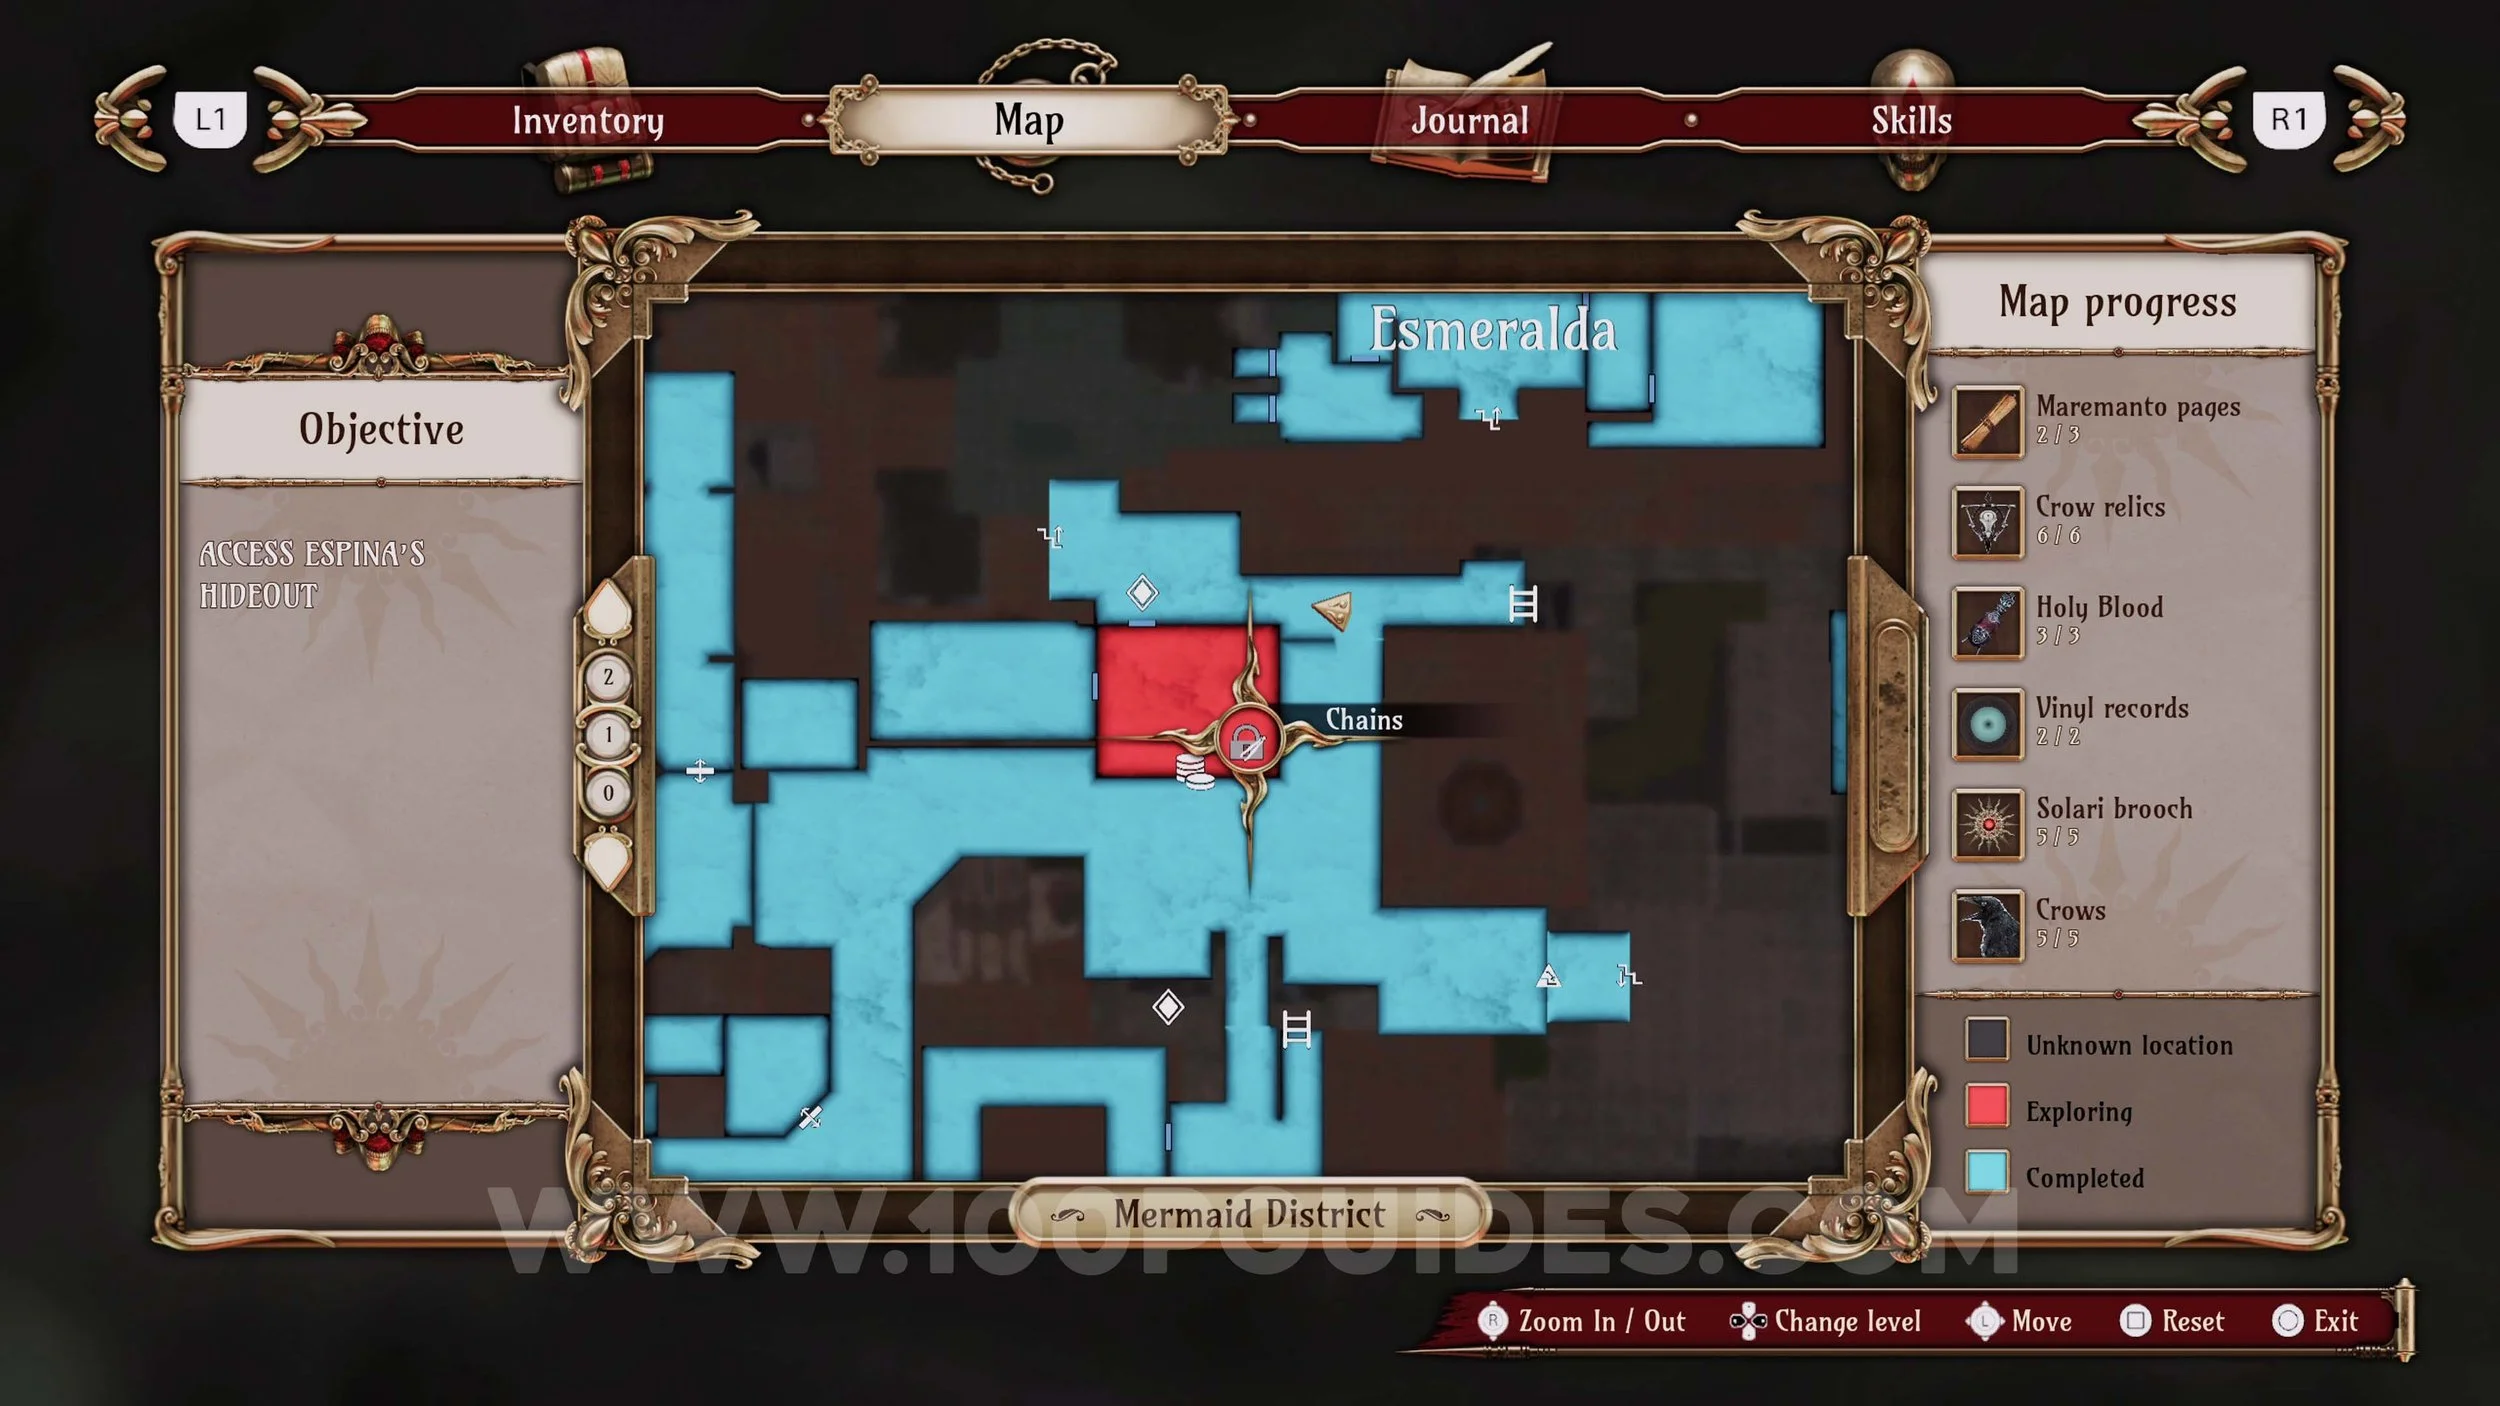
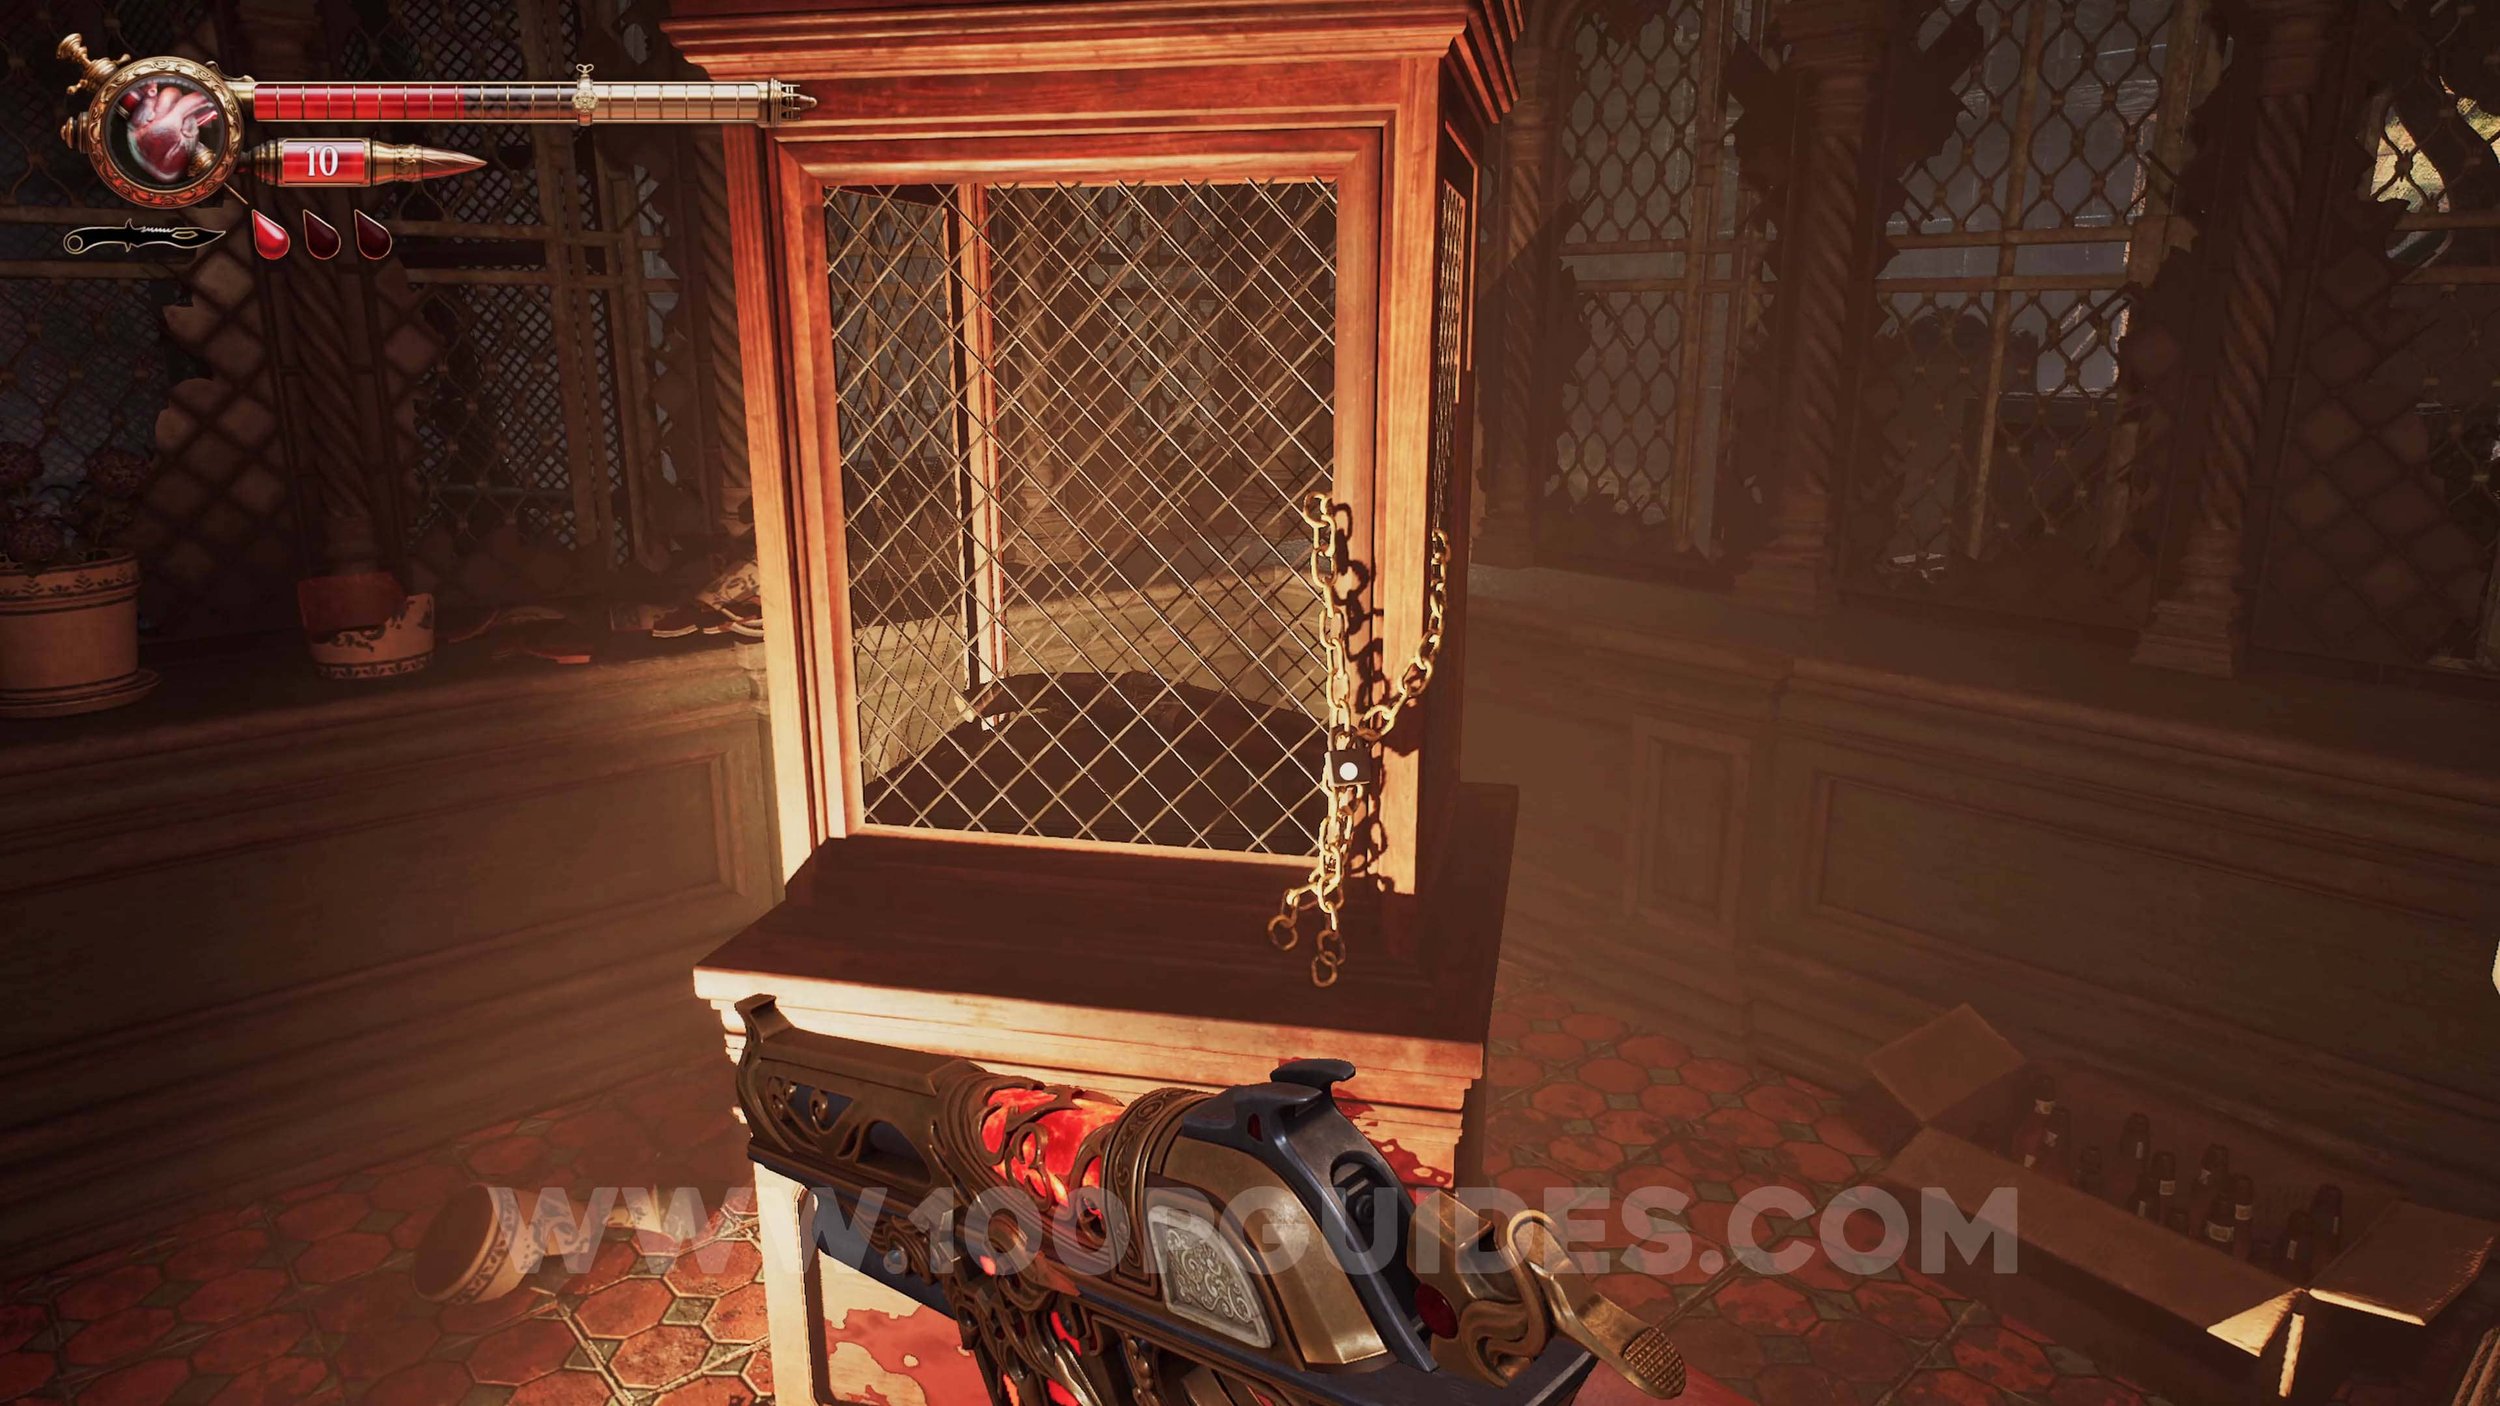
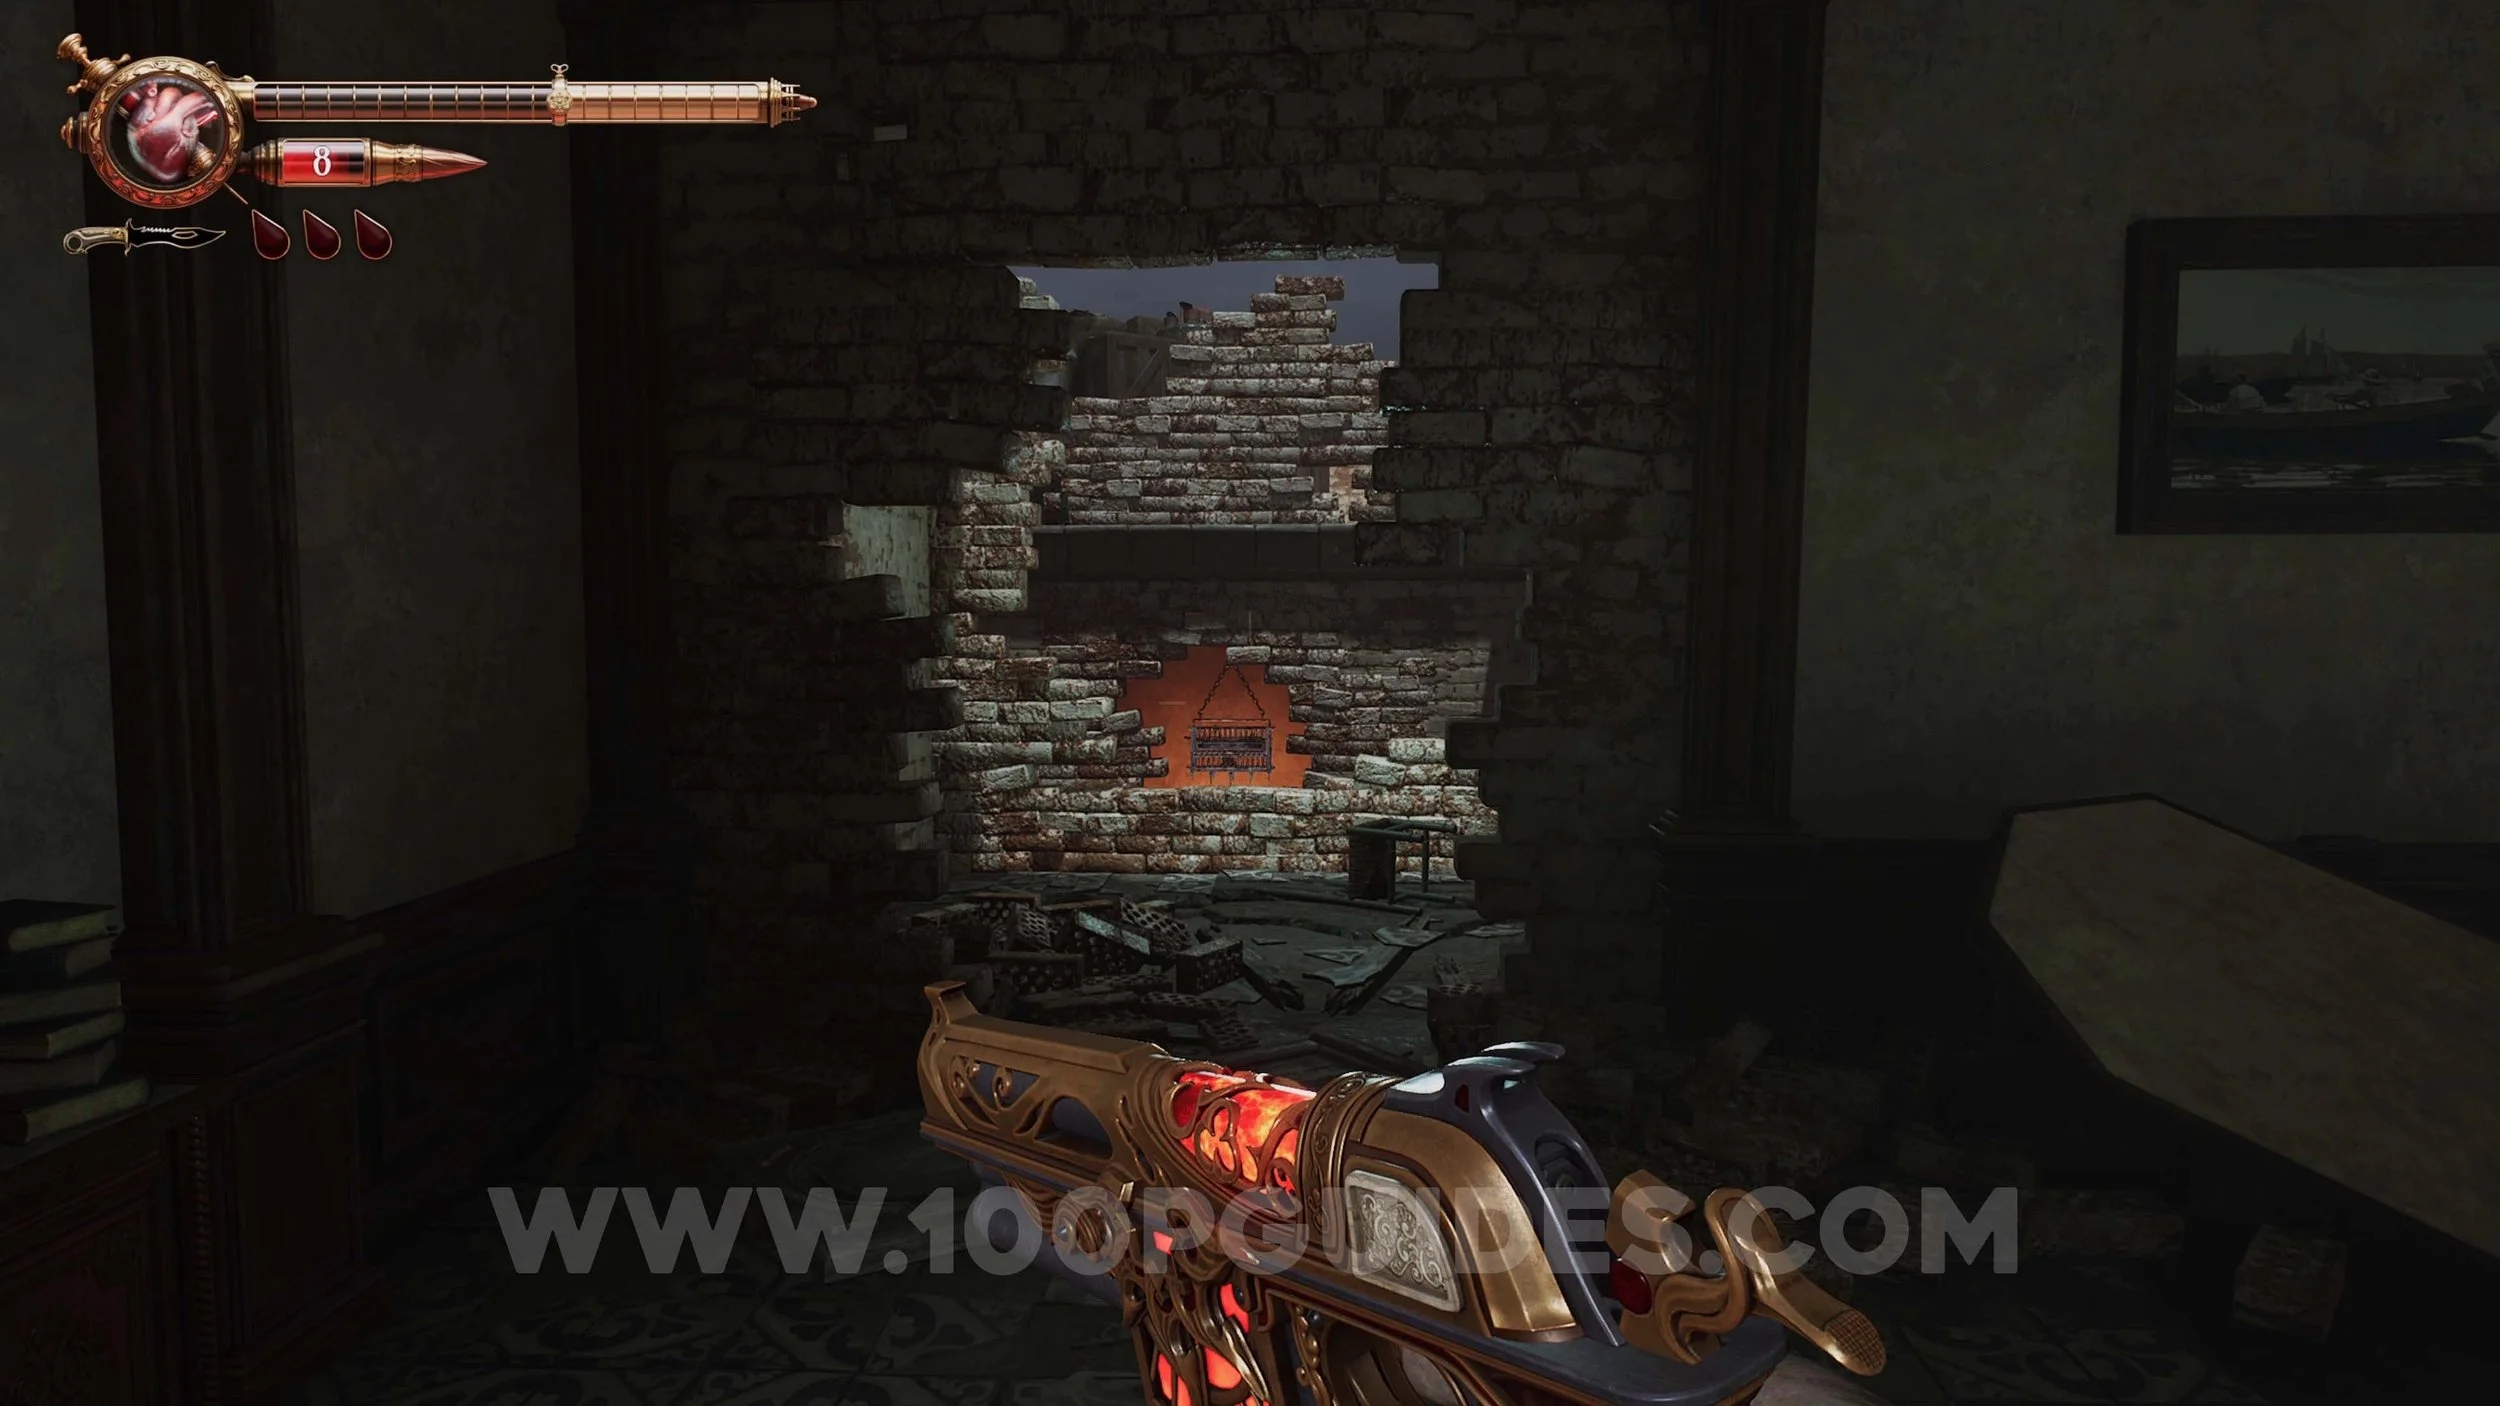
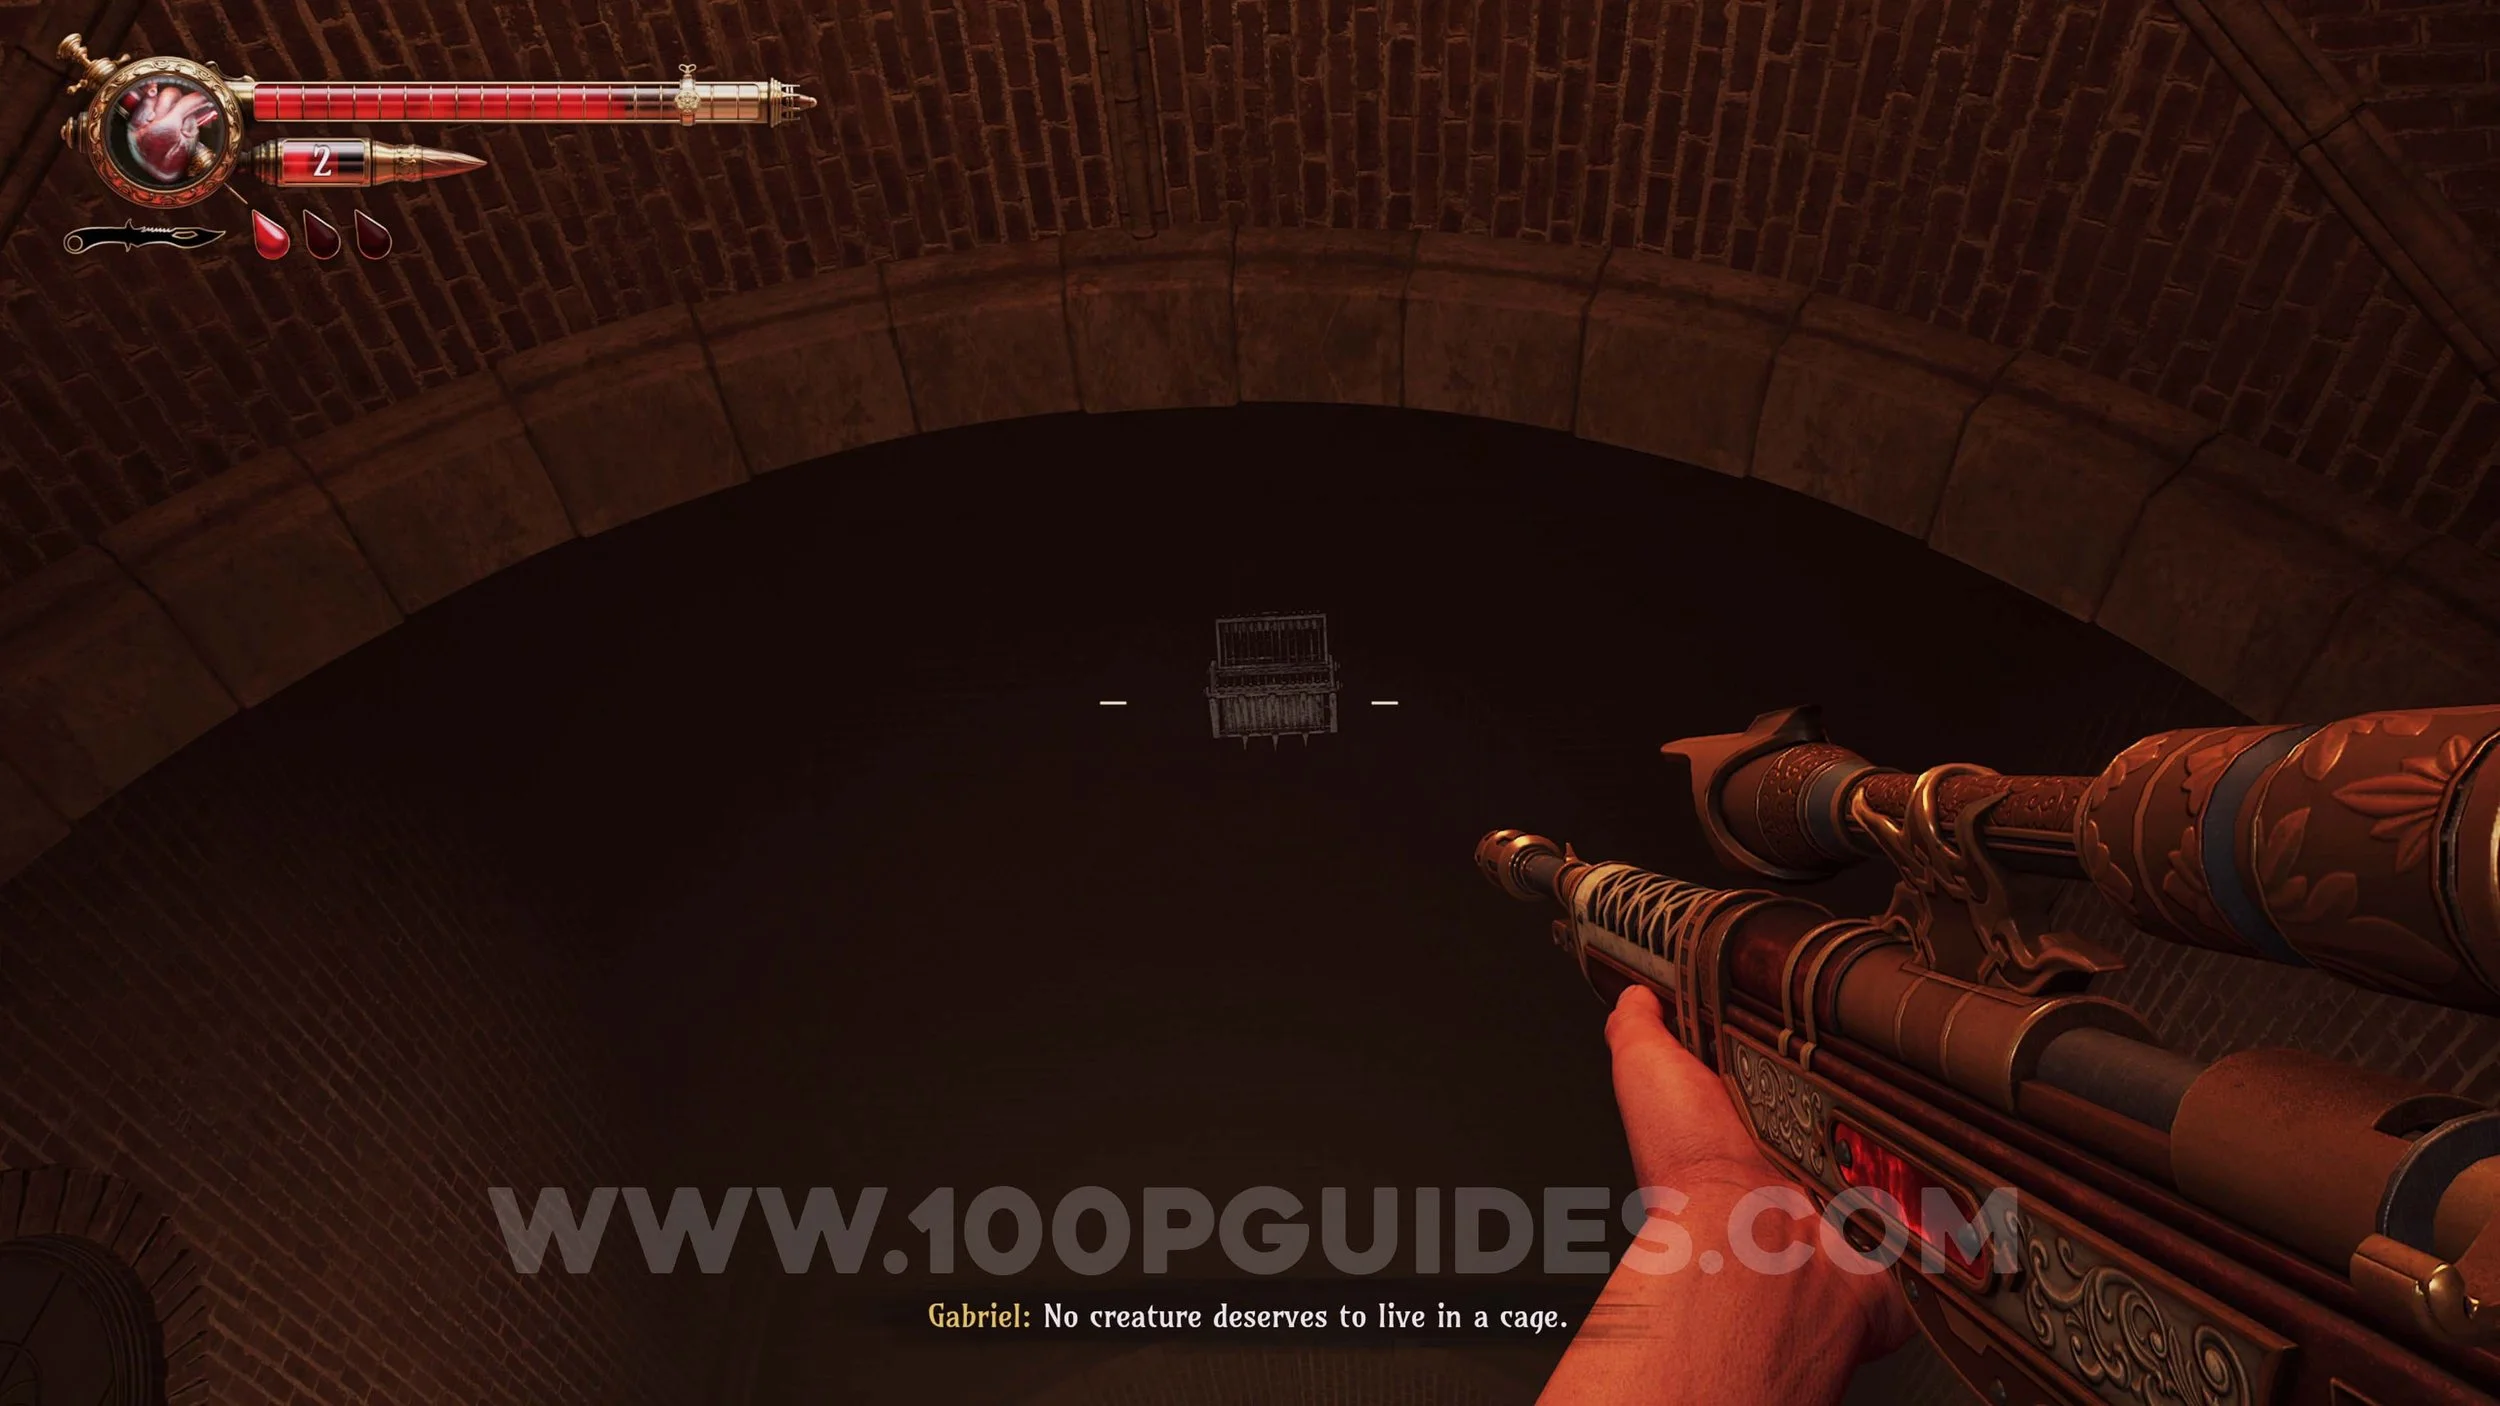
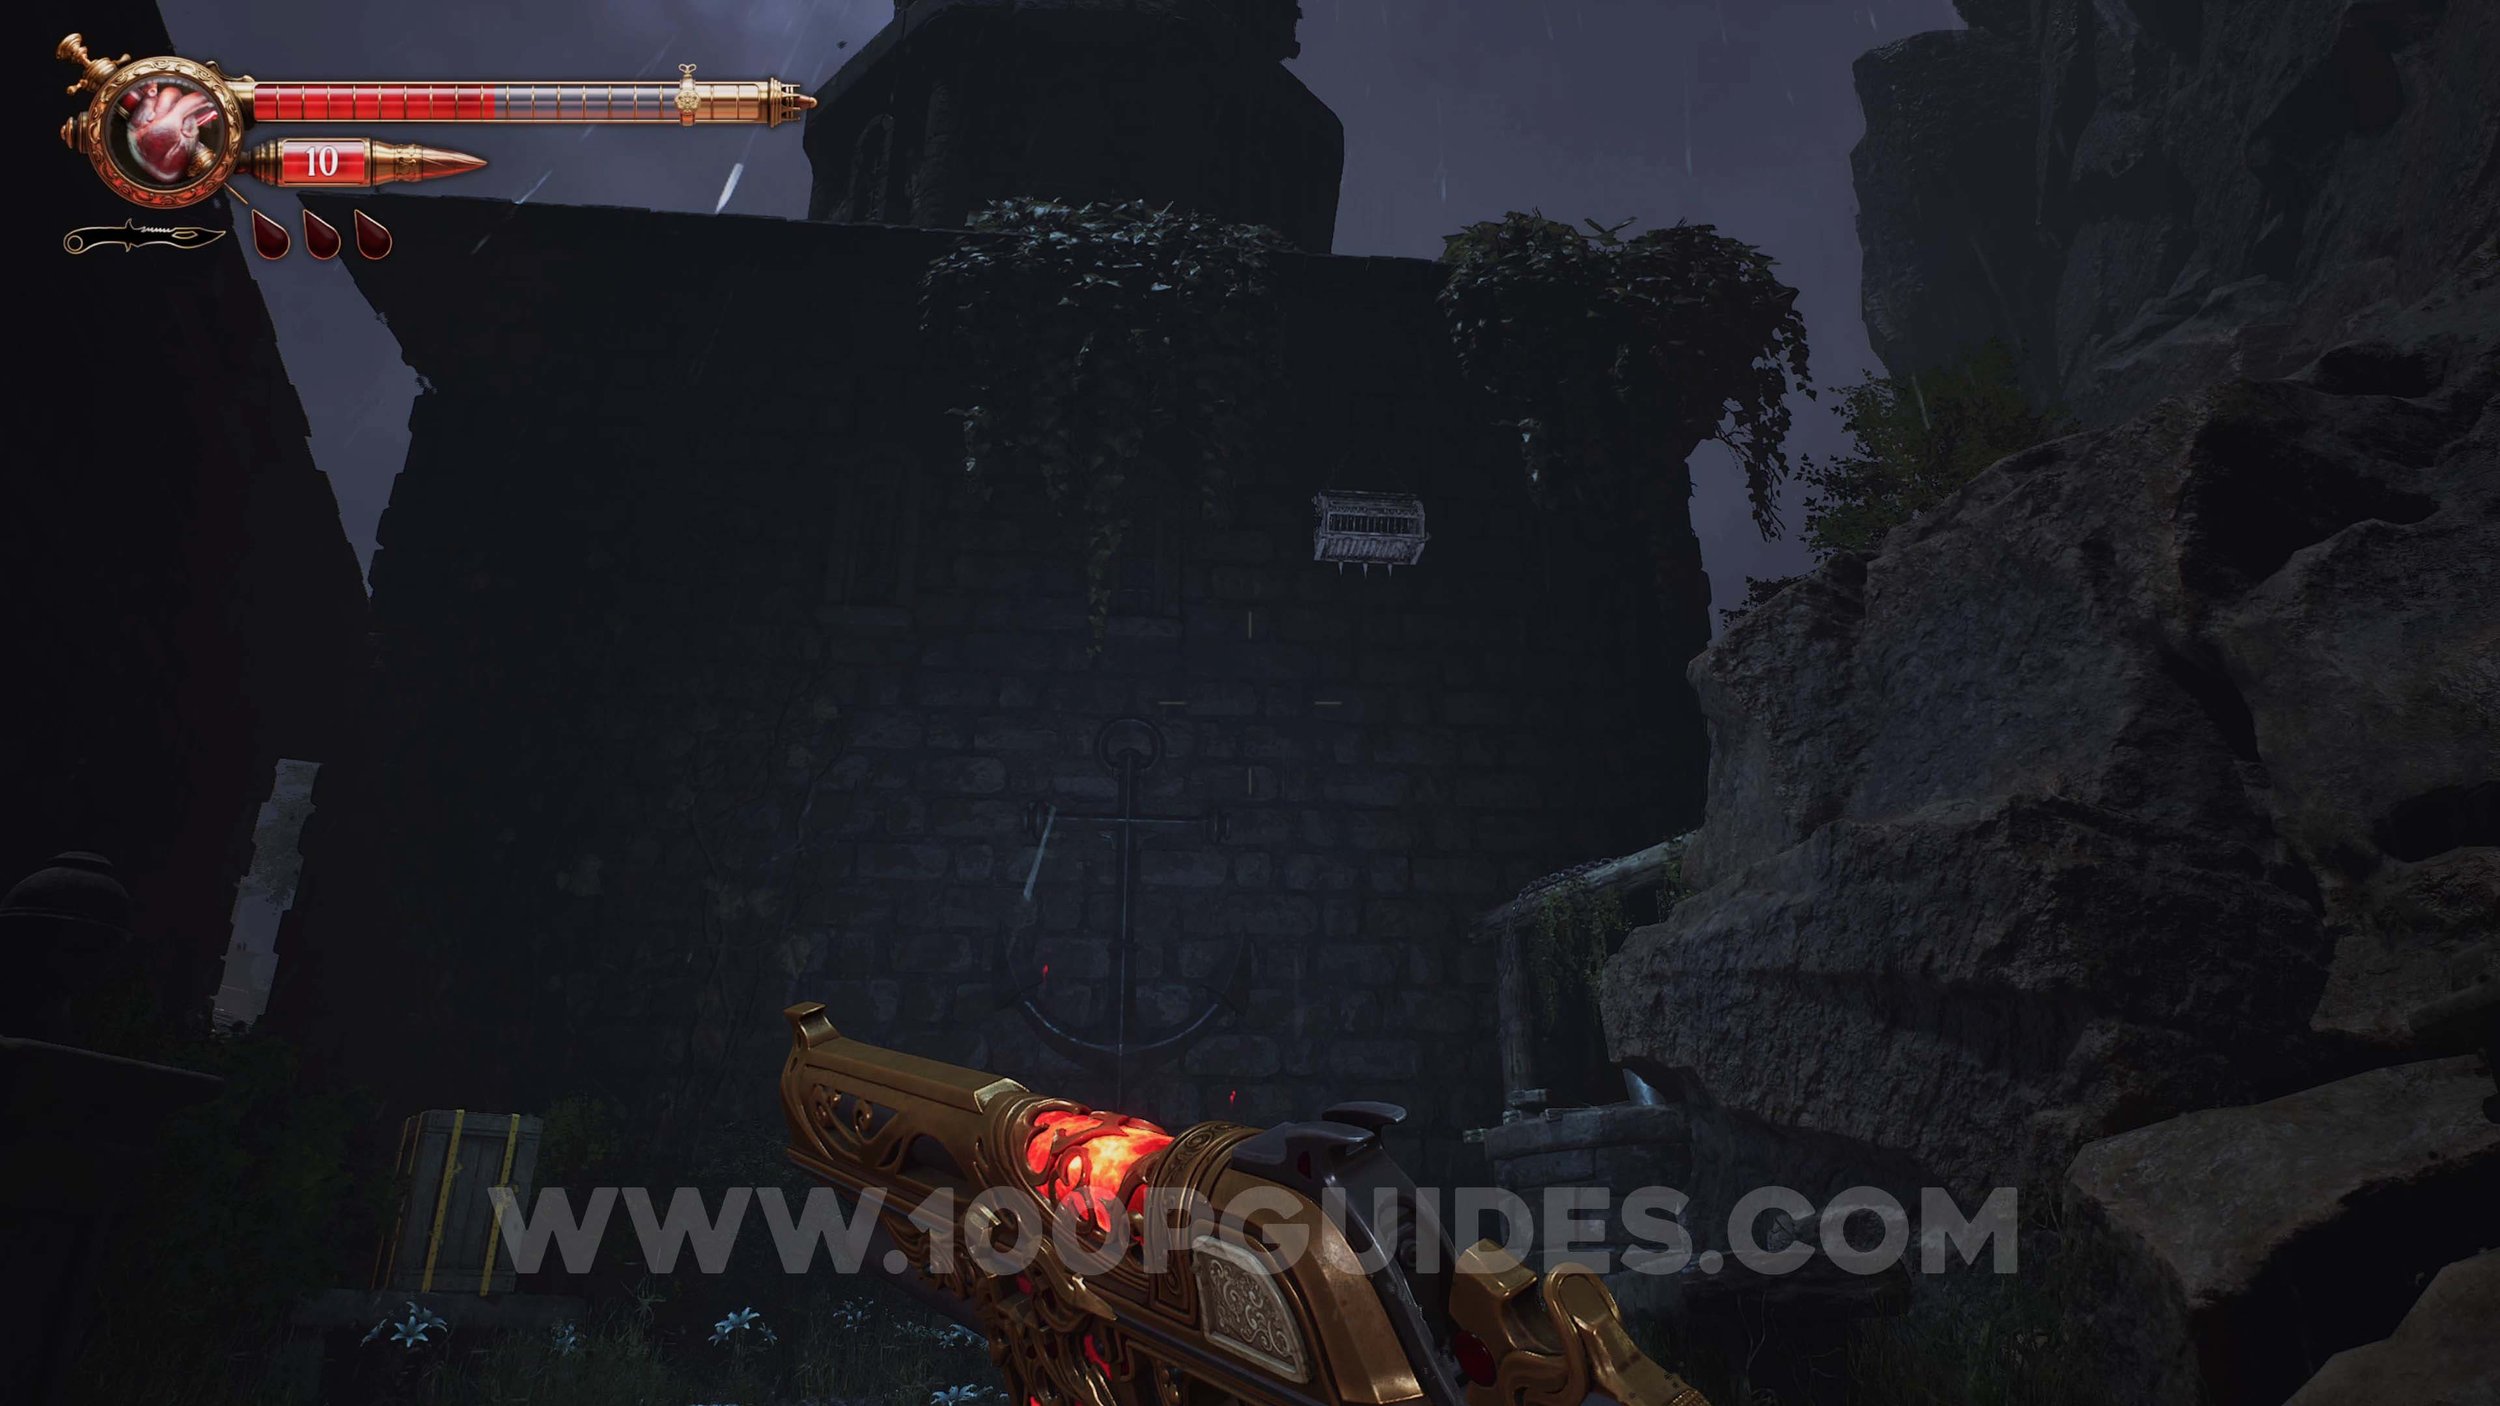
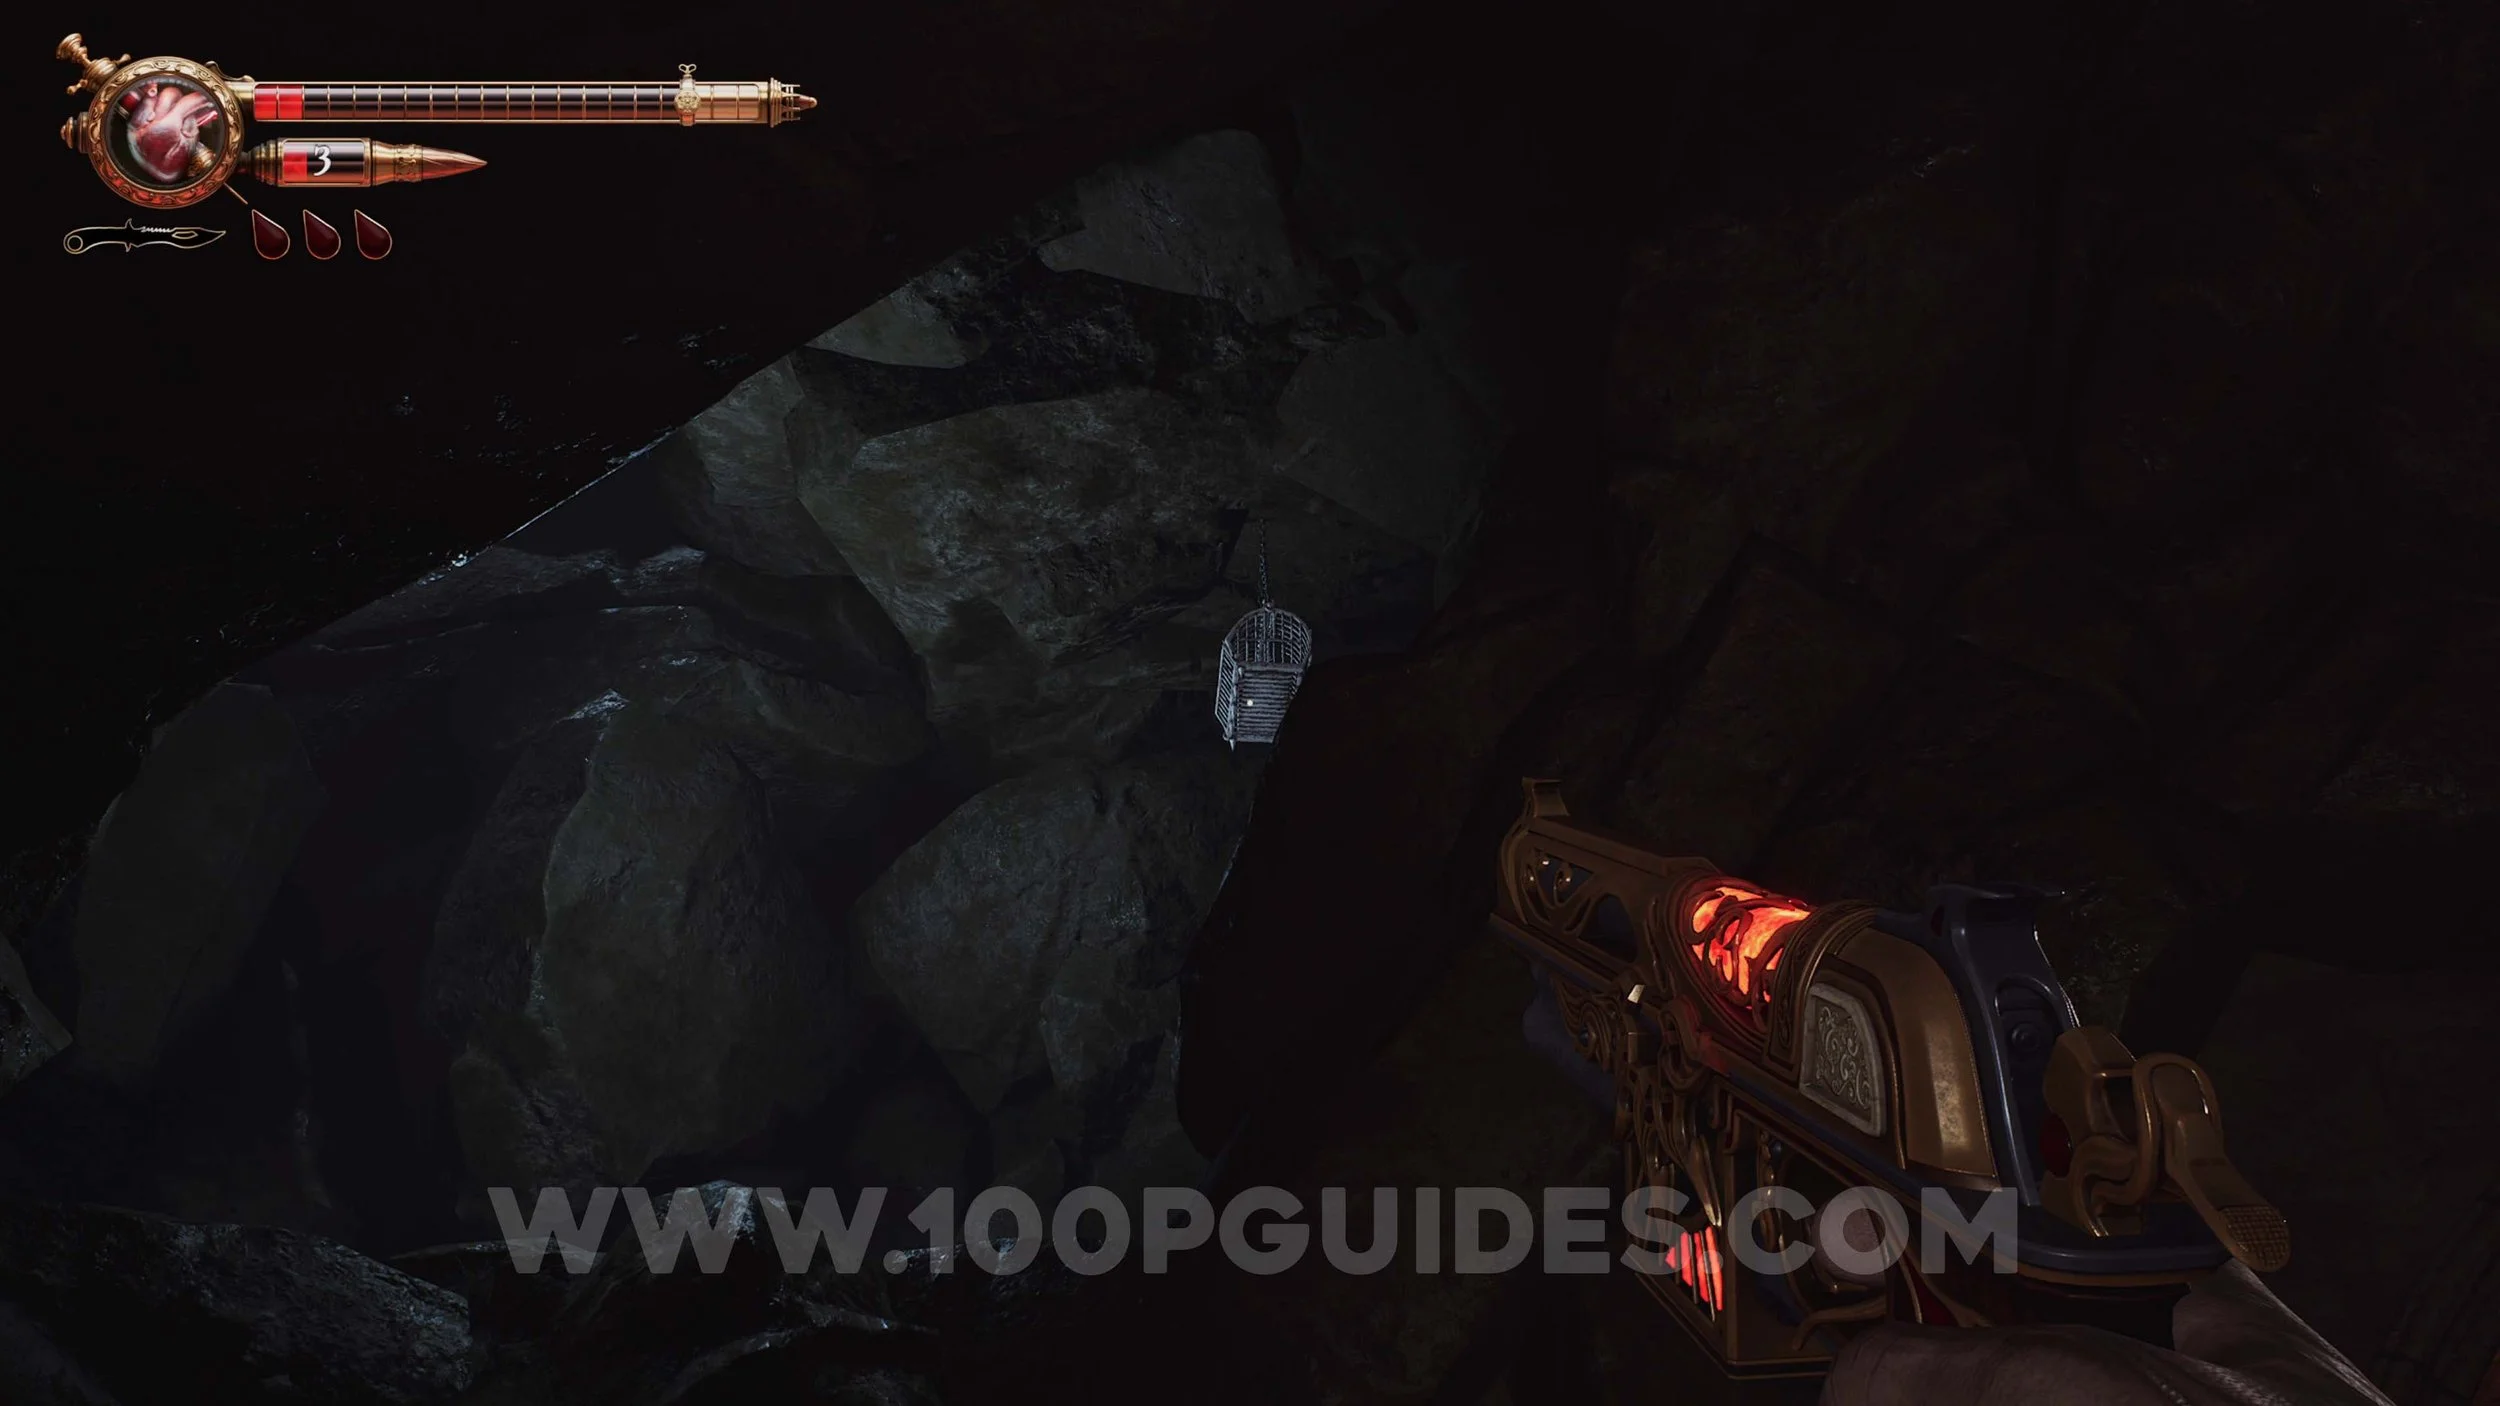
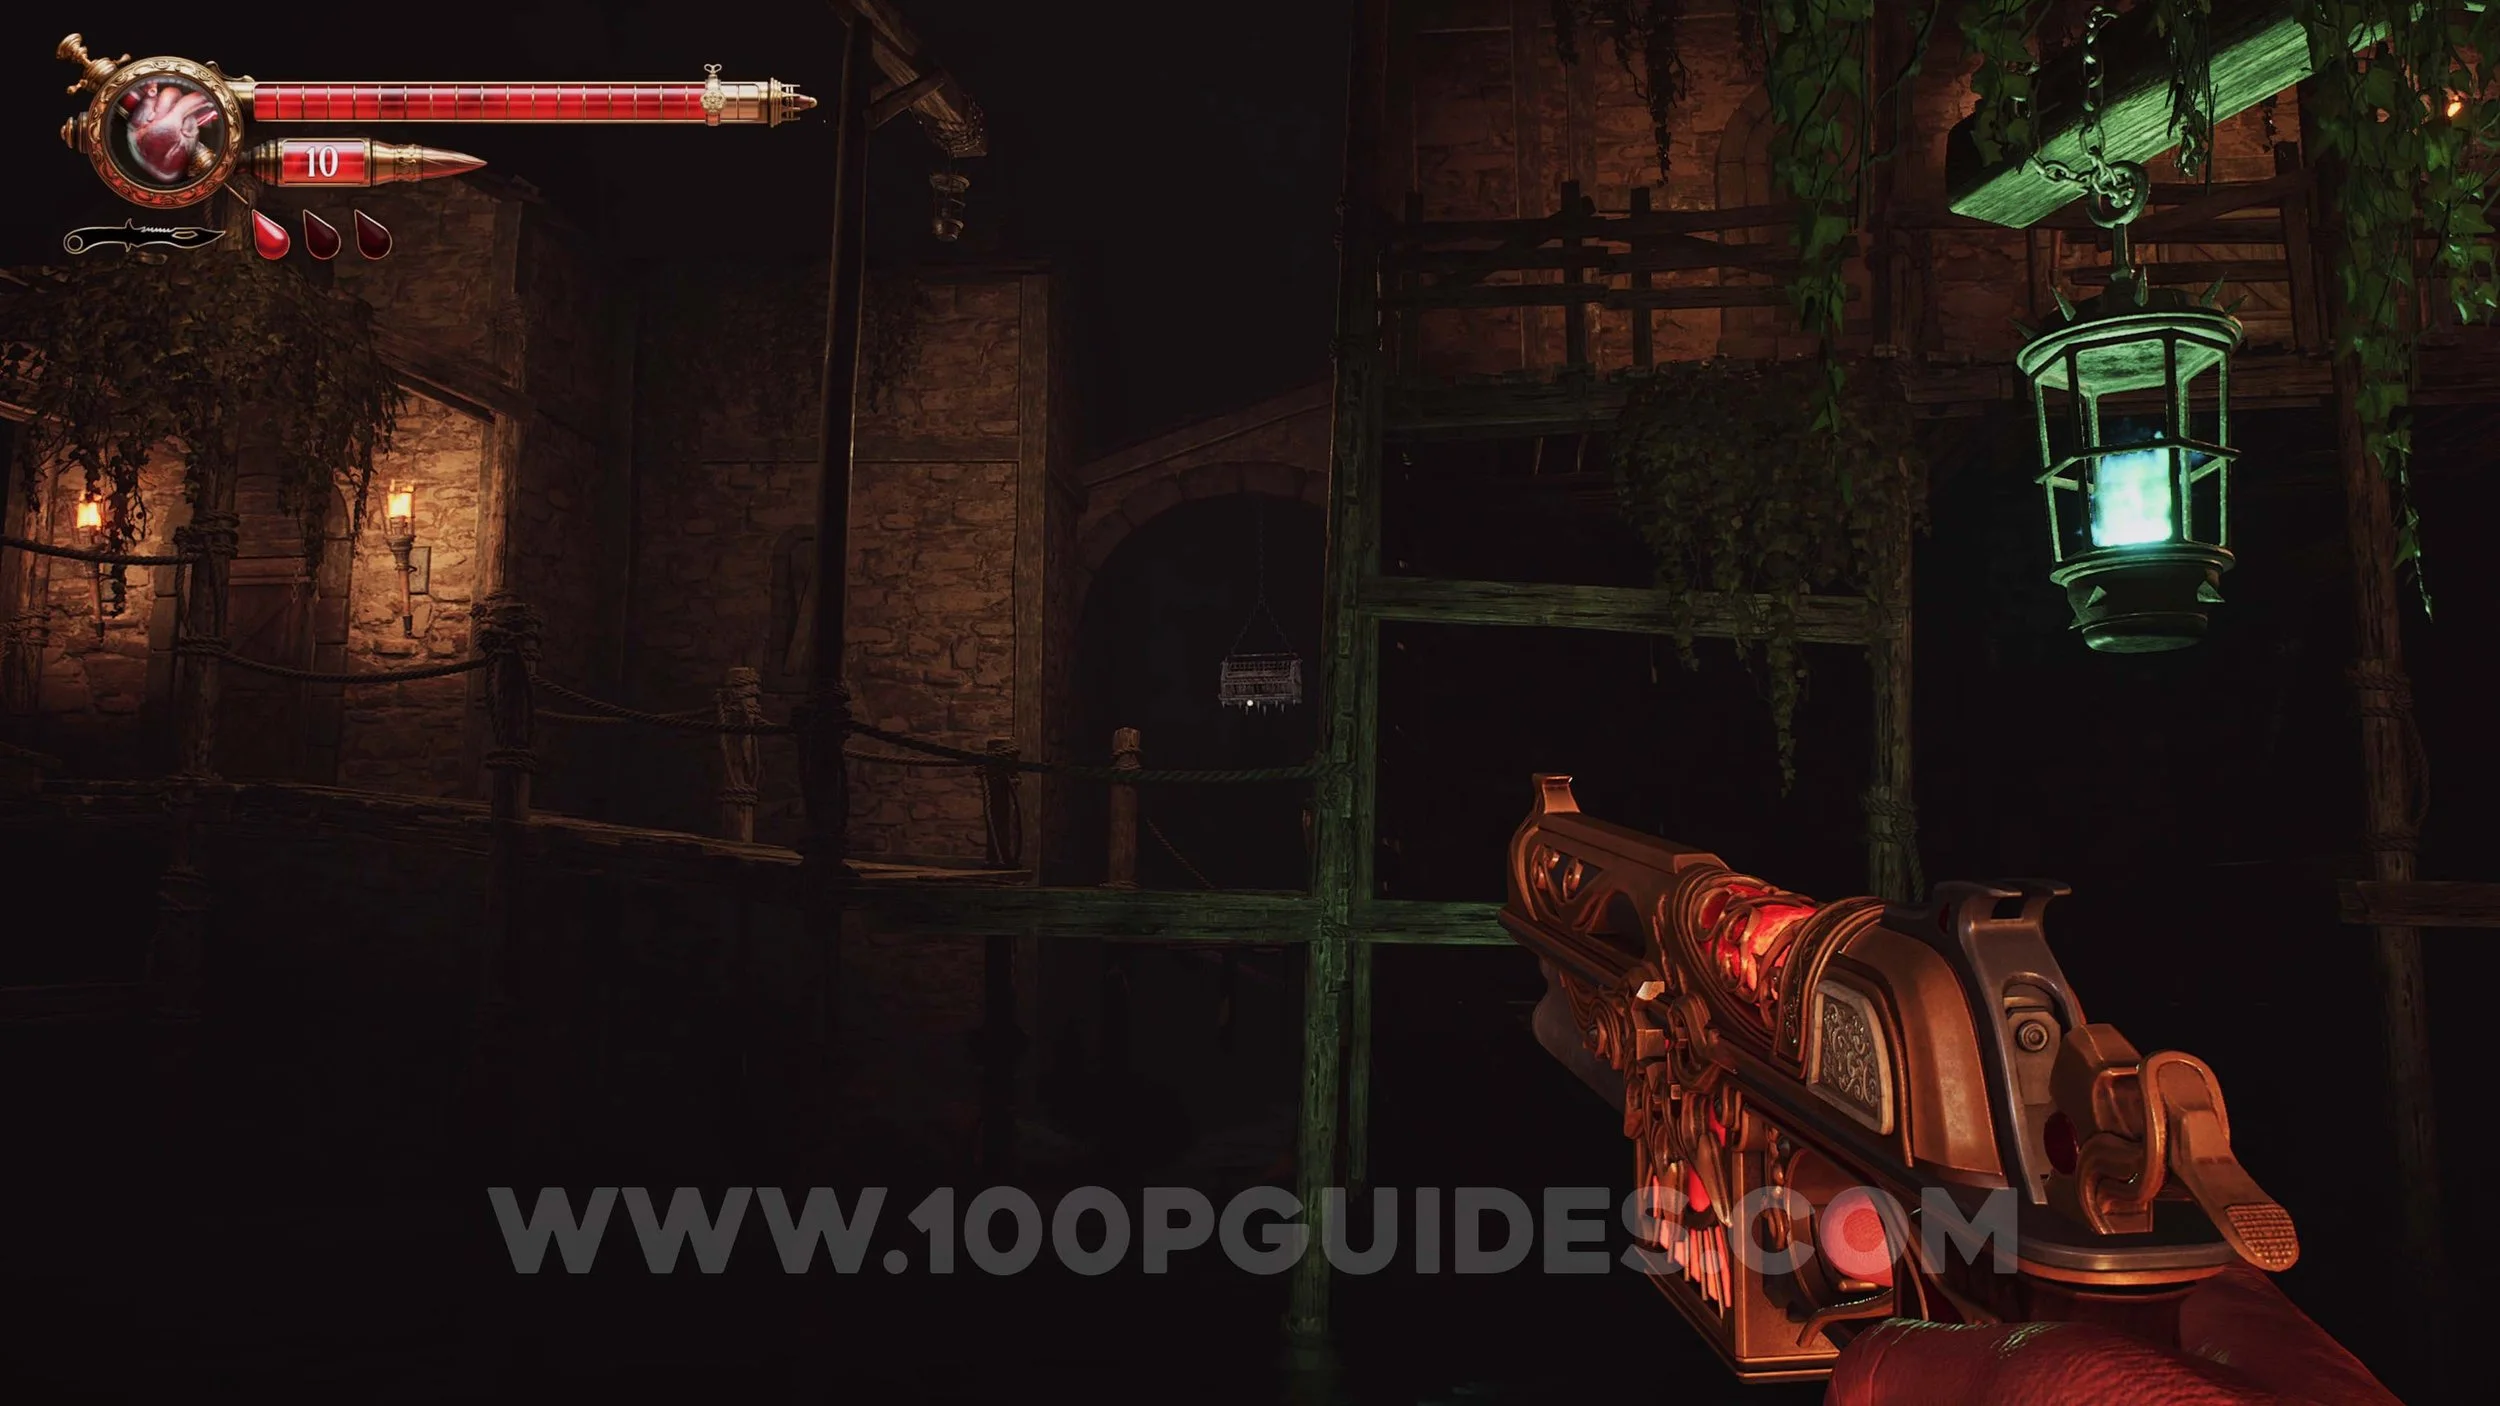
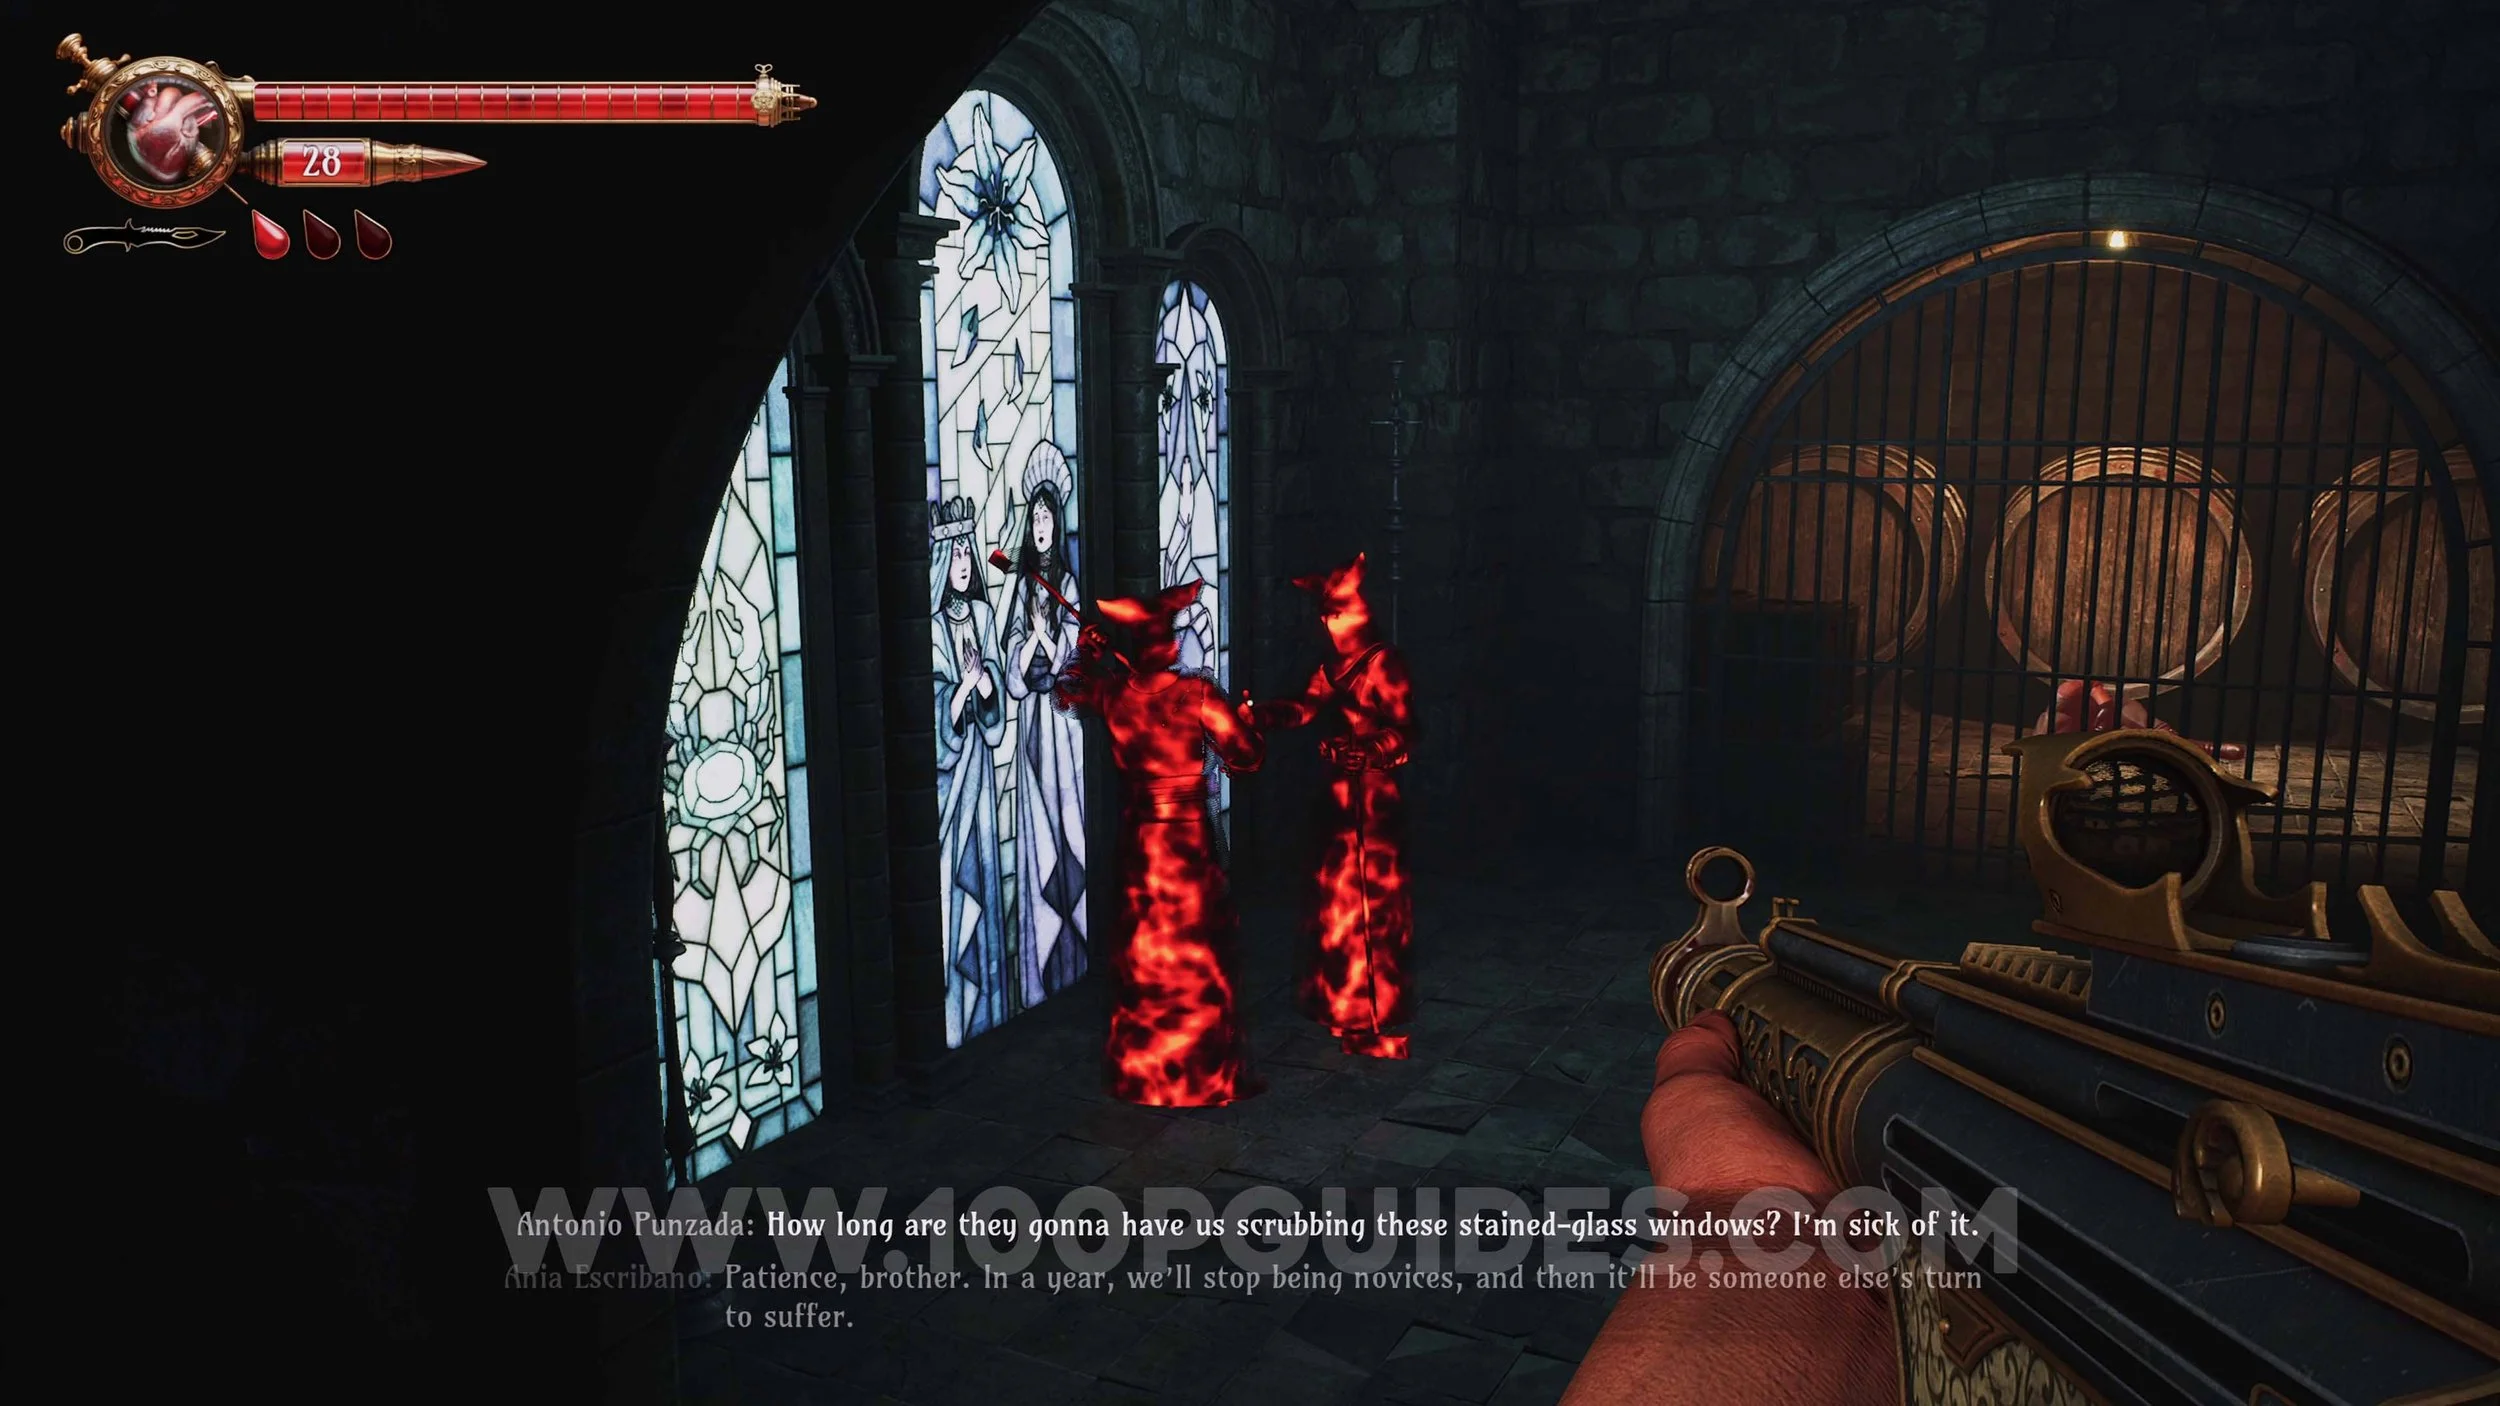
Crow #1. Shoot the cage hanging from the post once you get the to the outside area with barns.
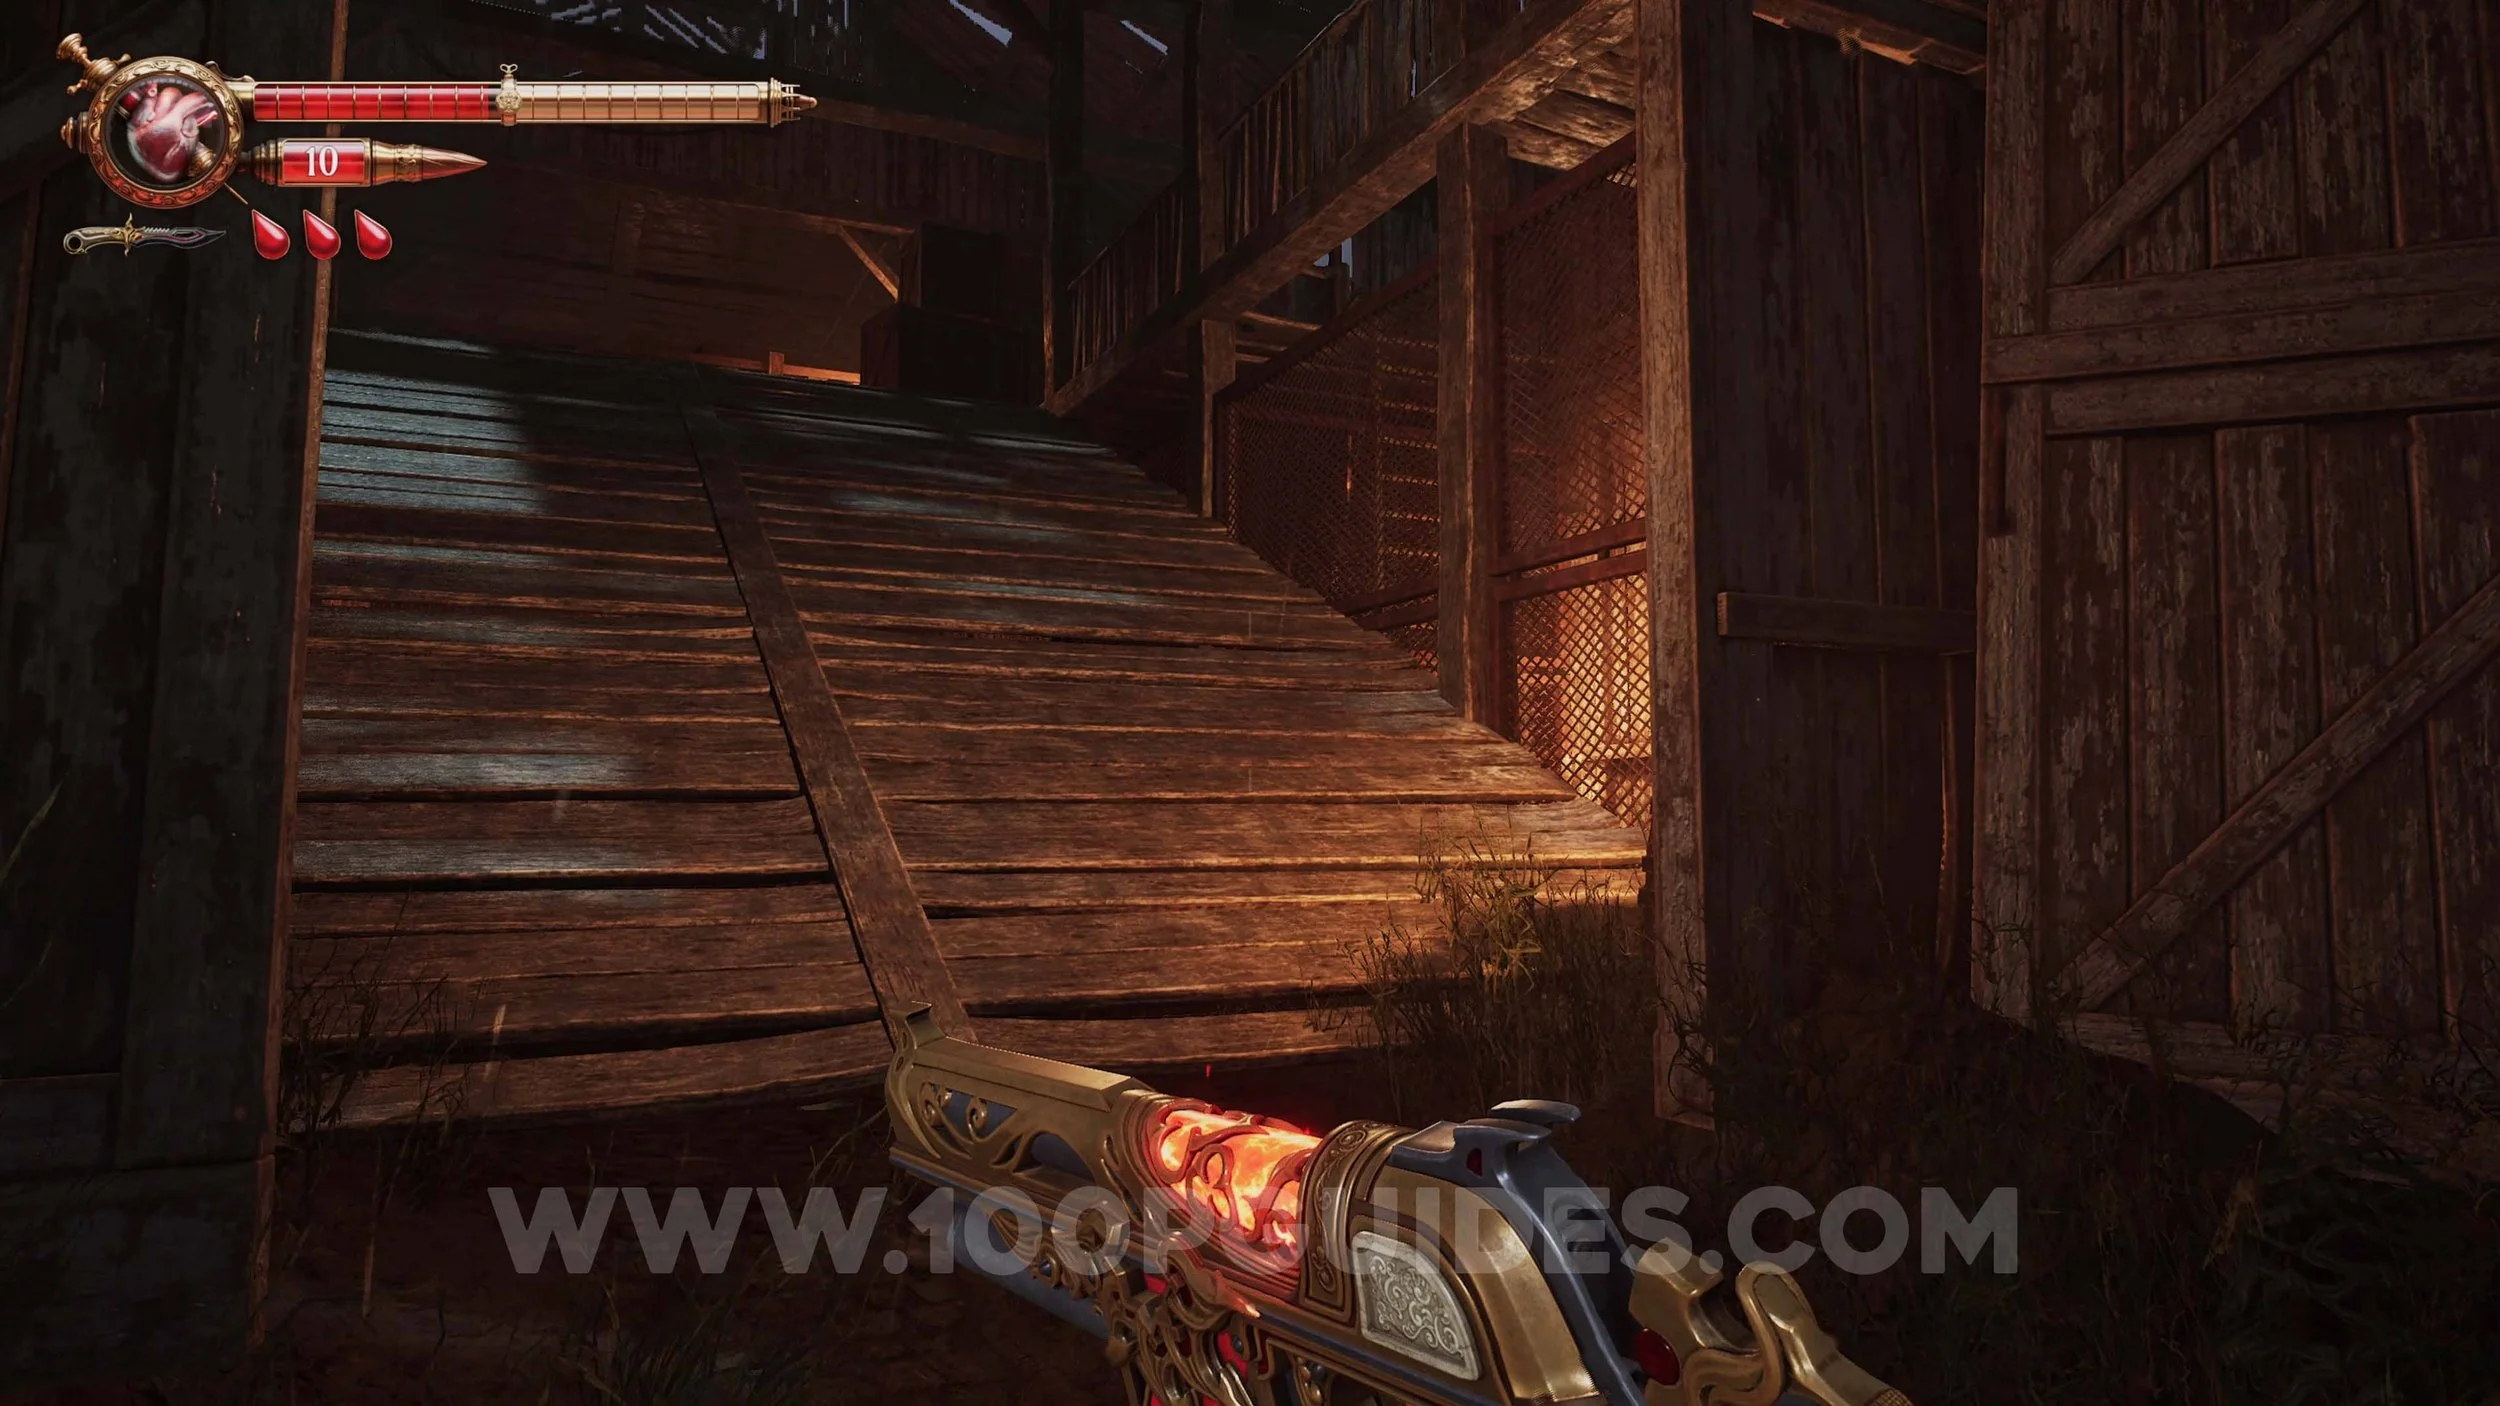
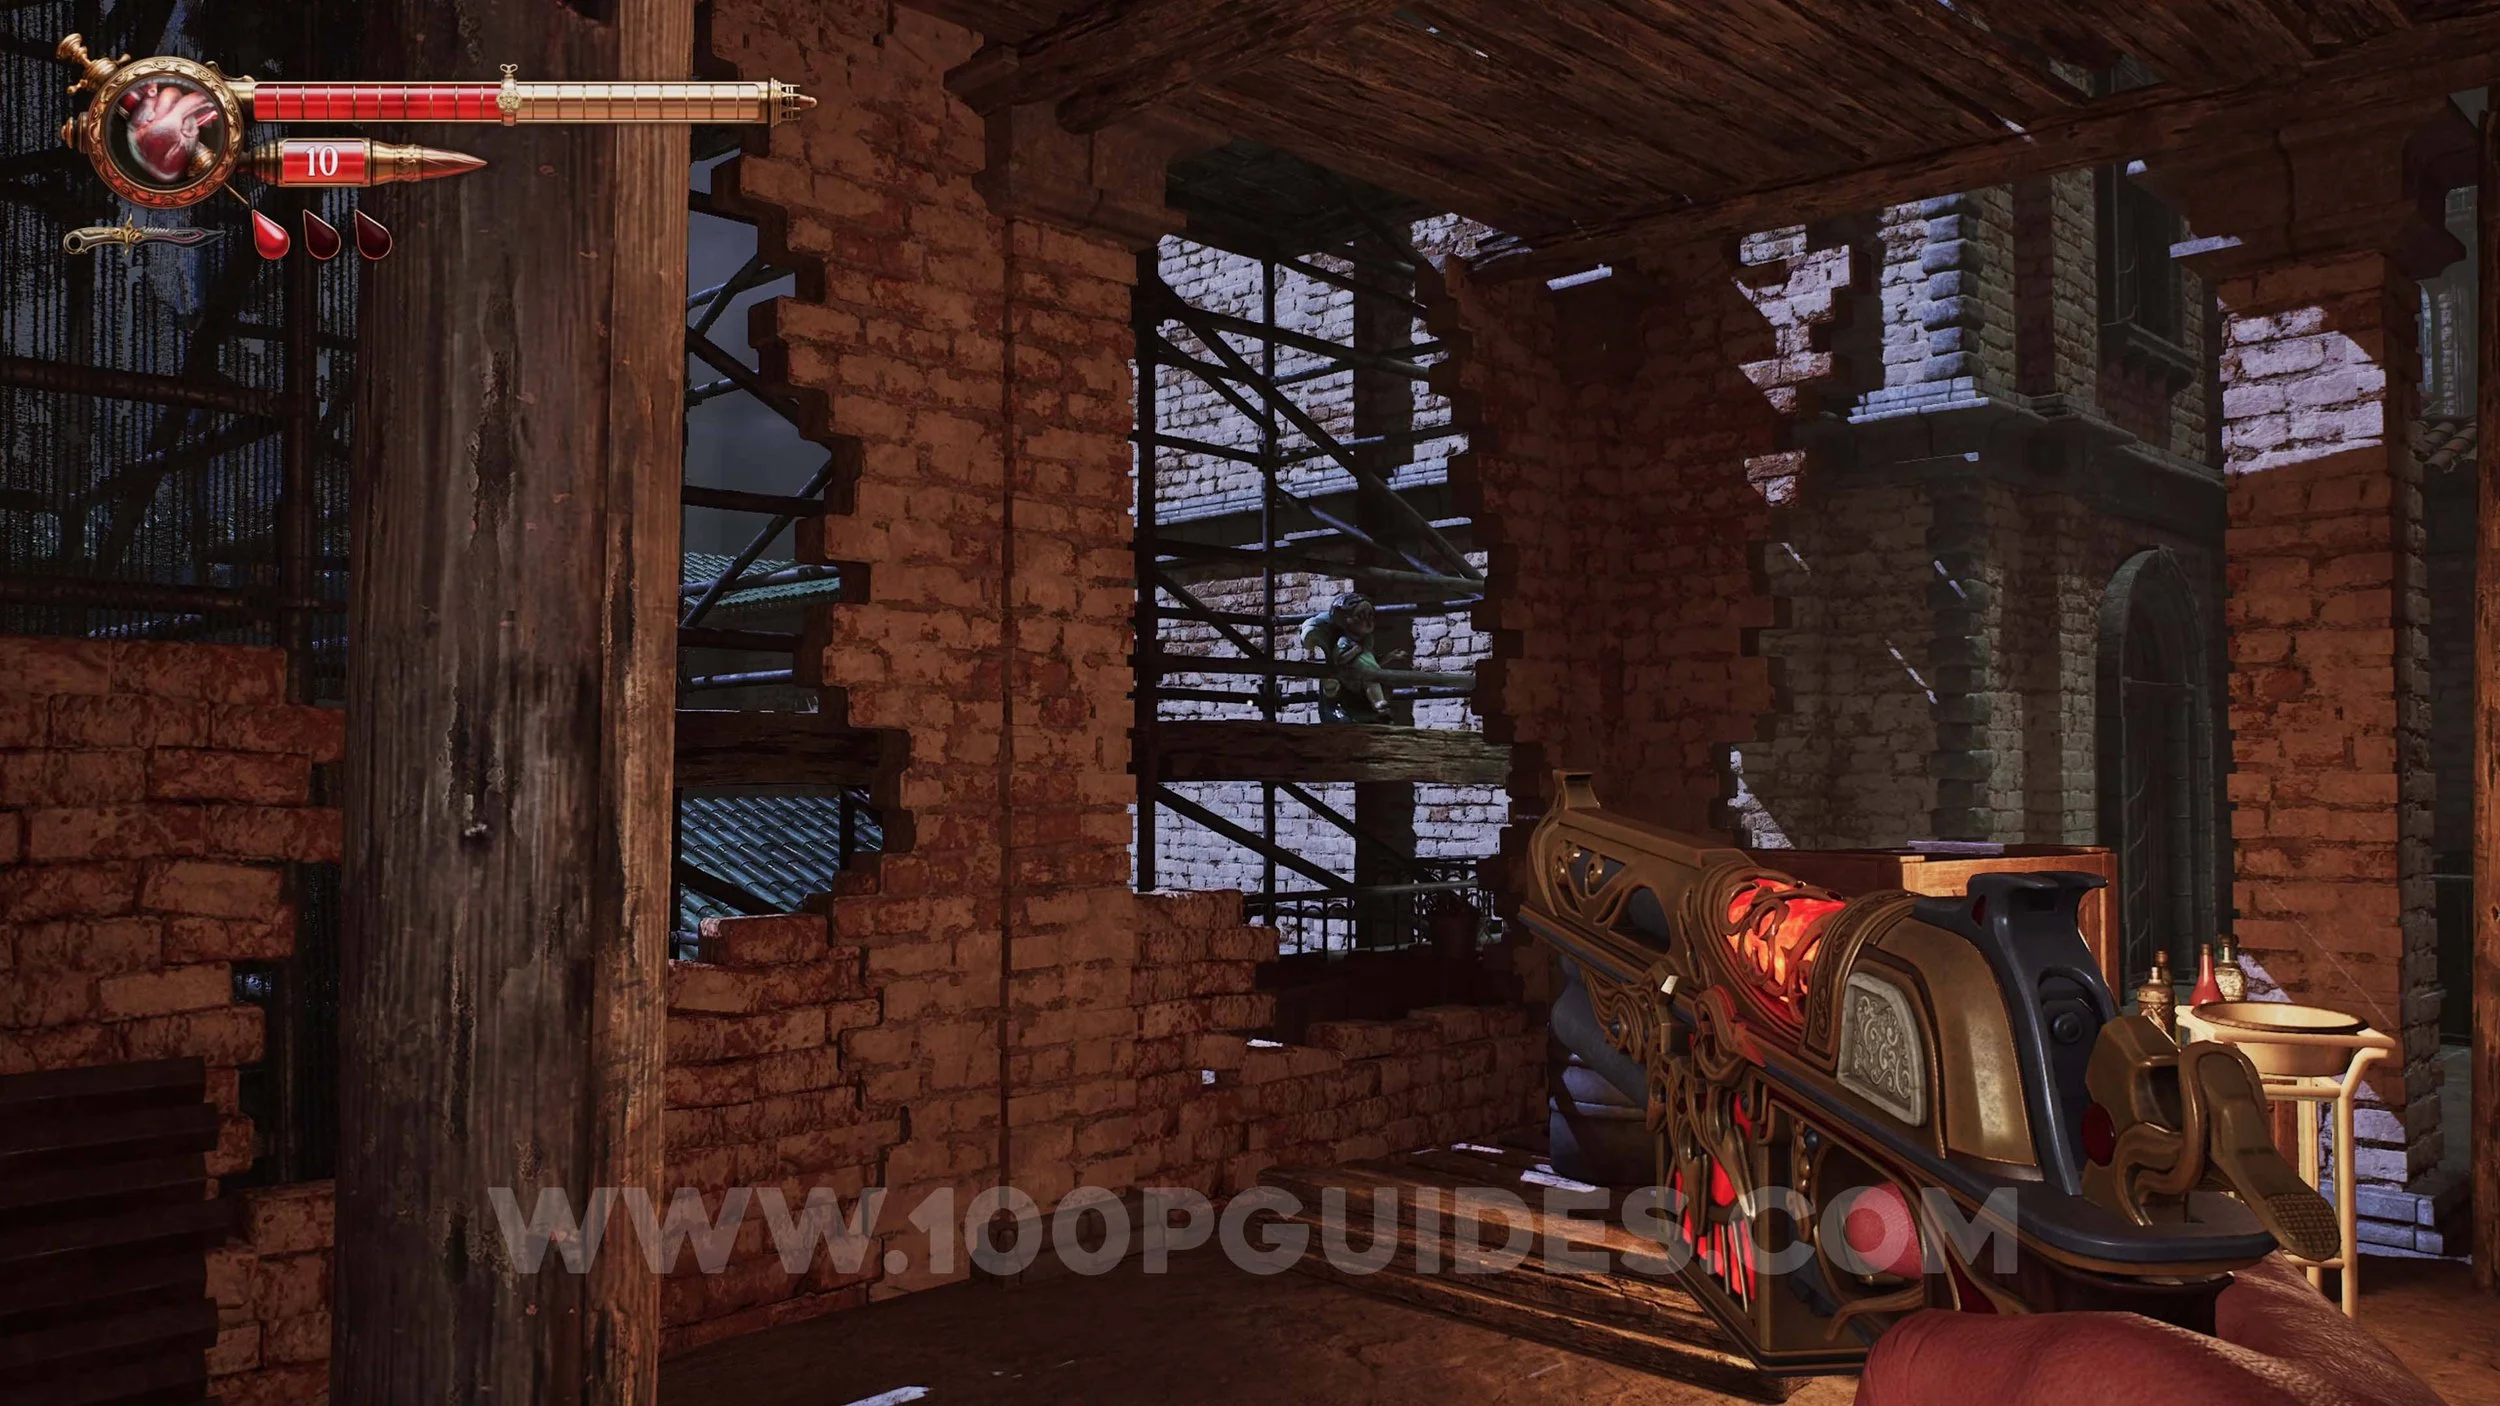
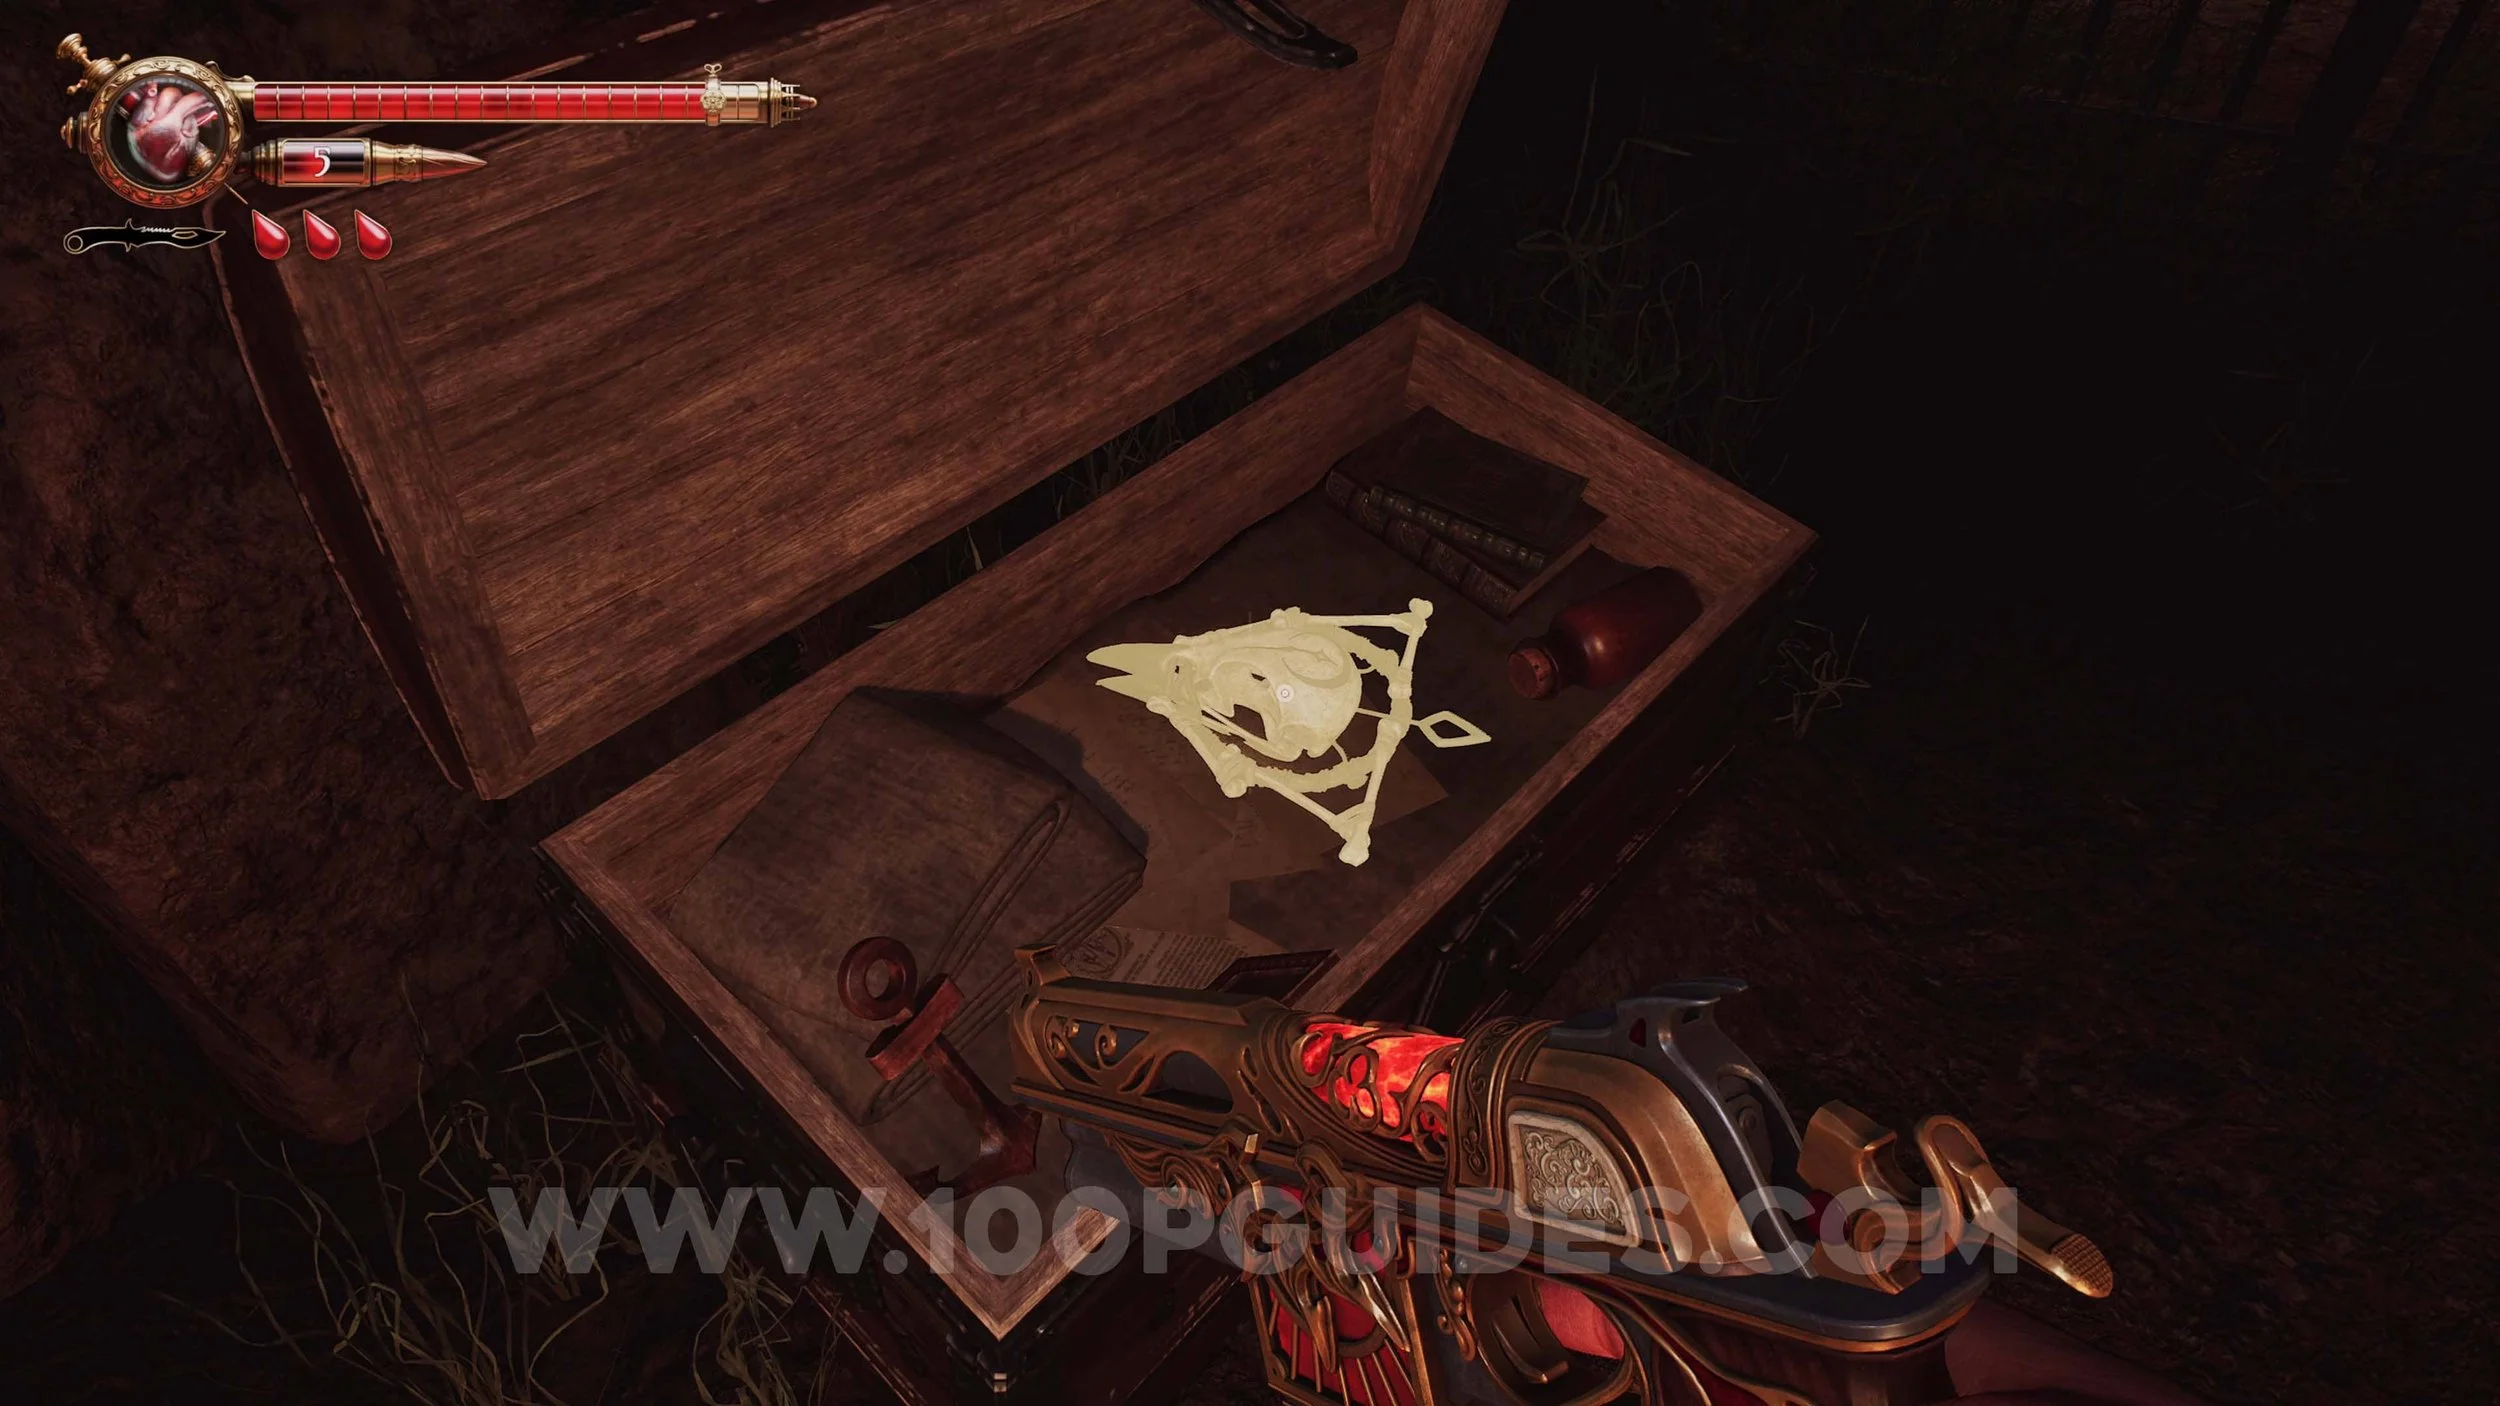
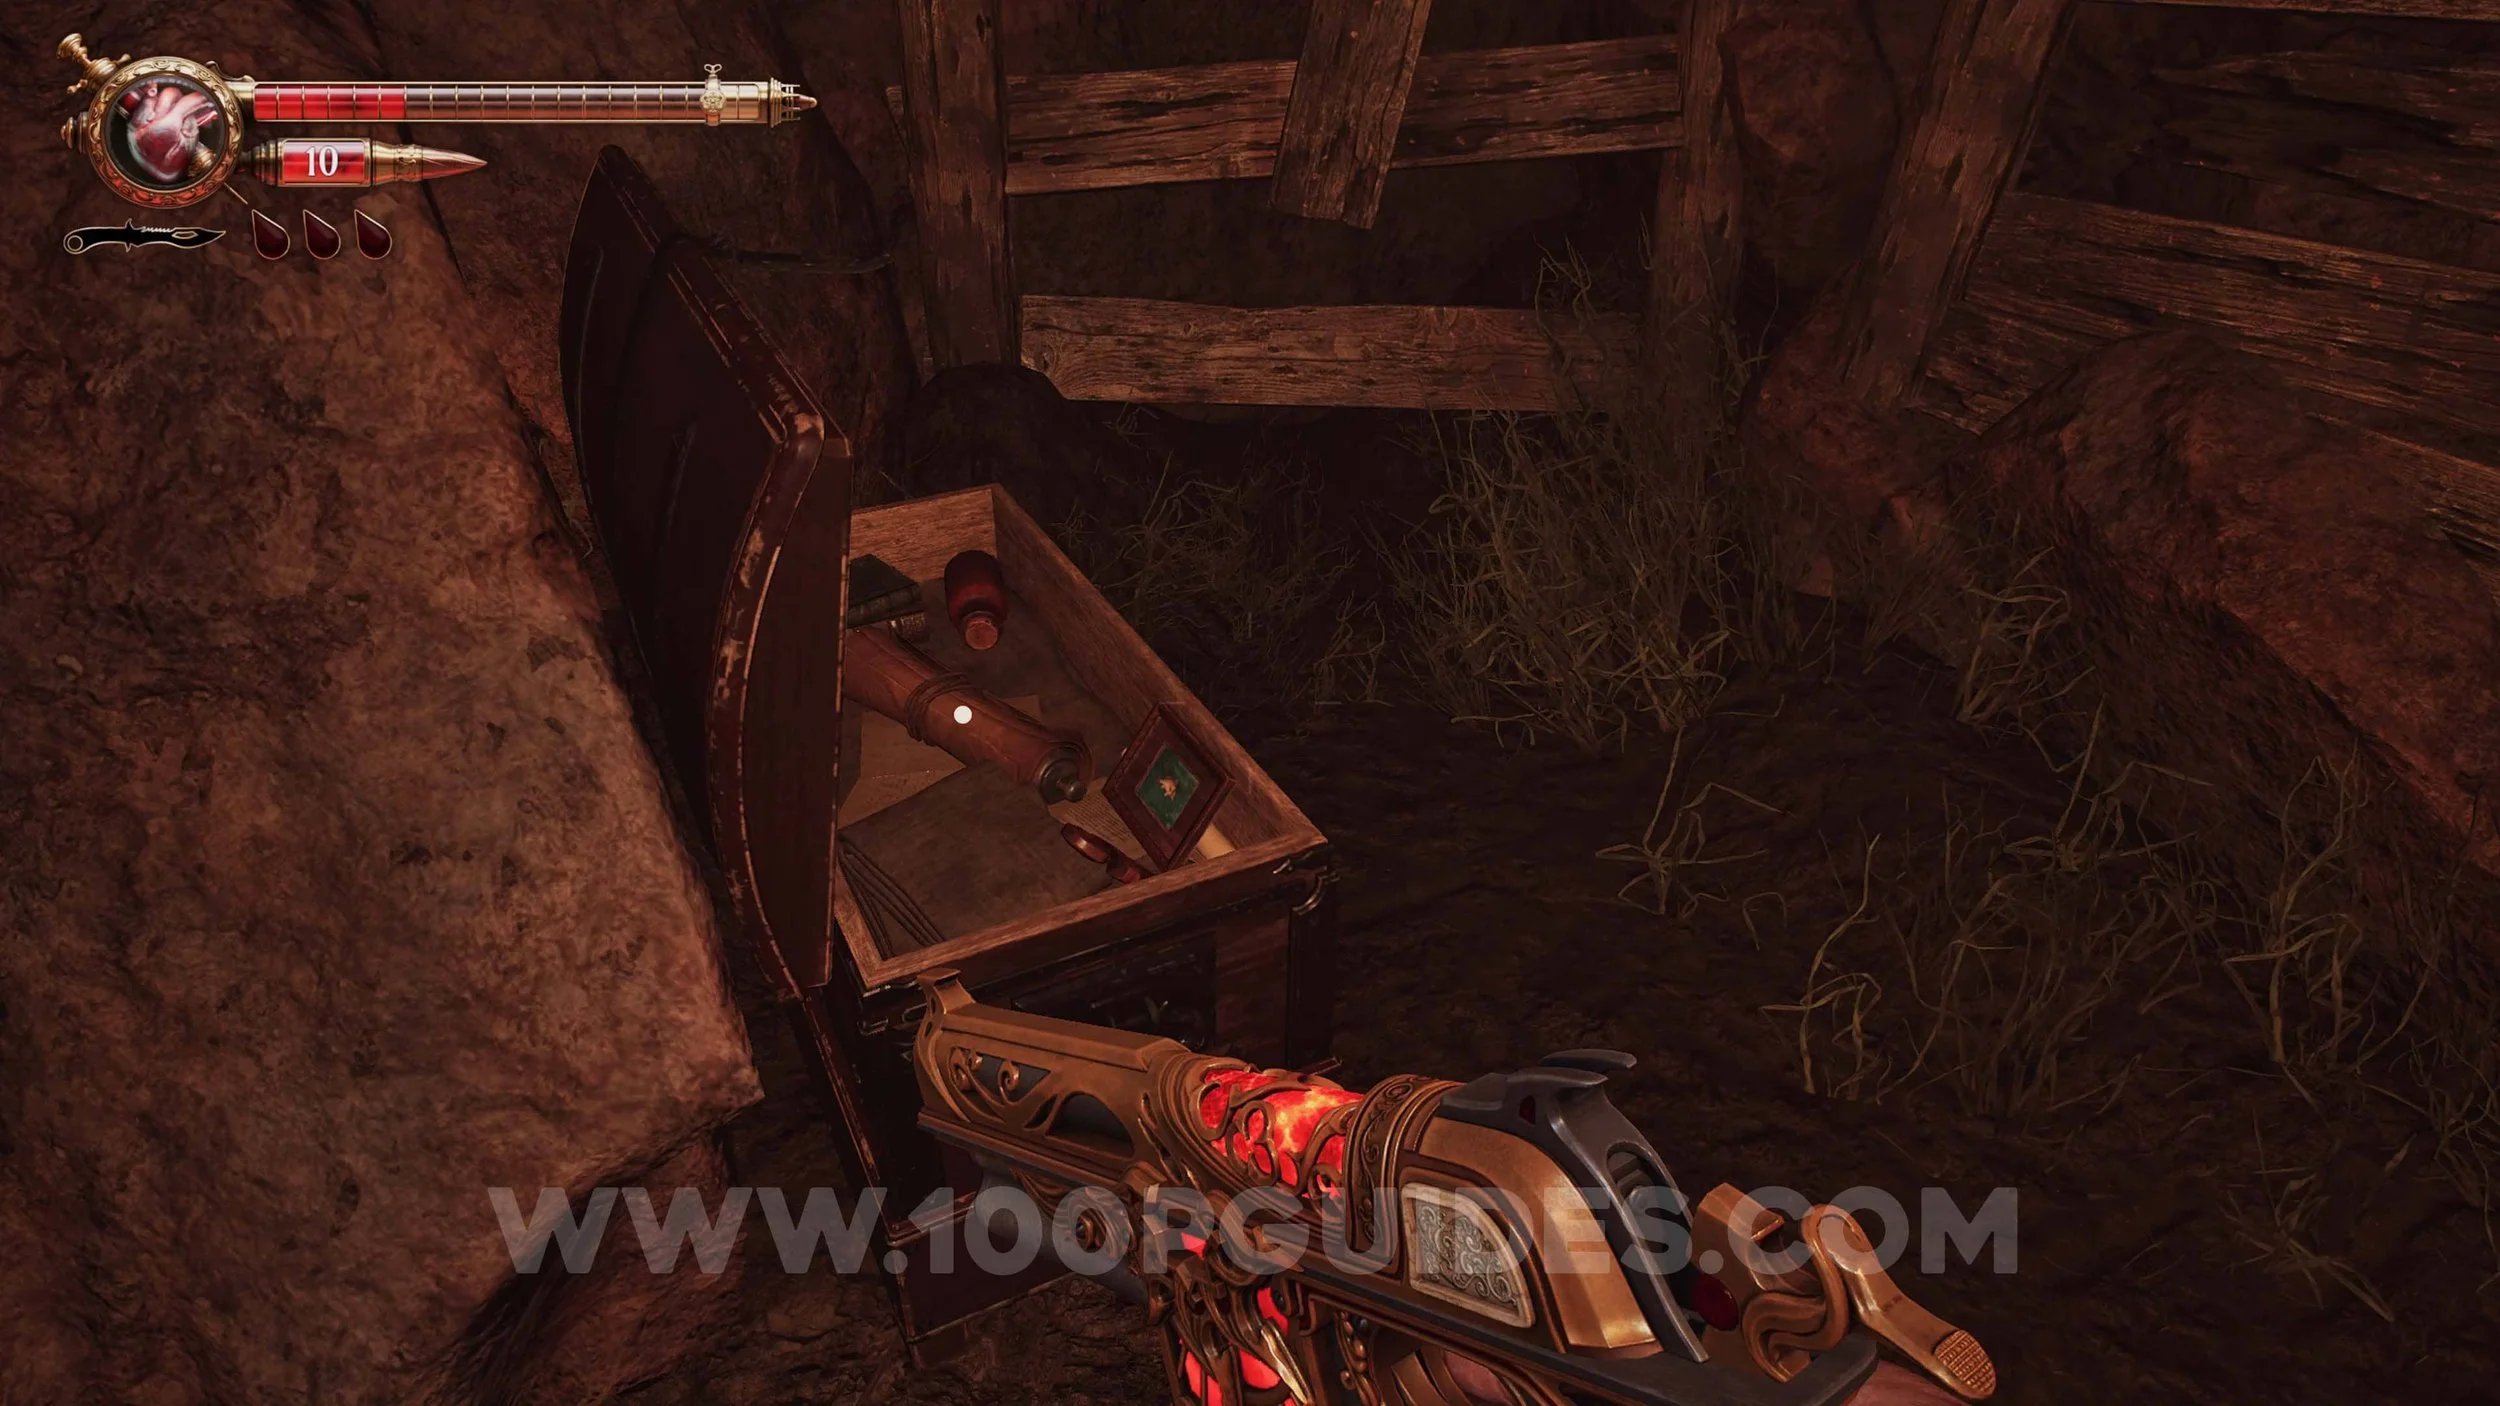
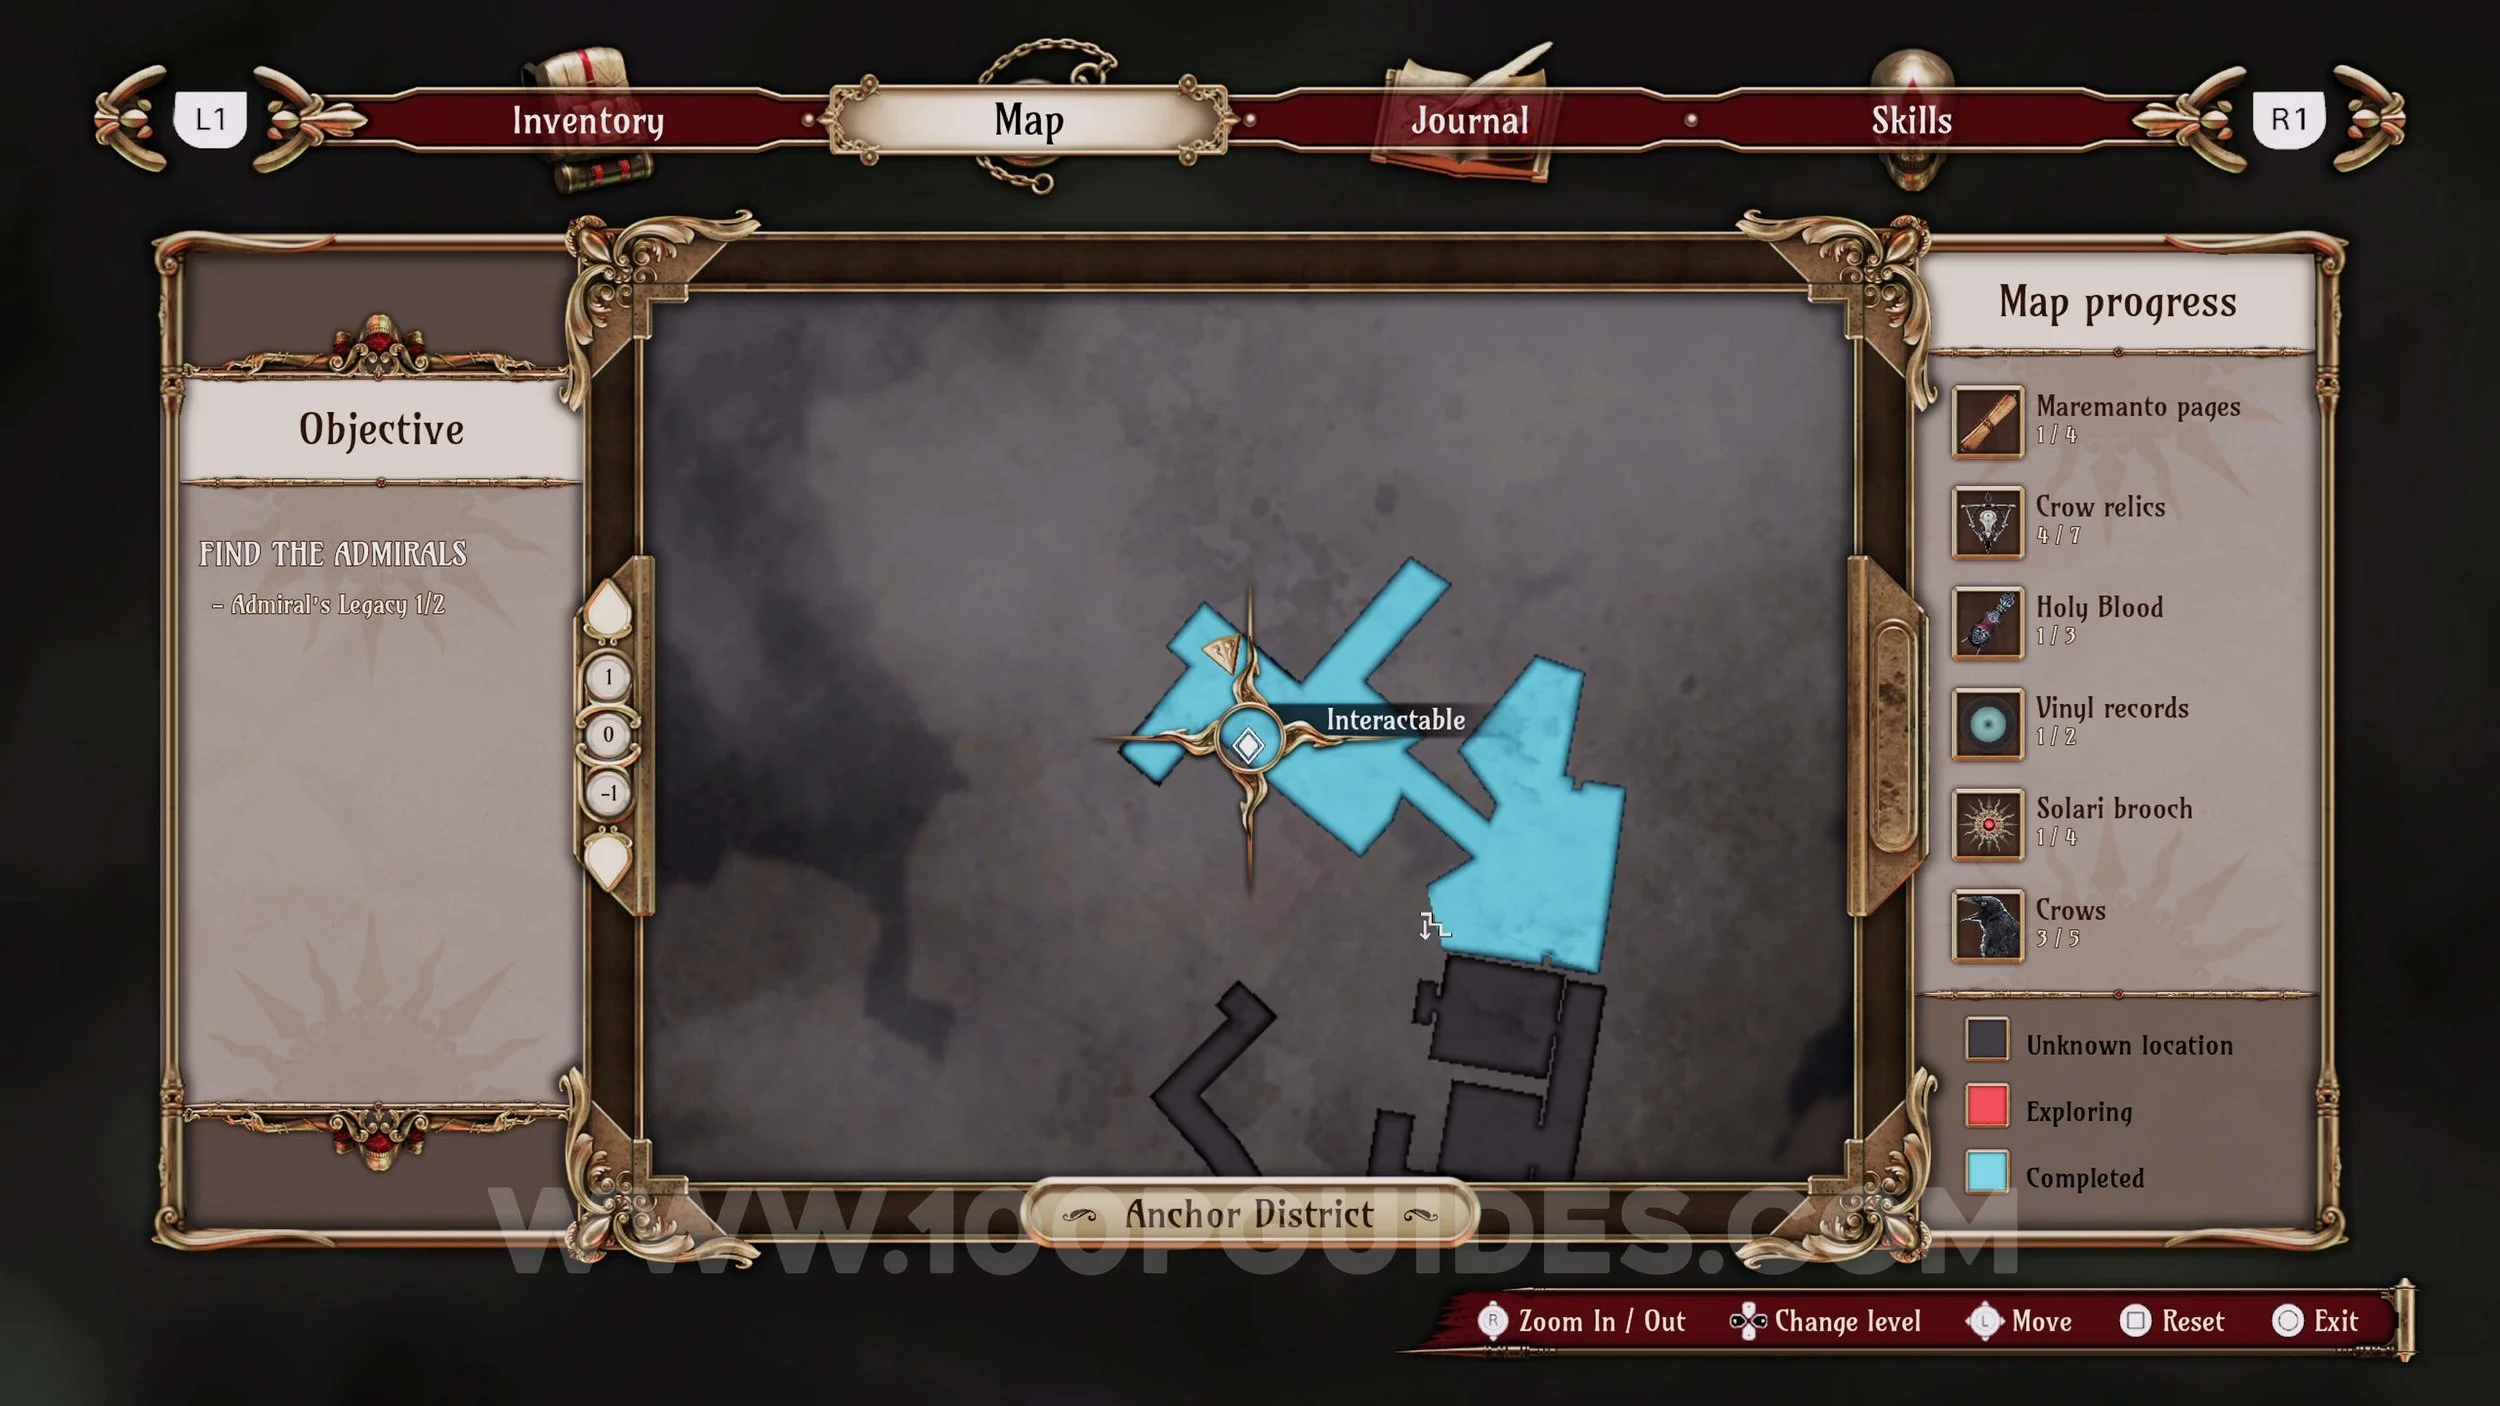
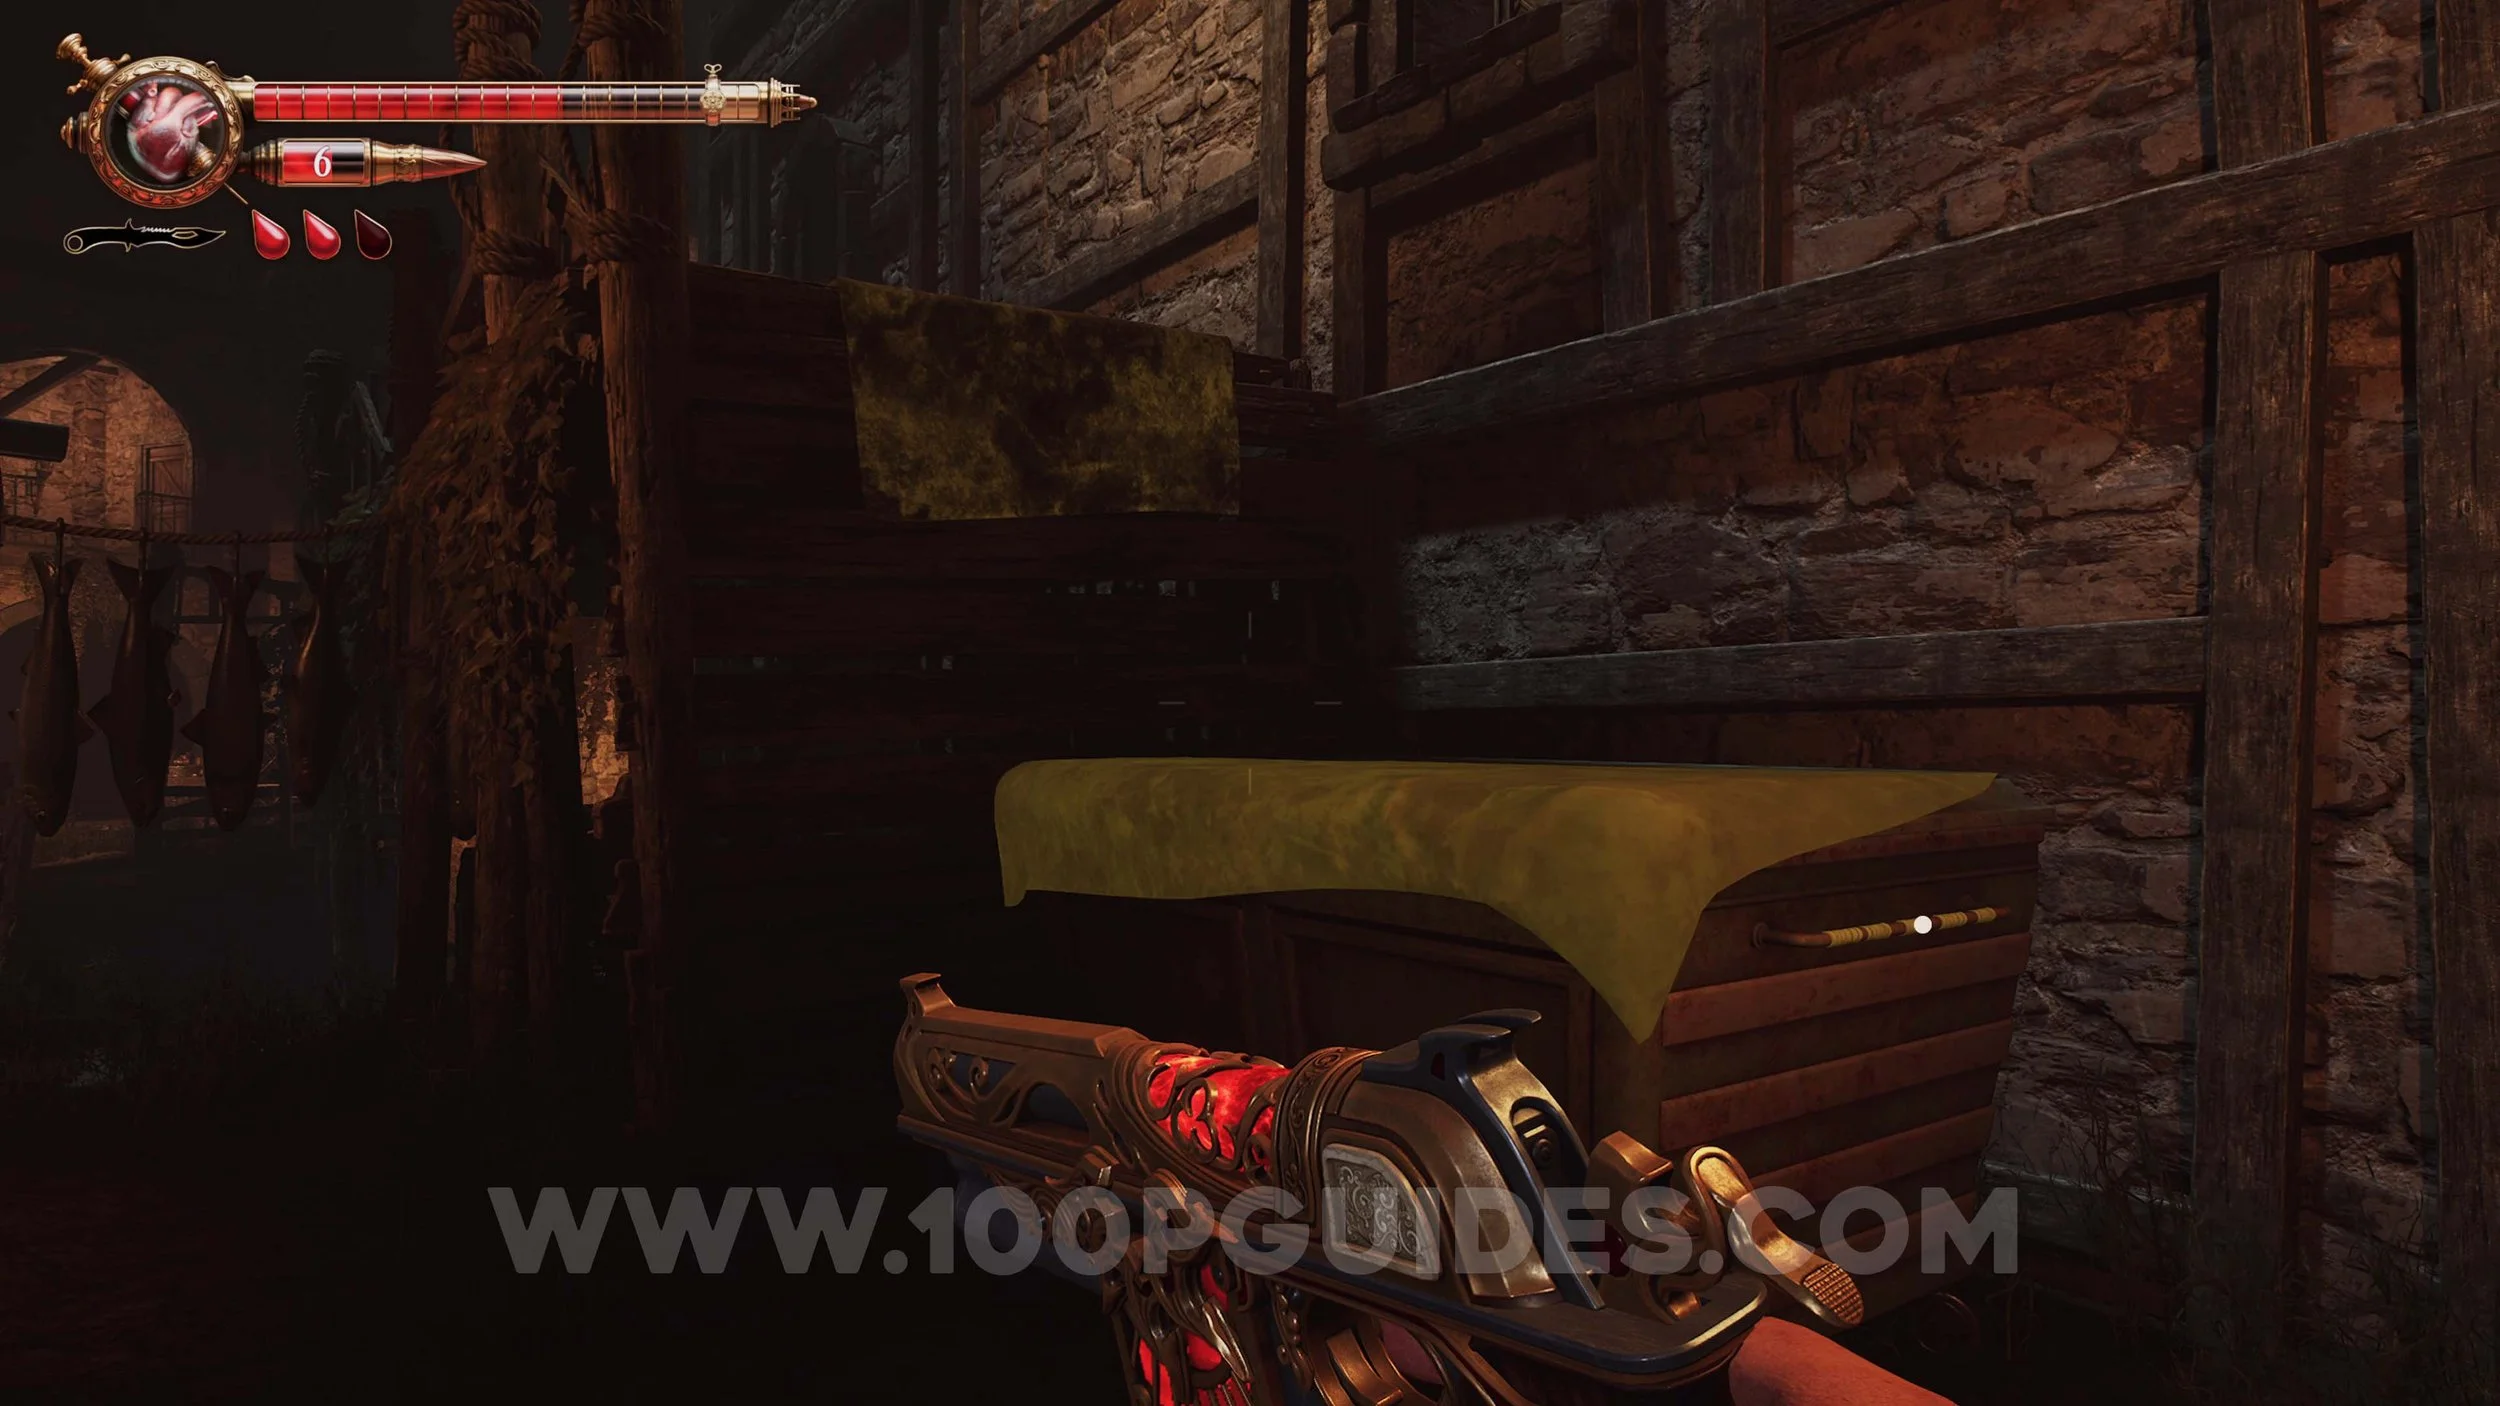
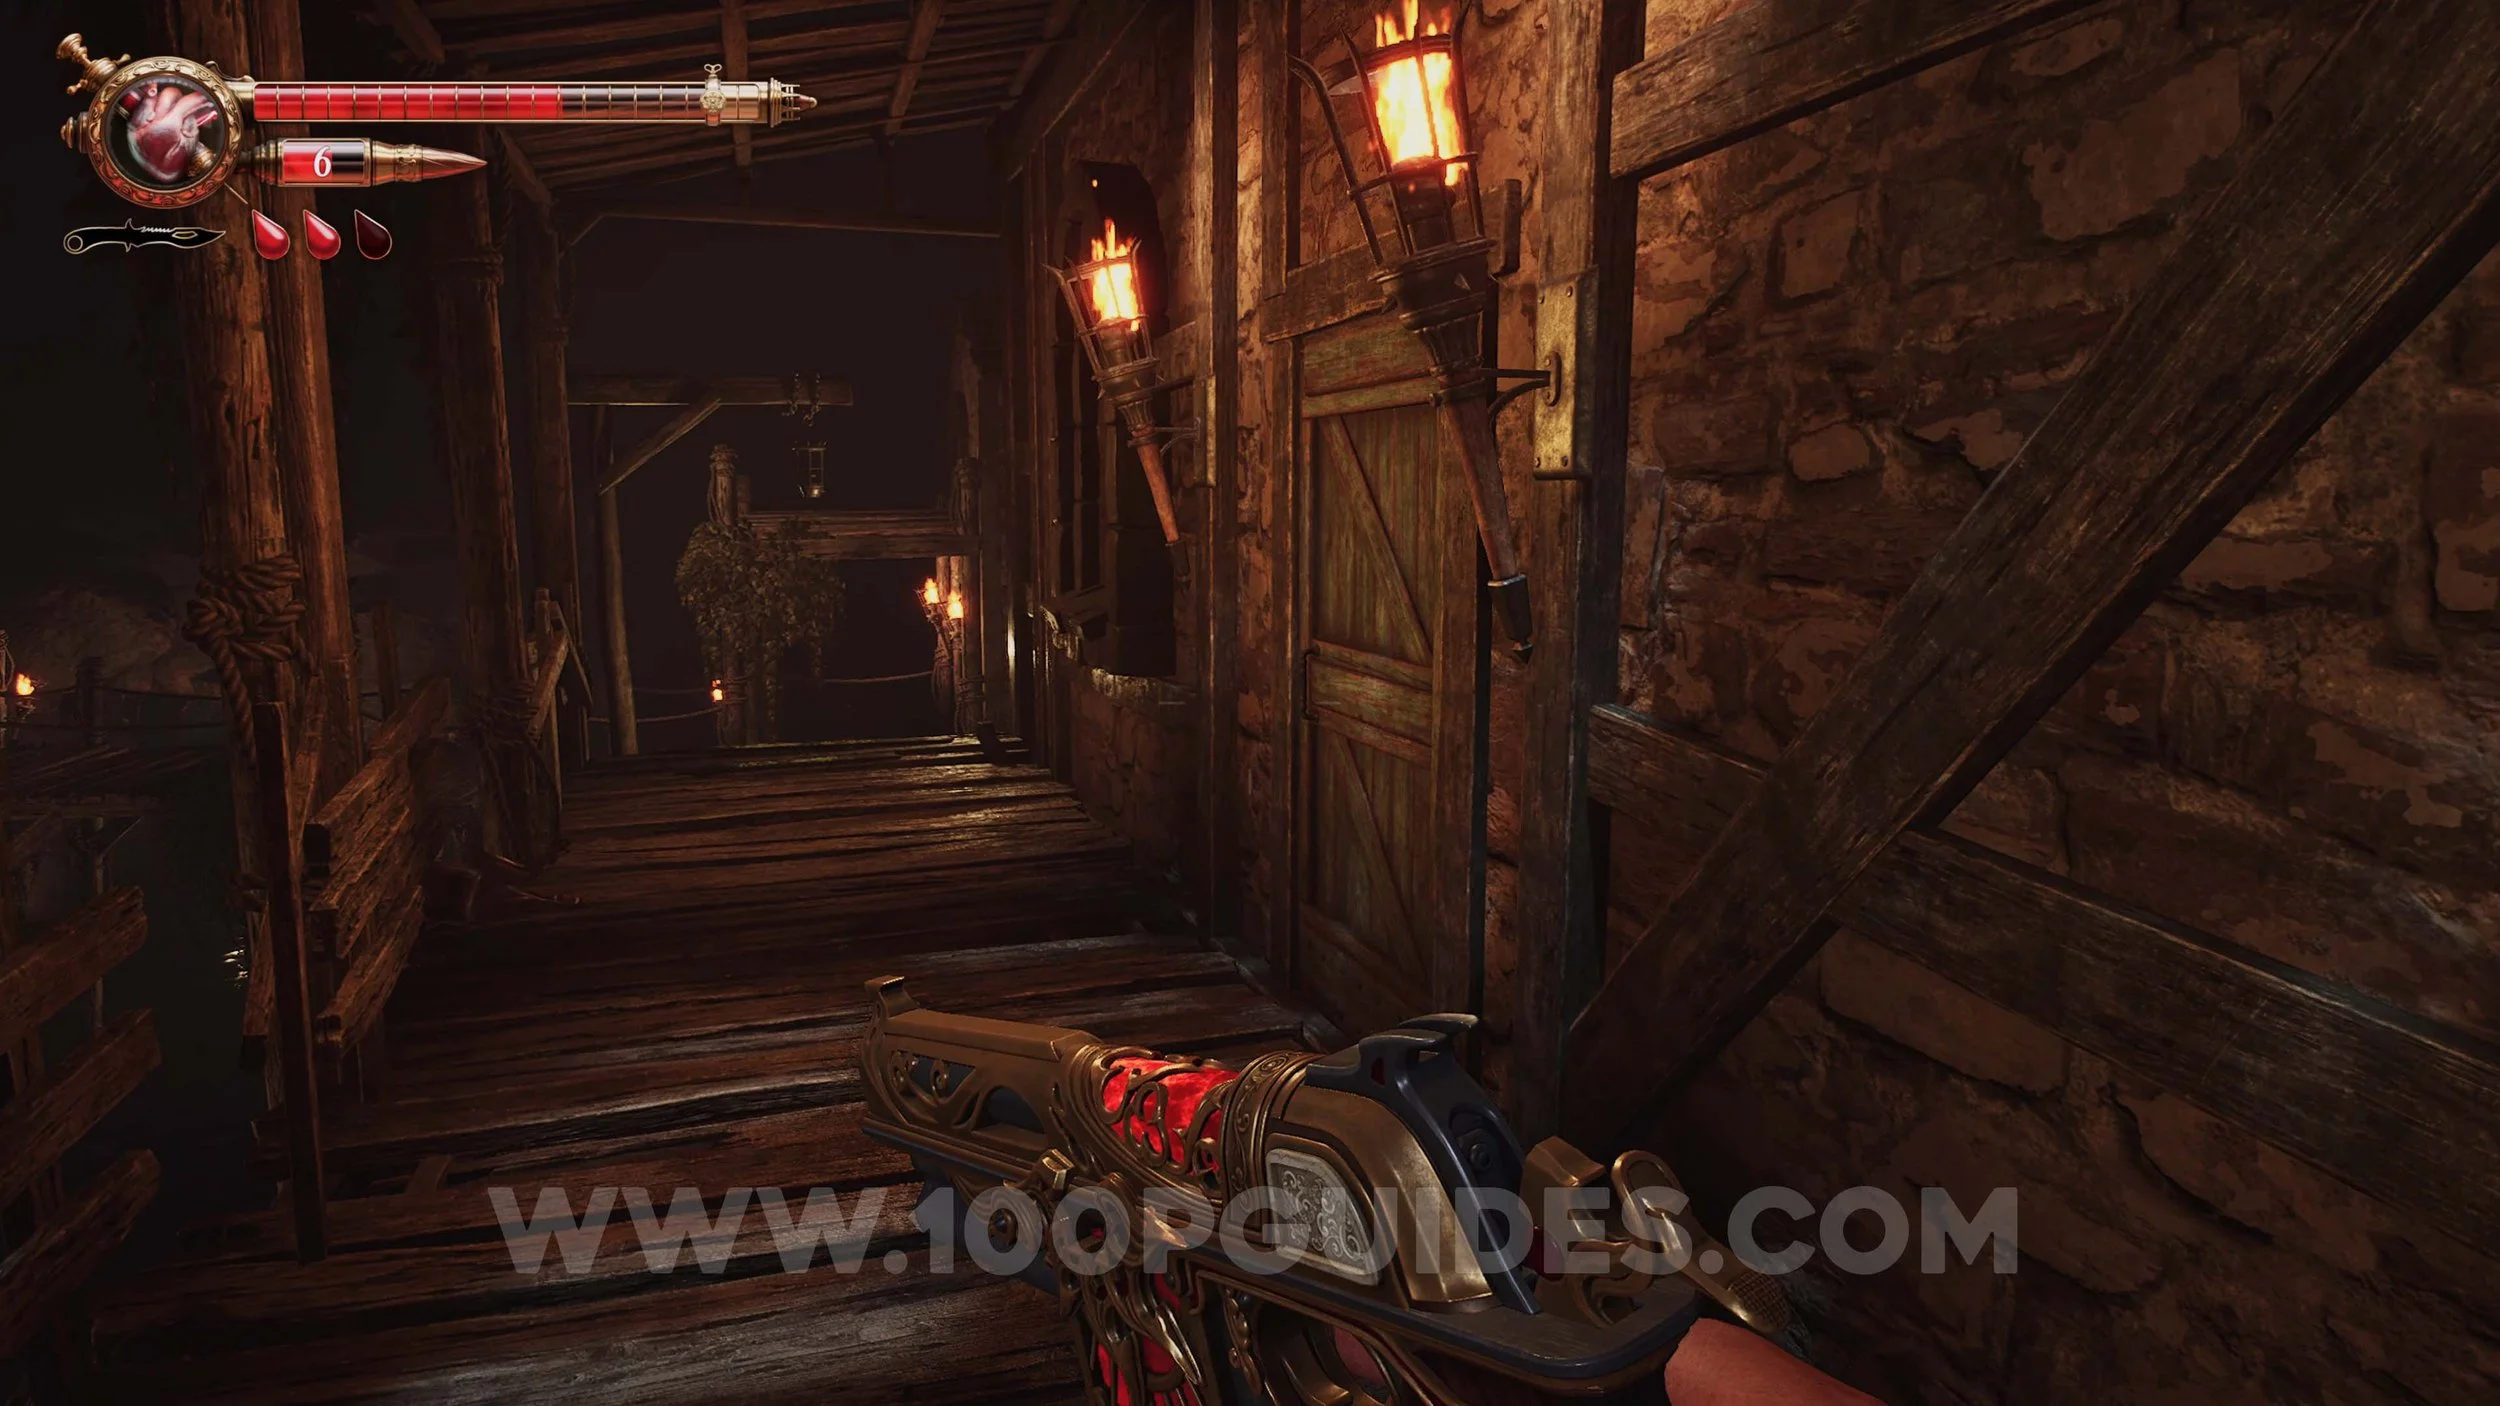
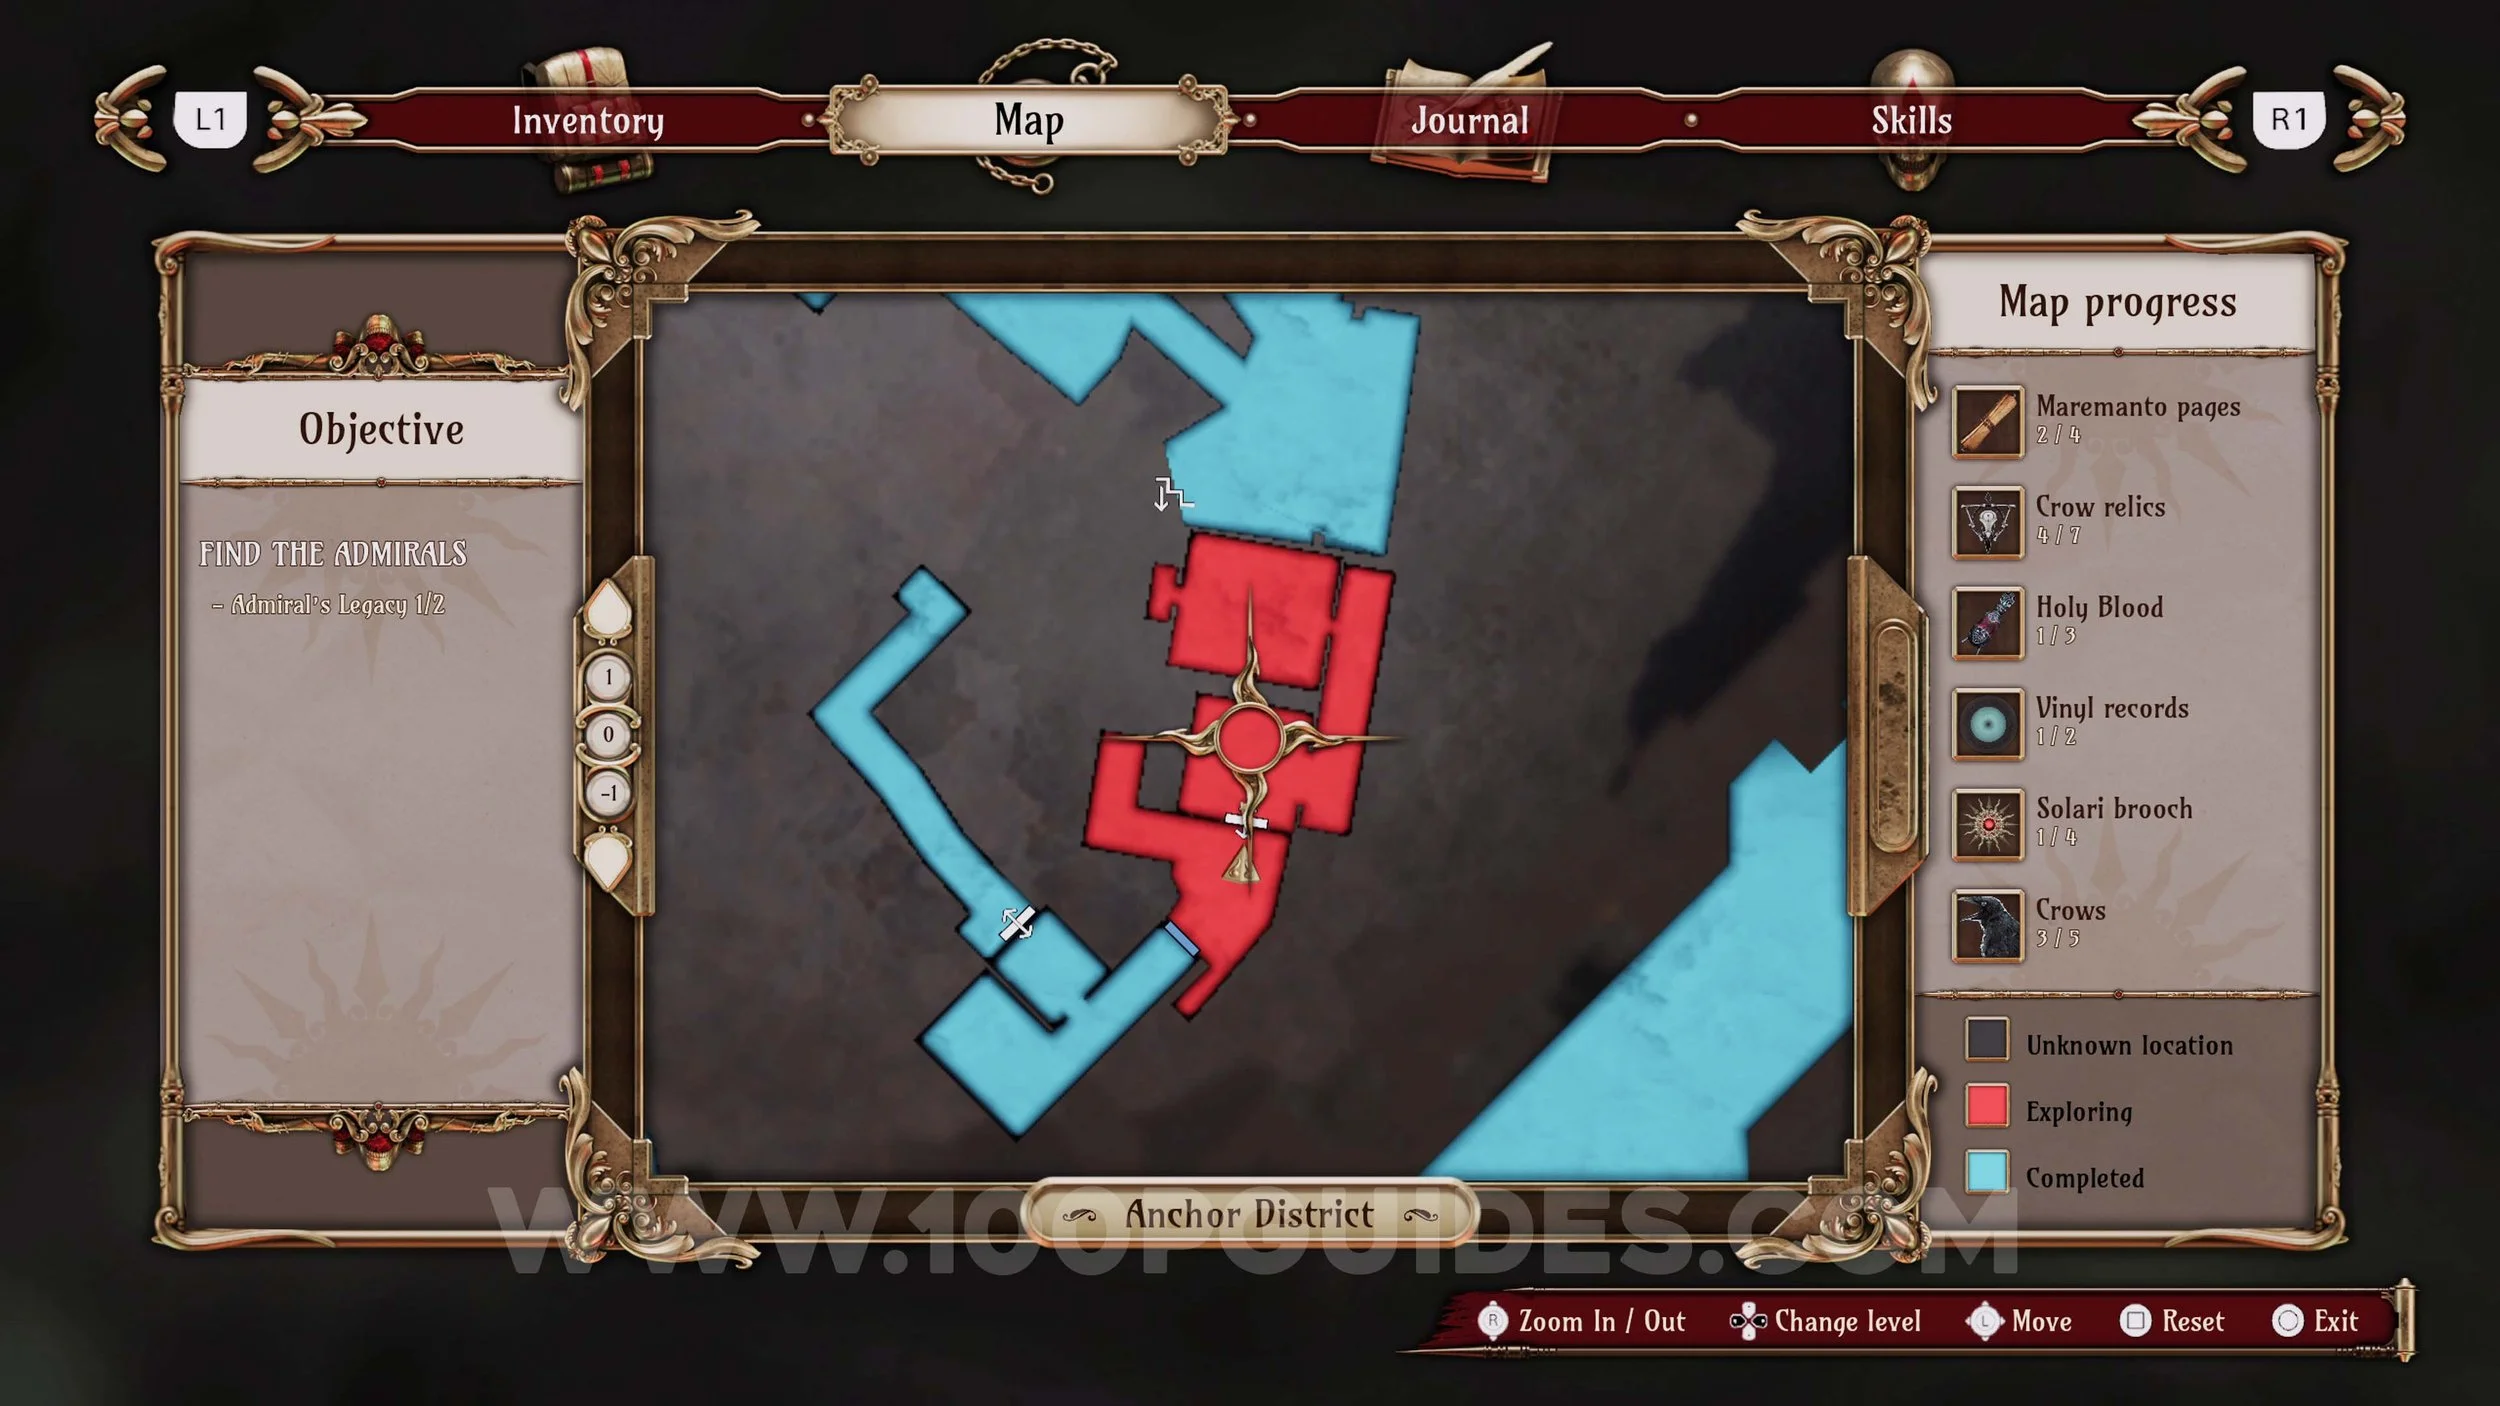
Maremanto Page #1. As you go through the barns, you will go up a wooden ramp (part of the roof that falls). At the top, turn right and look for a ladder you can descend. Follow the path at the bottom to find the collectible.

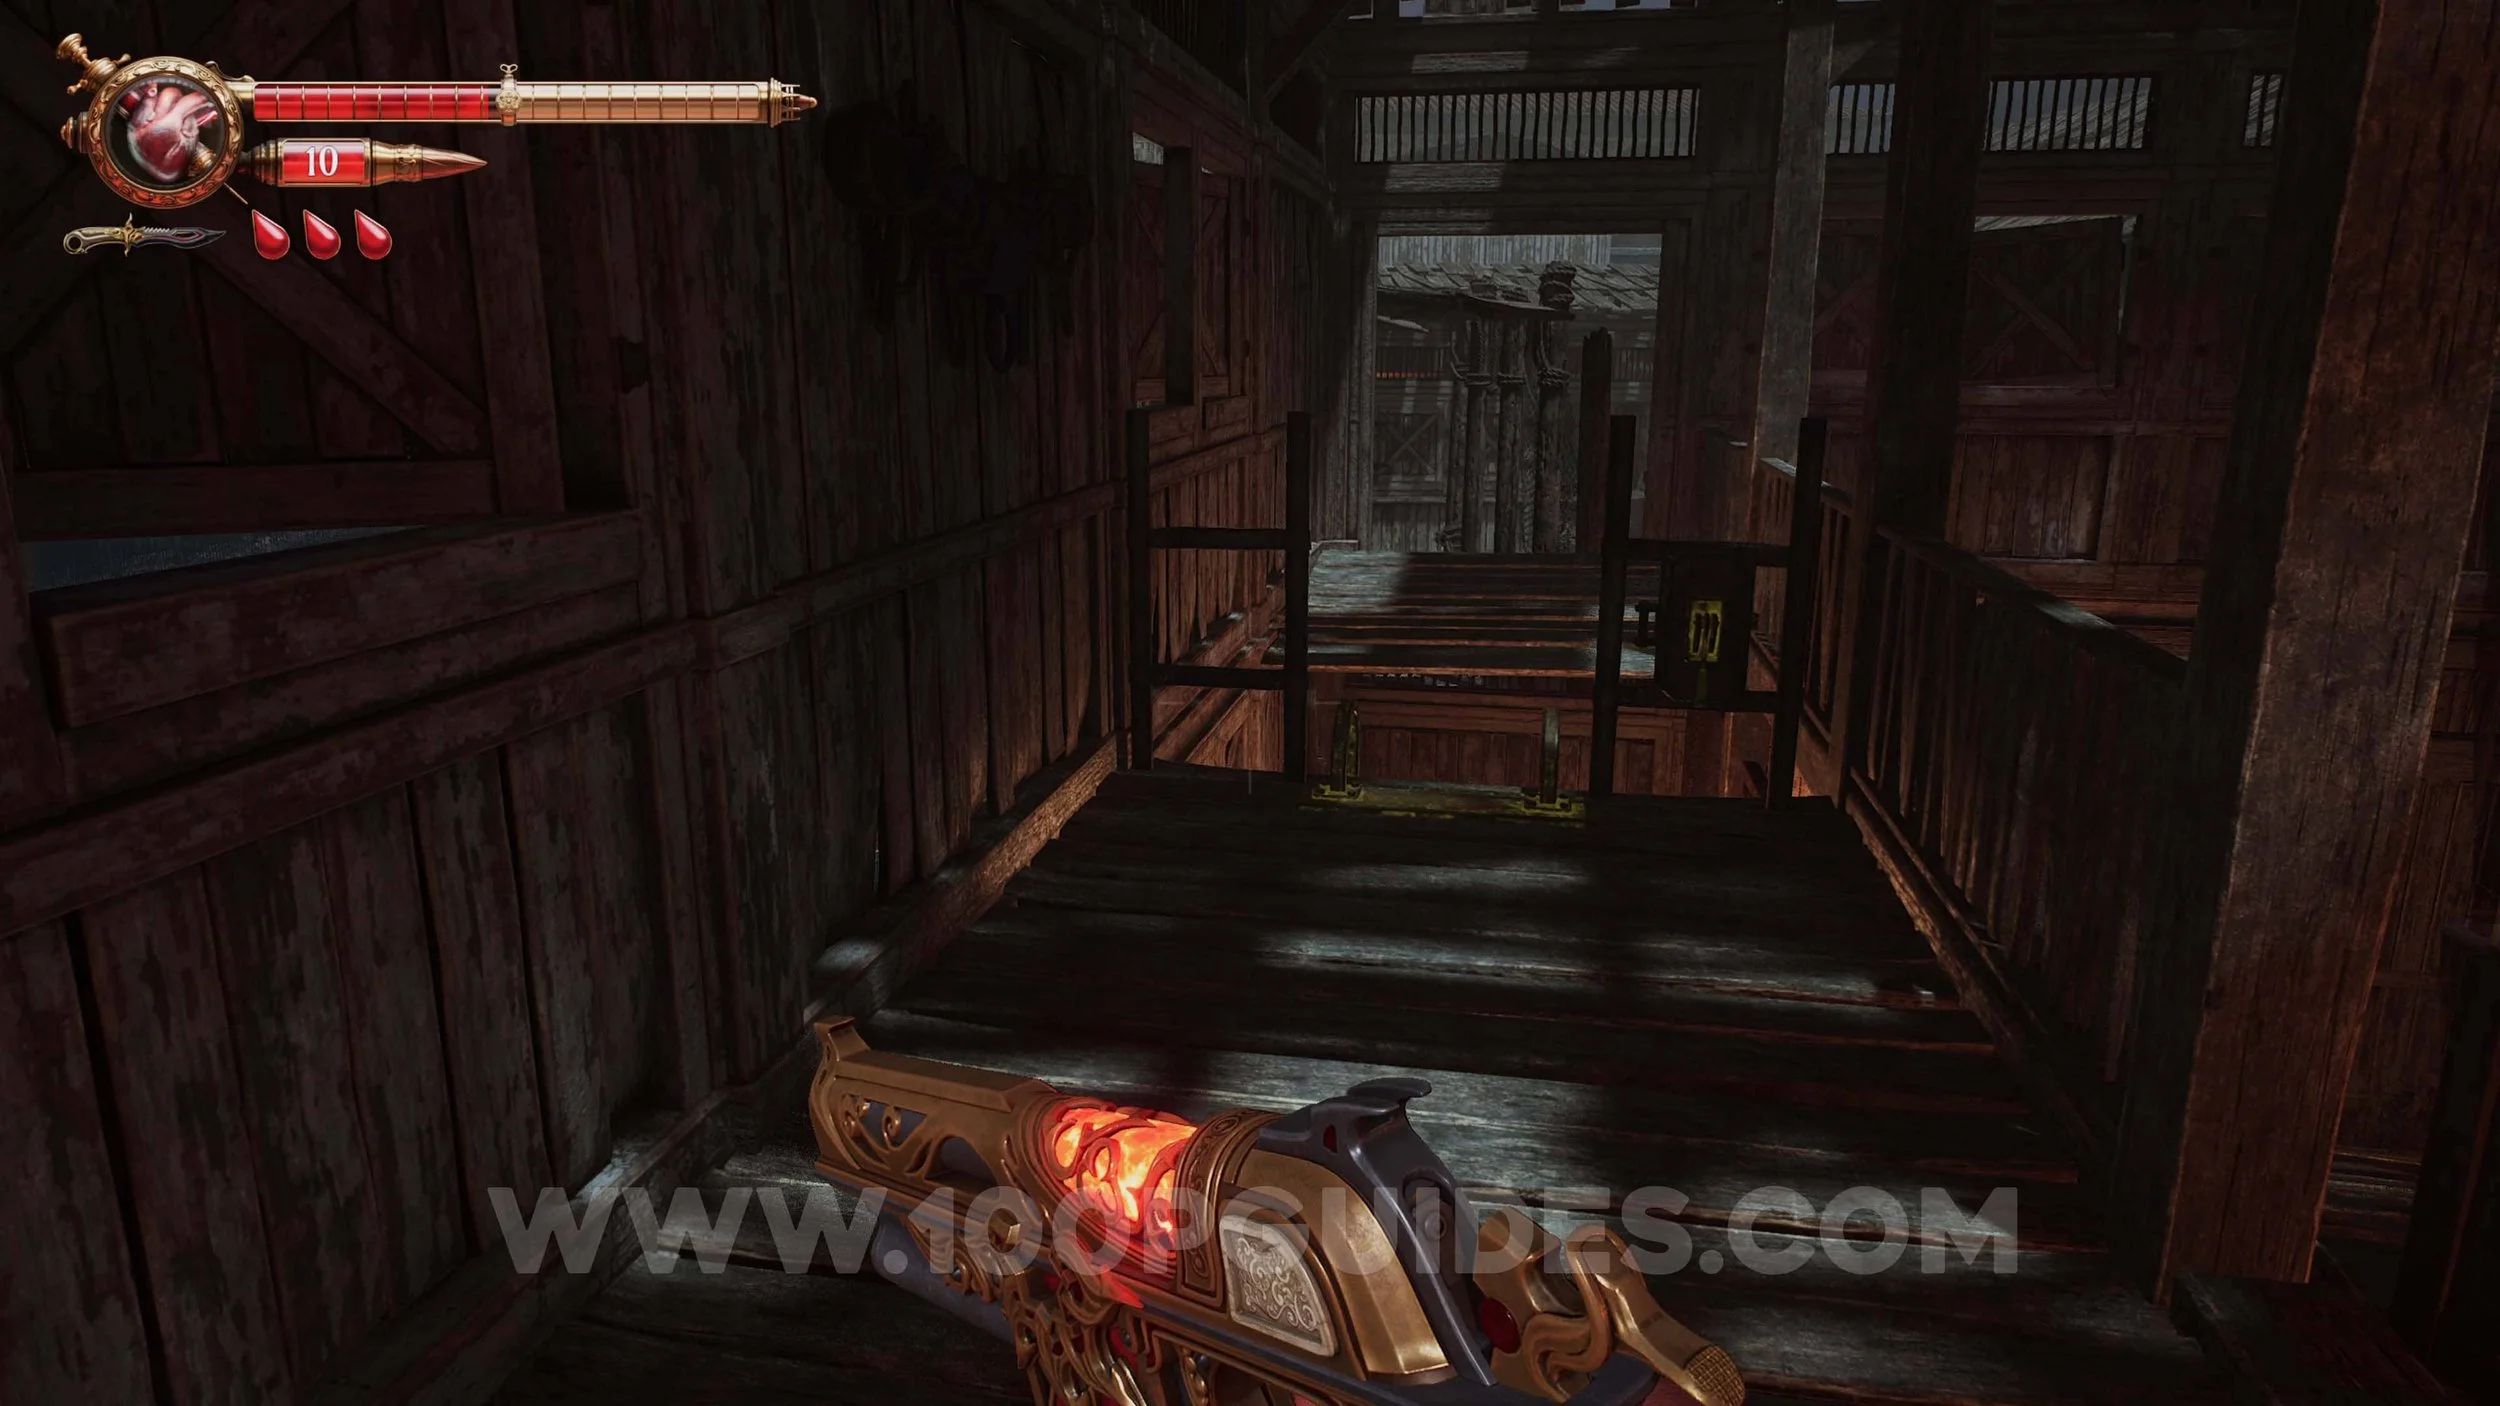
Ulises Idol #6. Above a small bridge that connects the two barns on the top floor.

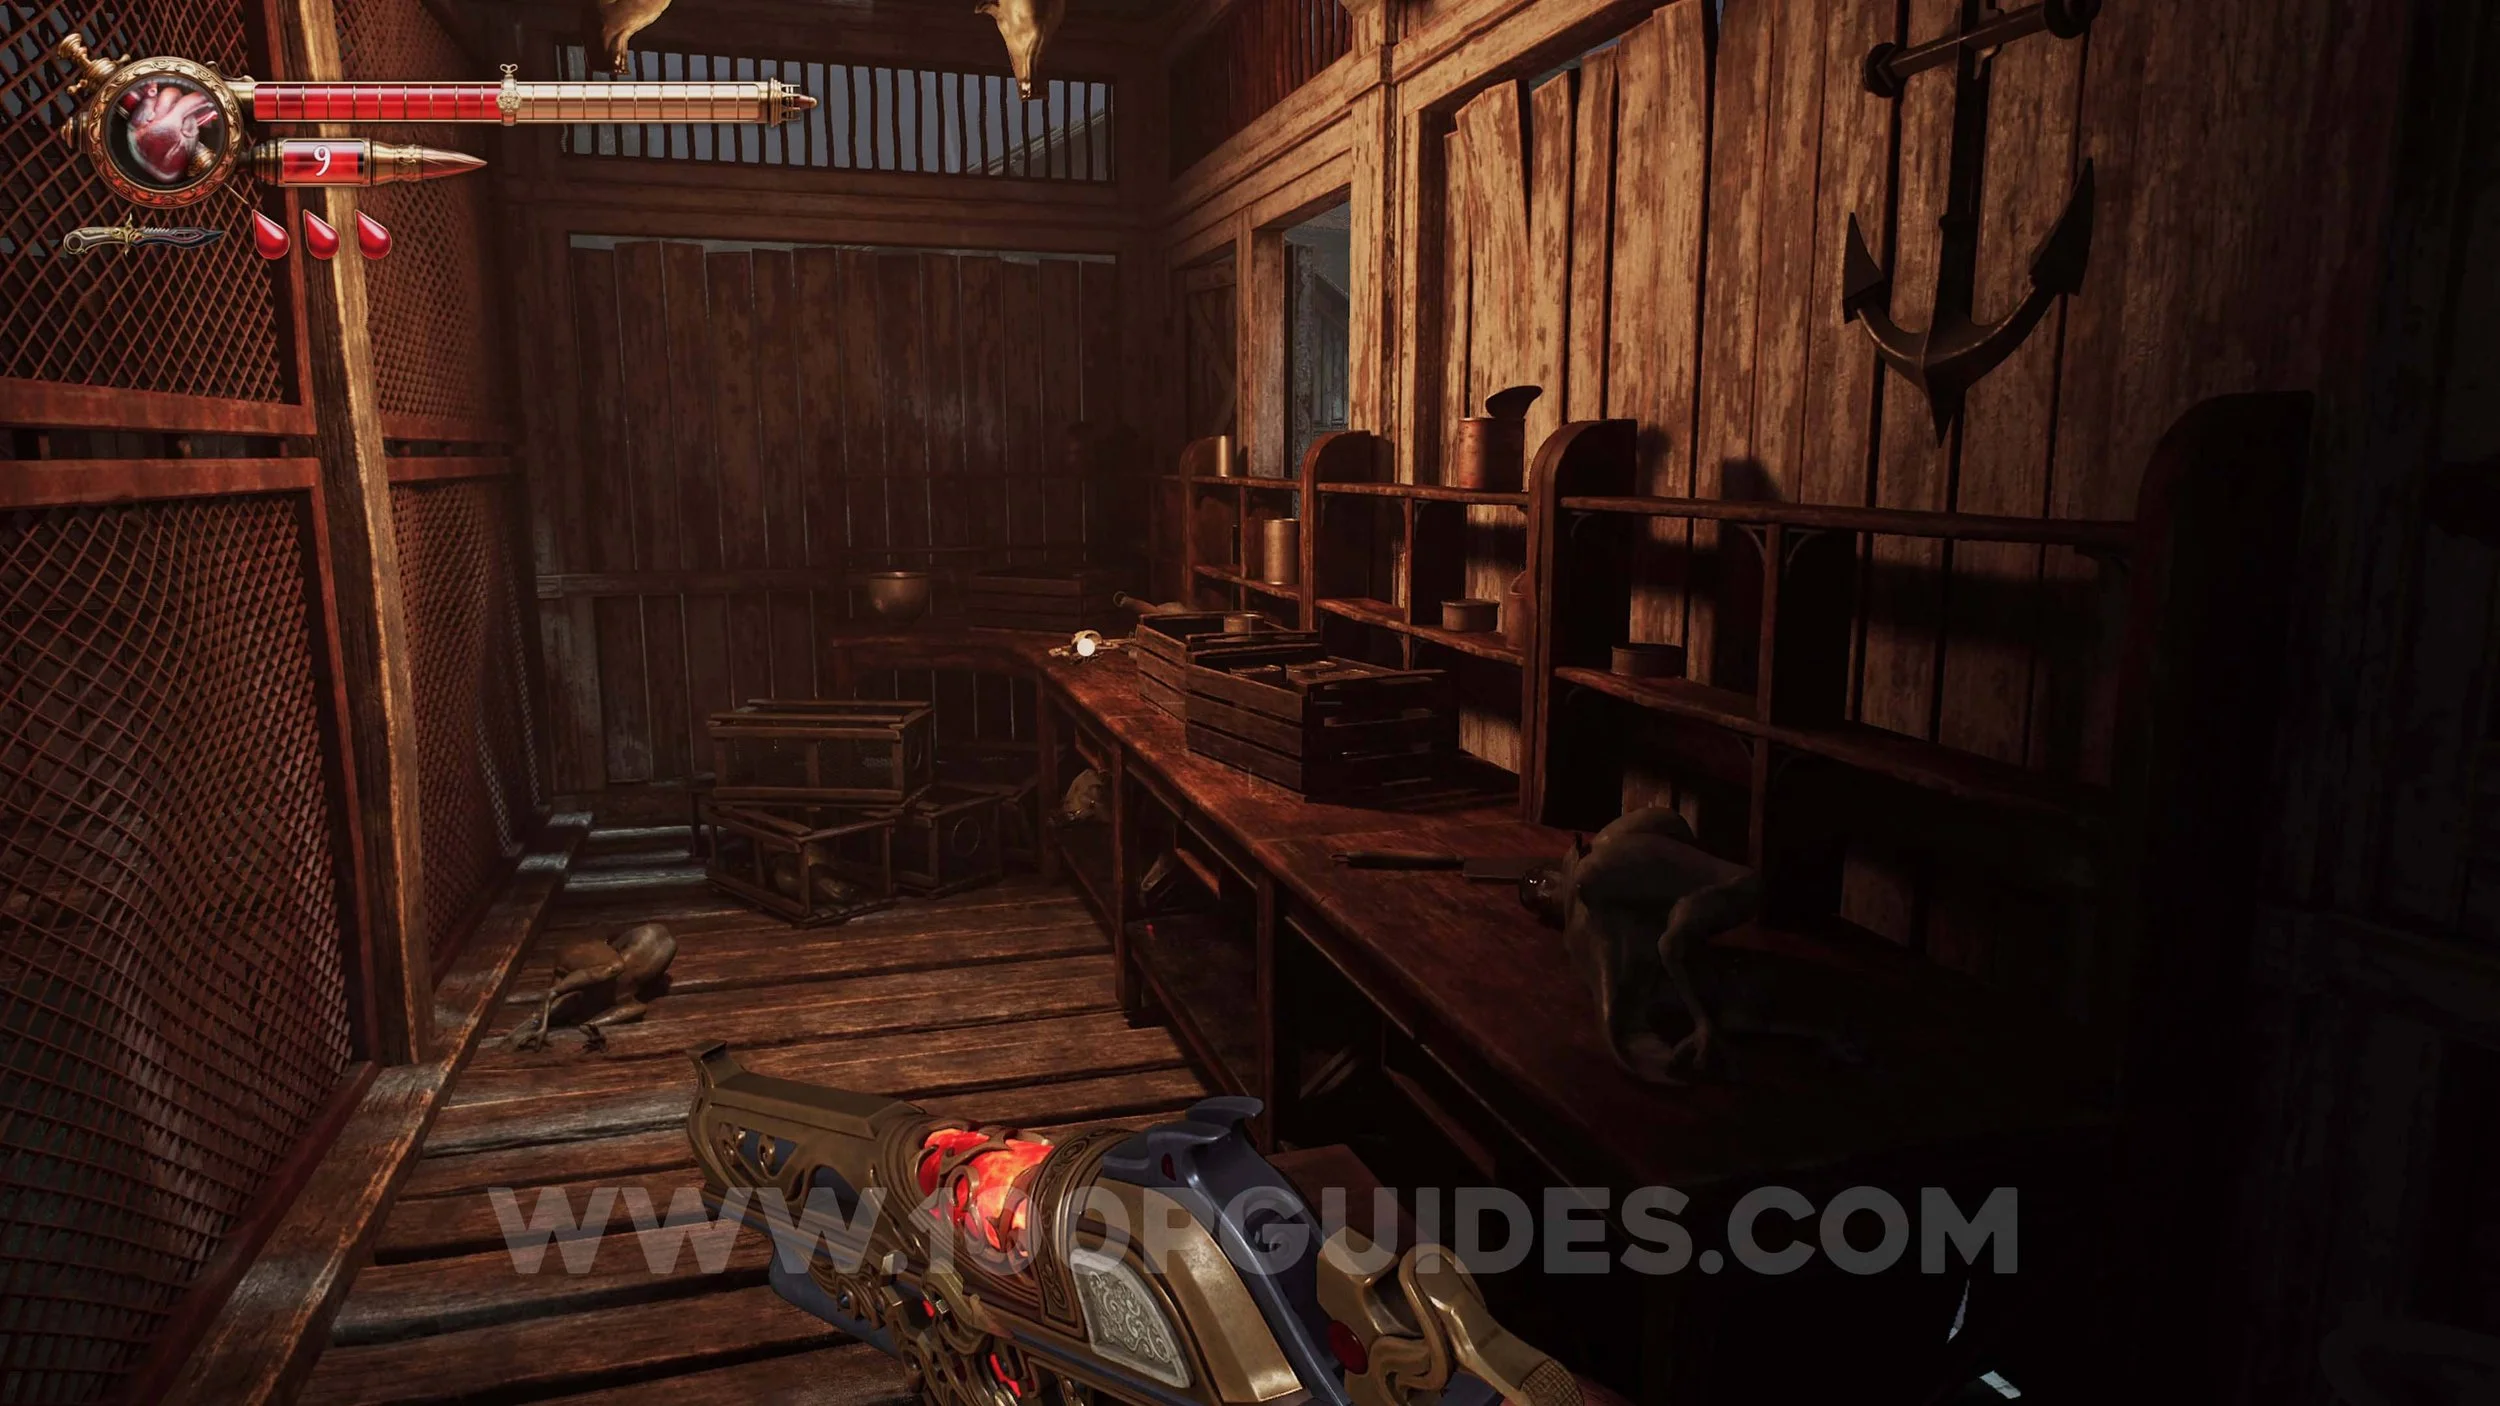
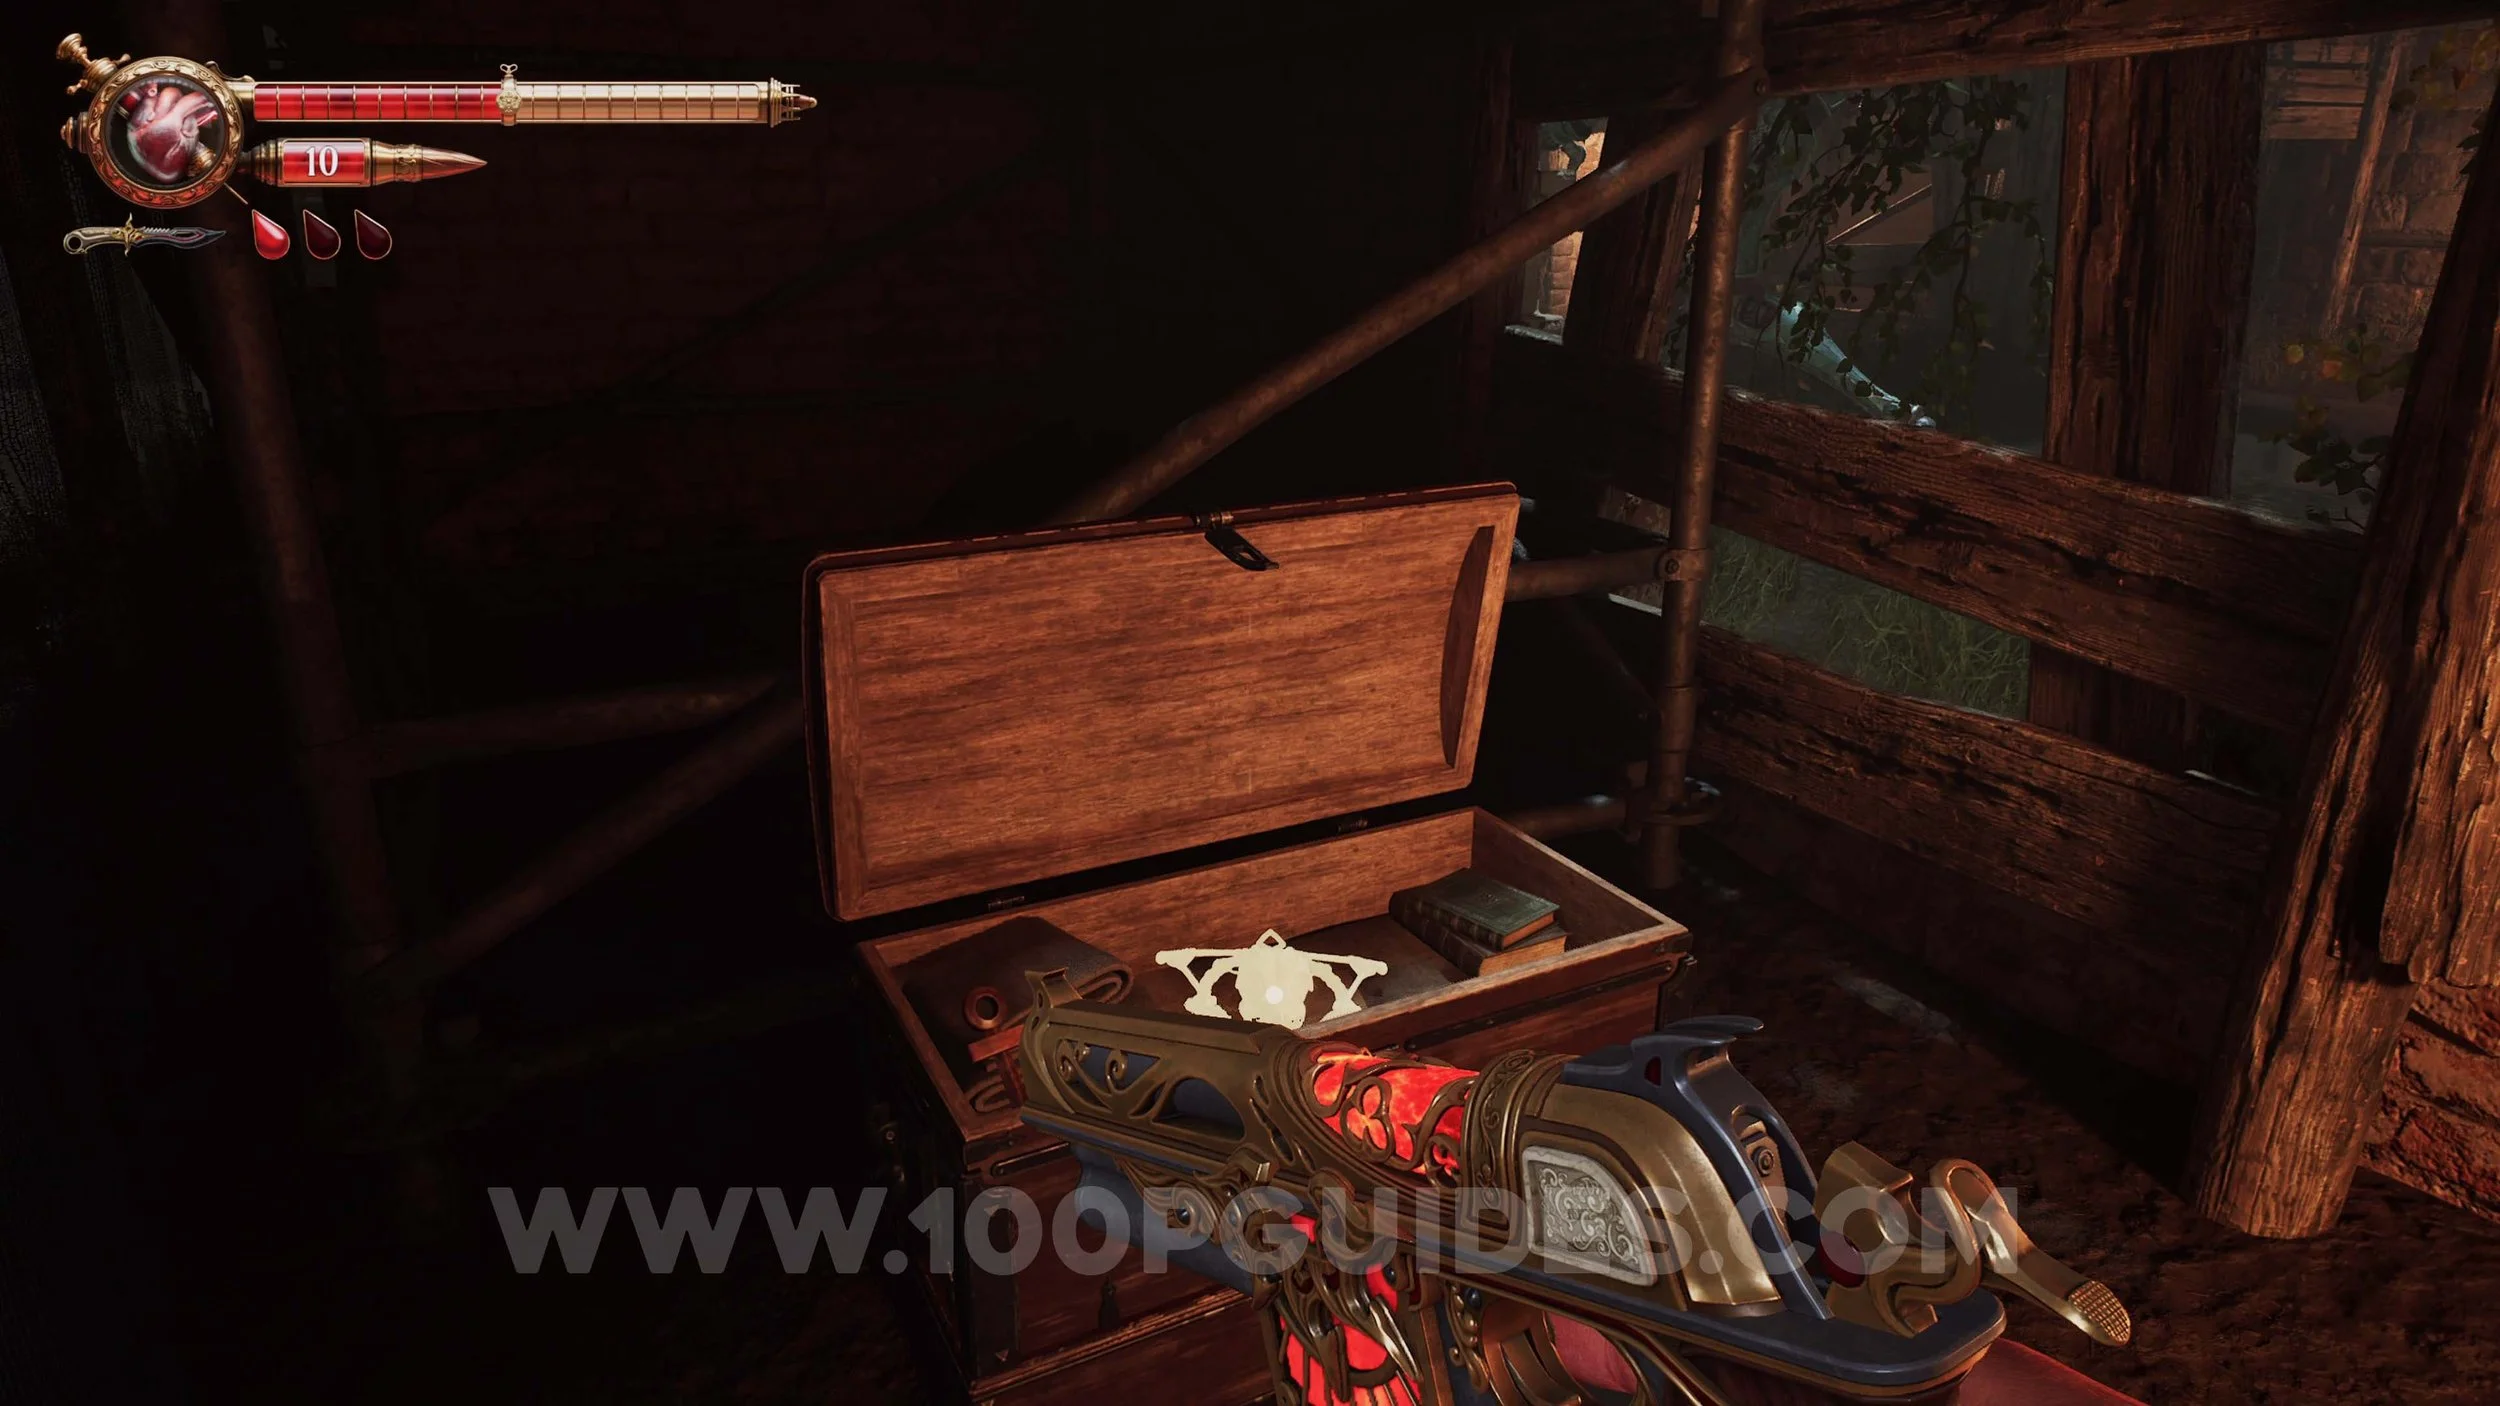
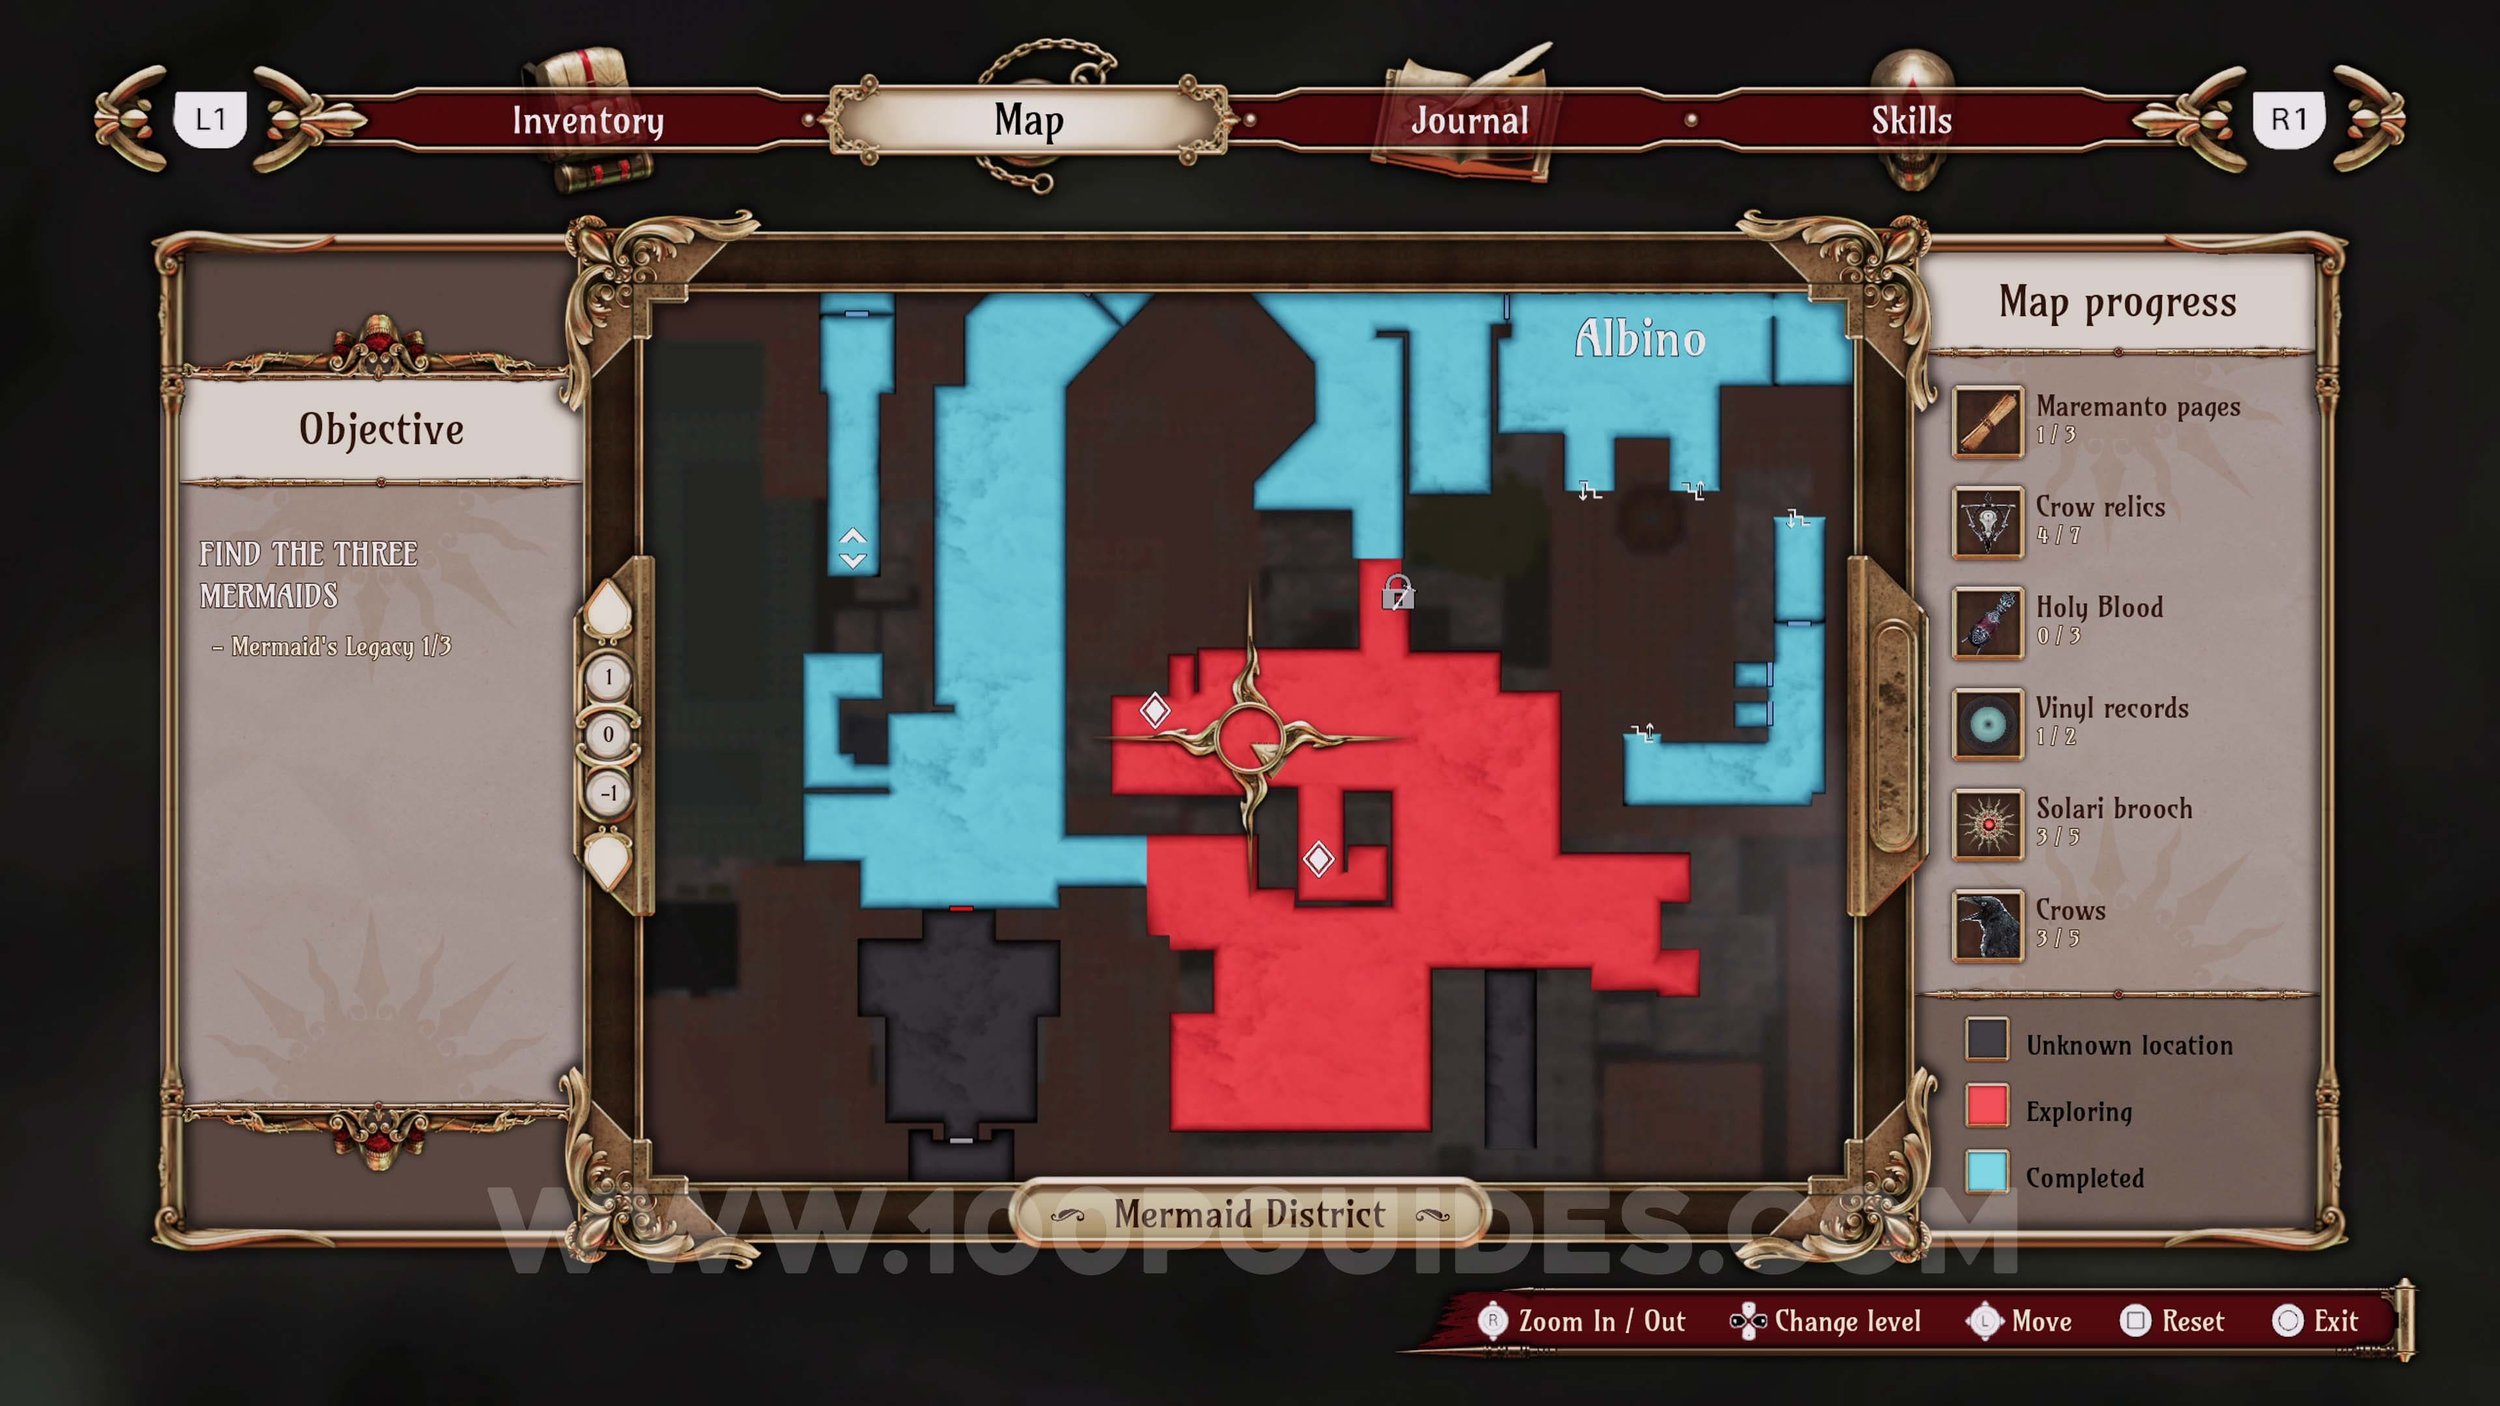
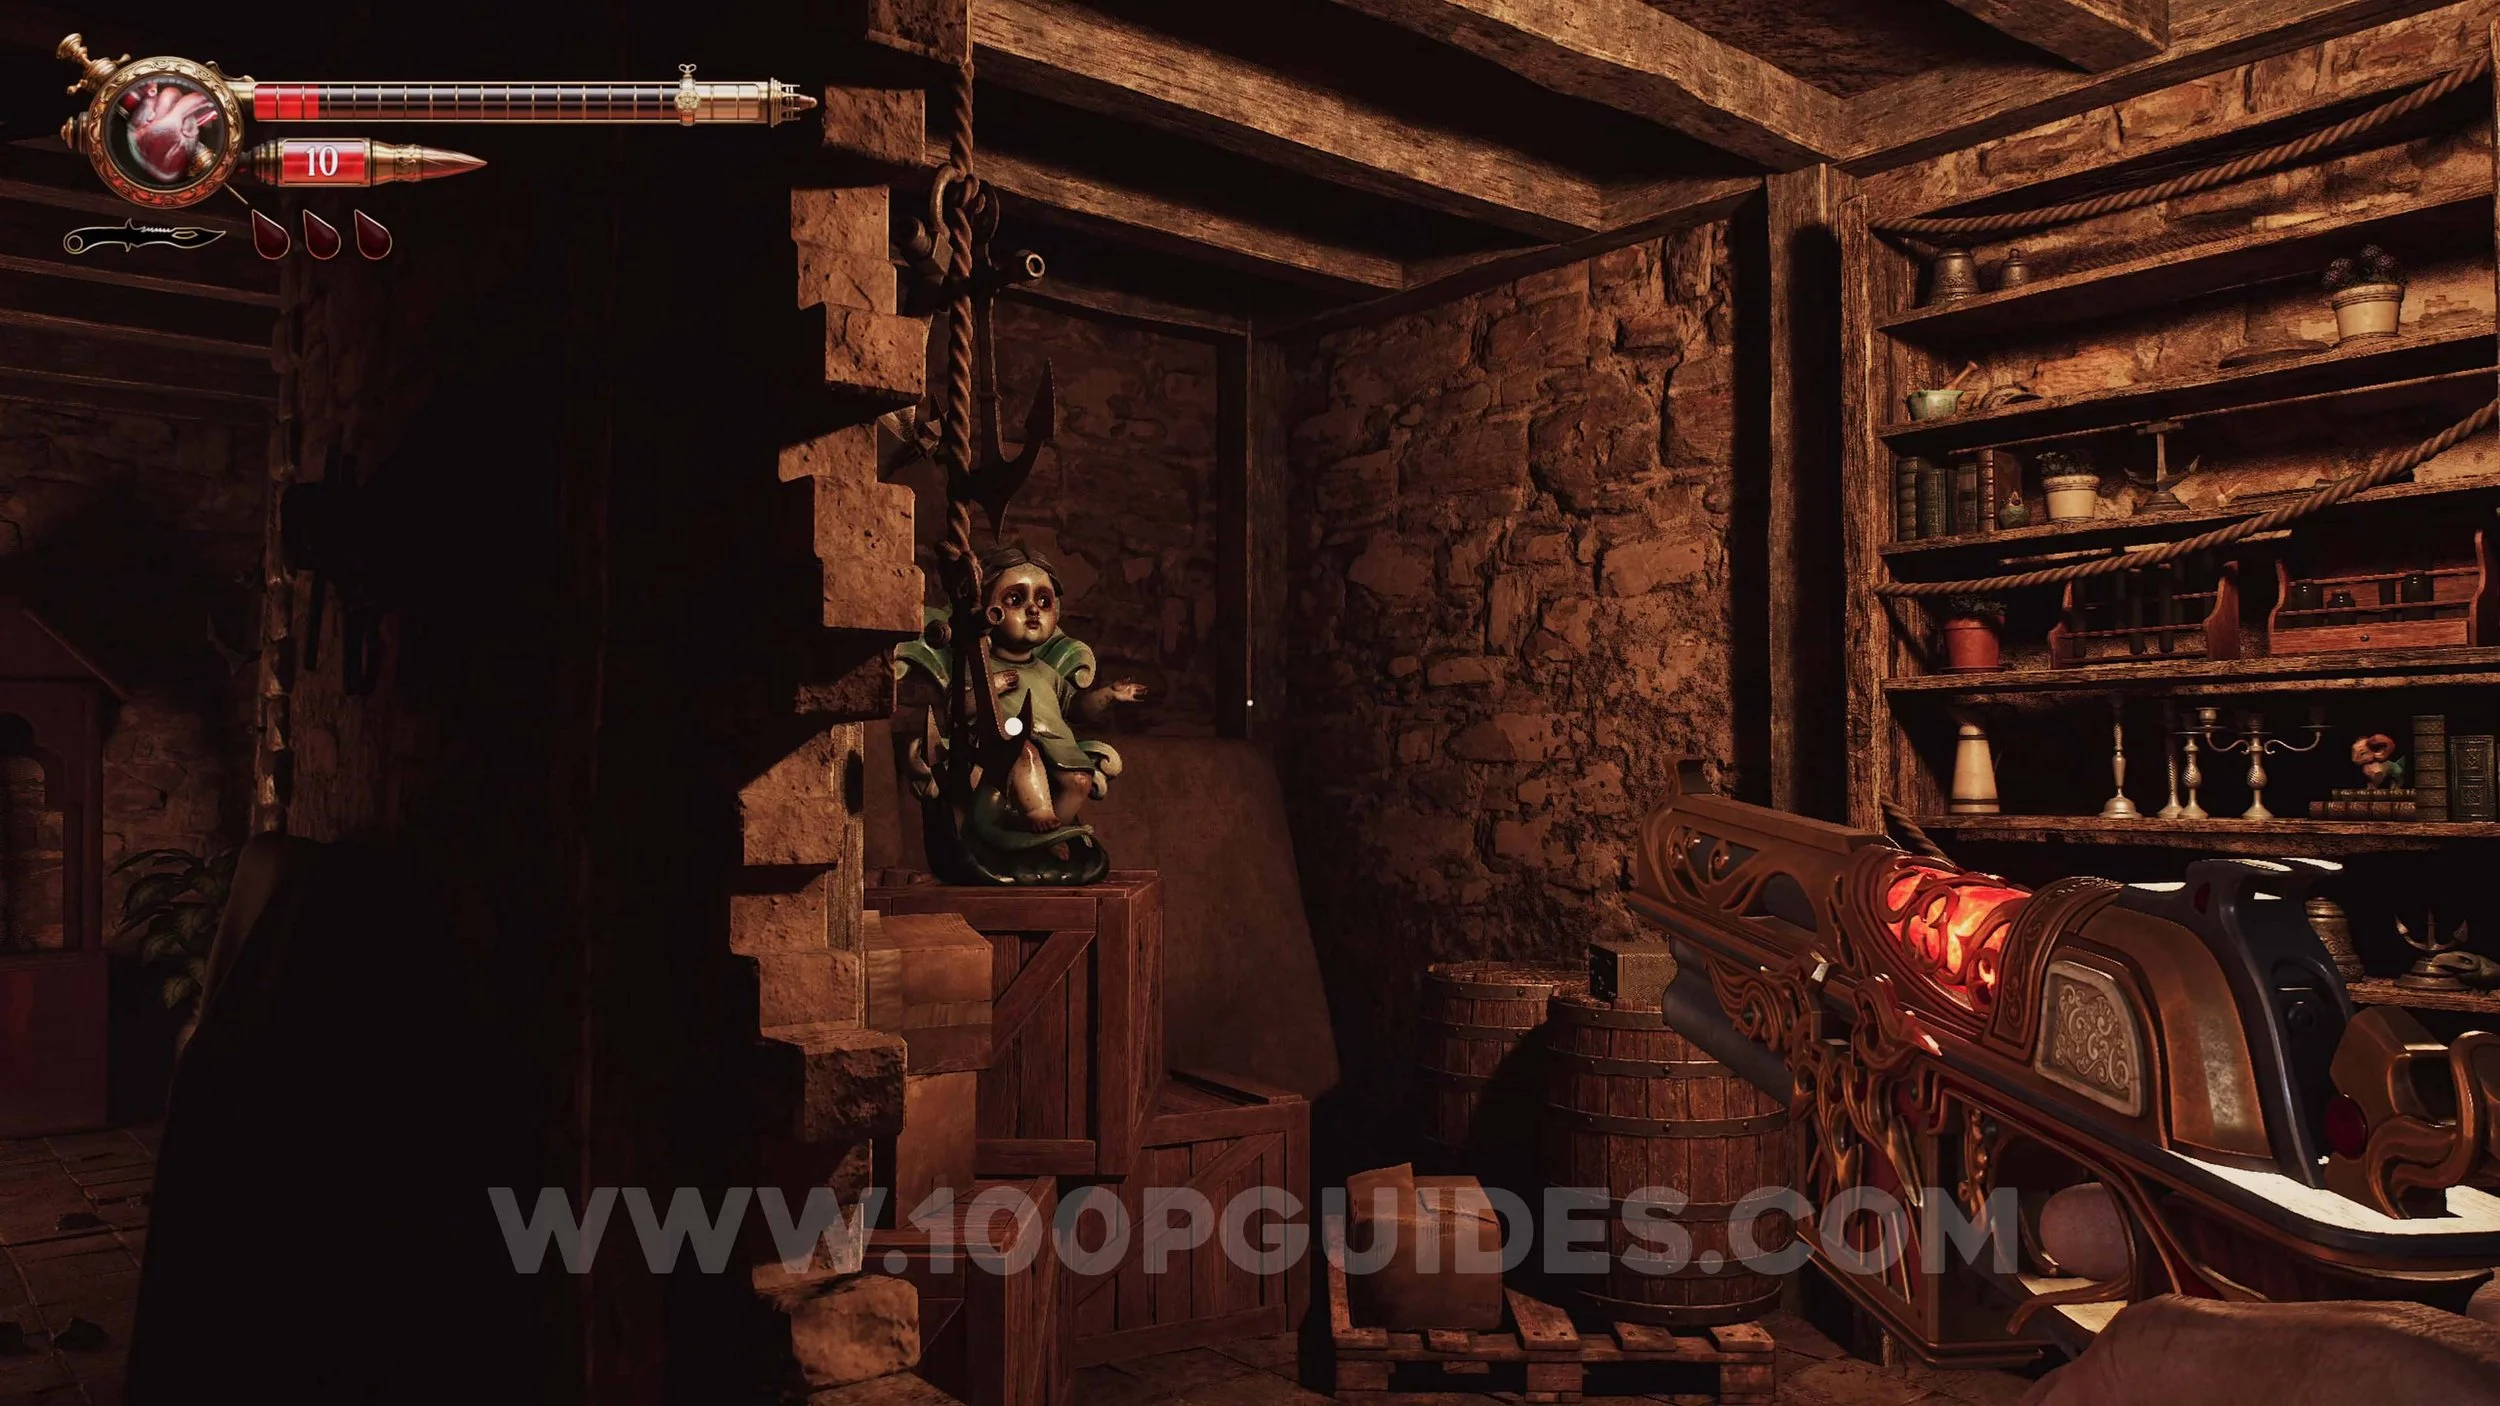
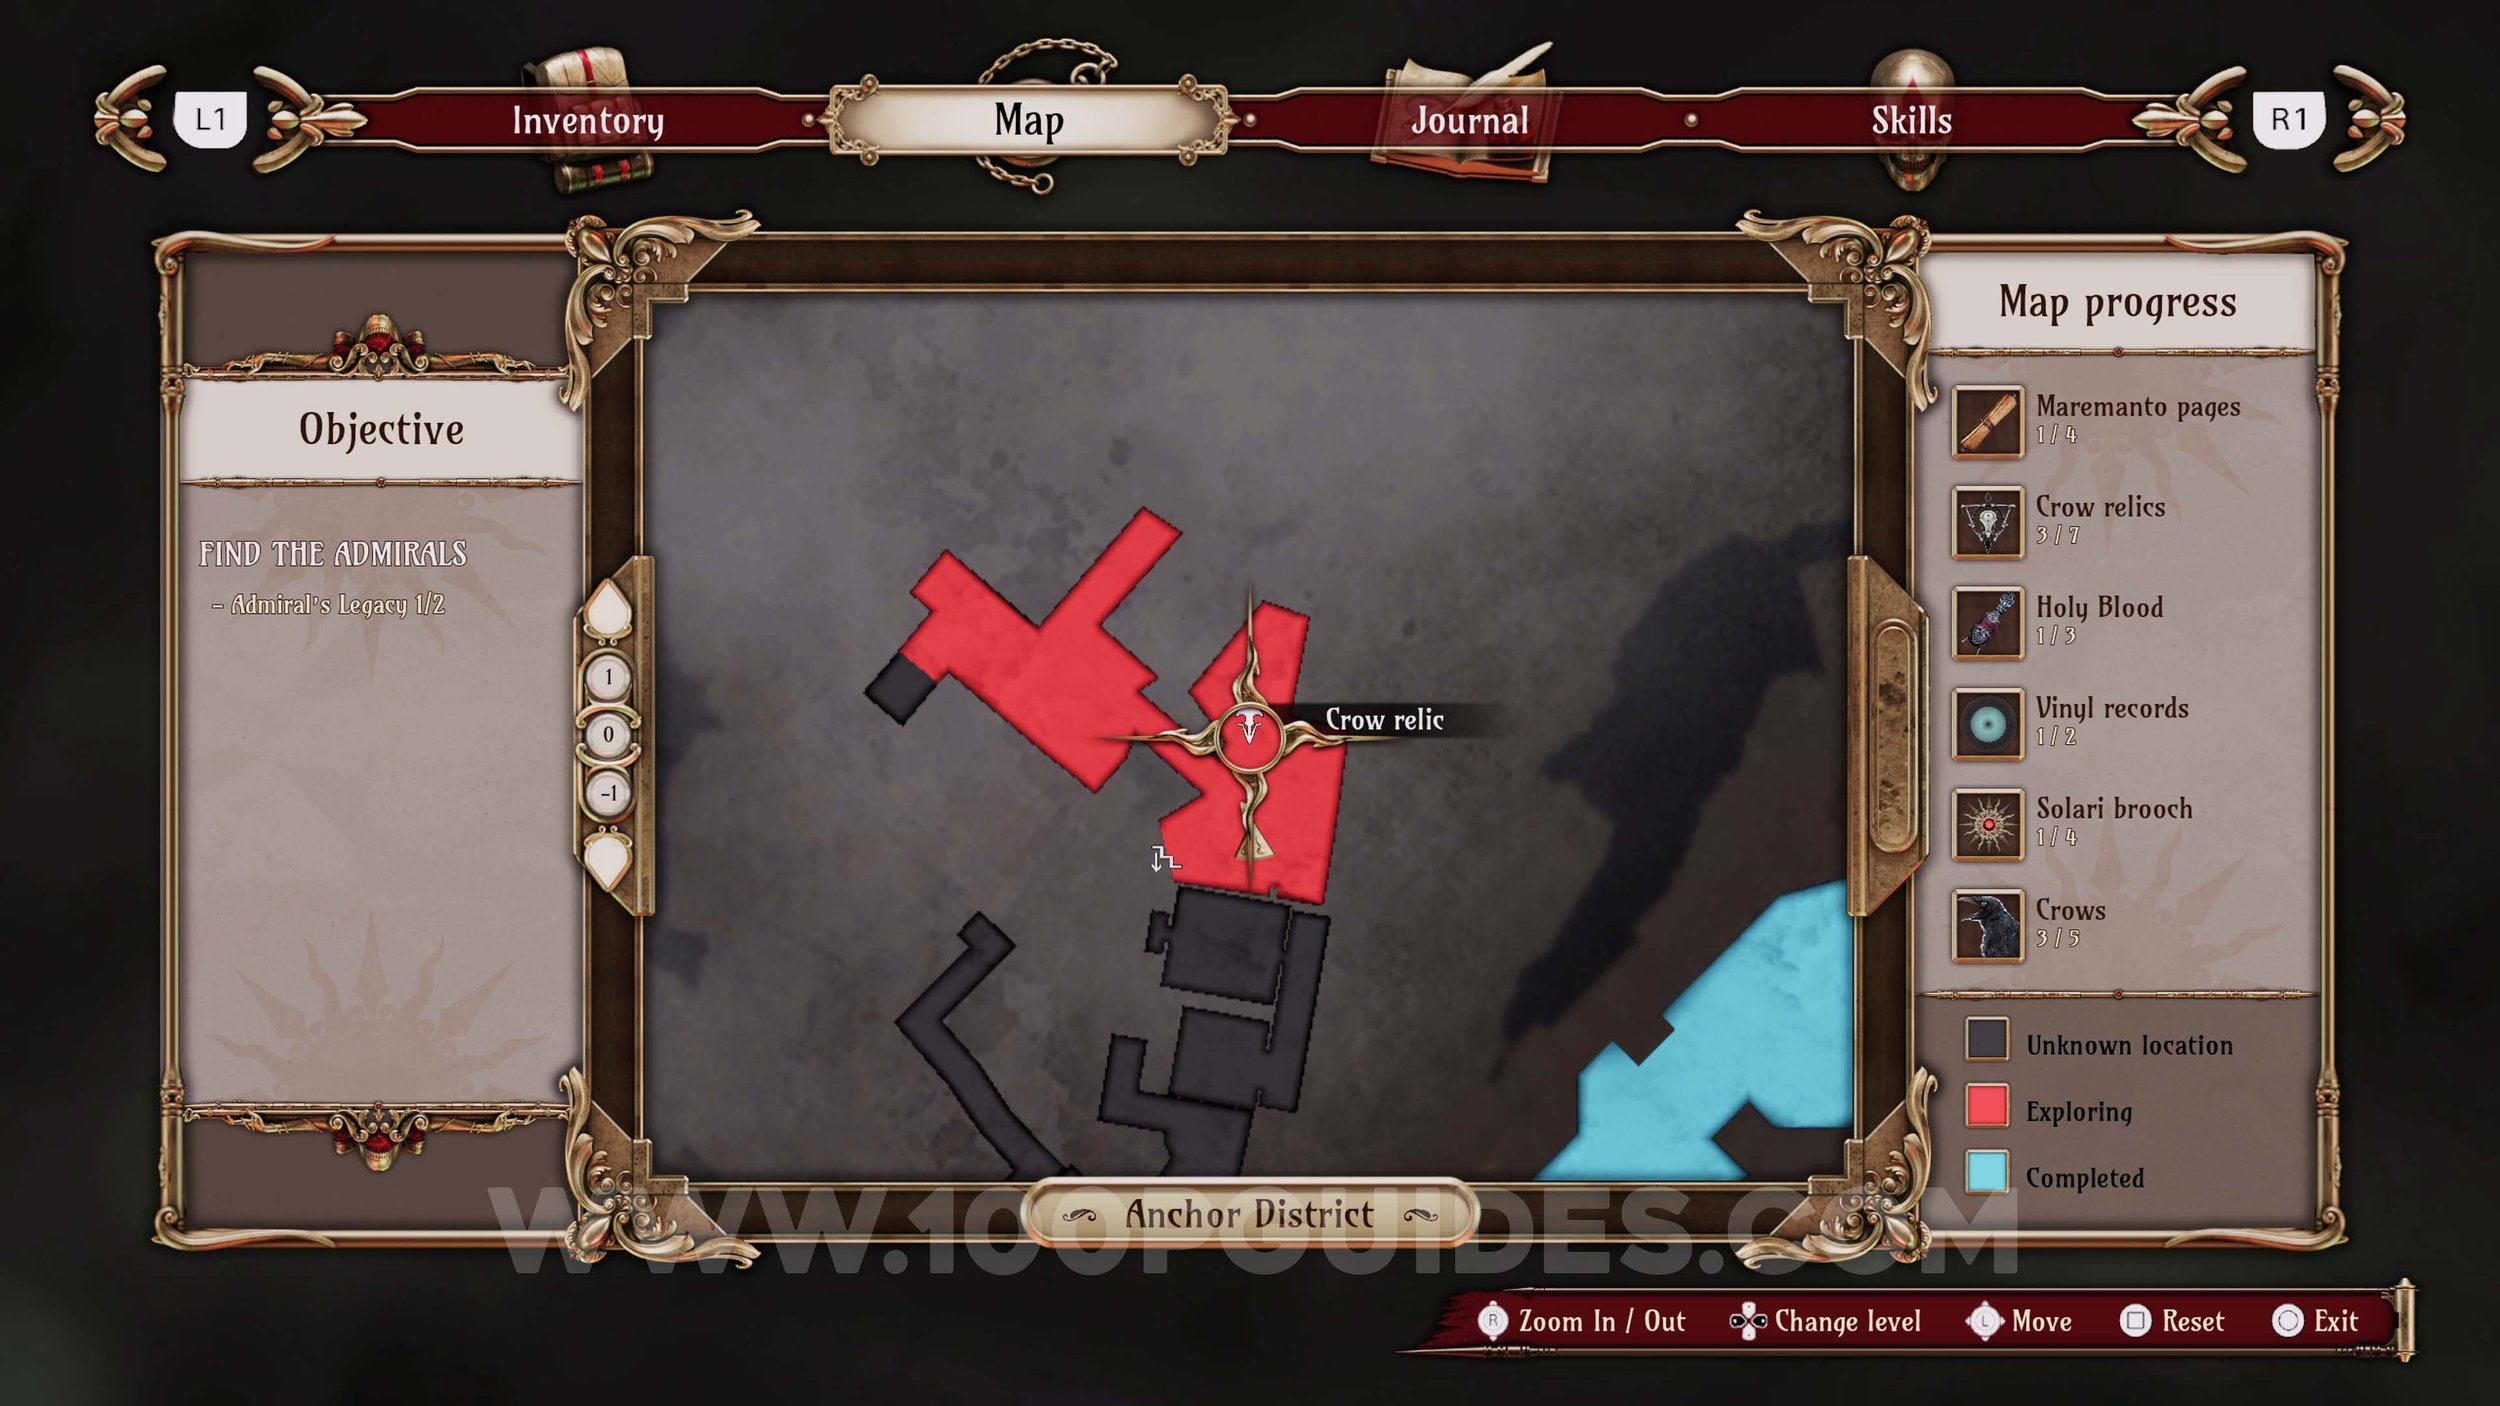
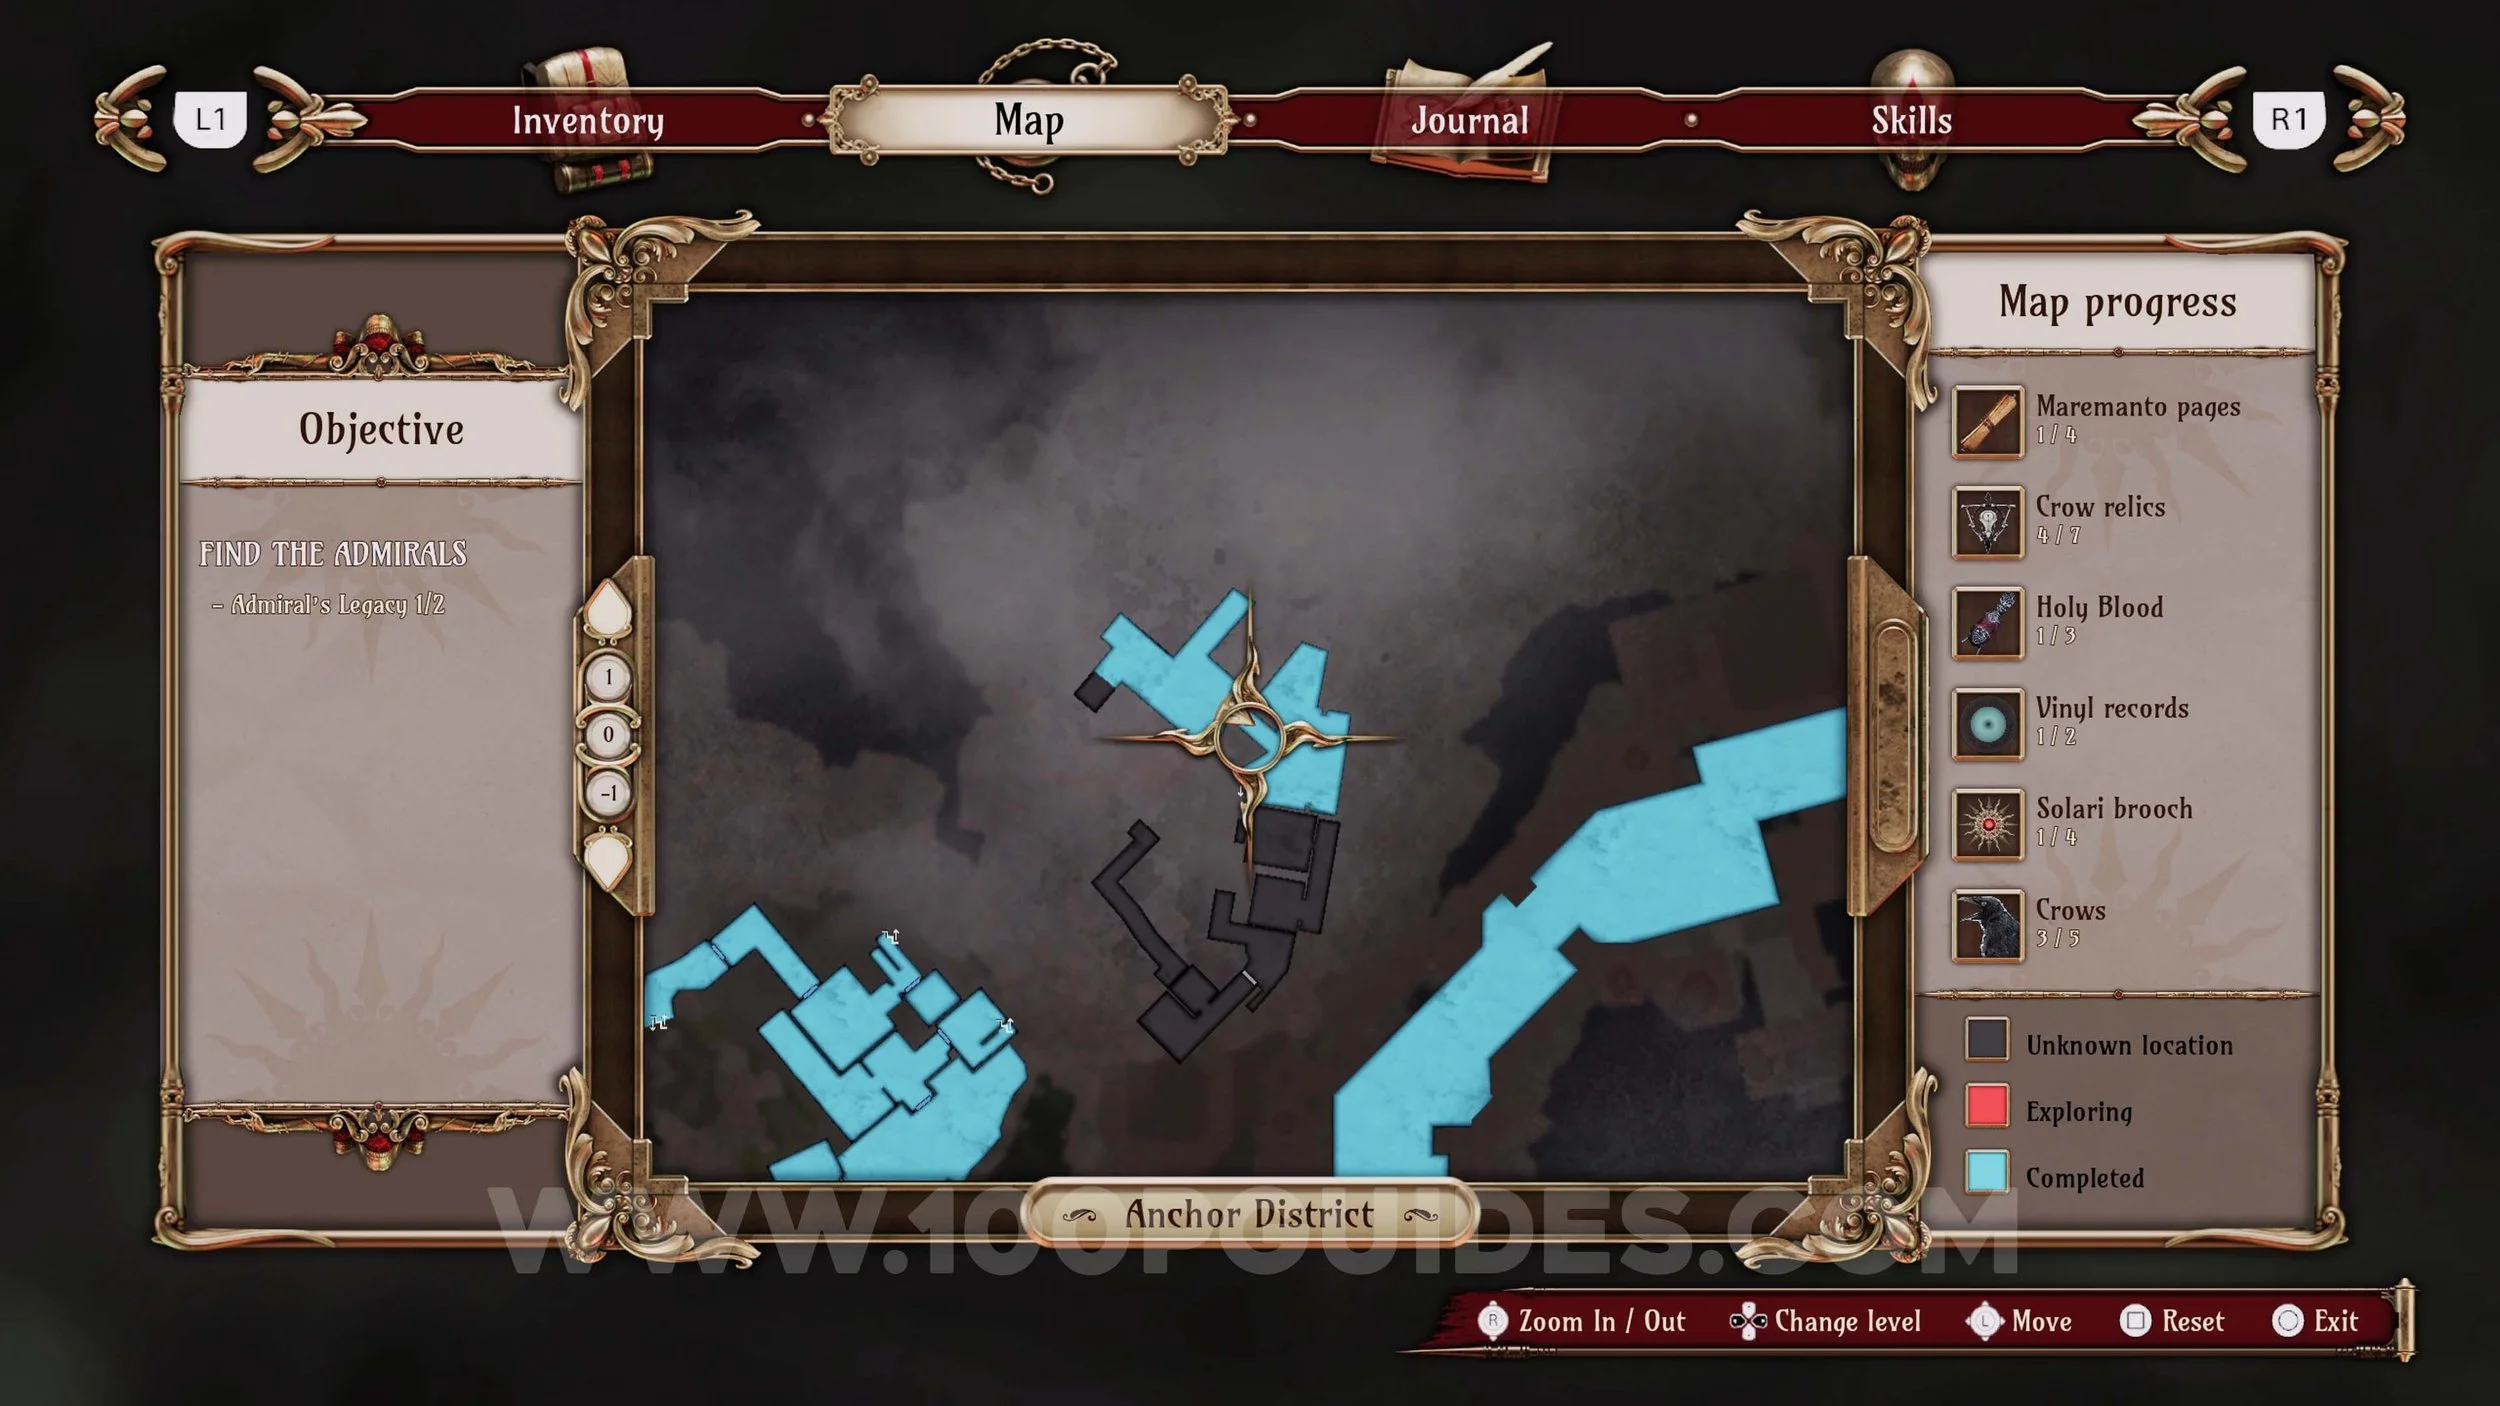
Crow Relic #1. In a workshop after crossing the bridge where the previous collectible was.
Memory #9. On the main story path just before leaving the barns area. Unmissable.


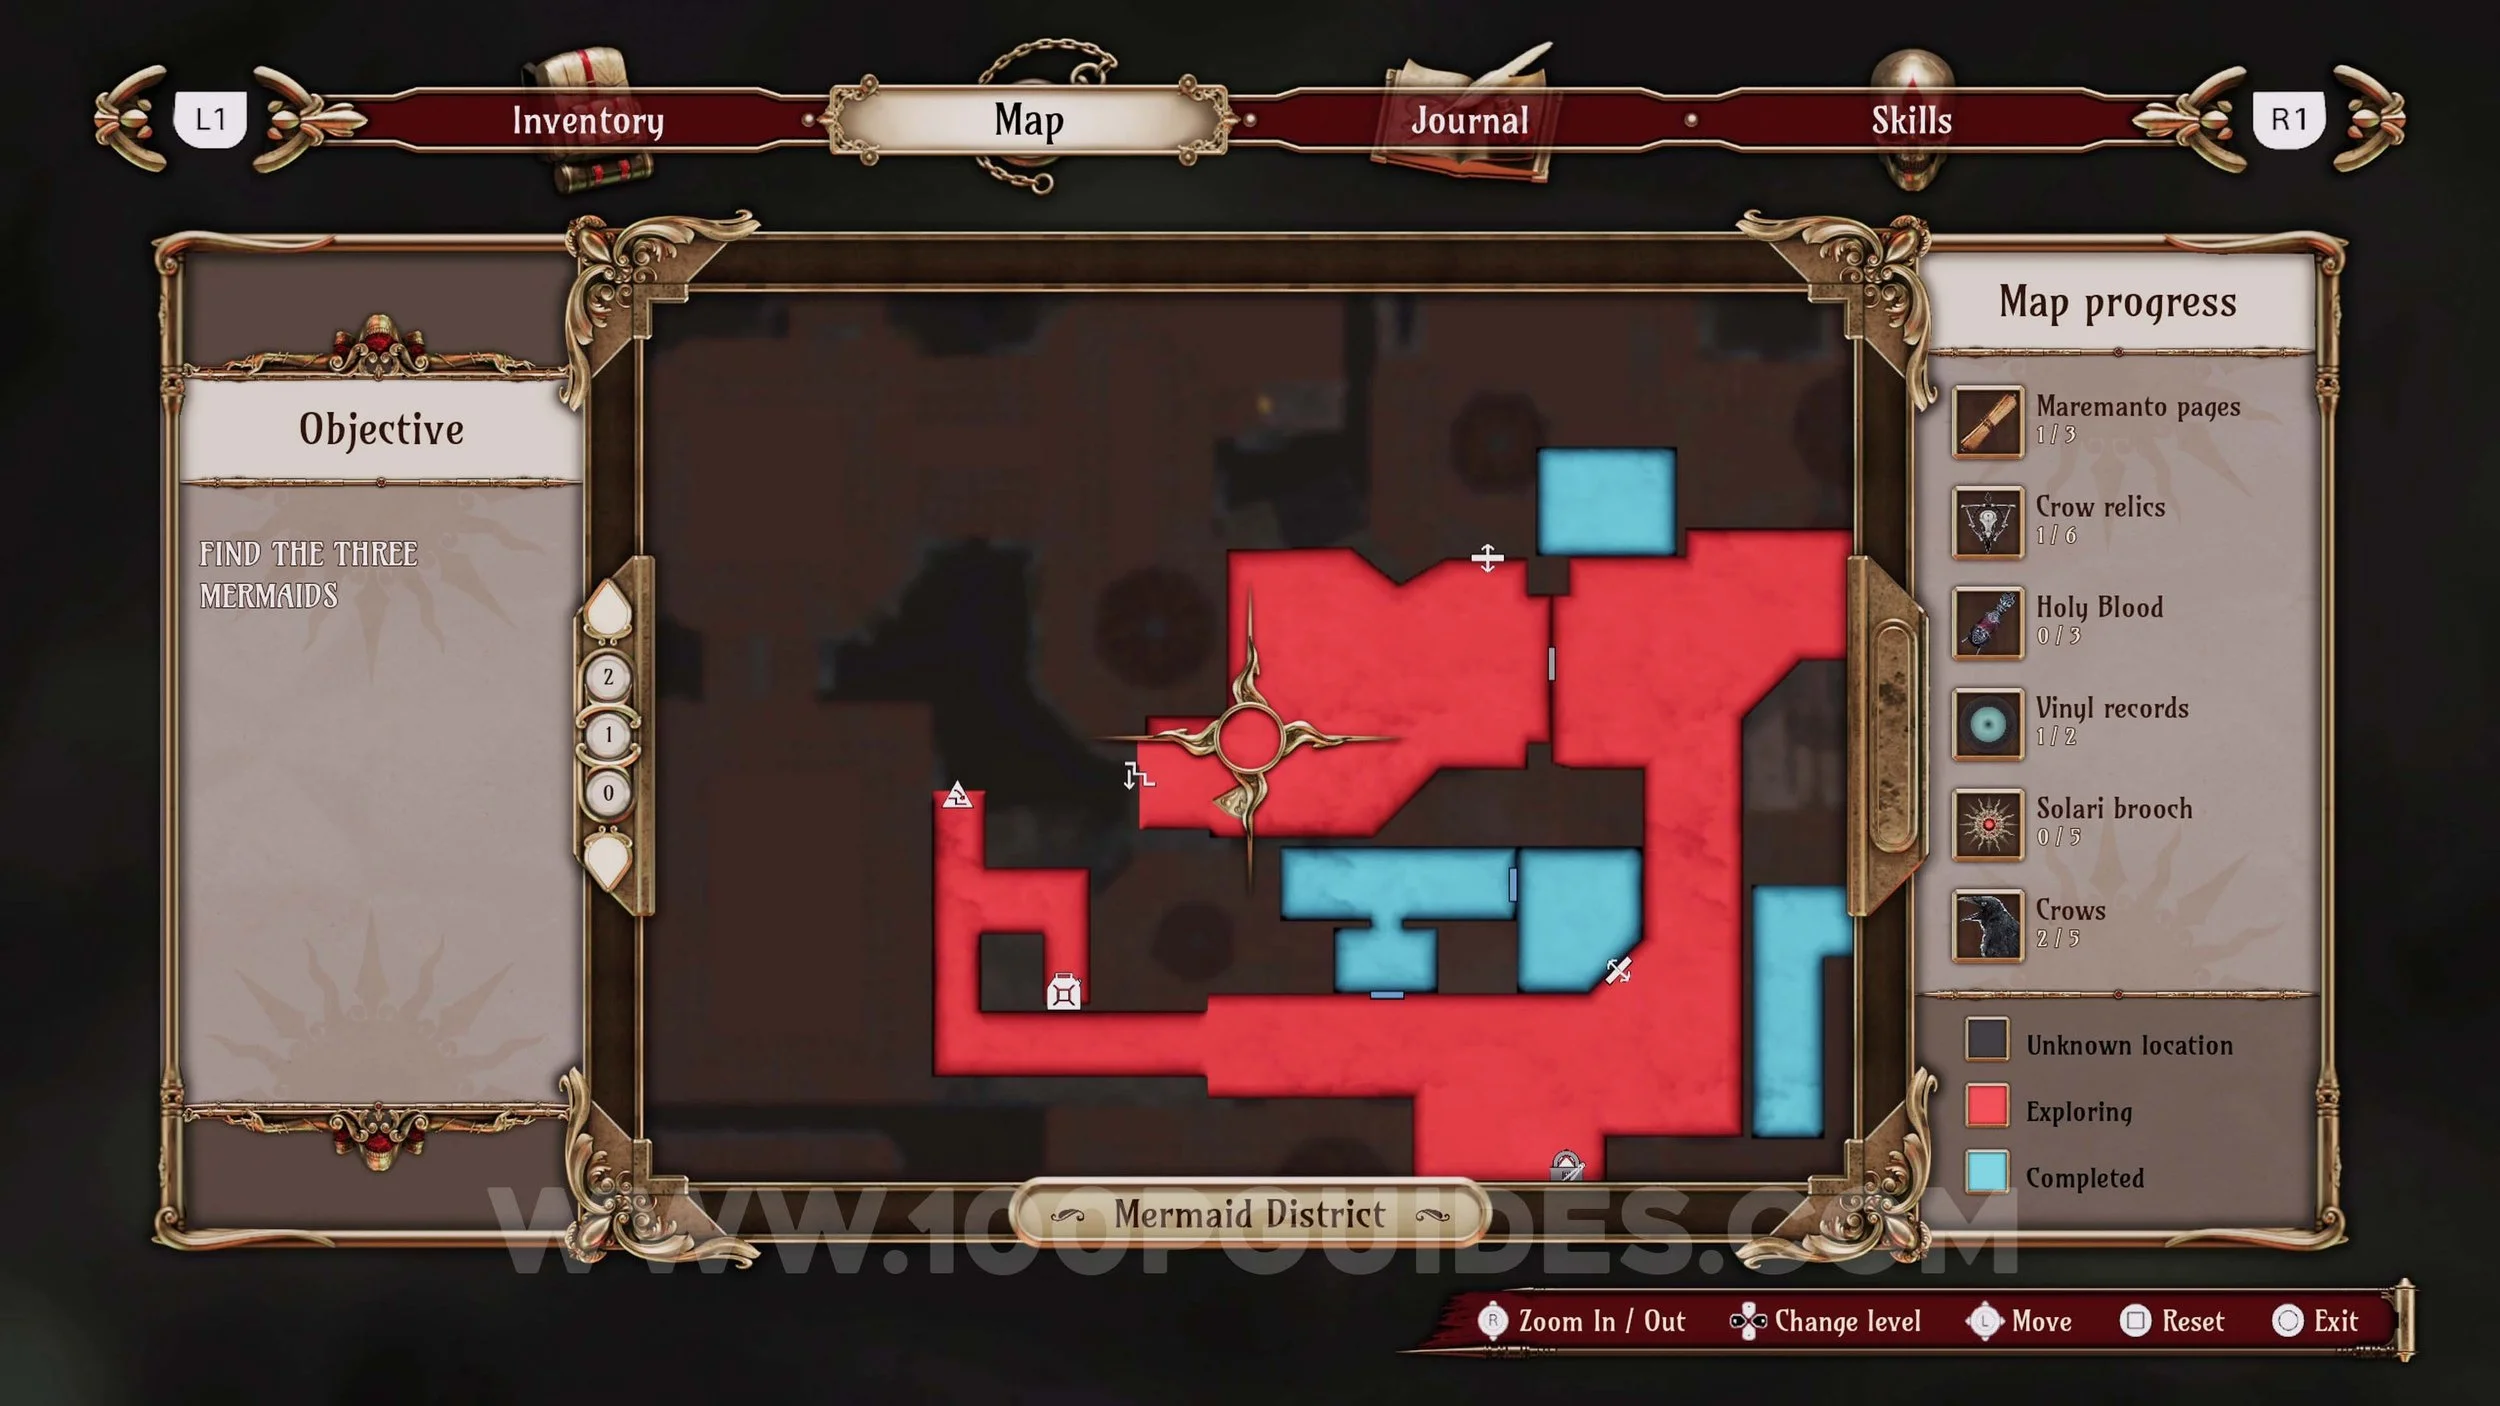
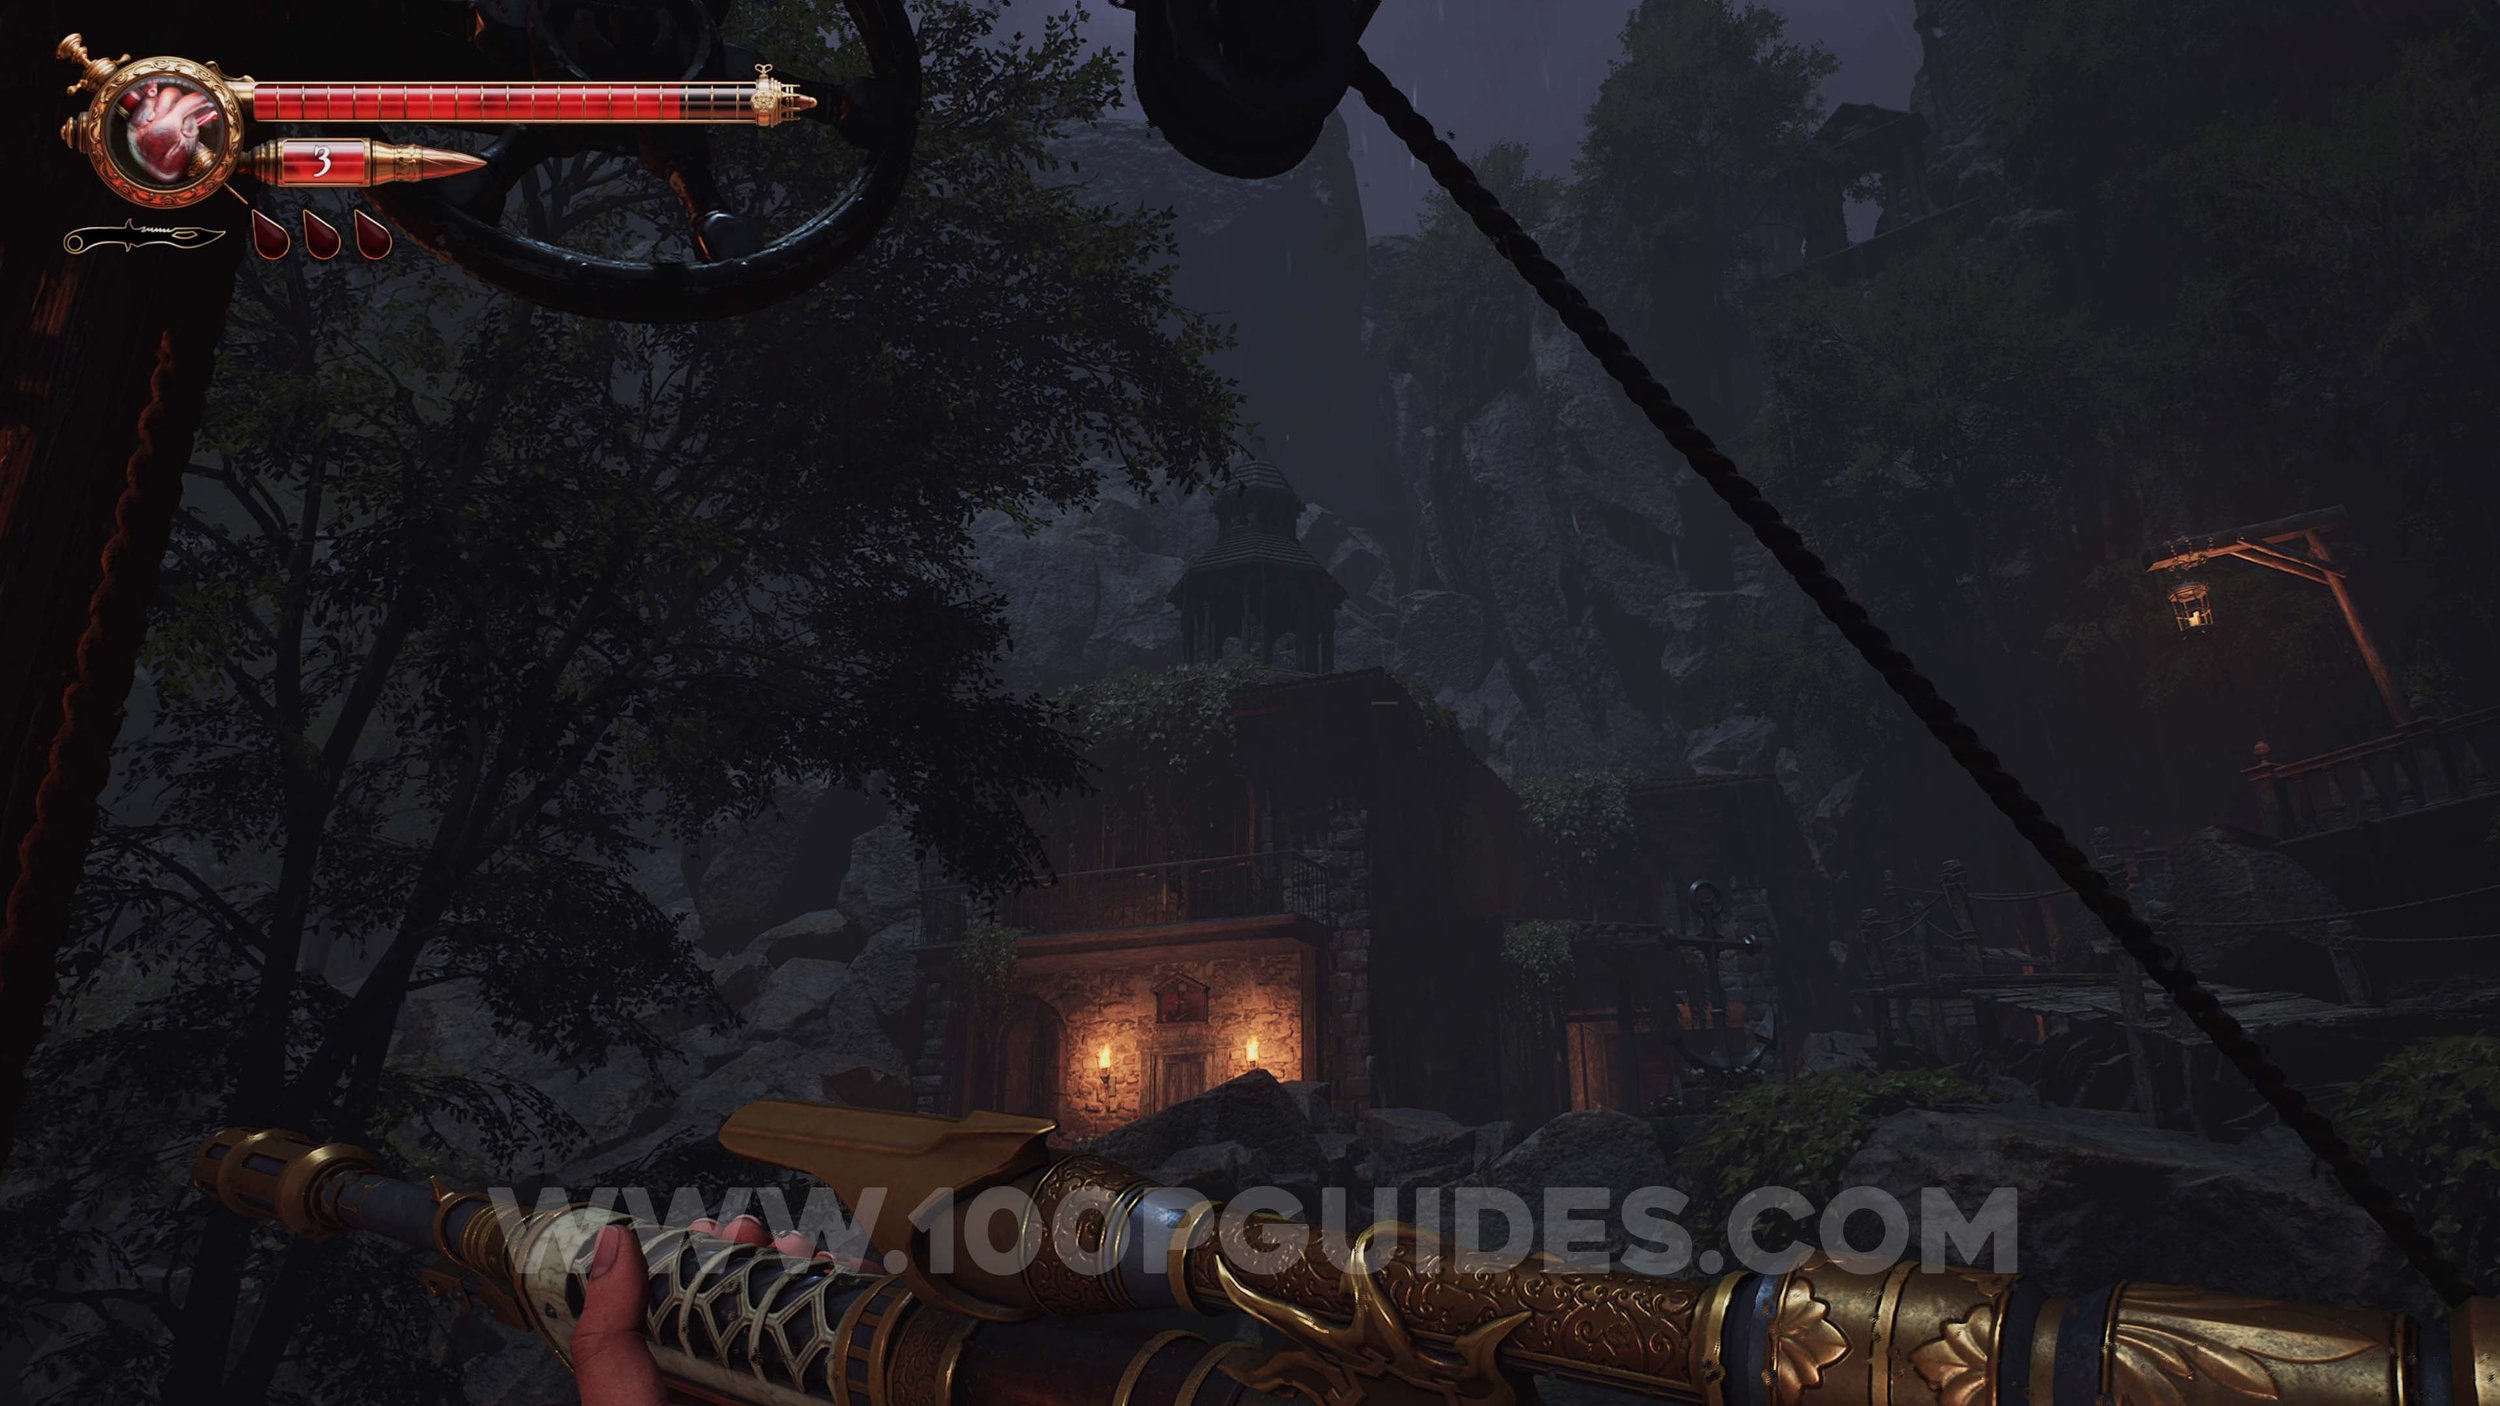
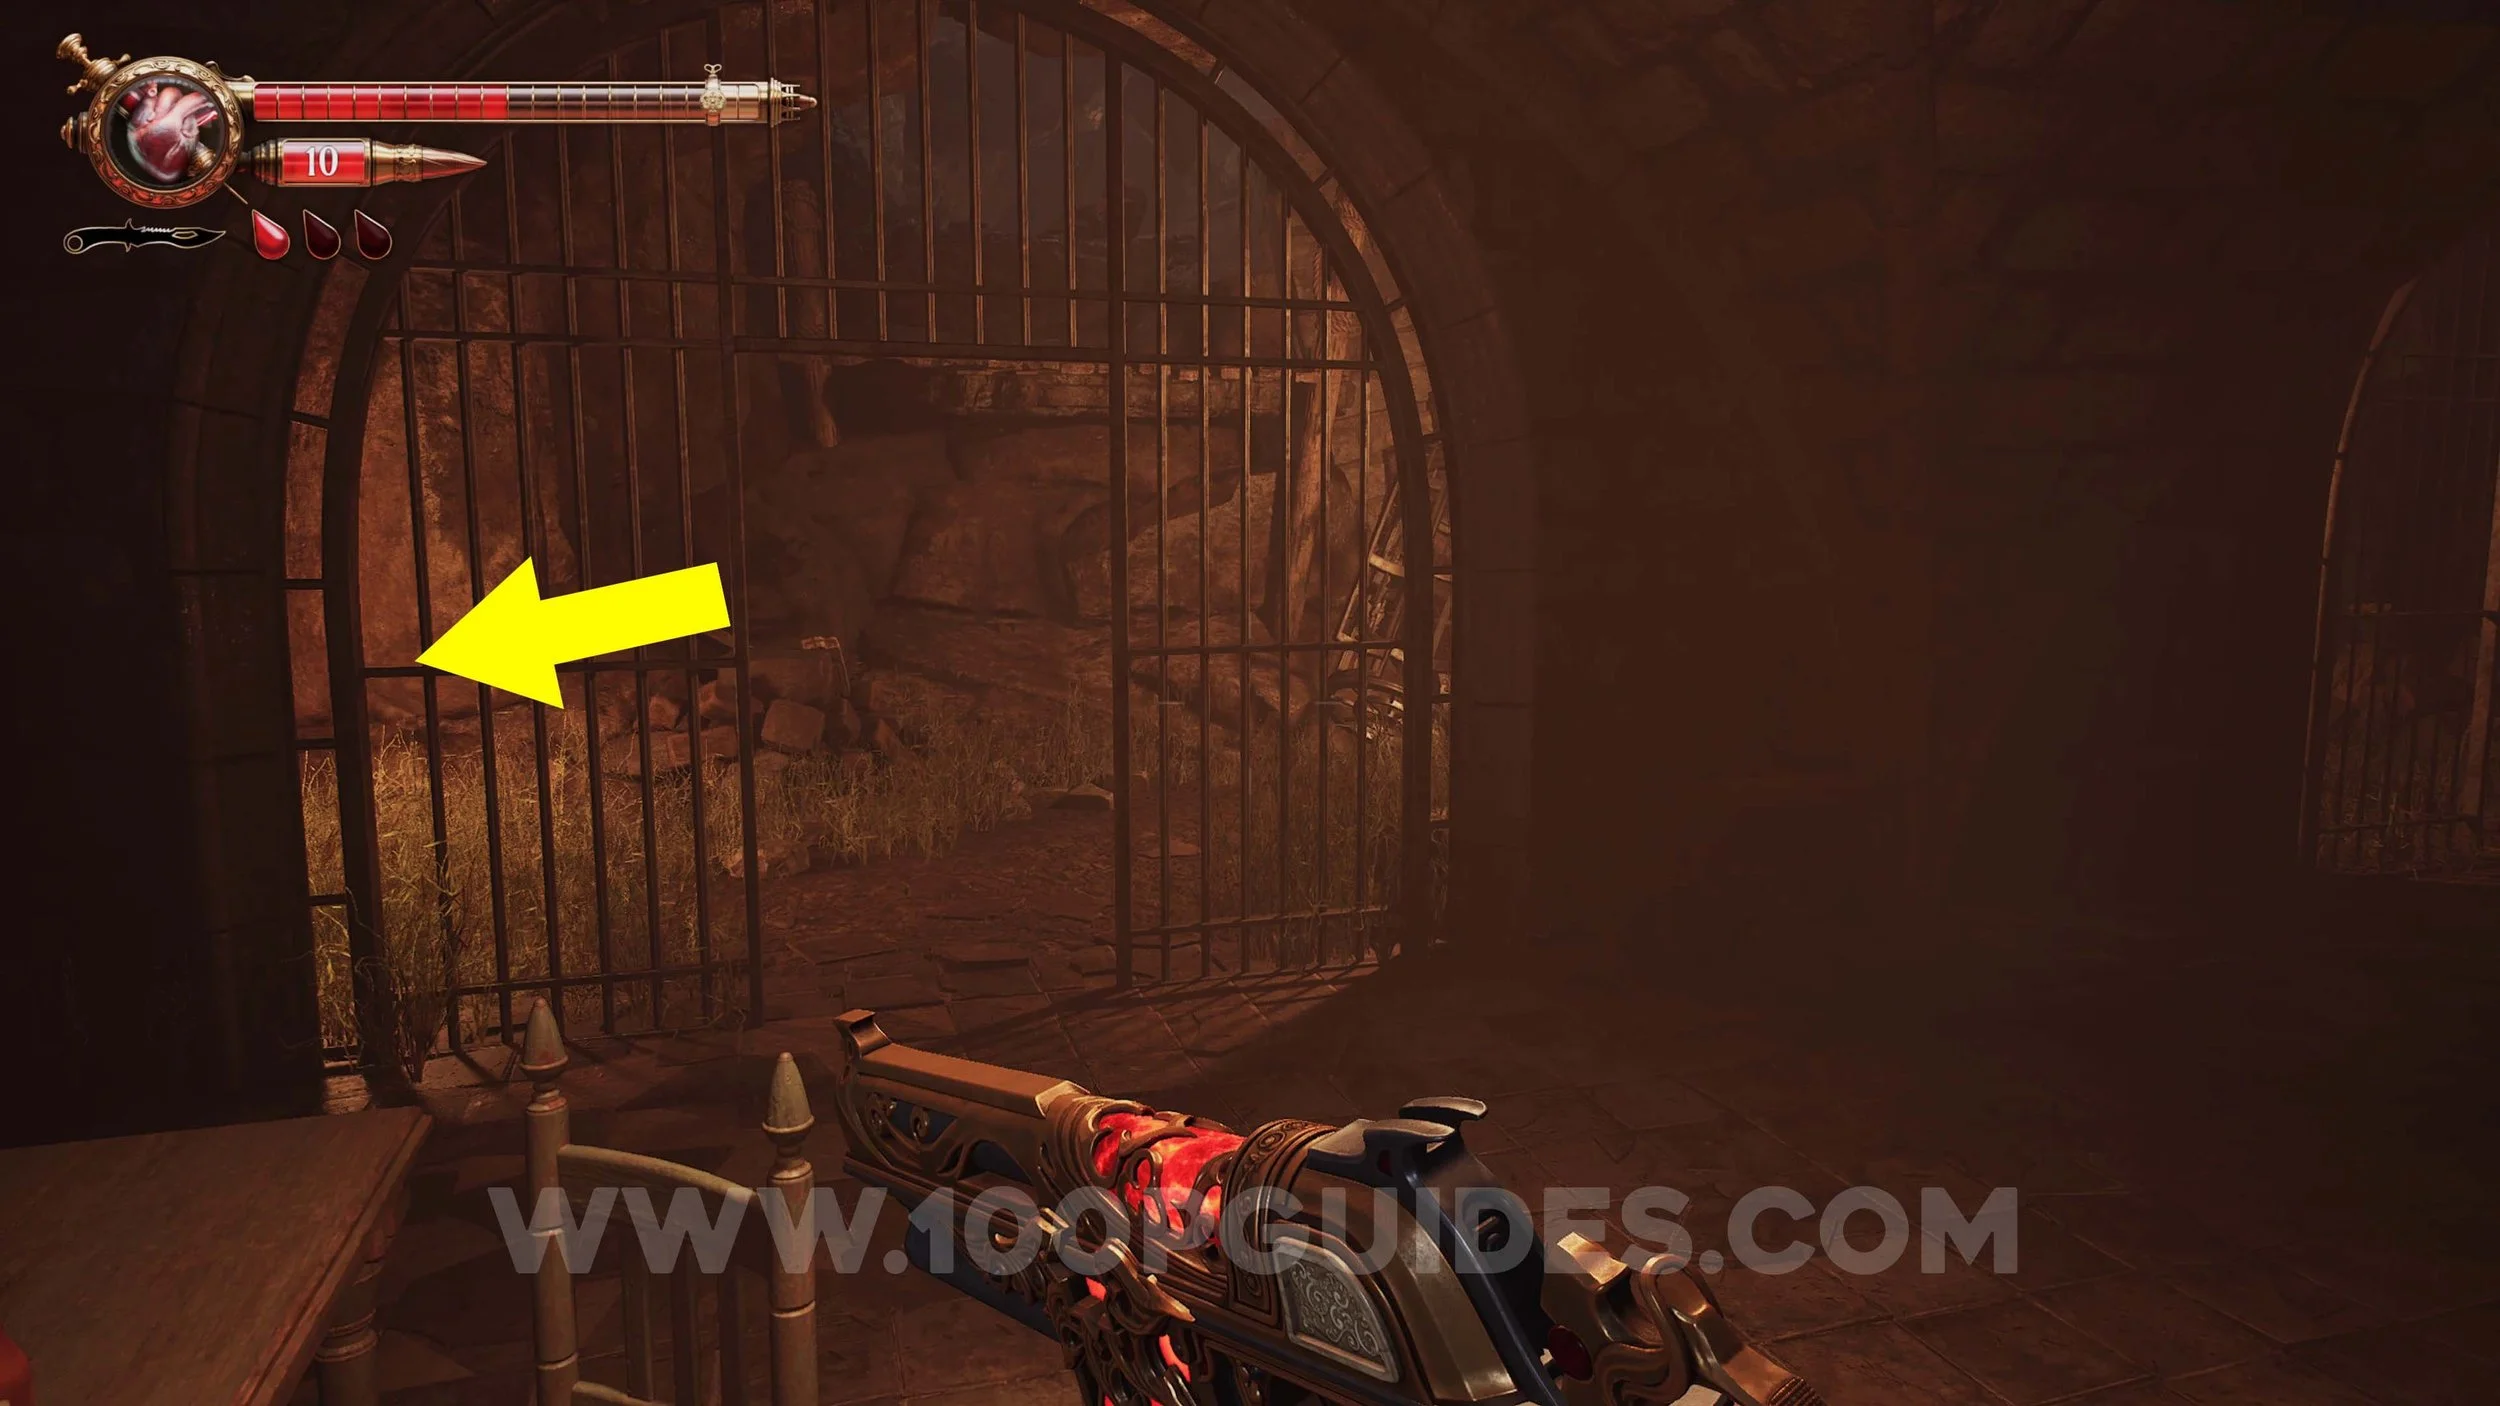
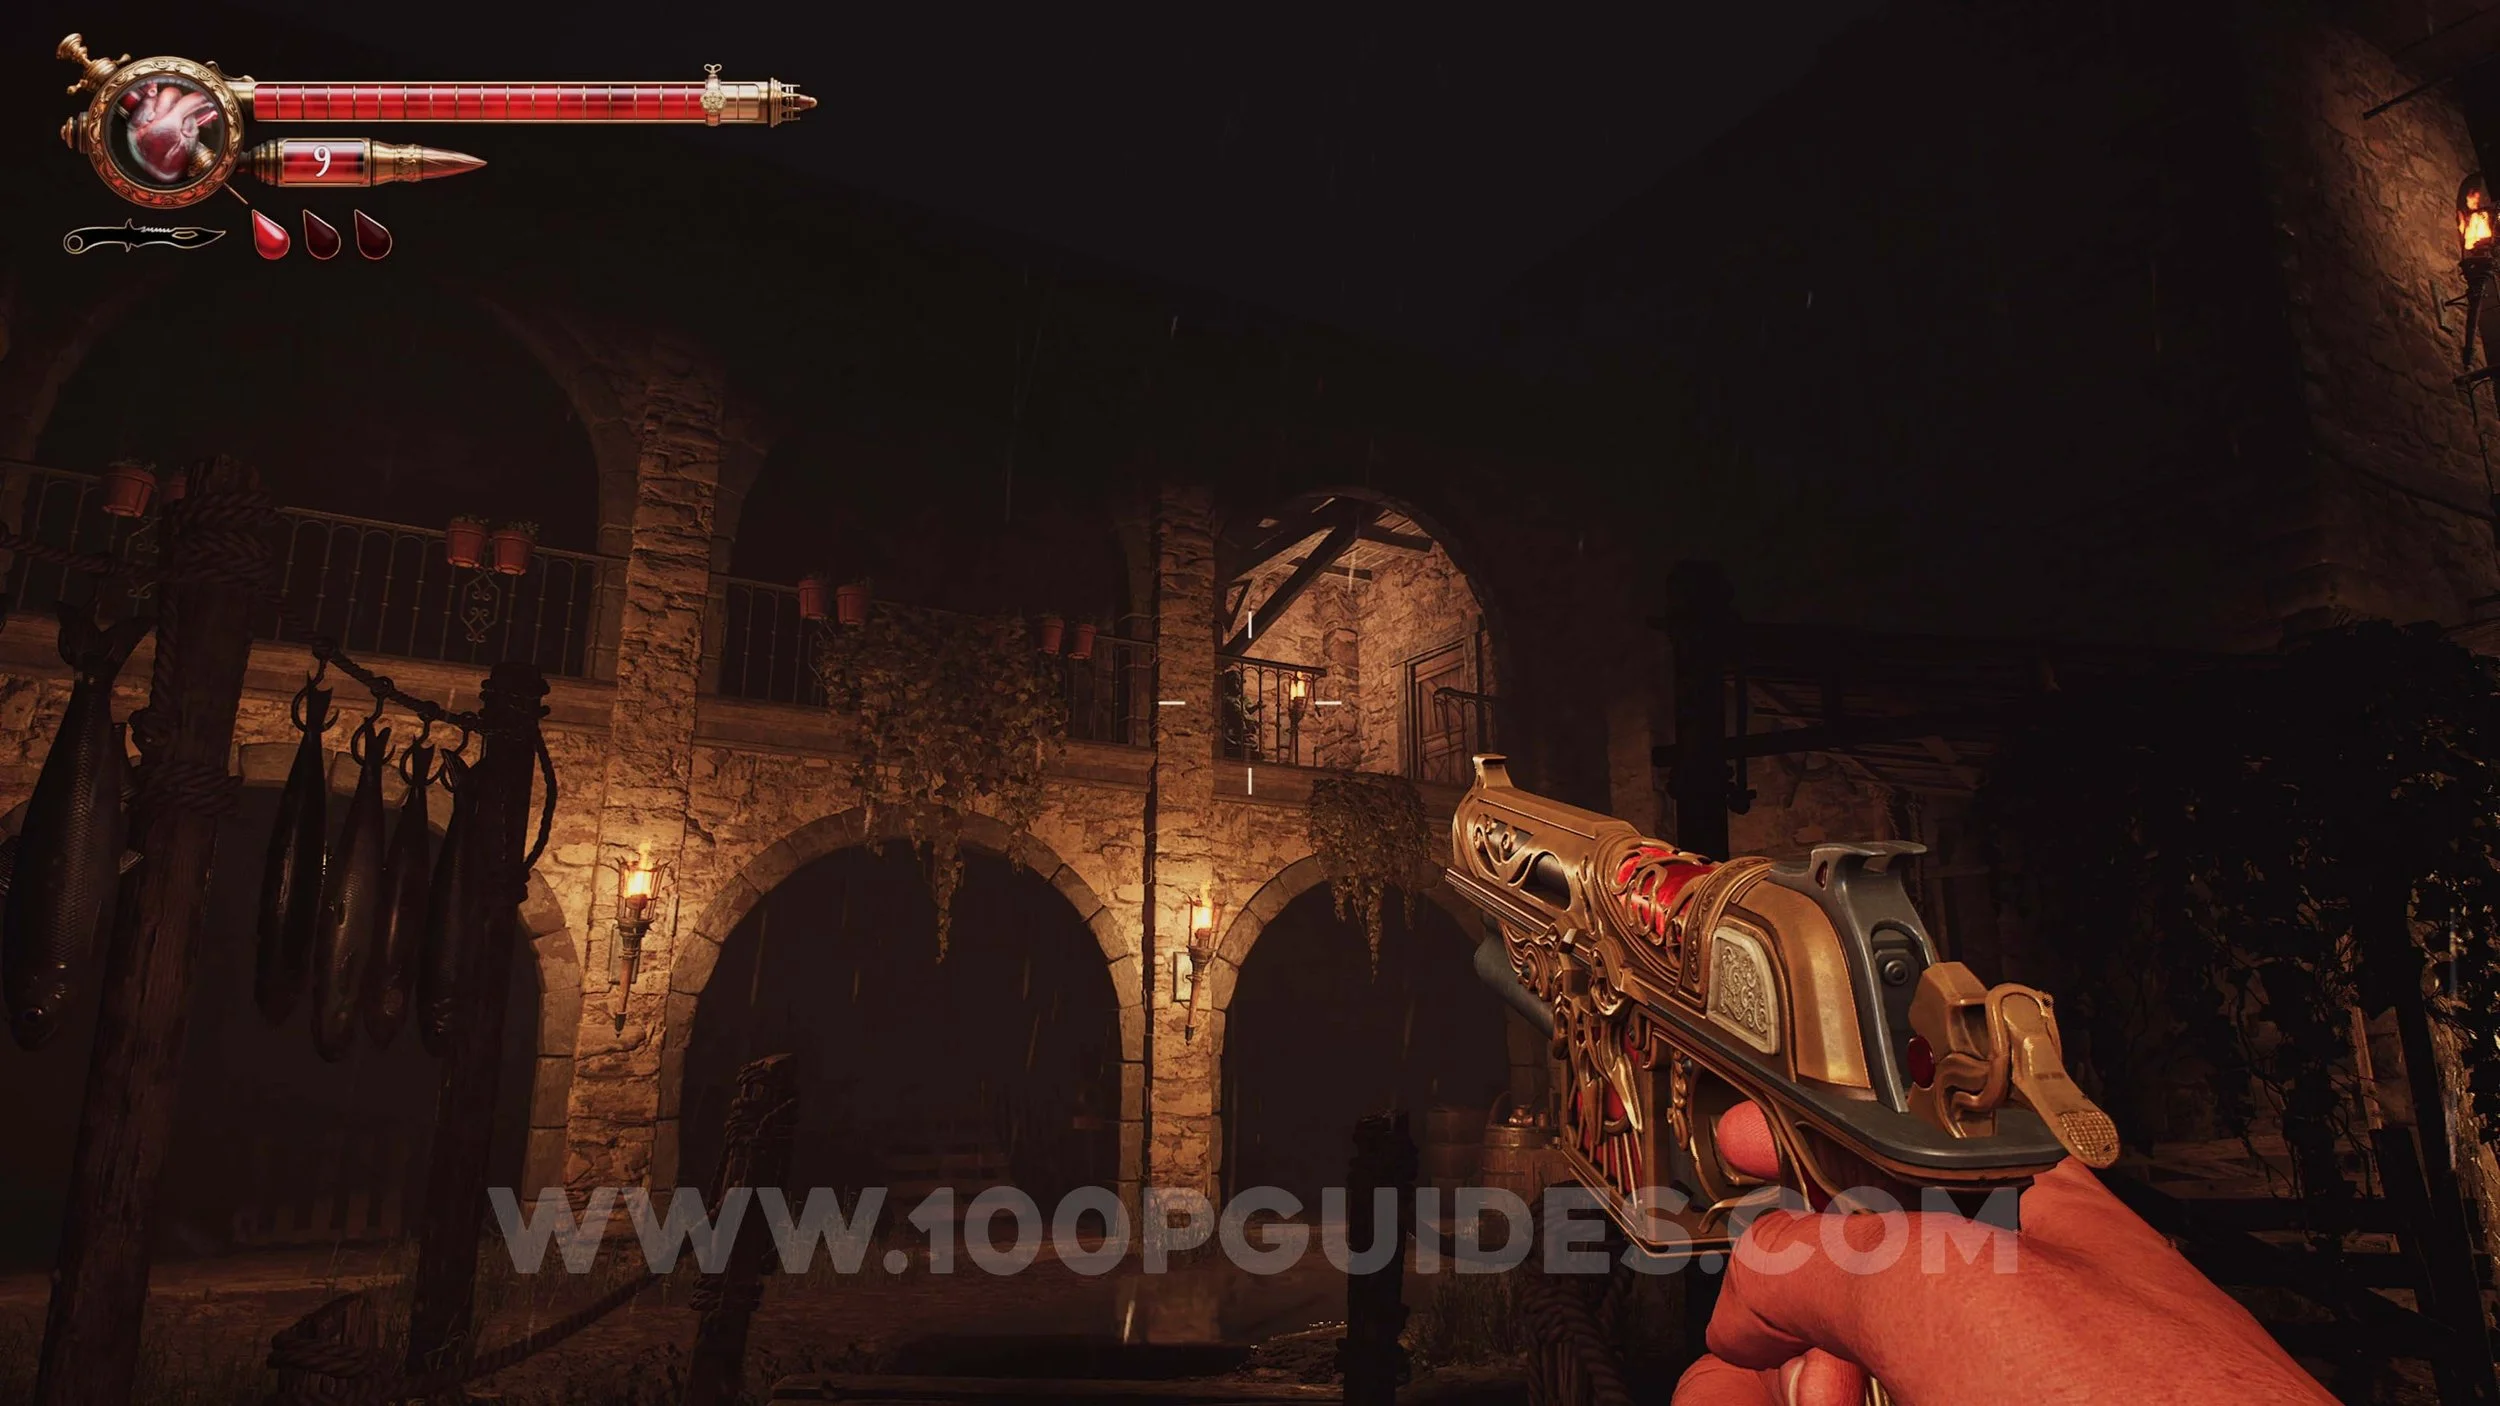
Crow #2. Go down the street to the north in the area after jumping out of the barns.
Memory #10. Move the cart in the northern street and go through the door.

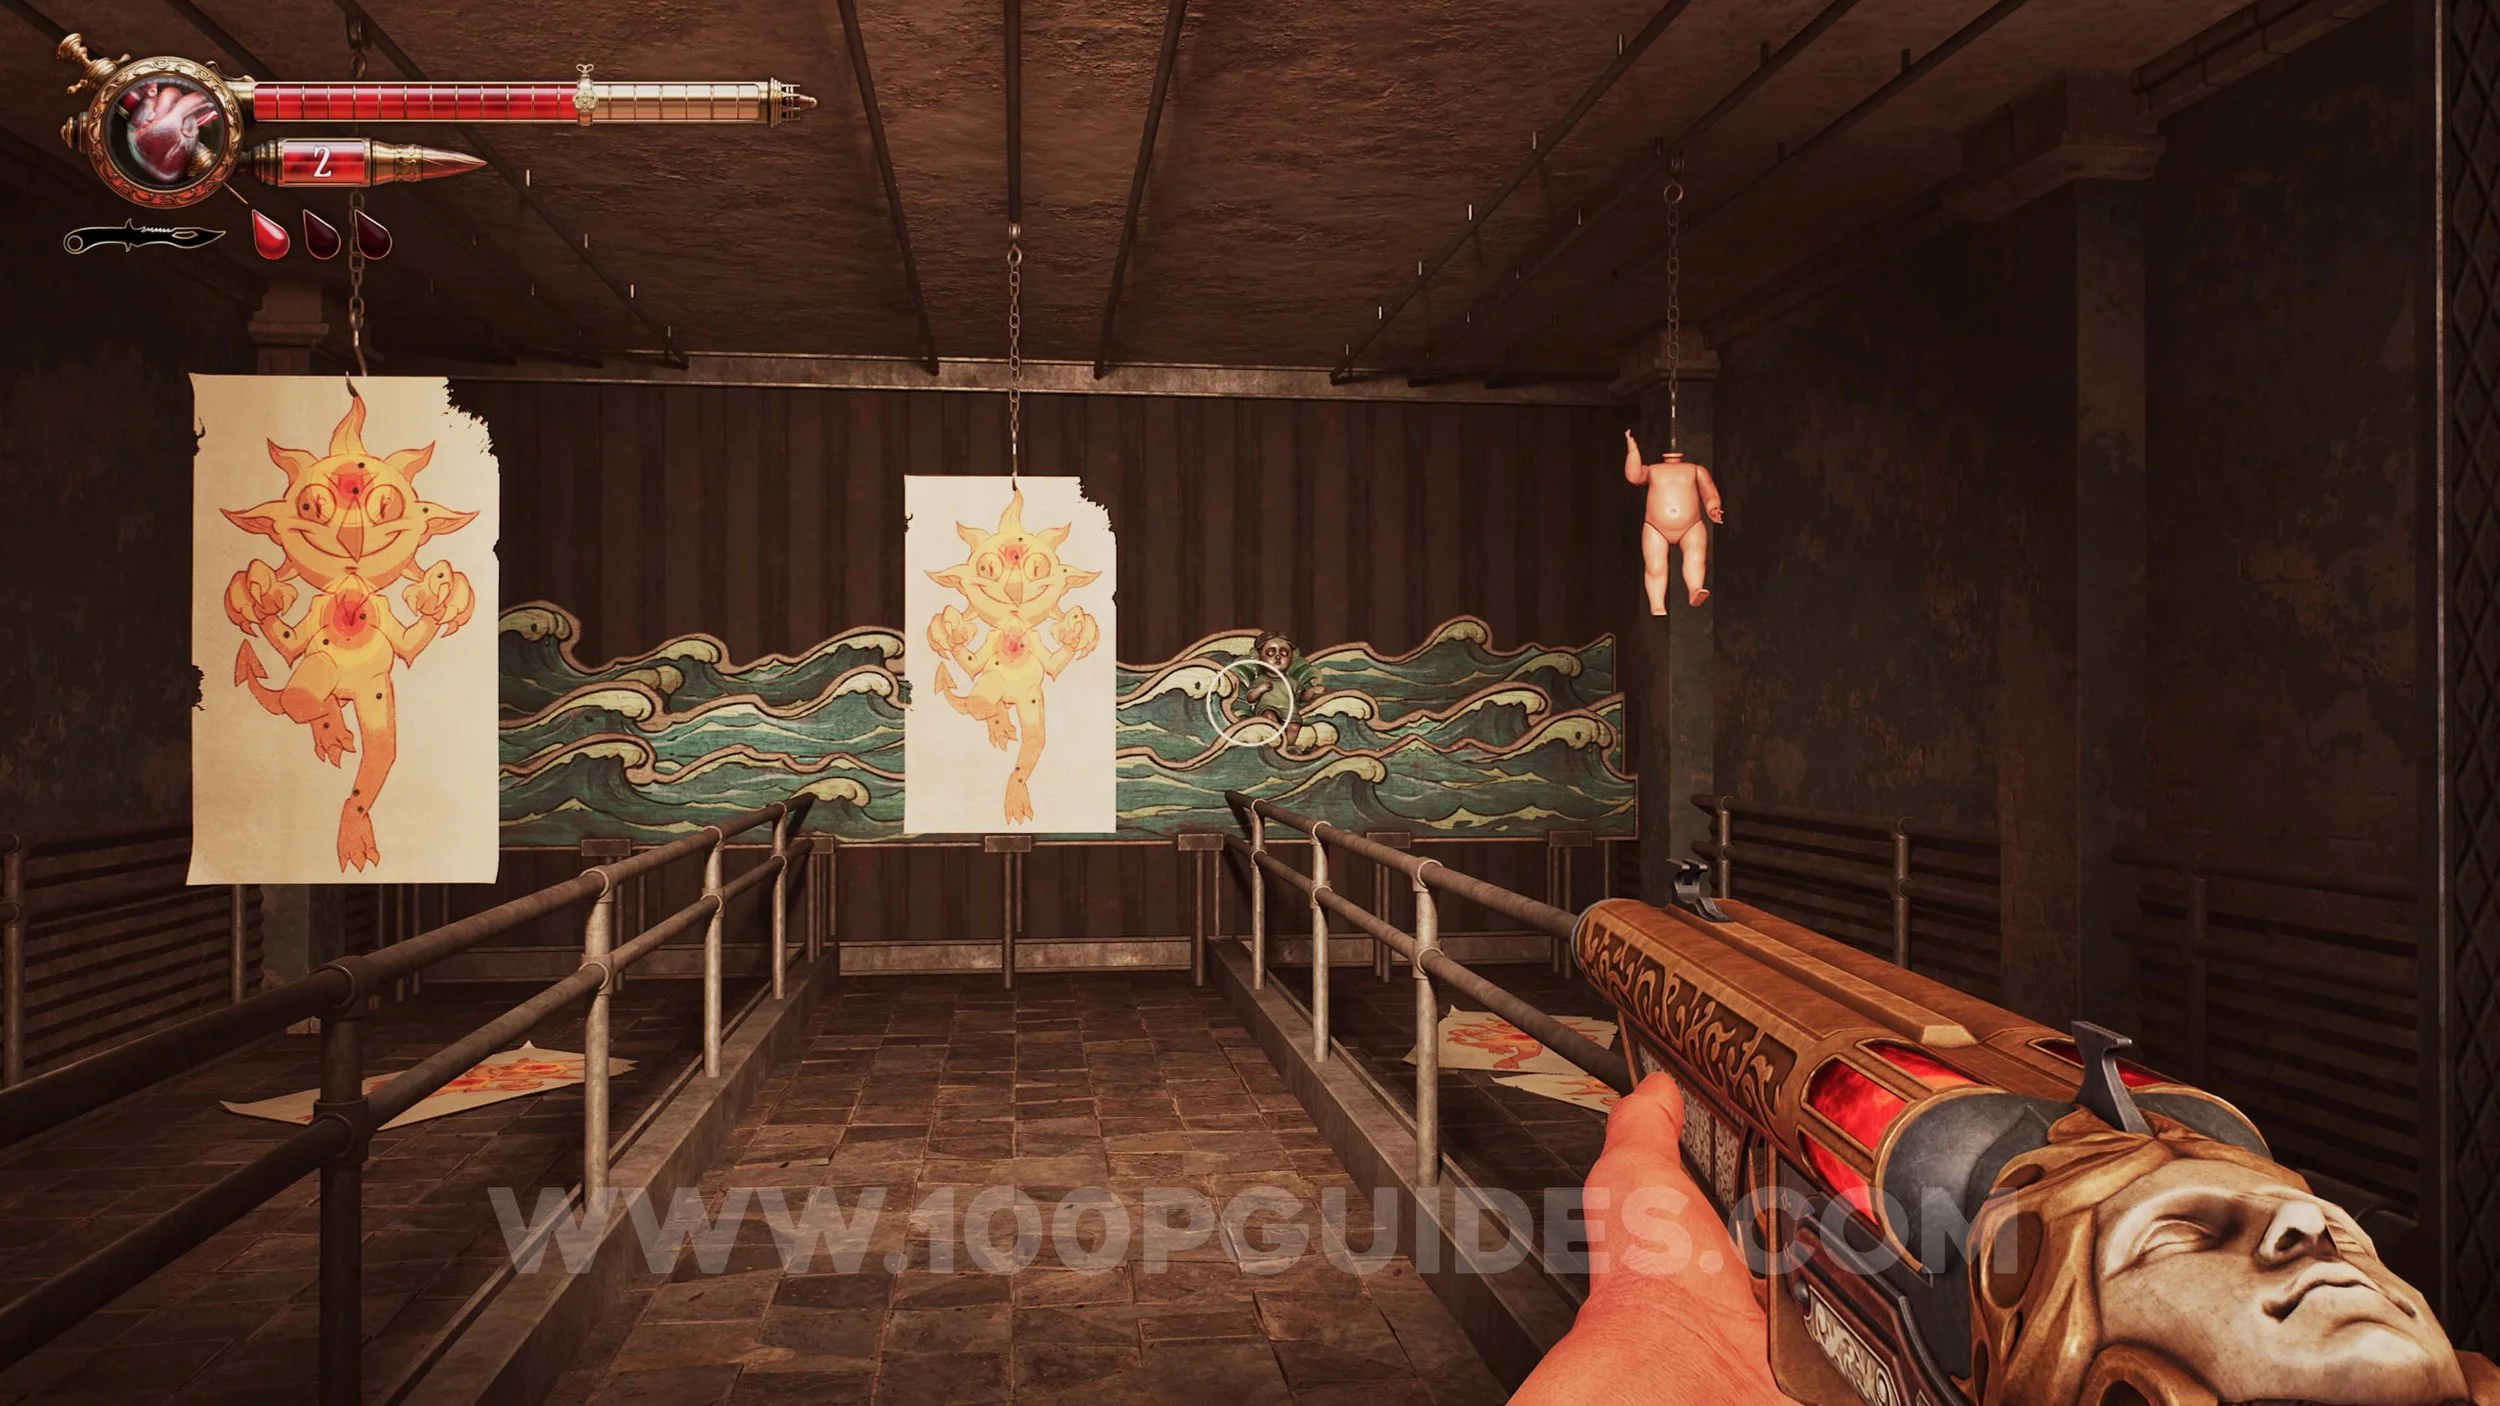
Ulises Idol #7. At the end of the shooting range in the same building as the previous memory.
Ulises Idol #8. Follow the main path until you drop down into another area with a gate in front of you and a “Ferreteria” (hardware store) on the other side. Then, go to the area on your right to find the doll on a wooden platform next to a cart.
Memory #11. On the main path just north of the “Ferreteria”.

Solari Brooch #2. Absorb the corpse next to the cart to the north-west of the “Ferreteria”.
Crow Relic #2. Go through the building to the north of the “Ferreteria” to find it at the end of the long room on the right.

Ulises Idol #9. Found in the western building in the area with the “Ferreteria”.
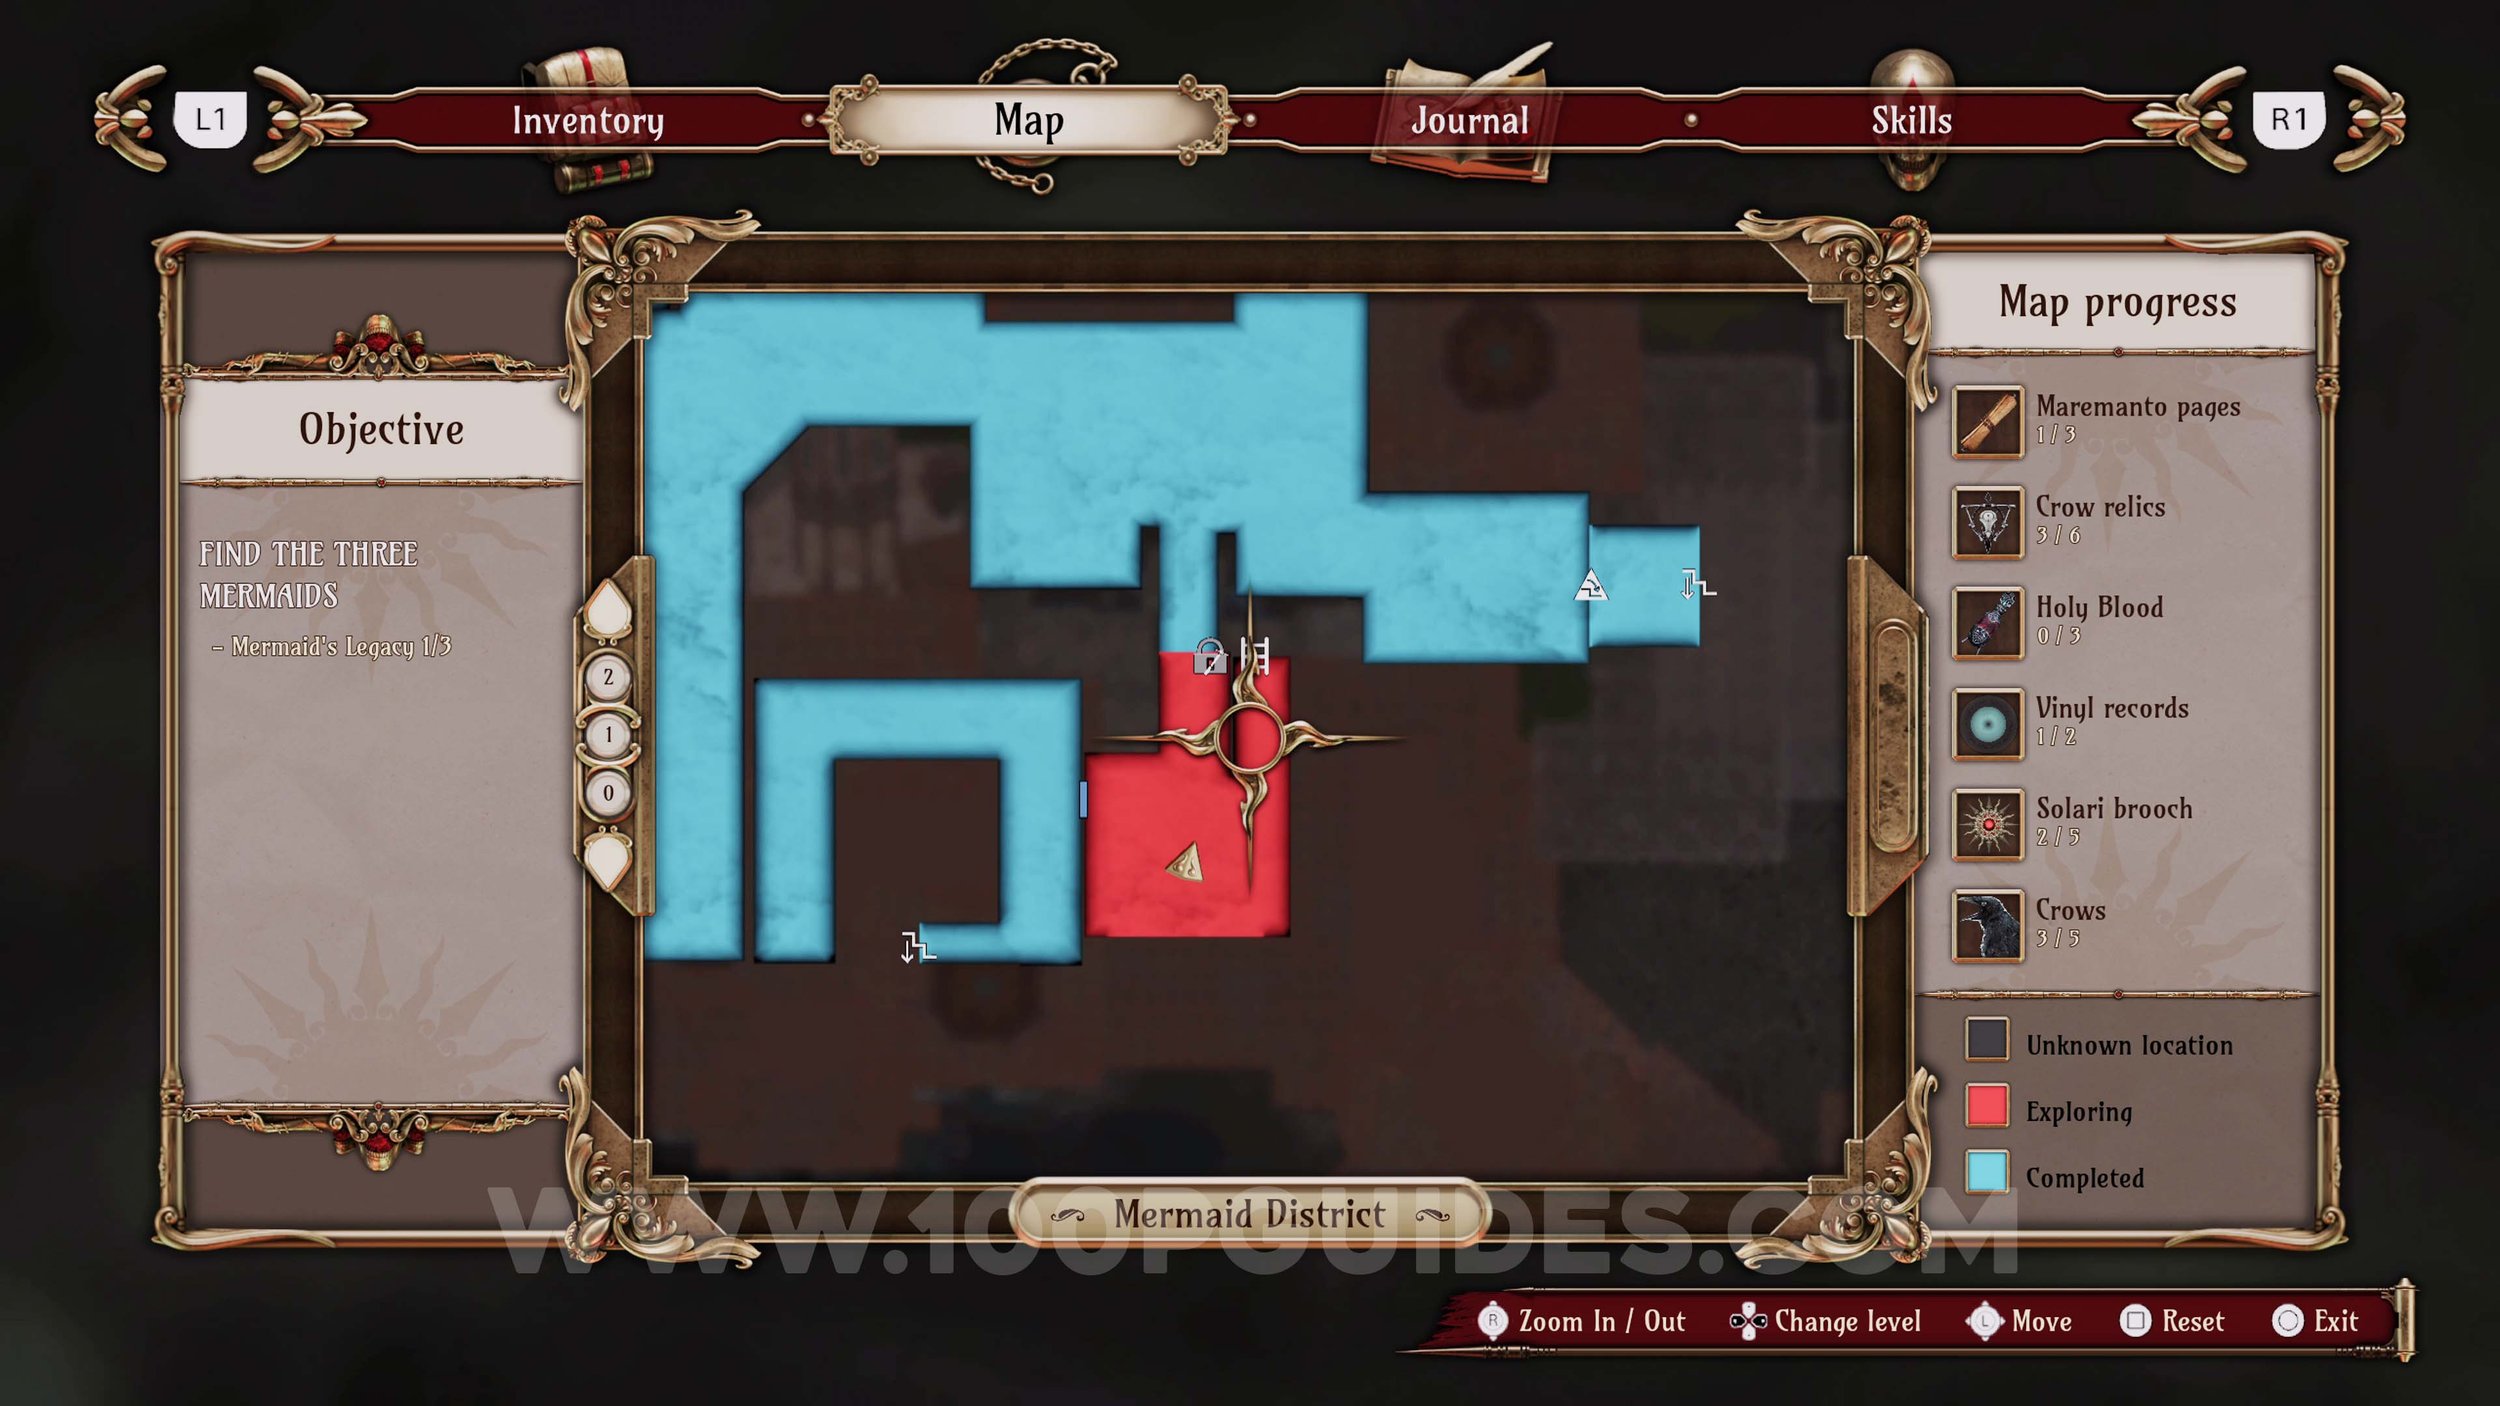
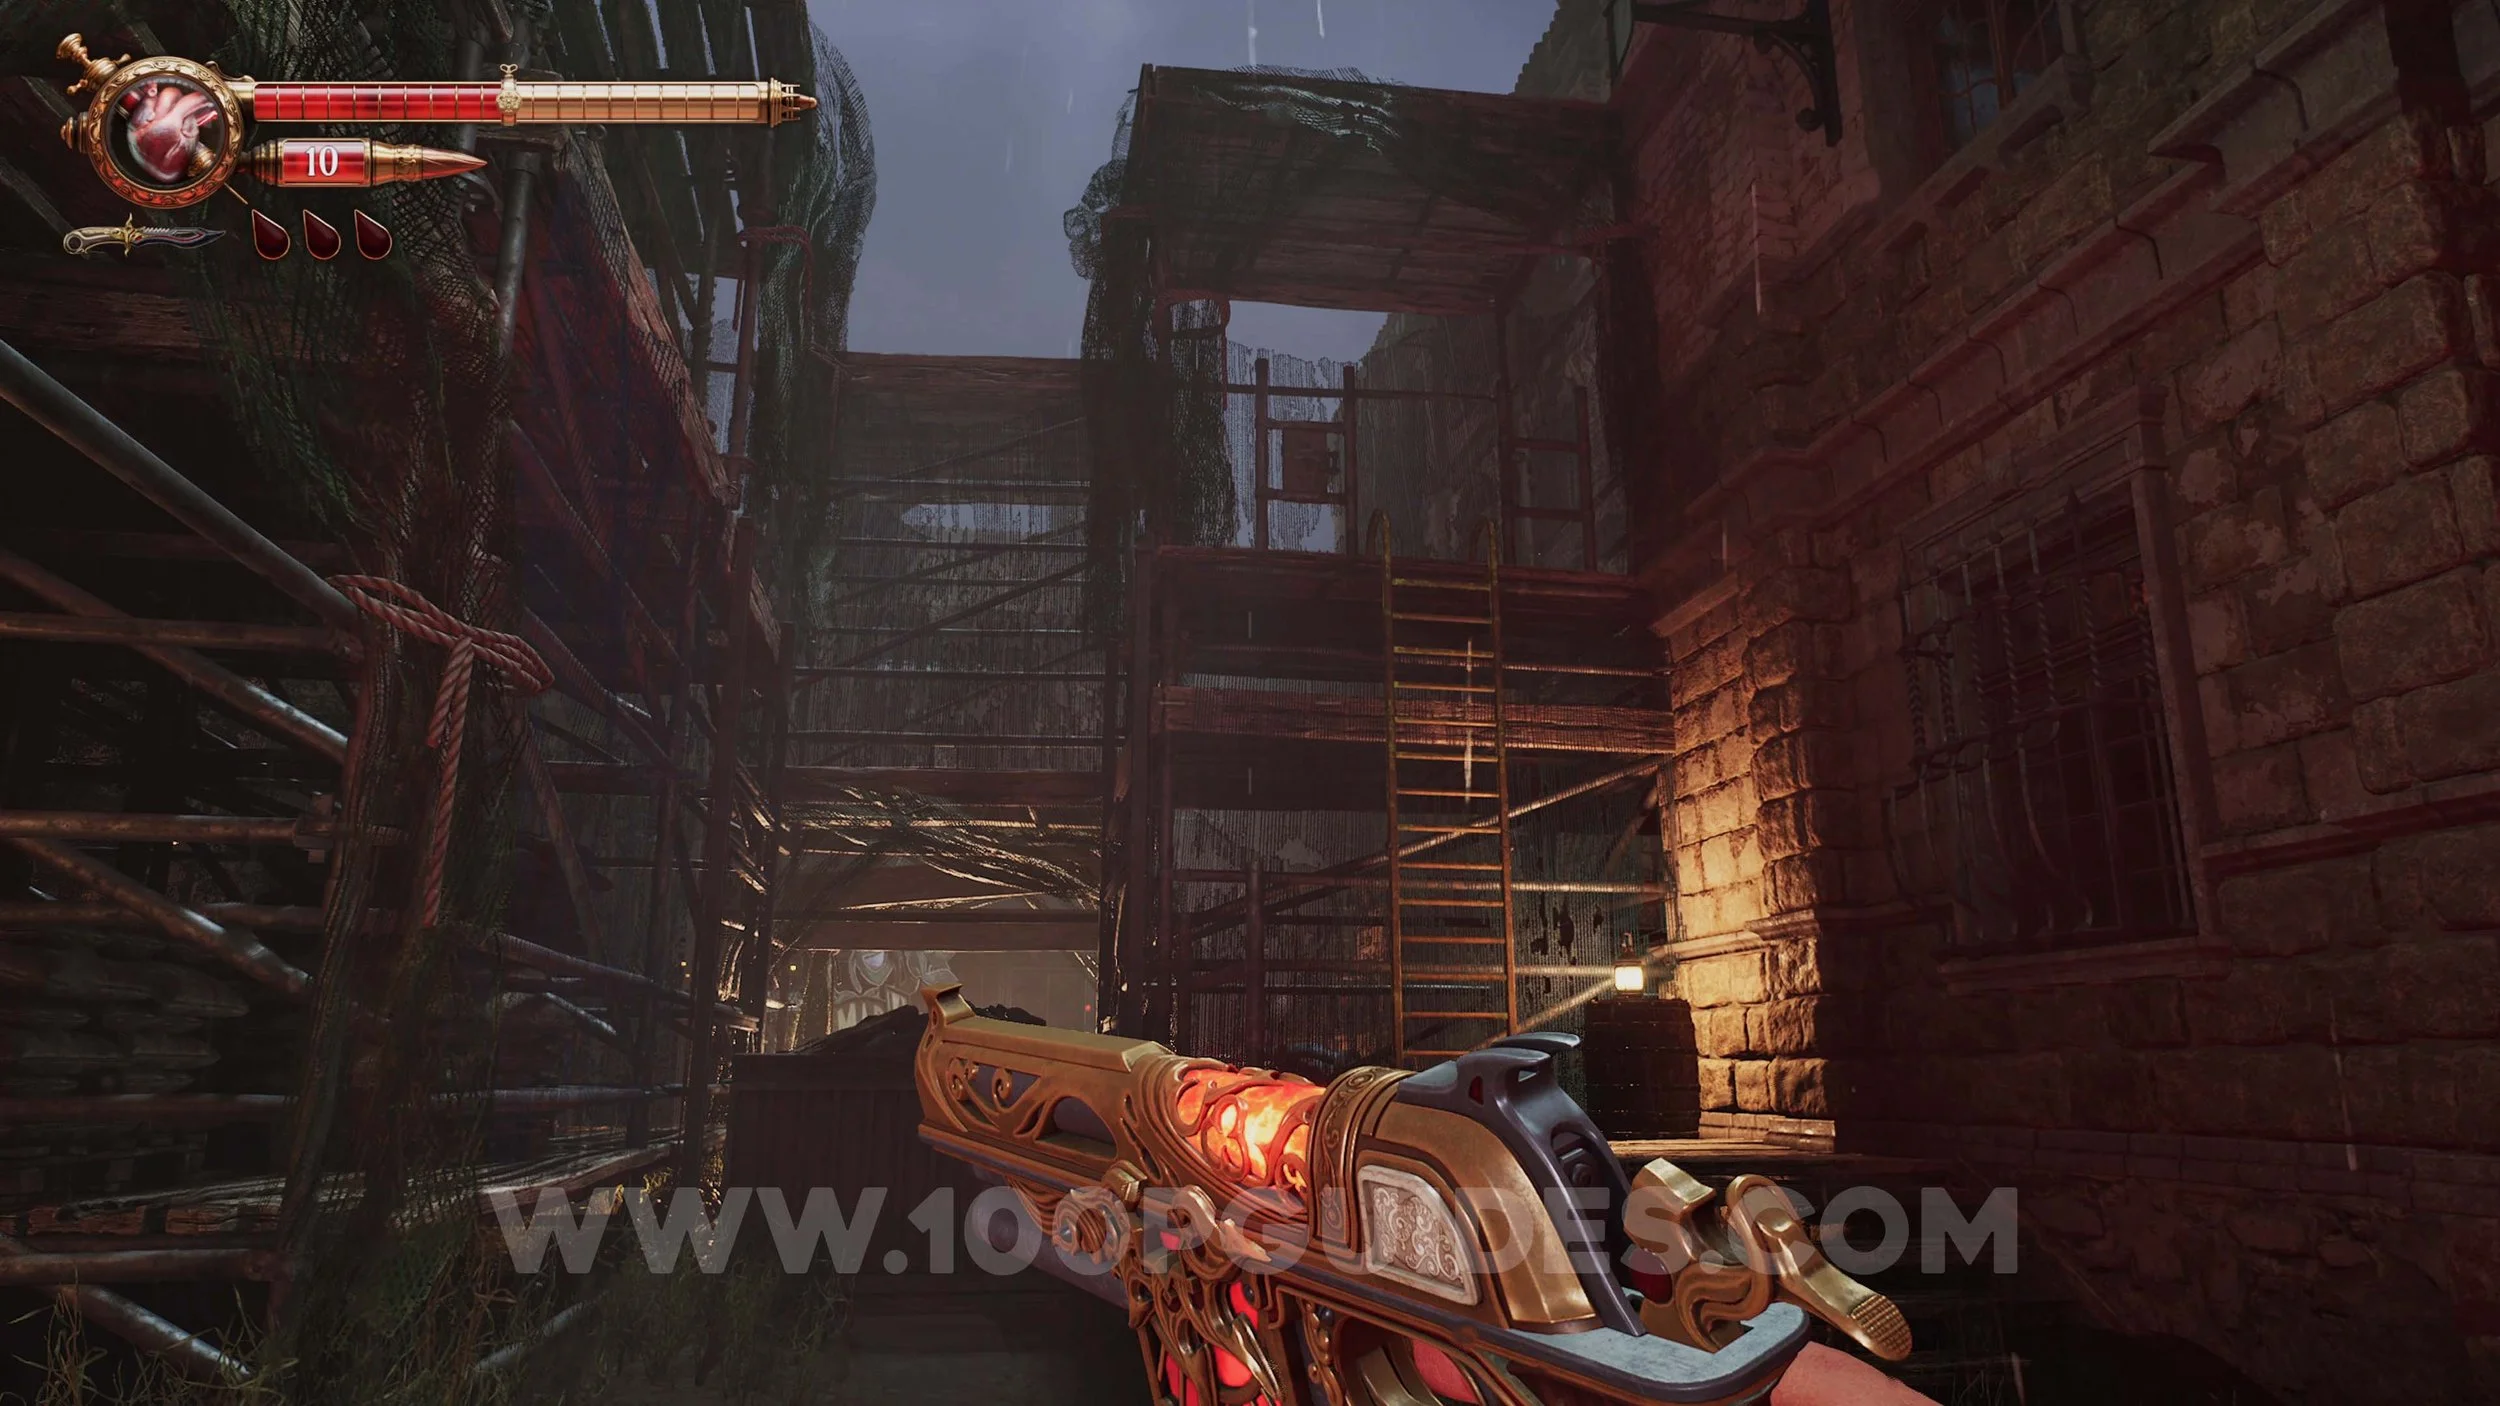
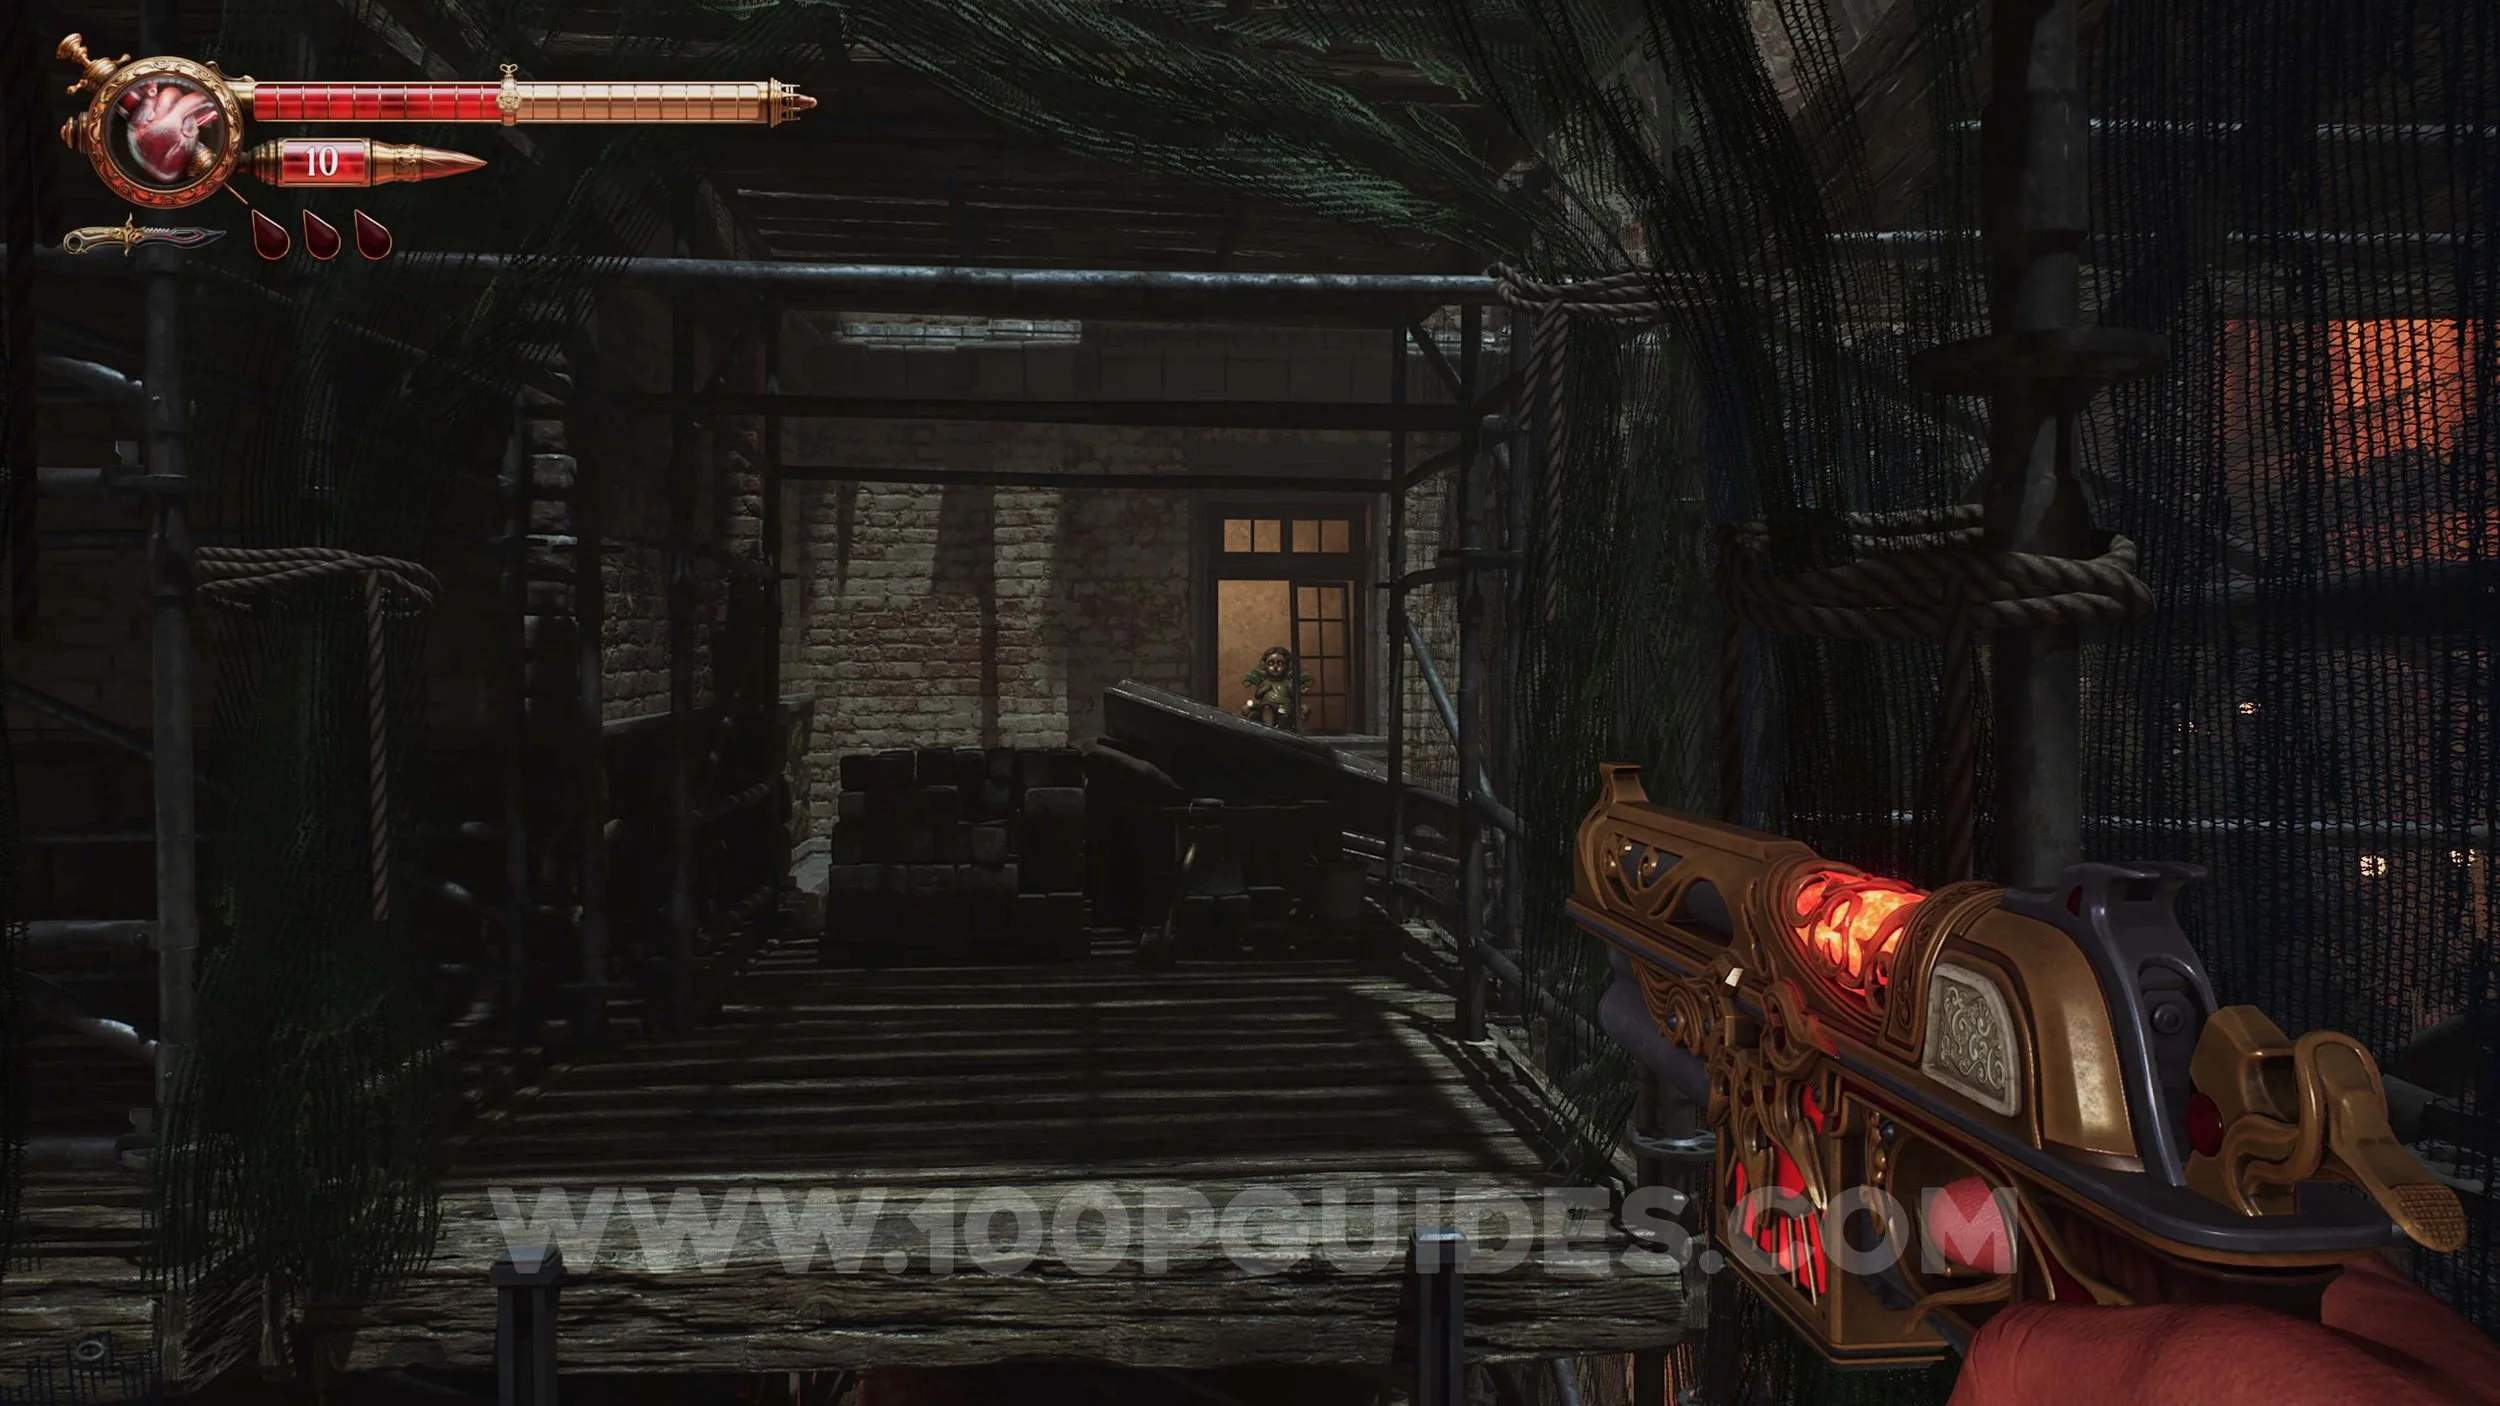
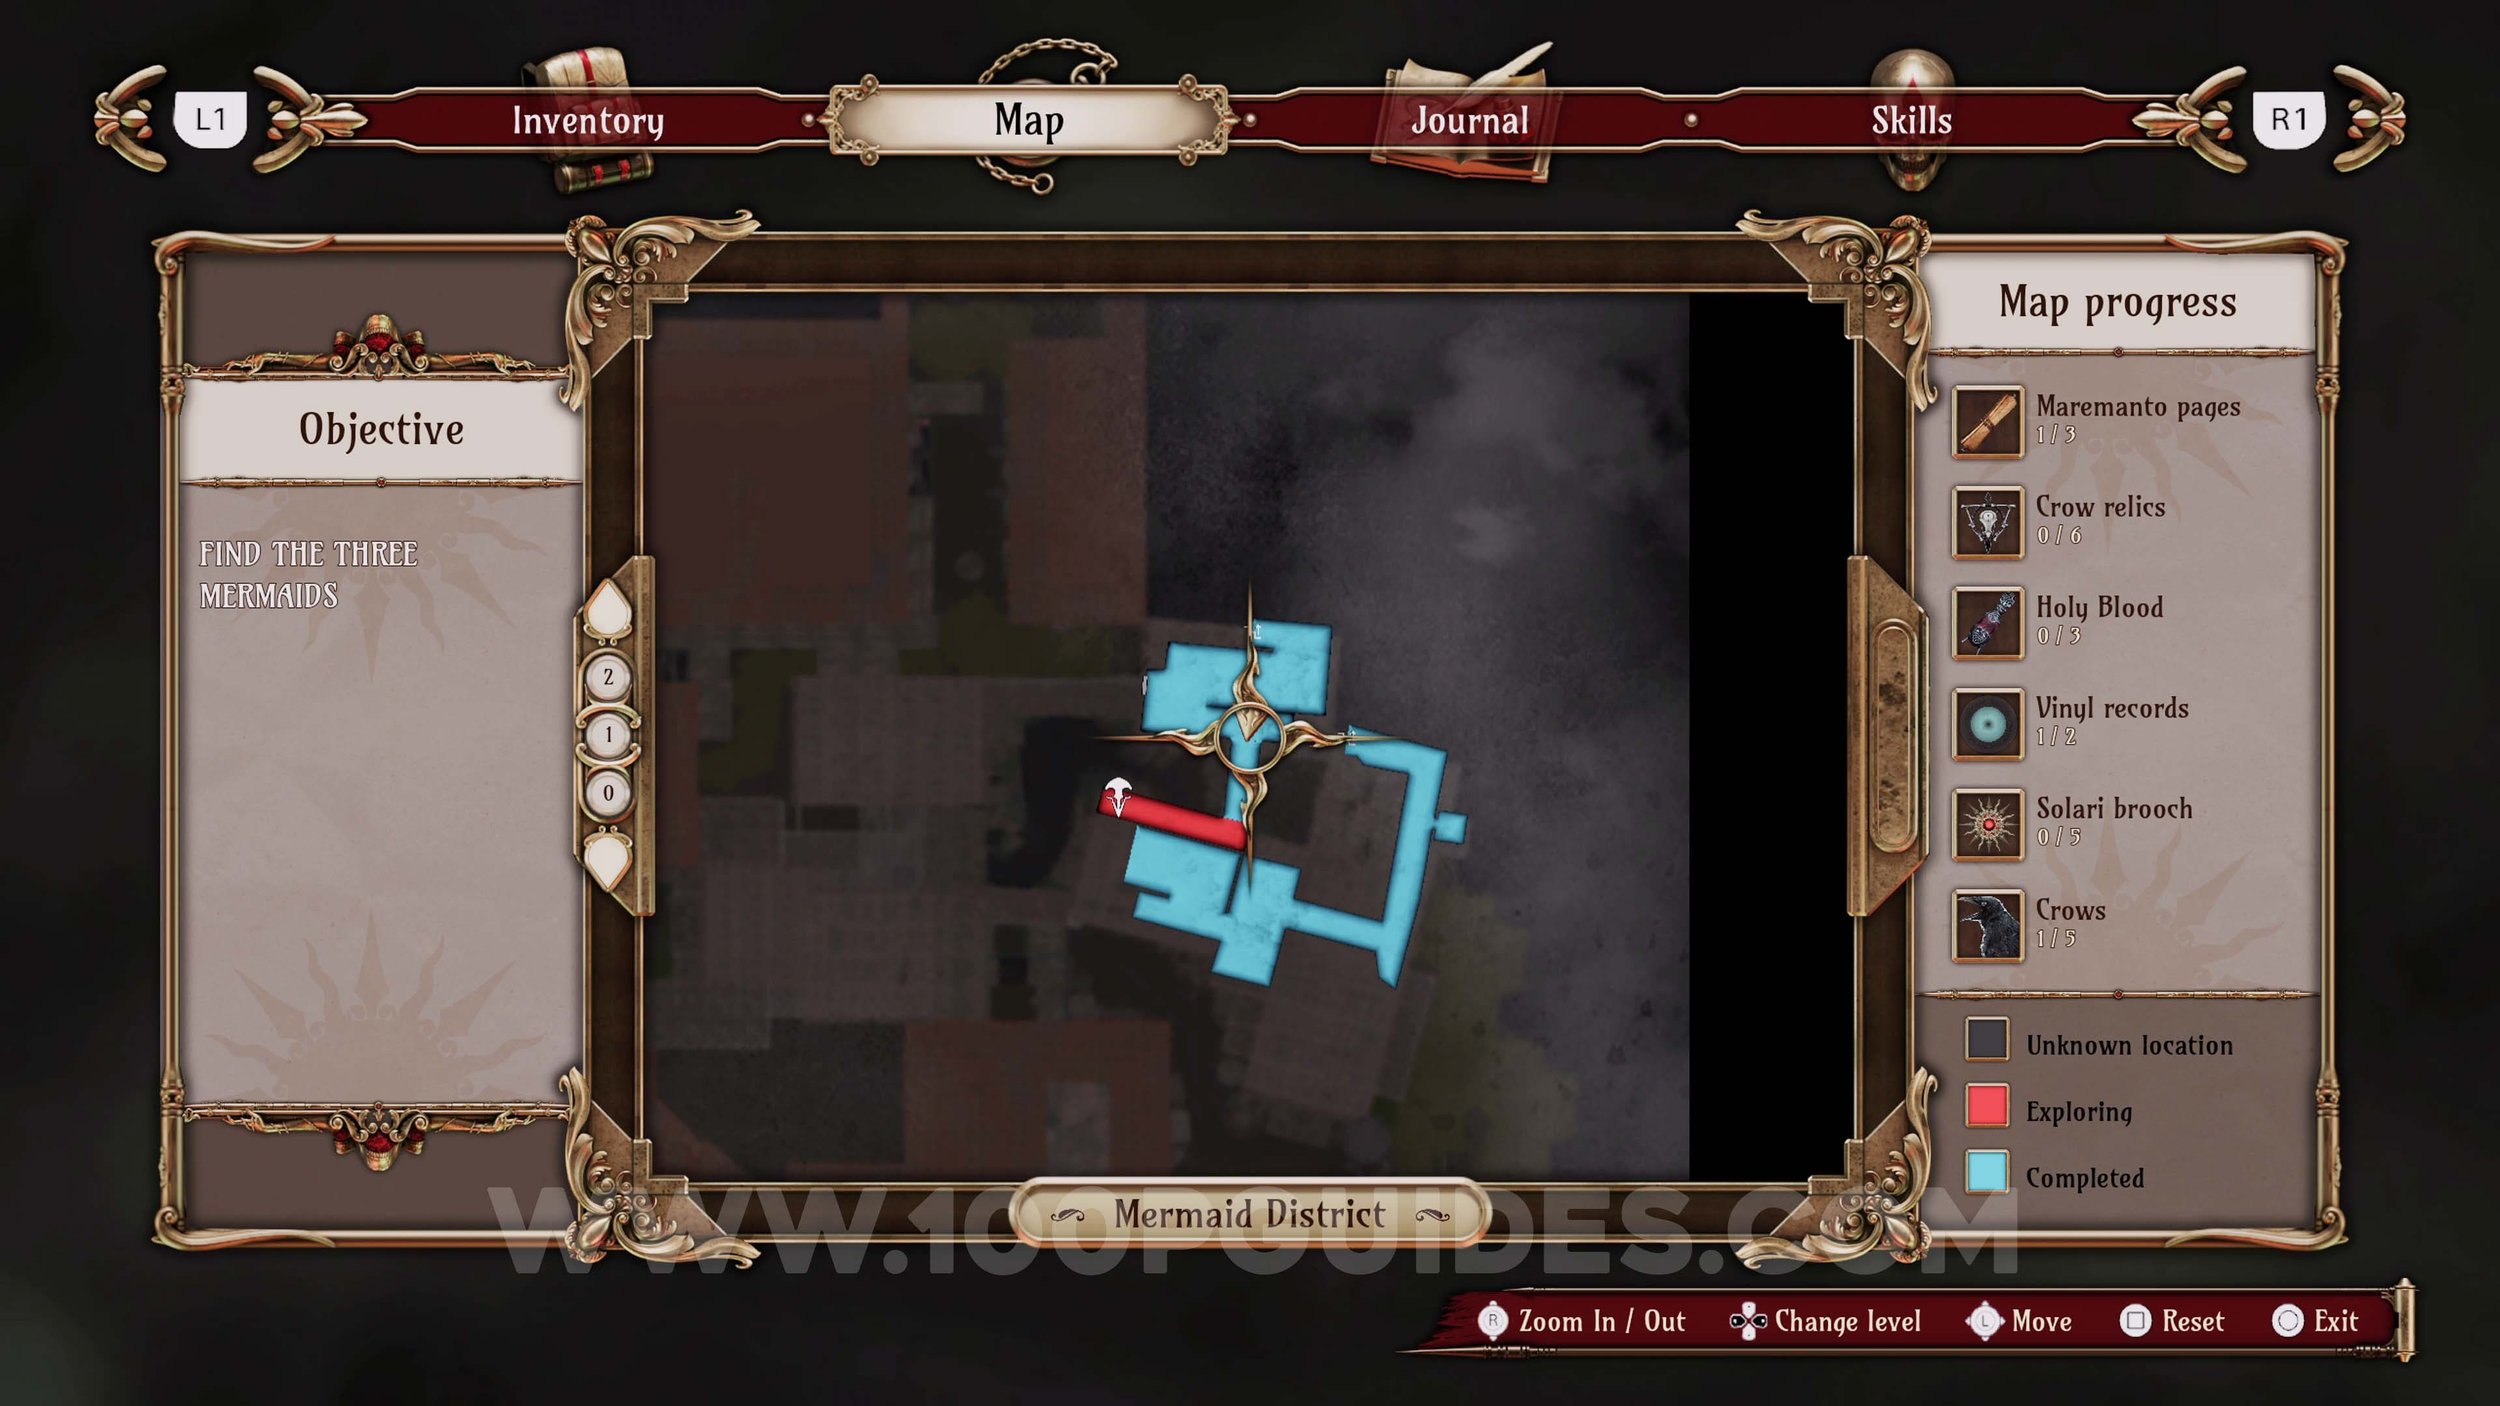
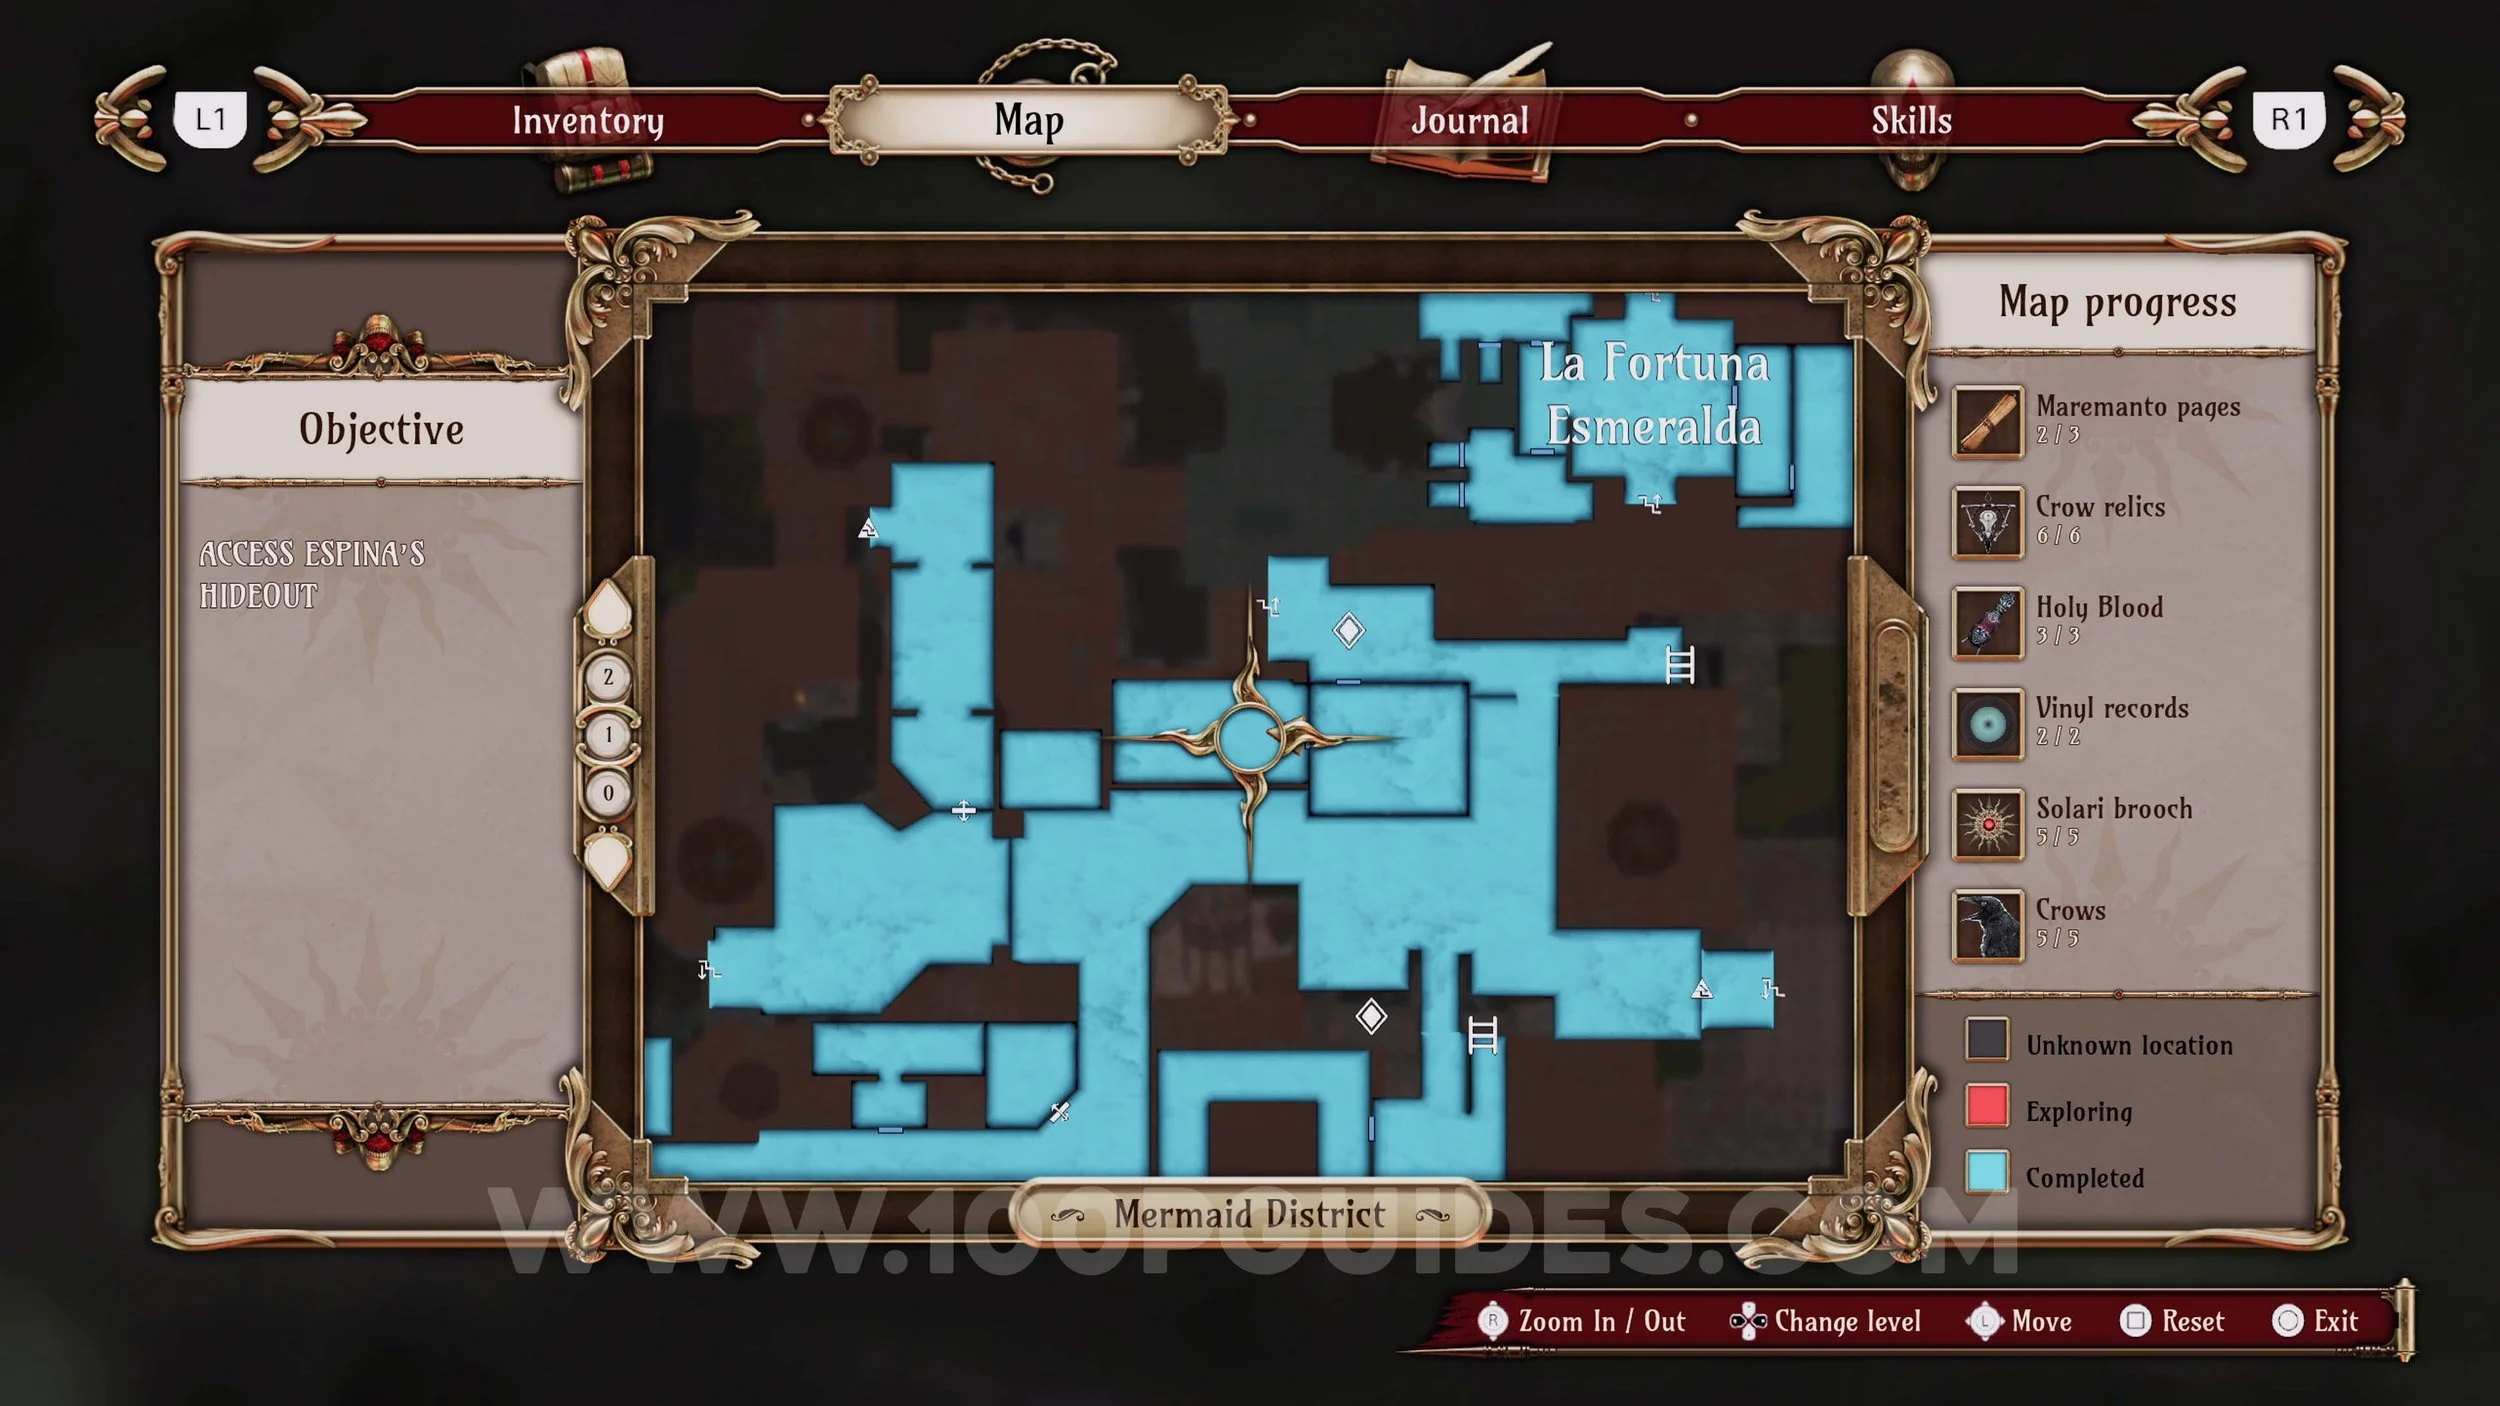
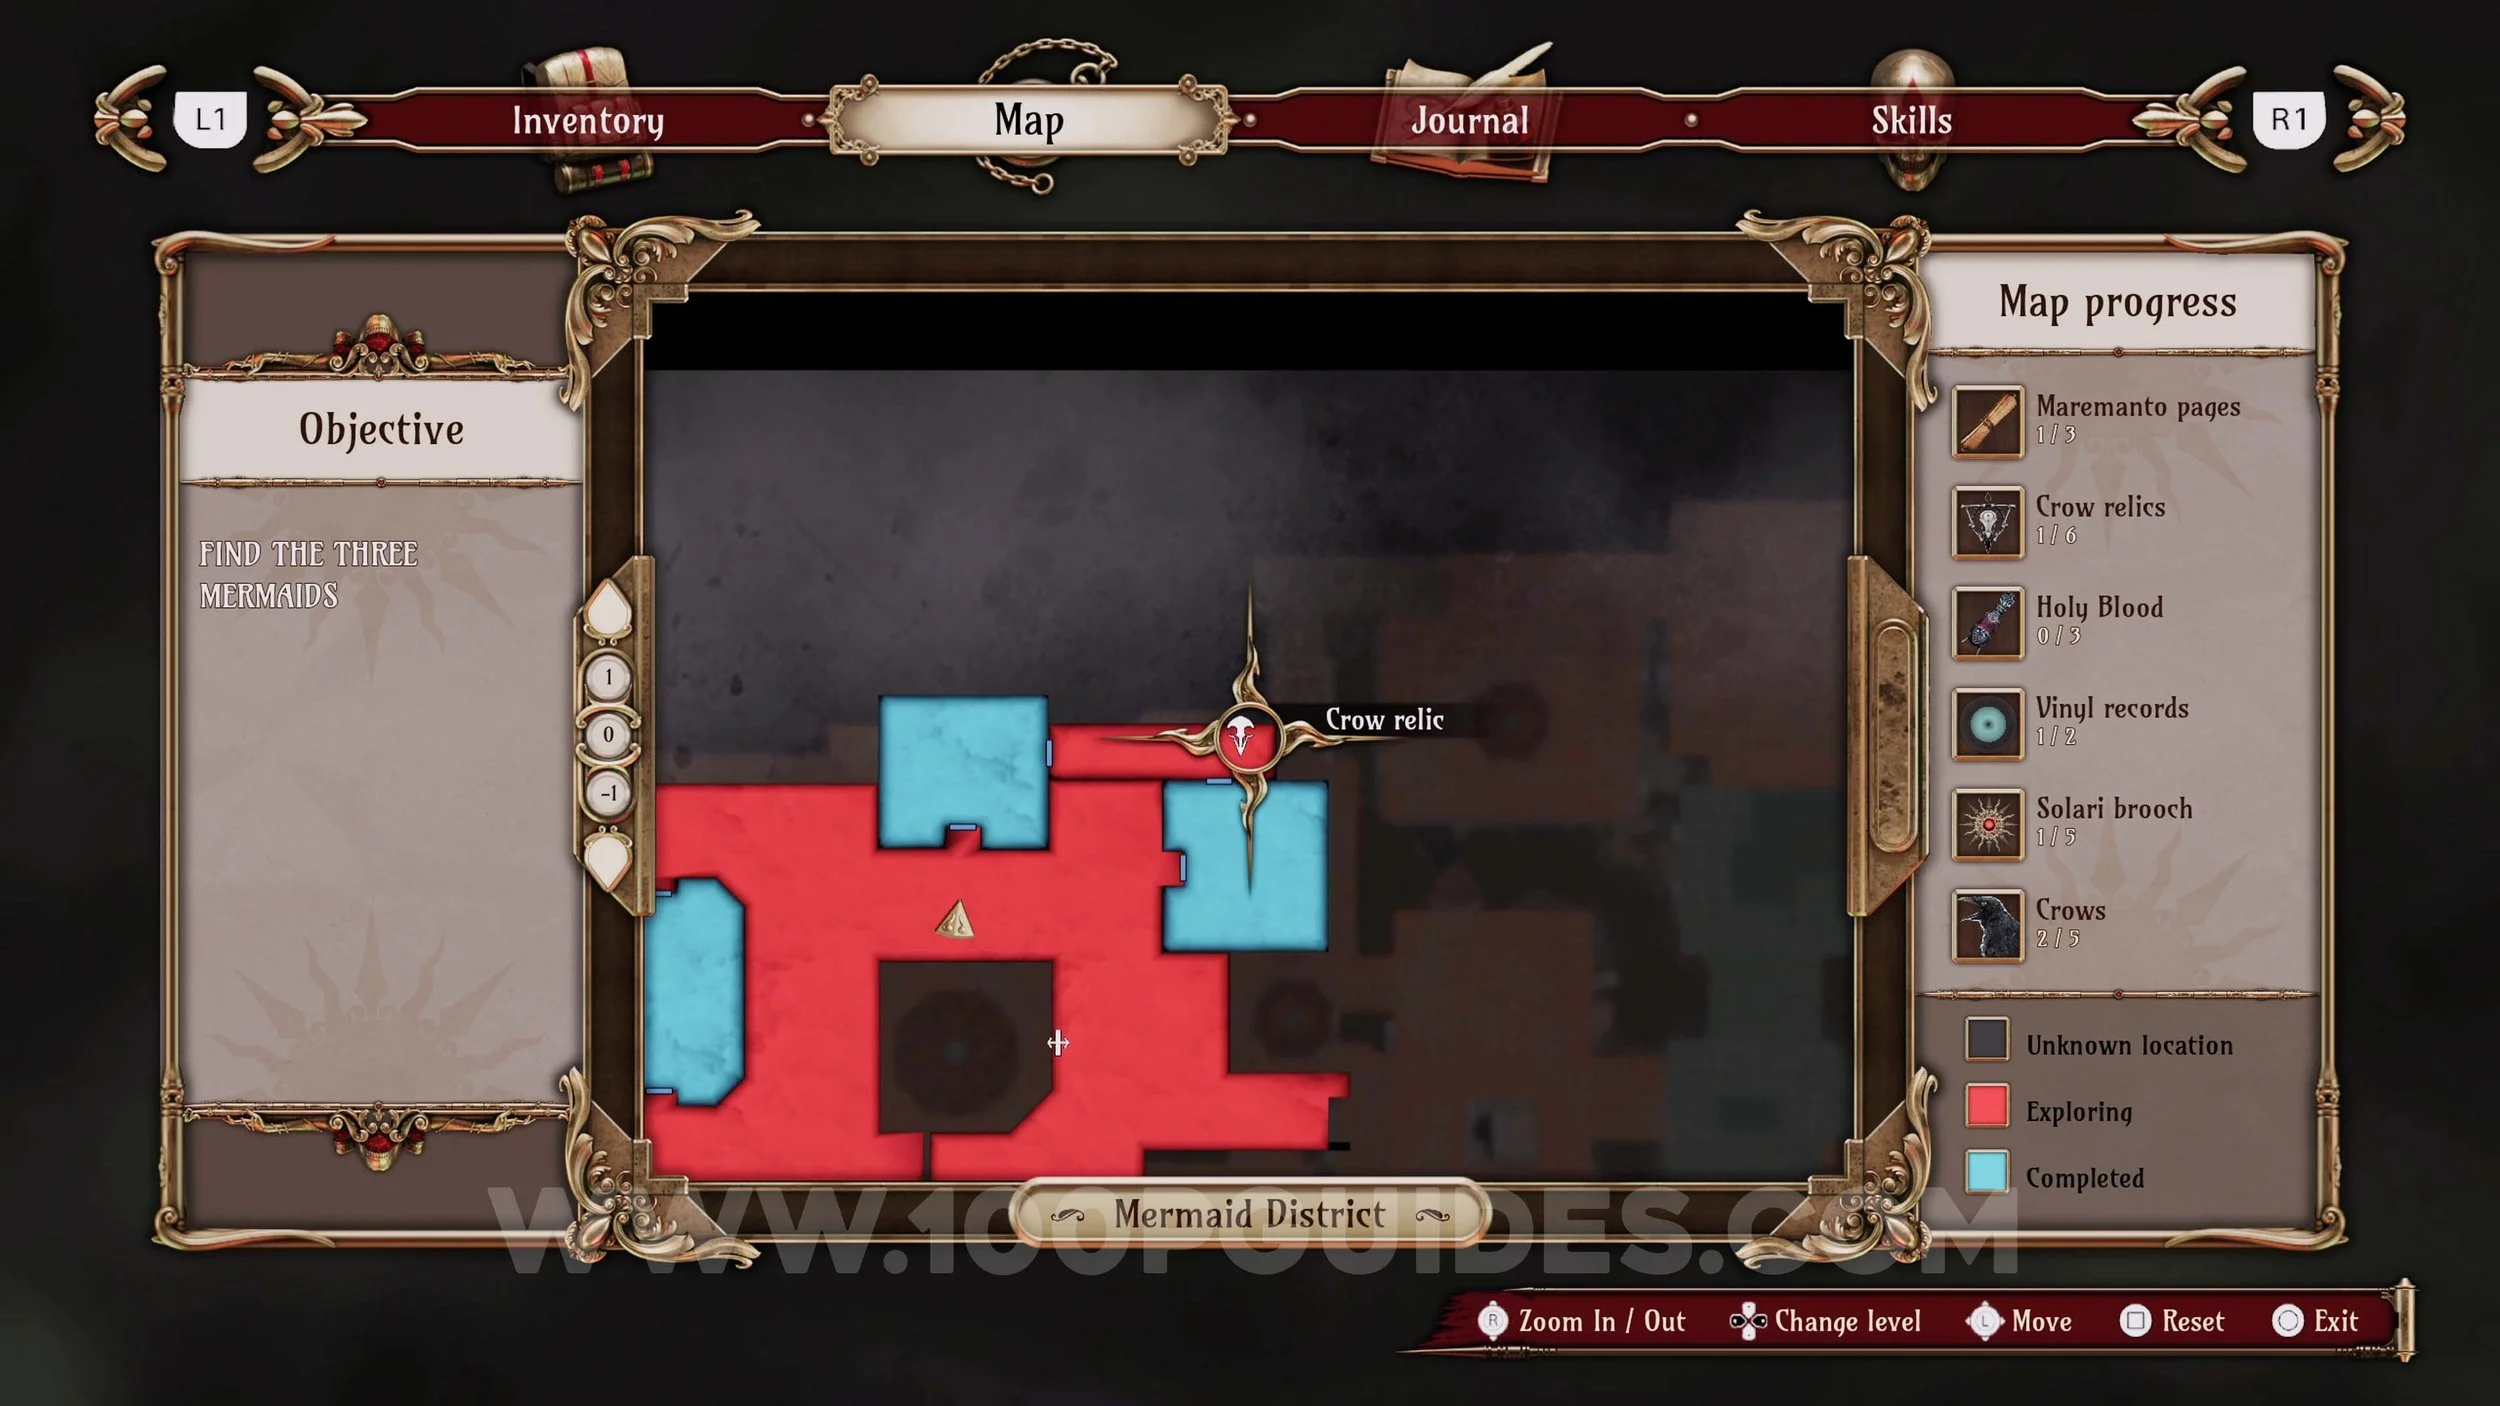
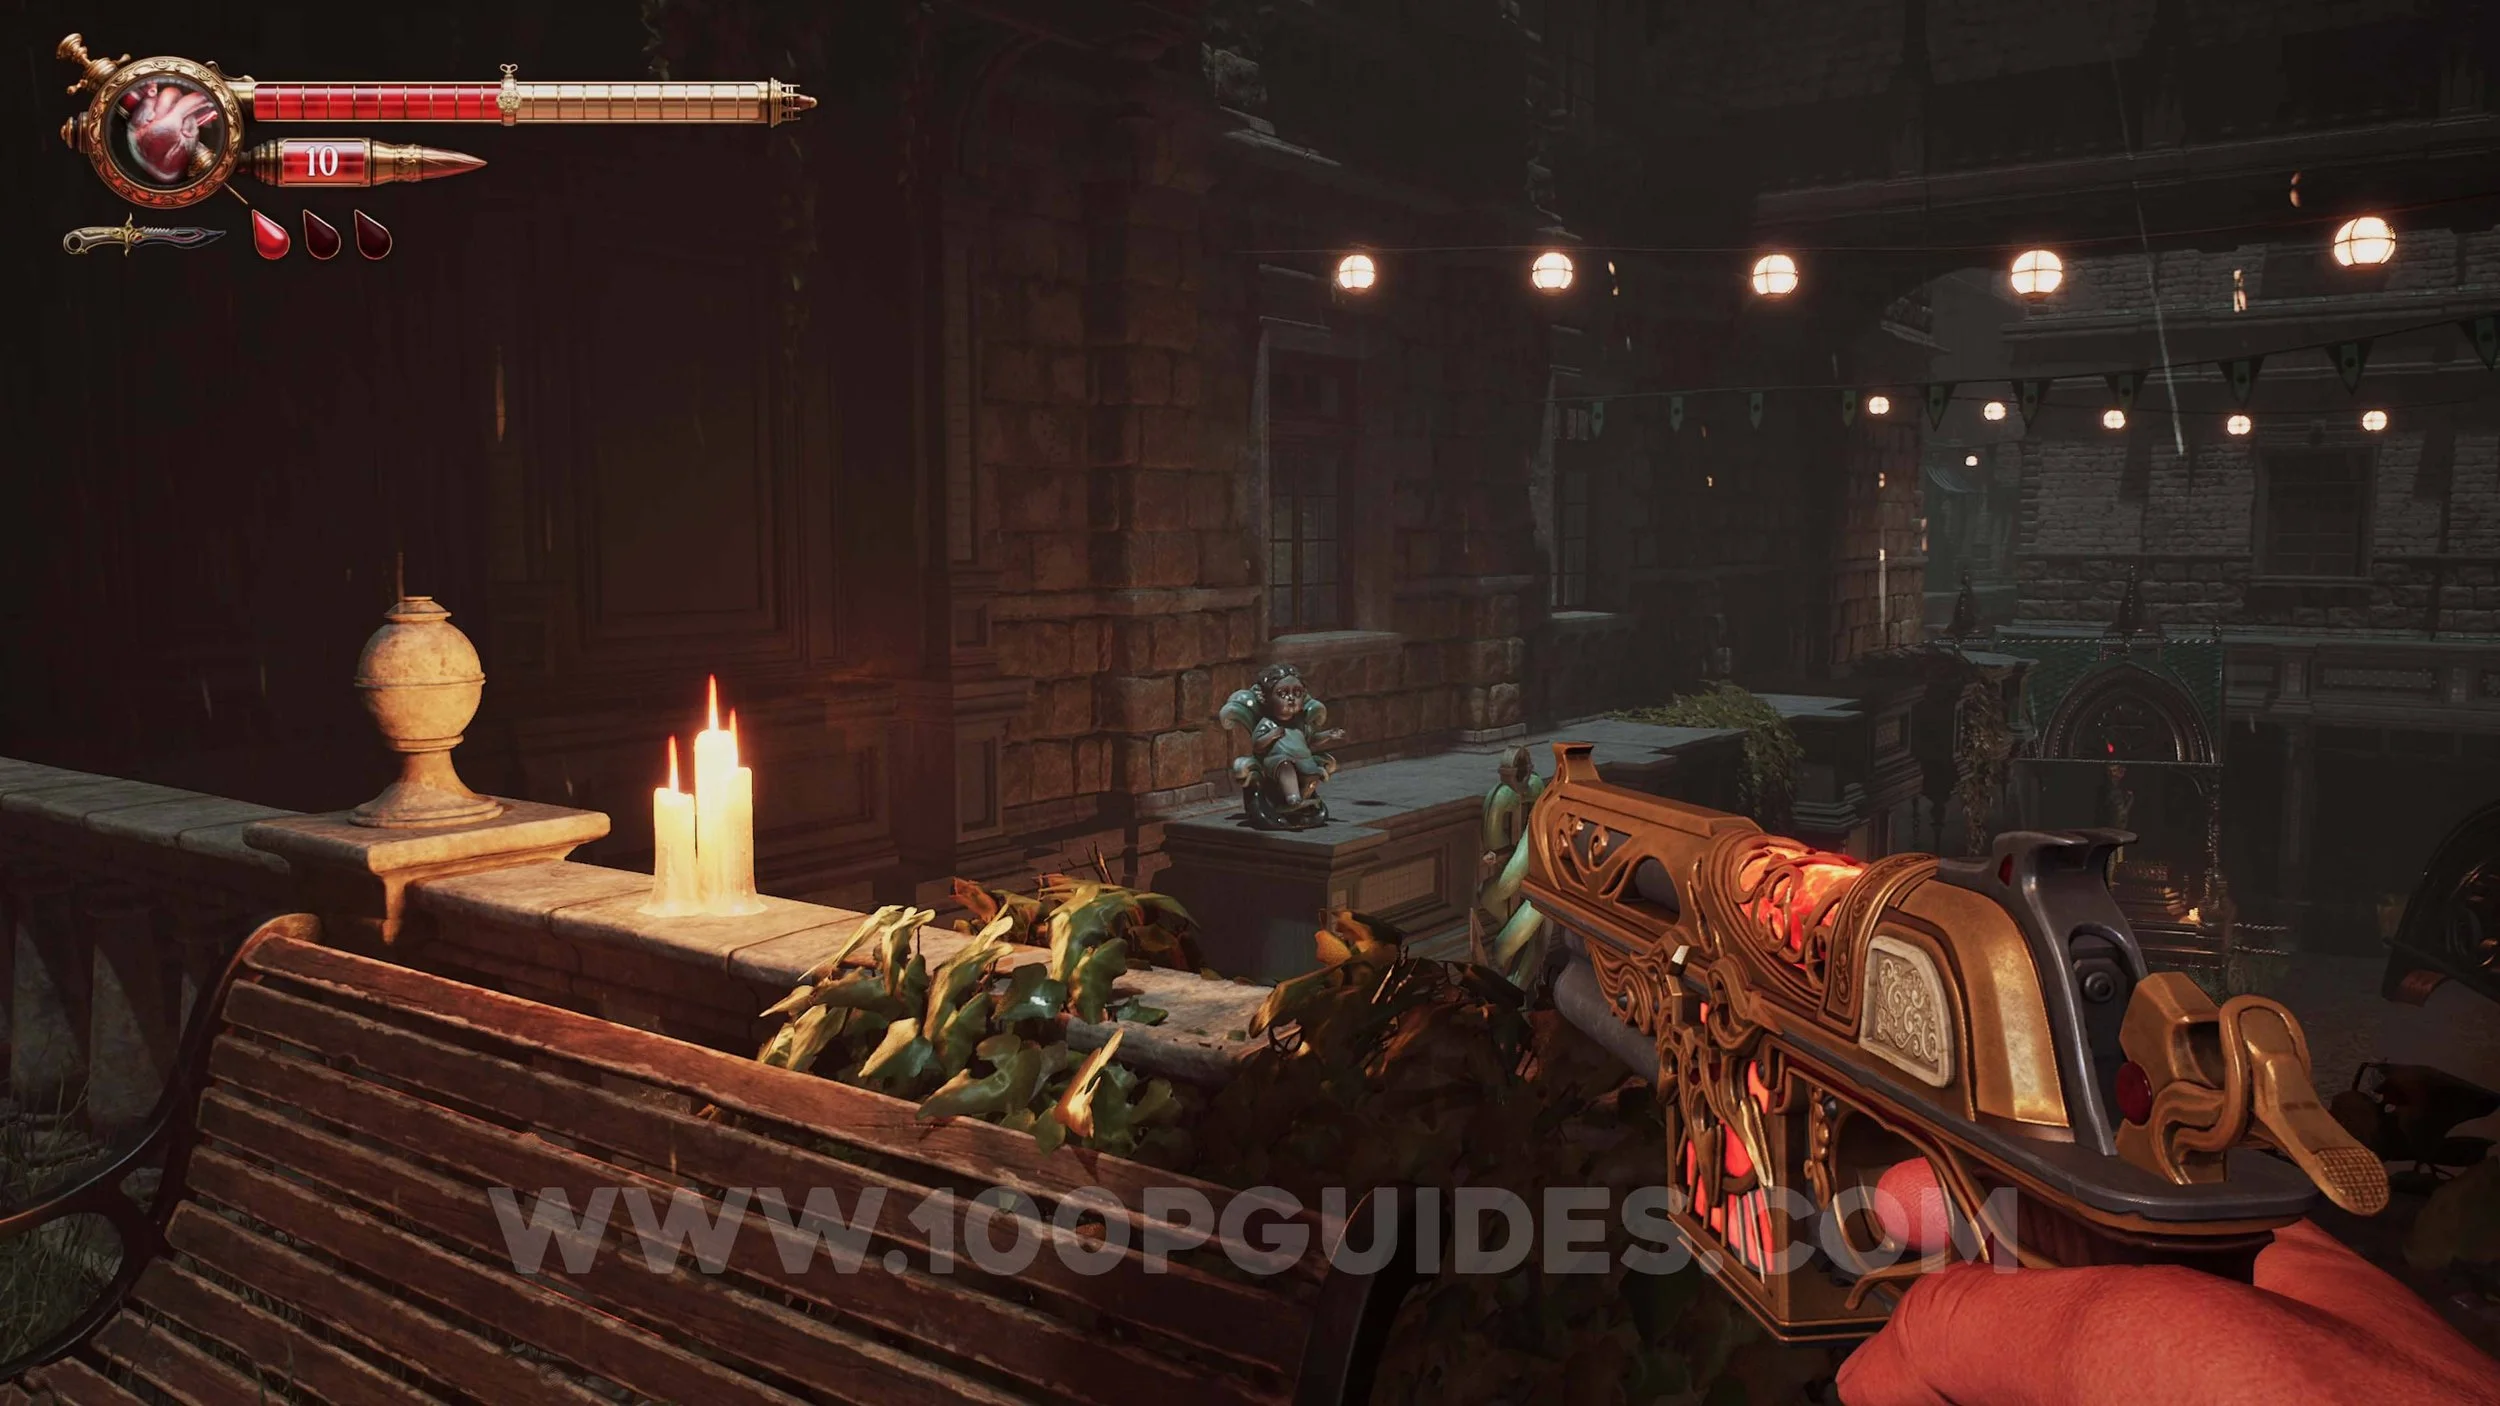
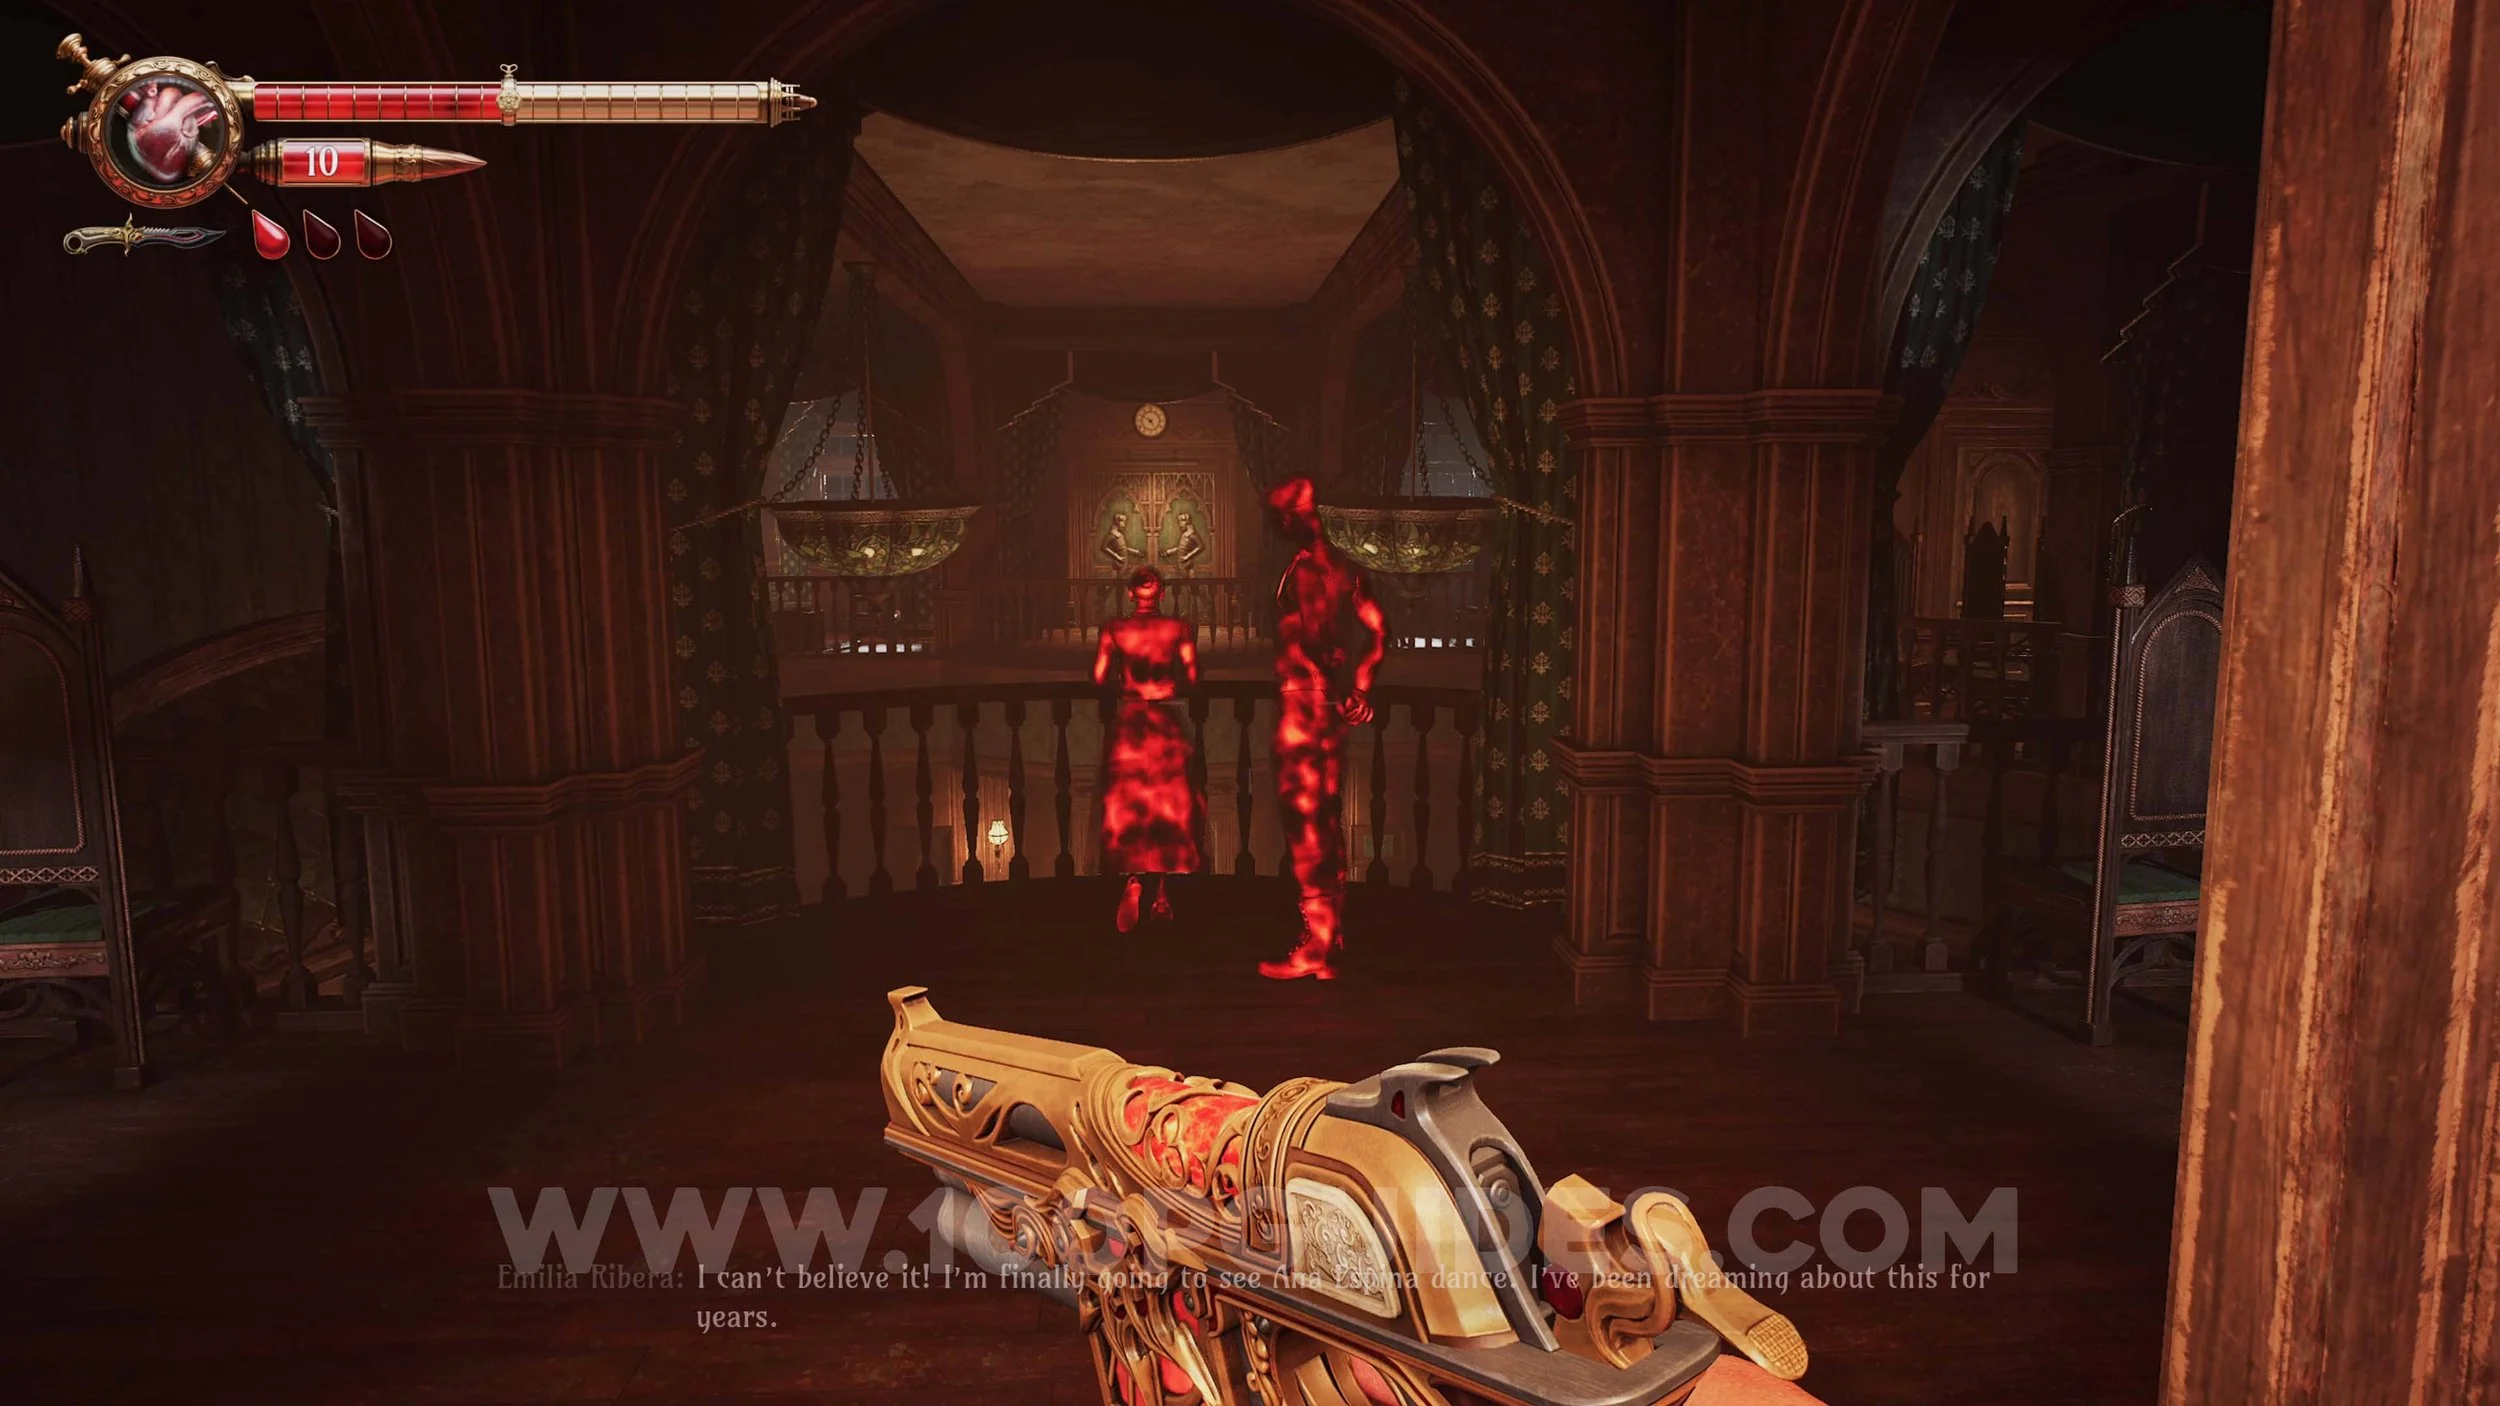
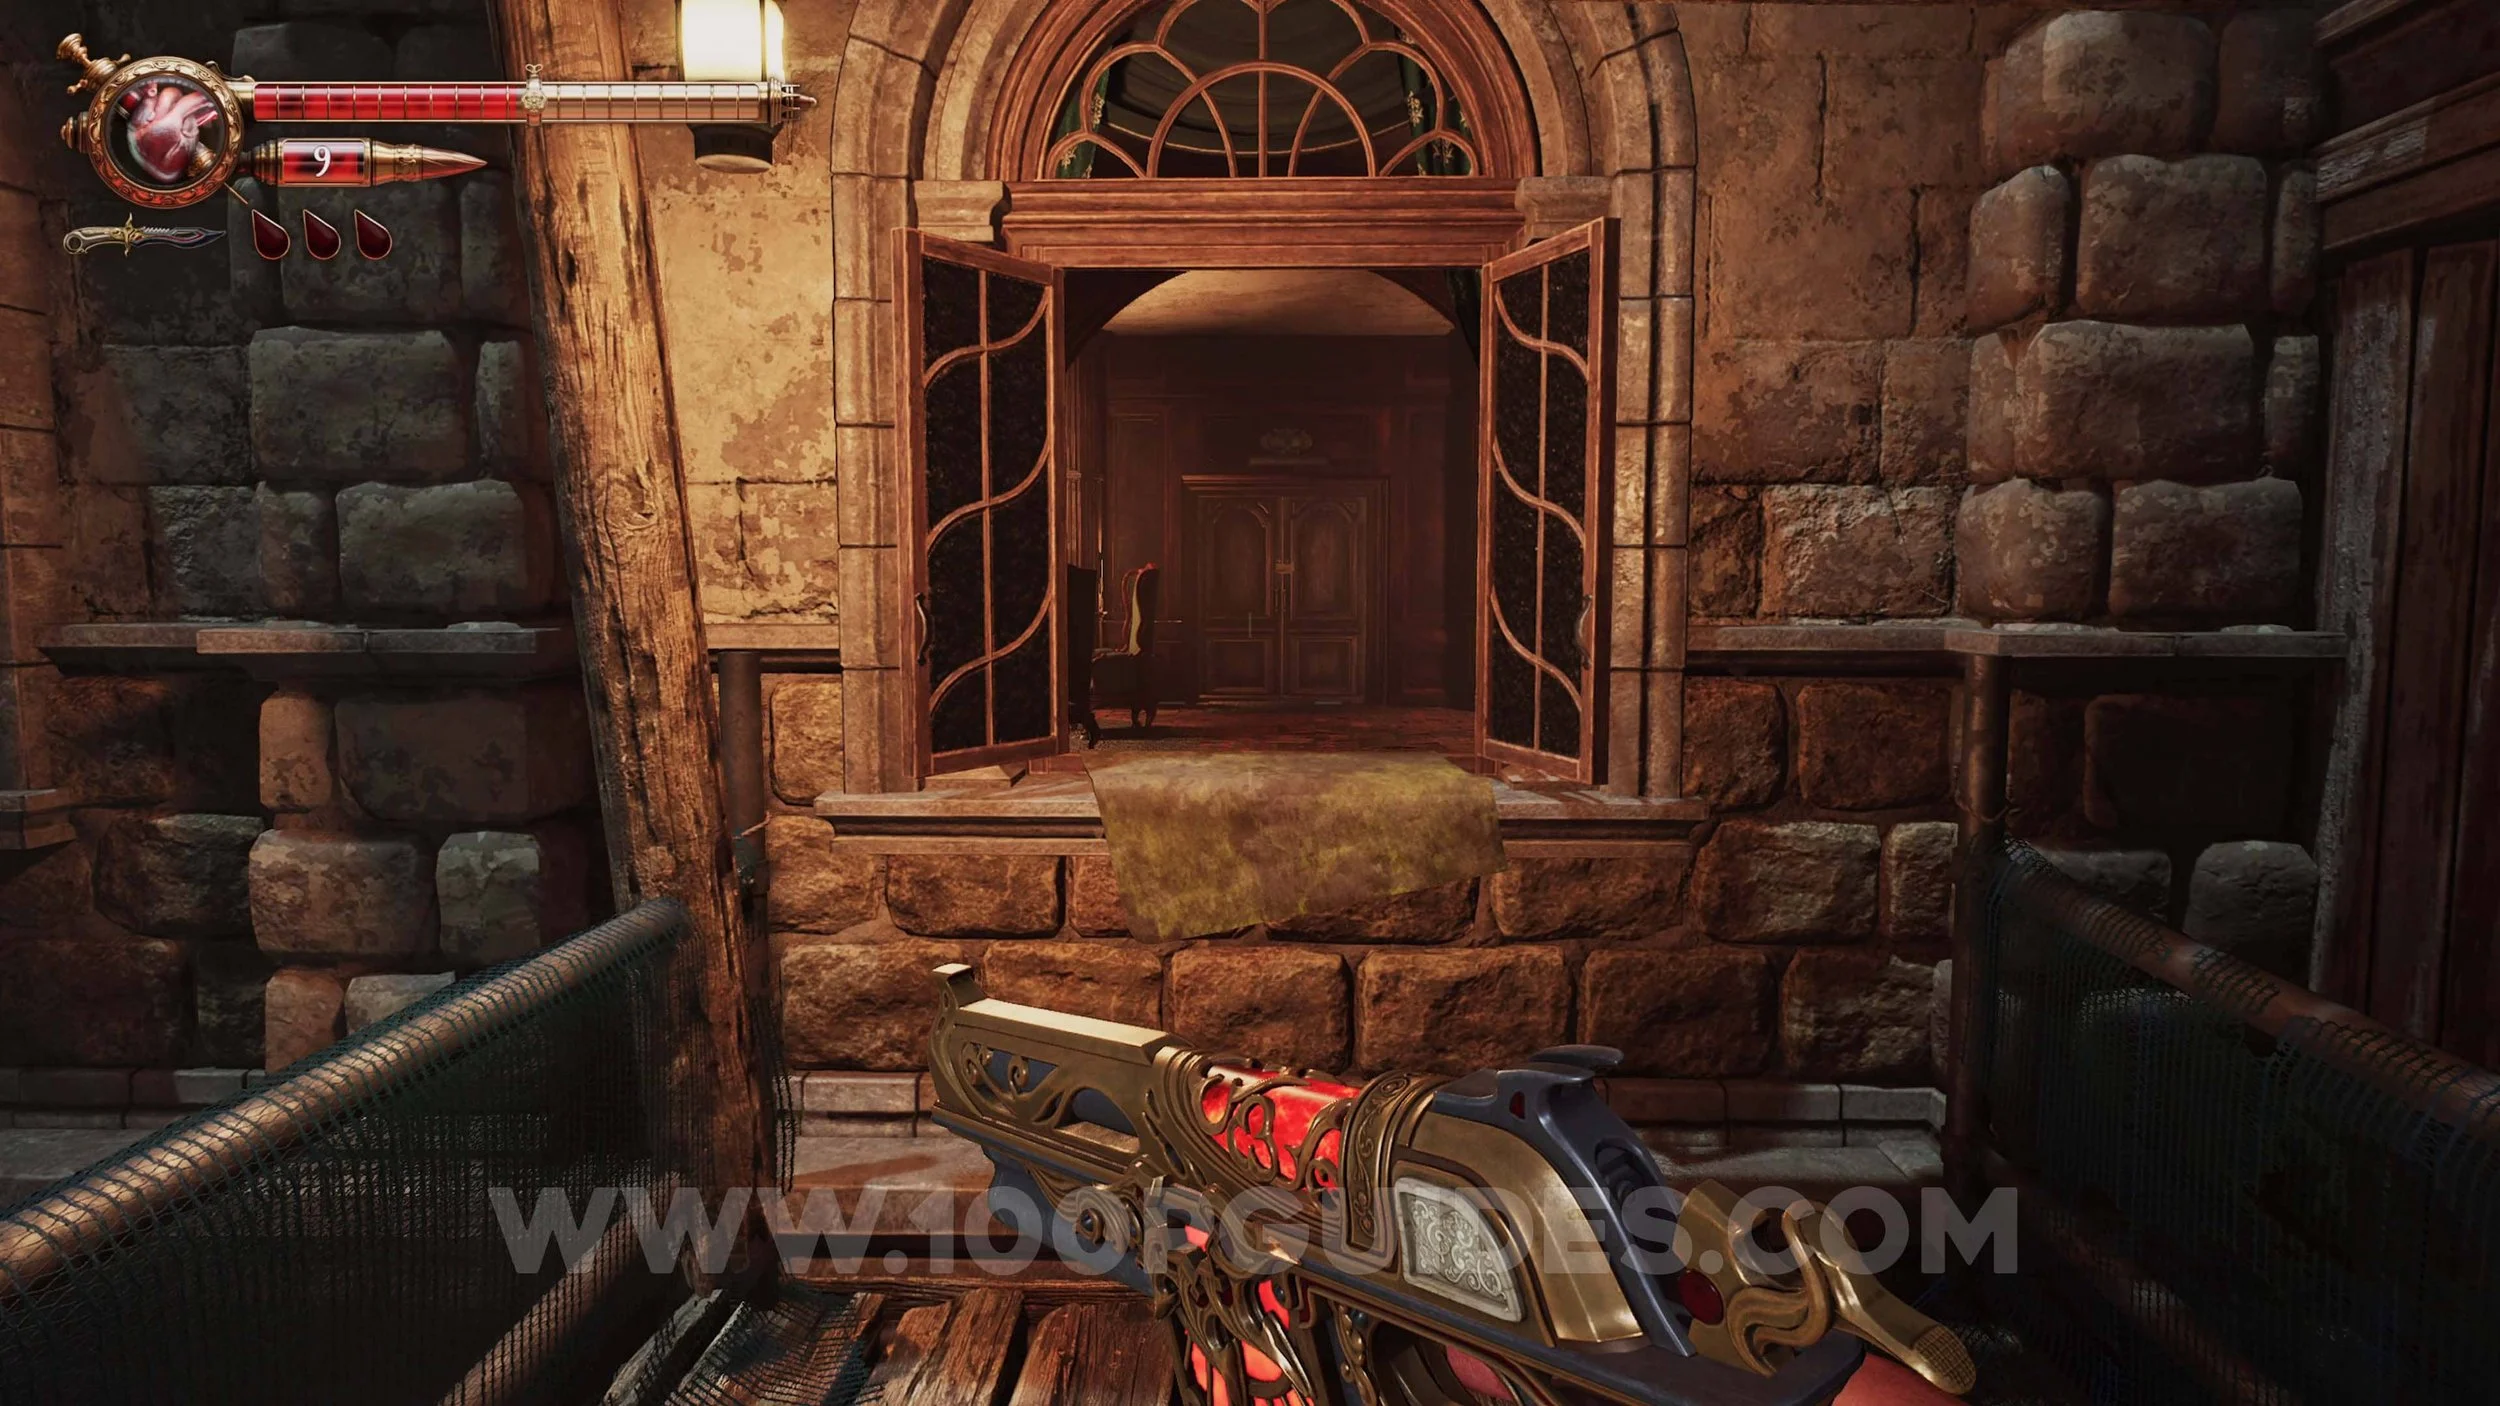
Ulises Idol #10. After using the second crank to escape through a gate to escape from Dolores, you will see the mermaid building in front of you. Here, look right to find the doll.
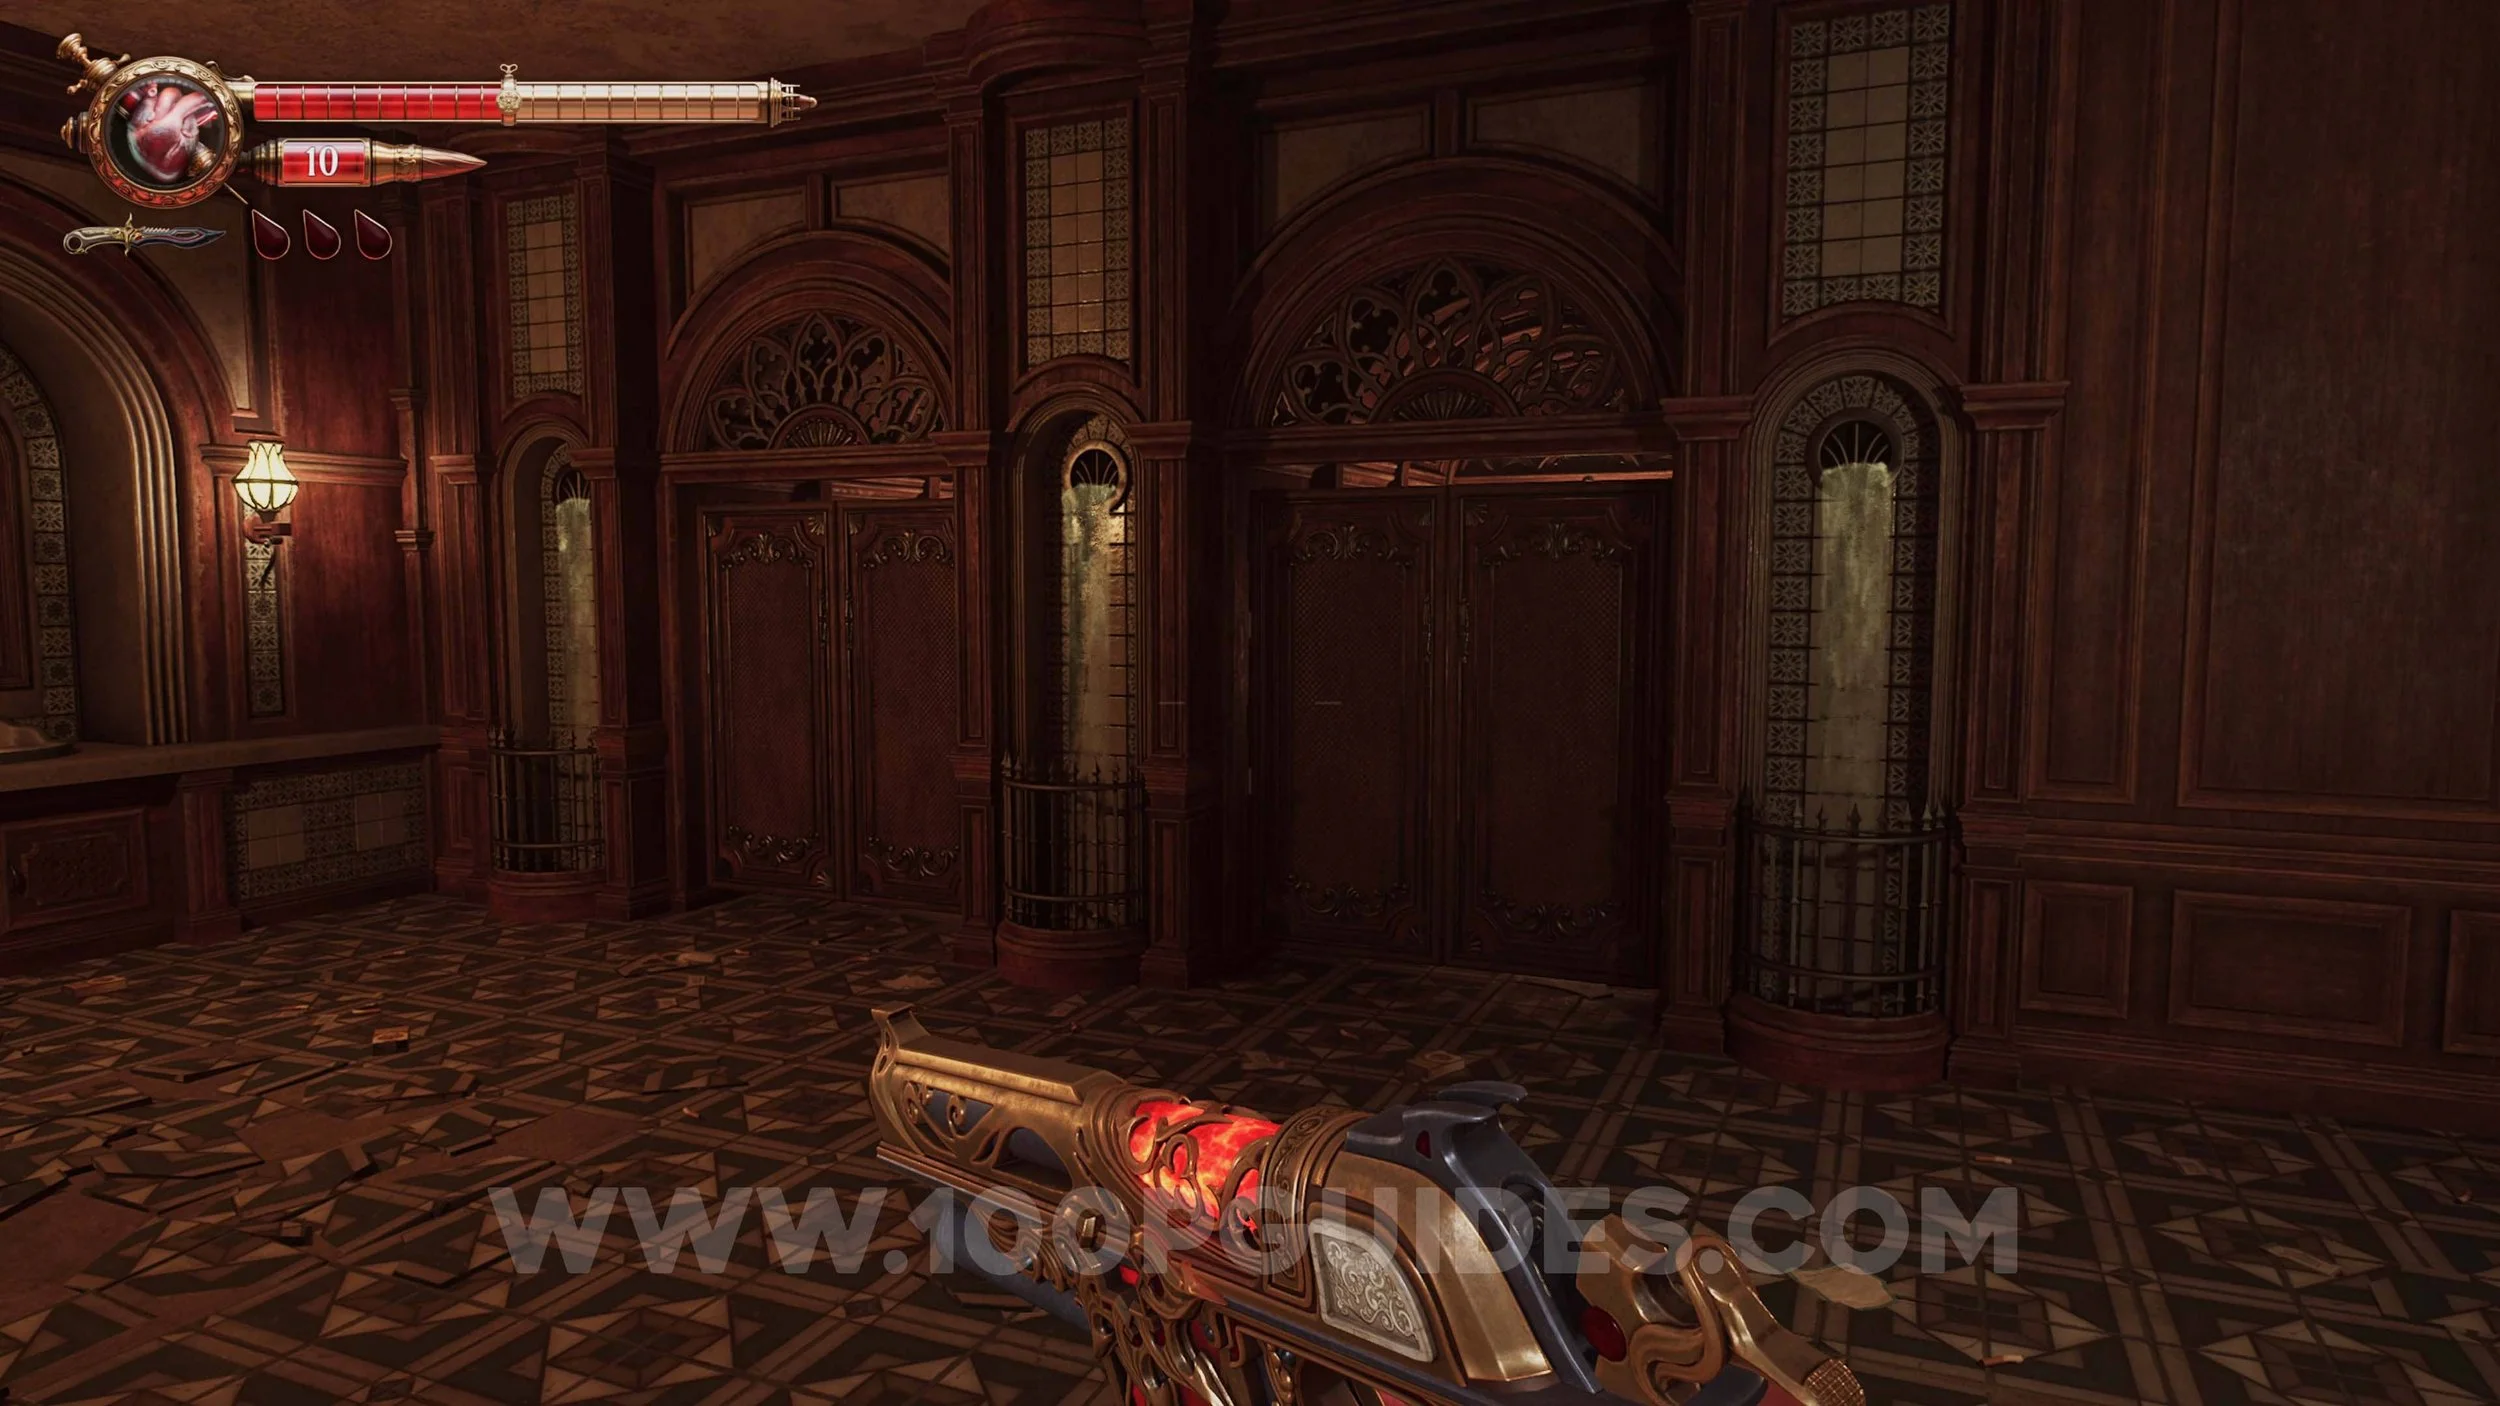
Crow Relic #3. In the Mermaid building, set the clock to 5:50 to open the lift on the right side. Ride it up and then go through the door on your left. In the bathroom area, open the cubicle on the right to find the relic.
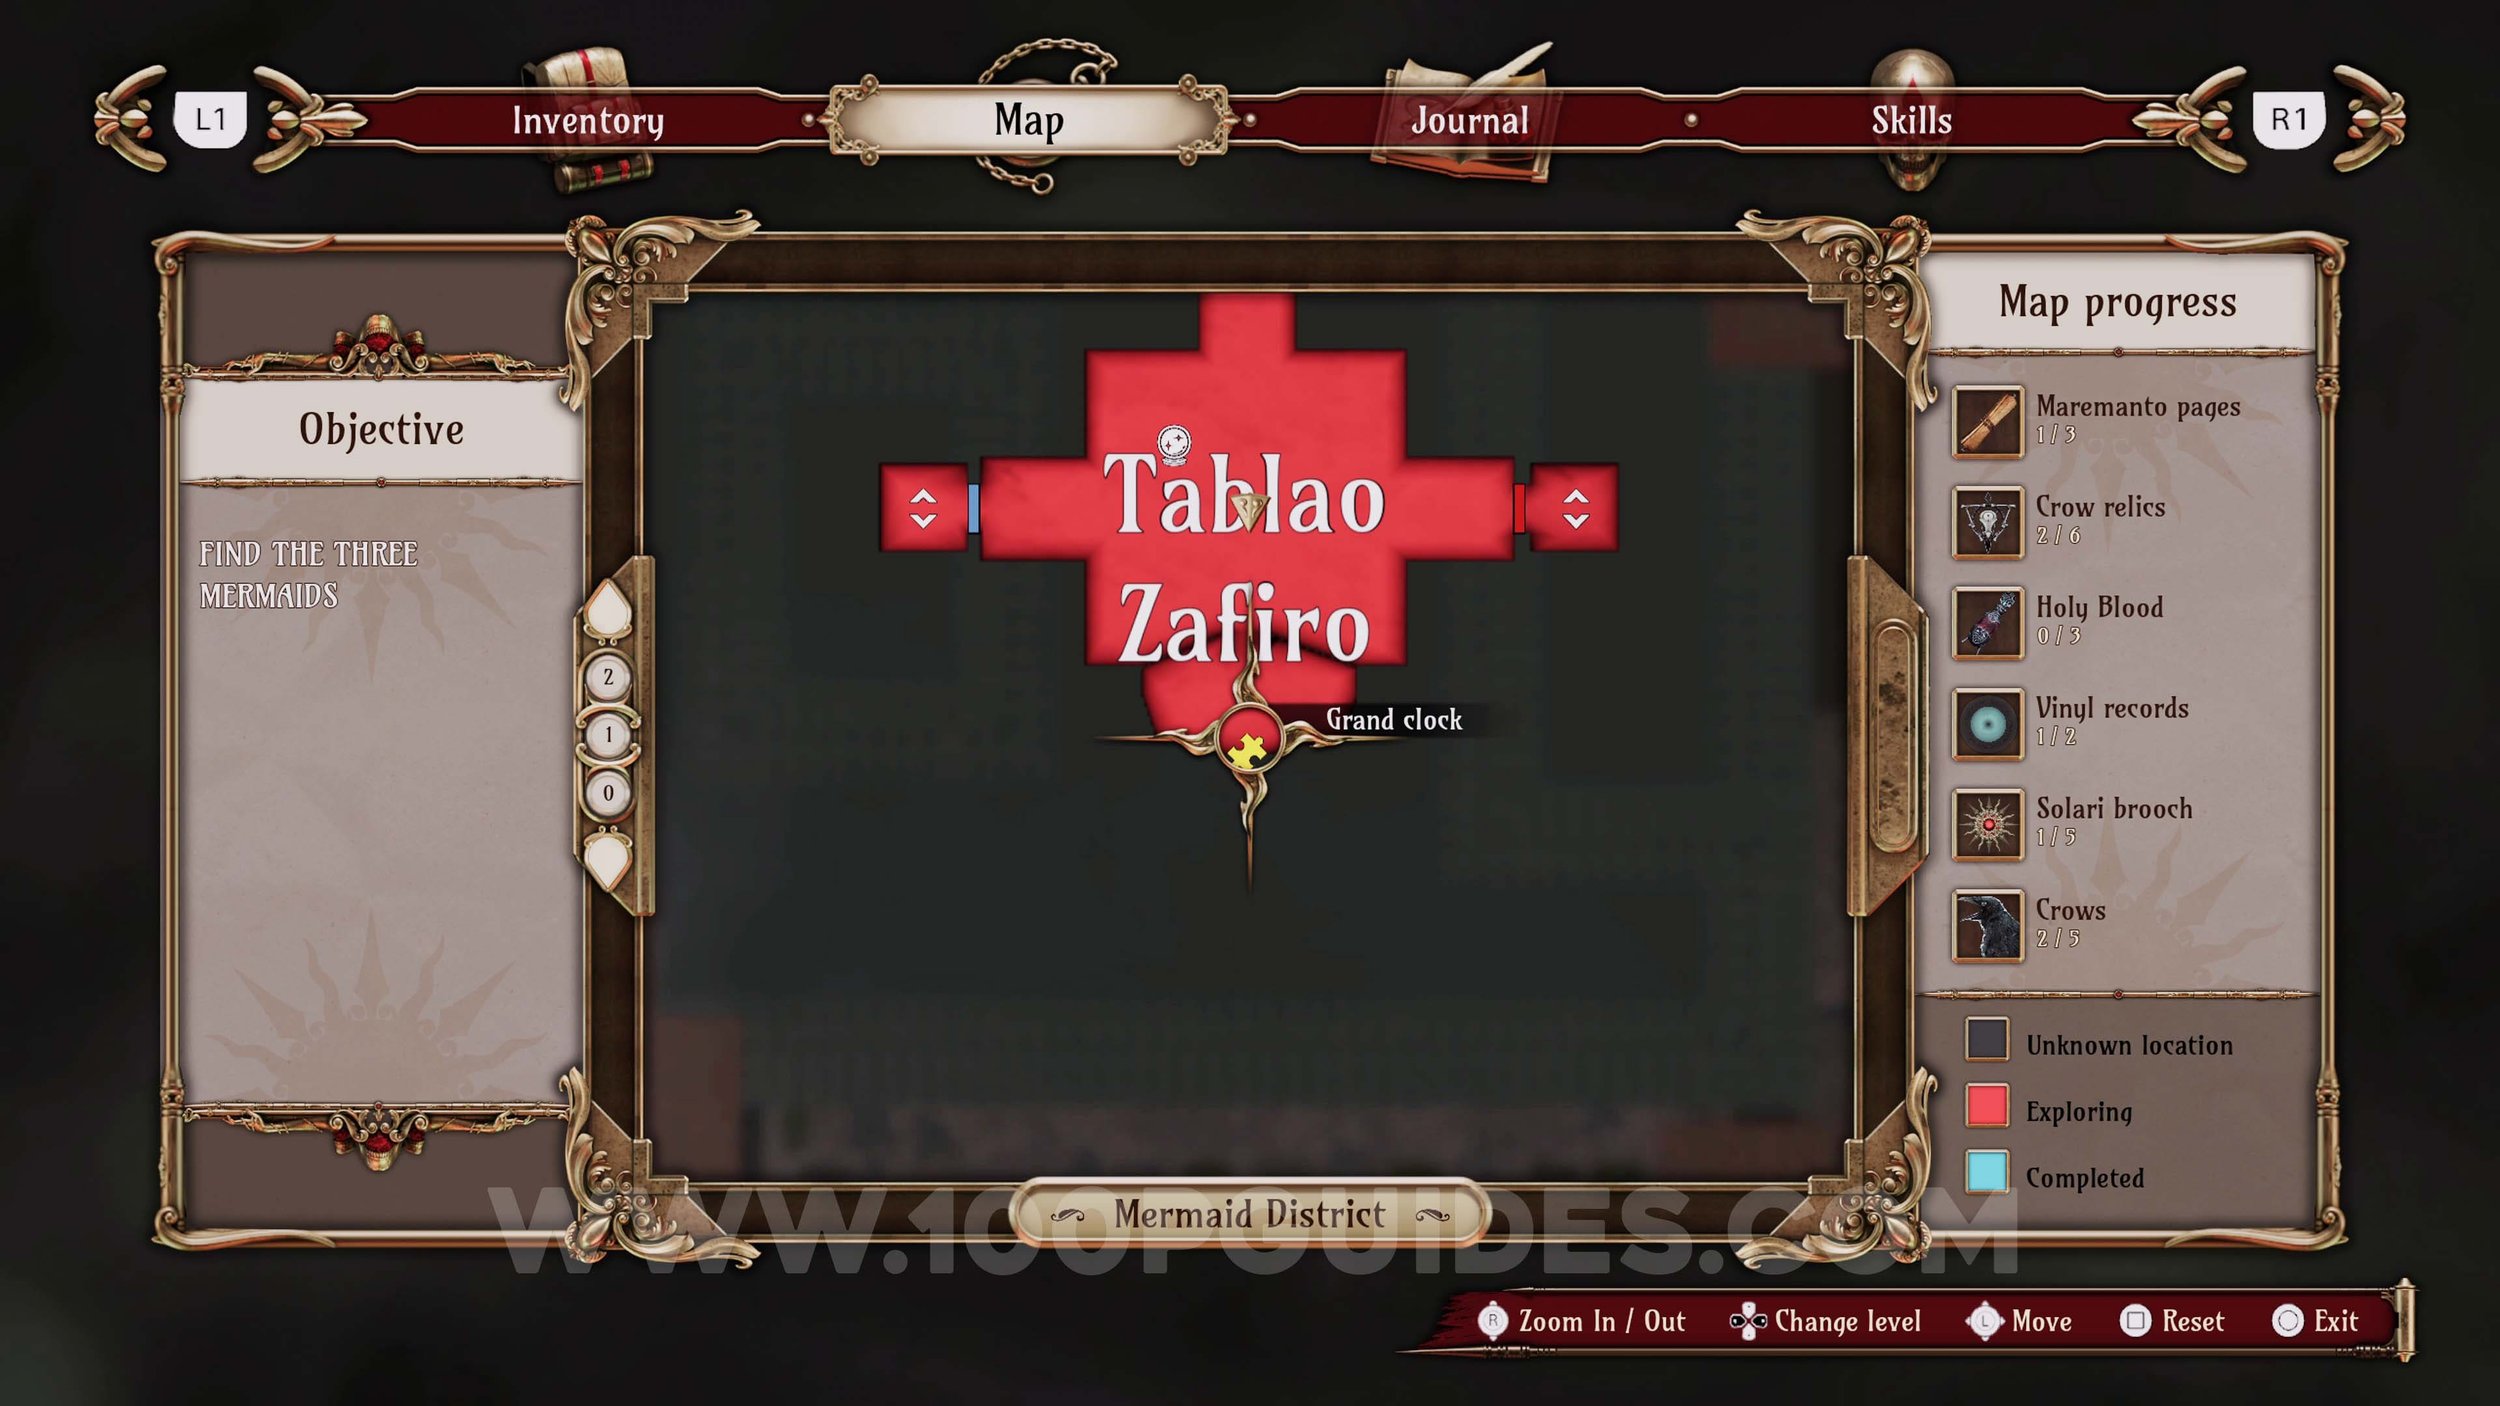
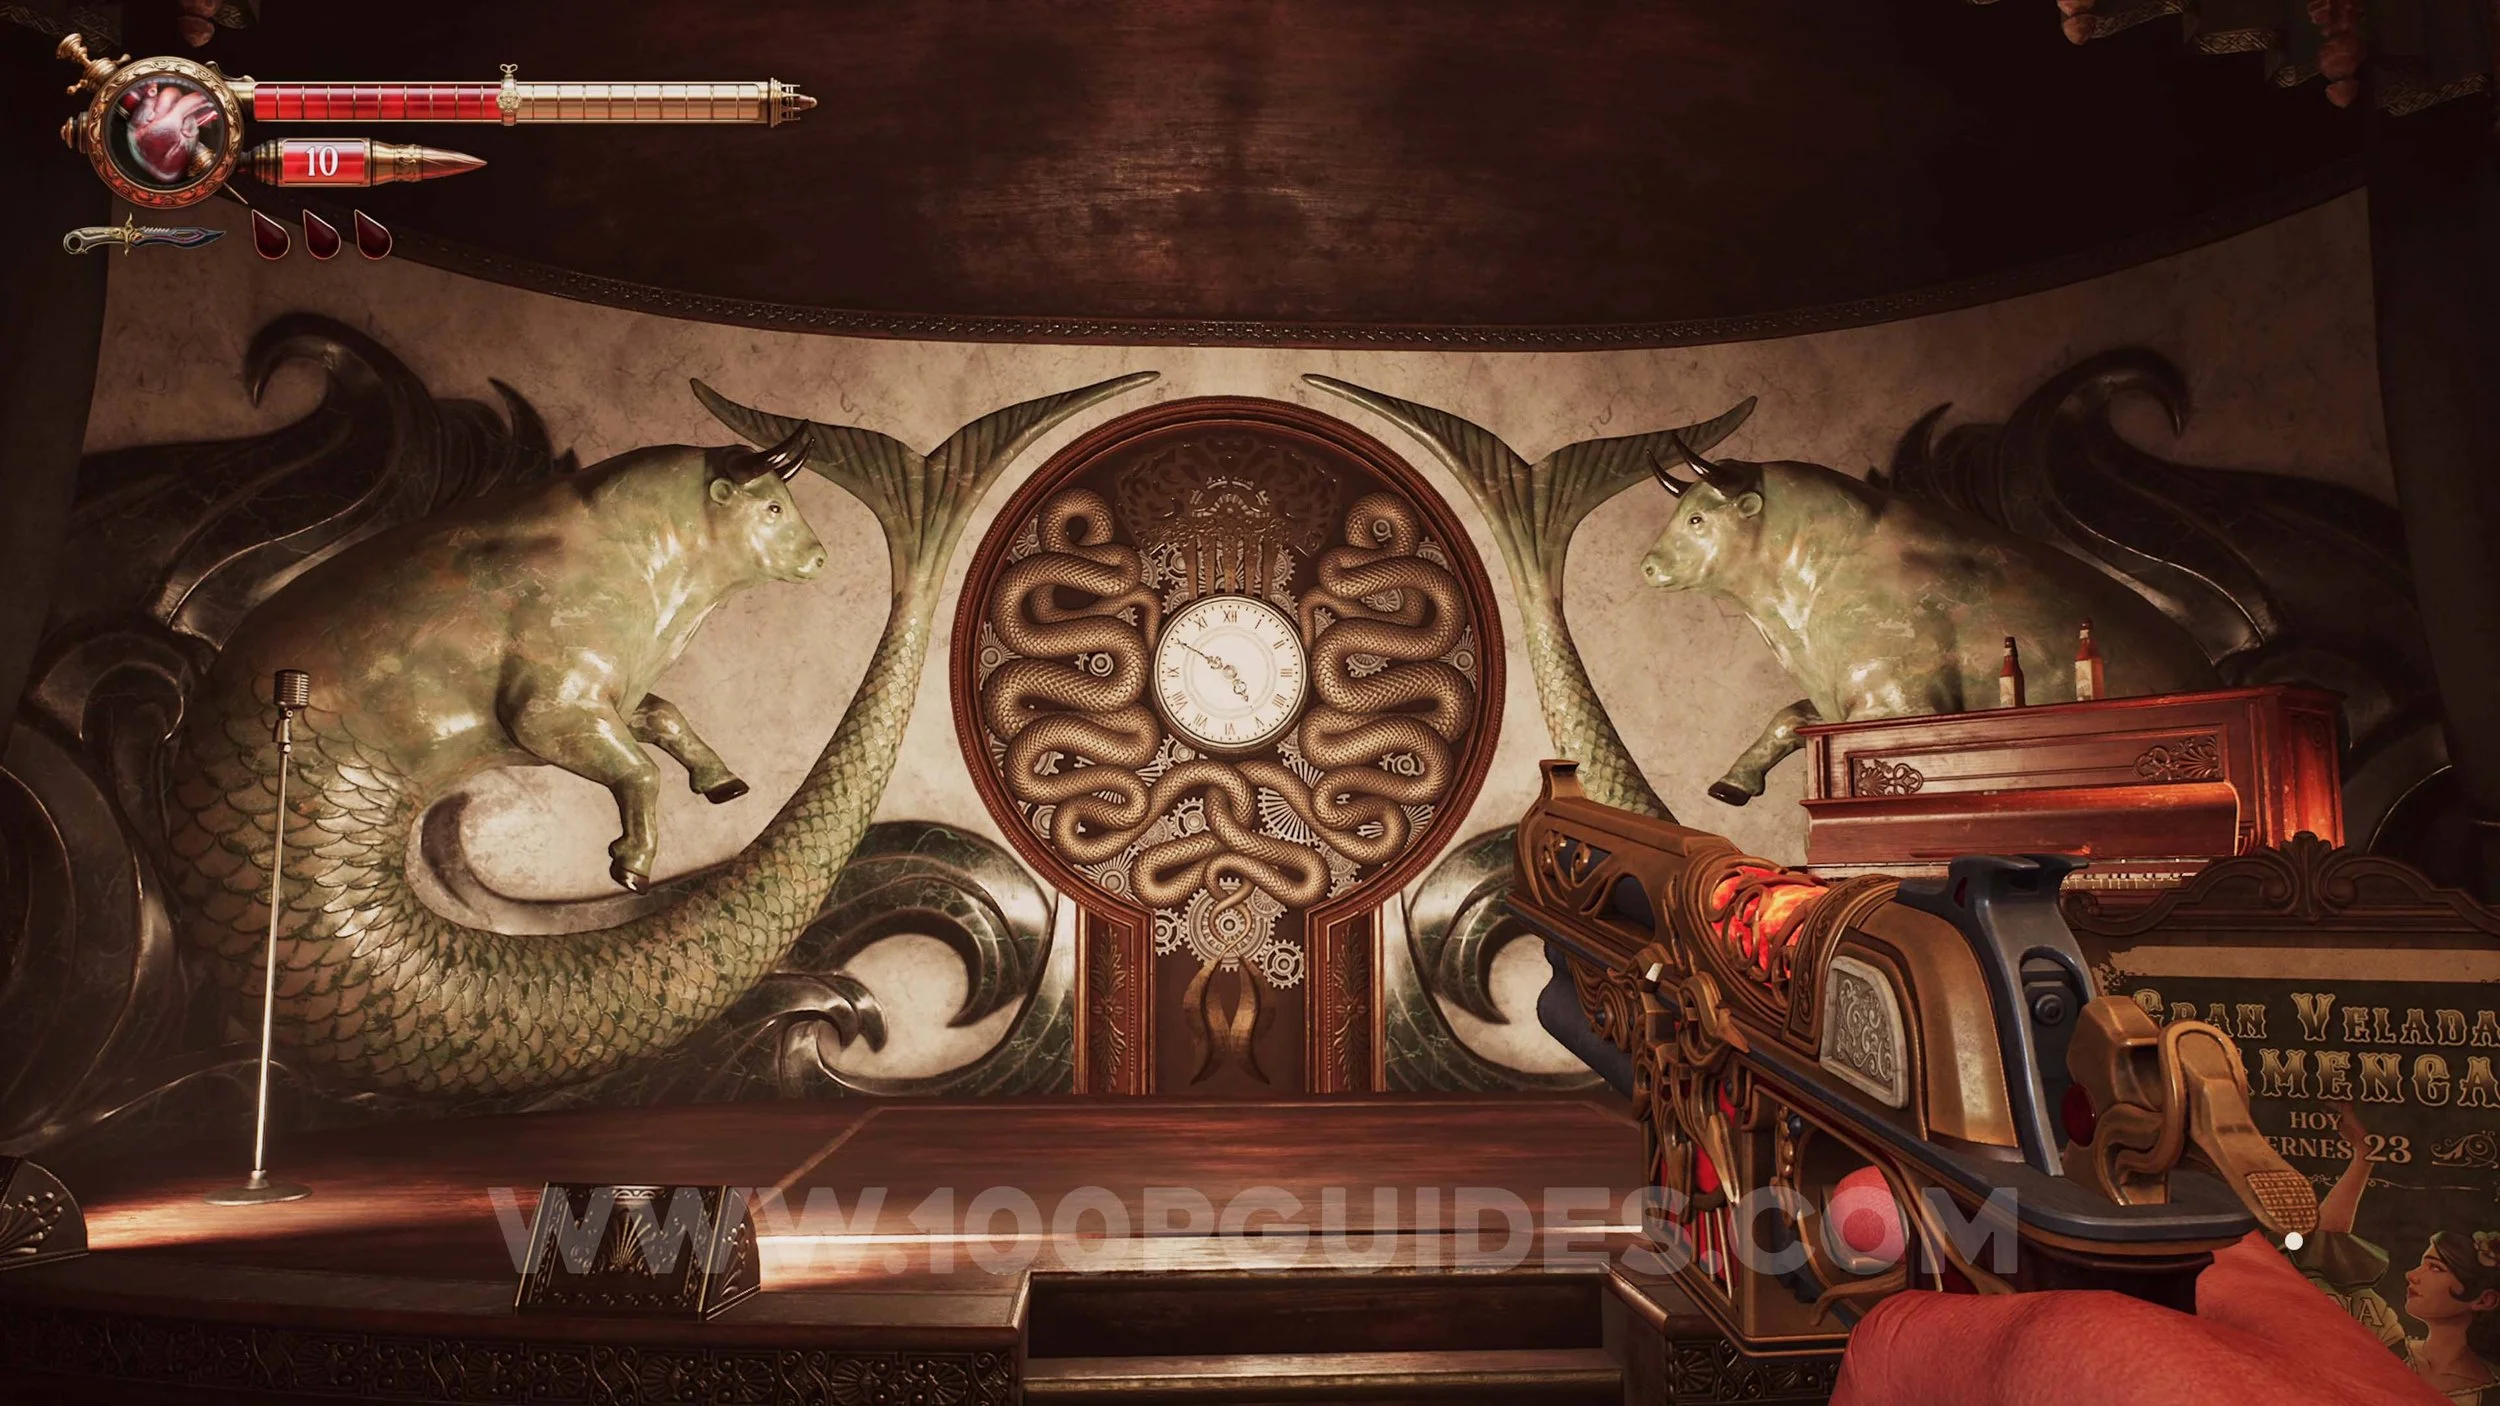
Memory #12. After entering the Mermaid building, set the clock to 8:20 and go up the lift on the left side of the room. You will see the memory as you exit.

Crow #3. After riding the 8:20 lift, you will eventually get to an outside balcony area with enemies shooting at you. You can find the crow in a cage on your left.
Memory #13. After going back inside through the window at the other end of the balcony, go through the door on your right to find the memory.
Memory #14. After connecting the 2 sides of the top floor of the clock lift puzzle area, use the 5:50 lift and go around to the other side of the top floor to go through another door that only opens when the clock is set to 5:50. This will take you down to a dark underground area. You will find the memory in the room directly behind the wall where the clock is found.
Solari Brooch #3. In the same room as the previous collectible.
Memory #15. On the story path after solving the clock puzzle (use time 7:45).

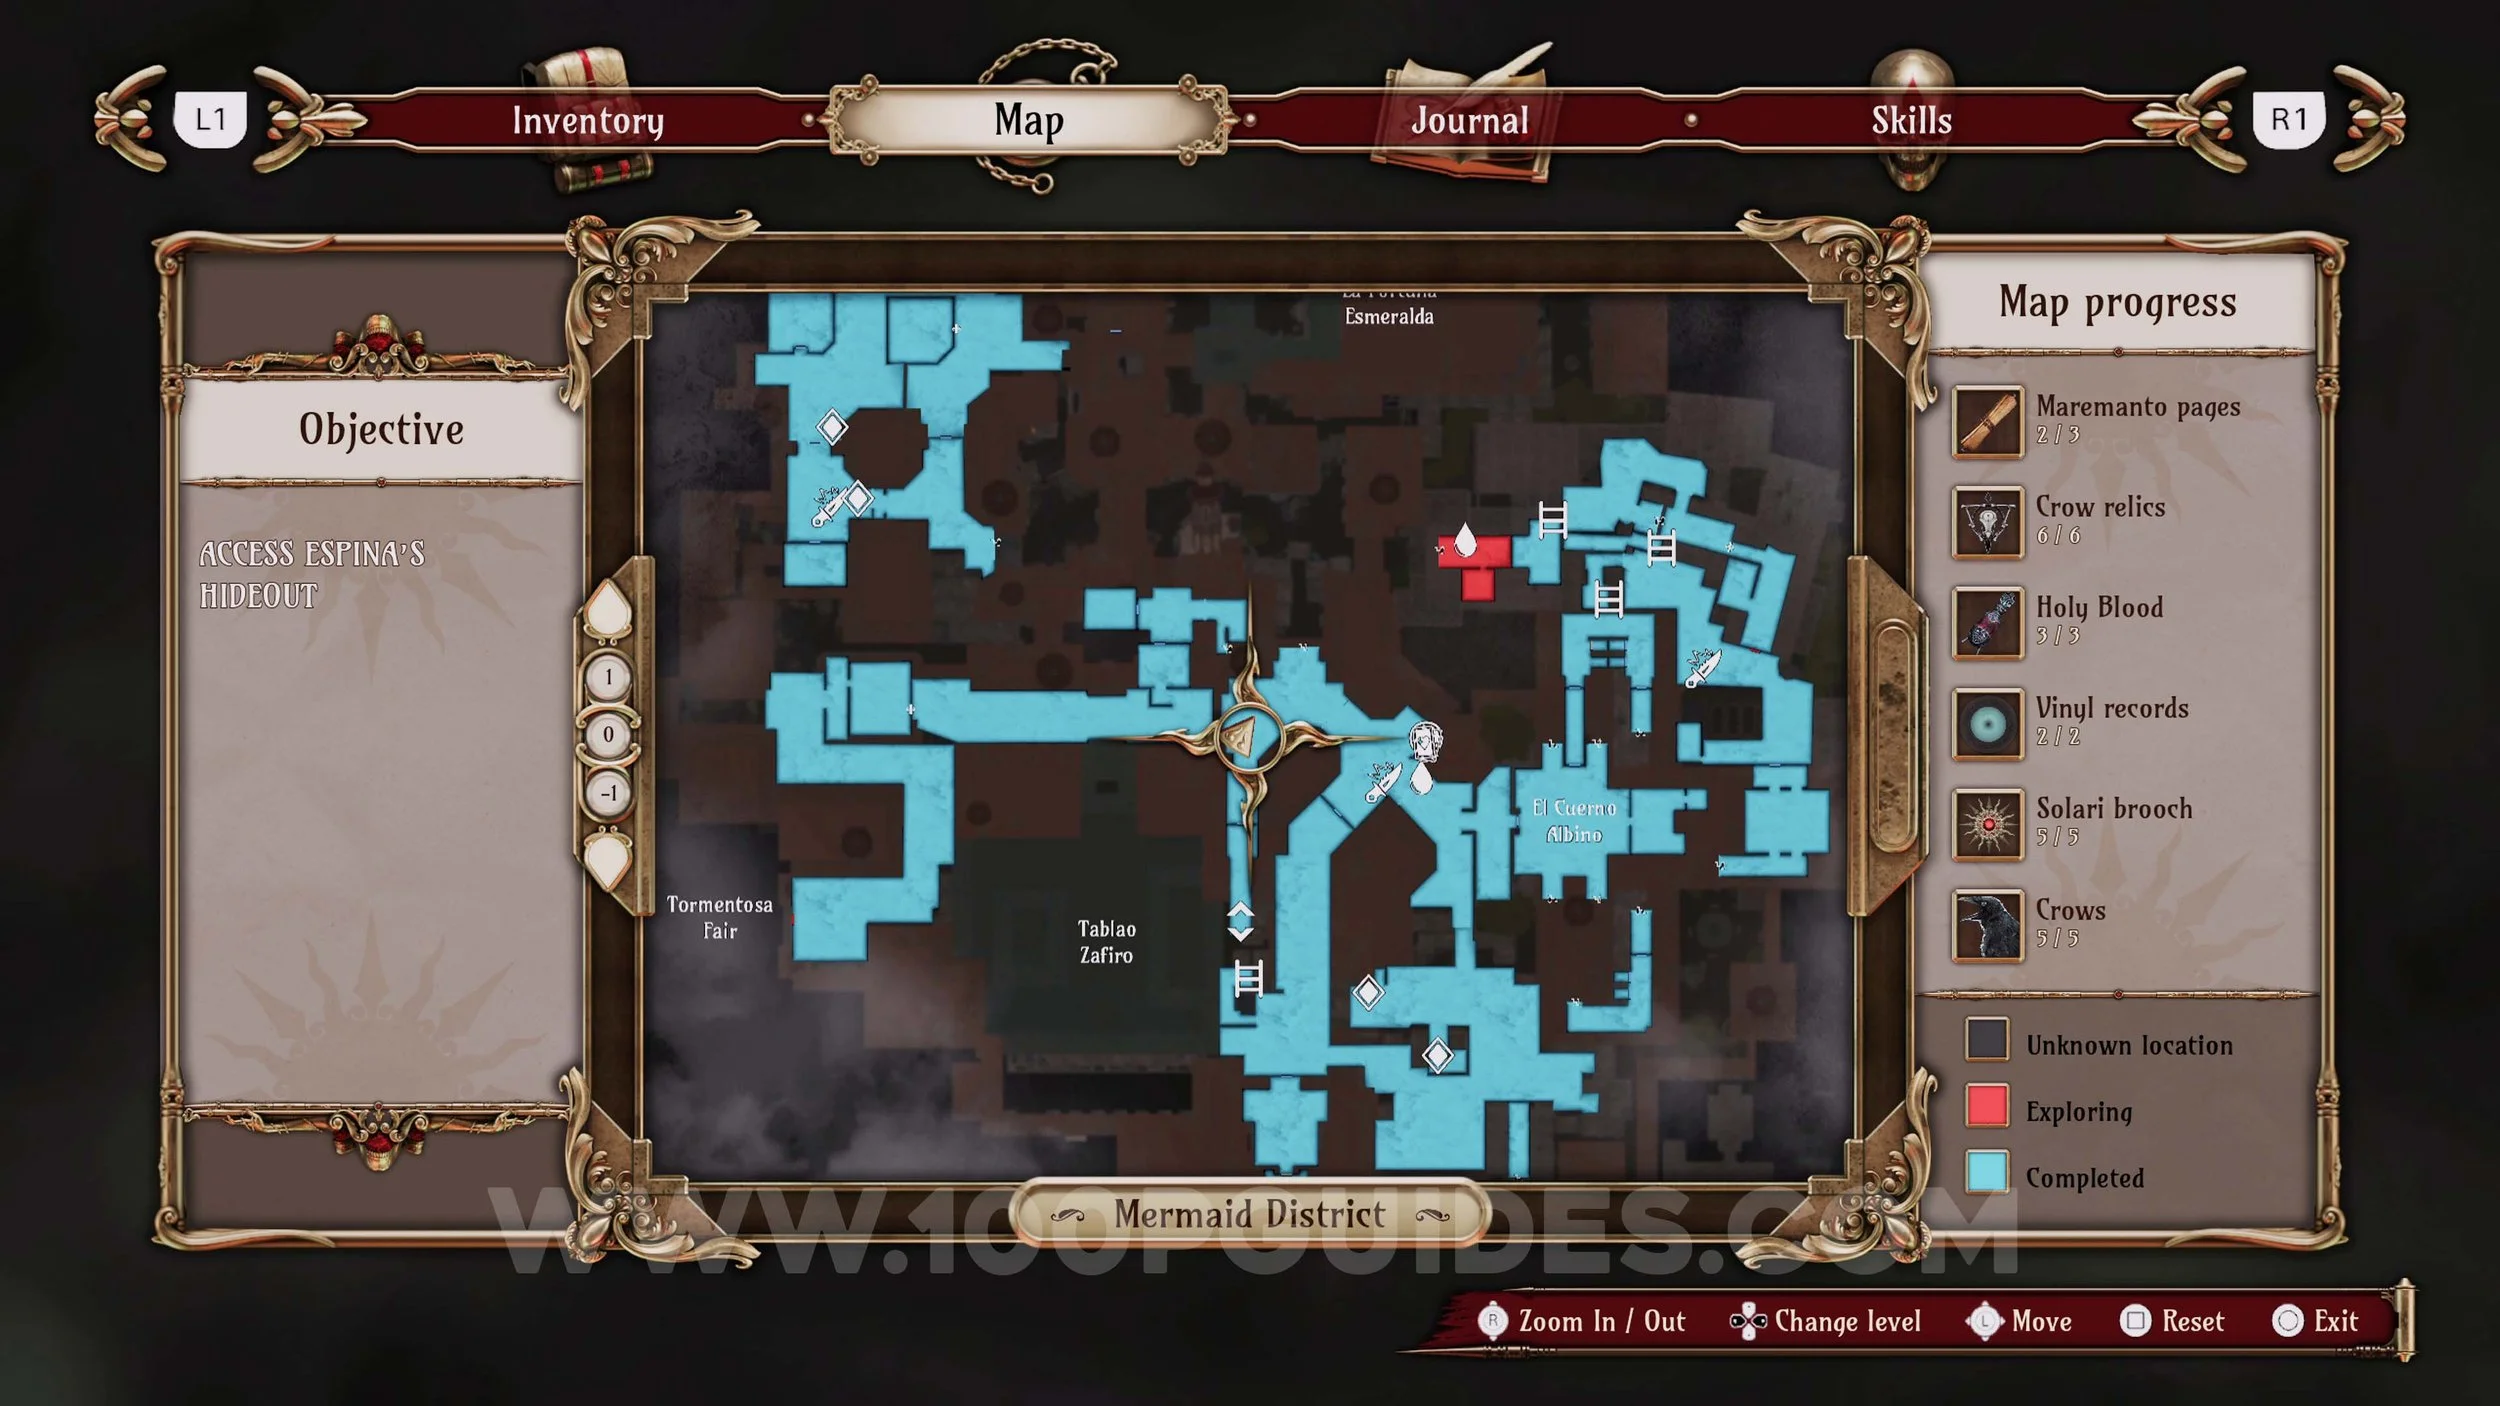
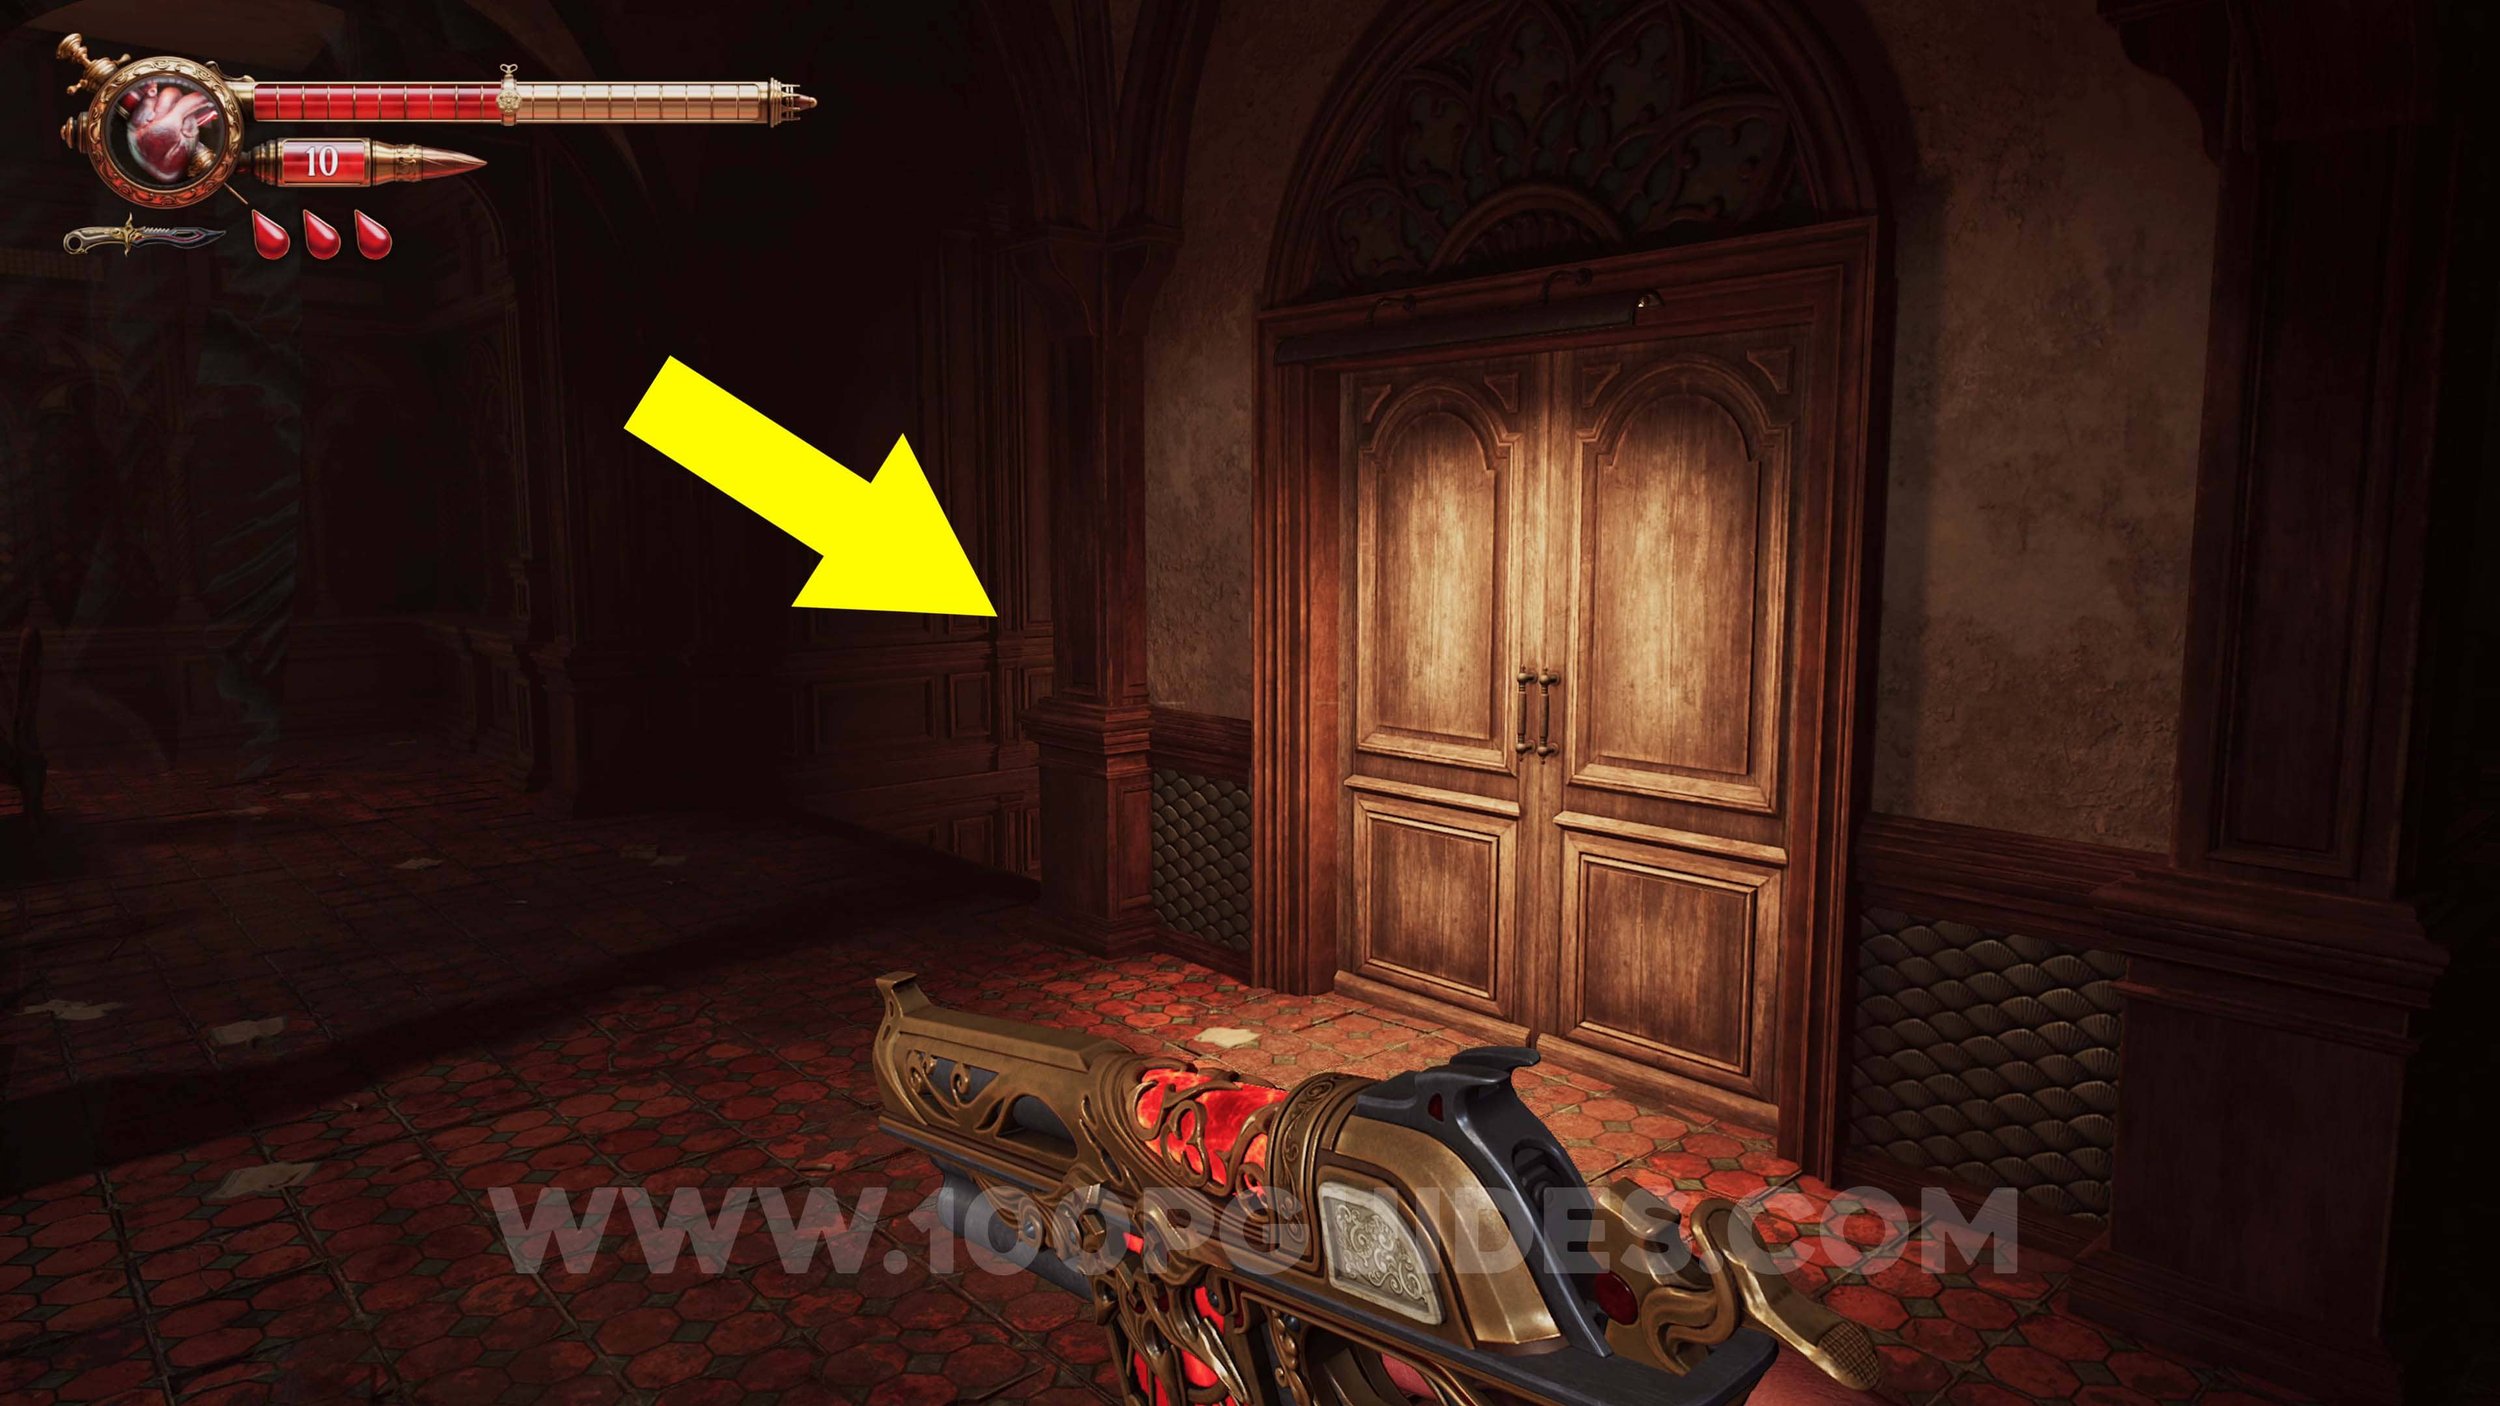
Memory #16. After getting the Sapphire Medallion from the first mermaid (story objective), you will emerge back into the area before the “El Cuerno Albino” bar close to the start of the chapter. Now that you have the bolt cutters, backtrack into the first building of the chapter and open the door to find the memory on the other side.

Solari Brooch #4. In the same room as the previous collectible.
Memory #17. Now that you have the Bolt Cutters, return to El Cuerno Albino and go down to the bottom floor. Here, use the bolt cutters to open the door at the end of the hall and enter the bathrooms. The memory will trigger as you get to the end of the cubicles.
Solari Brooch #5. In the last cubicle on the left near the previous memory.

Crow Relic #4. After using the bolt cutters to open the gate close to the save point/shop, you will be in an area with Dolores walking around. In this area, look for a cart you can push that allows you to reach a chest. The relic is inside this chest.
Ulises Idol #11. In the area where Dolores is walking around.

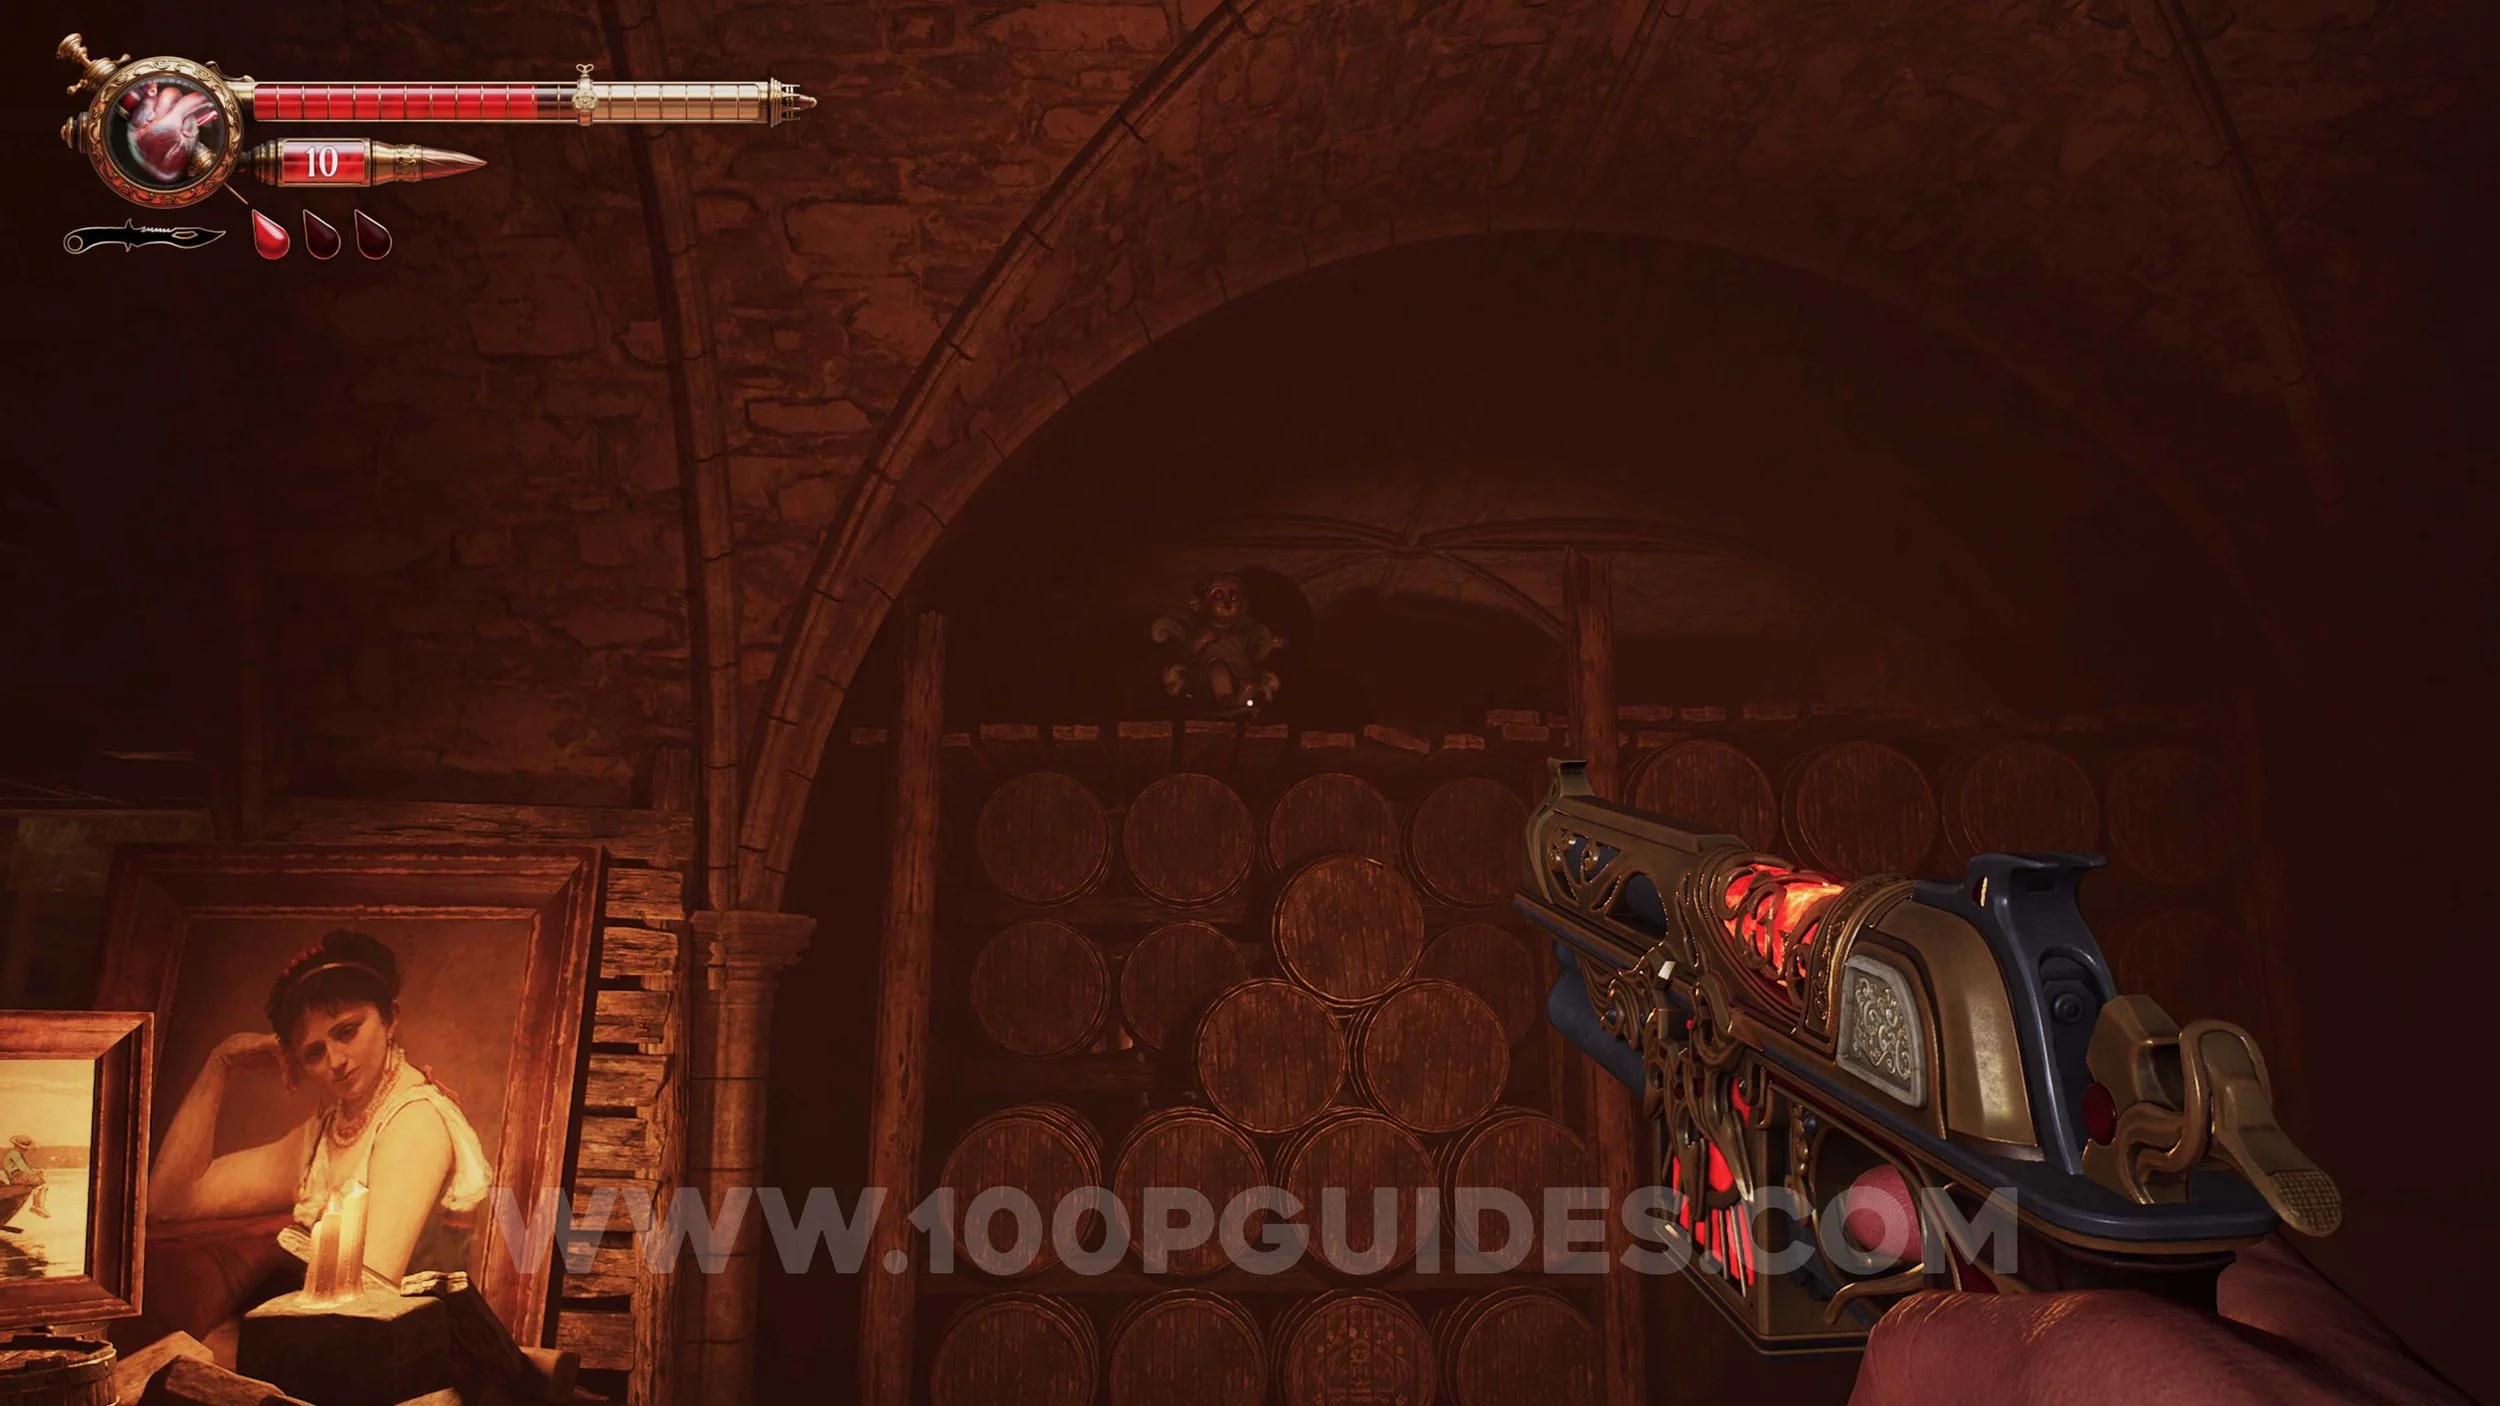
Crow #4. After pushing the cart in the area with Dolores to climb up the wooden platforms to advance, look above you to find the crow.
Ulises Idol #12. In the same area as the crow. Look for it near the destroyed ruin walls after using the cart to climb out of the area with Dolores.
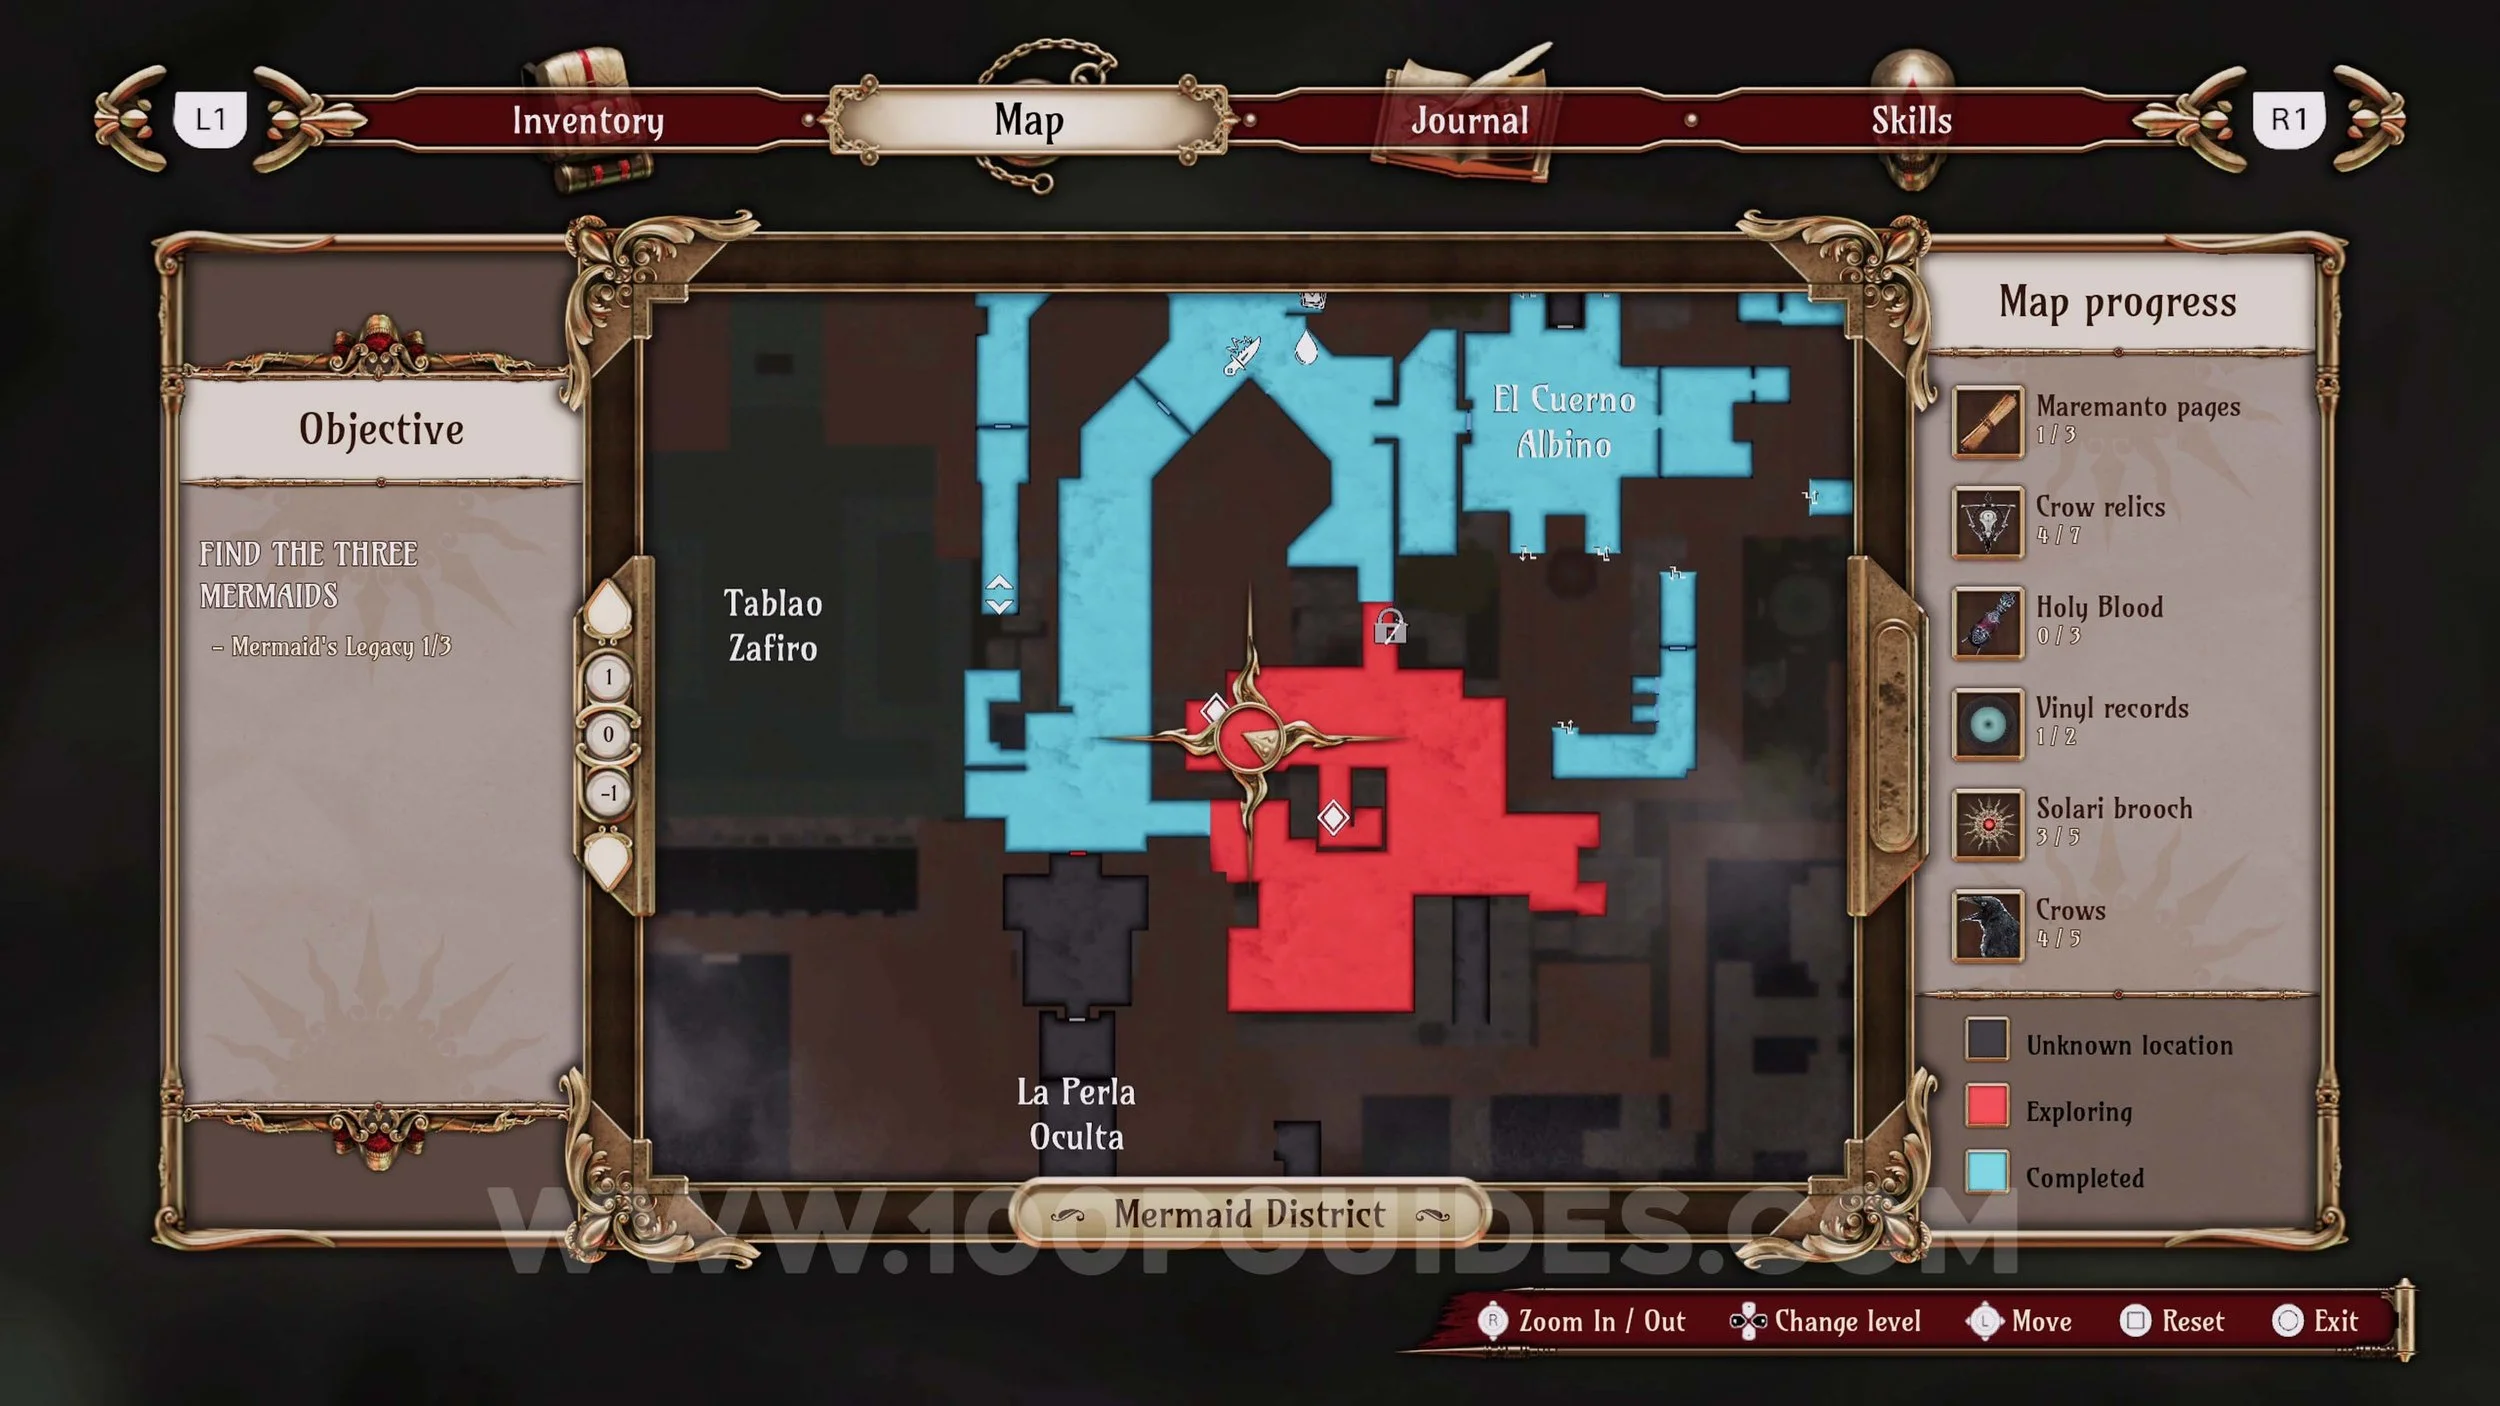
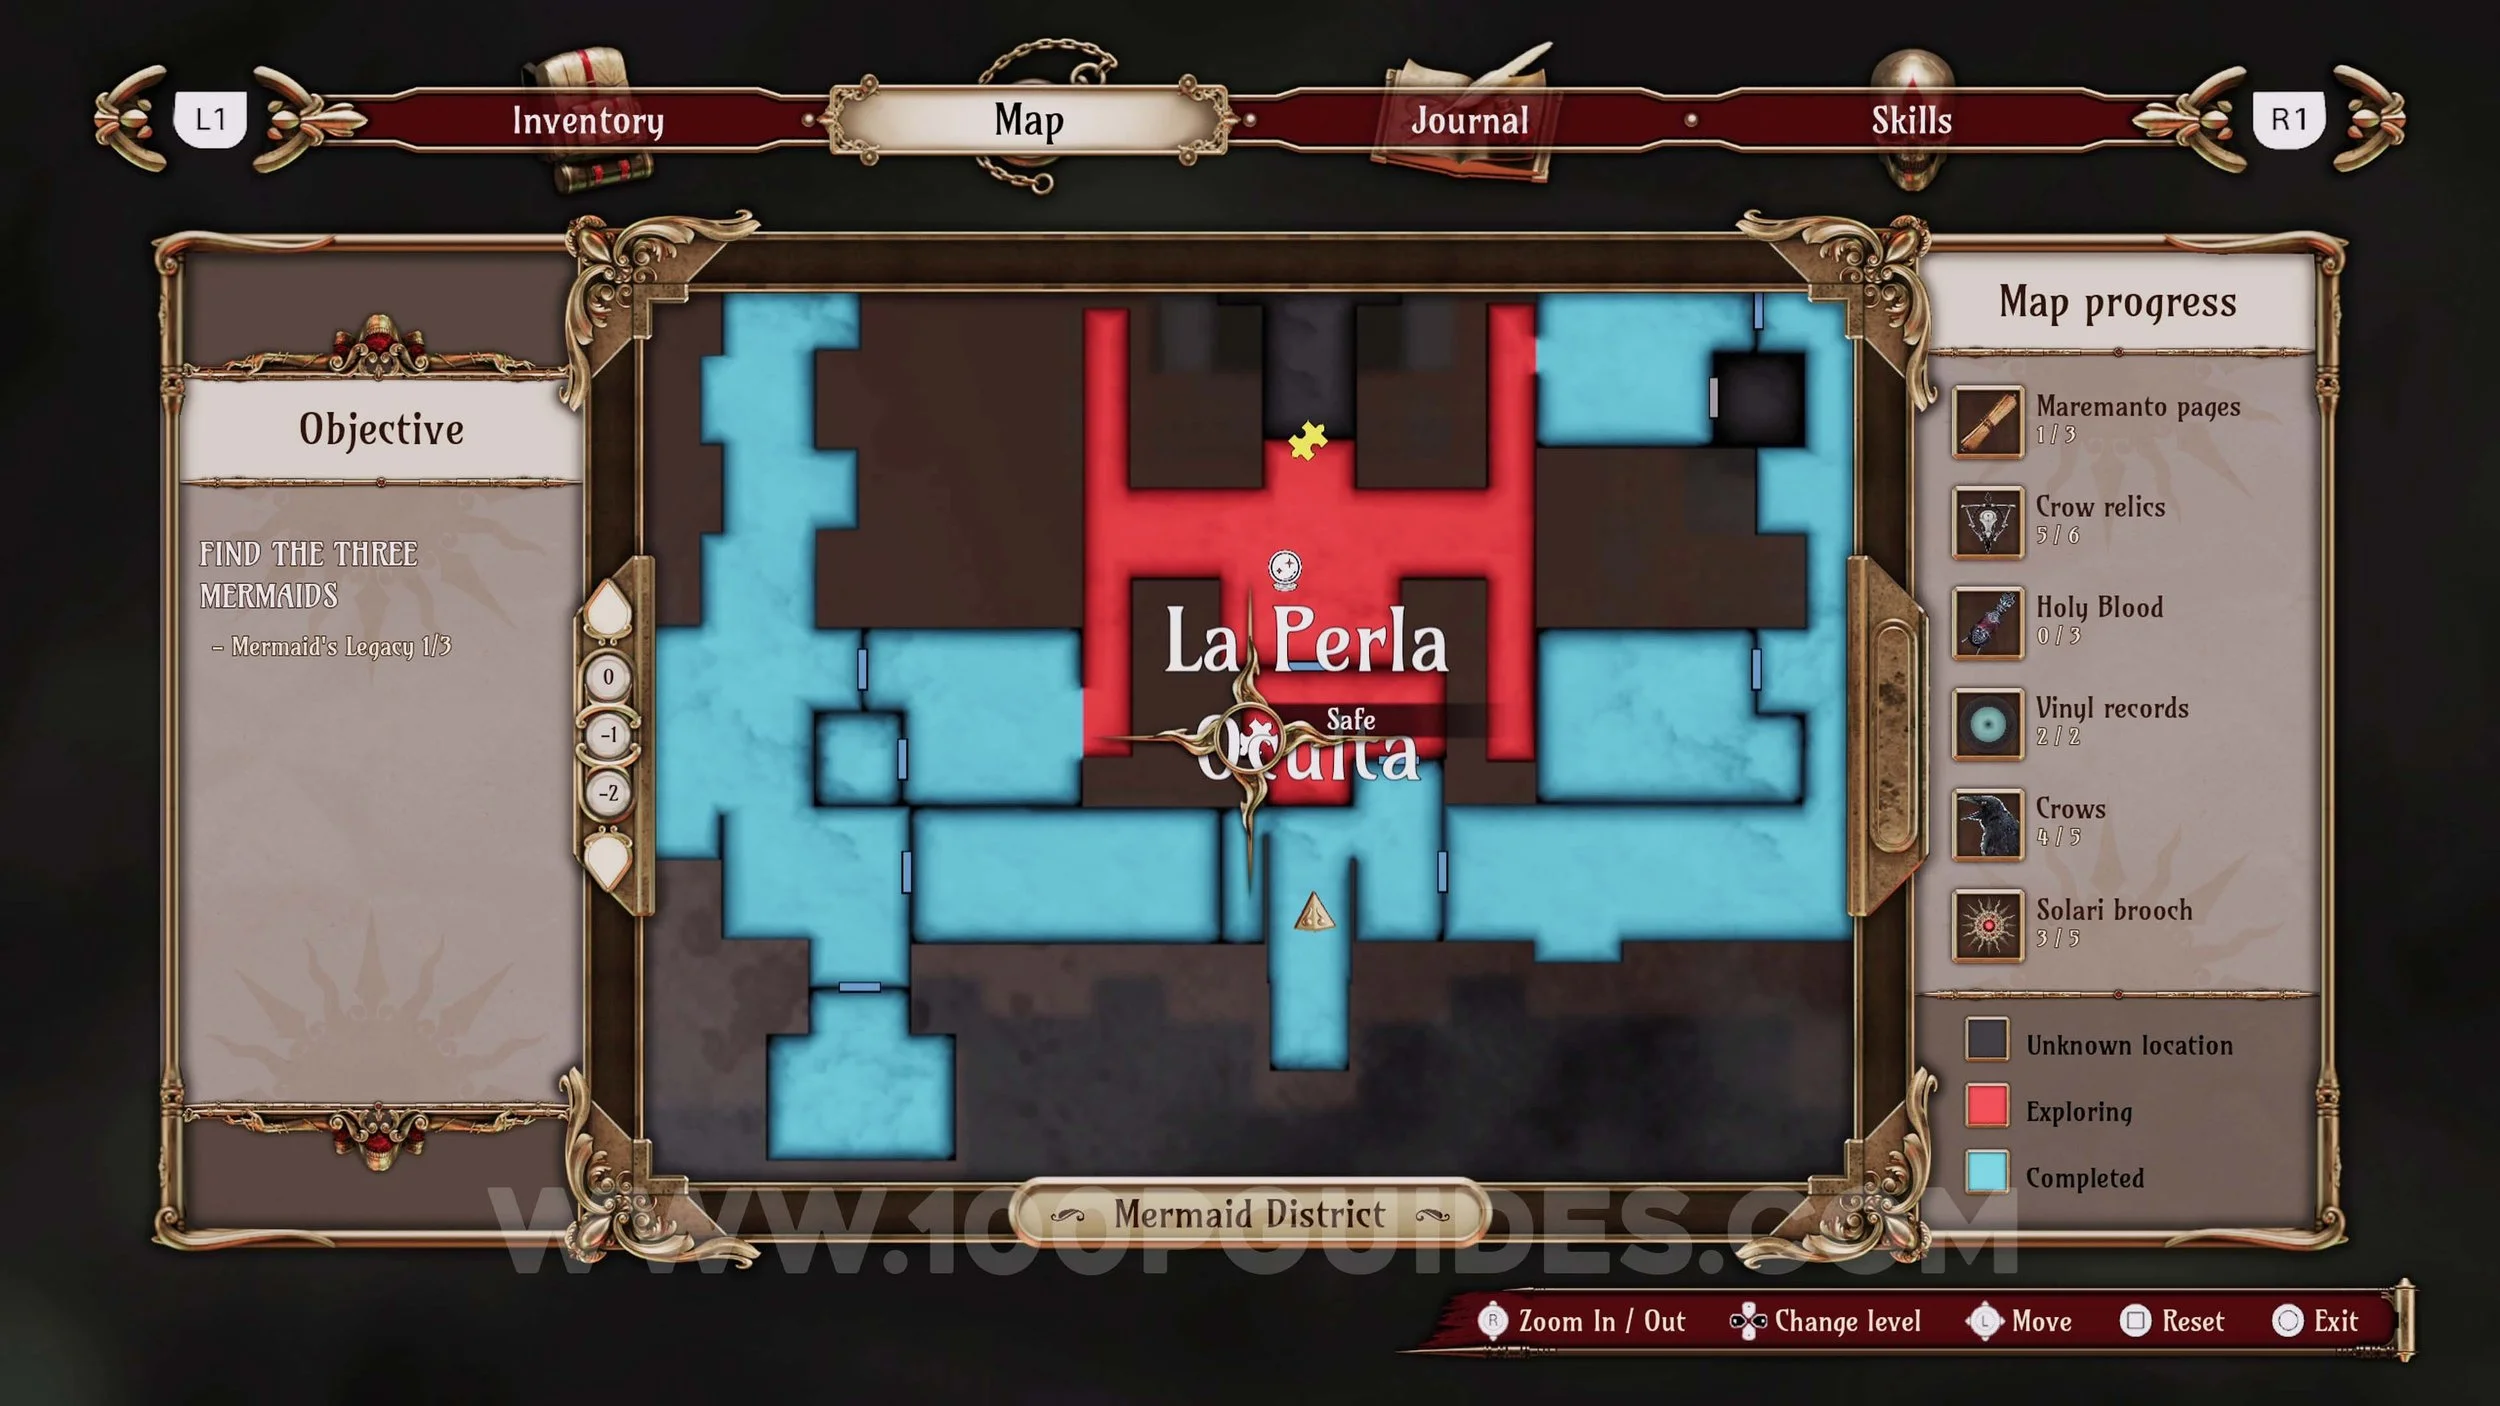
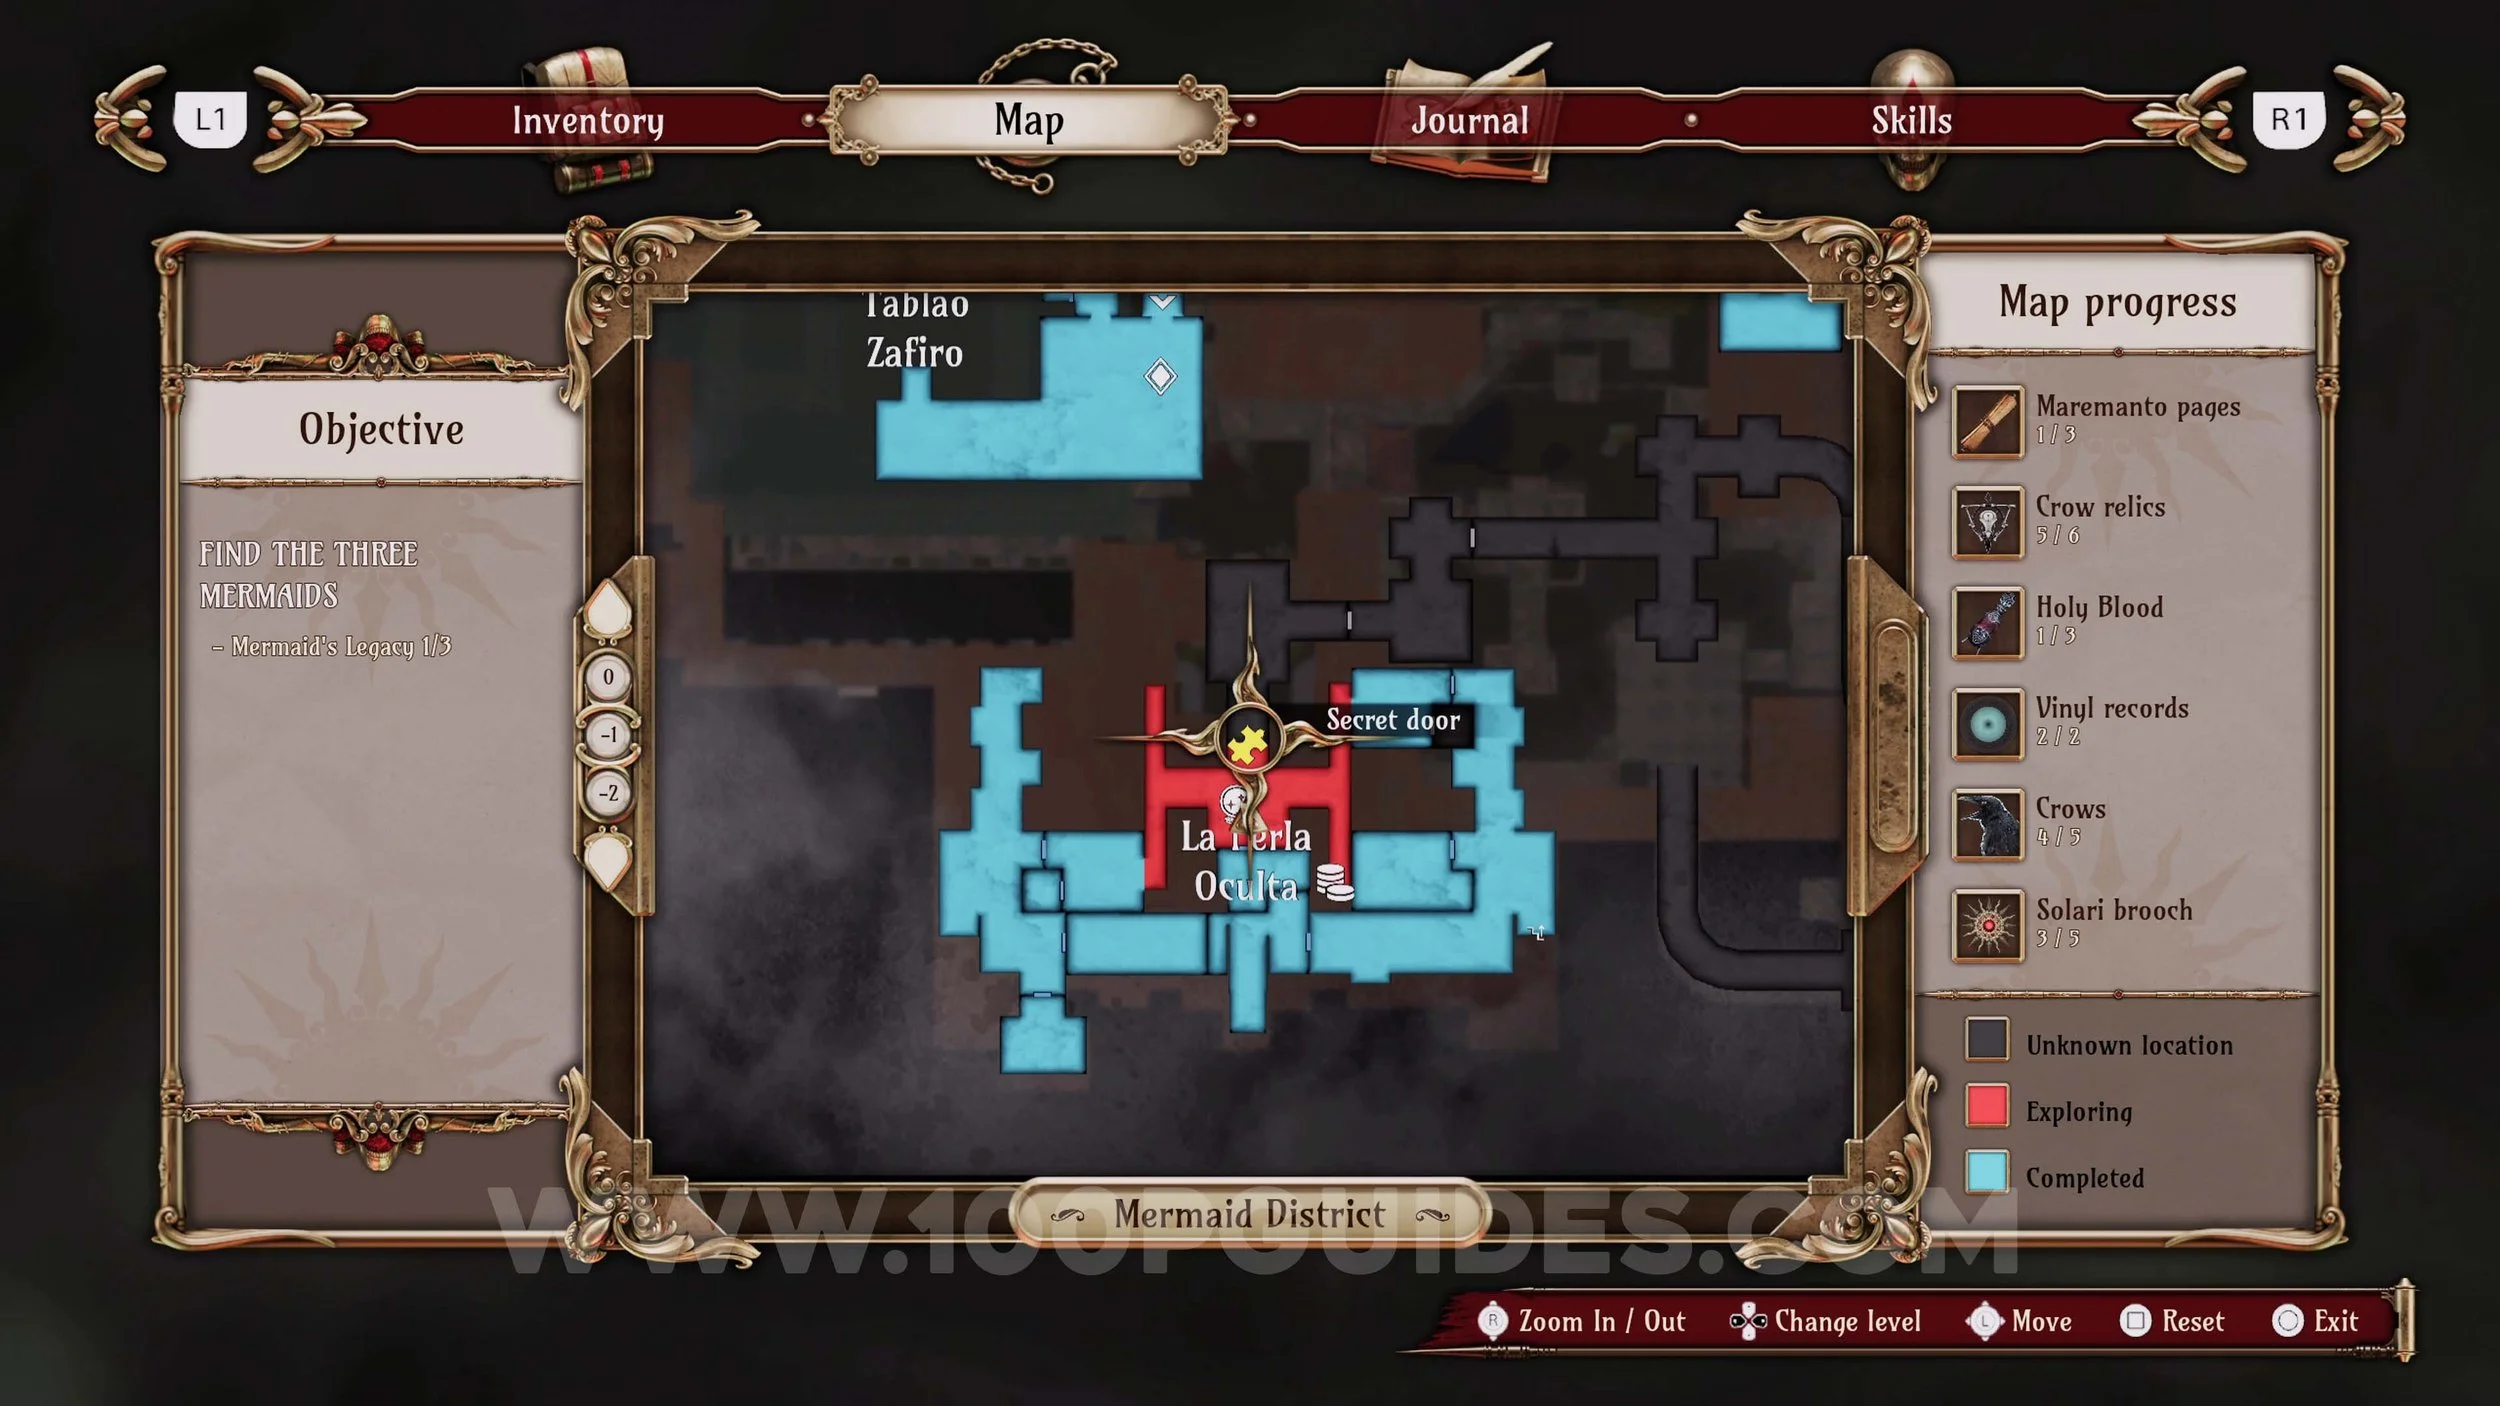
Memory #18. Once you get to La Perla Oculta, go down the right side hall and then through the hole at the end.
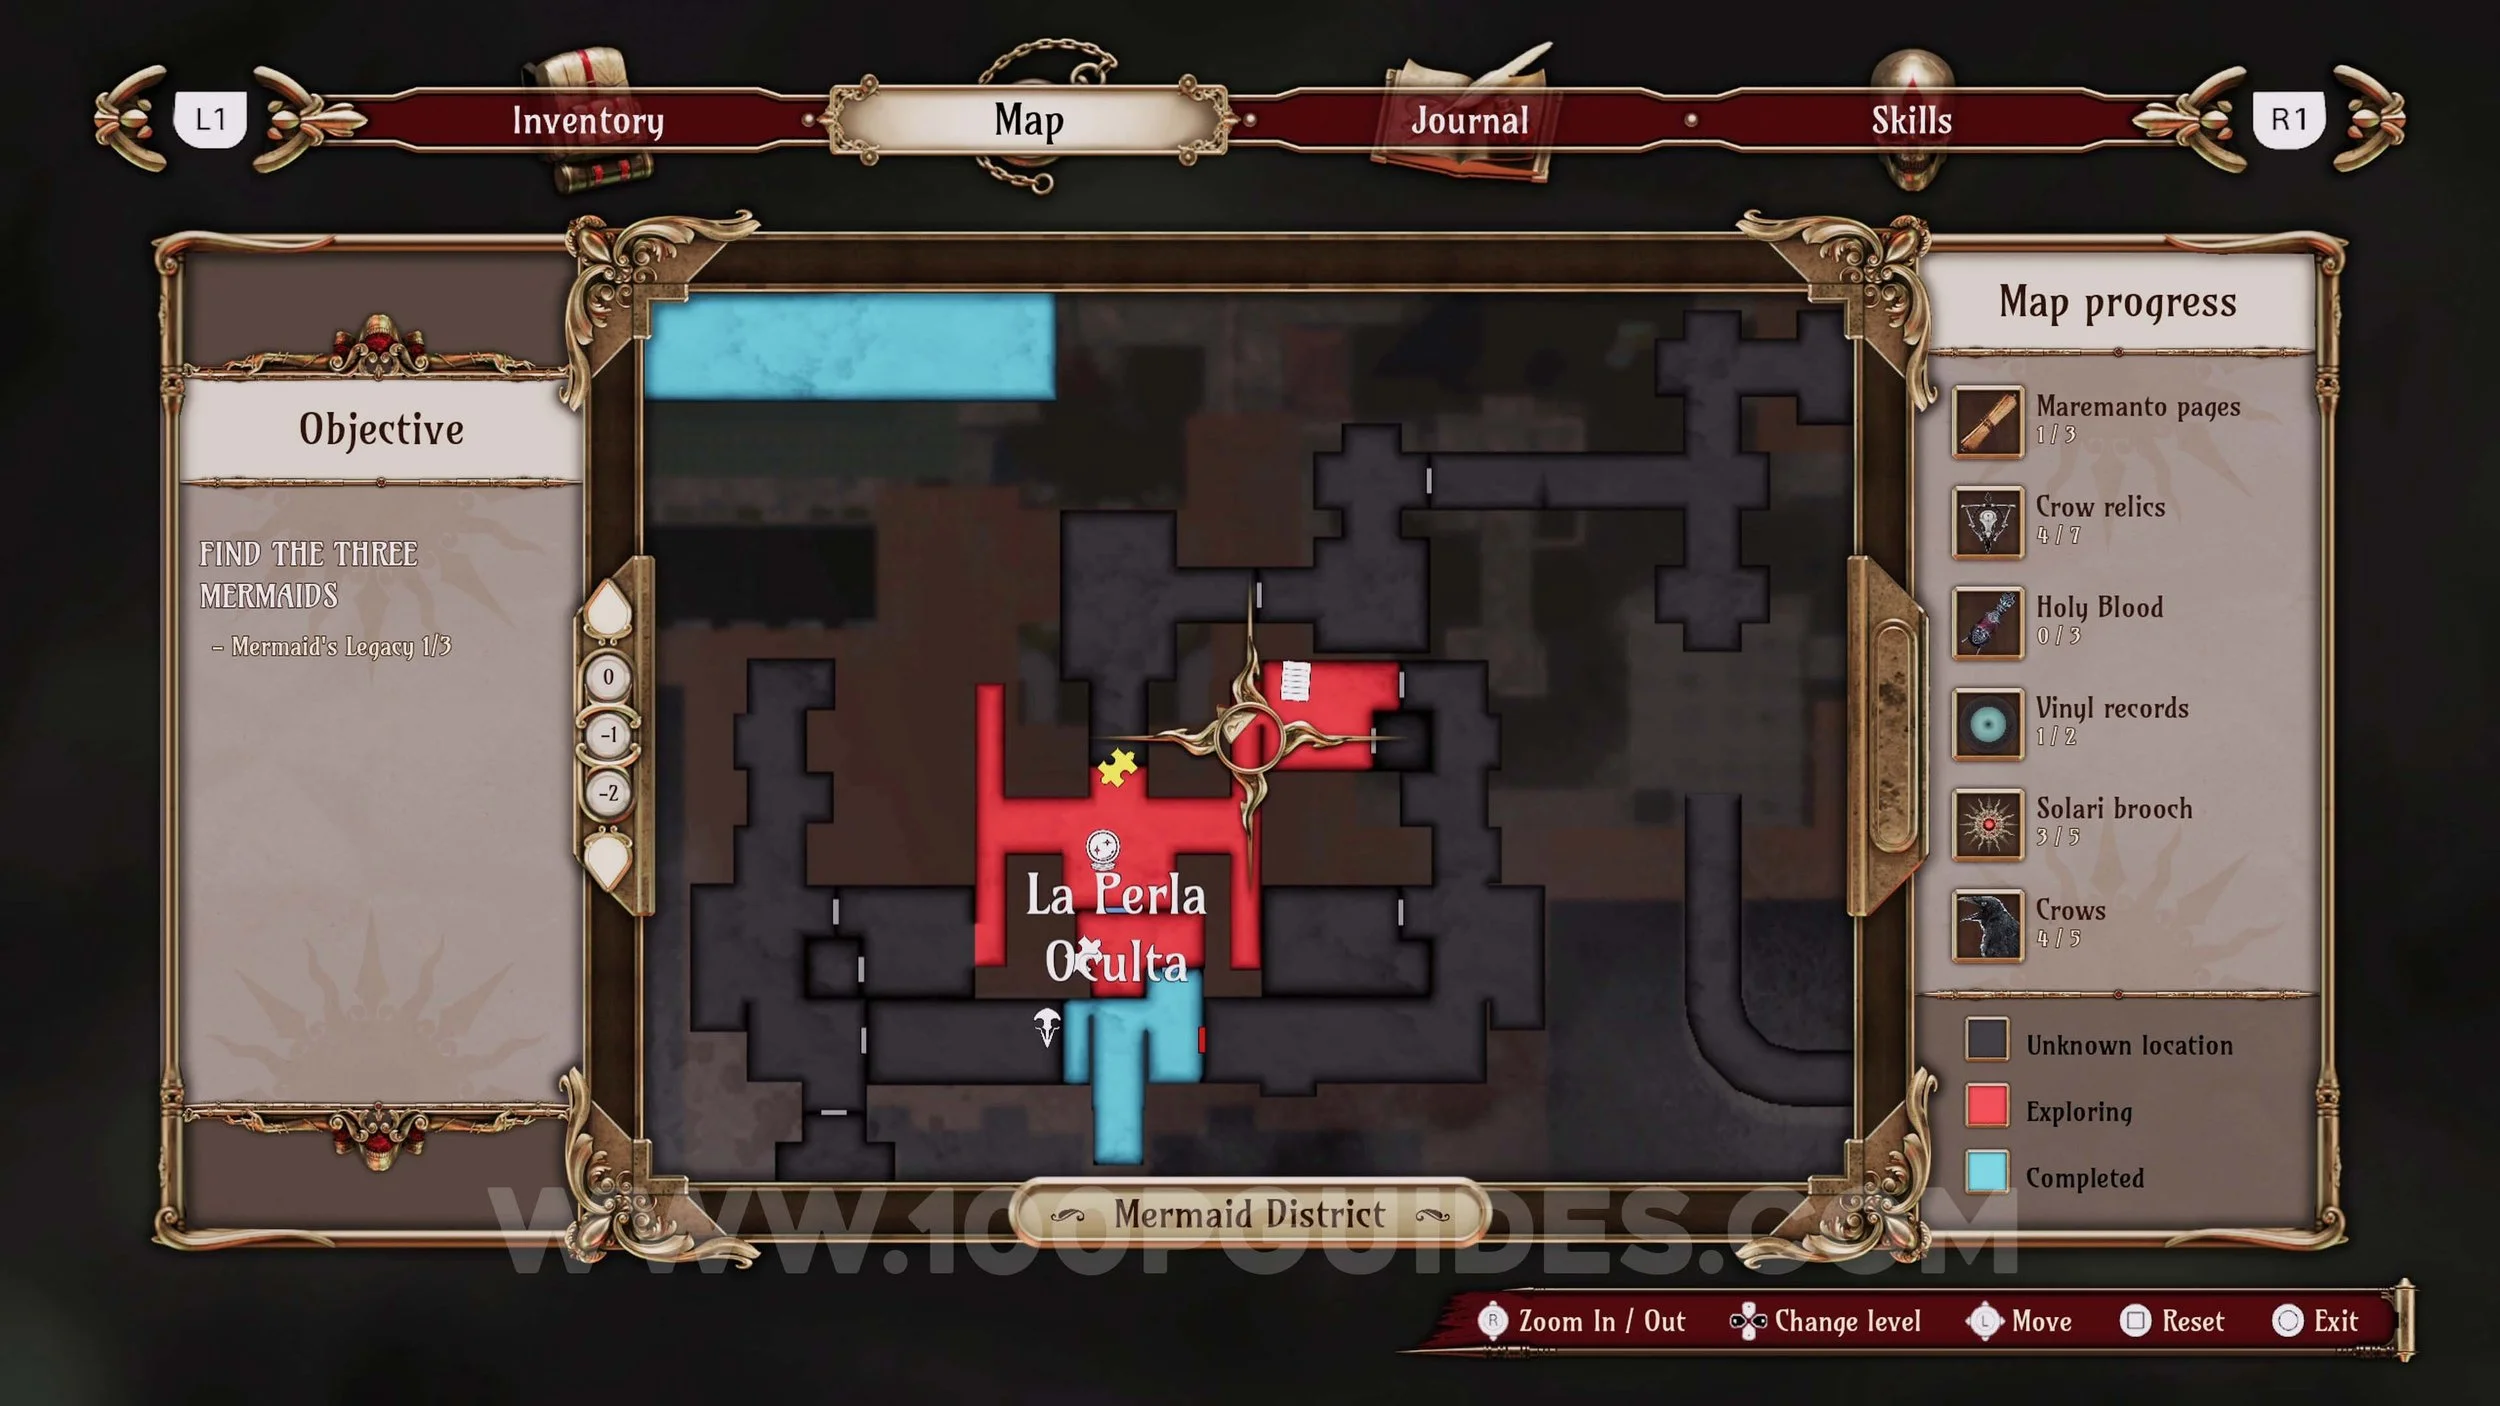
Memory #19. In the right side area of La Perla Oculta, go up the stairs and then drop through the hole to enter room F. The memory will start as soon as you land inside the room.
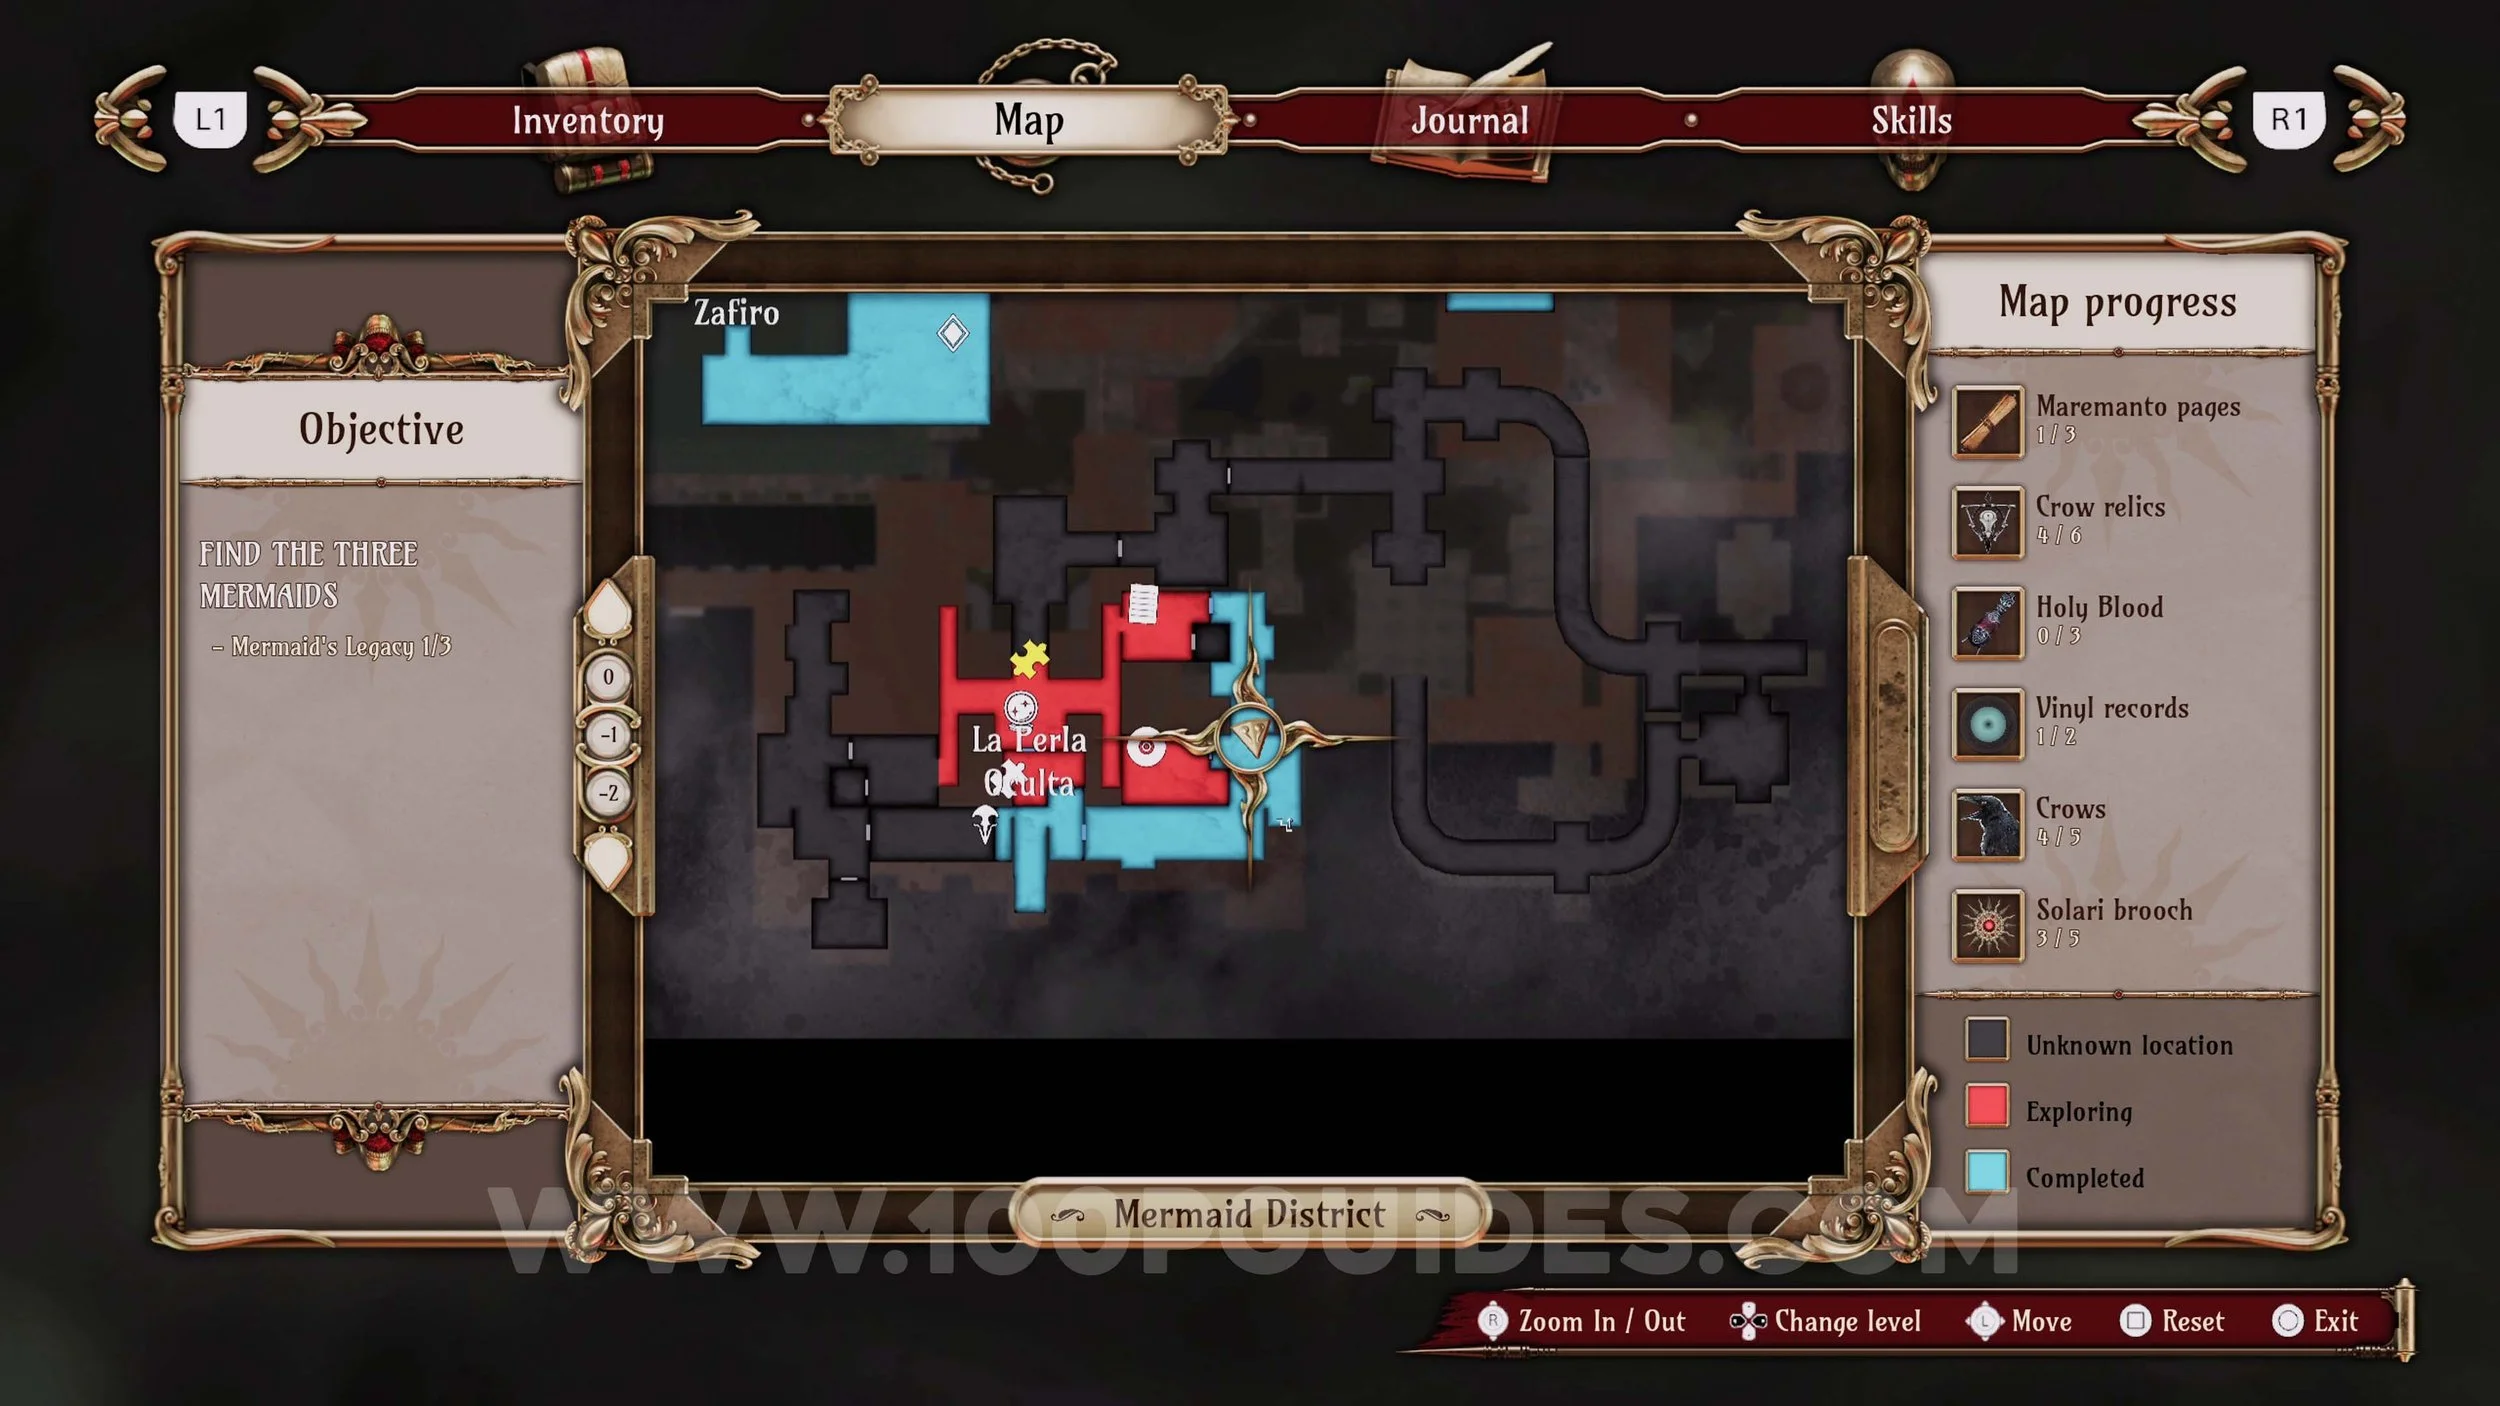
Vinyl Record #3. Also in room F.
Memory #20. In the room in the south-western corner of La Perla Oculta.

Crow Relic #5. In the southern room of La Perla Oculta. Approach from the left hall.
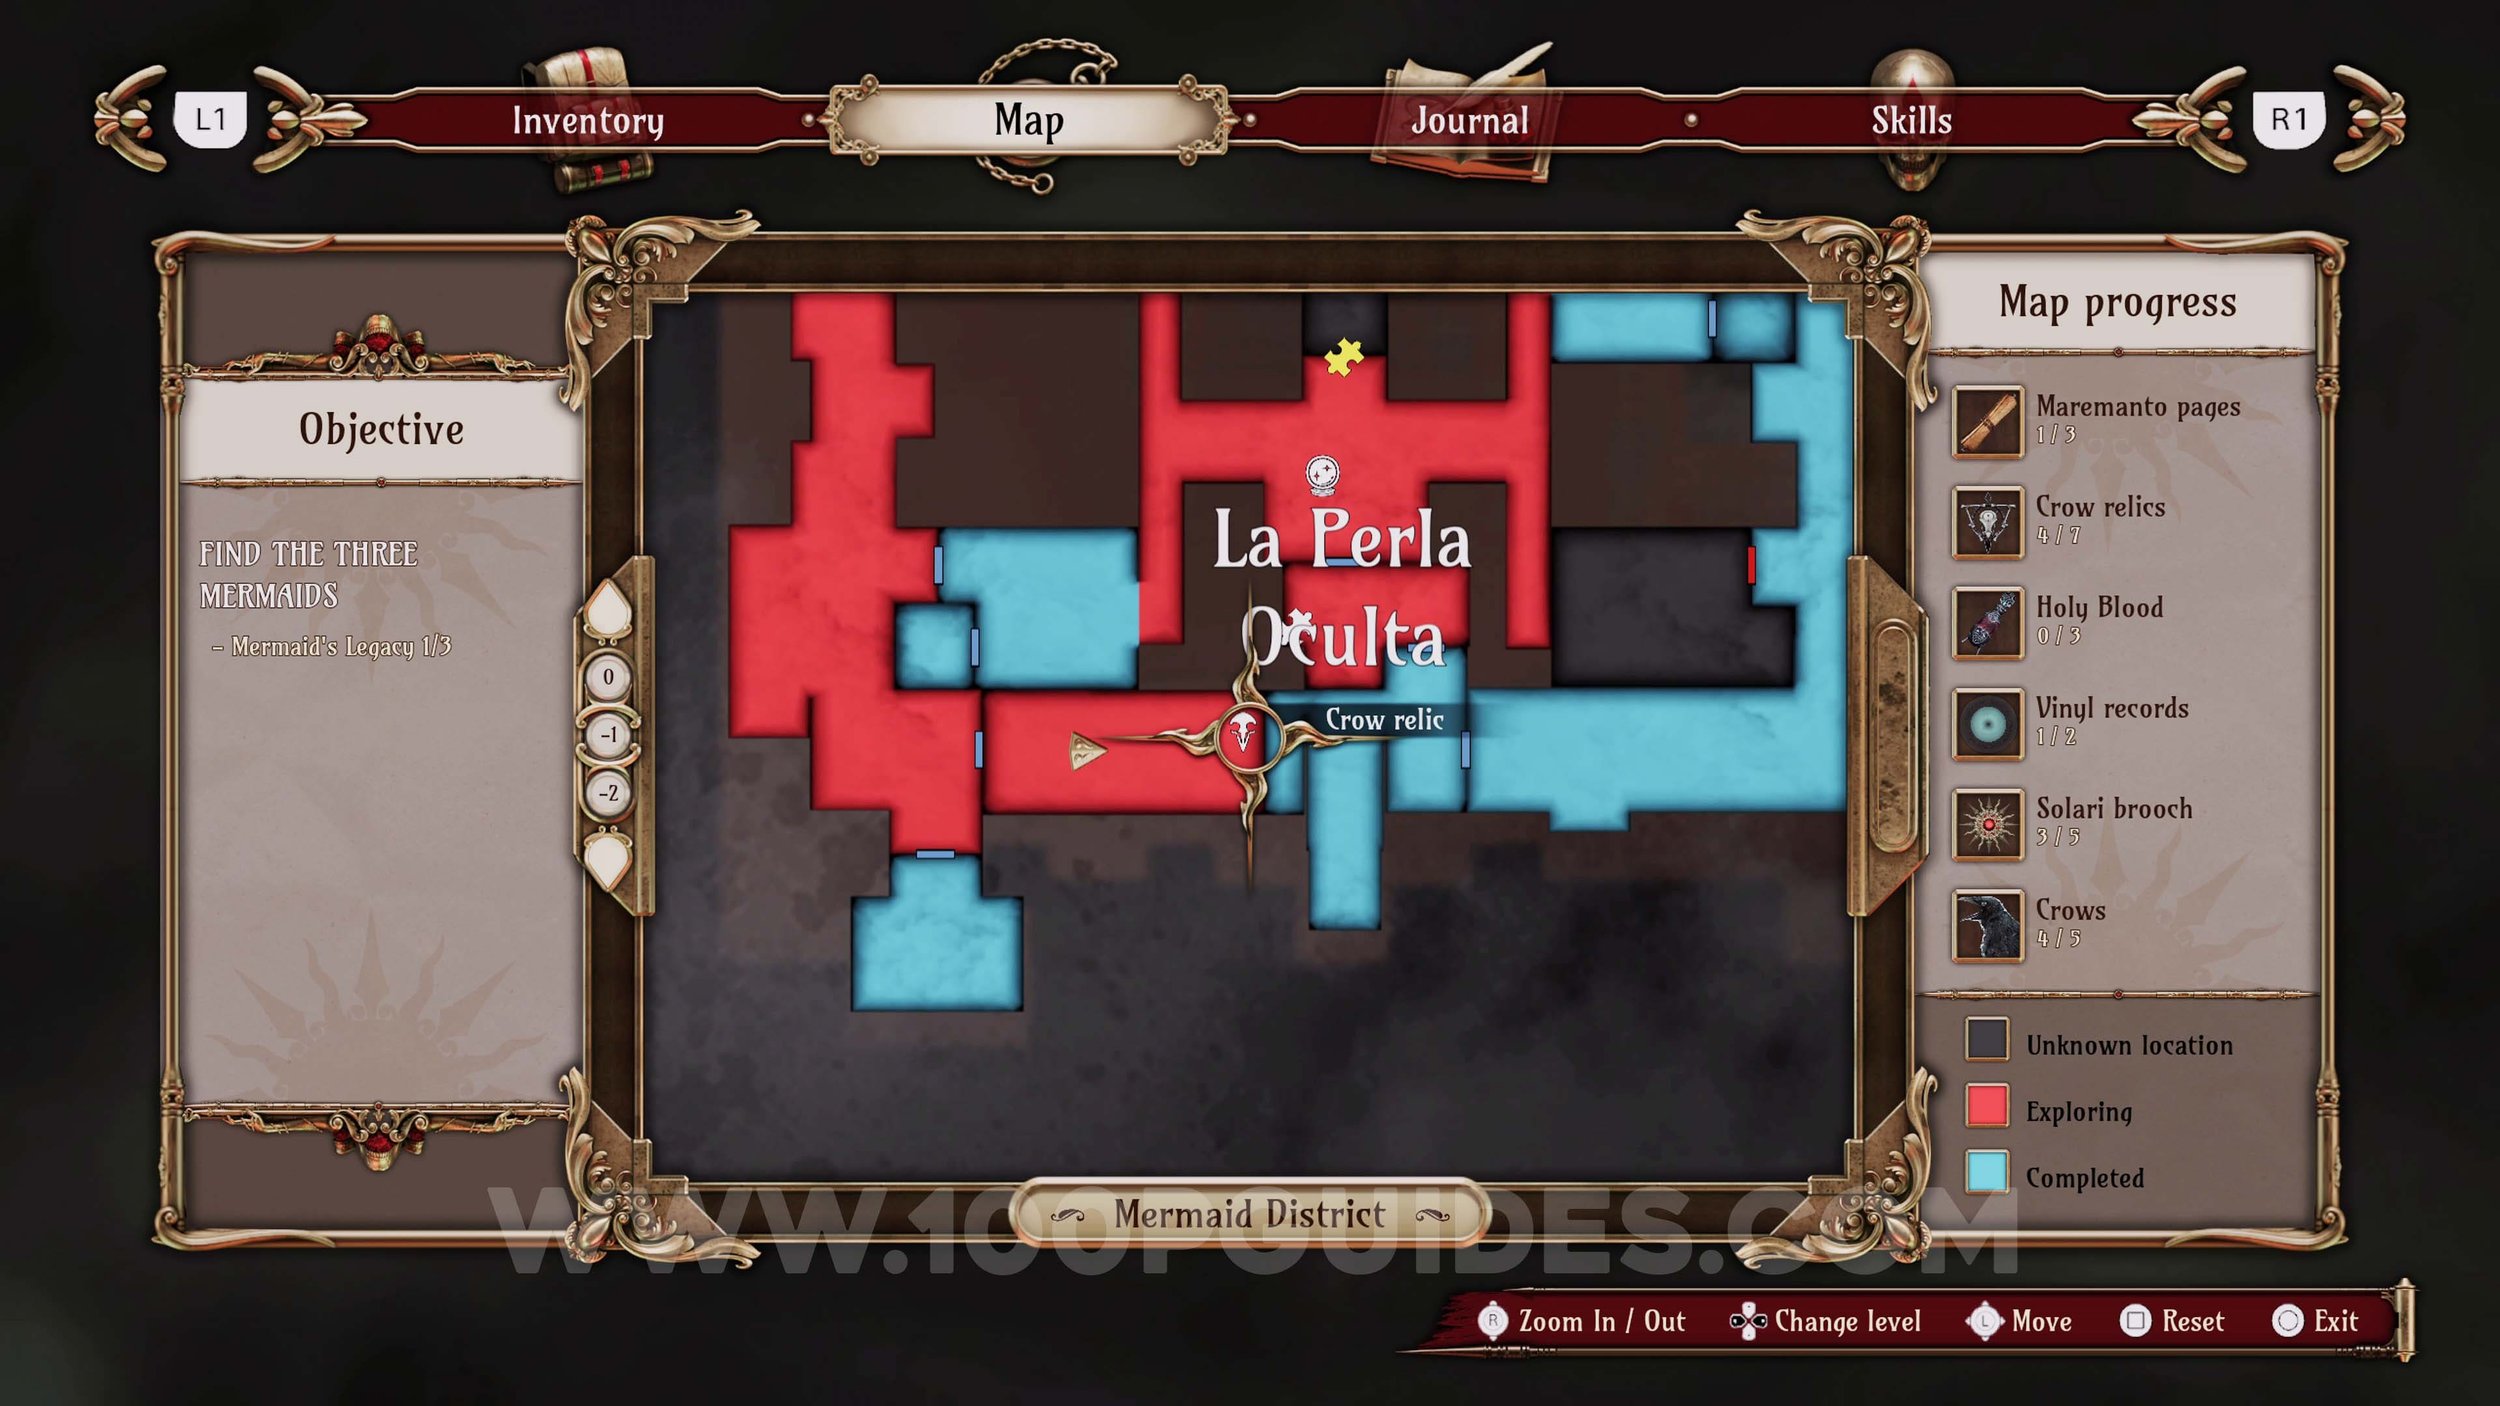
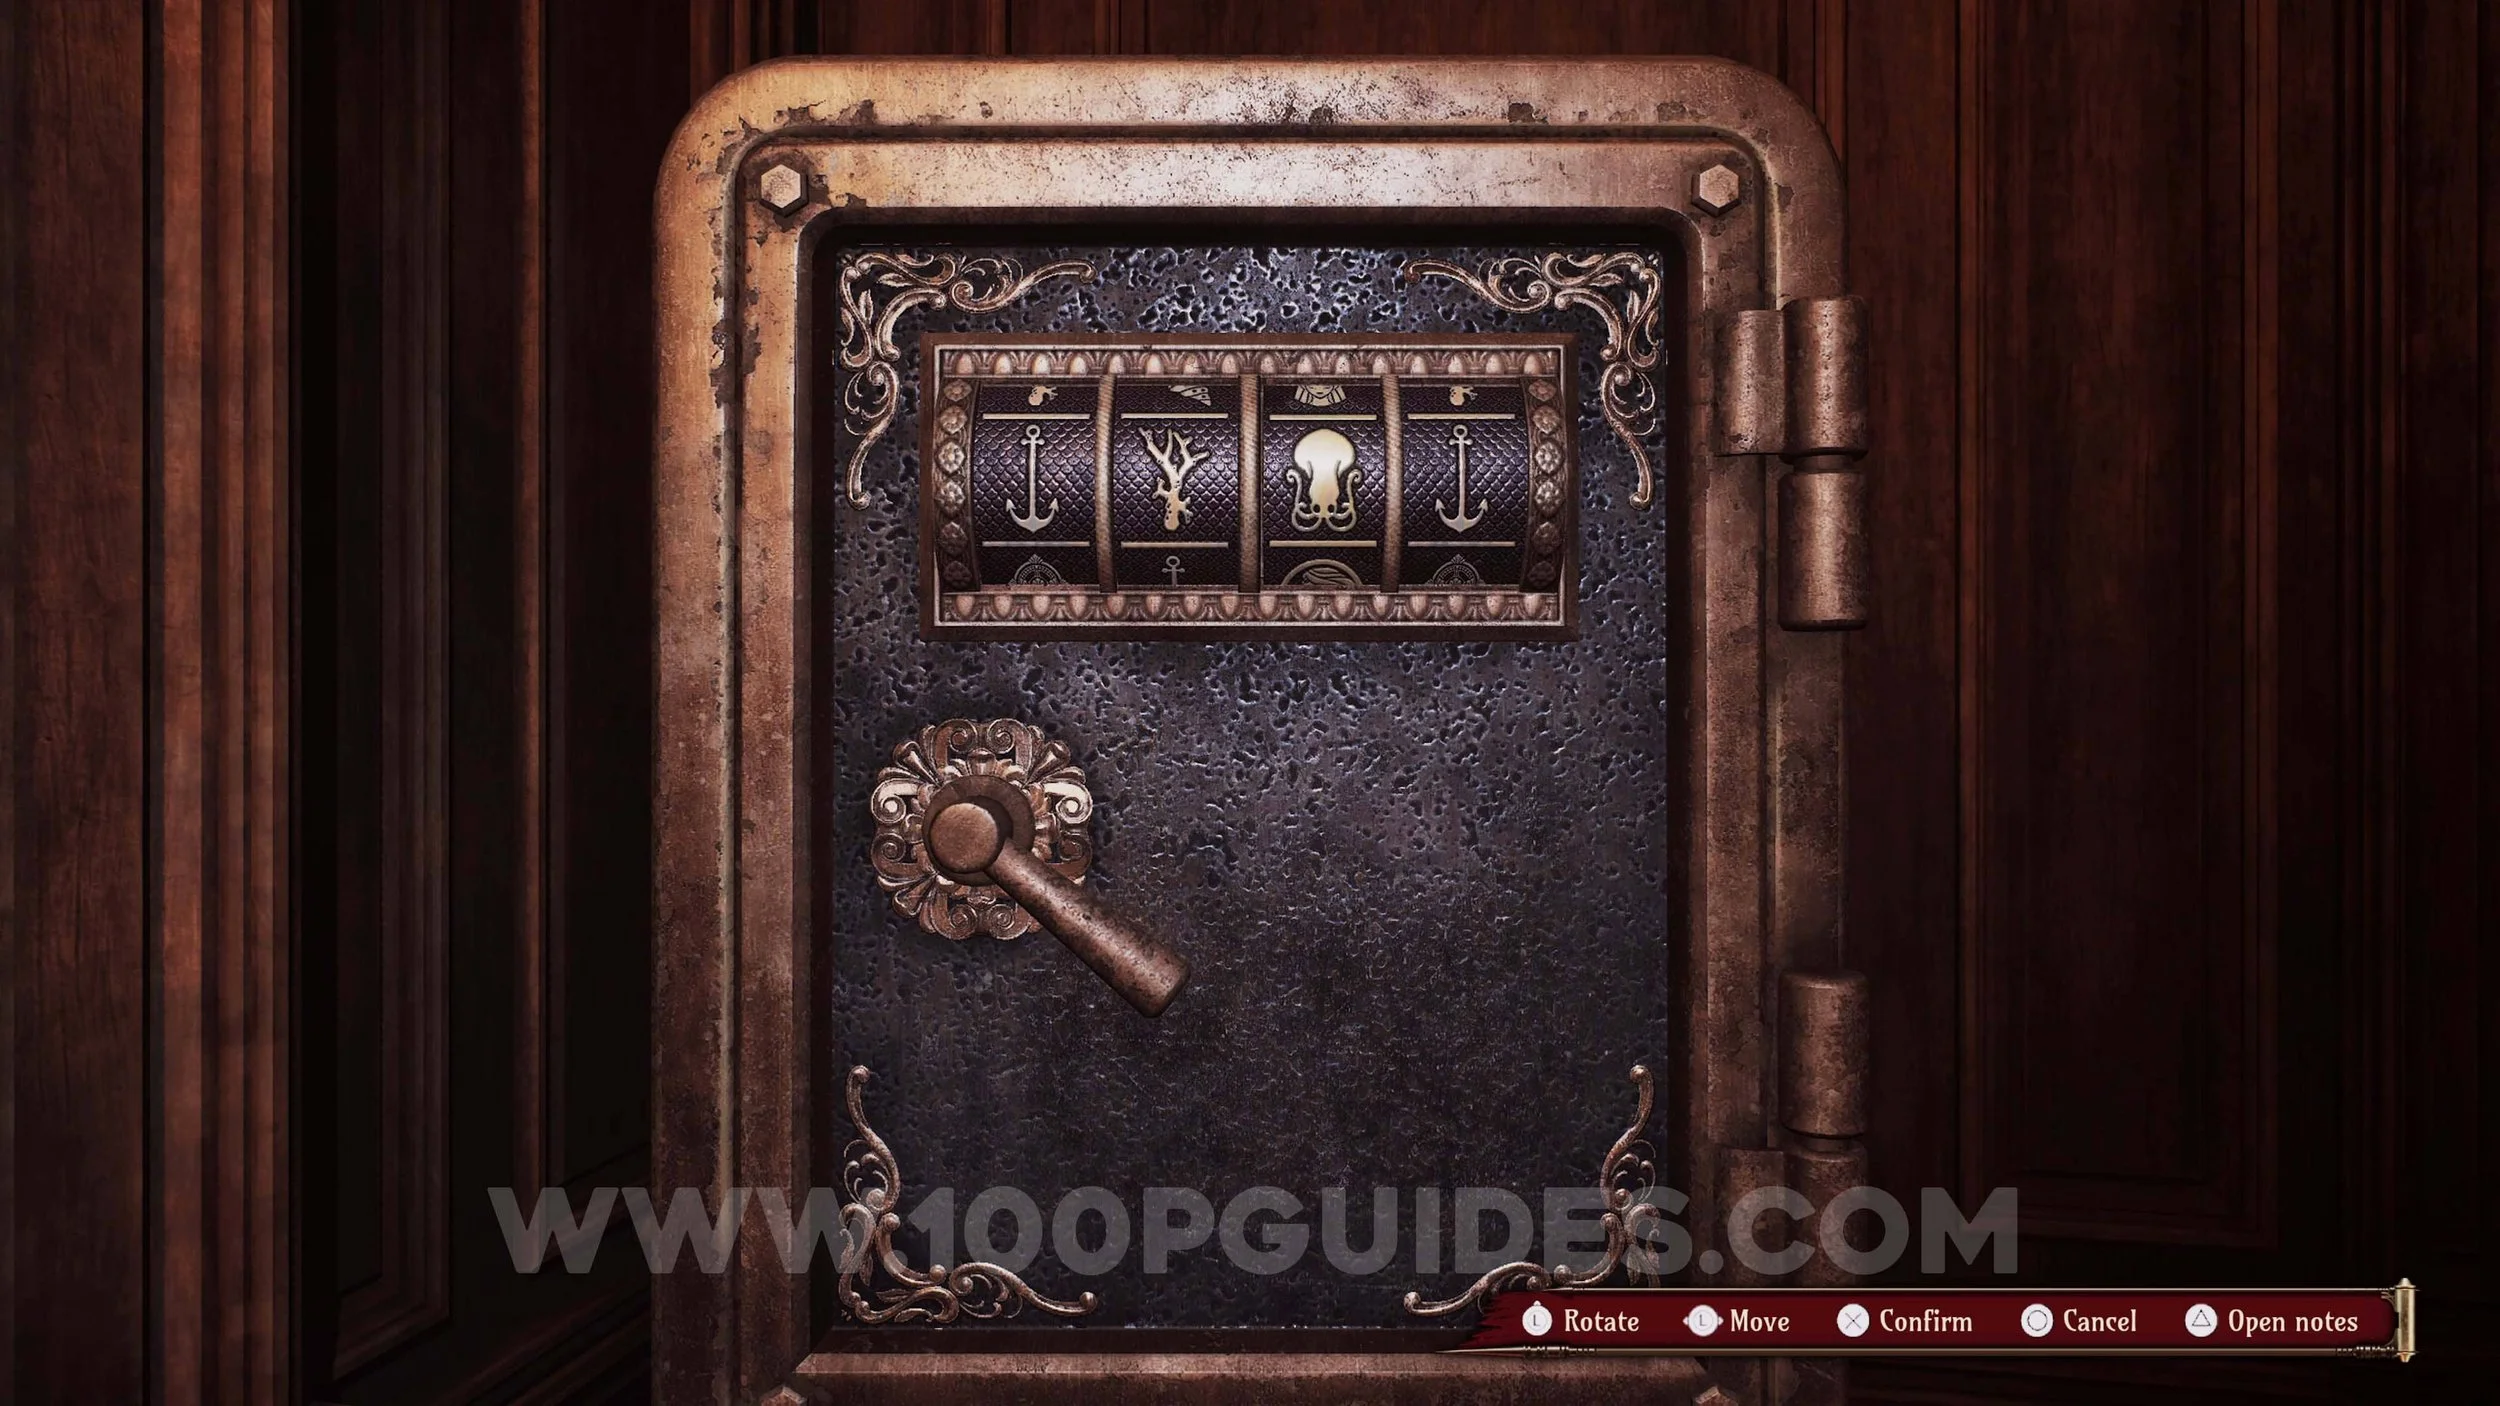
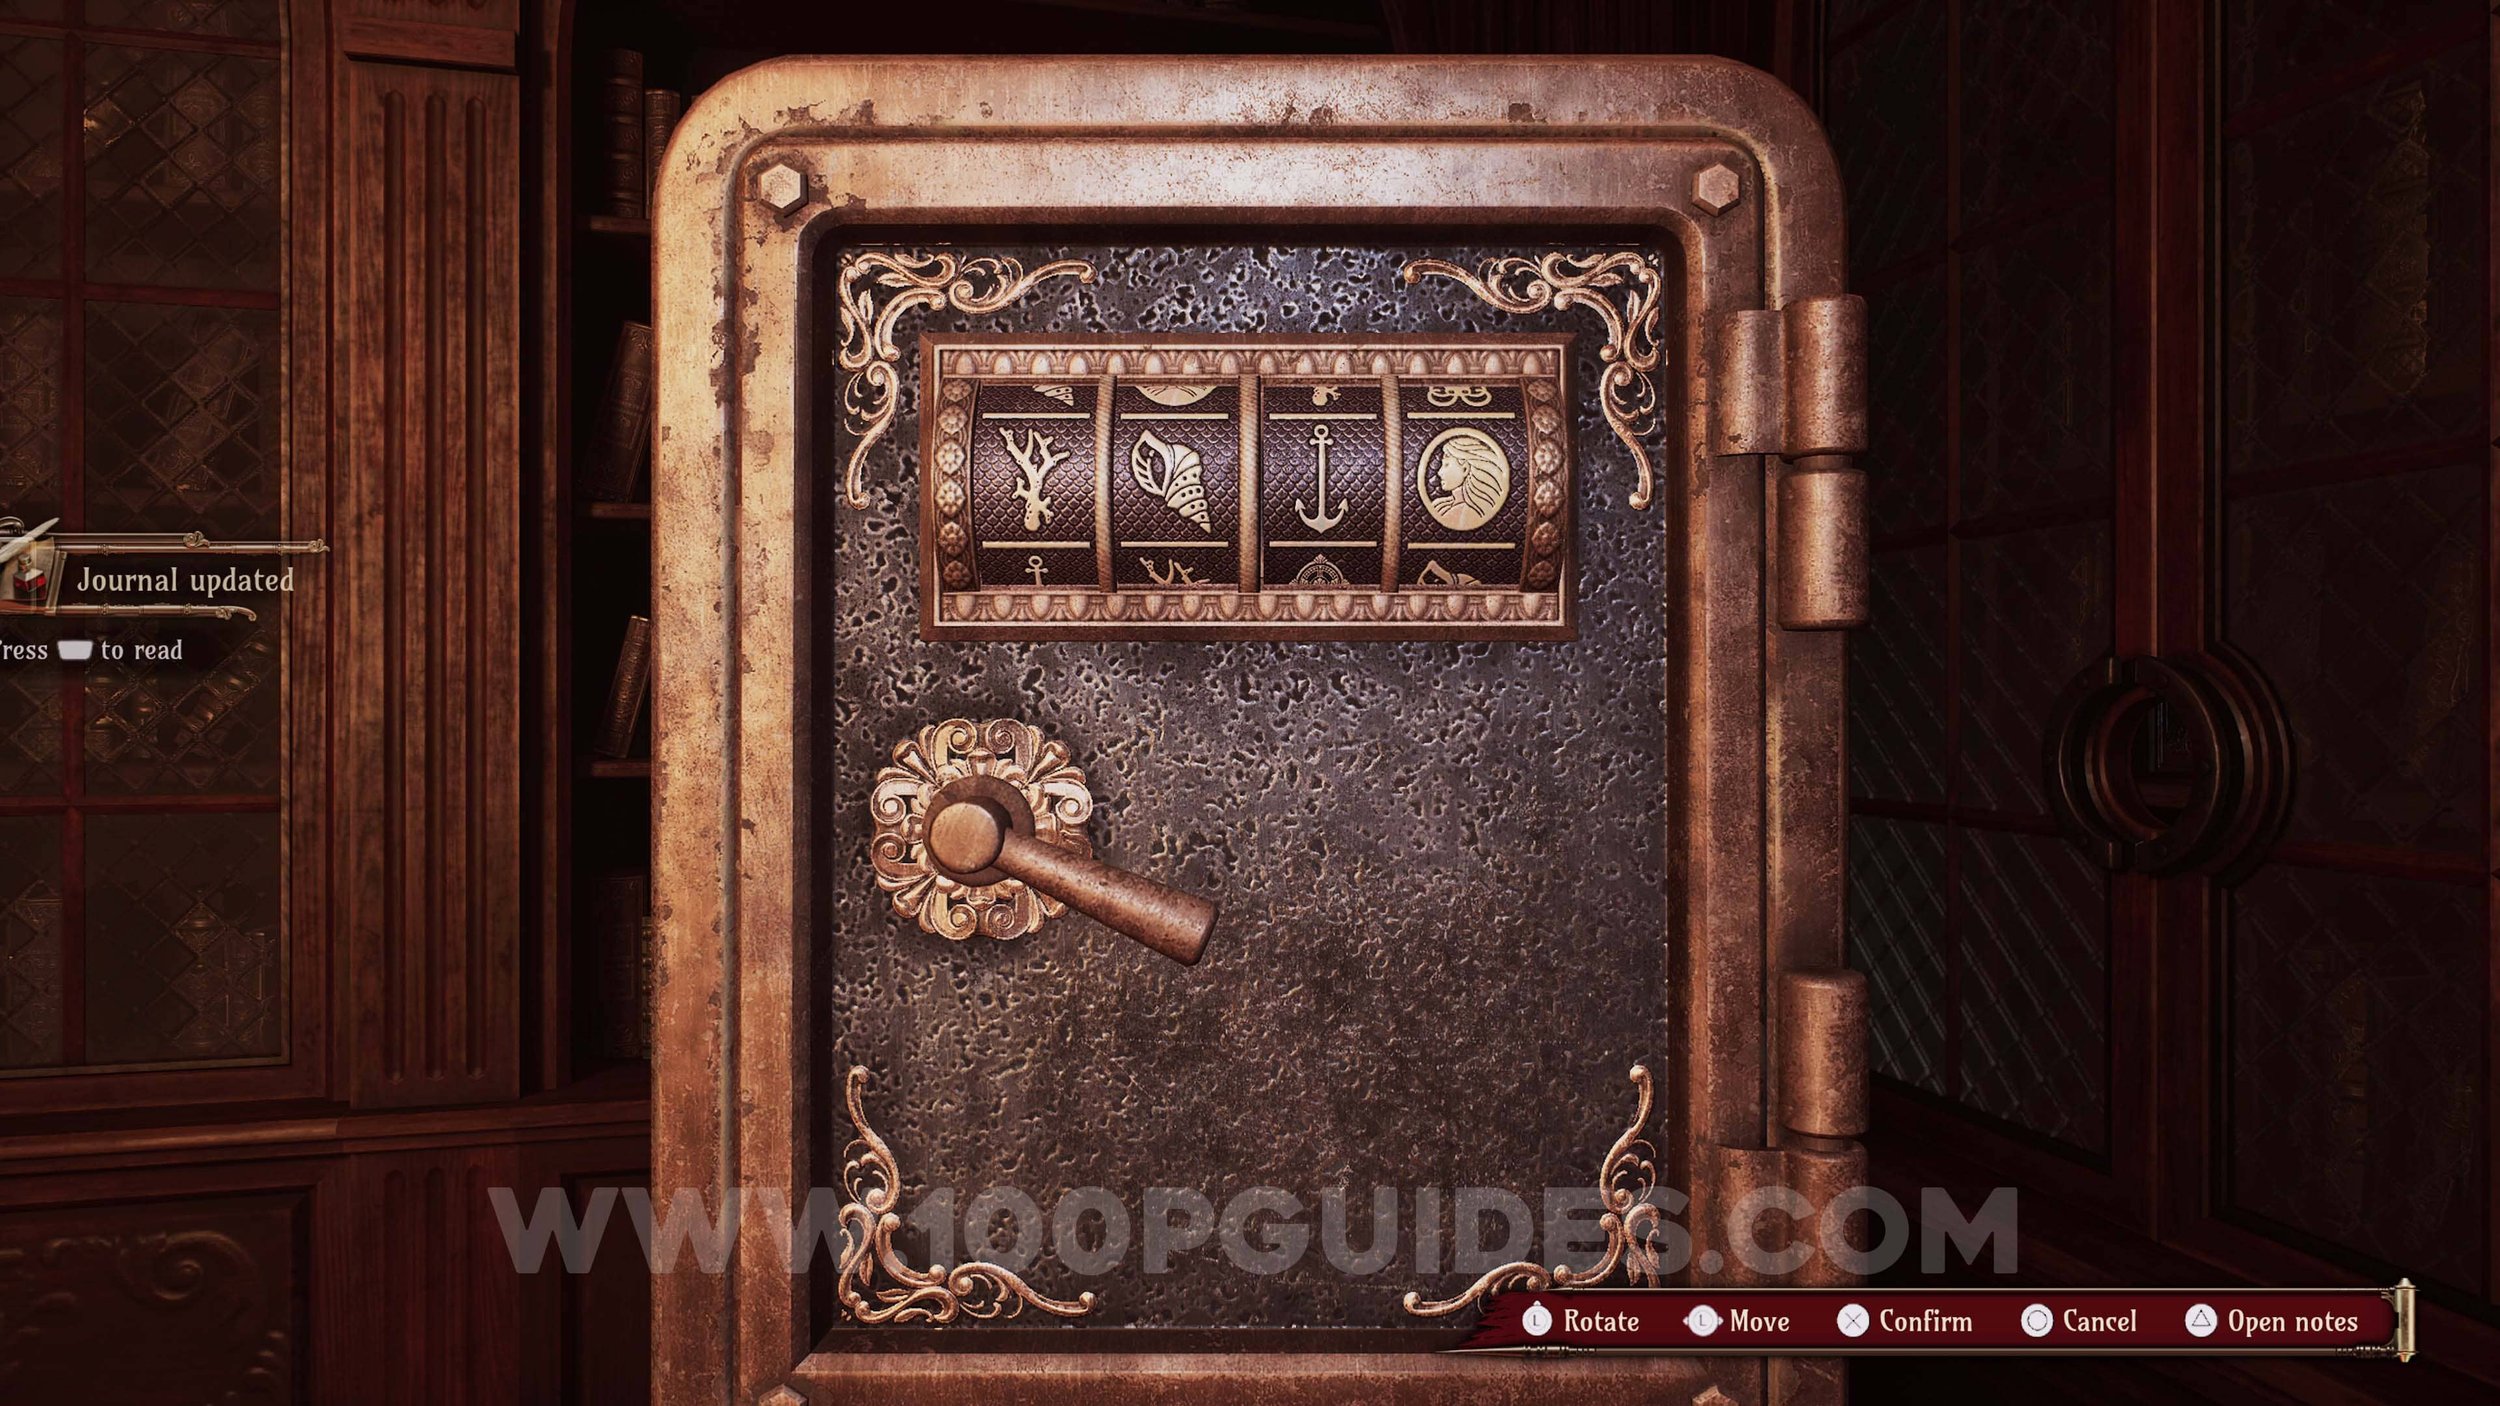
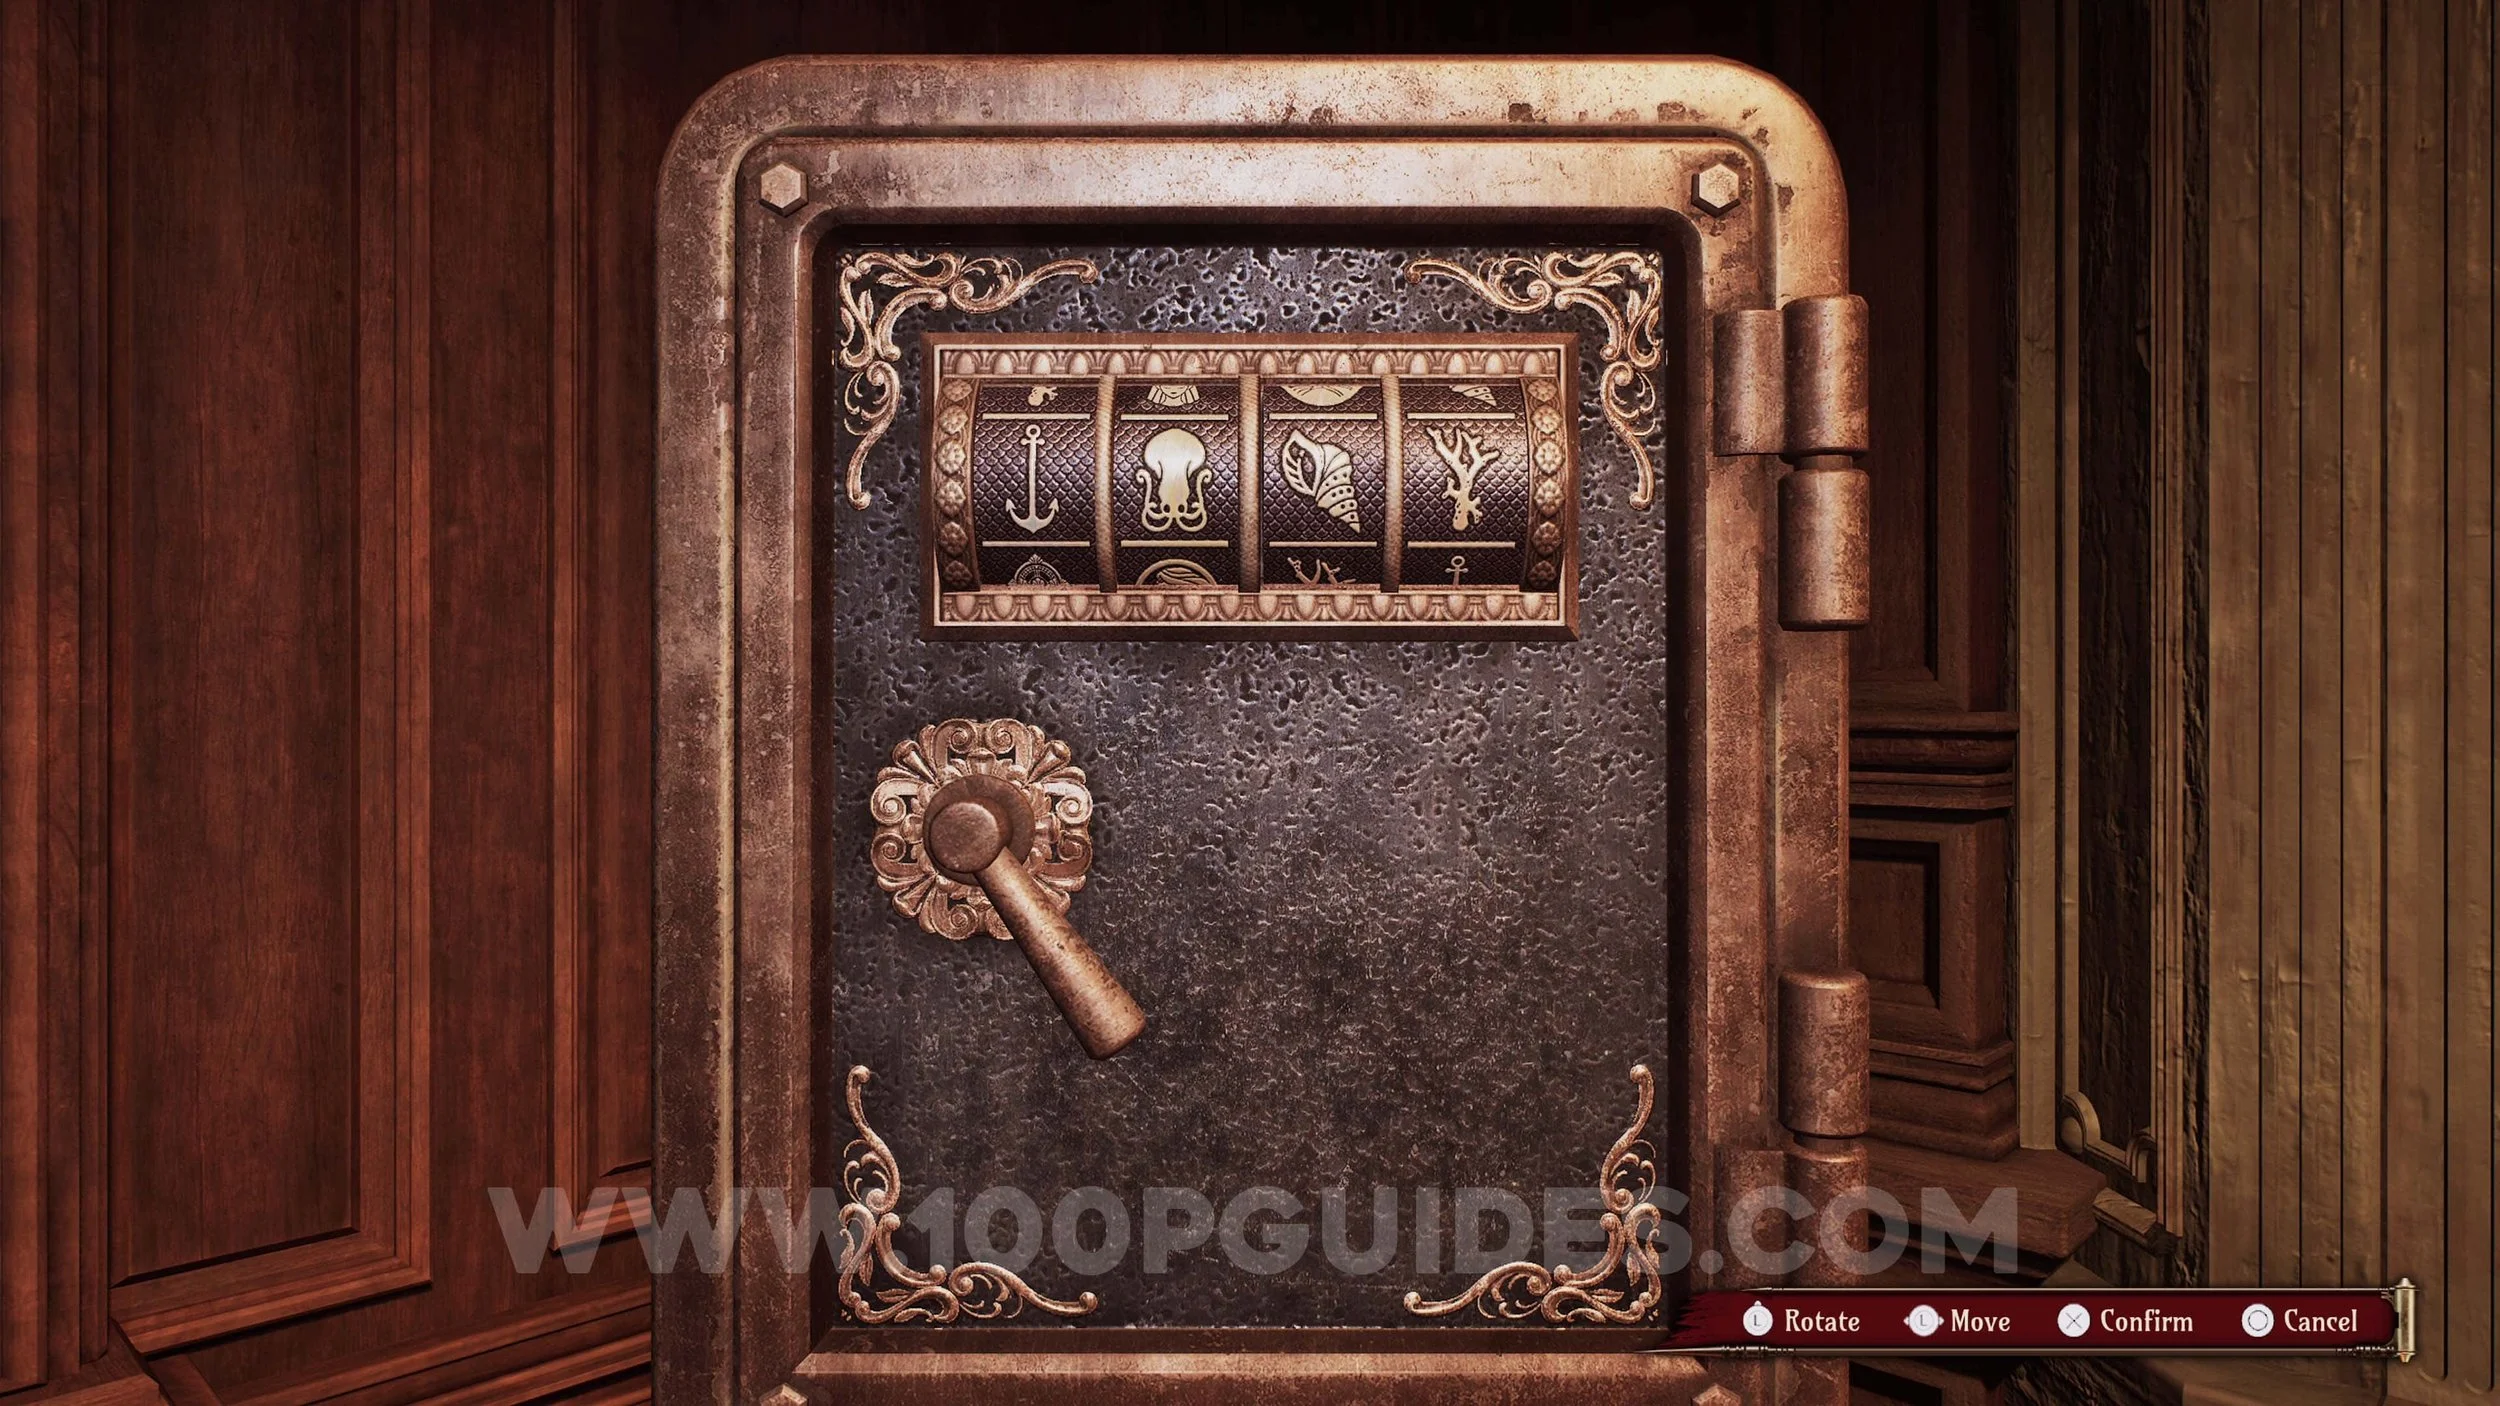
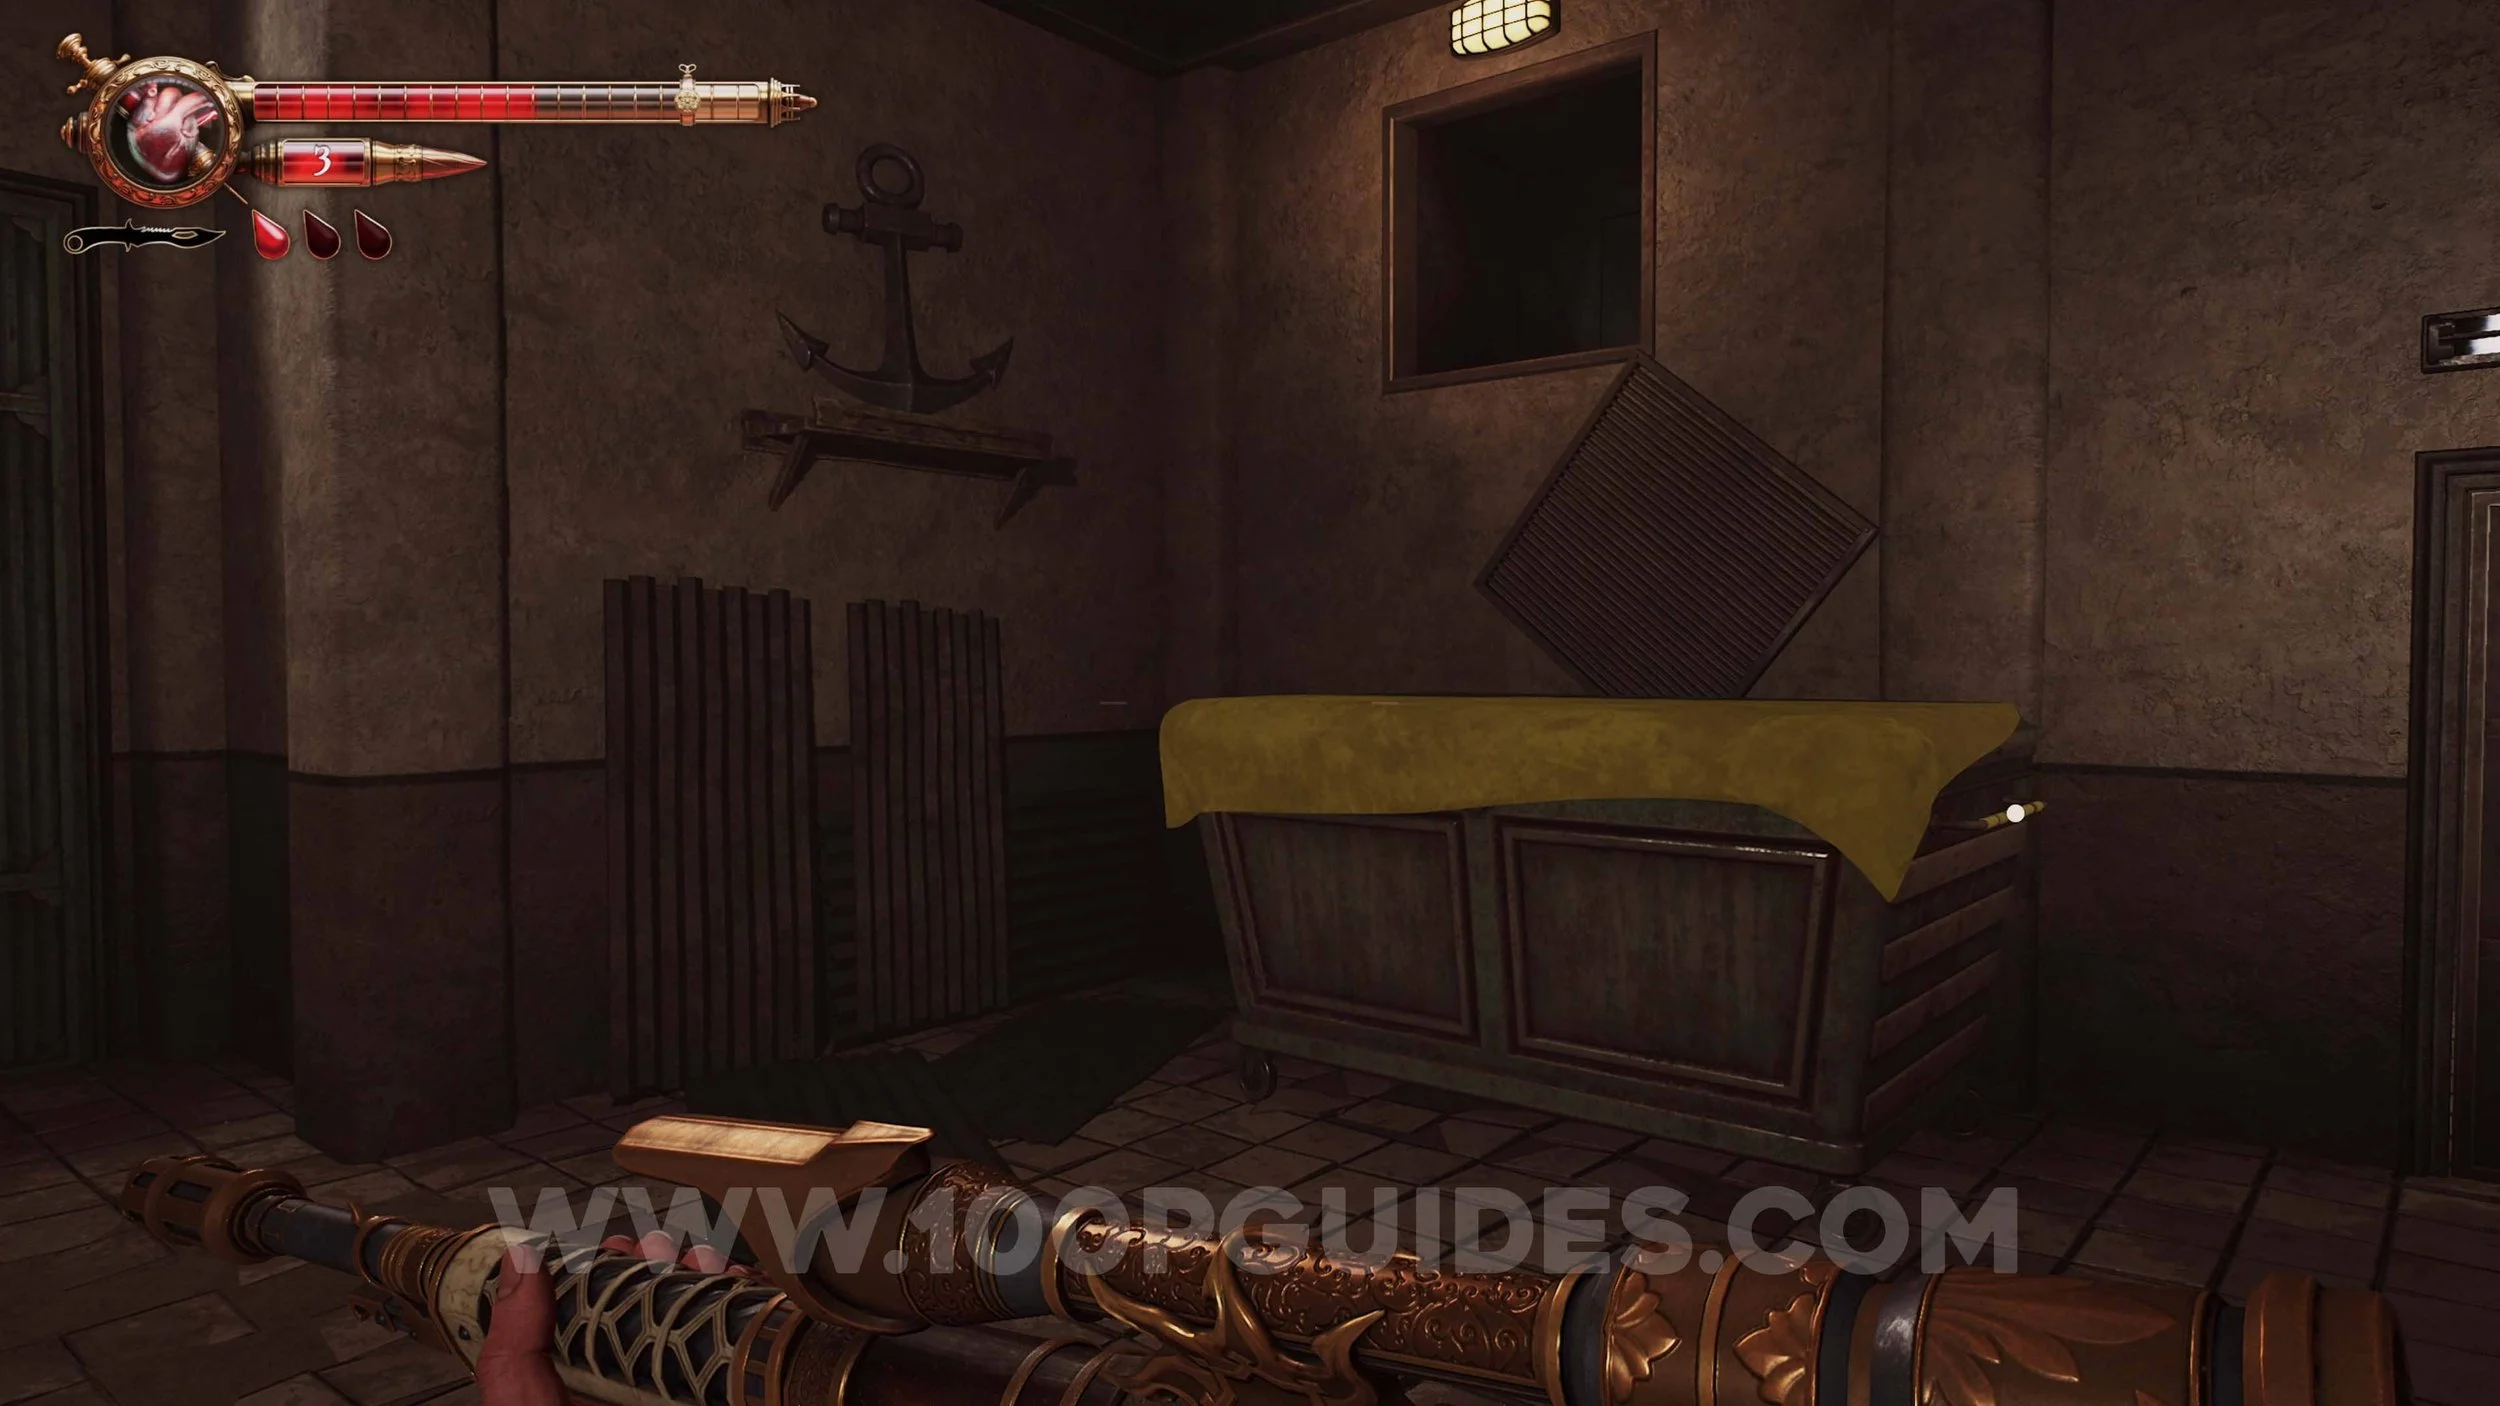
Holy Blood #1. Found in the safe in the first room of La Perla Oculta. The code is Anchor > Coral > Squid > Anchor.
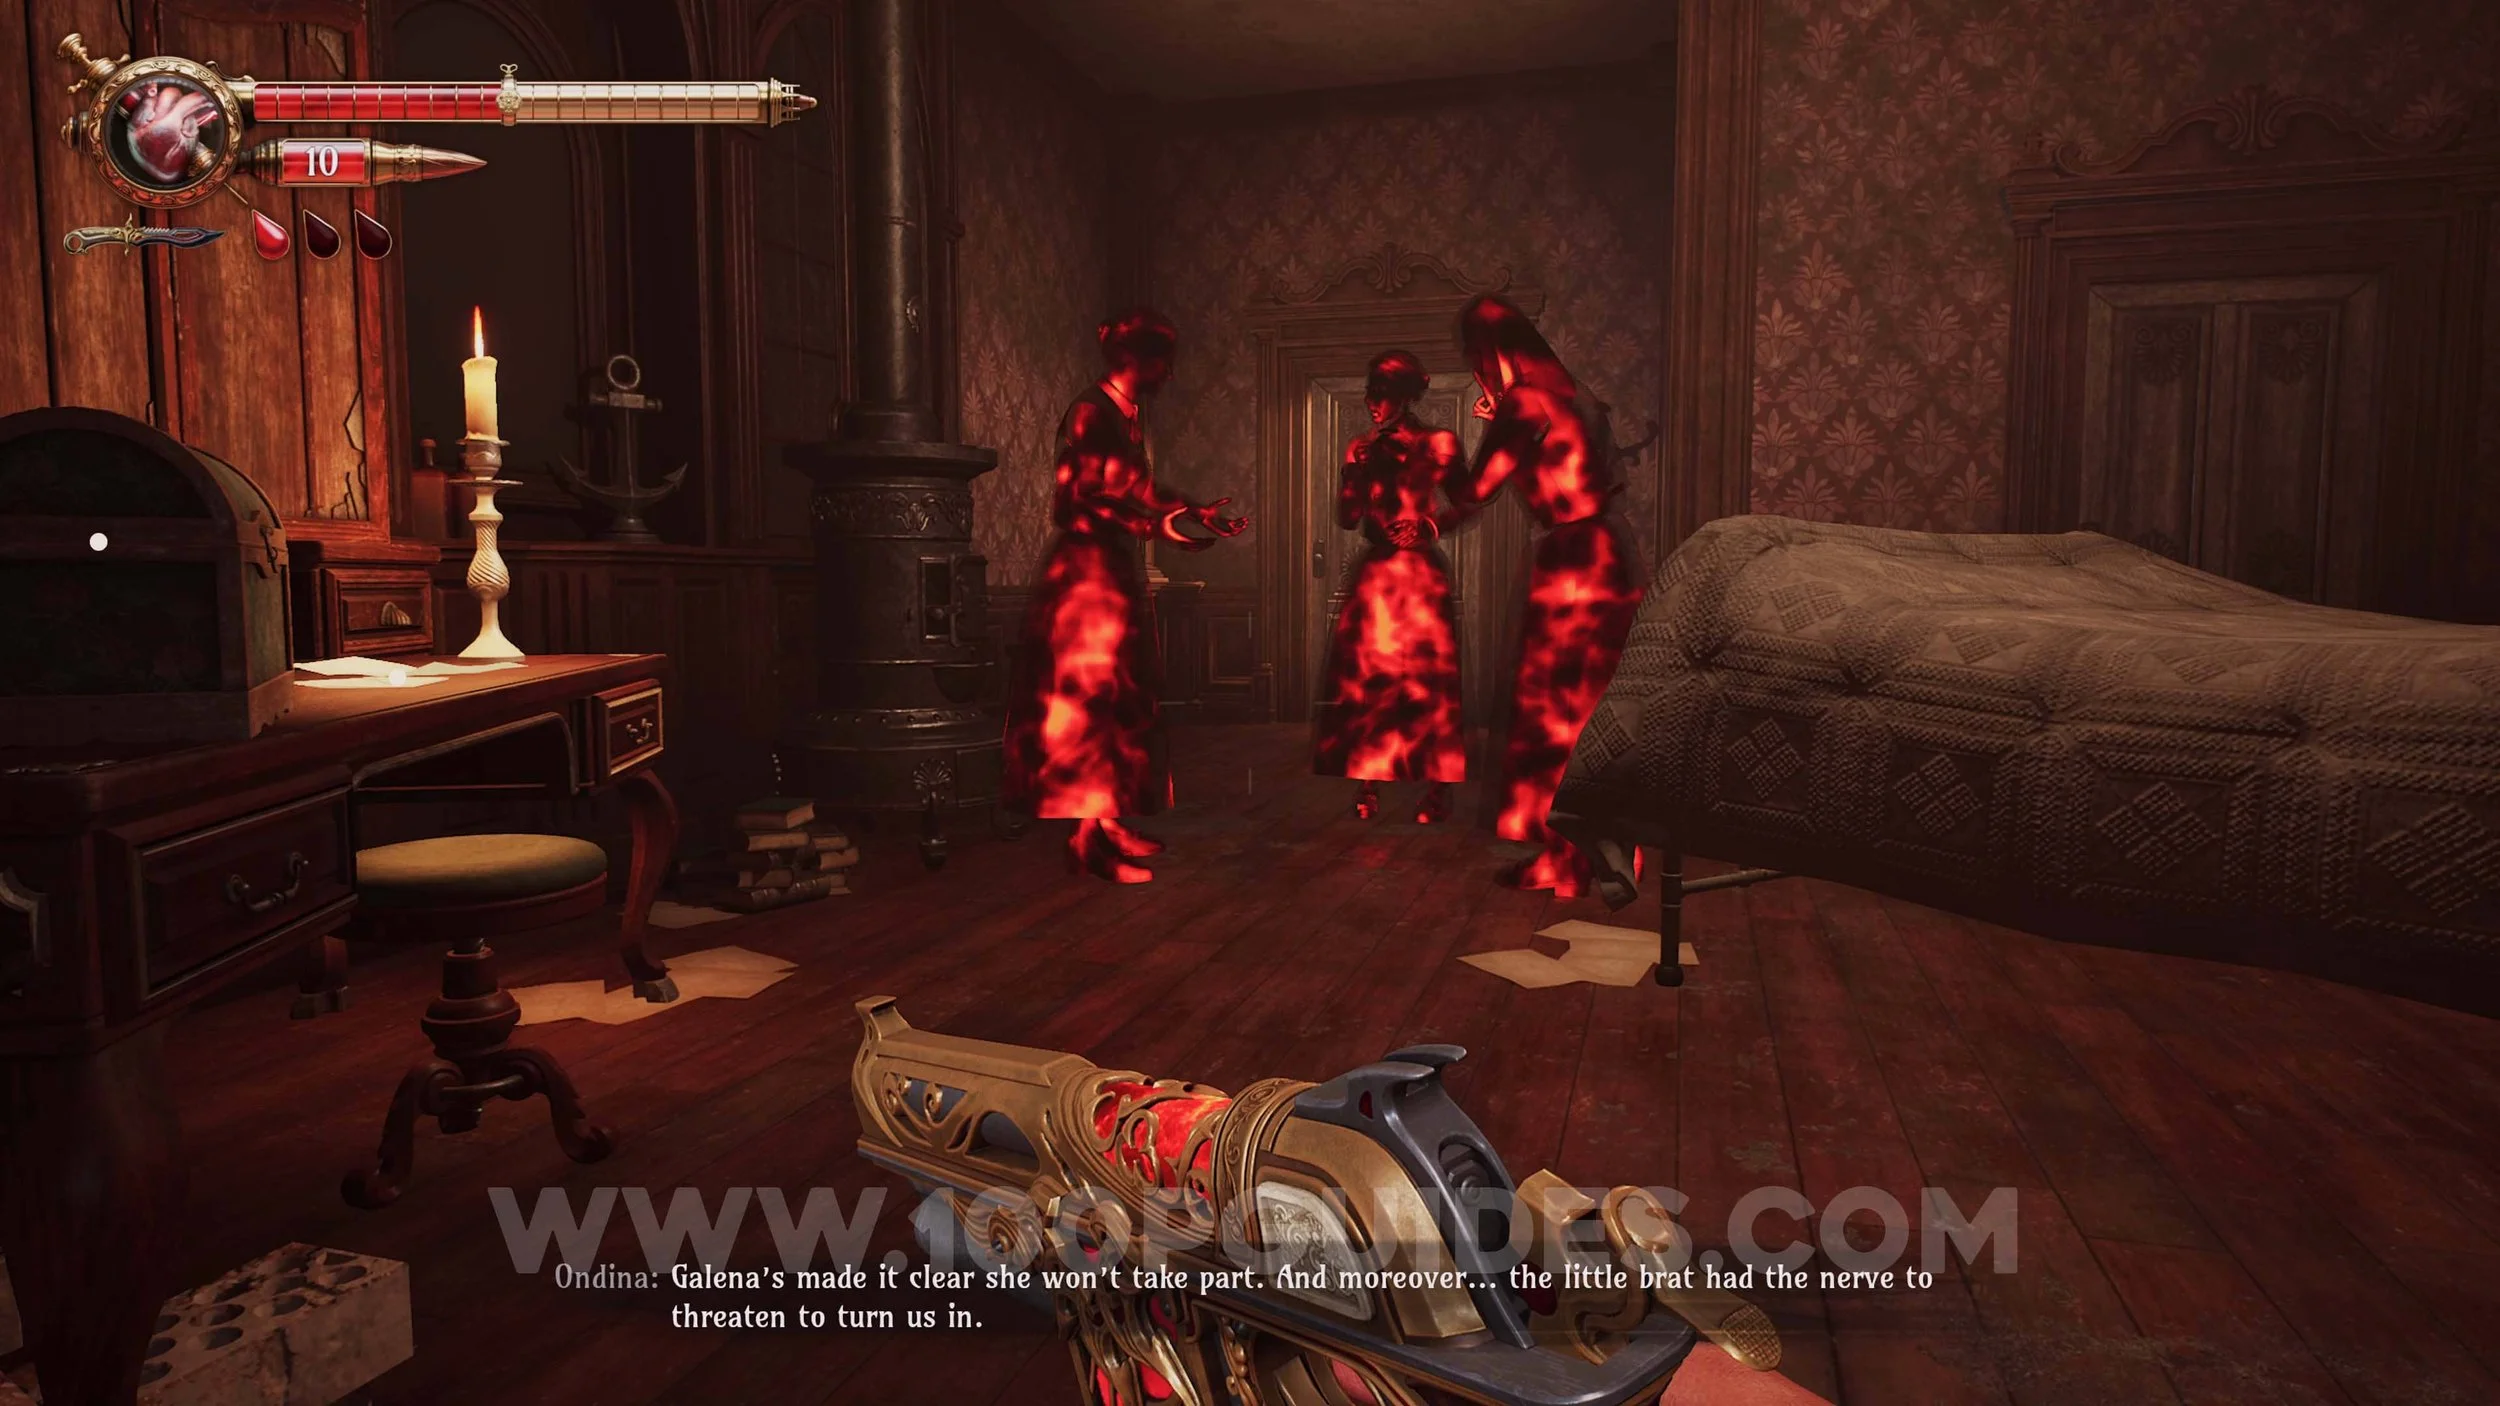
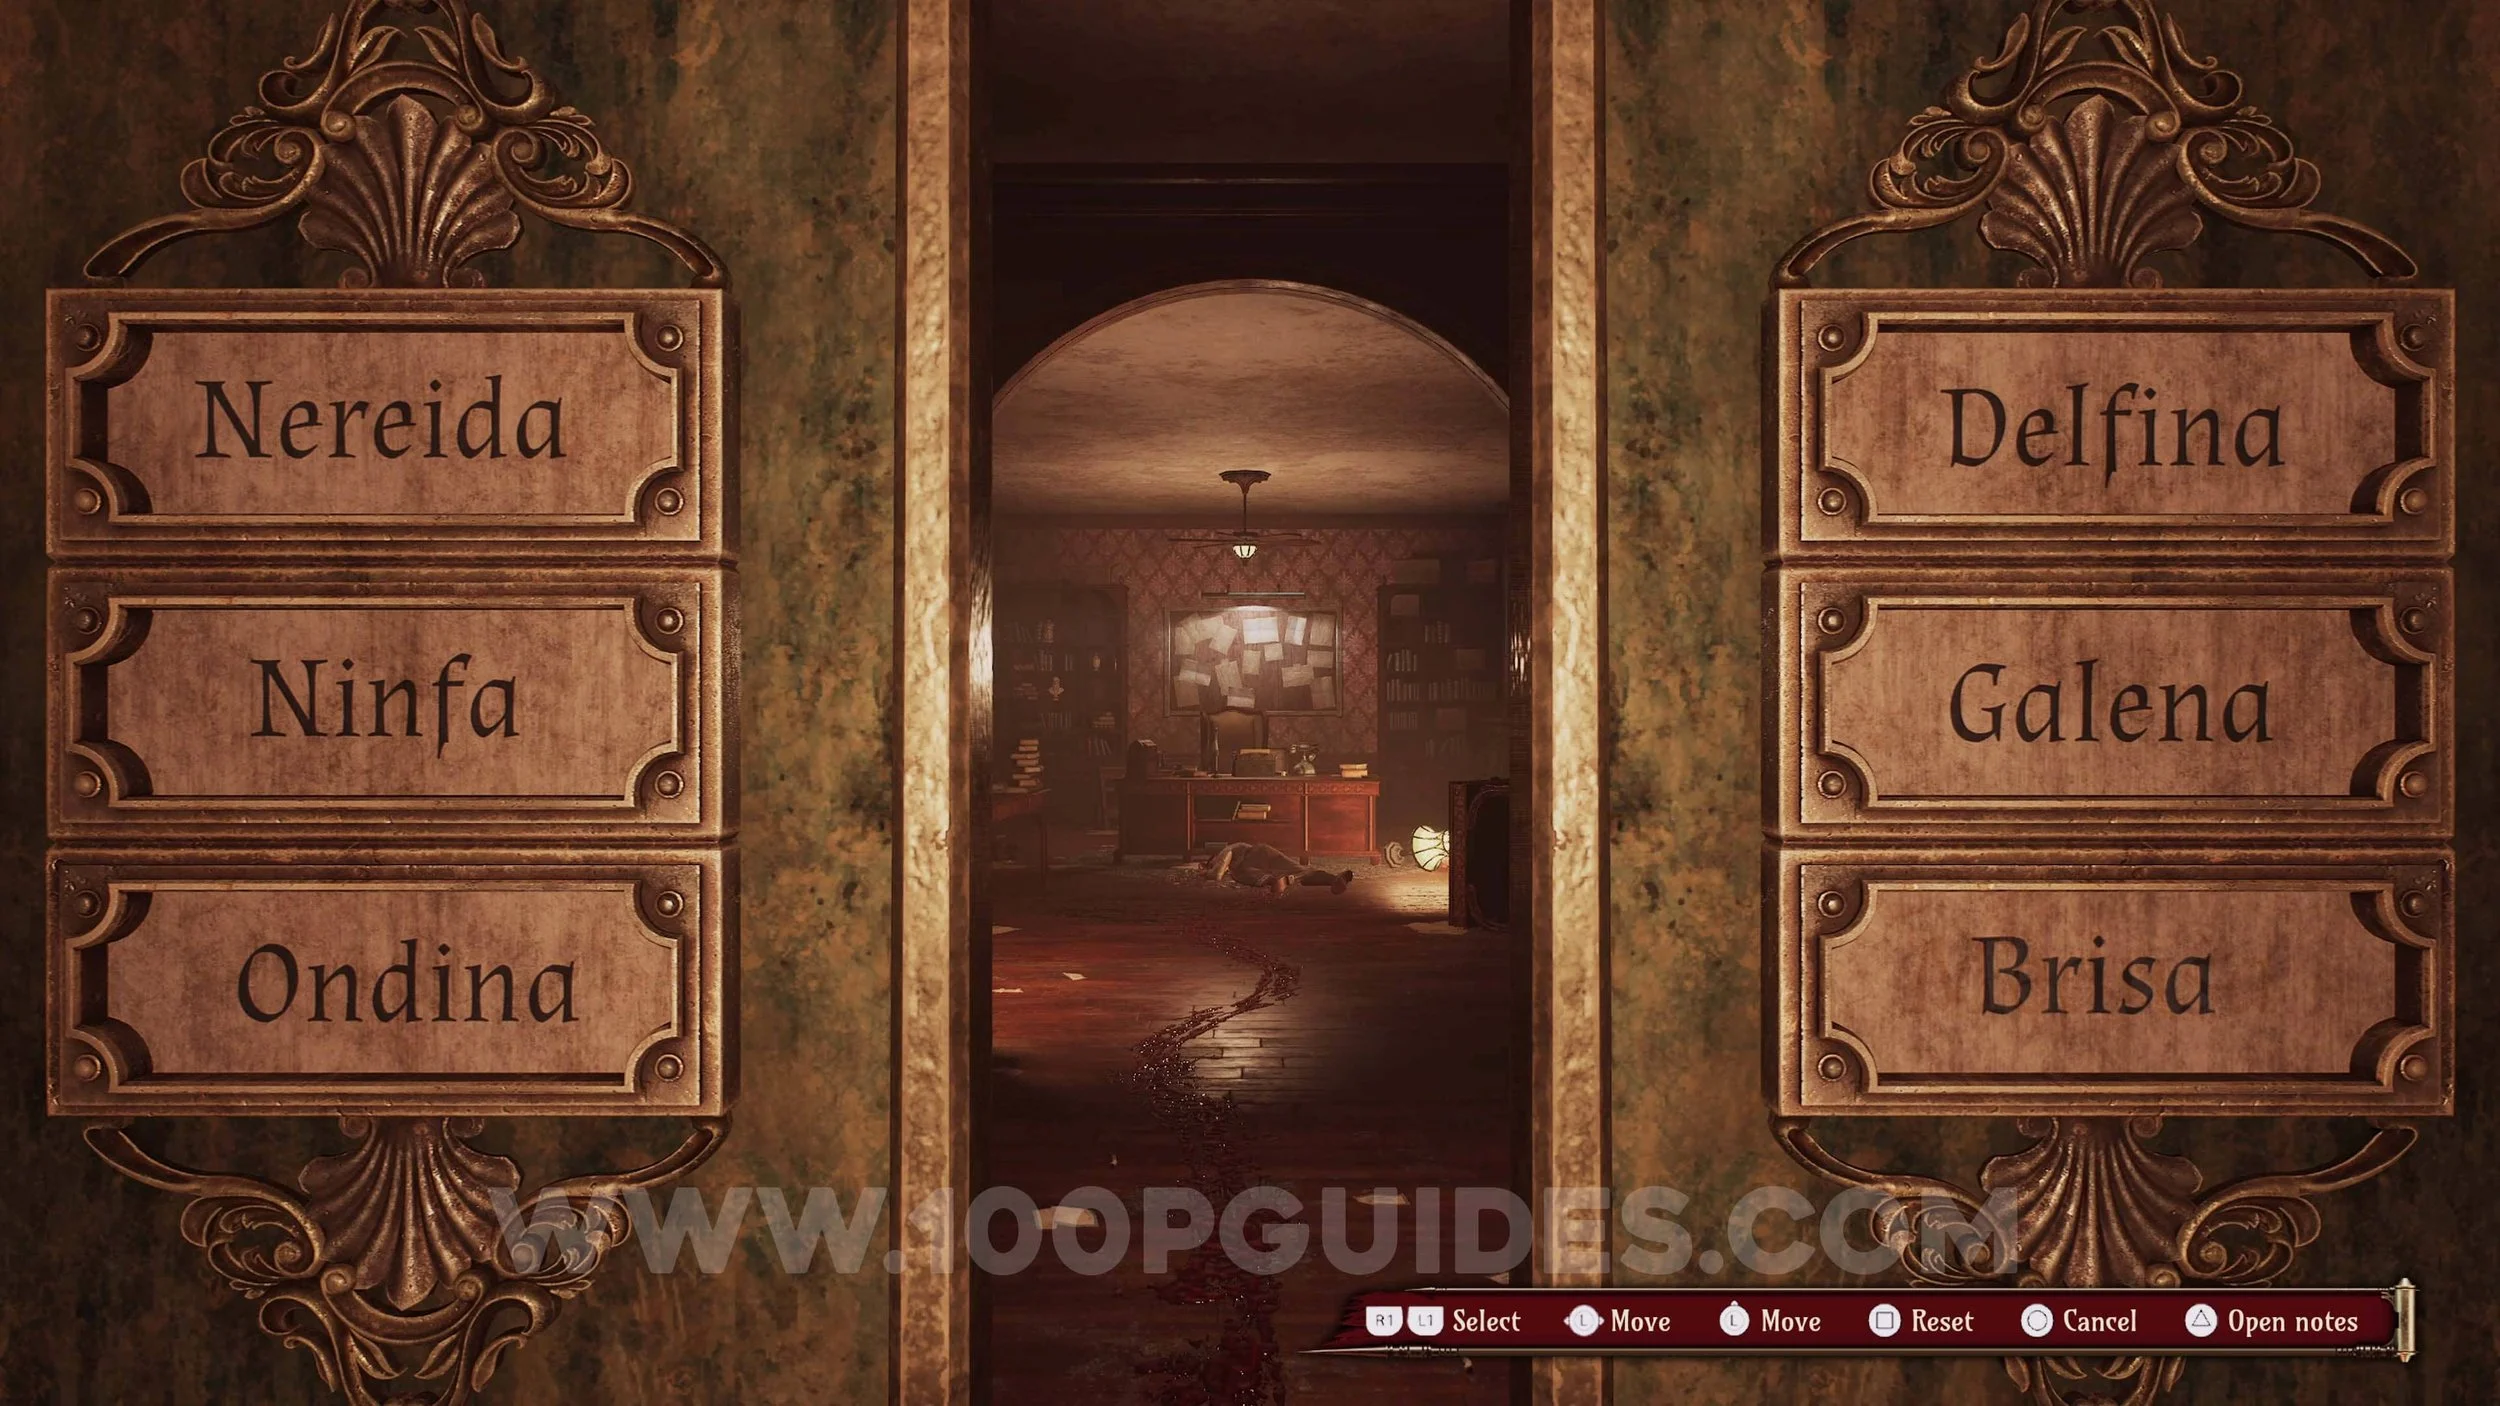
Memory #21. Story related after solving the puzzle in La Perla Oculta. The solution is A: Nereida, B: Ninfa, C: Ondina, D: Delfina, E: Galena & F: Brisa.
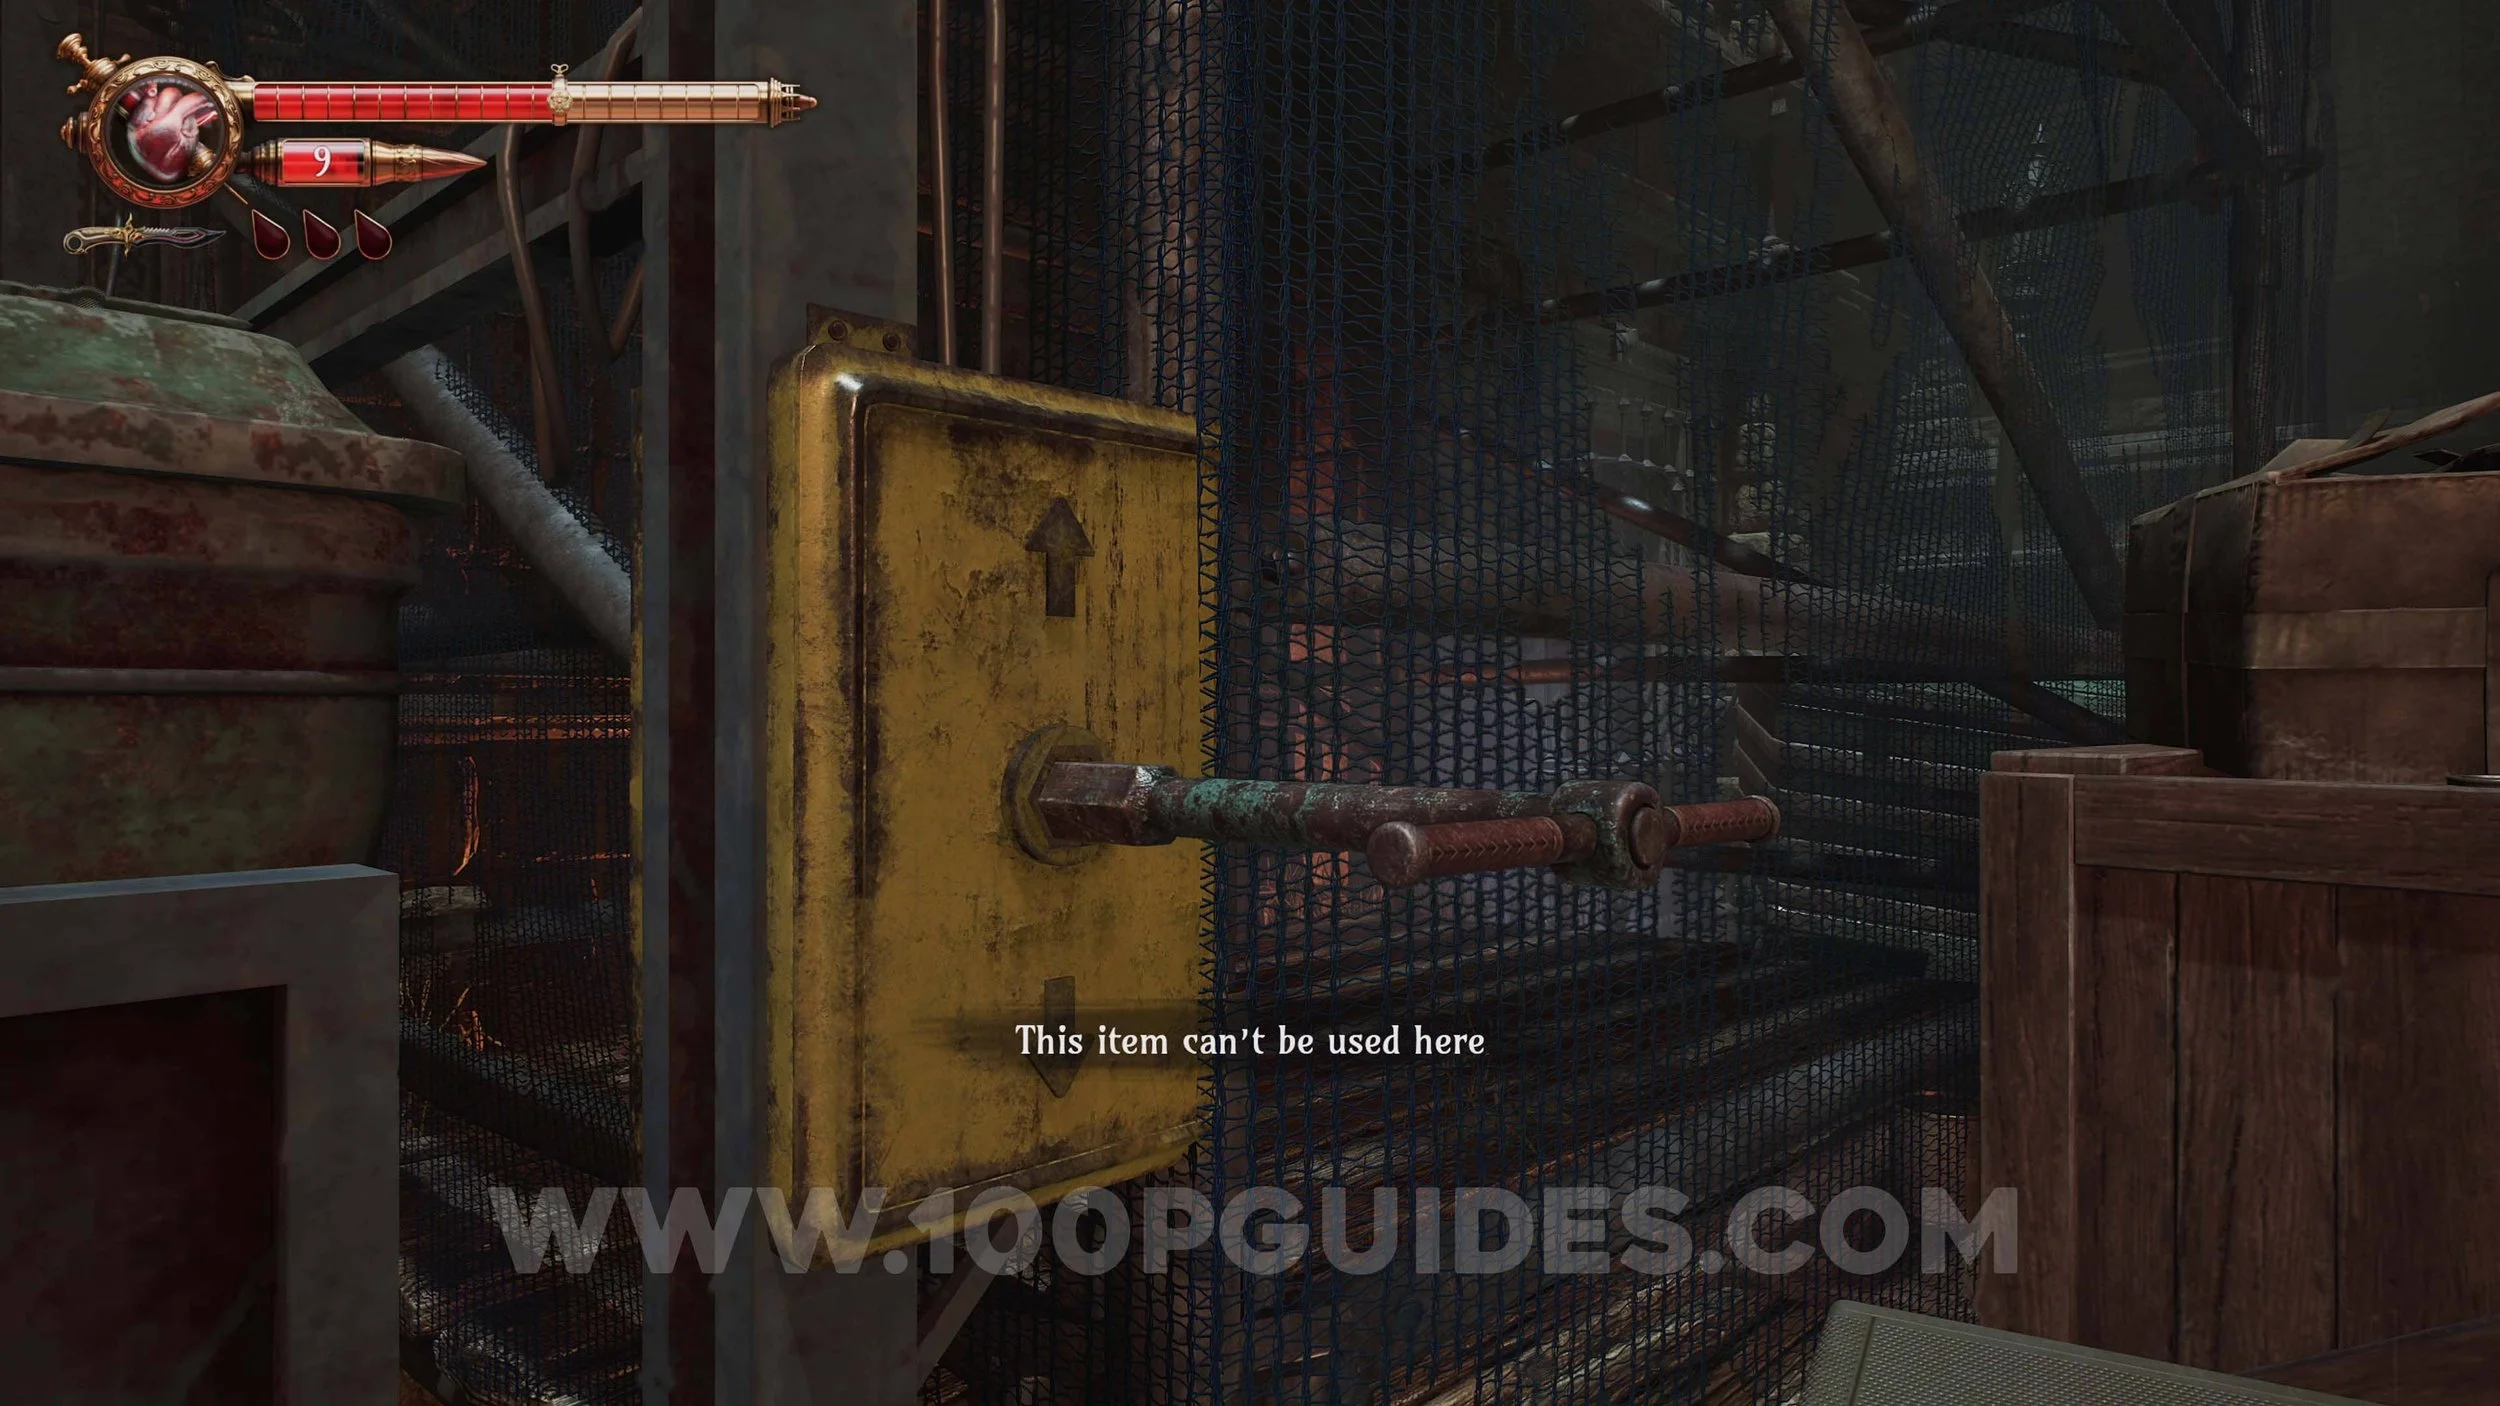
Holy Blood #2. After leaving La Perla Oculta, you will get the T-Handle. This will allow you to activate Freight Lifts. Return to the barn area by going through El Cuerno Albino and activate the Freight Lift close to the start. Then use the new platform to get to the inside of another building. Open the safe with the following code: Coral > Shell > Anchor > Coin.

Memory #22. After getting the T-Handle, use it to open the path just west of the save/shop. Then return to the area with the Ferreteria and use the T-Handle to open the door. The memory will trigger on the other side.
Solari Brooch #6. In the same room as the previous memory.
Weapon #3 - Shotgun. Now that you are back in the Ferreteria area with the bolt cutters, go to the northern street and enter the door behind the cart. Then use the bolt cutters to get the shotgun.
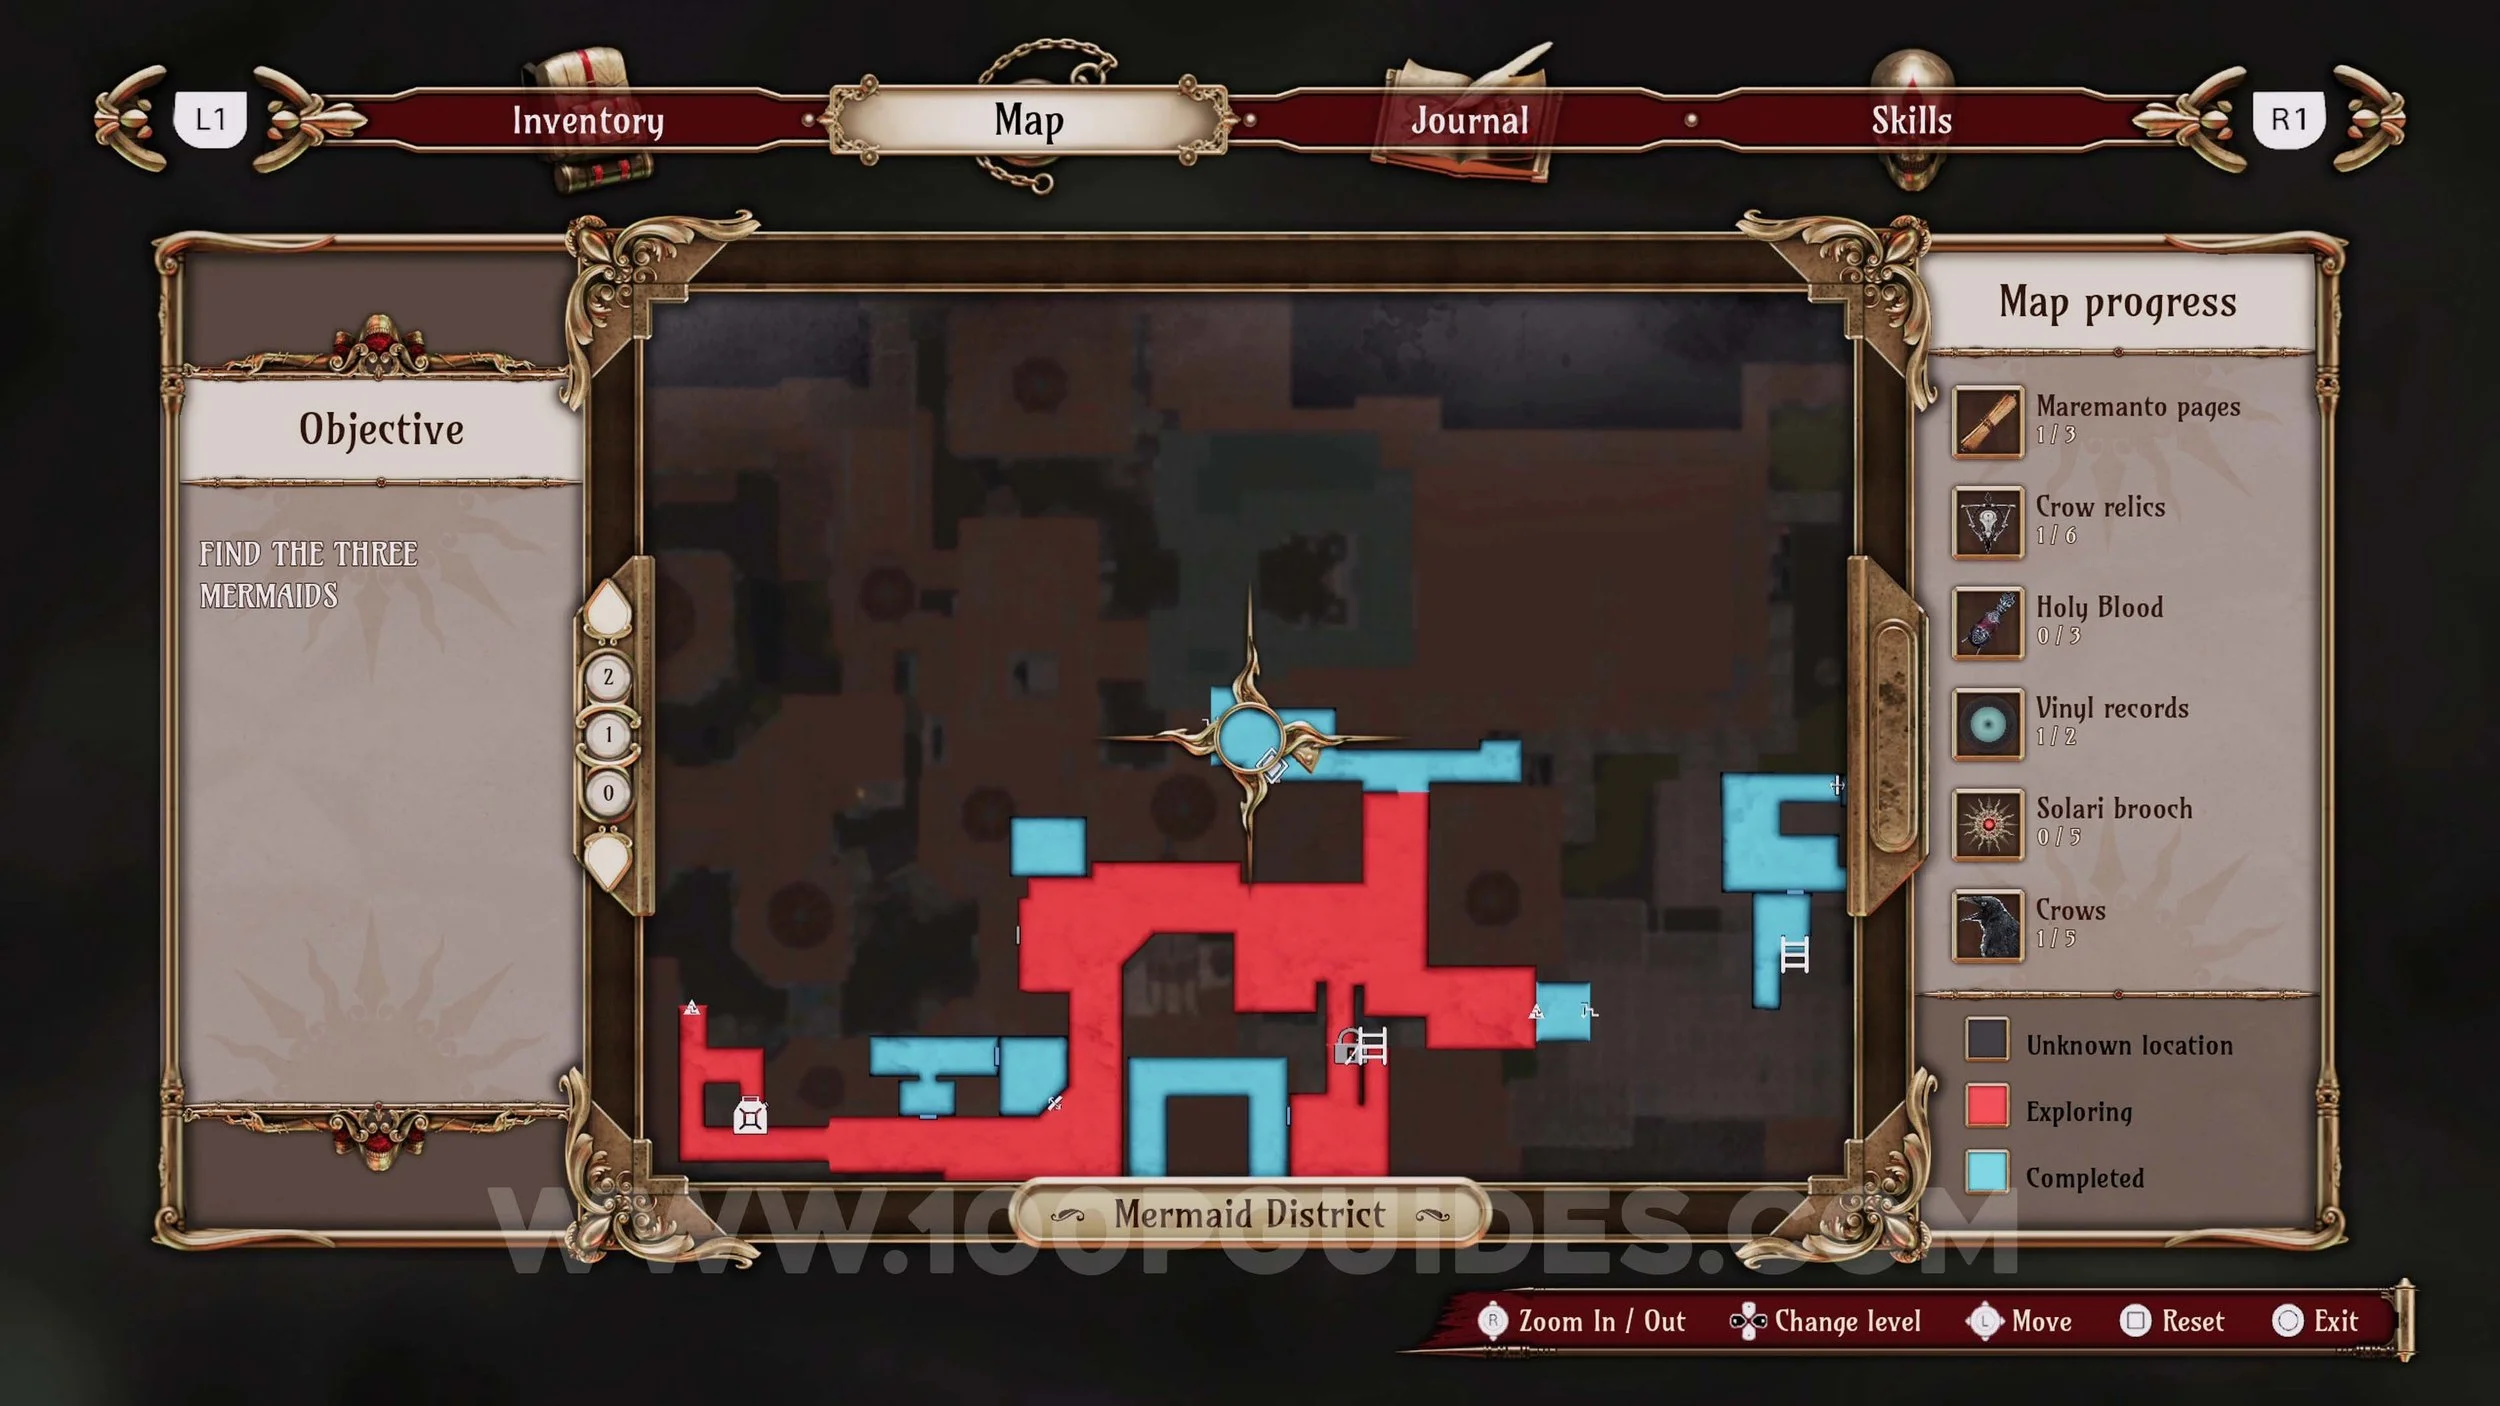
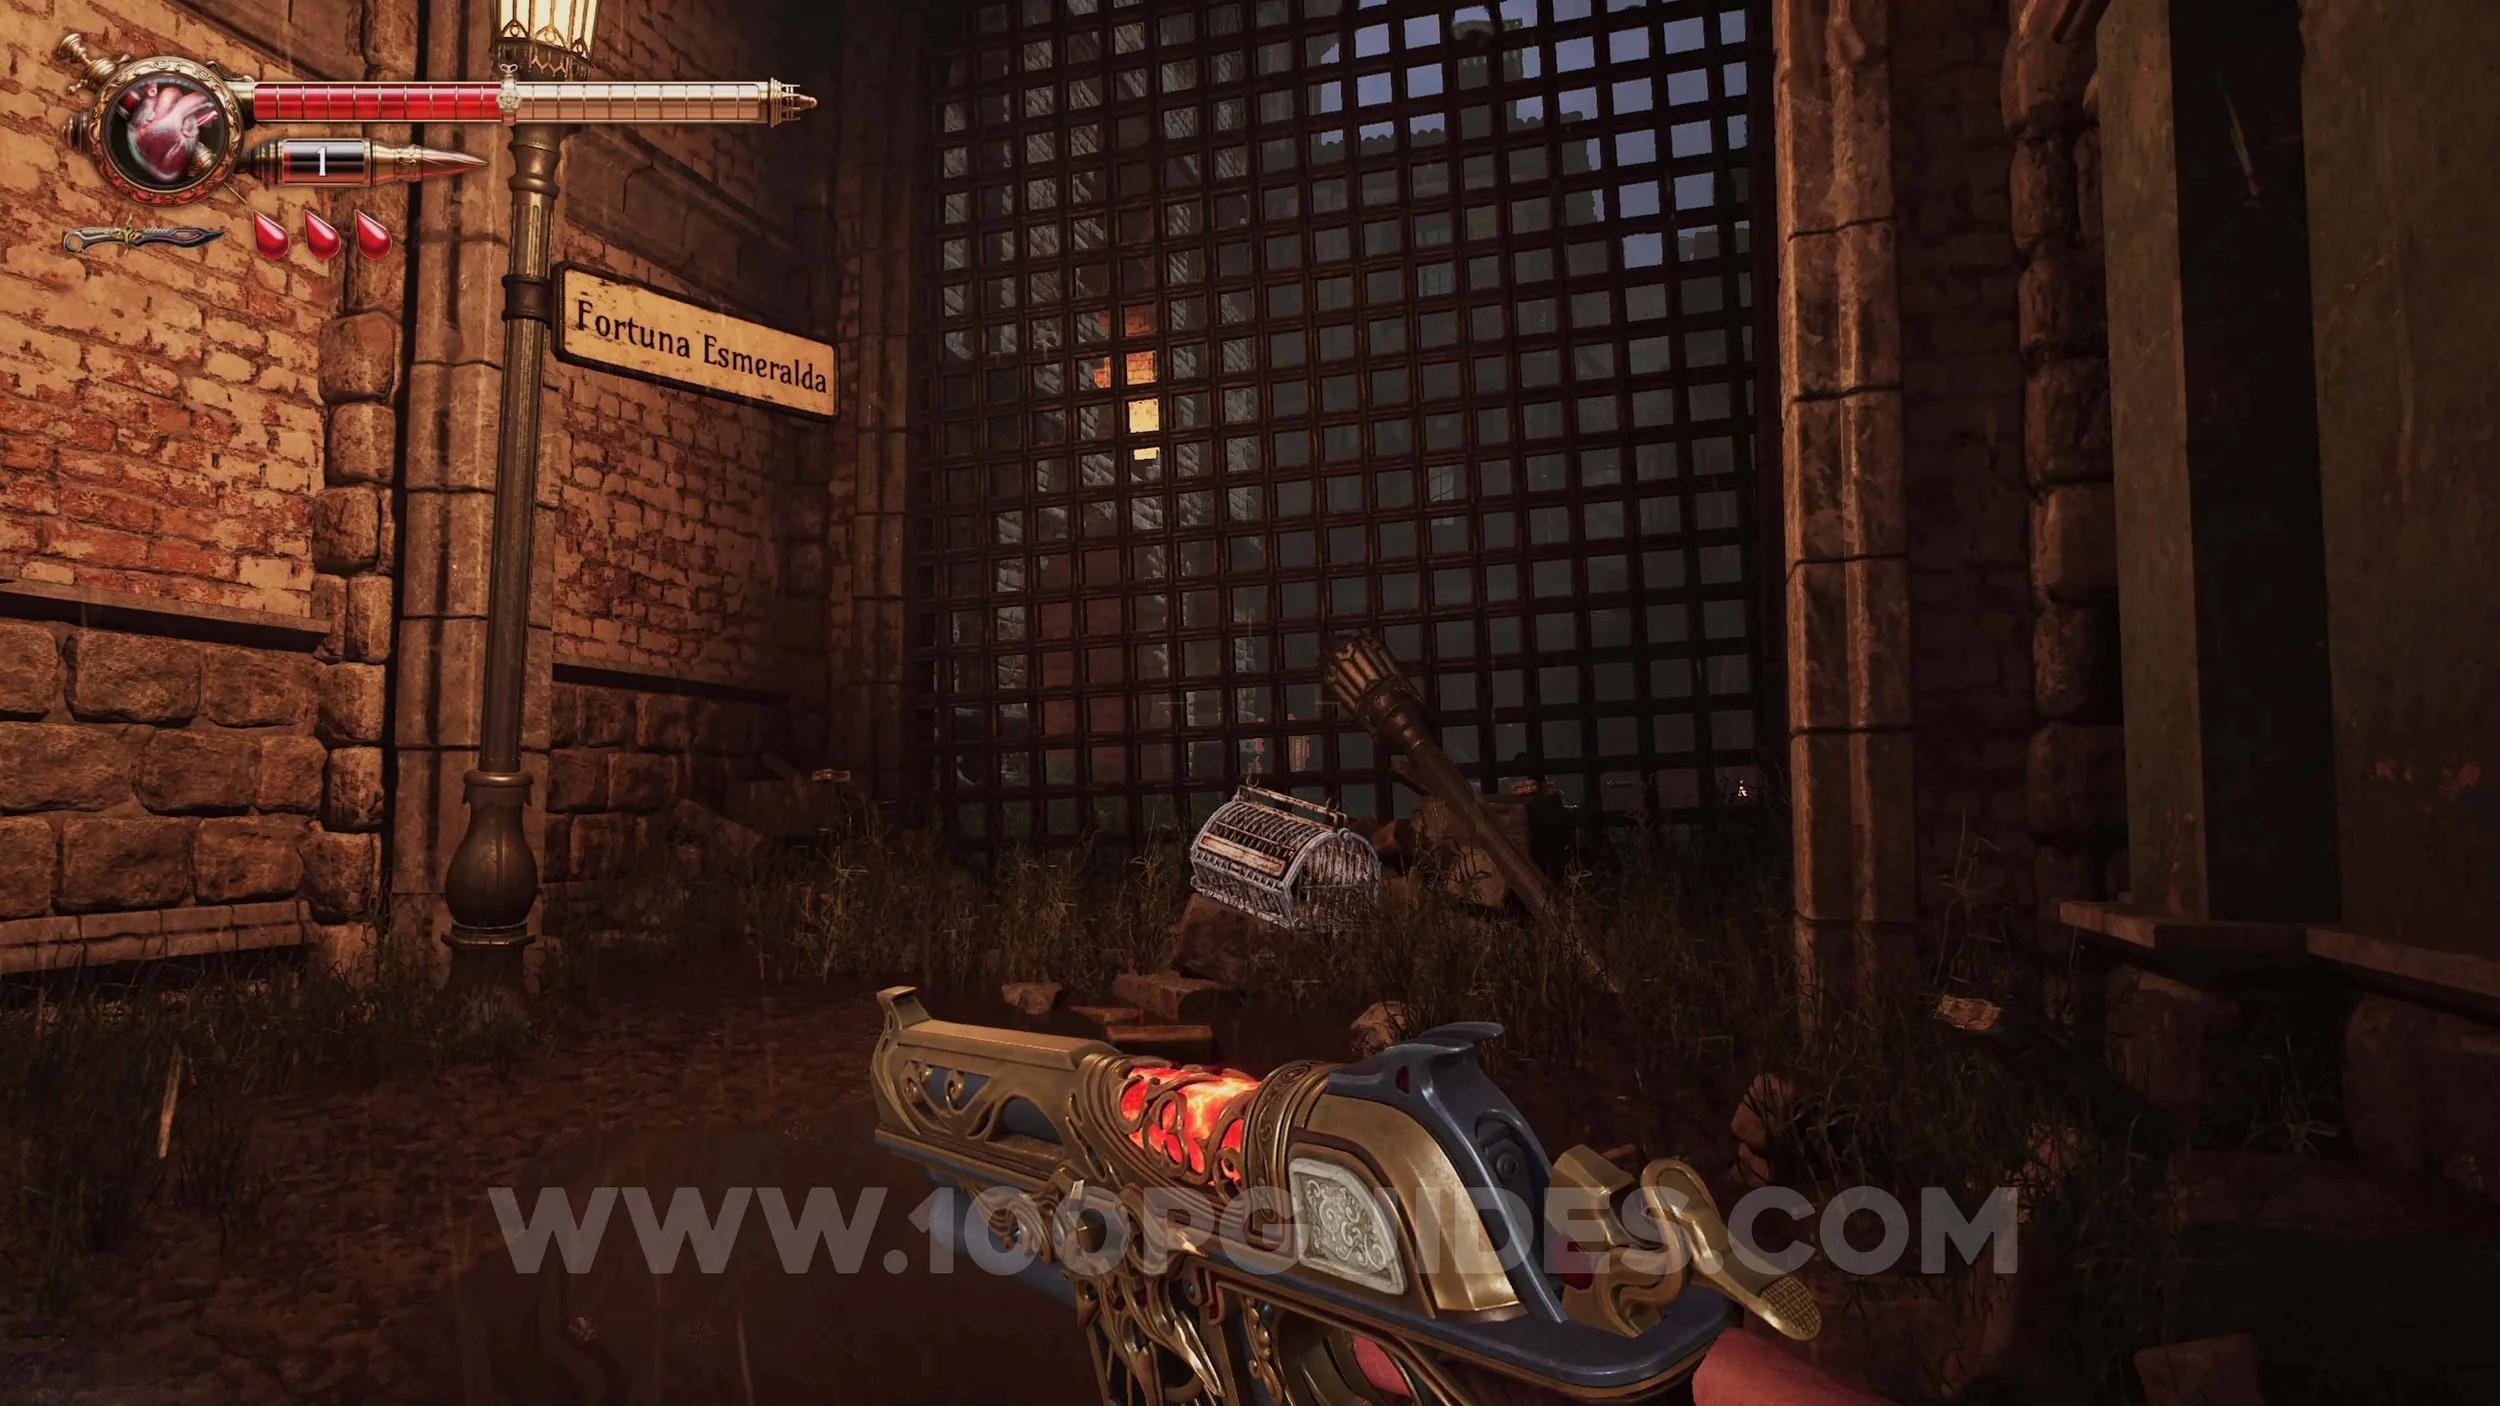
Crow #5. On the path to La Fortuna Esmeralda. To get here, climb the ladder in the south-eastern corner of the Ferreteria and follow the path. After a few dark areas, you will come to a room with a hole in the ground. Look left to find the crow.
Maremanto Page #2. In the small room connected to the room where the previous crow was.

Holy Blood #3. After traversing the building where the previous collectibles where, enter the building on the other side of the street and open the safe to find the Holy Blood. Use this code: Anchor > Squid > Shell > Coral.
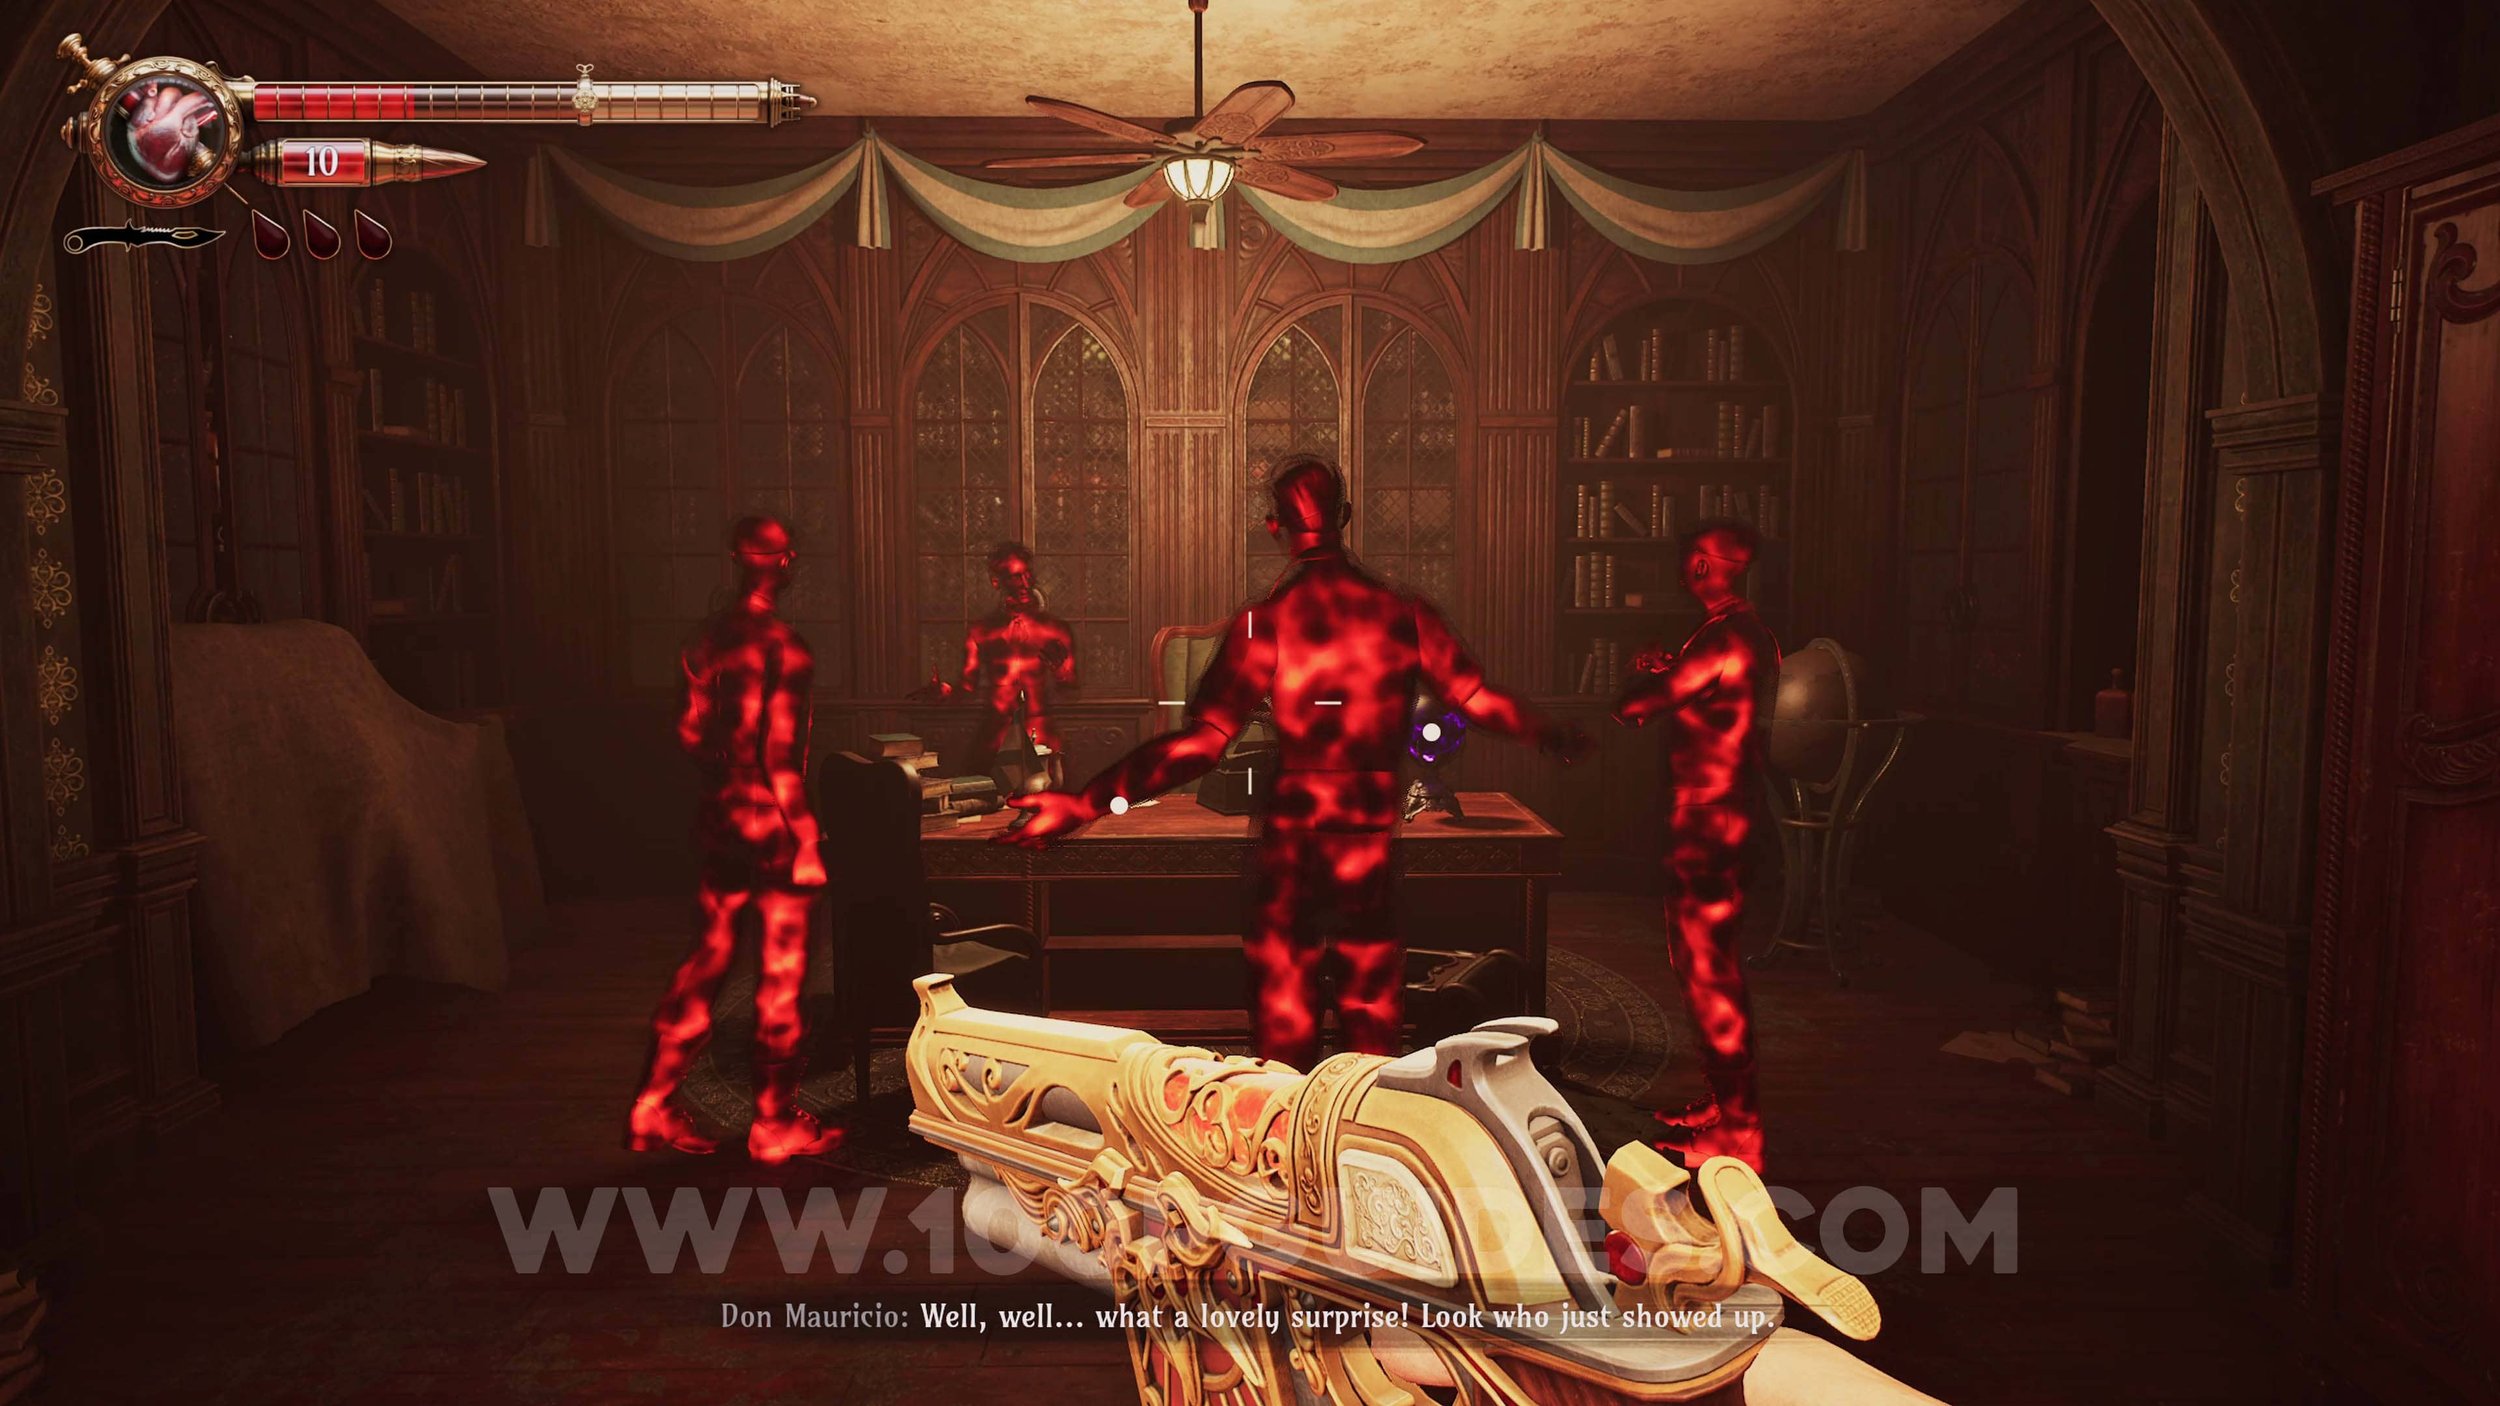
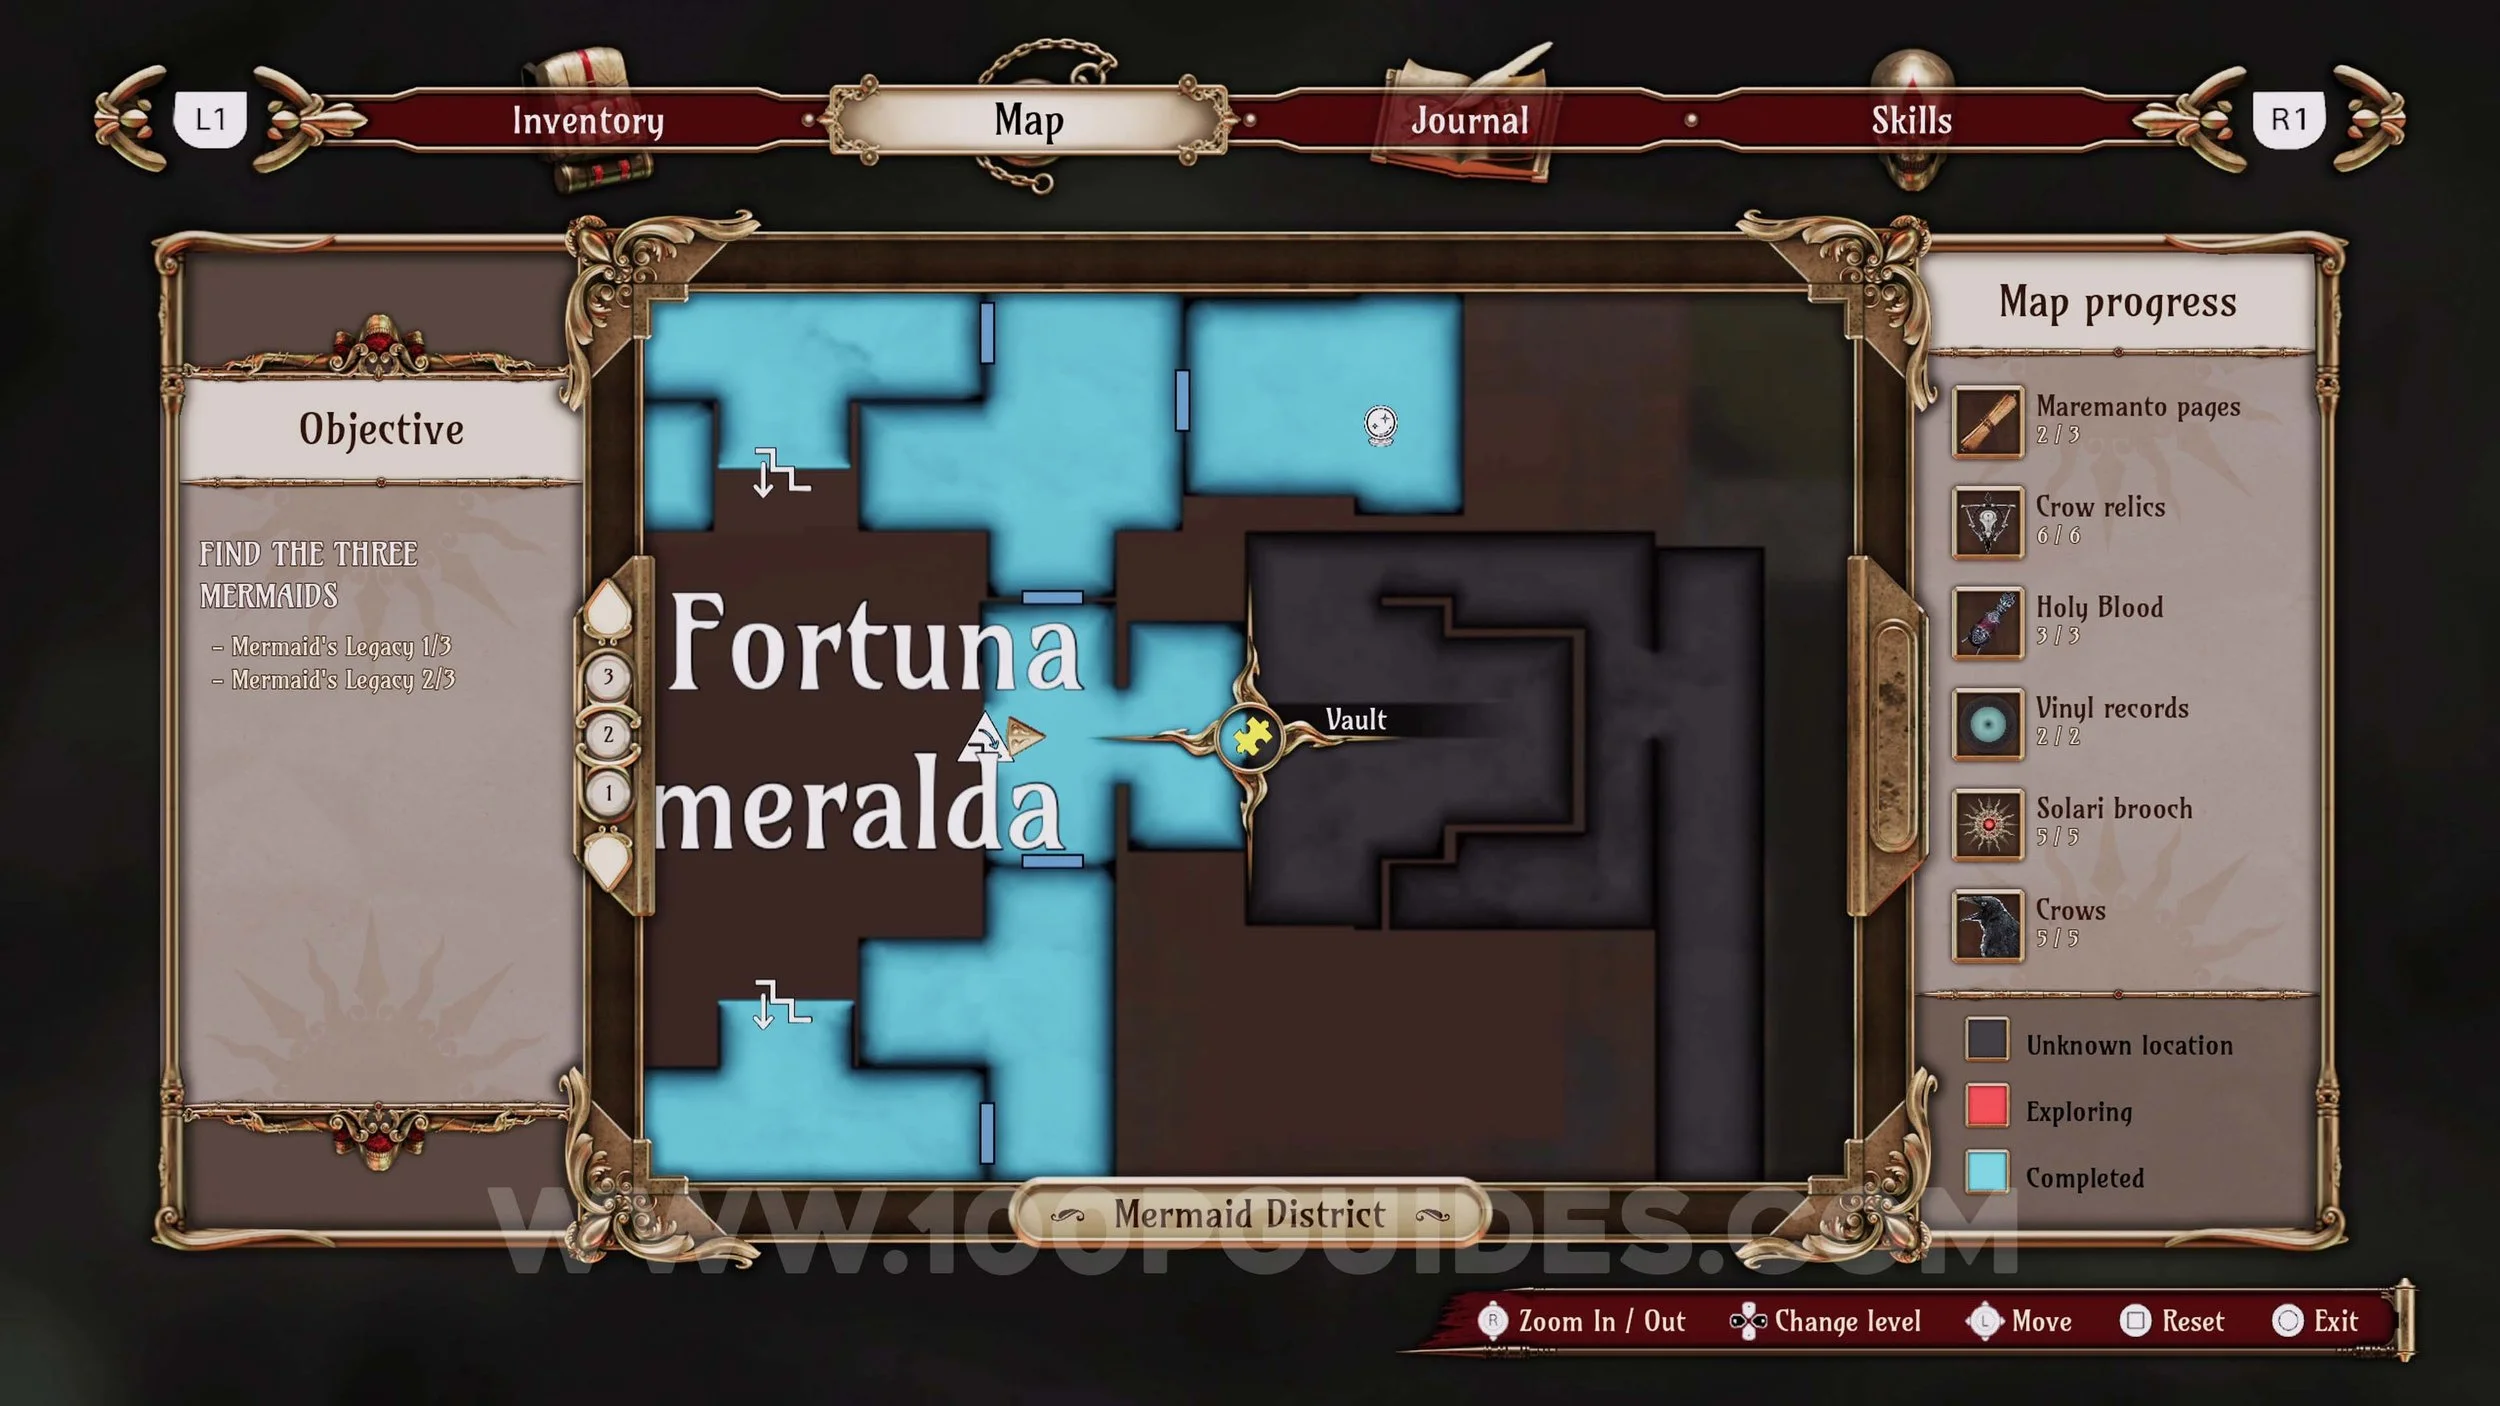
Memory #23. On the main path as you go through La Fortuna Esmeralda.
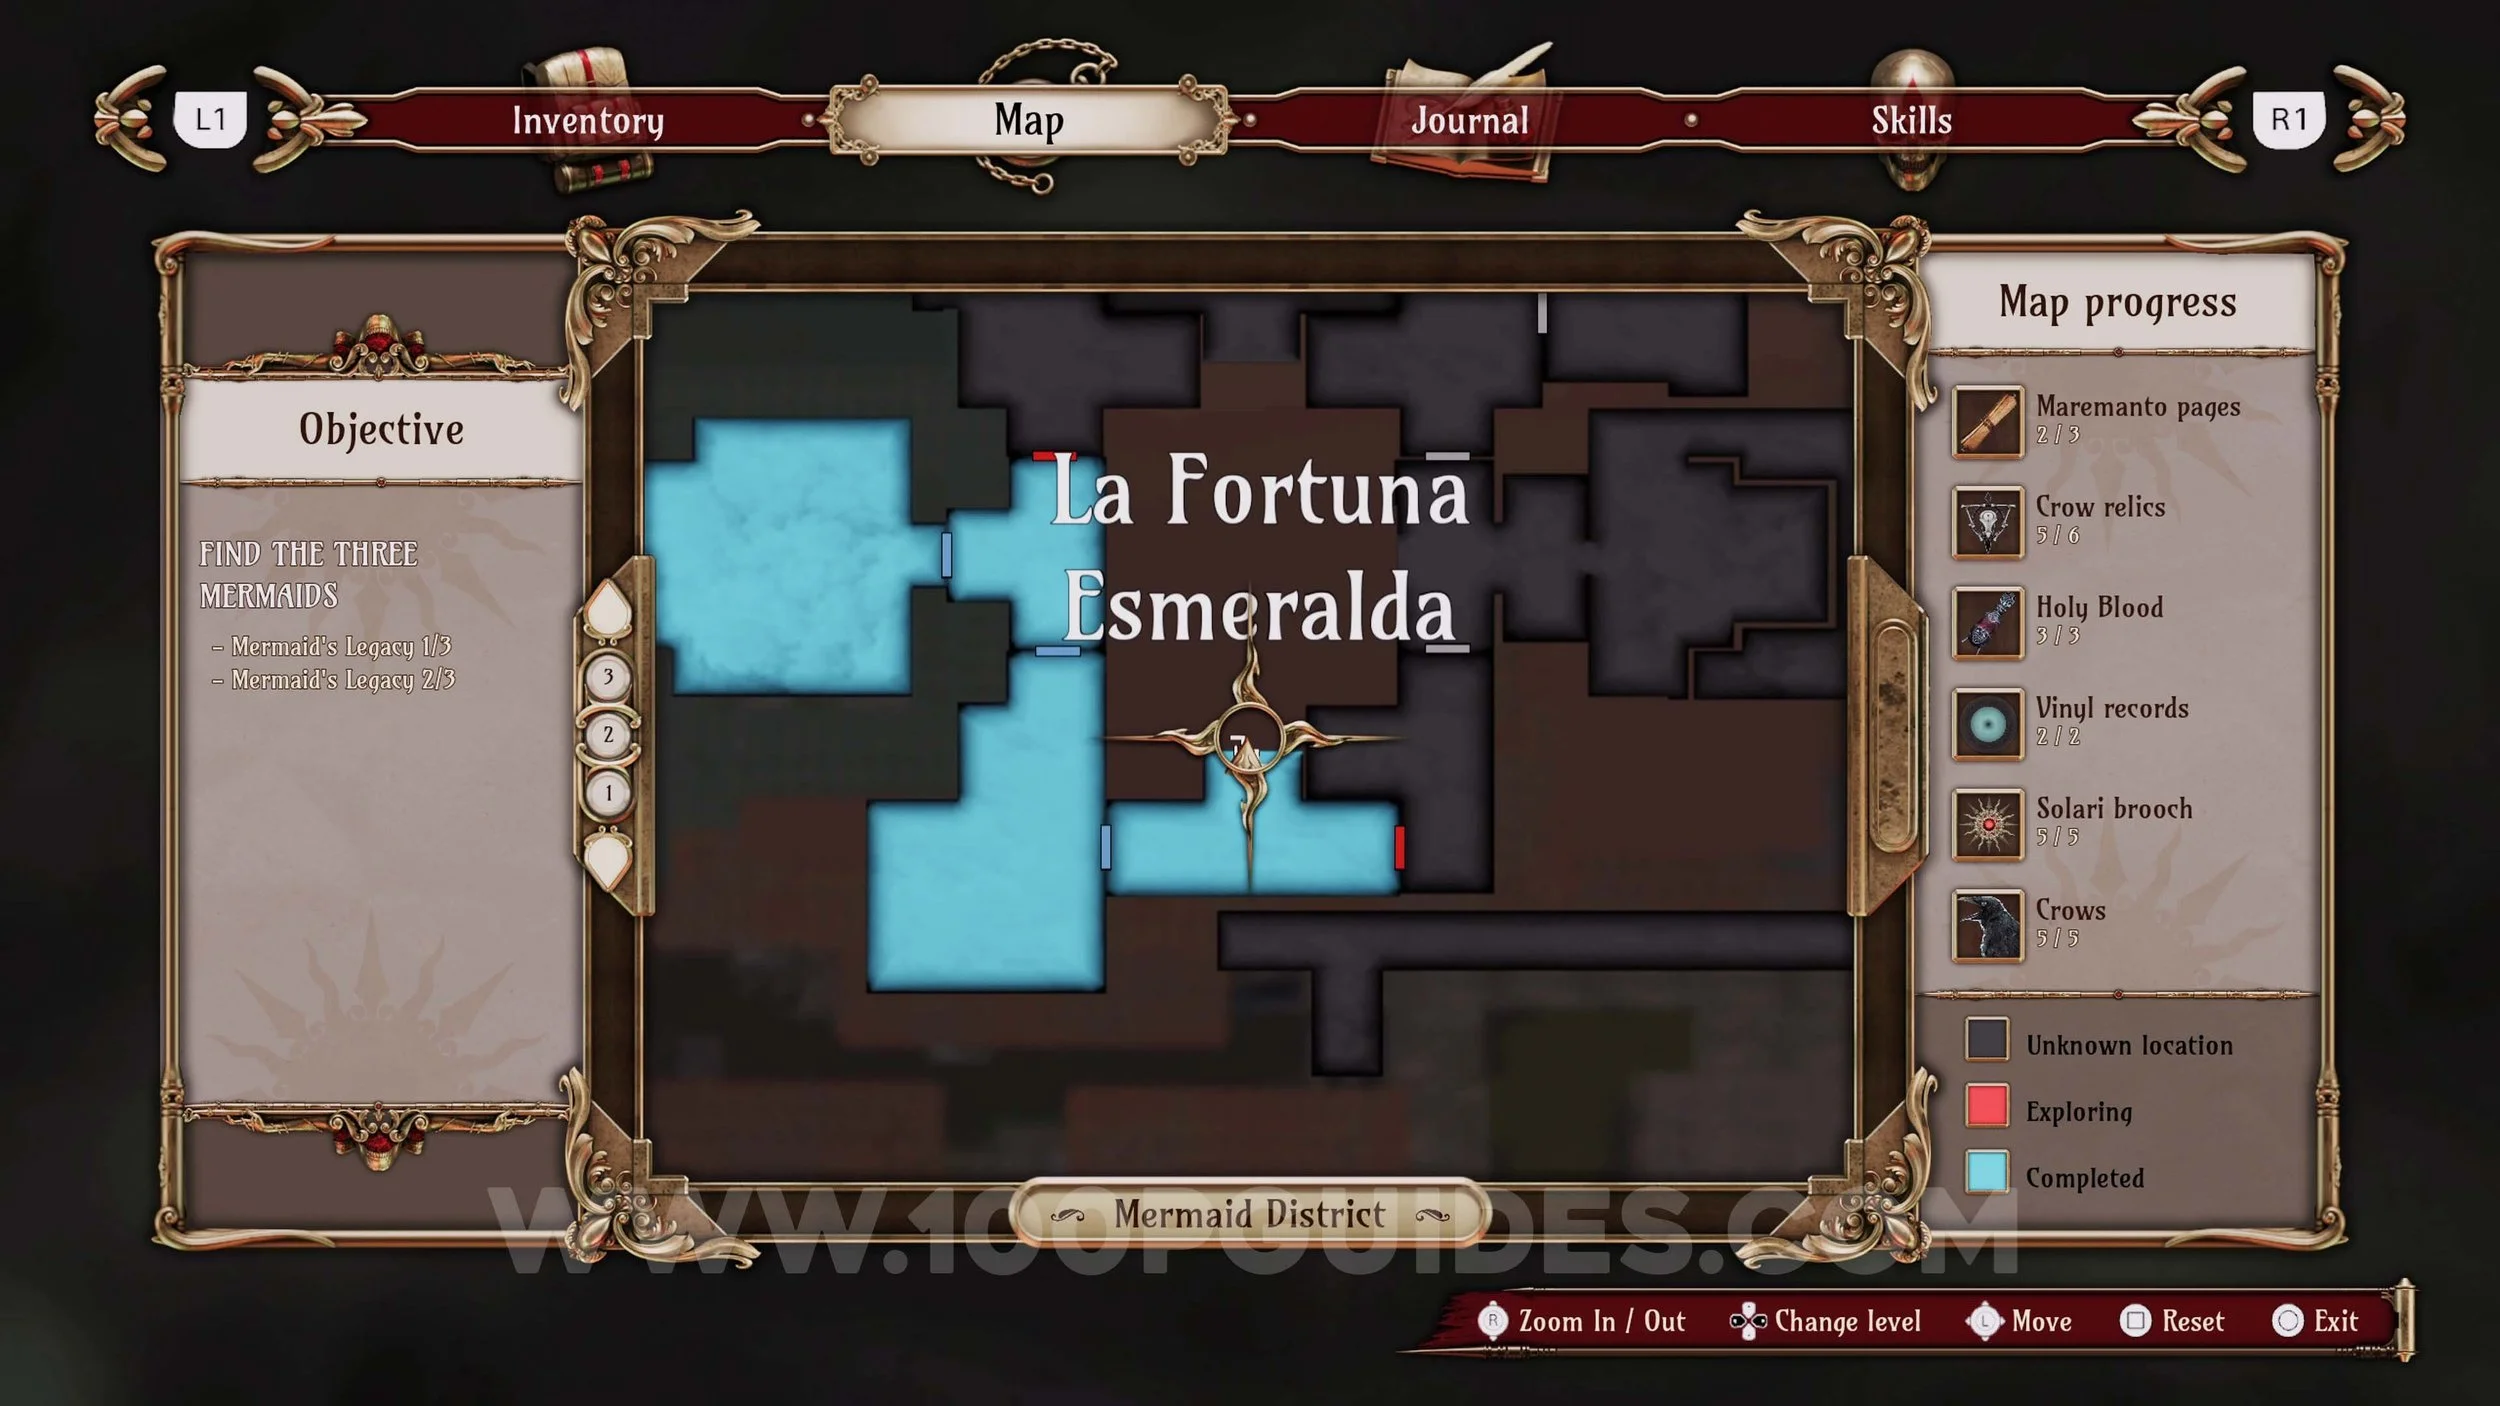
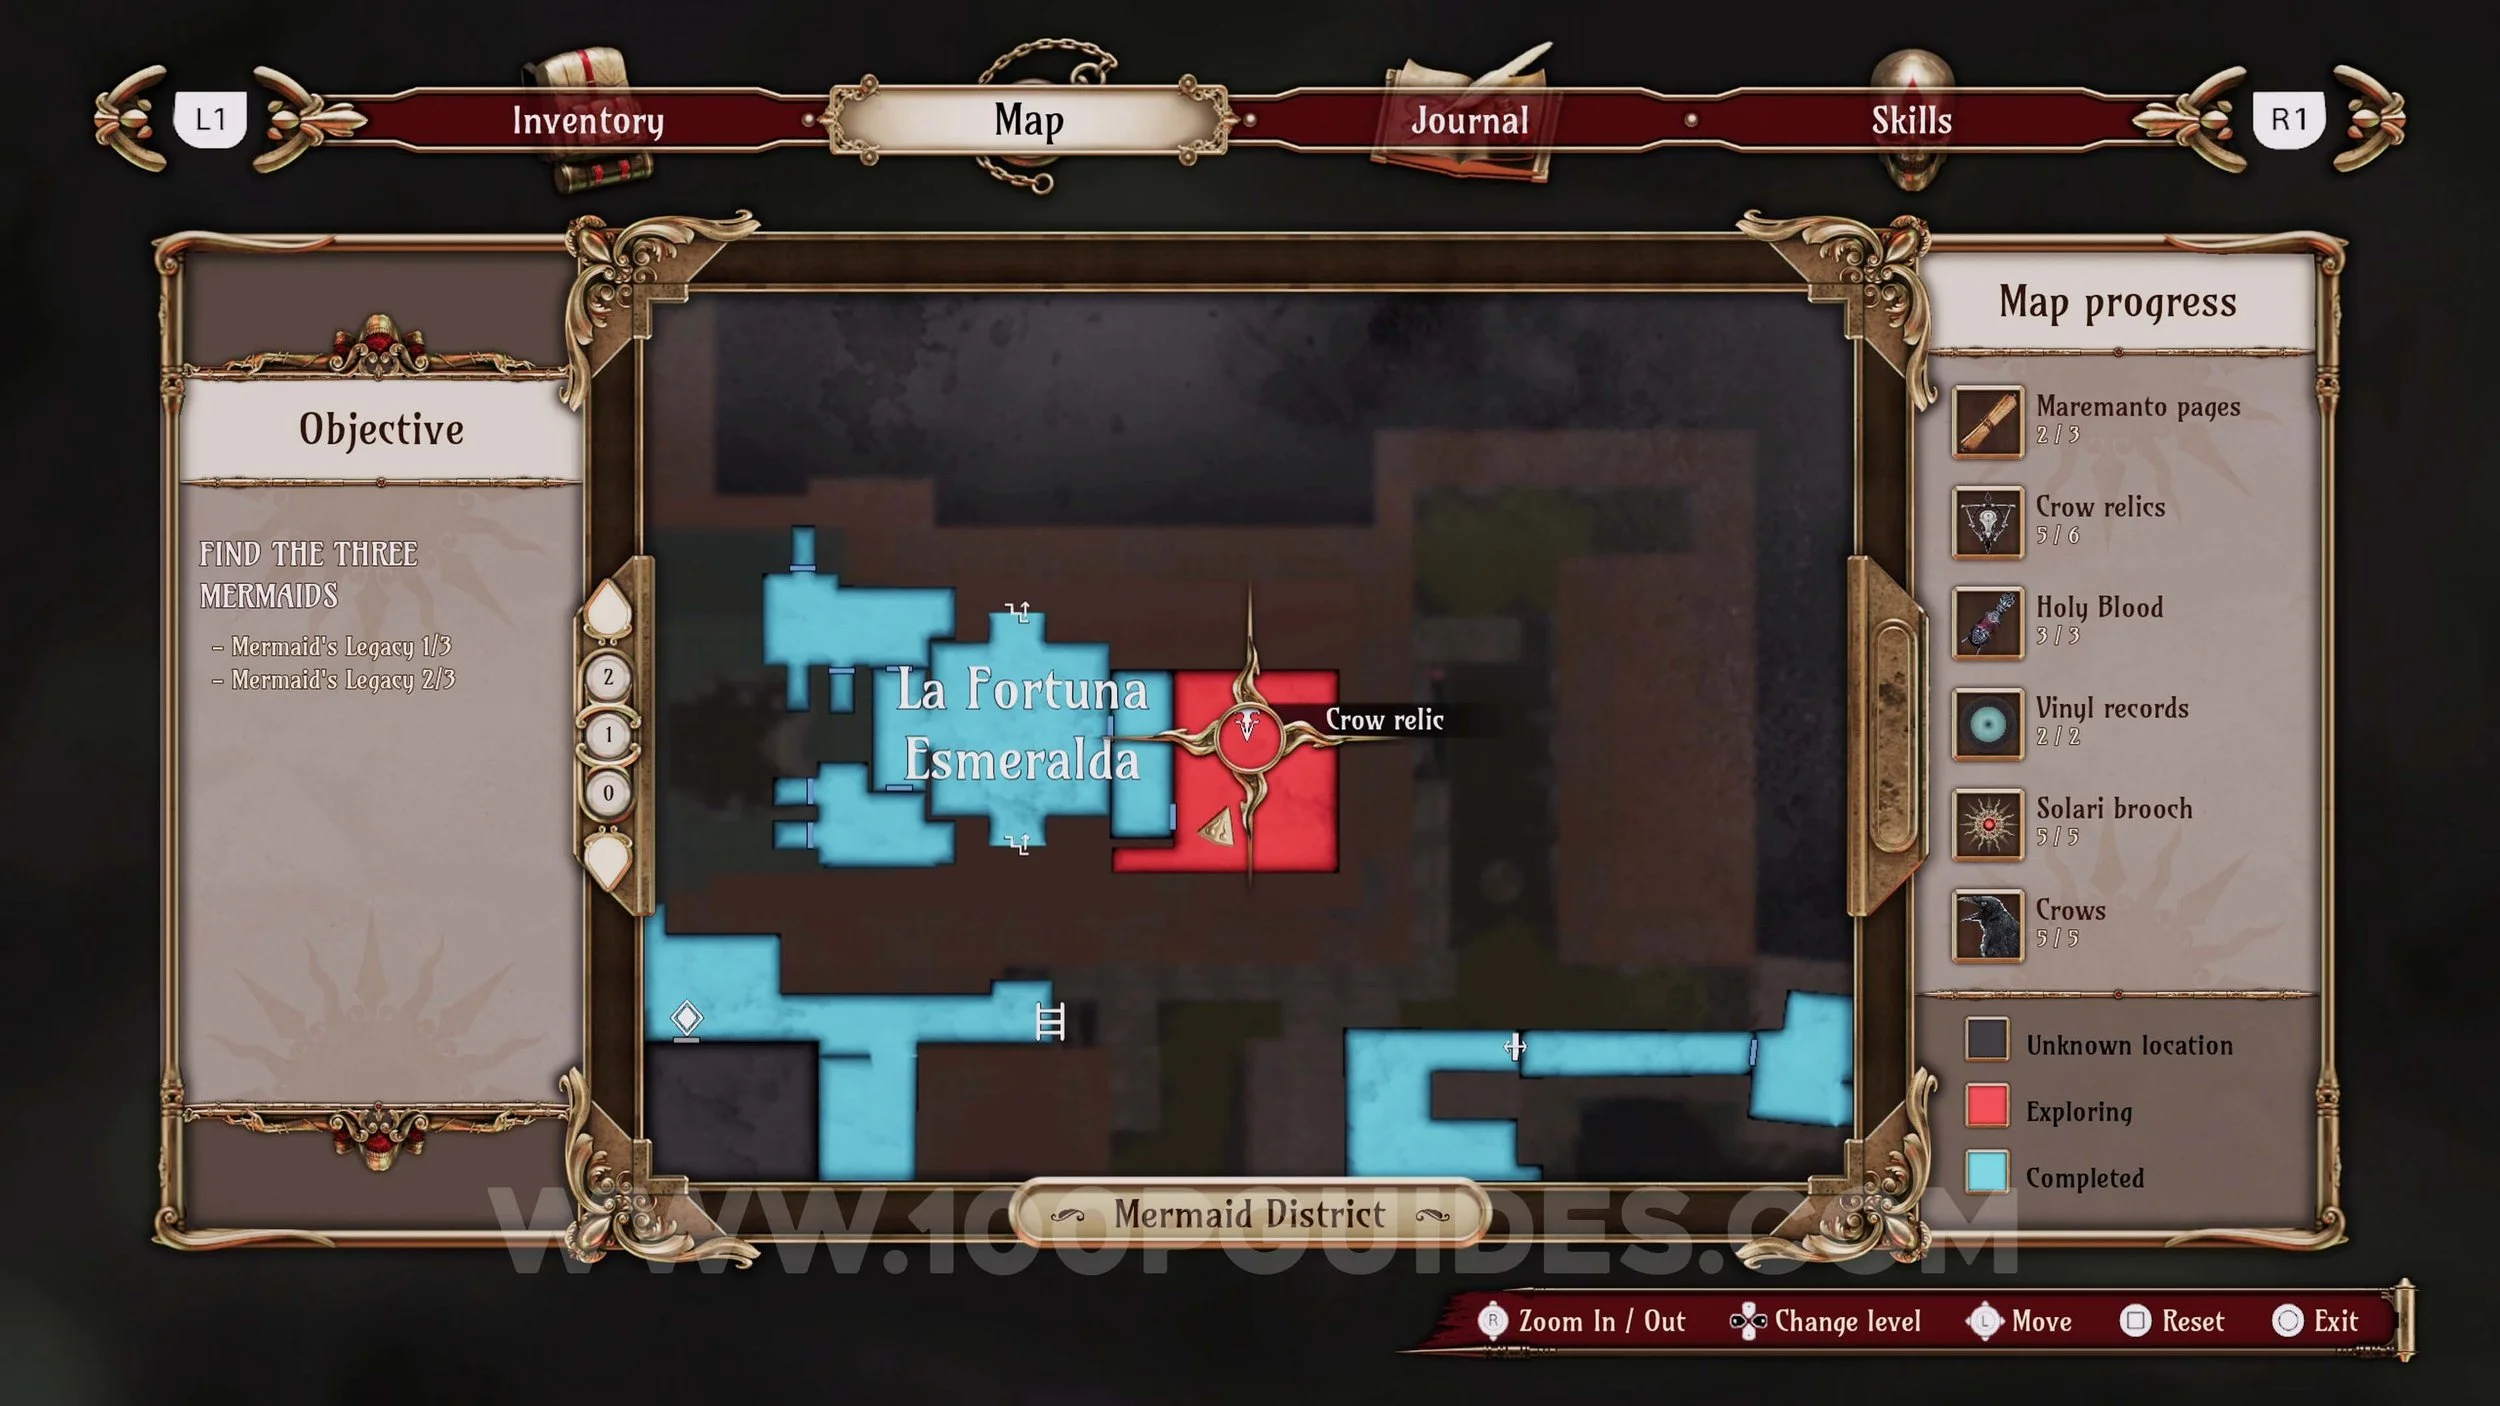
Crow Relic #6. In the room on the right of La Fortuna Esmeralda.

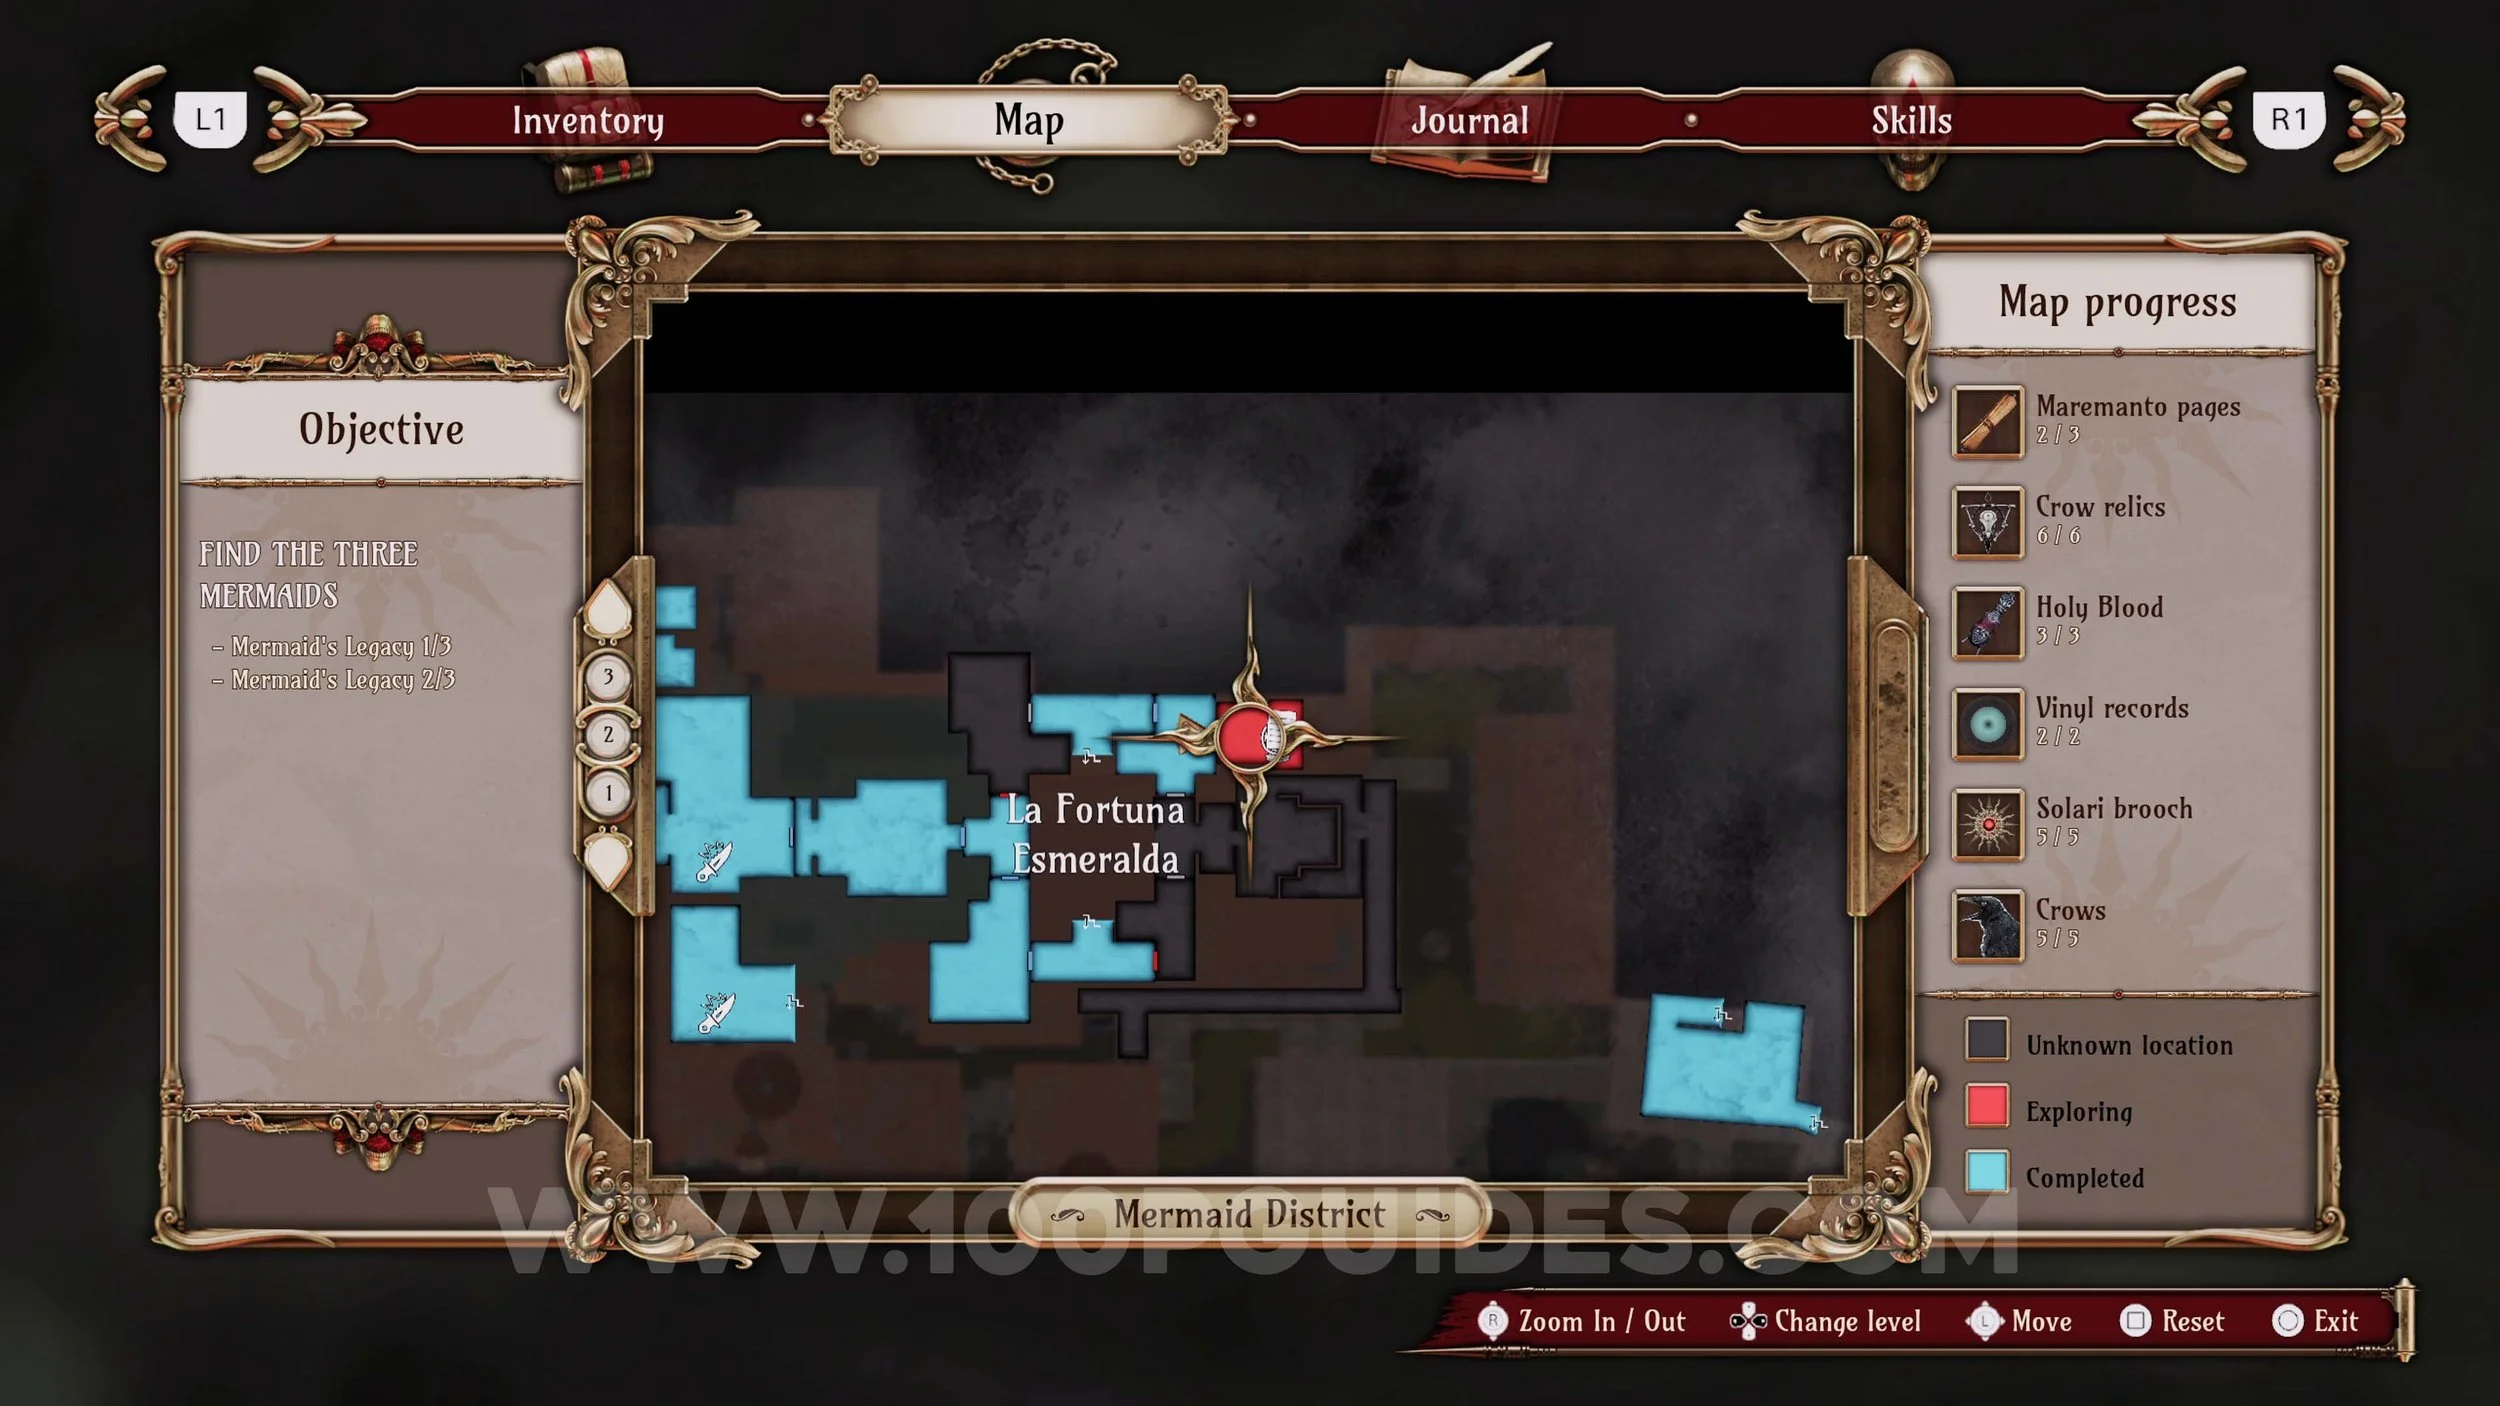
Memory #24. In the north-eastern room on the top floor of La Fortuna Esmeralda.
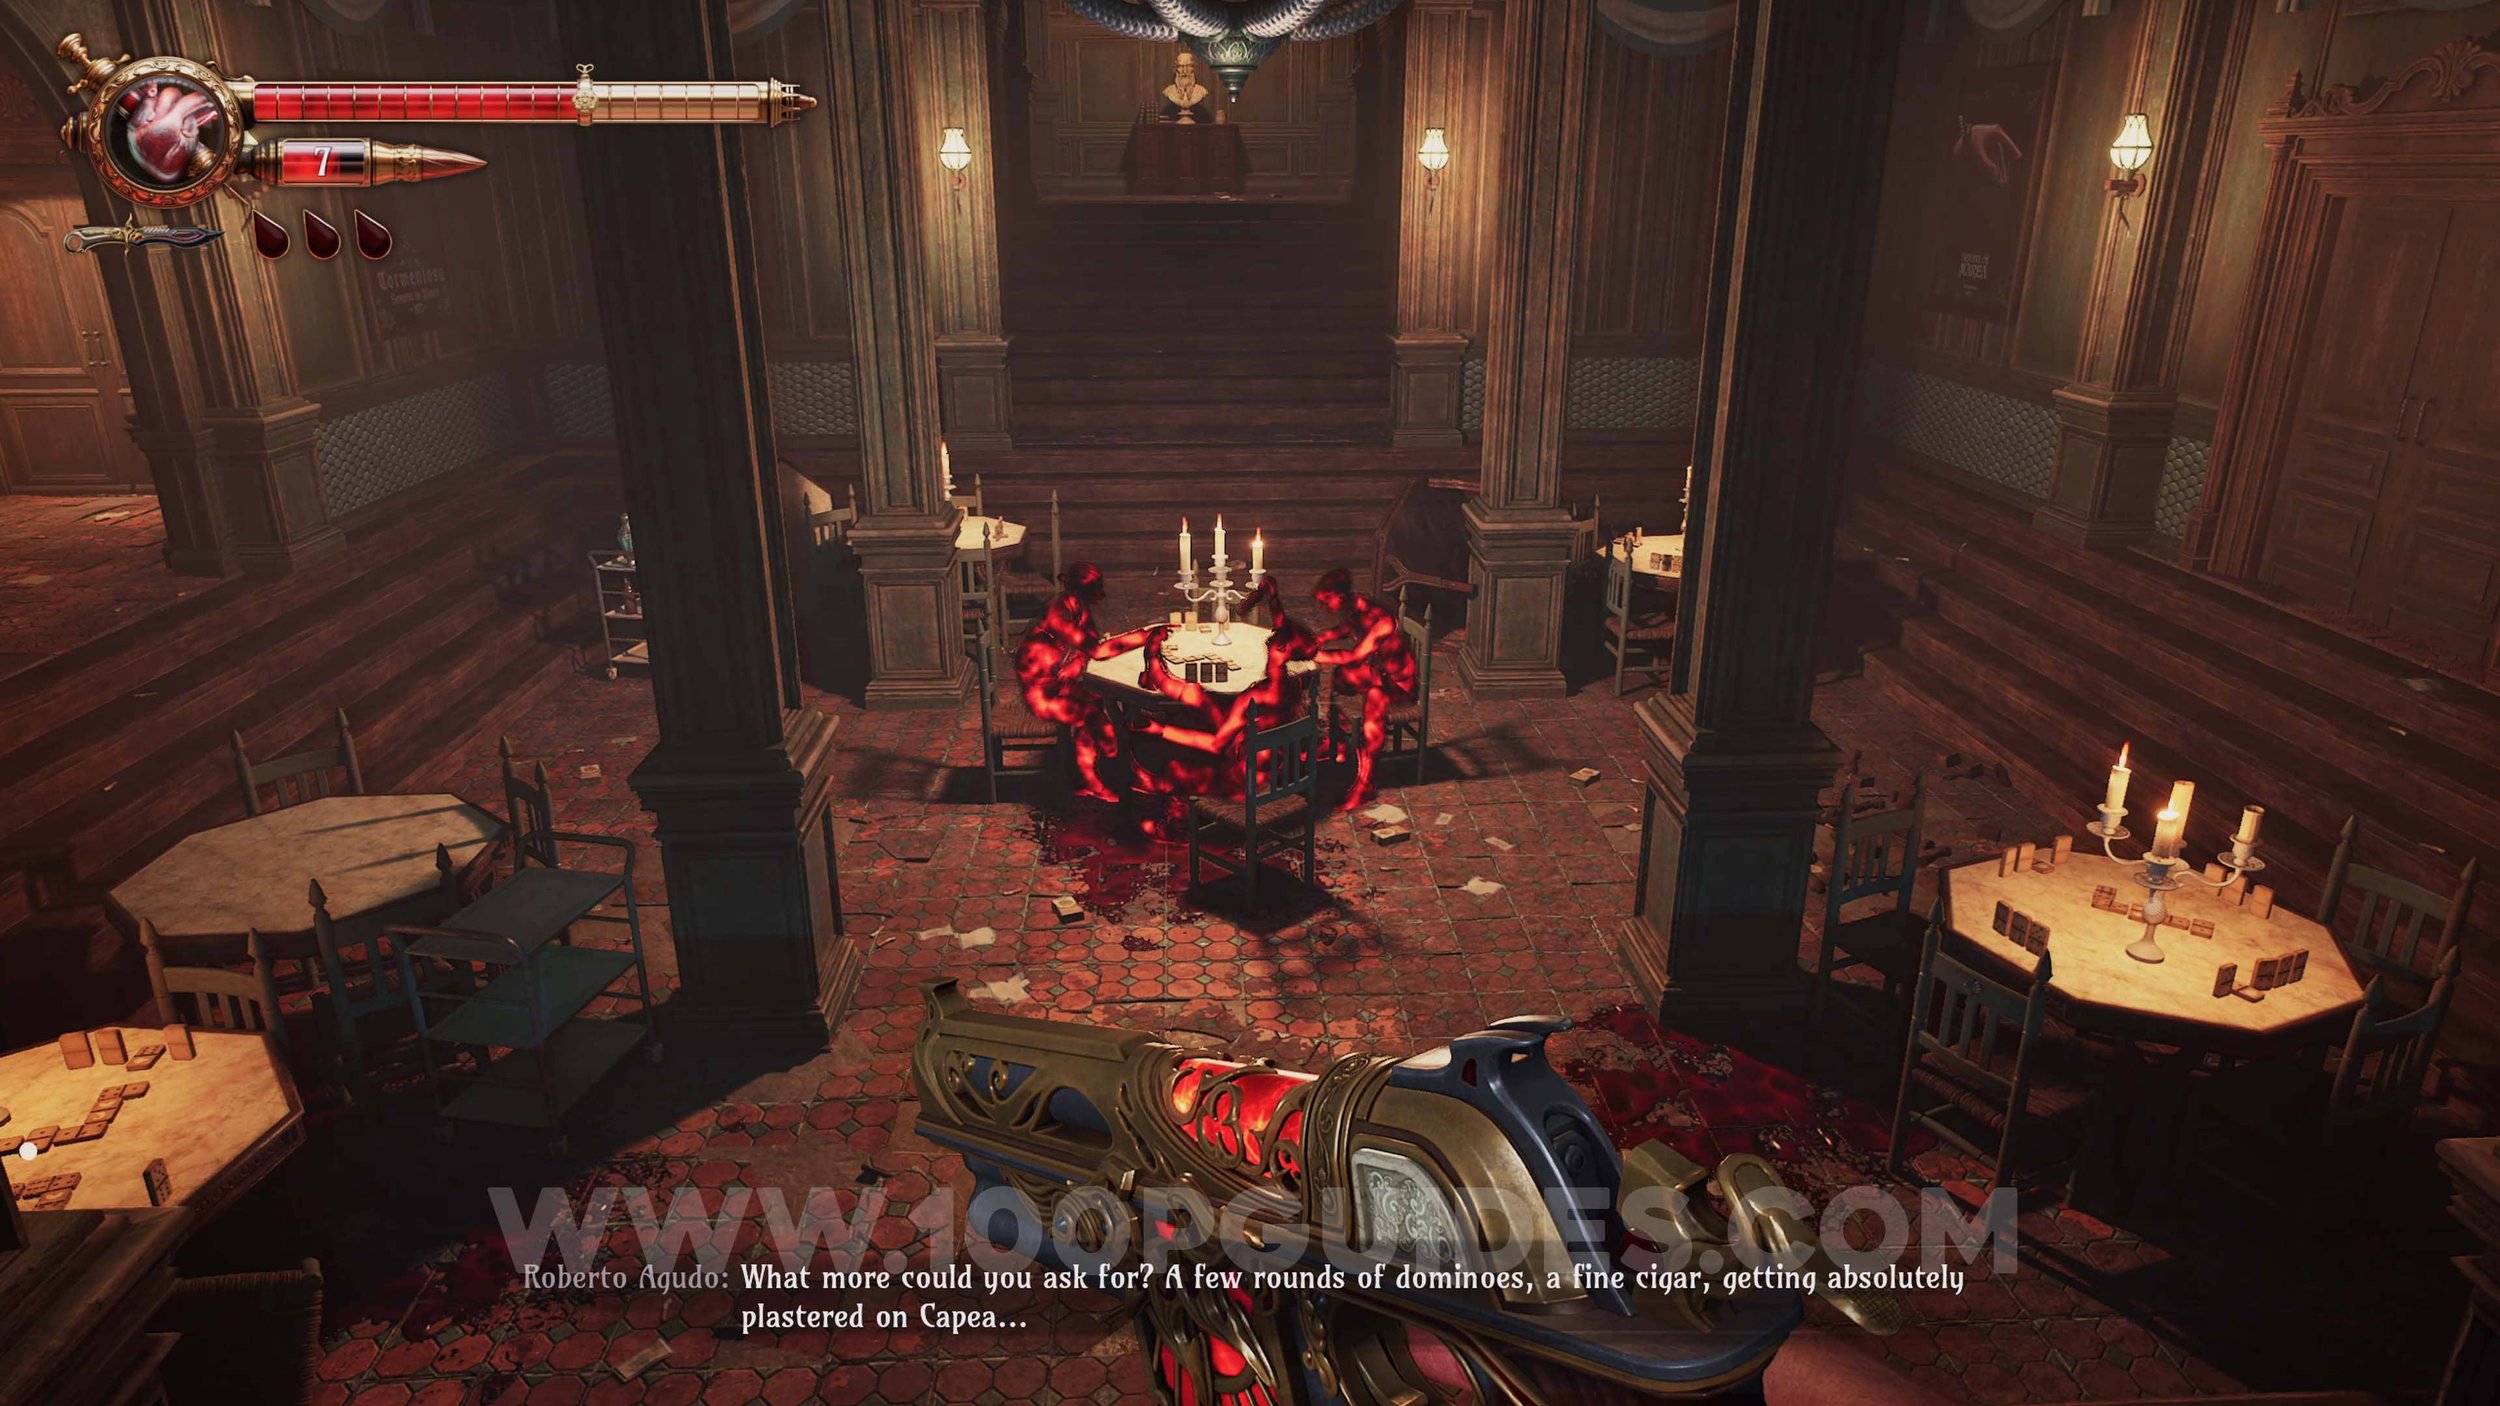
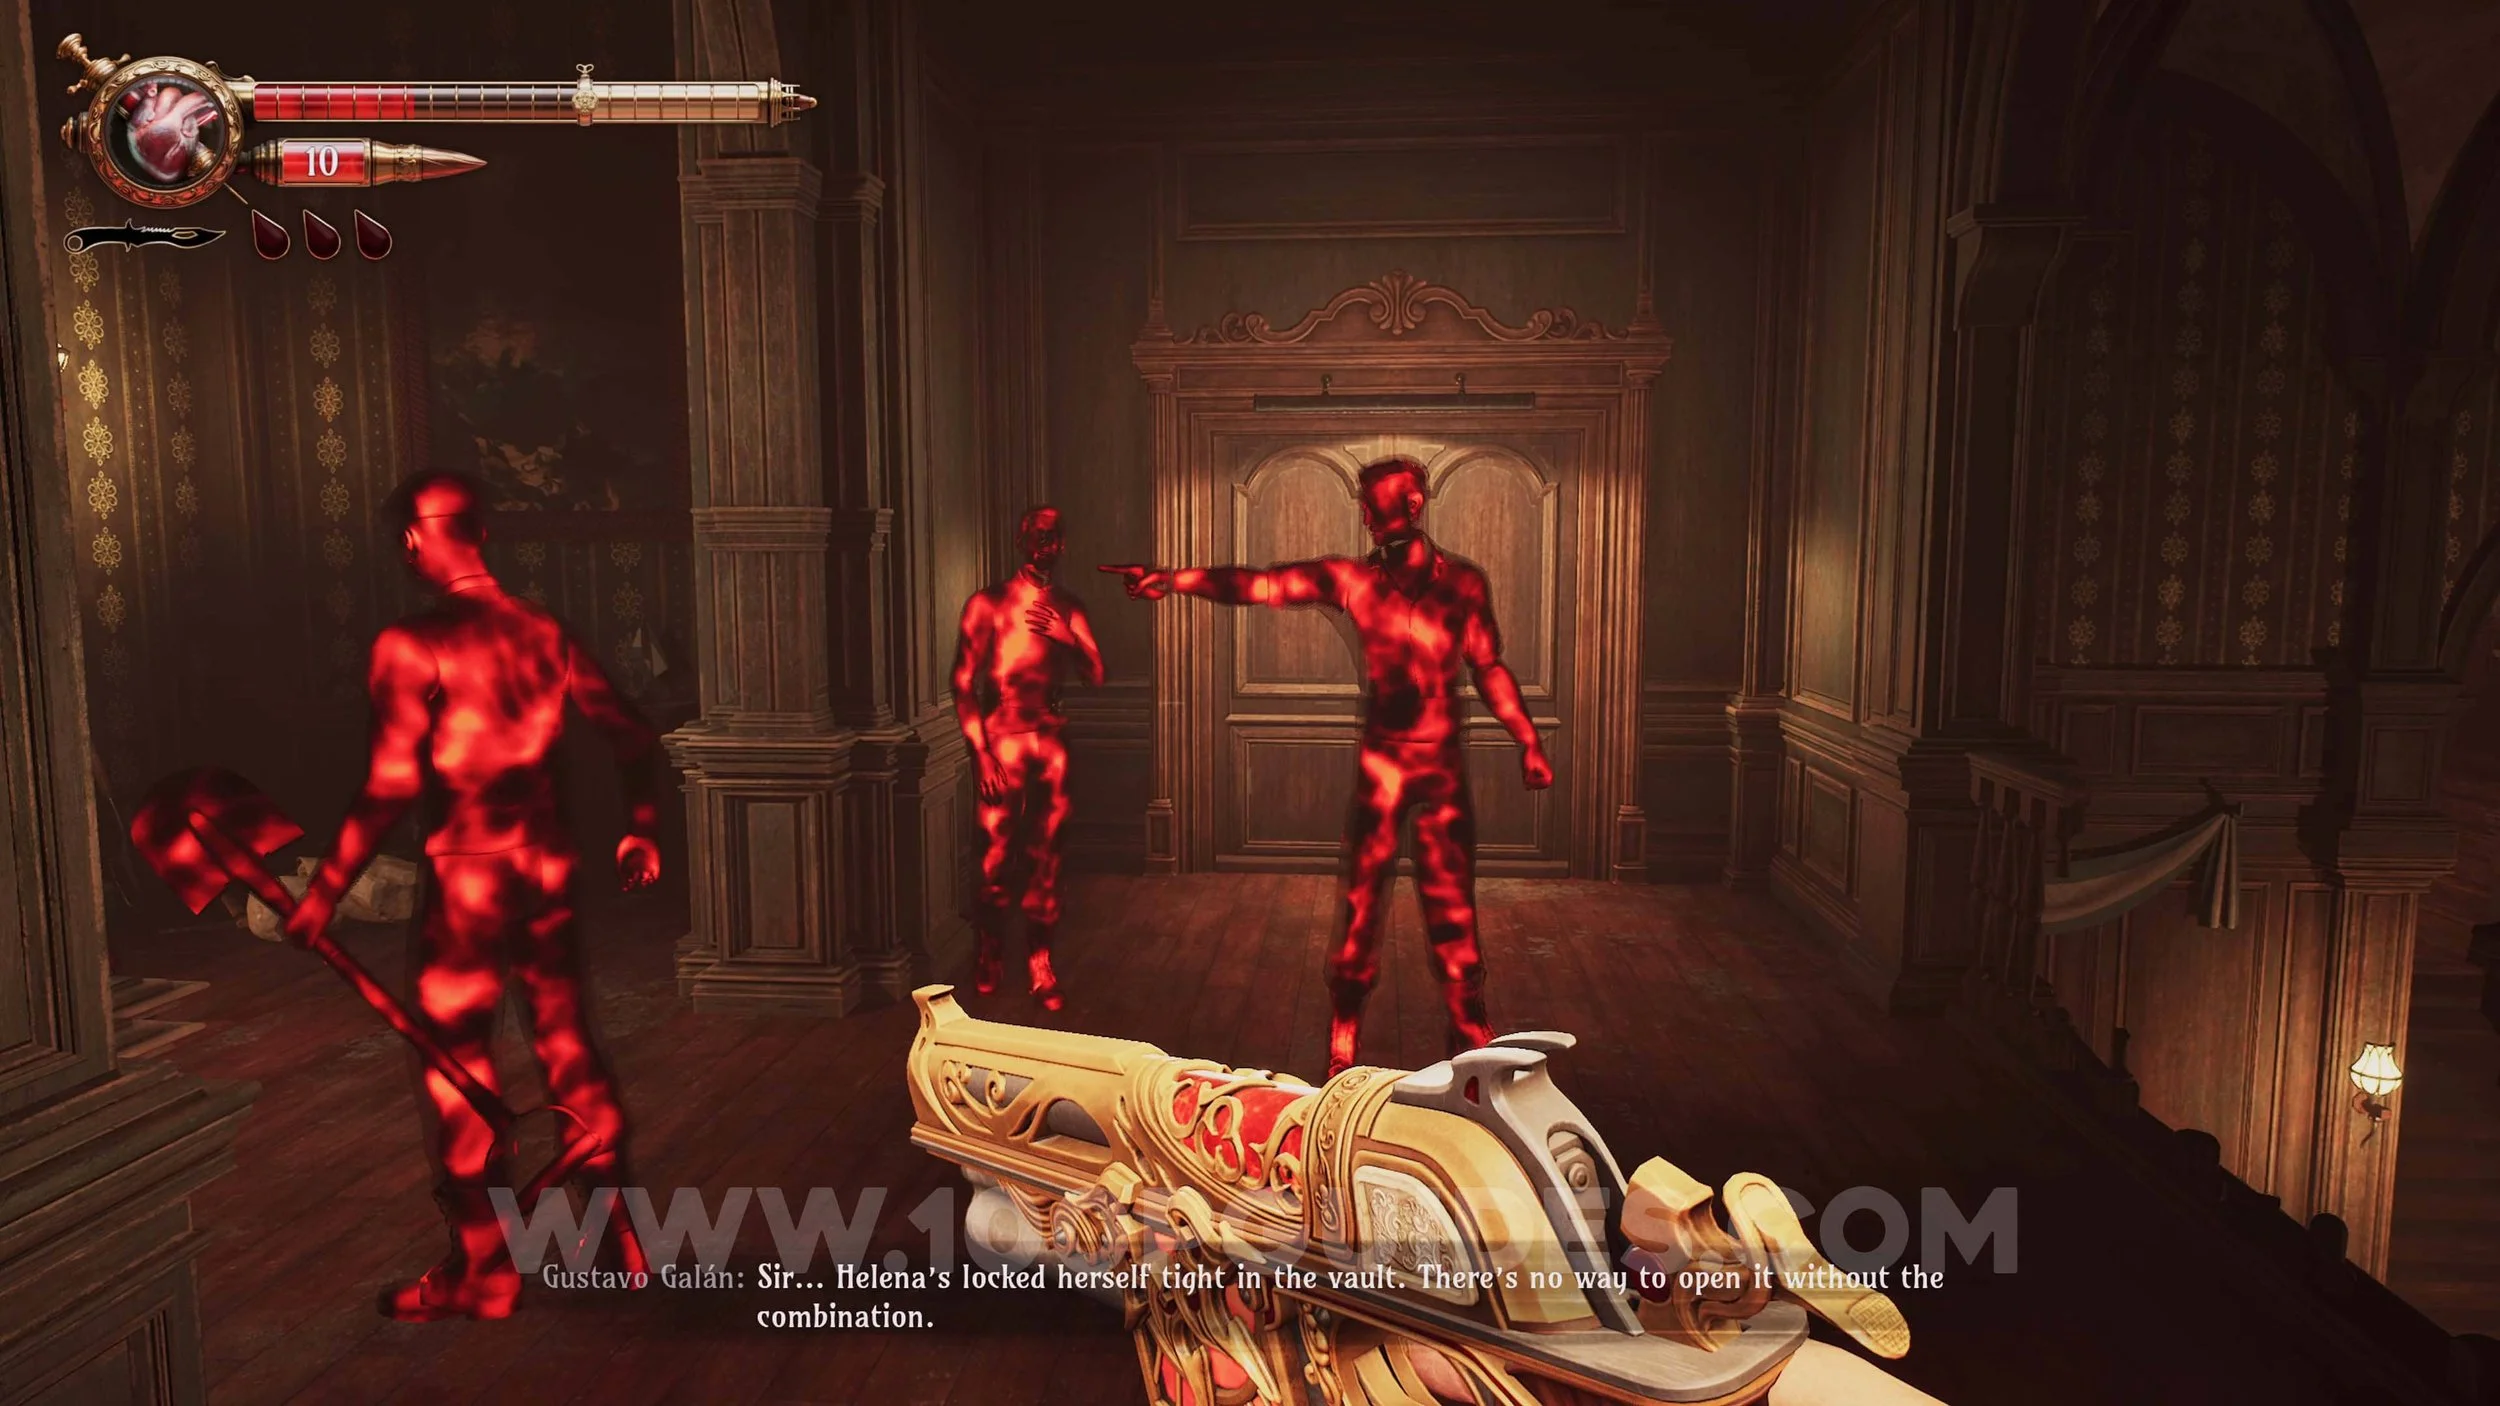
Memory #25. Next to the Dominos Vault door puzzle. Story related.
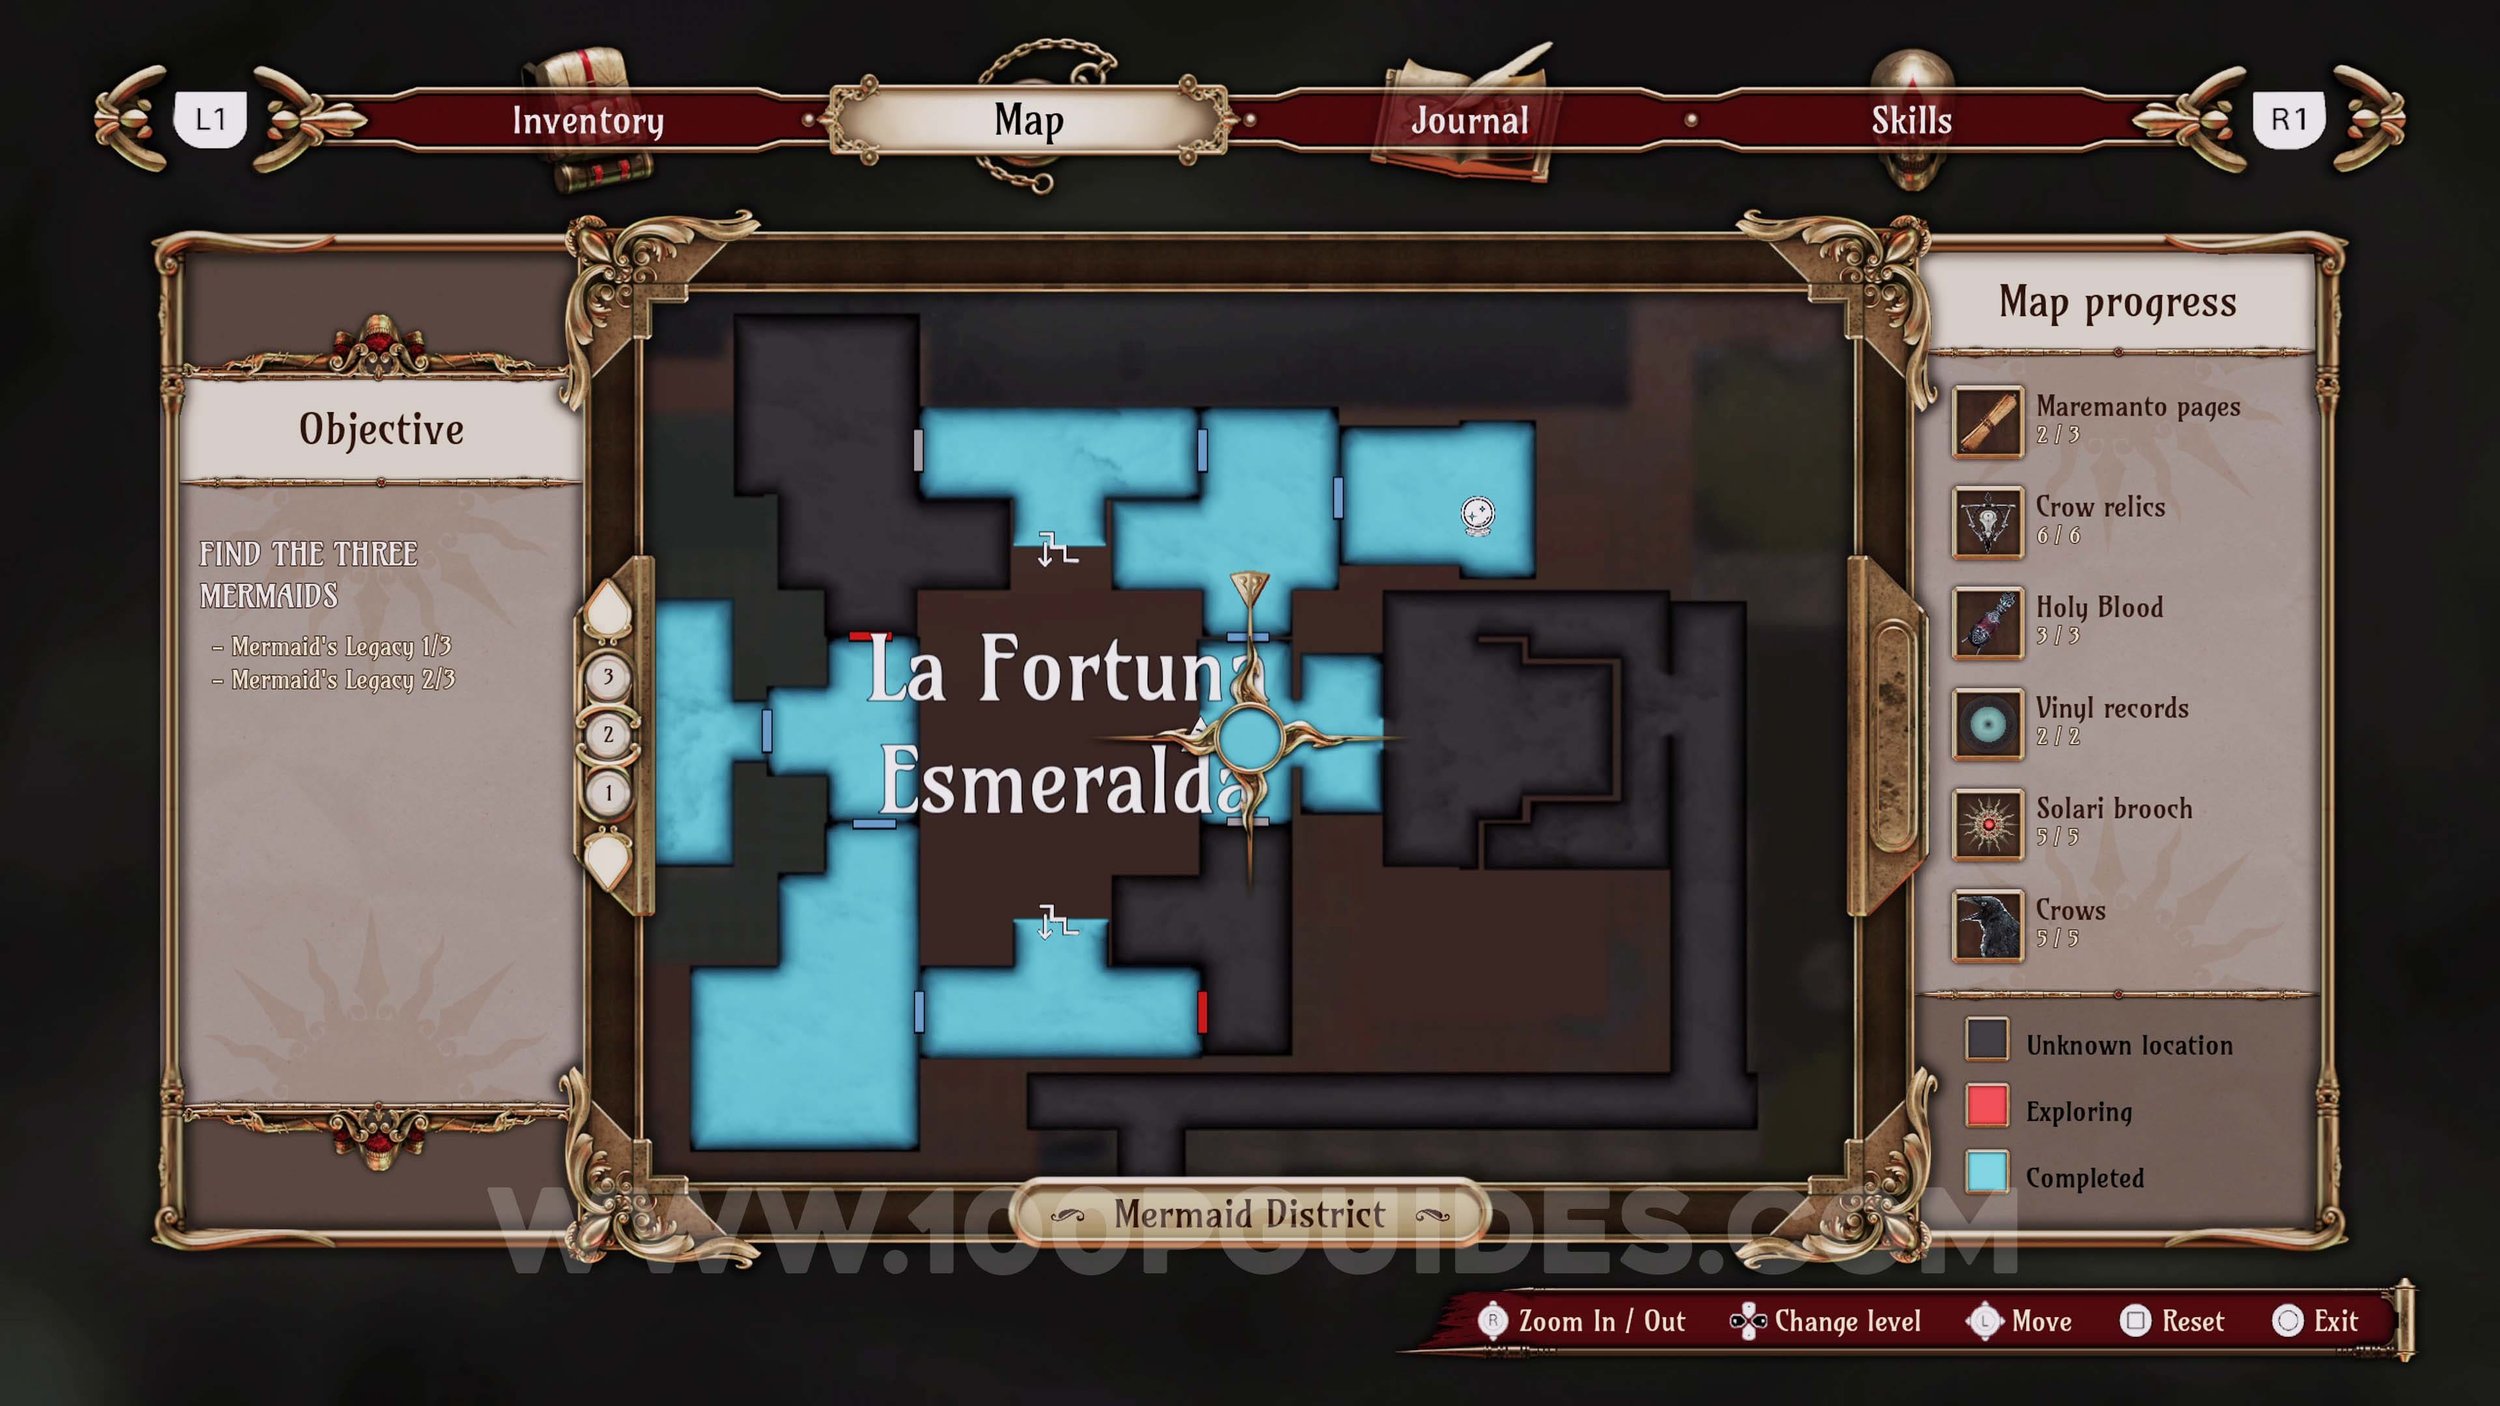
Memory #26. In the north-western room on the top floor of La Fortuna Esmeralda.
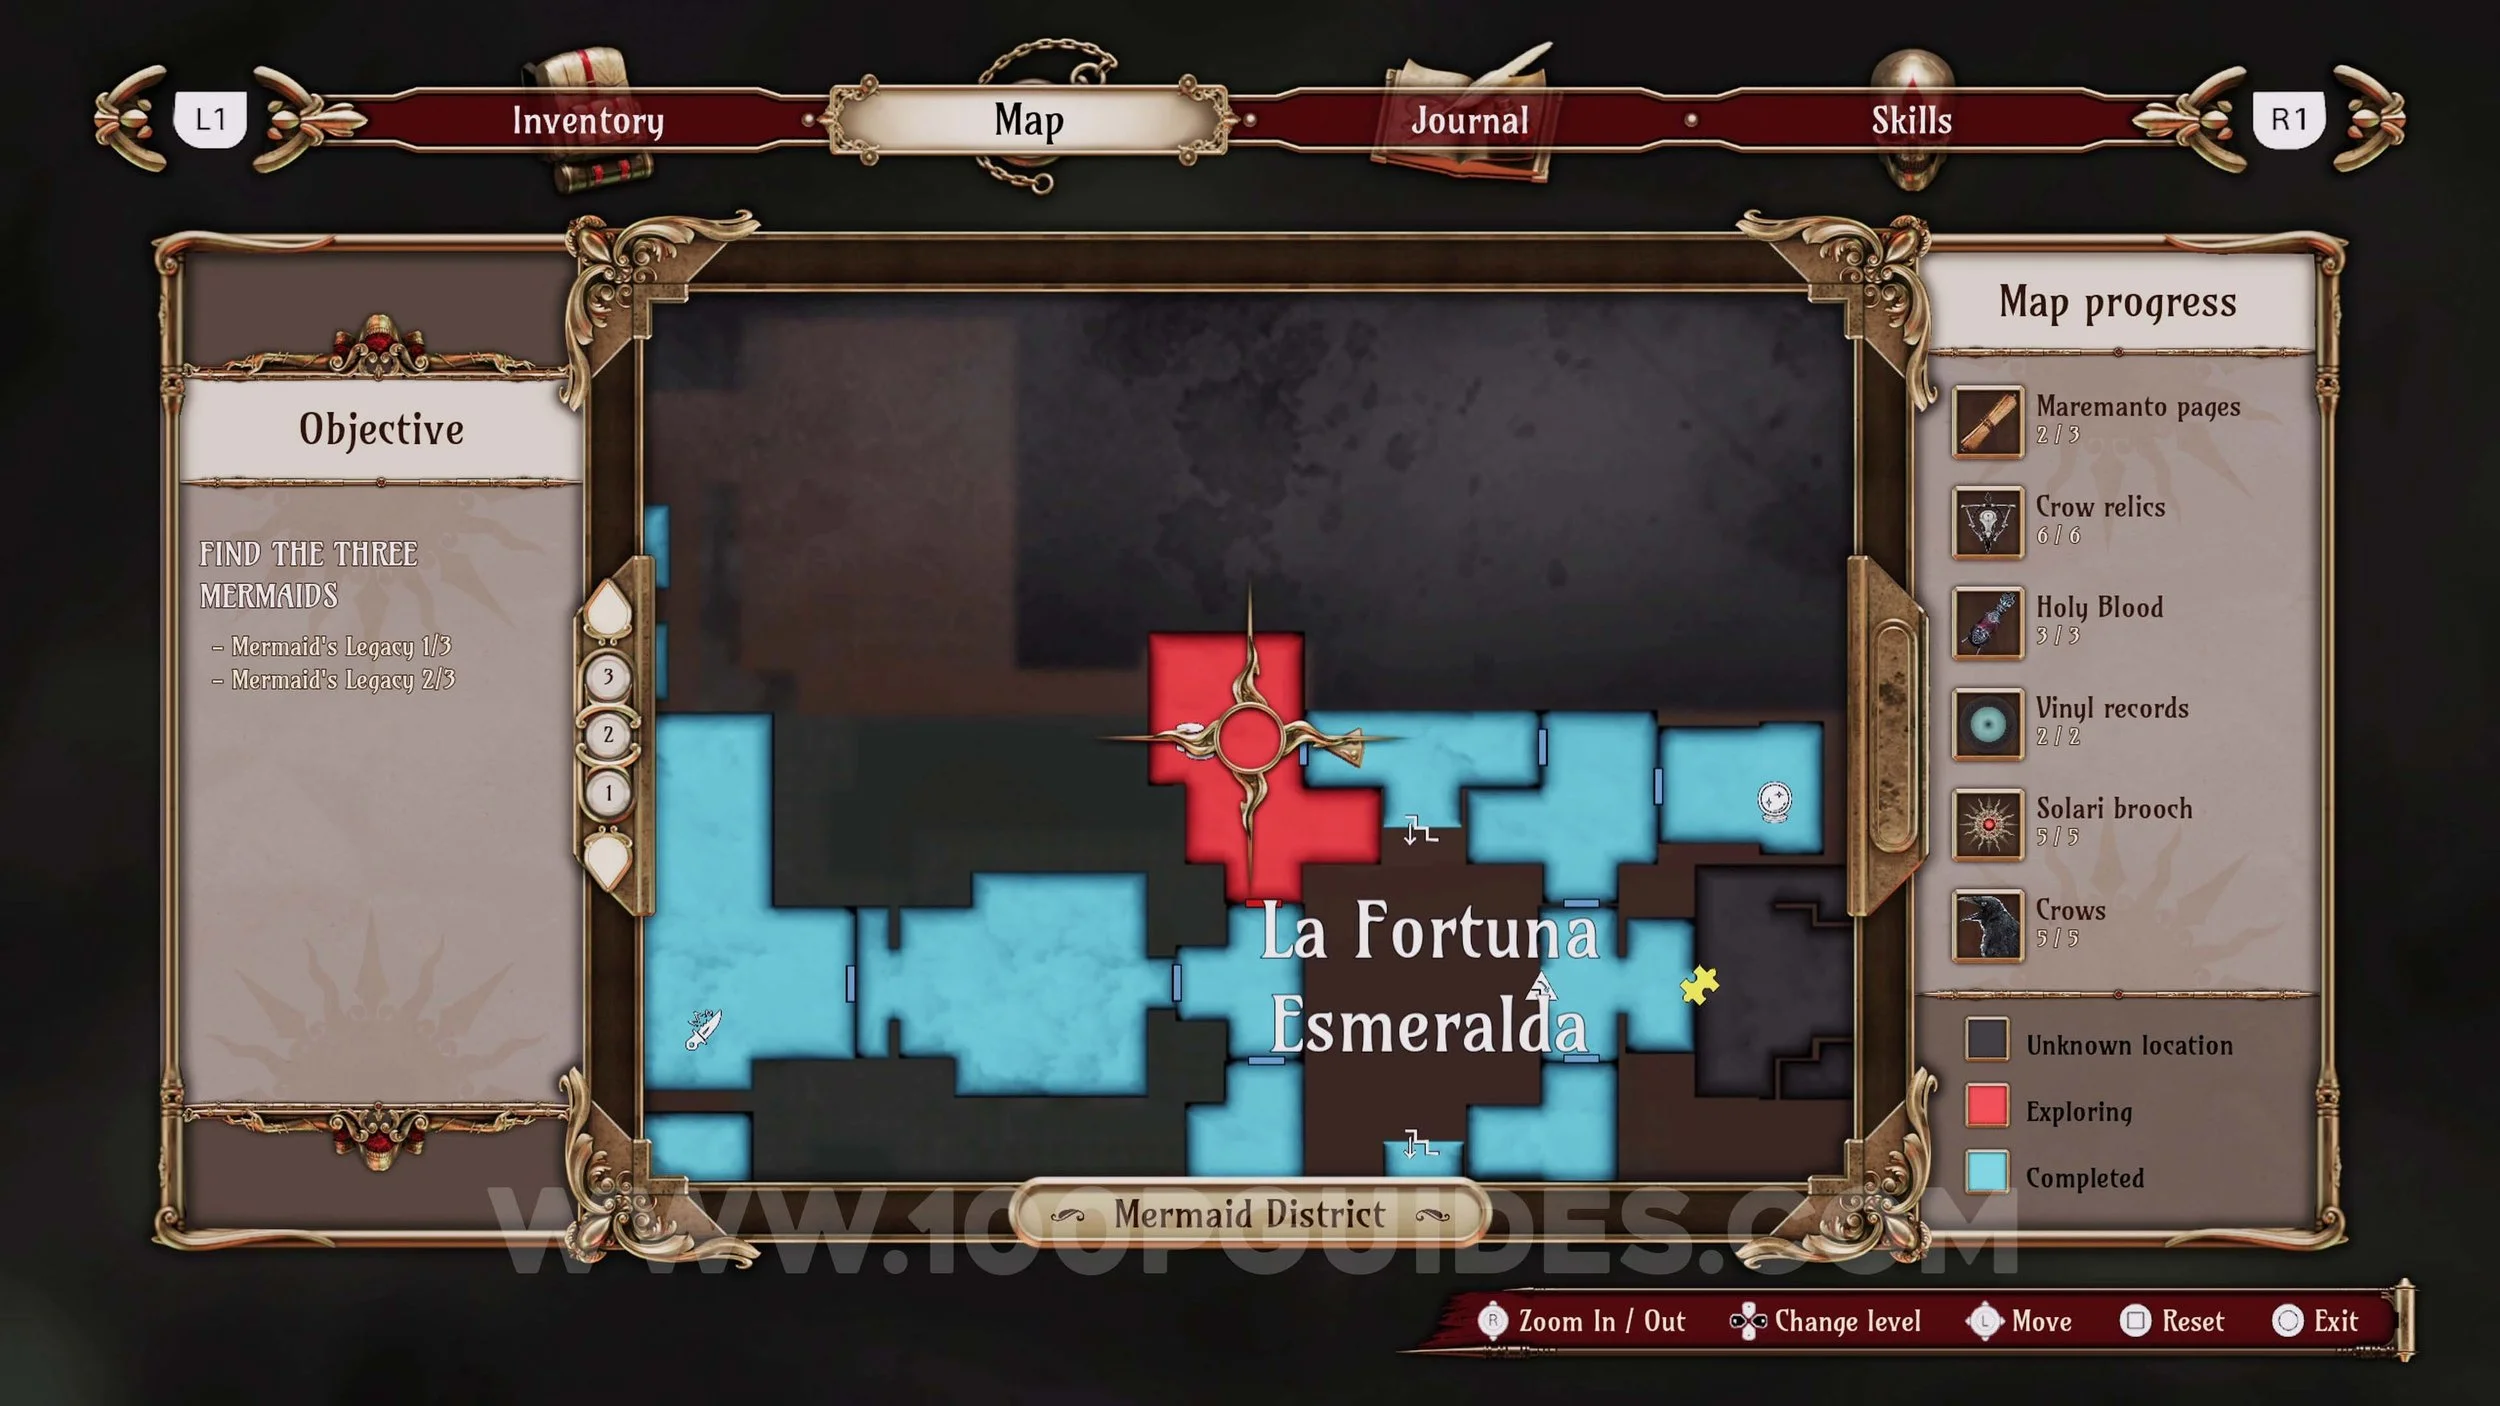
Memory #27. Story related after the Domino Vault puzzle.

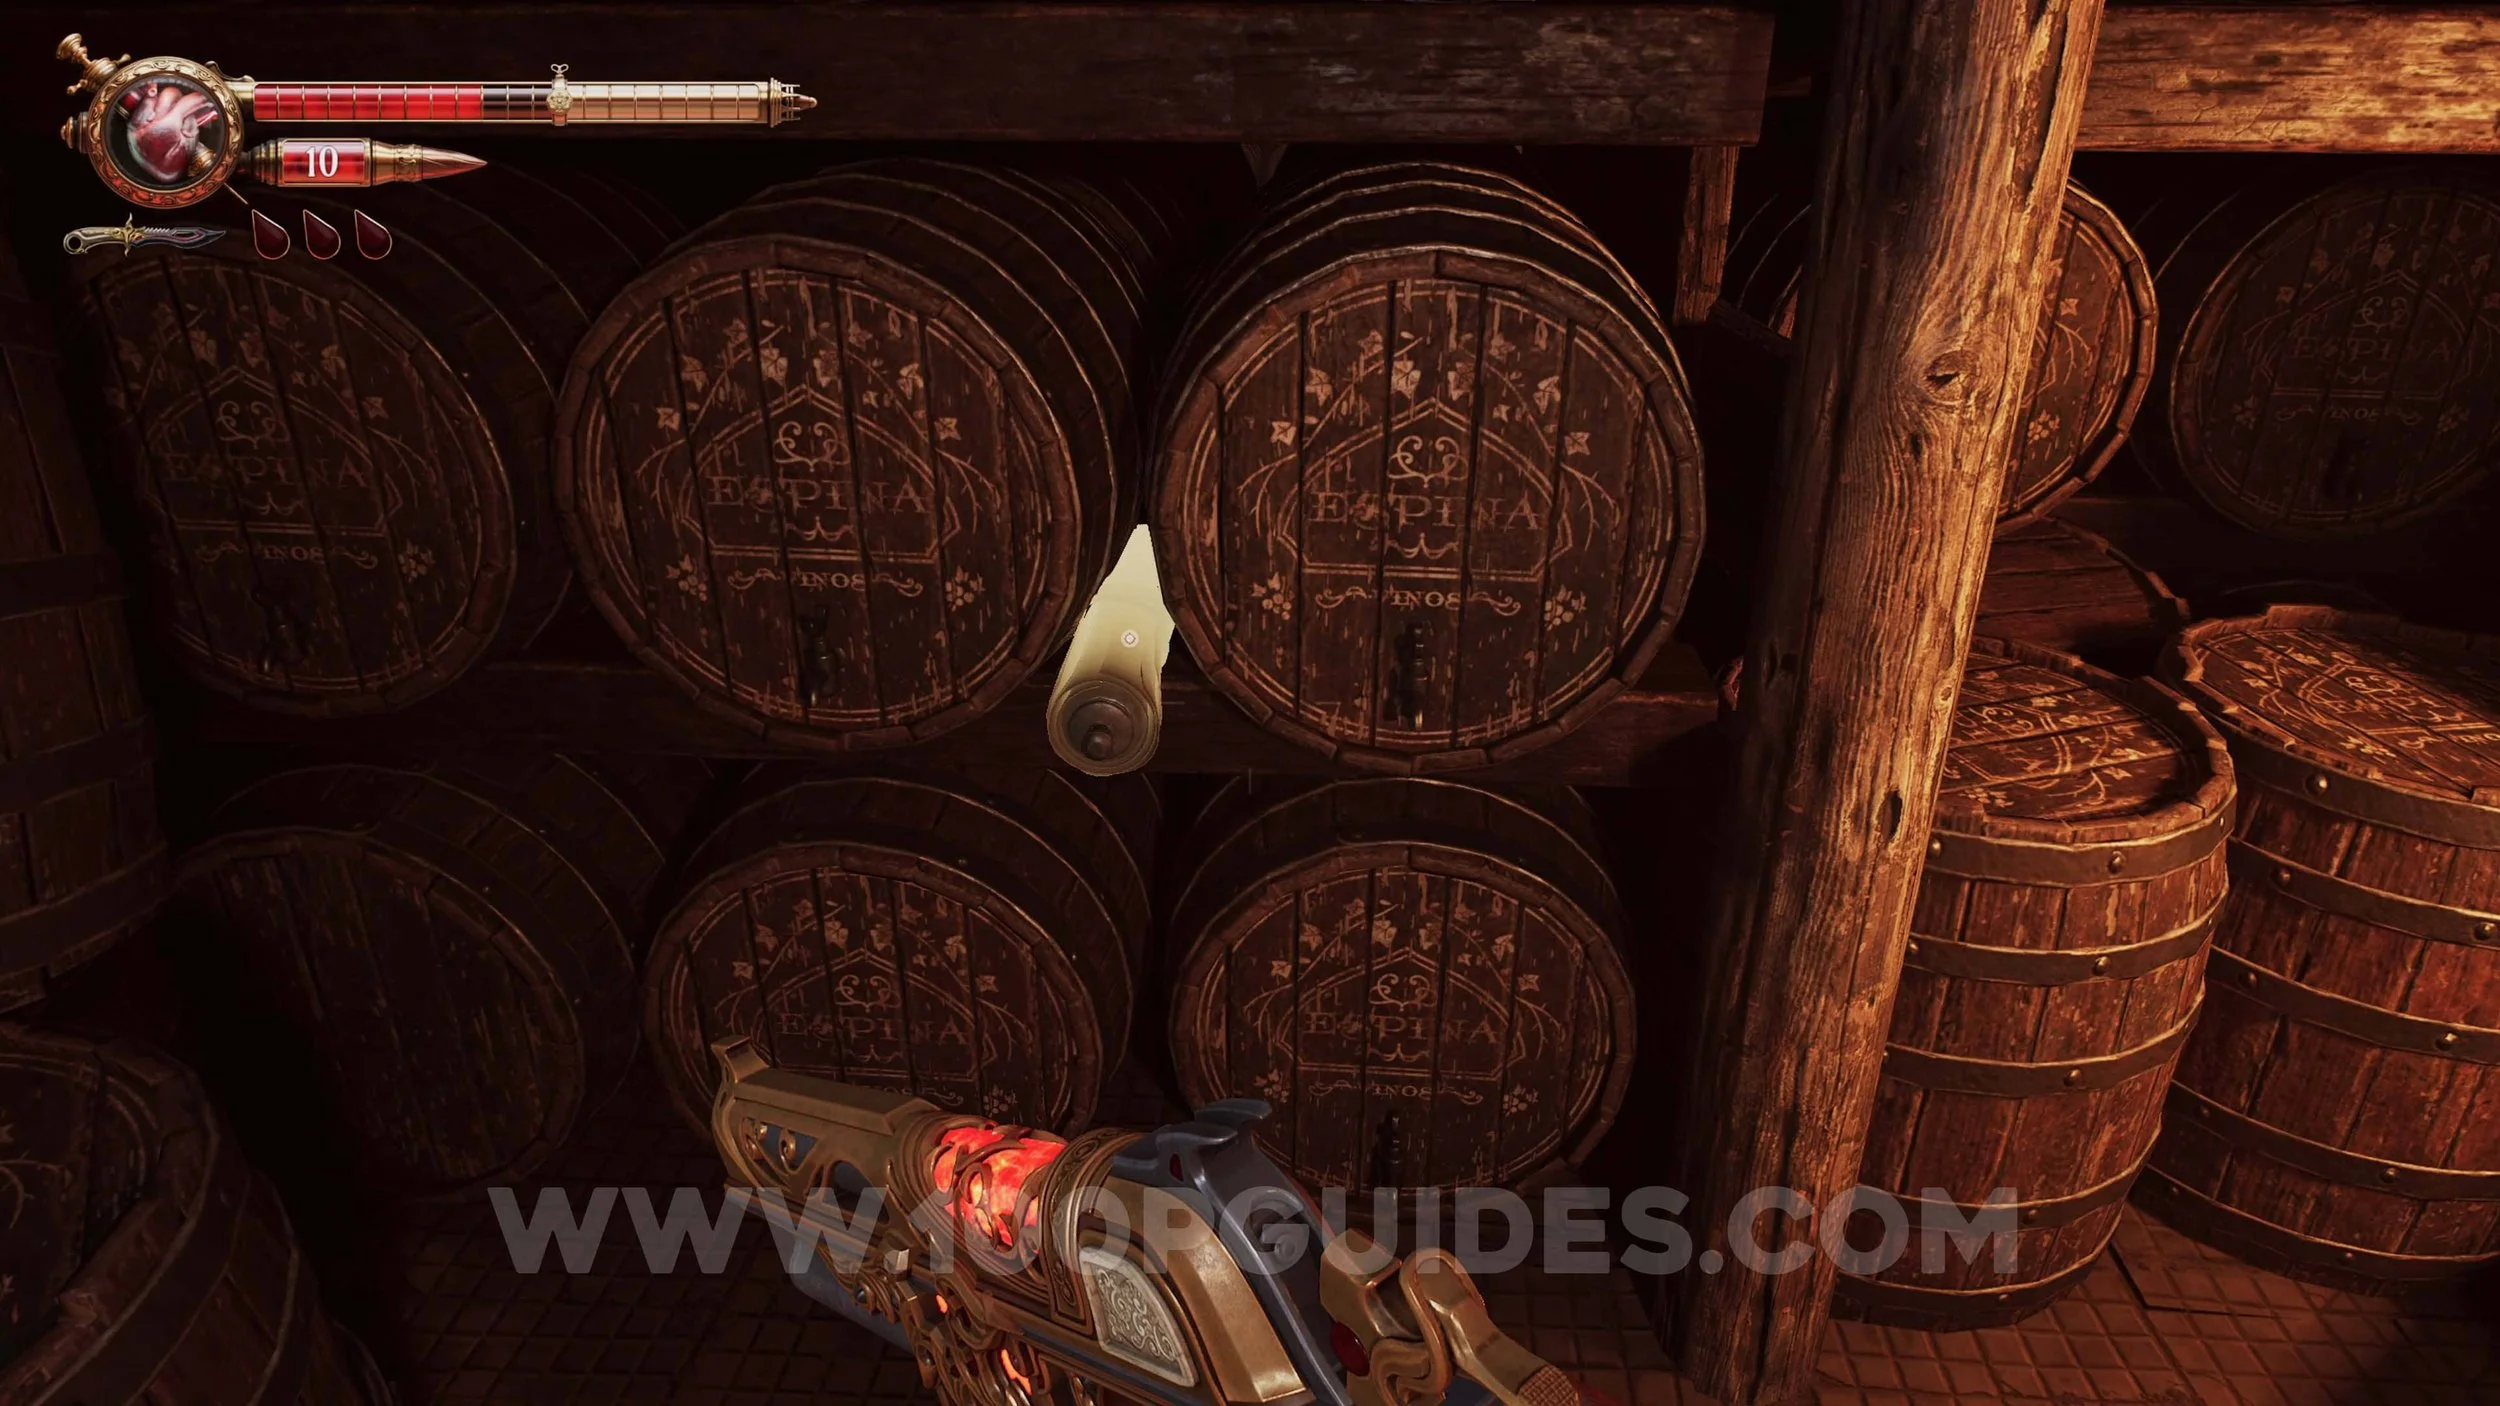
Maremanto Page #3. In the area under El Cuerno Albino, after solving the cocktail puzzle, where the new black sludge enemies are.

Ulises Idol #13. In the south-western part of the underground area with the sludge monsters.
Ulises Idol #14. After escaping from Dolores in the sewers and riding the lift up, you will see it on the other side of the street before dropping down.
Tormentosa Fair (2nd Visit)
Holy Blood #4. Back at the fair after chapter 1, you can replay all 3 of the minigames and get more tickets. Purchase the holy blood from the ticket machine.
Crow Relic #7. If you got the Vinyl from the ticket machine on your first visit to the fair and then the Holy Blood, you should have just enough to also get the Crow Relic from the machine.
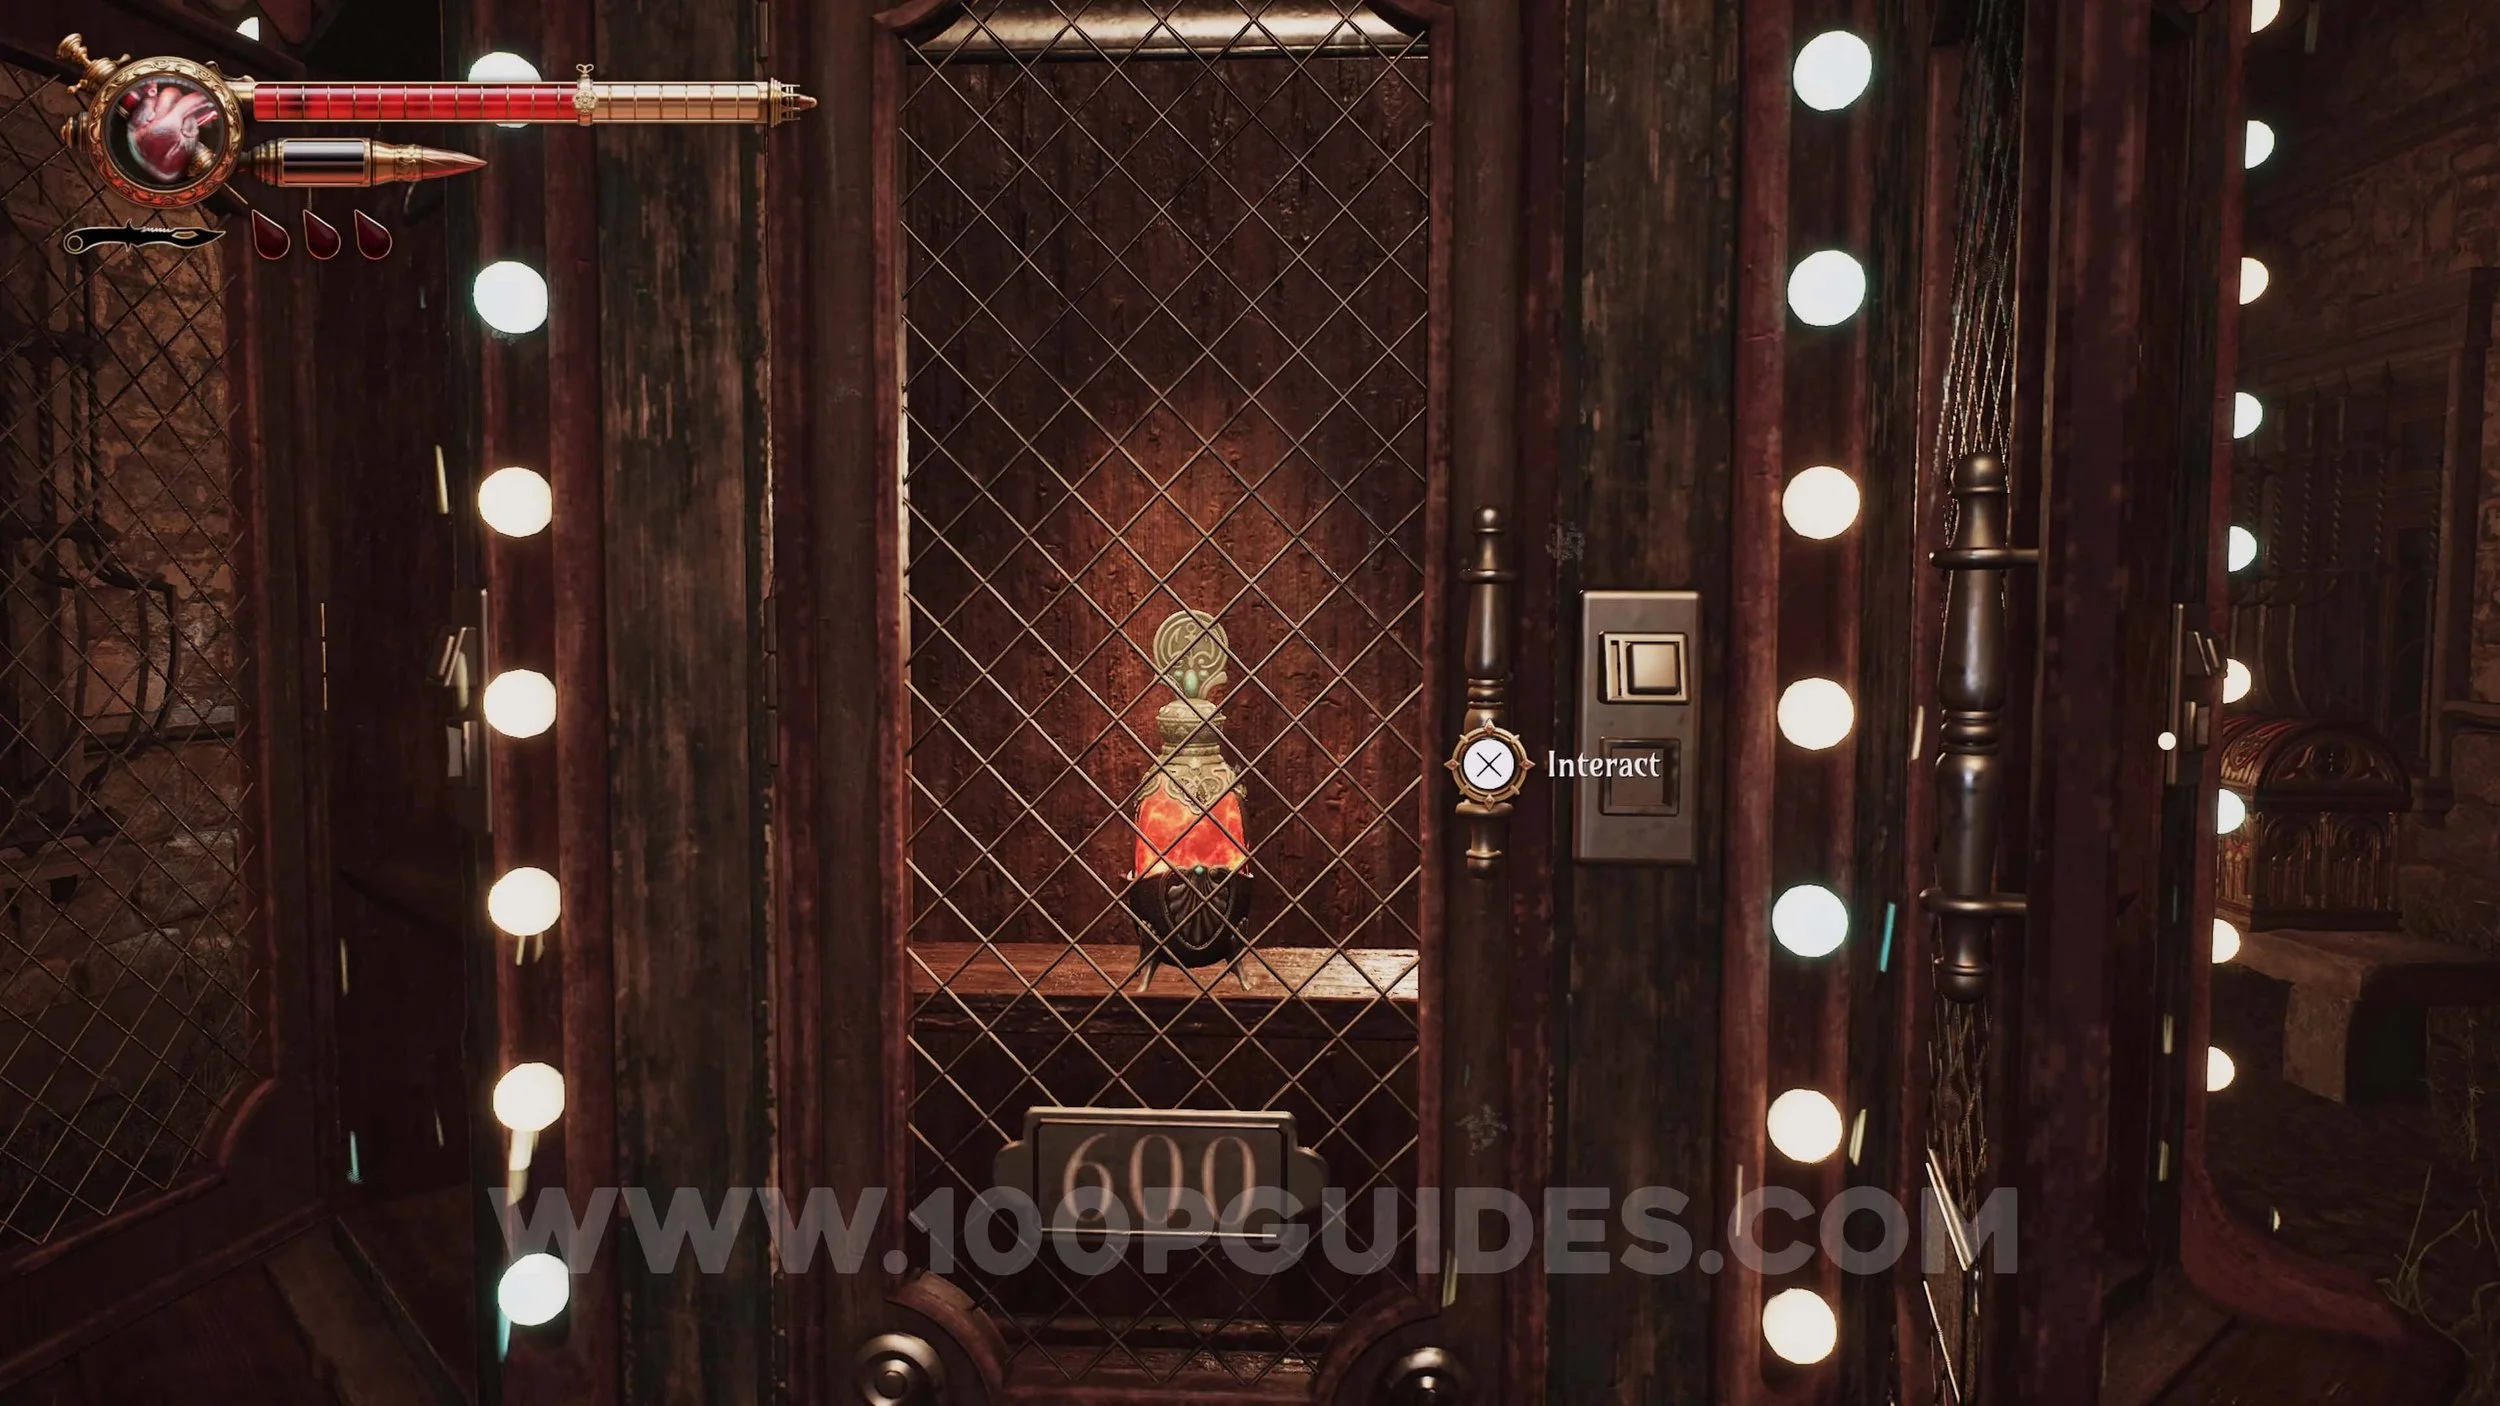
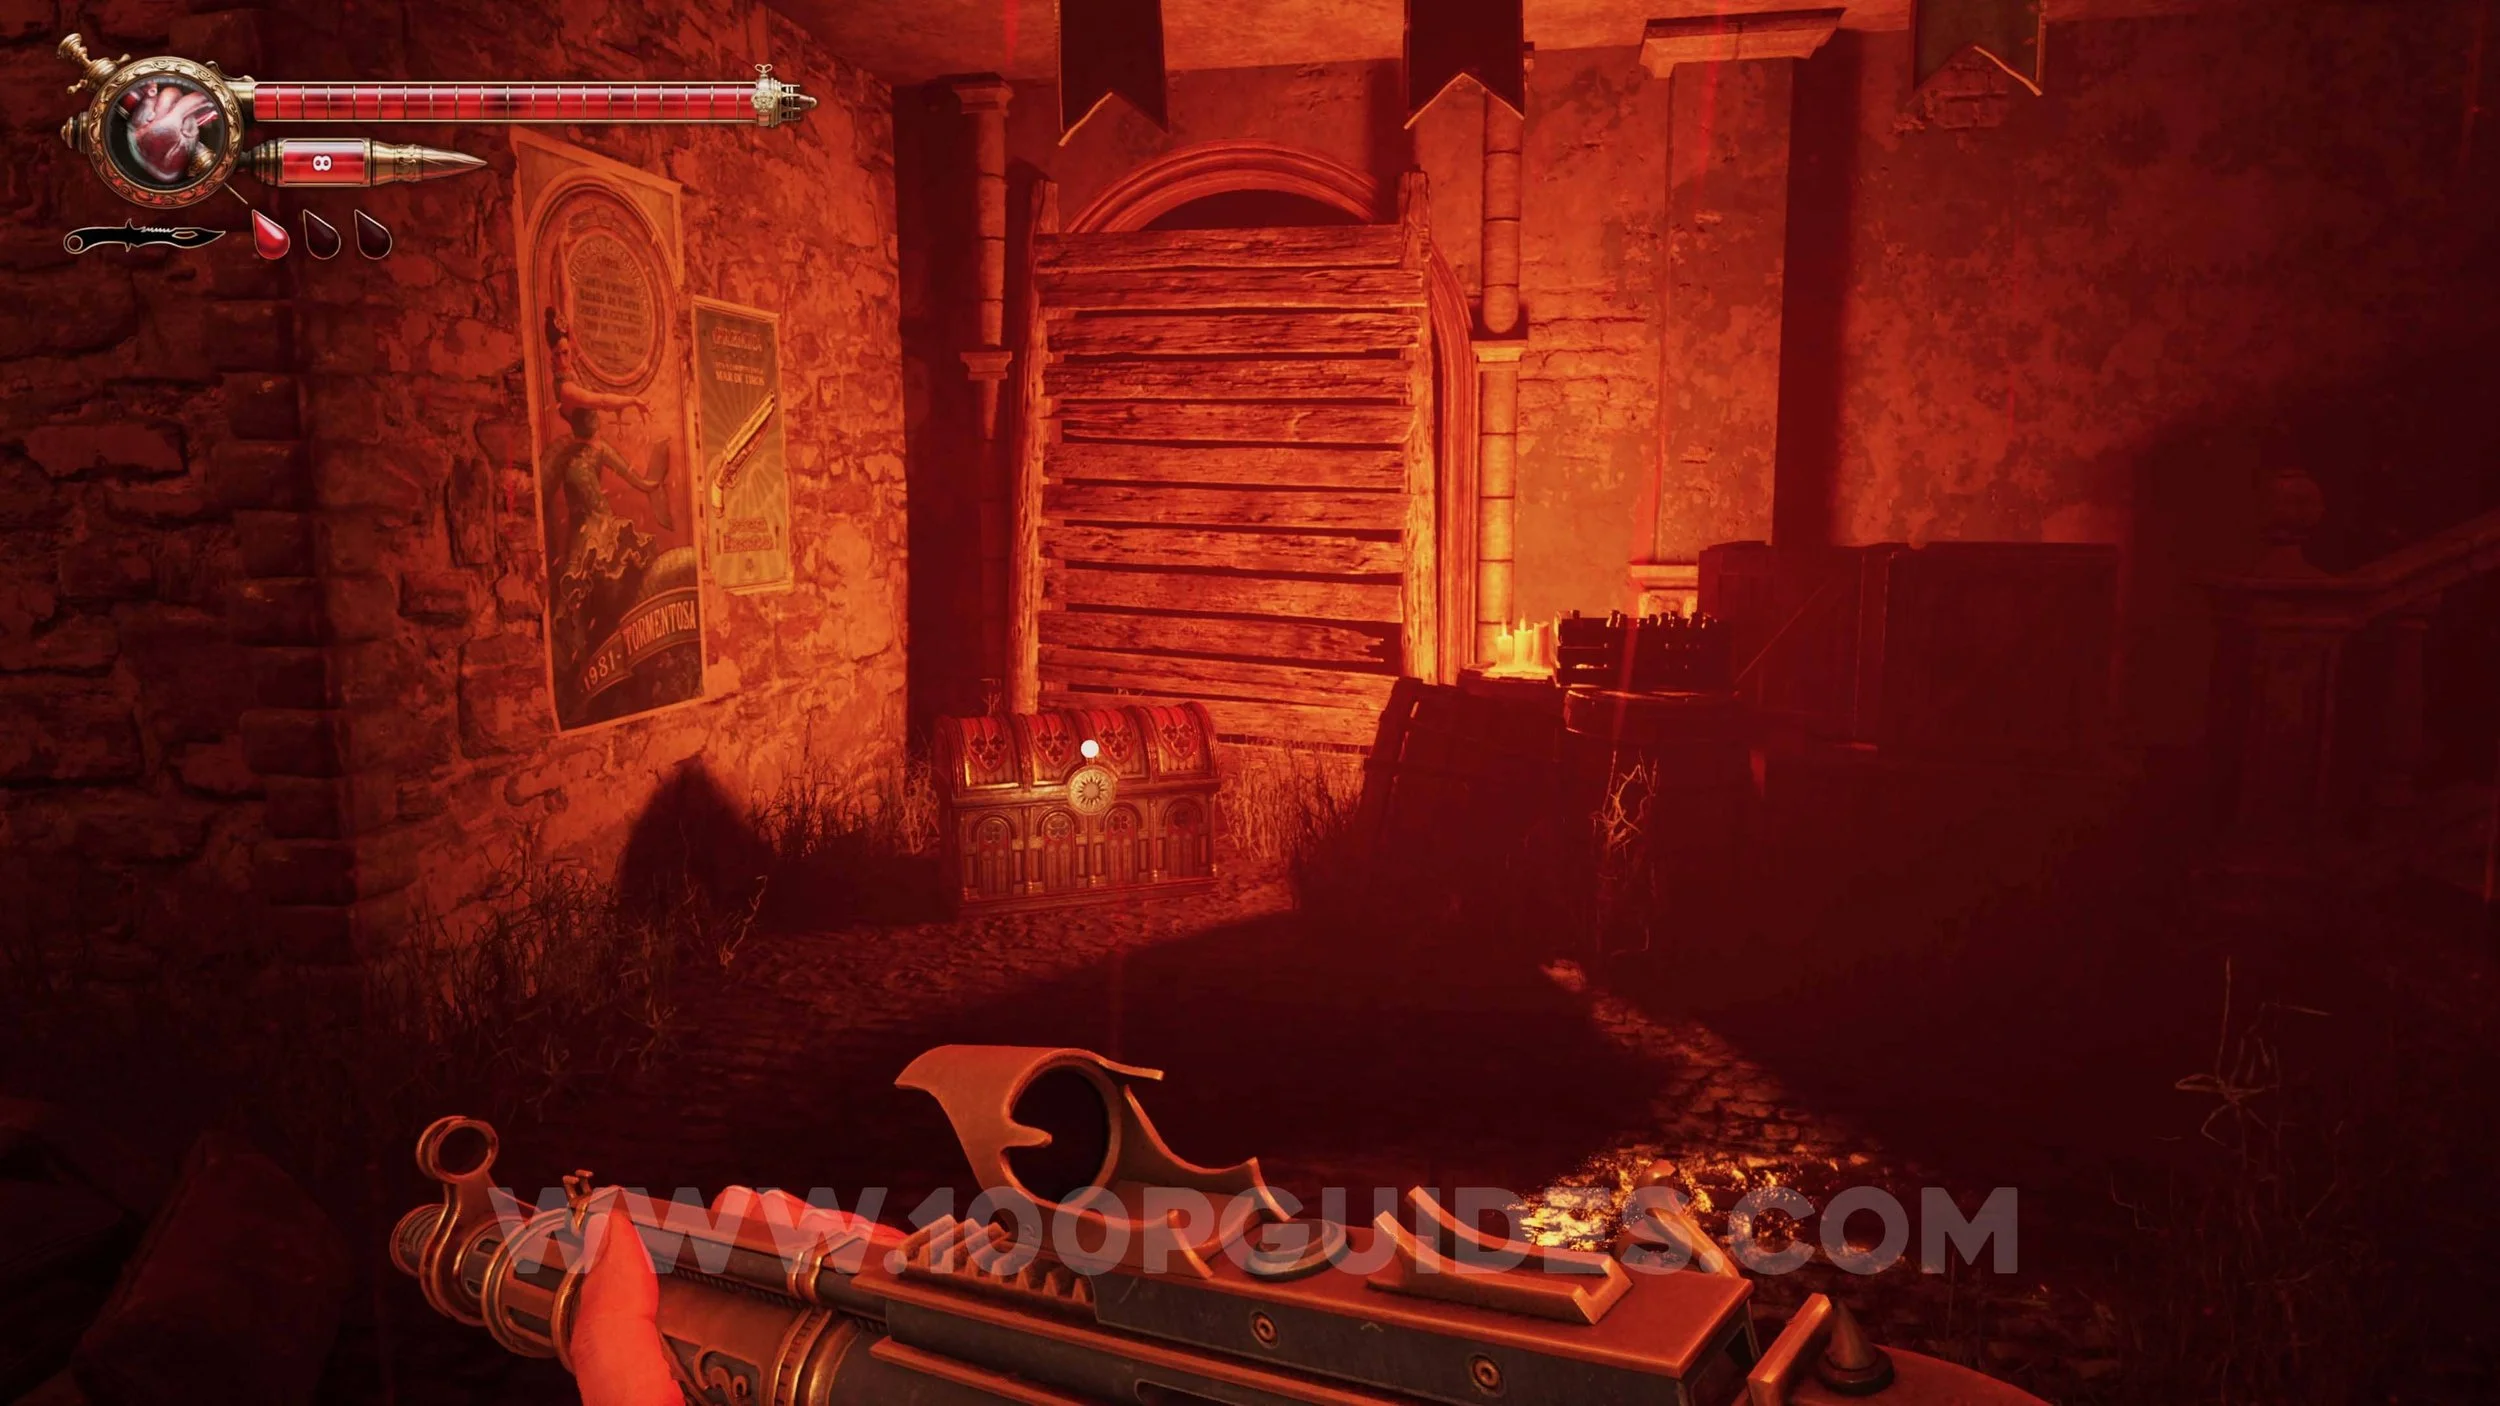
Solari Chest #2 & Crow Relic #8. Use Brooch Num. 2 to open Solari Chest 2 found on the west side of the fair.
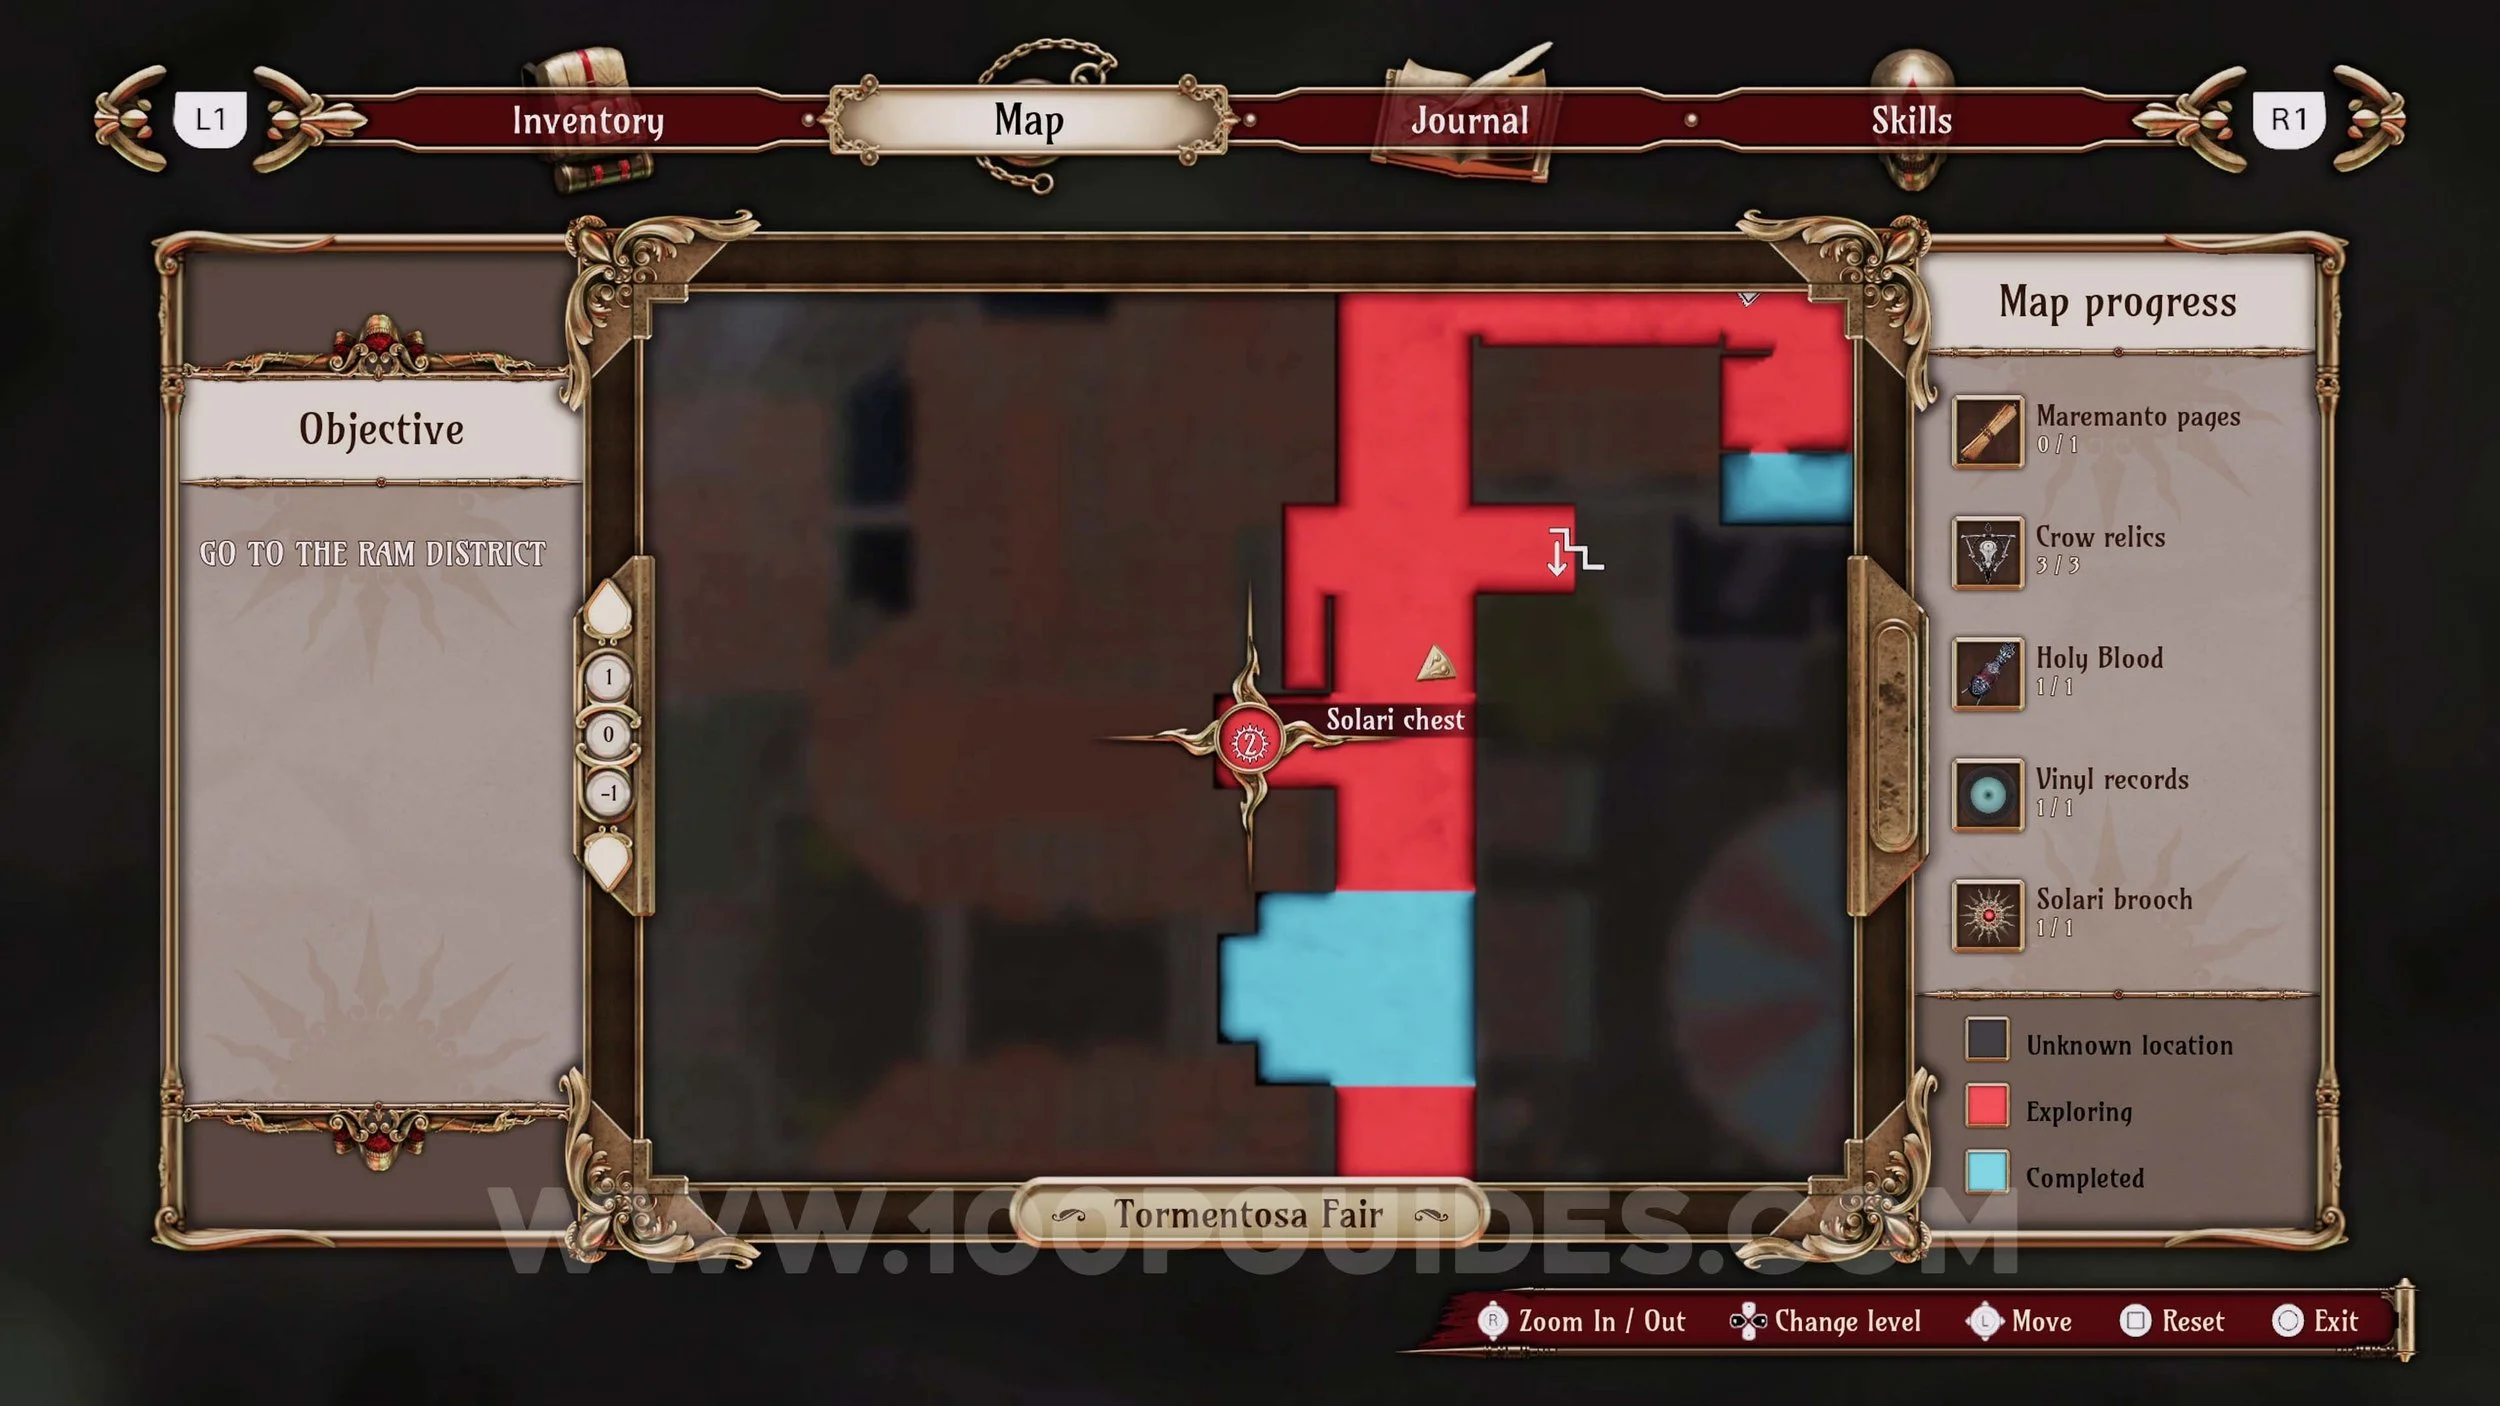
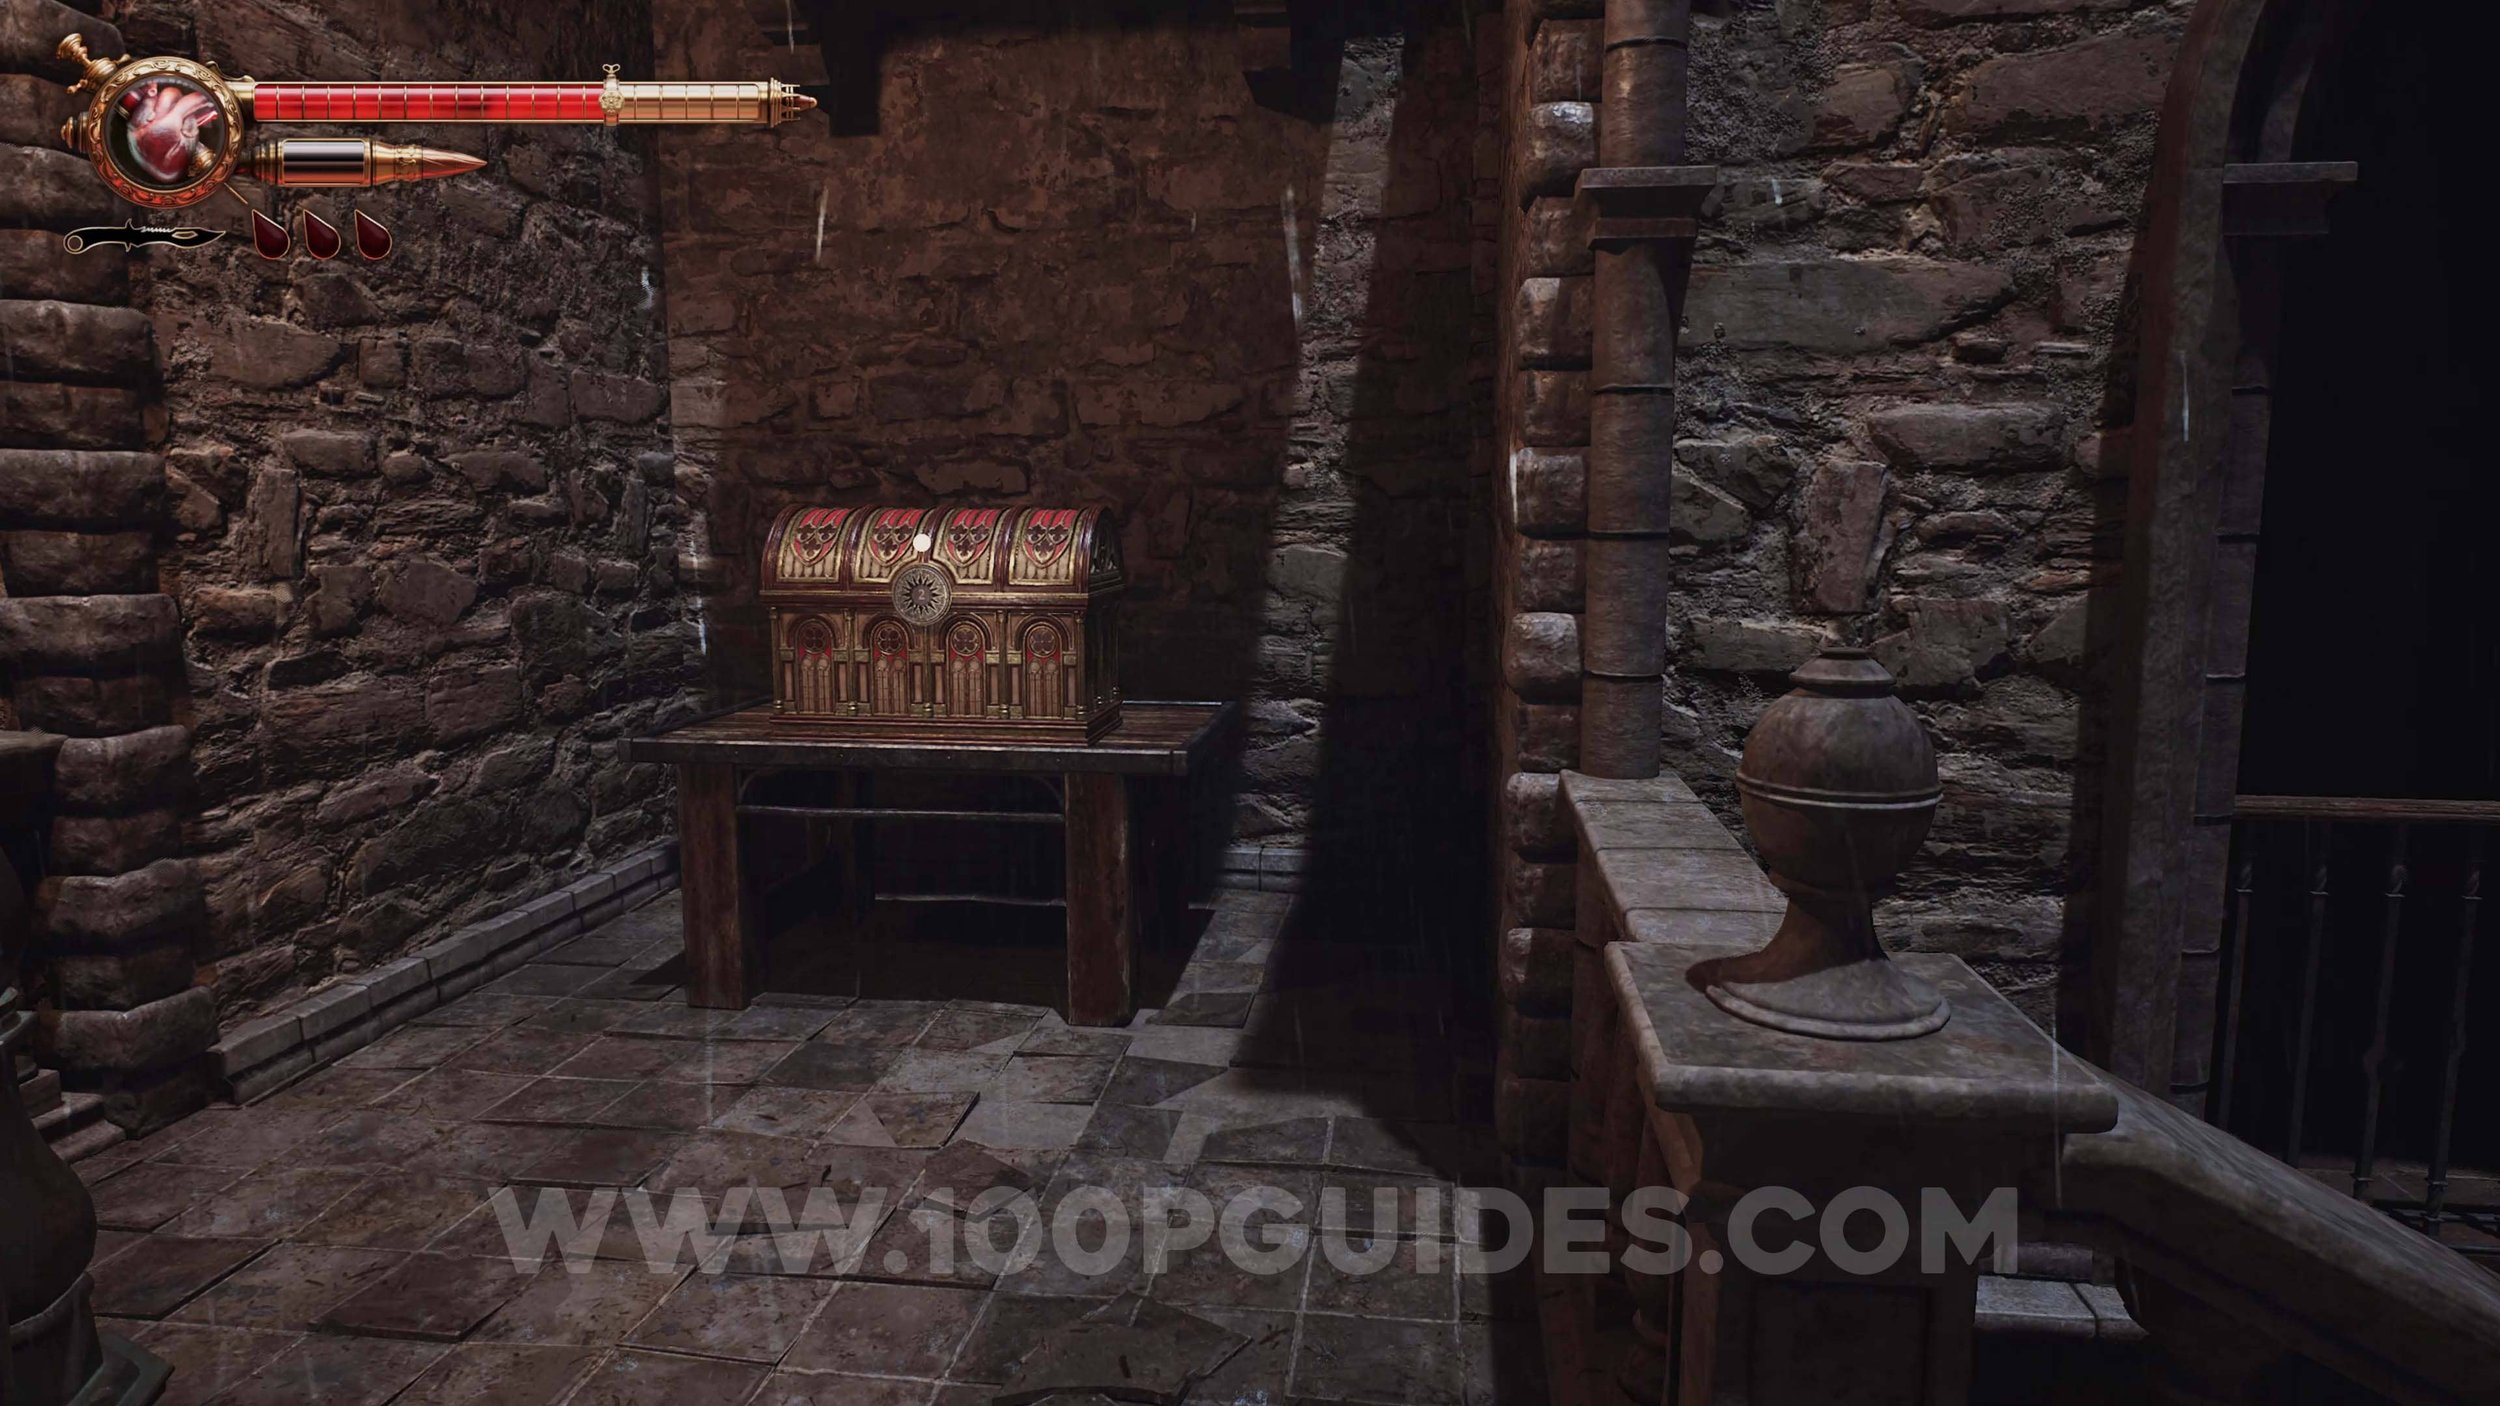
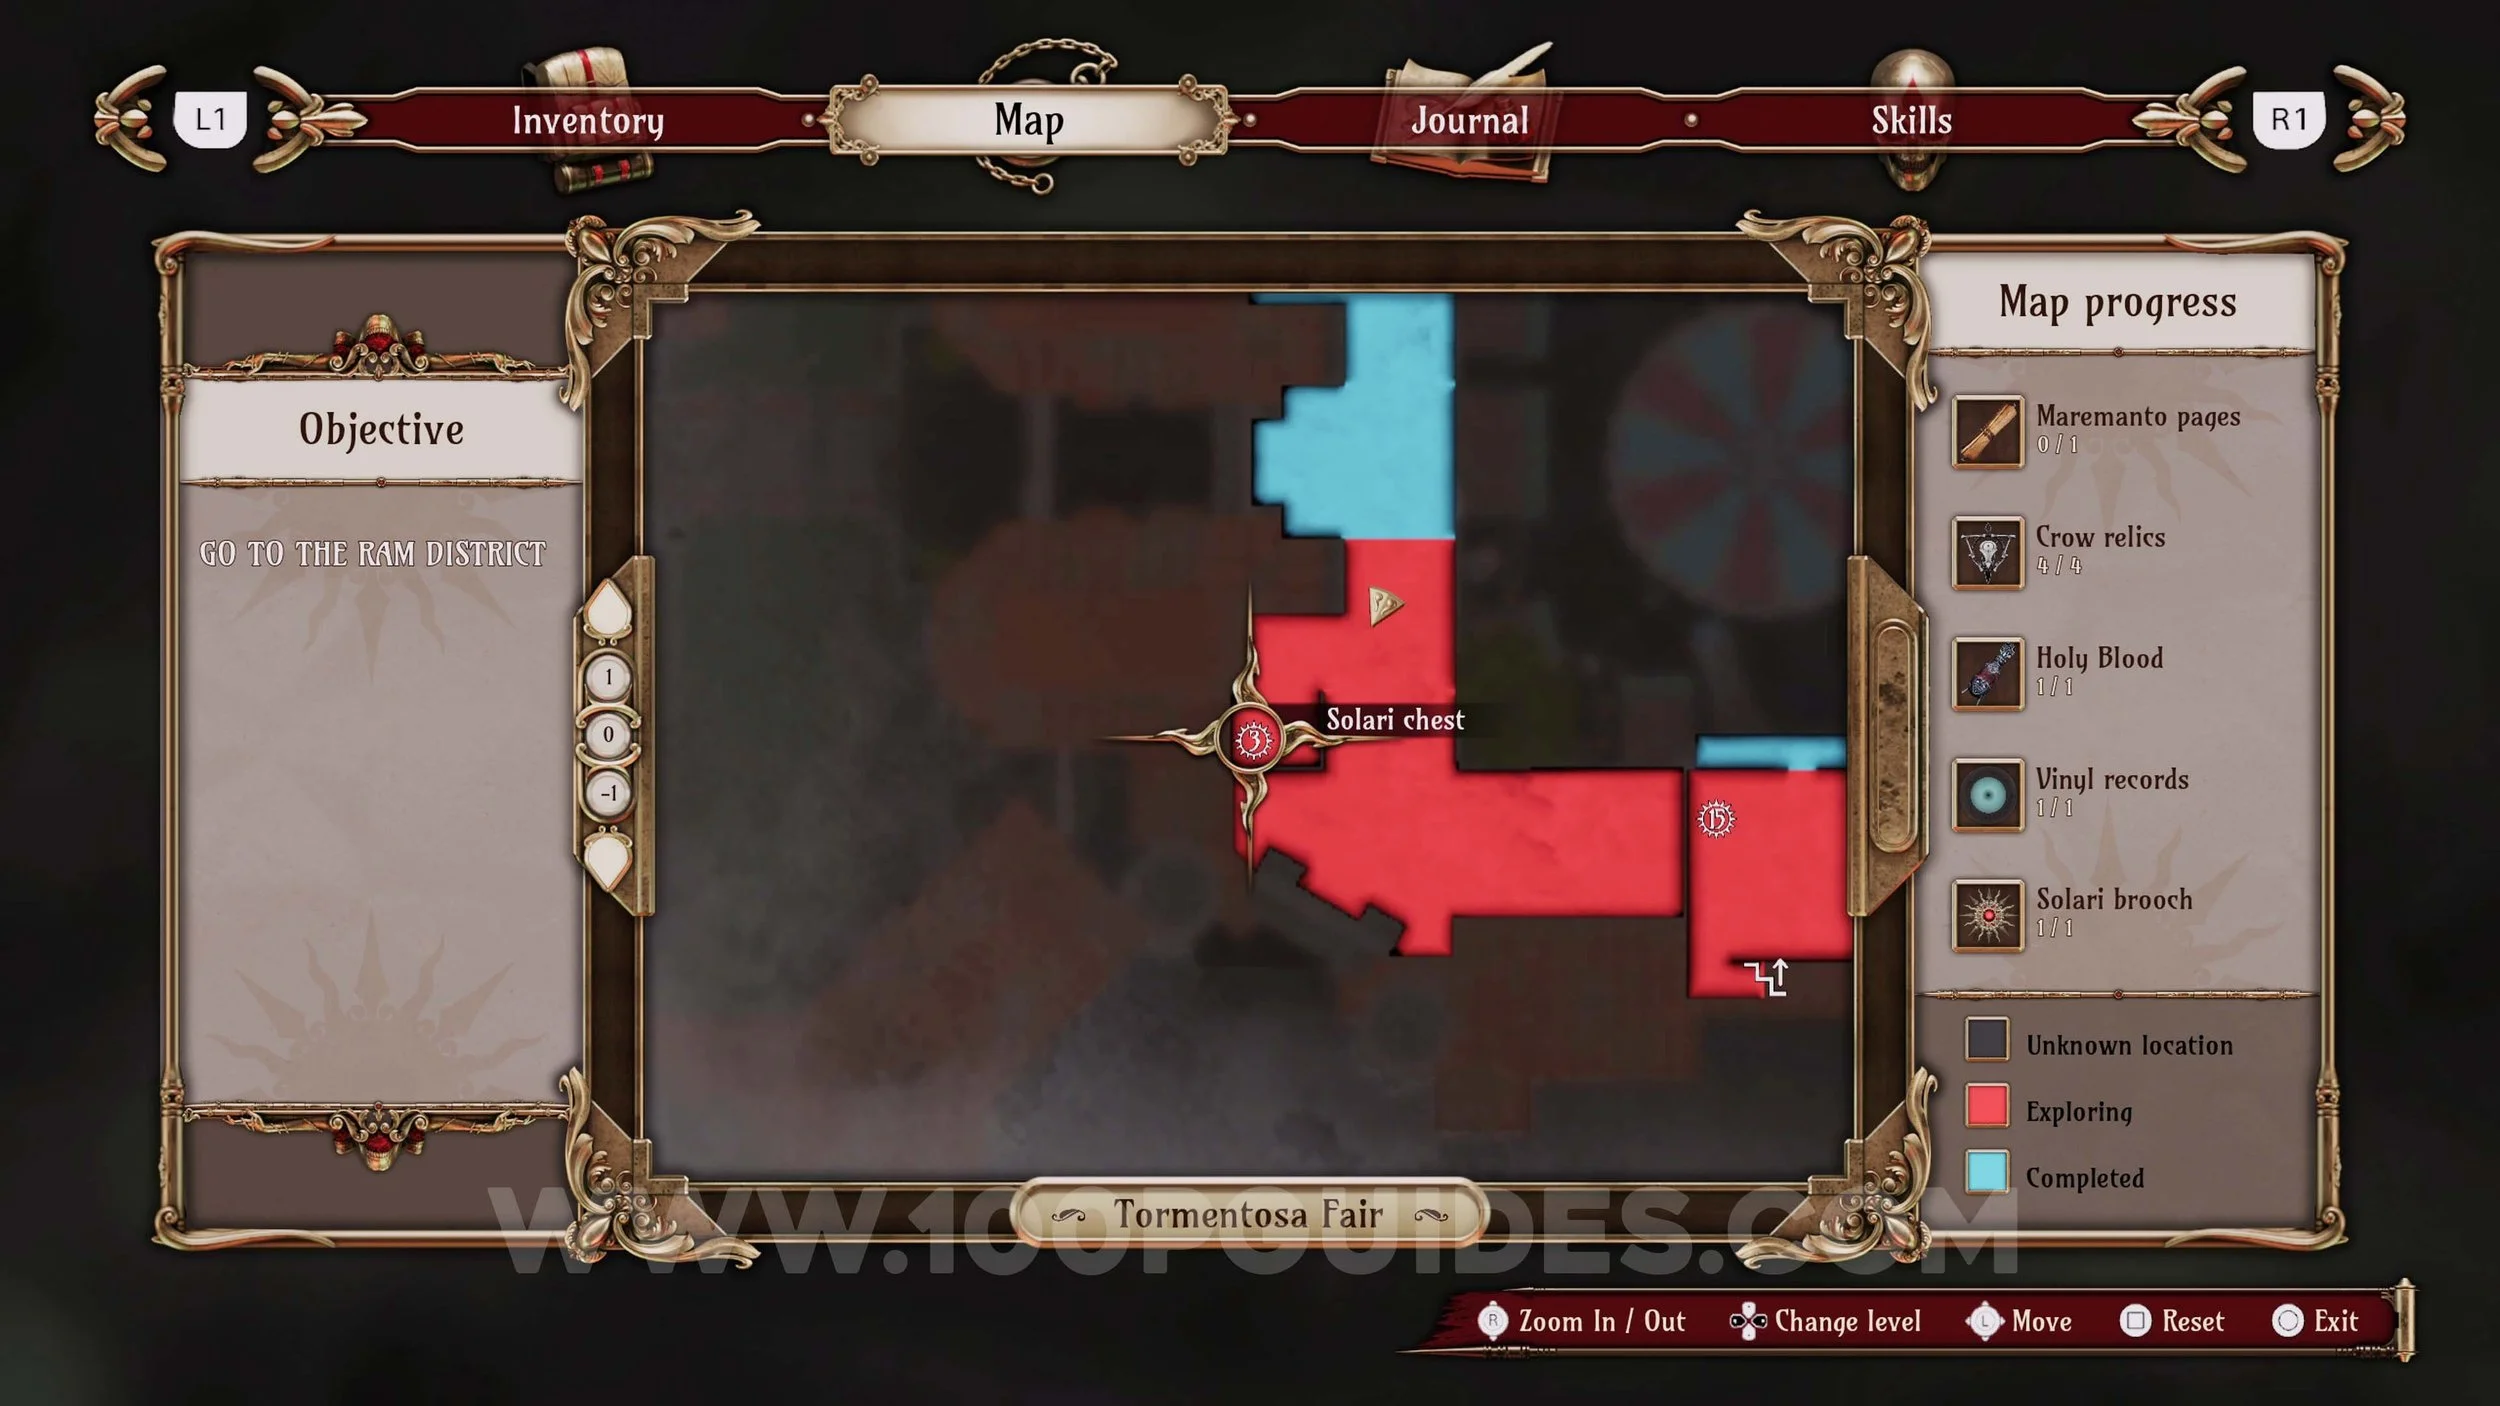
Solari Chest #3 & Crow Relic #9. Use Brooch Num. 3 to open Solari Chest 3 found on the western stairs.
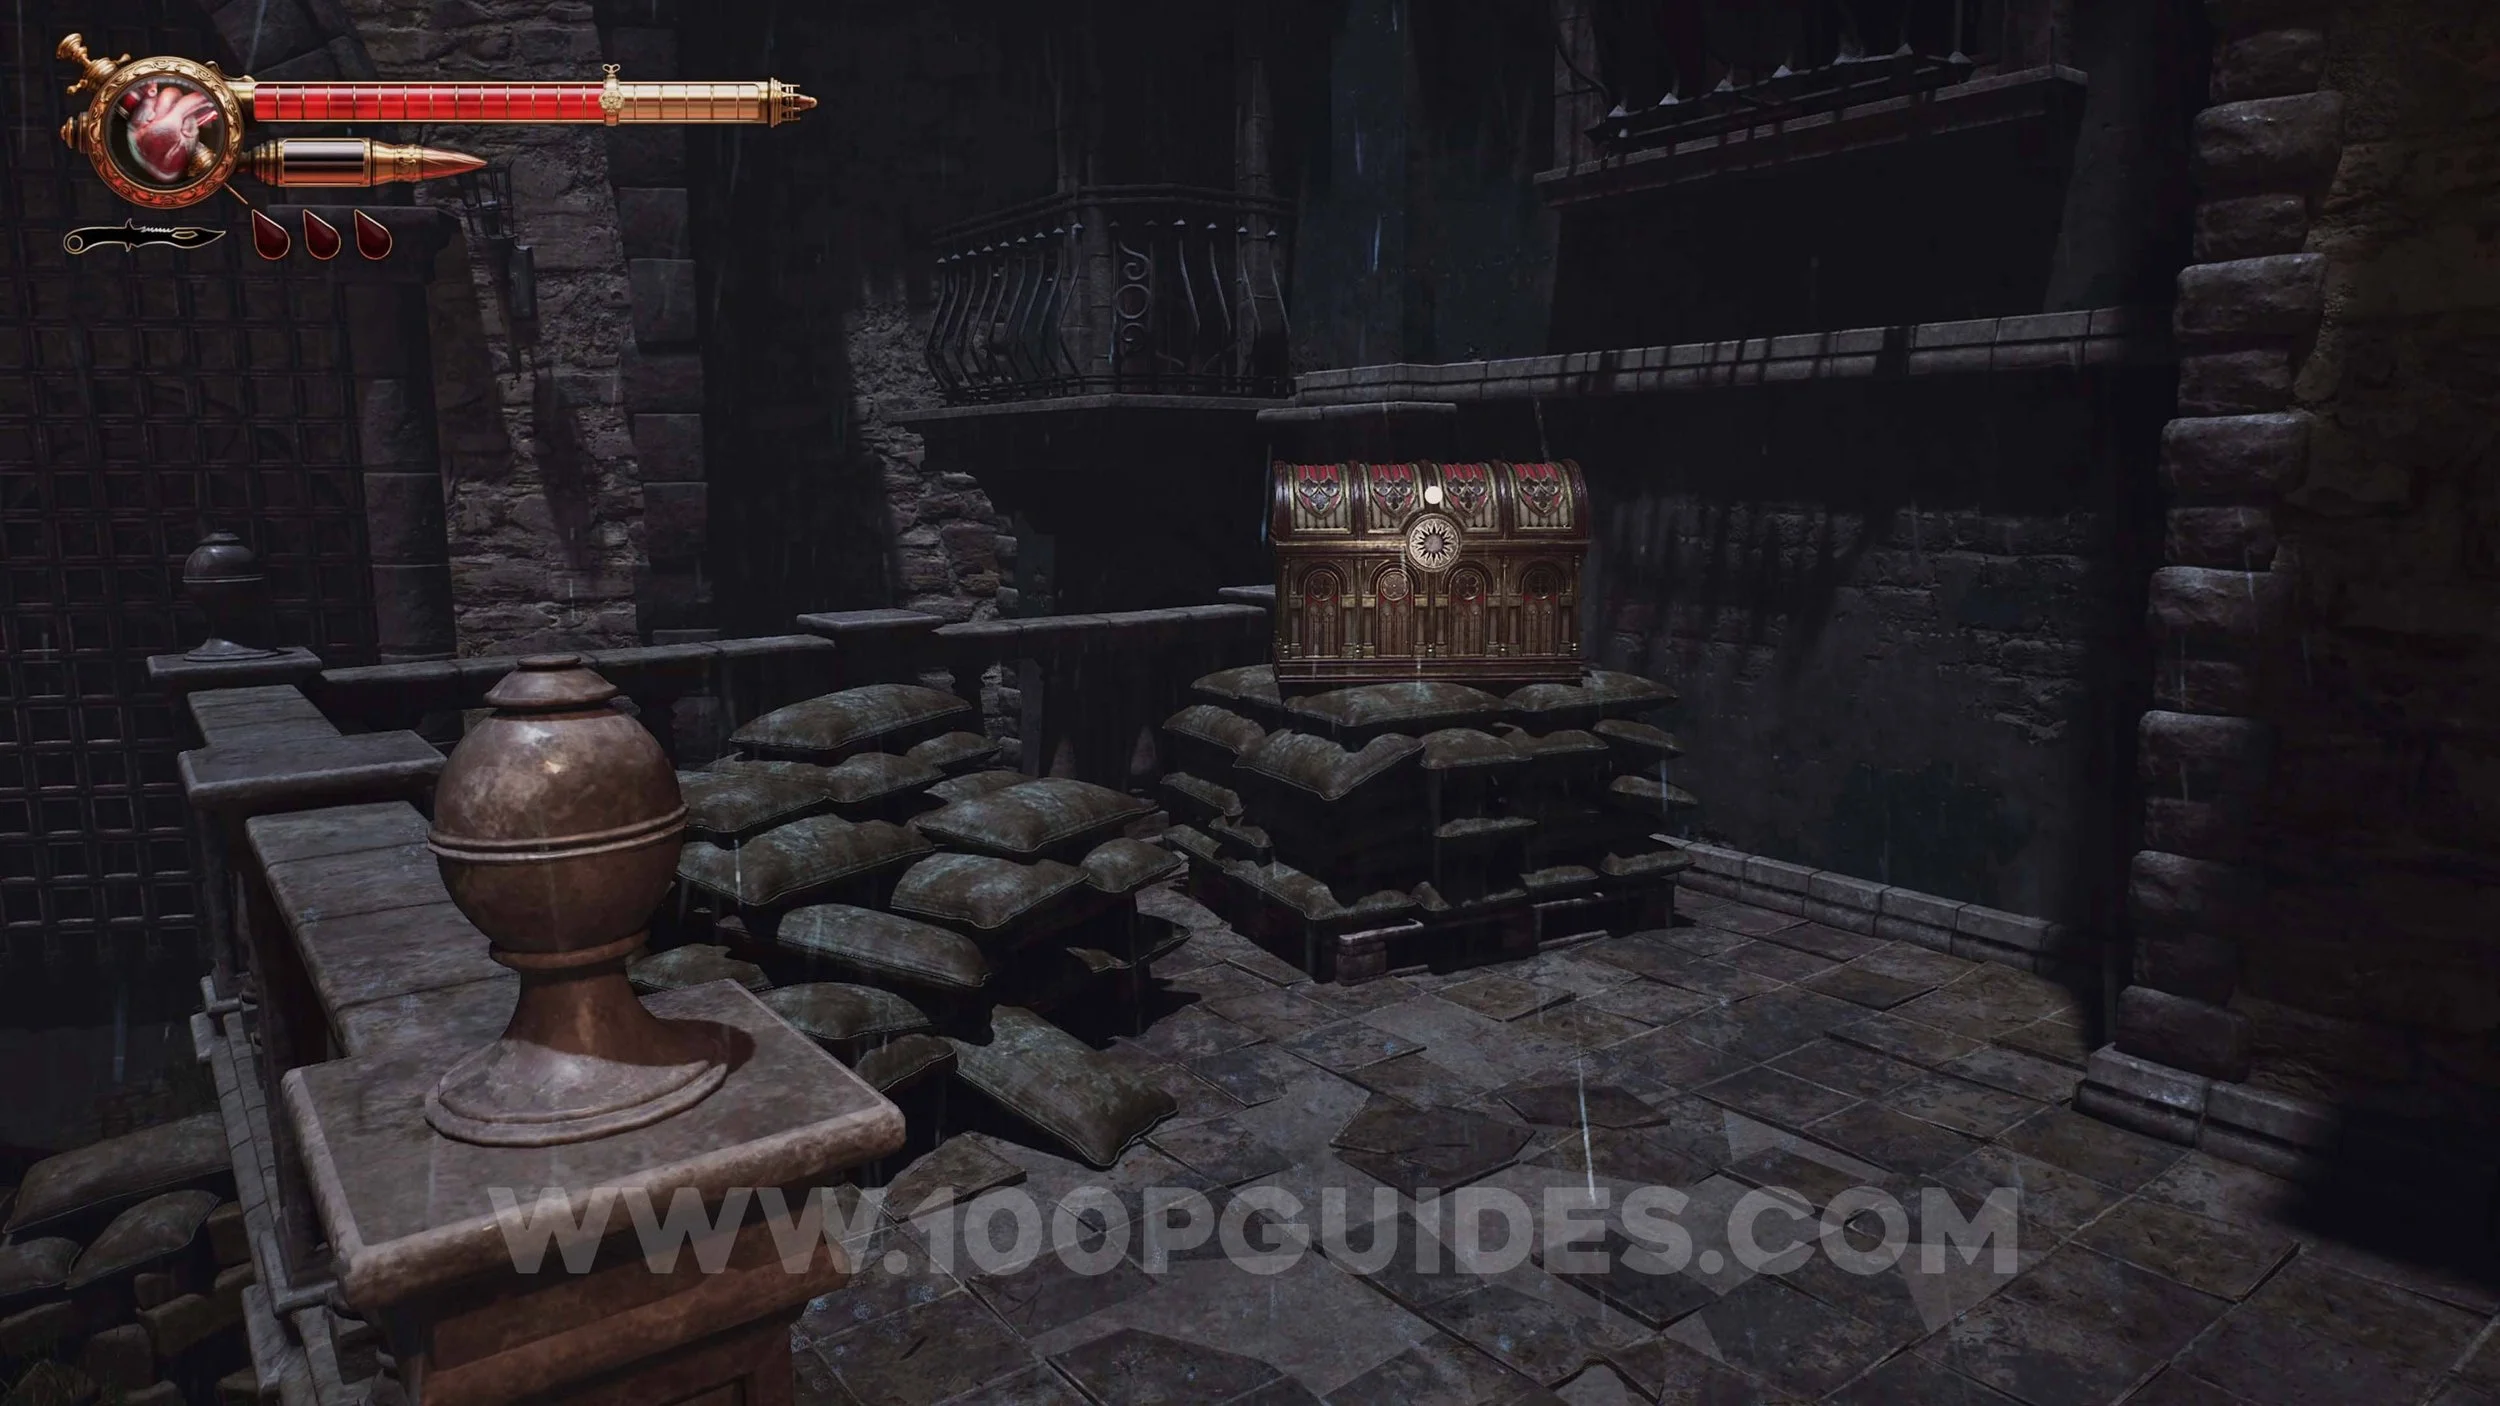
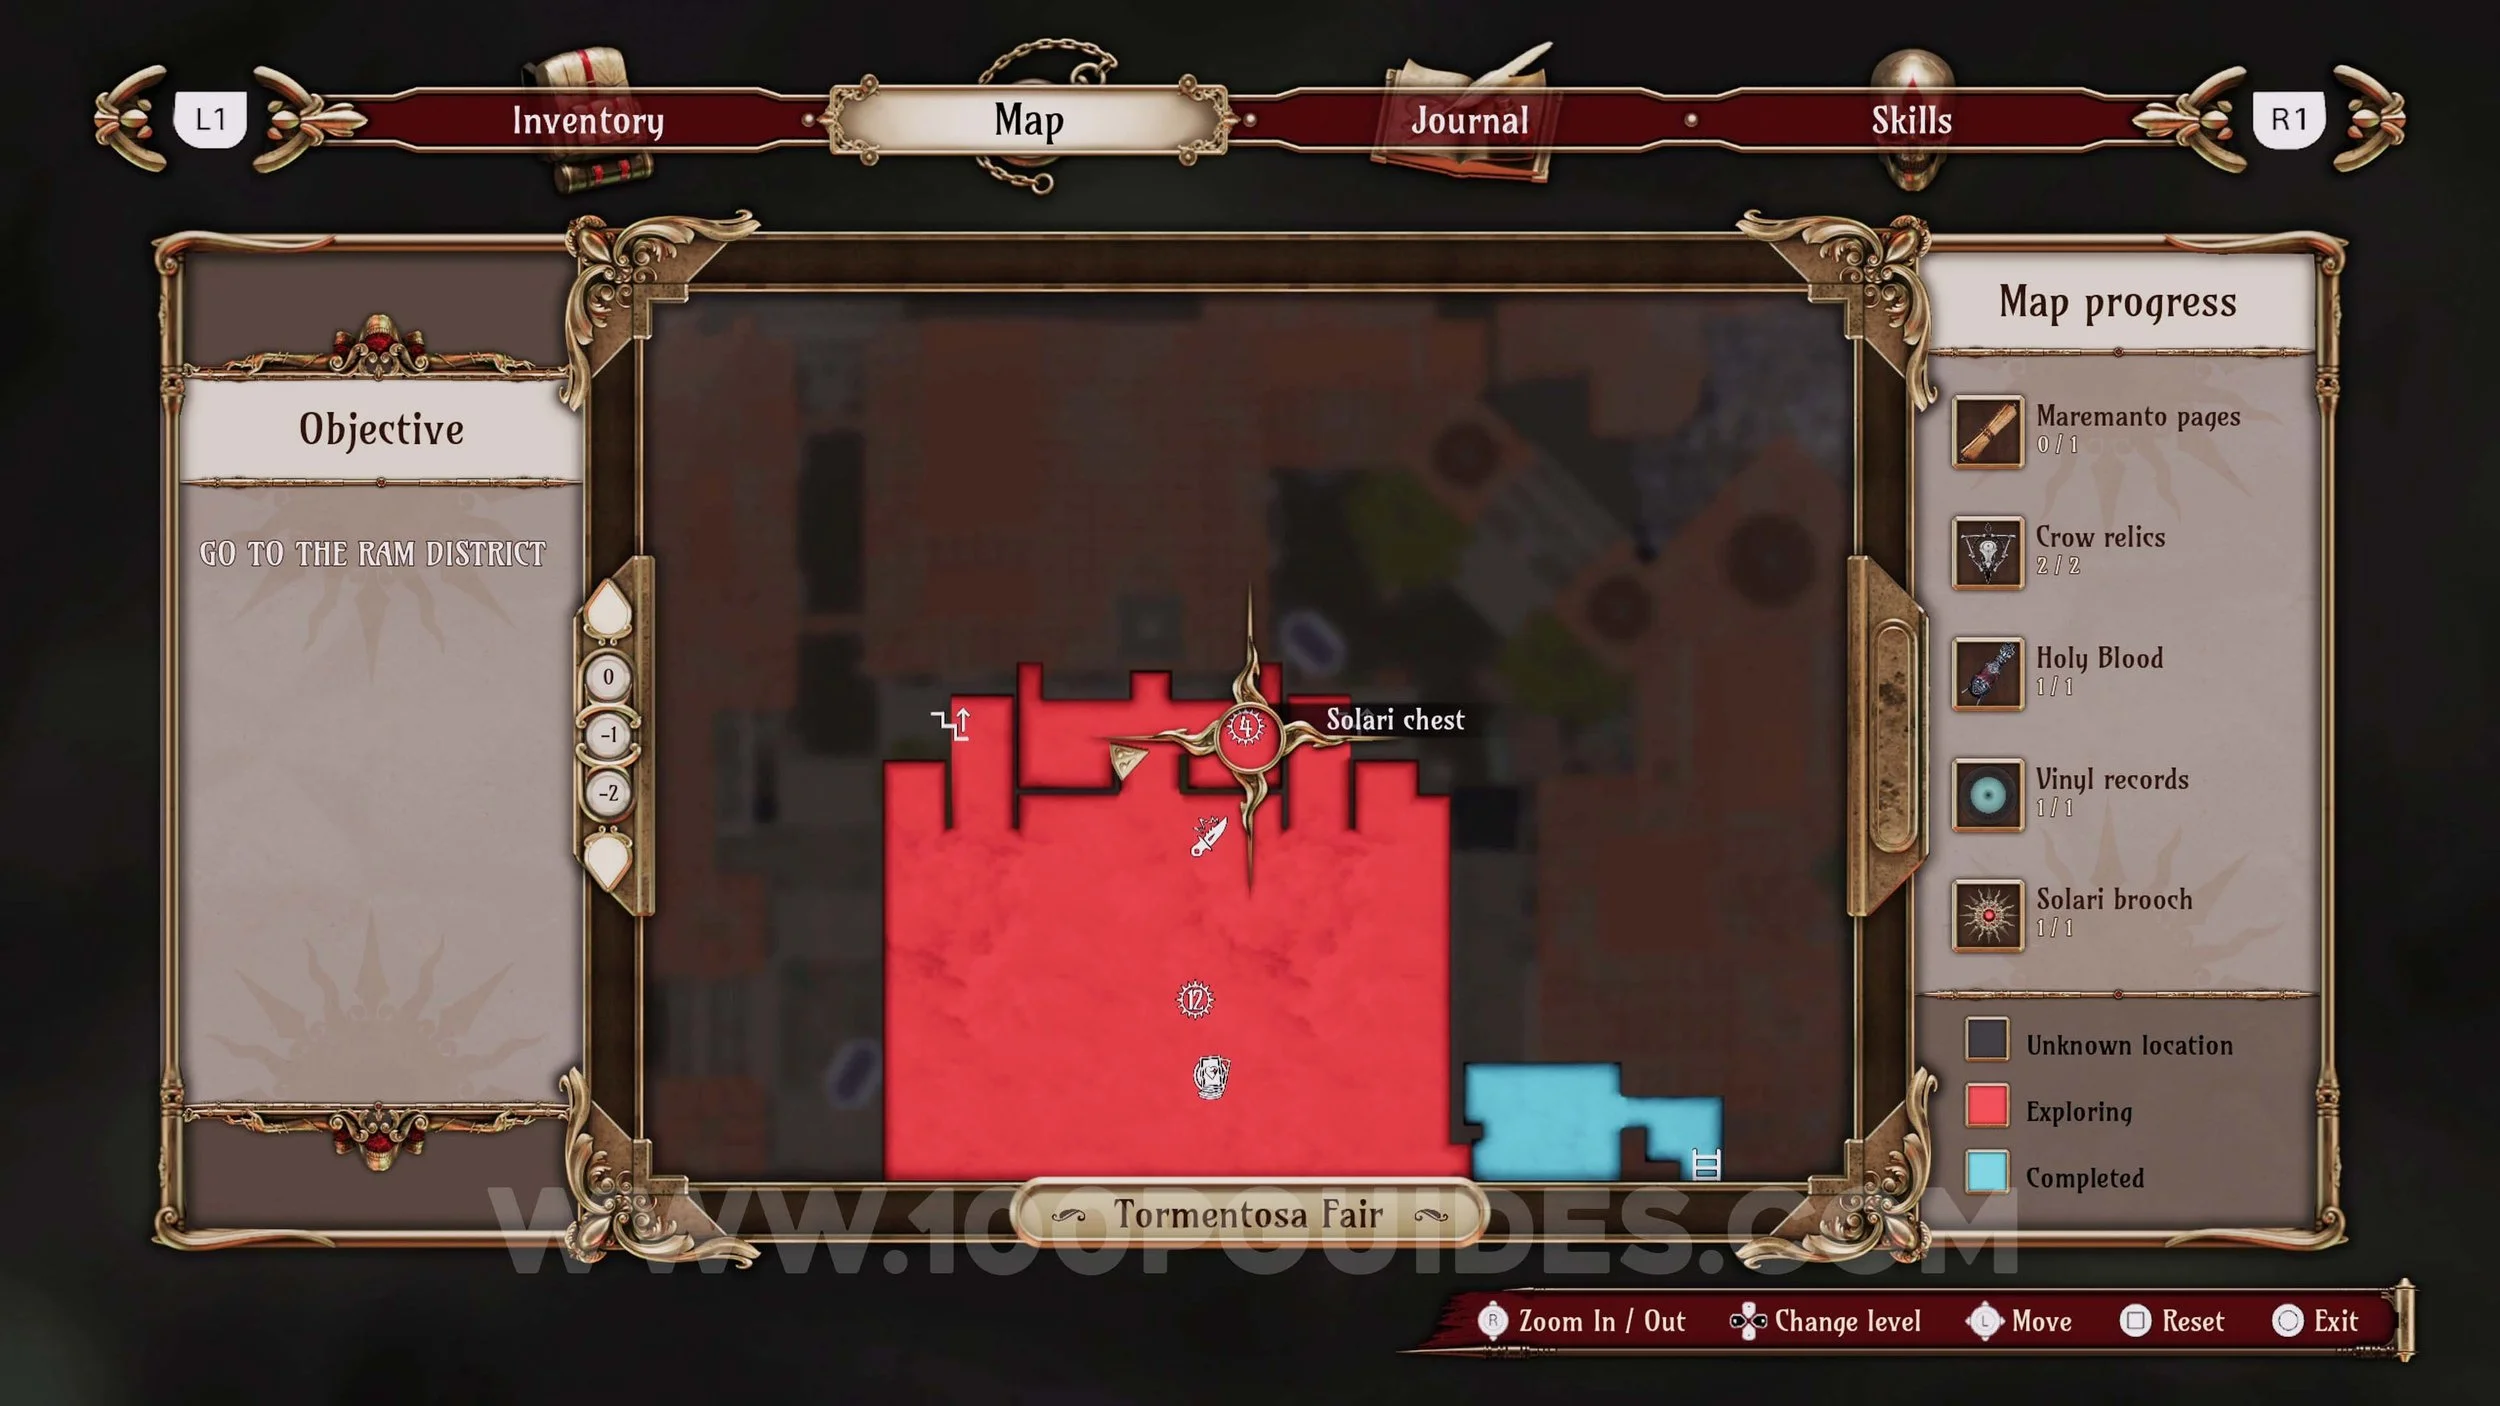
Solari Chest #4 & Crow Relic #10. Use Brooch Num. 4 to open Solari Chest 4 in the central part of the fair.
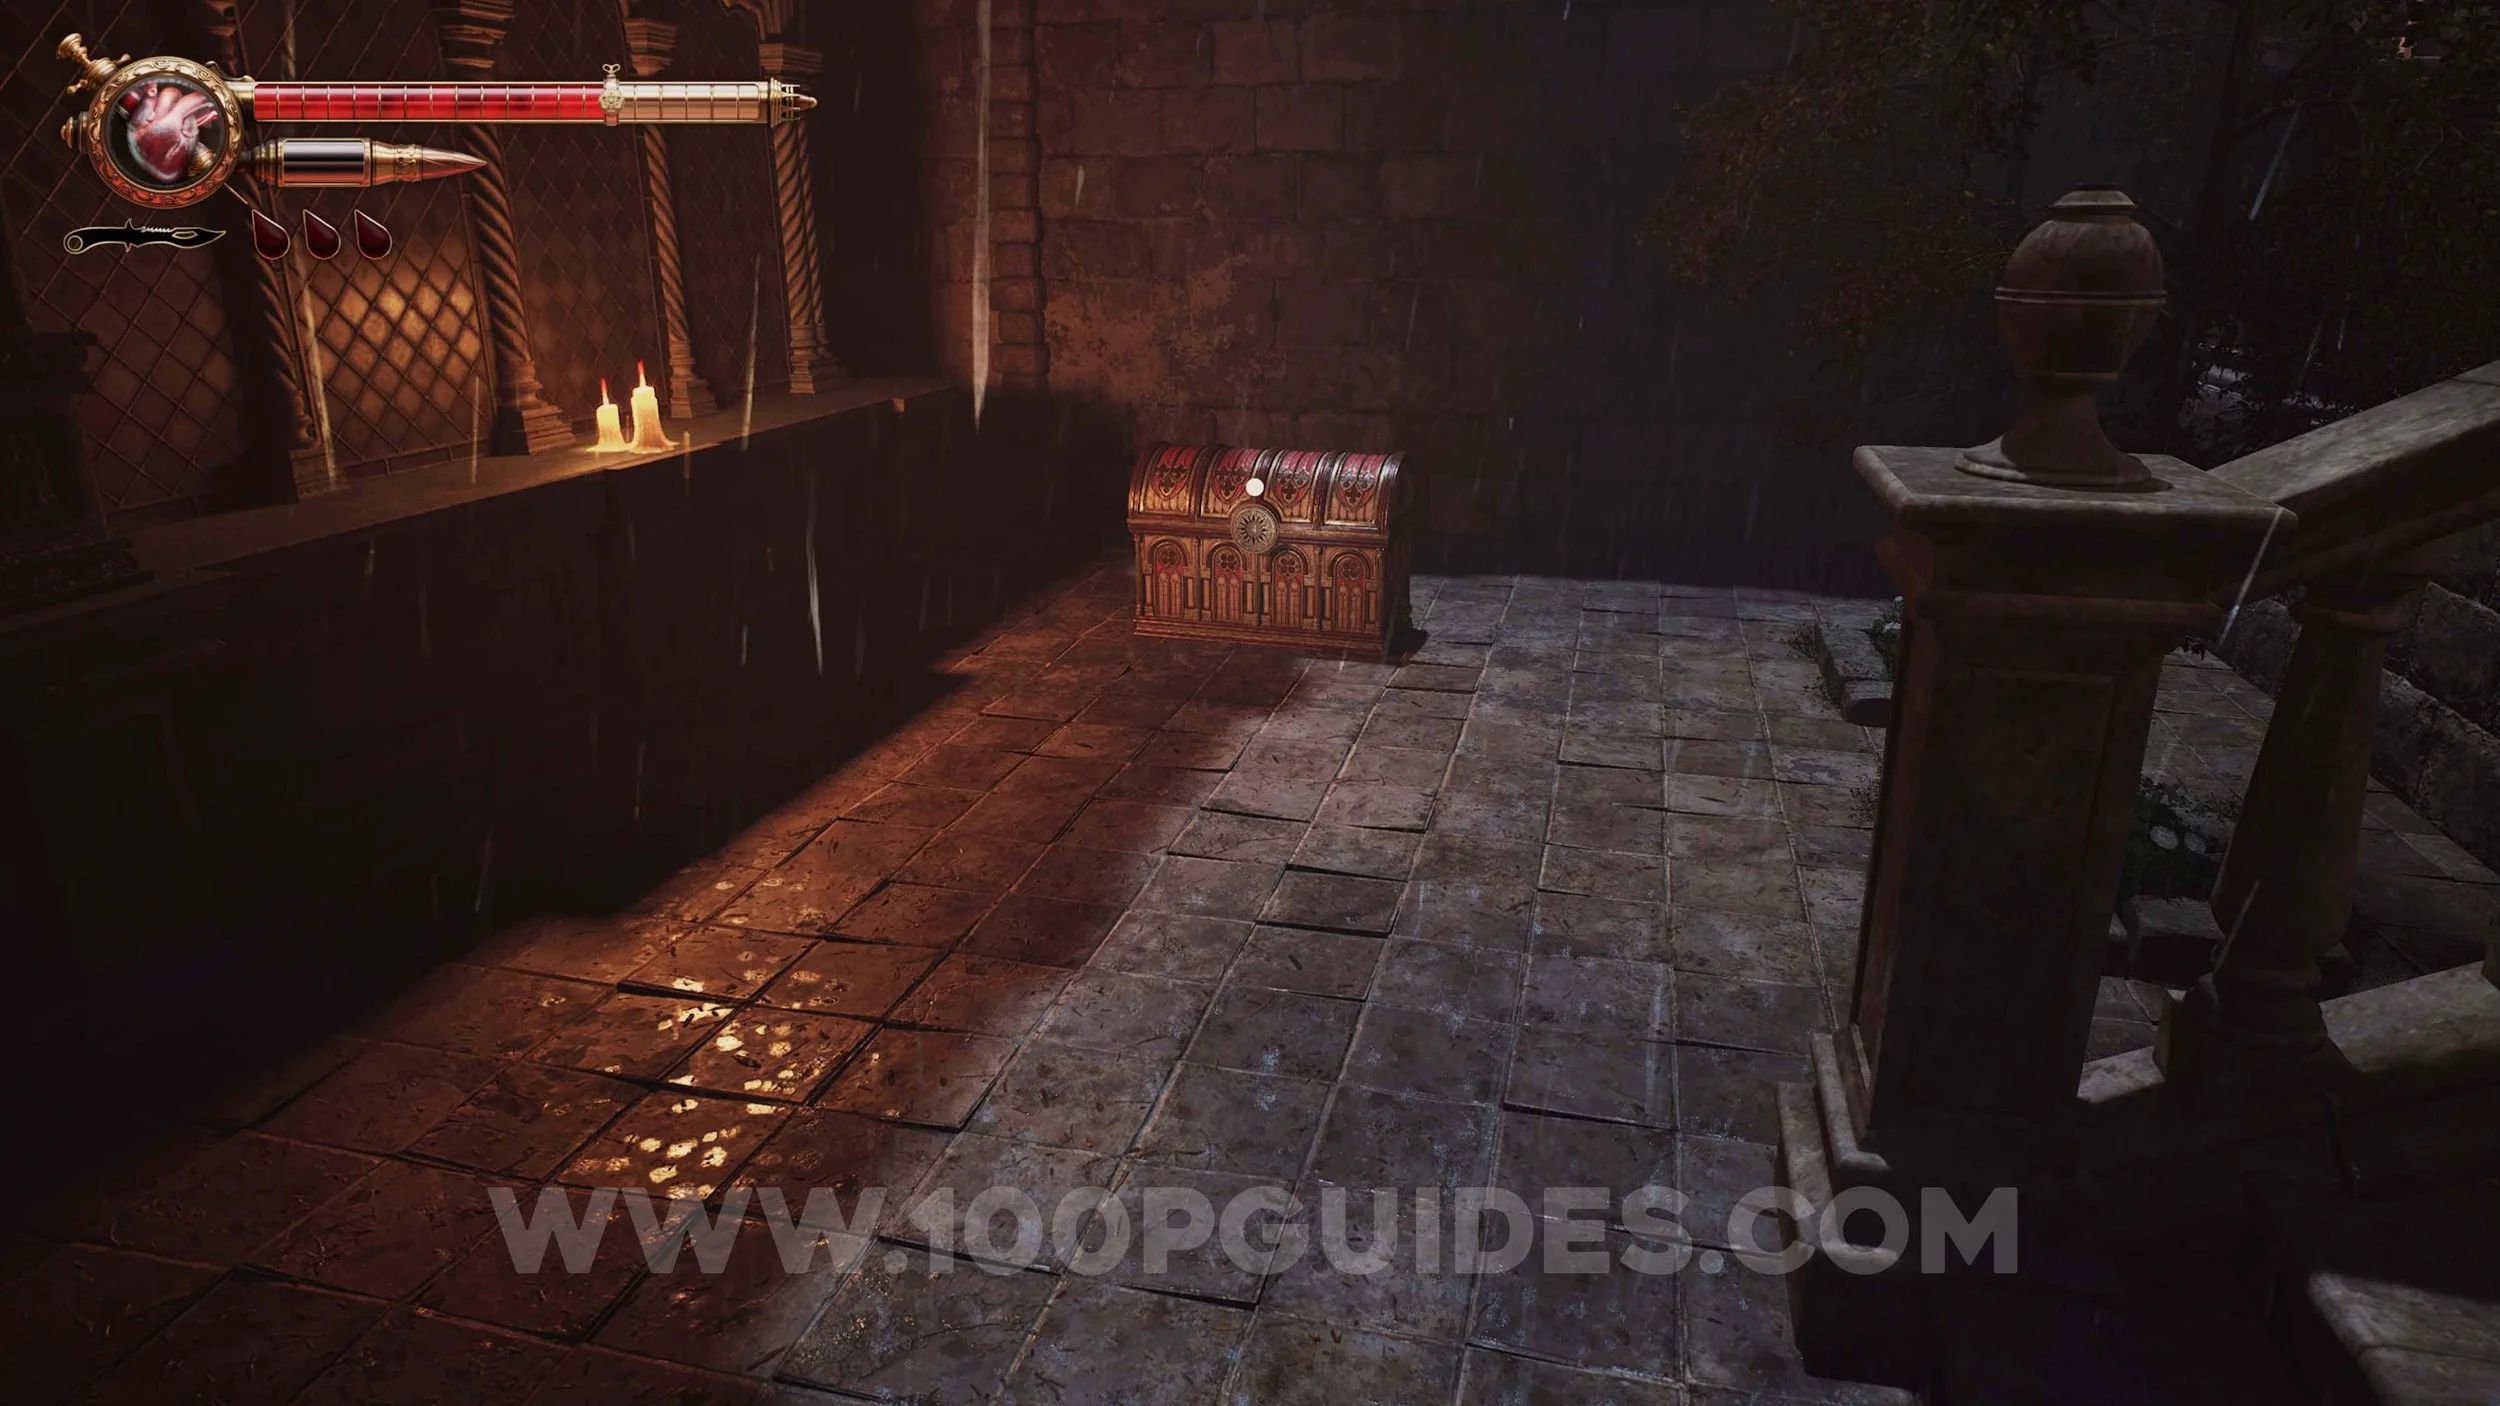
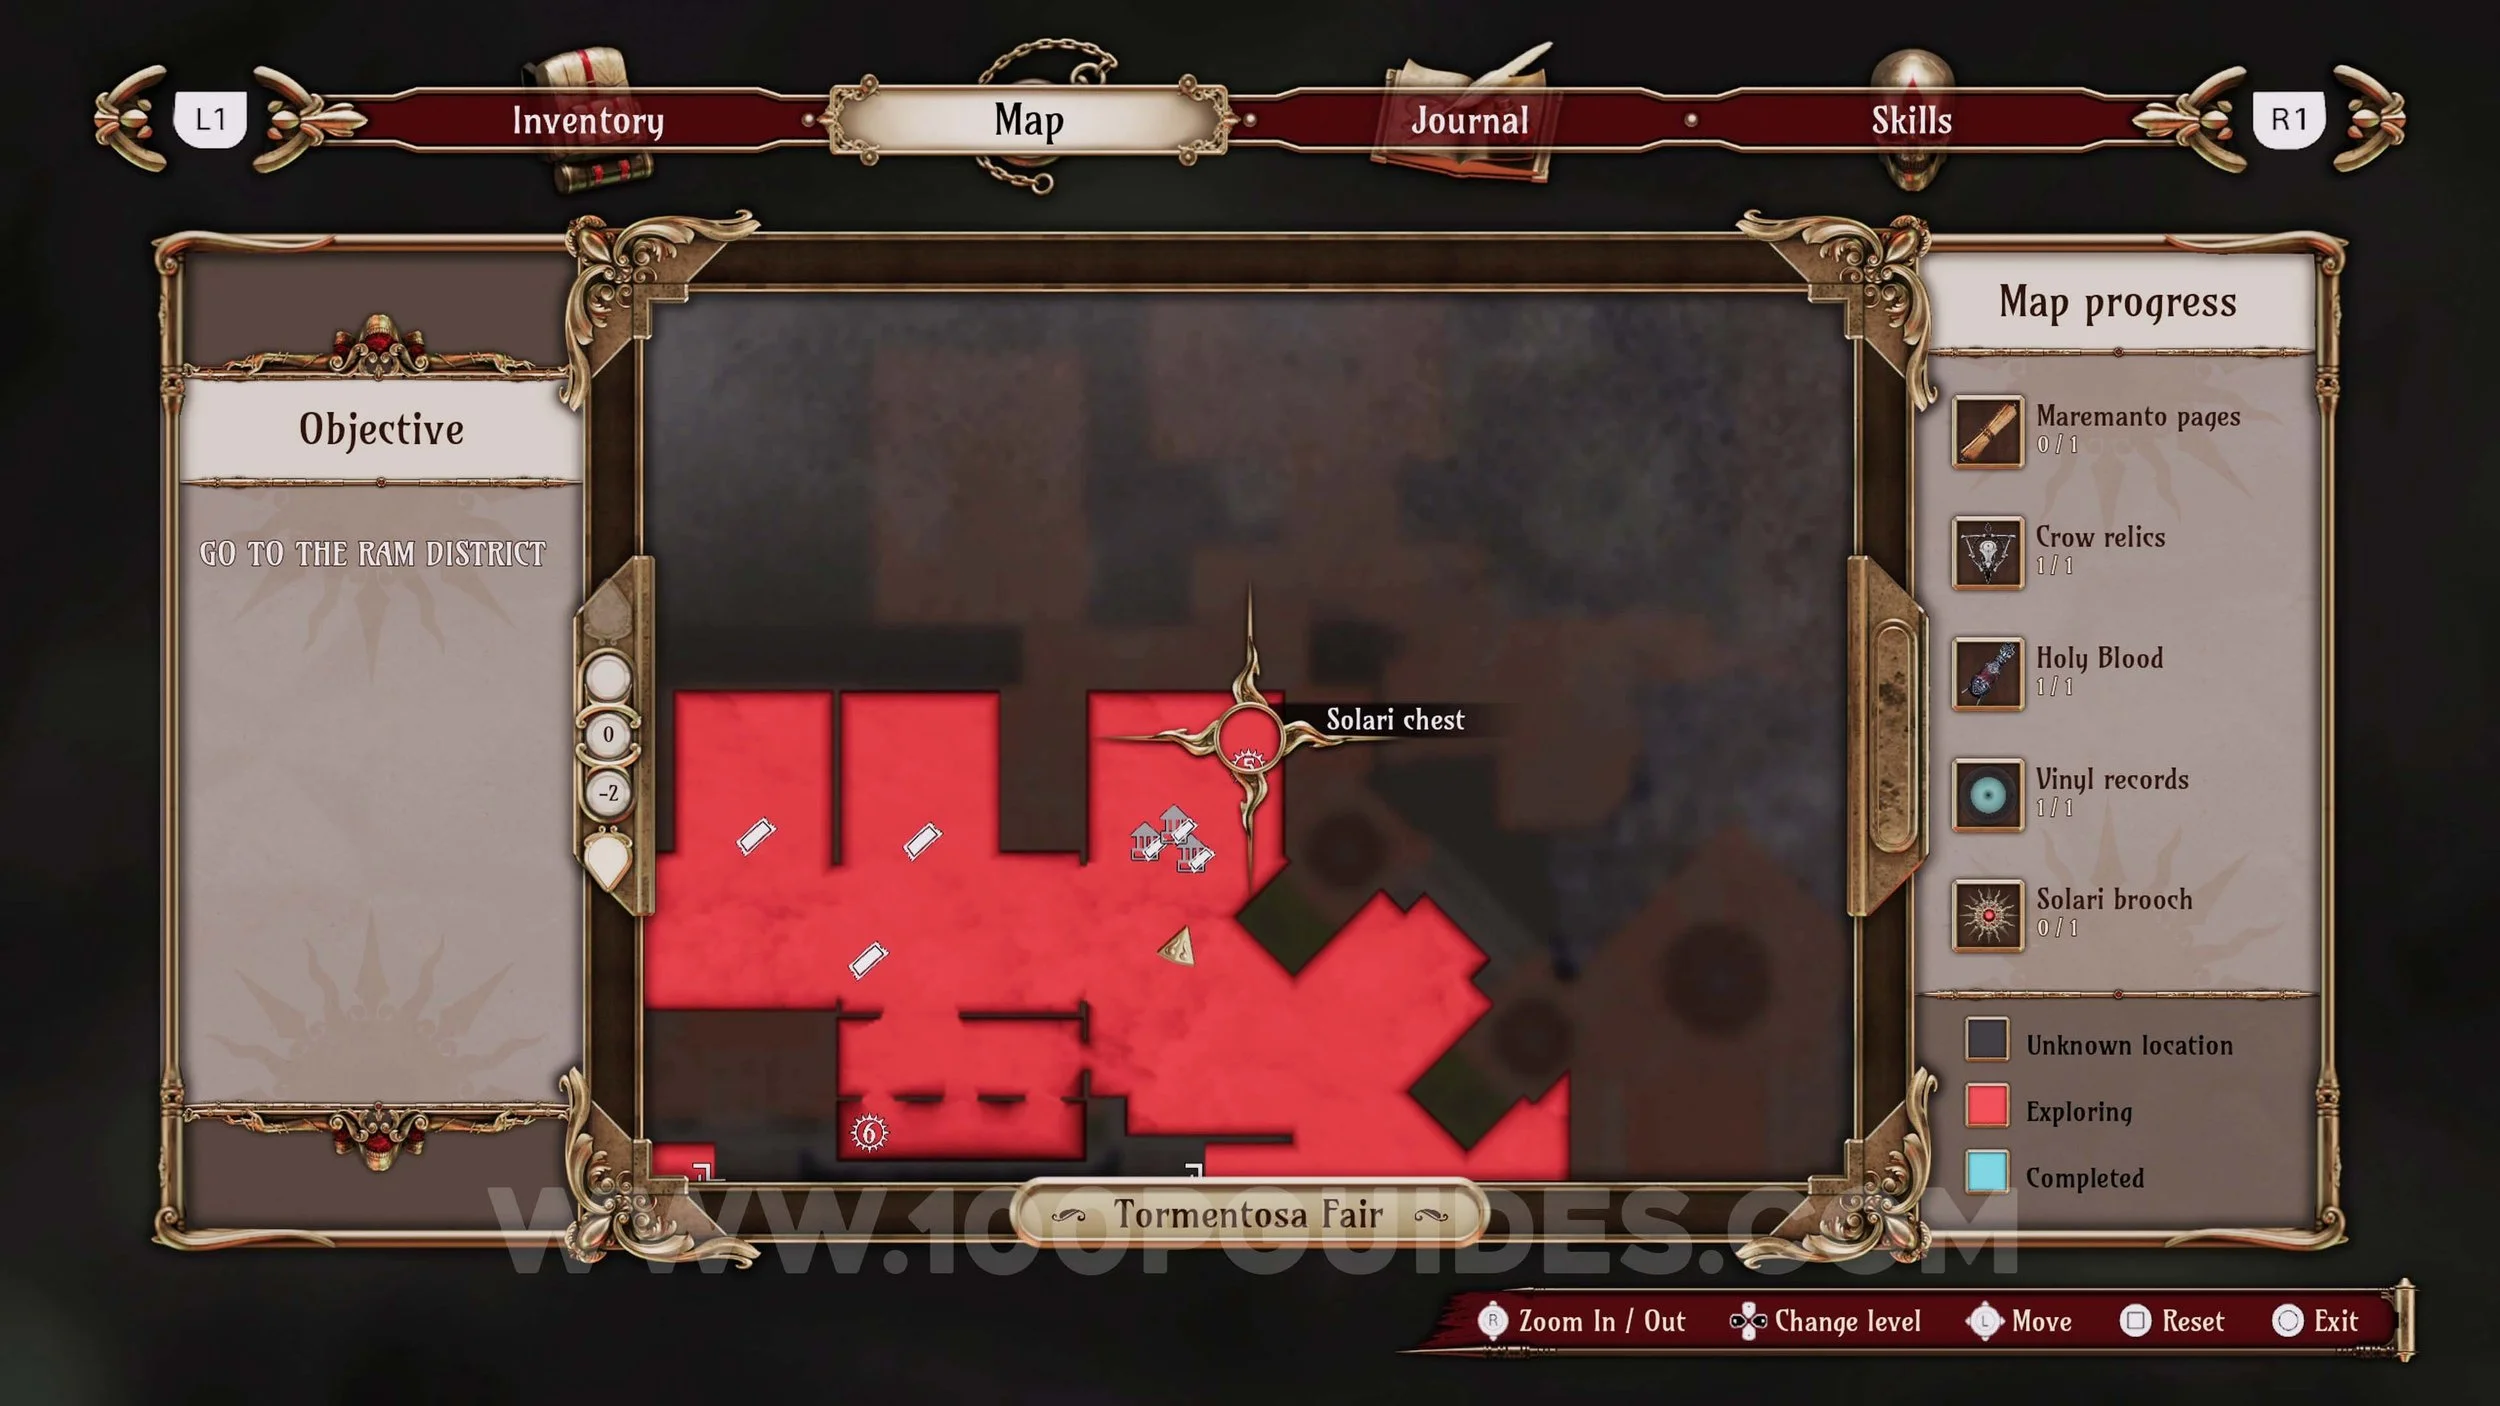
Solari Chest #5 & Crow Relic #11. Use Brooch Num. 5 to open Solari Chest 5 behind the ticket machine.

Solari Chest #6. Use Brooch Num. 6 to open Solari Chest 6 near the mini games.
Chapter 2
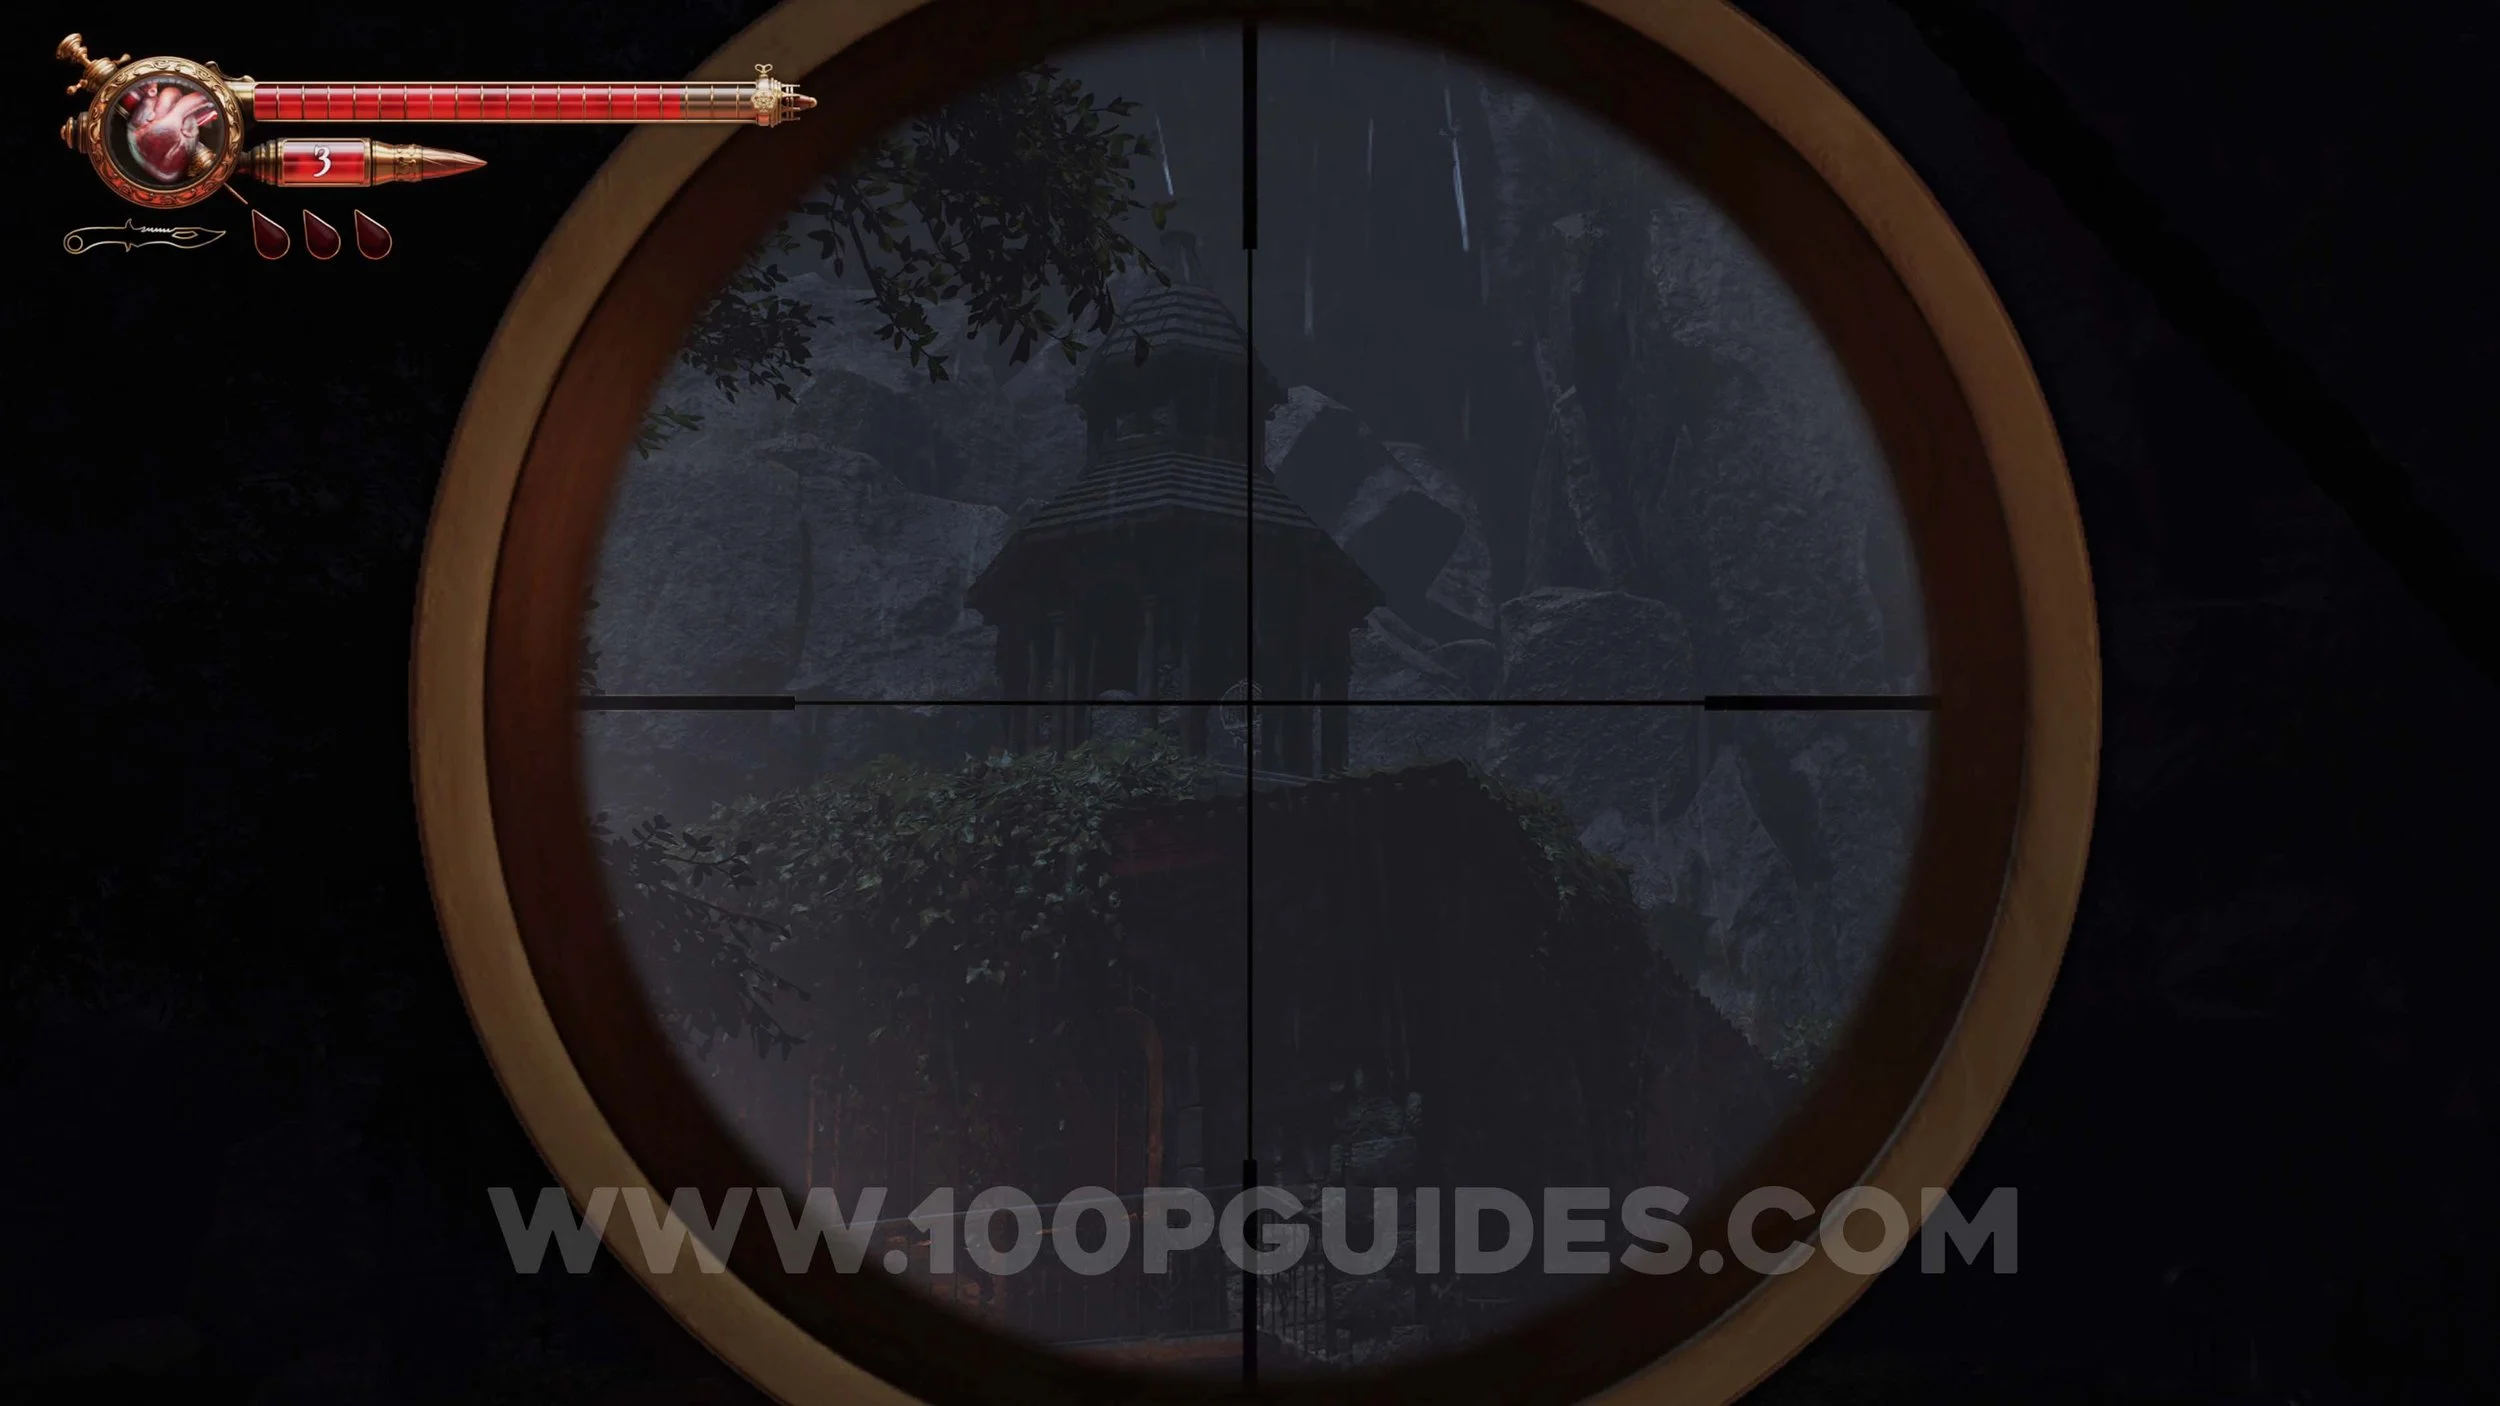
Crow #6. Just before entering the building after avoiding the sniper, look to the building on your left.
Memory #28. Story related shortly after avoiding the sniper once you enter the building.
Memory #29. Unmissable, on the main path after taking the lift up in the building, after avoiding the sniper.
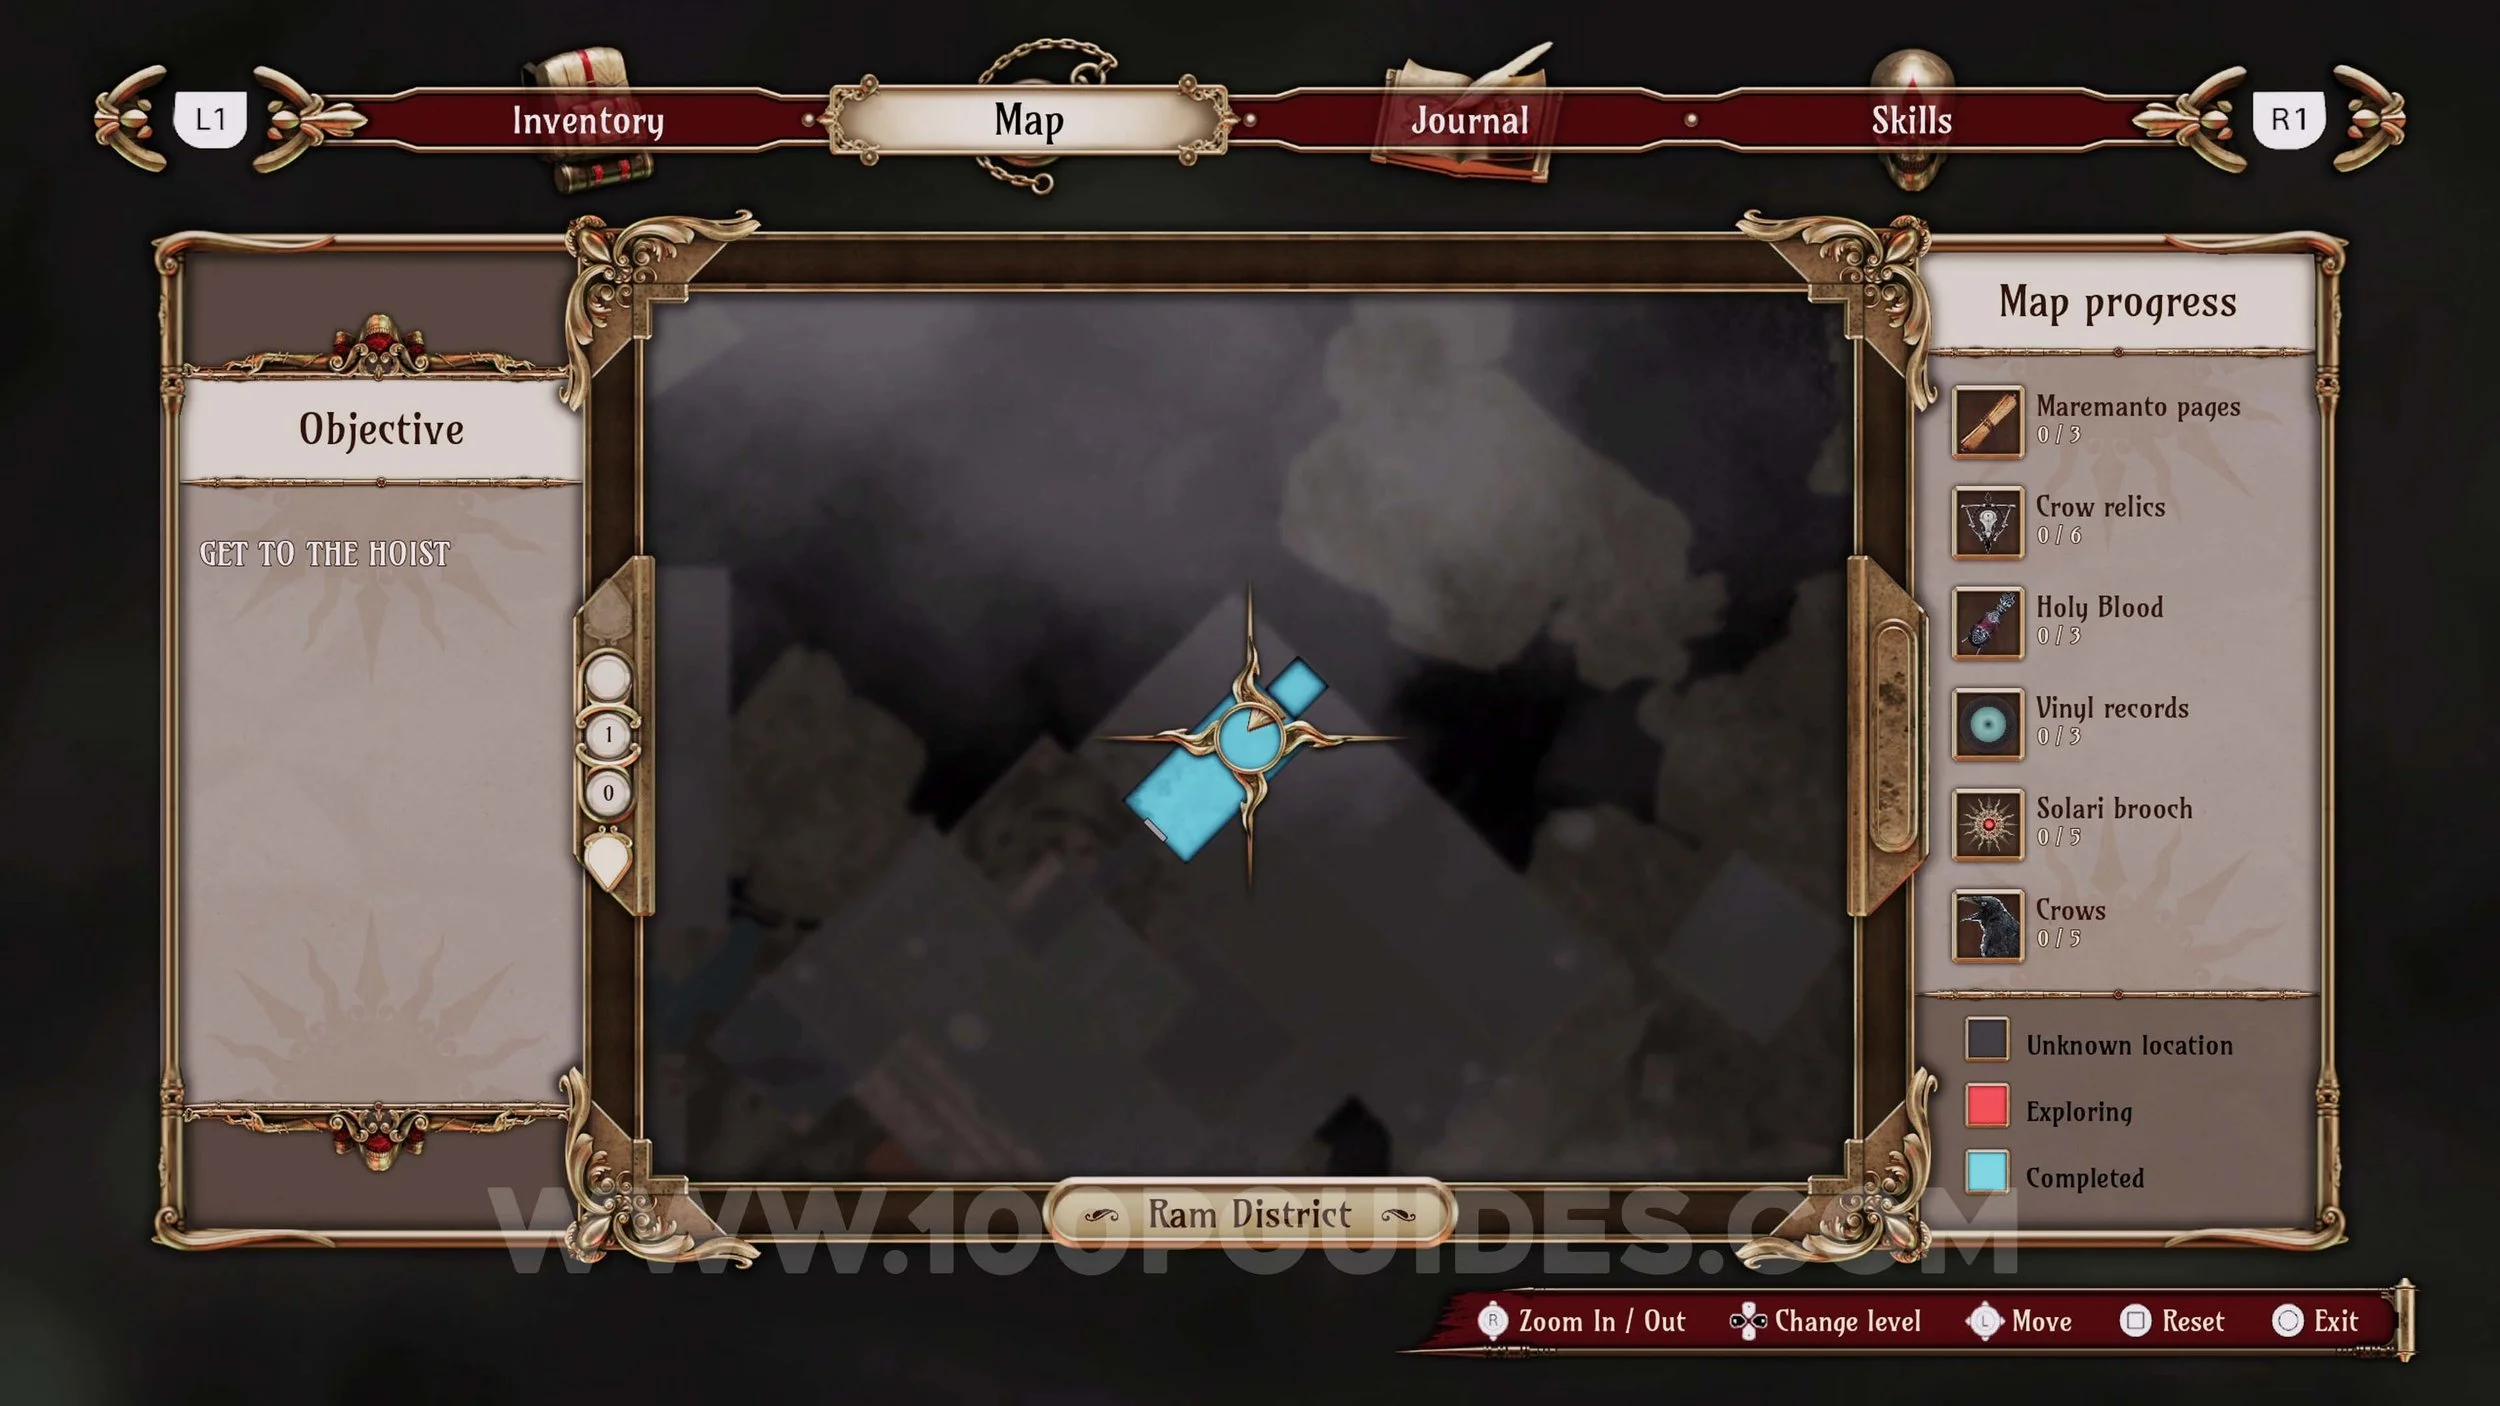
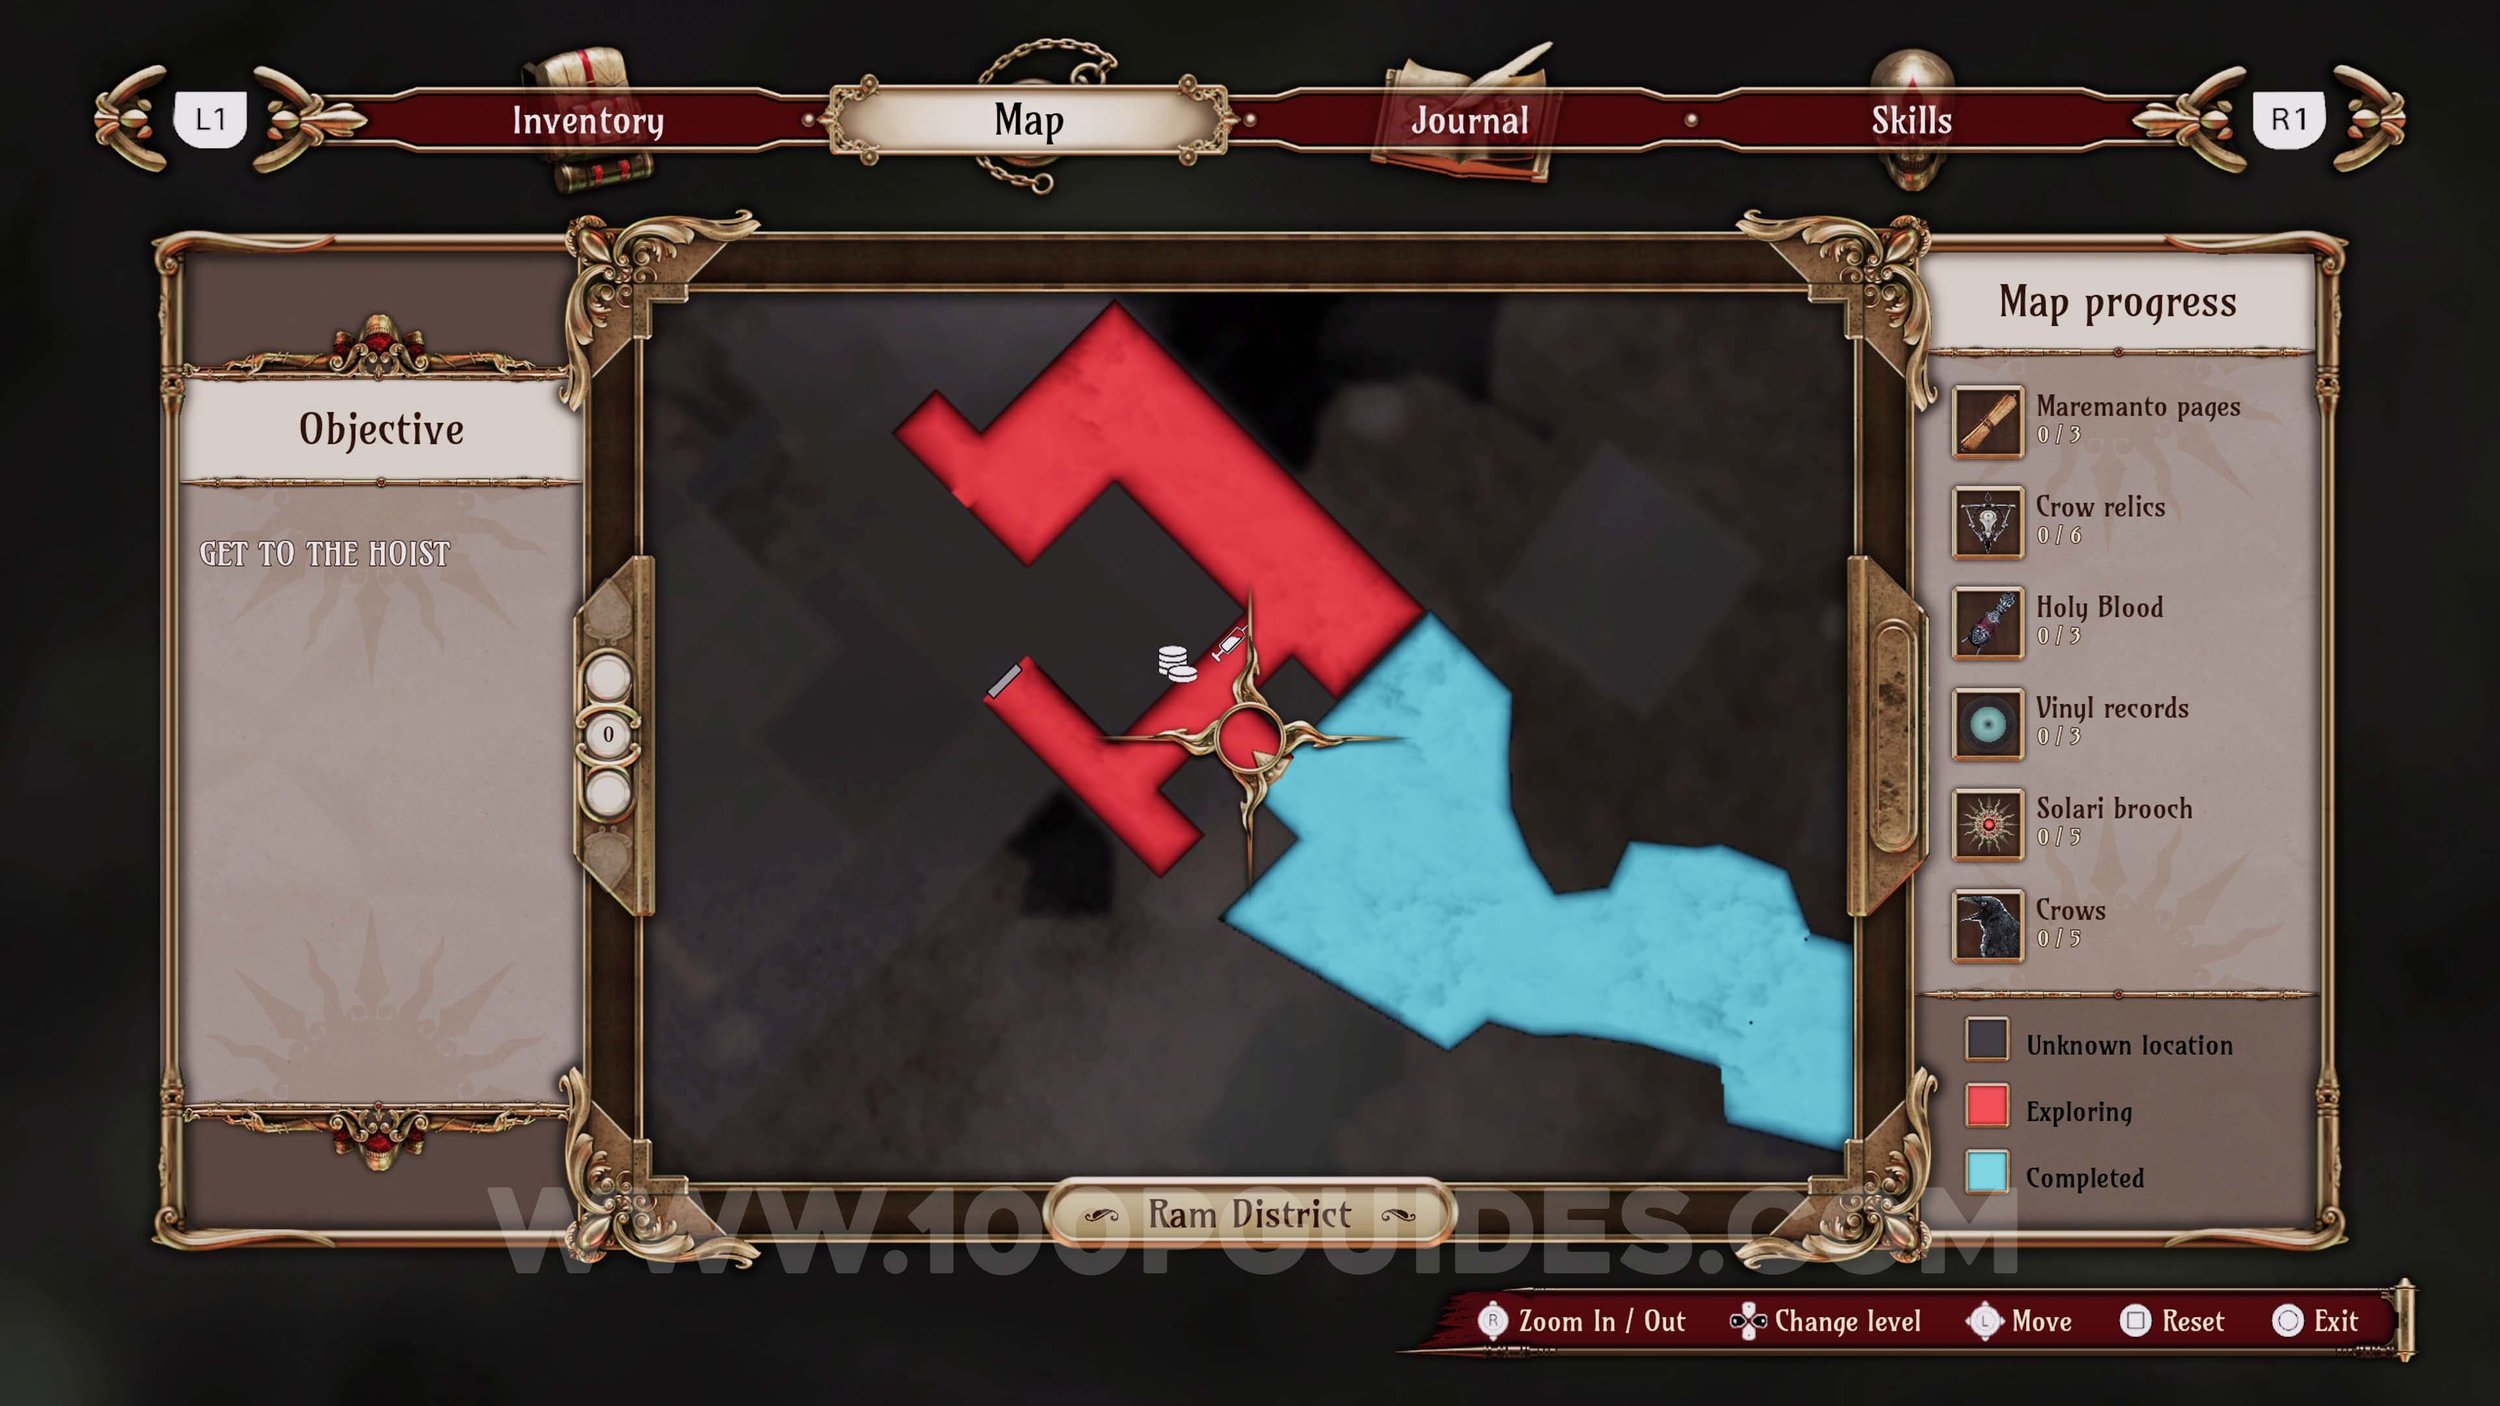
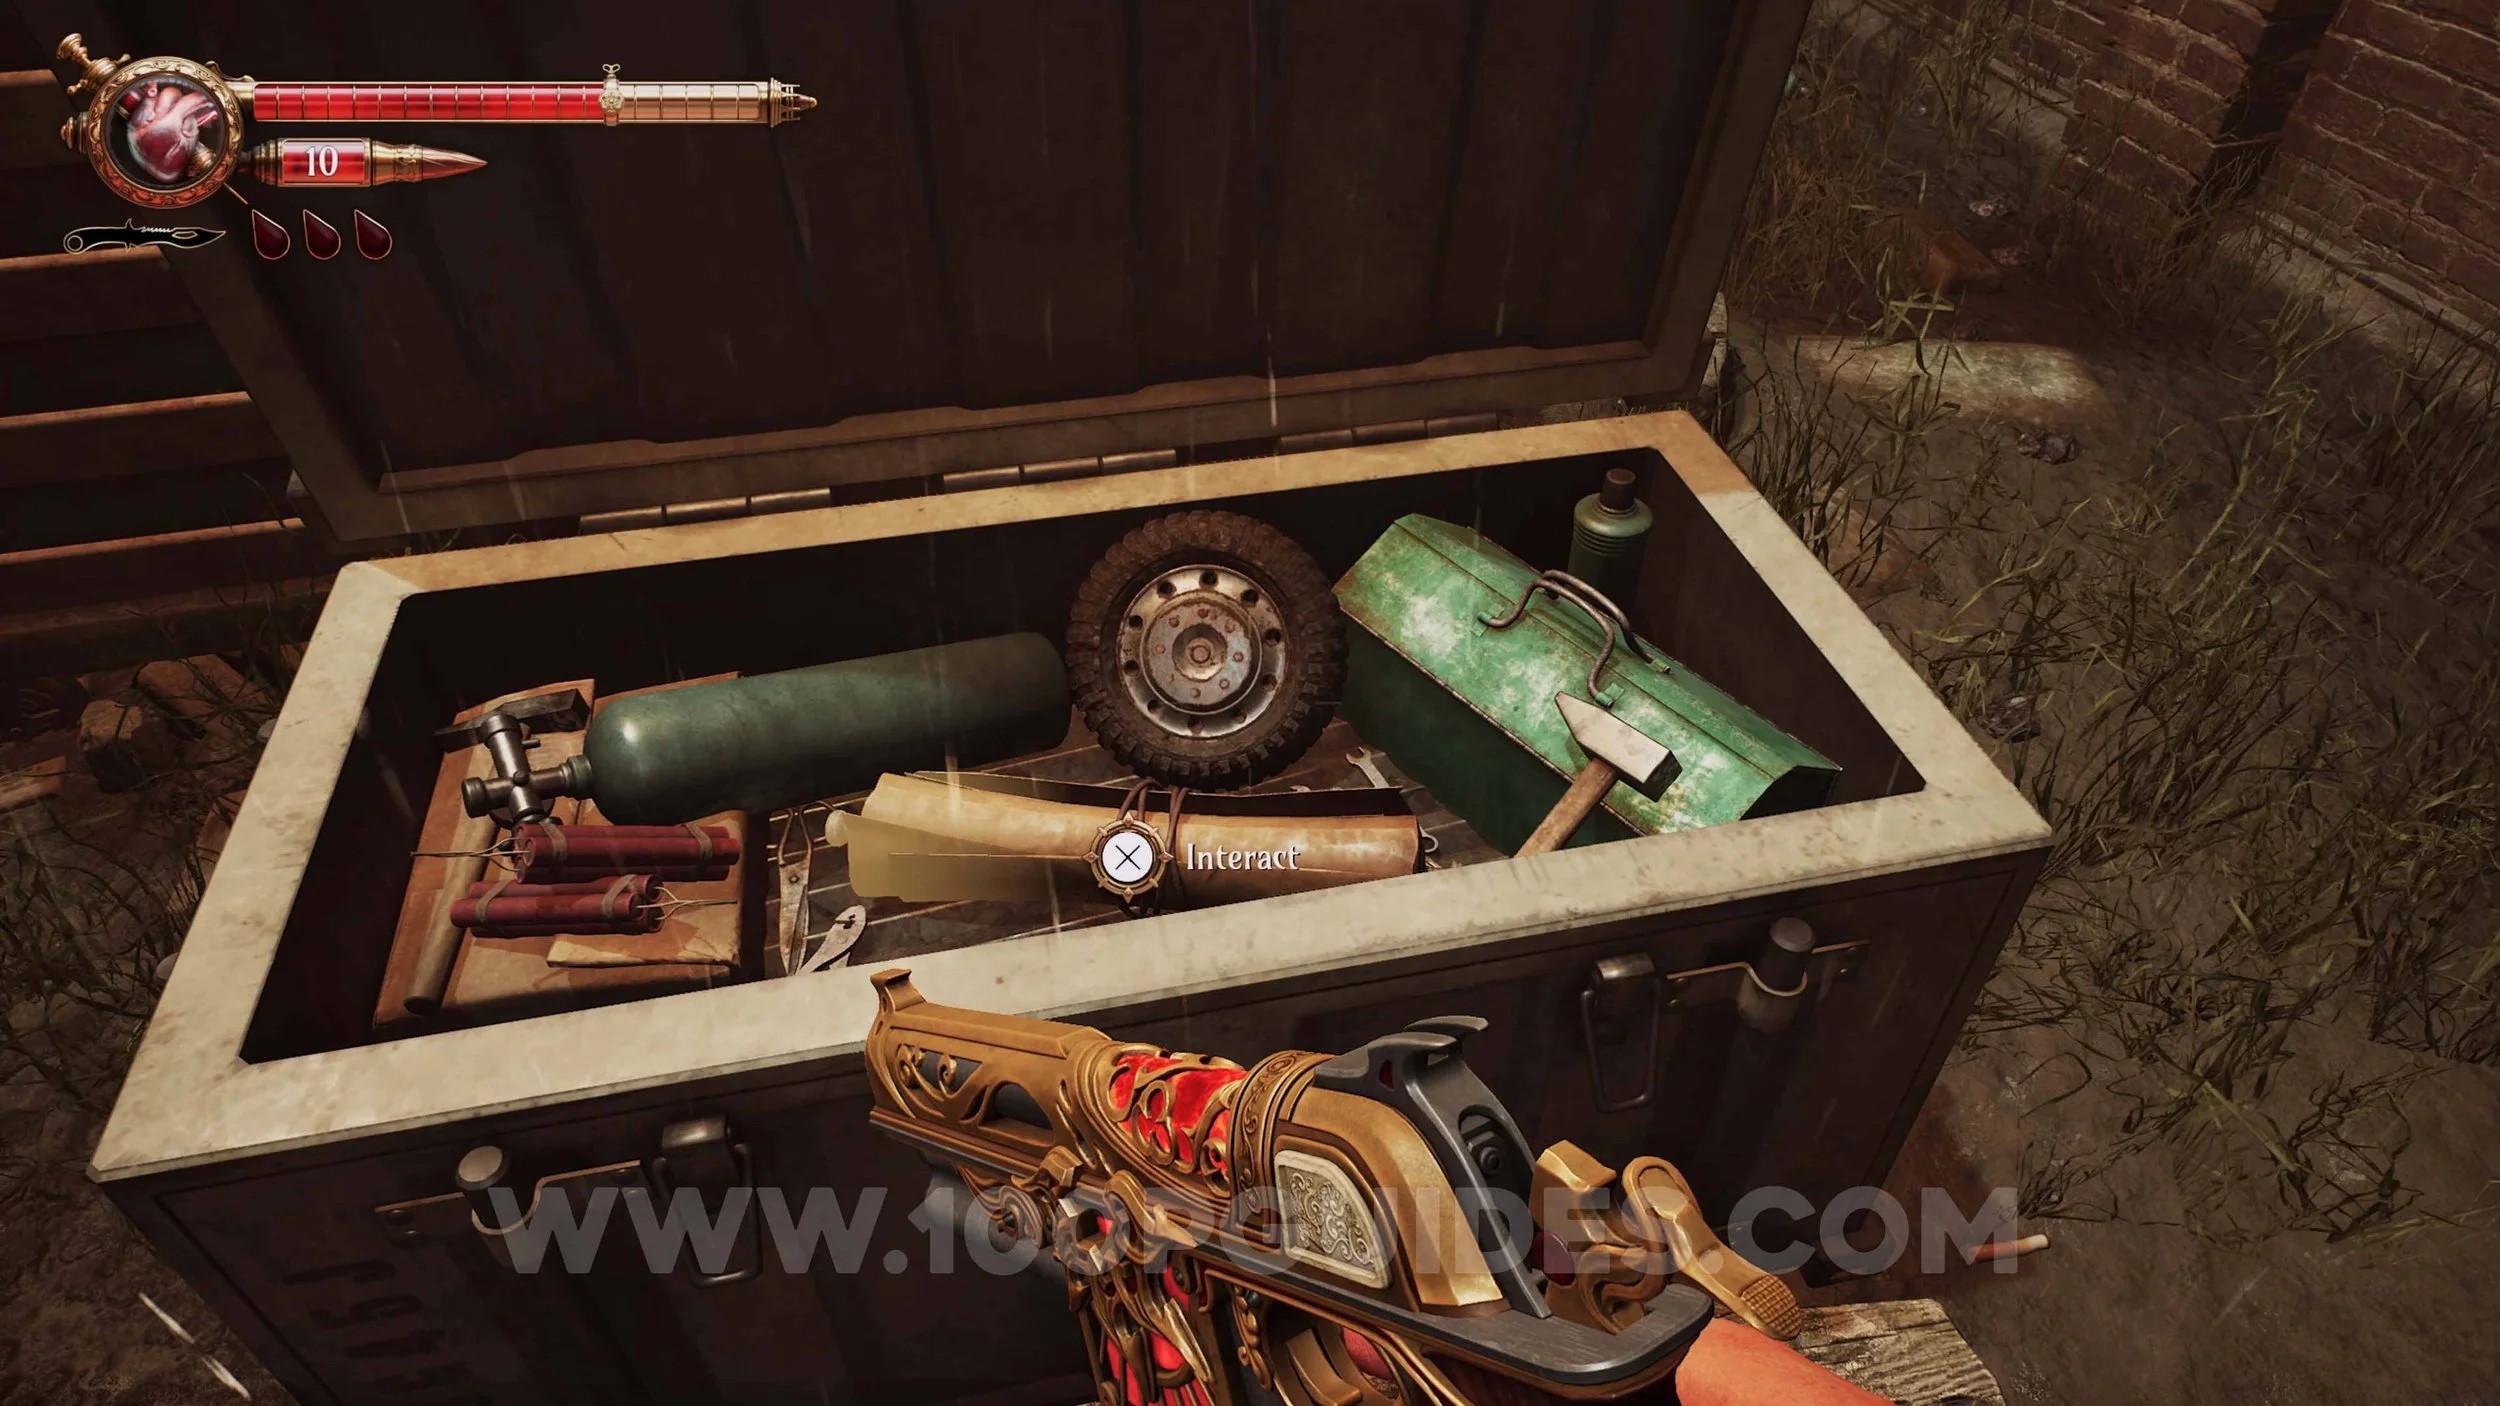
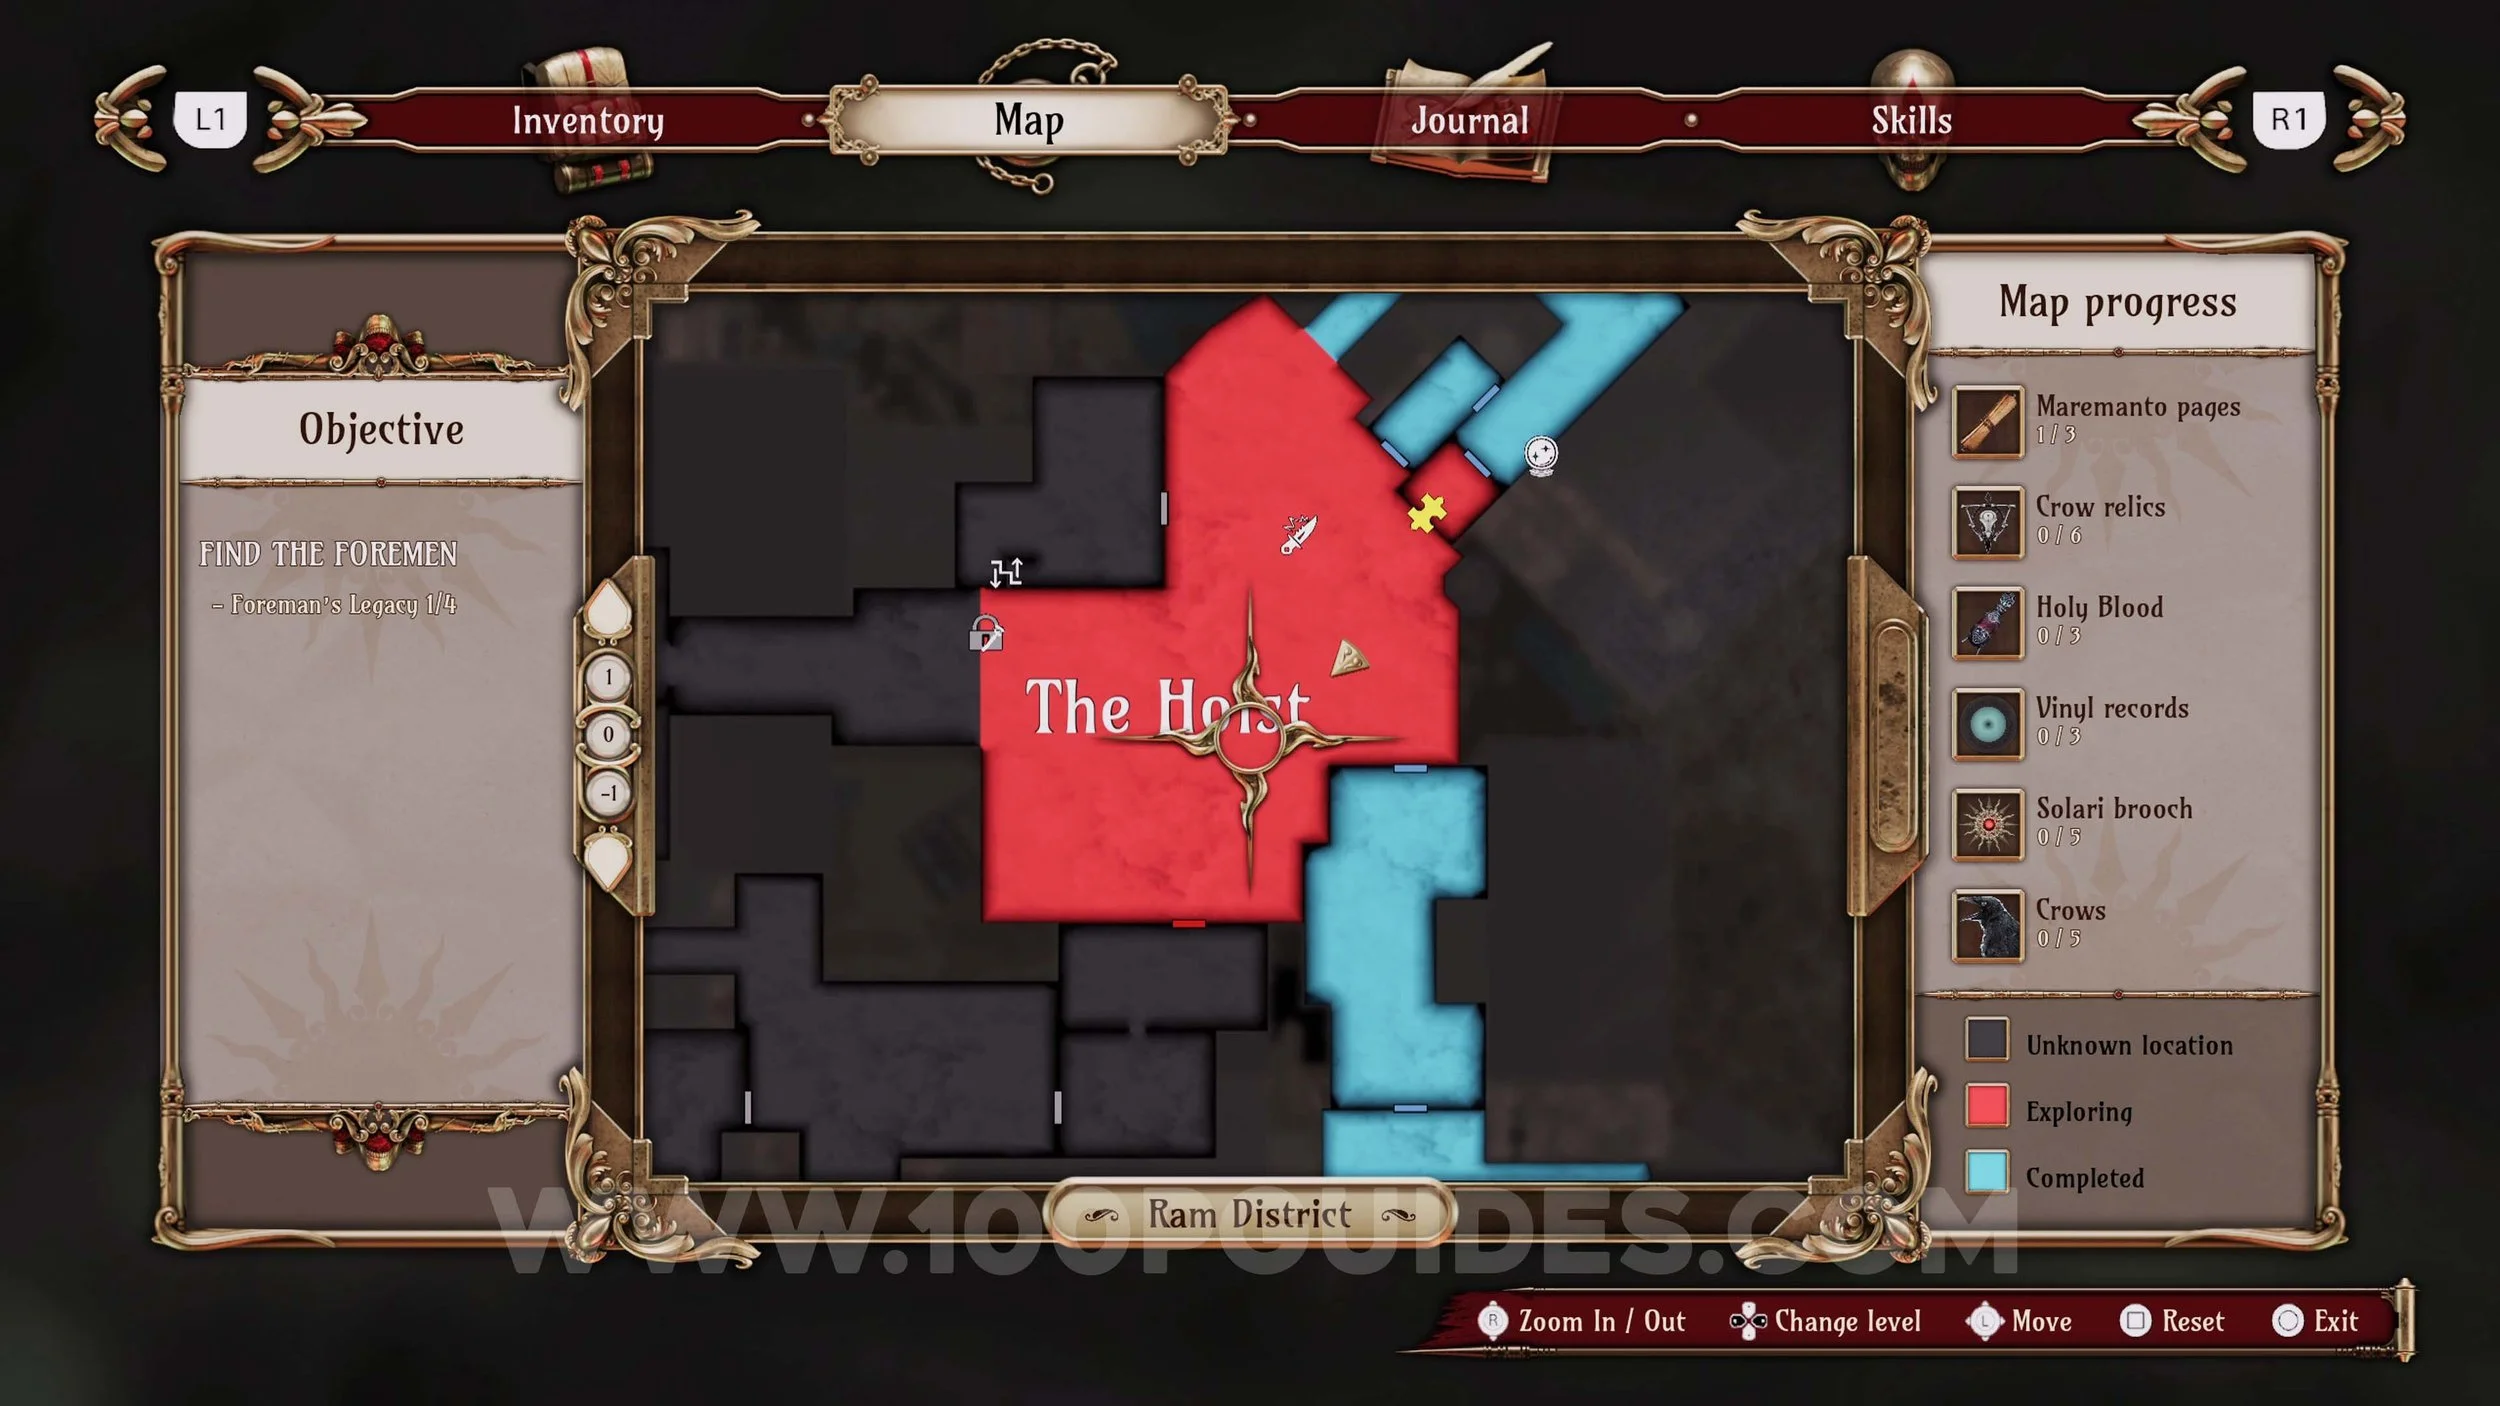
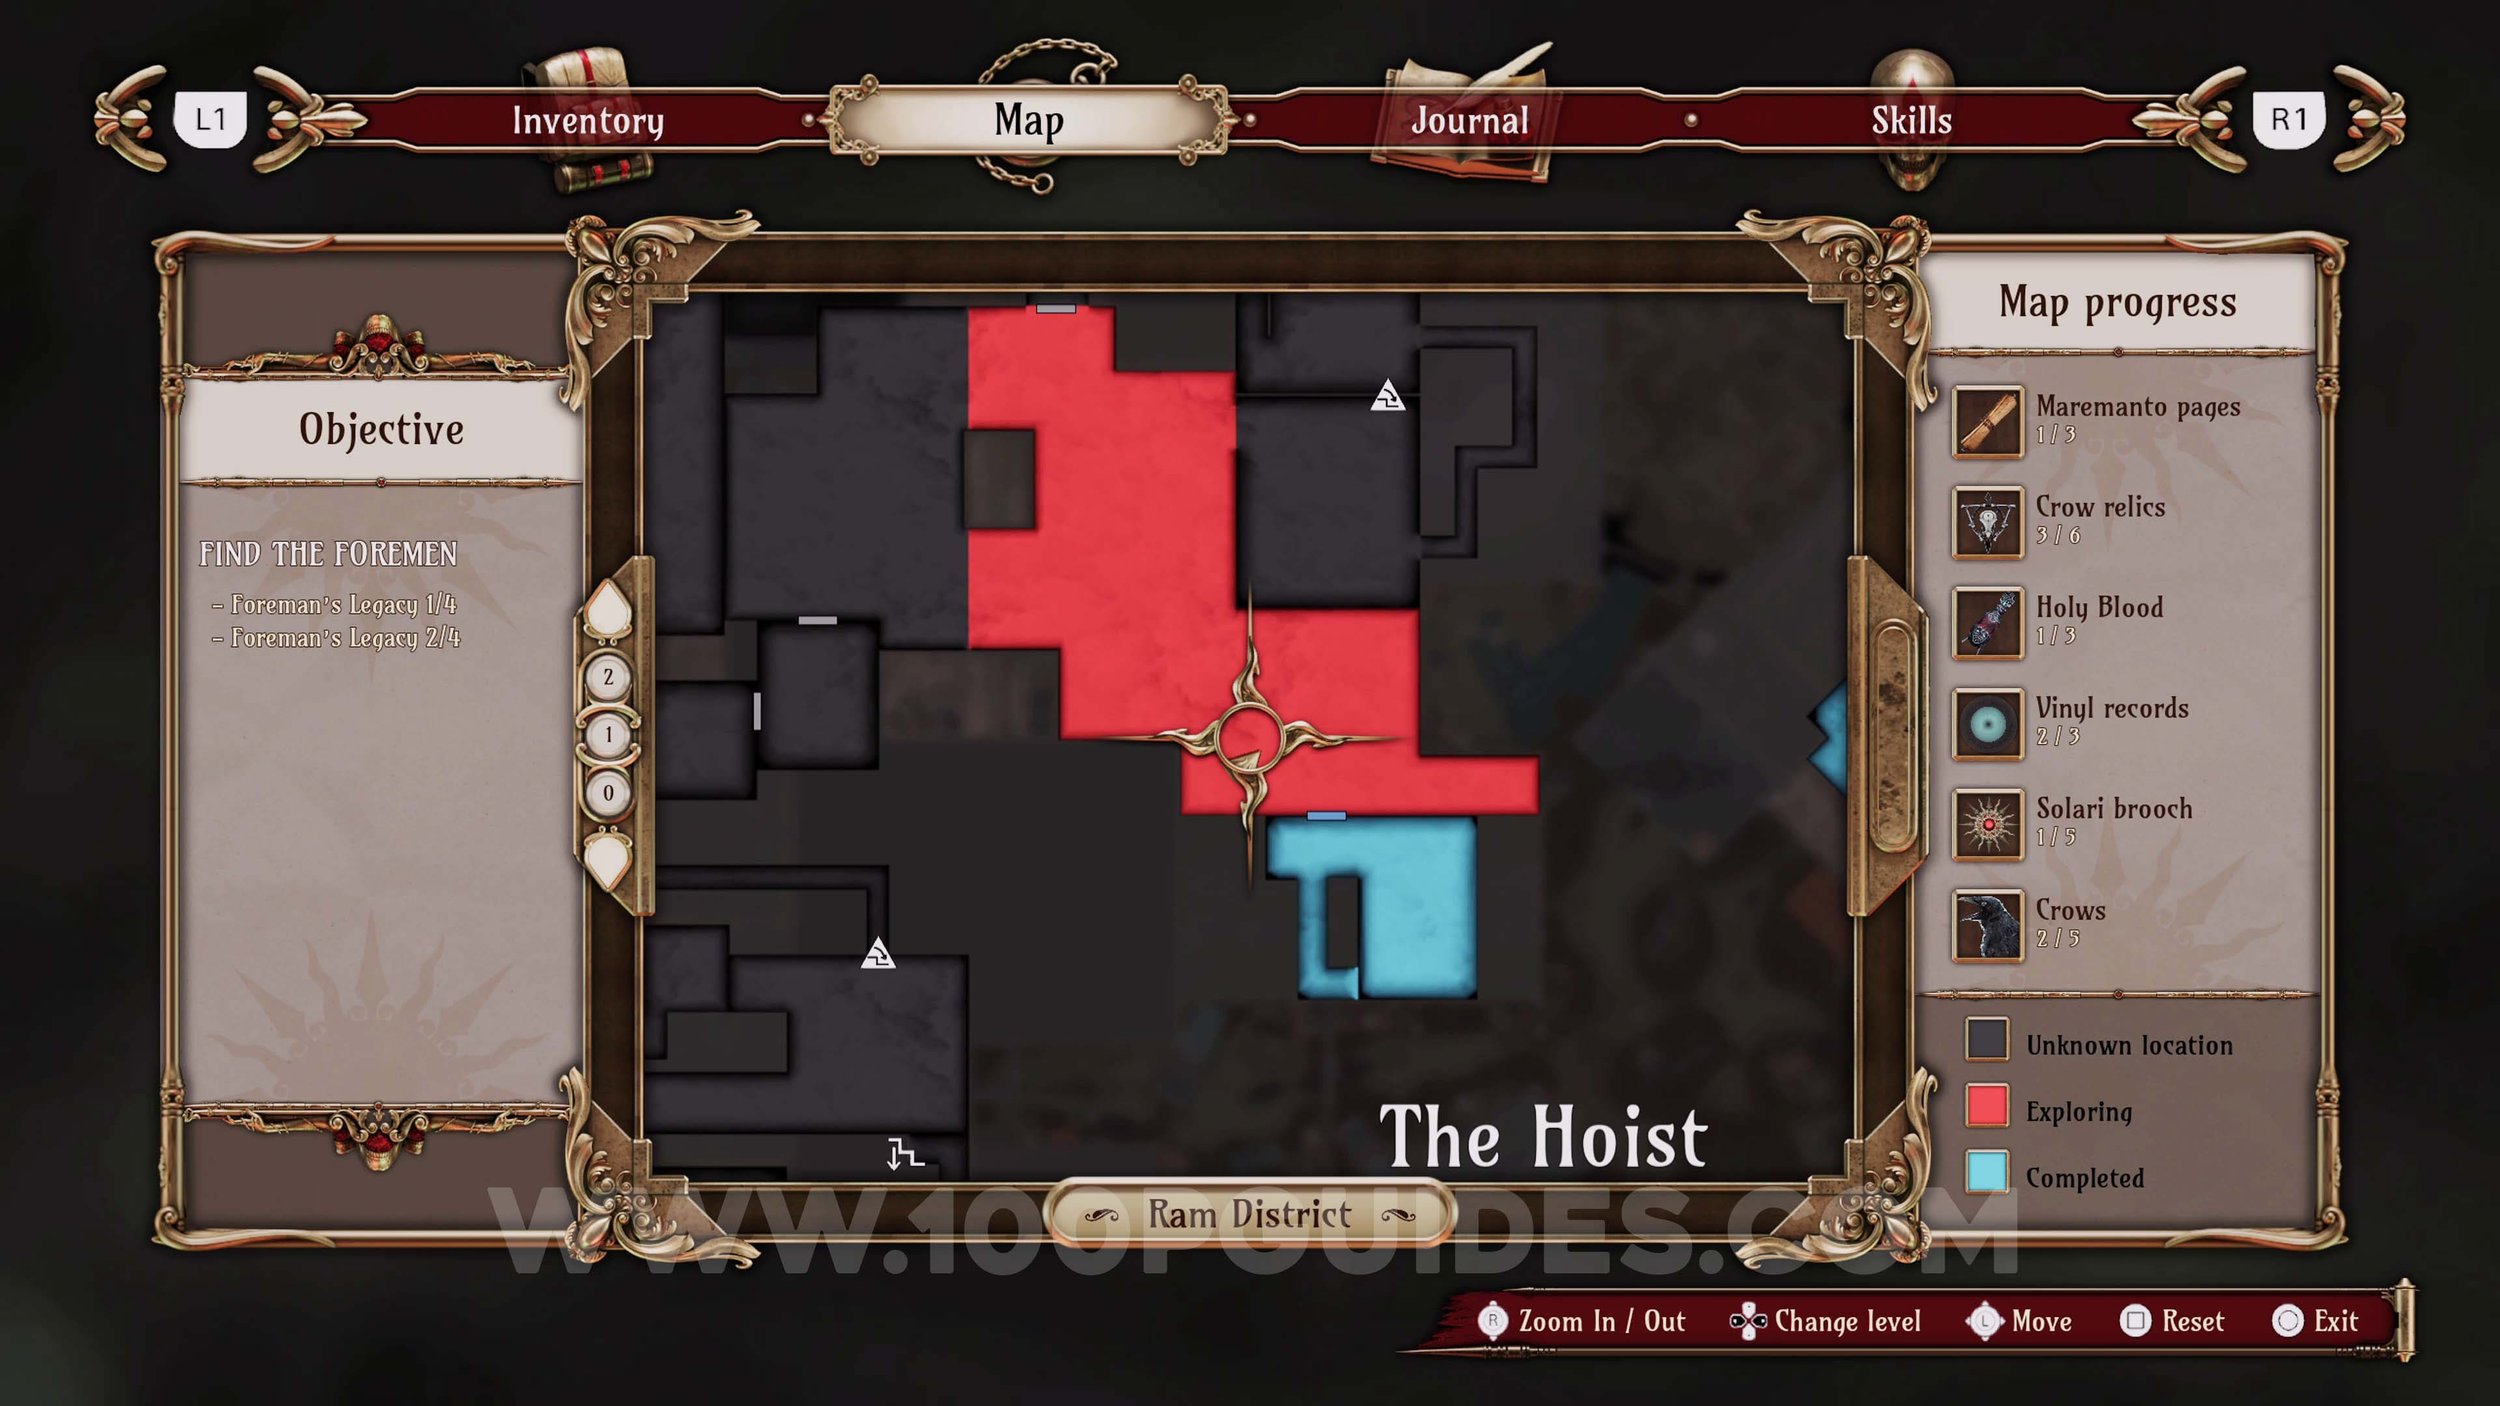
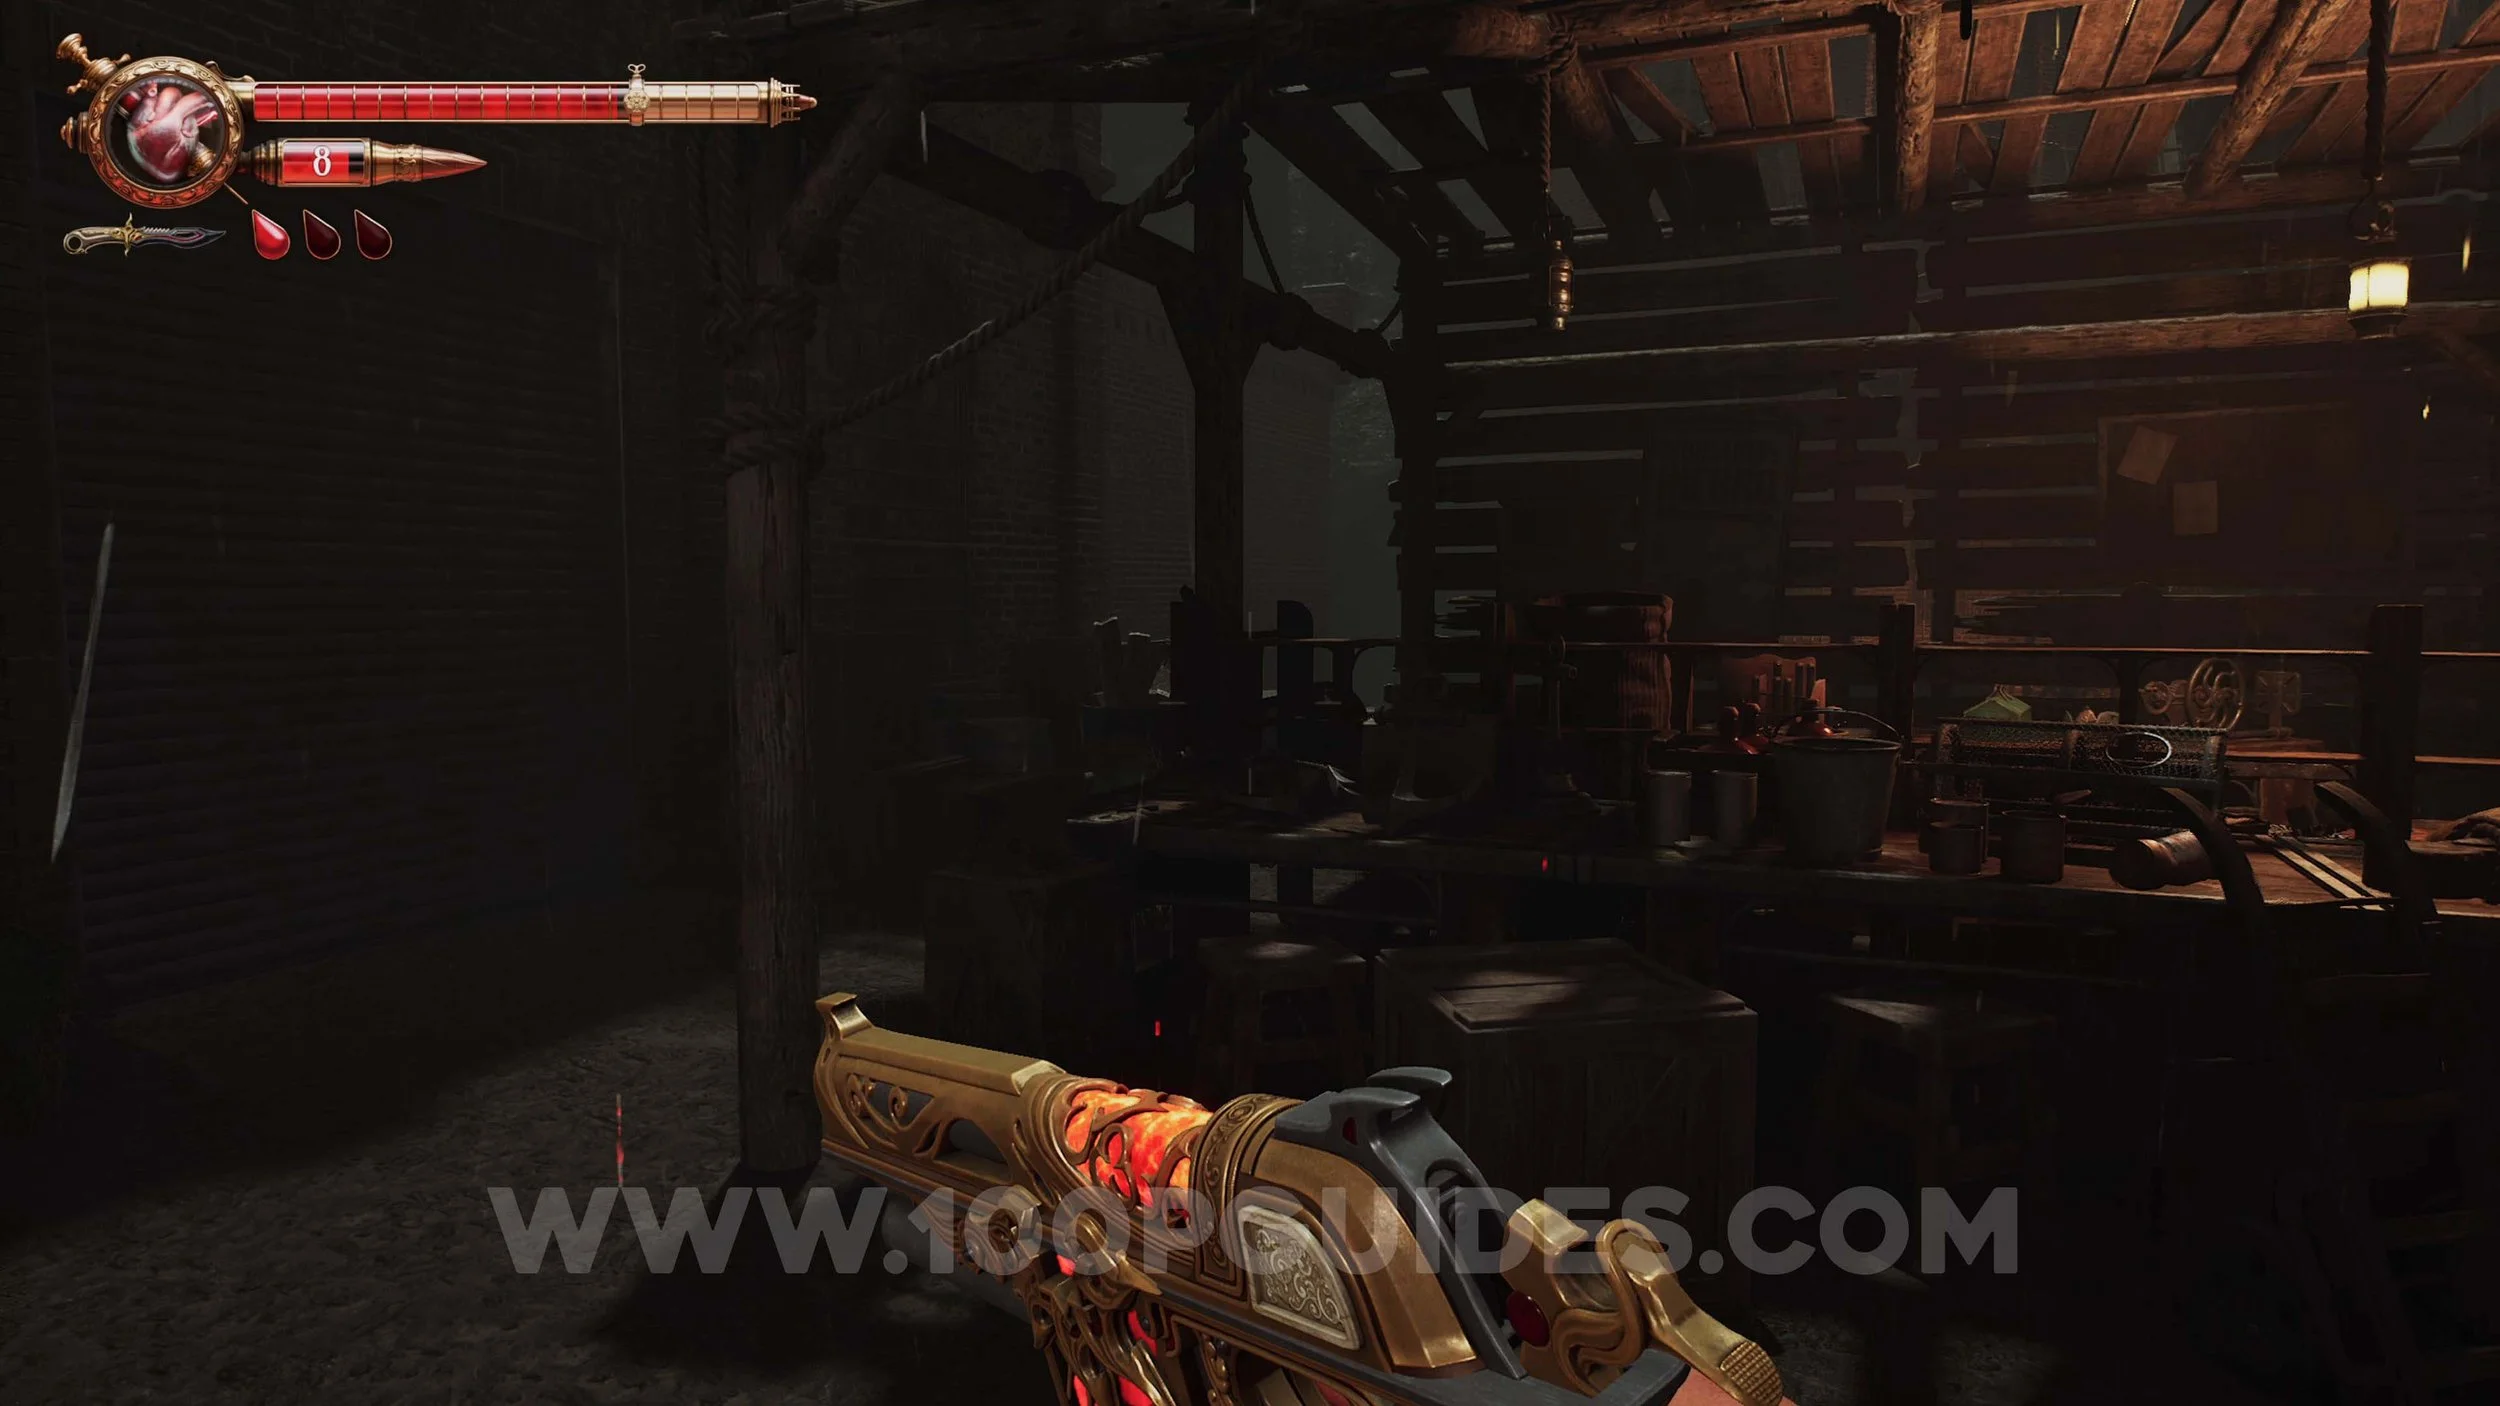
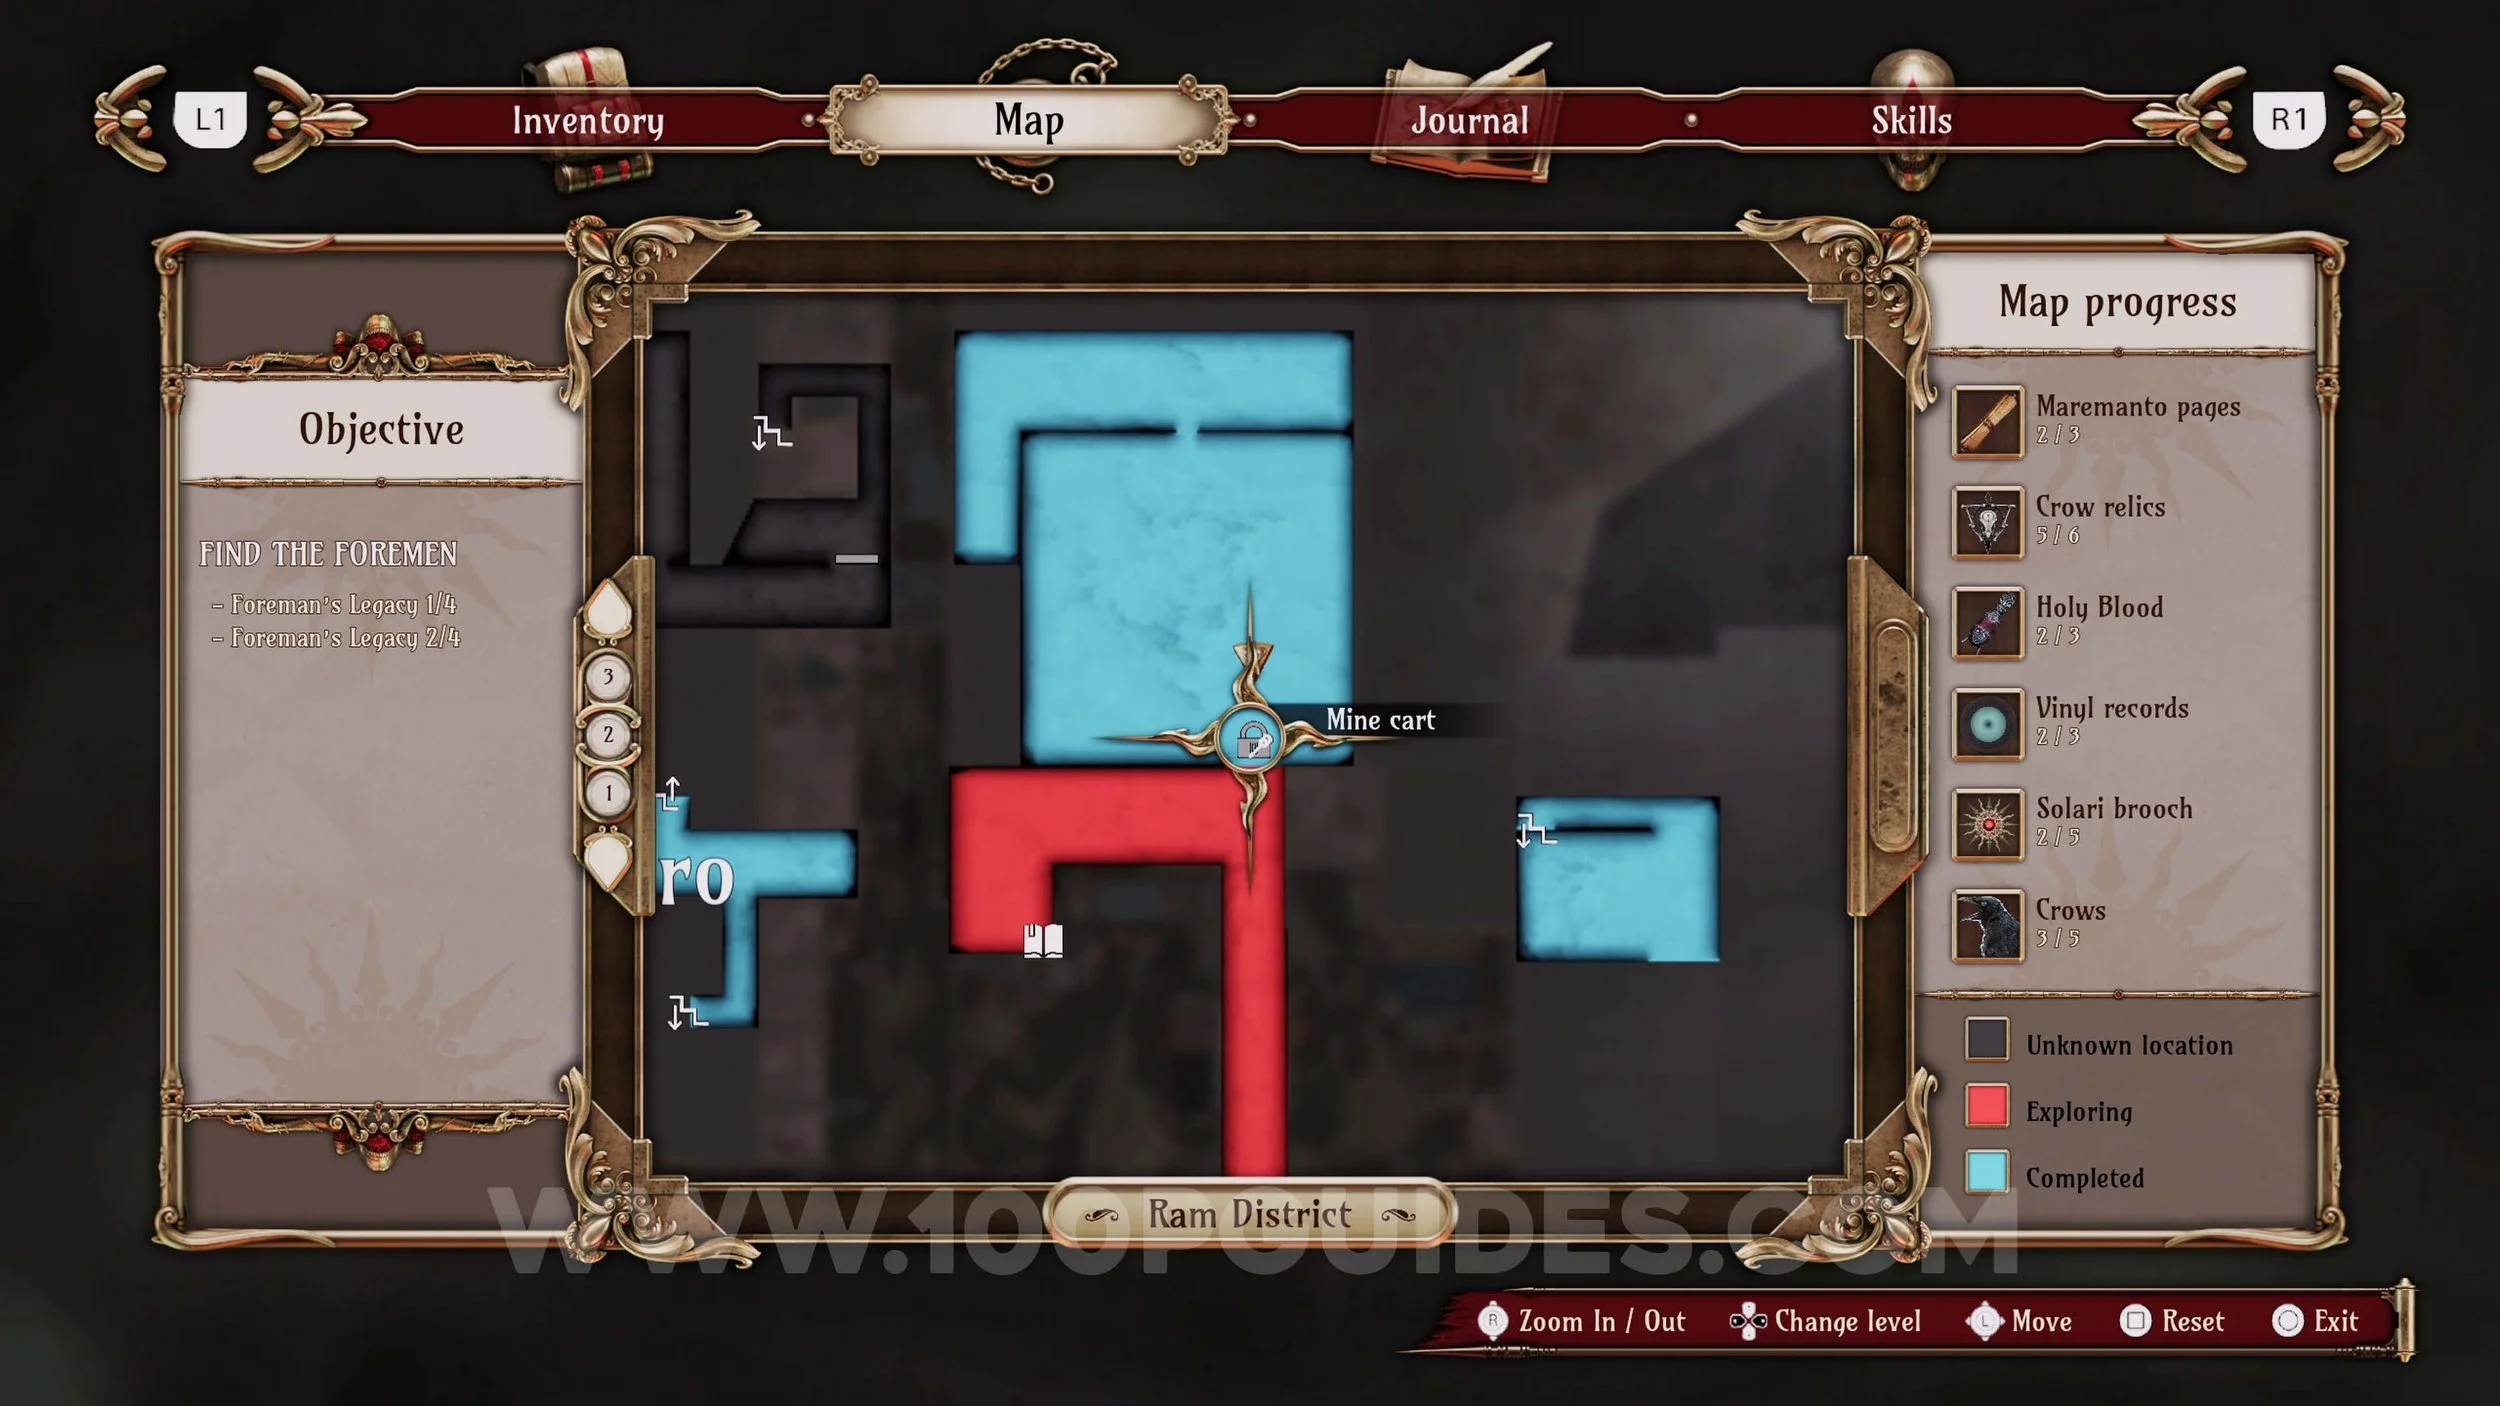
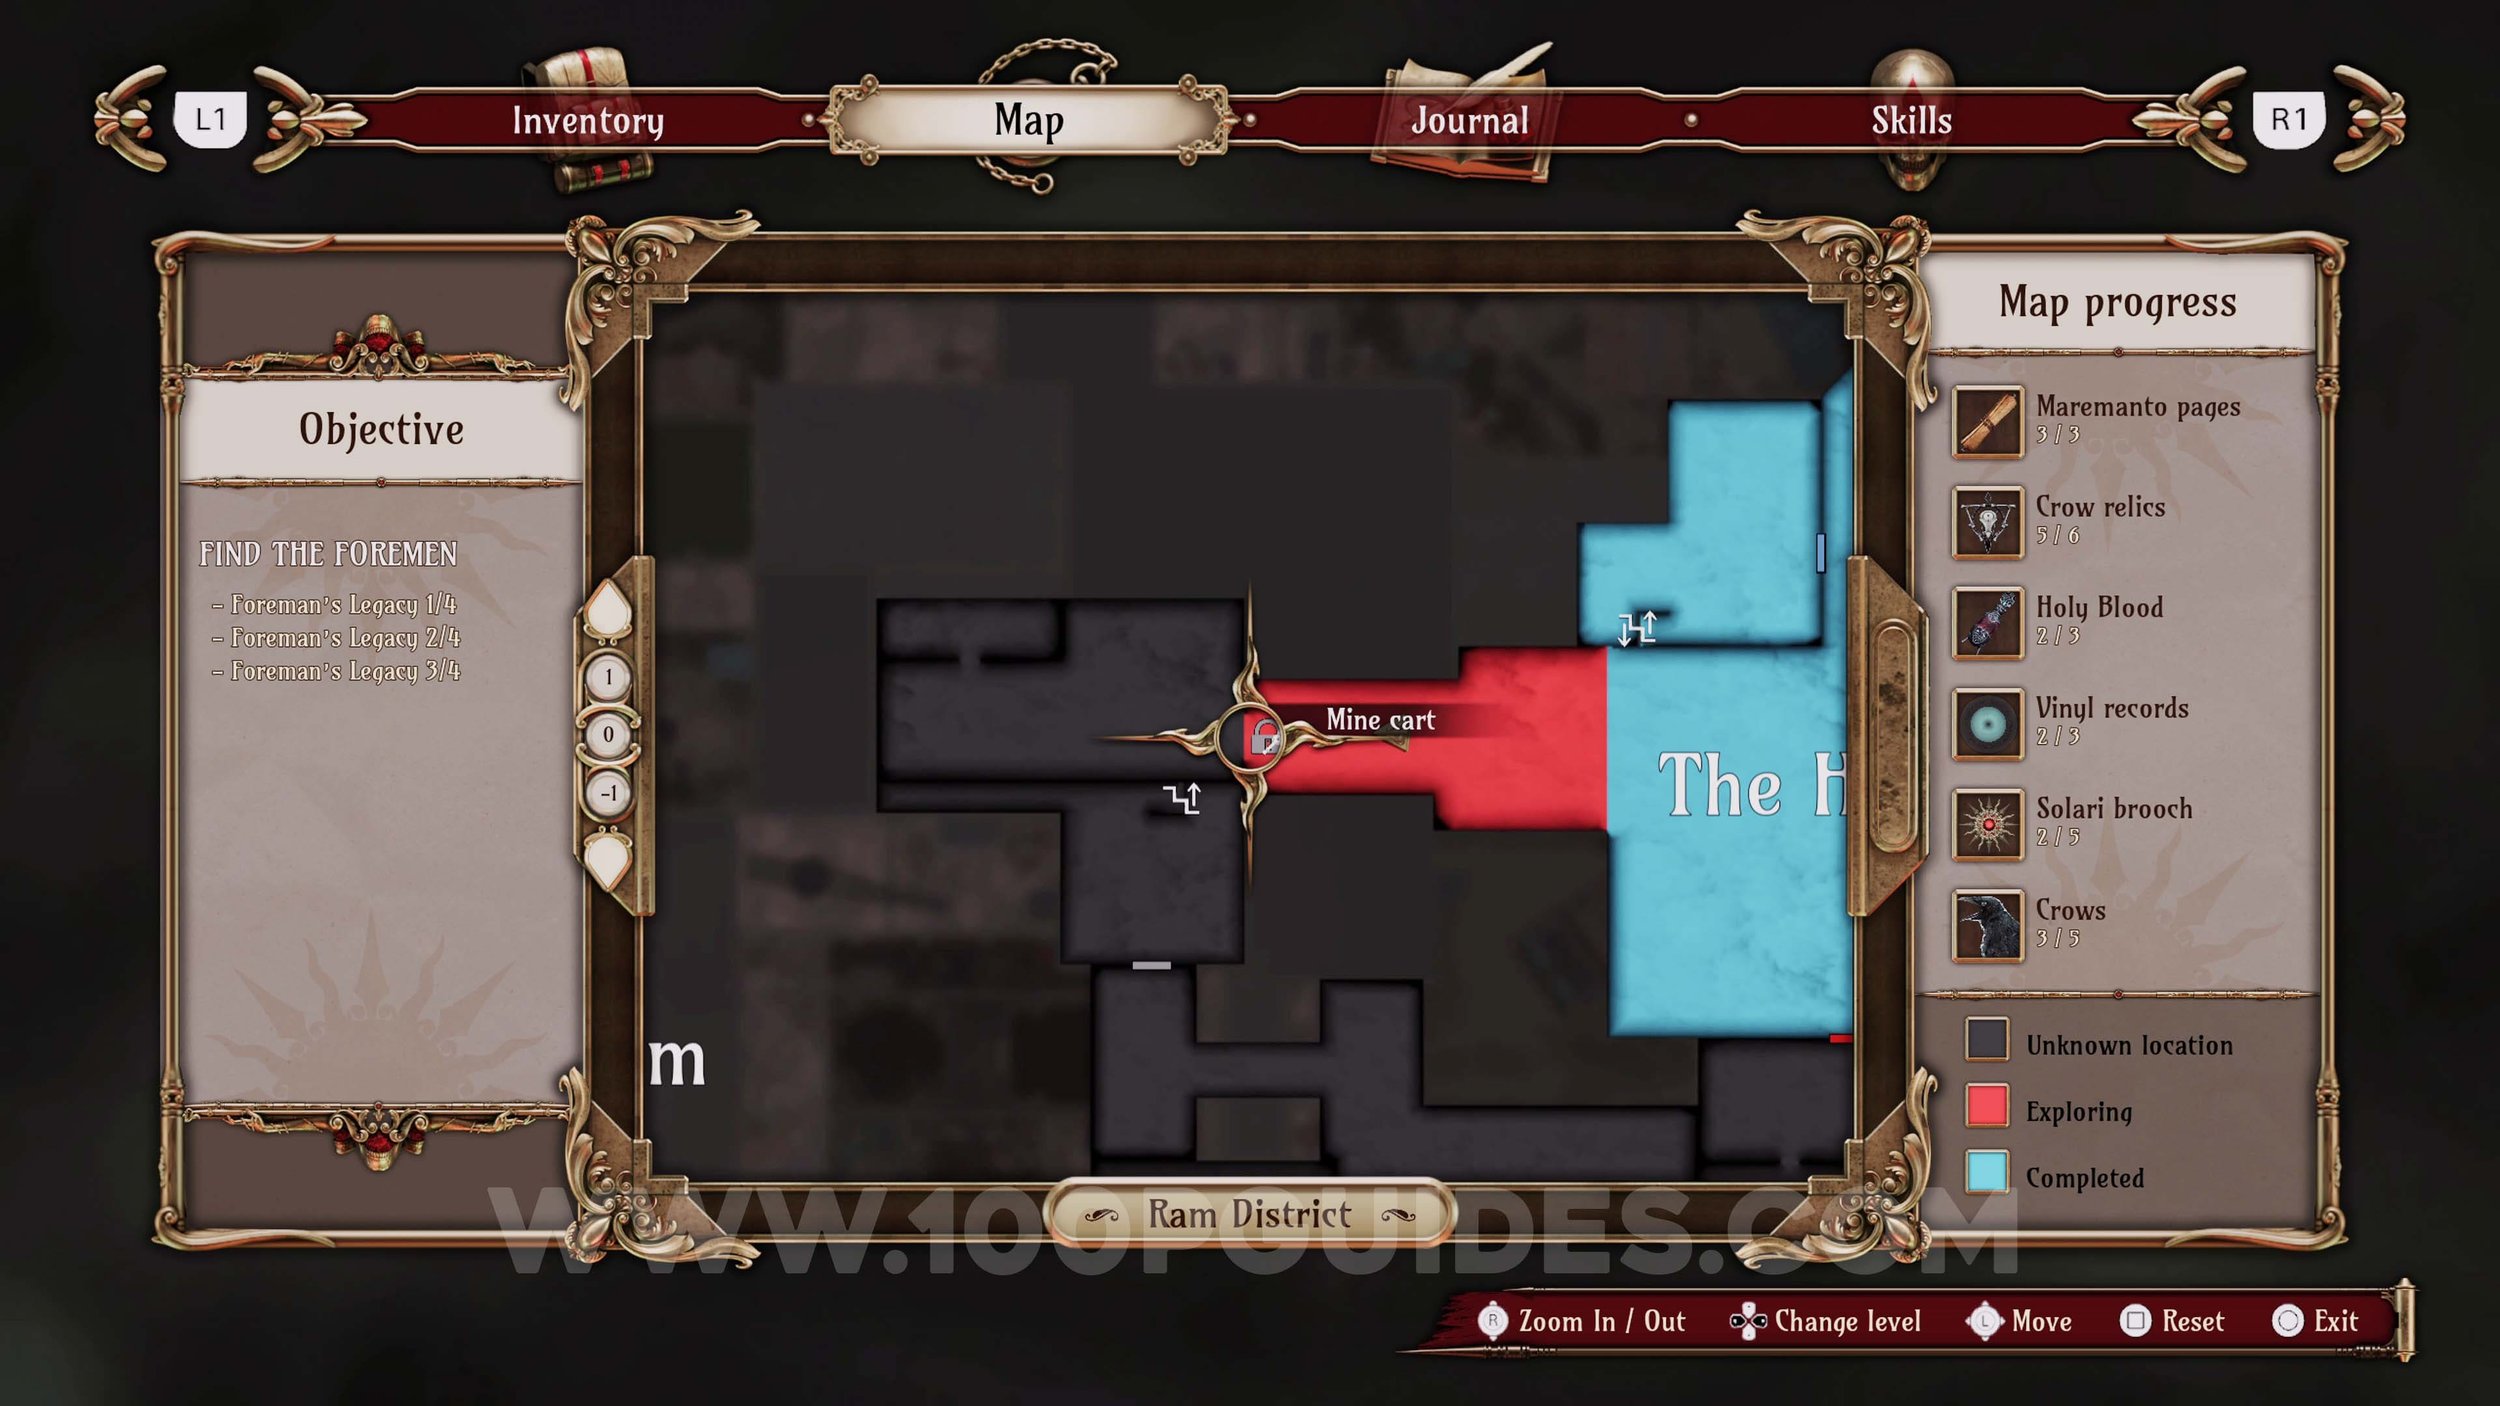
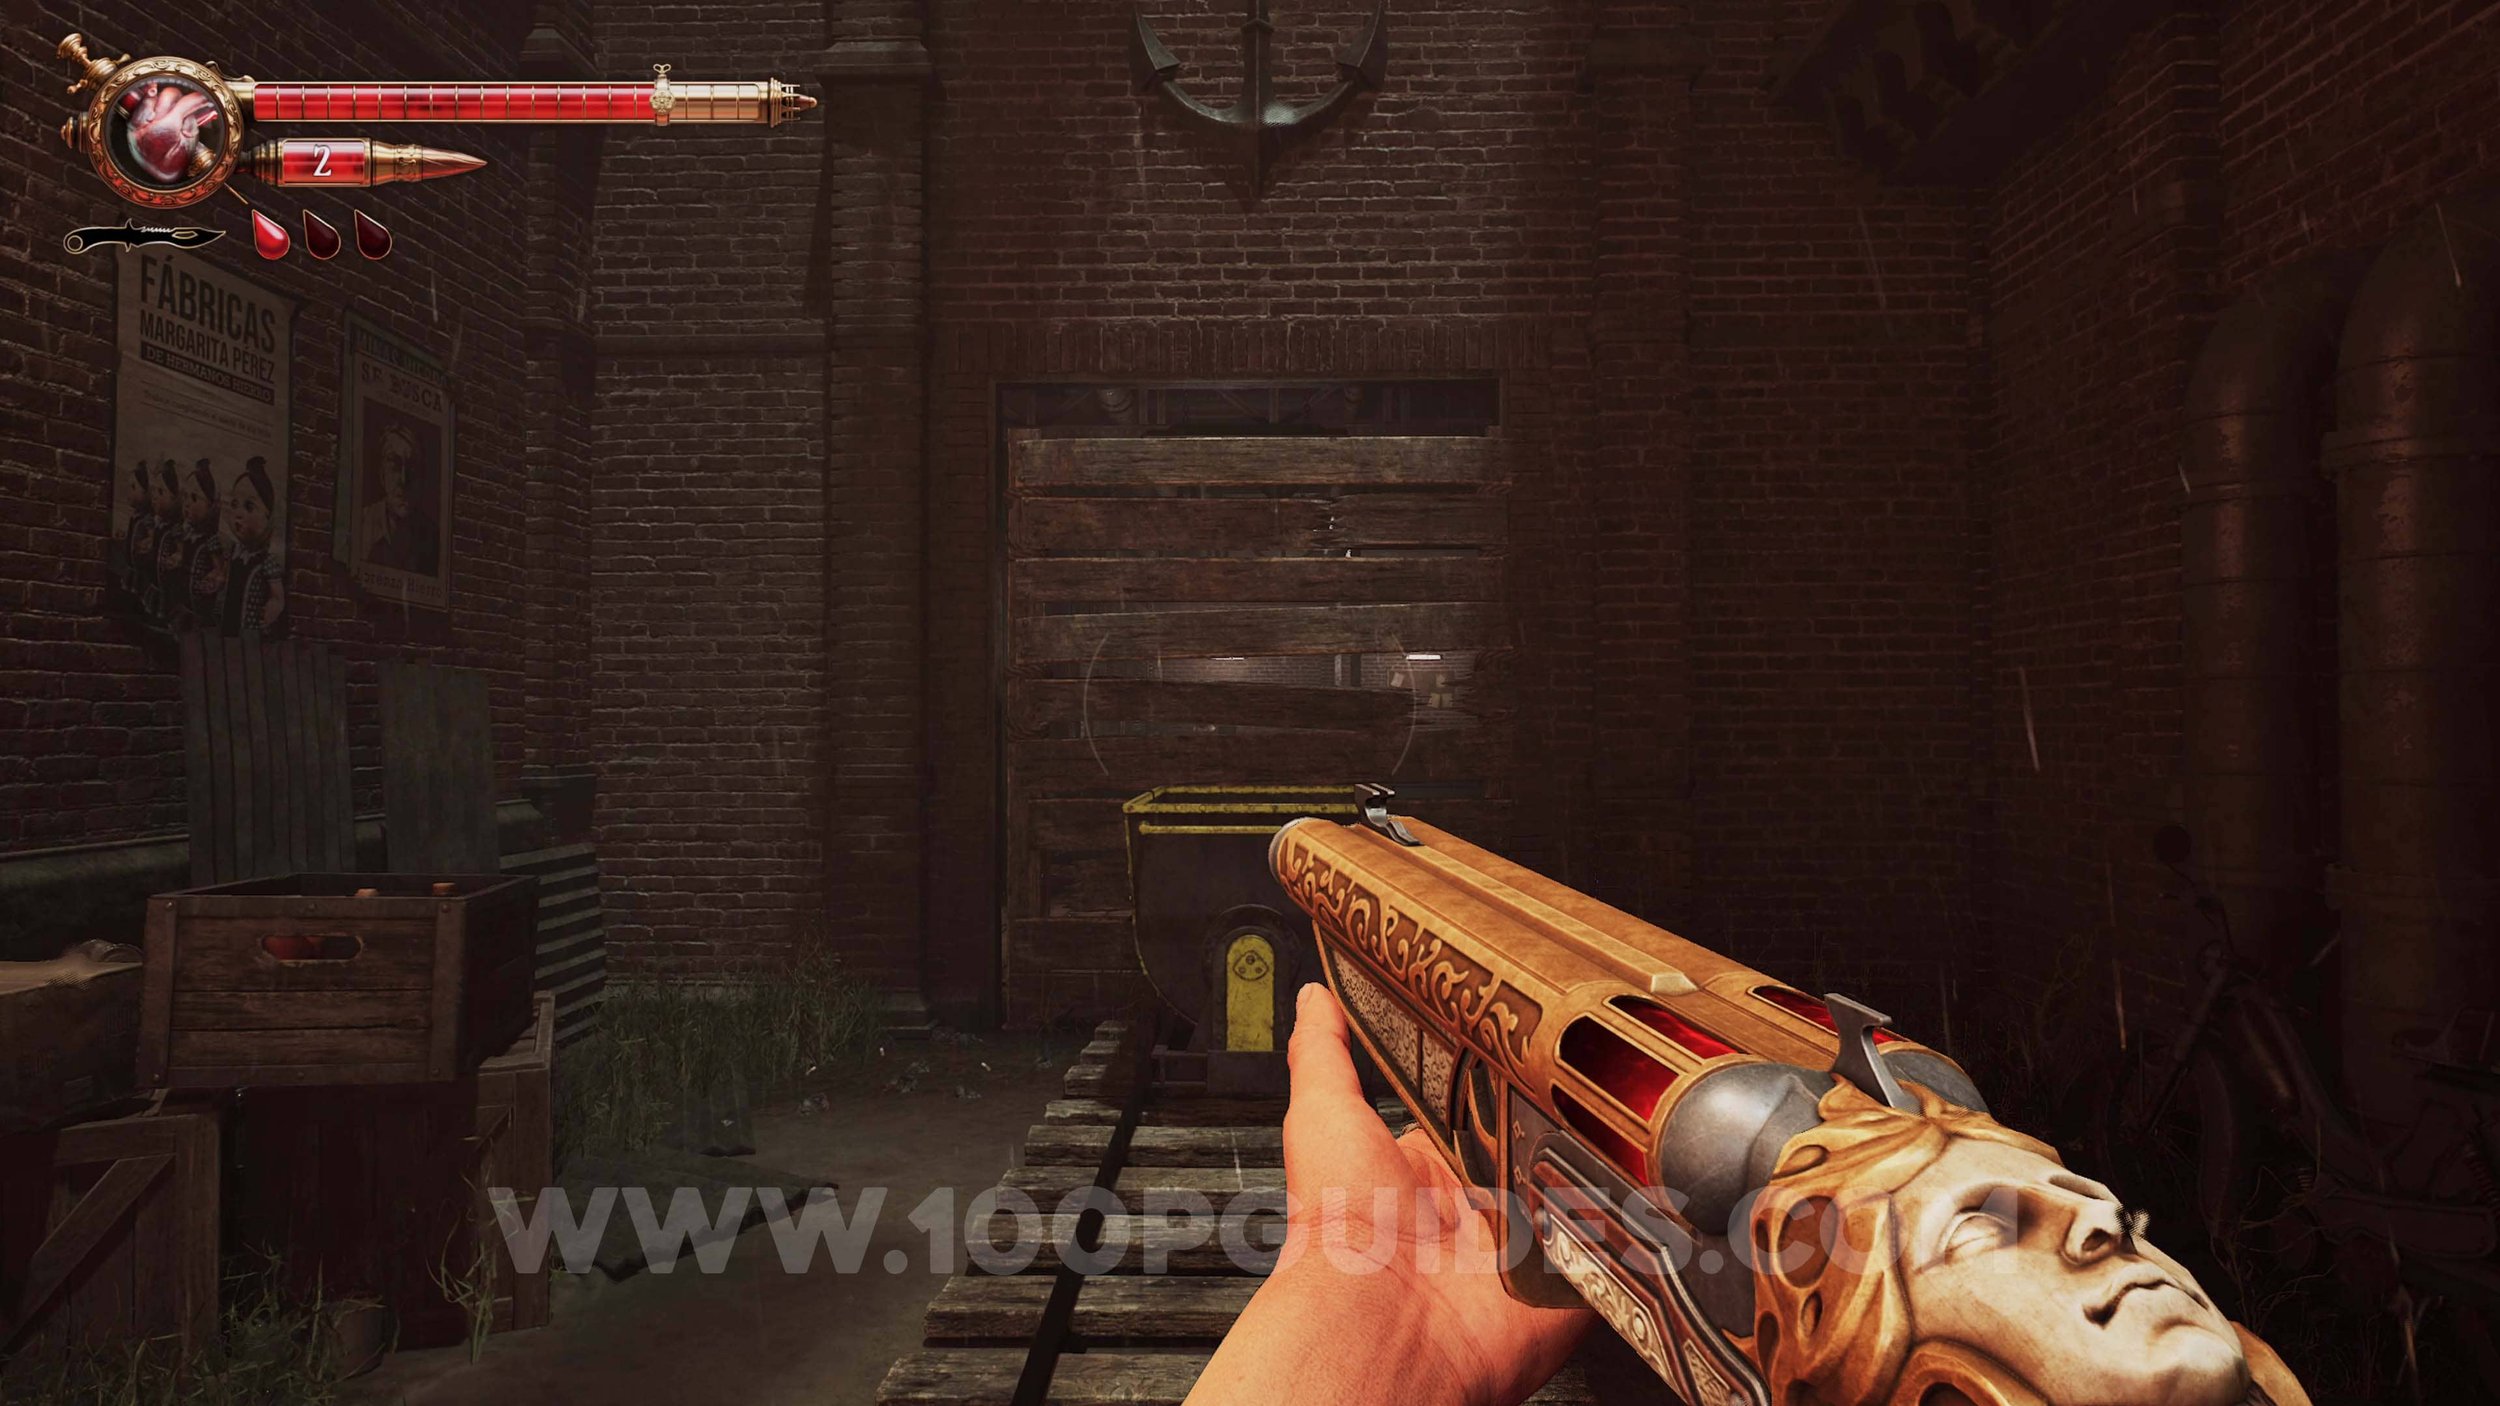
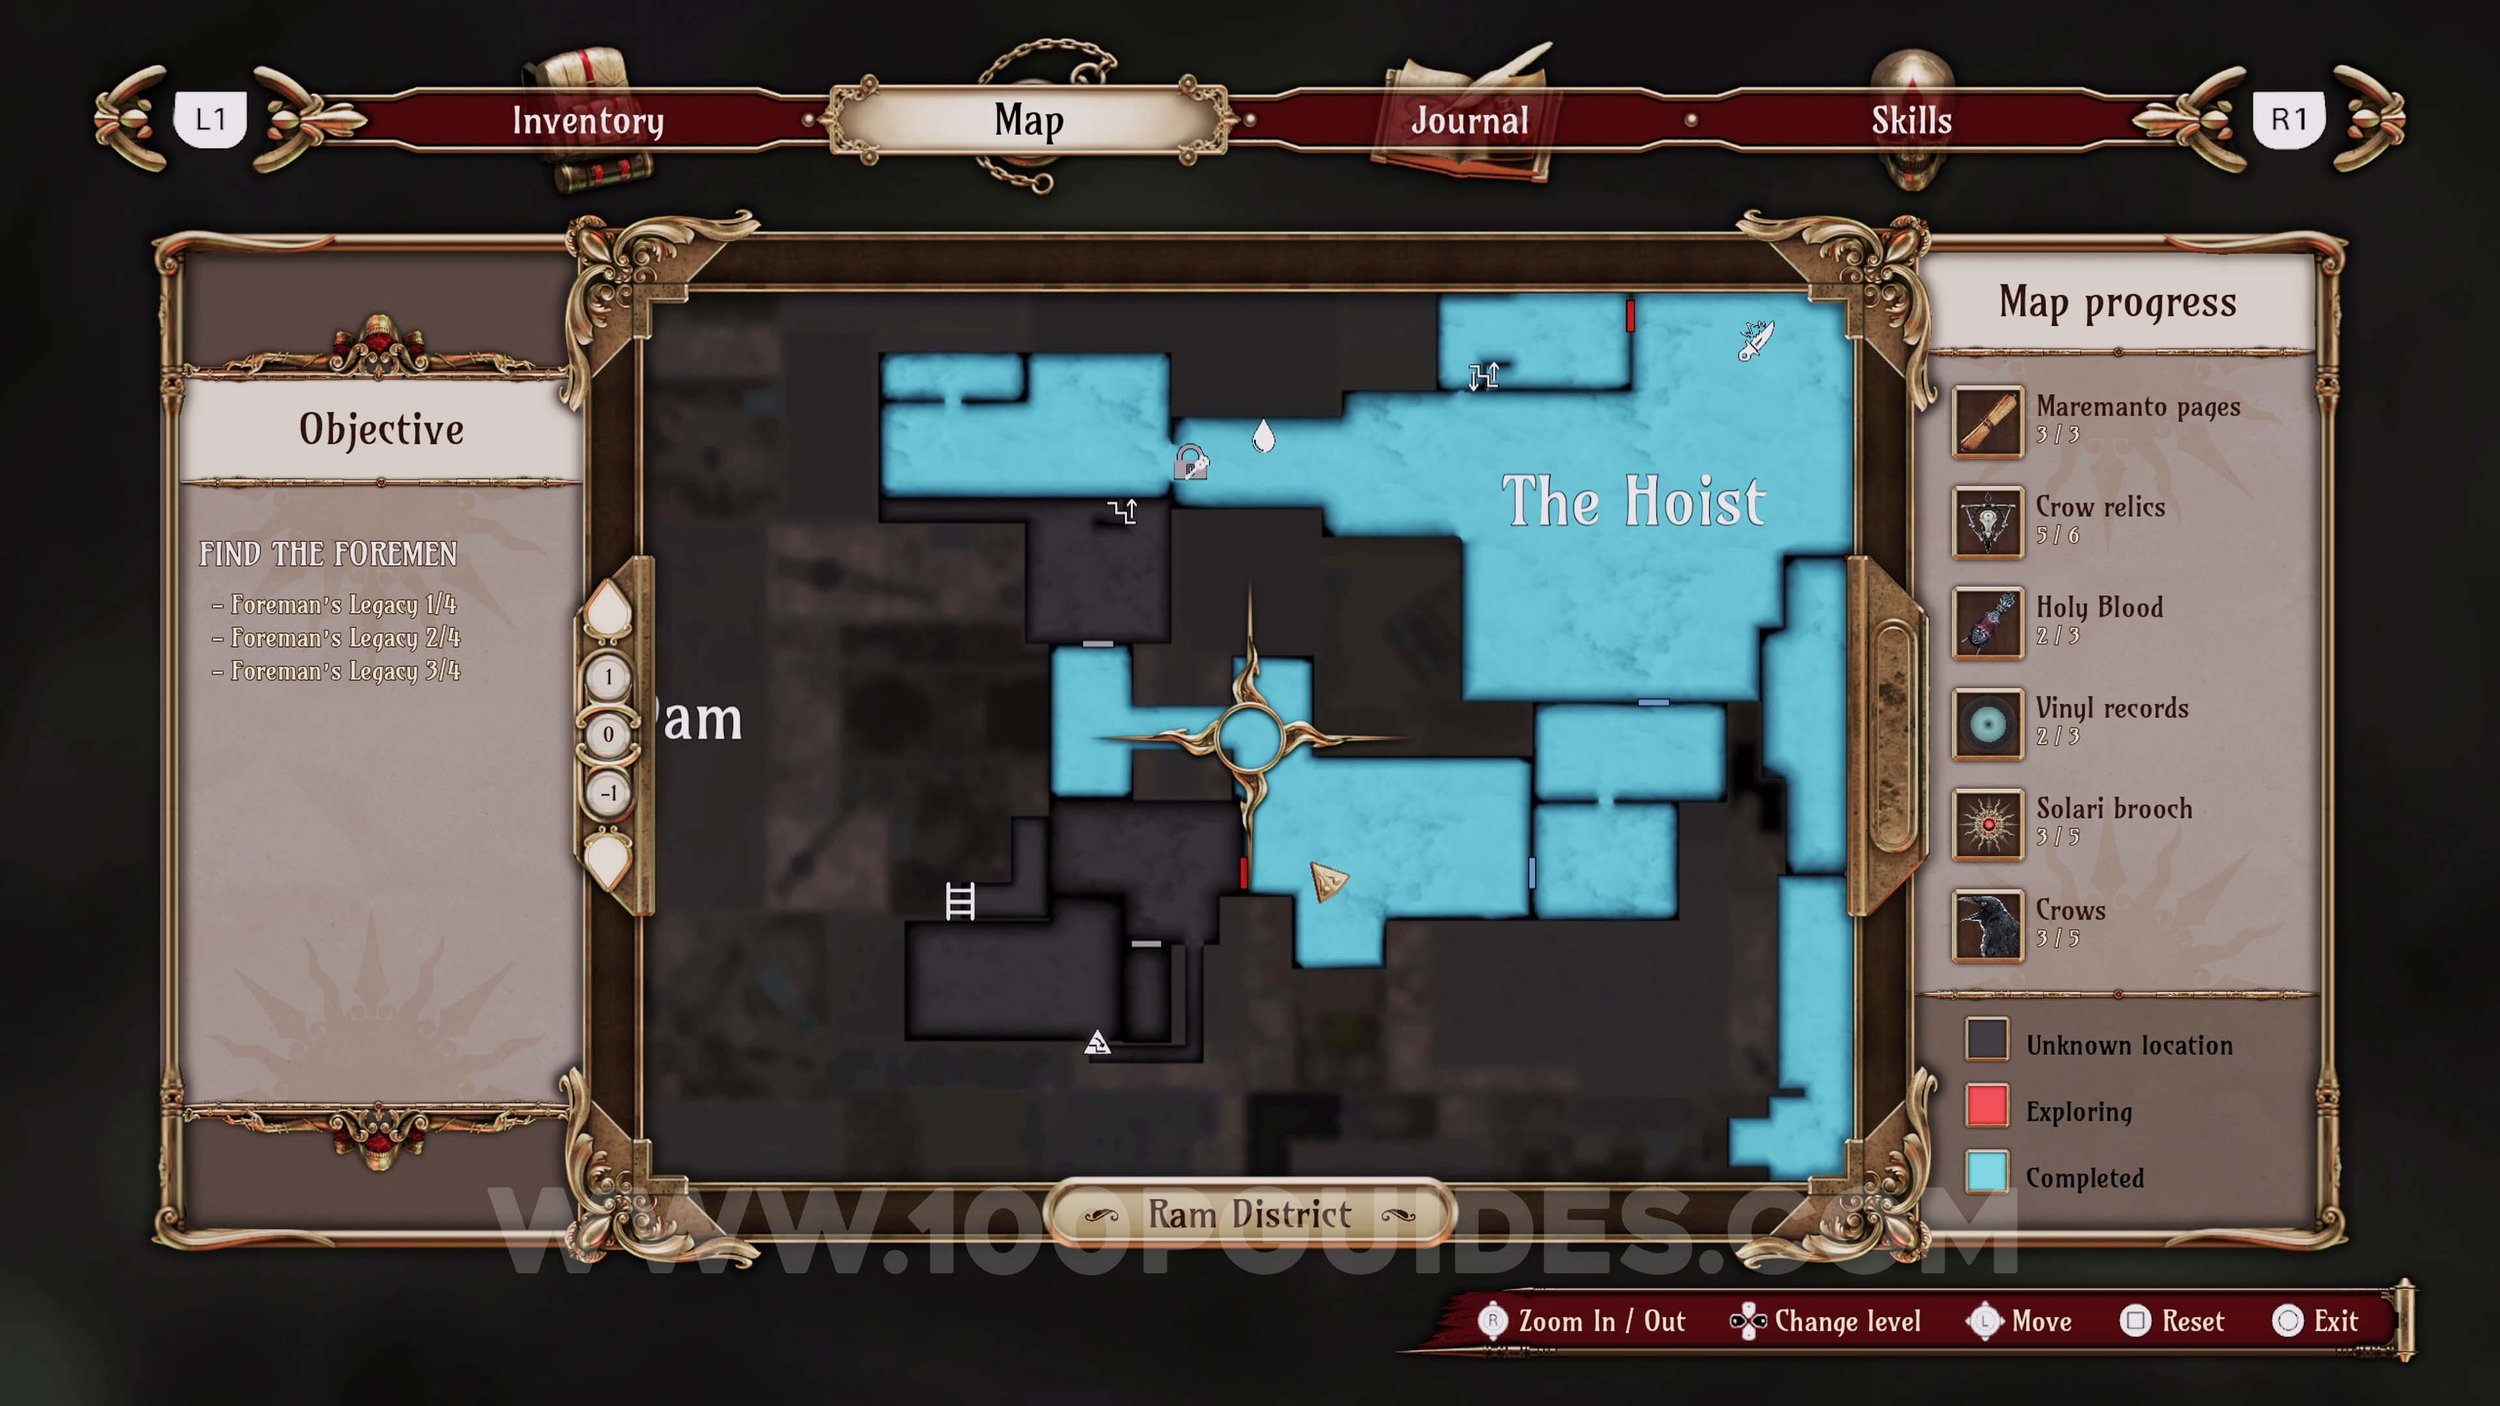
Maremanto Page #4. From the Hoist area, go down the alley to the north to find it in a chest at the end.
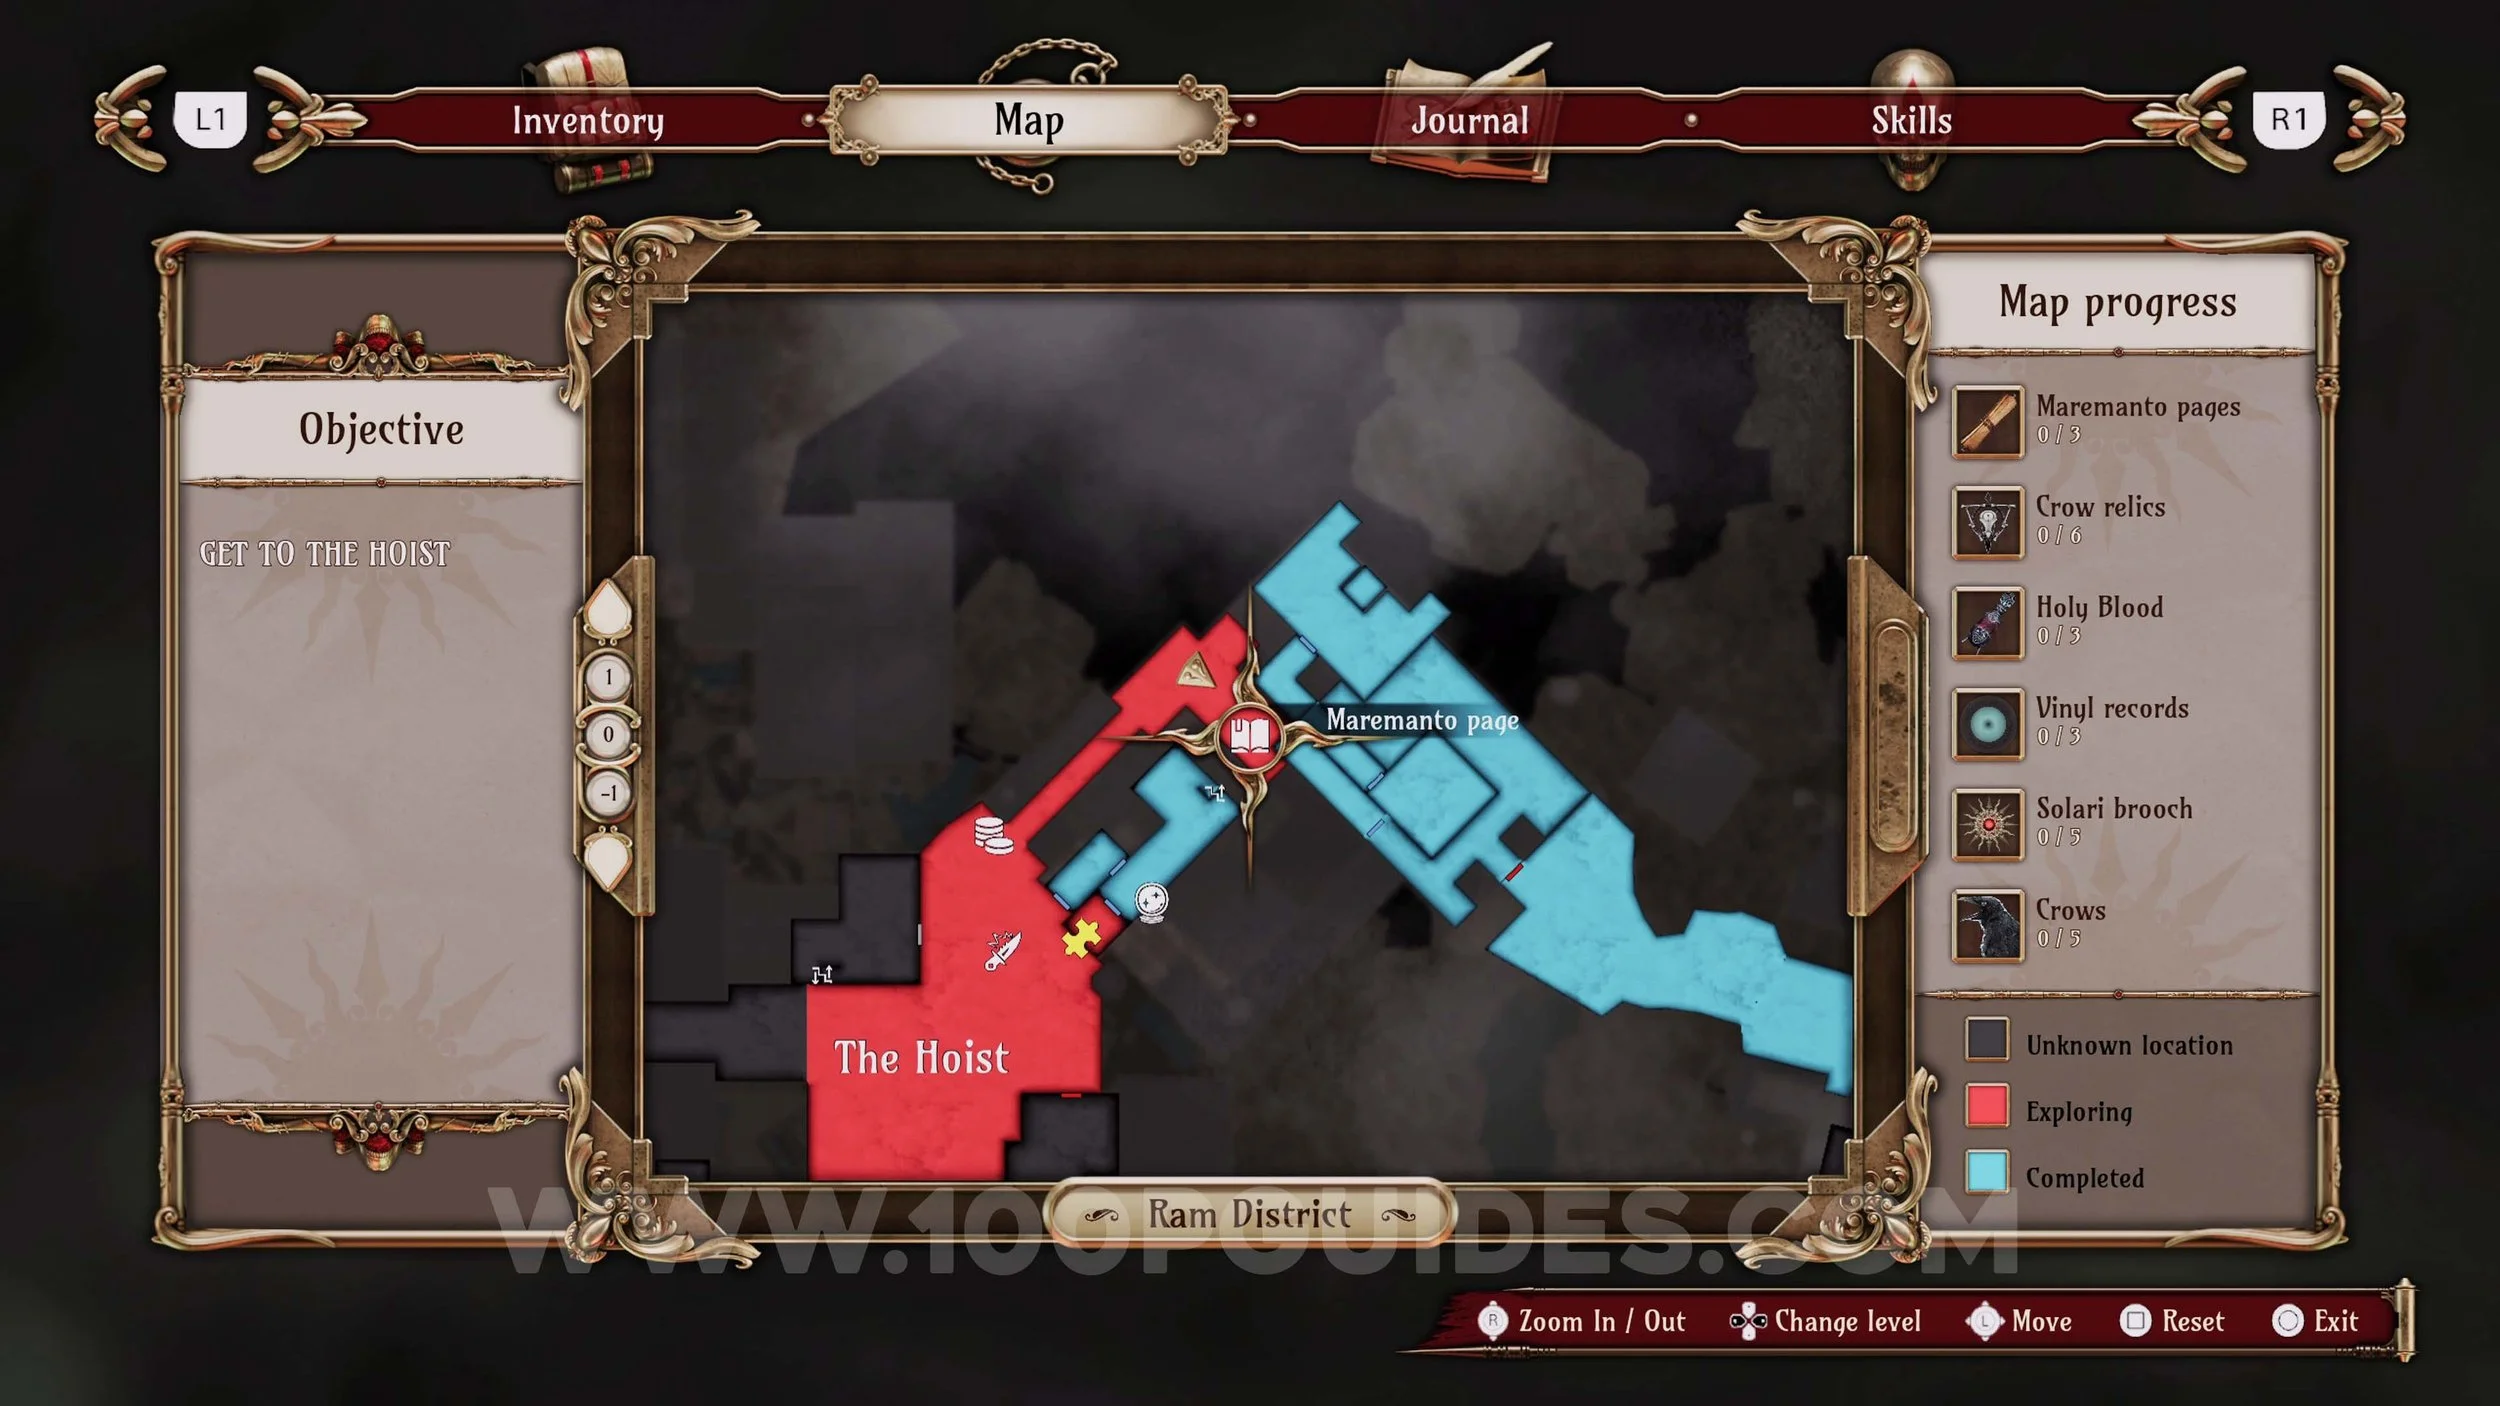
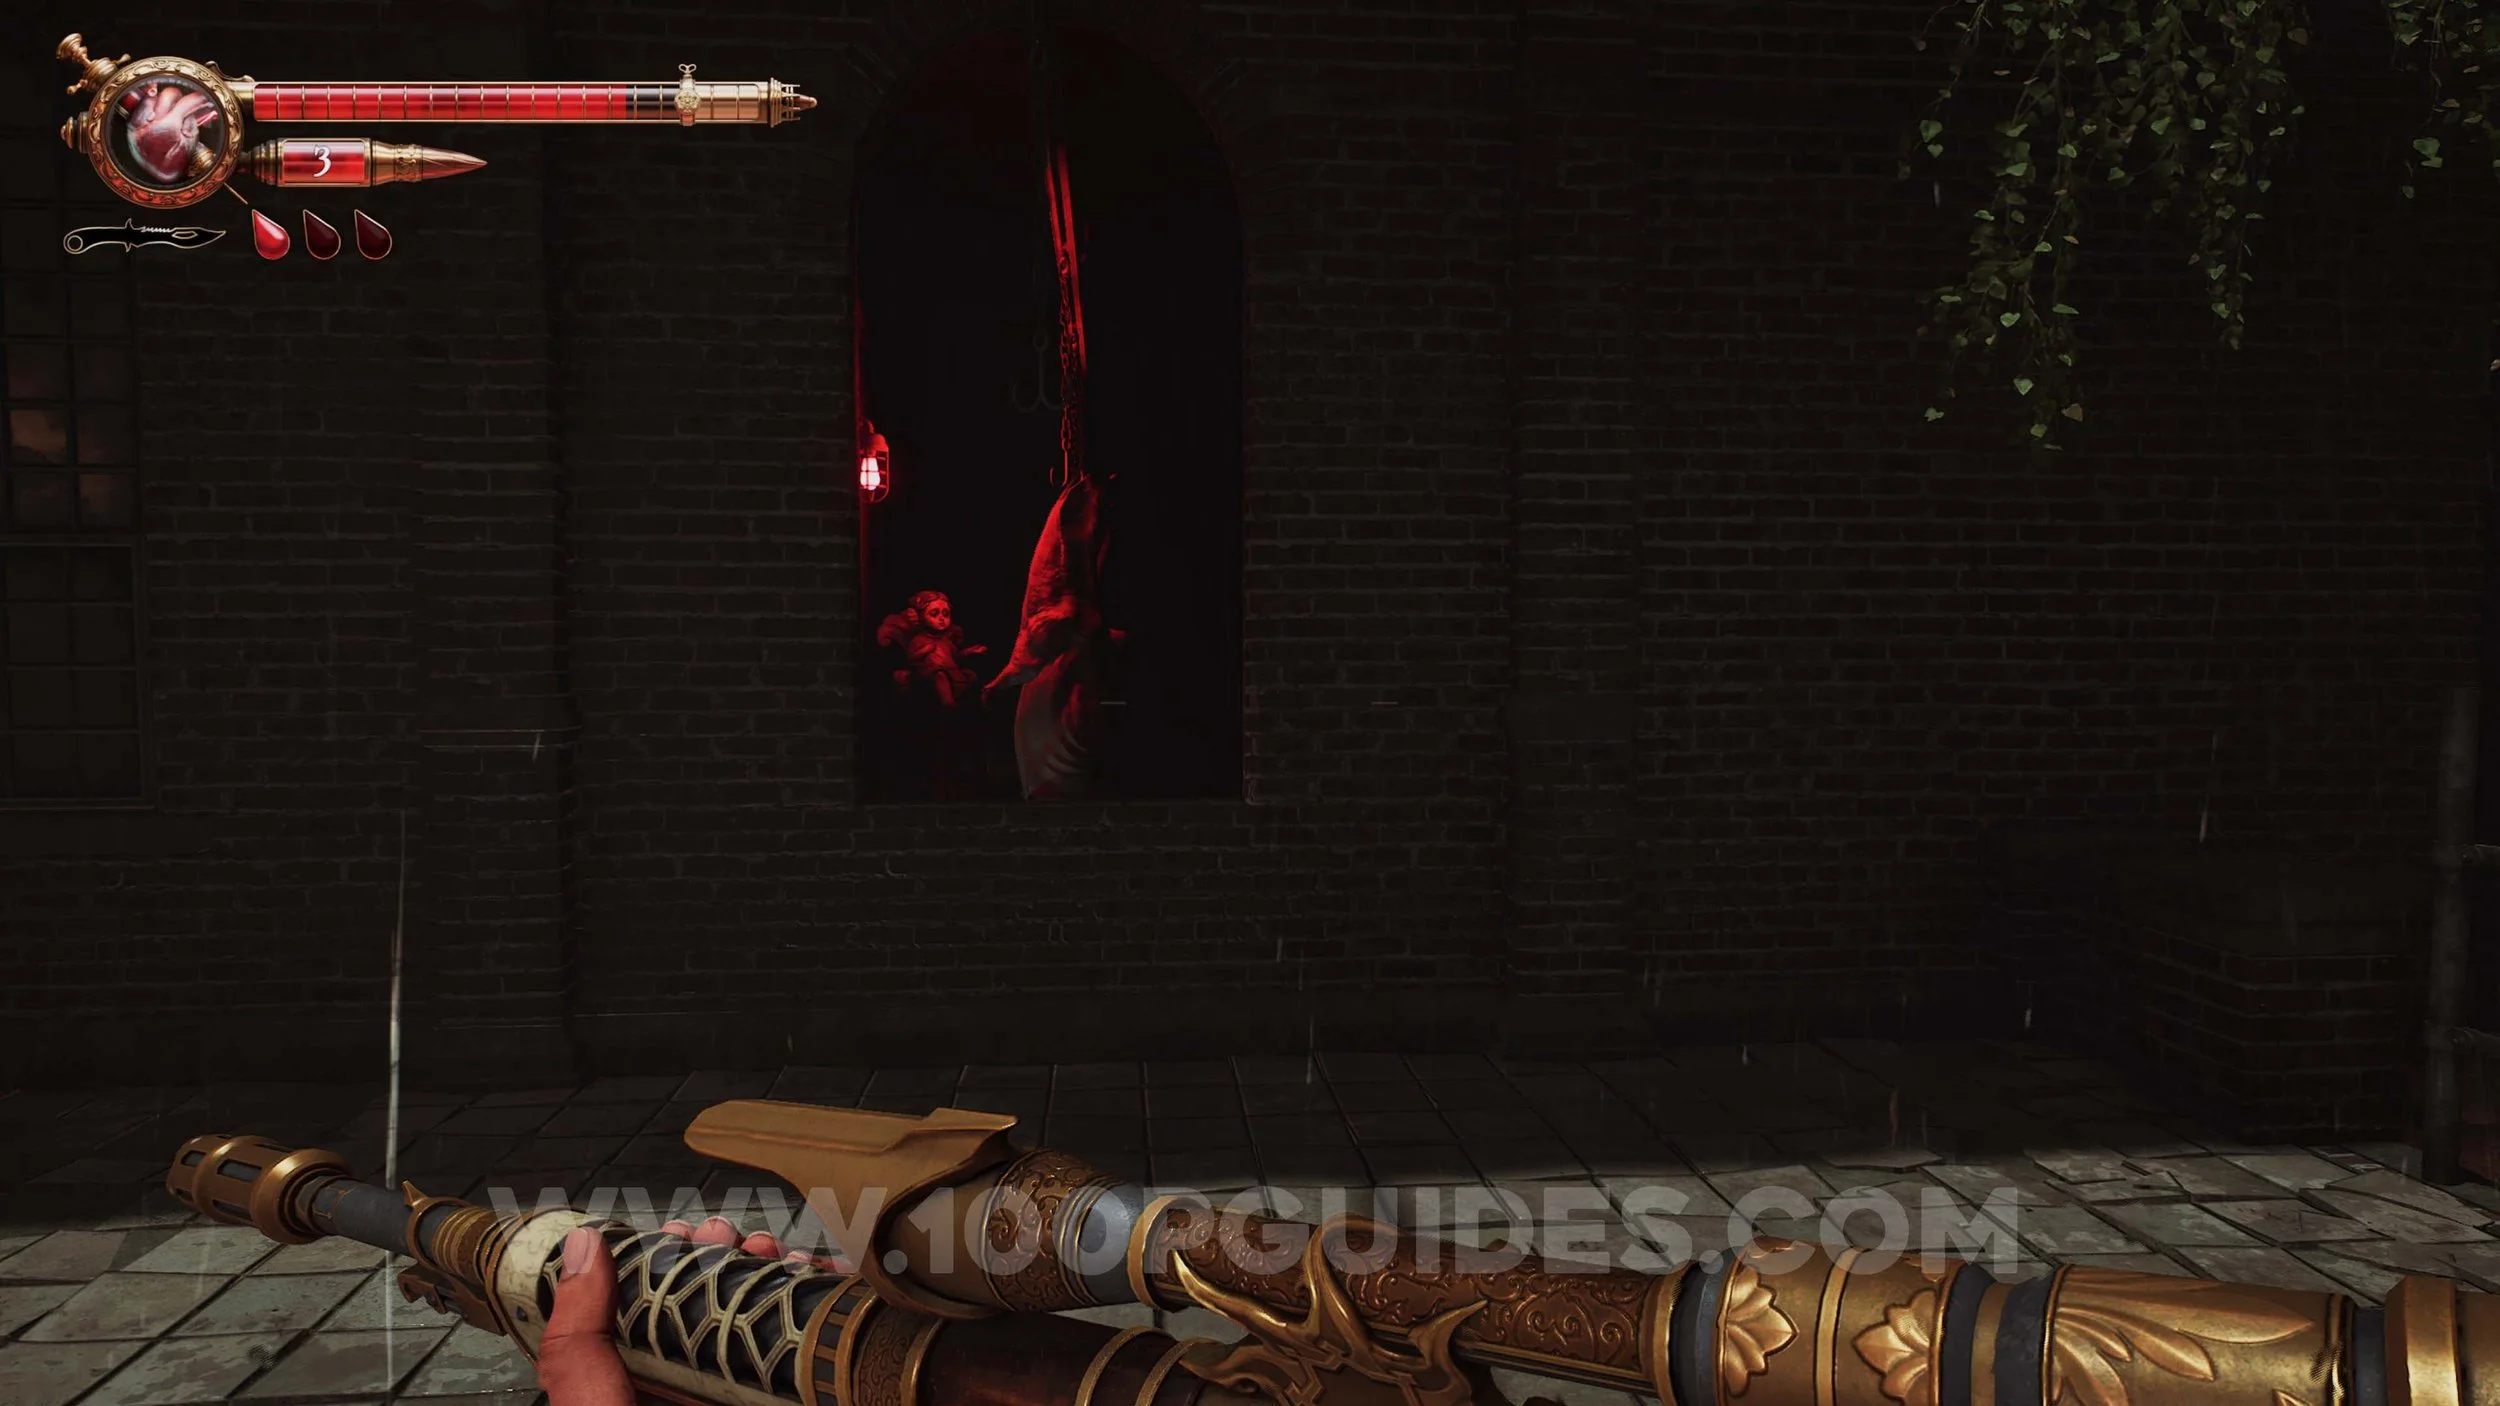
Memory #30. In the Hoist area below the “D”.

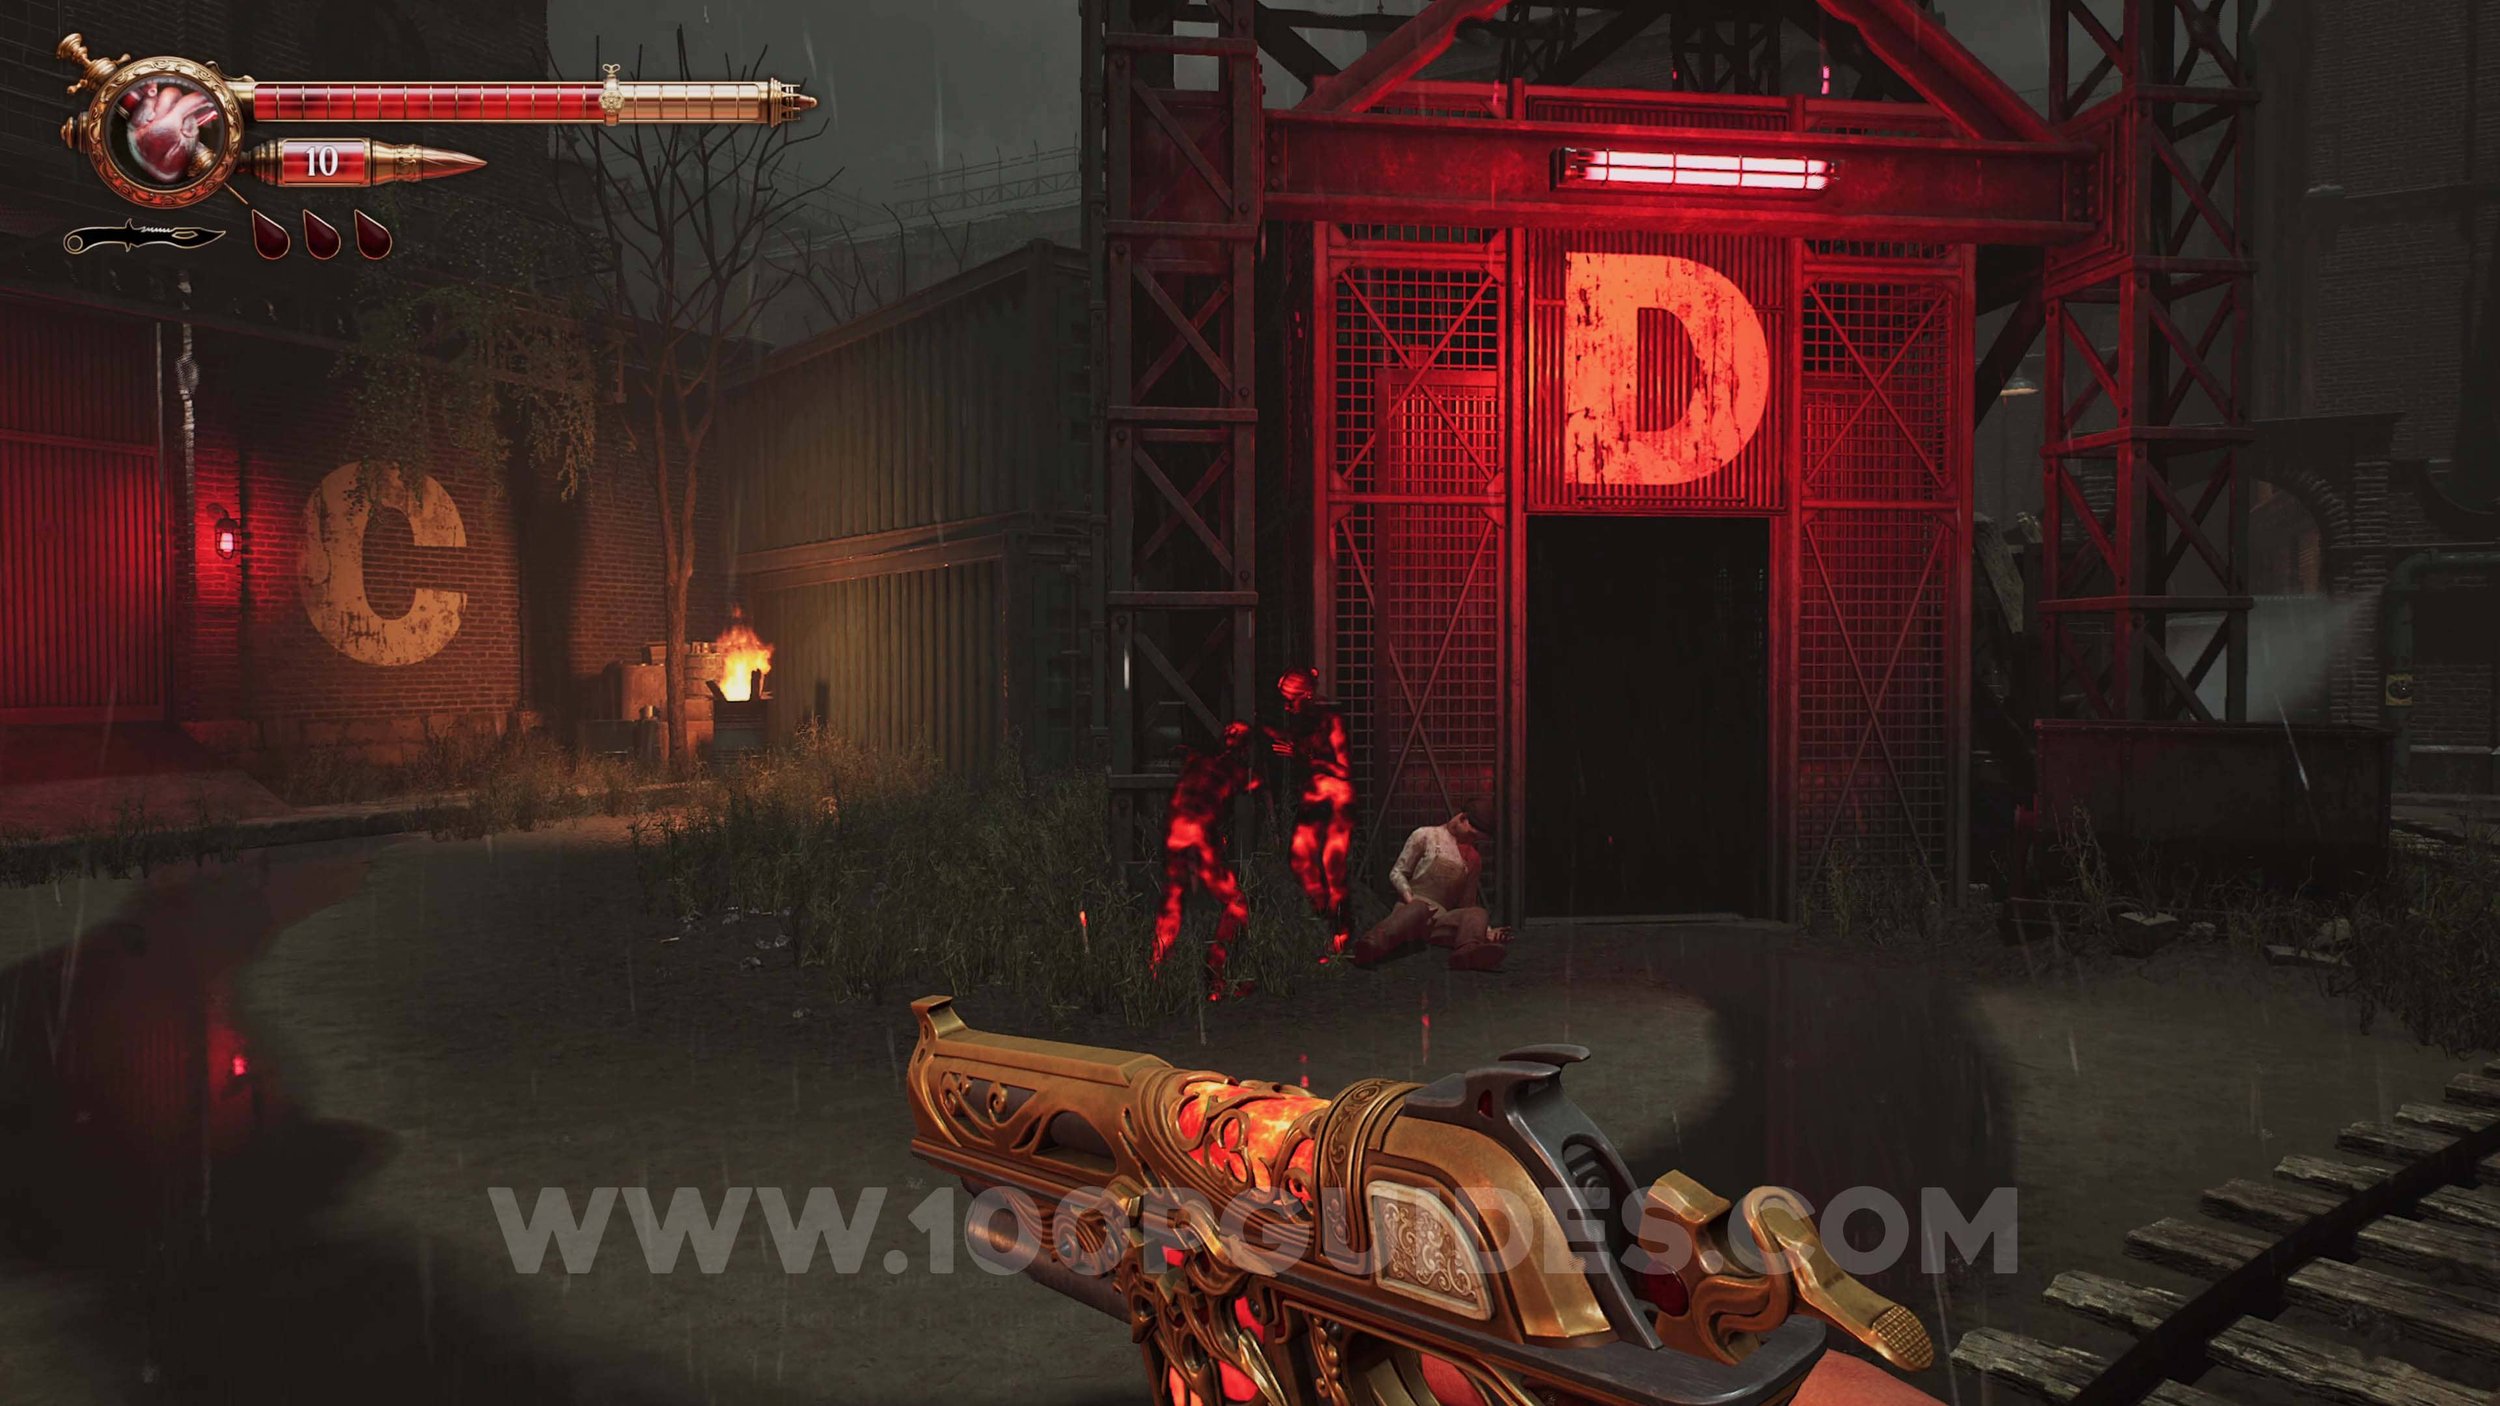
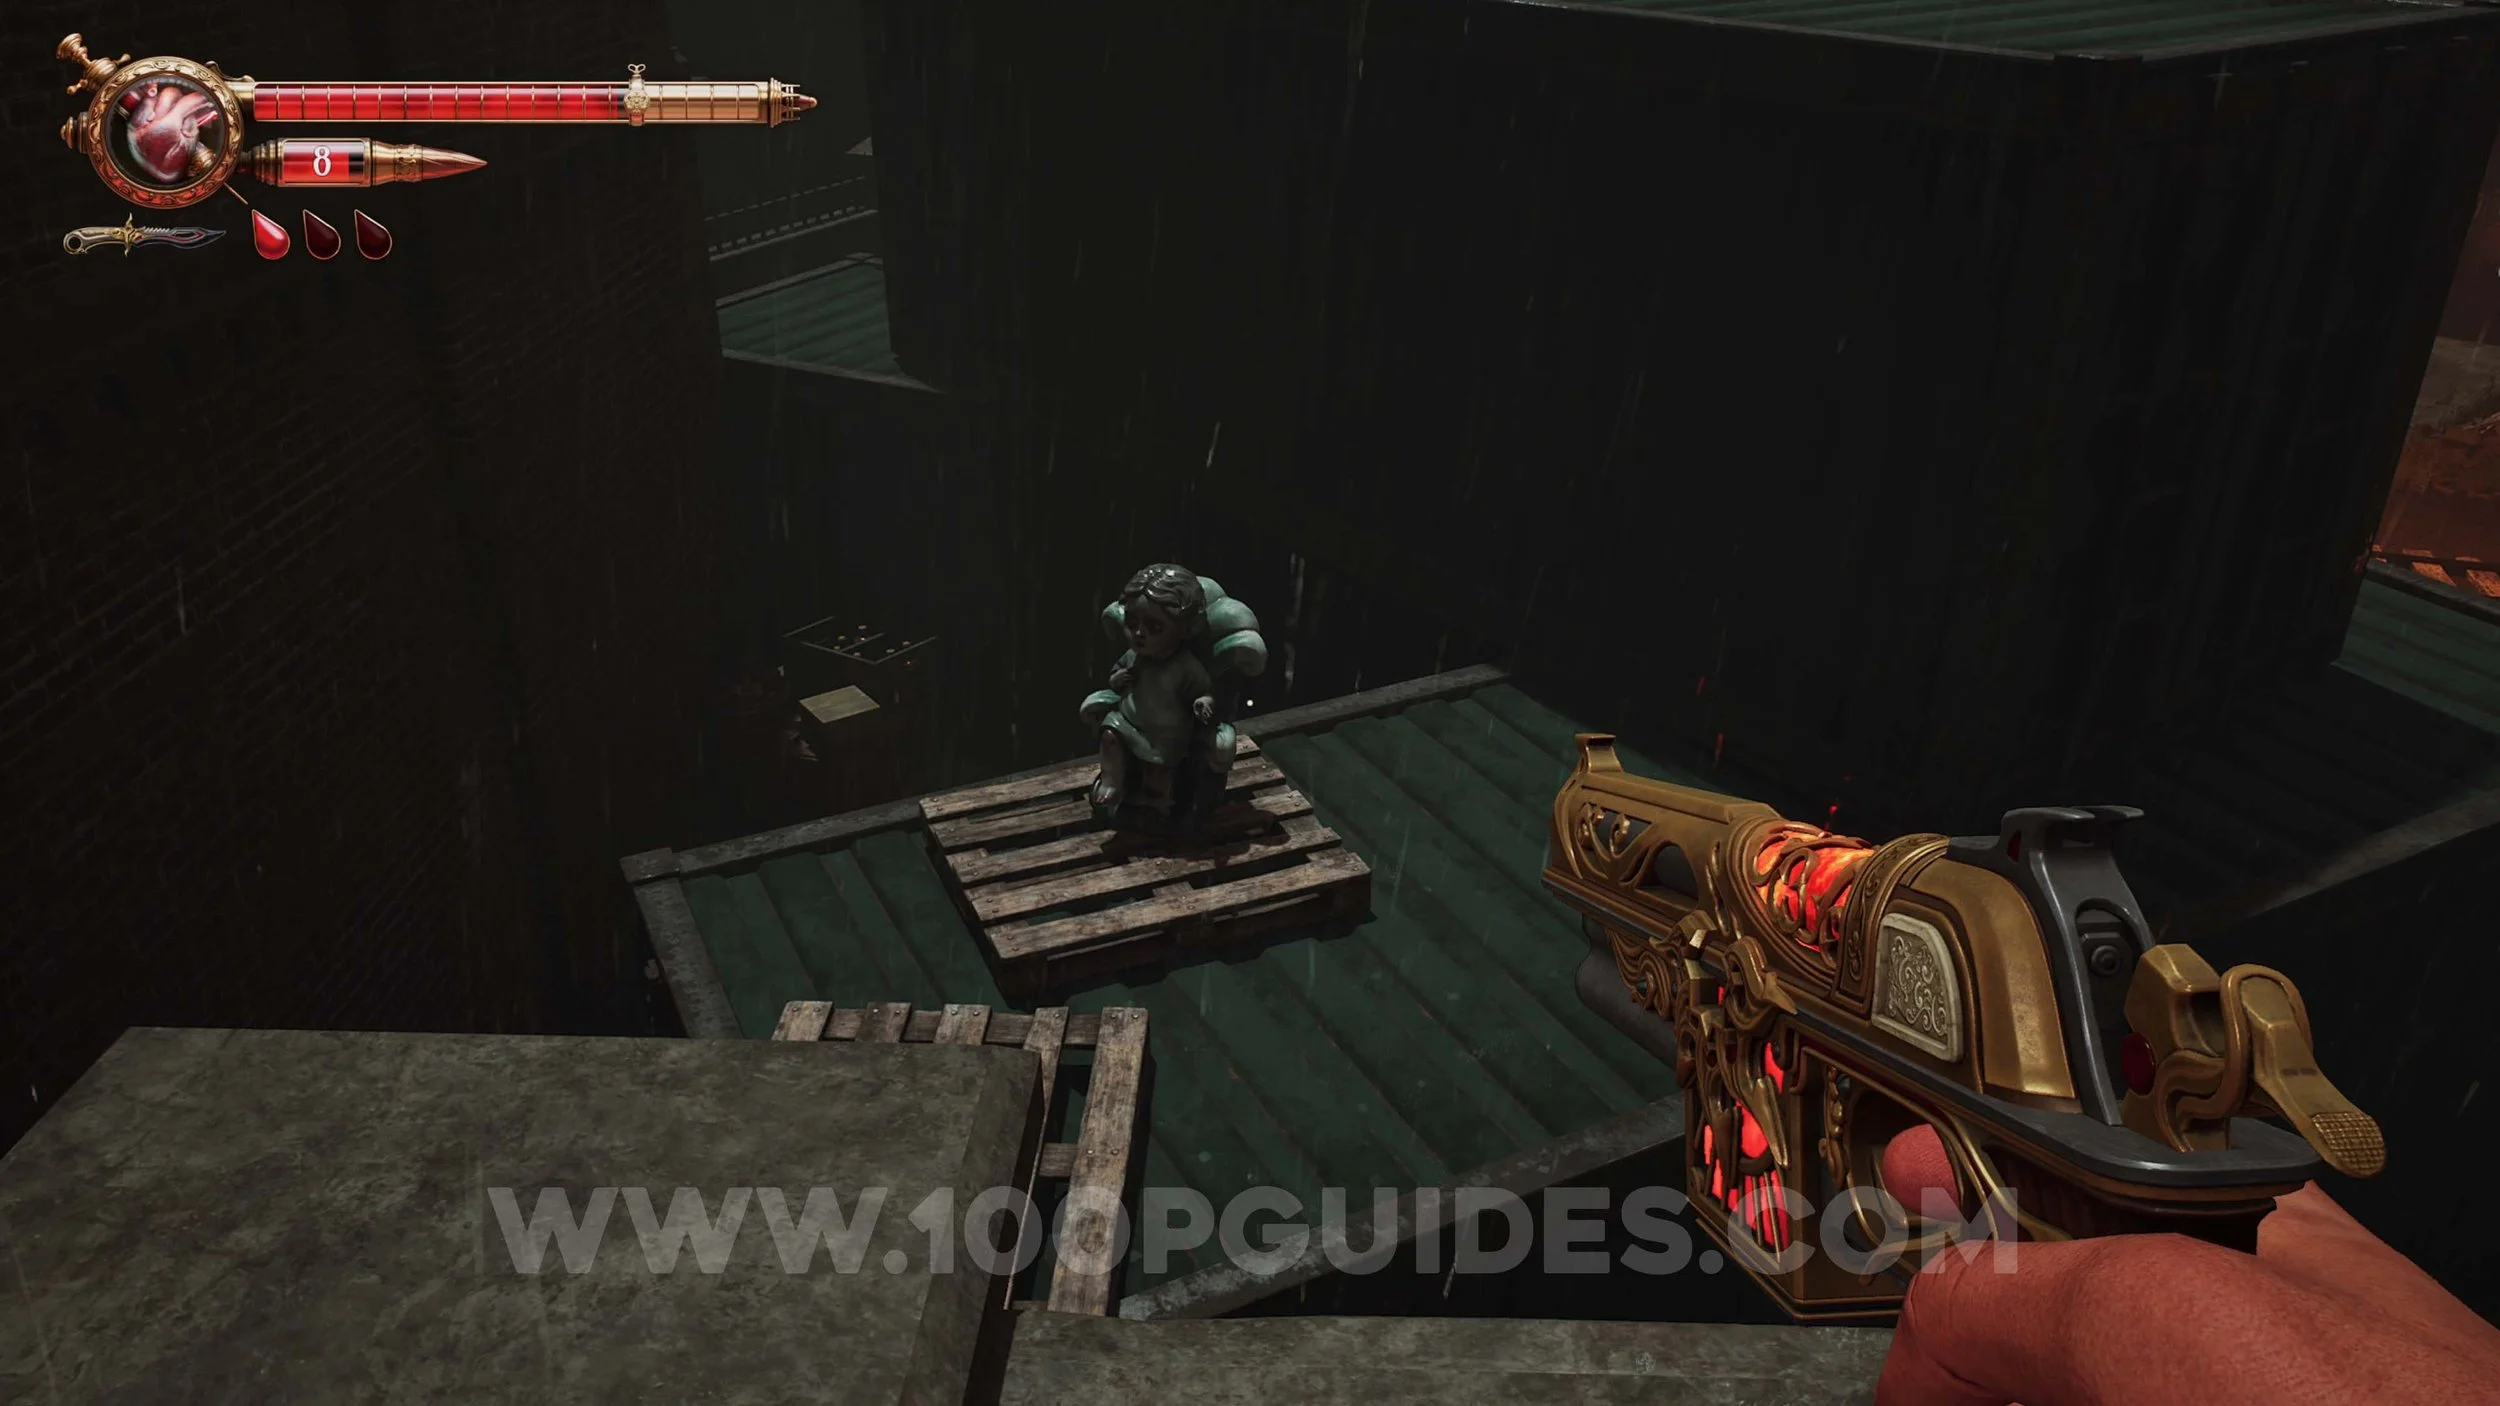
Ulises Idol #15. On top of the metal structure above the “D”.
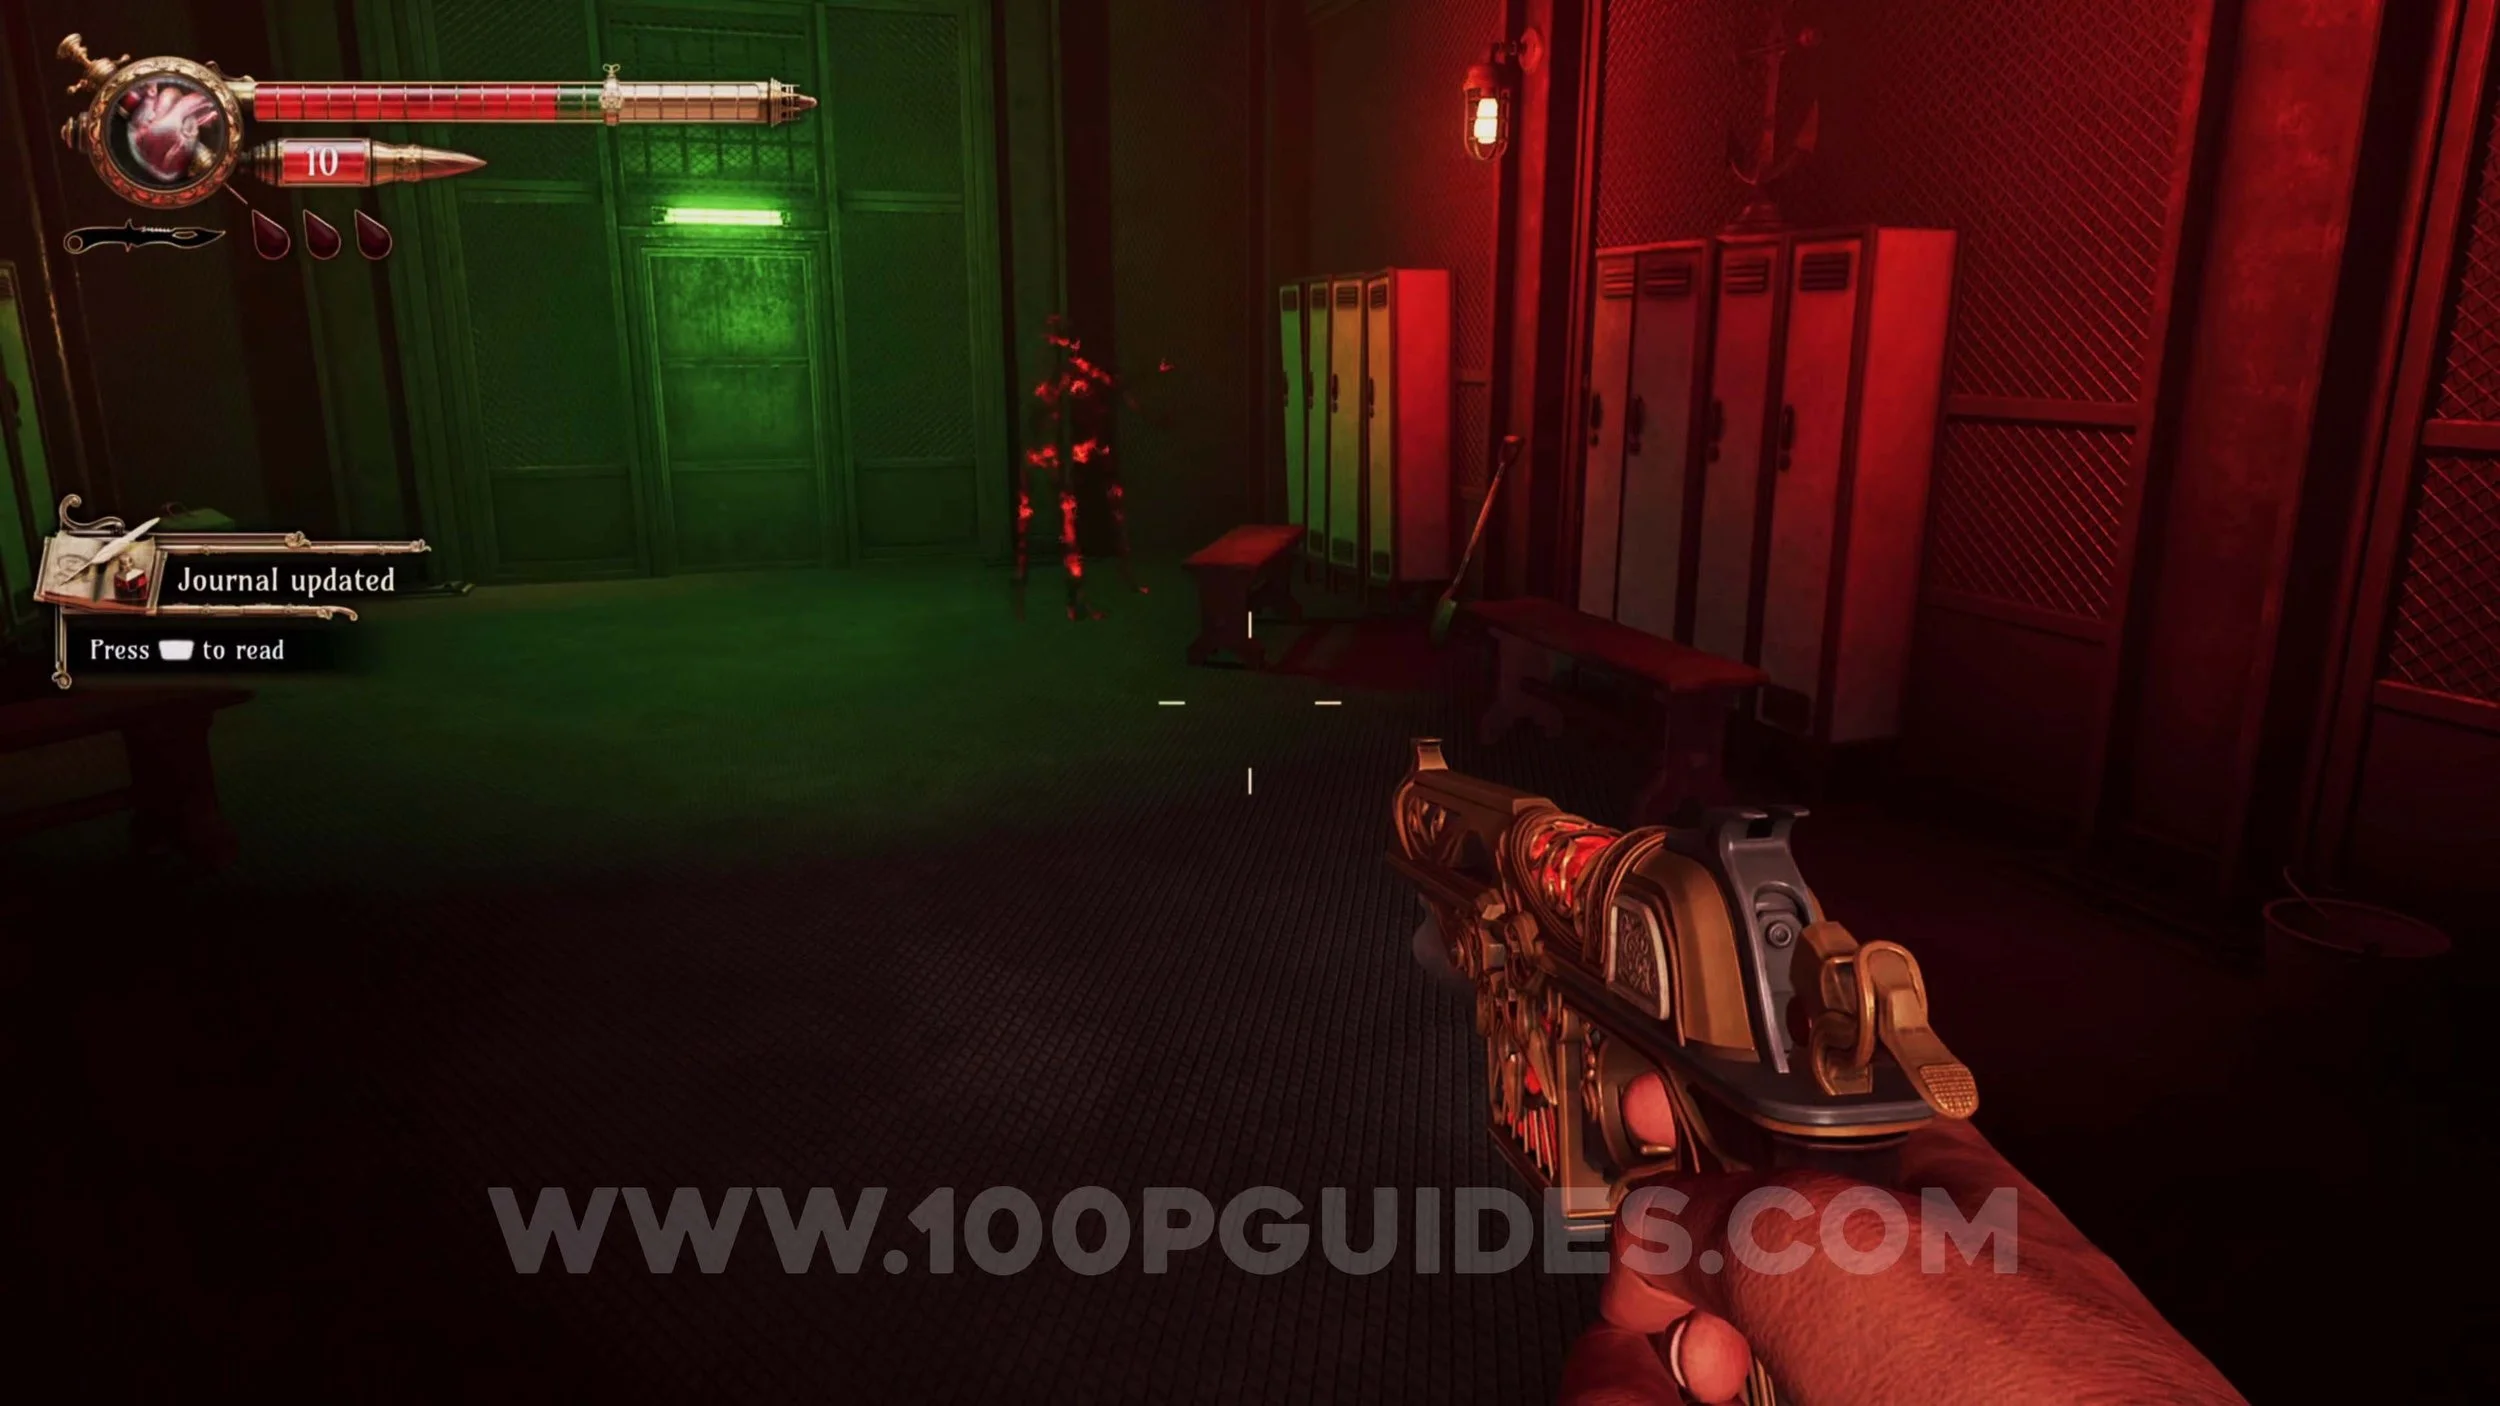
Memory #31. Story related in the outside area after going through door A.
Memory #32. Story related soon after the game introduces the new flying enemies.
Memory #33. Story related at the end of some sewers.
Ulises Idol #16. To the left of the previous Memory.
Memory #34. Story related after 2 enemies with crossbows after emerging from the sewers.
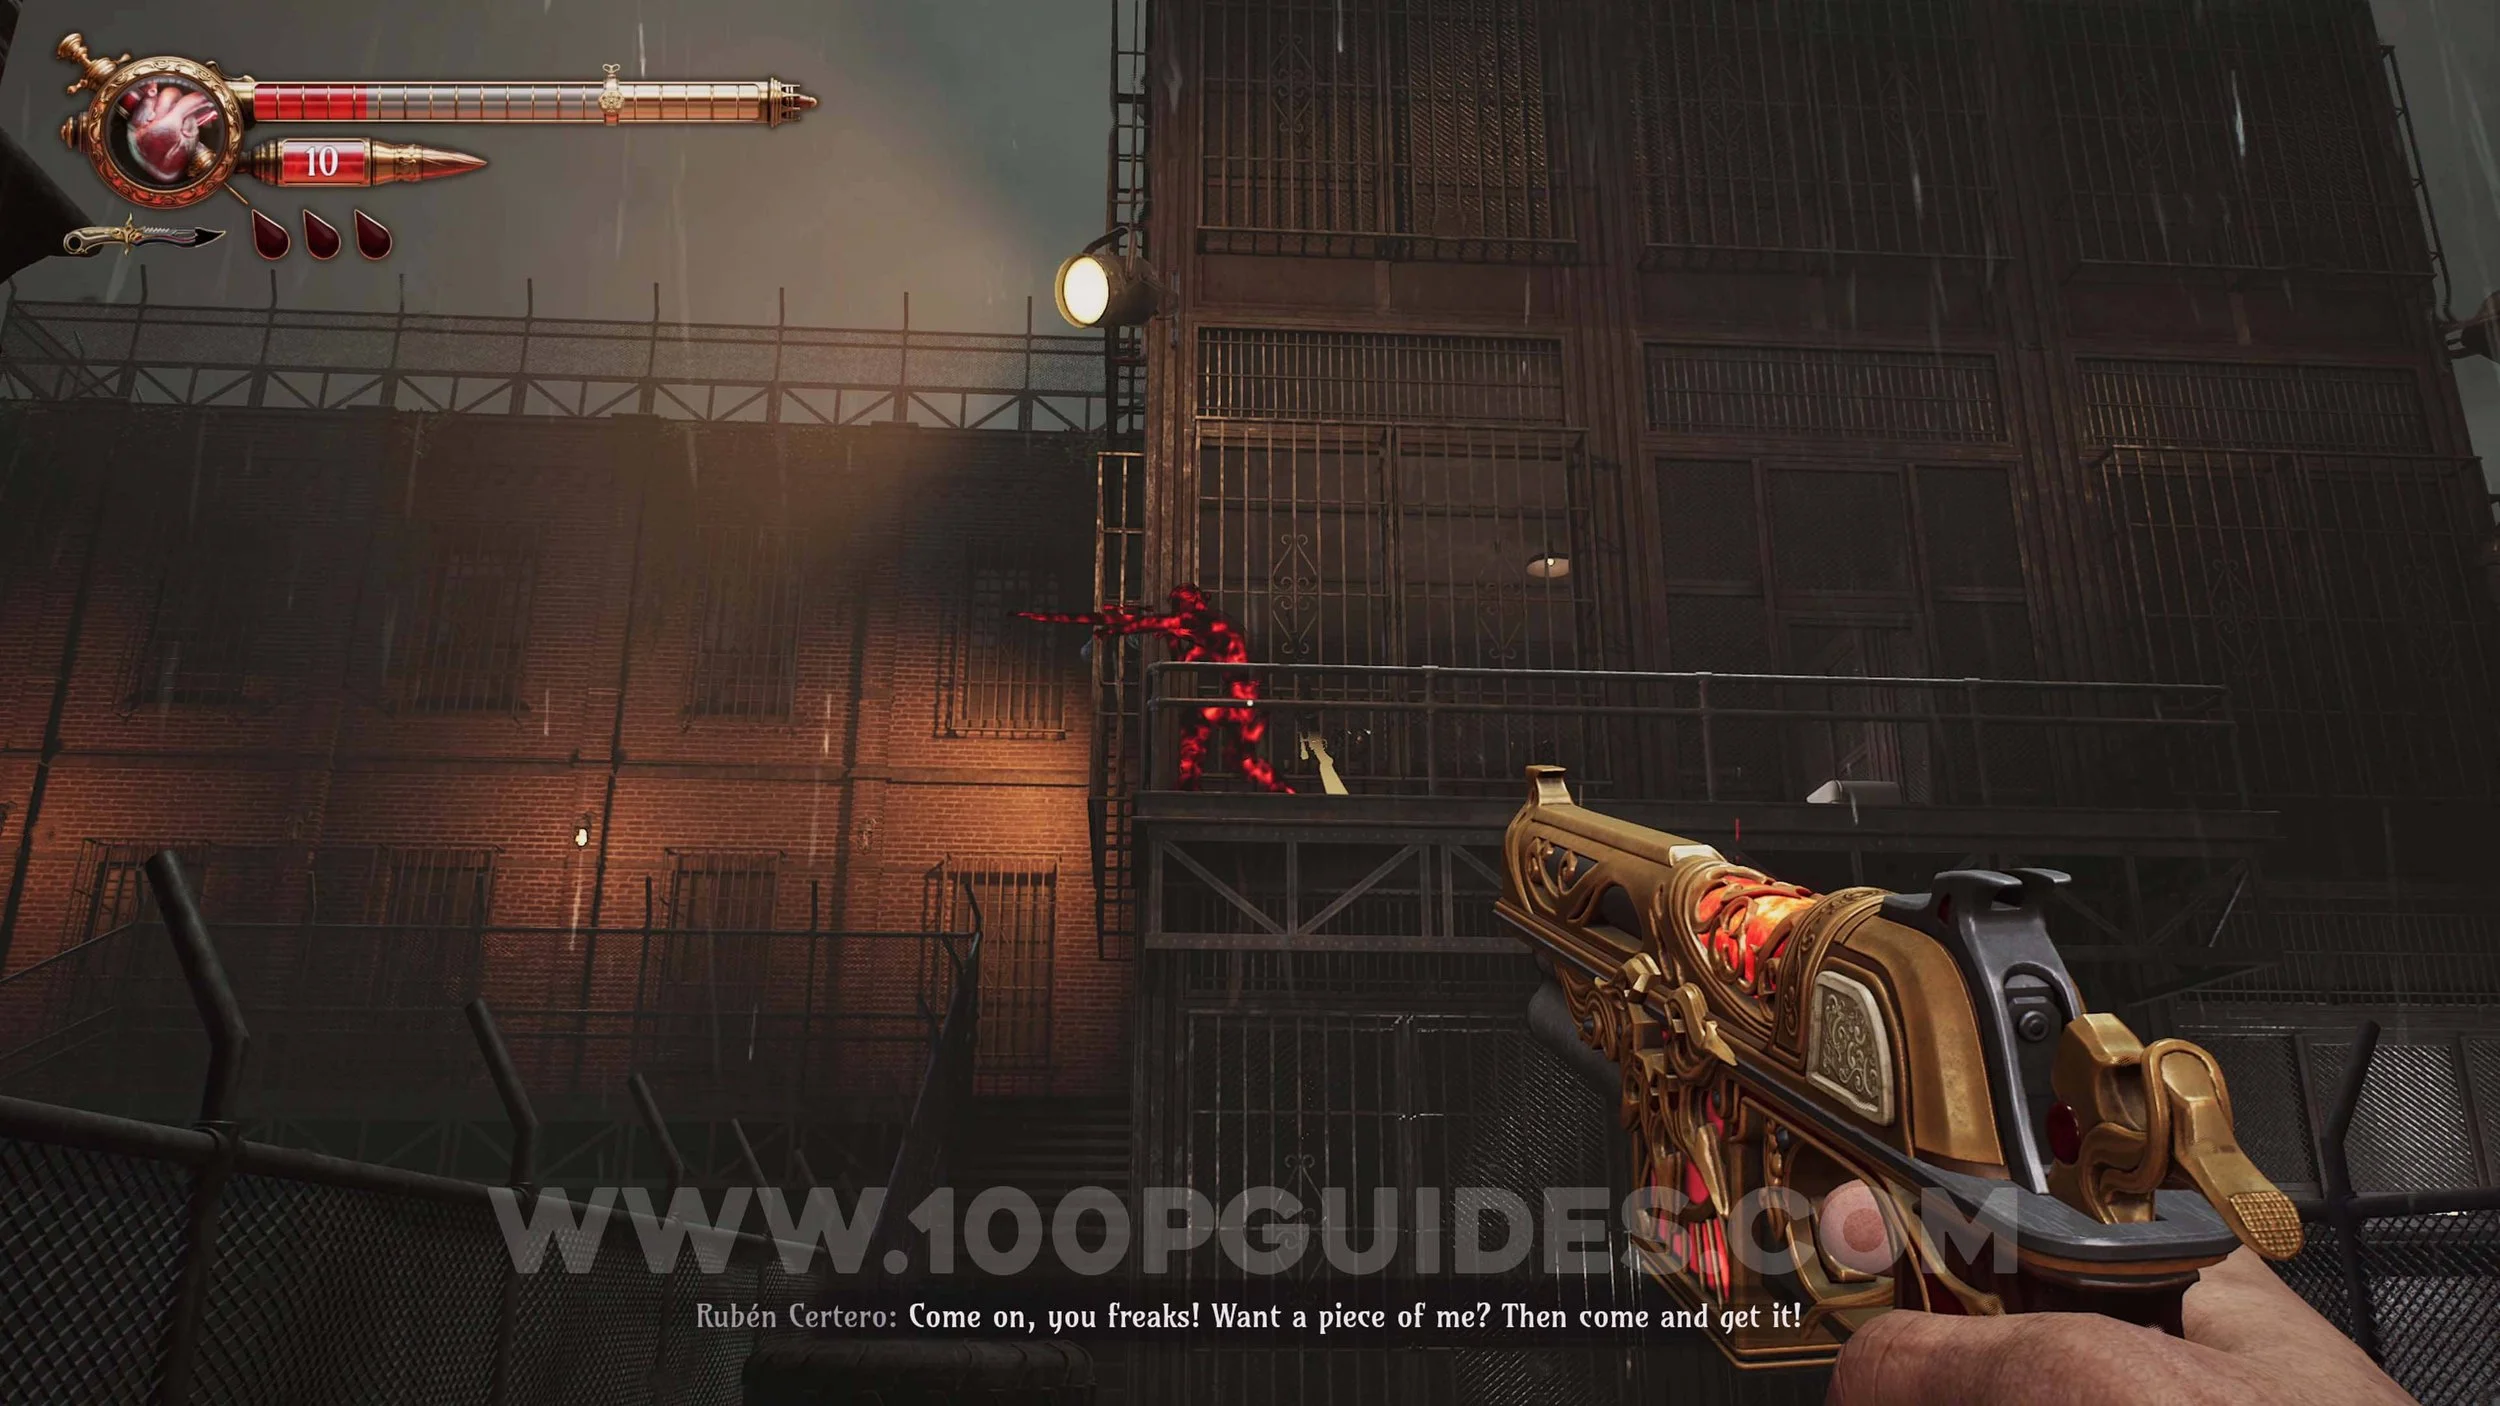
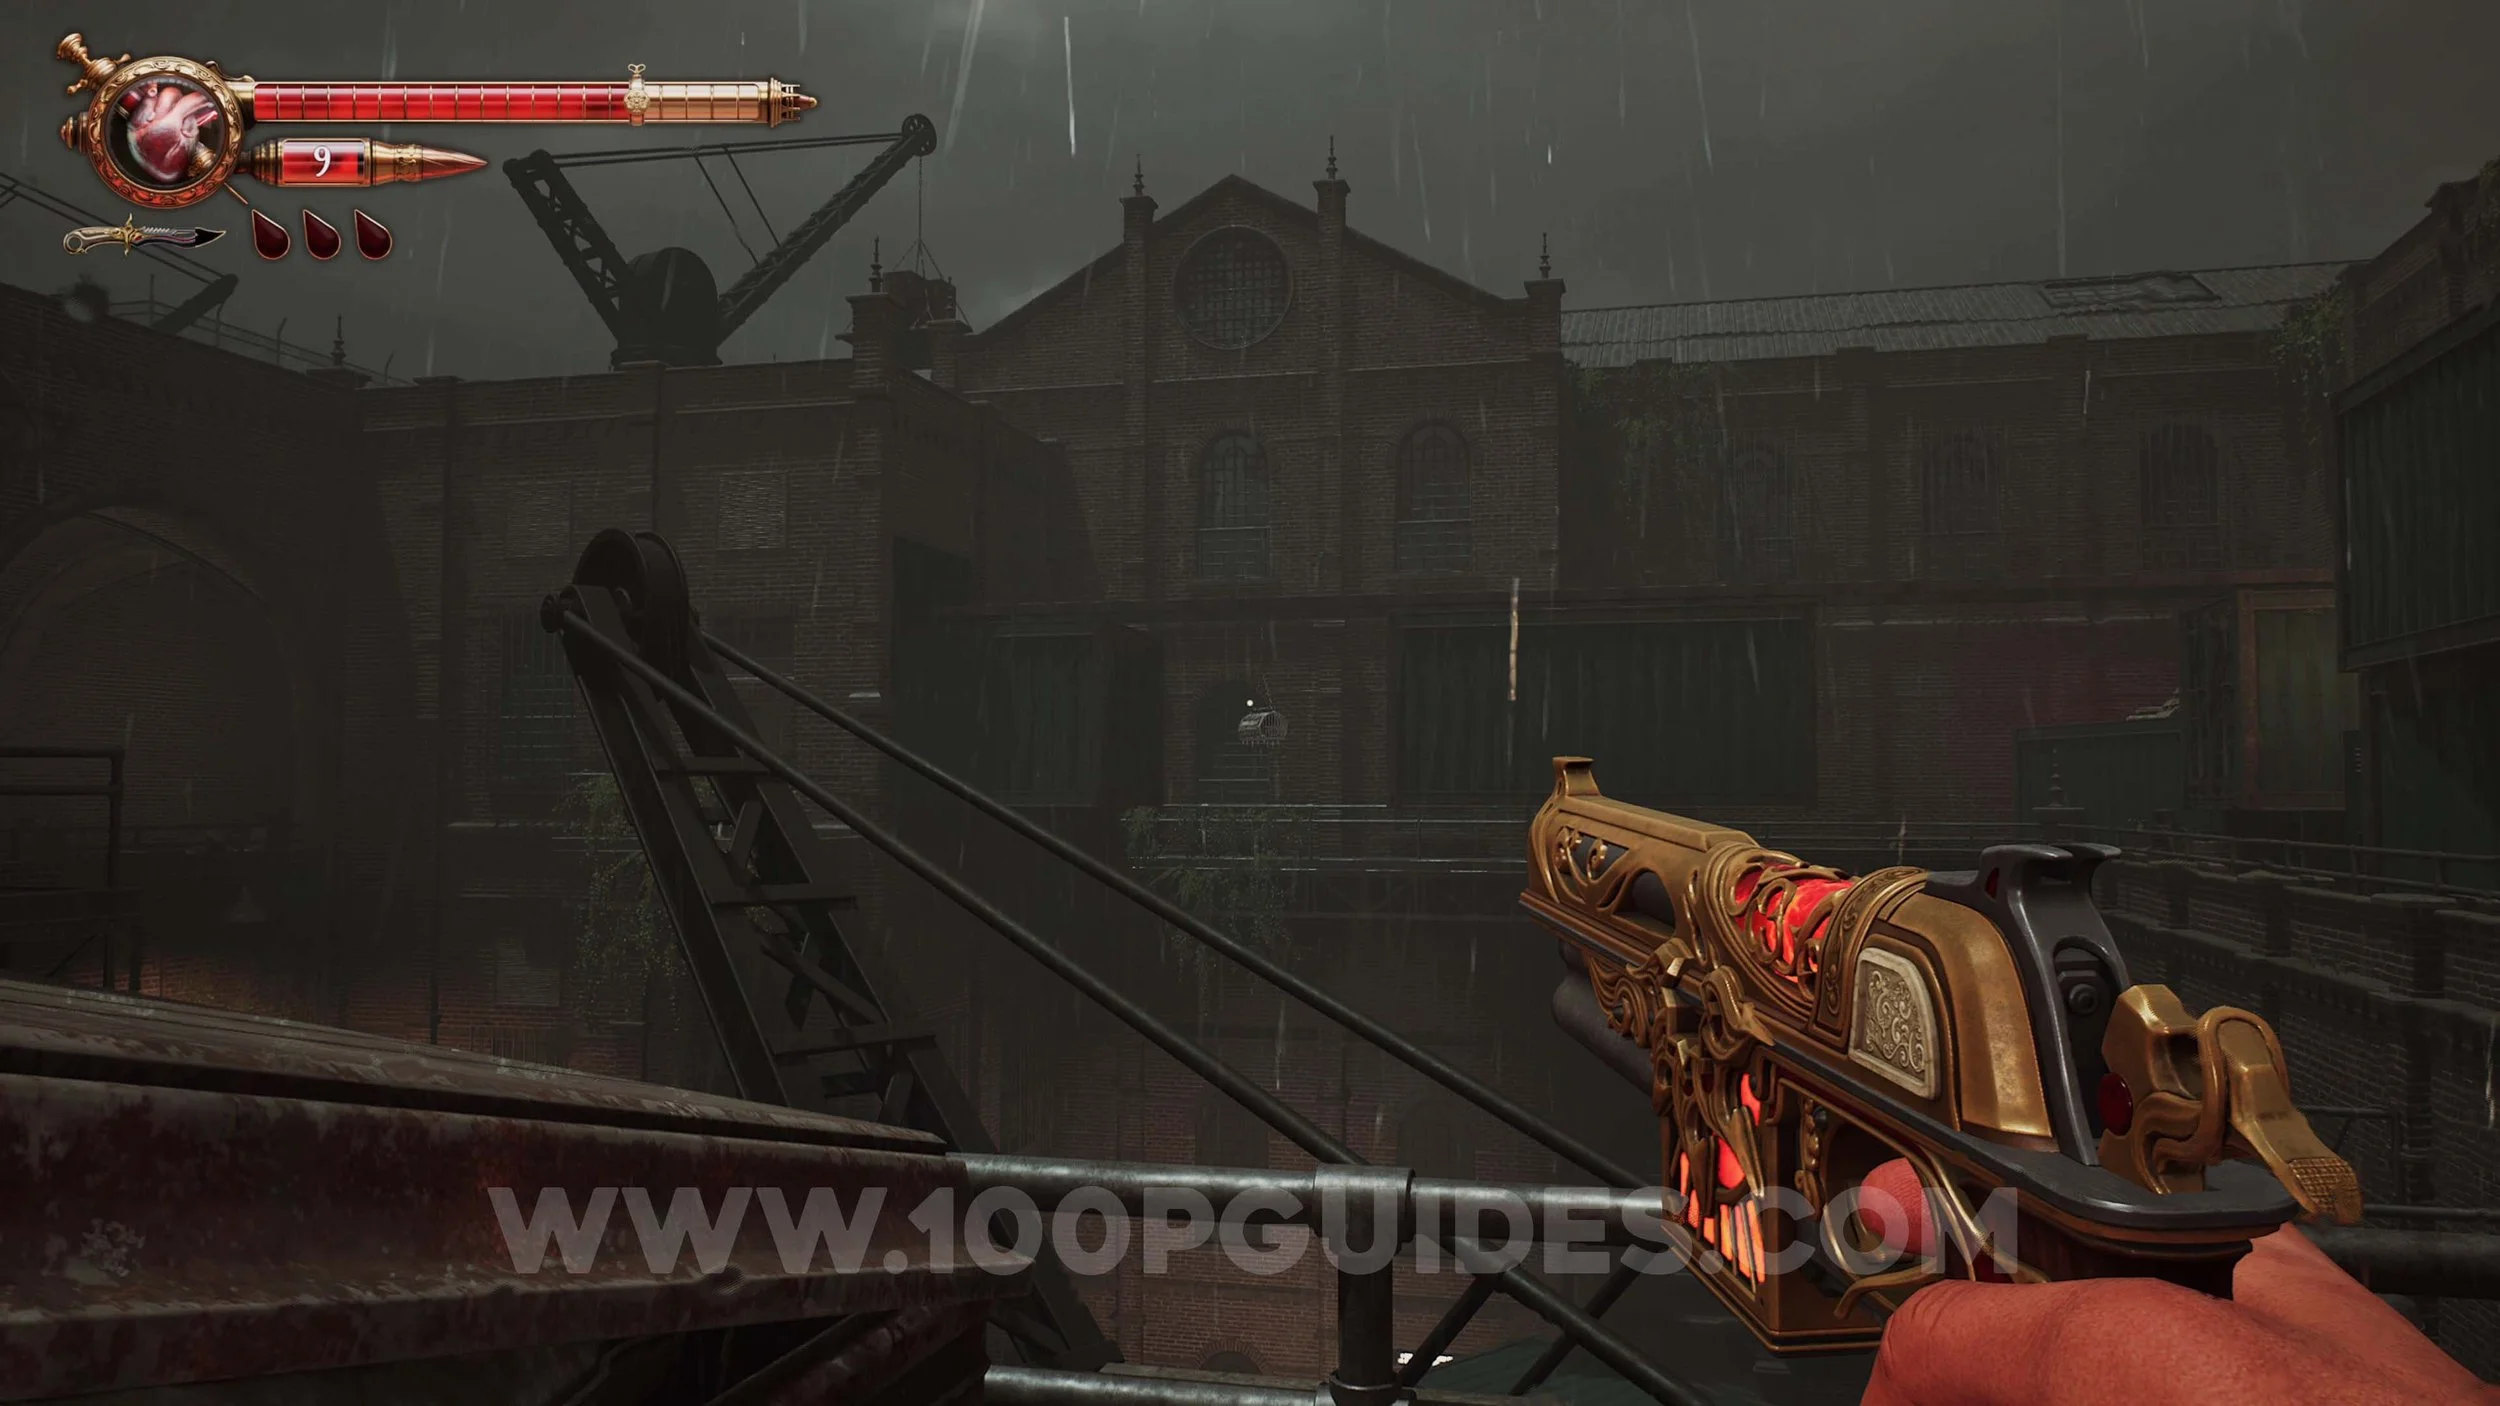
Weapon #4 - Sniper. On the same balcony as the red phantom from the previous memory. You can get there by going up the stairs in front of you and then going through the building on your right.
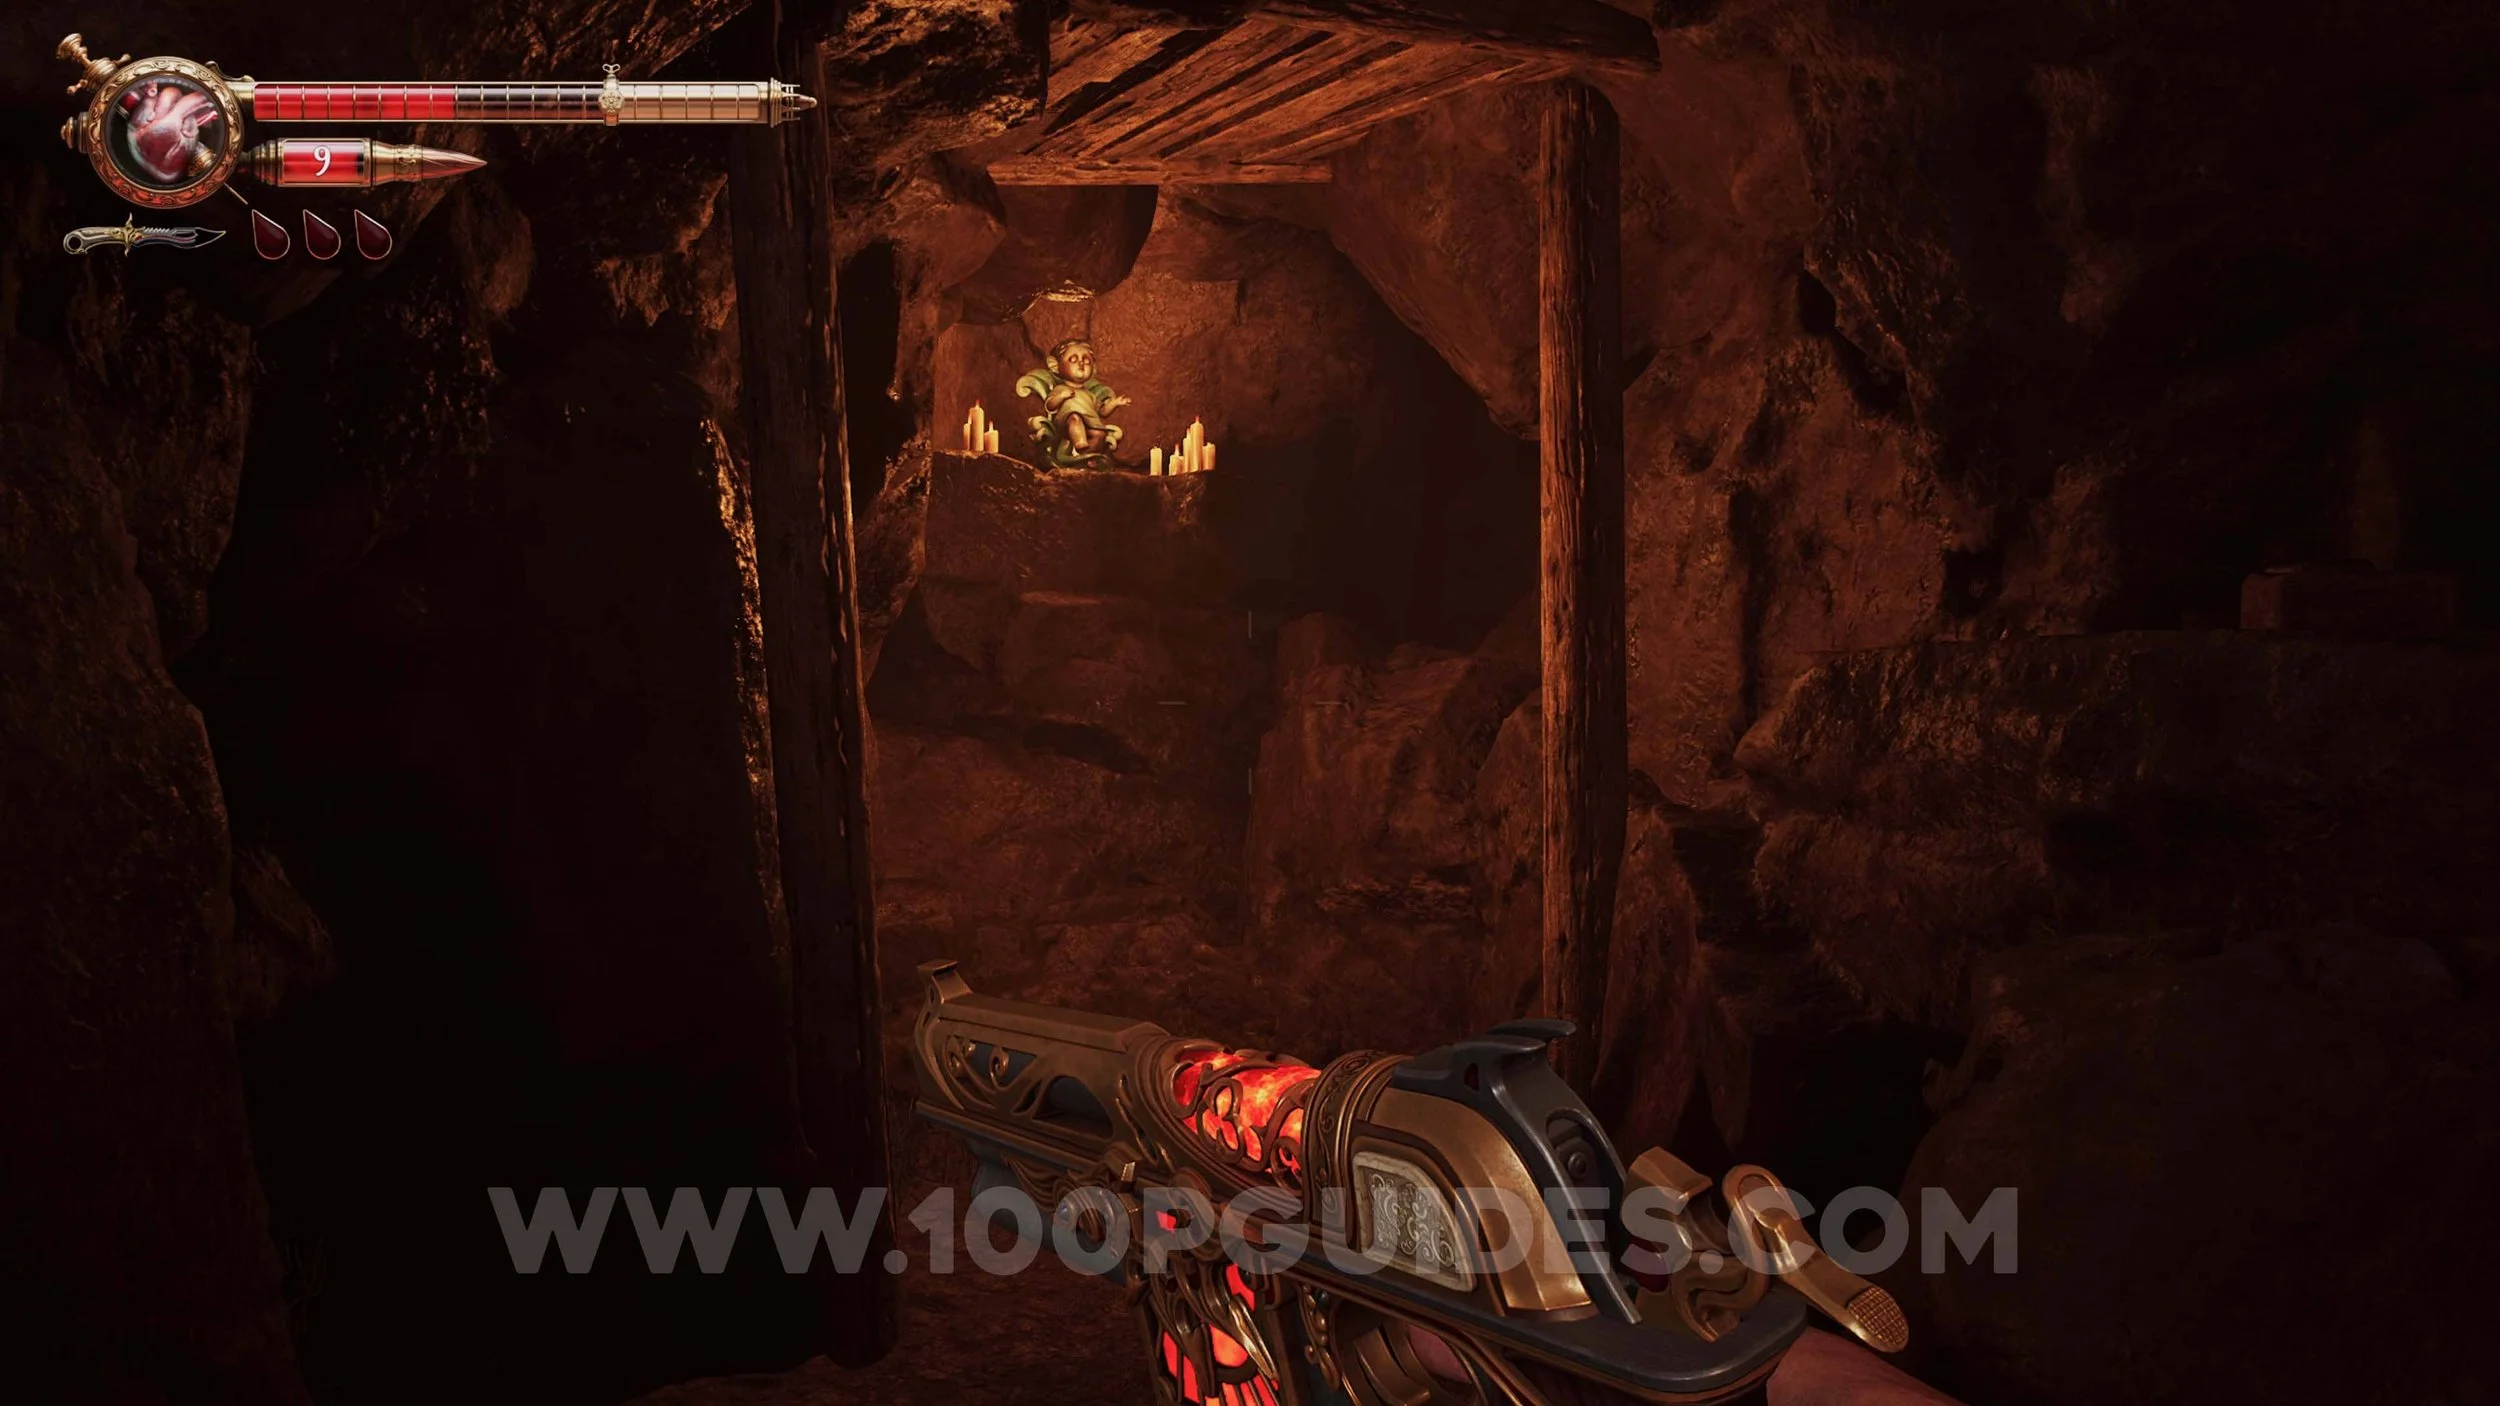
Ulises Idol #17. Straight in front of you when you pick up the sniper.
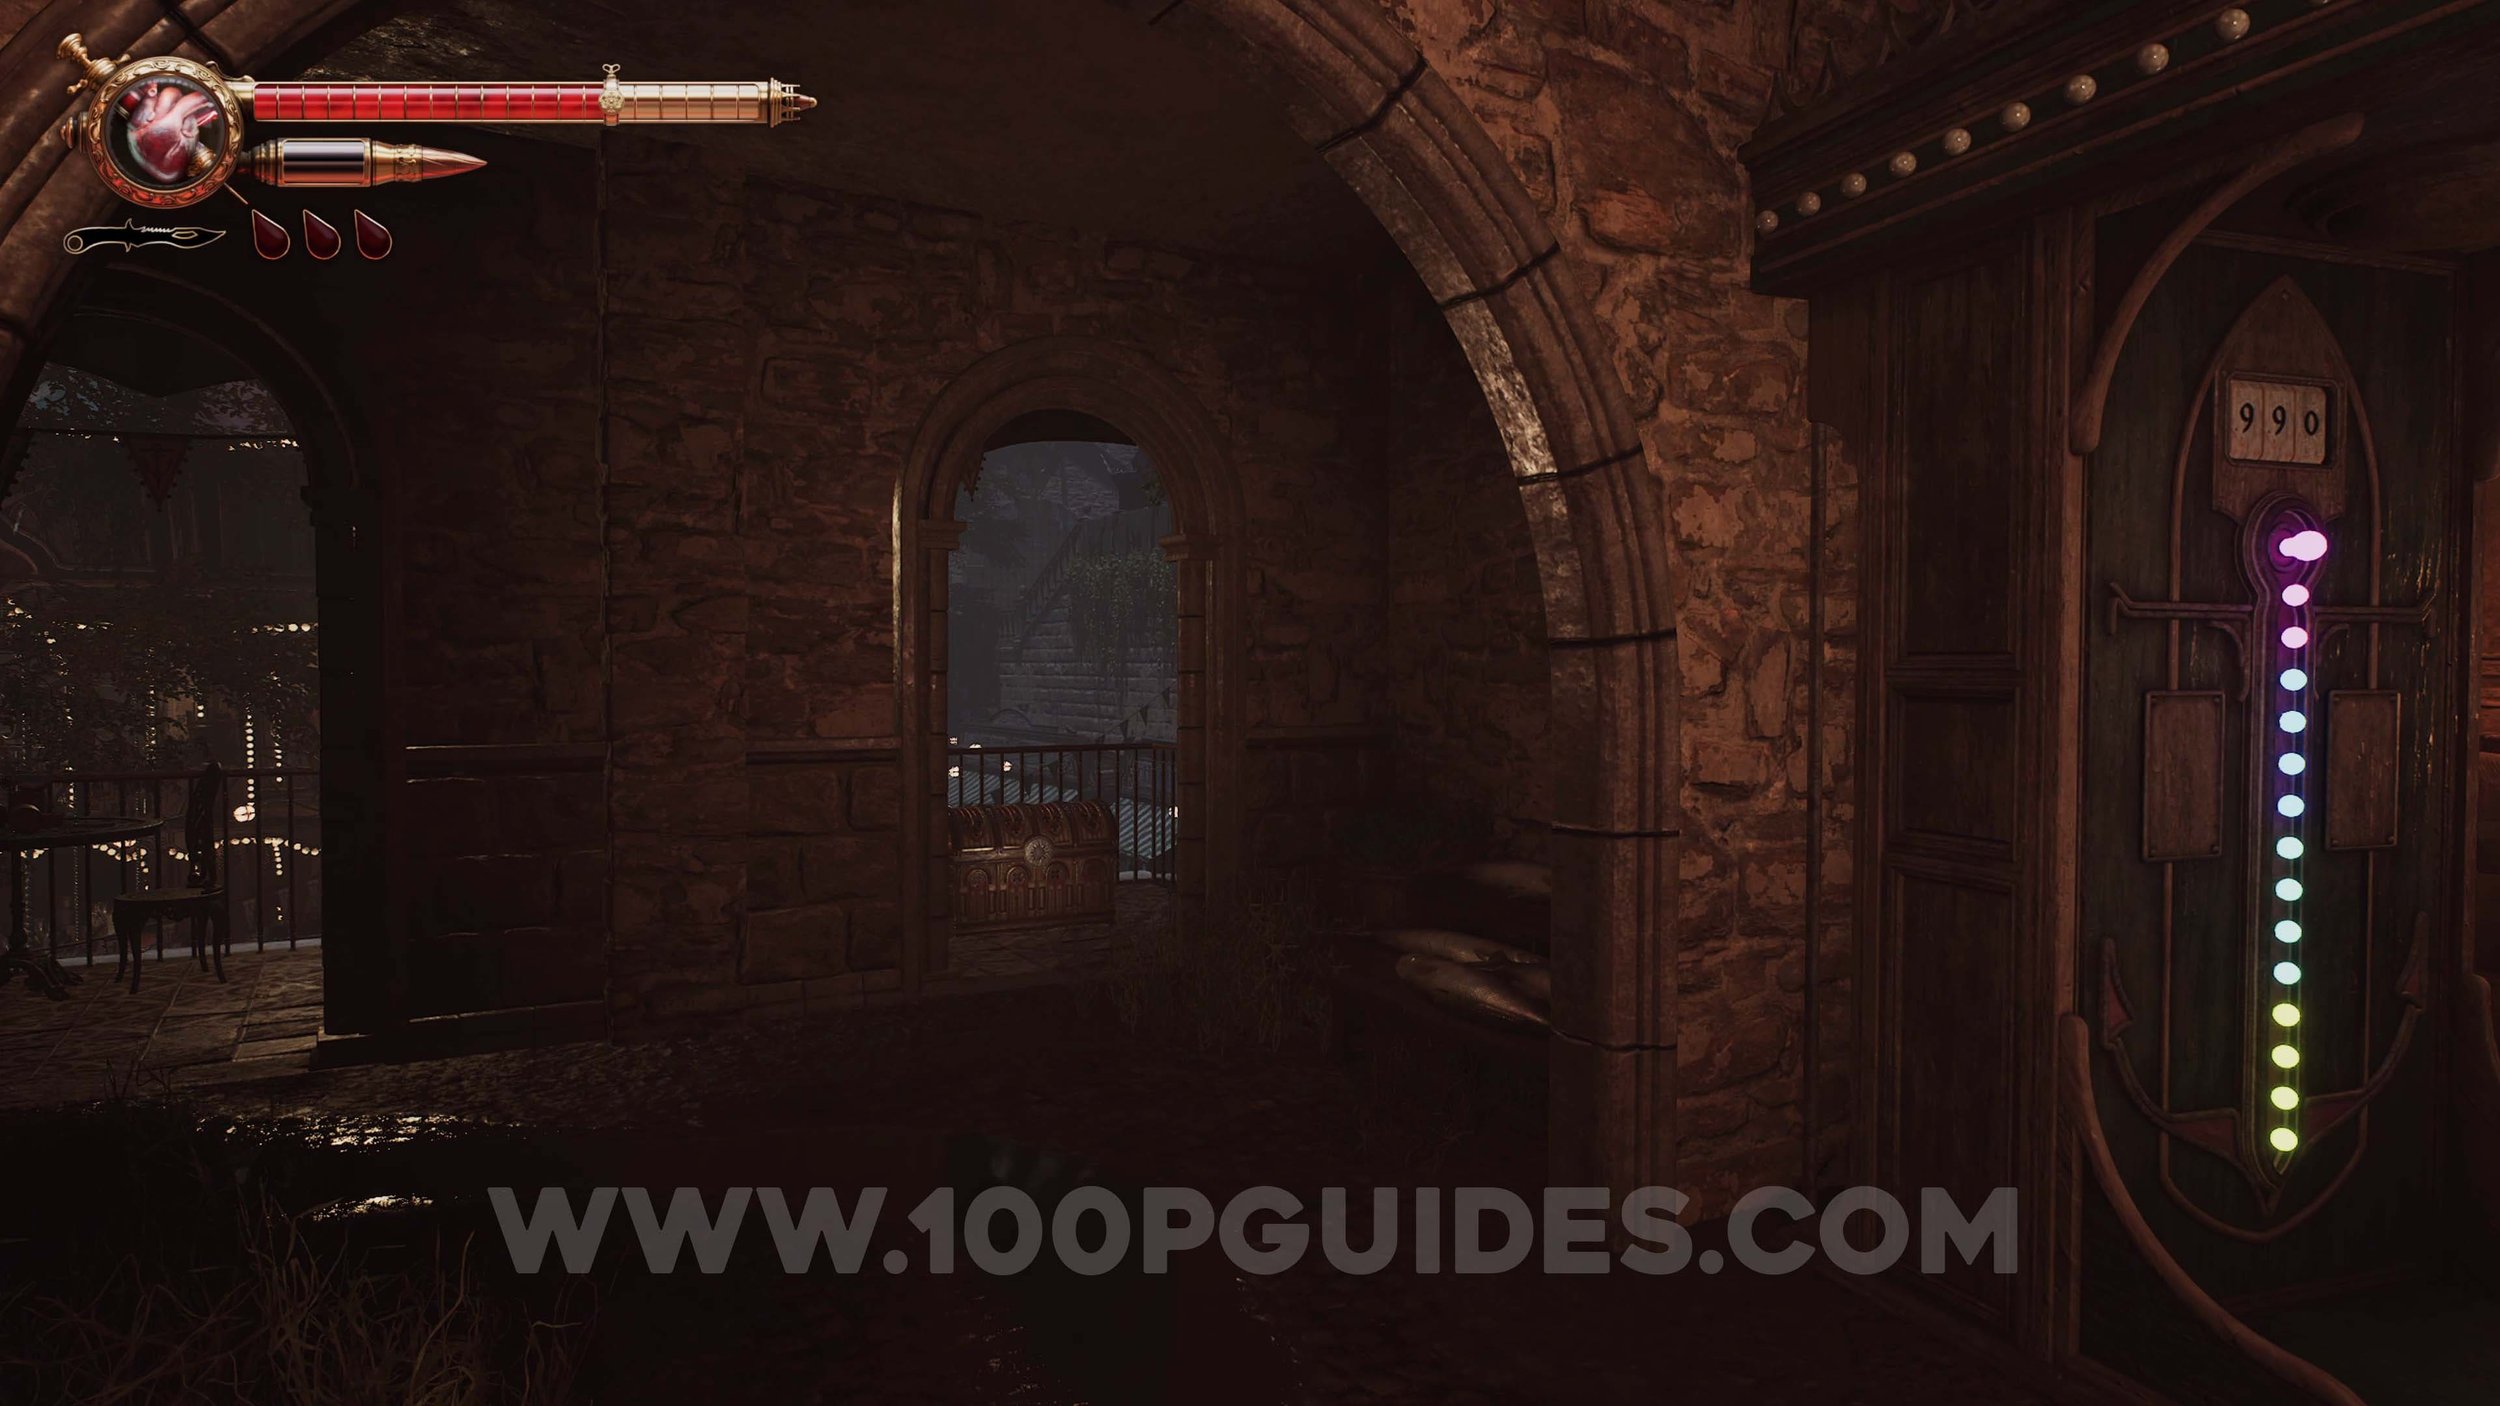
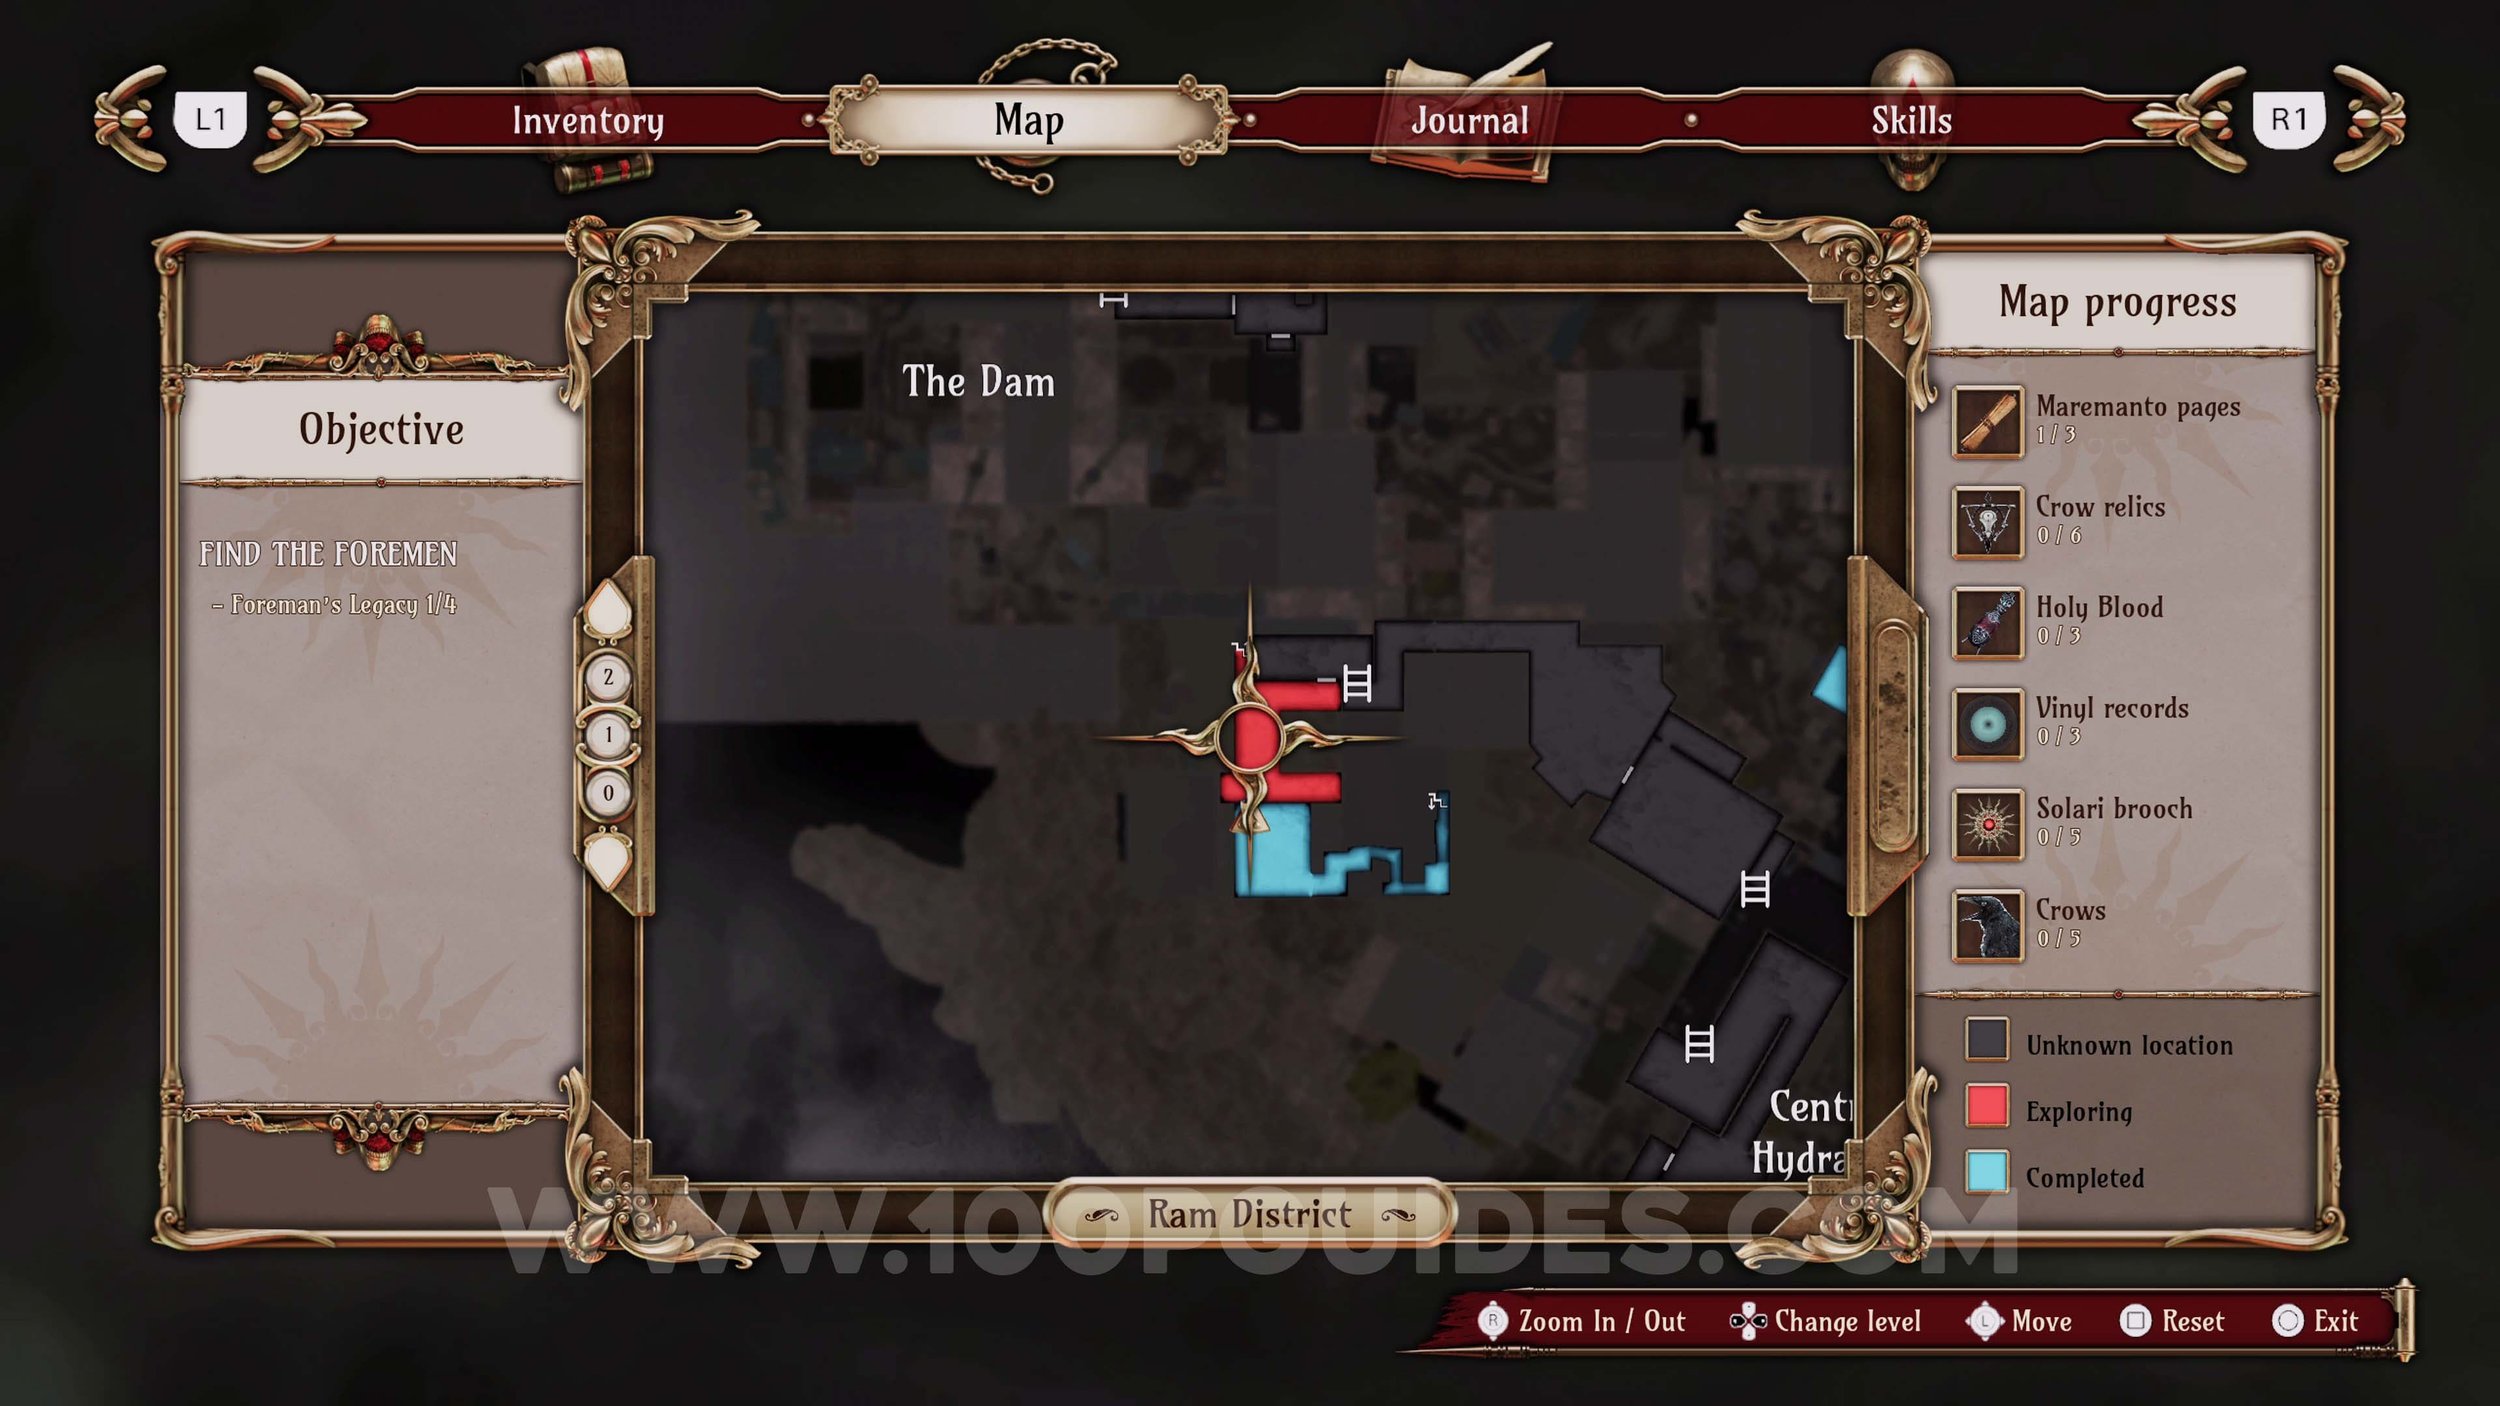
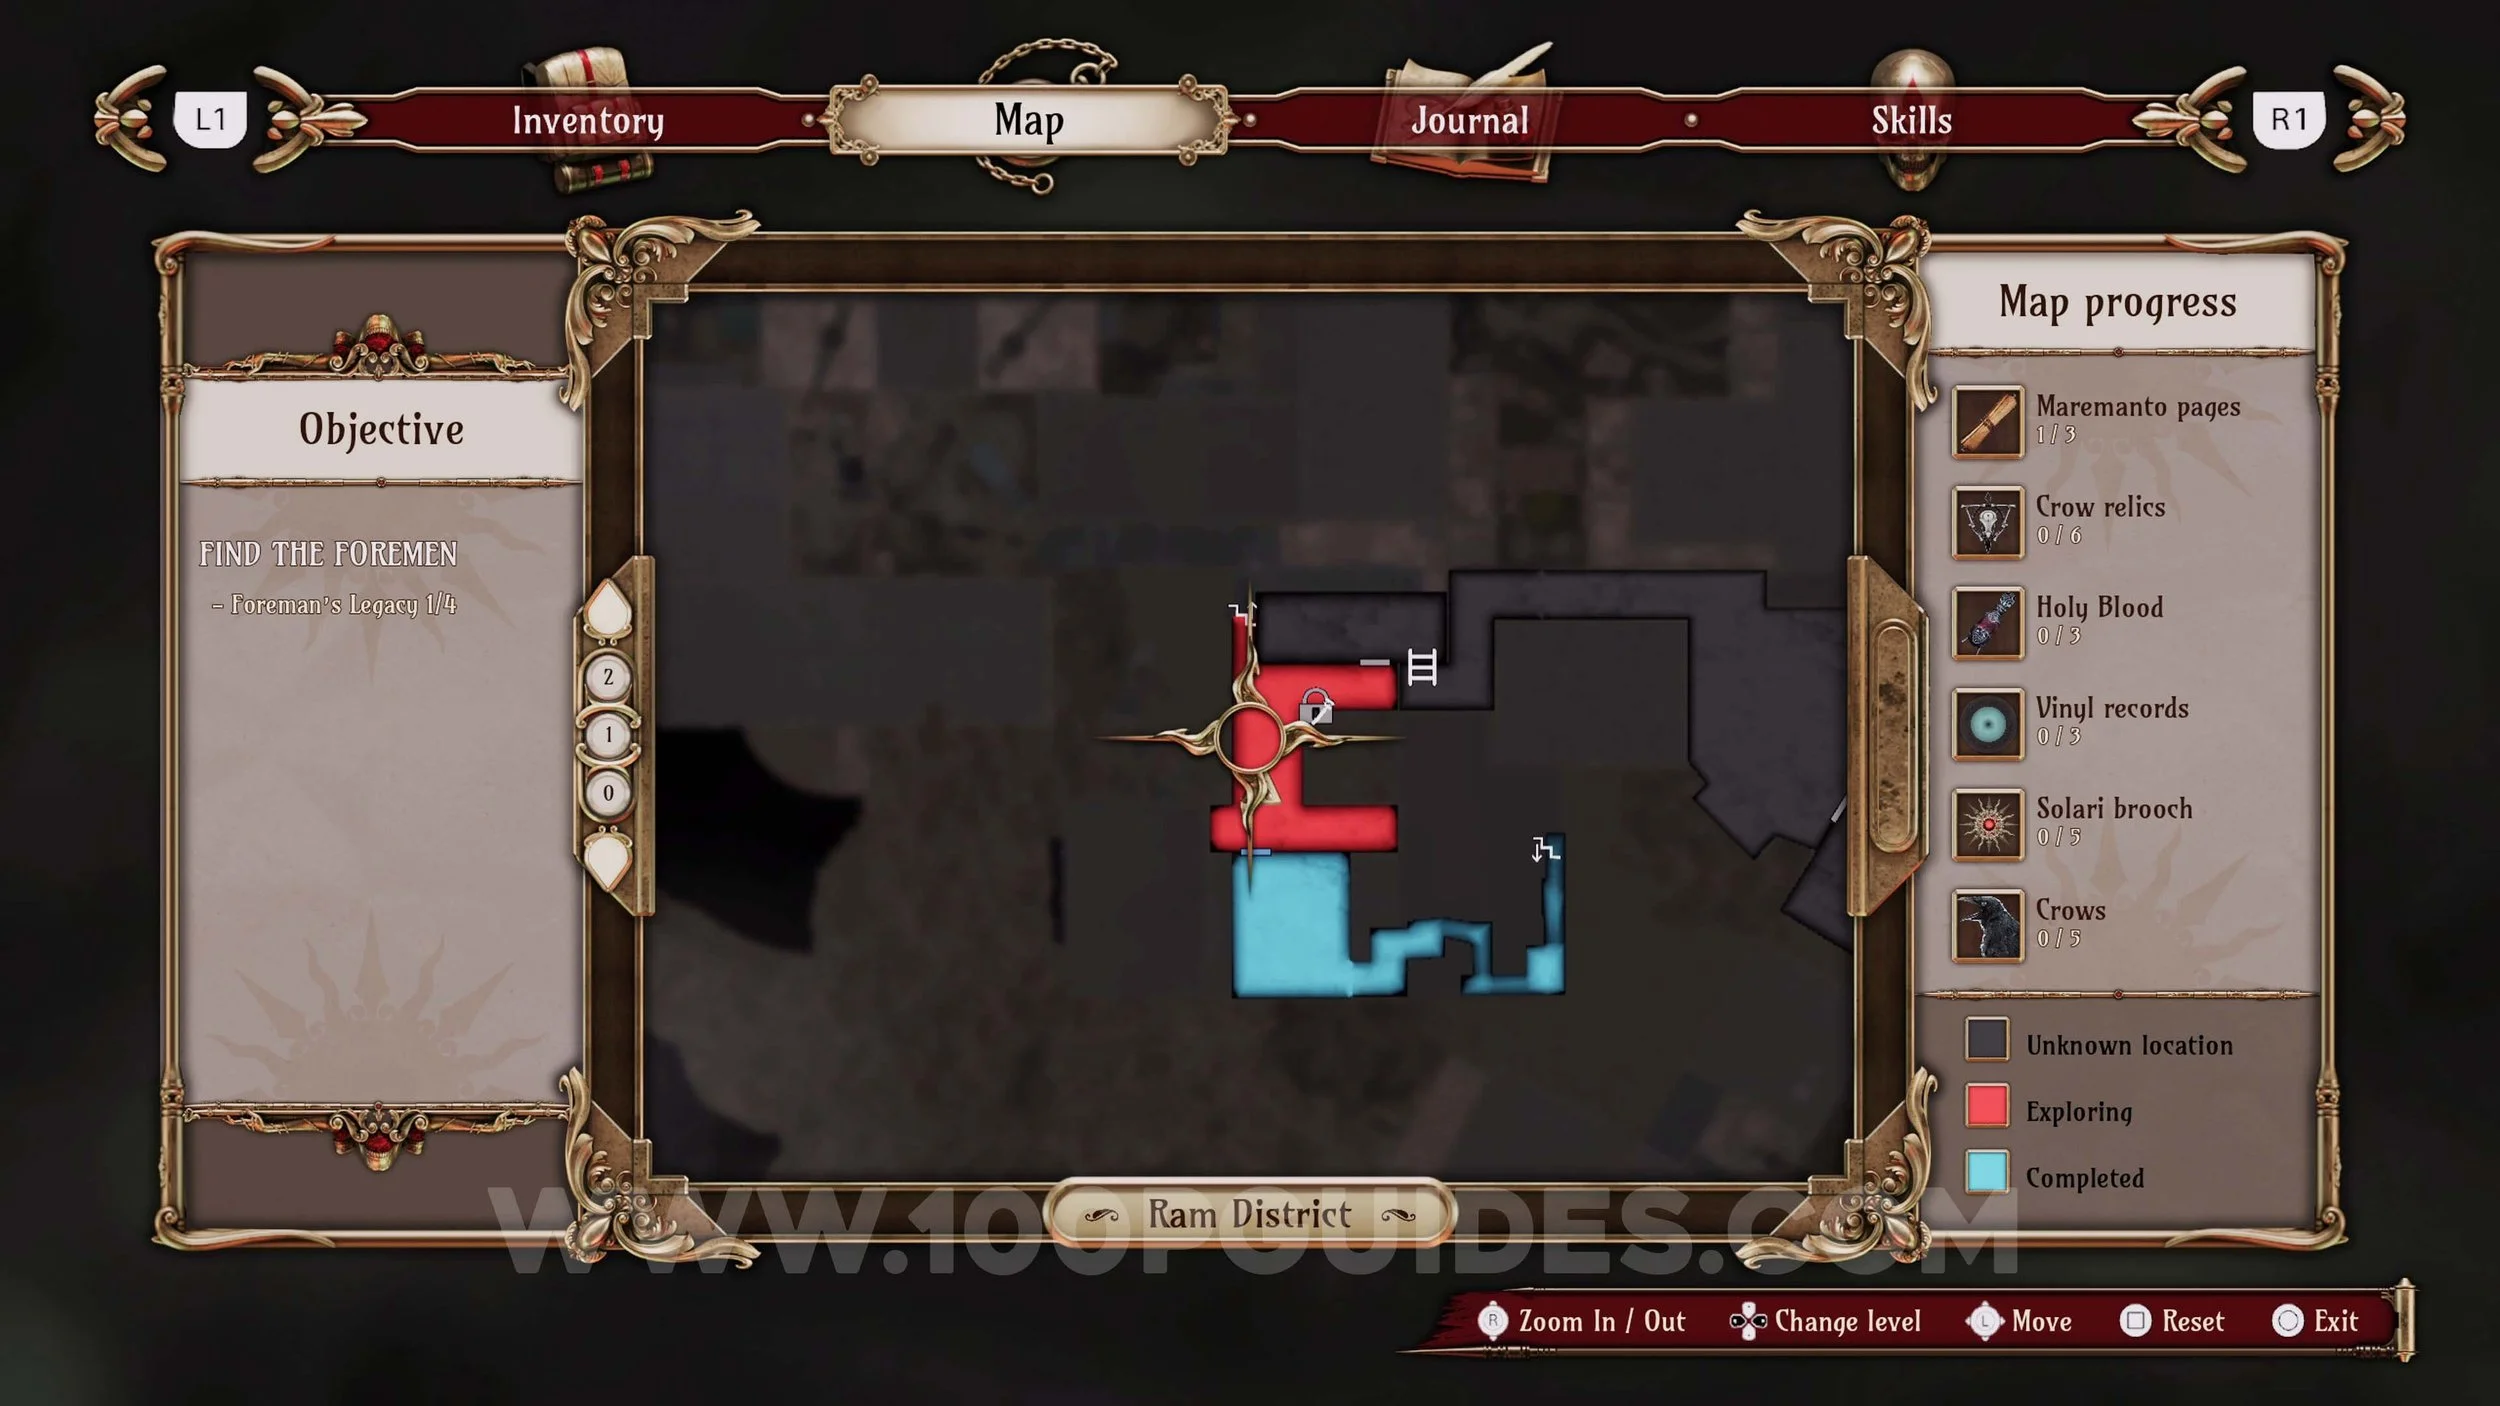
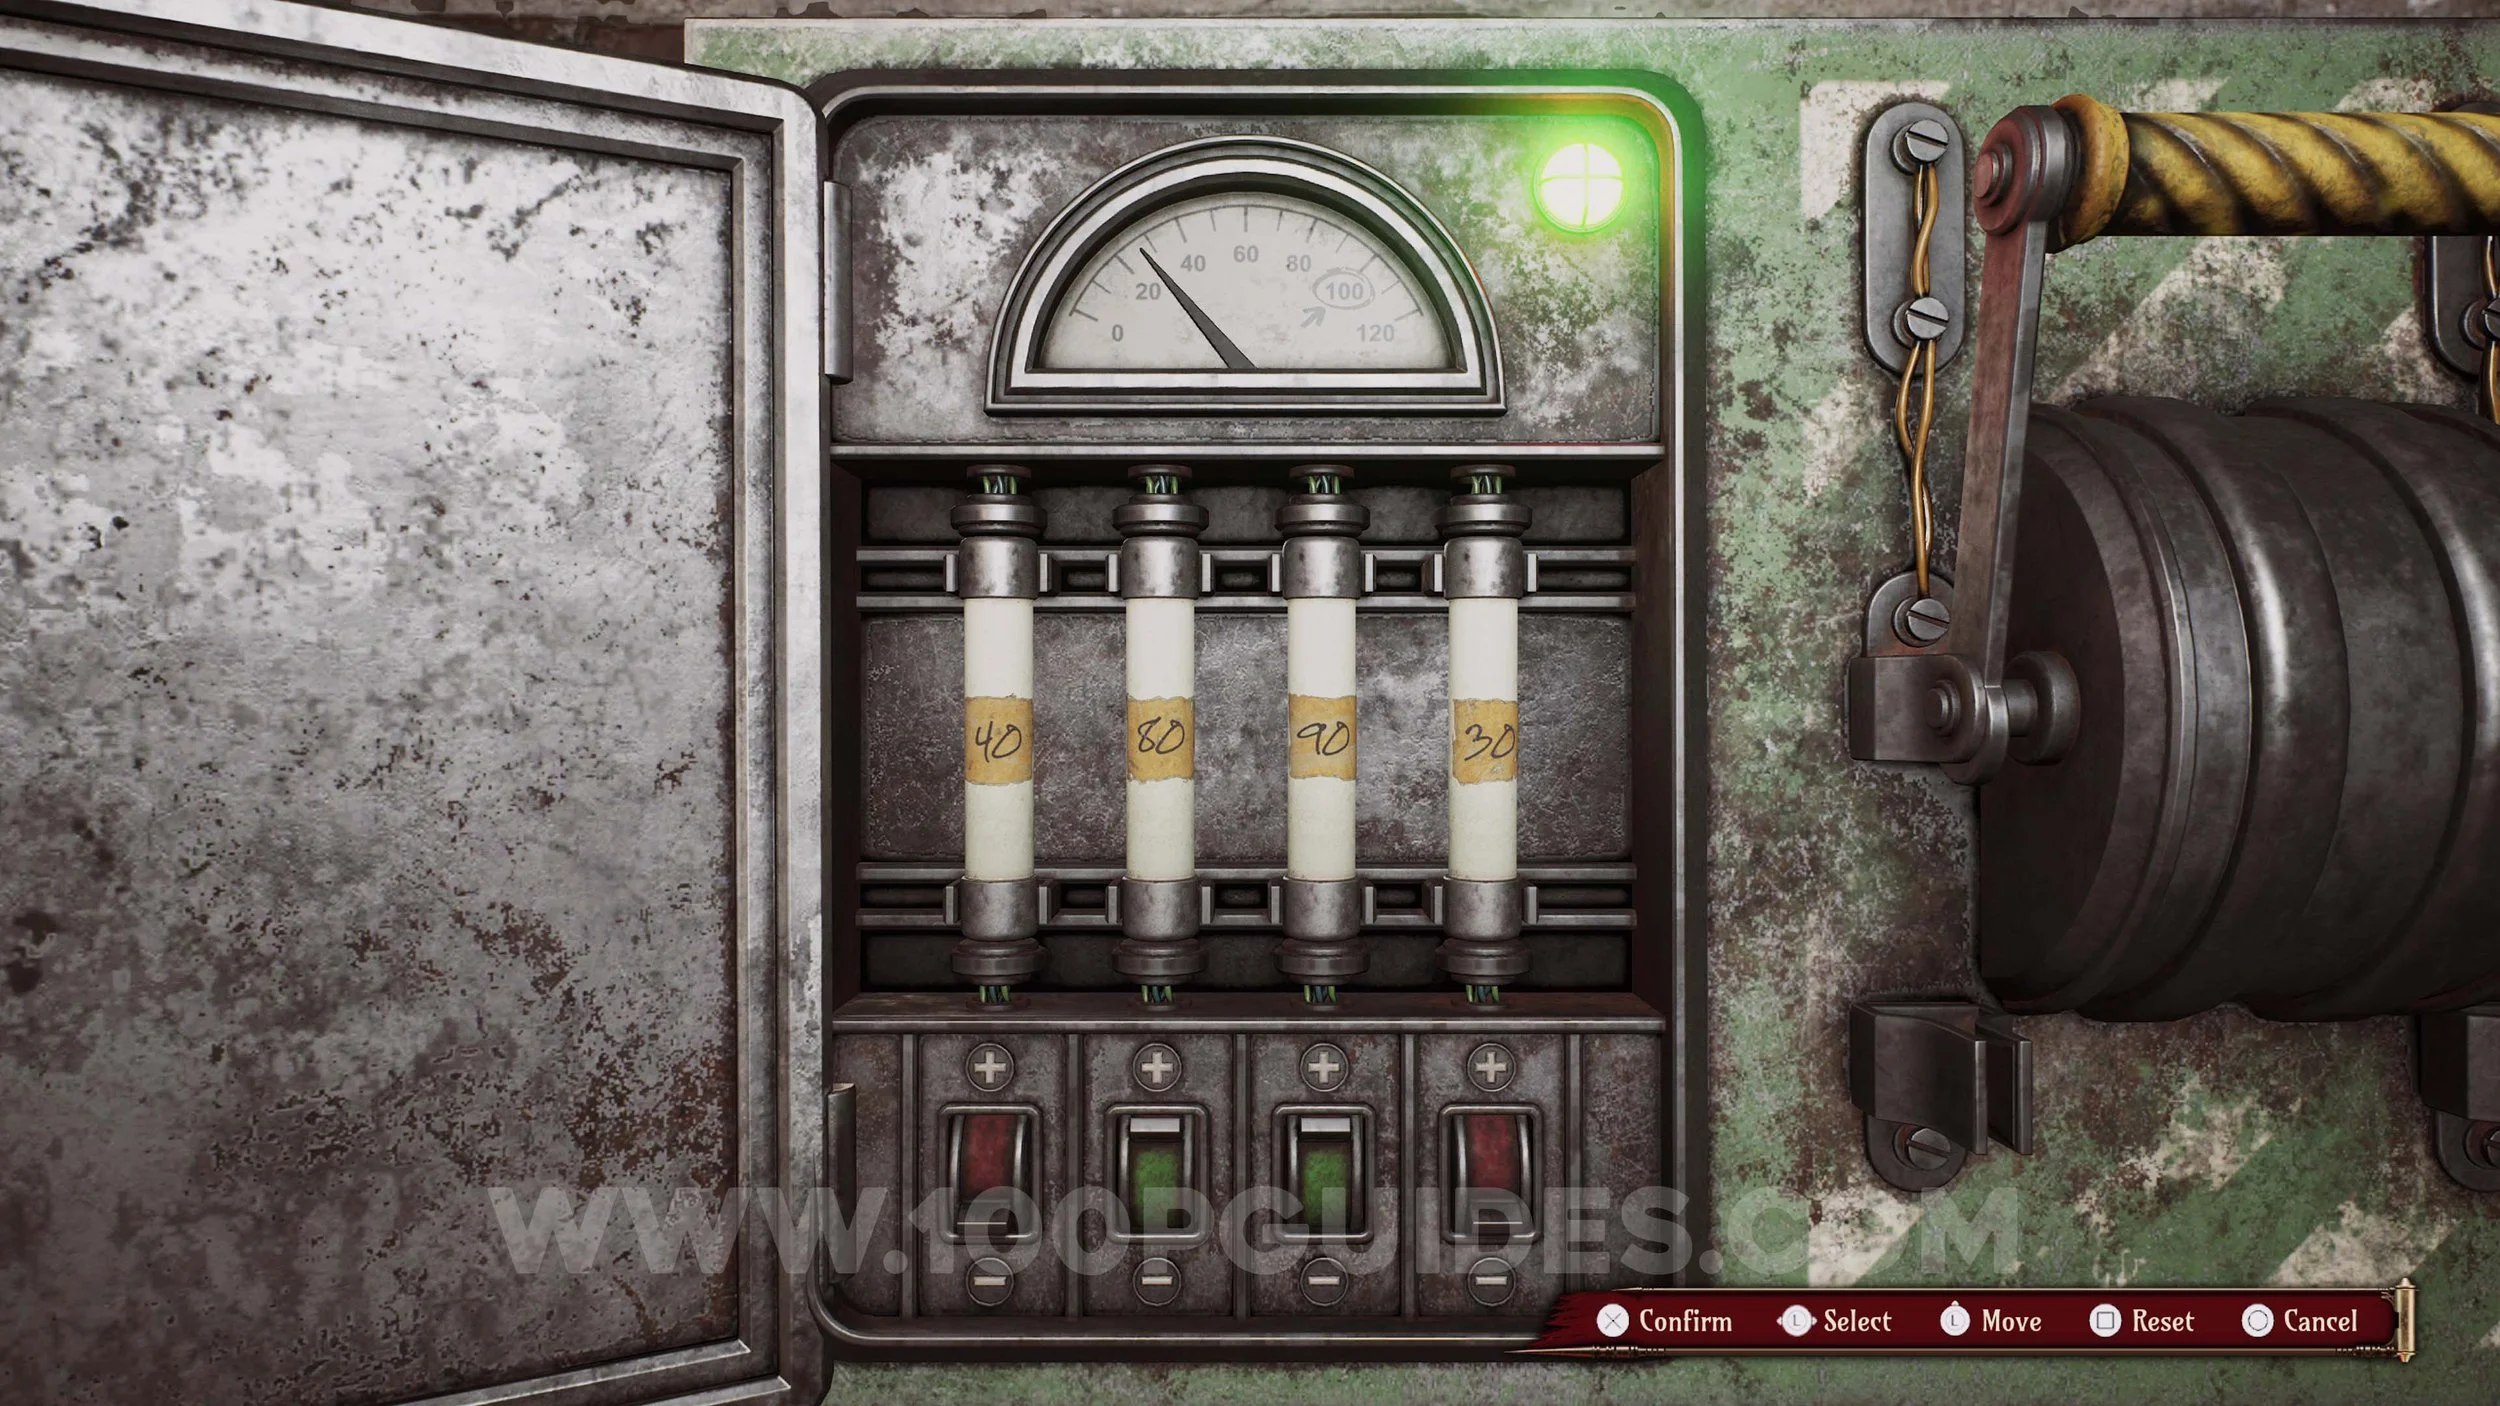
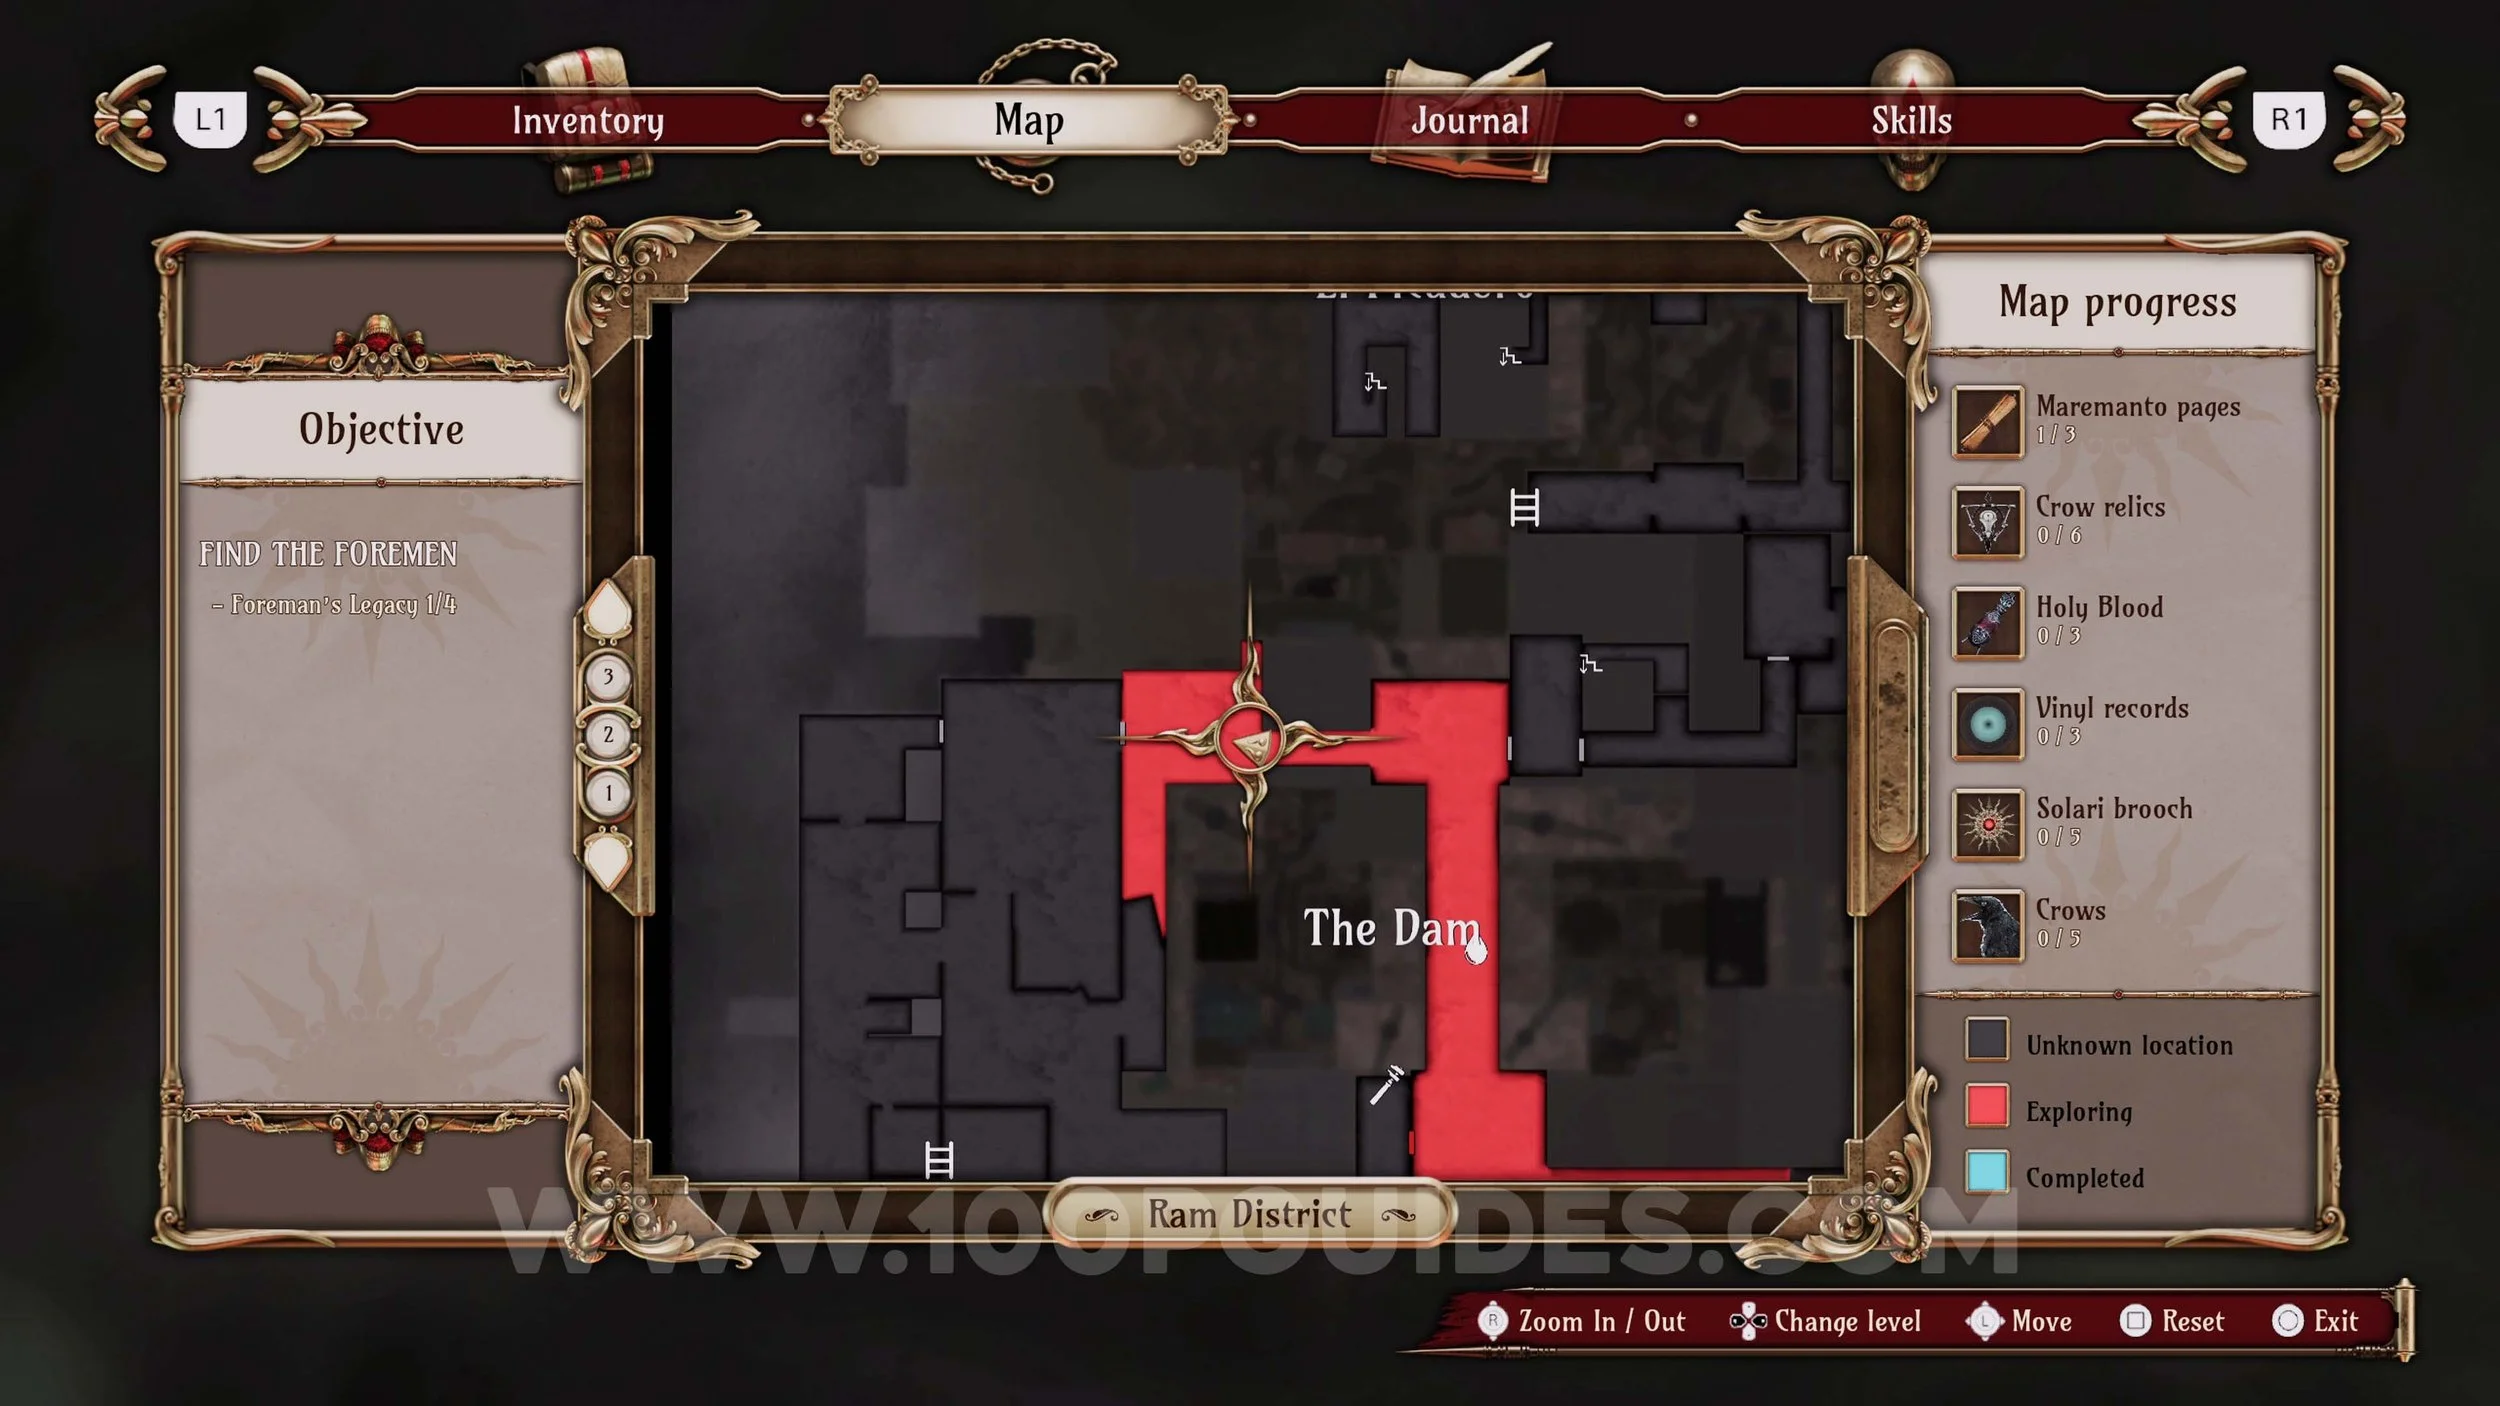
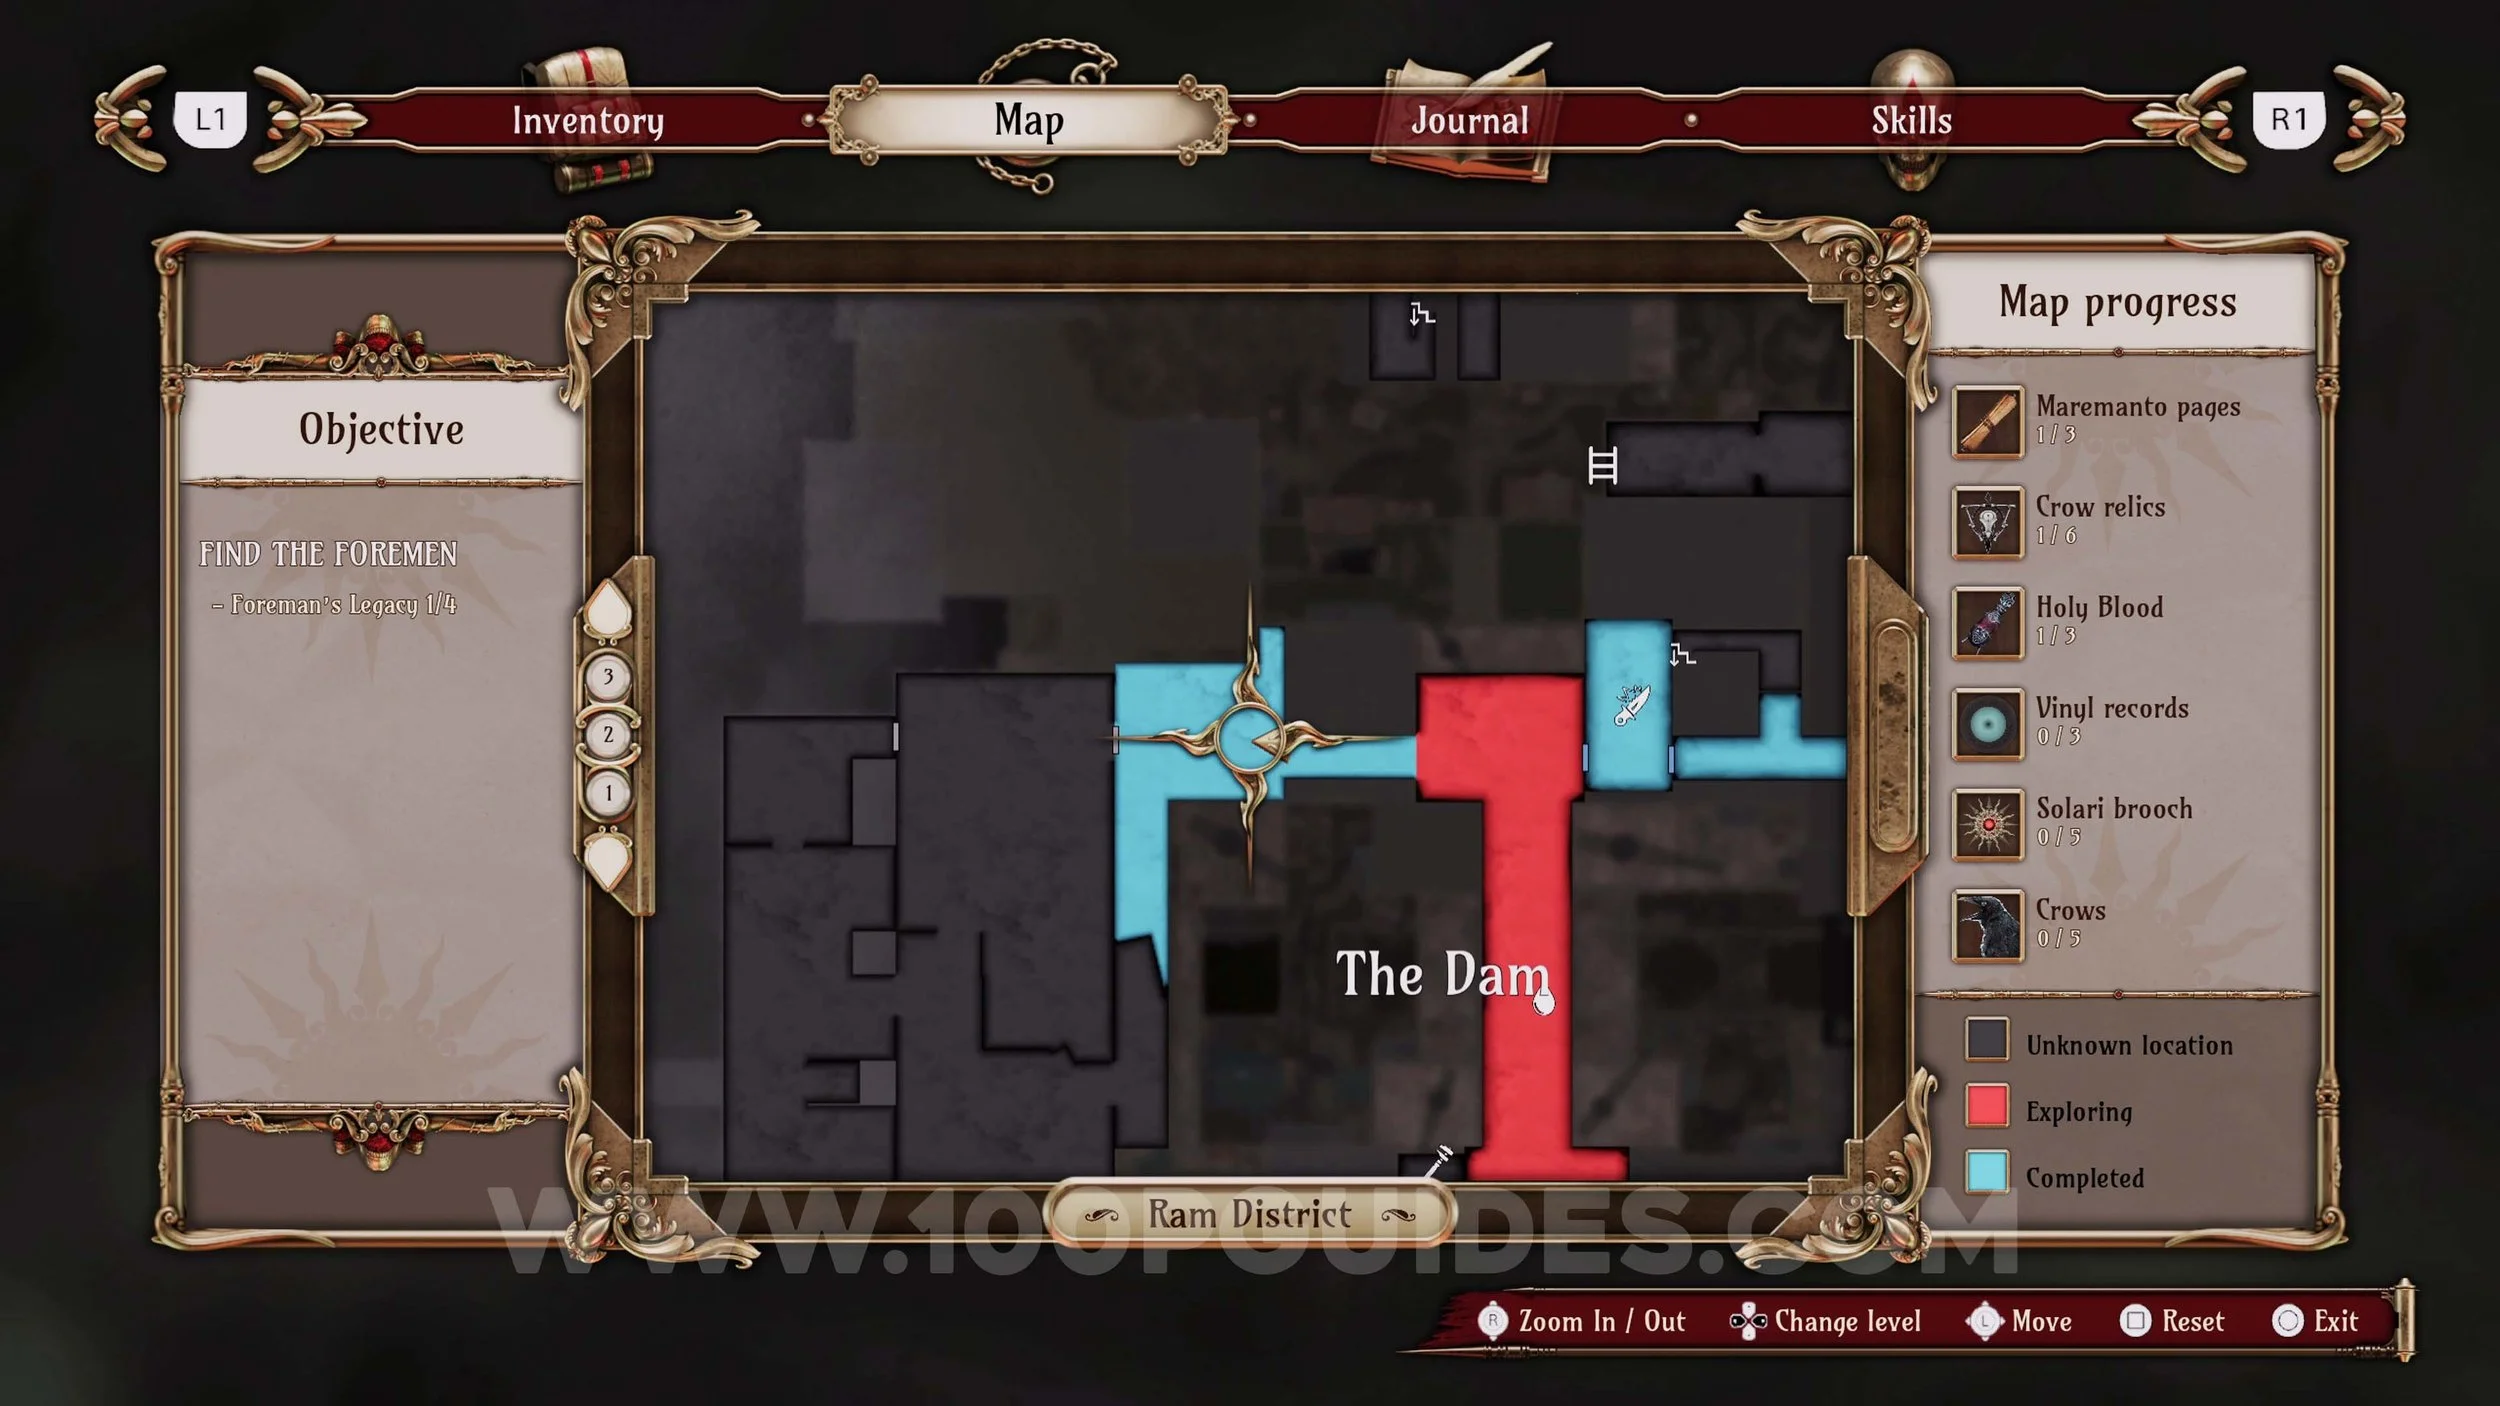
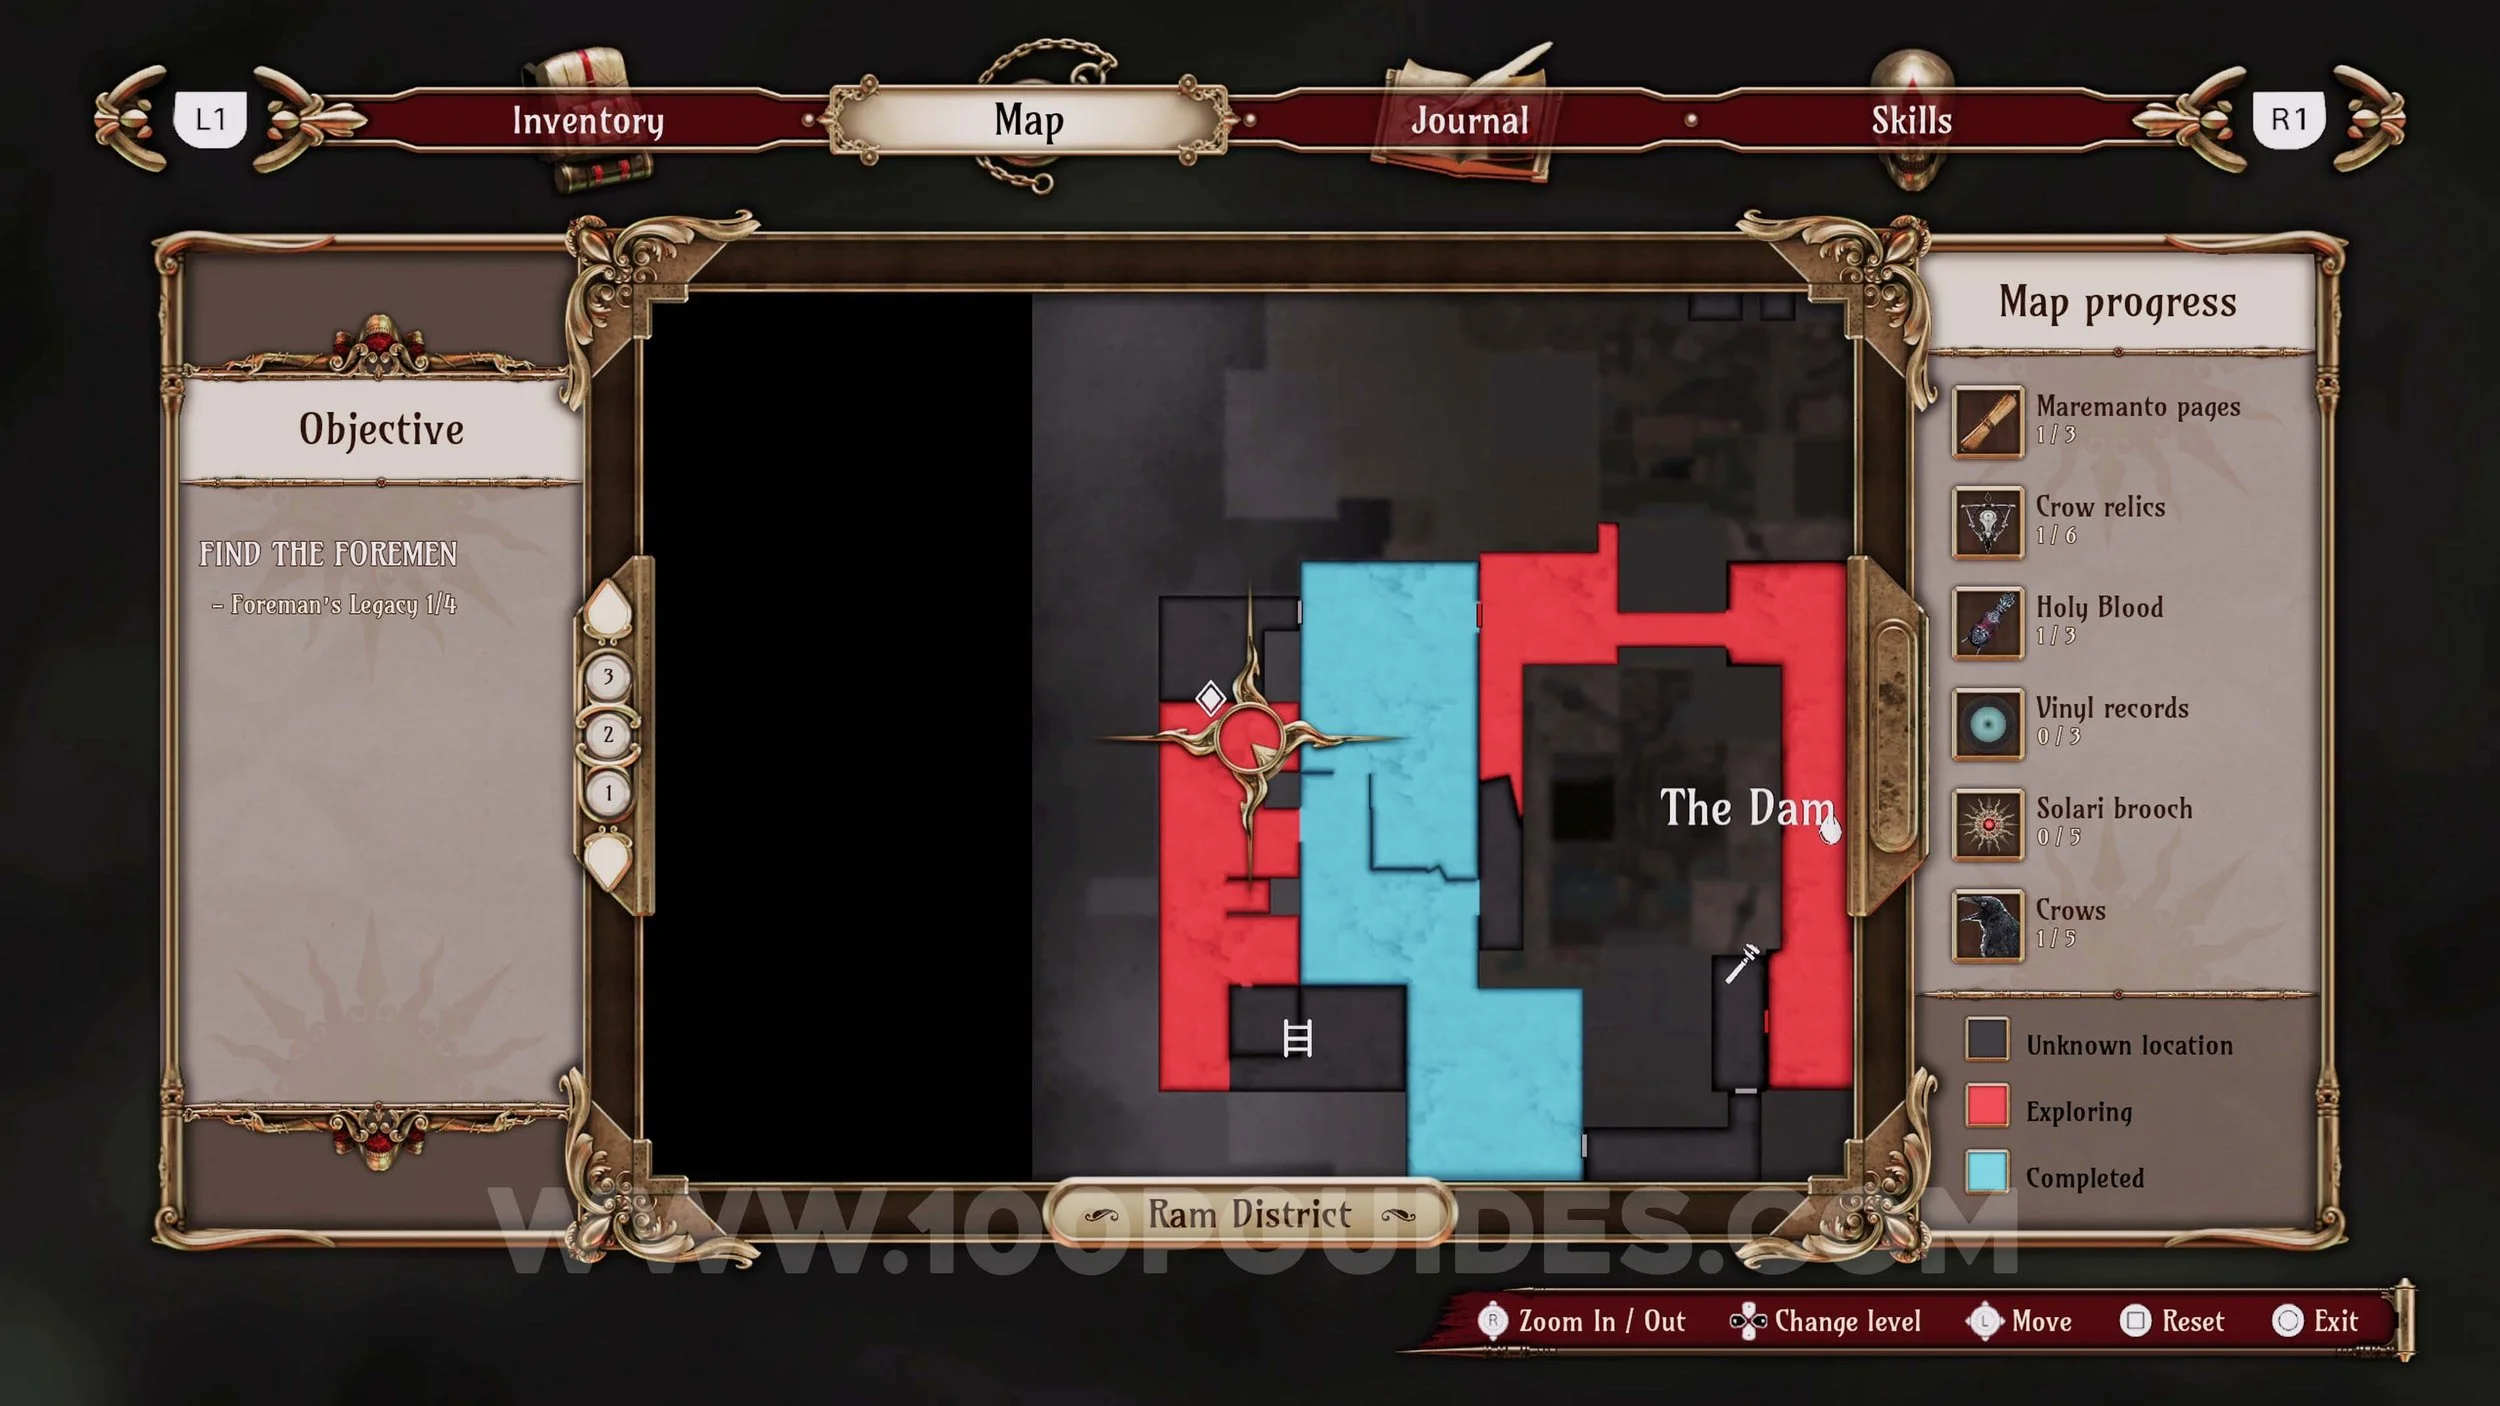
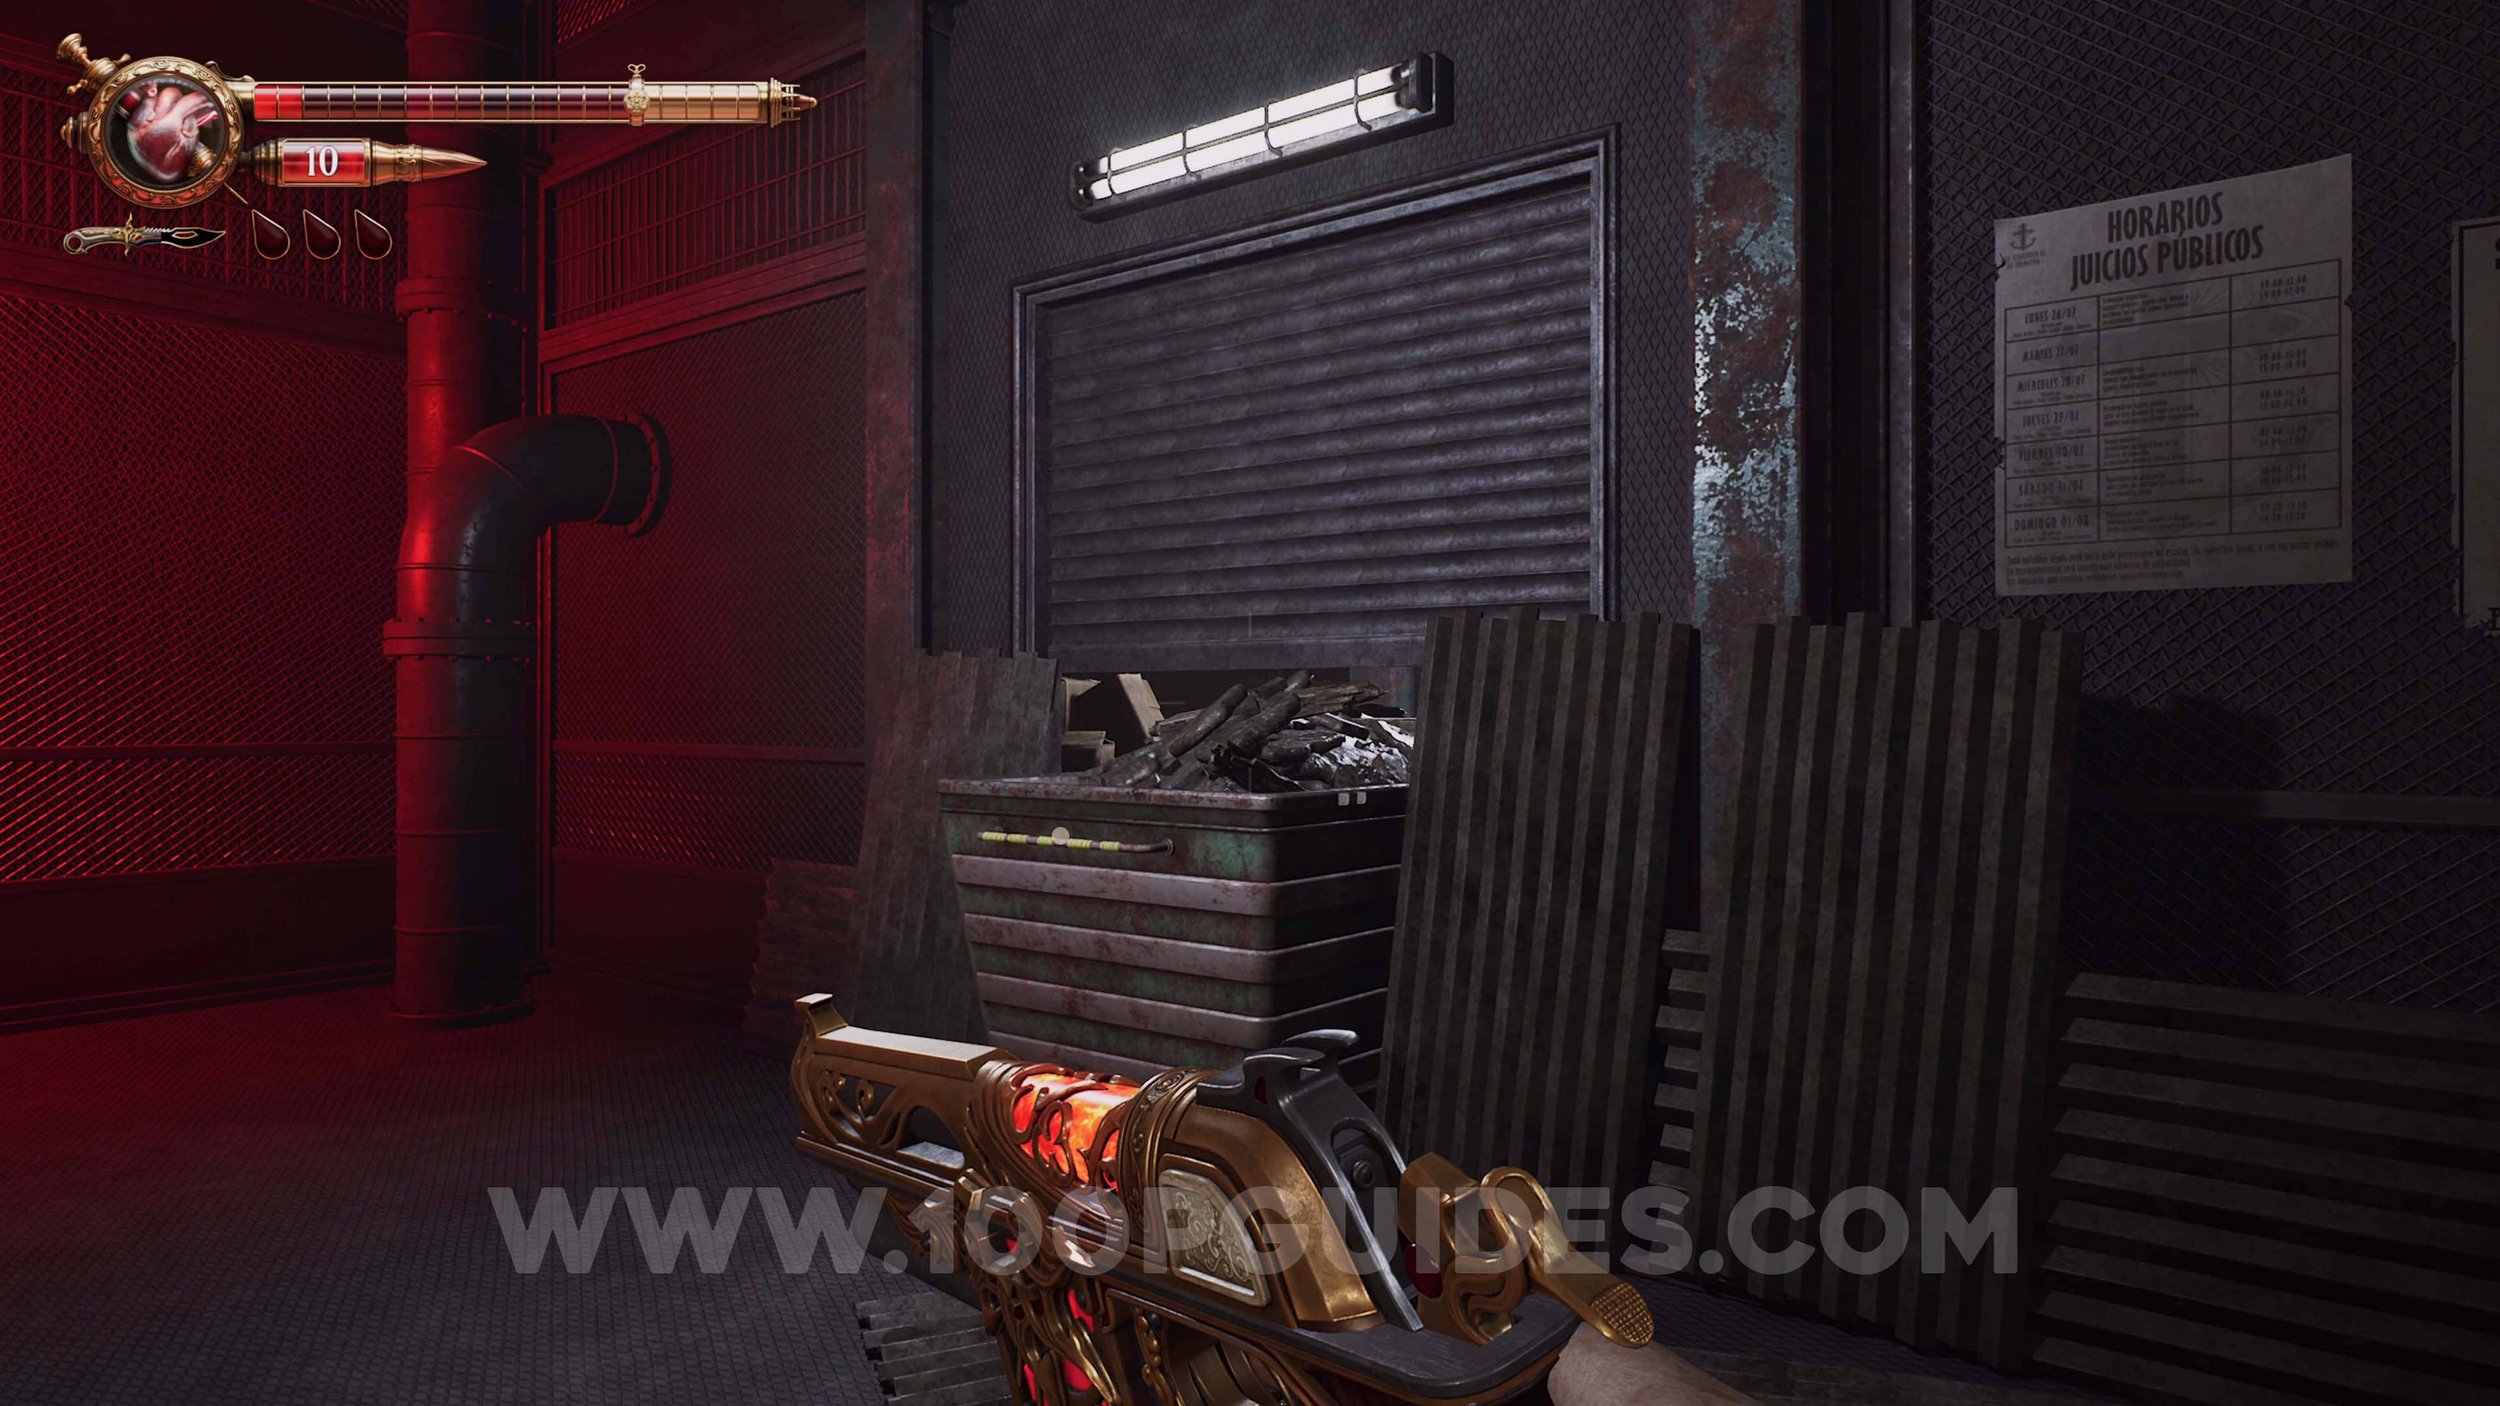
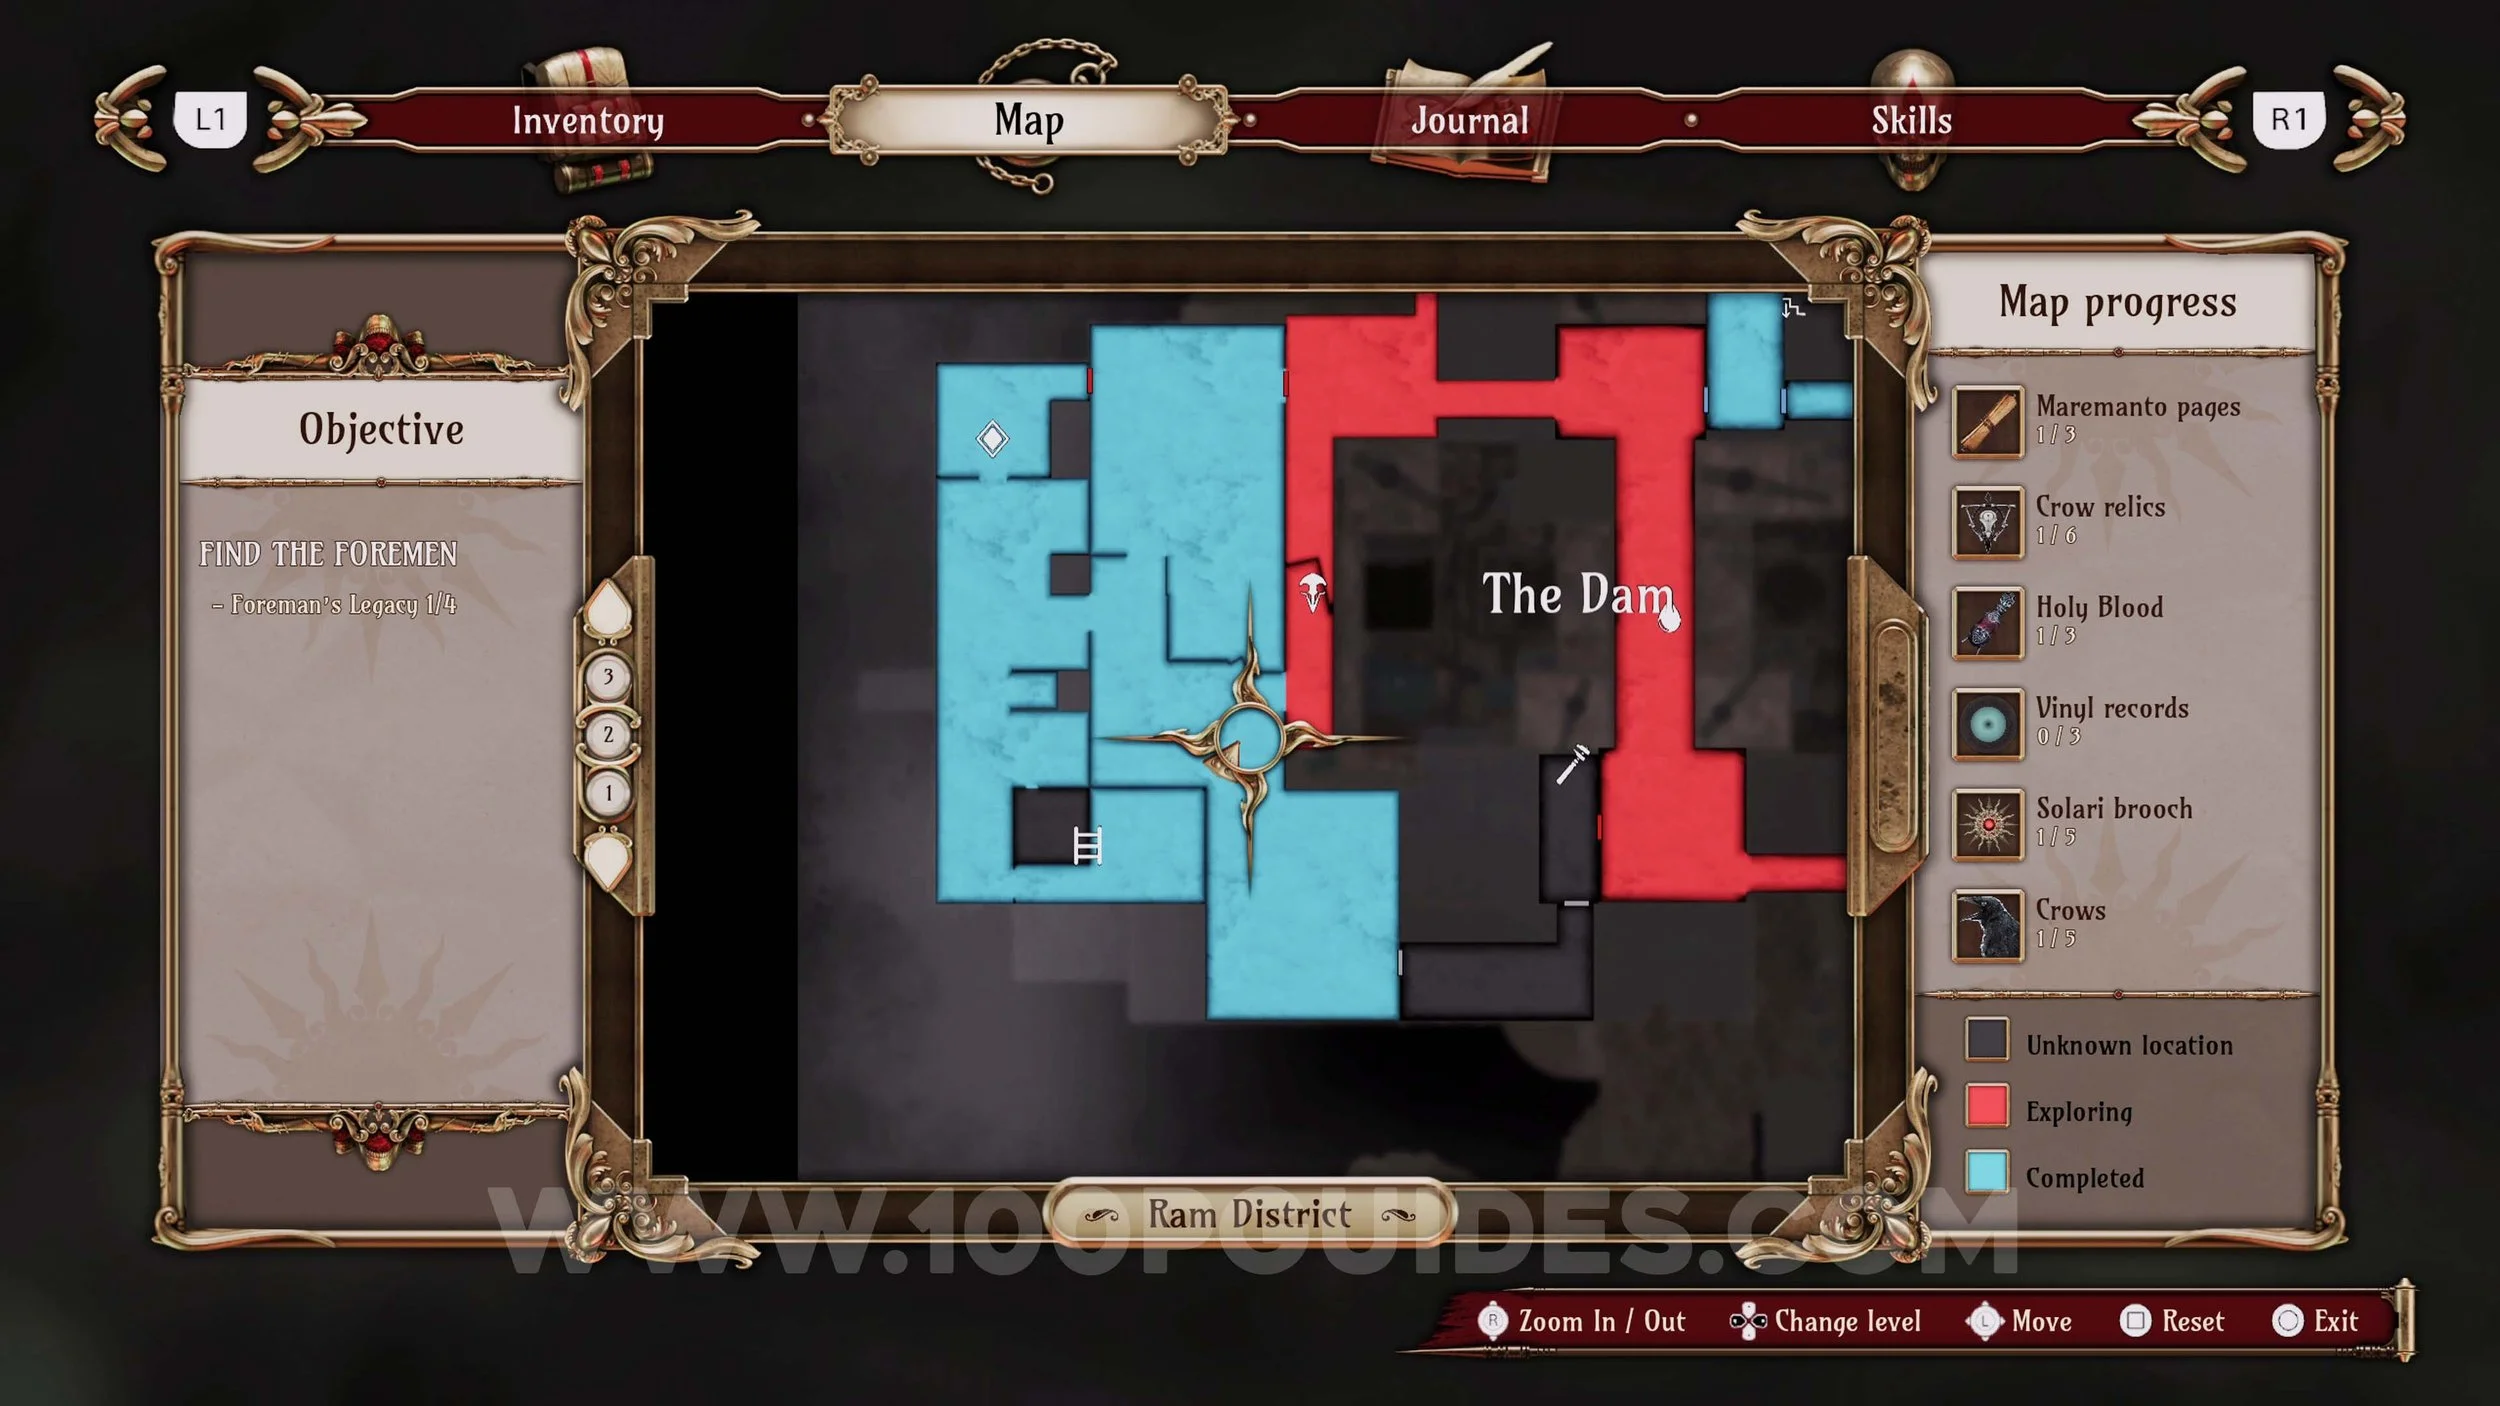
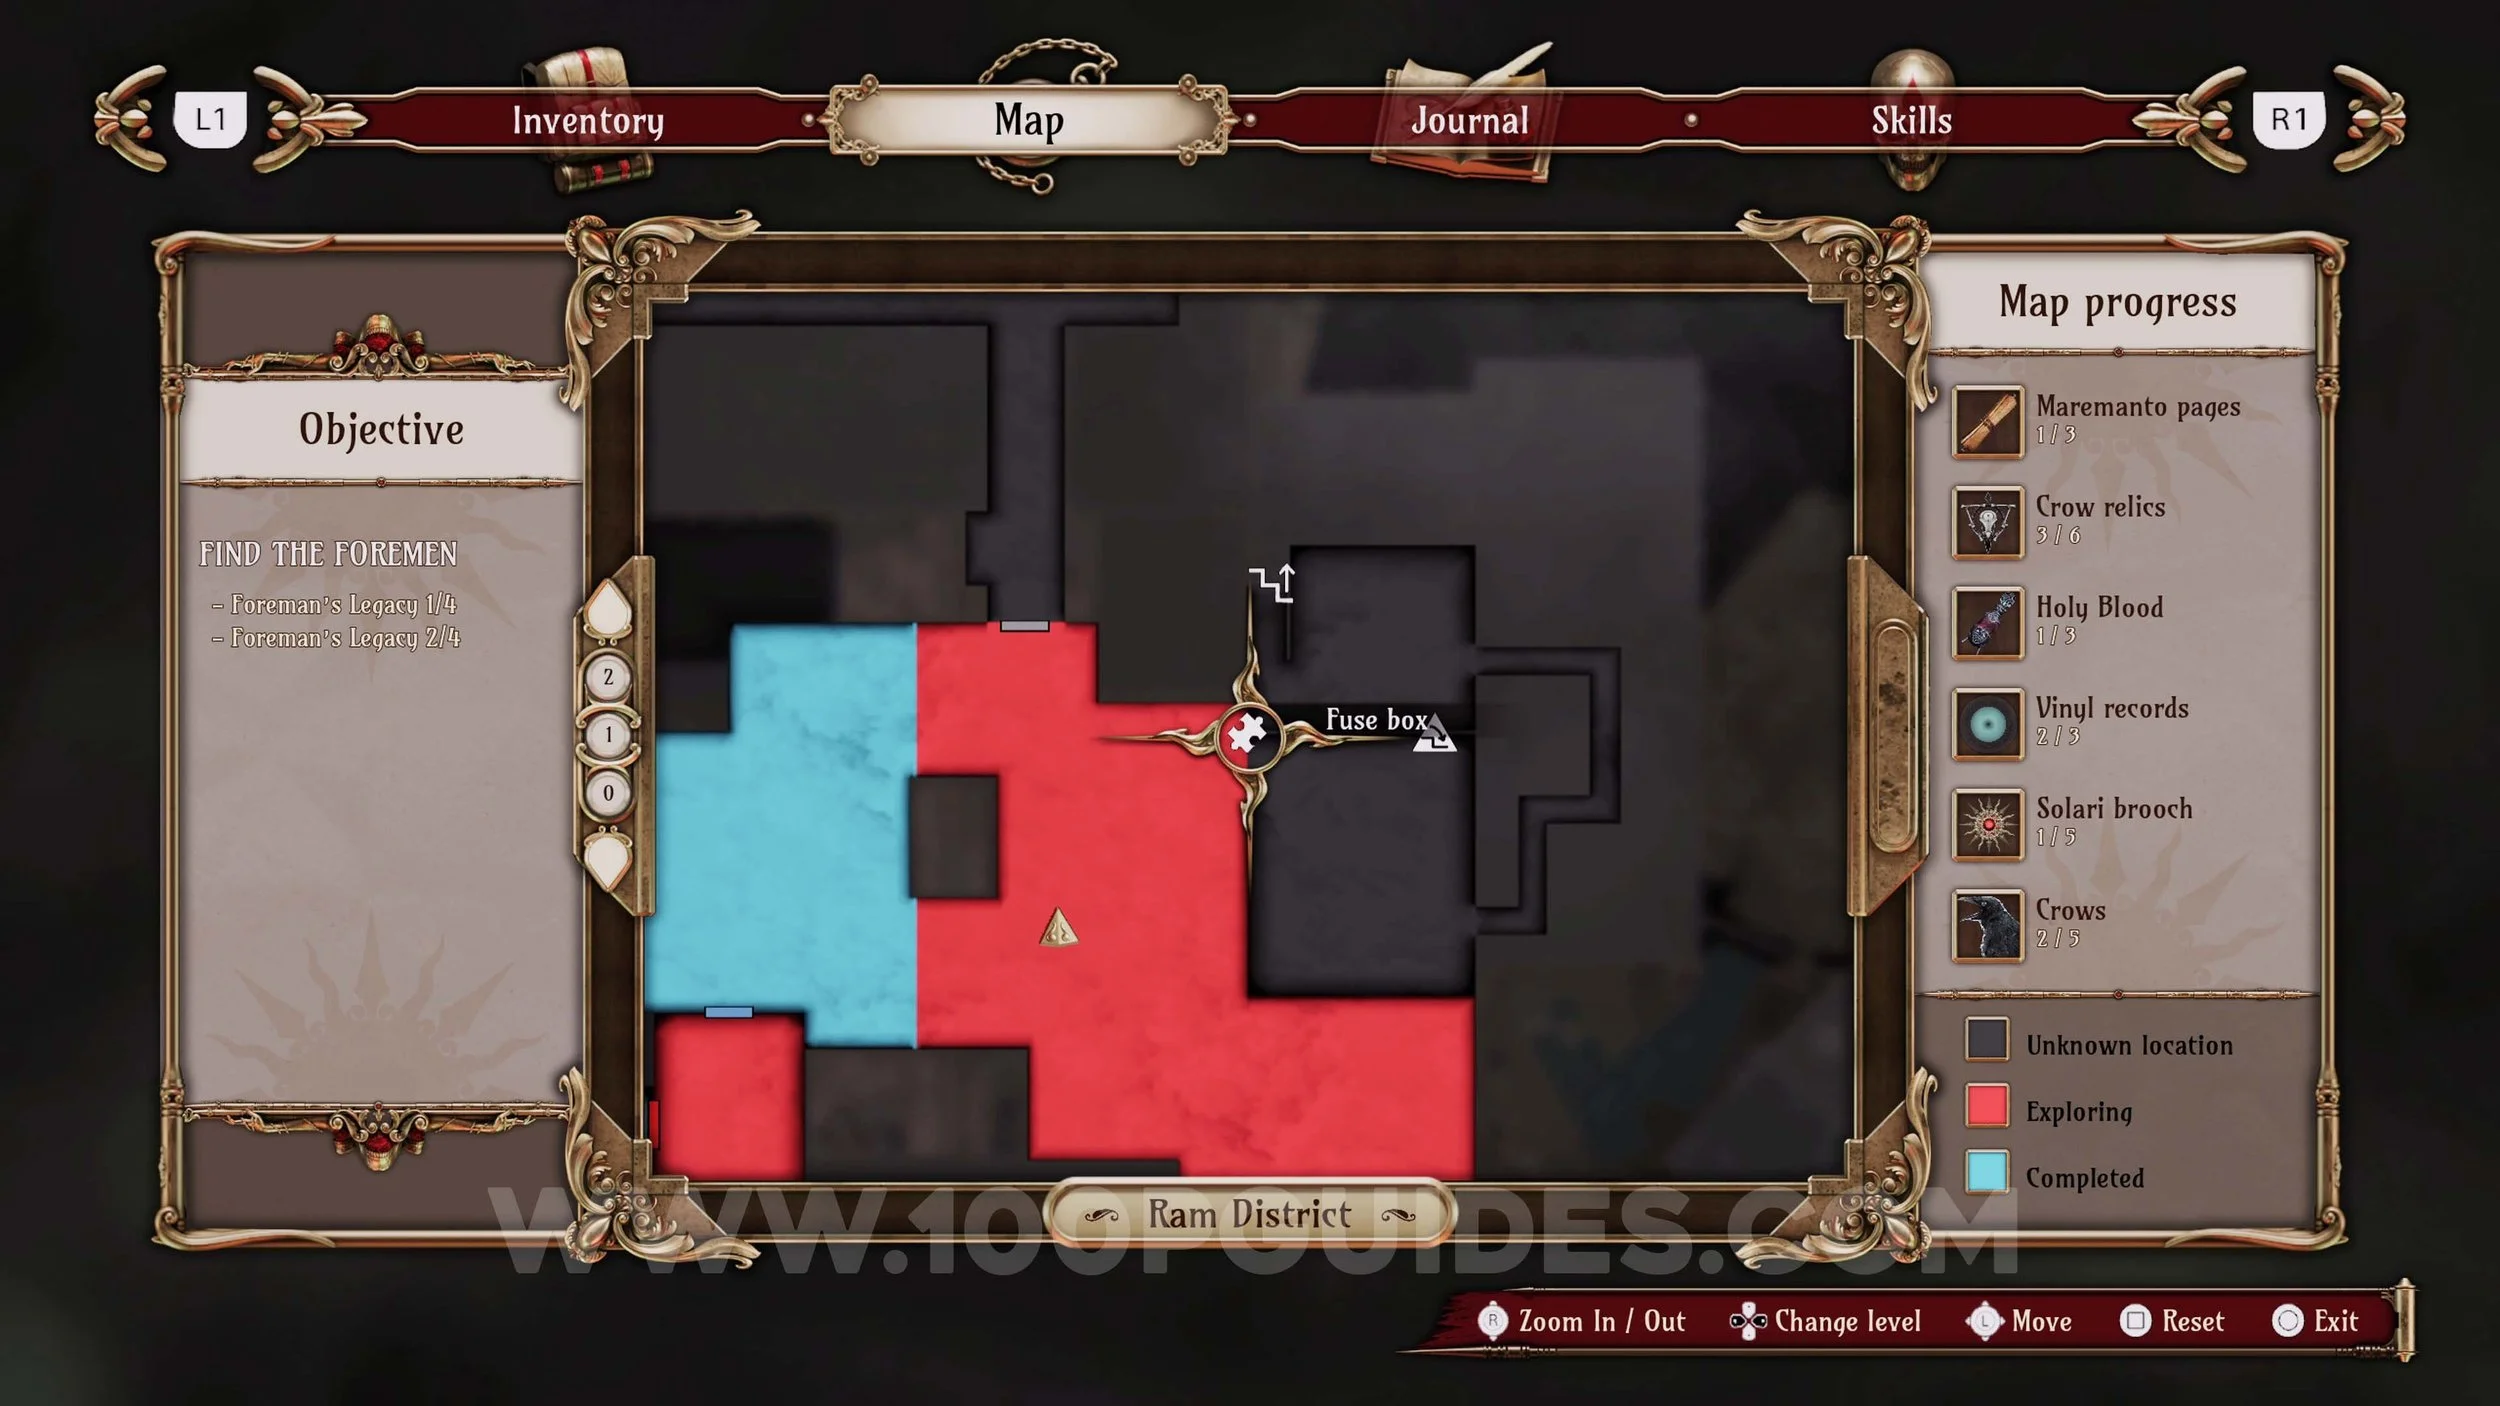
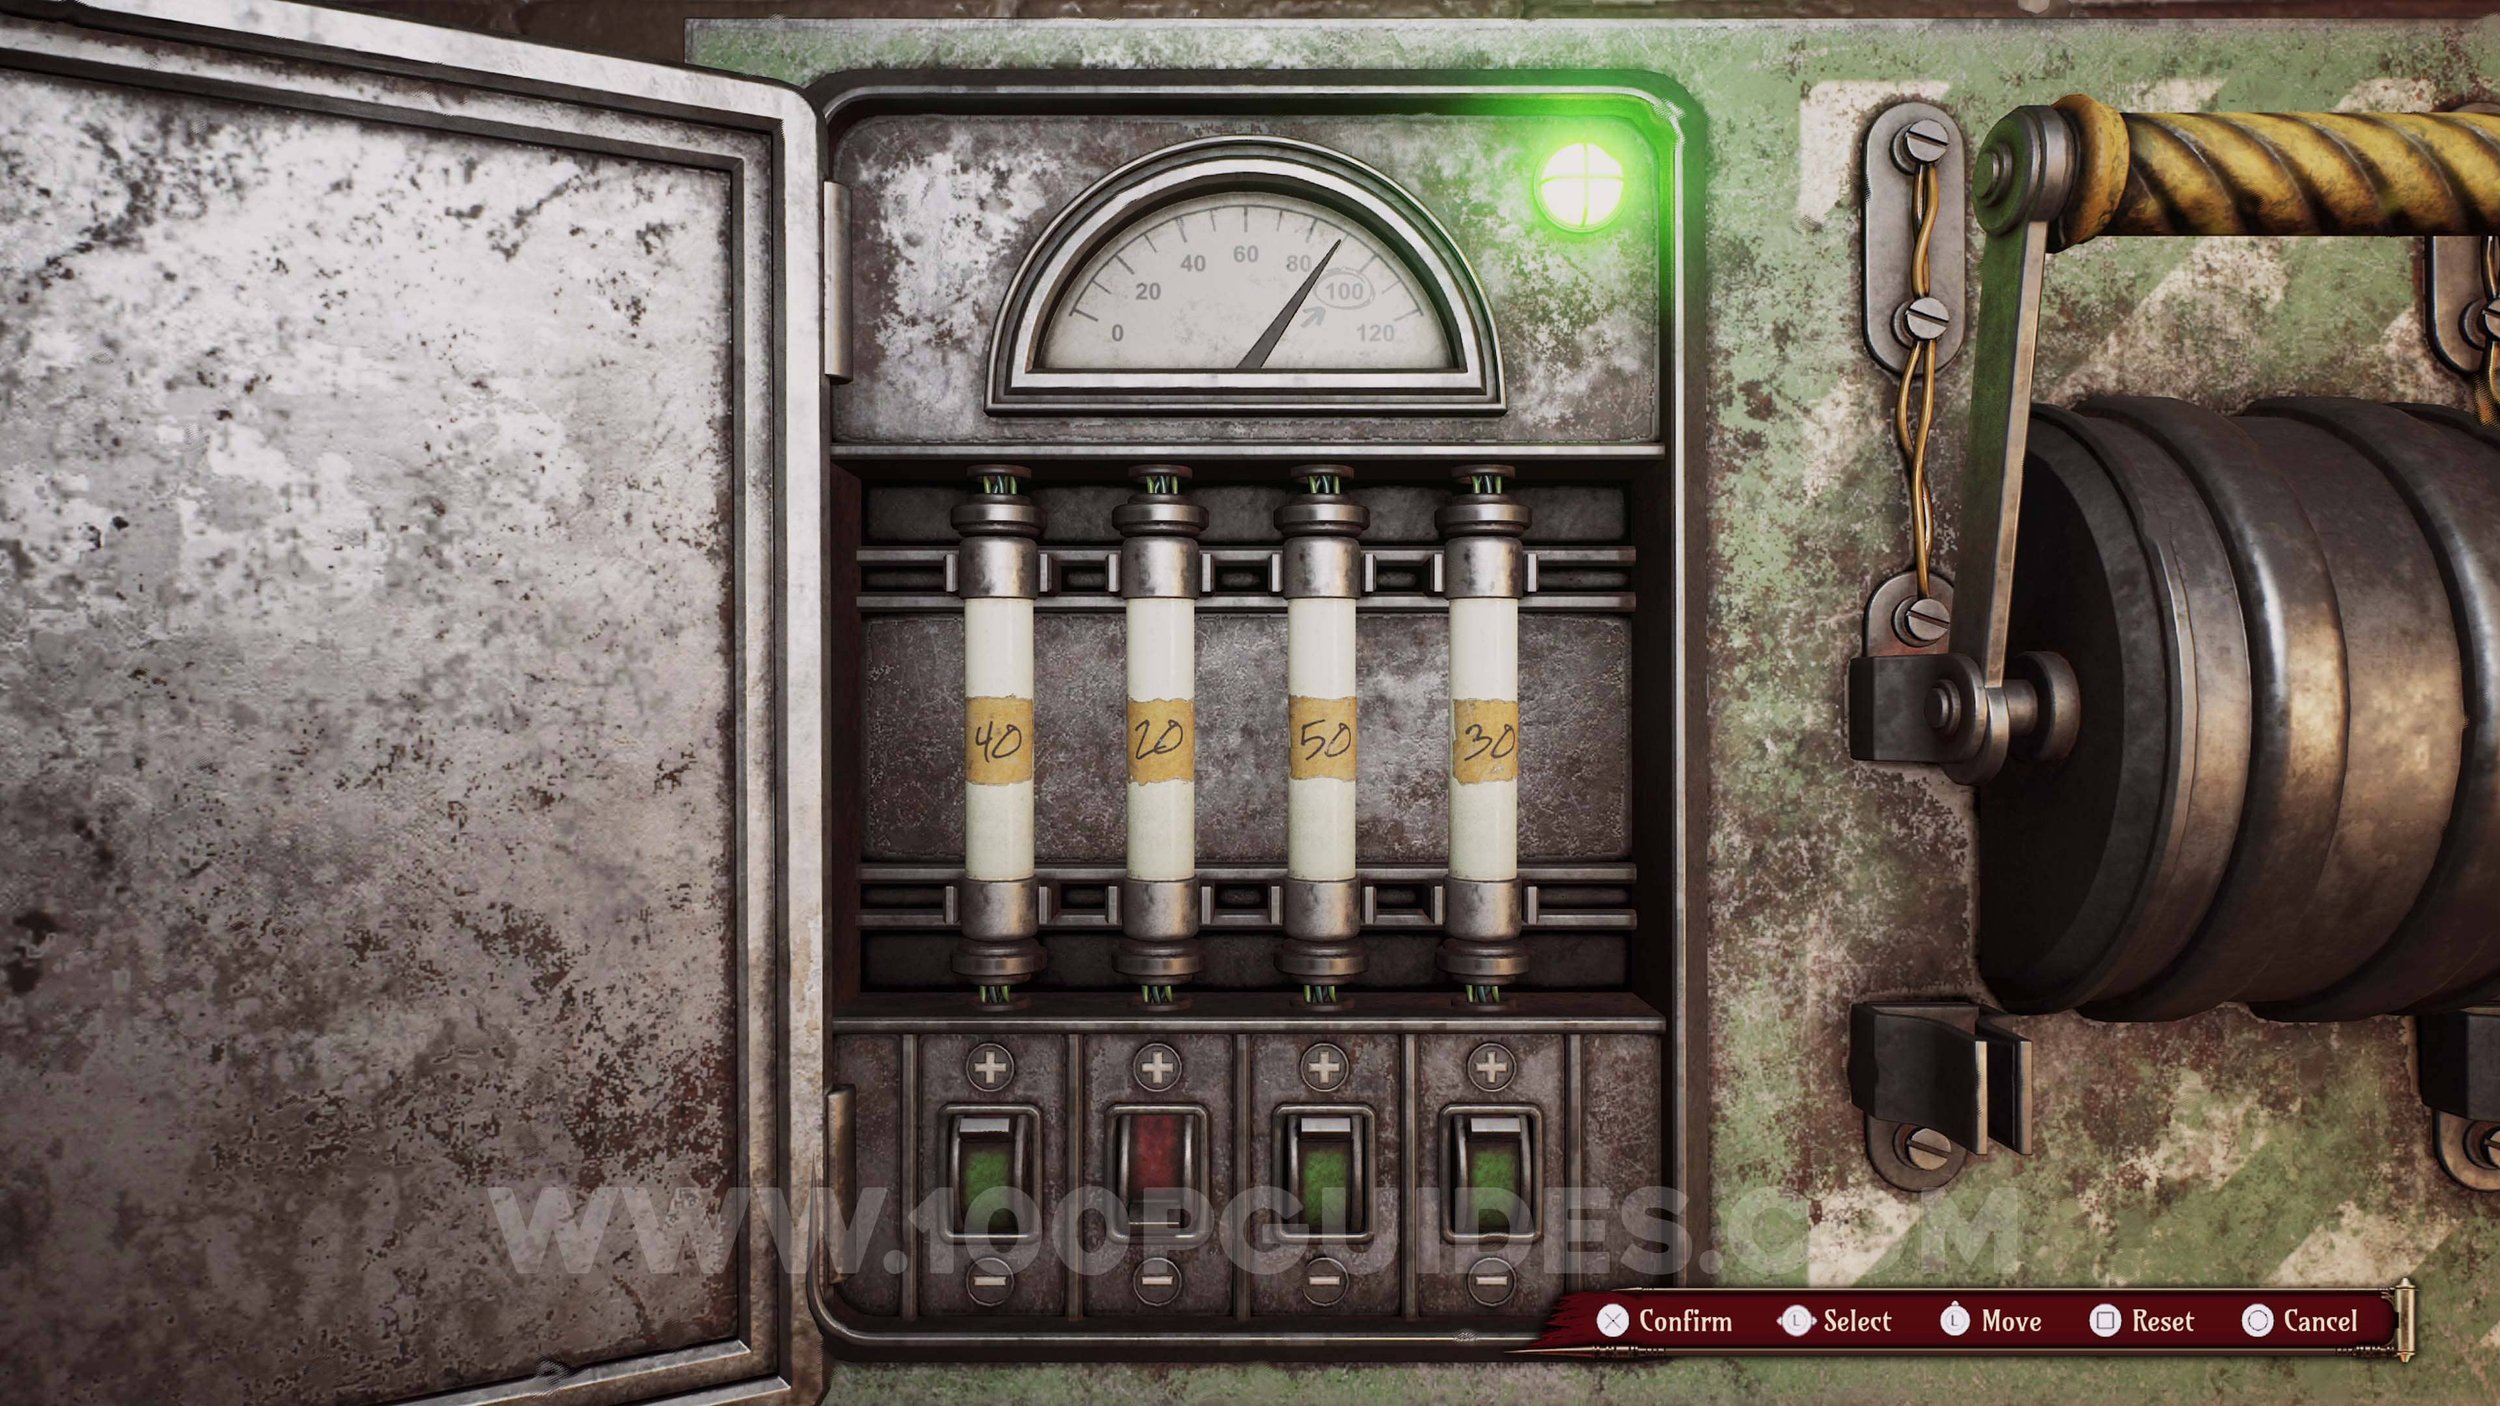
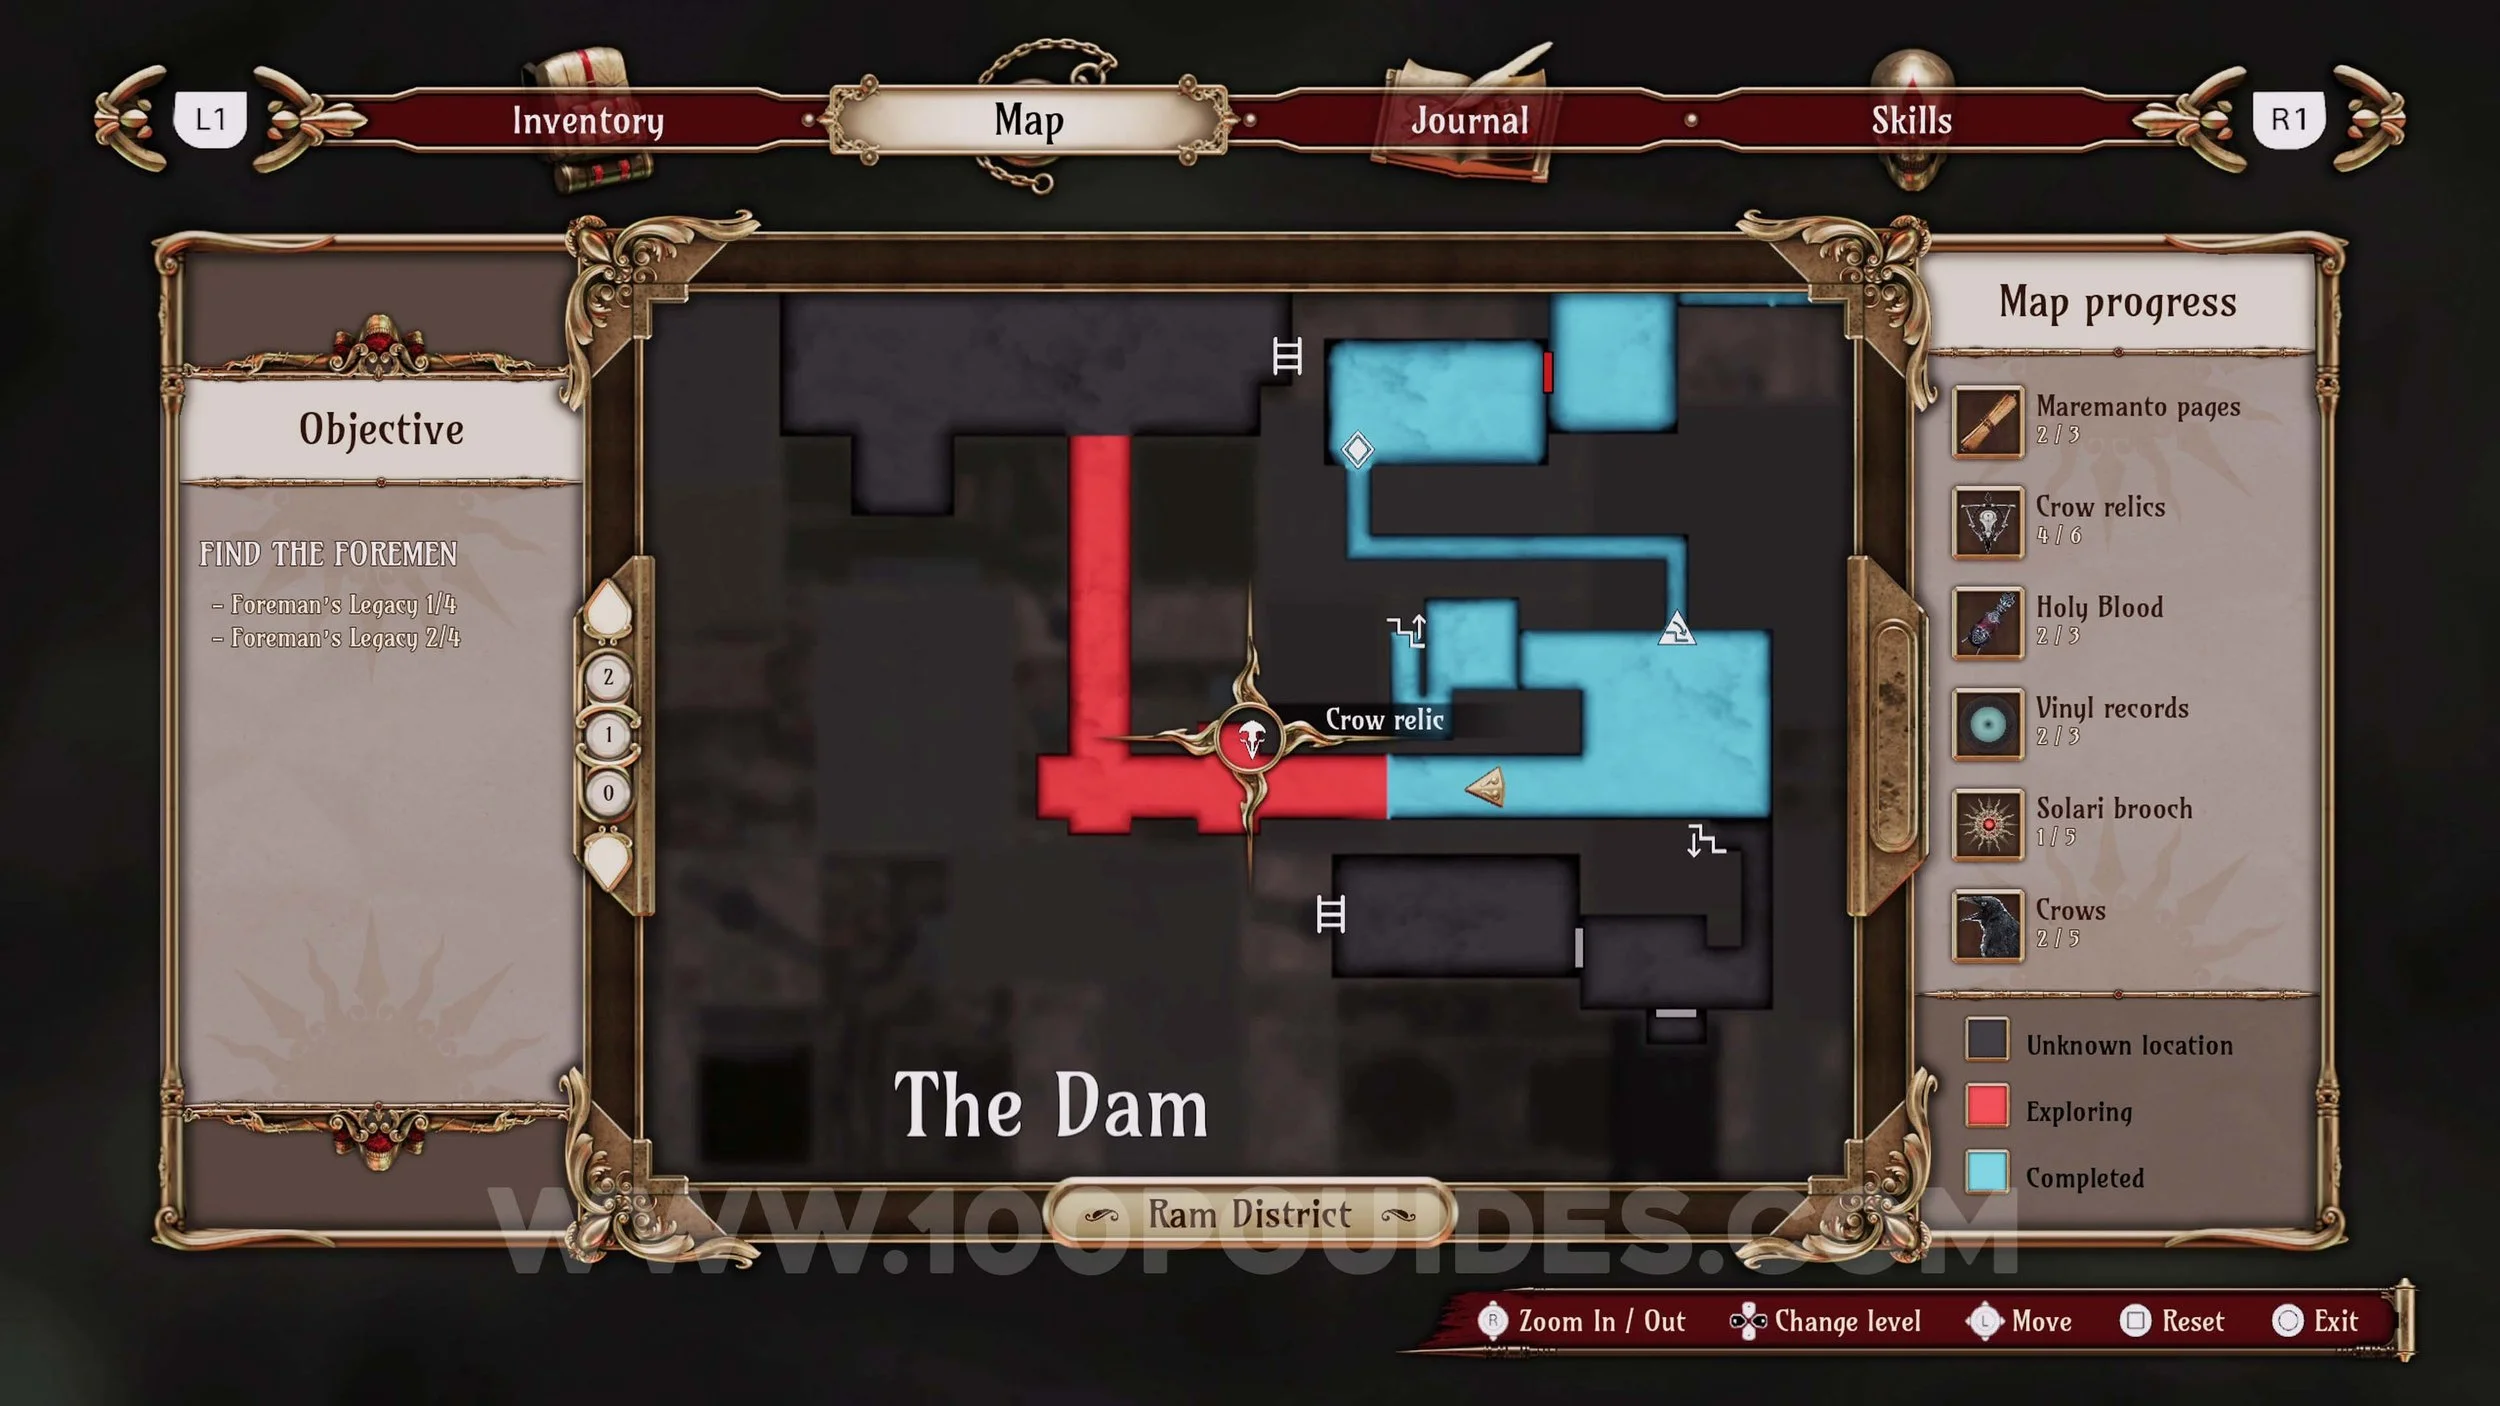
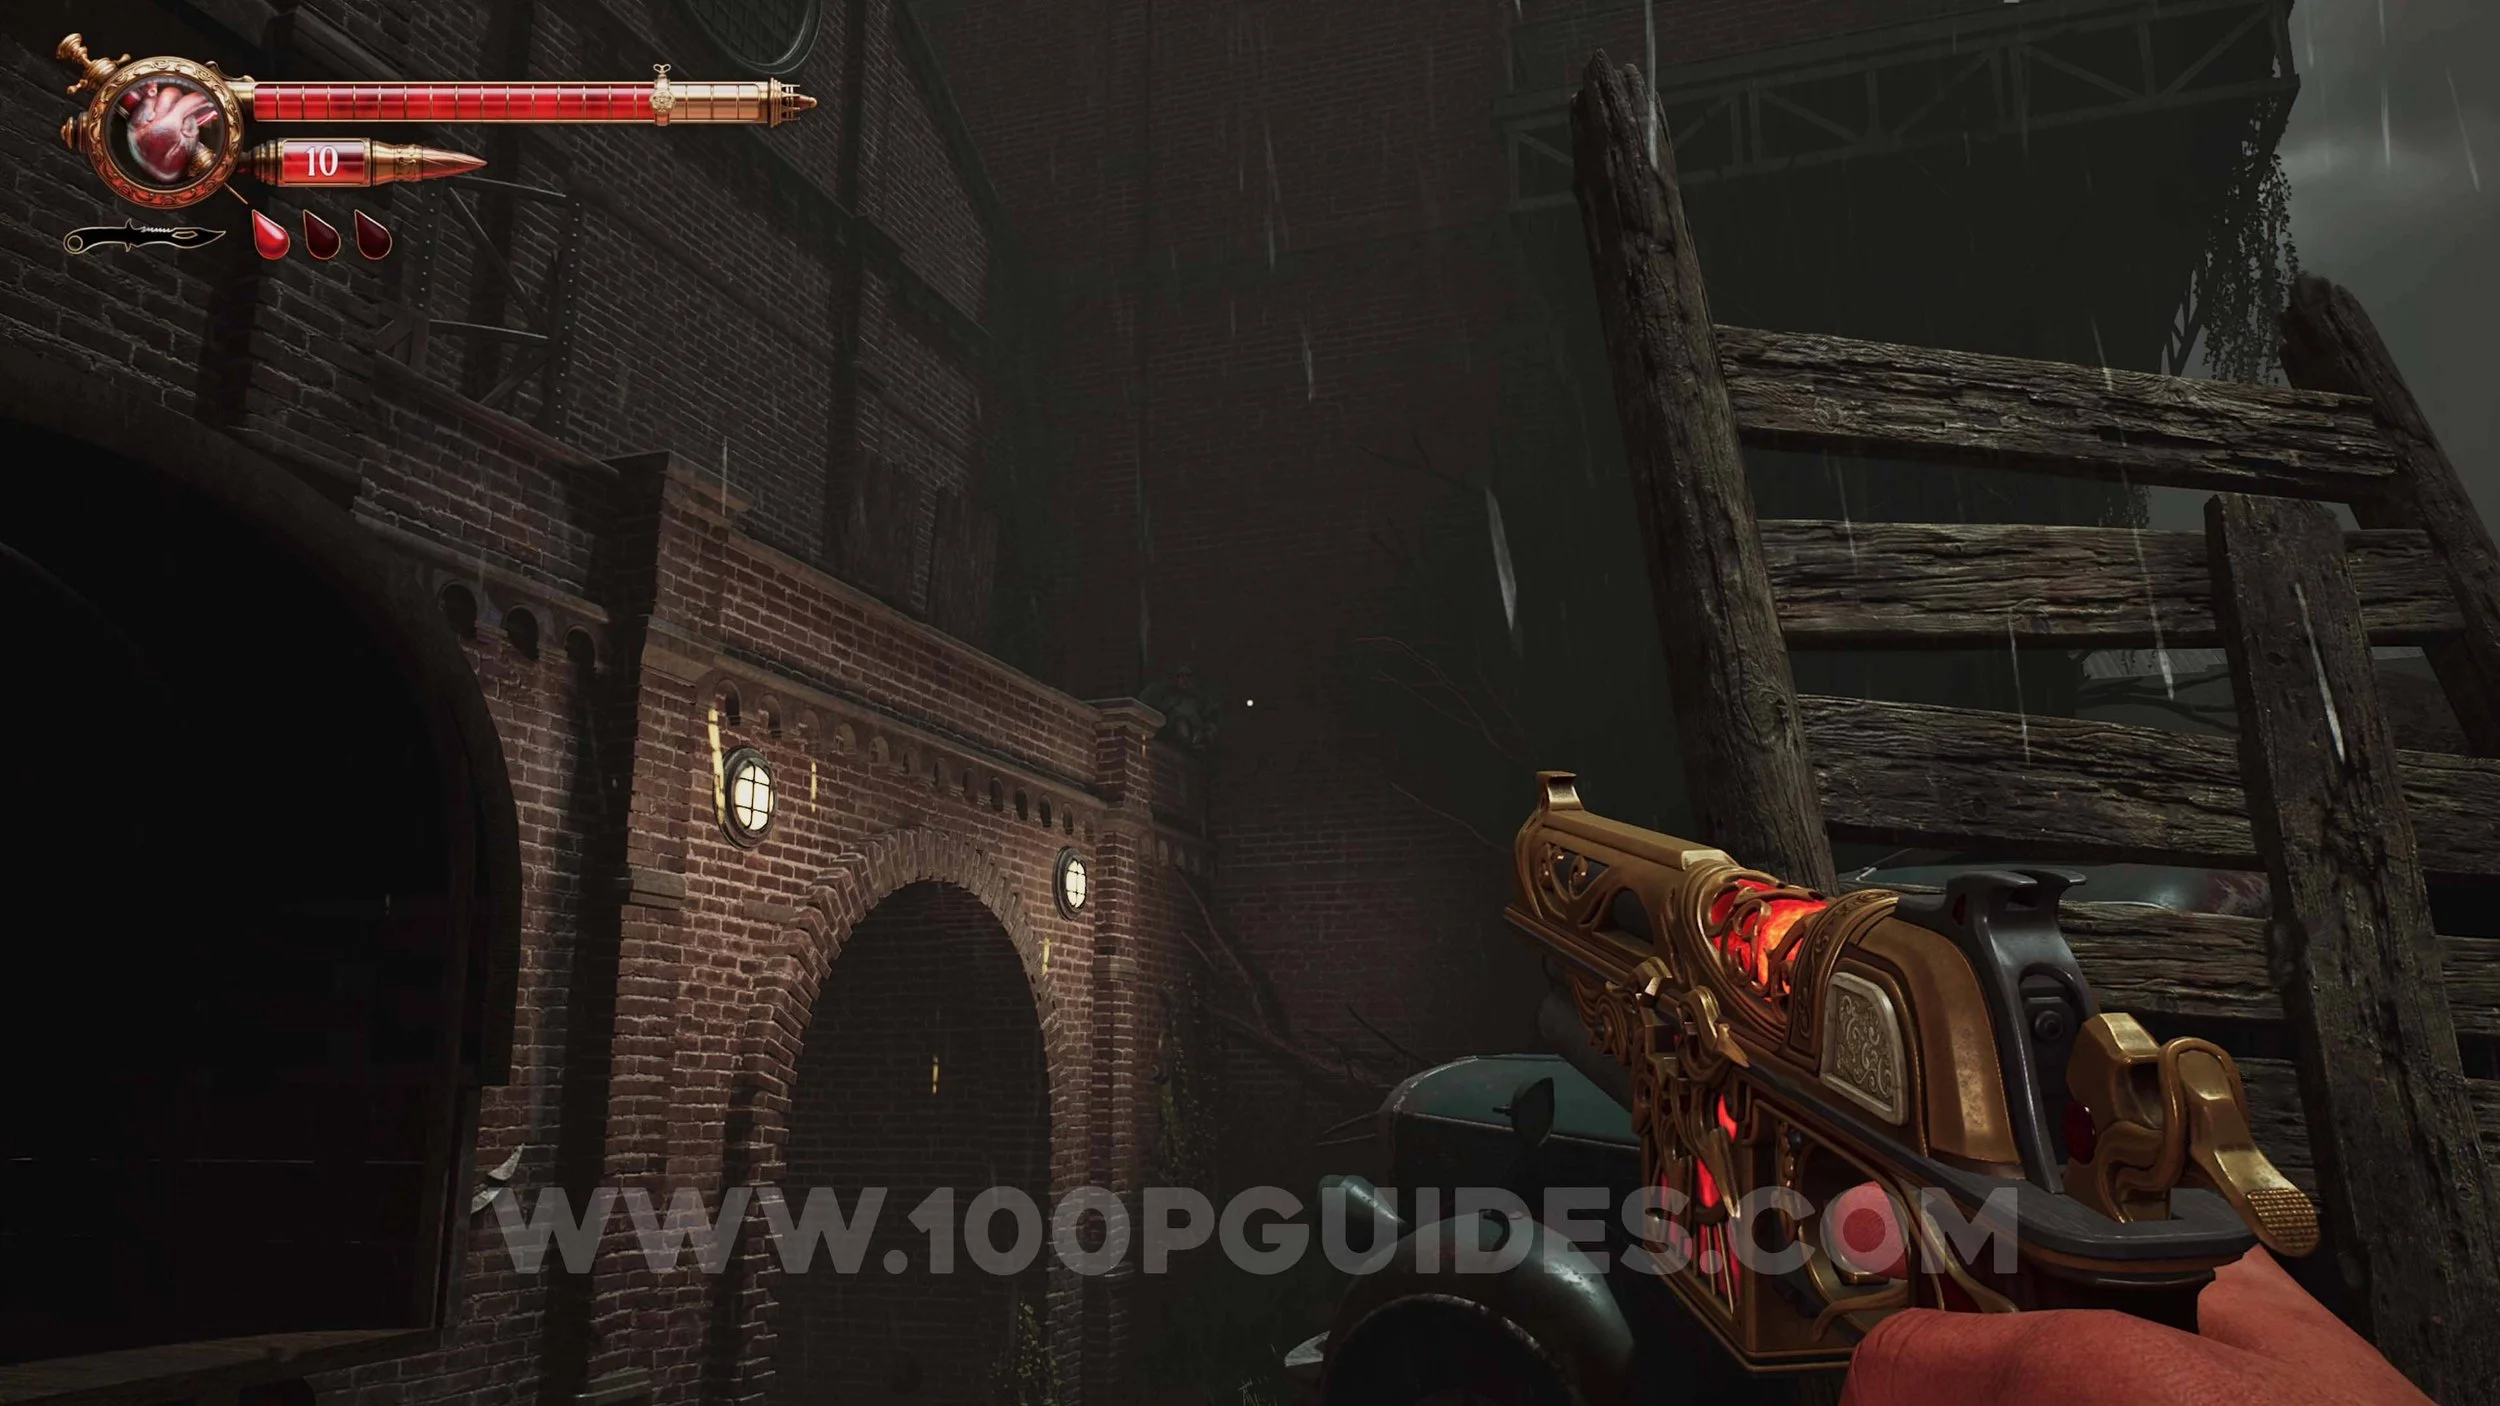
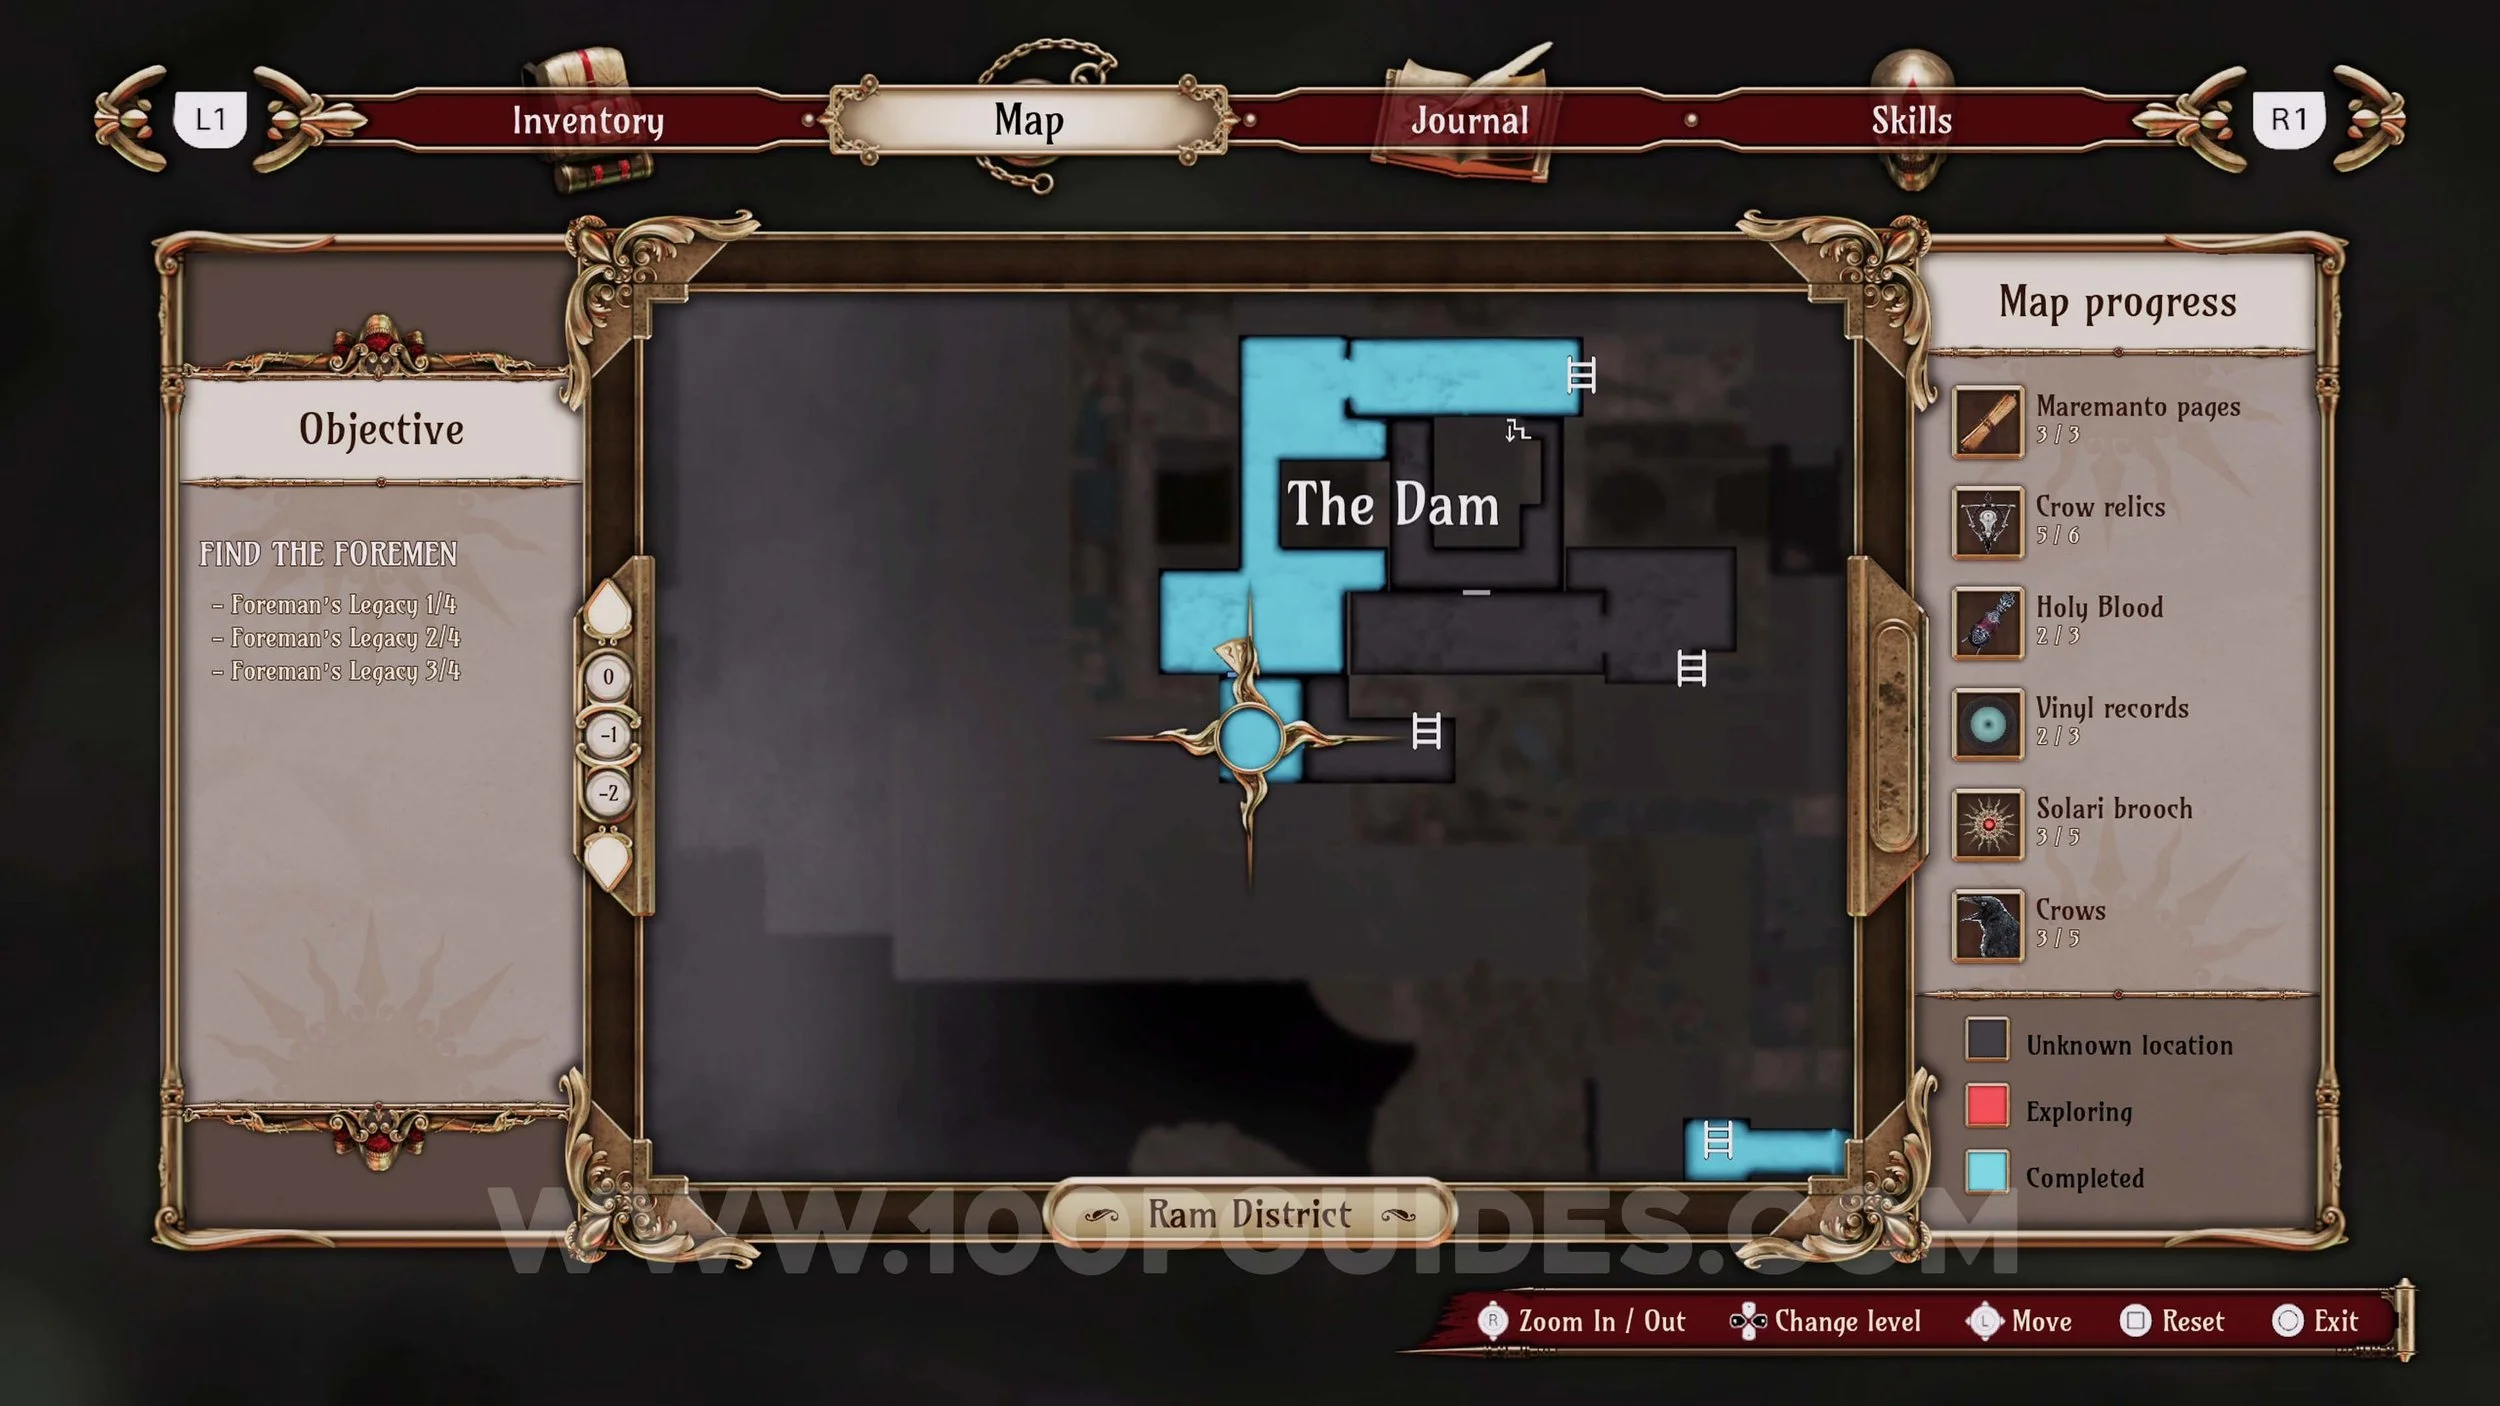
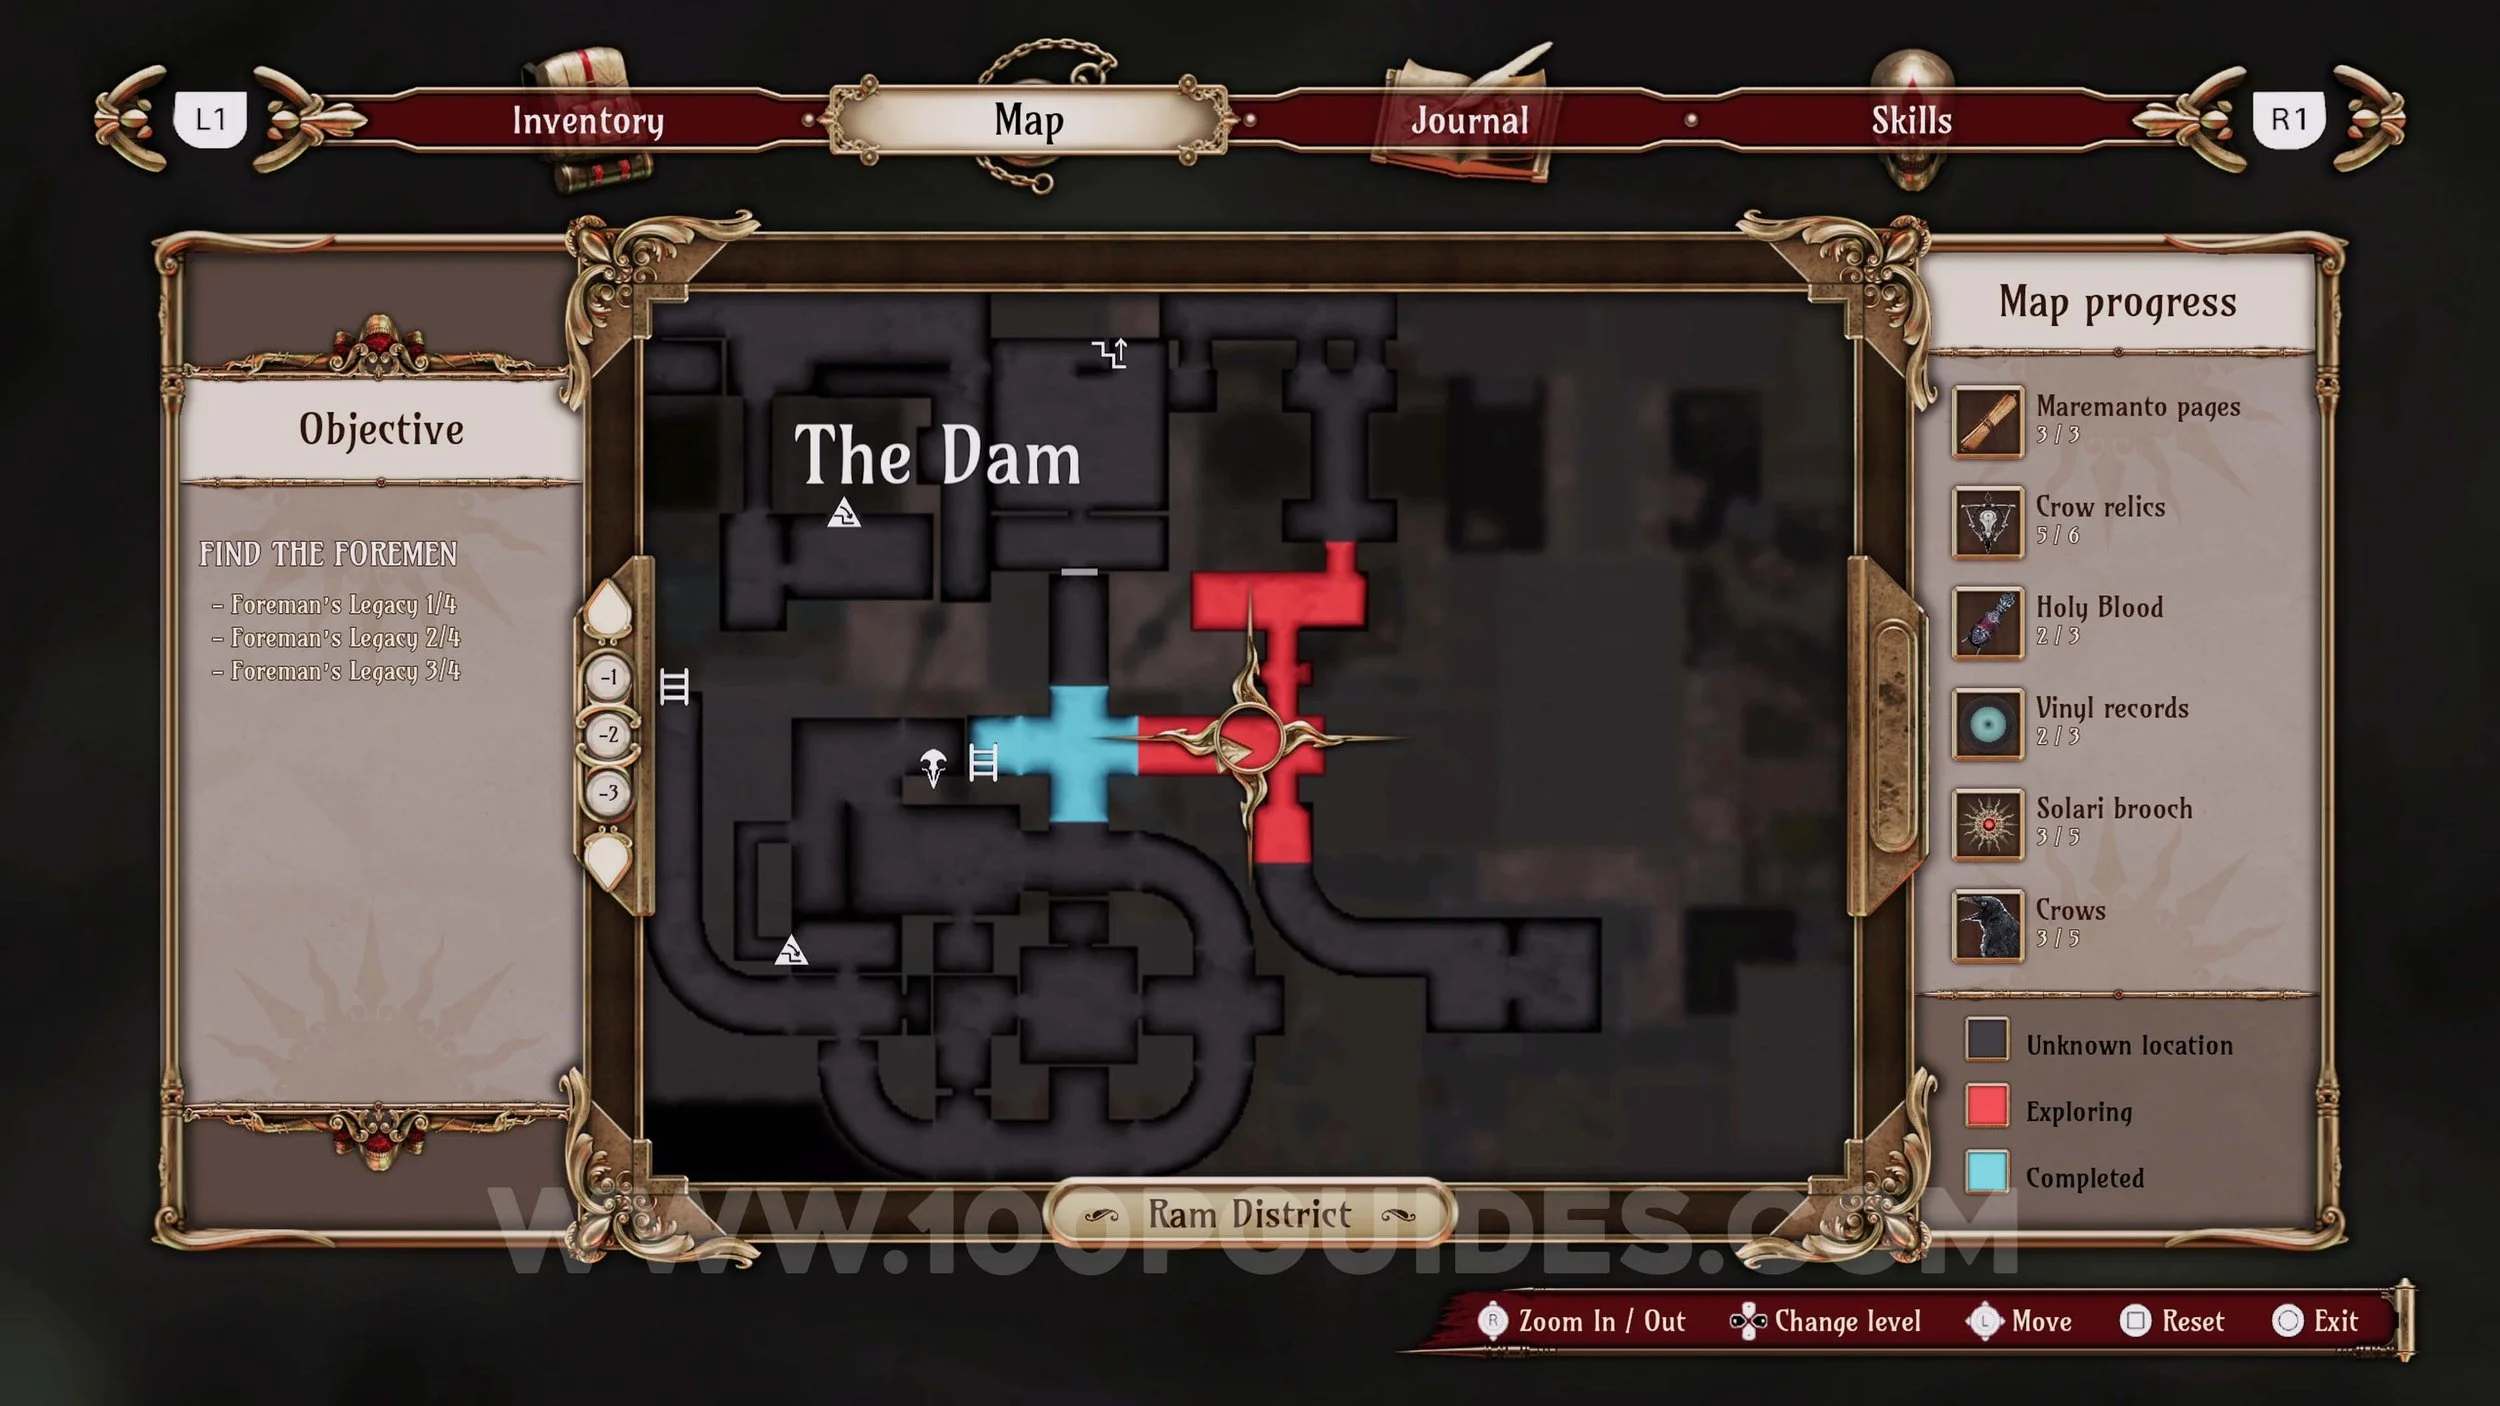
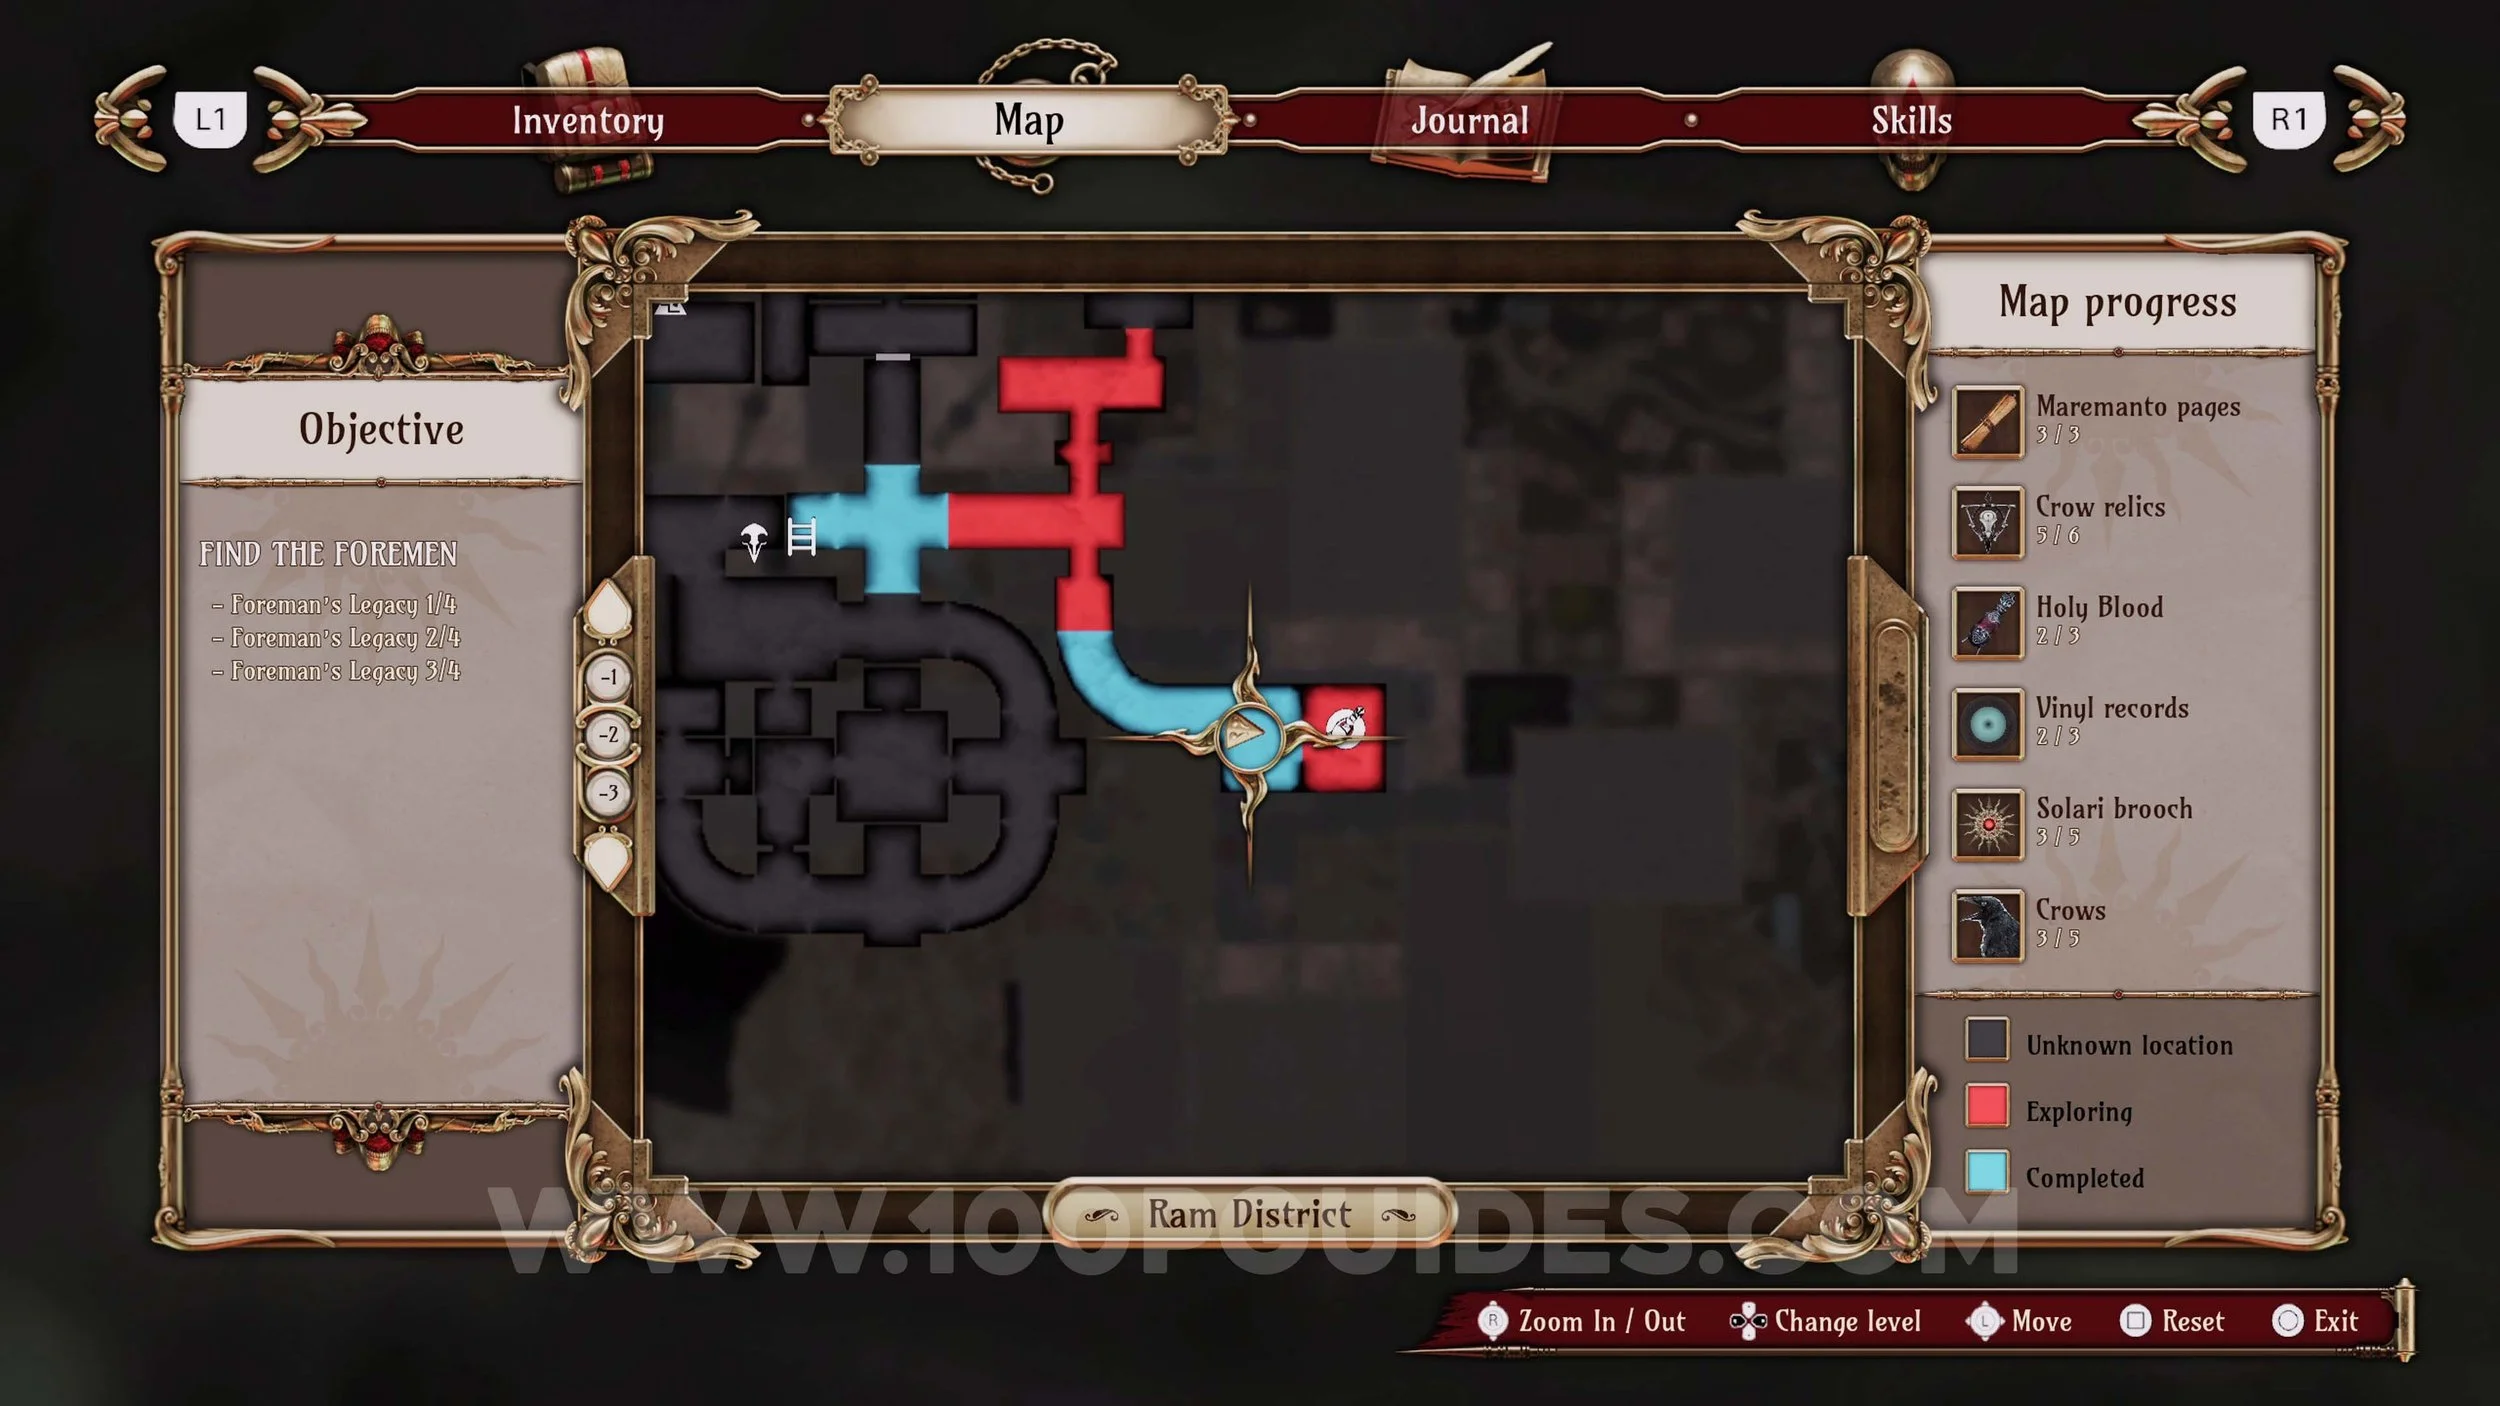
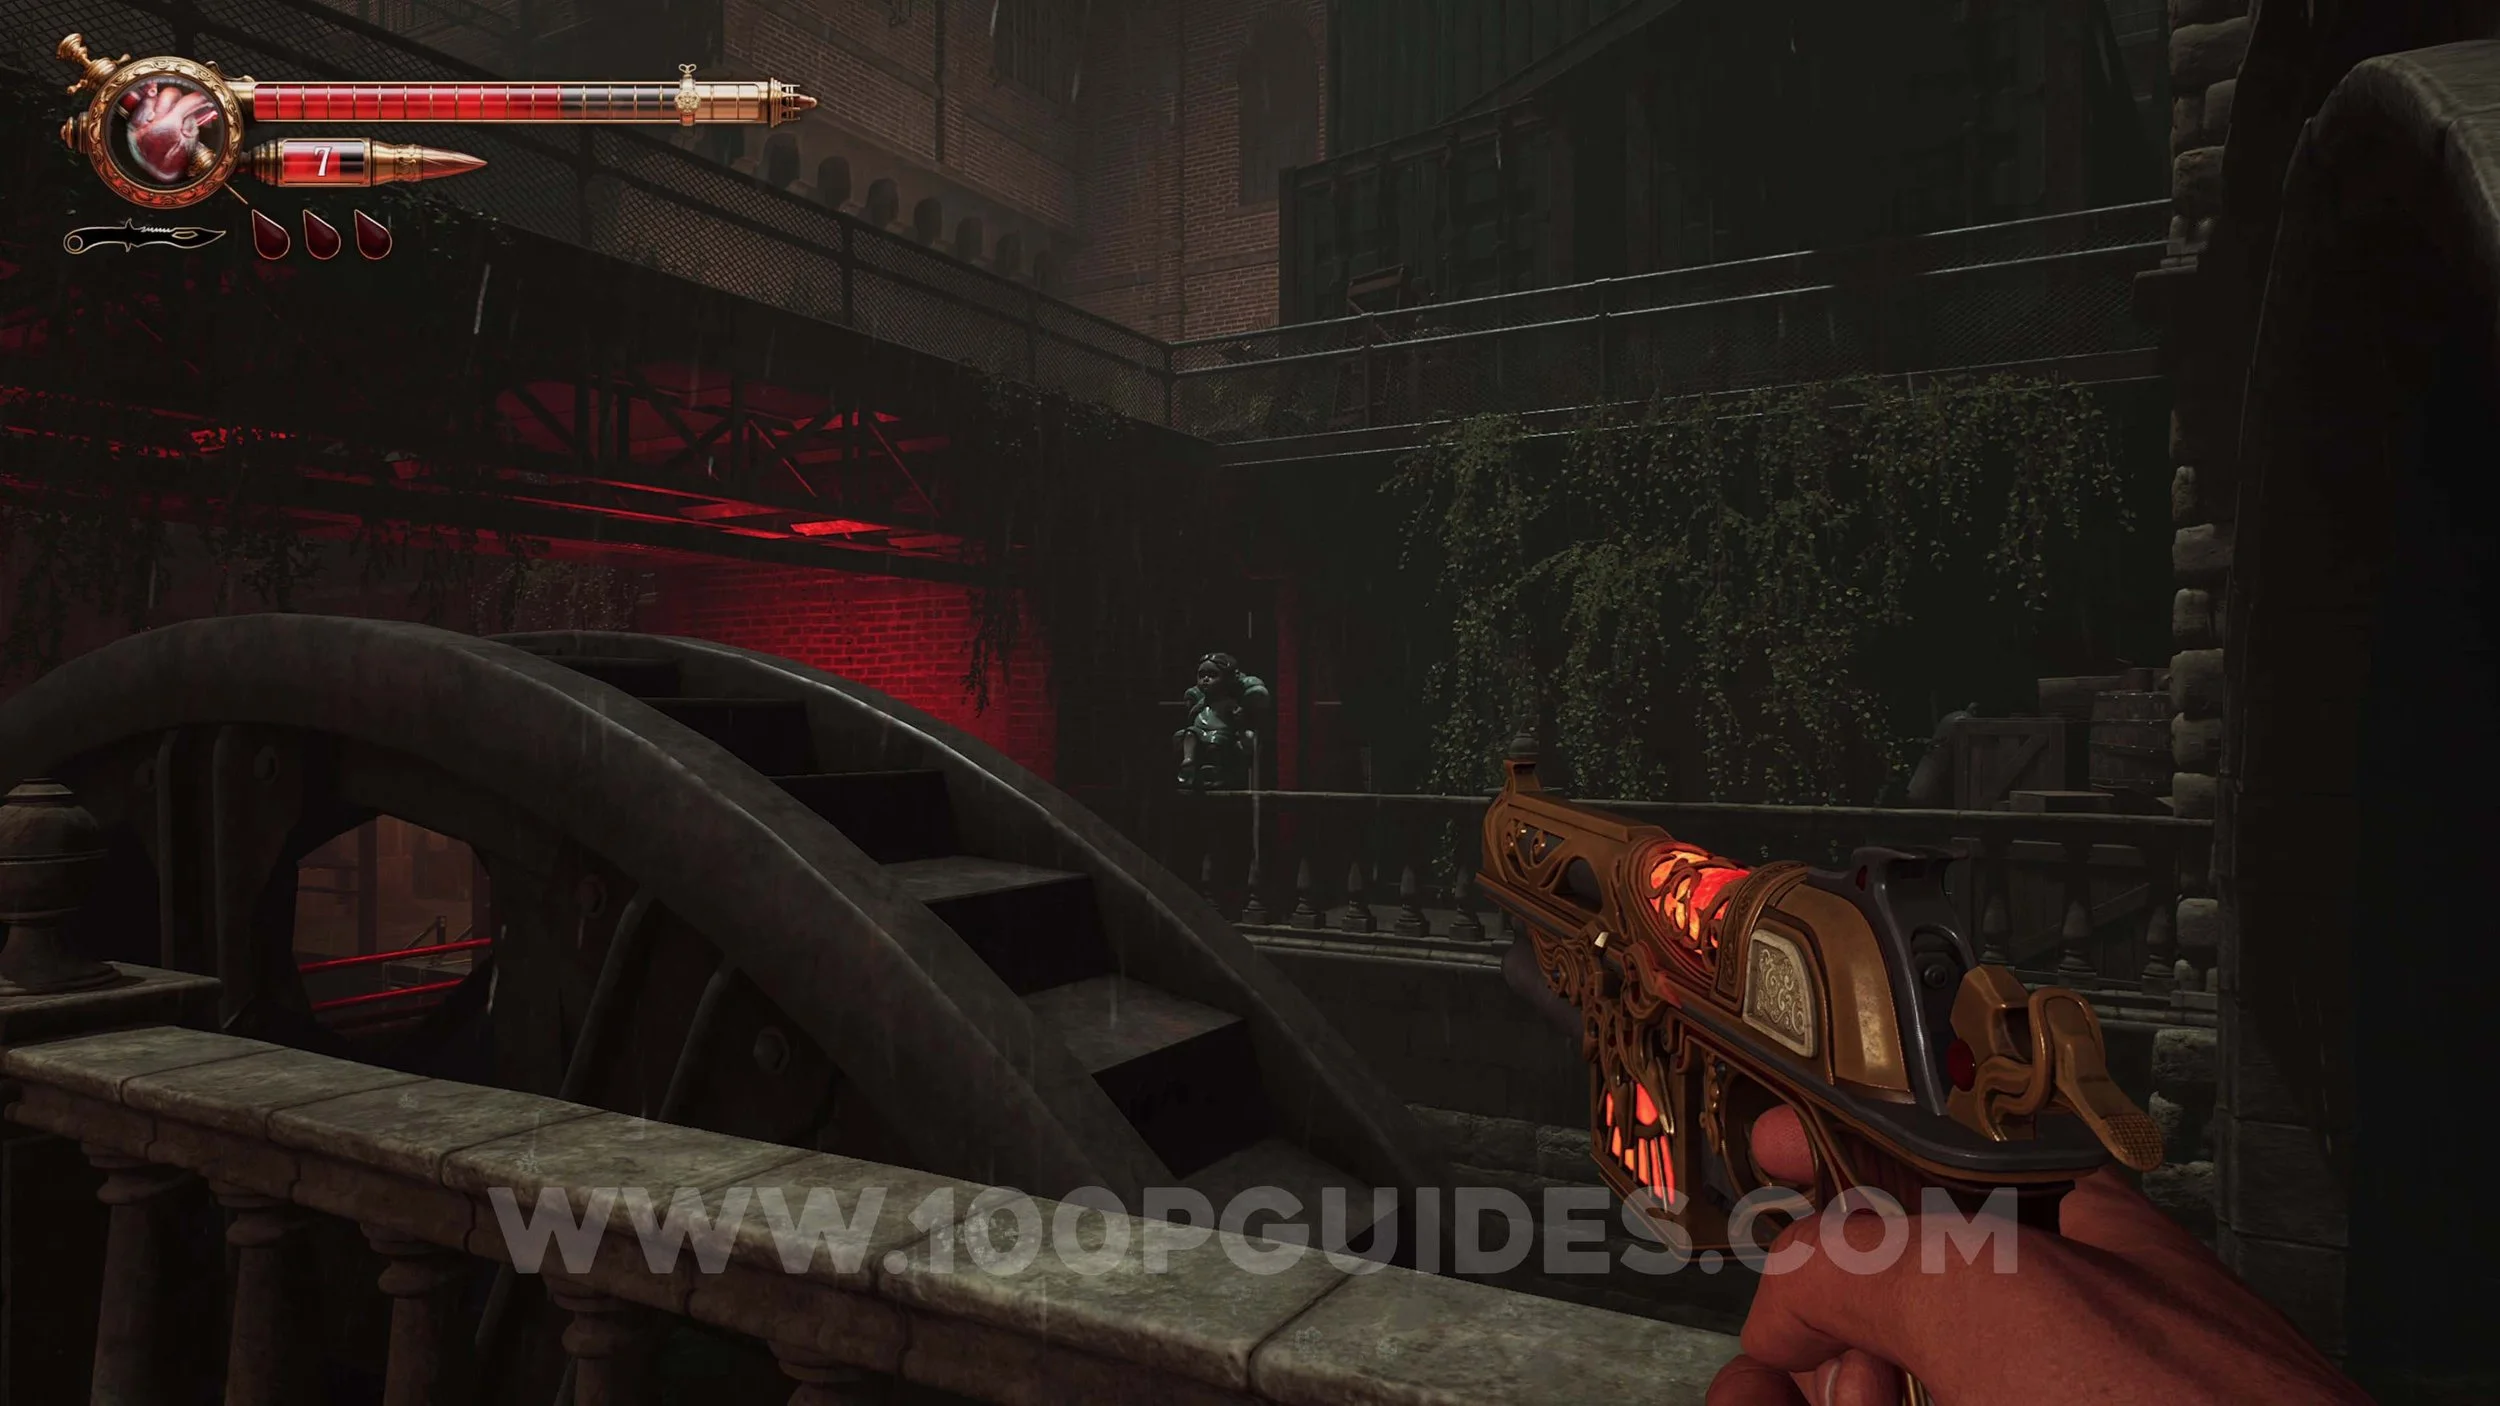
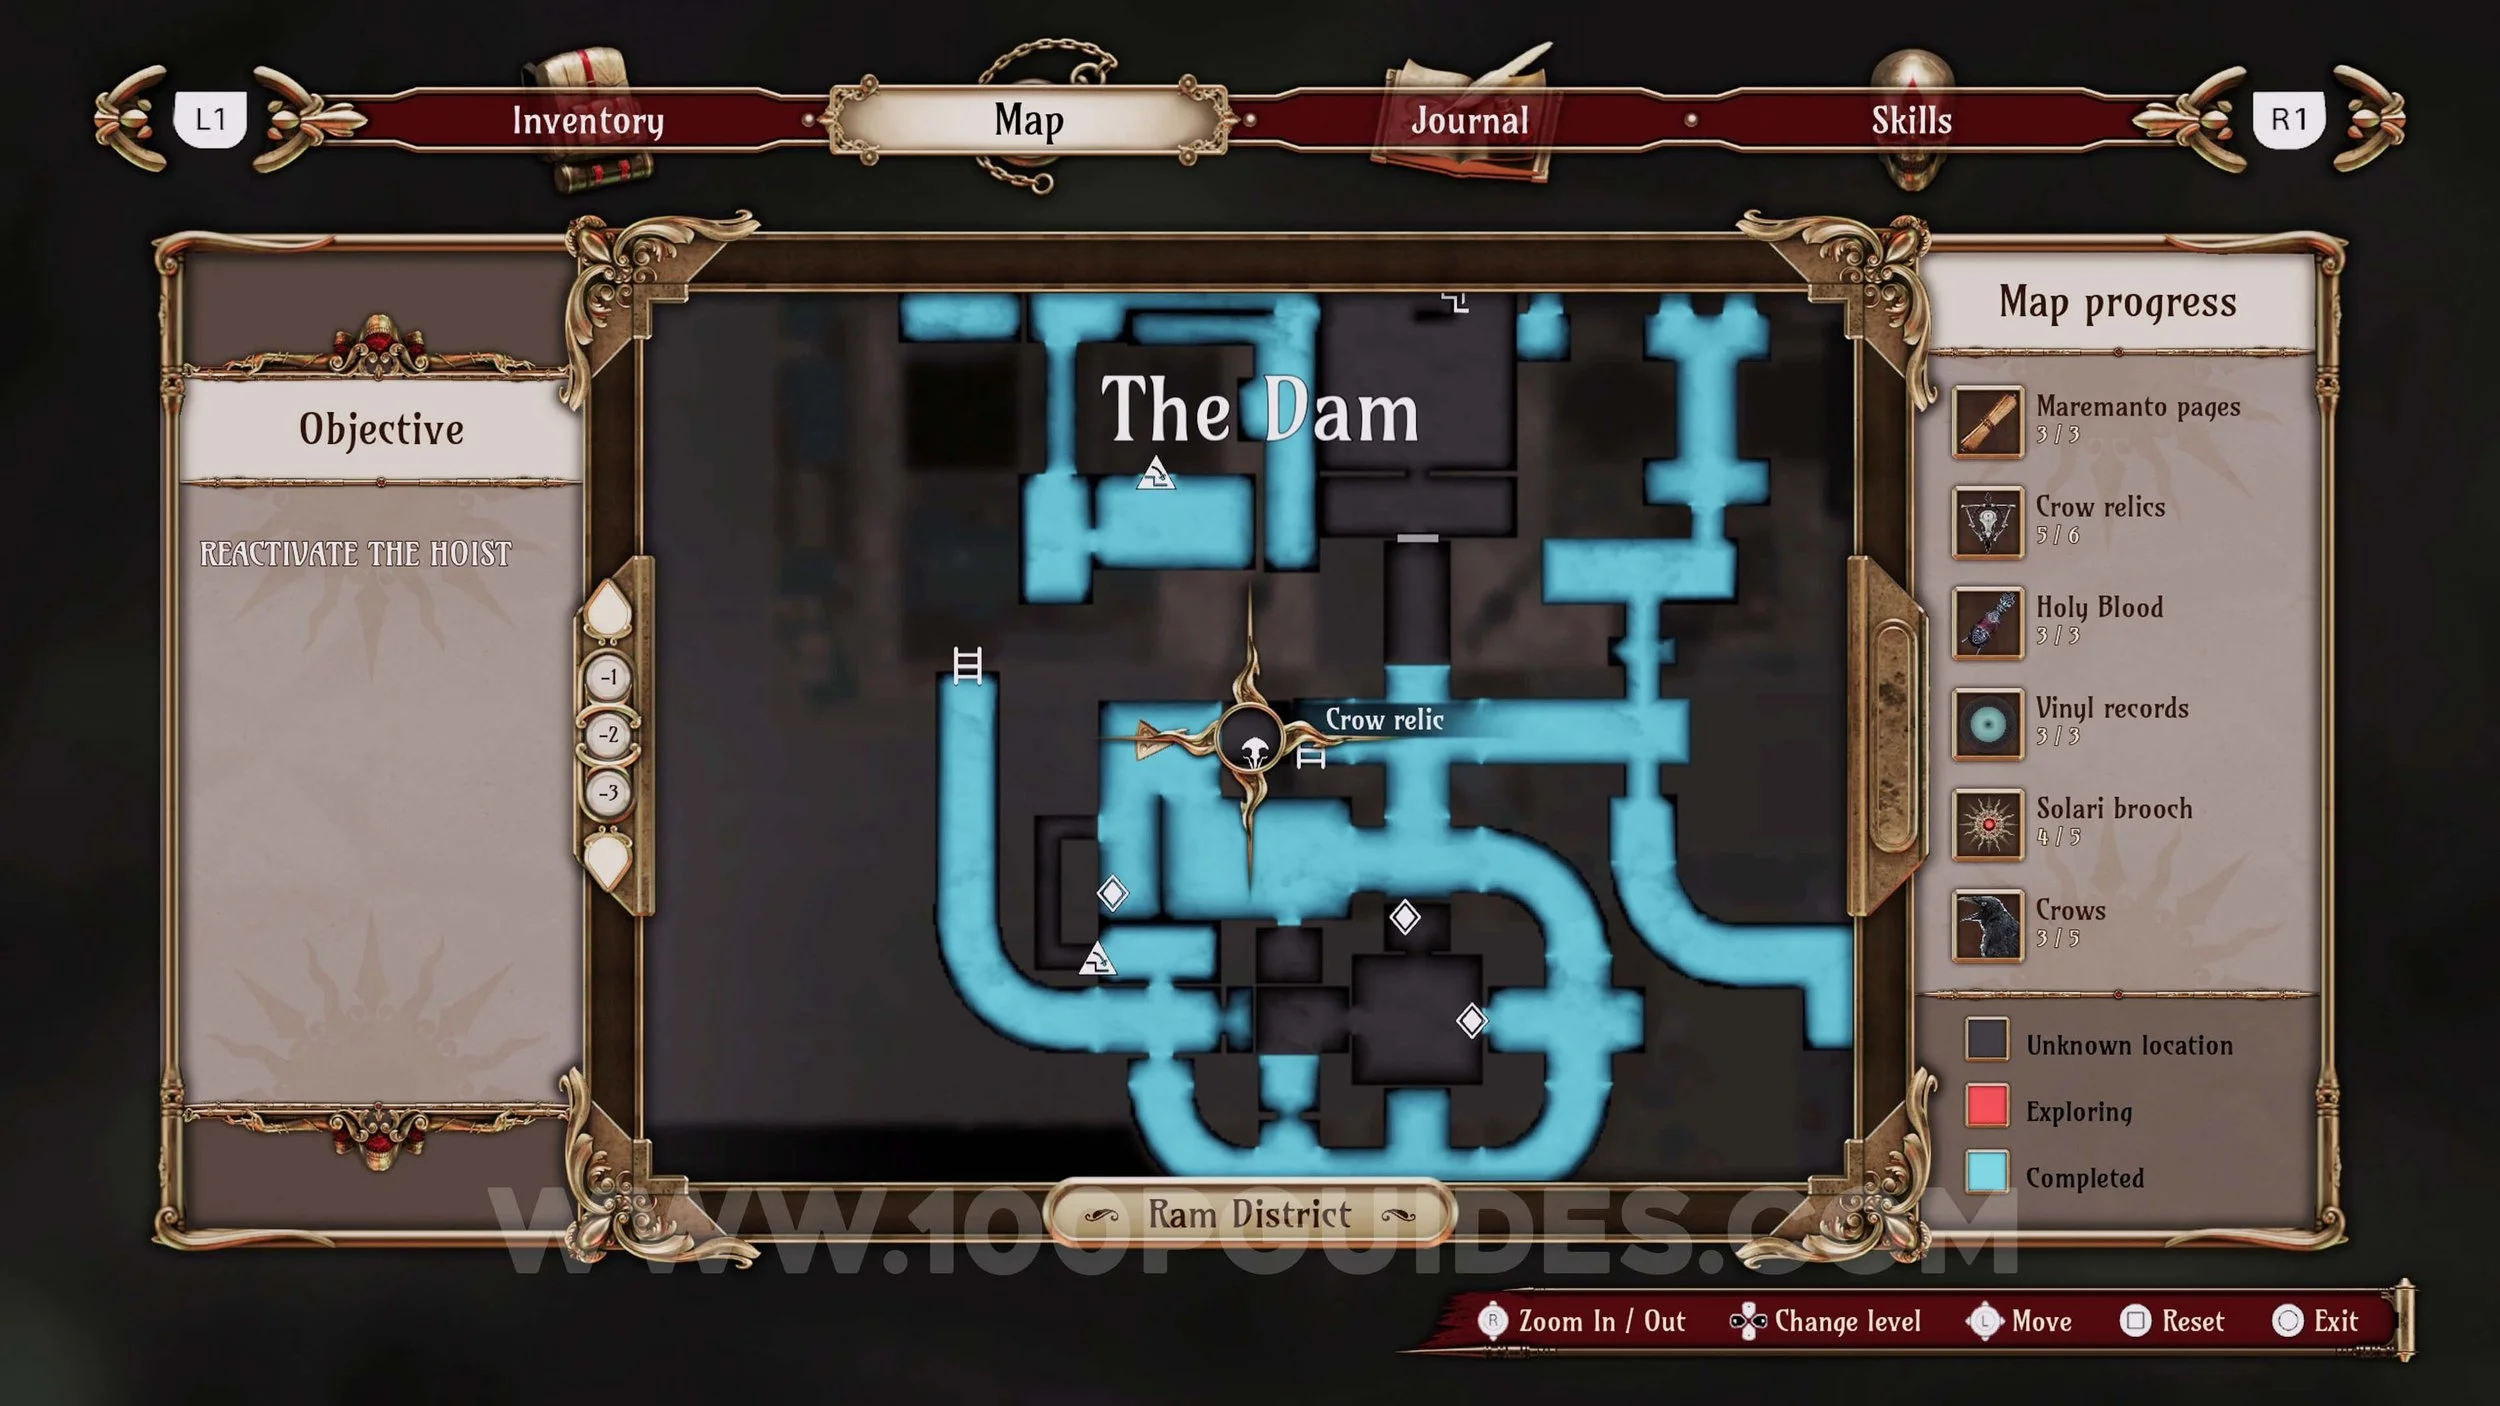
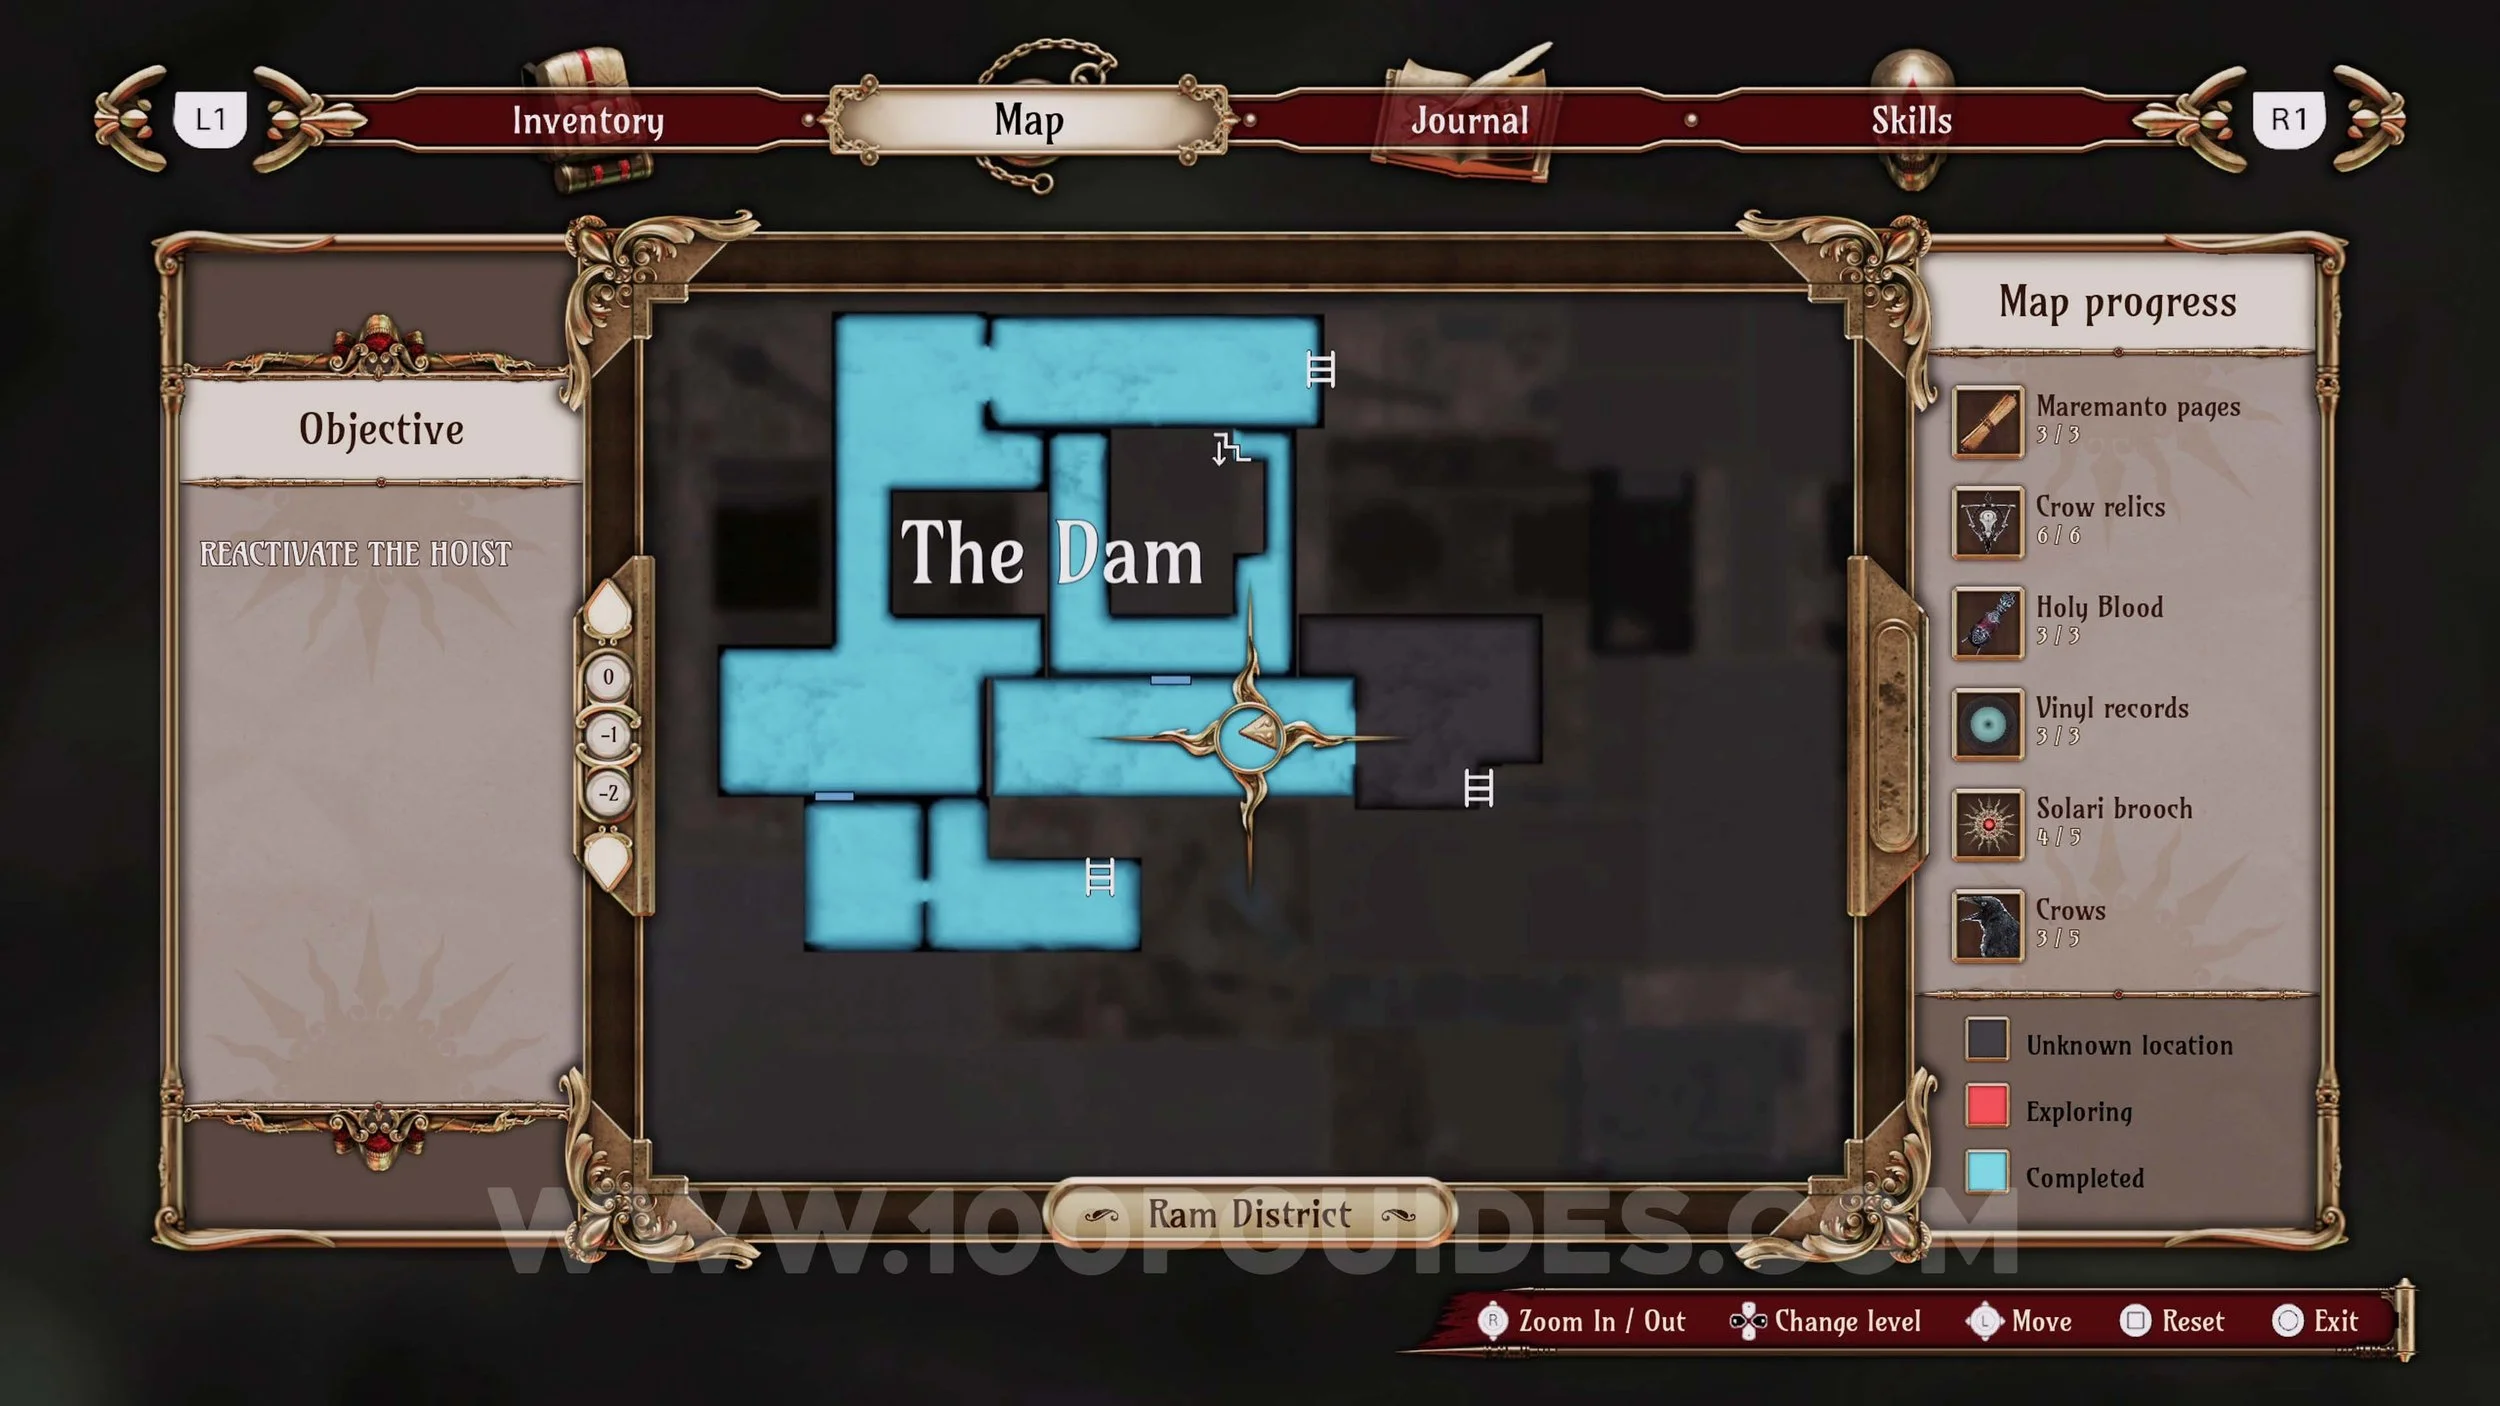
Crow Relic #12 & Holy Blood #5. After going through “The Dam” area, take the path that goes east. You will soon get to a door that requires you to solve a quick fuse puzzle. Just set 40 & 30 to RED and 89 & 90 to GREEN. The 2 collectibles can be found in the room on the other side.

Memory #35. Story related just before heading inside “Fierro Bravo Construciones”.

Ulises Idol #18. In the same area as the previous Memory. Before heading inside “Fierro Bravo Constructiones”, look for the doll on your right.
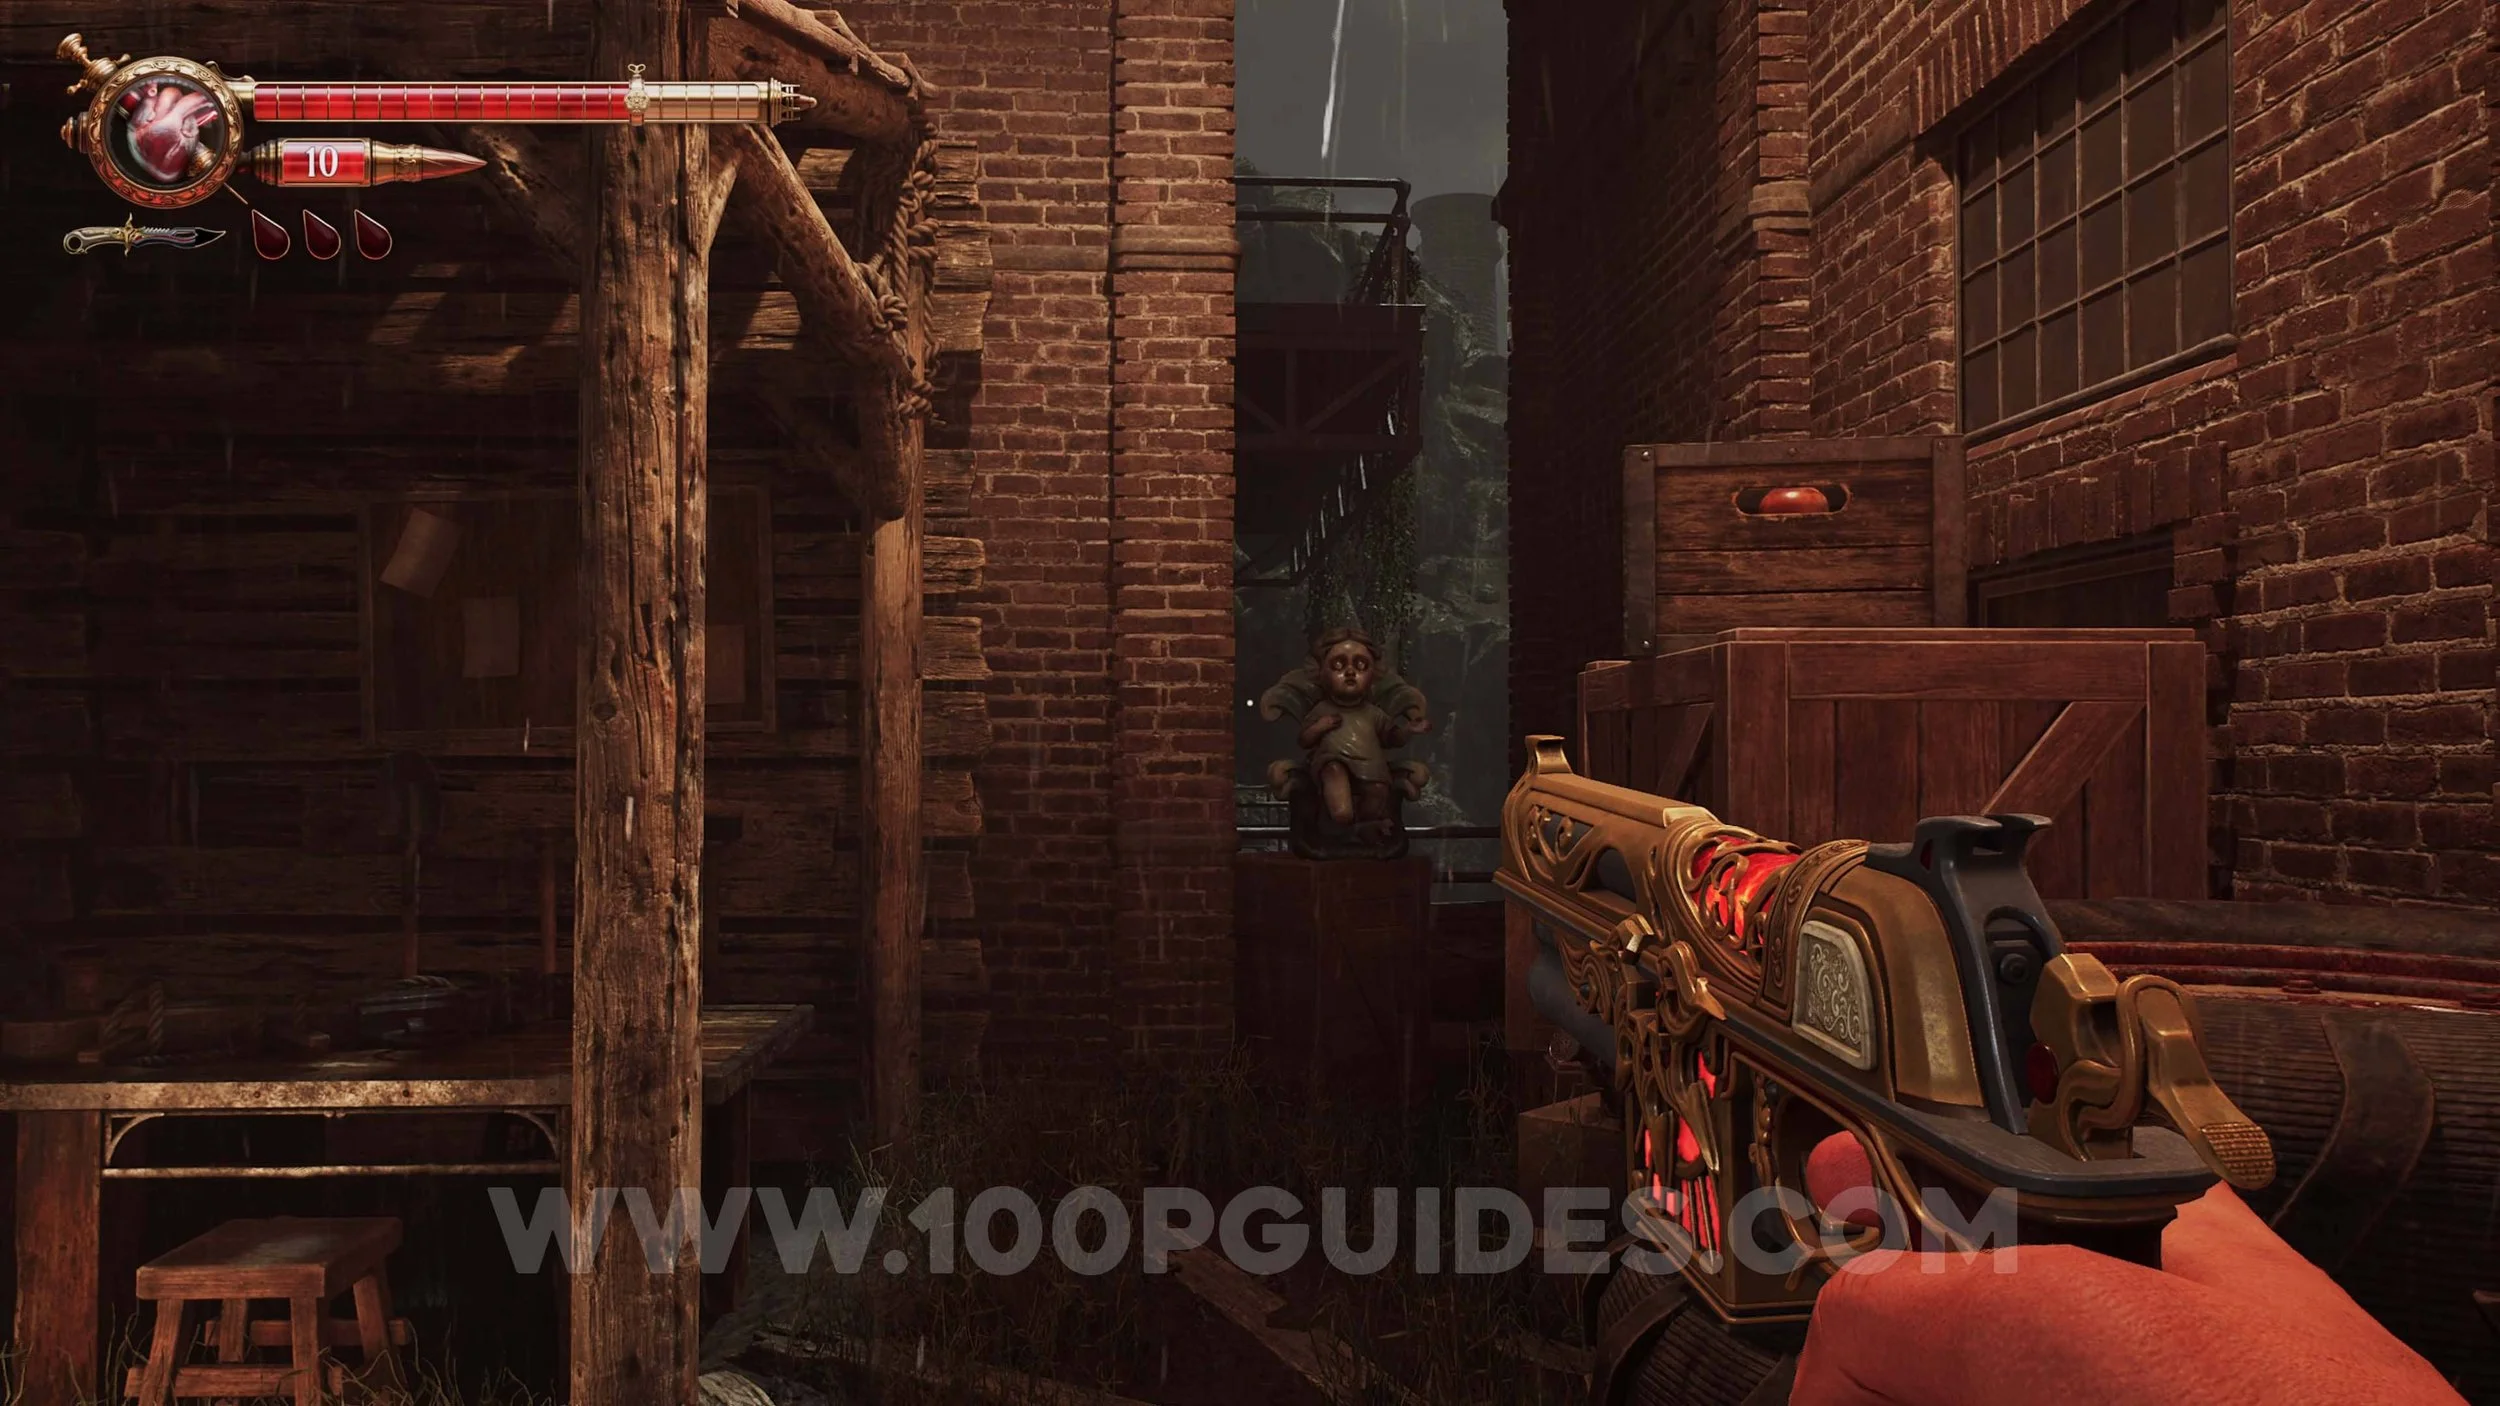
Crow #7. In the same area as the previous 2 collectibles. This time, look across to the left and shoot the cage.

Memory #36 & Solari Brooch #7. Move the cart found in the north-western corner of the area where Dolores is walking around to find both collectibles on the other side.
Crow Relic #13. Go under the container on the eastern side of the area where Dolores is walking around to find the collectible in a chest inside another container.
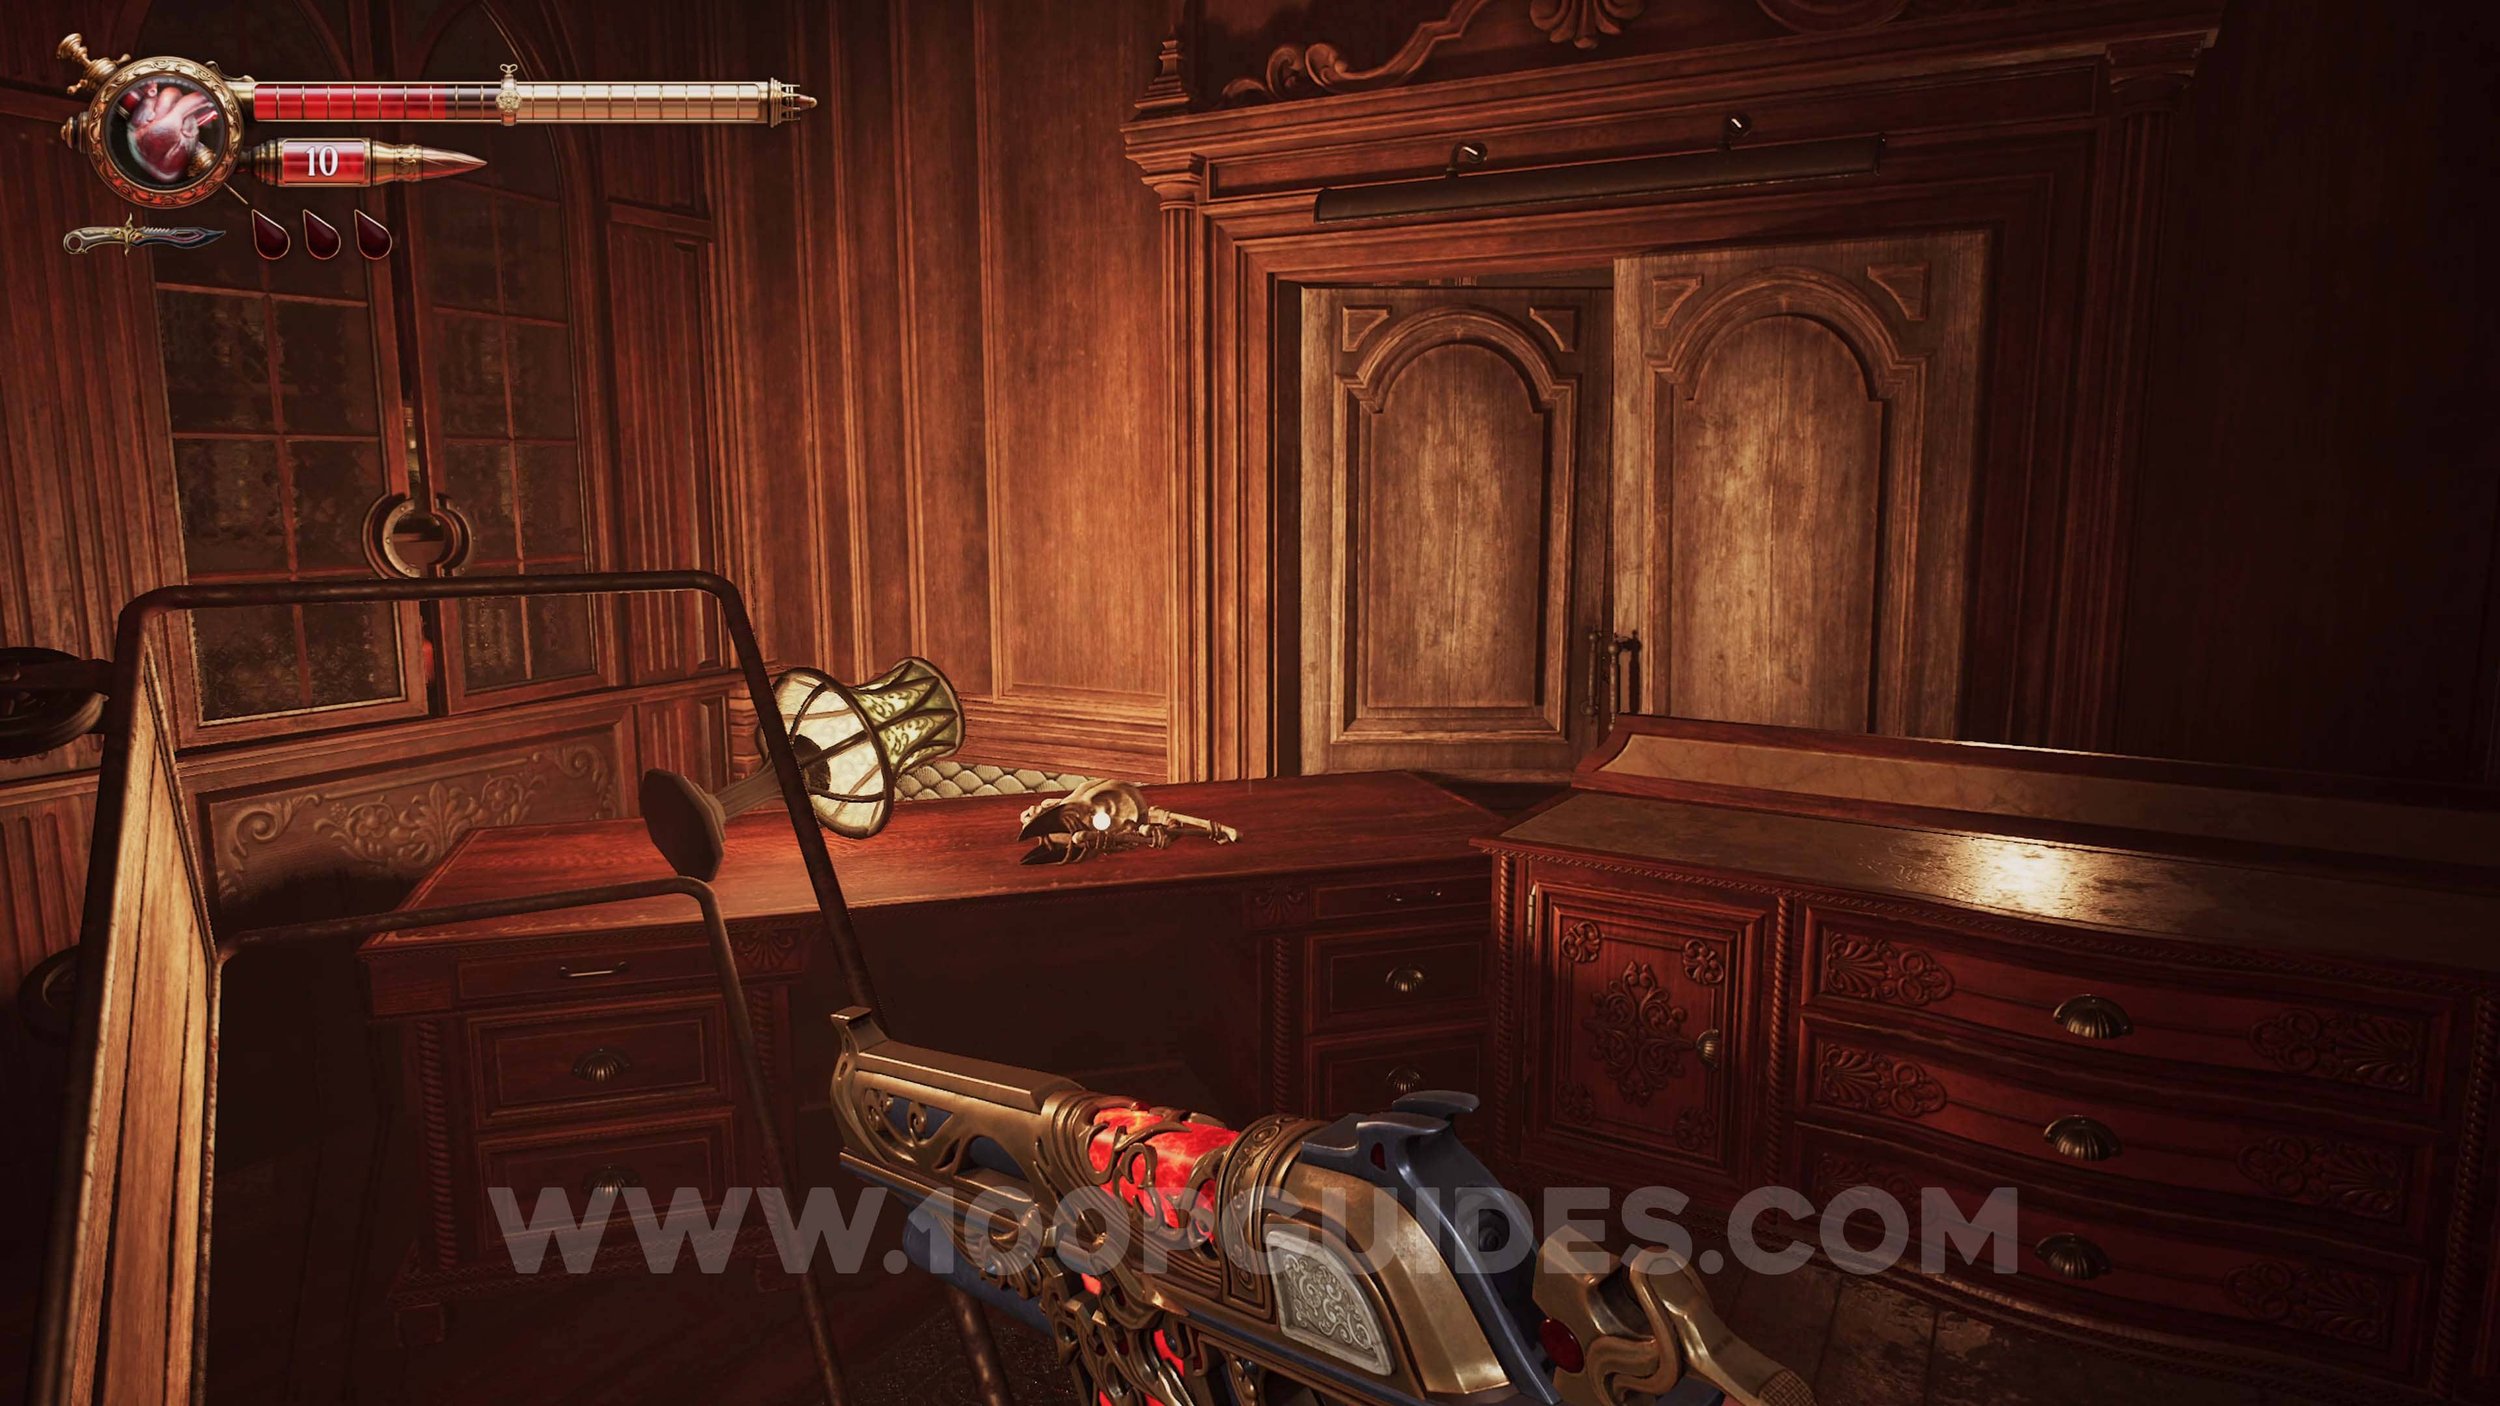
Memory #37 & Crow Relic #14. After getting the wrench, return to the area below the balcony where you got the Sniper (where you triggered the memory of the ghost on the balcony). Here, use the wrench to access the building under the balcony. The memory will trigger inside, and the relic can be found inside the wardrobe.
Vinyl Record #4. Also in the same room as the previous collectibles.
Ulises Idol #19. Use the wrench to get past the steam in the alley behind the building where you got the sniper. Then follow that path until you go through a toy shop with loads of dolls inside. The Idol can be found by looking up inside the shop.


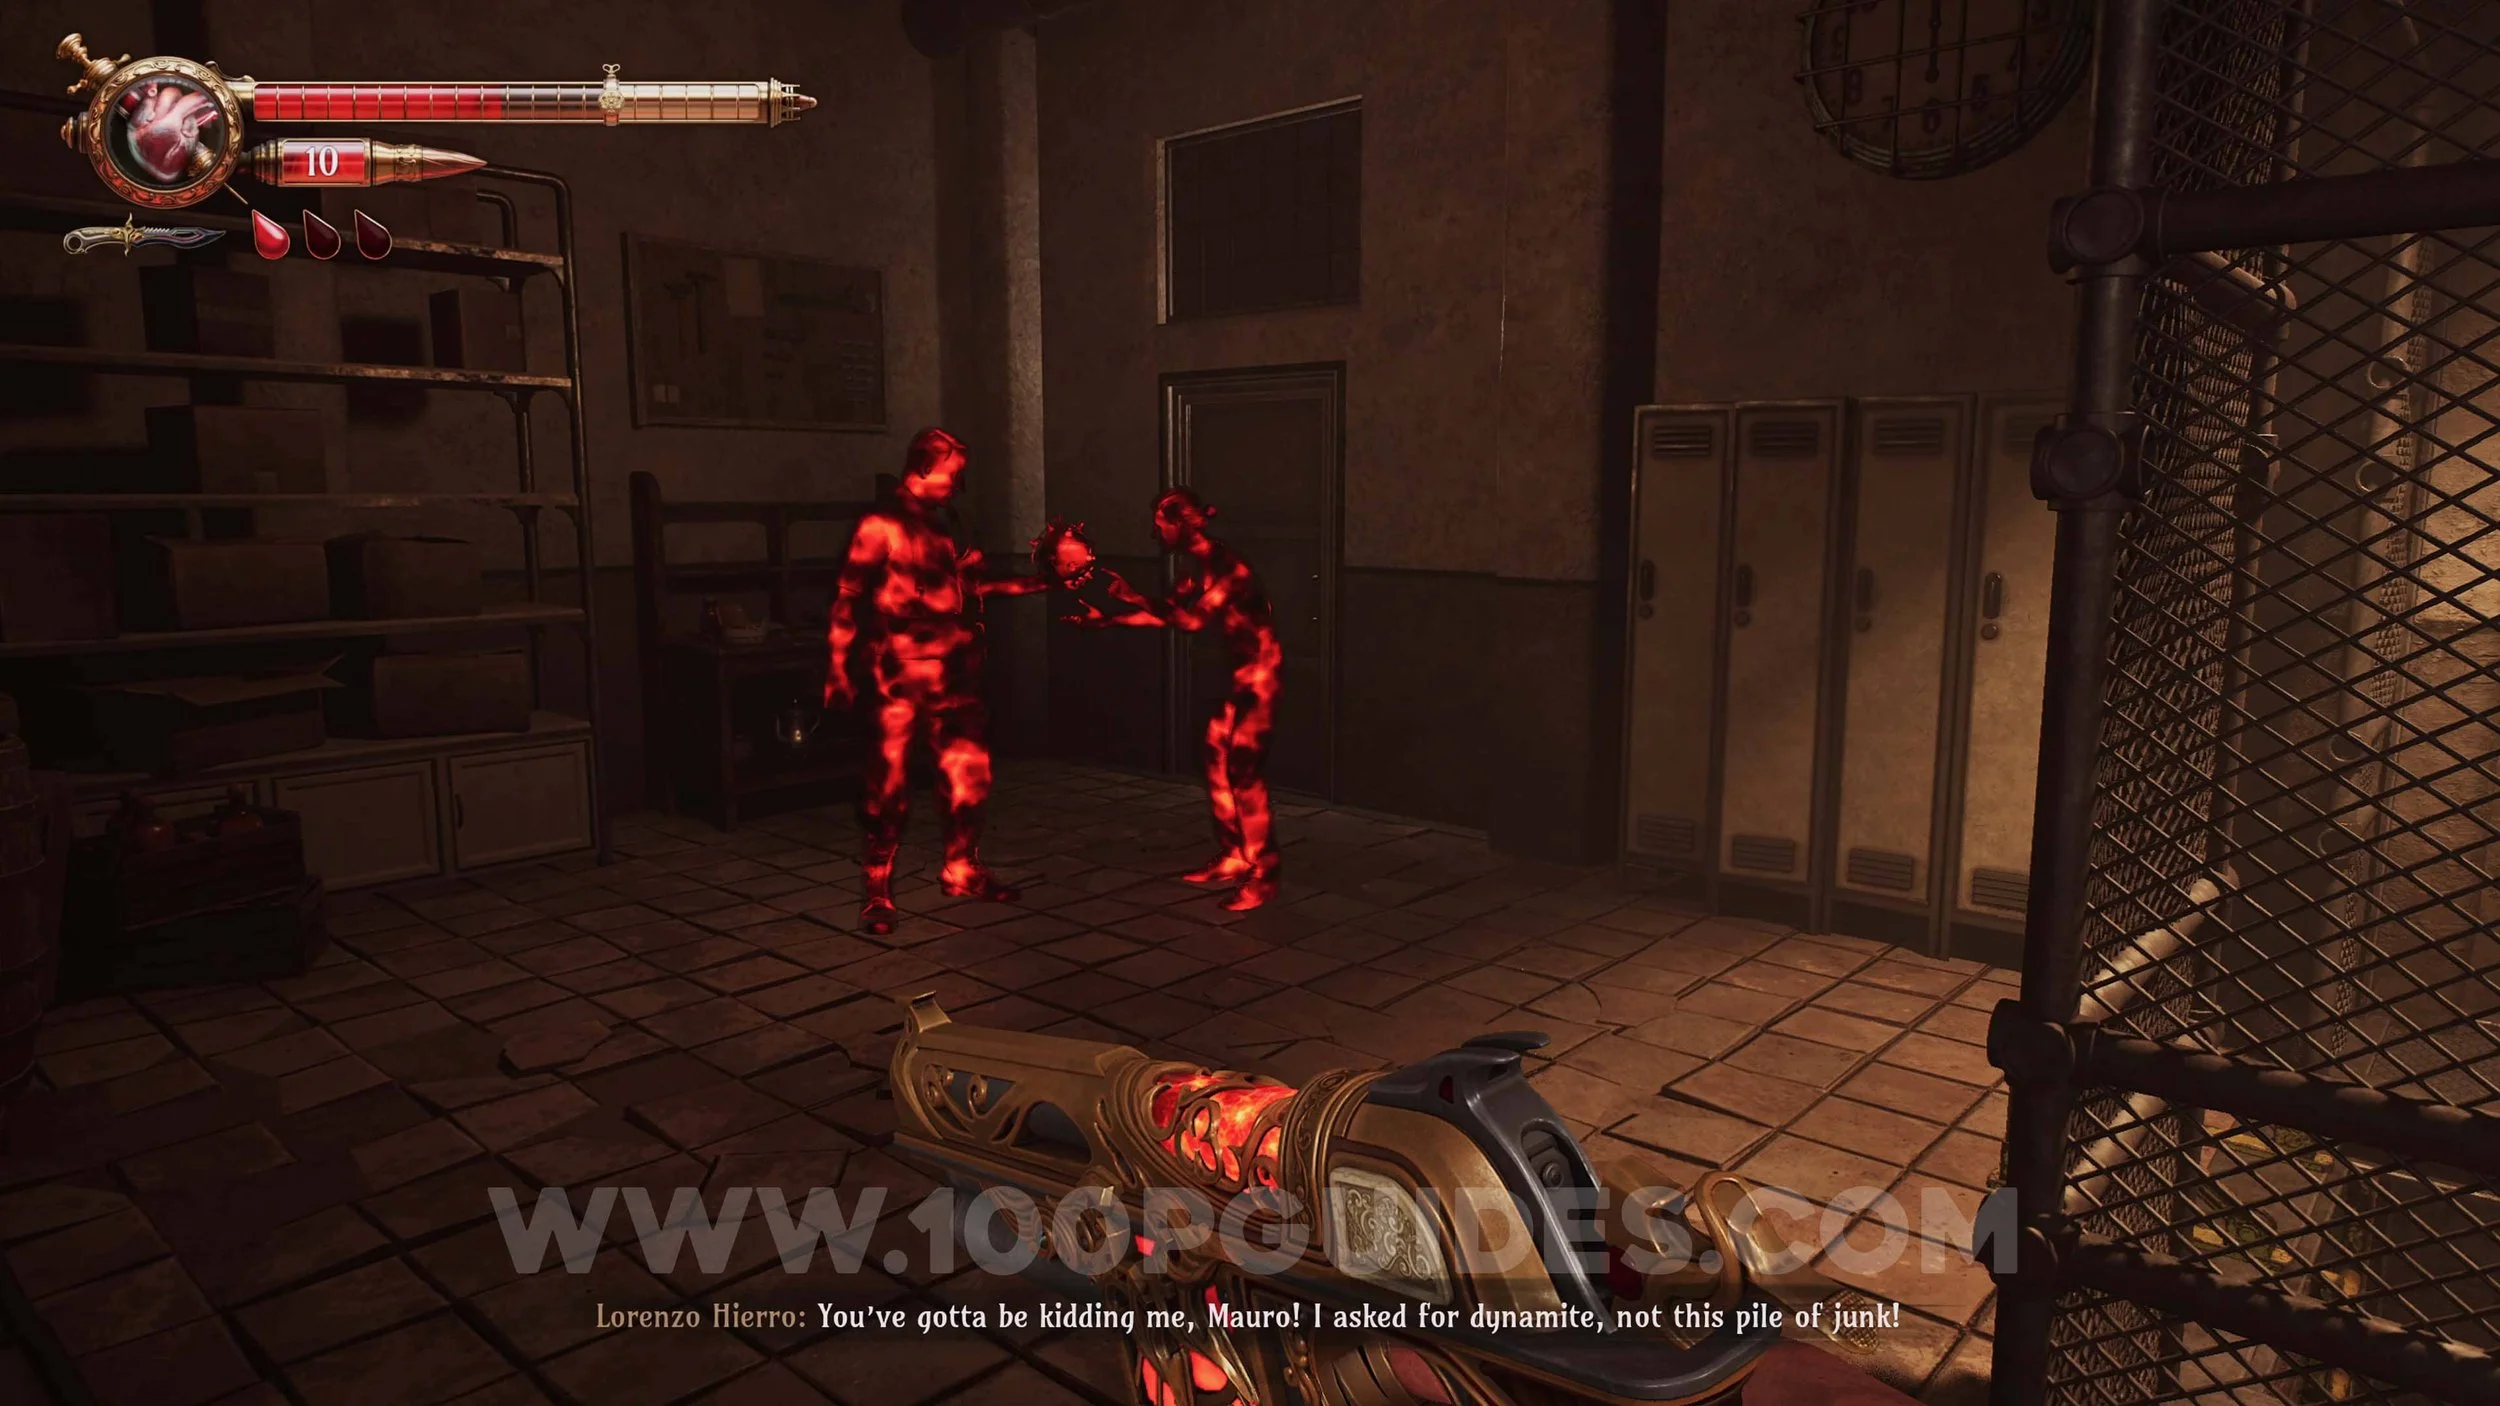
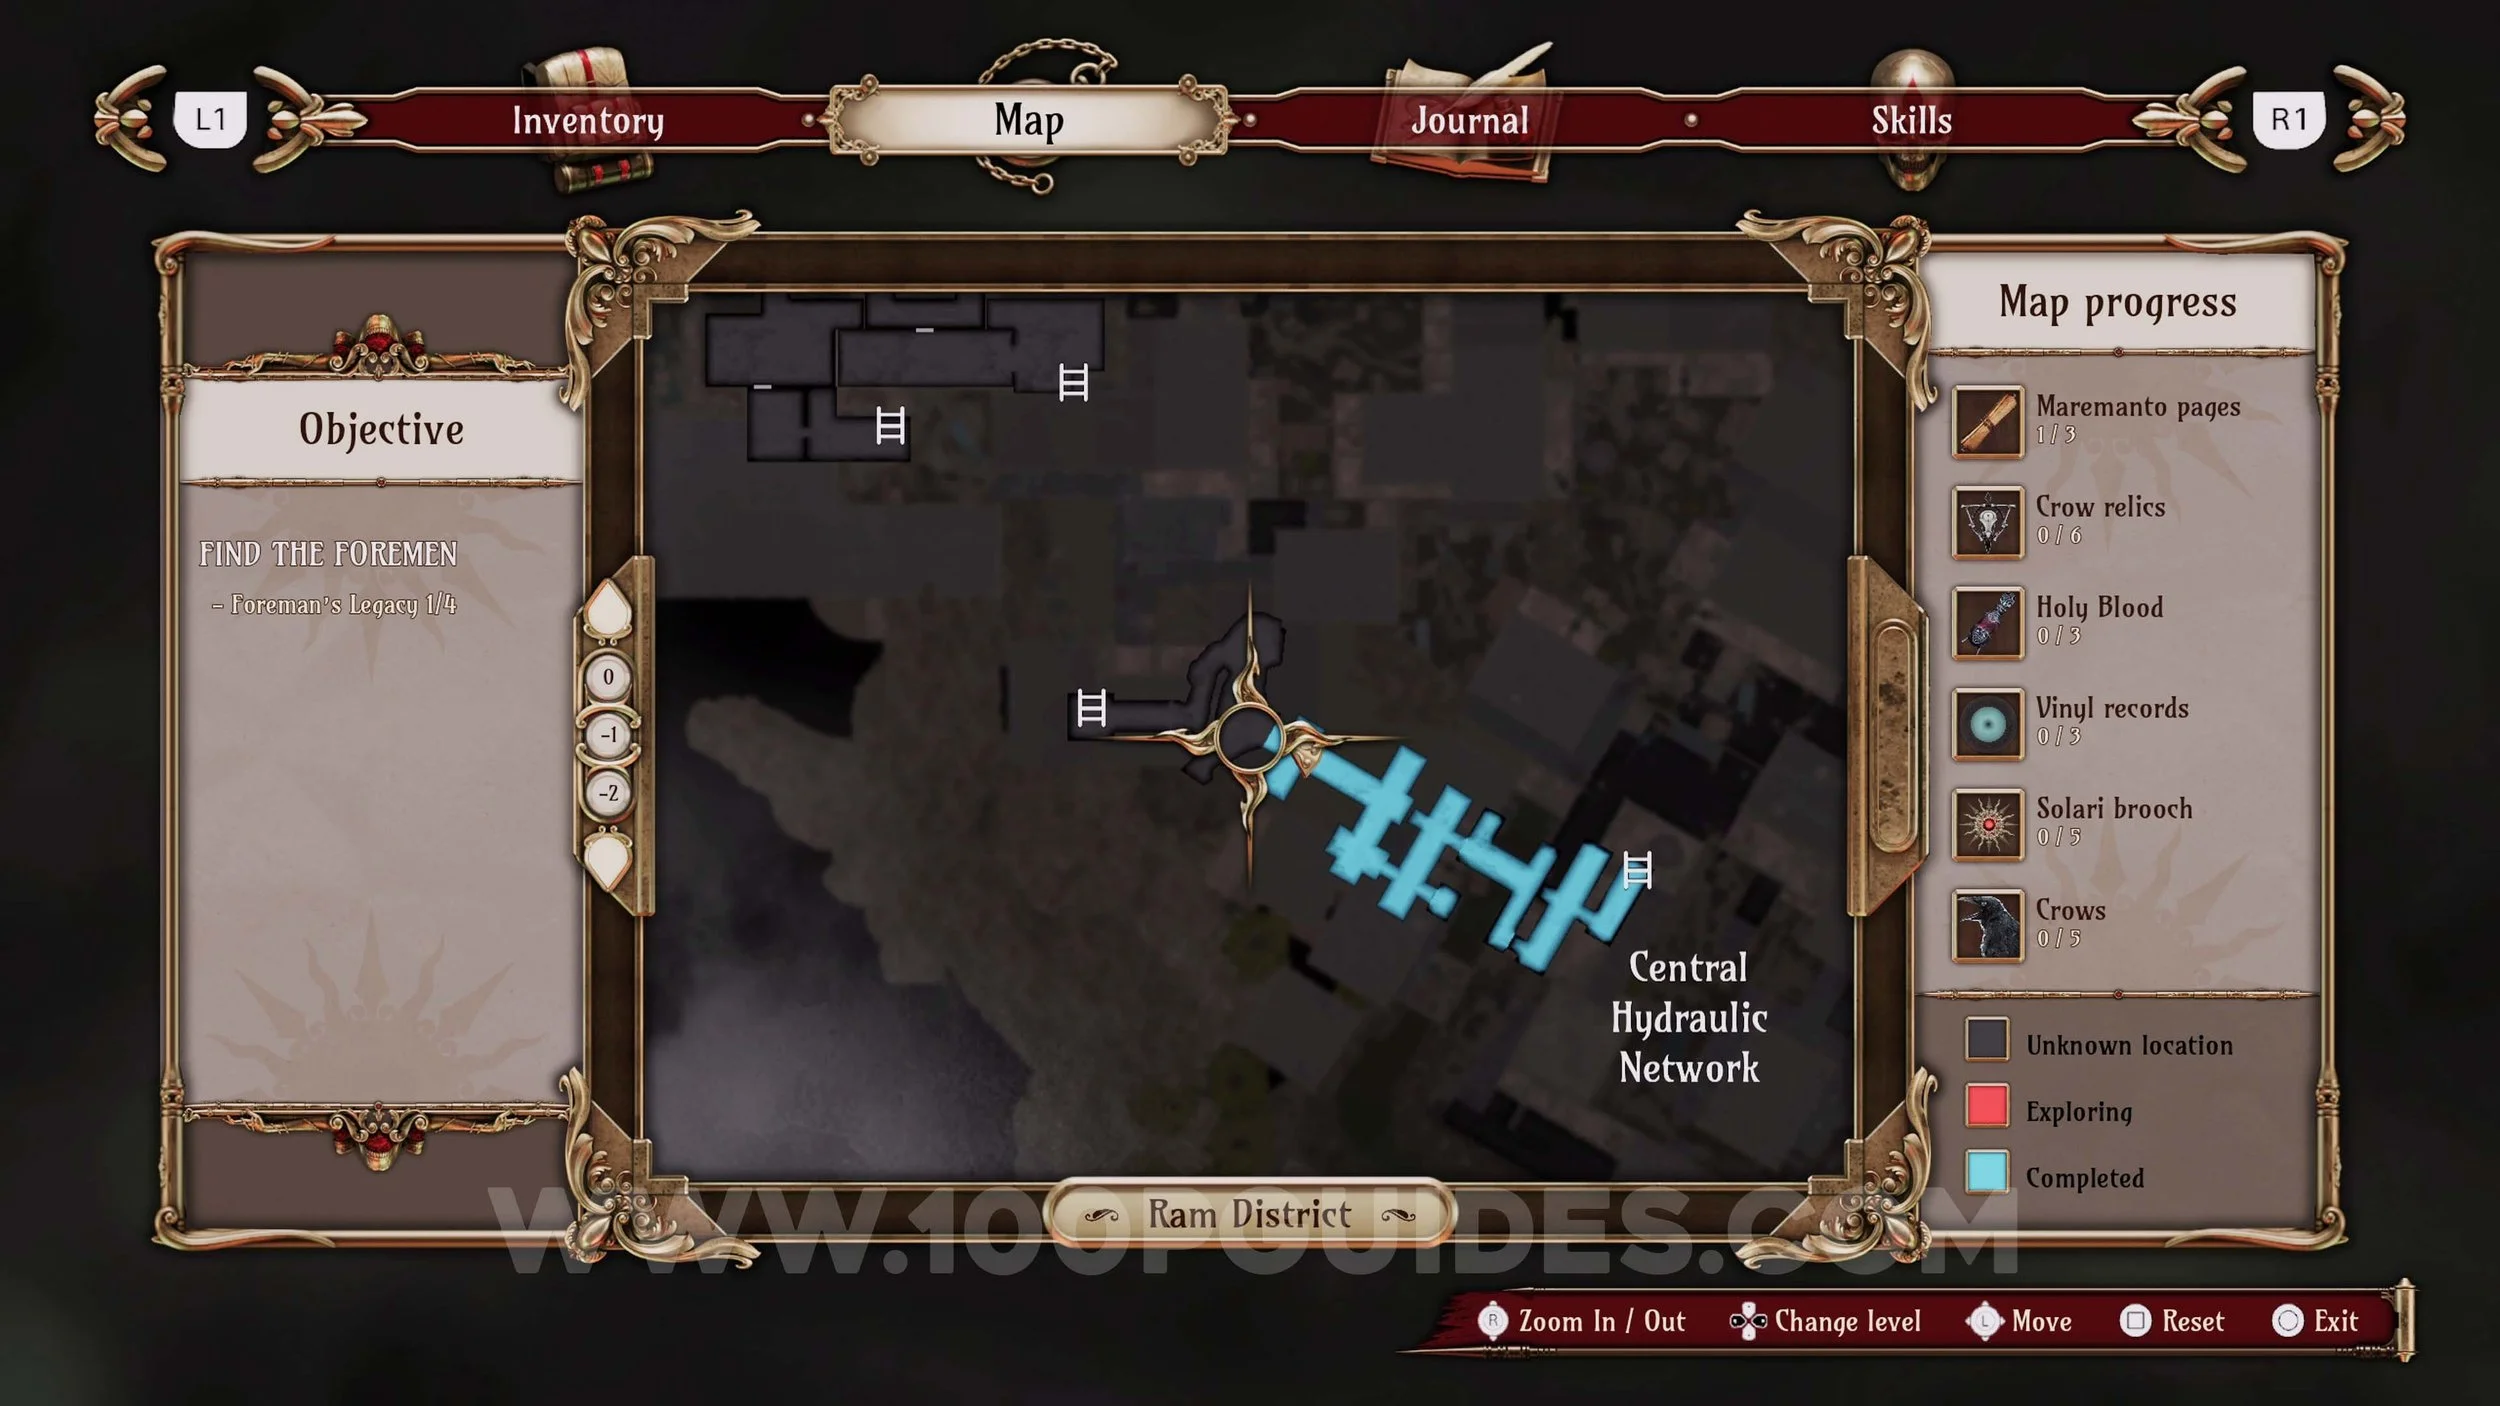
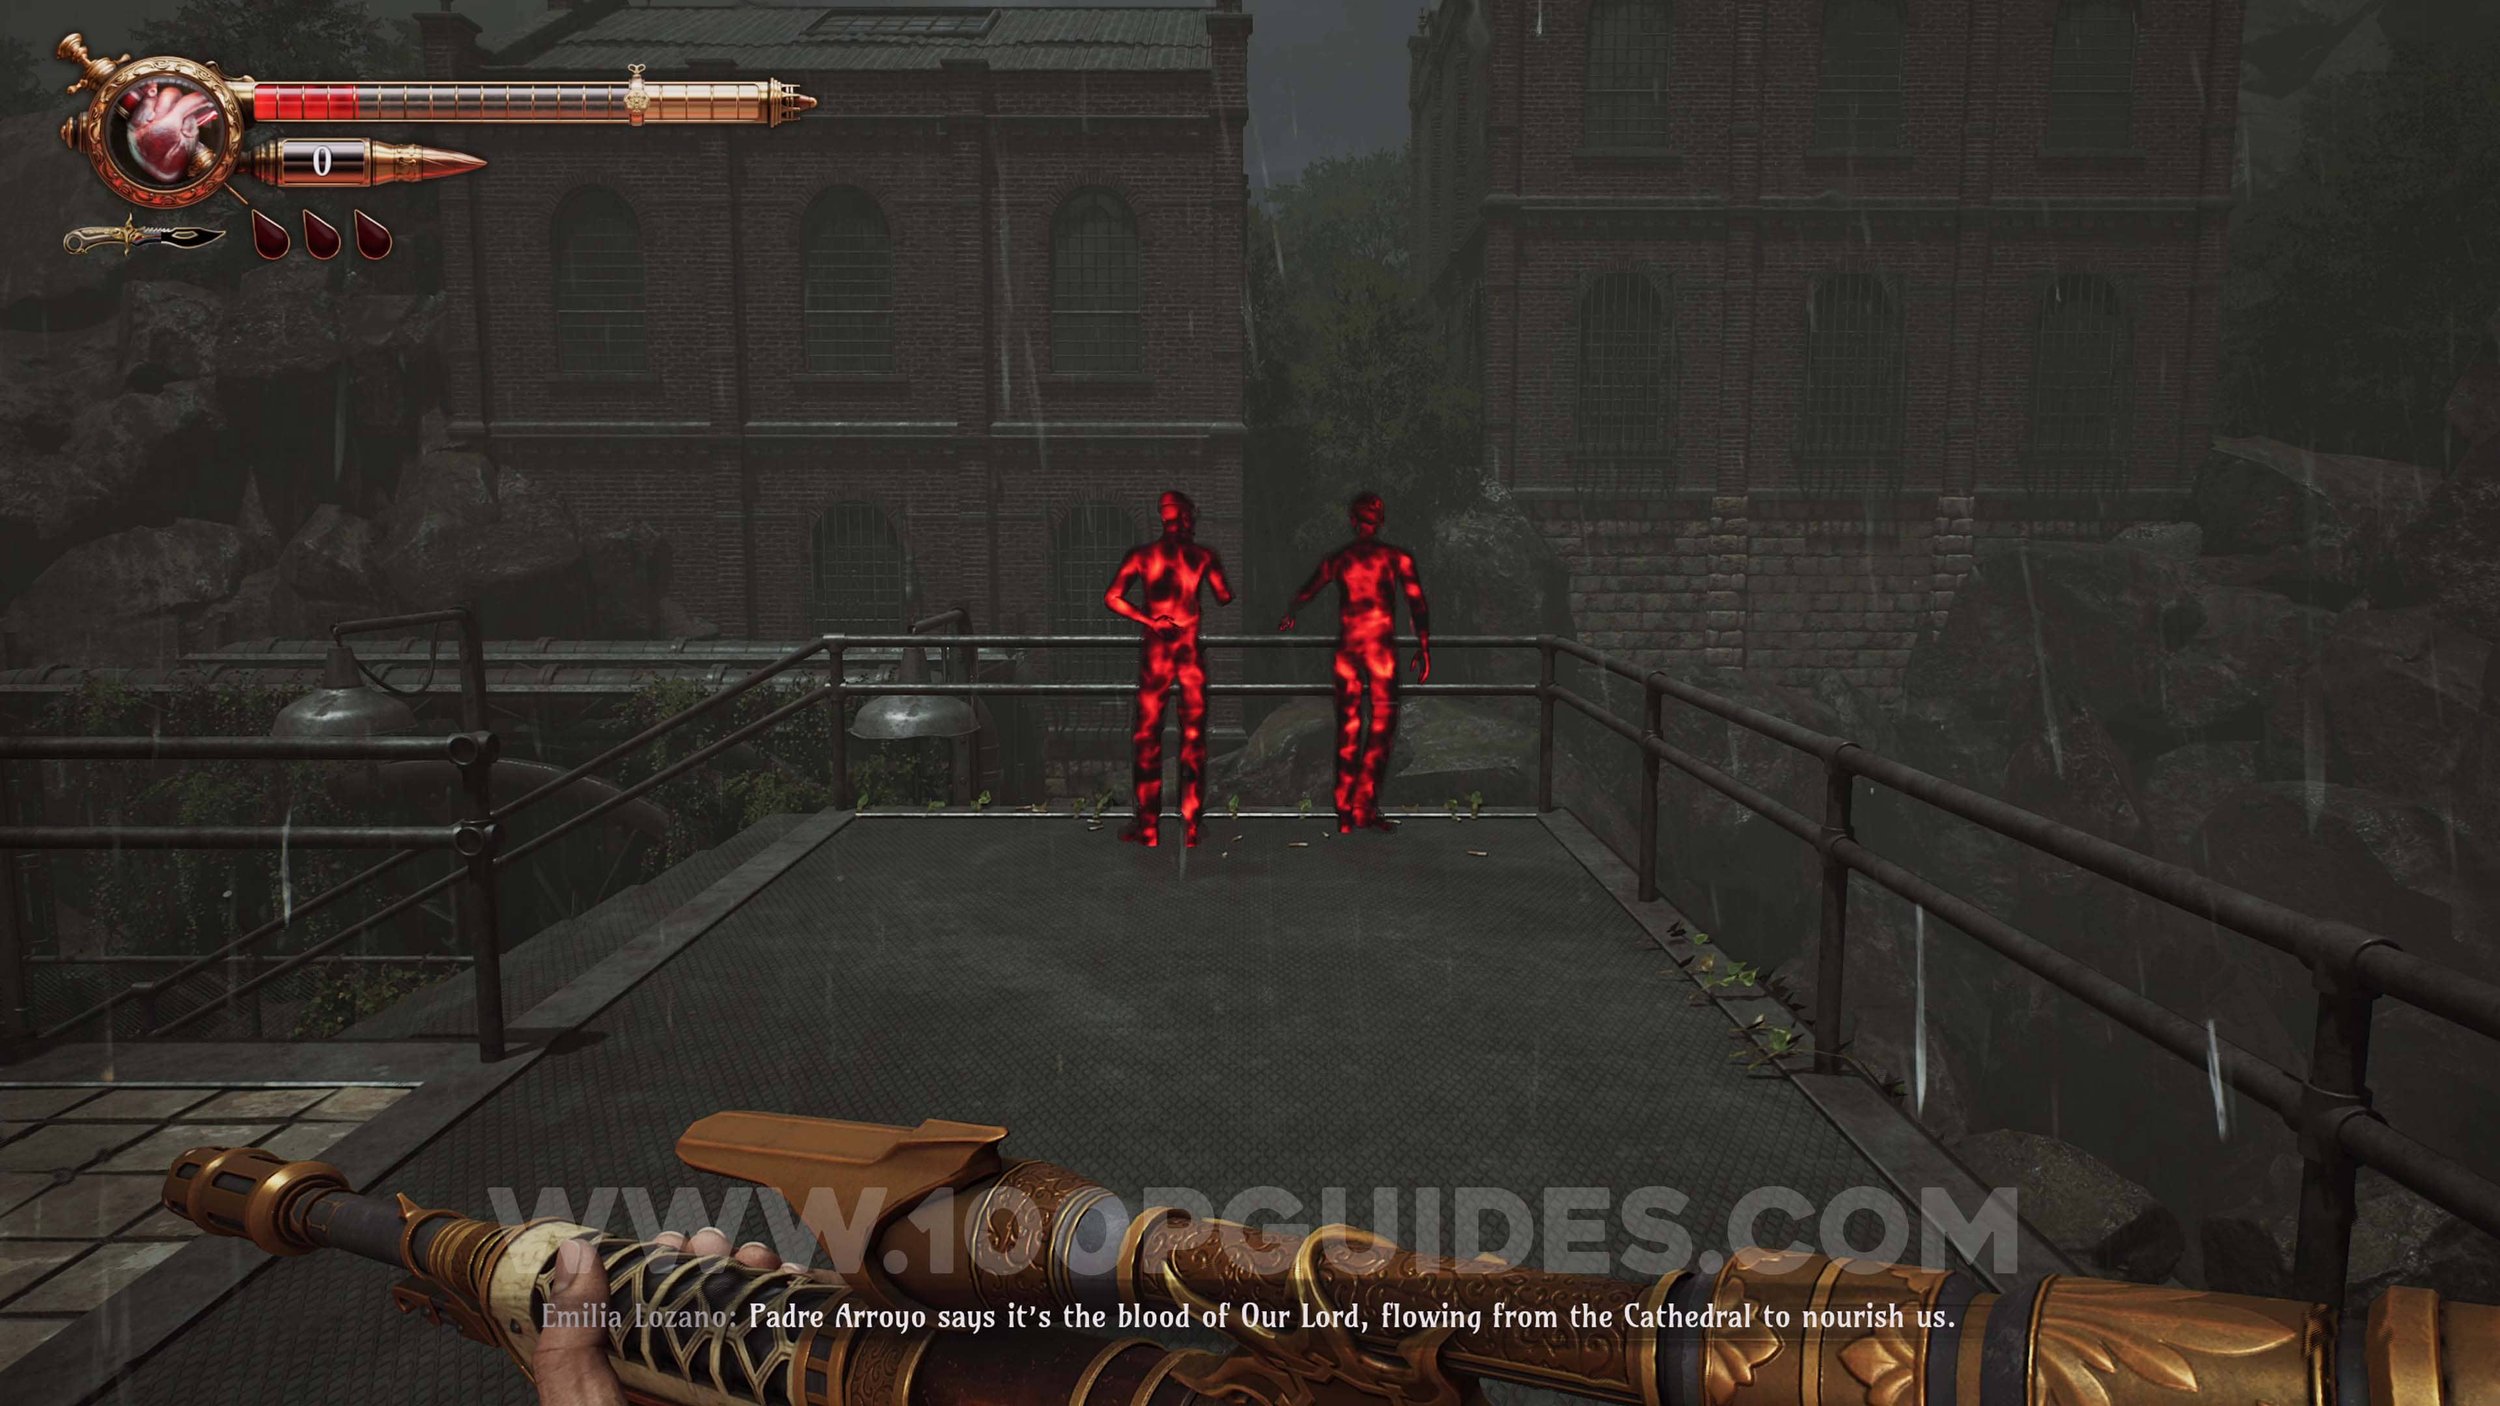
Memory #38. Story related. Just after going through the save point, after turning the first valve on the blue pipe.
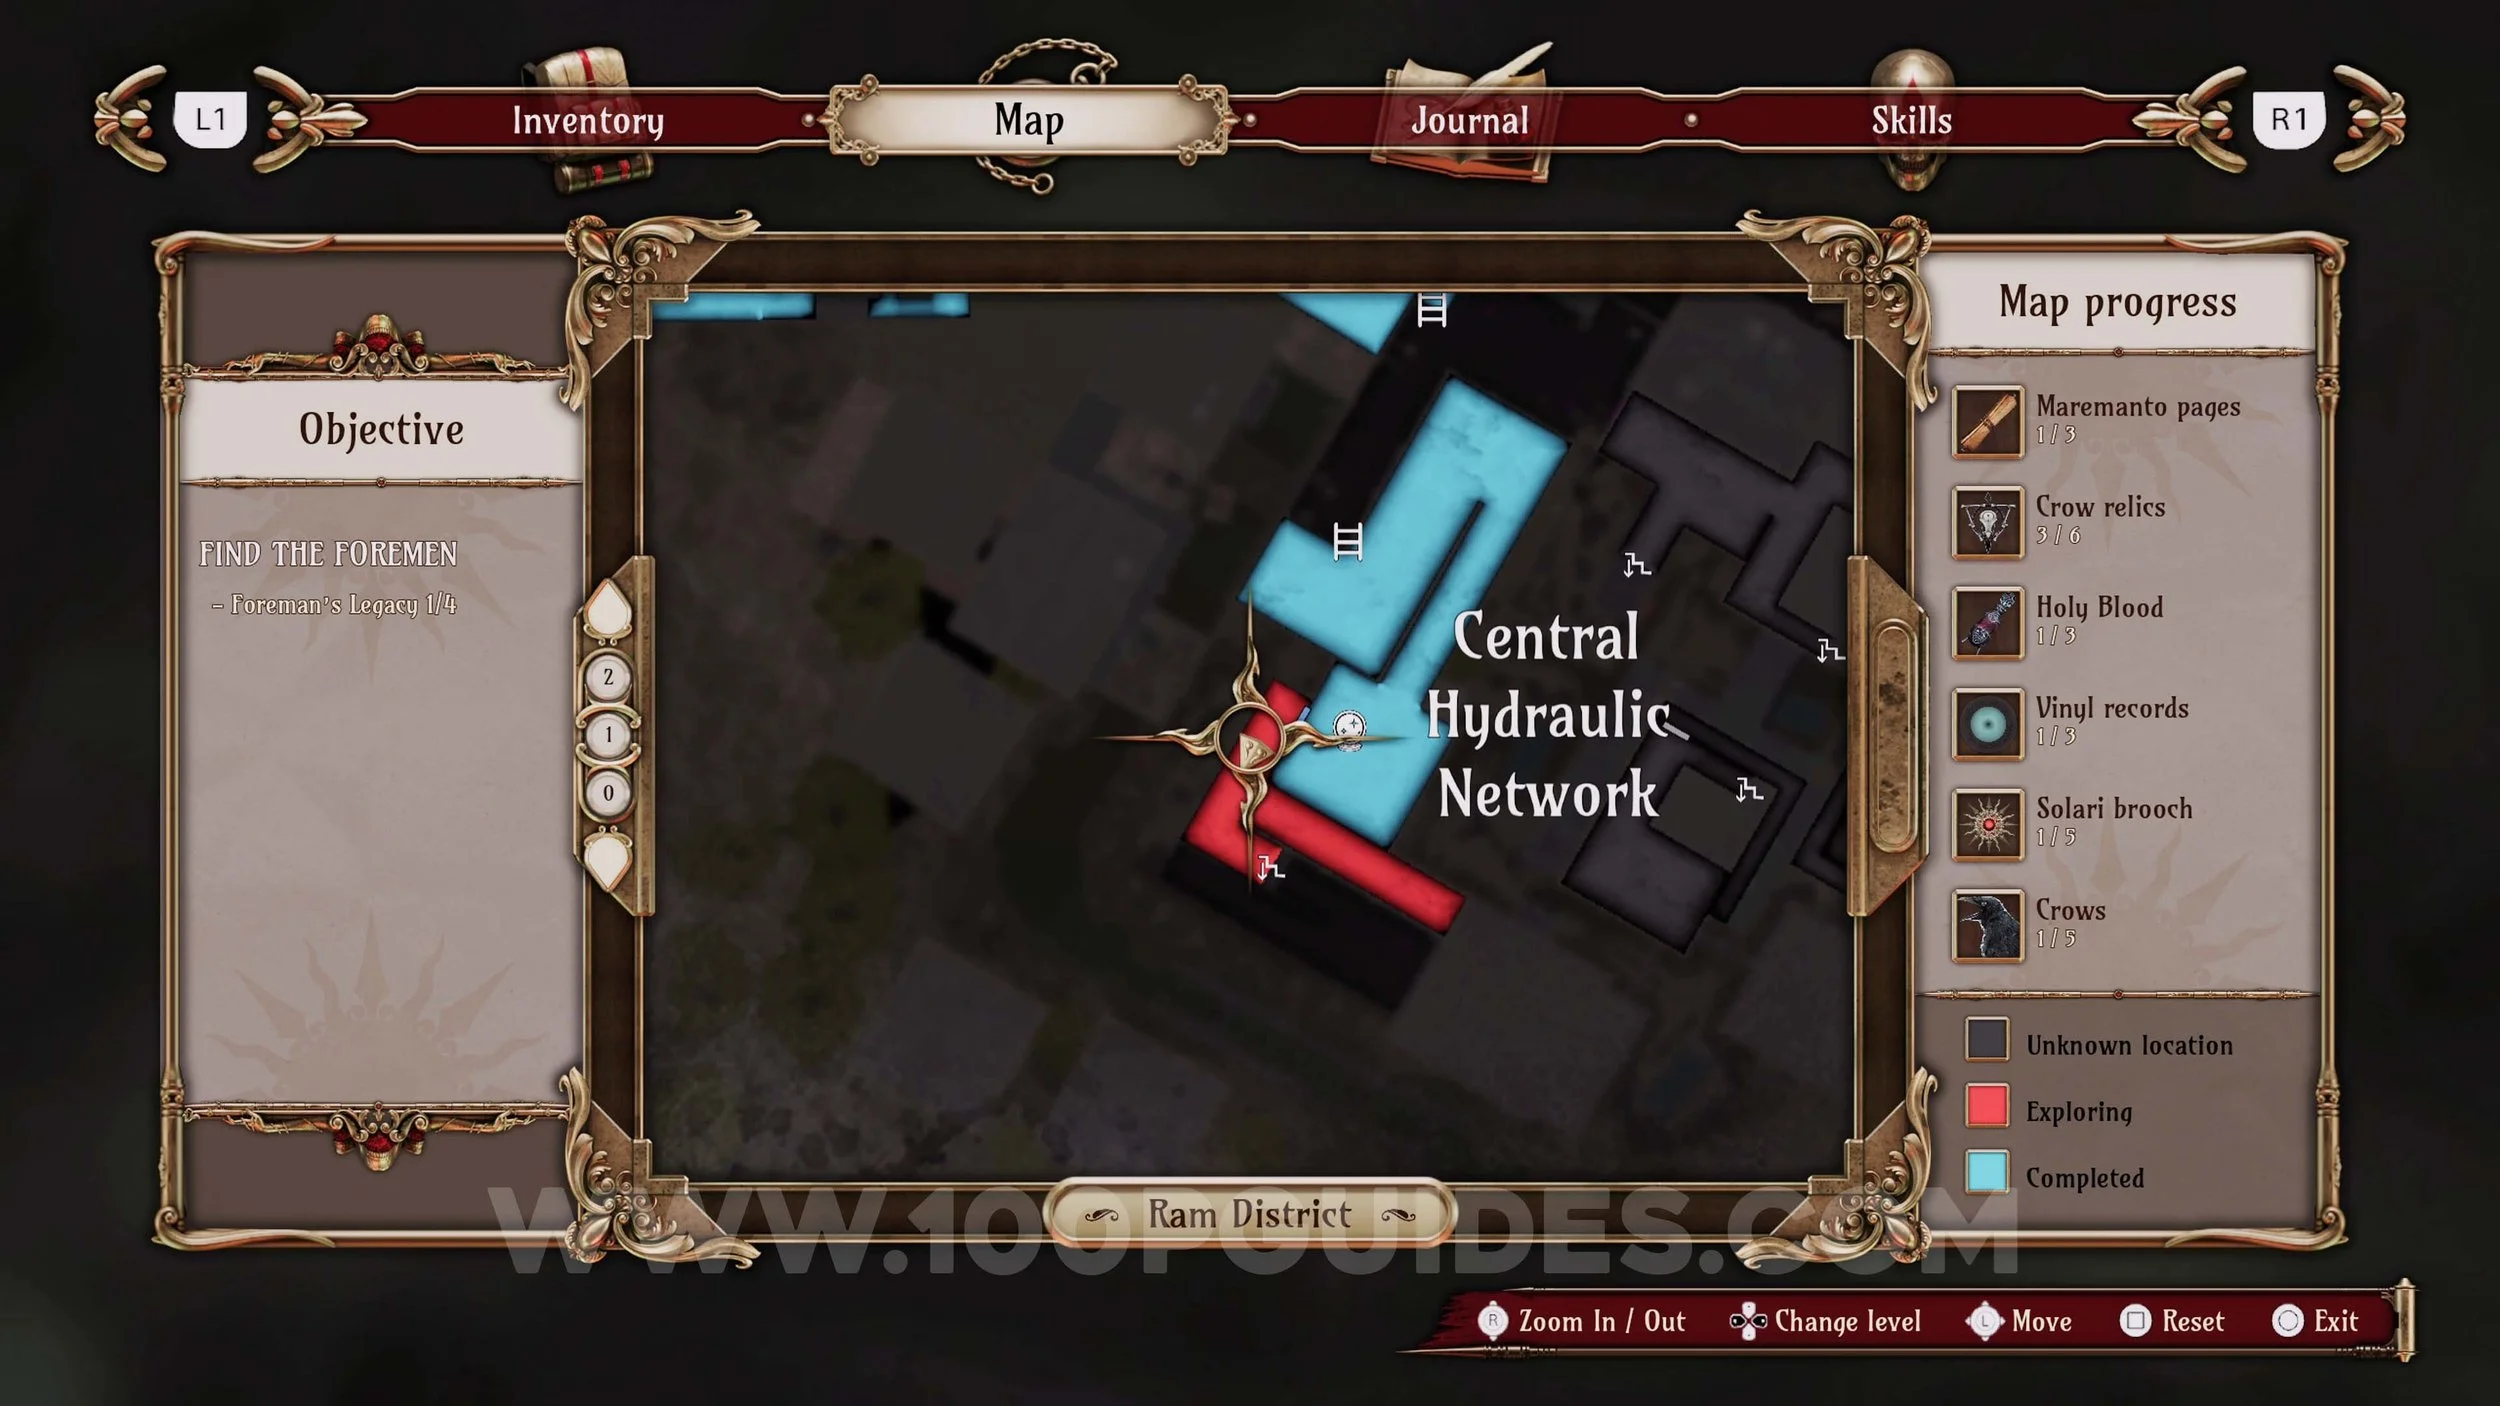
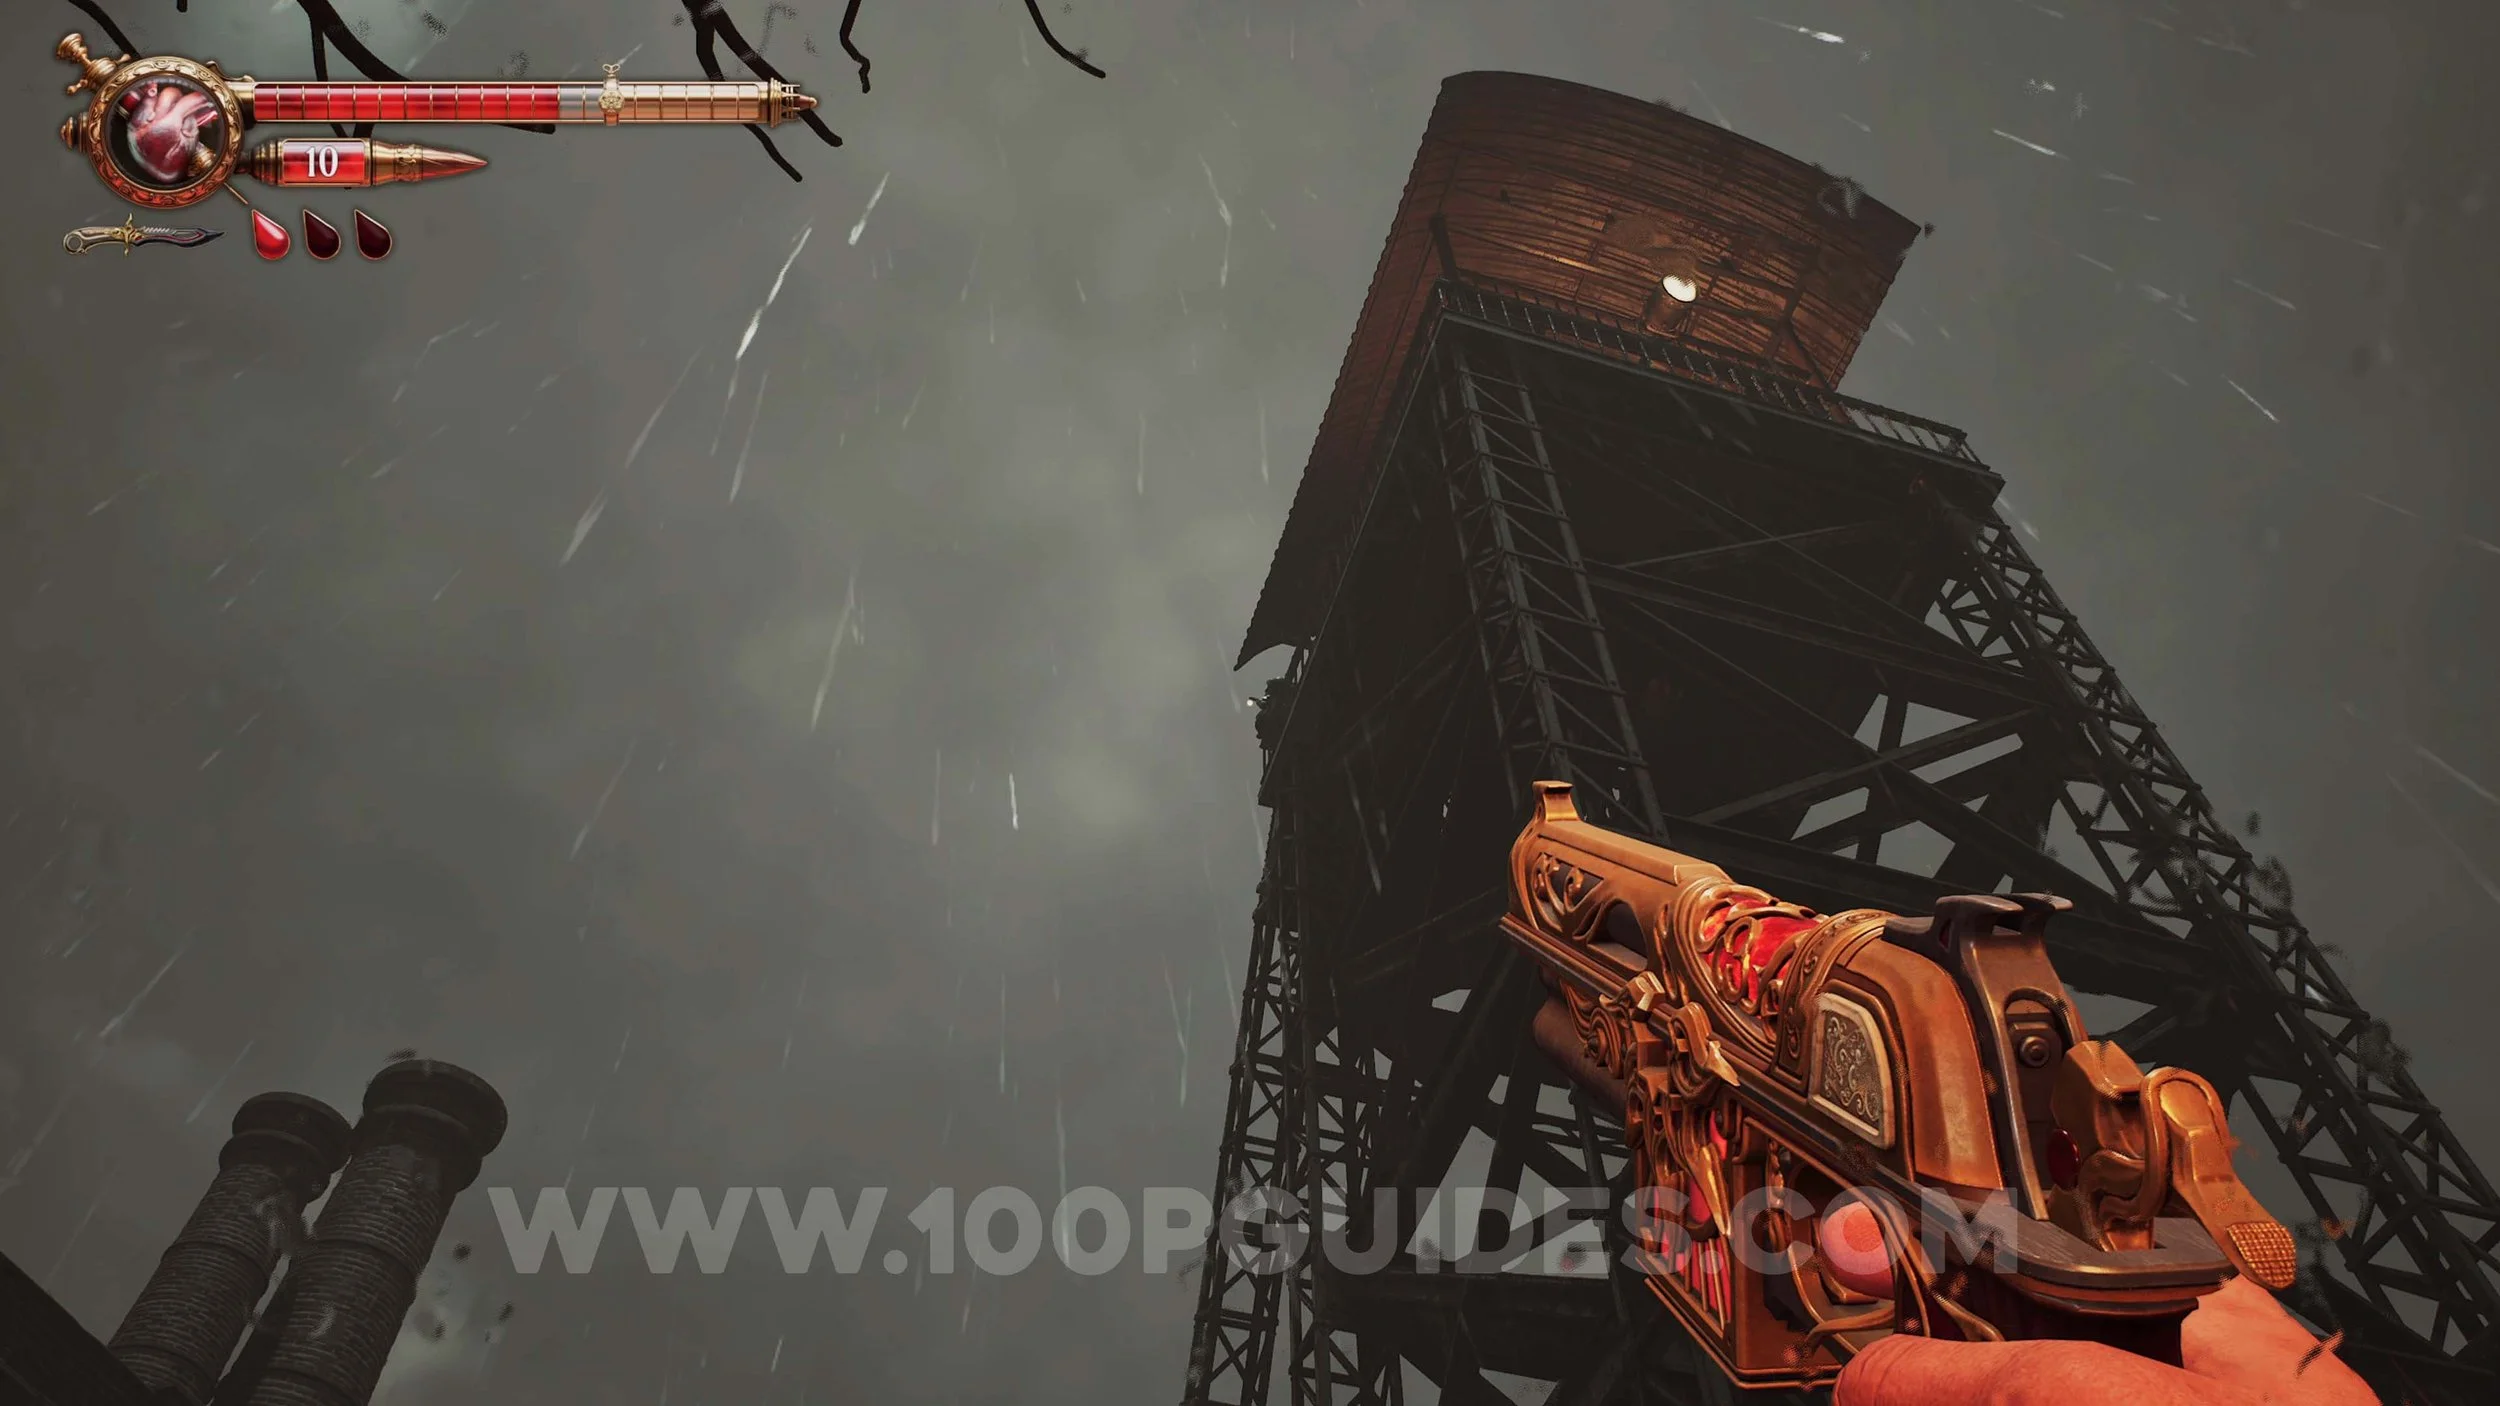
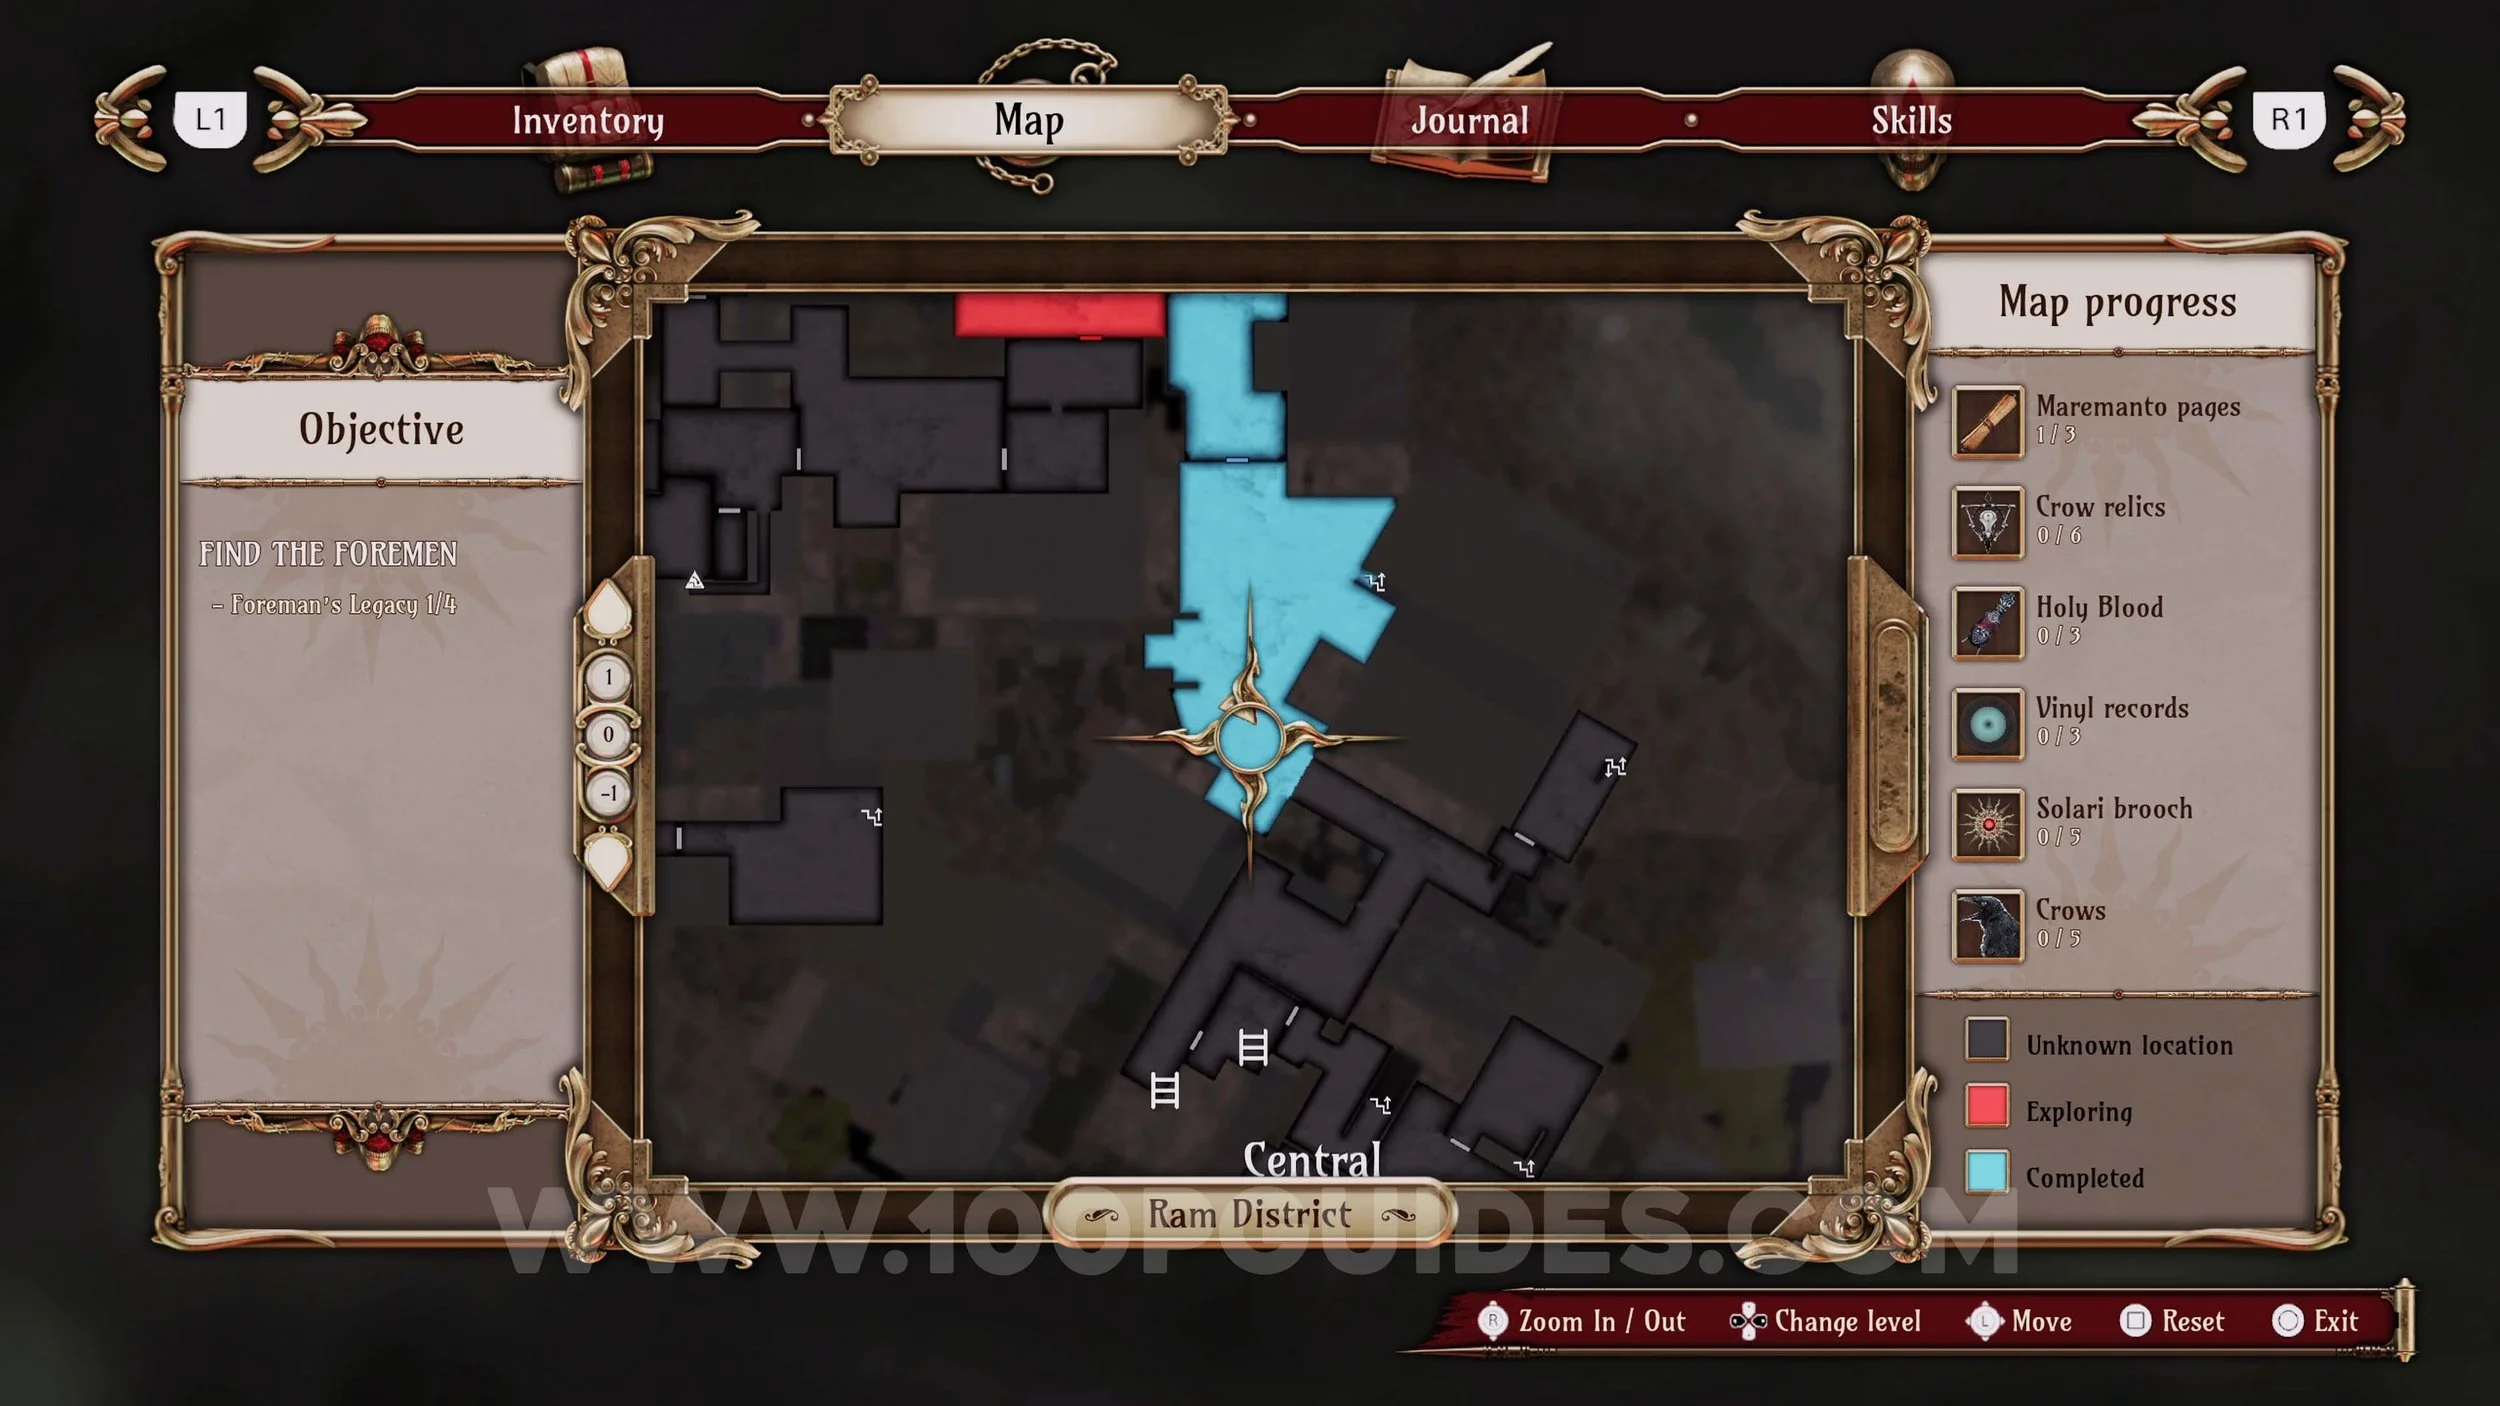
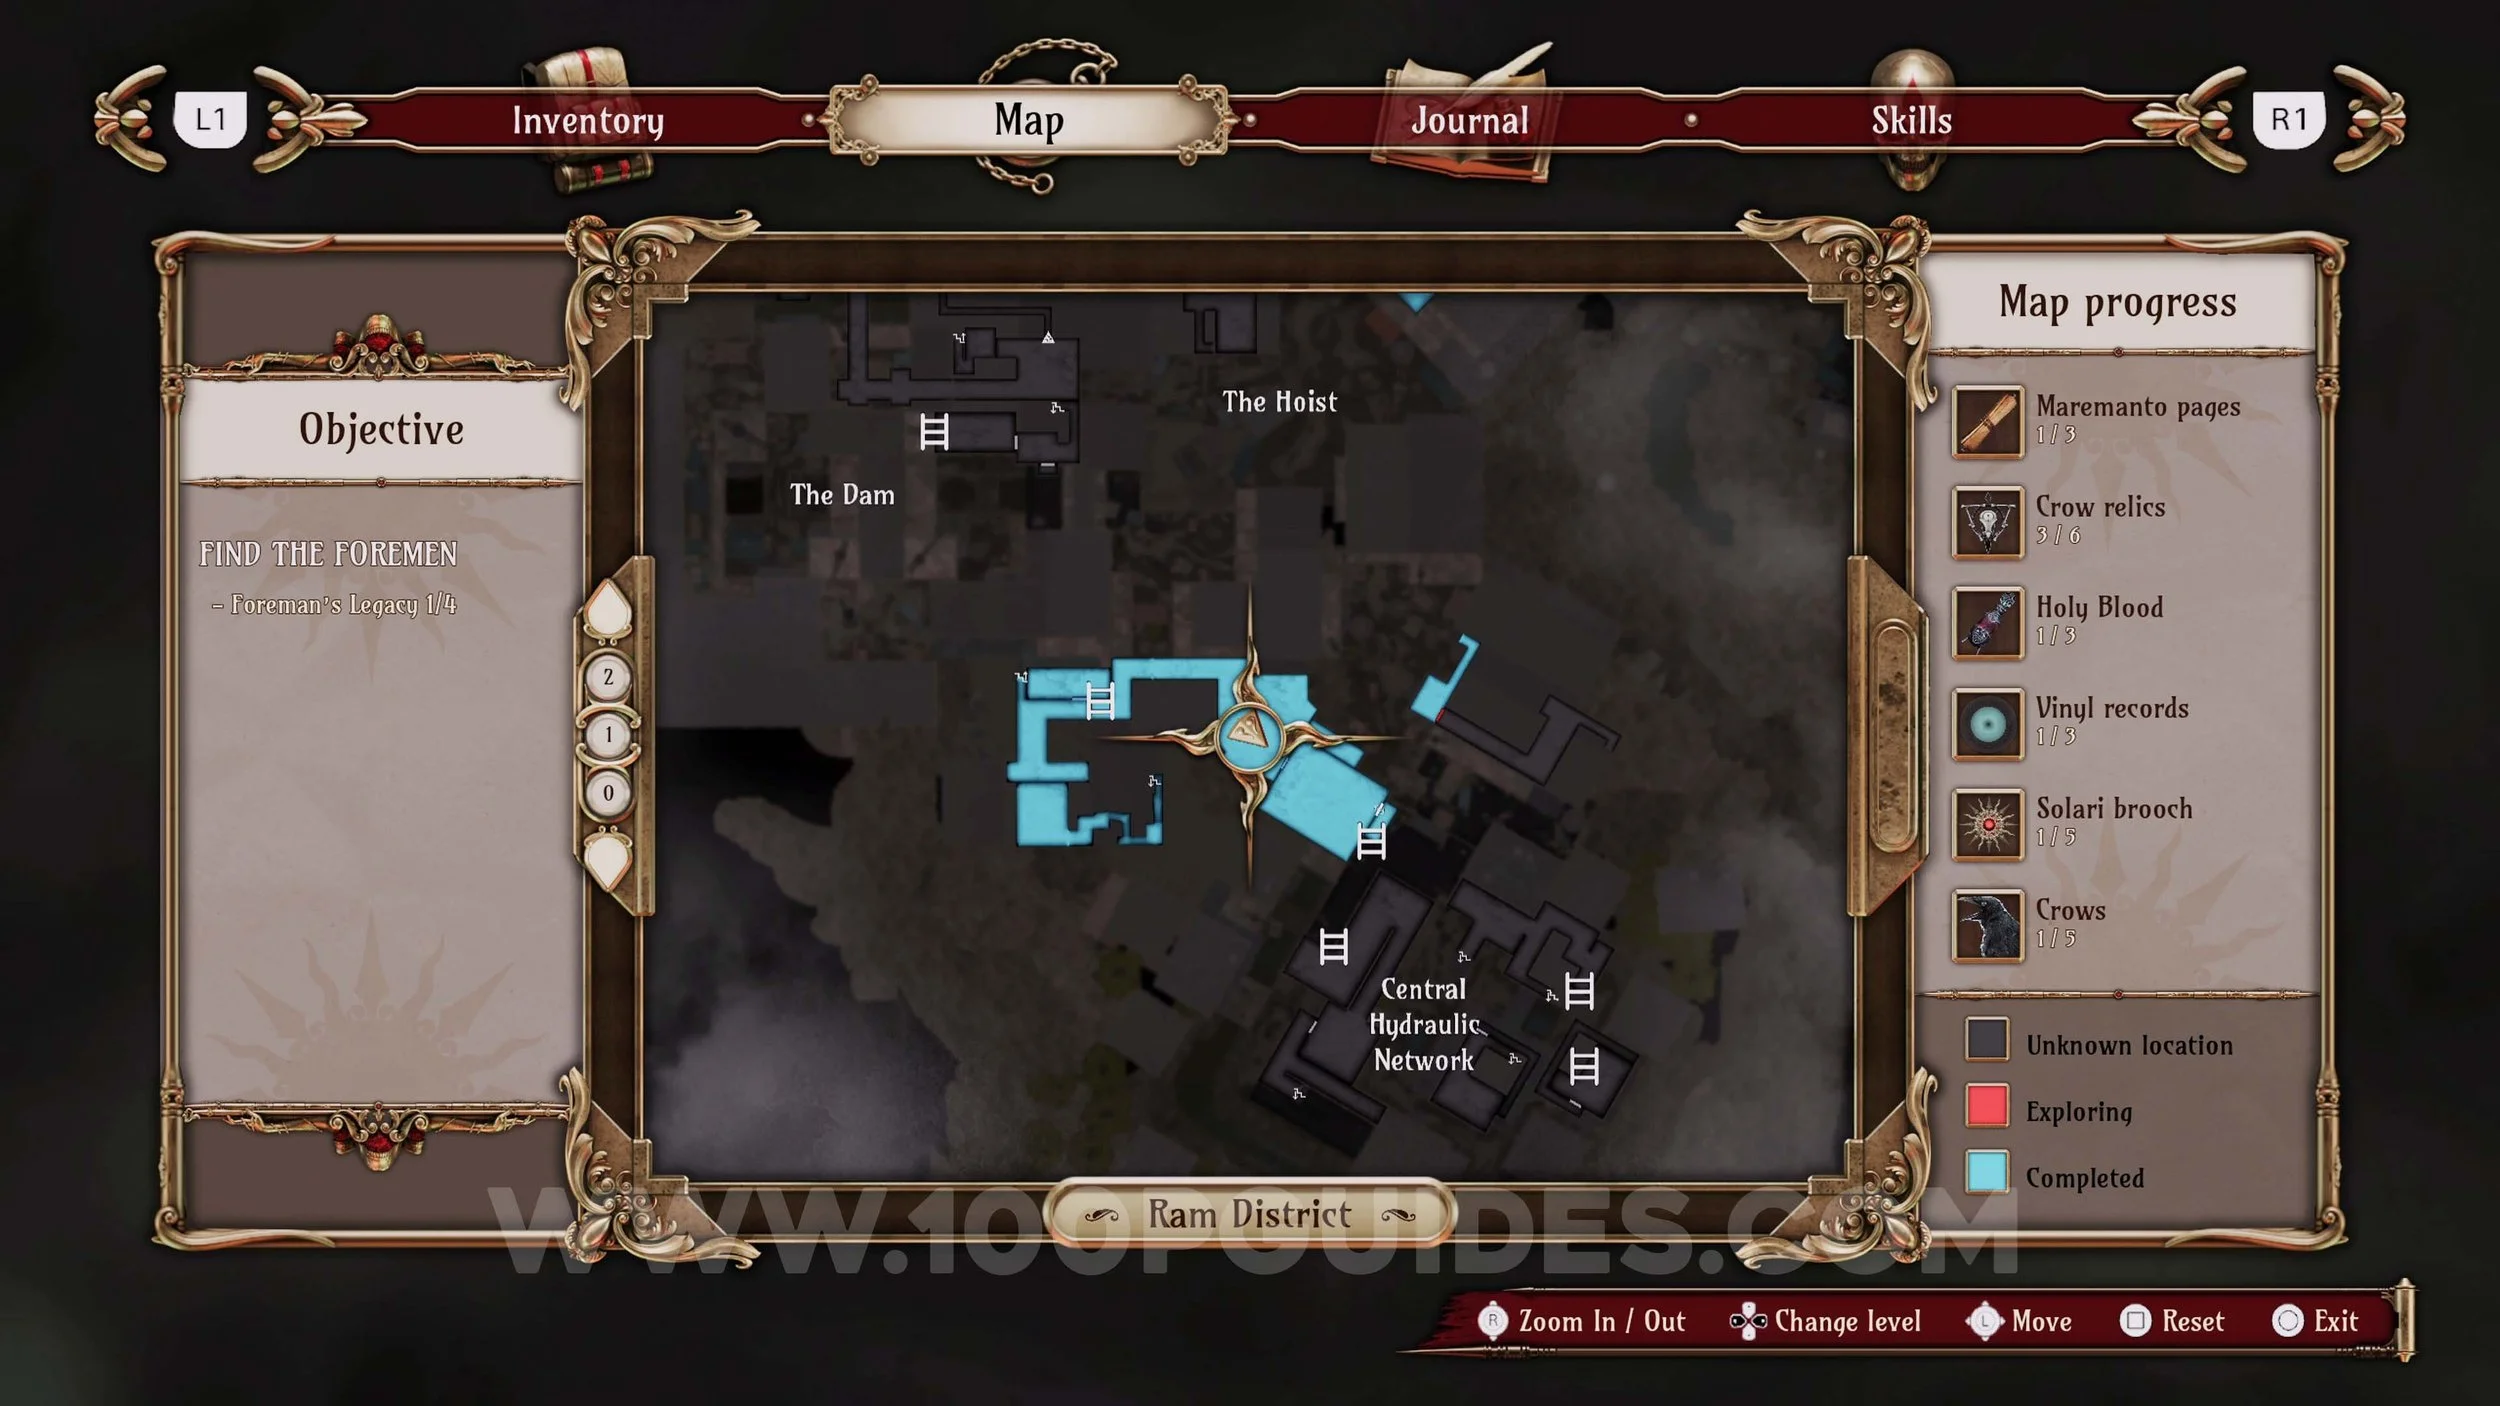
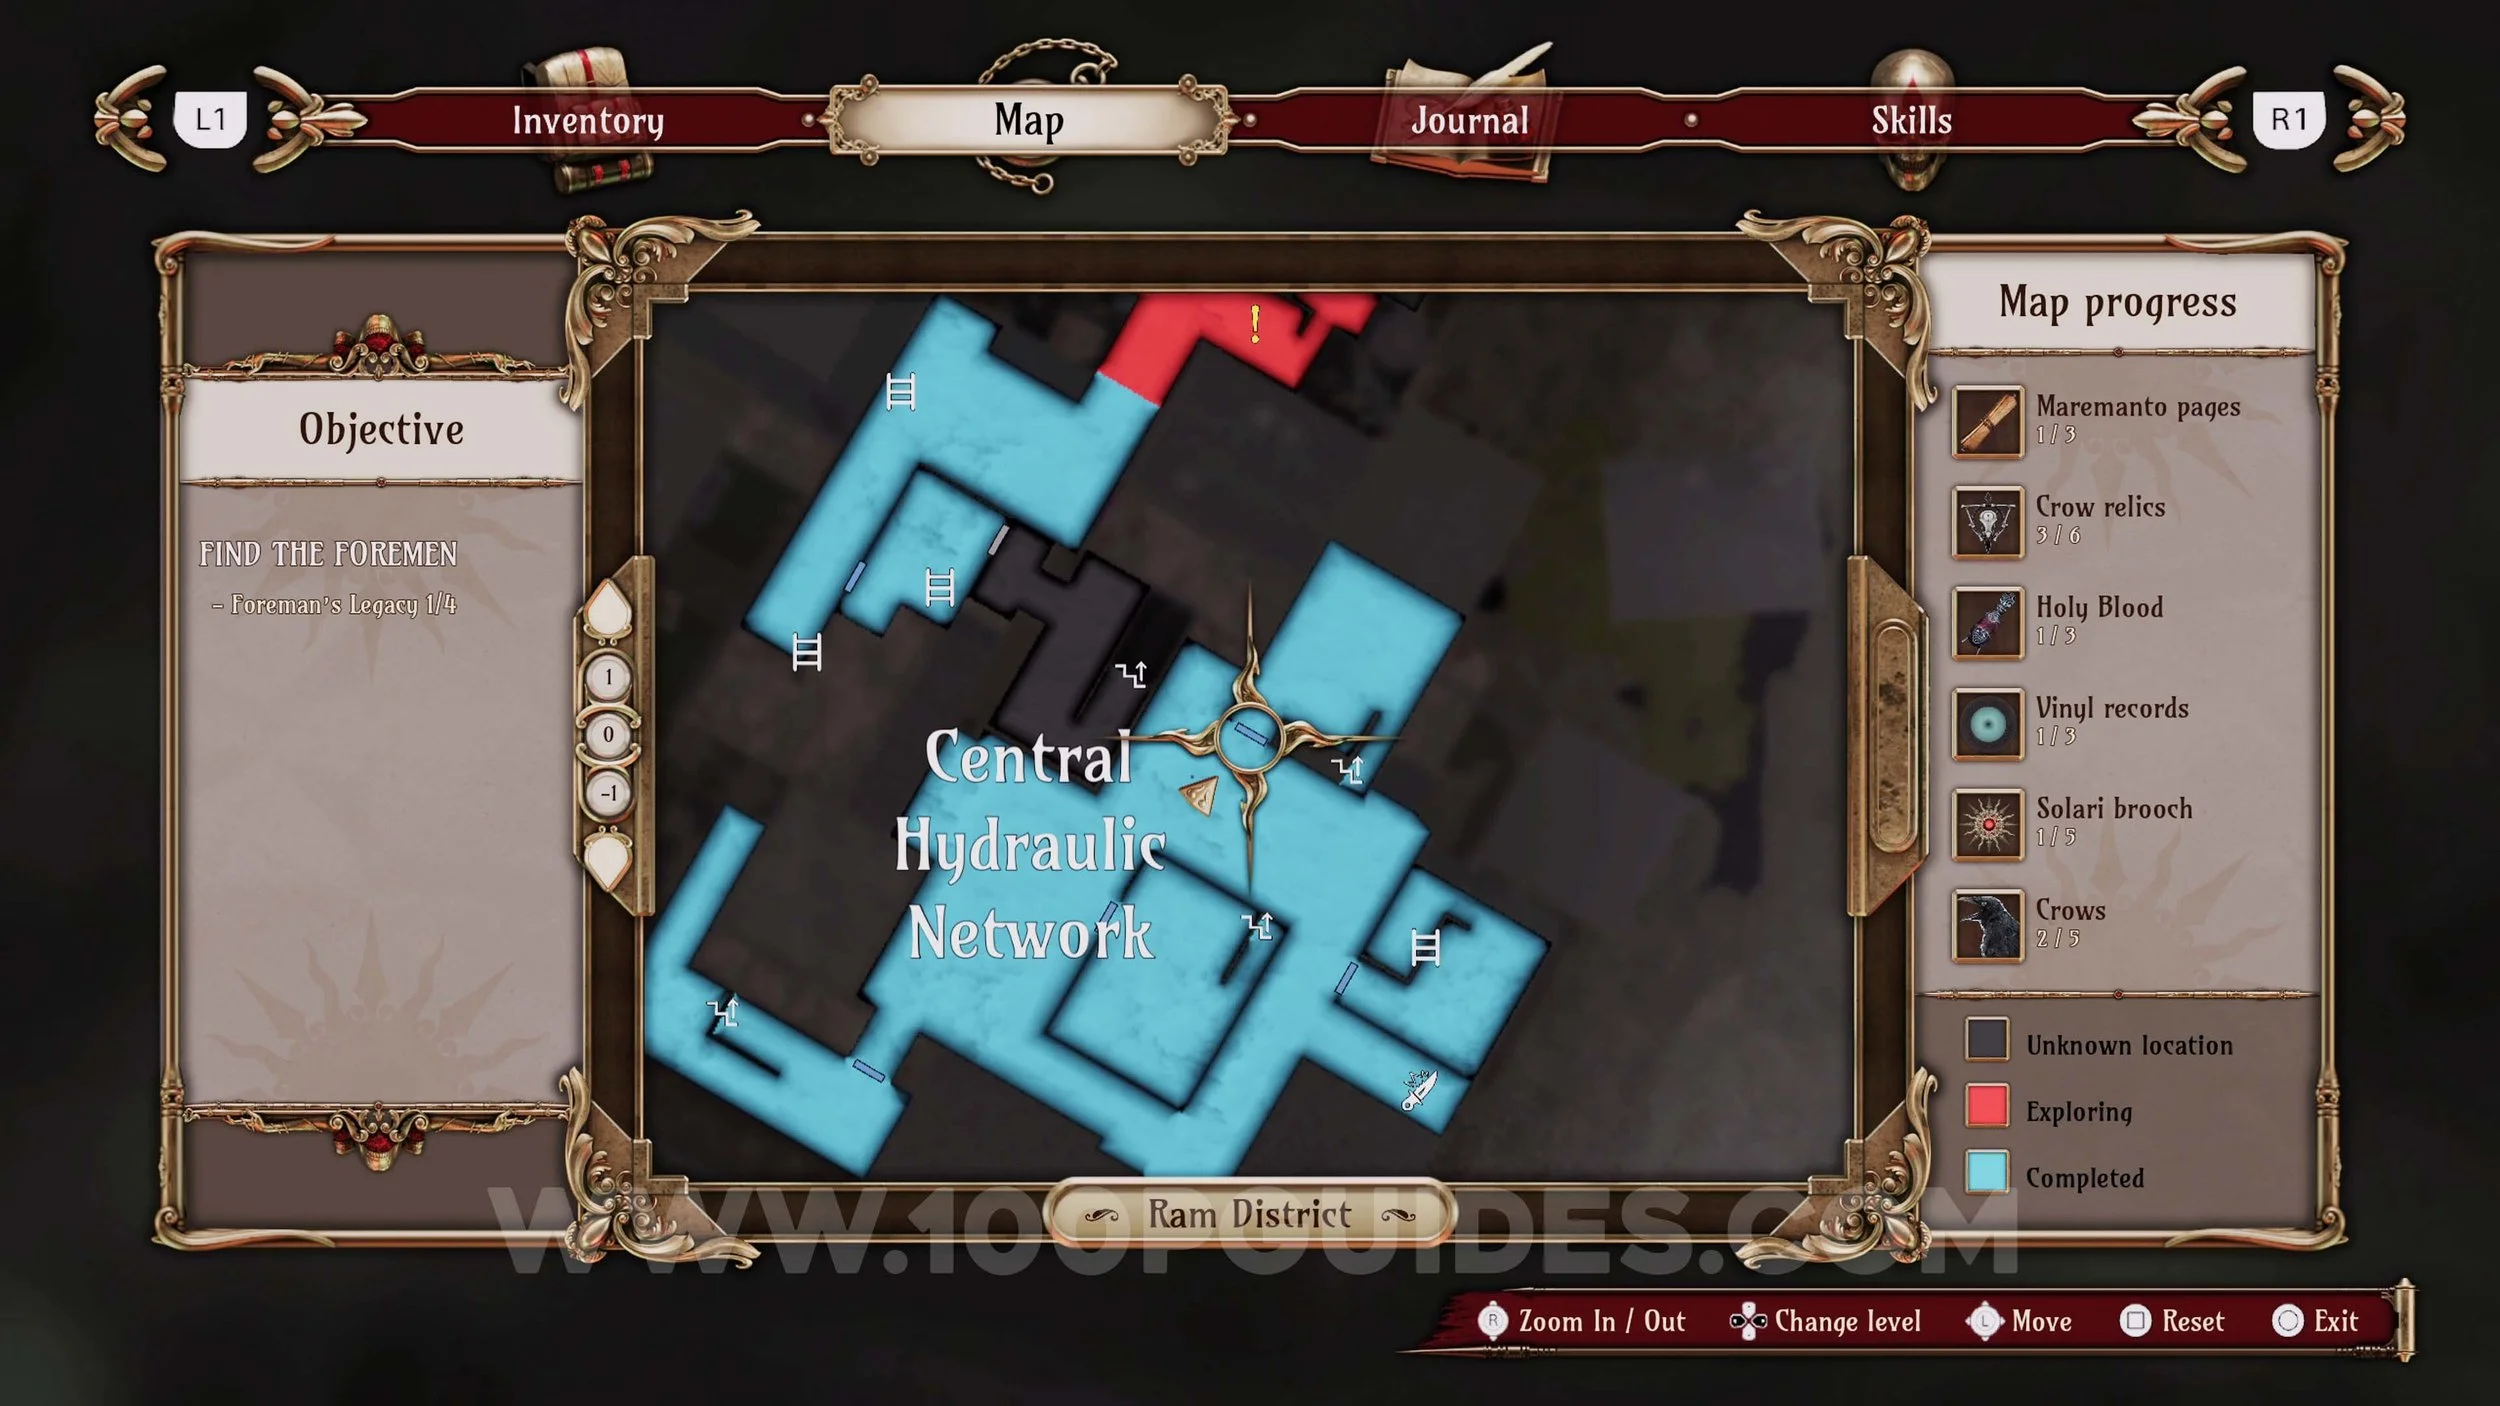
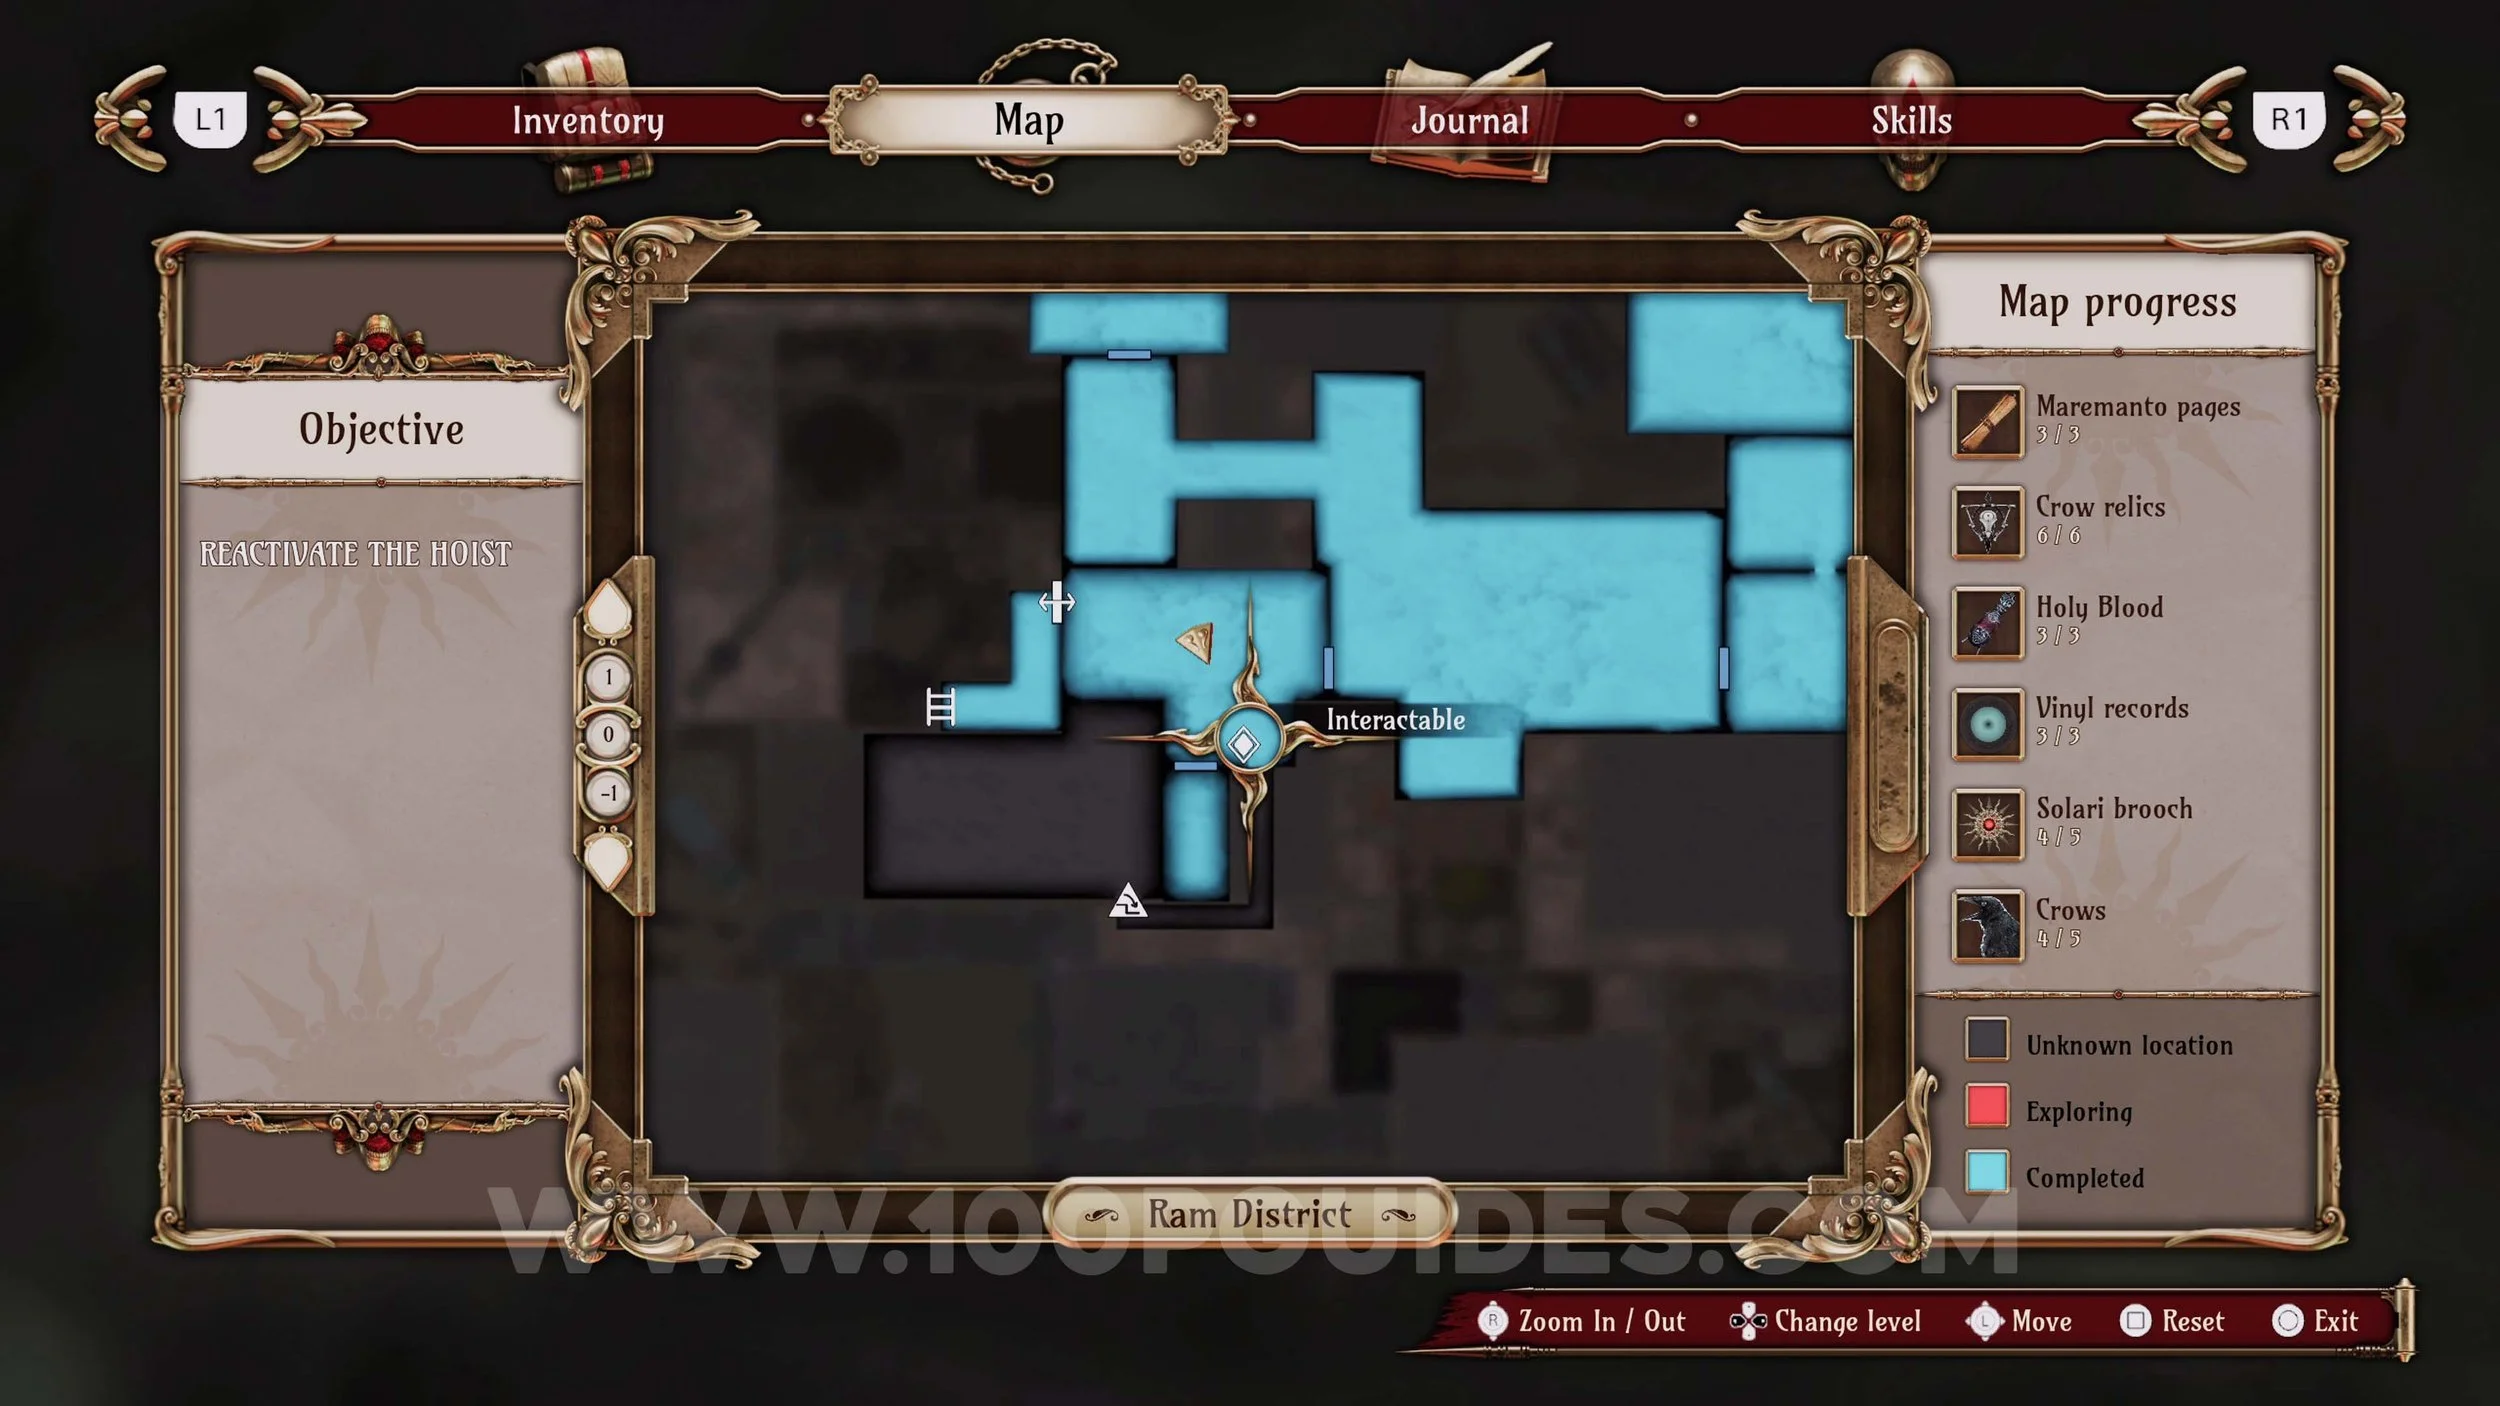
Crow #8. From the N-02 Water Manifold (main objective) found in the Central Hydraulic Network area, go out the door on your right and walk around the balcony to see the caged crow in front of you.
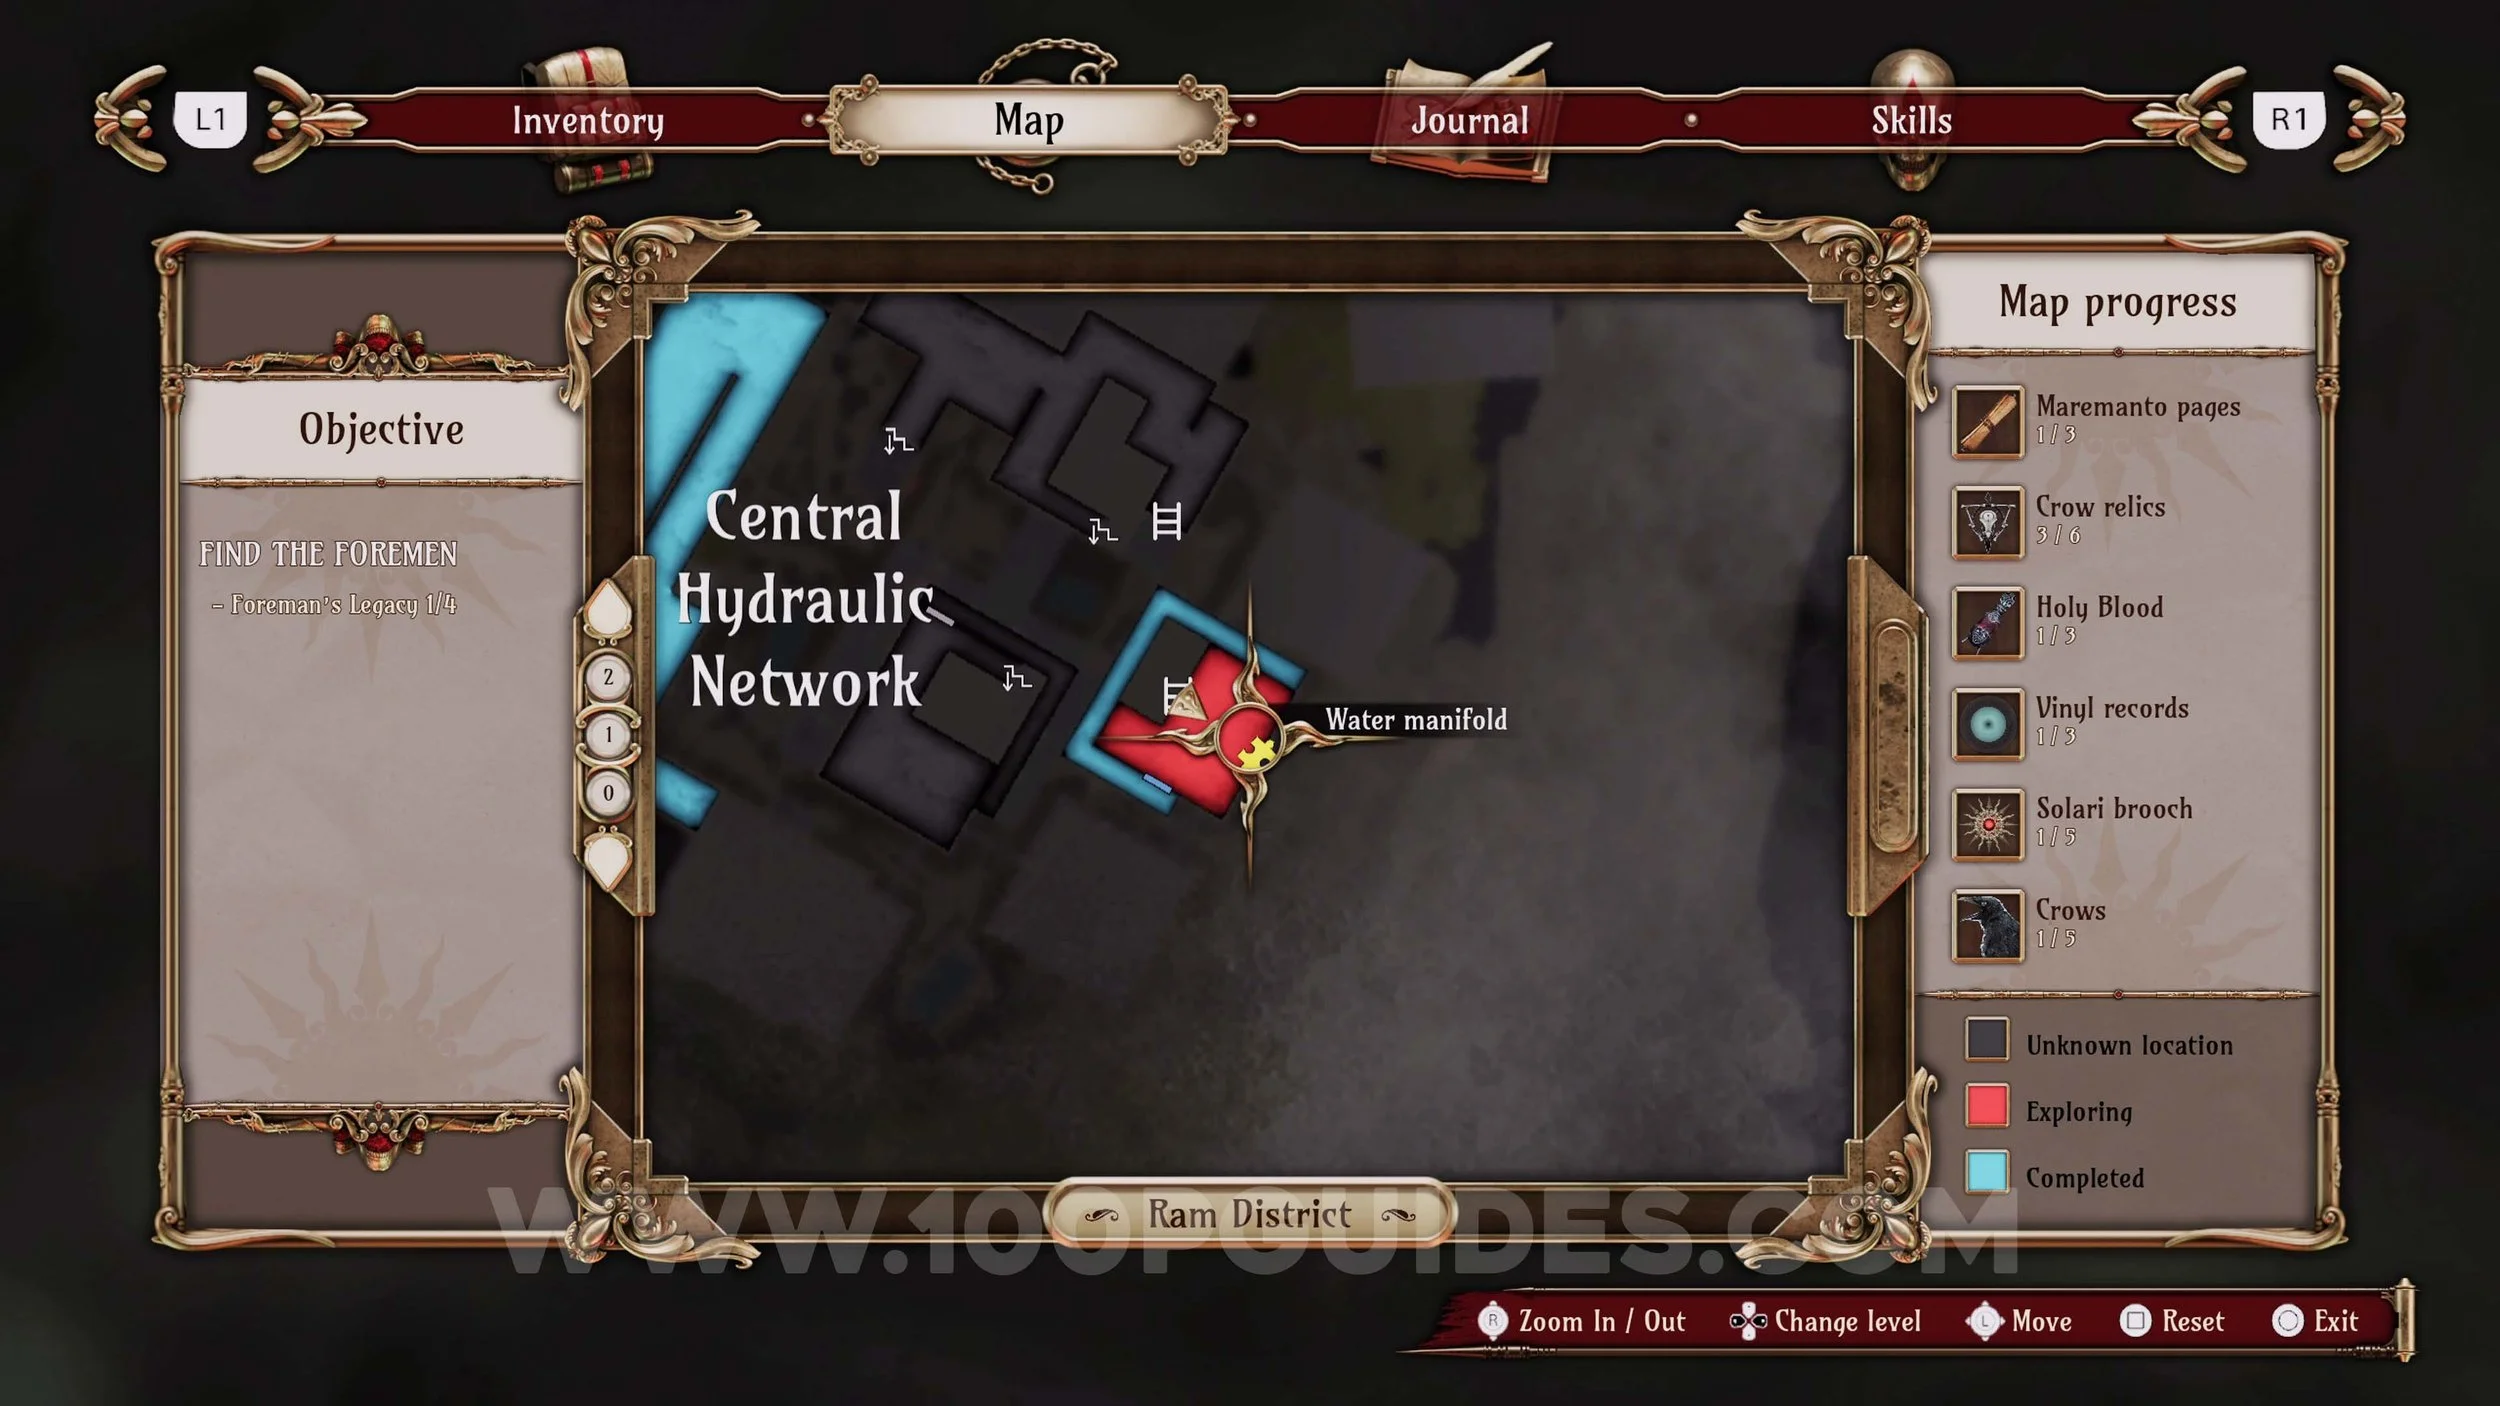

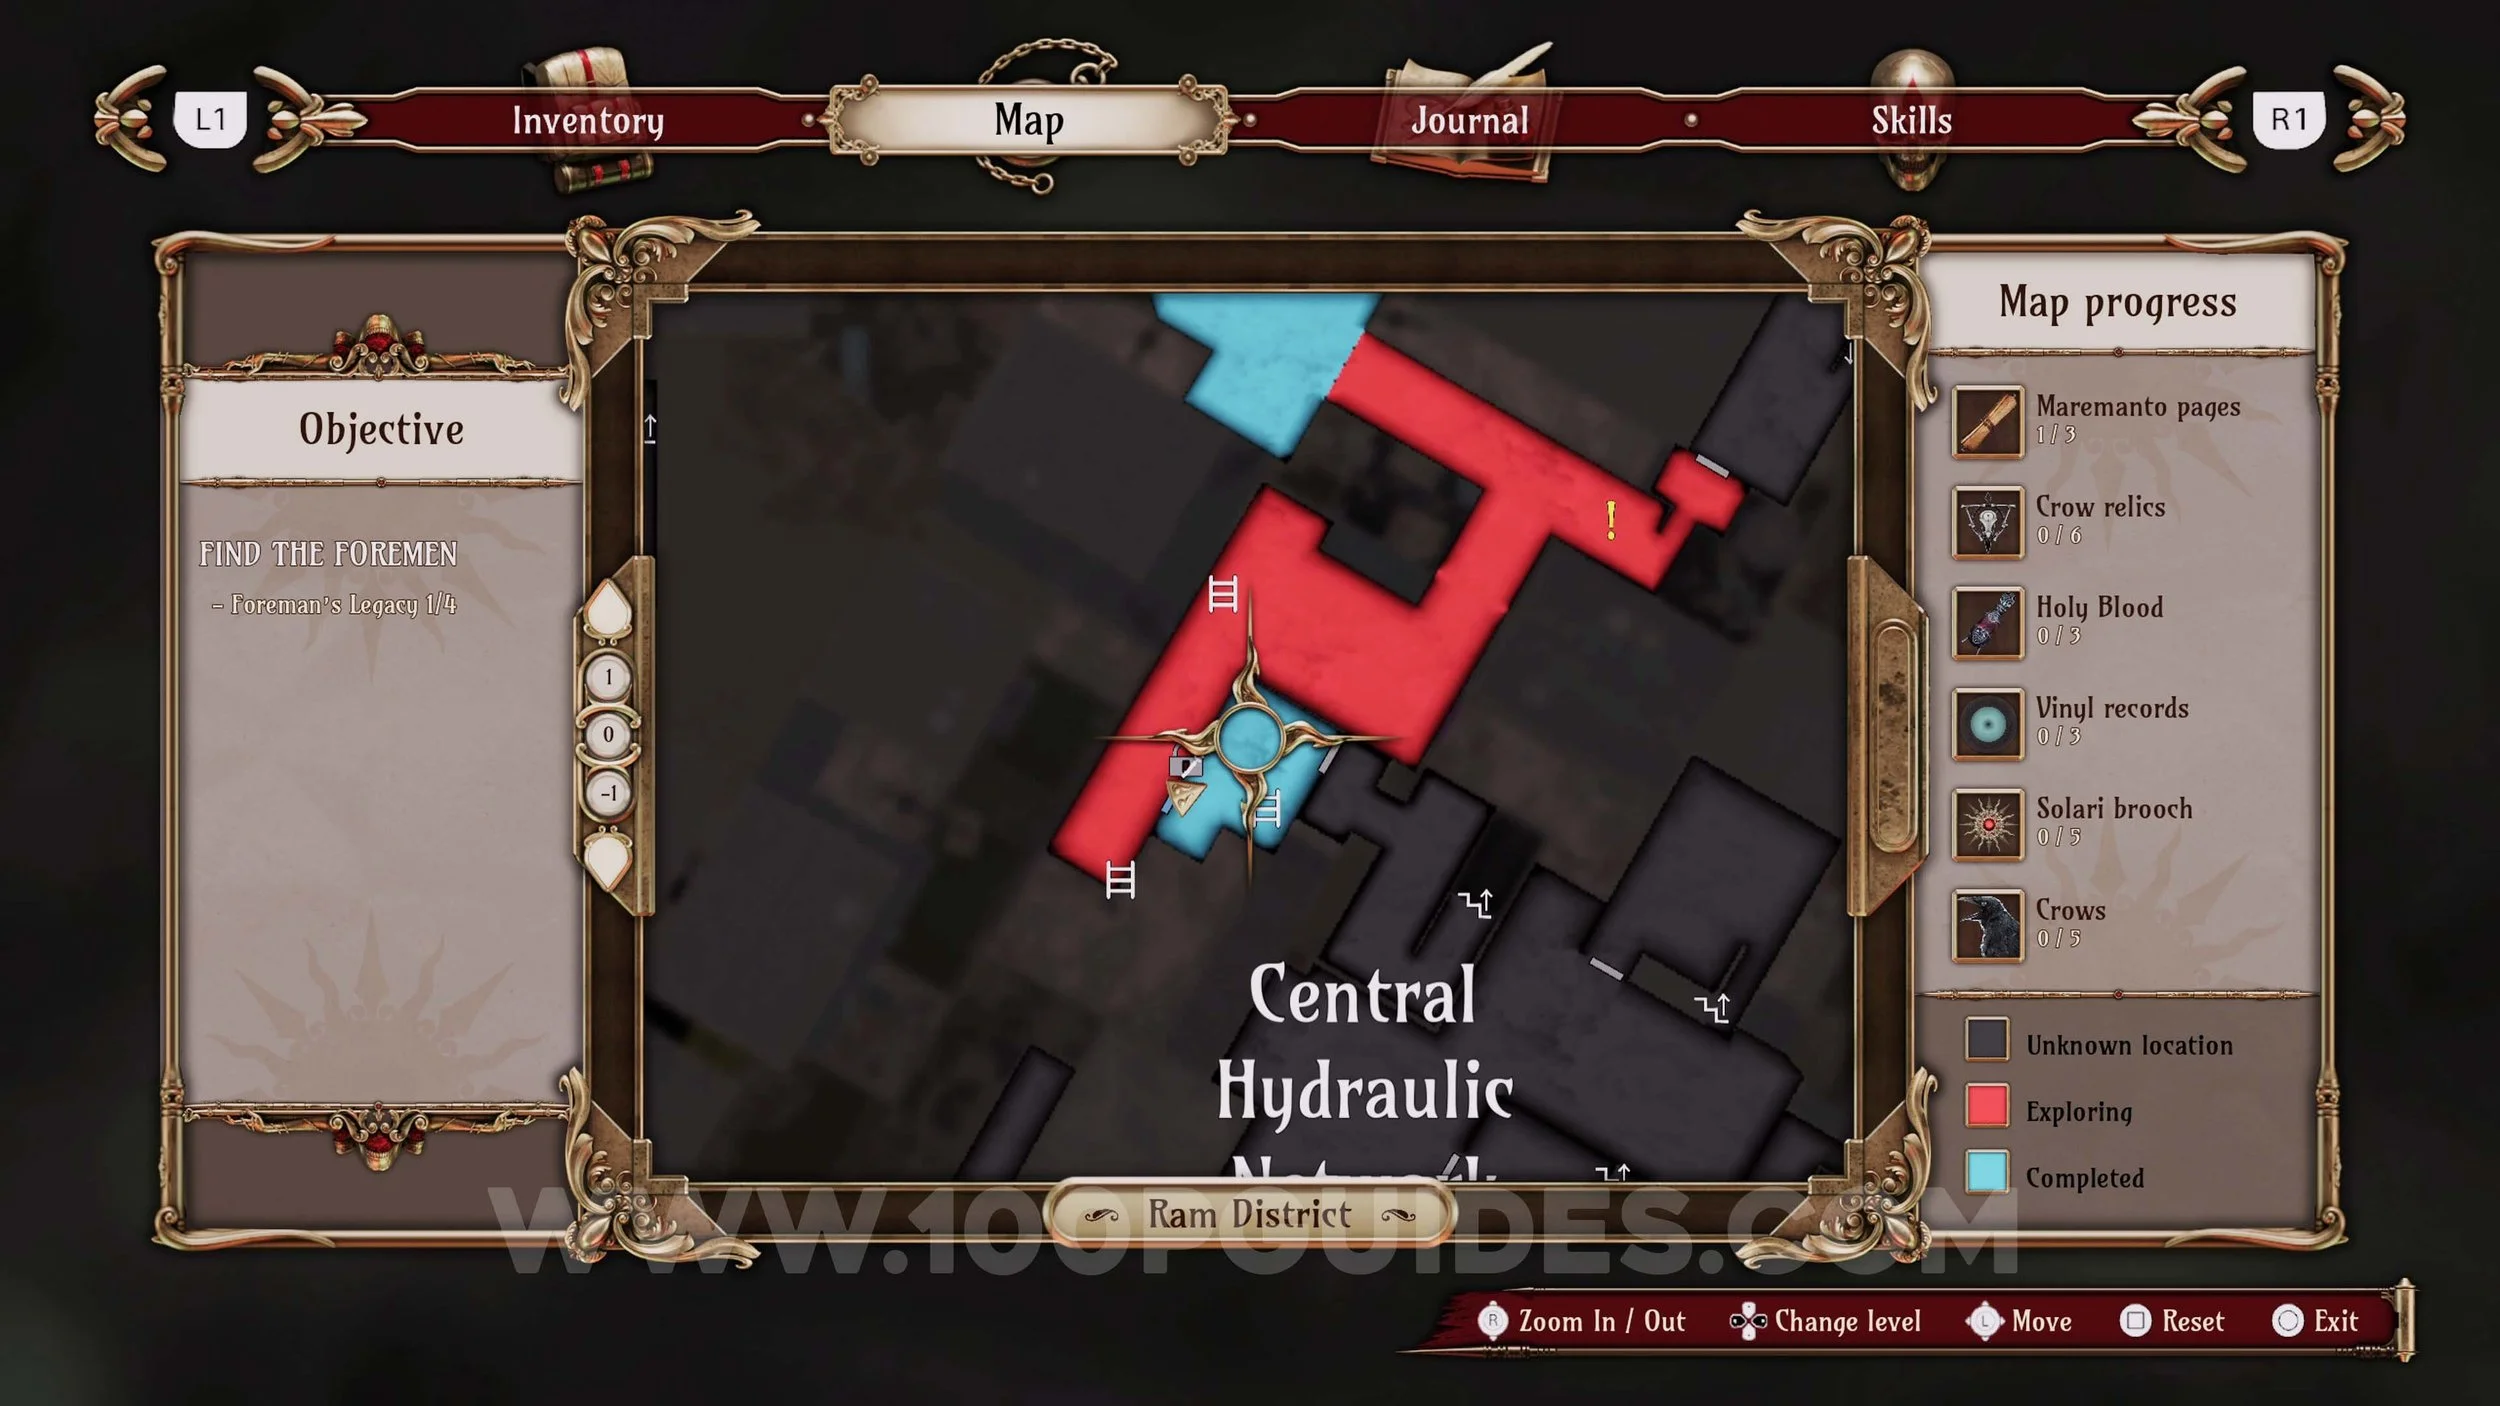
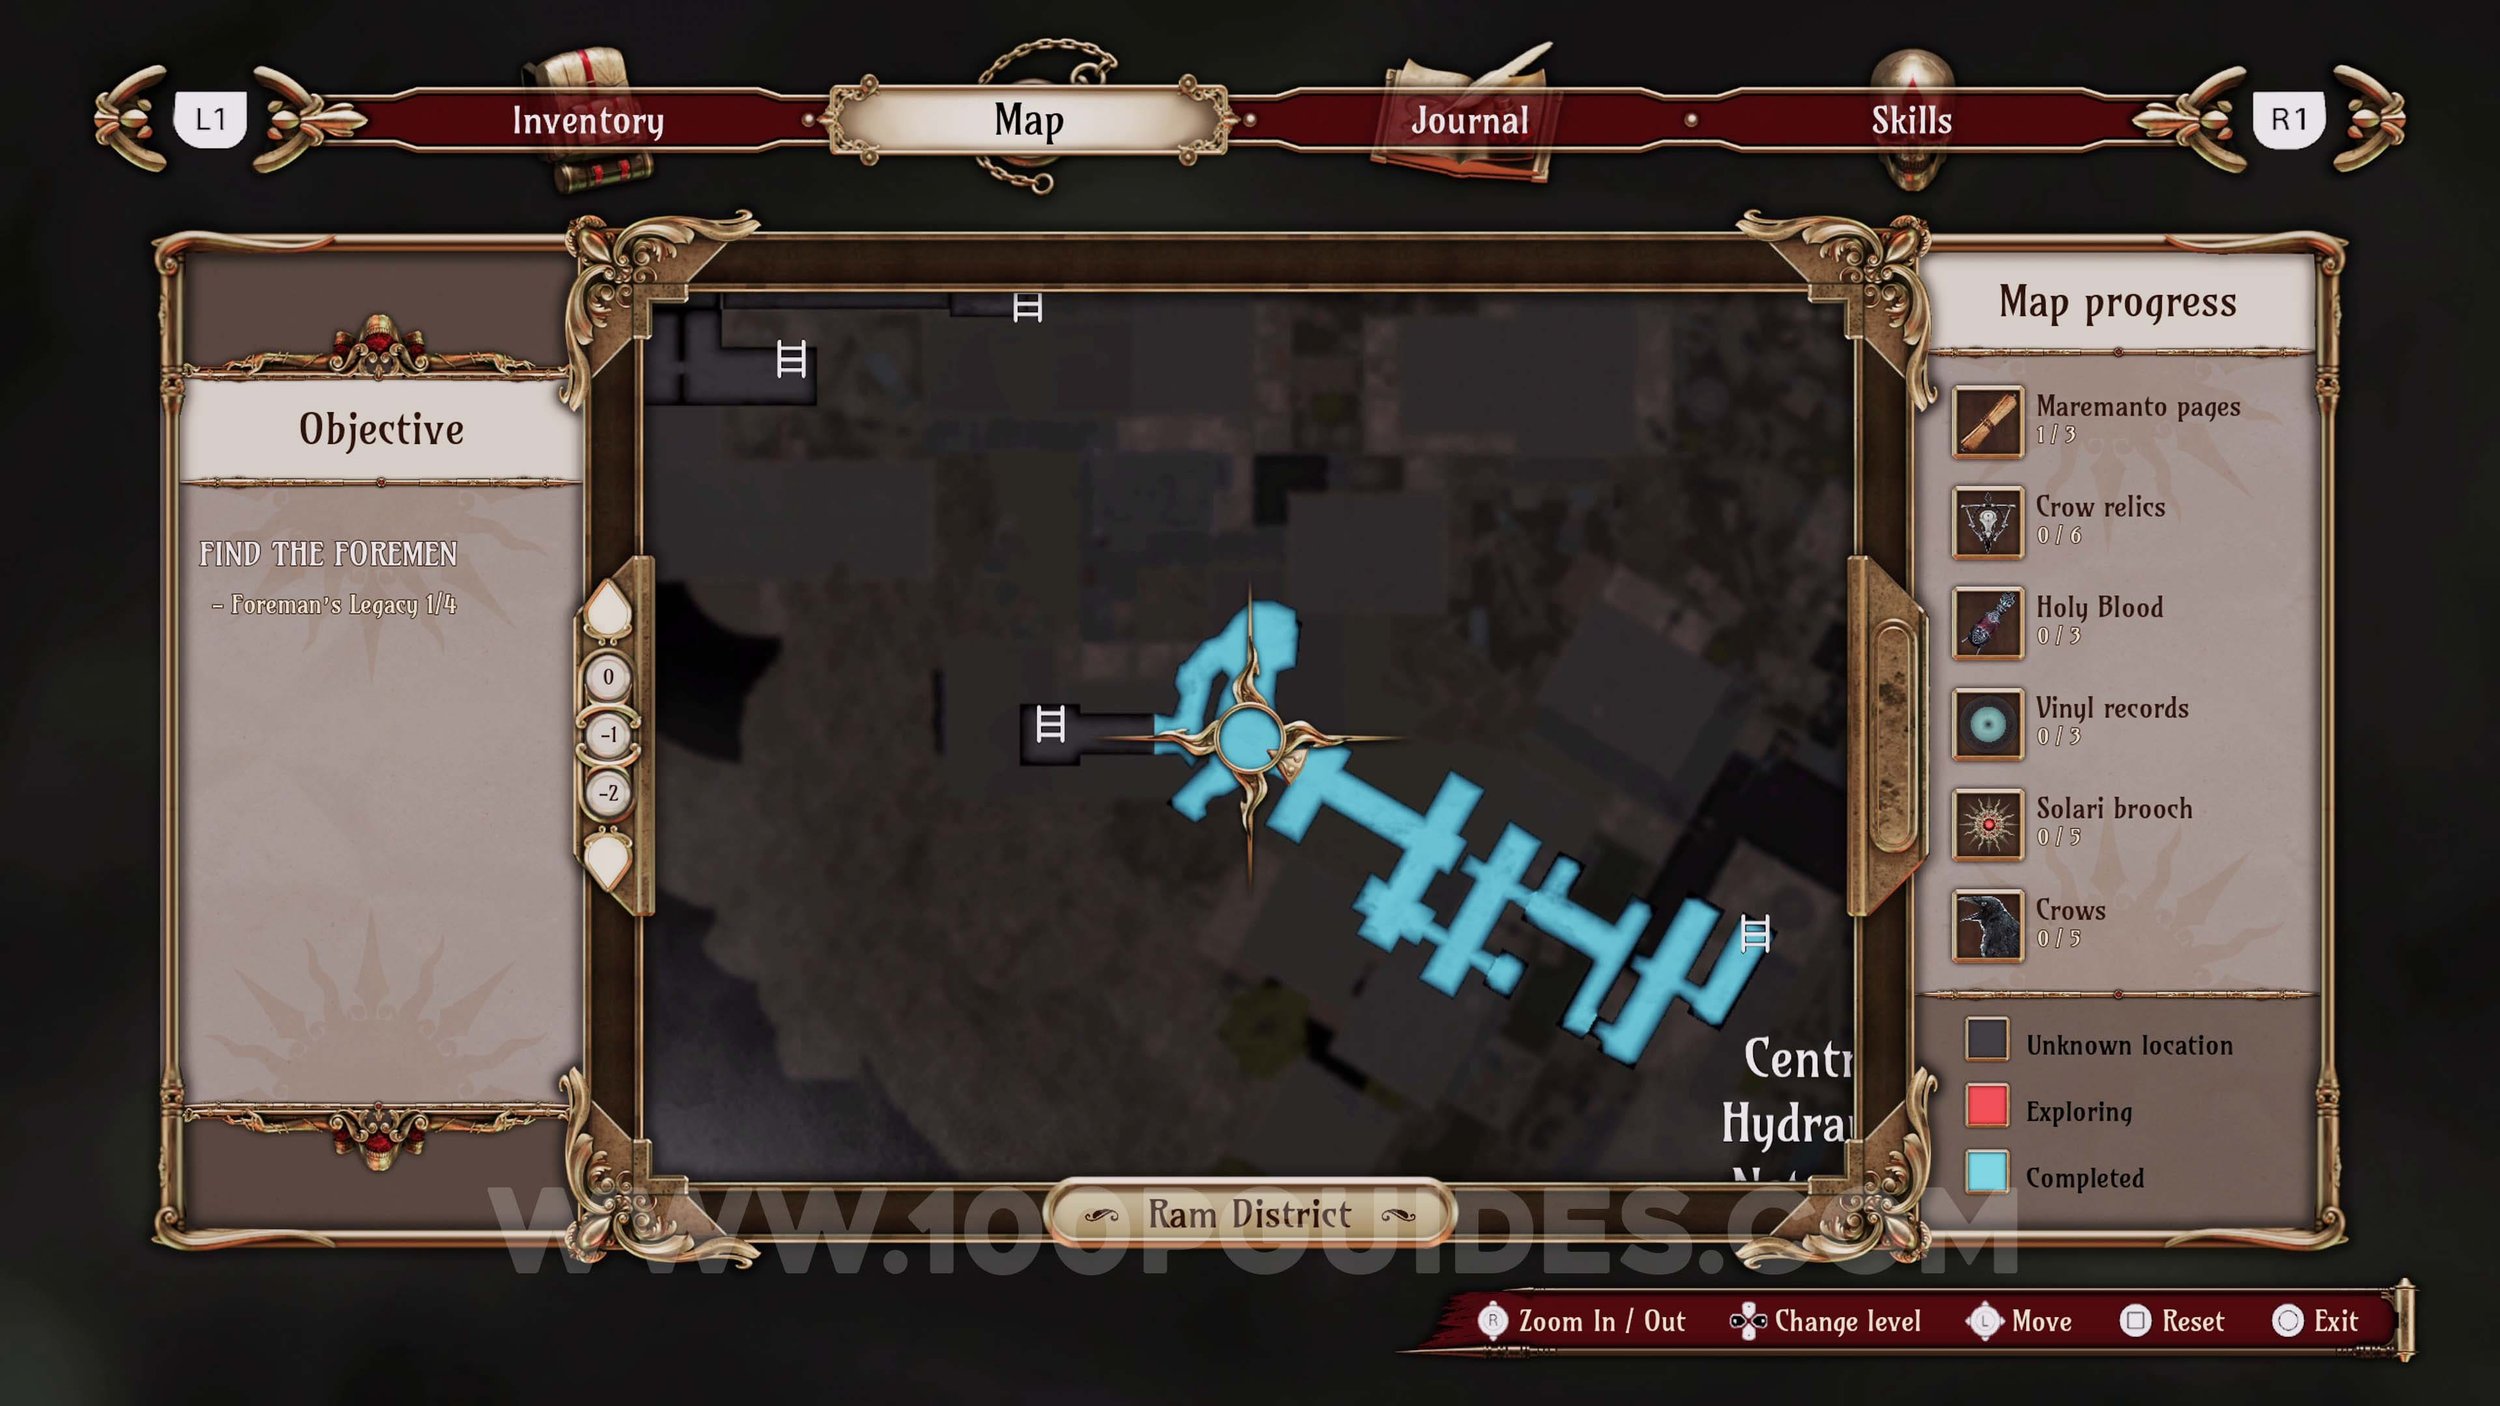
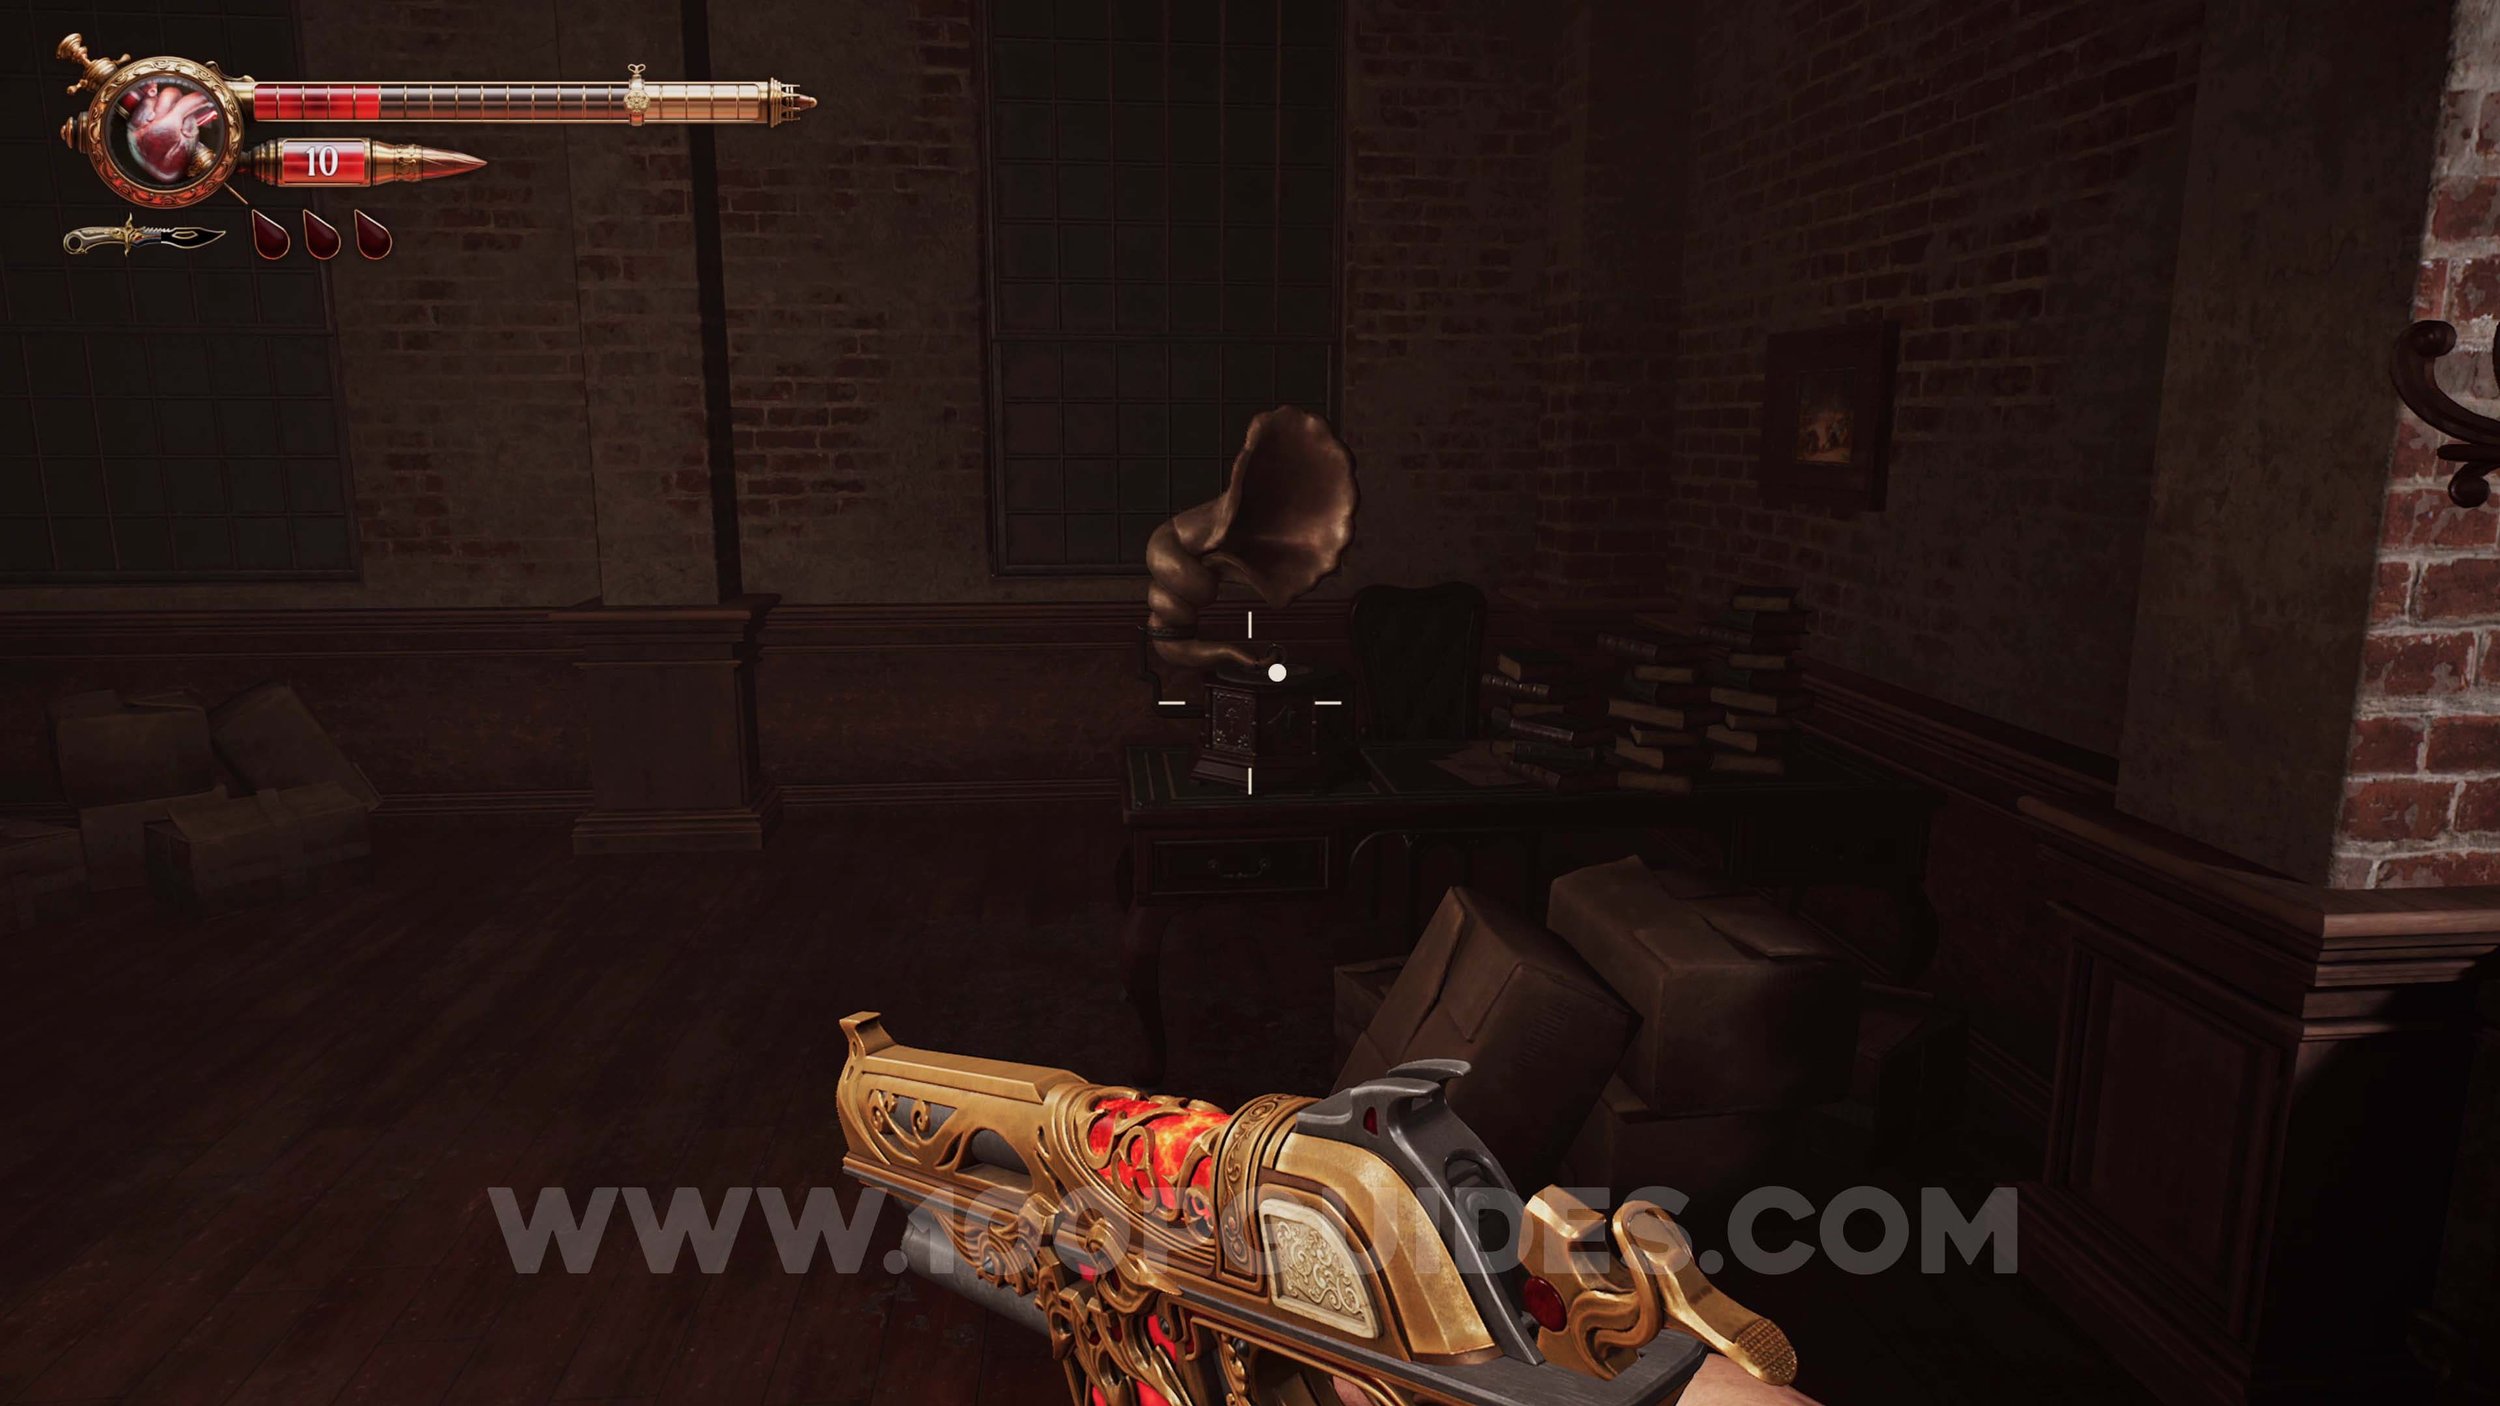
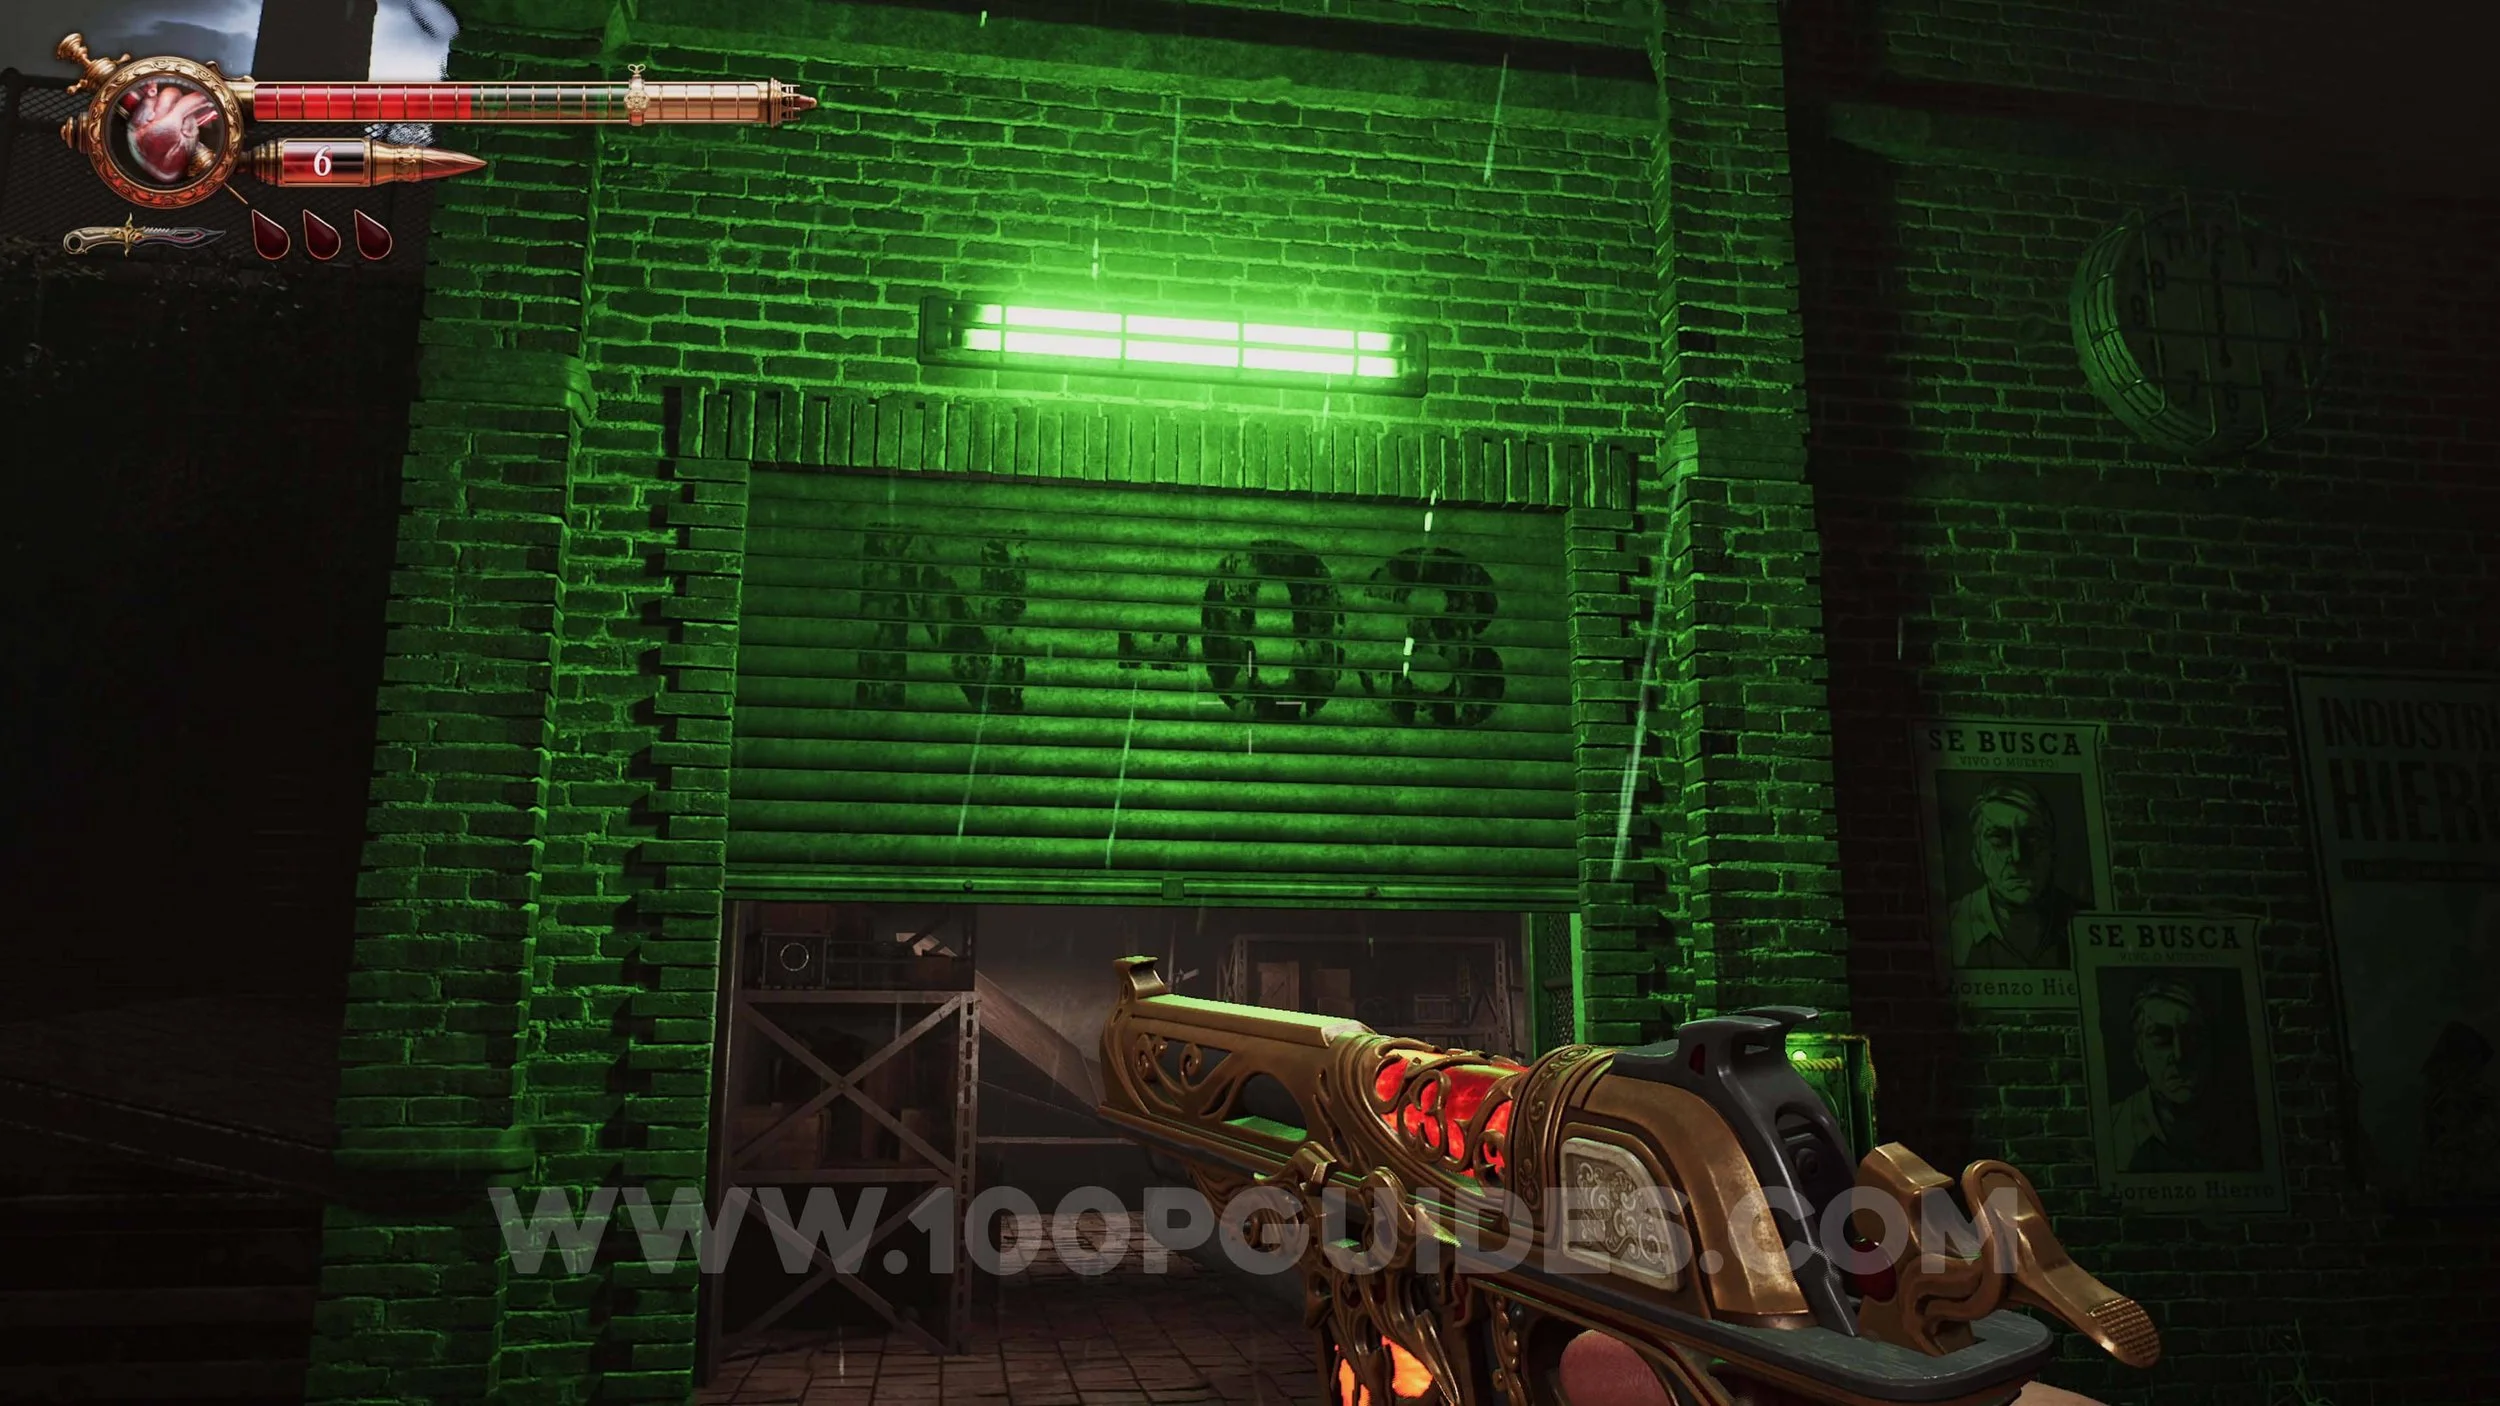
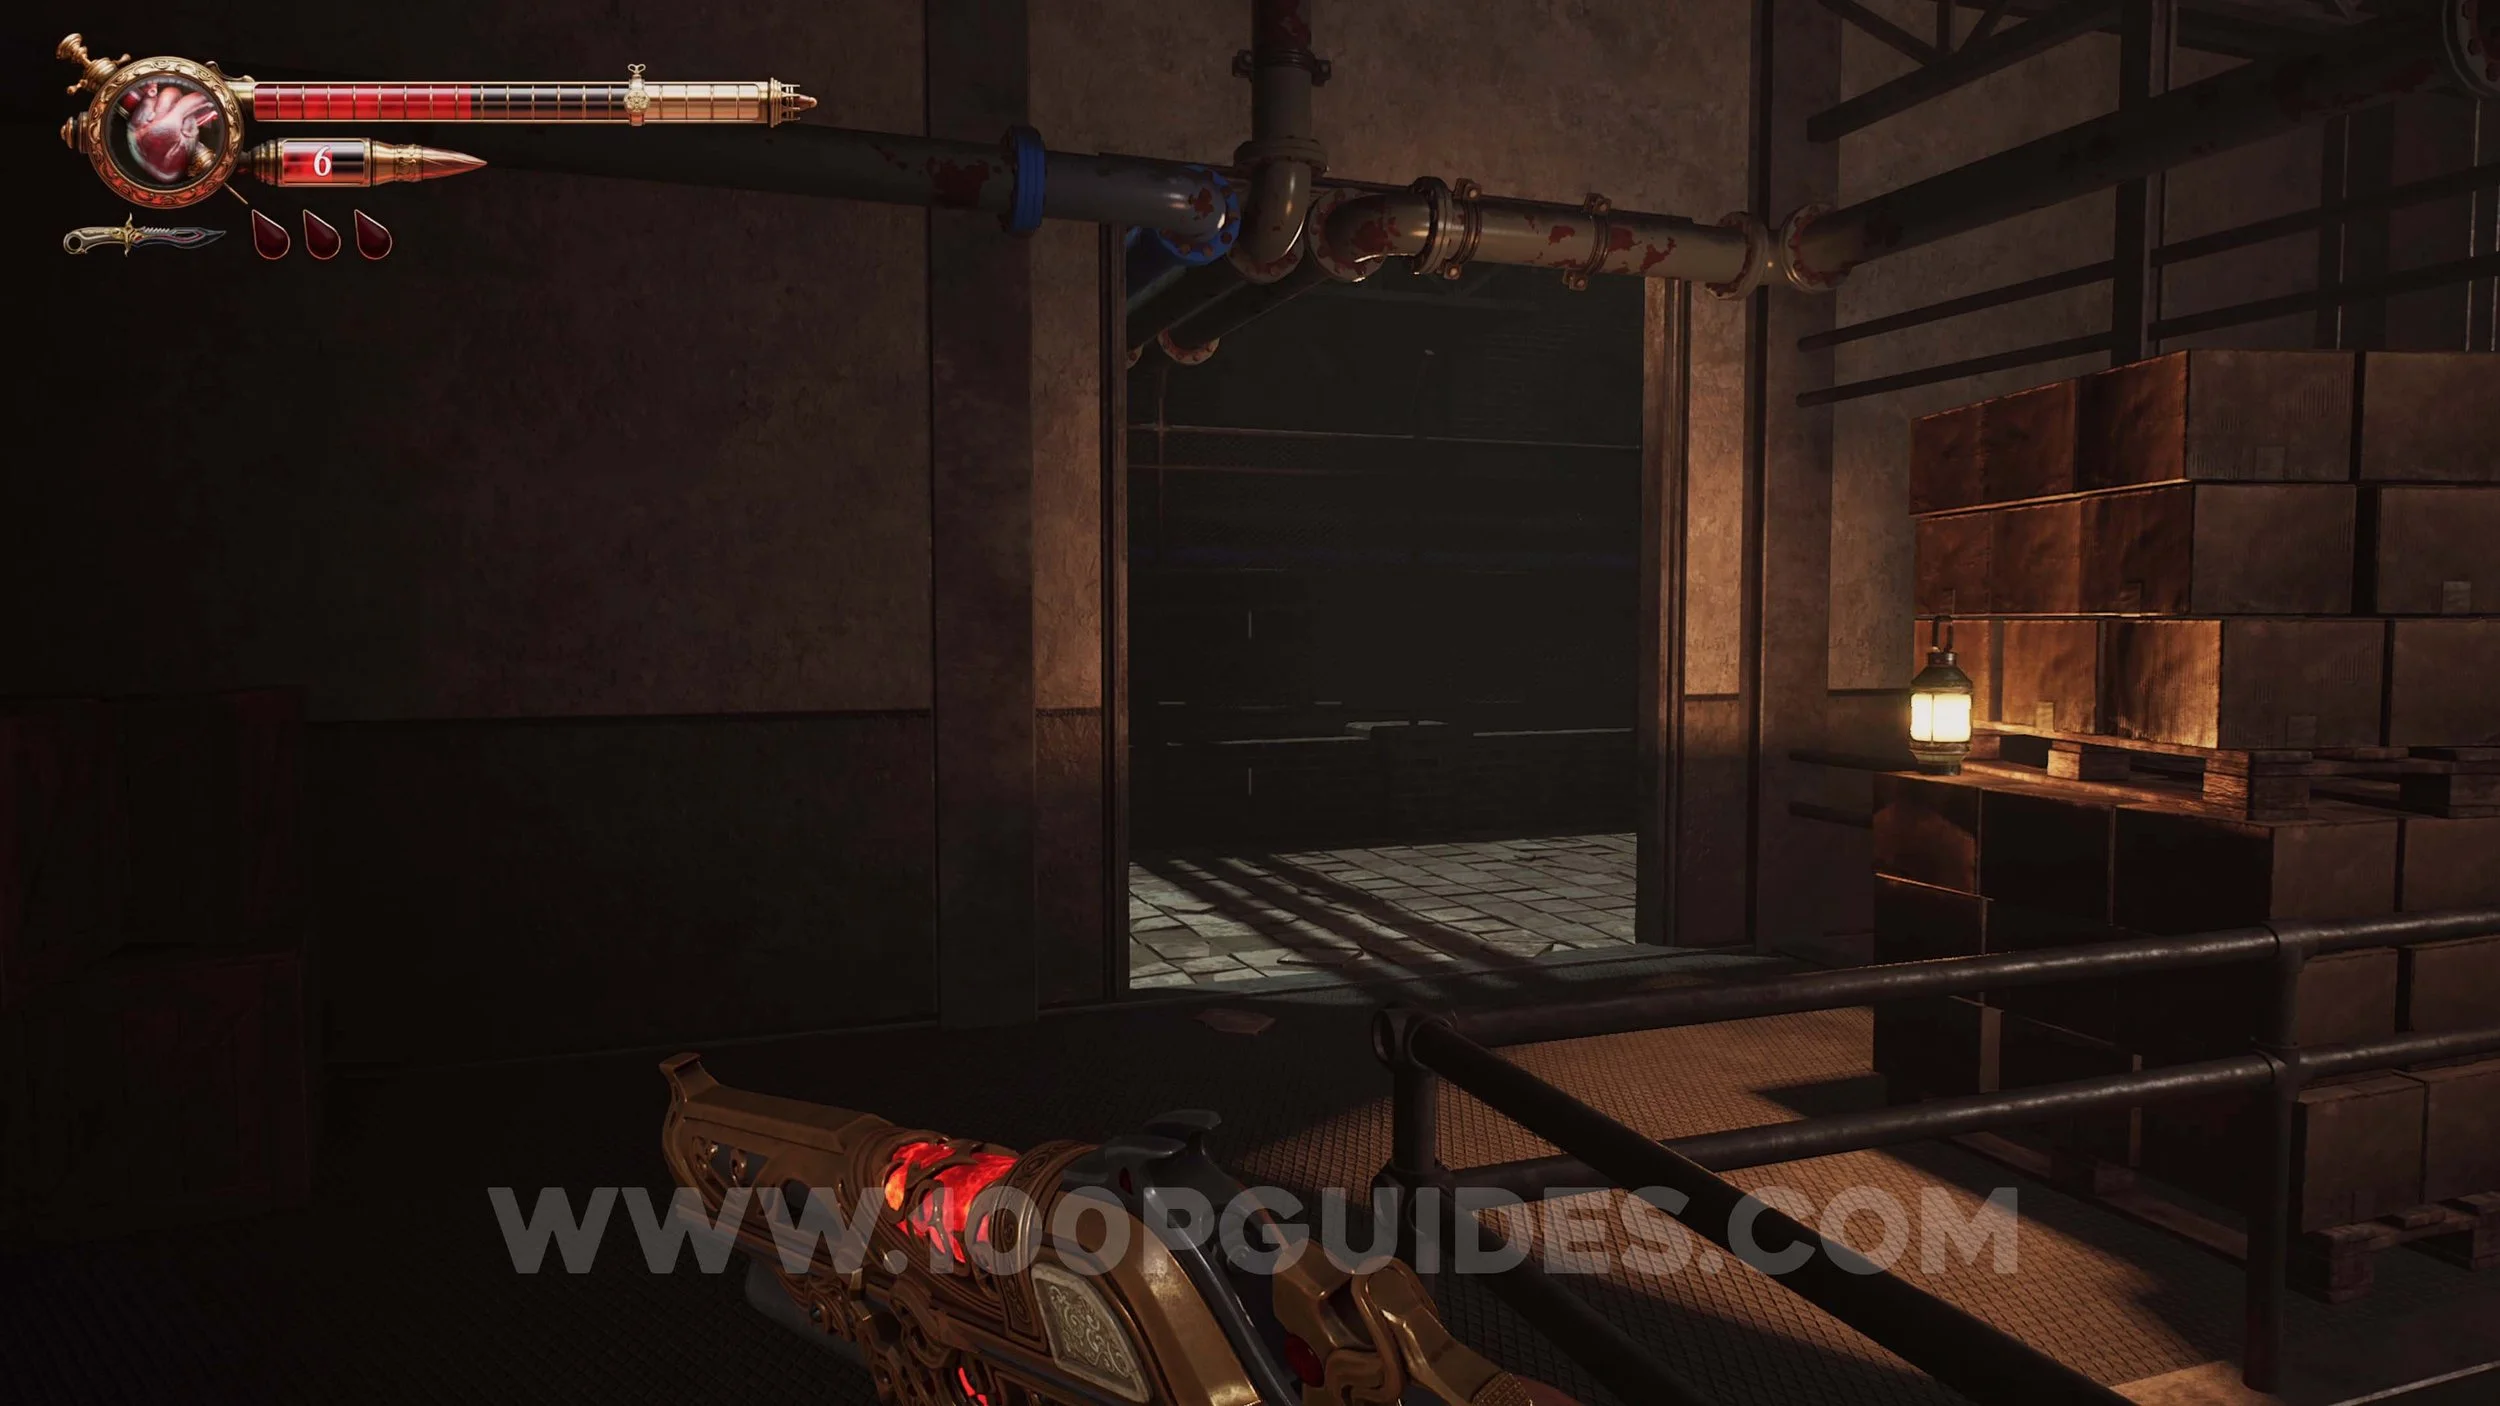
Vinyl Record #5. Go through the N-03 door in the Central Hydraulic Network area and go upstairs. Exit through the door on the right side and follow this path. You will eventually be on the top floor of N-01, where you will find the Vinyl.
Ulises Idol #20. After returning to the main Hoist area, use the second Master Key to unlock Door B. Go through Door B and exit the first building. Outside, you’ll see several wooden tool stands on your right. Move behind them and look down into the area below to spot the doll.
Ulises Idol #21. Look through the window in the middle of the same area as the previous doll.
Crow Relic #15 & Holy Blood #6. Go through the container to the right of the window where the previous collectible was, and solve the fuse puzzle by turning them all green except for the 20. Then go through the door and follow the path through the vents to get to the 2 collectibles.
Memory #39. Story related after going through the room to the southeast of where the previous 4 collectibles were.
Maremanto Page #5. After the previous memory, you will go through some vents. After emerging on the other side, look right and go through the green gate. Go upstairs to find the collectible in the chest.

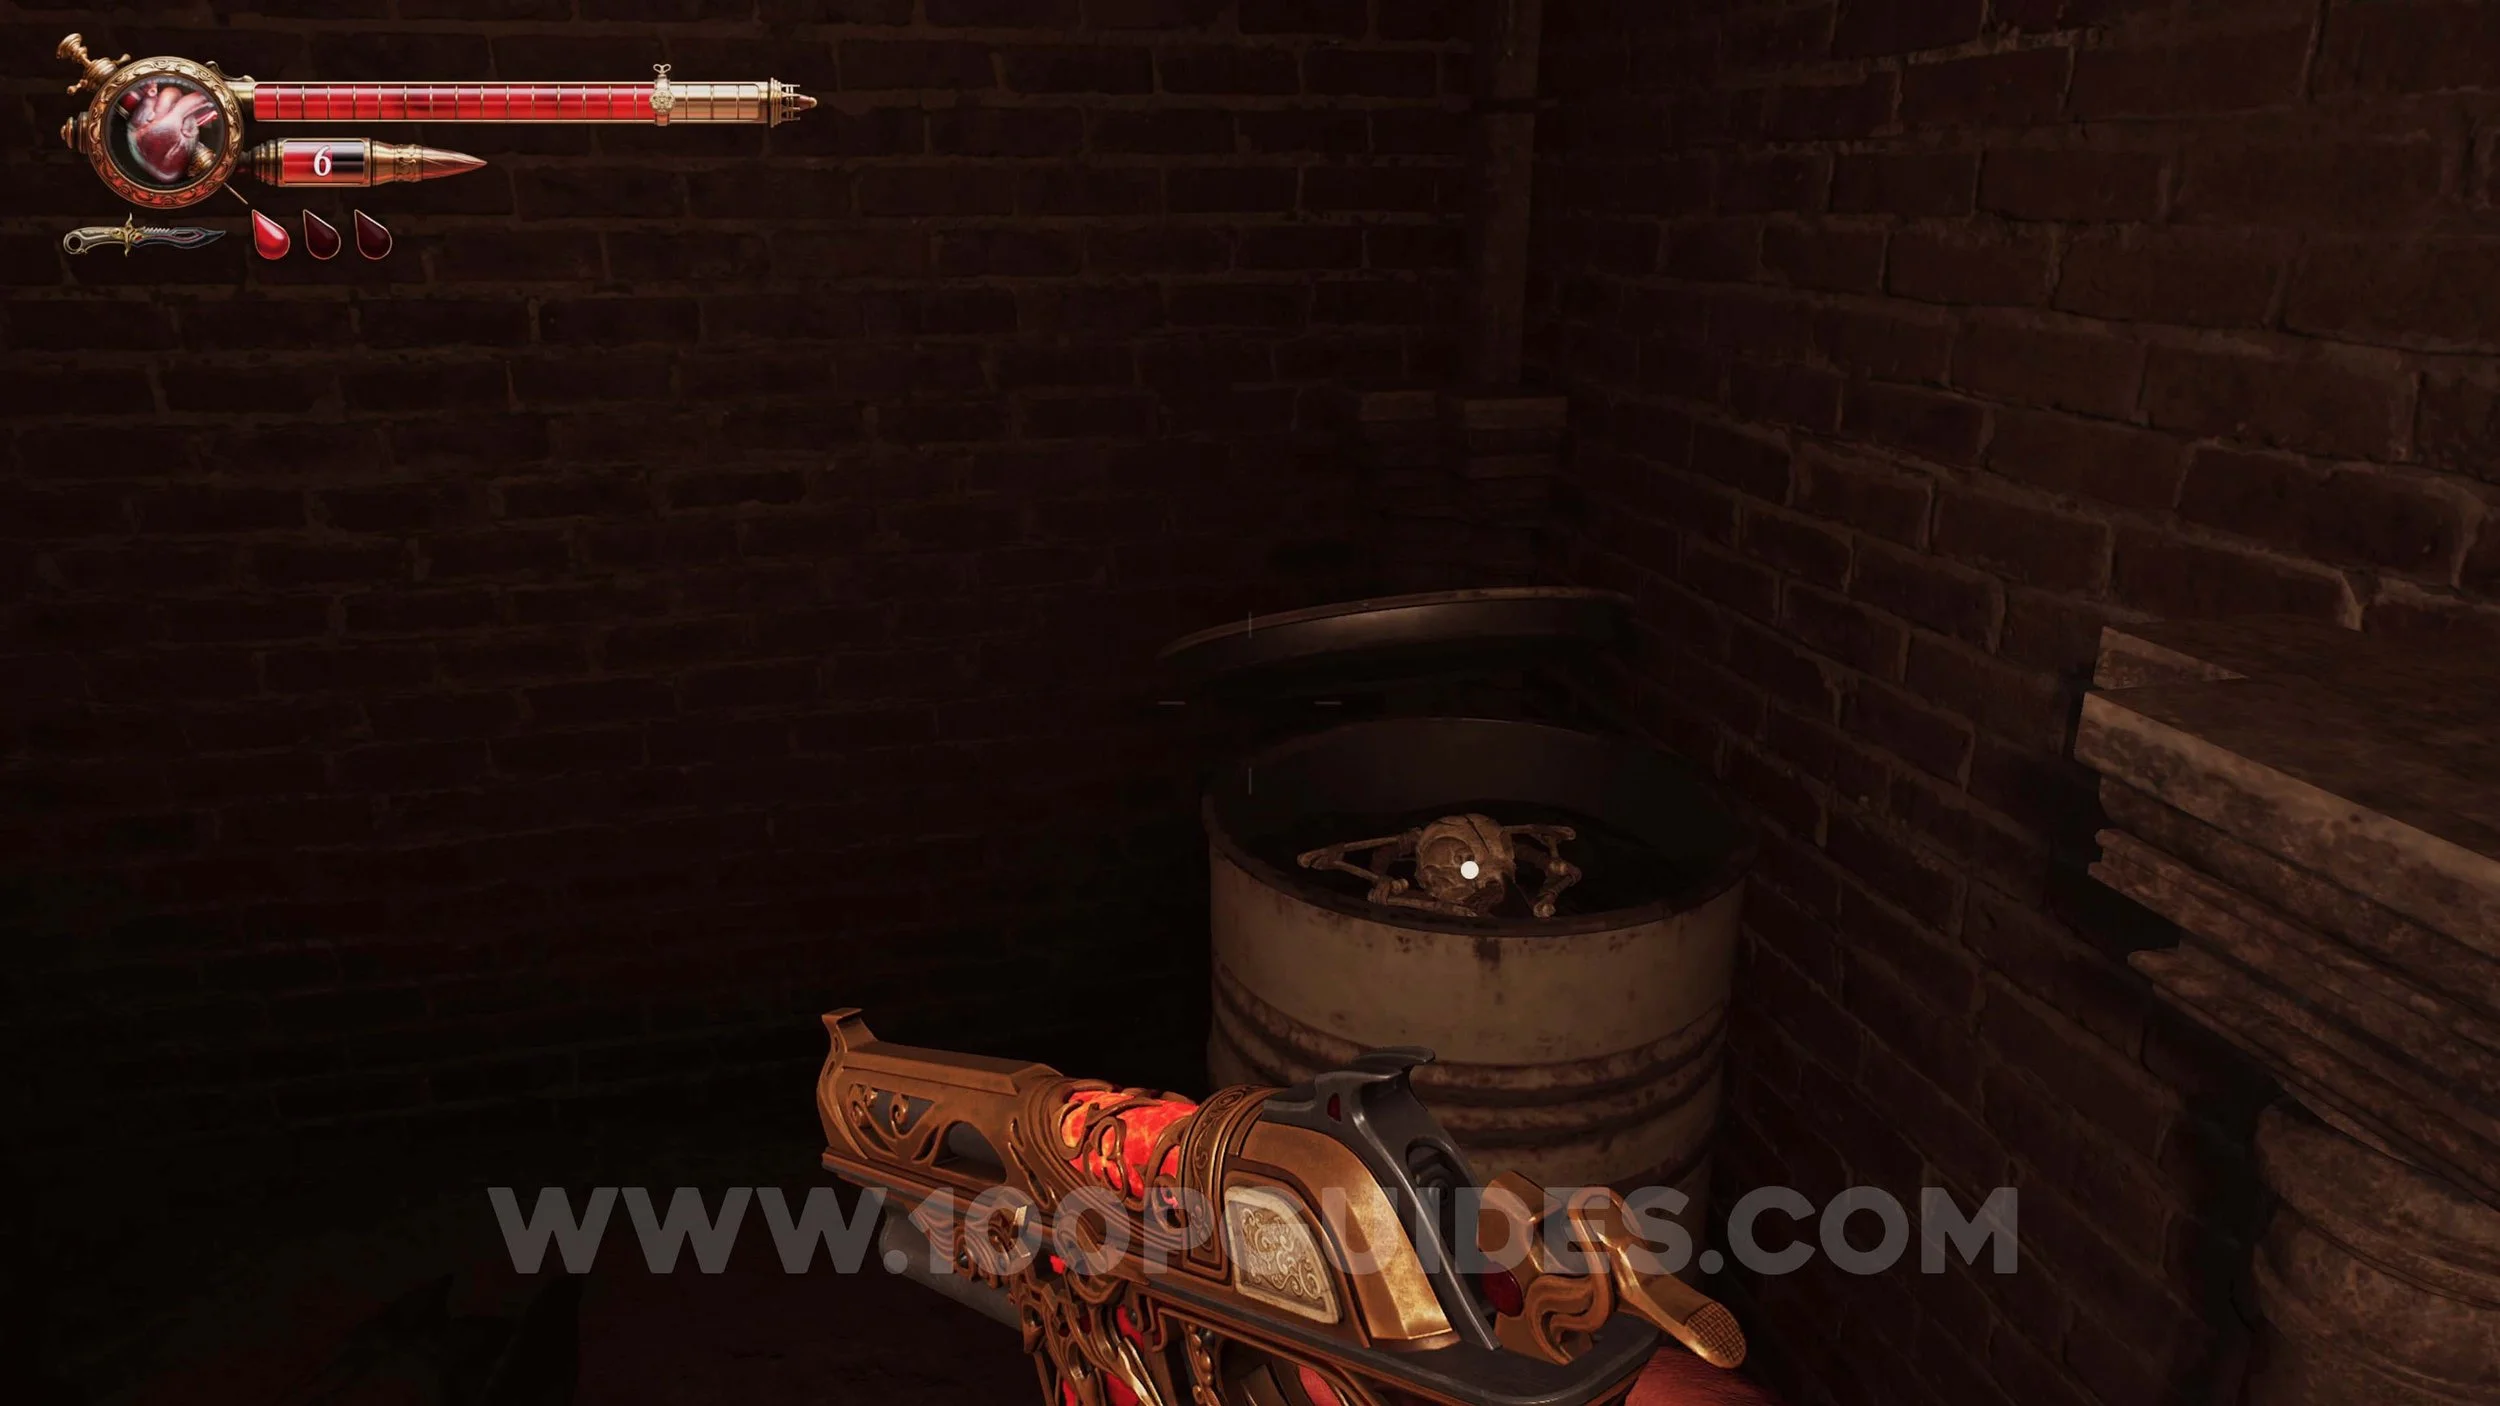
Crow Relic #16. From the previous collectible, get back on the main path and go through a tunnel with a cart in it. In this tunnel, look for a barrel you can open on your right. The collectible can be found inside.
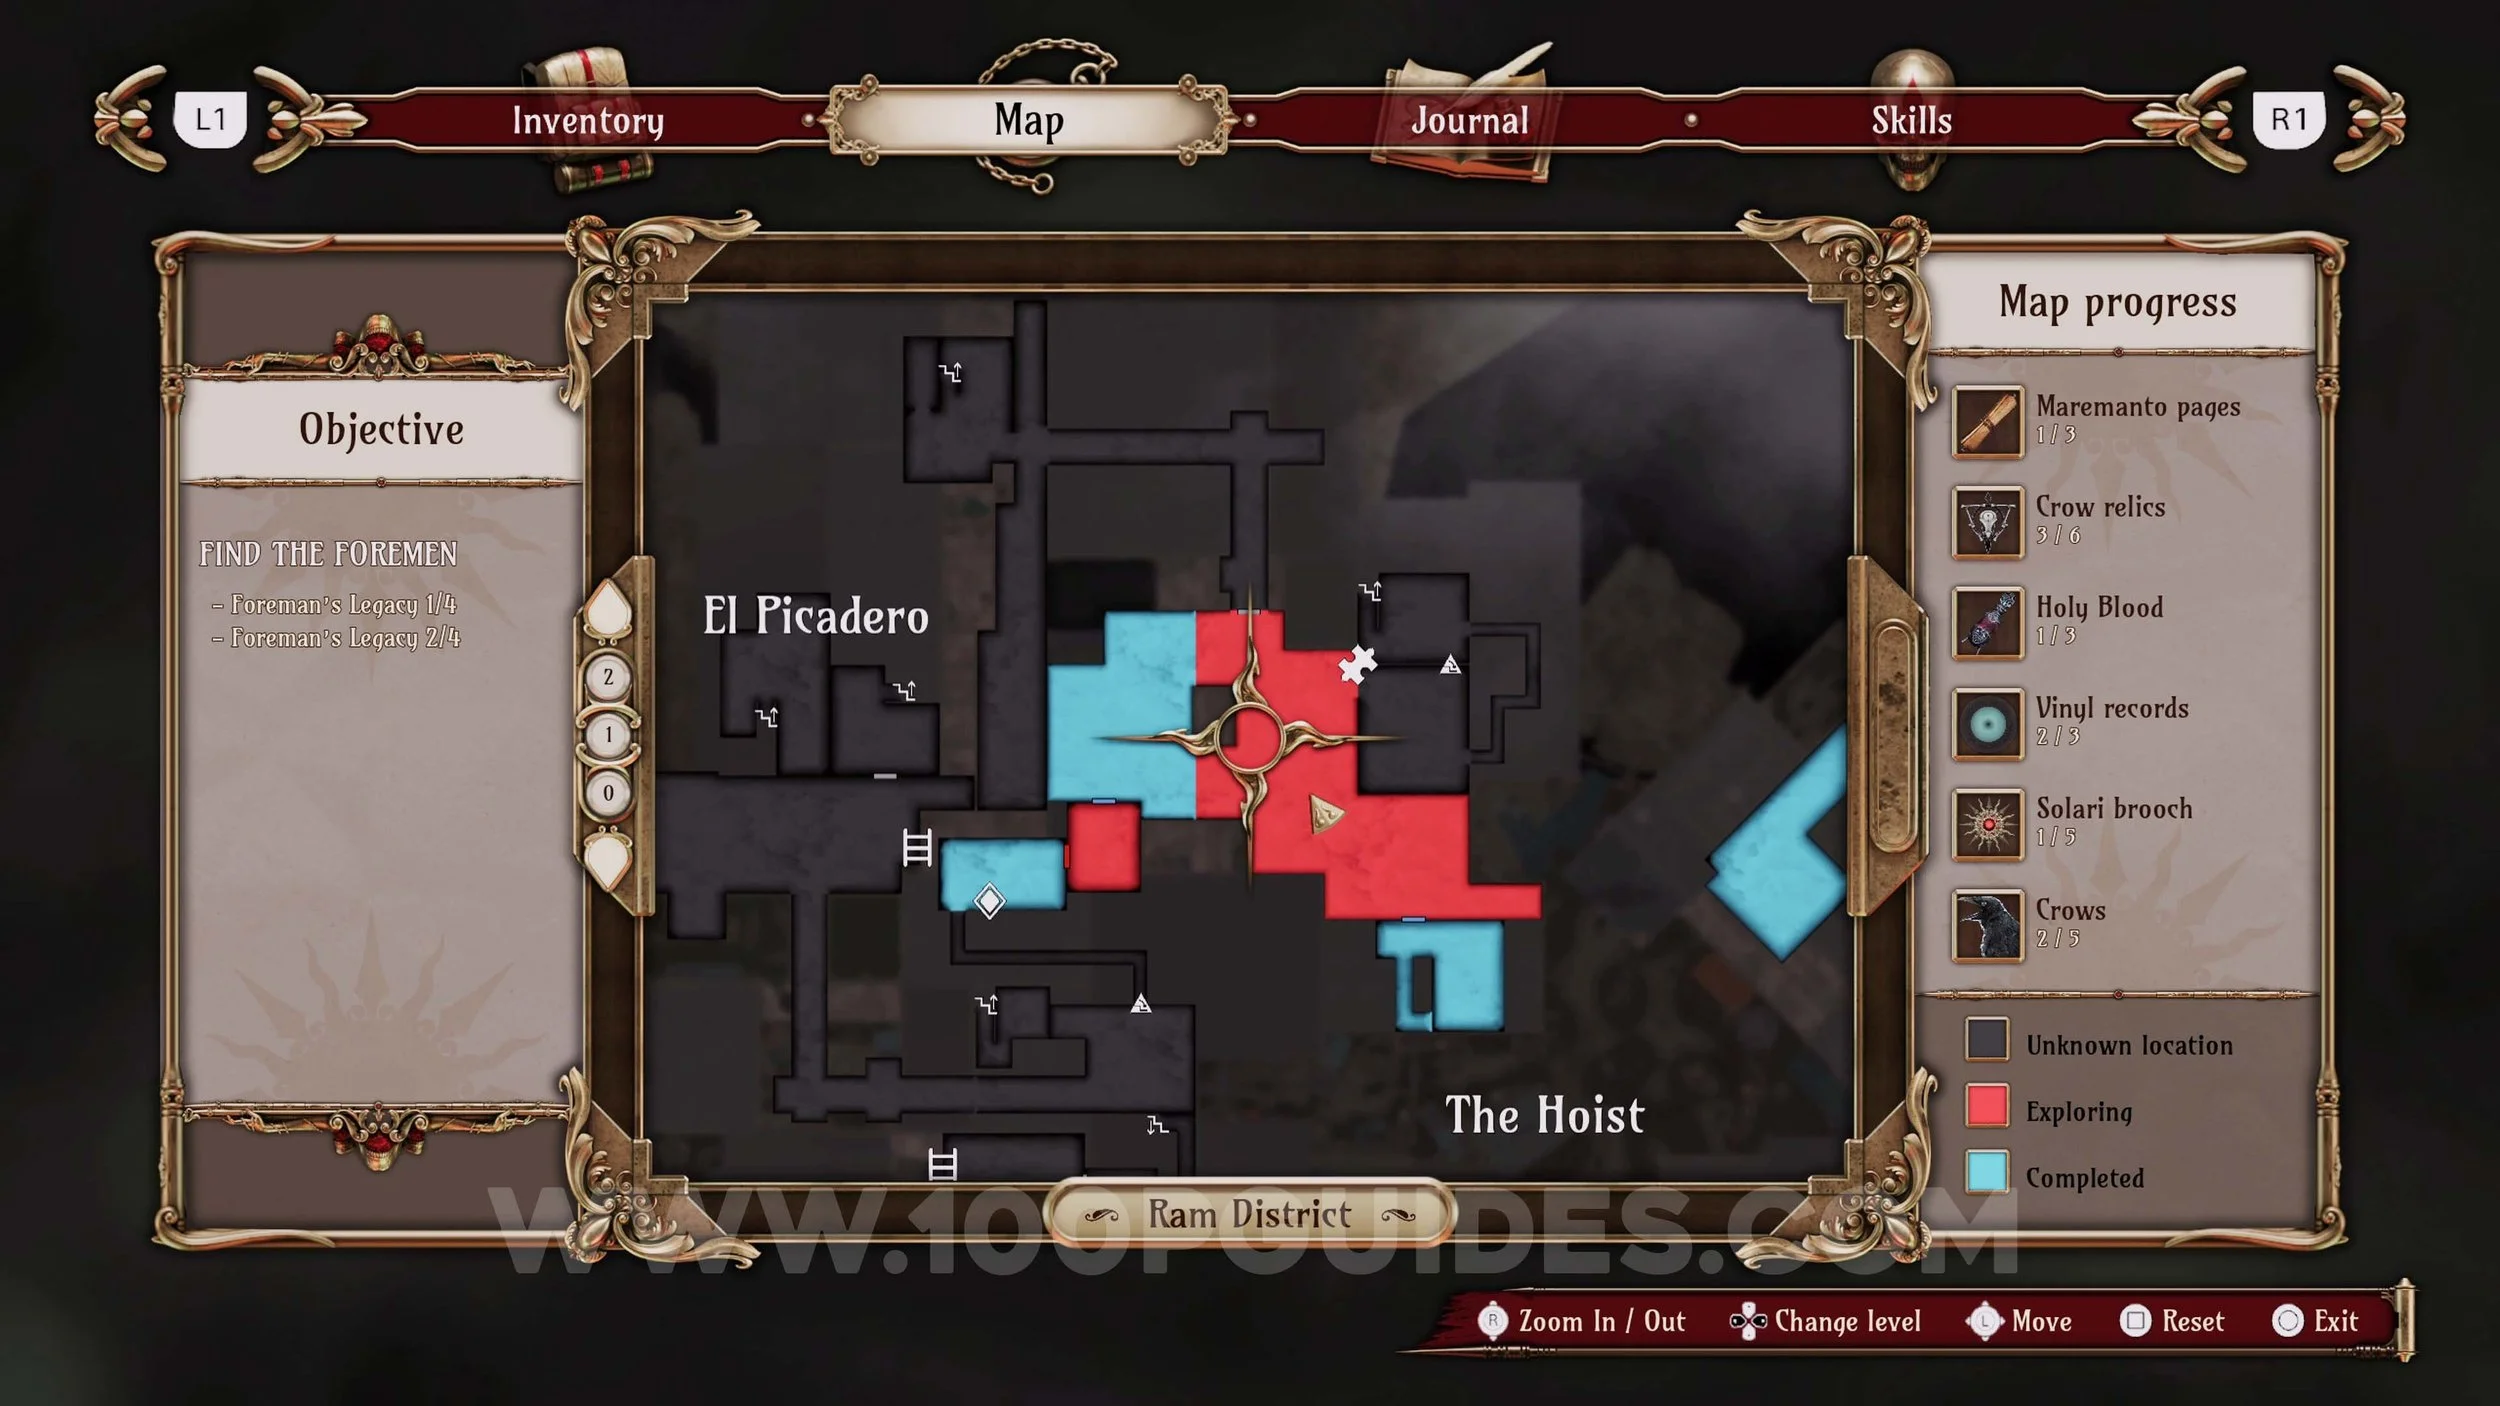
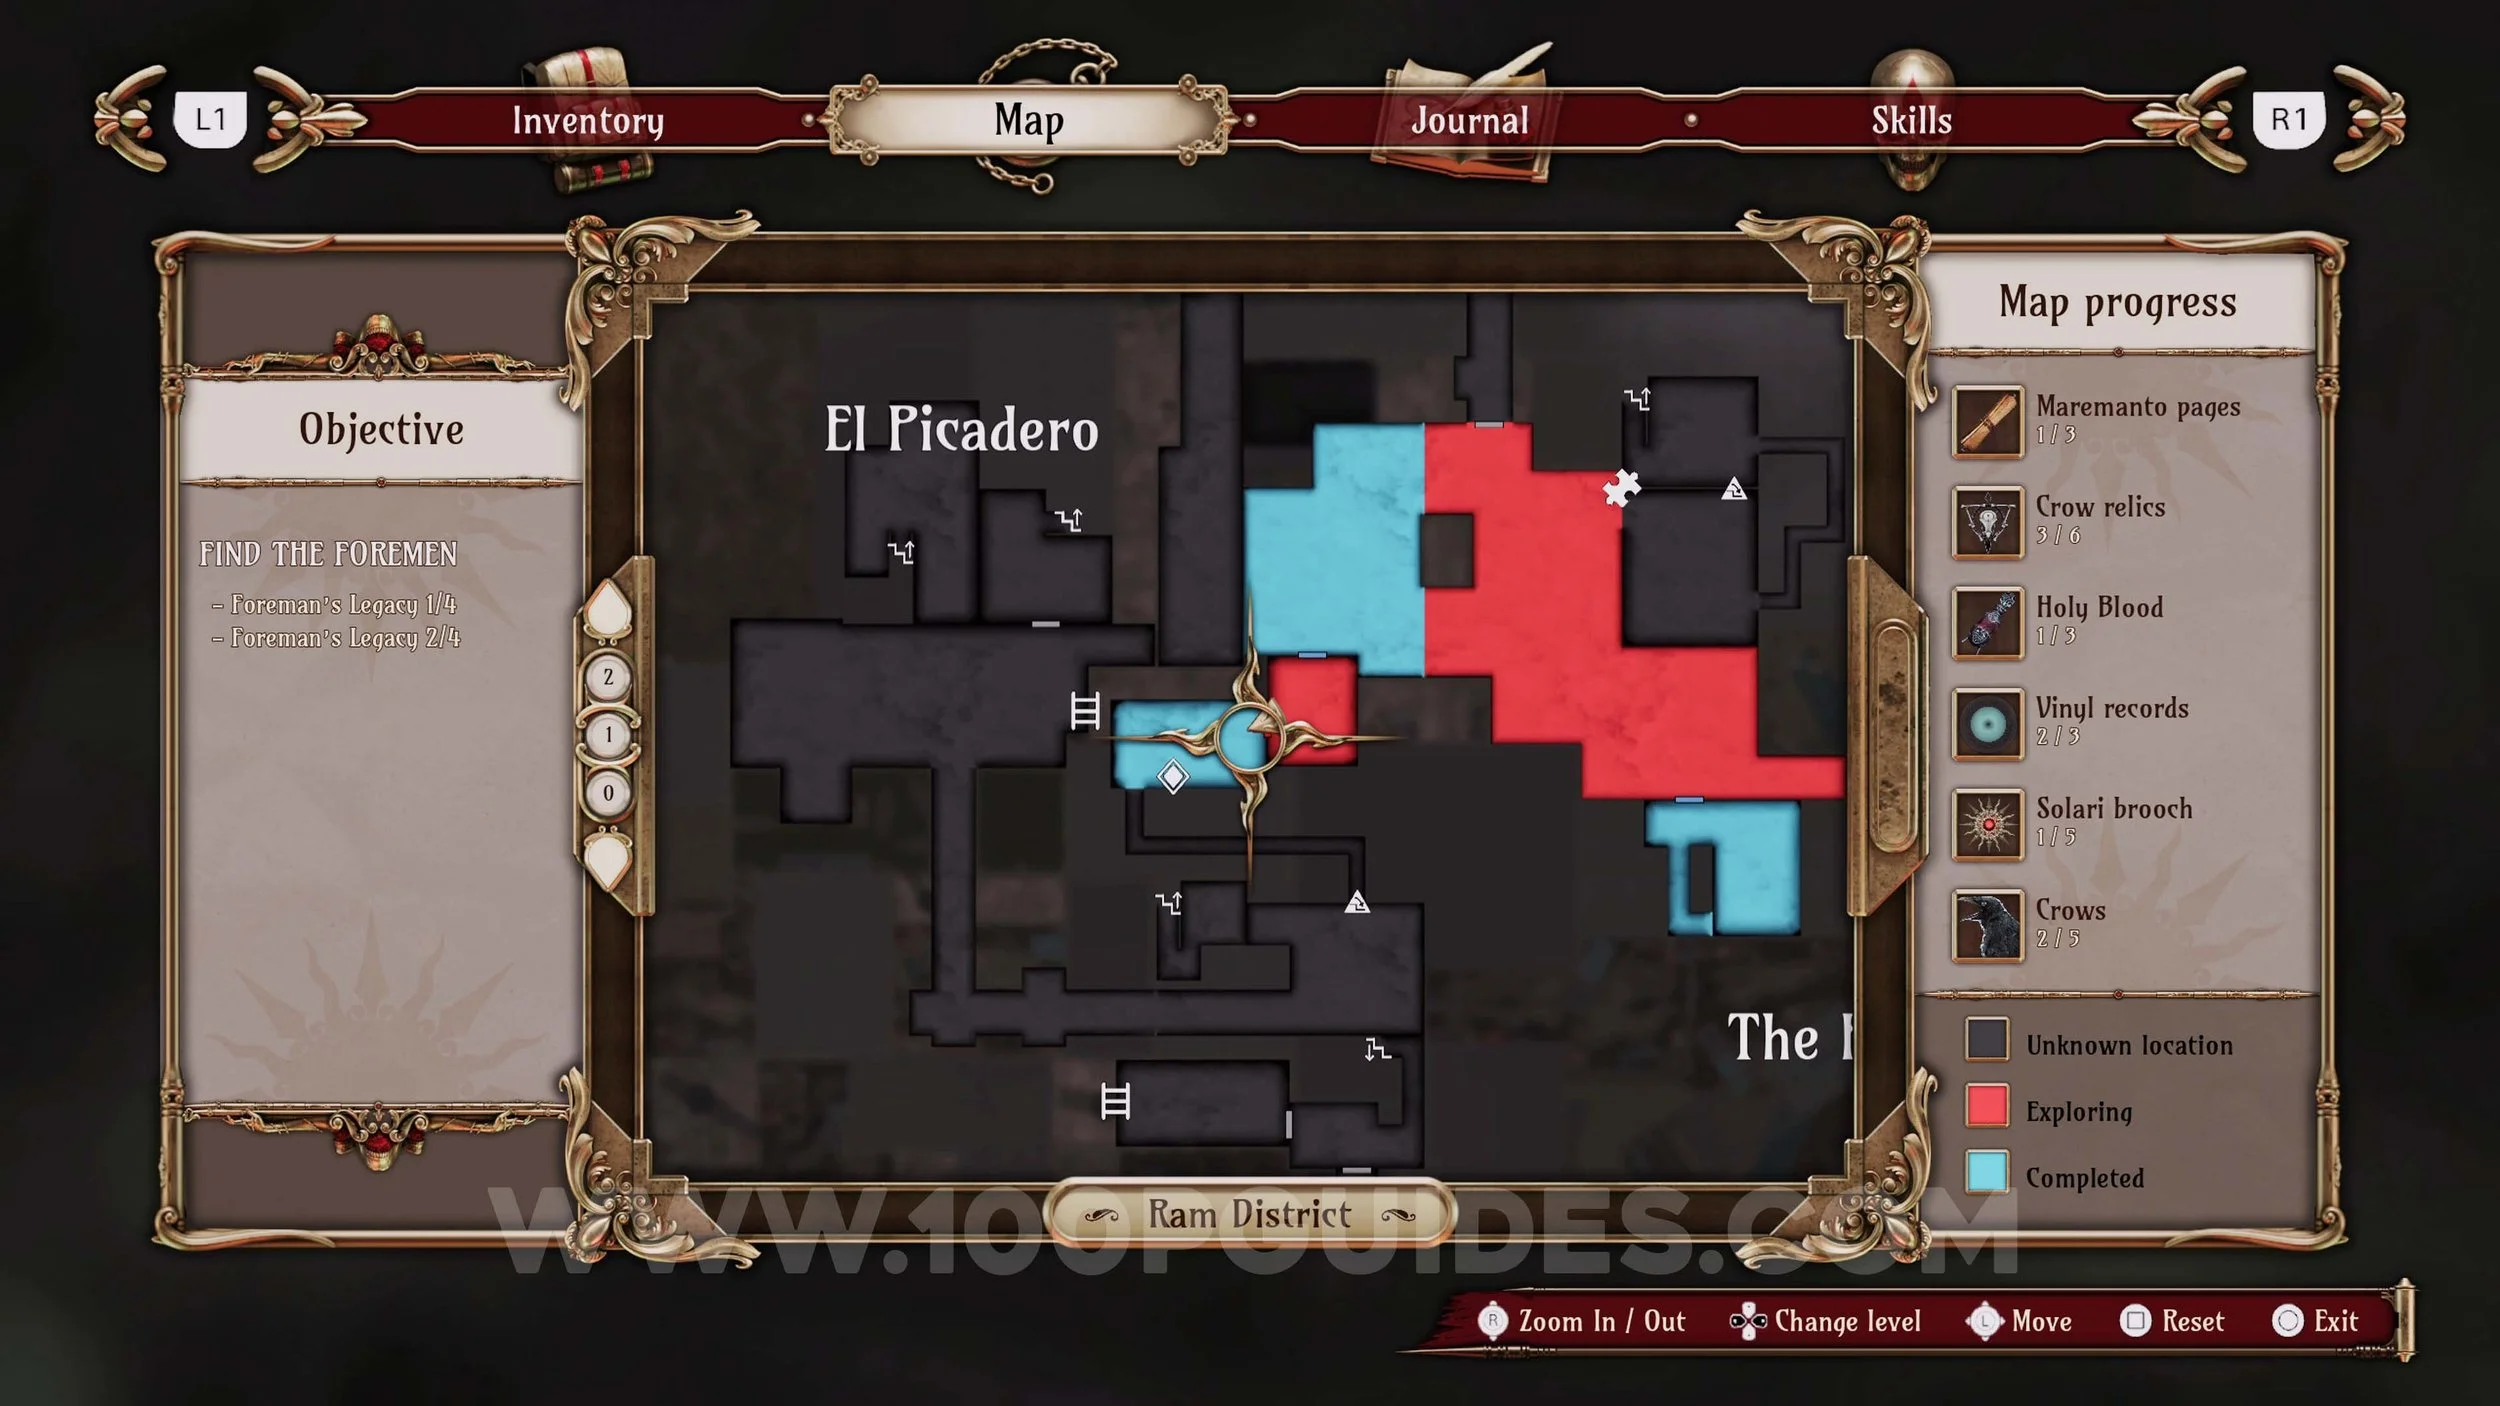
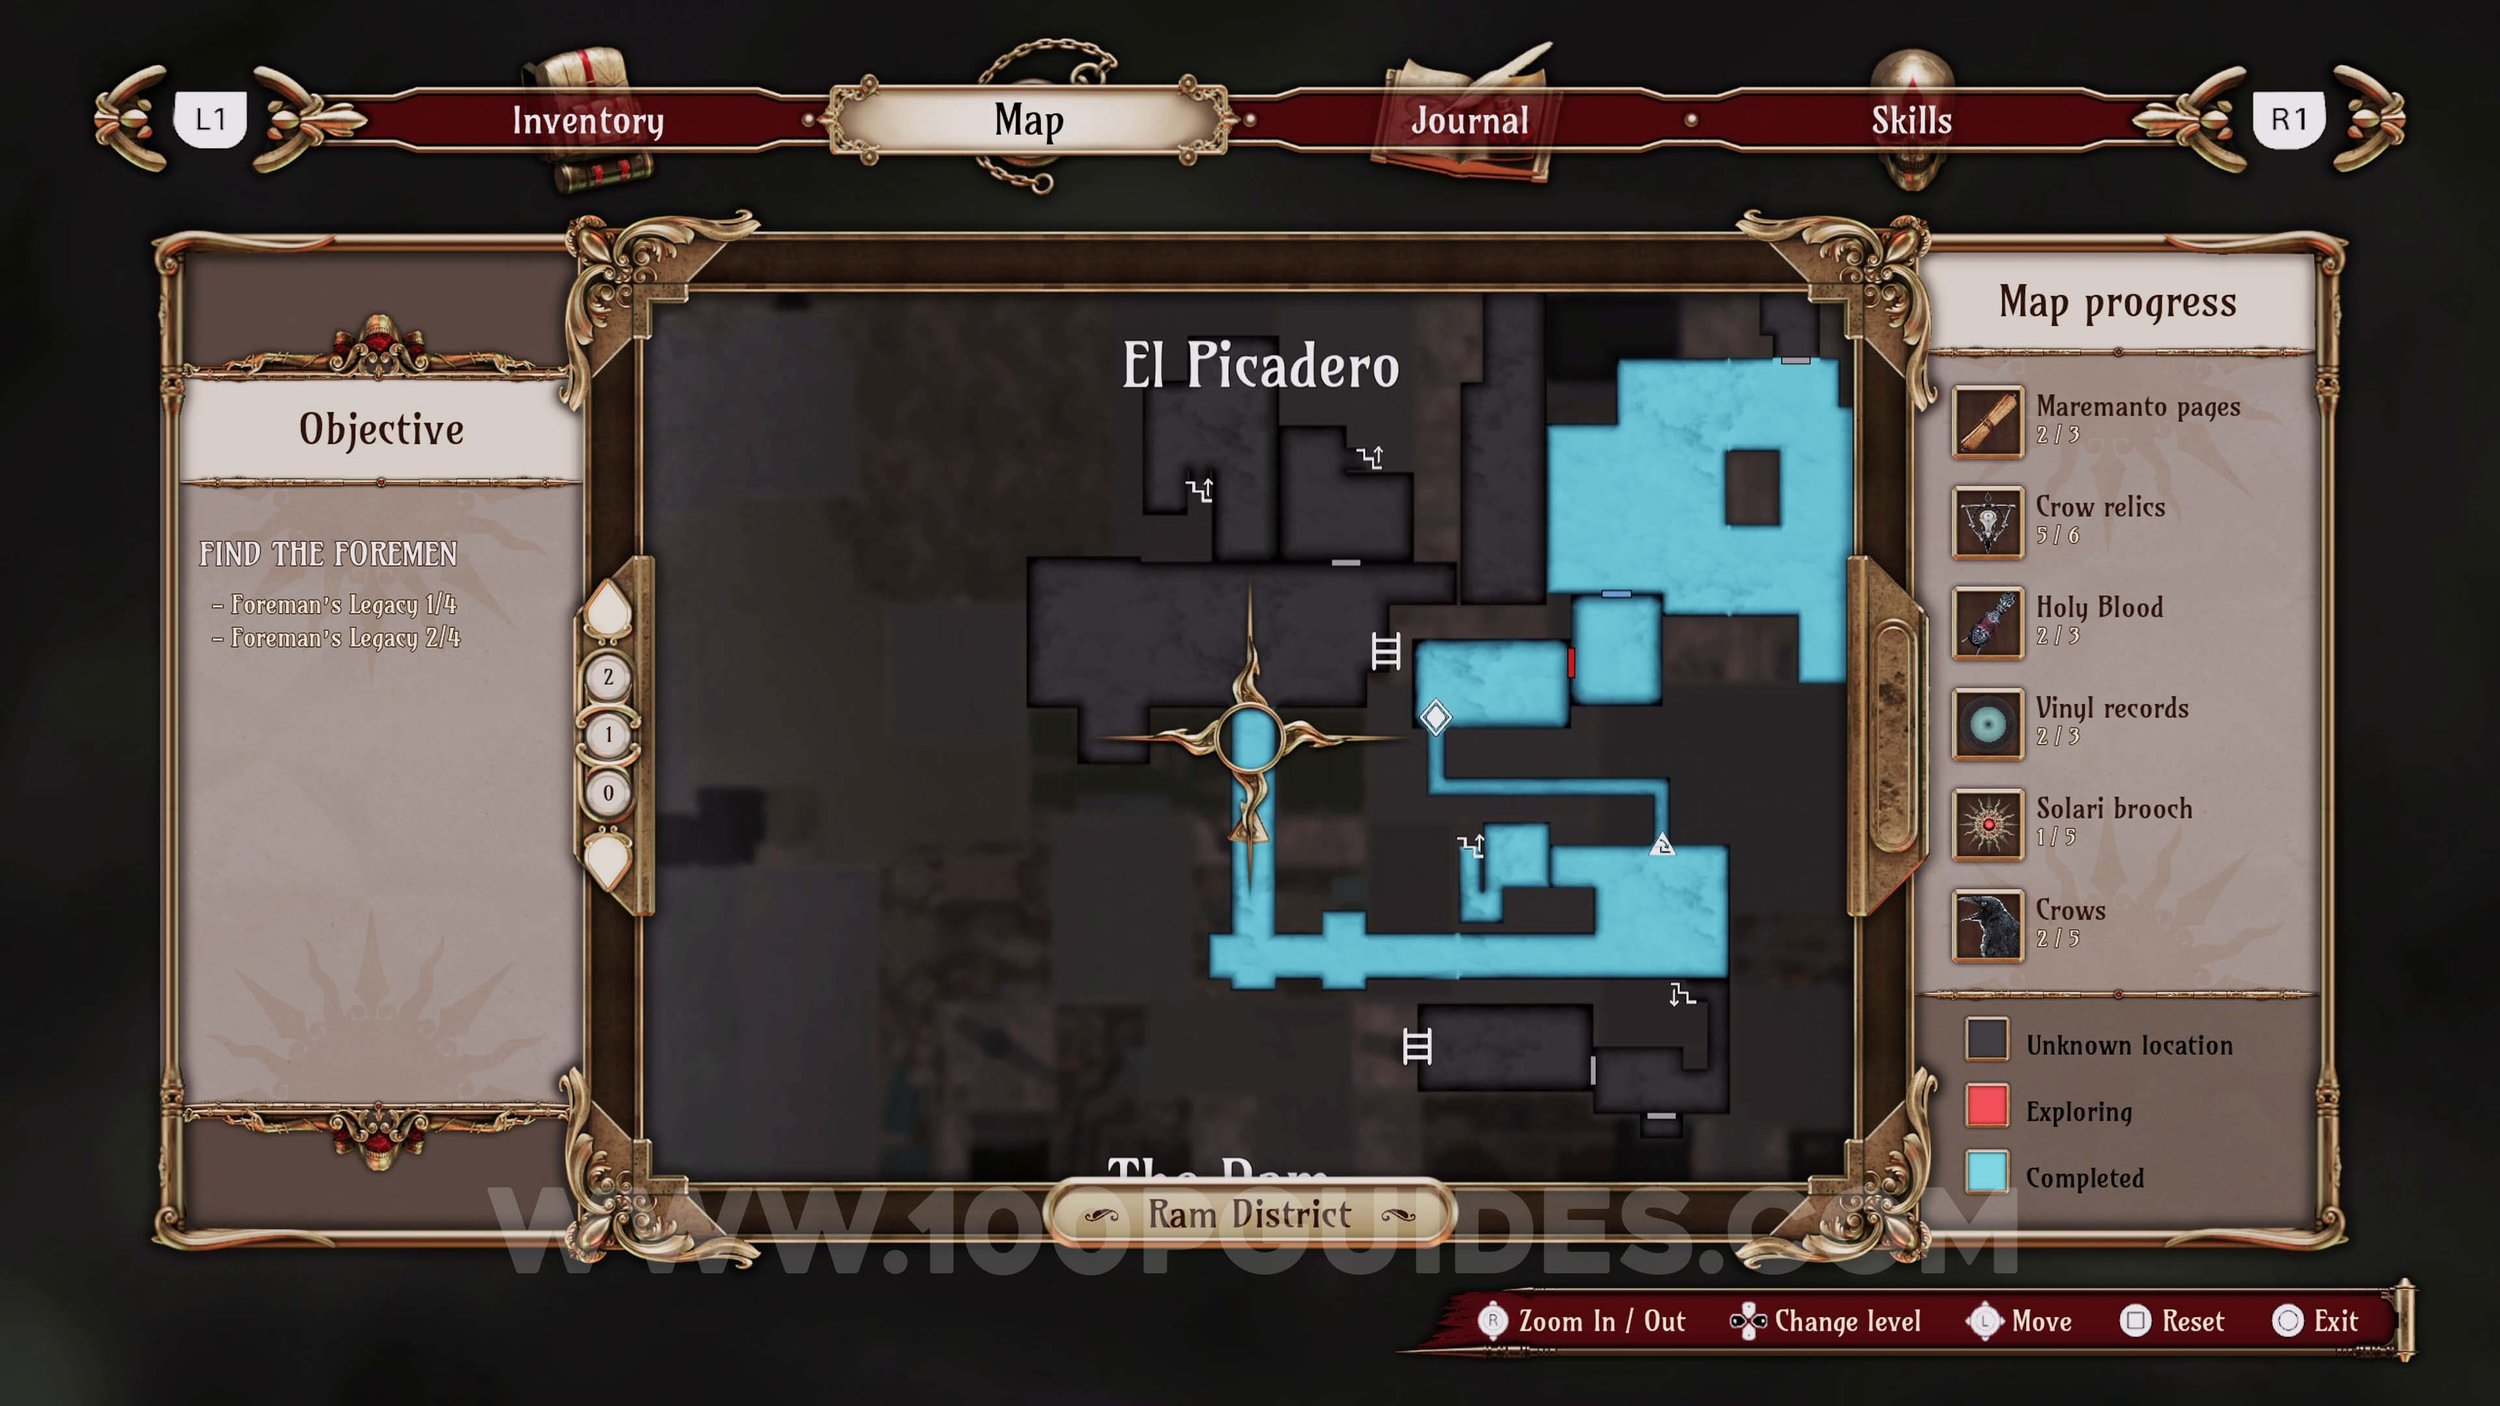
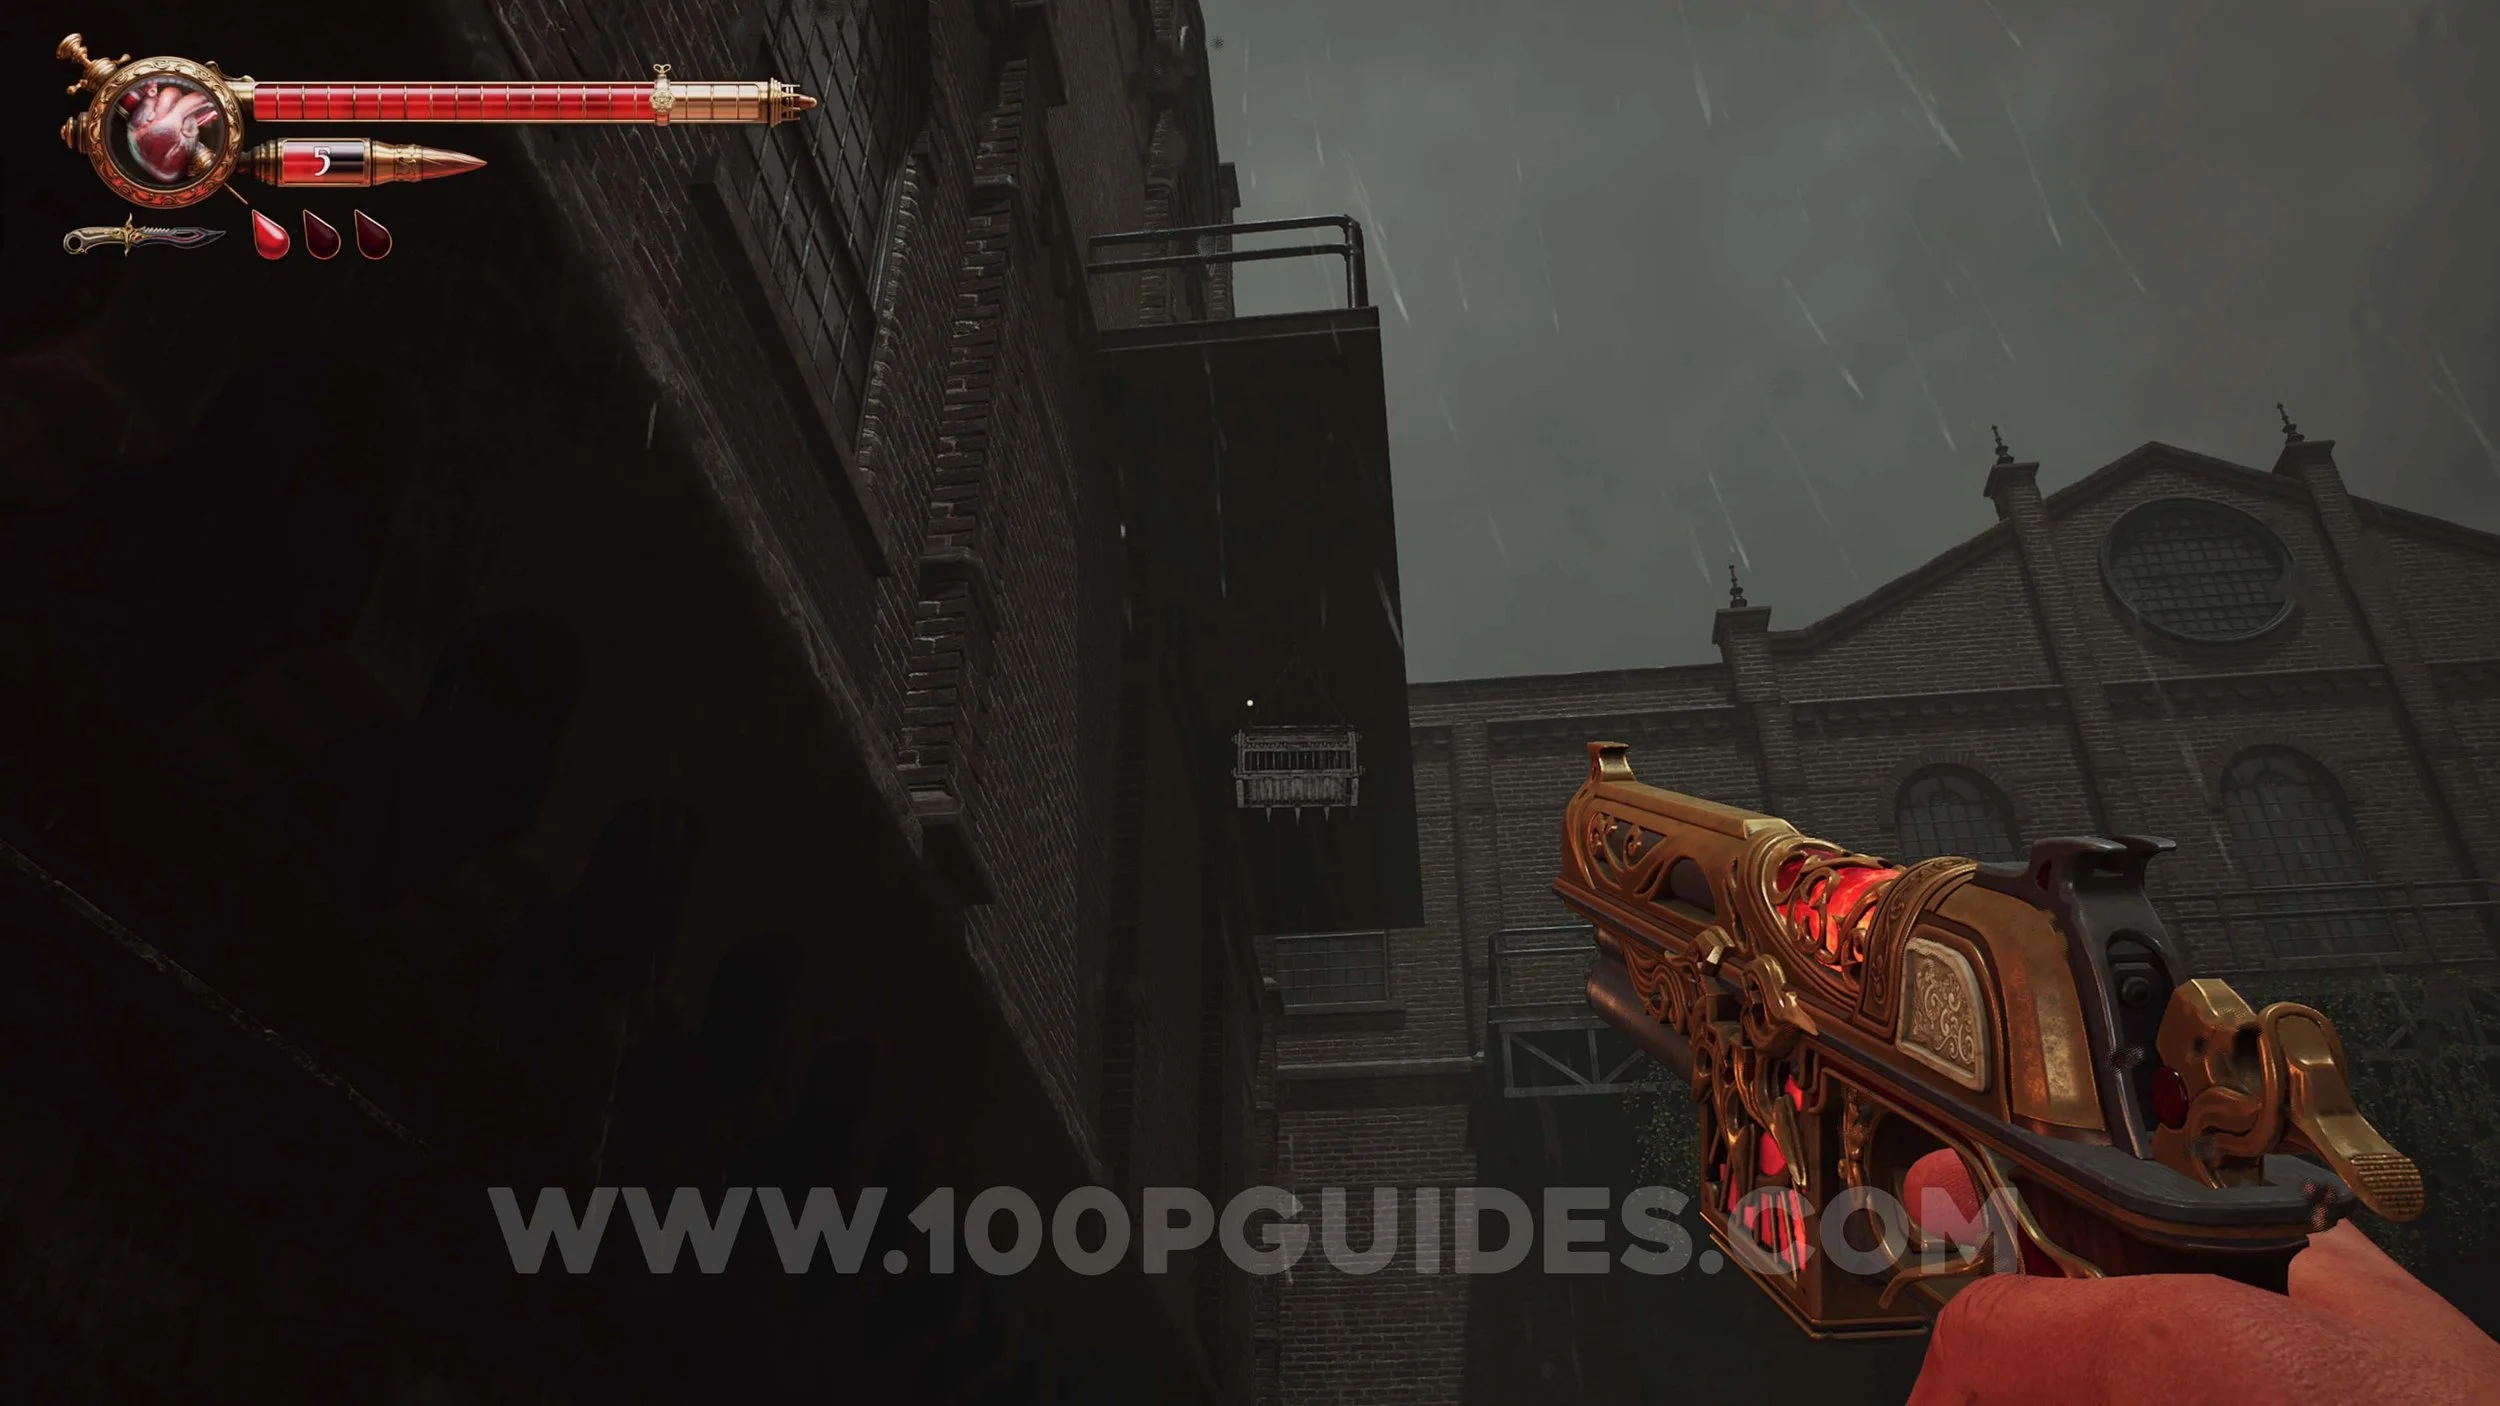
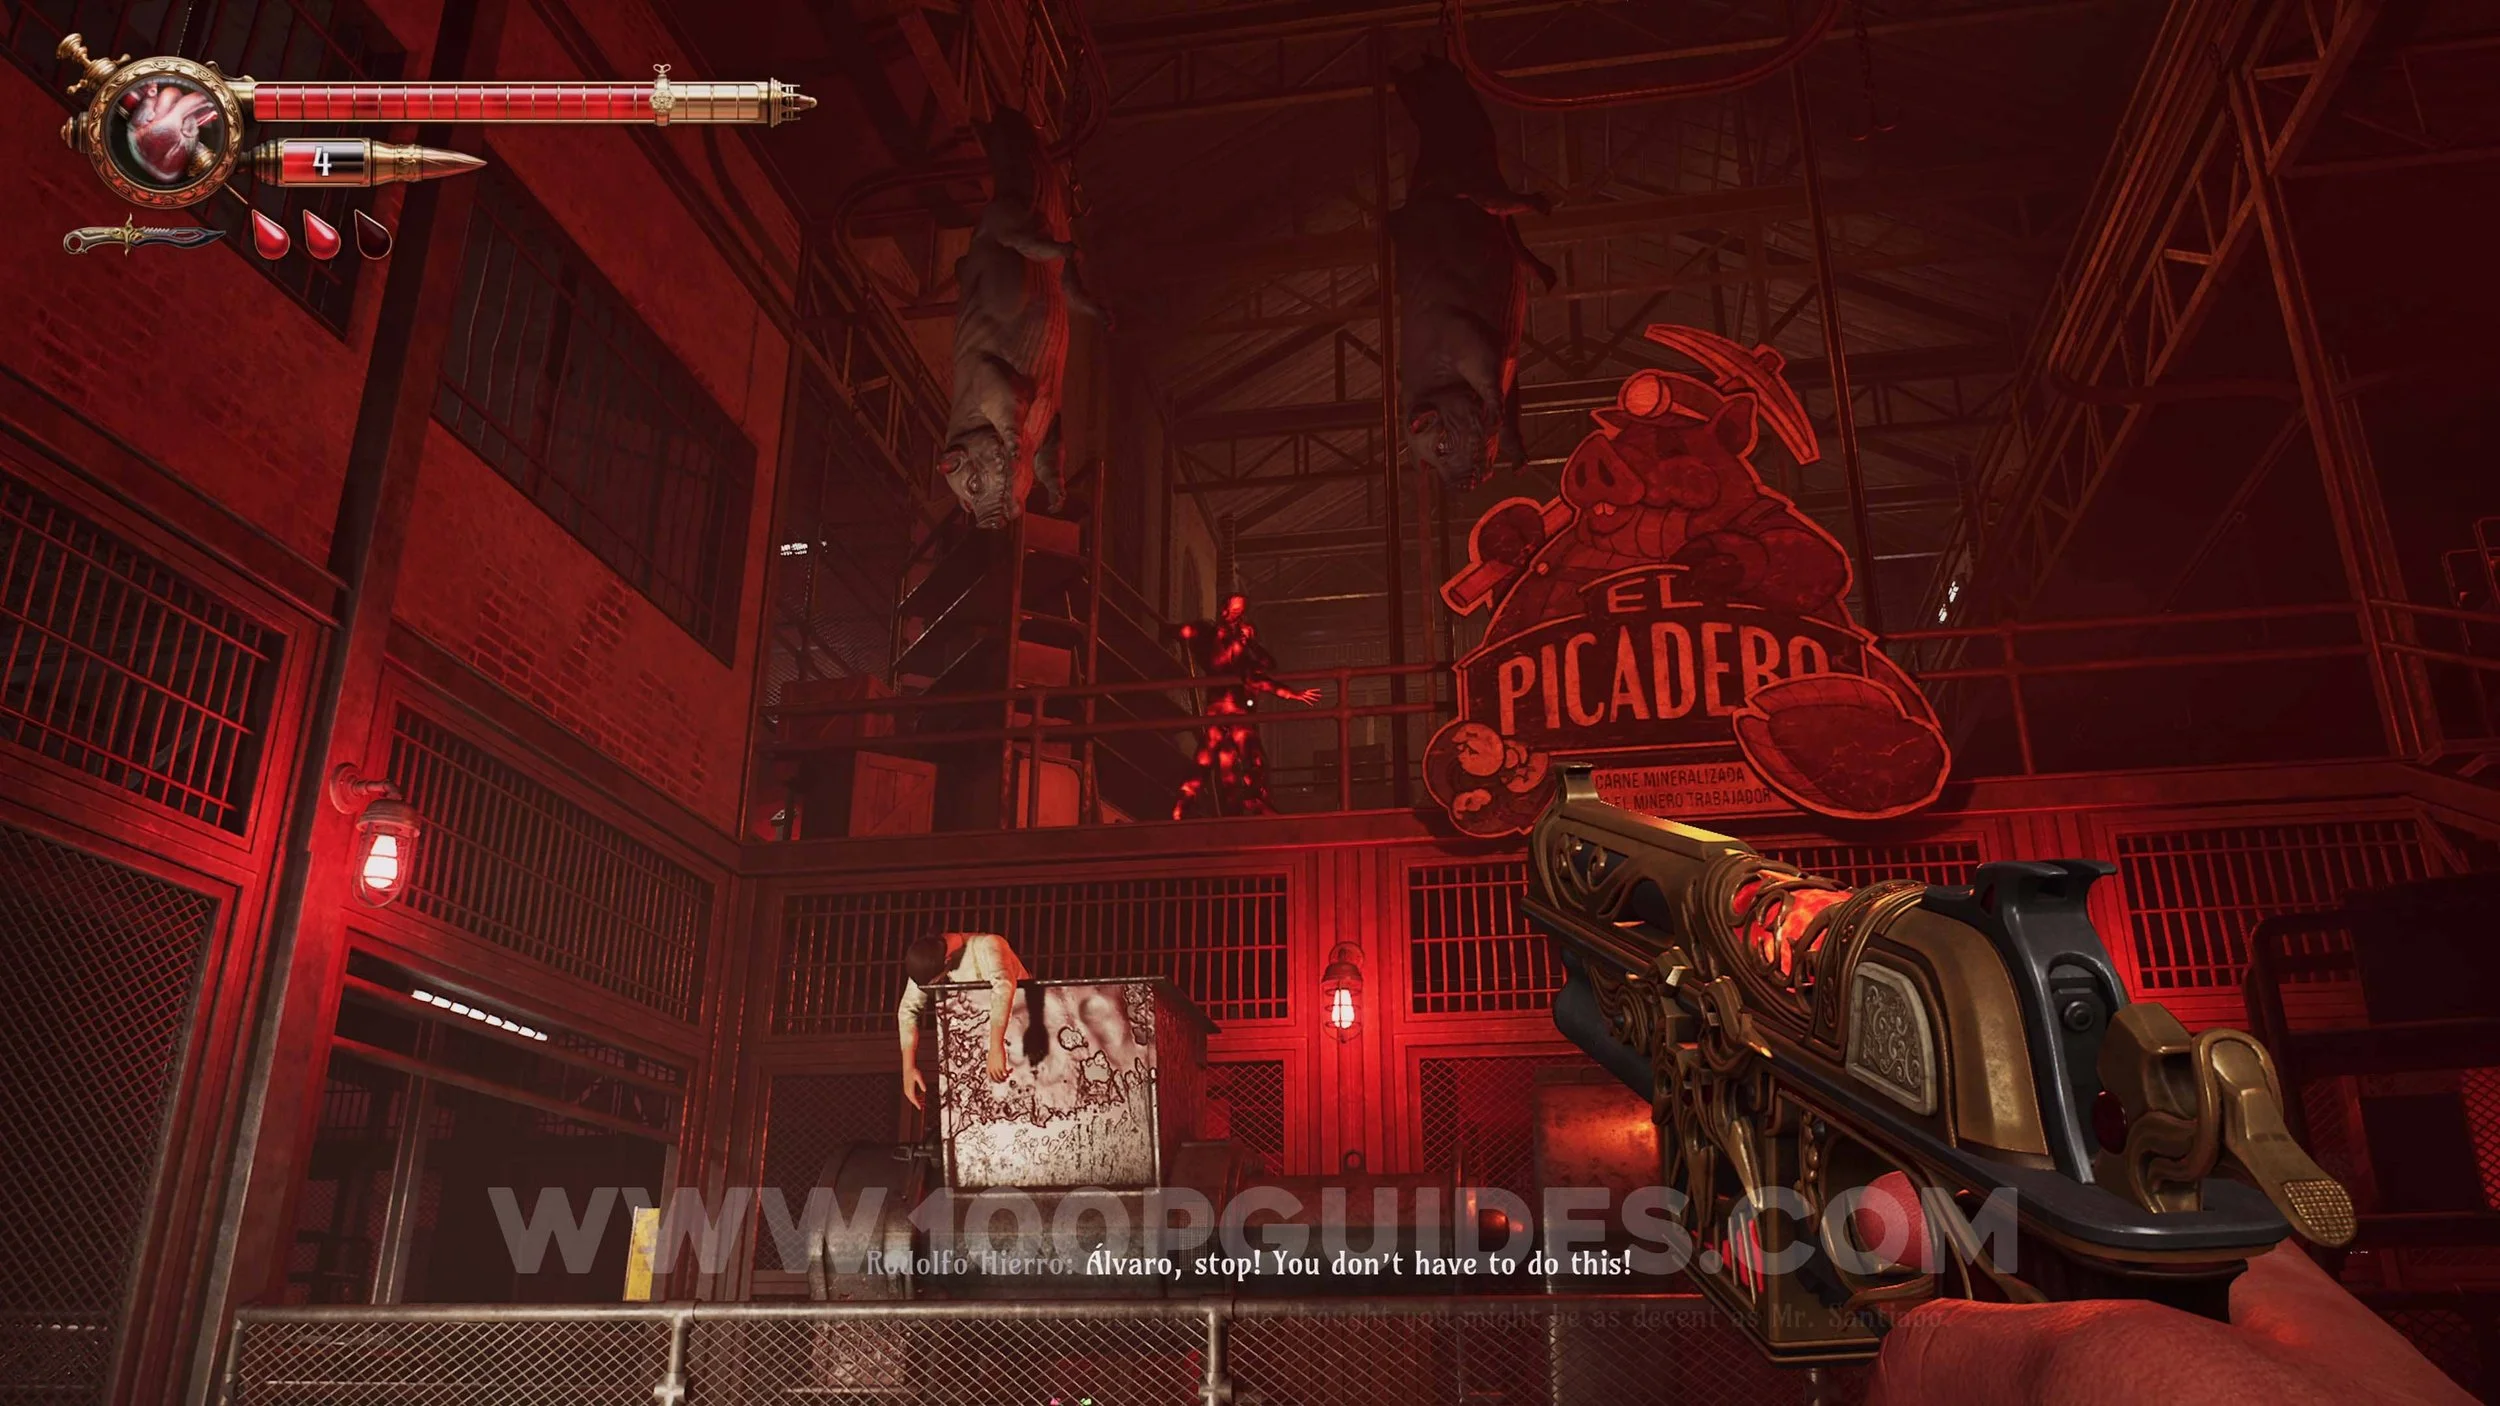
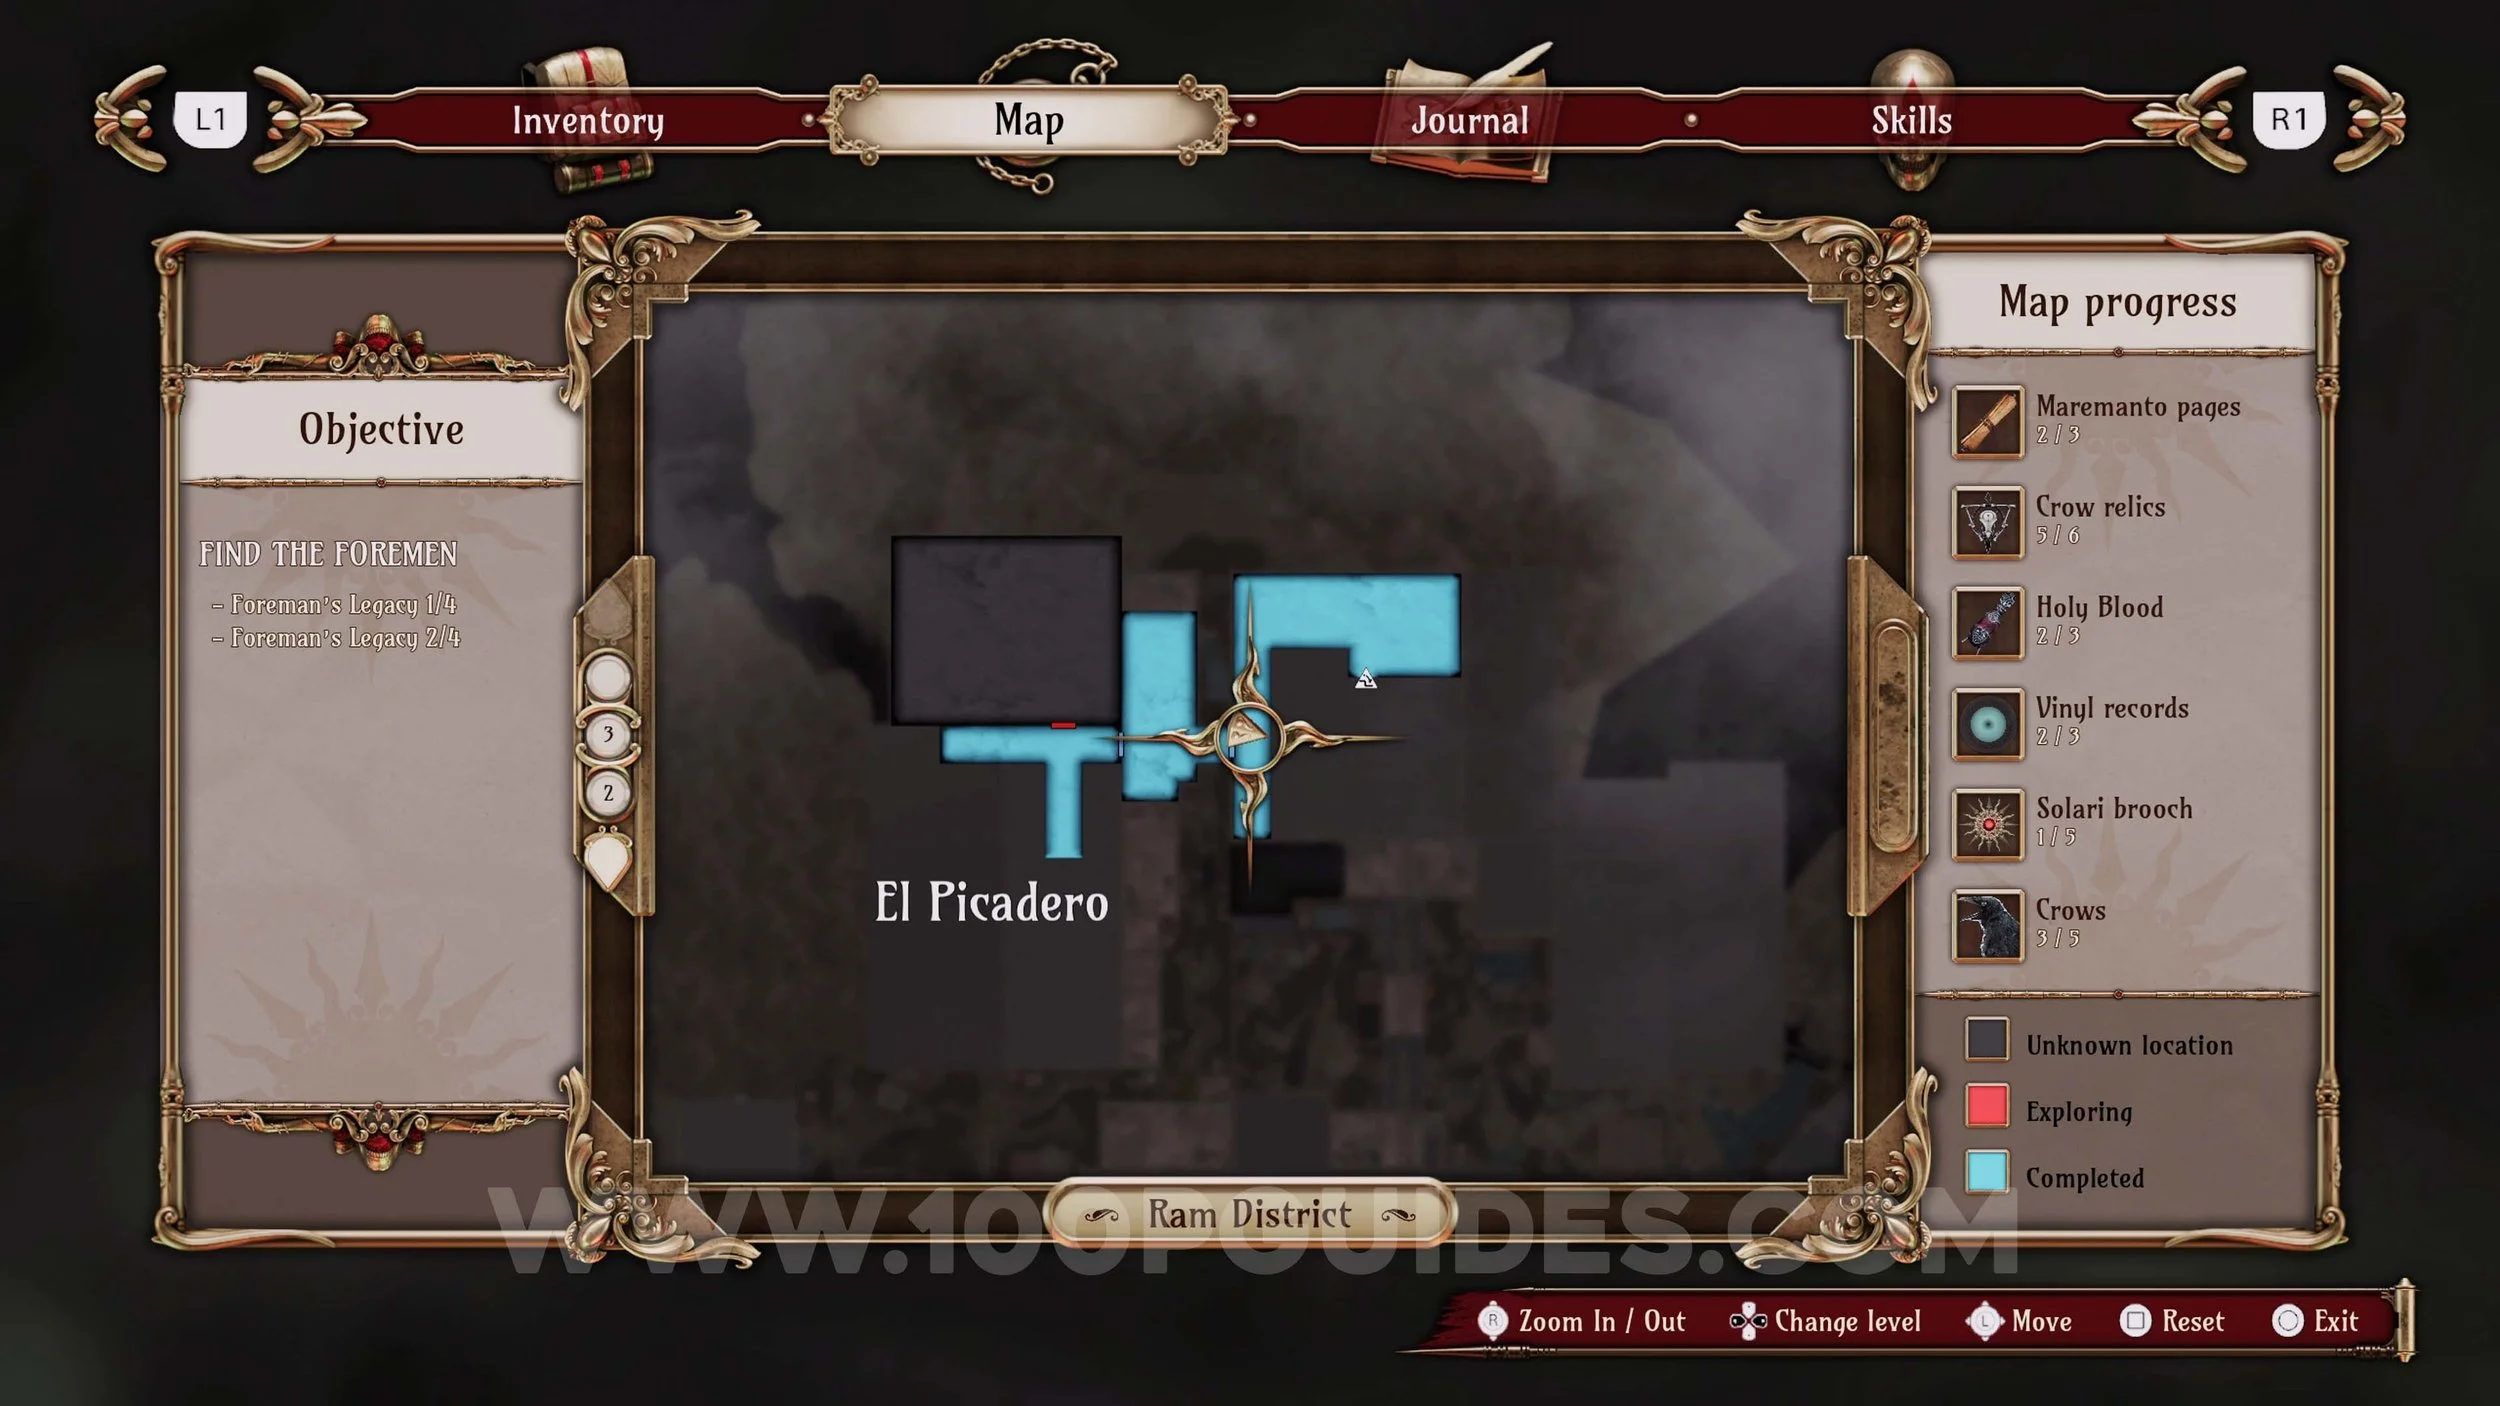
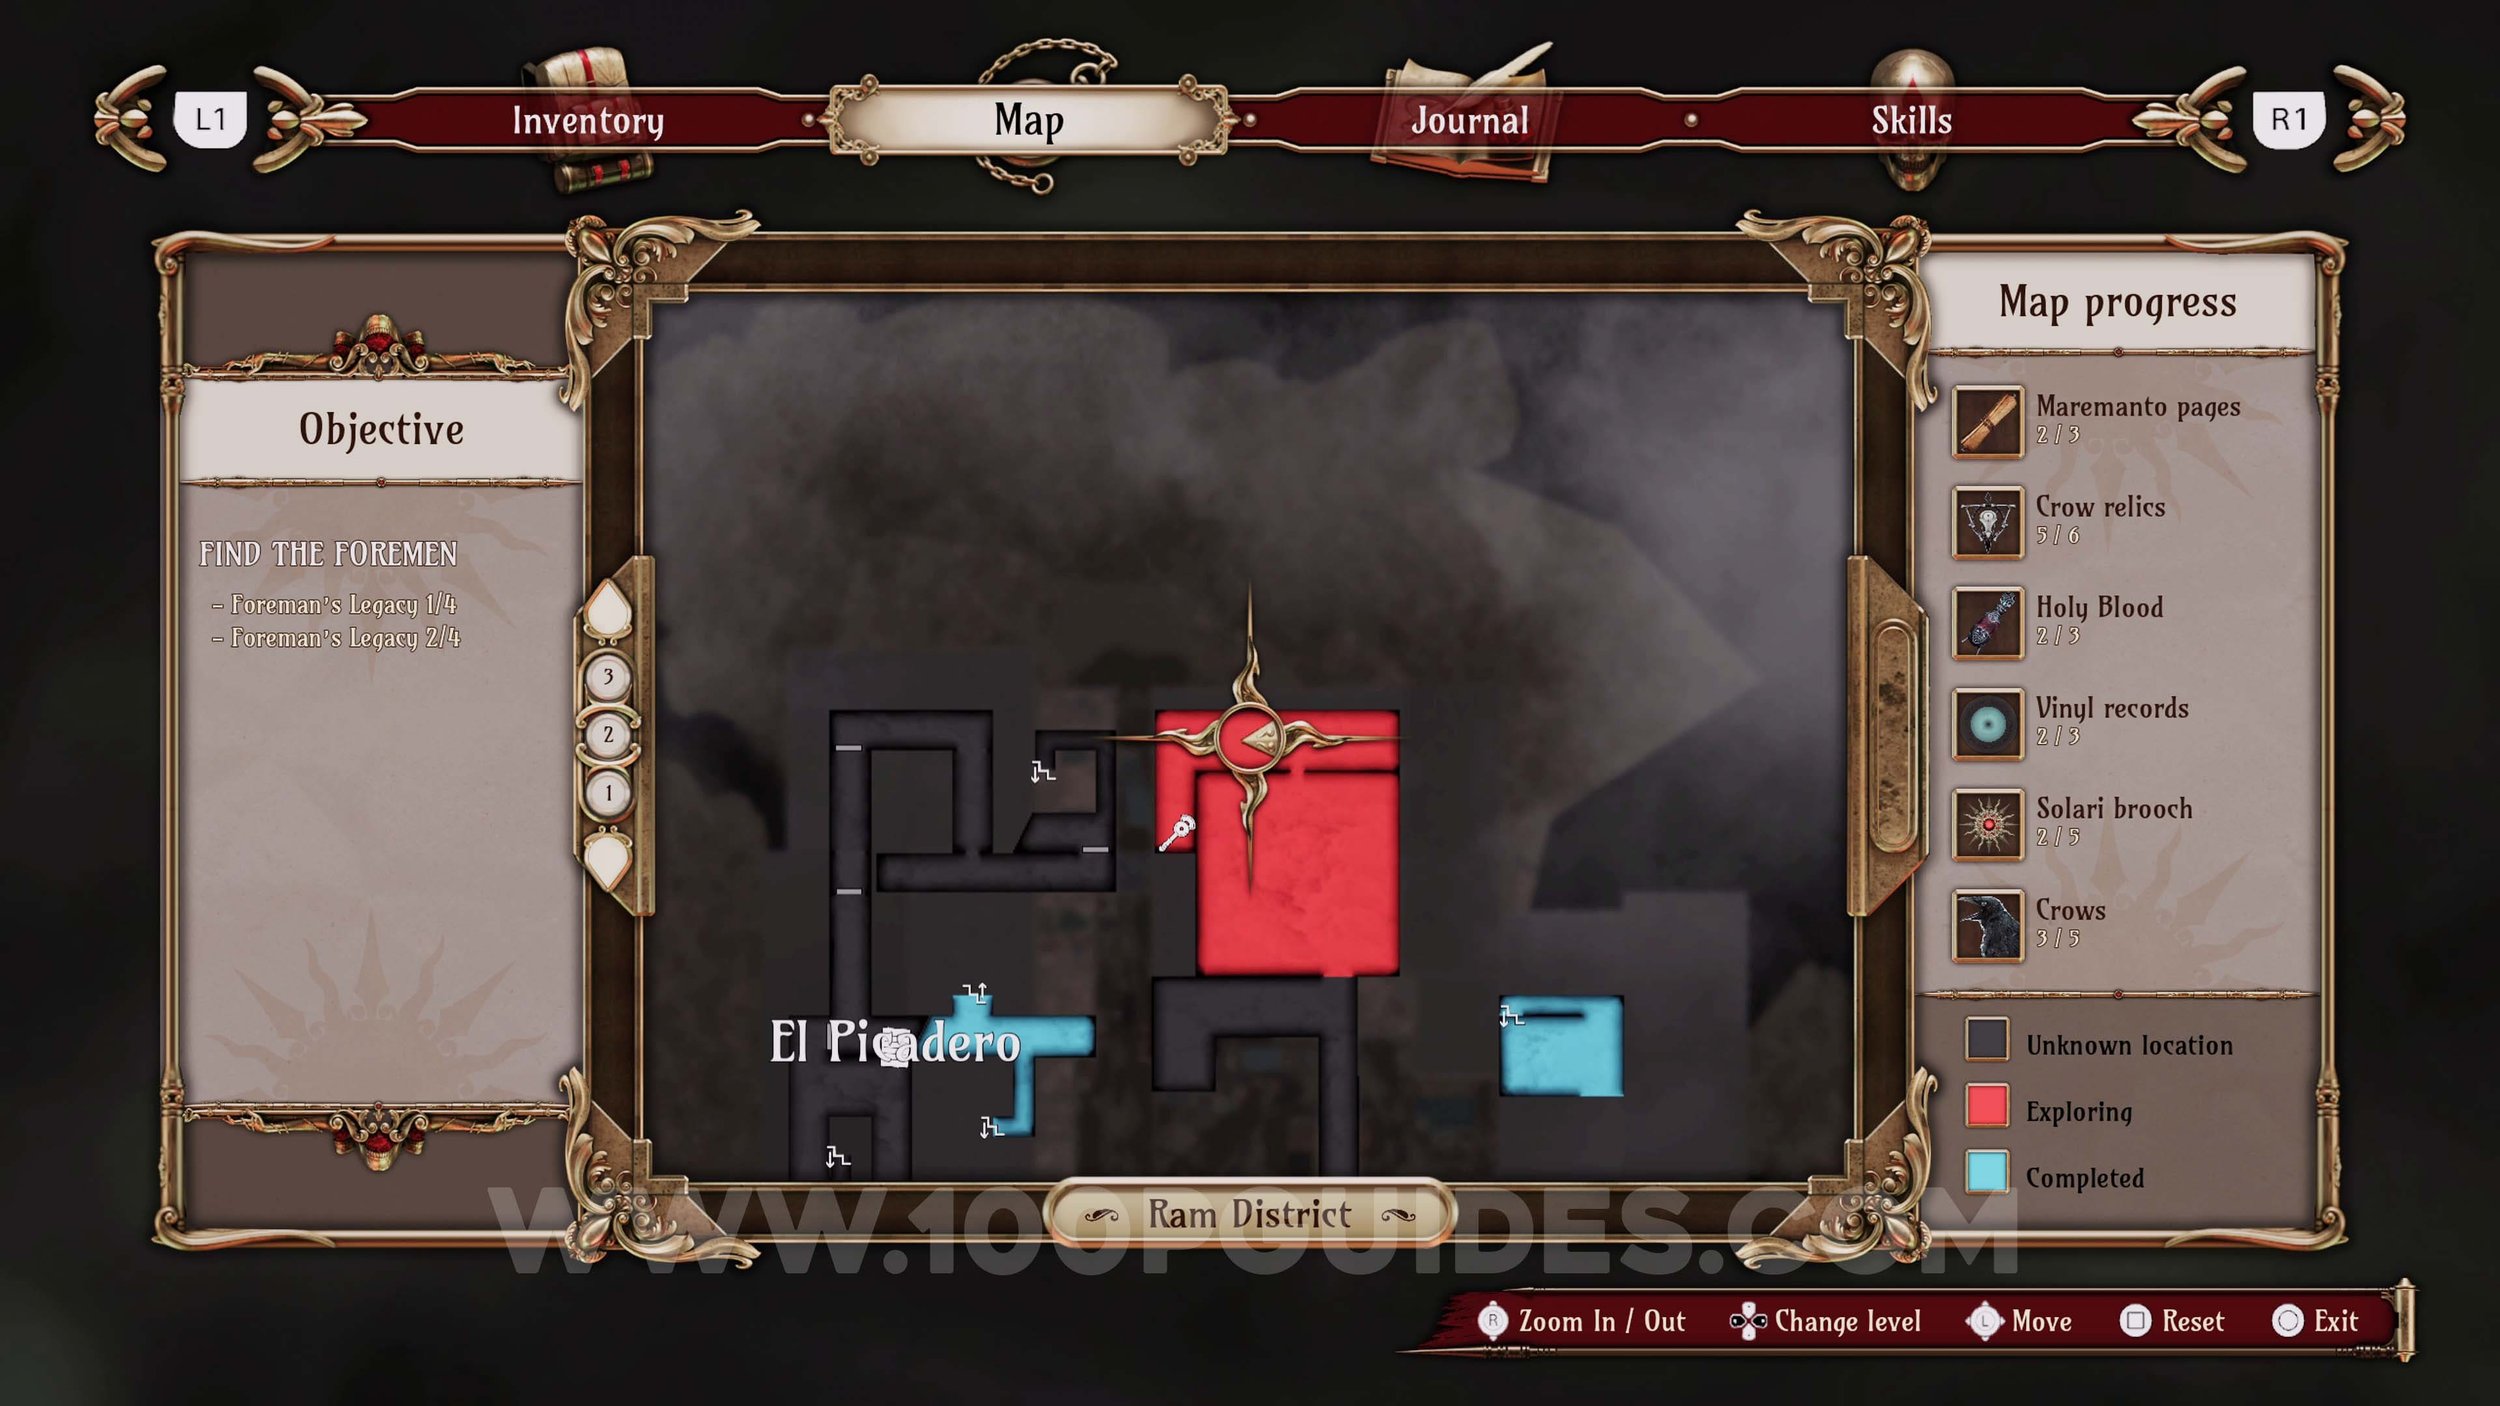
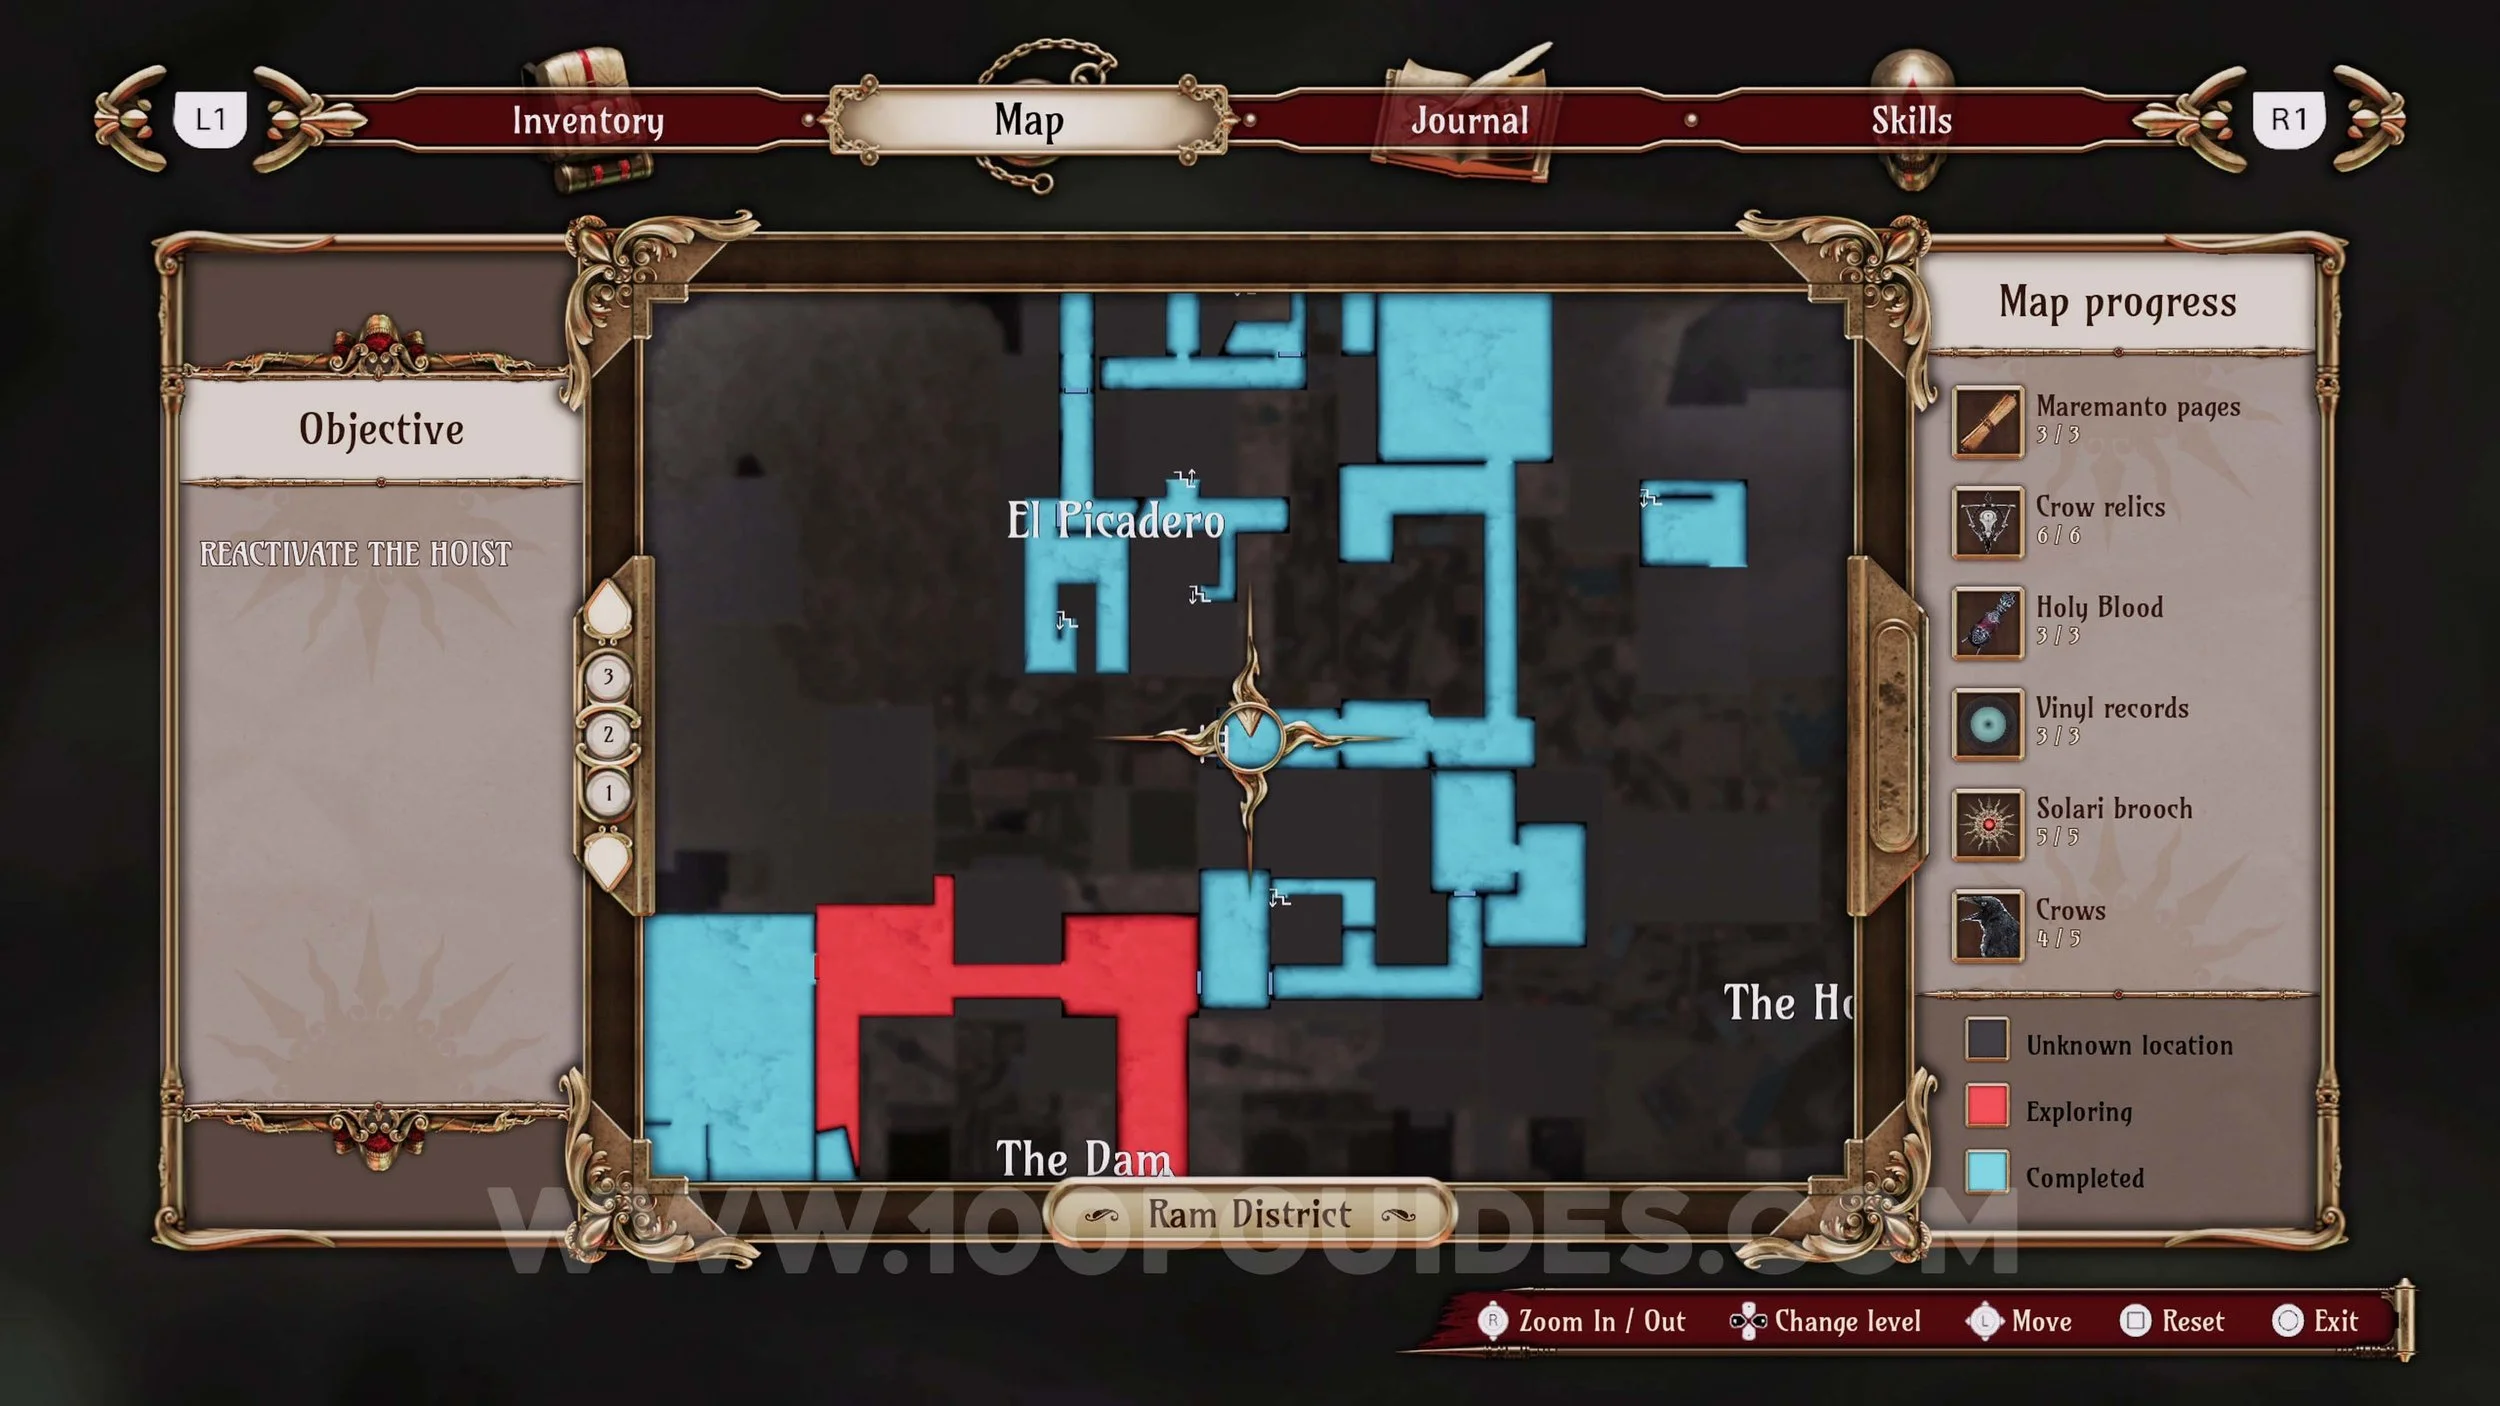
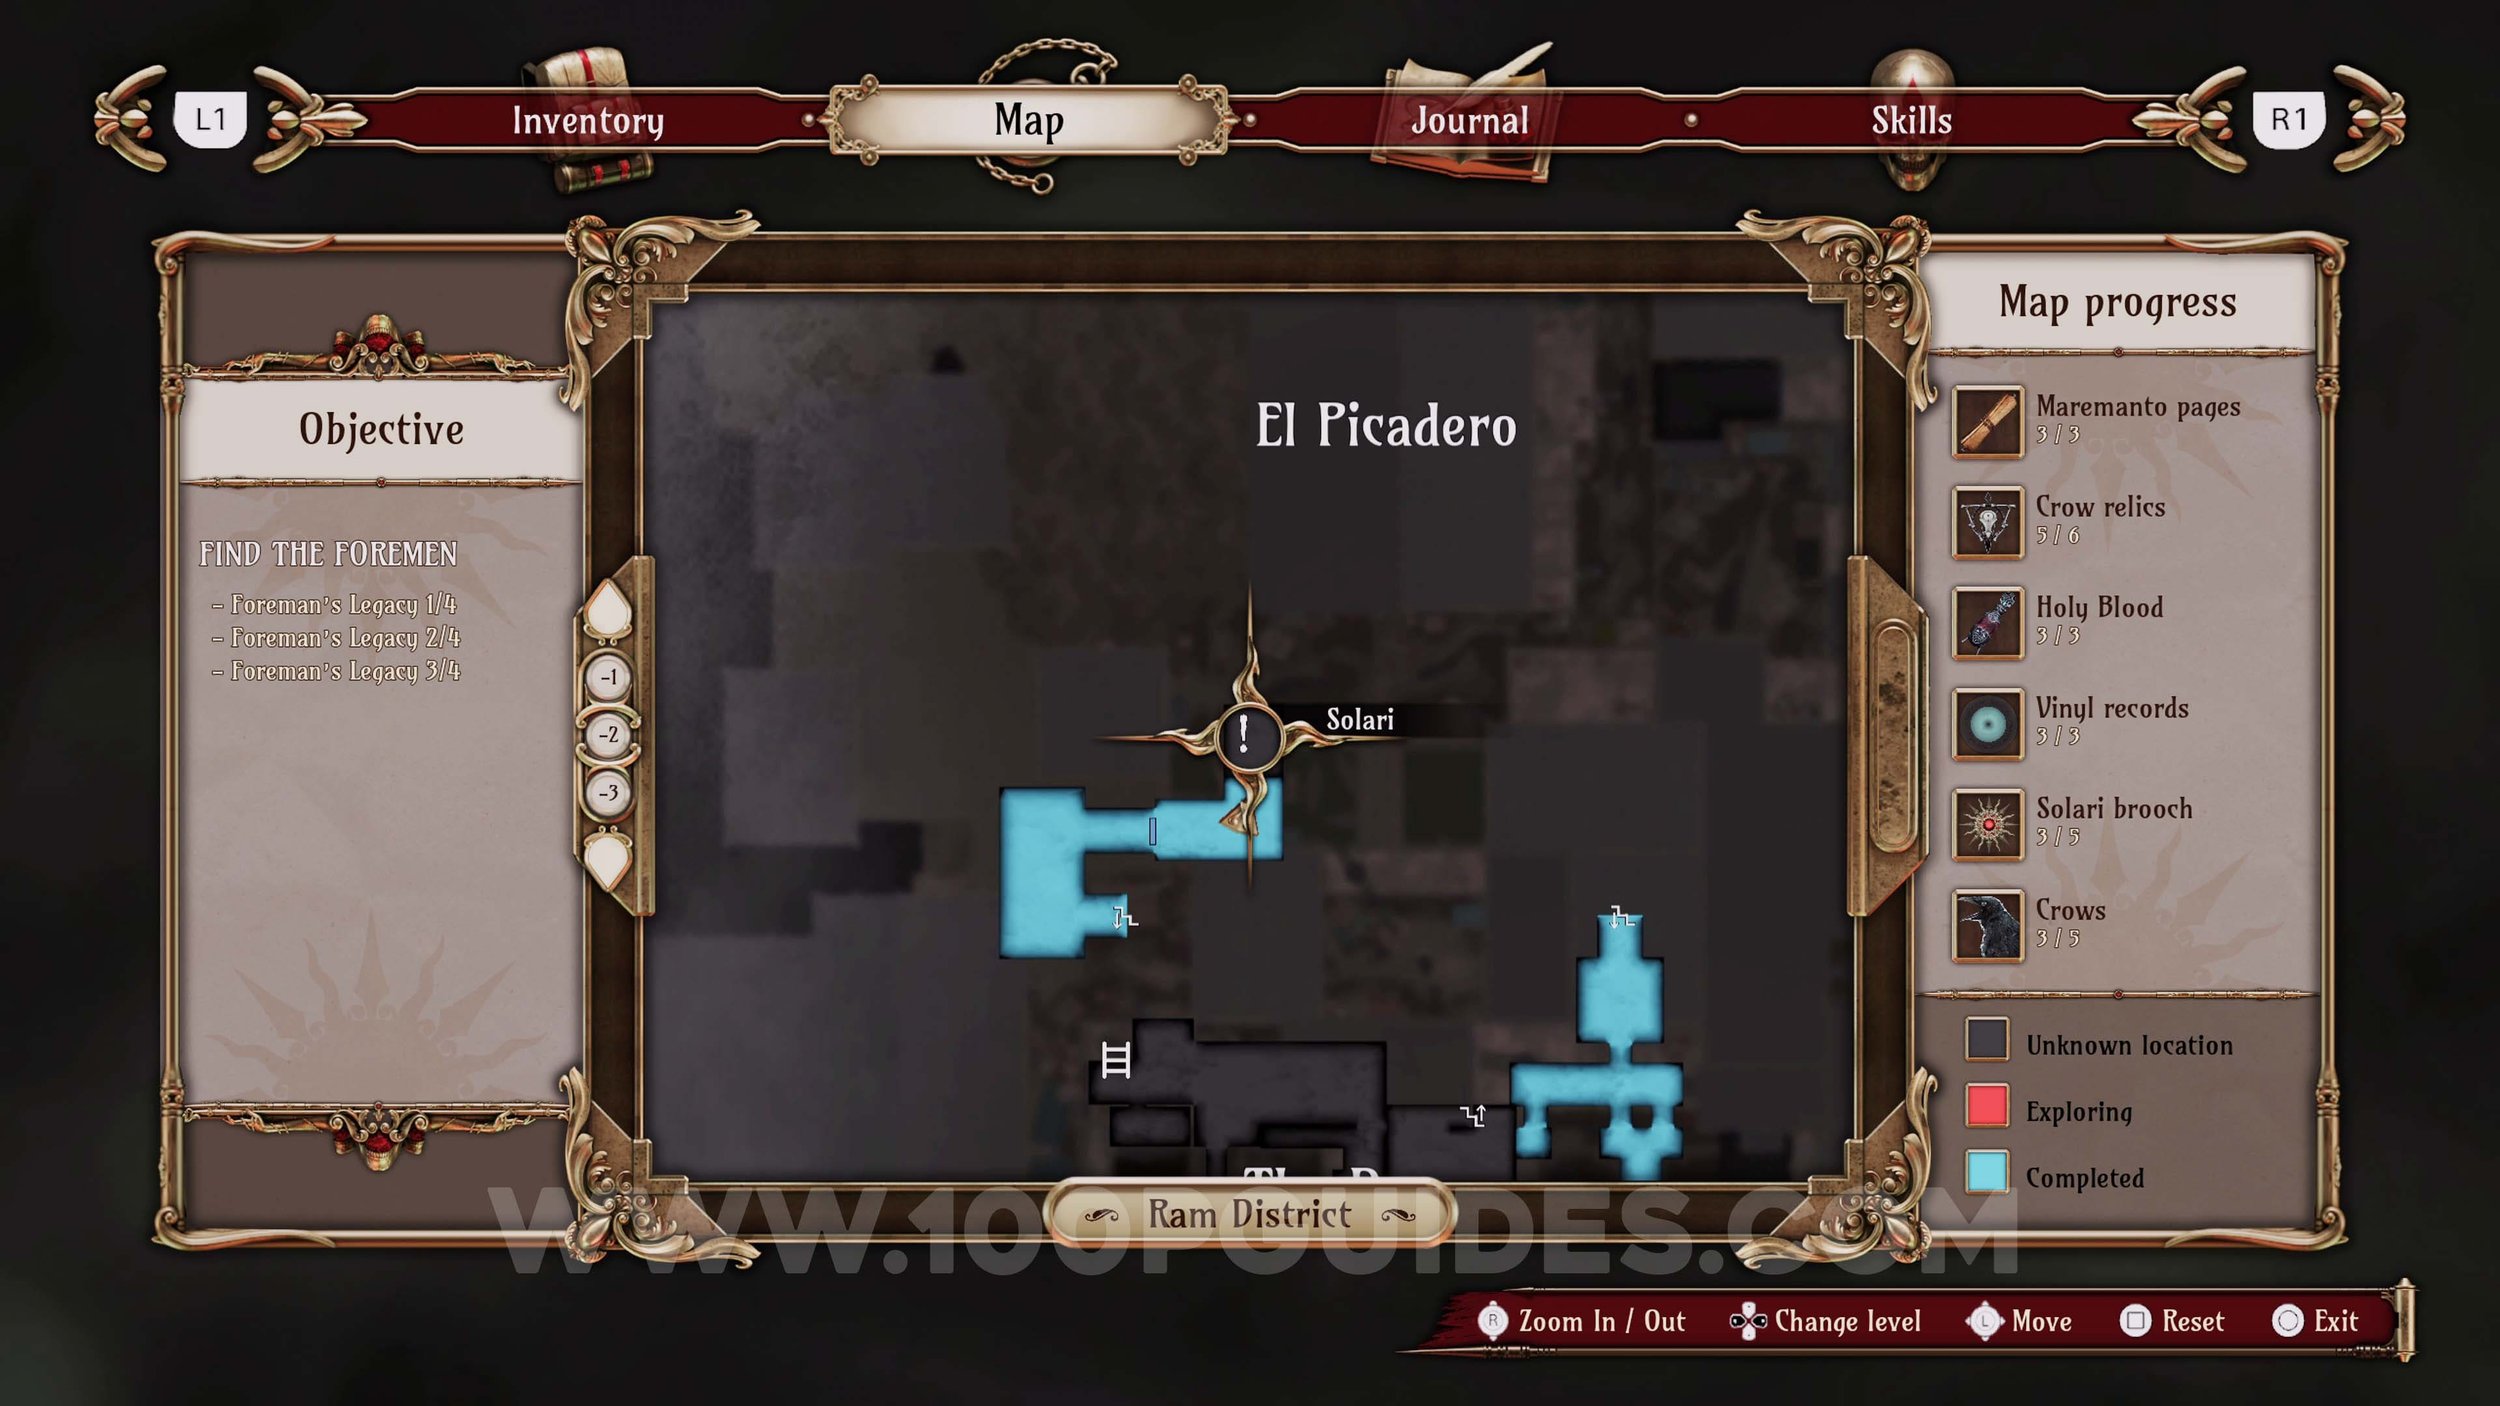
Ulises Idol #22. Once you get to the “El Picadero” area, look up to the left of the entrance sign with the pig to see the doll.
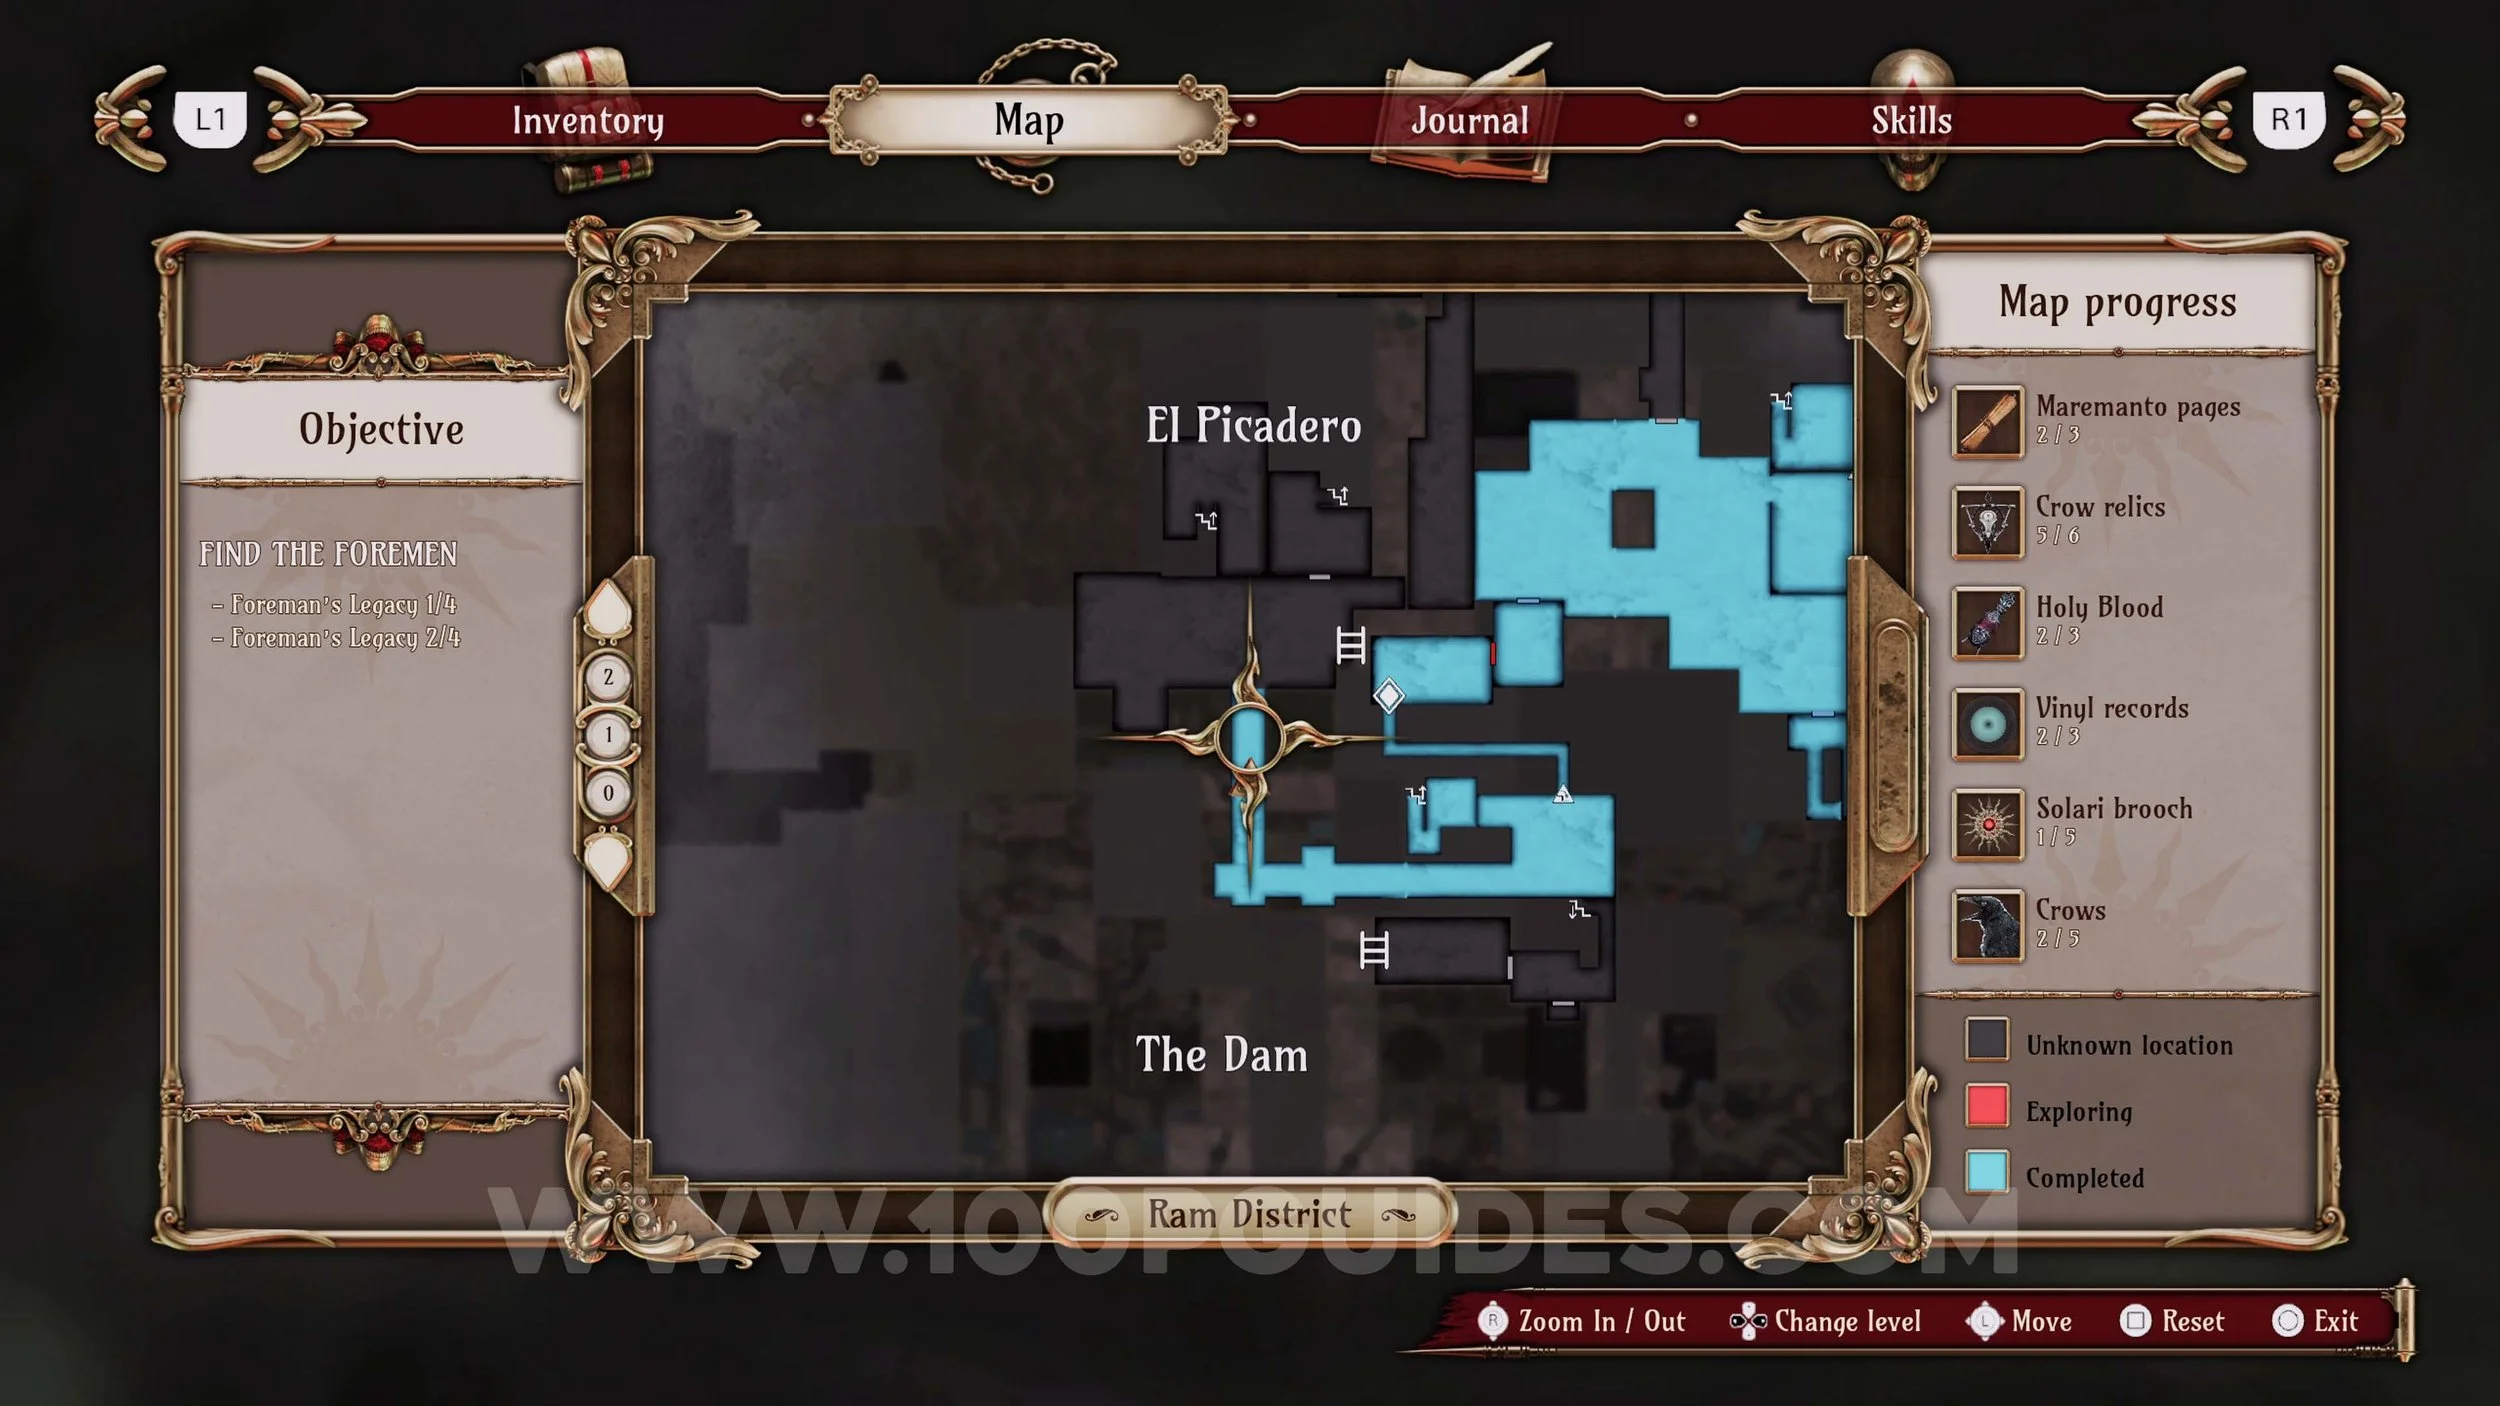
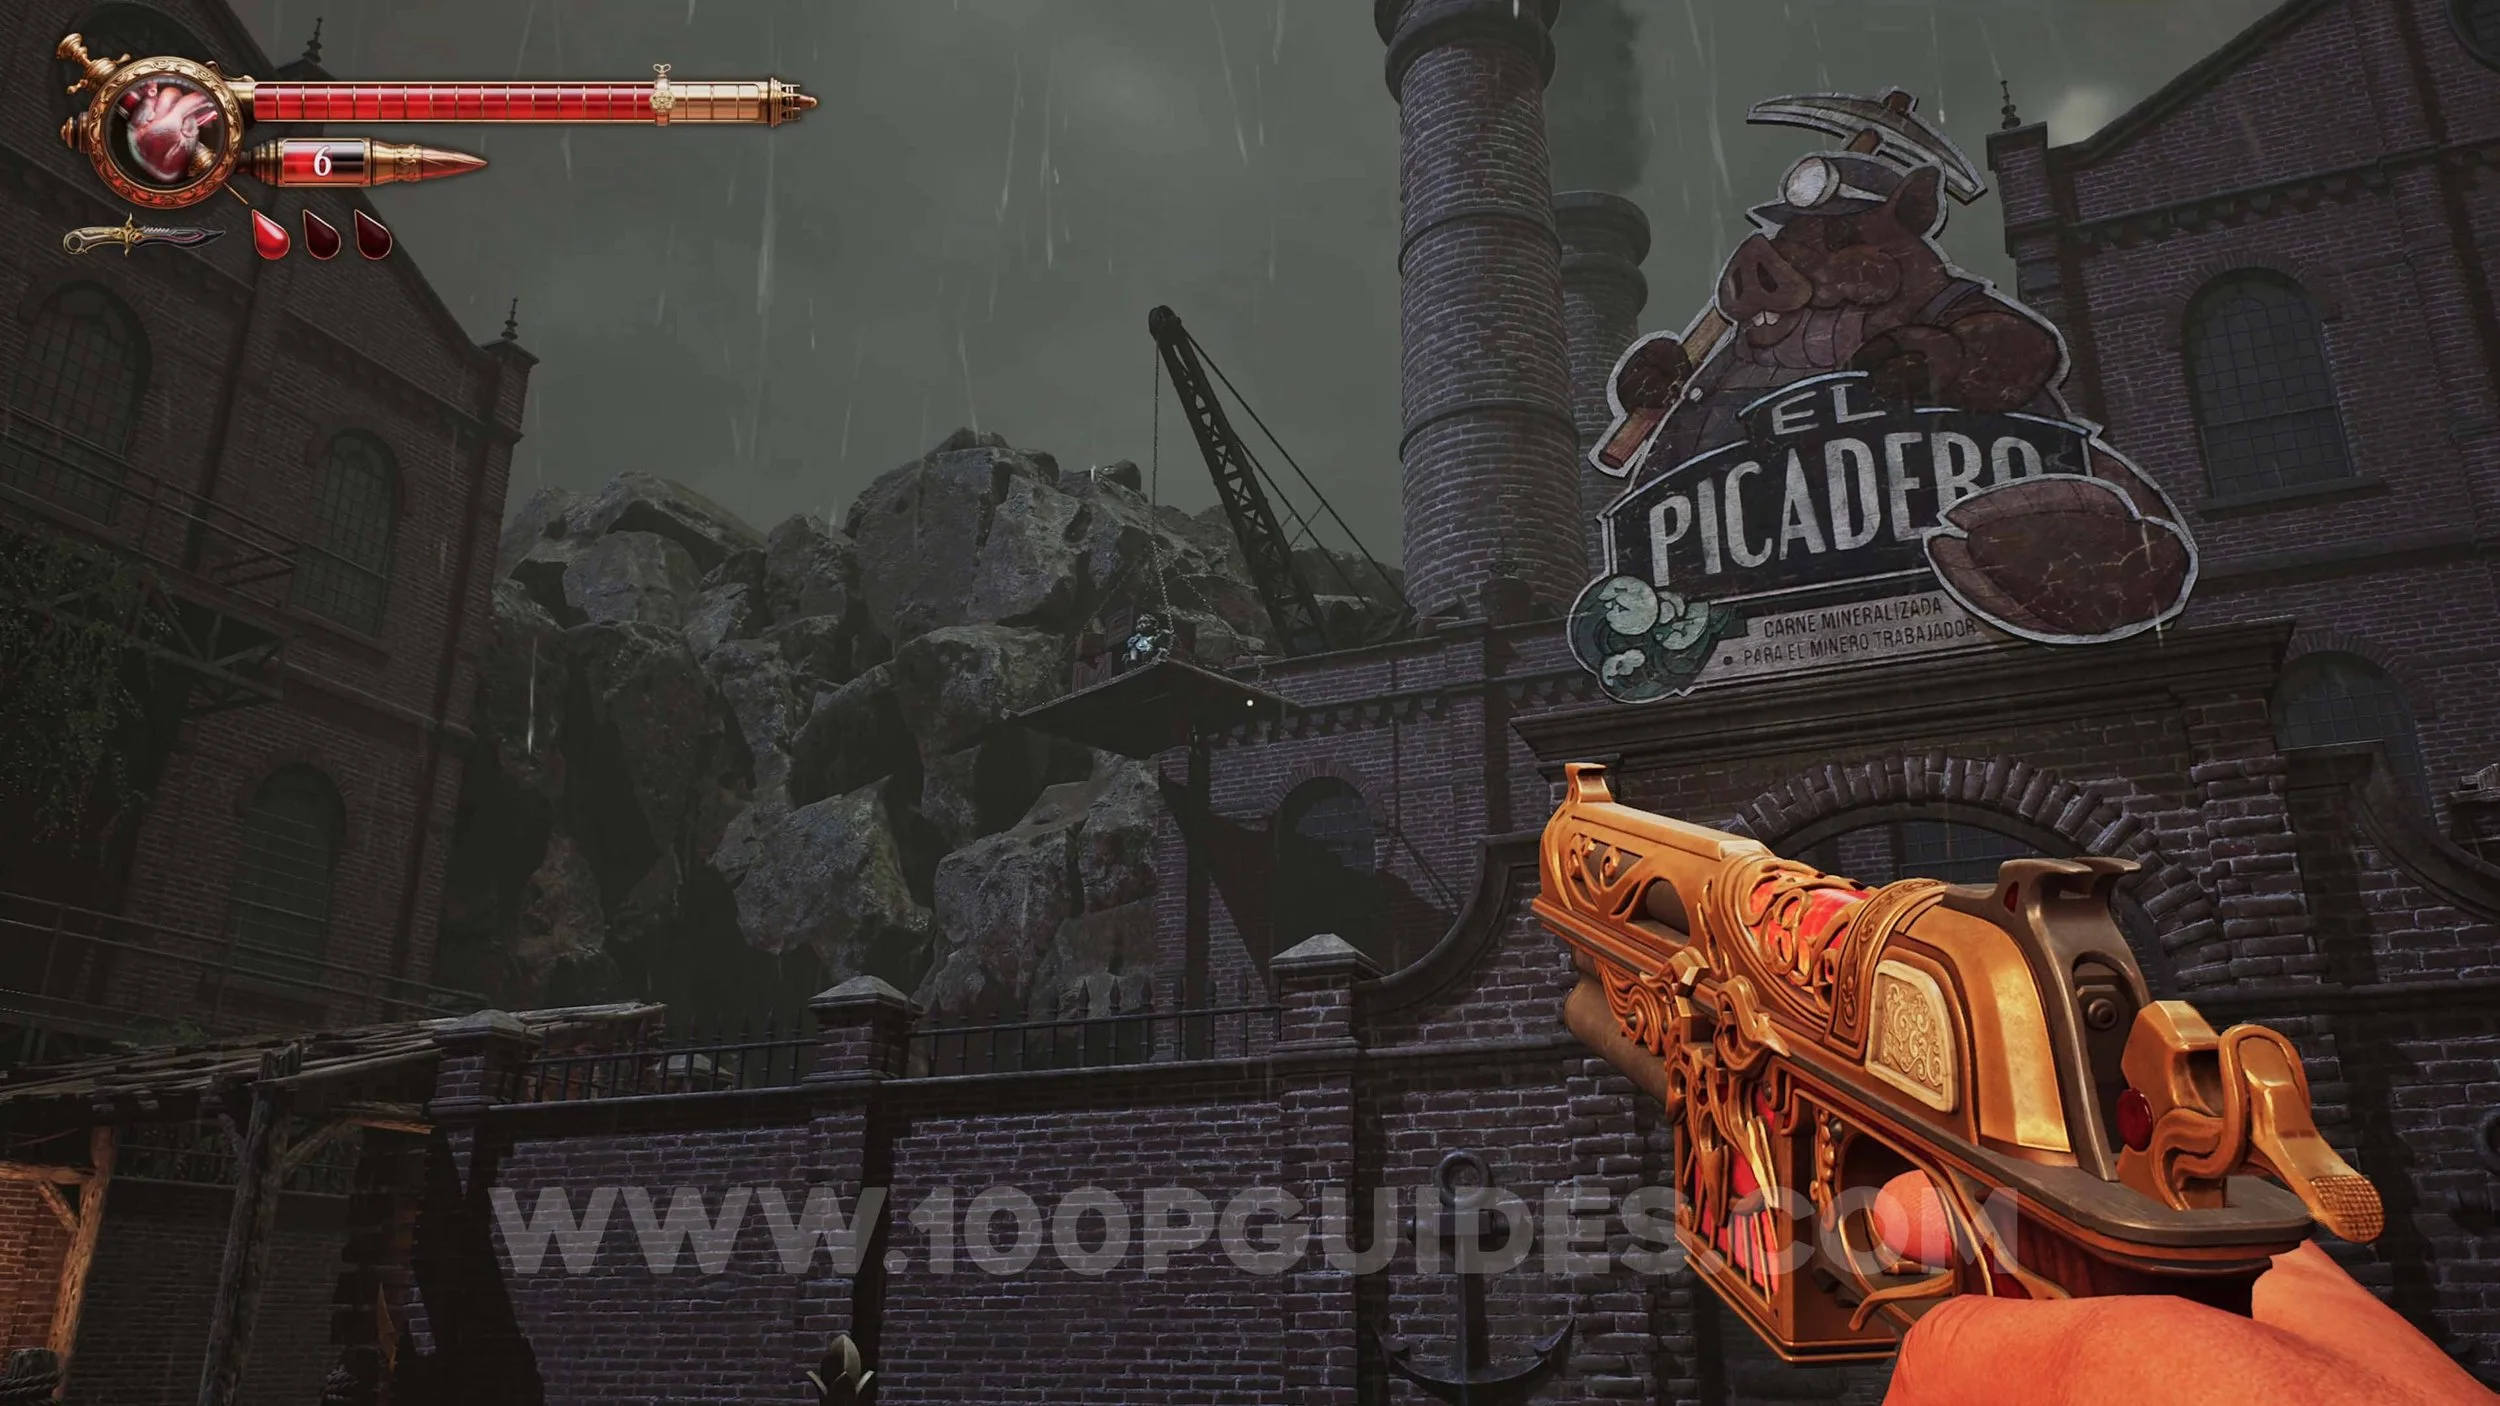
Crow #9. While standing in front of the “El Picadero” sign, look left.
Memory #40. Story related. Triggers in the first room of “El Picadero”.
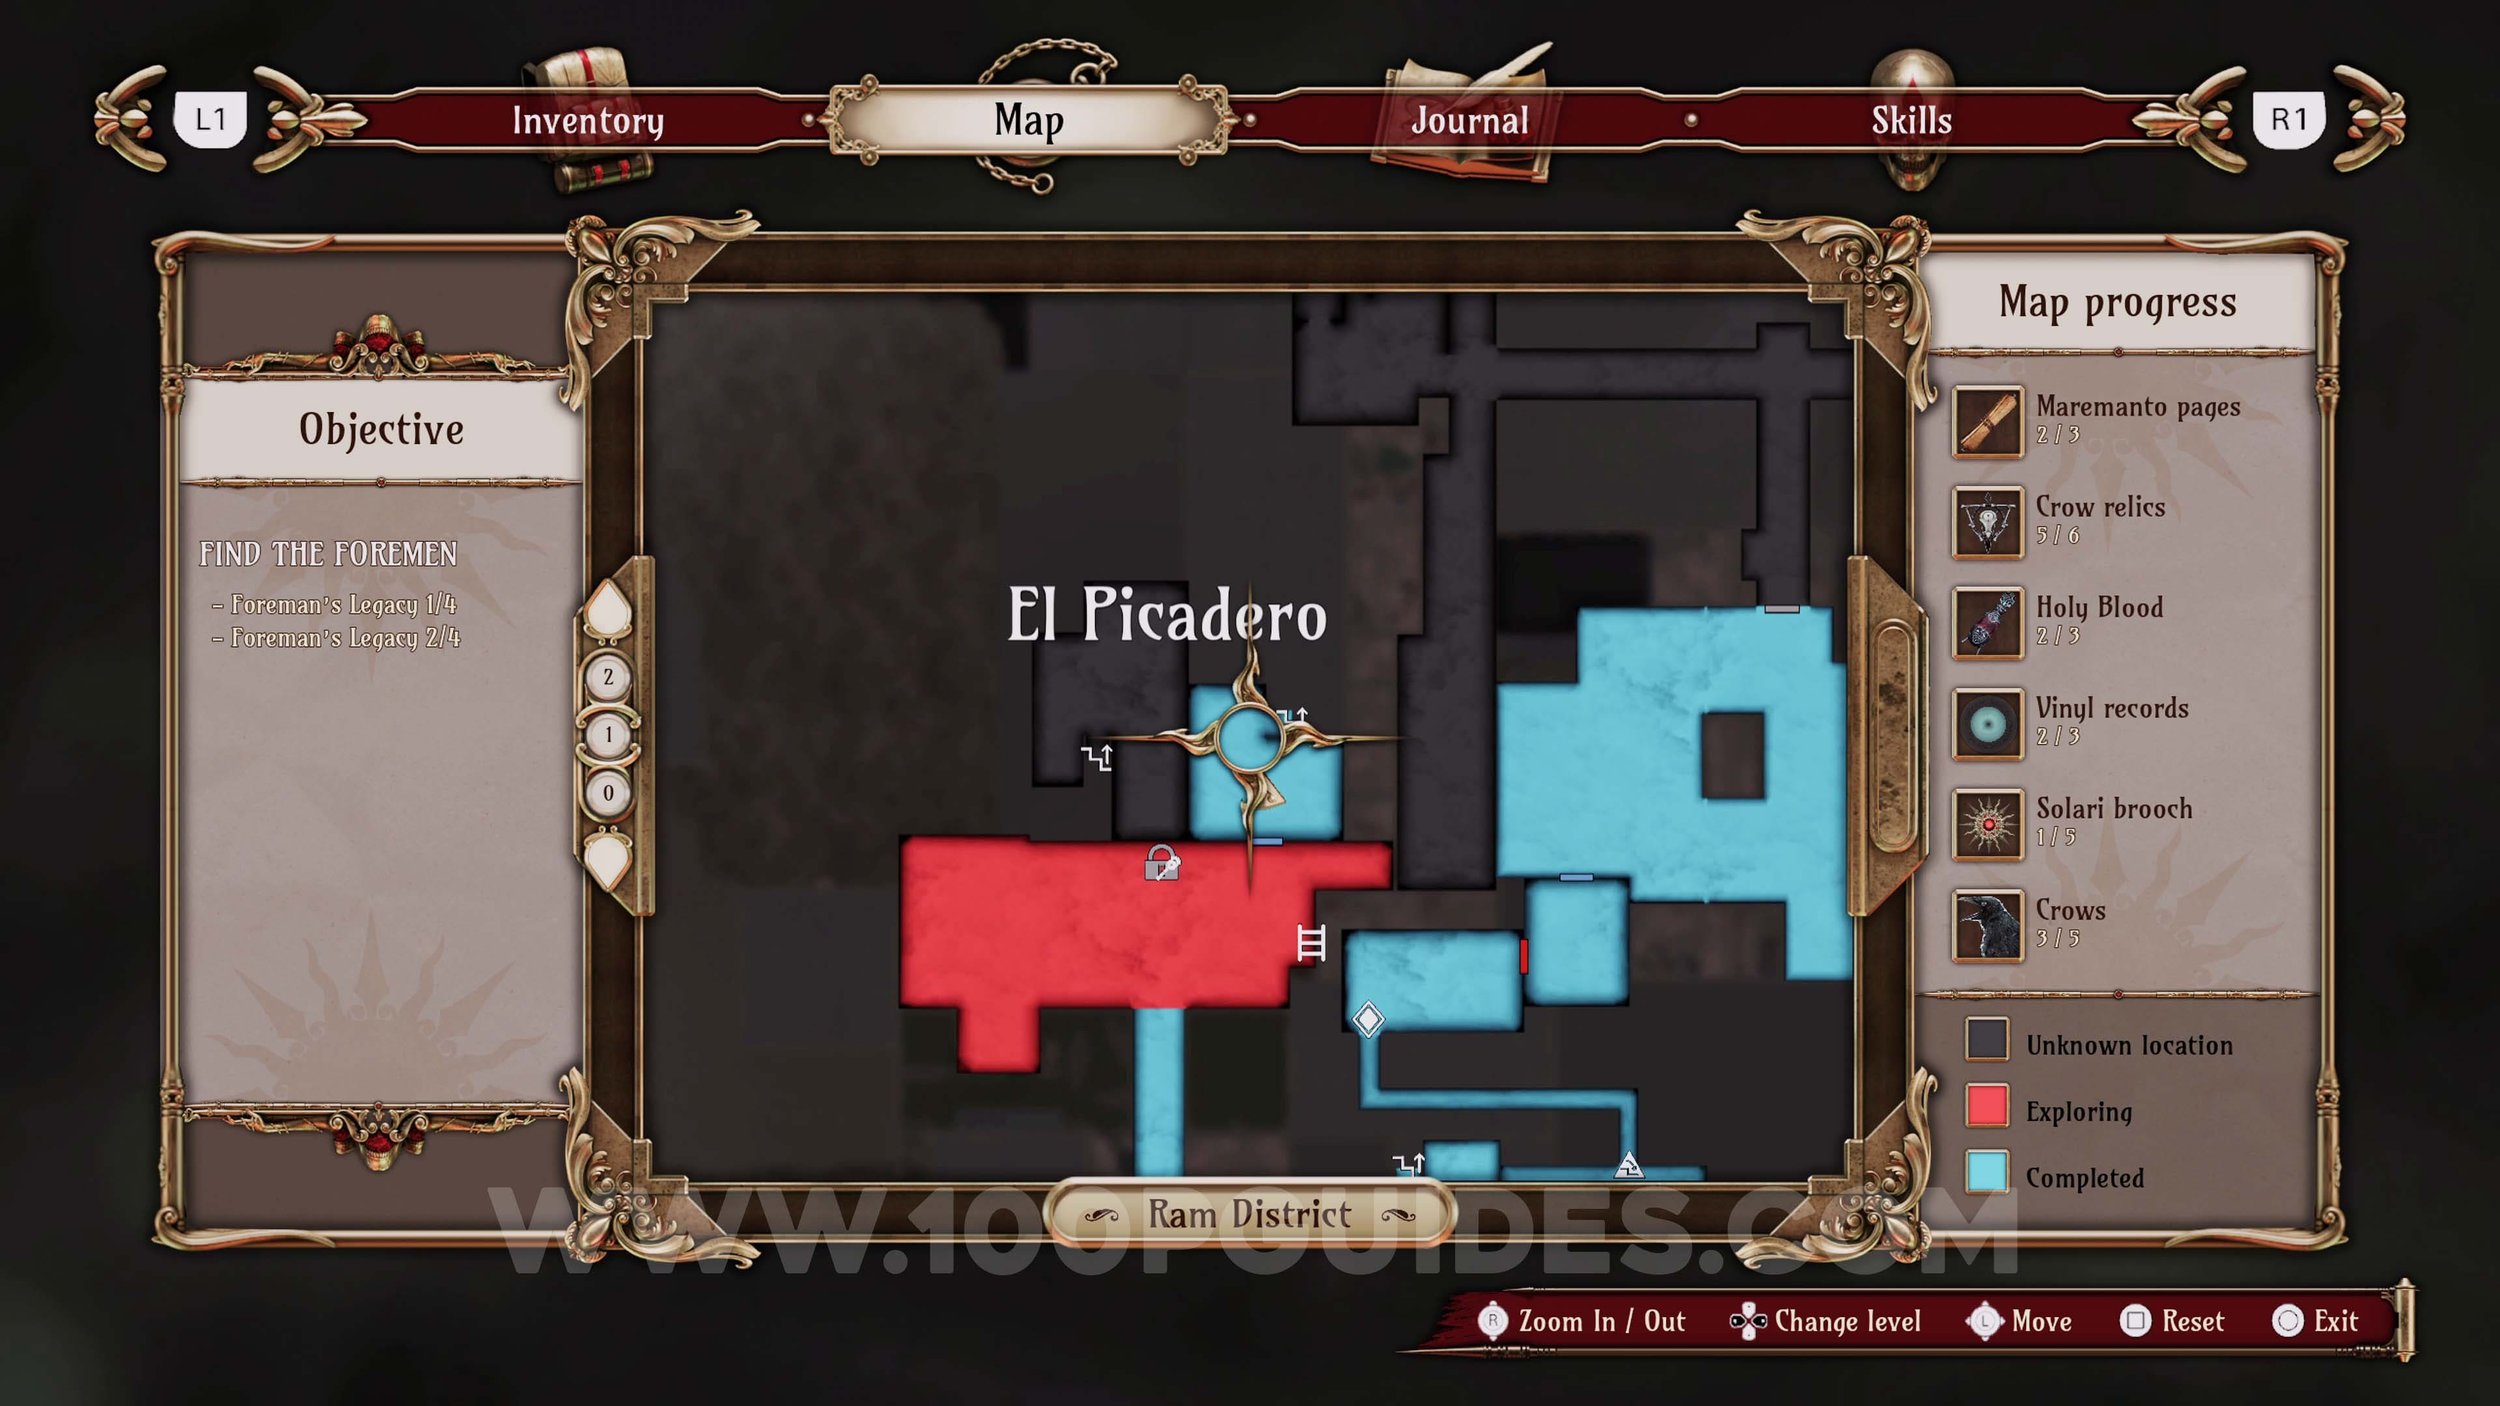
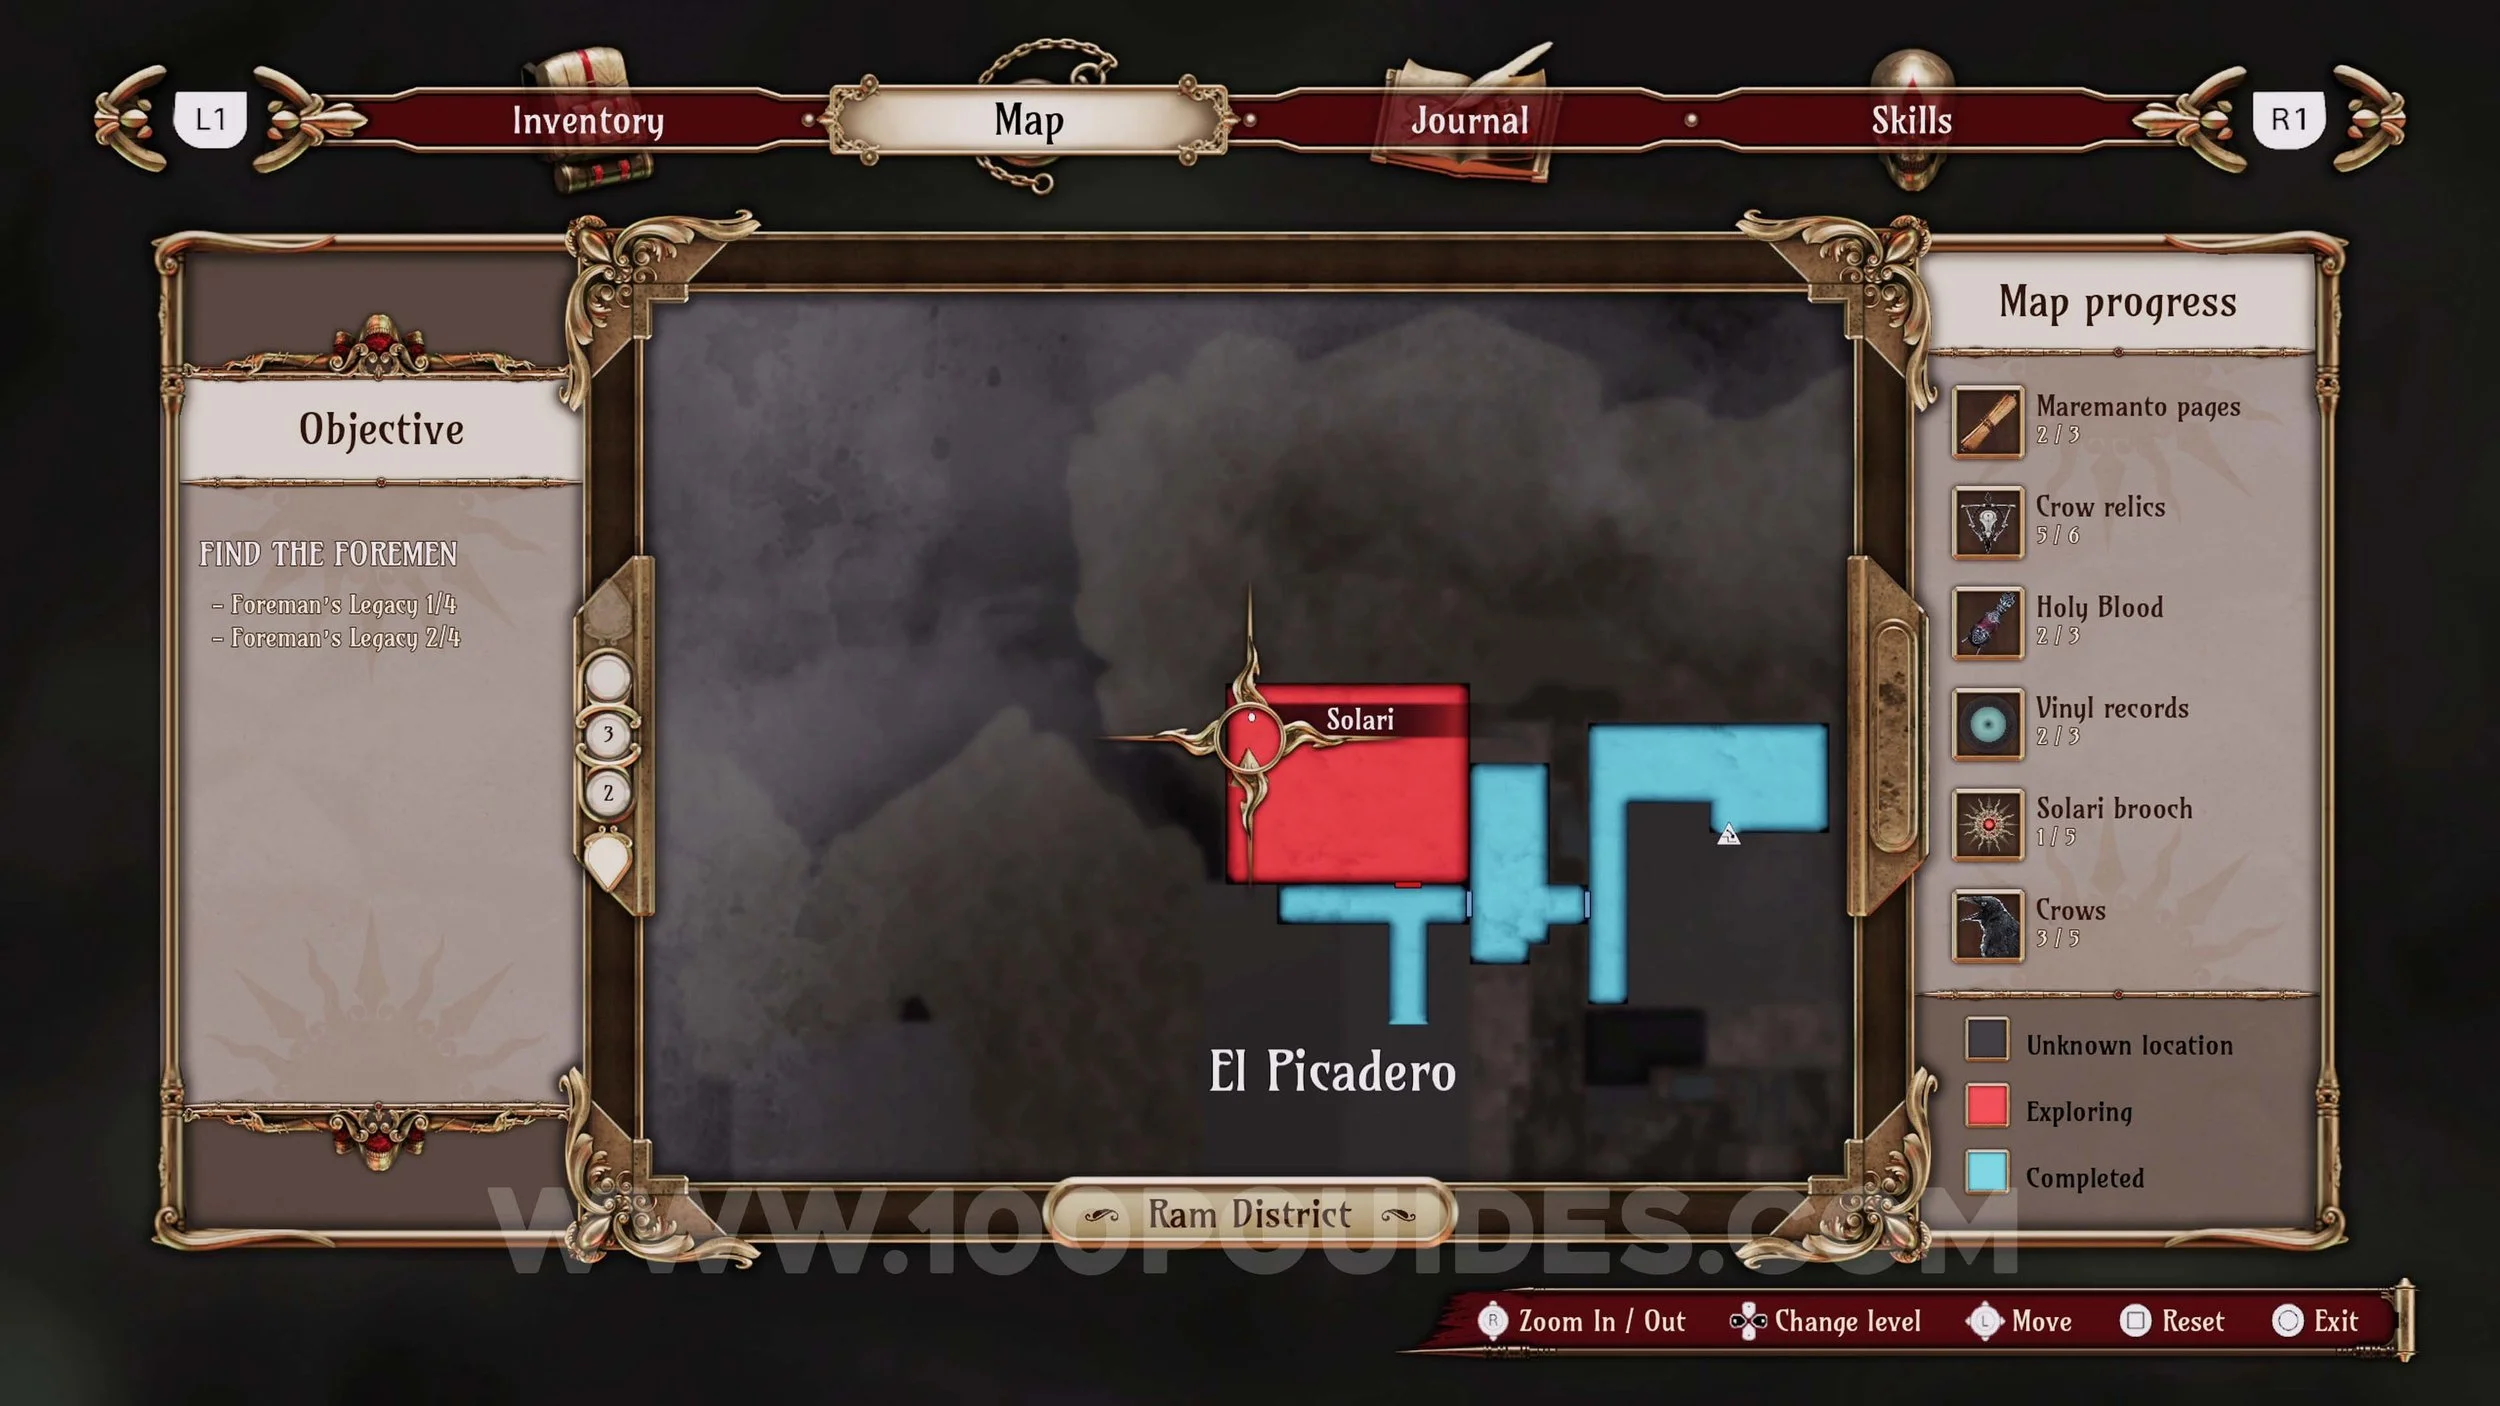
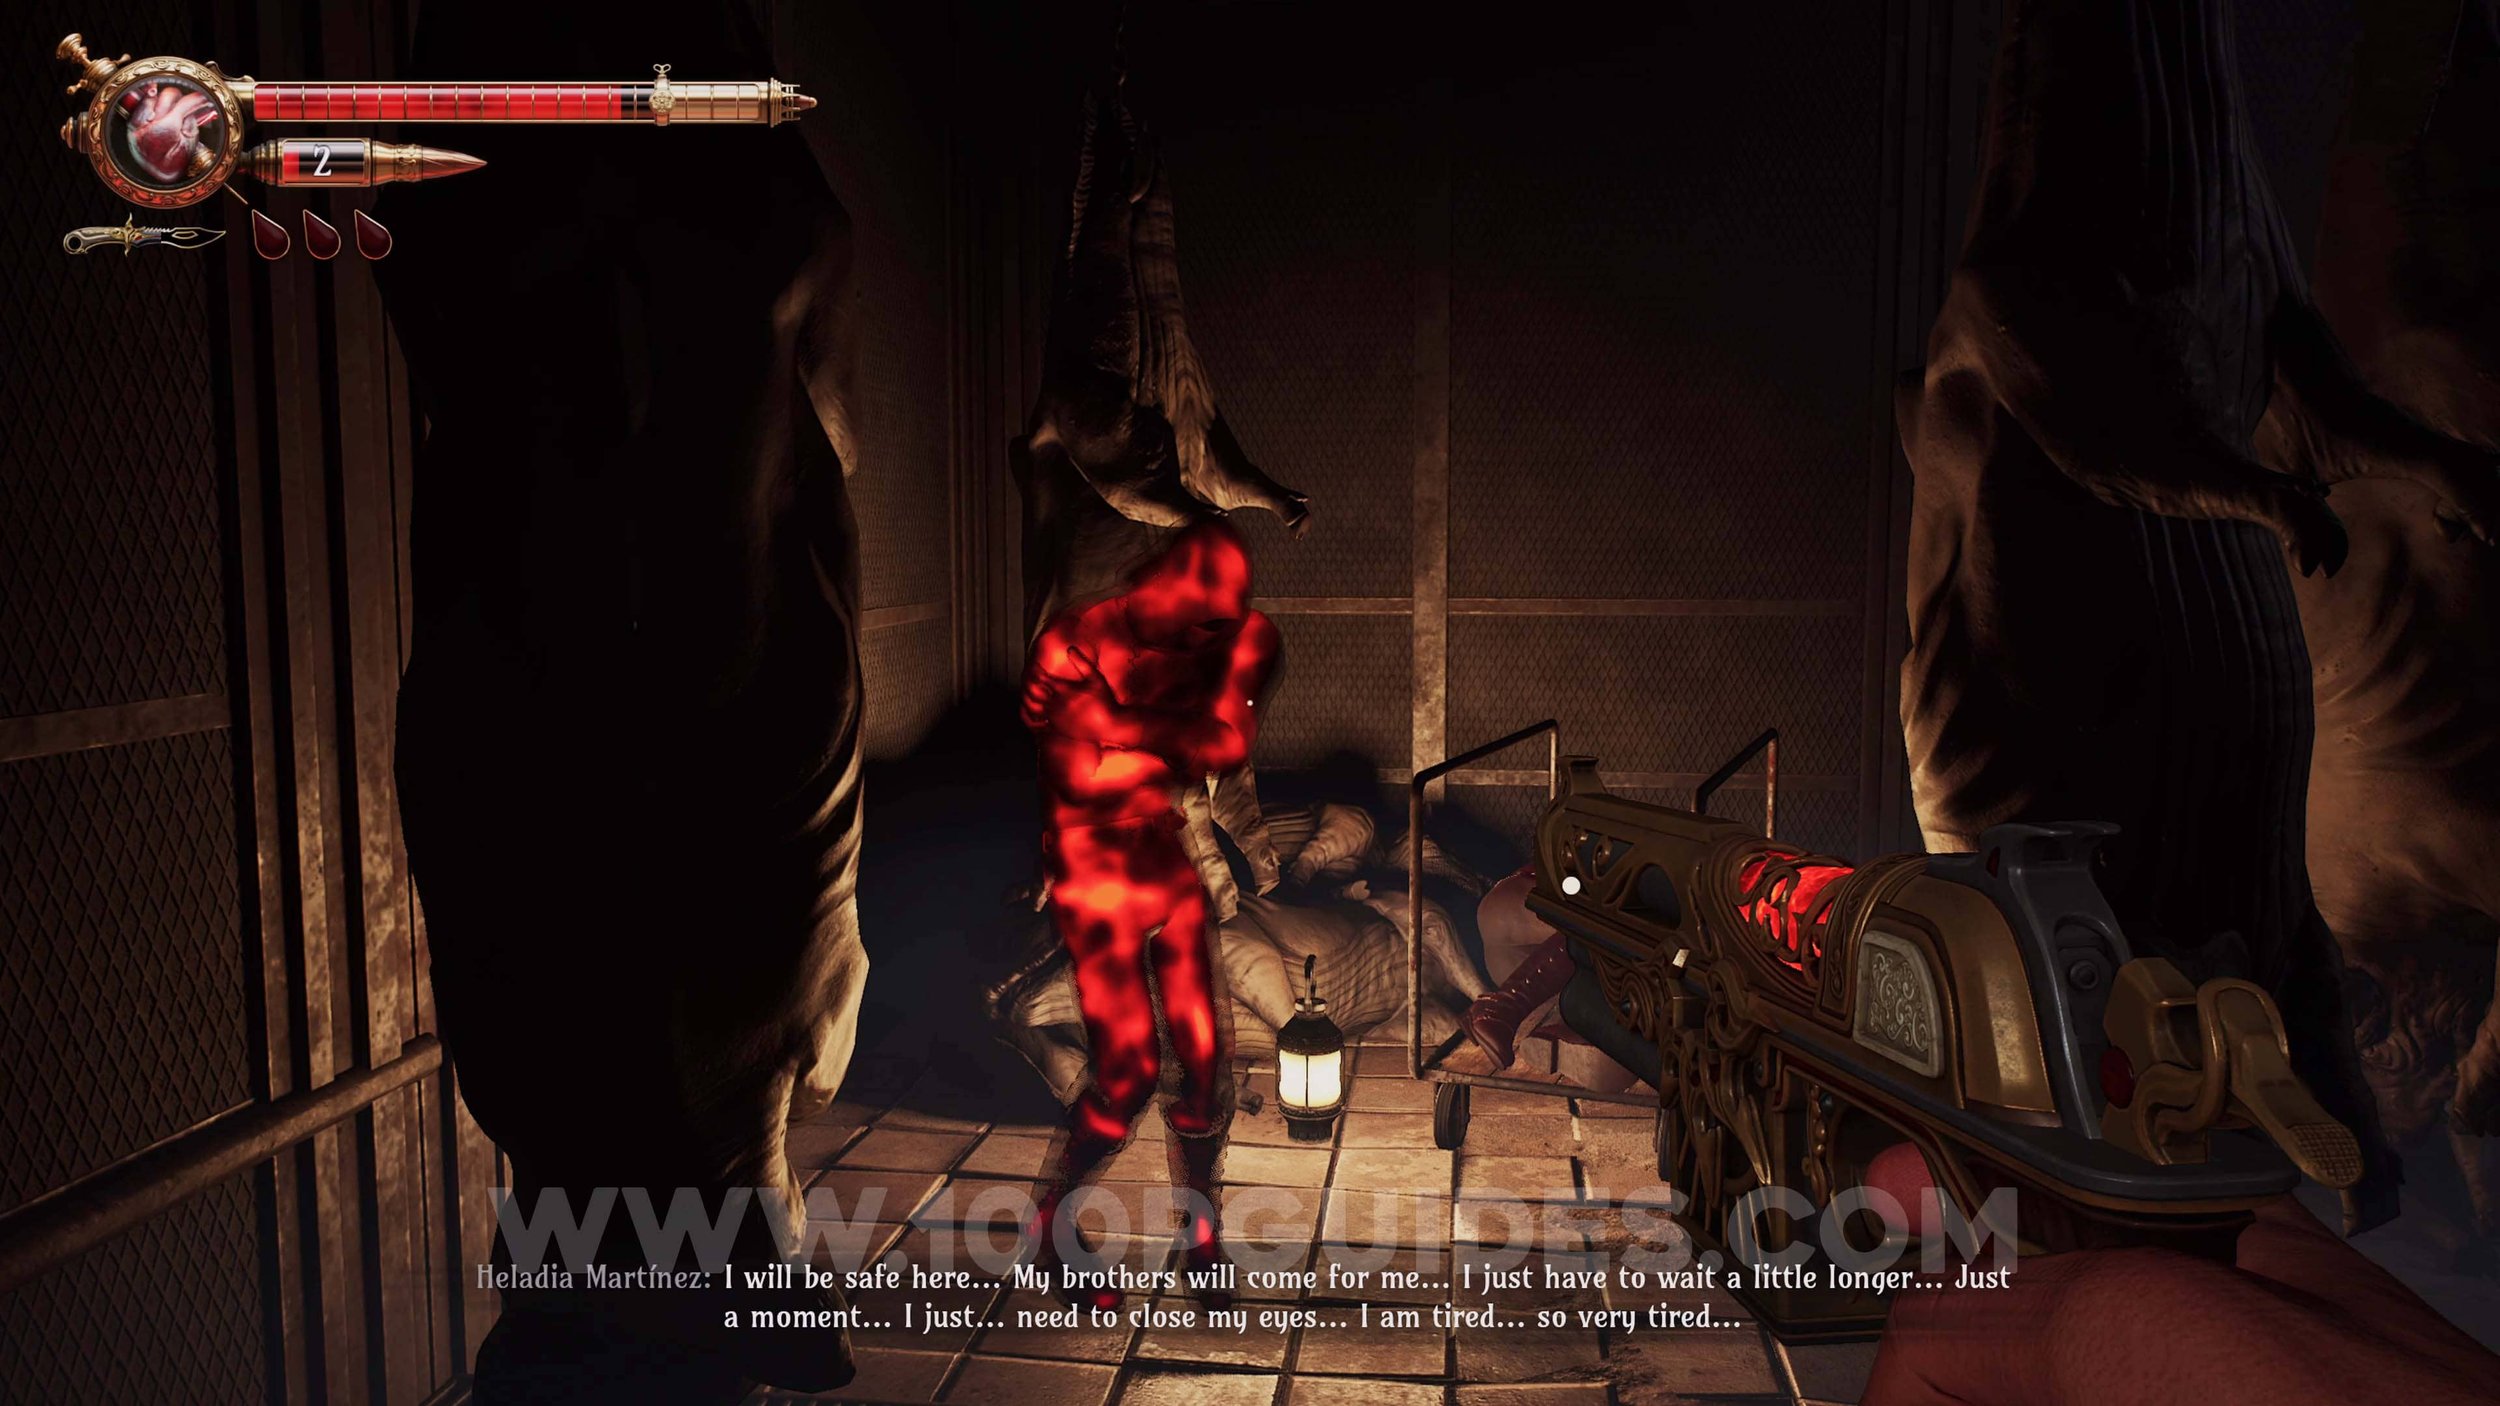
Memory #41 & Solari Brooch #8. After the memory, you will go up some stairs with 2 enemies shooting at you from the top. Once you get to the top, take the left path. You will then get to a room filled with hanging pigs. Both collectibles can be found in the corner of this room.
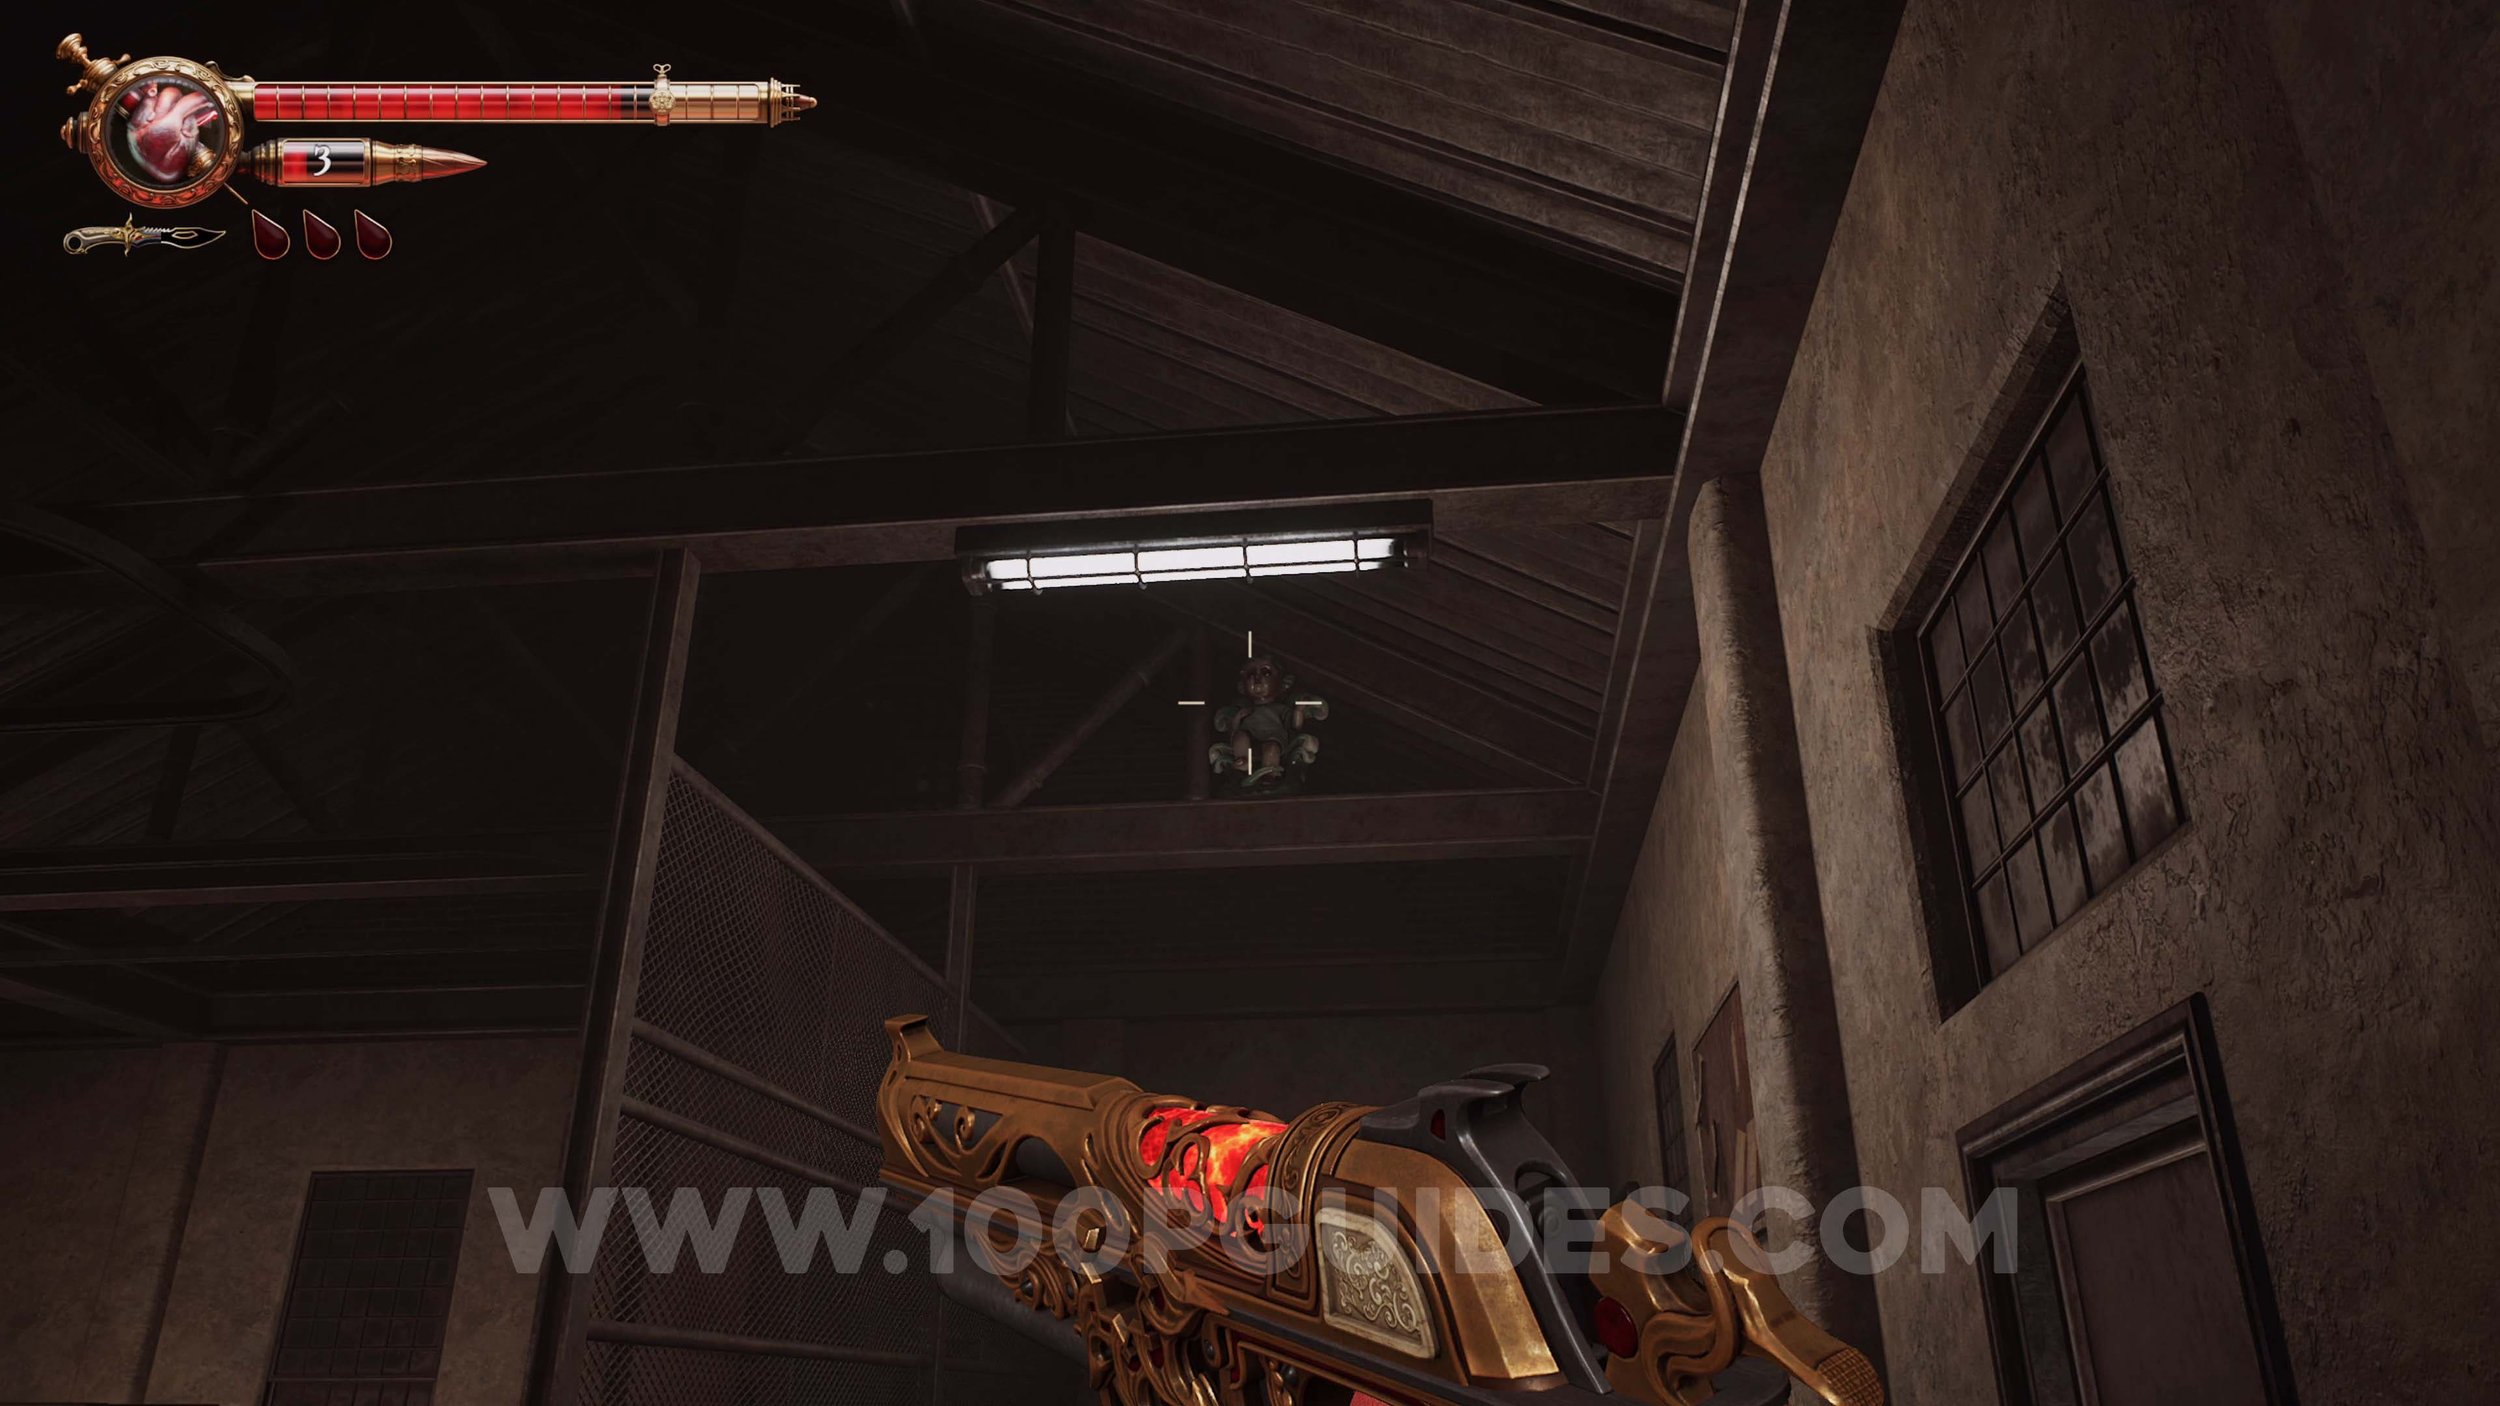
Ulises Idol #23. This time, go through the door on your right at the top of the stairs where the two enemies were shooting at you. Then go through the outside area and enter the door on the other side. You will now be in a room overlooking an area below. As soon as you enter this room, look up to your right to find the doll.
Memory #42. Story related just before you pick up the Brake Lever.
Maremanto Page #6. After using the Brake Lever for the first time to leave the room where you found it, go down the stairs on your right to find it at the bottom.
Ulises Idol #24. After the previous collectible you will have to lower a ladder to get back to the start of the area. Just before this ladder, look left to see the doll in the window.
Solari Brooch #9. After getting the third Master Key, you will go back to the Hoist. Here, take the path to the east and use the Brake Lever to move the cart. Absorb the corpse in the next room to get the brooch.
Ulises Idol #25. Soon after going through door C in the Hoist area, you will go through an outdoor area. The doll can be found above the arch.
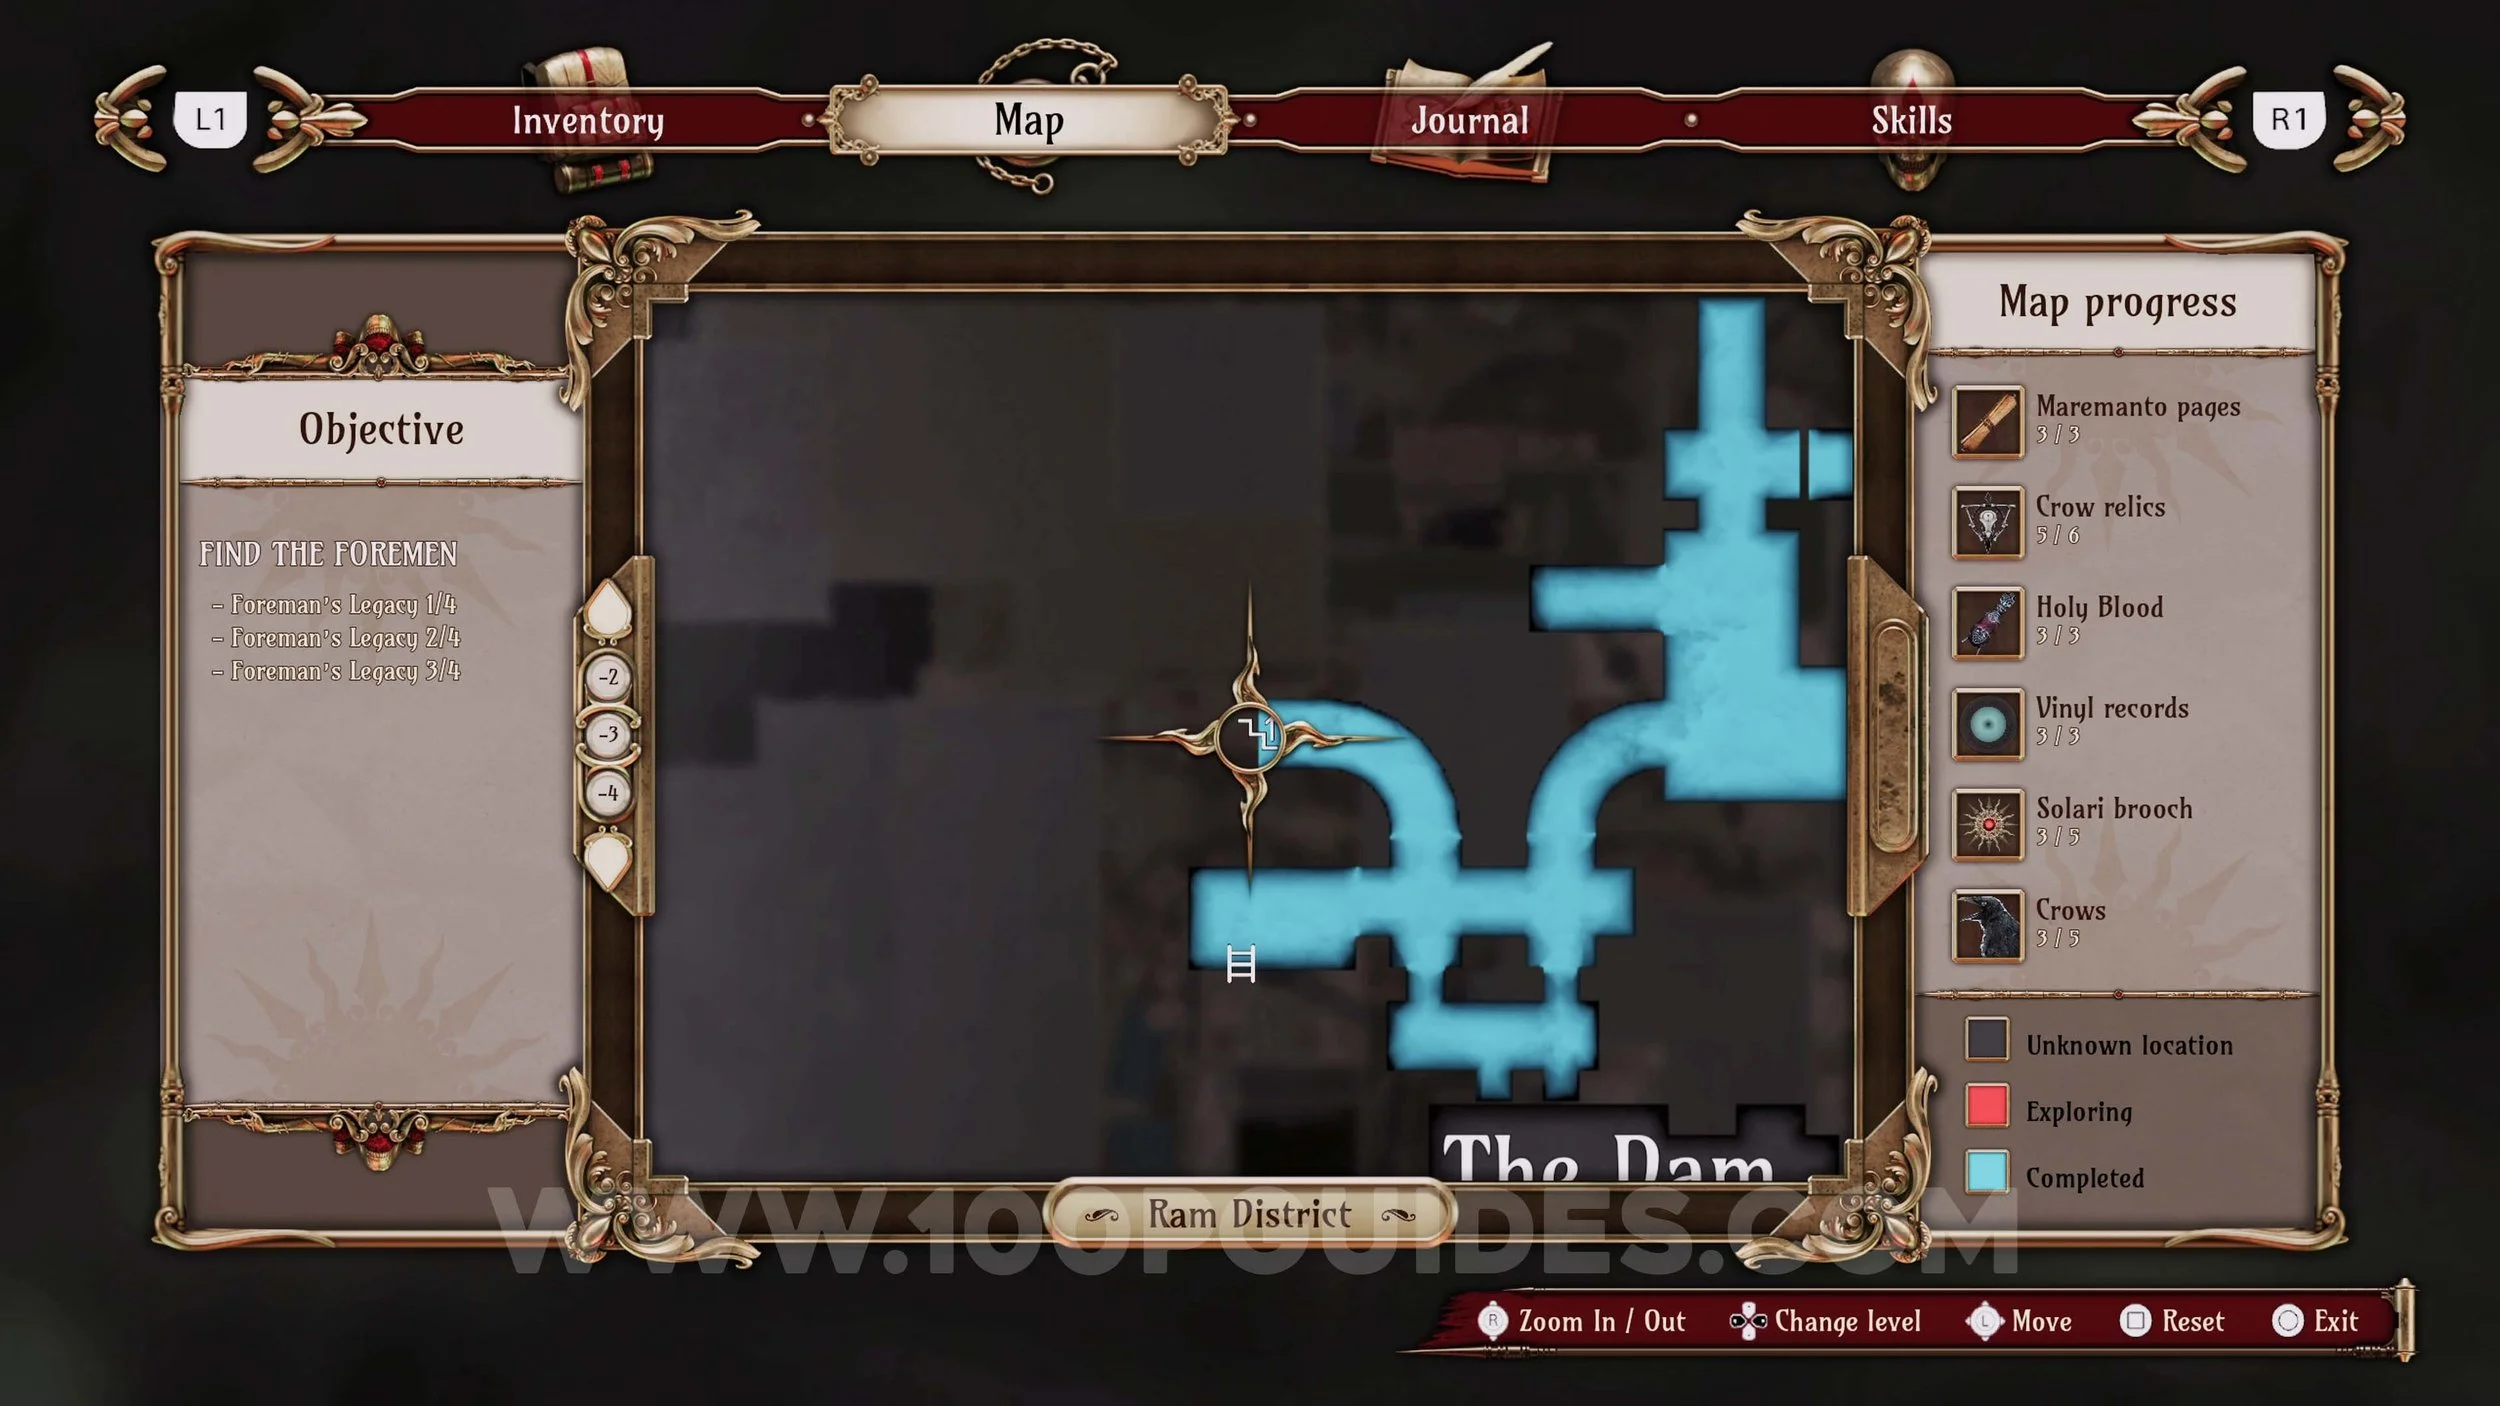
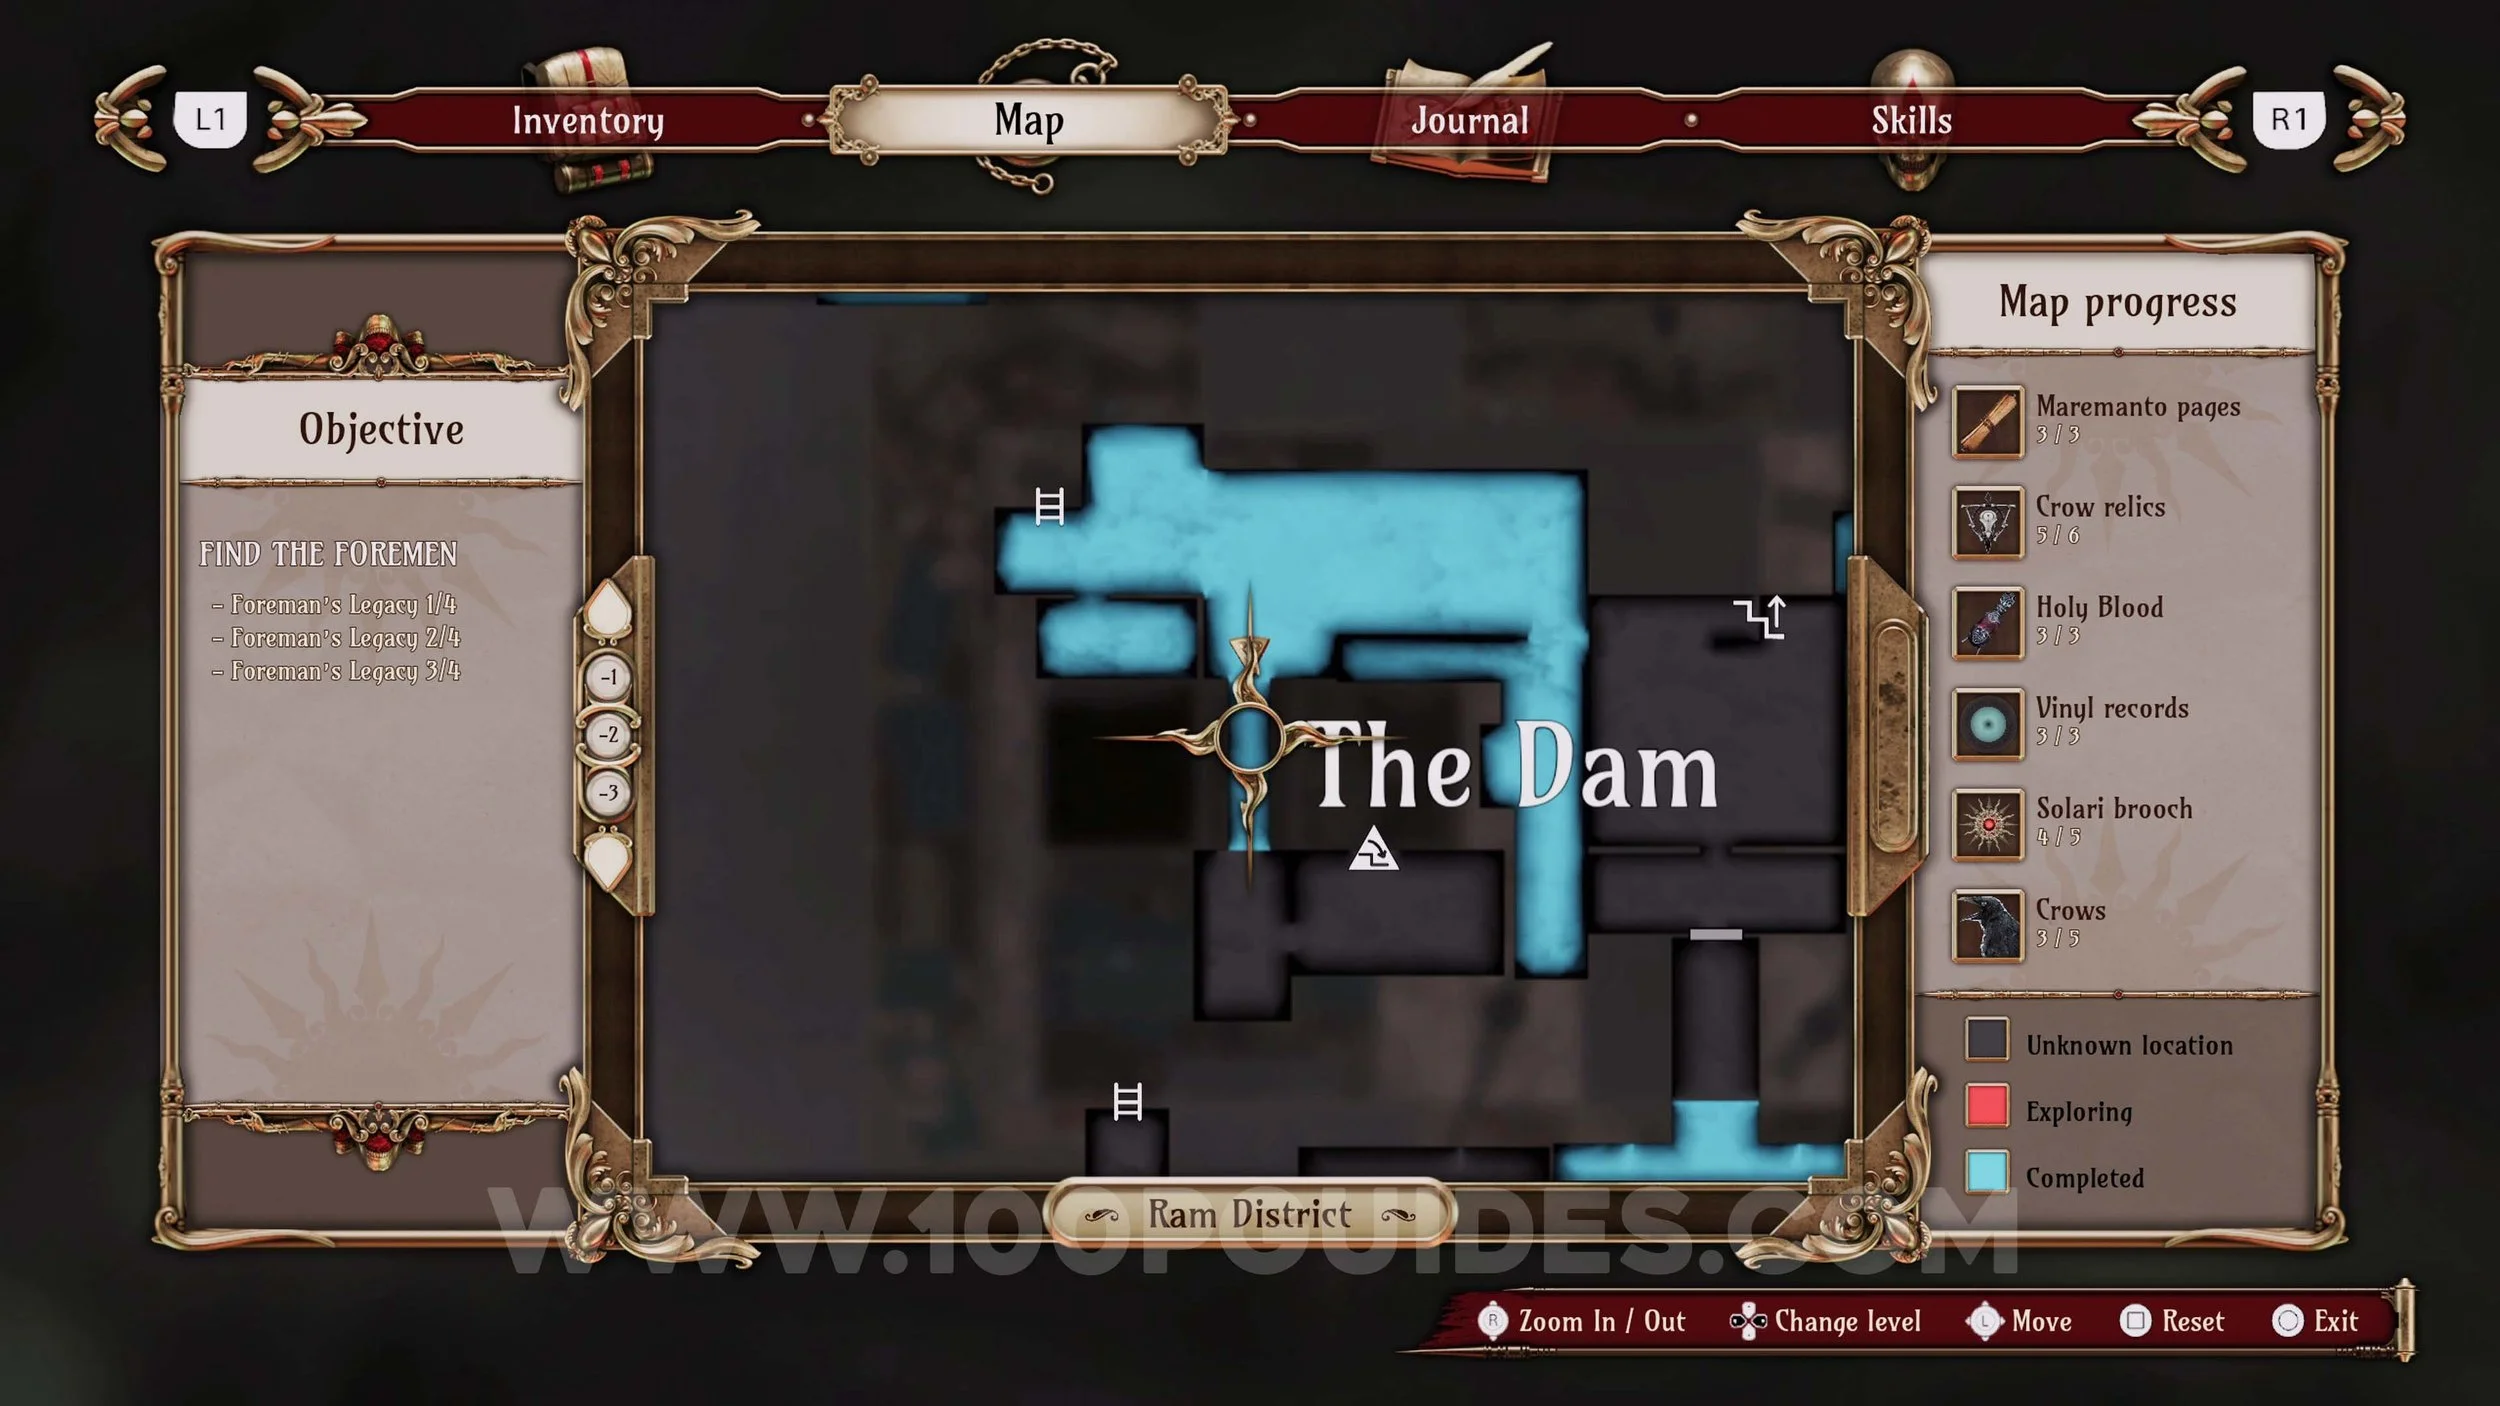
Memory #43. Story related as you make your way through the Dam area.
Ulises Idol #26. In plain sight in front of you as you start going through the sewers.

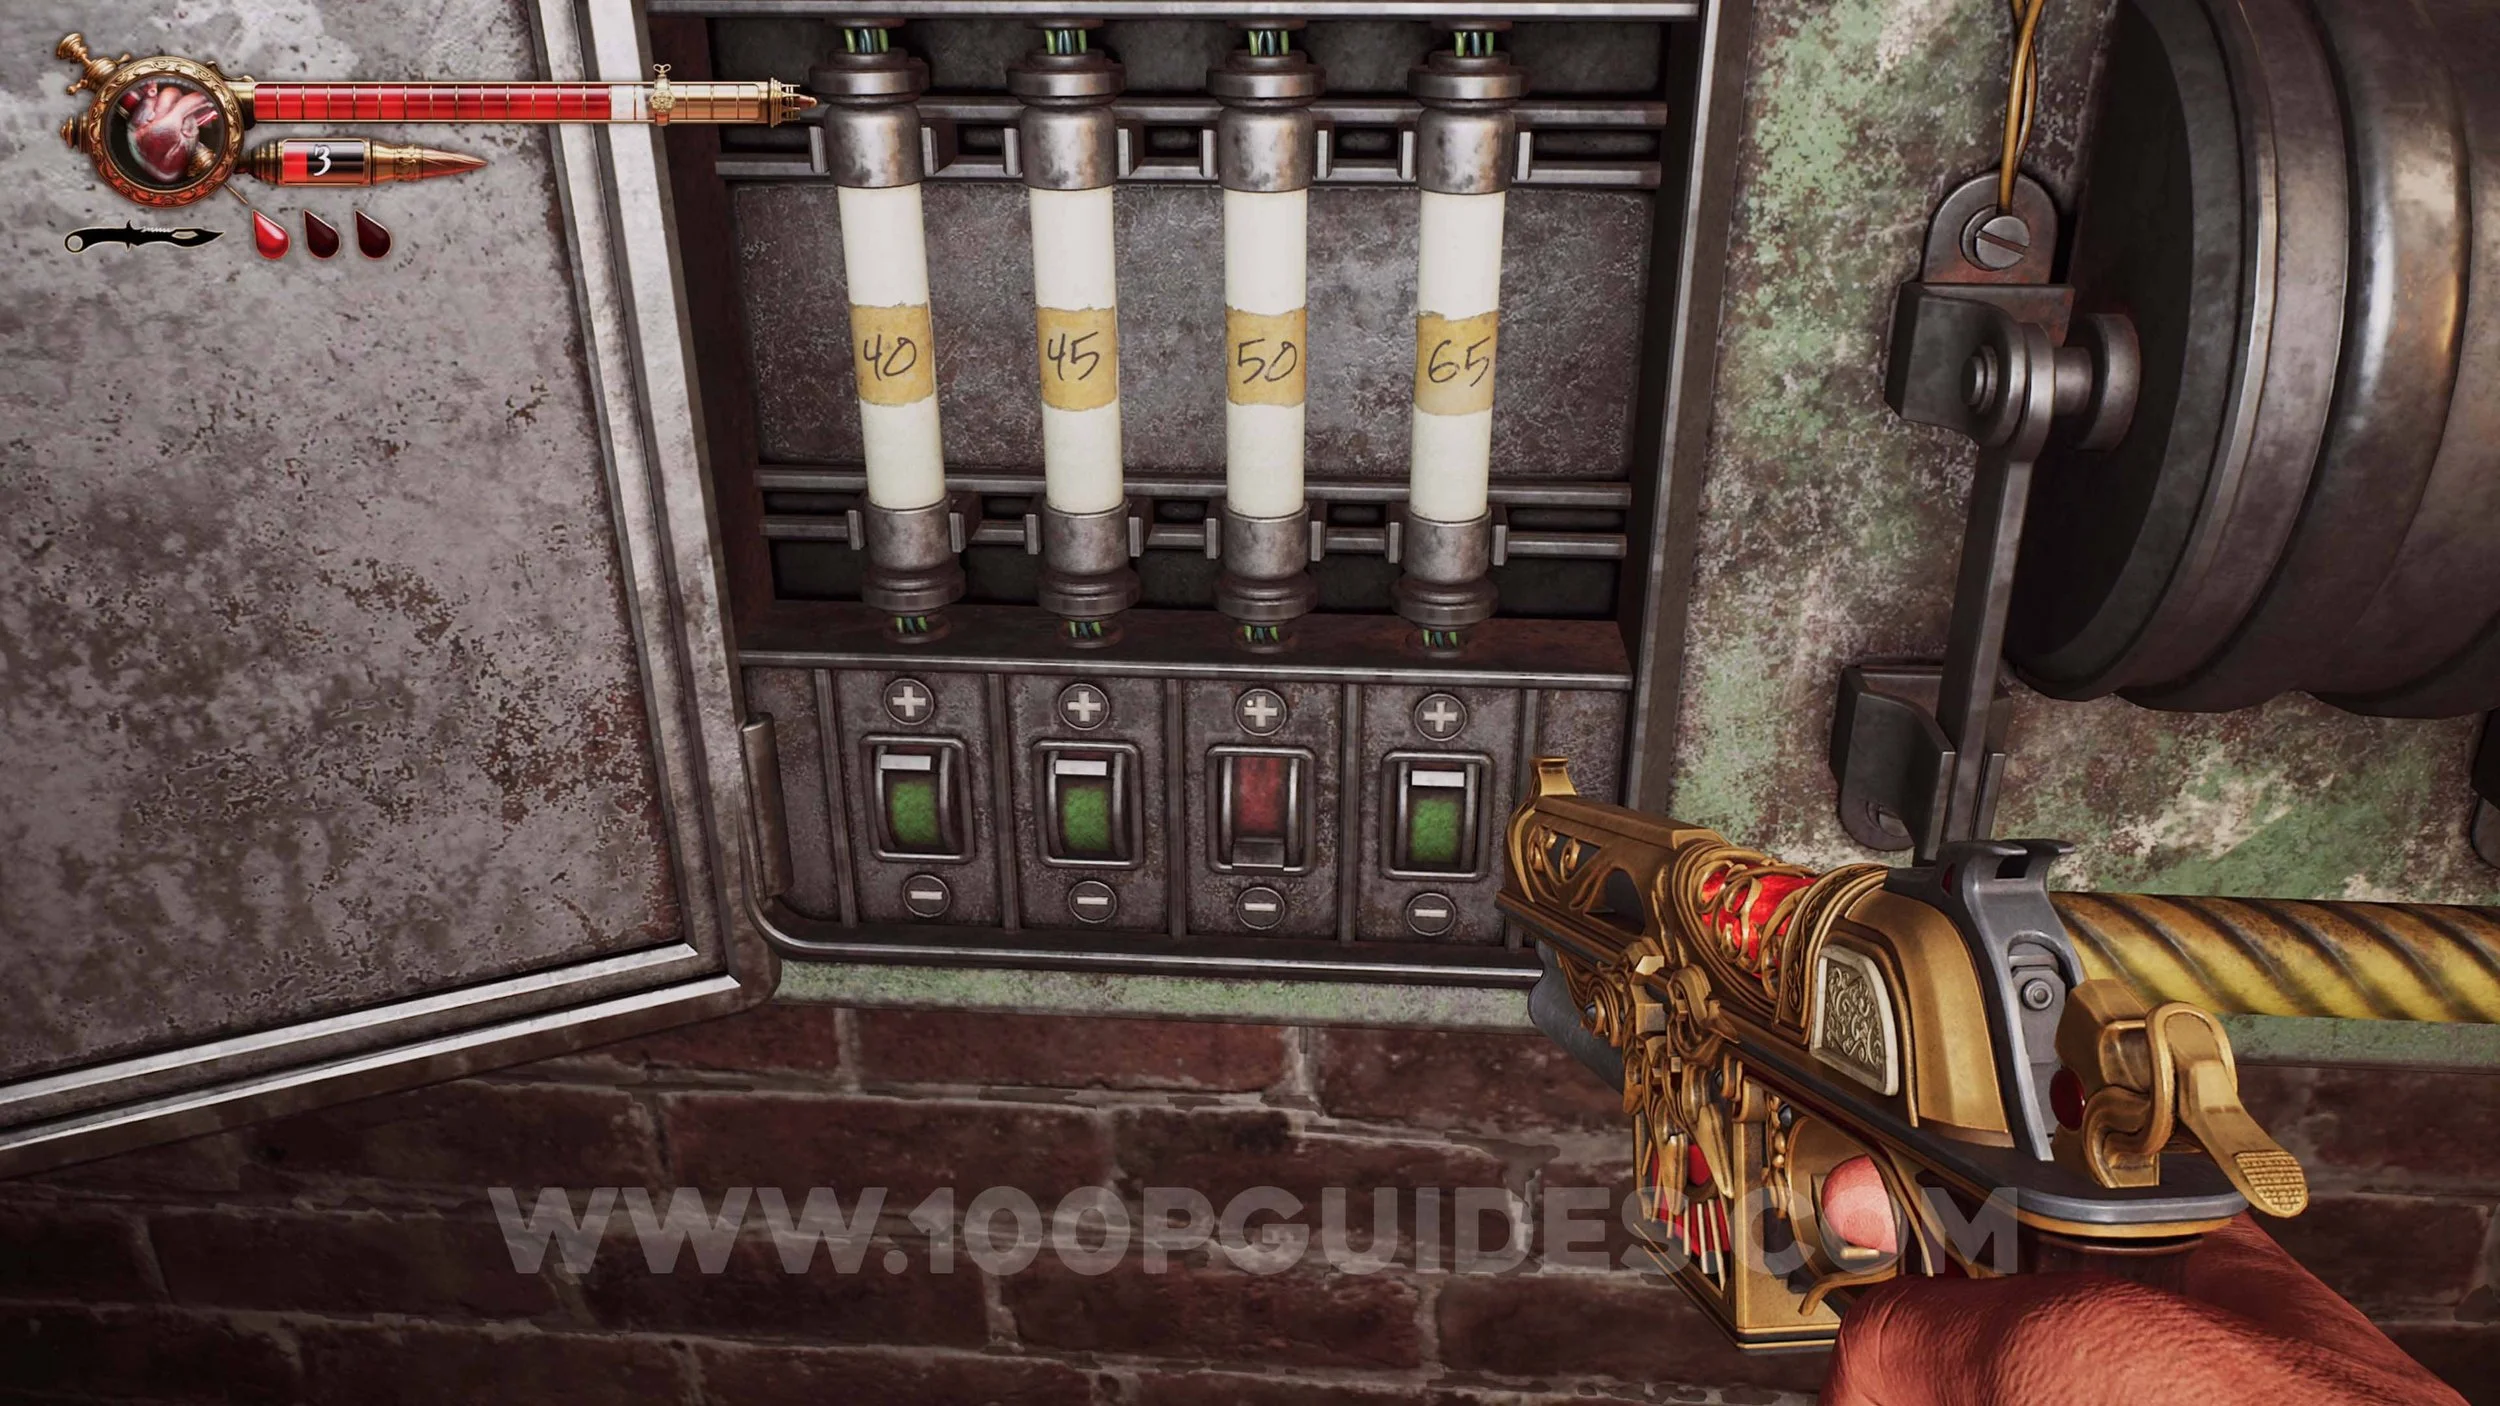
Holy Blood #7 & Vinyl Record #6. Found in the south-eastern dead-end room in the sewers. To open the door, turn all numbers green except for the 50.
Memory #44 & Solari Brooch #10. Continue through the sewers until you reach a room with 4 or 5 enemies in it. After that, take the stairs to the northwest (not the ladder). Then follow this path to the end to reach the room with the memory and the brooch.

Ulises Idol #27. After climbing the ladder to the west of the room with 4 or 5 enemies (story path), walk out onto the balcony with the waterwheel to see the doll on the other side.

Memory #45. Story related once you reach the dam controls.
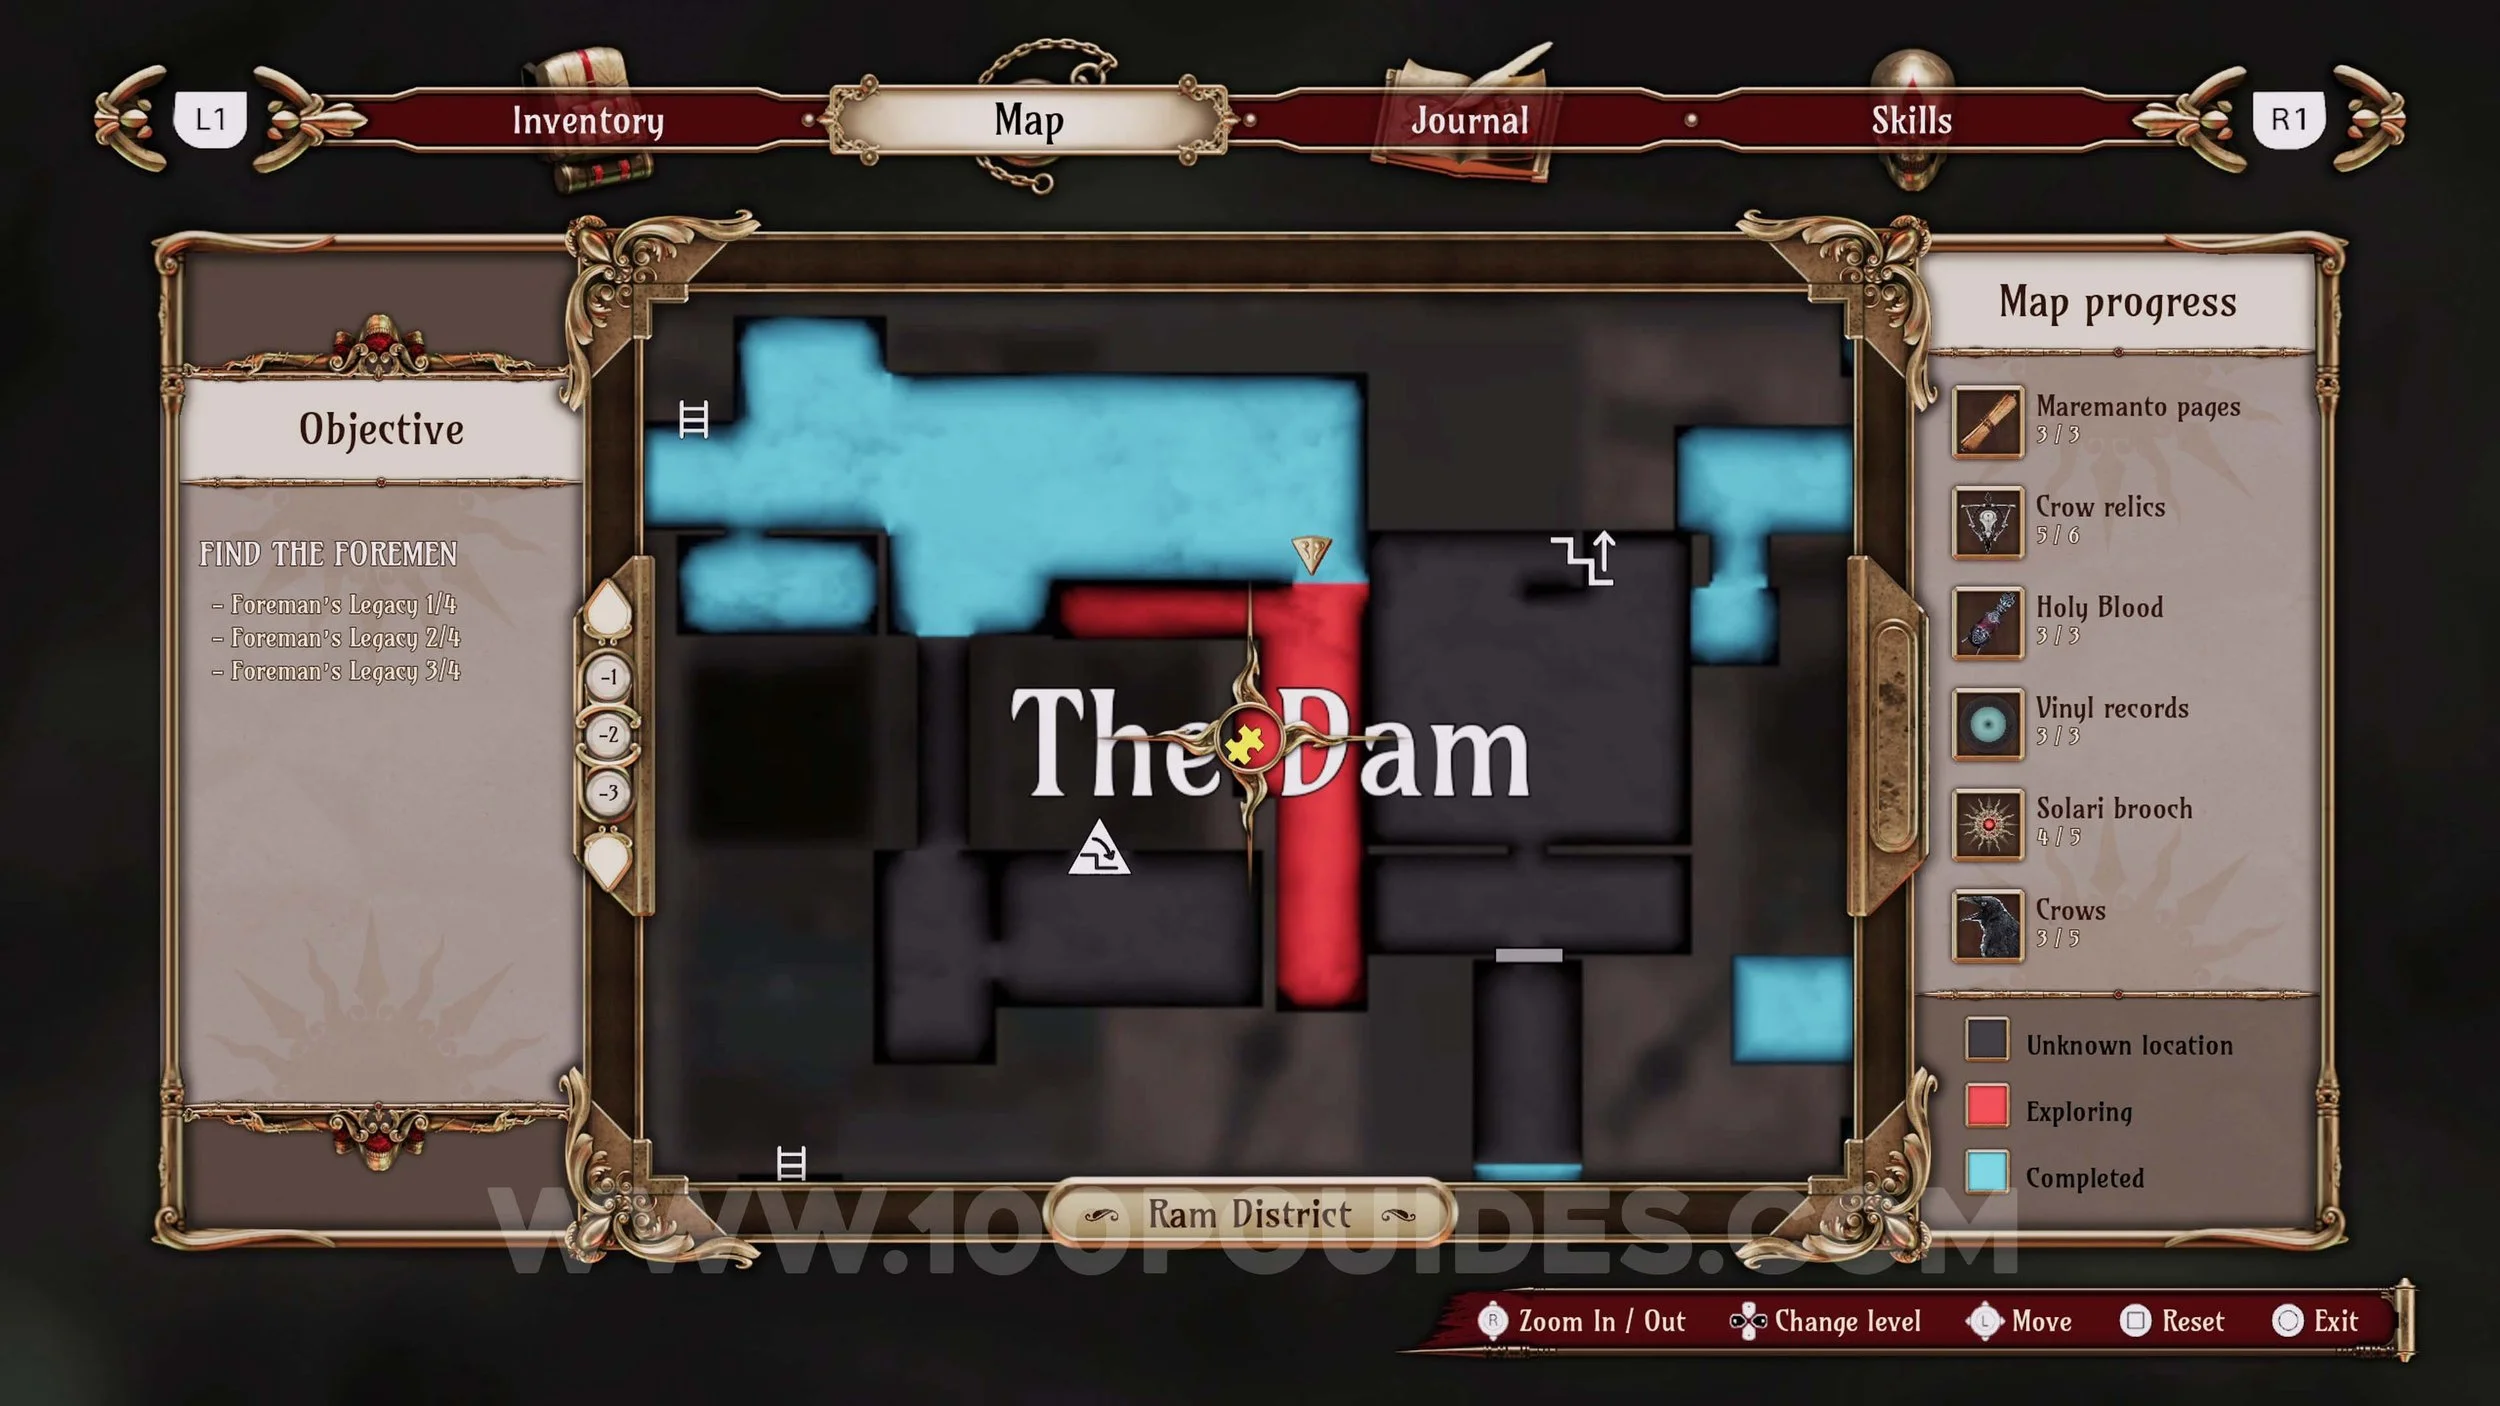

Memory #46. Story related when crossing the dam after the puzzle.
Crow Relic #17. After getting the last Master Key, you will have to go through another section of the sewers. The relic can be found near the centre of this section.
Memory #47. Story related after leaving the sewers.

Crow #10. Look up as soon as you leave the building where the previous memory was.
Solari Brooch #11. Continue a little until you get to a room where you talk to Mediodia. In this room, push the cart and crawl through the vents to get to the room with the brooch.
Ulises Idol #28. After using the final Master Key and taking the Hoist down to the mines, you will get to a room with a few enemies. The doll can be found on one of the walls in this room.
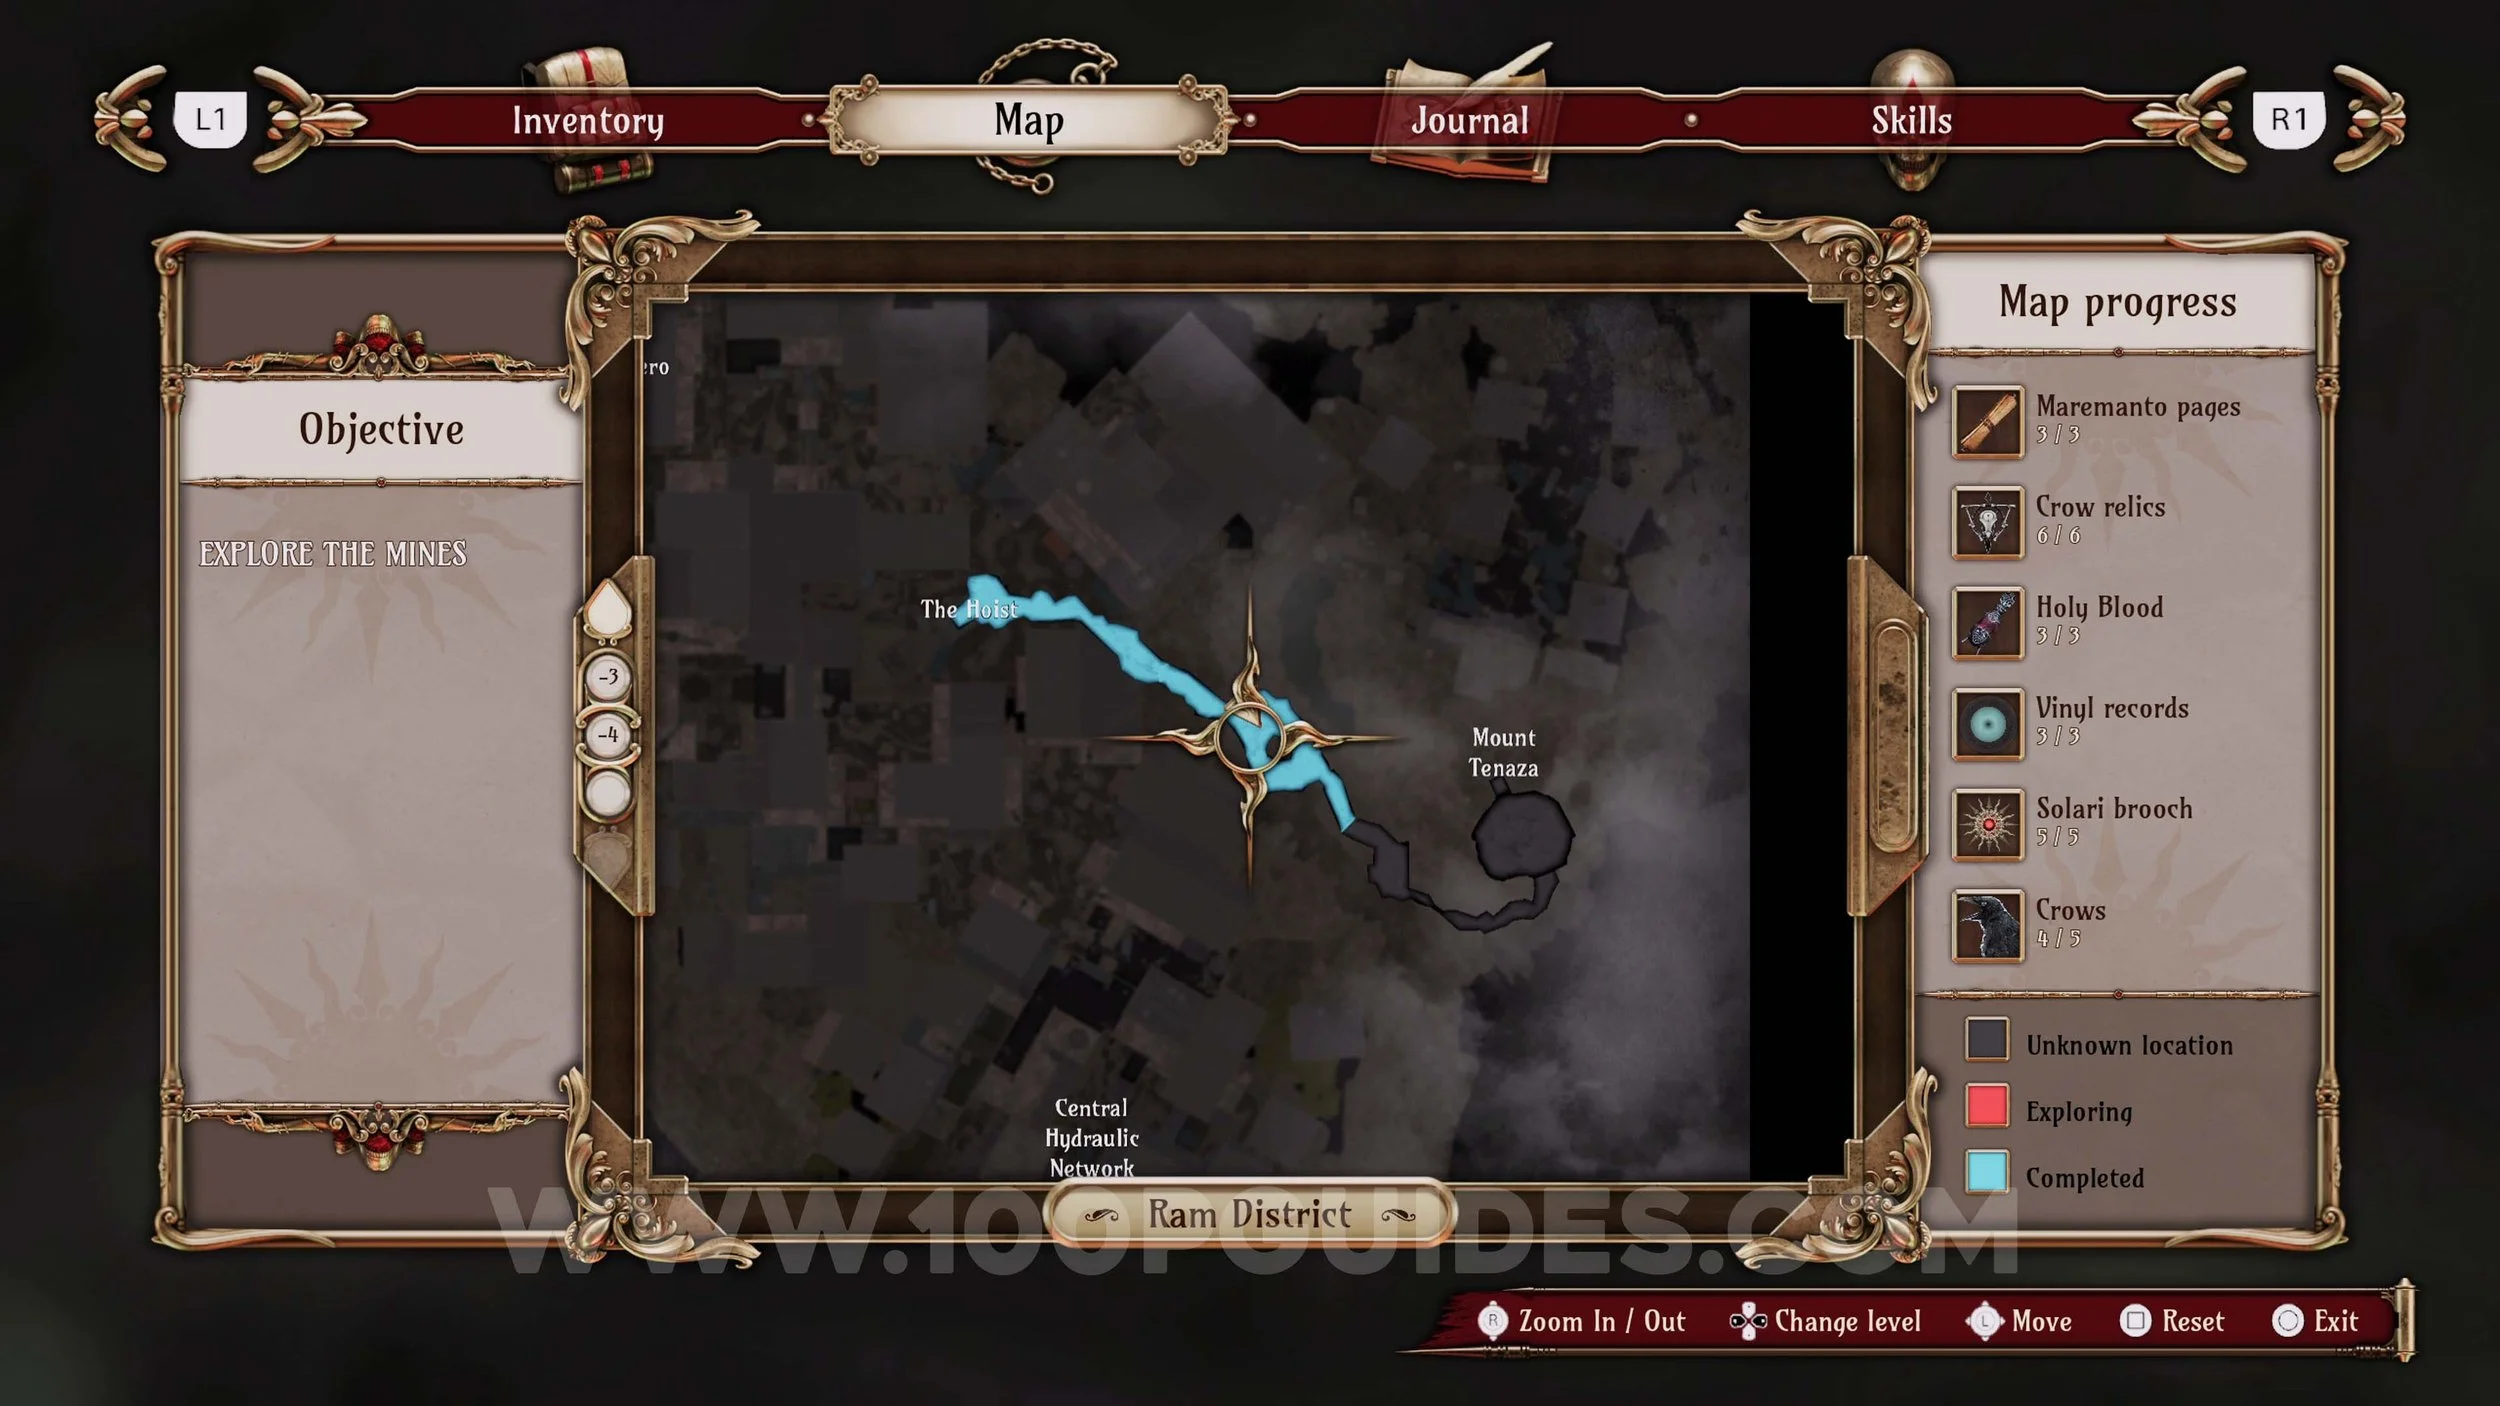
Memory #48. Story related as you go through the mines.

Tormentosa Fair (3rd Visit)
Maremanto Page #7. After finishing chapter 2, you can get more tickets by replaying the 3 carnival games at the fair. Use them to get the Maremanto Page from the prize booth.
Solari Chest #7 & Crow Relic #18. Open Solari Chest 7 found in the central area of the fair with Solari Brooch 7.
Solari Chest #8 & Crow Relic #19. Open Solari Chest 8 found in the south-eastern corner of the fair with Solari Brooch 8.
Solari Chest #9 & Crow Relic #20. Open Solari Chest 9 found on the eastern side of the fair with Solari Brooch 9.
Solari Chest #10 & Crow Relic #21. Open the Solari Chest 10 found on the top floor of the building in the southern part of the fair.
Solari Chest #11. Open Solari Chest 11 found on the stage in the south-western corner of the fair with Solari Brooch 11.
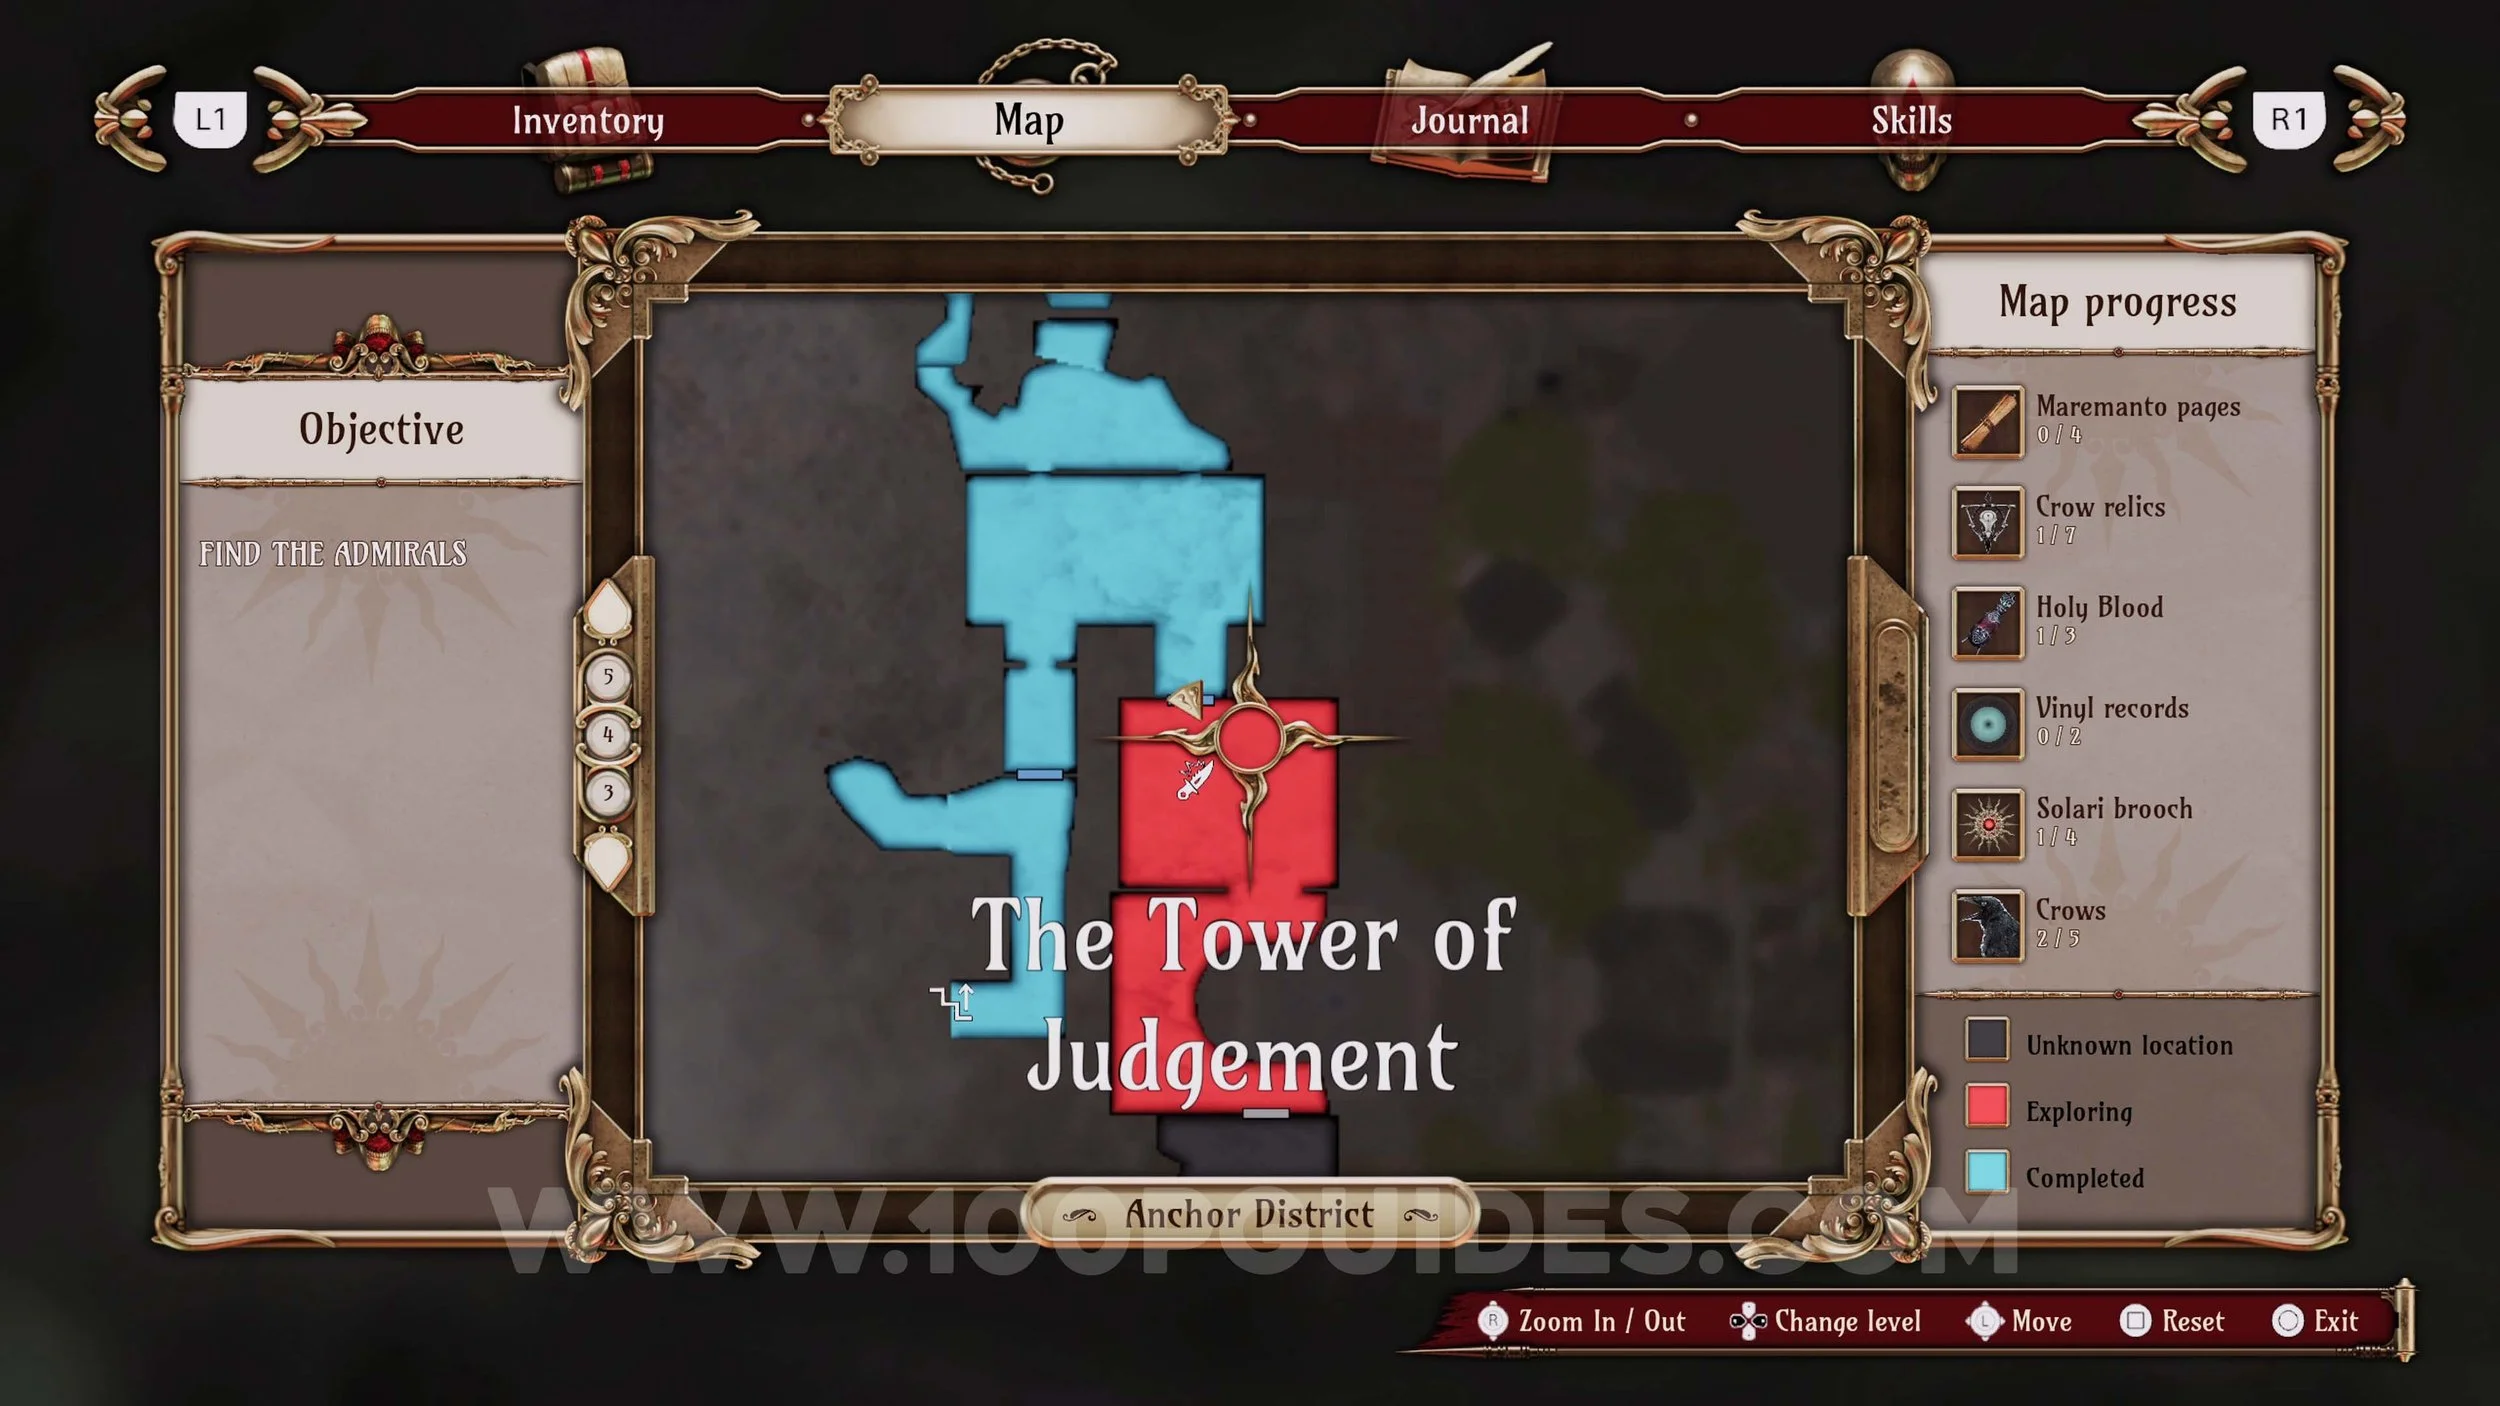
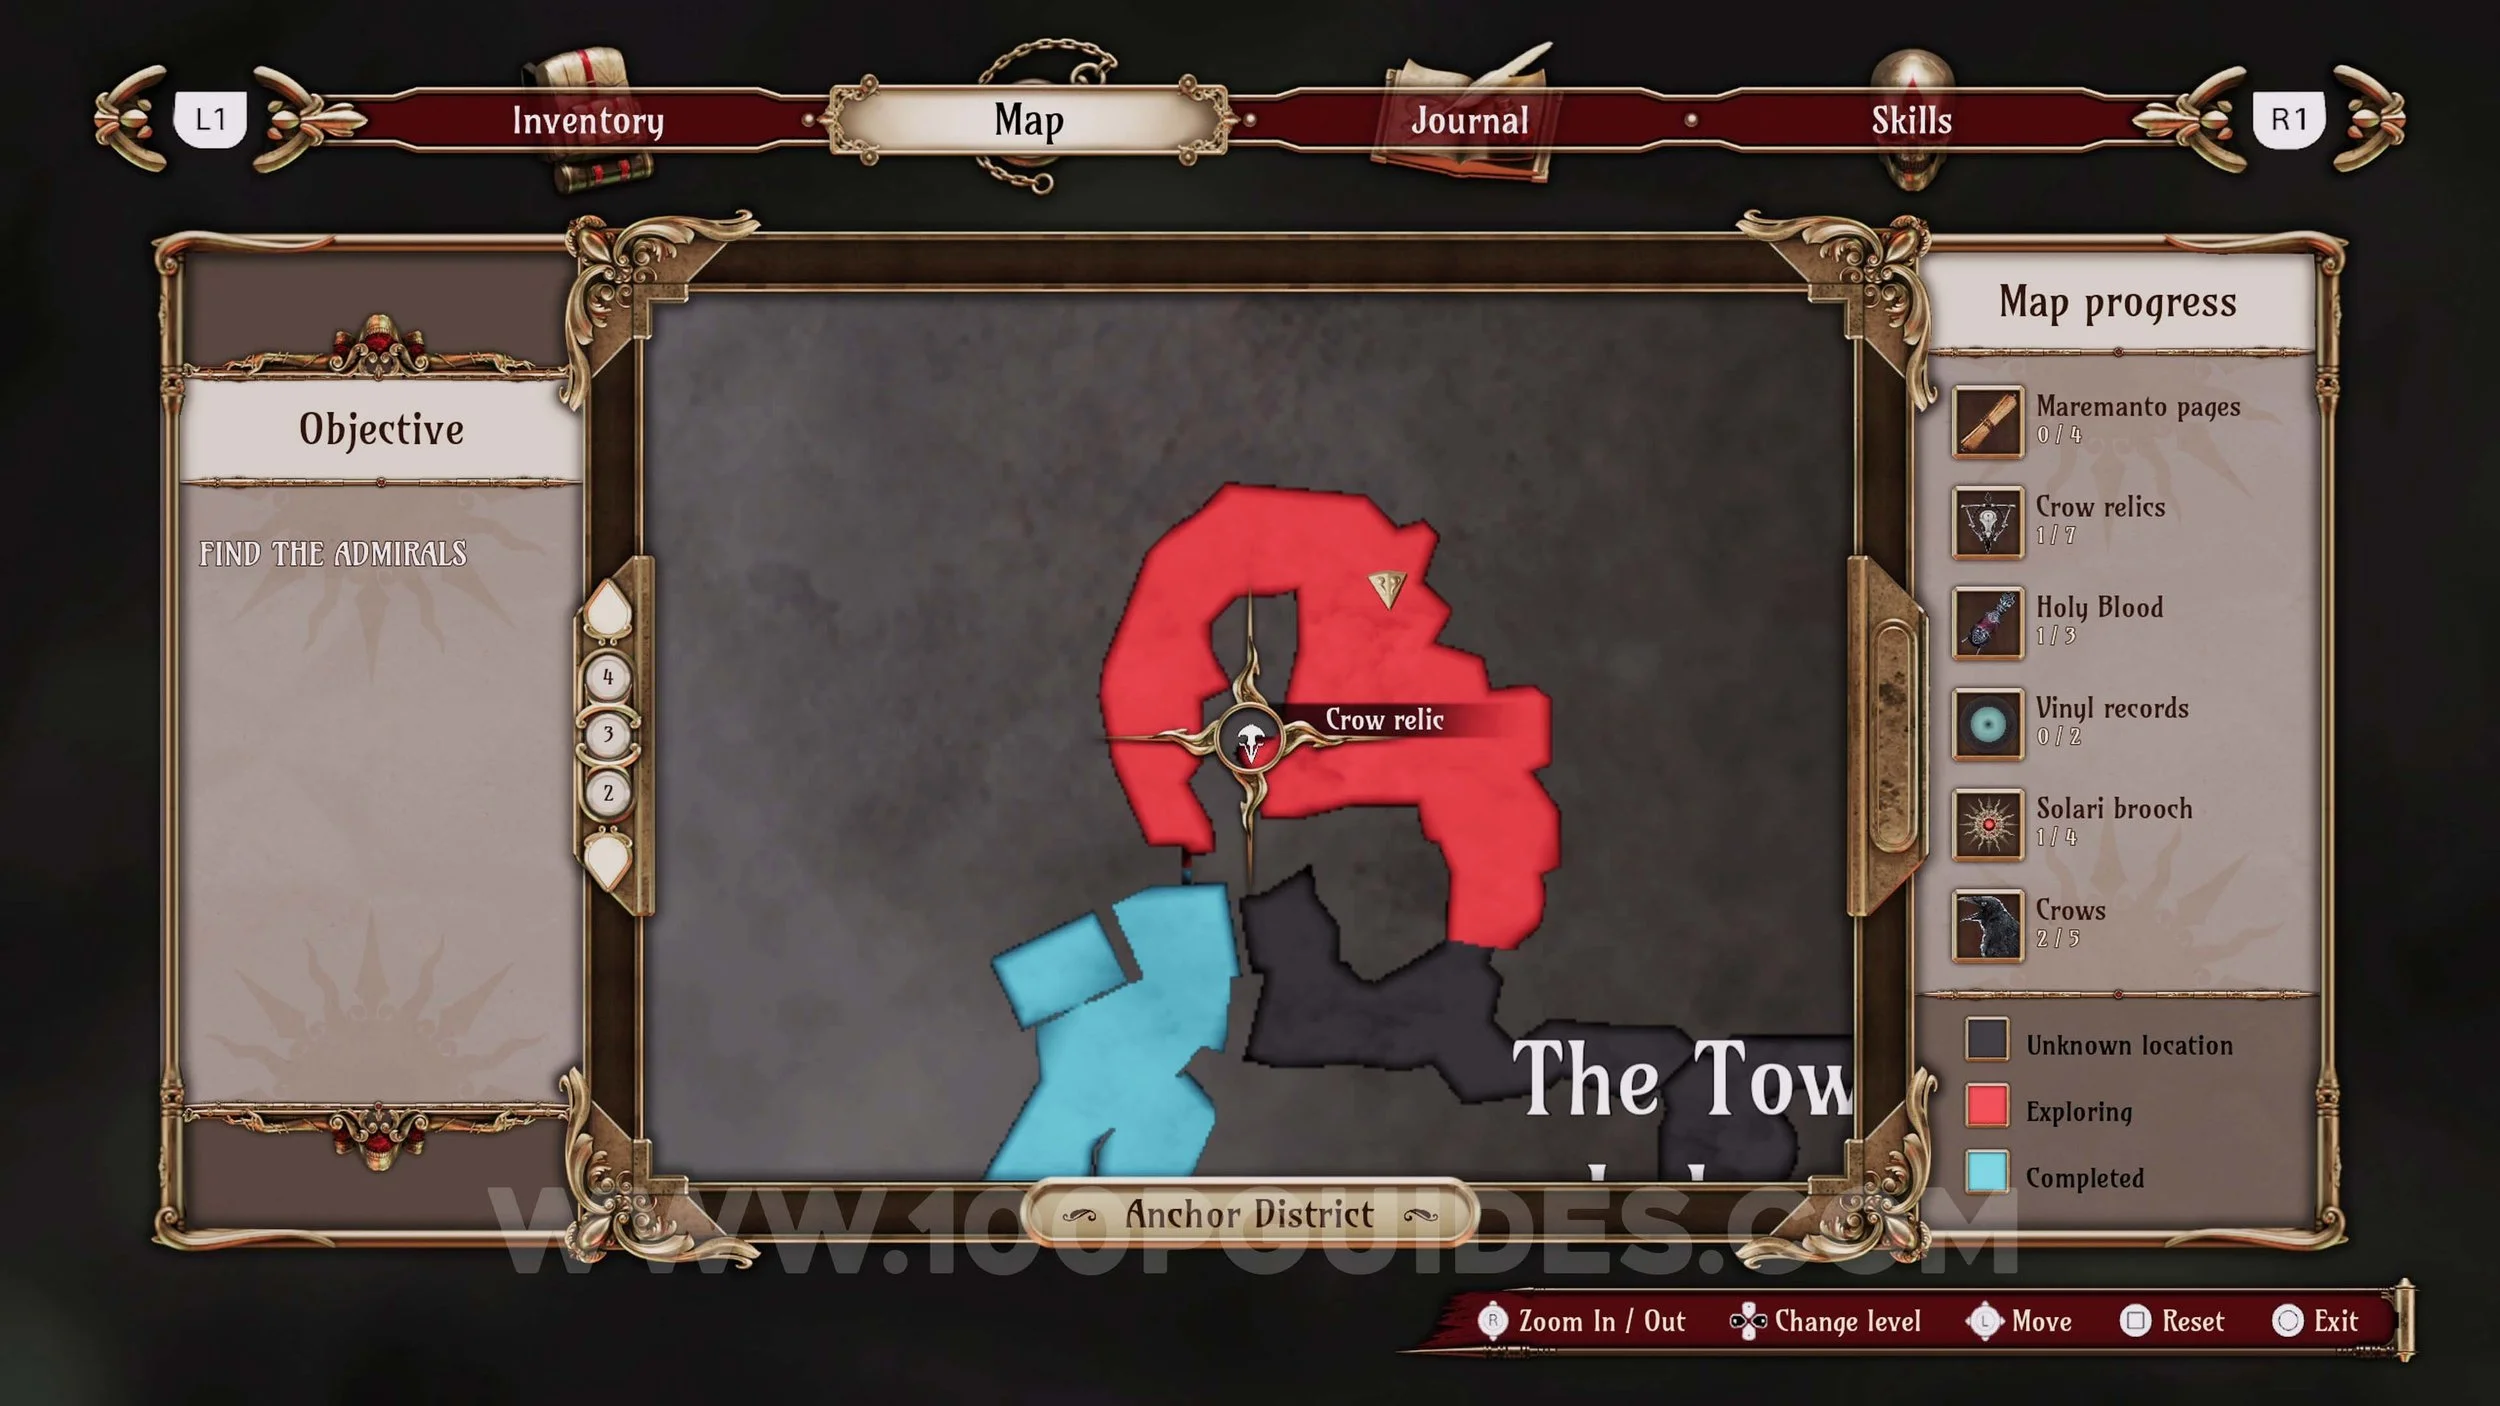
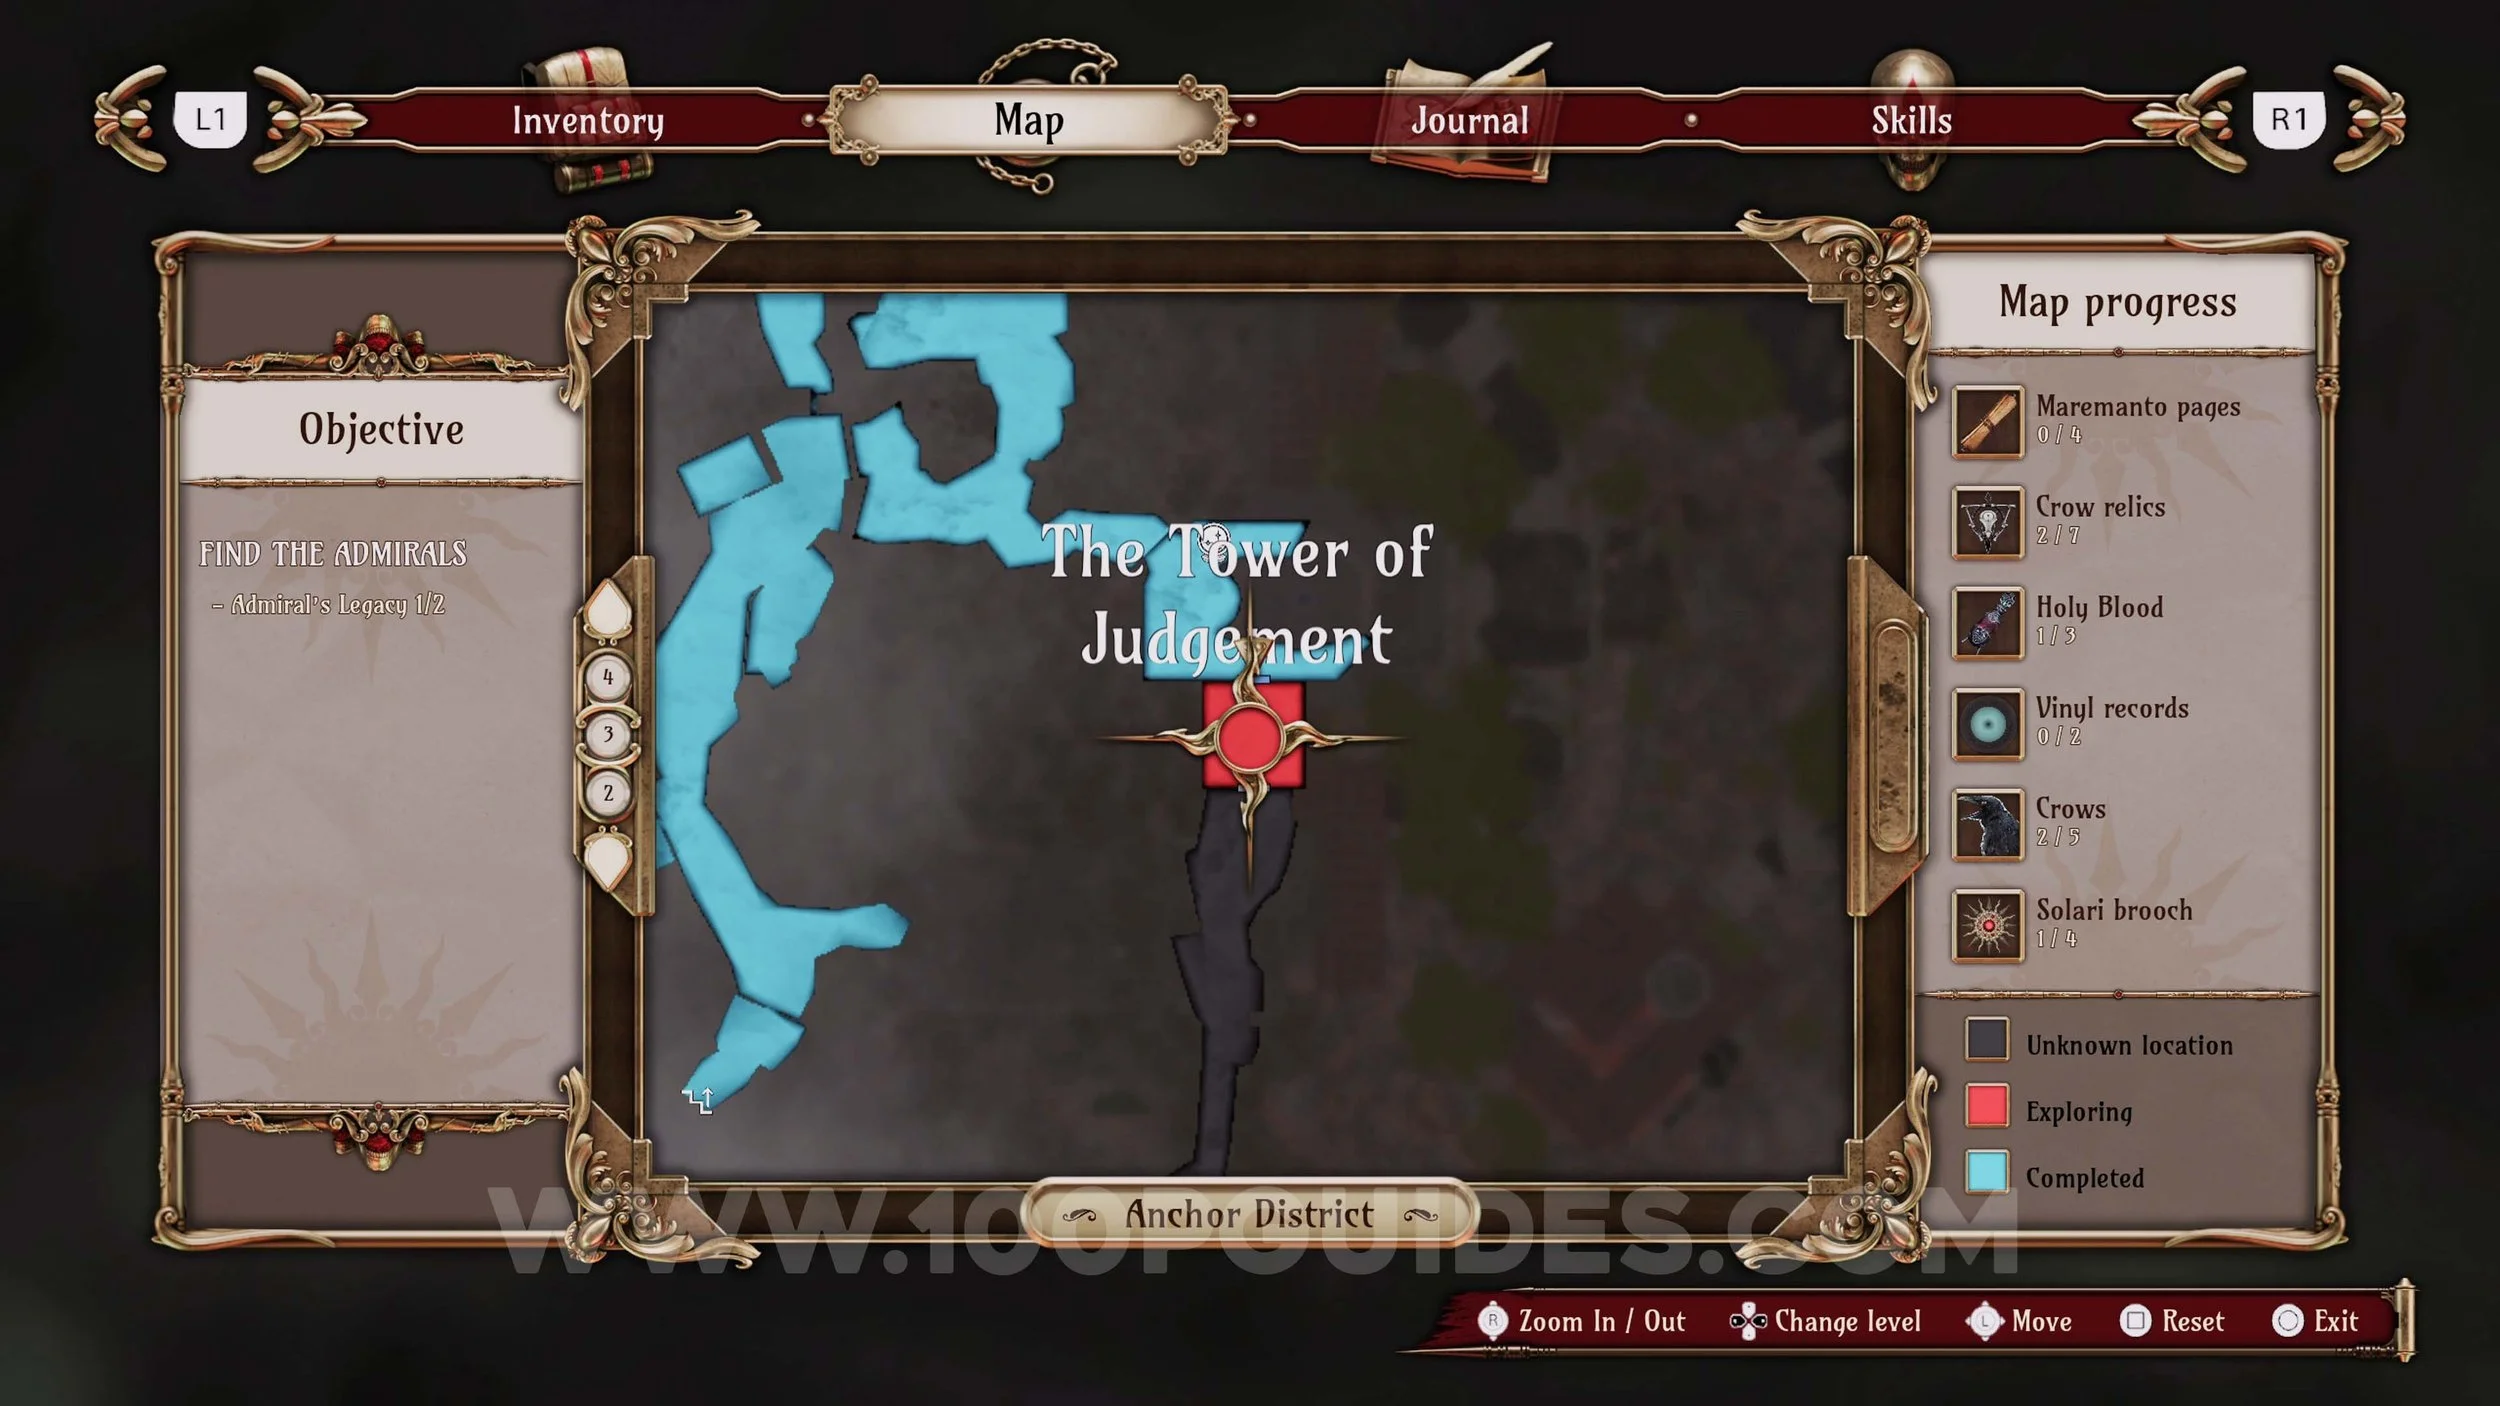
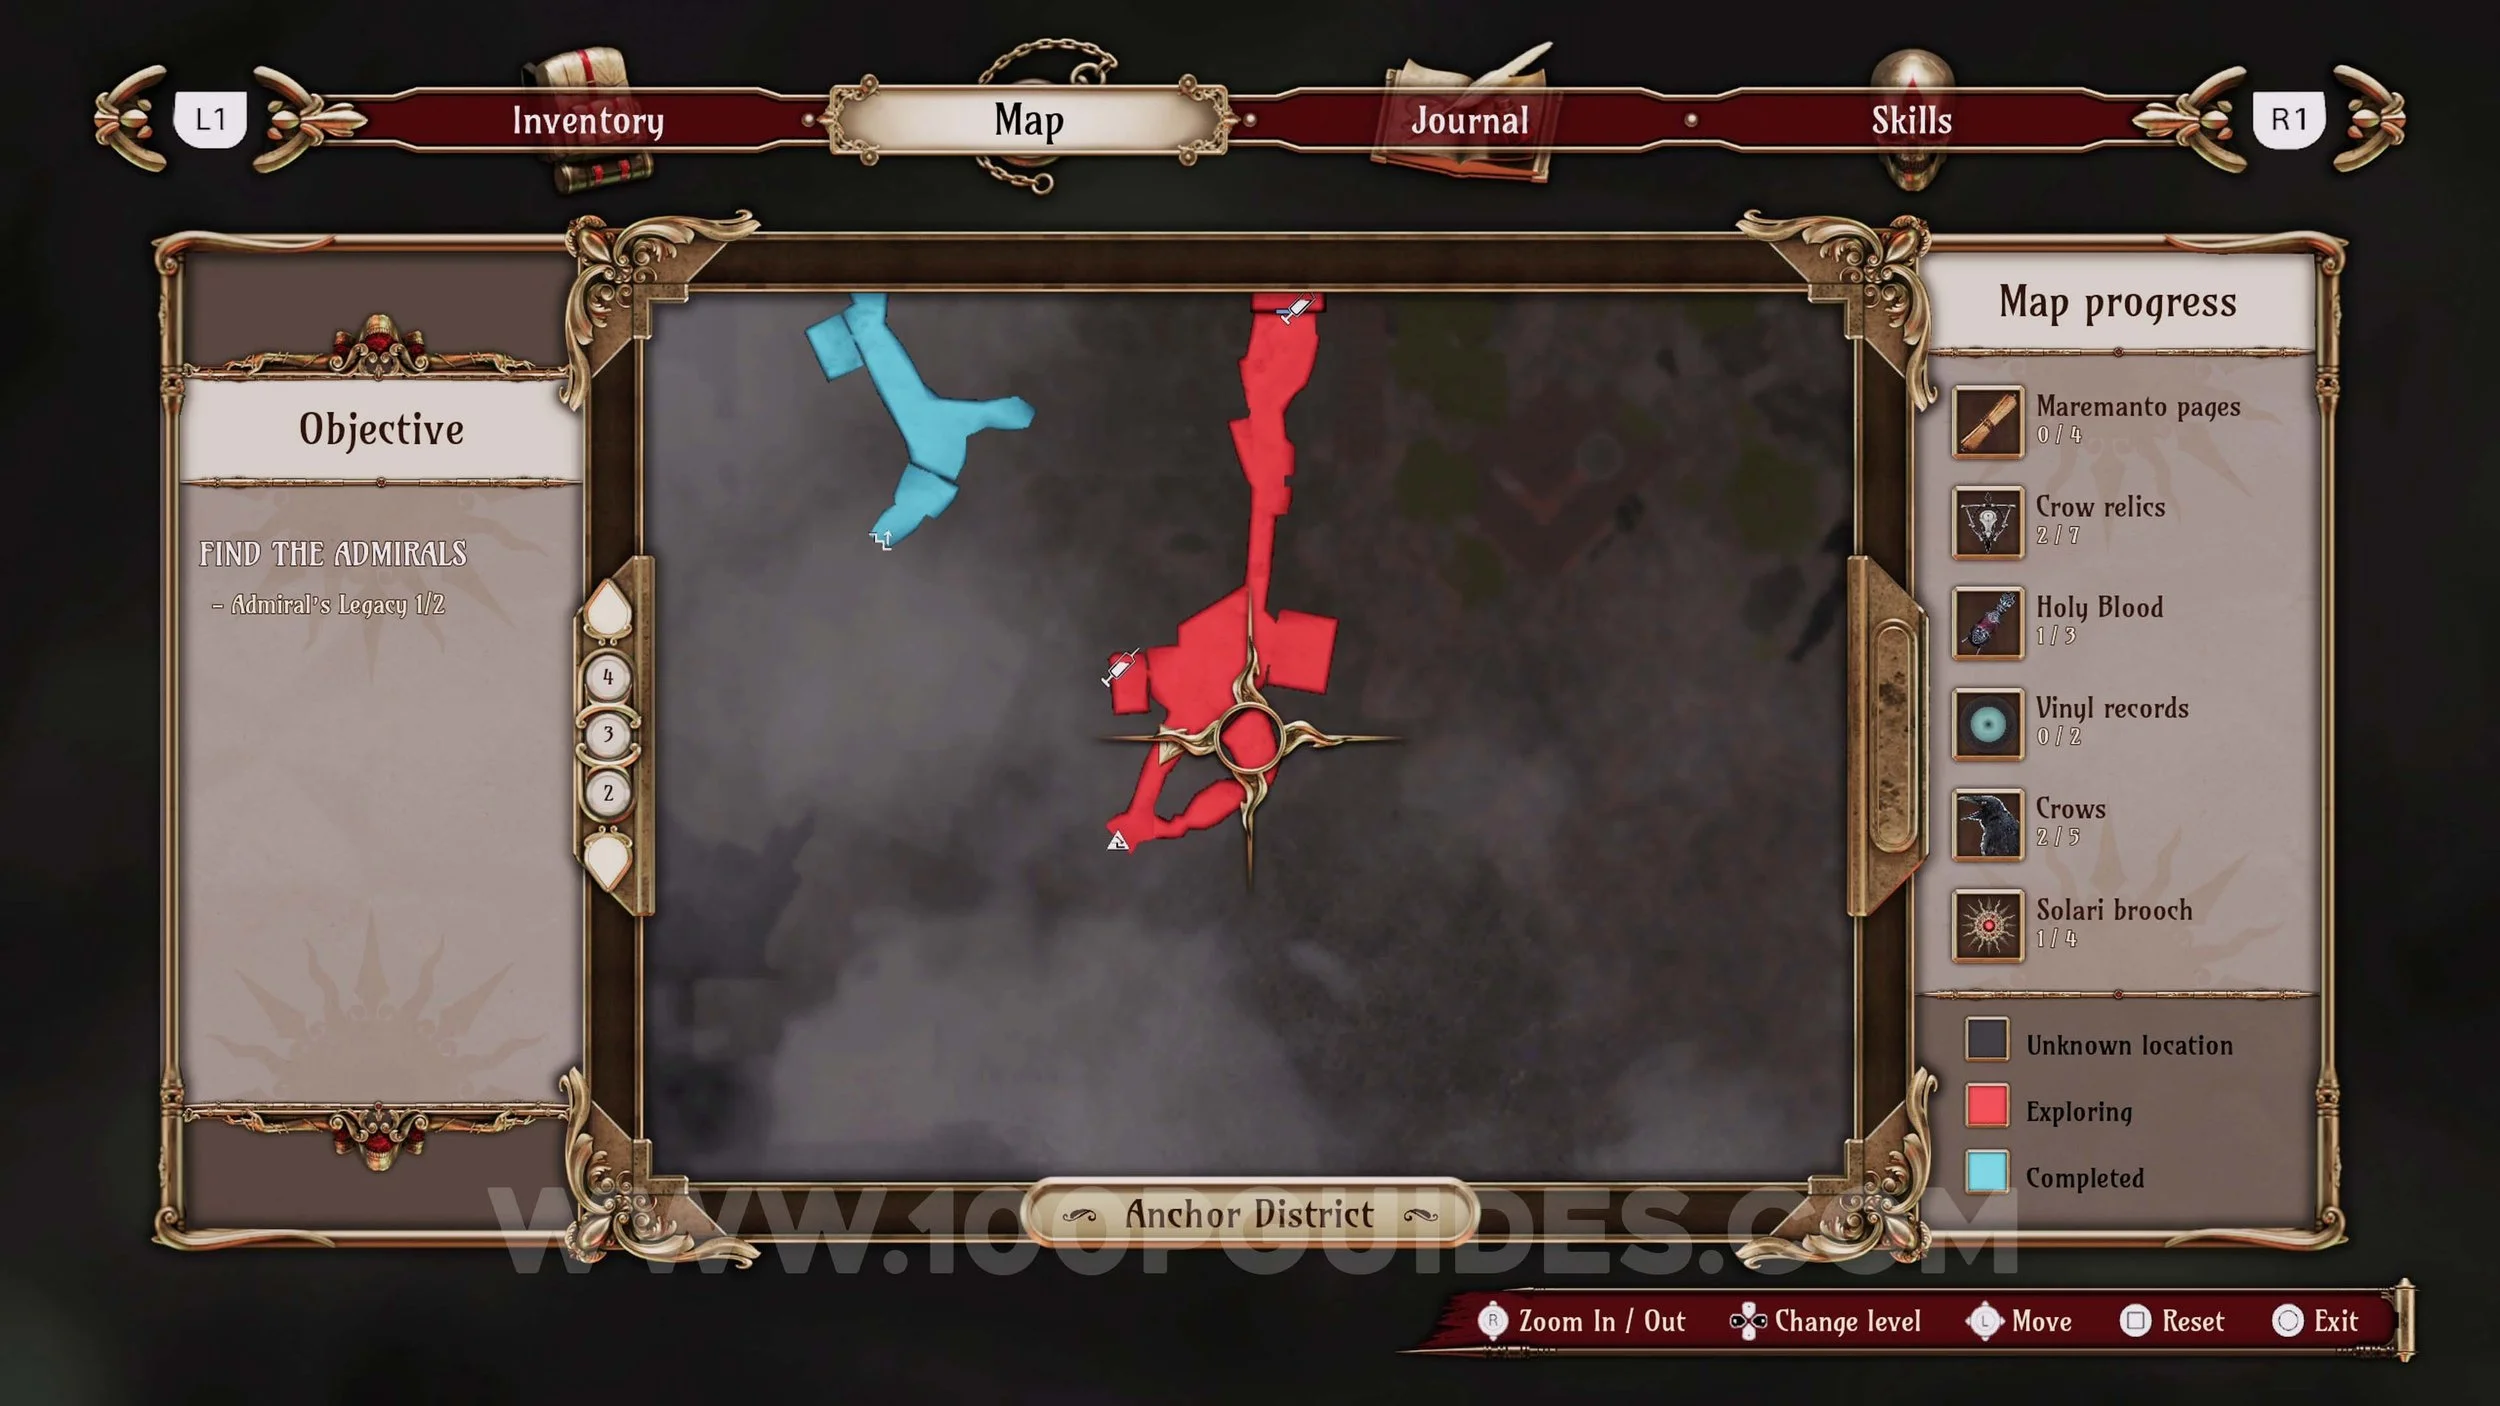
Chapter 3
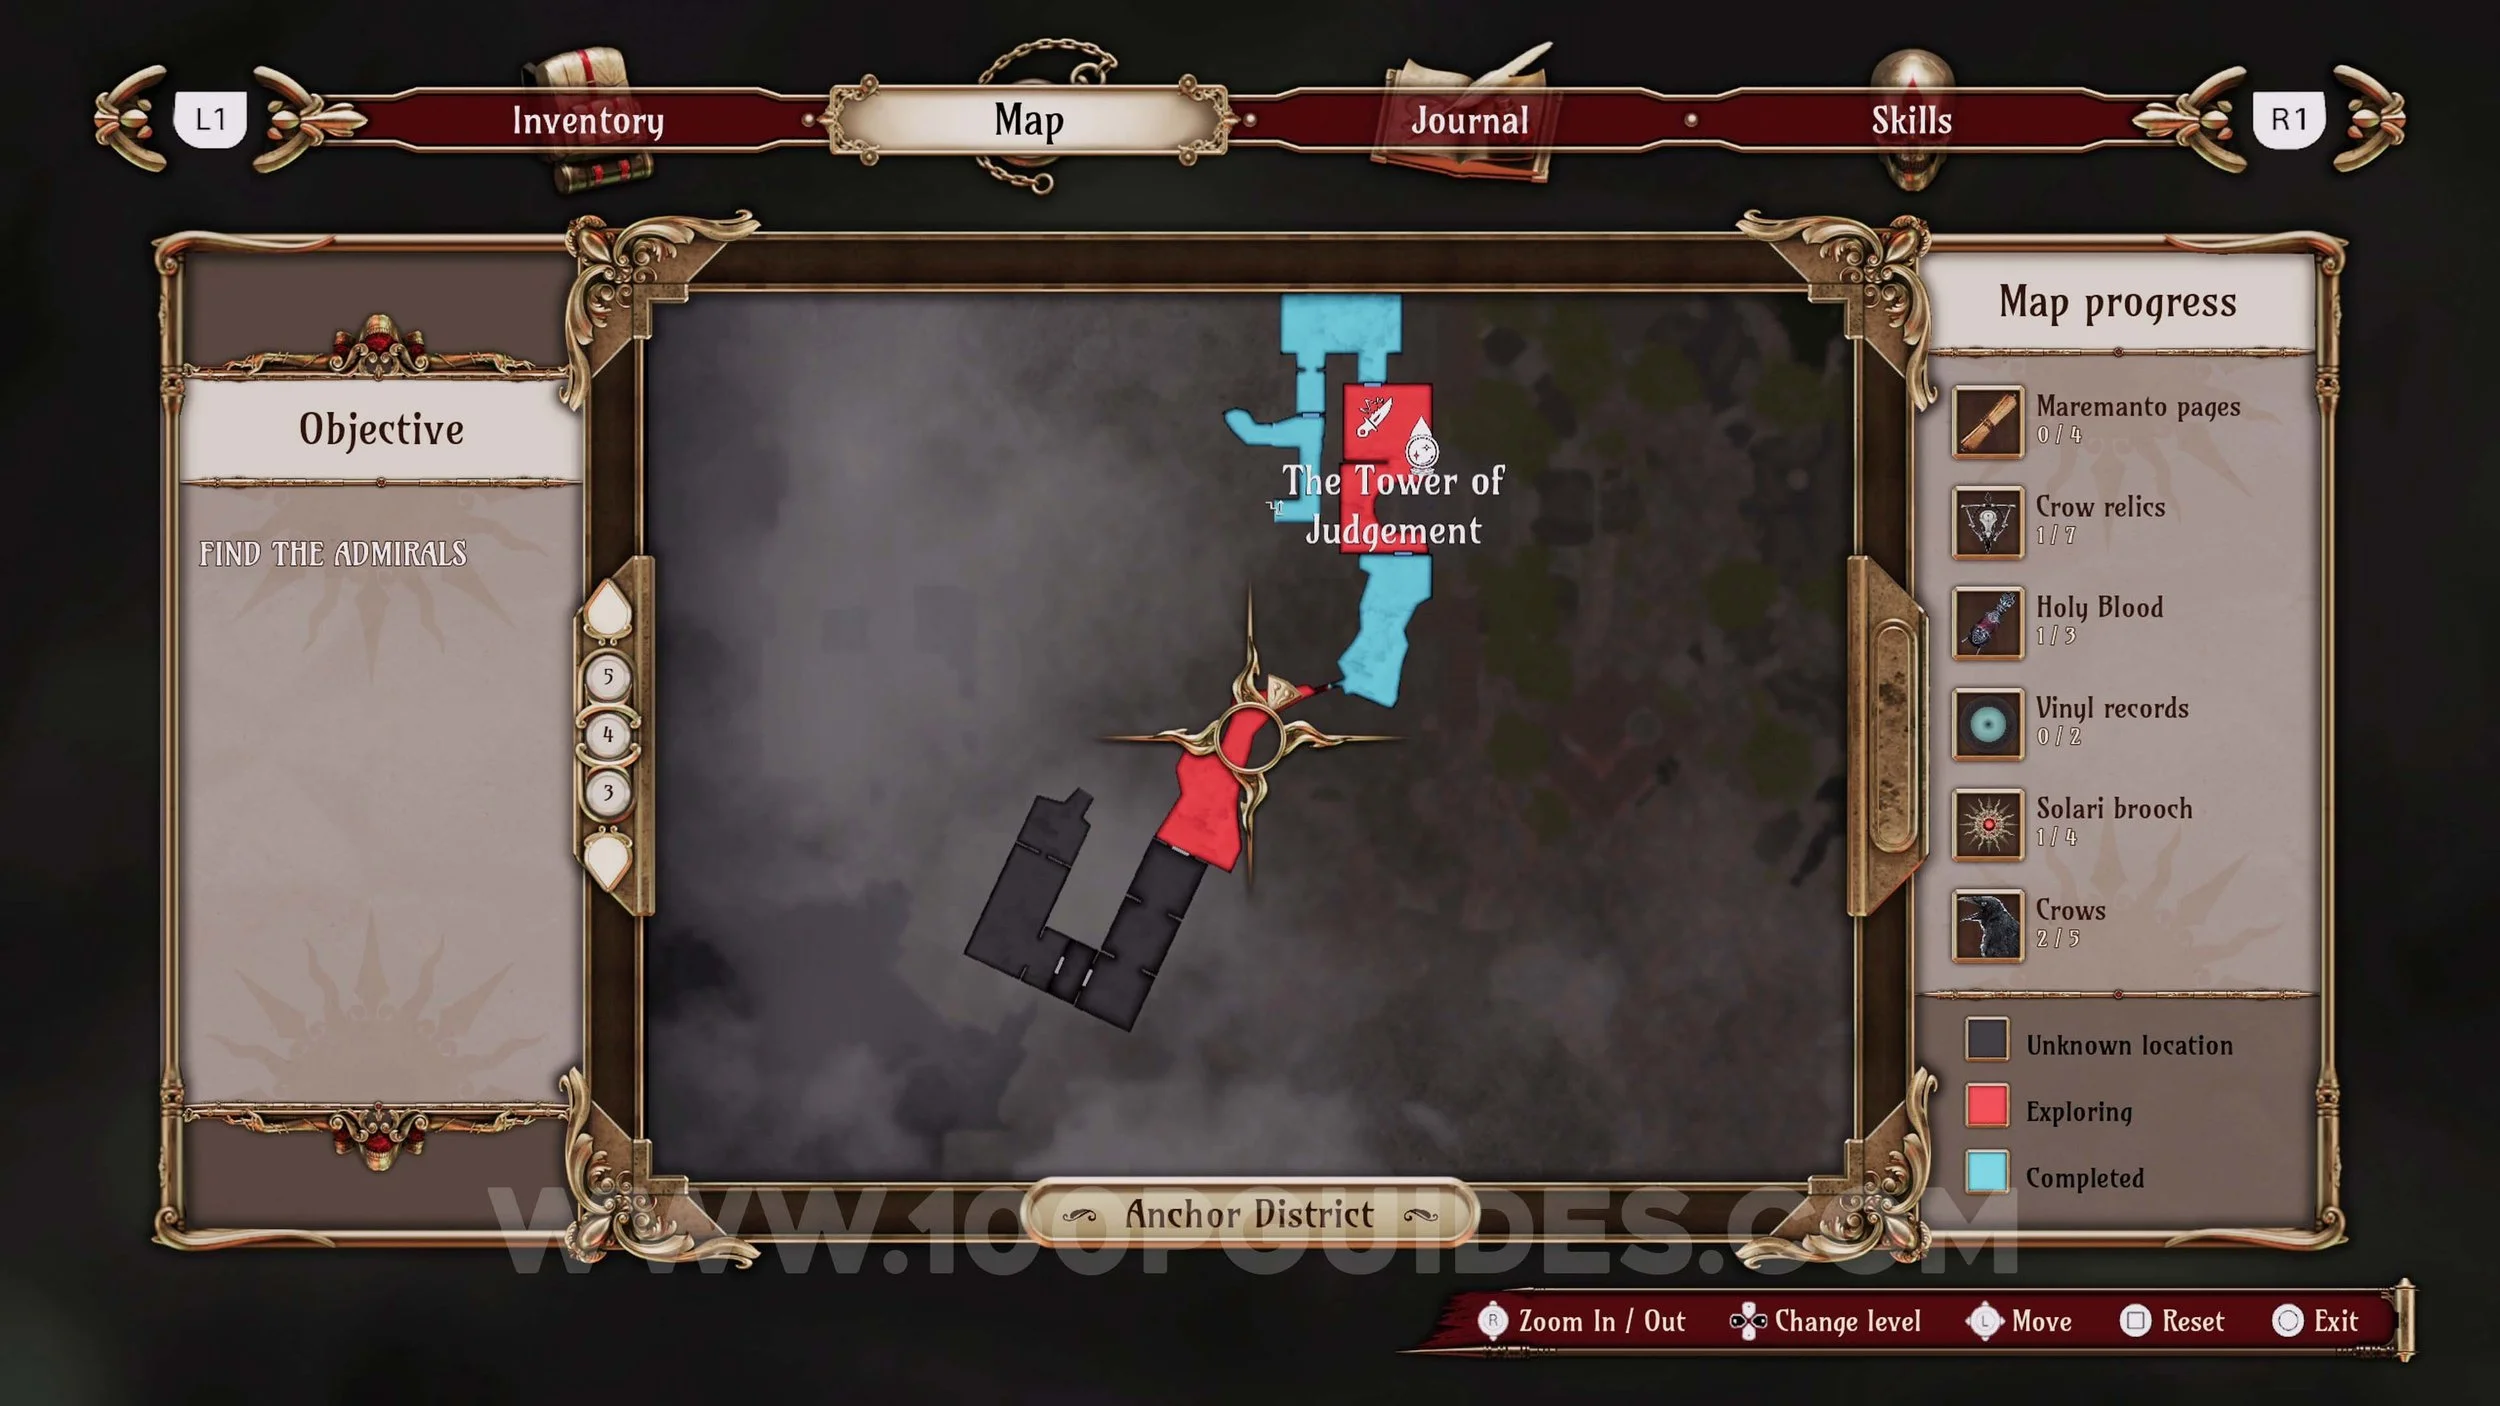
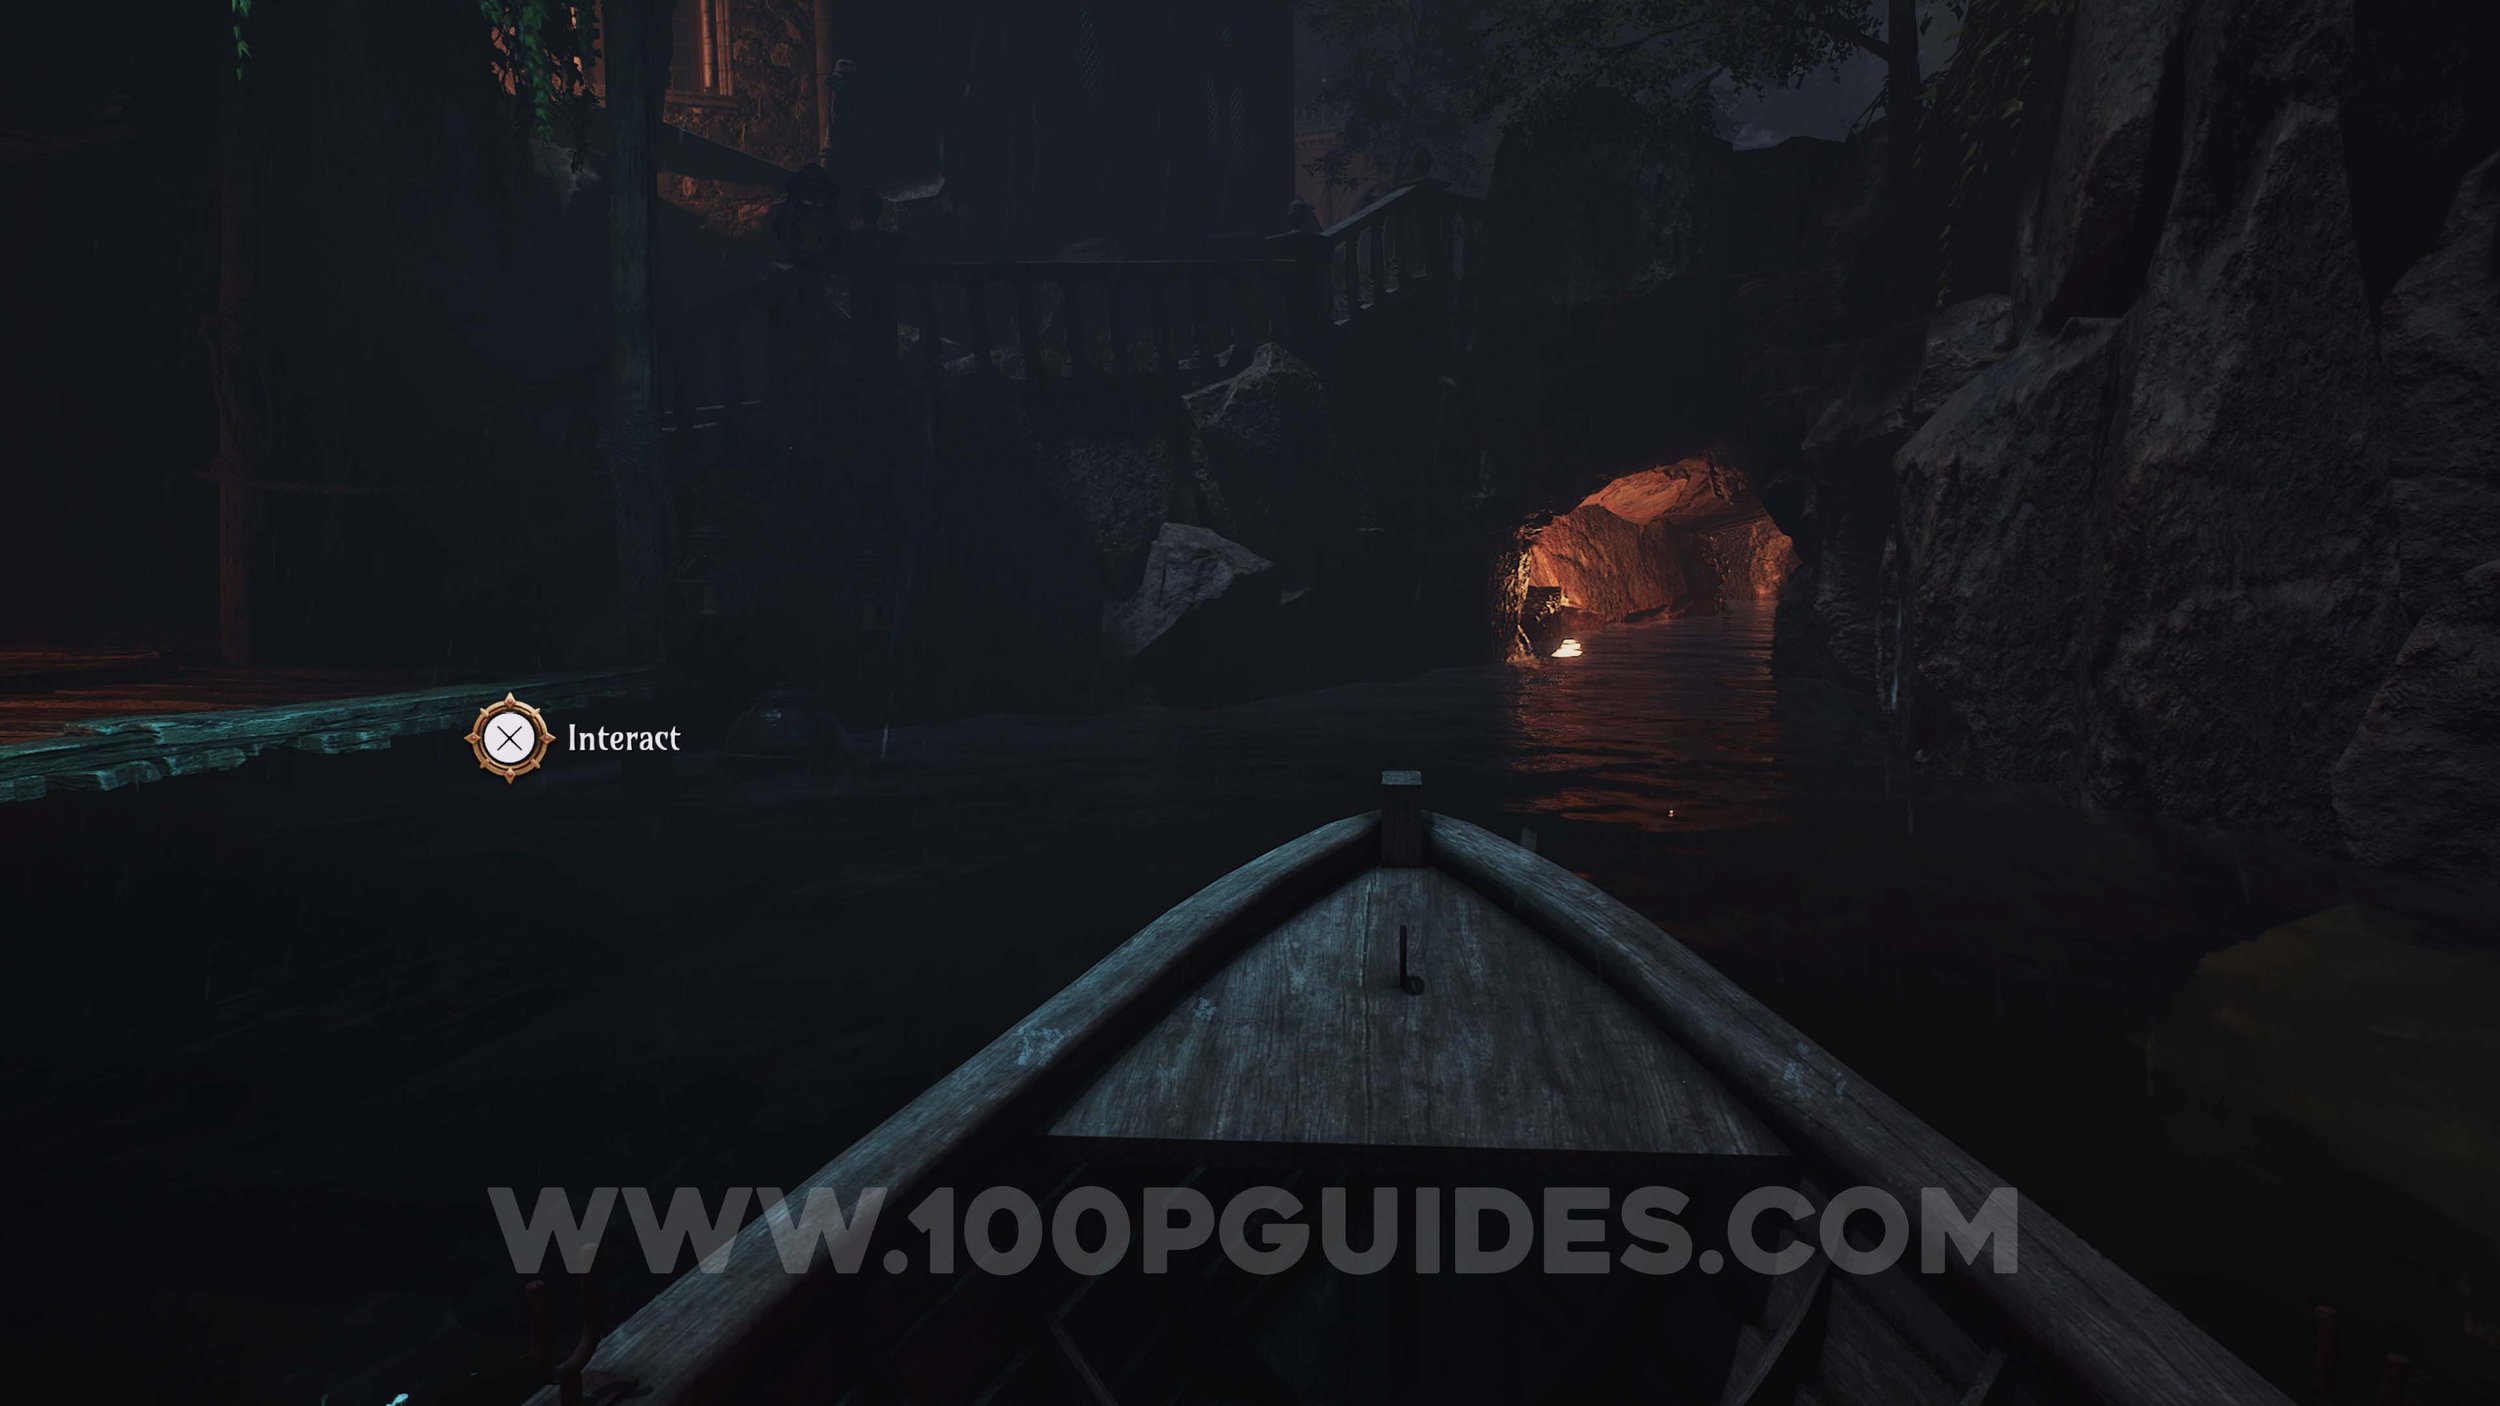
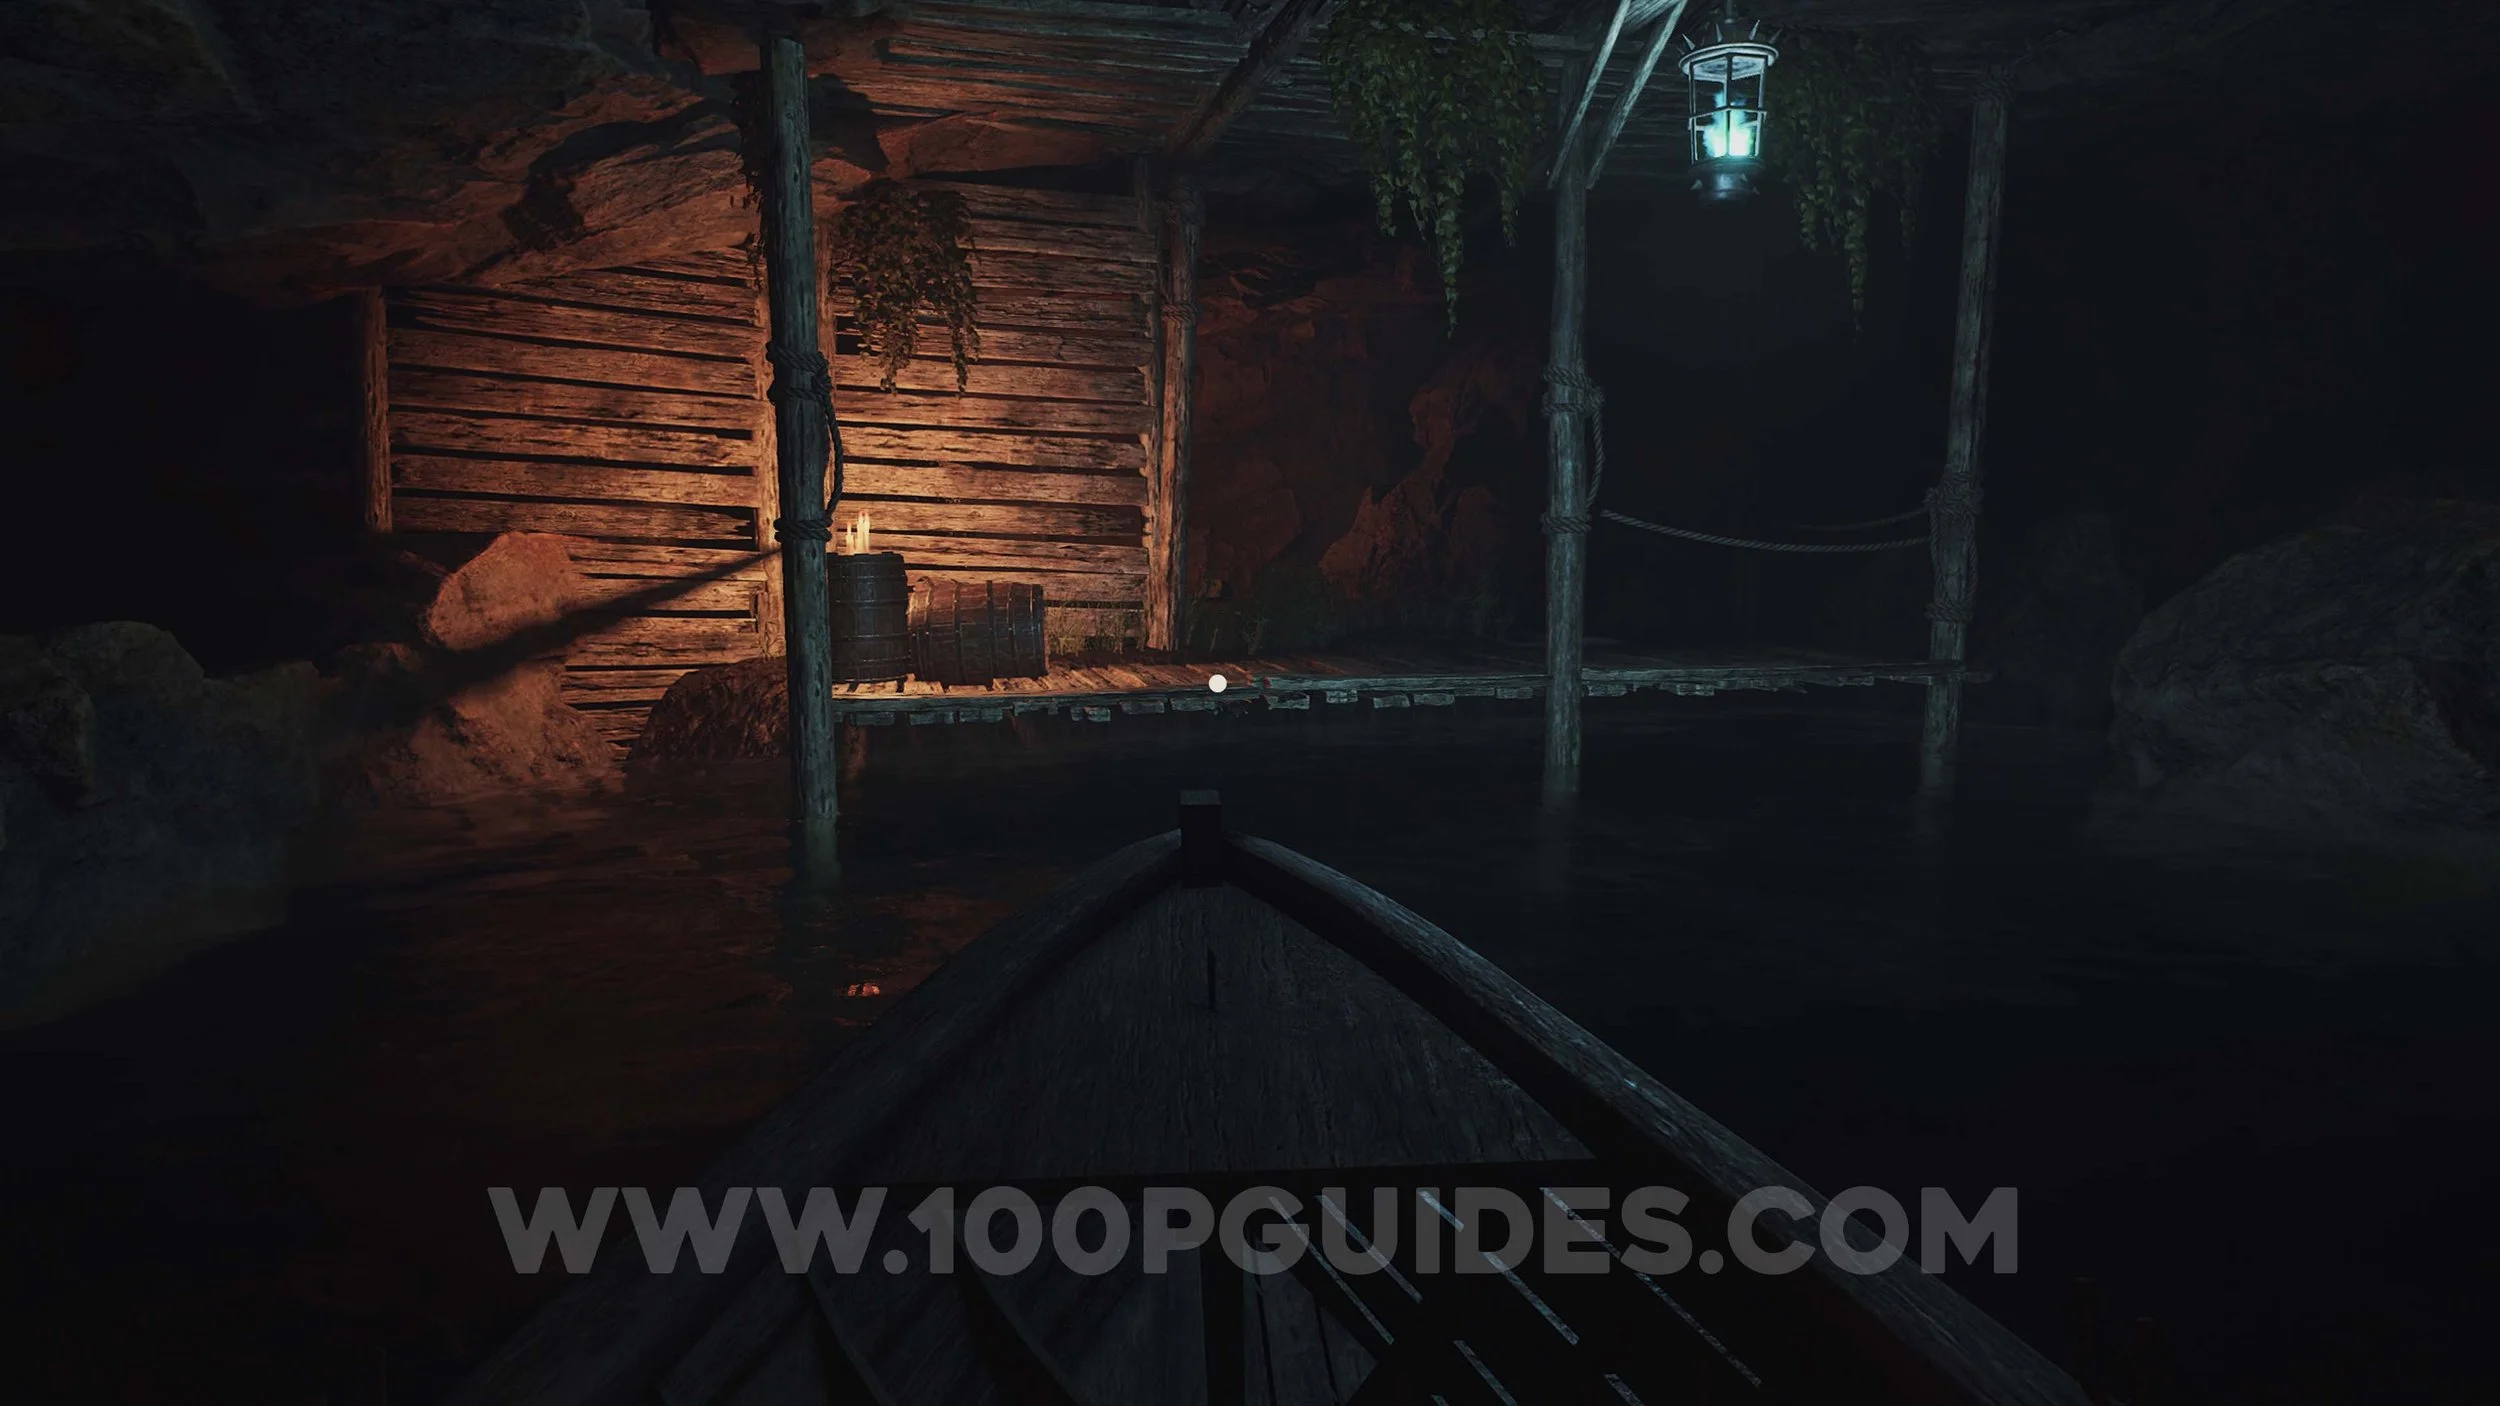
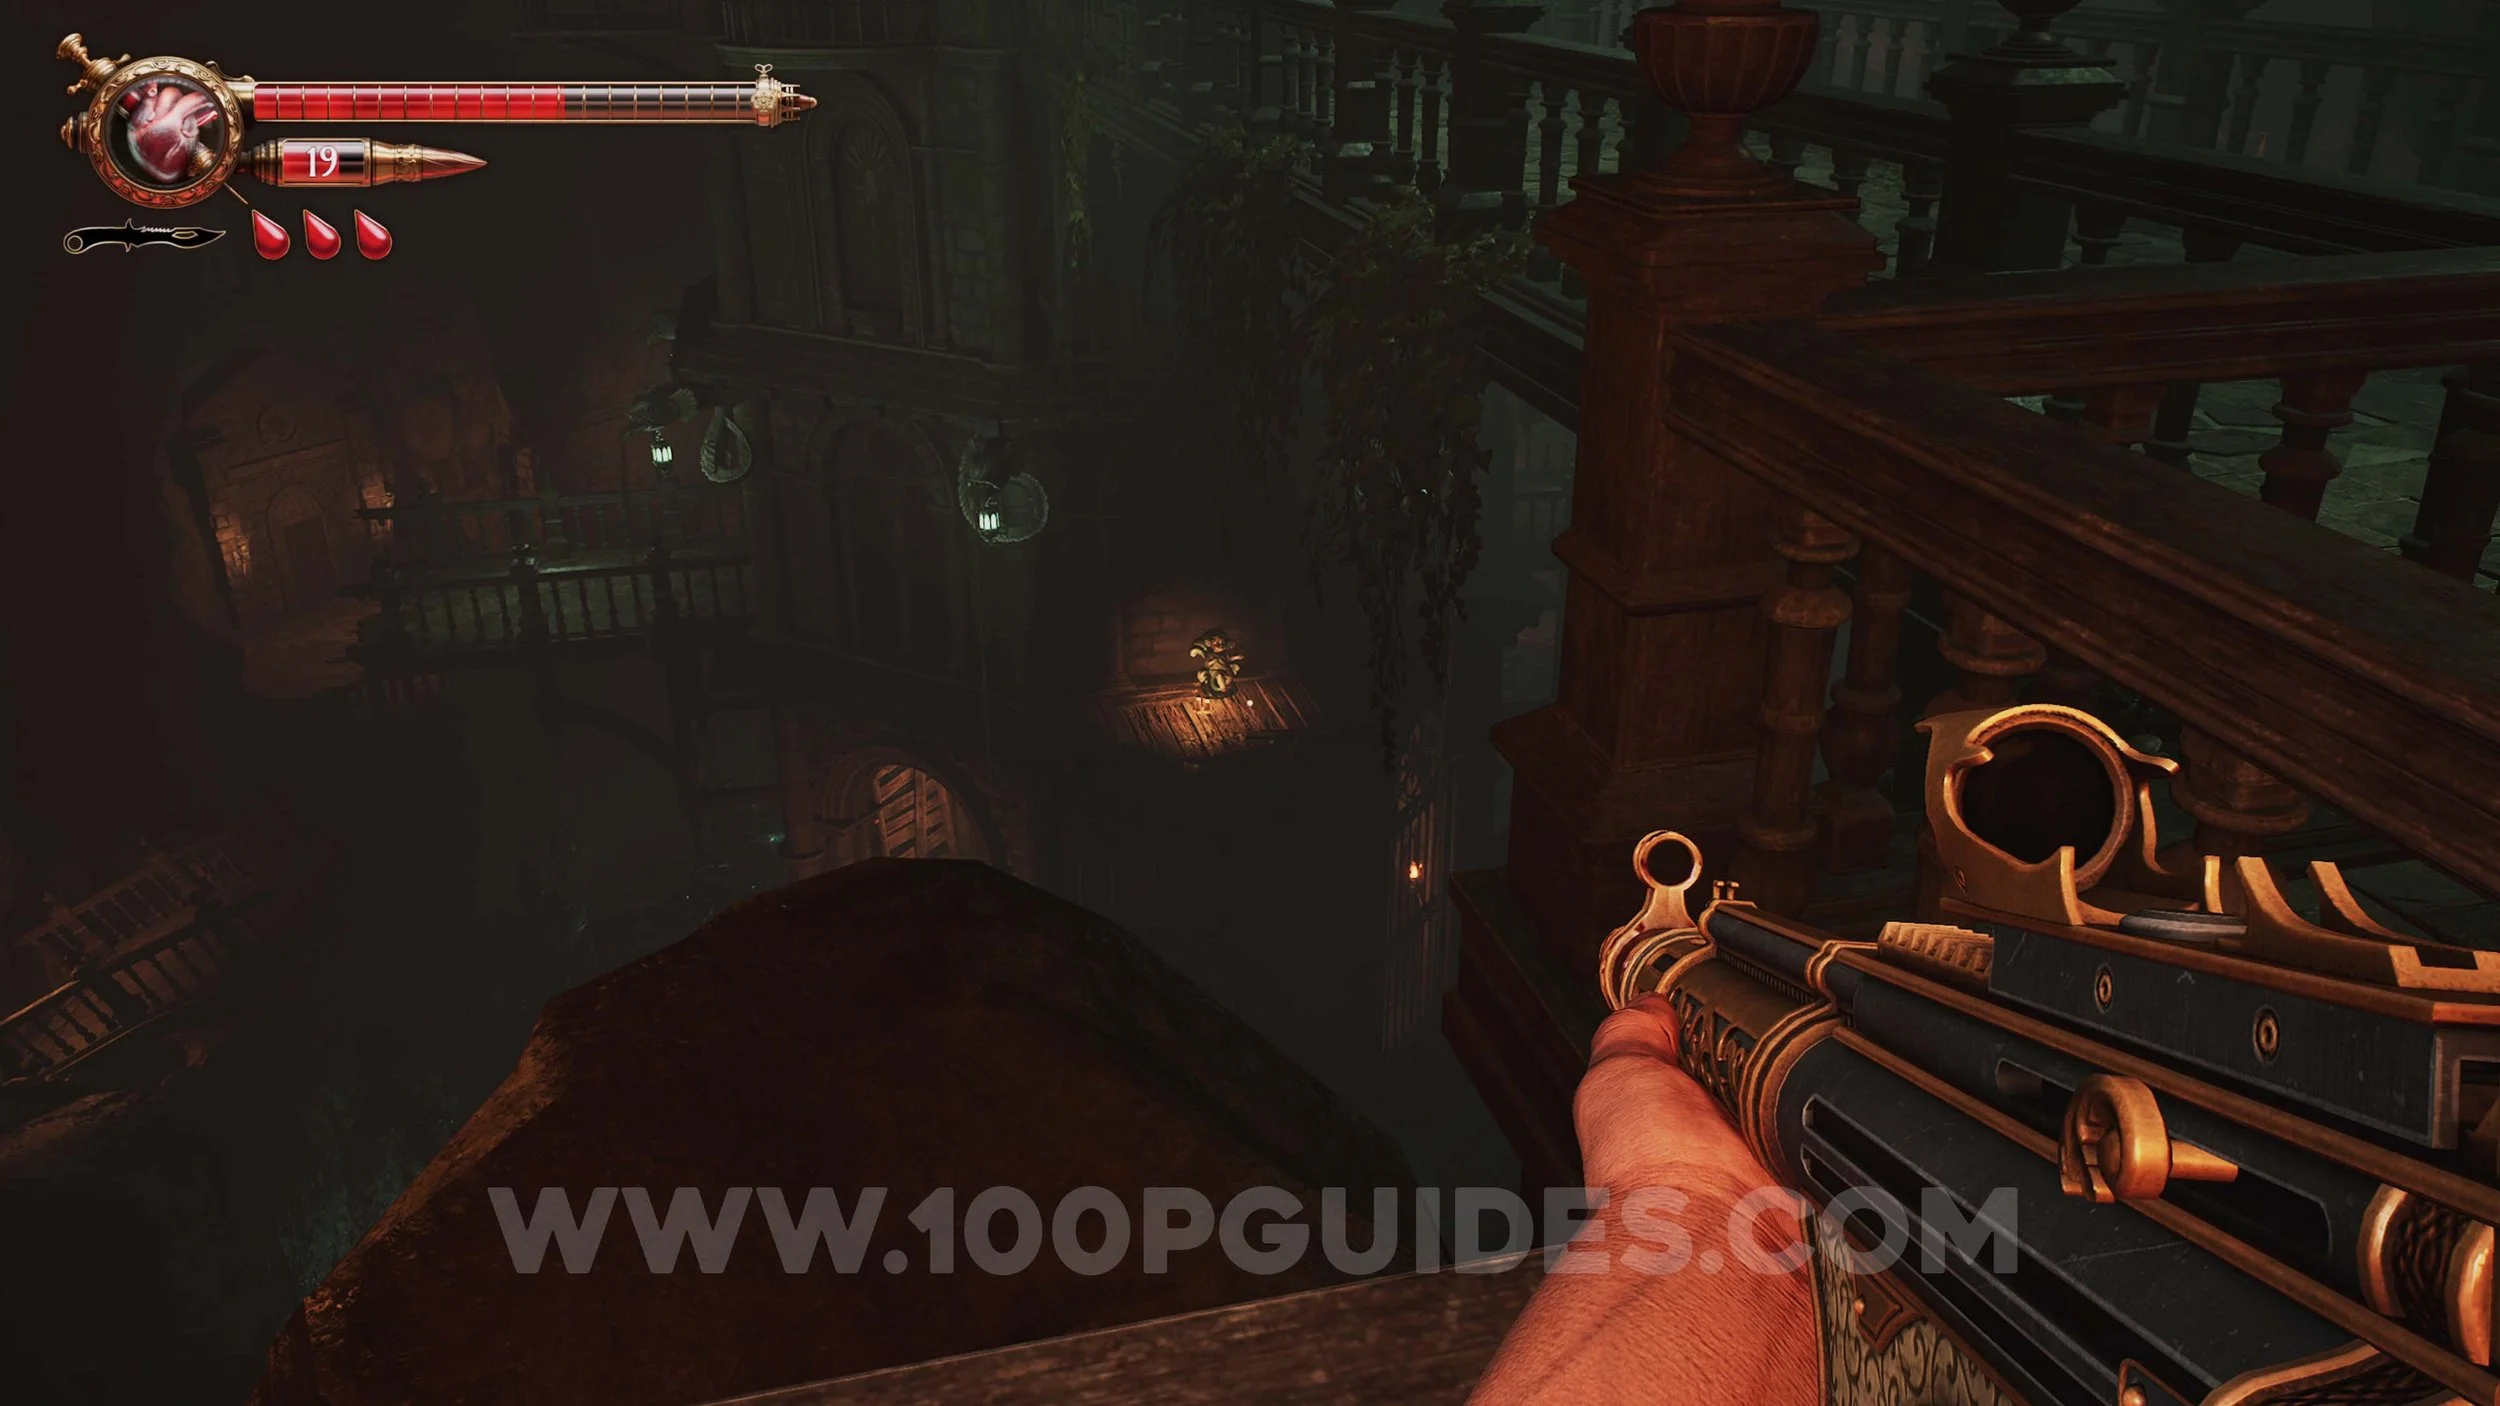
Crow #11. Go up the stairs on your right as soon as you get off the second boat.
Ulises Idol #29. After the crow you will go through a building with a lot of enemies. As you go through the top floor of this building, you will see a destroyed wall on your left just before getting to a shelf you have to push out of the way. The doll can be found inside the room on the other side of the destroyed wall.

Ulises Idol #30. In the same area where you get the Small Ship Wheel (key item). Go through the door on the right and go to the top floor to find the doll.

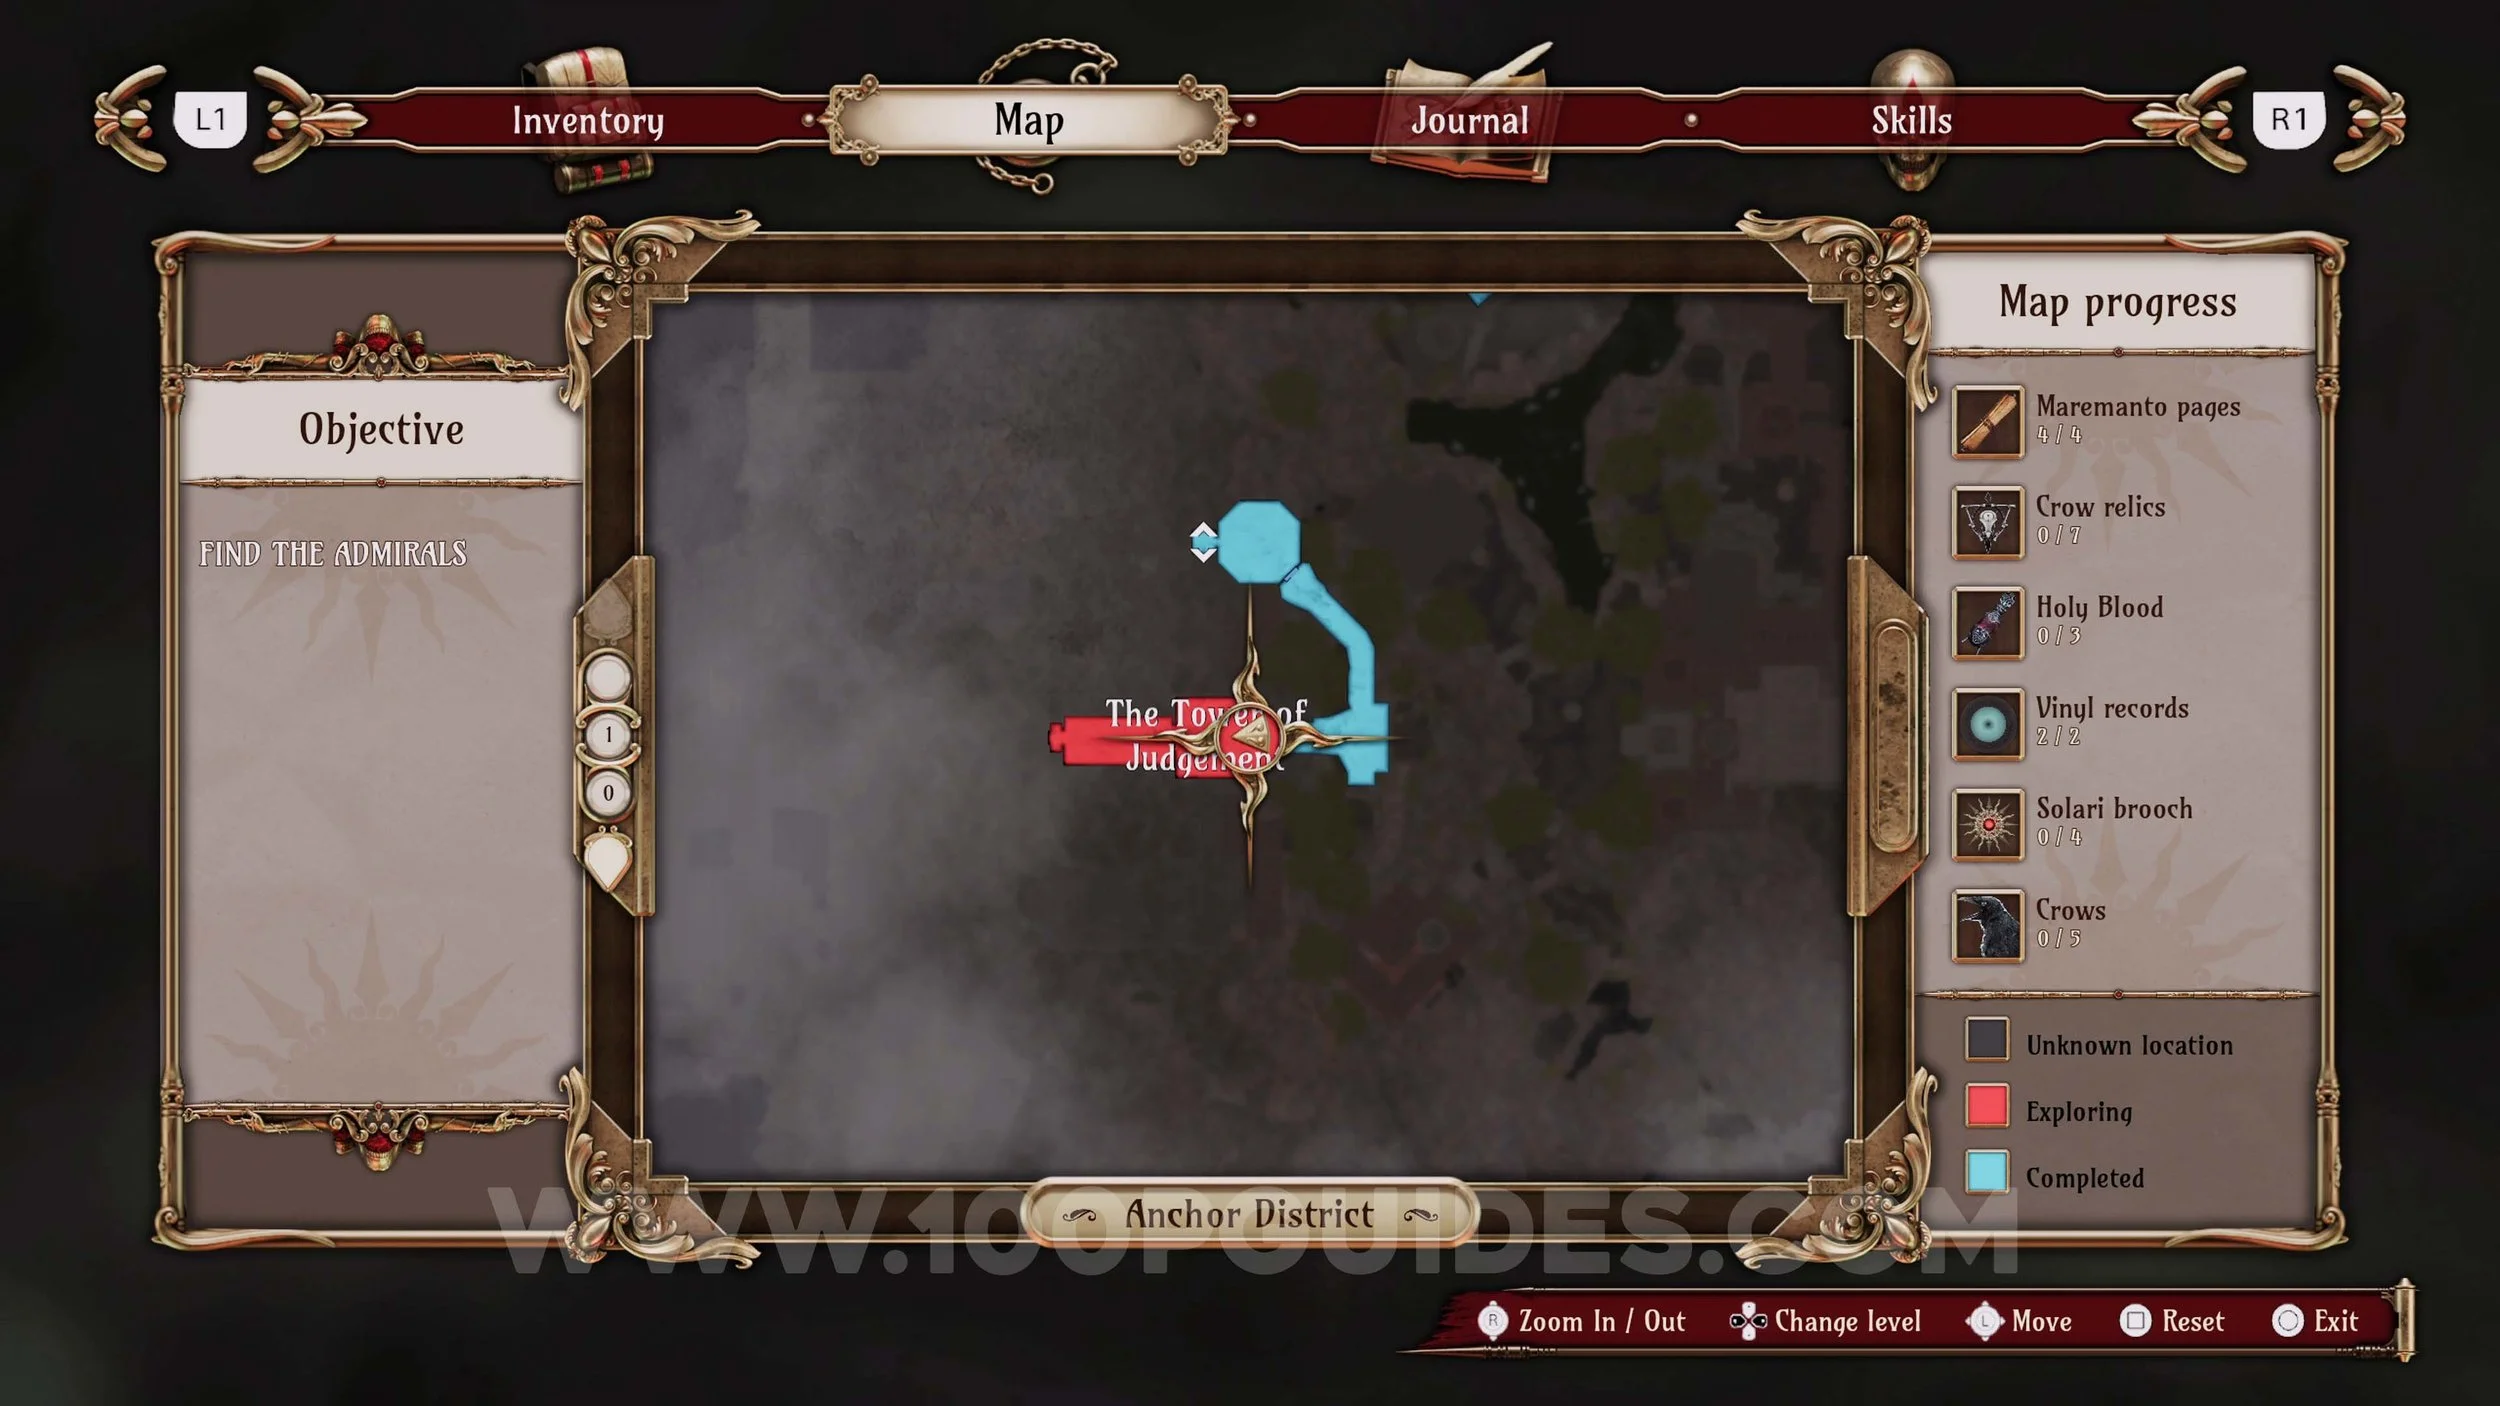
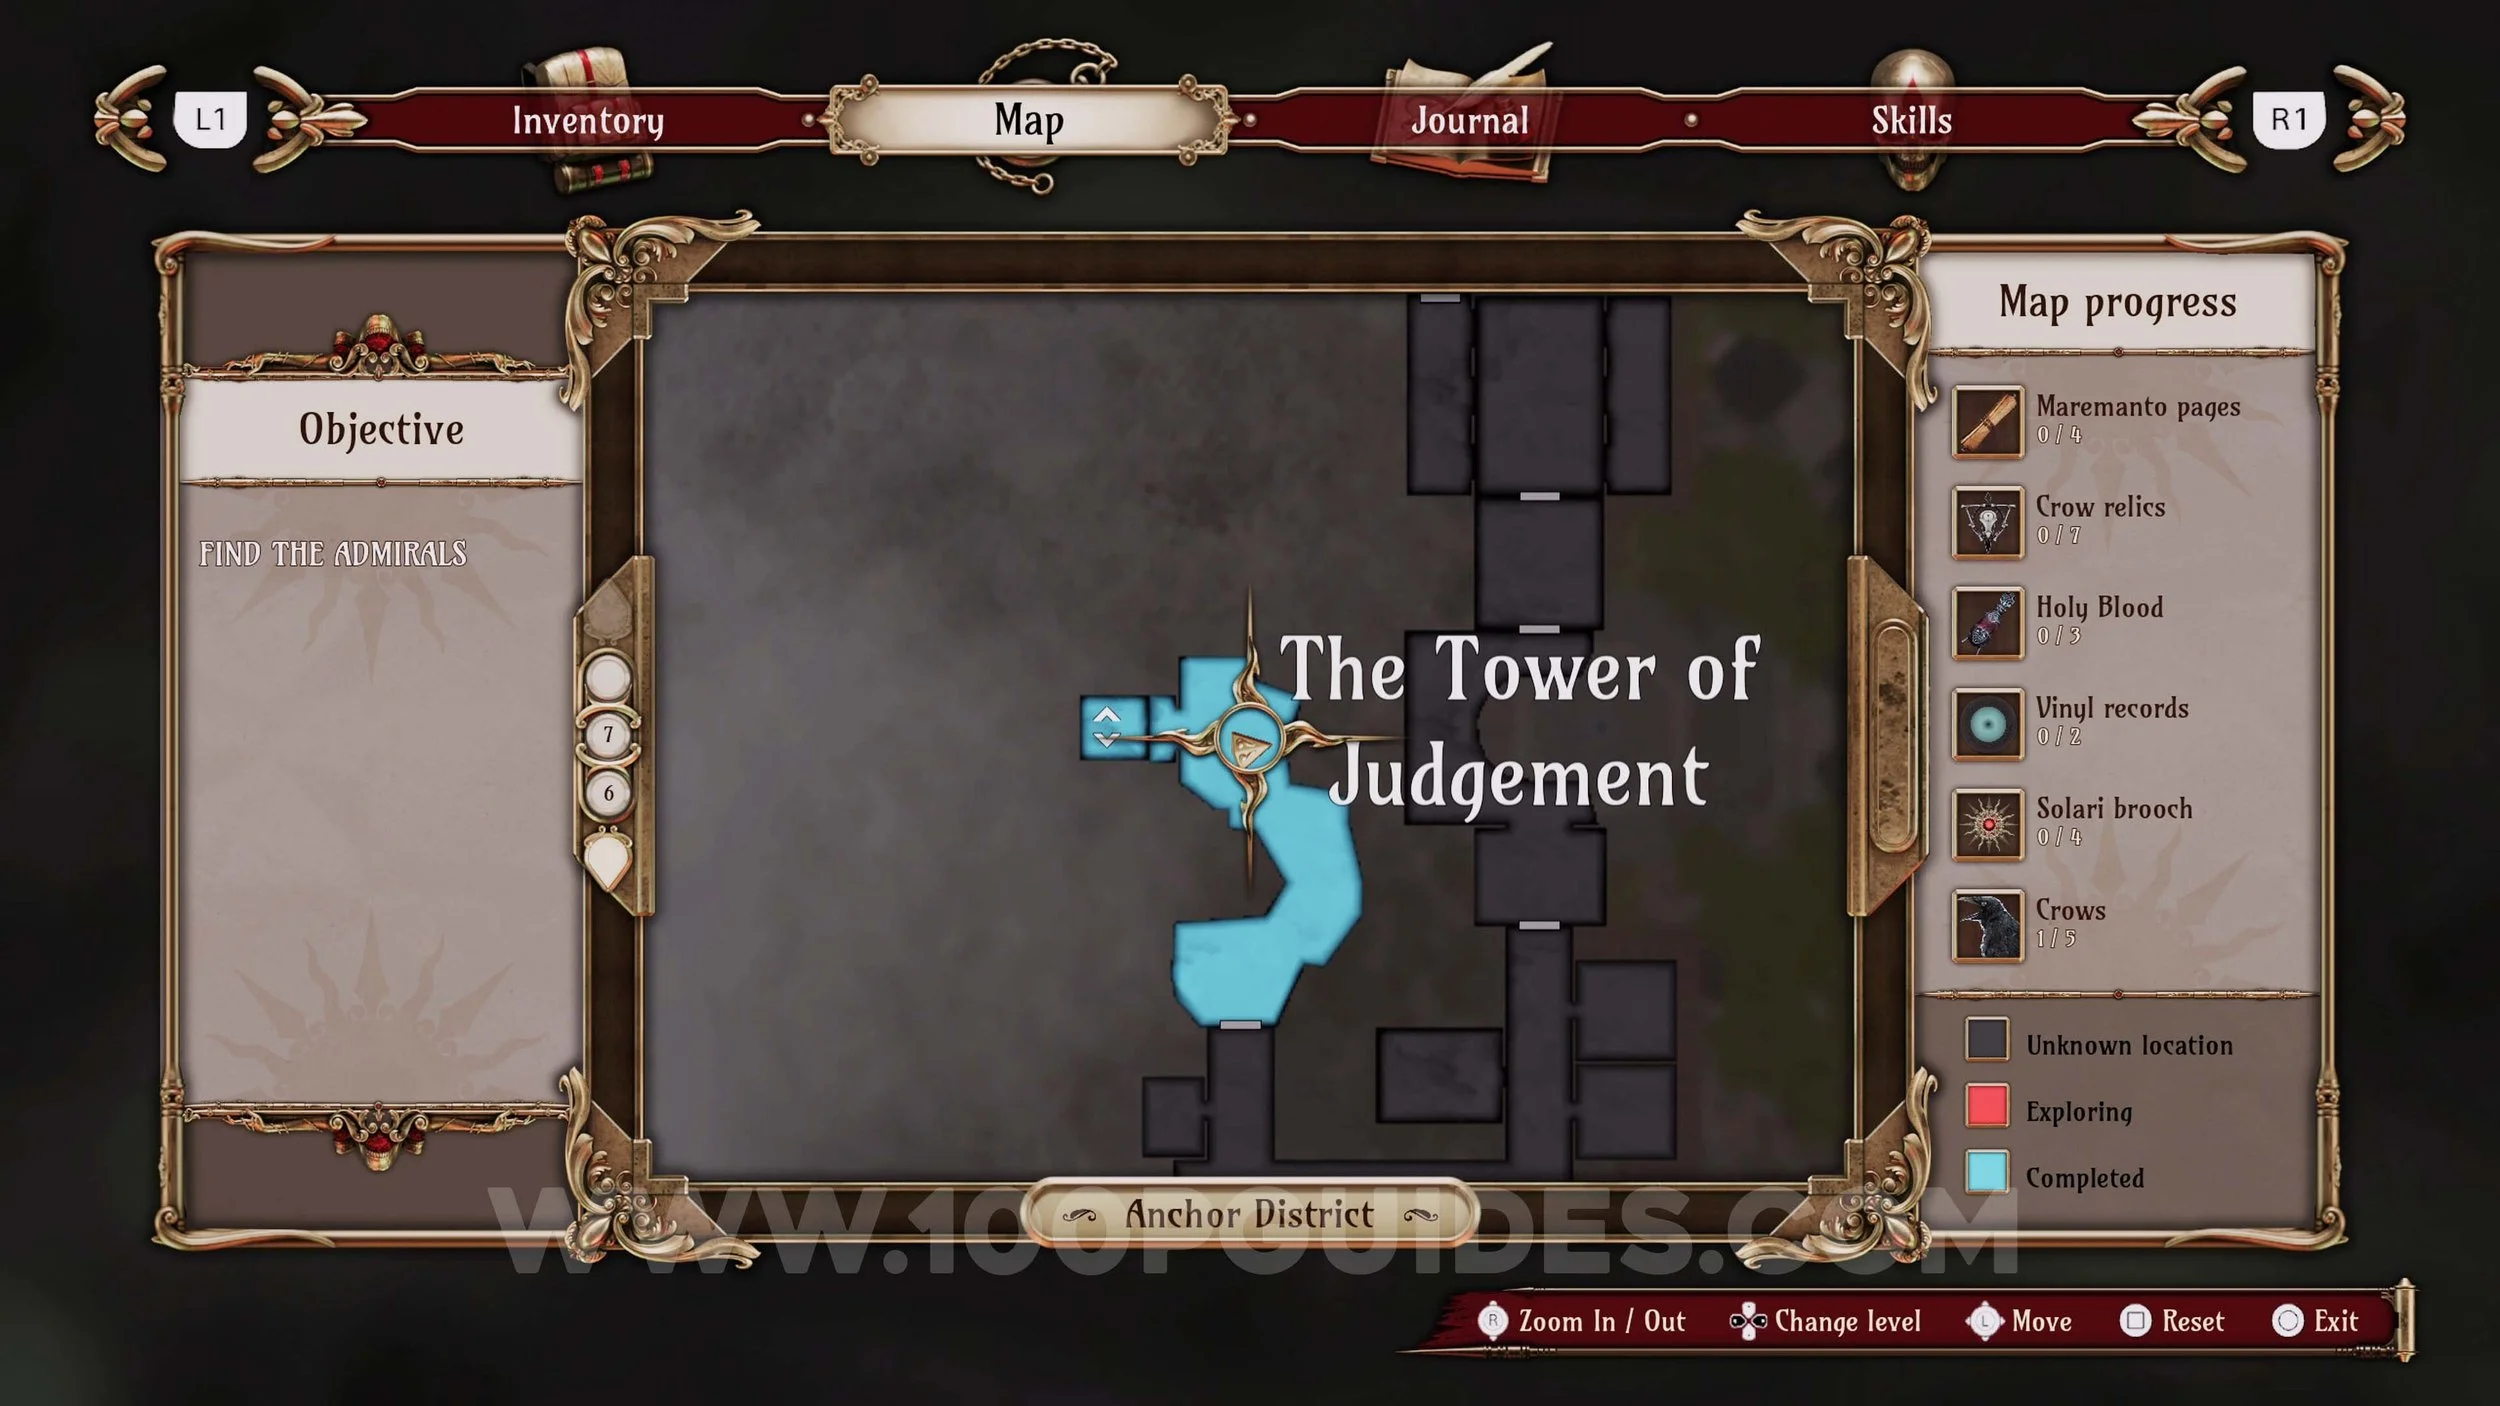
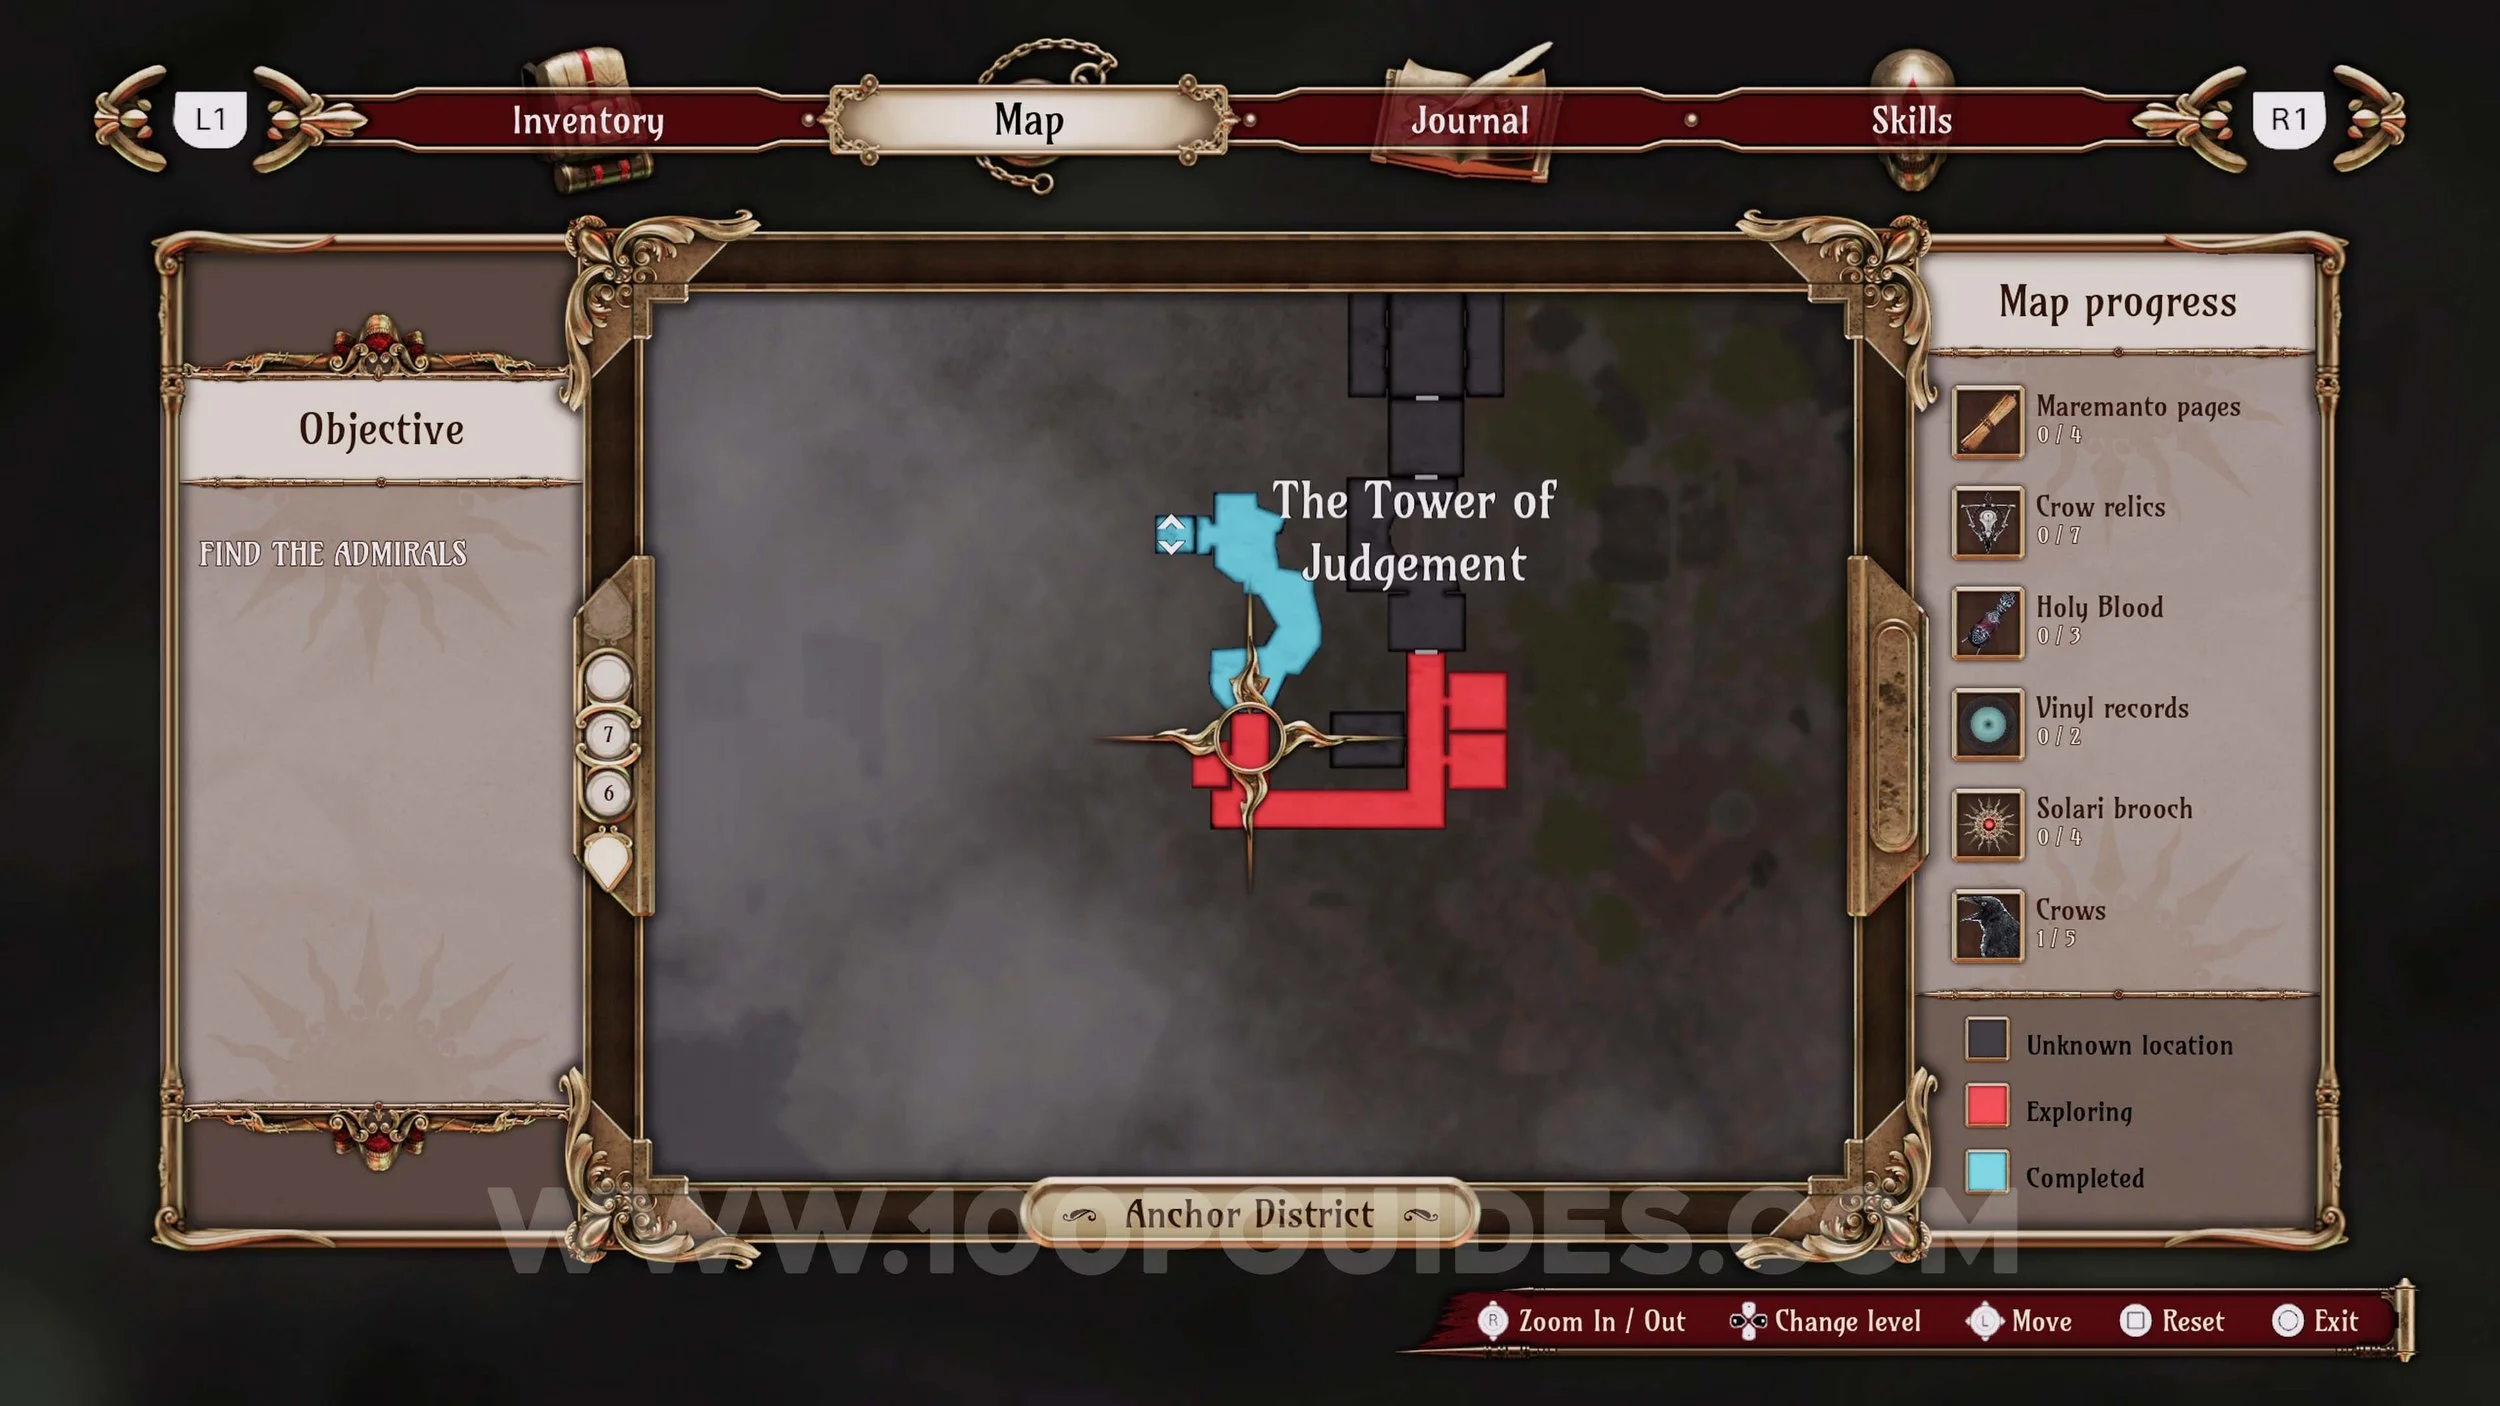
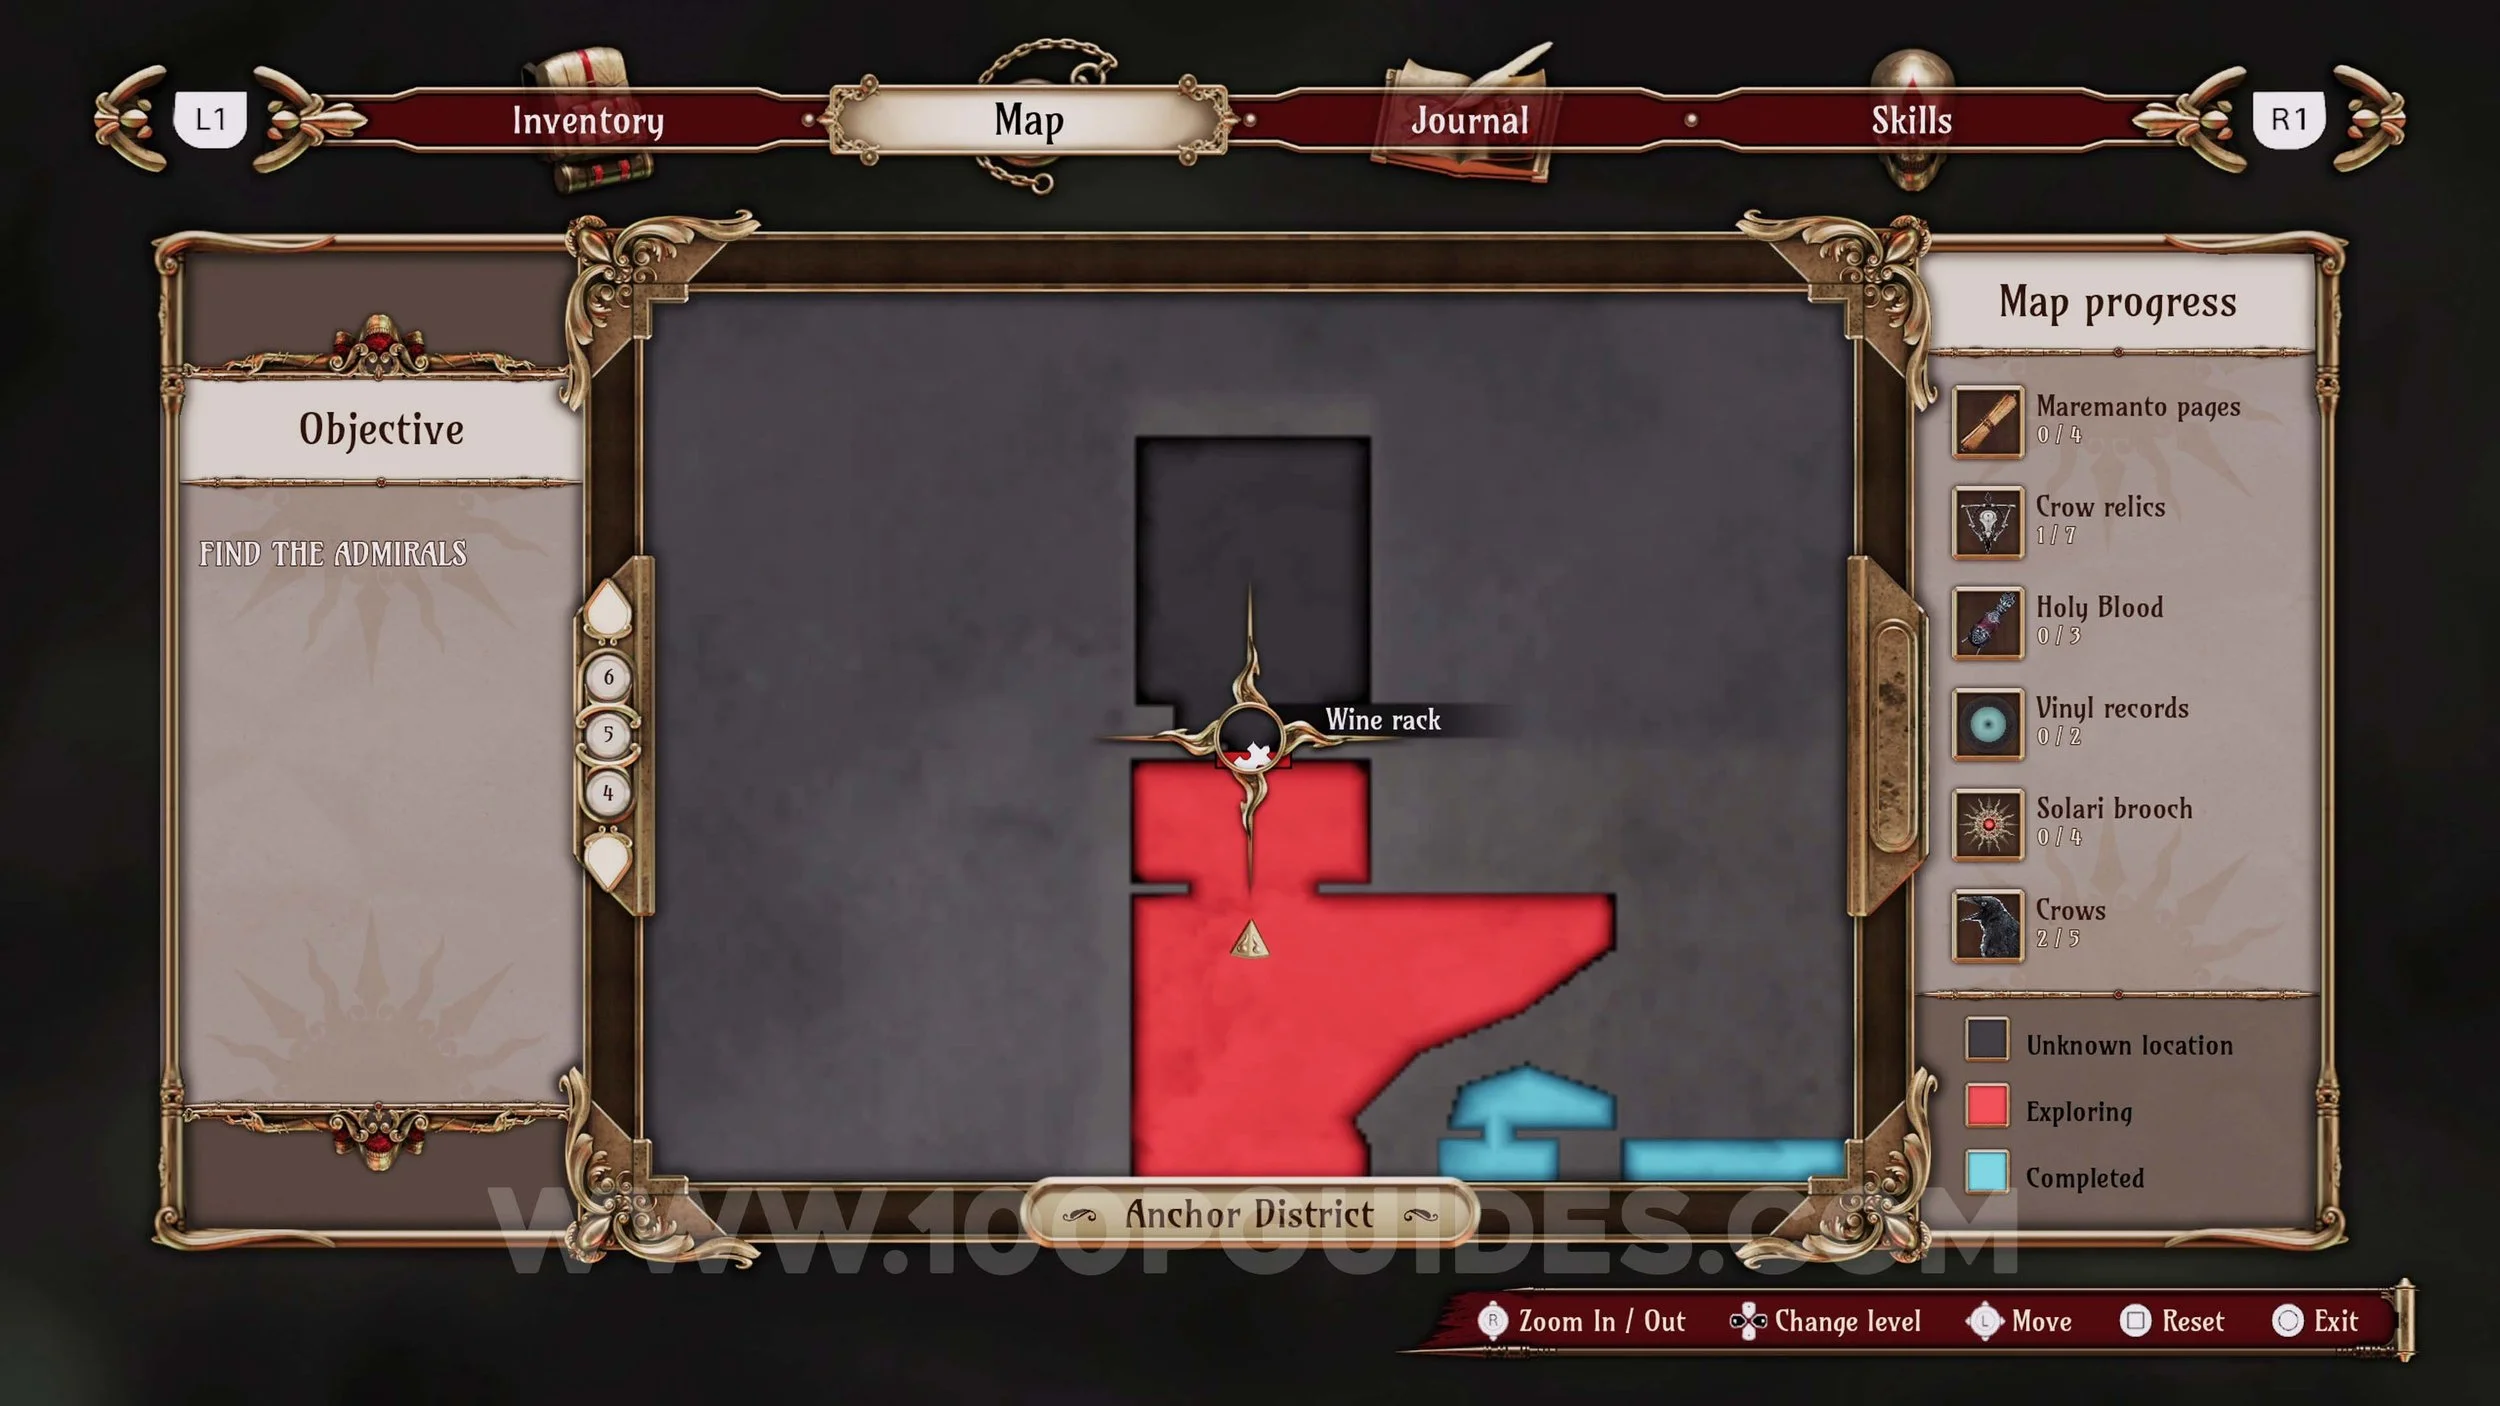
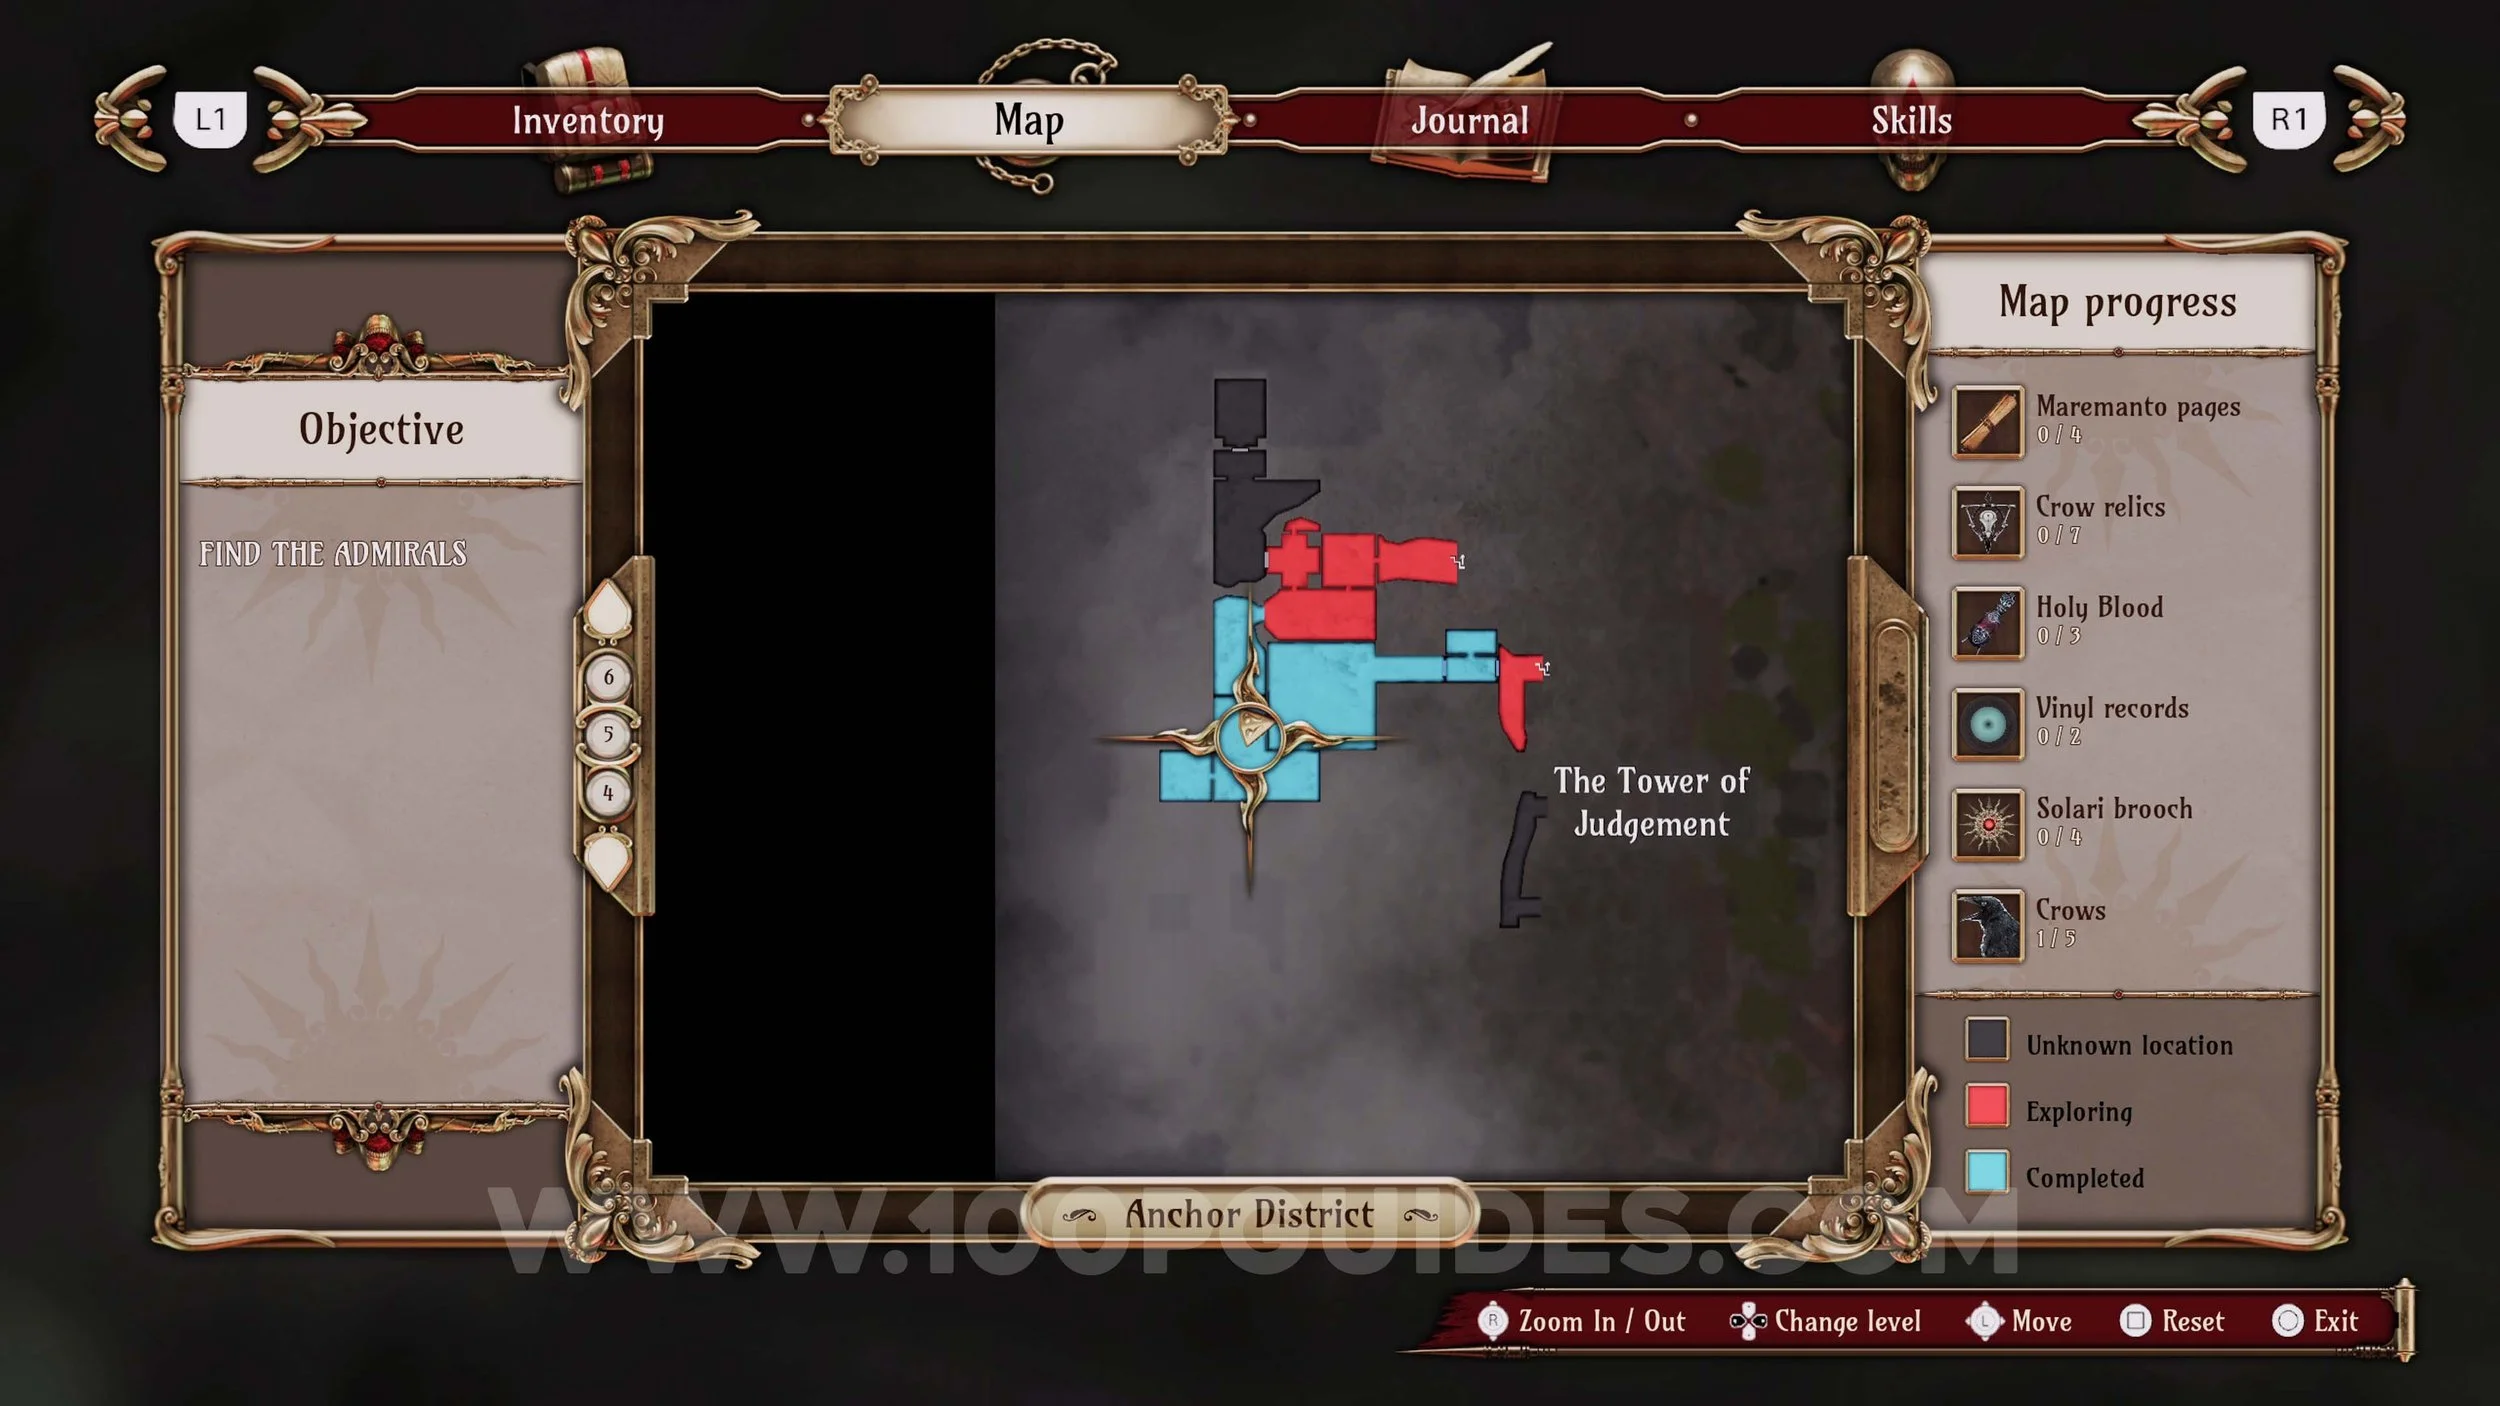
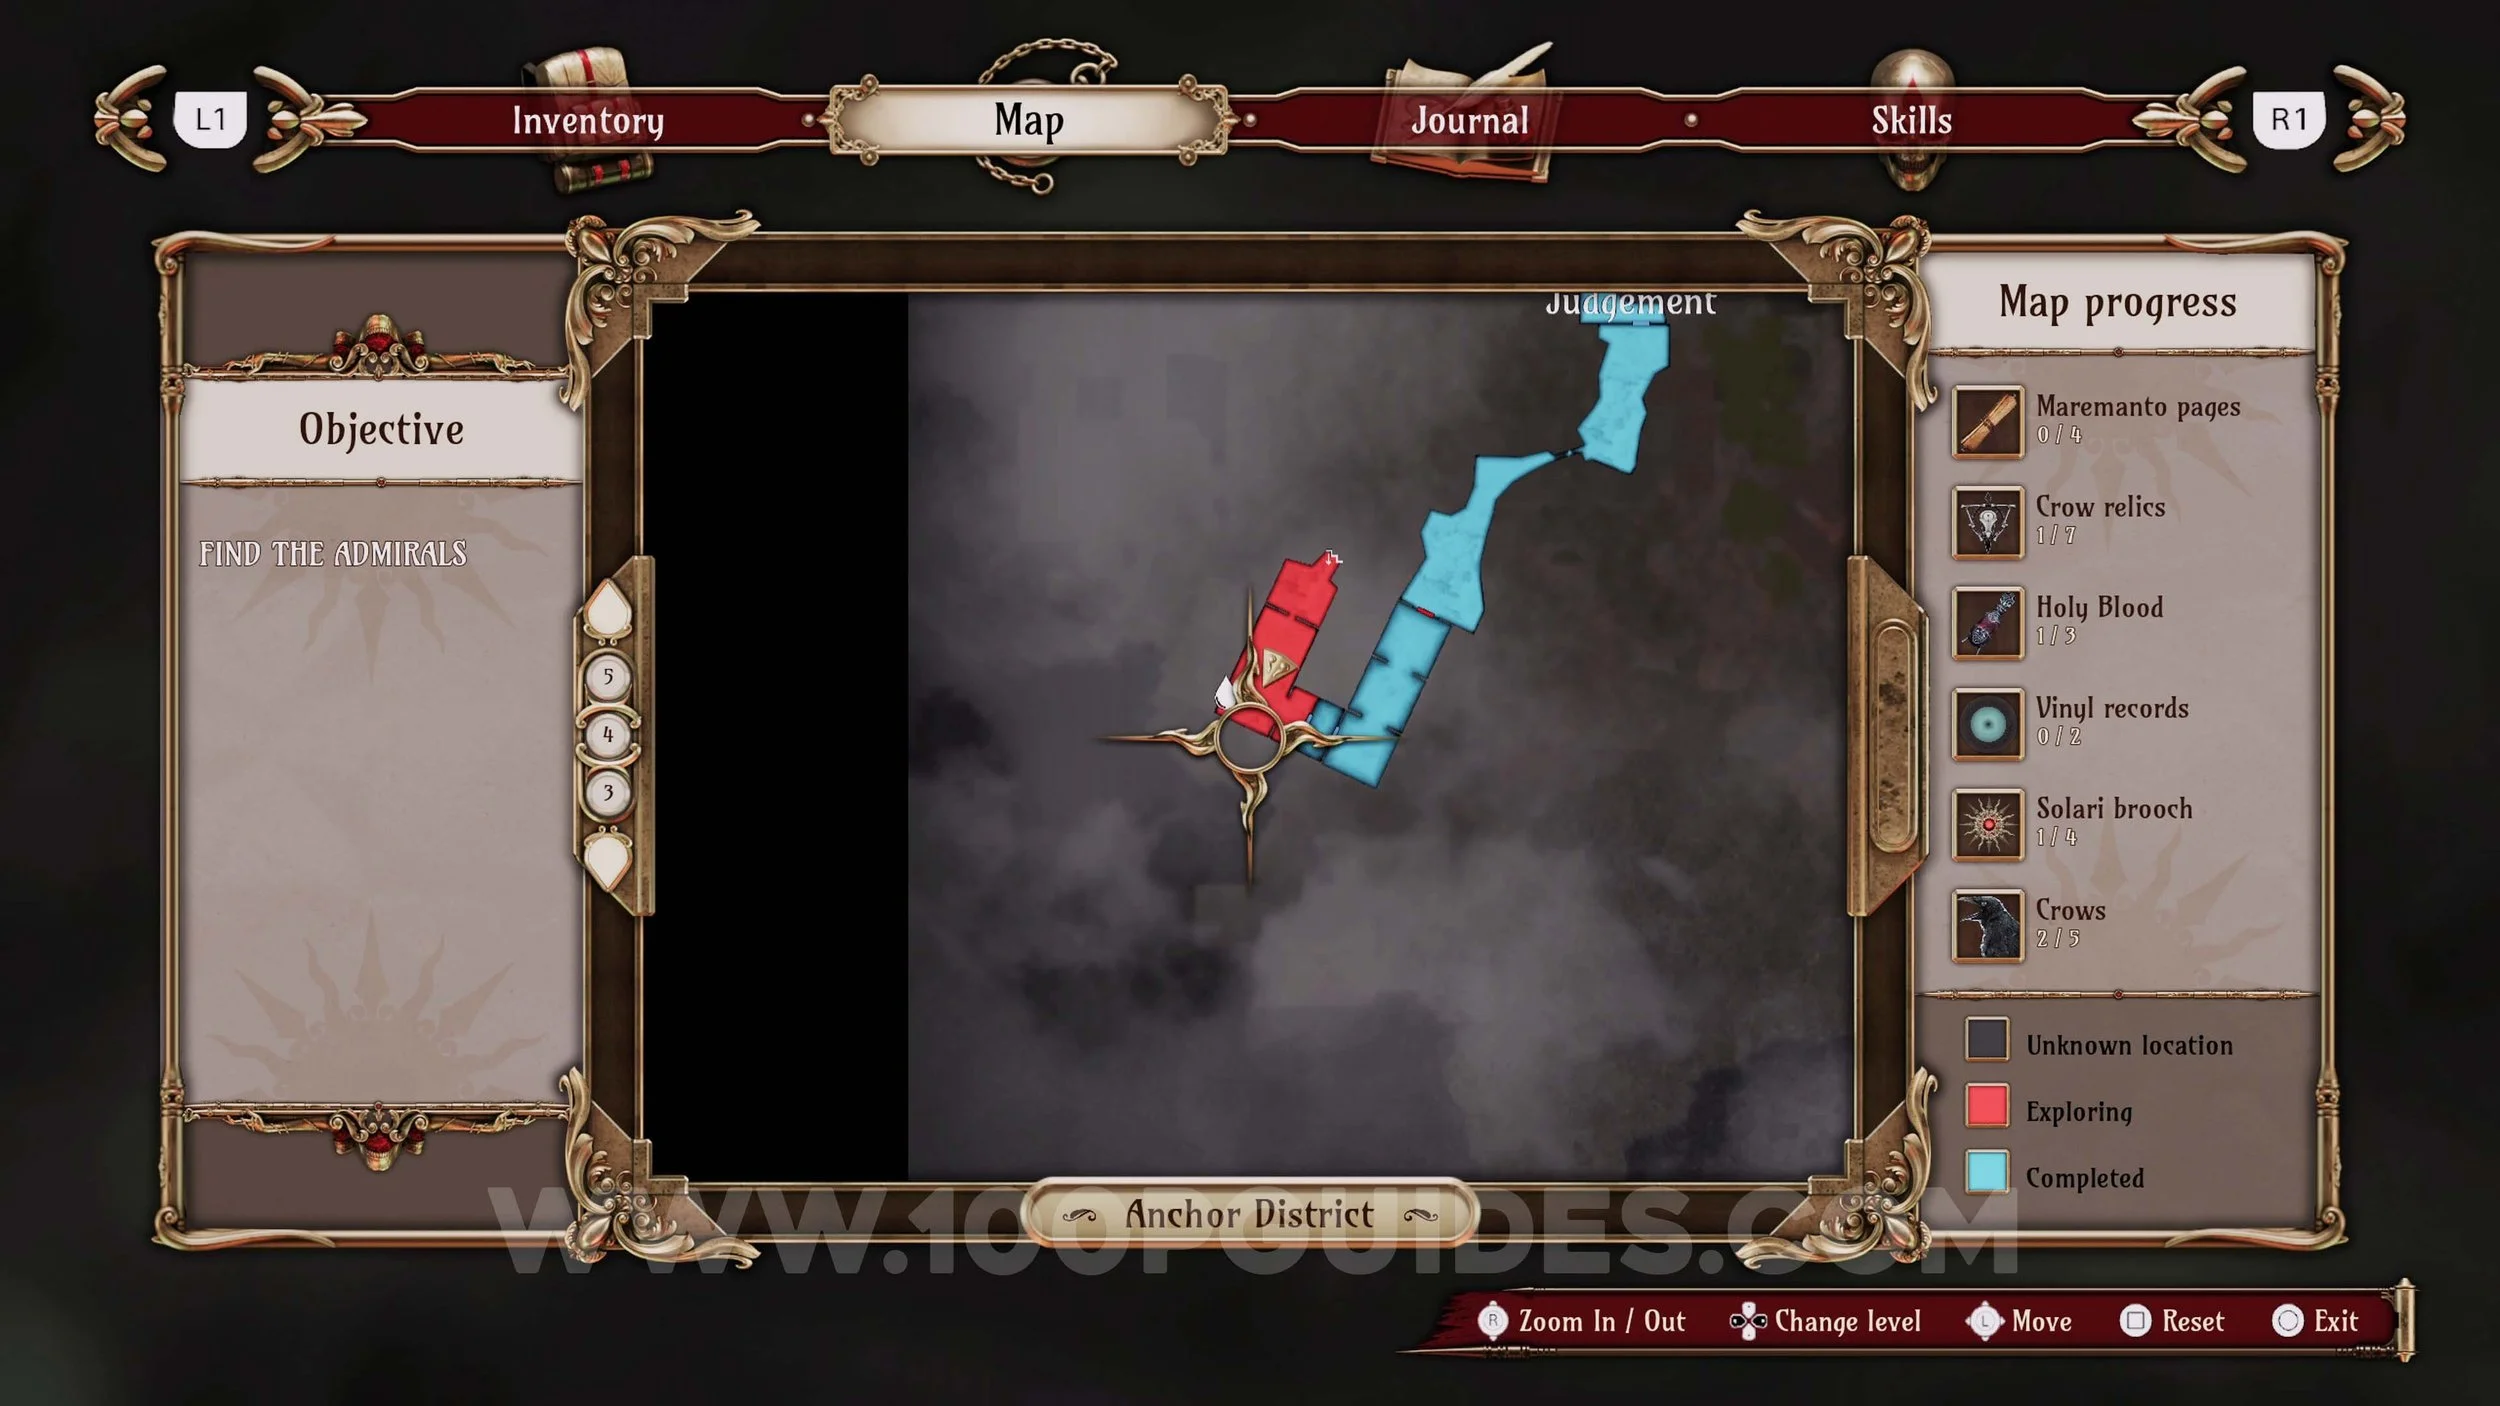
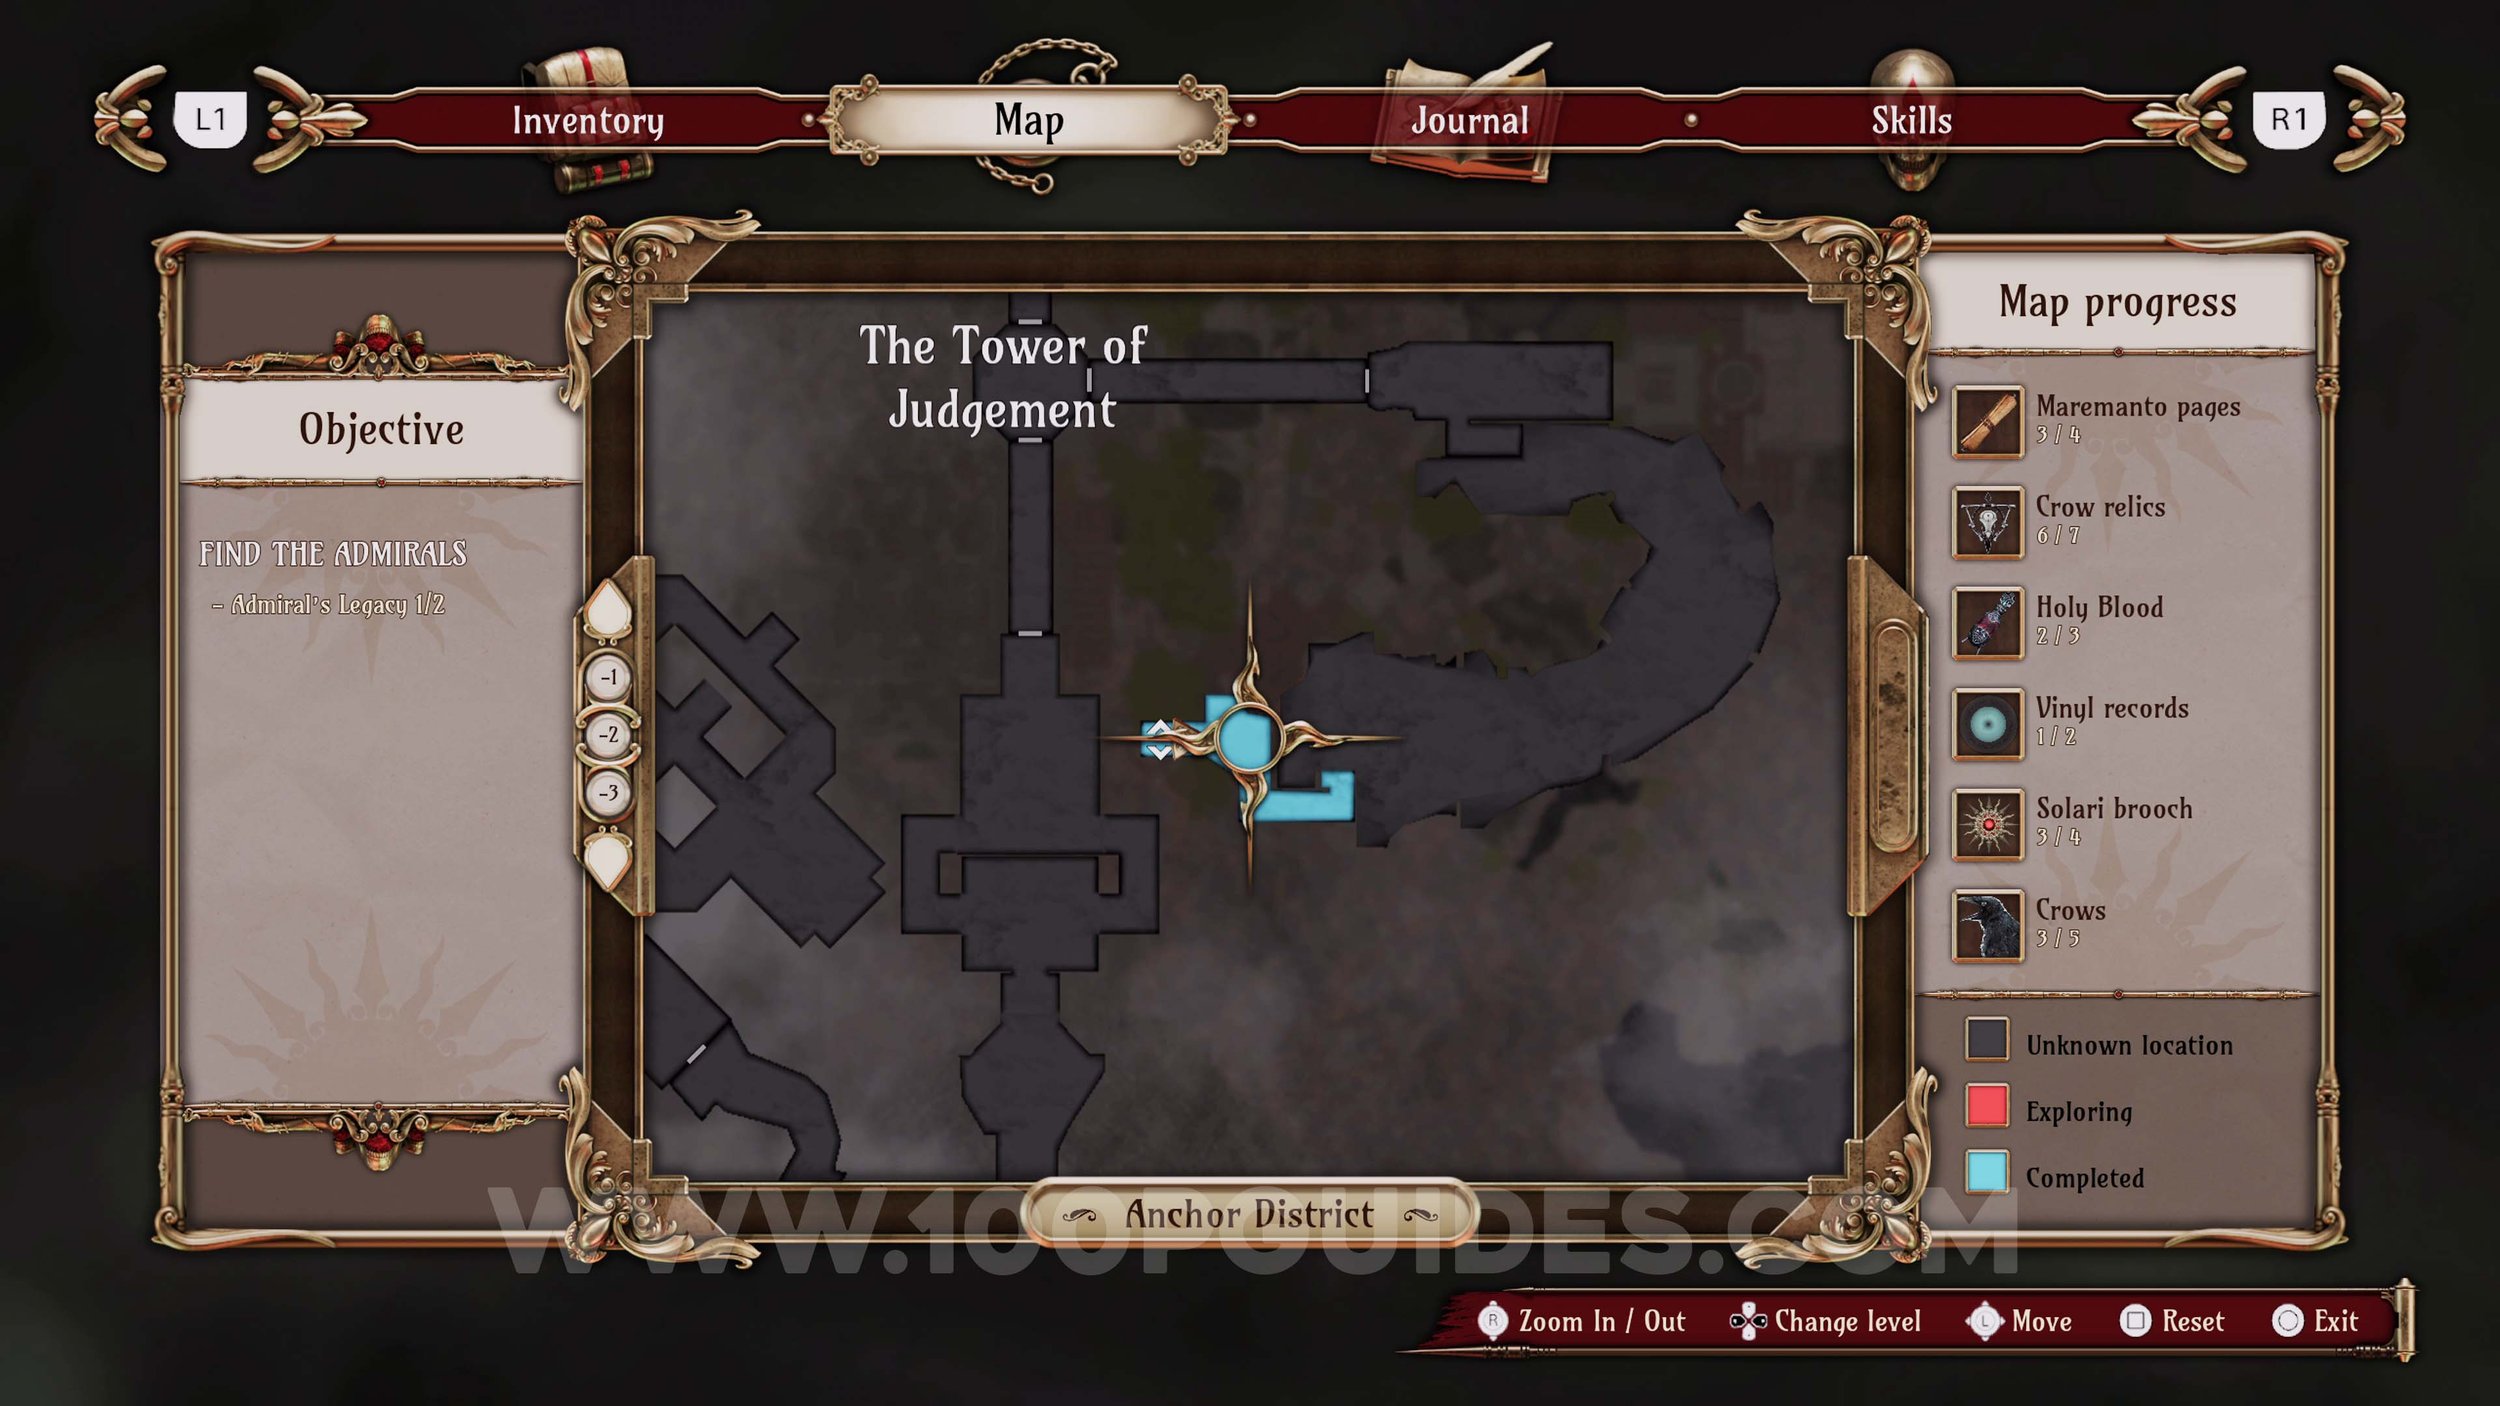
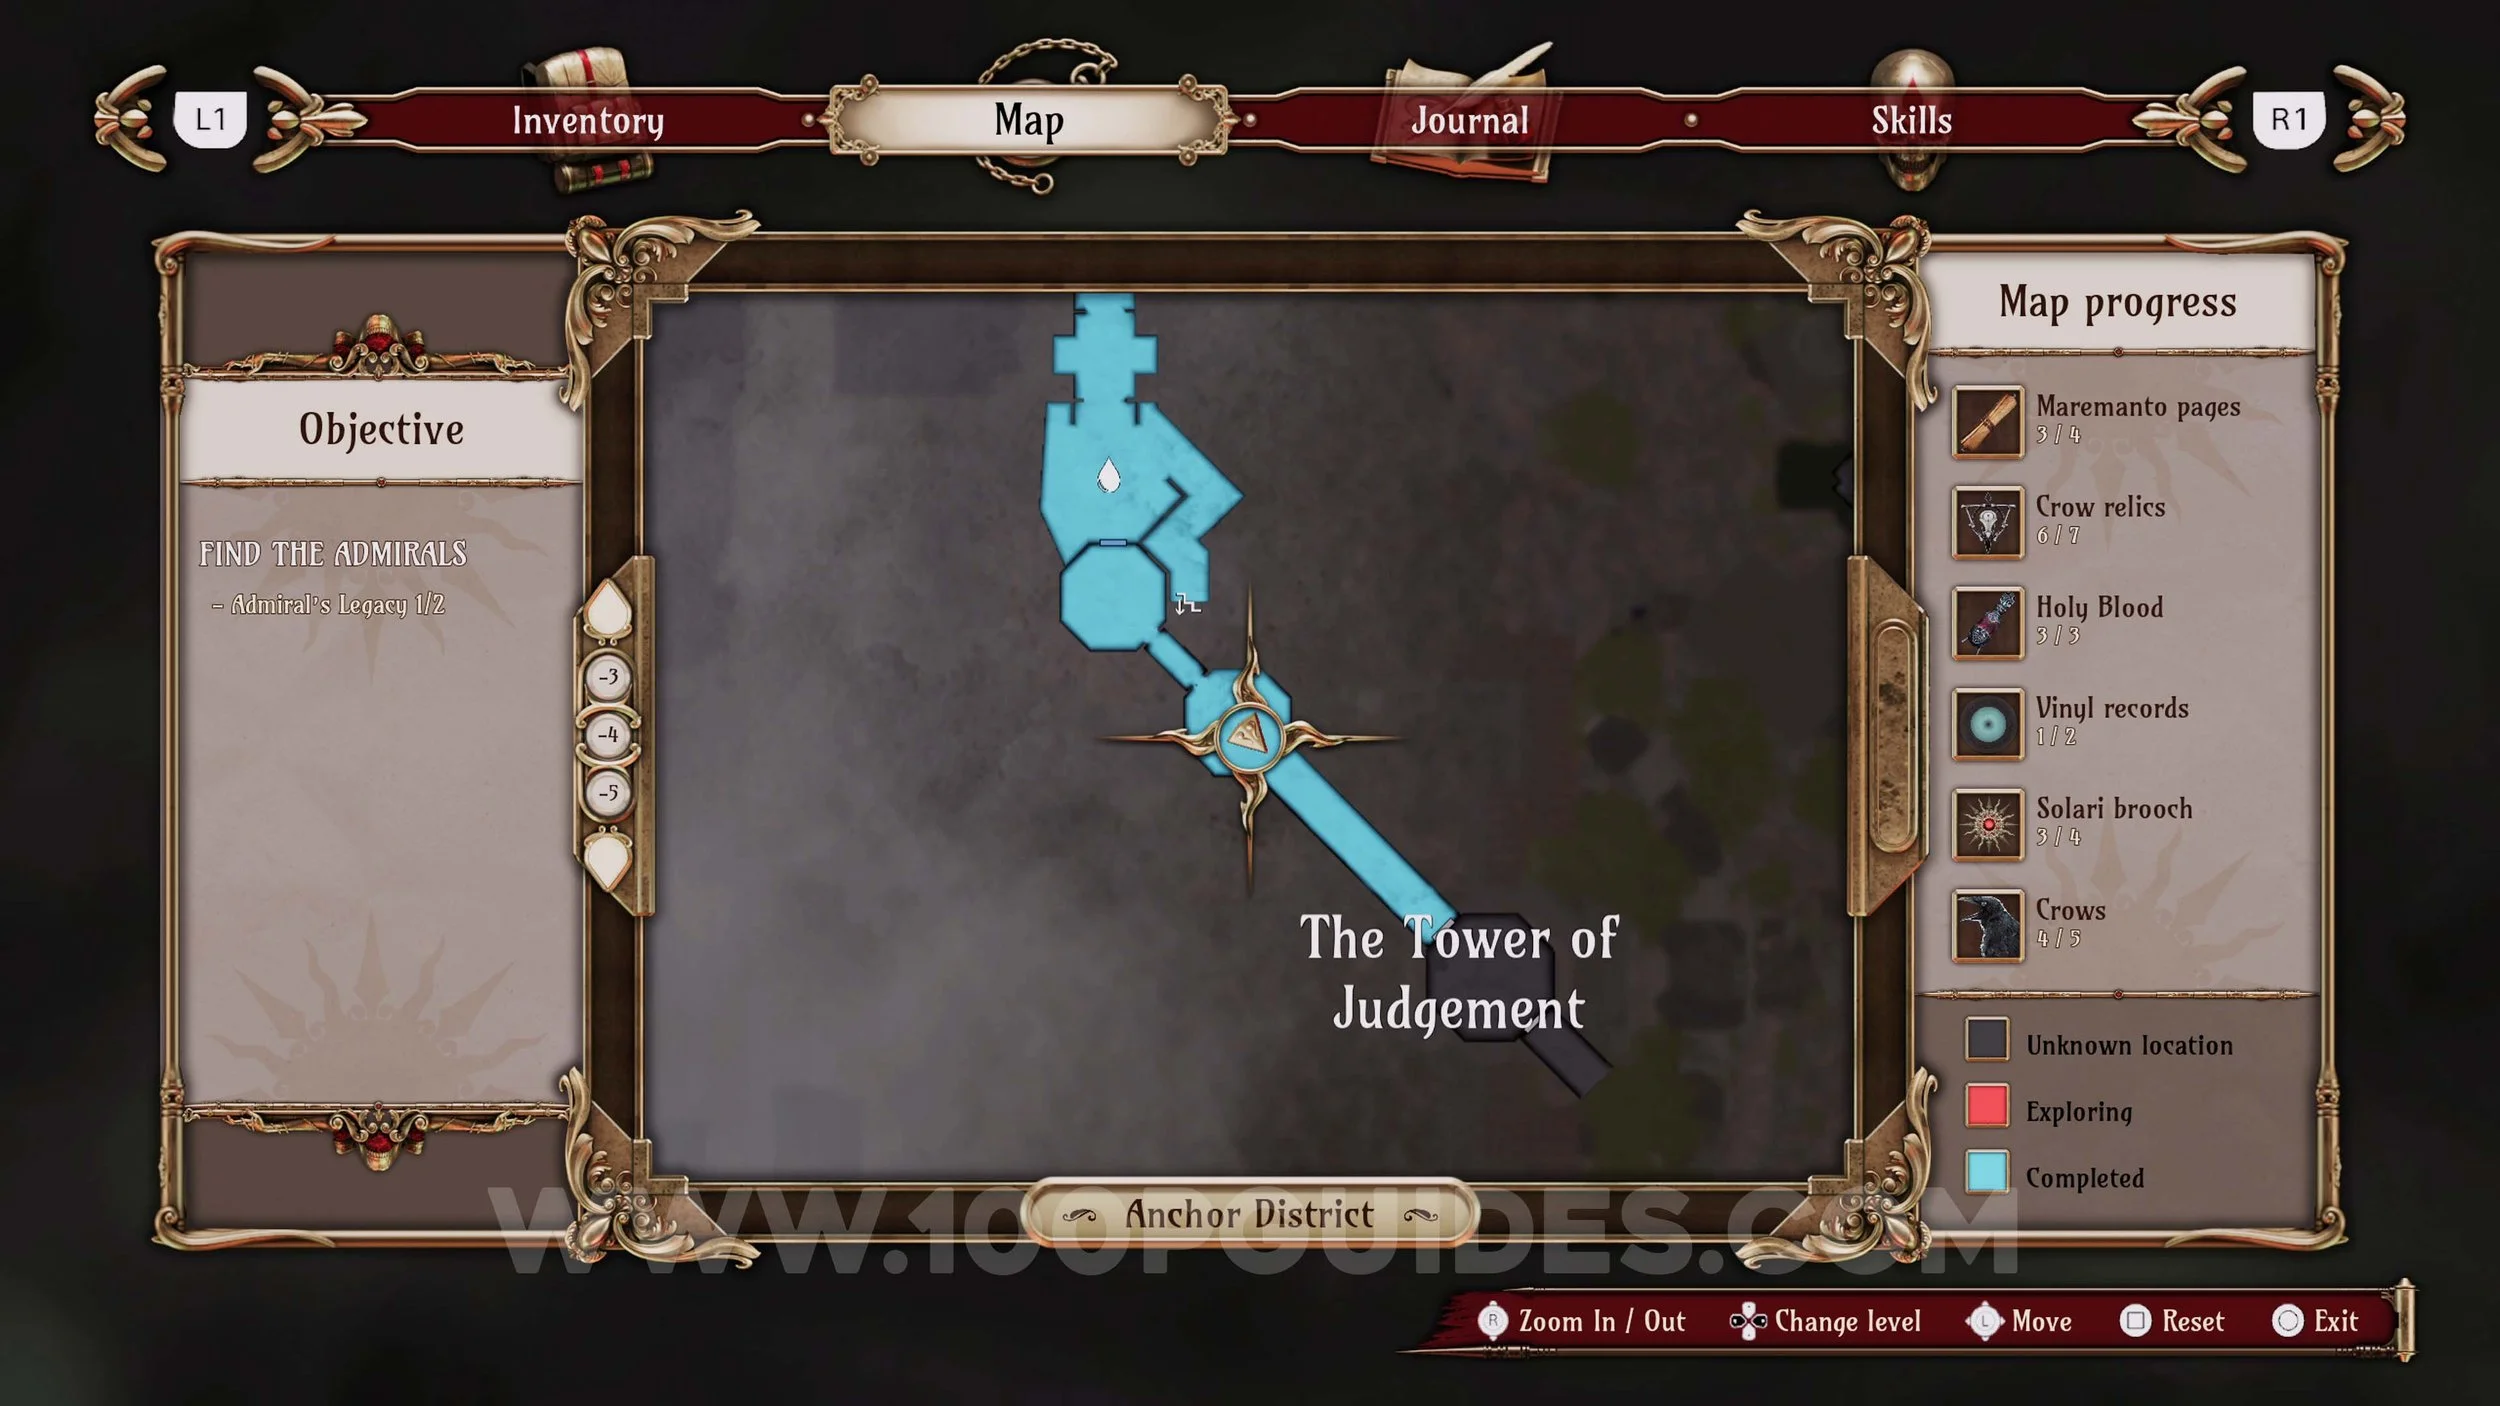
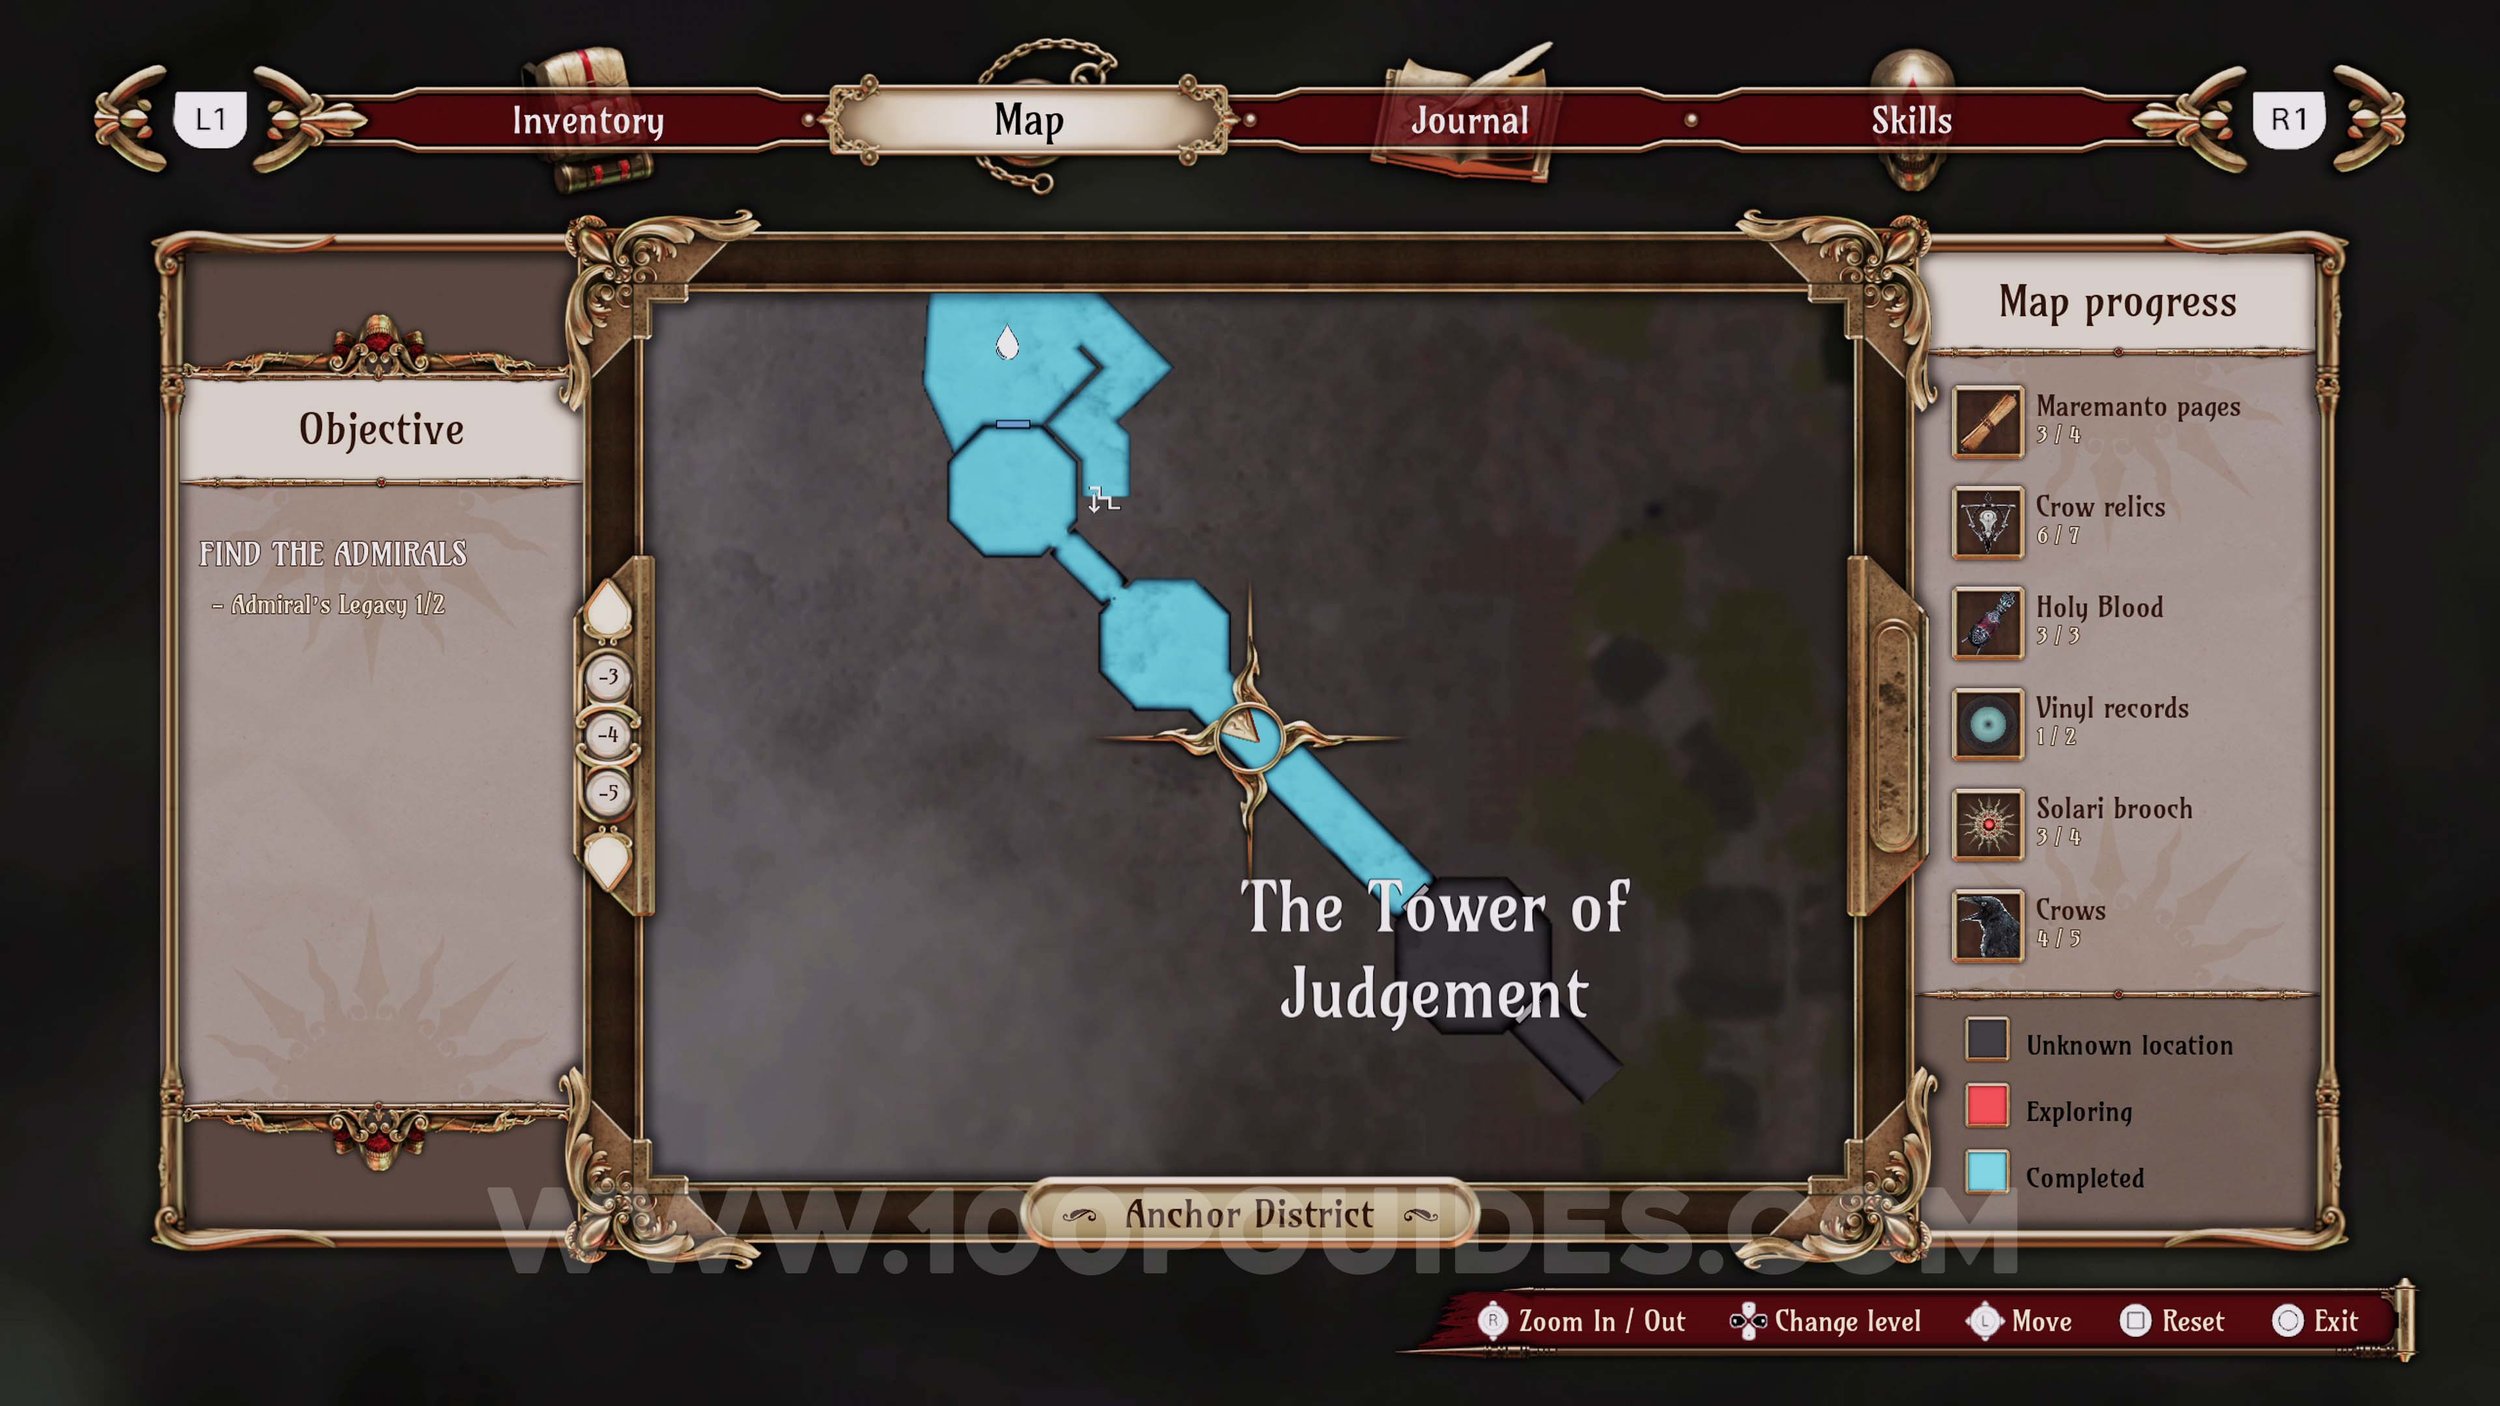
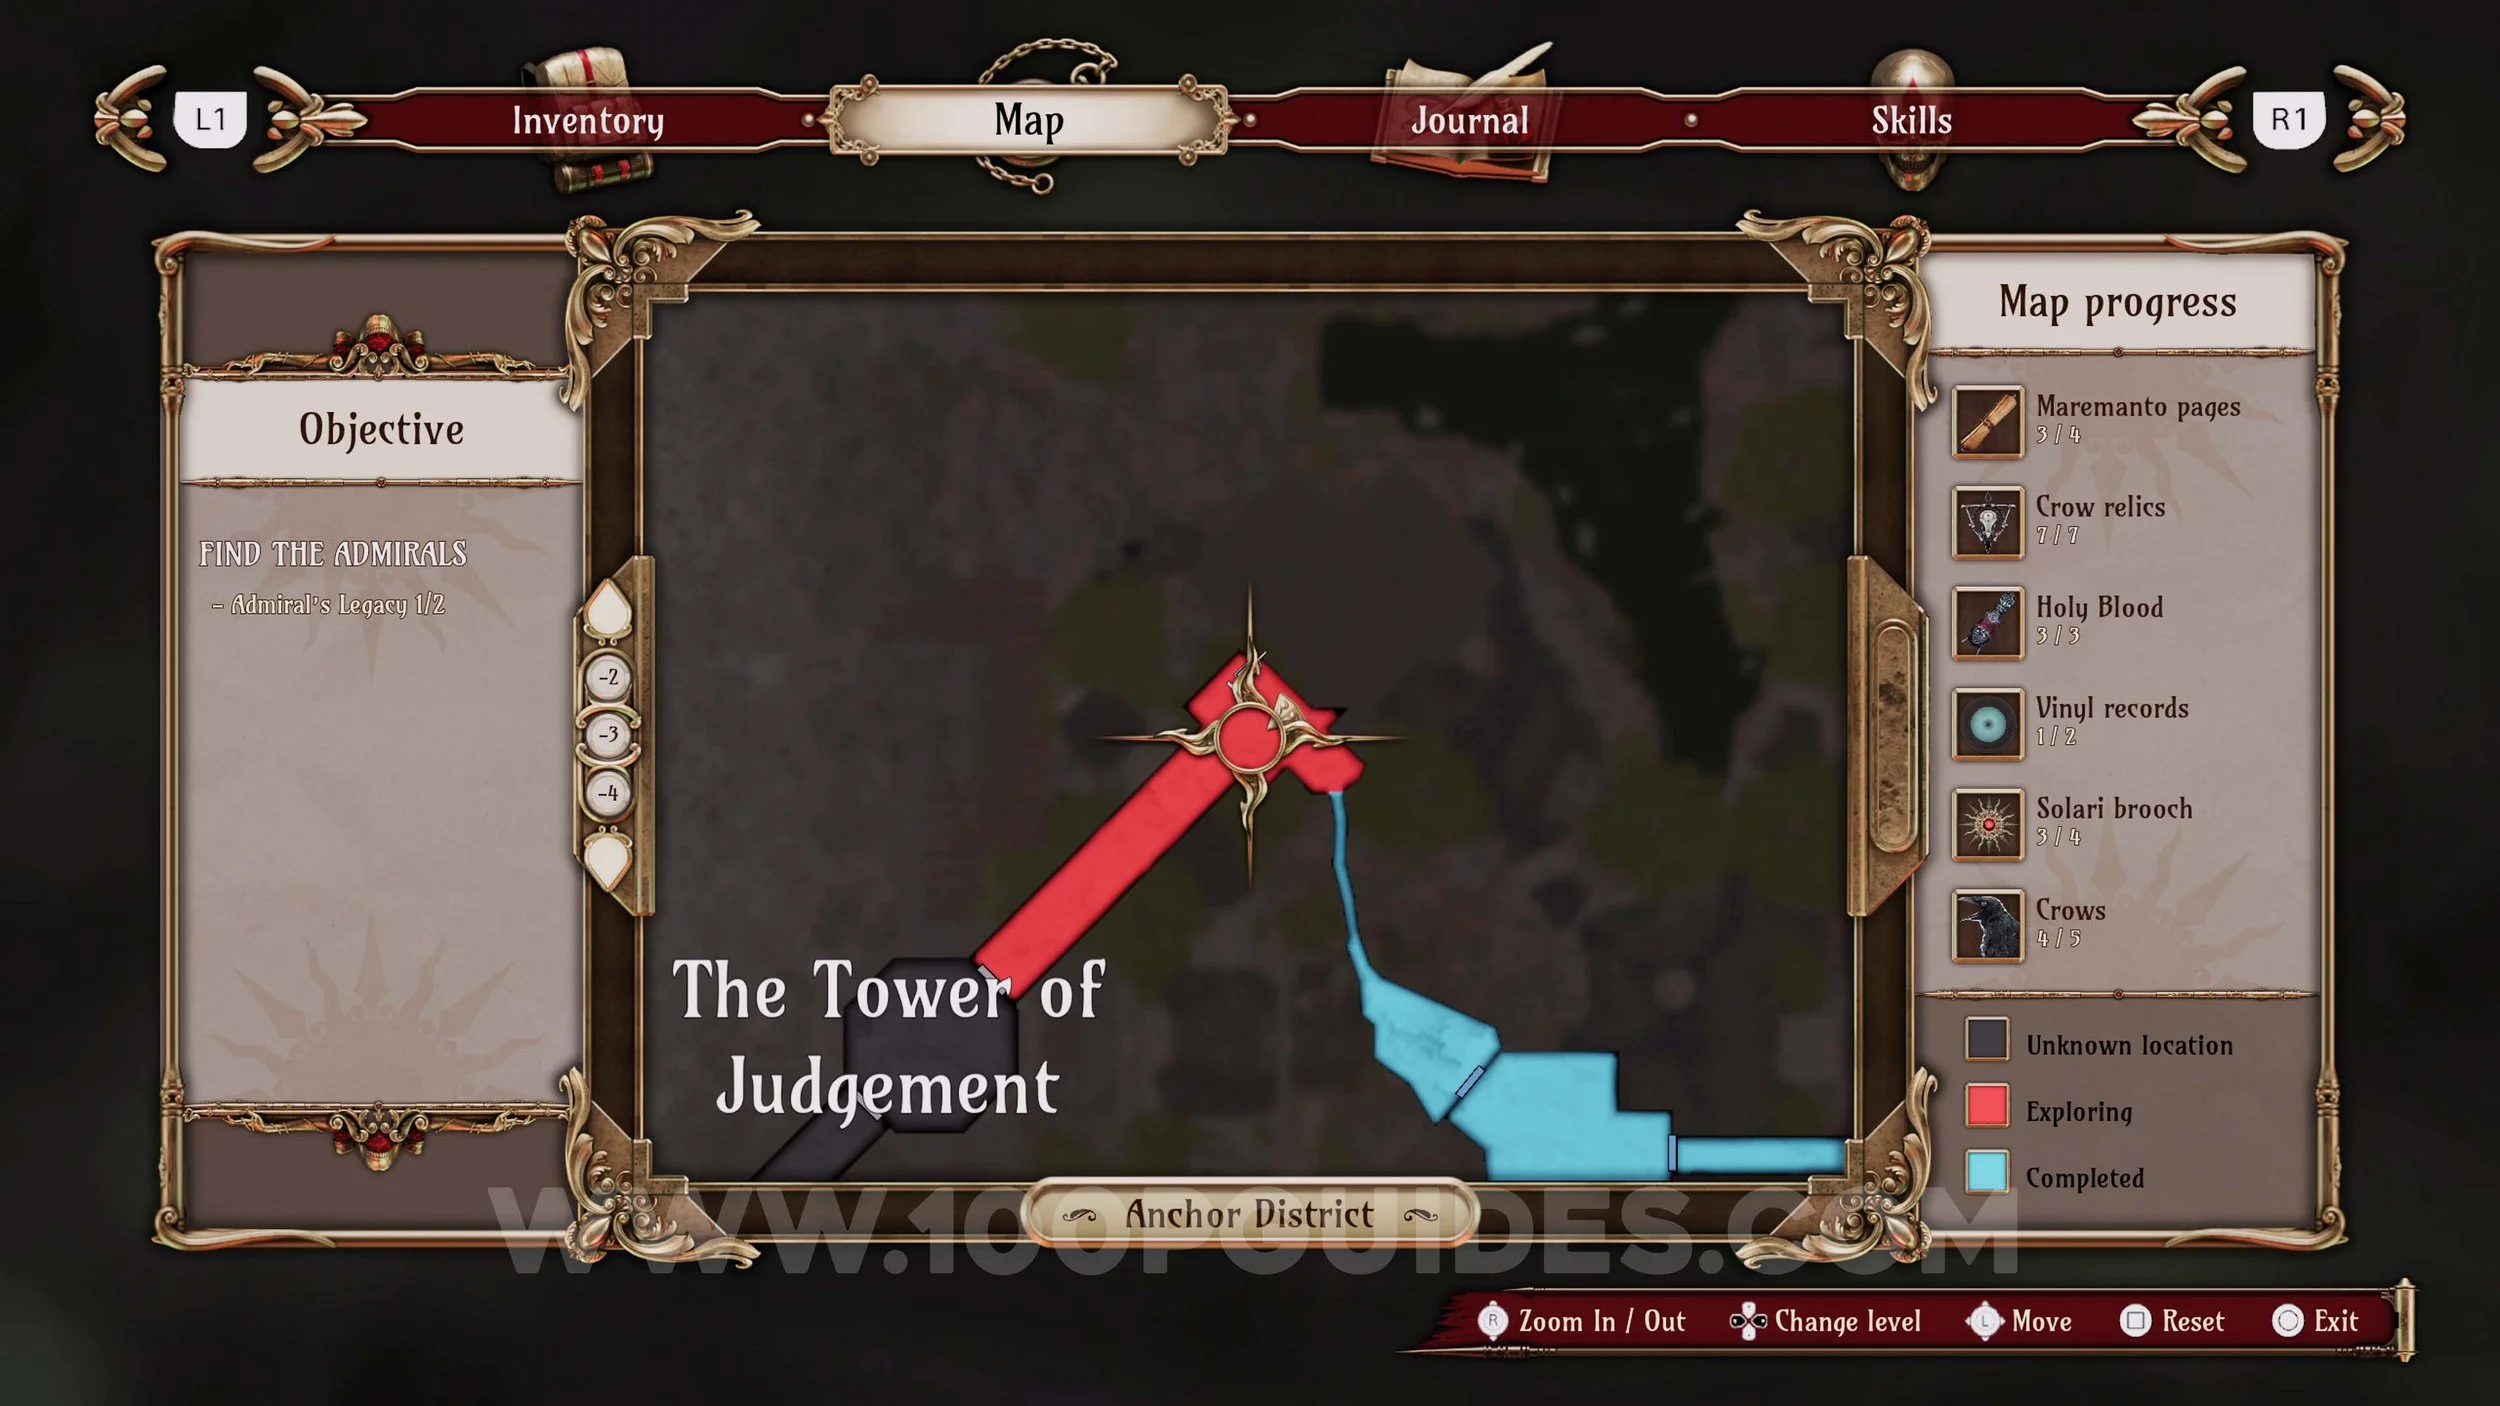
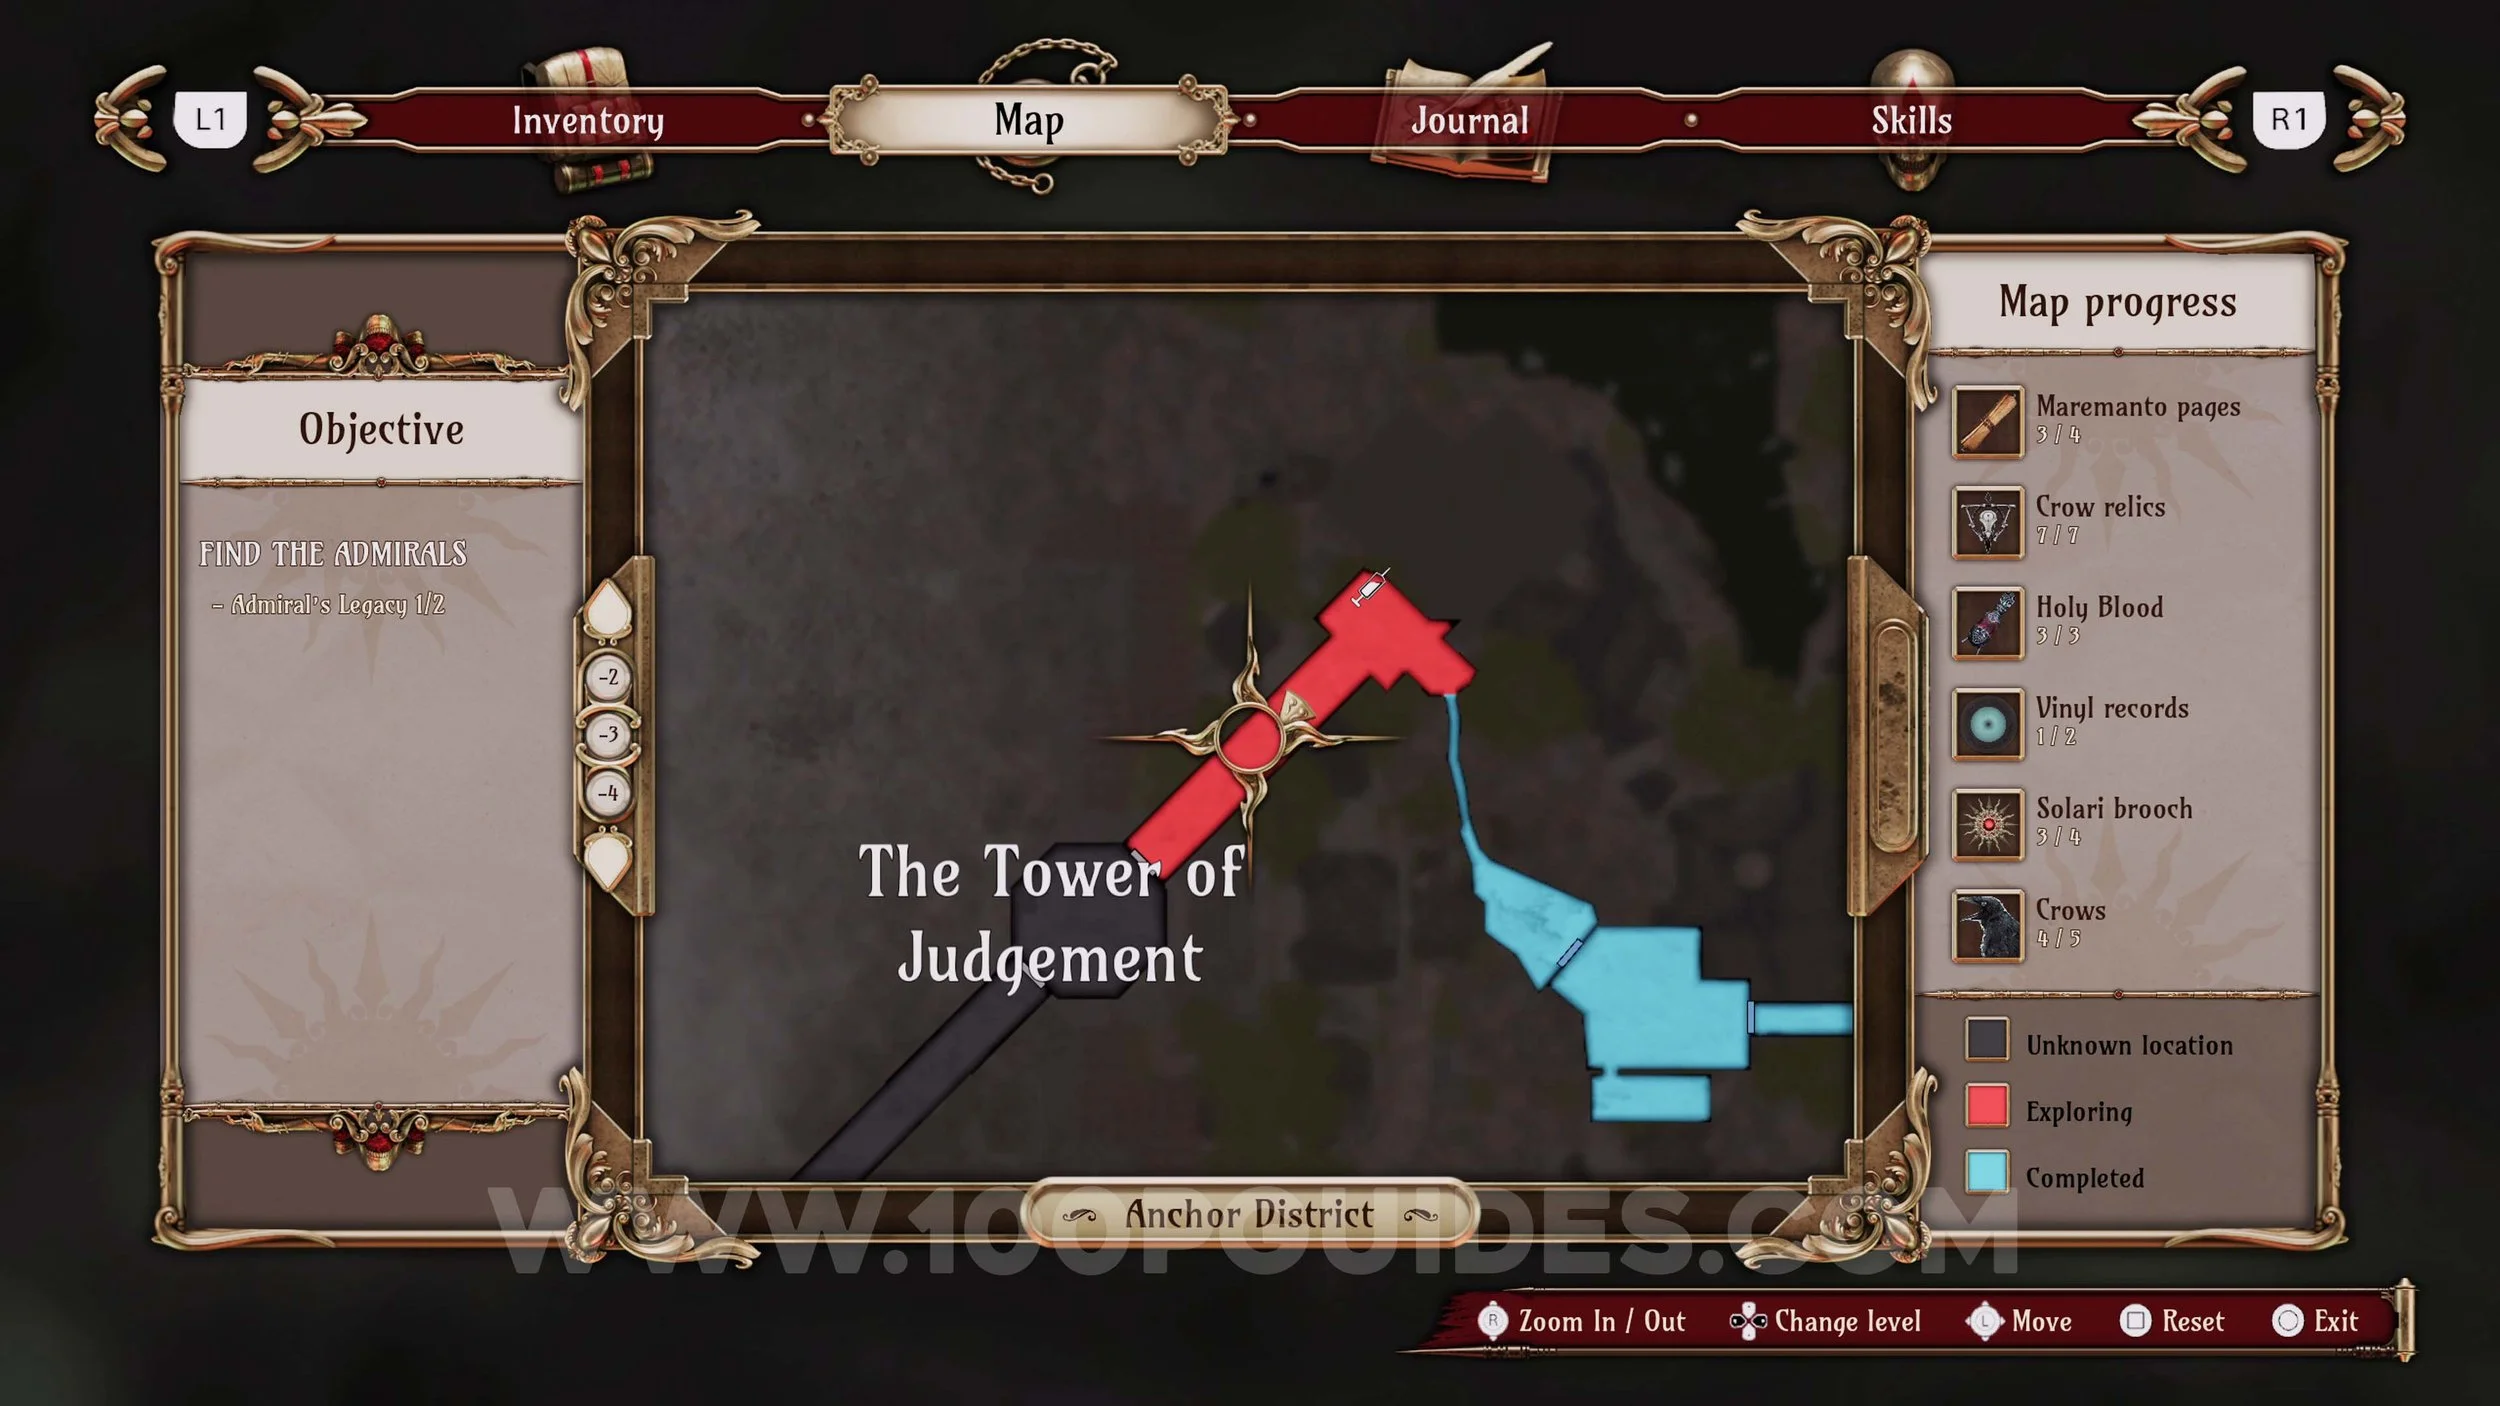
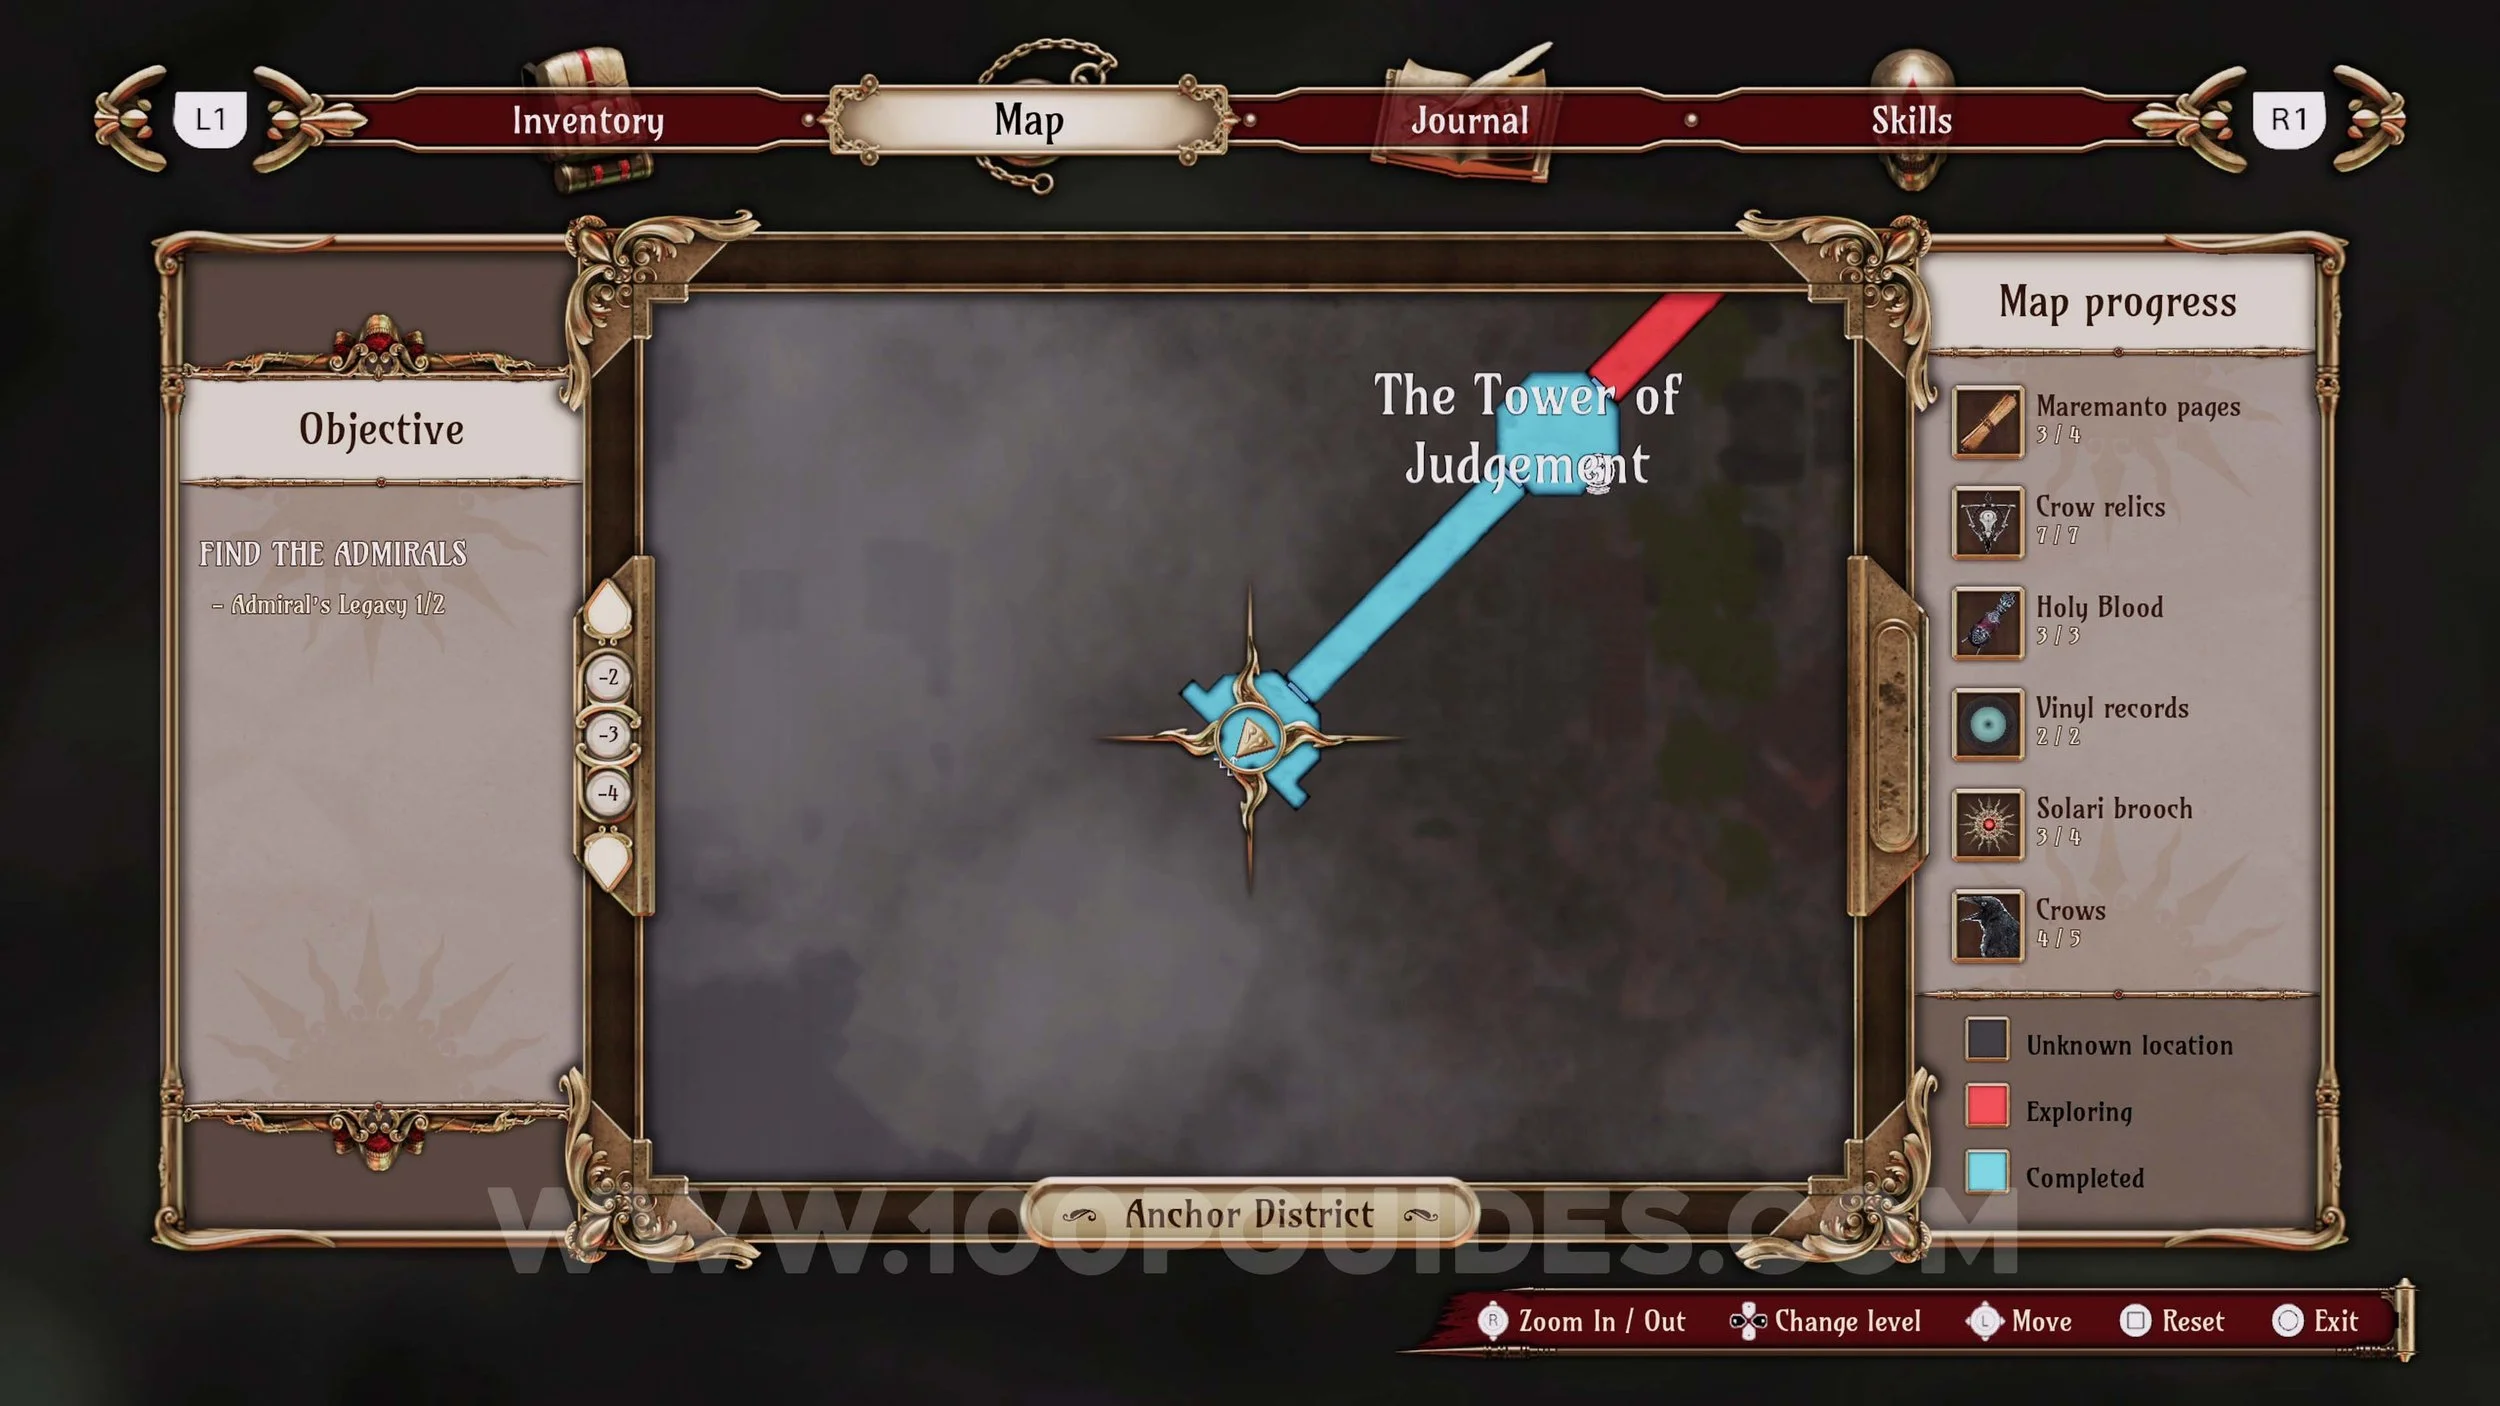
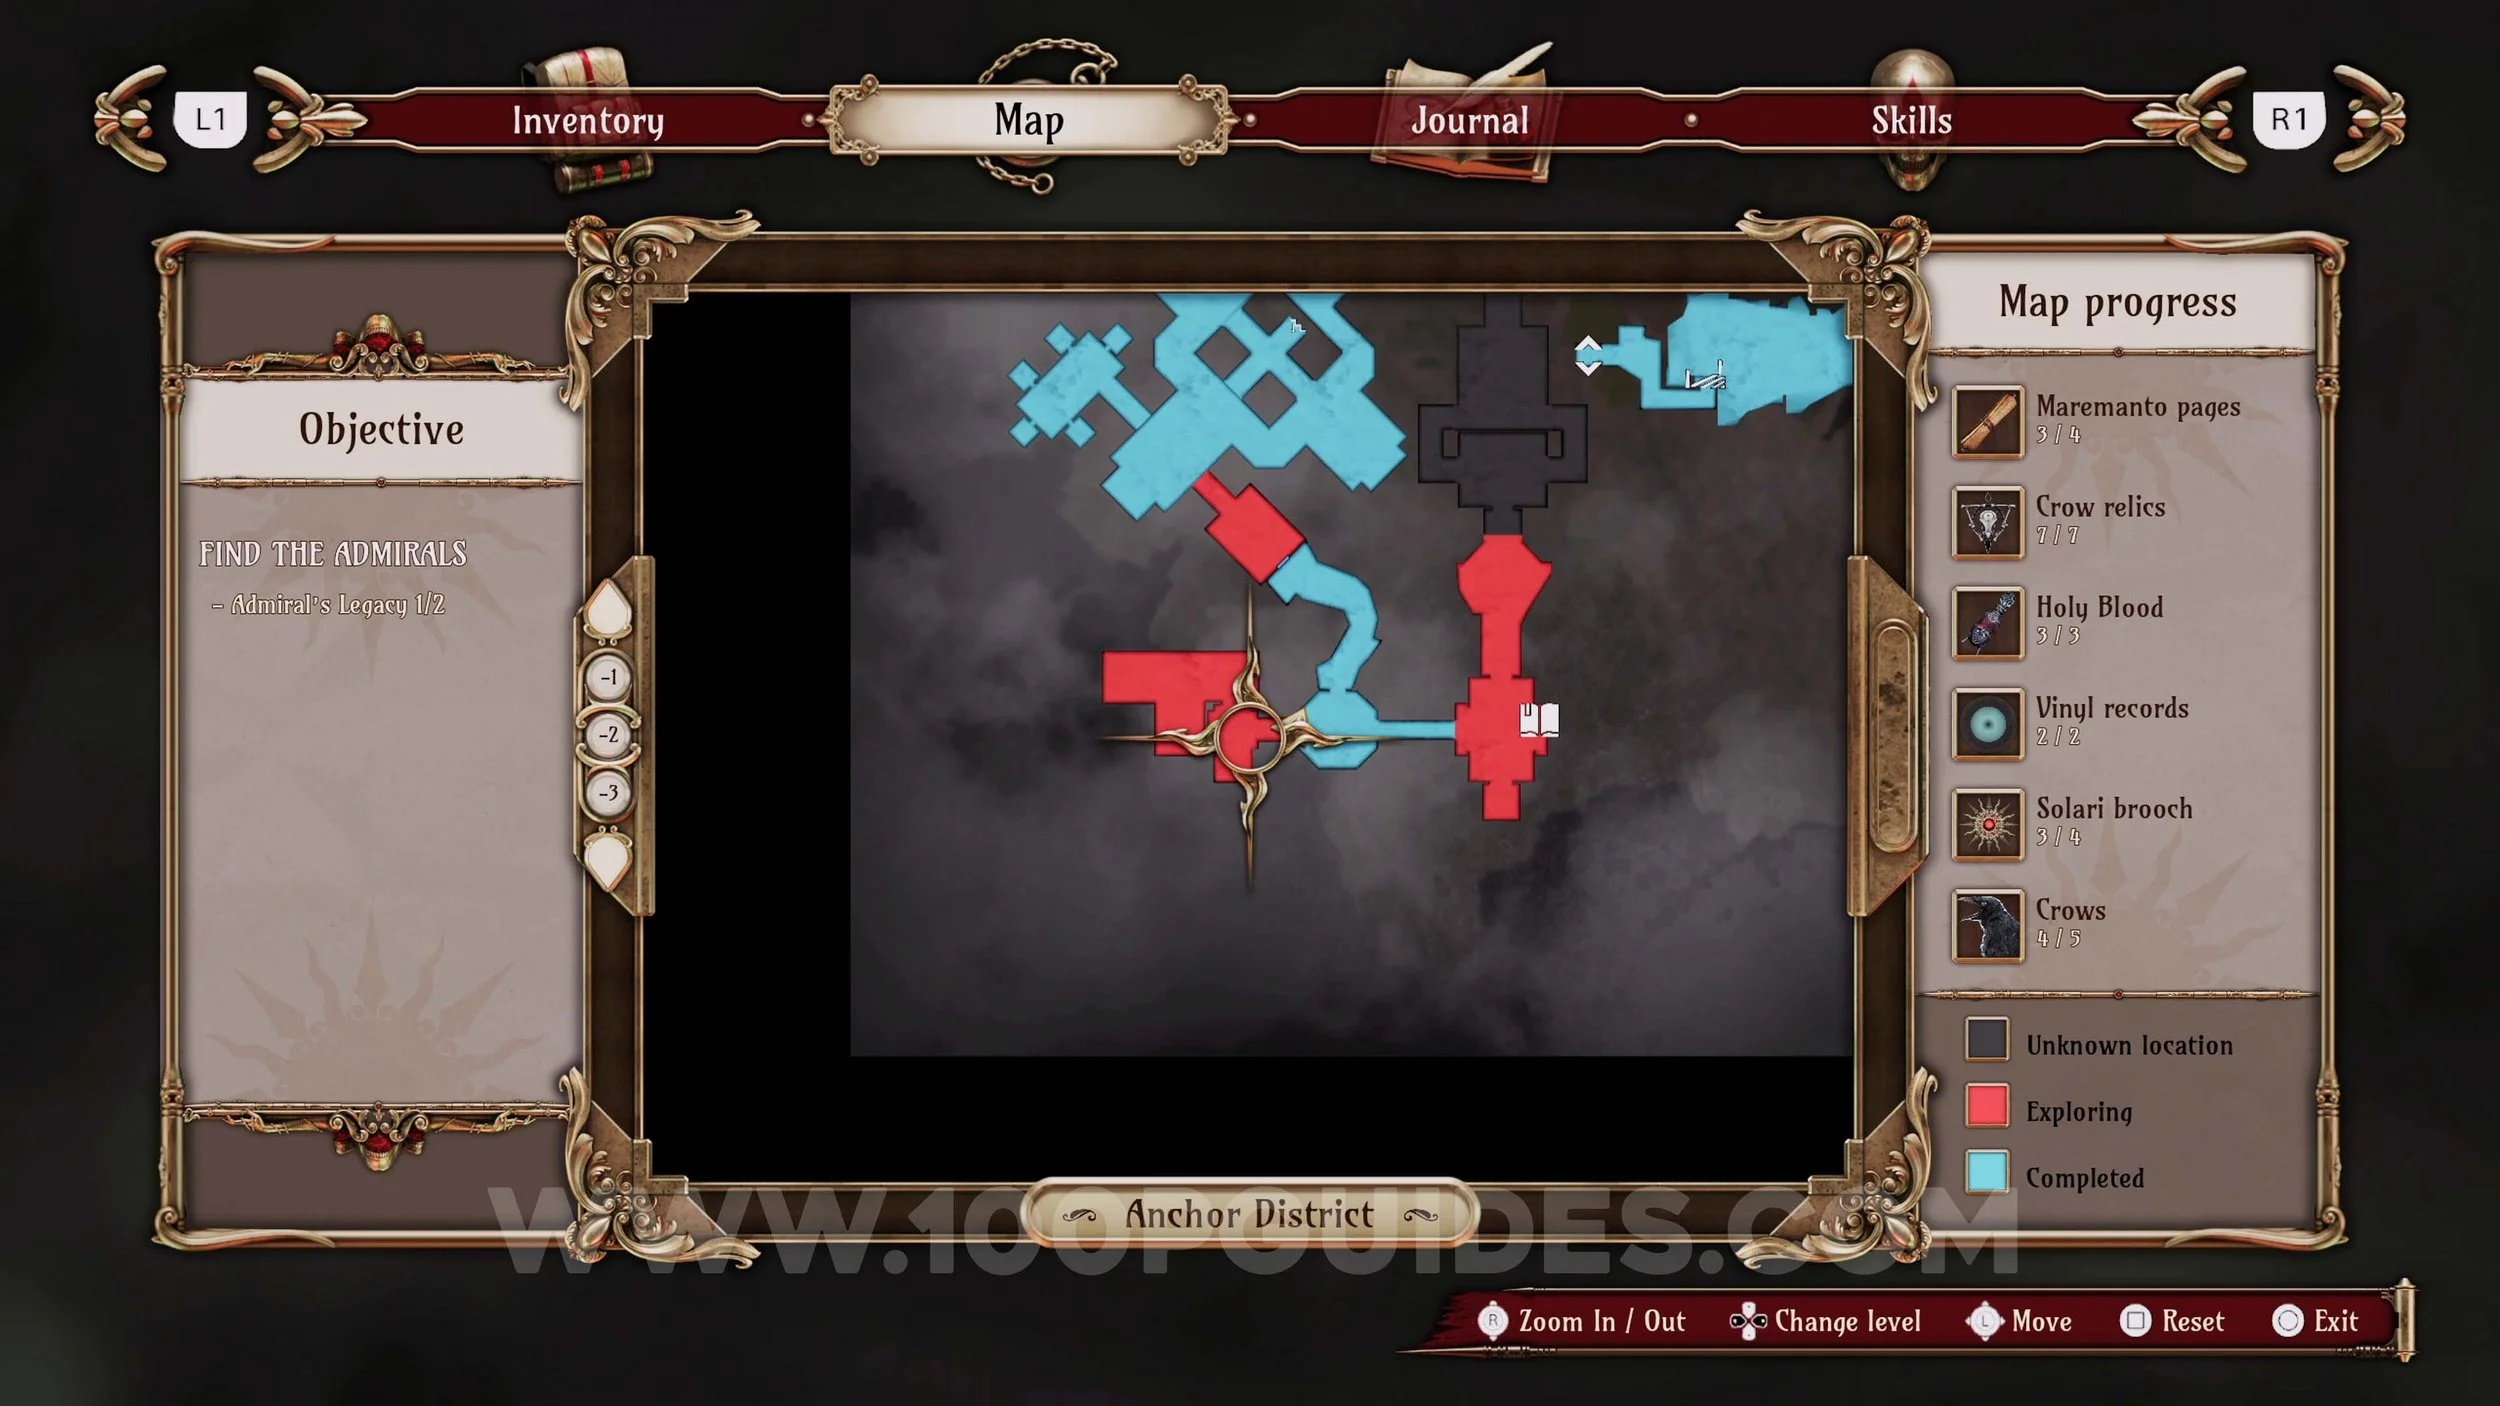
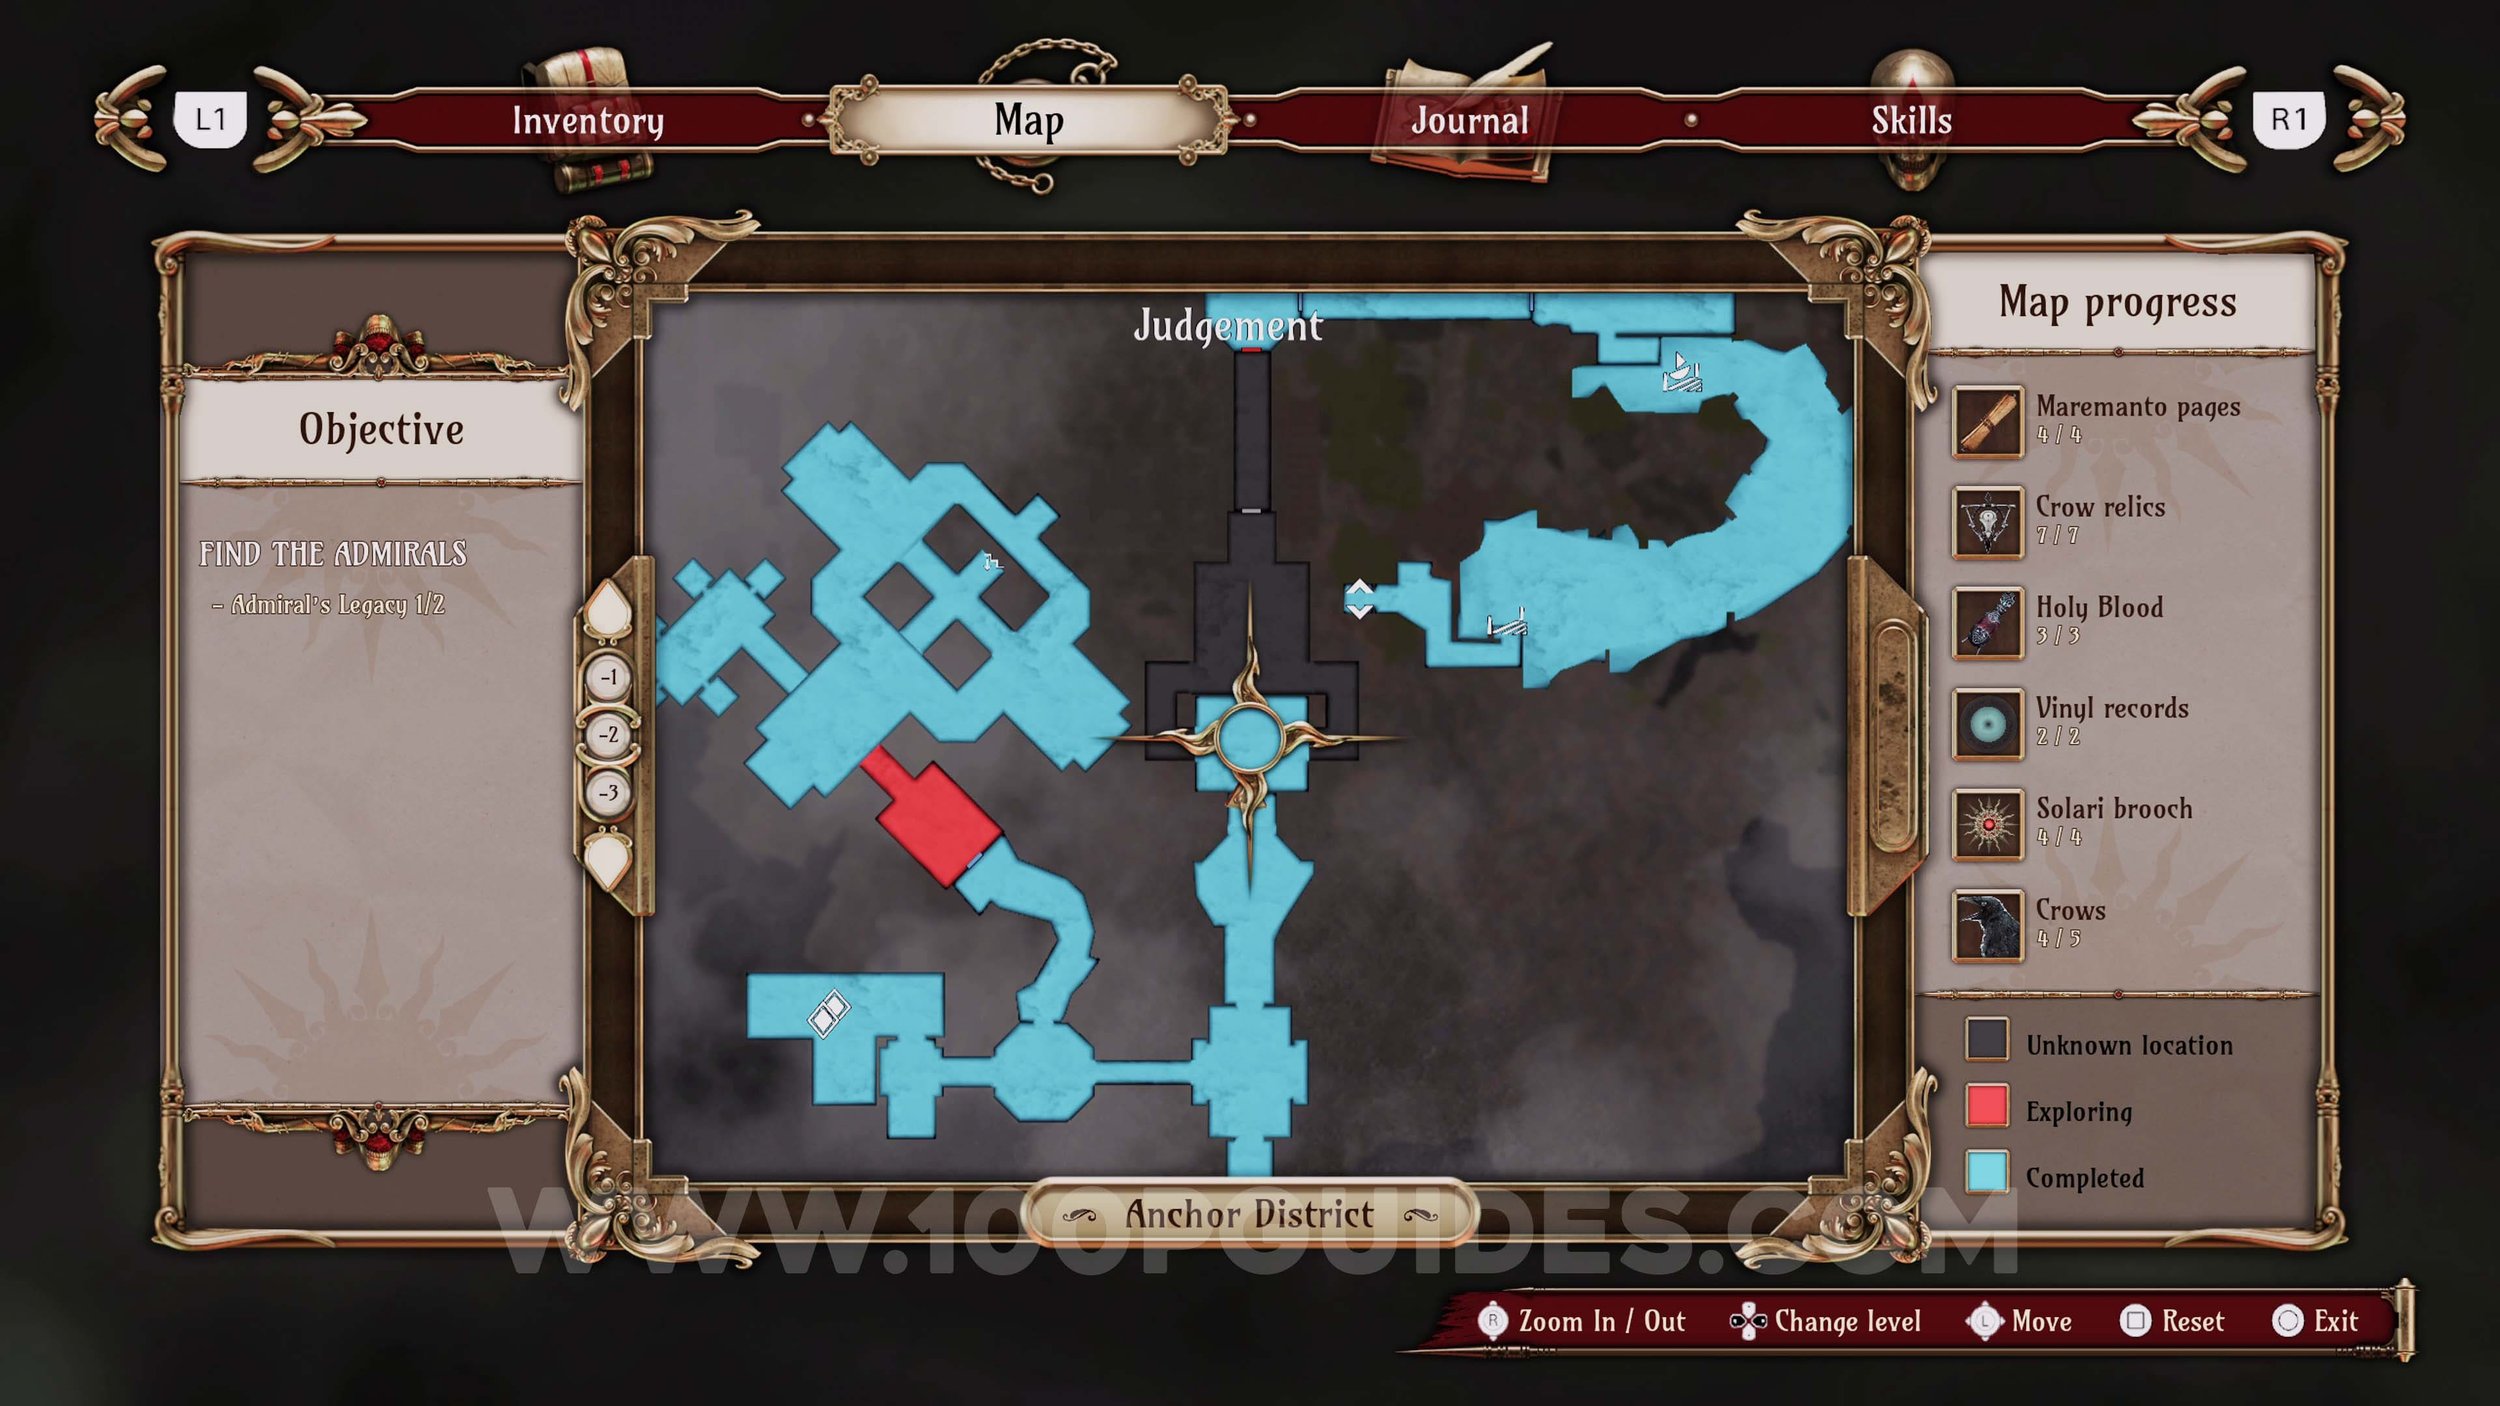
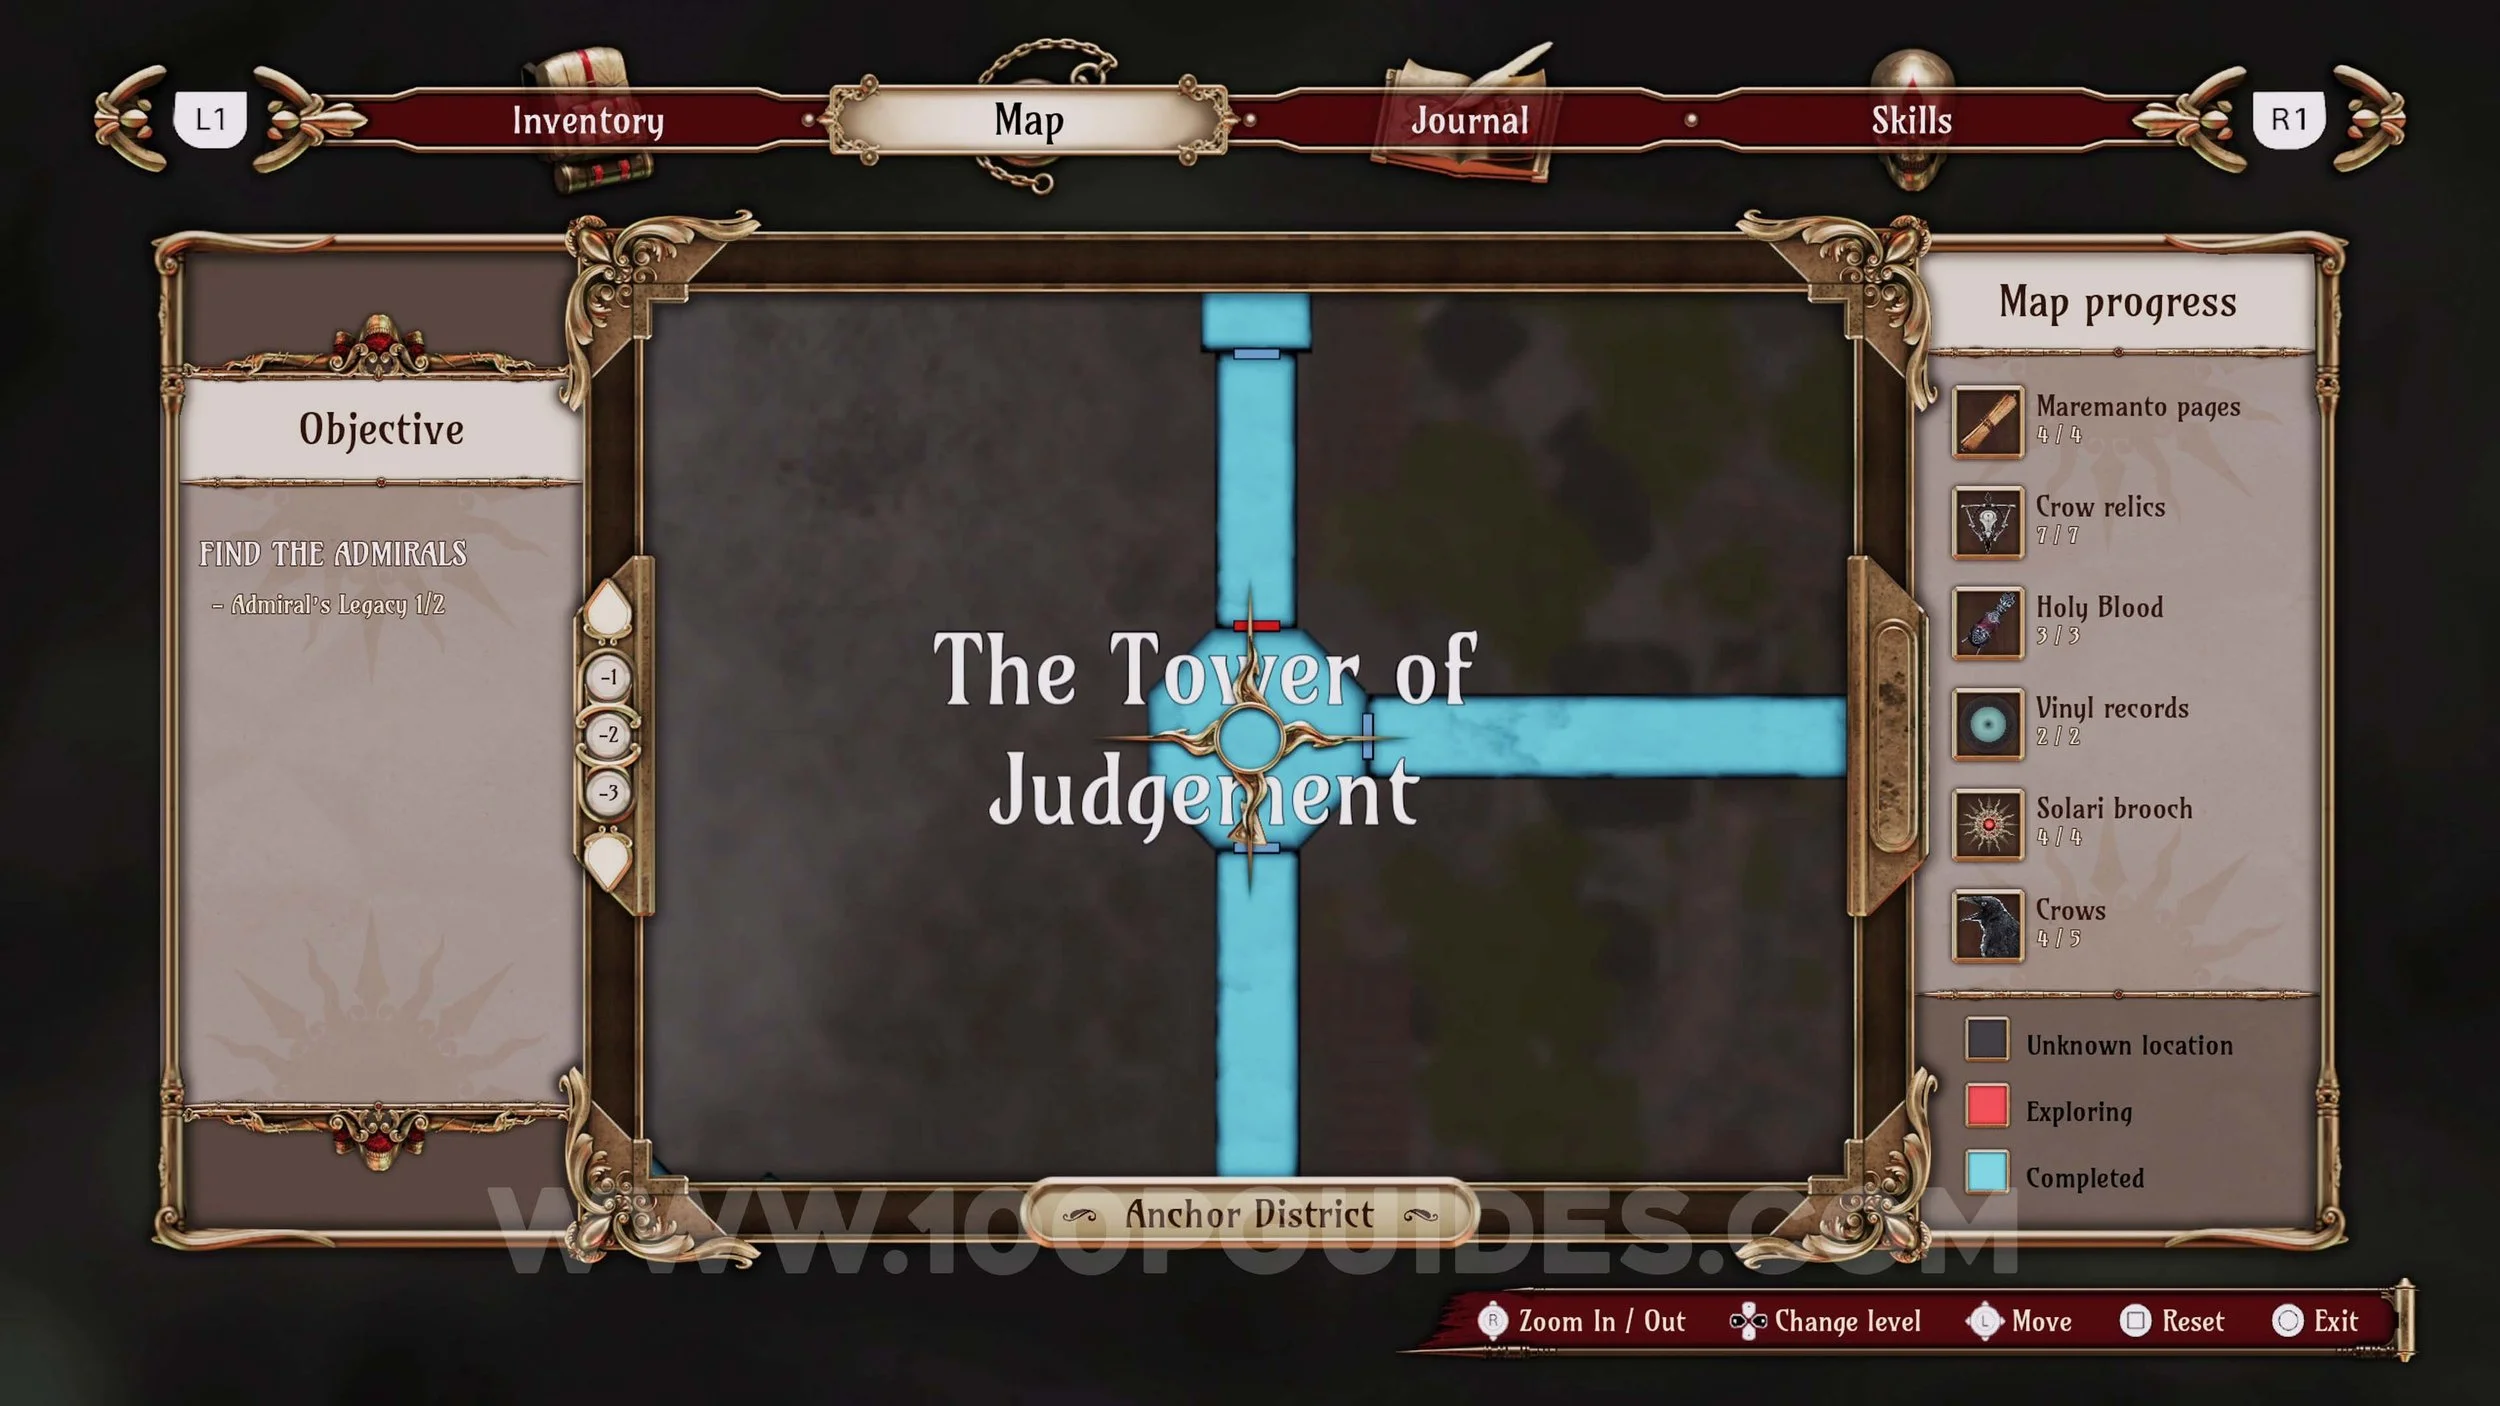
Crow #12. After using the Small Ship’s Wheel to lower the main bridge to The Tower Of Judgement, stand on it and look for the crow’s cage on top of the house to the south.

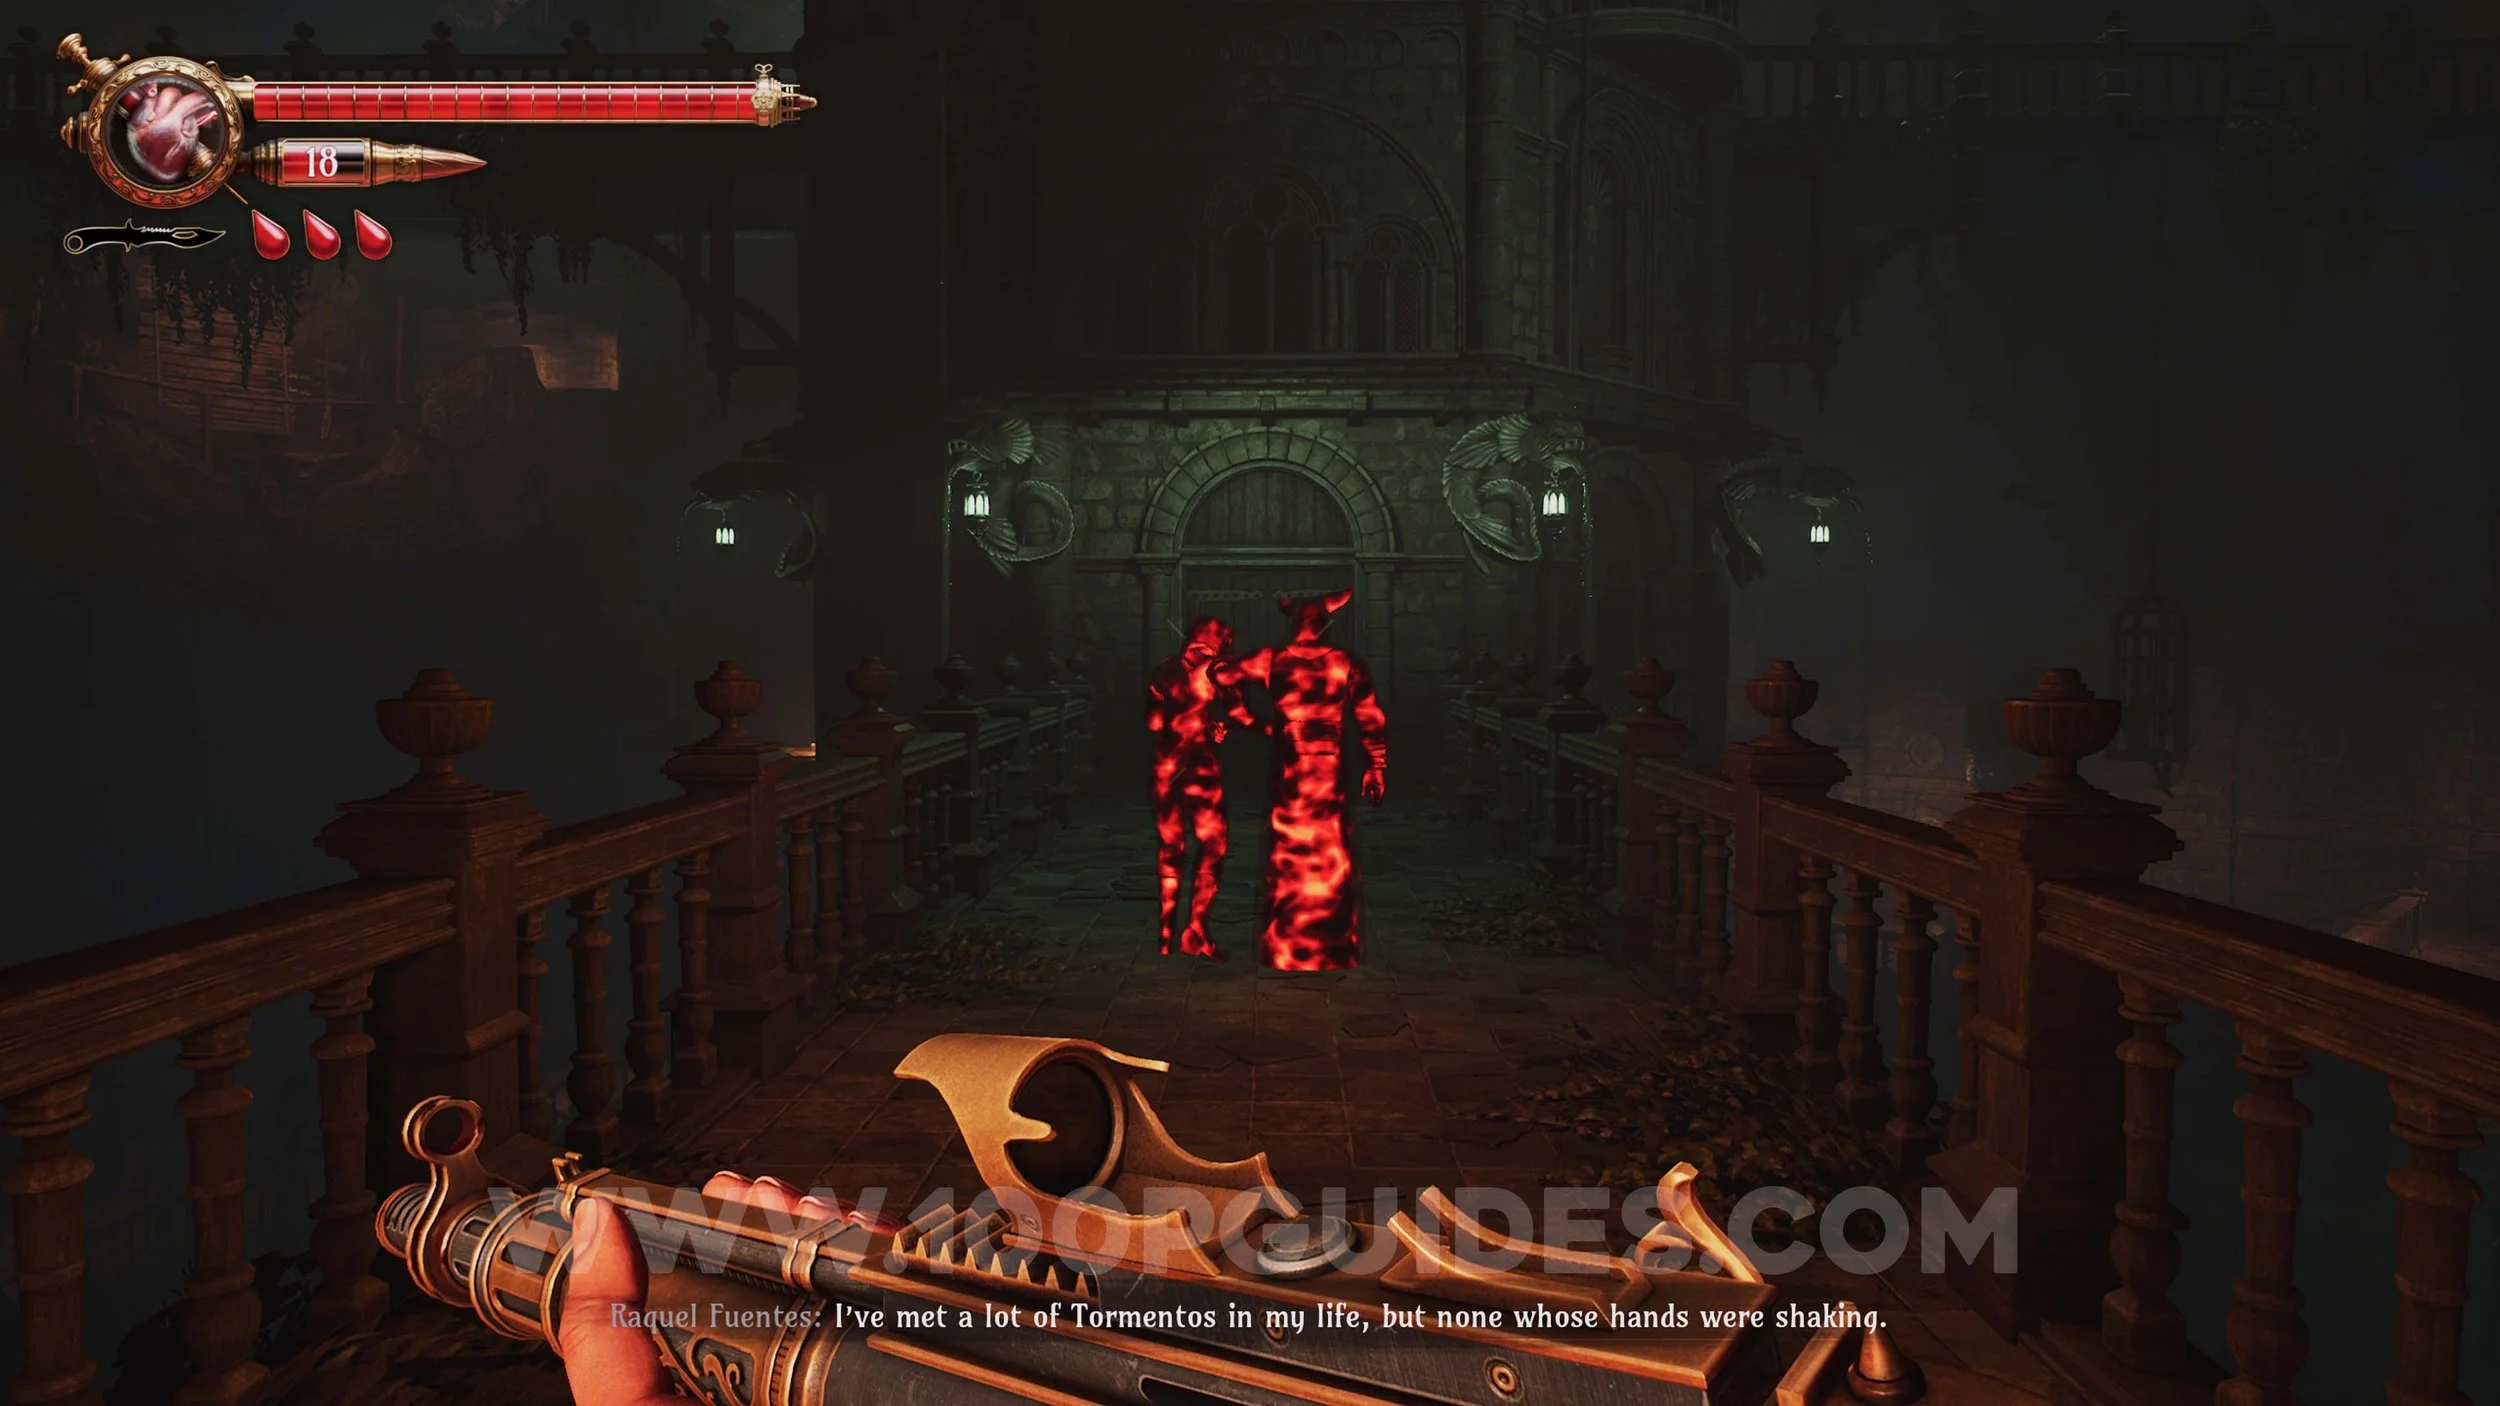
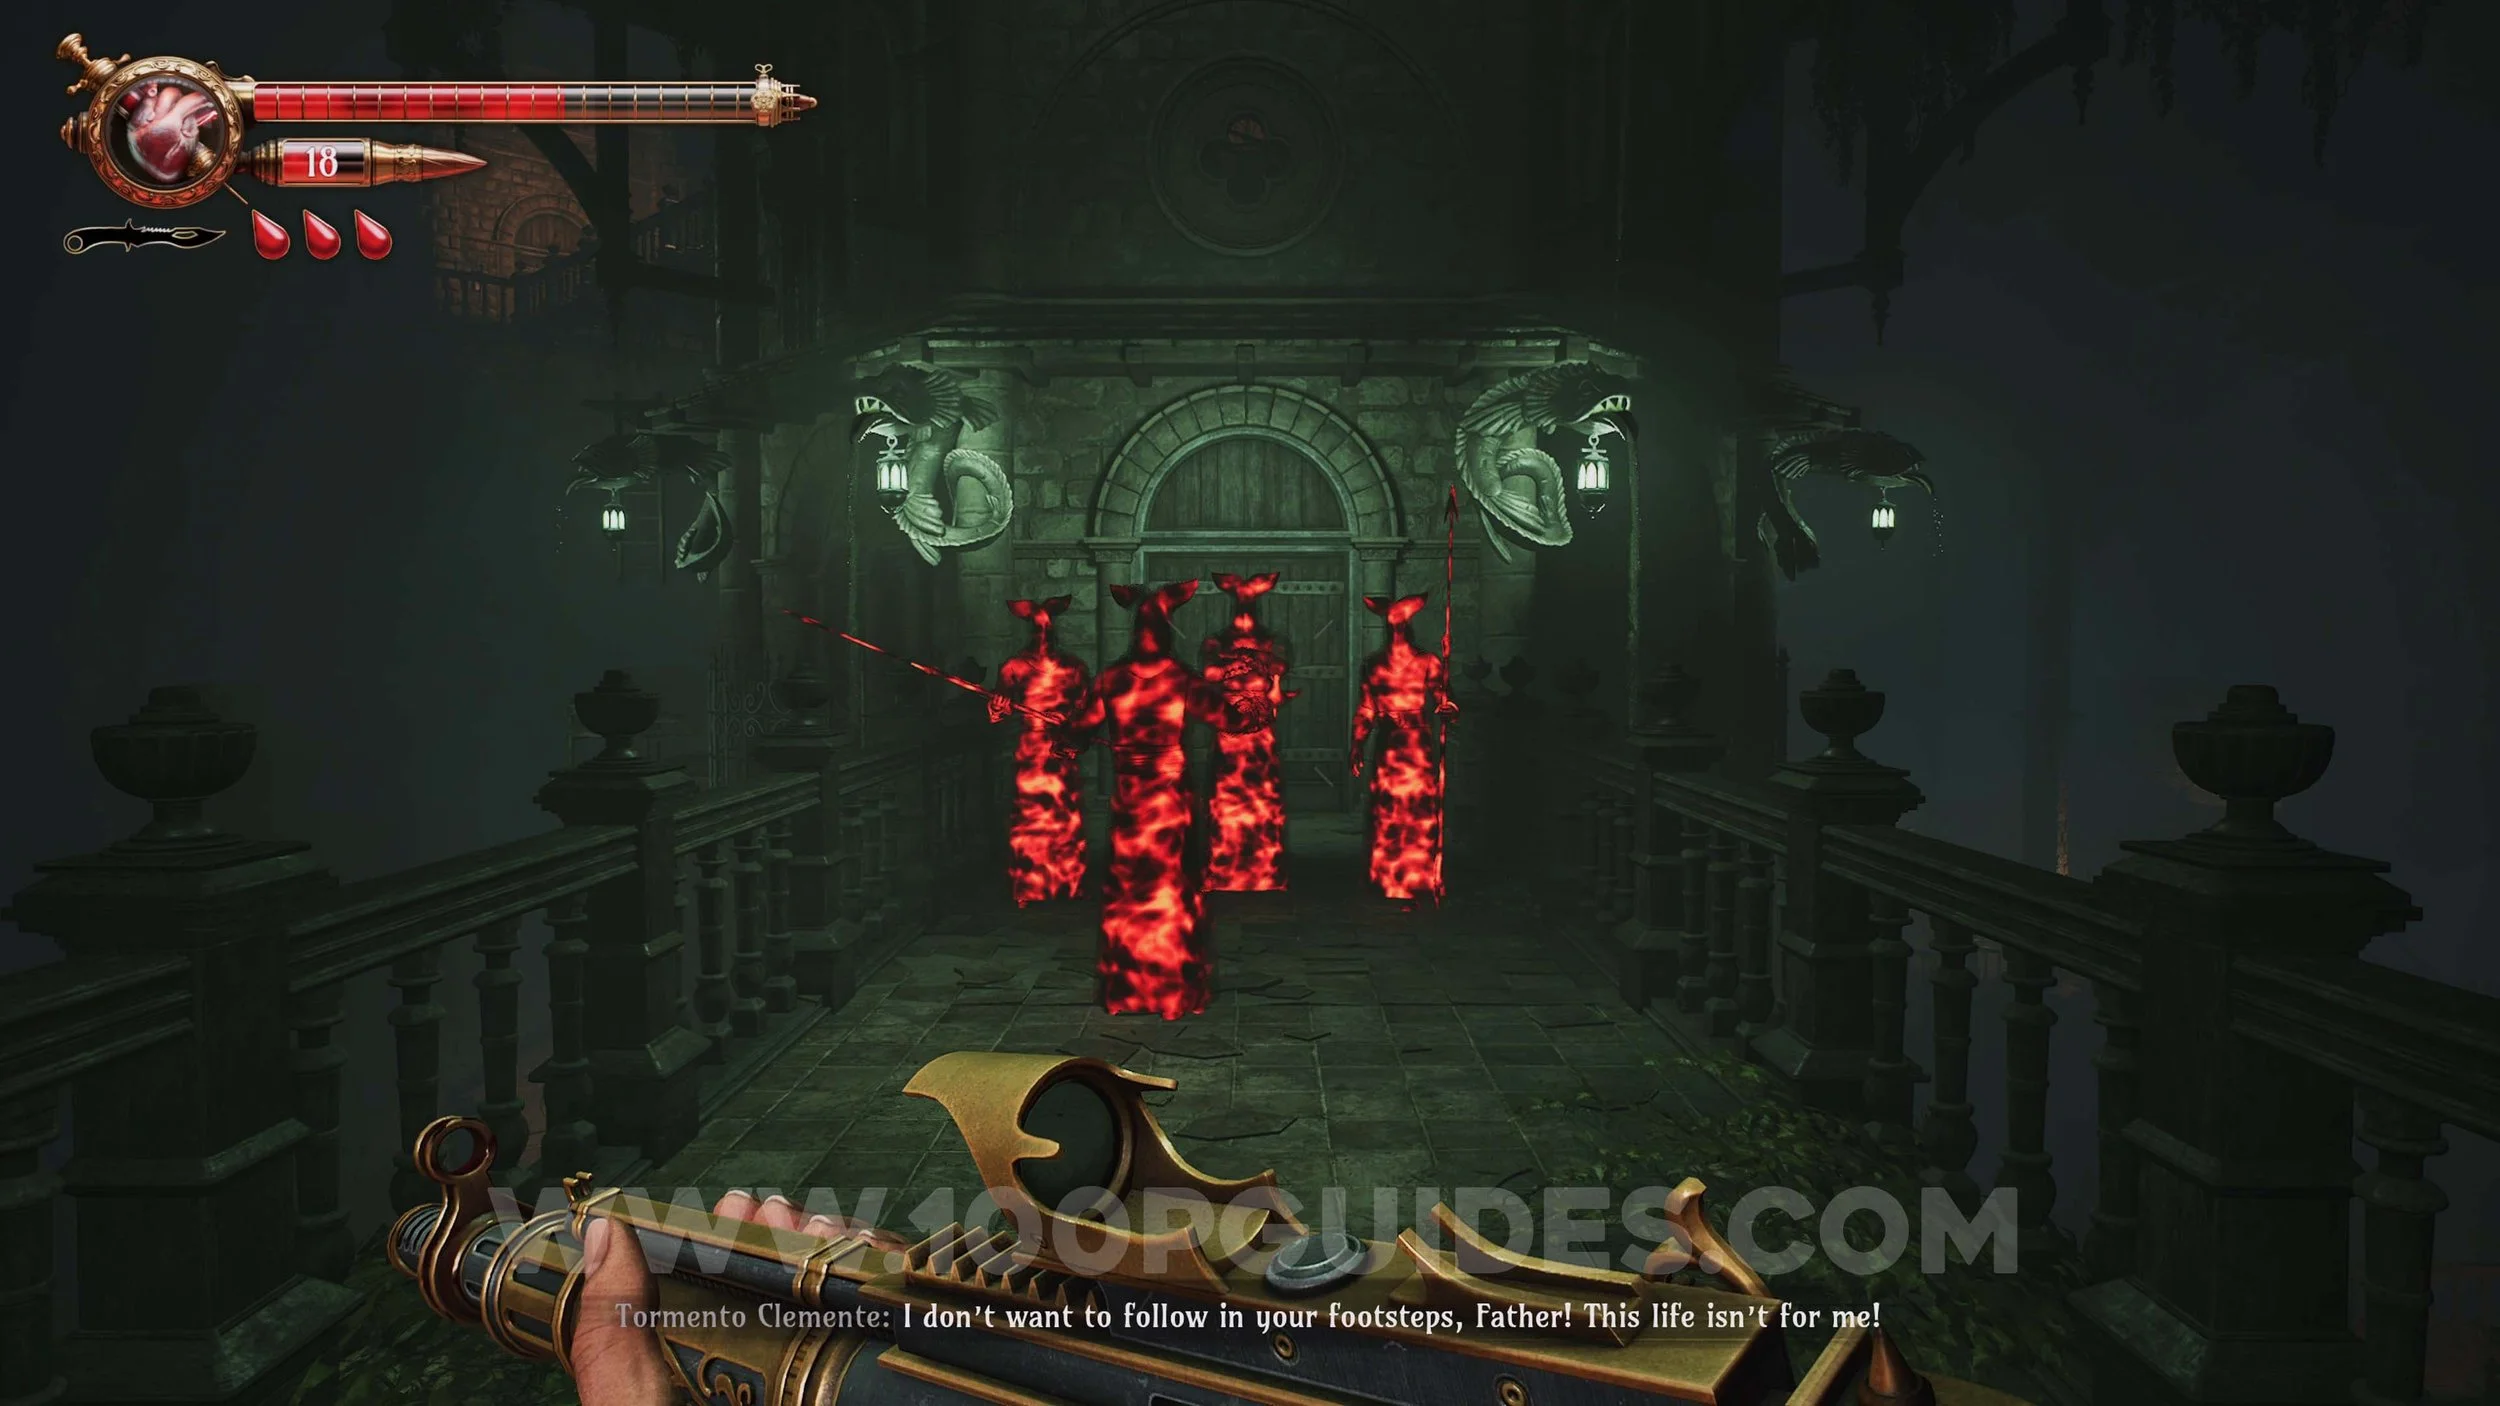
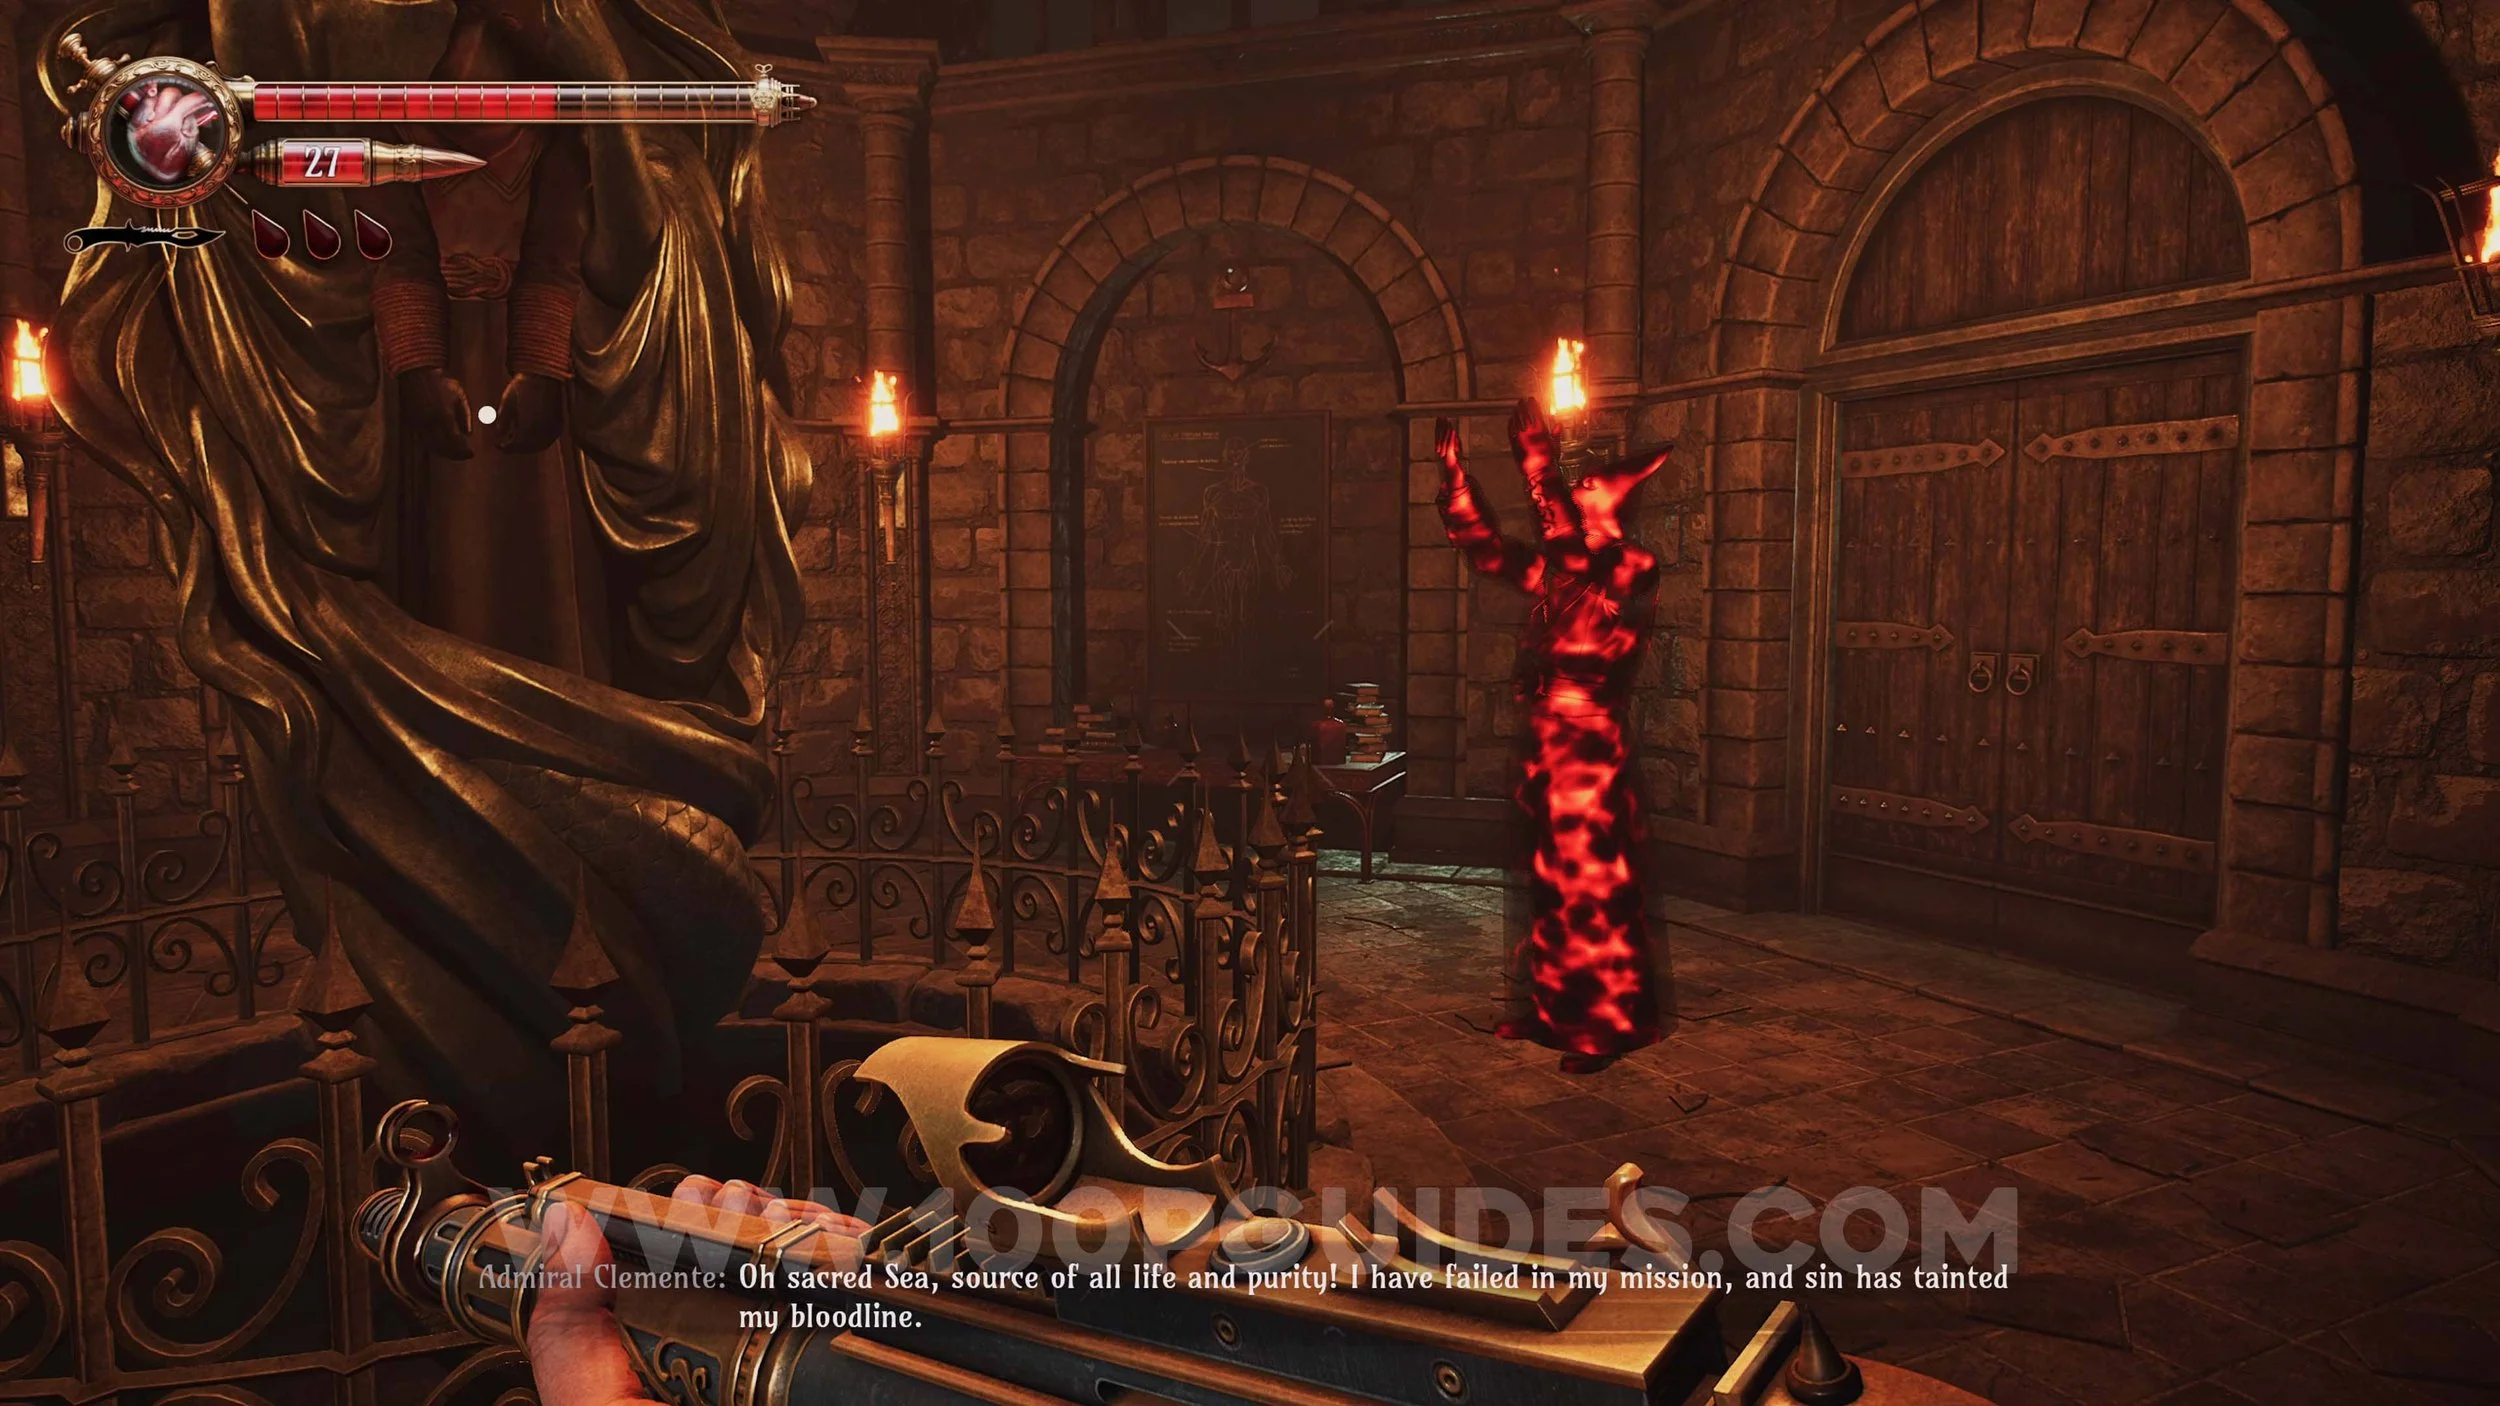
Memory #49. Story related as you make your way through the Tower of Judgement.
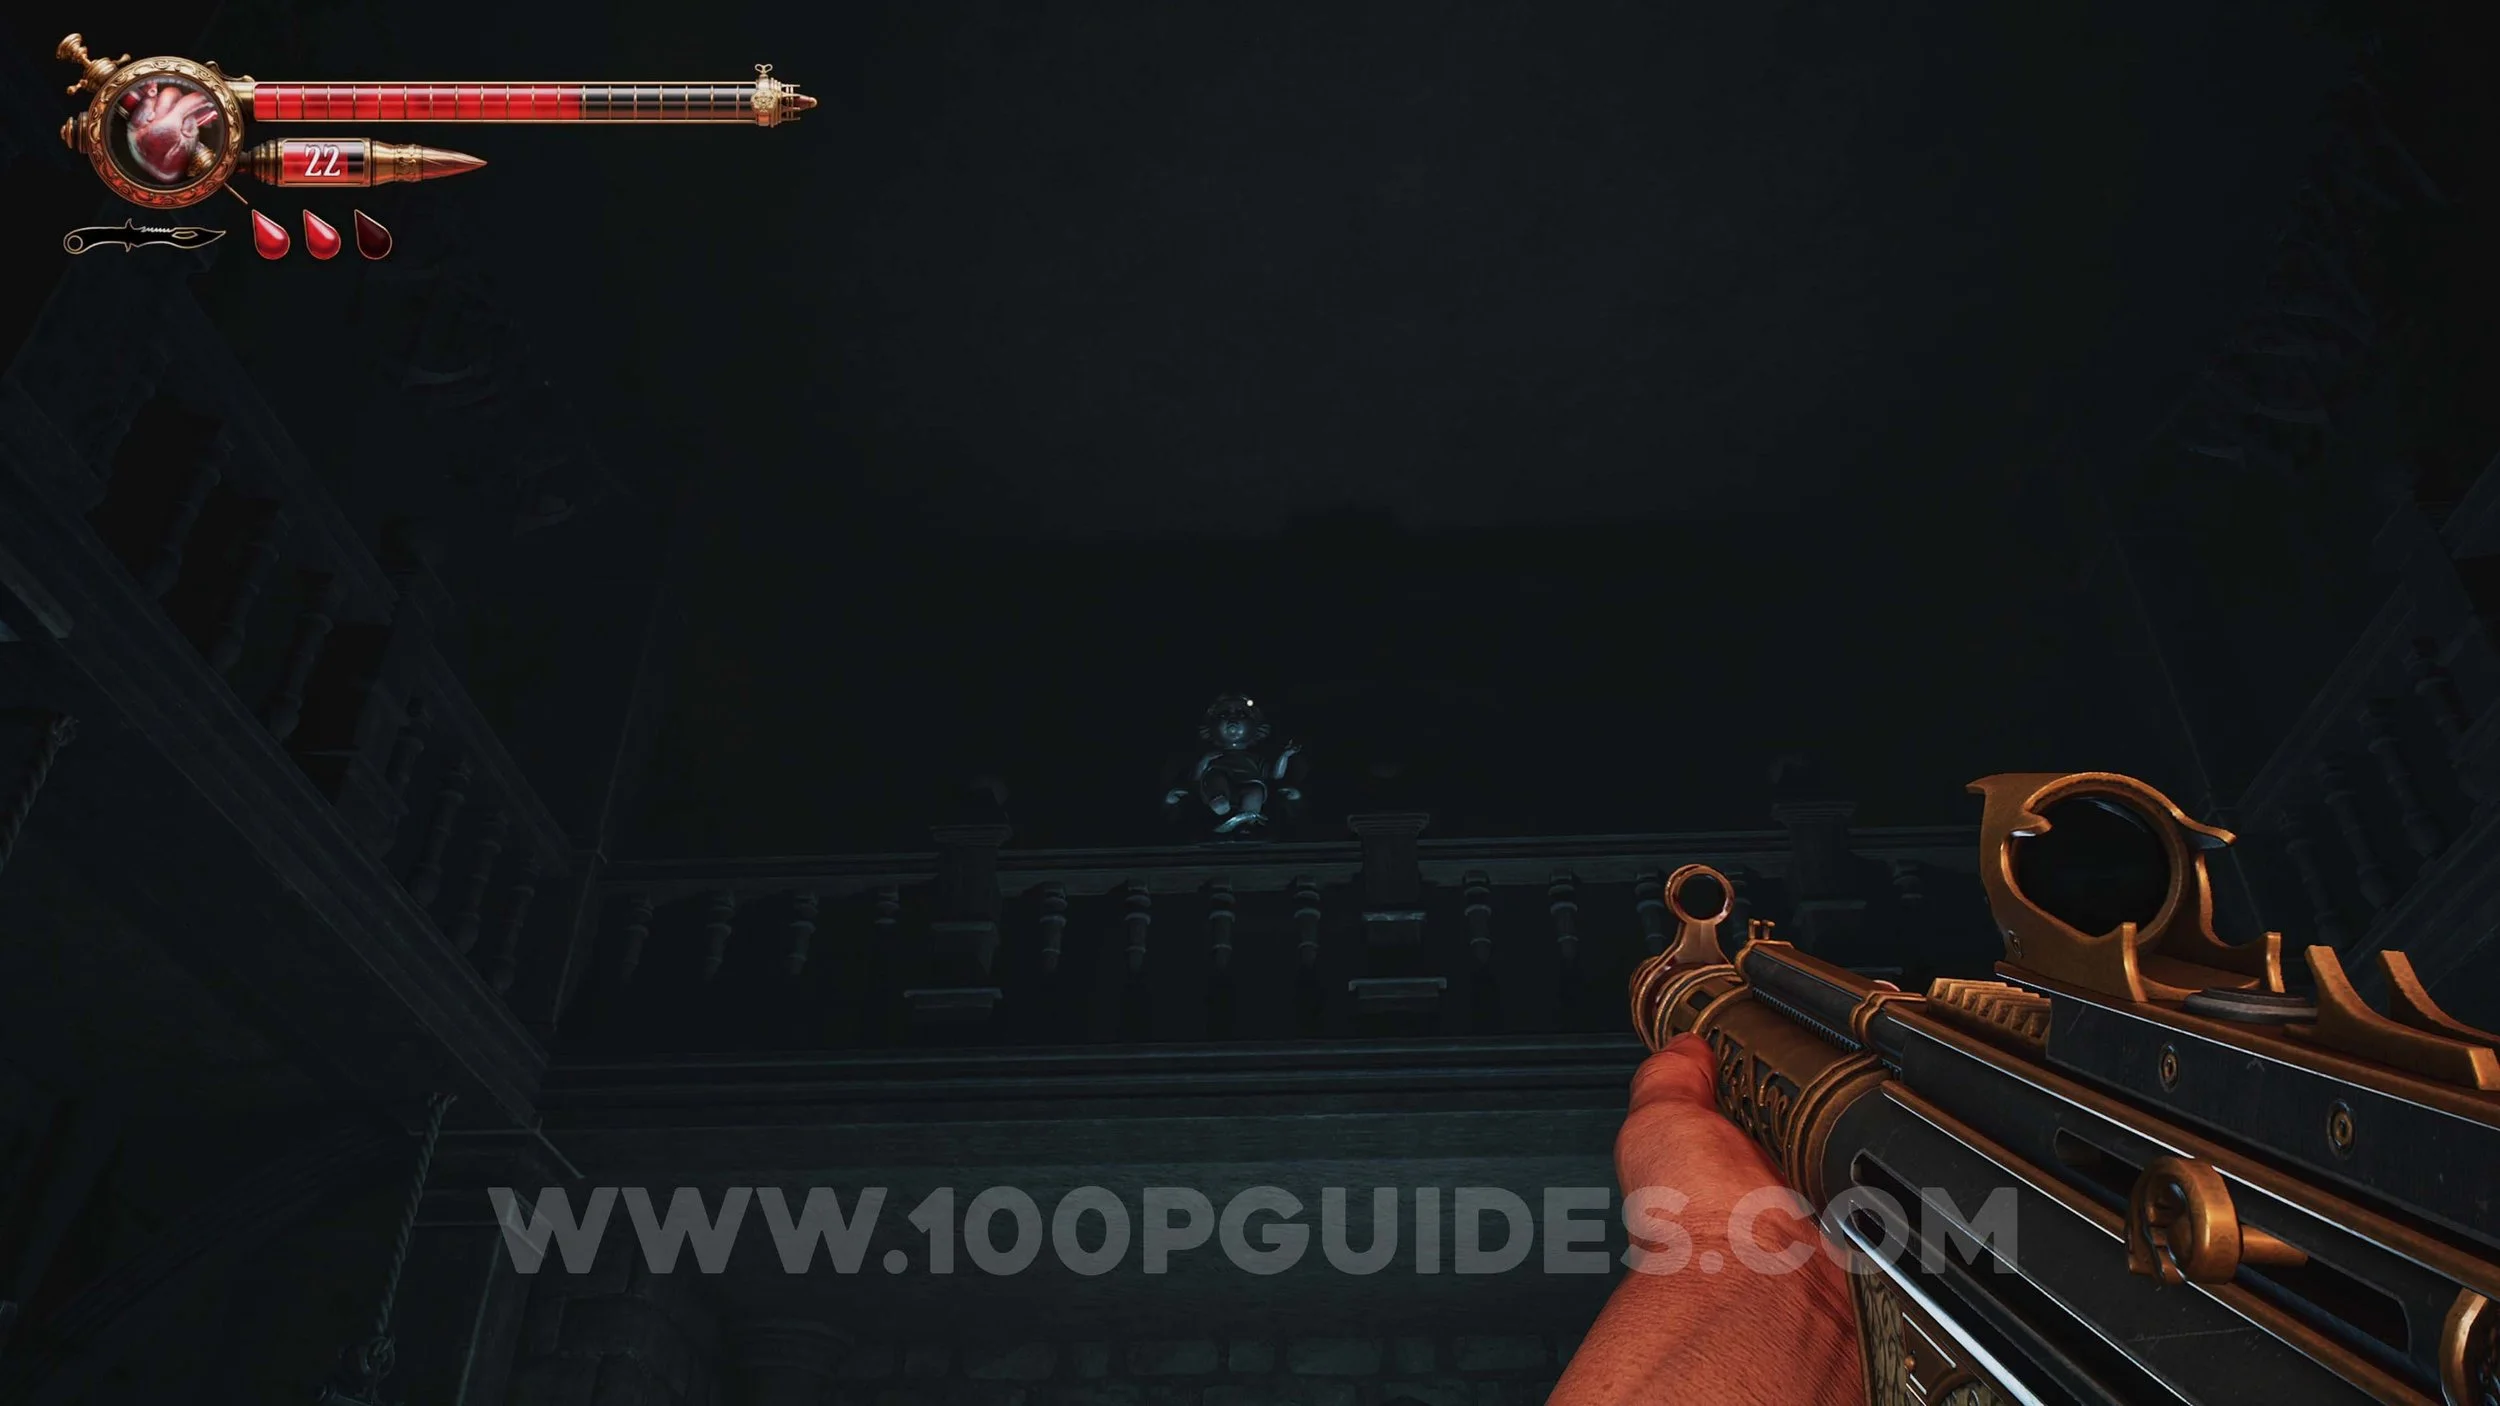
Ulises Idol #31. After listening to the previous memory, the gate will open once the iron ball is pulled up. The doll can be found on top of the pillar on the other side of the gate.
Ulises Idol #32. Next to the burning metal ball after riding the lift up.

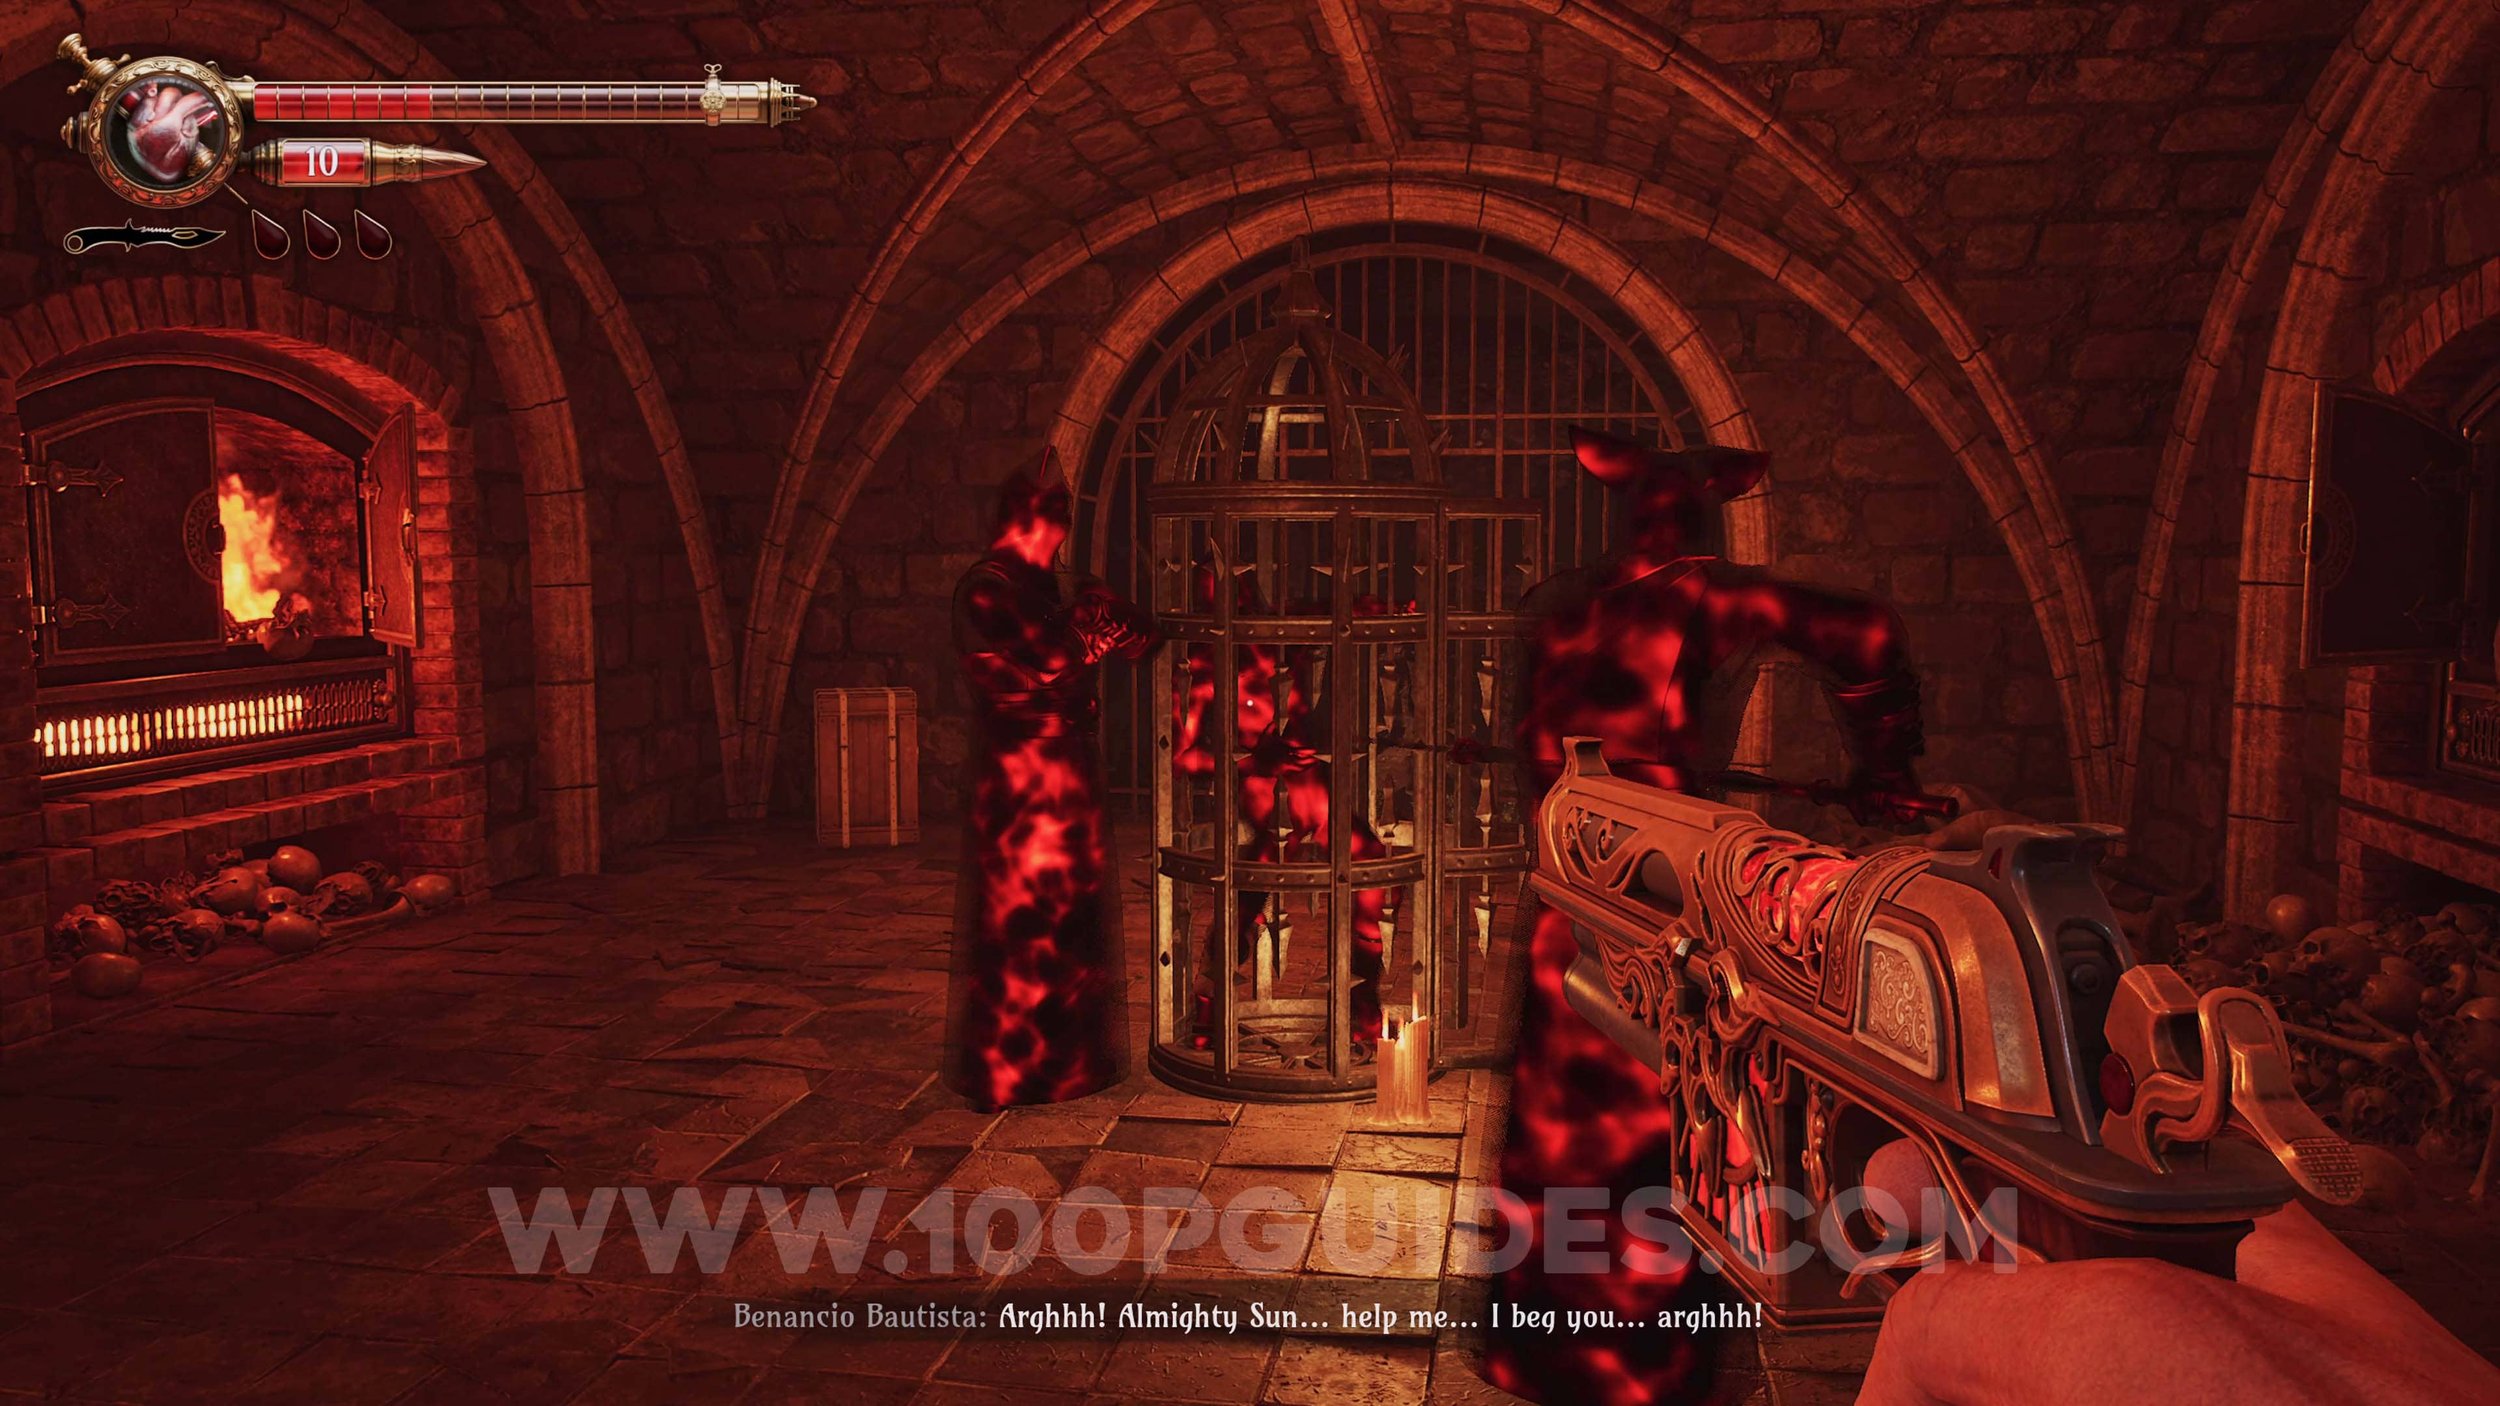
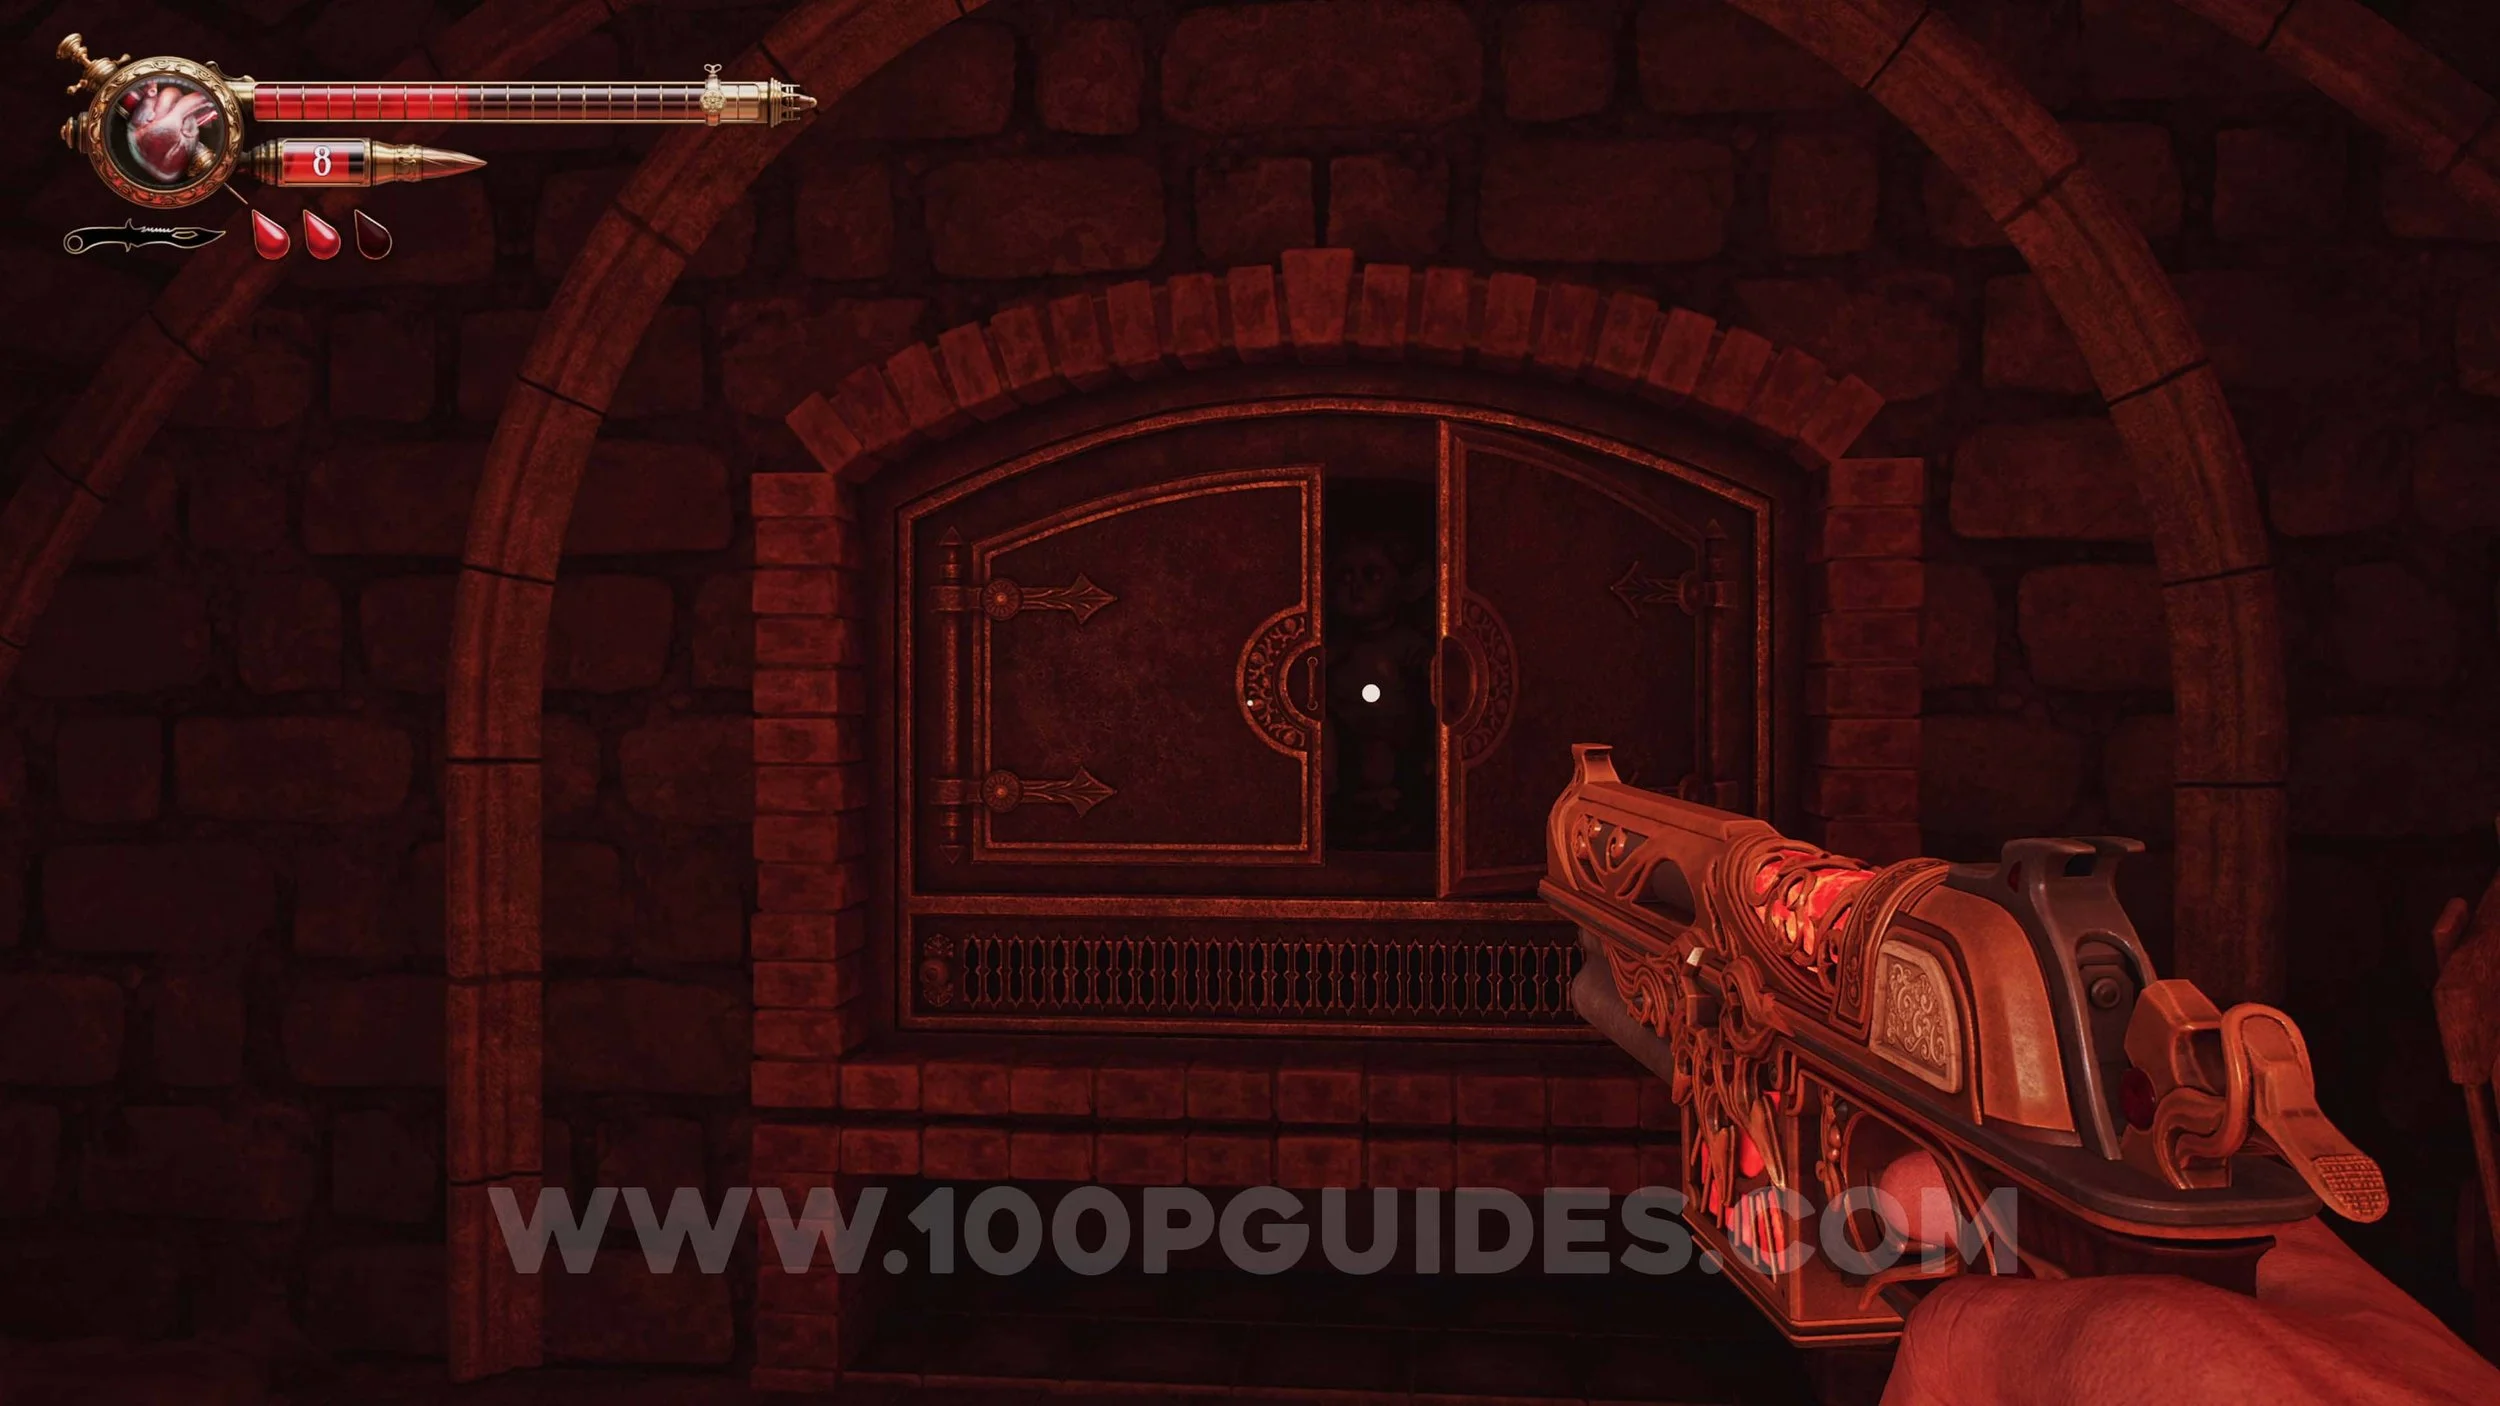
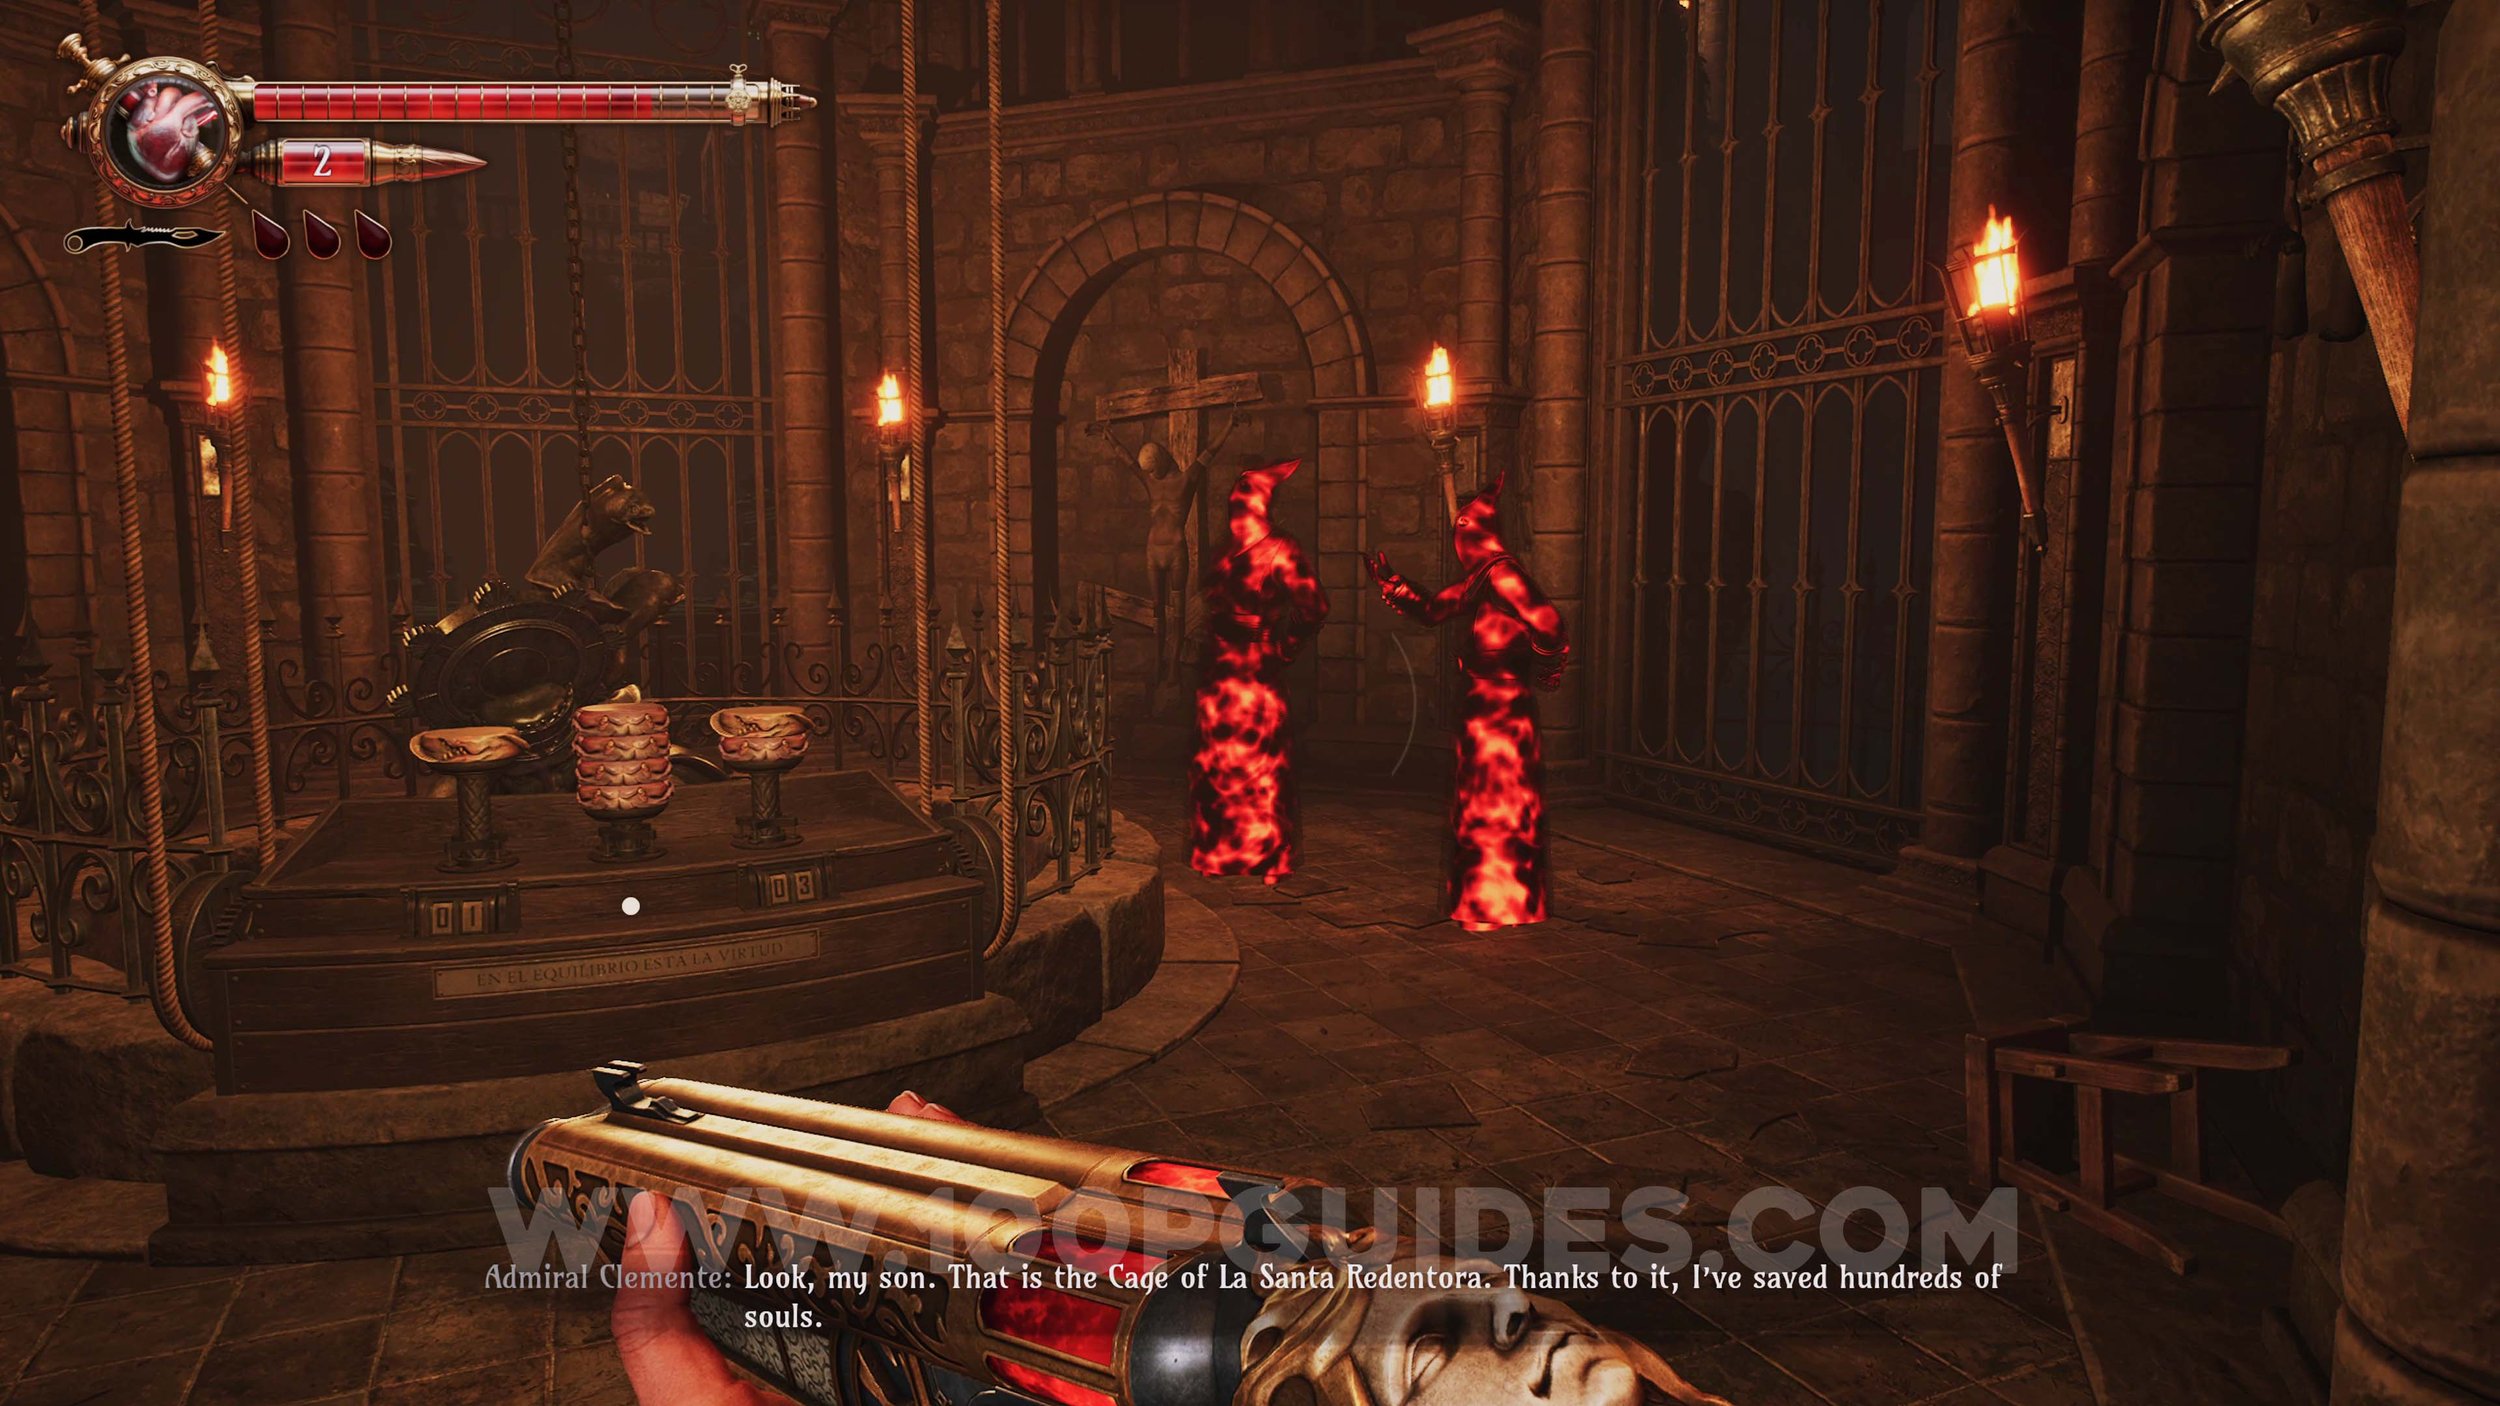
Memory #50. Story related as you go through the area with cells.

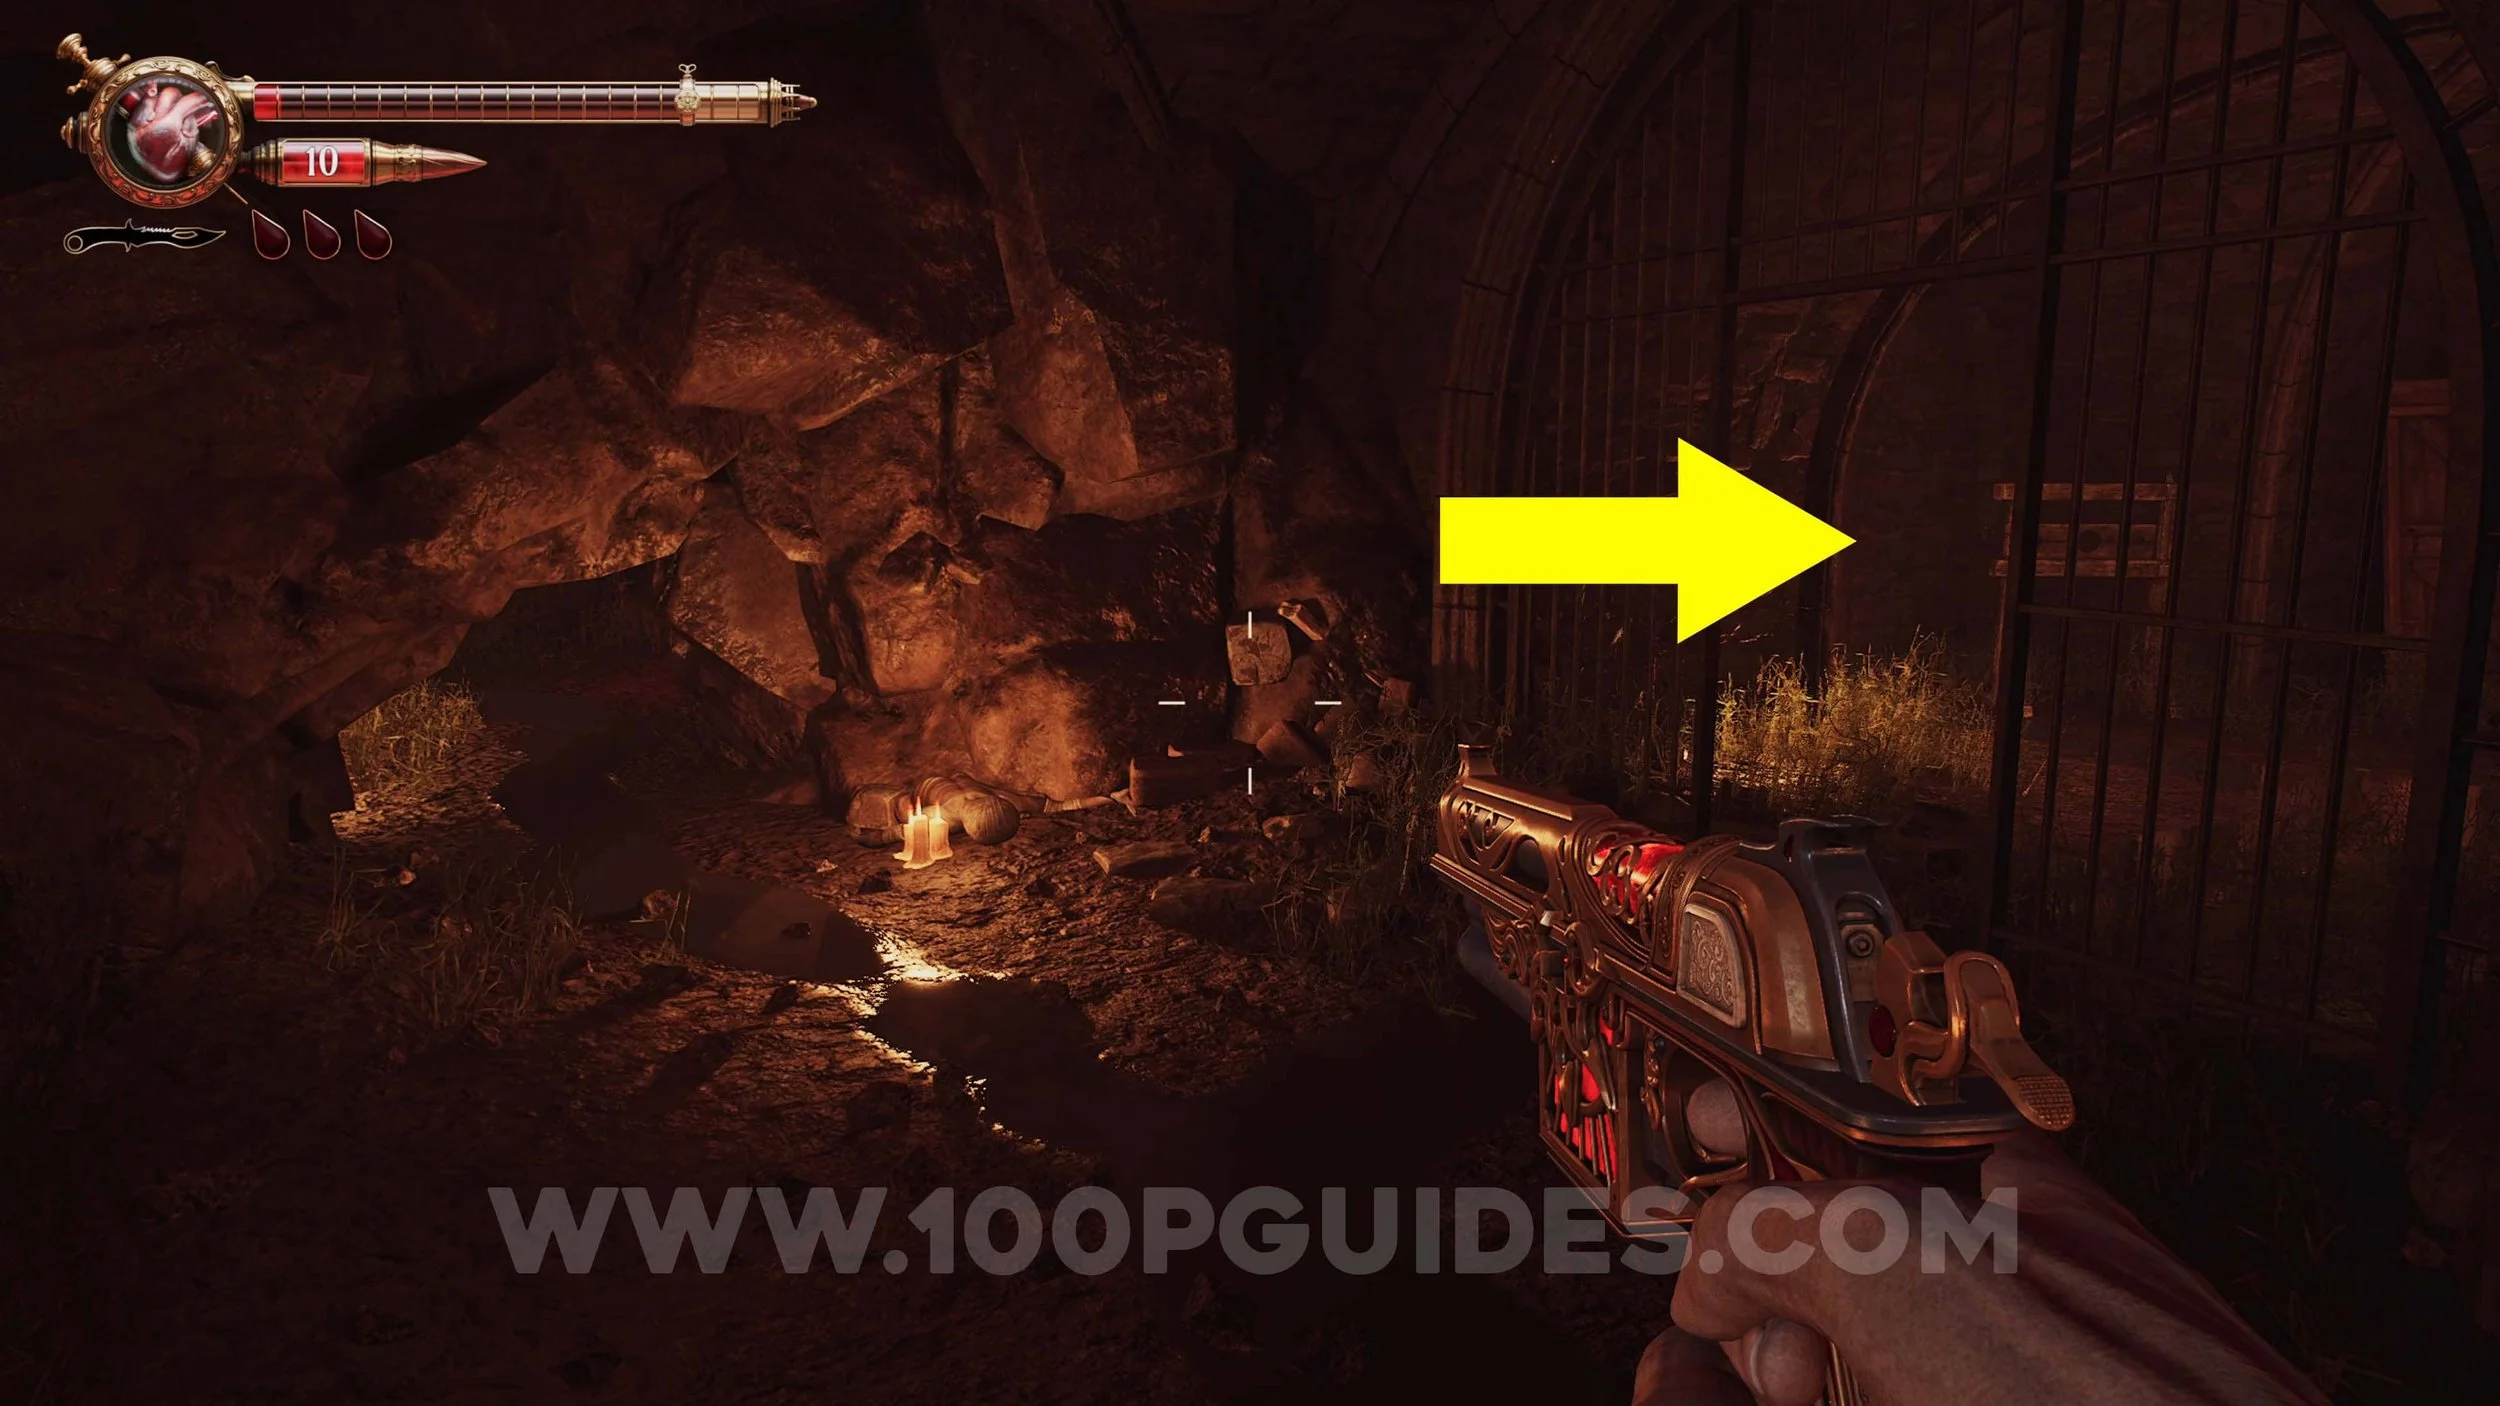
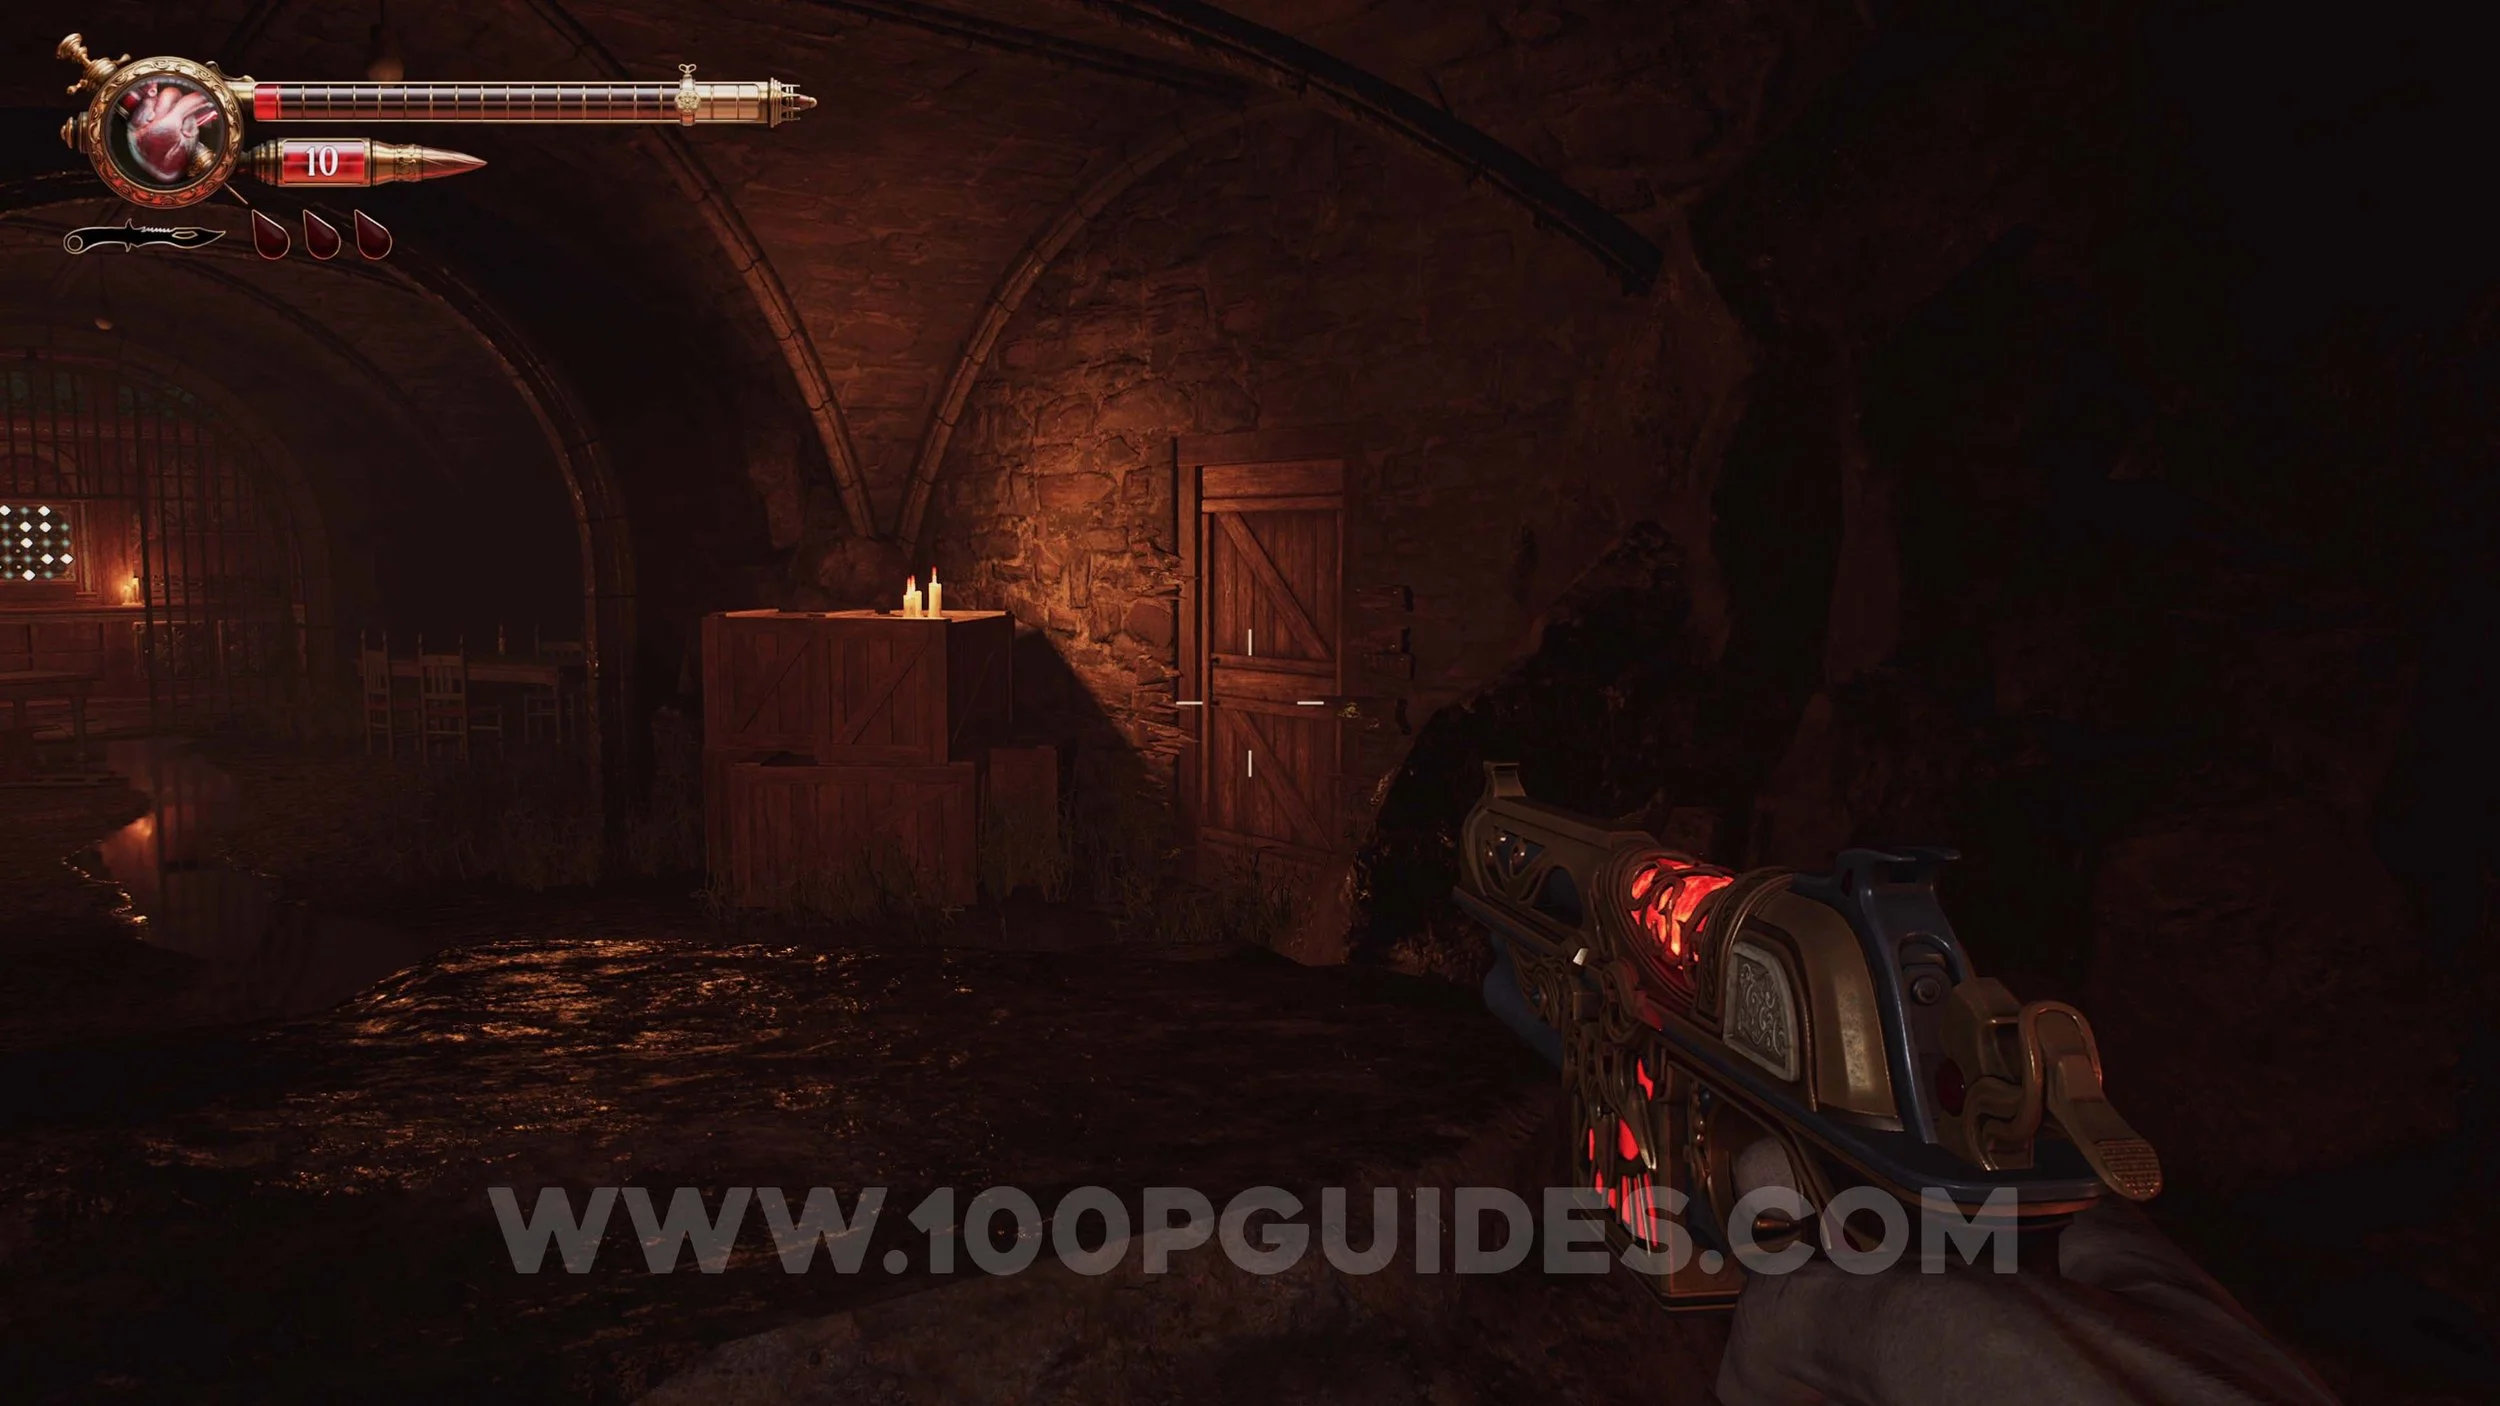
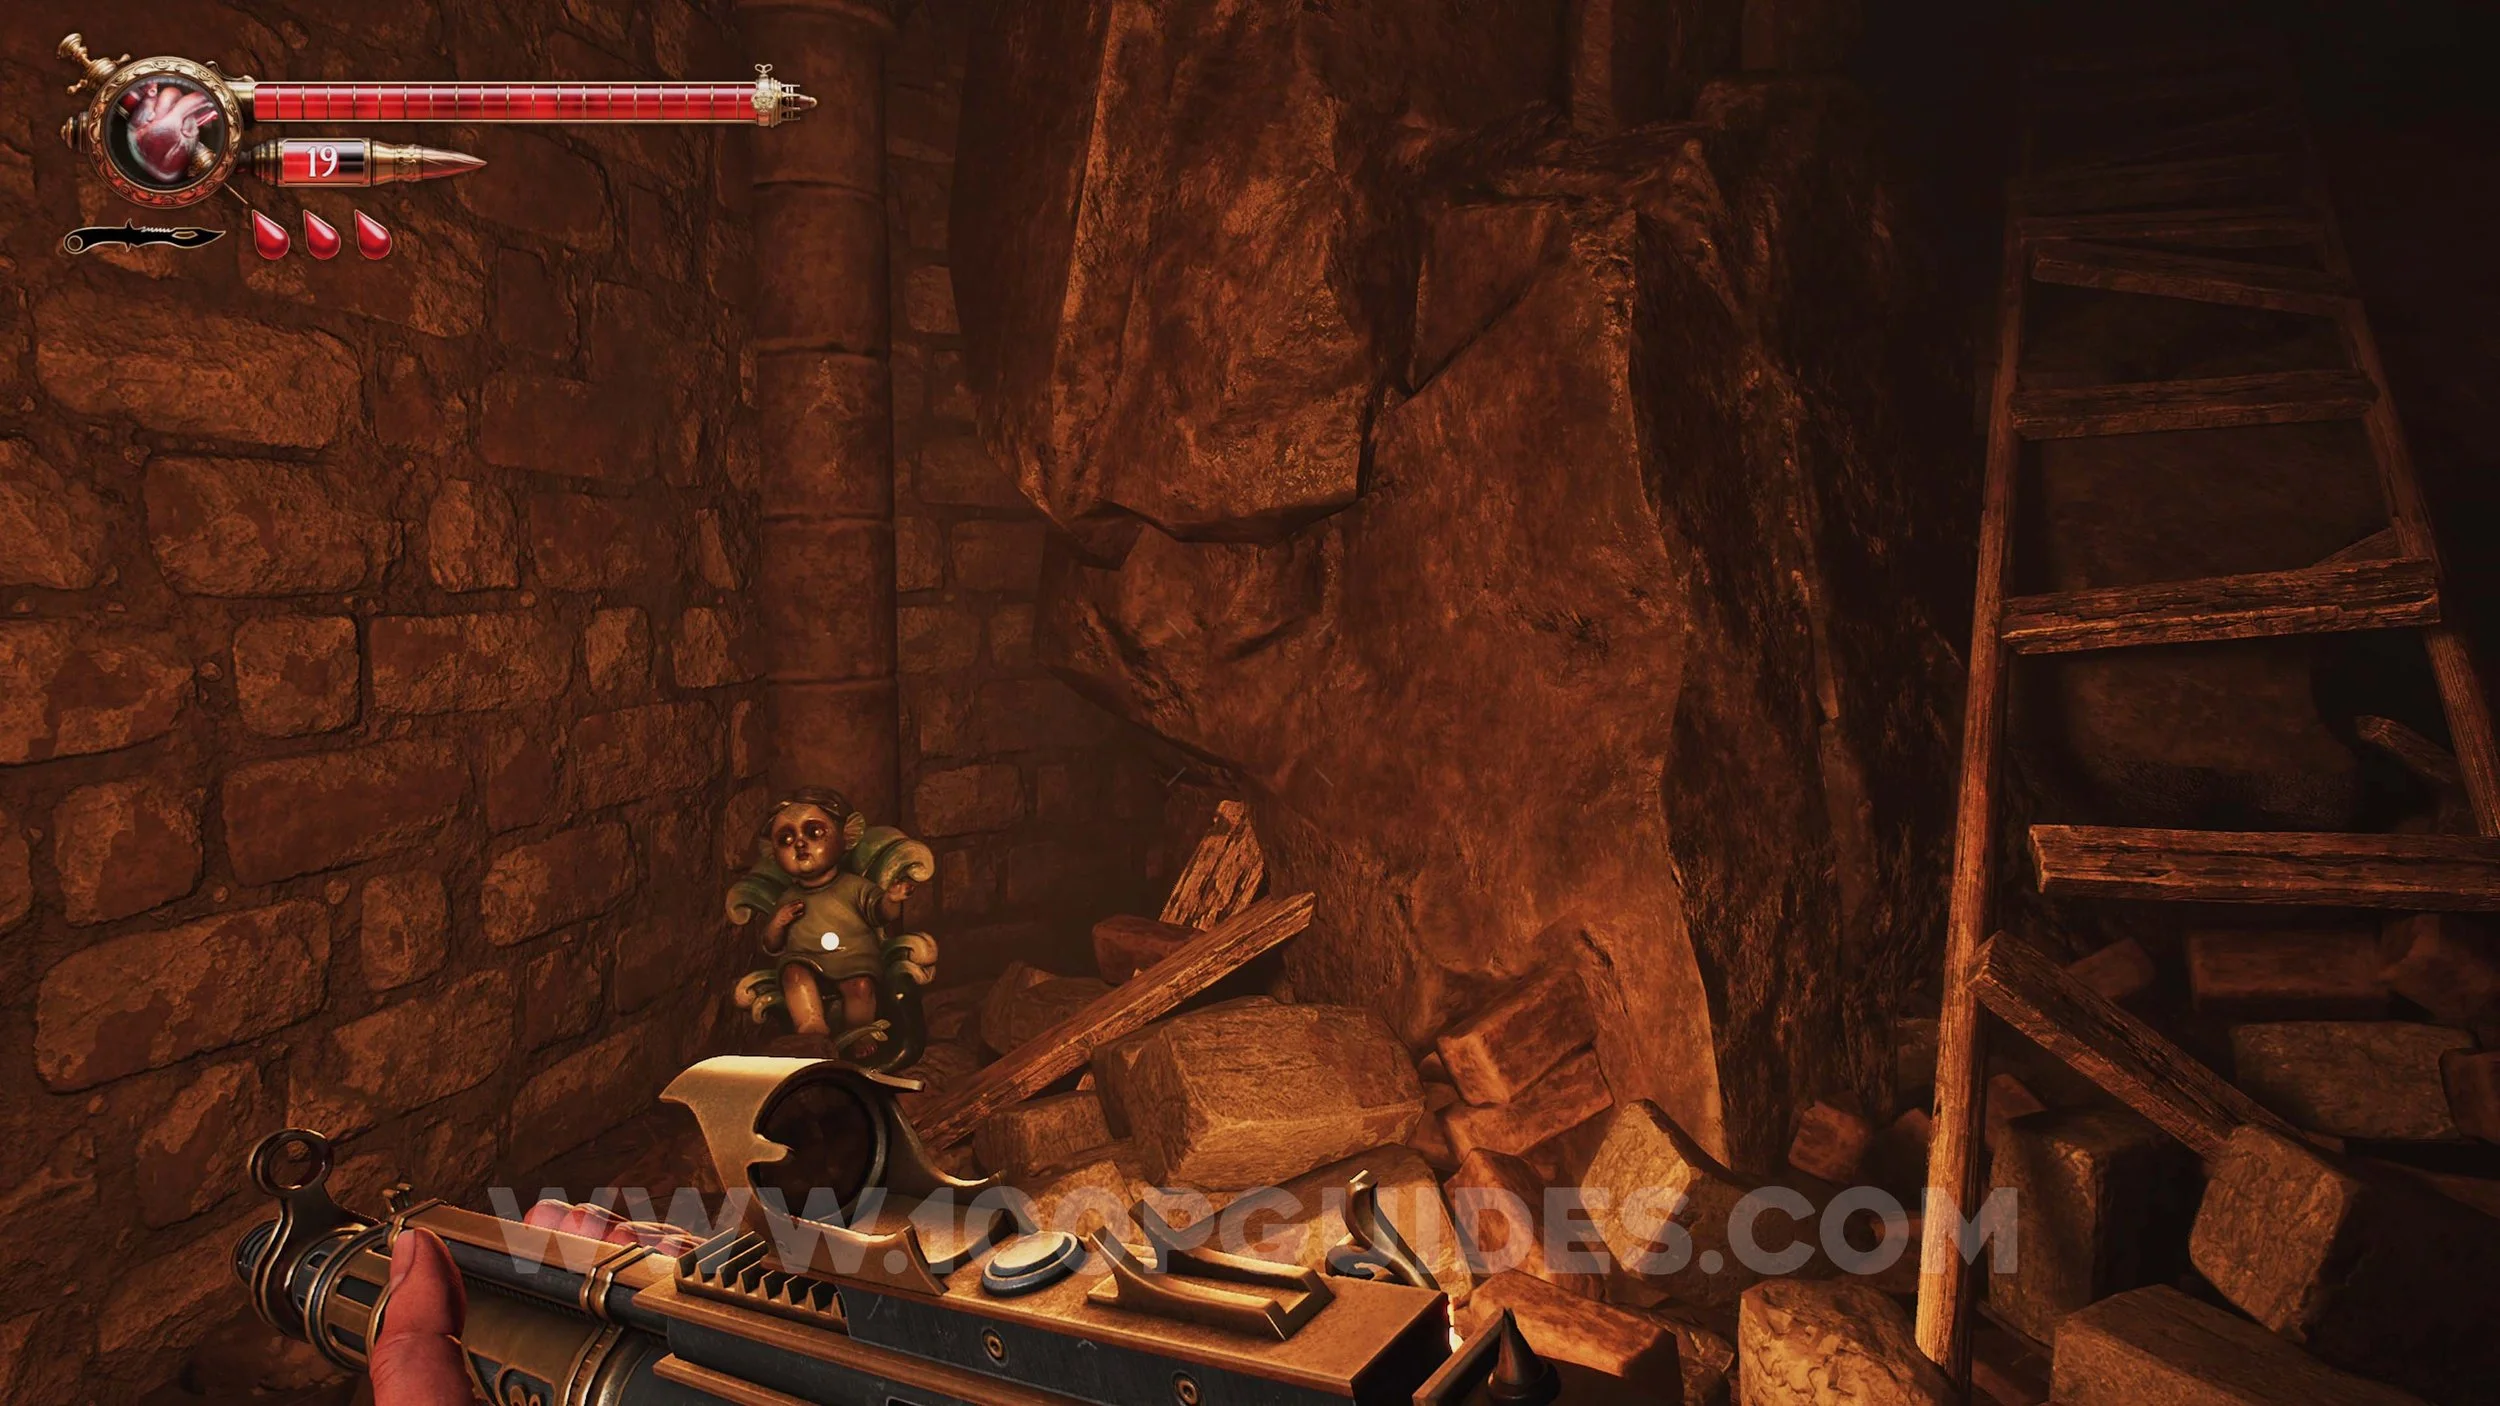
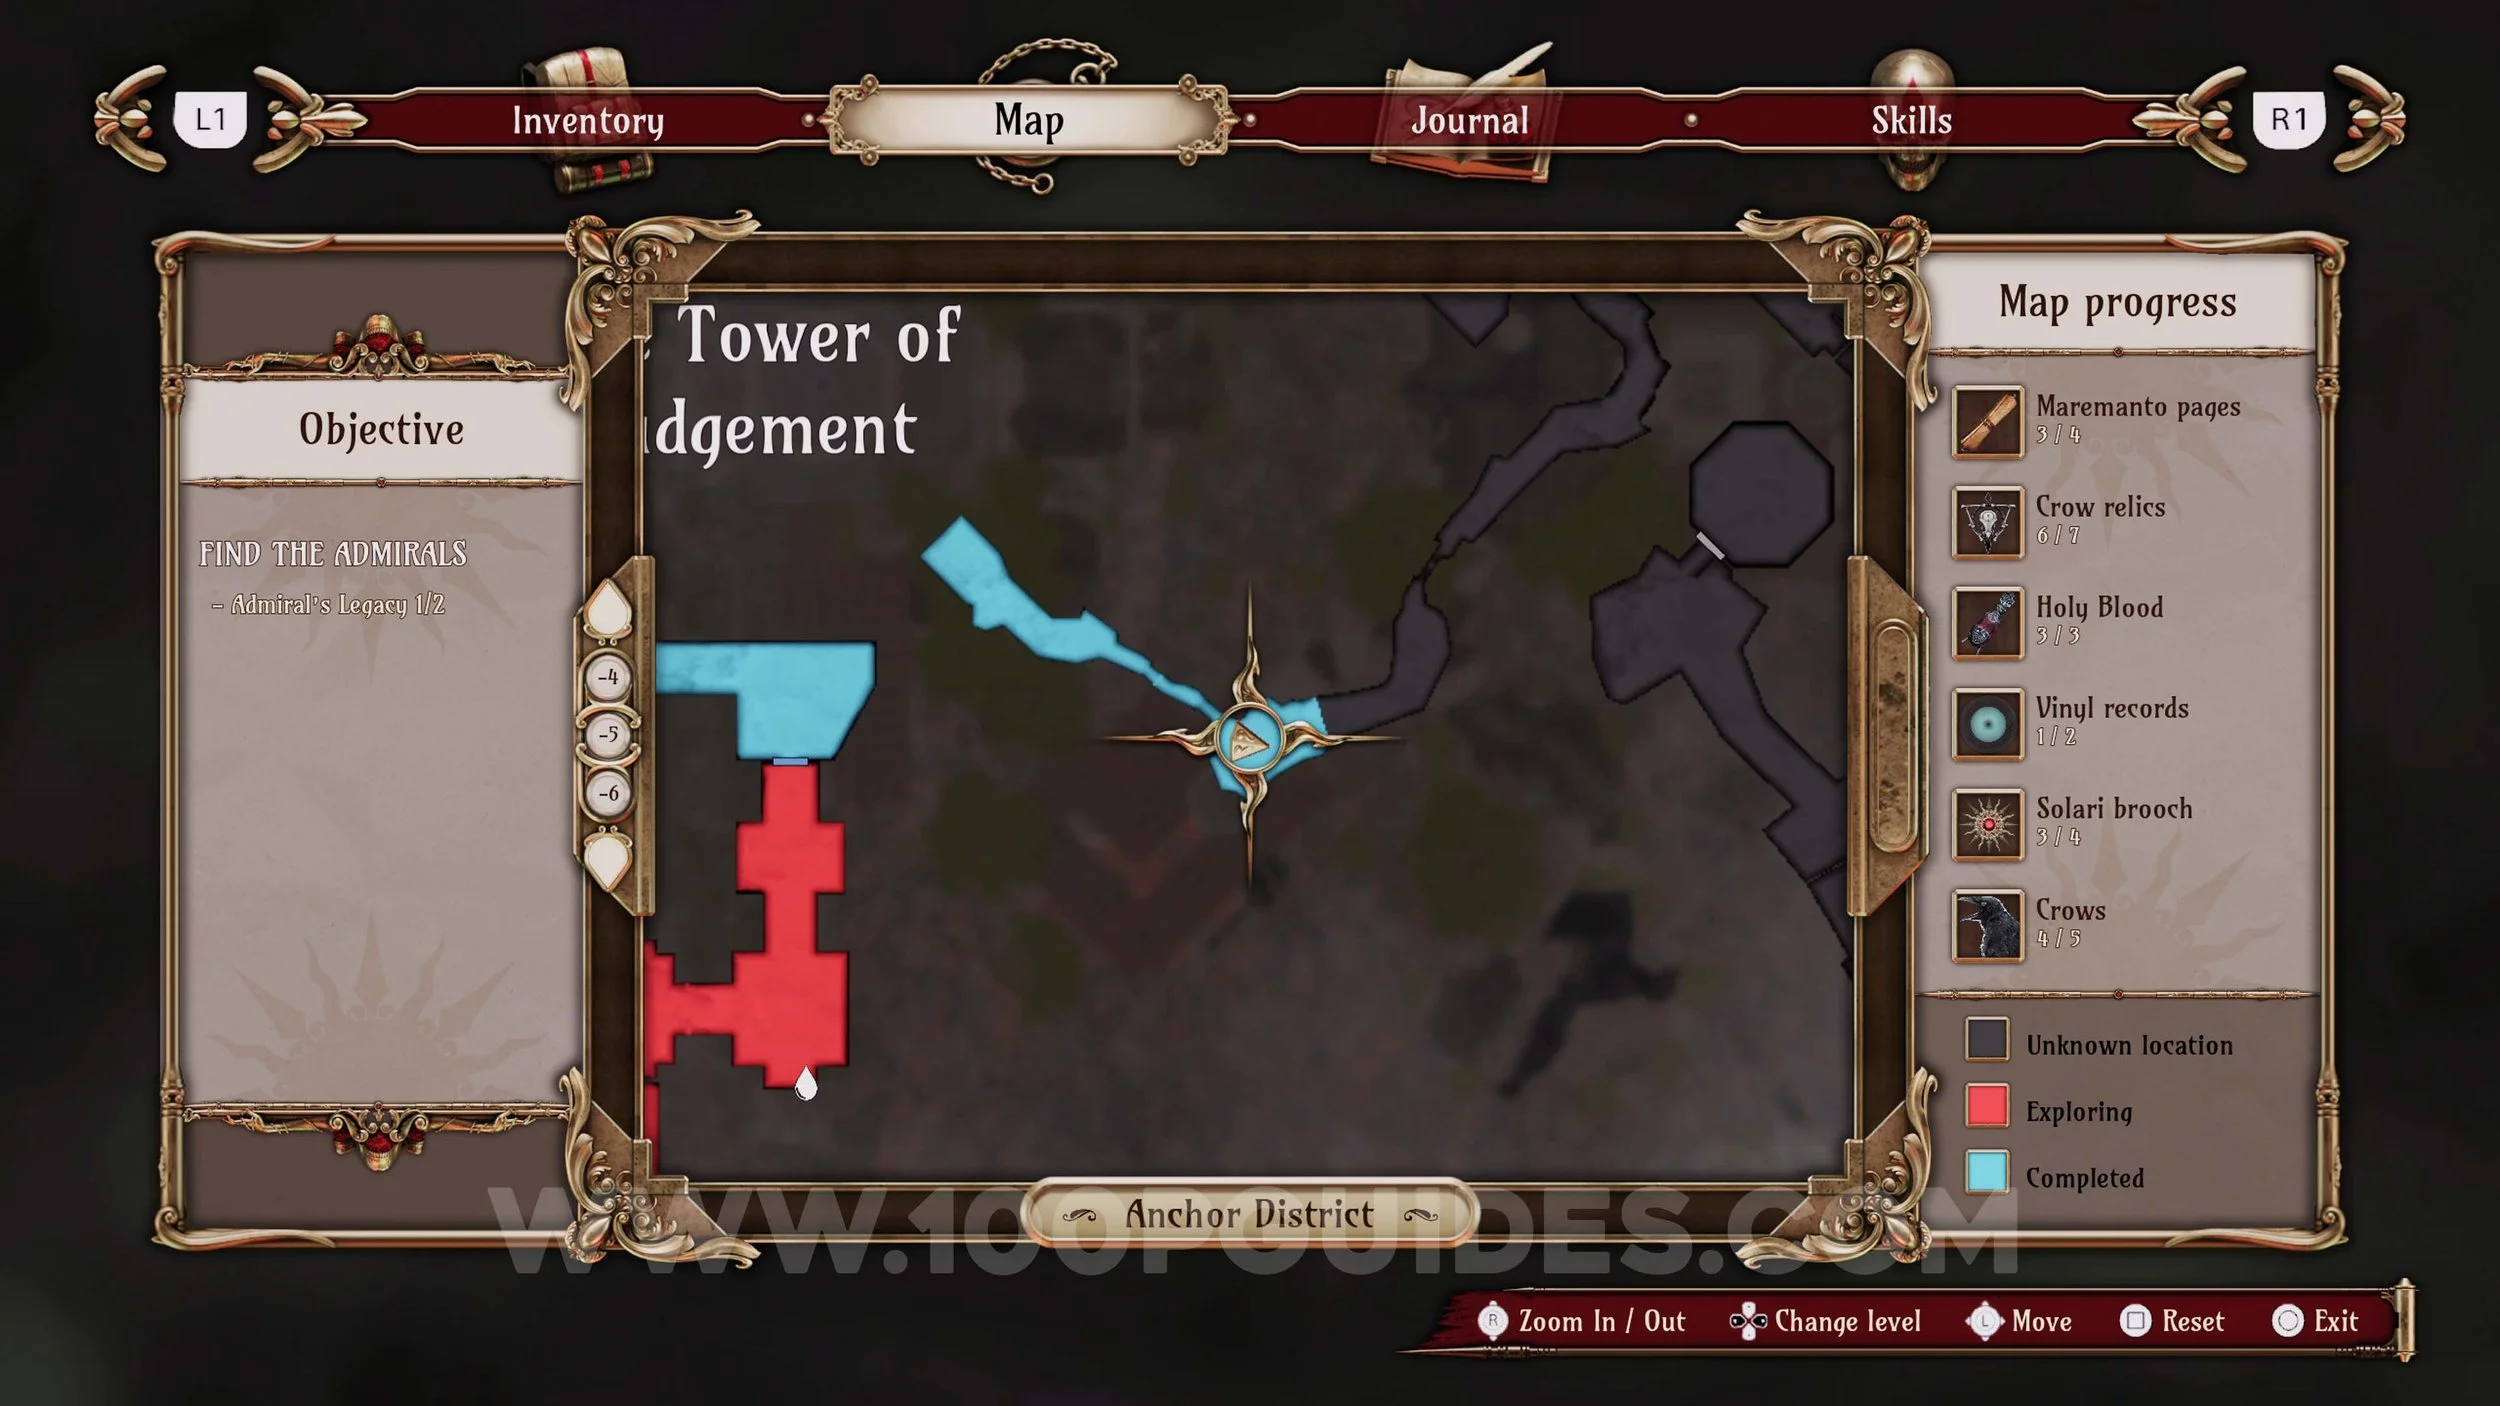
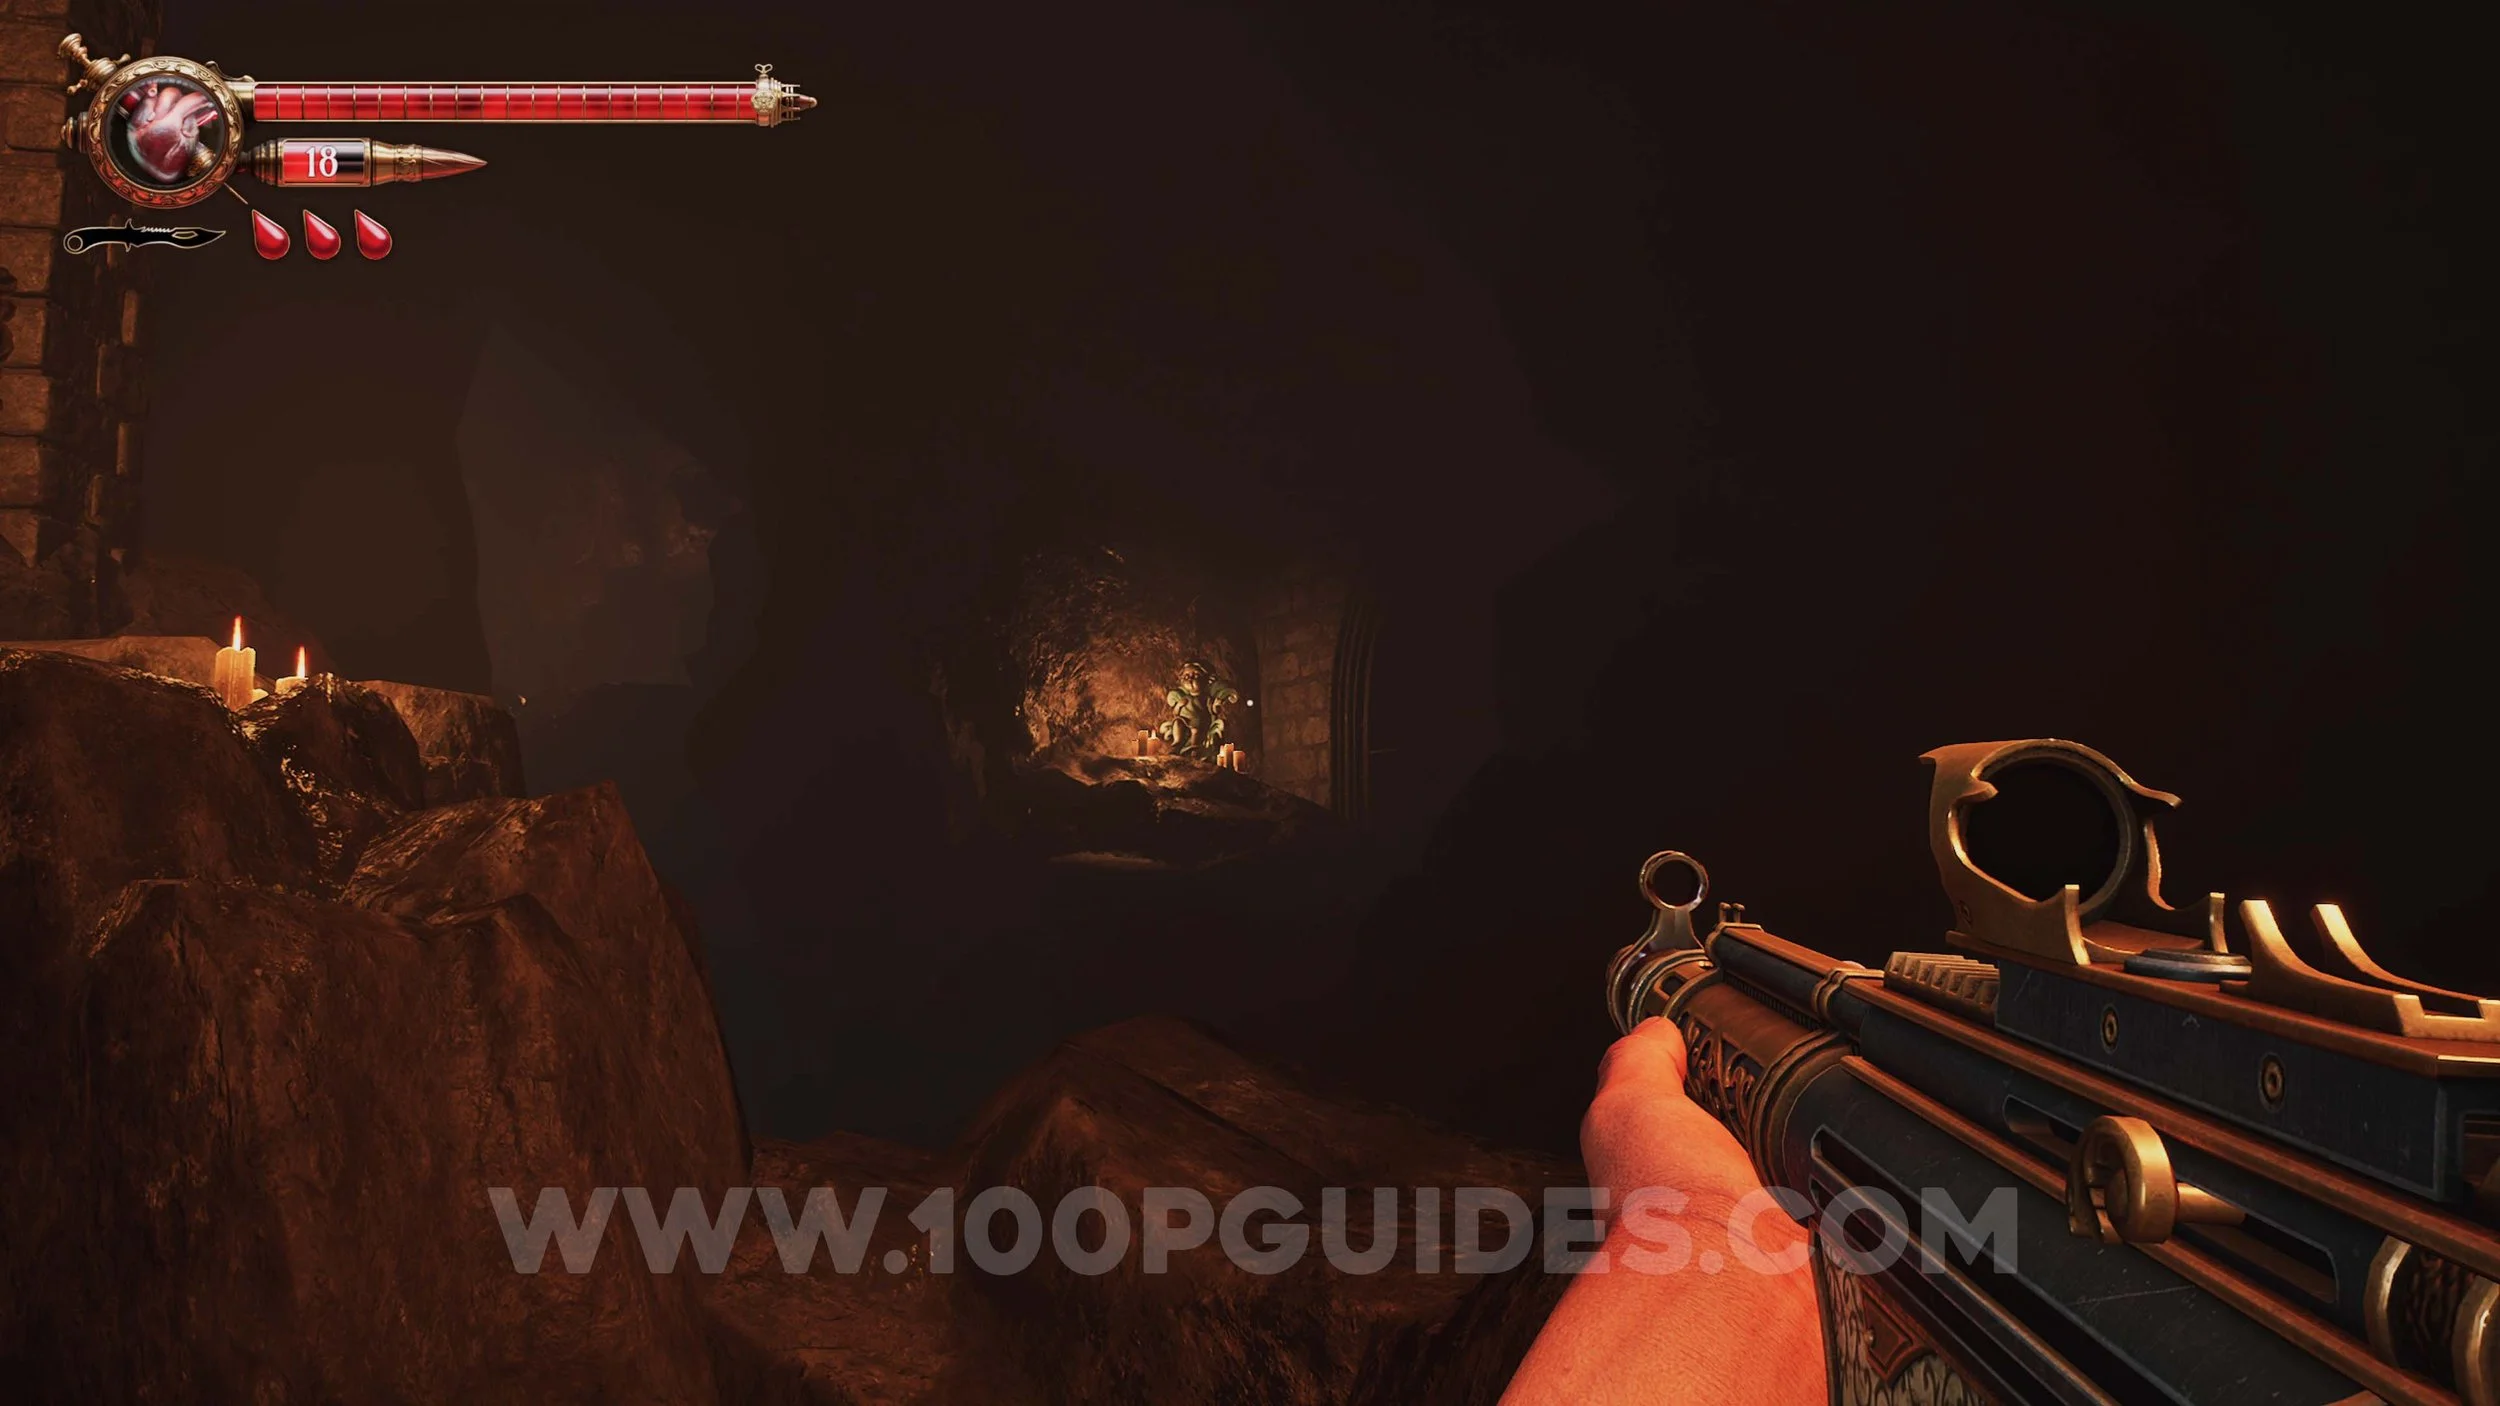
Crow Relic #22. After solving the sun puzzle and lowering the metal ball, you will go through into a cave area. Just after the first group of enemies, you will see a hole you can crawl through to continue and a cell on your right. Go through the cell and continue straight to find the relic in a chest.

Ulises Idol #33. Now go through the hole (watch out for the flame-throwing statue) and look to your right. Shoot the wooden beams blocking the door and crawl back through the hole and into the cell, where you can now open the door. On the other side, look through a half-blocked-off doorway on the right side to see the doll.
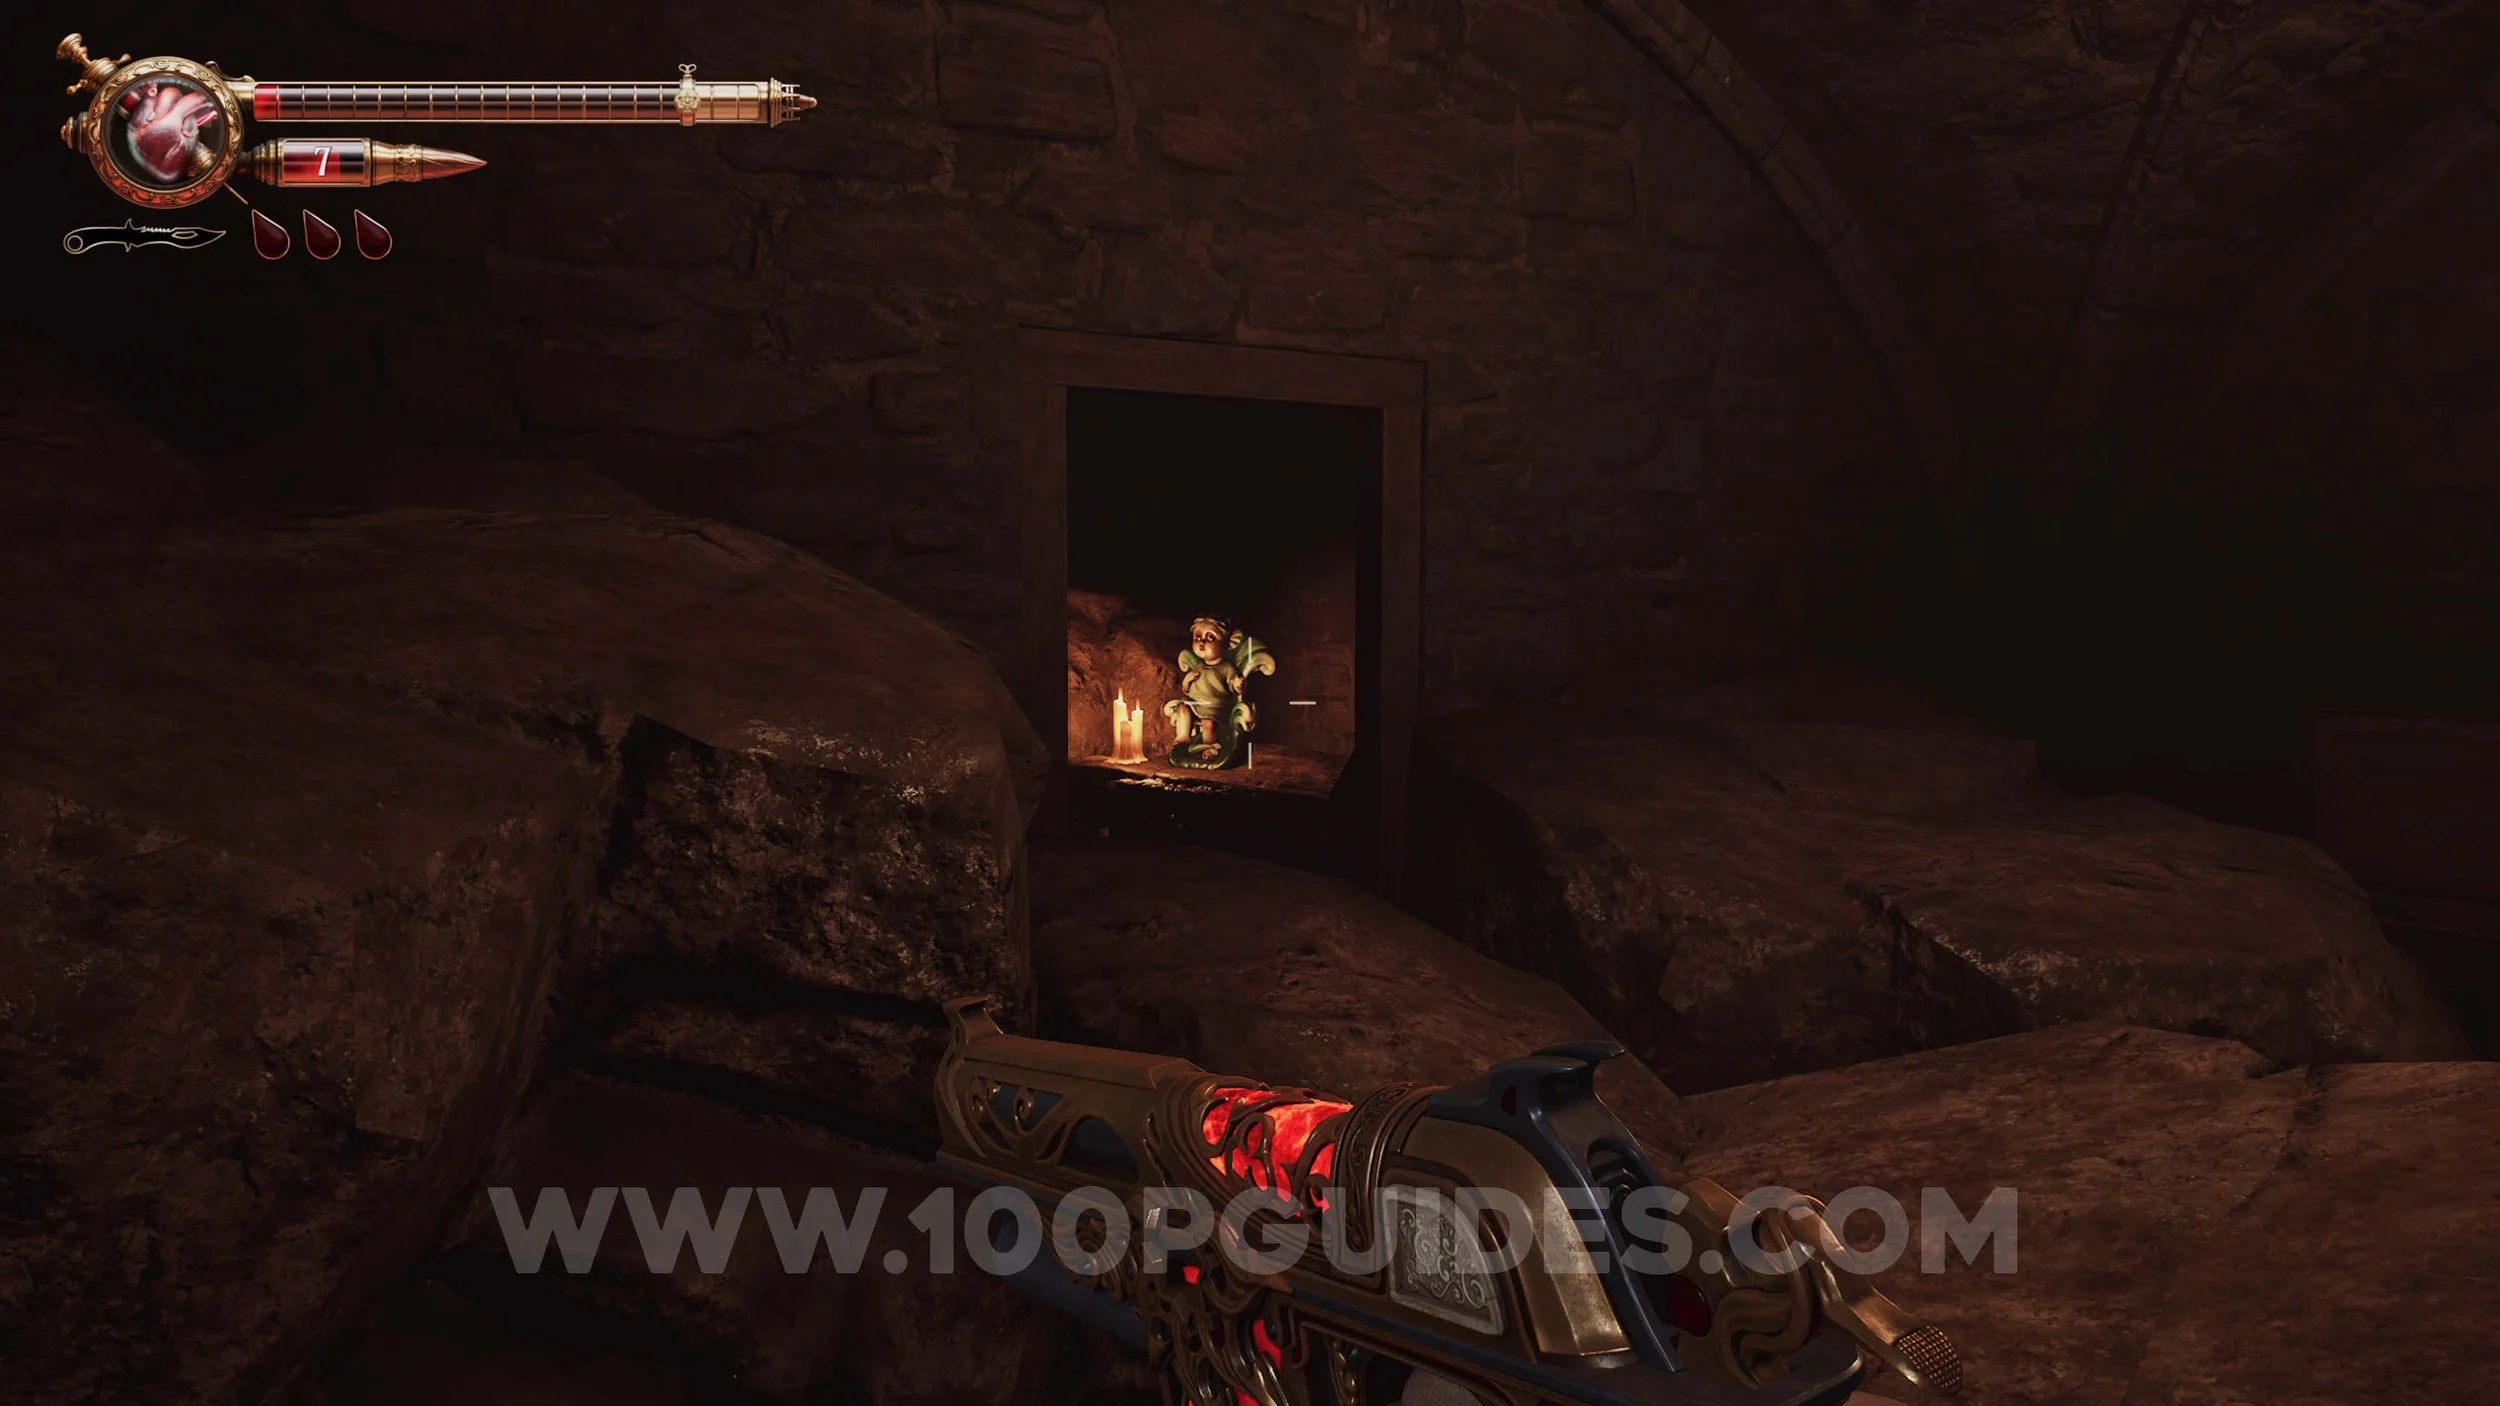
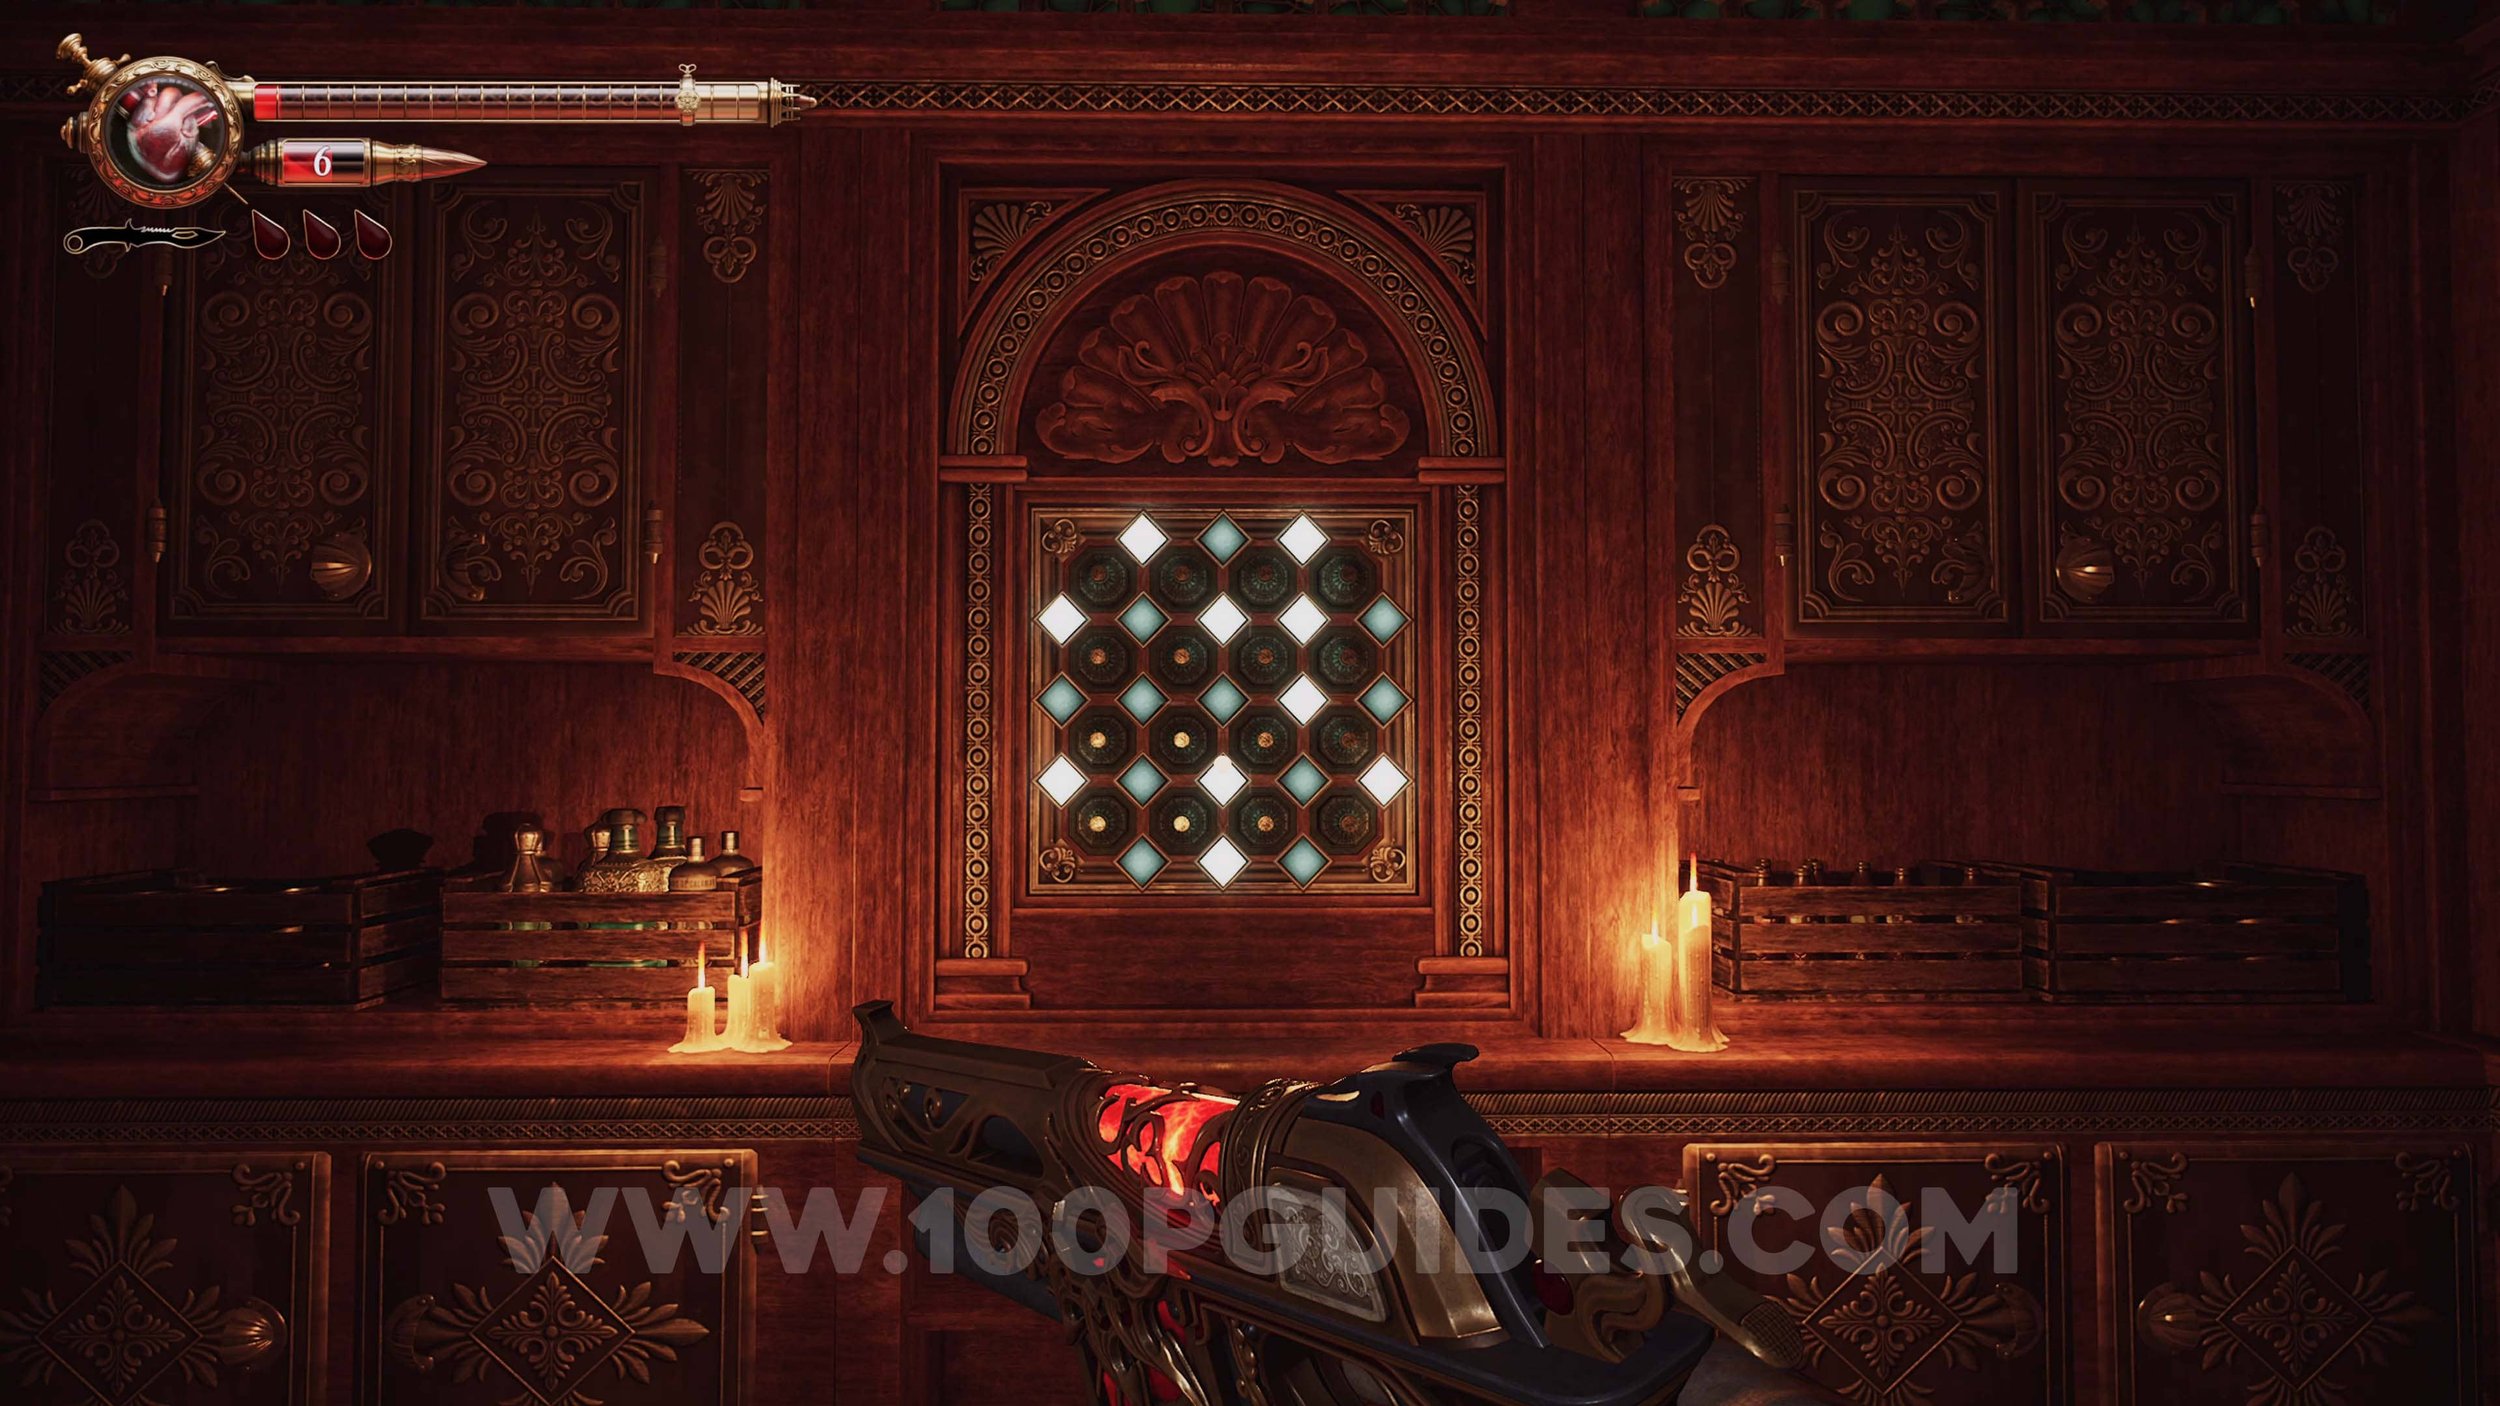
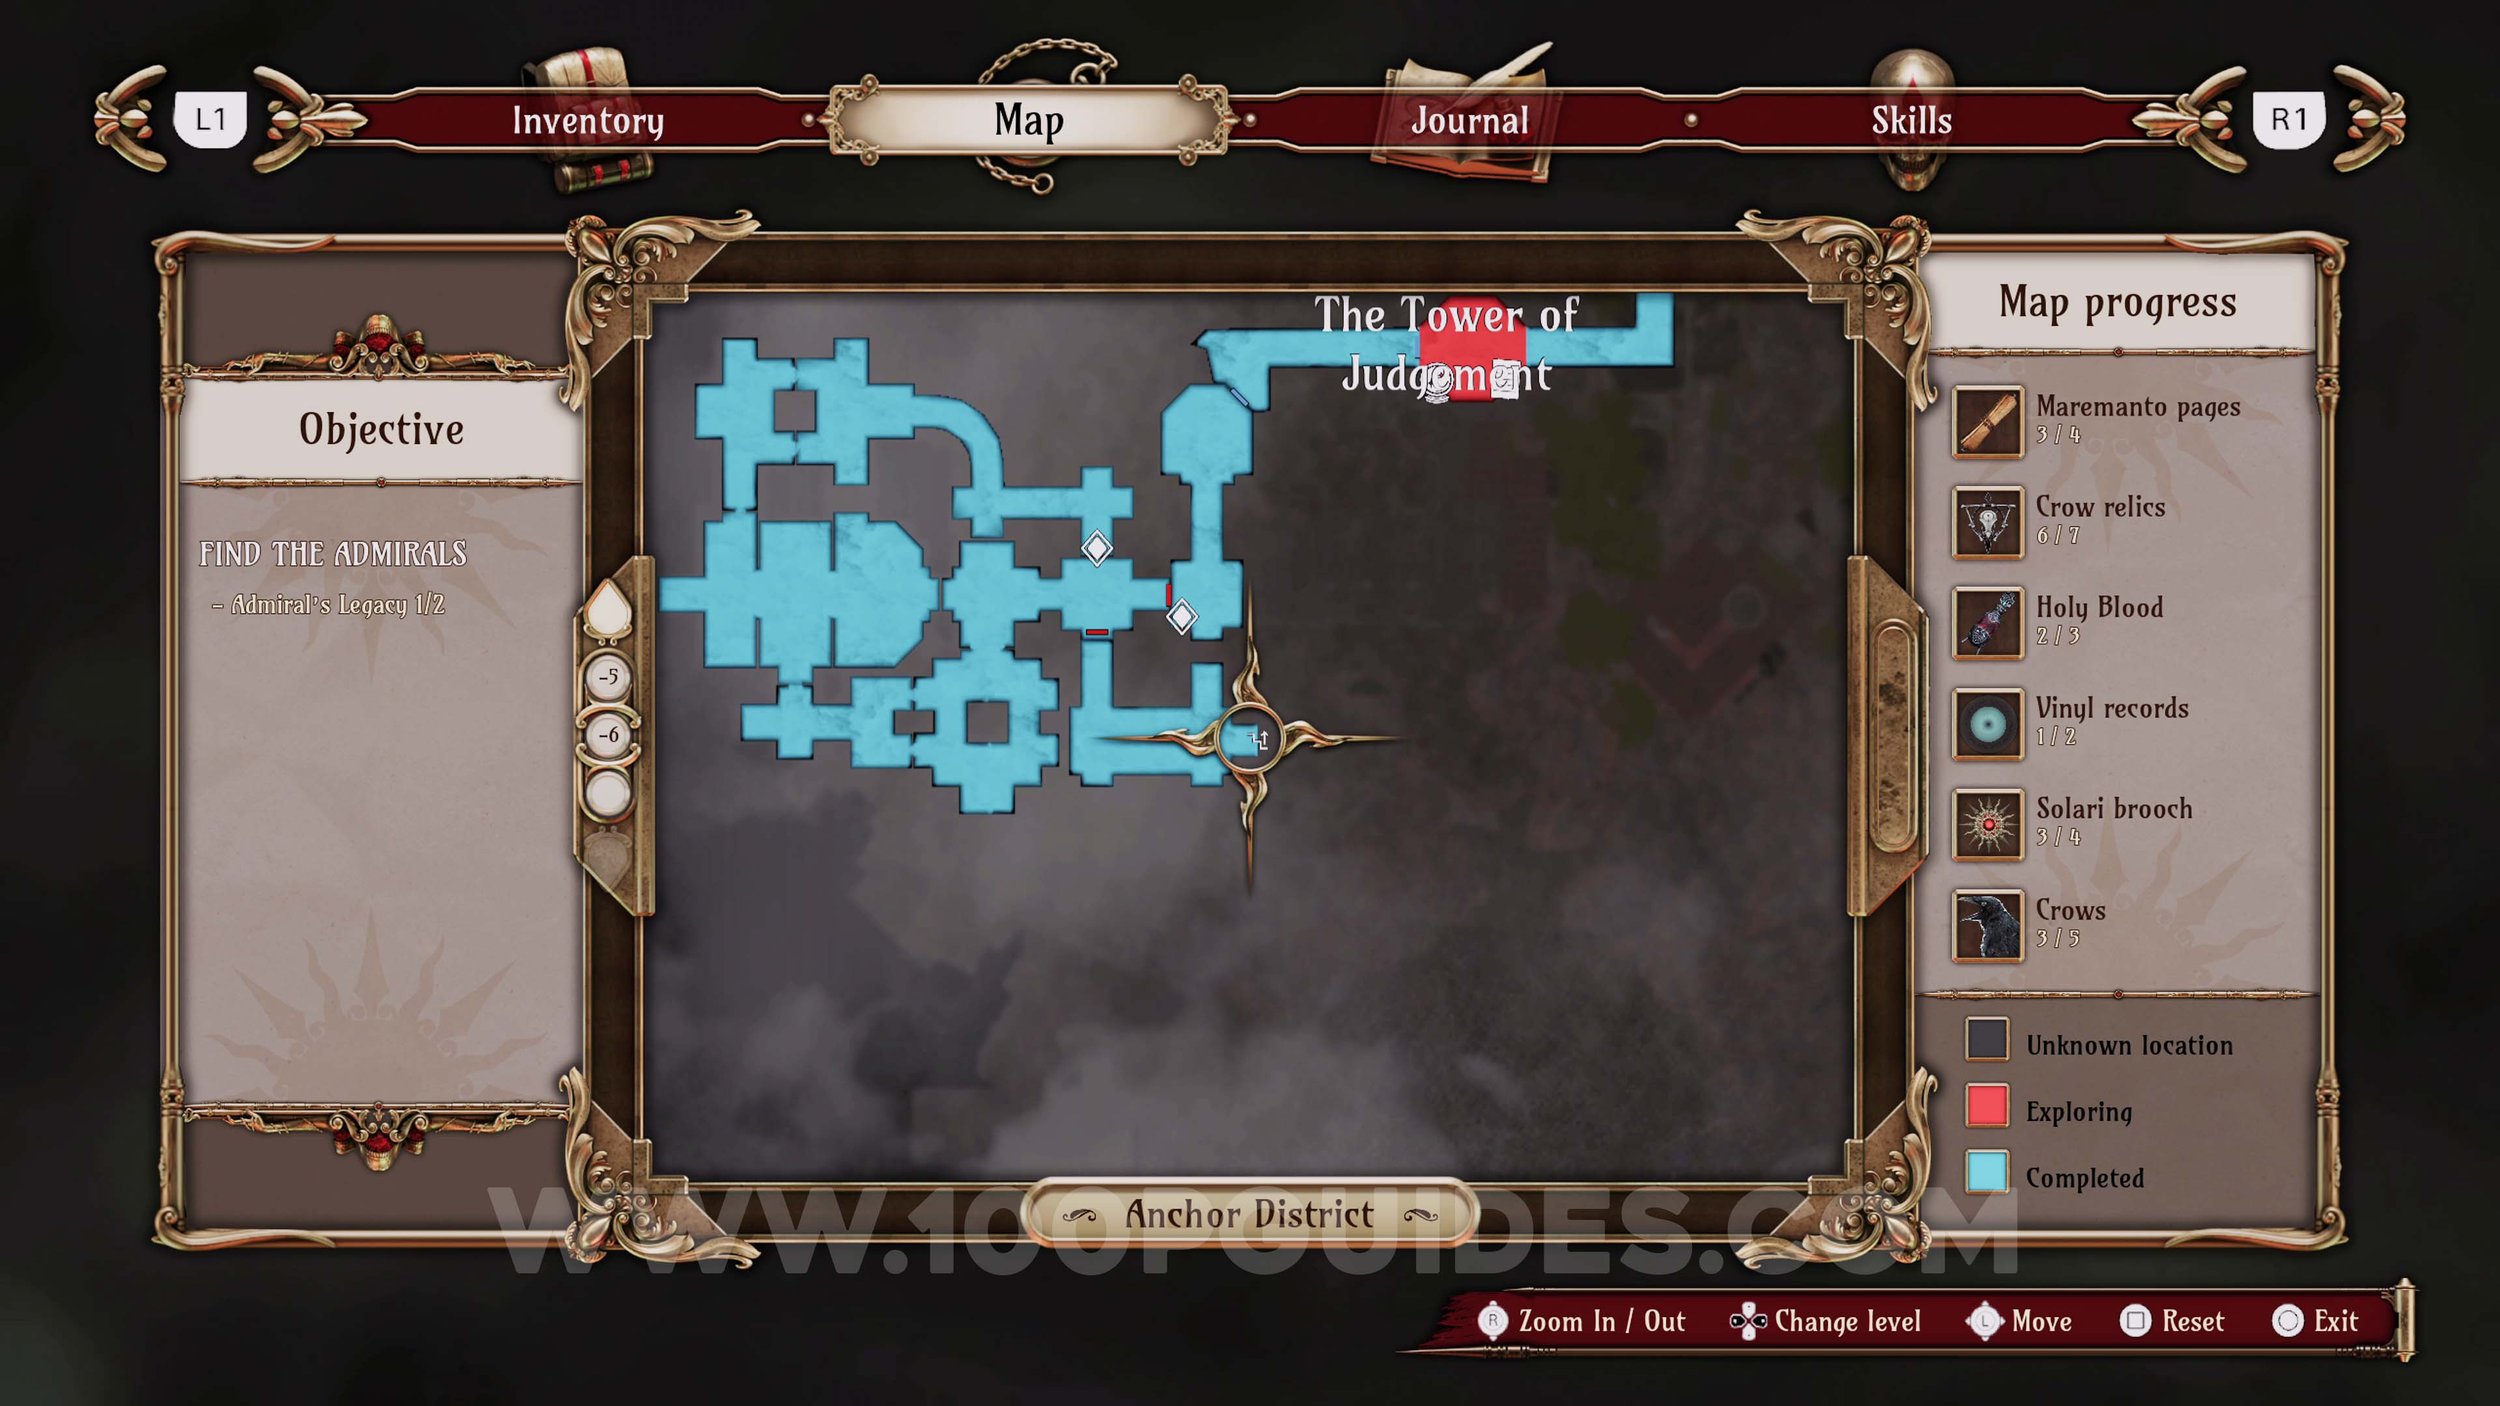
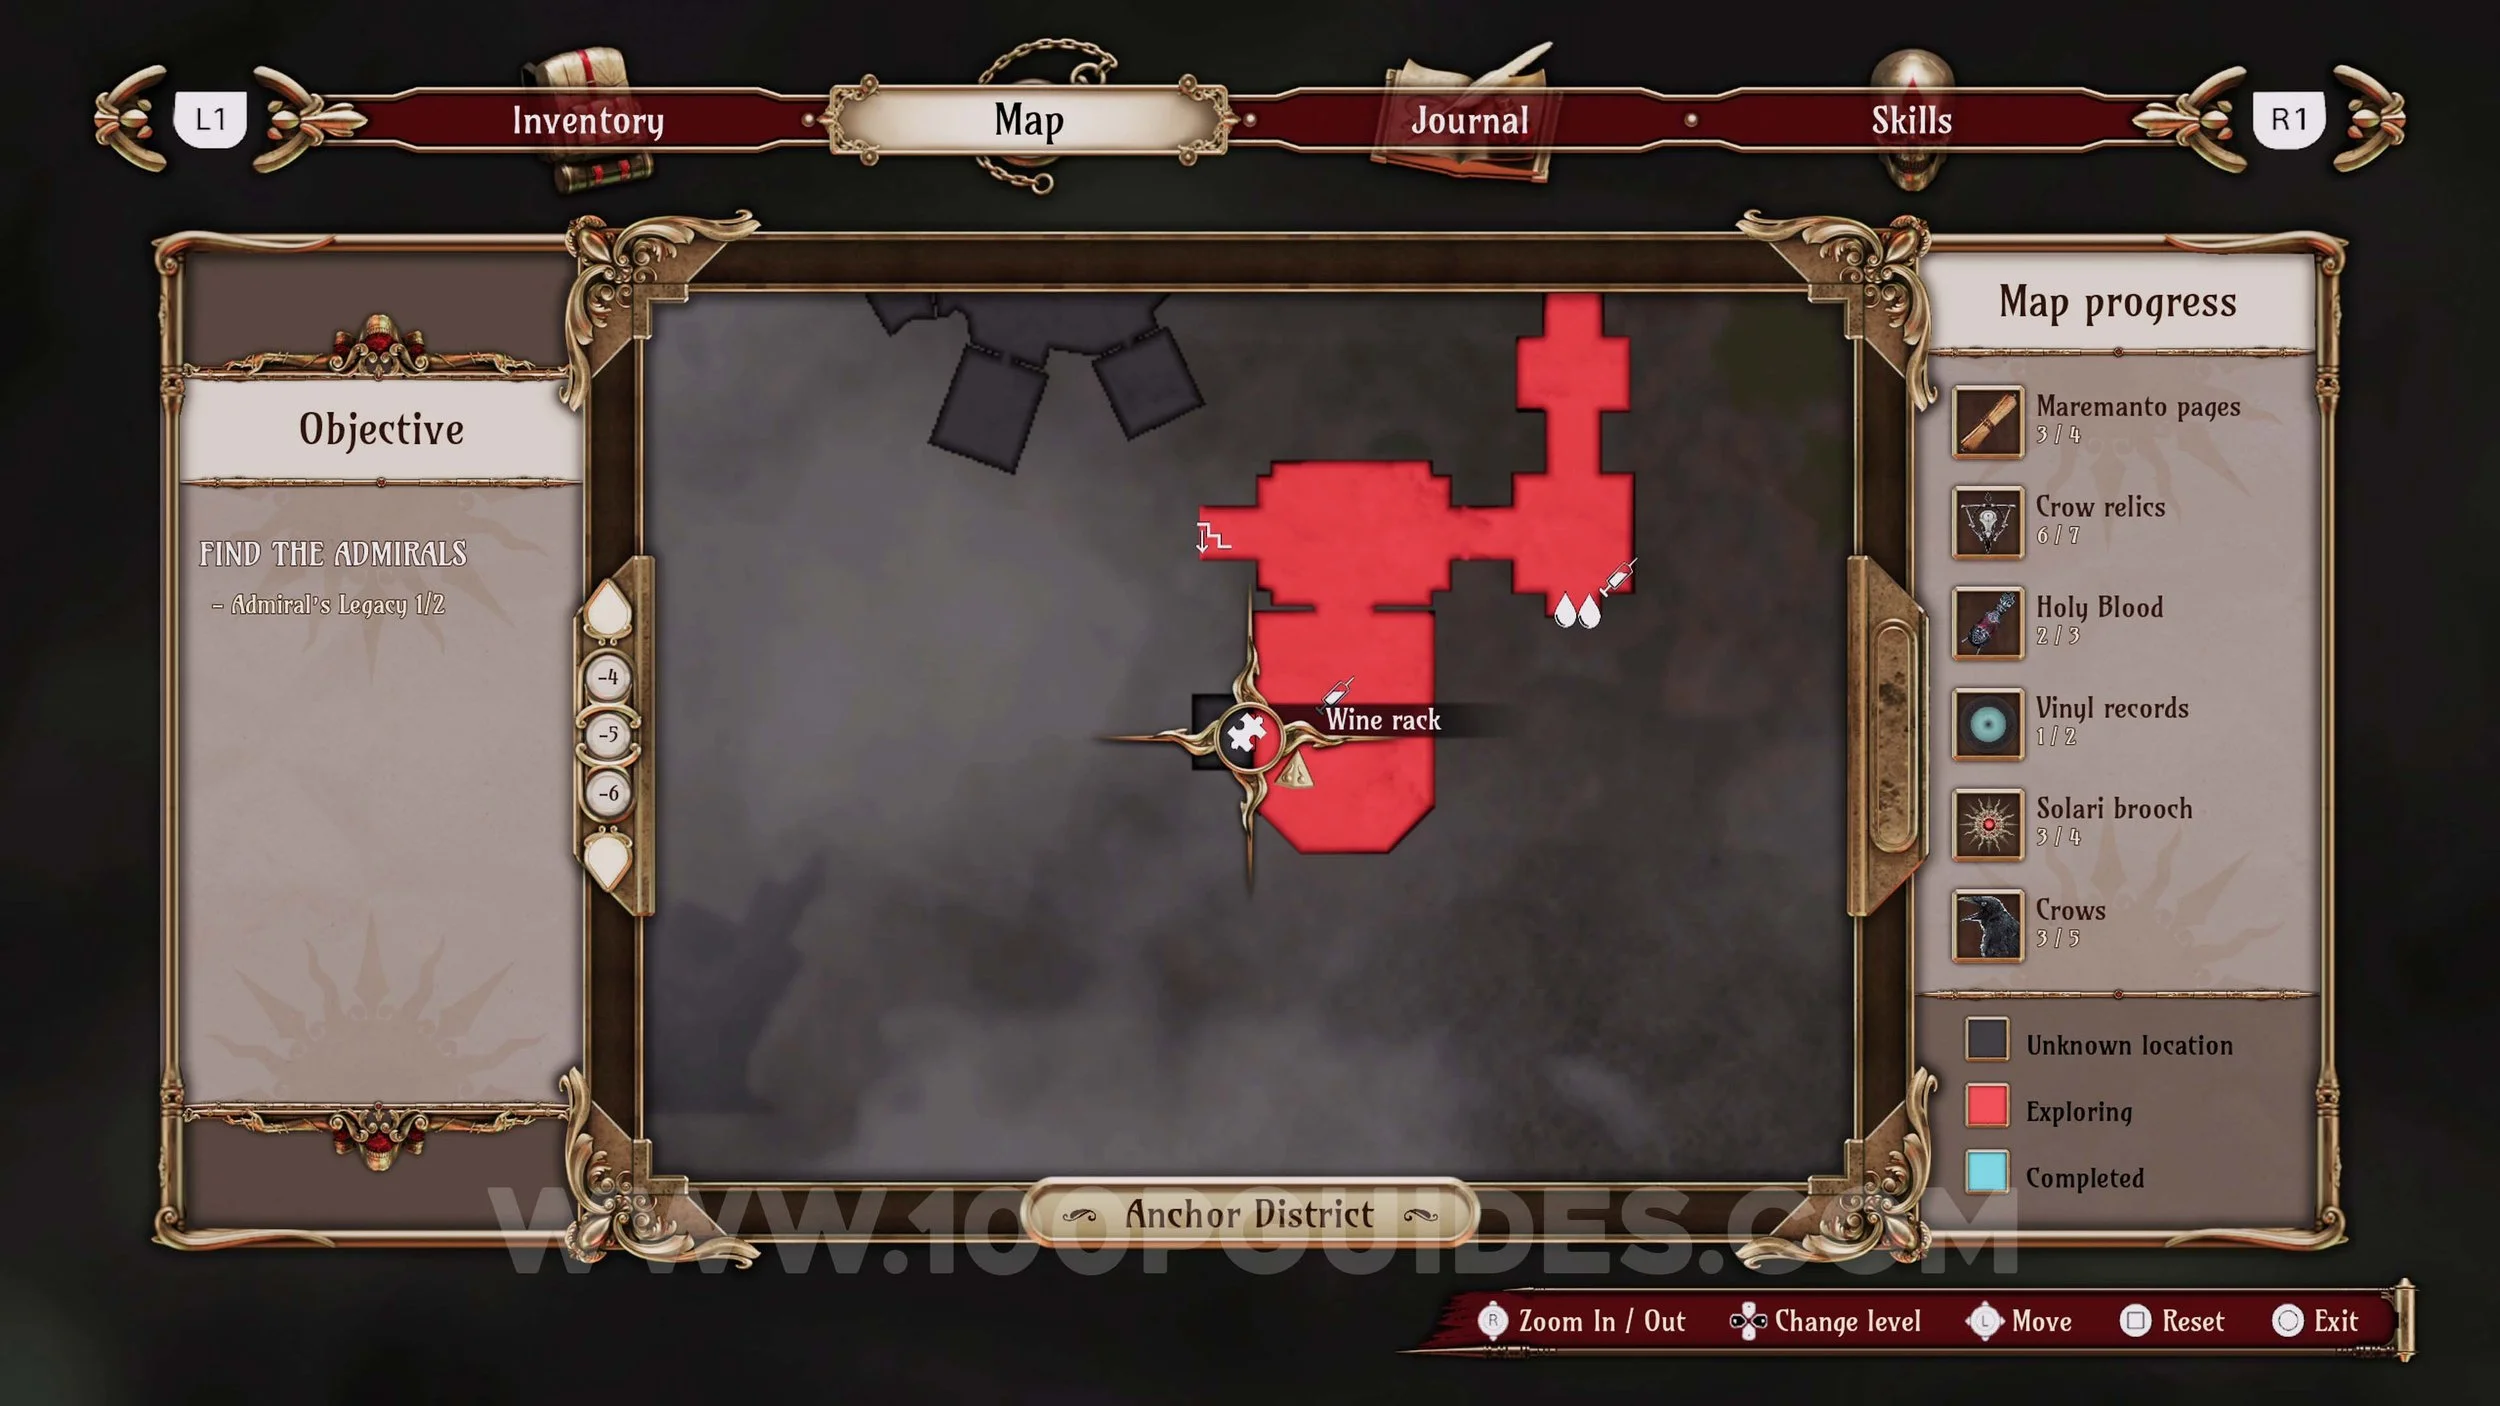
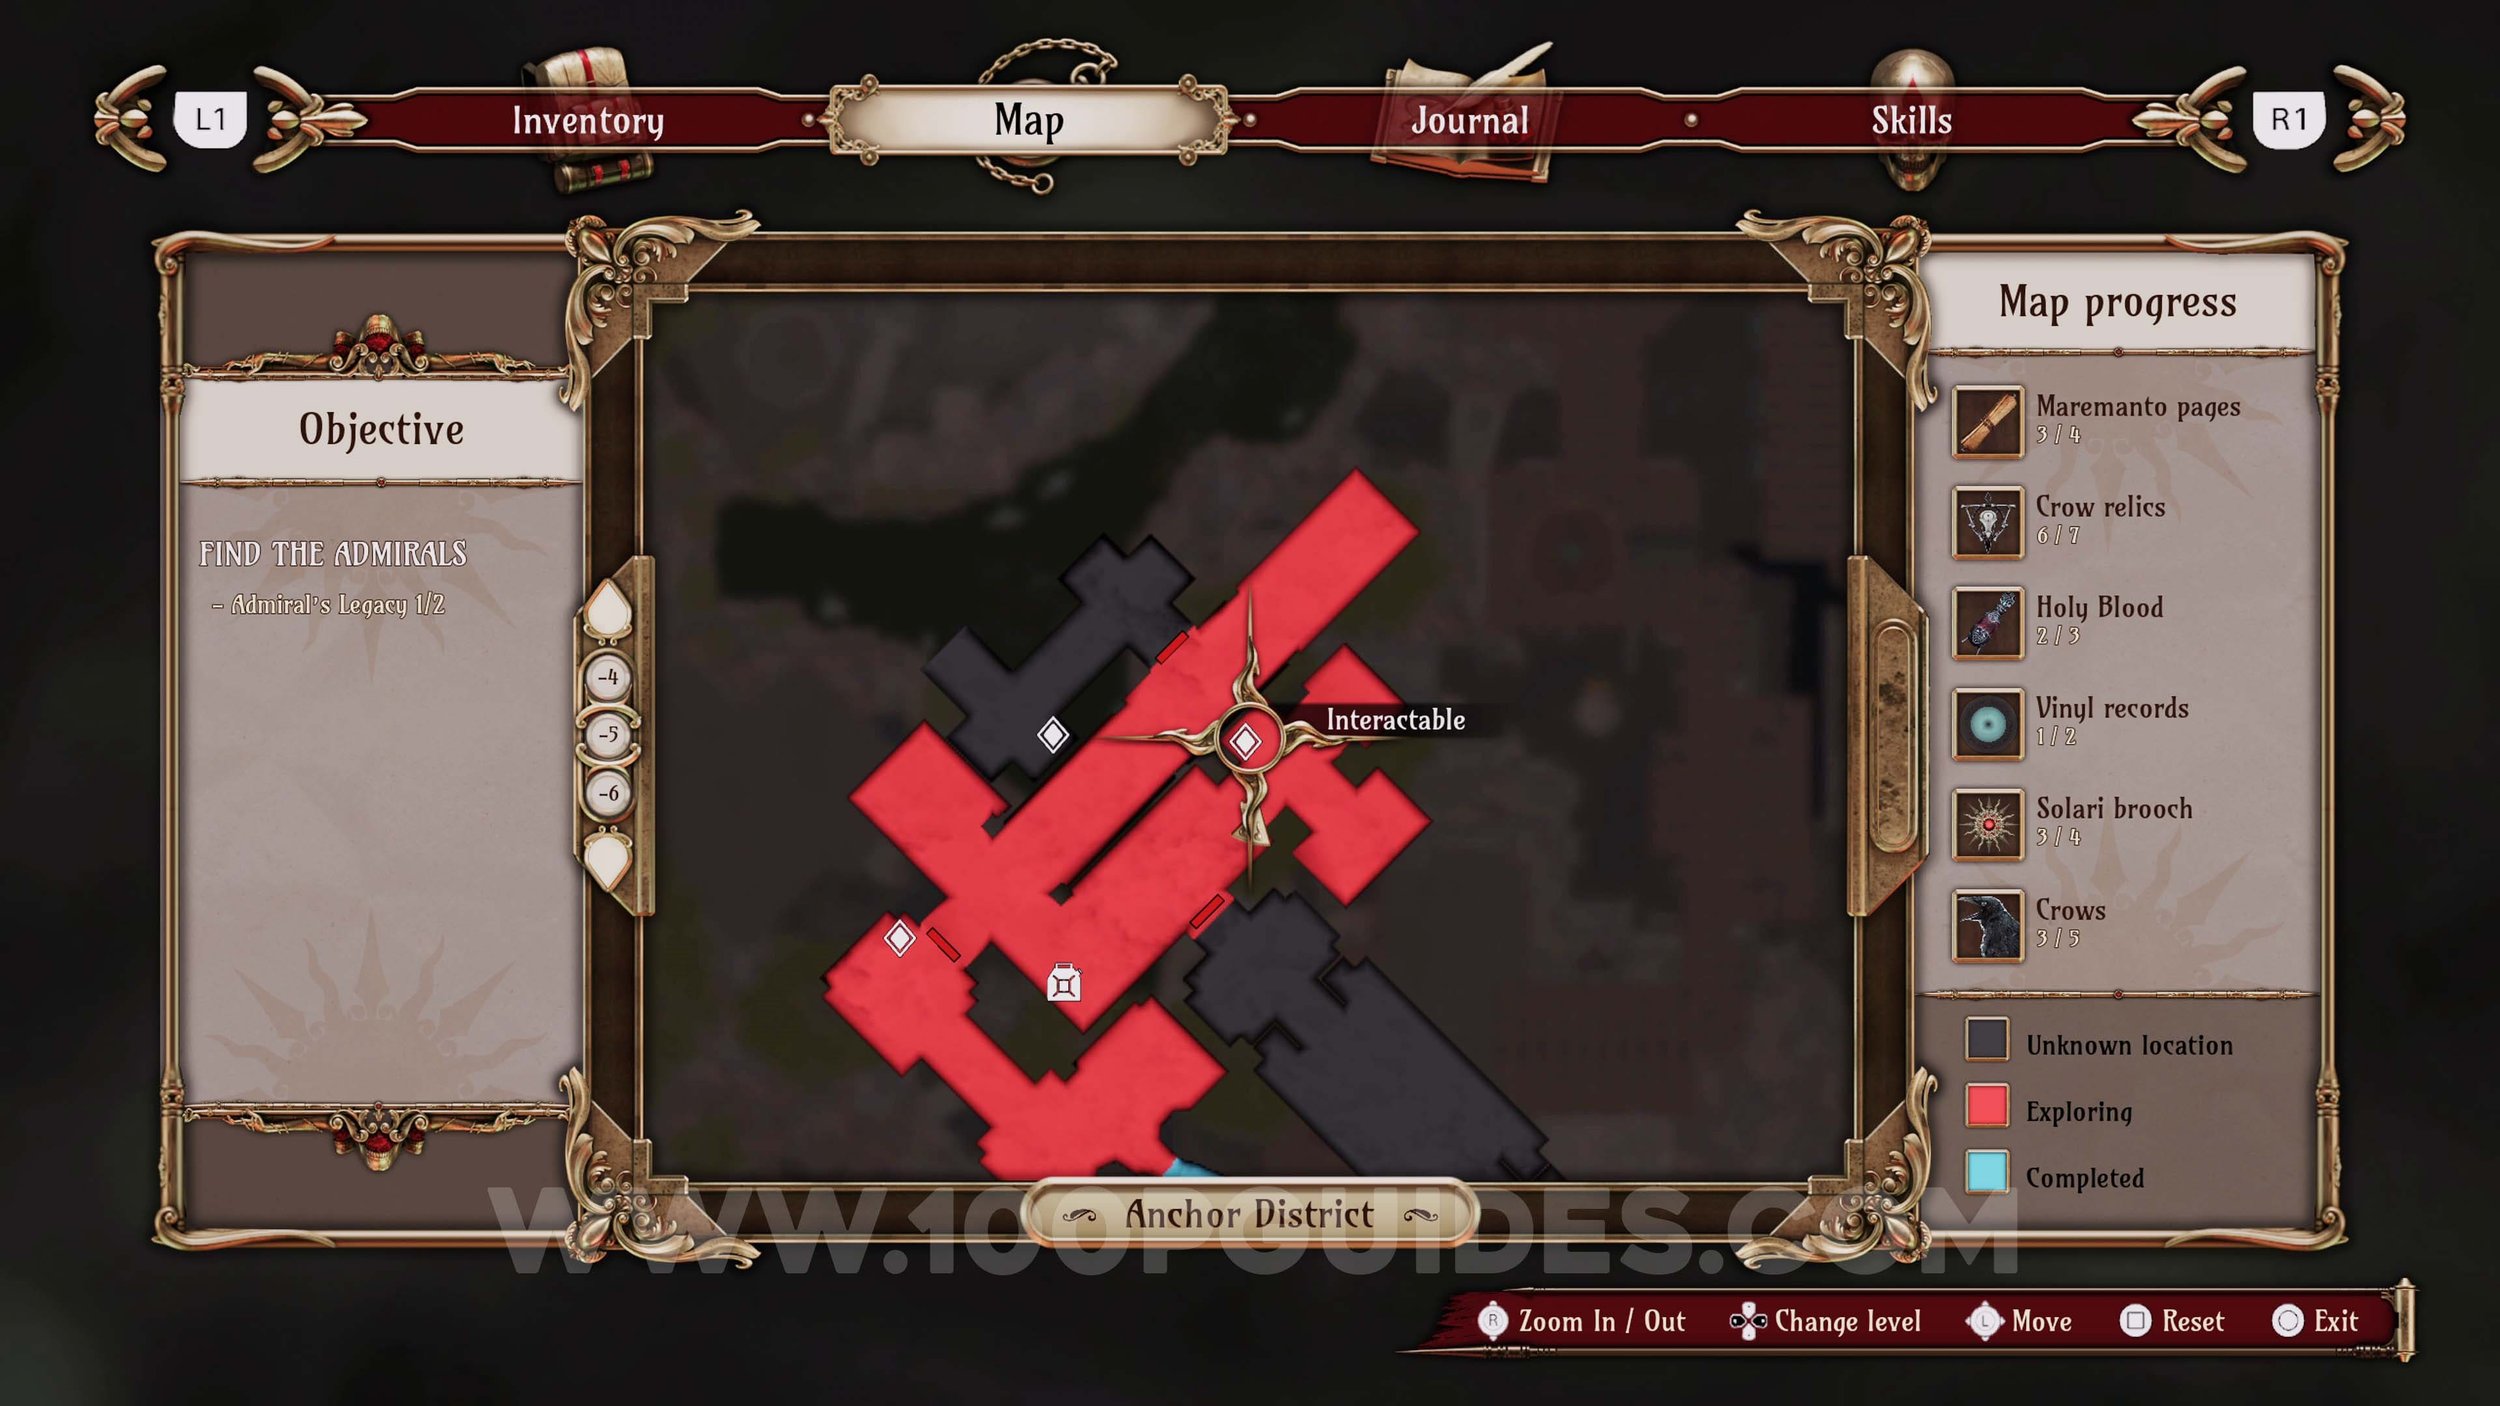
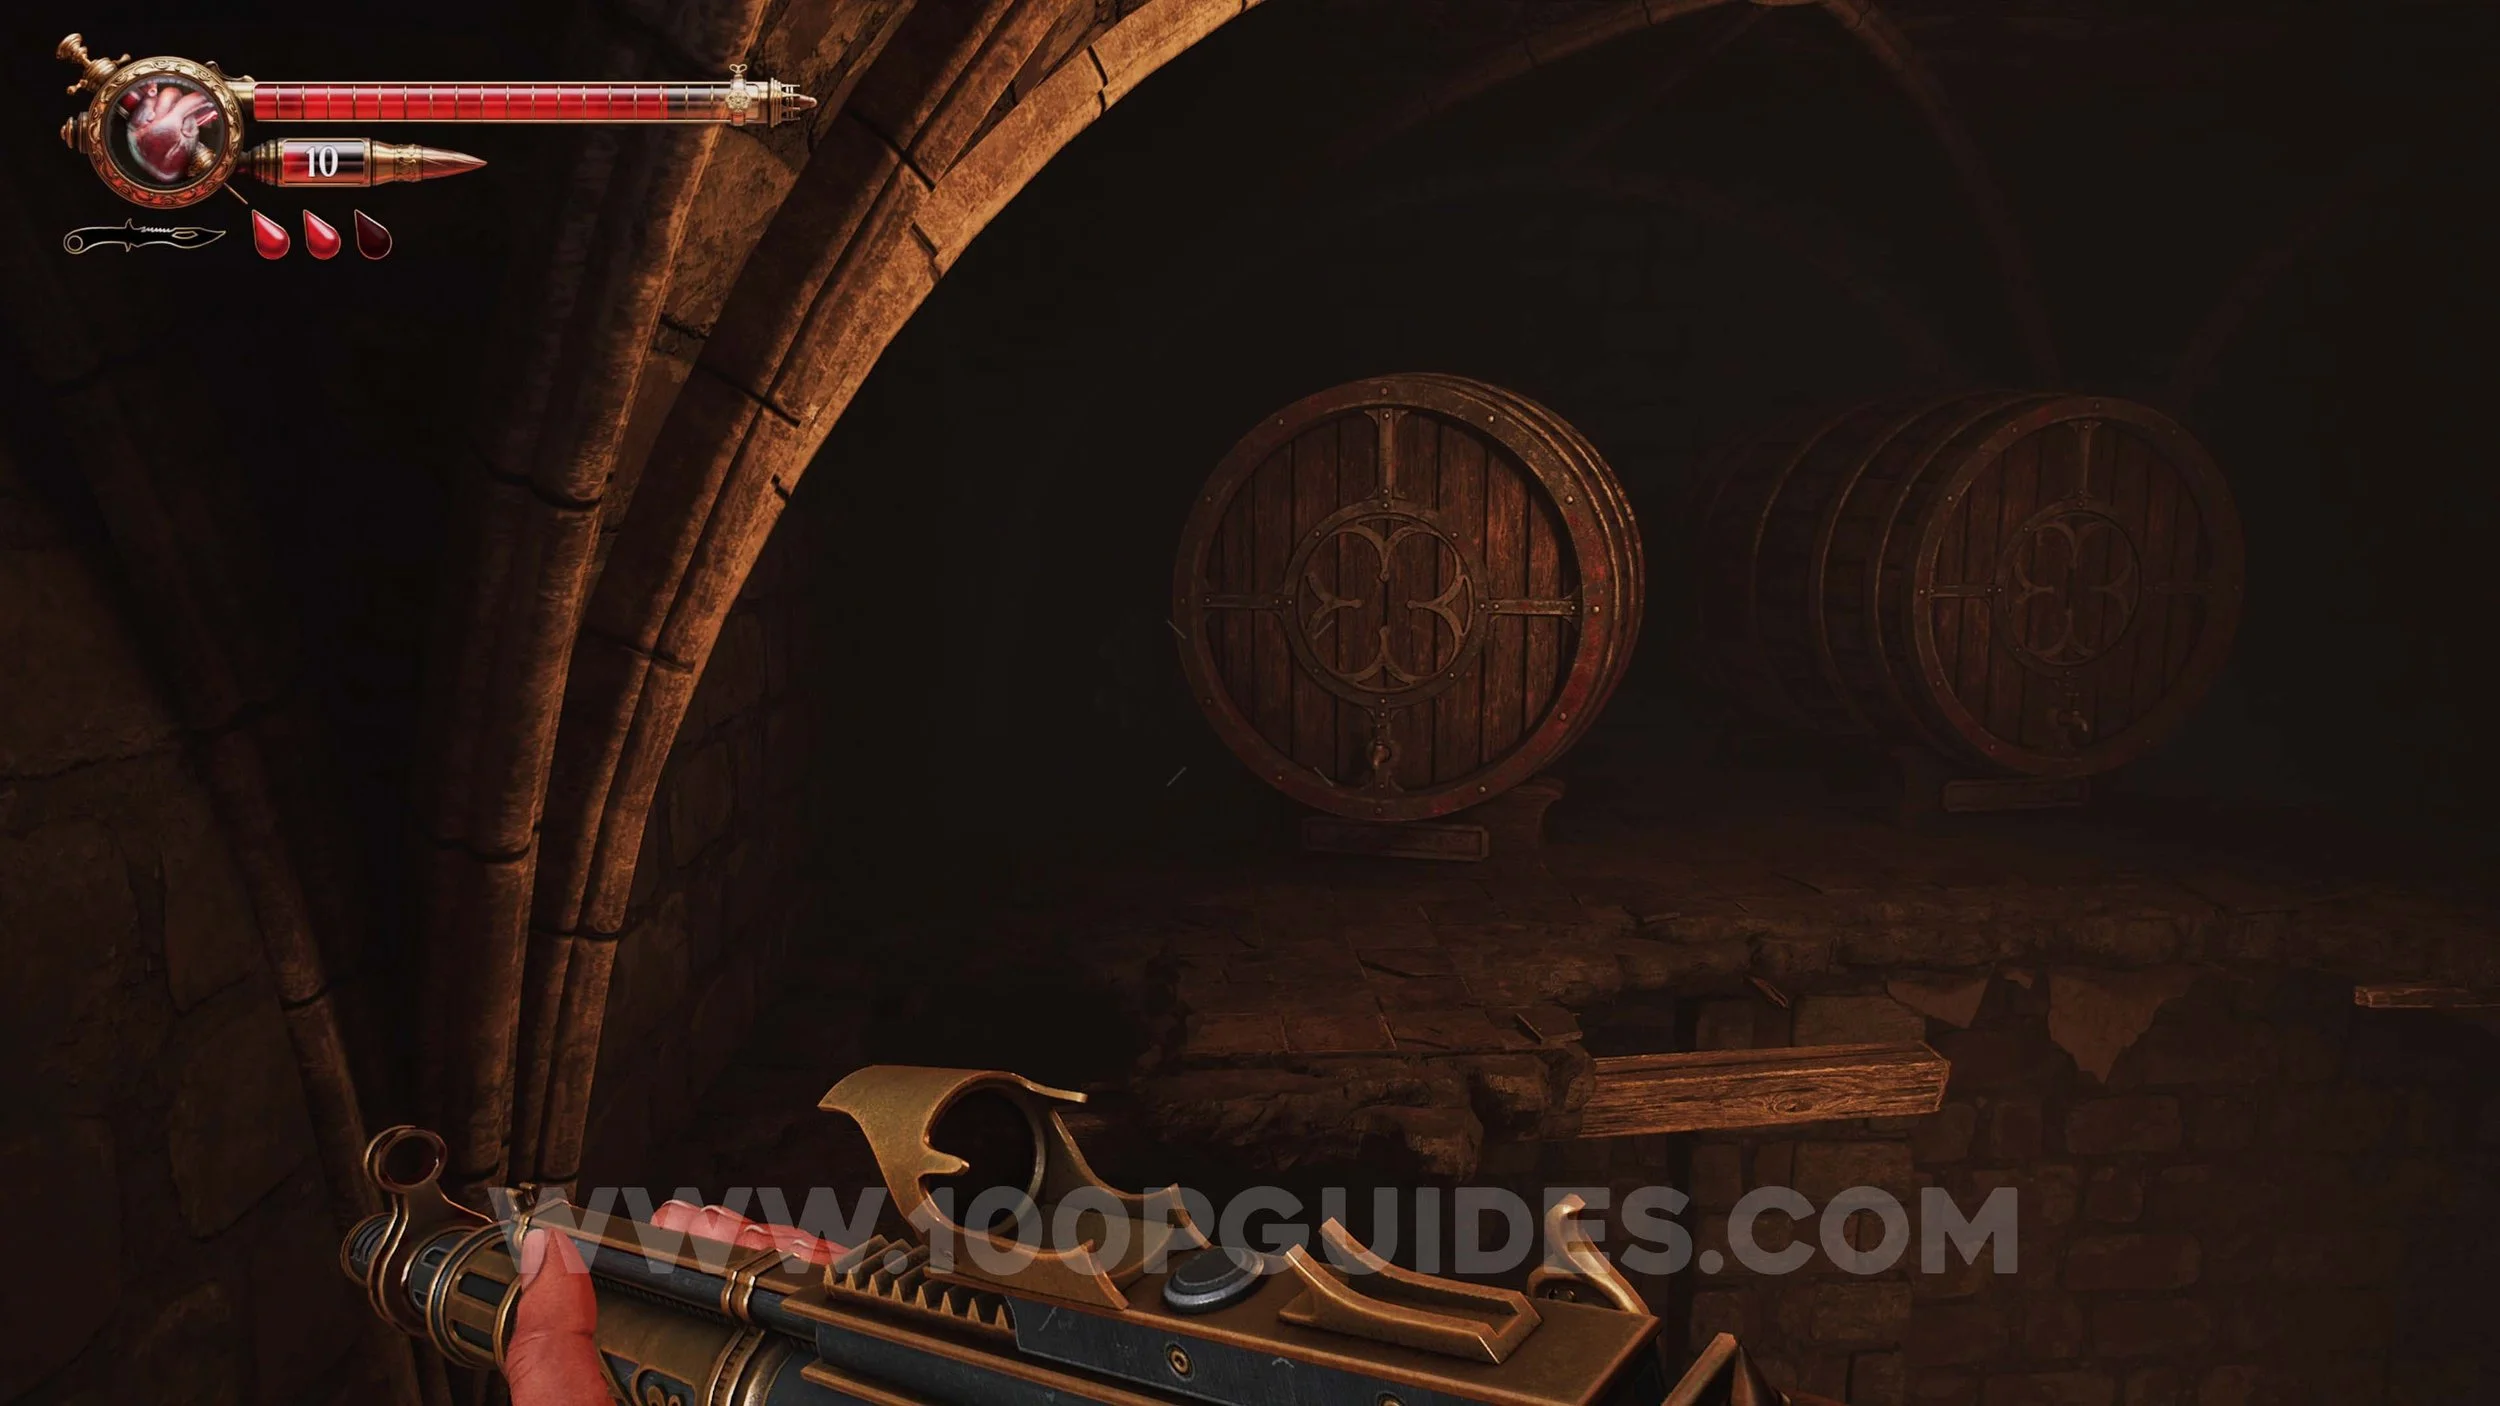
Holy Blood #8. On the other side of the Wine Rack puzzle, in the same room as the previous collectible. Every diamond must be lit.
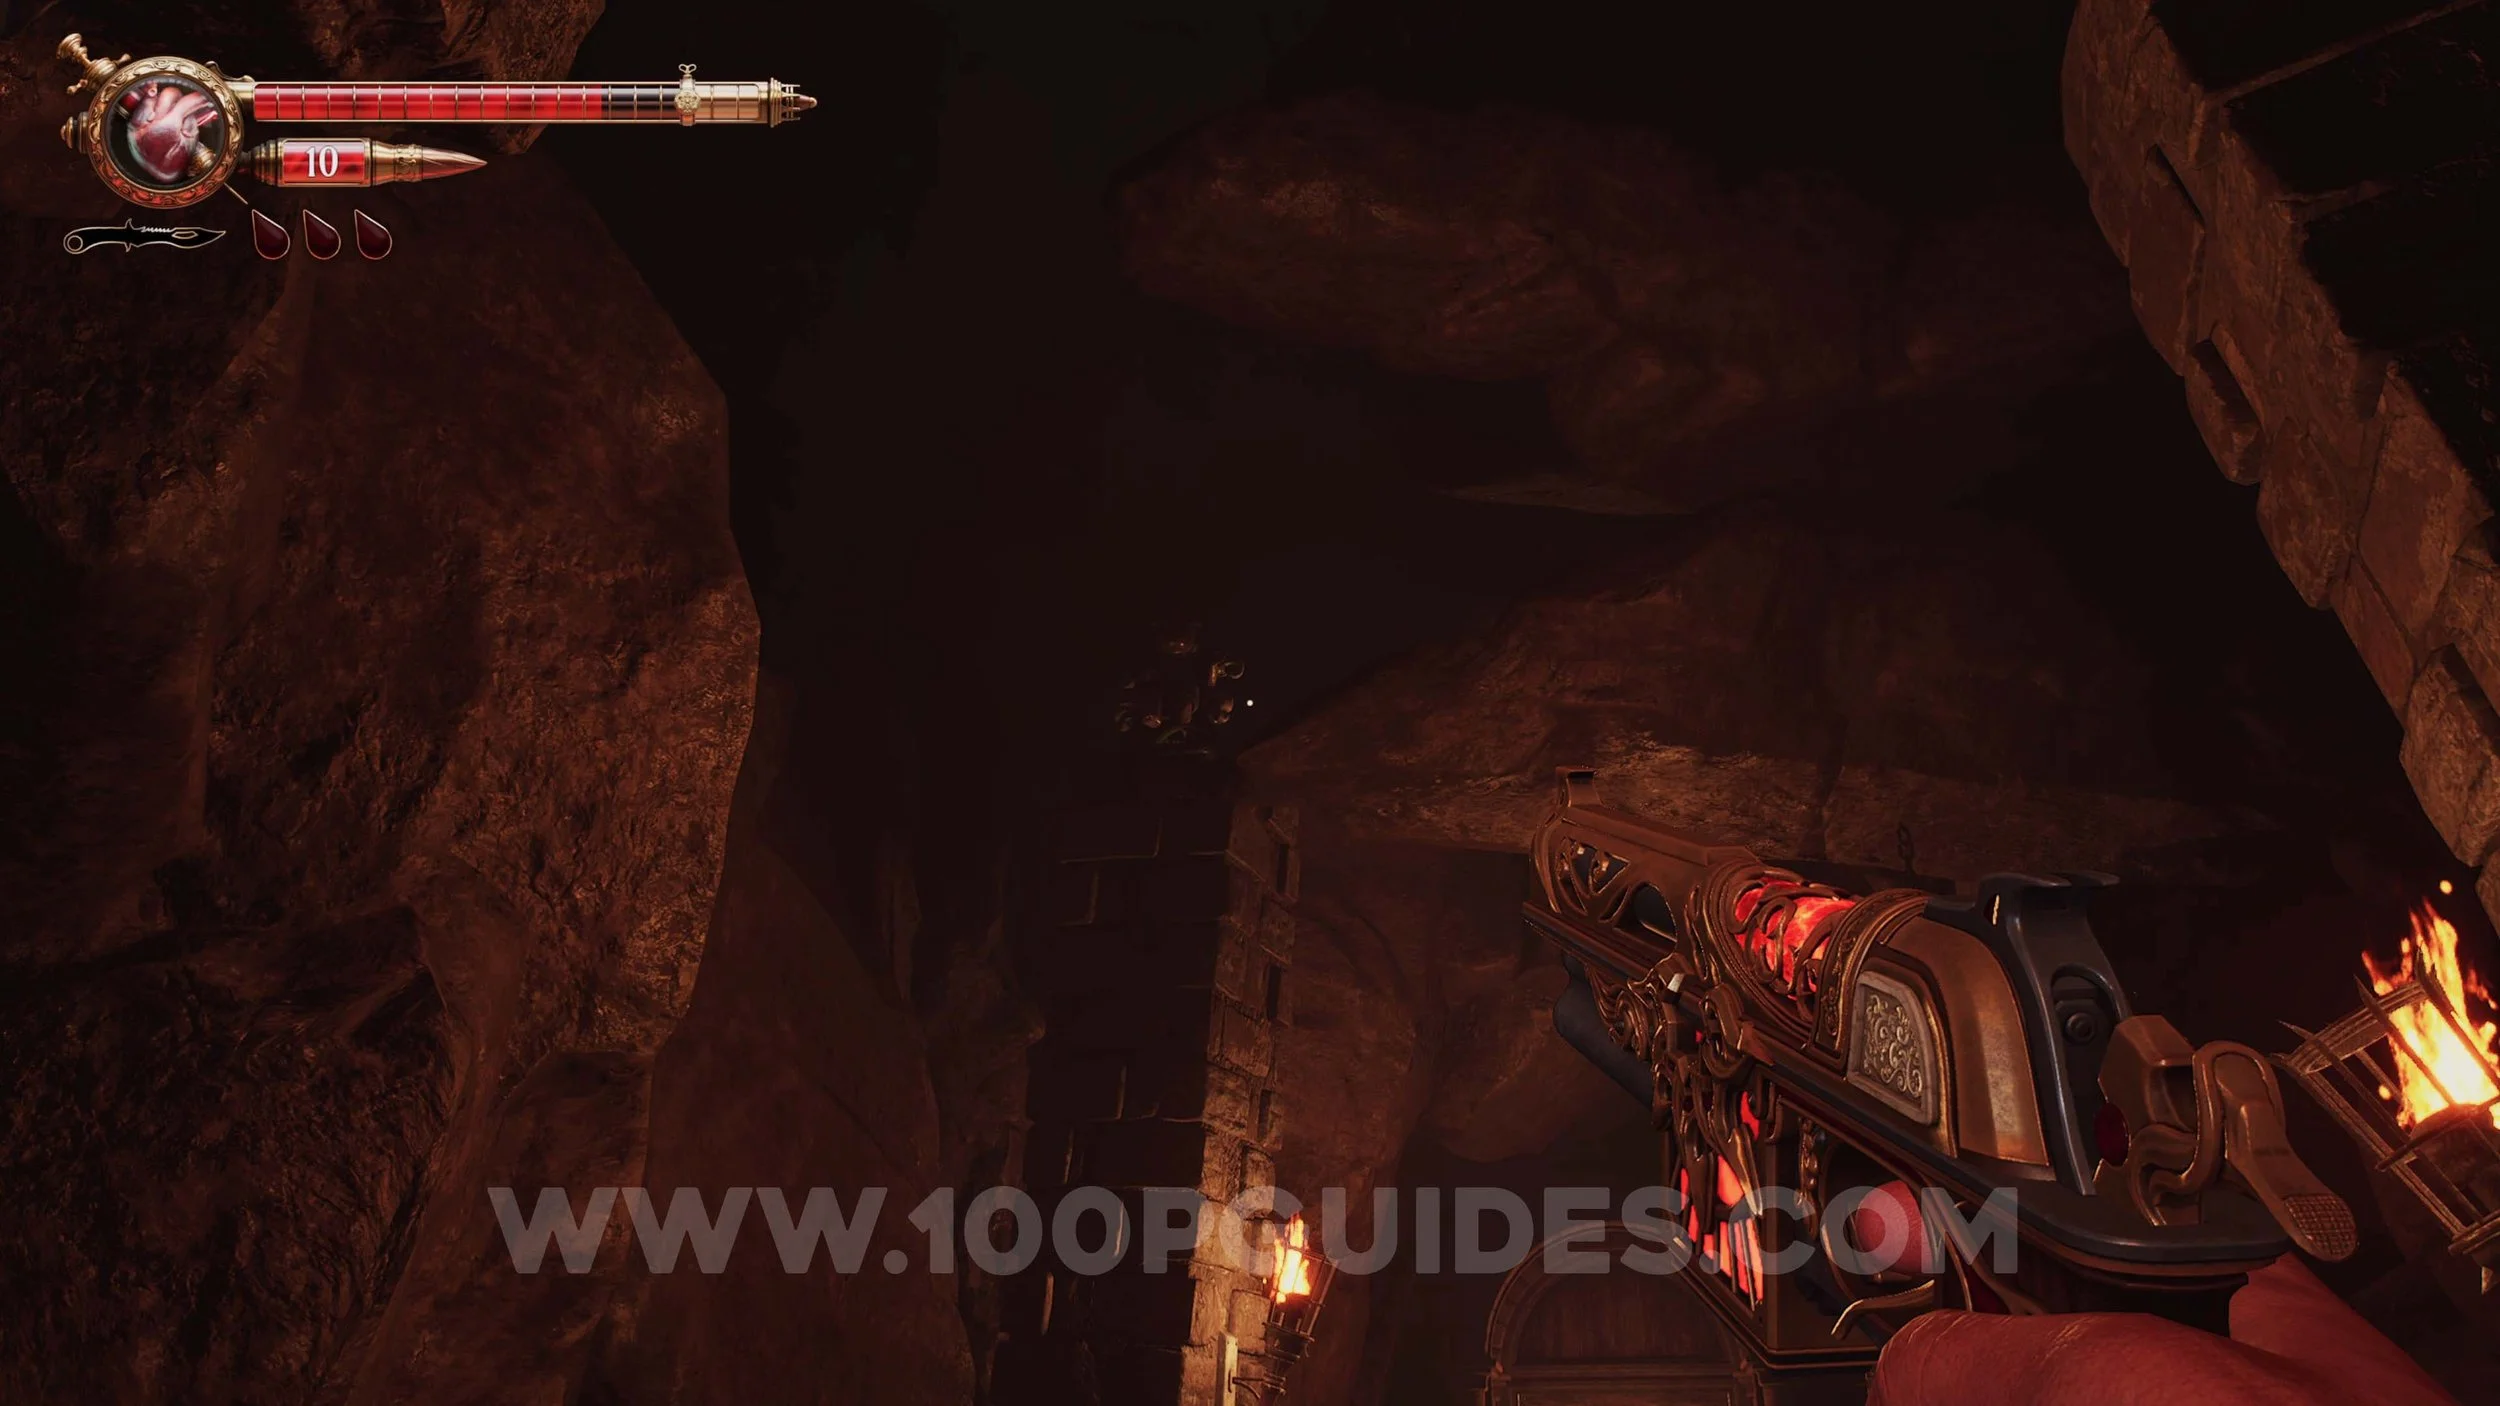
Crow #13. After going through the hole and avoiding the flamethrower statue, you will go through another cave area filled with enemies. Look for a hole on your right before going down to the small wooden door to find the crow.
Solari Brooch #12. Continue on the main path until you see the second sun ball puzzle in front of you. Before being able to reach it, you will have to go through a wooden door on your left. Here, enter the cell in front of you and then go through the hole on your left. You will find the brooch at the end of this small cave section.

Memory #51. Story related just before the second sun ball puzzle.
Ulises Idol #34. In the area just after the second sun ball puzzle, look down to your left.

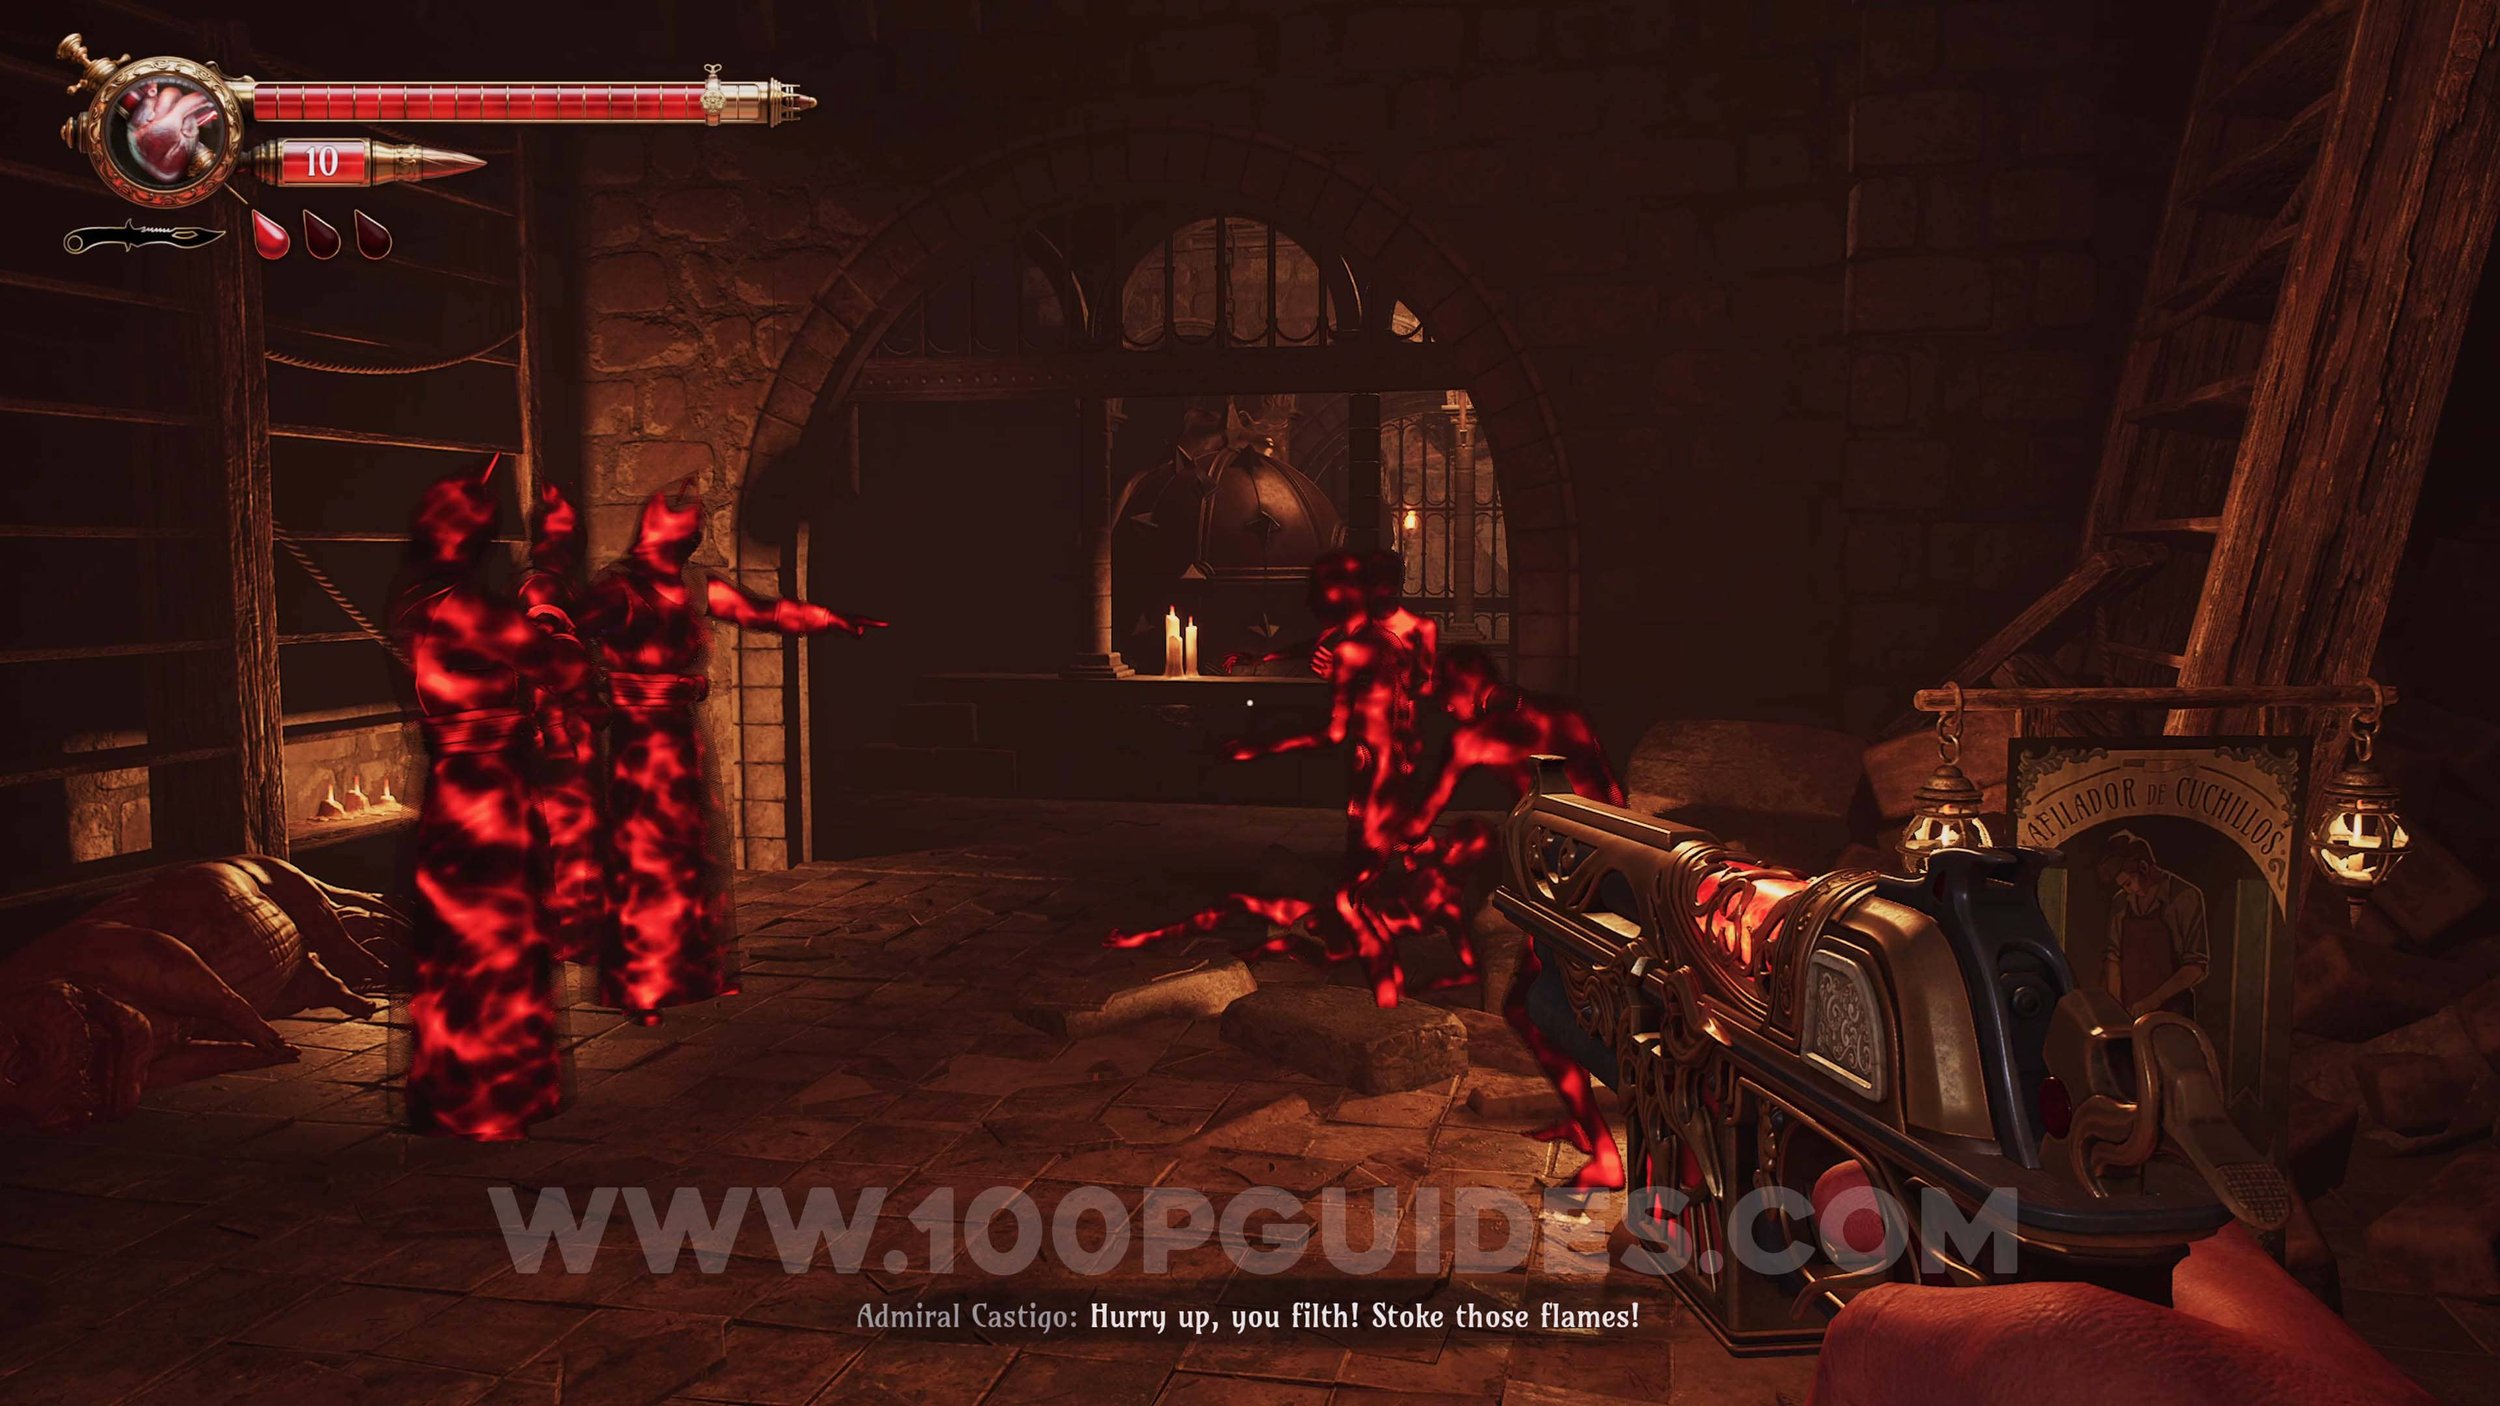
Memory #52. Story related in the furnace room after defeating the new type of enemy.

Ulises Idol #35. In the furnace at the end of the furnace room, where the previous collectible was.
Crow Relic #23. After the furnace room, you will go through another cave area. The Crow Relic can be found just after the second flamethrower statue.

Memory #53. Story related just after the final sun ball puzzle.
Crow Relic #24. Crawl through the hole on the left side of the cave soon after the final ball puzzle. This hole can be found just before you drop down to an open area with an explosive barrel.
Maremanto Page #8. In a chest on your left as soon as you leave the room where you fight the rock boss.
Memory #54. Story related just after defeating the rock boss.

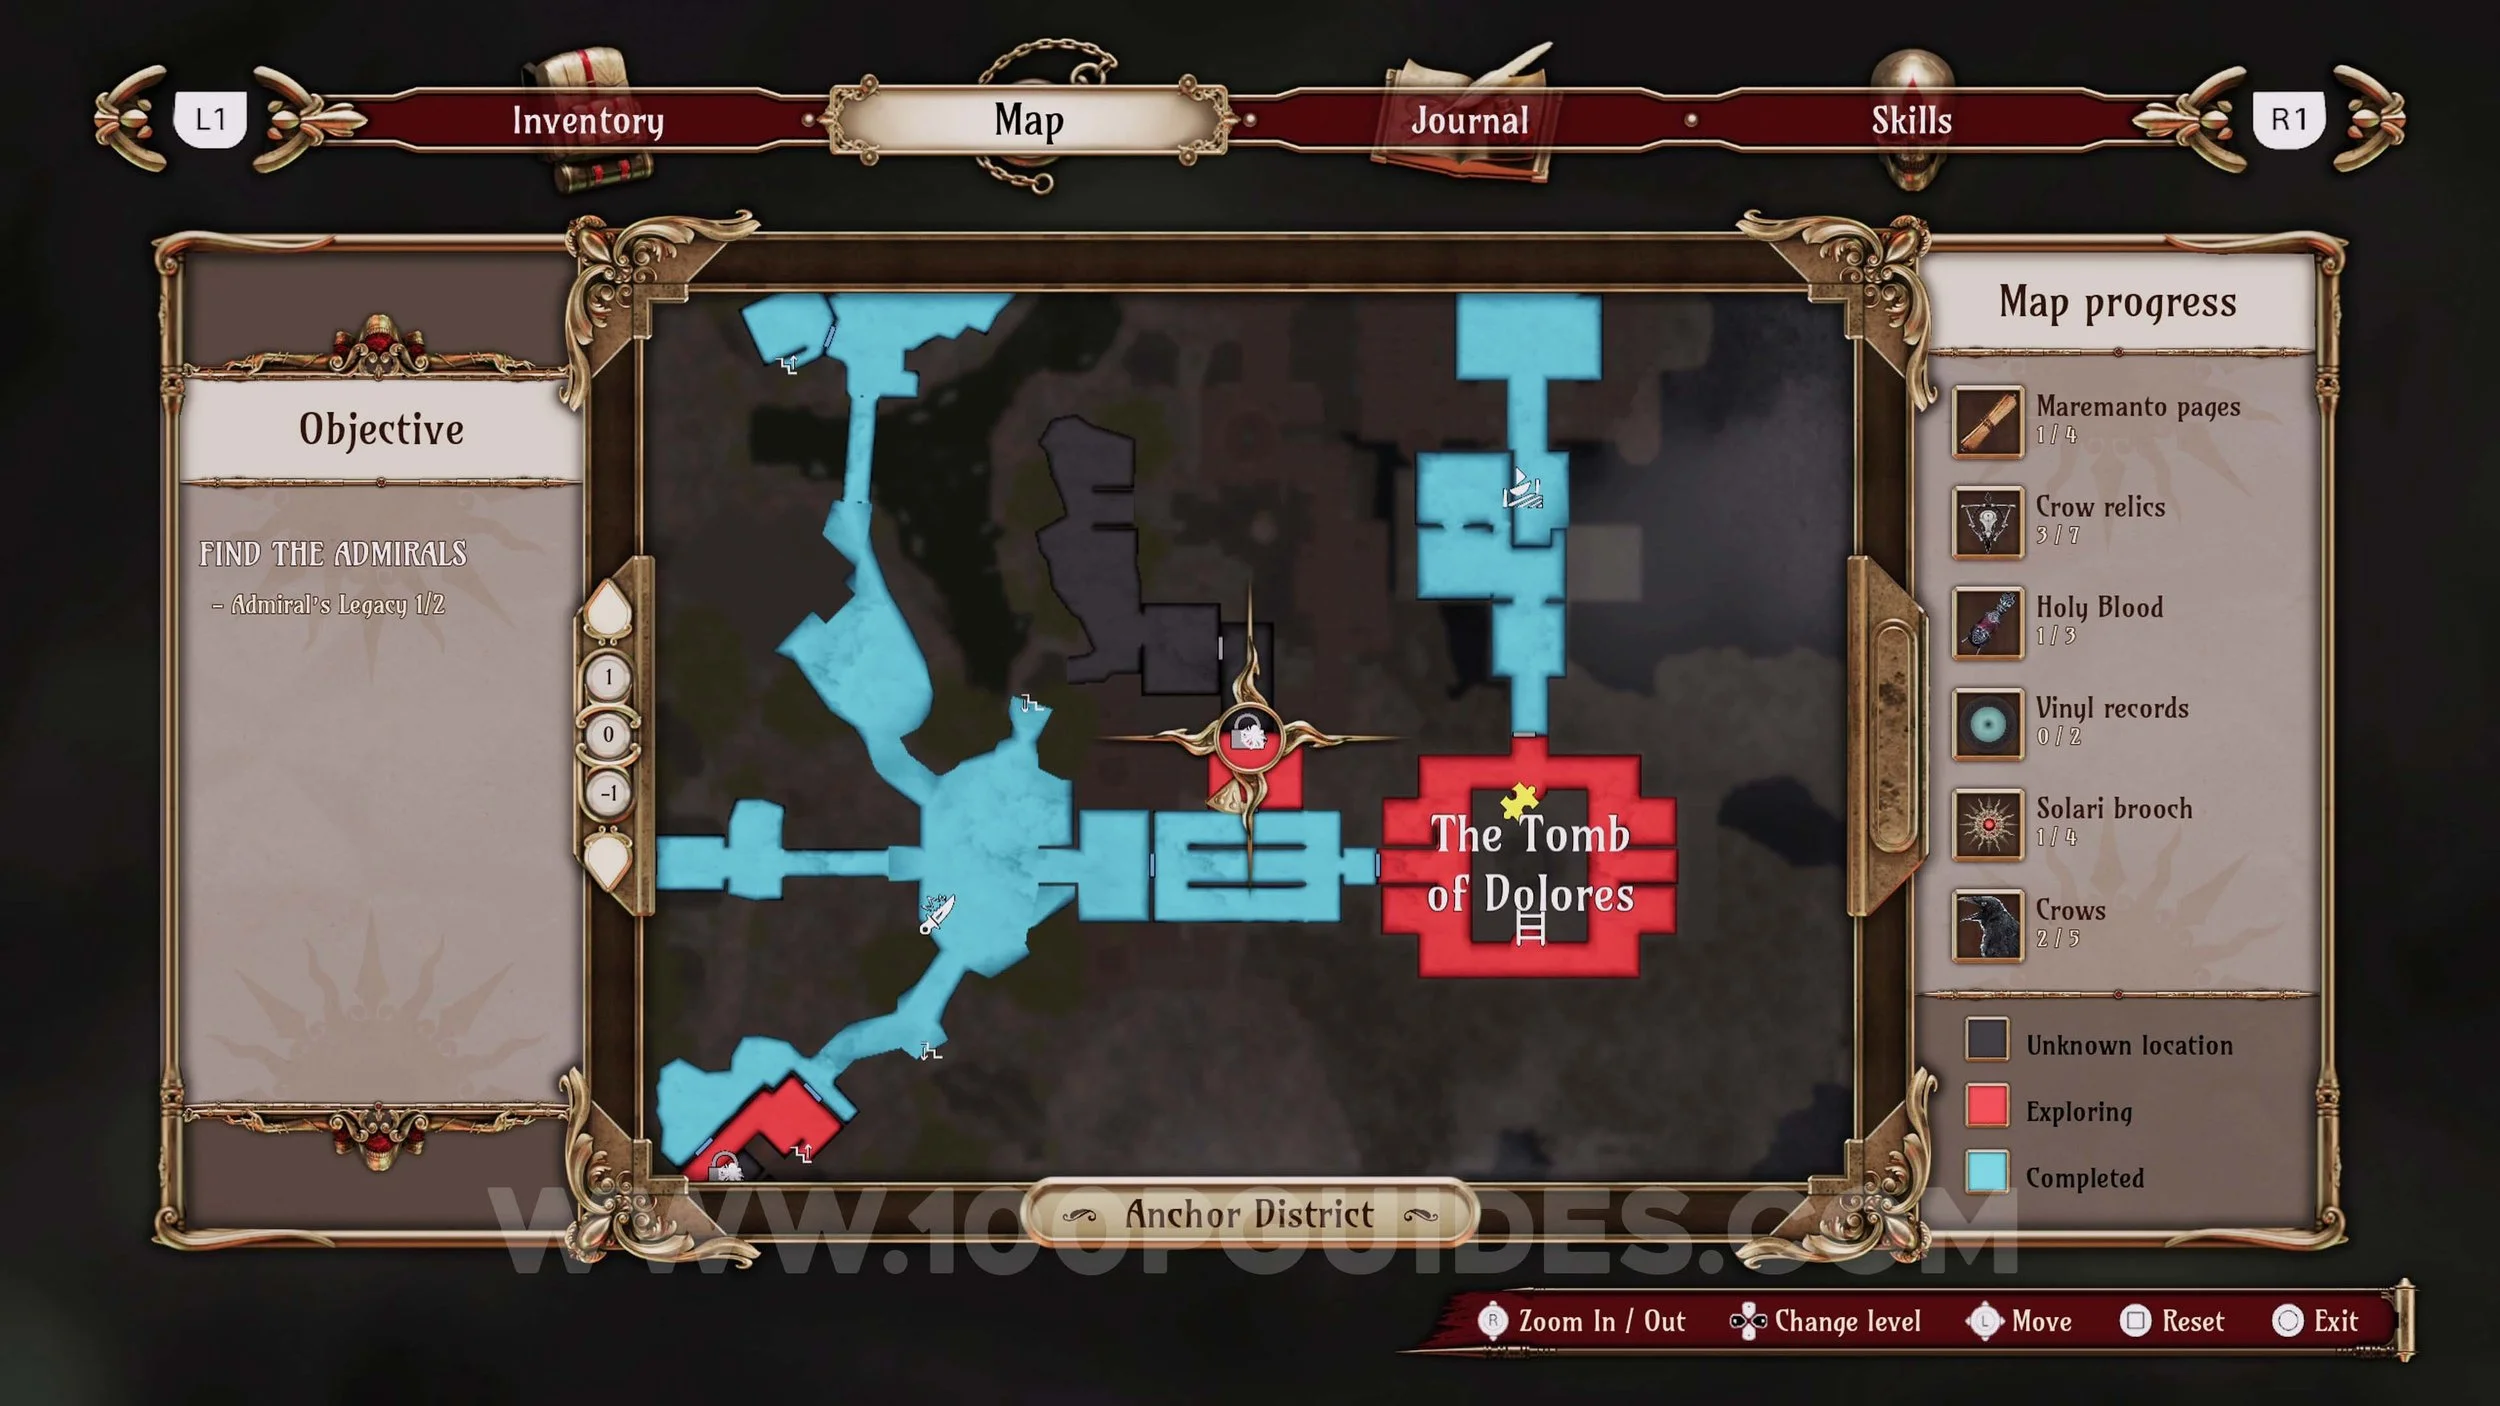
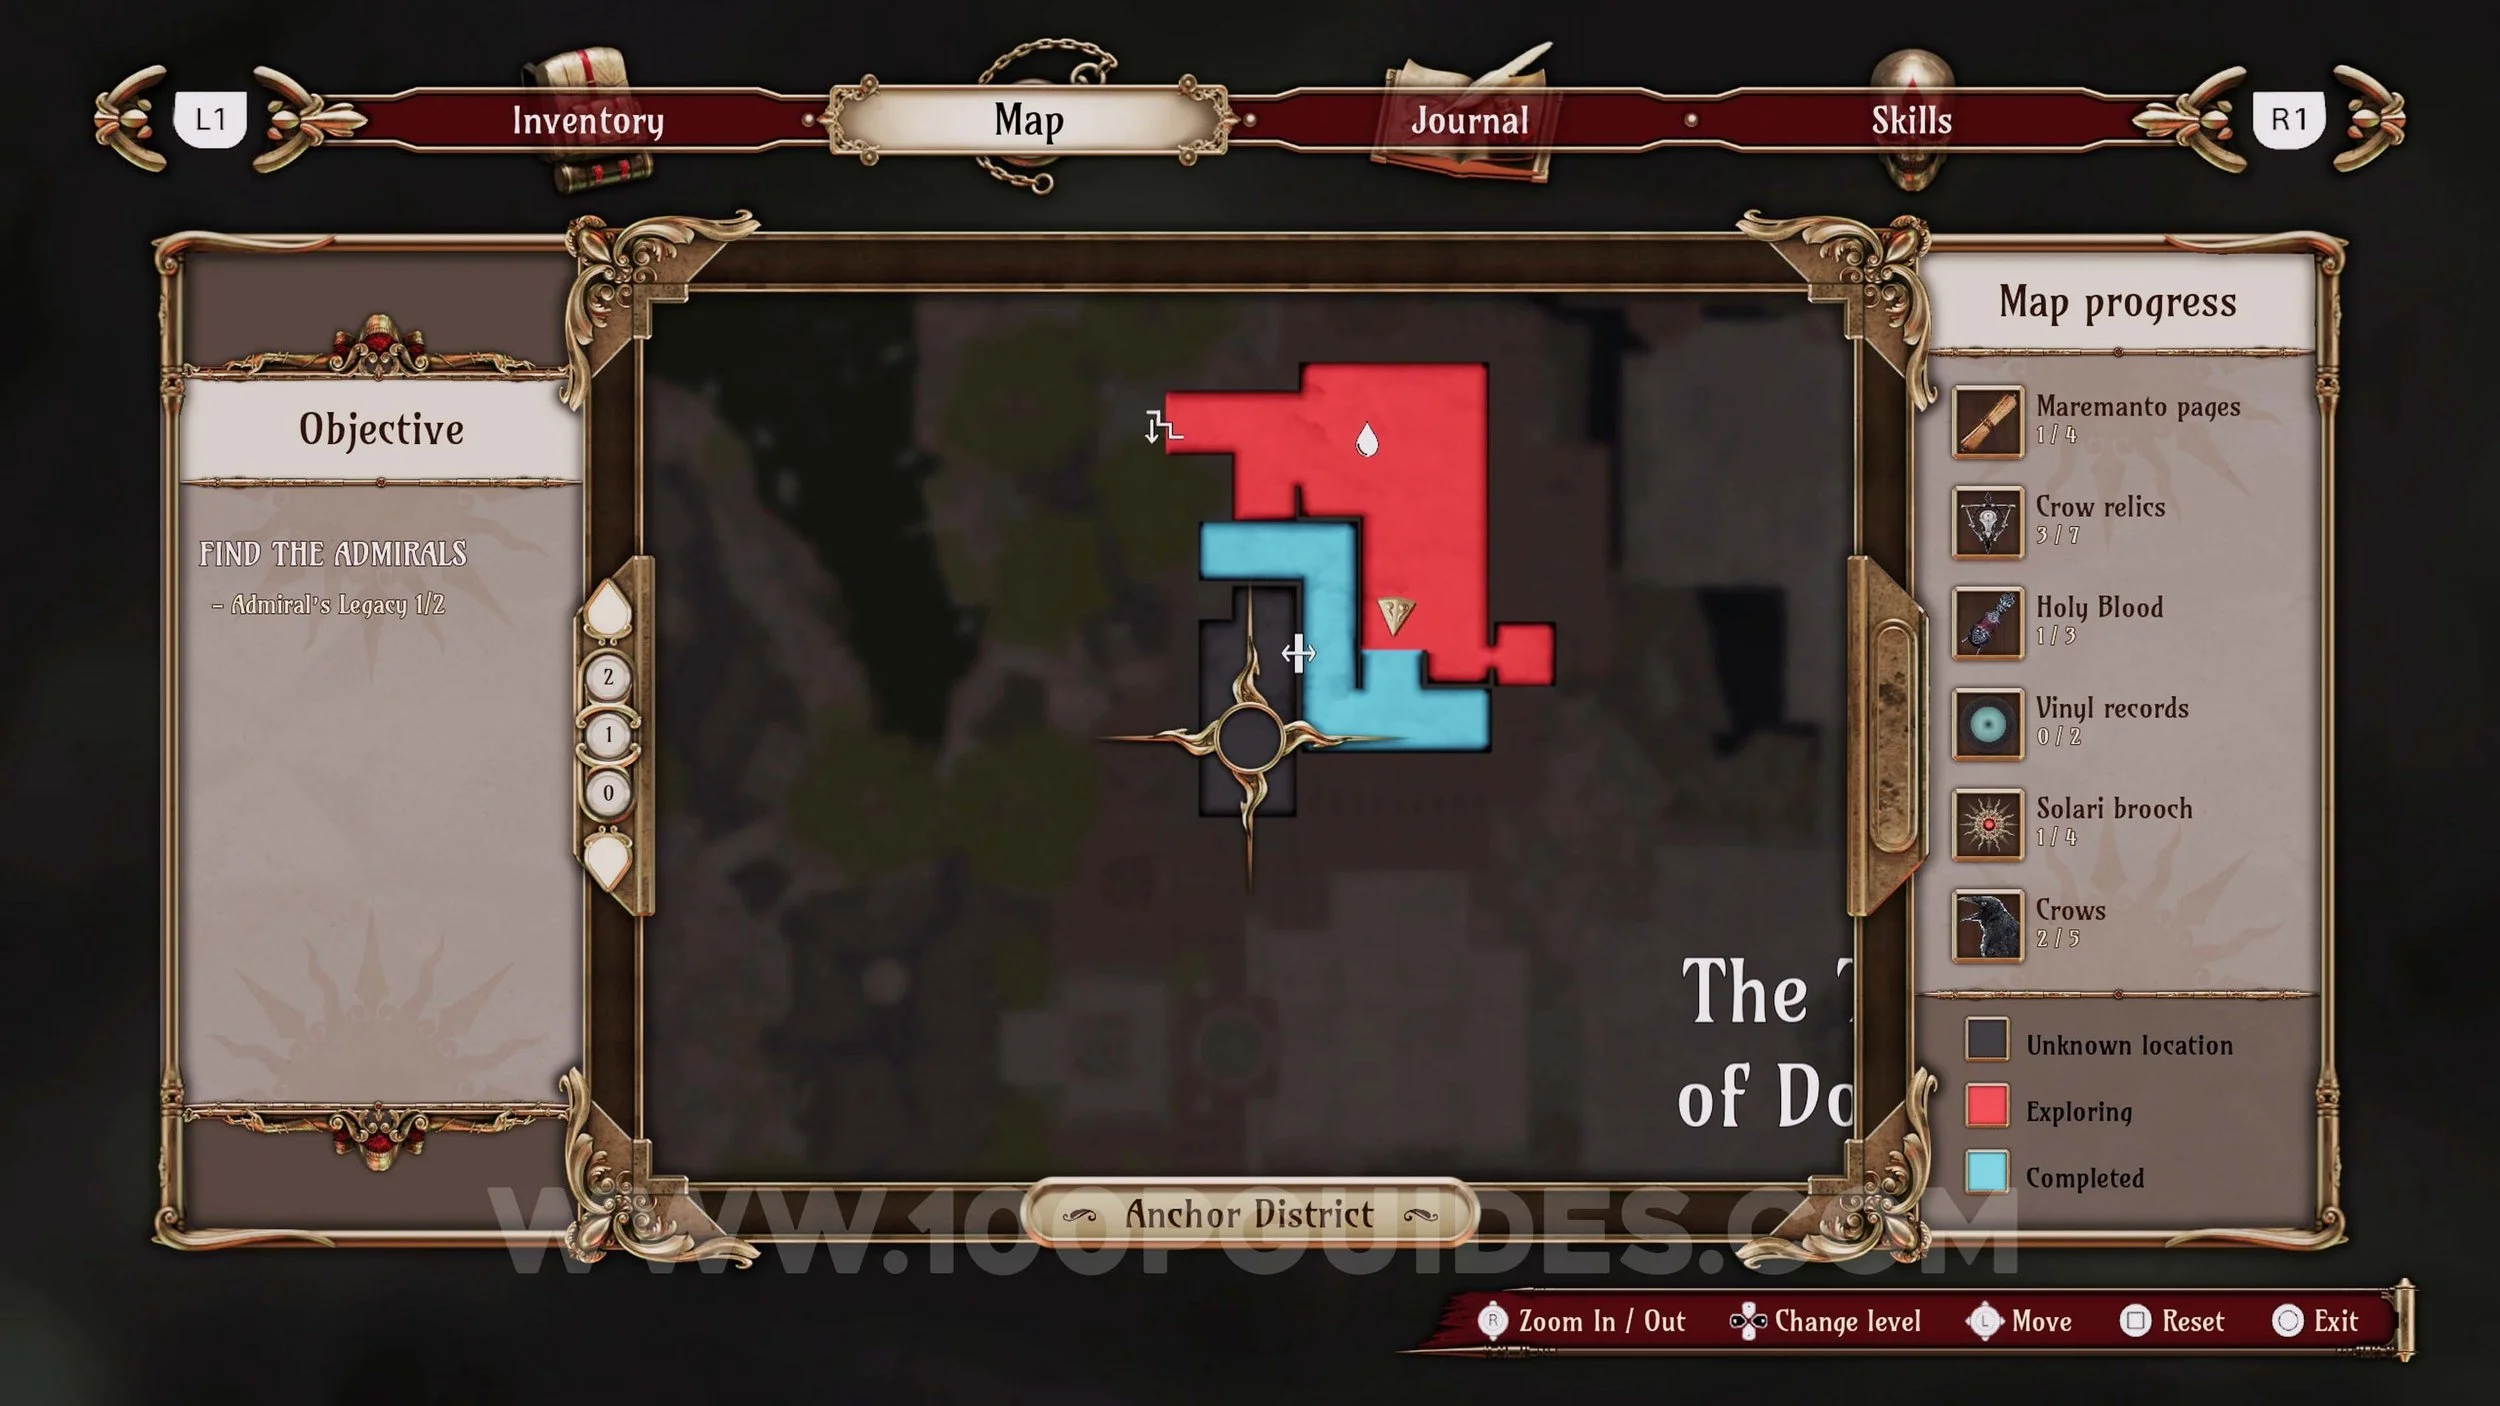
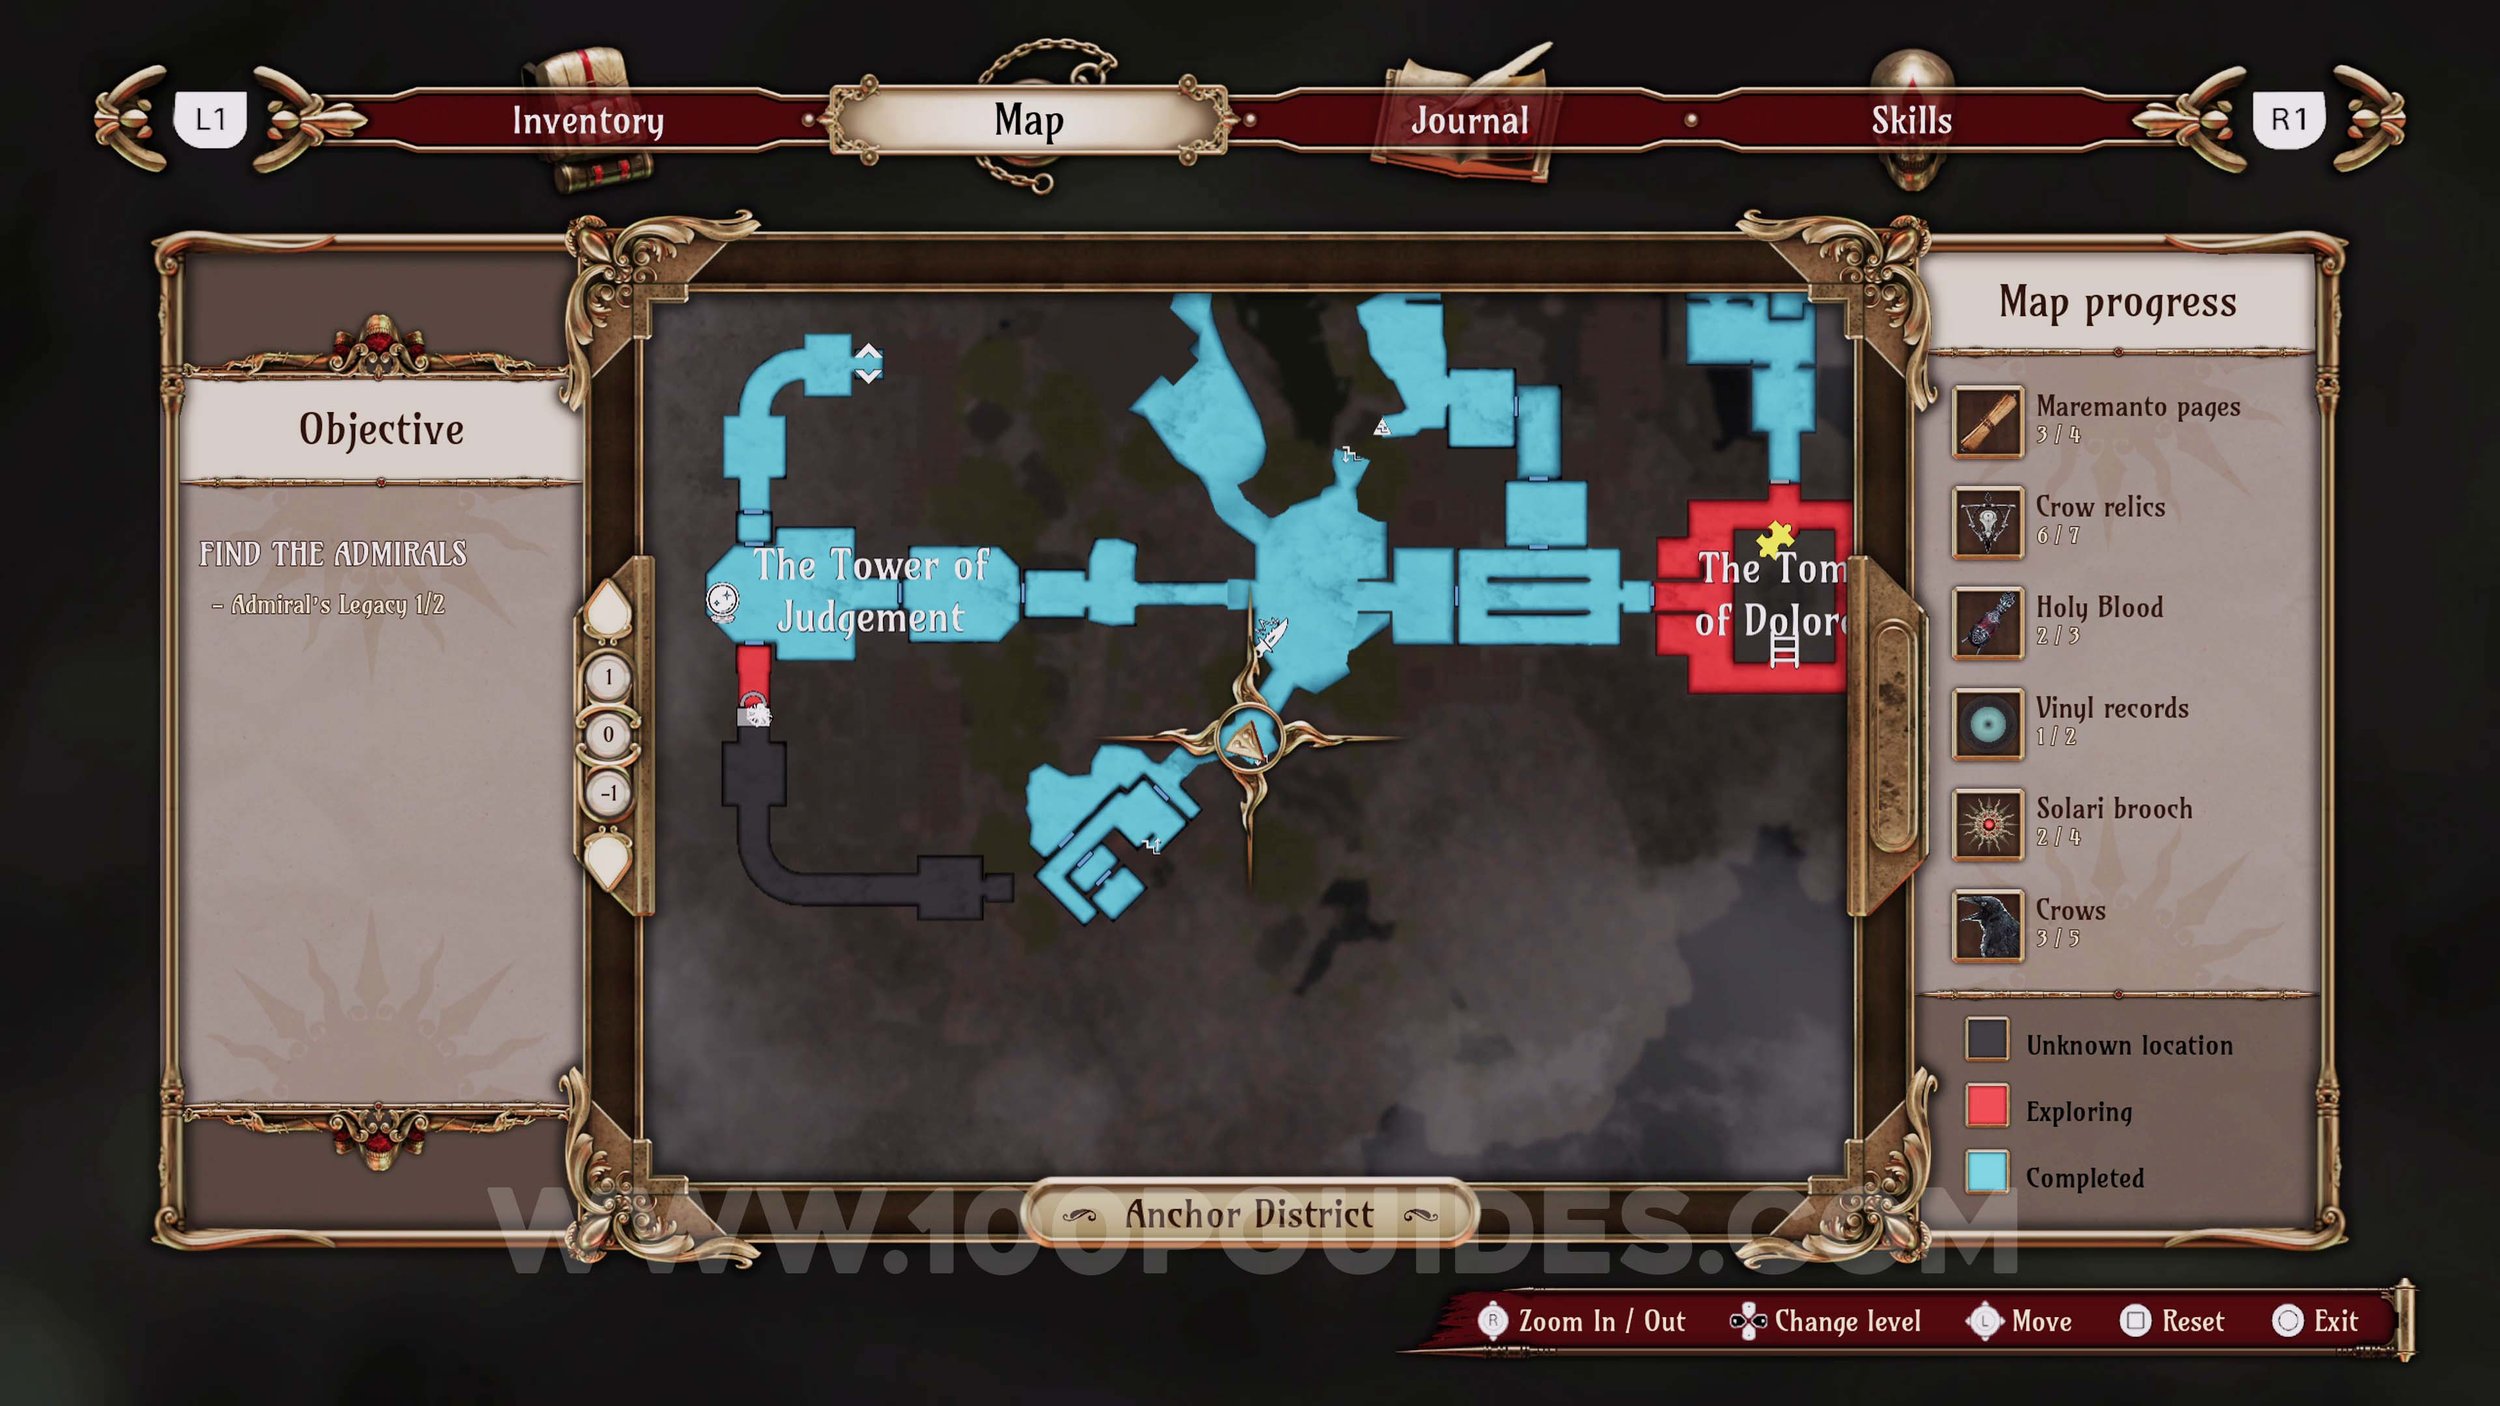
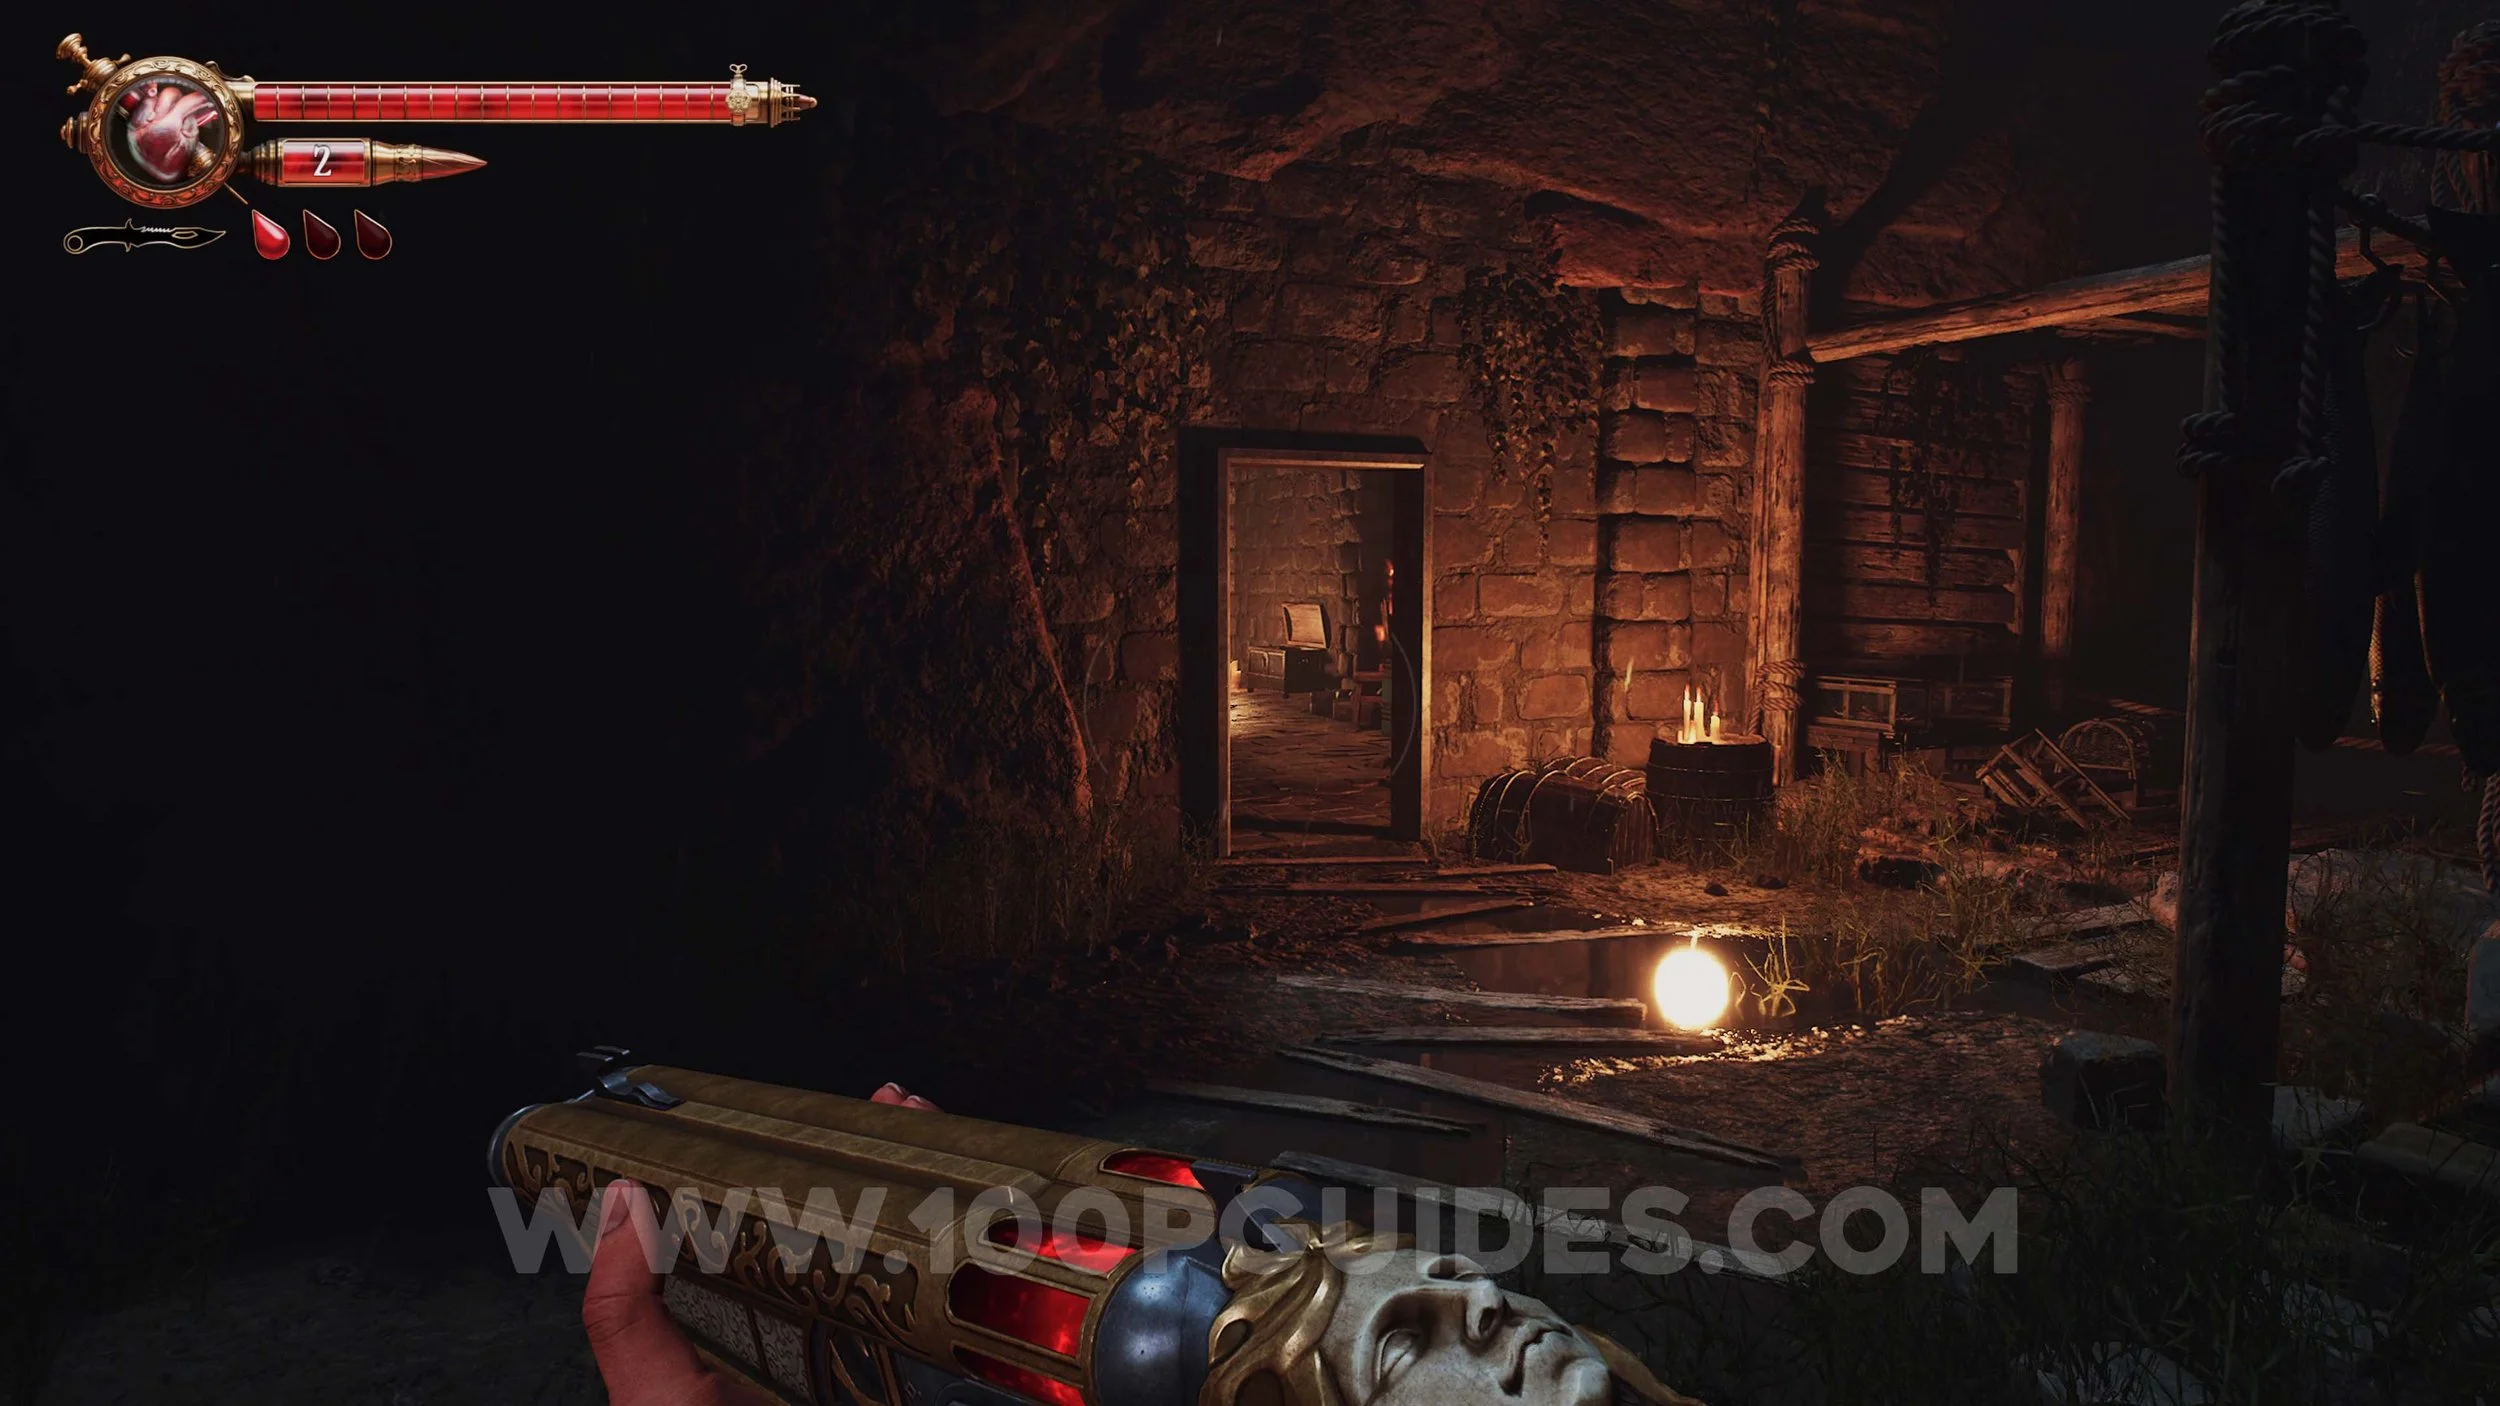
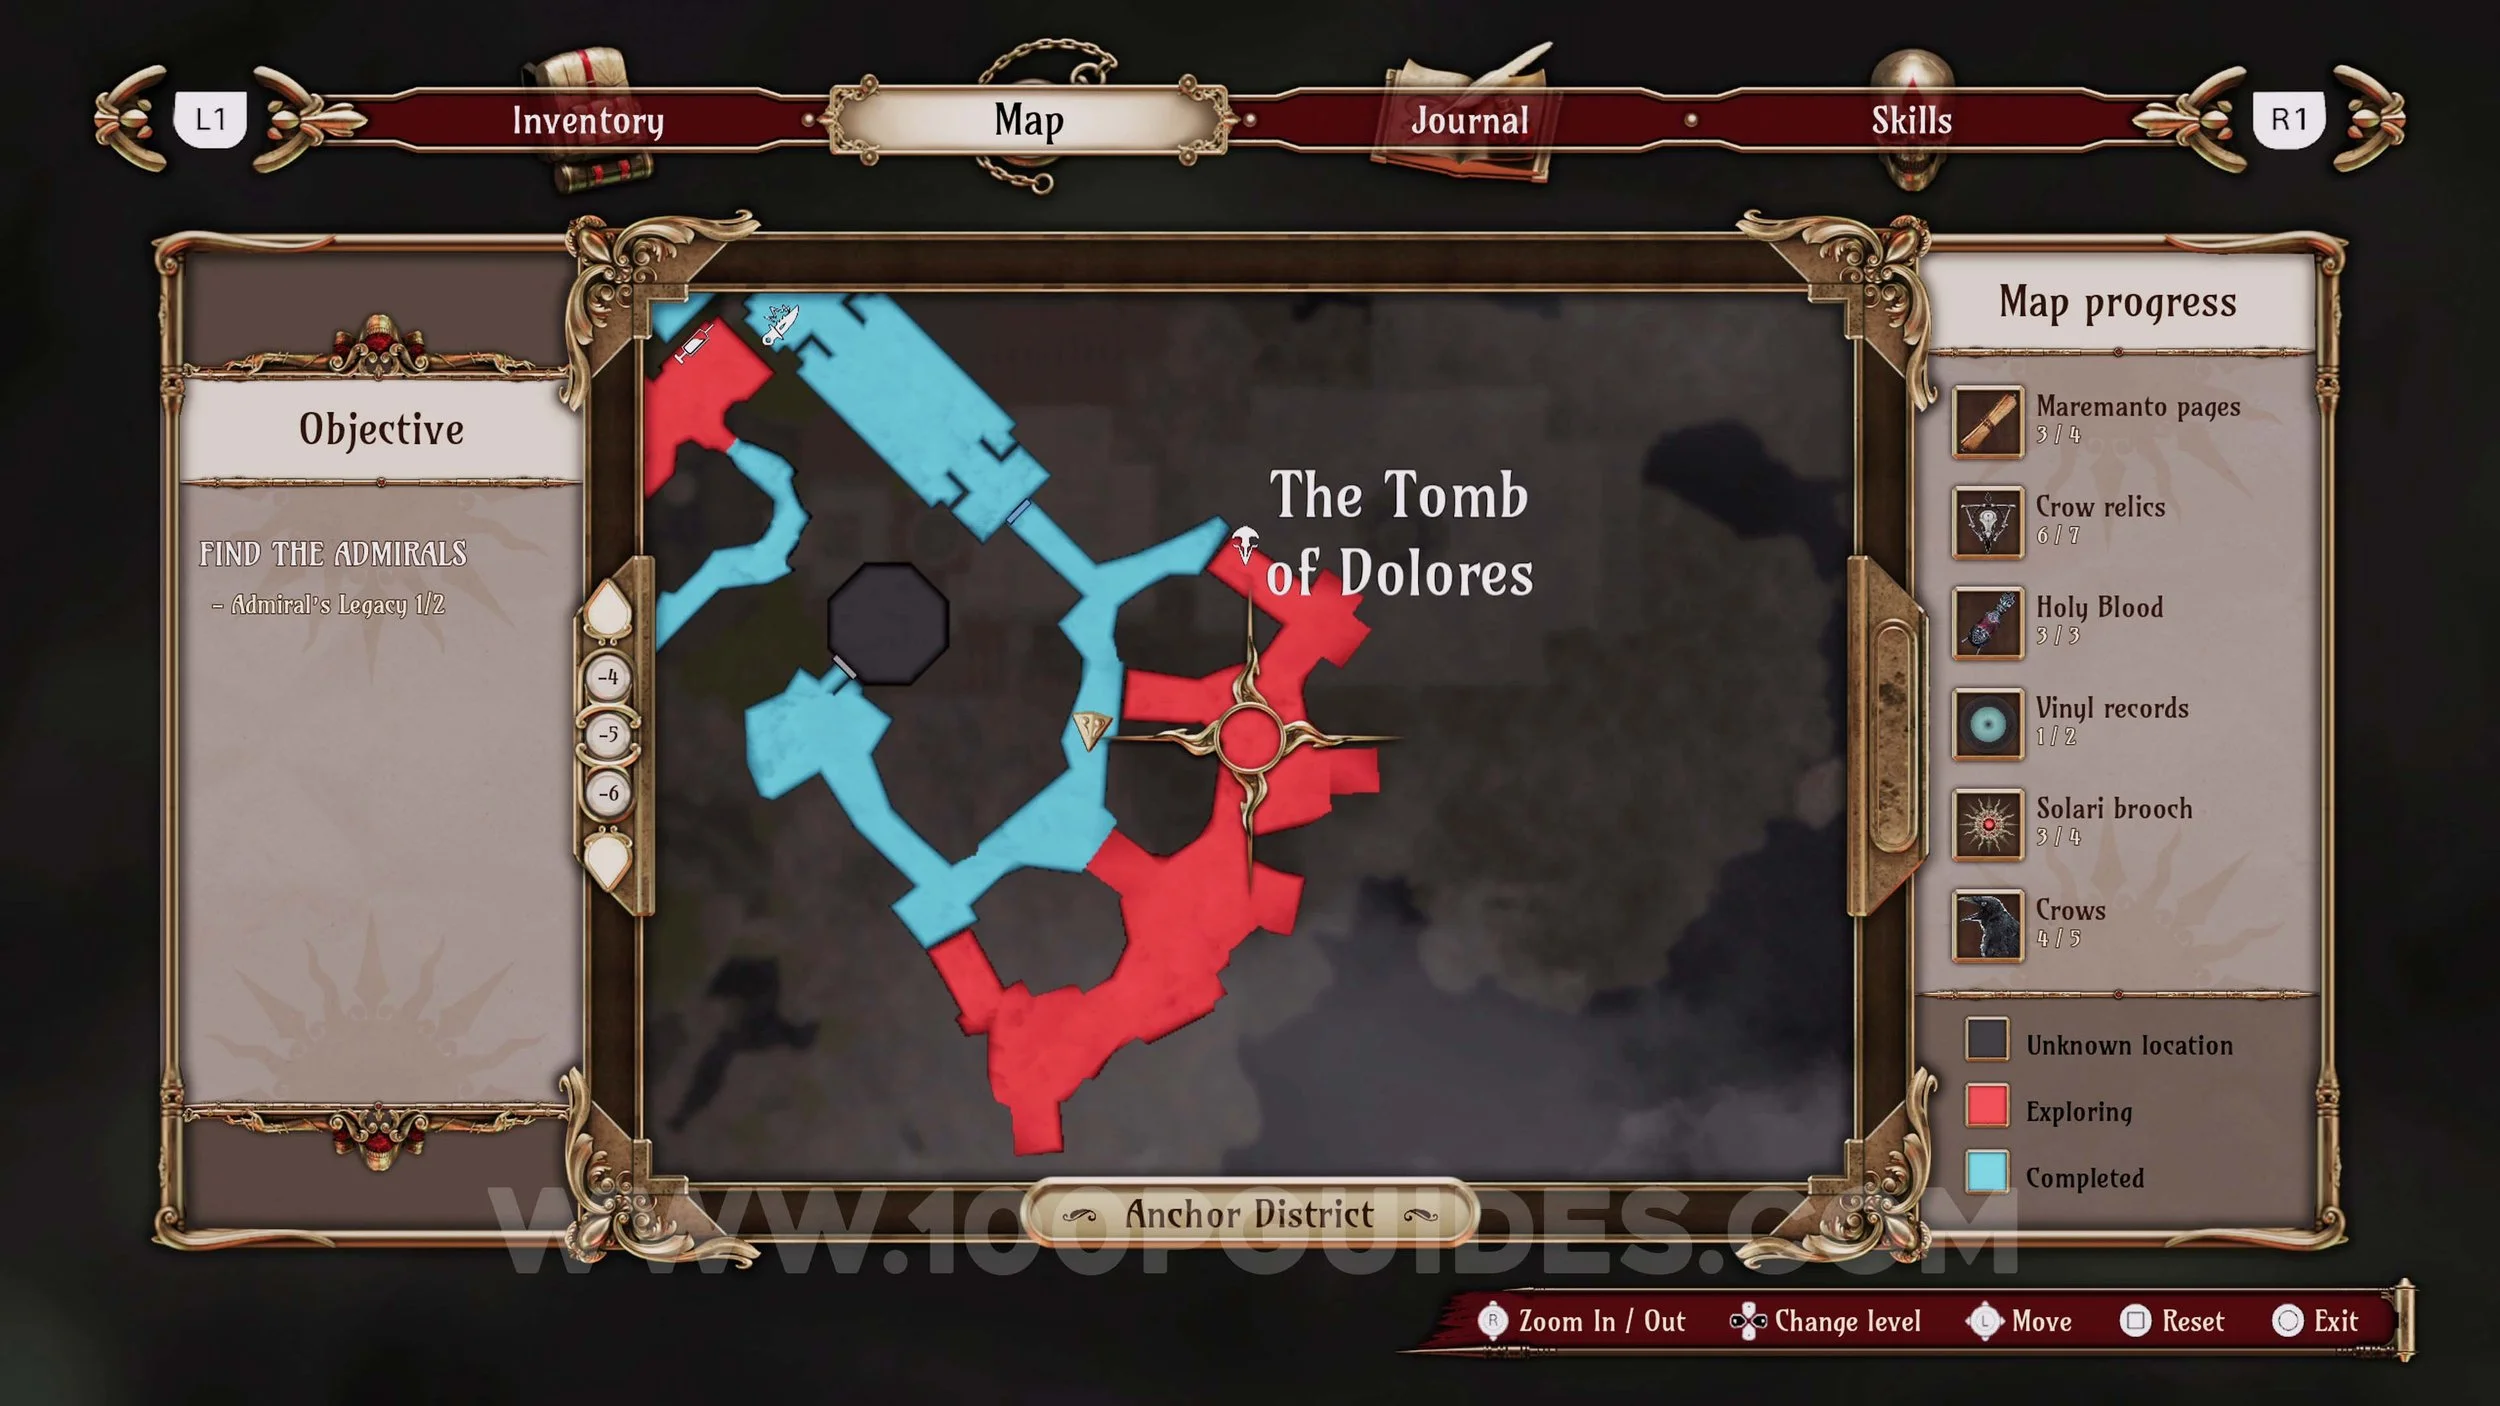
Memory #55. After getting the Octopus Valve, head back to the room just after the Tomb of Dolores, close to the start of the chapter. You will now be able to open the door to the north of this room. Go through to the outside area to find the memory by going up the stairs on the right.
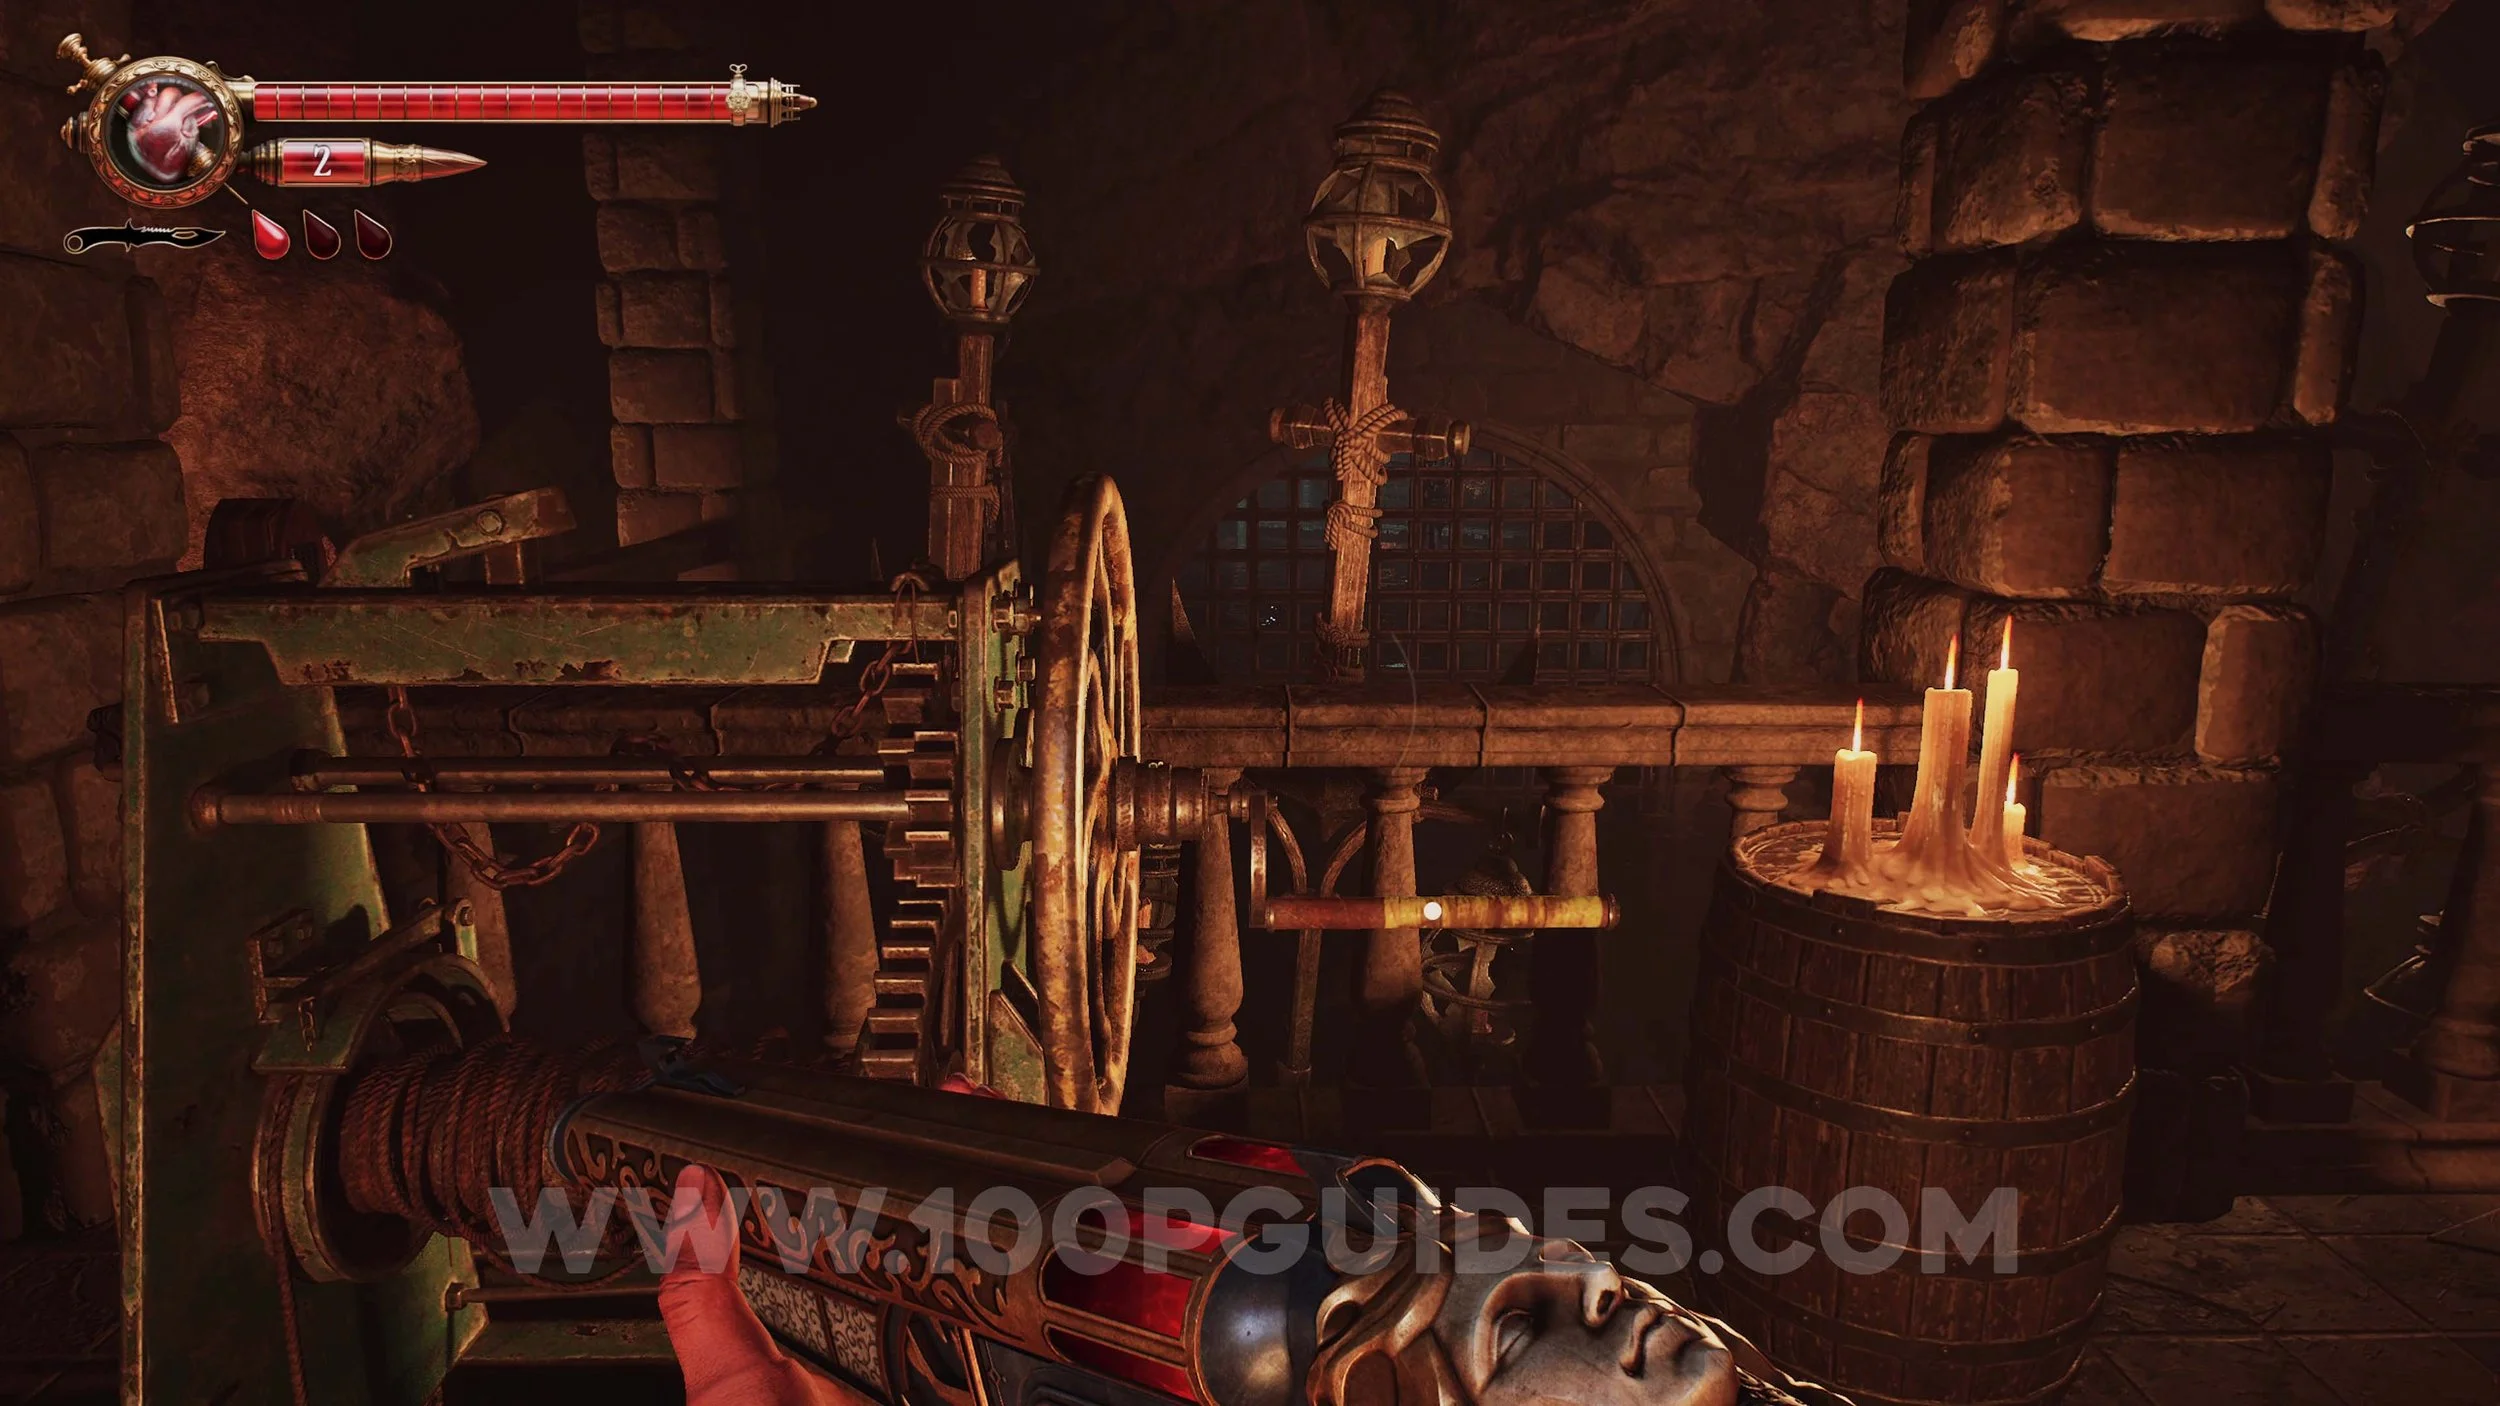
Vinyl Record #7. In the room to the right of the previous collectible. Hit the wooden bars to destroy them.
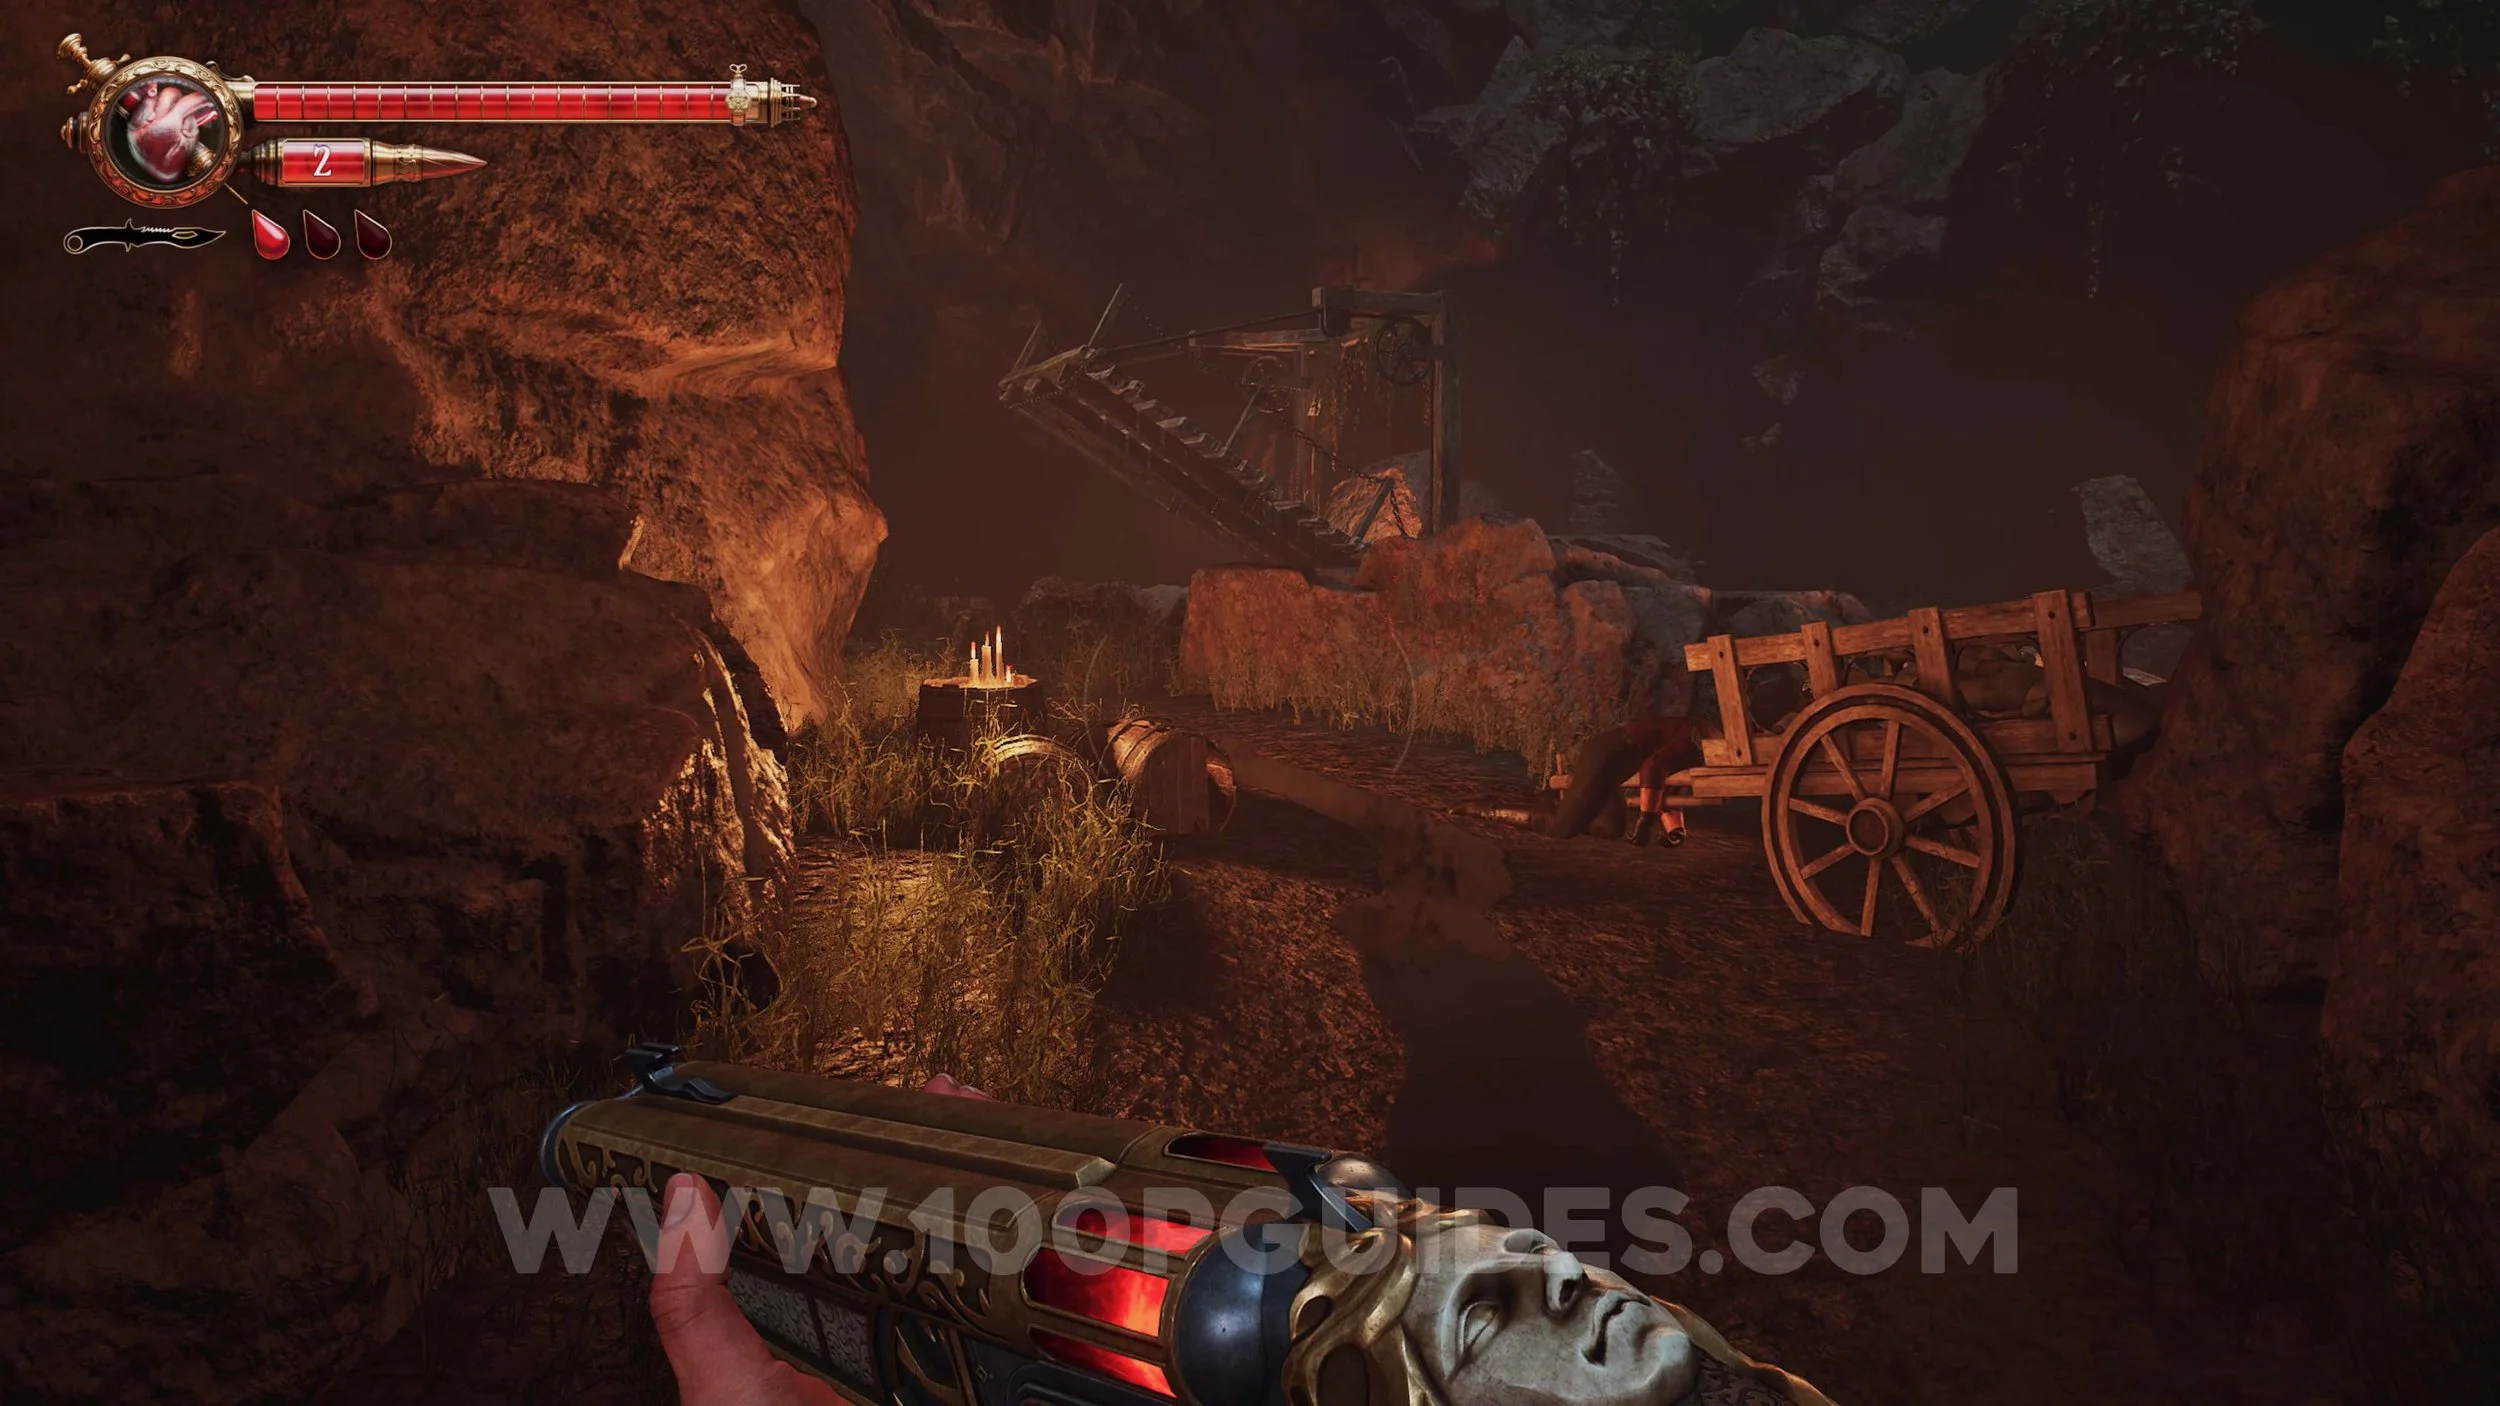
Crow #14. First, use the Crank in the area where the previous collectibles were to open the gate in the river below. Then return to the second boat of the chapter and use it to go through that gate. As soon as you get off the boat, turn around to see the crow.
Crow Relic #25. Also found in the area behind the gate in the river. You will see it in plain sight on a well.
Ulises Idol #36. Stand on the wooden bridge next to the well where the previous collectible was and turn around. Then look up to see the doll.
Maremanto Page #9. Also found in the same area as the previous collectibles. Continue through the area by pushing a car and climbing onto a wooden catwalk. On this catwalk, go through the wooden door on your right. Then look for the Maremanto in a small room on the right side of the house.
Memory #56. Leave the house where the previous collectible was and continue on the catwalk. Then jump through the window of the house at the end. After coming out the other side of this house, jump through the window in front of you to trigger the memory.
Solari Brooch #13. From the previous collectible, go through the hole in the wall to the right. Then continue through the house until you see the brooch on the balcony.
Maremanto Page #10 & Crow Relic #26. Return to the boat and ride the river towards the starting main area. But instead of docking, continue through the cave in front of you and dock inside. Then follow the cave to the end to find both collectibles in a chest.
Holy Blood #9 & Crow Relic #27. Ride the boat back to the main area (where you lowered the bridge to enter The Tower Of Judgement), and open the door in the house to the south by using the Octopus Valve. Inside, solve another wine rack puzzle to find the collectibles on the other side.

Memory #57 & Solari Brooch #14. Use the Octopus Valve on the door slightly north of the building with the previous collectibles. Inside, use the crank to open the gate in the water. Then, return to the boat and go back through the small cave where you found Maremanto Page #10 & Crow Relic #26. Continue riding the boat through the gate. You will find the memory and the brooch soon after.
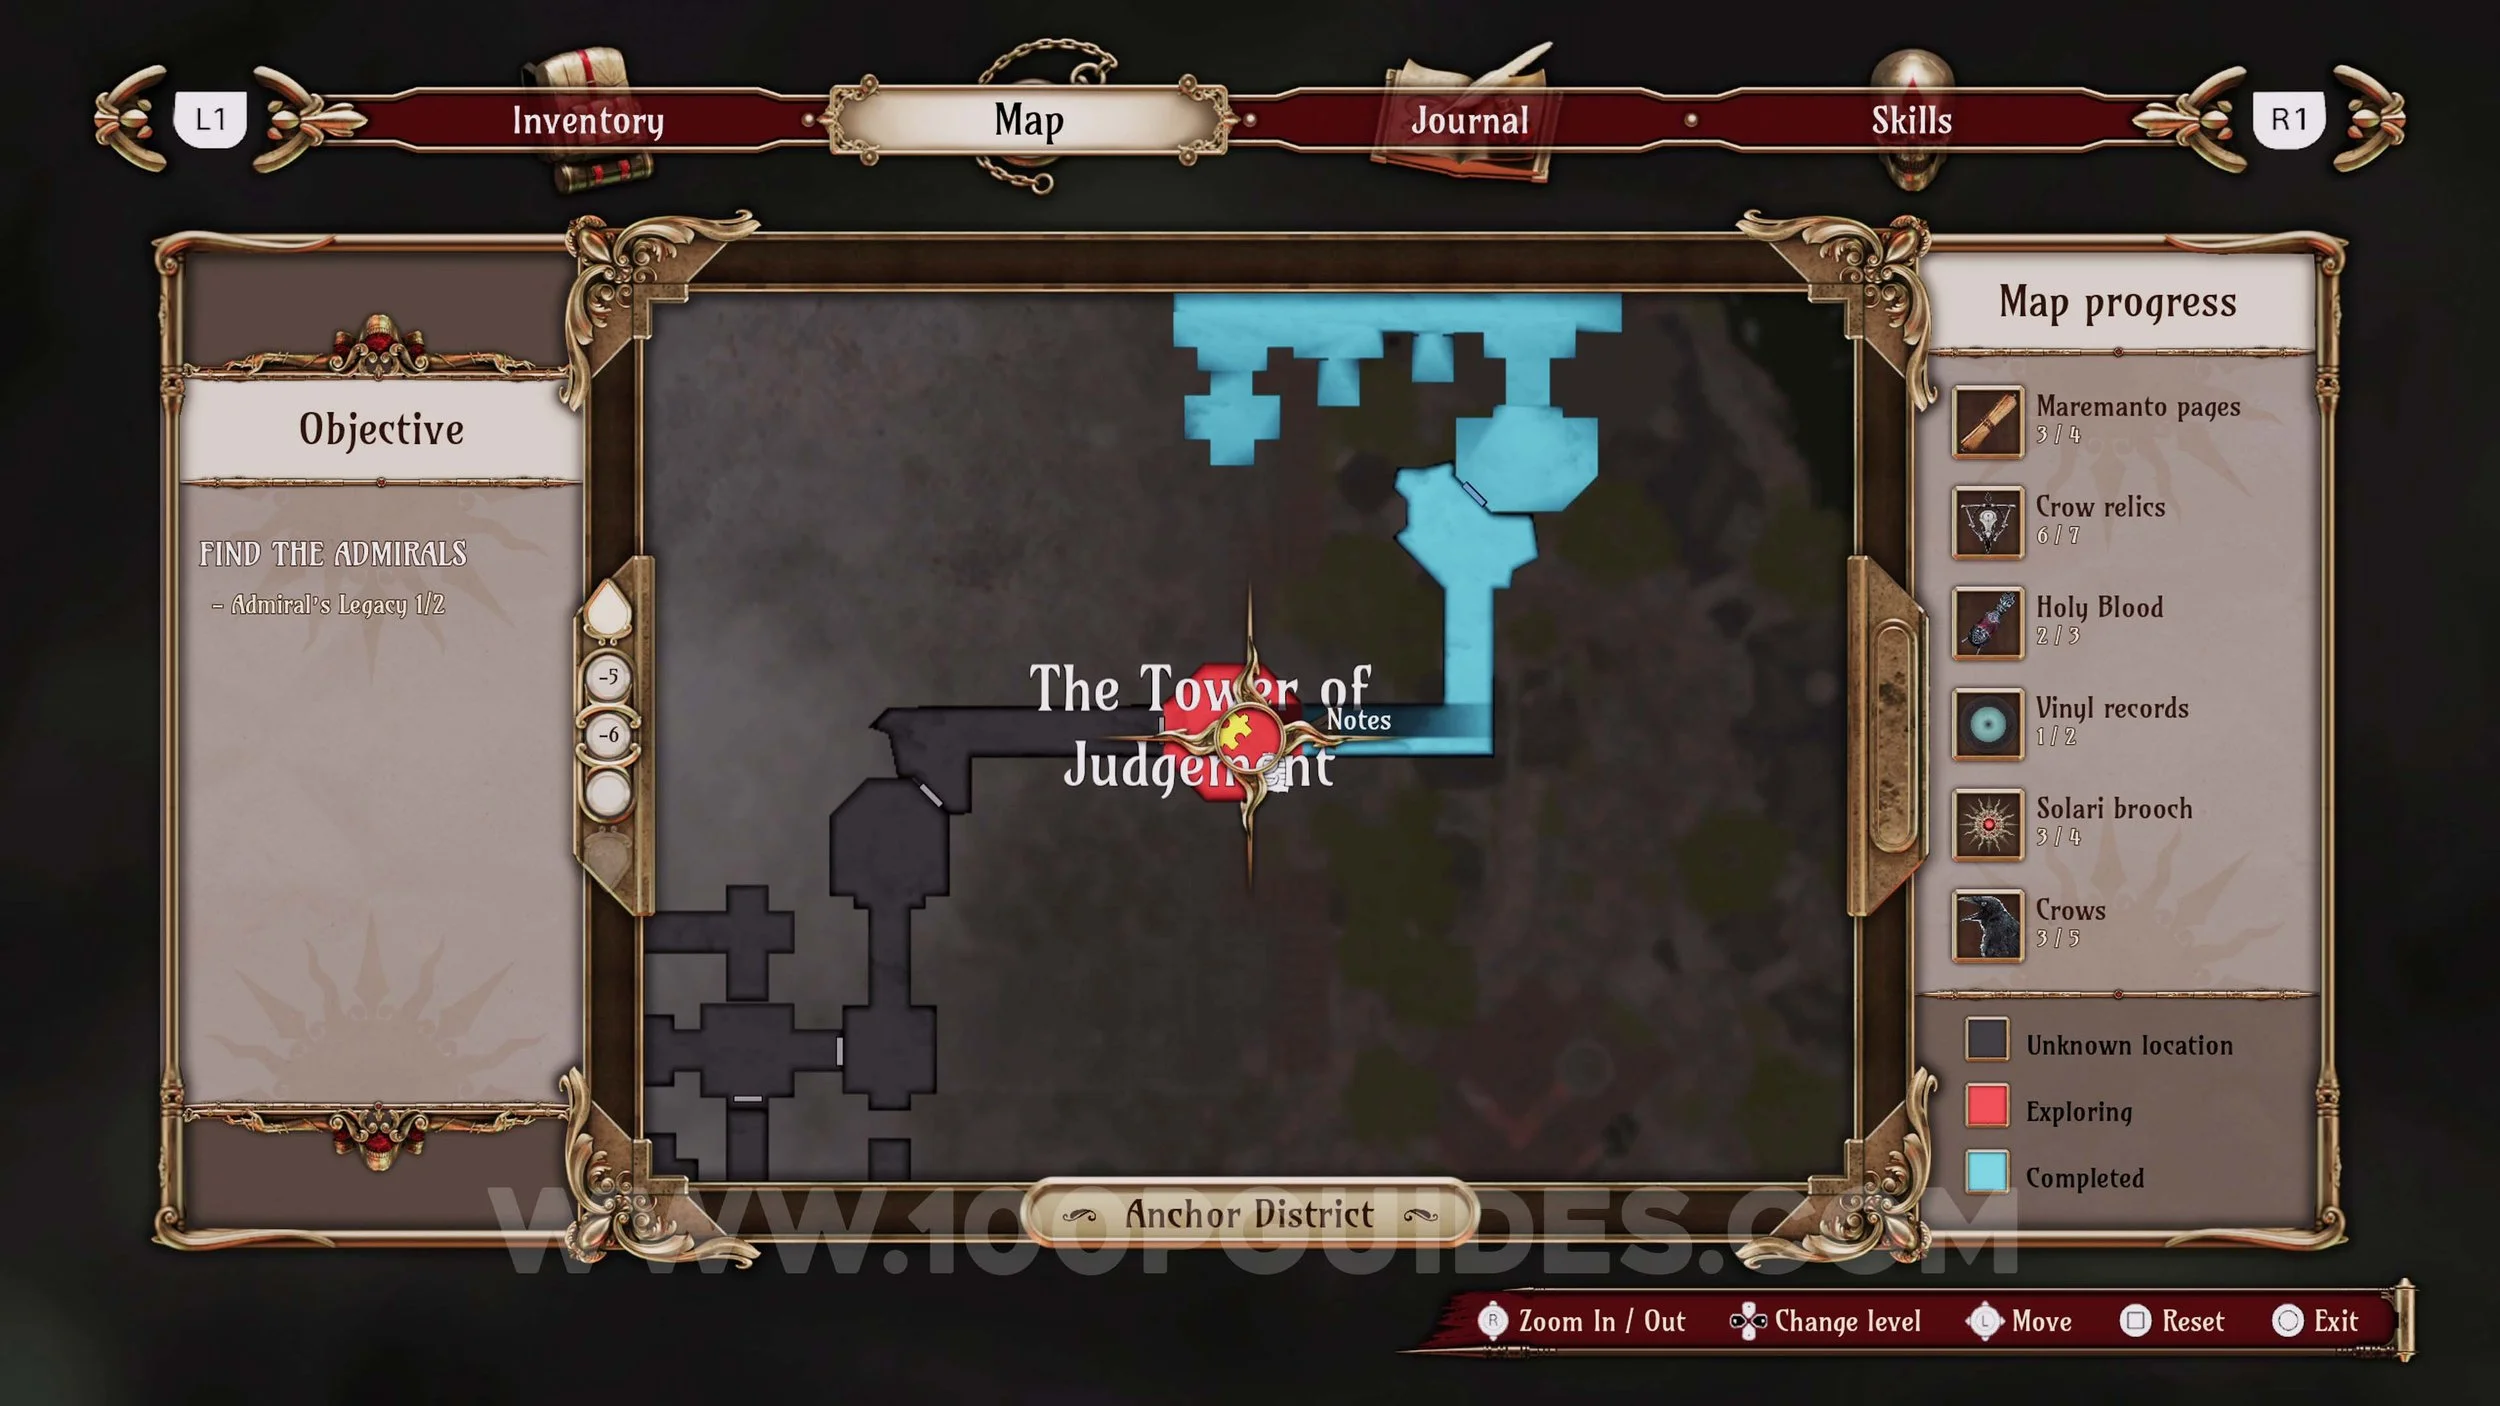
Memory #58. Story related after riding the lift down to the lower area of The Tower of Judgement. You do this by taking the path to the south of the shop/save point at the start of The Tower of Judgement.
Memory #59. Story related once you reach the Sea Mechanism puzzle.
Holy Blood #10. After getting through the area where you have to use a crank to open, with water enemies running around, enter the room on the south and solve the wine rack puzzle to find the collectible on the other side.
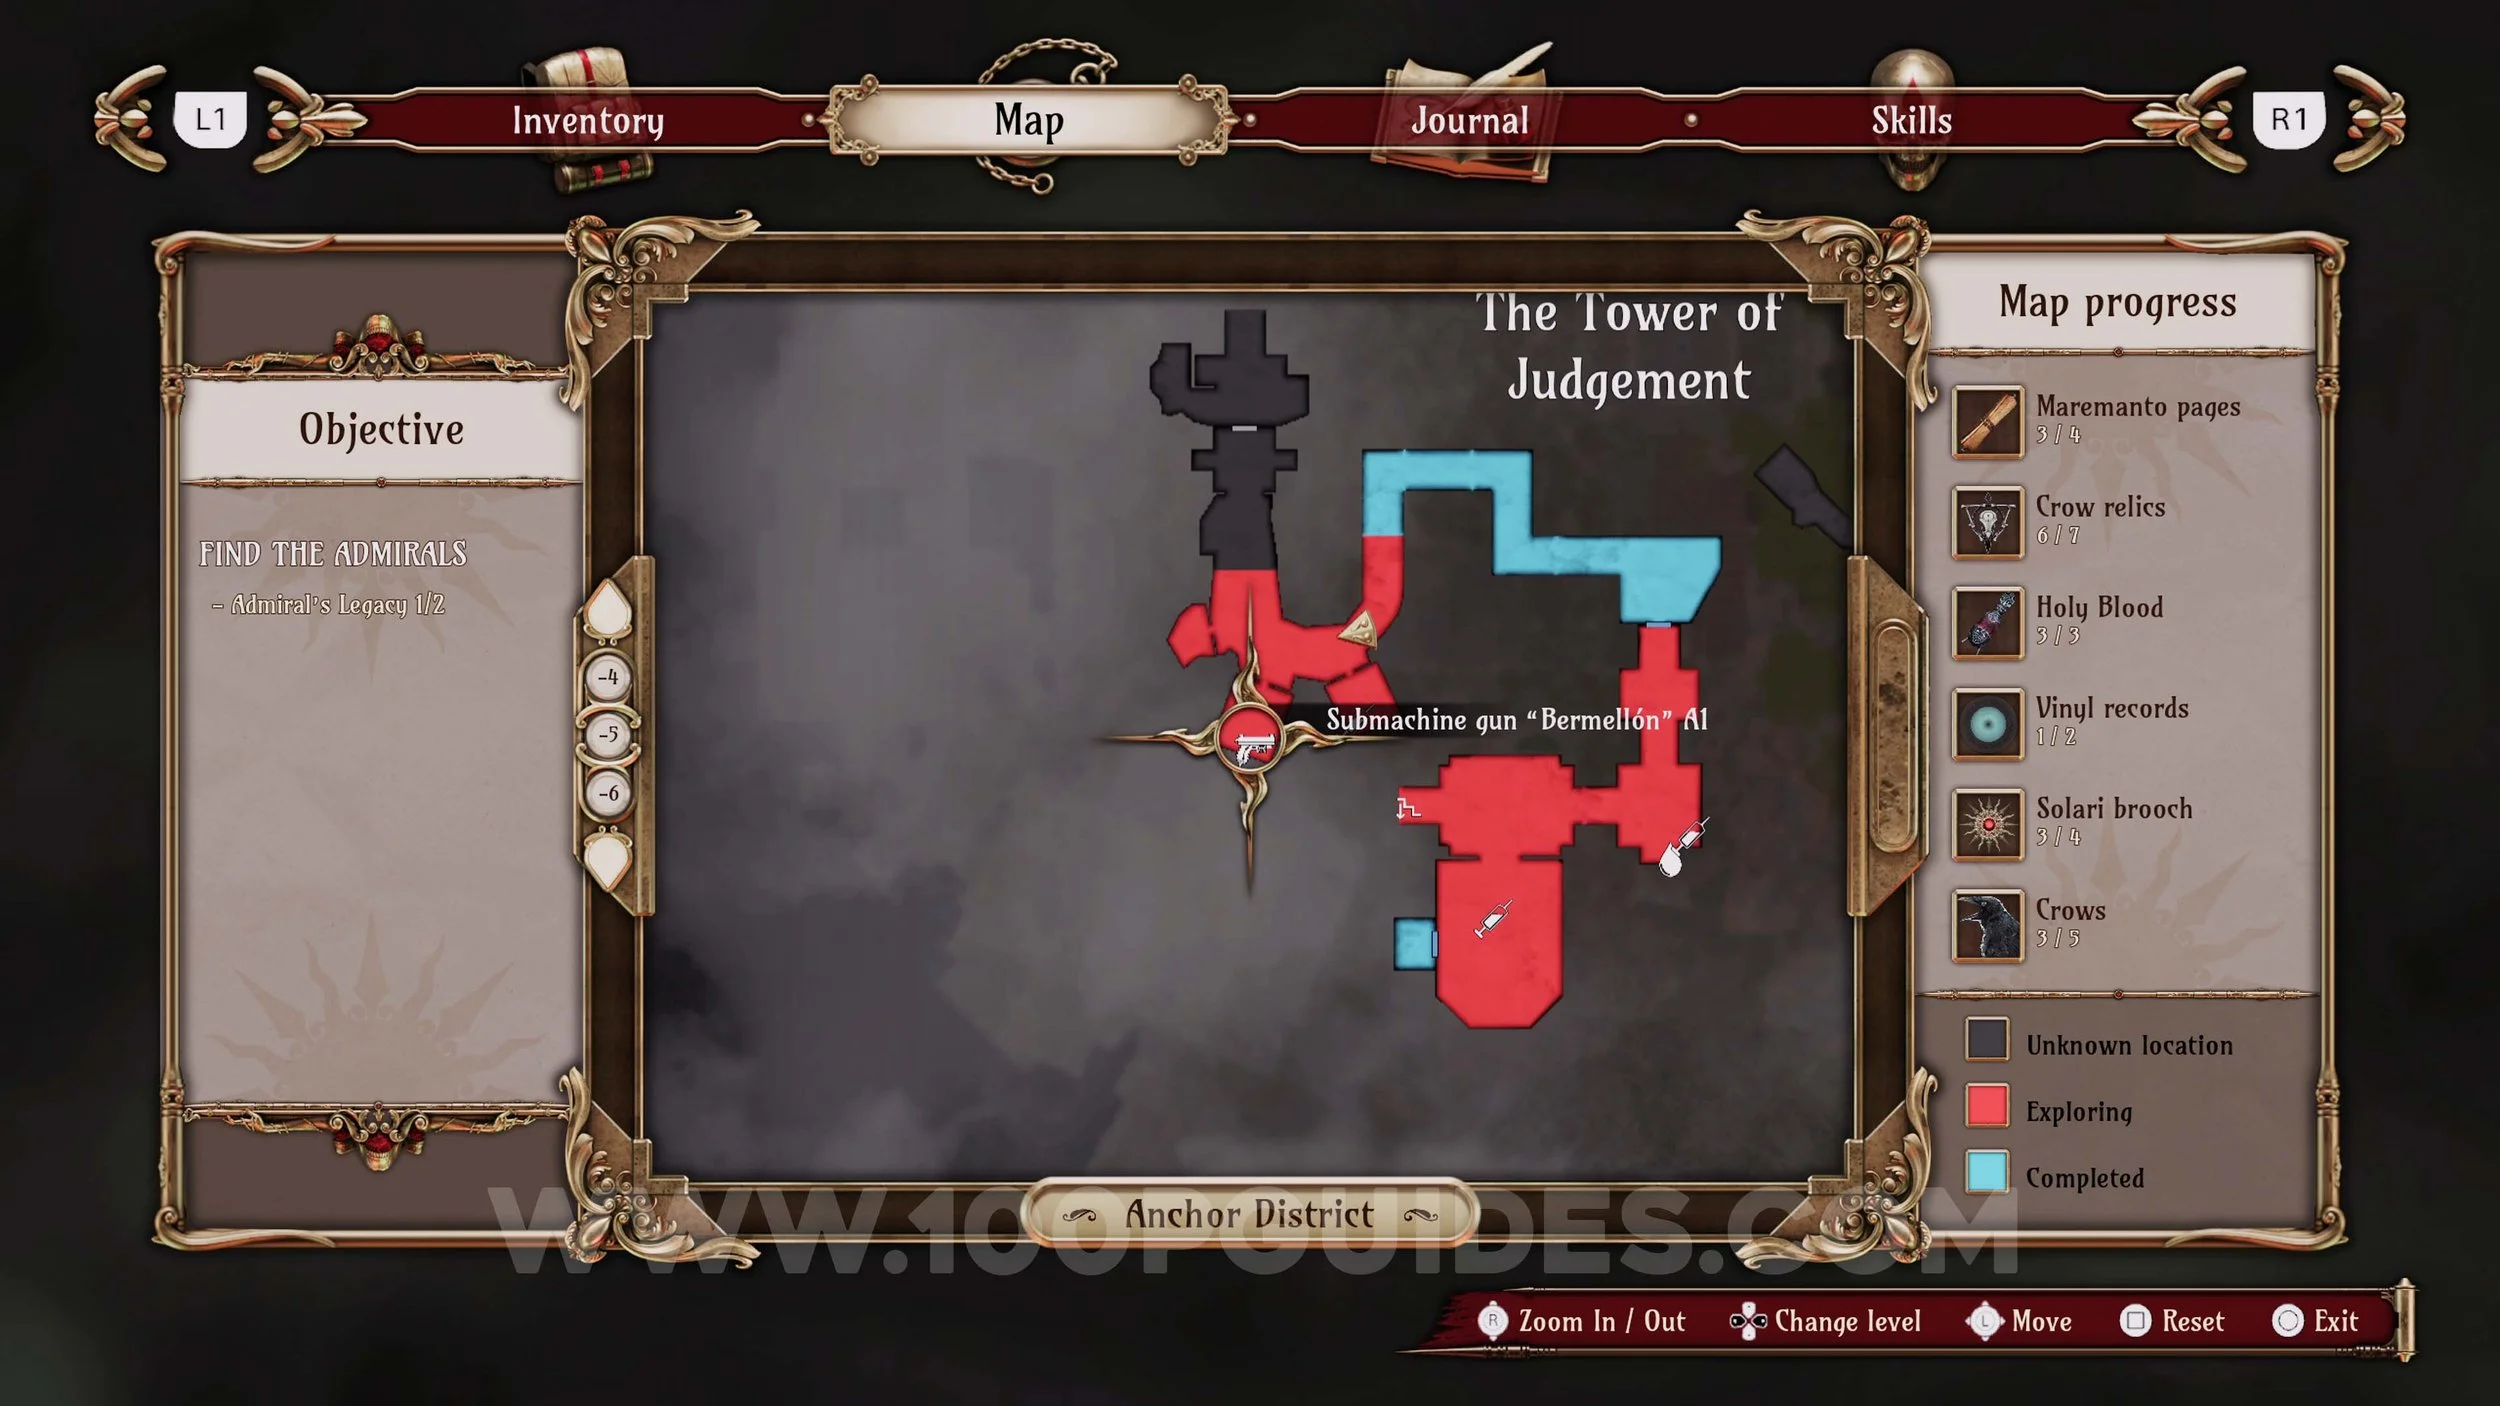
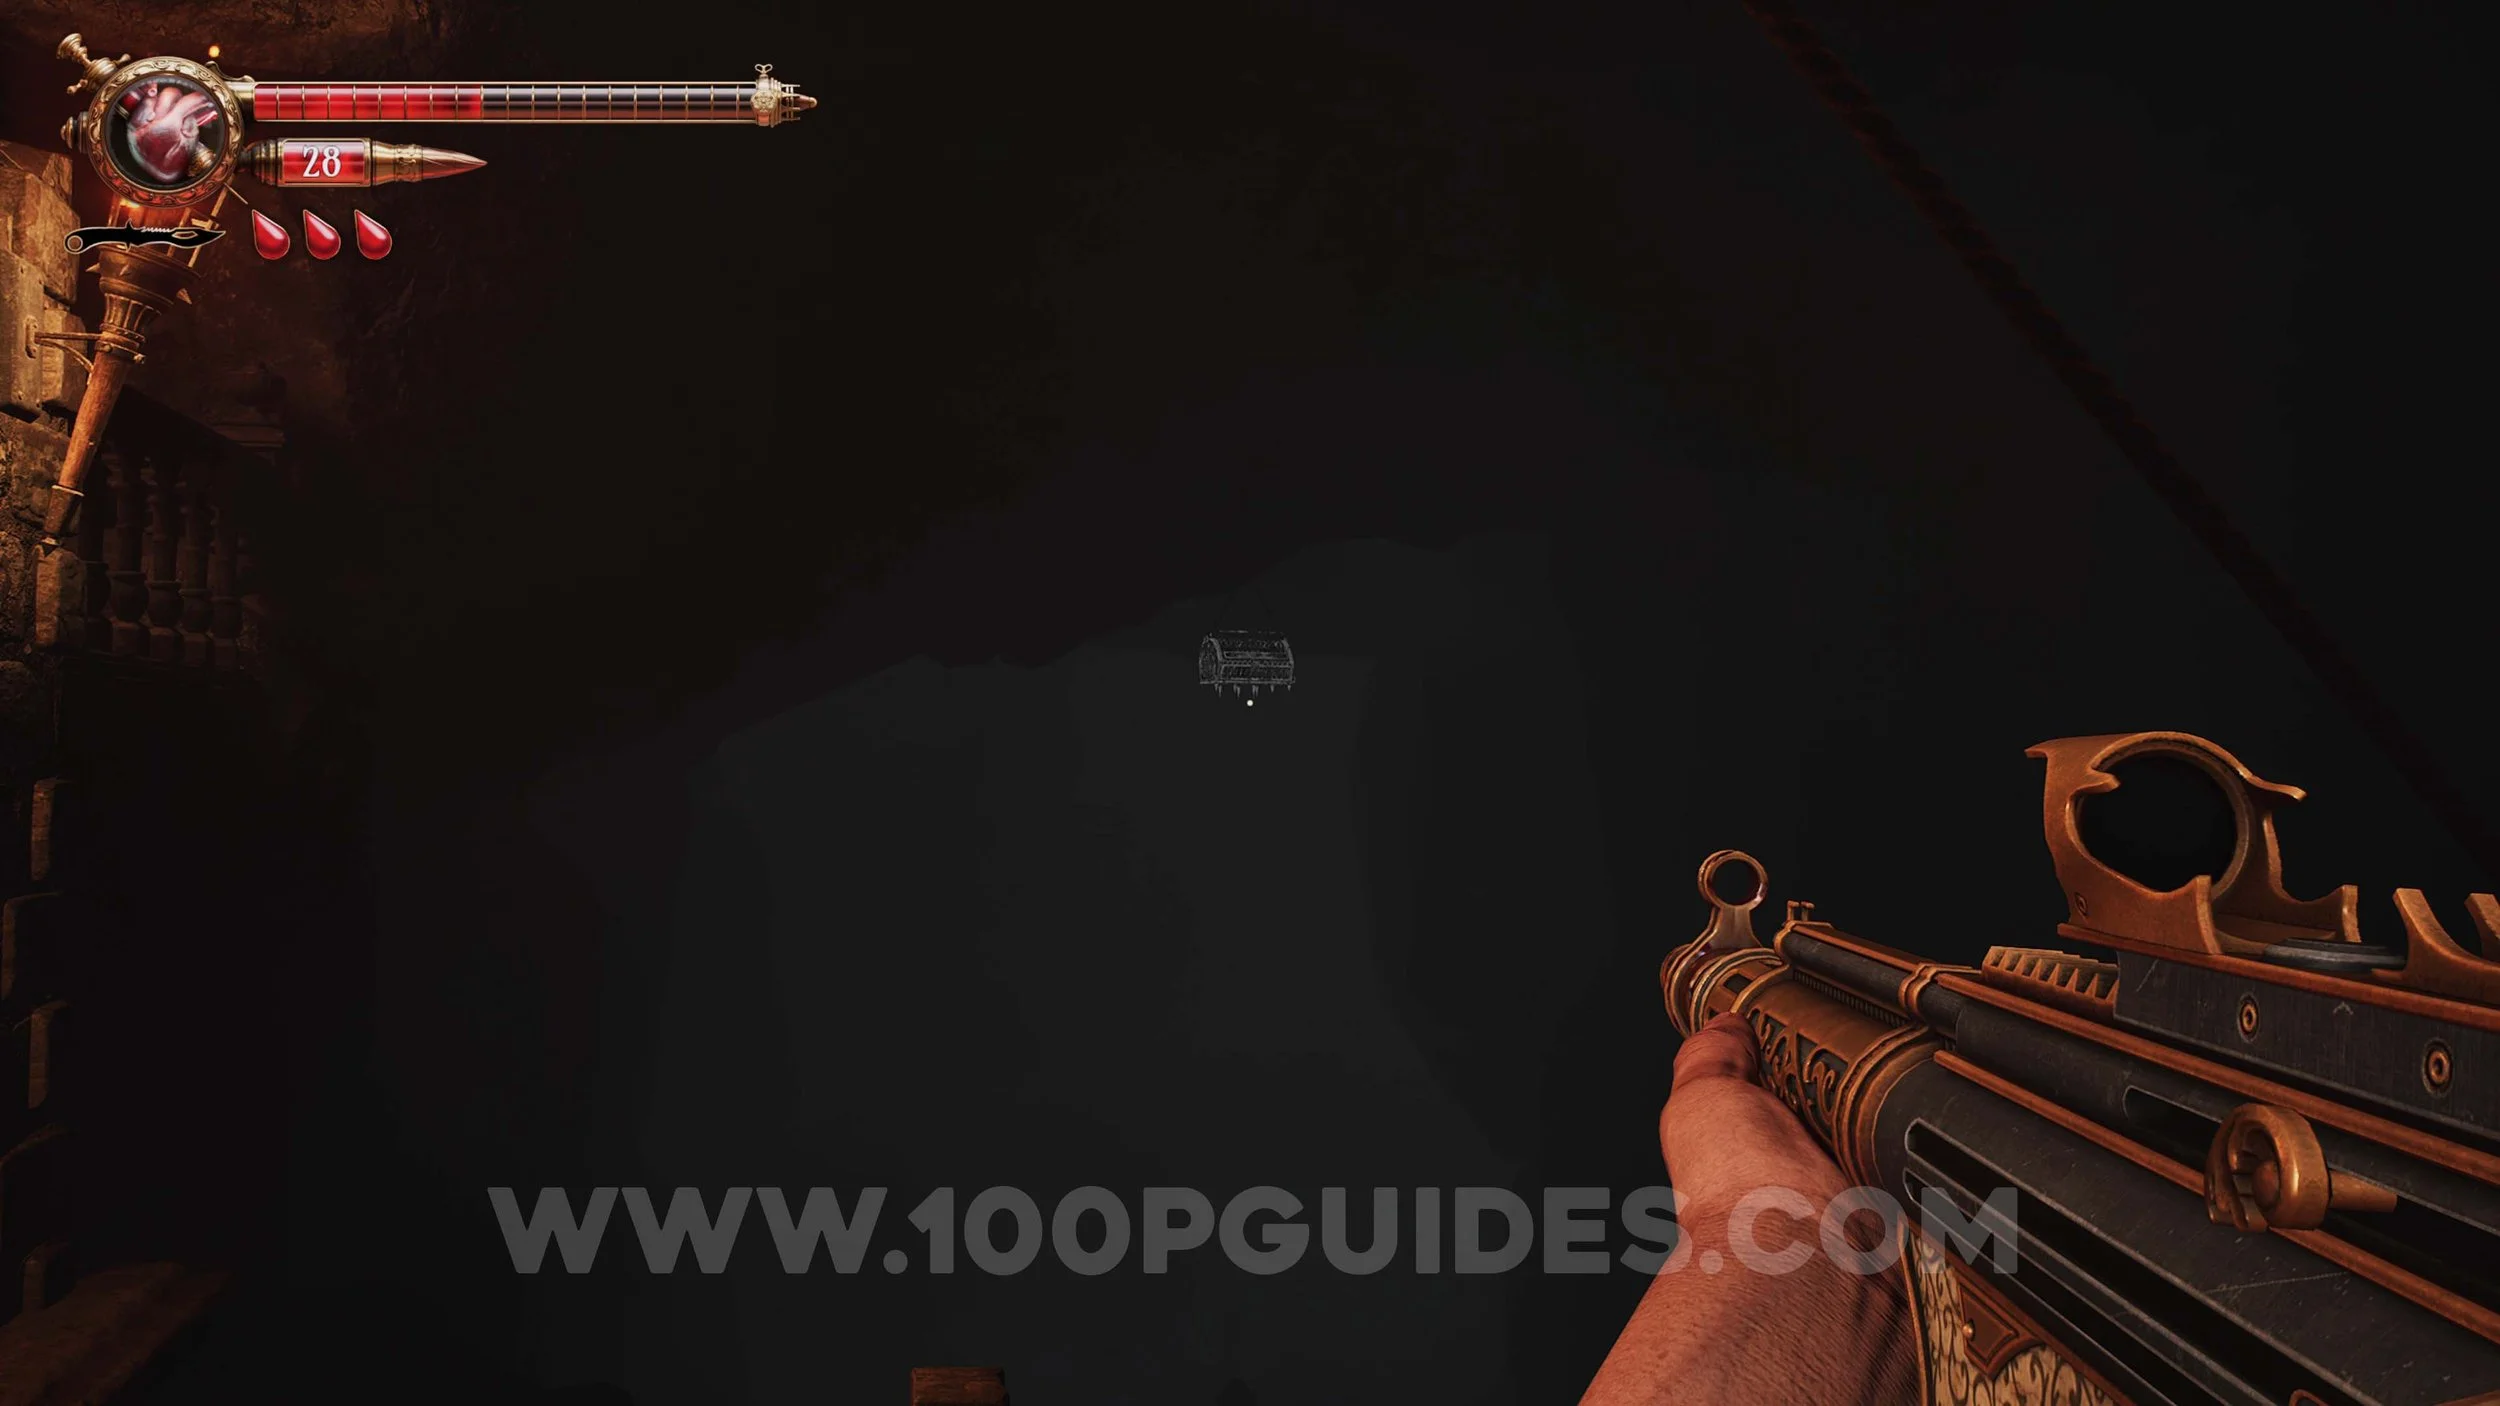
Weapon #5 - Submachine Gun. Continue on the main path until you come to a cave with cells on the left. The weapon can be found inside one of these cells.

Crow #15. Just after getting the SMG, you will lower a bridge. Stand on this bridge and look left.

Ulises Idol #37. Follow the main path until you go past a blood fountain, and then go down a floor by using a ramp made of debris. At the bottom of the ramp, look right to find the doll.
Memory #60. Story related on the main path just after the previous collectible.
Ulises Idol #38. After the second sea puzzle, you will crawl through a cave. The doll can be found straight in front of you after the crawl space.
Ulises Idol #39. In the area with the timed cranks that open cells. After using the second crank, a gate will open, allowing you to get to the upper floor. The doll can be found at the end, behind the left side barrel on the other side of the hole you use to get back to the lower floor.
Crow Relic #28. After going through an area with cells and cranks, you will enter another open cave area. Here, stick to the left and enter the smaller cave. Inside, head all the way left to find the collectible in the room at the end.
Ulises Idol #40. After climbing a tower and going through a few more rooms, you will shimmy across a thin board on the cliffside. You will see the doll under the bridge as you do this.
Memory #61. Story related on the next bridge.
Vinyl Record #8. After the 3rd sea puzzle, you will reach a room where loads of enemies attack you. Go up the stairs in the middle of this room and go right to find the Record in front of you.

Ulises Idol #41. In the same area as the previous collectible. This time, go up the left side stairs to find the doll above the fountain.
Memory #62. After following the main path a little, you will come to a fork in the road. Take the right path (west) to trigger the memory.
Solari Brooch #15. In the same area as the previous collectible. Go around the right side, past the turret statue and through the hole. Pull the cart back, then go through the gap that this cart left in front of the statue to pull a second cart. You can now use the new gap to get to the final Brooch of the game.
Ulises Idol #42. In the same room as the previous collectibles. Found behind the barrel directly under the first turret statue.
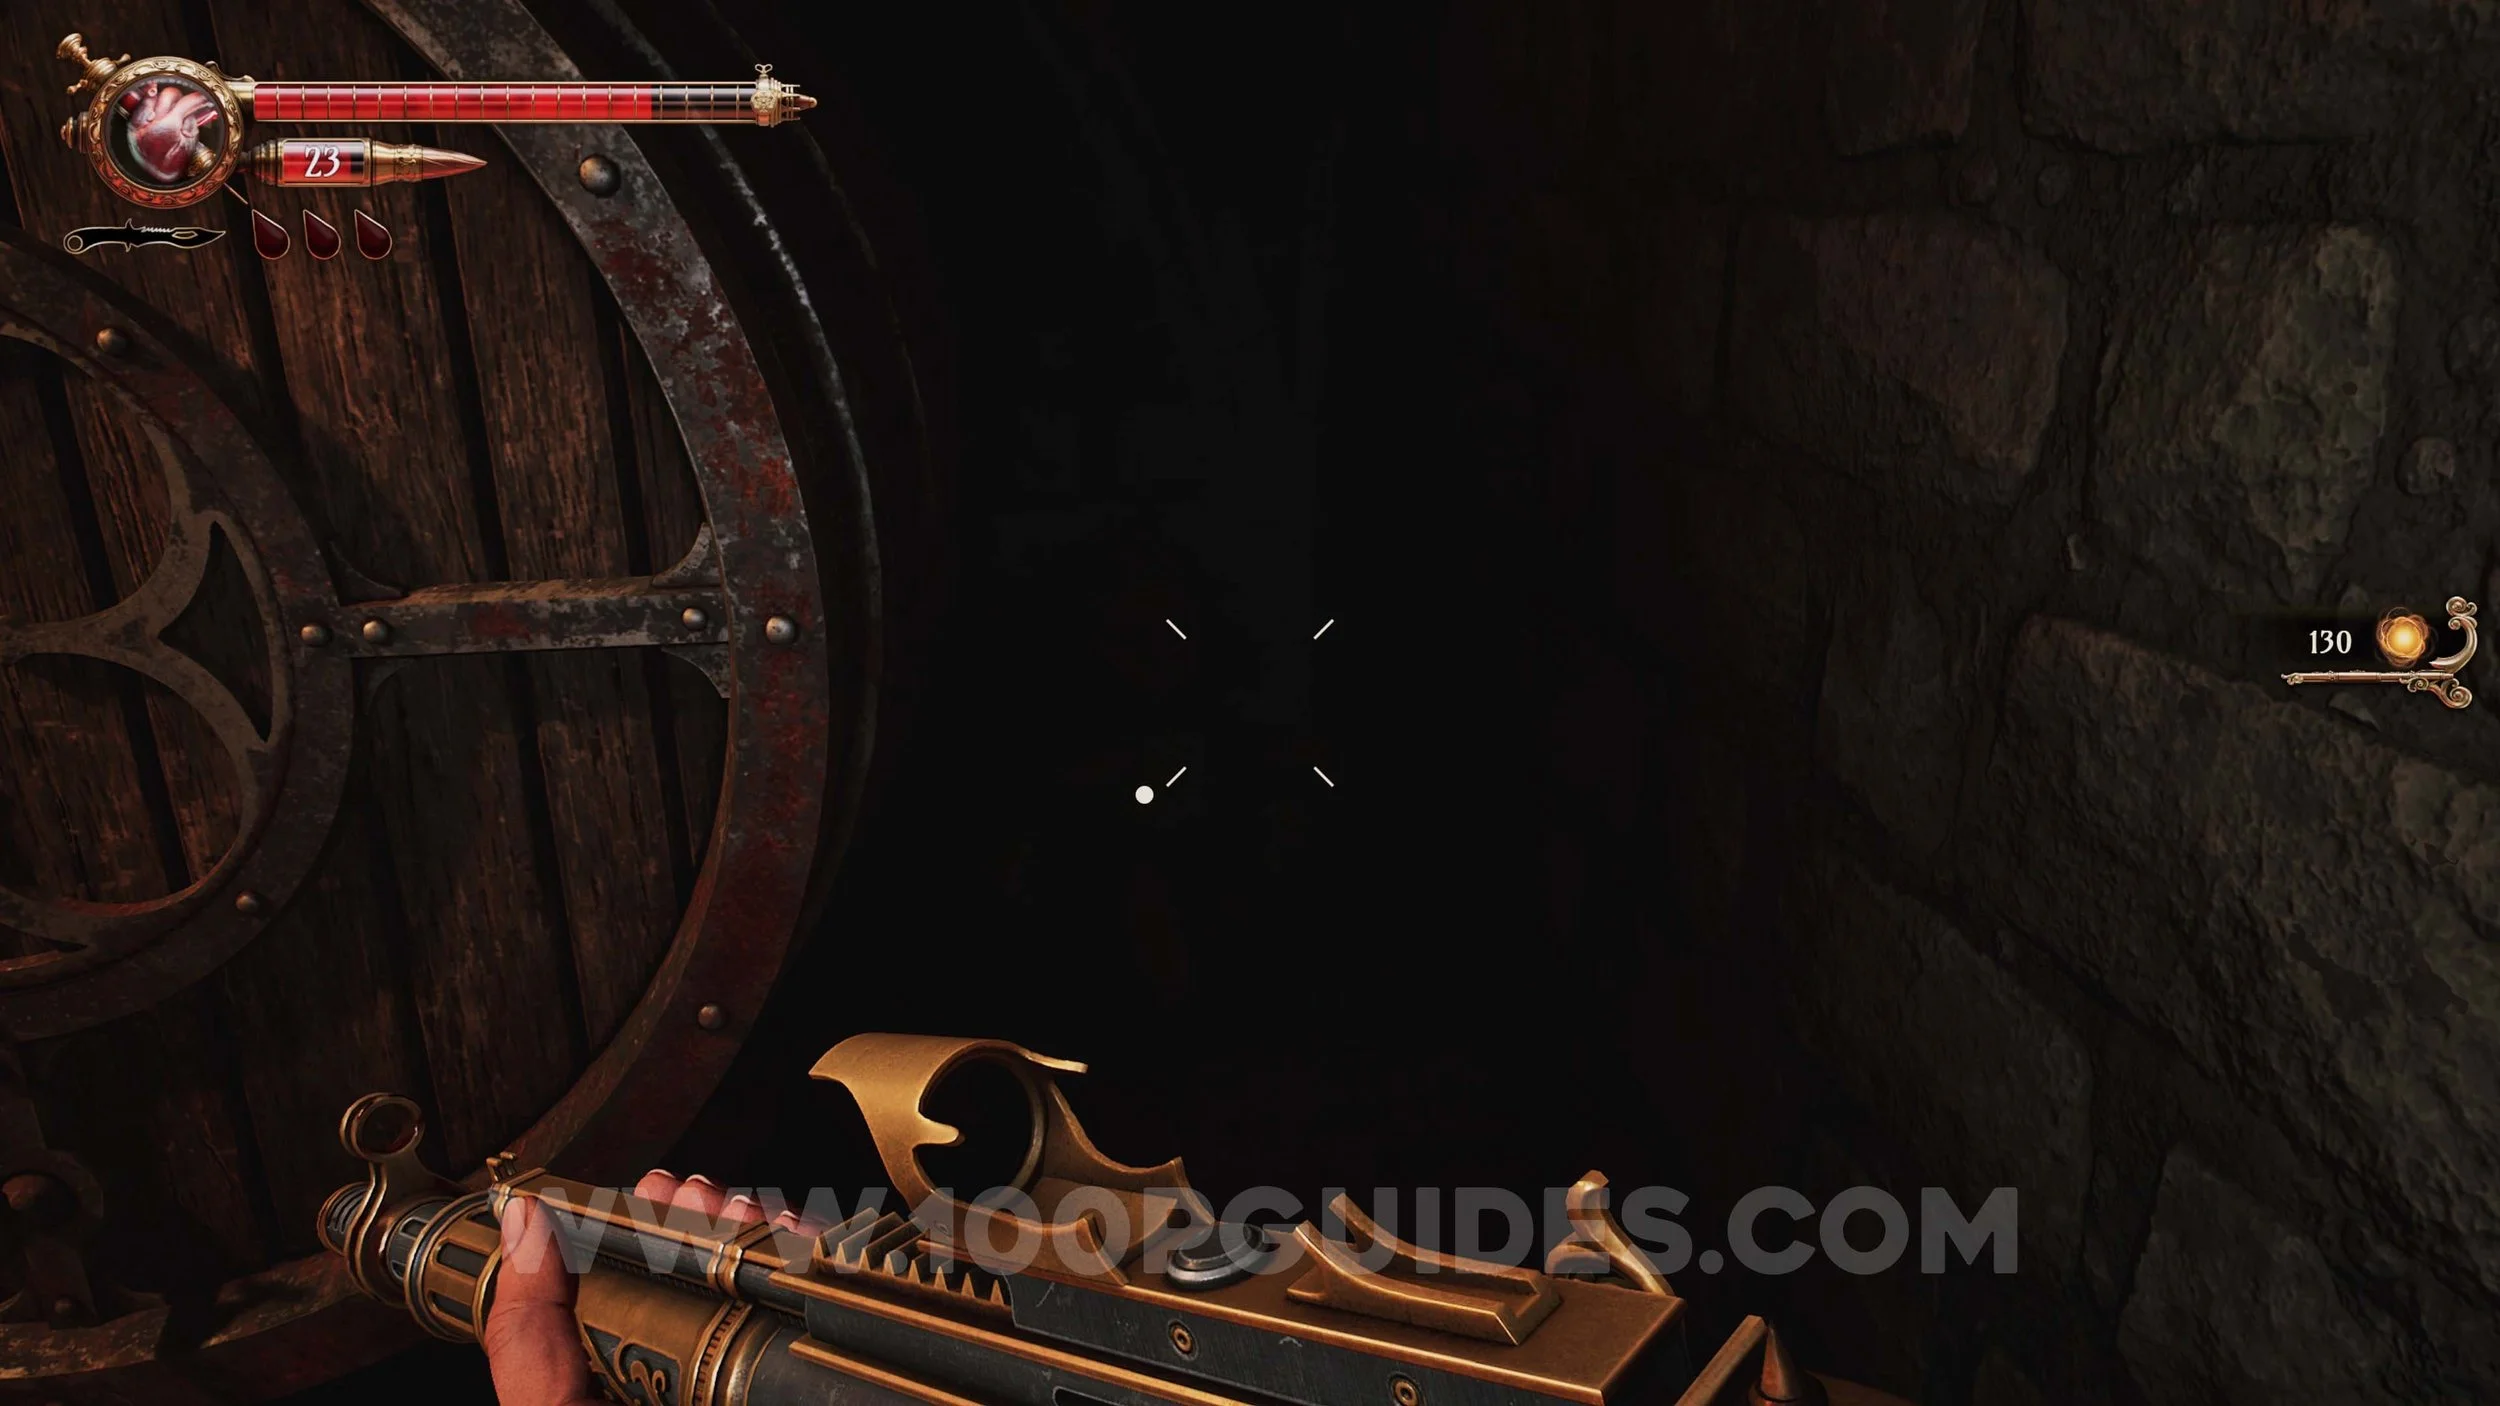
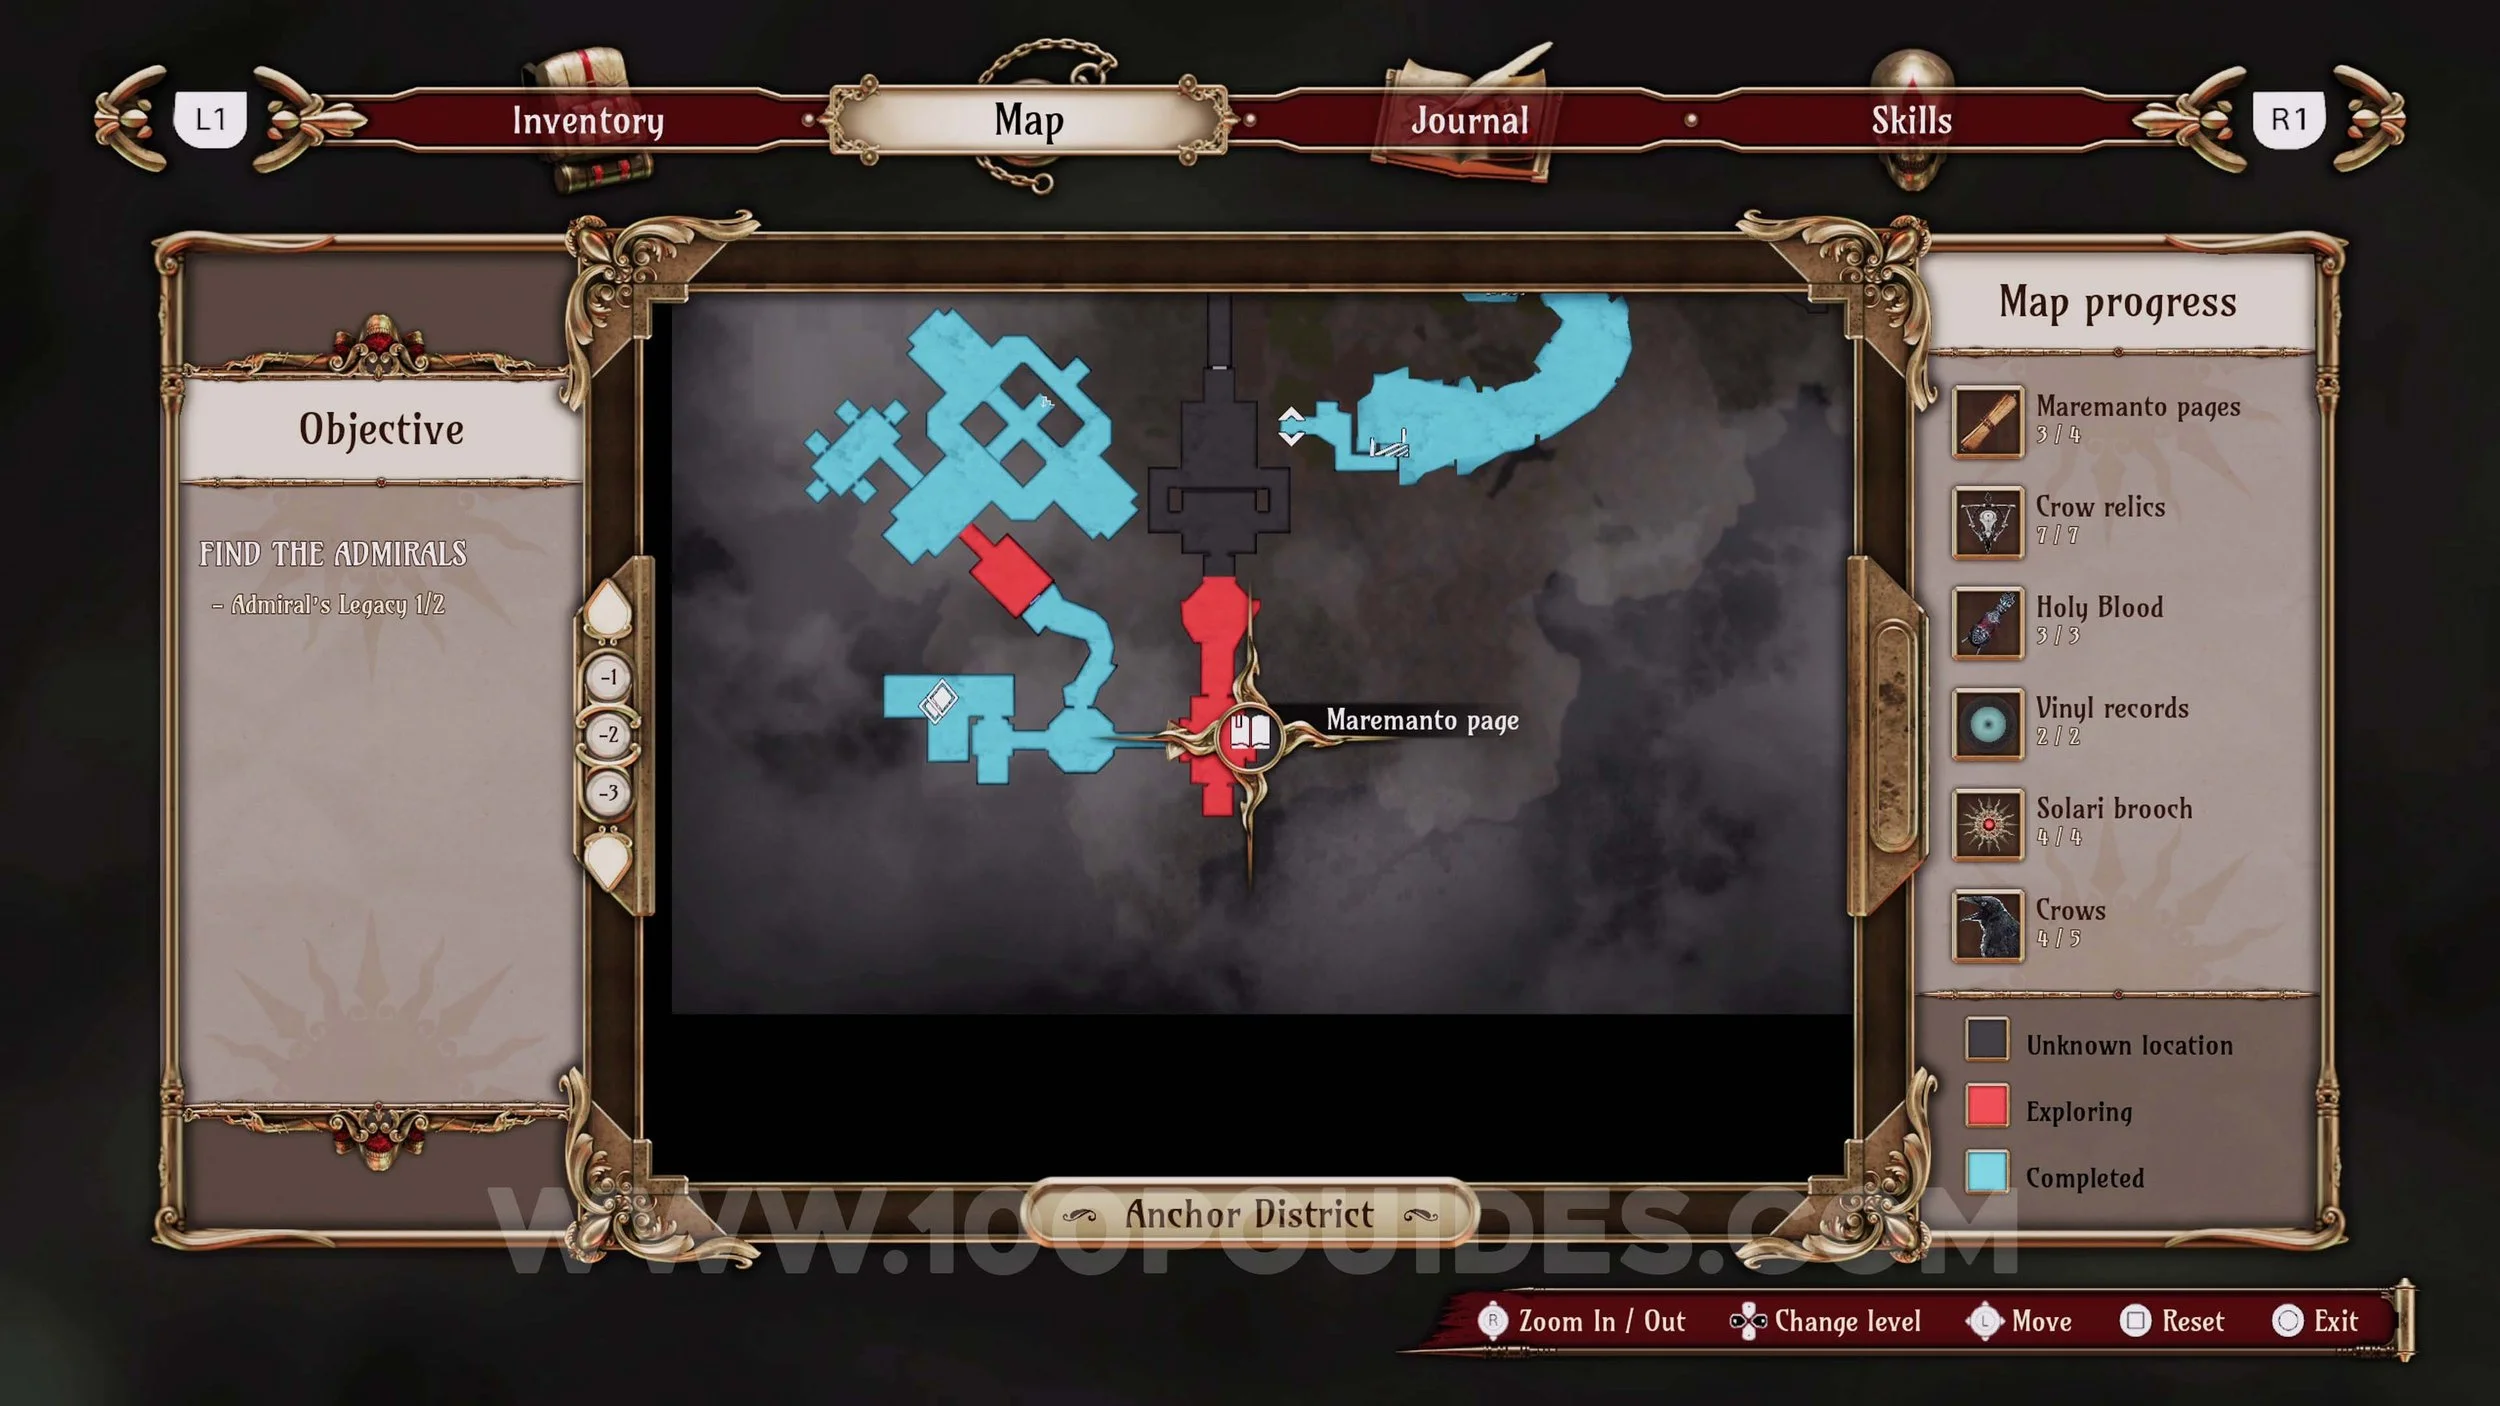
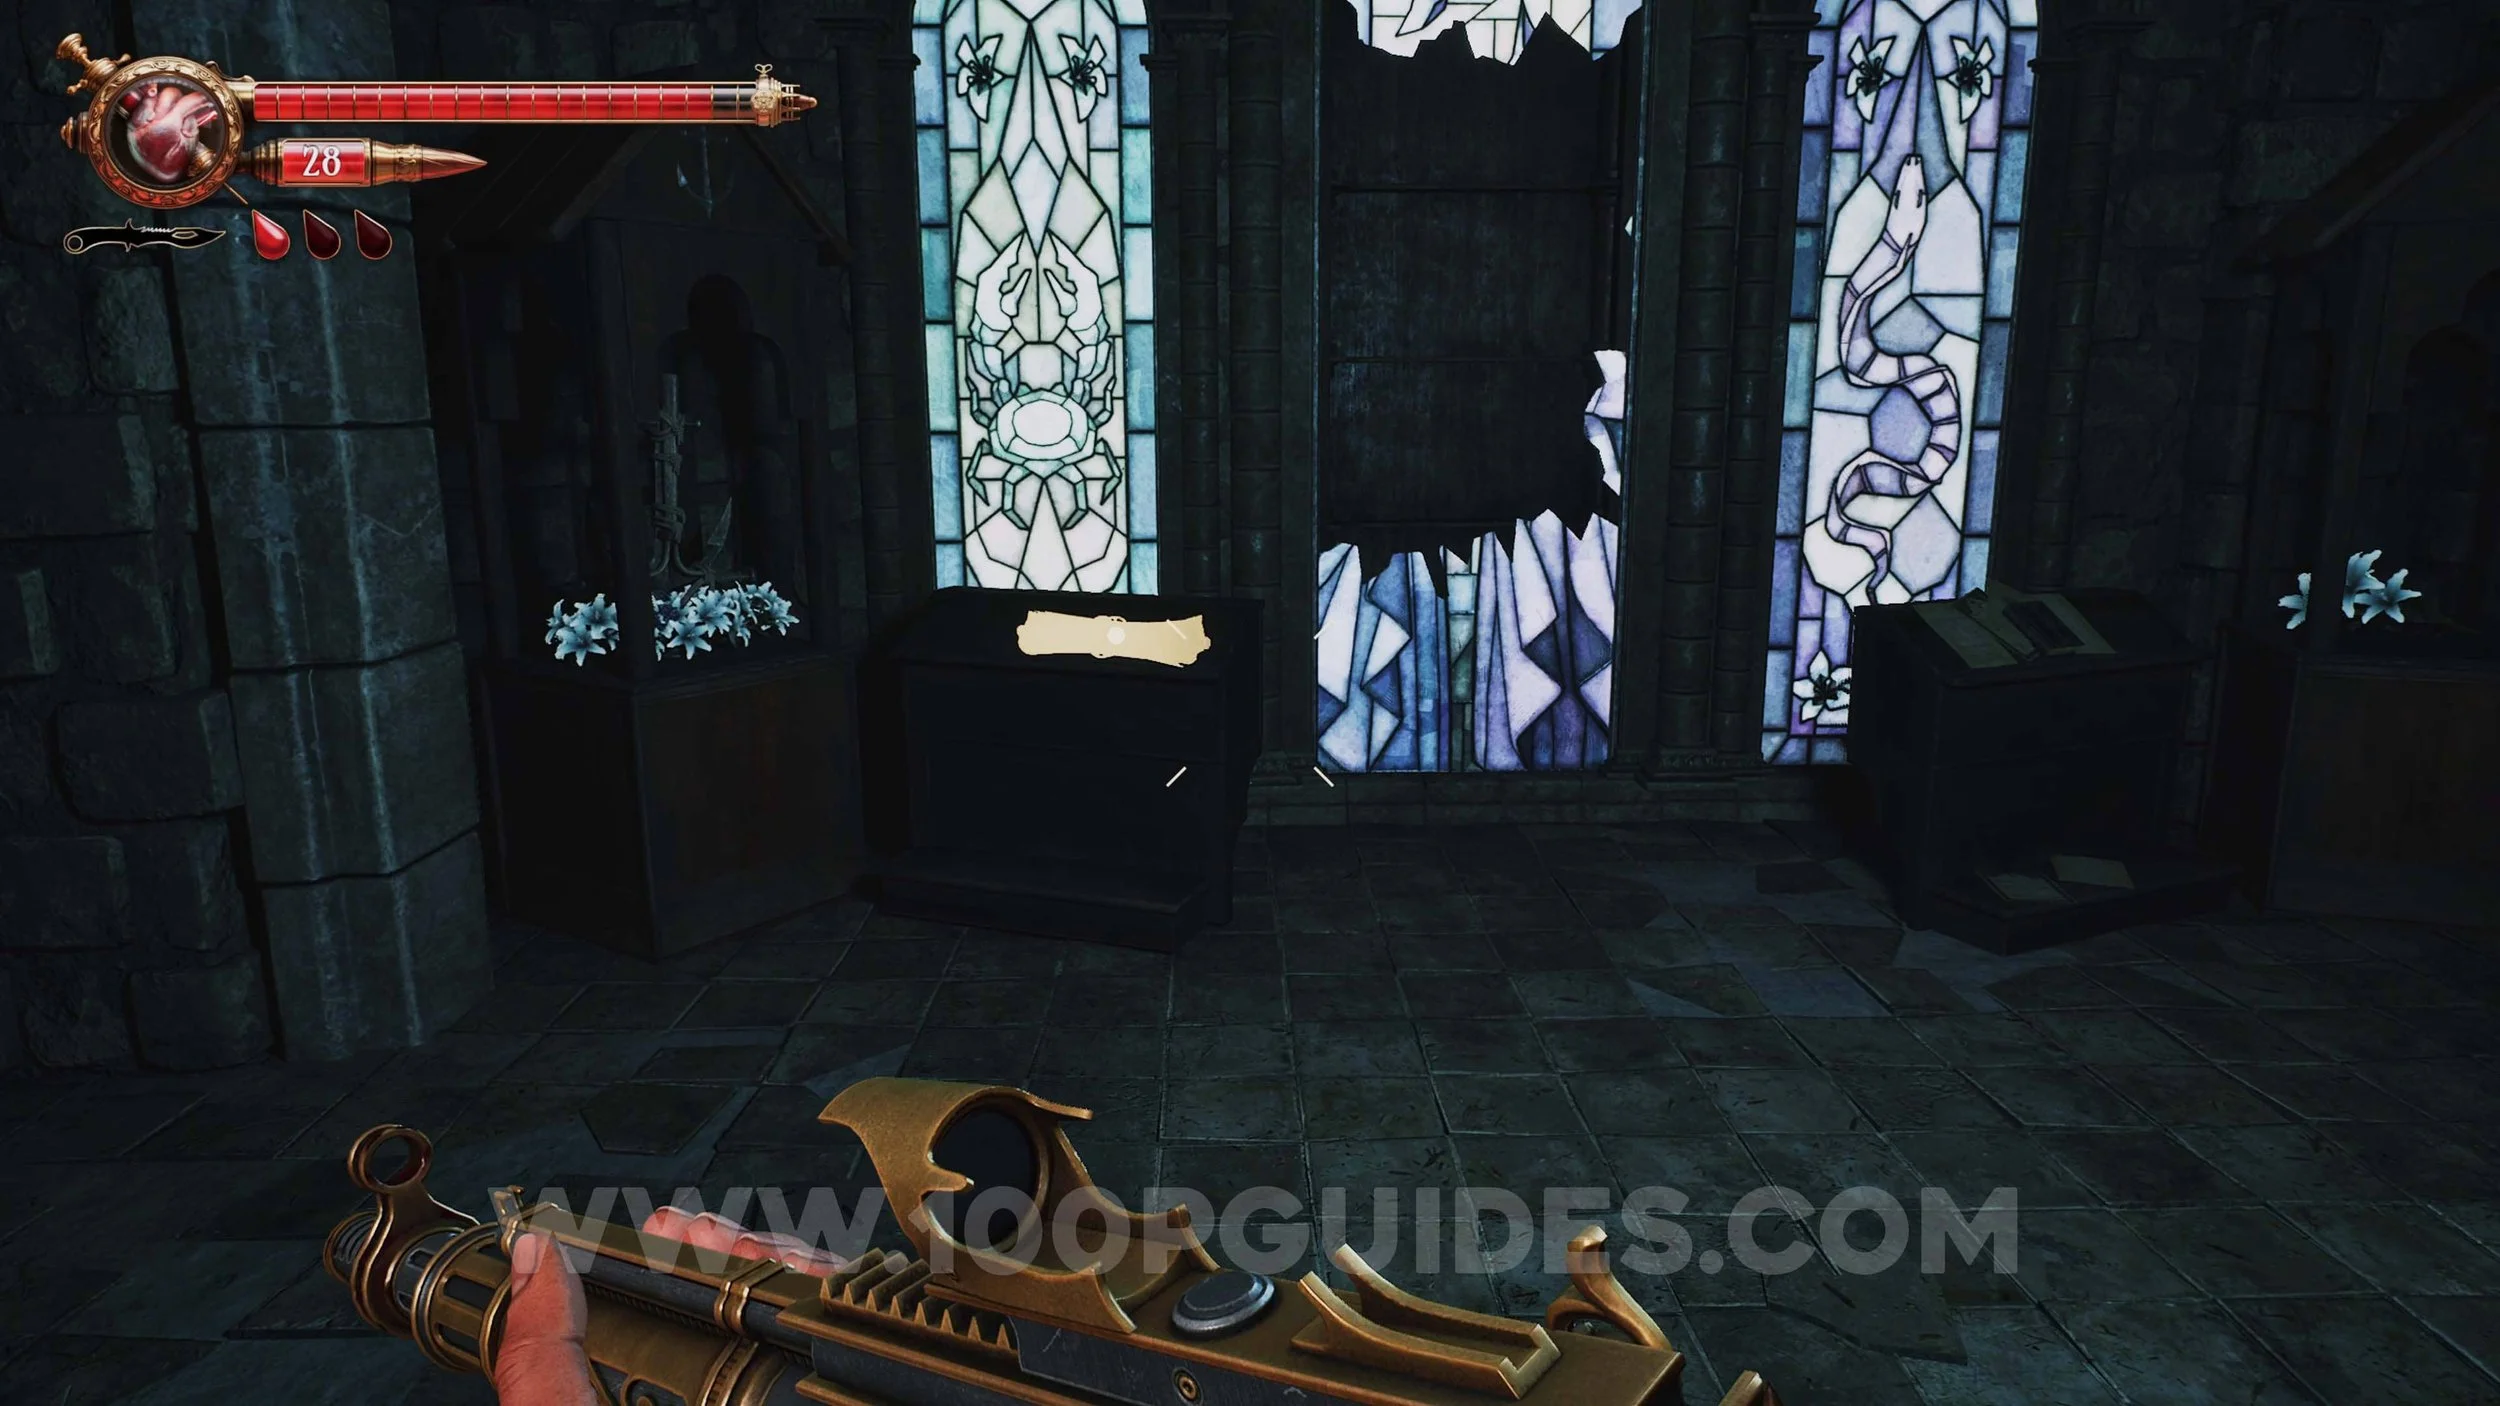
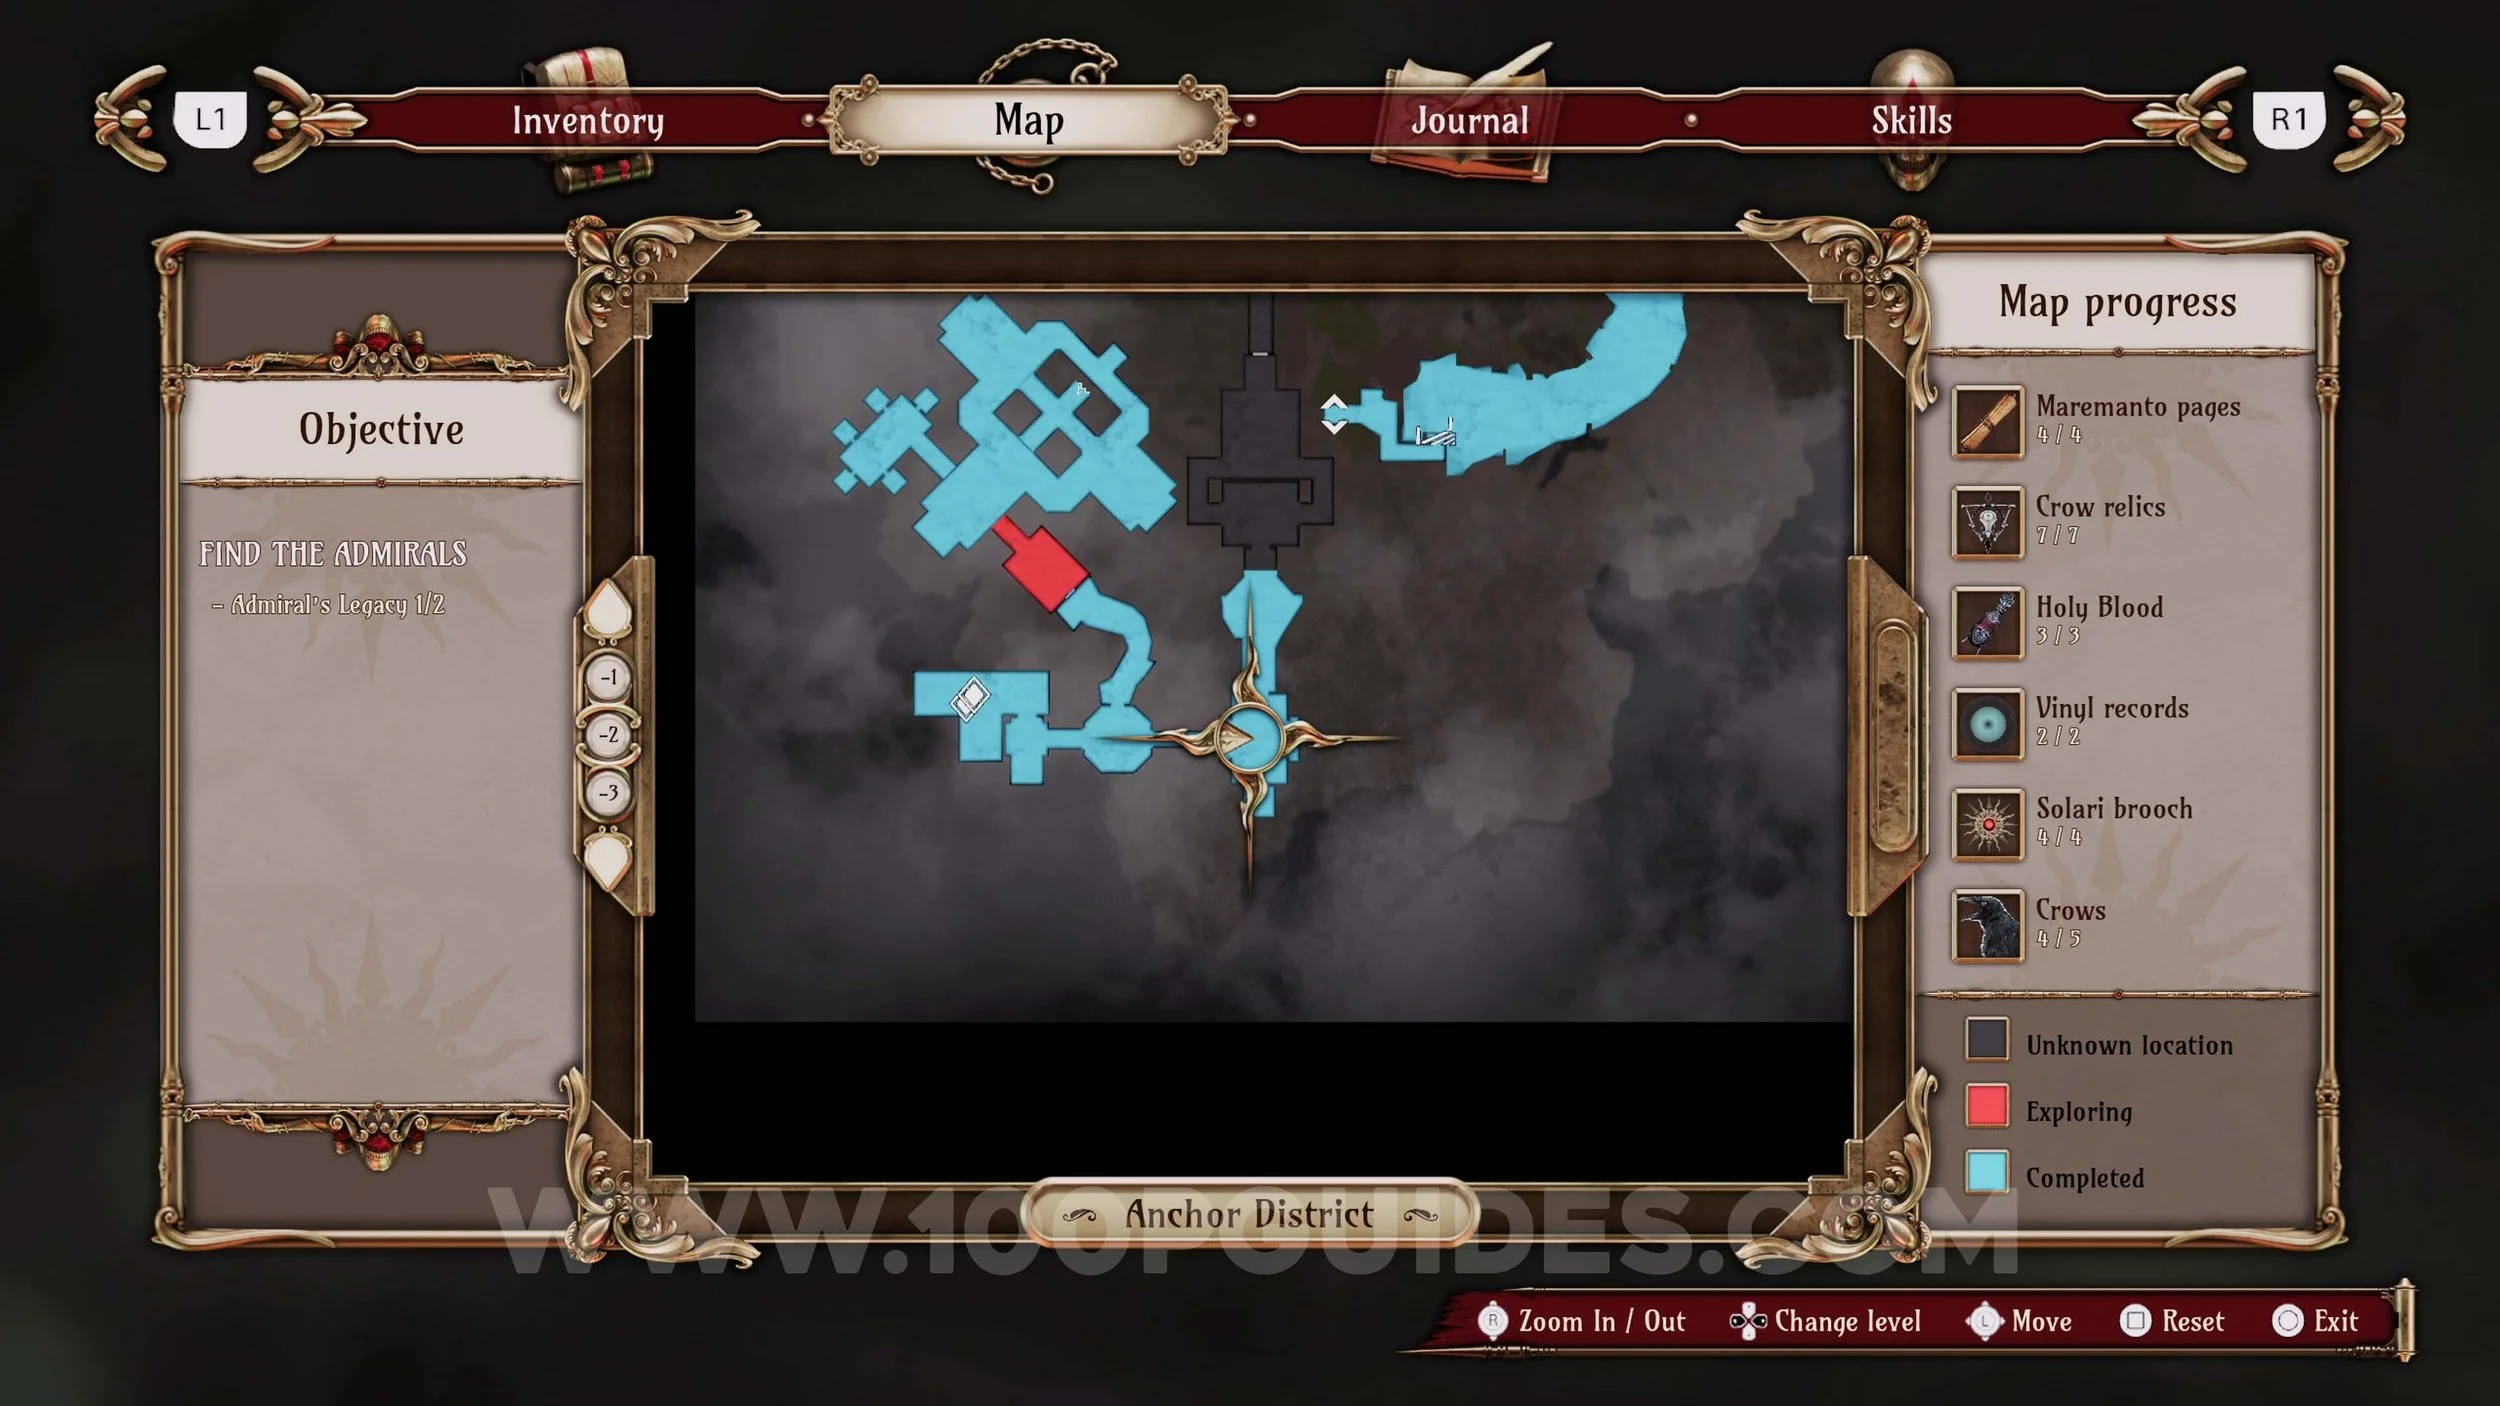
Maremanto Page #11. Found in plain sight on the main path in the room with a small waterwheel.
Ulises Idol #43. On your right, behind the waterwheel in the same room as the previous collectible.

Ulises Idol #44. From the previous collectibles, go down the stairs, past the well and into the next building. In this building, look up behind you see the doll.
Memory #63. Story related once you get to the central area, where you finally get the lever of the sea key item.
Final Chapter
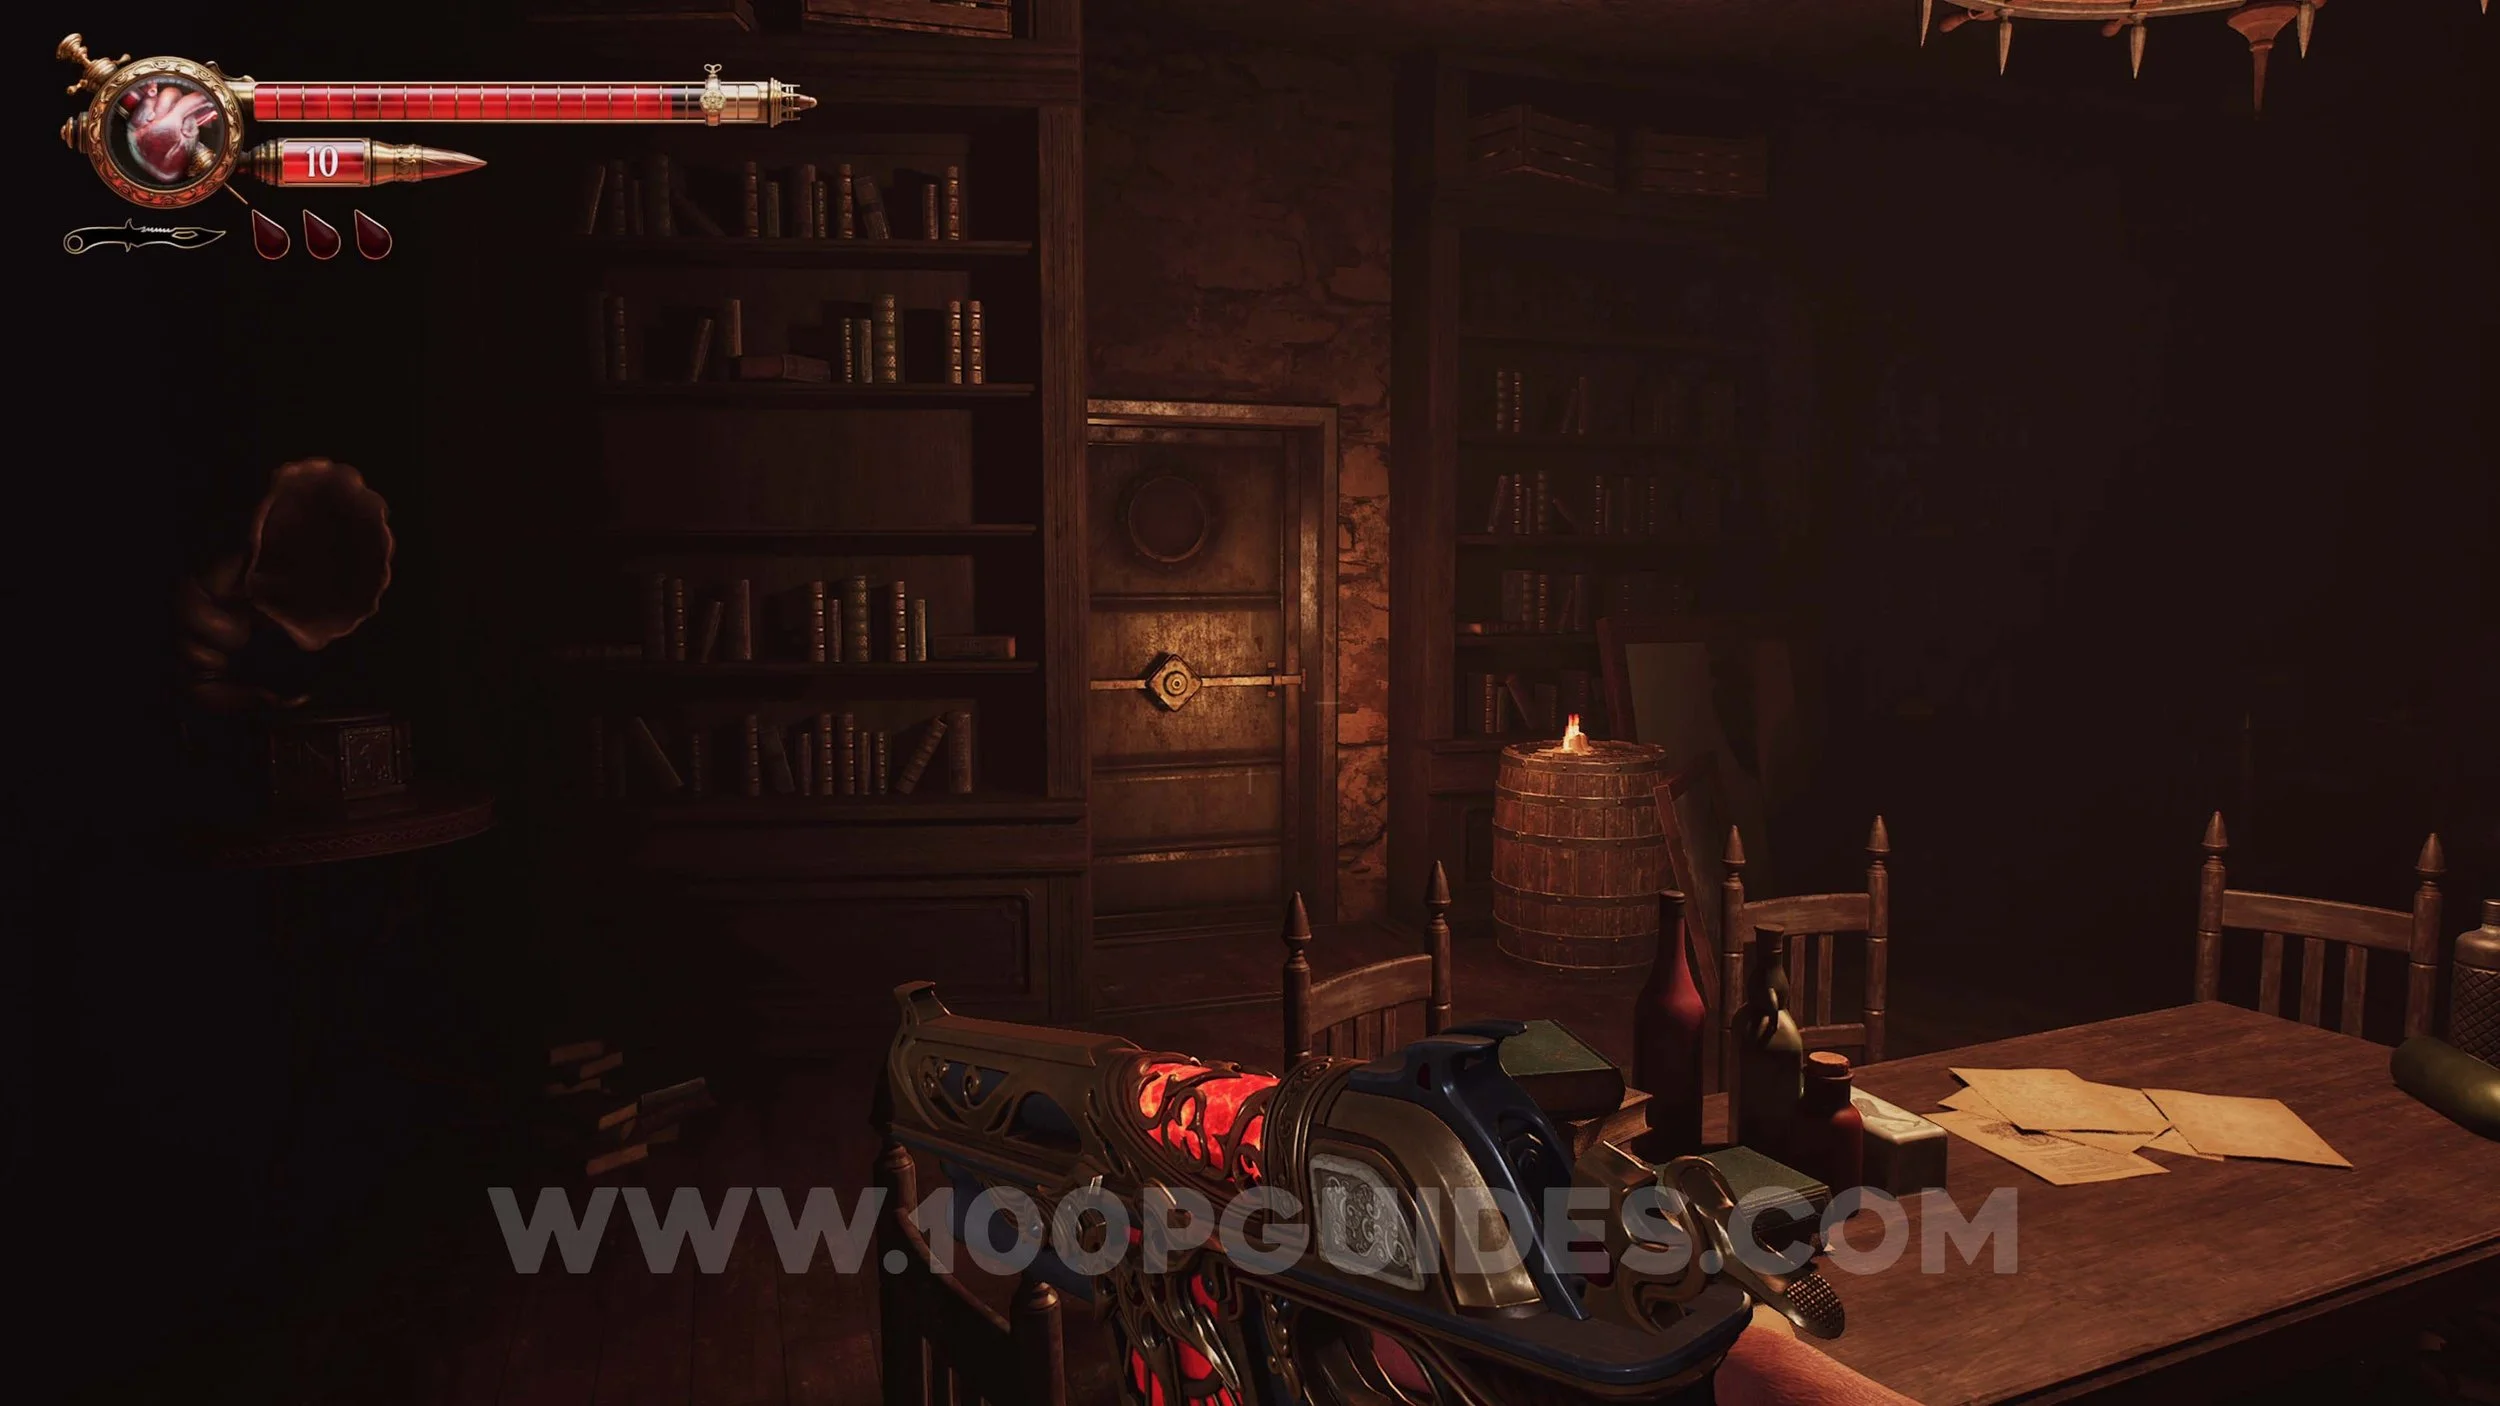
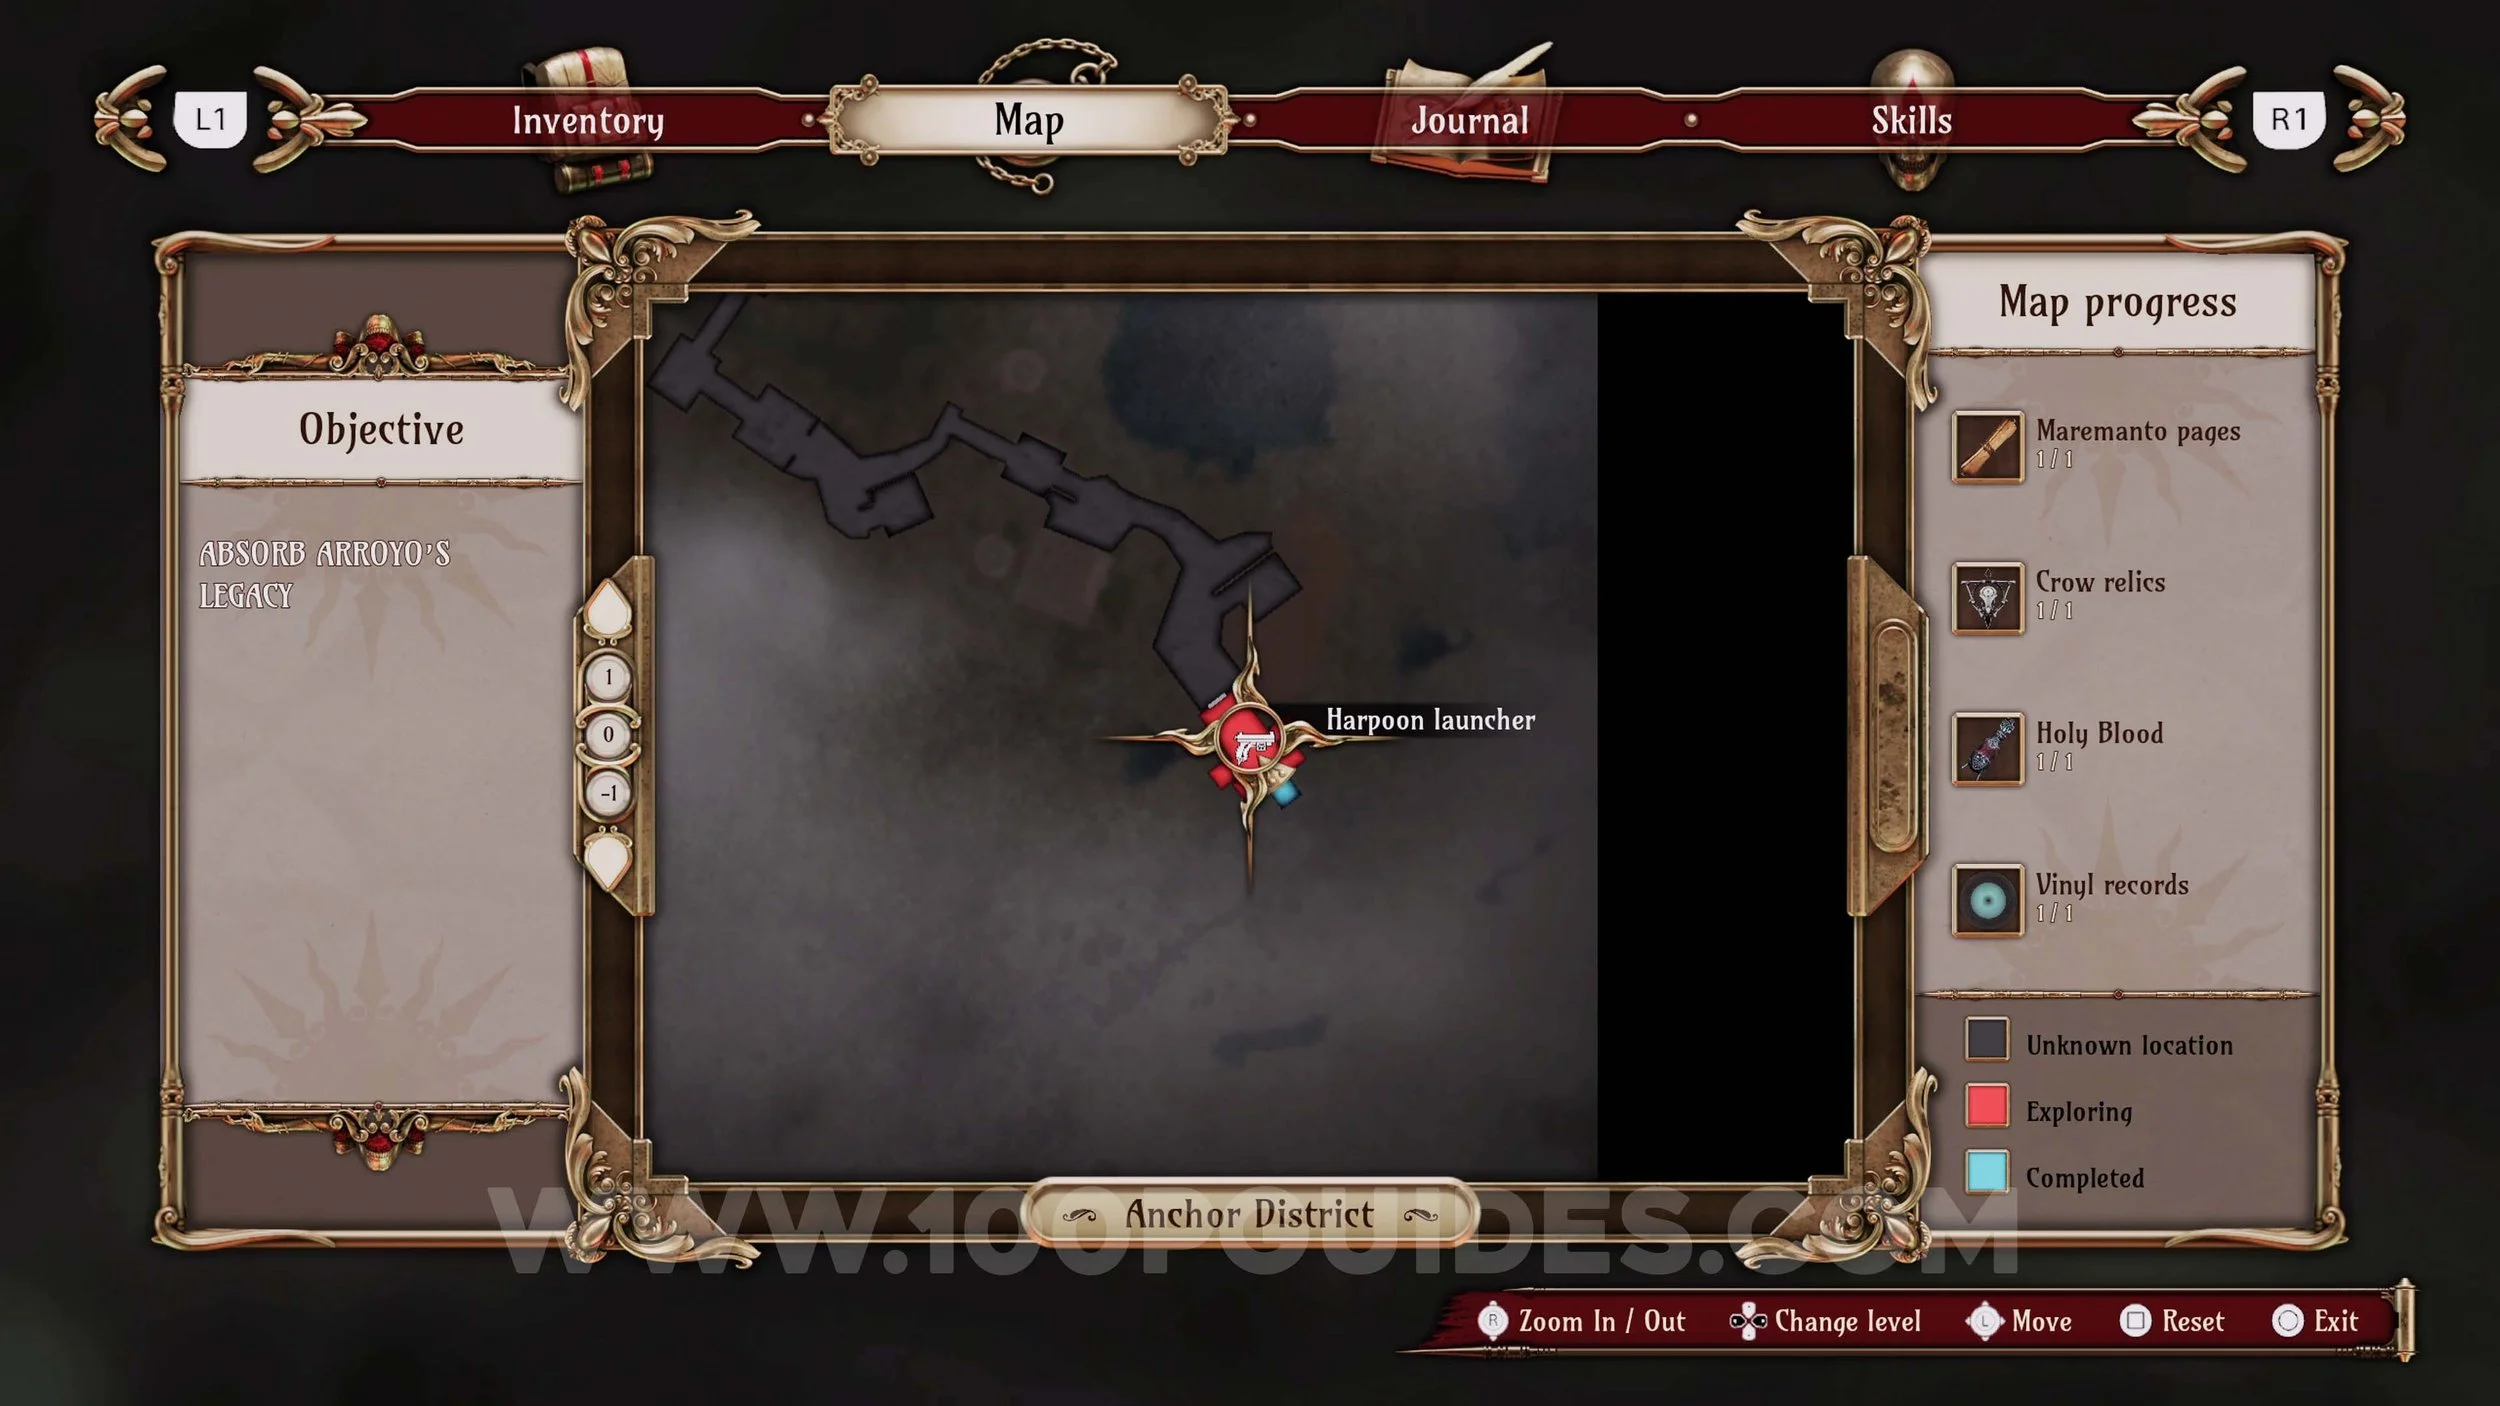
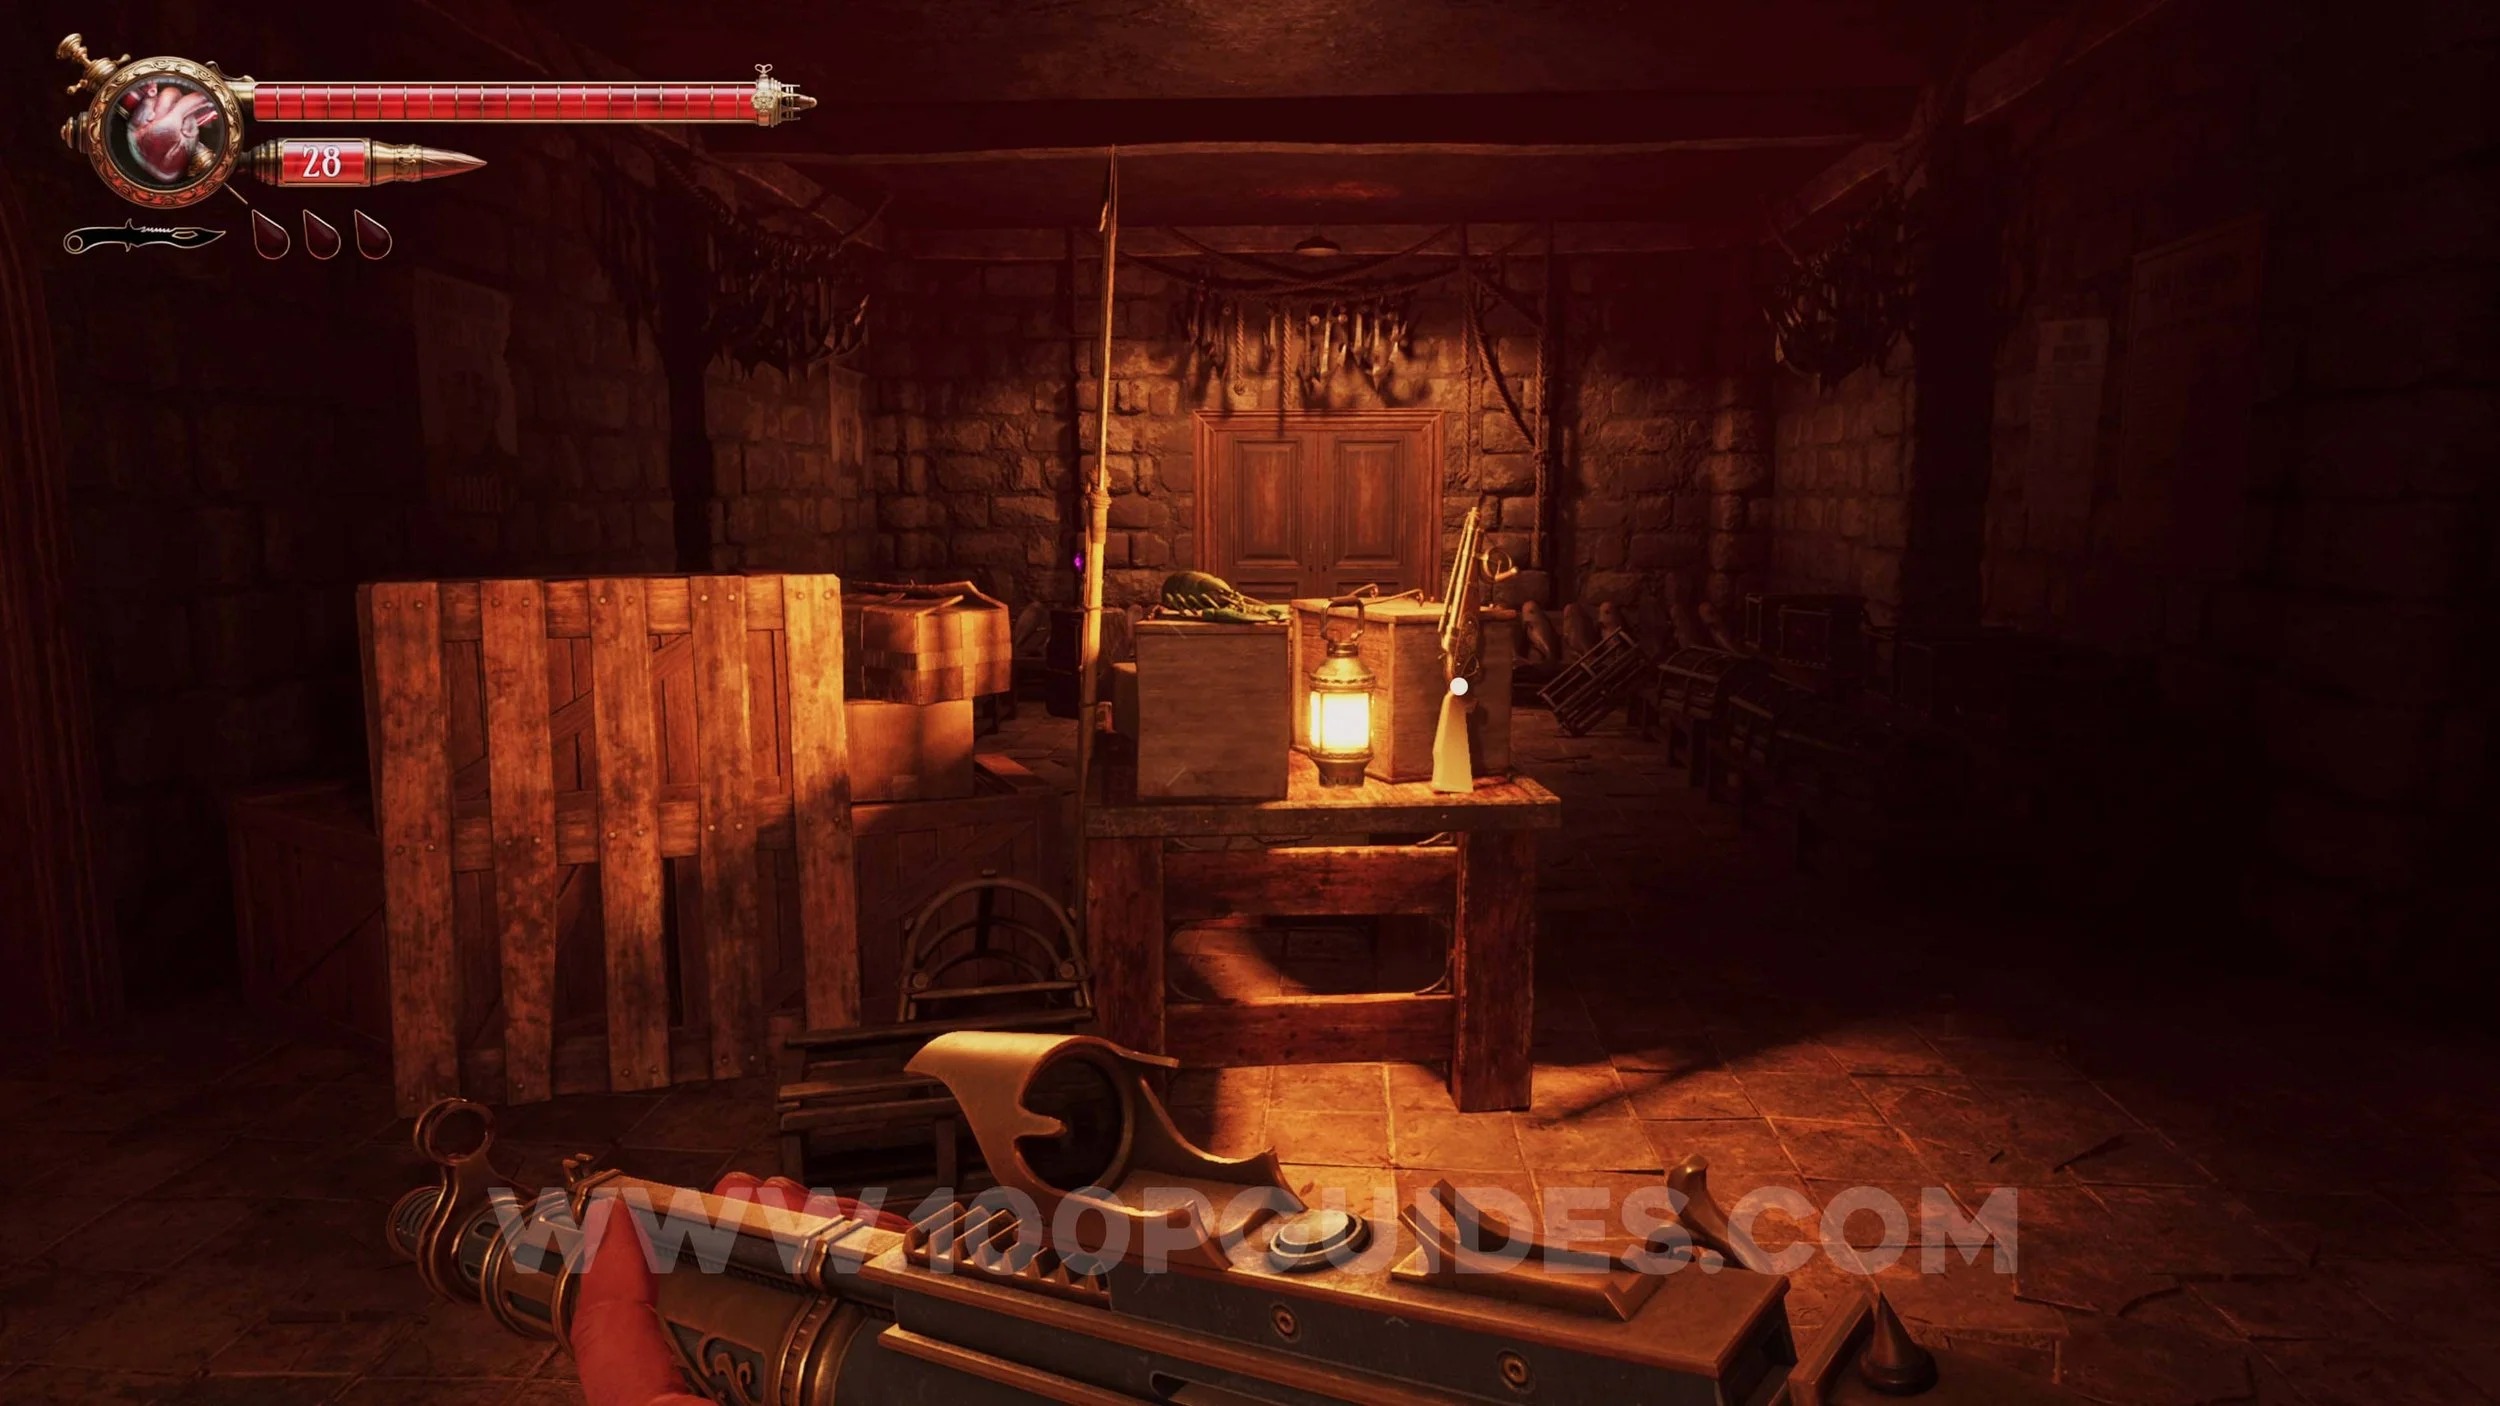
Weapon #6 - Harpoon Launcher. On the table at the start of the chapter.
Memory #64. On the left side of the carousel, once you get to the fair.
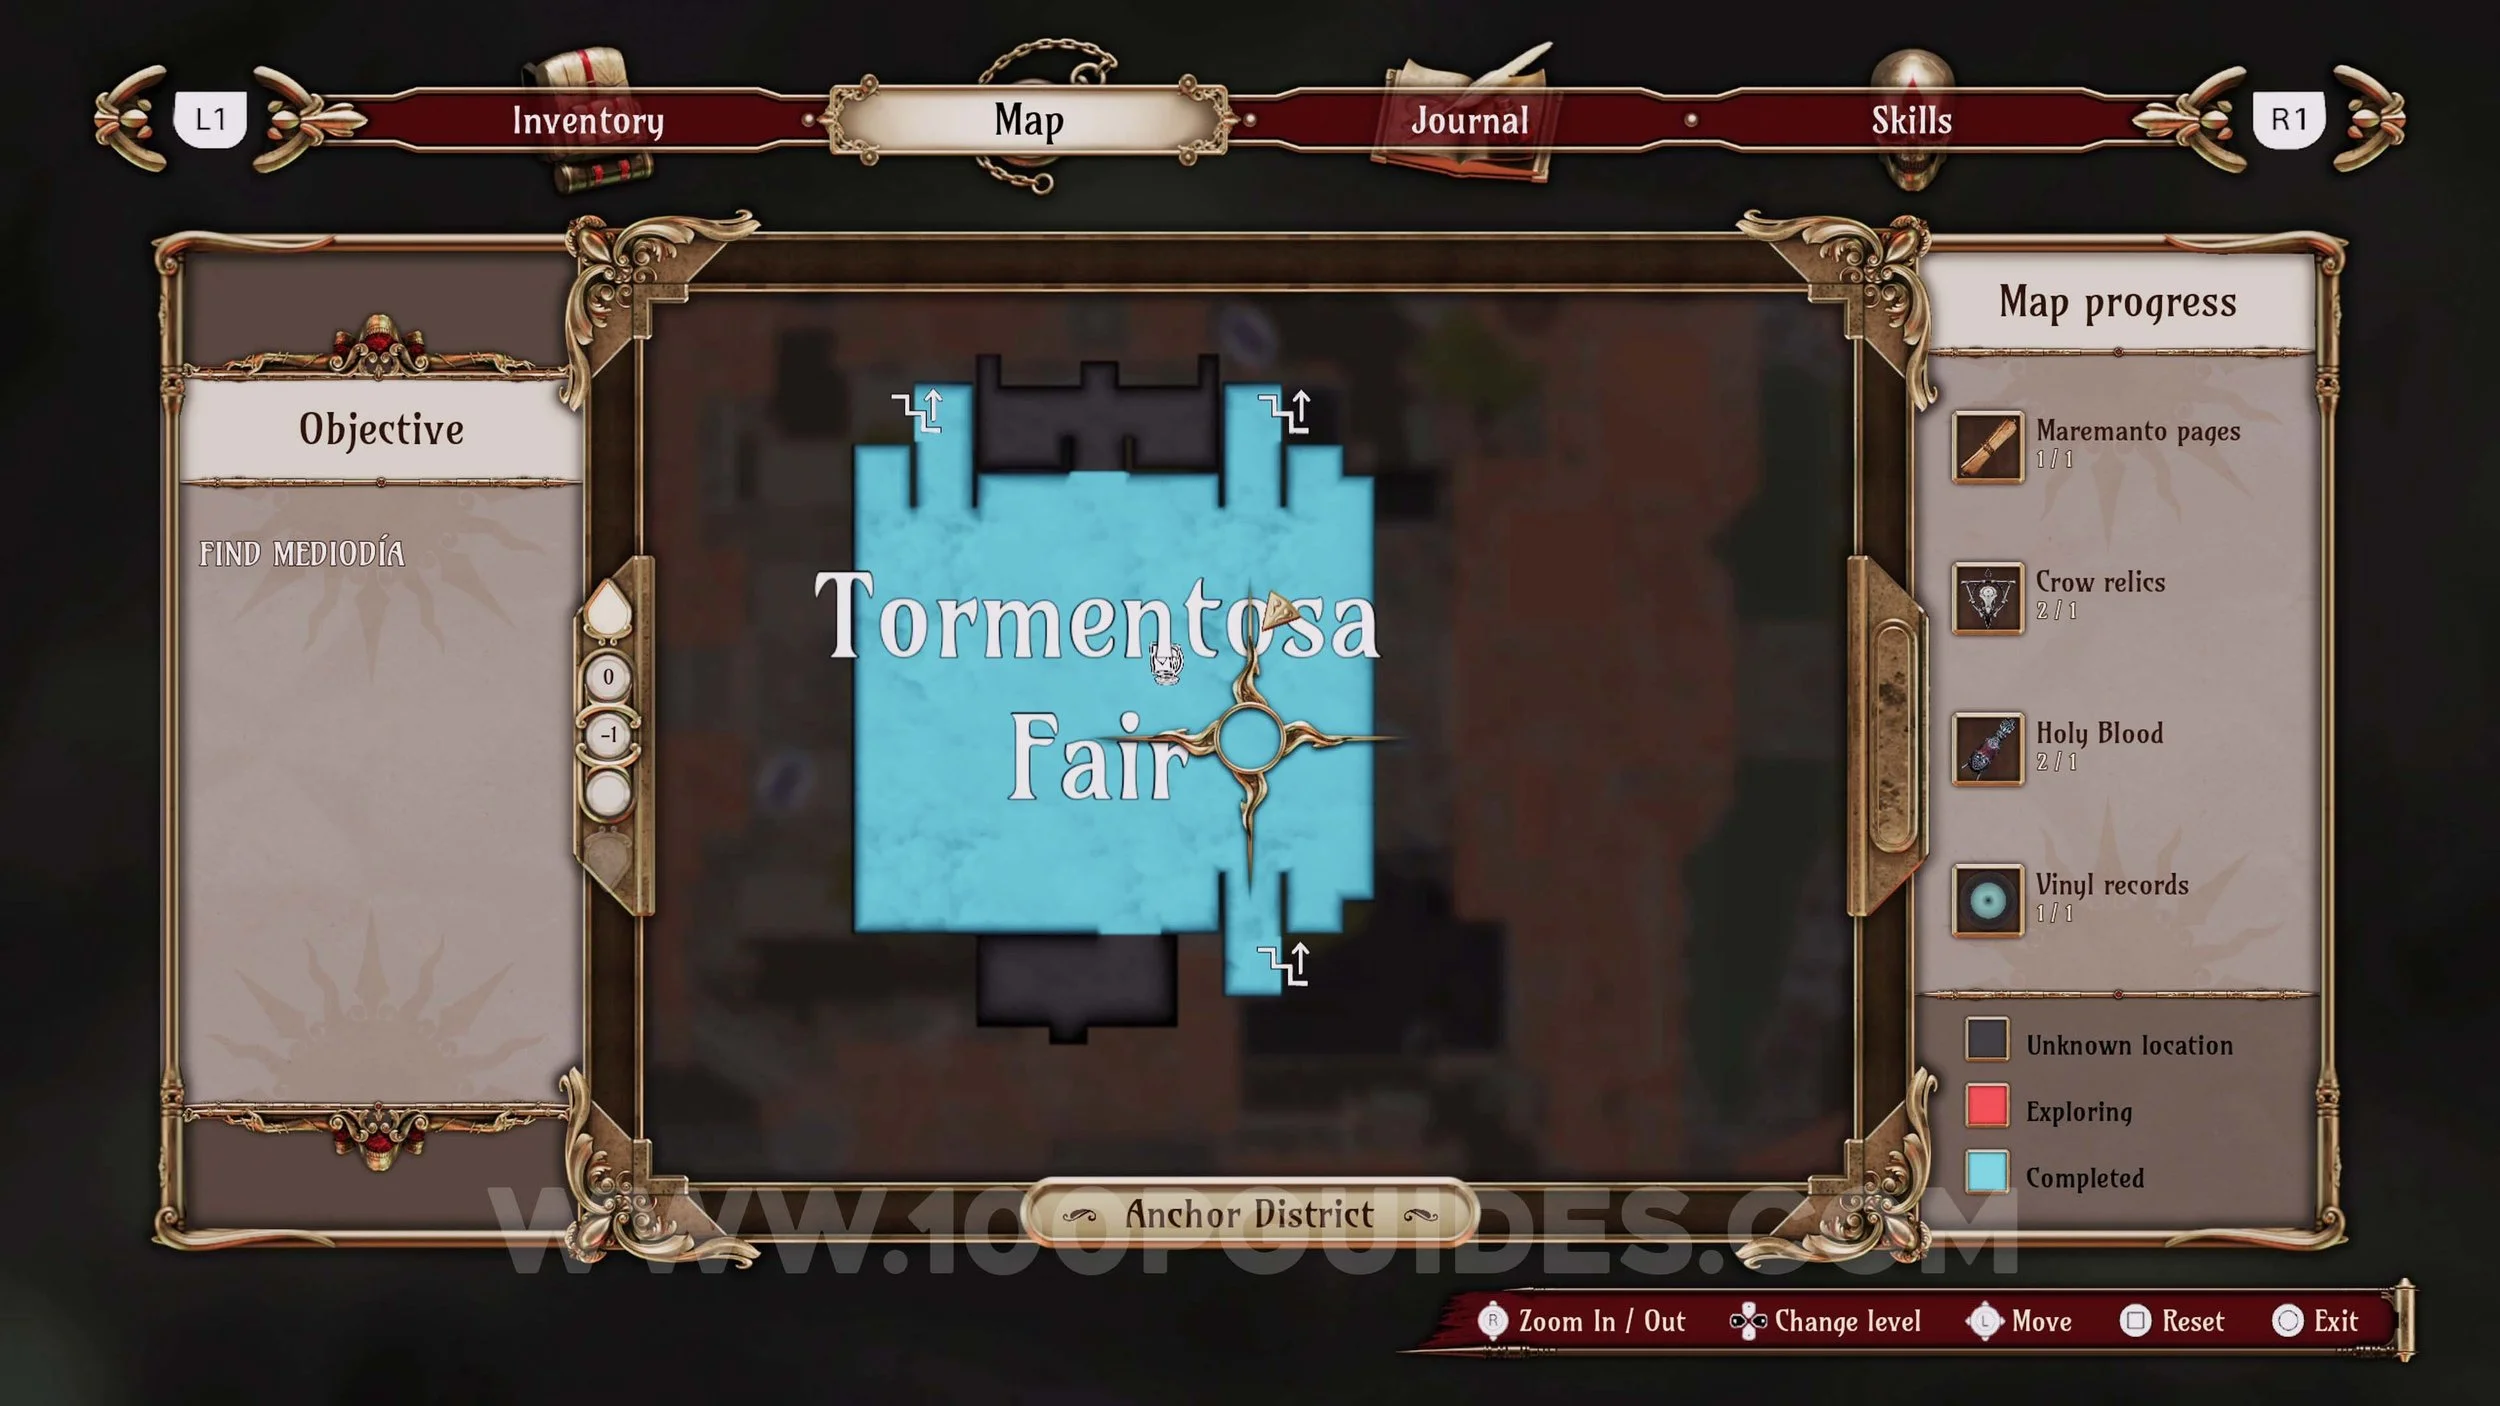
Memory #65. Go around the carousel anticlockwise to find the memory behind it.
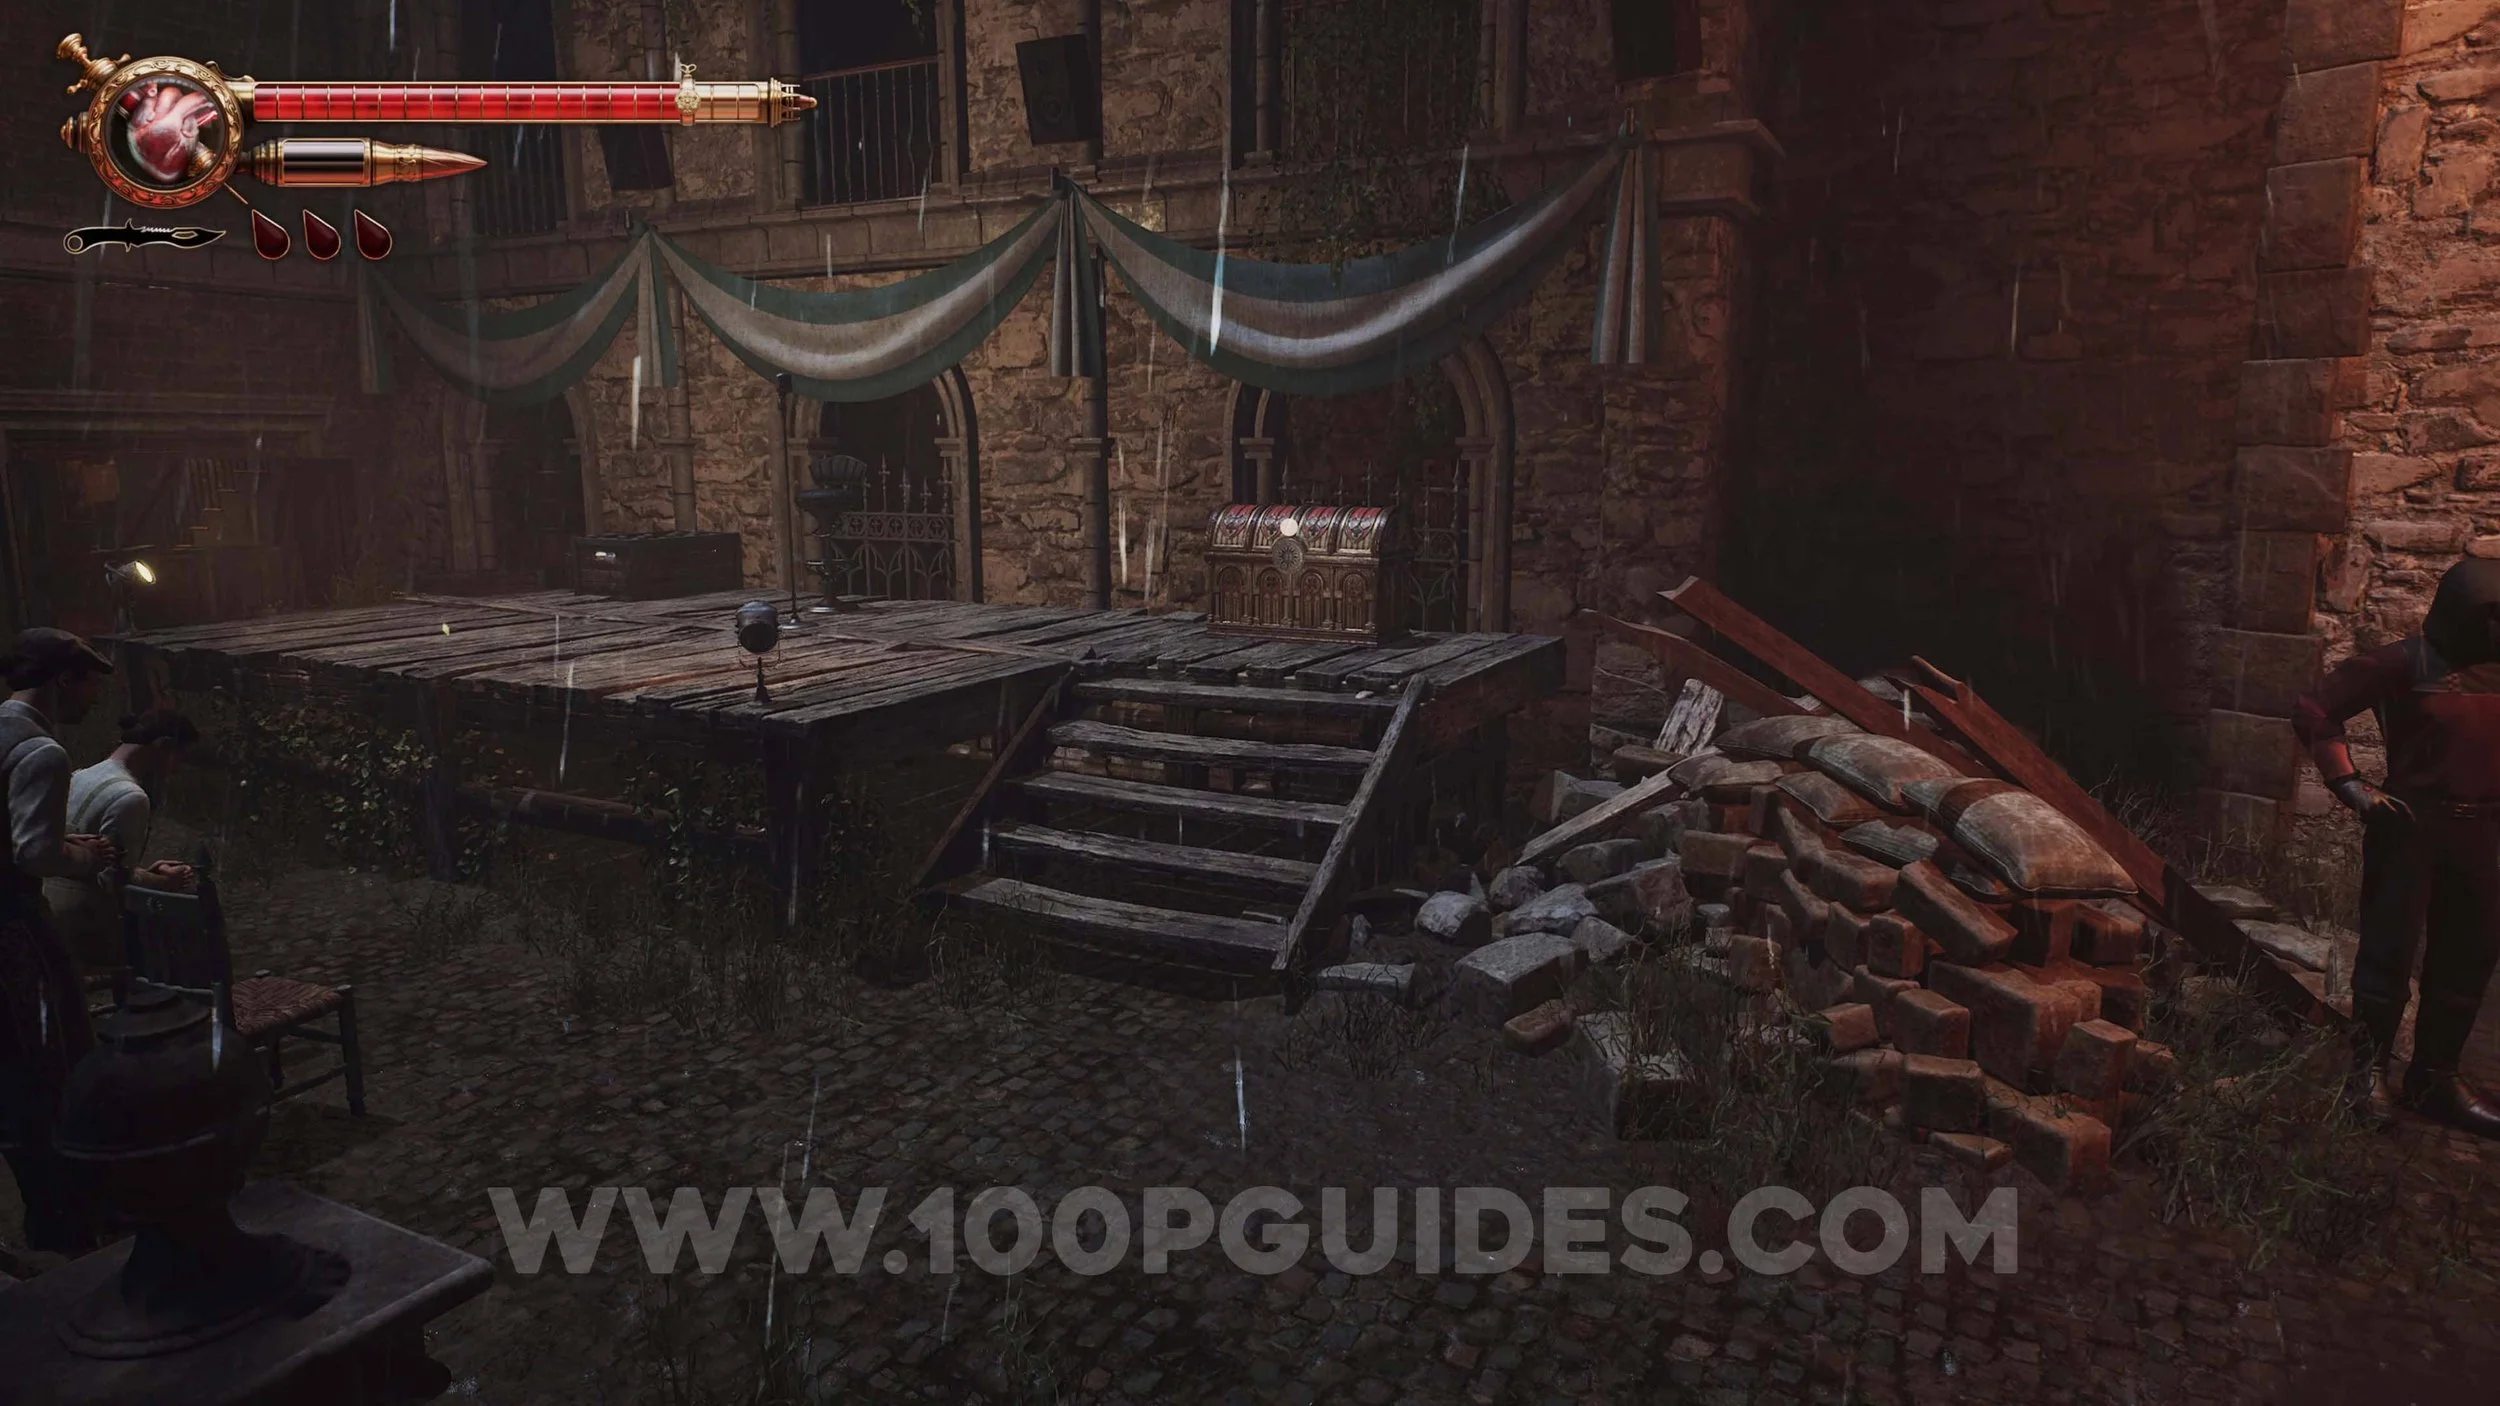
Solari Chest #12. From the previous memory, go up the stairs on the carousel to find the chest at the top (you will need brooch 12).

Memory #66. Go up the stairs to the northeast of the carousel to trigger the memory on the left of the chest.
Solari Chest #13 & Crow Relic #29. Also found at the top of the stairs to the northeast of the carousel. You will need brooch 14 to open it.
Memory #67. In the area where the carnival games were.
Solari Chest #14 & Crow Relic #30. Found at the top of the stairs to the southeast of the carousel. You will need brooch 13 to open this one.

Solari Chest #15 & Crow Relic #31. From the previous chest, turn around and go through the door. Inside, look behind the bar to find the final Solari Chest. You will need brooch 15 to open it.
Memory #68. From the previous chest, go upstairs and onto the balcony. Then drop down to the left and continue to find the memory in the corner.
Memory #69. From the previous memory, continue to the northwestern corner and go down the stairs to trigger it.