Cthulhu: The Cosmic Abyss All Collectible Locations
This guide will show you where to find every collectible in Cthulhu: The Cosmic Abyss.
This guide will show you where to find all 28 collectibles in Cthulhu: The Cosmic Abyss.
These are:
15 Evolutions required for the Augmented Agent trophy. These are perks that you can equip to gain passive bonuses that enhance your character.
4 Energy Upgrades required for the Full Charge trophy. Gives you additional max energy.
9 Evolution Capacity Upgrades, which are not tied to any trophy. Gives you additional perk slots.
The game does include a form of chapter select, but resetting a chapter will revert your save to that point. You will need to replay from there, and any later chapters will become unavailable until you reach them again. Trophy and collectible tracking with this method can be inconsistent and buggy, so it is not recommended to rely on it.
Chapter 1
No collectibles in this chapter.
Chapter 2
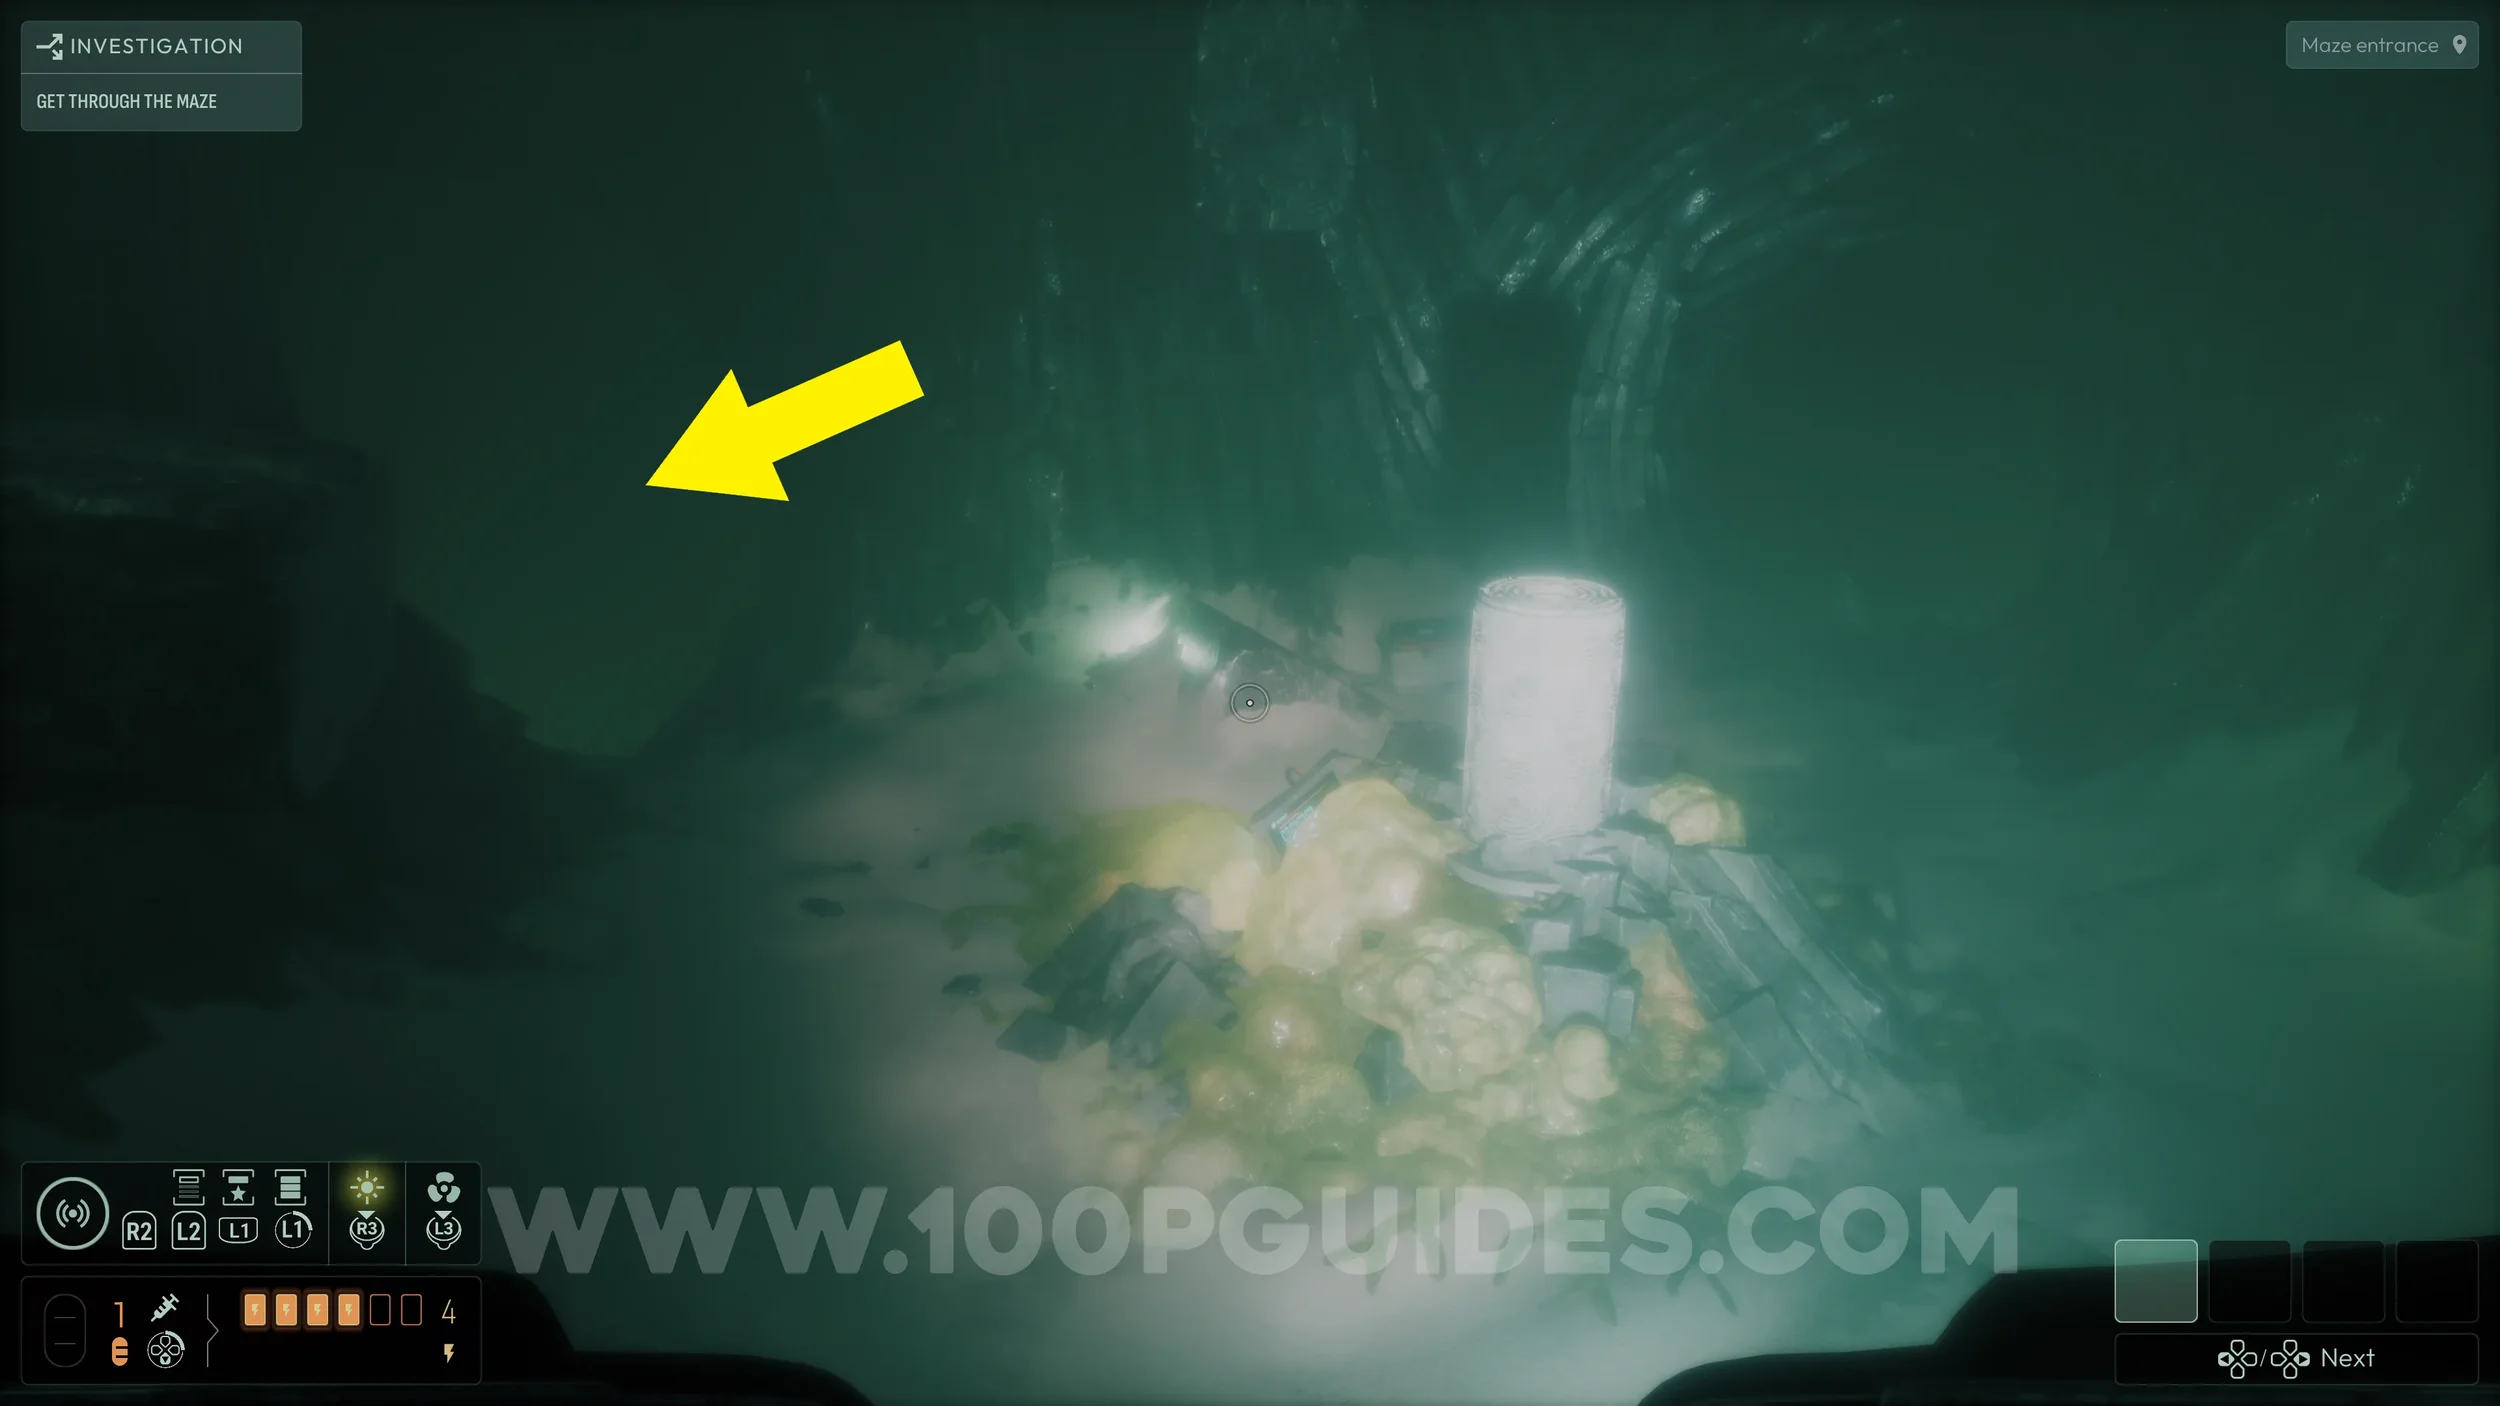
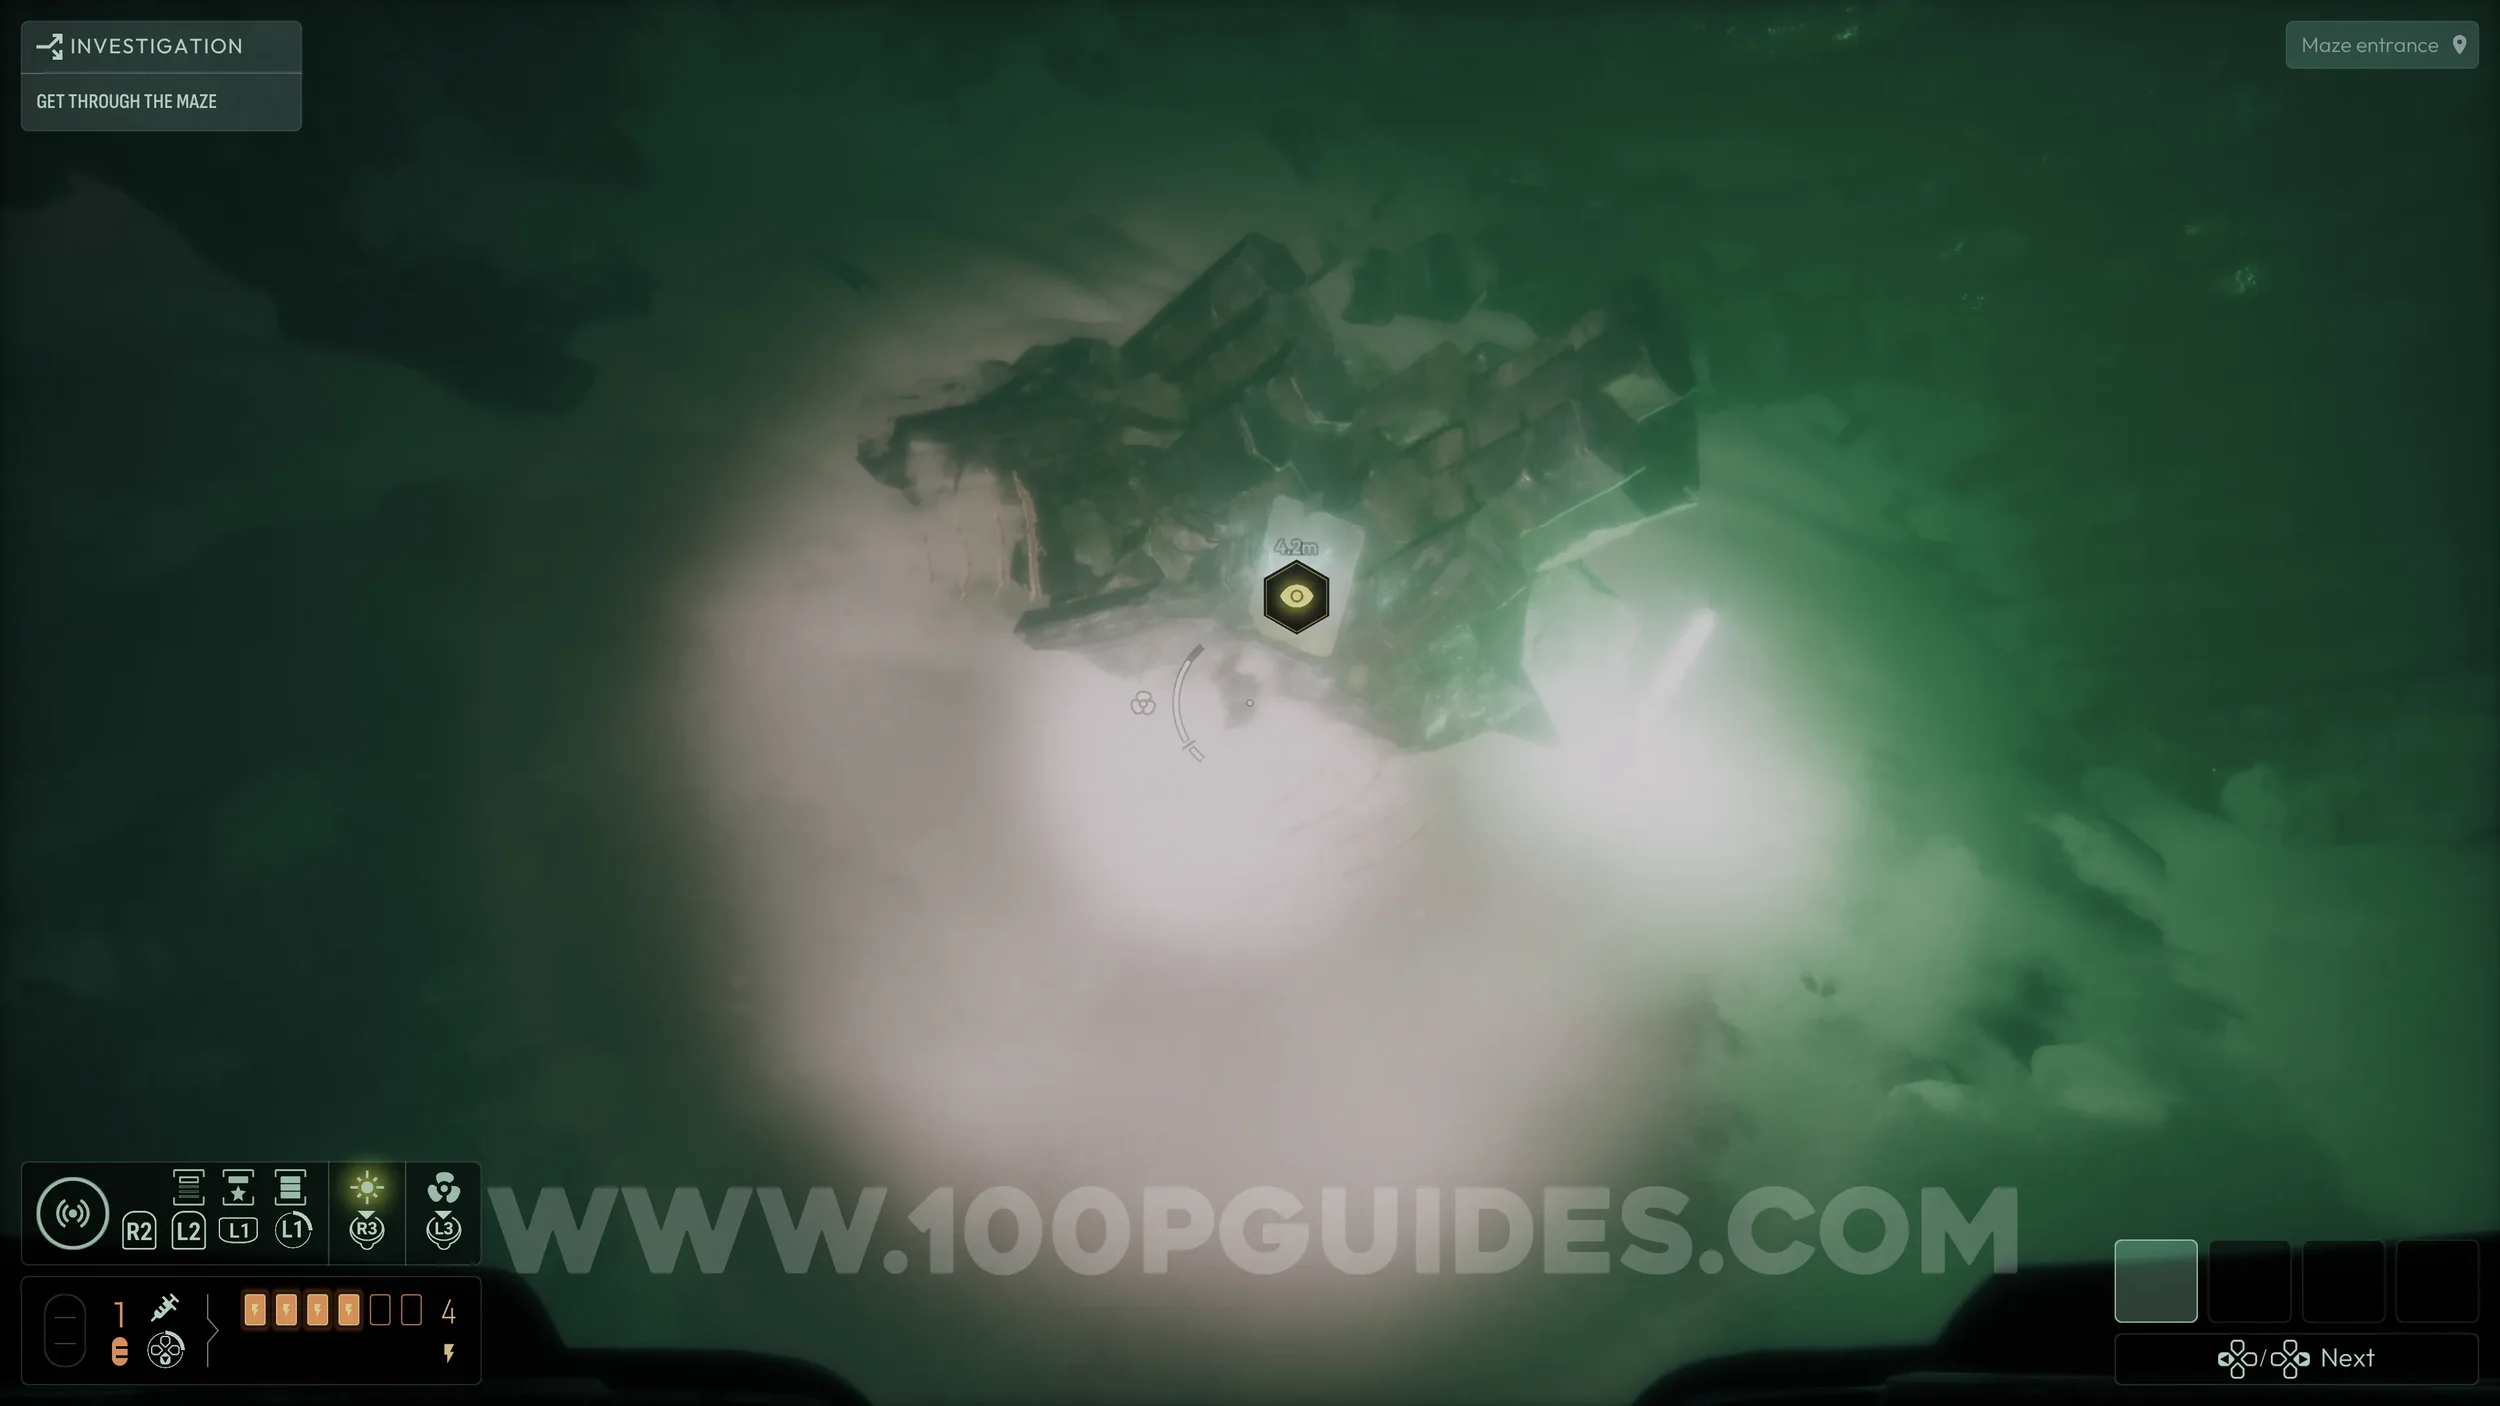
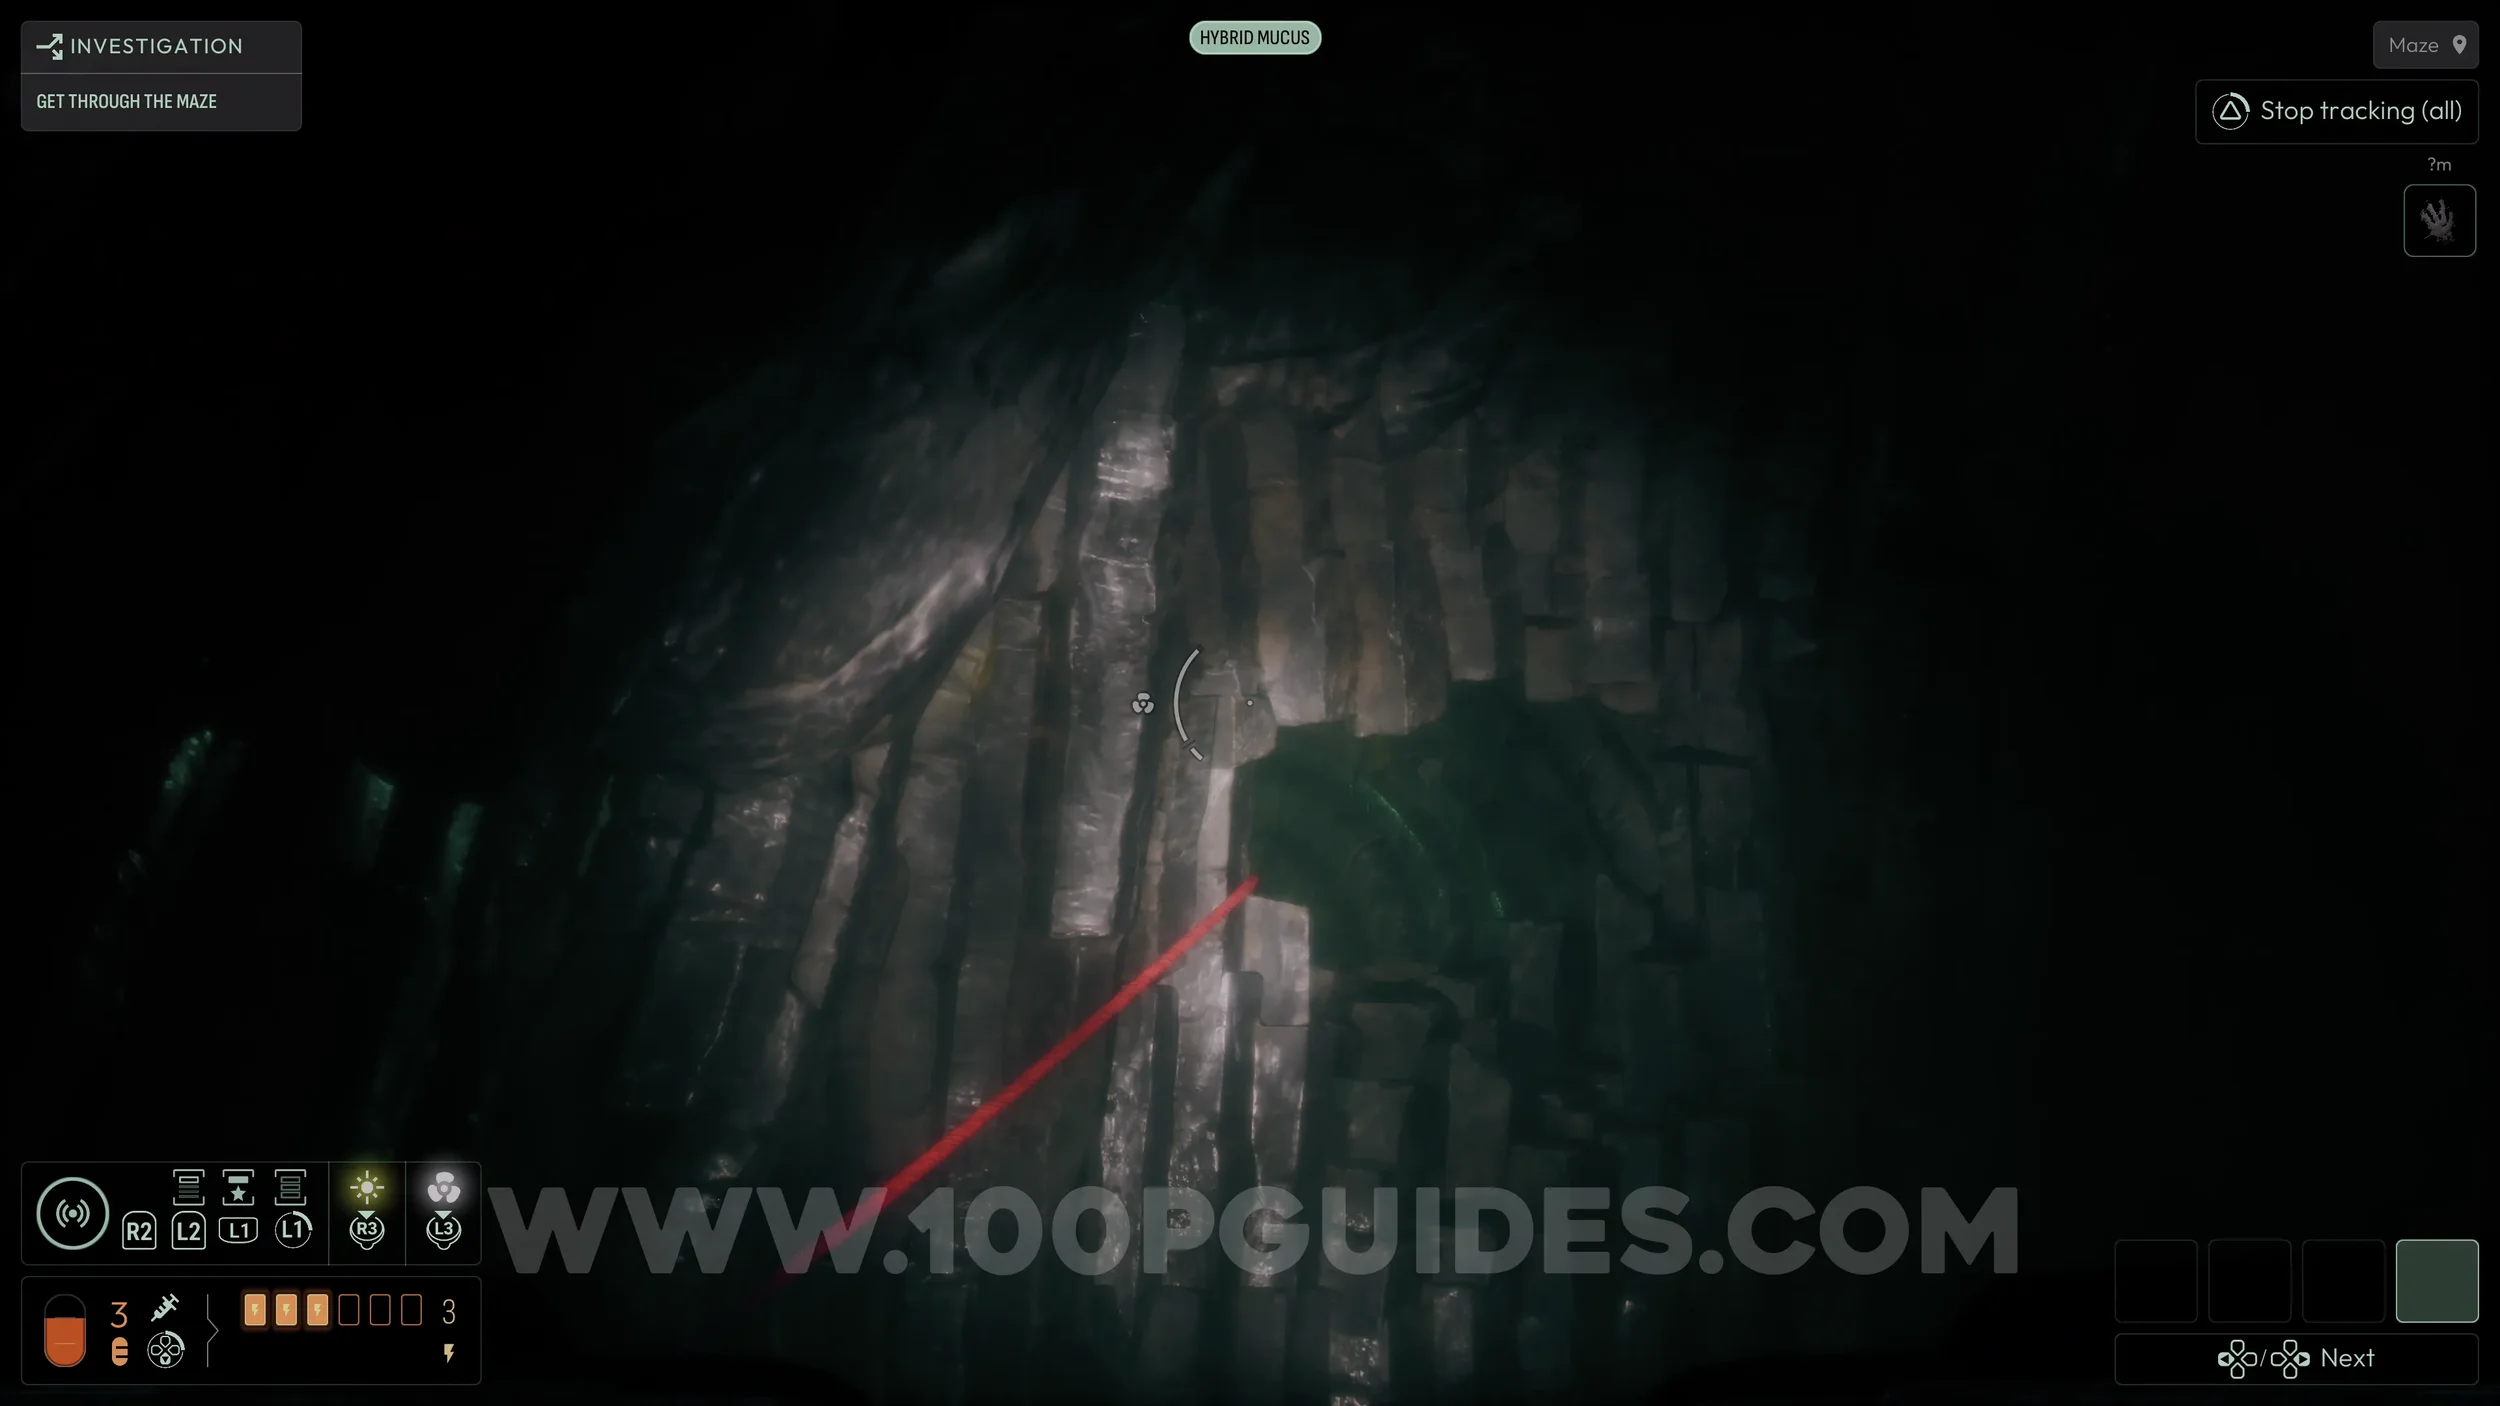
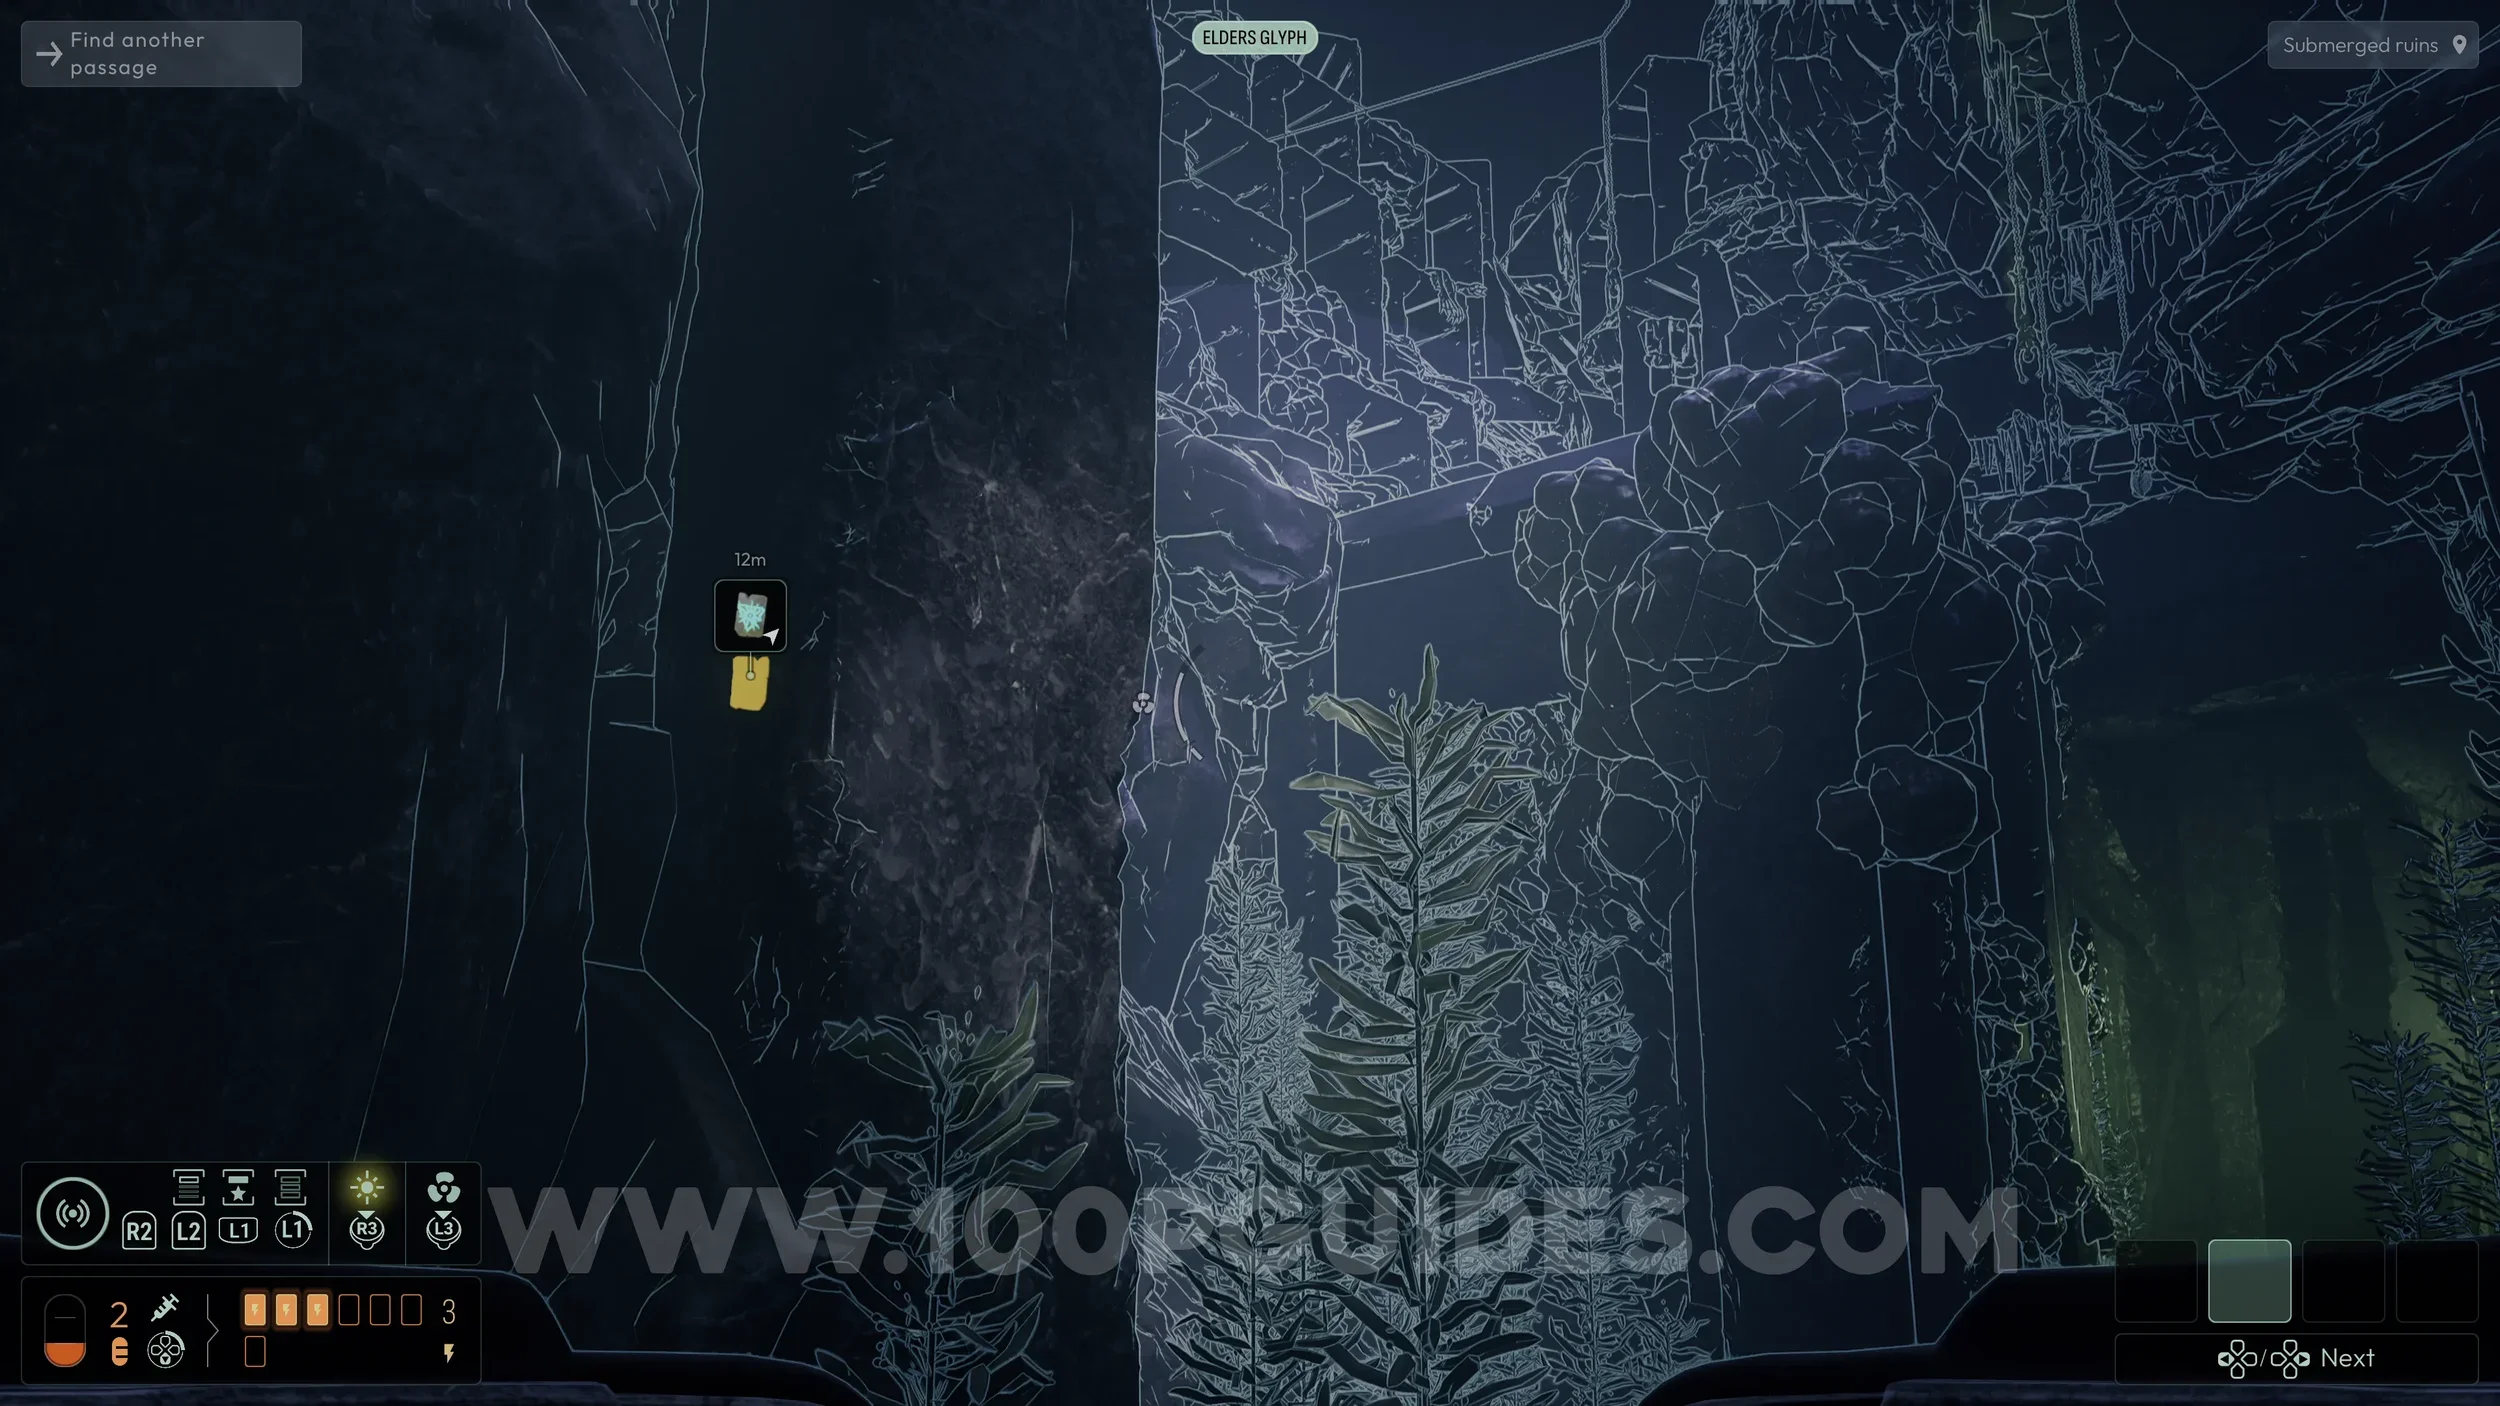
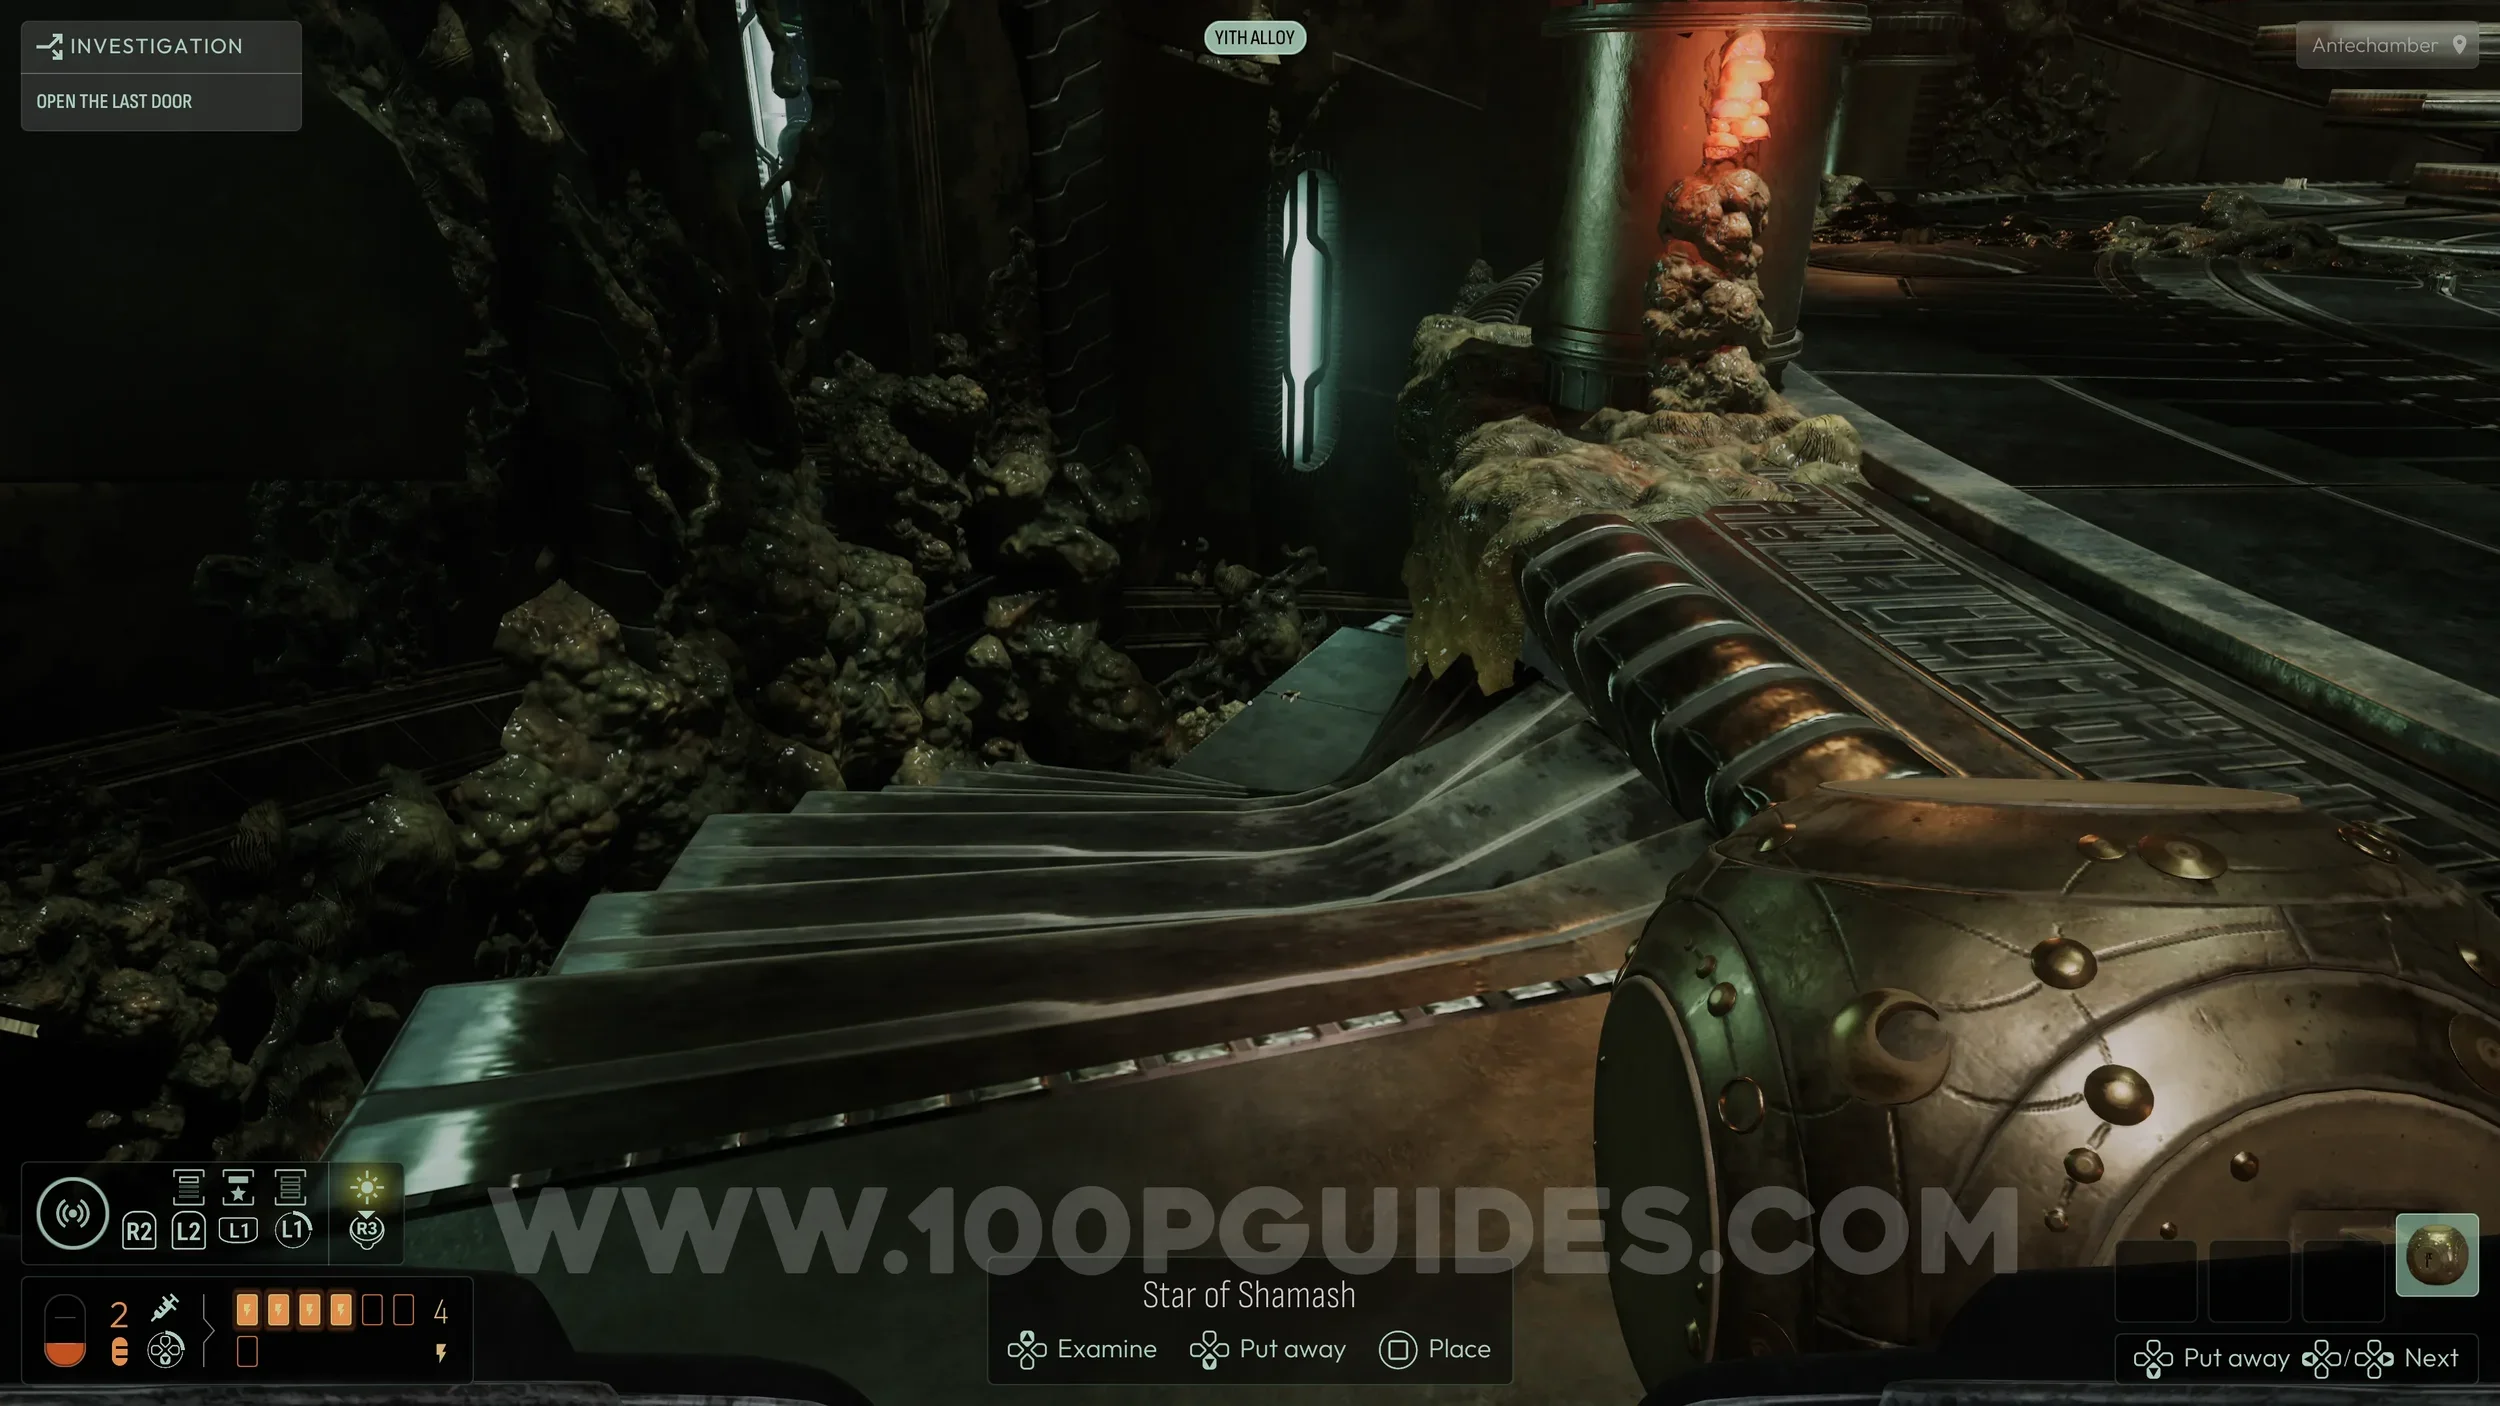
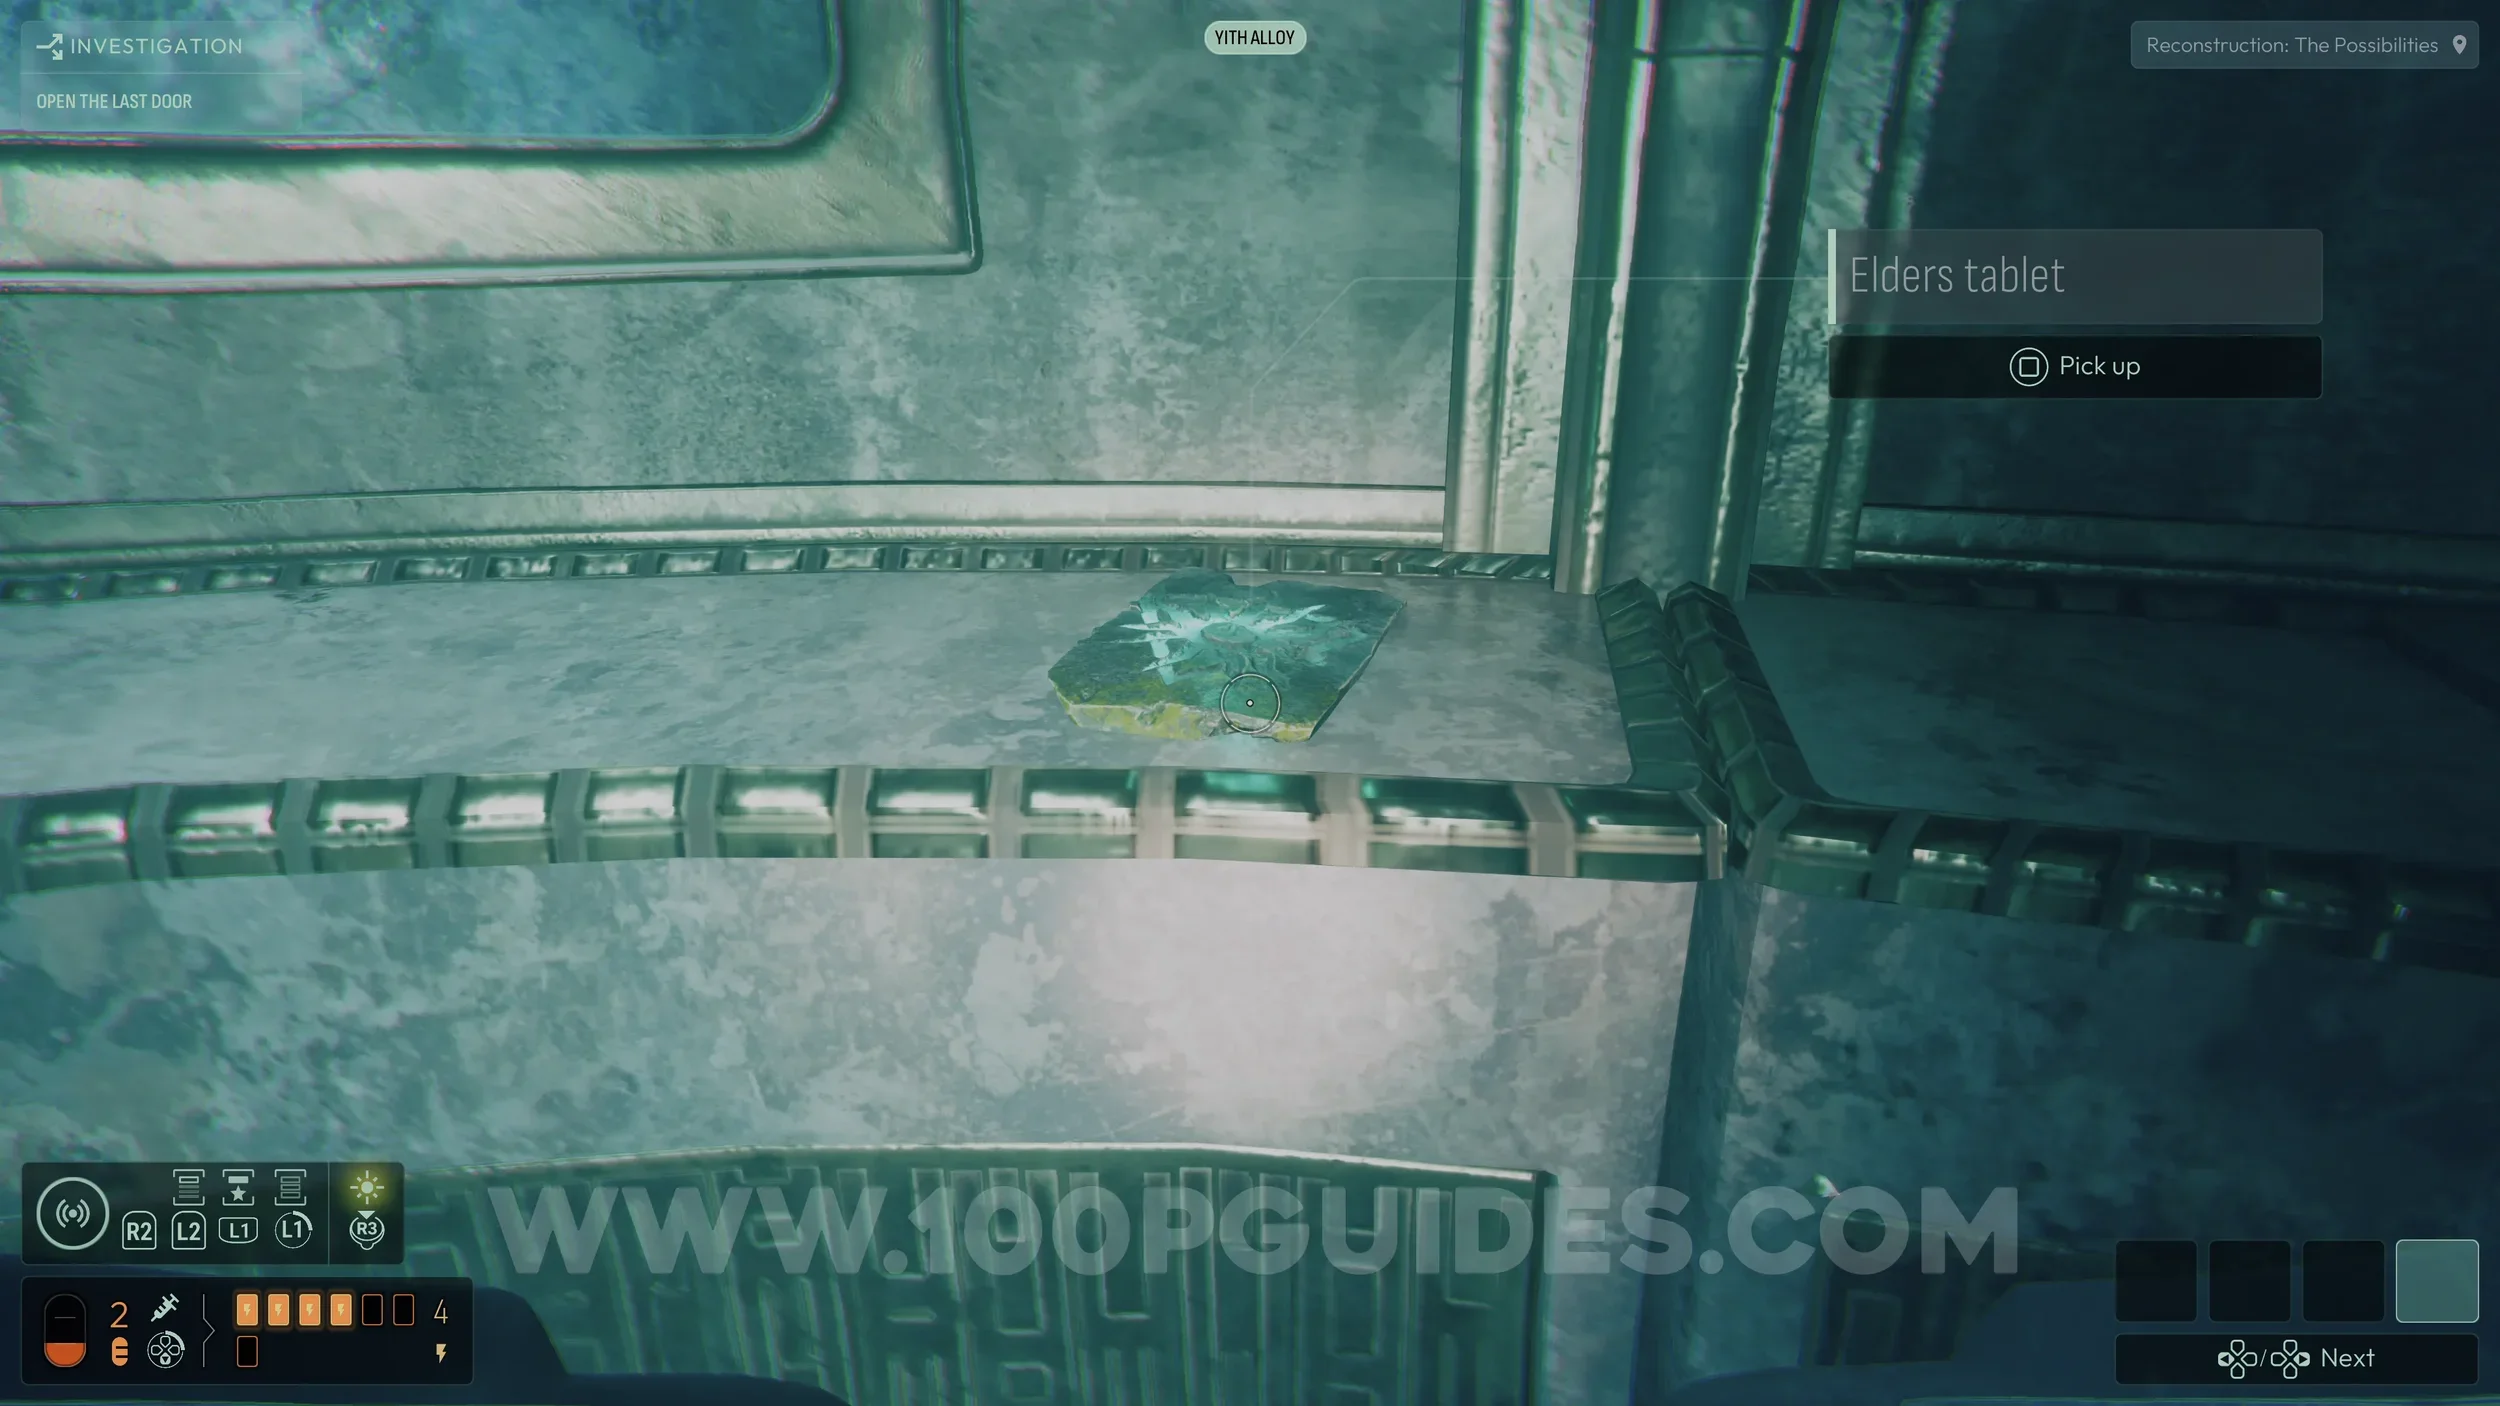
Evolution #1. Once you leave the station and go down to the maze entrance, you will find a stone totem in the middle. From here, go through the tunnel on your left to find a tablet in the middle. Analyse it to unlock the evolution.
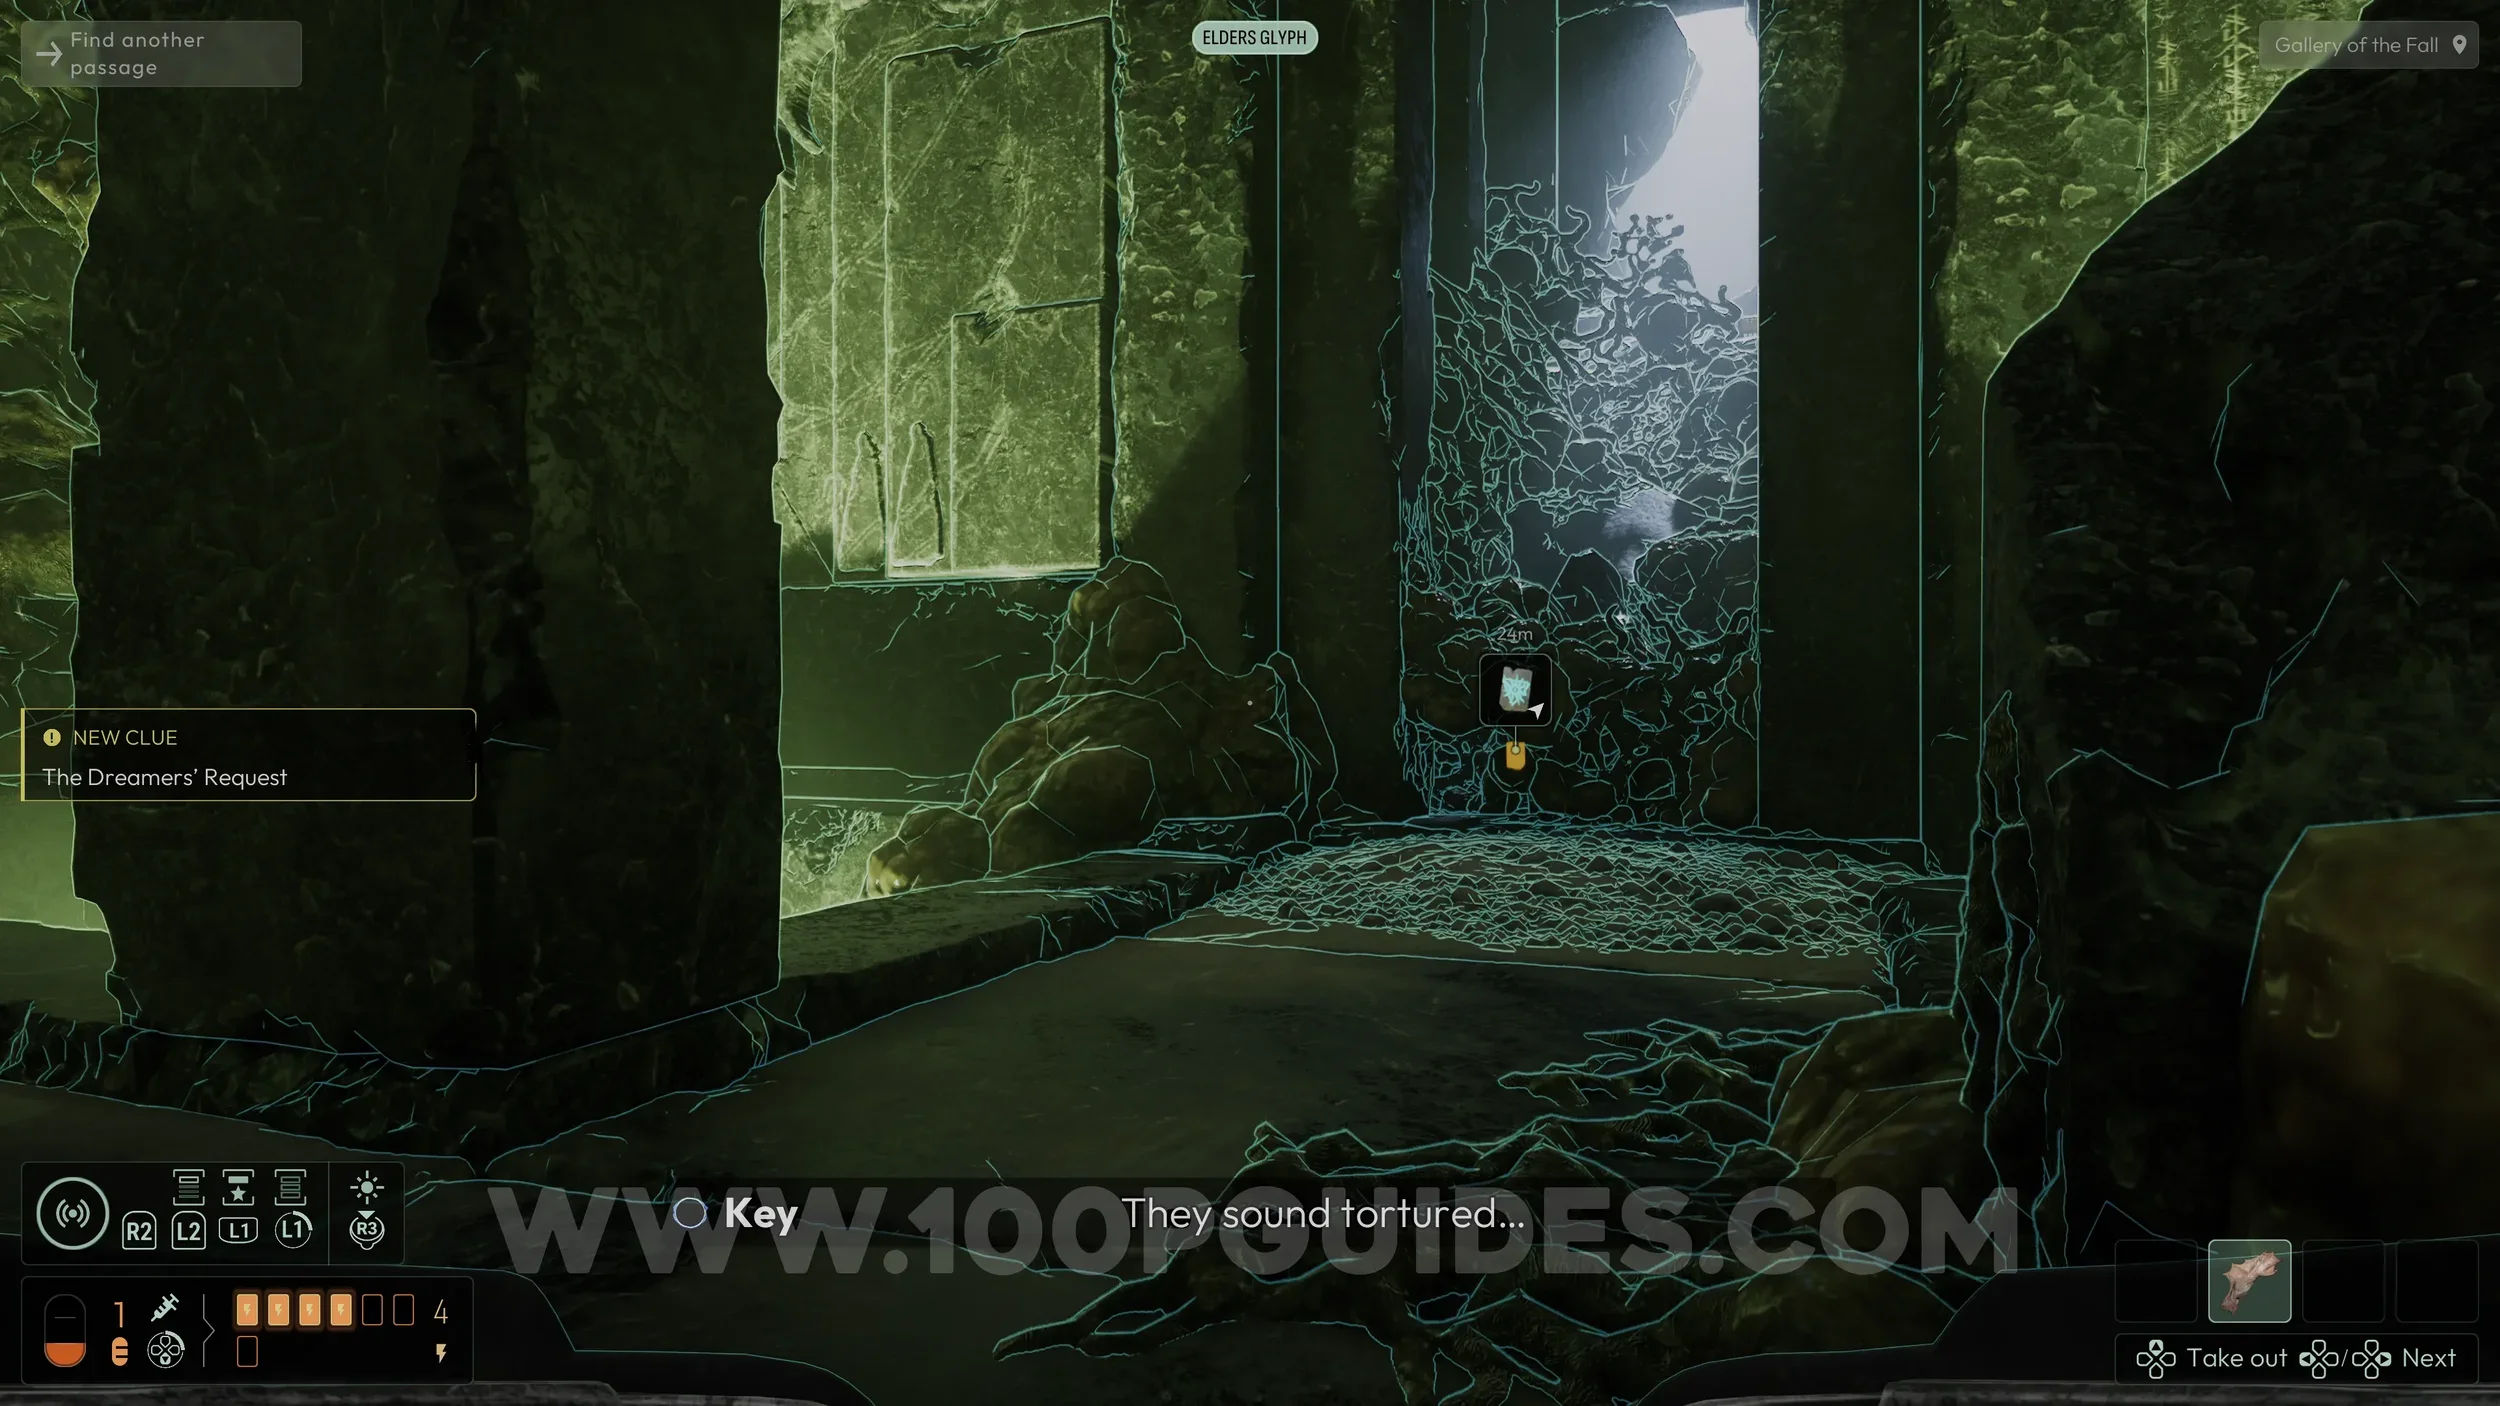
Evolution Capacity Upgrade #1. From the main stone totem in the maze, follow the red rope through the tunnel directly ahead. In the next room, continue forward through the tunnel filled with boxes. After passing through, you’ll enter a chamber with a floating corpse. From here, head up and to the left, following another red rope through the tunnel. This path leads to a camp. The perk expansion can be found on the right side of the camp.
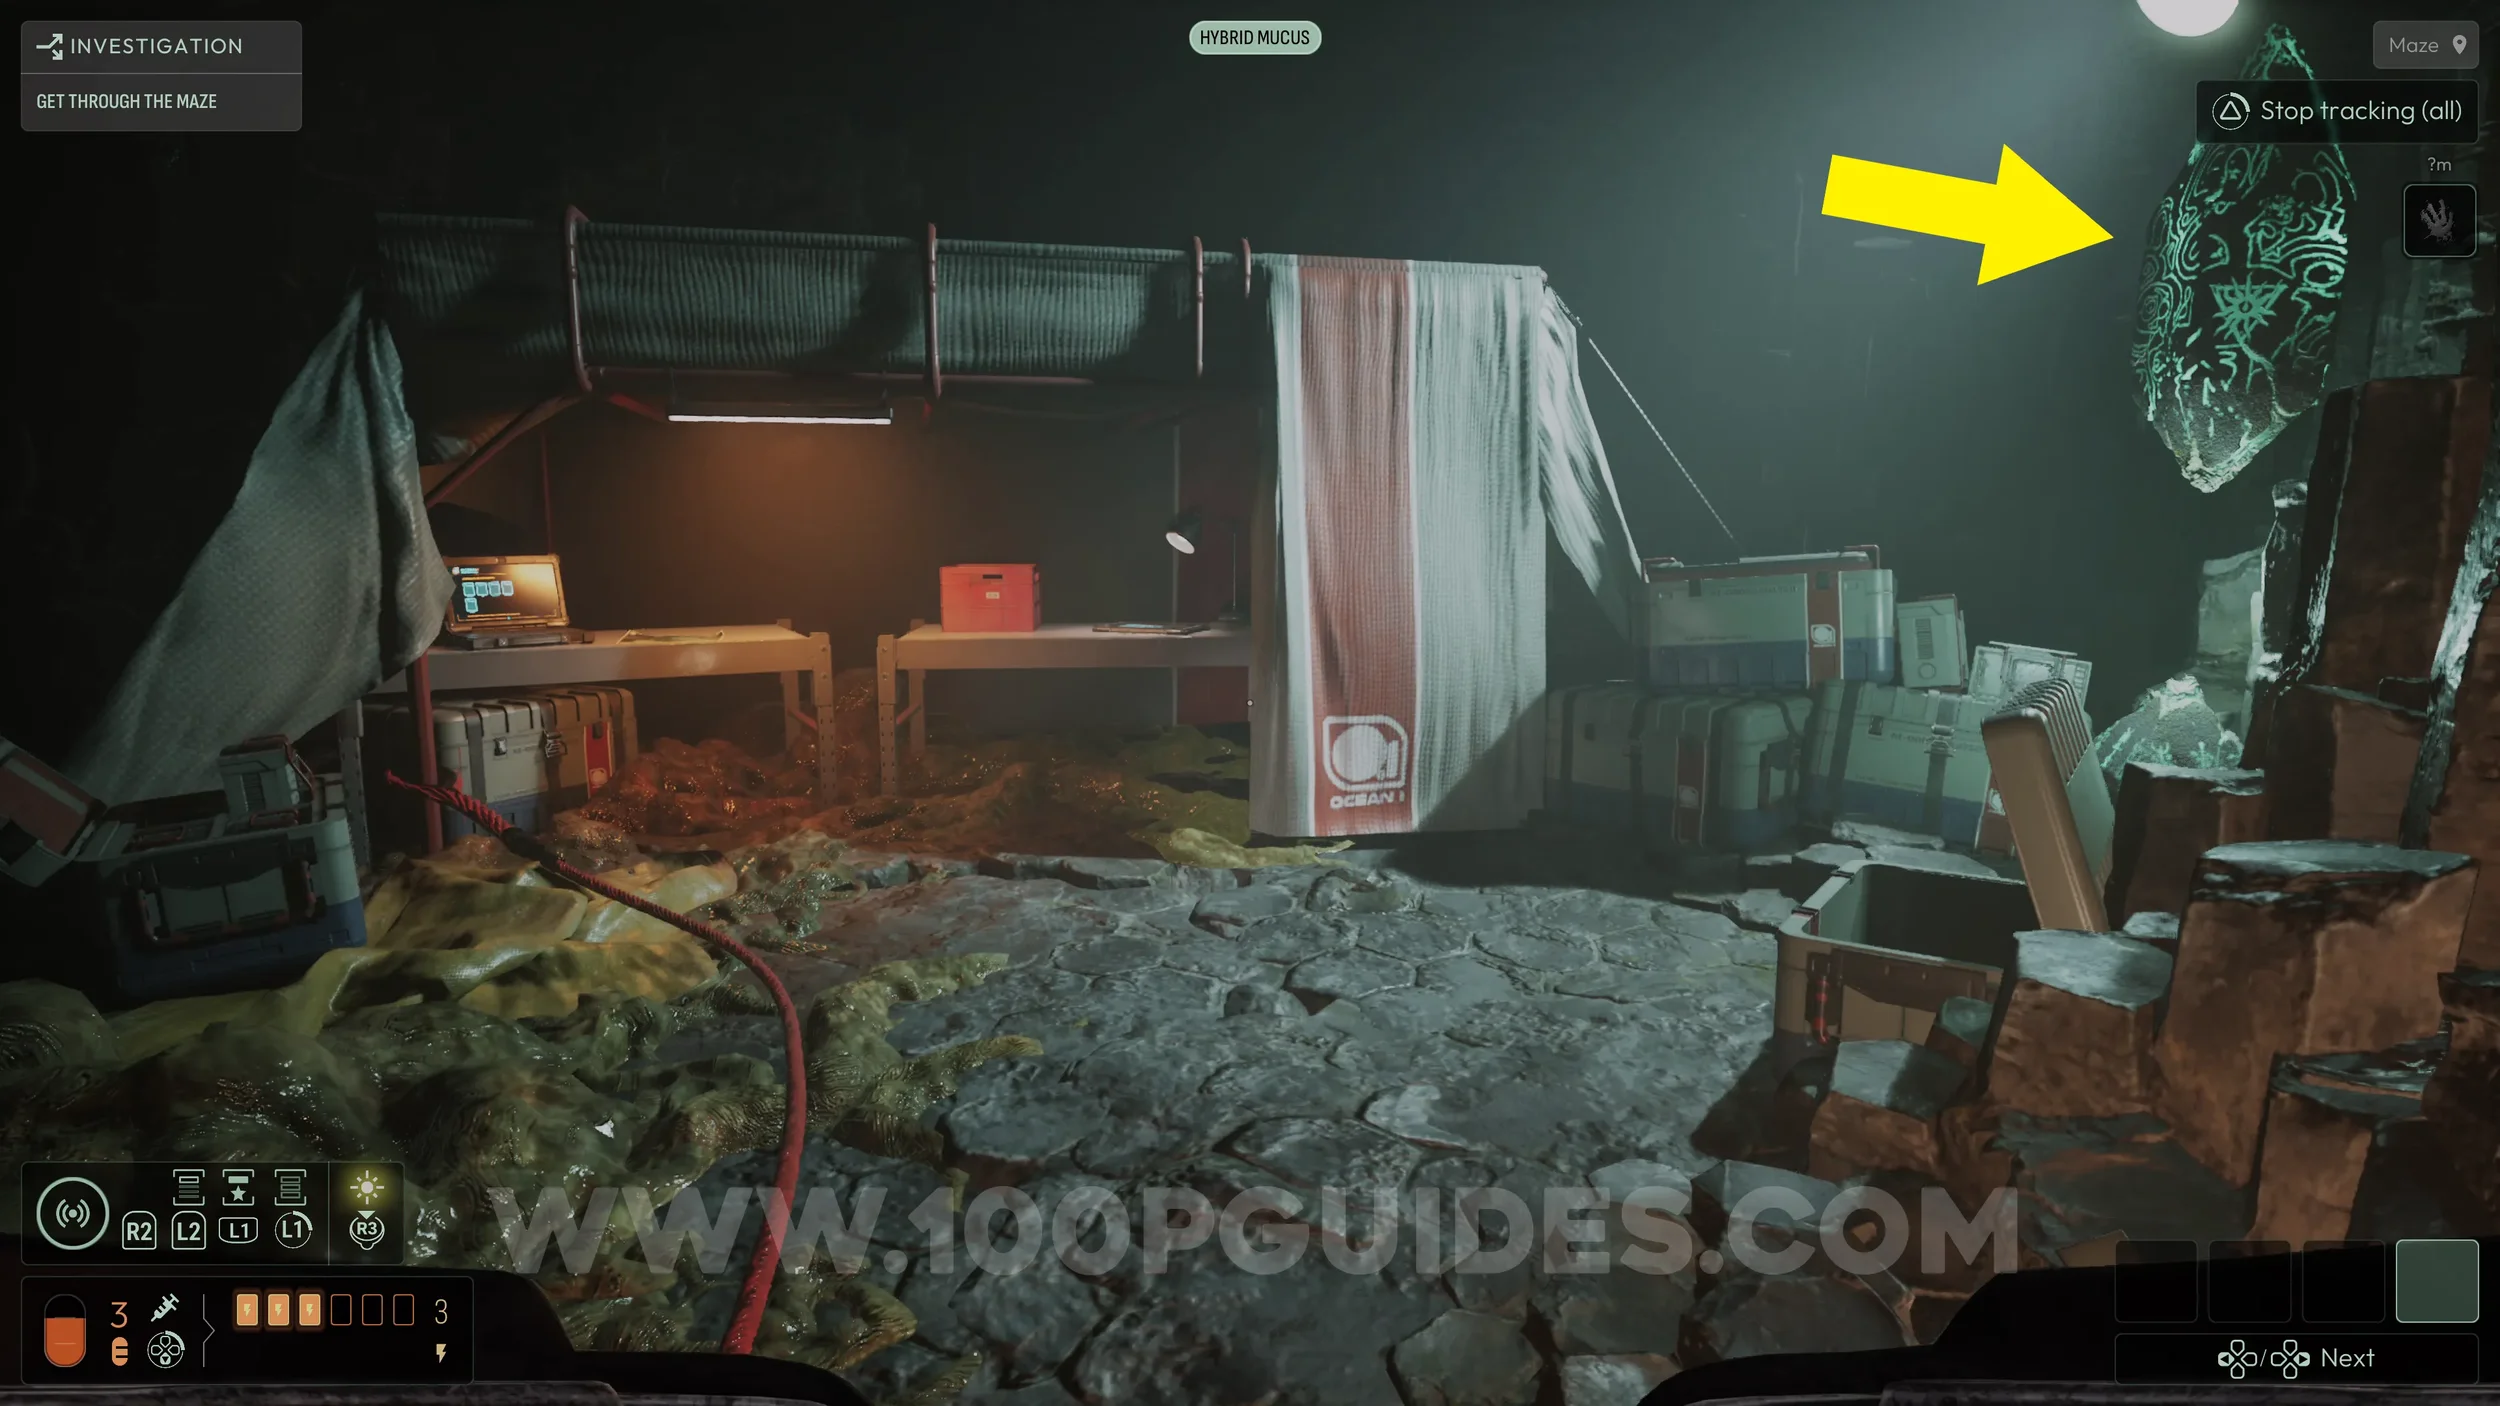
Evolution #2. After leaving the maze and once the station resets, head to the bottom floor of the Control Module (main circular room). Look for the screen displaying “Drainage Error”.
Go through the door to the left of the screen, then take the next door on your right. At the end of the corridor, stop before the door and look up. You will see several pipes marked with black marker. One of them will be filled with goo.

Remove the clogged pipe and drop it on the floor.
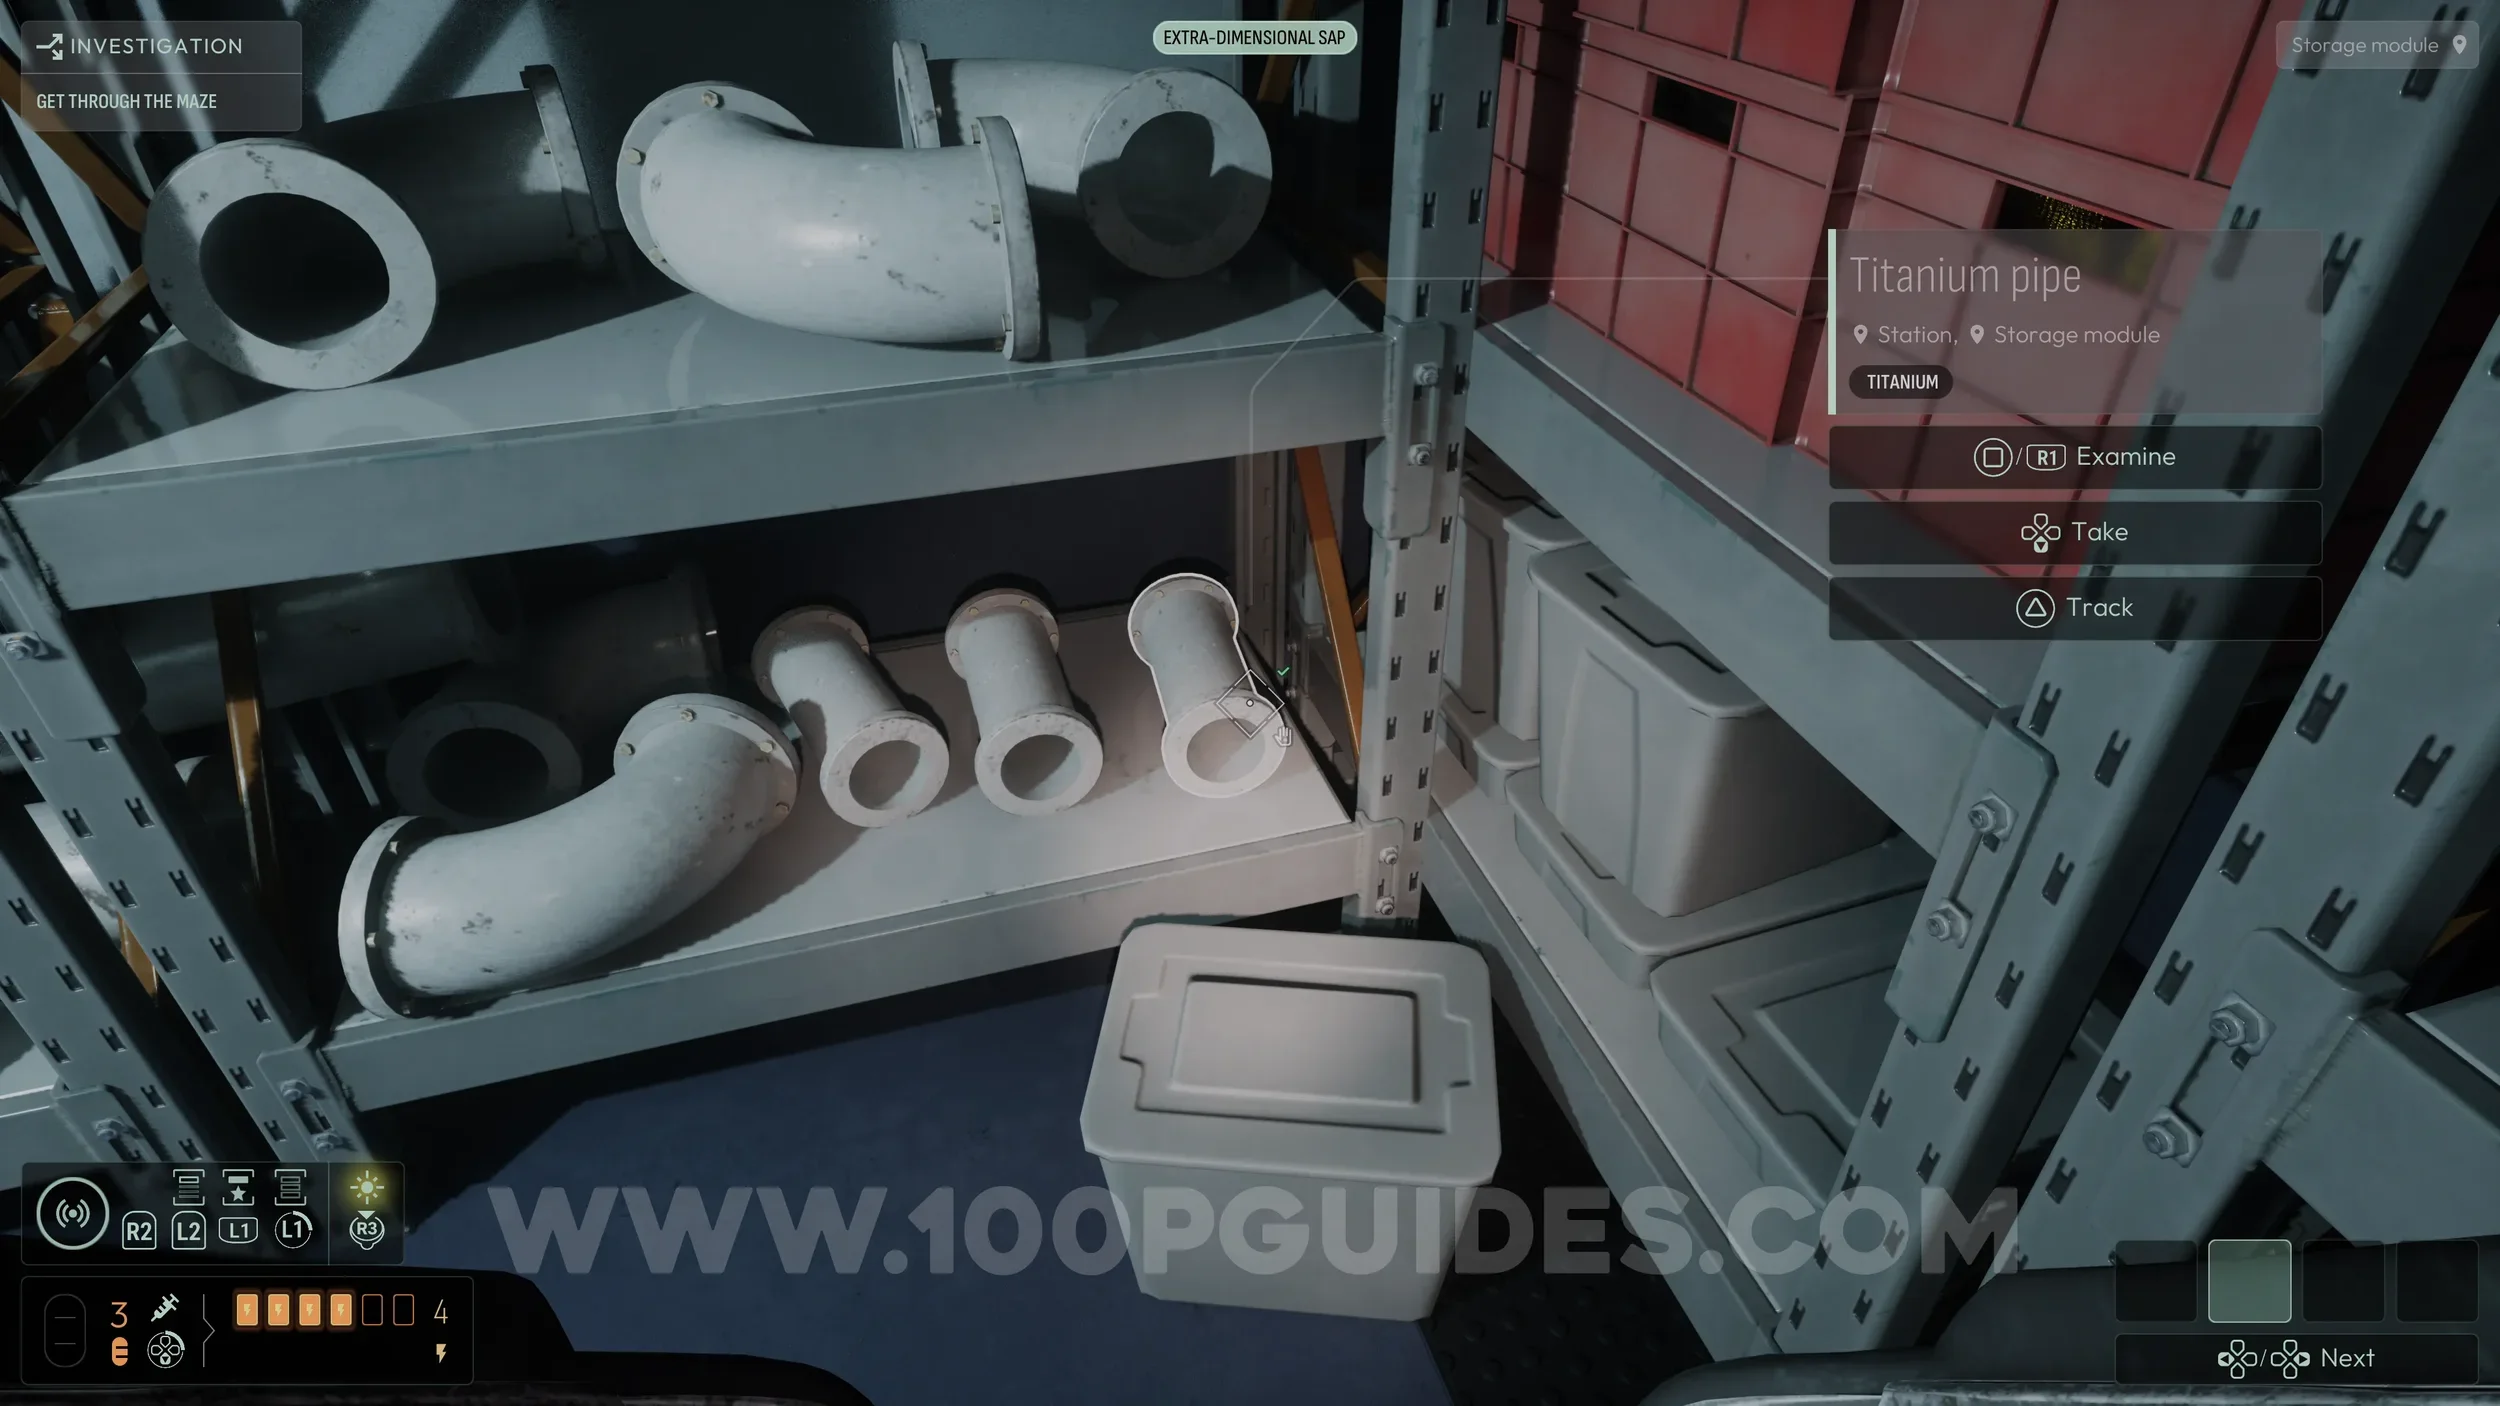
Turn around and enter the Storage Module, the door just behind you. On the shelf to your right, pick up a short straight pipe and place it where you removed the clogged one.
Return to the “Drainage Error” screen and press the button below it with R1.
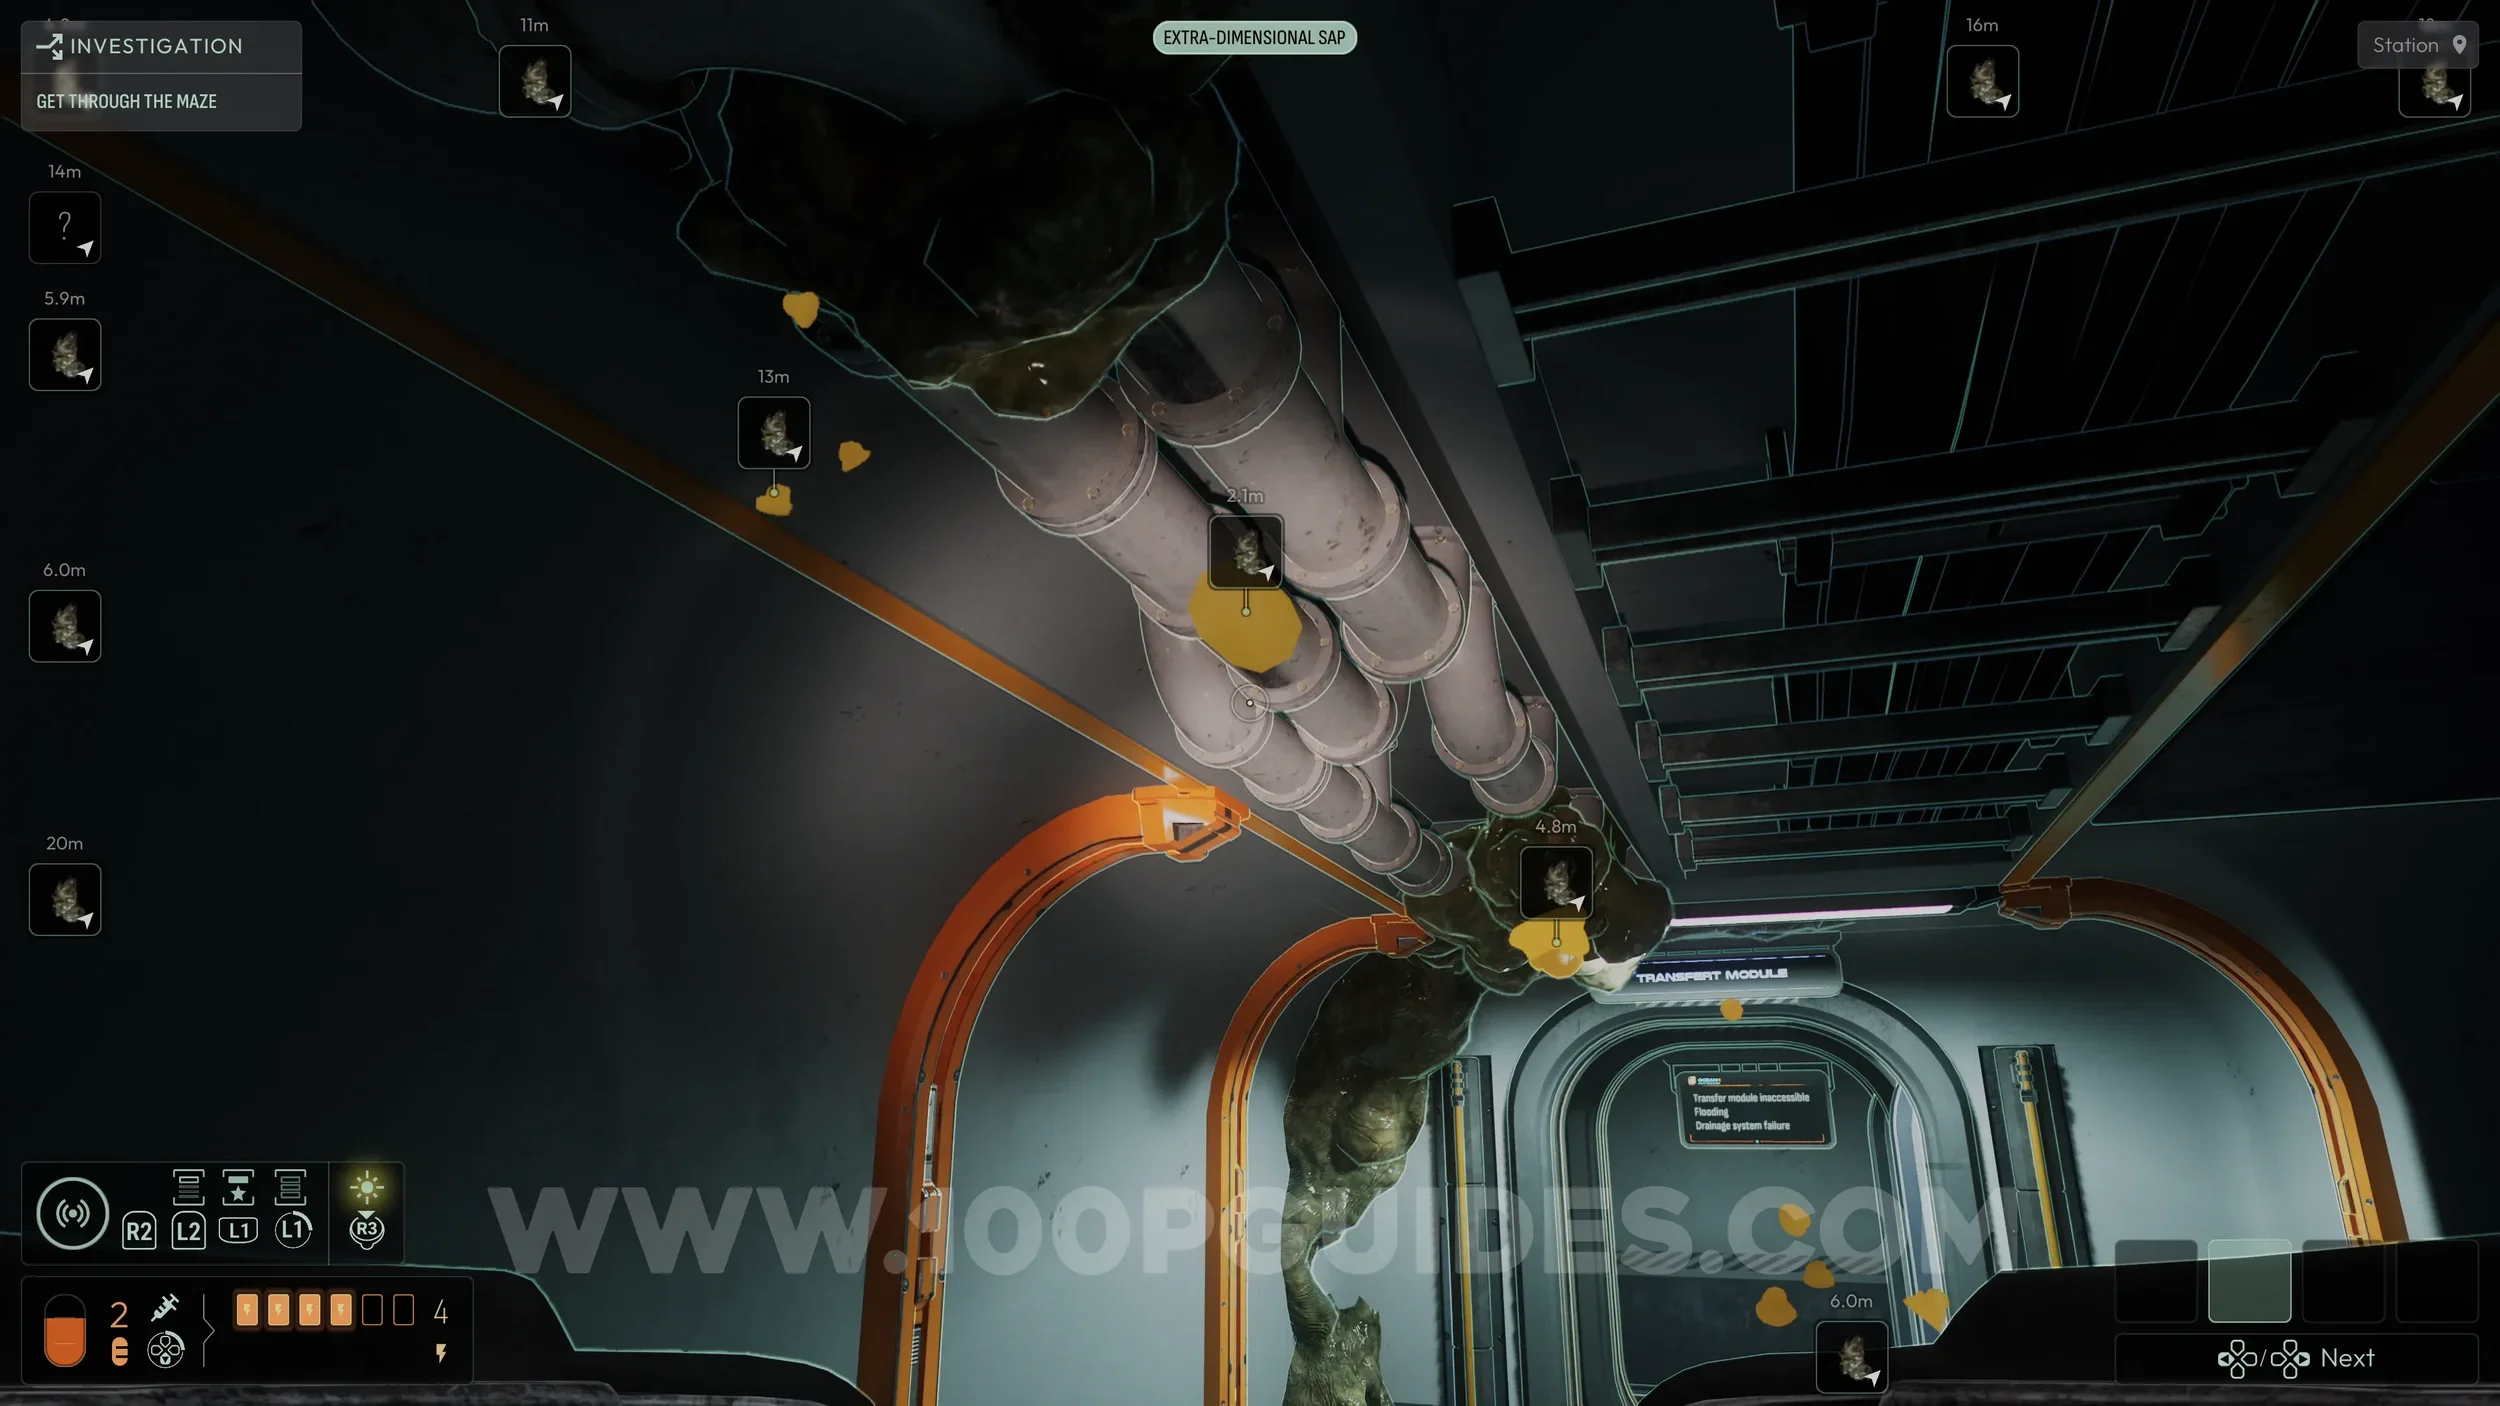
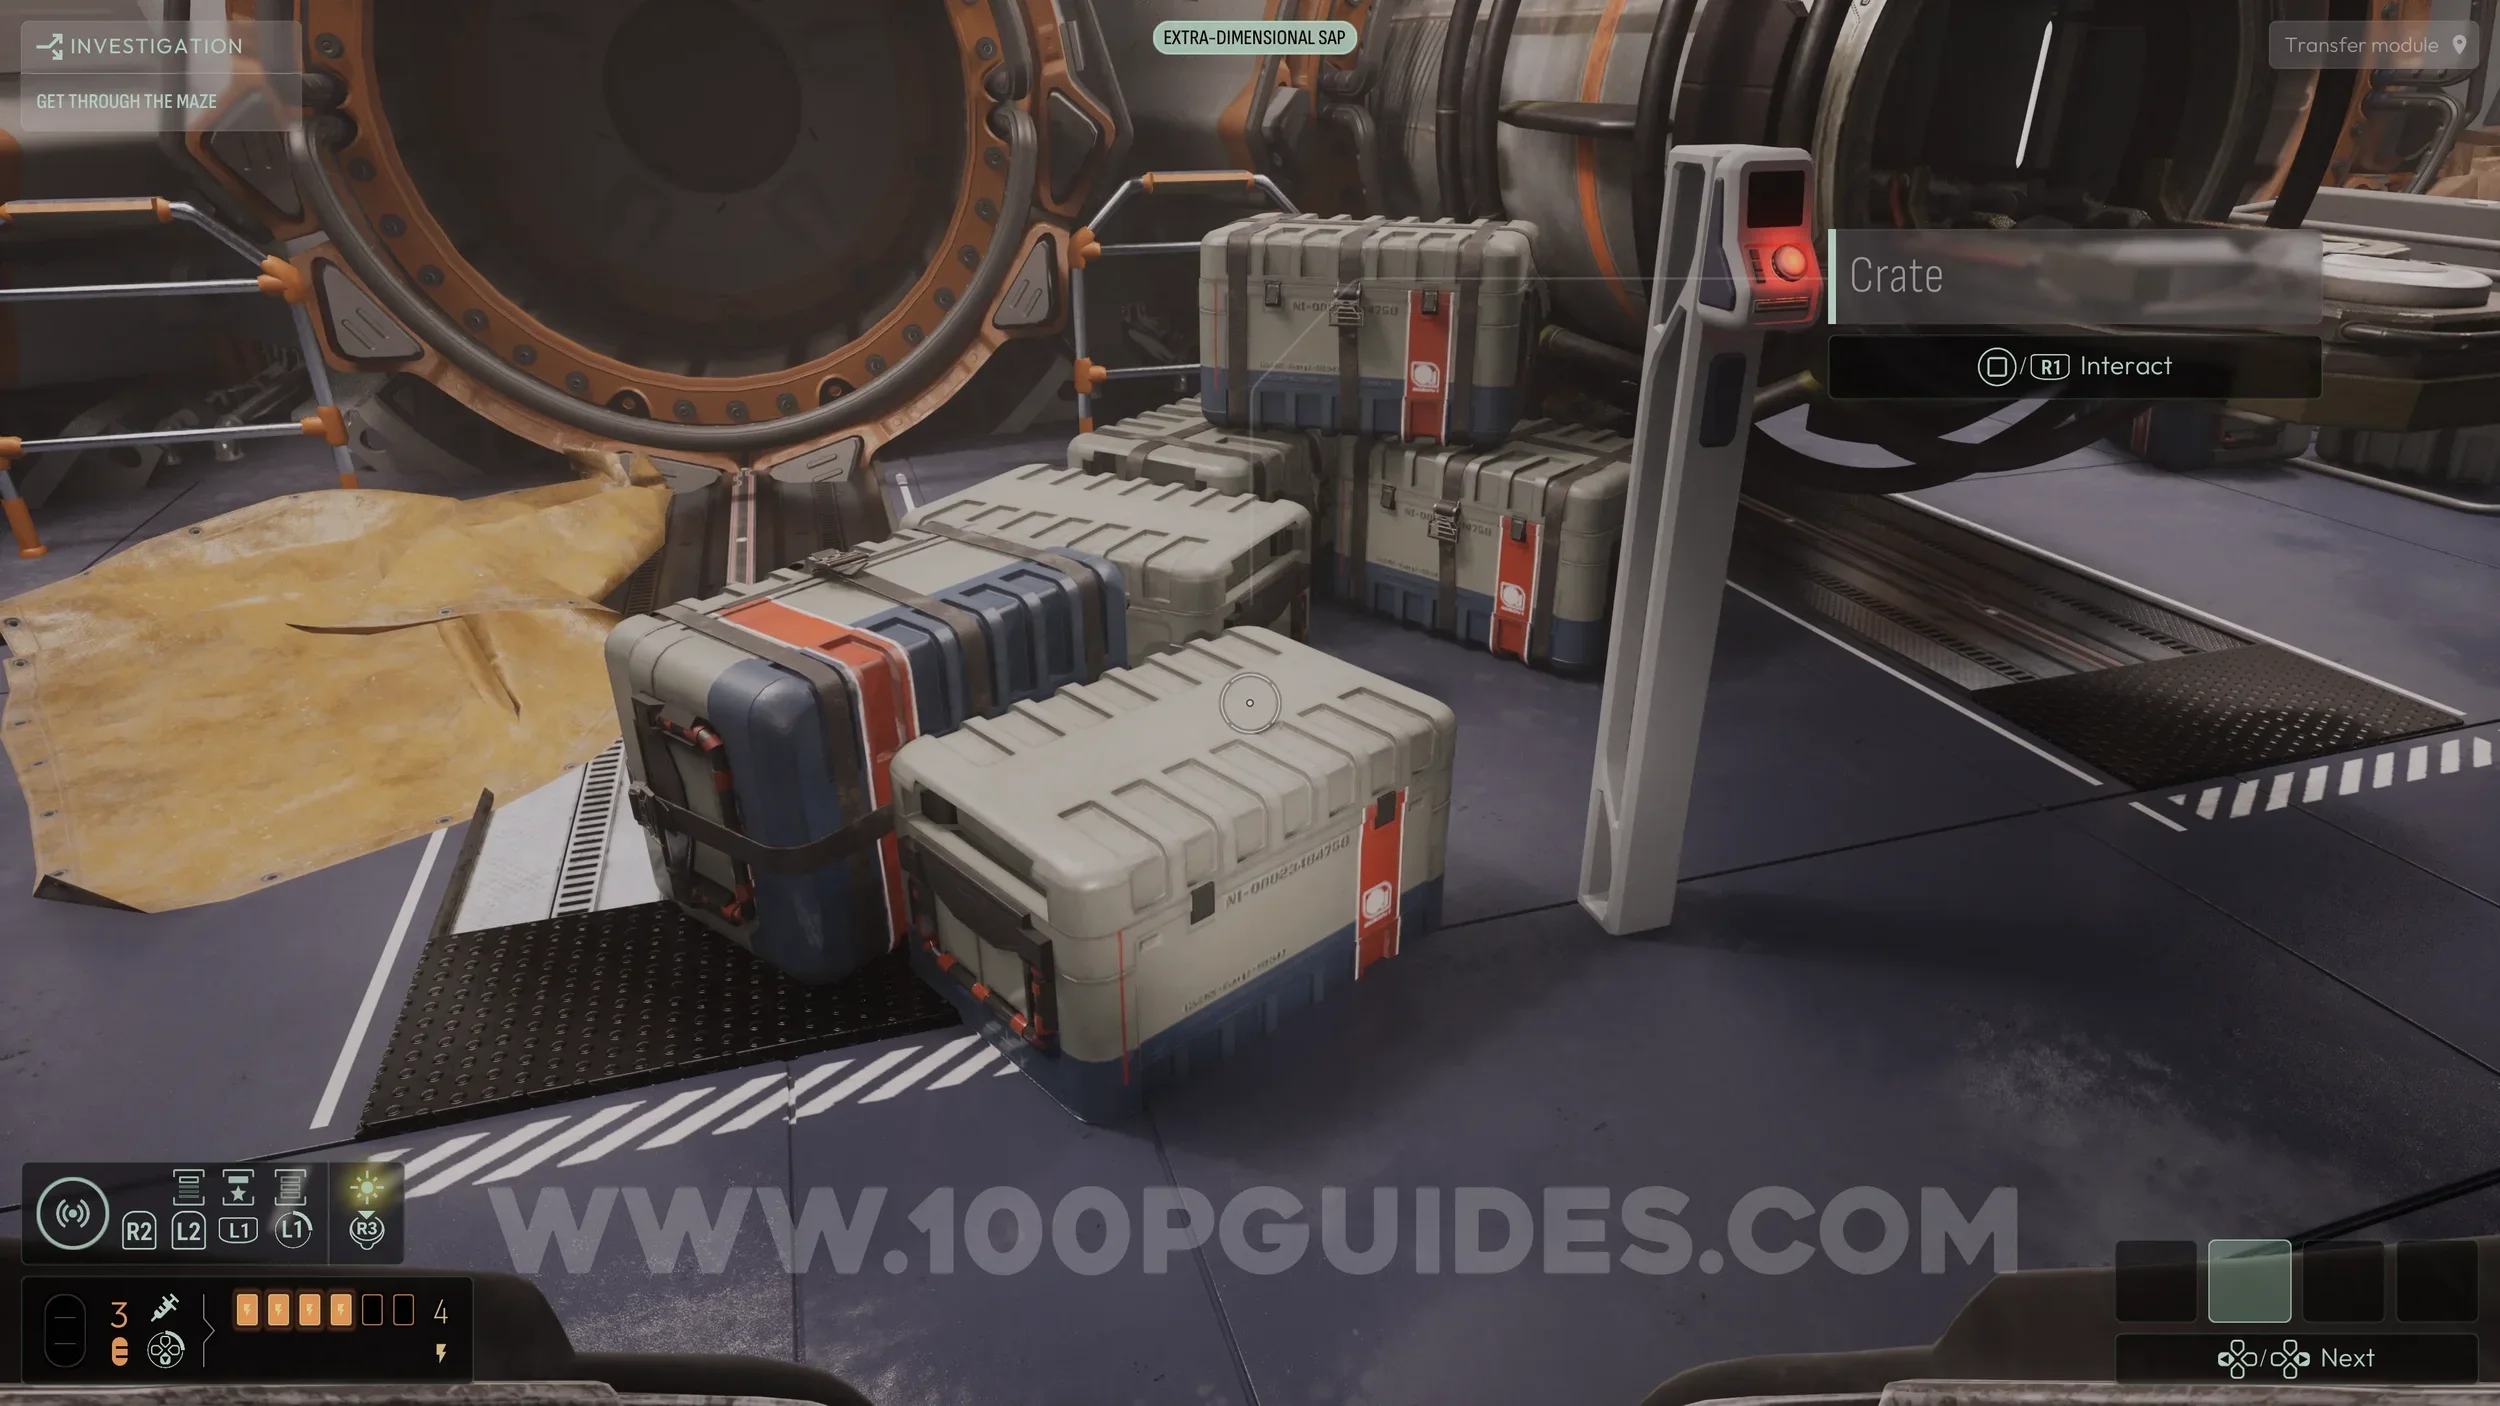
This unlocks access to the Transfer Module, just past where you replaced the pipe. Inside, open the crate in the center of the room to find the collectible.
Chapter 3
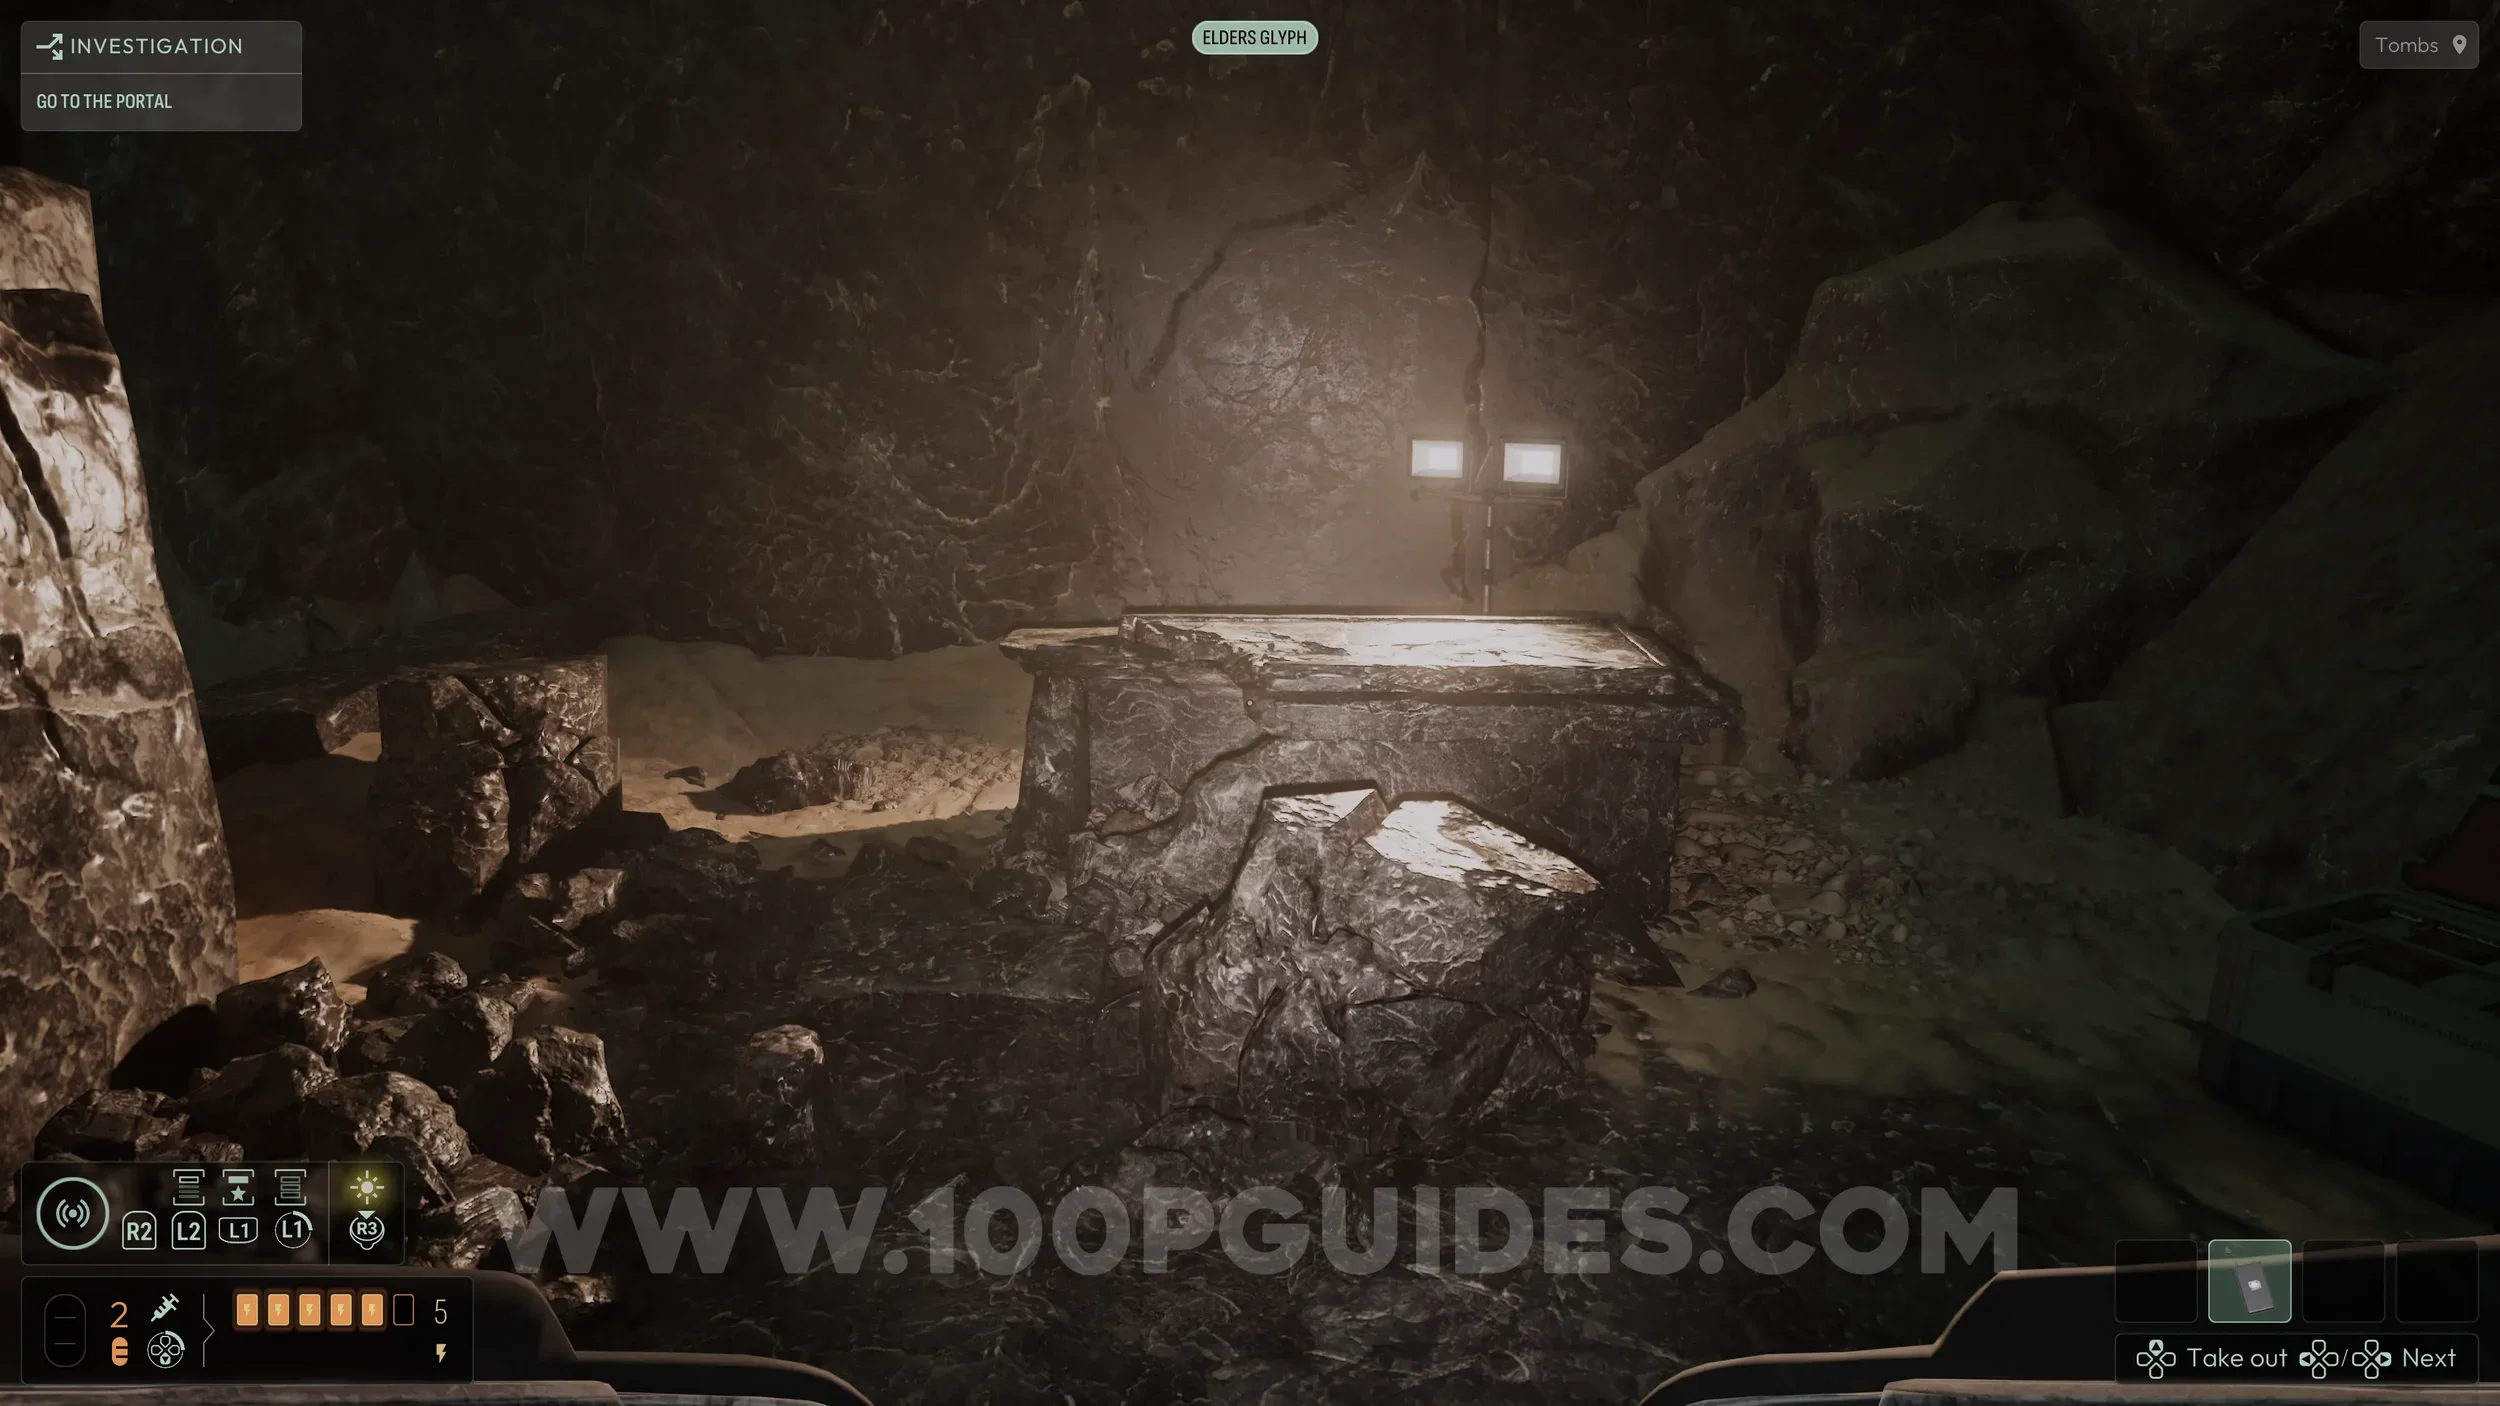
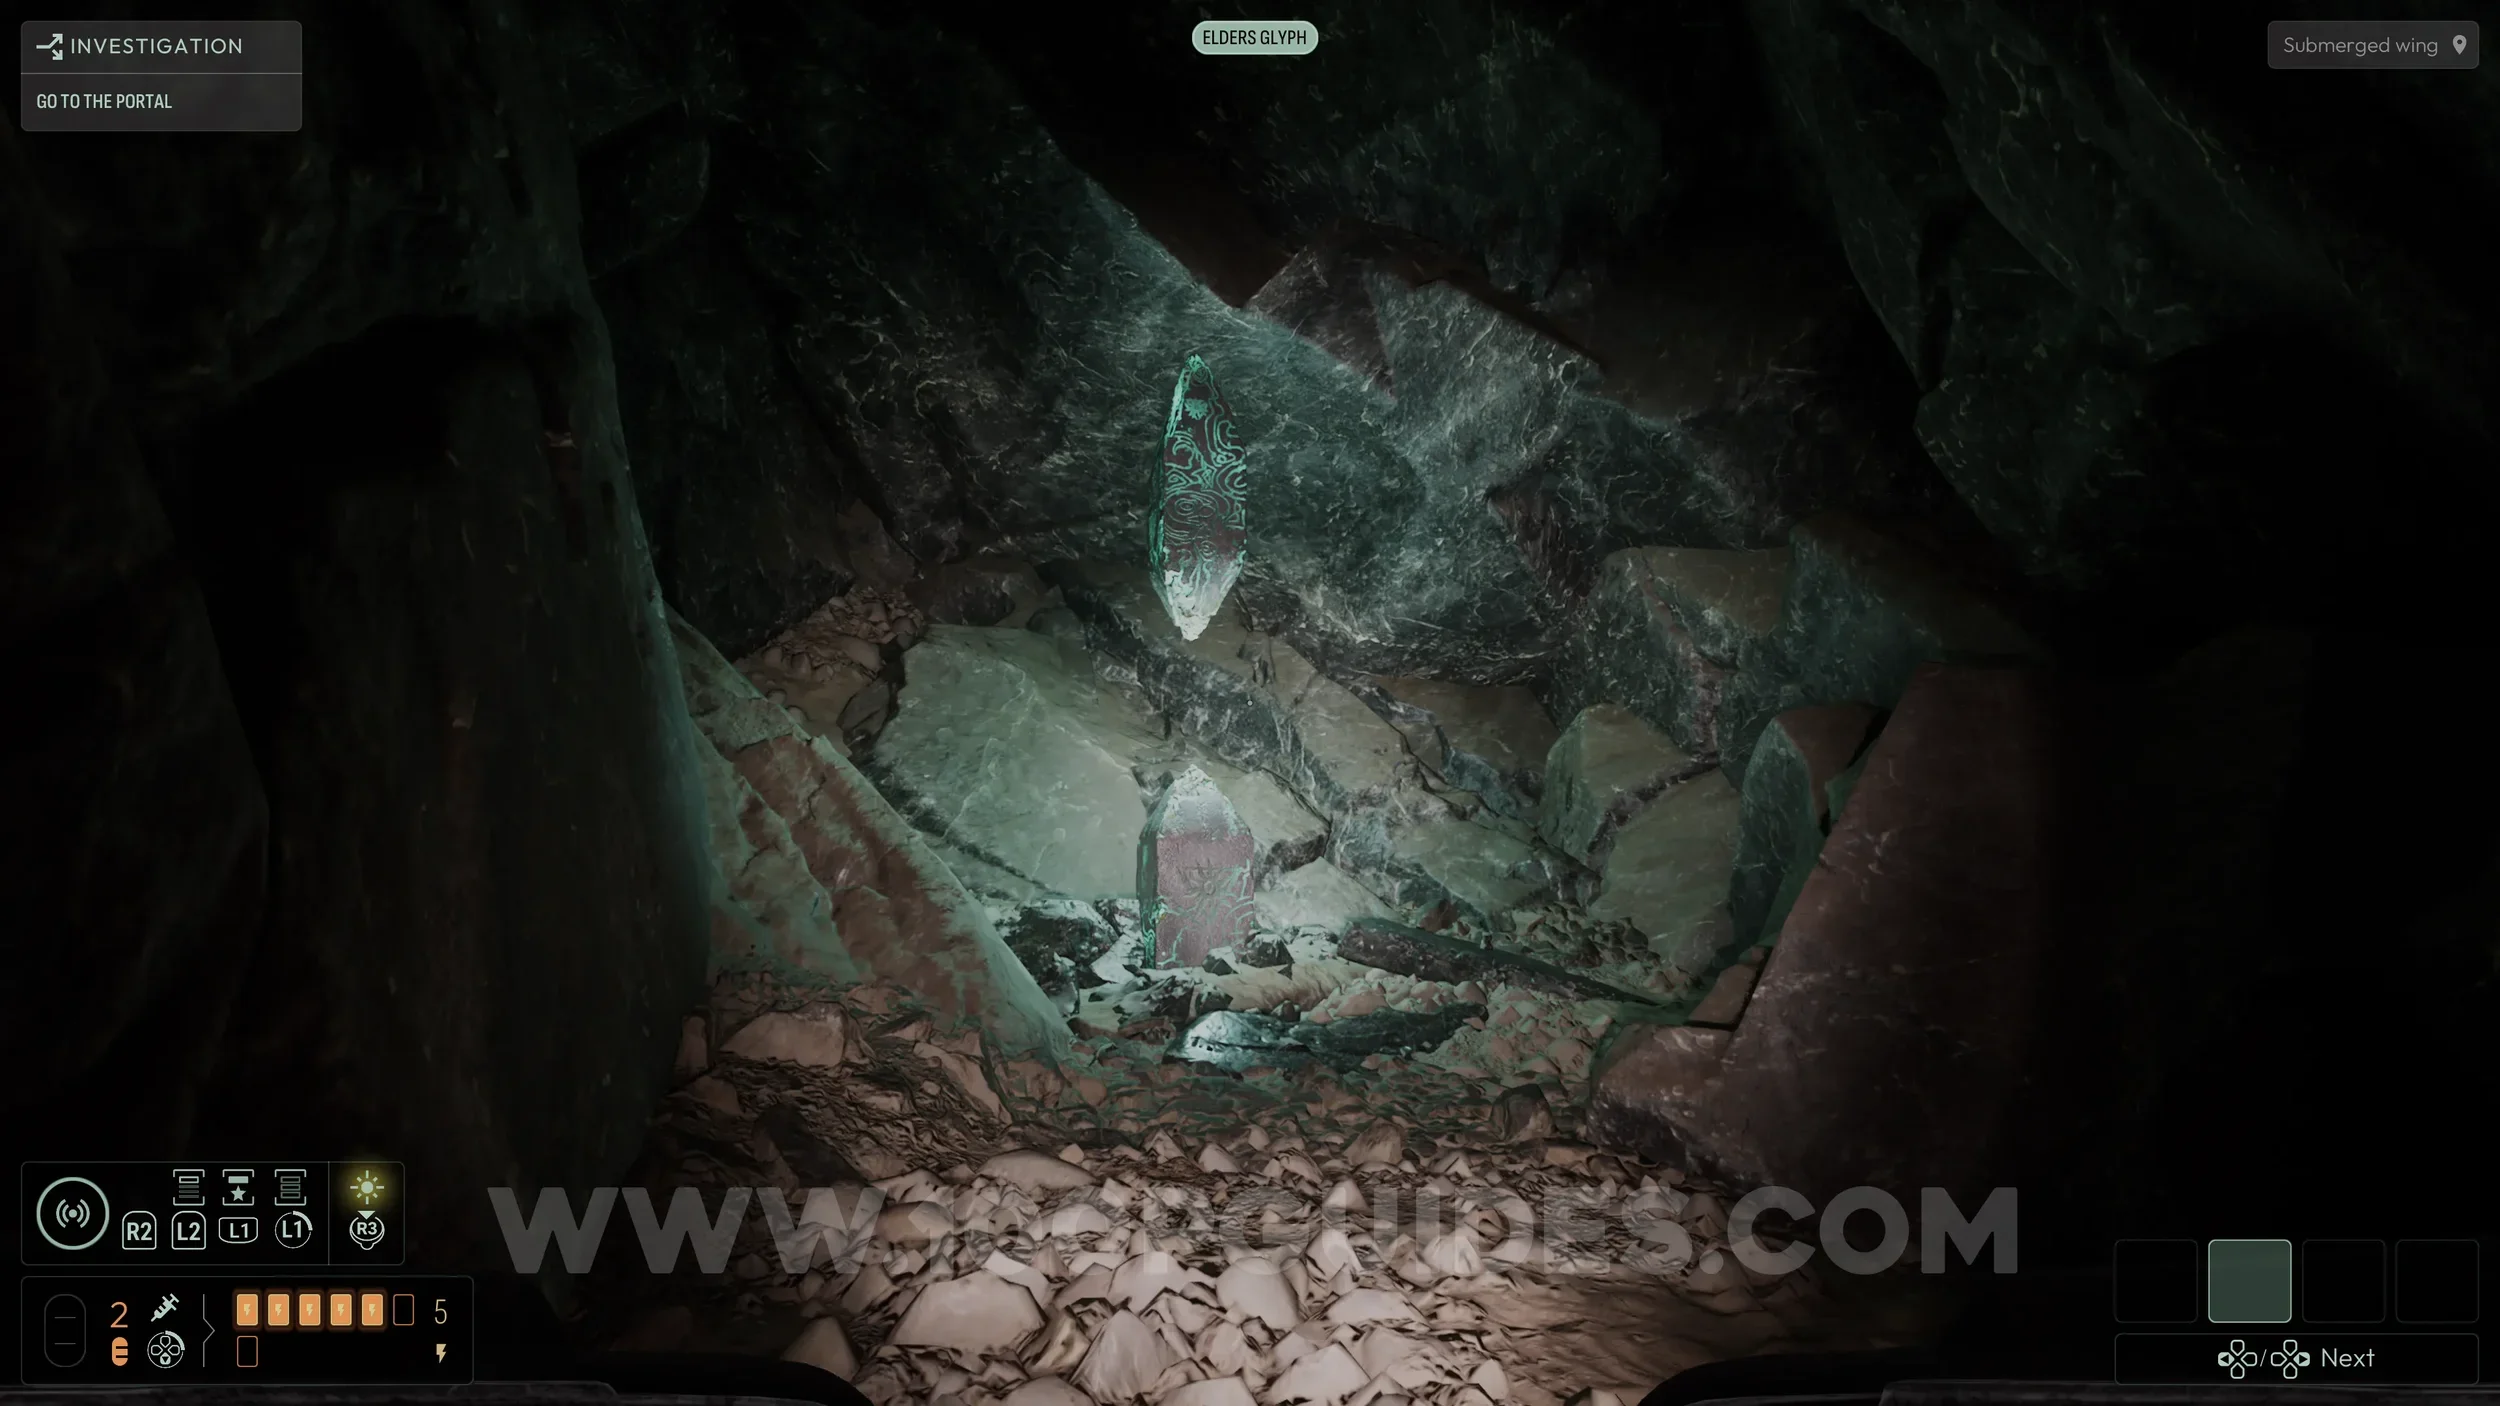
Evolution #3. From the NPC stuck to the rock where the investigation starts, head down the stairs behind him all the way to the bottom until you reach a tent.
From here, go all the way to the right to find a tomb with a hole in it. Look through the hole and remove the piece of stone to reveal the collectible.
Energy Upgrade #1. From the NPC on the rock, turn around and look for a corridor on your left with scaffolding. Go up the scaffolding ramps, then look down to your right to spot a crack in the ground. Drop onto it to break through and enter a room with water below.
From here, go up one of the two ramps to reach another corridor. Follow it left to find the upgrade.
Evolution #4. Head to the right end of the same corridor where the previous collectible was.
Evolution Capacity Upgrade #2. From the NPC on the rock, go down the hall on your right to enter a maze. Here, depending on your direction, you will either be teleported back to the start or be able to continue forward. To get to the collectible in the maze take this path:
Backwards > Forwards > Backwards > Forwards > Forwards.
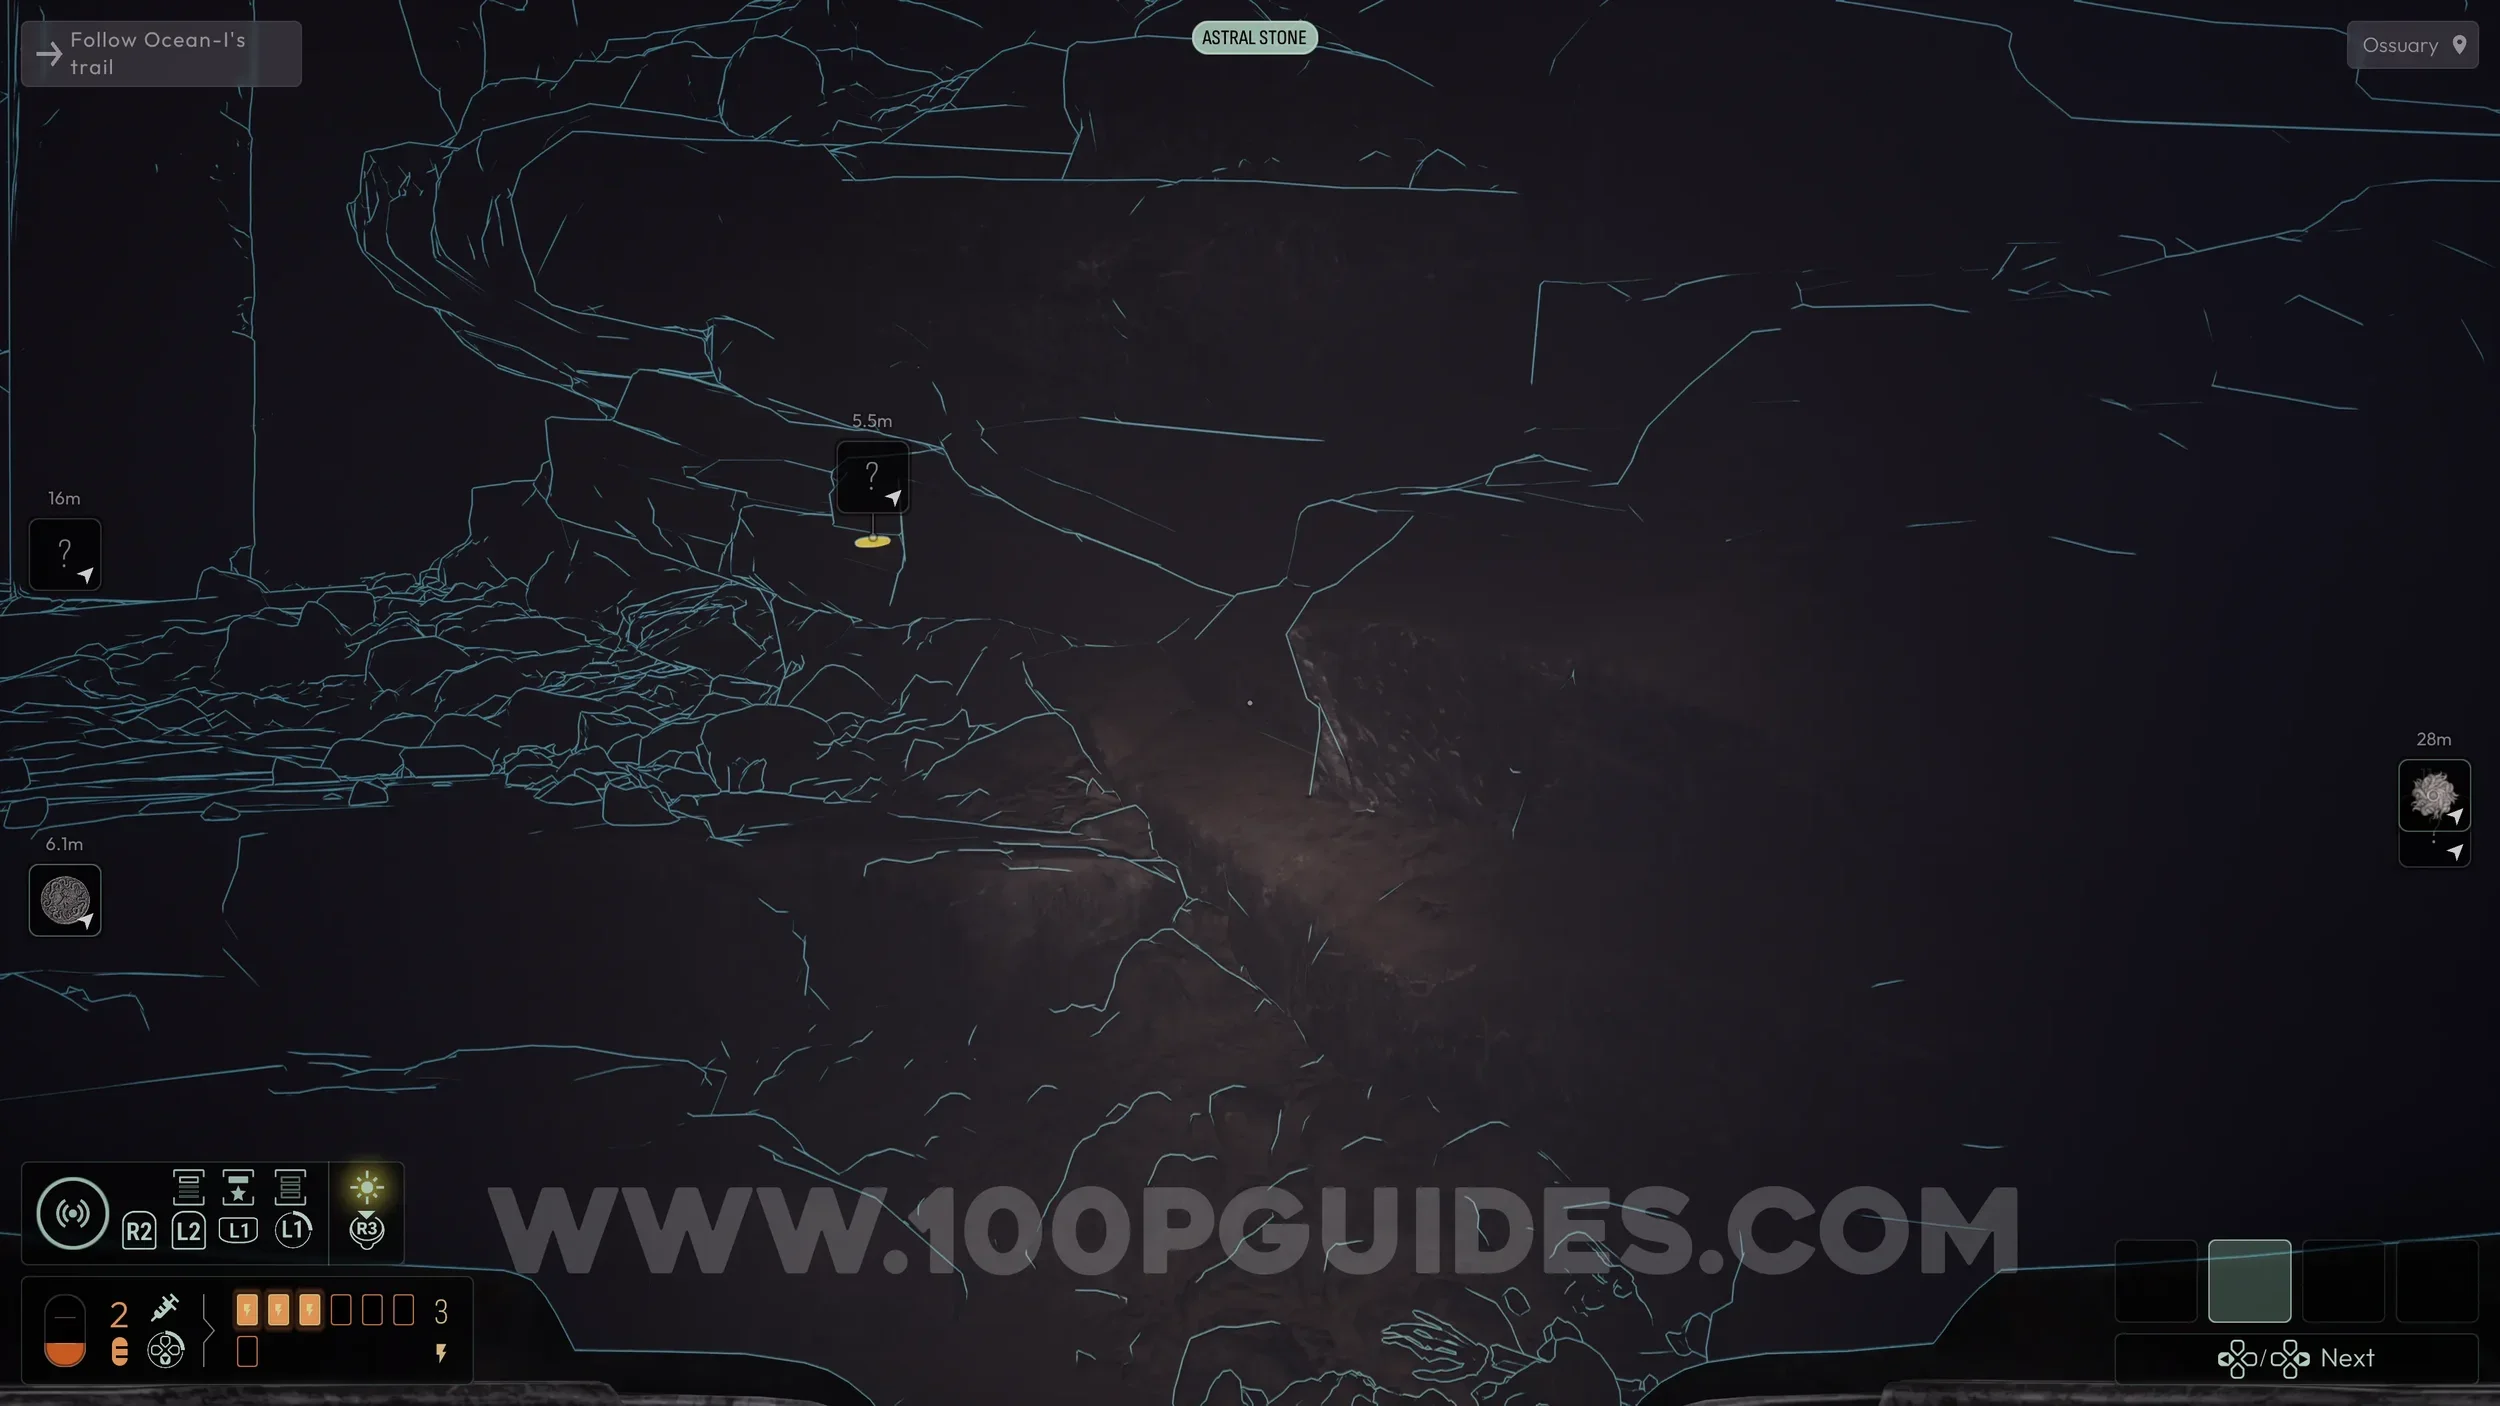
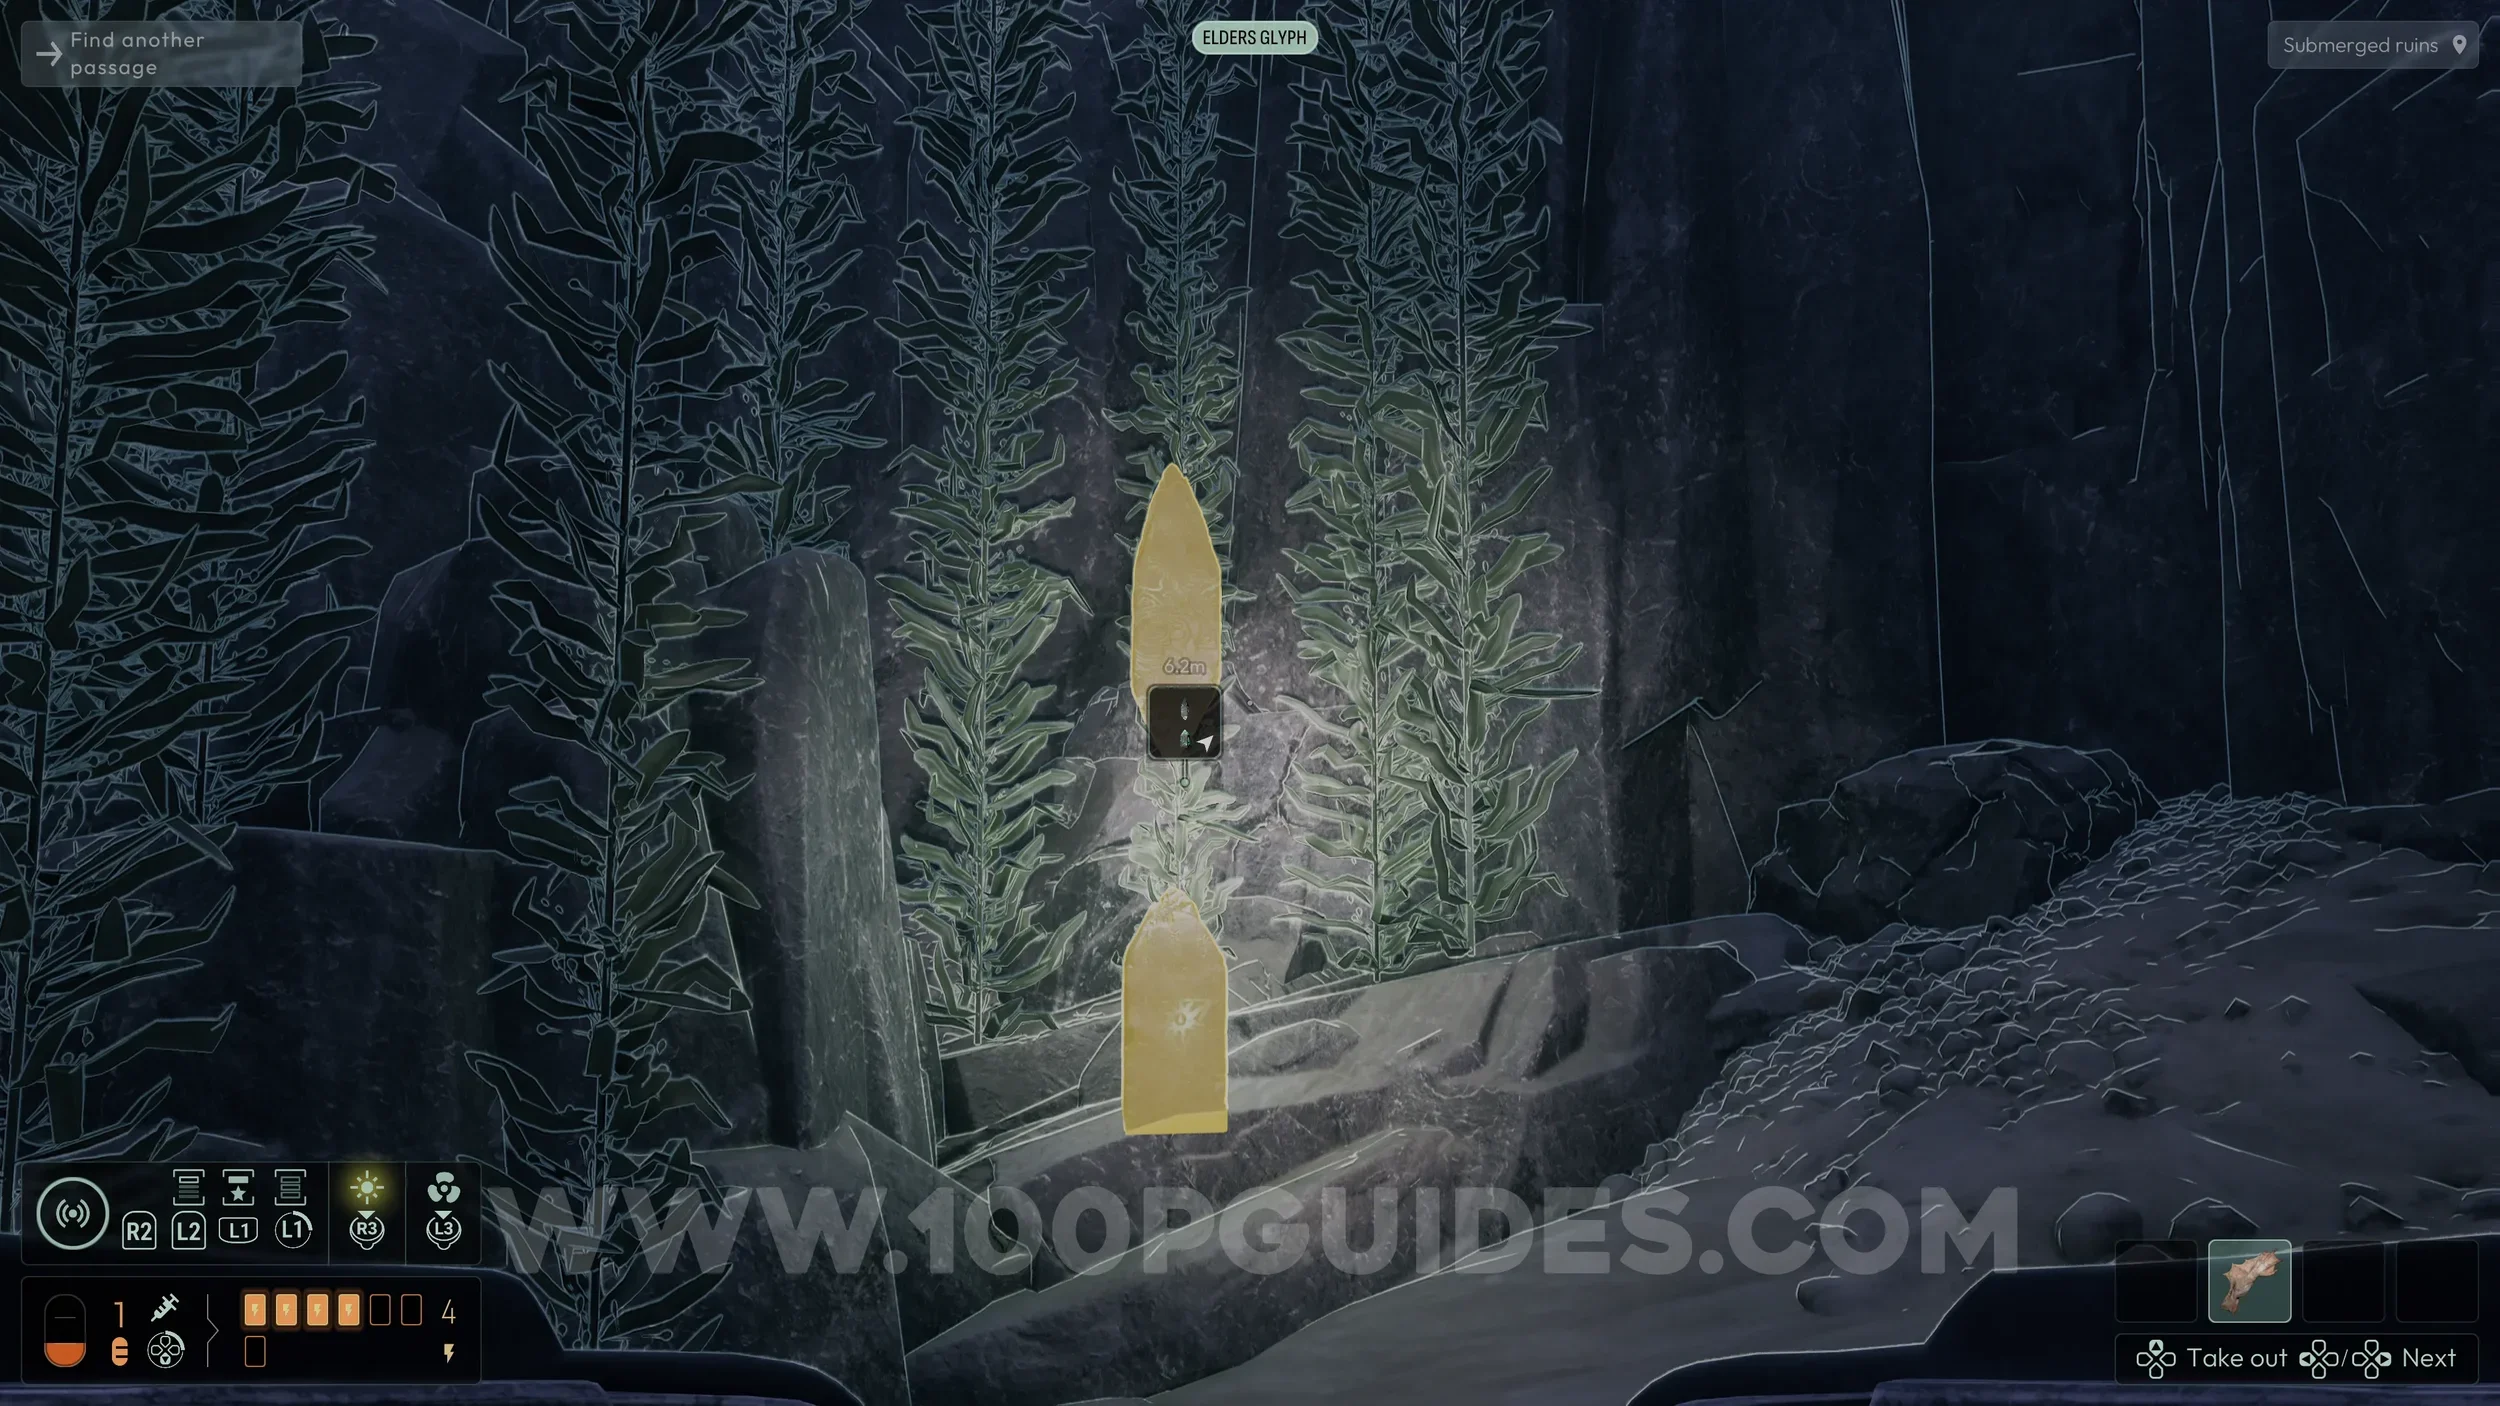
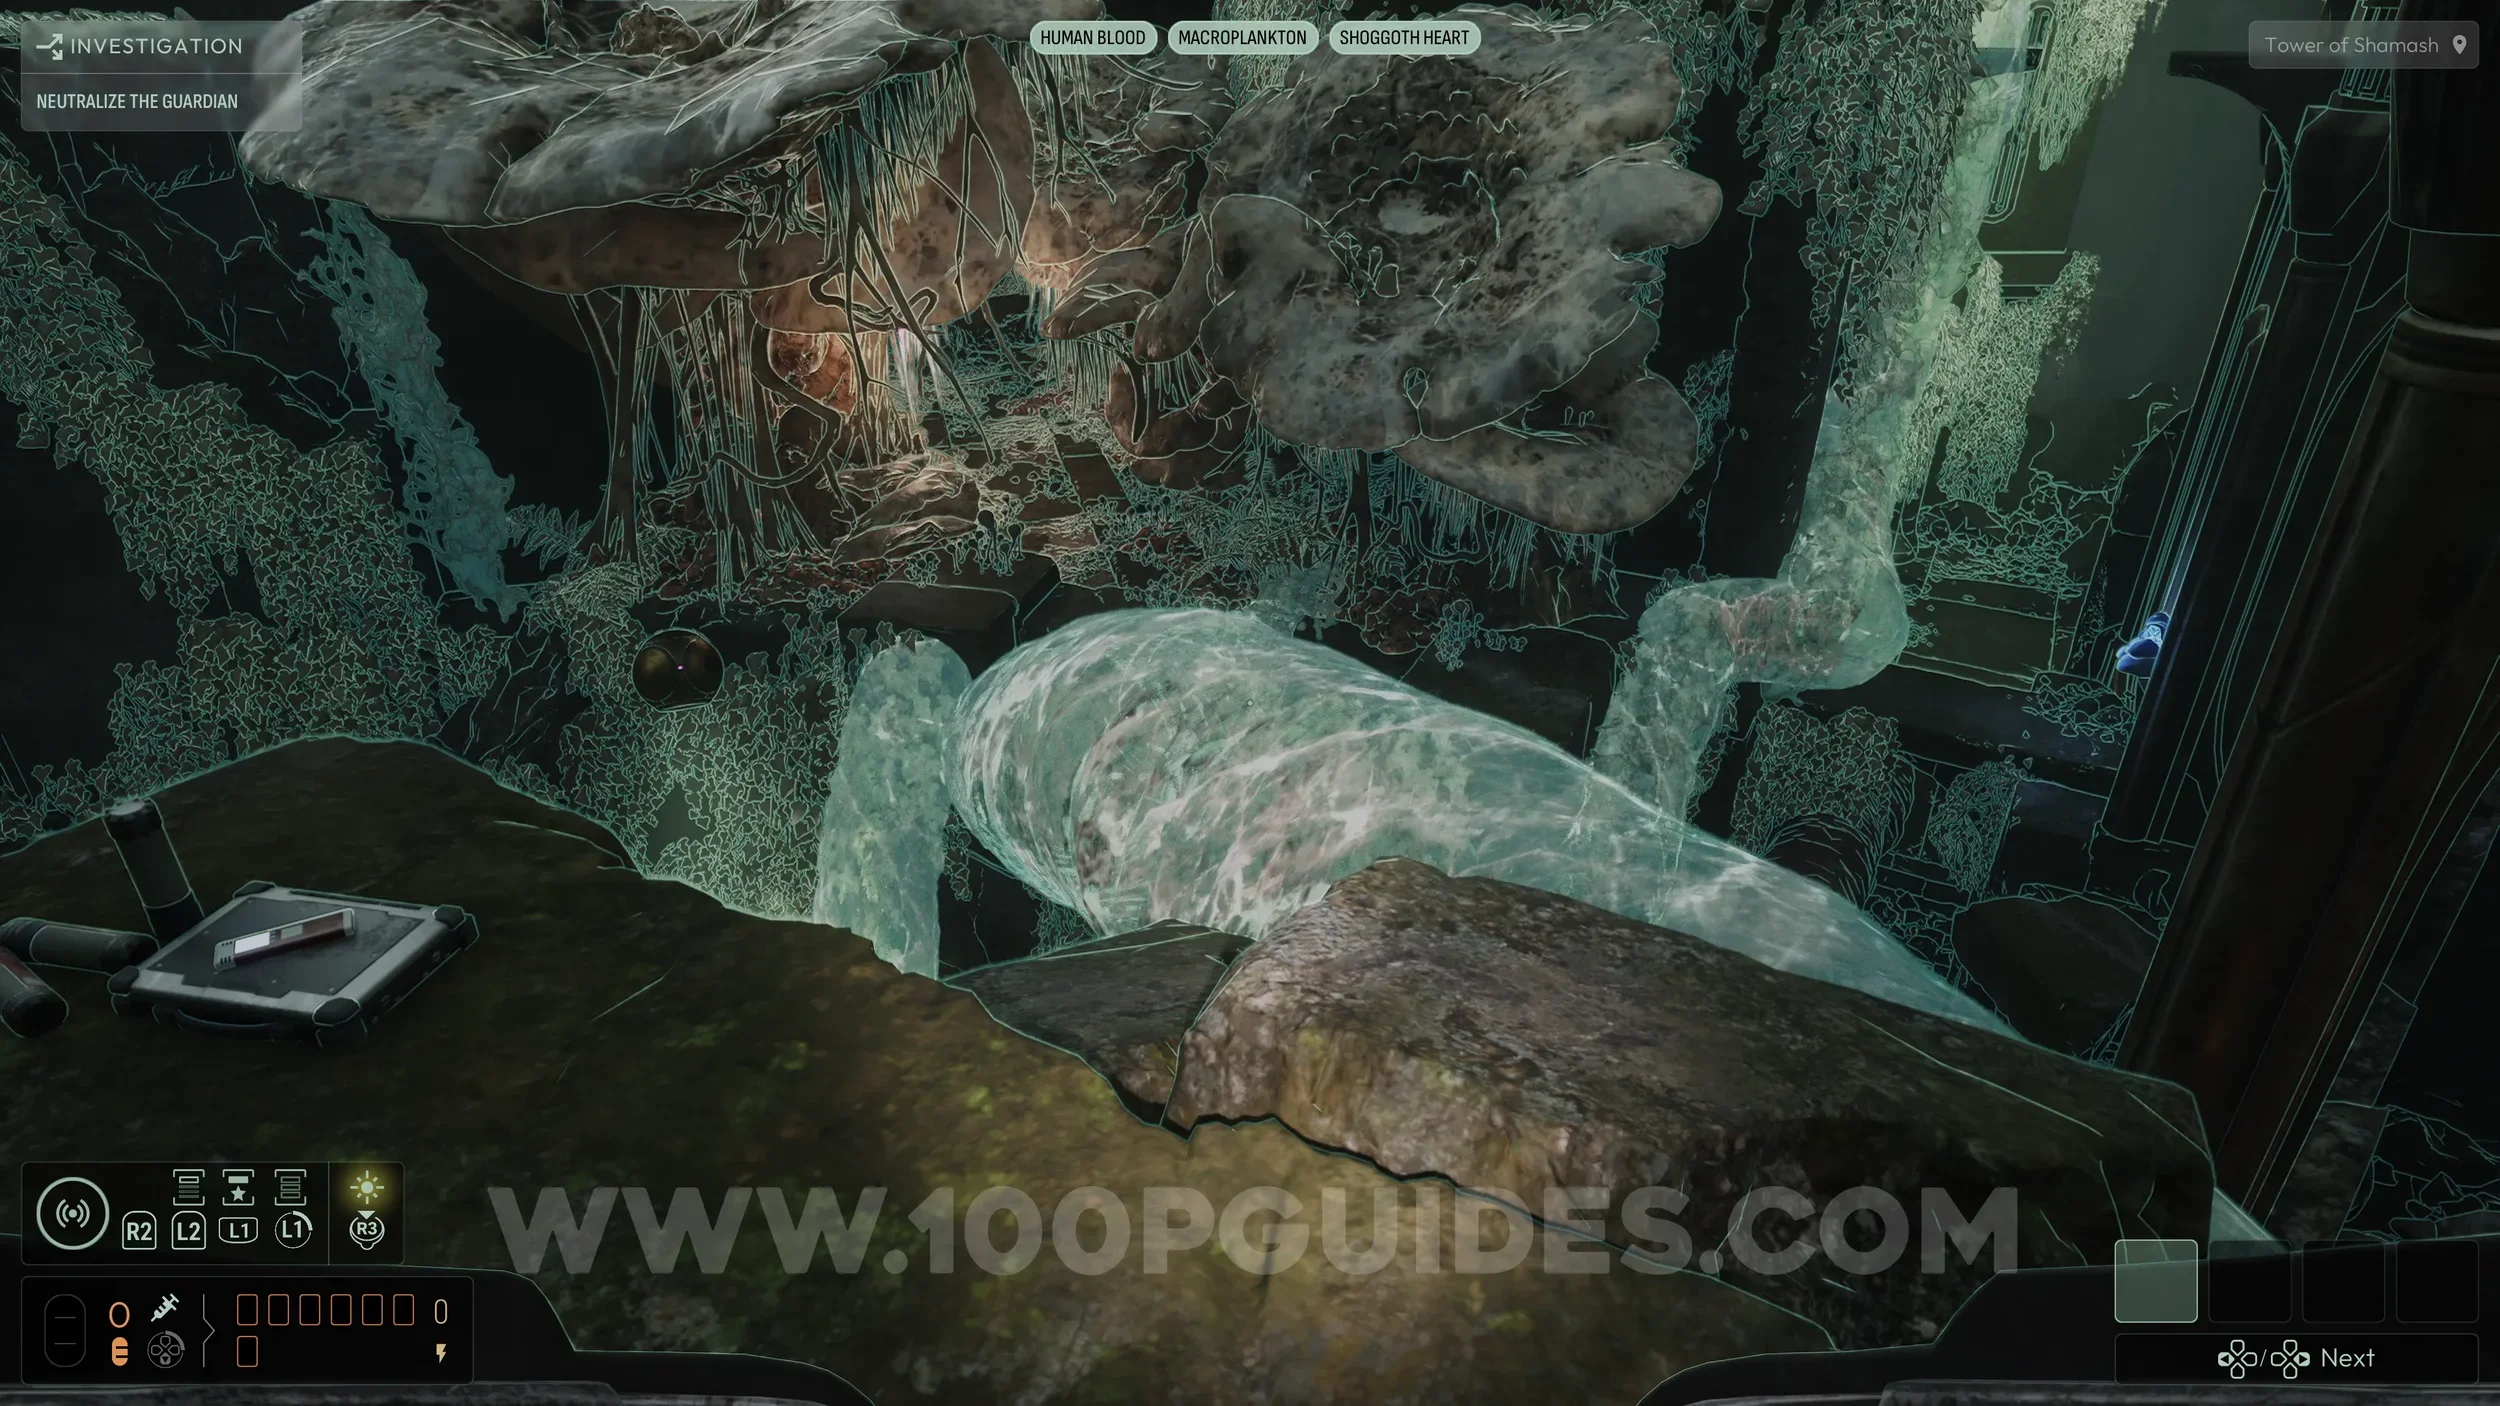
Evolution #5. From the NPC tied to the rock, take the path into the room on the left that is flooded with blood. Look for a set of stairs on the right side beneath the surface, which is easier to spot using the sonar. Dive down and follow the stairs. In the next room, go left and continue all the way to the end until you find a small triangular gap between the rocks. Go through it, then dive deeper and follow the path to find the collectible.
Evolution Capacity Upgrade #3. From the previous collectible, backtrack until you pass back through the triangular gap. Then swim up and climb out of the water. From there, look for an opening on your left on the other side of the rocks. Inside, you will find the upgrade.

Chapter 4
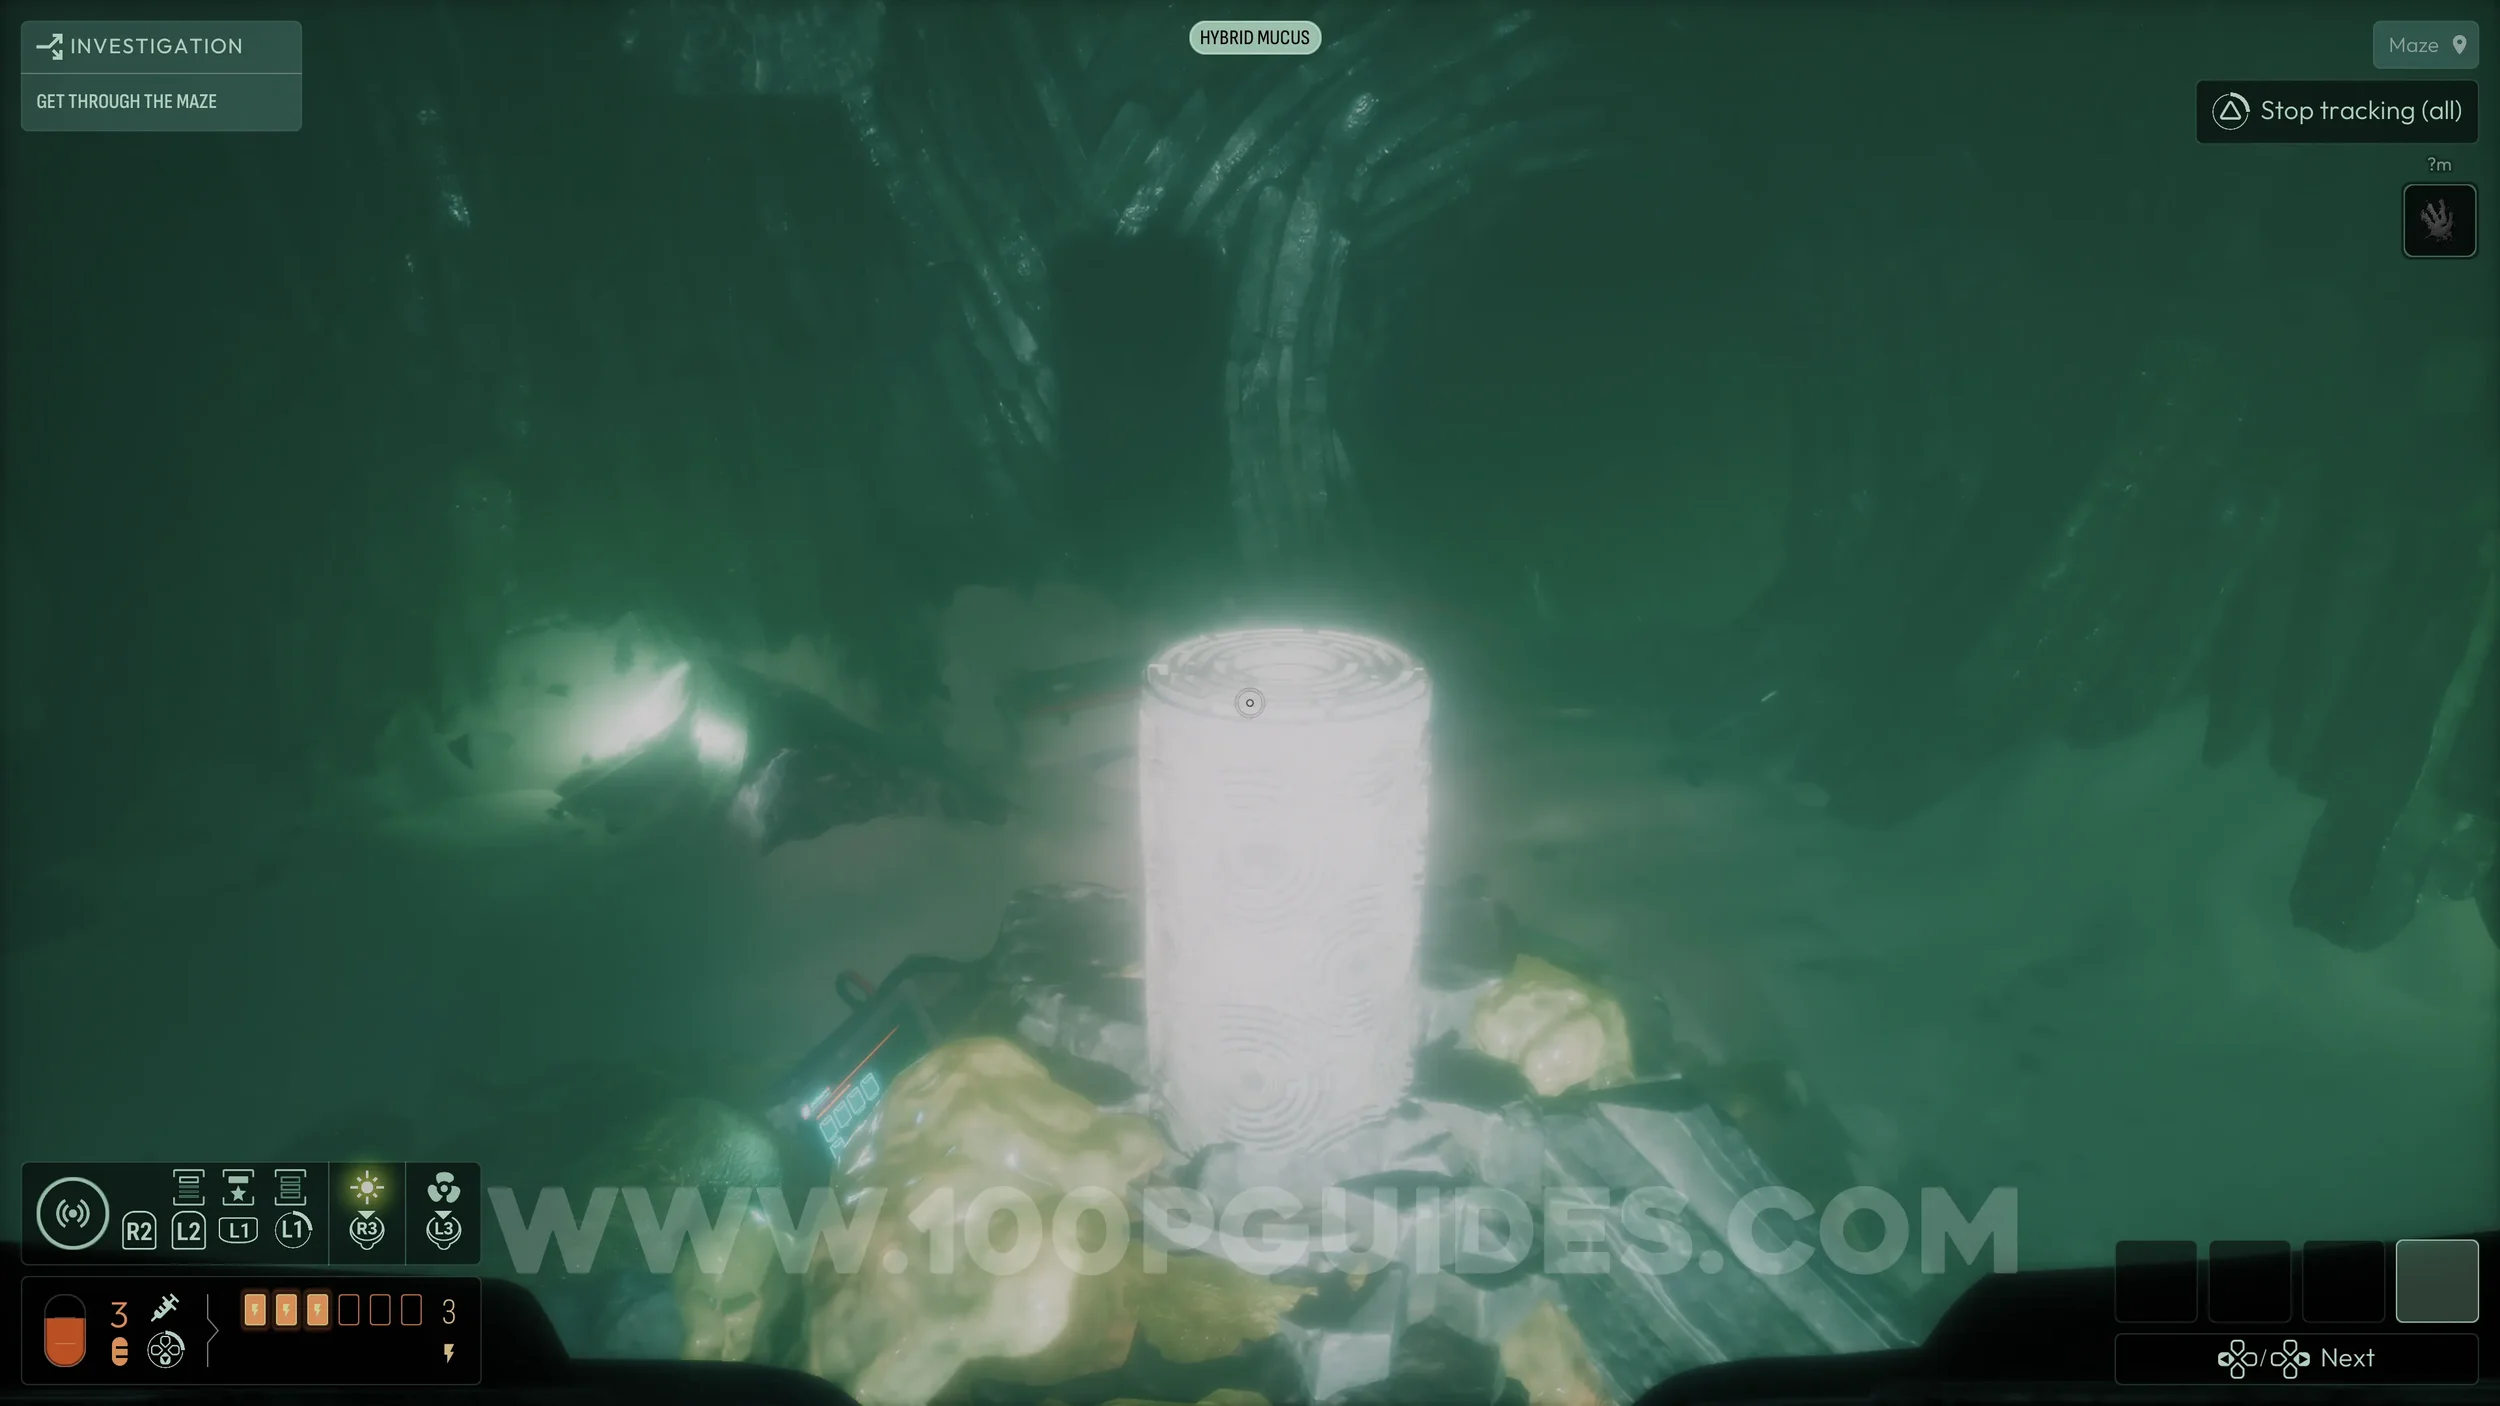
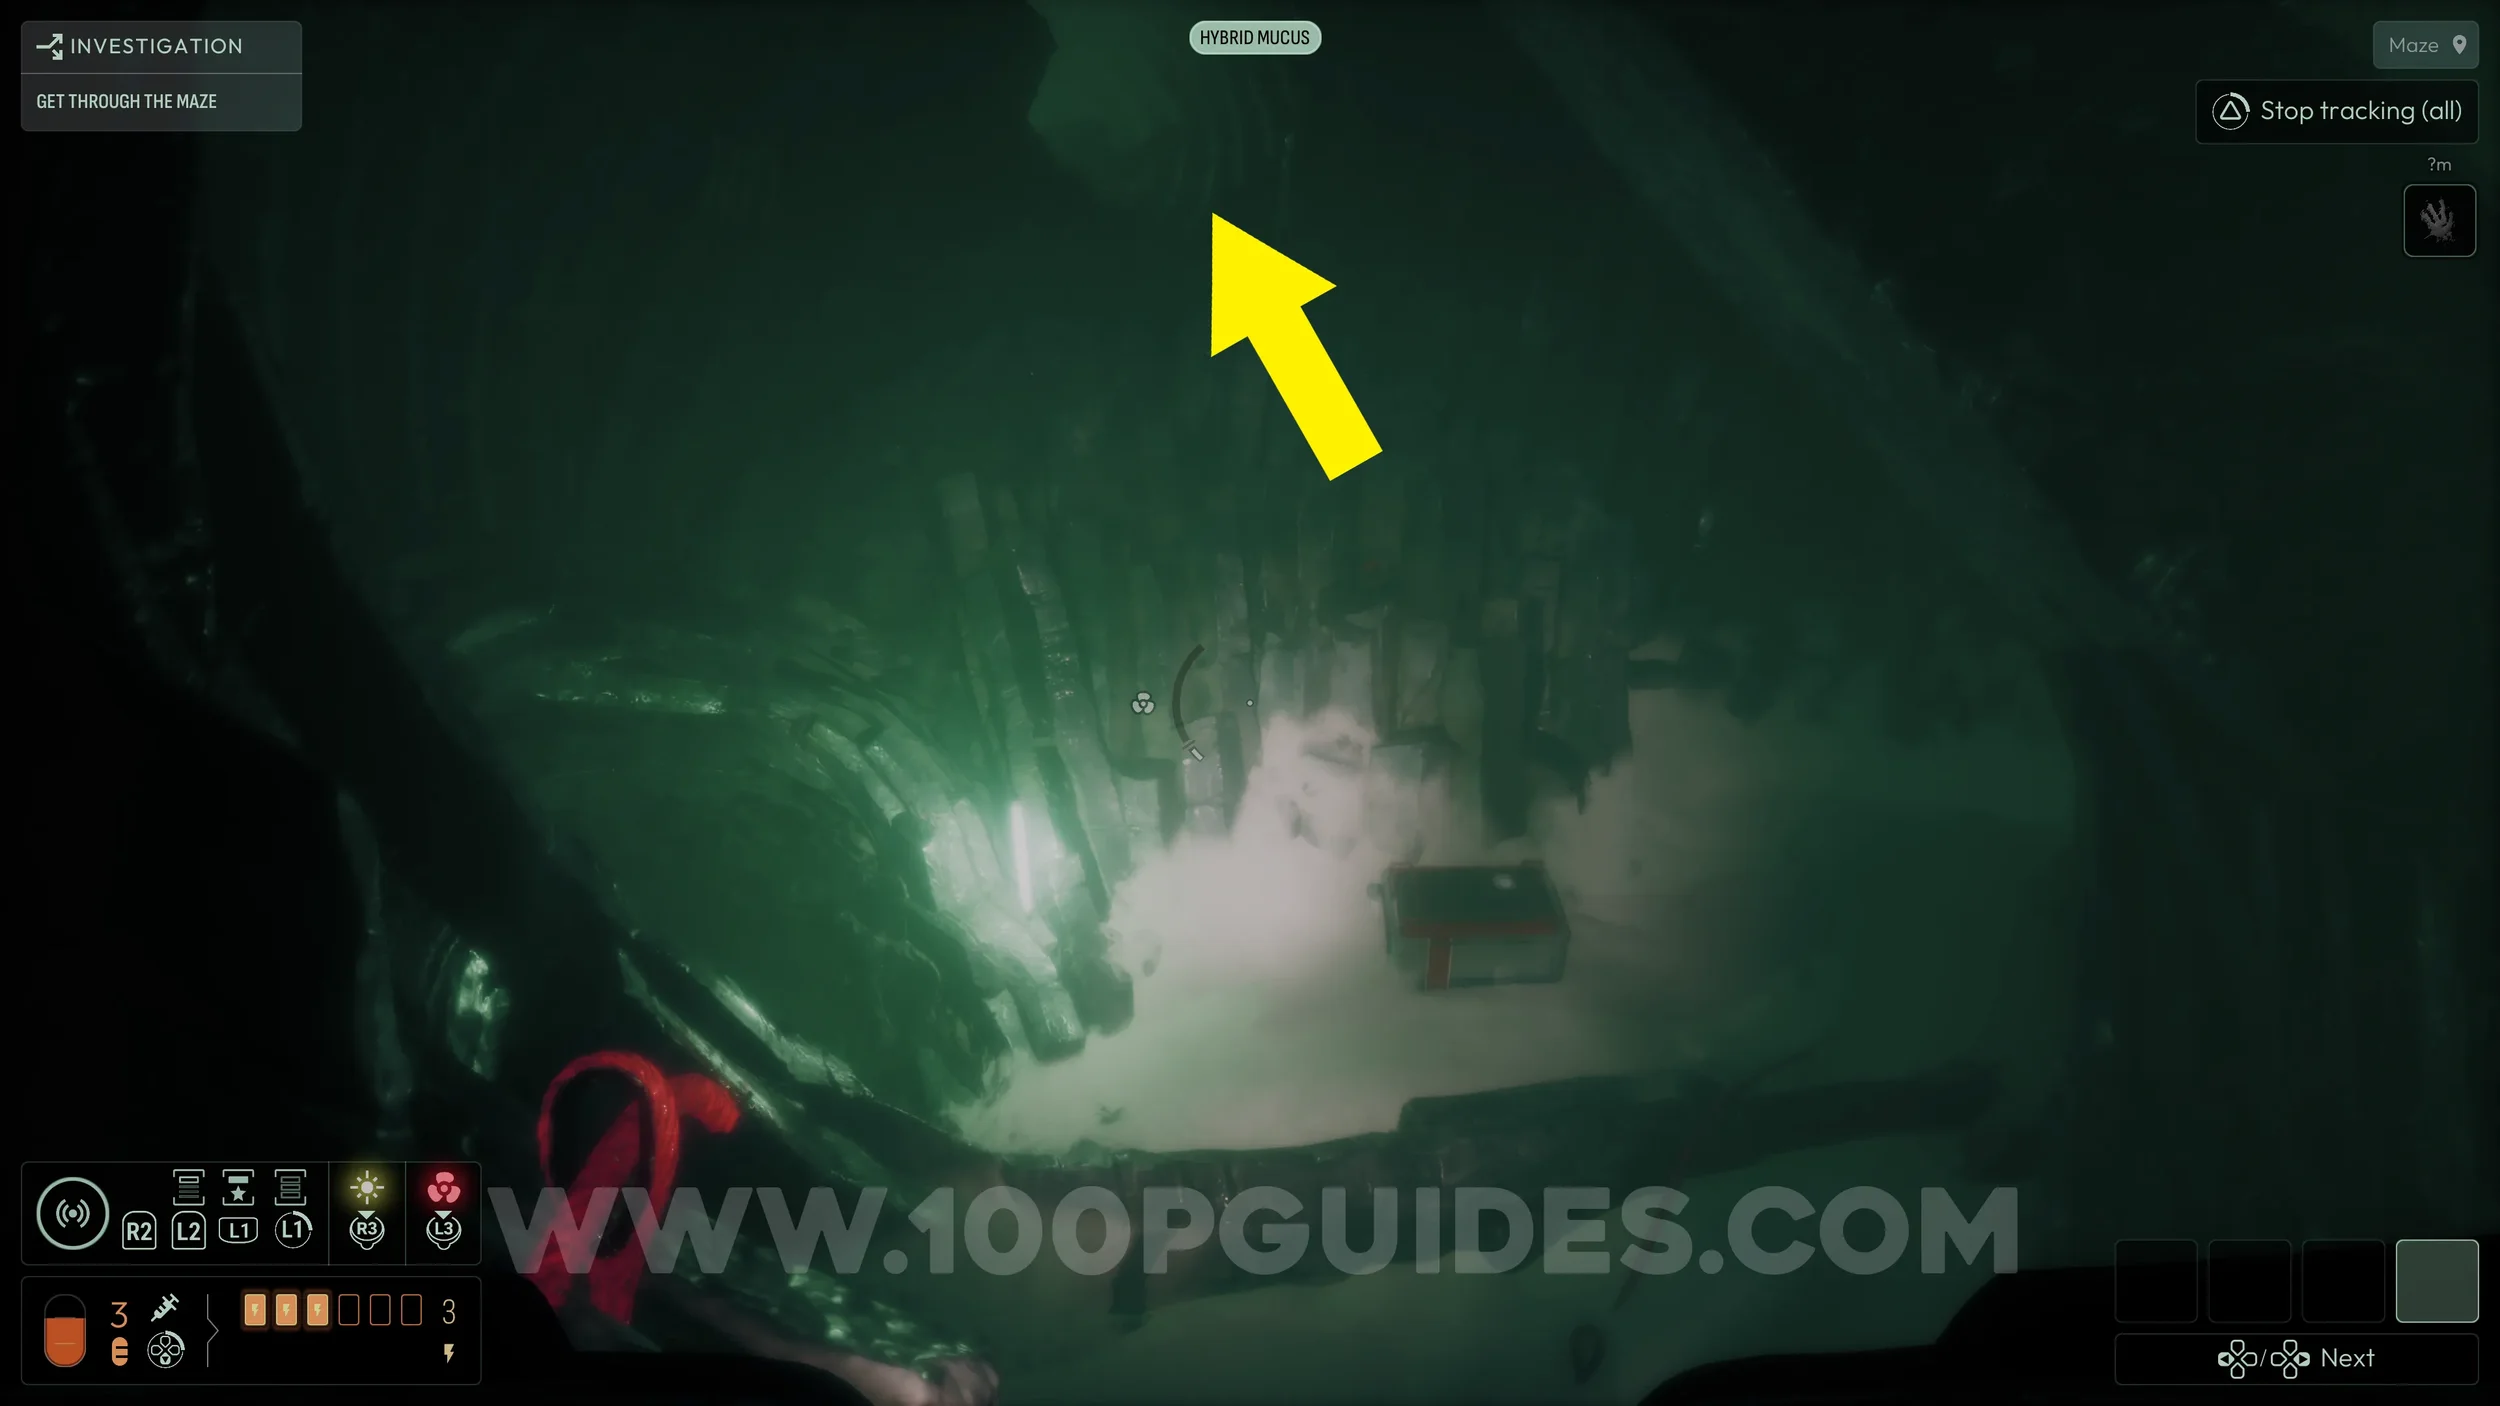
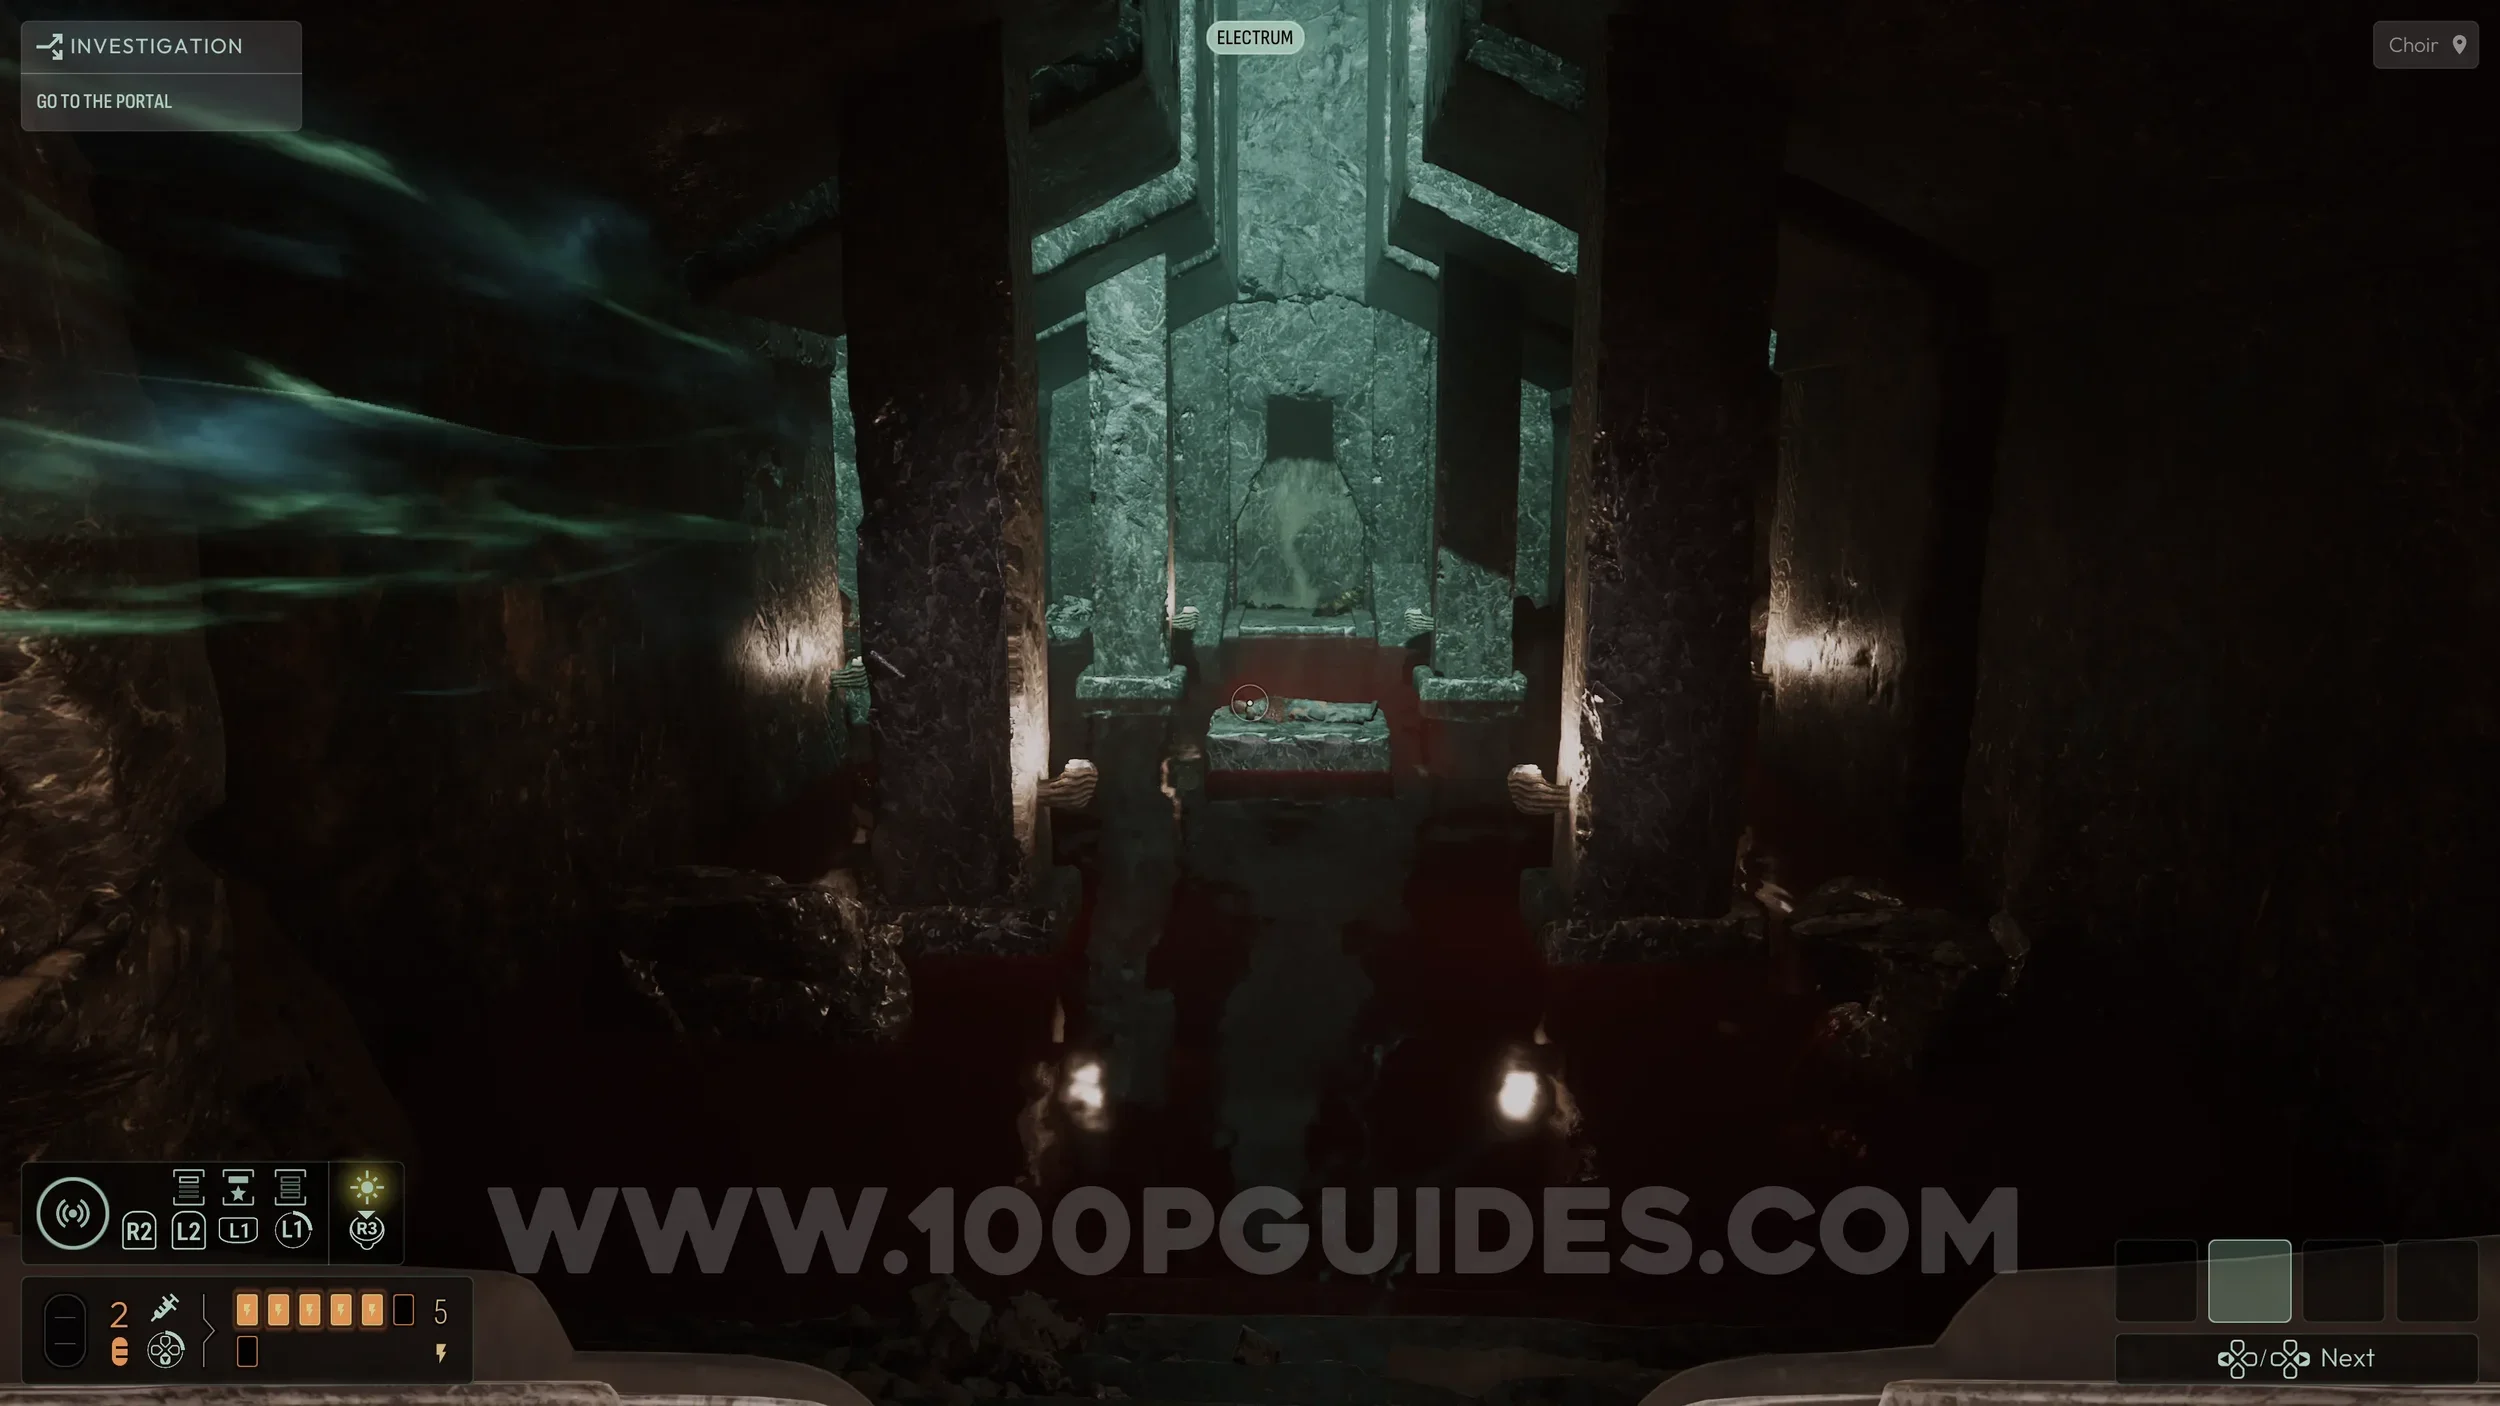
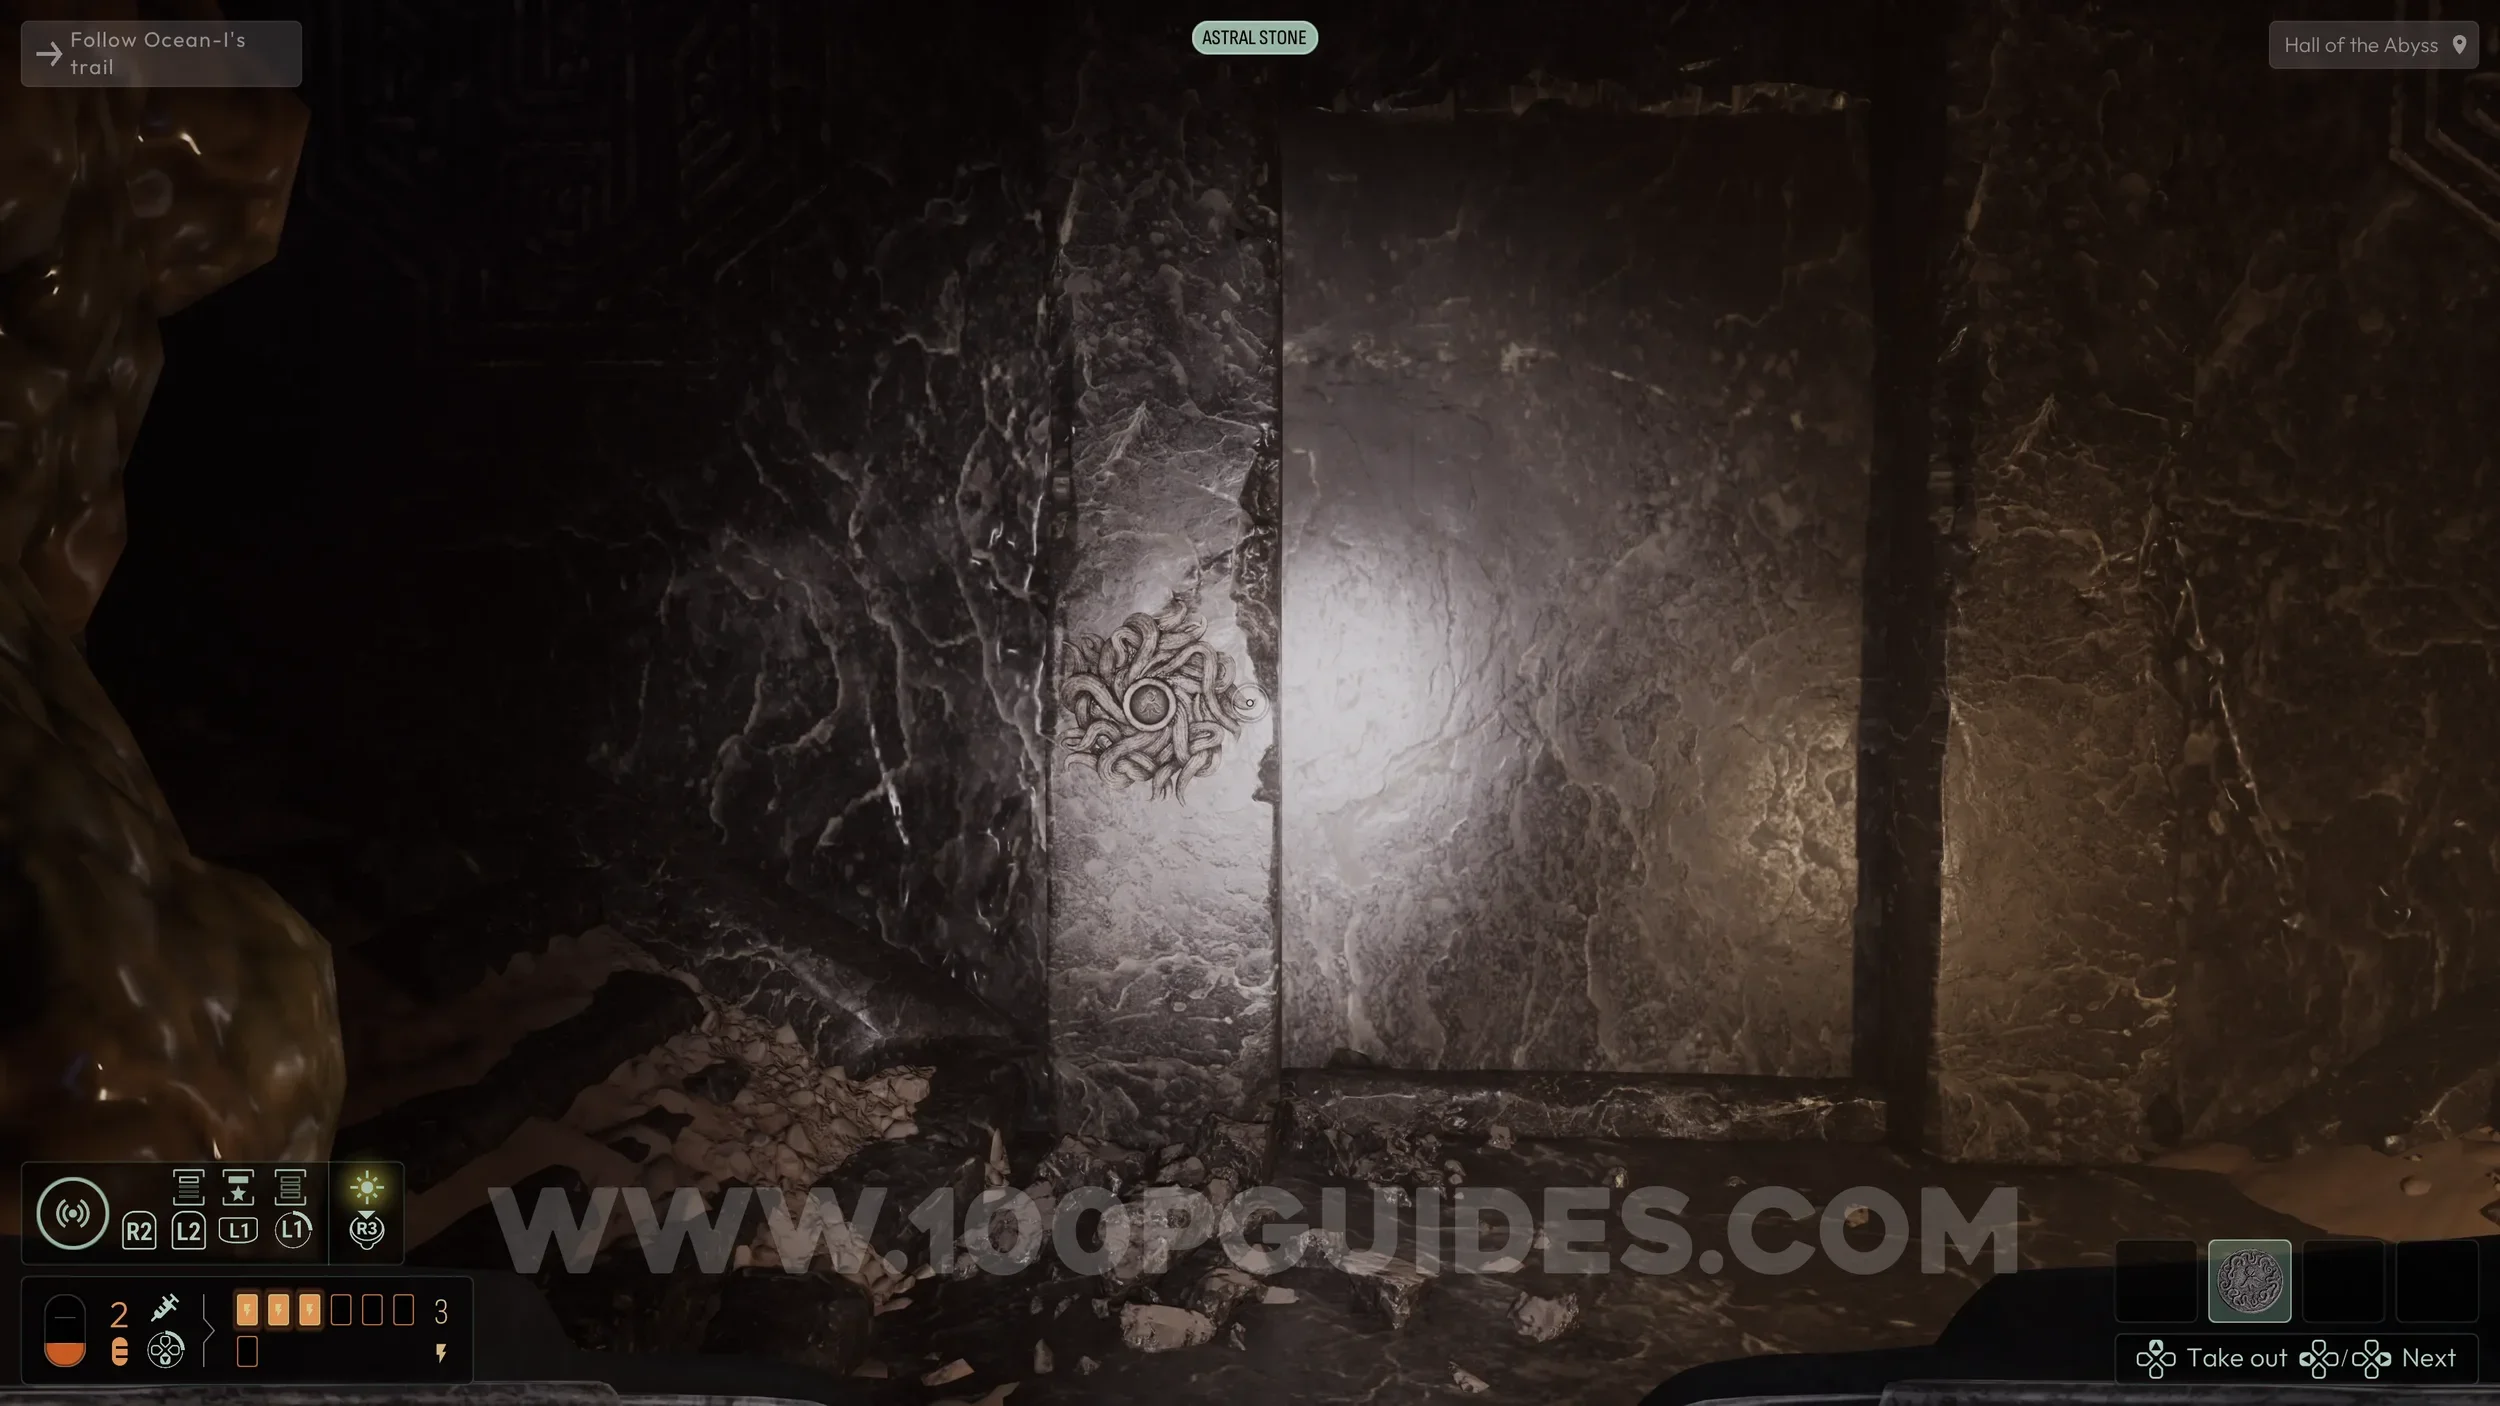
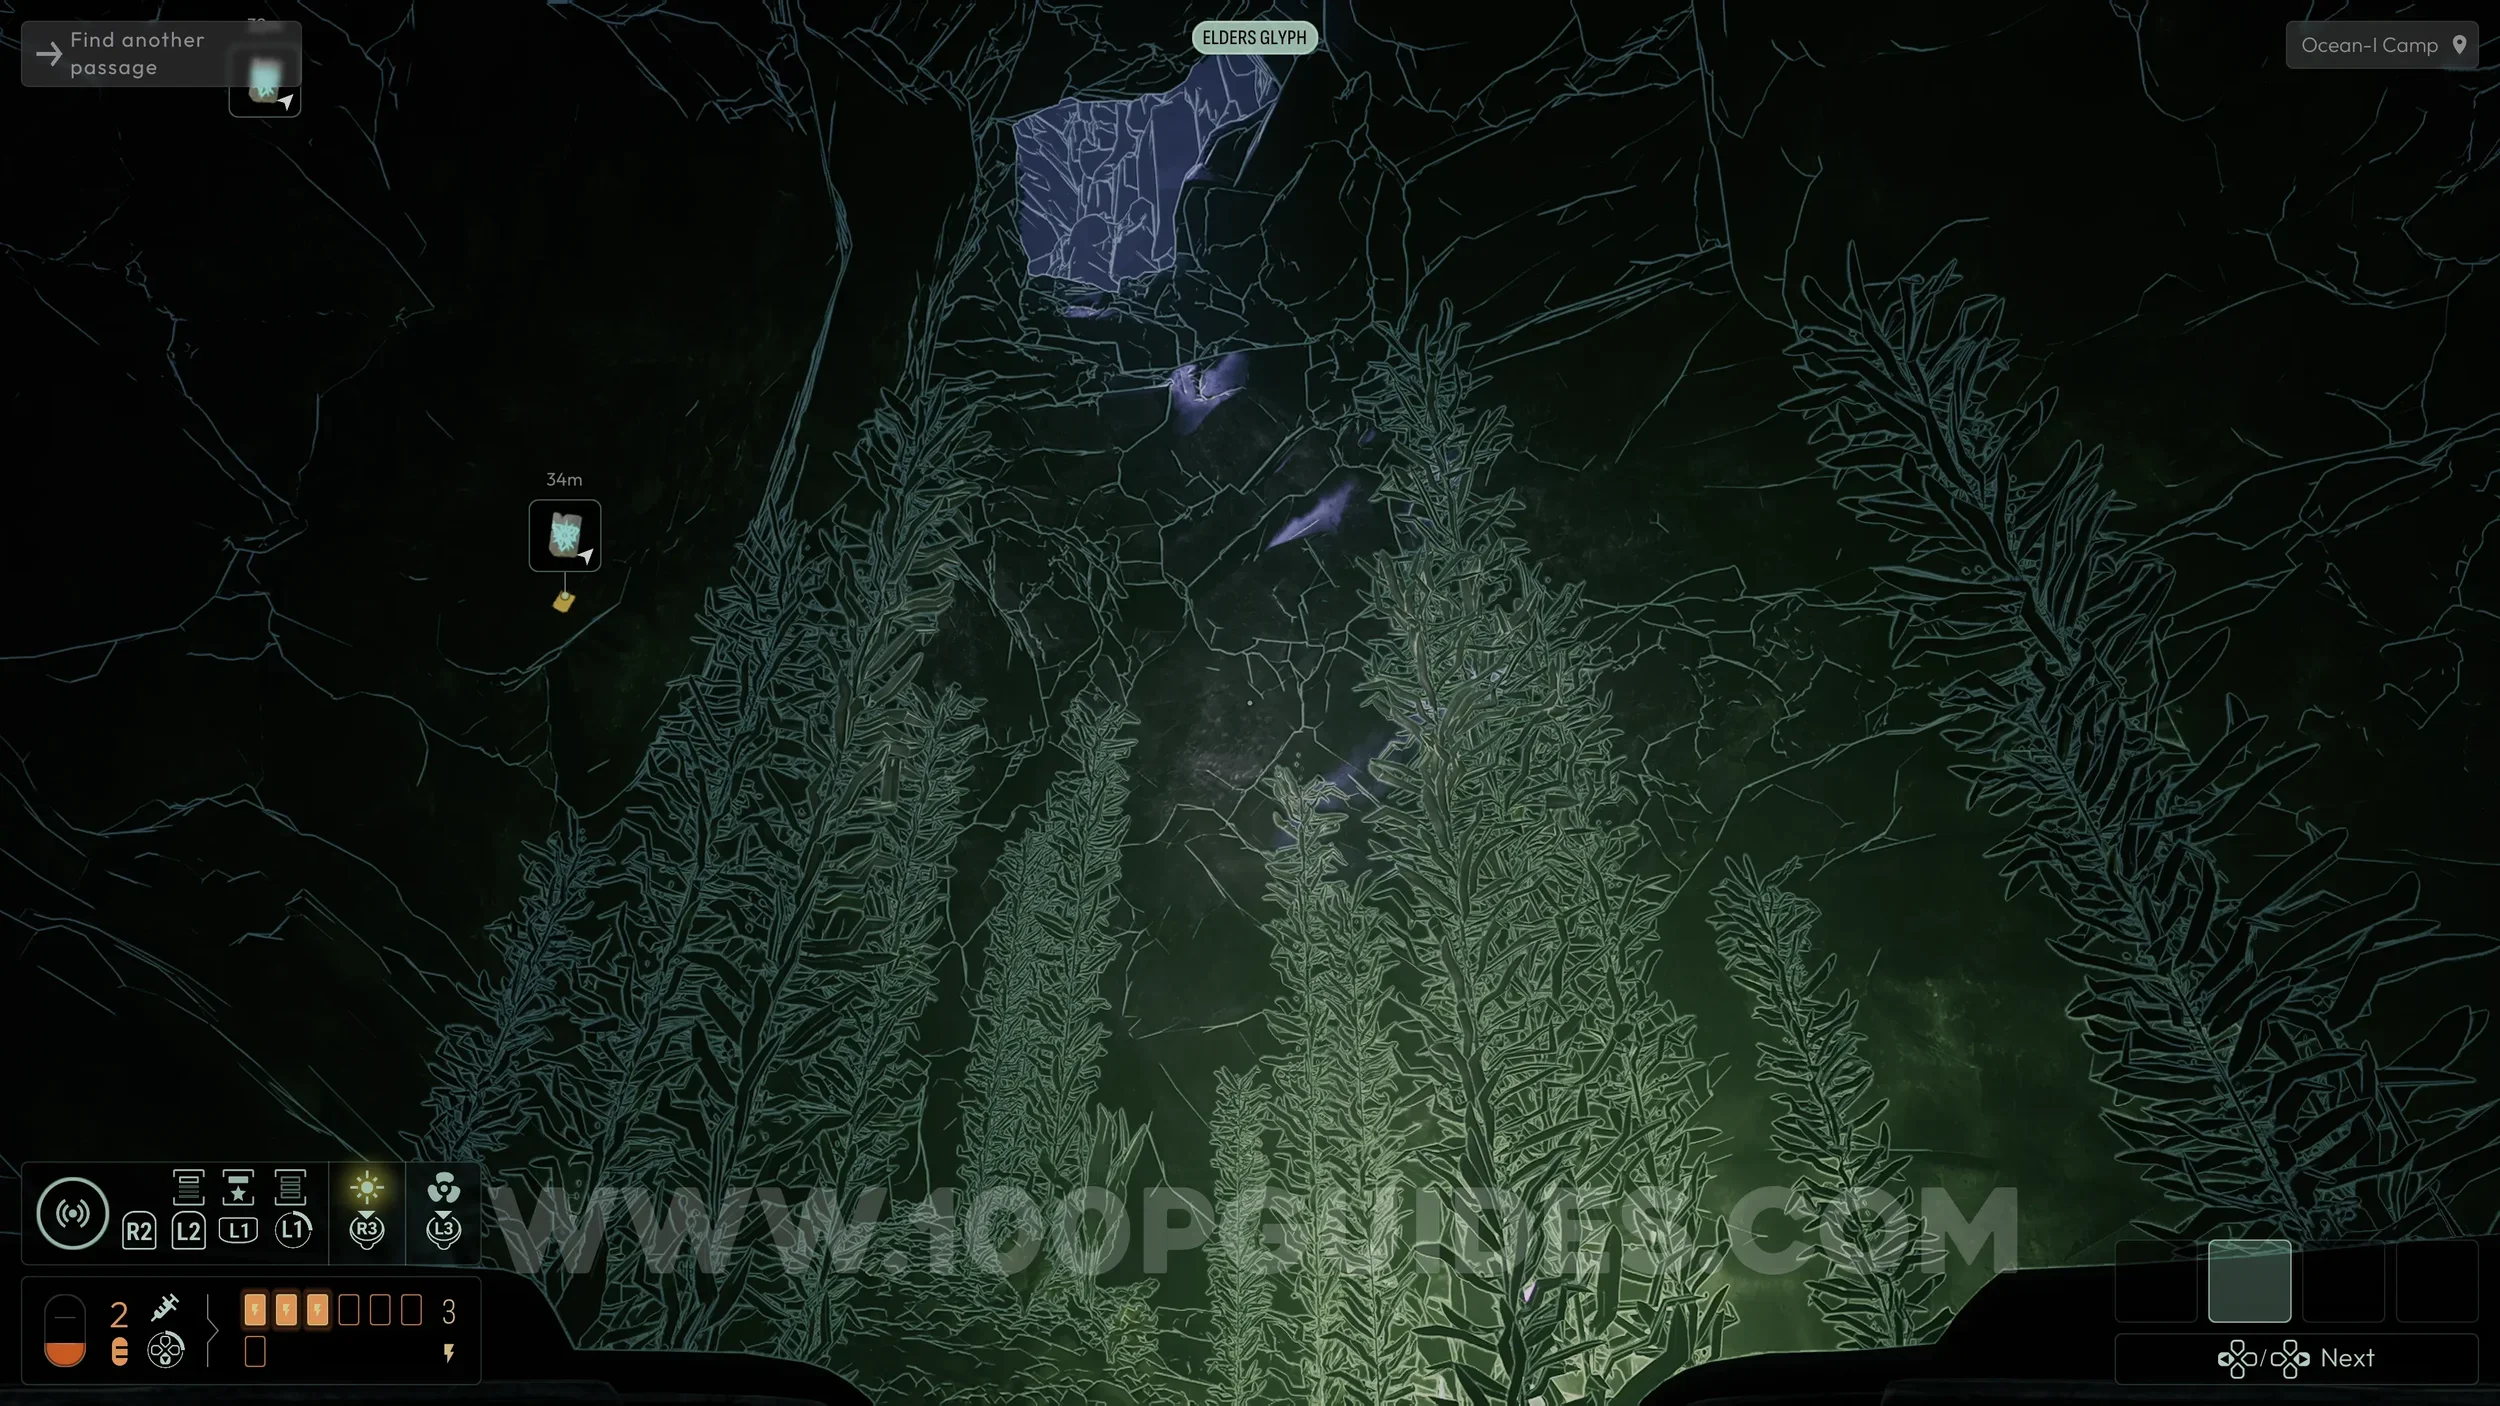
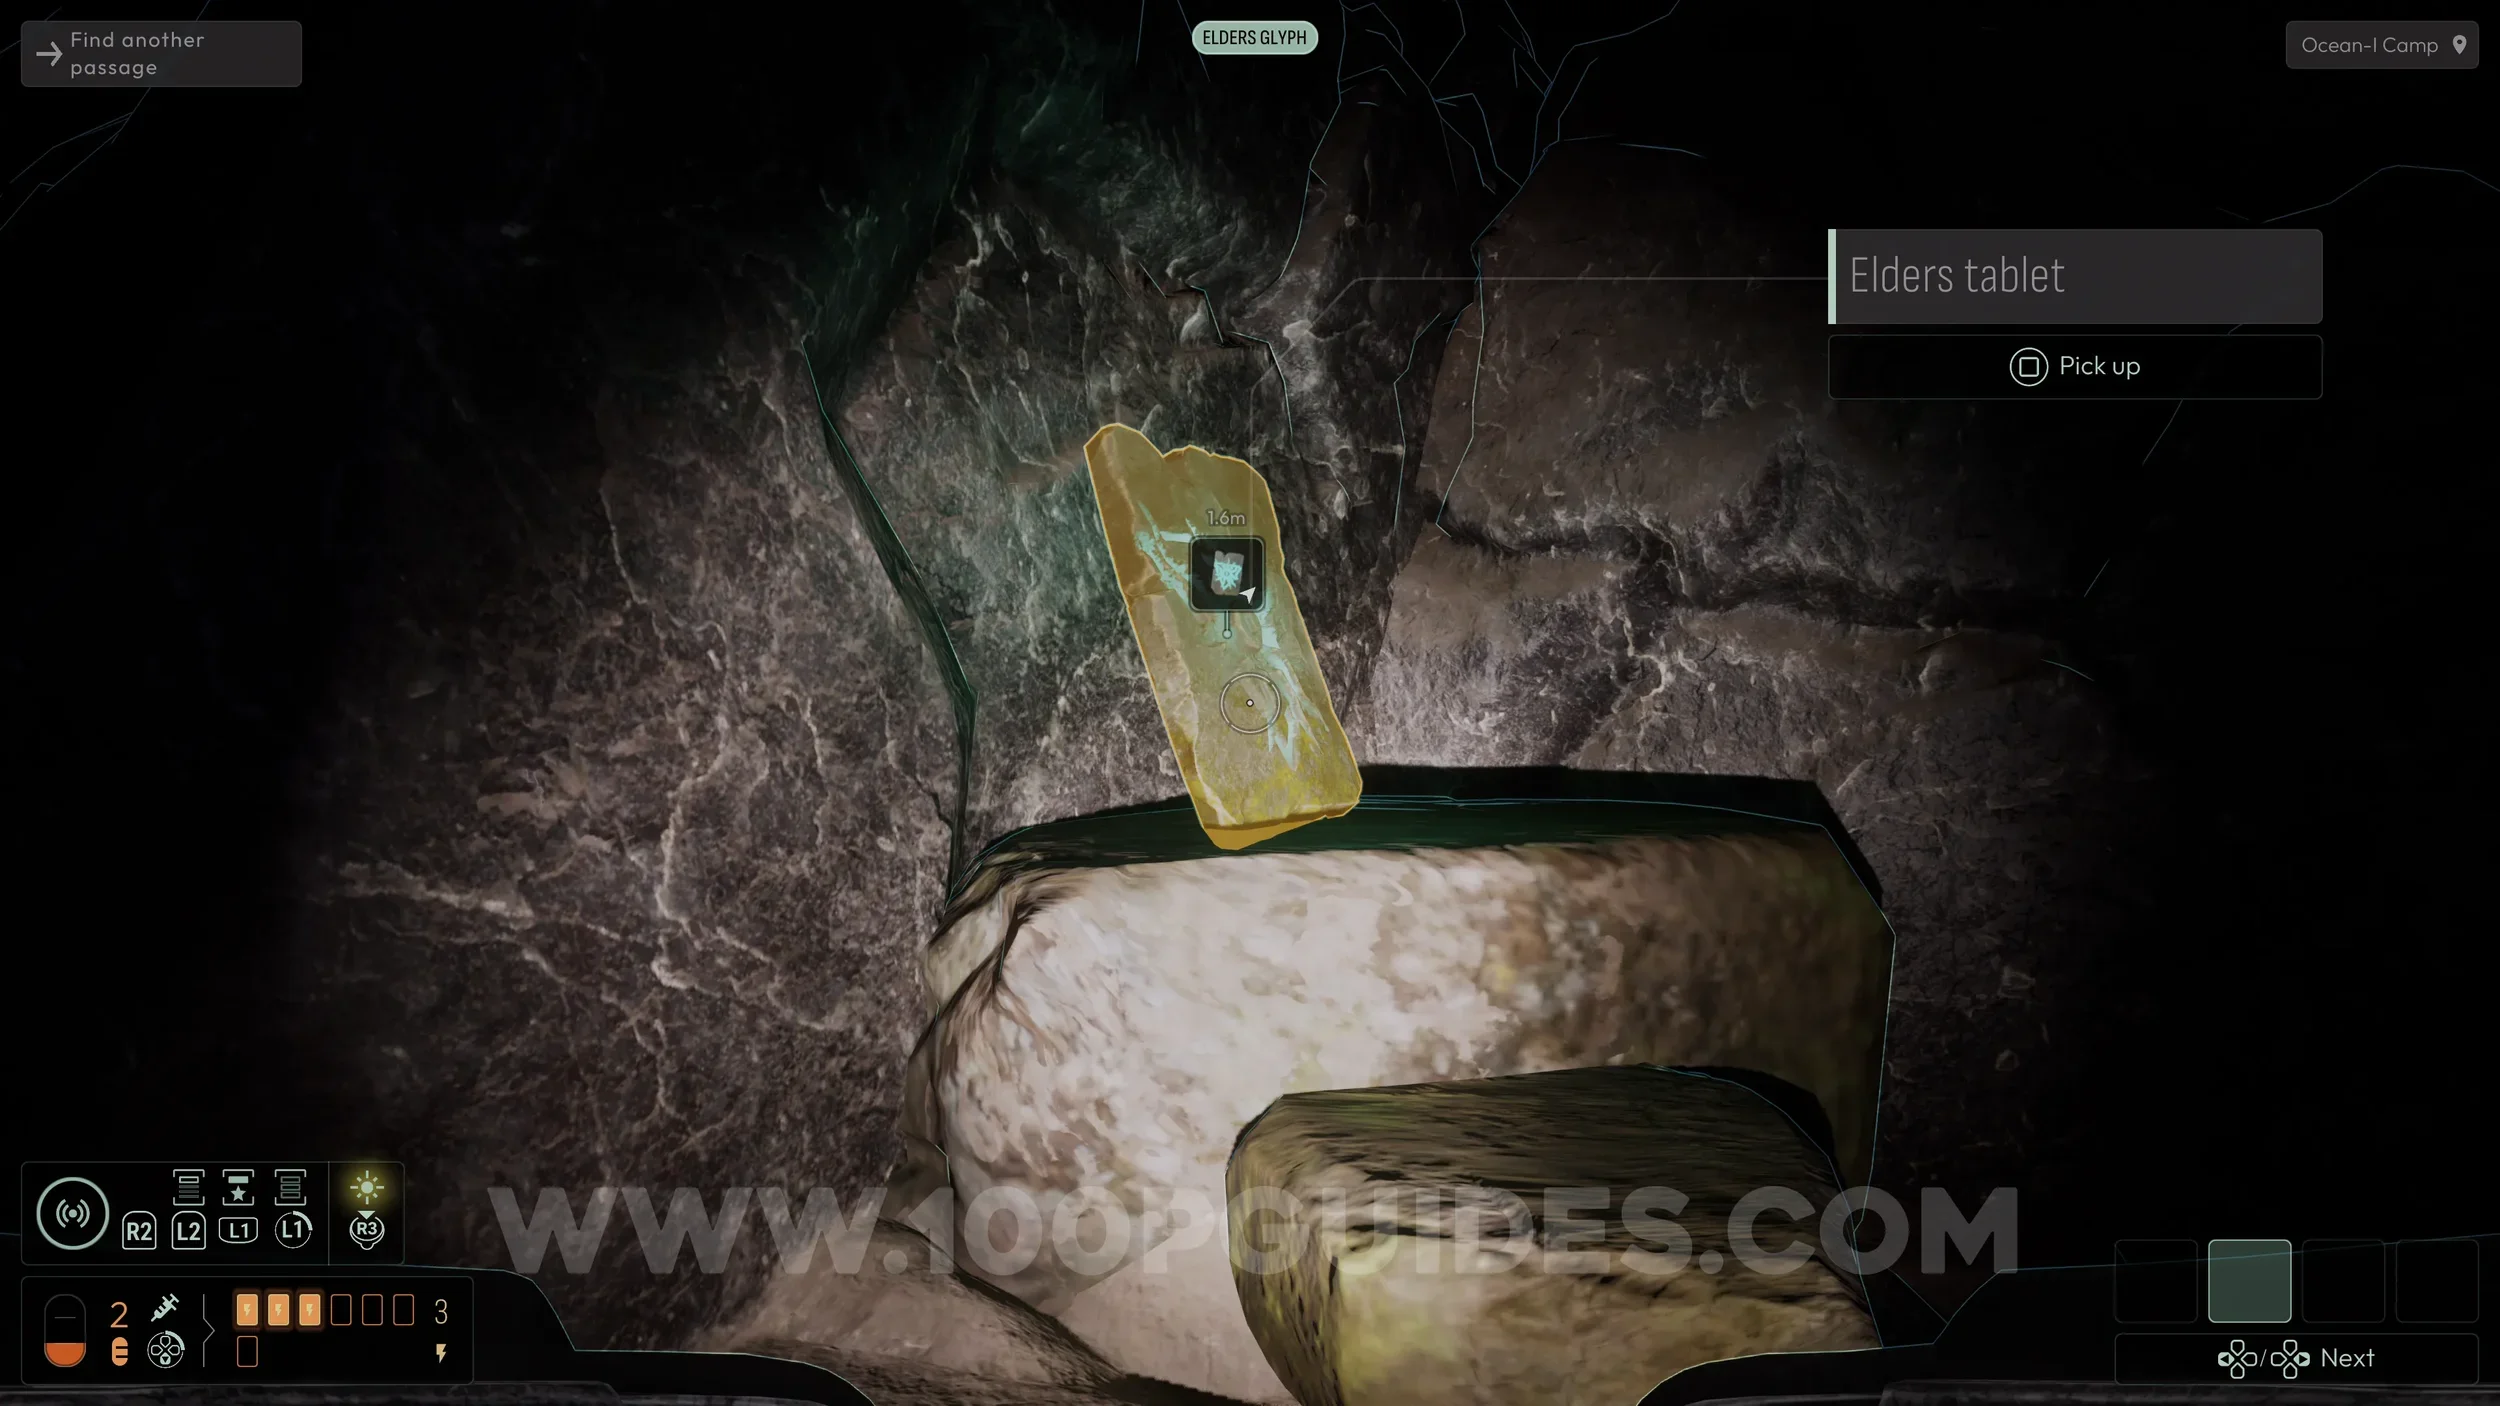
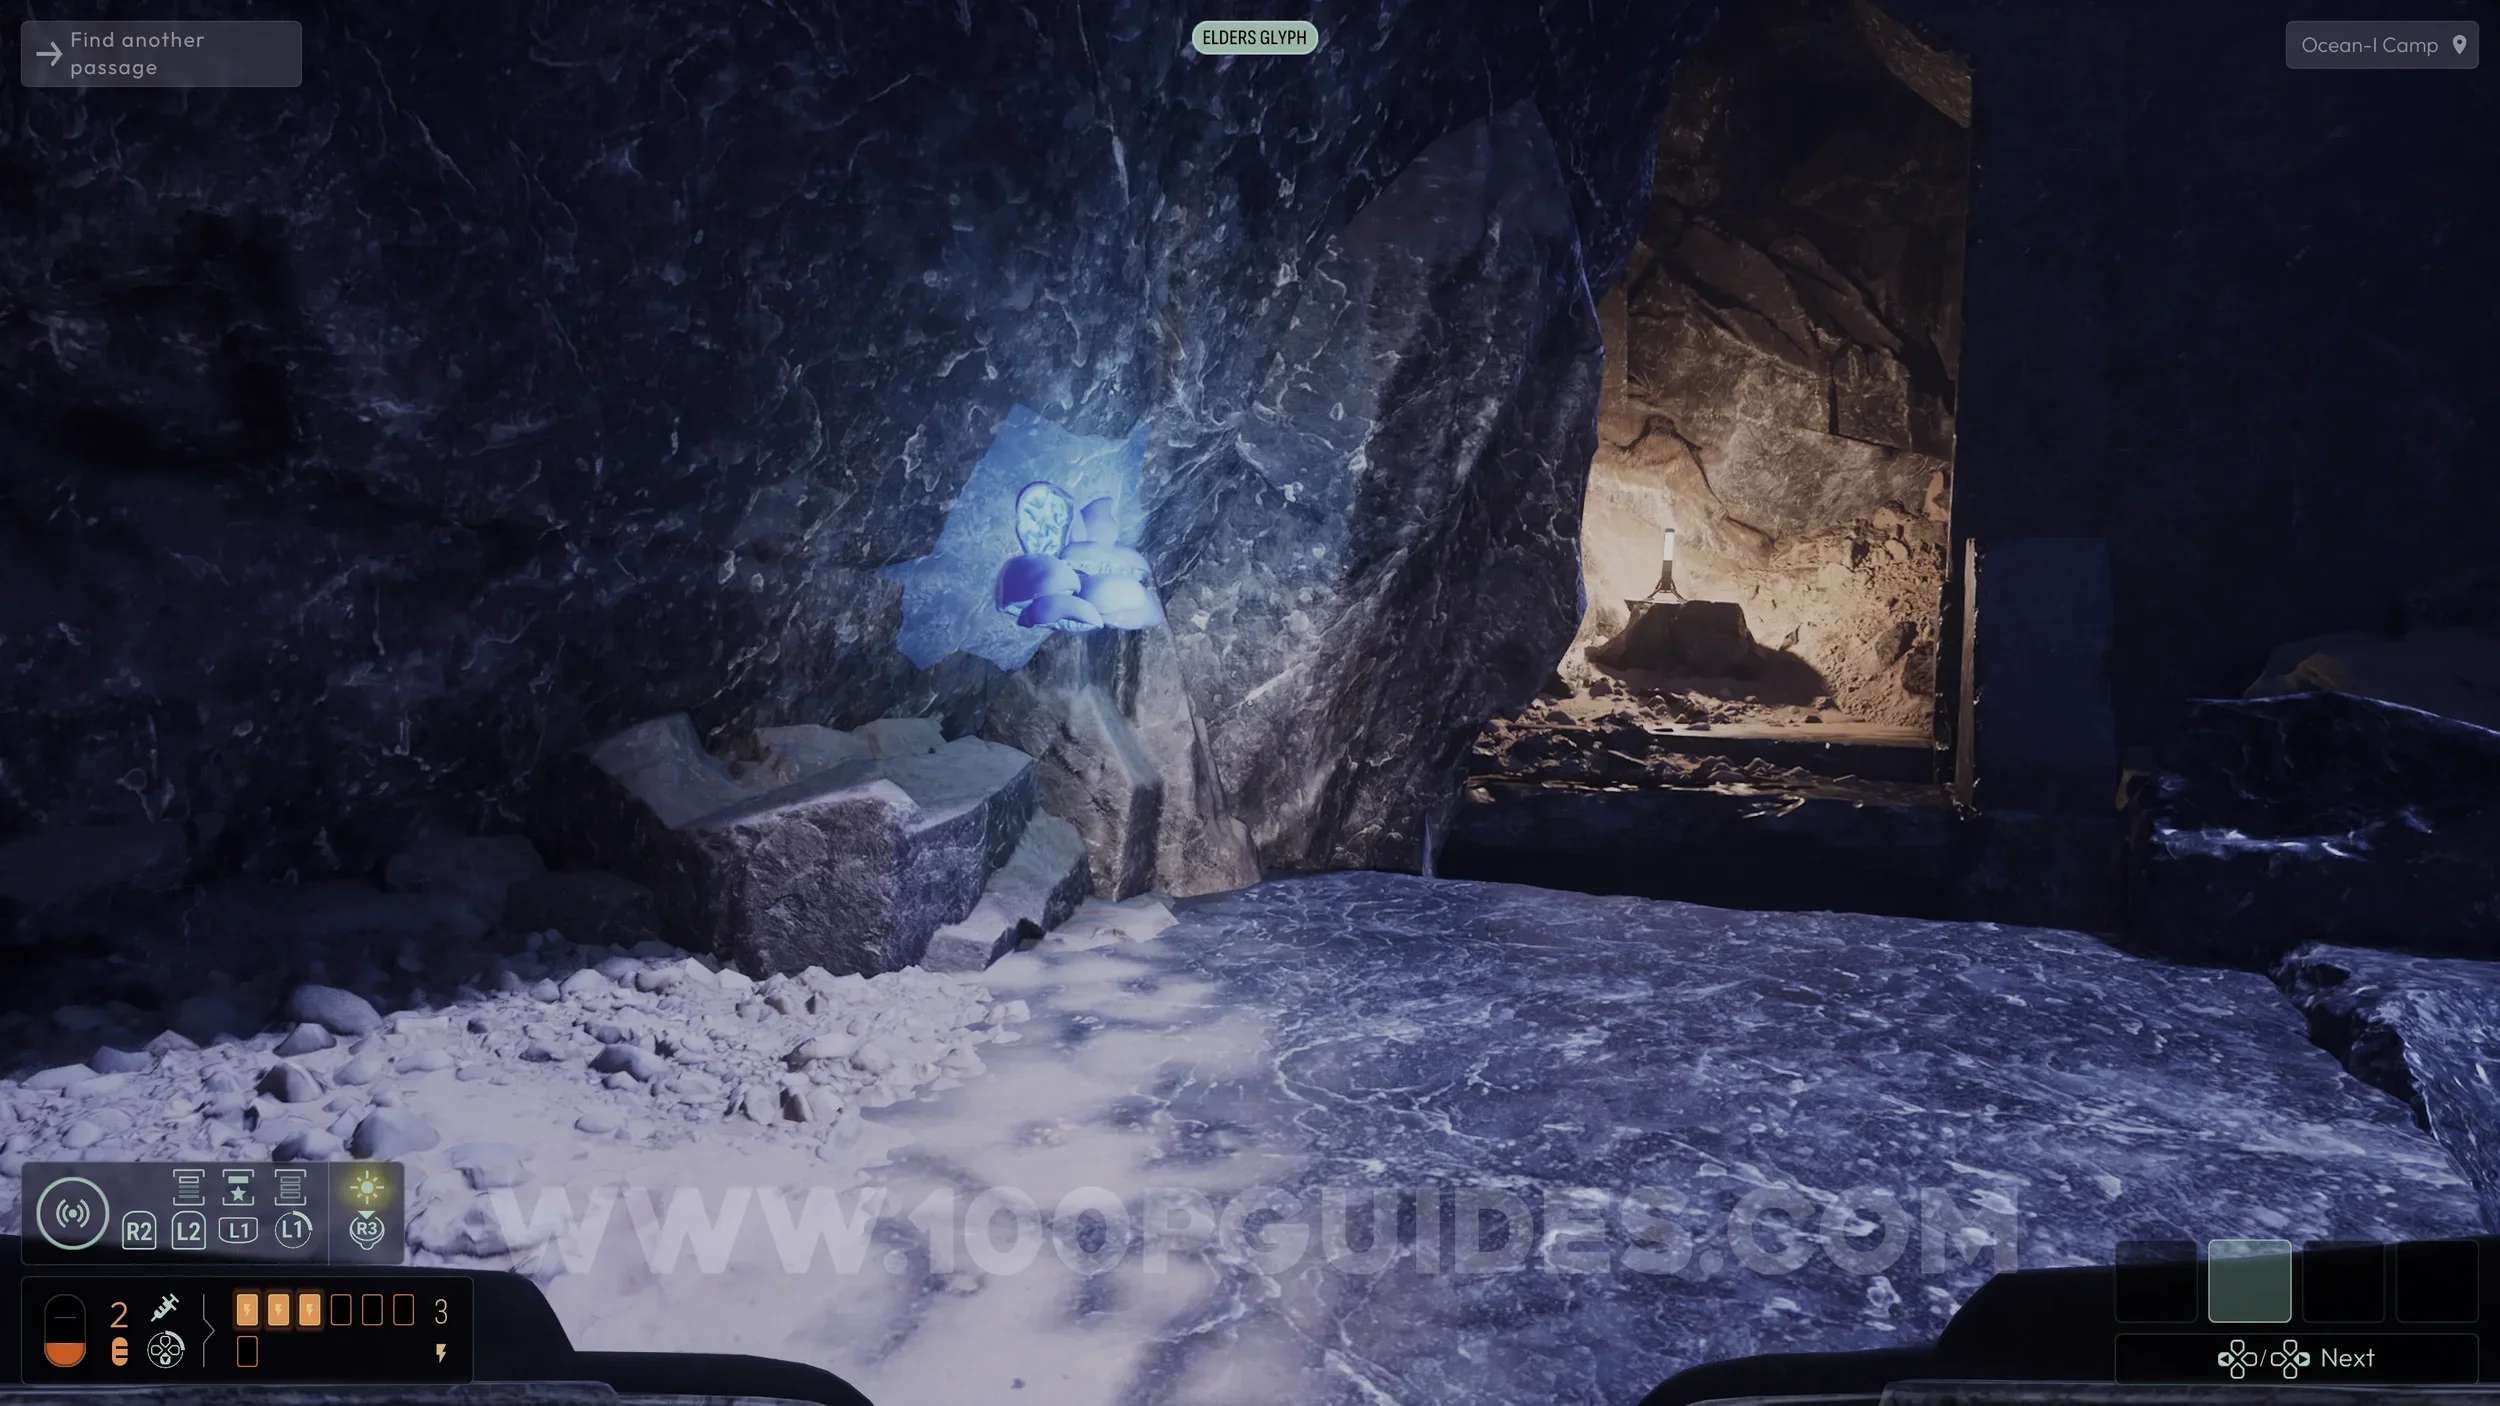
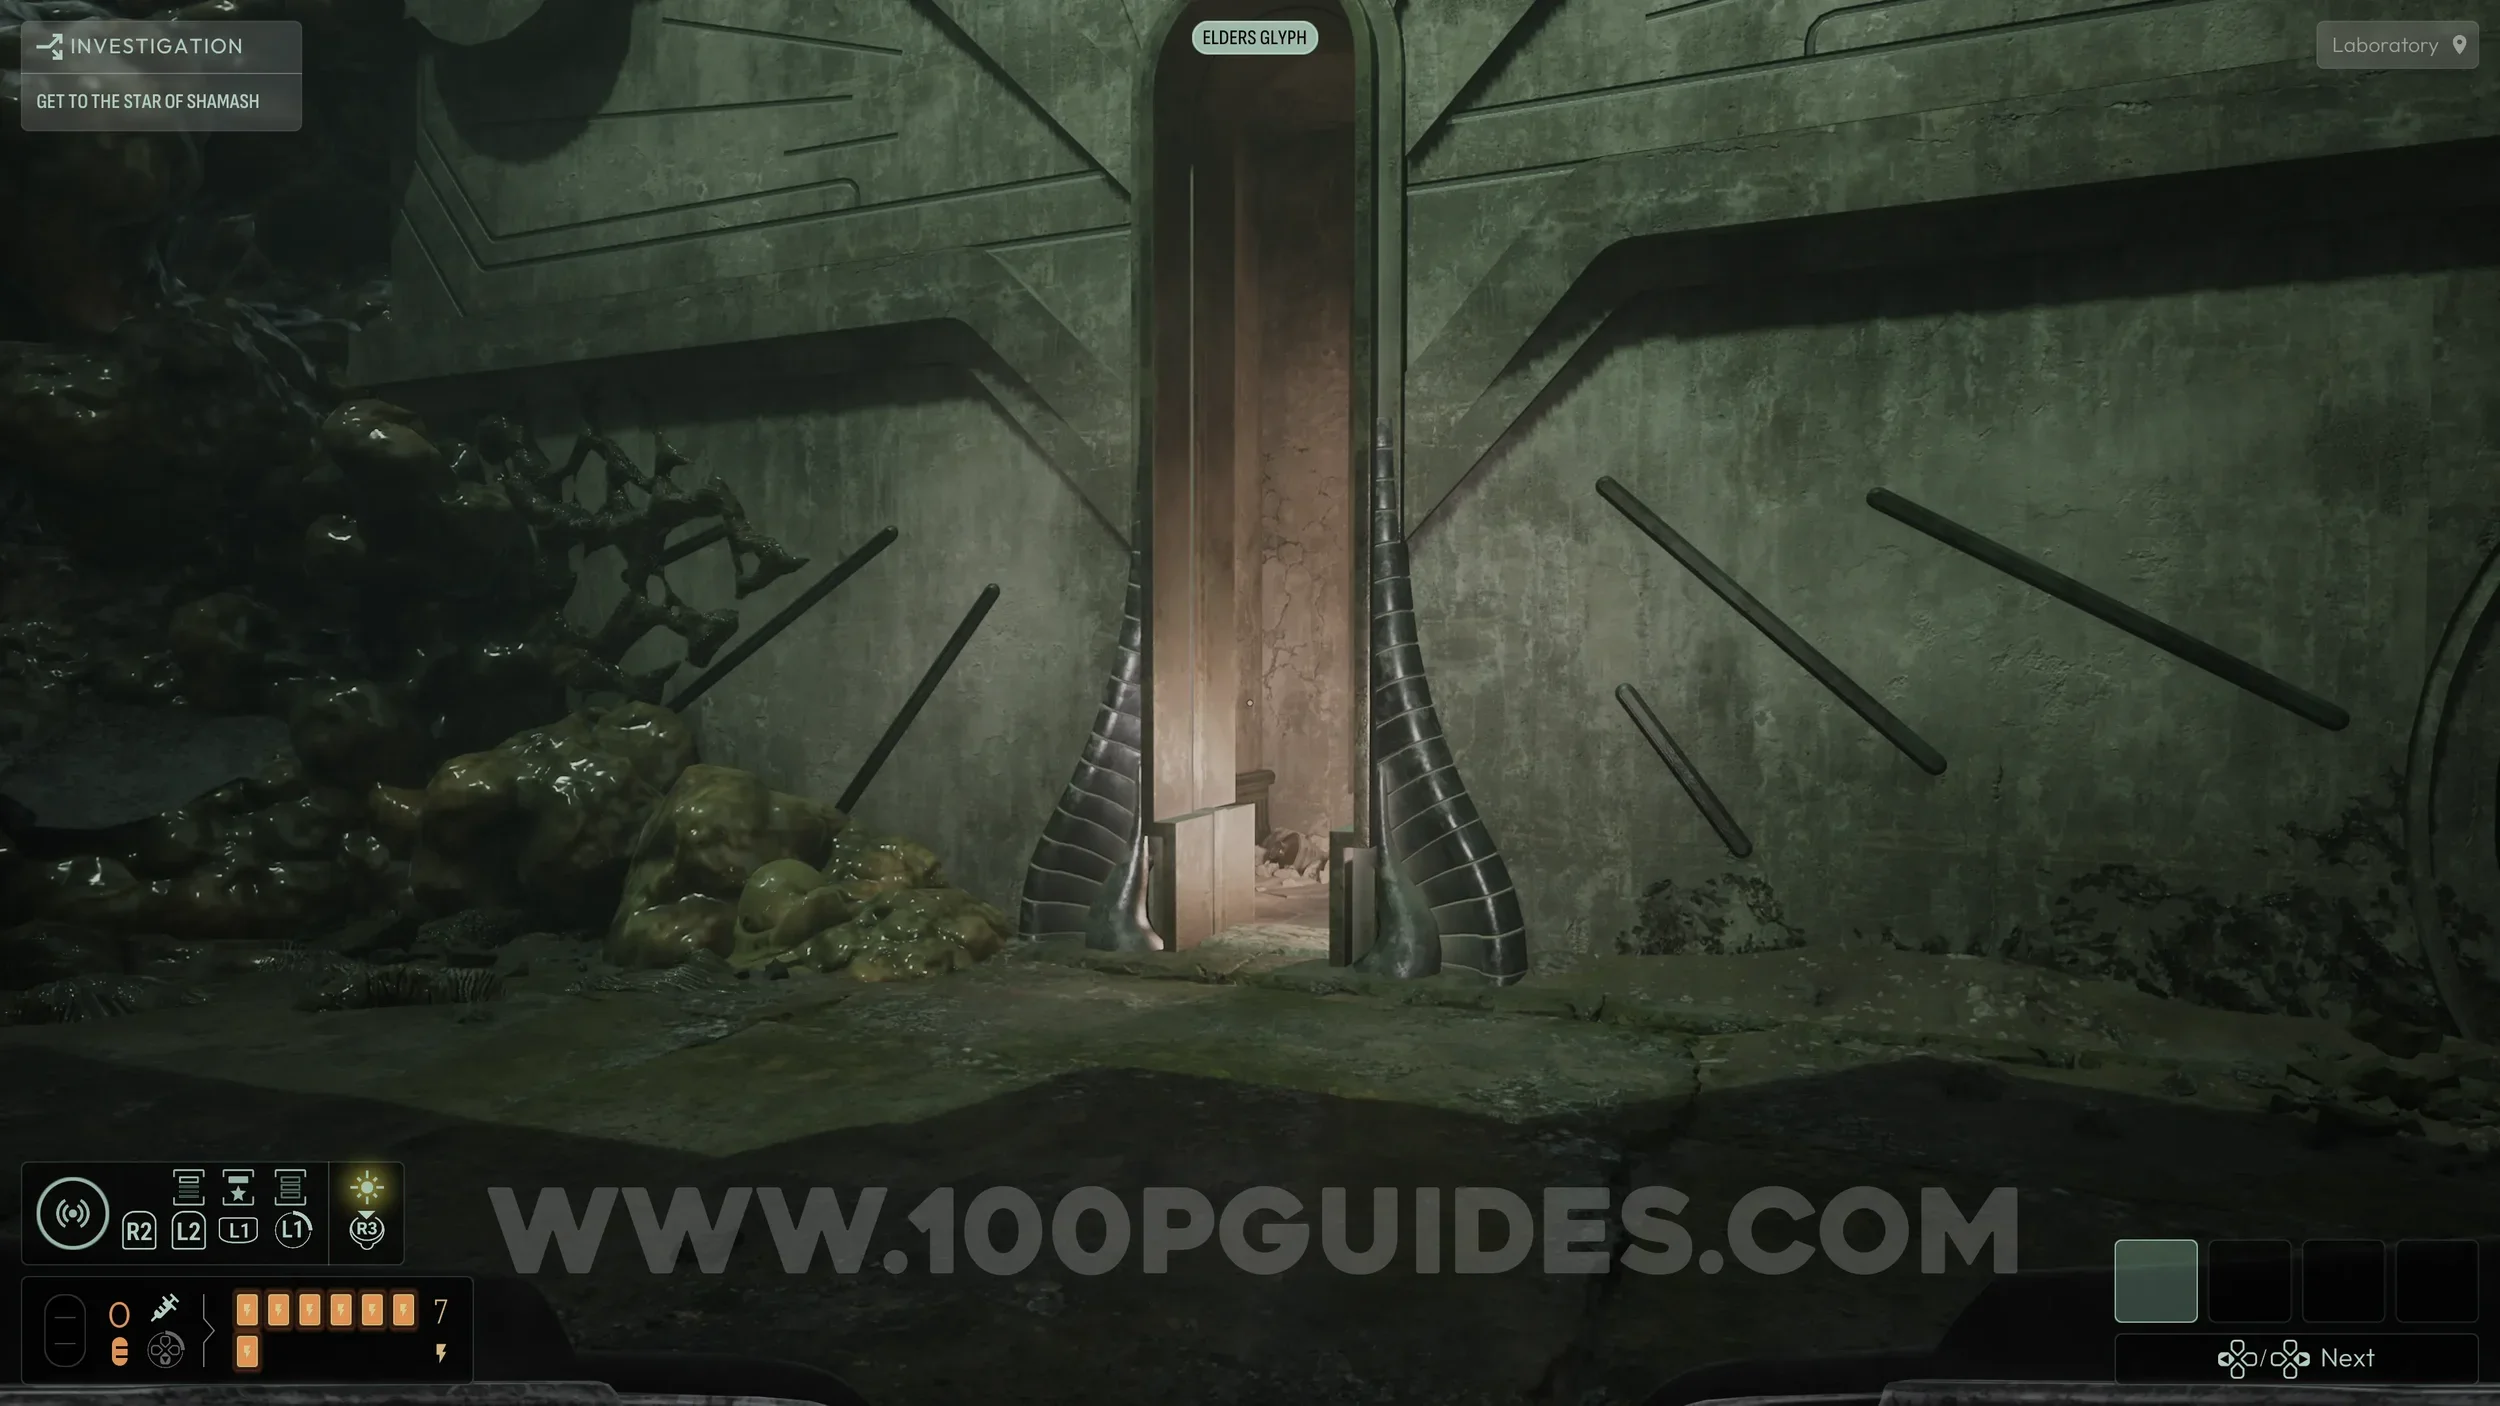
Evolution #6. Near the start of the chapter, you will reach a cave filled with mist. Use the Astral Stone frequency to detect multiple medallions and pick up the one attached to a rock on the left side of the cave.
Continue into the next room, the one with the hole in the middle, and insert the medallion into the slot on the left wall. This opens a hidden room where you will find the collectible.
Evolution #7. From the previous collectible, jump down the hole in the center of the room and continue forward until you reach a small camp with a pool of water beside it. Jump in and dive down, then swim to the left side and look for an opening above you. Swim up through it and surface.
Once at the top, head right into the small cave to find the next evolution.
Energy Upgrade #2. From the previous collectible, turn around and head back past the opening with water you emerged from. You will see the upgrade straight ahead.
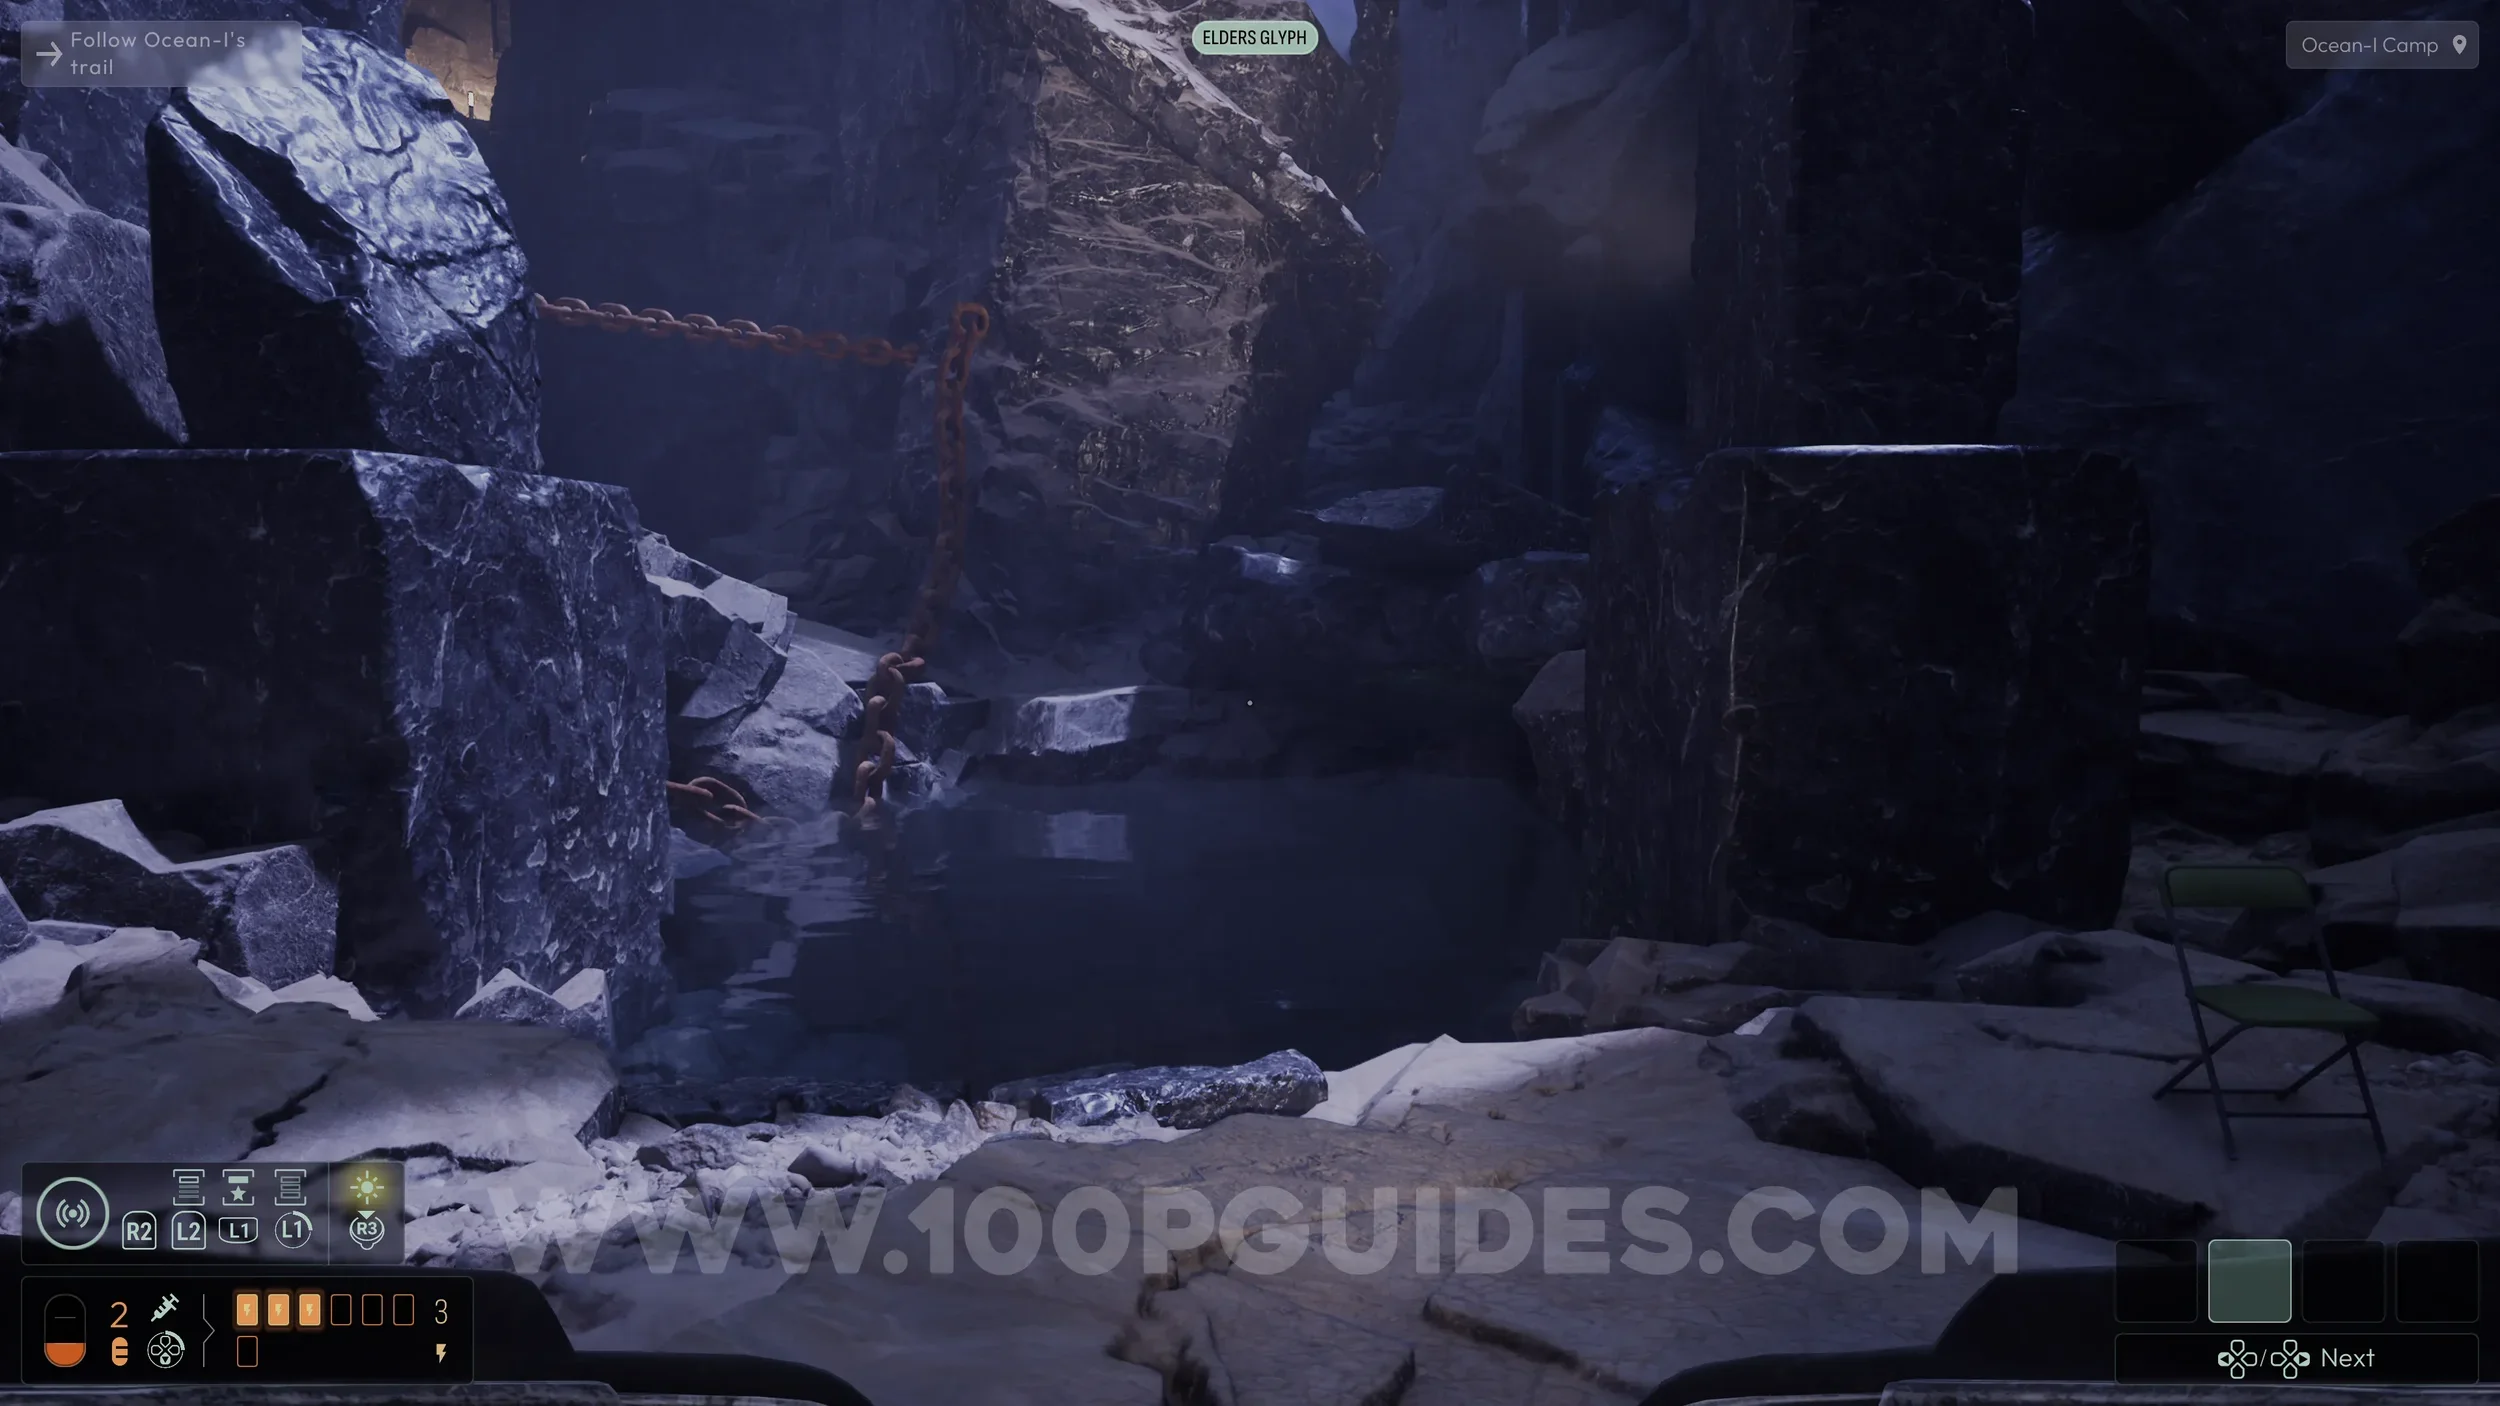
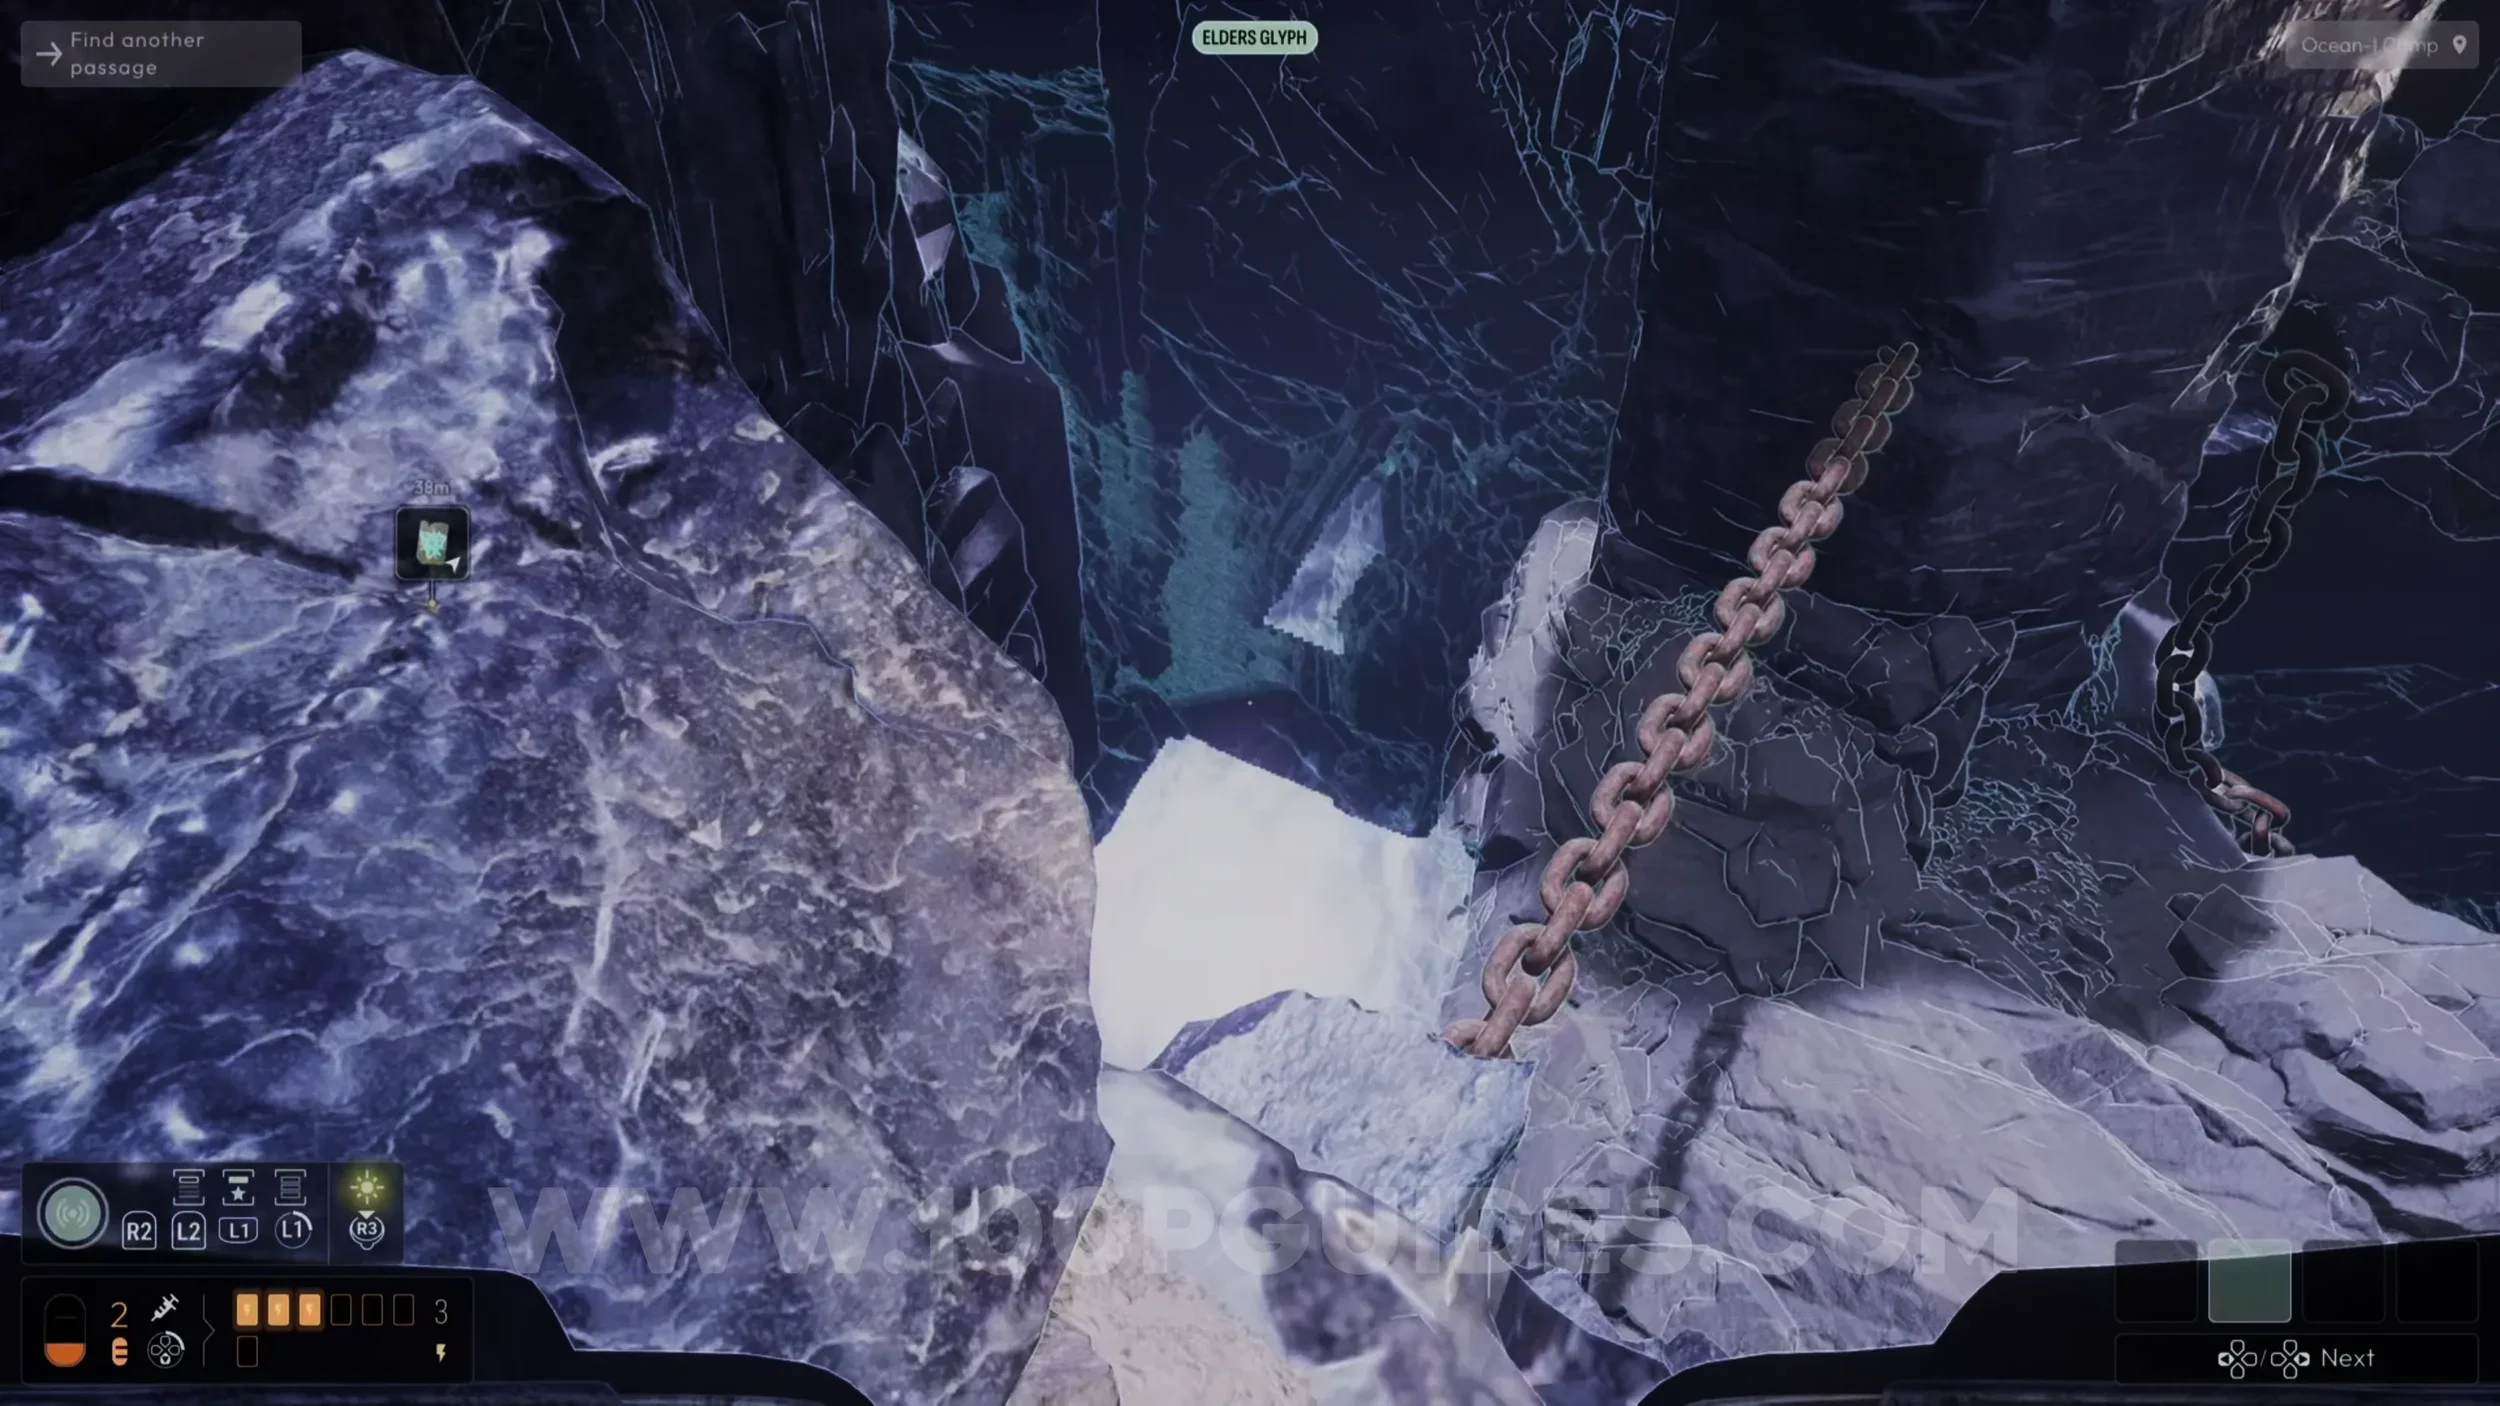
Evolution #8. From the previous upgrade, look down into the water on your right to spot a large chain. Drop onto the small ledge attached to it to break the chain and release it.
This will allow you to dive into the water and continue. Once underwater, look behind the column on your left to find the next evolution.
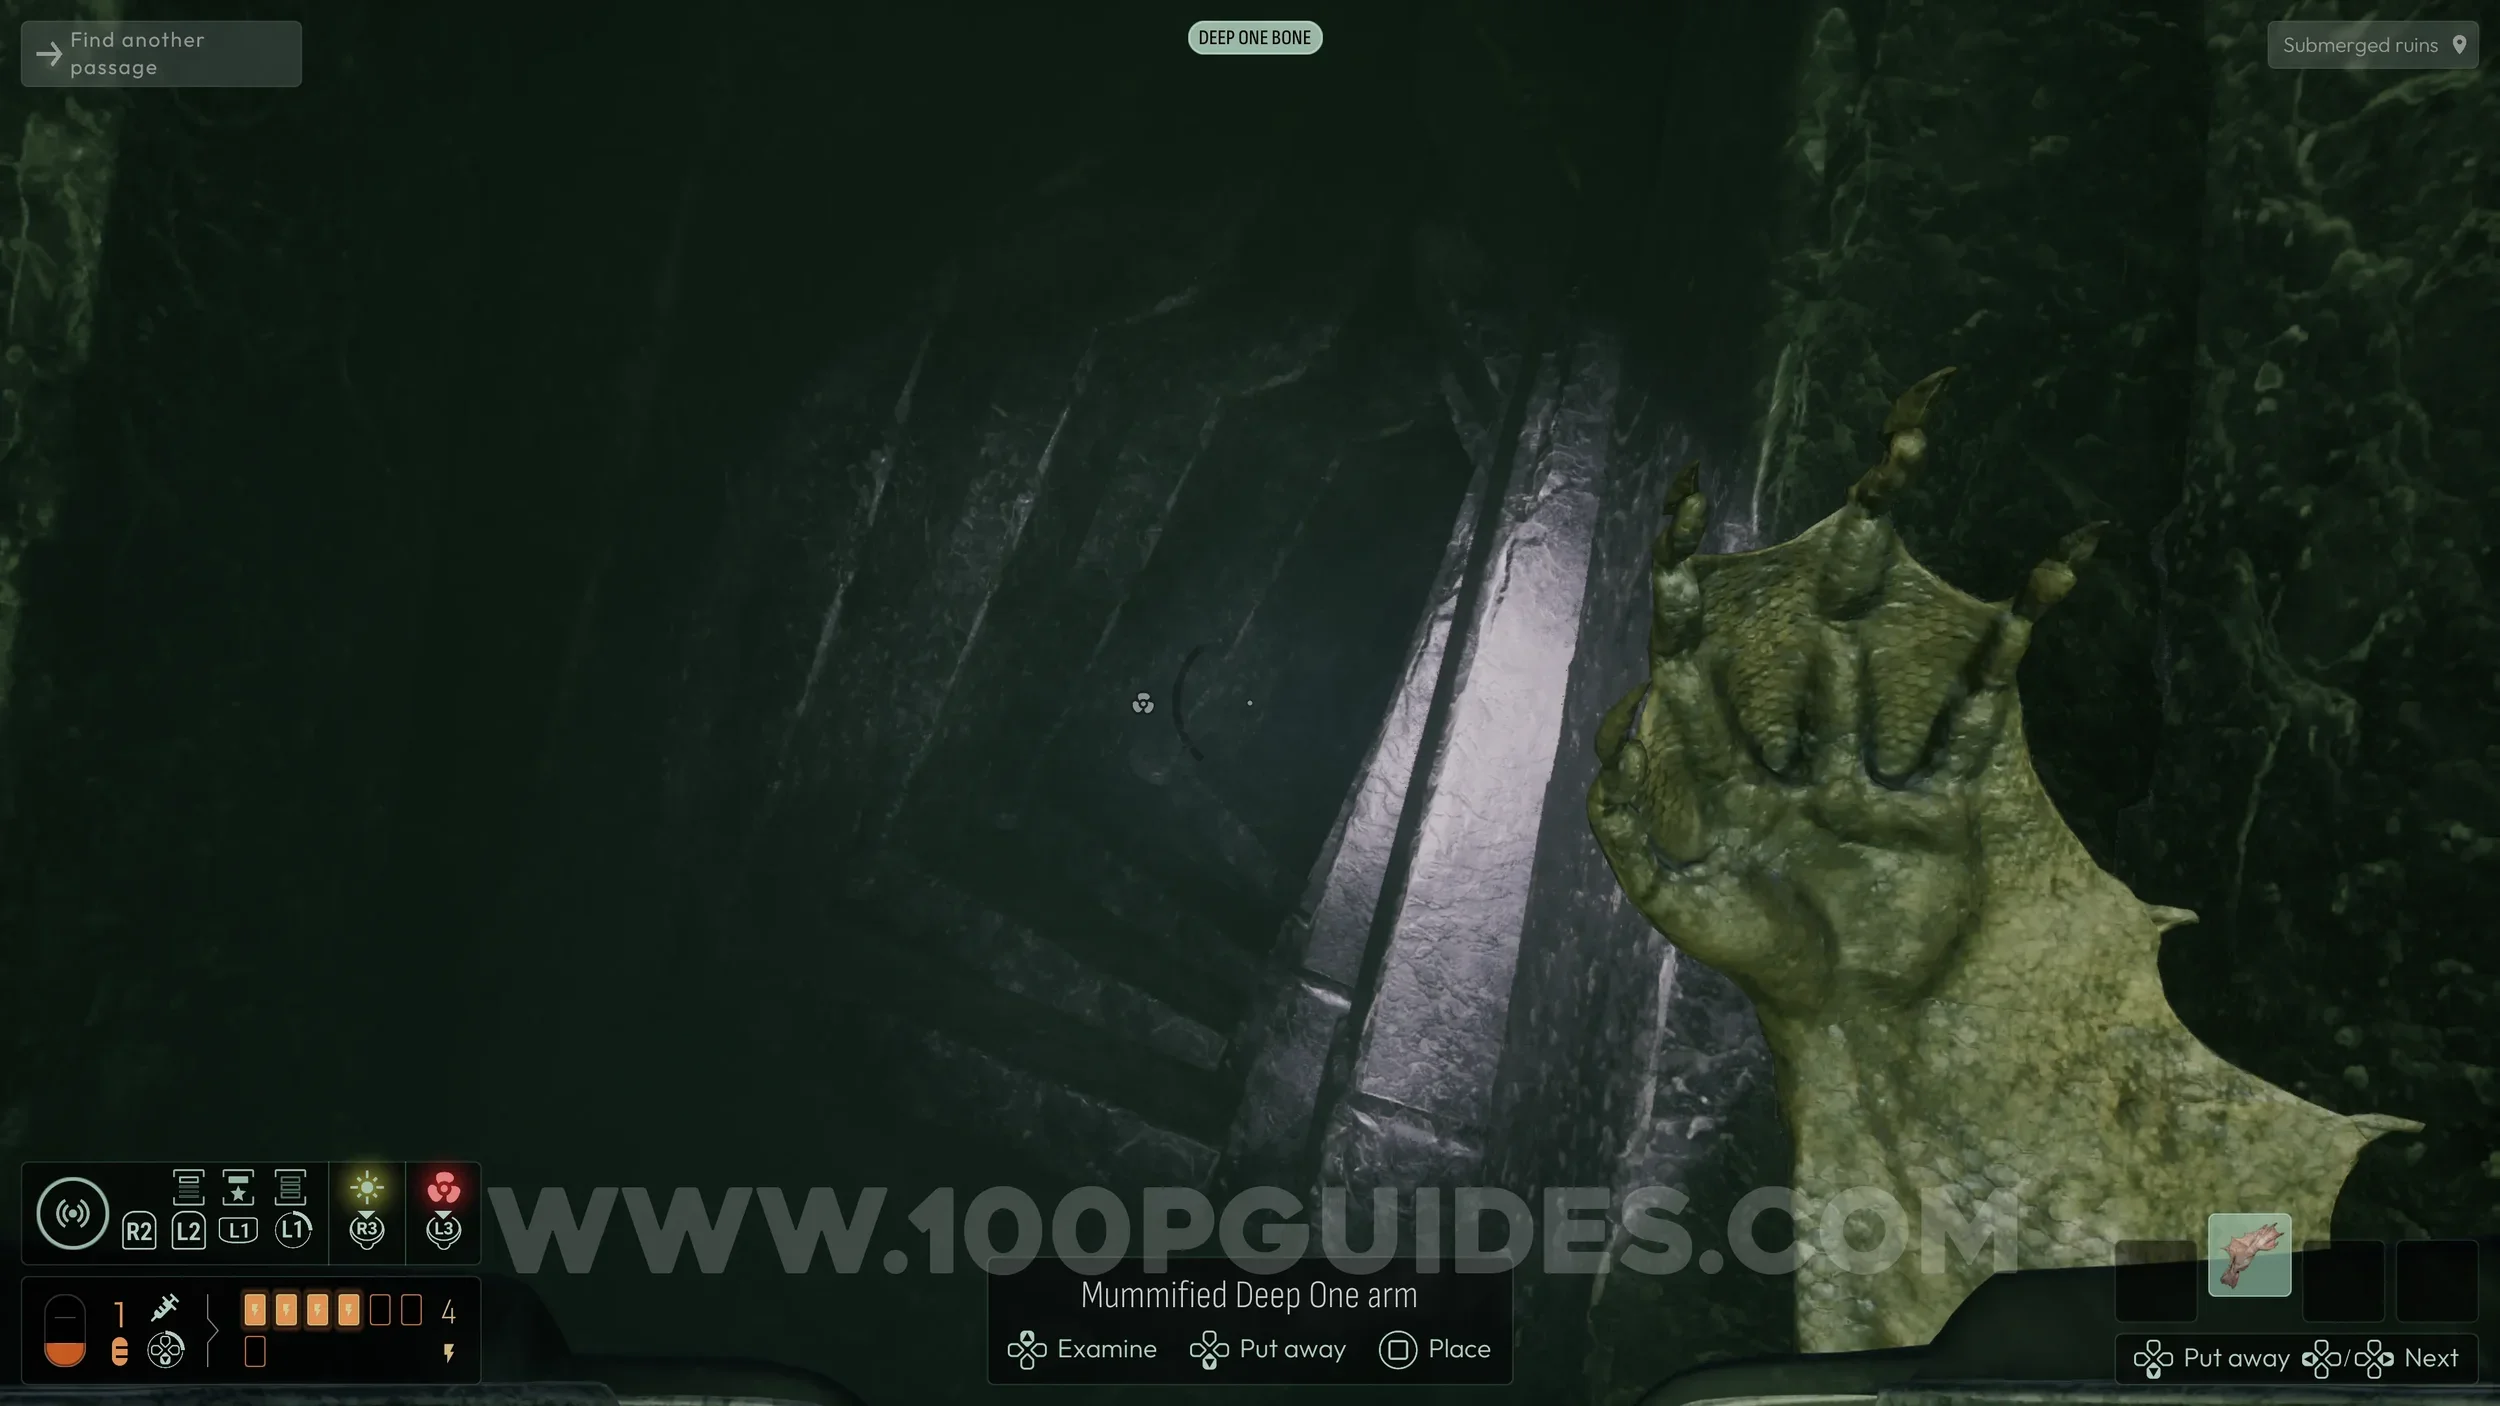
Evolution Capacity Upgrade #4. On your left, just after going through the tunnel that requires you to hold the Deep One’s arm.
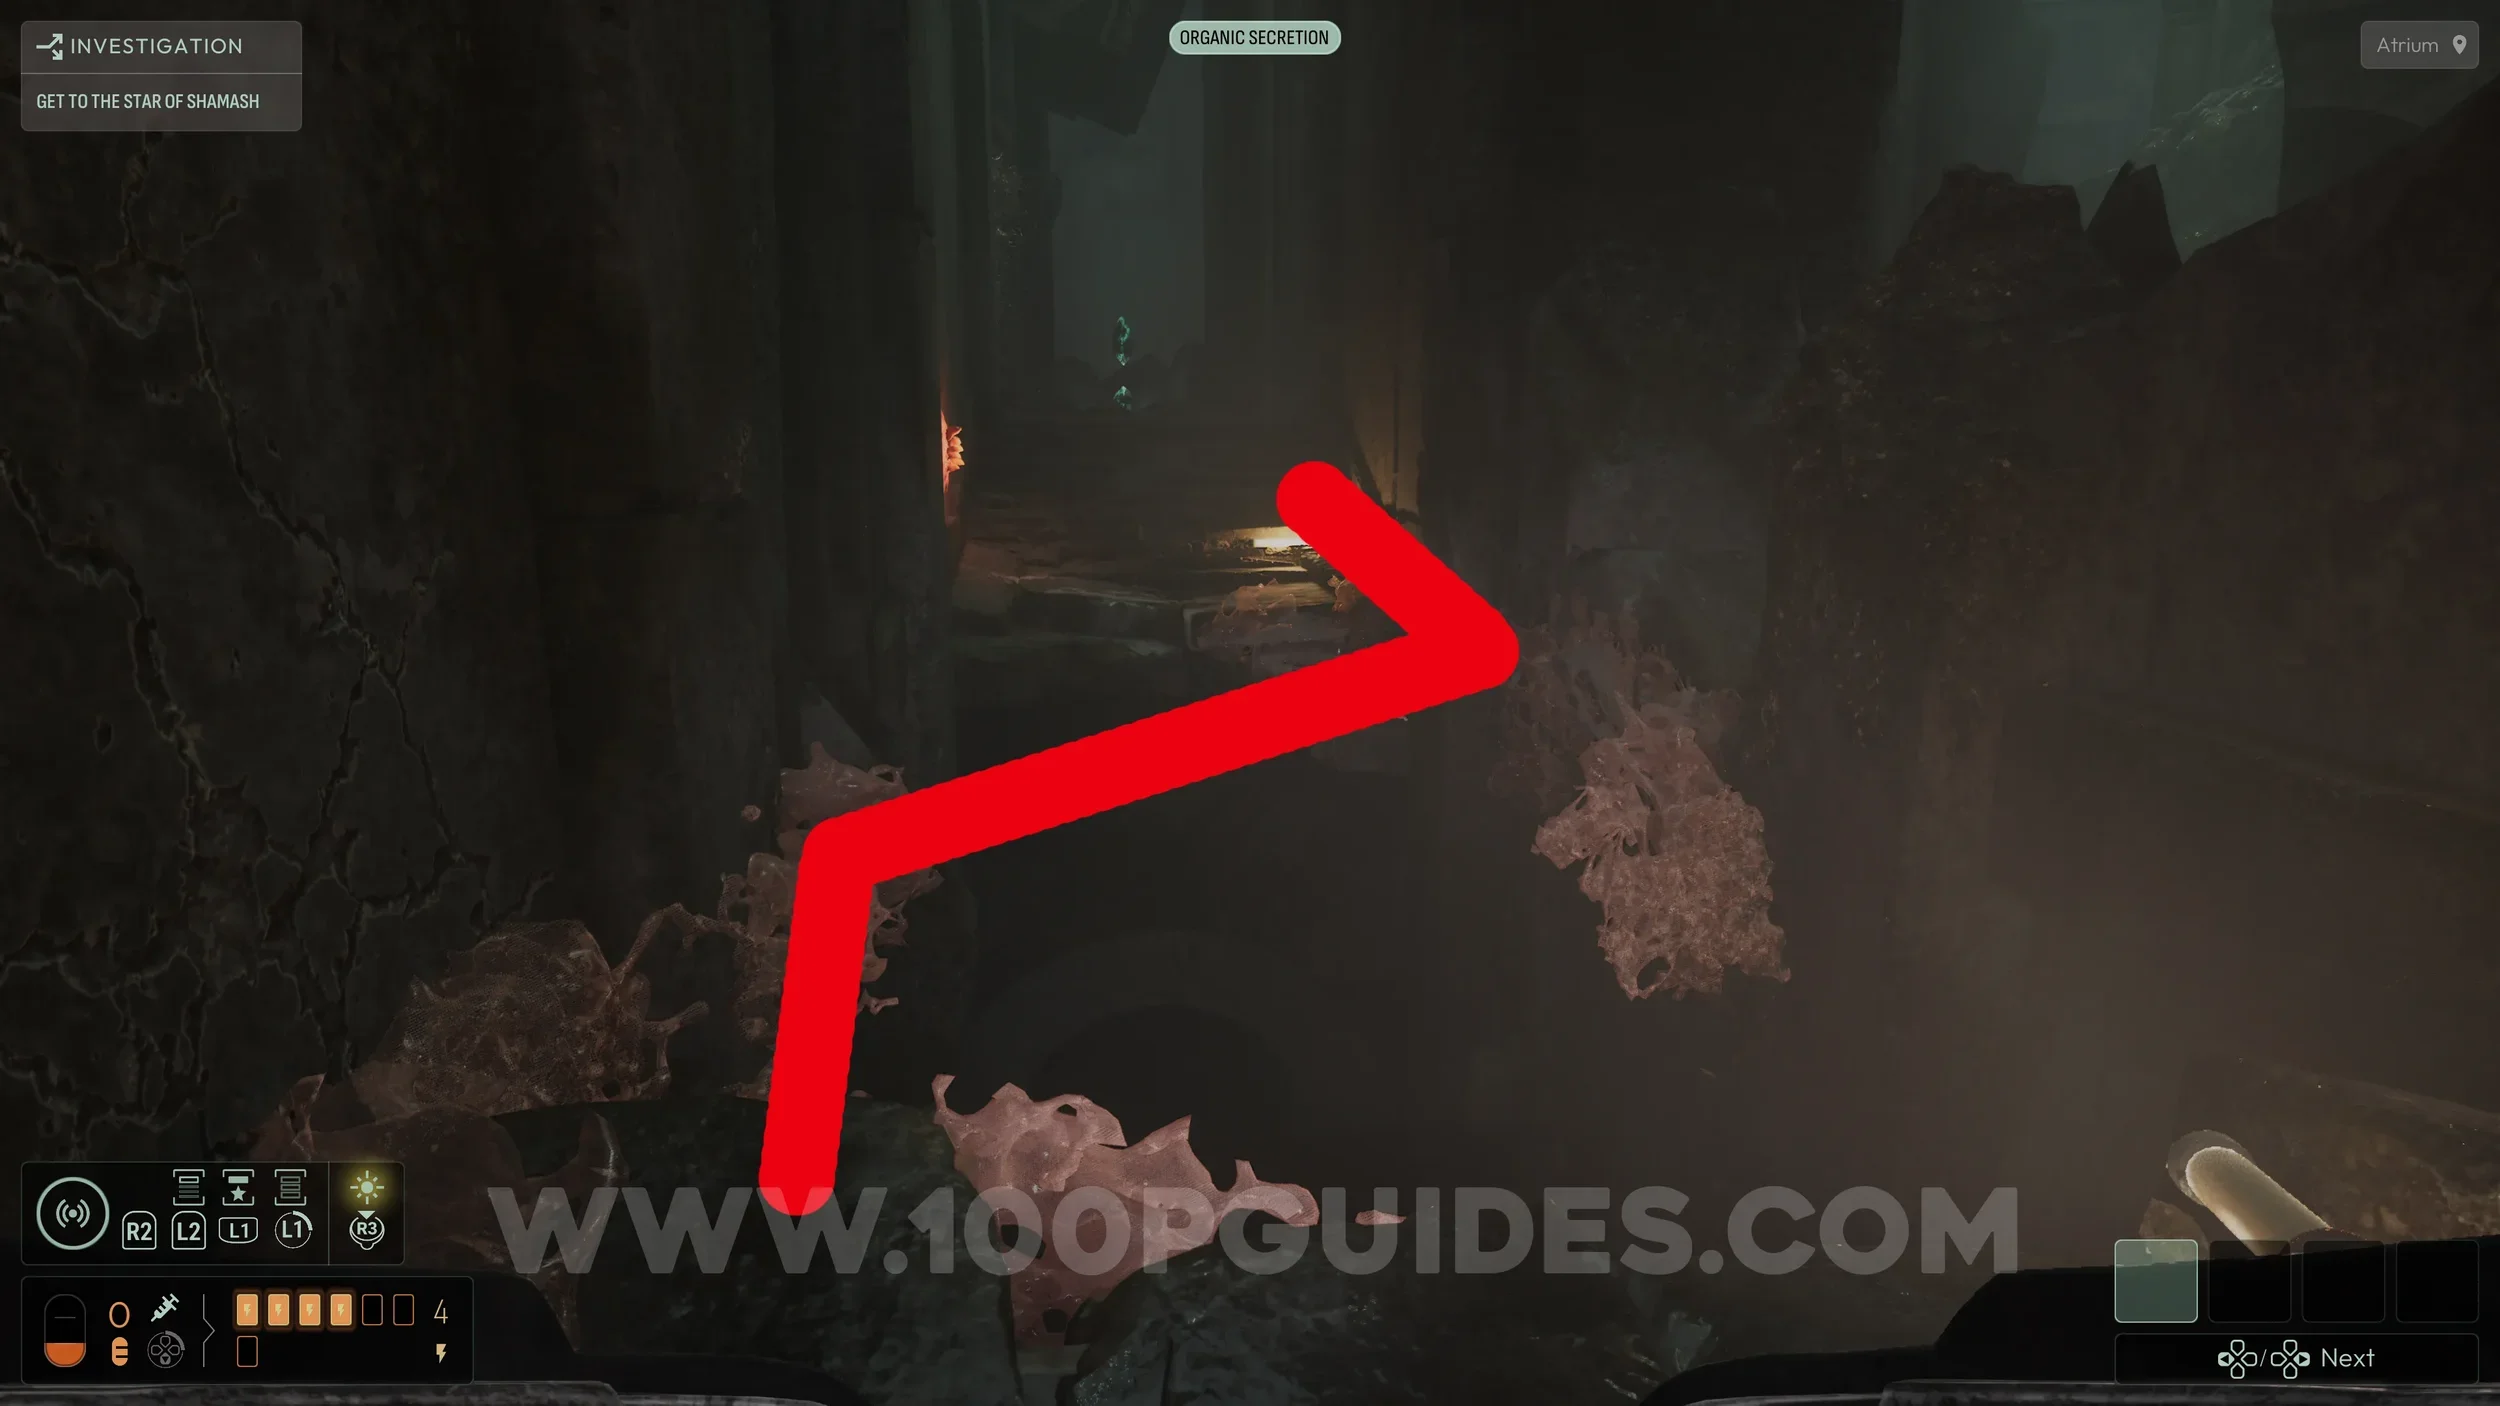
Evolution #9. After going through a narrow tunnel where you have to keep turning back on yourself, you will emerge into a large green room. In this room, look for a gap under some goo on the right side. The evolution can be found on the other side.
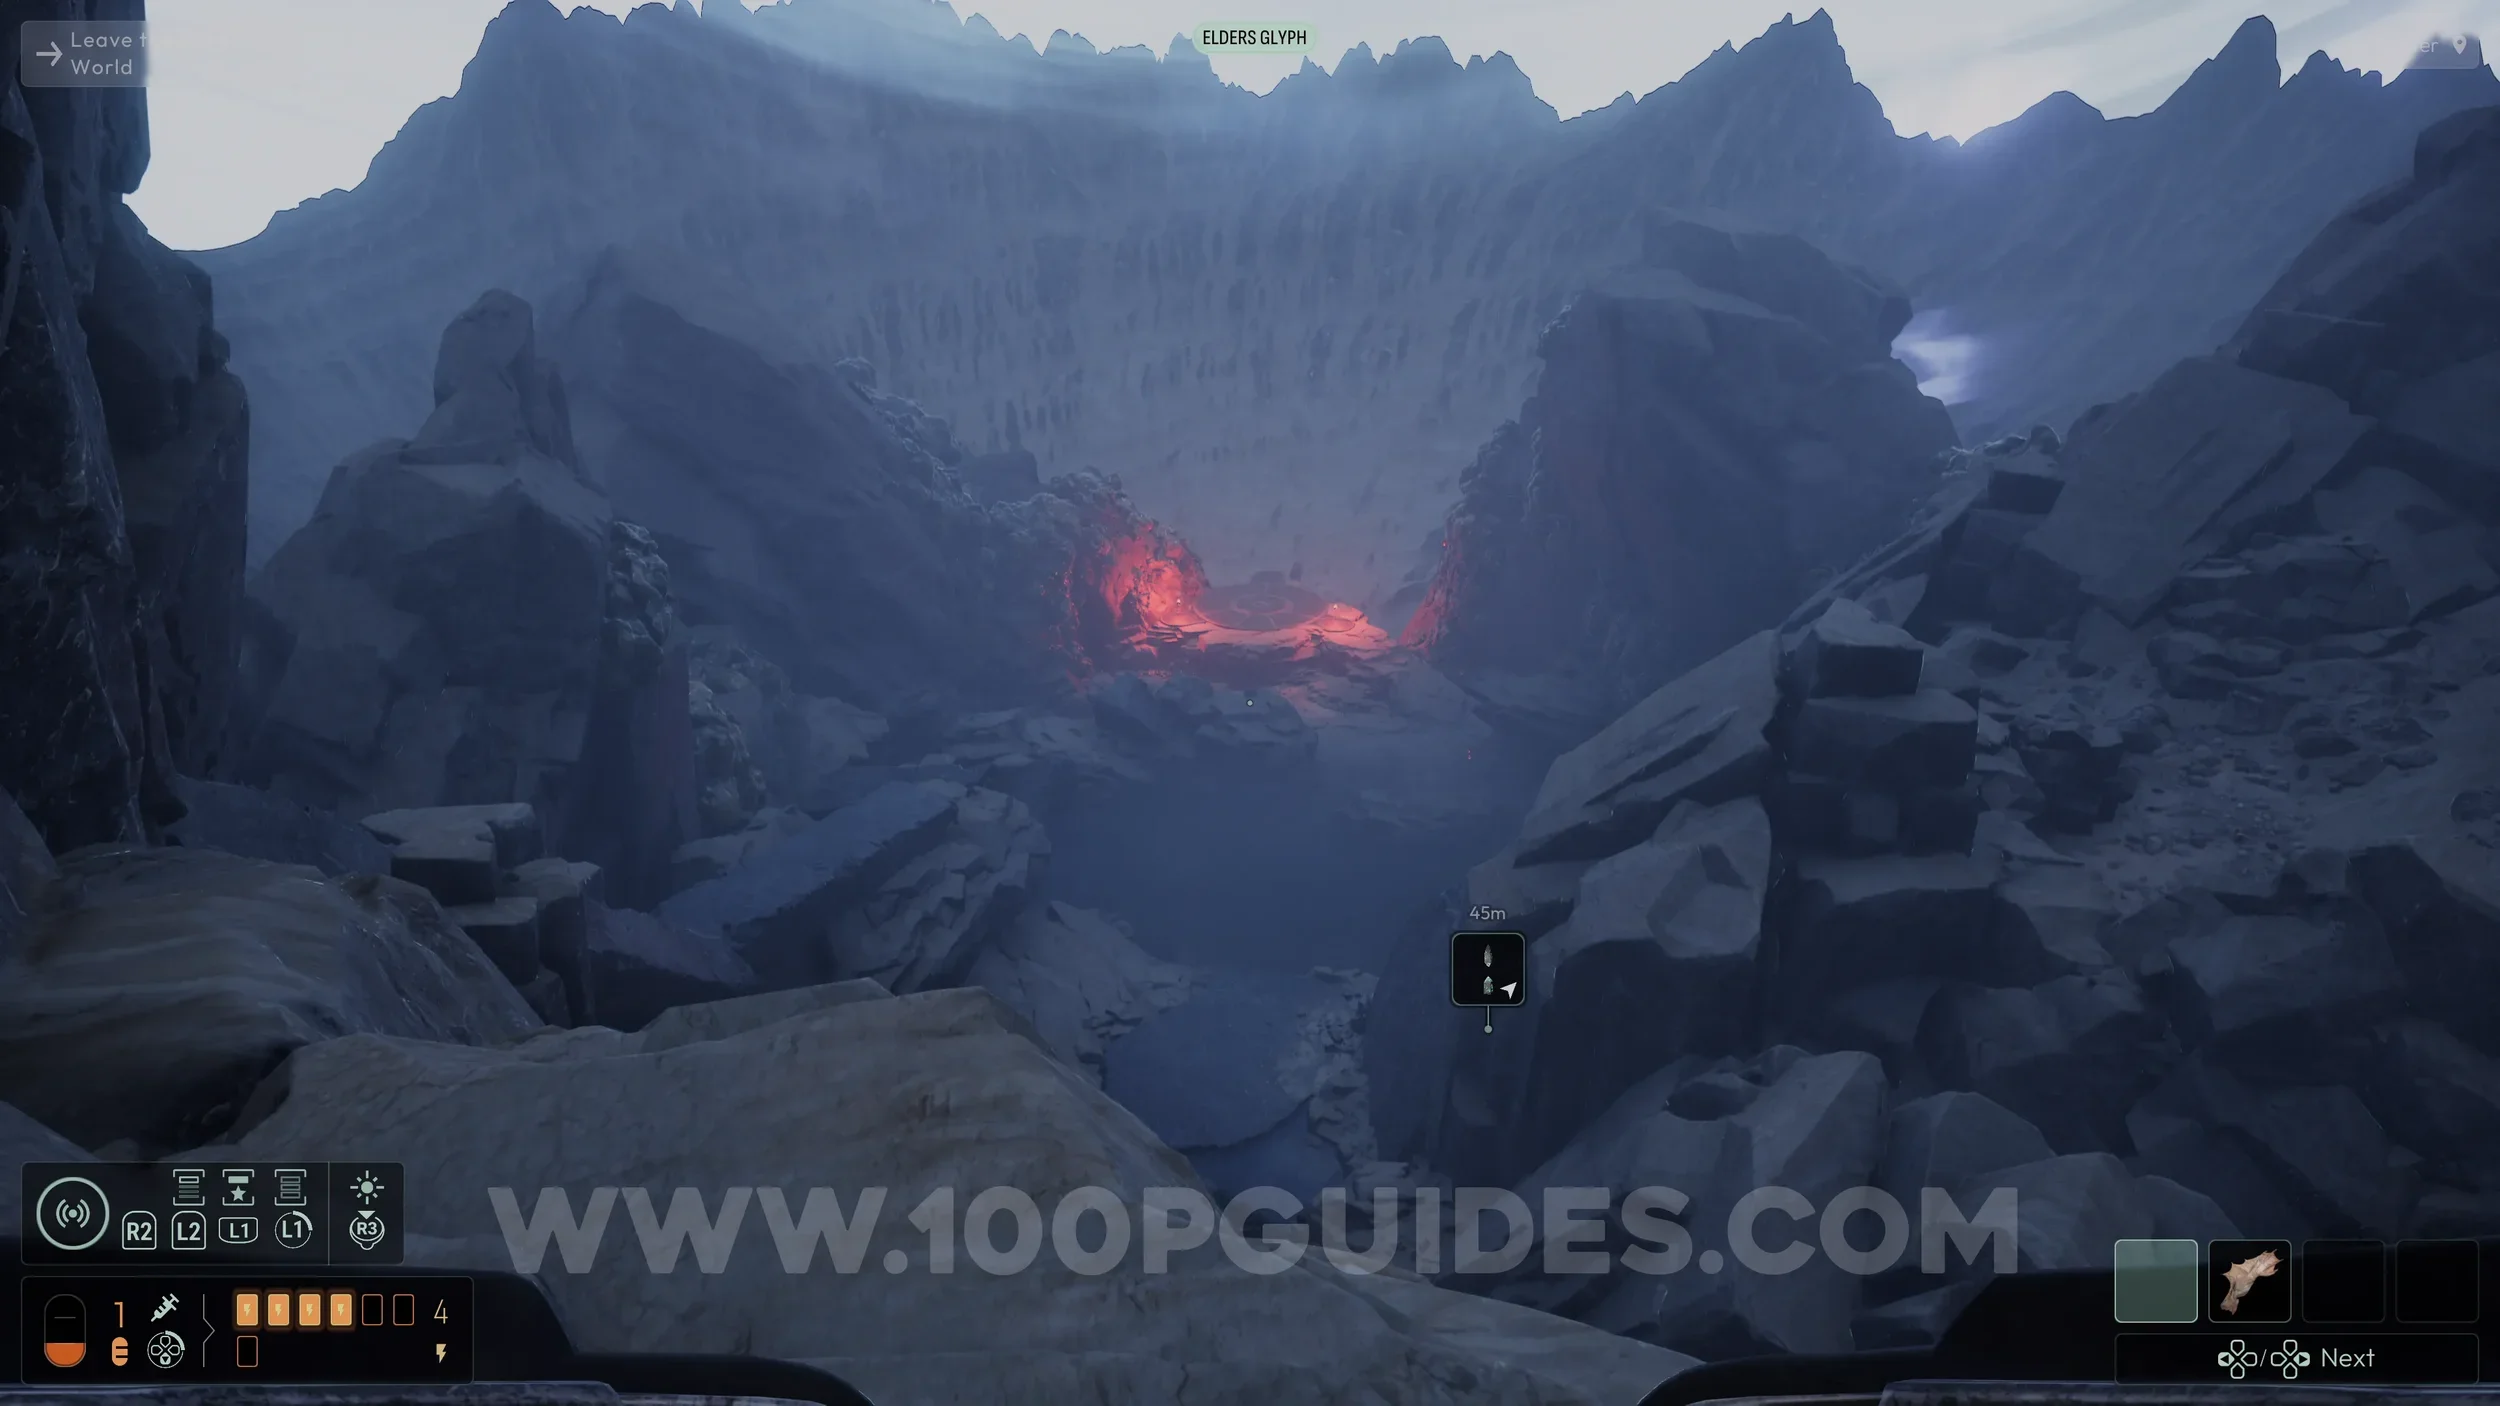
Evolution Capacity Upgrade #5. After solving the medallion puzzle, you will reach a large outdoor area. Just before the red glowing circles at the end, look to your right to find the collectible.
Chapter 5
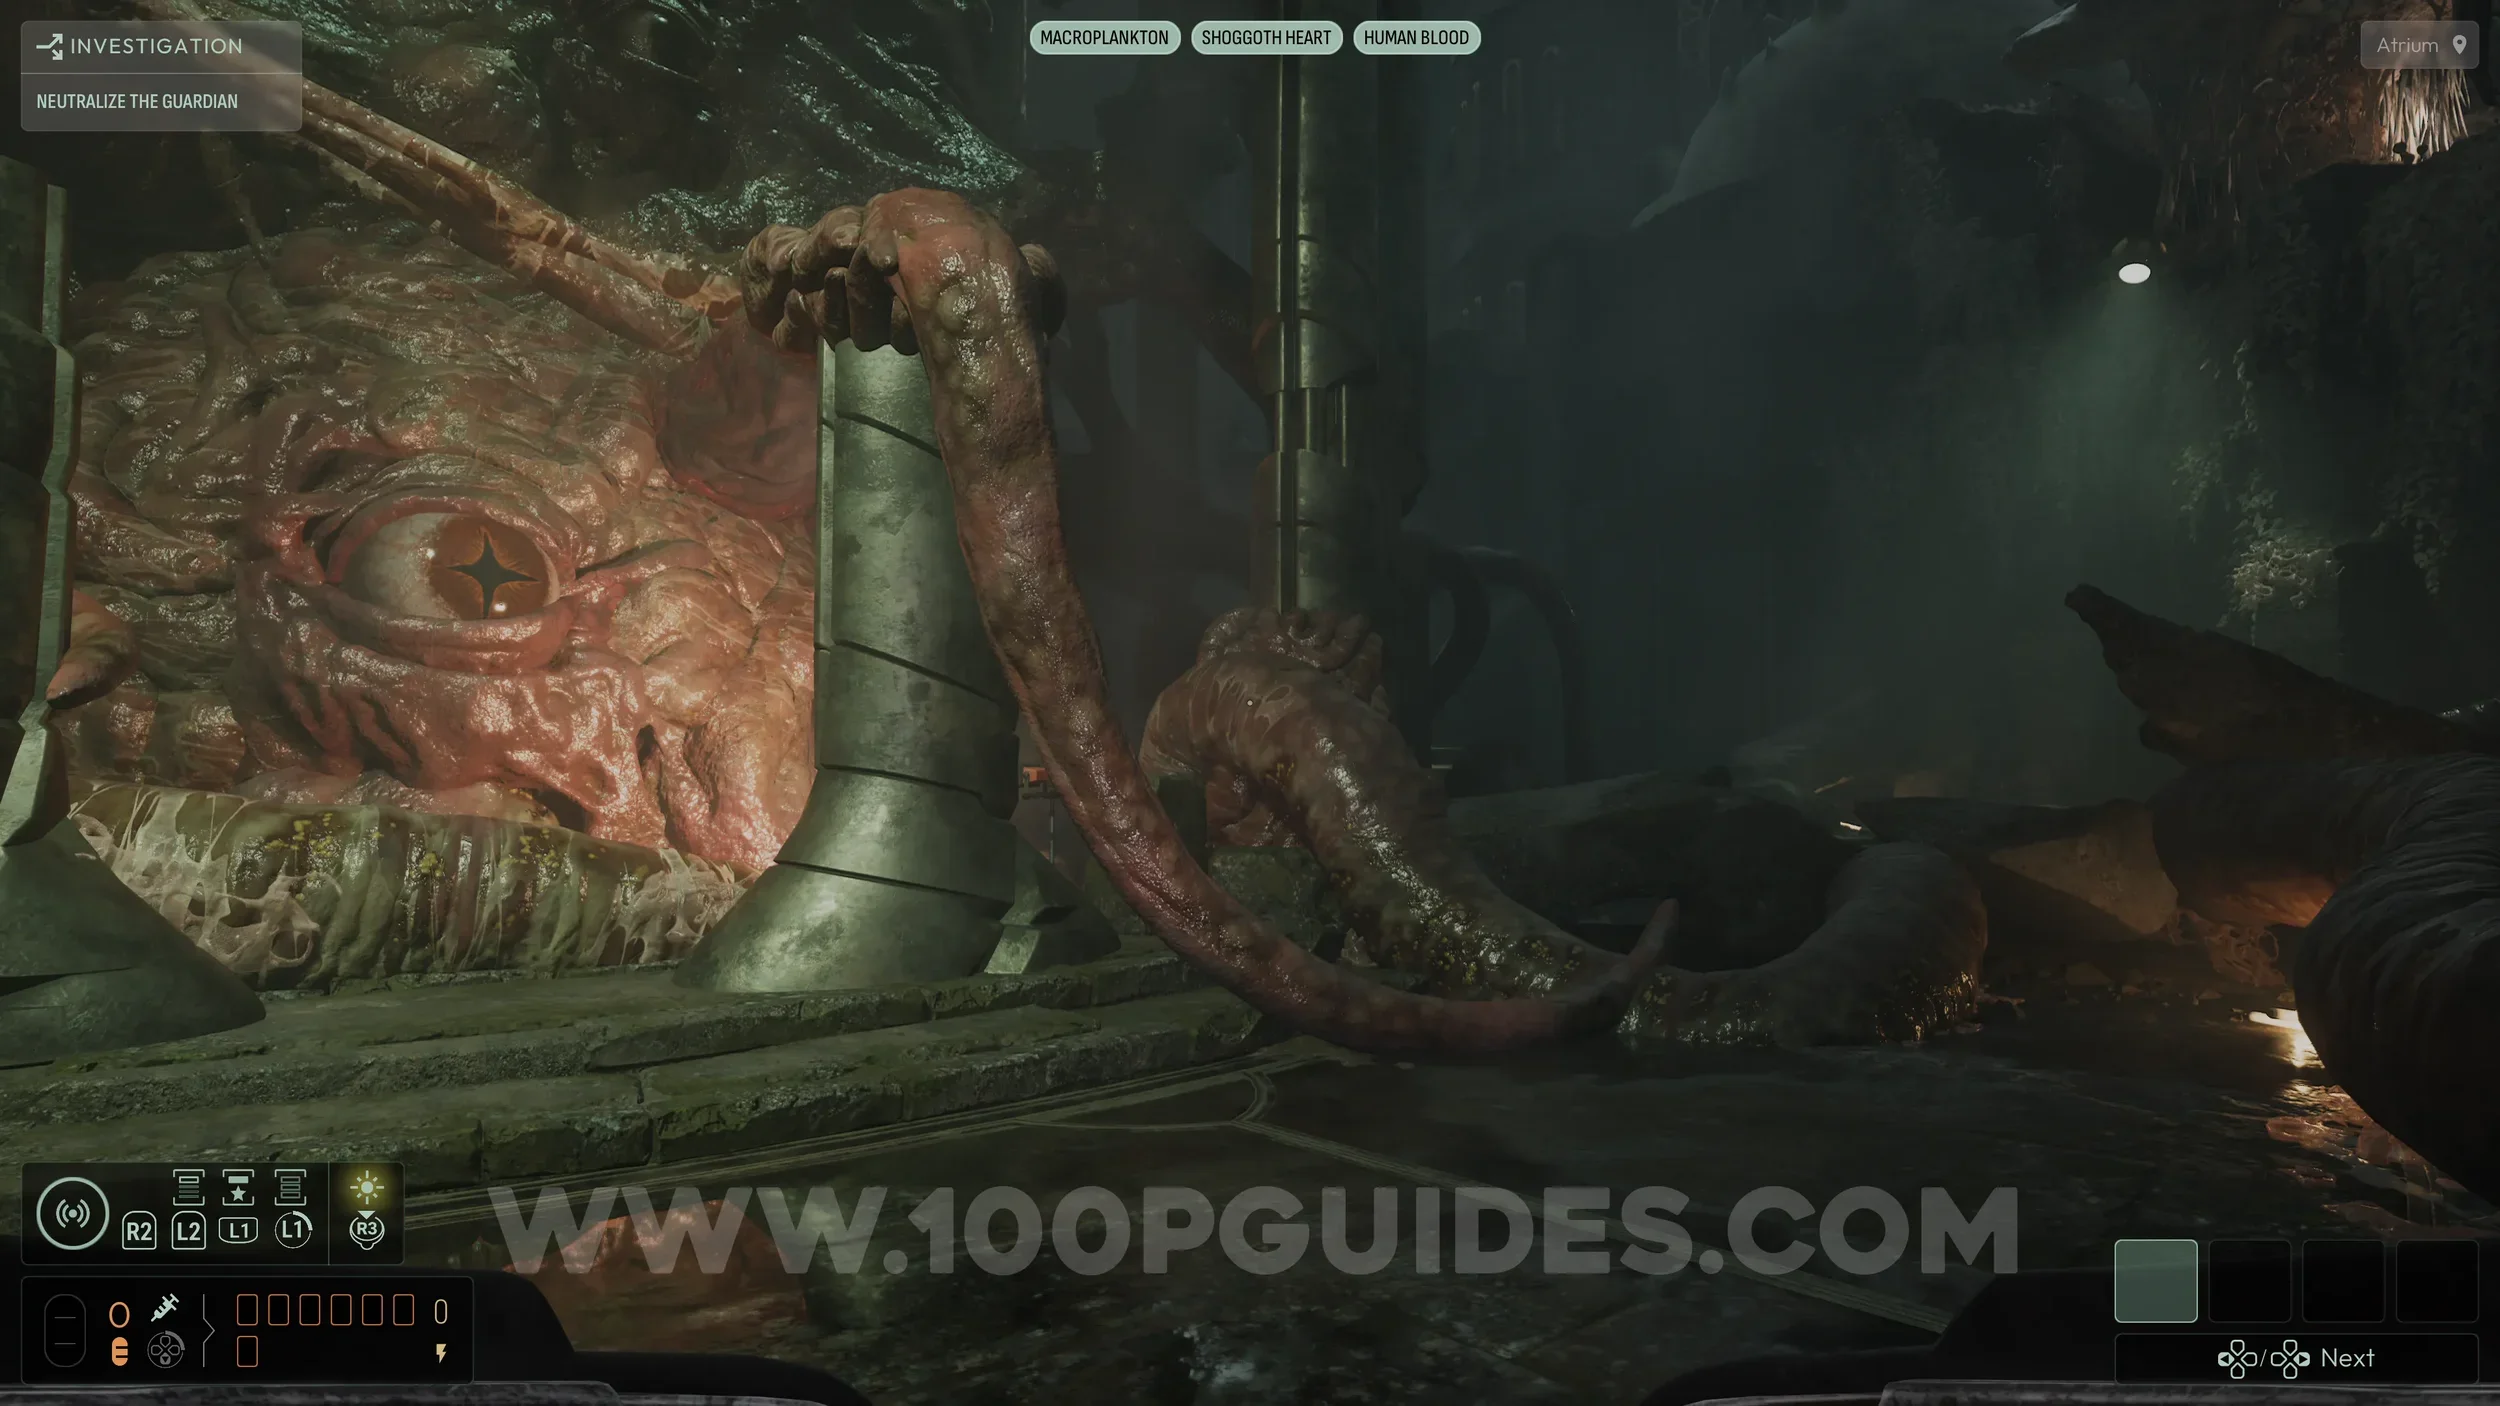
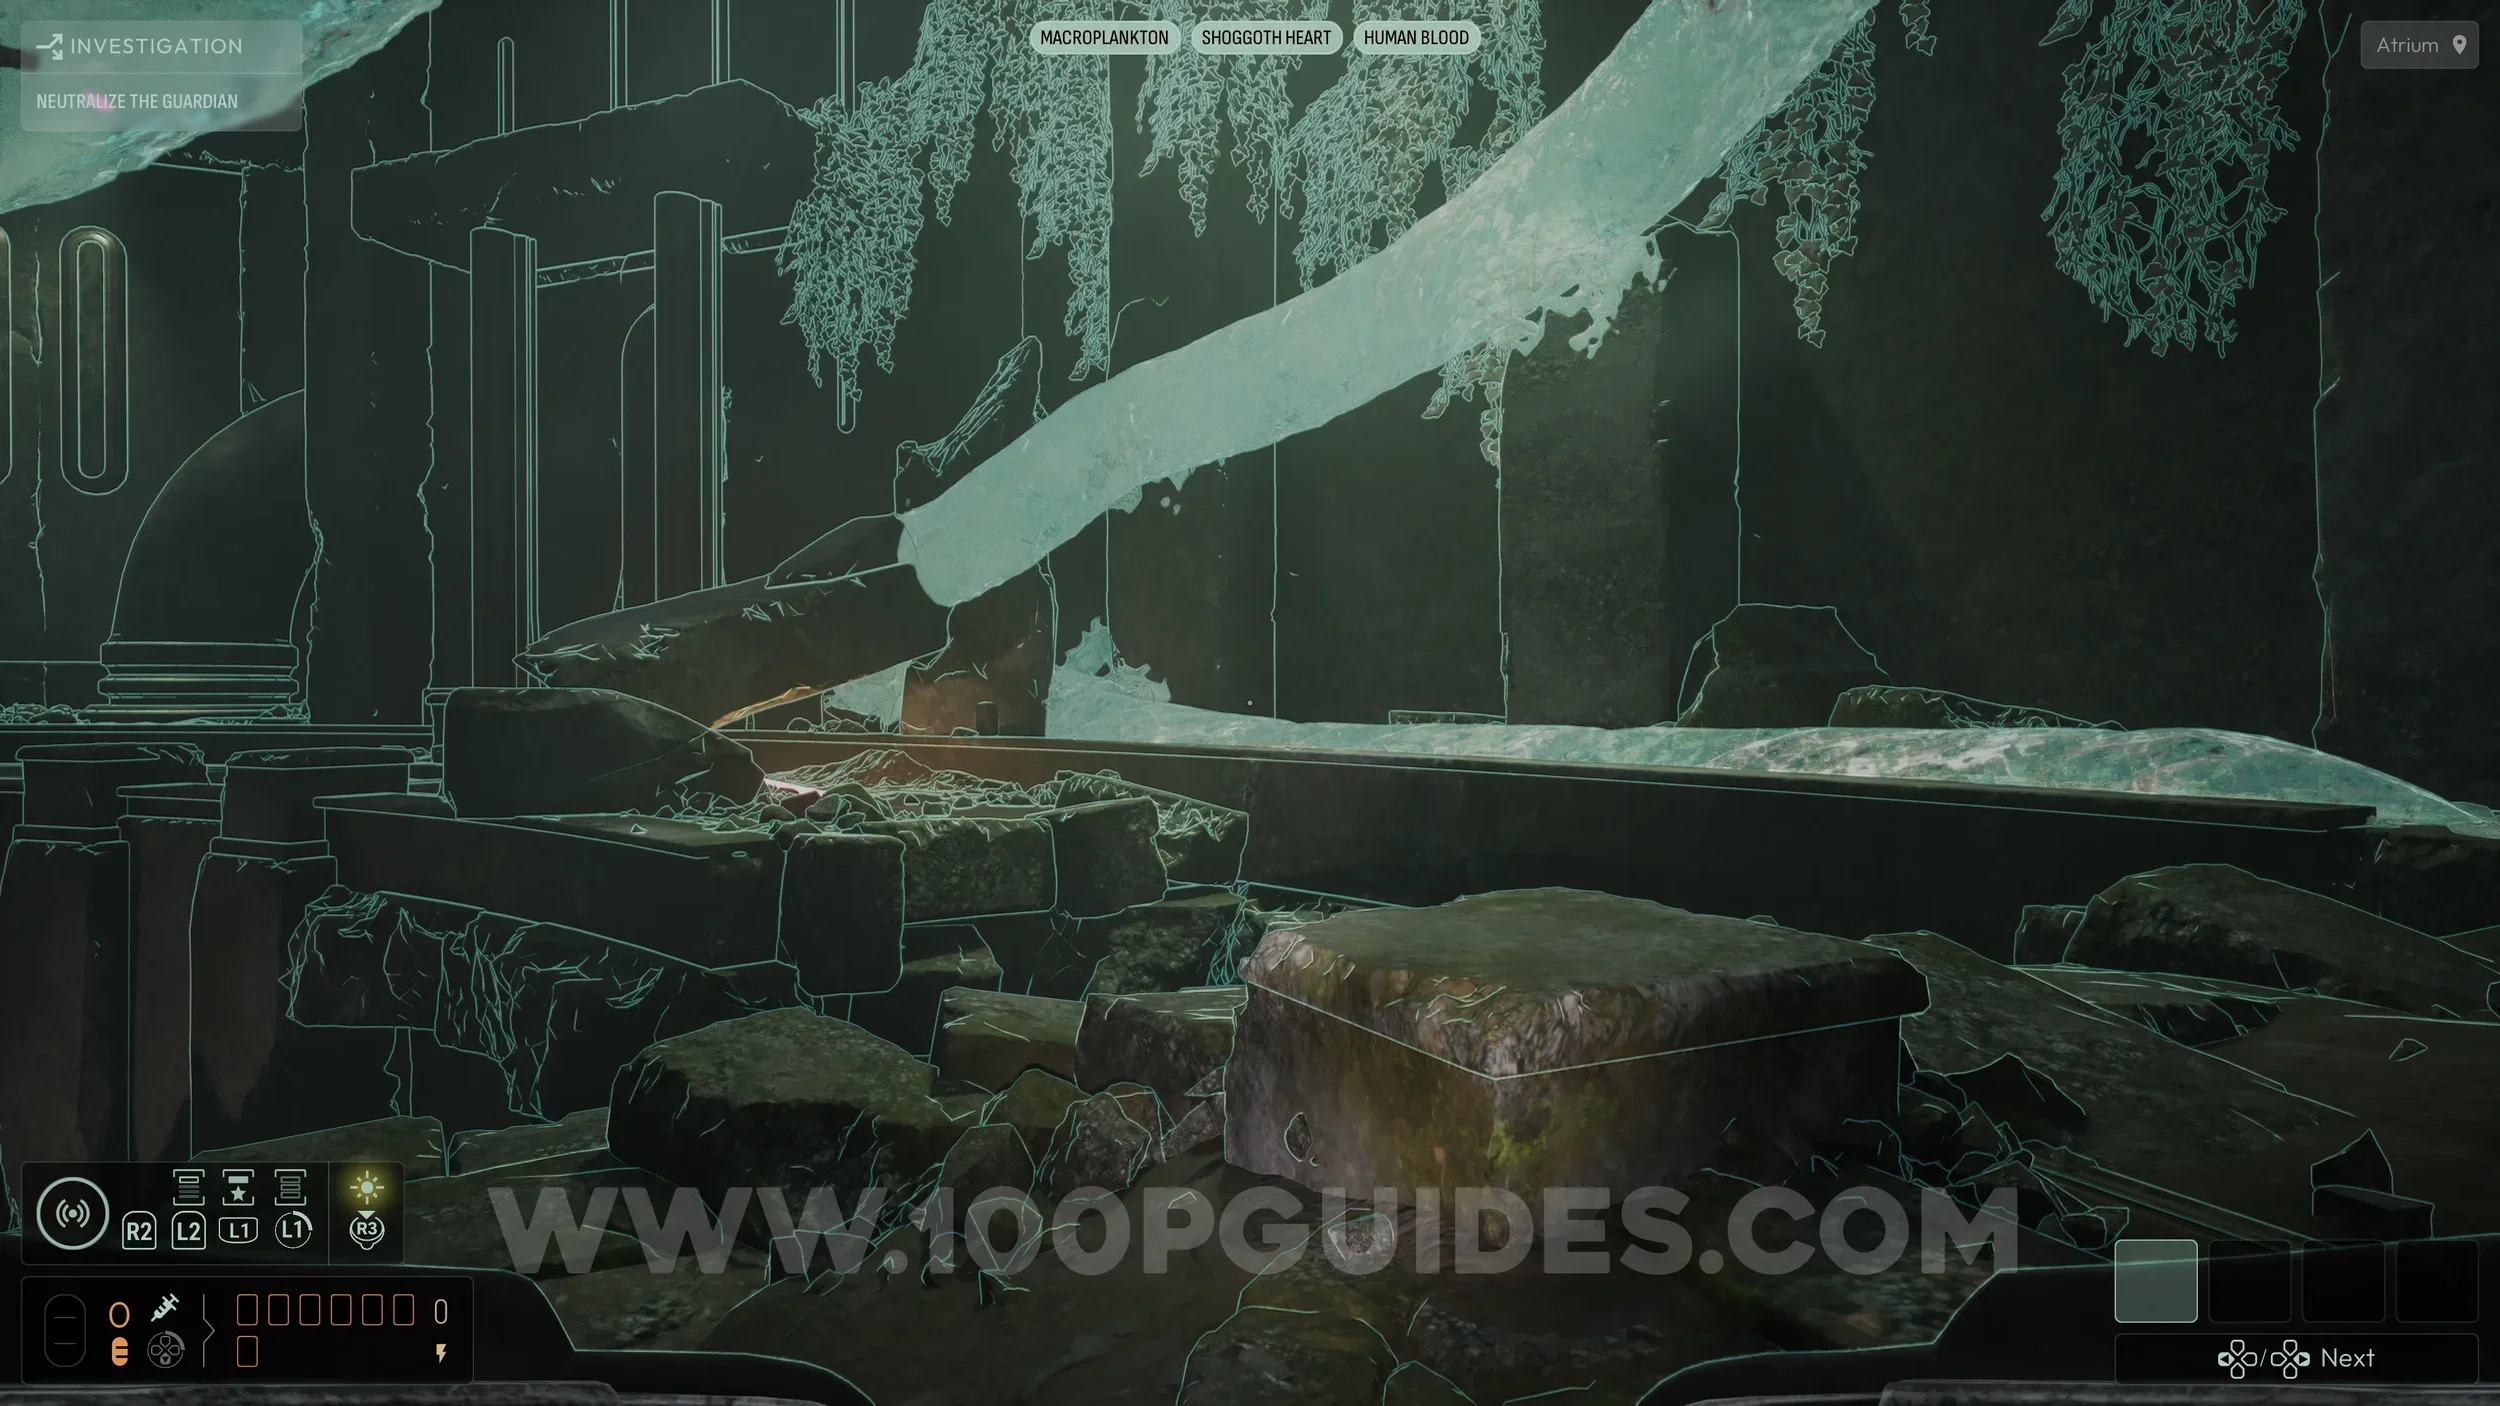
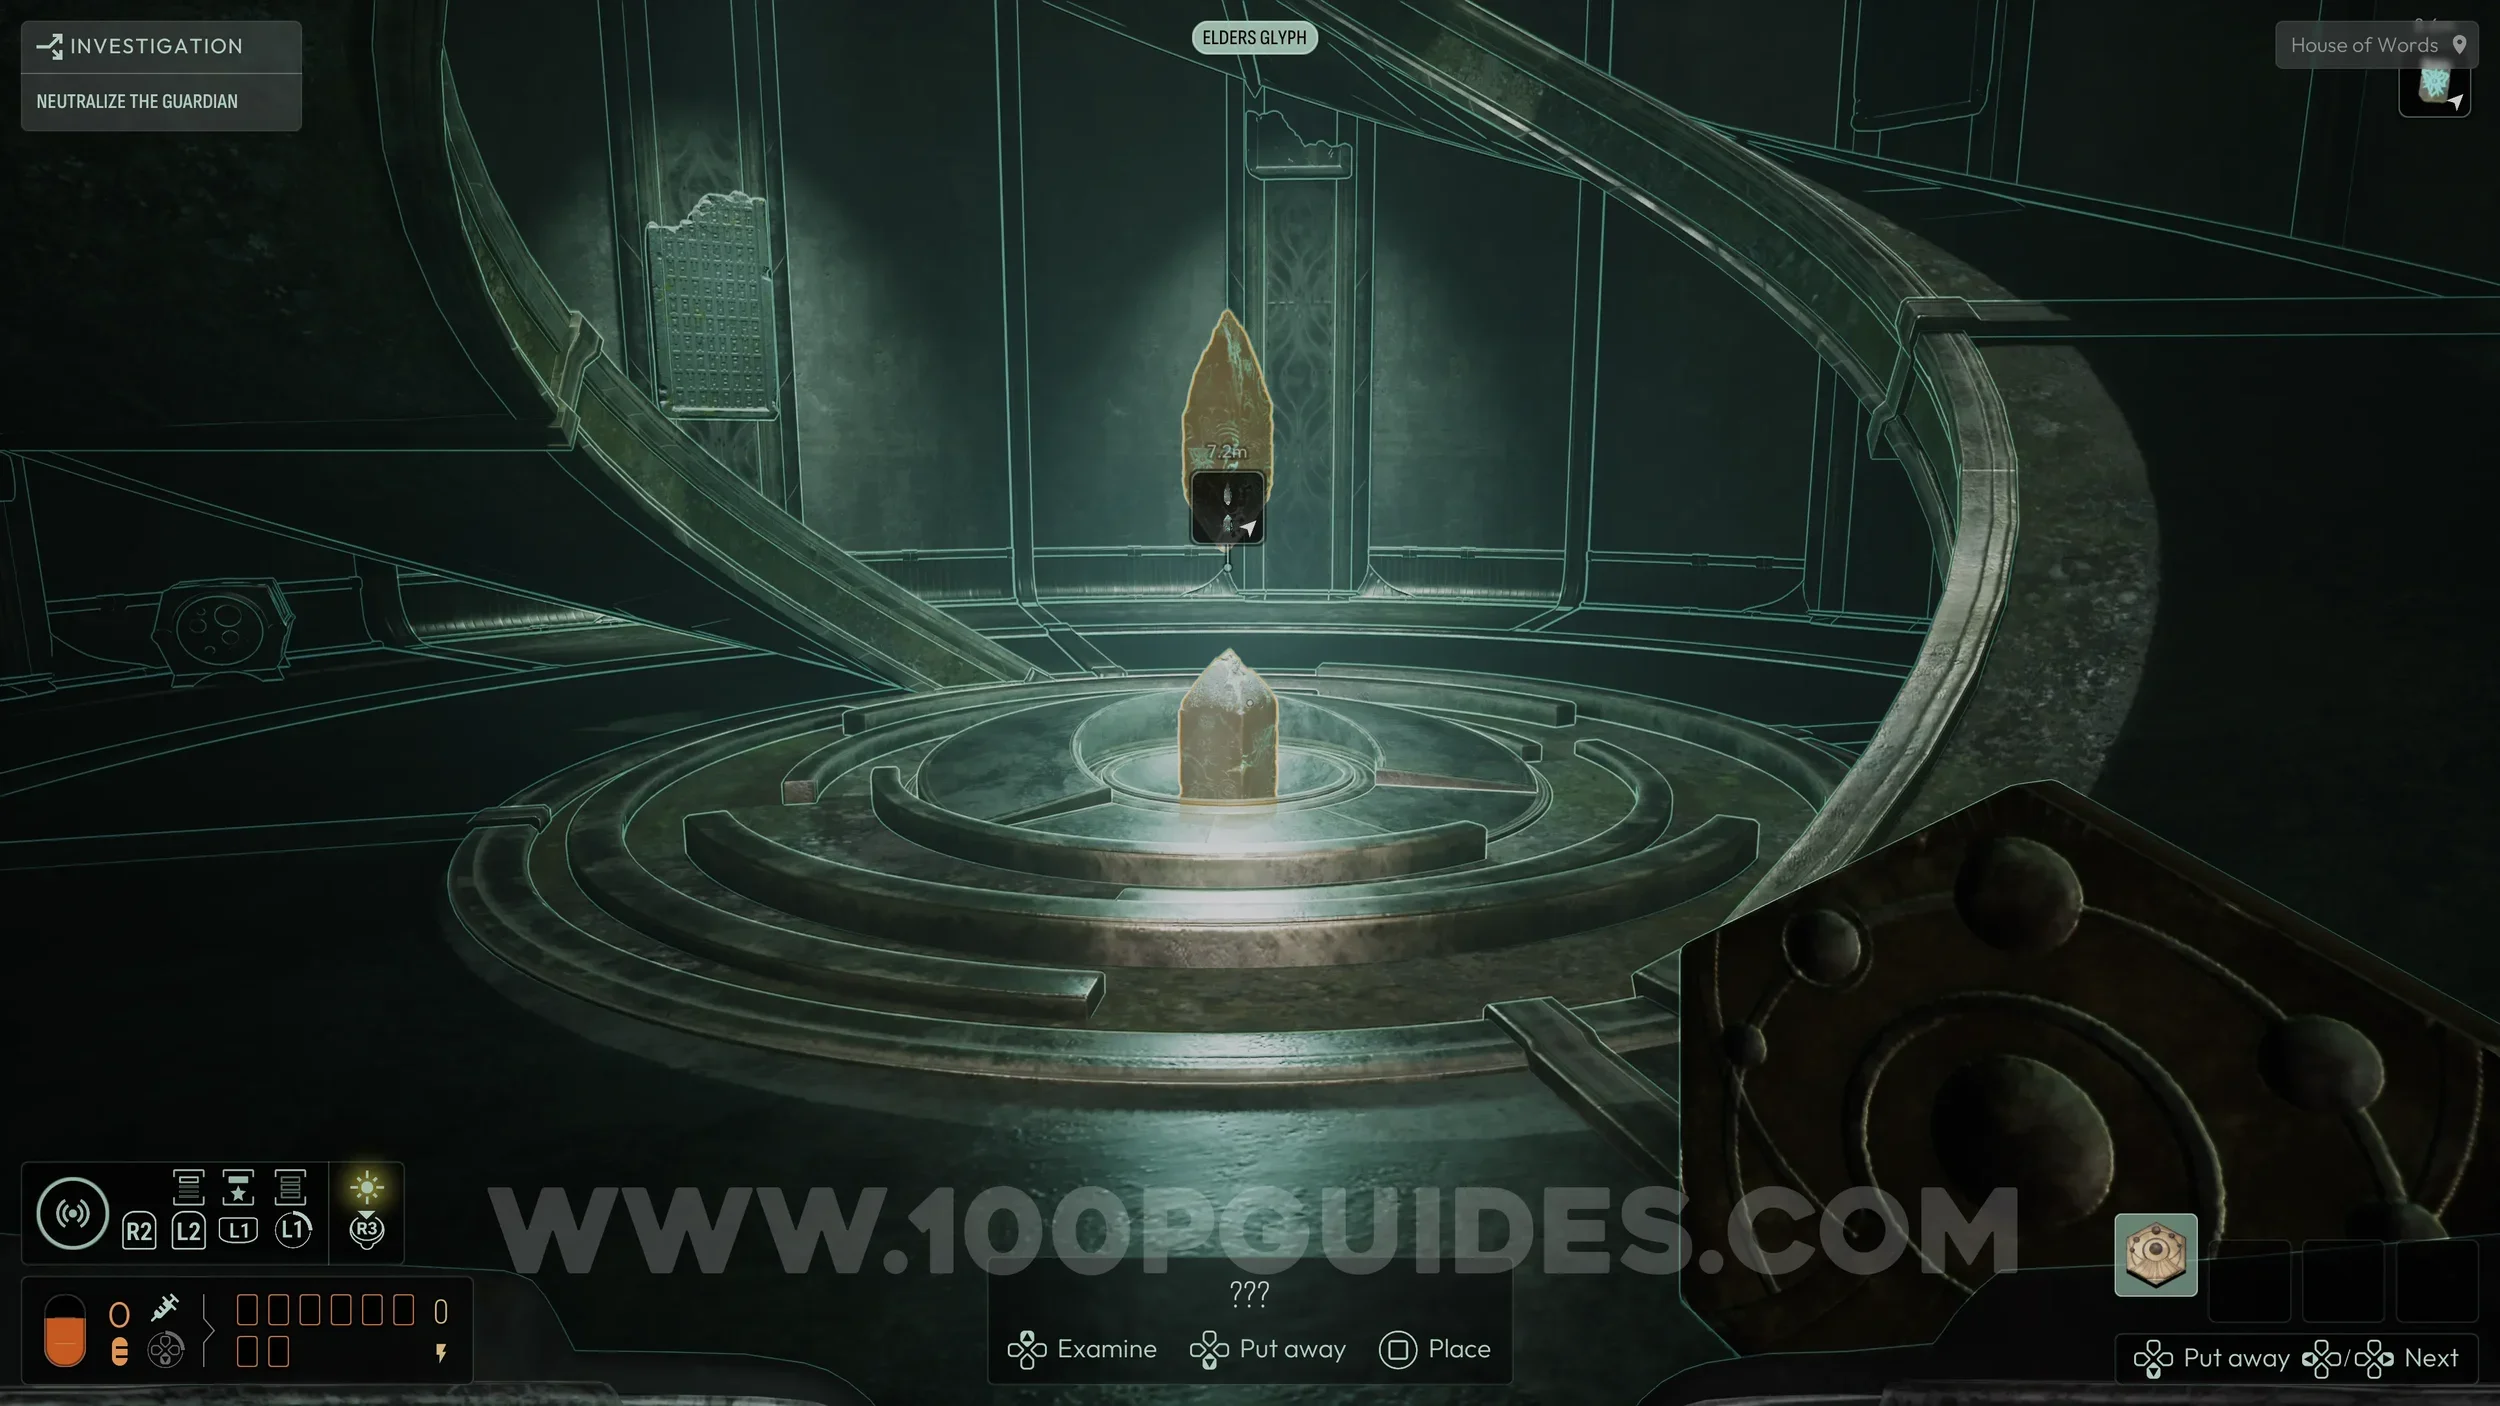
Evolution Capacity Upgrade #6. Once you reach the main area with the large creature in the middle and the chapter title appears, go left and then left again to cross an invisible bridge over the gap. The collectible will be directly ahead, but you will need to cross another invisible path to reach it.
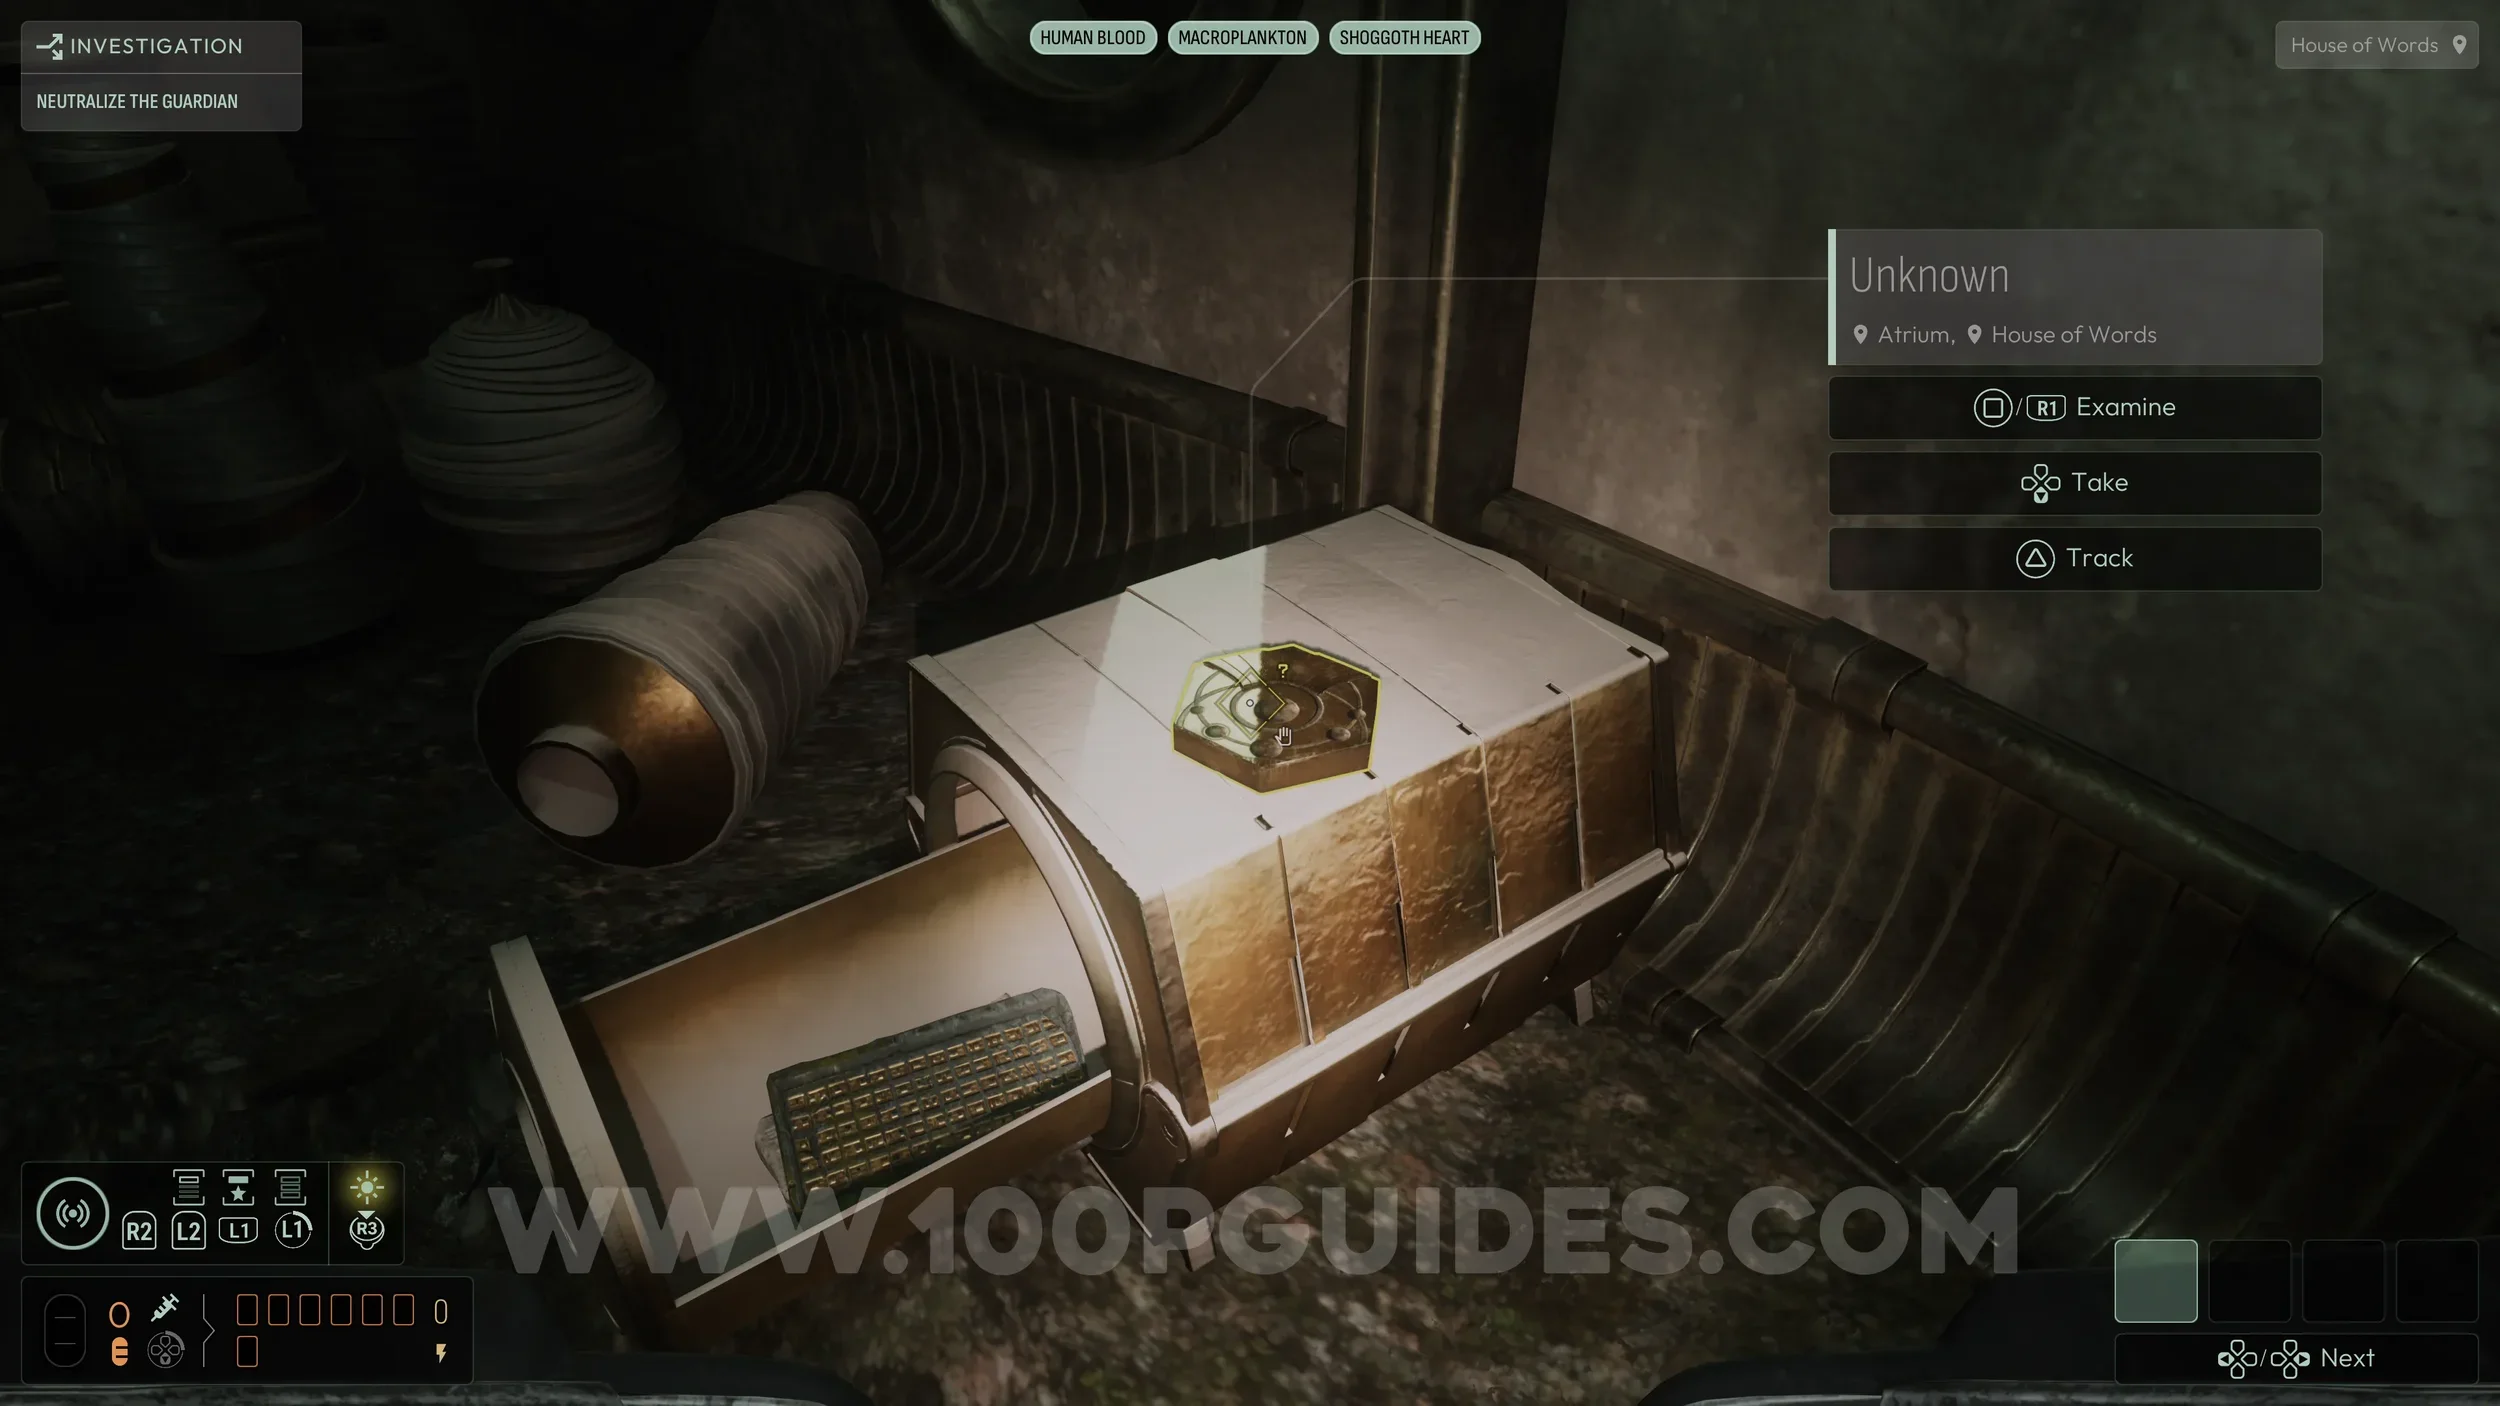
To make this easier and reveal hidden paths throughout the chapter, enter the room to the right of this collectible, the laboratory, and collect the three specific frequencies by analyzing items around the lab.
The first is Macroplankton, which can be found on your left as you enter the lower floor for the first time.
The second is Human Blood, located in the lower area just to the right of the Macroplankton.
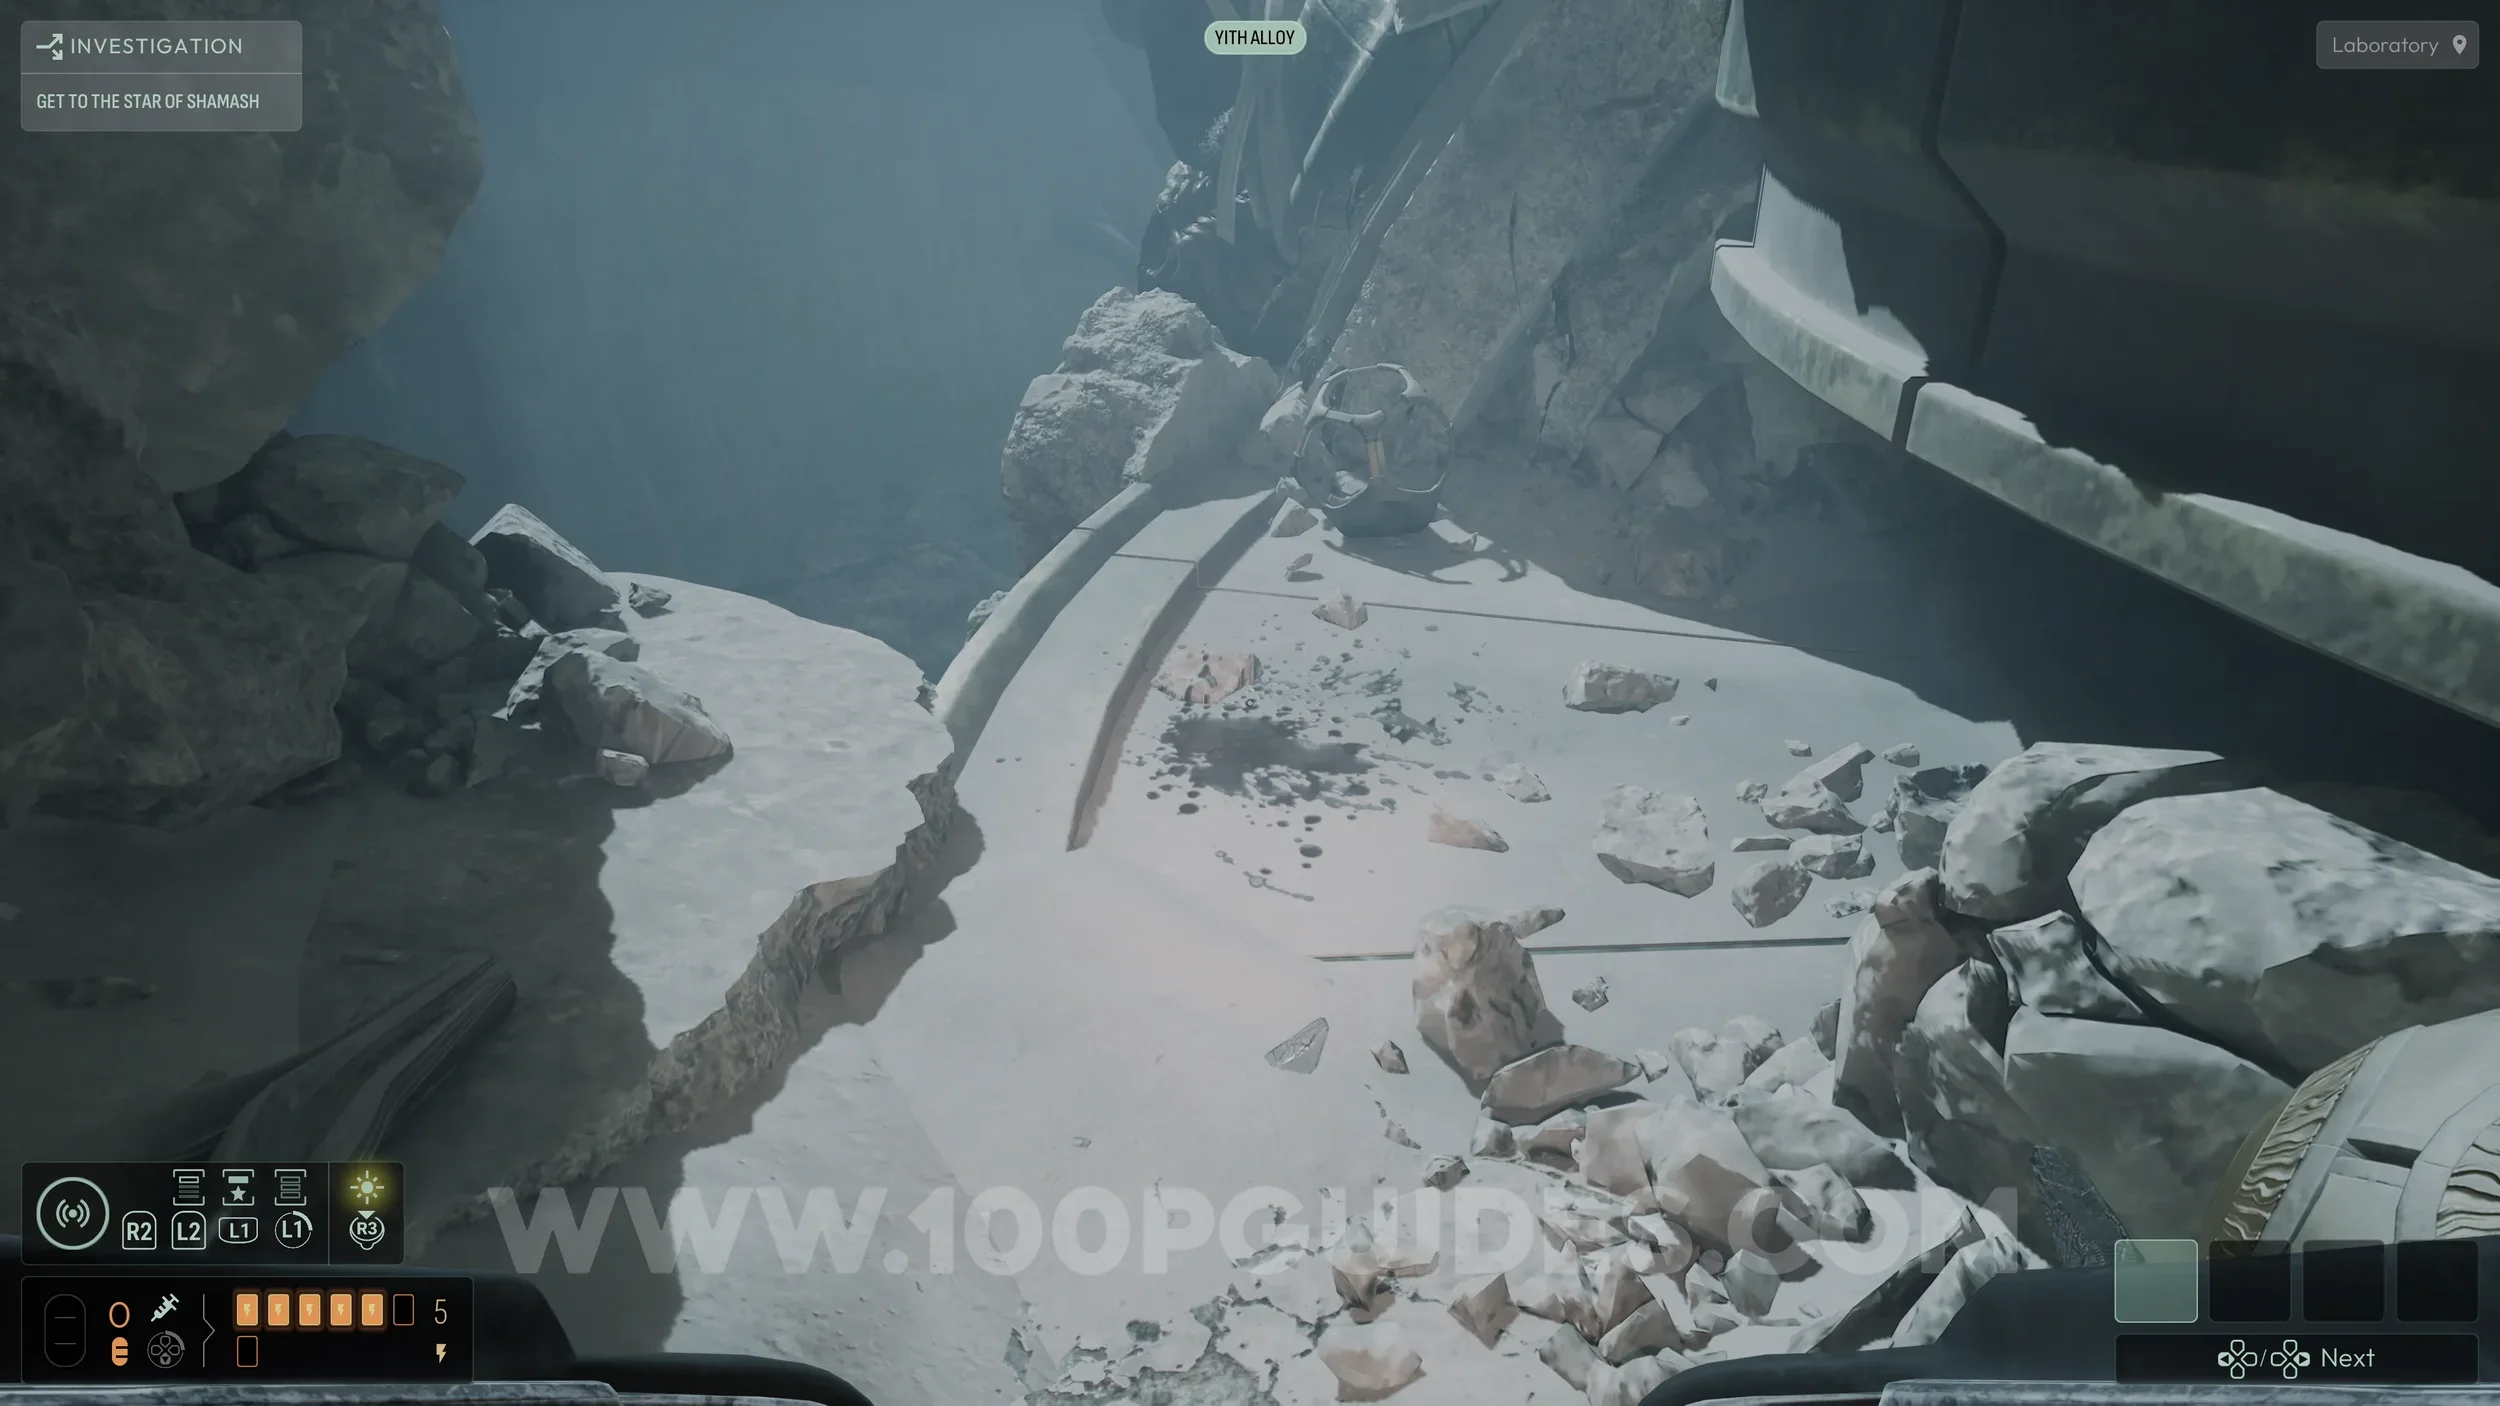
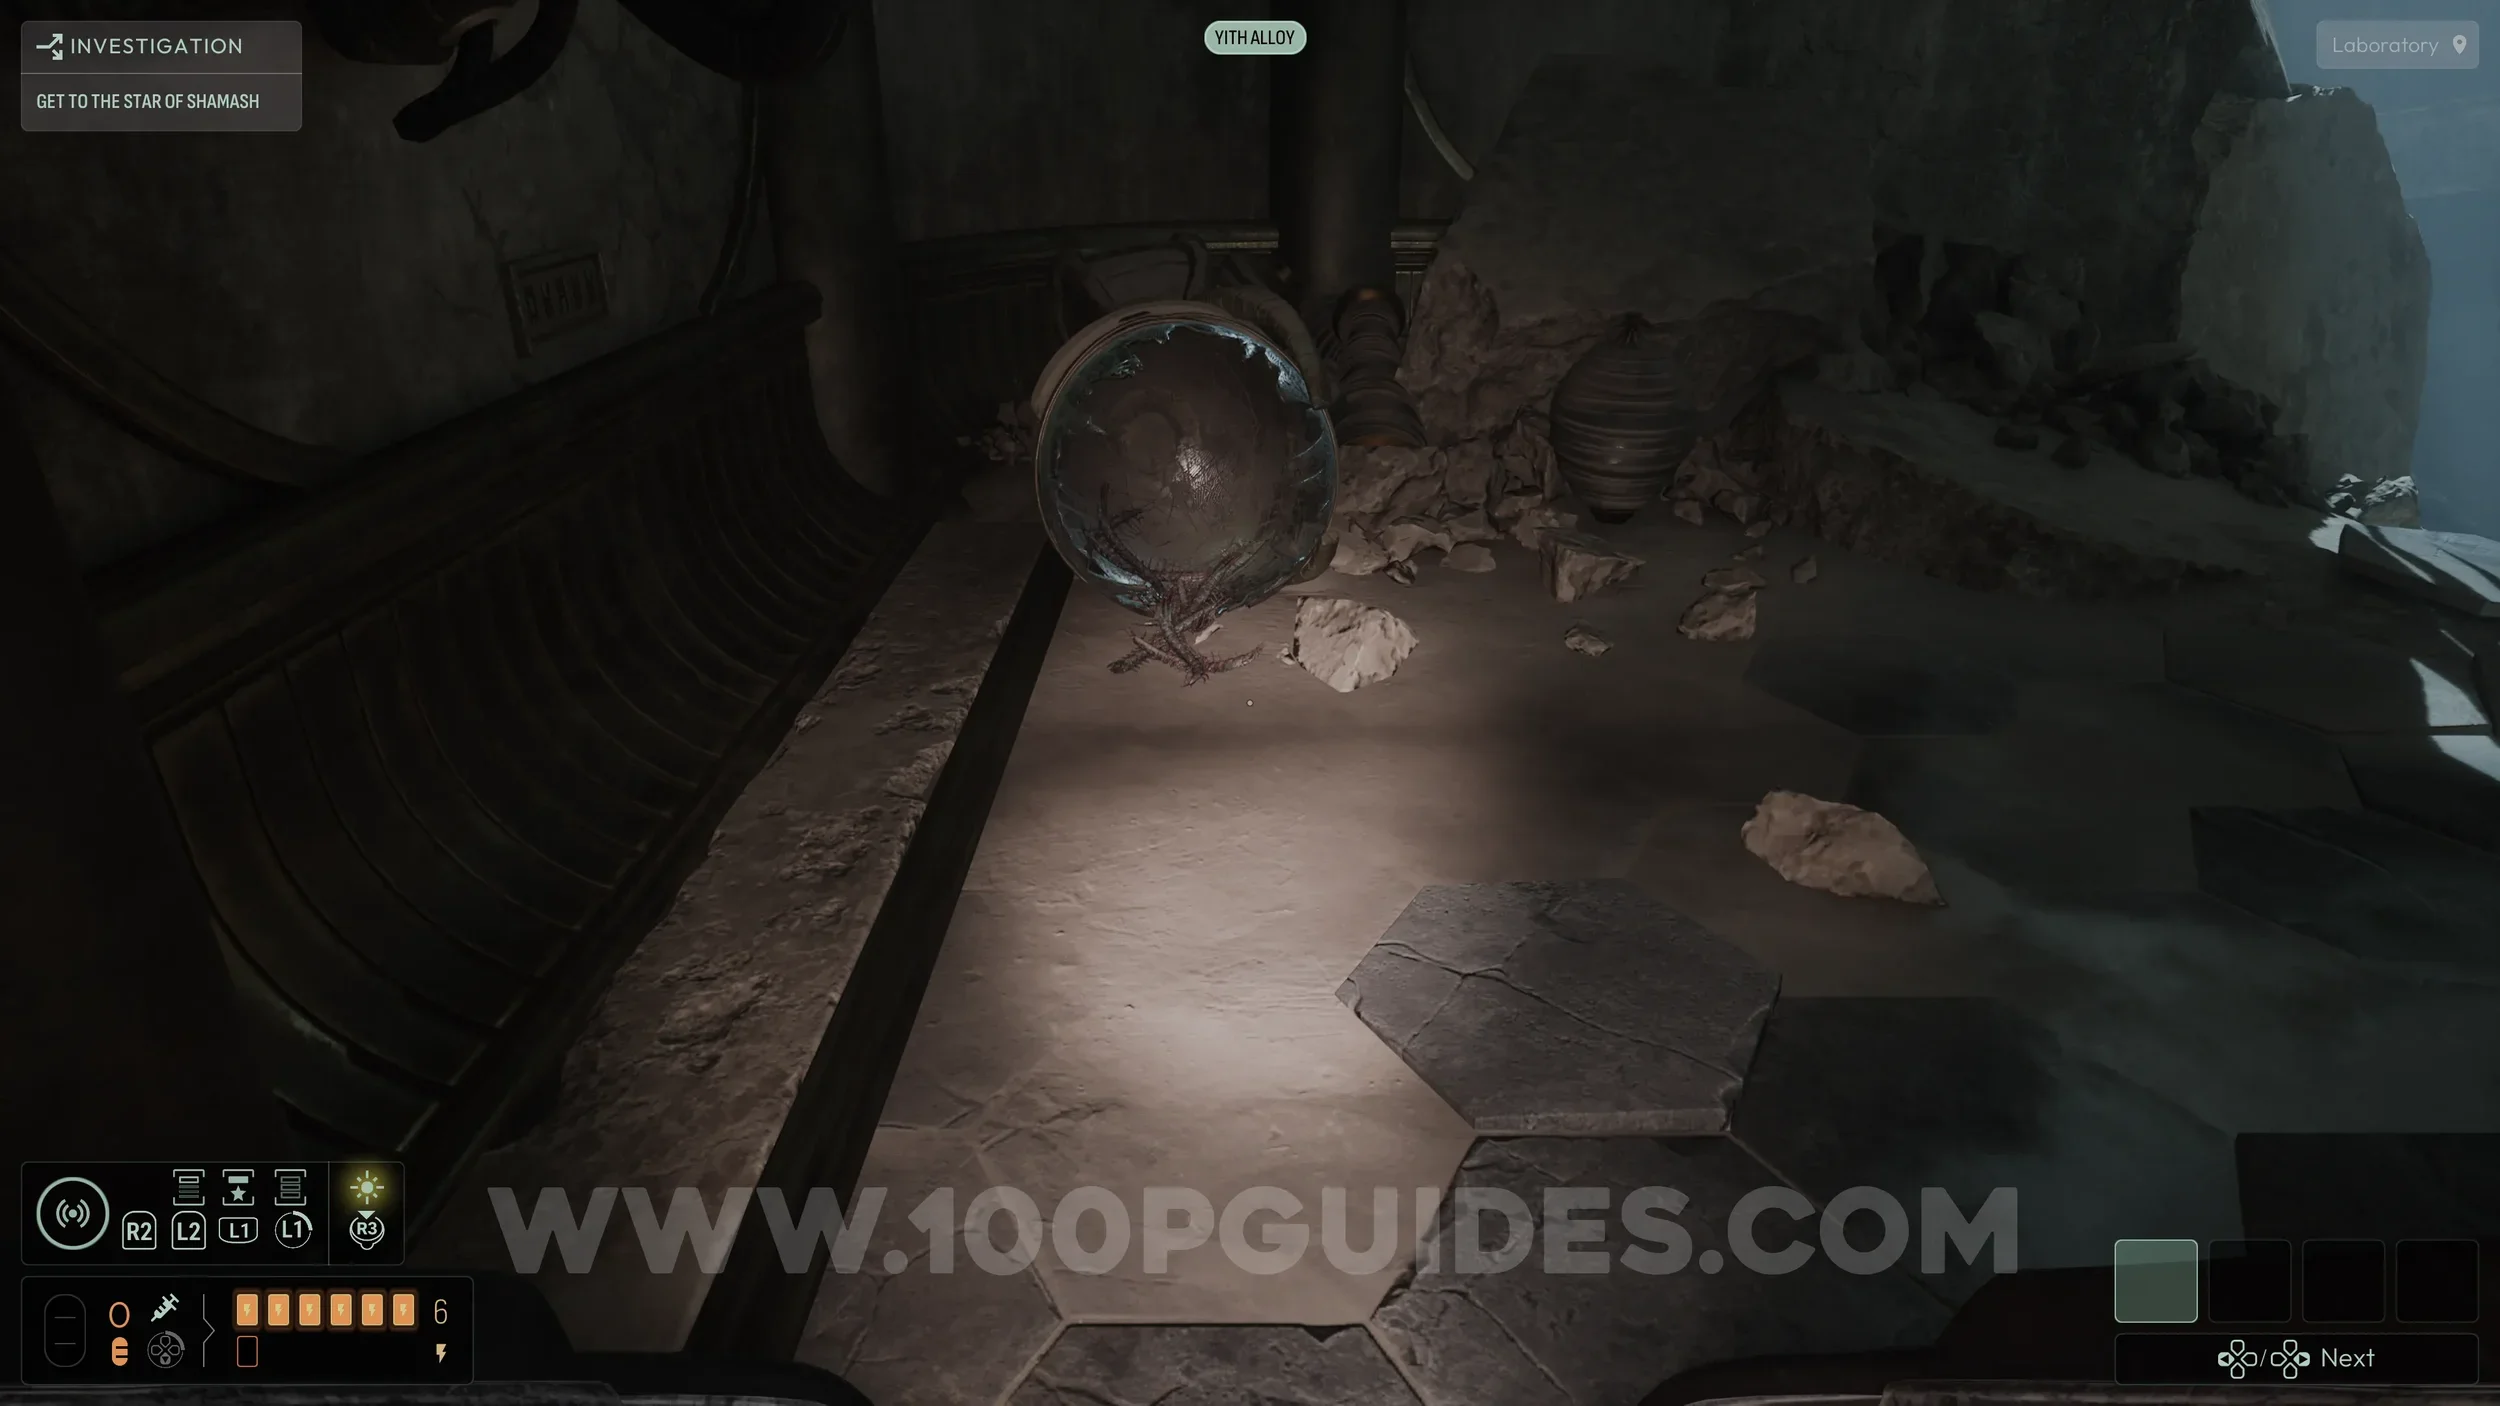
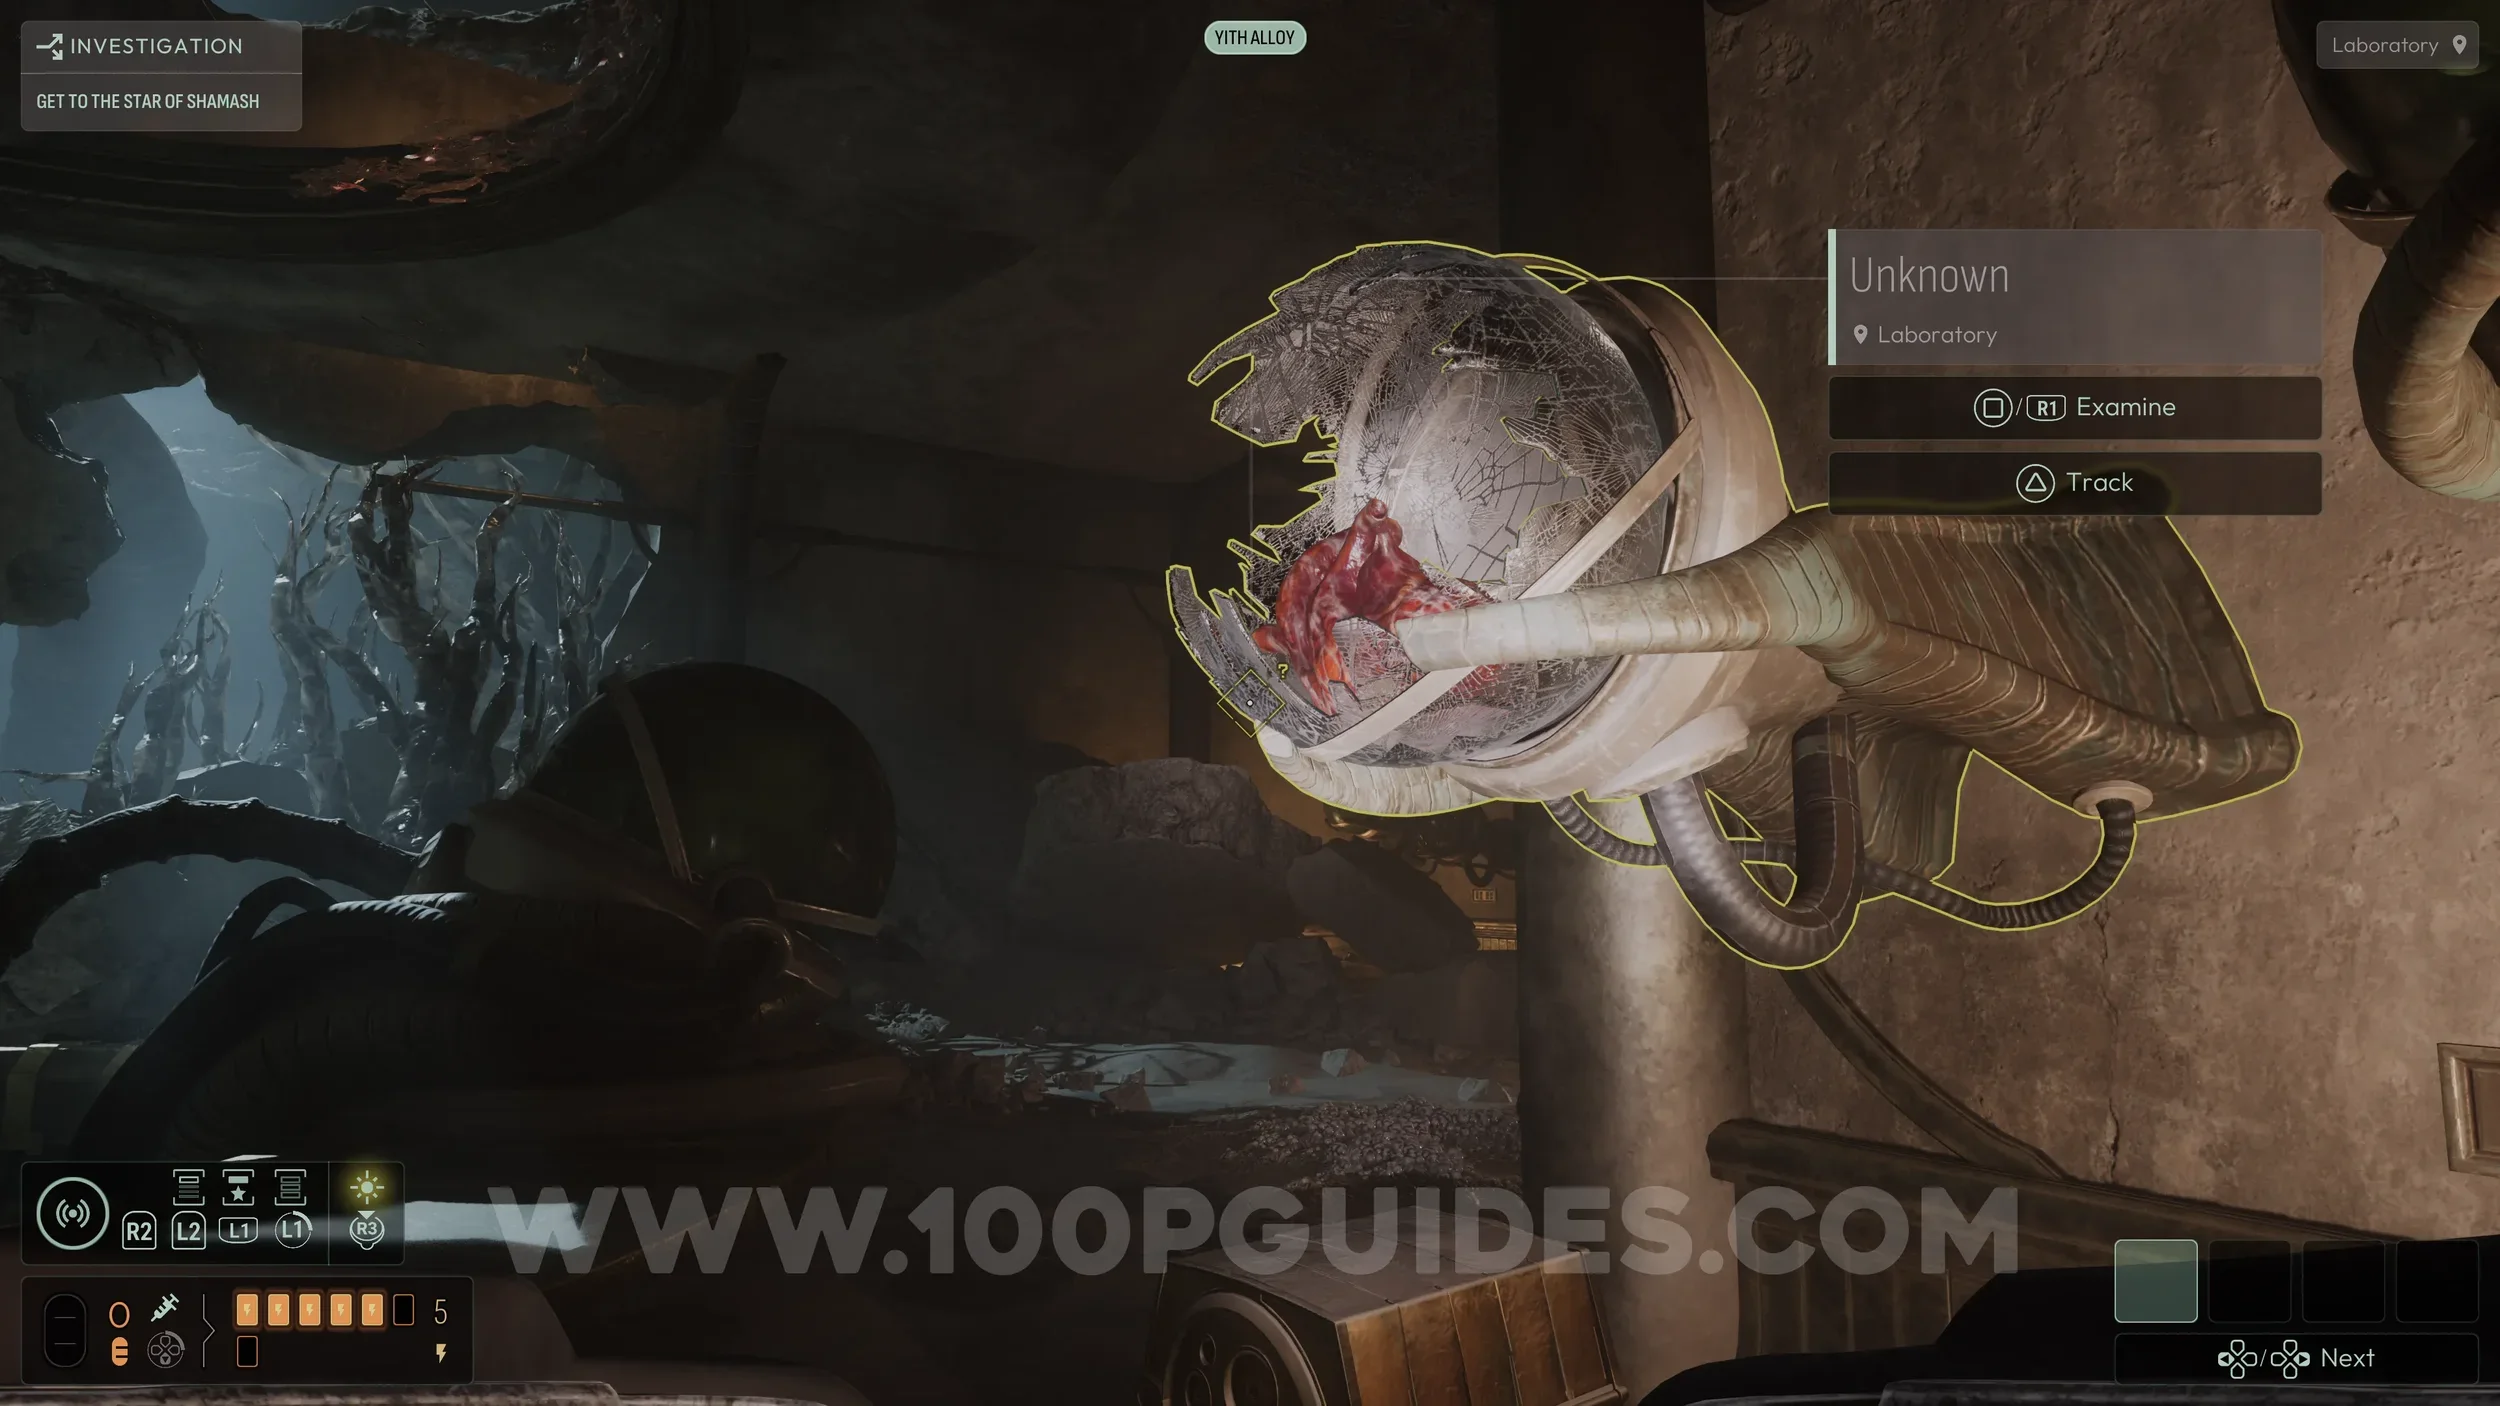
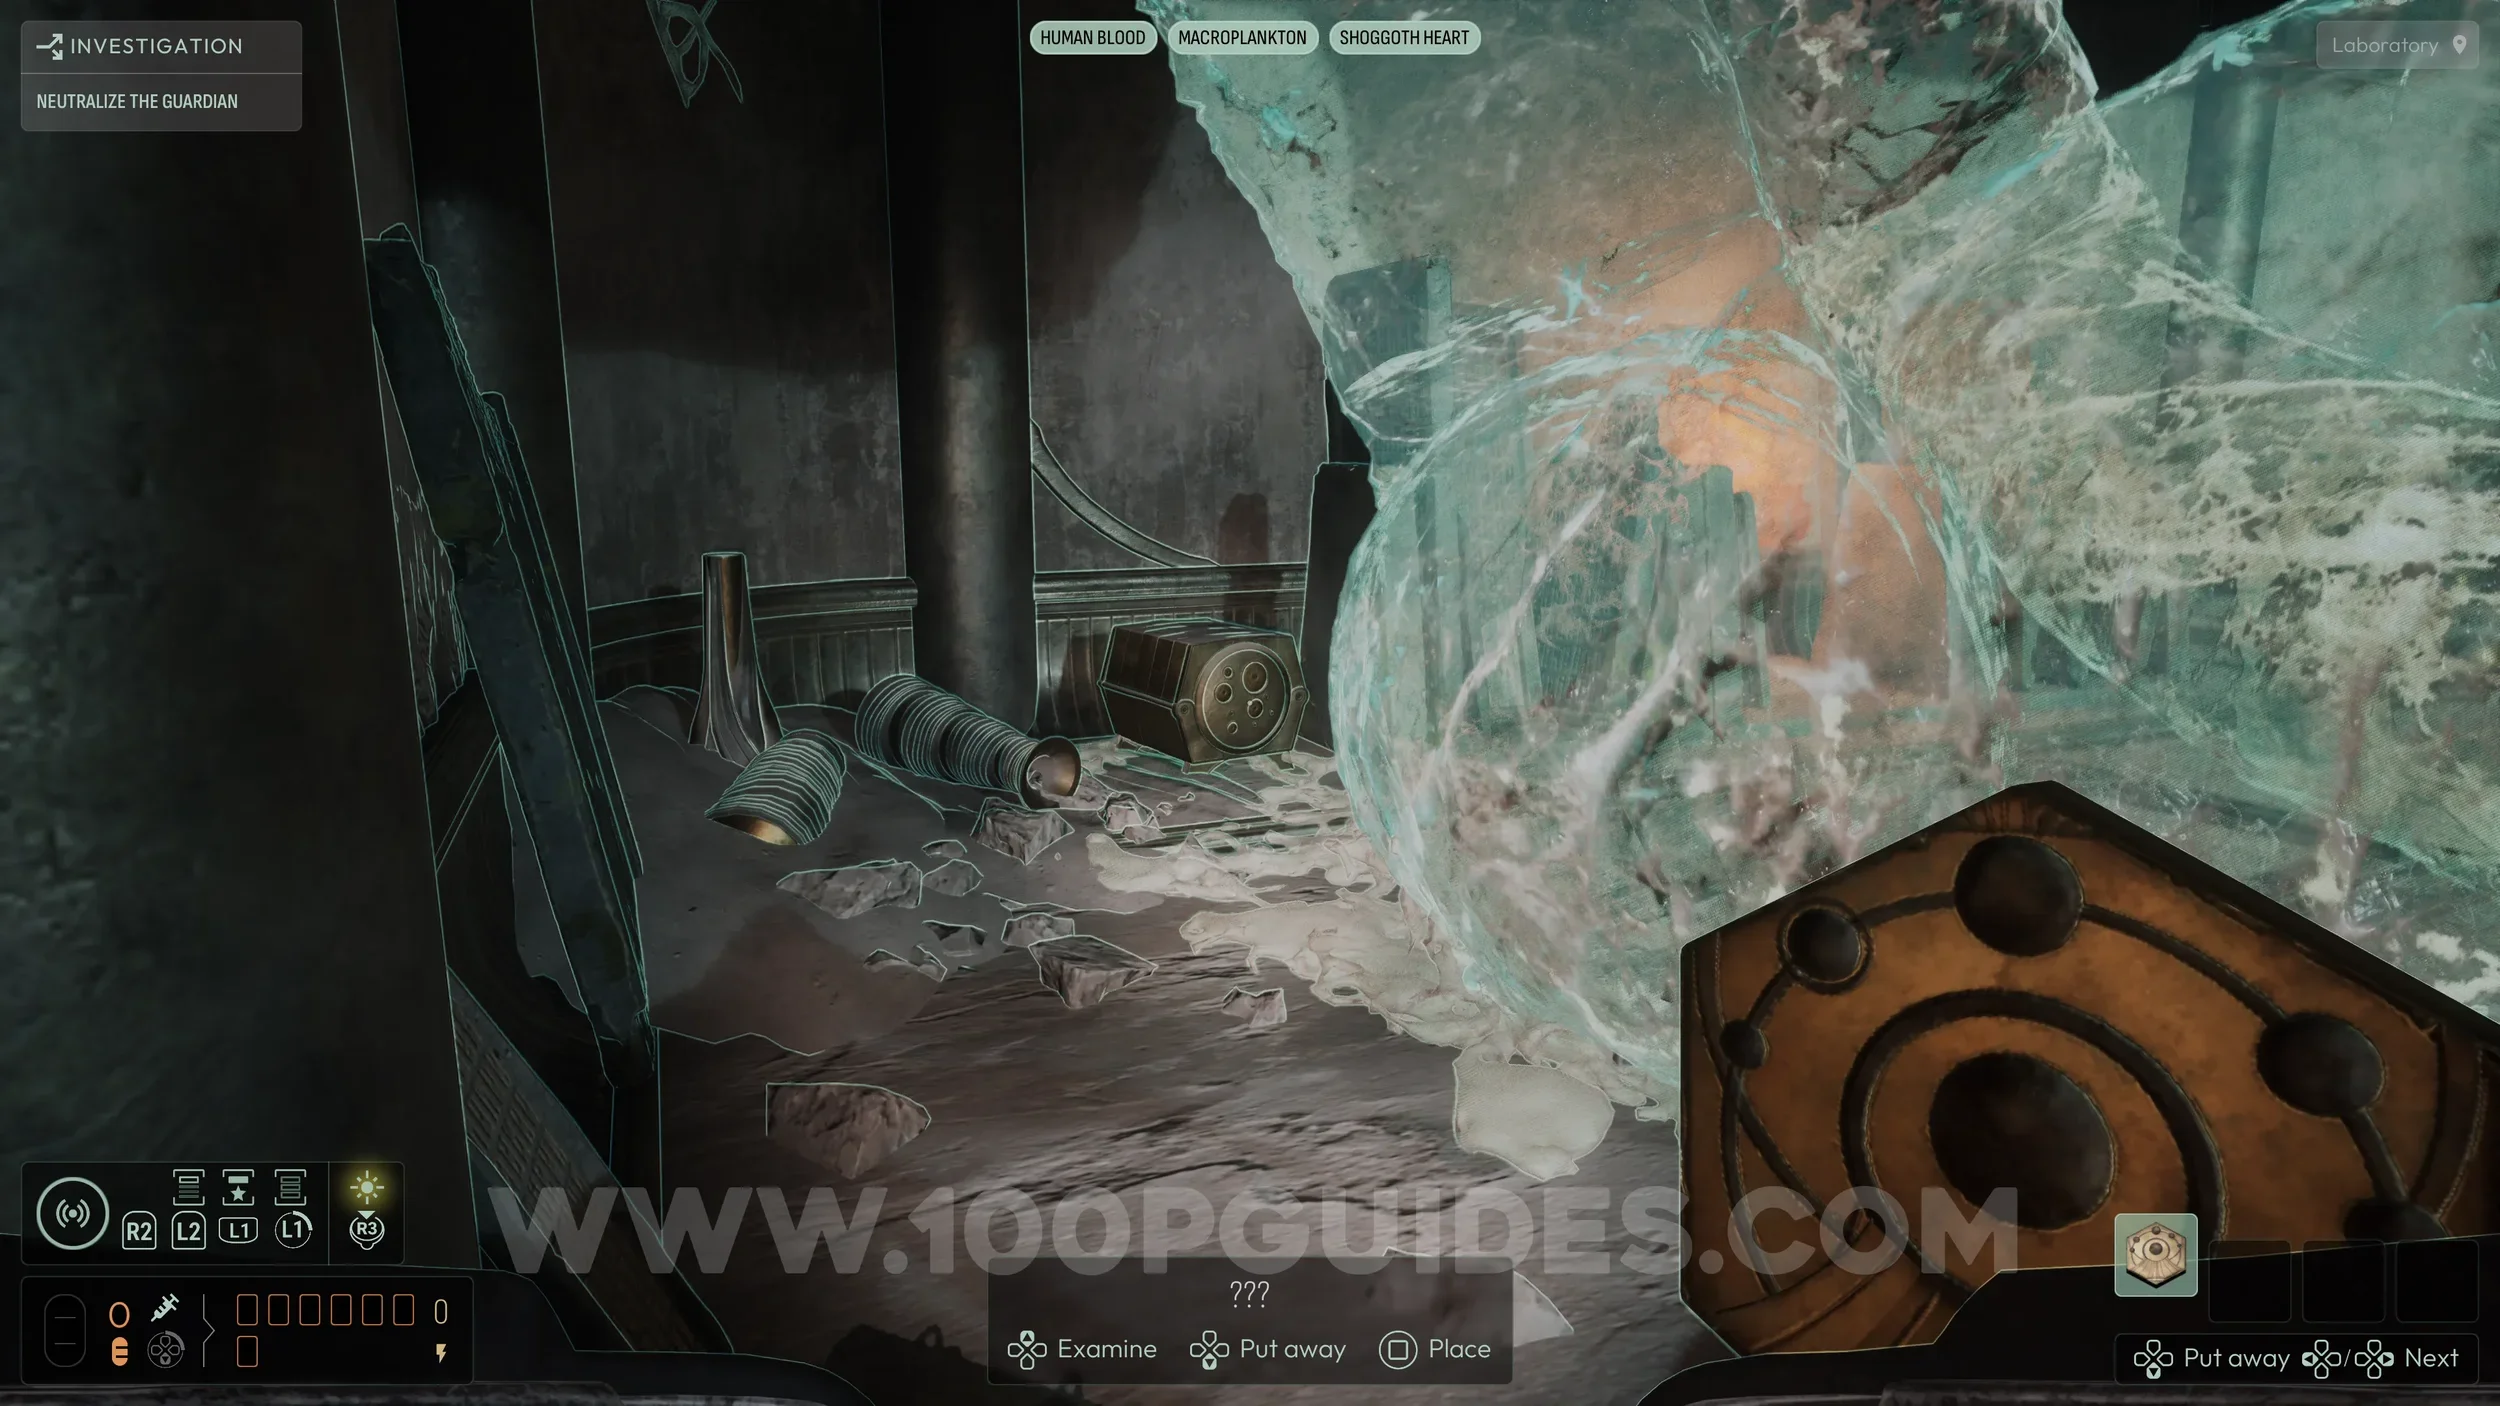
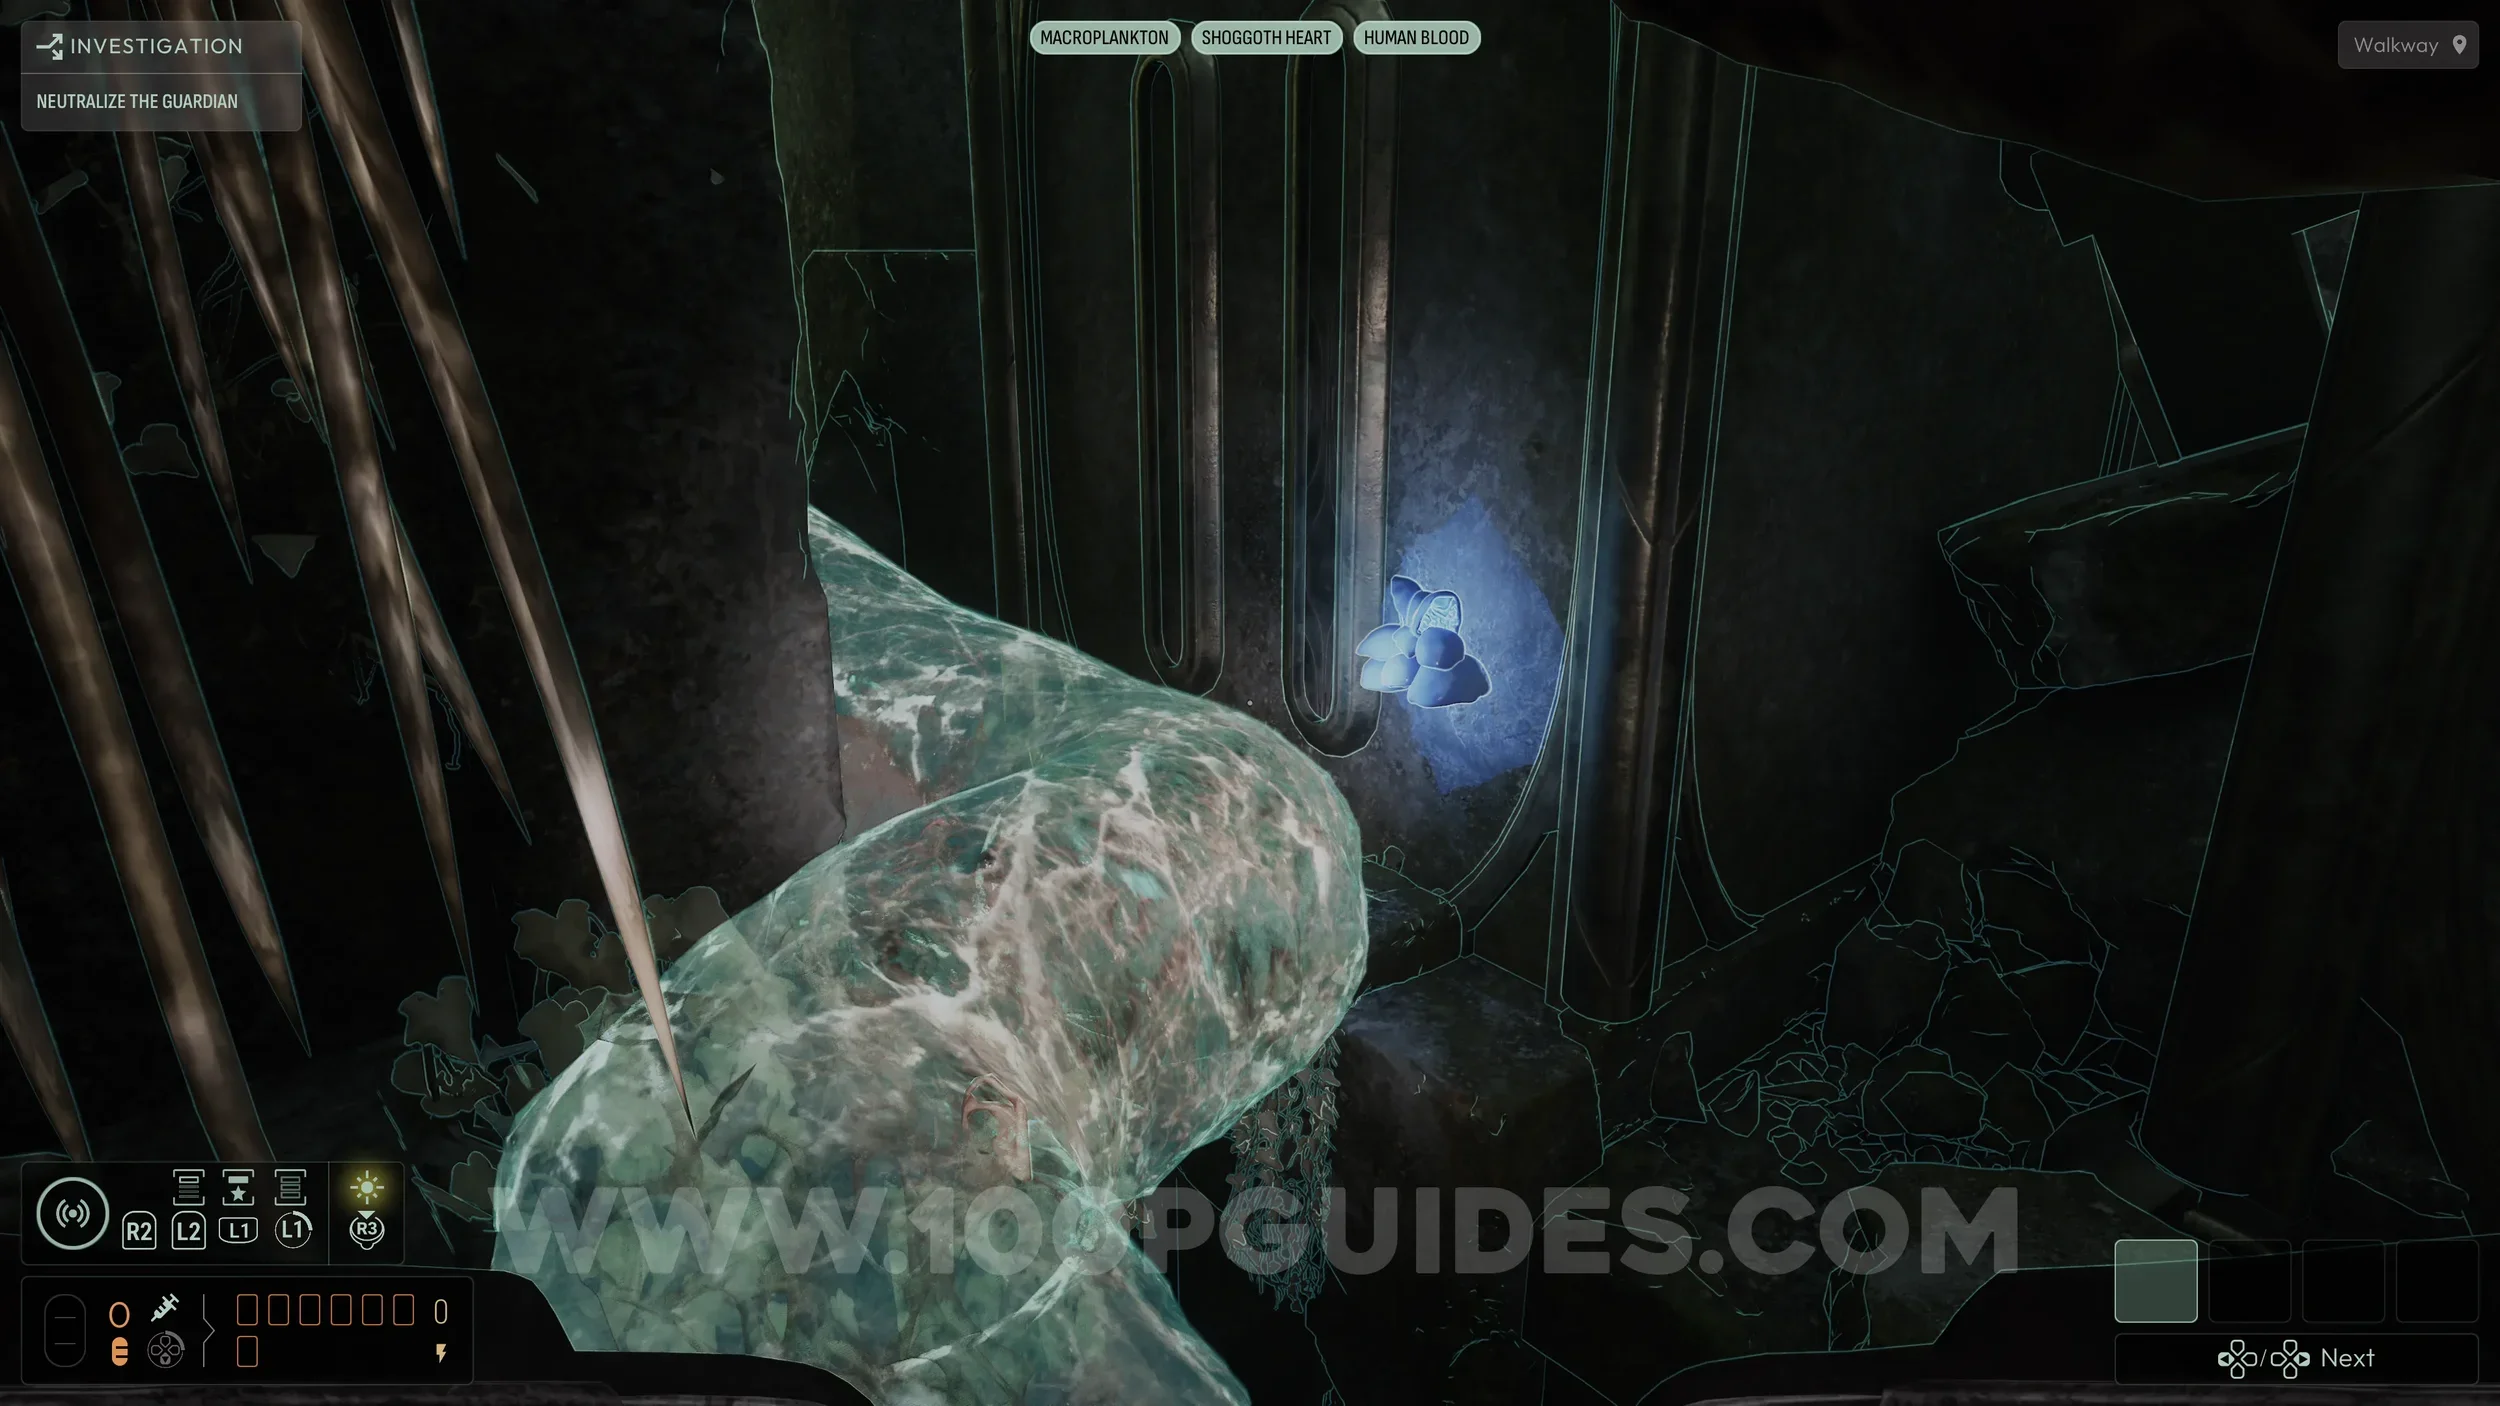
The final item is the Shoggoth Heart, found inside a broken crystal sphere on the wall on the right side of the lower floor.
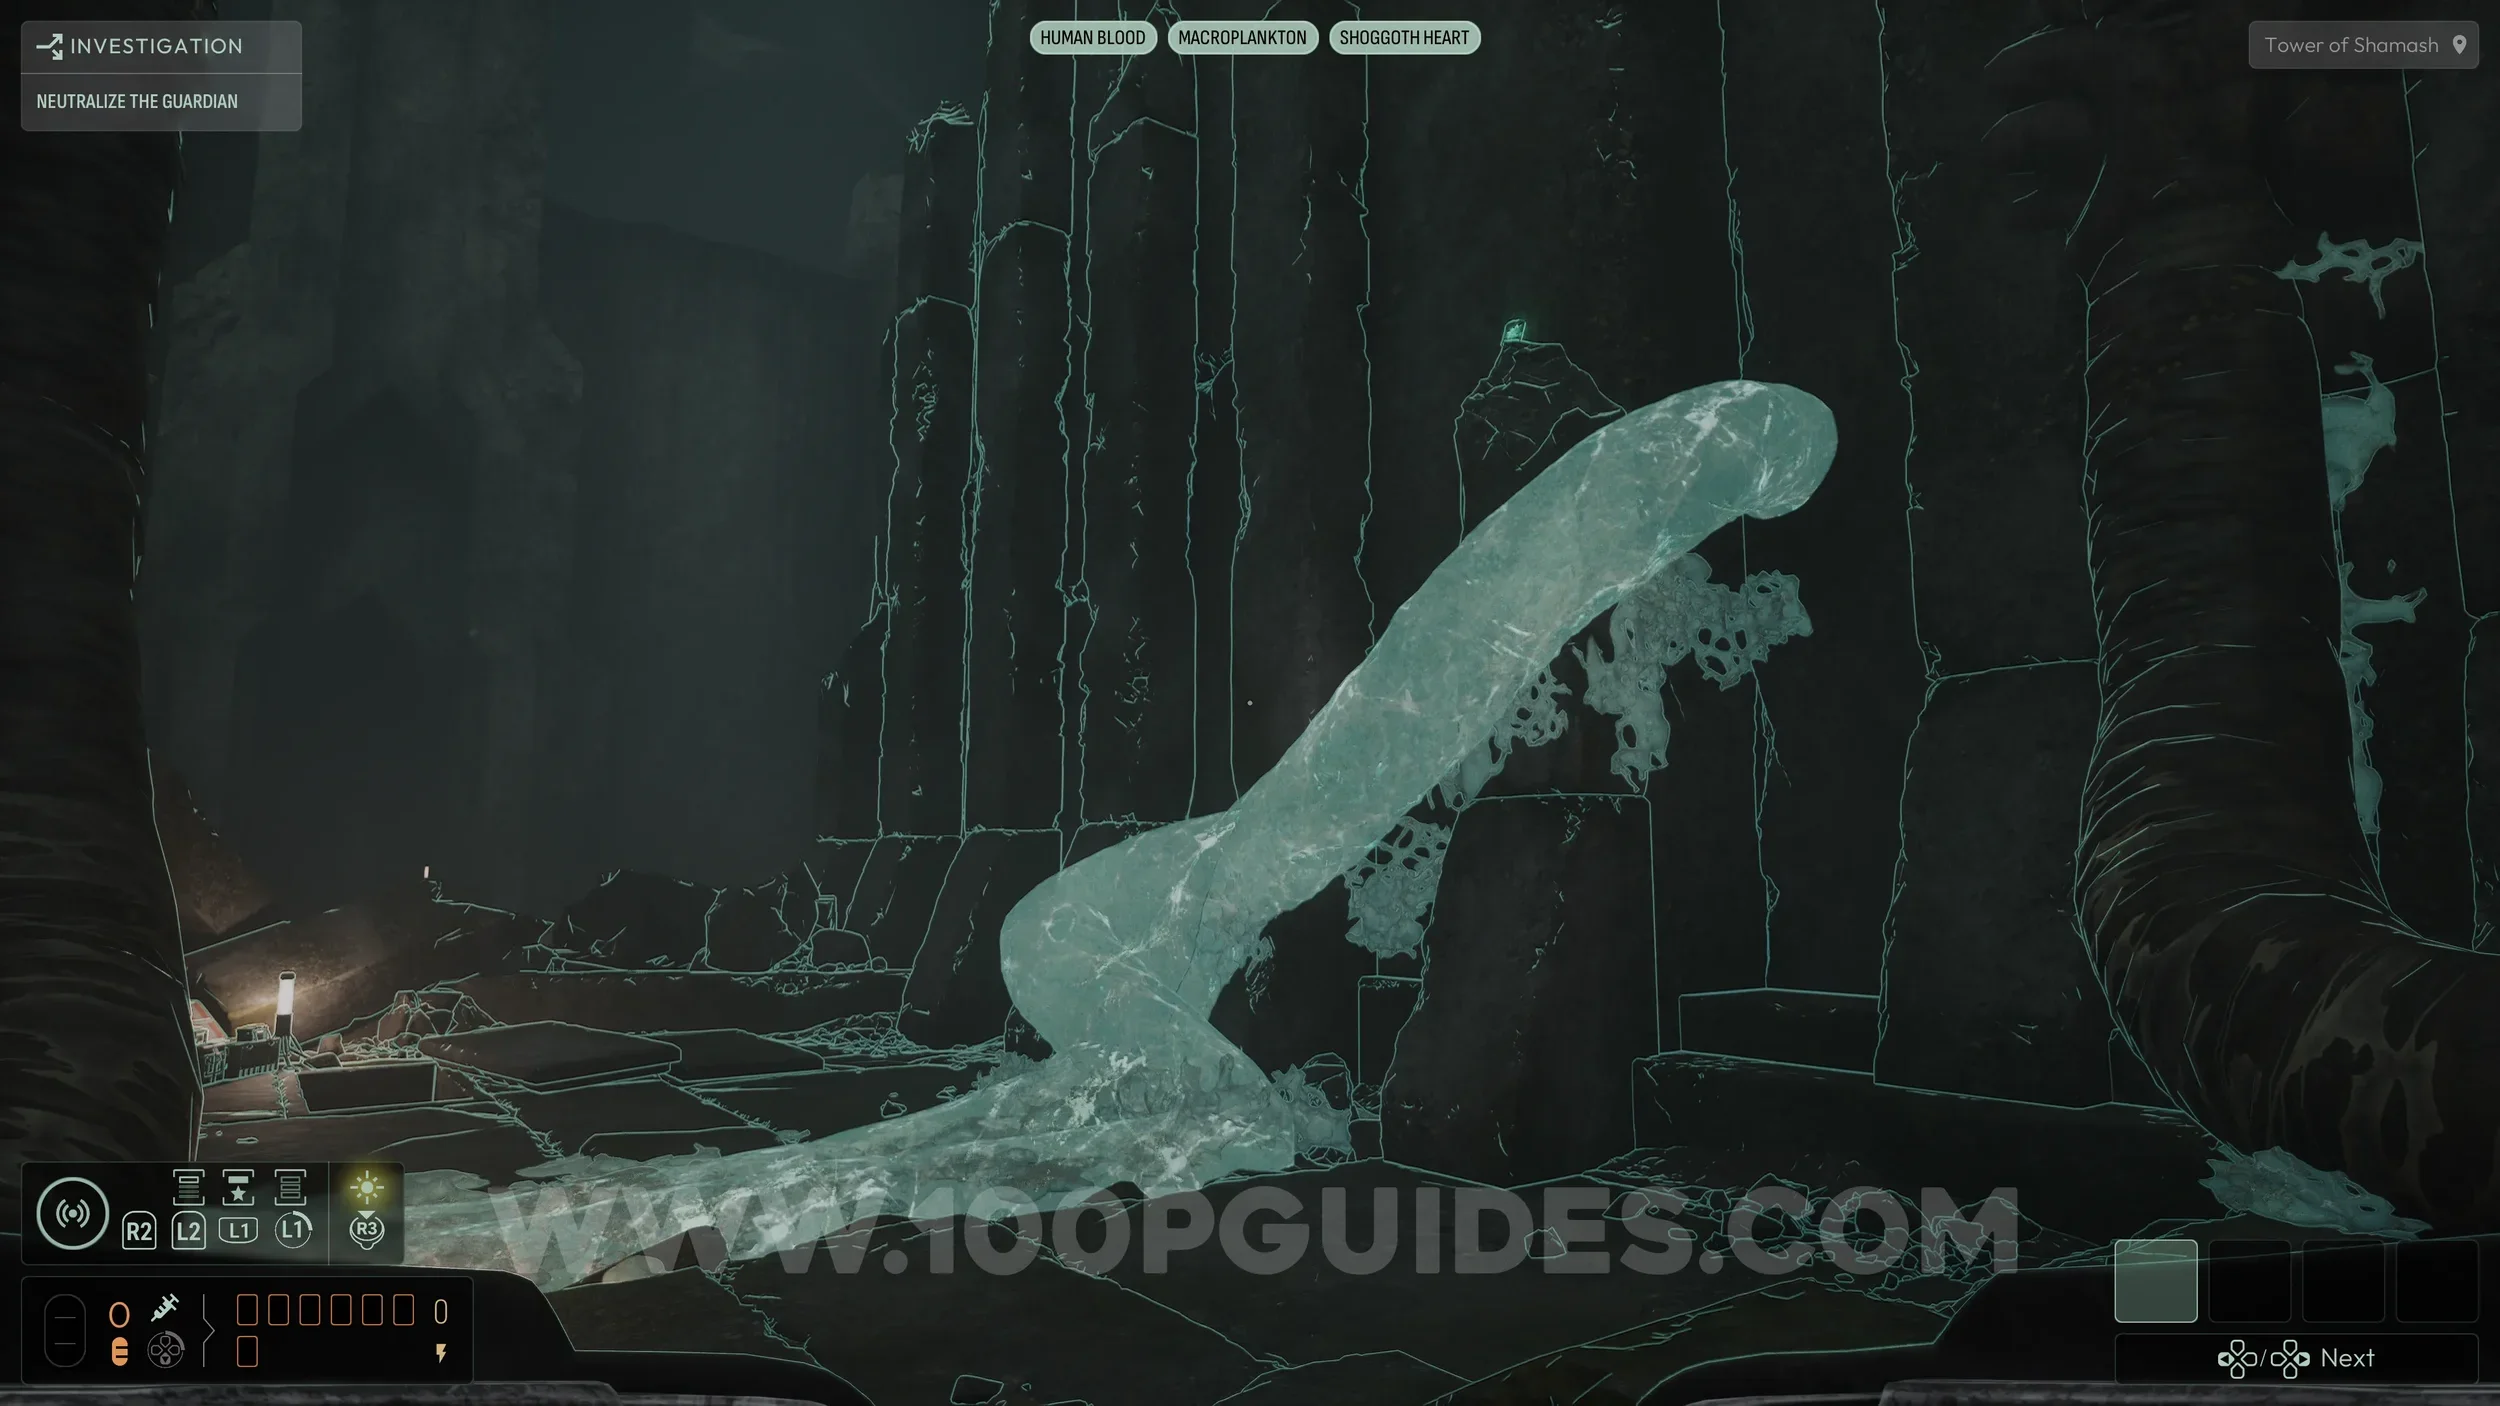
Once you have all three frequencies, equip them and use your sonar to reveal the invisible tentacles.
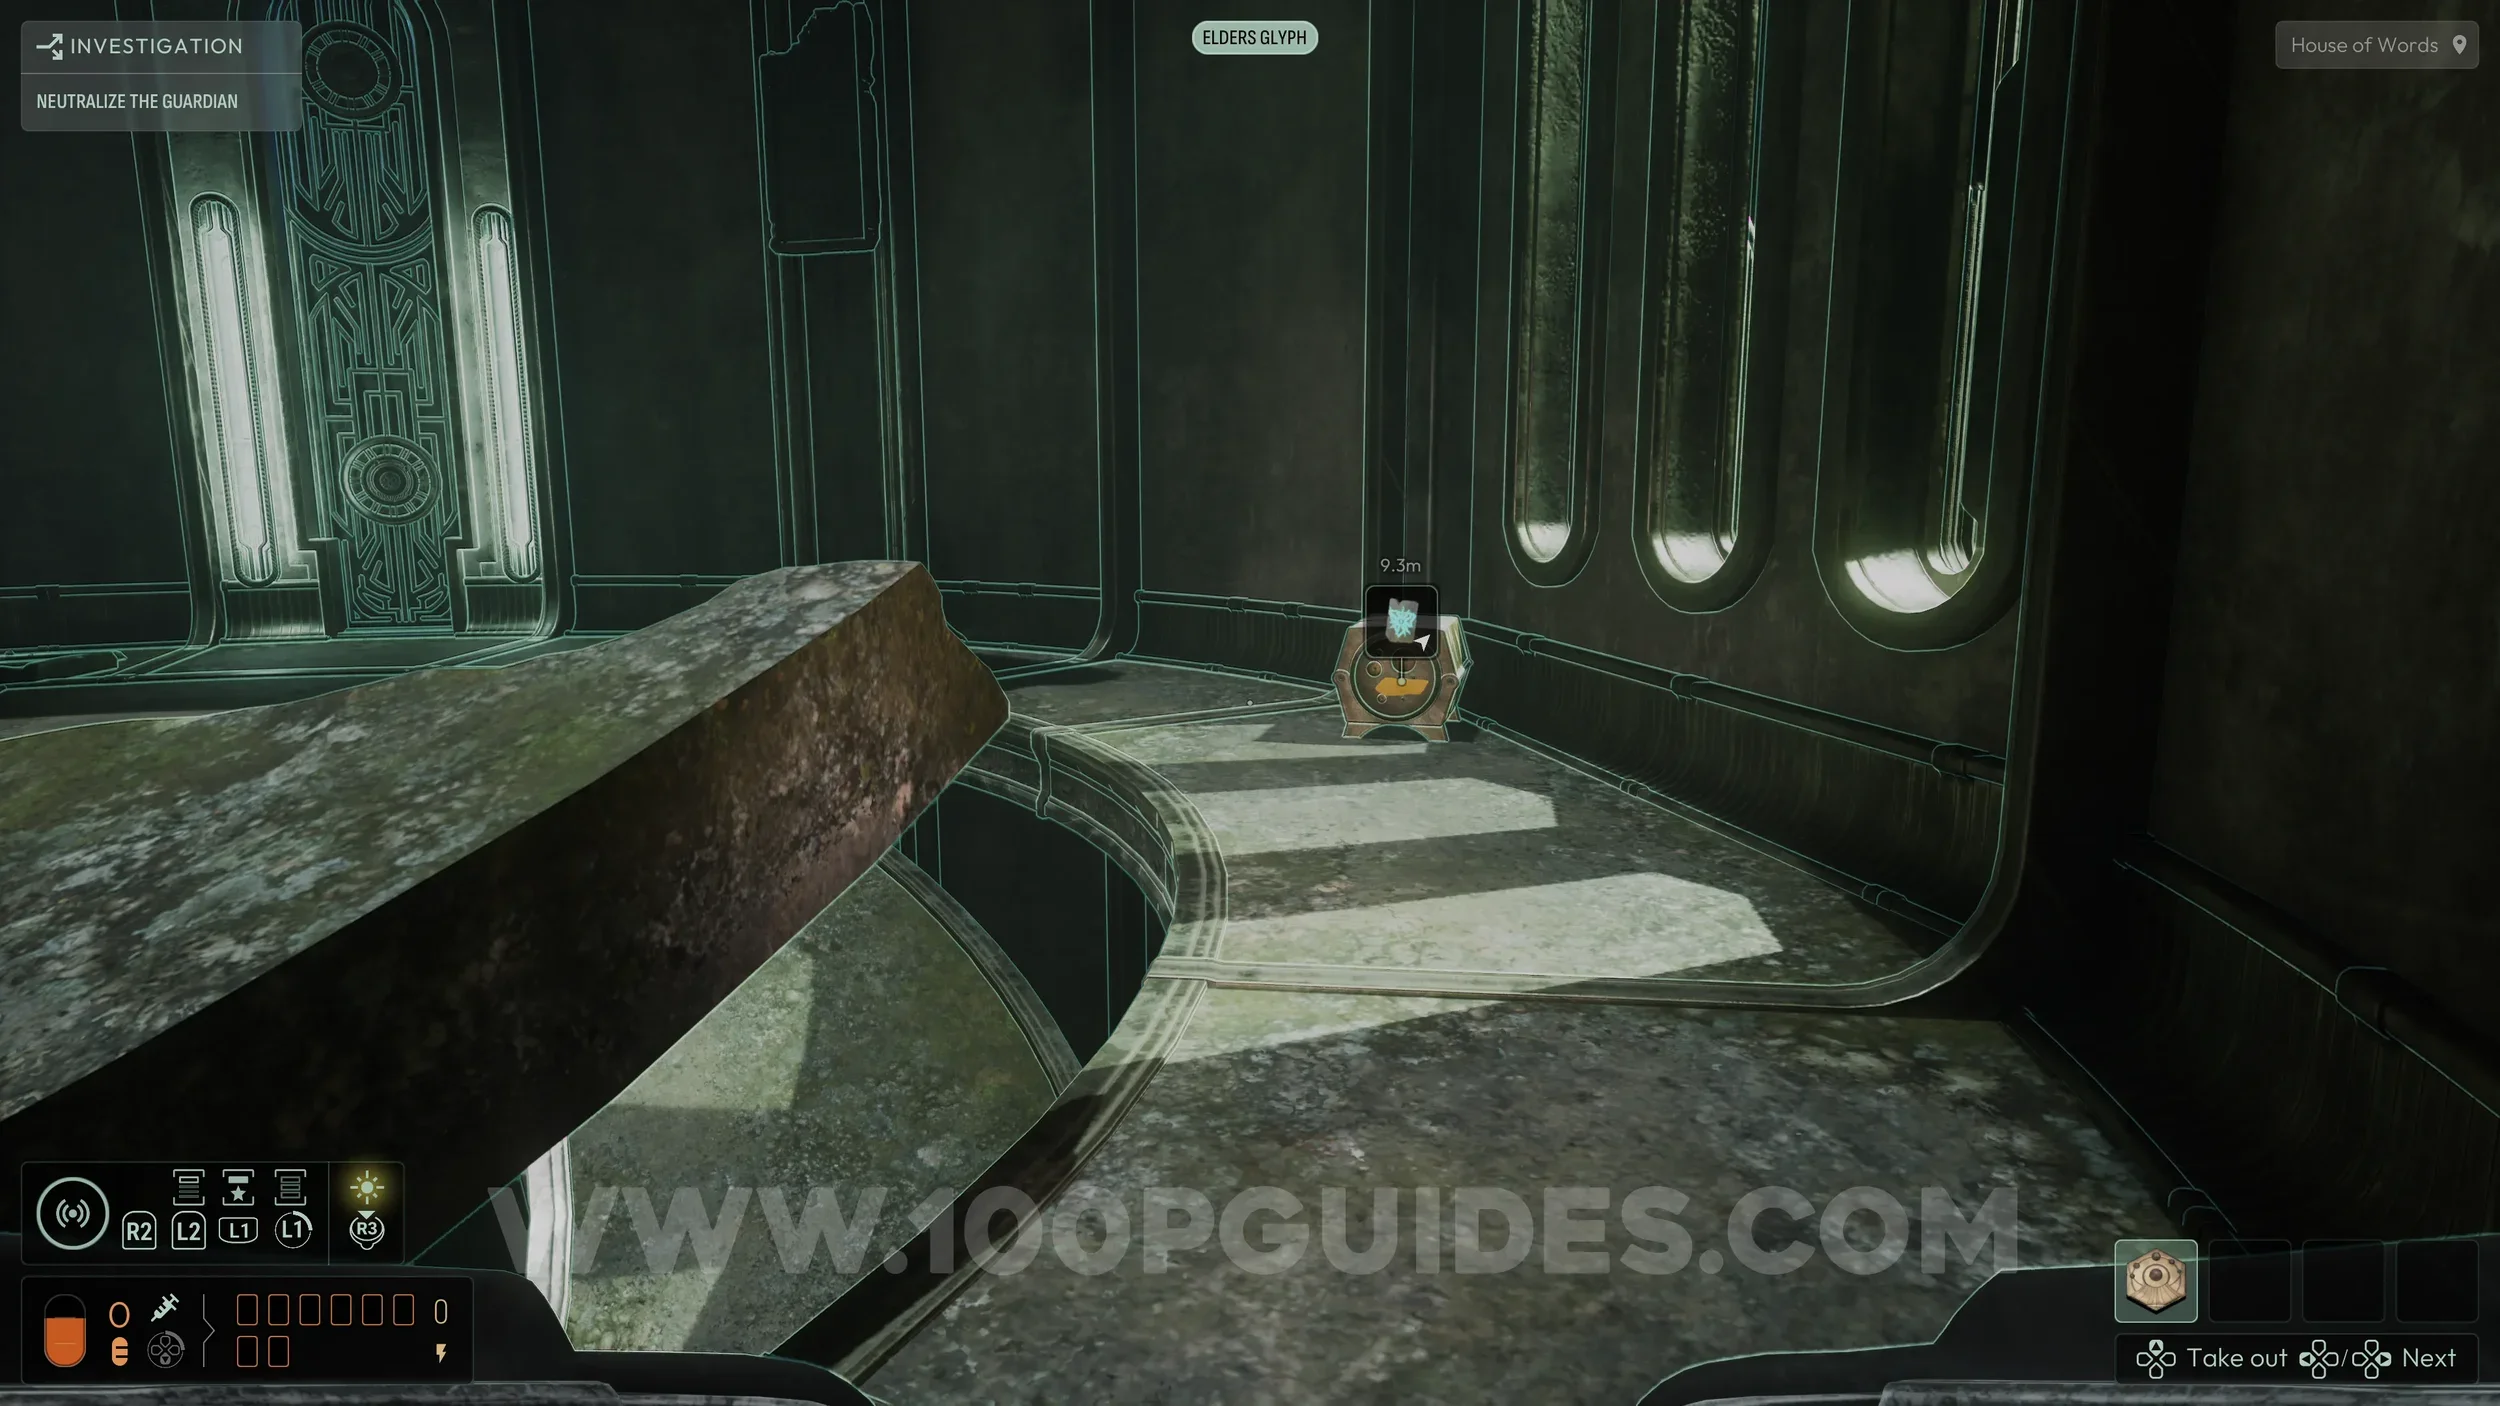
Evolution #10. Found in a locked chest on the top floor of the laboratory, the same area where you picked up the three frequencies to reveal invisible tentacles.
To unlock it, continue through the top floor of the lab and exit out the other side using the large tentacle. This takes you to the upper area where the creature is and a cutscene will play.
As soon as you arrive, look to your right and use your sonar to reveal hidden tentacles. Use them to reach the overgrown area on the other side. Go through this area and, on your right, enter a room with a table and an open chest containing a magnetic medallion.
Pick it up, then return to the laboratory and place it on top of the locked chest to open it and collect the collectible.

Evolution #11. Once you have the three frequencies to reveal invisible tentacles, return to the start of the area where you first see the creature and the chapter title appears. Facing the creature, turn around and use your sonar to reveal a tentacle that takes you up to a collectible on the right side of the street.
Energy Upgrade #3. Face the creature in the lower area again and take the tentacle on your right to climb over the rubble. Then use your sonar to reveal an invisible tentacle that leads up to the right. At the top, you can collect the energy upgrade.
Evolution #12. From the previous collectible, use the red tentacle to get back down to the bottom. Then climb the same invisible tentacle you used to reach the energy upgrade. This time, at the top, head left and look for another invisible tentacle leading downward. Follow it down until you can drop off onto another evolution.

Evolution Capacity Upgrade #7. Head underneath the red tentacle you used earlier to descend after collecting the previous energy upgrade. Follow this path until you reach a tall, narrow door at the end. Hold the magnetic medallion in your hand to open it.
Inside, you will find another Strange Monolith that expands your evolution slots.
Evolution #13. From the previous collectible, head up the ramp to find it in a chest in plain sight on the second floor.
Chapter 6
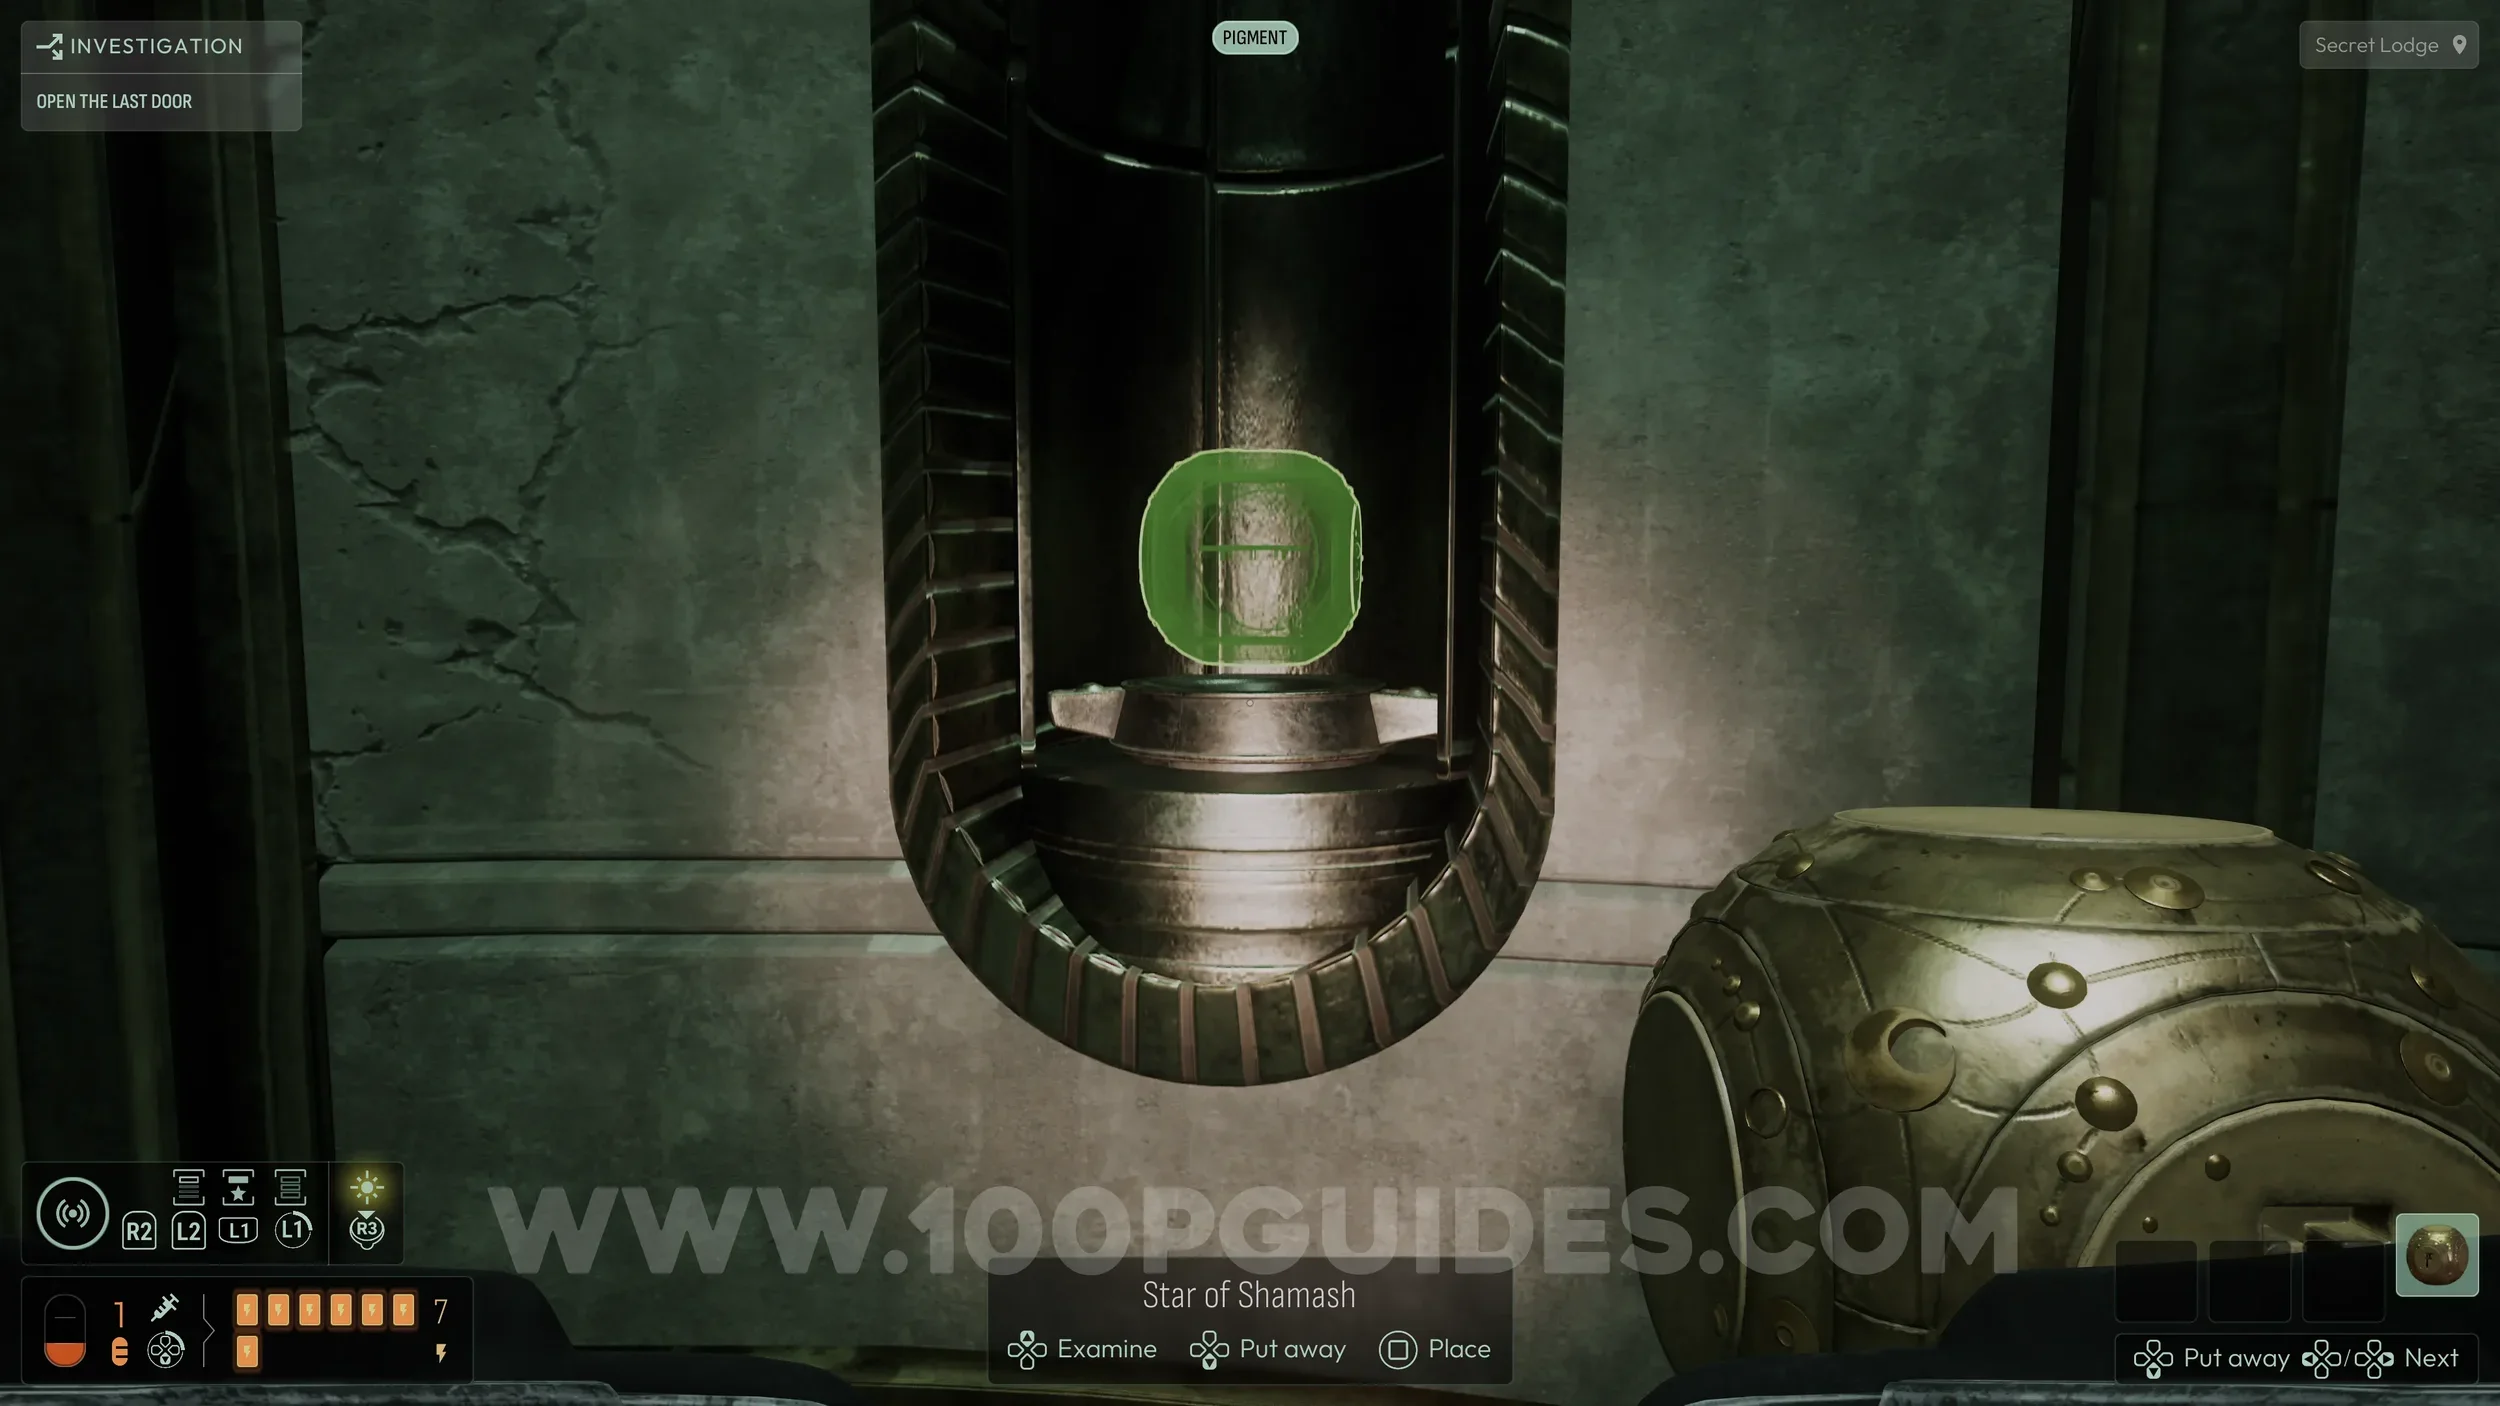
Evolution #14. After engraving the star with the “I” symbol, return to the main circular area and go down the stairs on the opposite side. Head to the bottom and enter the small room.
Insert the star into the pedestal in the middle with the “I” symbol facing away from you to enter a memory. The collectible can be found in this memory.

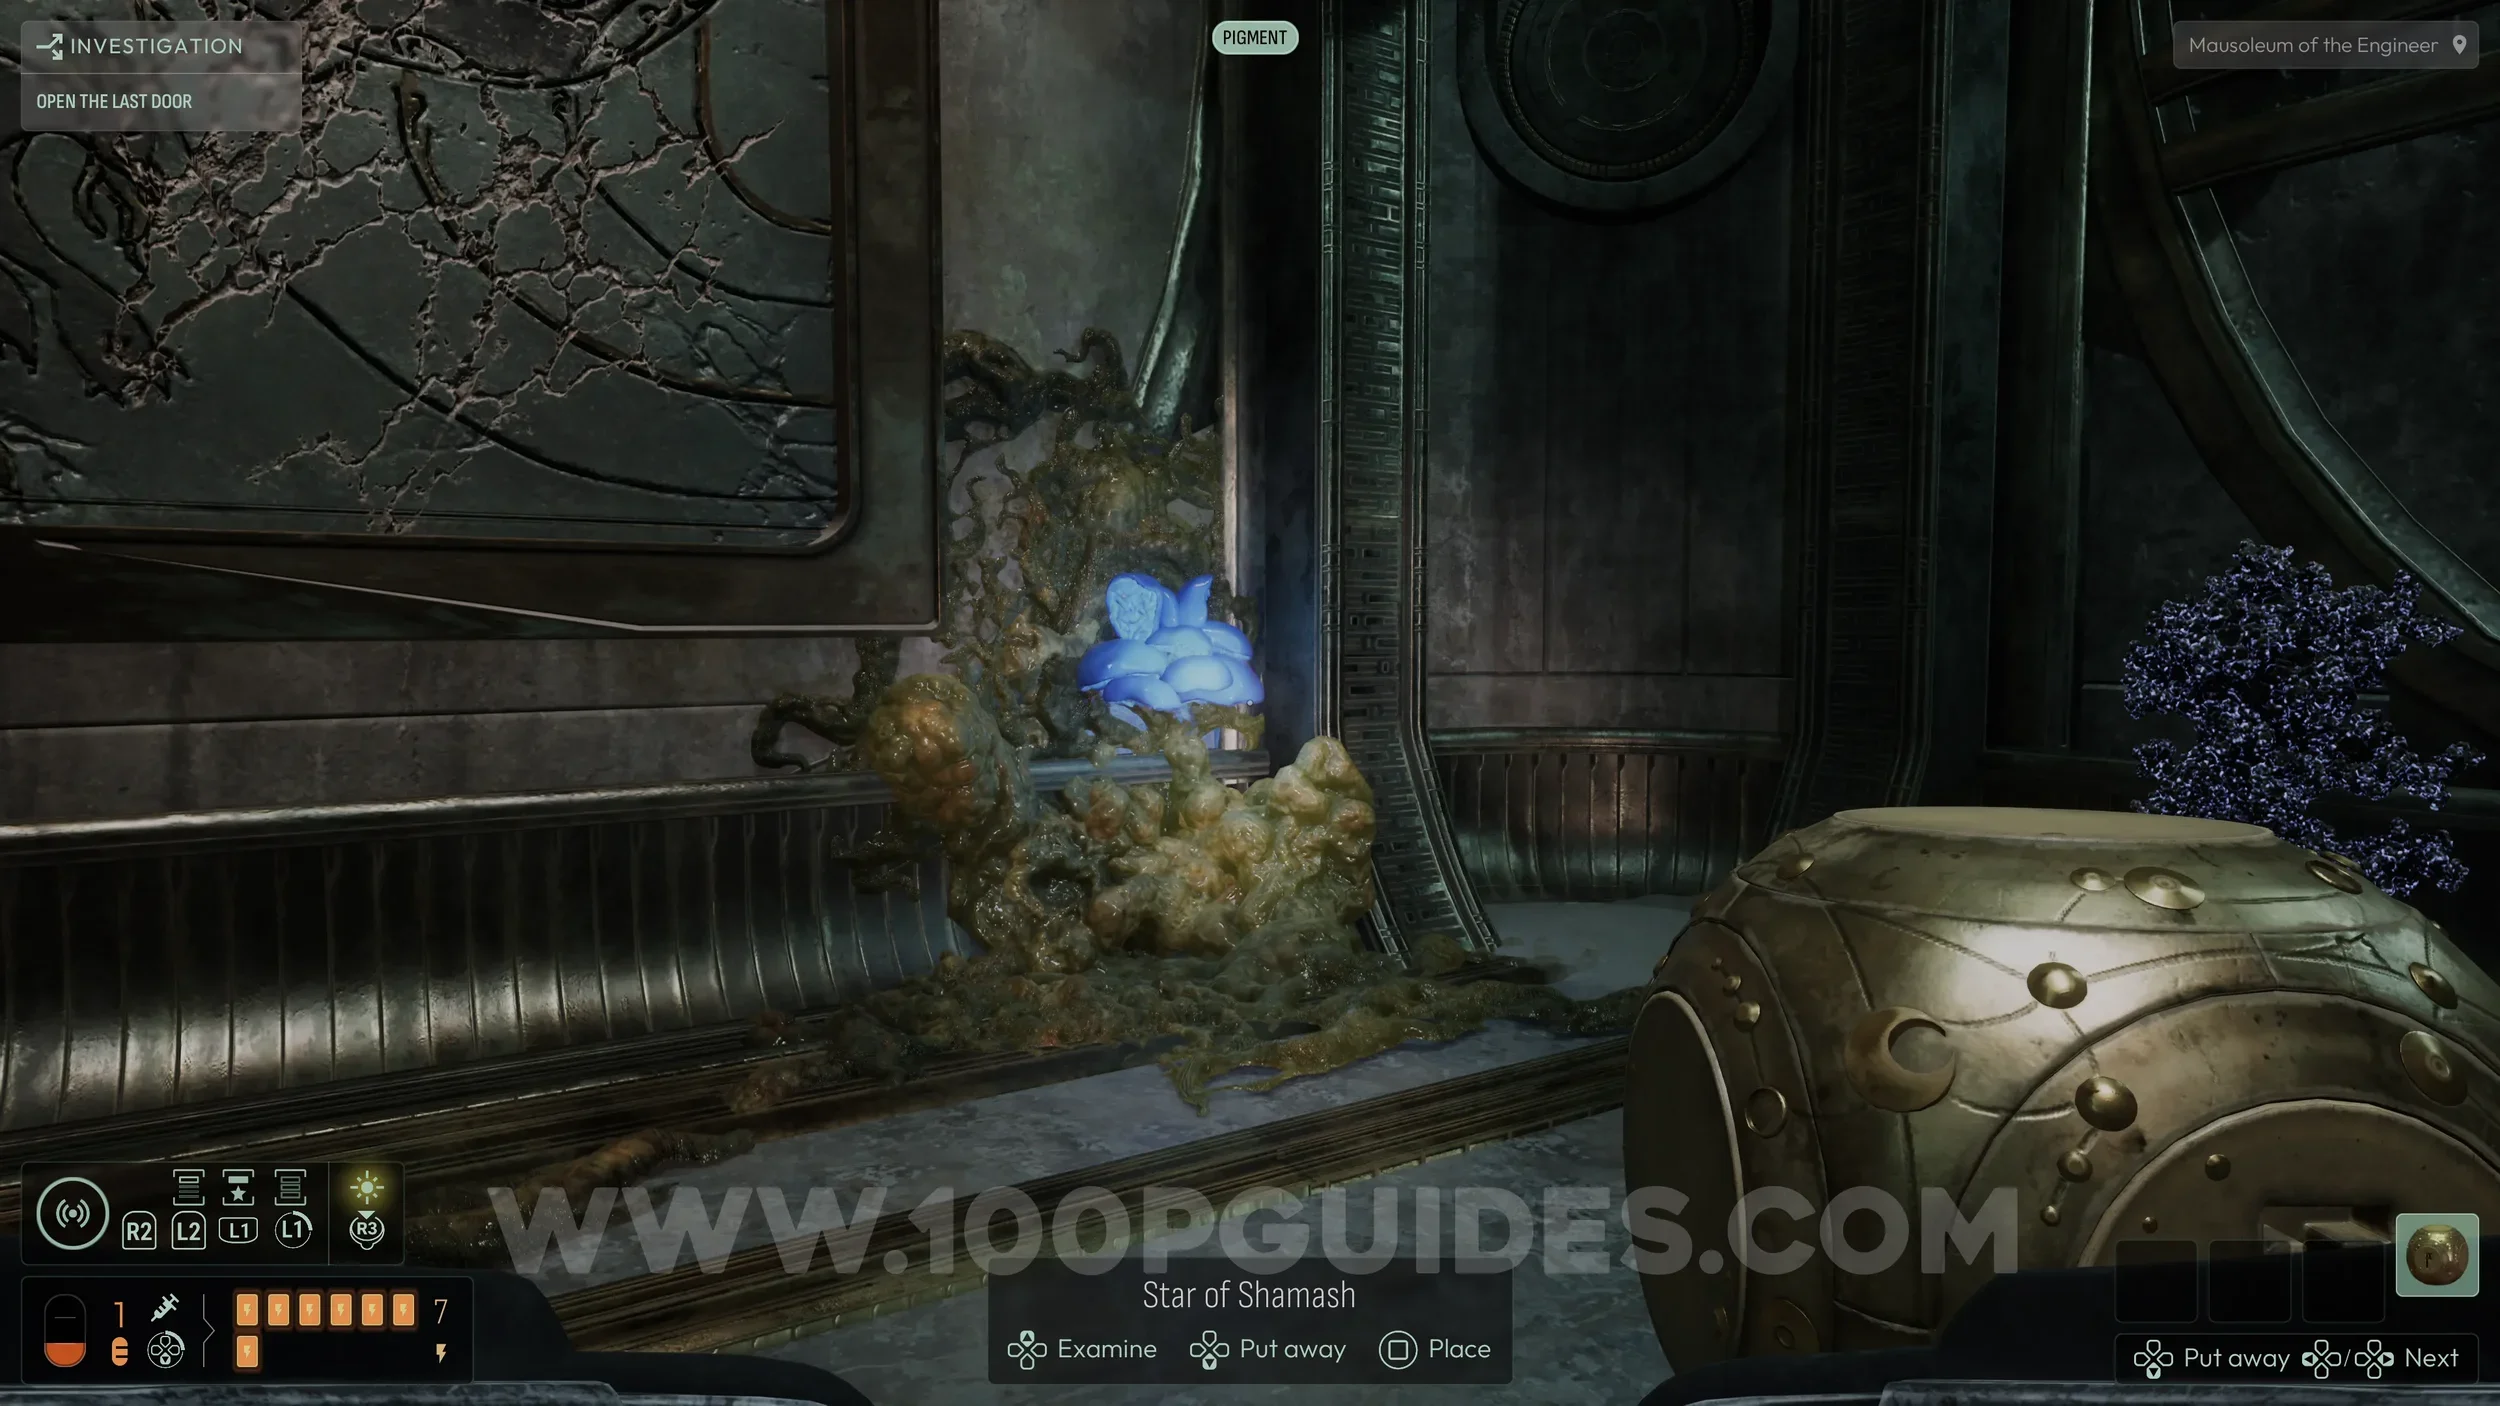
Evolution Capacity Upgrade #8. After collecting the previous collectible, pick up the star to exit the memory. Stay in this room and place the star on the pedestal near the wall.
Look at the “I” symbol for a few seconds until it begins to glow, then pick up the star. This will take you to a hub room that connects all the smaller rooms. The collectible is in the middle of this room.
Energy Upgrade #4. In the hub room with all the teleporters (same room as where the previous collectible was), place the star into the third slot to the right, starting from the locked magnetic chest. Wait for it to glow, then remove it to be teleported to a room covered in goo. Here, you can find the final energy upgrade.
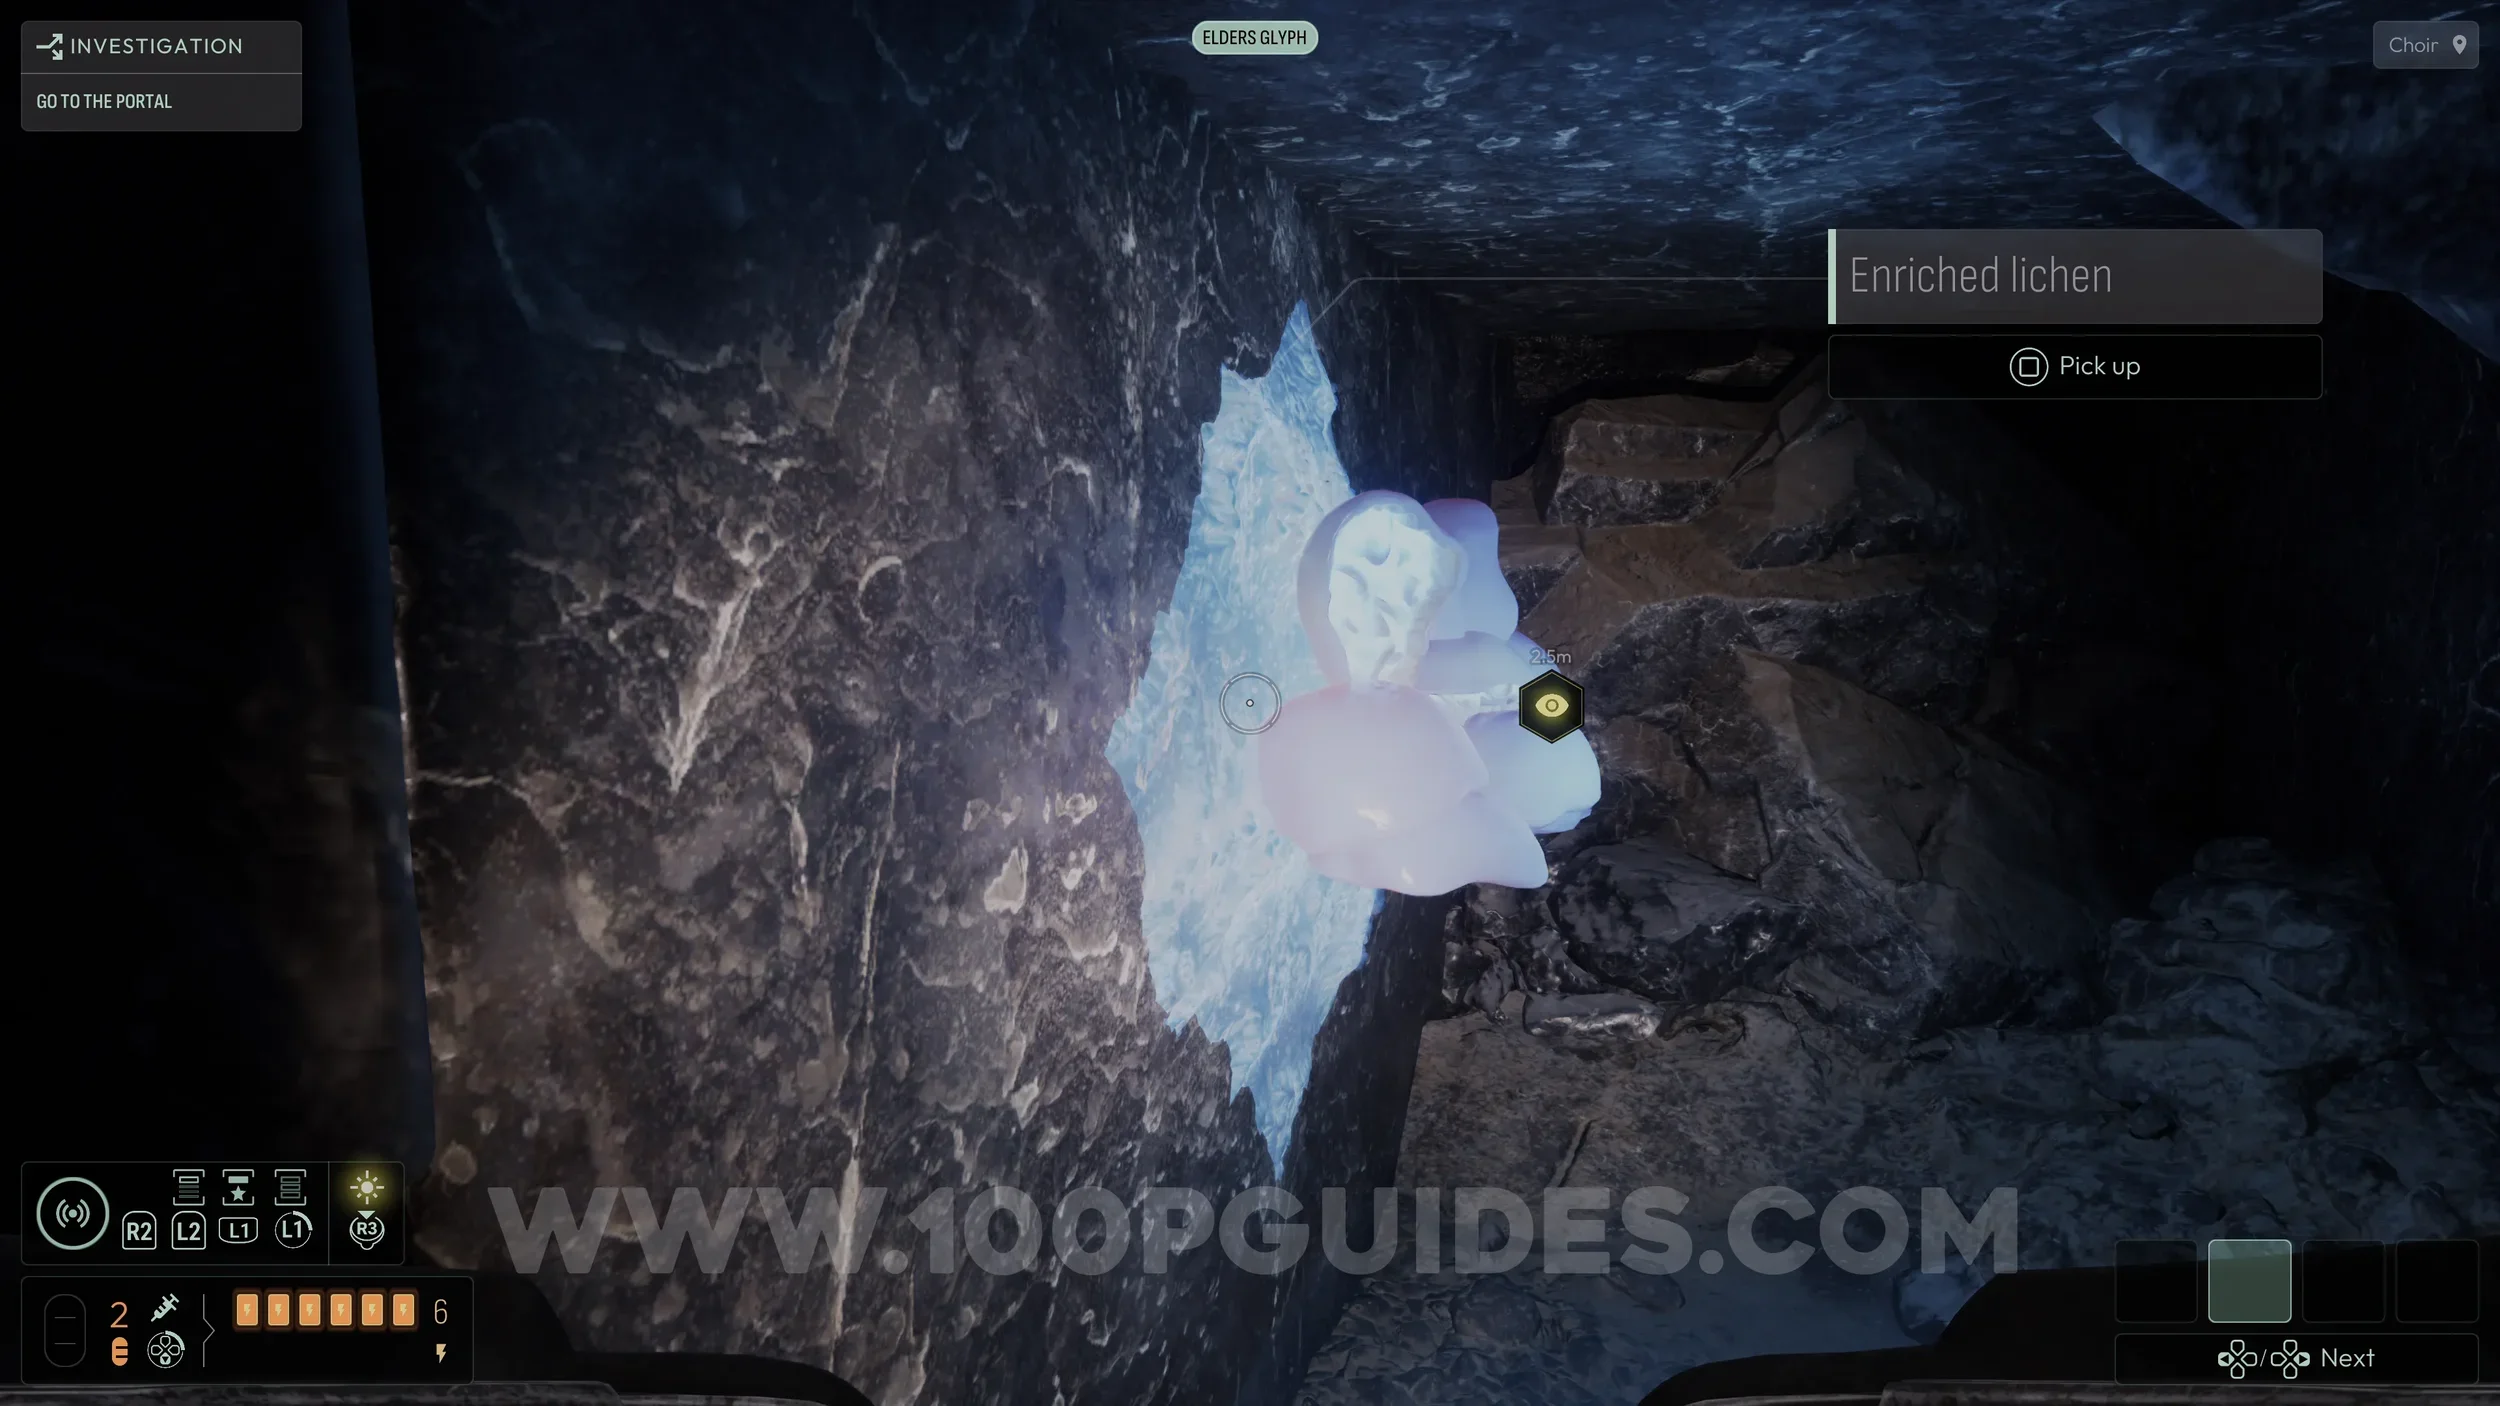
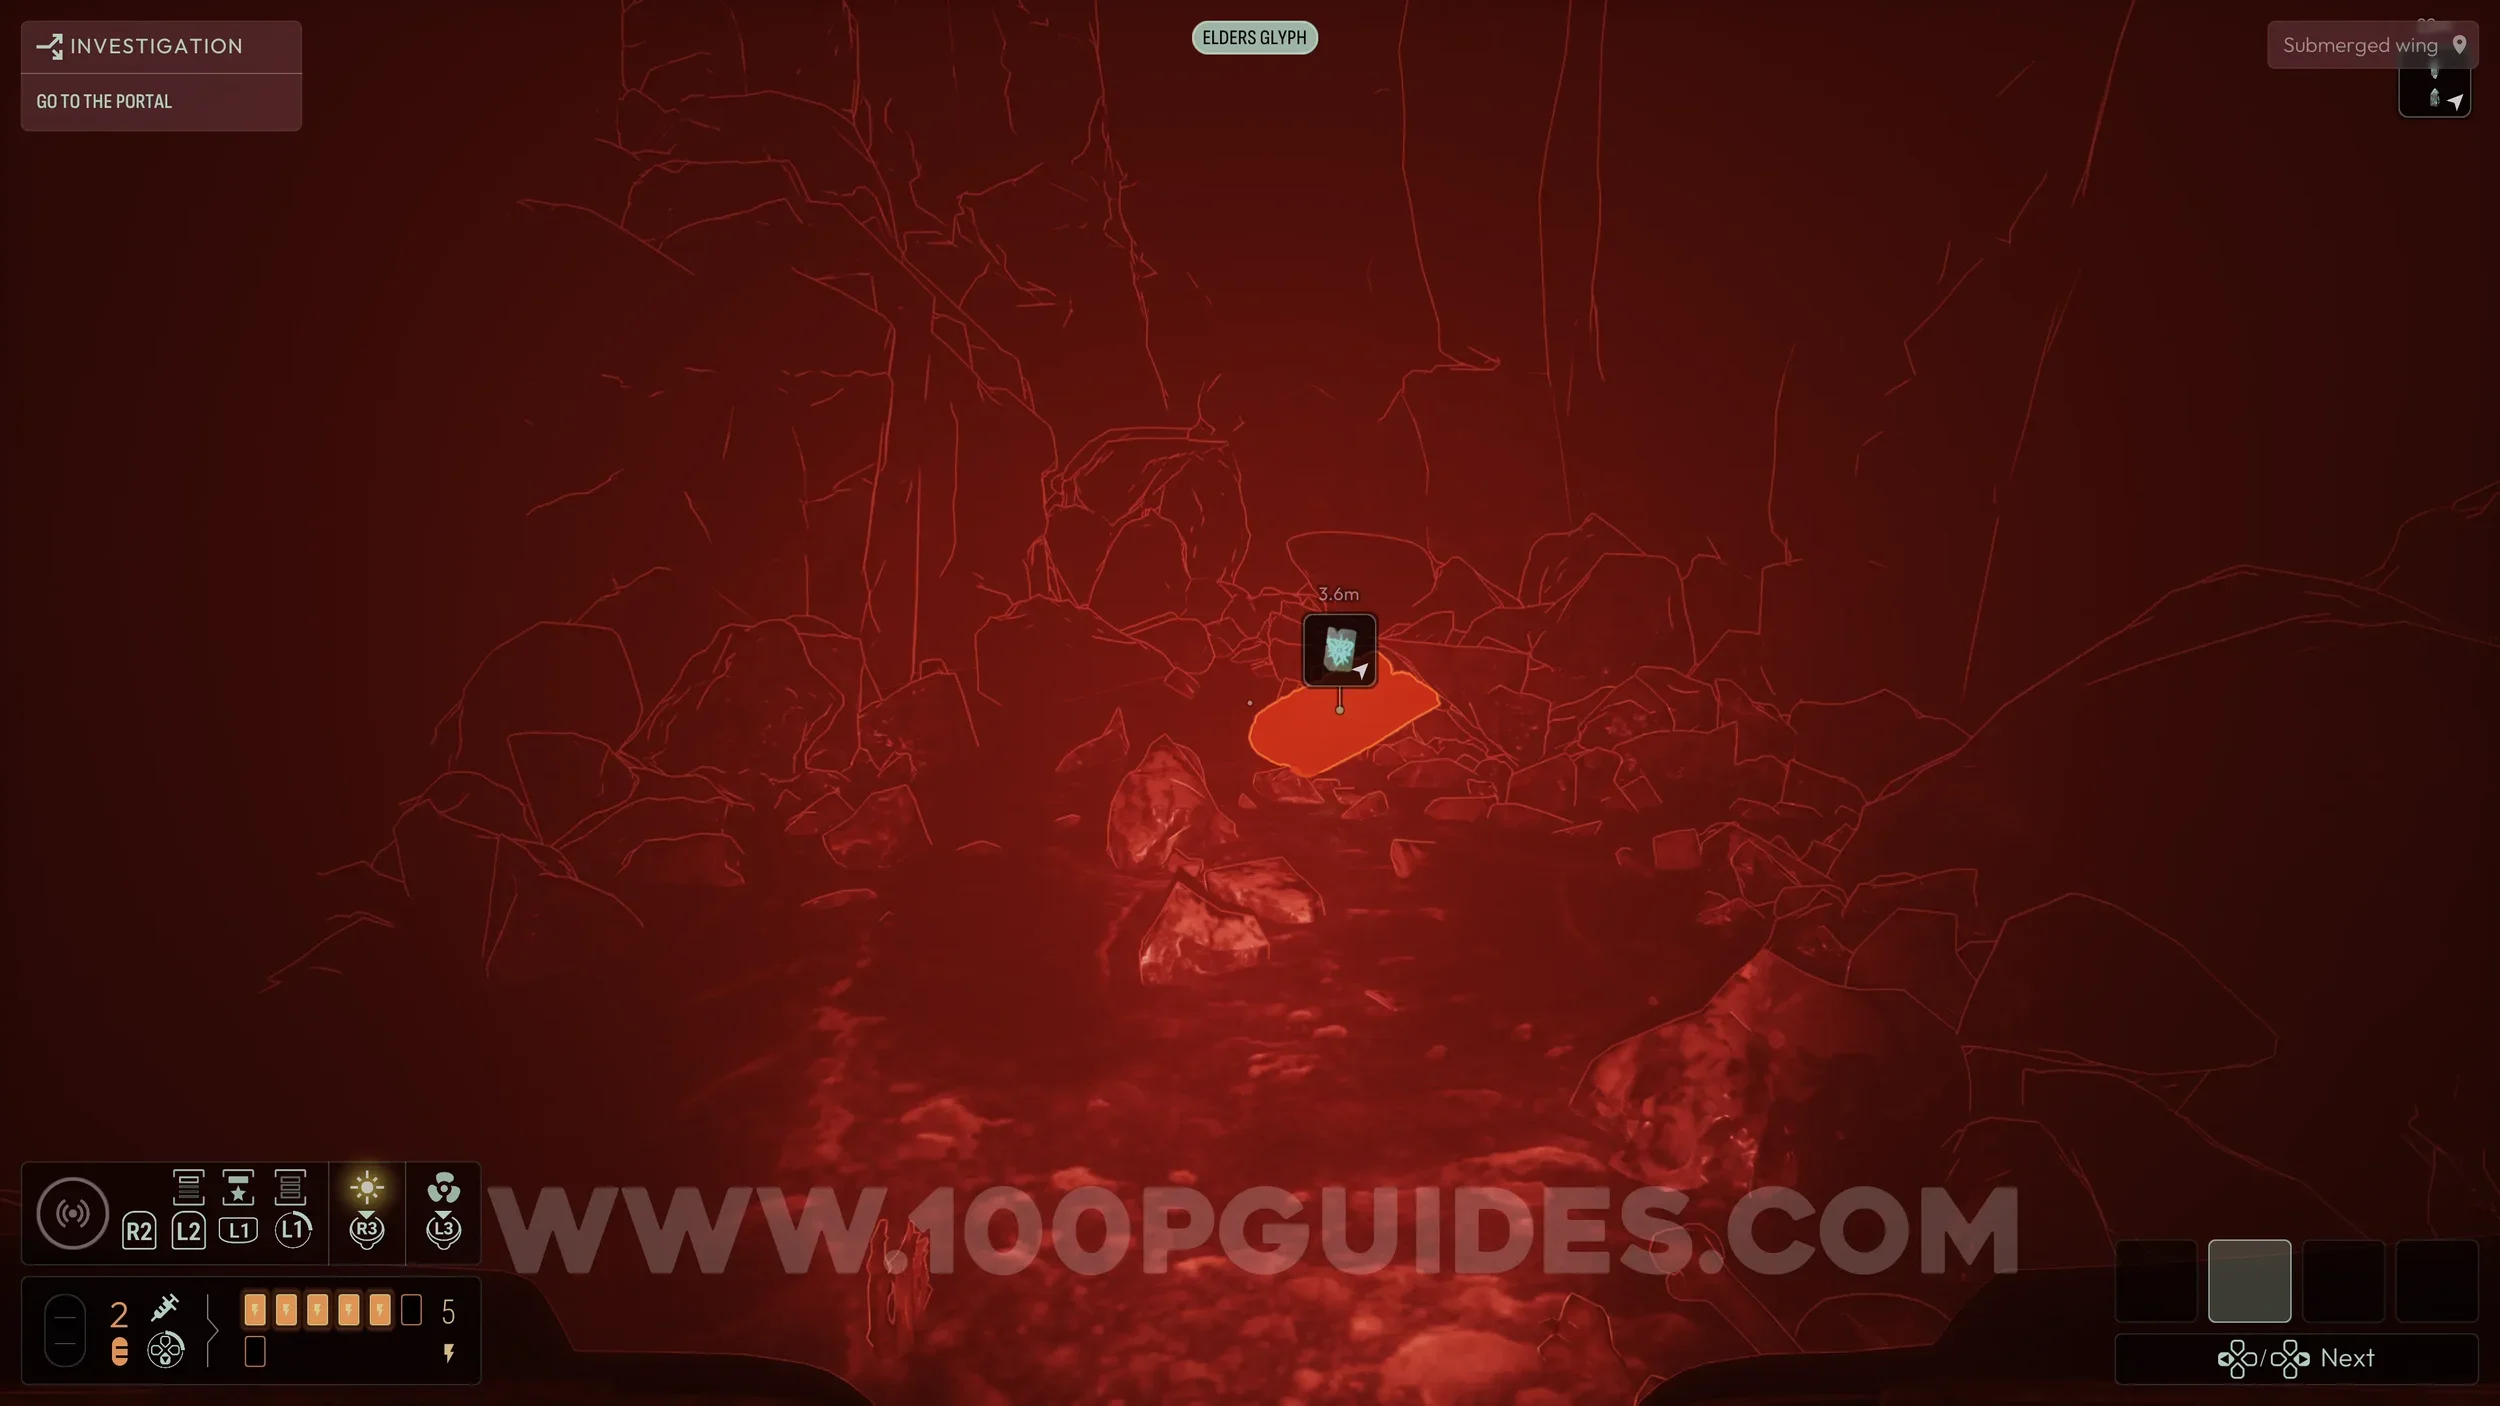
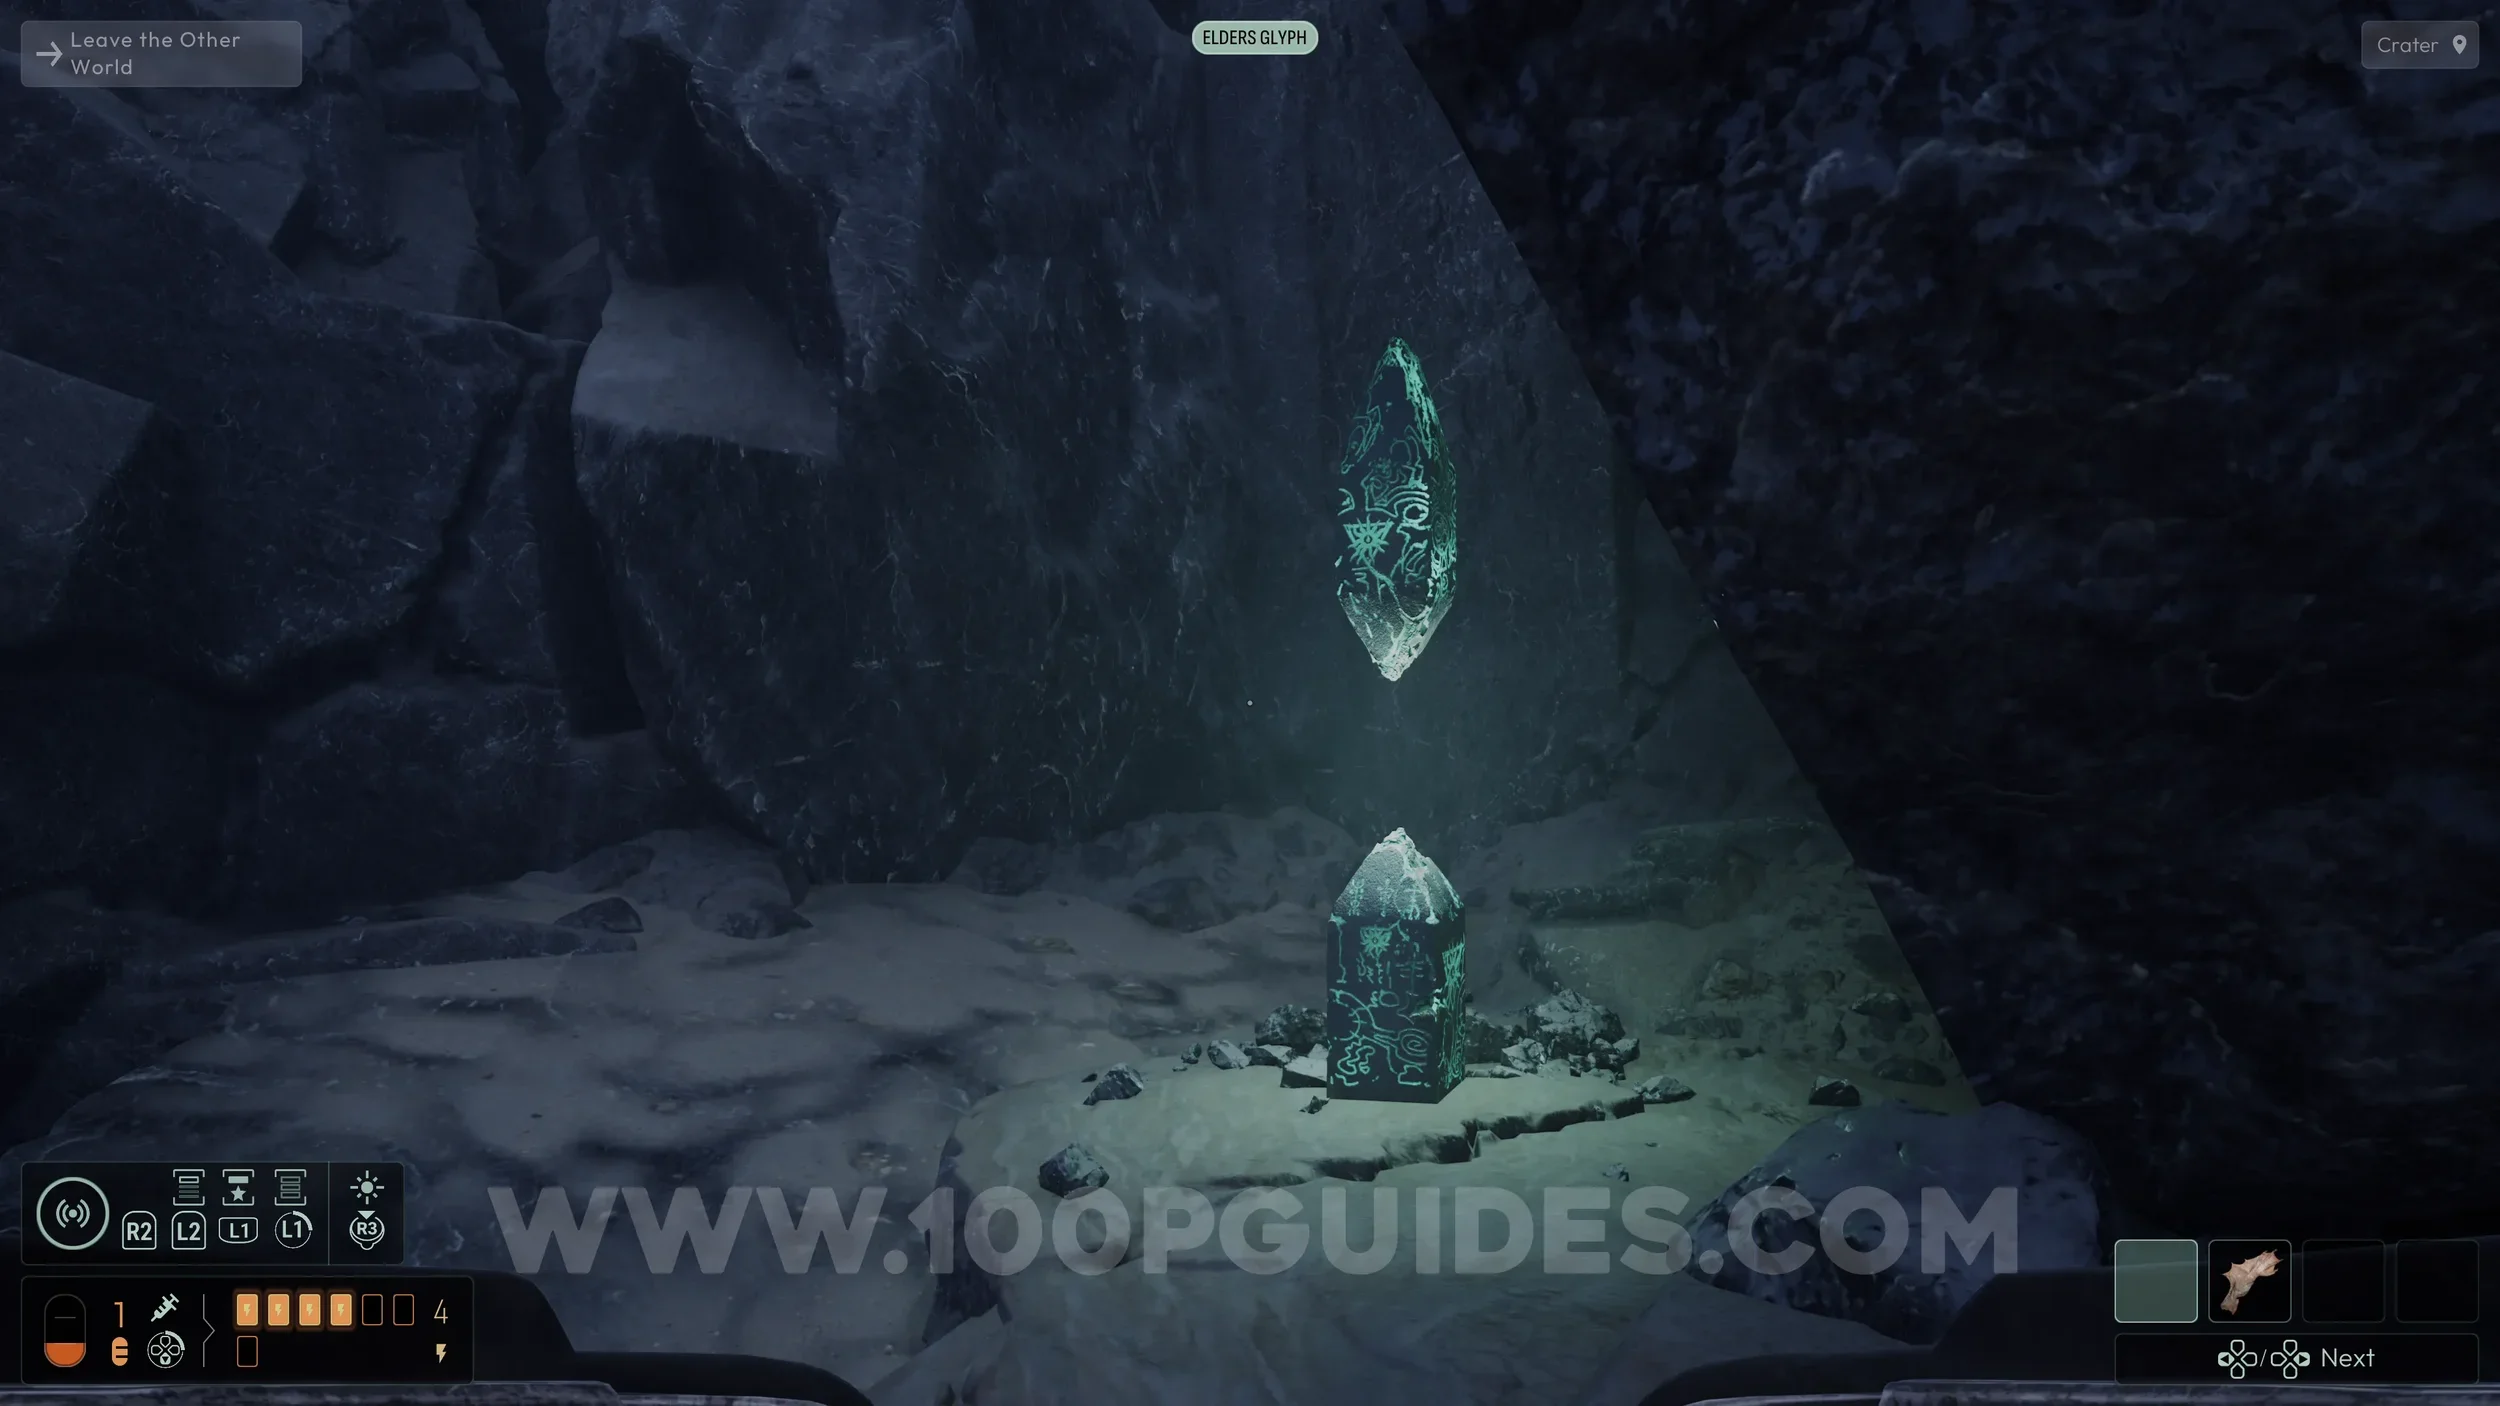
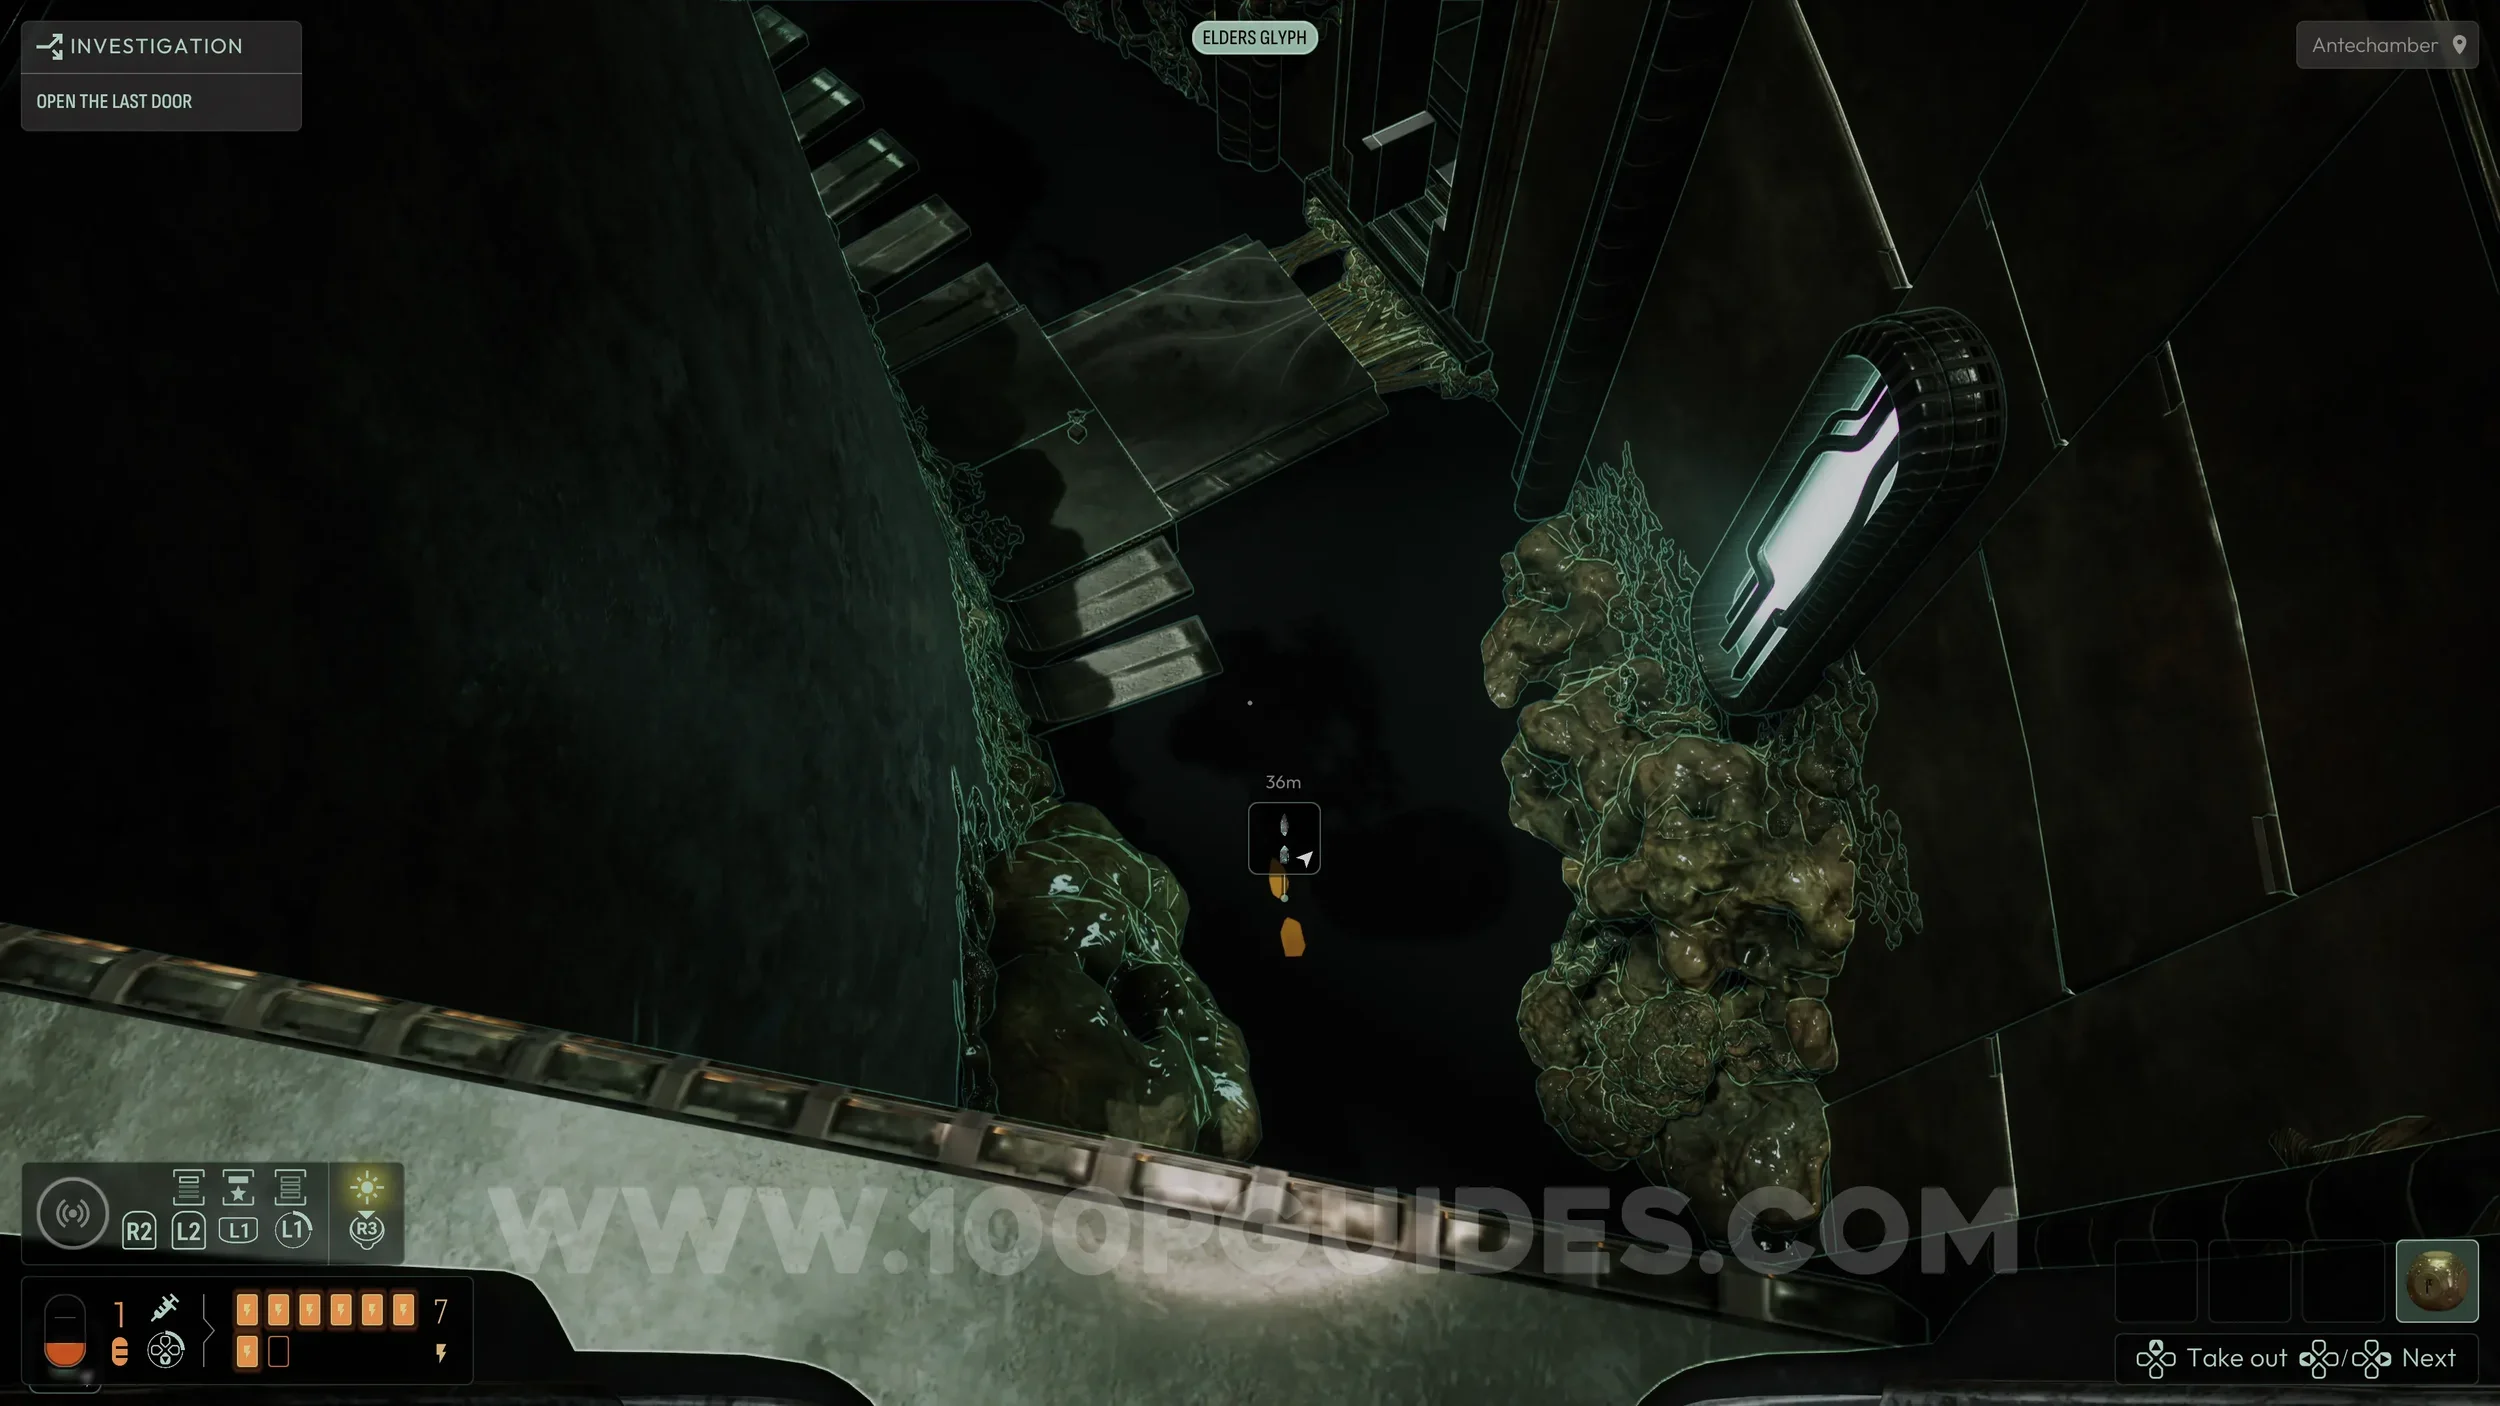
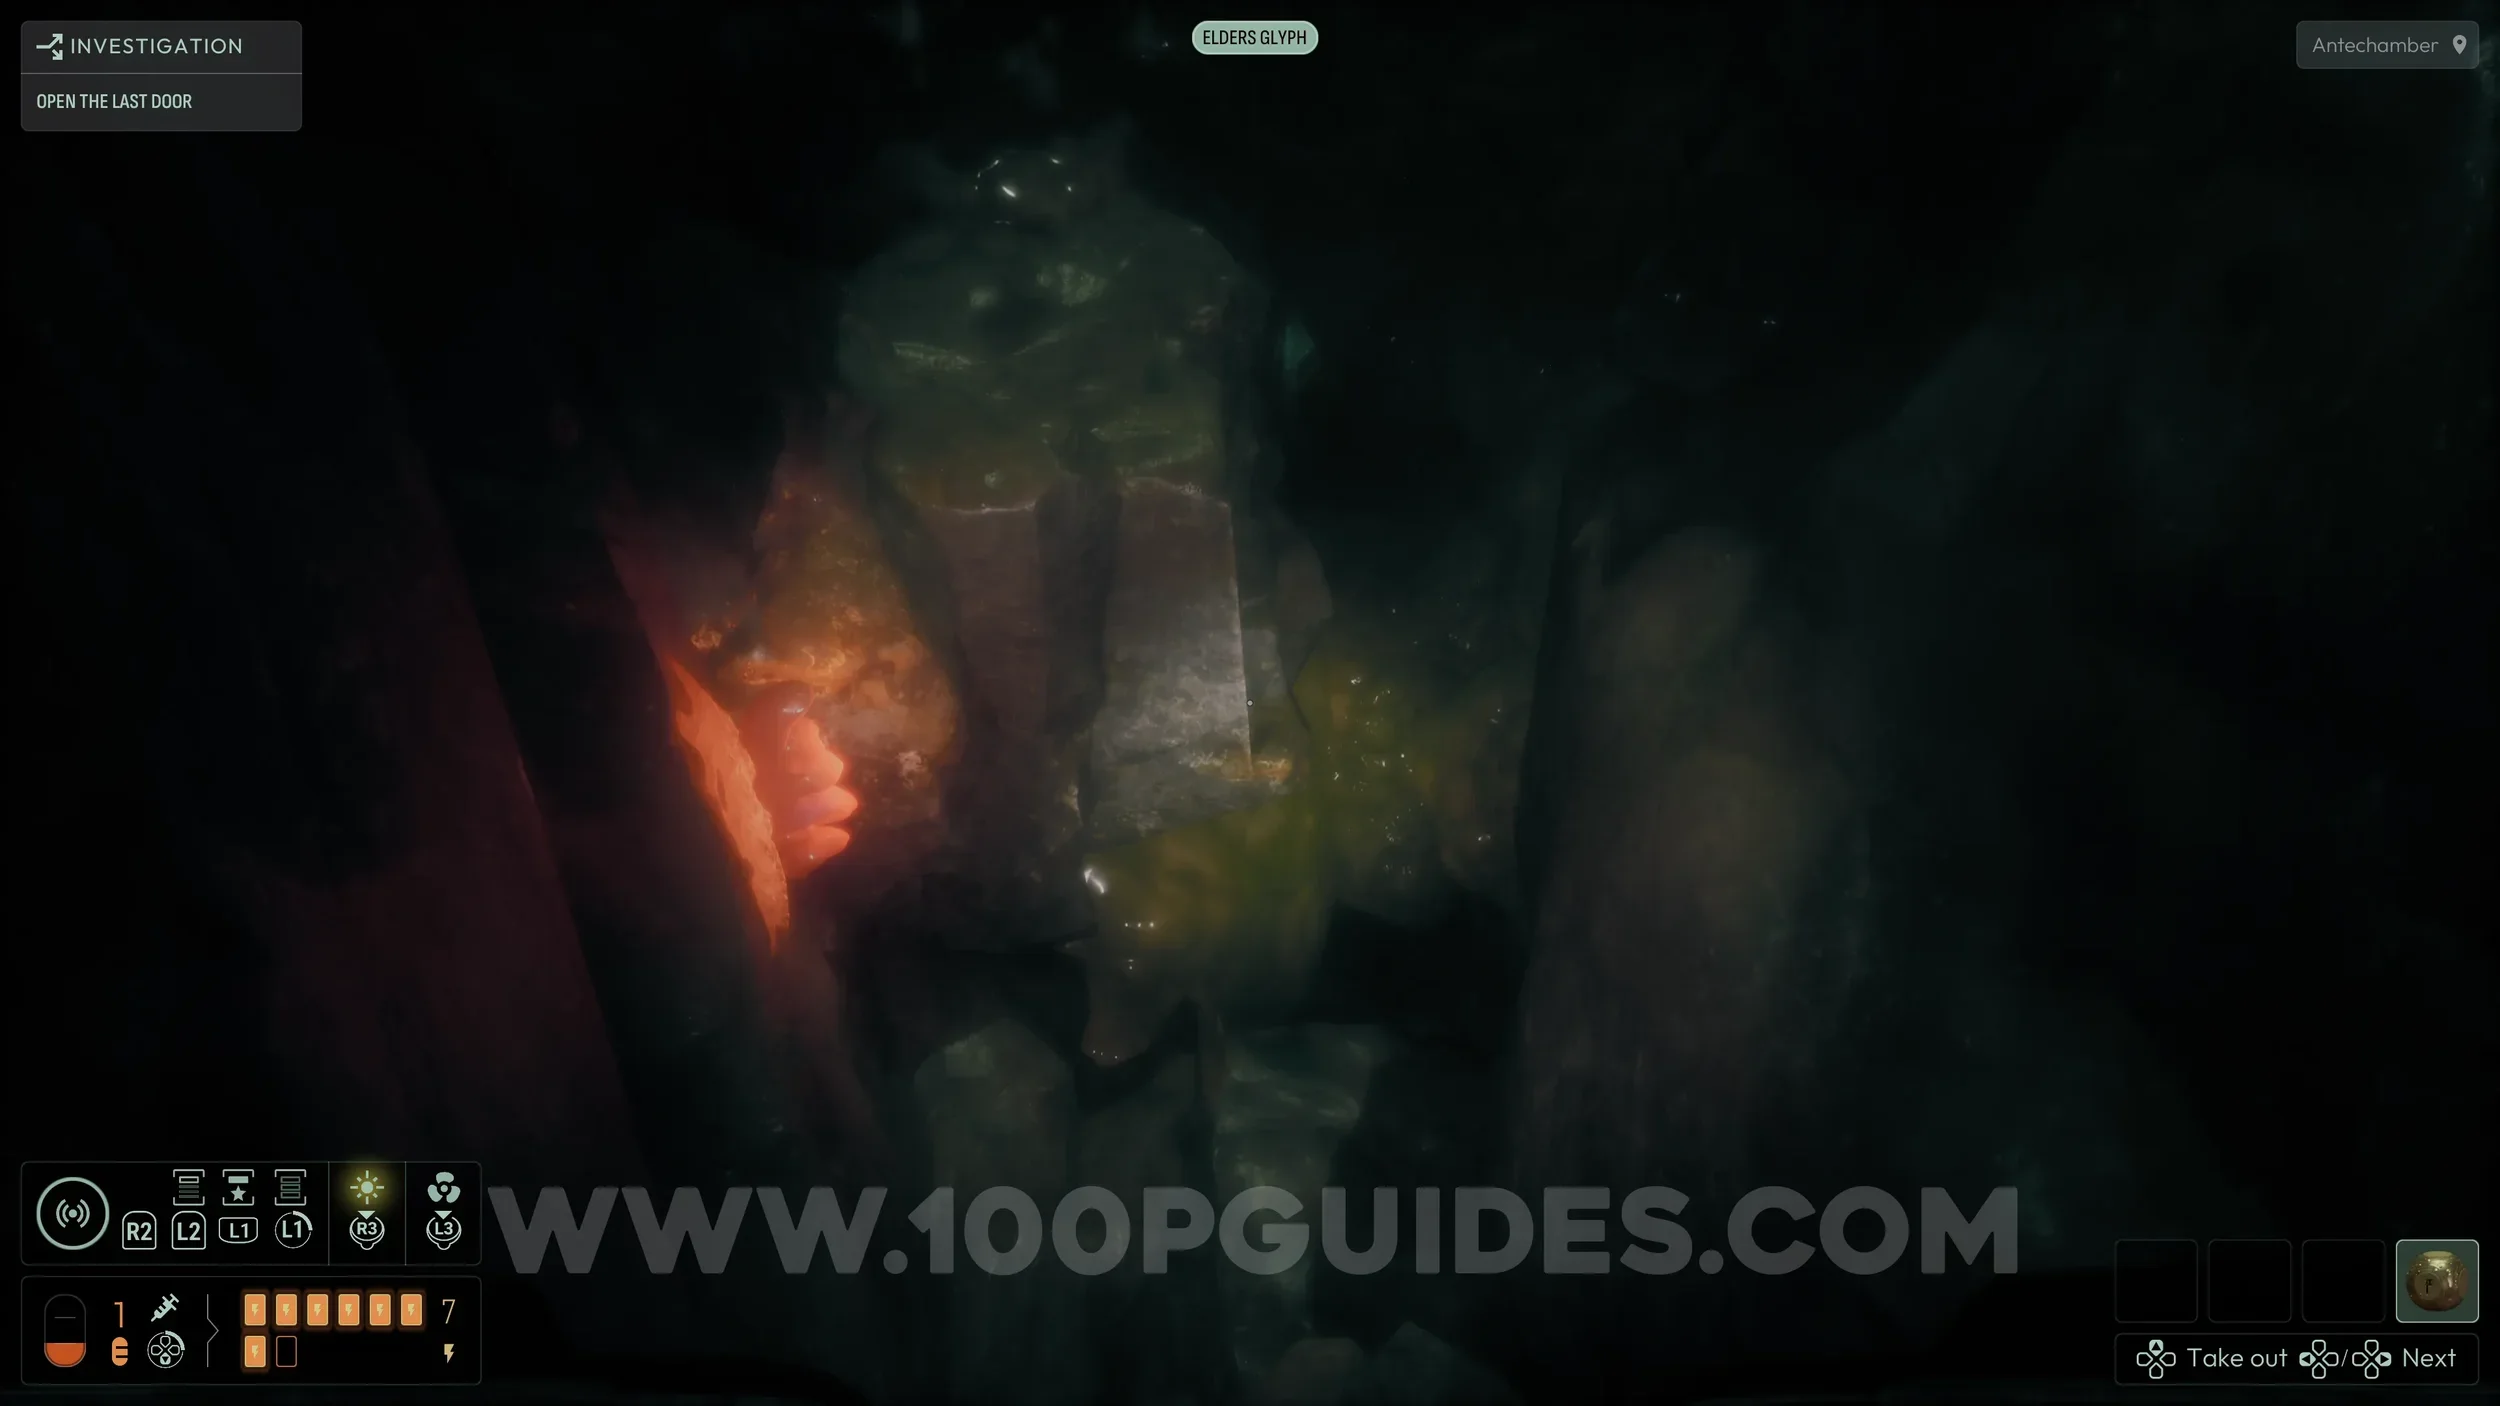
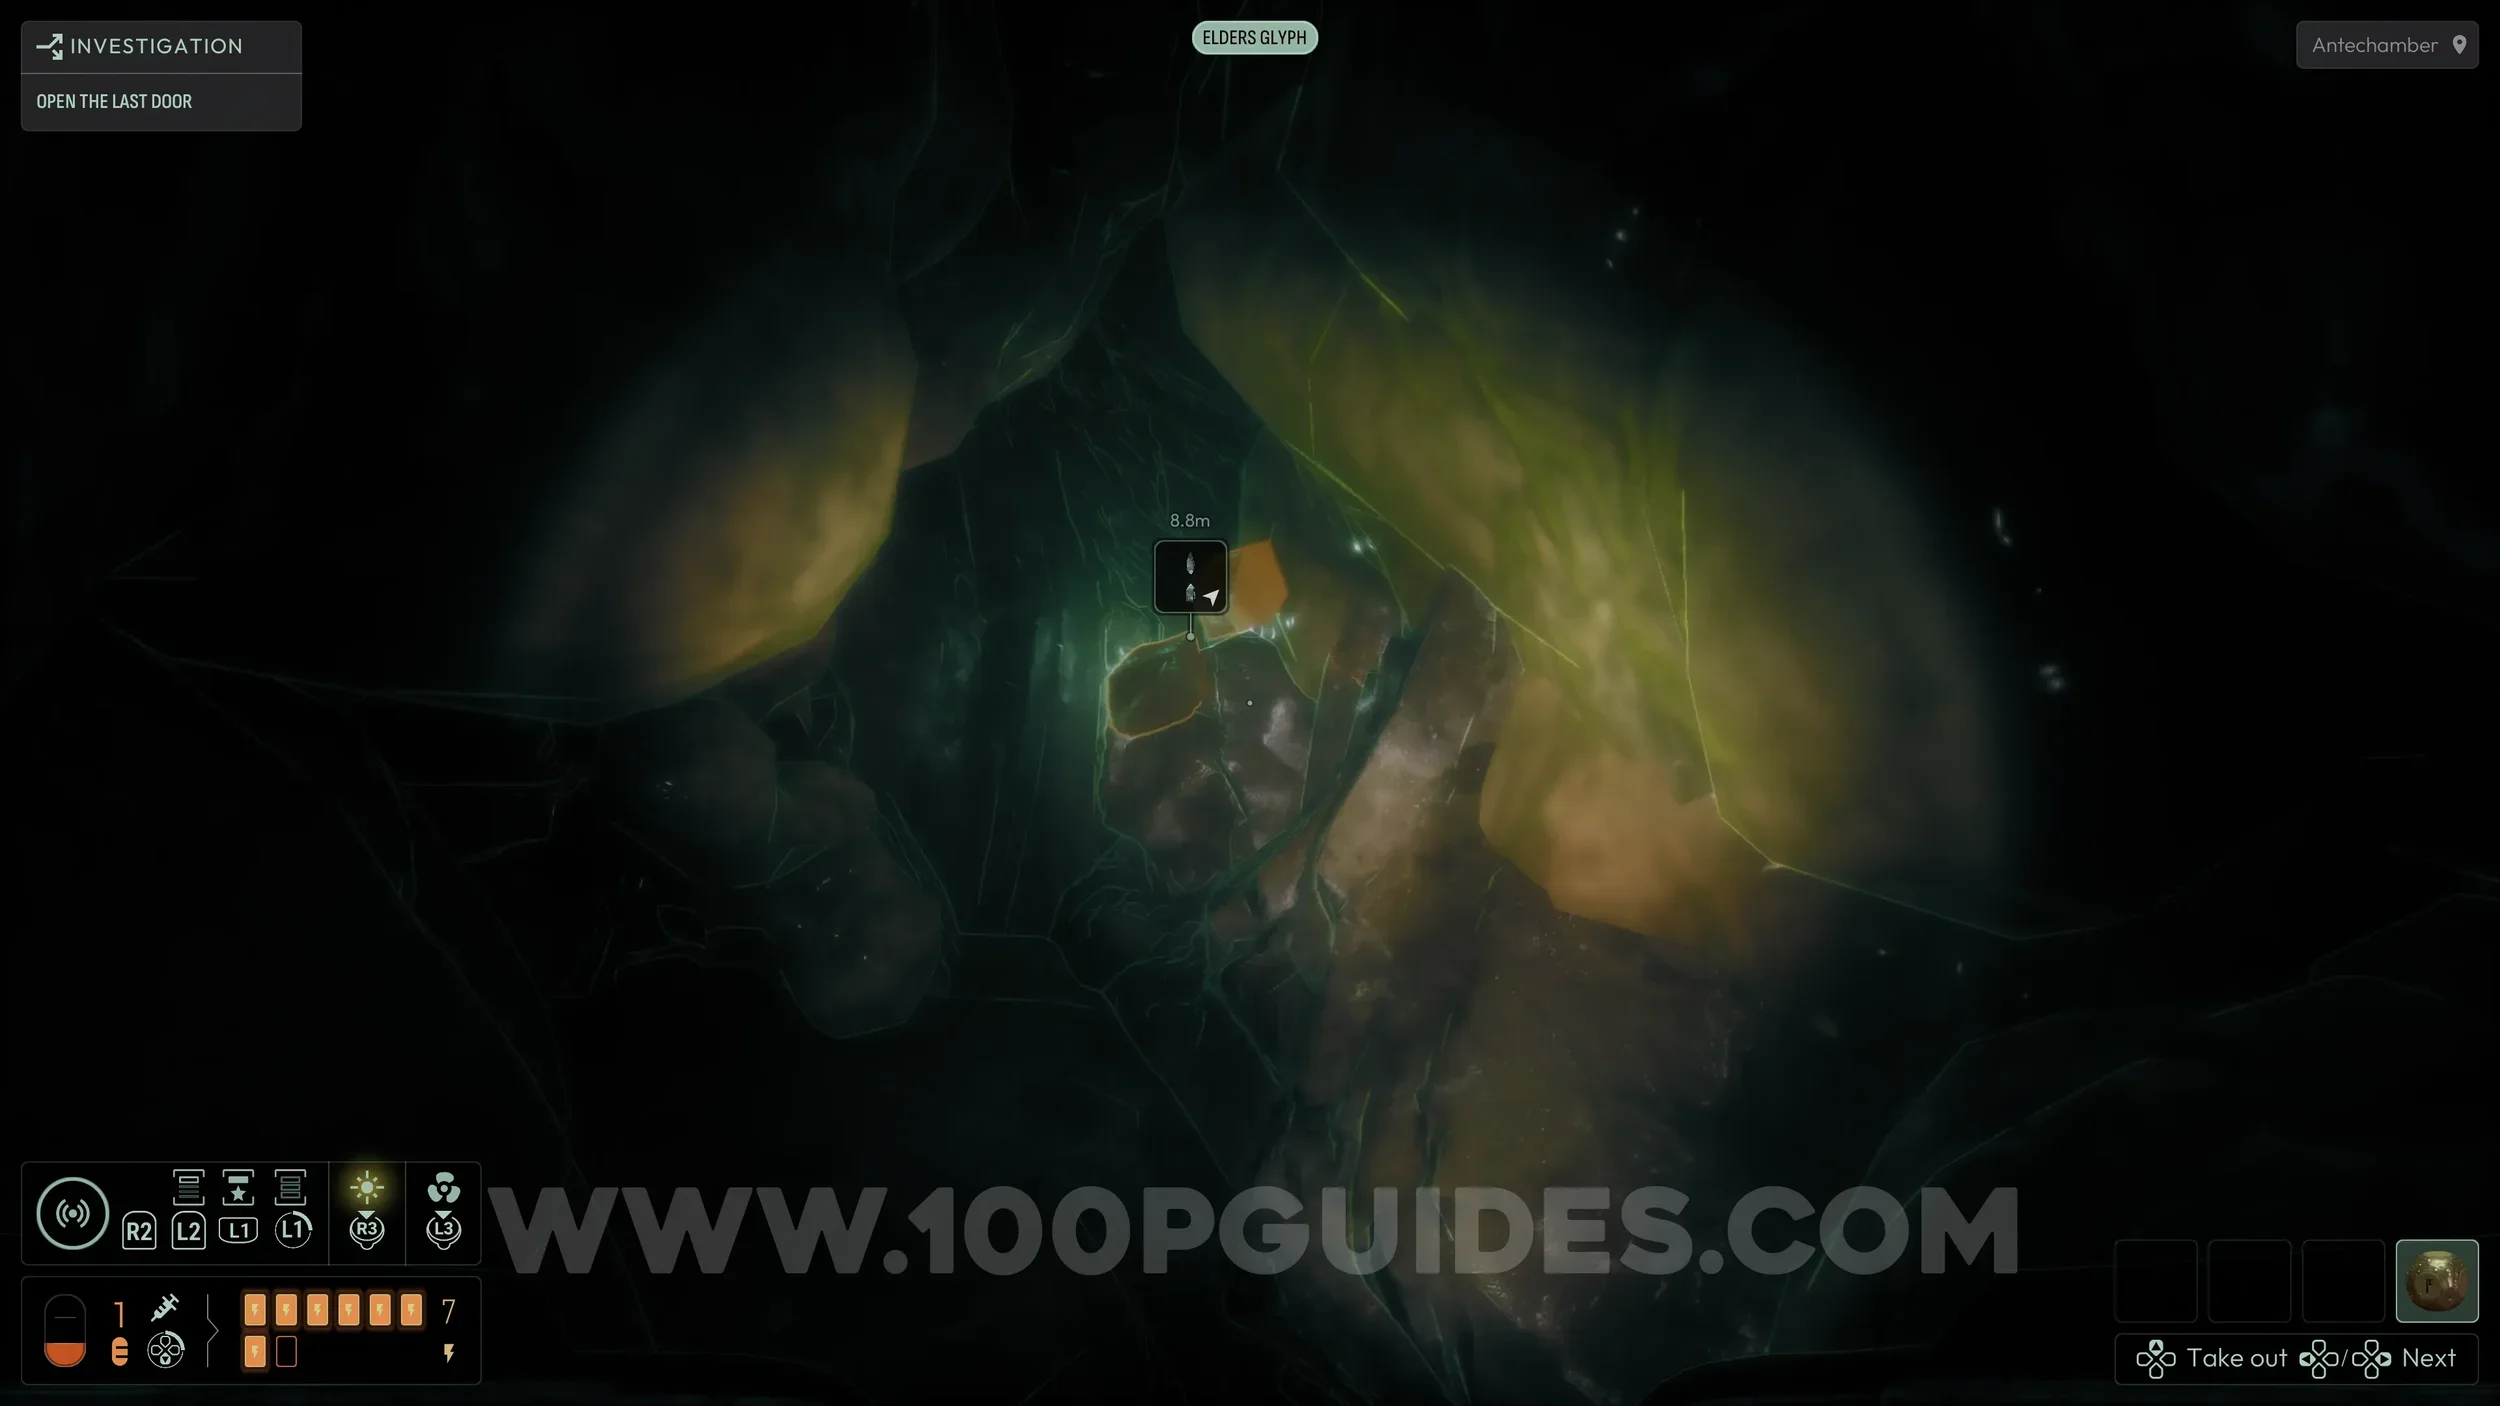
Evolution Capacity Upgrade #9. Return to the main circular area and equip the Elder Glyph frequency. Look down into the water until it highlights another Strange Monolith upgrade. Jump into the water near the small bridge and look for a tunnel leading to the collectible next to an orange Lichen.
Evolution #15. In Chapter 6, three of the small rooms contain a pedestal with a slot in the middle that takes you into memories. To unlock the final evolution, you must visit all three and listen to the dialogue.
The three rooms are:
The room where you can engrave new symbols onto the star
The room at the bottom of the stairs on the opposite side of the main circular area, where you previously collected an evolution
The third room is accessed from the hub area with all the teleporters. Place the star in the slot next to the locked magnetic chest to be taken to another small room with a pedestal that leads to the final memory
After completing the third memory, a short scene with dialogue and a tremor will occur. Once it ends, return to the upper area of the main circular room where you first placed the star in the pedestal that activated the area.
From the pedestal, turn around and look to the left of the door you used to enter. A path of goo will now be visible. Follow it to reach the collectible.
The tremor event can be slightly buggy. If it does not trigger, reload your game and reset the chapter, then go straight to all three memories. This usually fixes the issue.

Chapter 7
No collectibles in this chapter.