Cthulhu: The Cosmic Abyss 100% Walkthrough
This step-by-step walkthrough will guide you through the 100% completion of Cthulhu: The Cosmic Abyss, including solving every puzzle, finding all collectibles, and achieving the best ending to unlock every trophy.
This walkthrough will guide you through 100% completion of Cthulhu: The Cosmic Abyss. It covers how to progress through the game, solve every puzzle, achieve the lowest corruption outcome in every investigation, and find all collectibles.
By following this guide, you will also get every trophy.
A few things to note before starting:
Cthulhu: The Cosmic Abyss features a corruption meter that increases or decreases depending on how you solve the game’s main cases, known as investigations that can be solved in two different ways. Most chapters include one investigation, although a few do not. To earn the Mens Sana trophy, you must reach the end of the game without exceeding the corruption threshold. This requirement is fairly lenient and does not require a perfect run. However, each investigation has a trophy tied to achieving the low corruption outcome, so it is strongly recommended to follow this guide and aim for the low corruption result every time. If you make a mistake, you can replay chapters, but doing so will reset your progress back to that point.
There are six possible endings based on your corruption level, but only one is required for the Platinum, which is the route covered in this walkthrough.
Difficulty settings do not affect trophies, so it is recommended to enable all assists except Free Clue Analysis. Keeping this option disabled ensures that analyzing clues consumes energy, which is necessary for using orange Lichen to restore energy and earn the Addicted trophy by consuming it ten times. Once you have unlocked that trophy, you can re-enable the setting if you prefer. You can also temporarily enable it if you run out of energy and have no Lichen available, as analyzing clues without energy will increase corruption and may push you away from the optimal ending.
This guide will also cover 15 deductions. While there are more in the game and they are not required if you already know the solutions, completing 15 is necessary to unlock the Elementary trophy.
All collectibles will be included as well:
15 Evolutions required for the Augmented Agent trophy
4 Energy Upgrades required for the Full Charge trophy
9 Evolution Slot upgrades, which are not tied to any trophyIn addition, make sure to analyze any clues you come across, even if they are not specifically mentioned in this guide. You will need to analyze 25 clues and 10 sub clues for trophies, but this should come naturally as there are far more than required throughout the game.
With that said, let’s begin!
Chapter 1
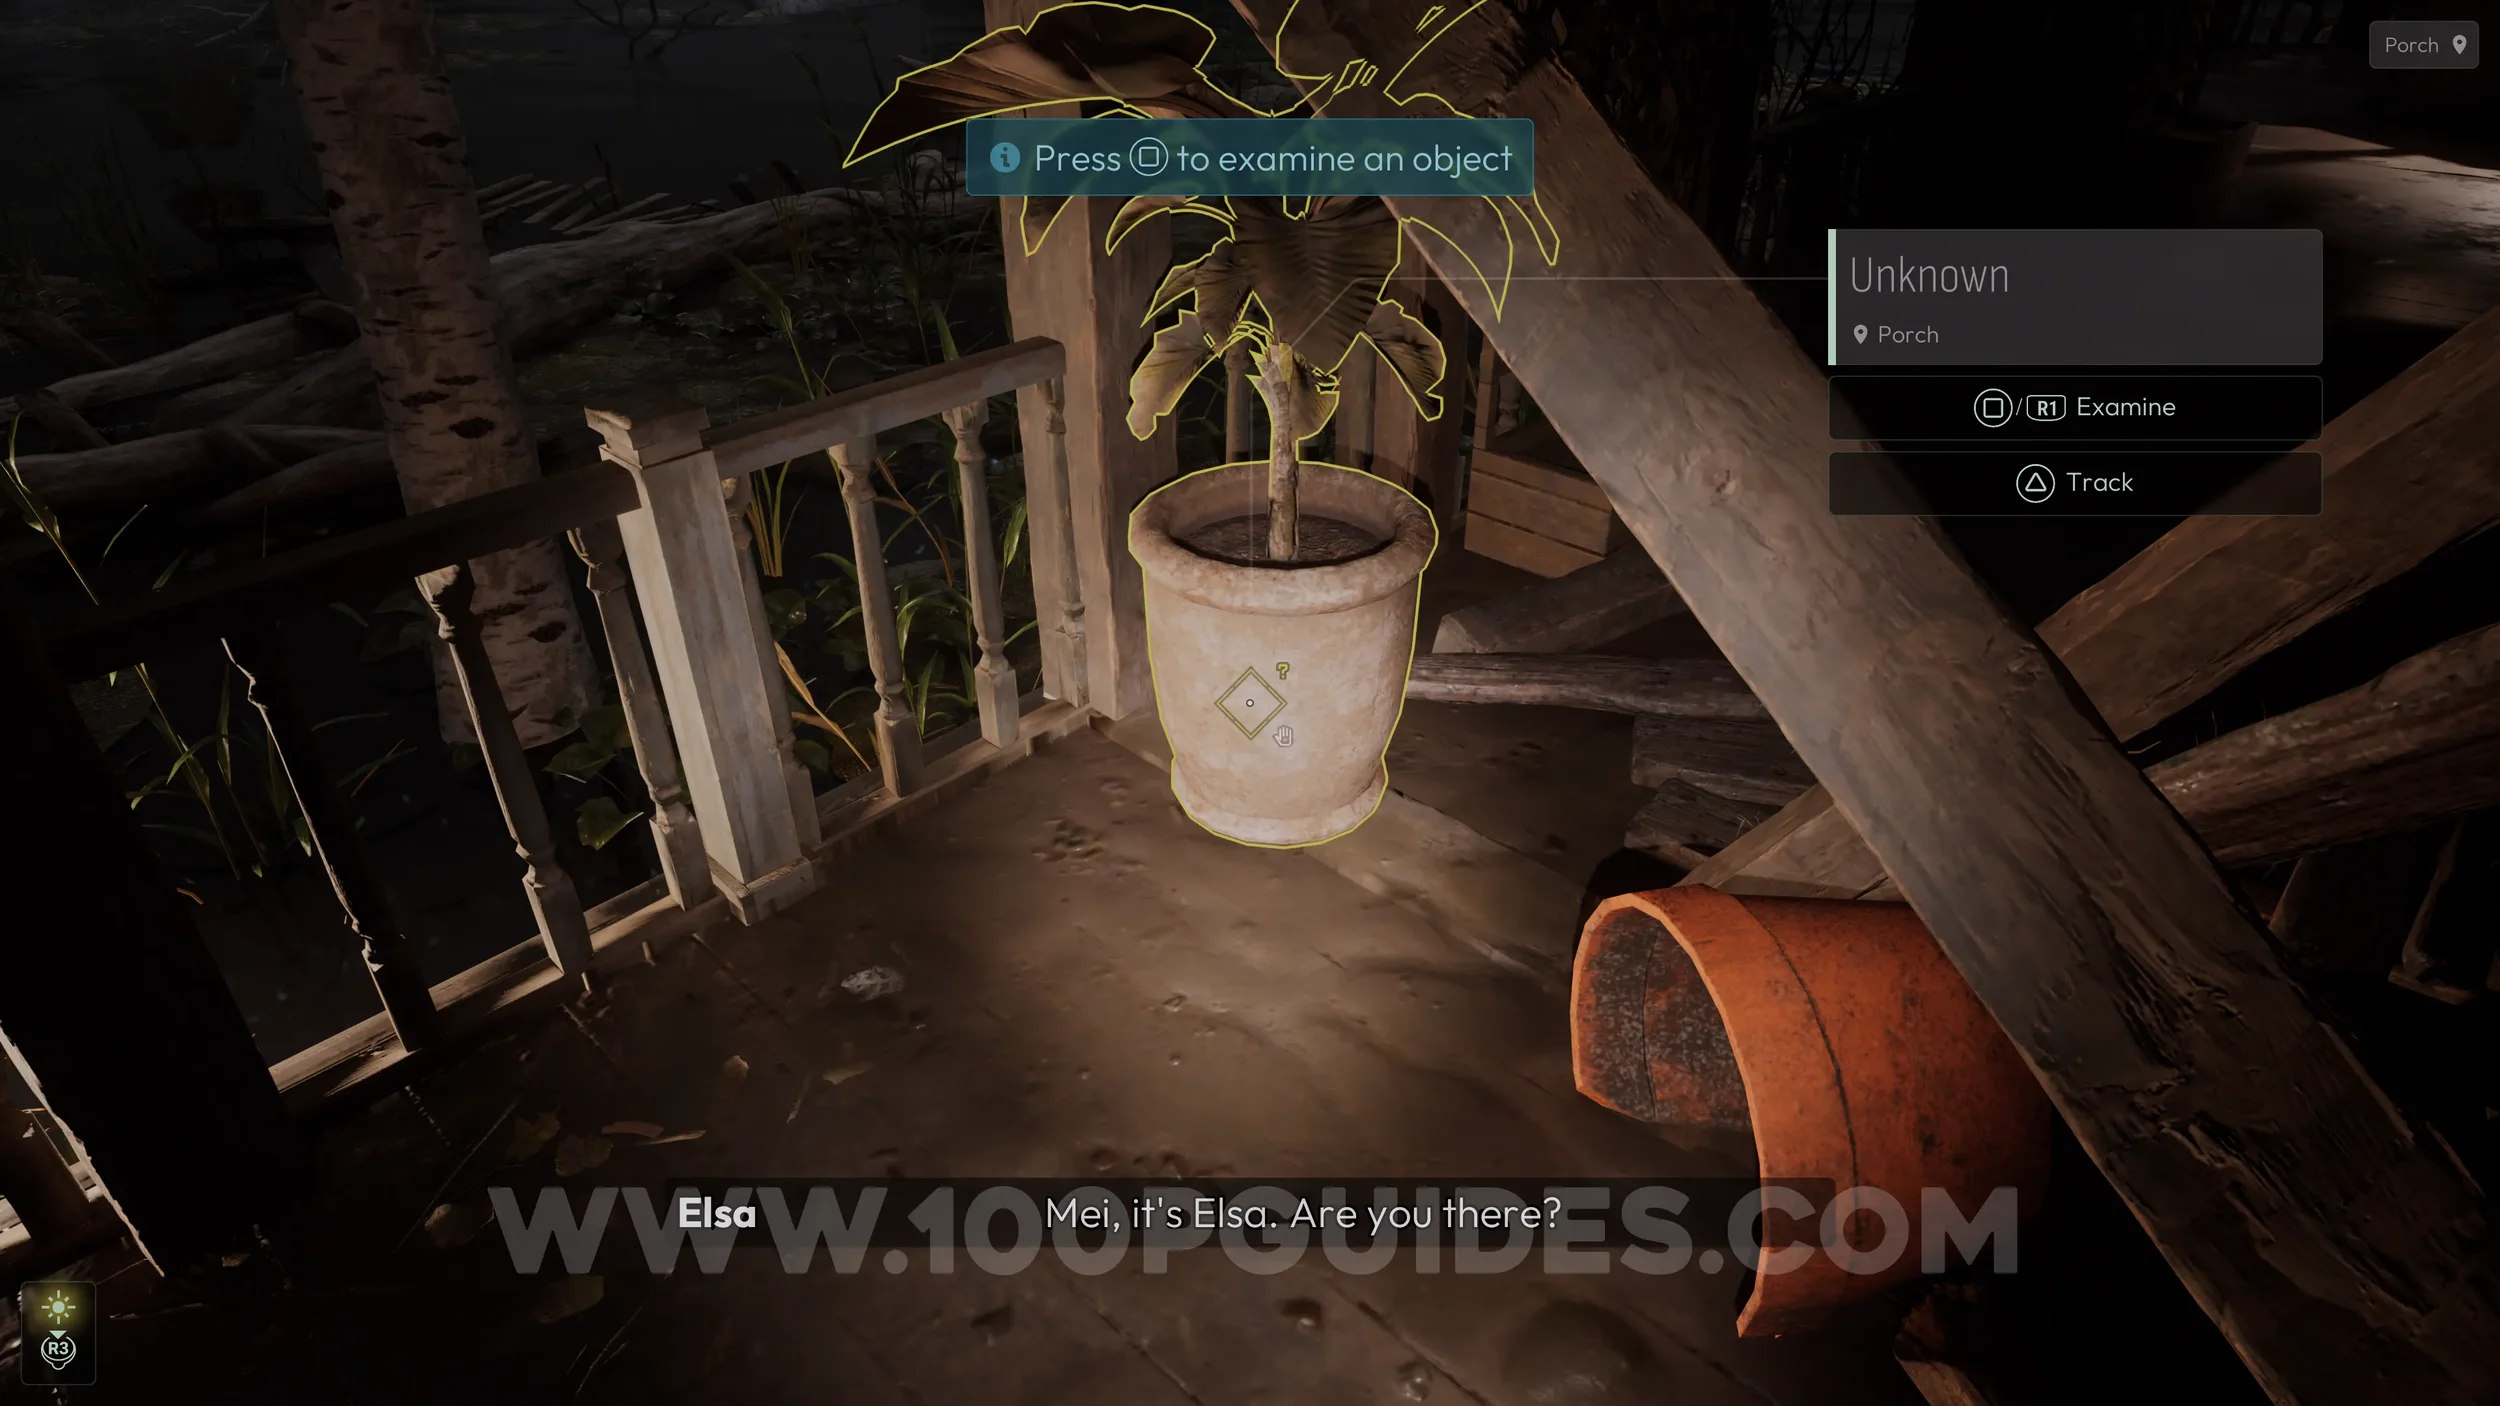
As soon as you gain control of Noah, jump off the boat and head to the left. Press Square or R1 to examine the plant, then pick it up by pressing down on the D-pad. You can place it elsewhere by pressing up on the D-pad.
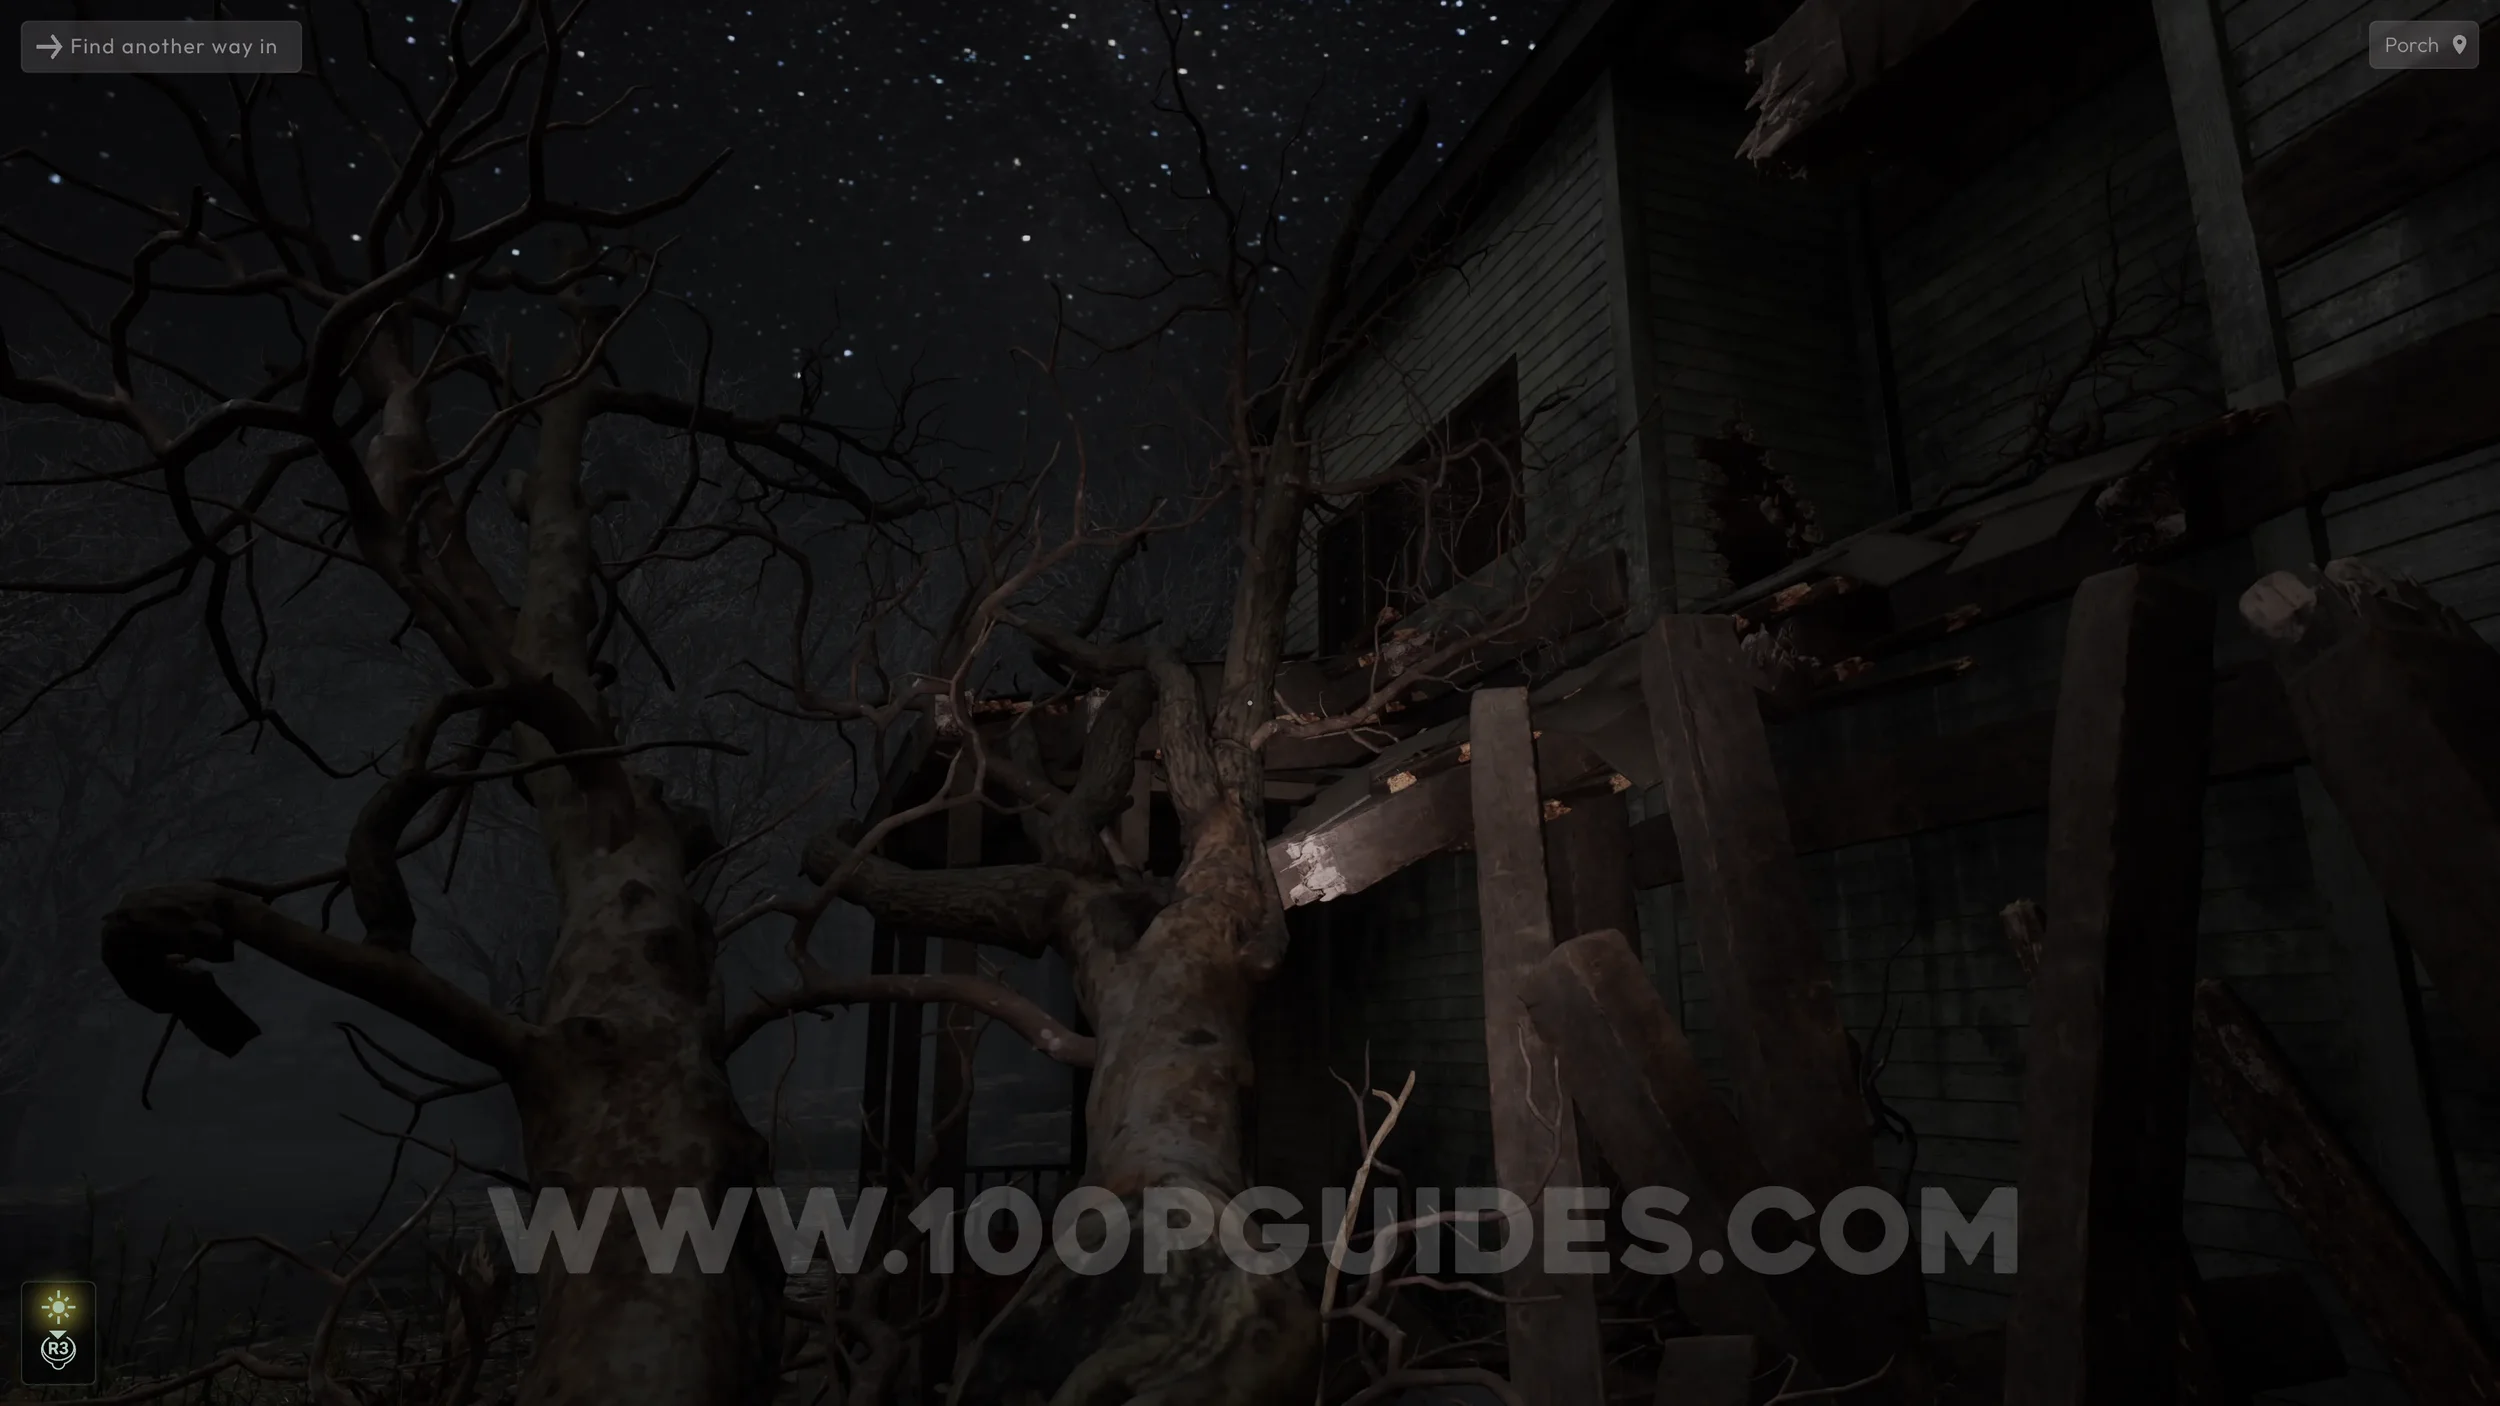
After moving the plant out of the way, crouch and pass through the gap, then follow the path up to the rooftops and go through the hole. Once inside, head down the stairs to reach the first puzzle of the game.
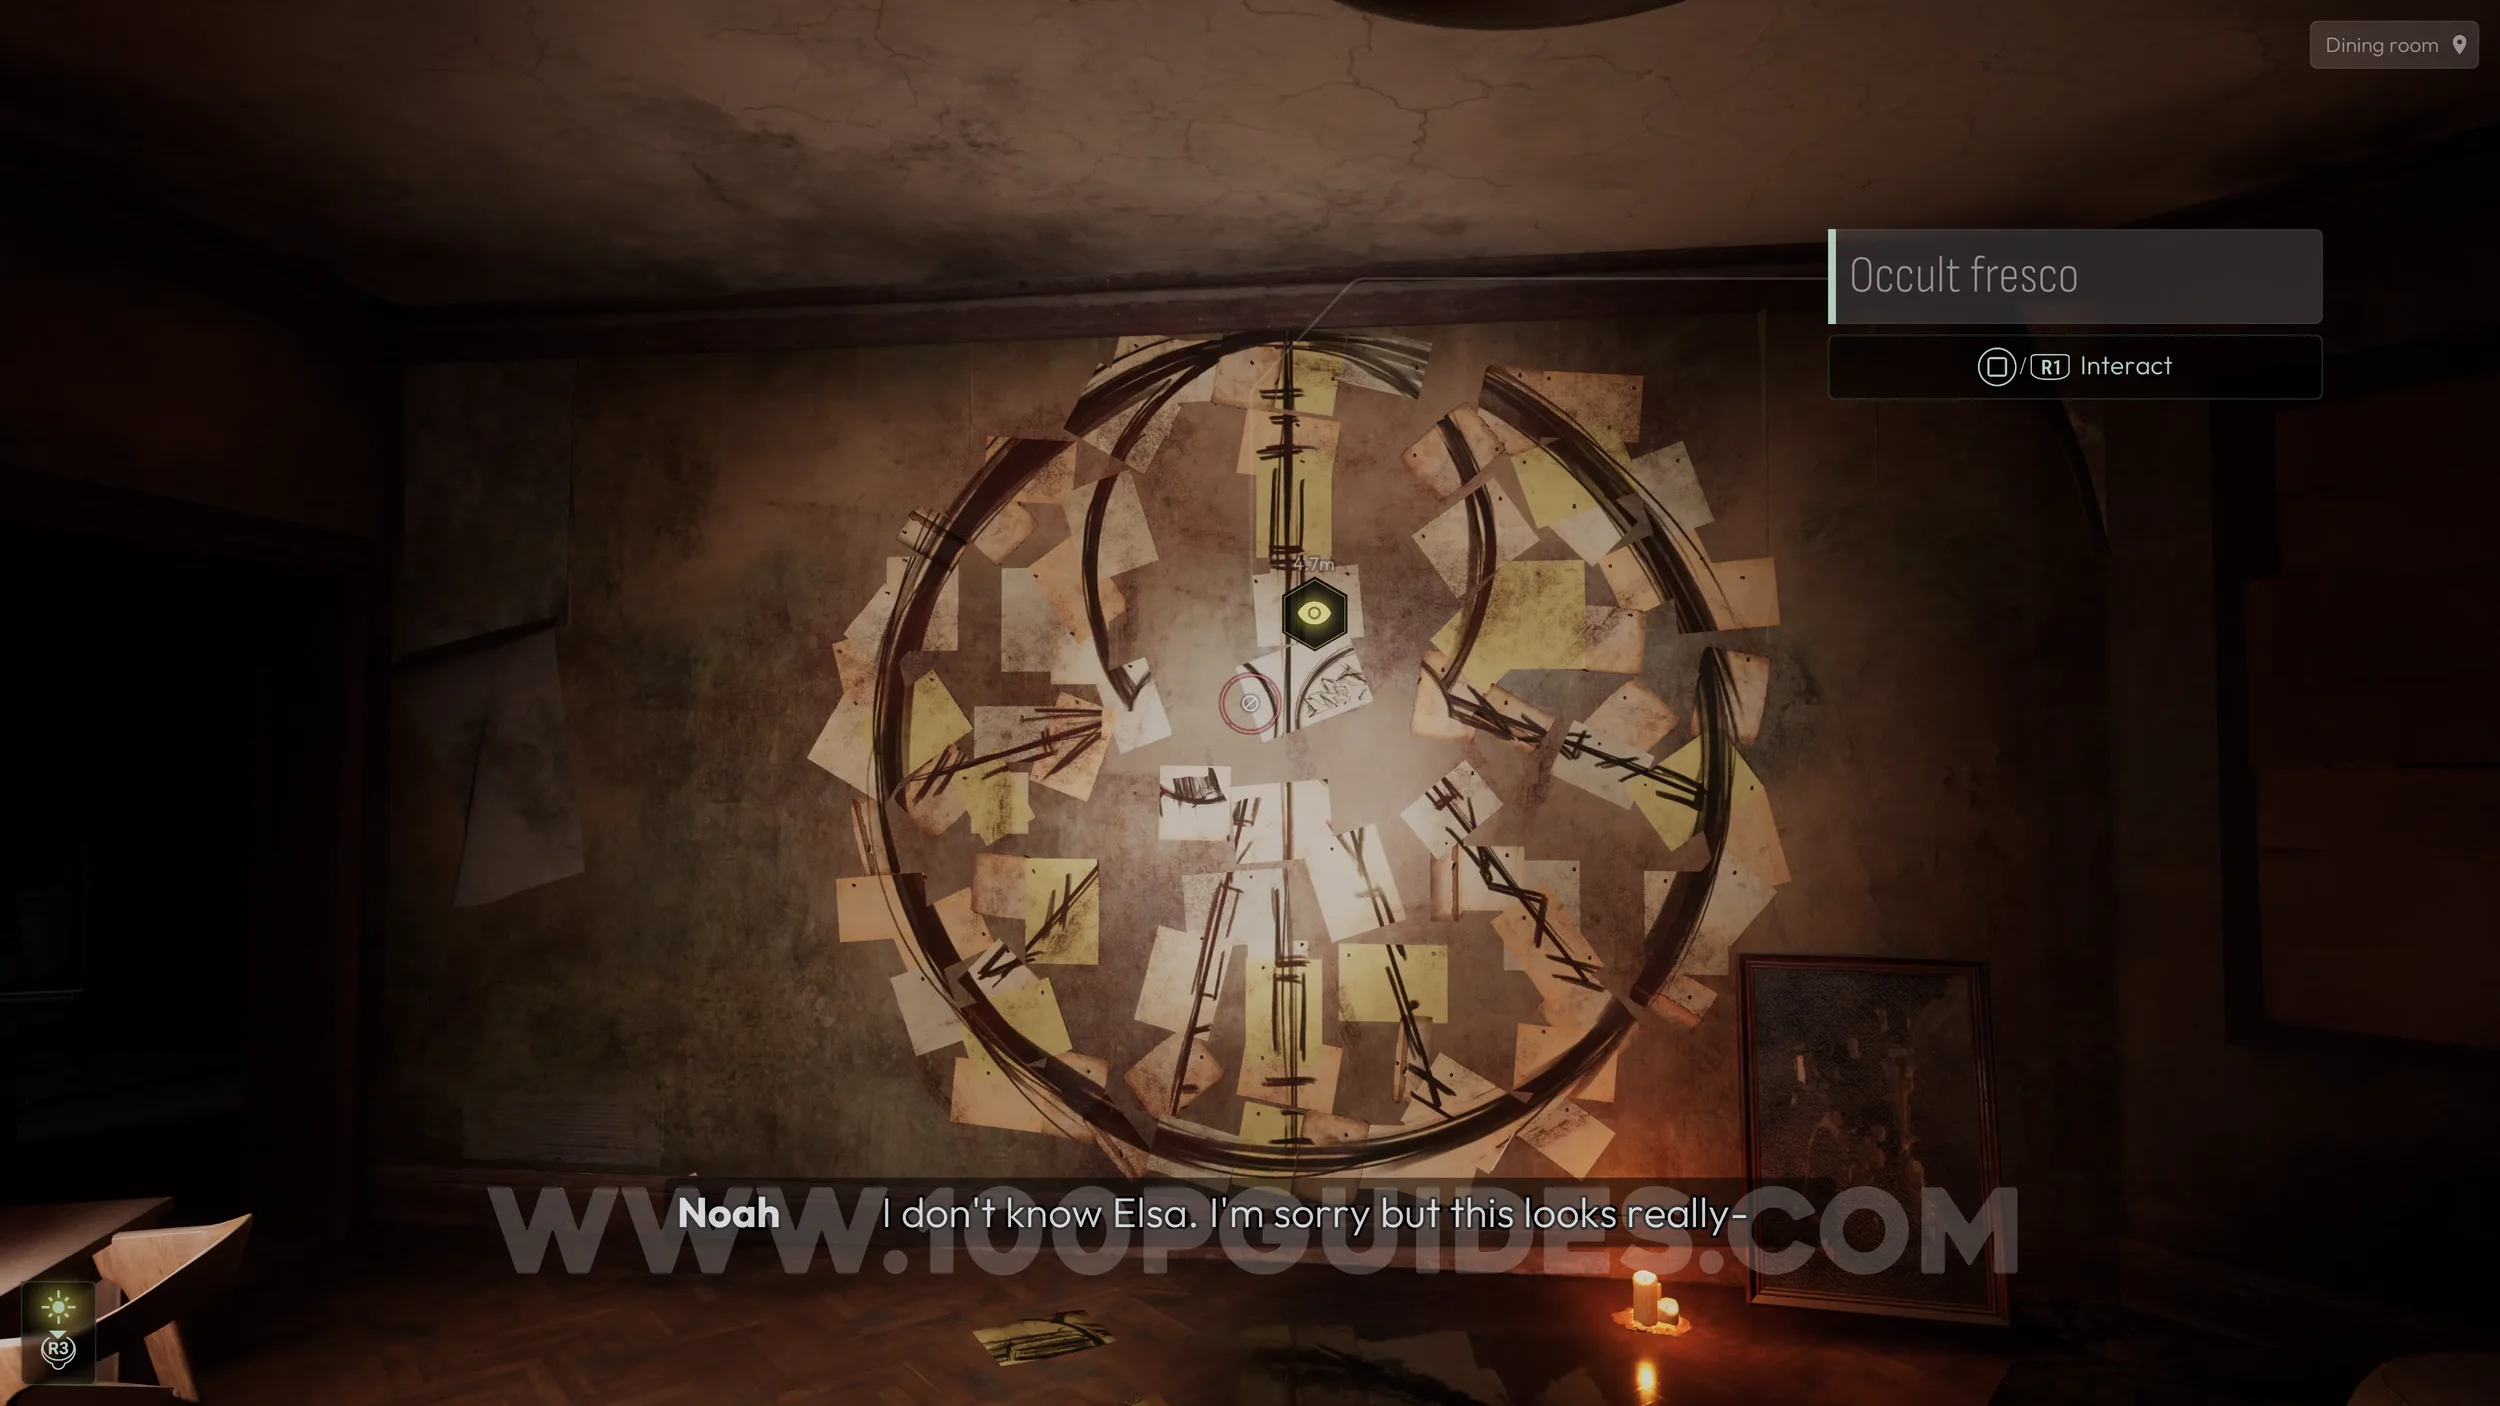
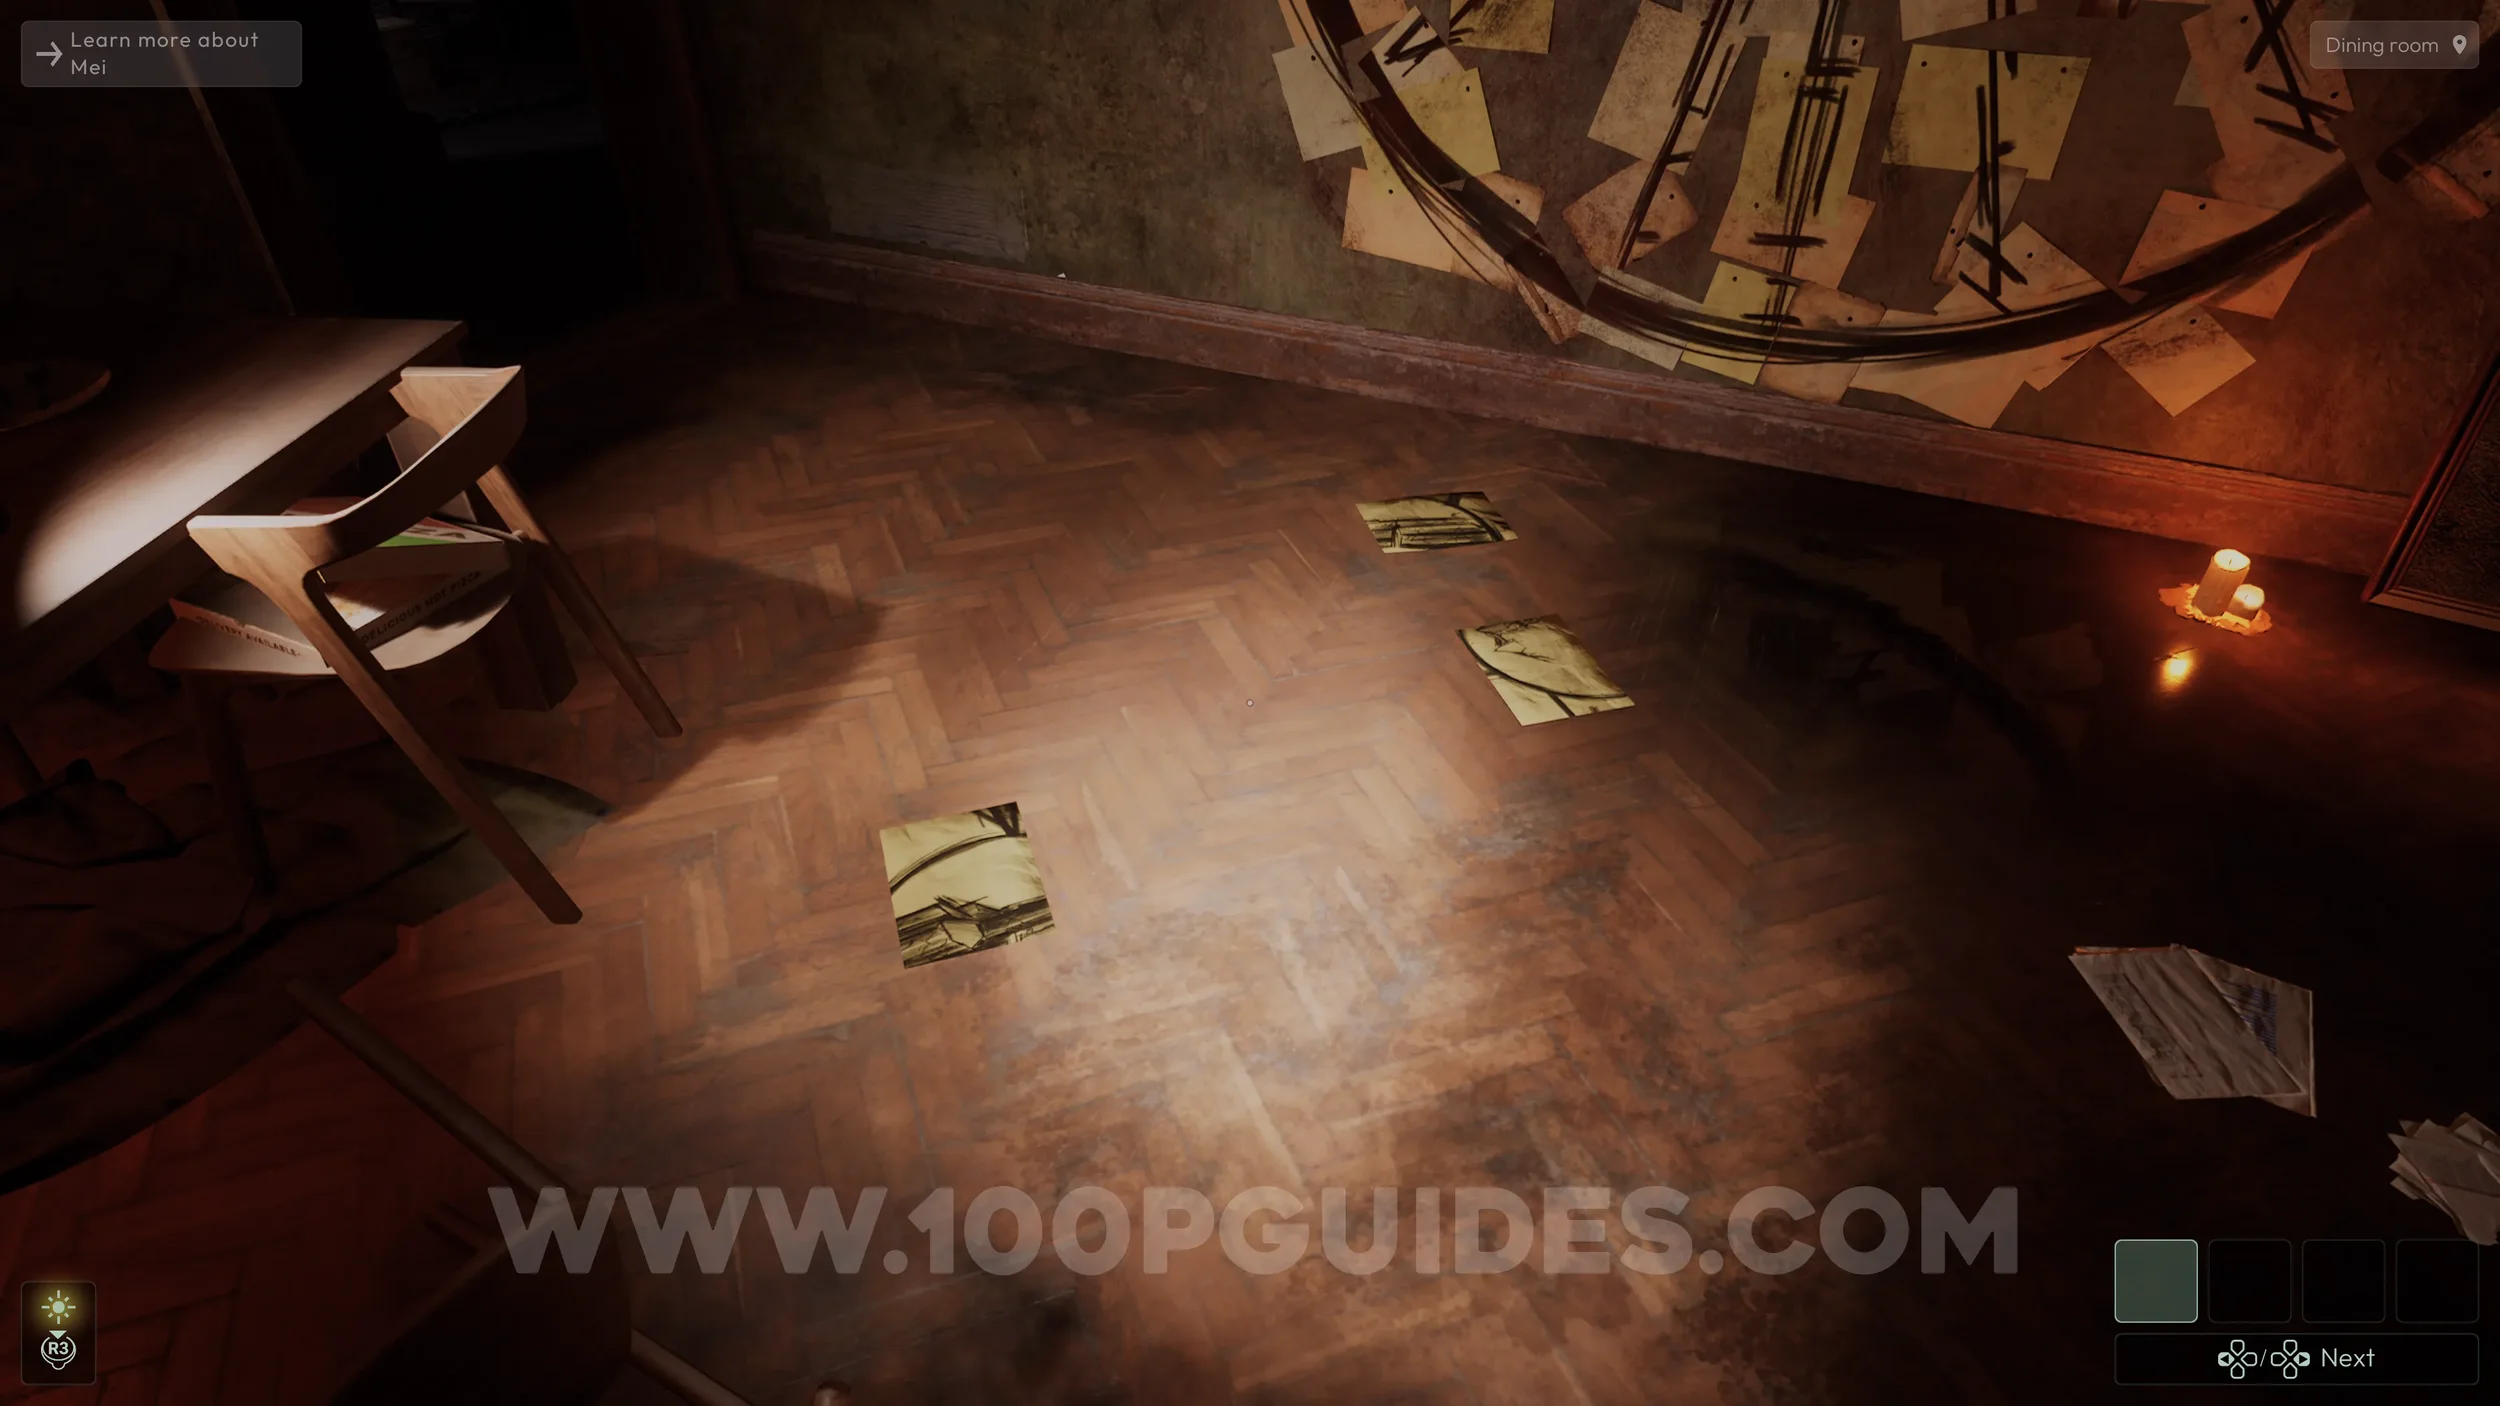
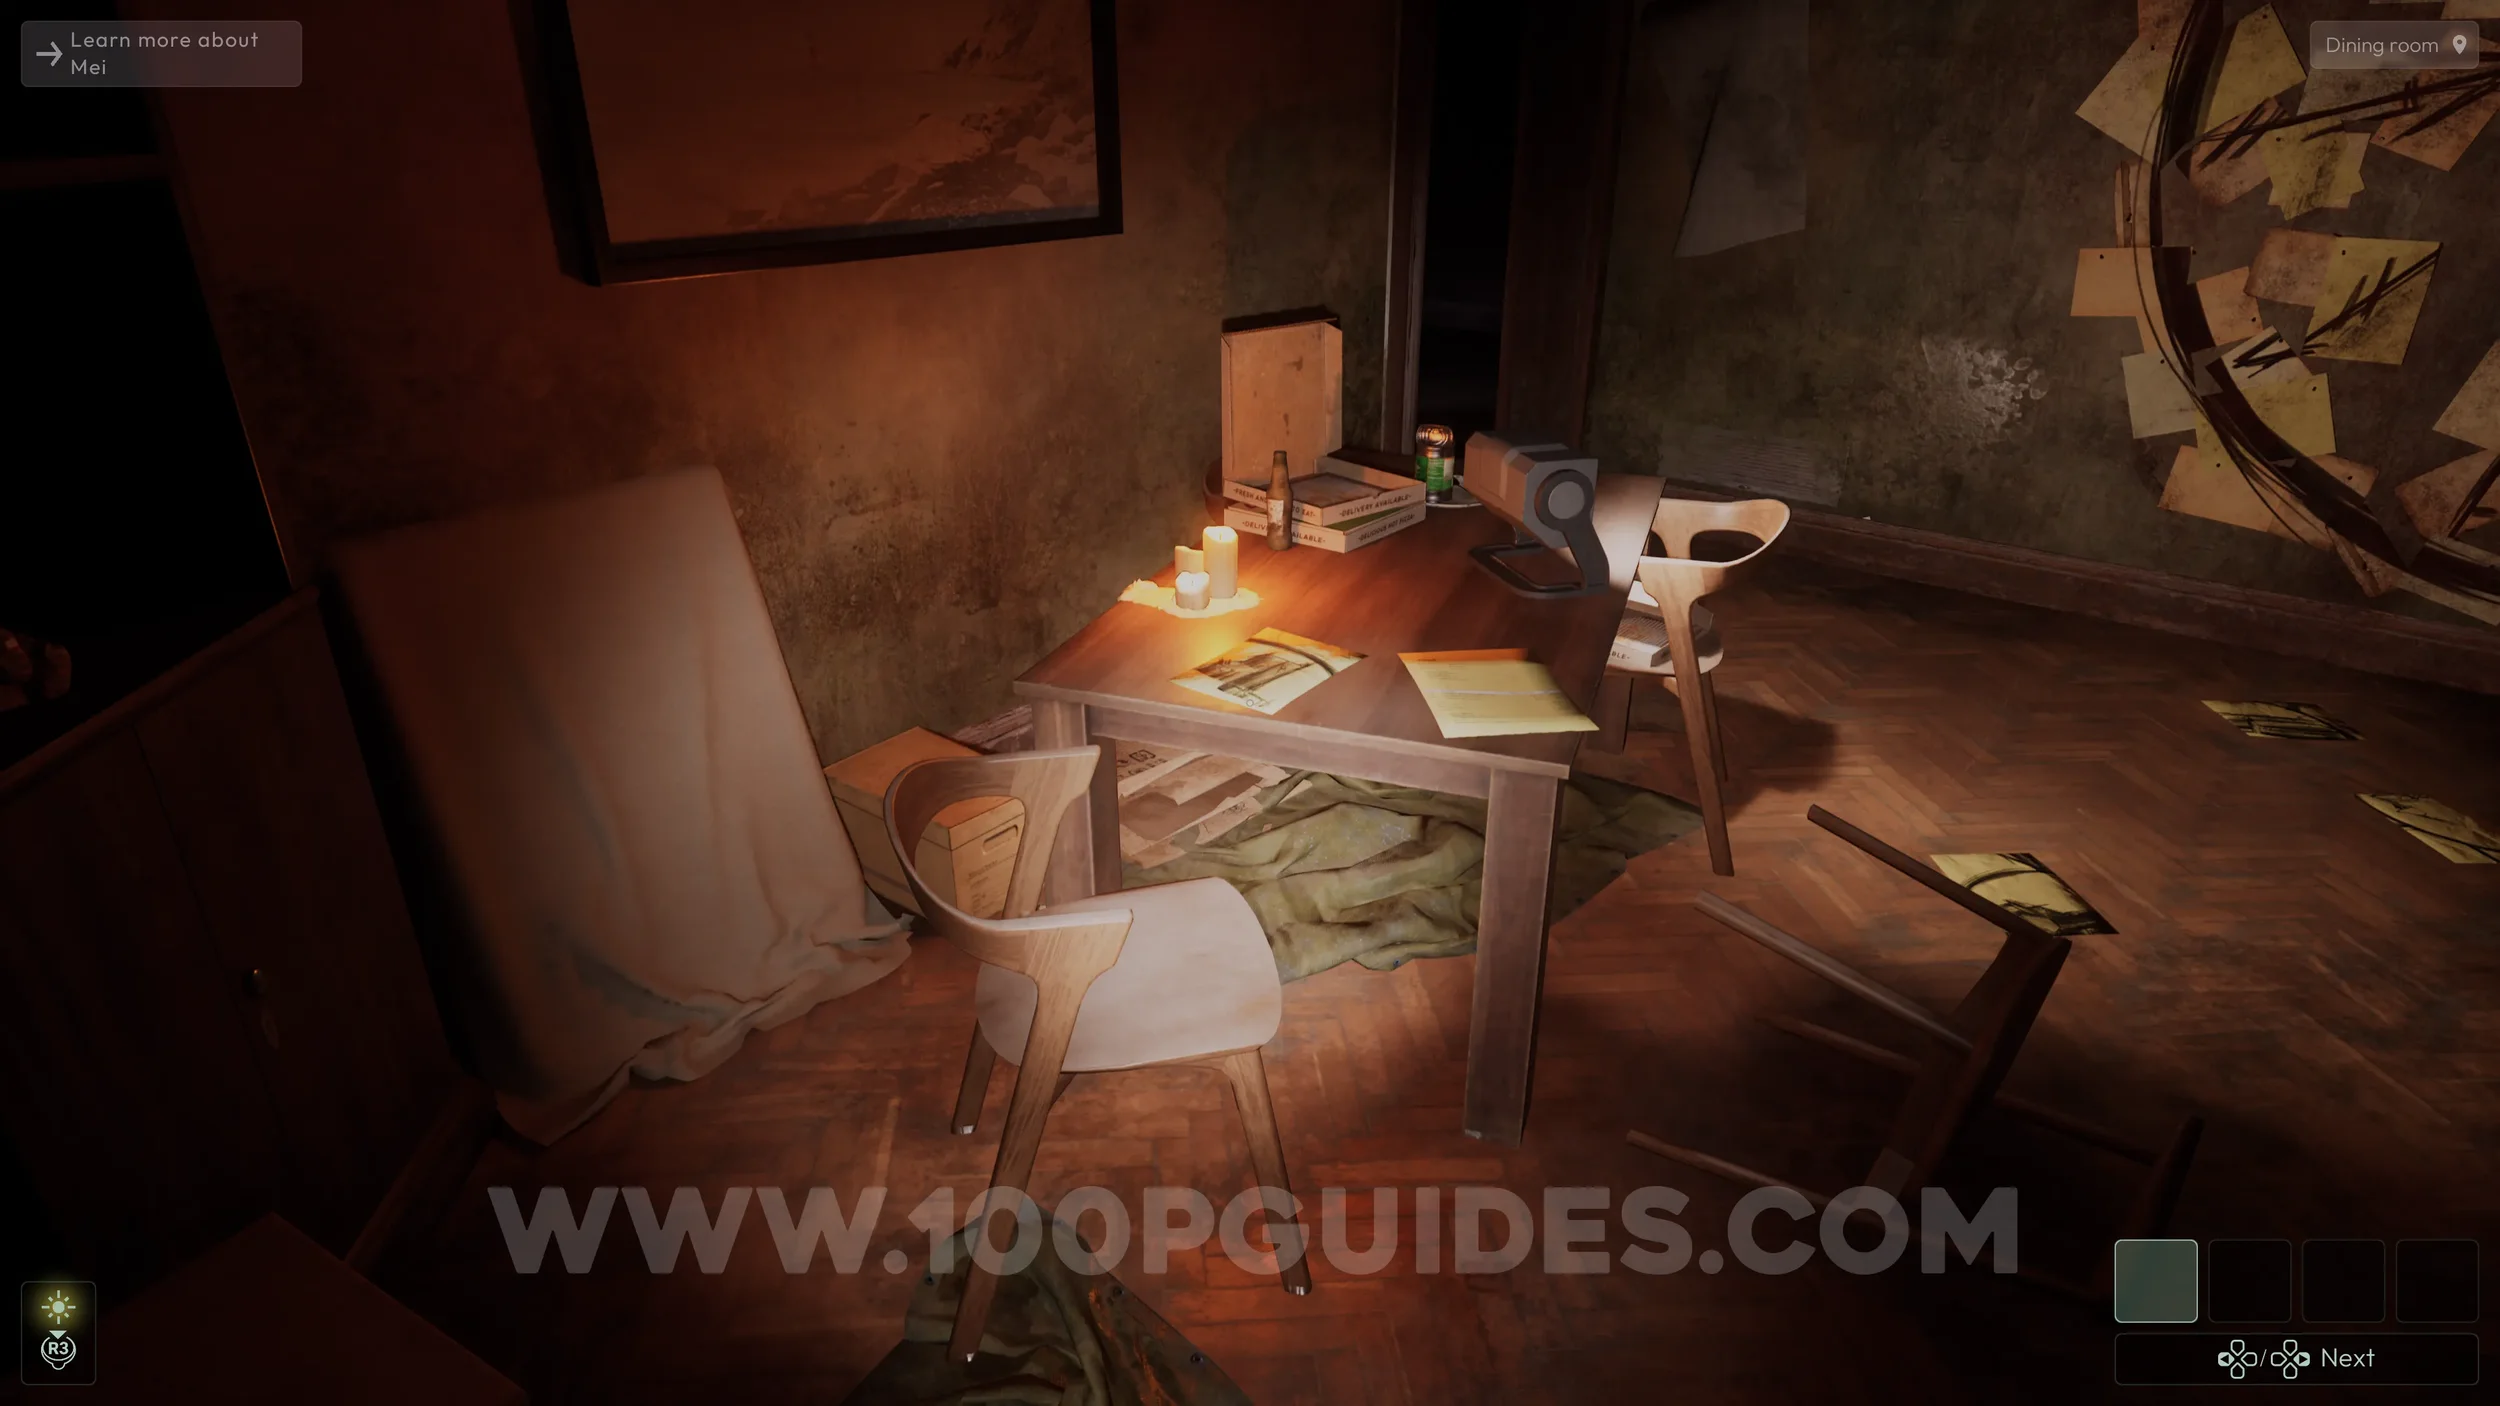
On the wall, you will notice a circle made up of many pages. To solve this puzzle, you need to find and place the five missing pages in their correct positions. The first three can be found on the floor in front of the puzzle.
The remaining two can be found on the table to the left of the puzzle. For one of them, examine the document and turn it around to reveal the drawing.
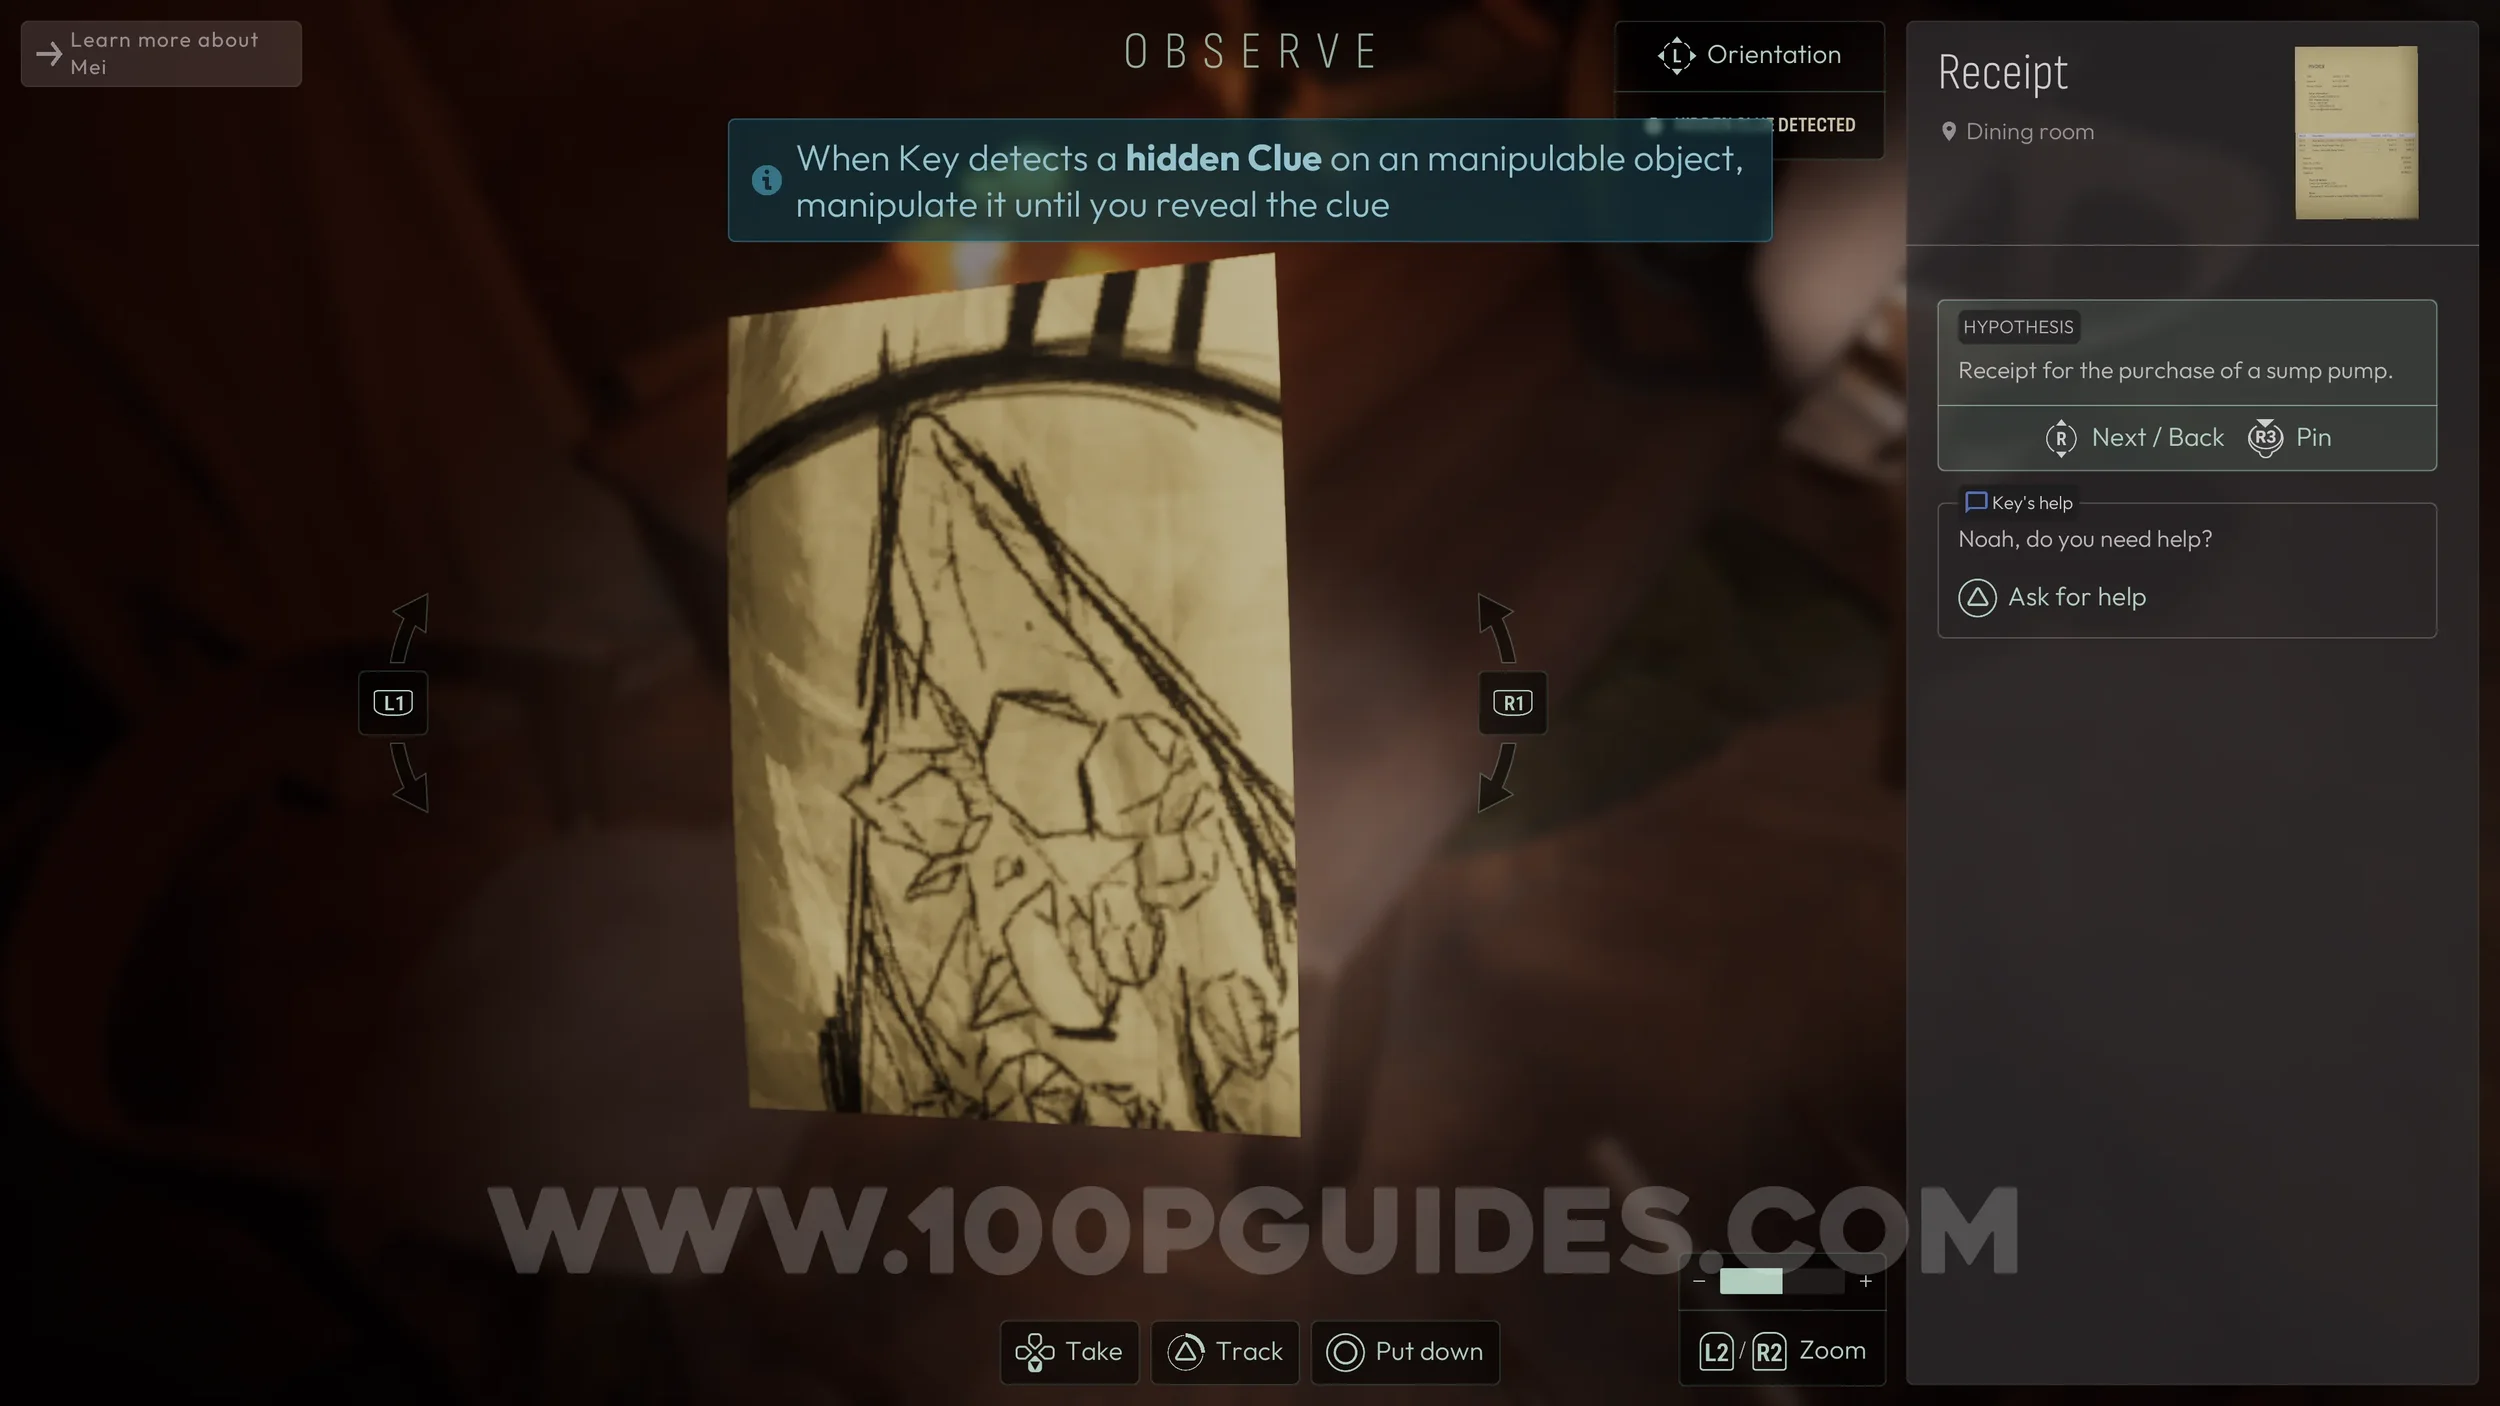
Now place the 5 drawings onto the wall in the correct positions to solve the puzzle and earn the Artist trophy.
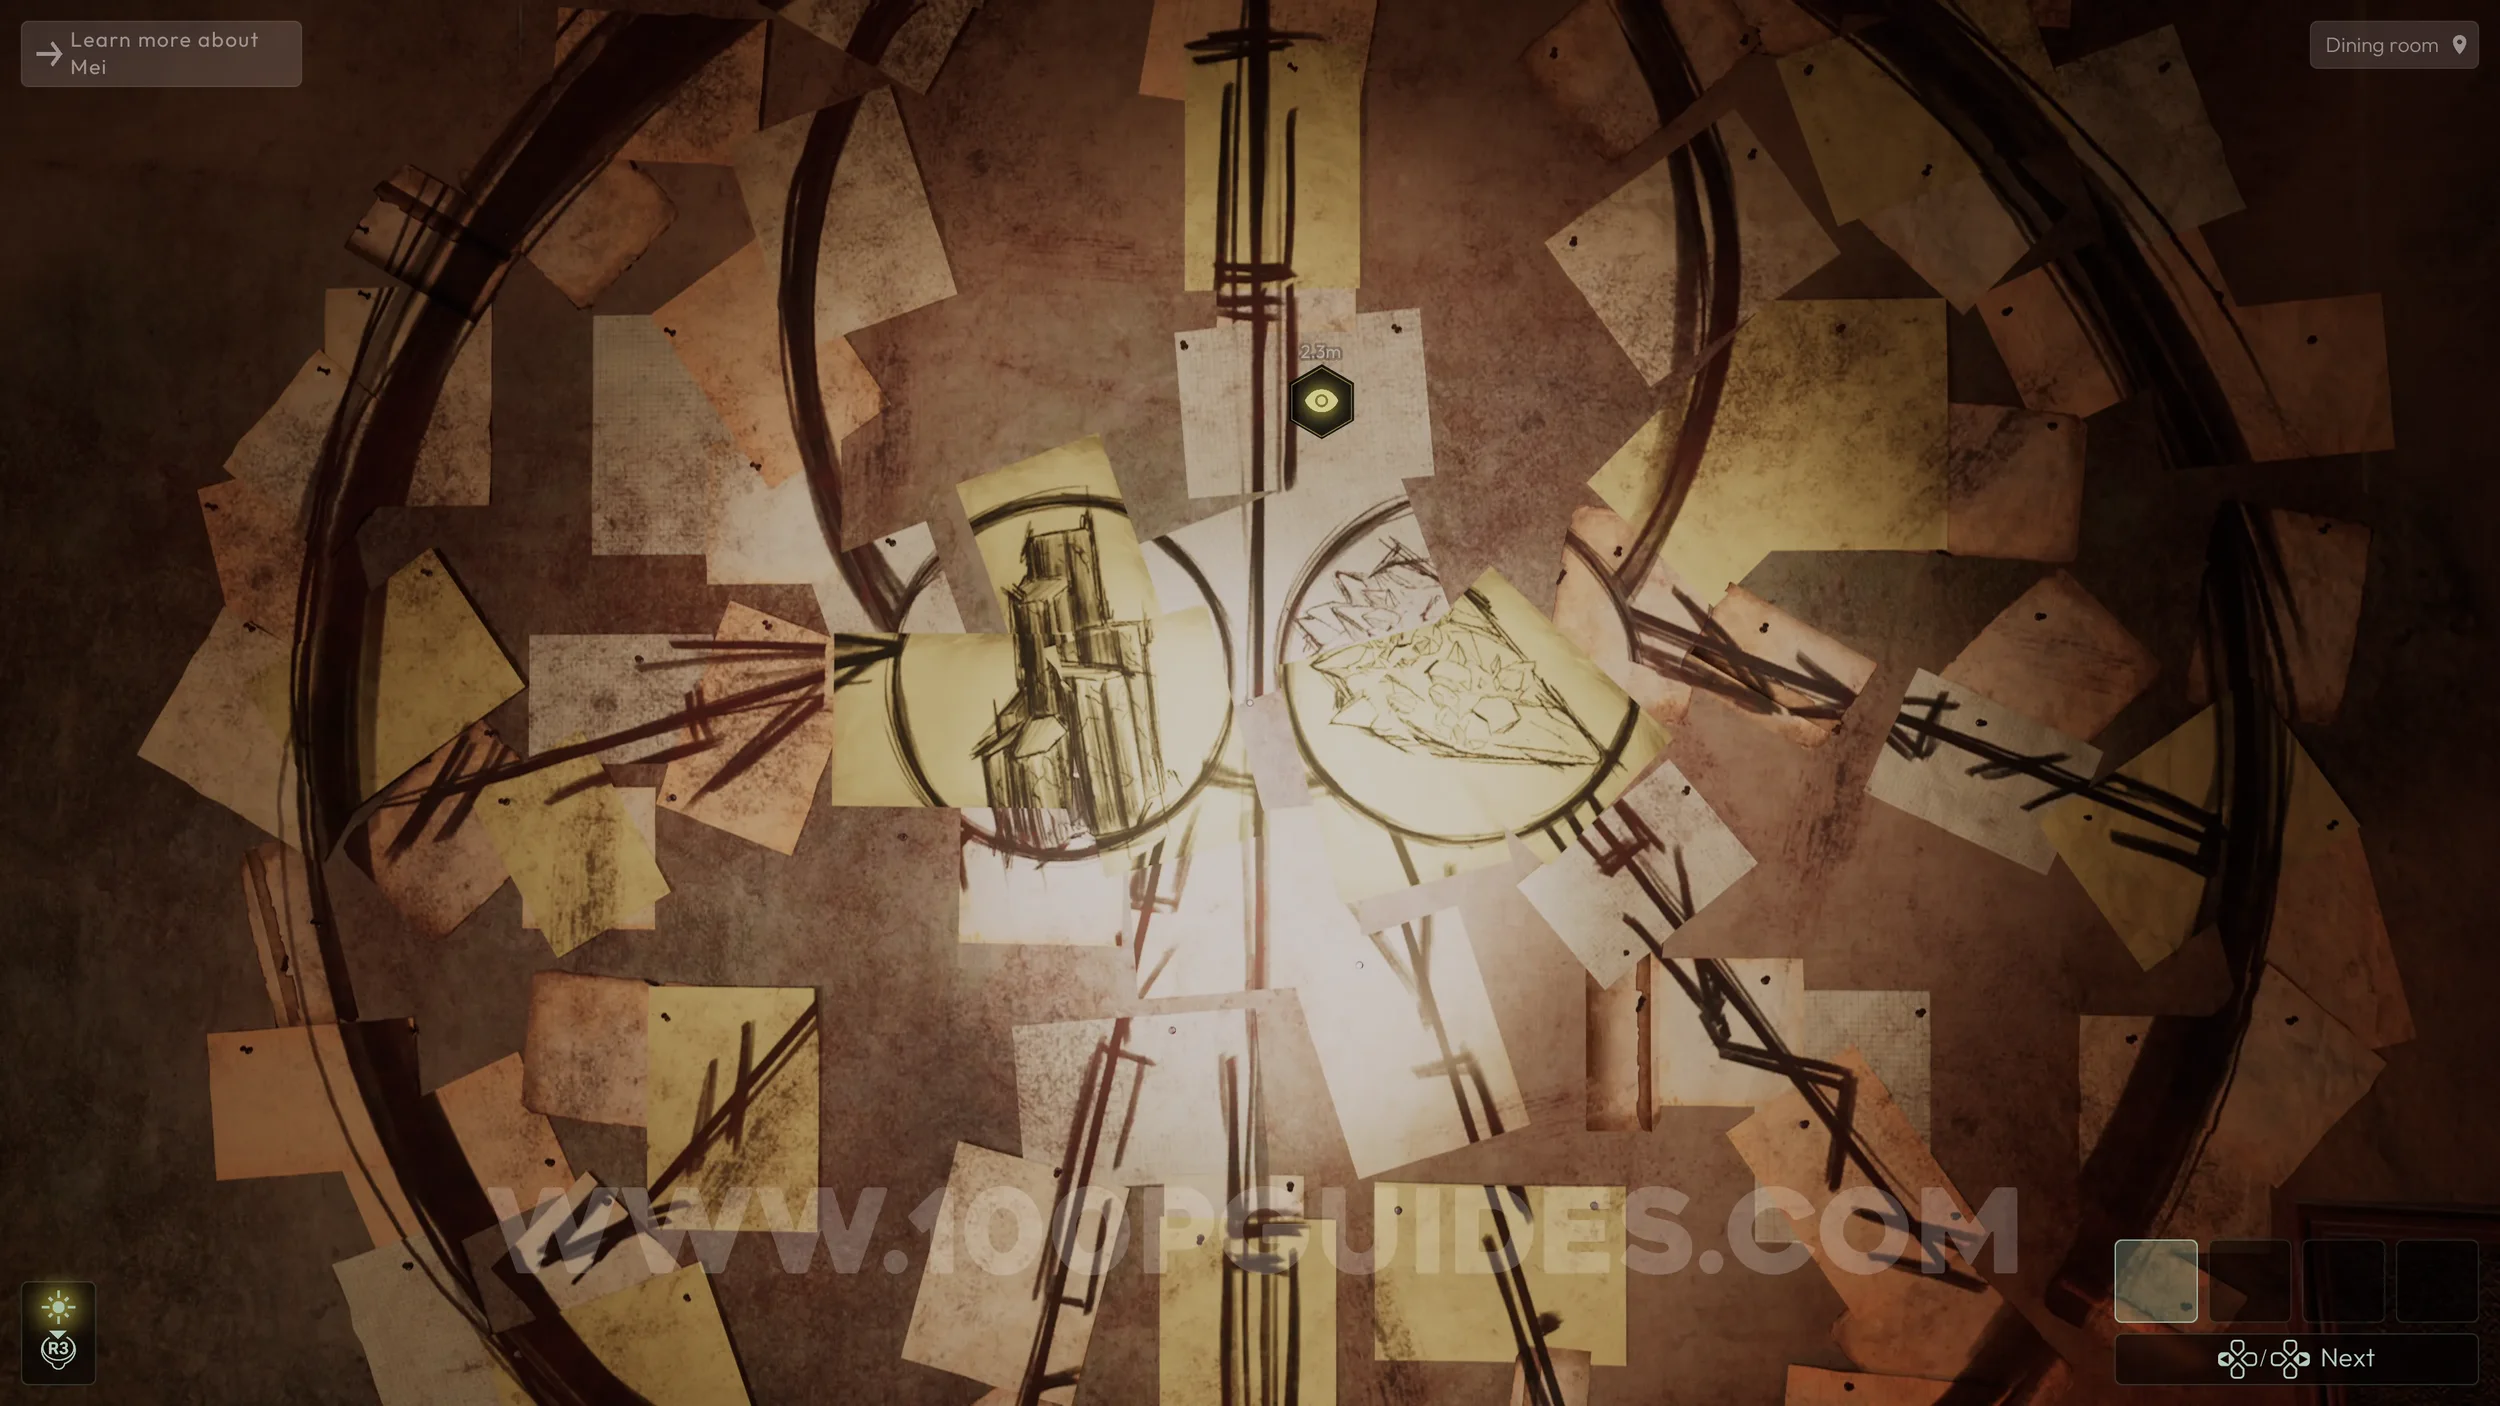
With the puzzle solved, you will now know which two stones you need to collect.
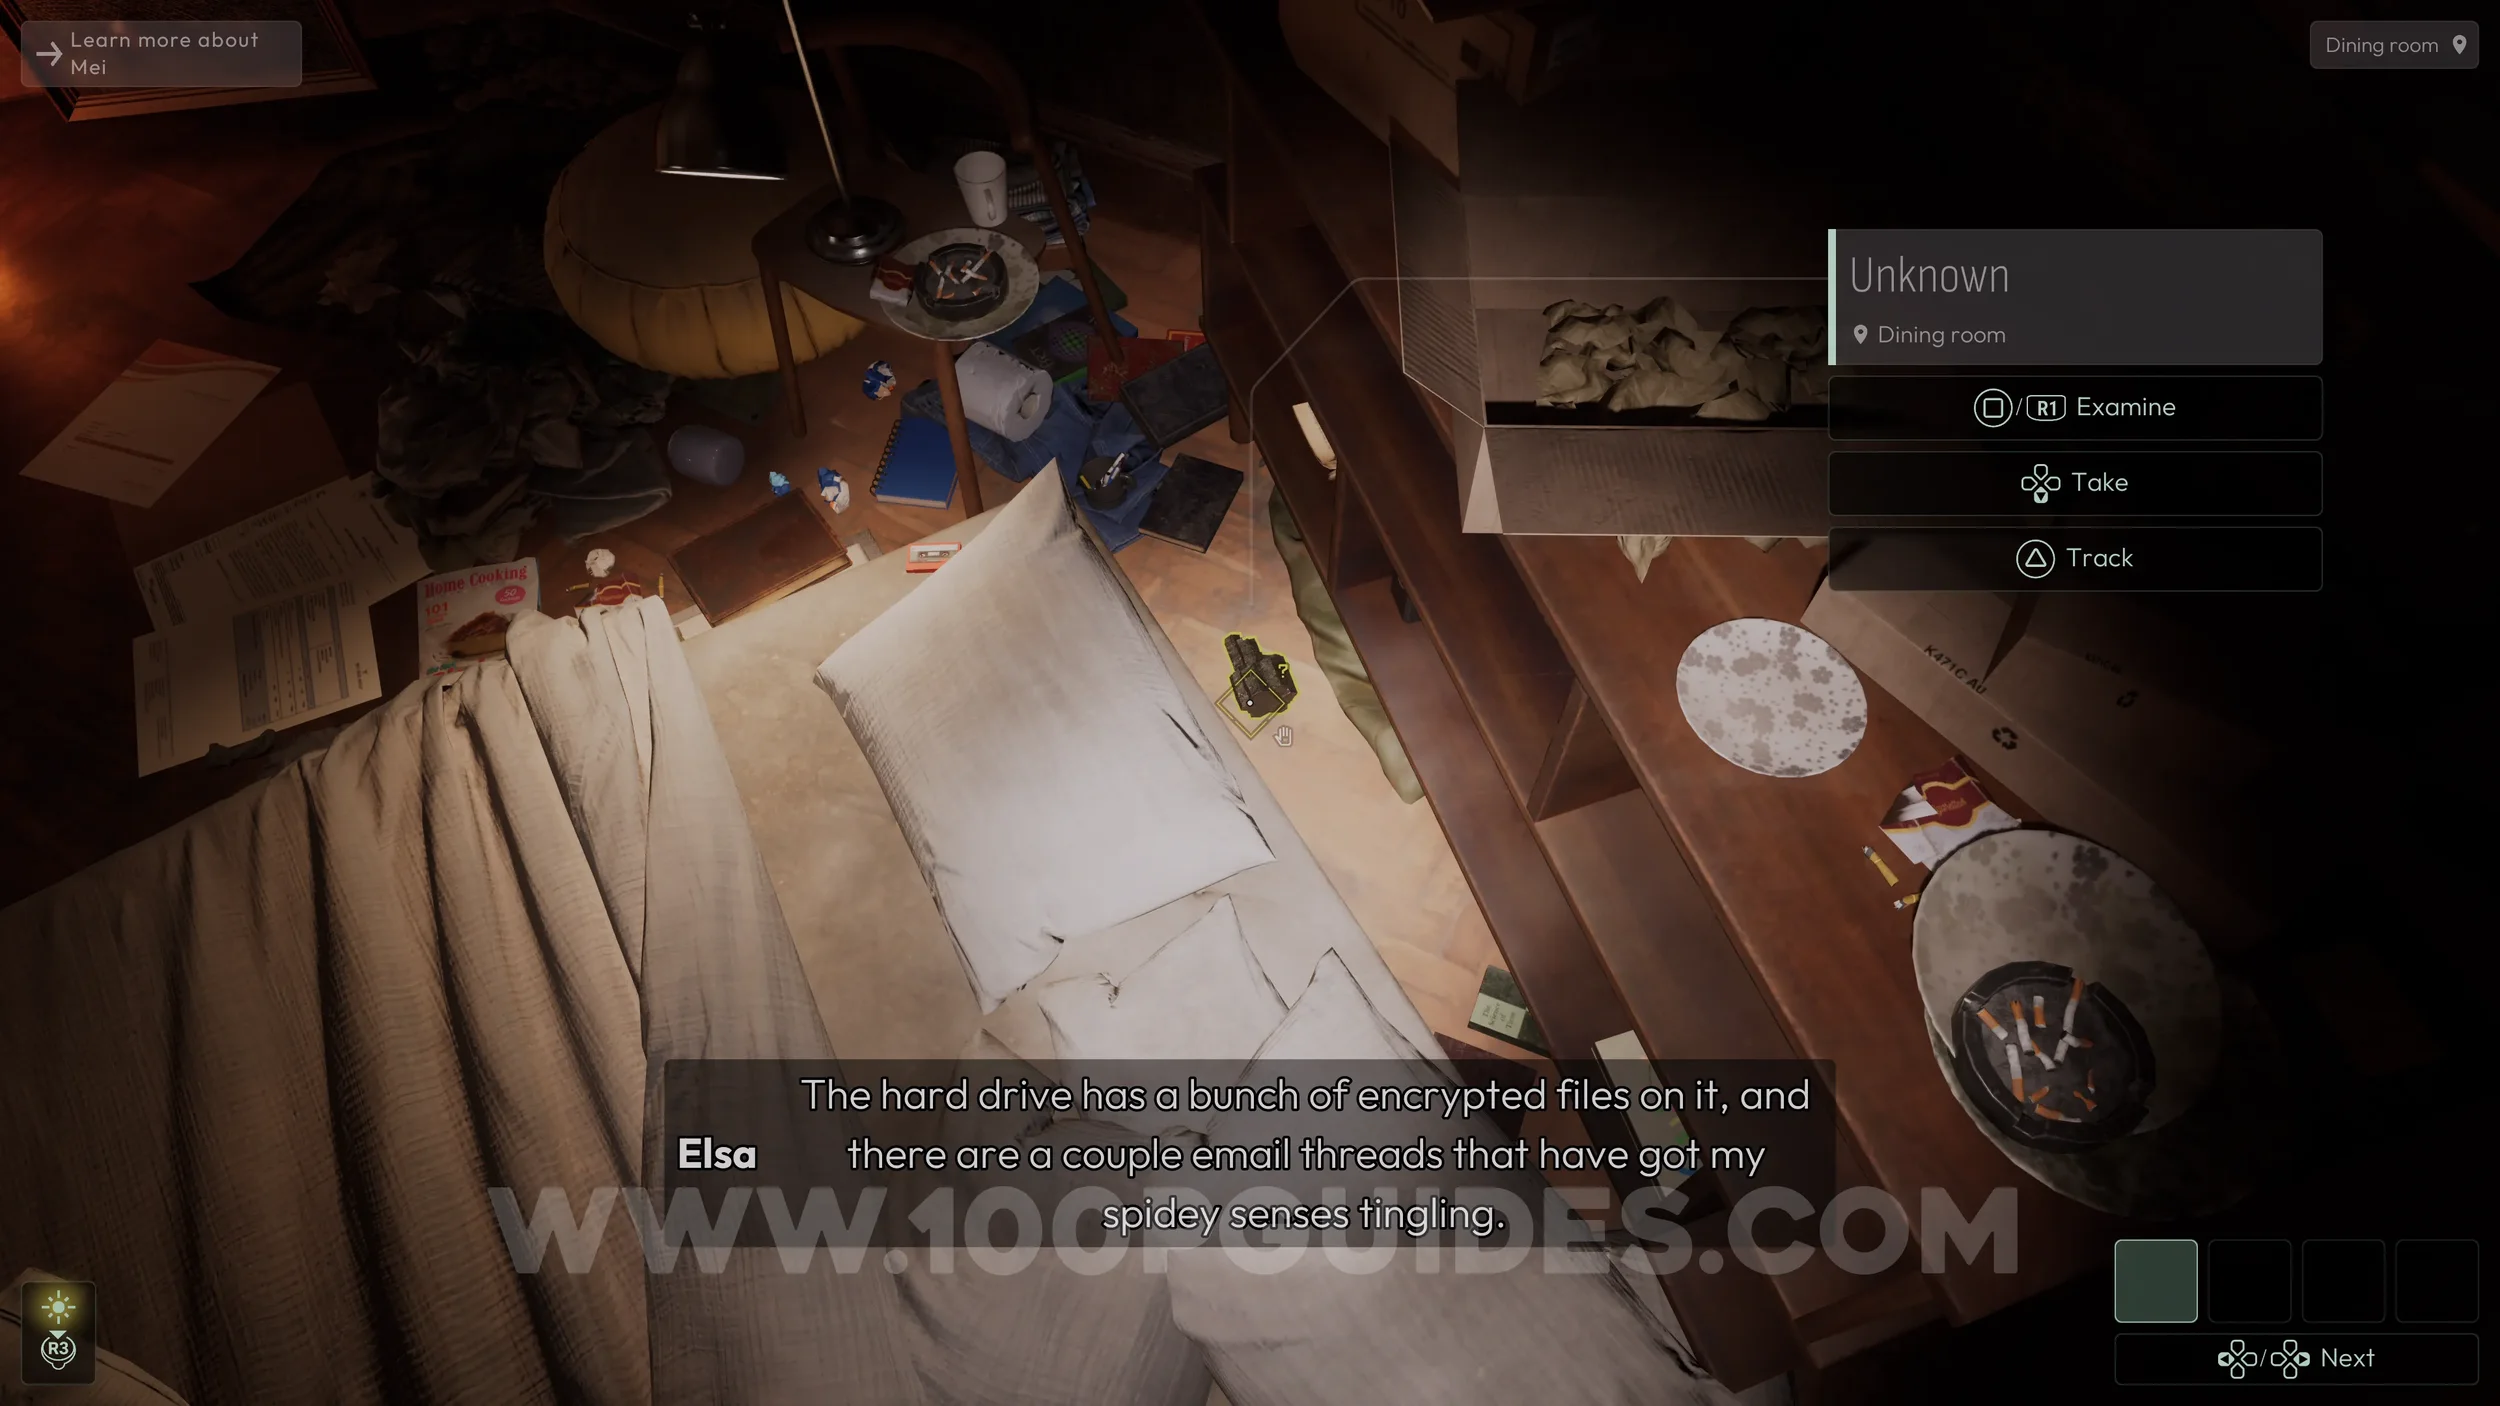
The first can be found behind the mattress to the right of the puzzle.
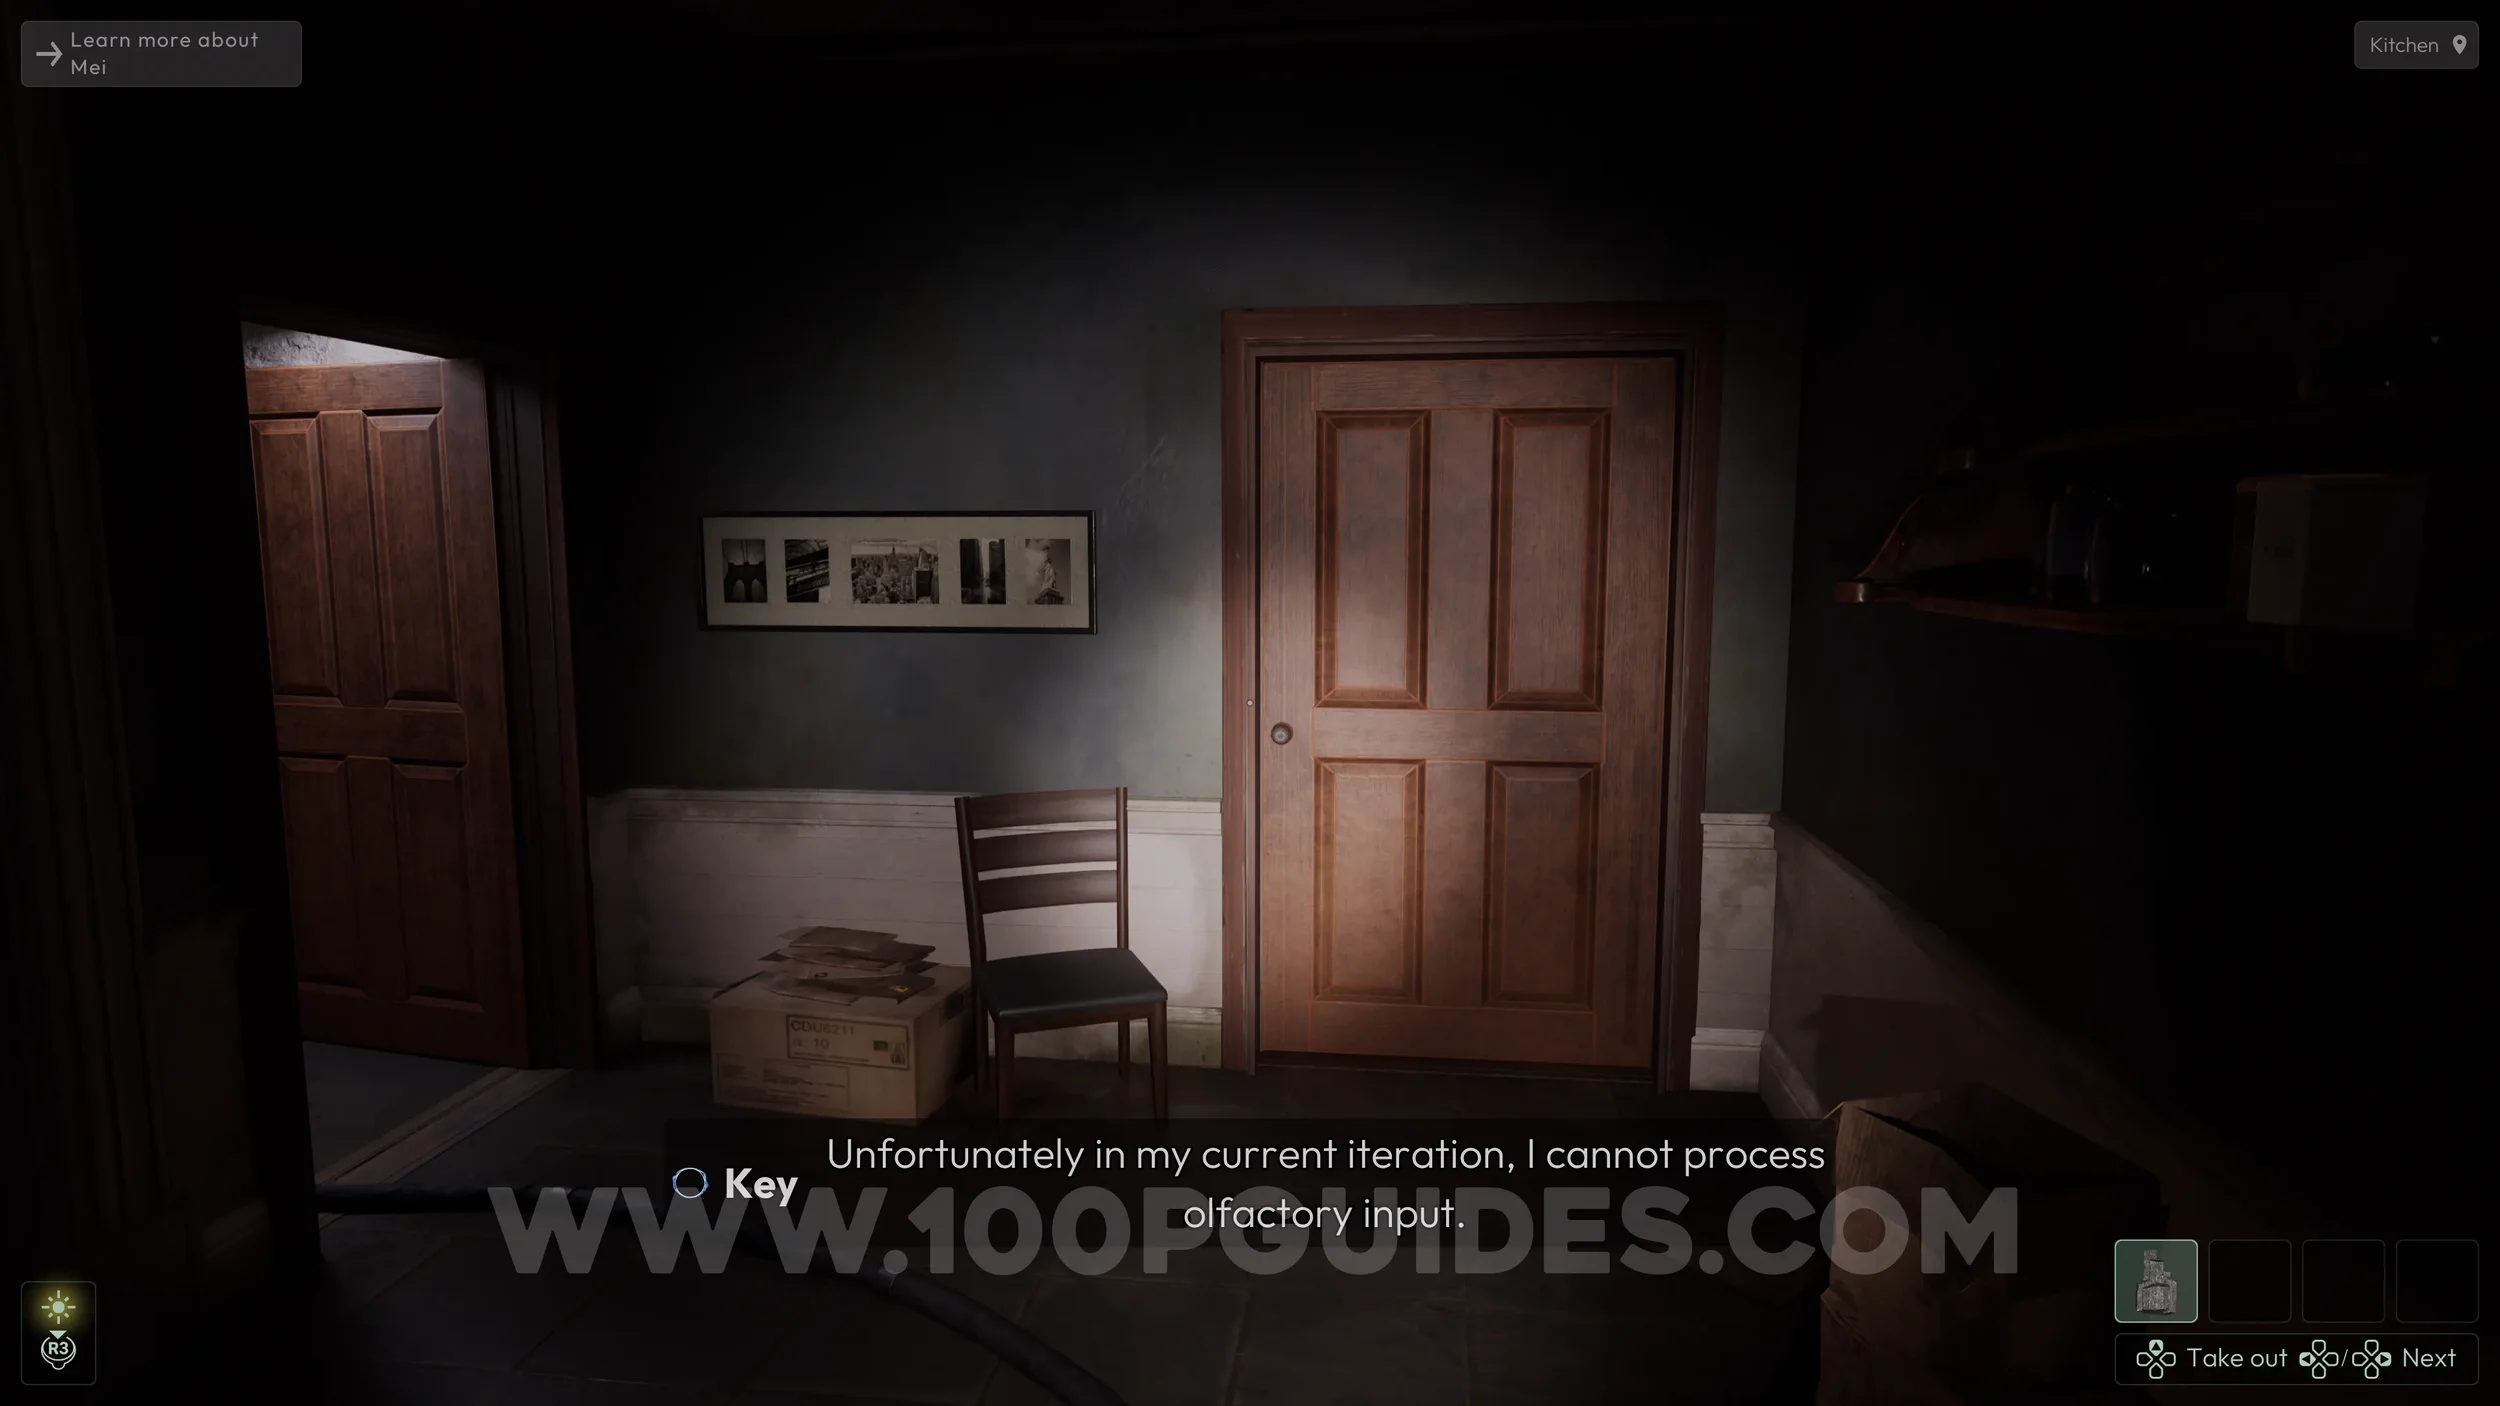
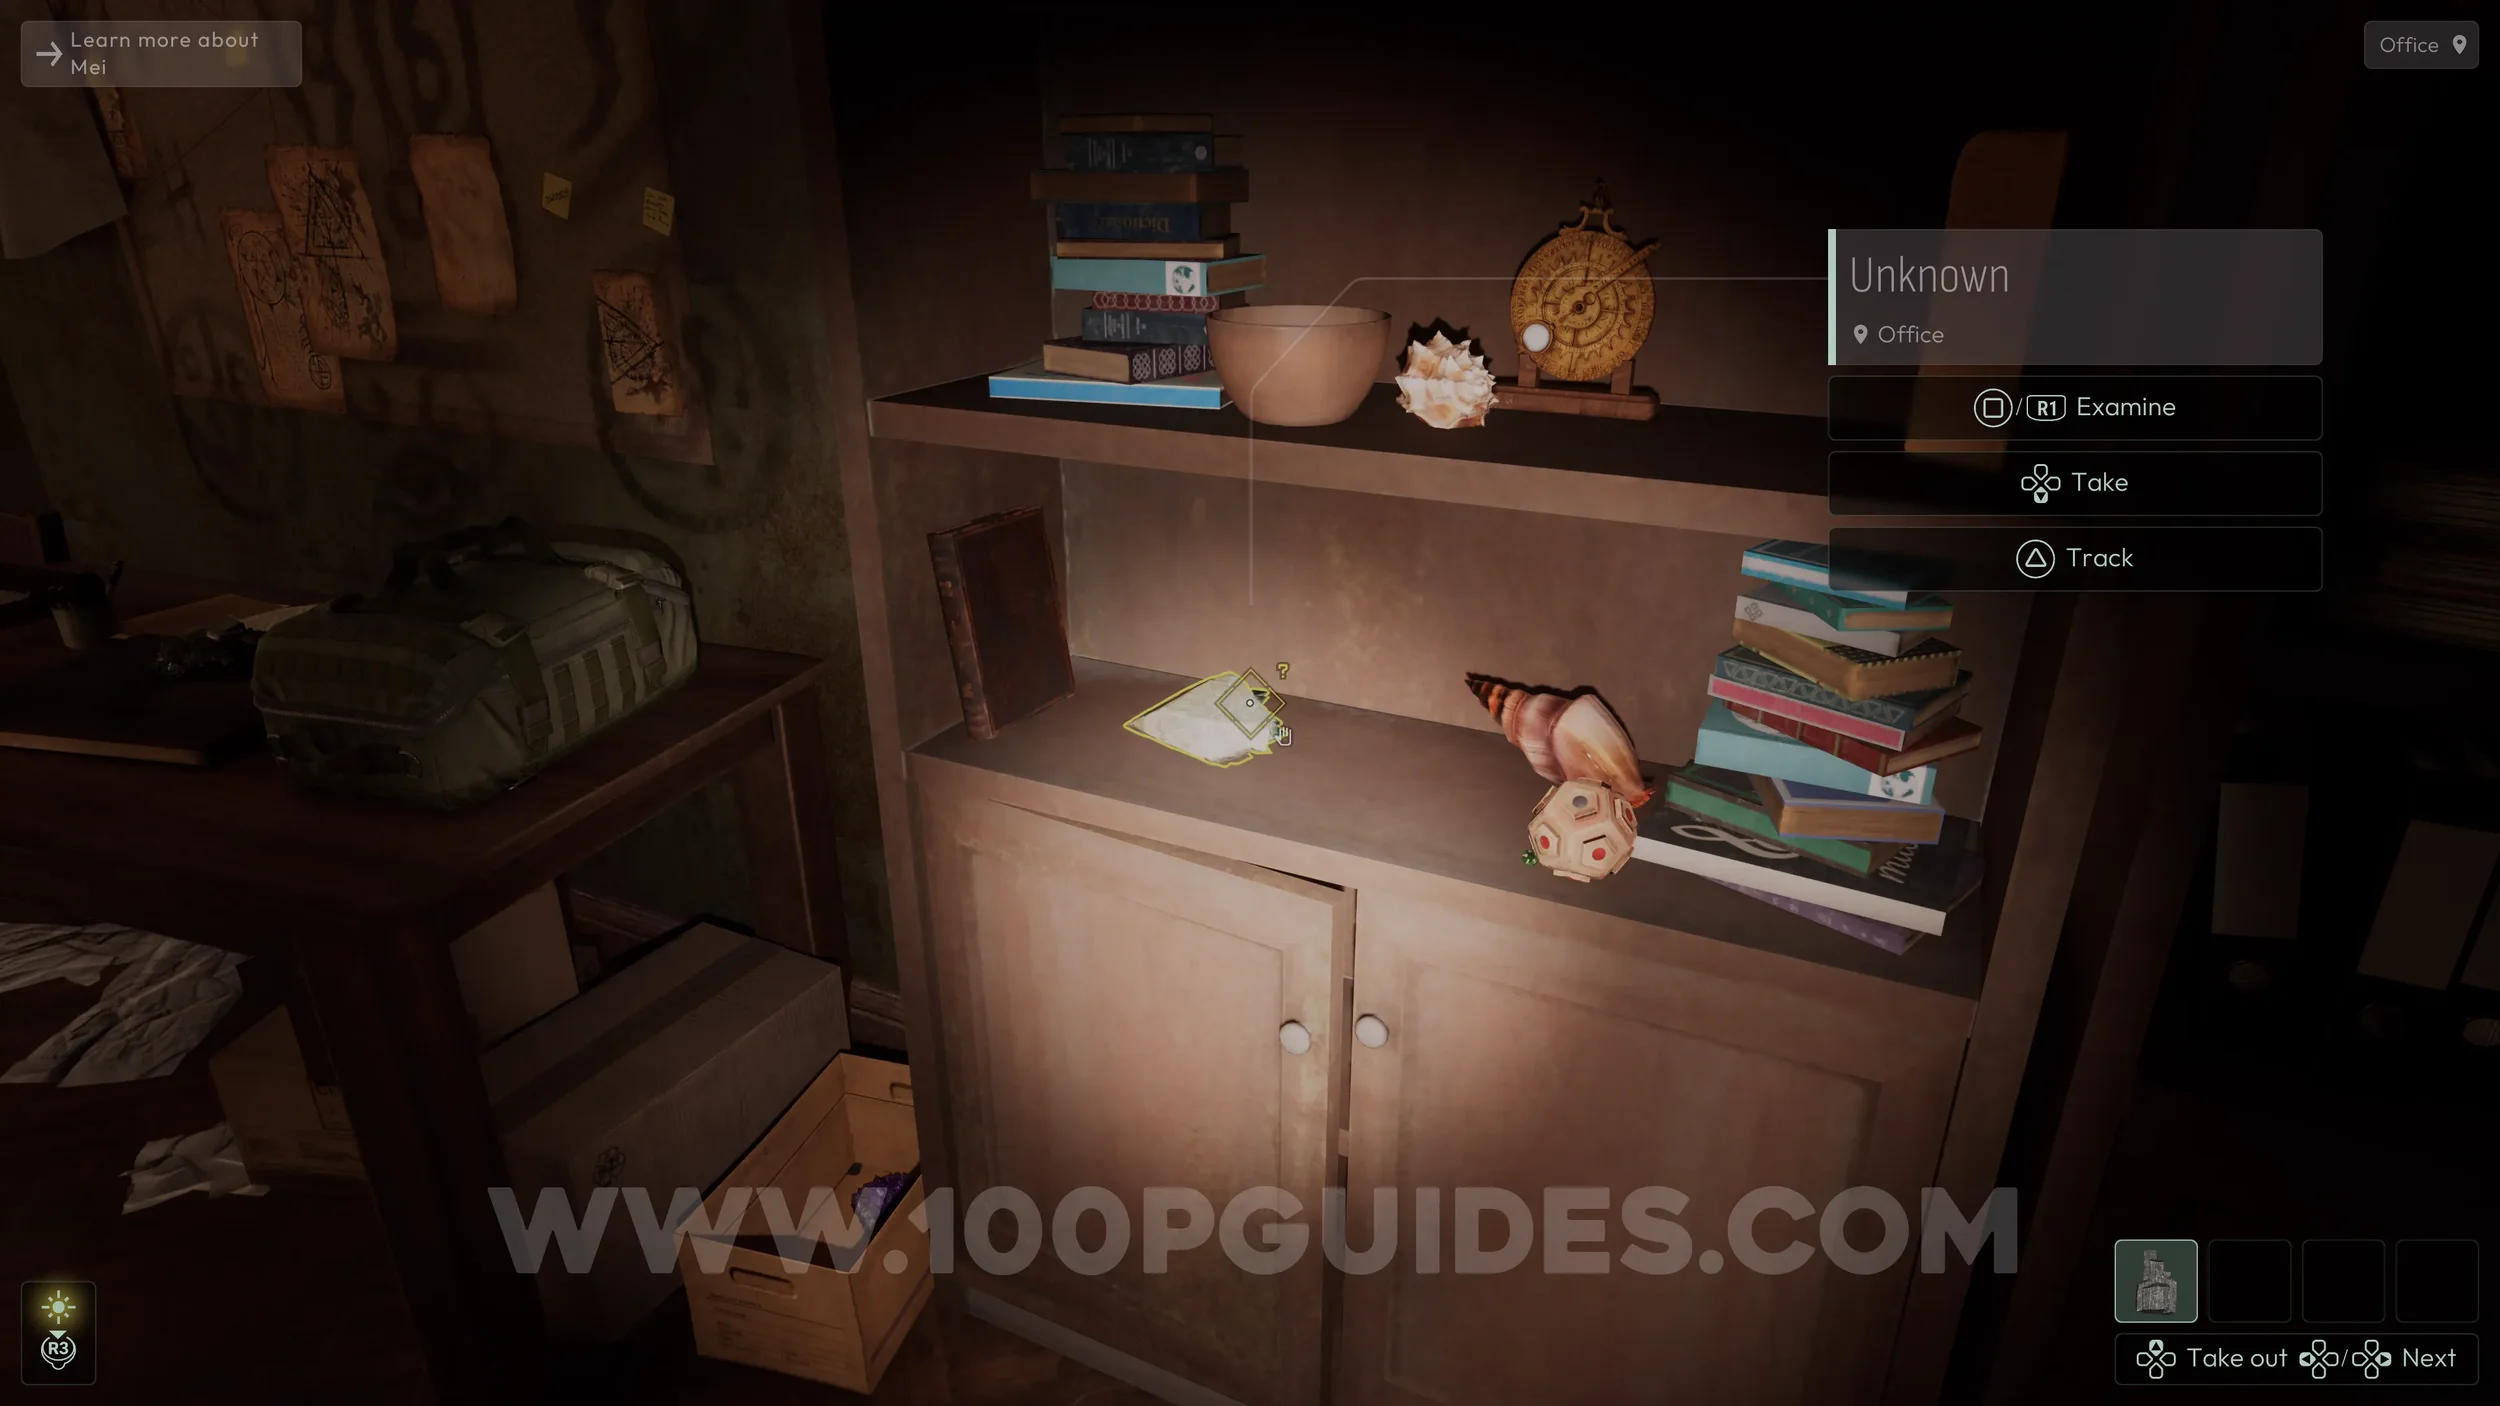
The other can be found on a shelf in the office, which can be reached by going through the door to the left of the puzzle. From there, head right and enter the closed door on your left, next to the open doorway that leads down to the basement.
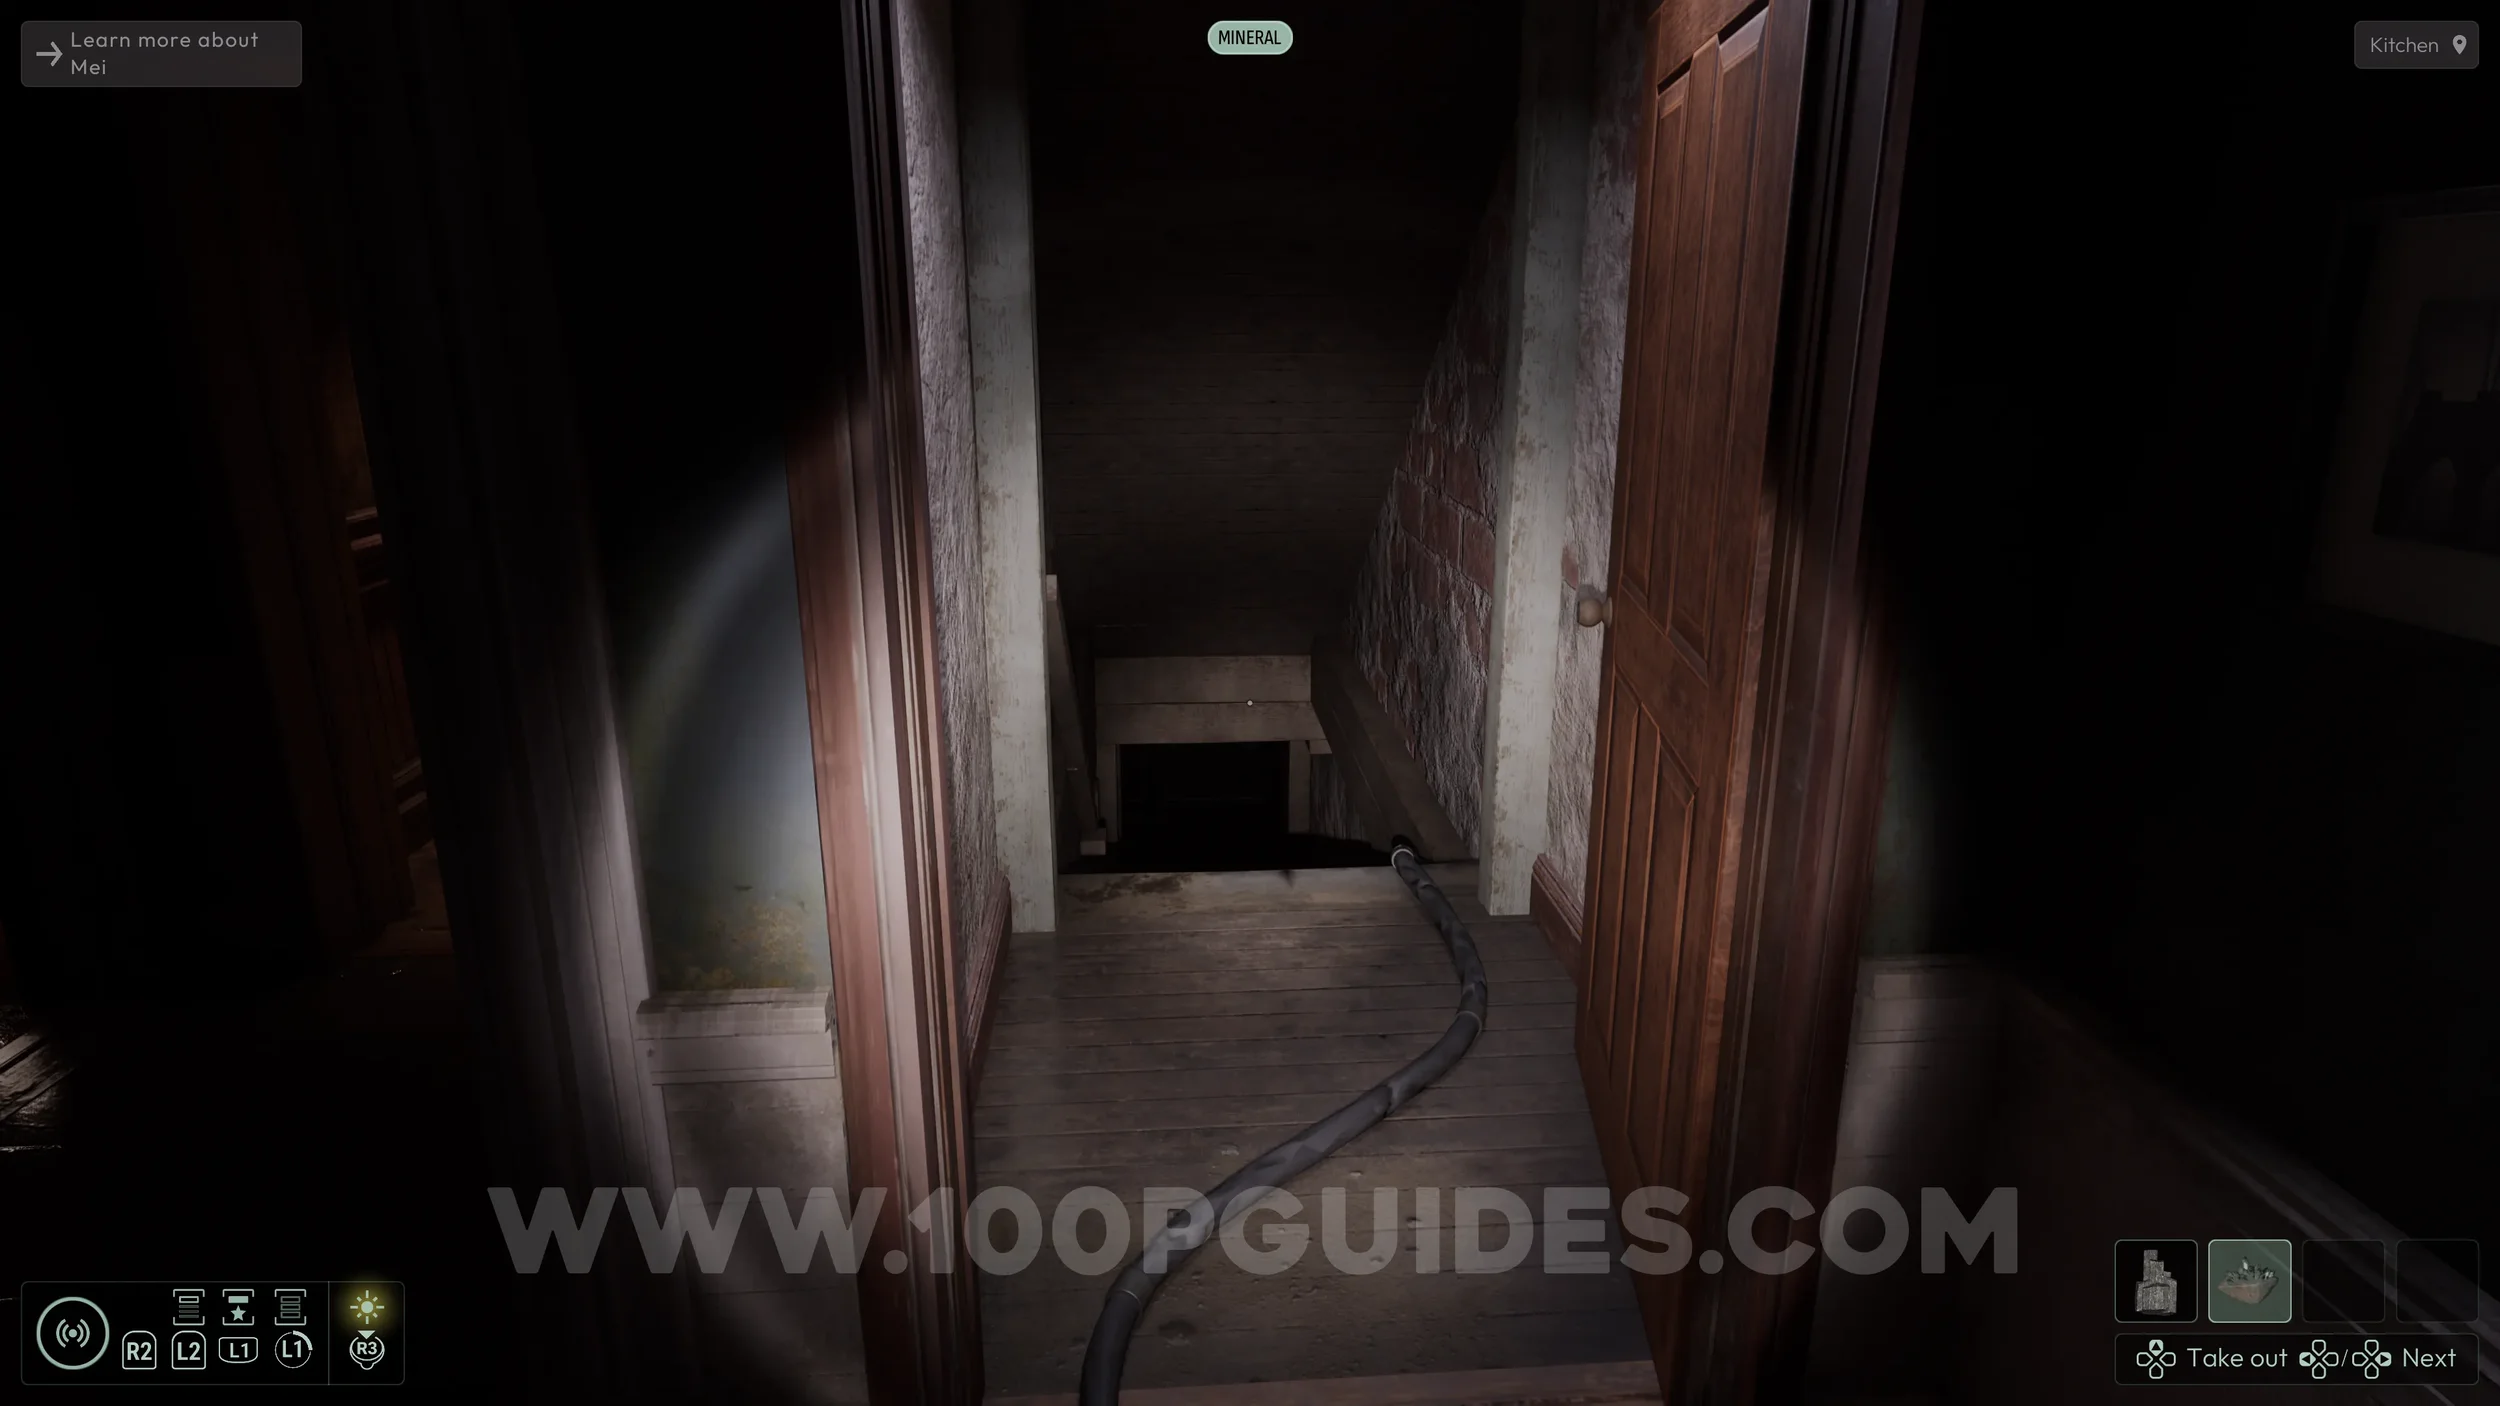
Now that you have the two stones, head through the open door and go down to the basement. Open the door there to find a strange structure where you need to place the two stones as shown in the puzzle upstairs.
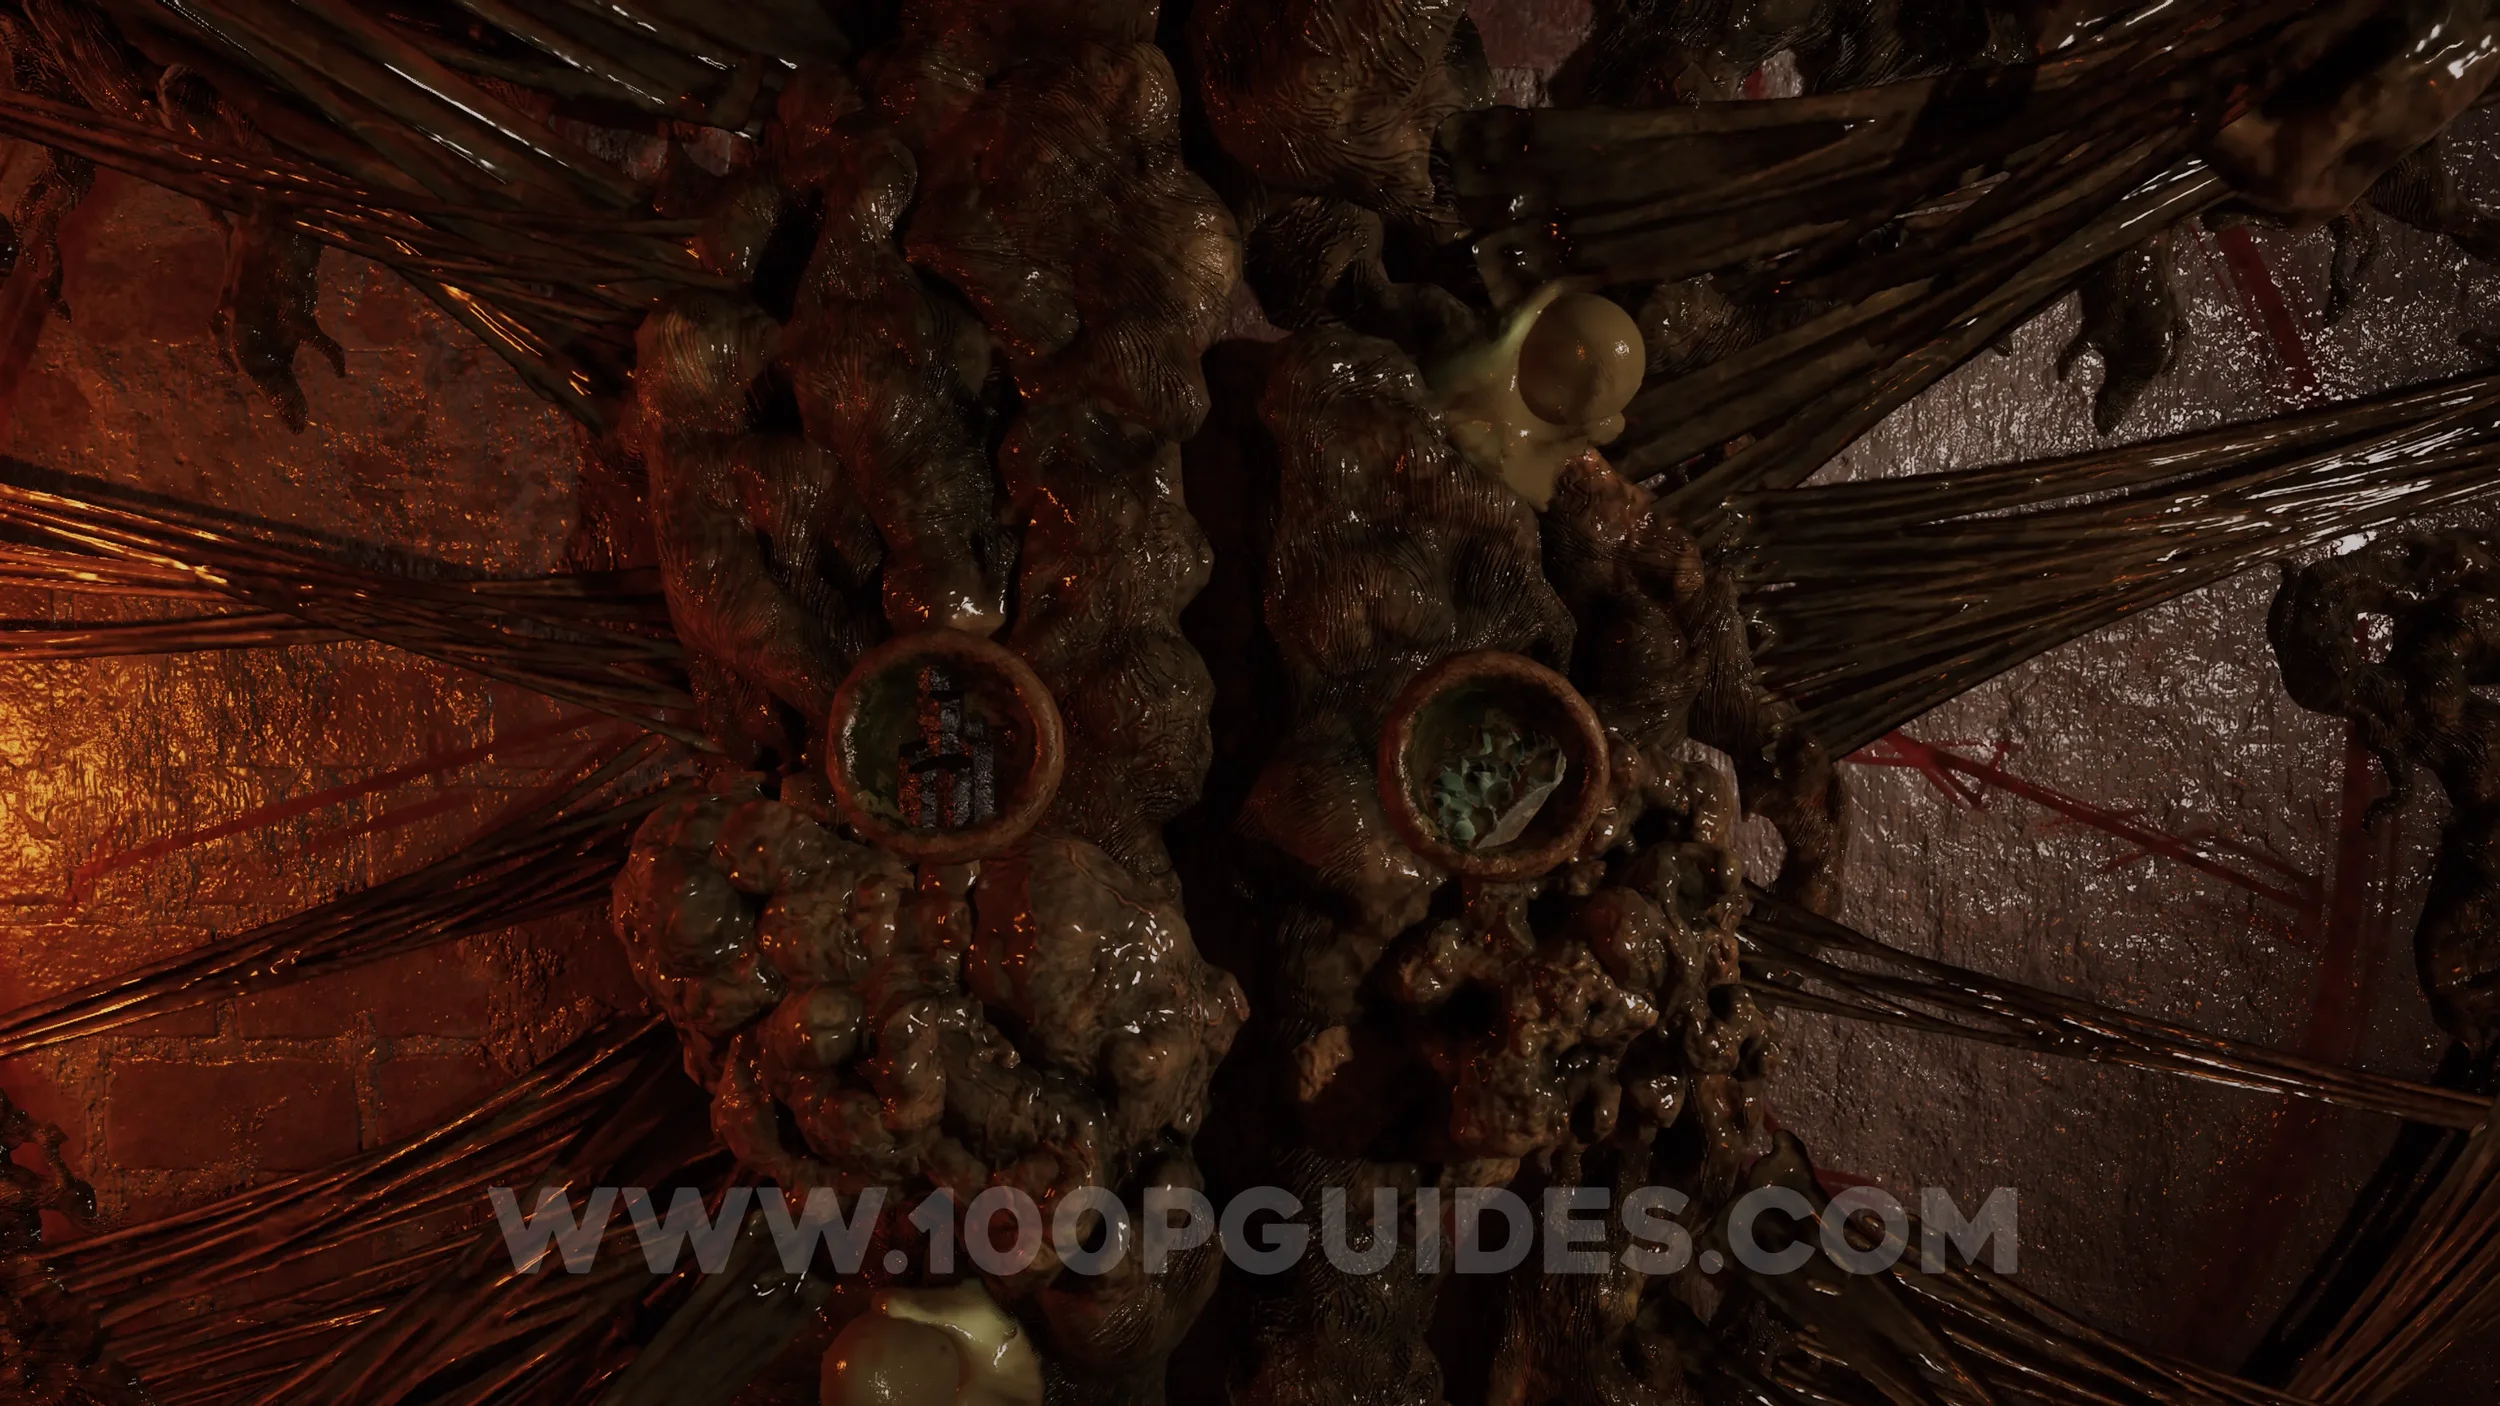
After the cutscene, you will find yourself in a strange place. Simply follow the path to trigger another cutscene that ends the chapter.
Chapter 2
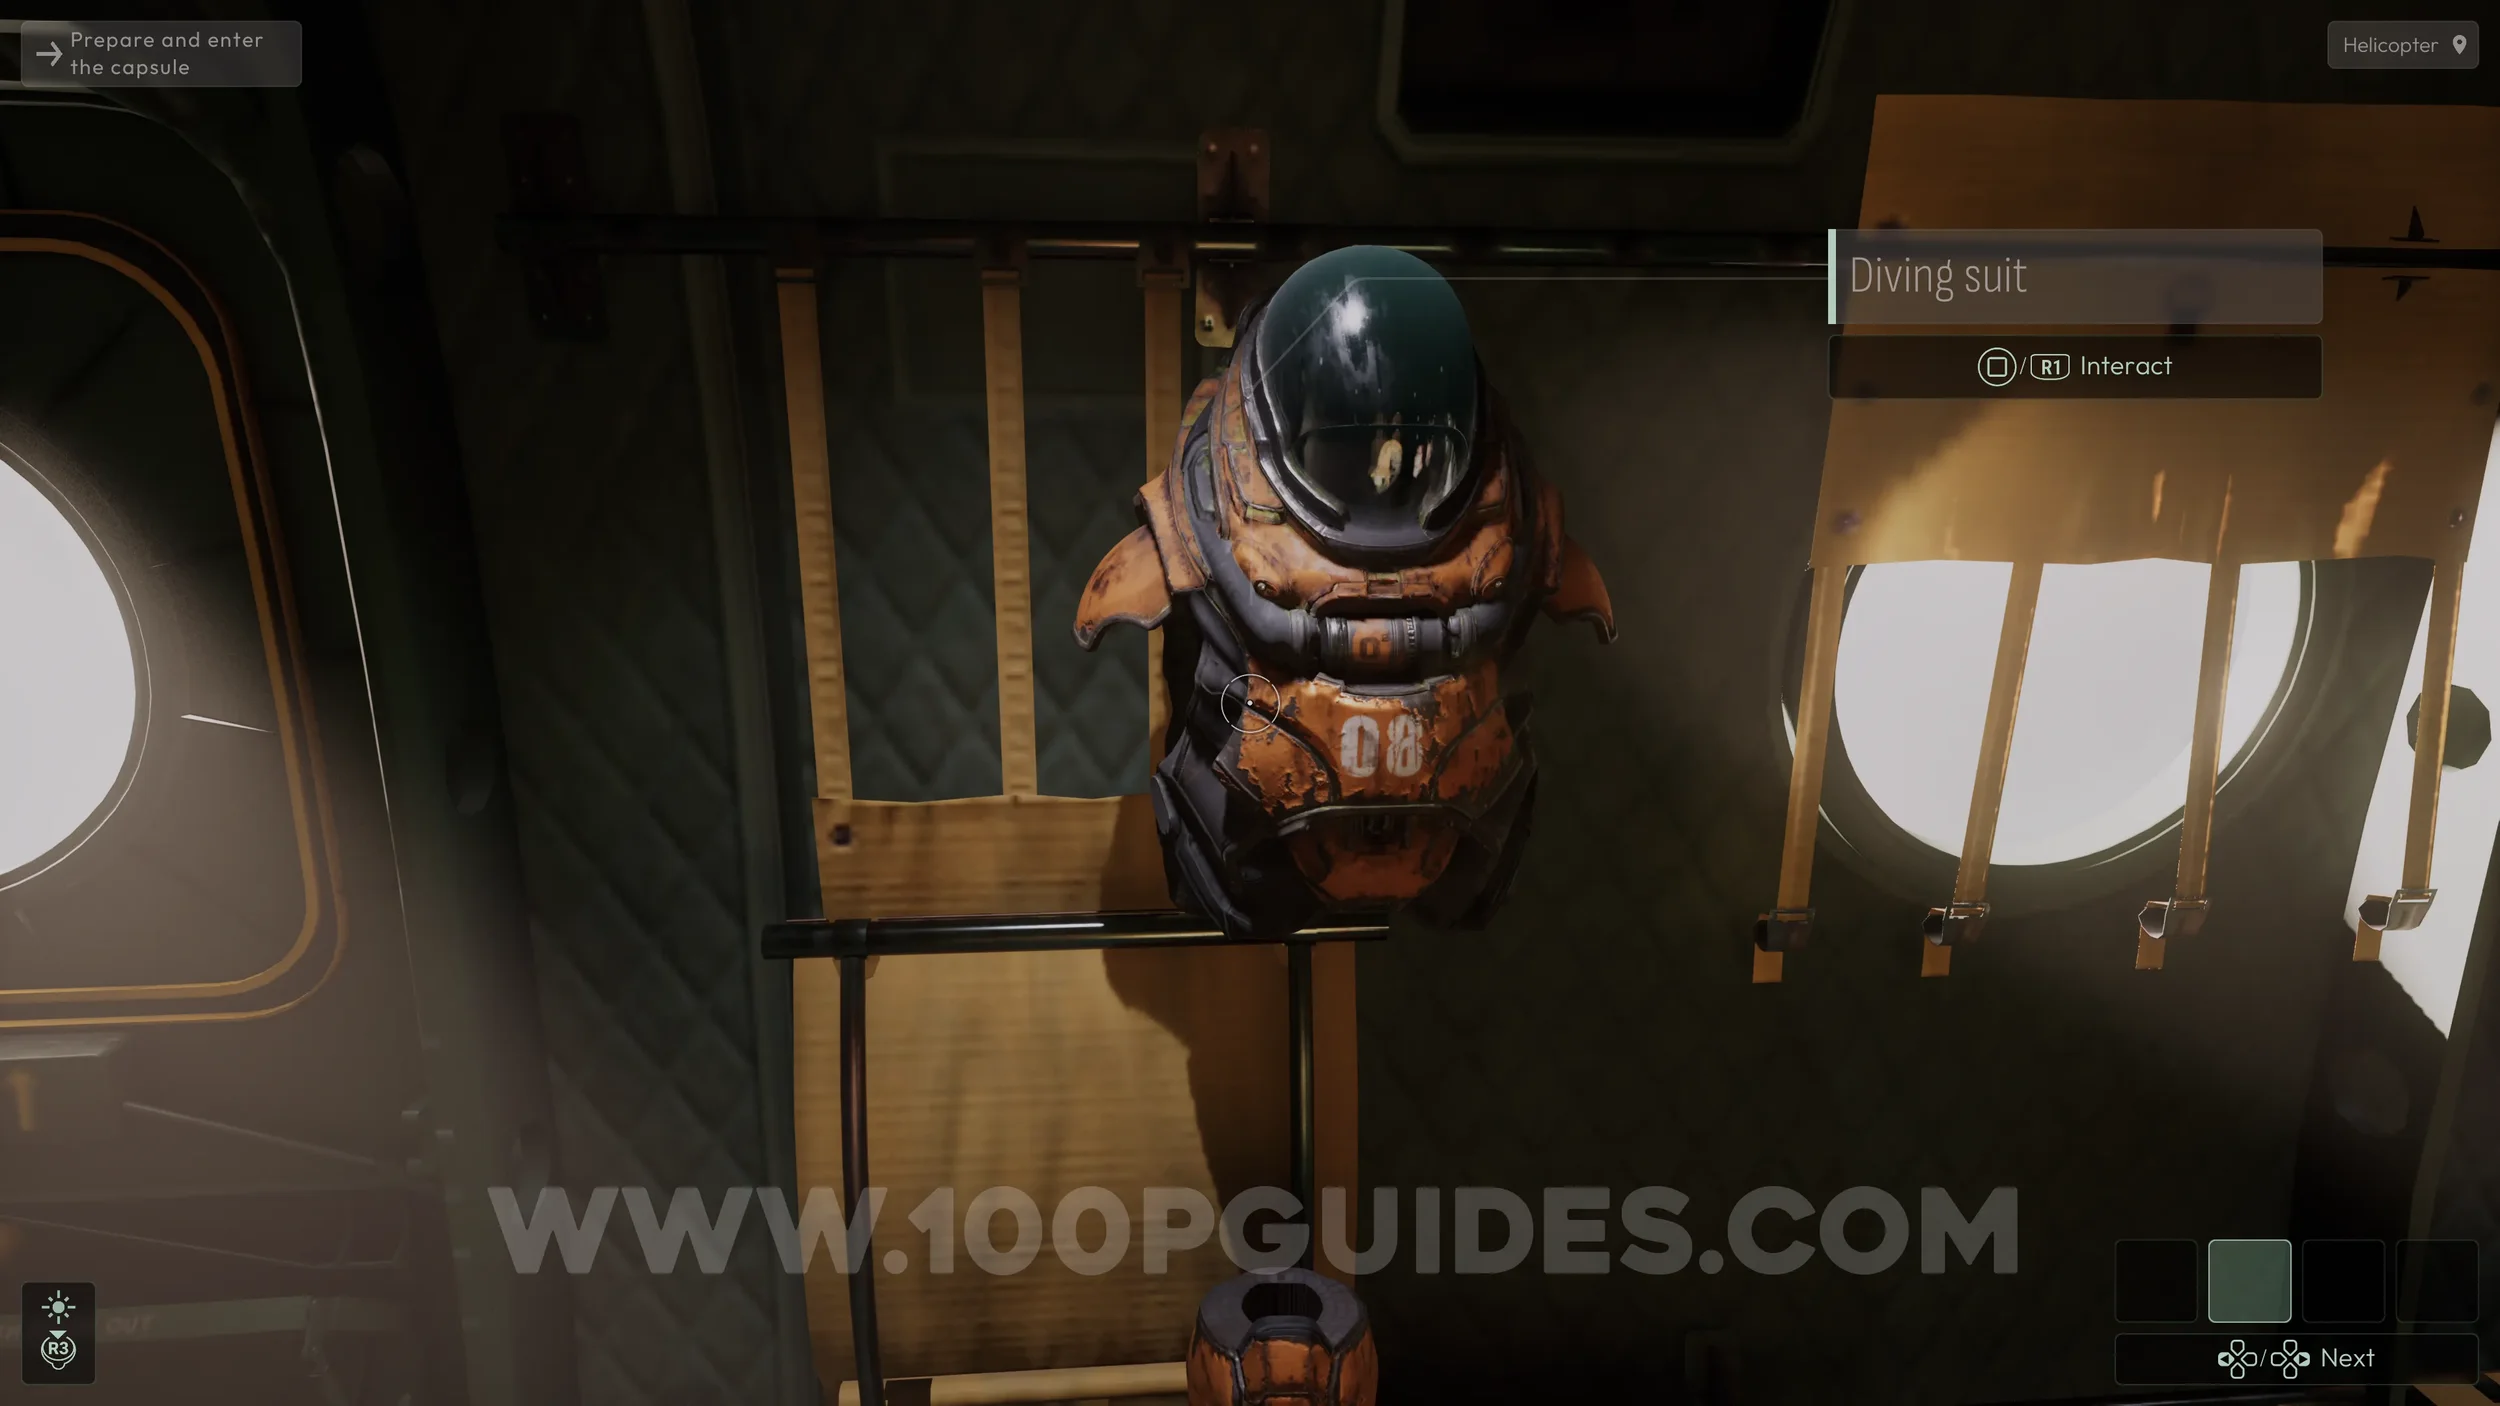
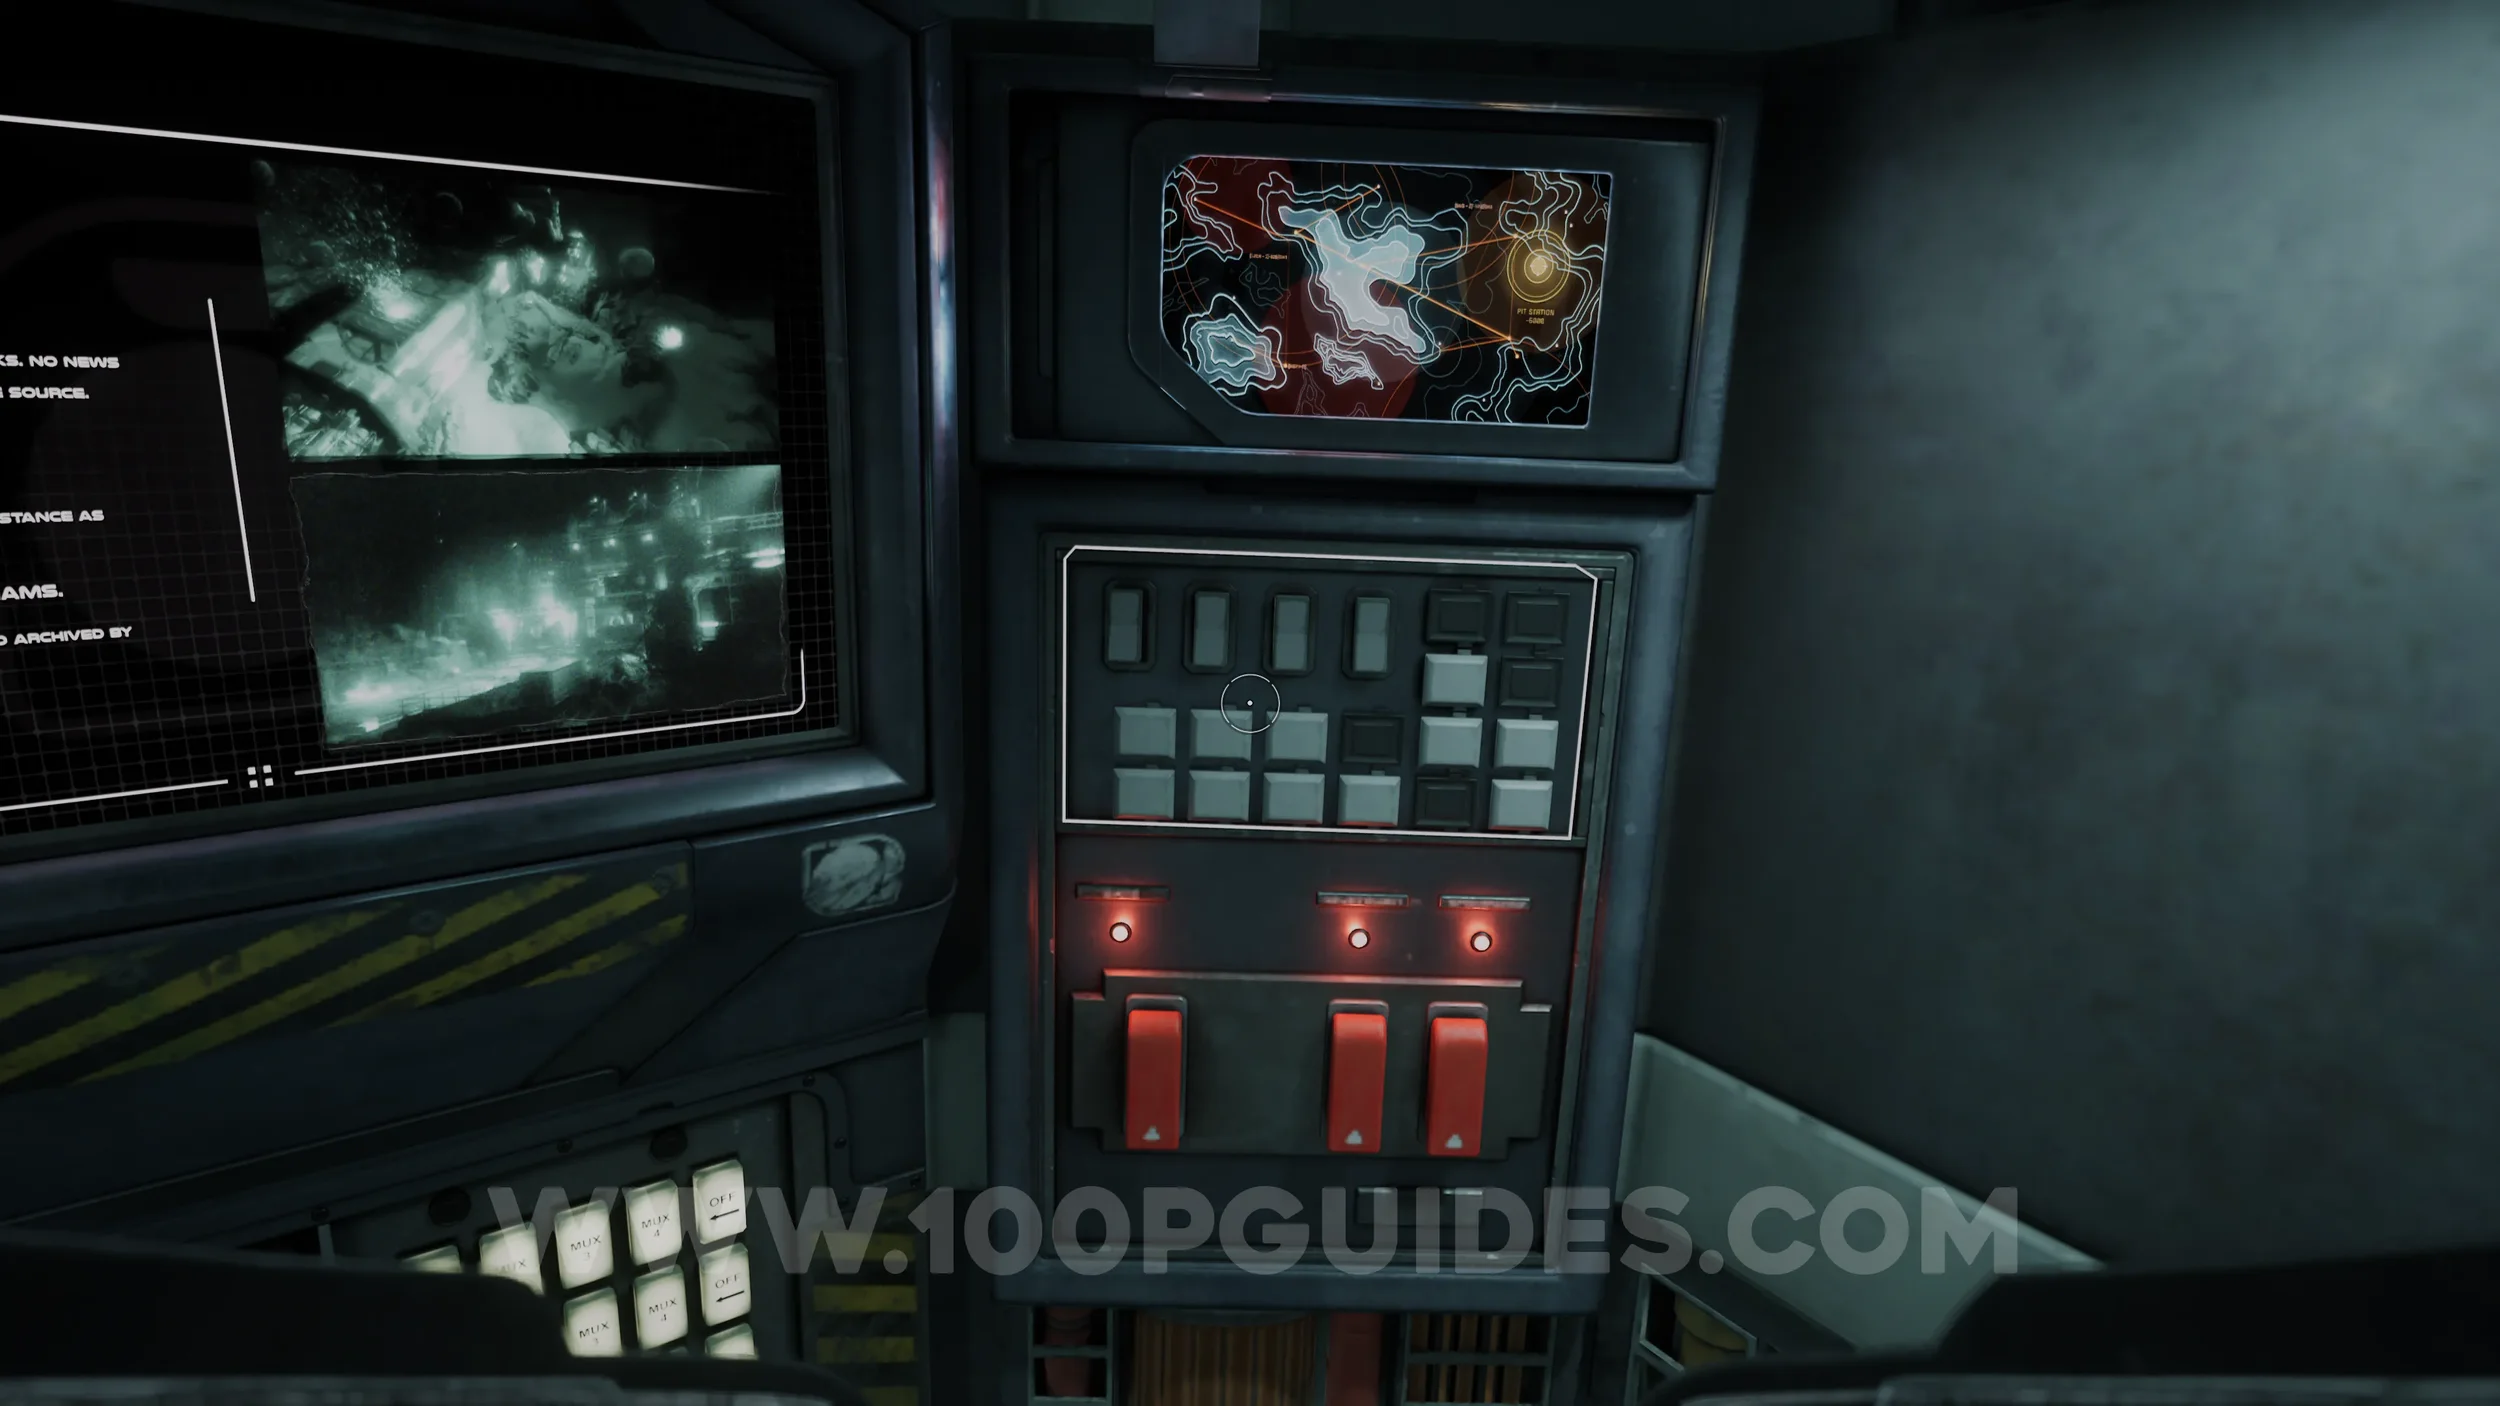
At the start of the chapter, grab the diving suit from the wall, then interact with the capsule on your right. Inside the capsule, look at the button cluster on your right and press R1 to activate it. Then look to your left and interact with the switch using R1.

After this, the game introduces the VAULT system, which allows you to view the clues you have collected, link them together, move them, and deduce solutions. Once the tutorial ends, you will regain control of the character underwater.
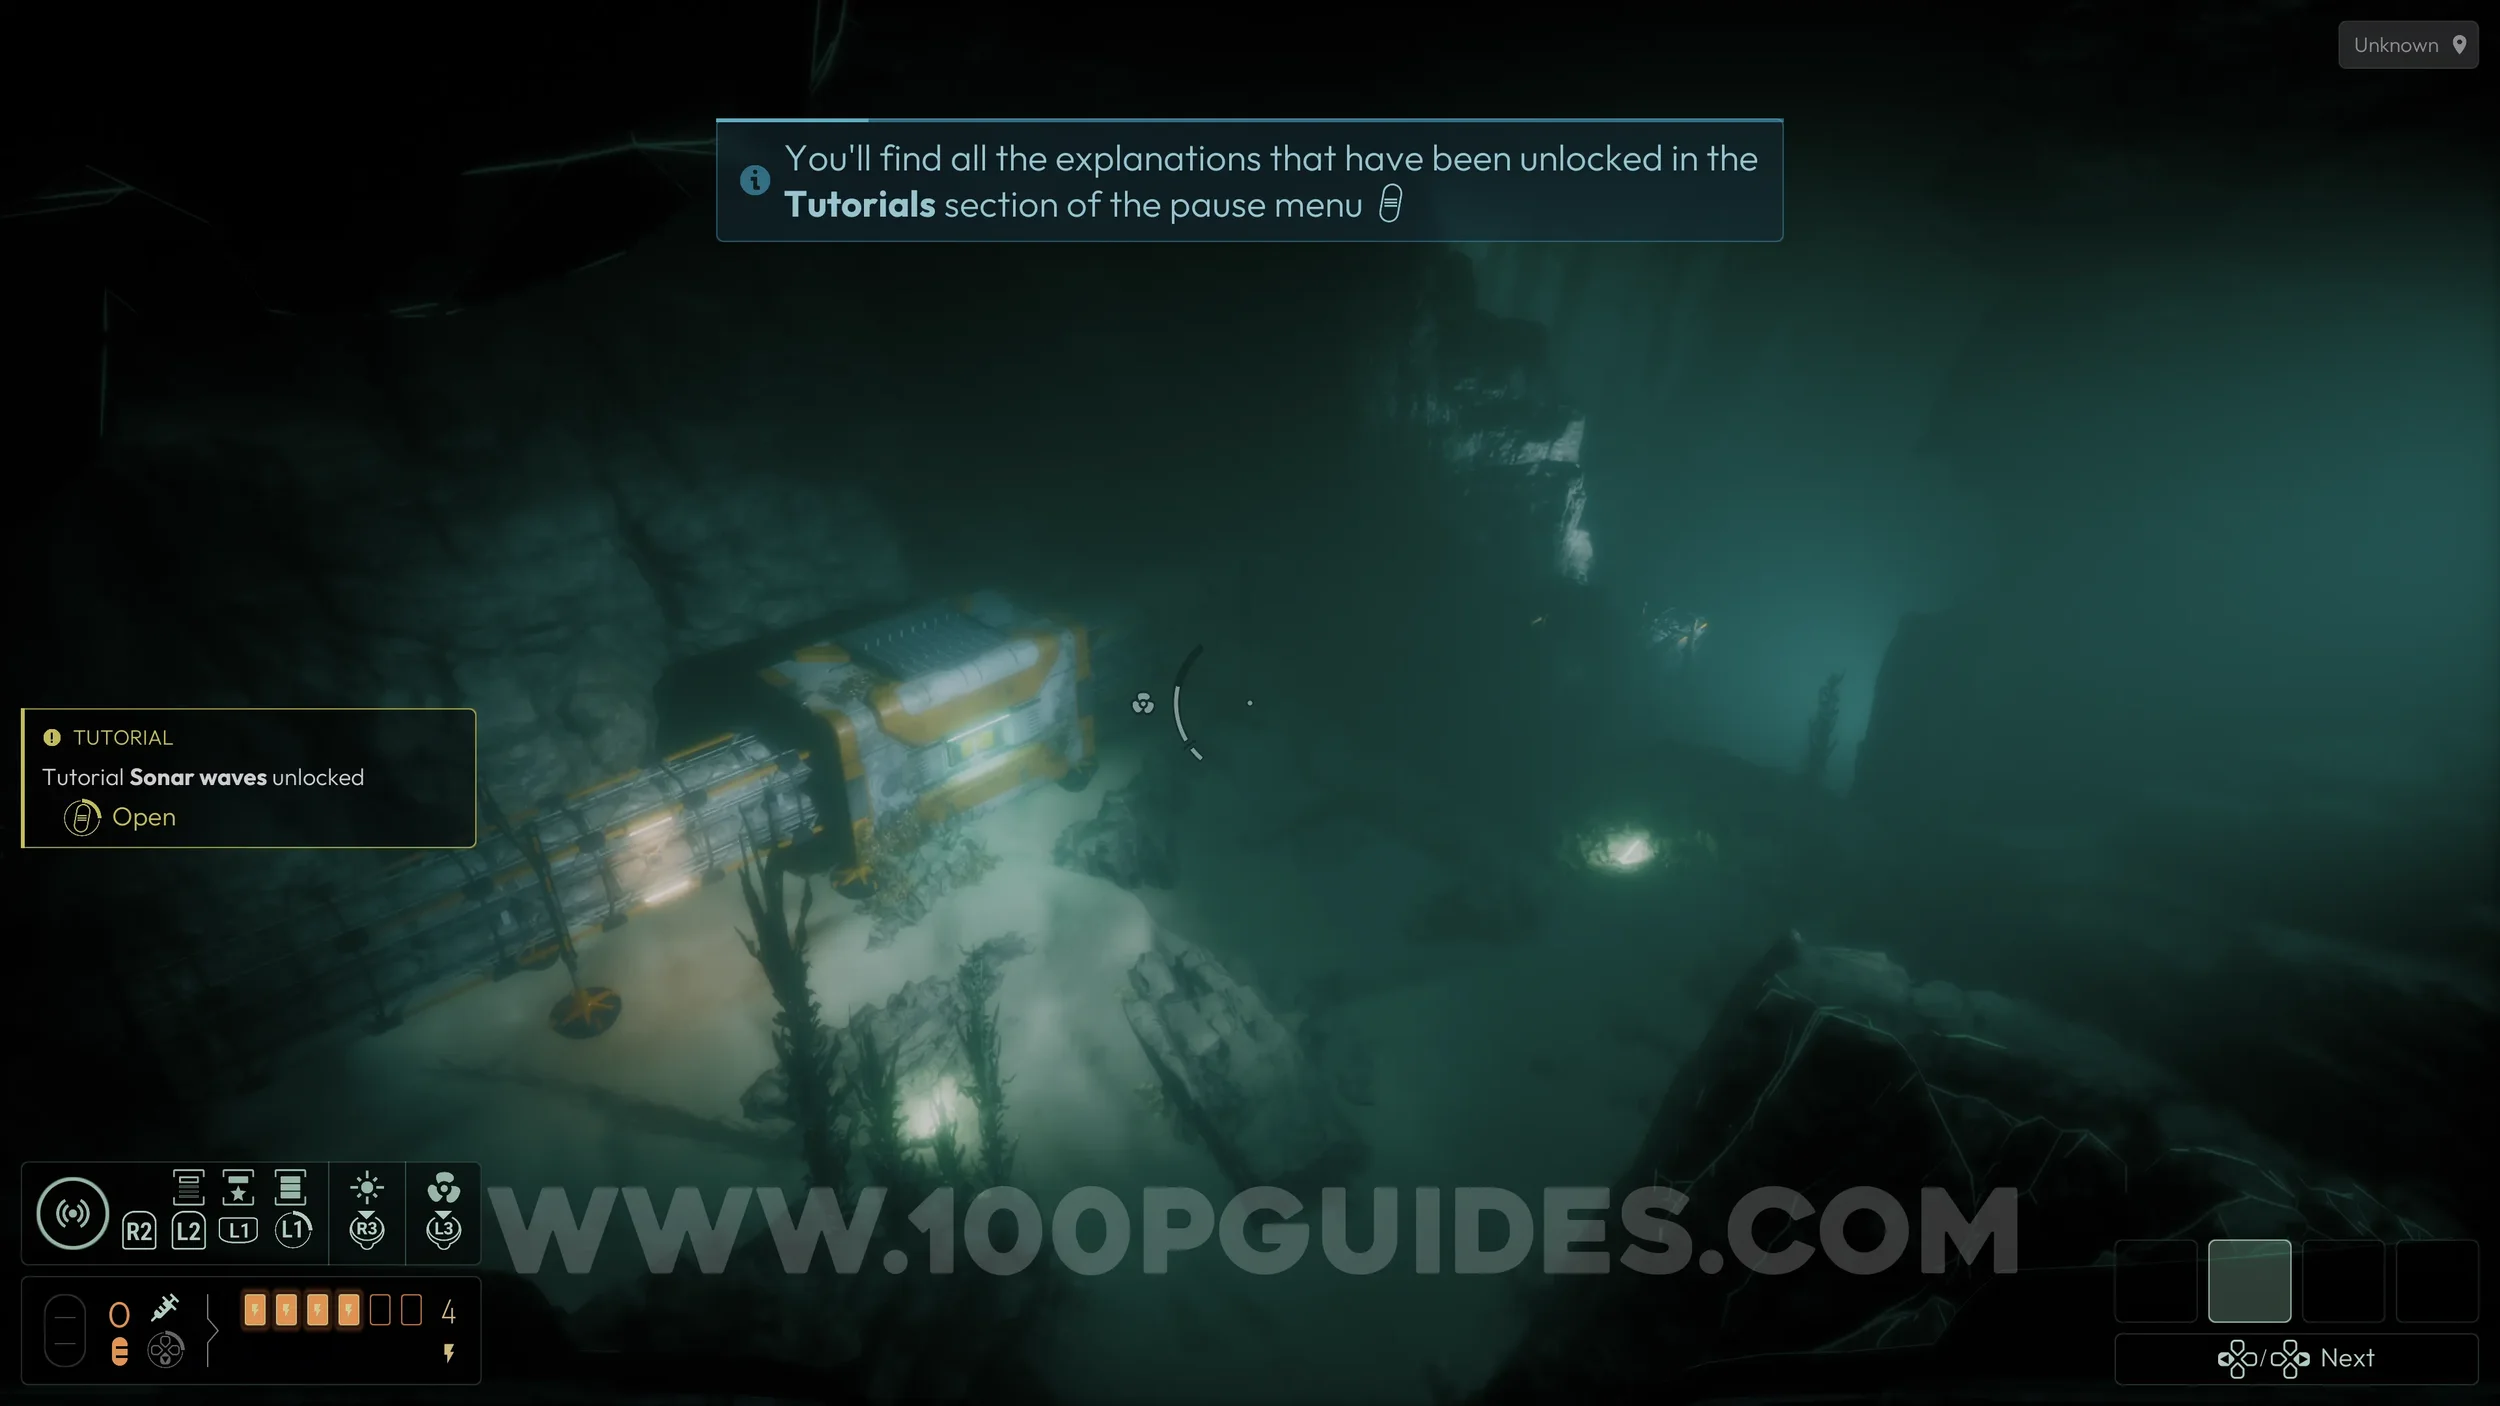
First, look for a lit up area where you will find a large pipe system. Follow it until it goes underground. Once there, look for a light on the right that points you to a tunnel. Go through it and continue following the piping until you reach the station.

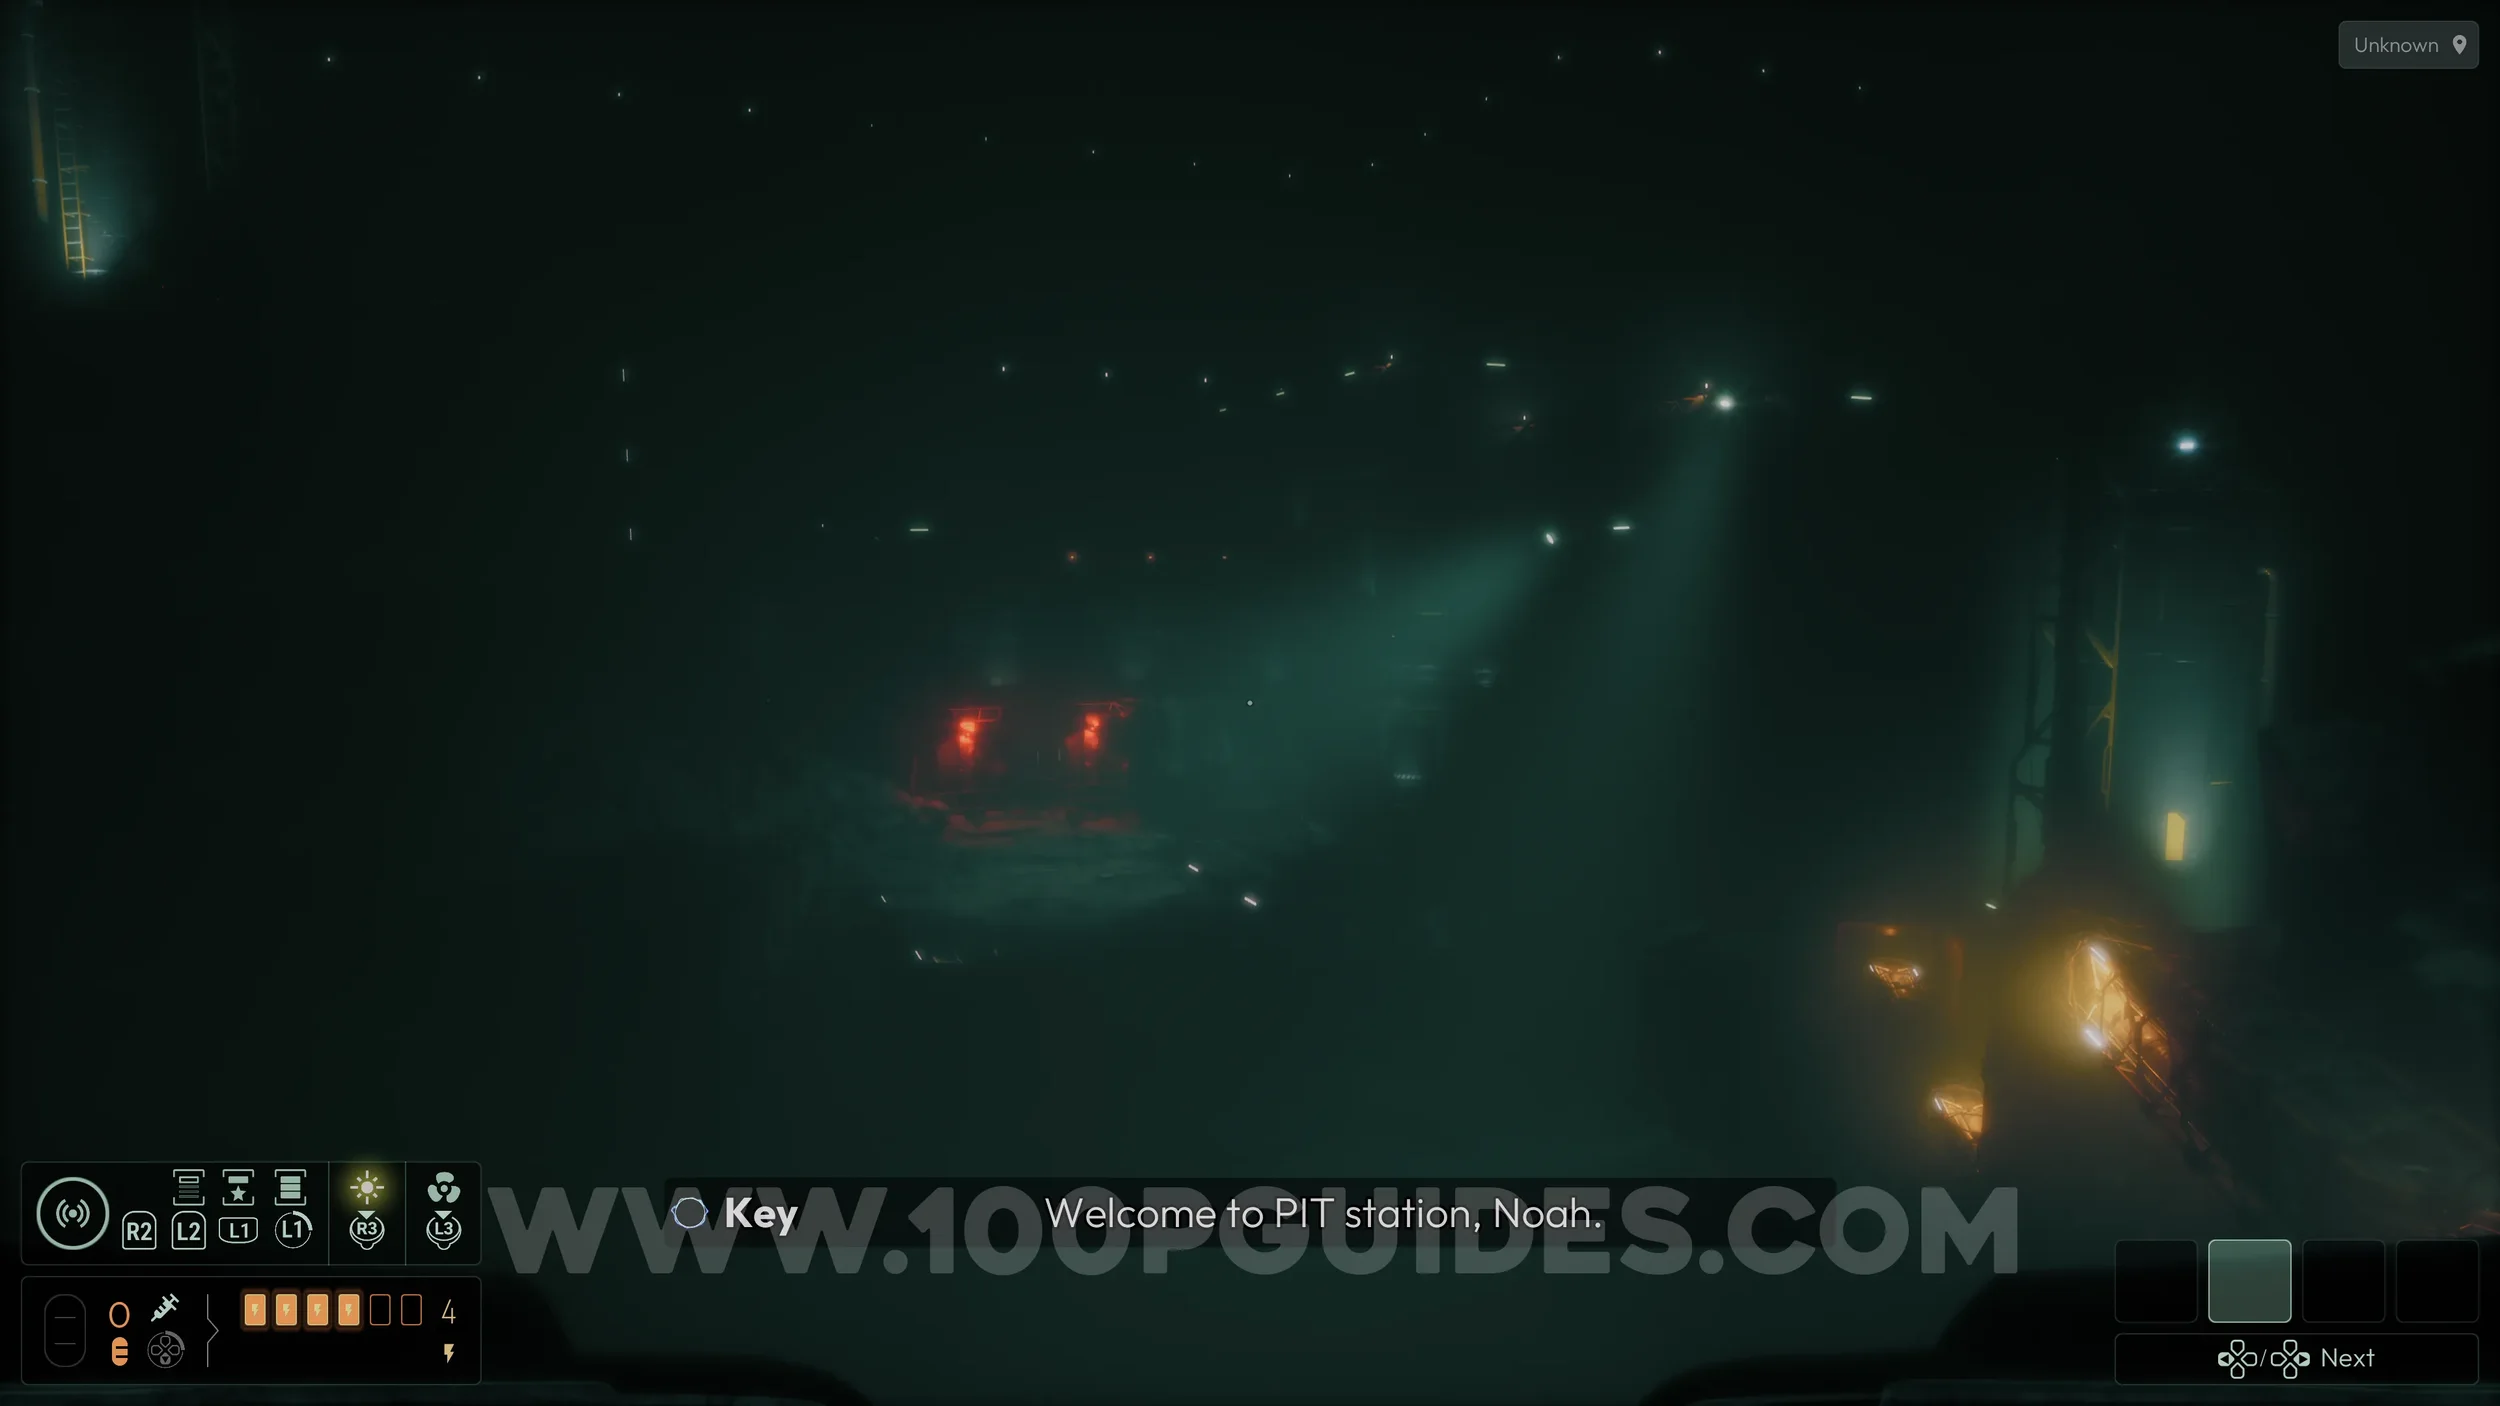
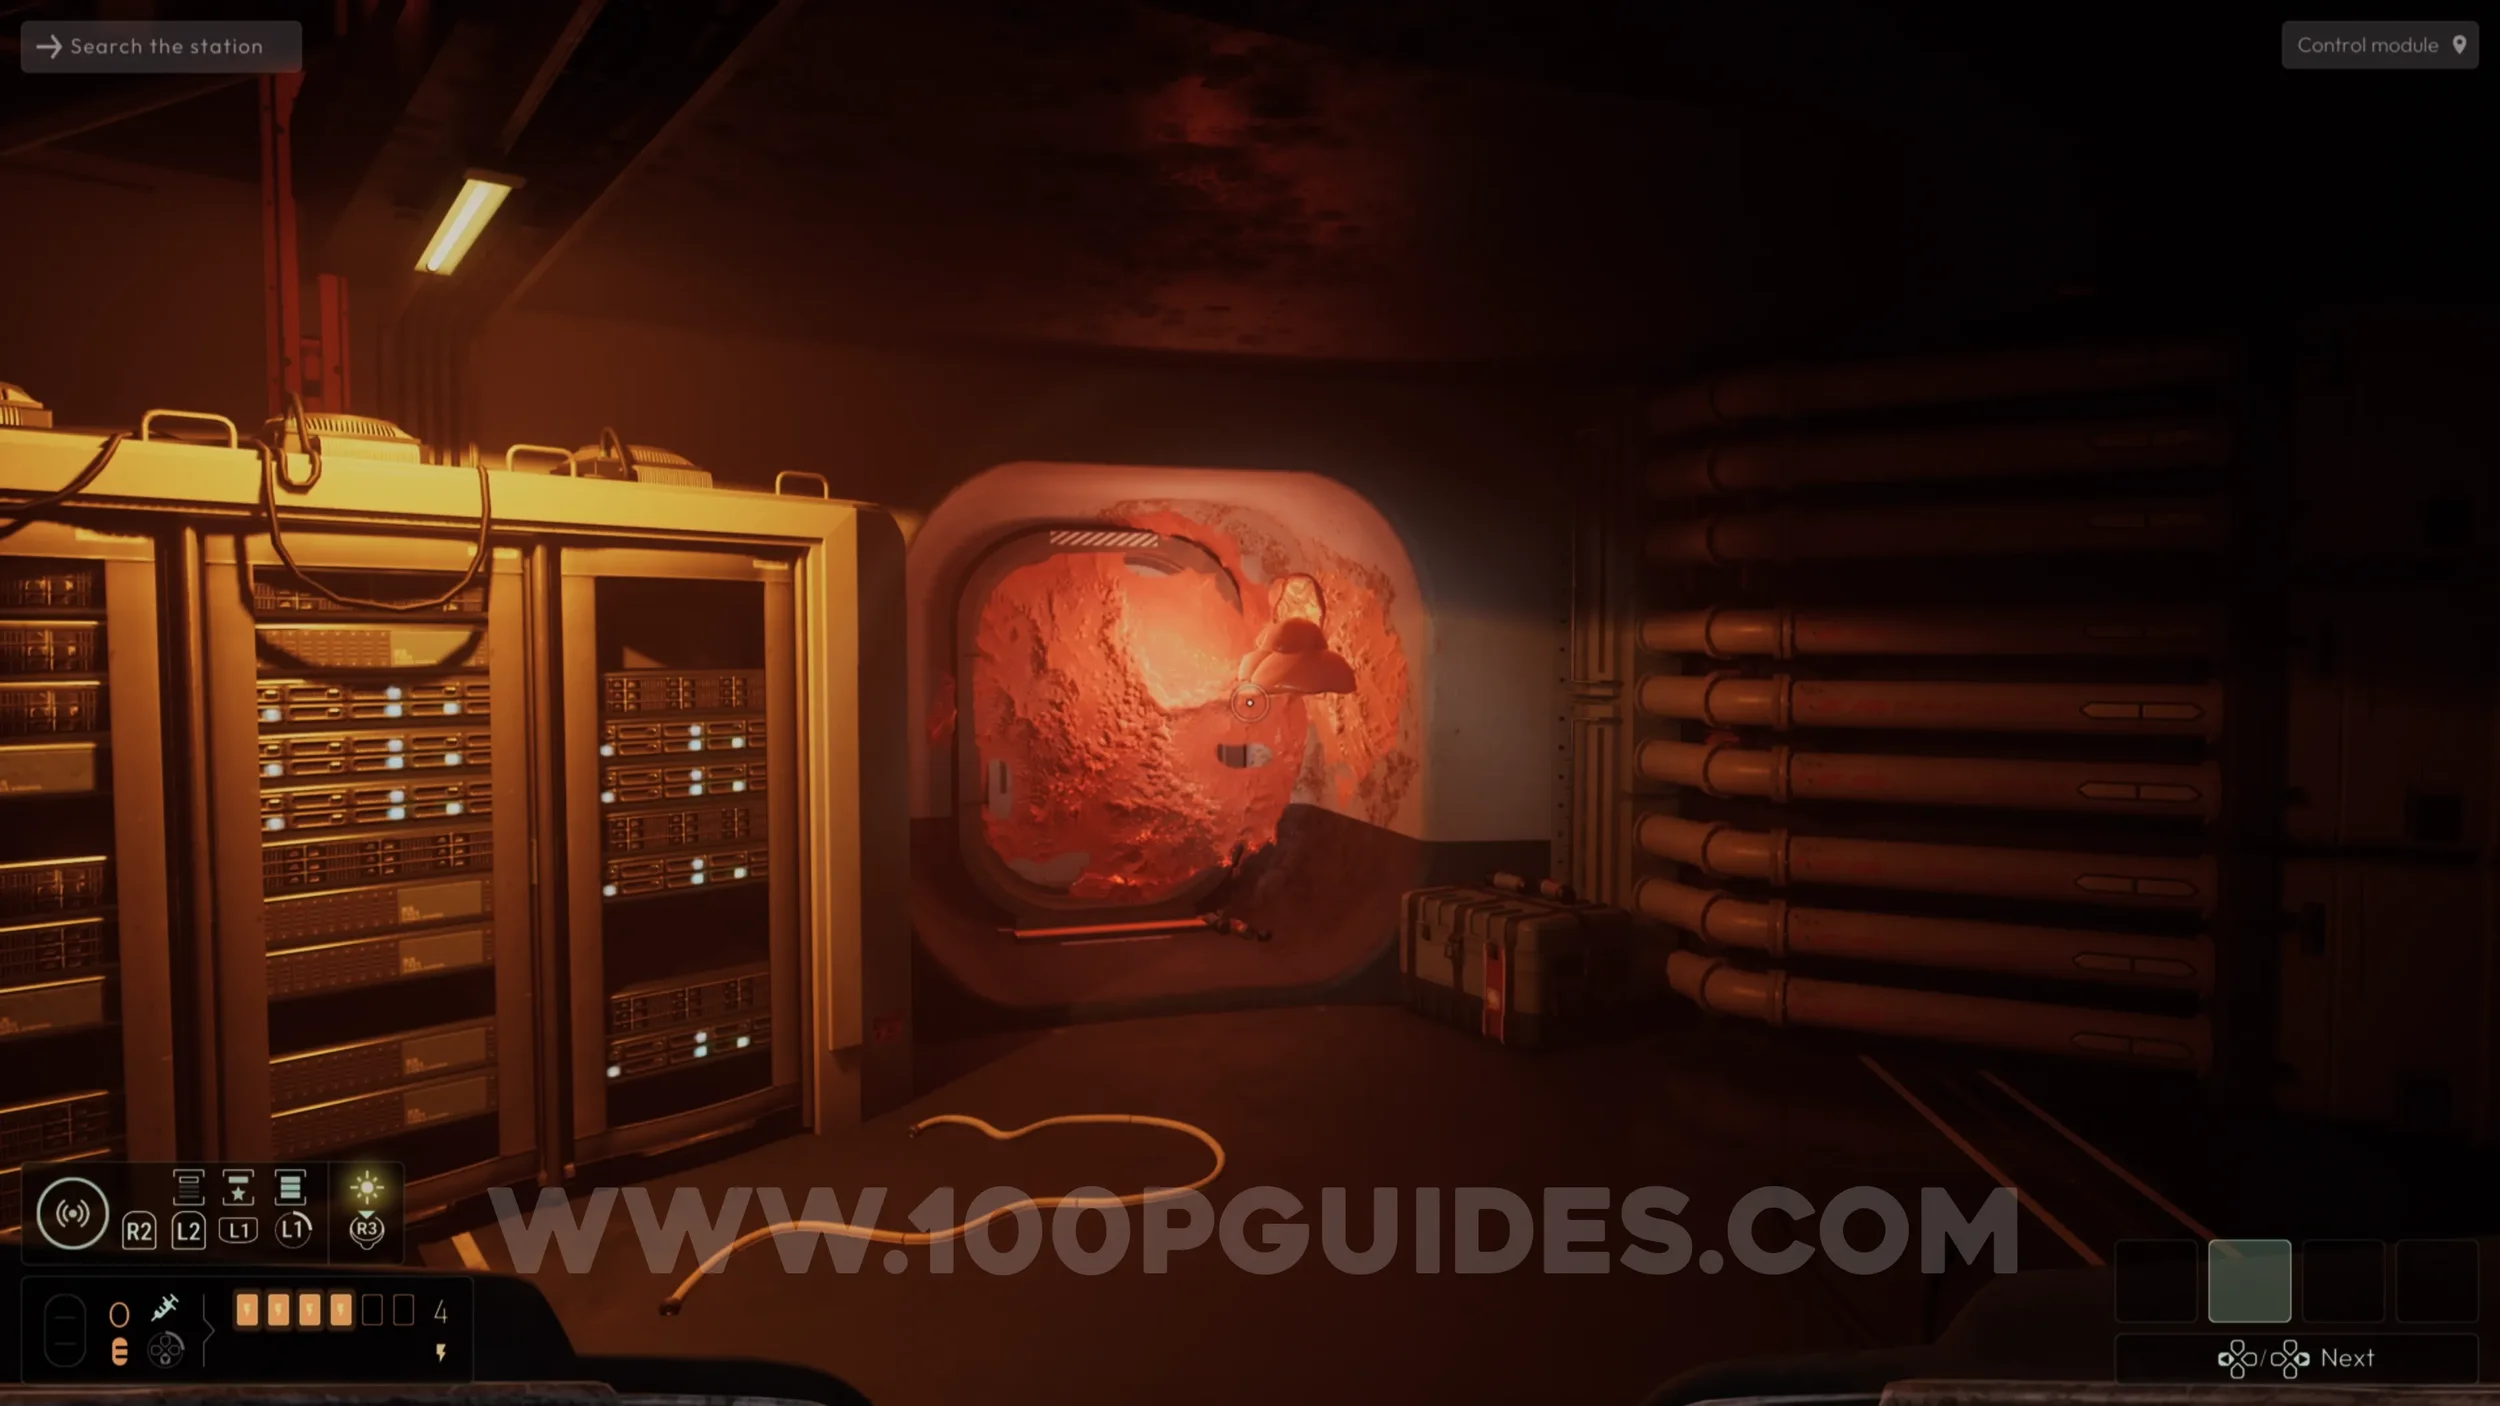
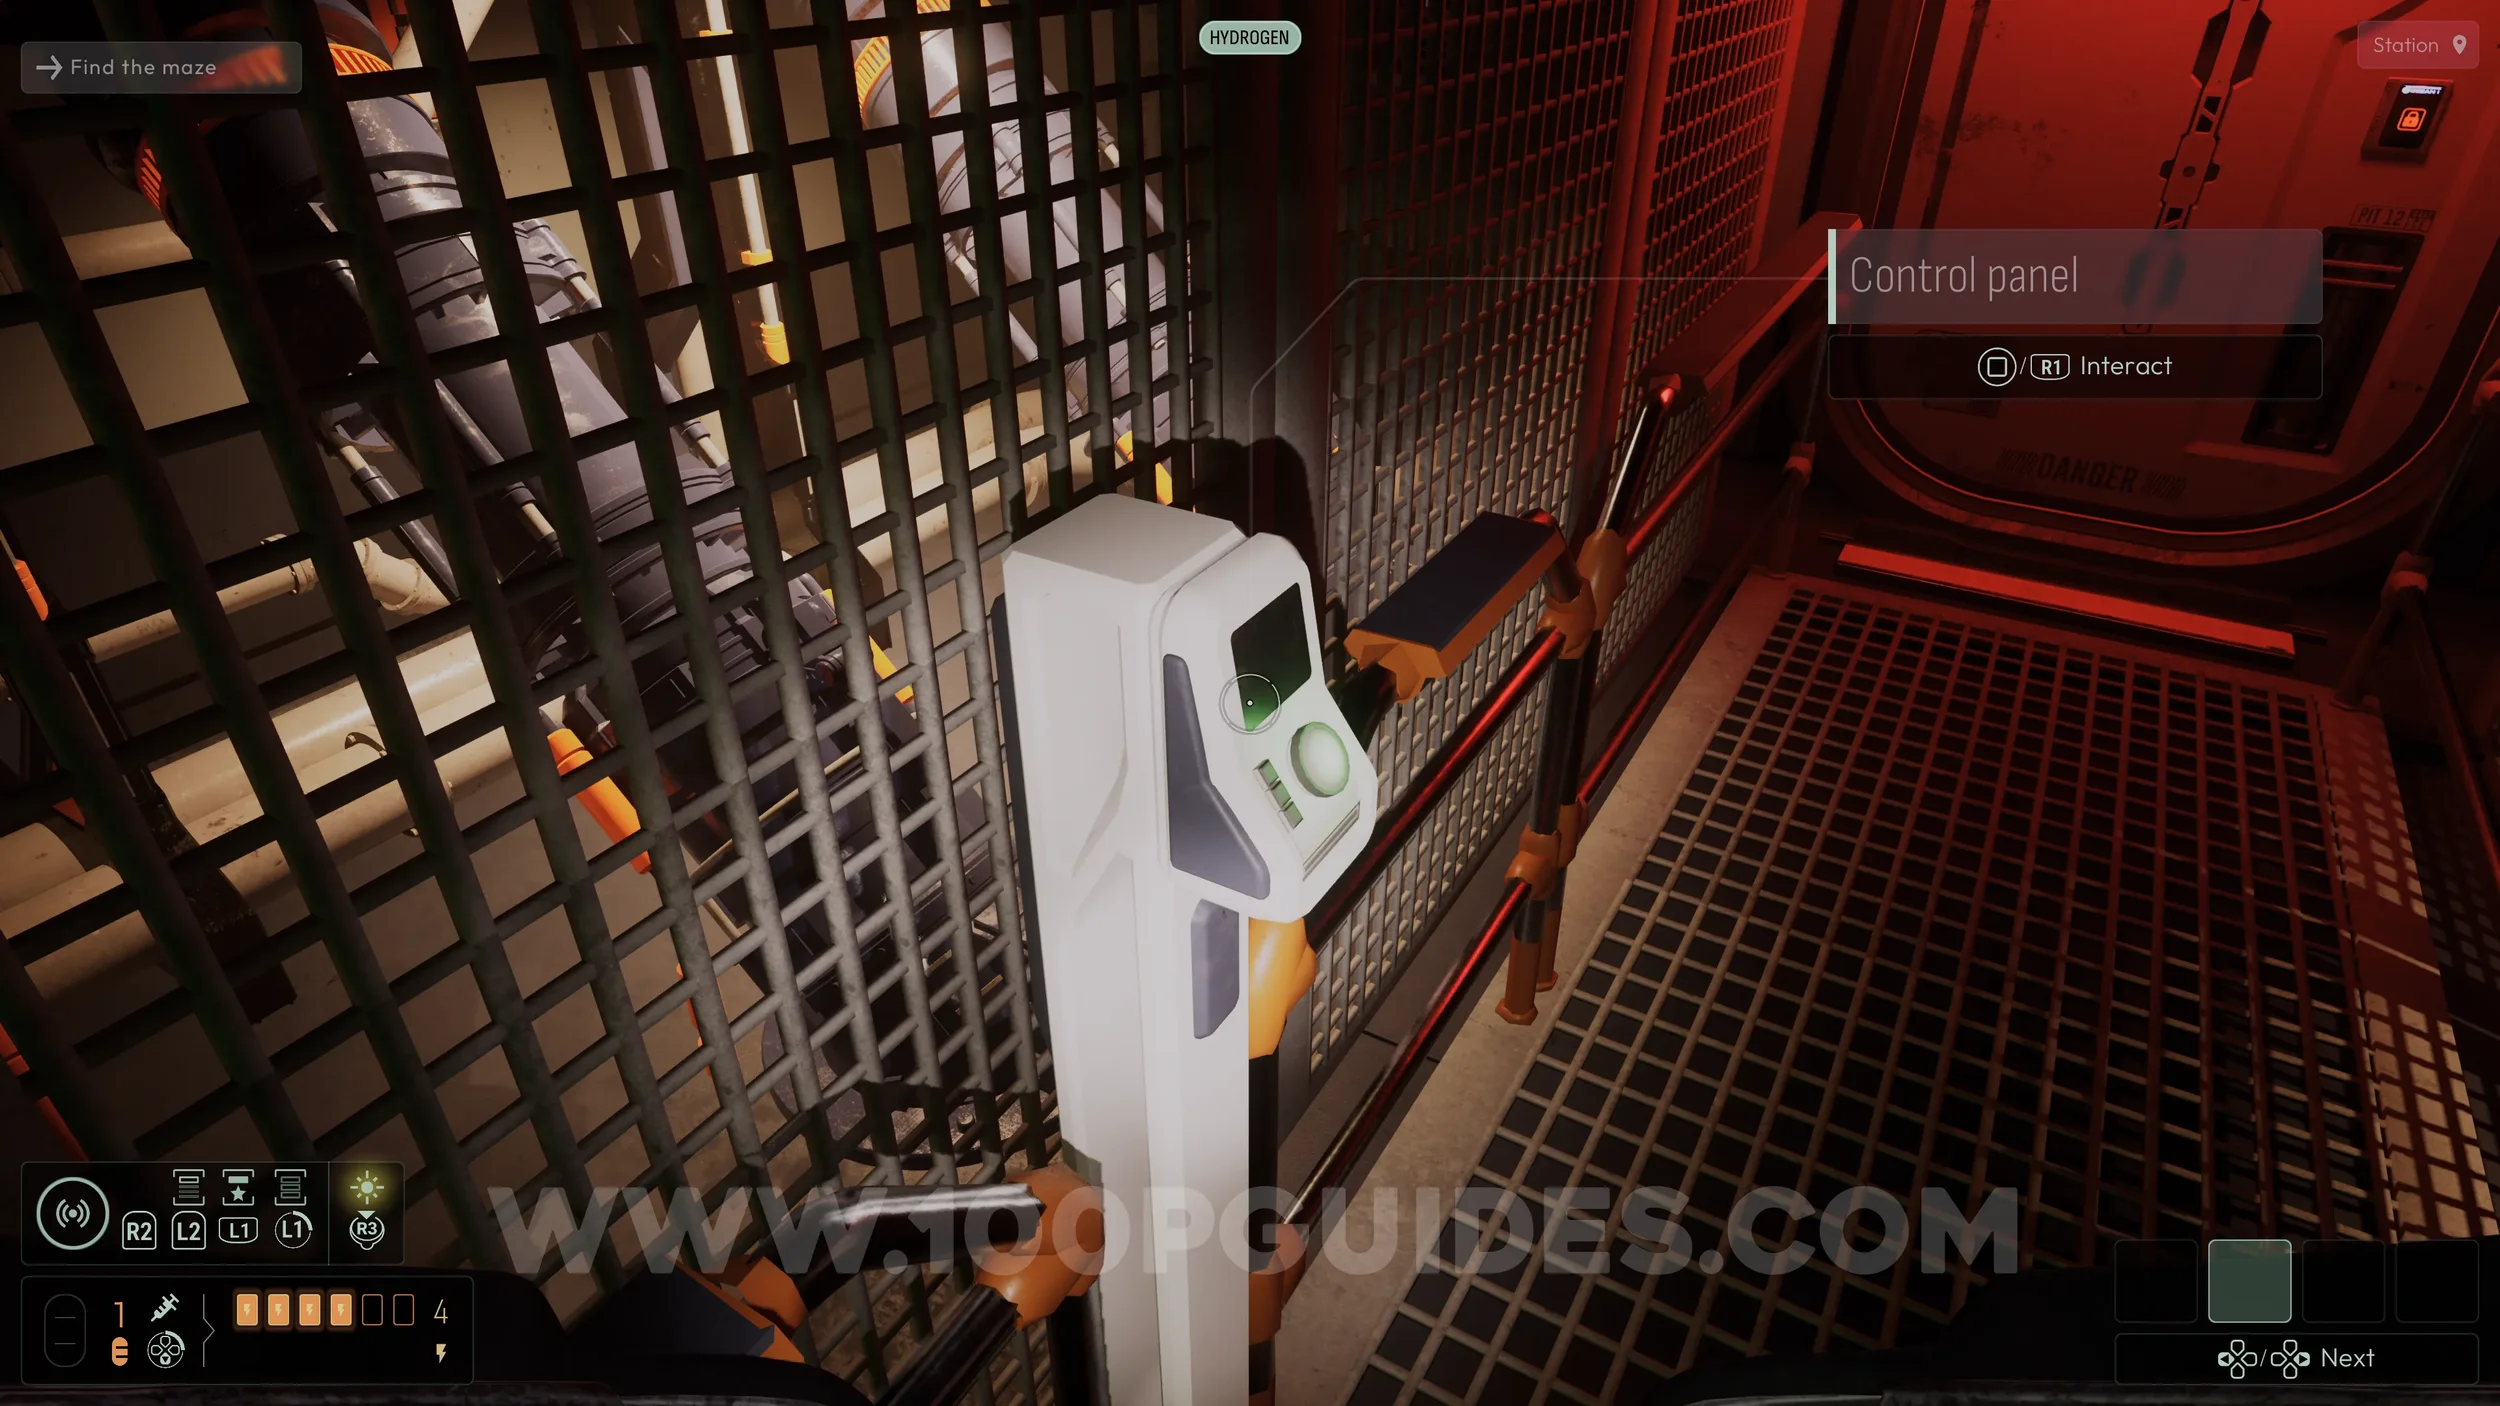
Enter the station by heading toward the two red lights, which indicate the entrance. Inside, press the button in the corner to lower the water, then go through the door into the station. Continue straight ahead until you reach the Control Module room, the large, round room lit with red light.
Head downstairs and interact with the orange, mushroom-like organism on the wall that is blocking the door. After analyzing it, press Square to pick it up. These are Lichen Stimulants. You can hold down on the D pad to consume one and restore energy that is used when analyzing clues.
The Addicted trophy can be earned by using ten of them. There are far more than ten available throughout the game, and they can be found in many locations, so not all of them will be covered in this guide.
If you have set all difficulty sliders to the easiest options, specifically Free Clue Analysis, you will need to temporarily turn it off in the settings whenever you have Lichen available. Otherwise, your energy will always remain full, and you will not be able to consume it.
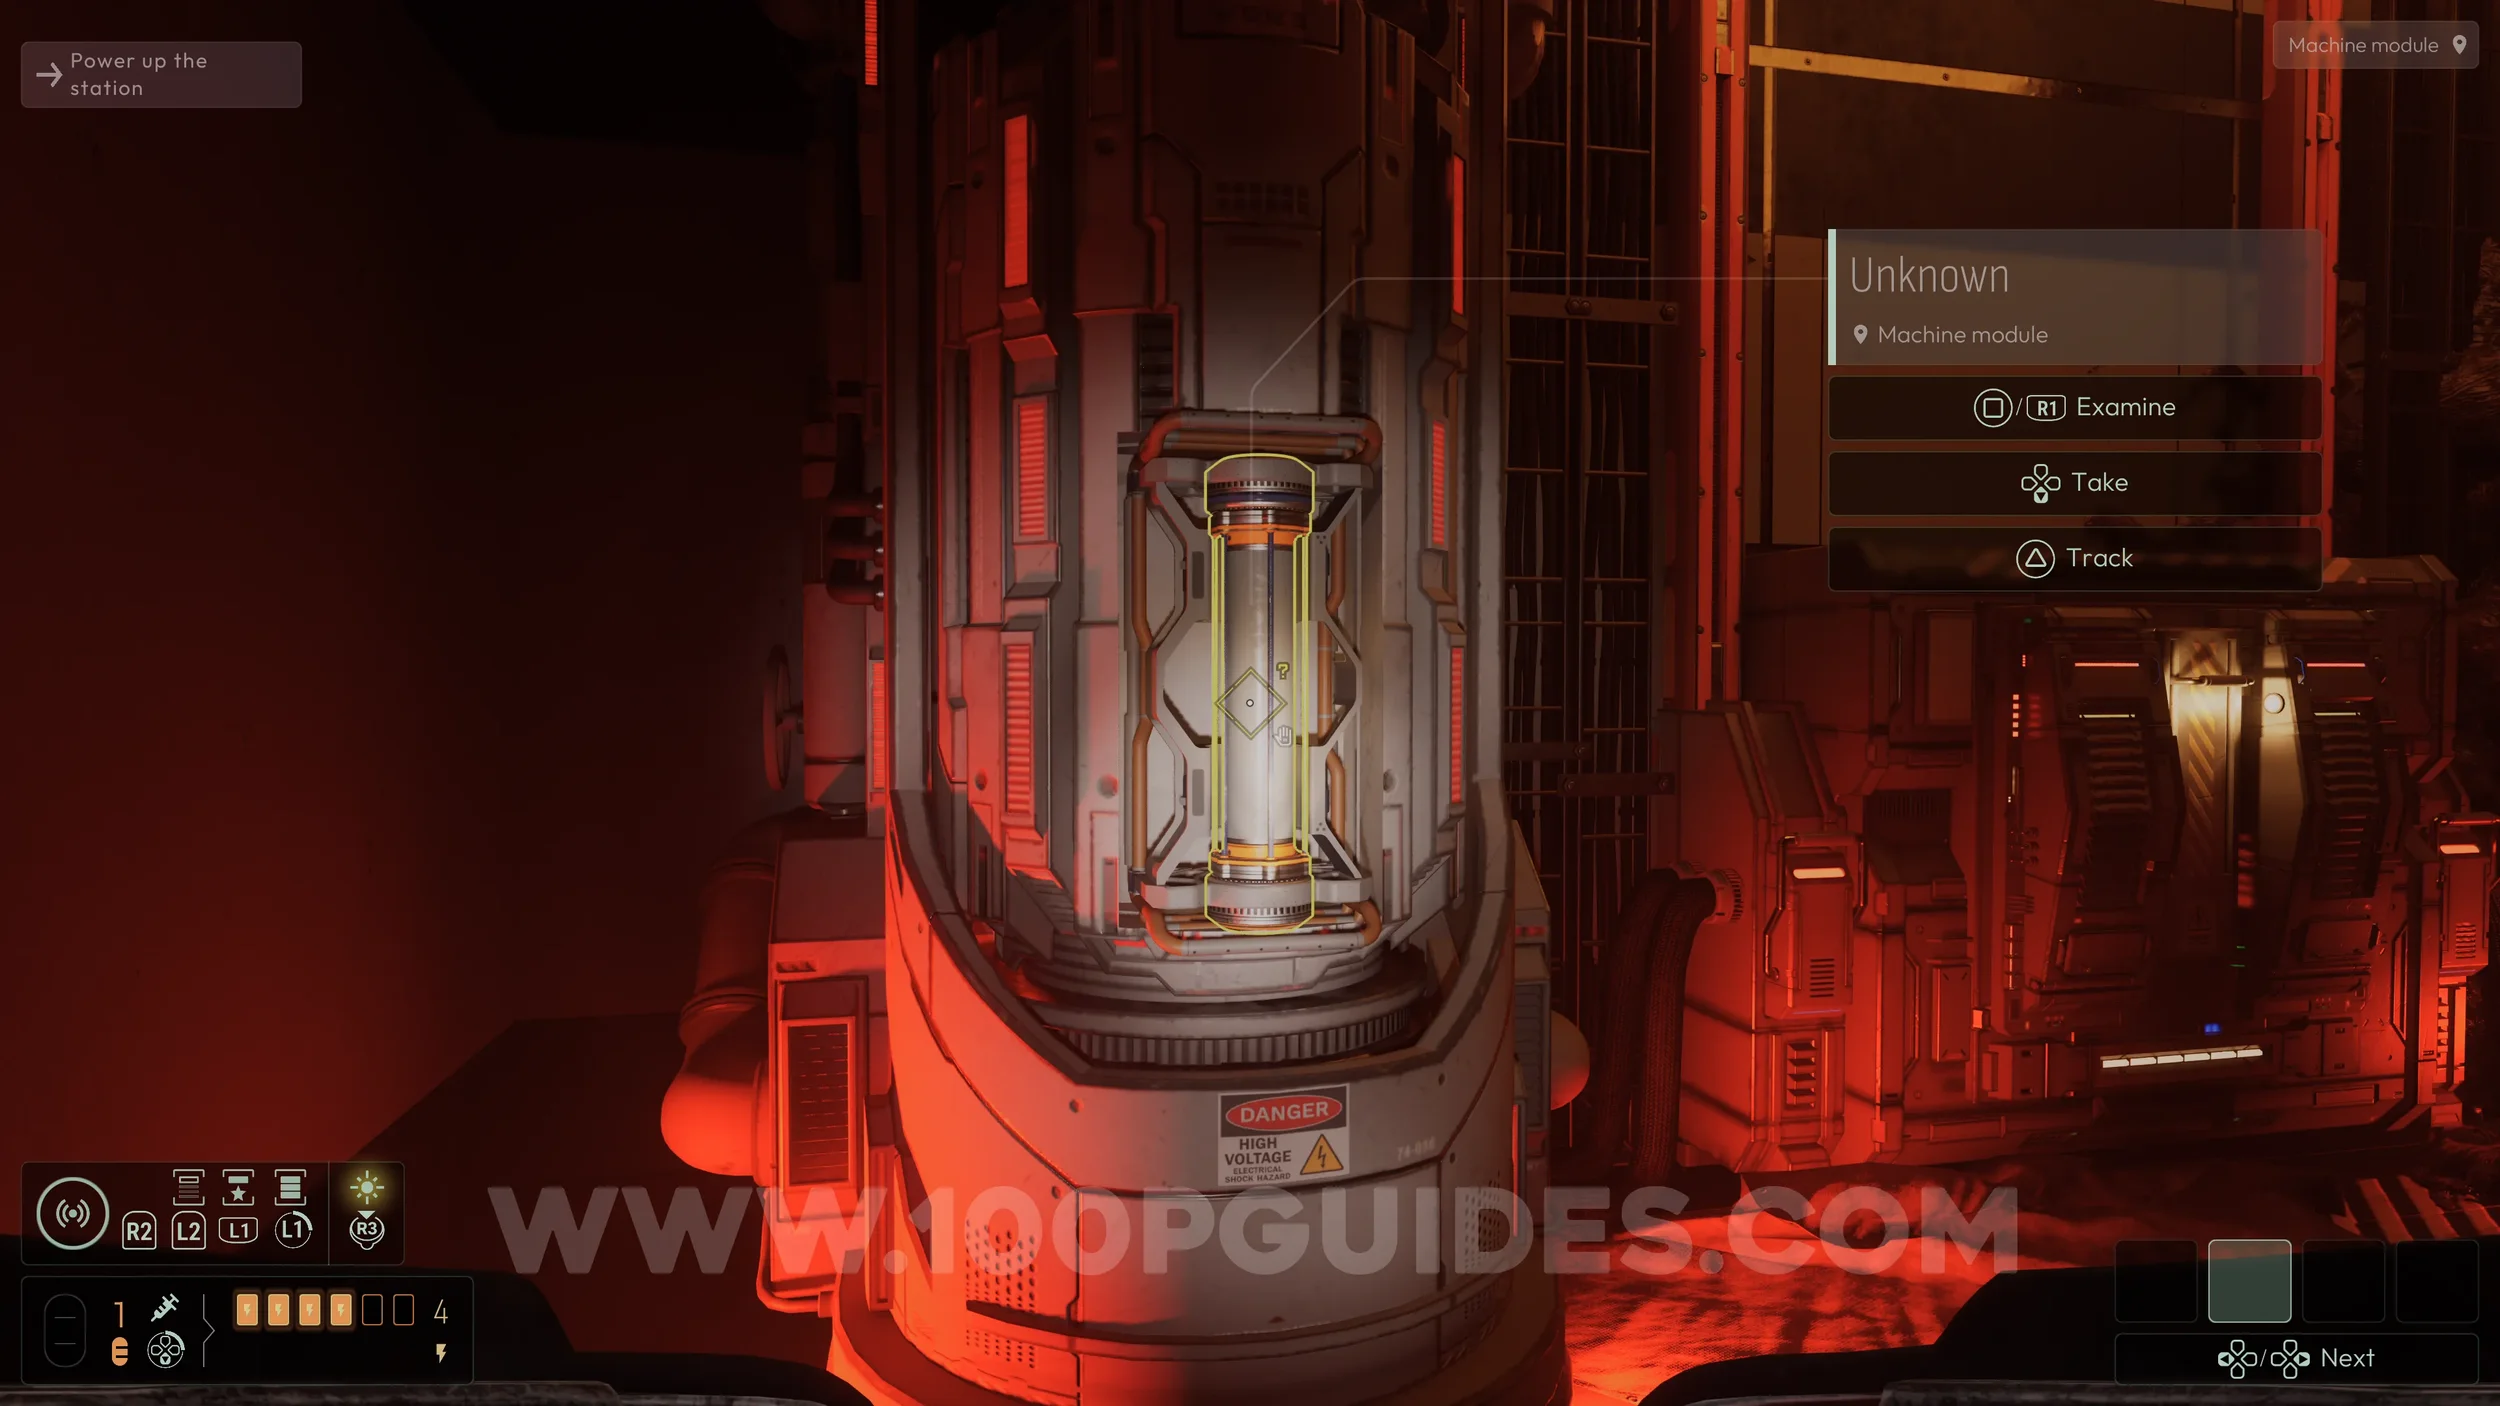
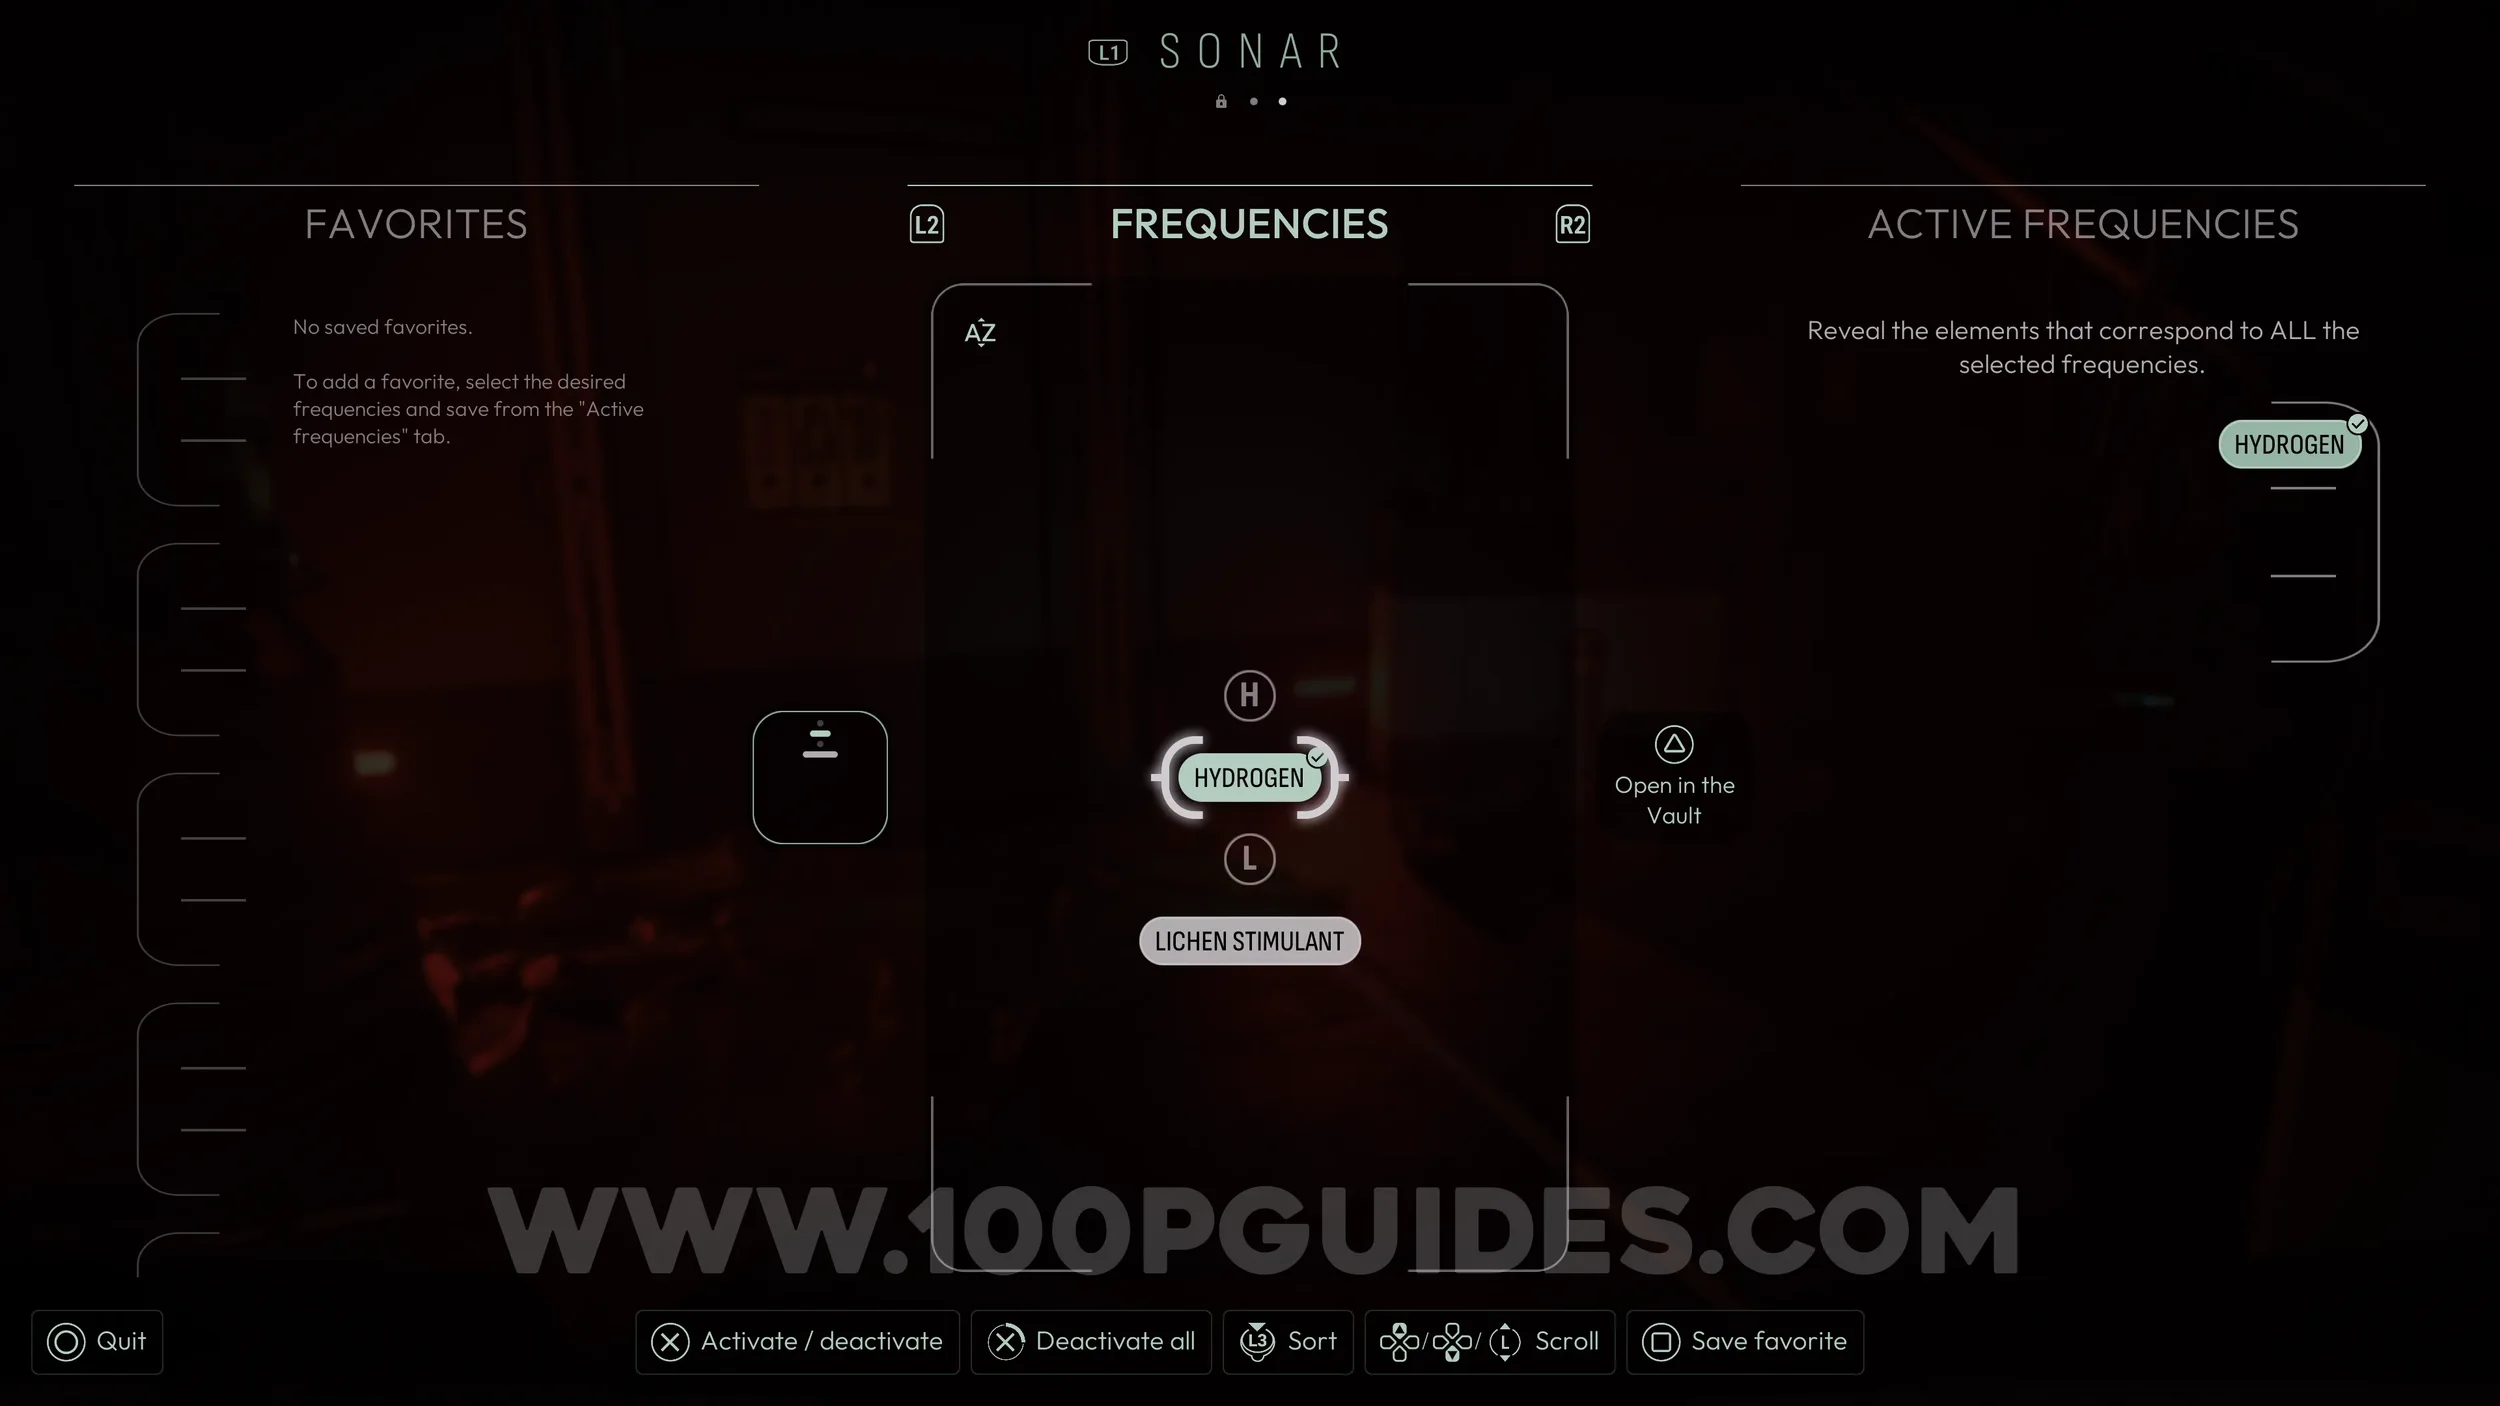
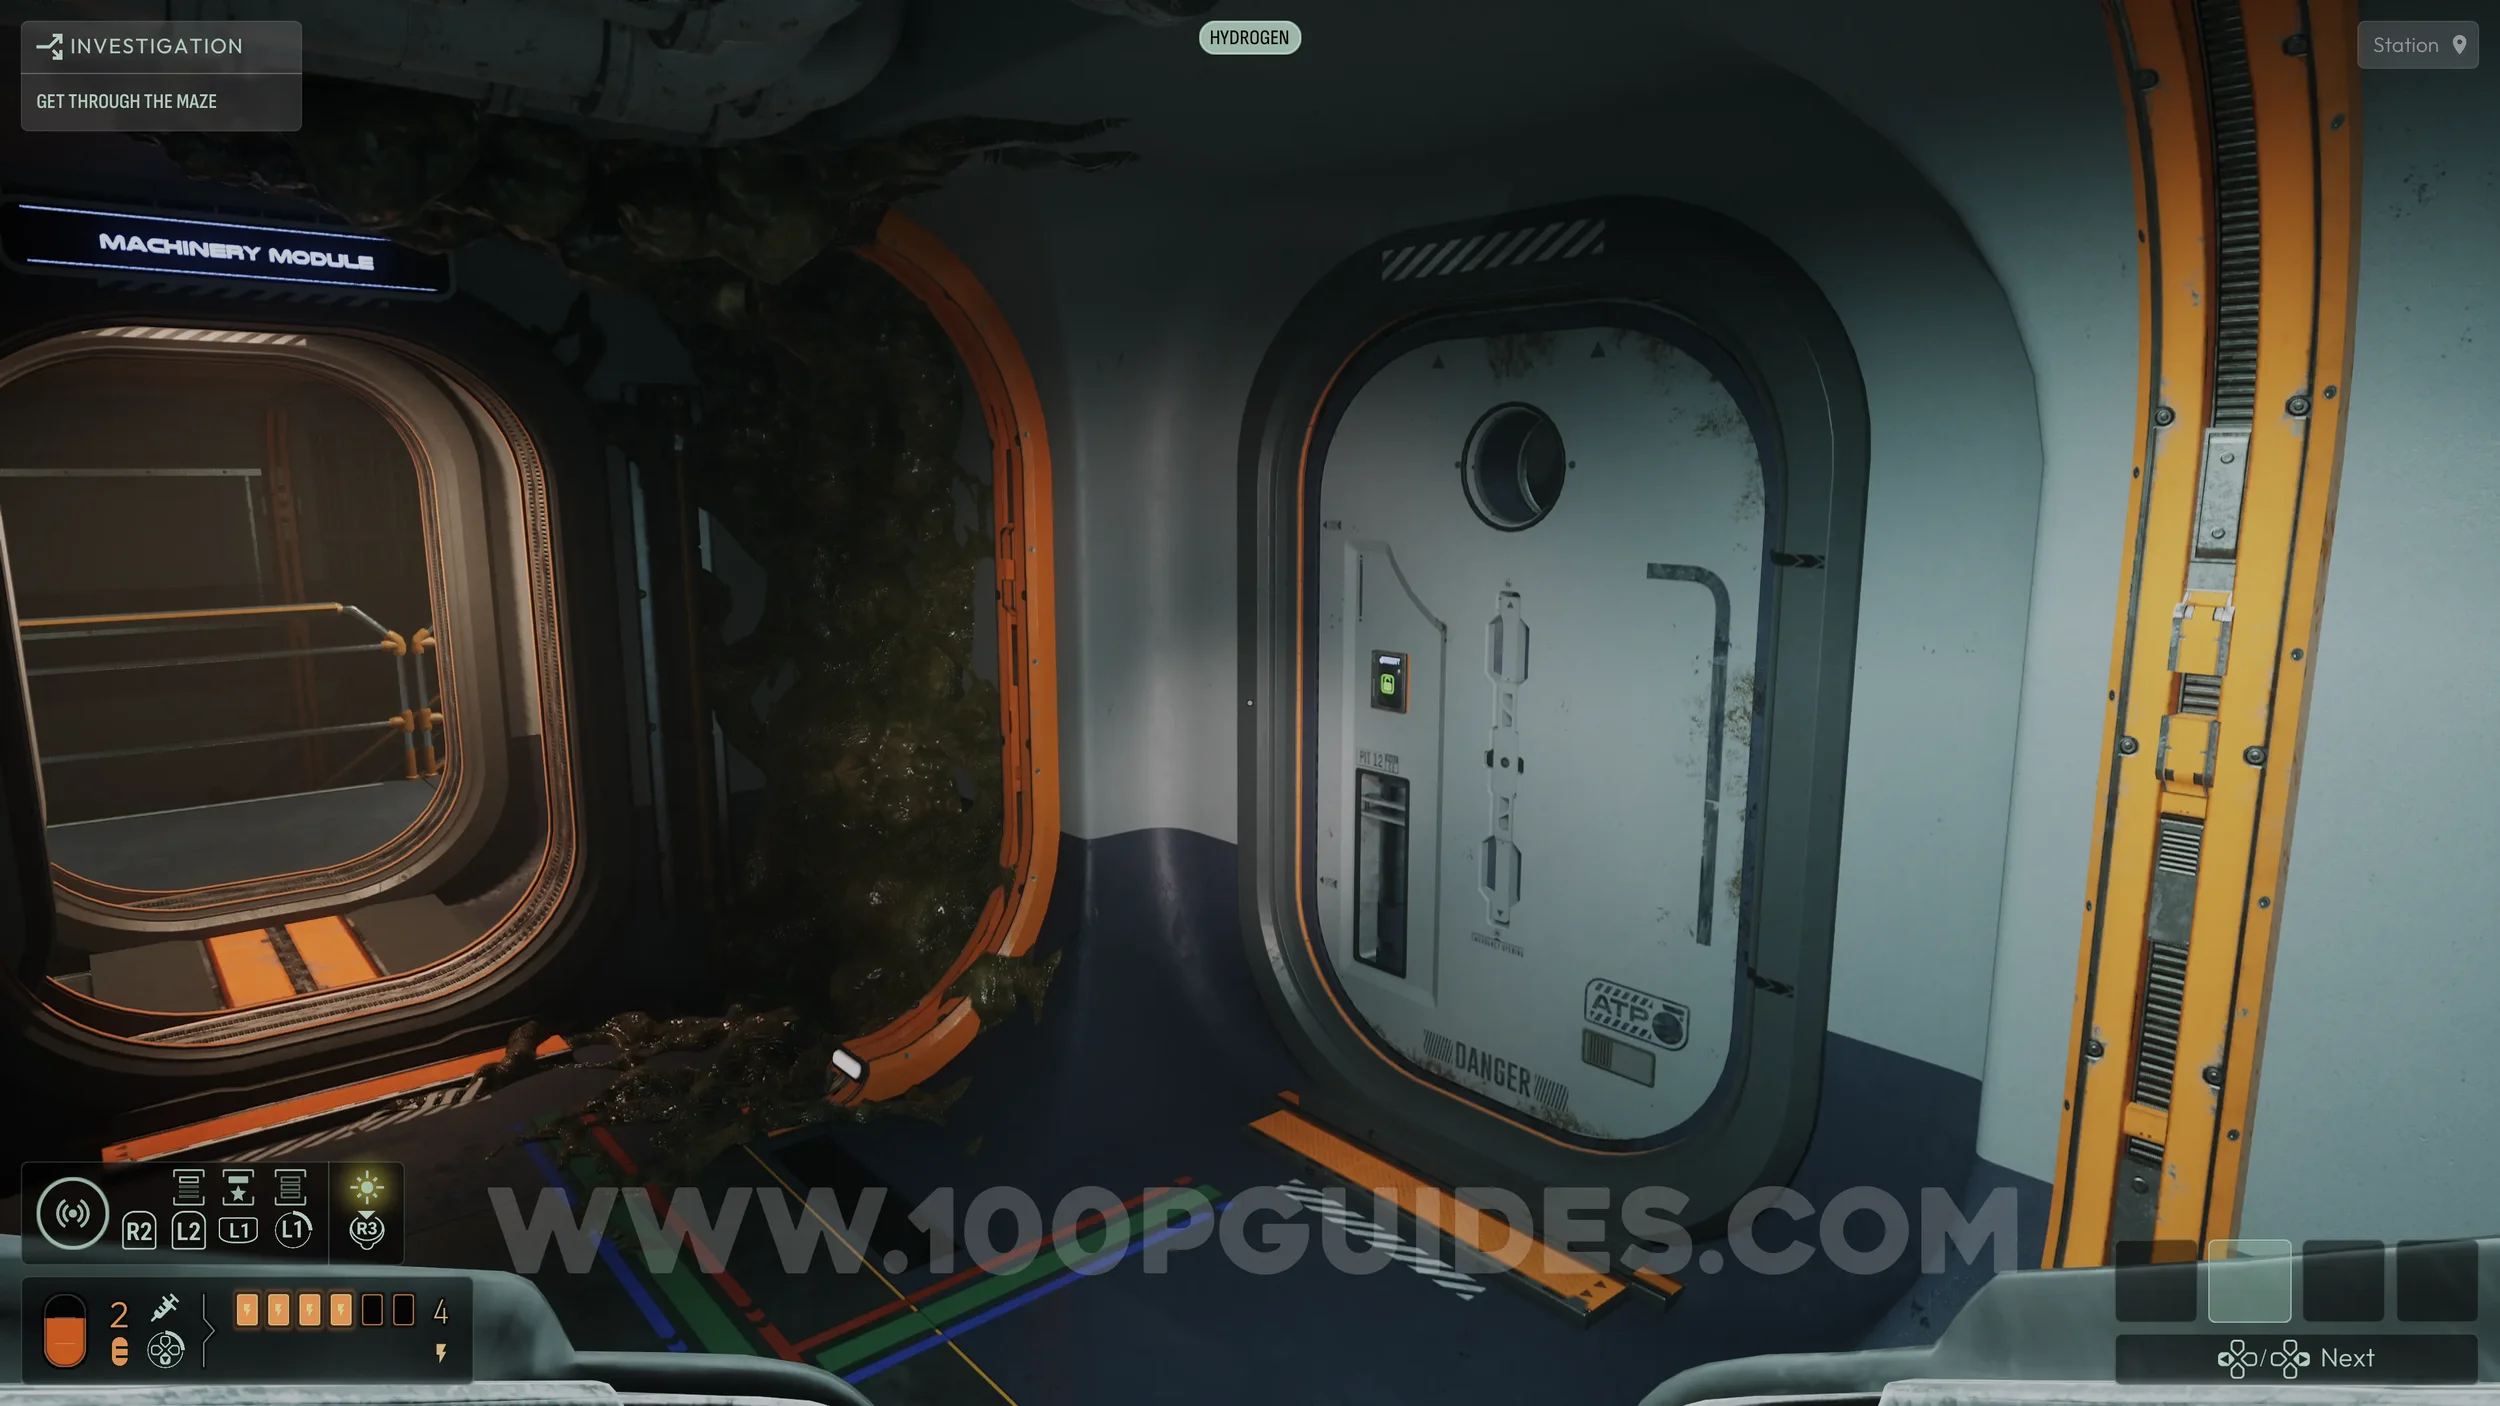
After picking up the Lichen, go through the door and continue to the room at the end of the hall. Here, examine and analyze the canister in the machine on the left side of the room. This will allow you to open the SONAR menu using the touch pad and R1, then activate the Hydrogen frequency.
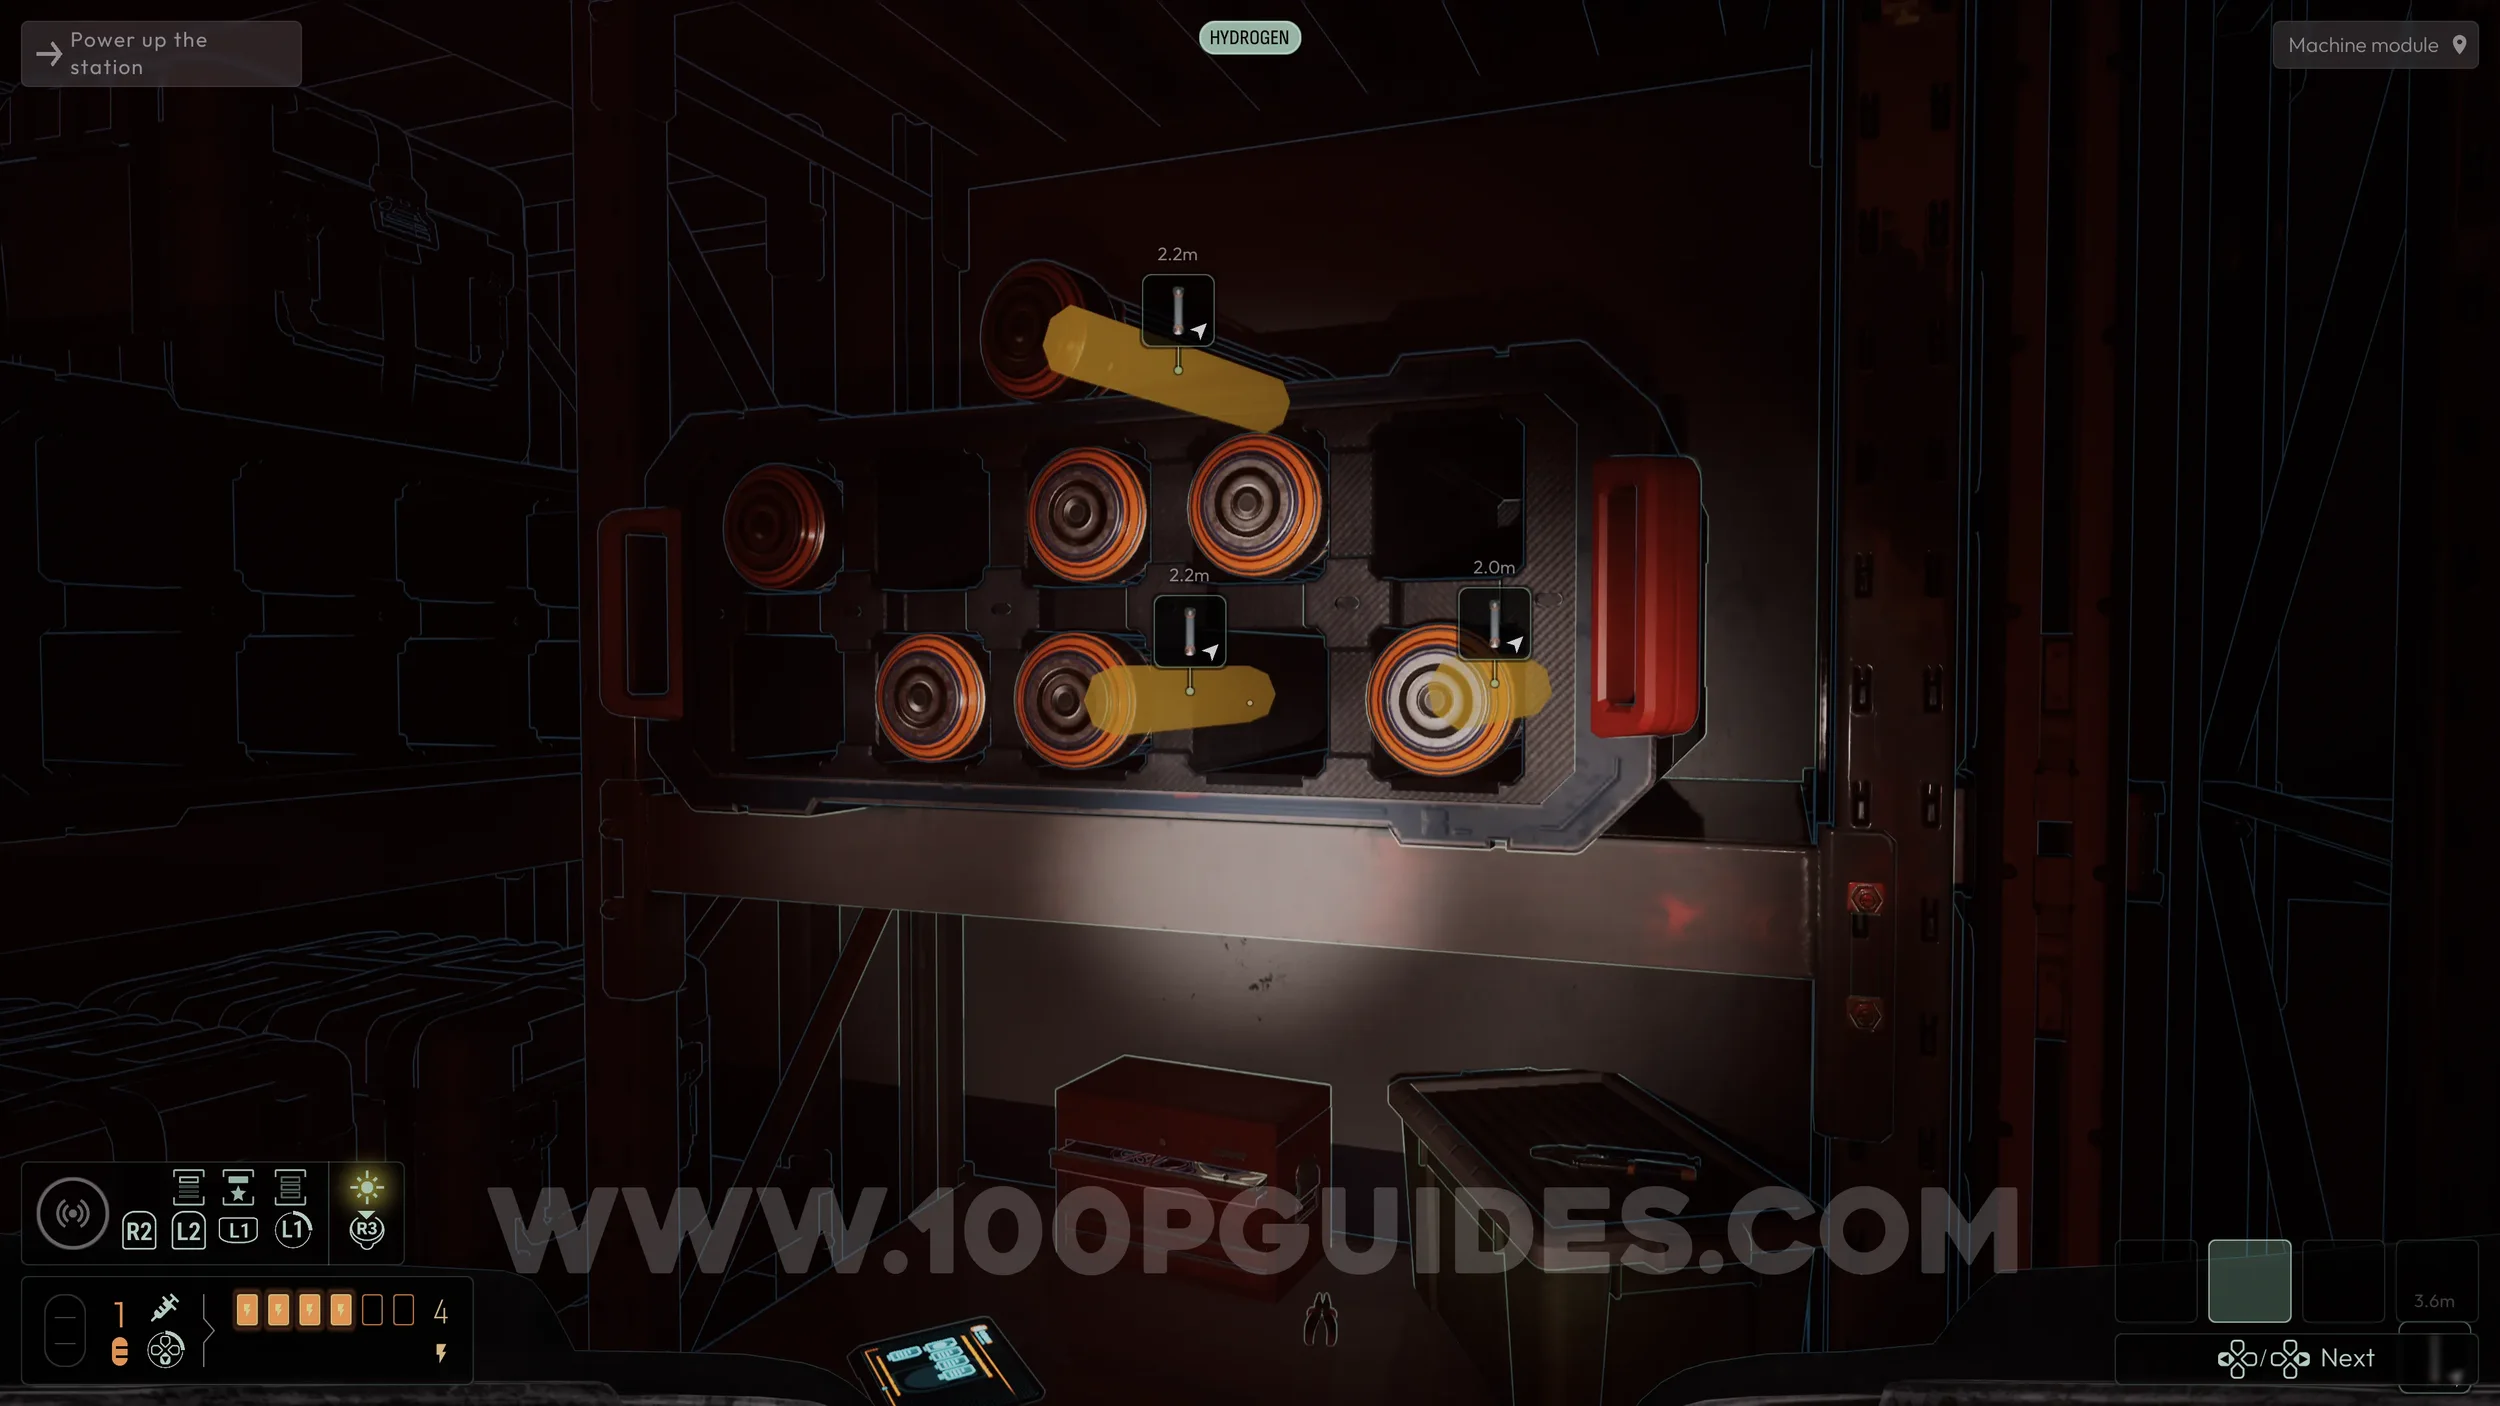
With the Hydrogen frequency active, press R2 to scan the room and reveal which canisters on the shelf are full and which are empty. Take two of the full canisters and place them into the two slots on either side of the machine. Then press R1 to activate the switch on the machine between the canisters.

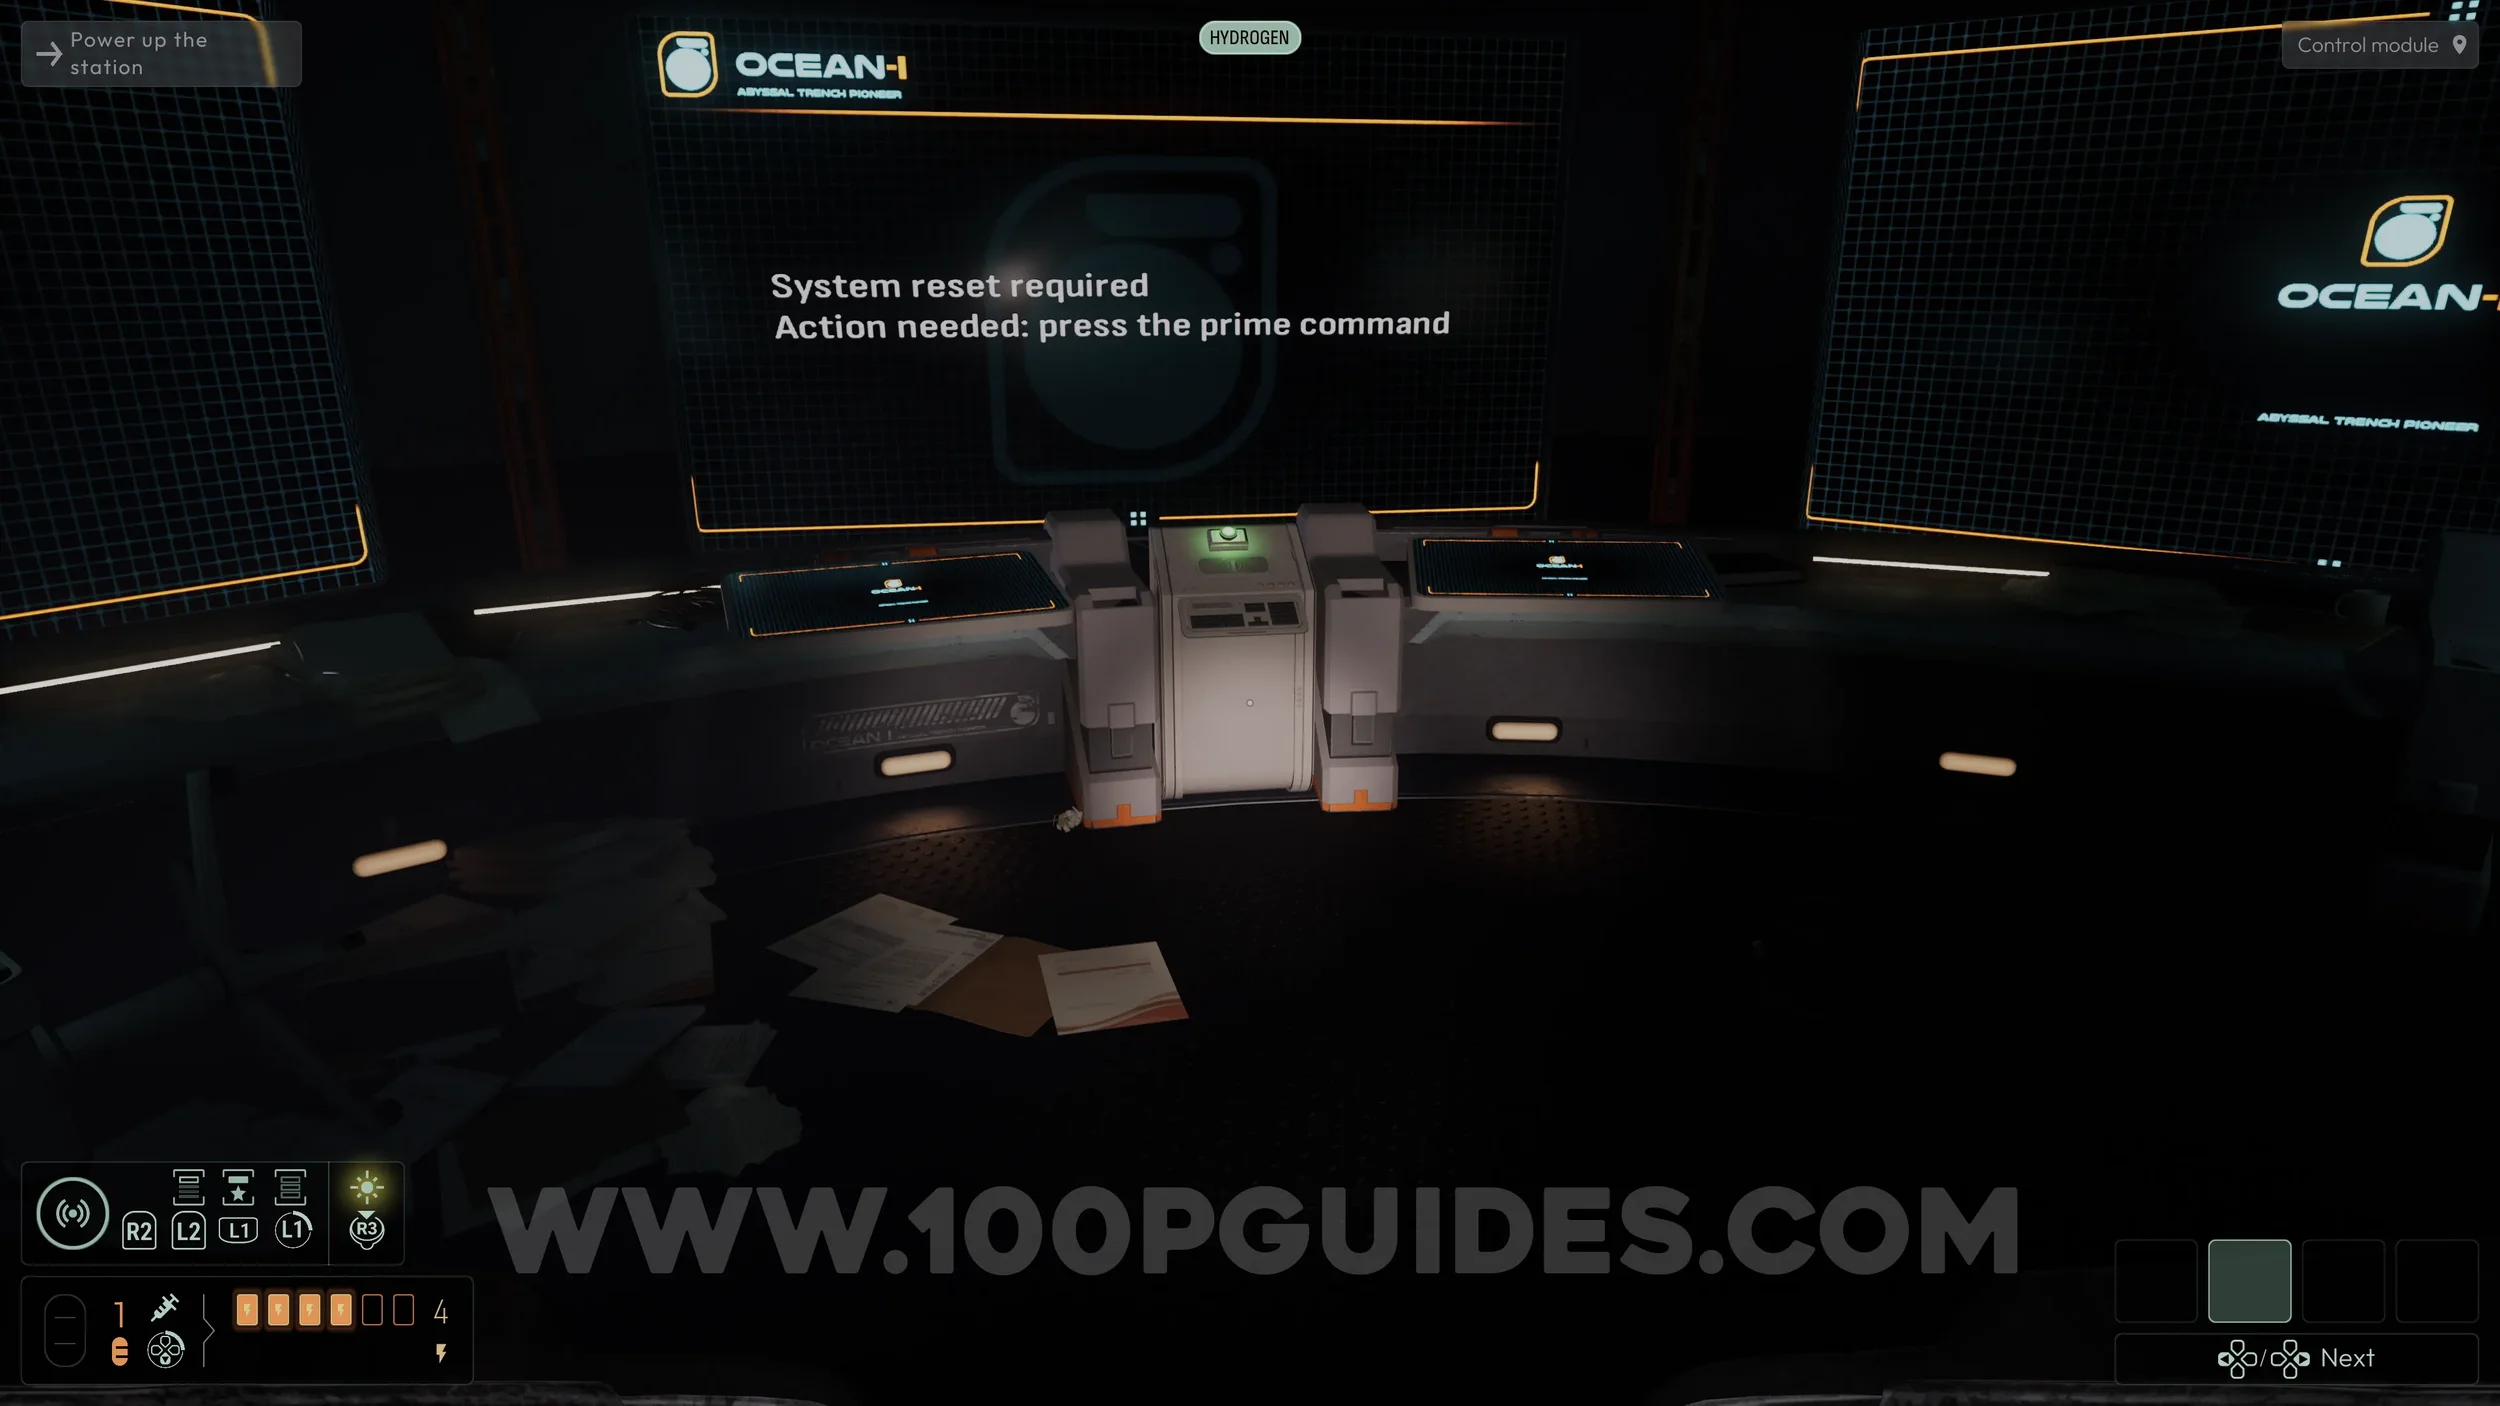
After activating the machine, head back to the Control Module room and press the green button on the top floor.
After the cutscene, turn around and go through the door on the right, the only one that is open. Continue to the end of the hall and enter the door on your right. In the small room, press the button to exit the station through the other exit.
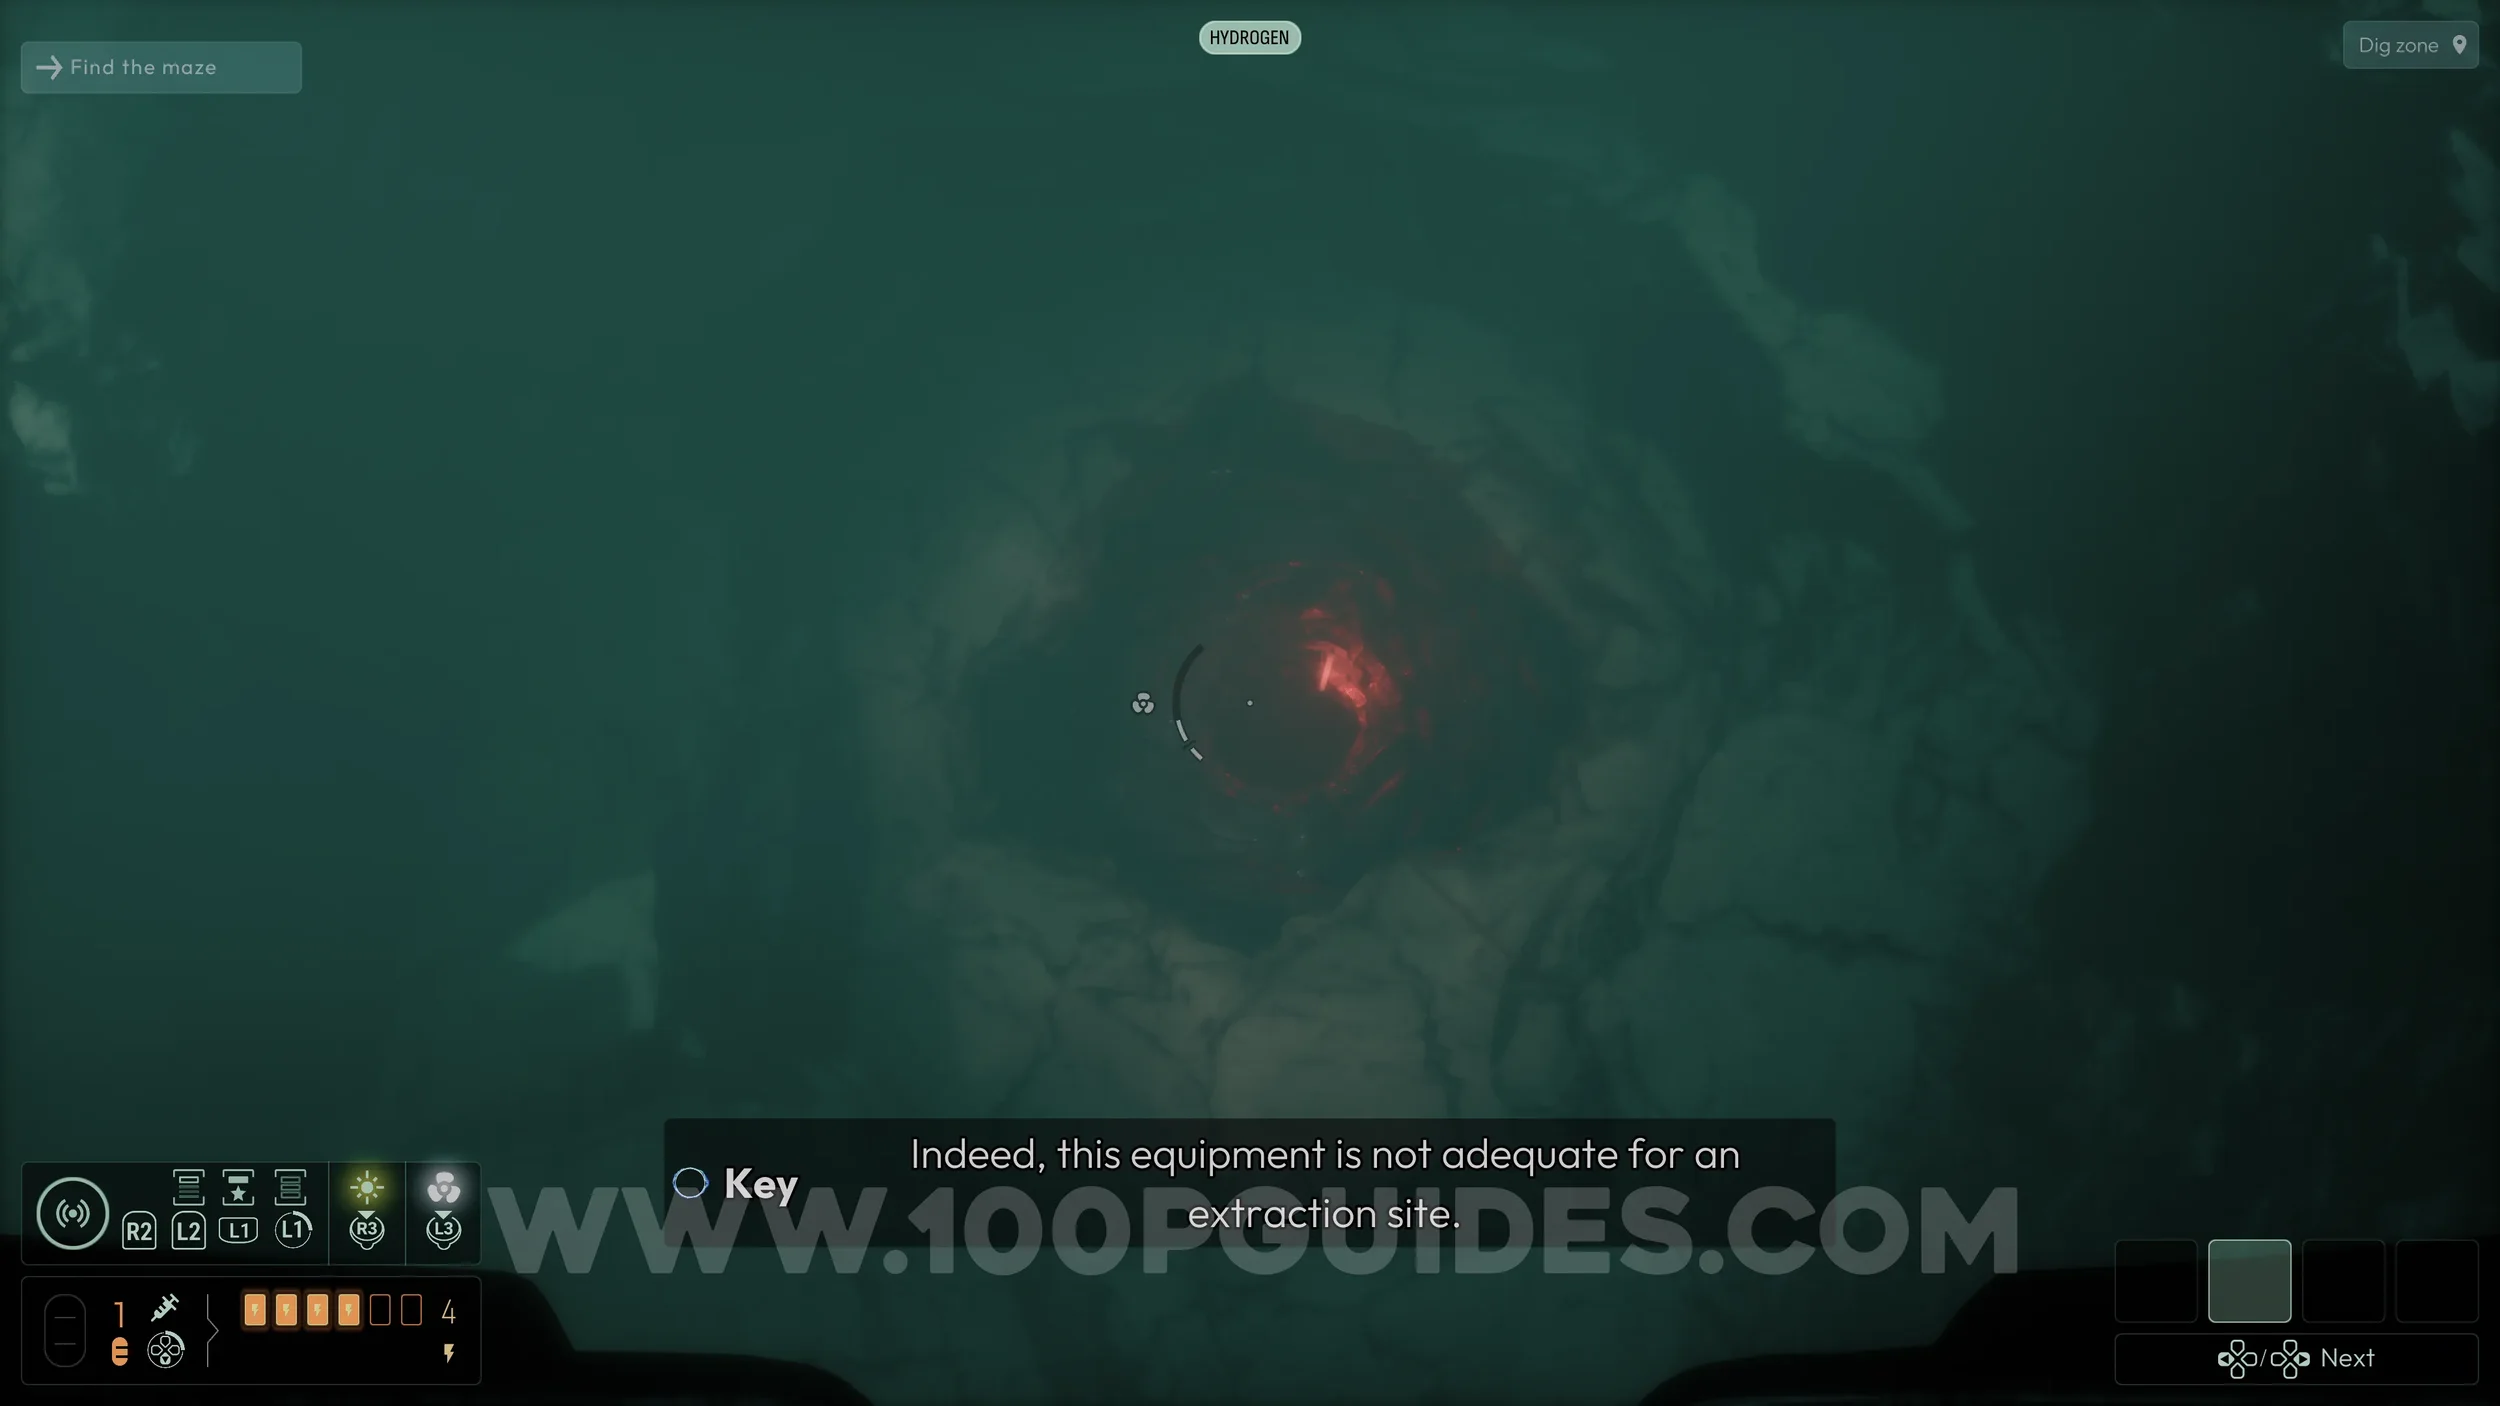
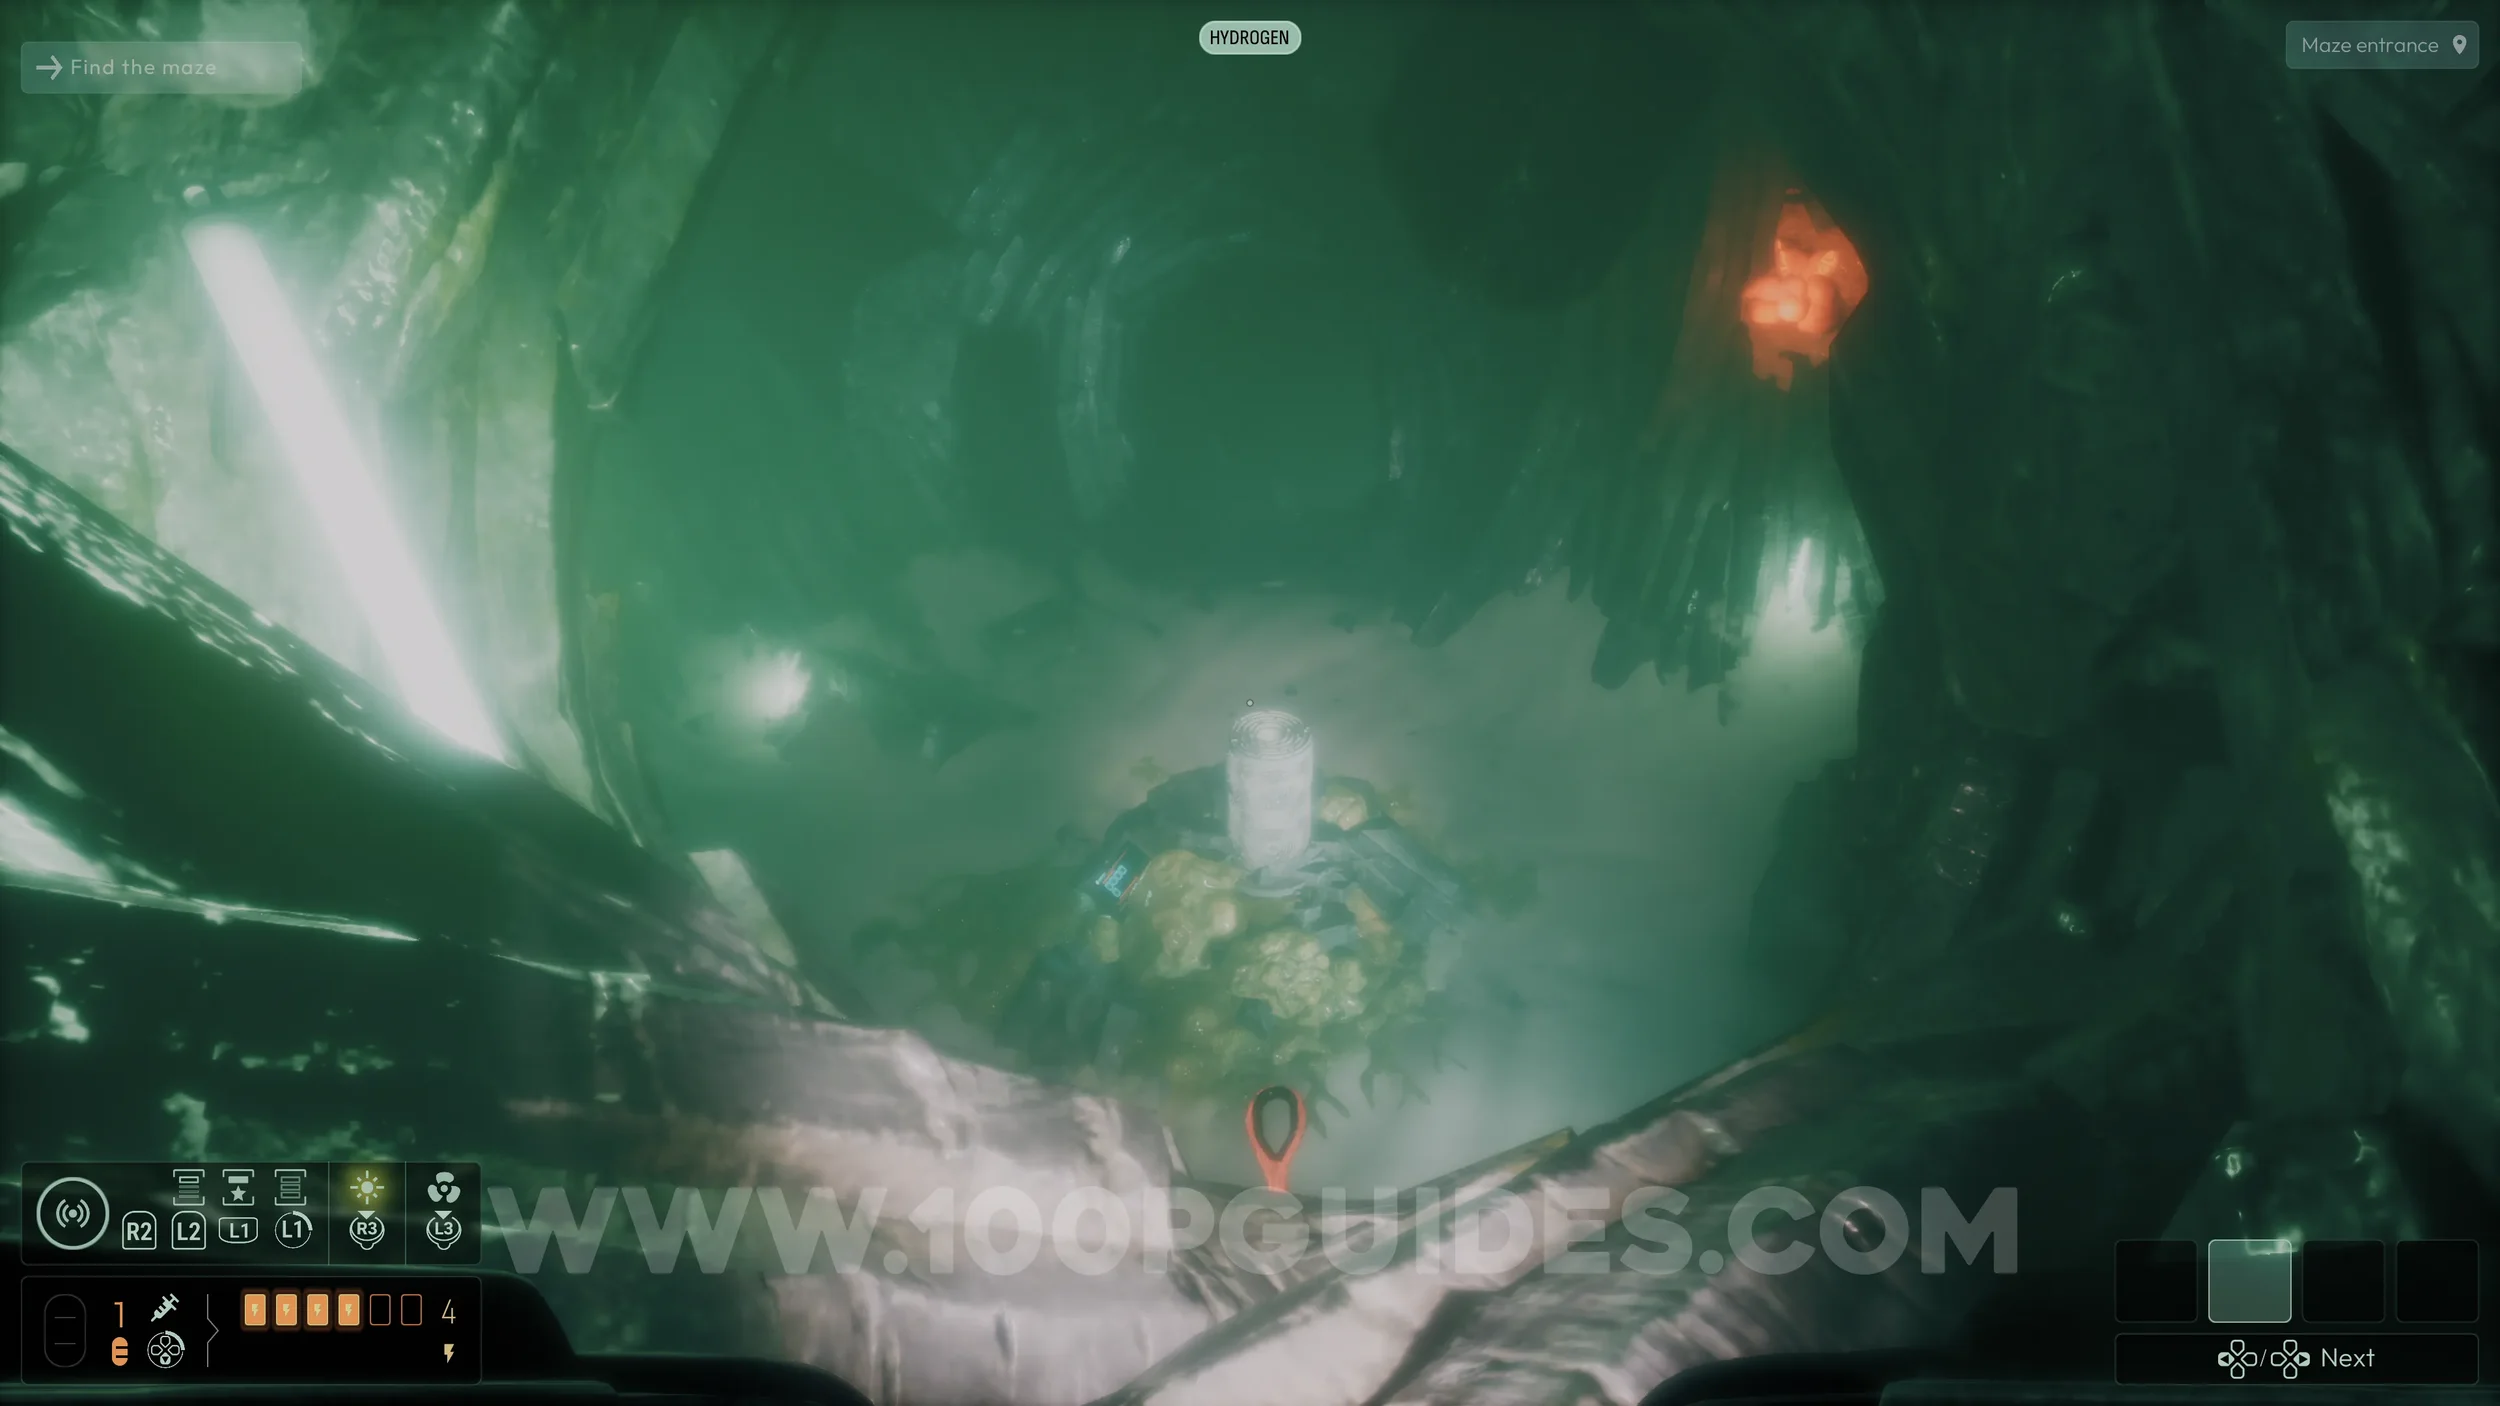
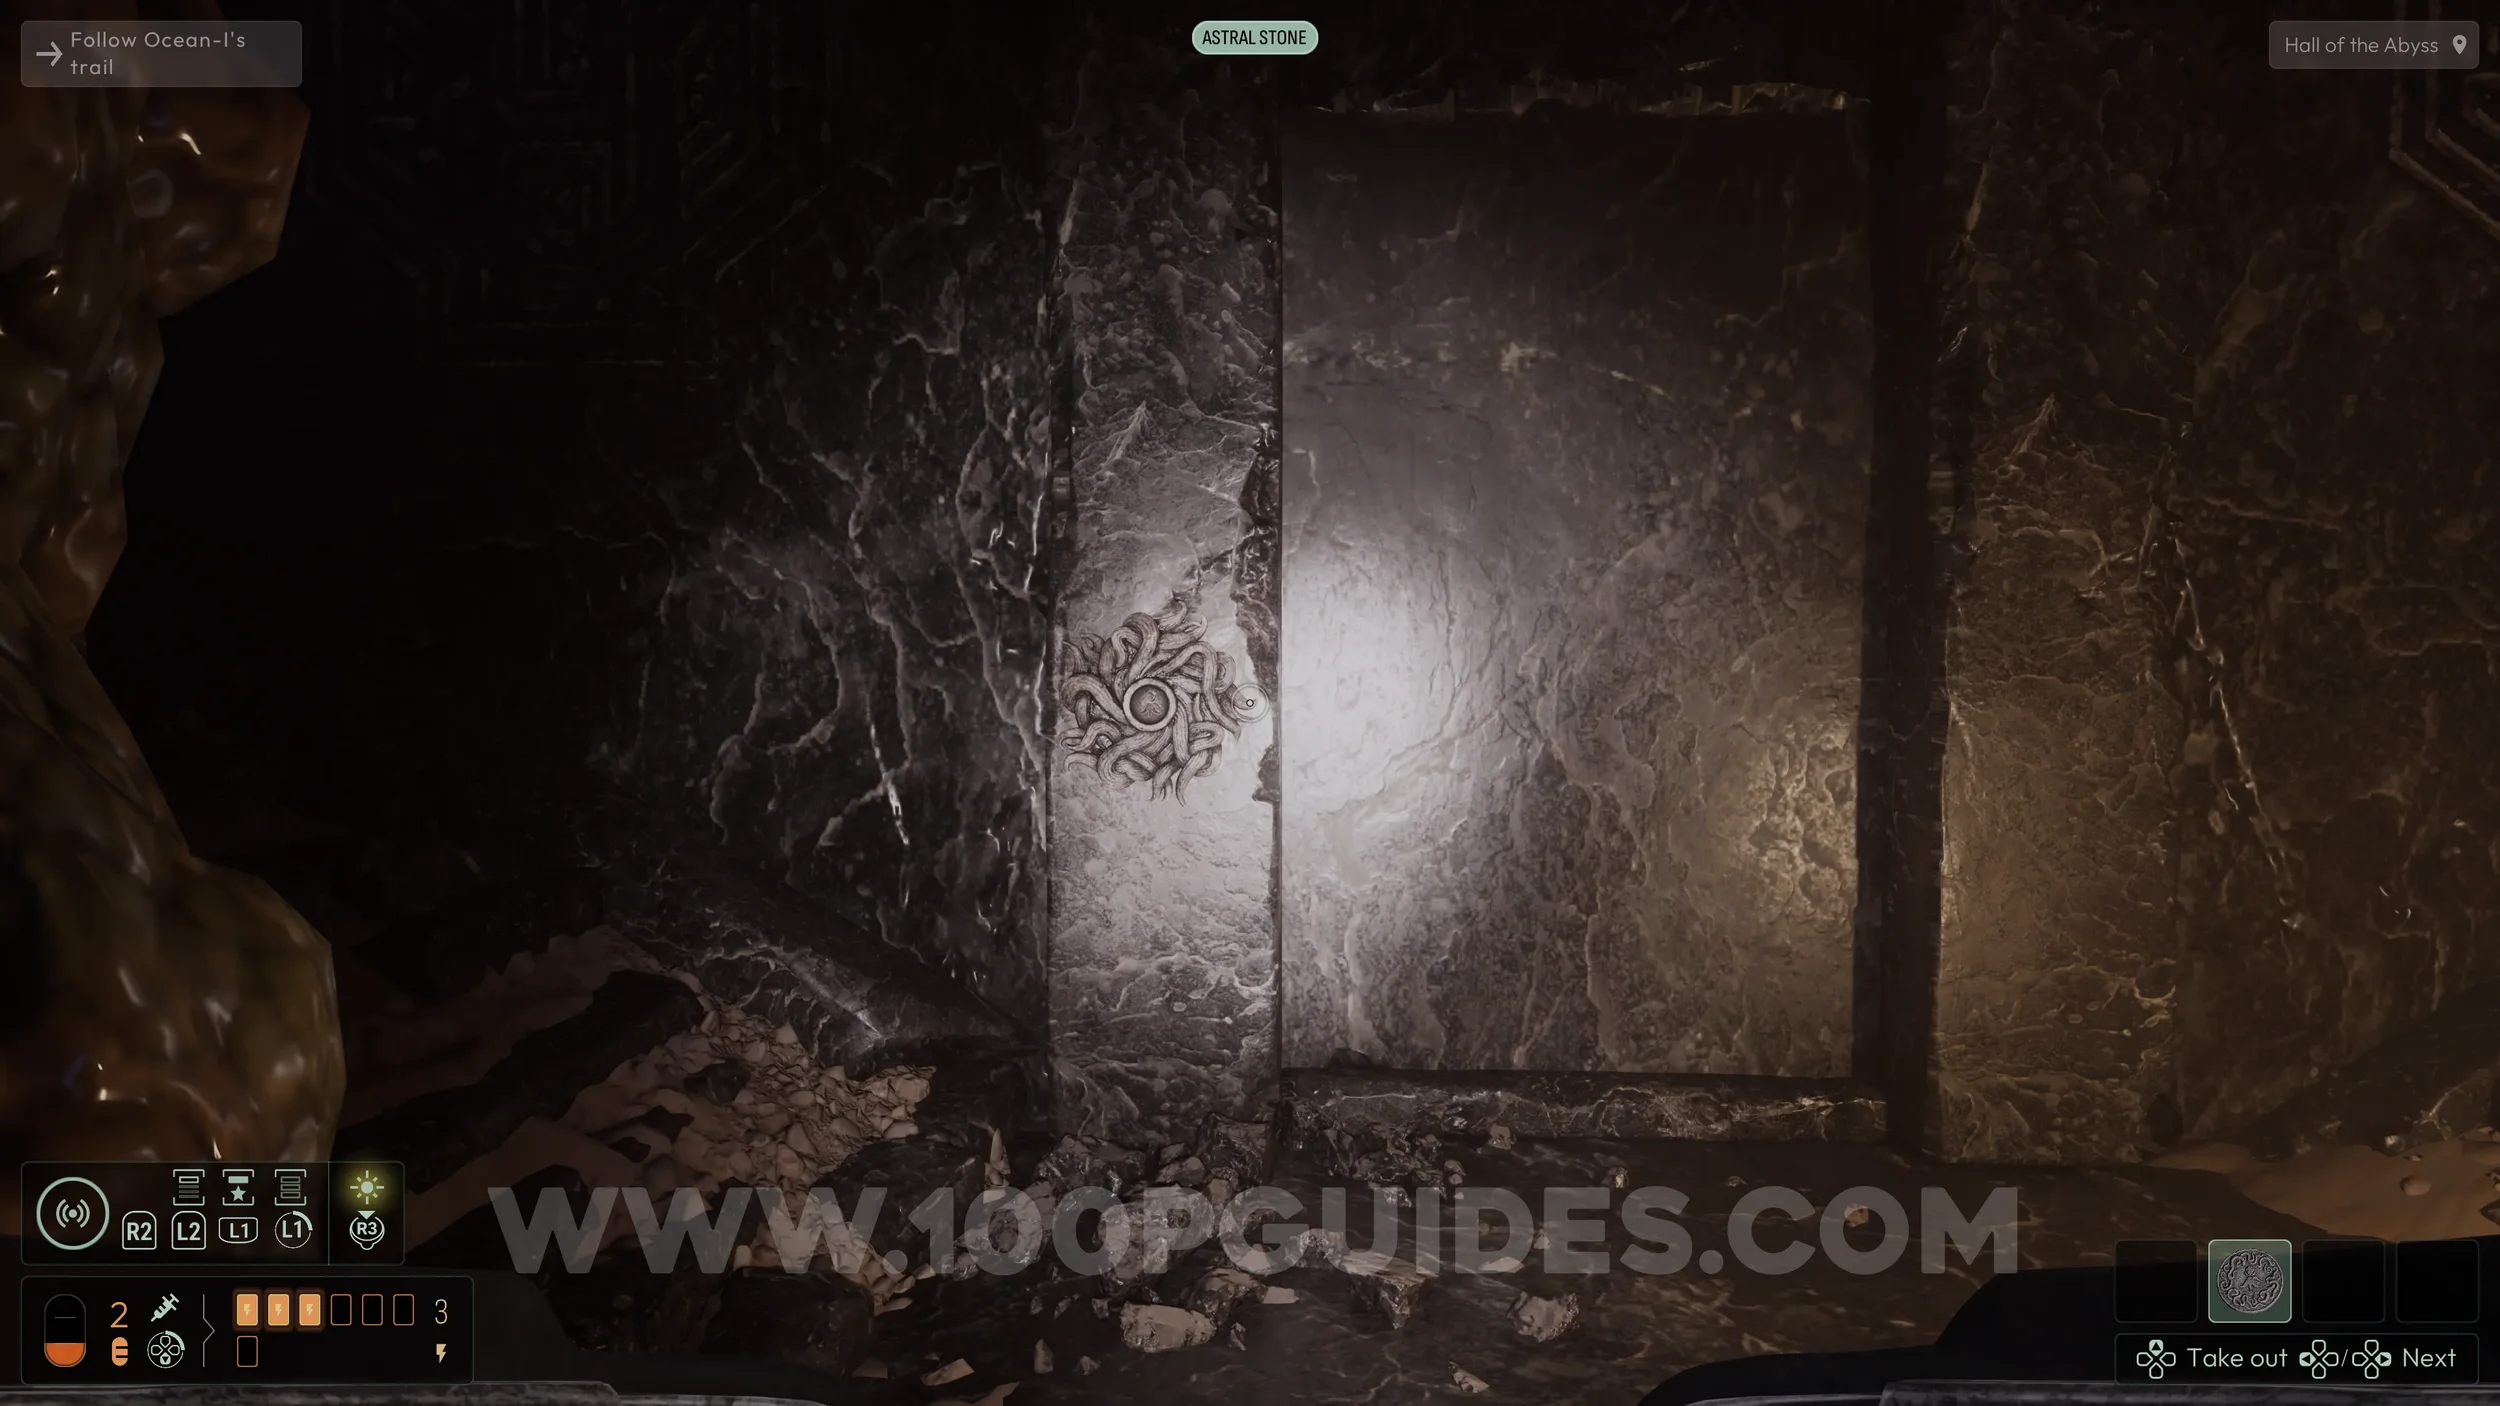
Once outside the station, look down and swim through the red-lit opening. This will take you to the maze, and as you approach the pedestal in the center of the area, the first investigation will begin. Also, investigate and Analyze it to unlock the Astral Stone frequency.
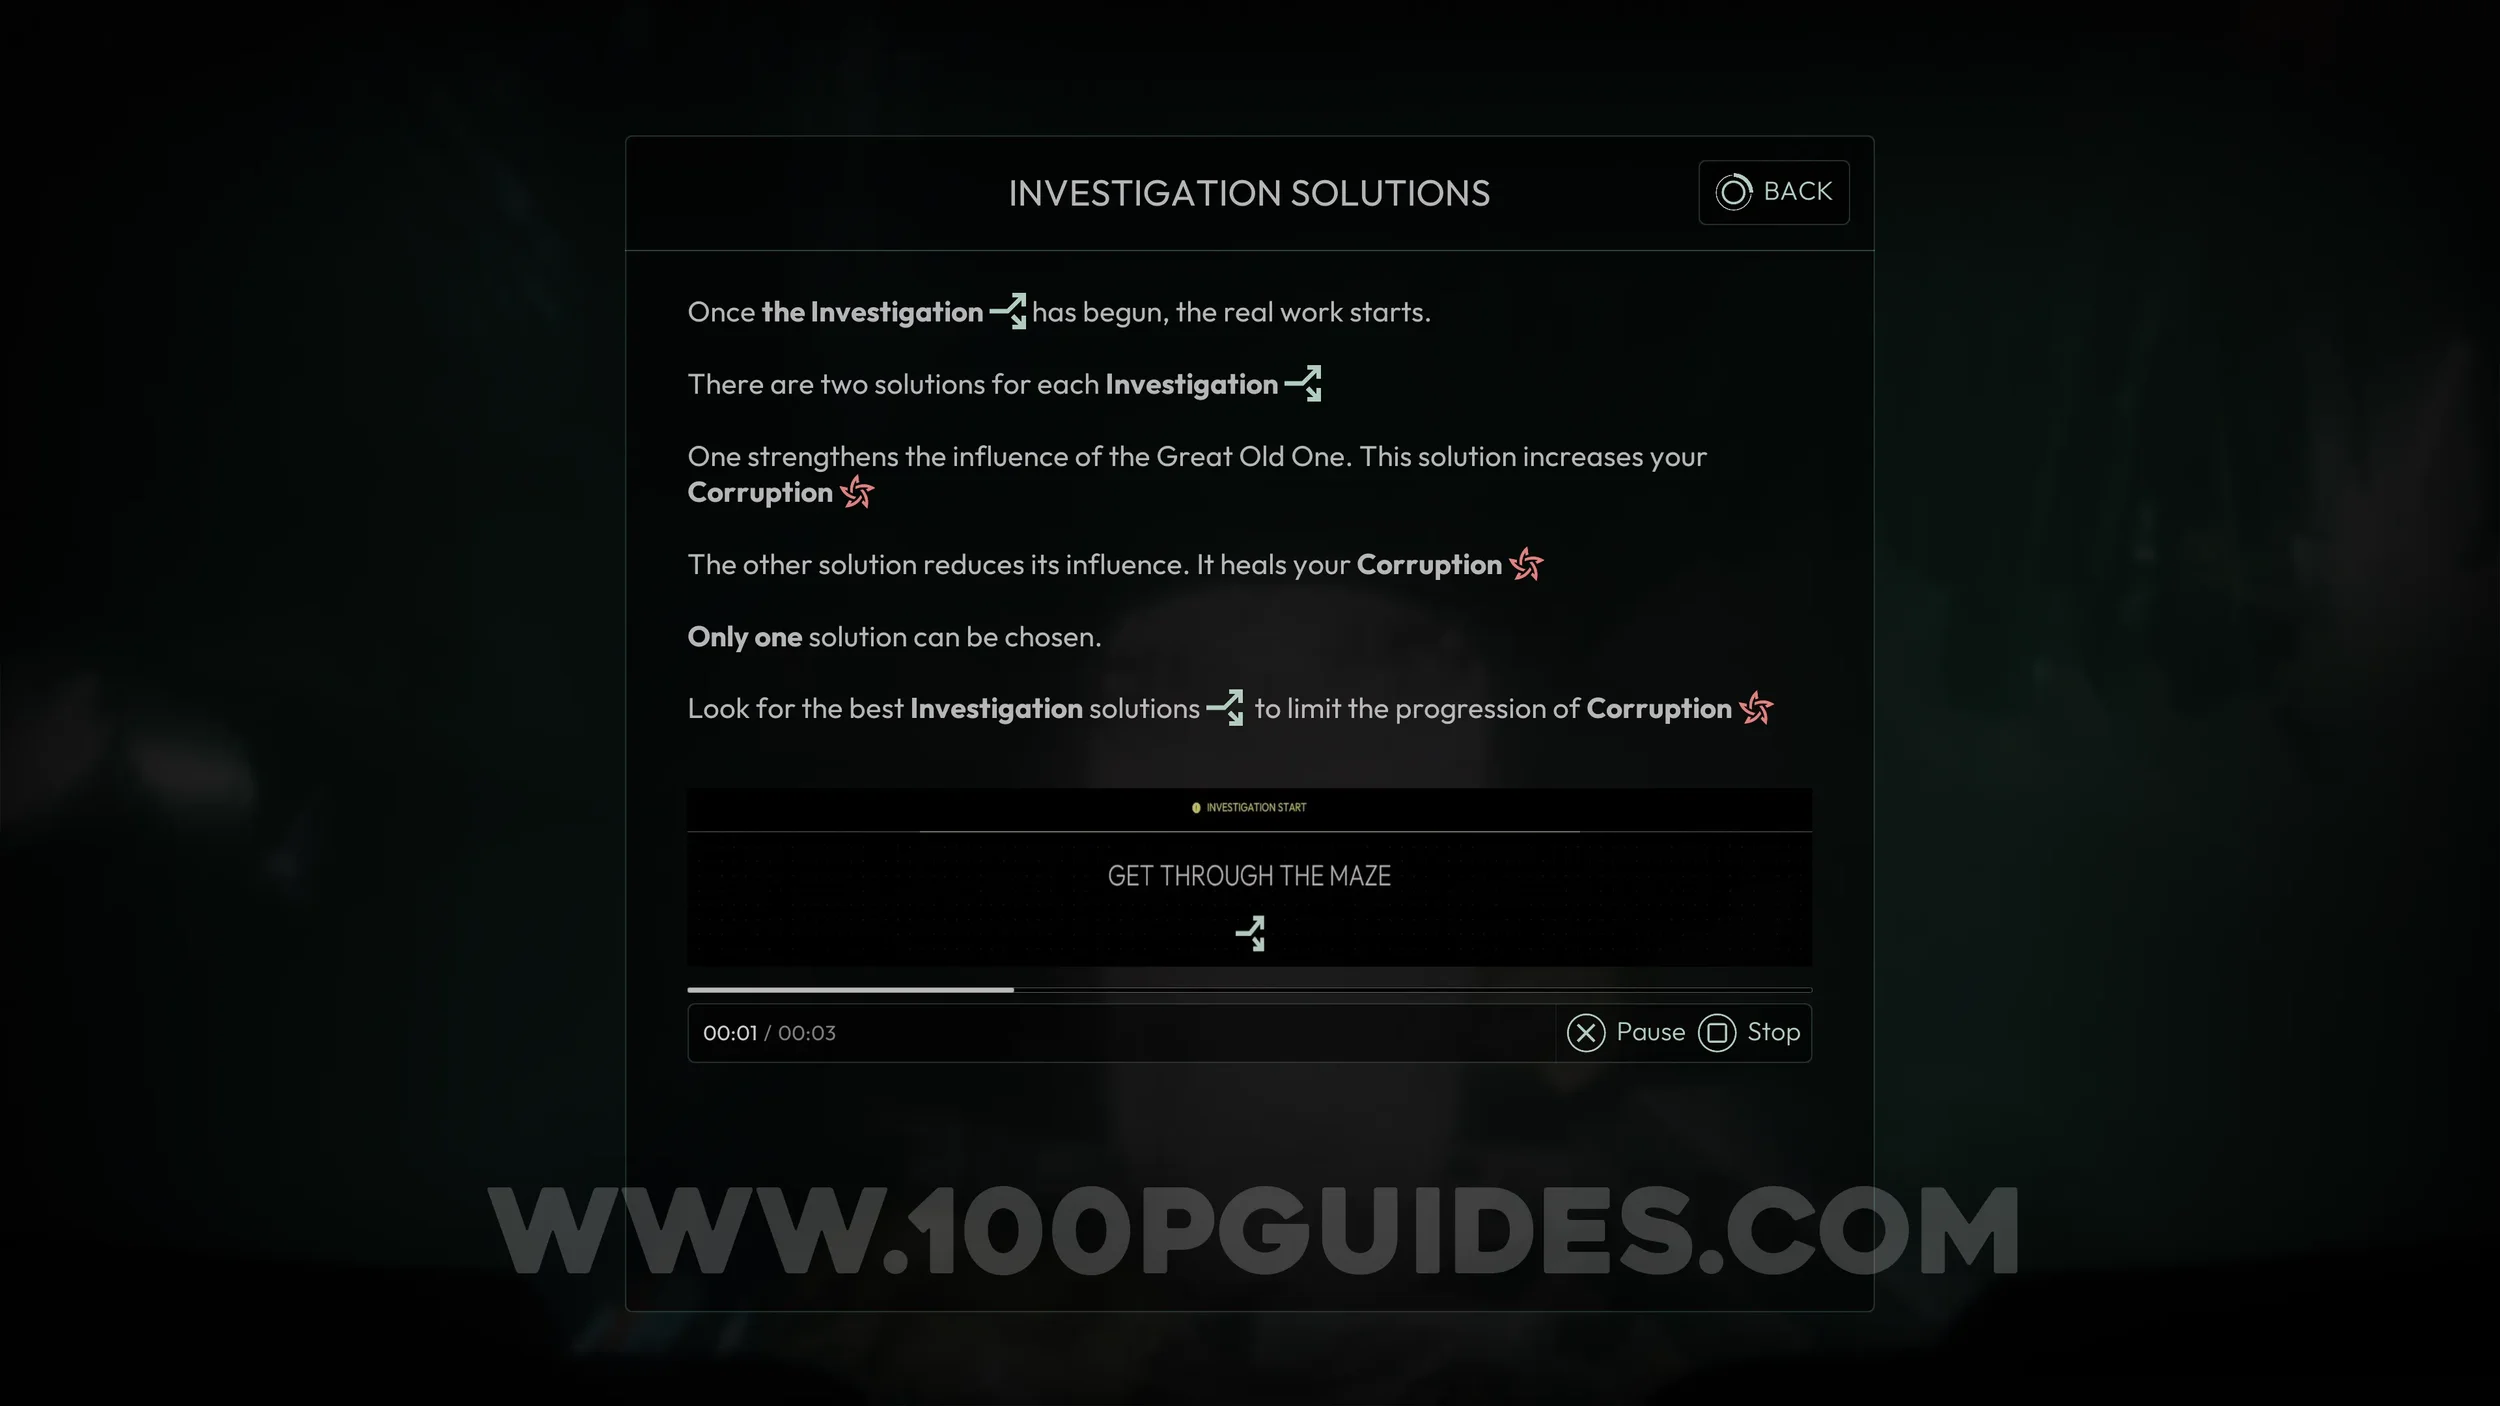
Investigations are the main cases that must be solved in the game. Each one can be completed in two different ways. One will reduce your corruption, which is considered the good outcome and is required for certain trophies and the platinum. The other will increase your corruption and move you further away from the good ending.
Each investigation also has a missable trophy that can only be unlocked by achieving the low corruption outcome, so that is what we will be aiming for.
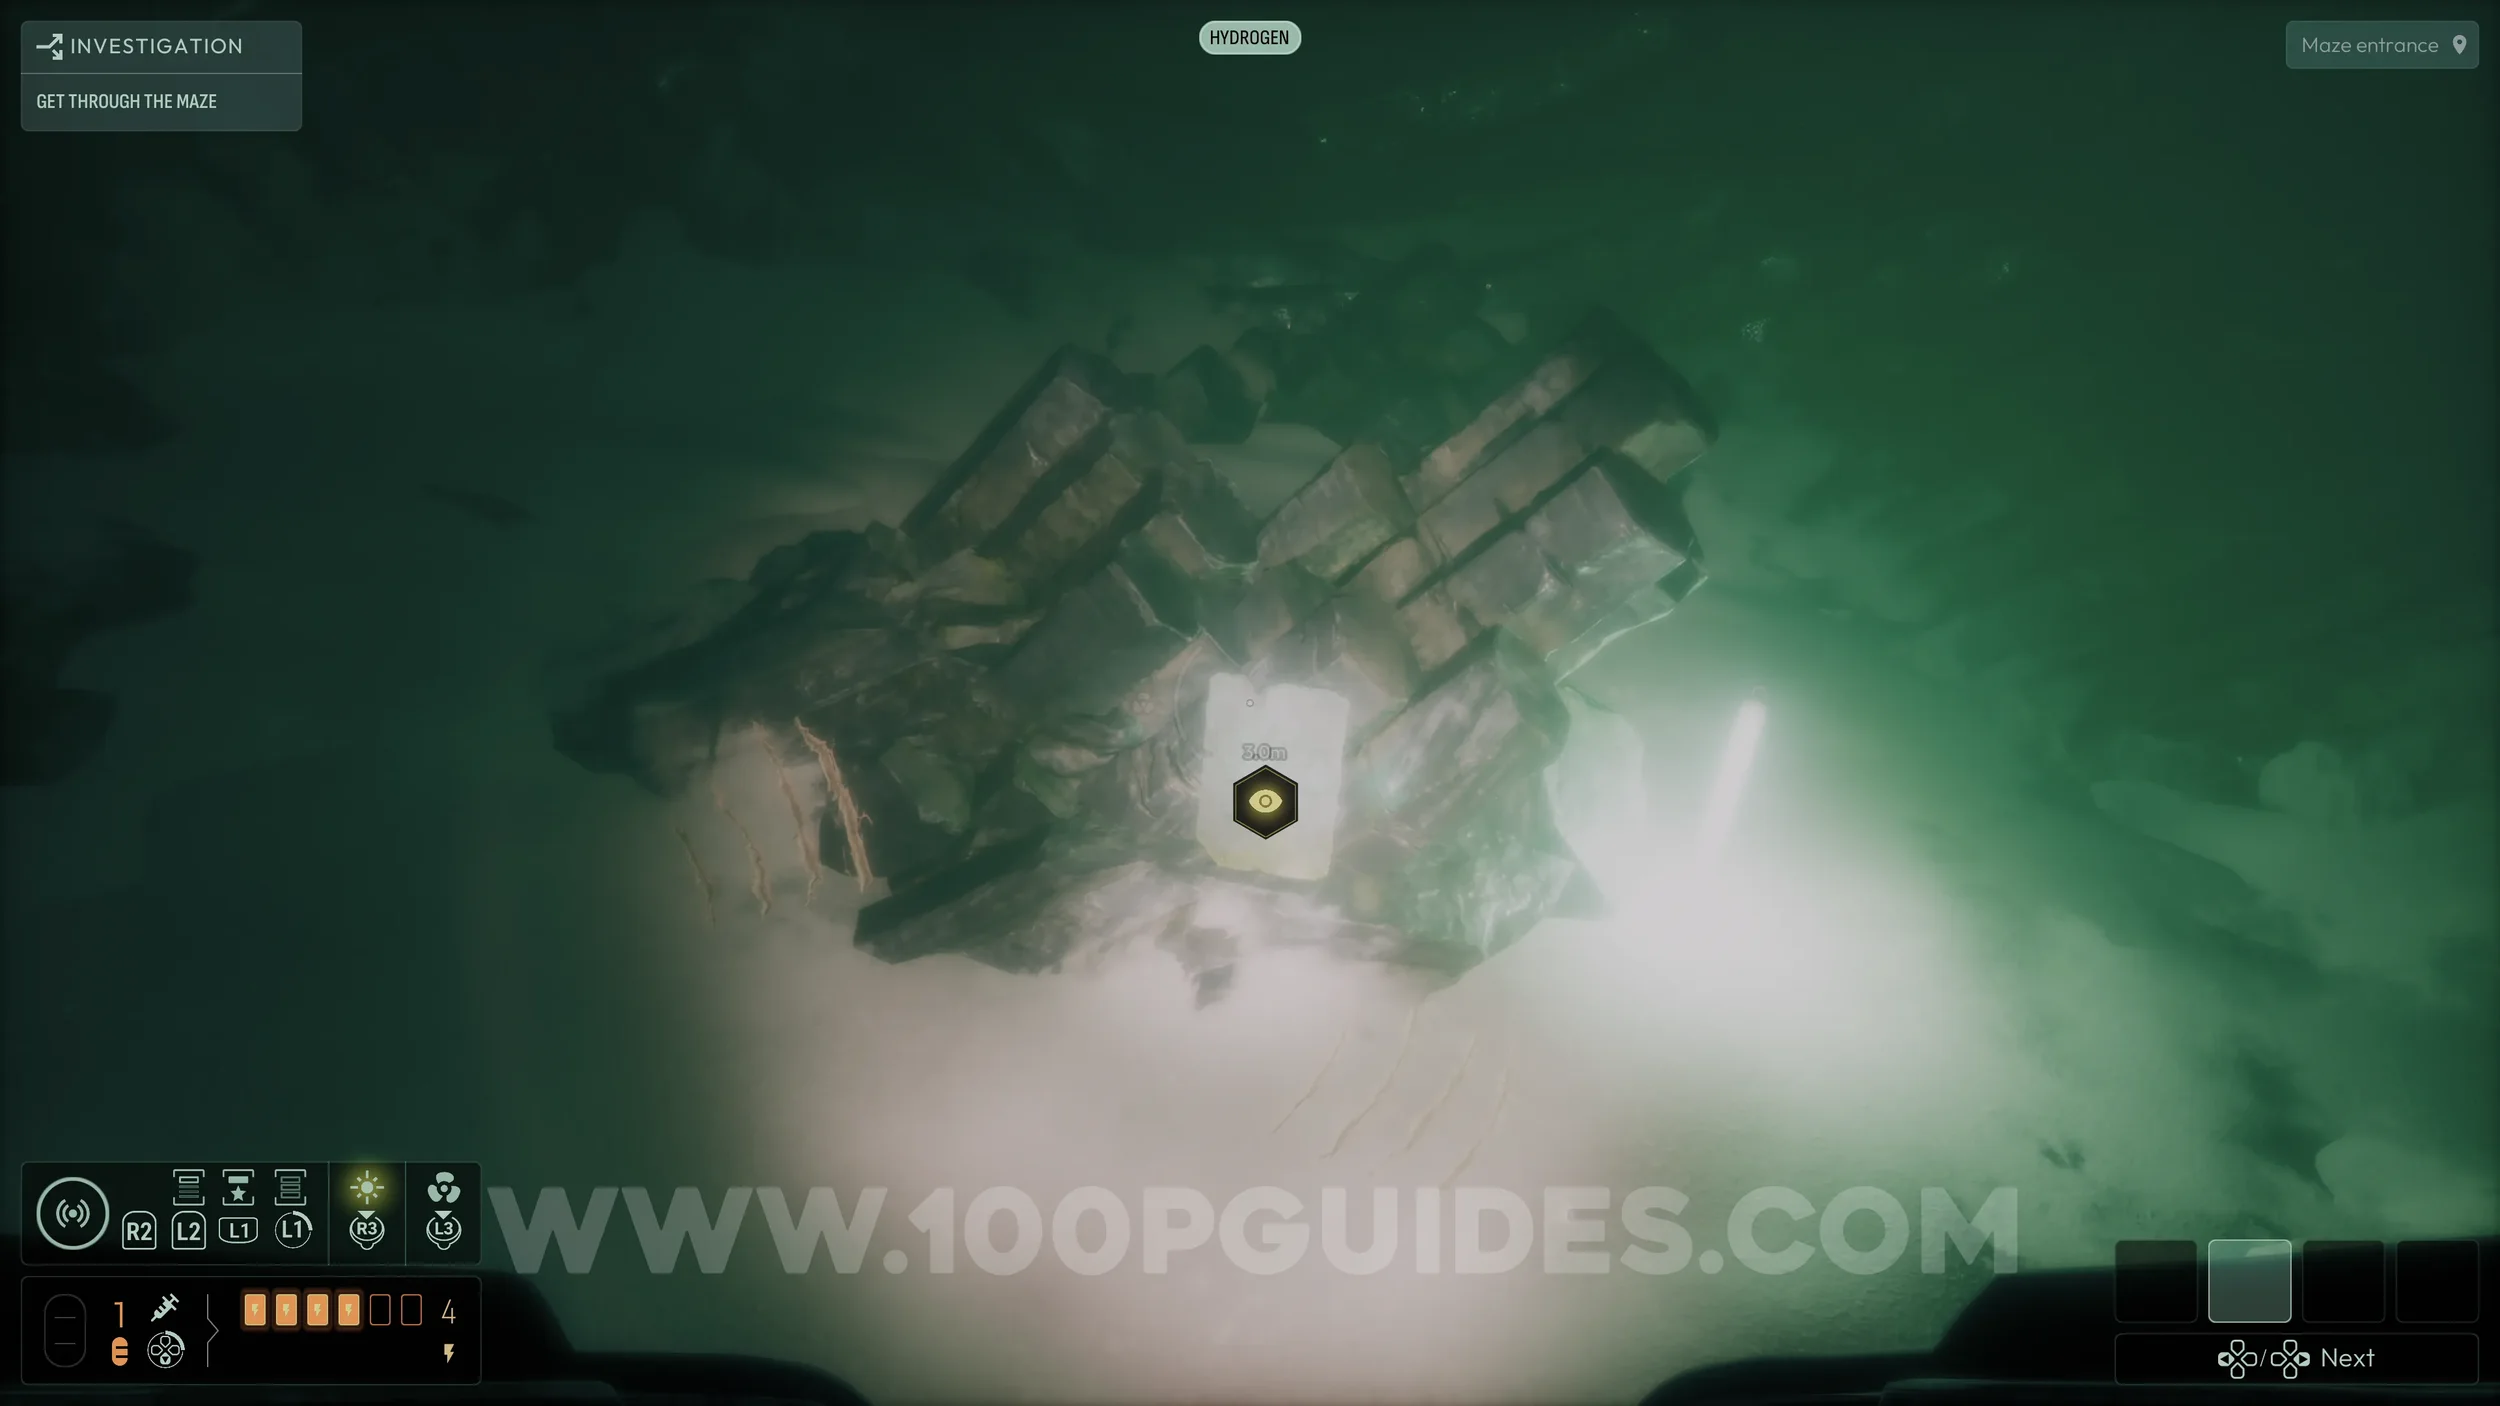
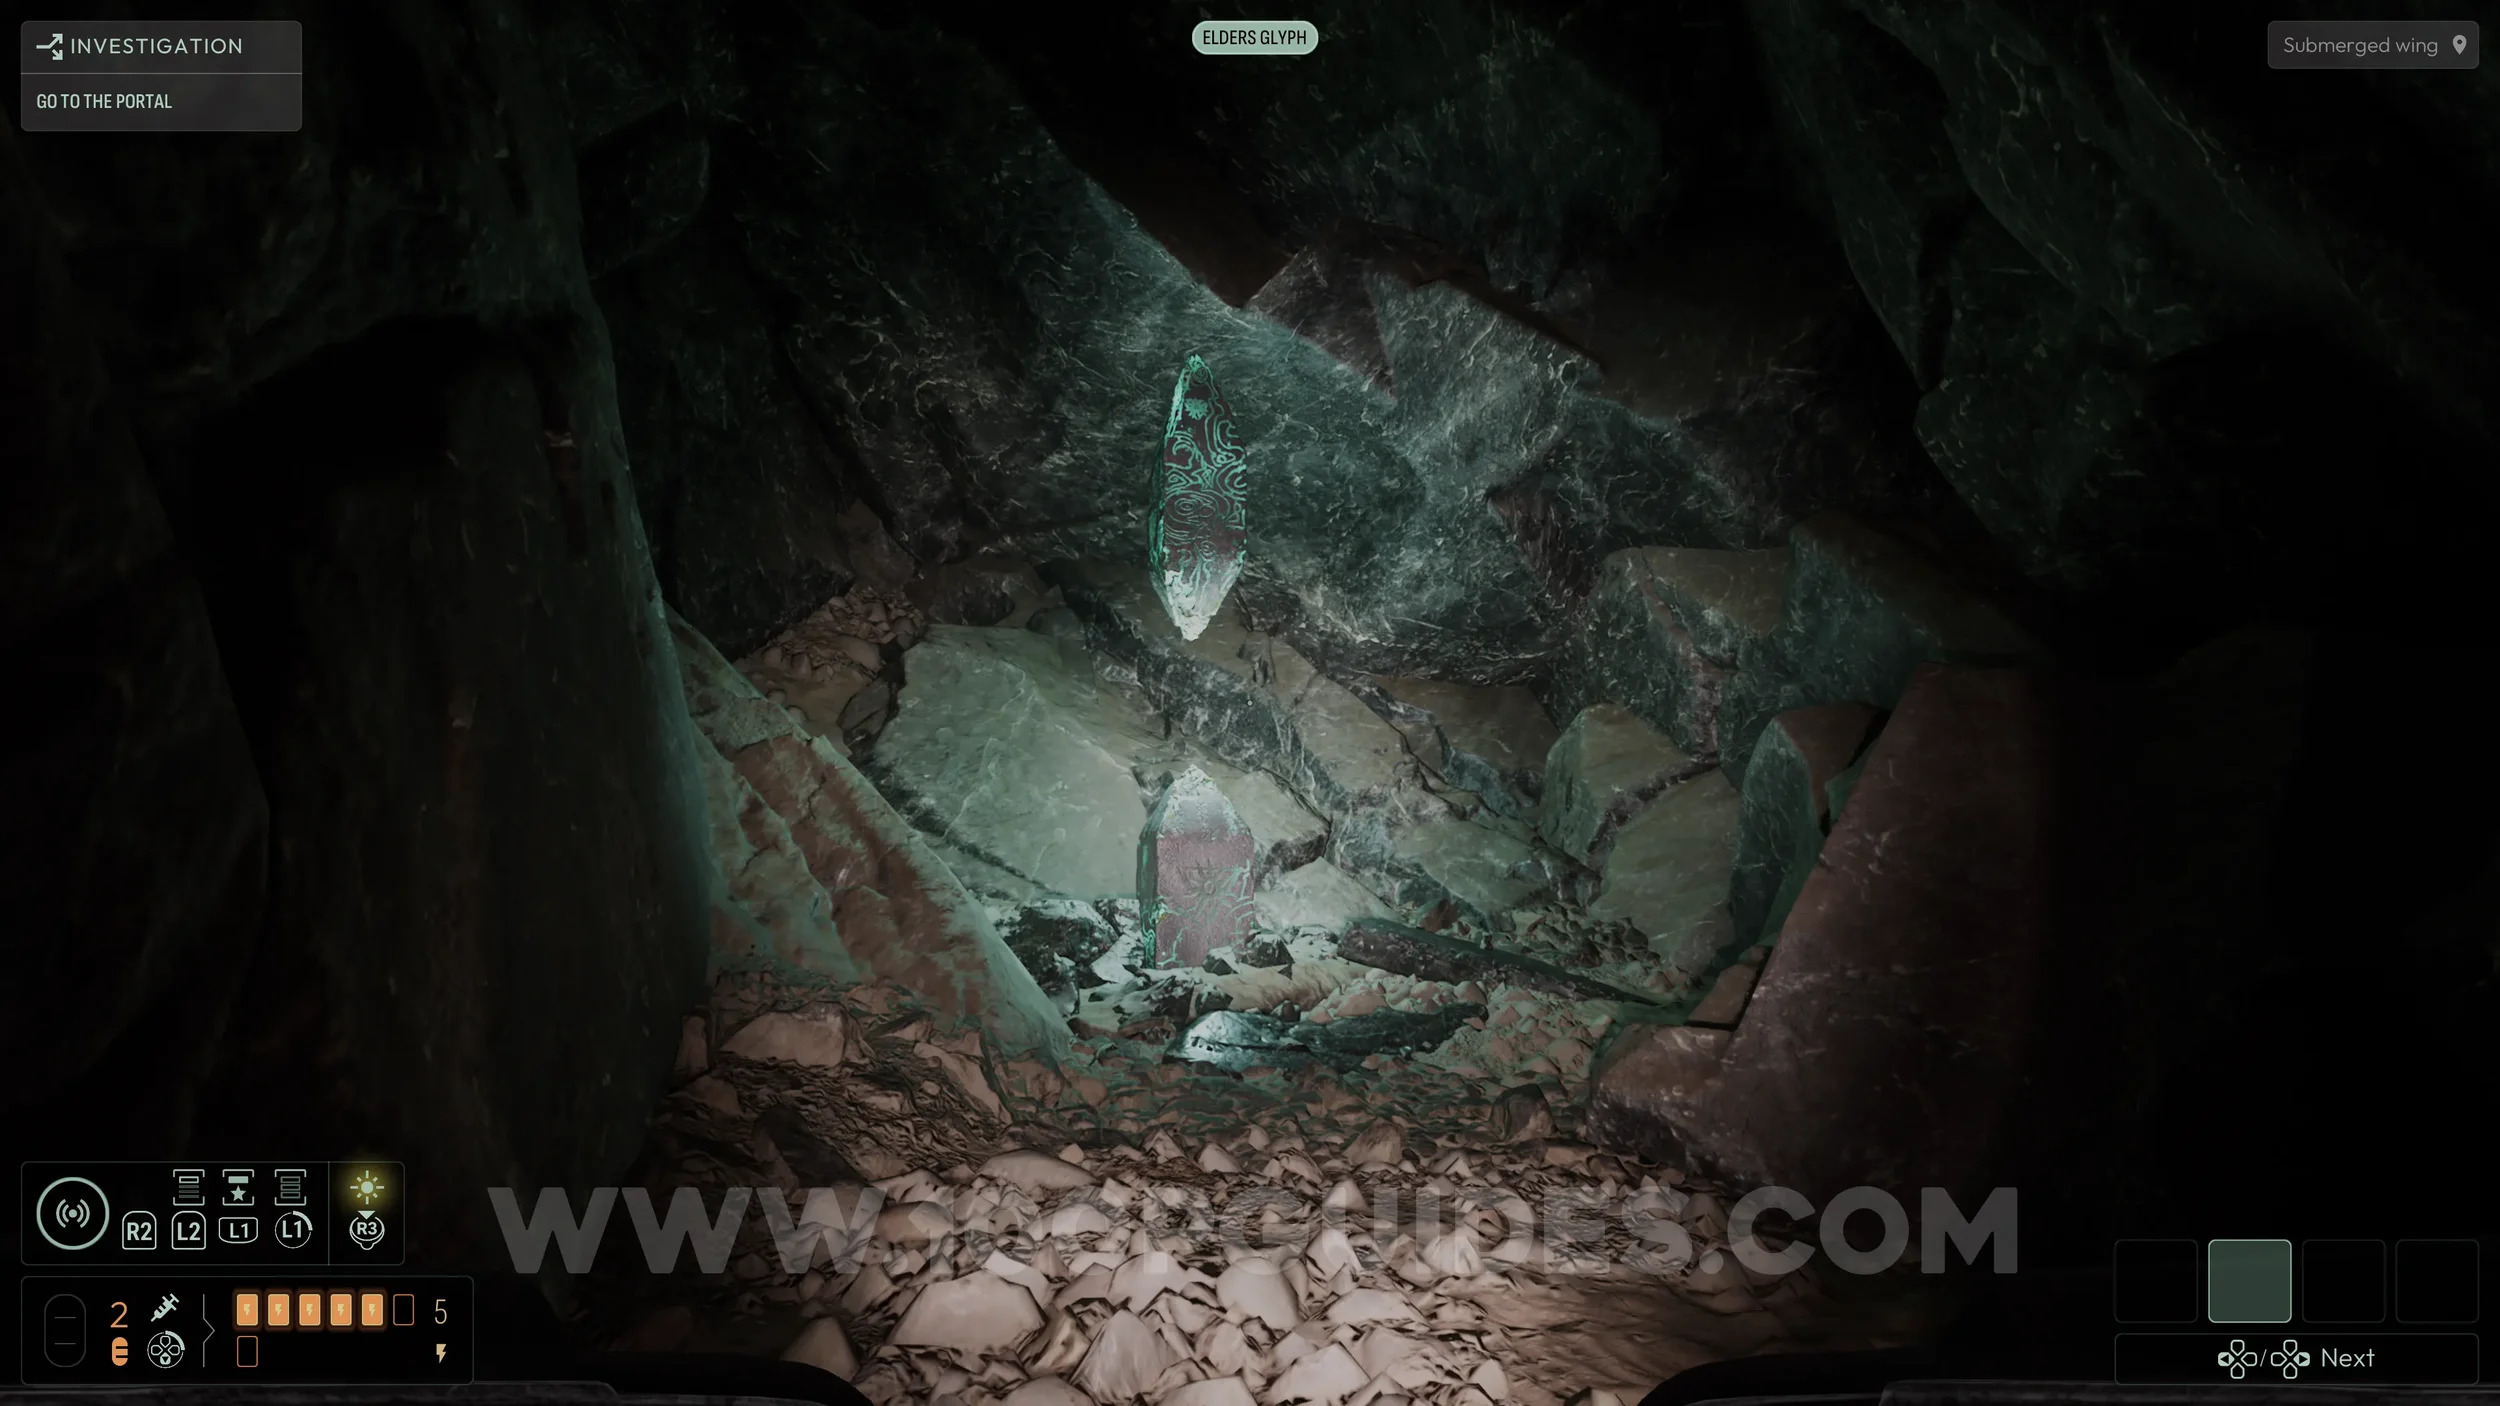
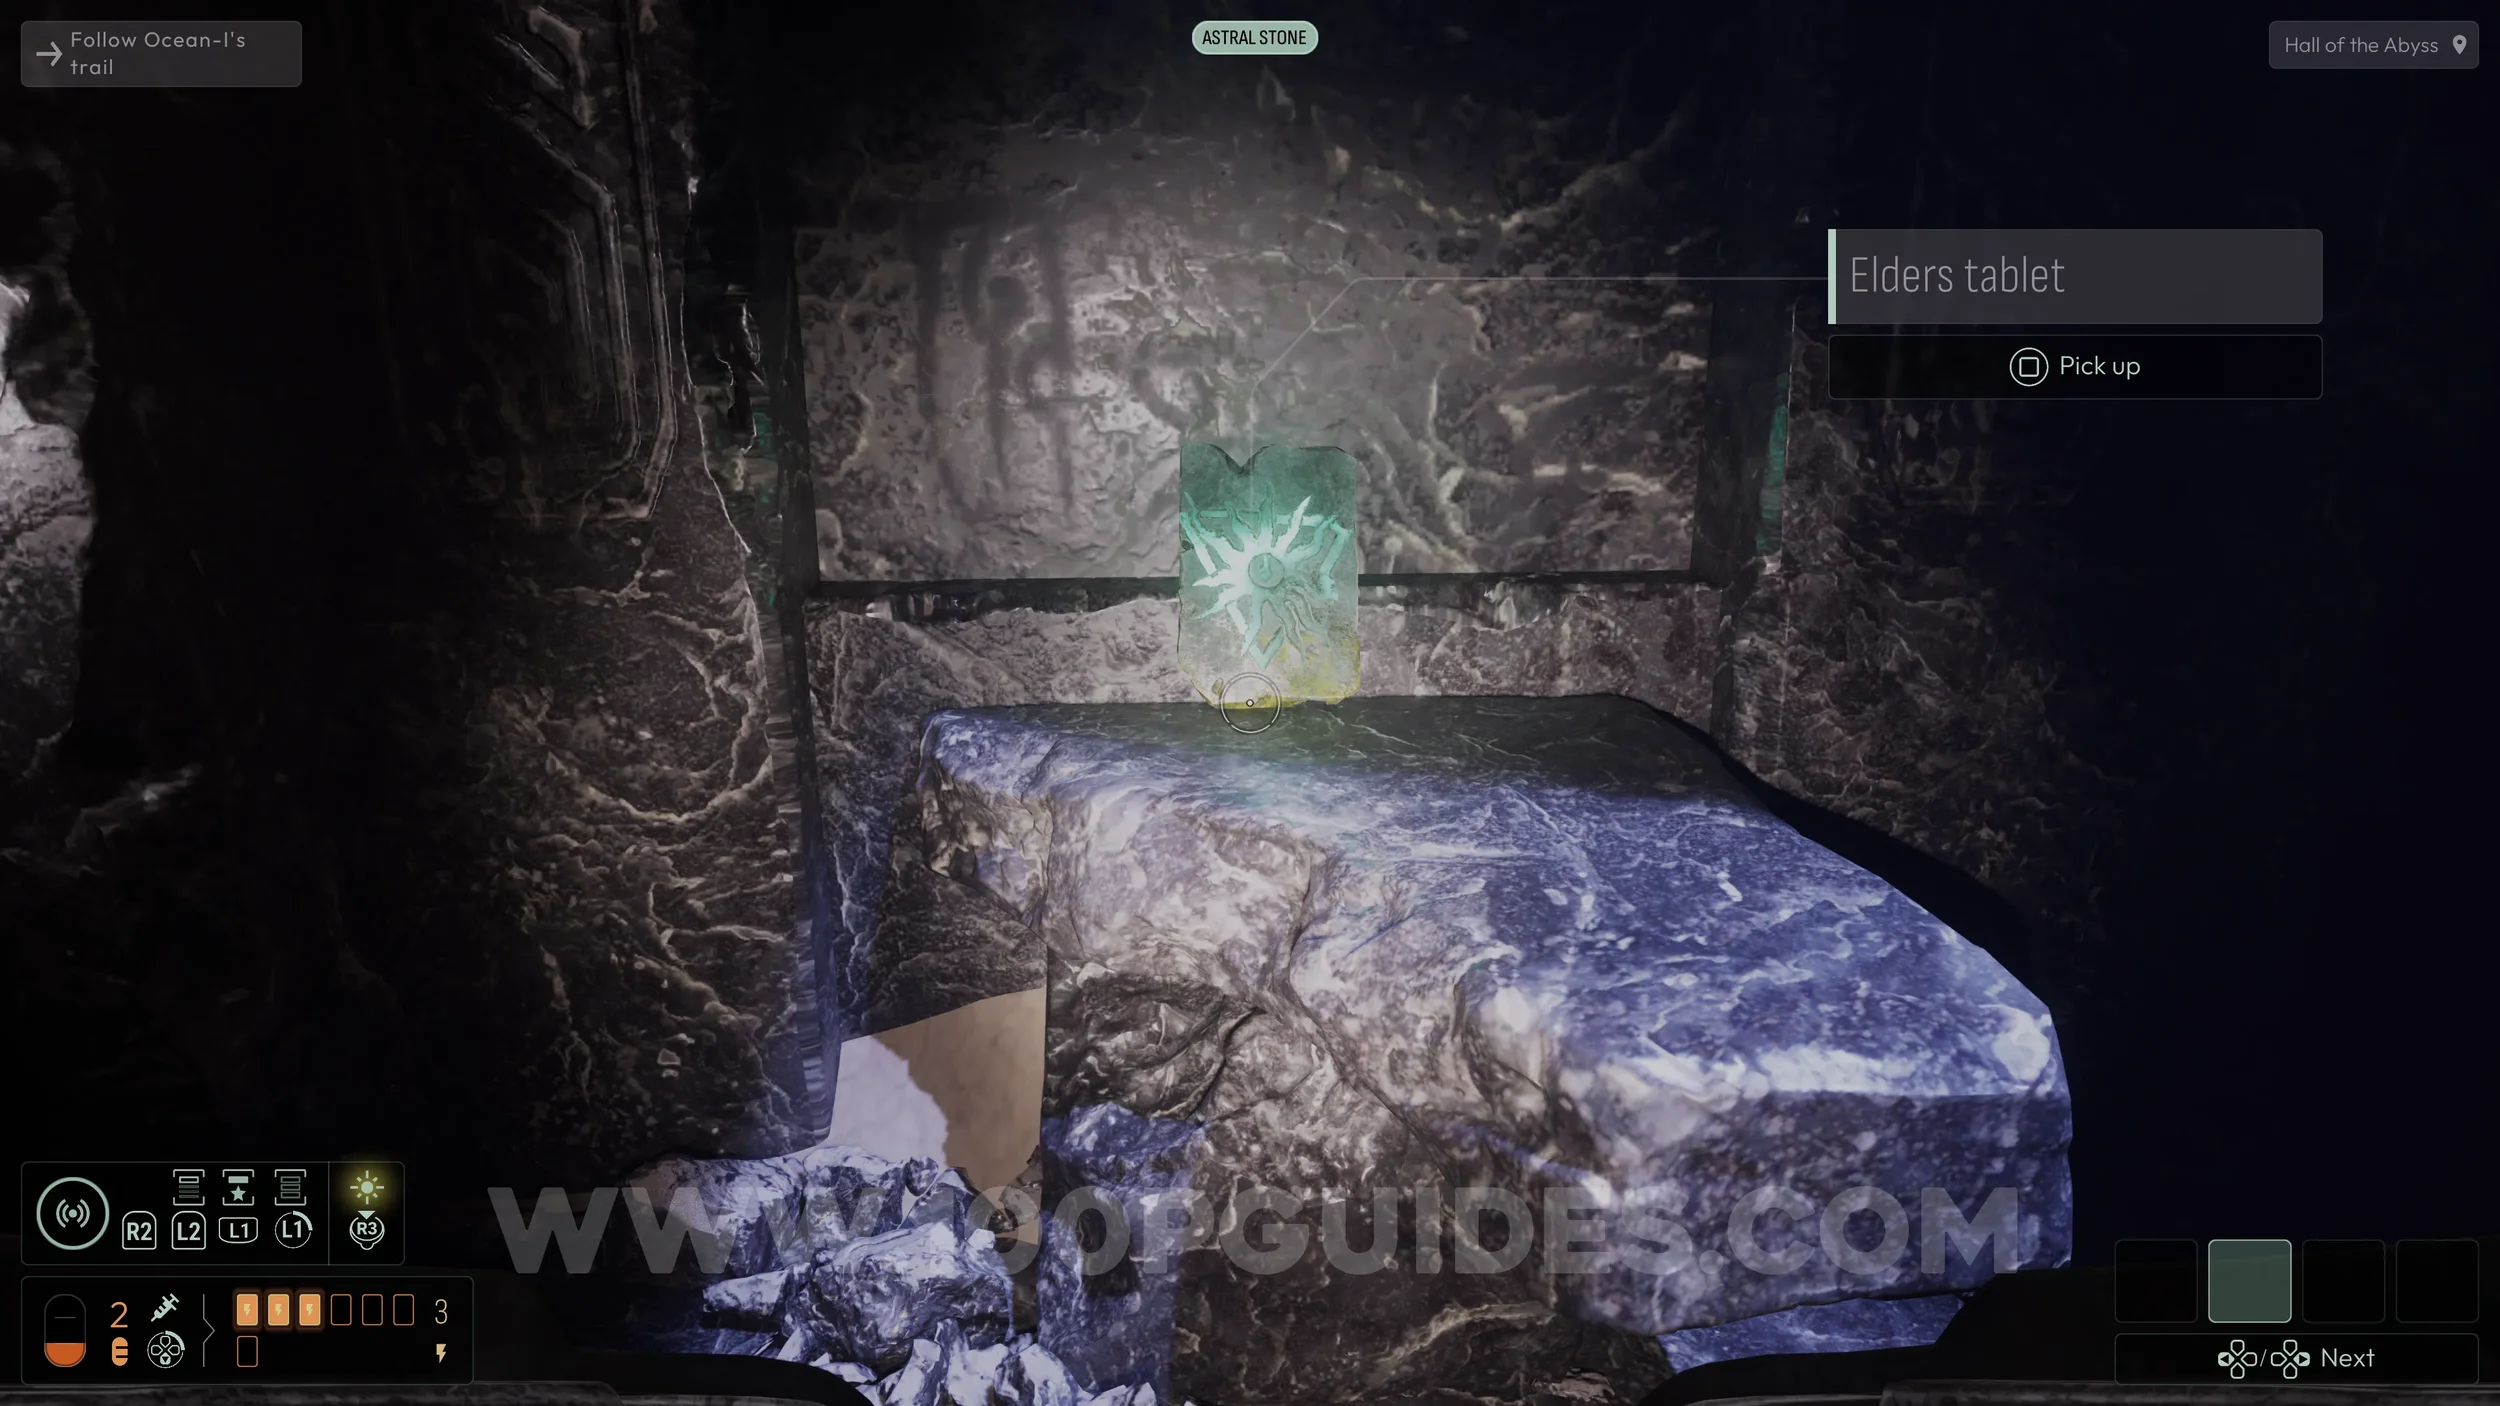
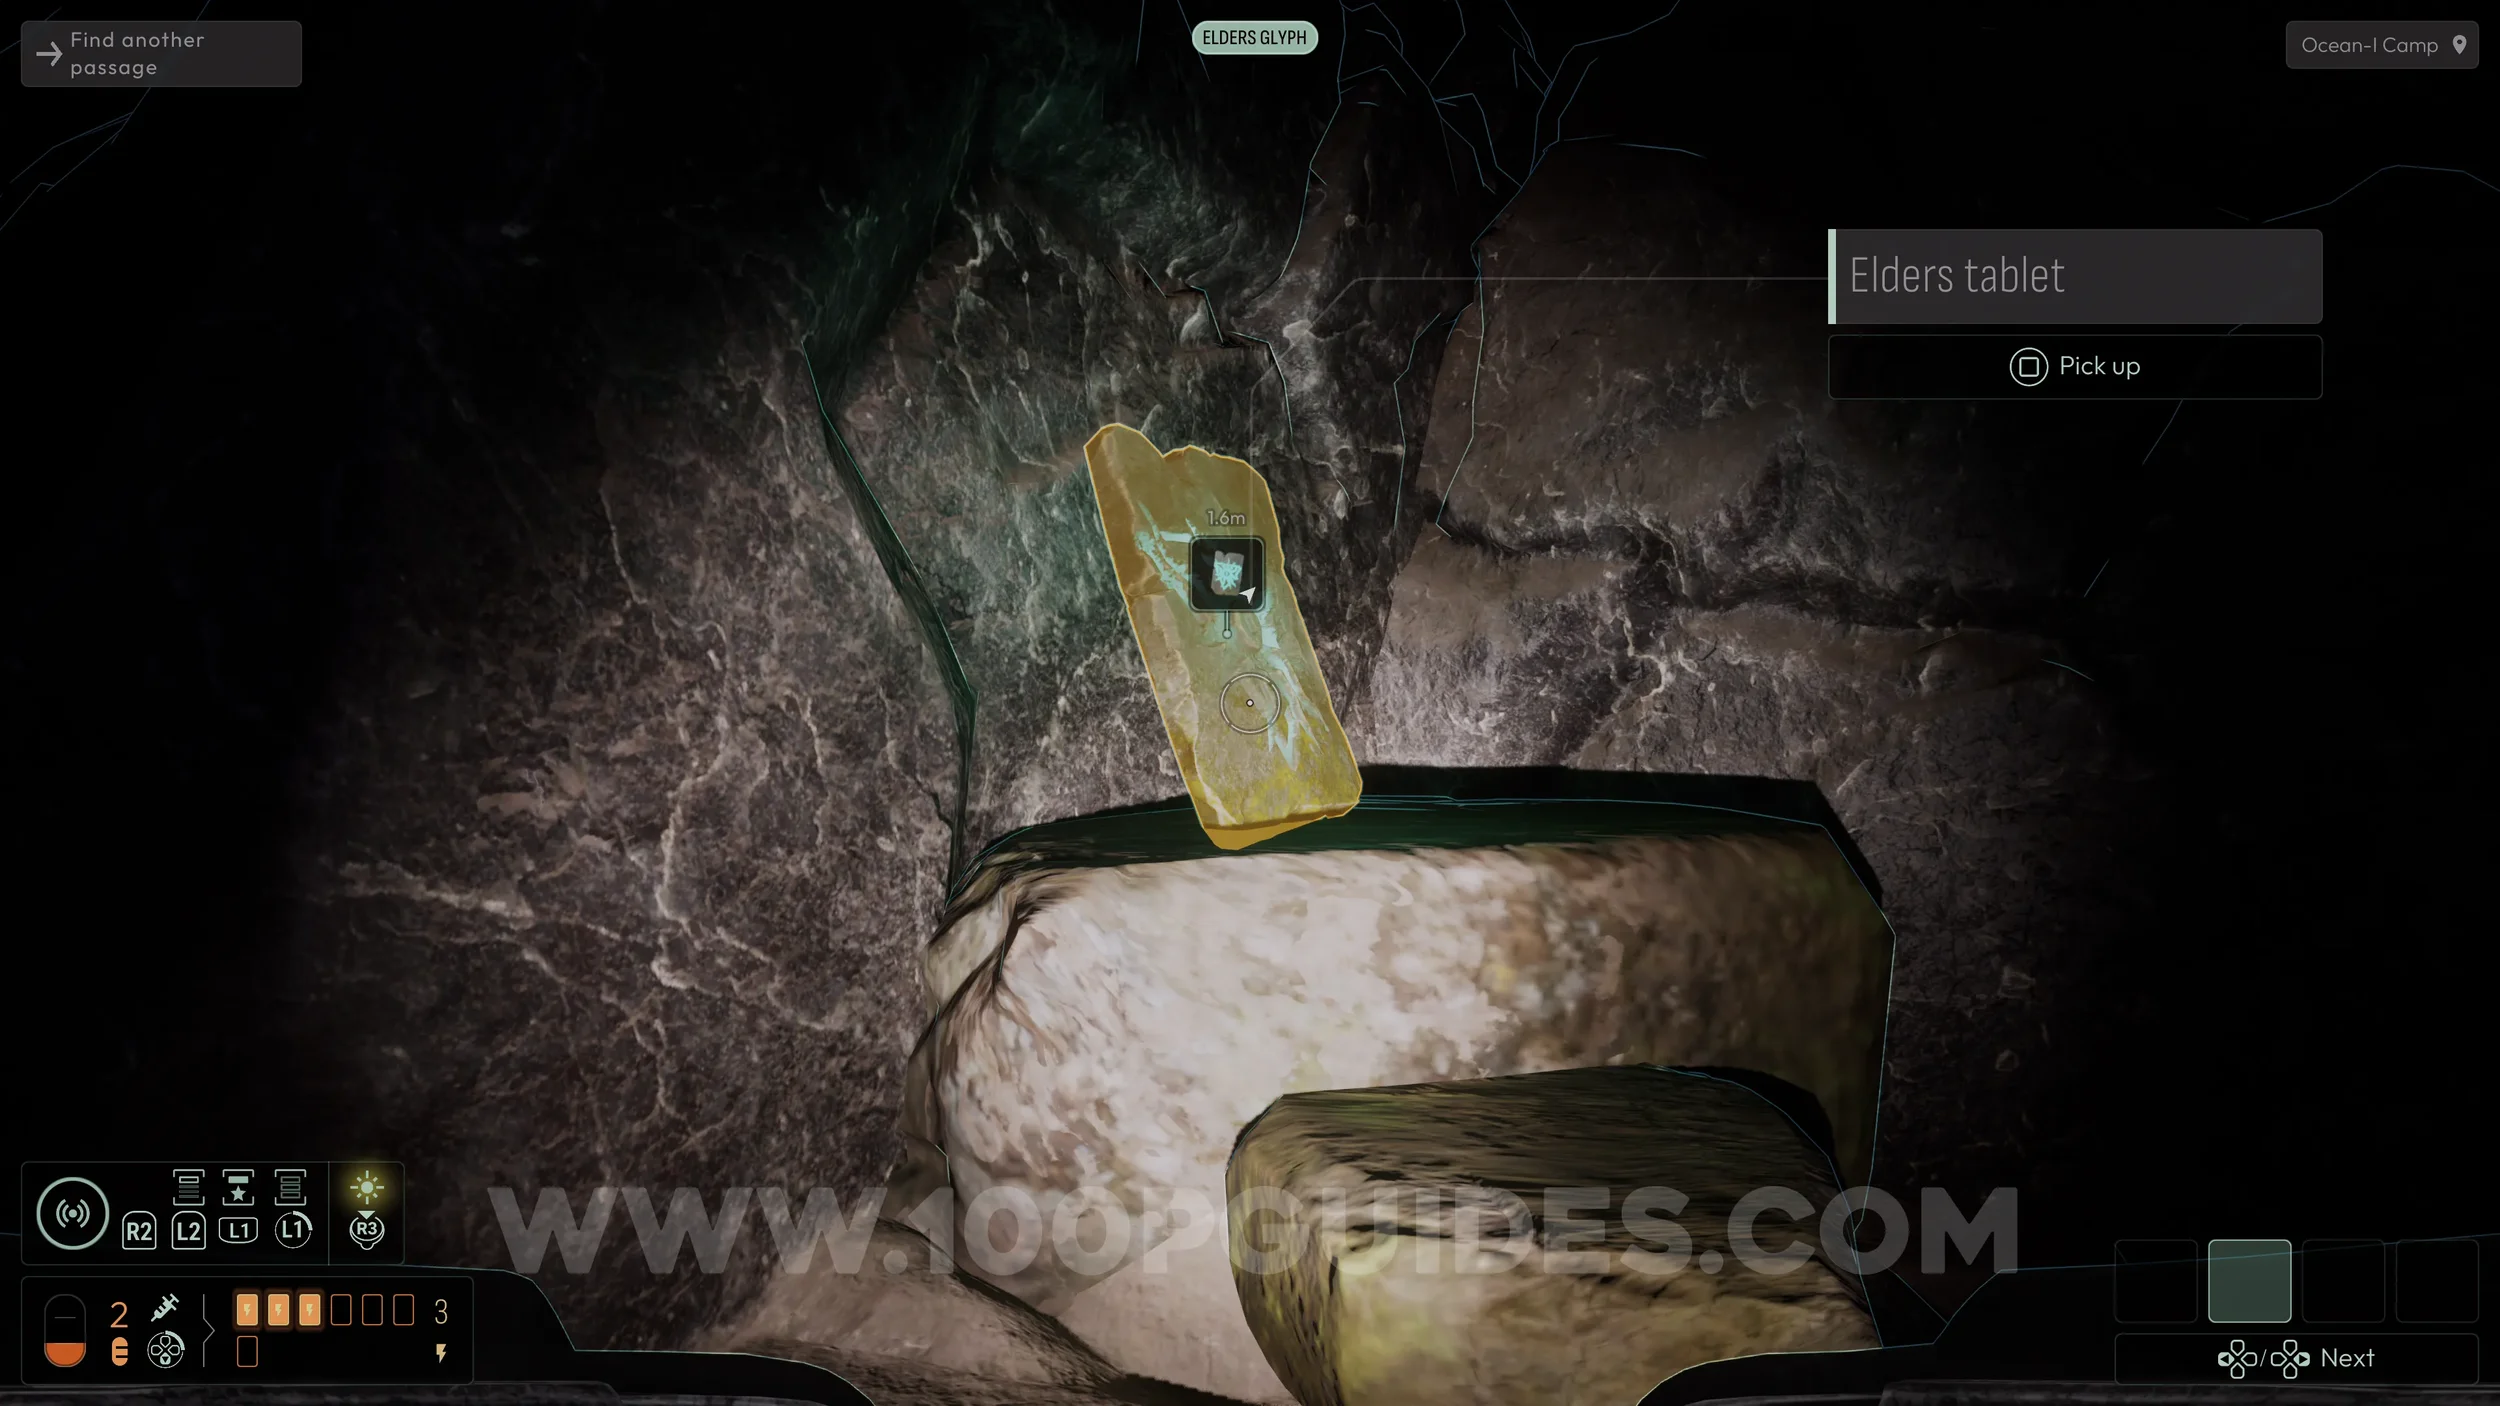
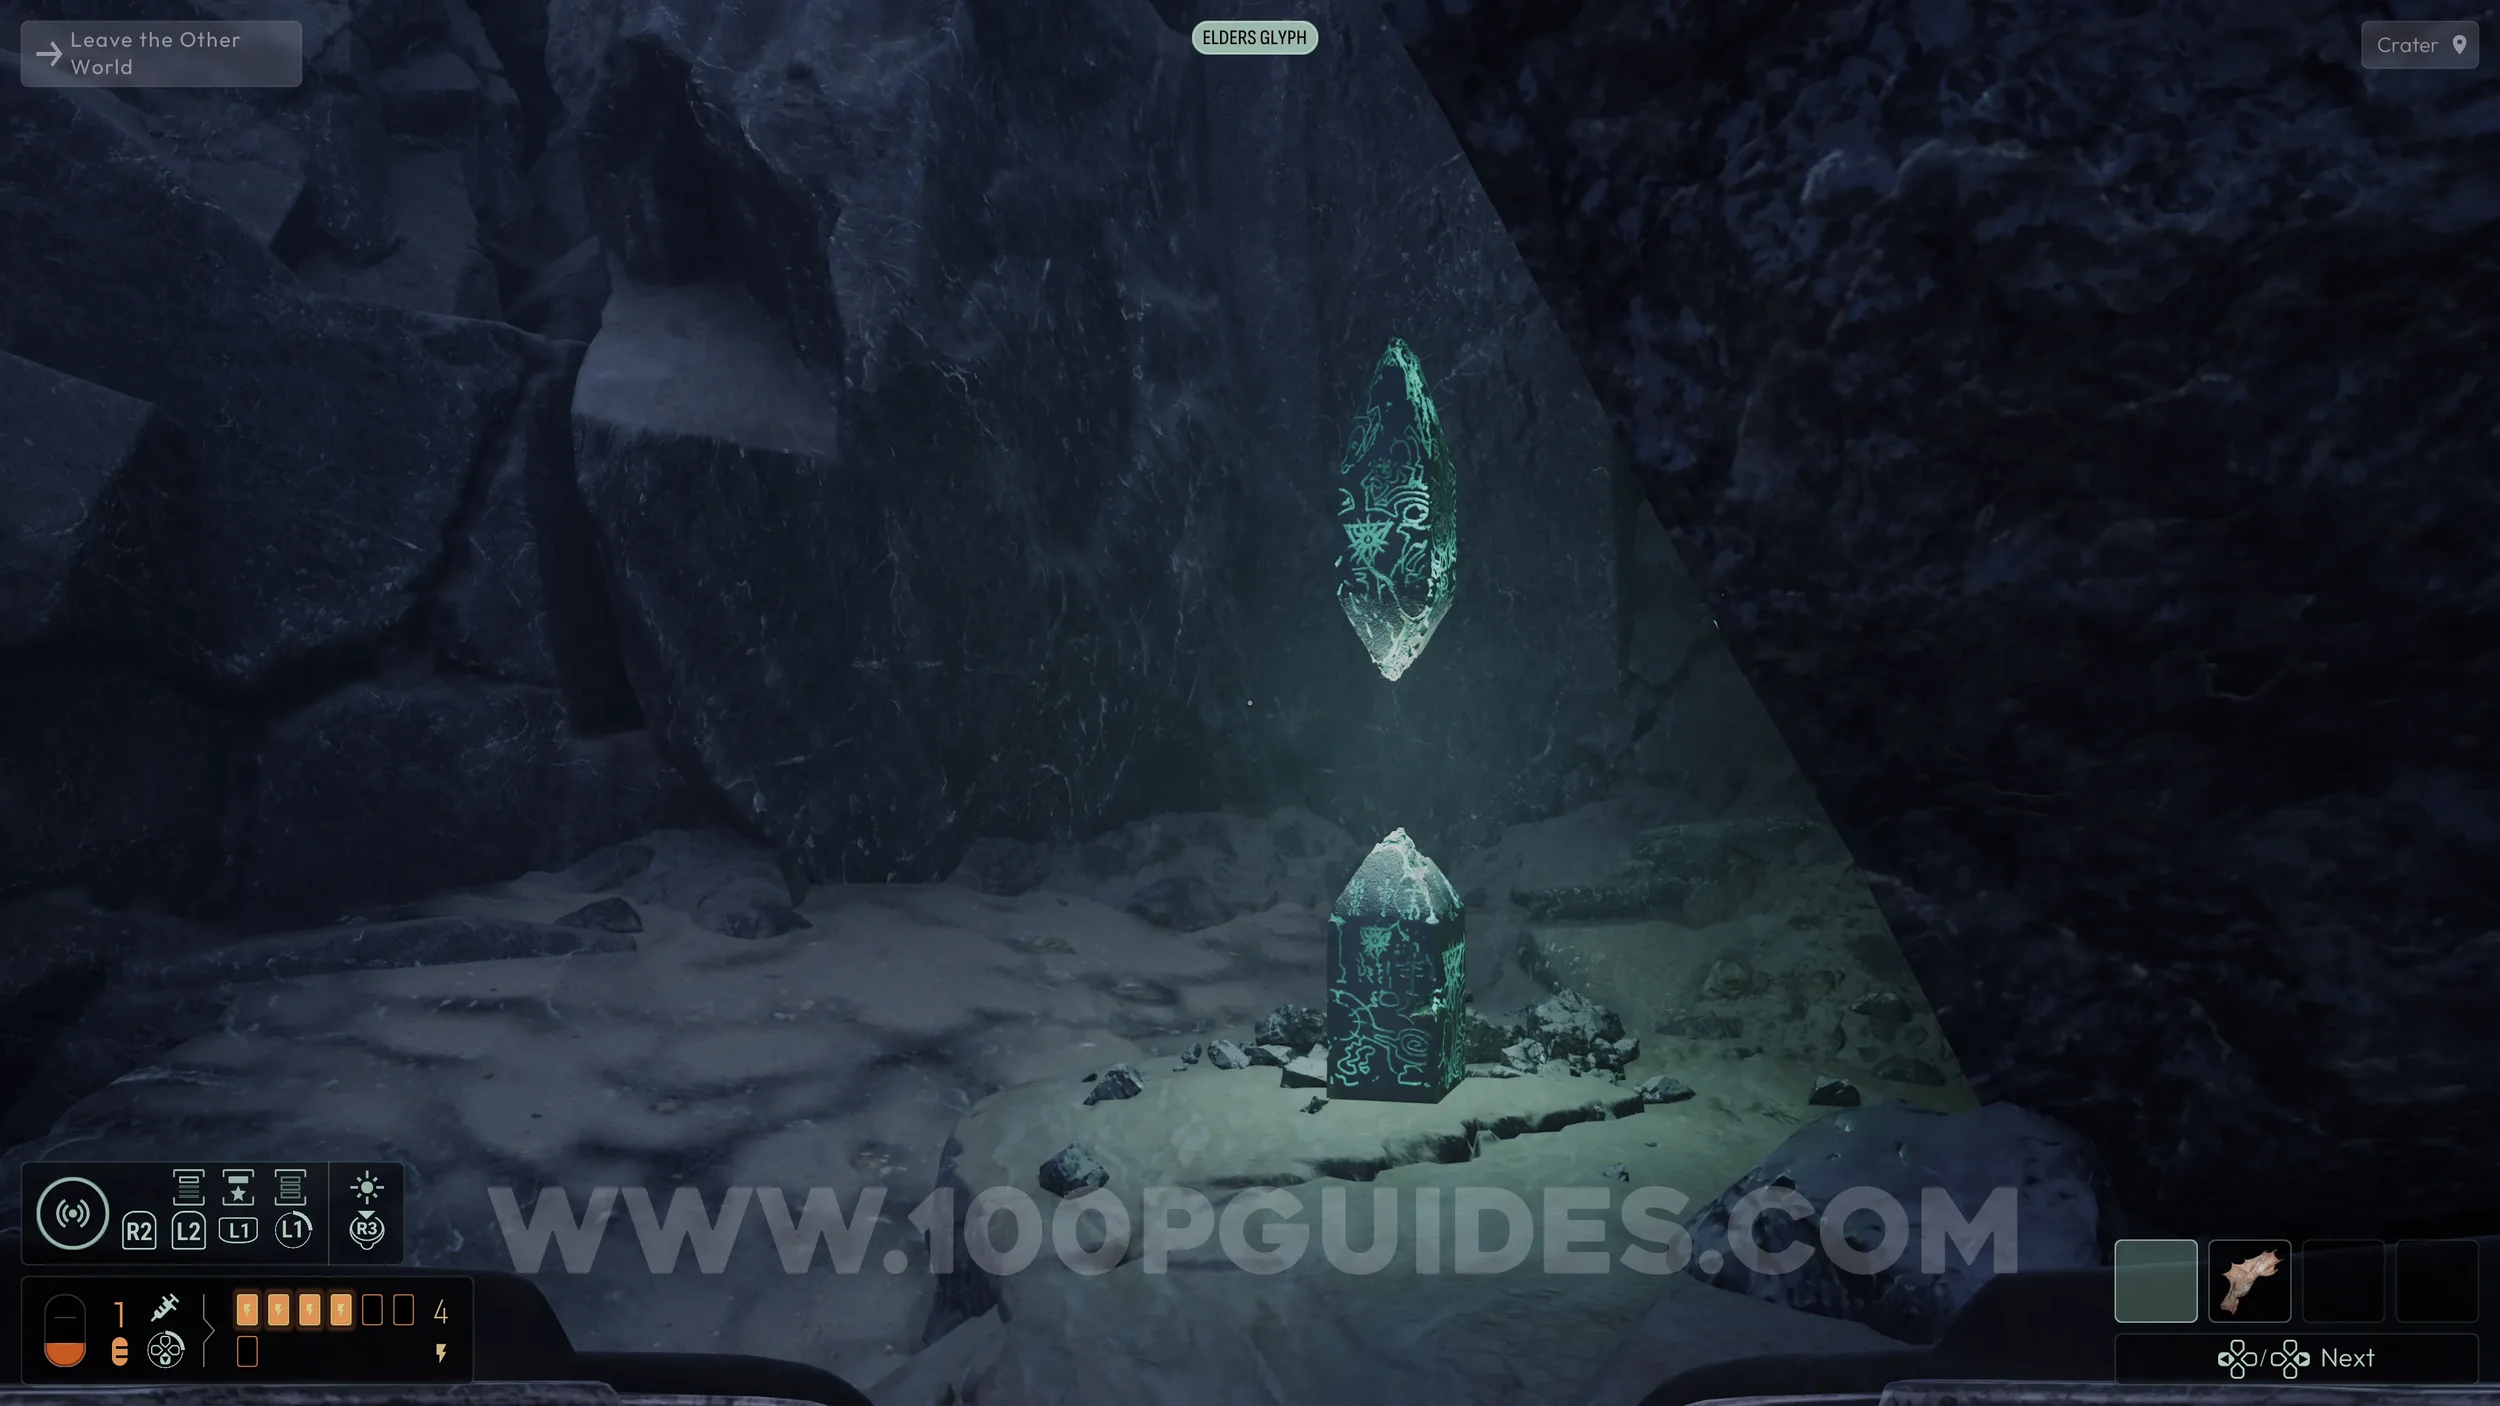
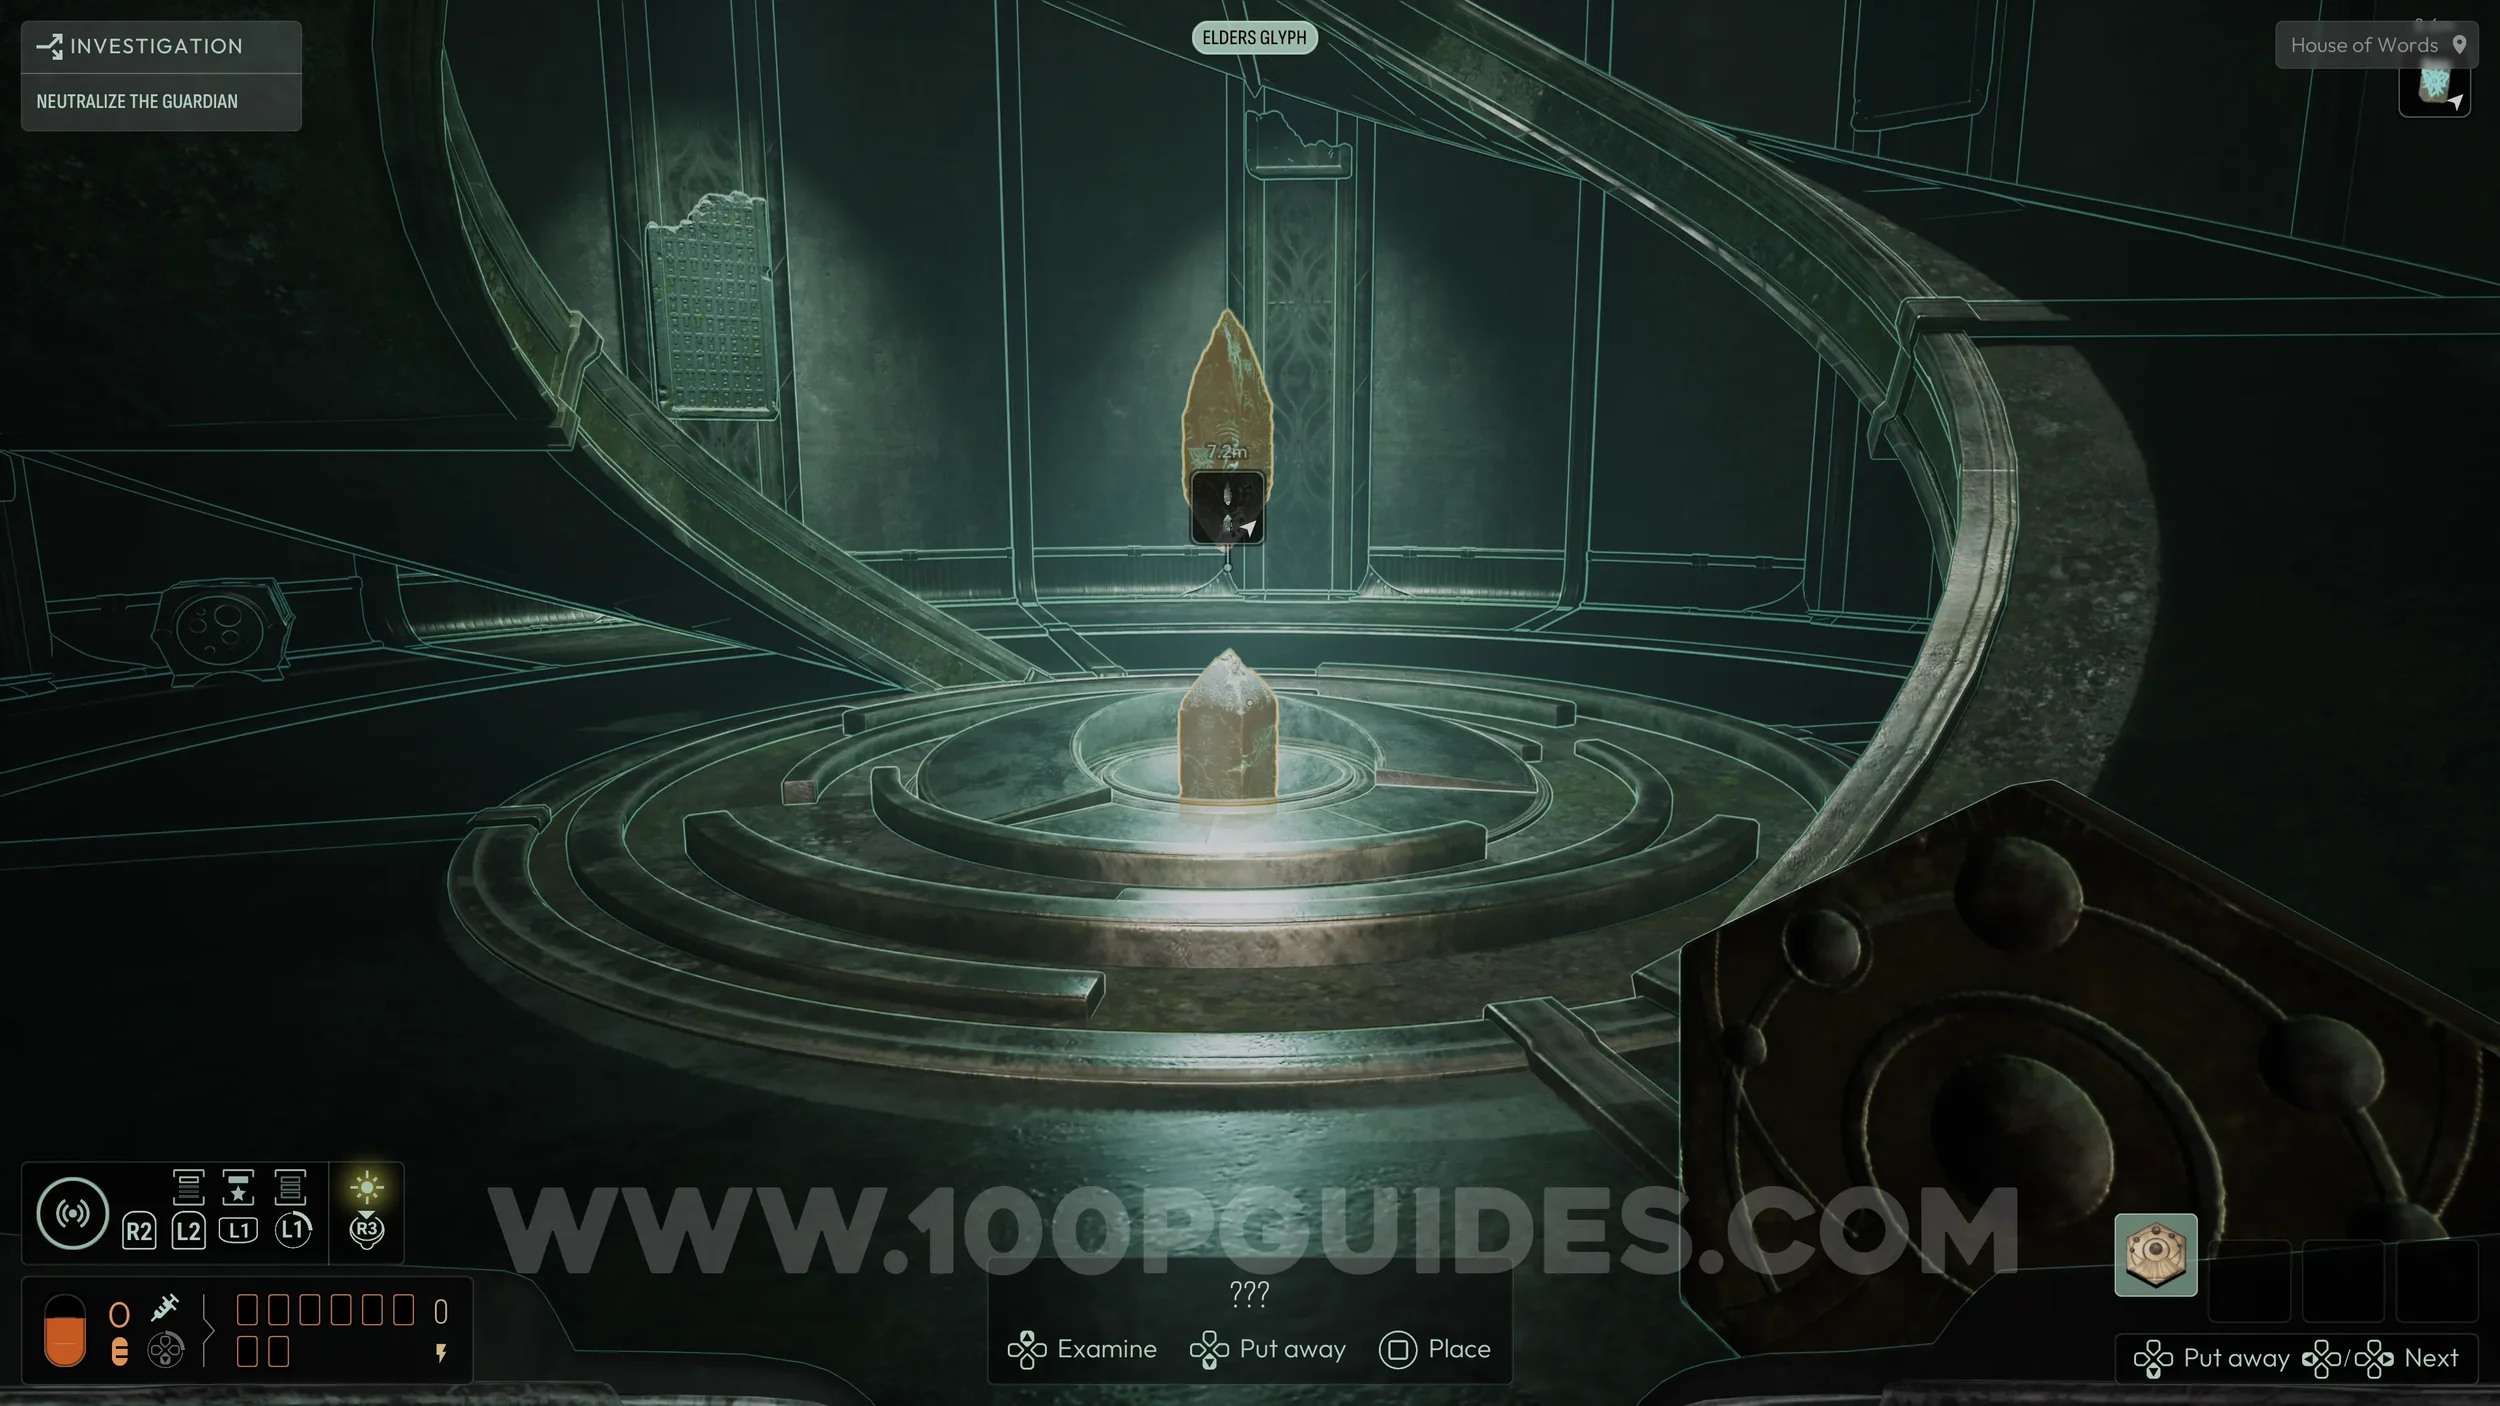
From the pedestal, go through the opening on the left to find a tablet. These are Elder Glyphs, which unlock new Evolutions (1/15). These are passive abilities that can be equipped through the Control menu using the touch pad and L1. You will need to find all 15 to earn the Augmented Agent trophy.
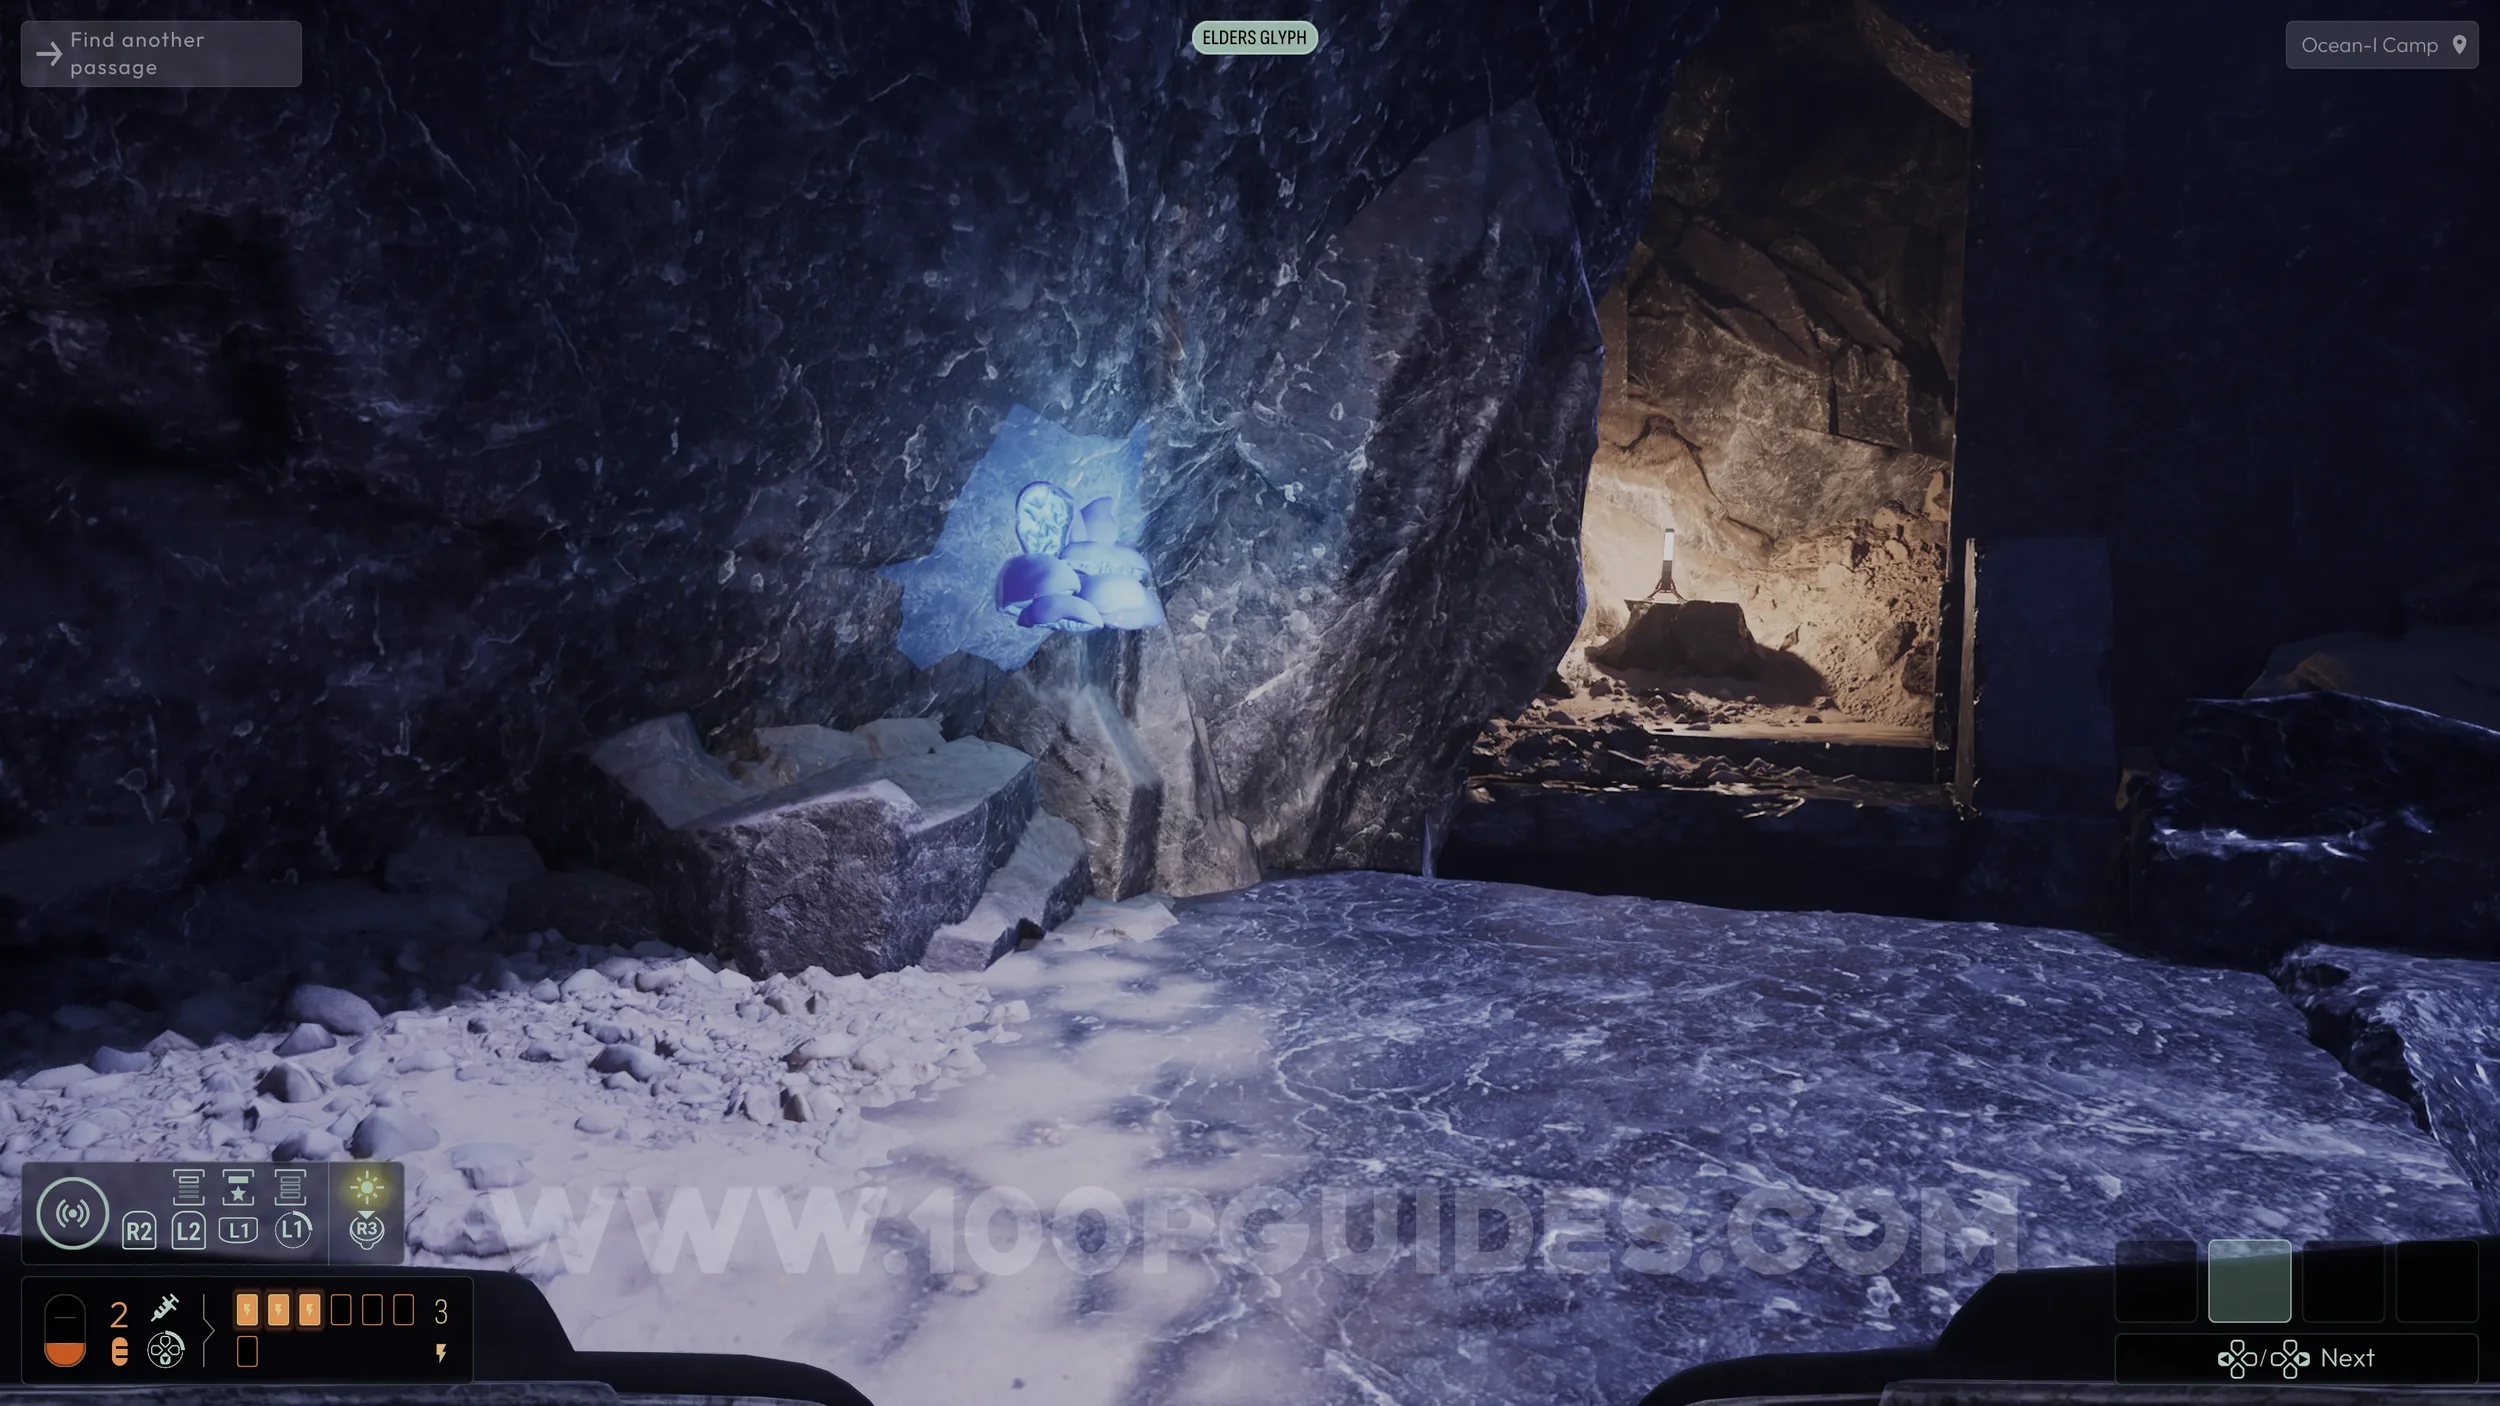
After picking up the glyph, return to the room with the pedestal and go through the opening on your left, the one marked with the red rope. In the next room, look to the right and examine the tablet on the cave floor. This clue will be used later to complete a deduction.

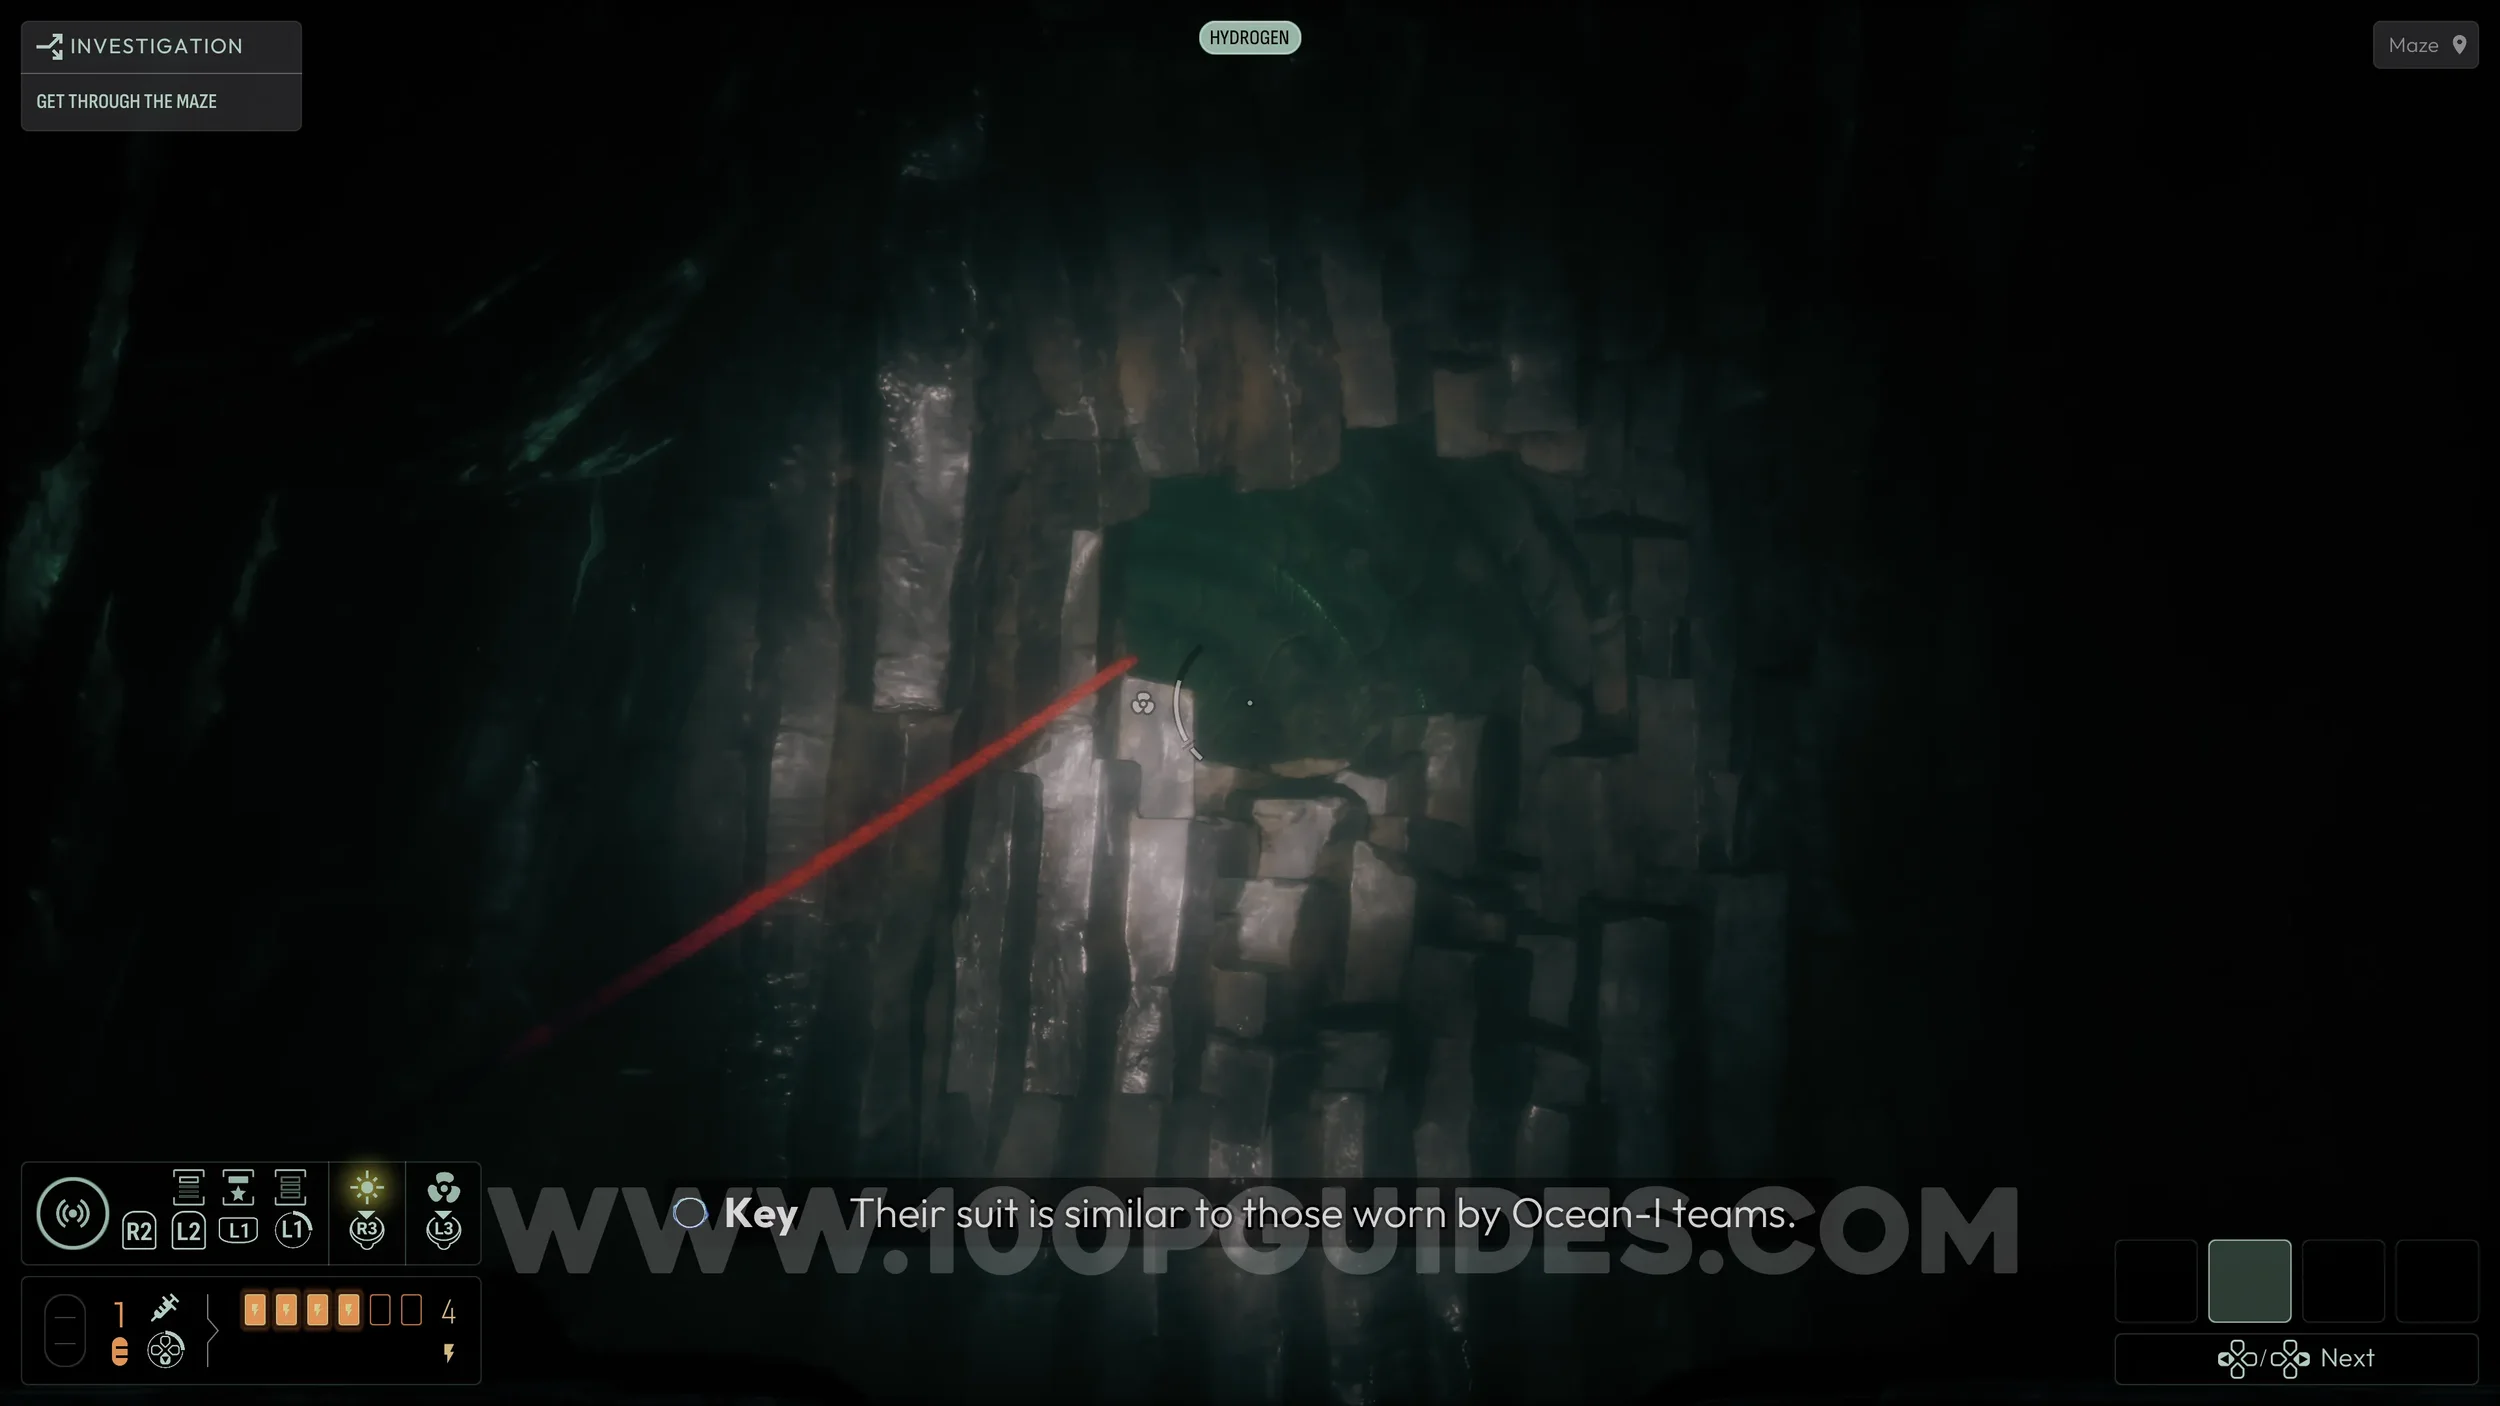
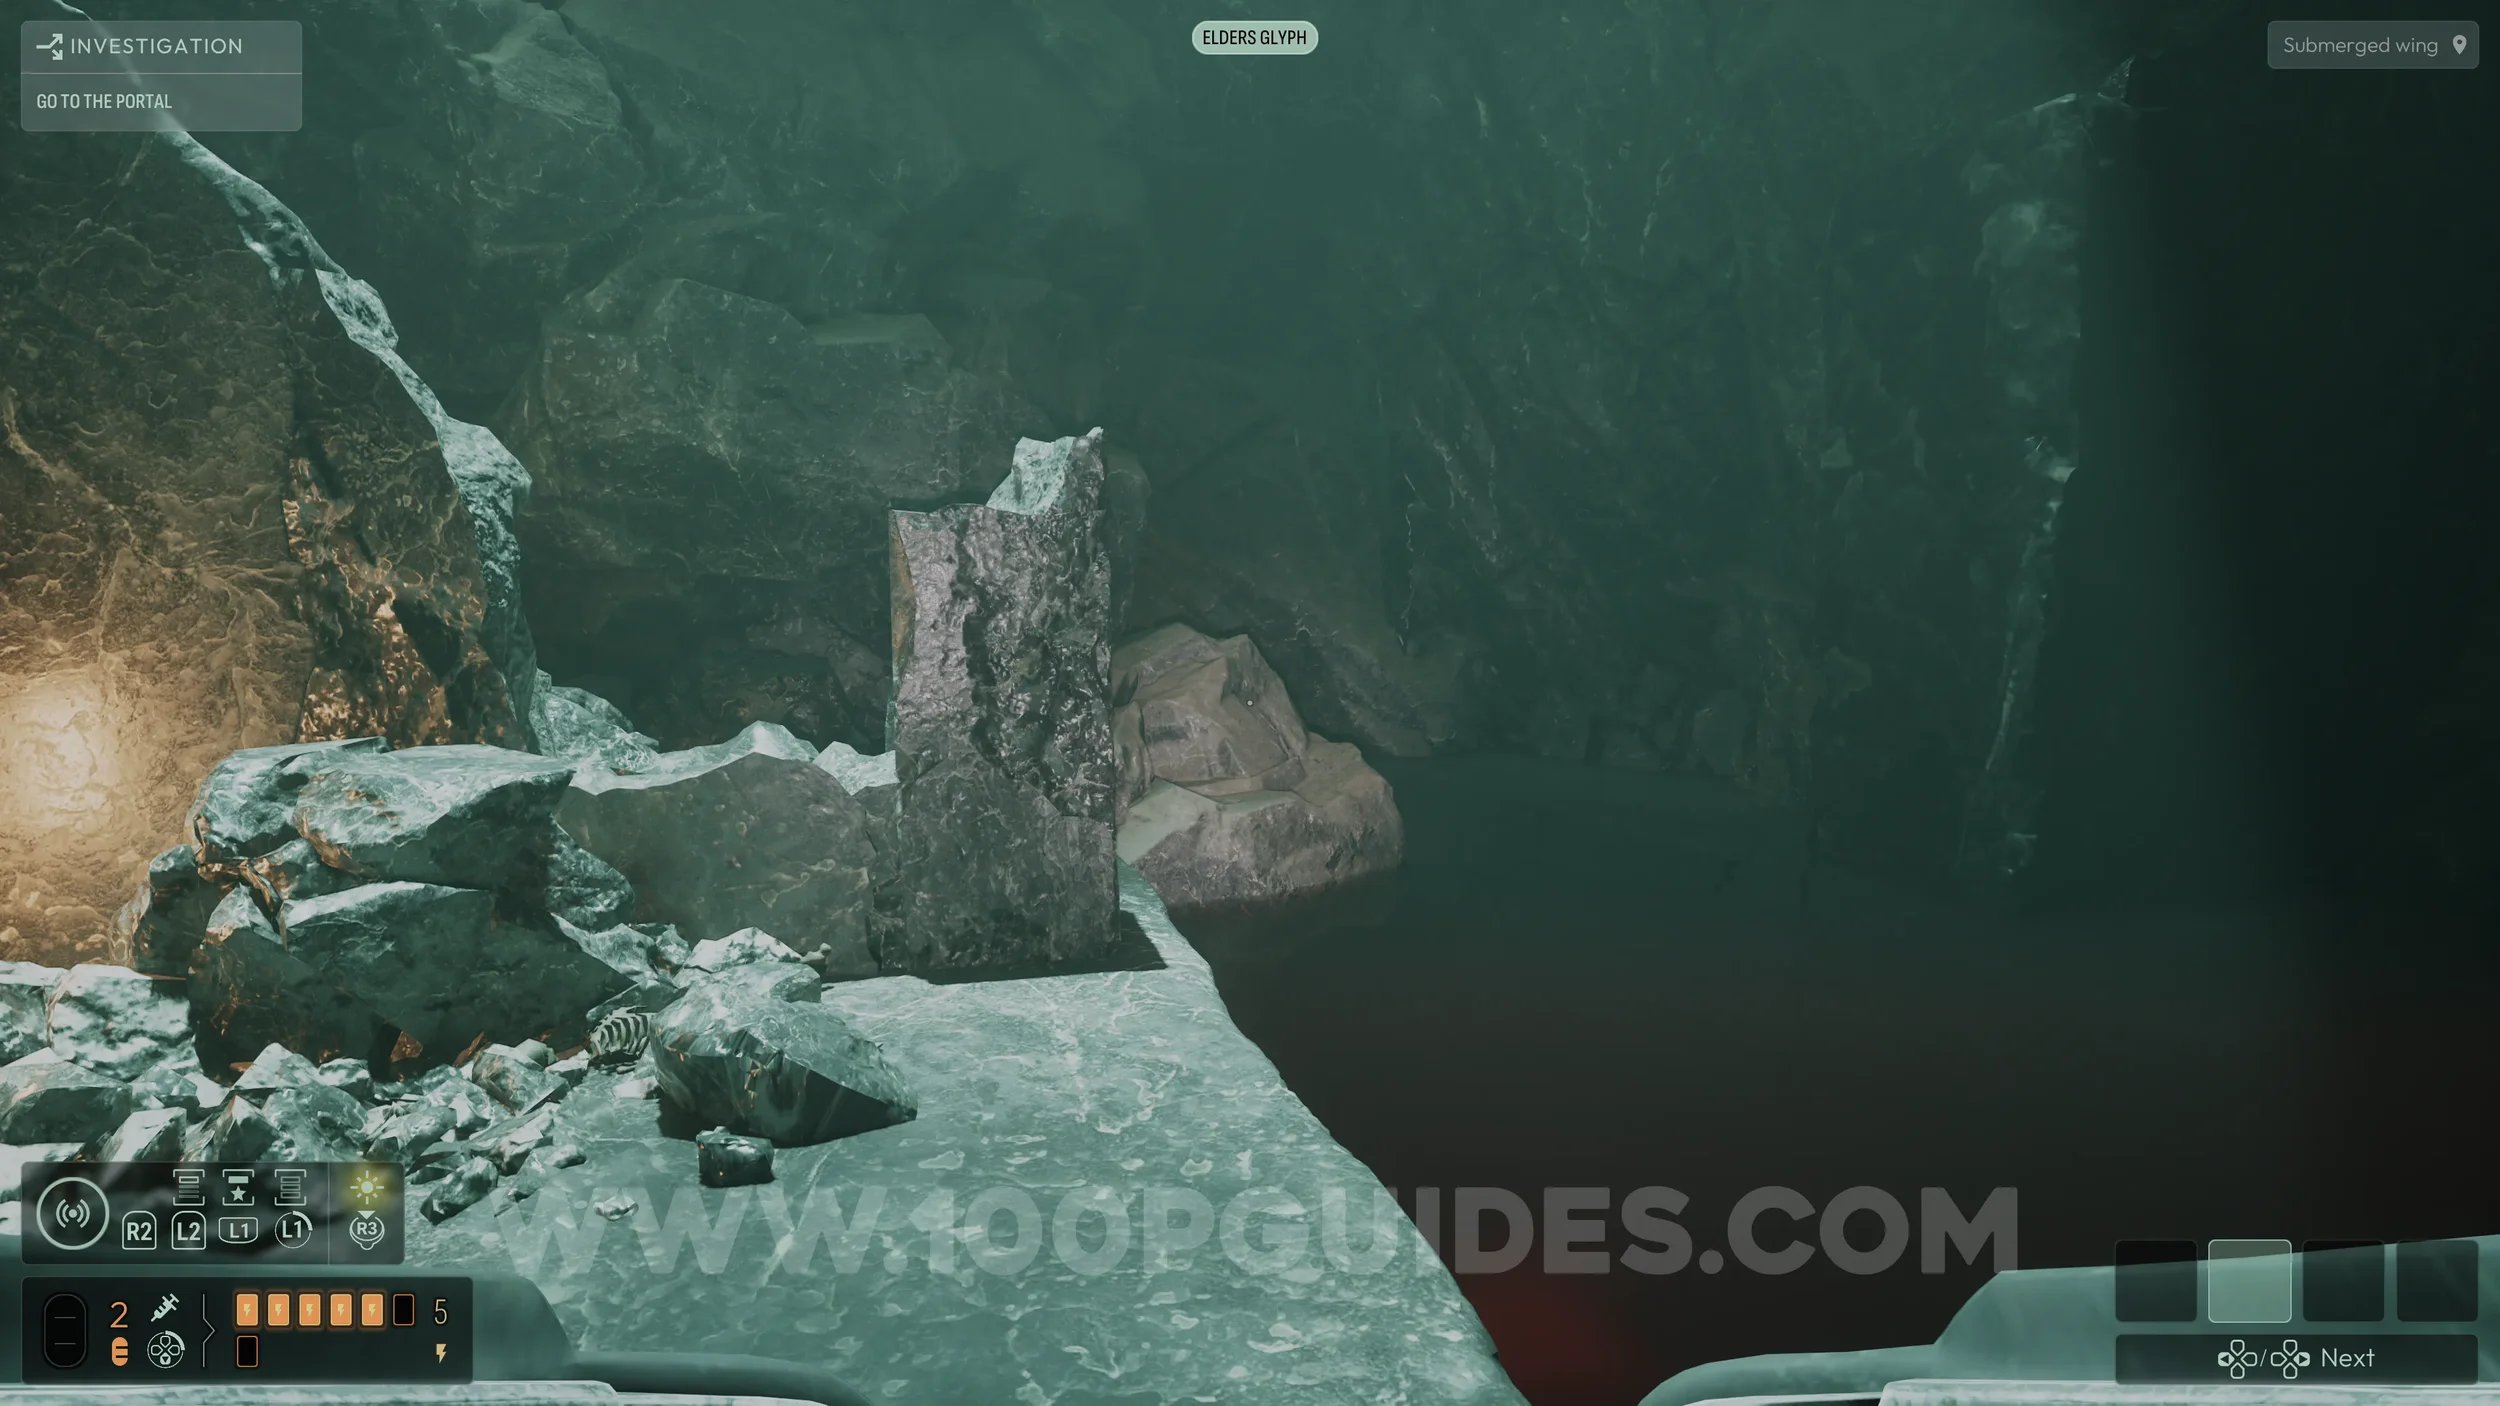
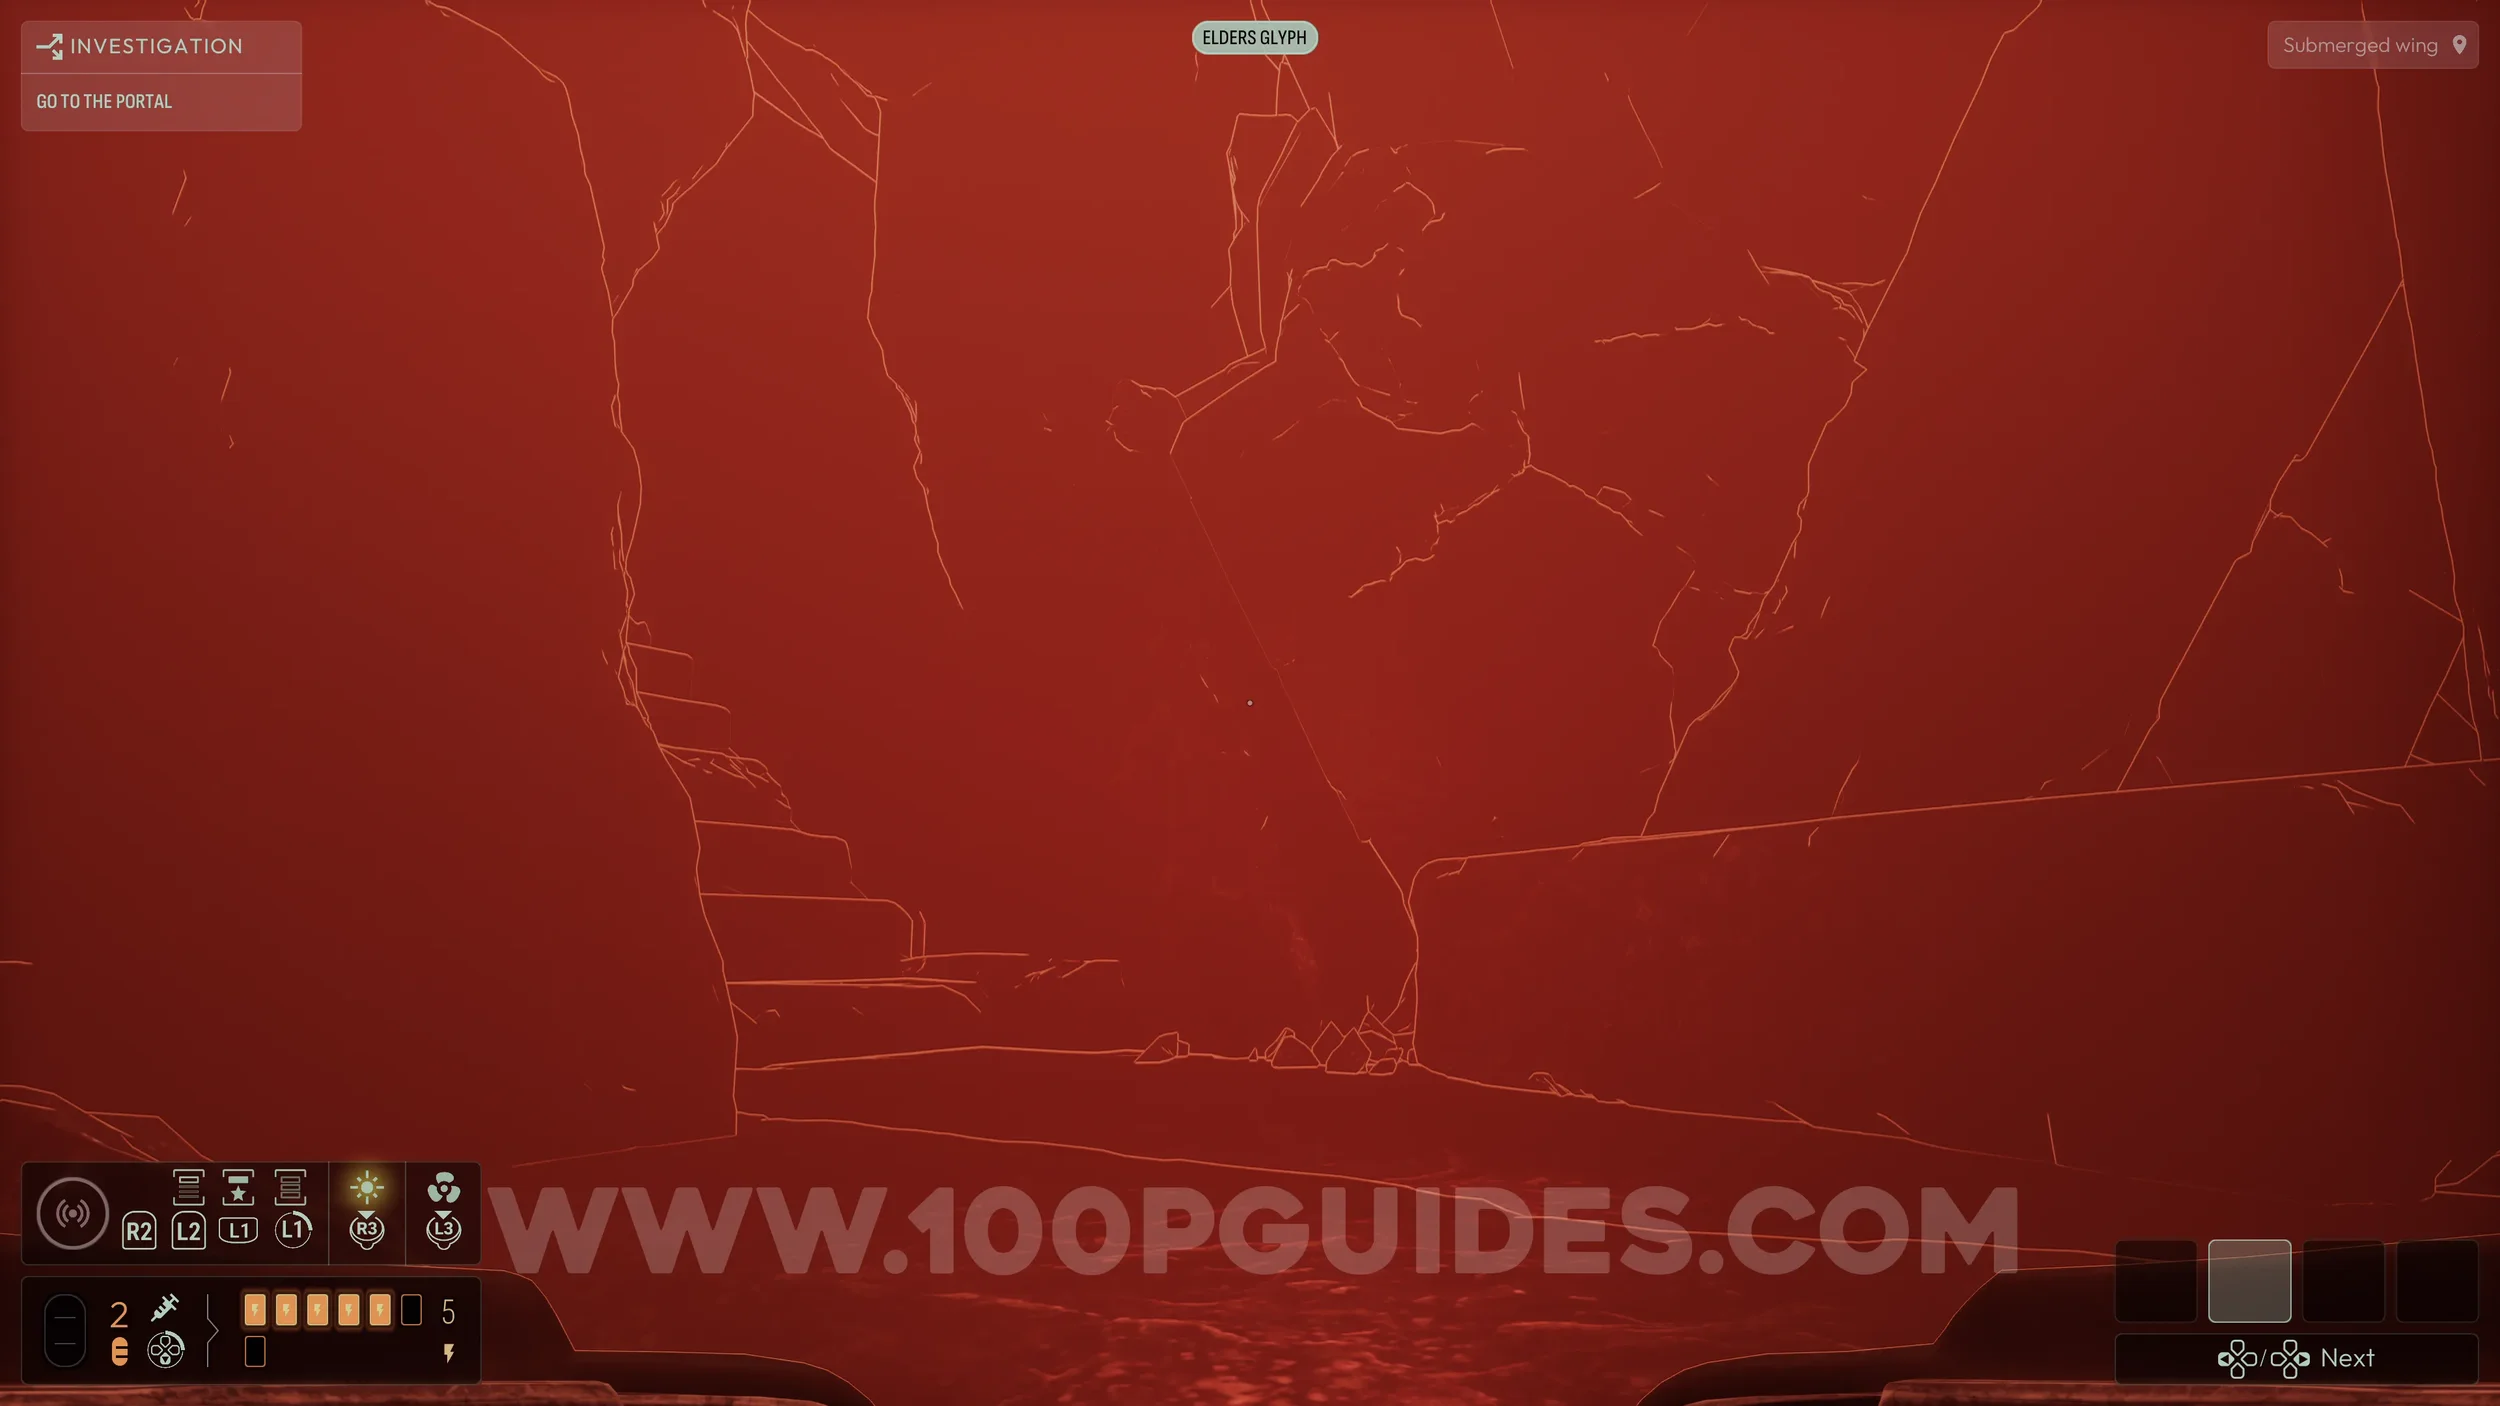
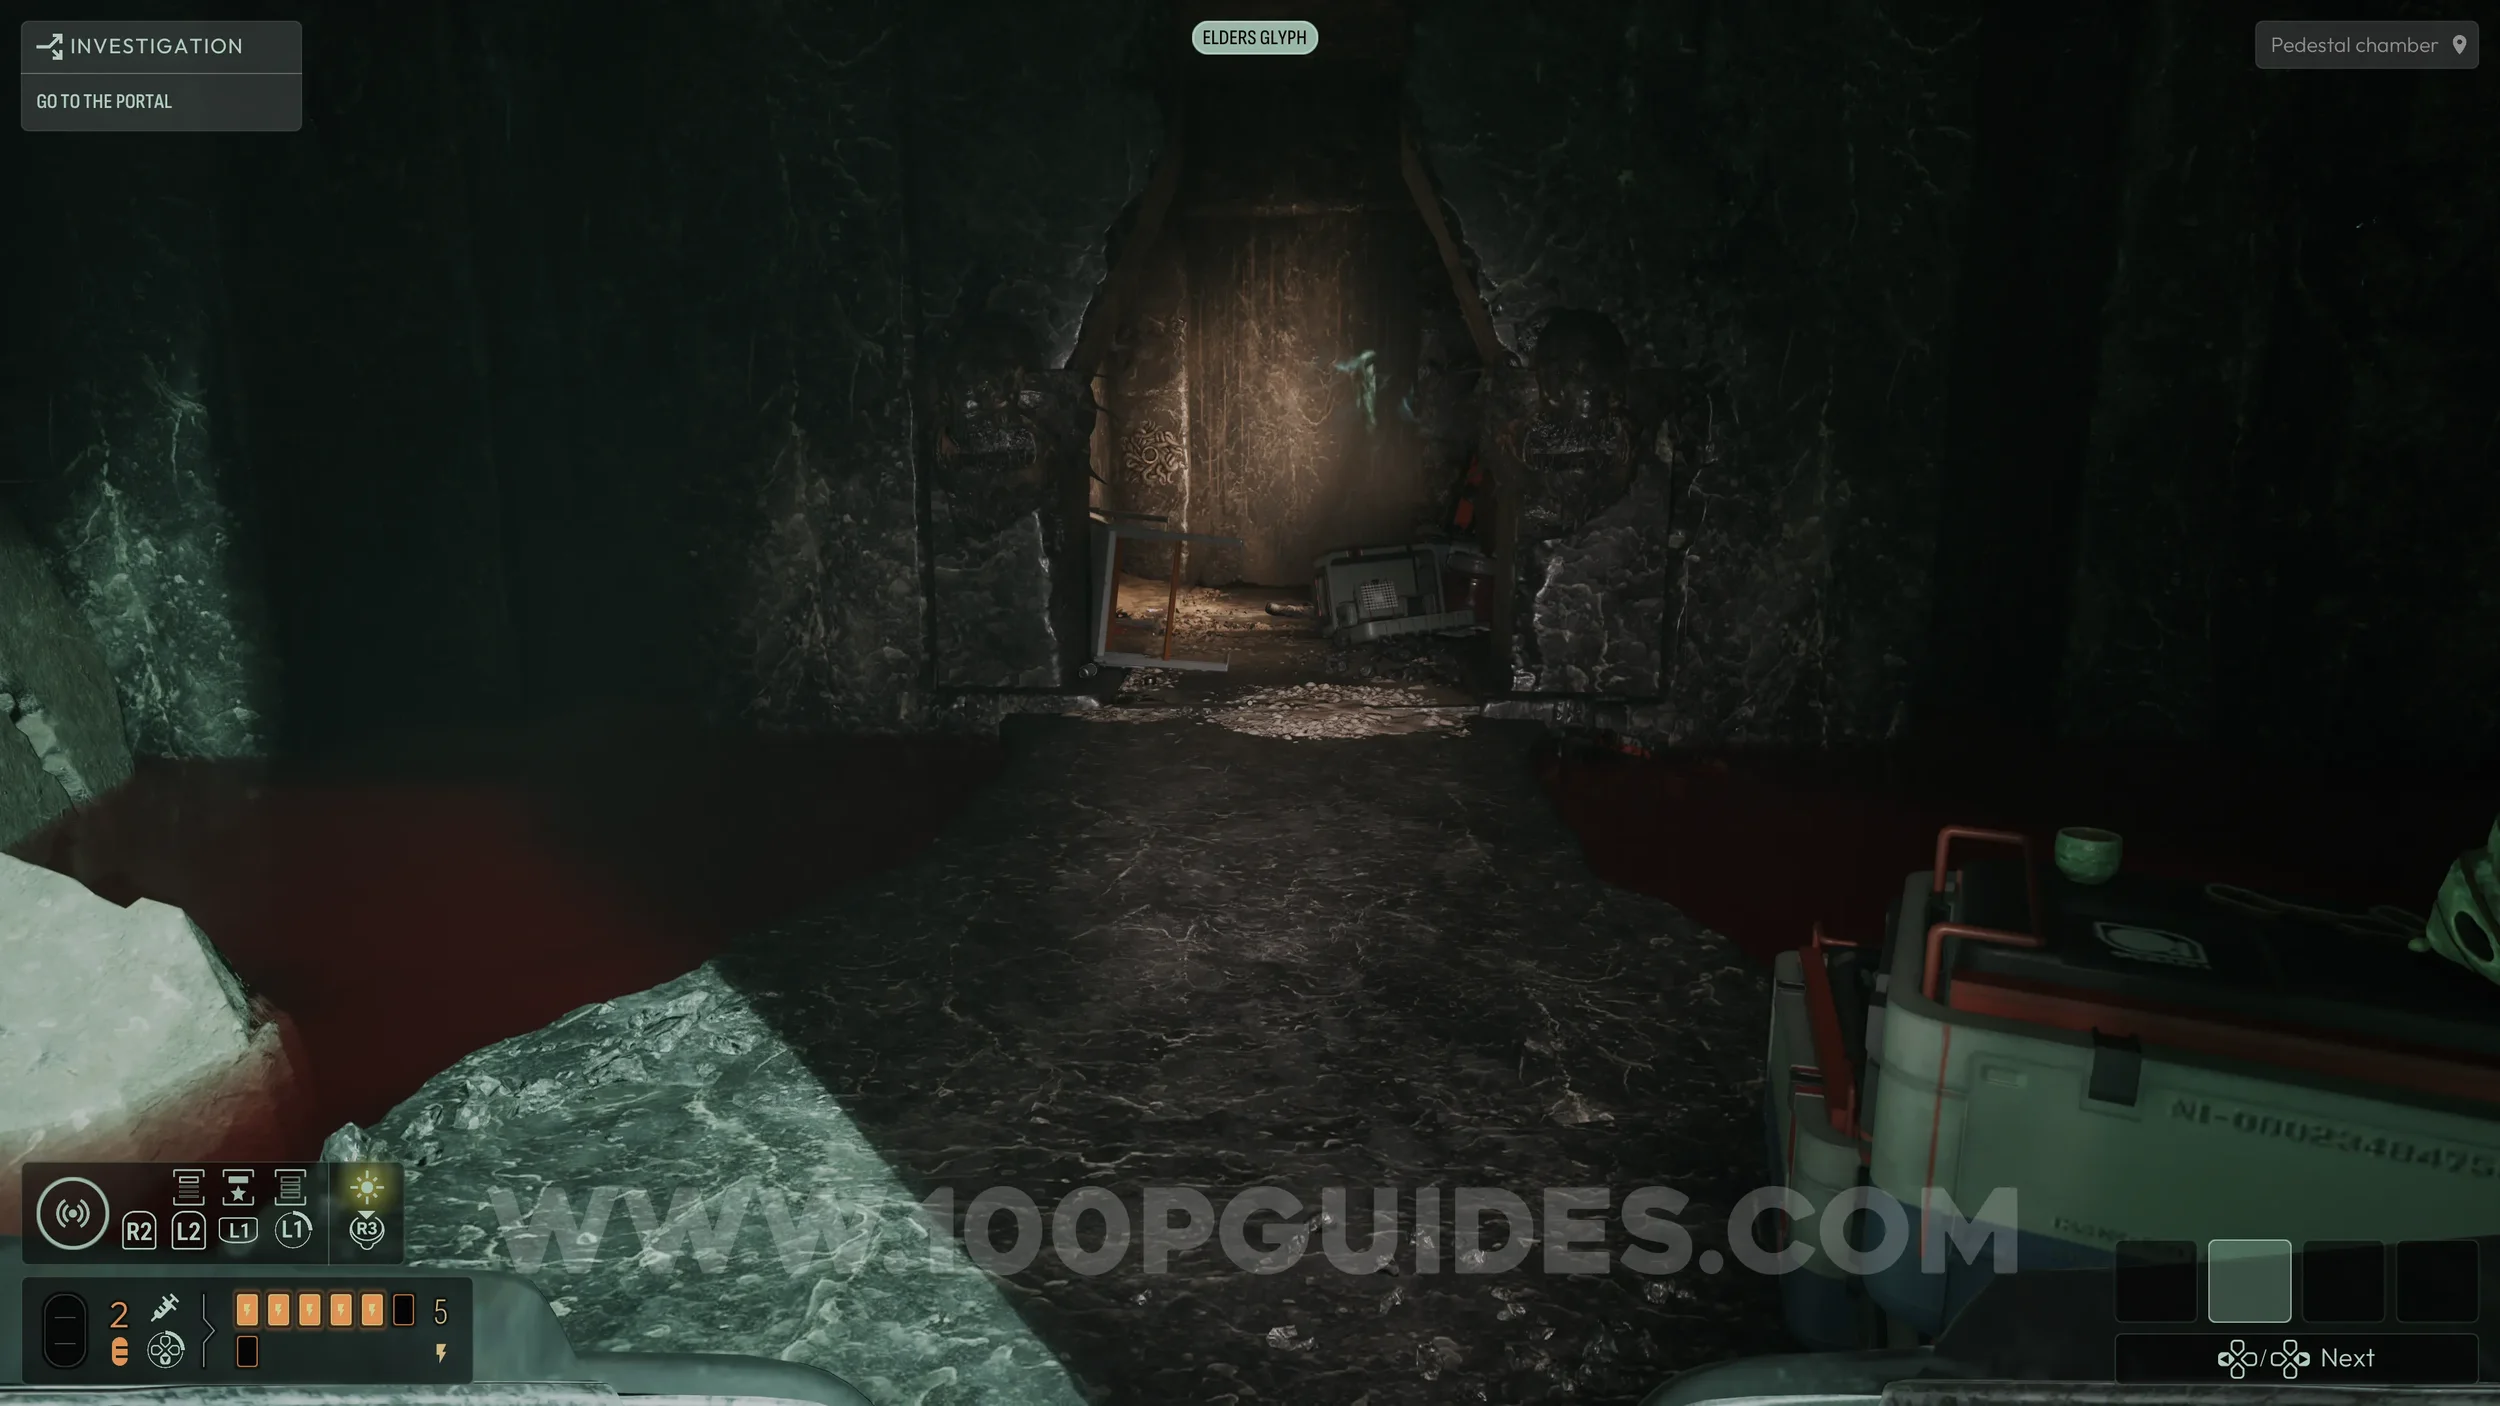
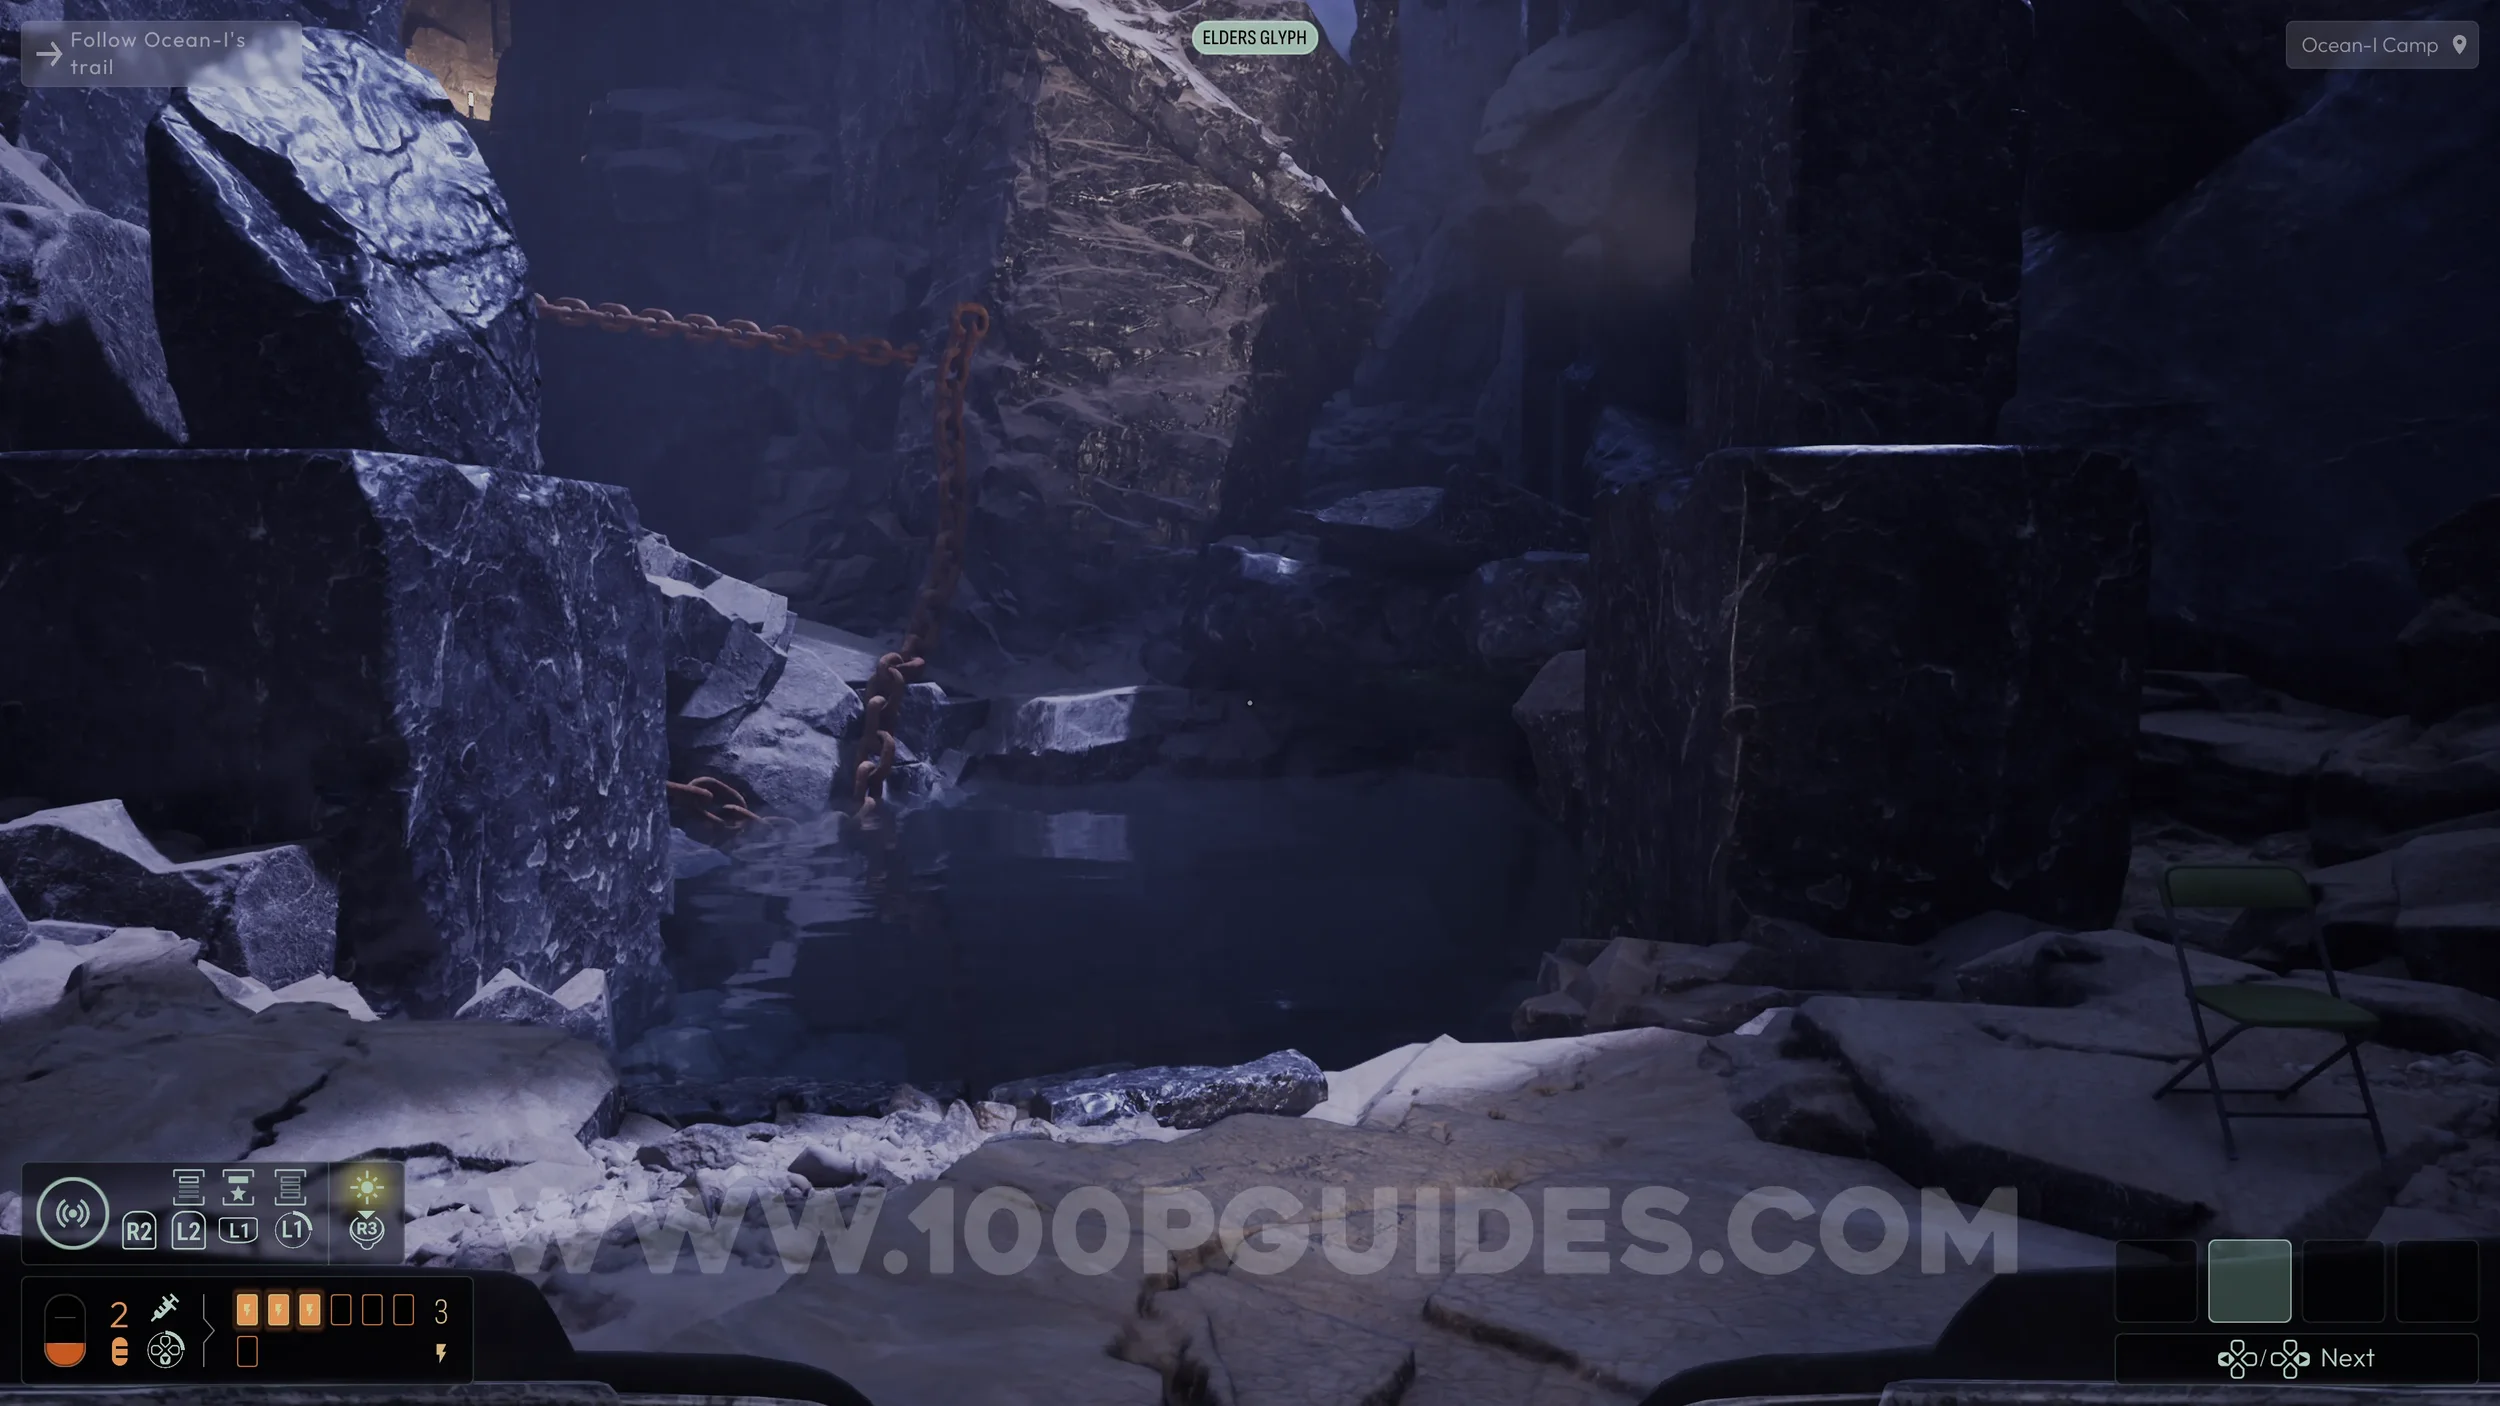
From the tablet, turn around 180º and head to the end of the room. Look up to your right for an opening, which may be partially covered by smoke. It is located beneath a fallen rock shaped like a pillar and has some crates inside. Go through it to enter an area with a floating corpse. From here, follow the red rope through the opening on your left to reach a camp.

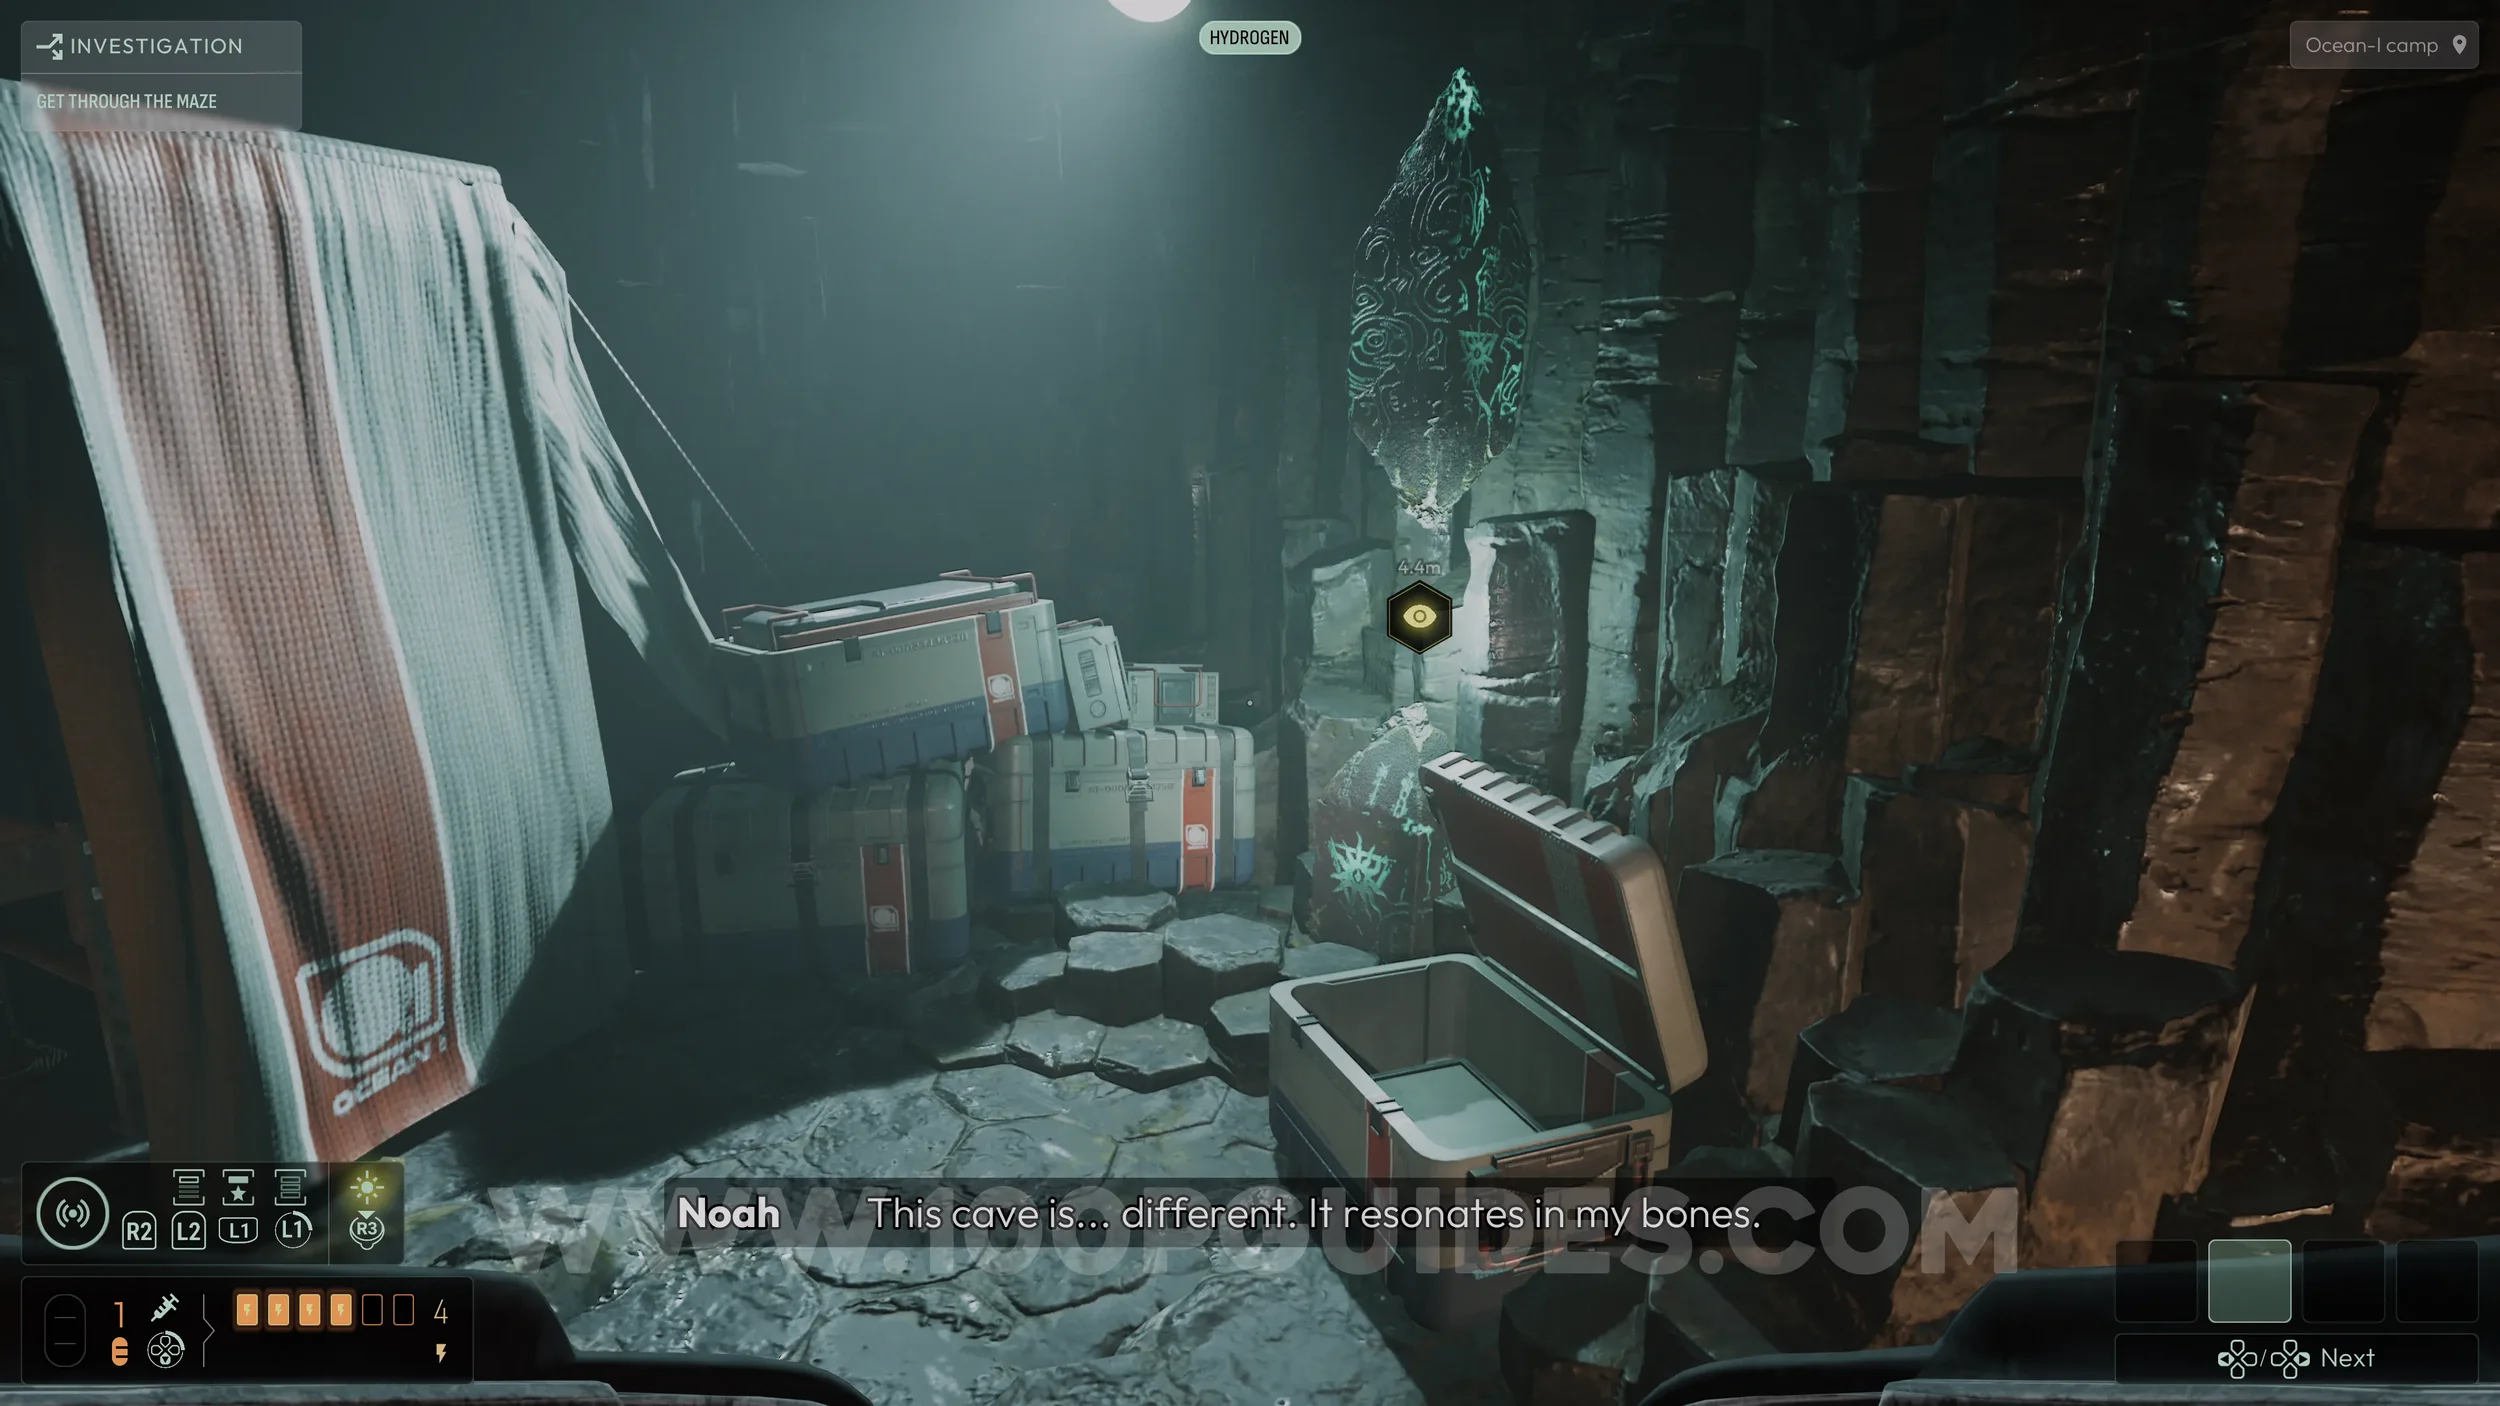
At the camp, you will find your first Strange Monolith. Analyzing it will grant additional slots for equipping evolutions in the Control menu. These are not required for any trophies, but they will still be covered in this guide.
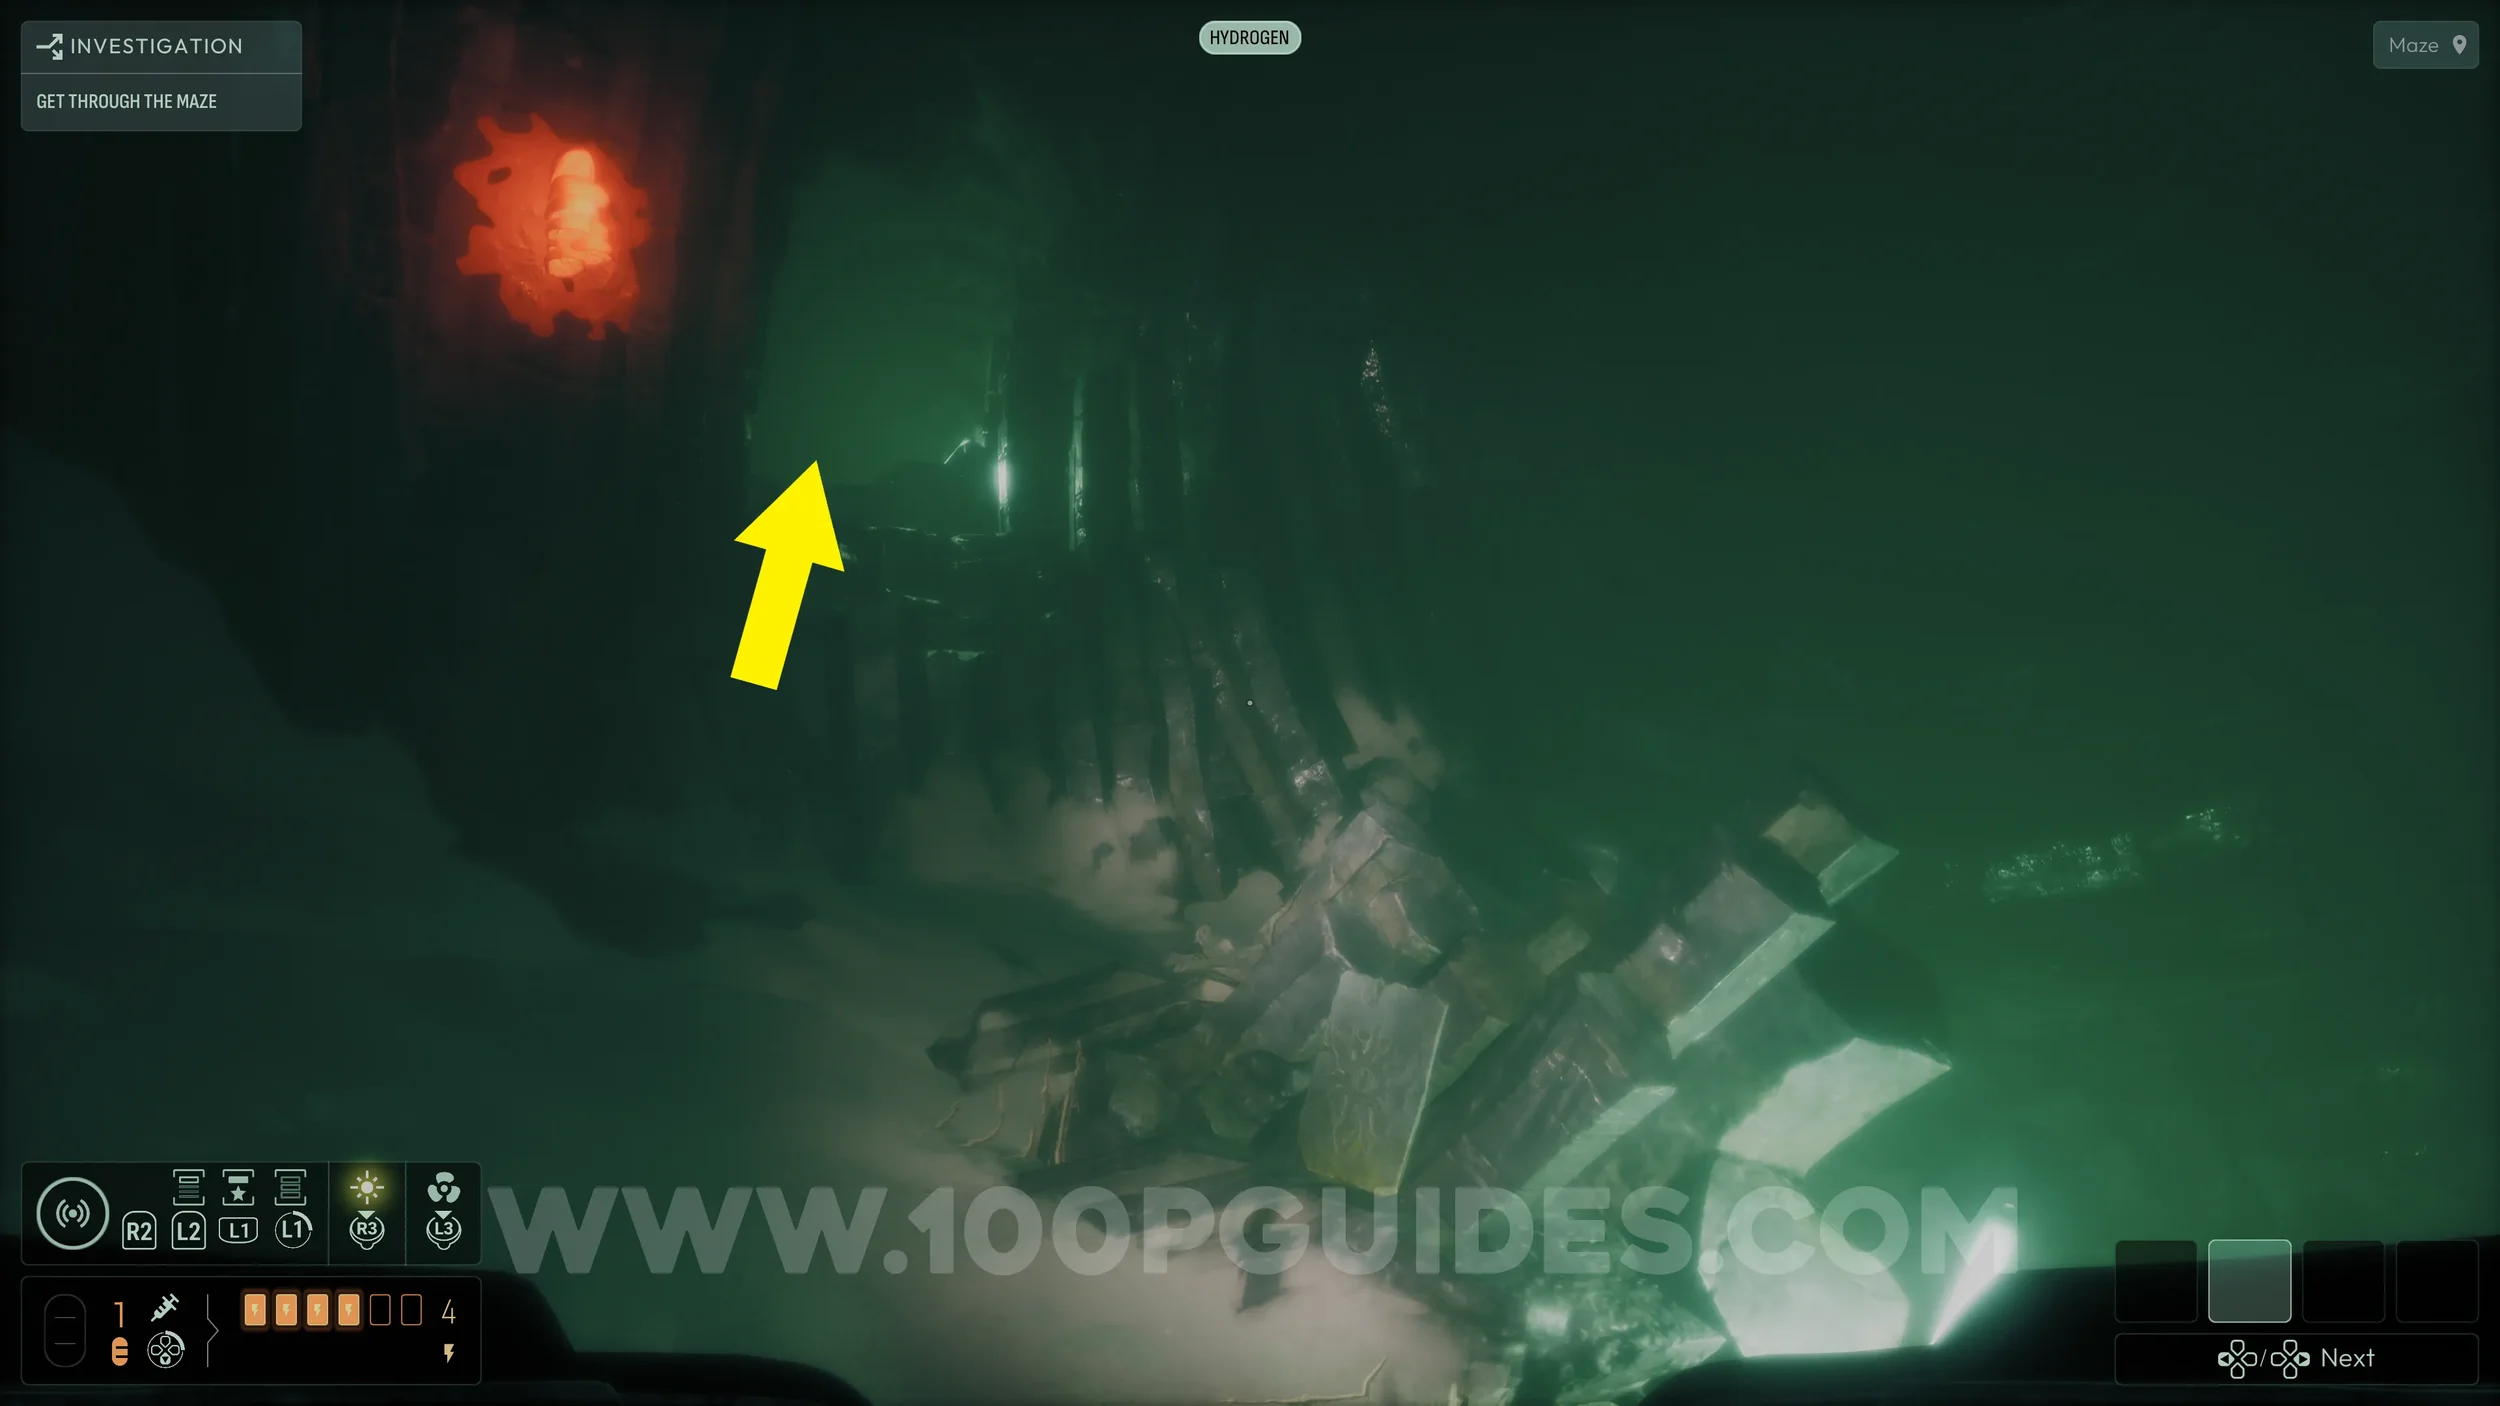
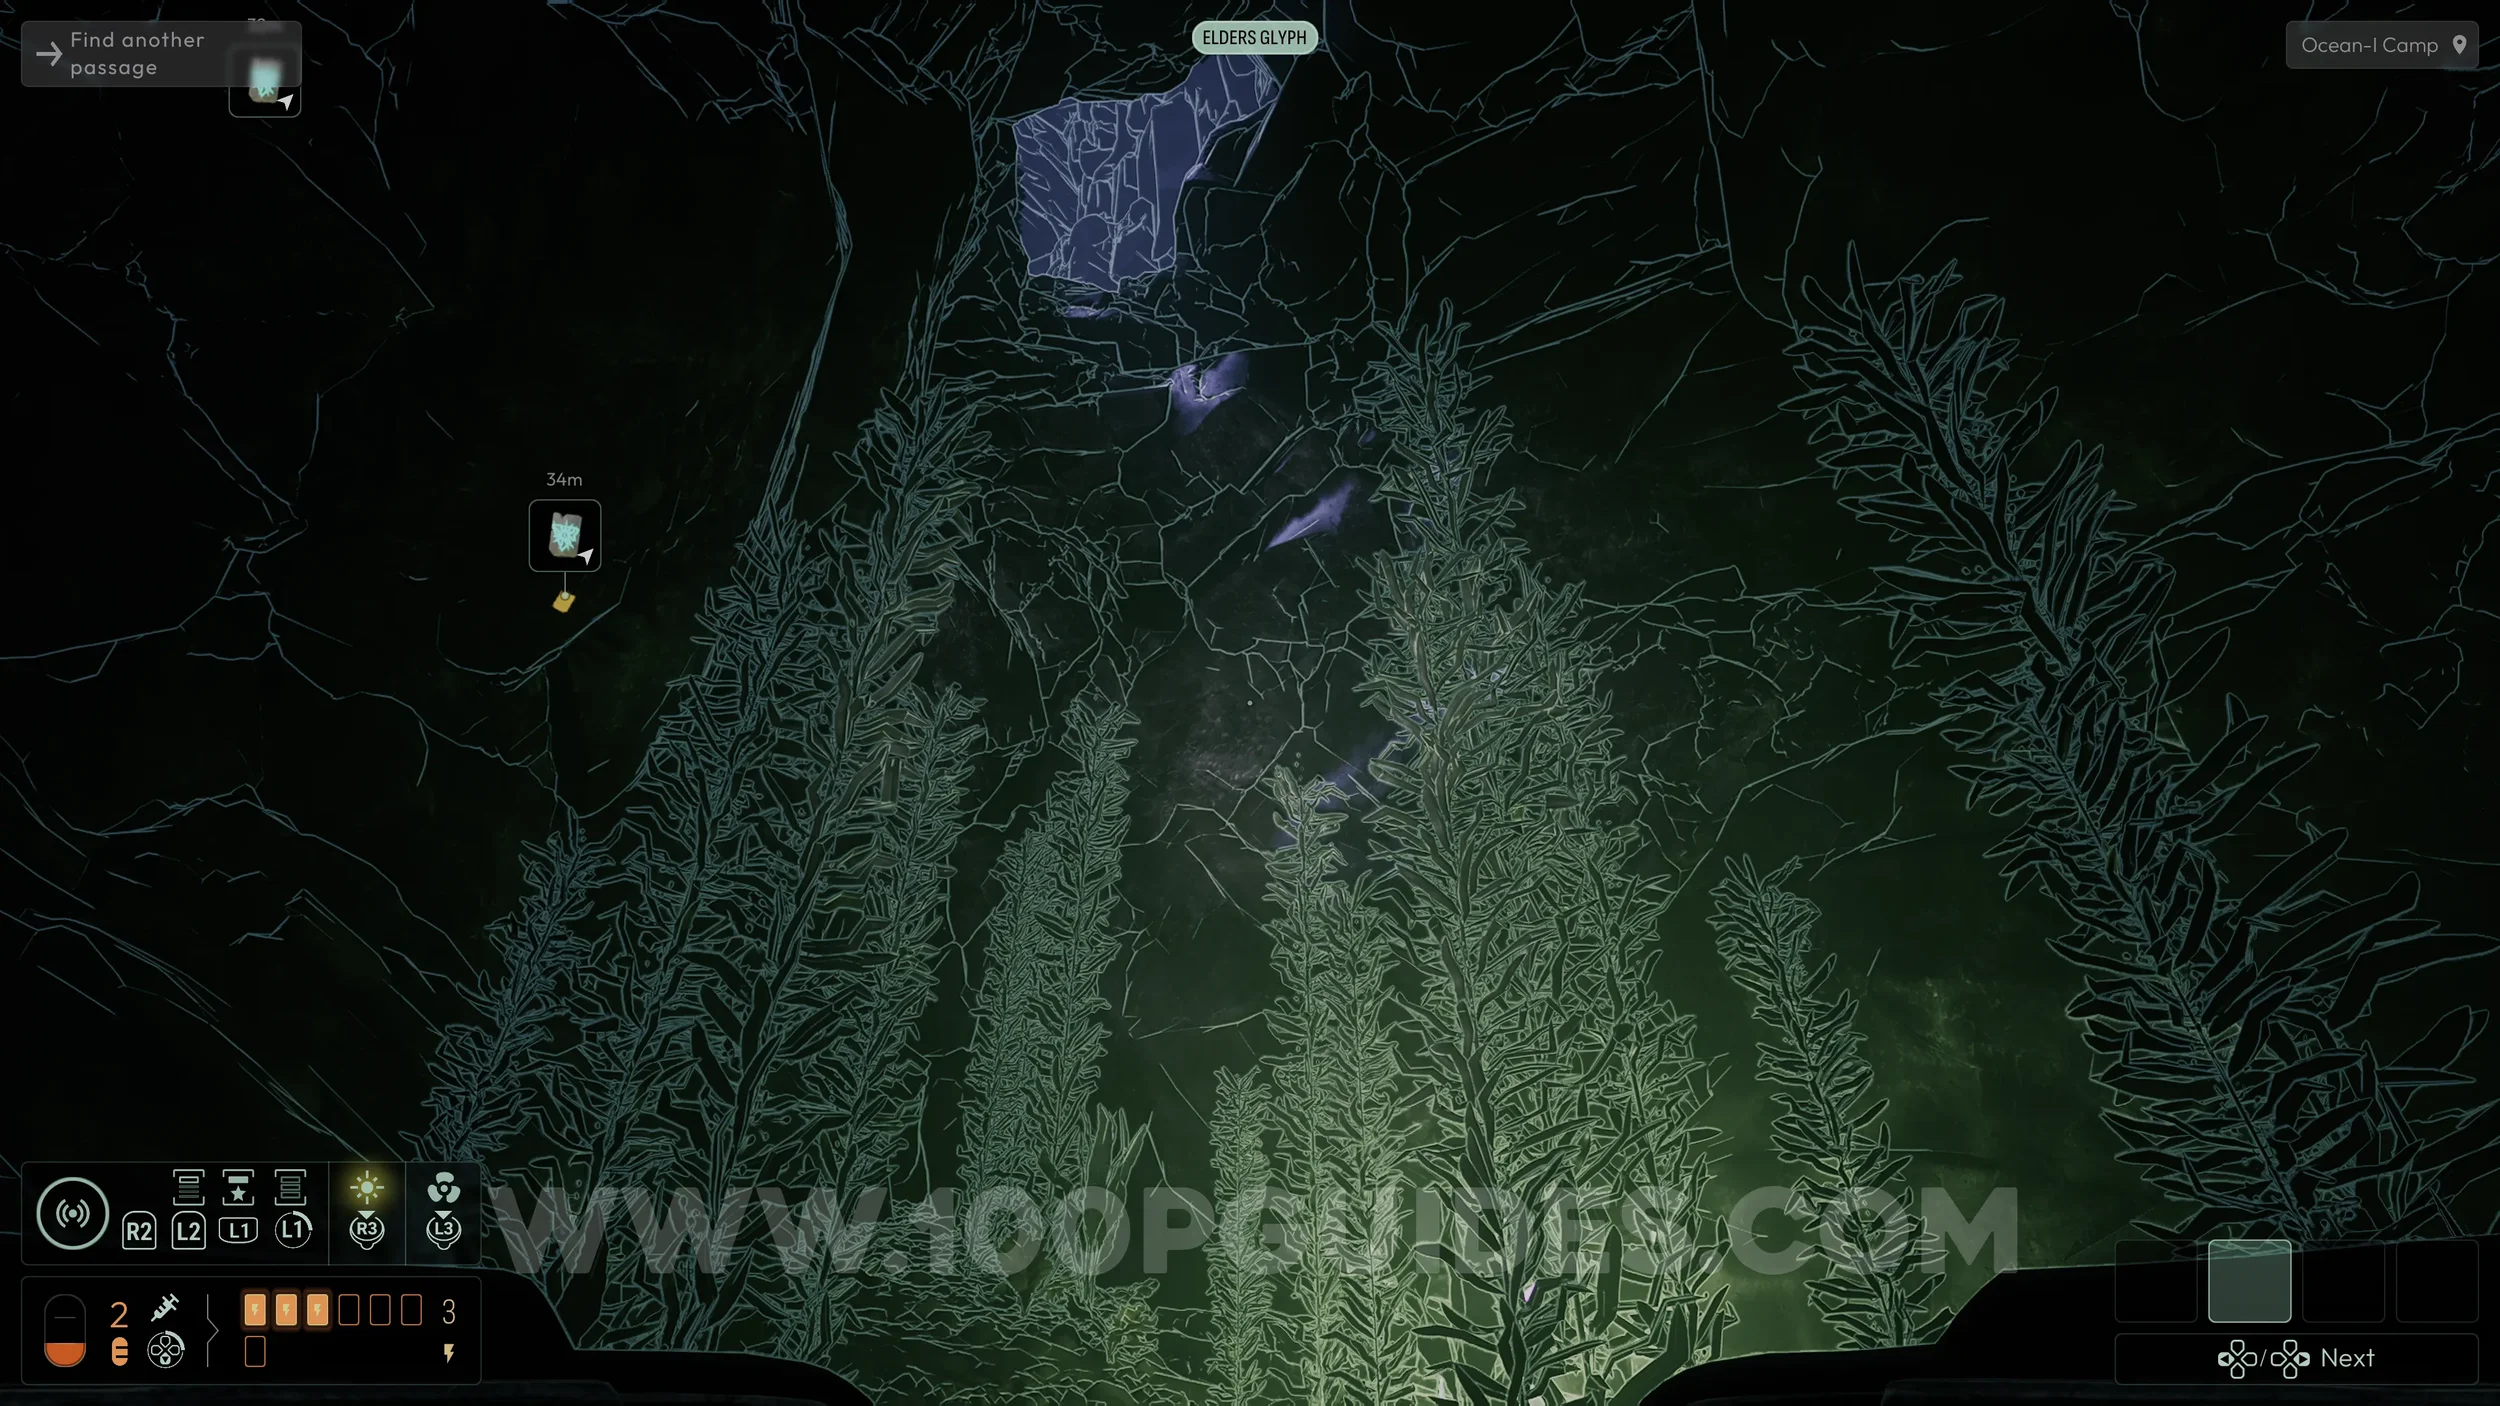
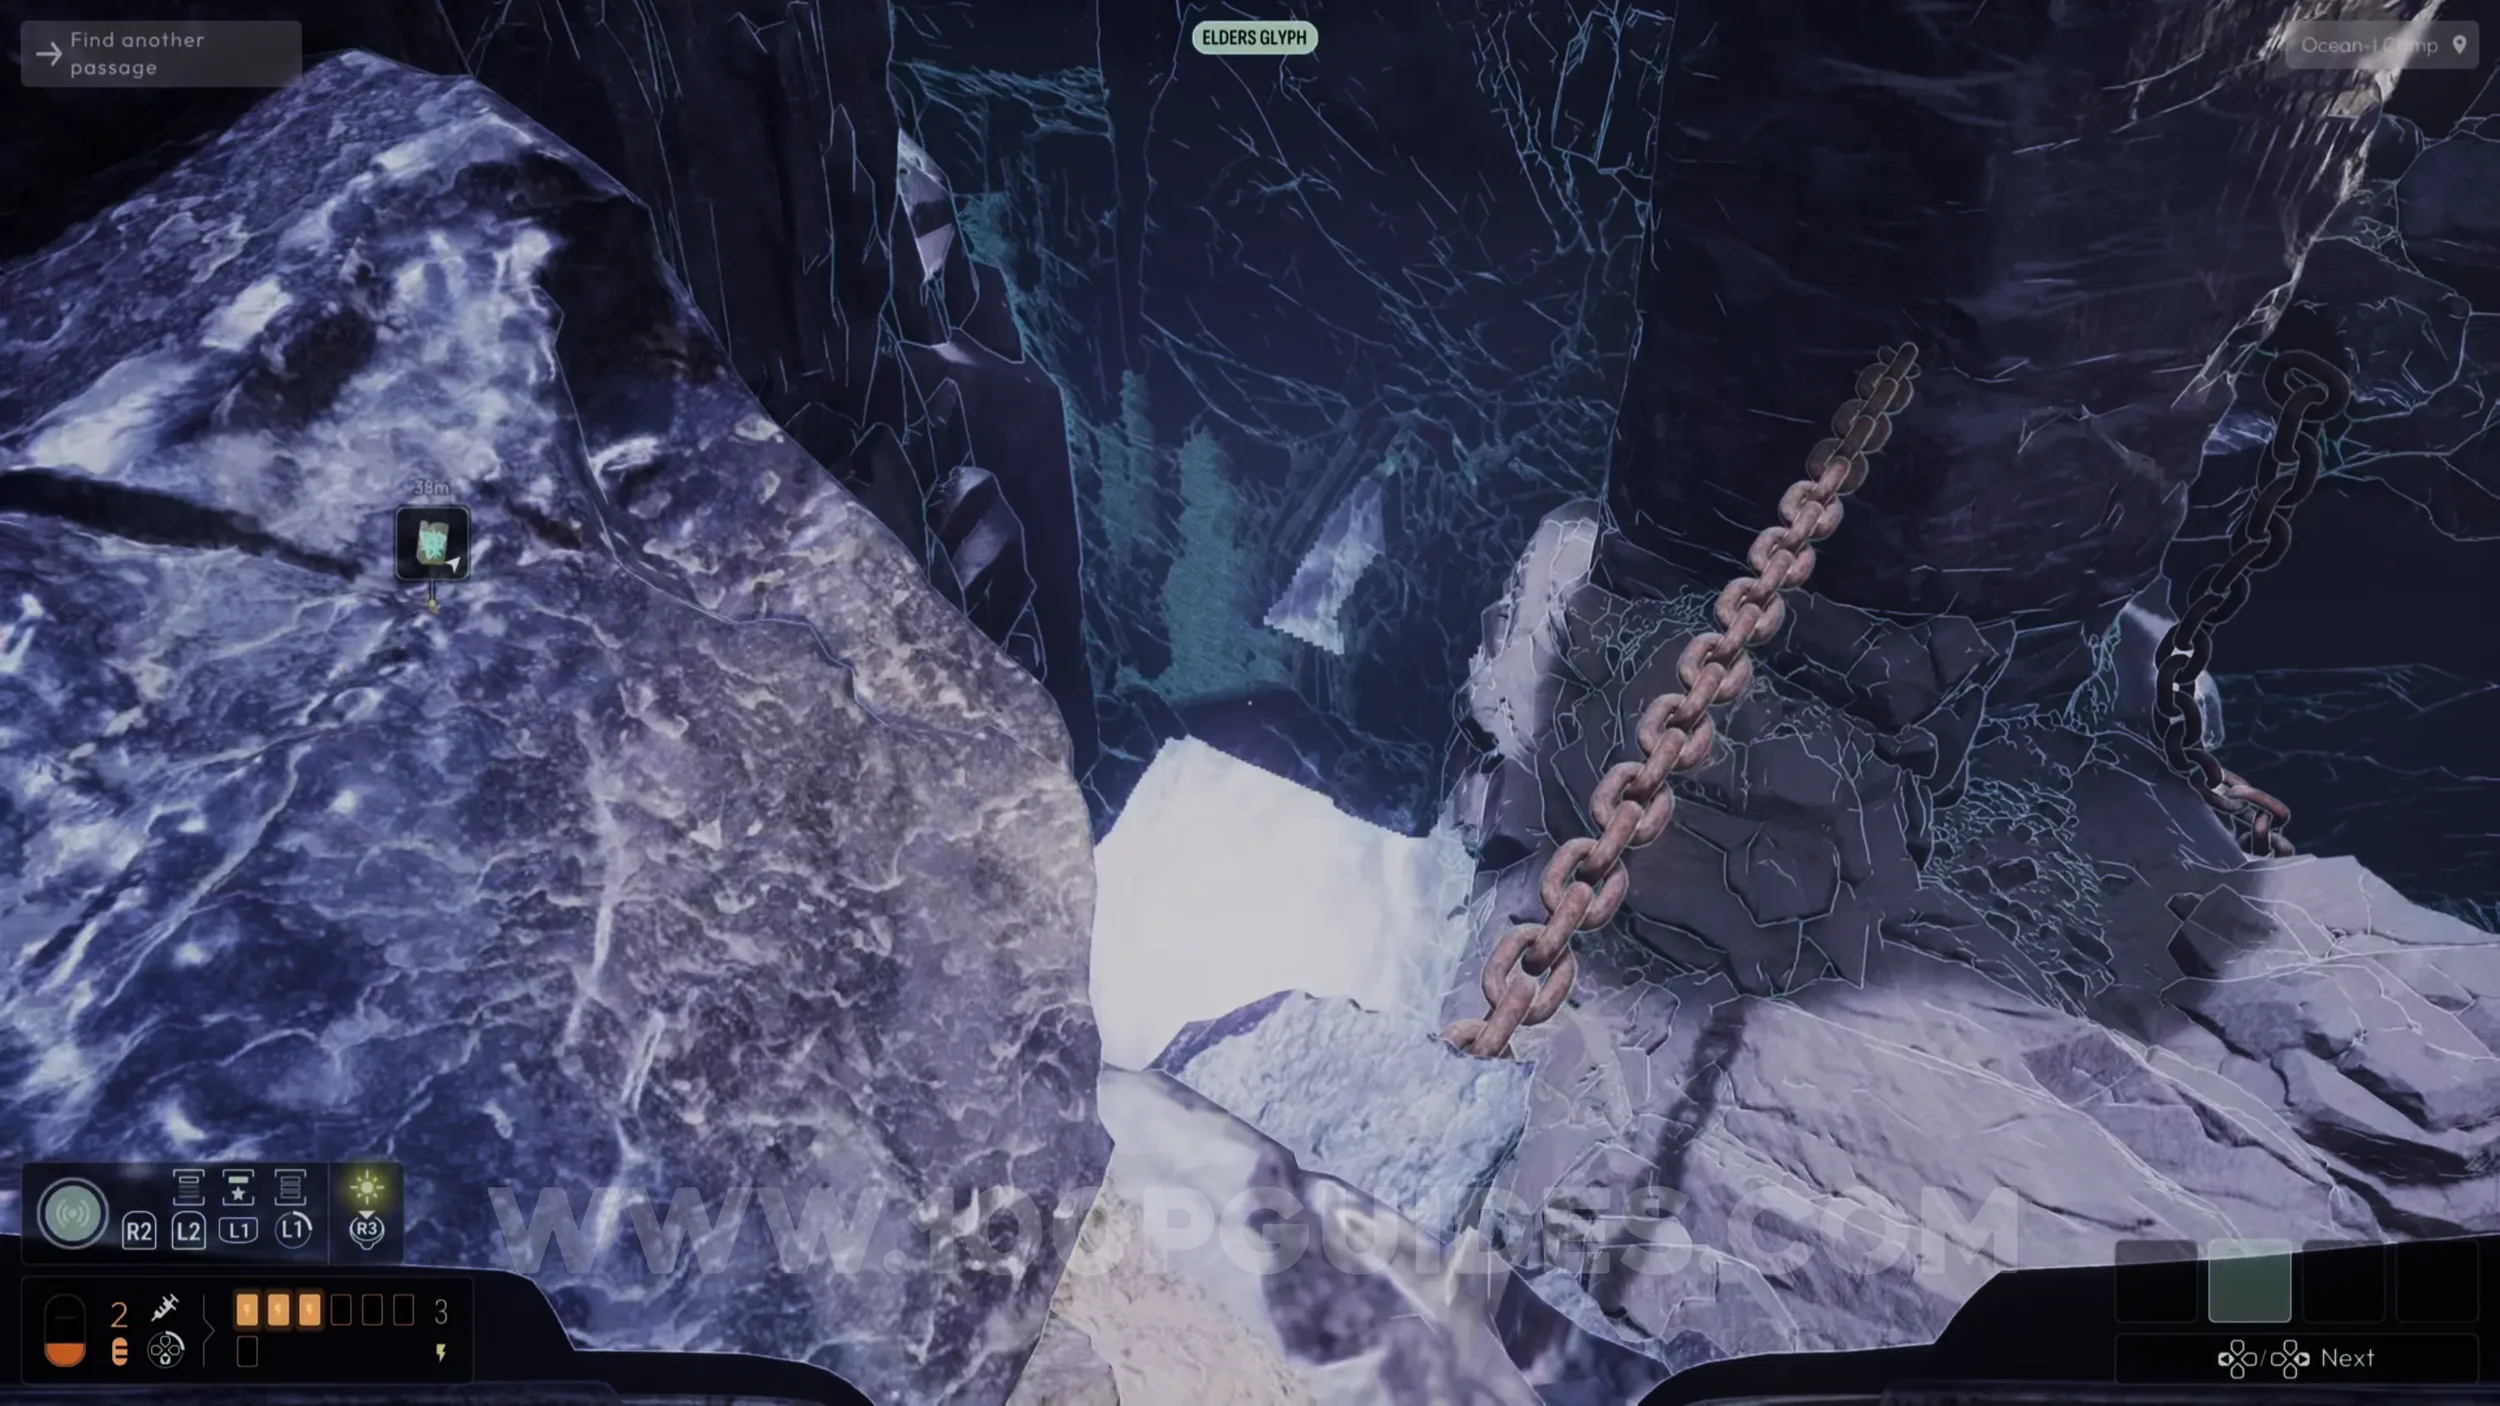
Now you will need to take a wrong turn in the maze that causes you to loop back to where you started. This is required to trigger the reset before returning to the station. One way to do this is by going through the opening in the wall next to some Lichen in the room where you picked up the Elder Glyph.
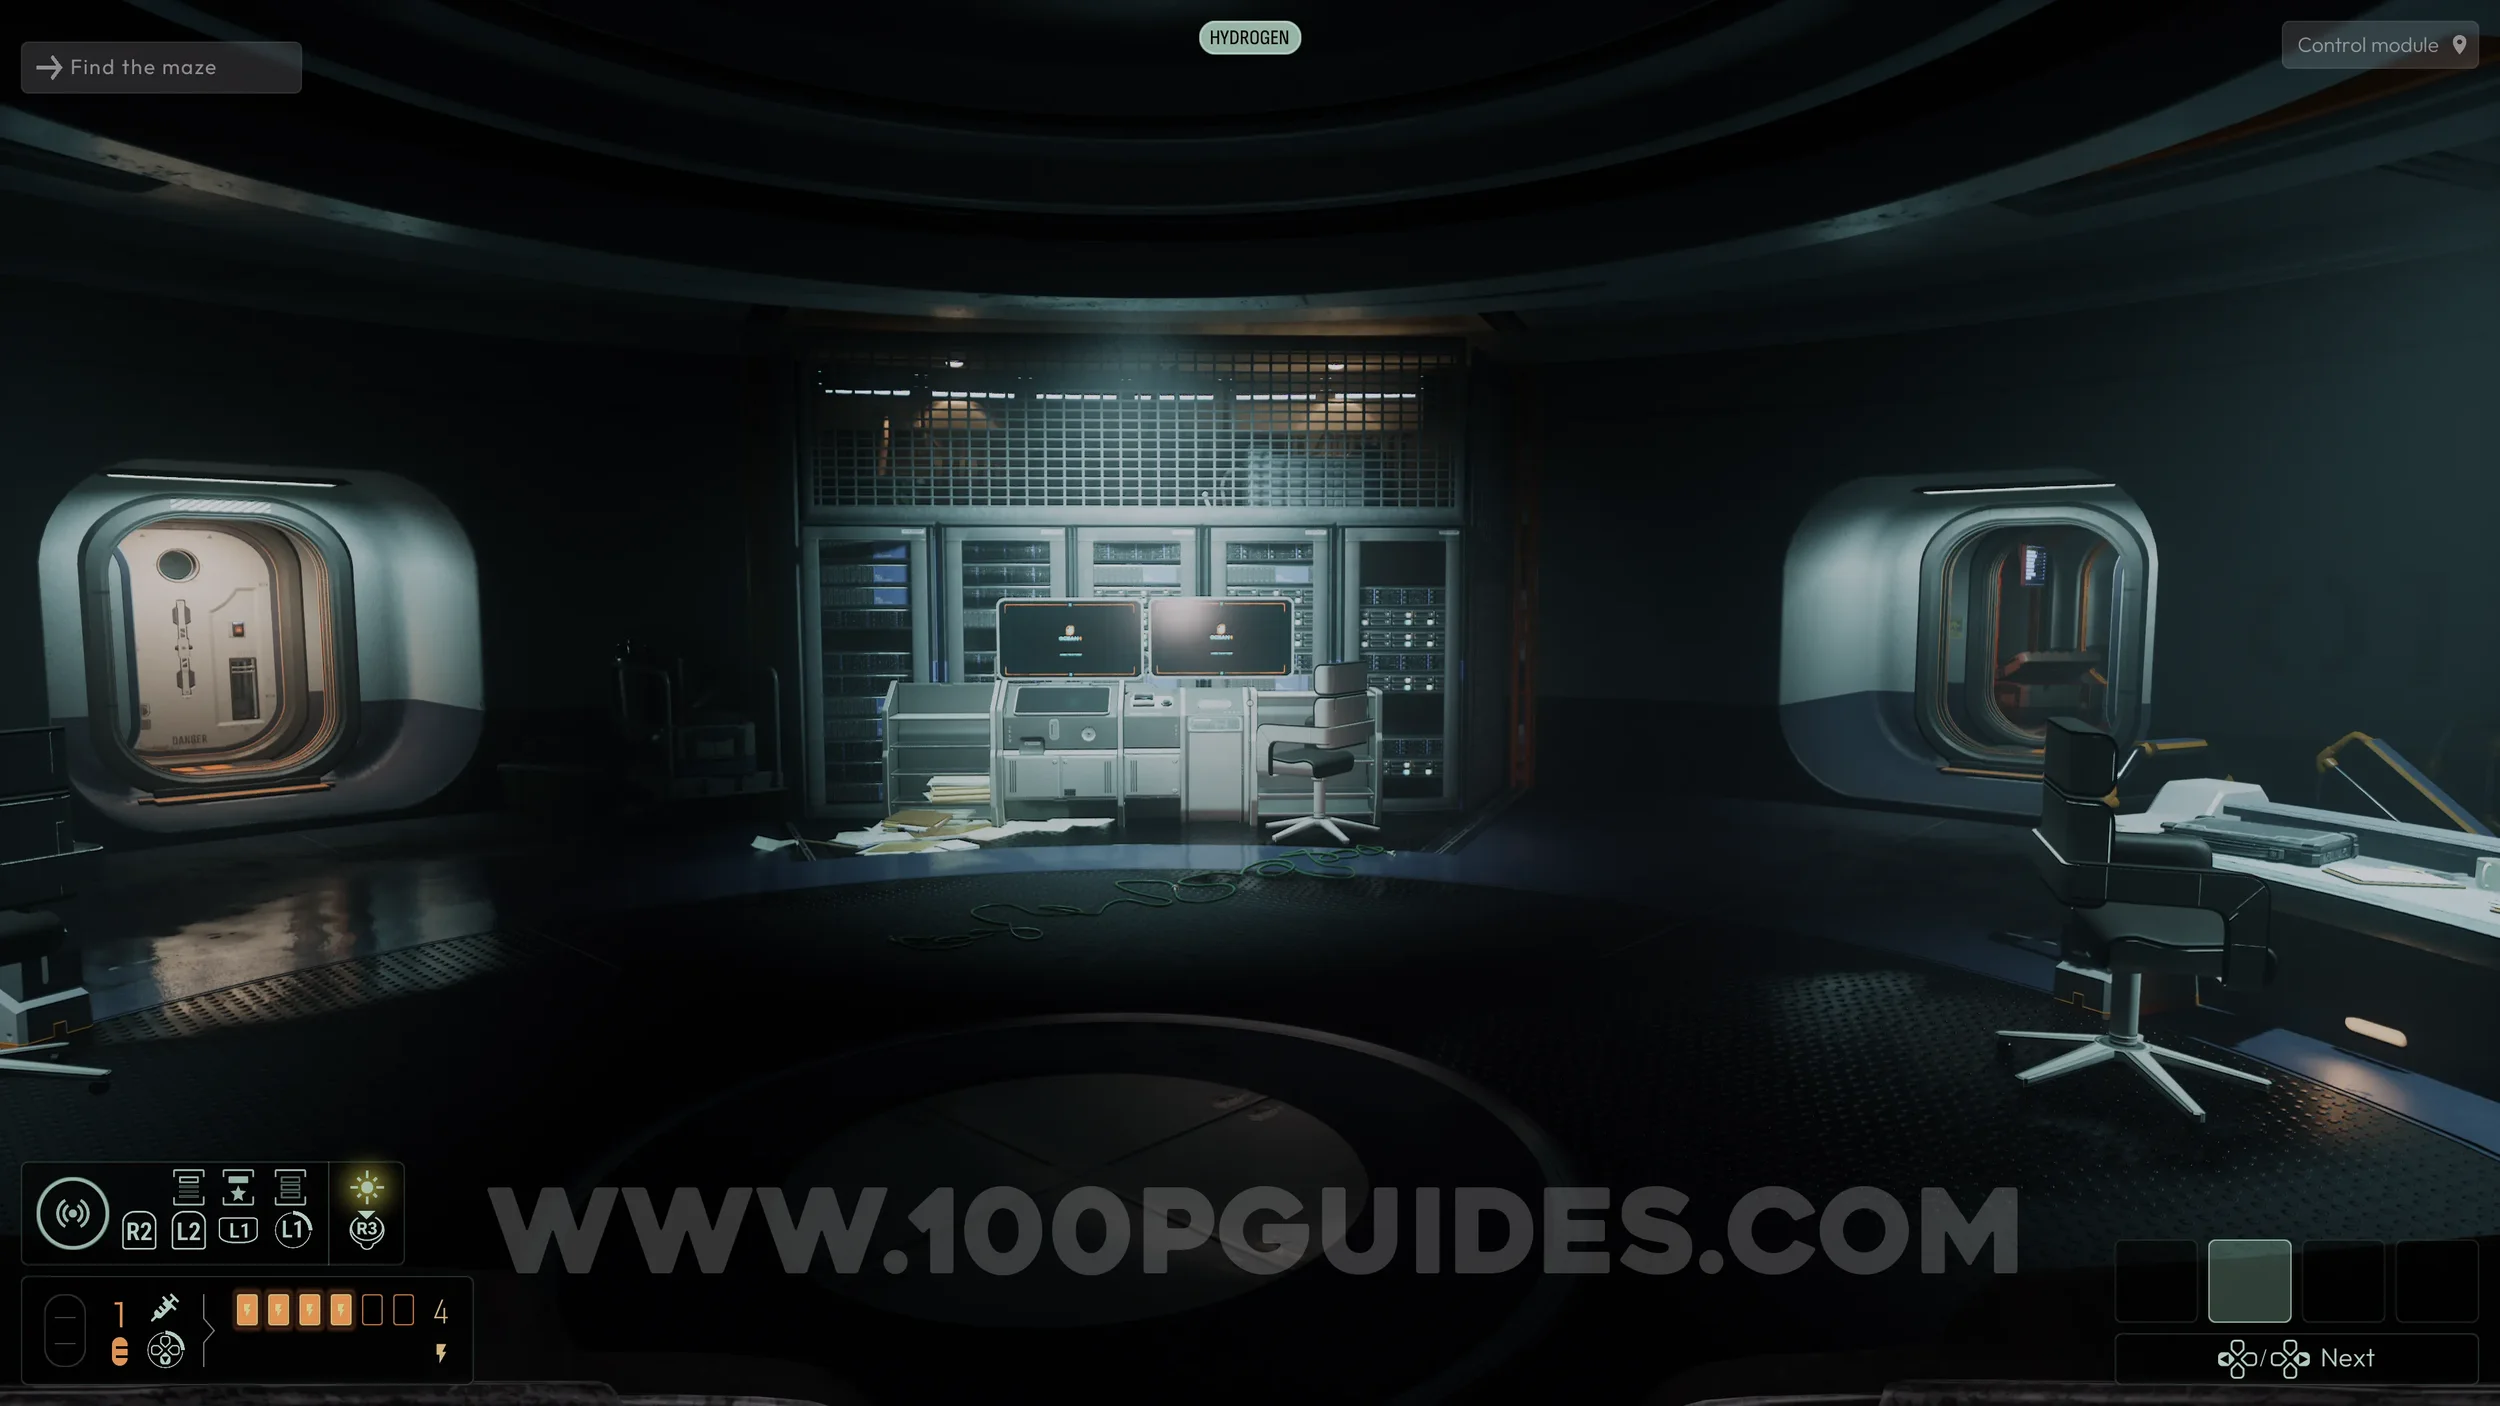
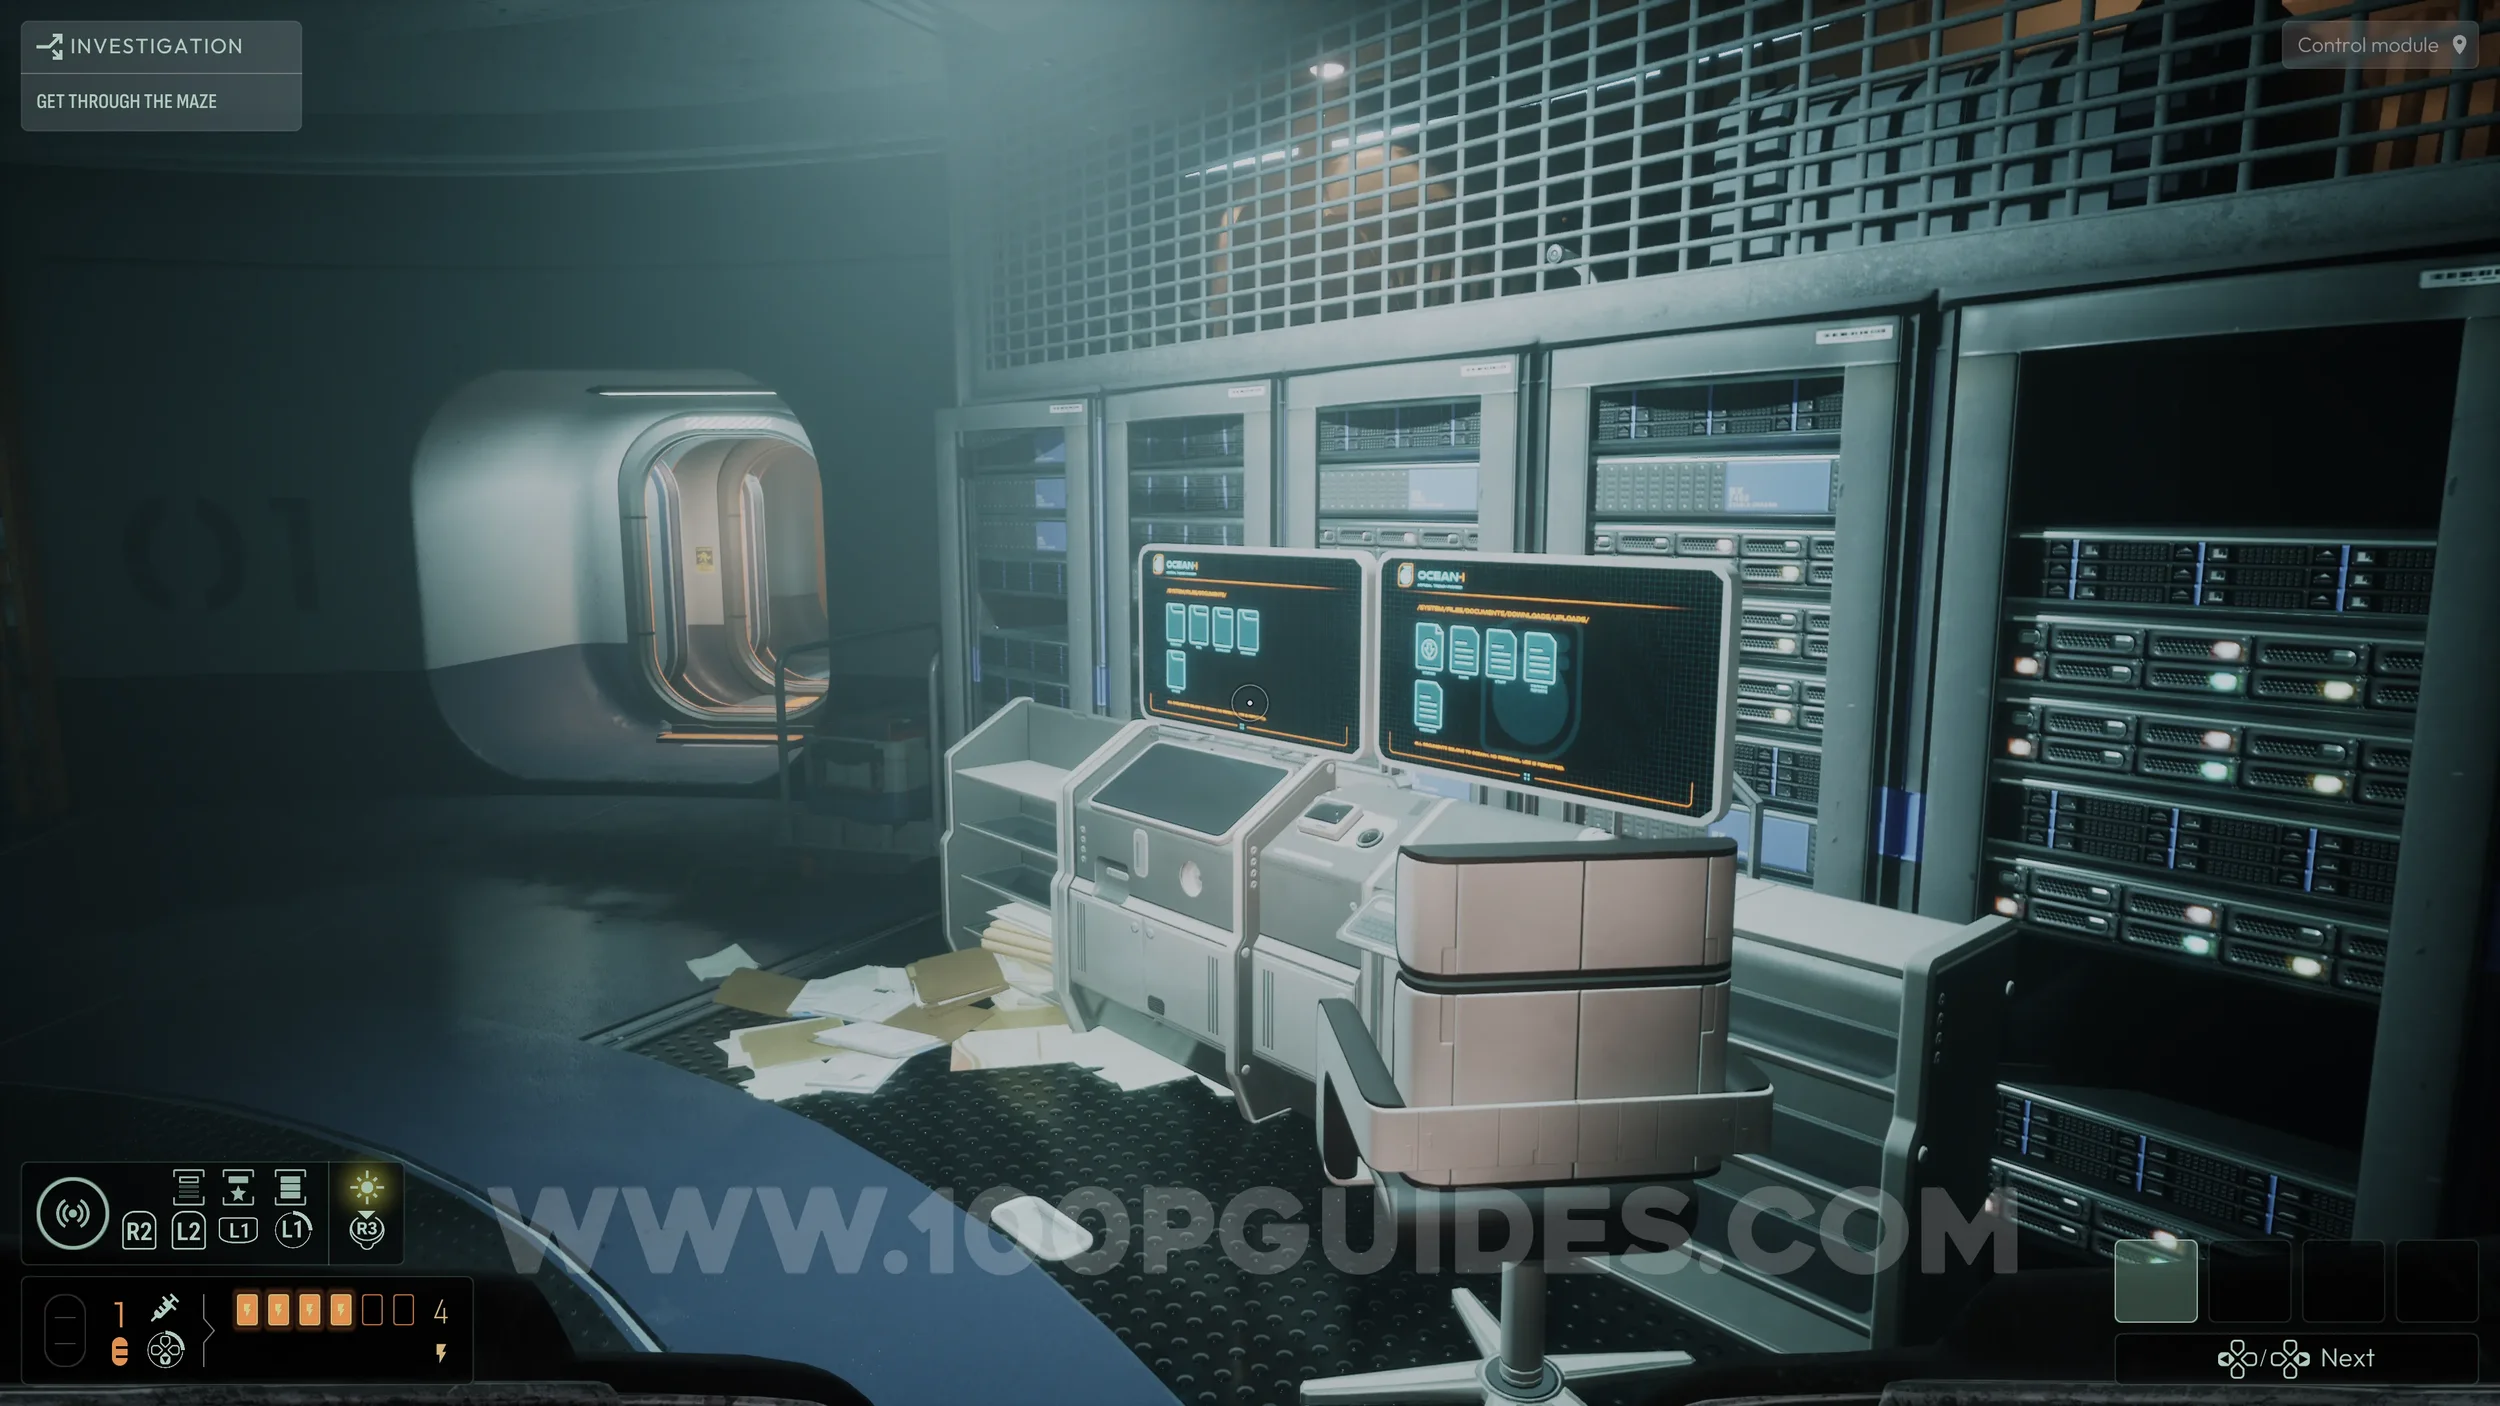
Once you have done that, exit the maze through the same opening you used to enter and return to the station. Head back to the Control Module room, the main round room. Here, look to your right to find two monitors you can interact with.
First, interact with the monitor on the left to start a deduction. Then interact with the one on the right to obtain the clue needed to solve it.
As explained in the Vault tutorial, to solve a deduction, you need to find the correct clue/s and drag it/them into the deduction in the Vault menu. These provide hints on how to progress the investigation, but they are optional if you already know what to do.
However, you will need to complete 15 deductions to earn the Elementary trophy. There are more than 15 available, but this guide will cover the required amount without deviating from the low corruption path.

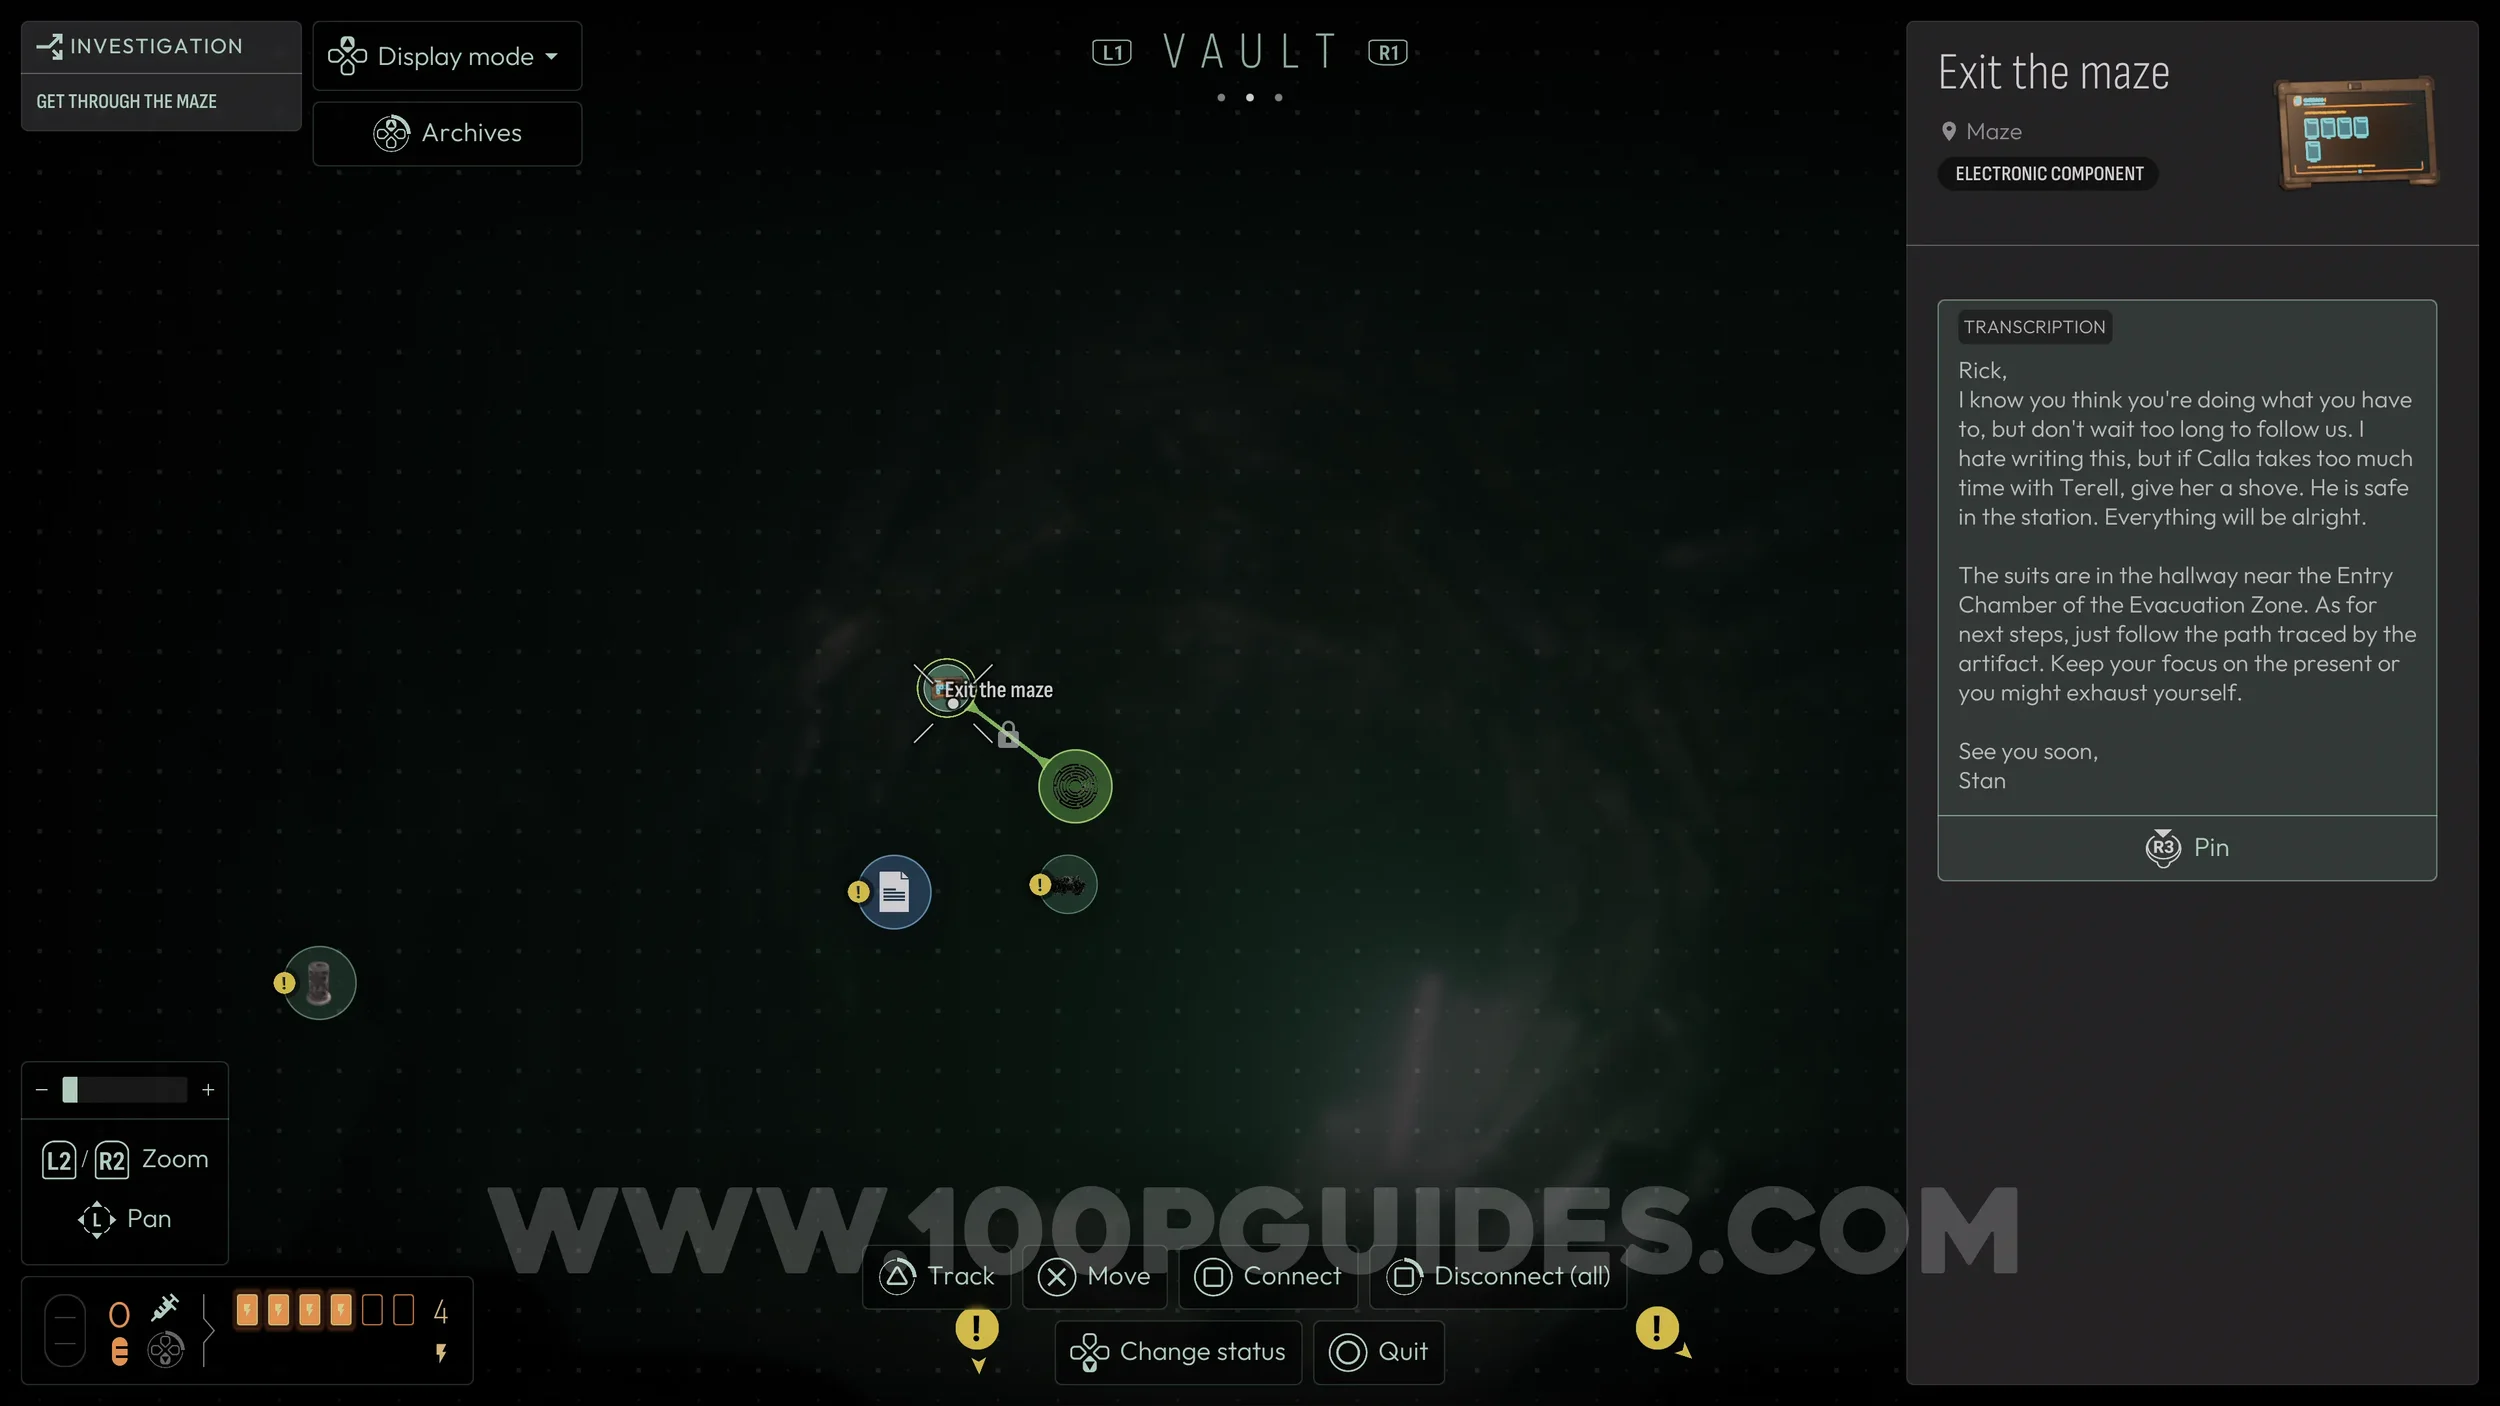
Now that we are on the topic of deductions, you should also have a new one available in the Vault menu after leaving the maze for the first time. This can be solved by dragging the clue obtained from the tablet we found in the maze into the deduction.
Next, head down to the lower area of the Control Module and examine the screen with the “Drainage Error” text on it to start another deduction in the Vault menu.

To solve this deduction, analyze the pipe to the left of the screen with the red light on it. Then analyze the substance on the floor in the same room. Open the Vault menu and drag “Strange Substance” onto the “Drainage System” deduction to complete it.
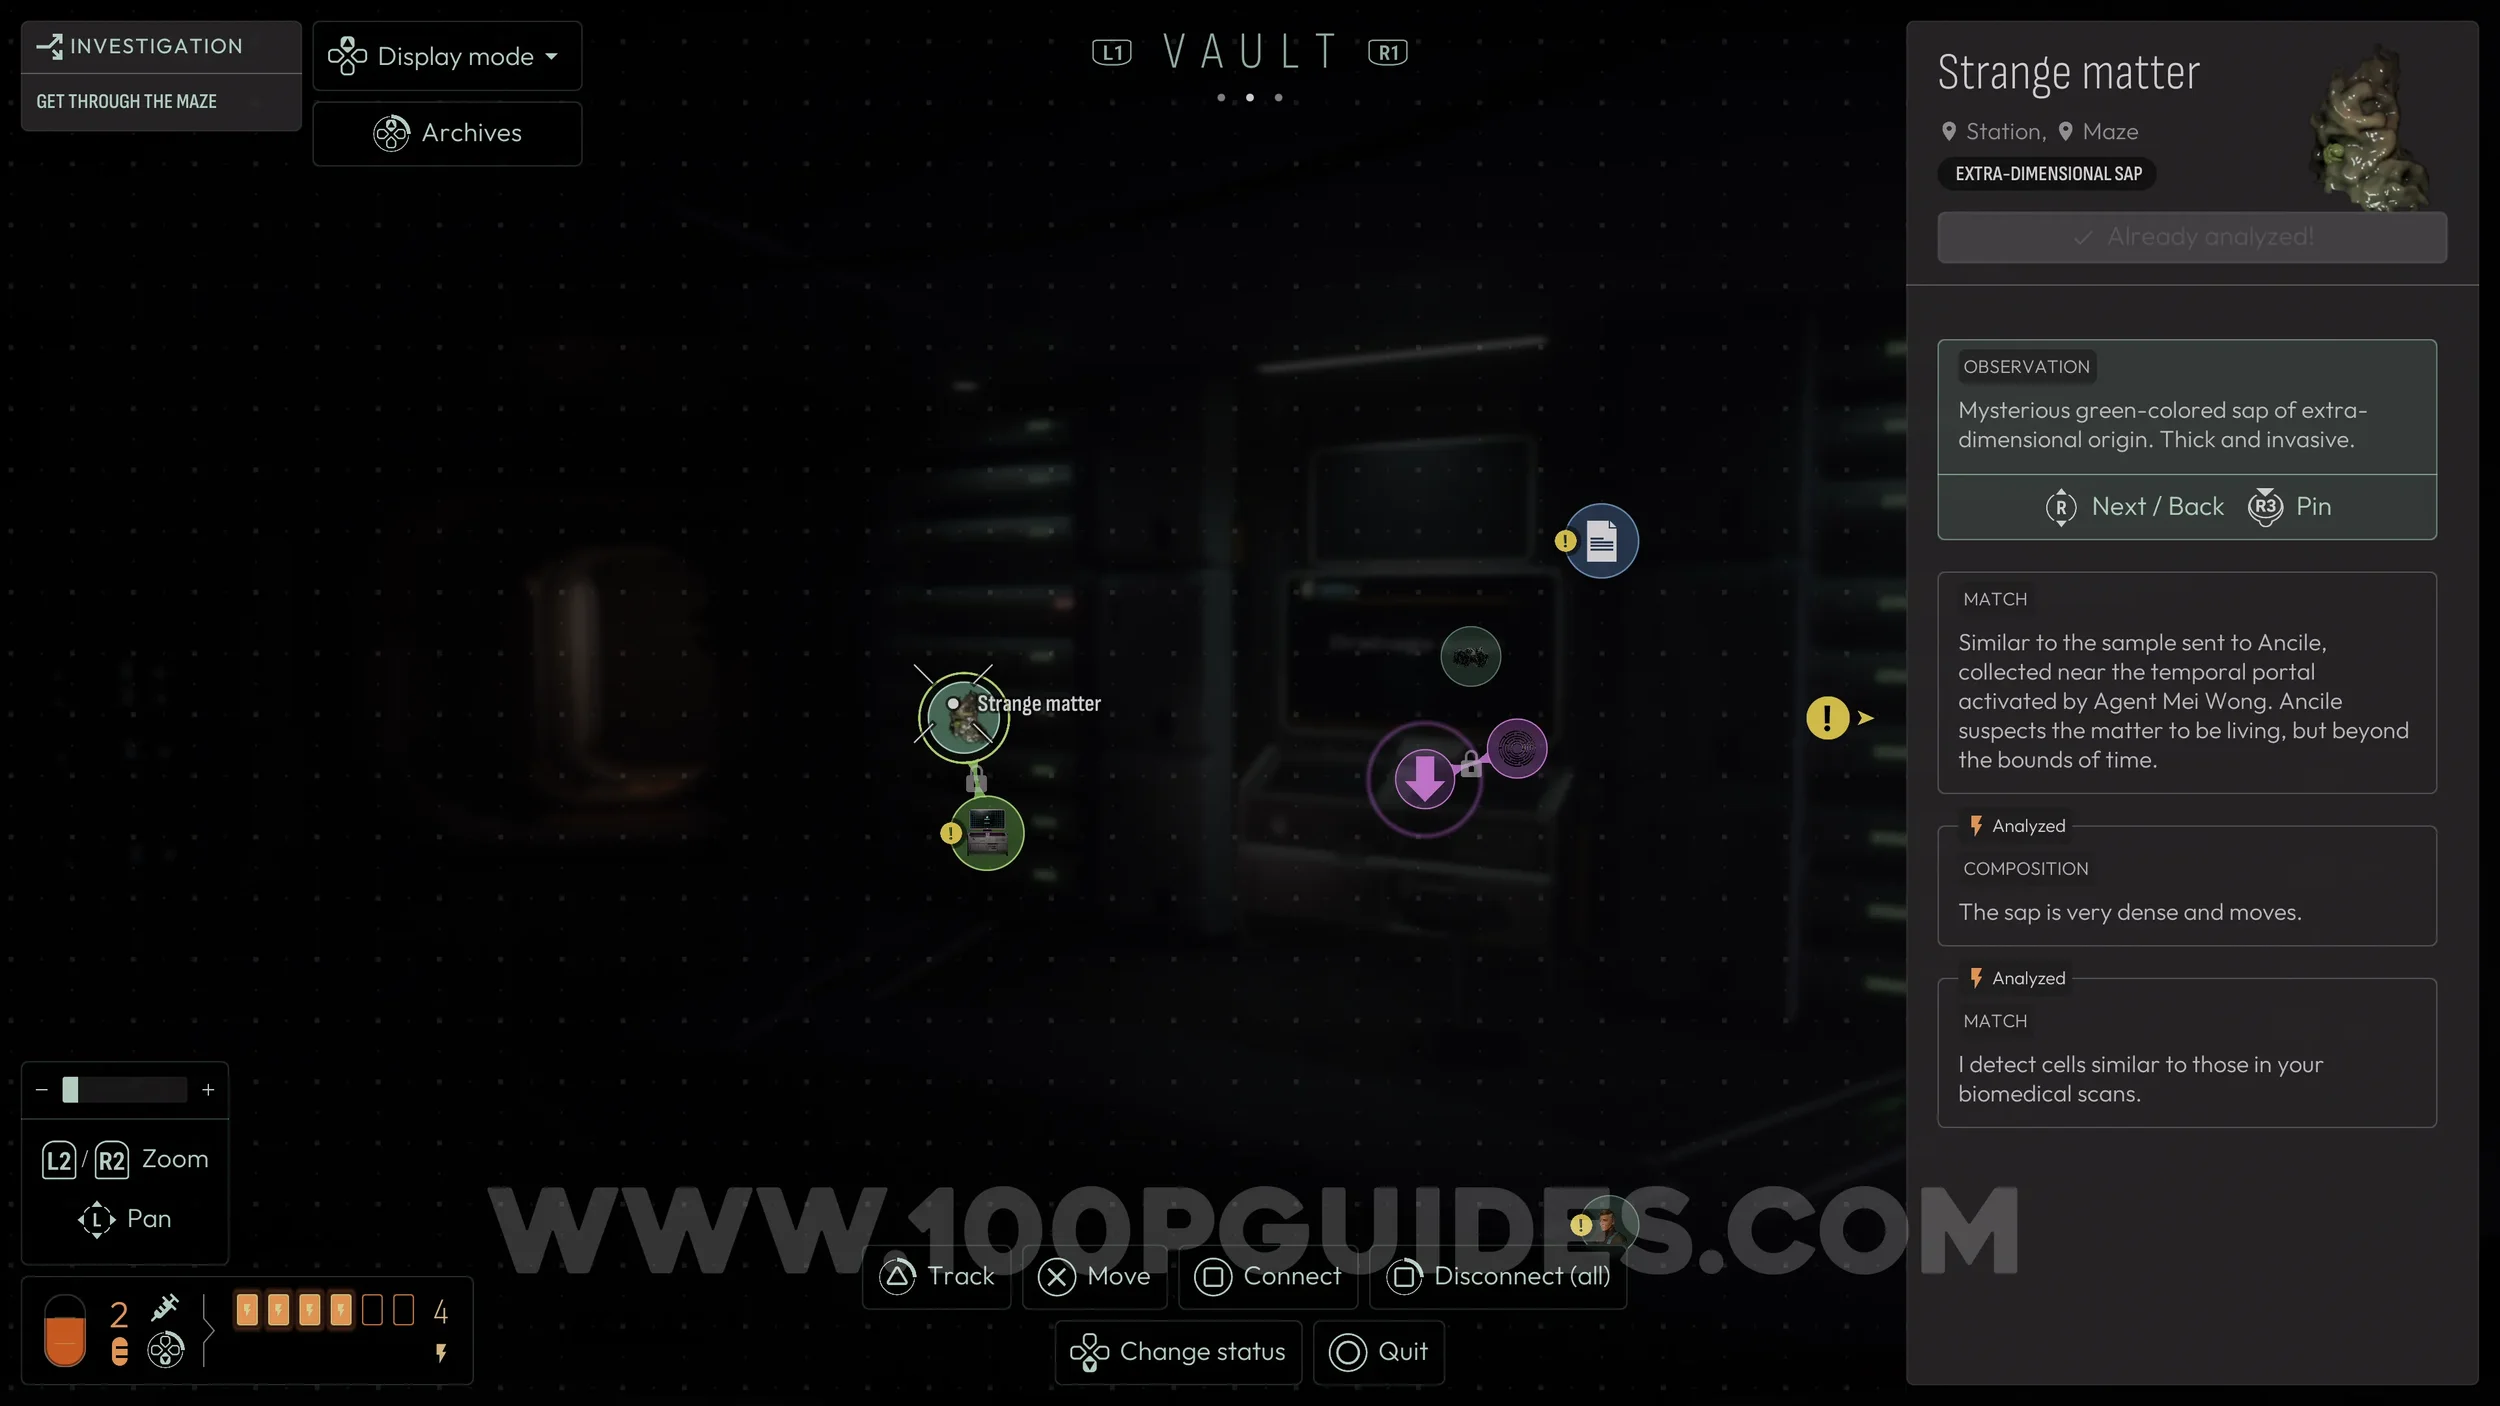
Next, head through the door to the left of the screen and the pipe with the red light. Crouch under the low-hanging section and continue down the hall until you reach a door on your right. Go through it and follow the hall until you see pipes above you.
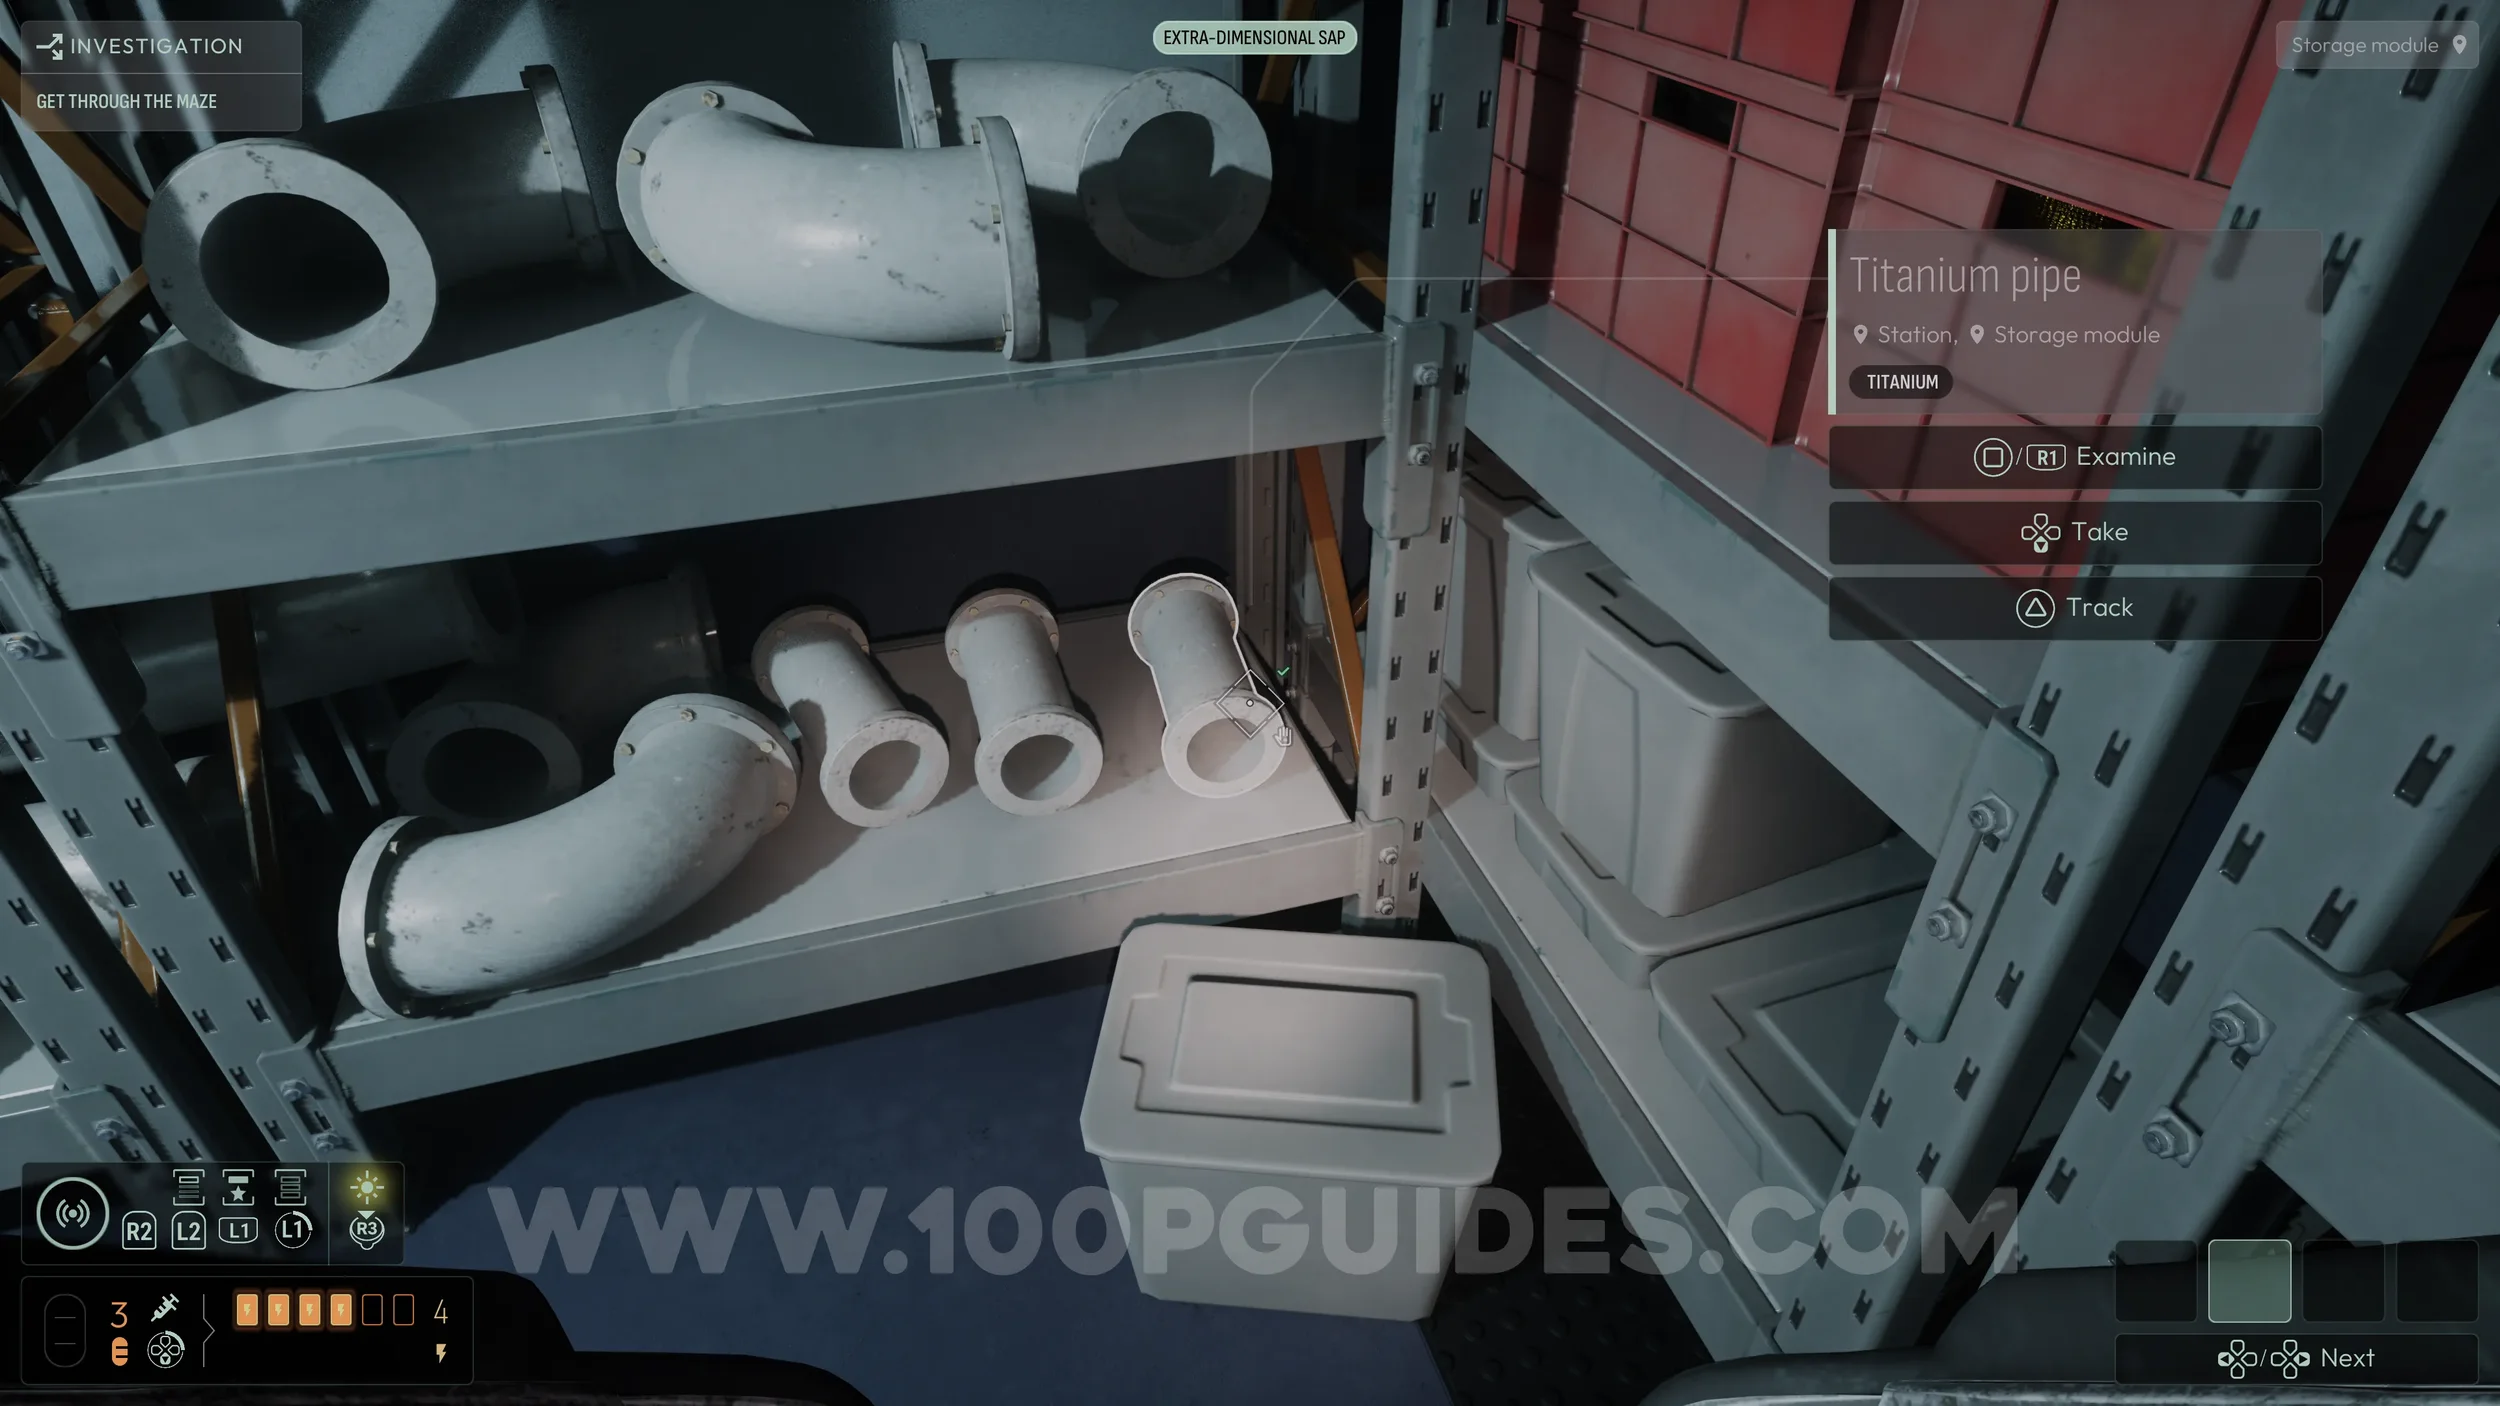
One of the pipes, marked with a black symbol, is blocked by a strange substance. If you are having trouble finding it, activate the Extra-Dimensional Sap frequency and use the sonar to identify it. Remove the blocked pipe and place it on the floor.
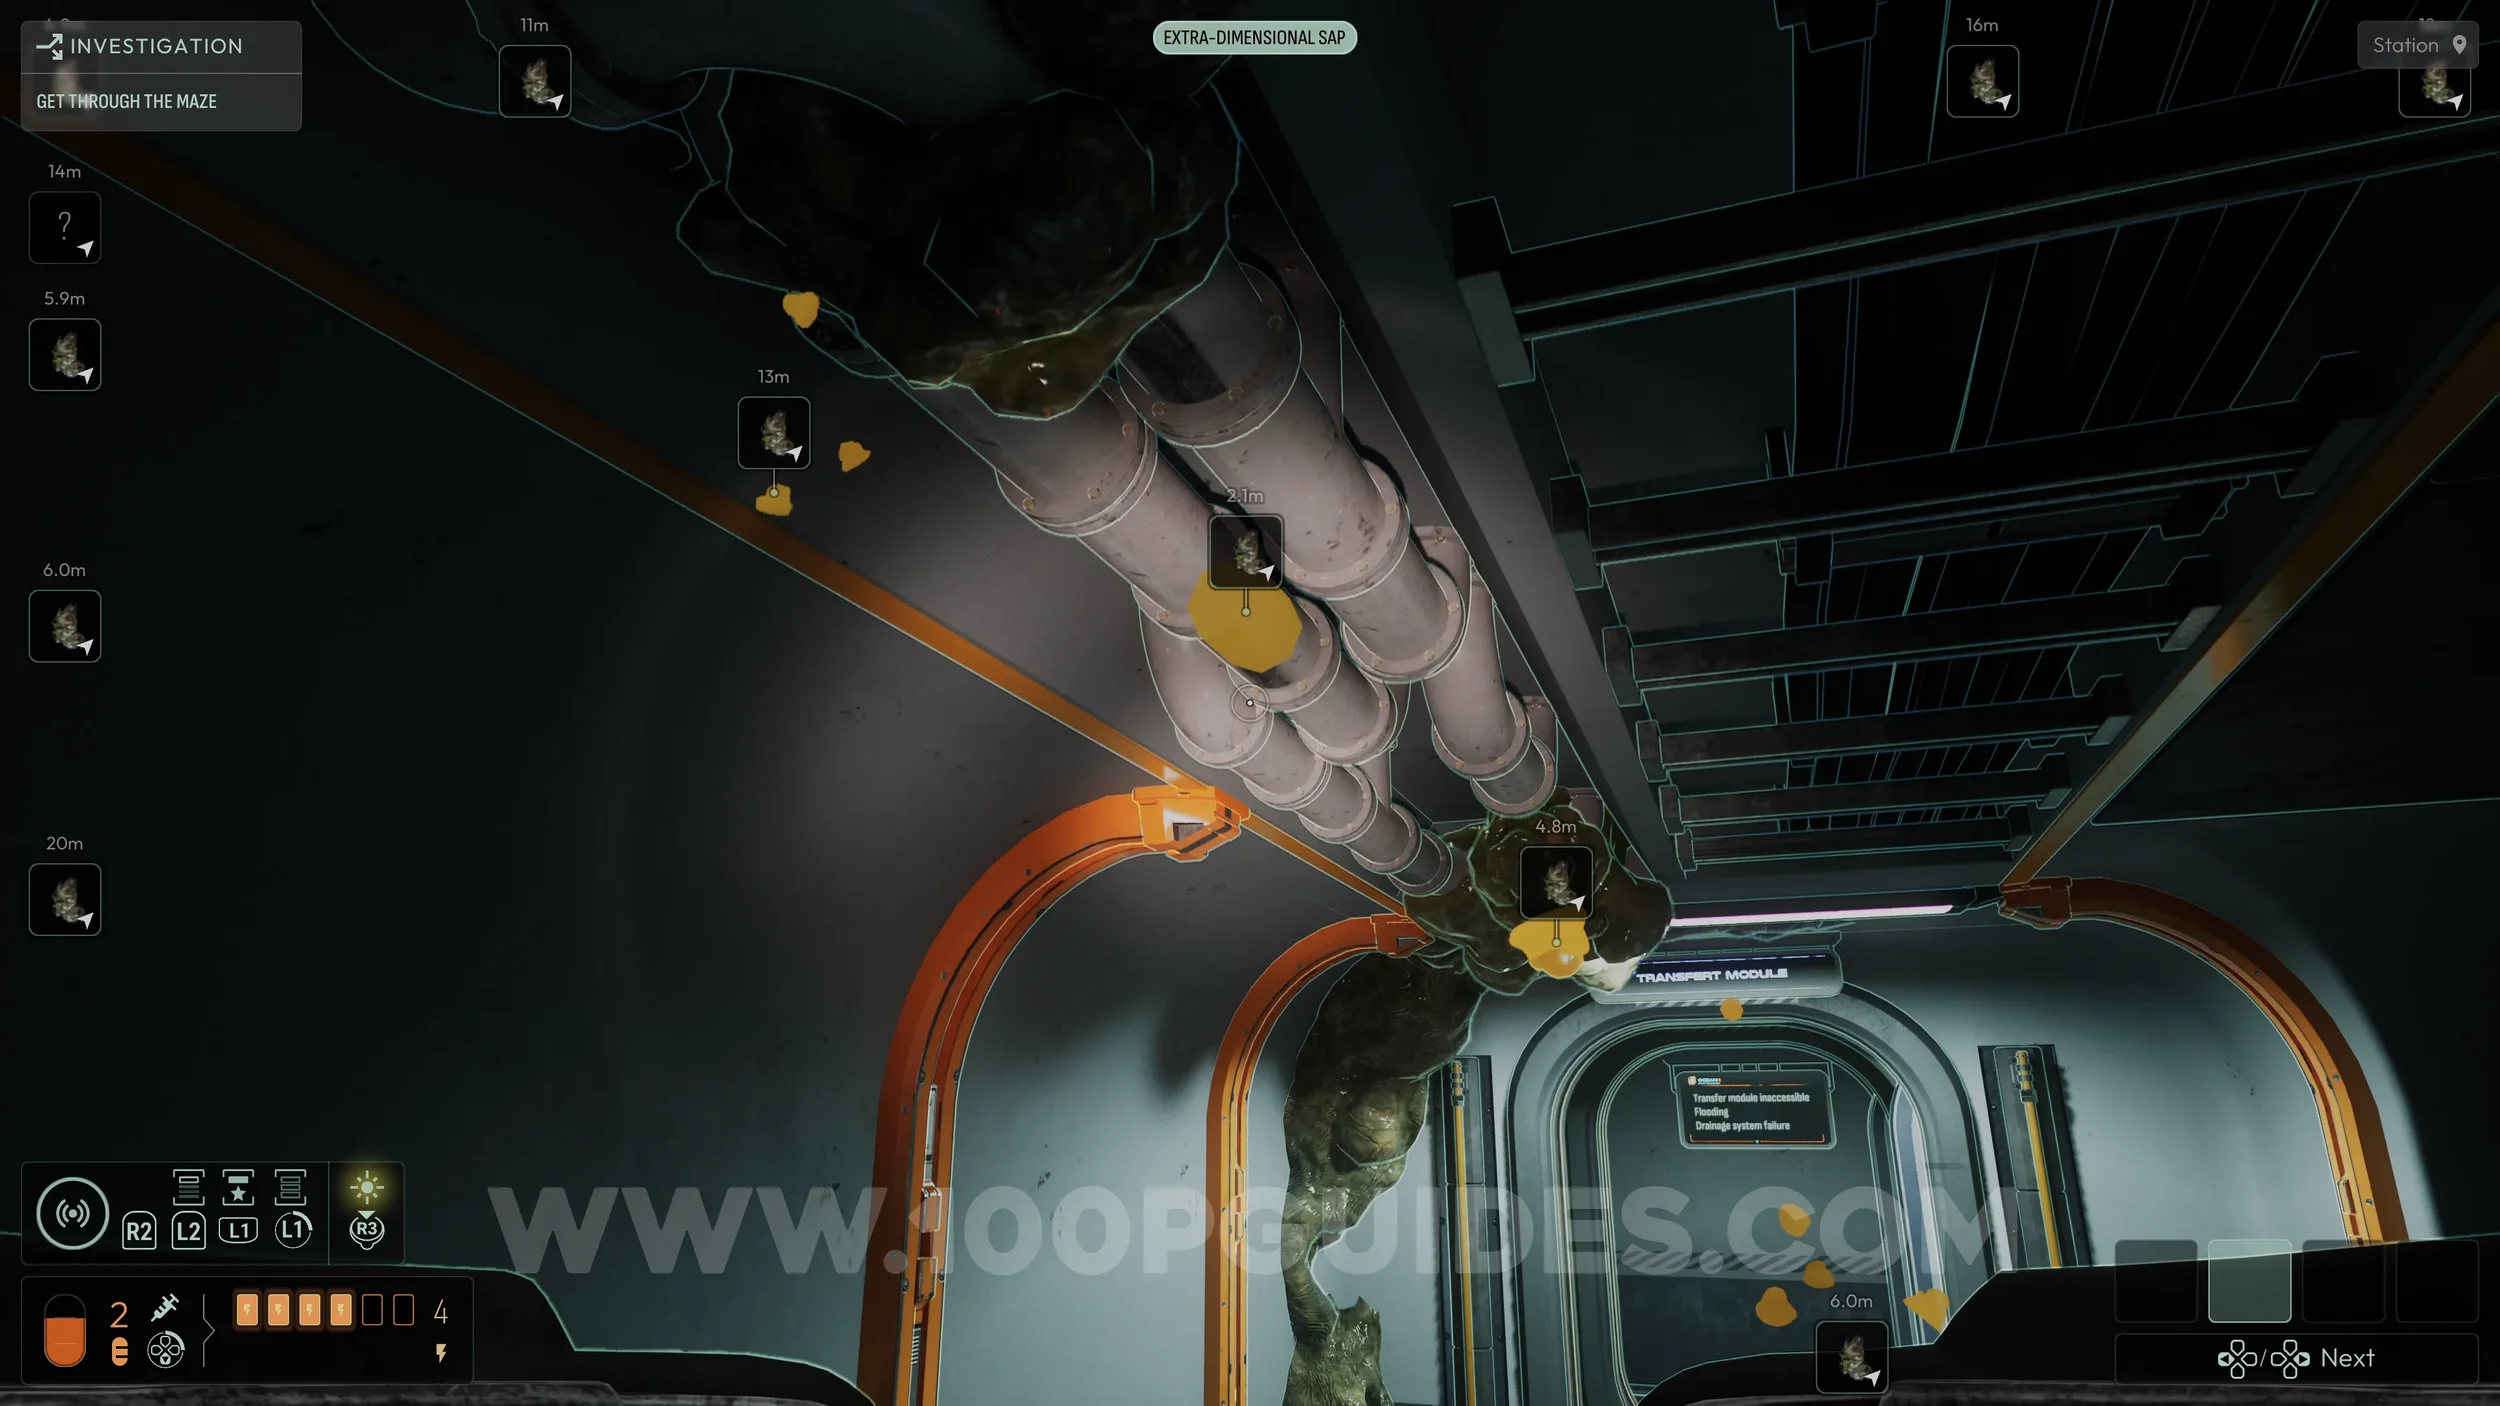
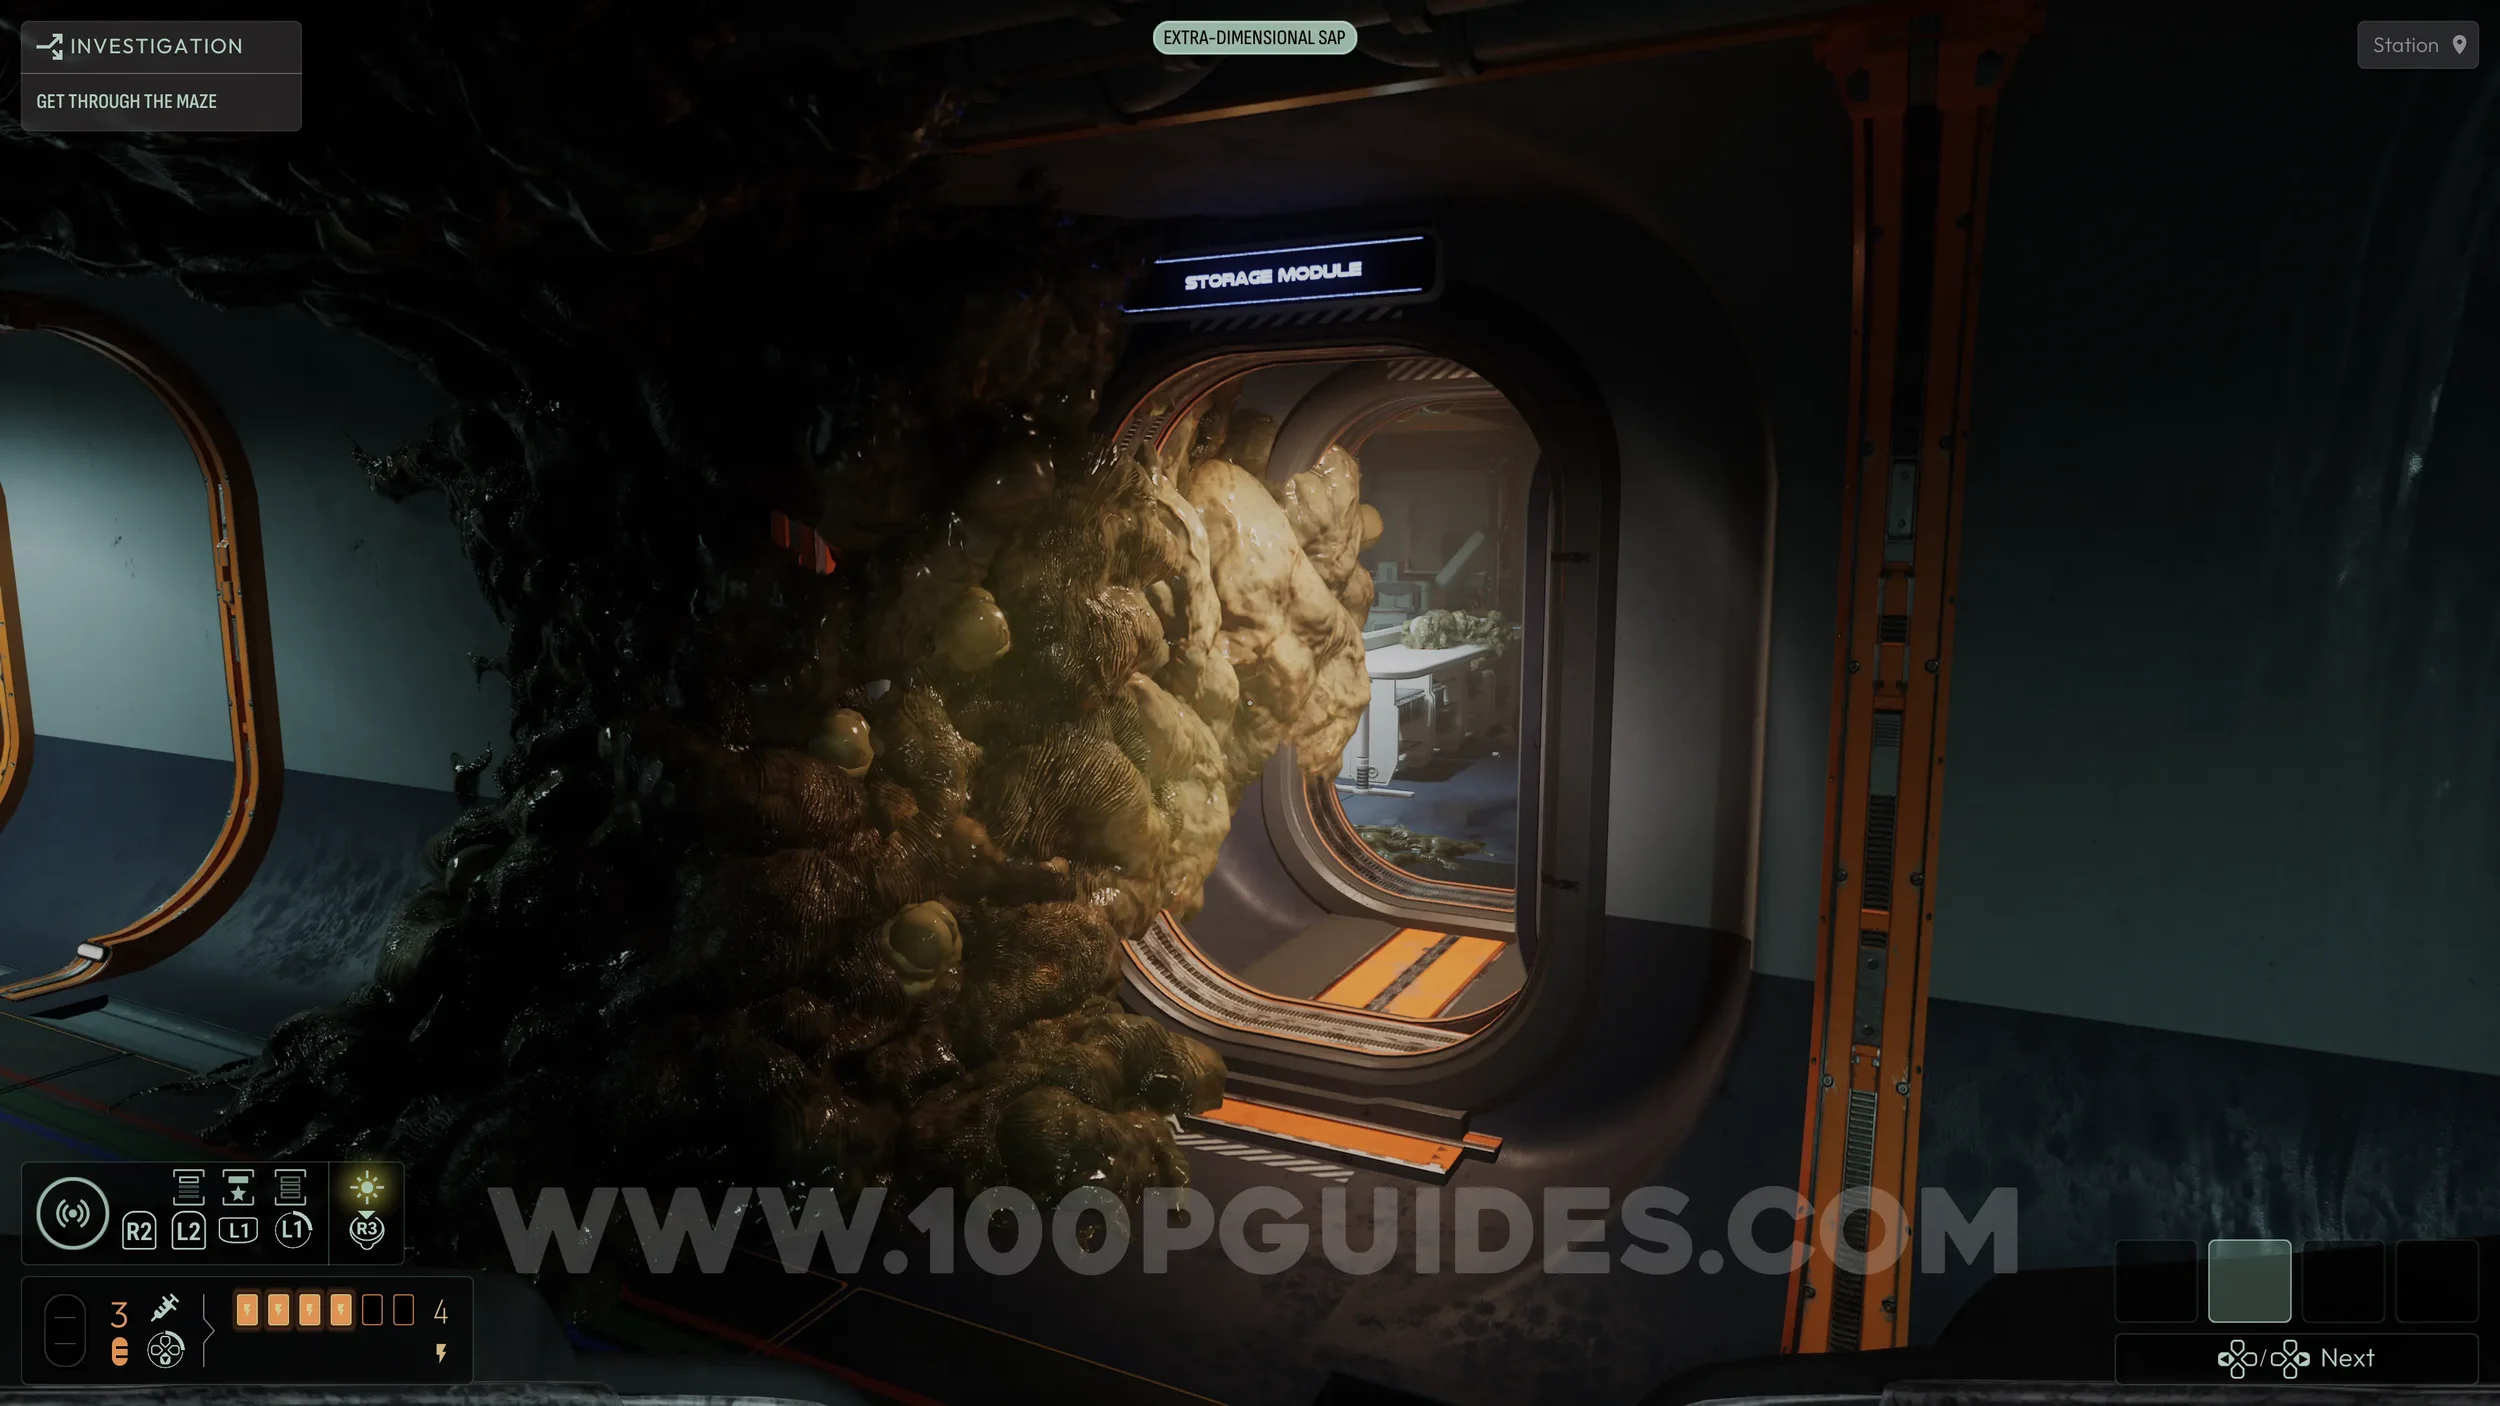
Then enter the Storage Module through the nearby door. Inside, look to the right for short, straight pipes on the shelf. Pick one up and install it where the blocked pipe was removed.
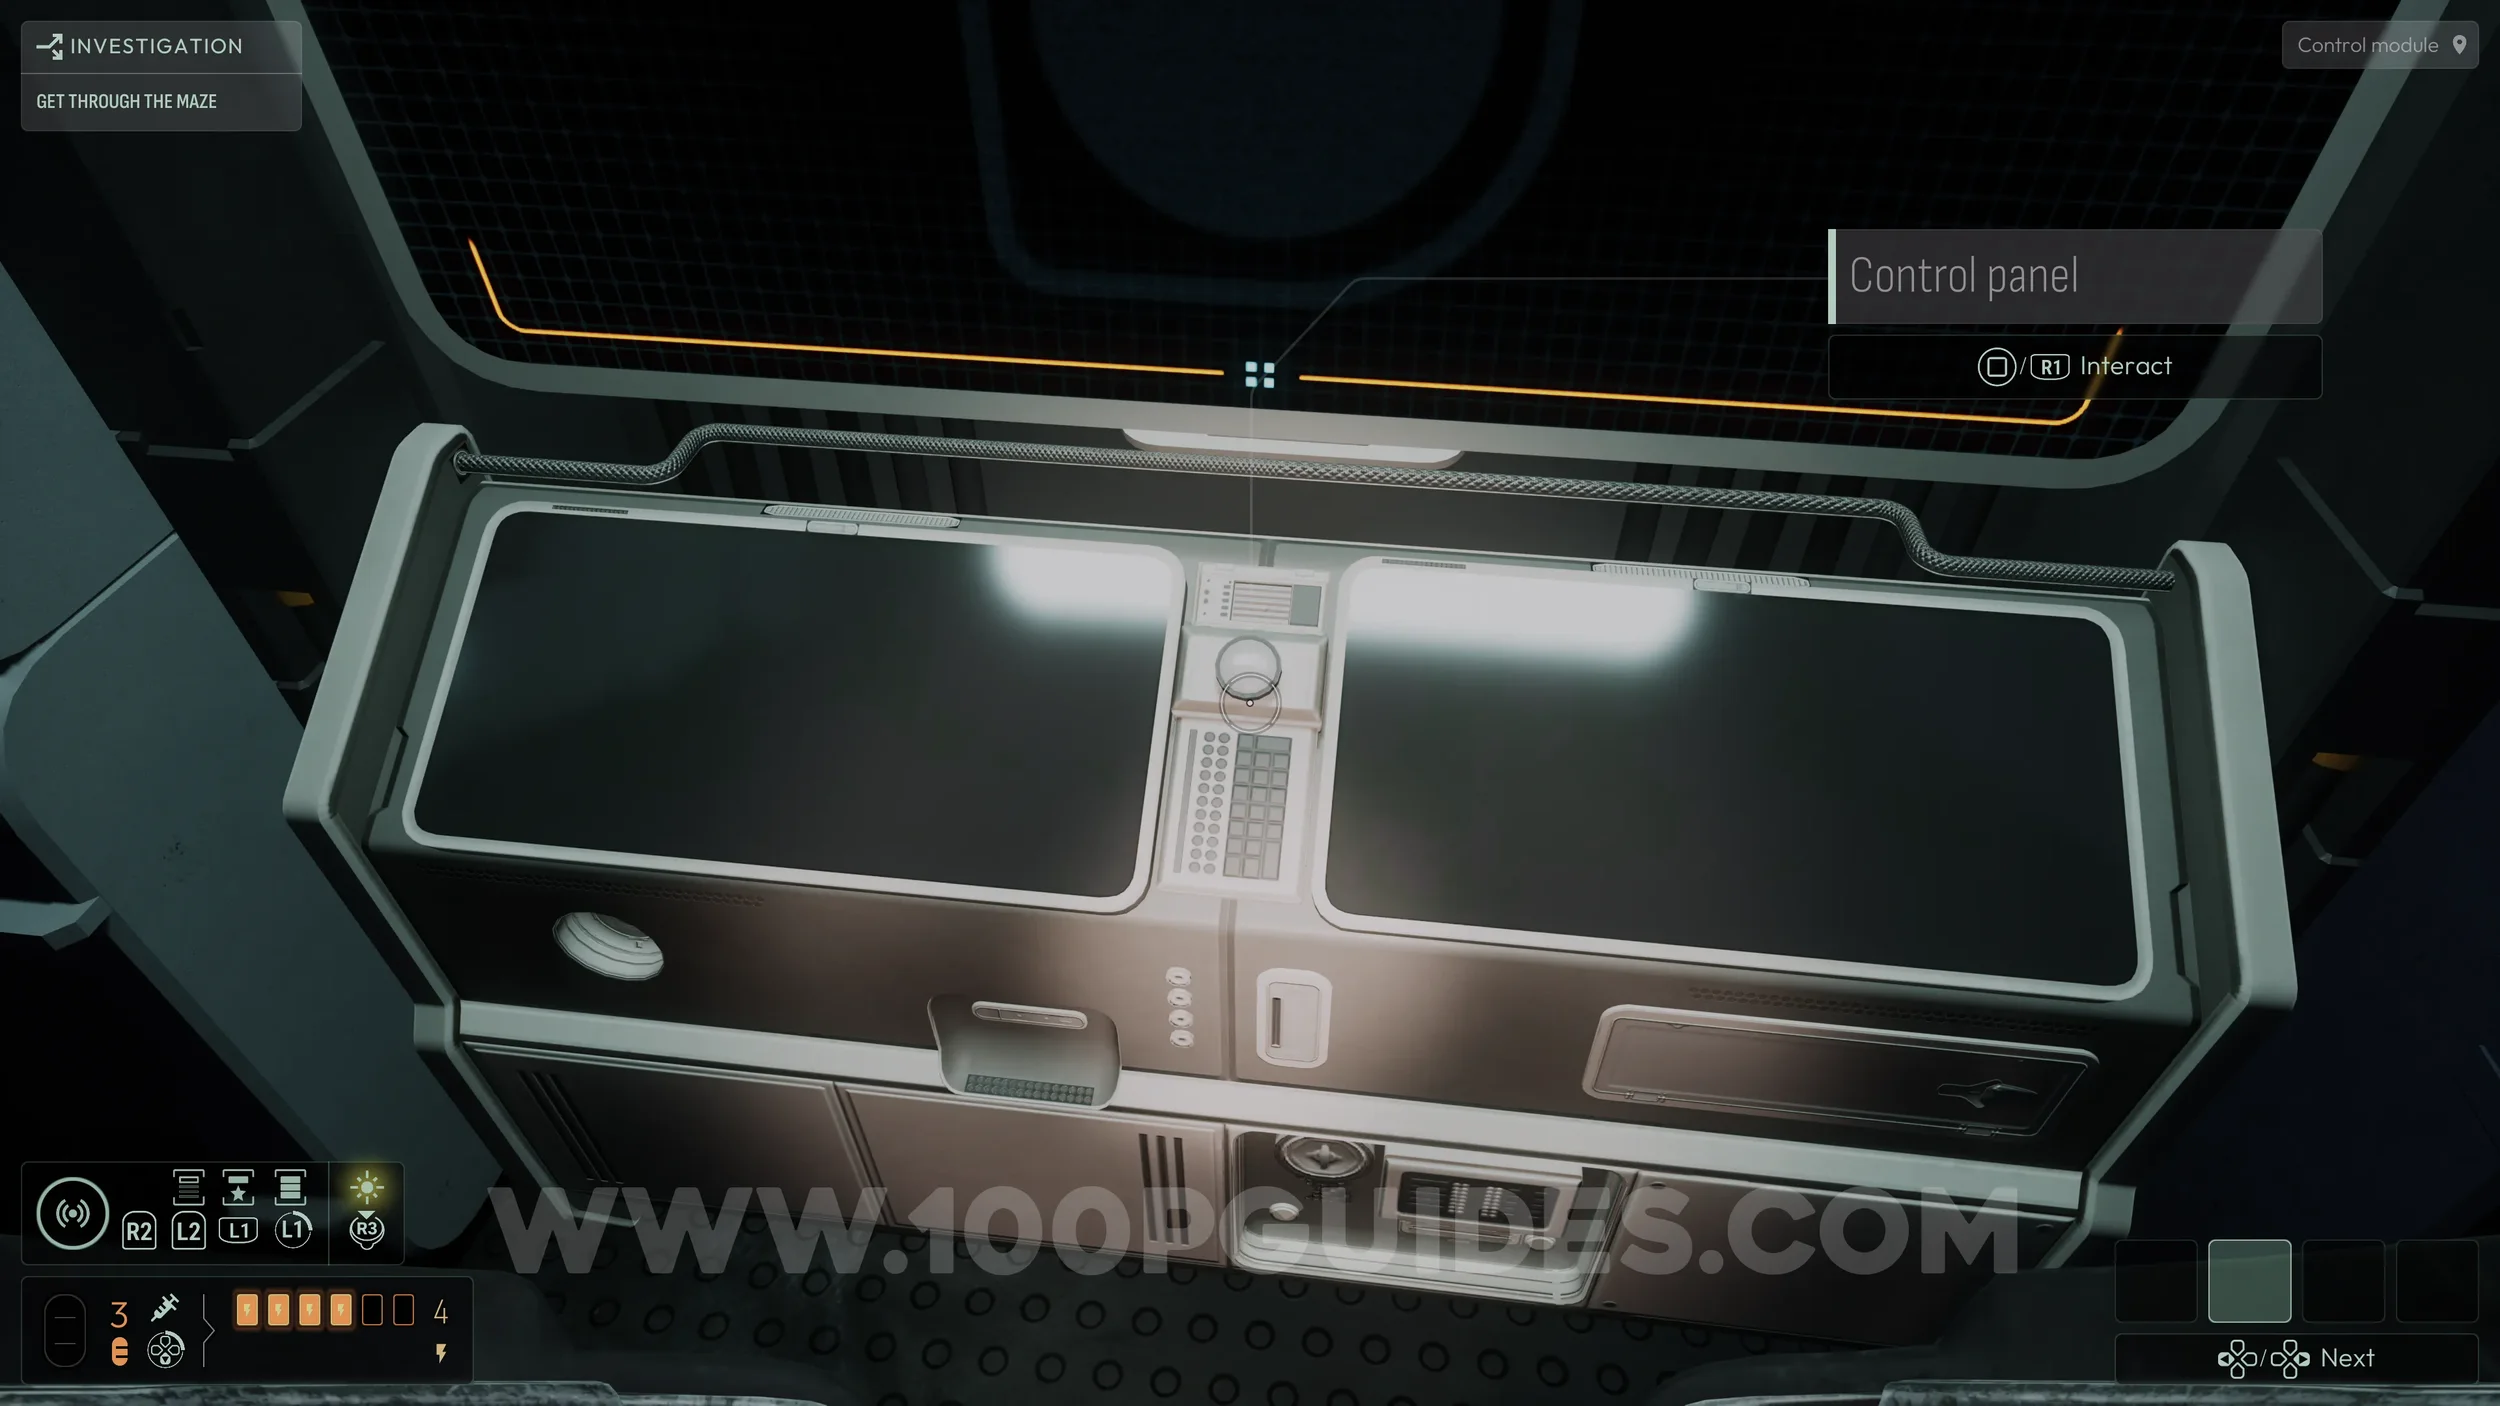
After that, return to the large screen labeled “Drainage Error” and press R1 on the button beneath it. This will drain the pipes and unlock access to the Transfer Module room.
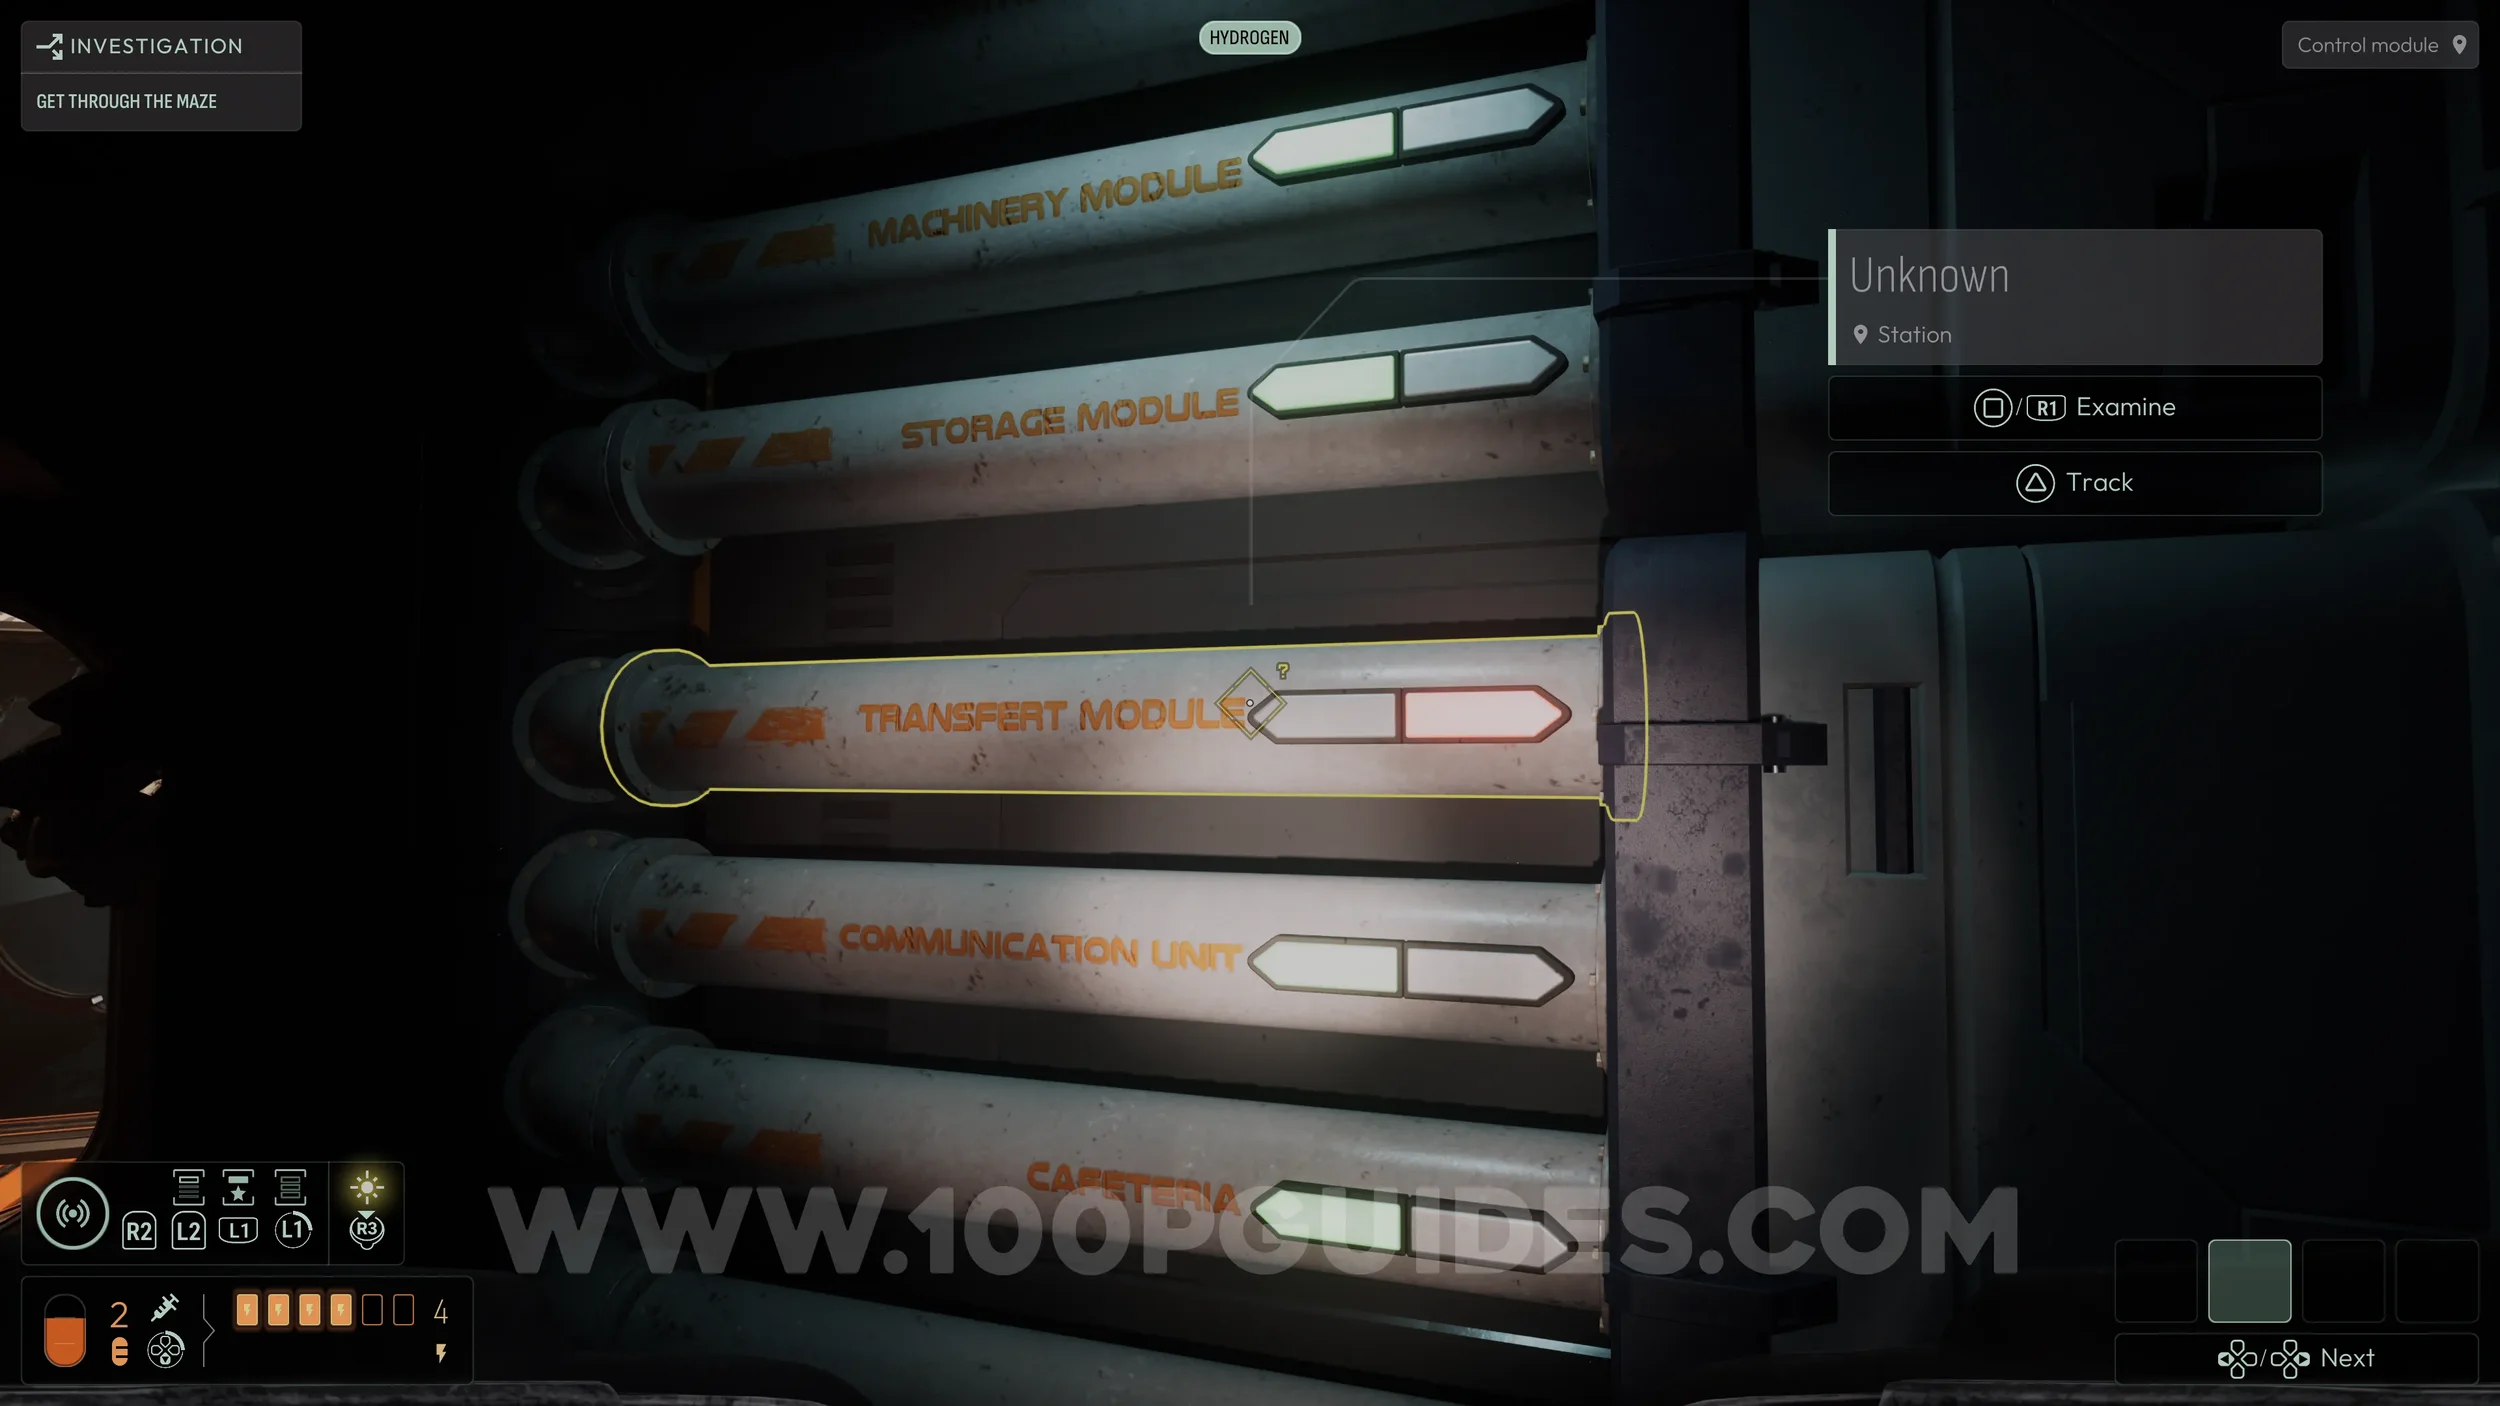
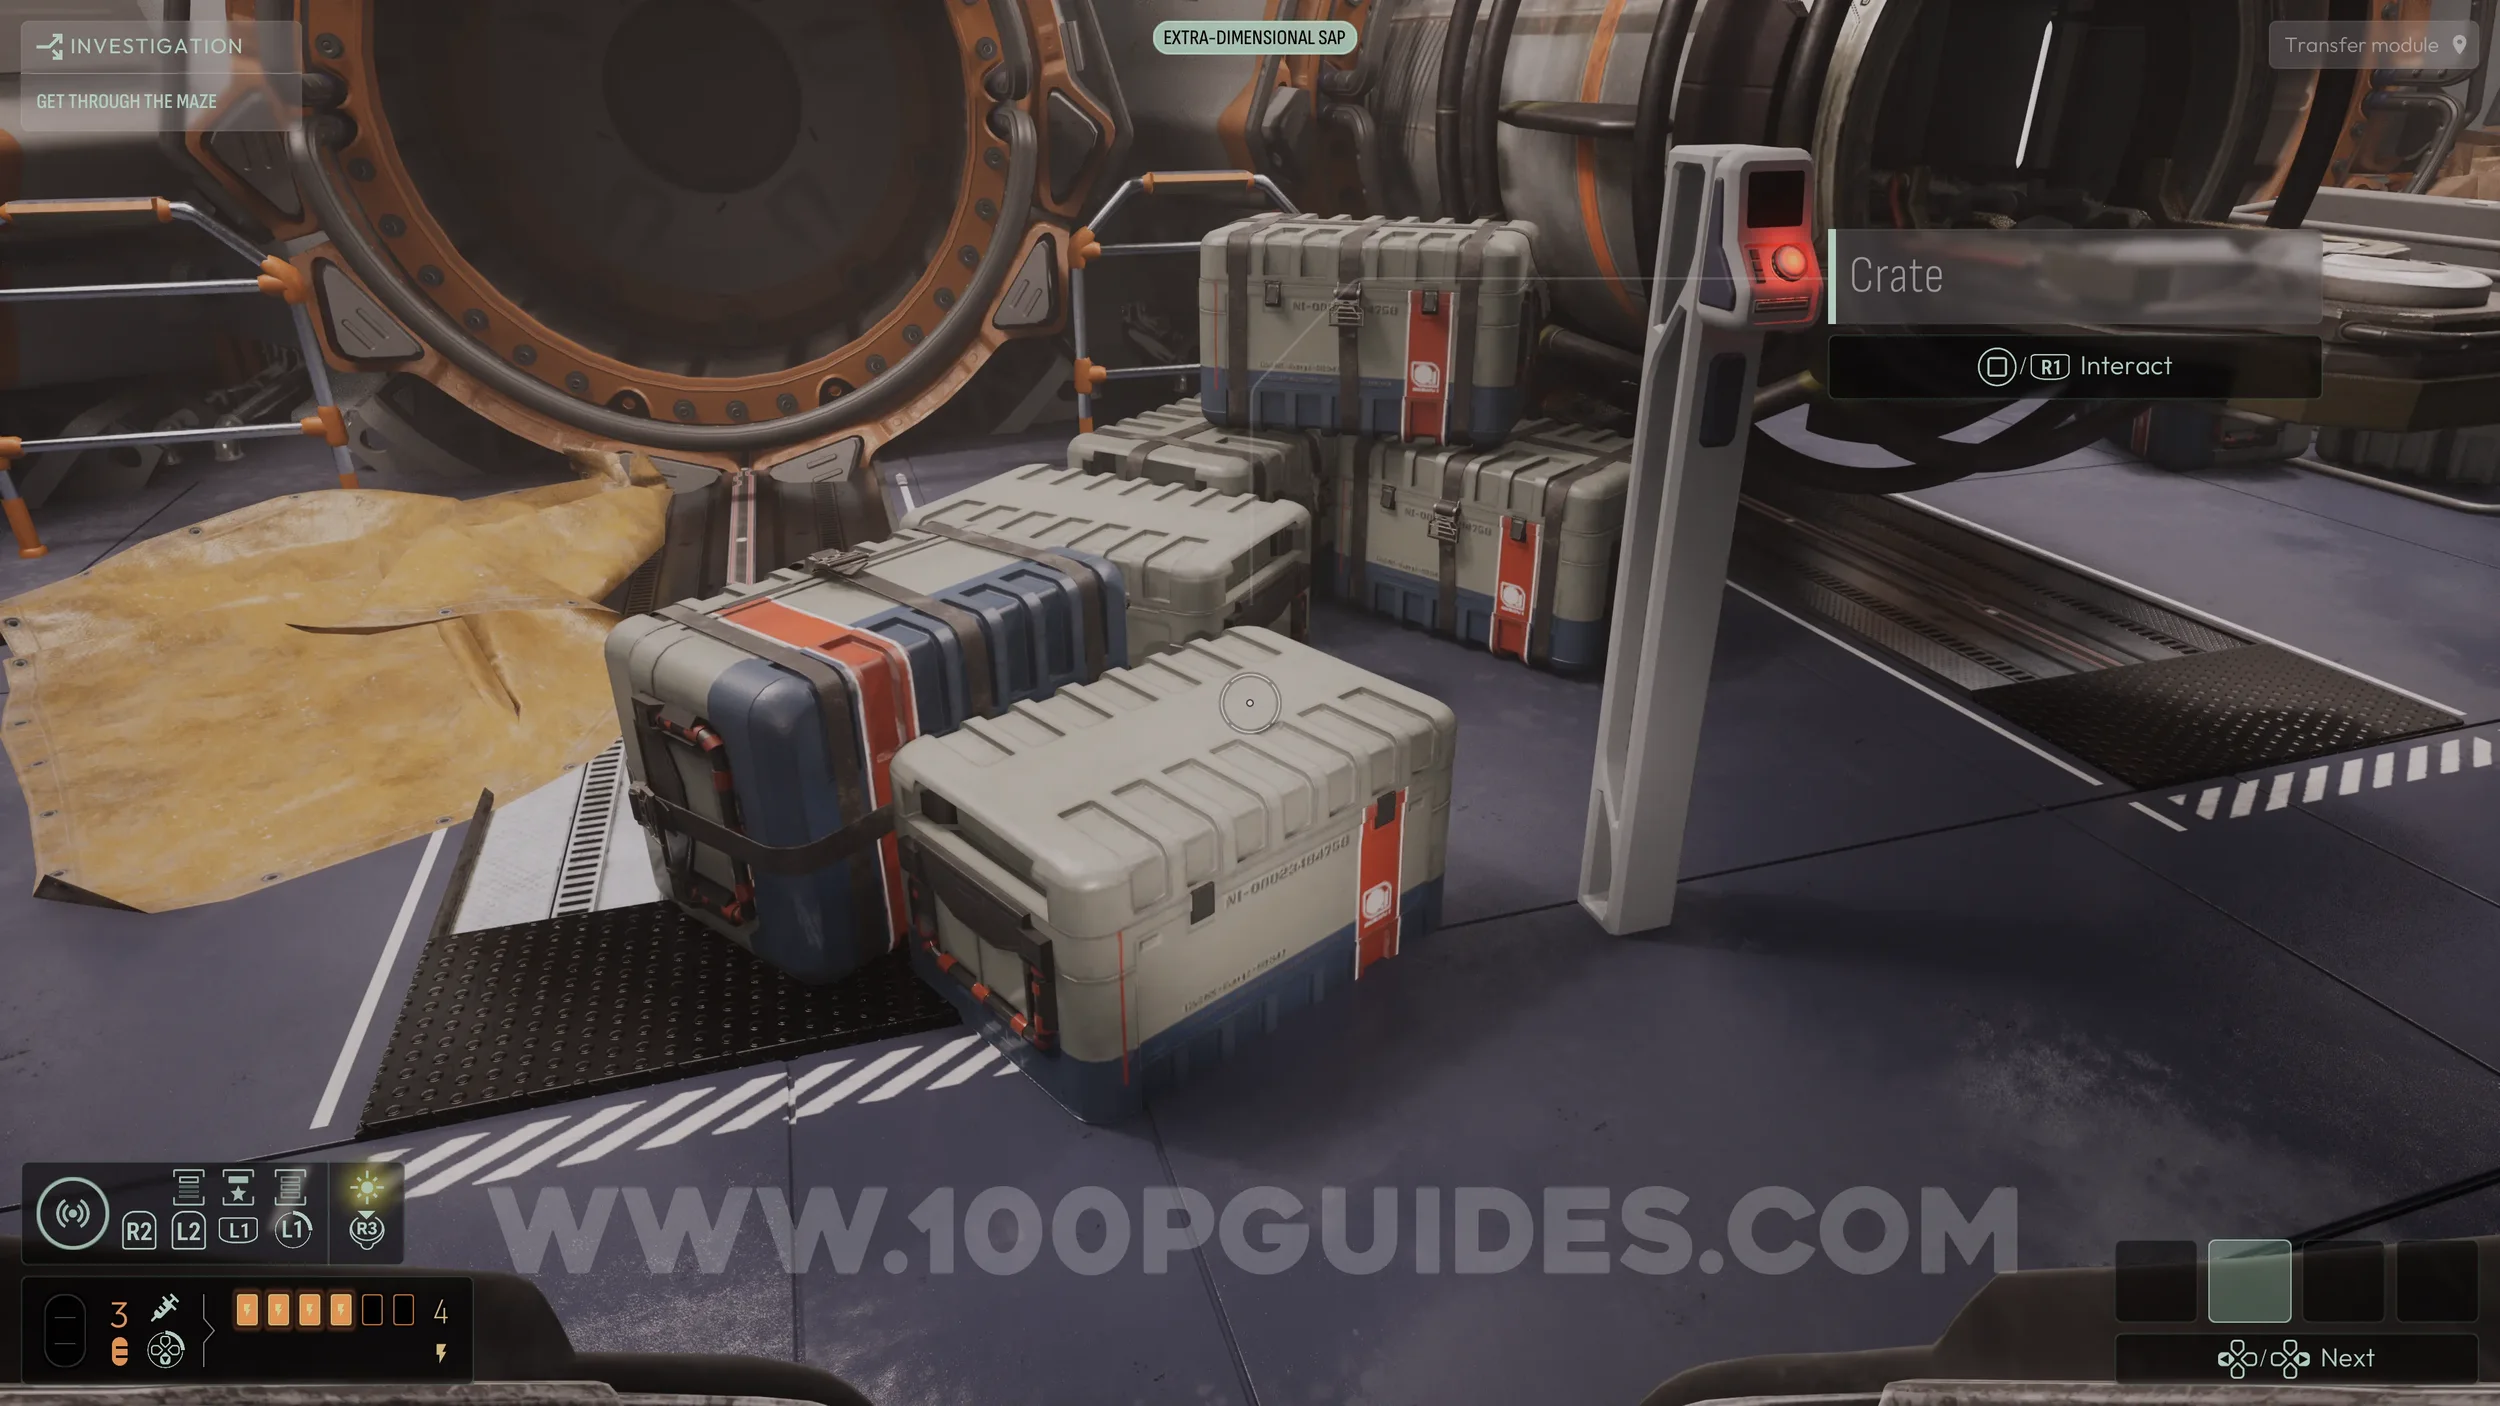
Enter the Transfer Module by going through the door just past the pipes you replaced. Once inside, open the crate in the middle to find another Evolution (2/15).
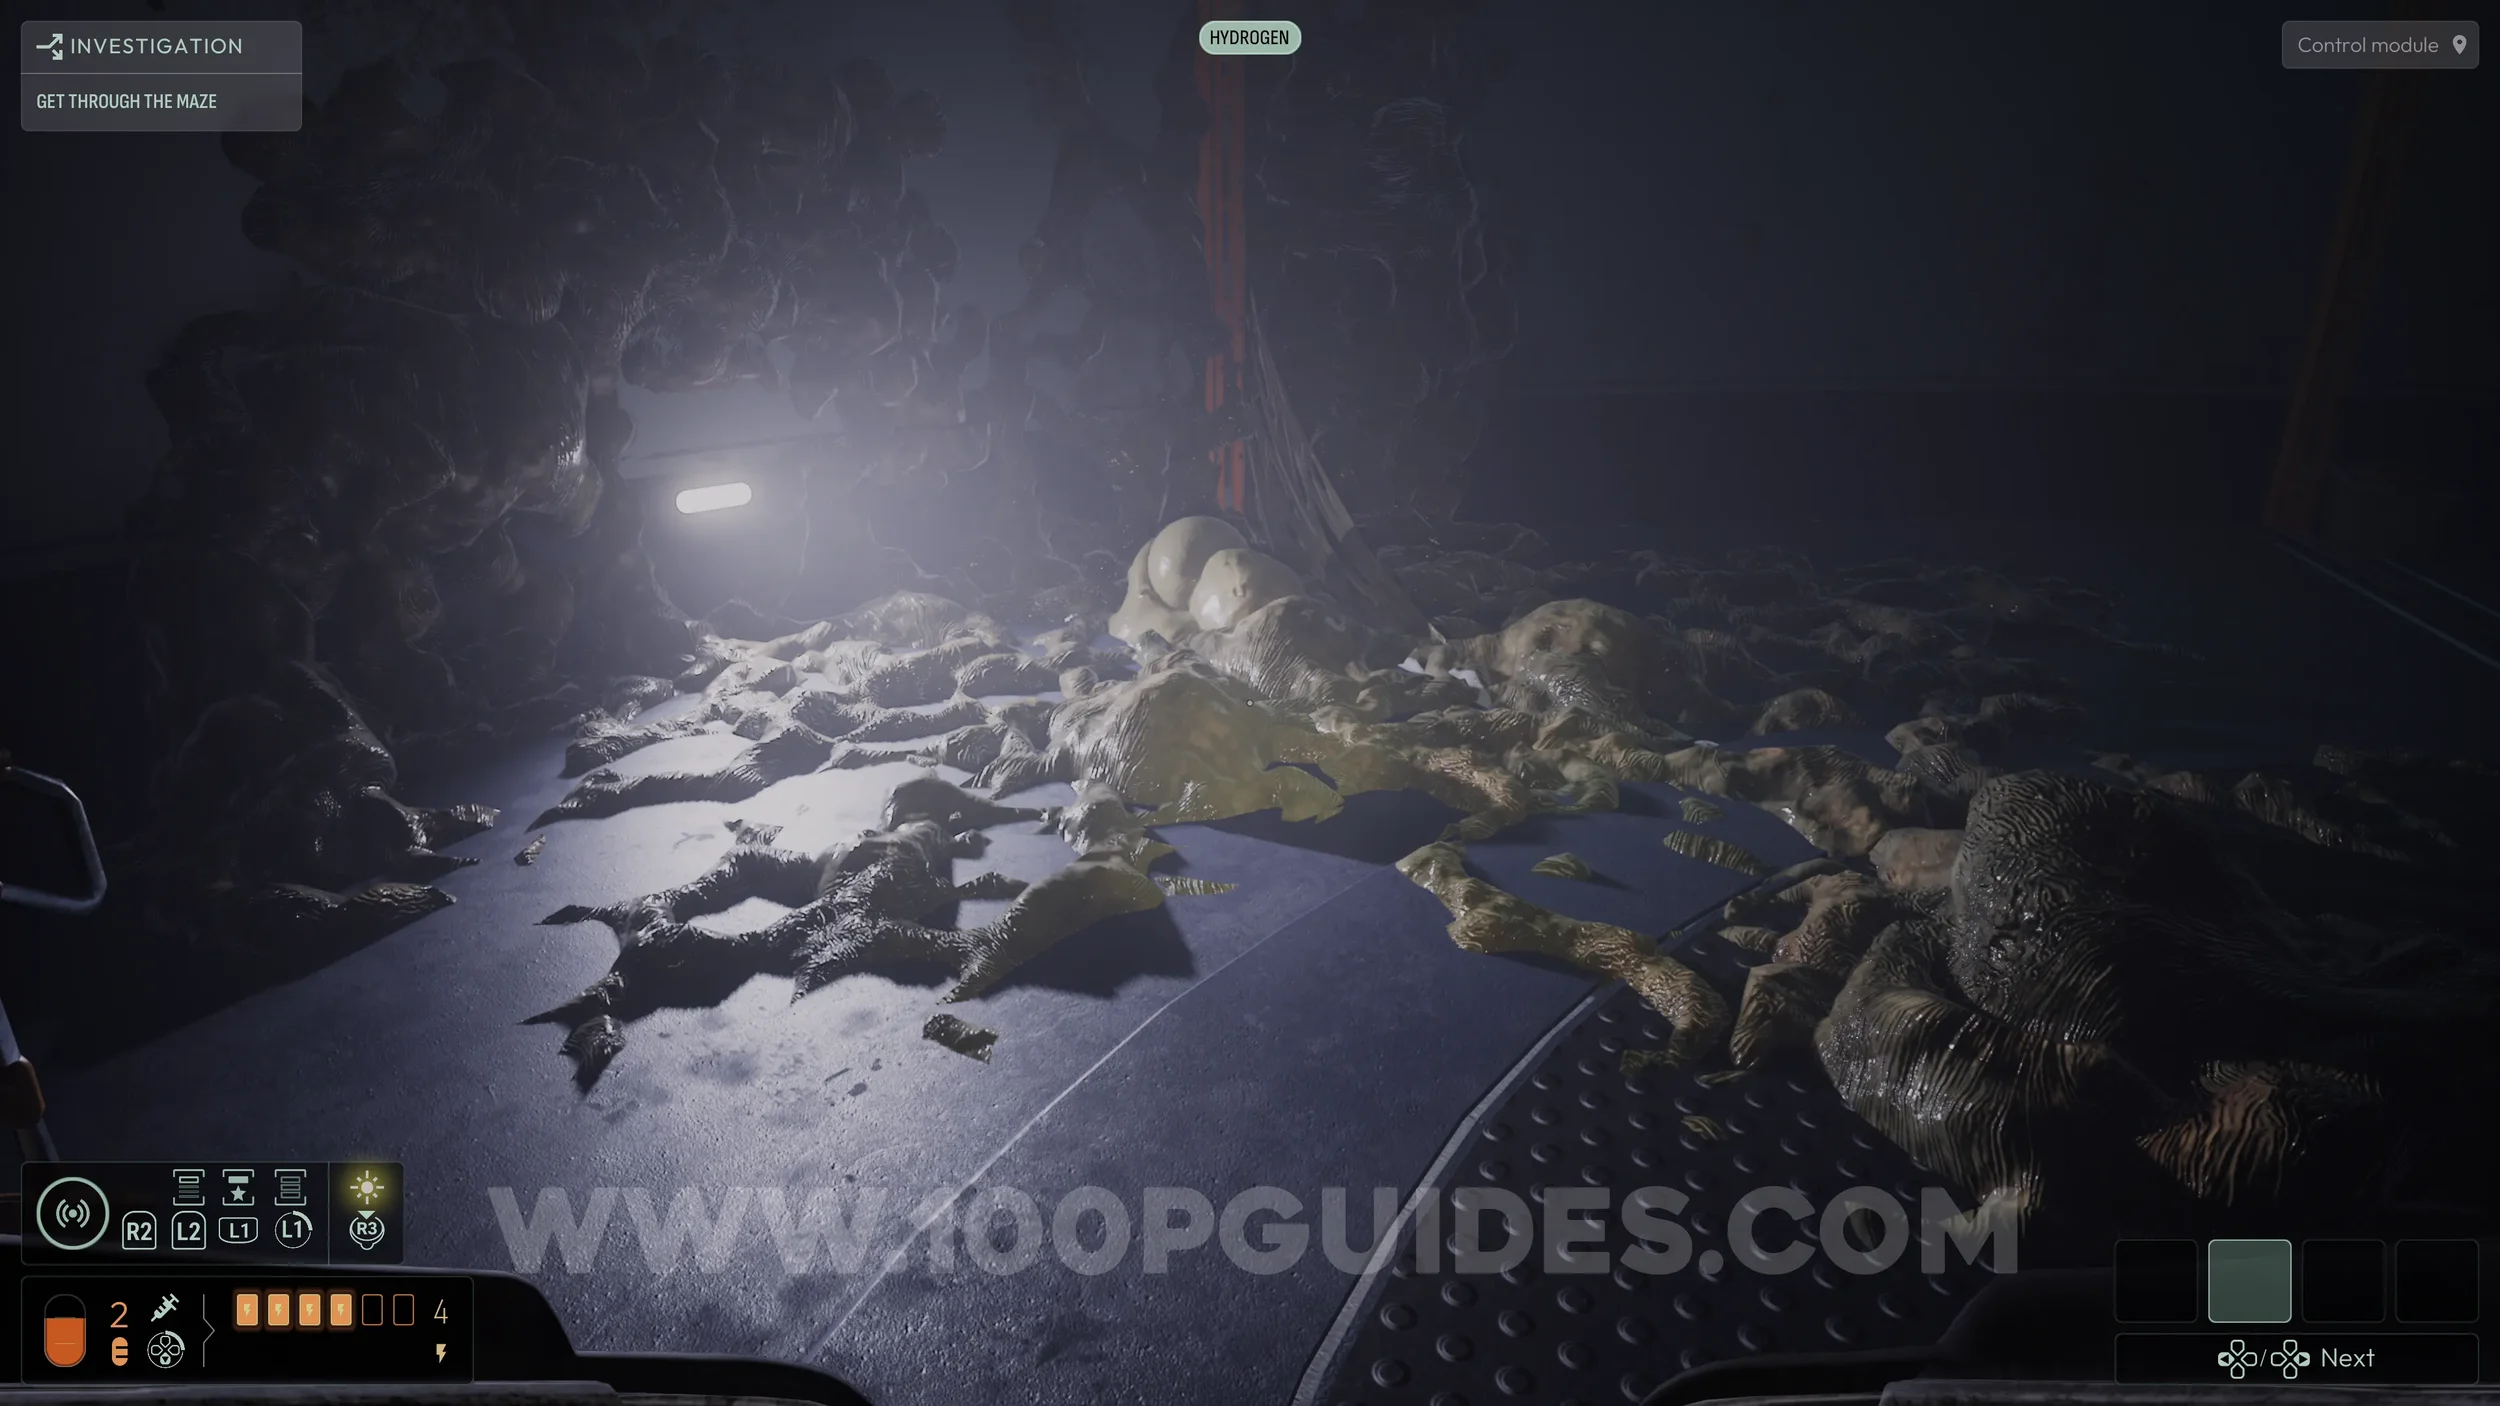
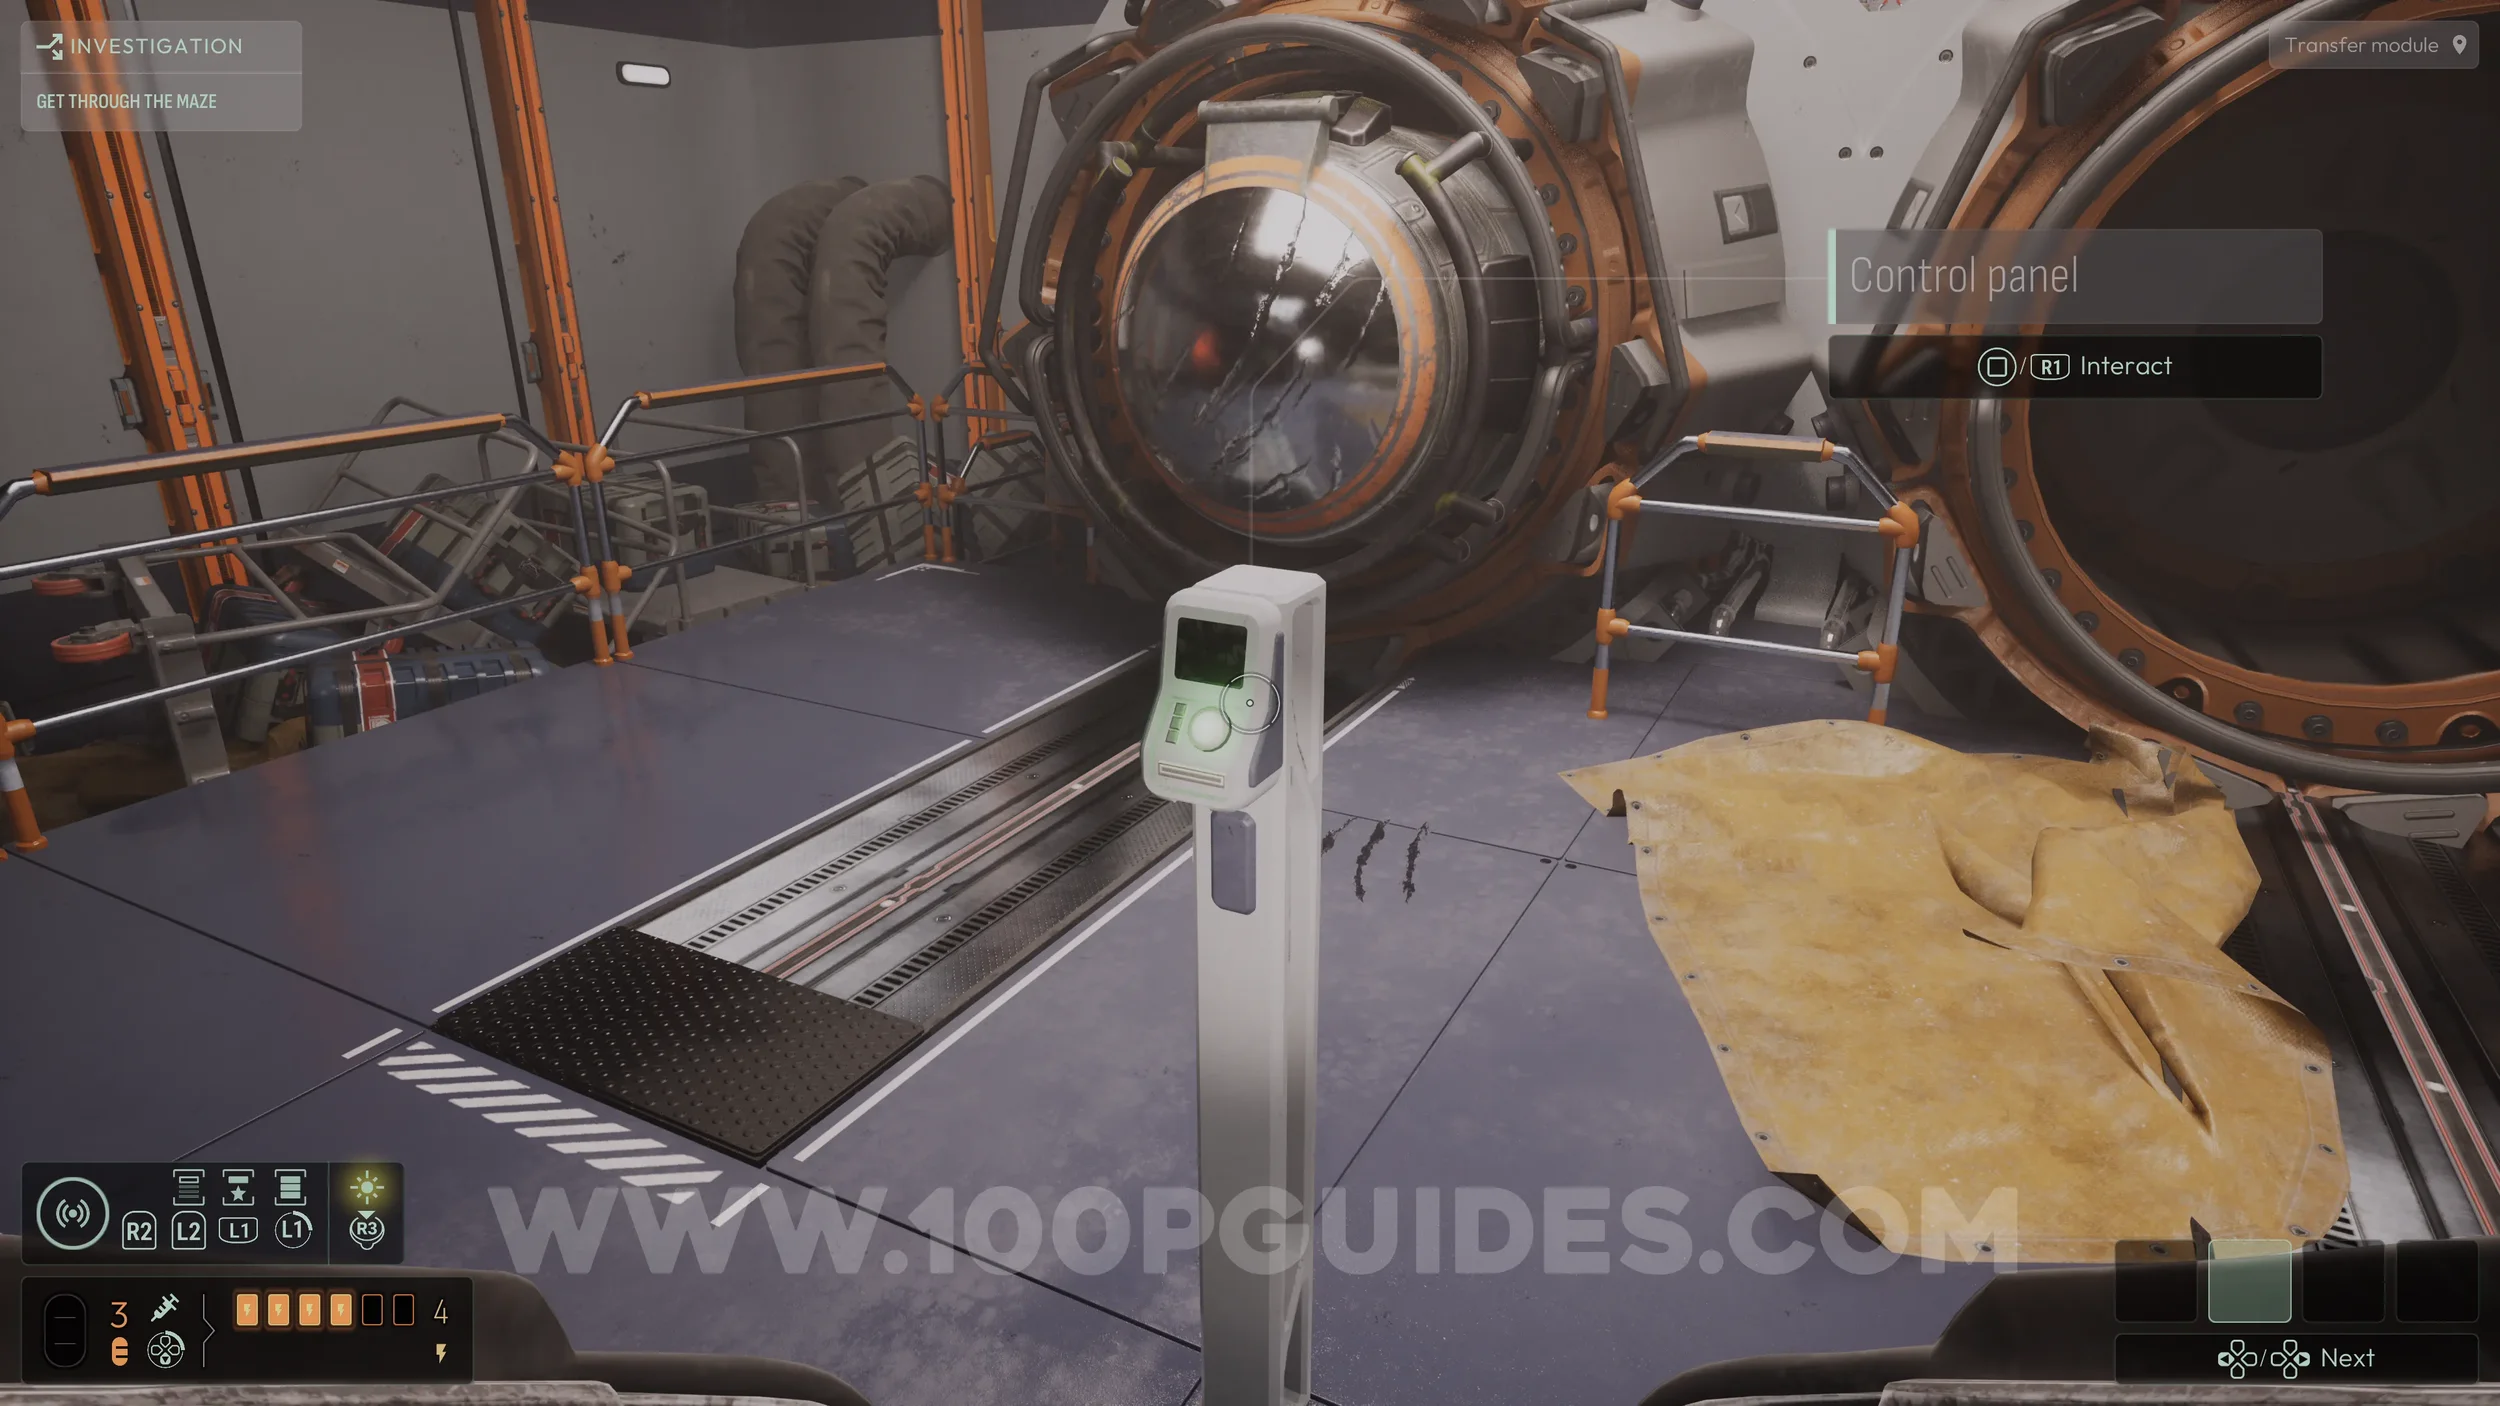
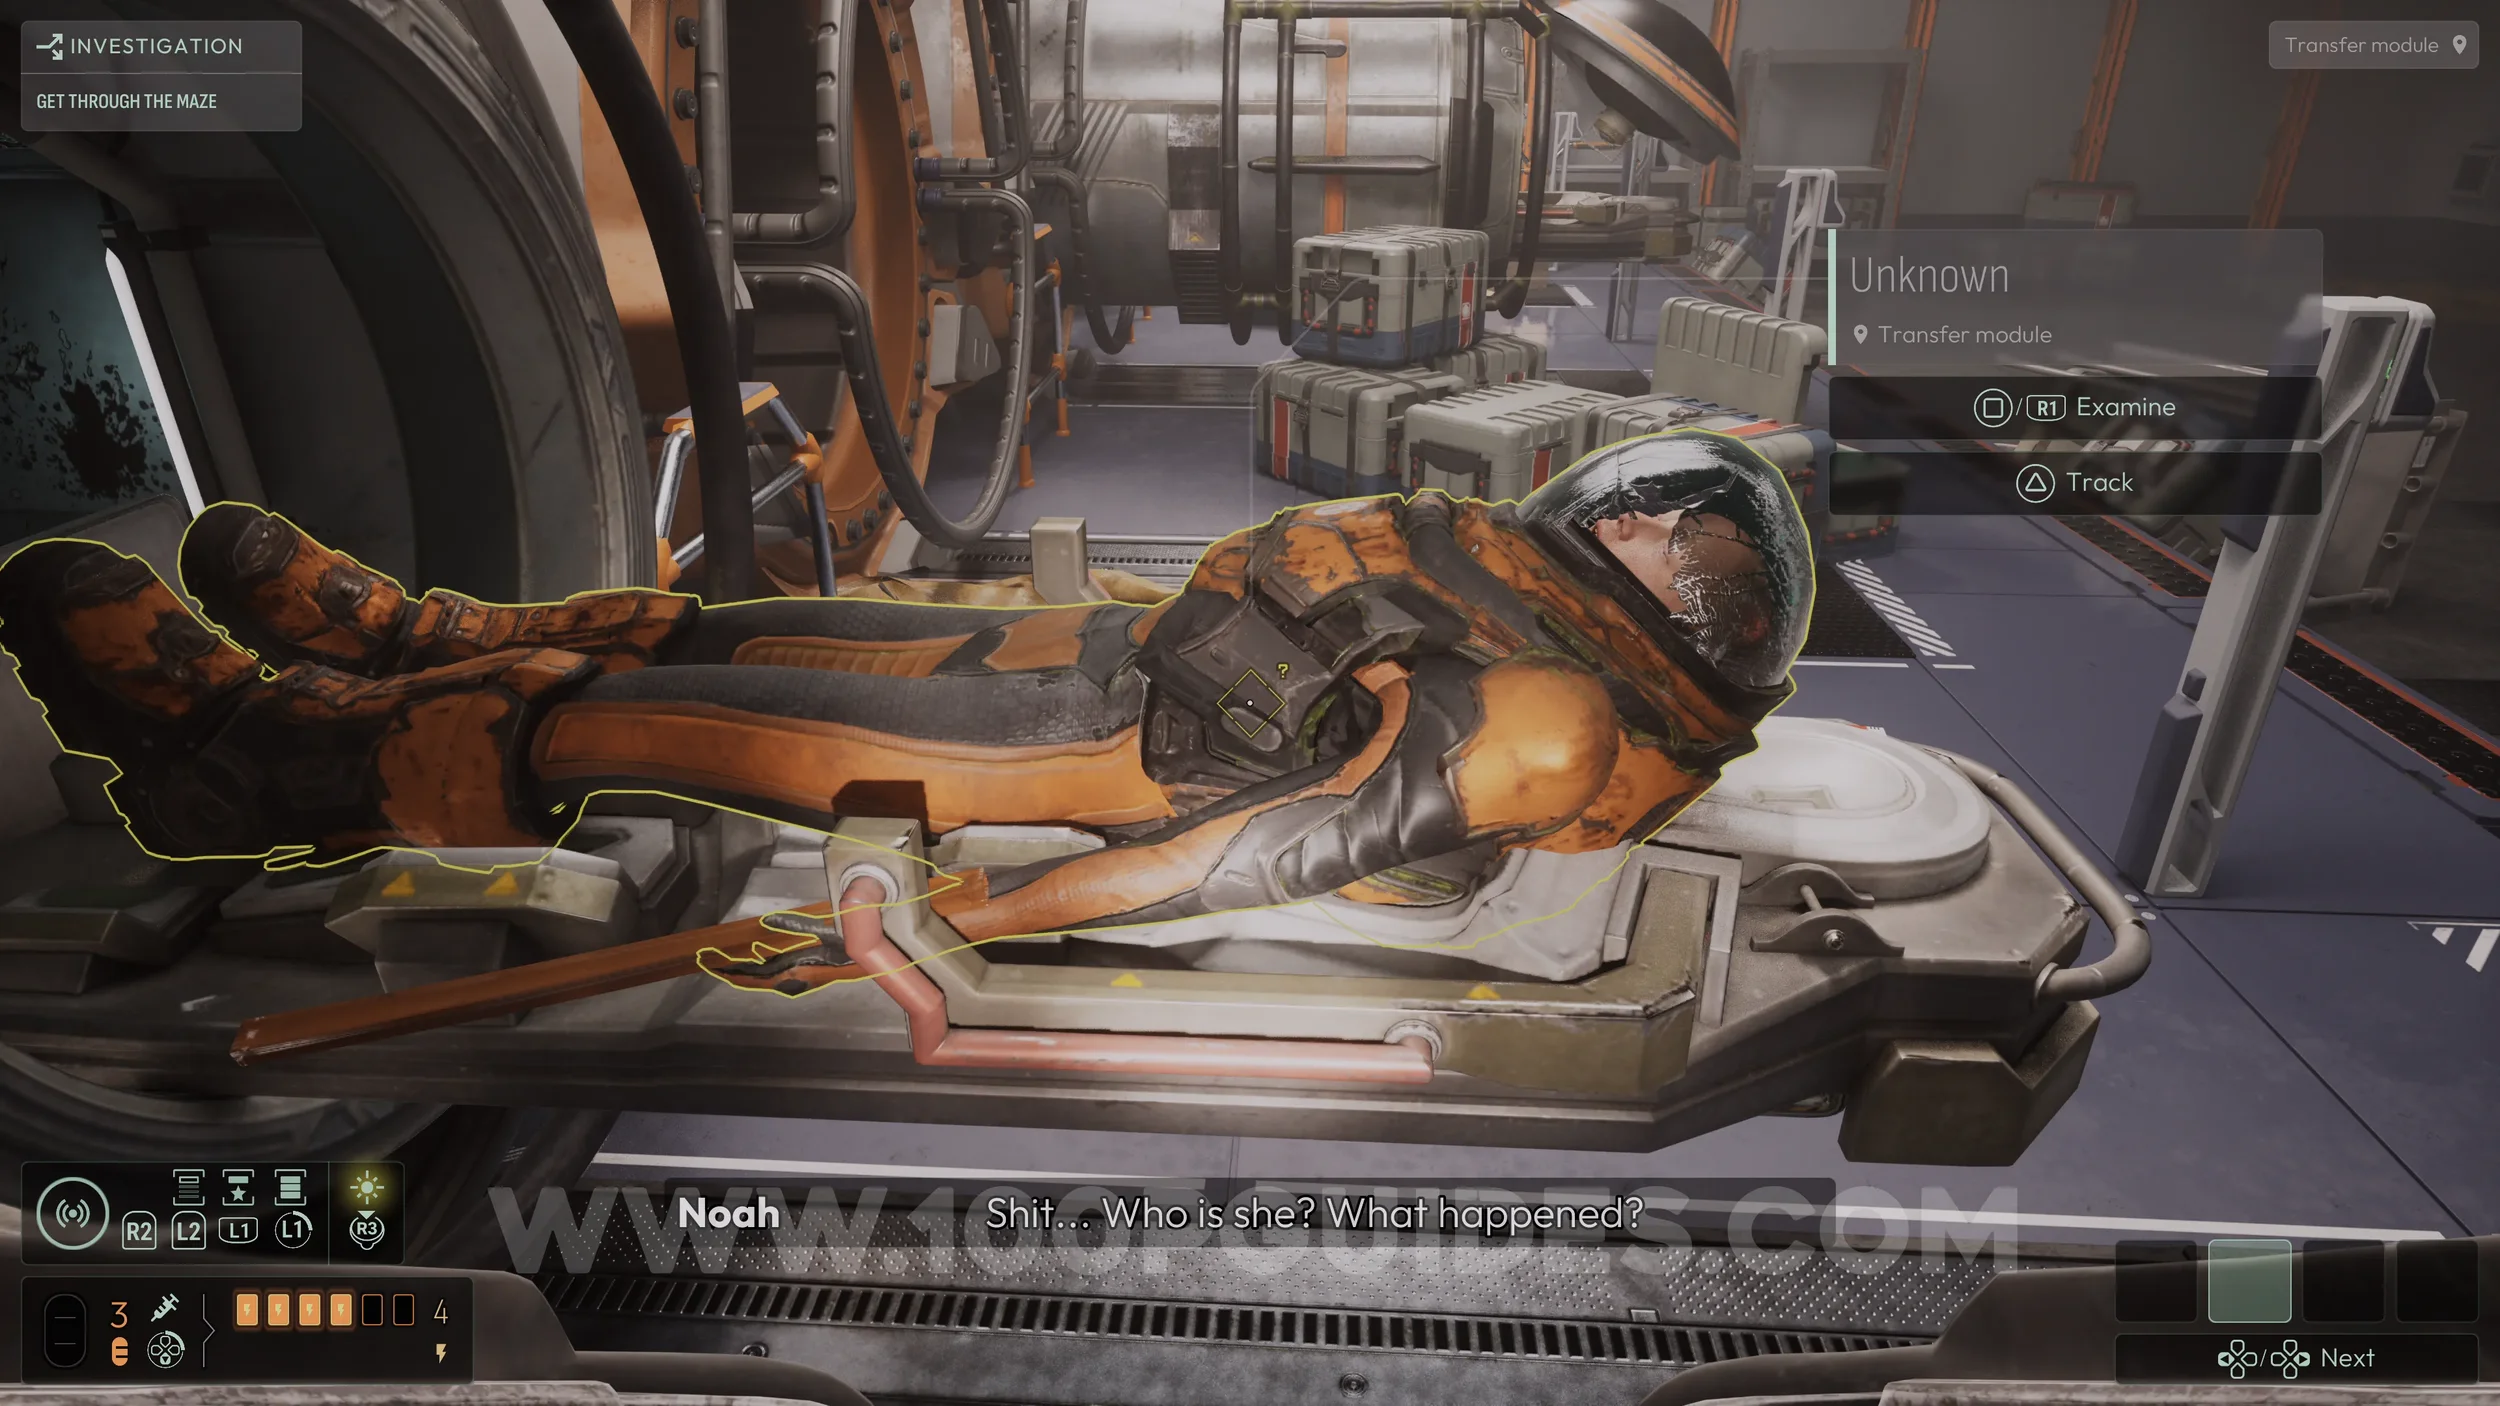
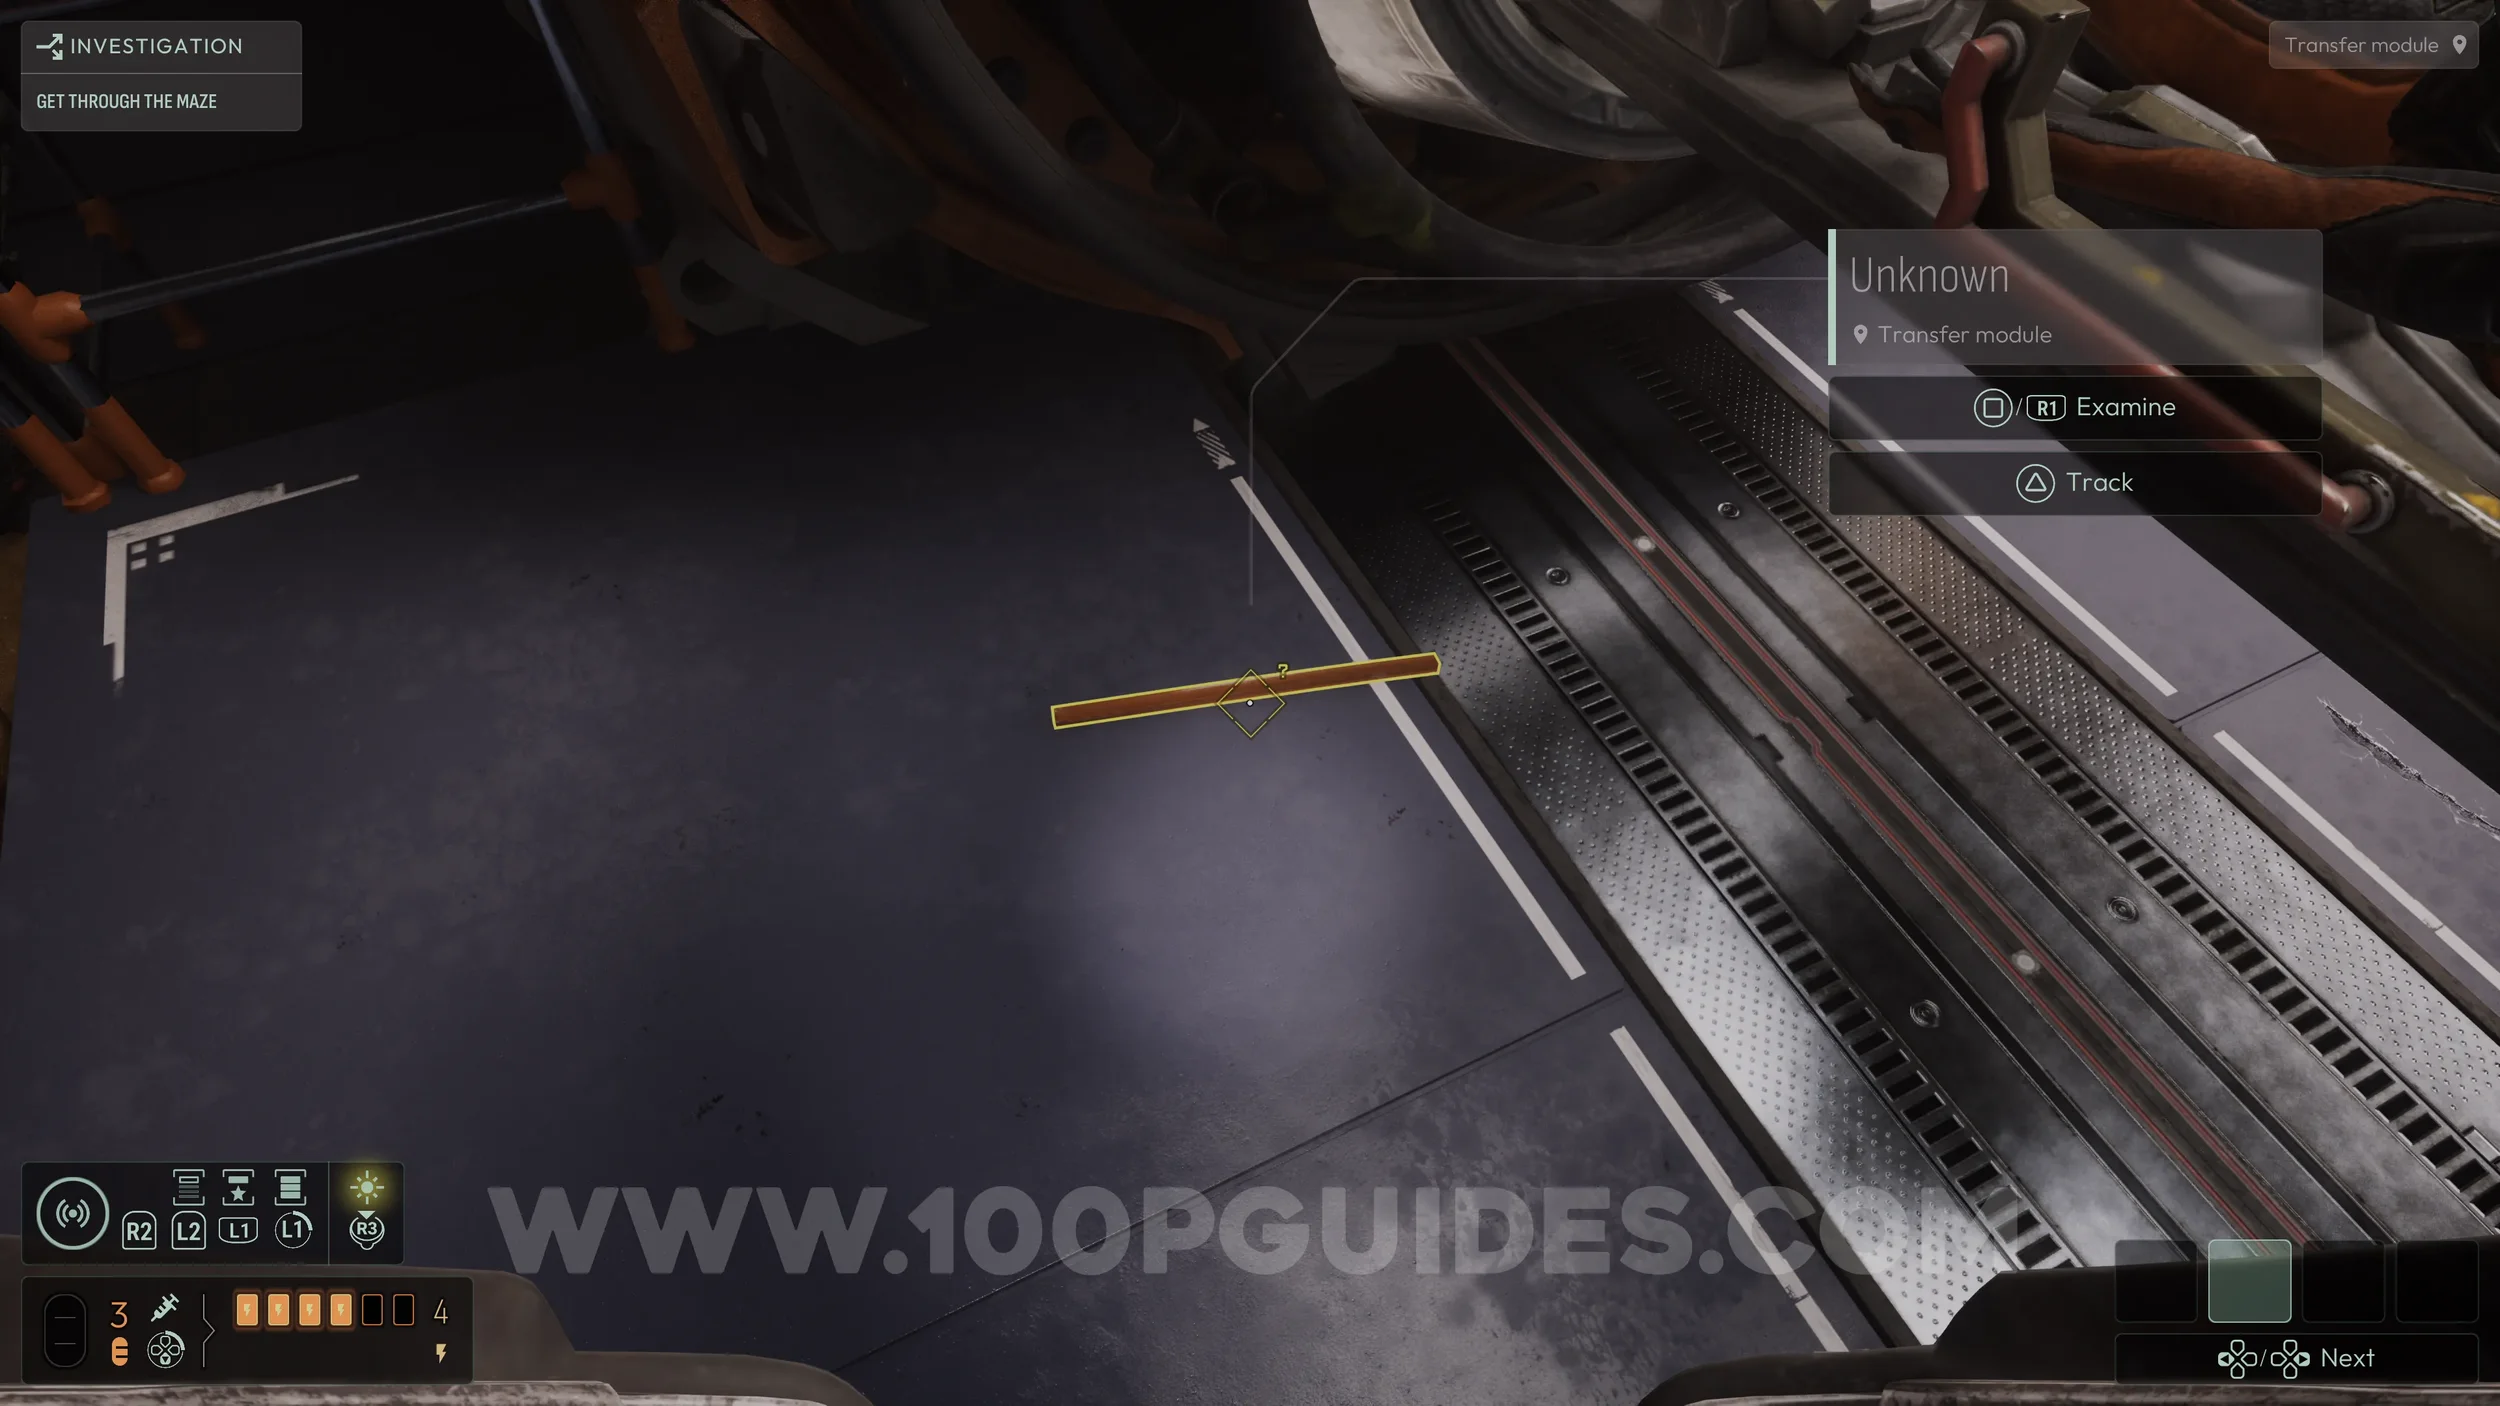
Next, press the green button in the Transfer Module to open the leftmost capsule. Analyze the body, then examine and analyze the metal pipe that falls from the side to unlock the Hybrid Mucus frequency.
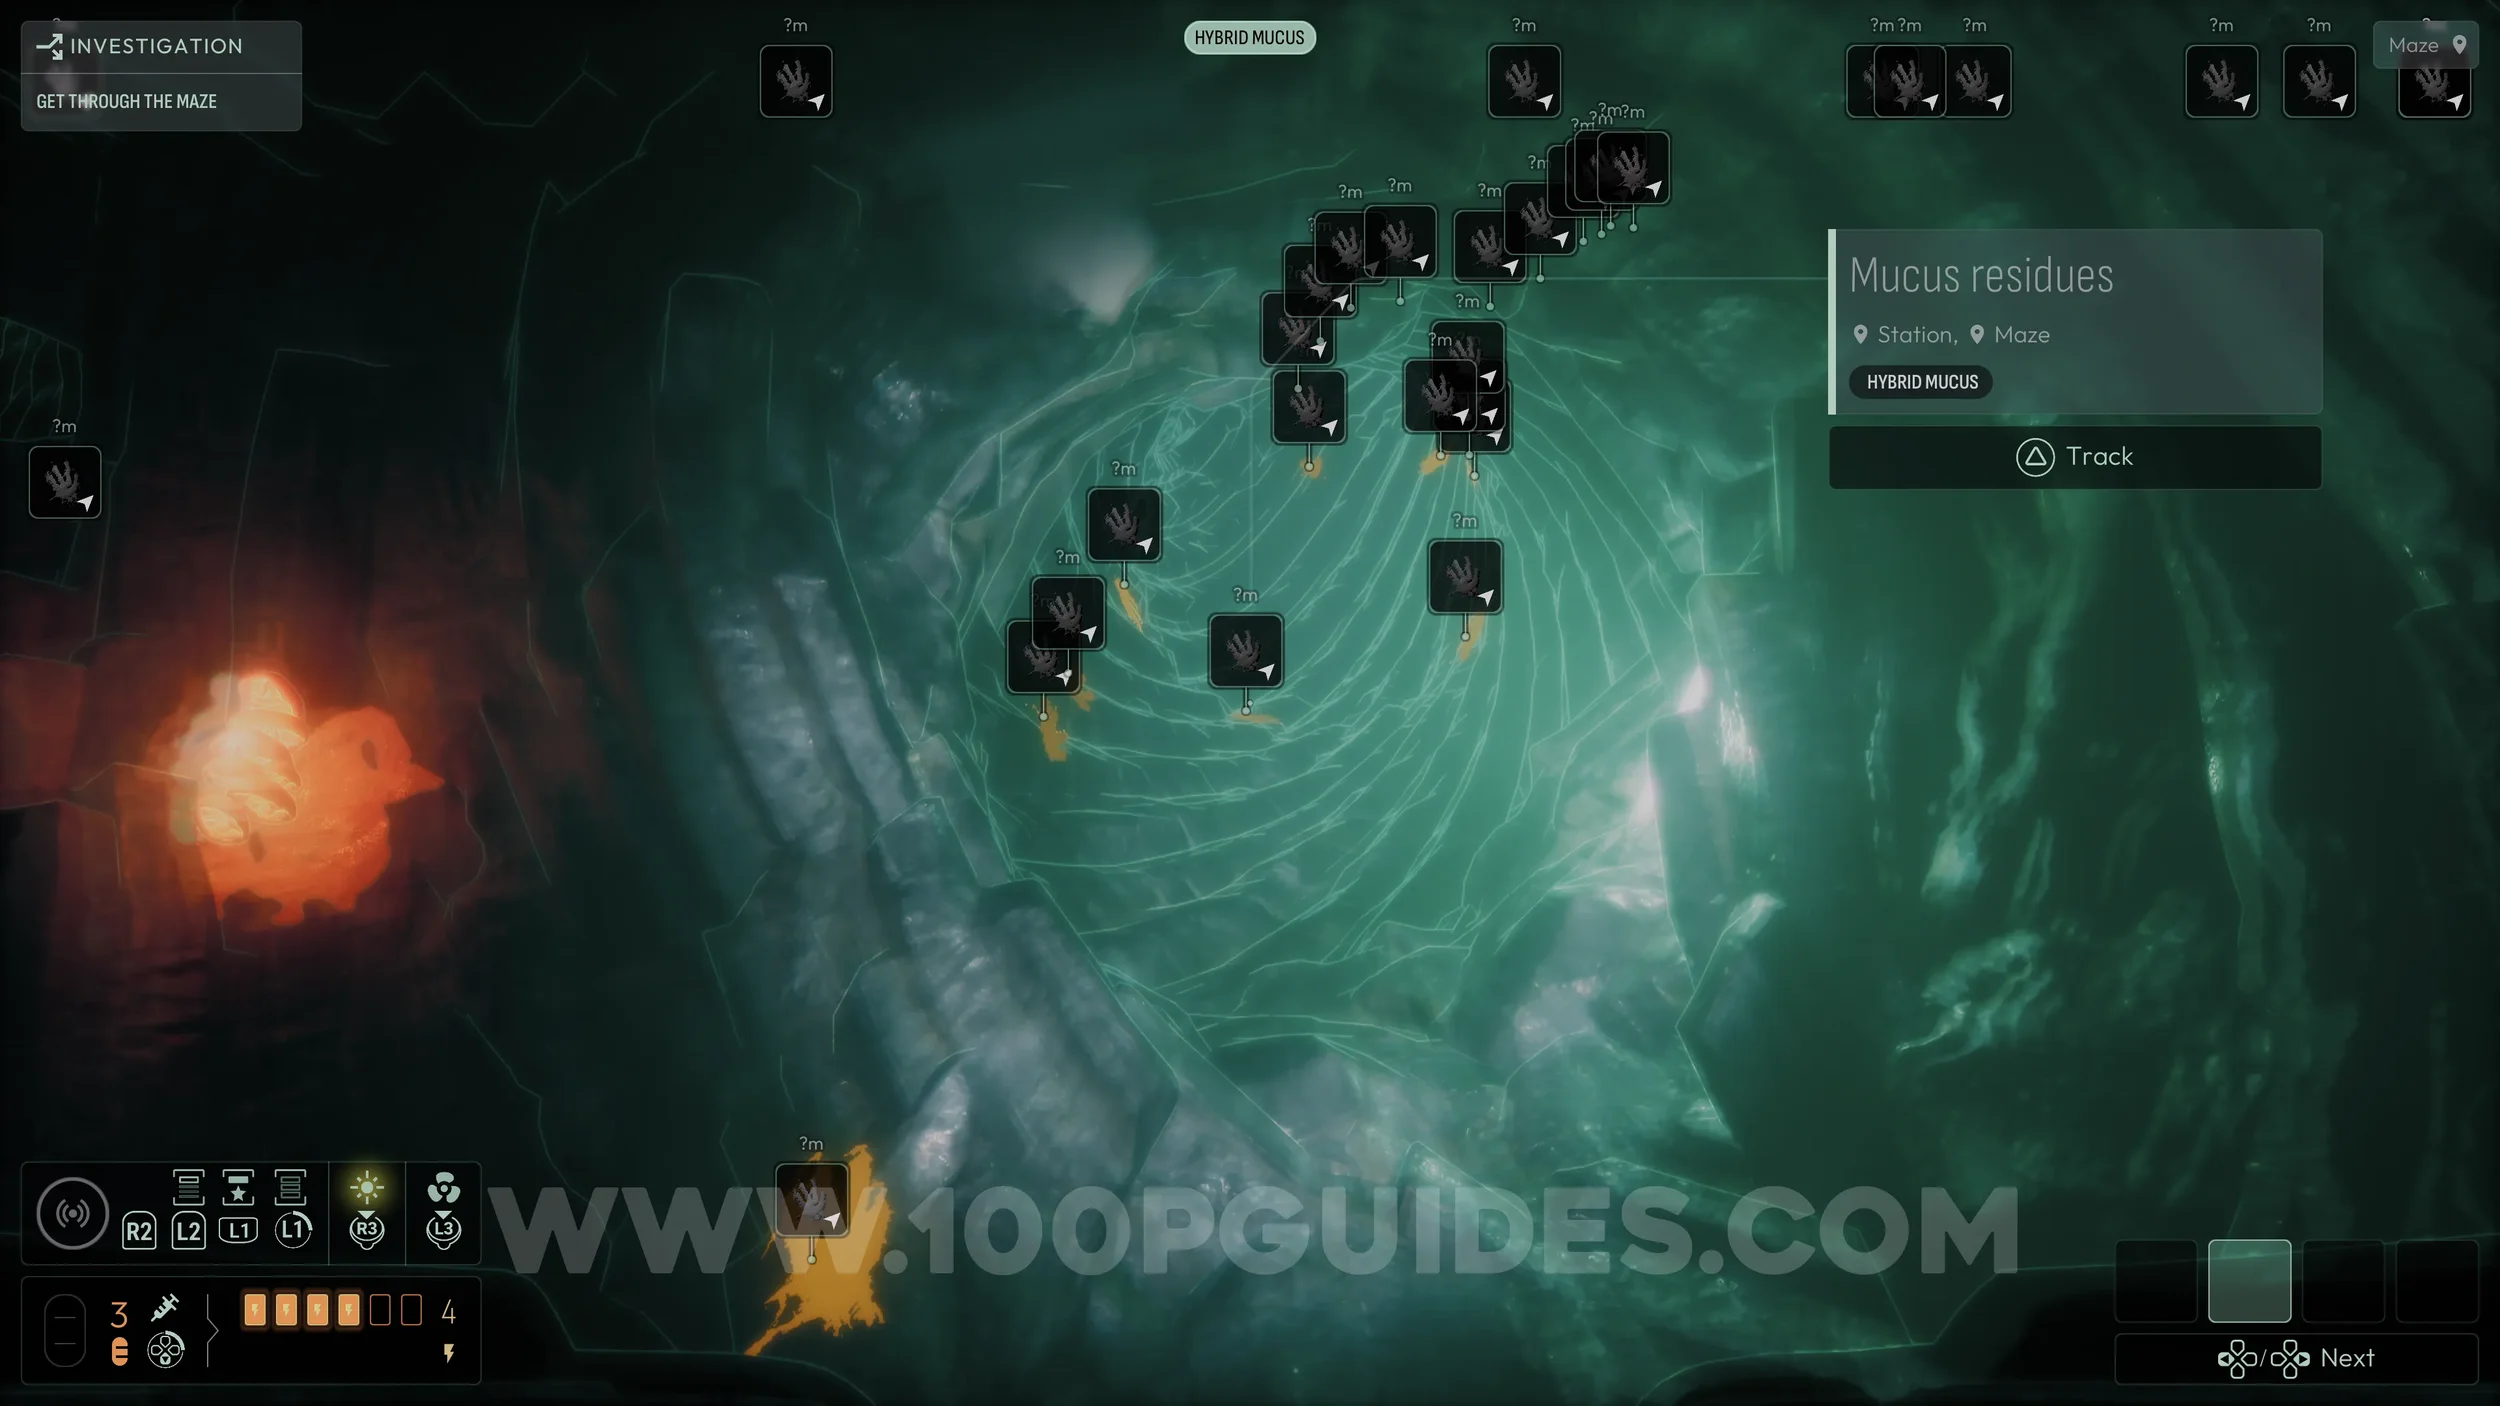
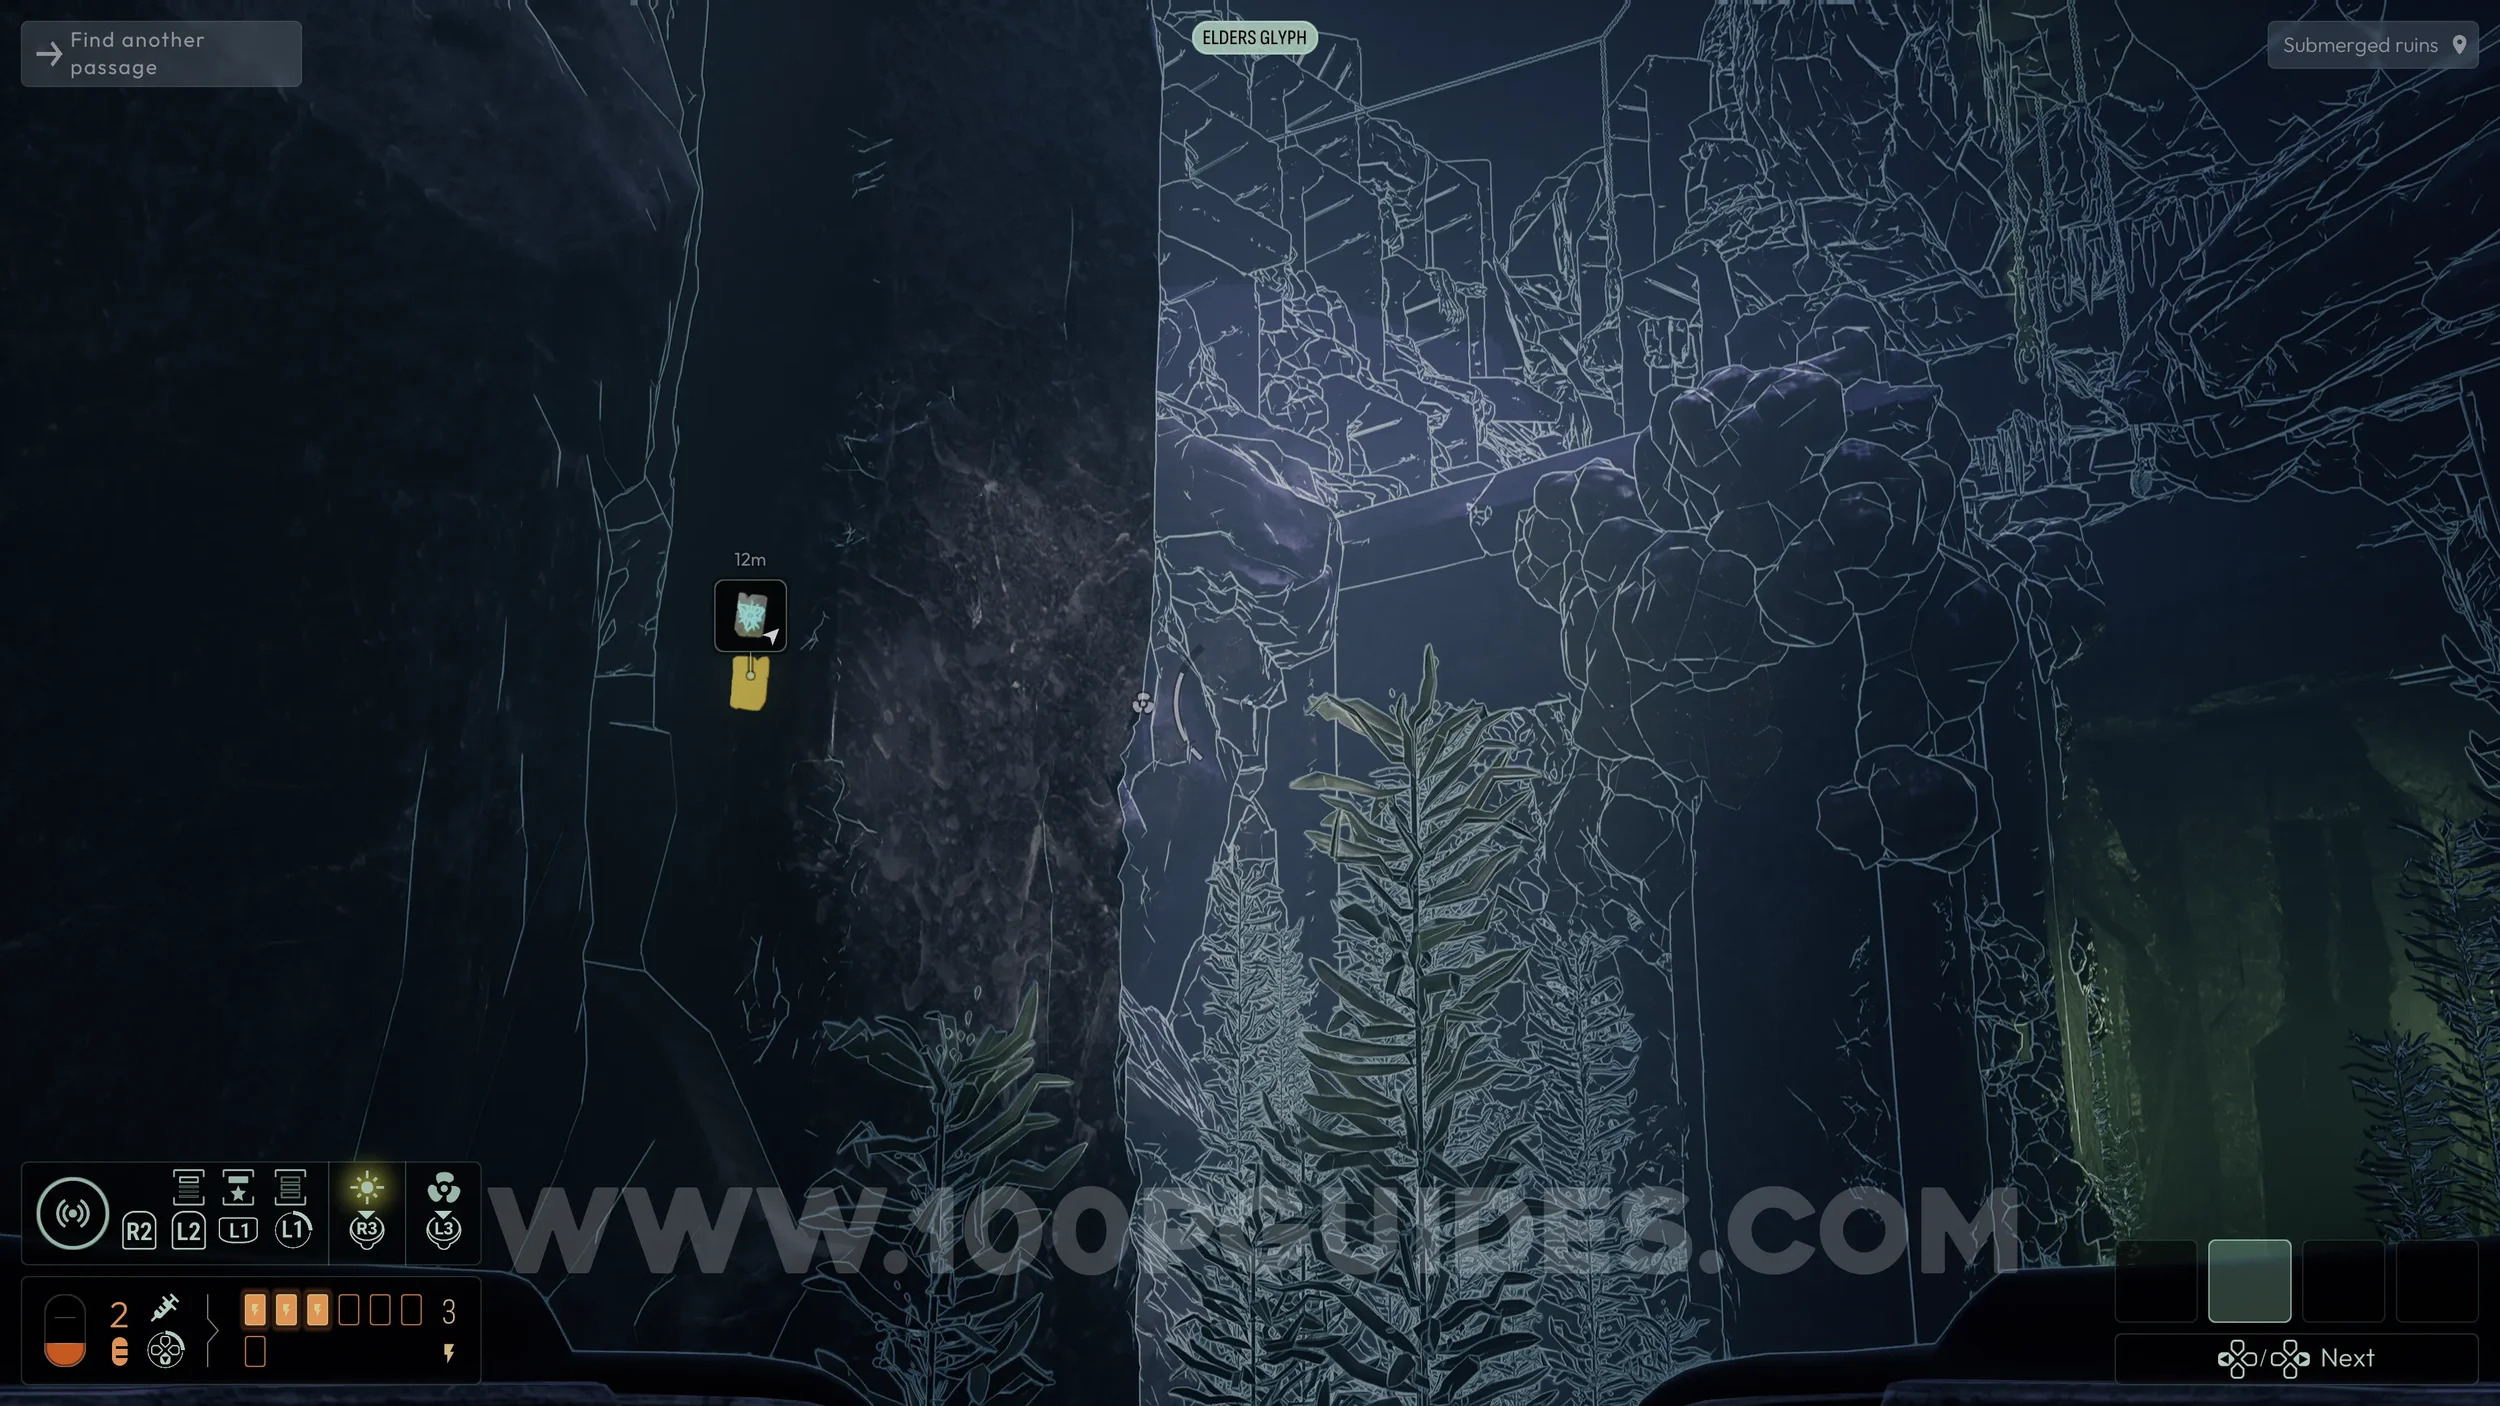
With this frequency active, head back to the maze and go down the tunnel with the red rope behind the pedestal. In the next room, go right and enter the opening at the end. This tunnel has a strong current that will push you back unless you follow a specific path.
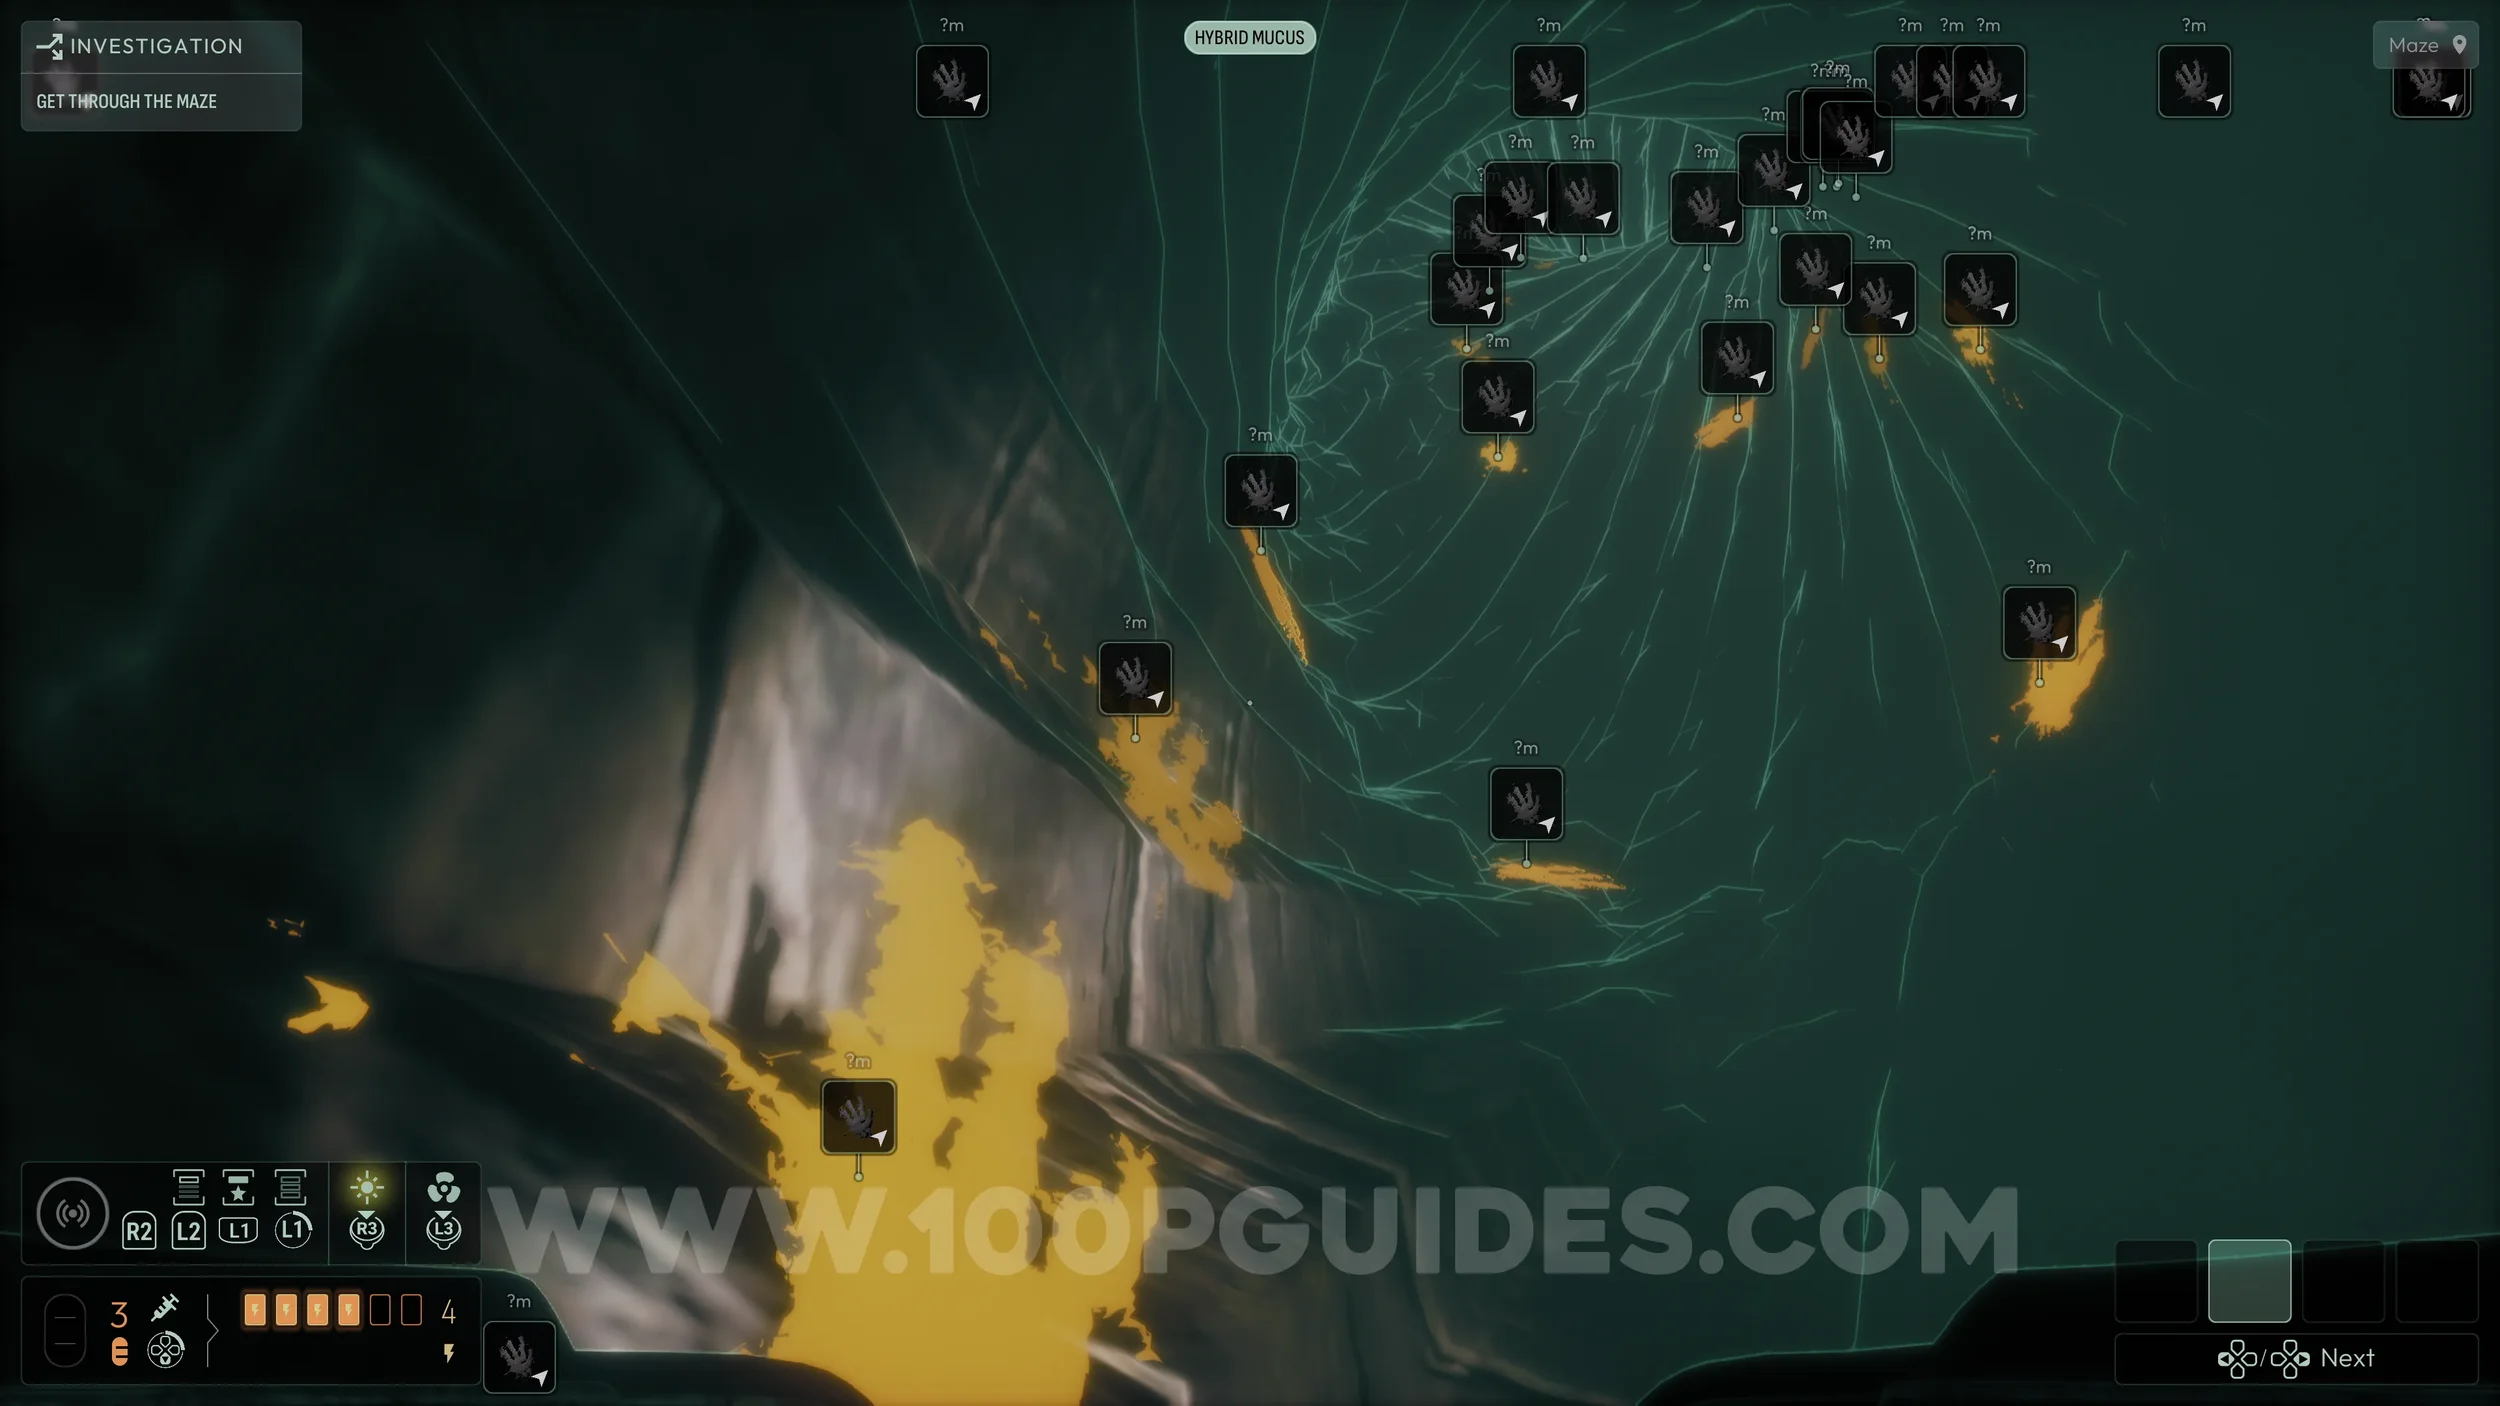
Activate the Hybrid Mucus frequency and use the sonar to reveal markings along the sides of the tunnel. To get through, stay close to the walls where these markings appear, following their exact path. If done correctly, you will avoid the current and make it through the tunnel.
This will complete the investigation with low corruption and unlock the Against the Tide trophy.
After the tunnel, follow the path forward until a cutscene is triggered, ending the chapter.
Chapter 3
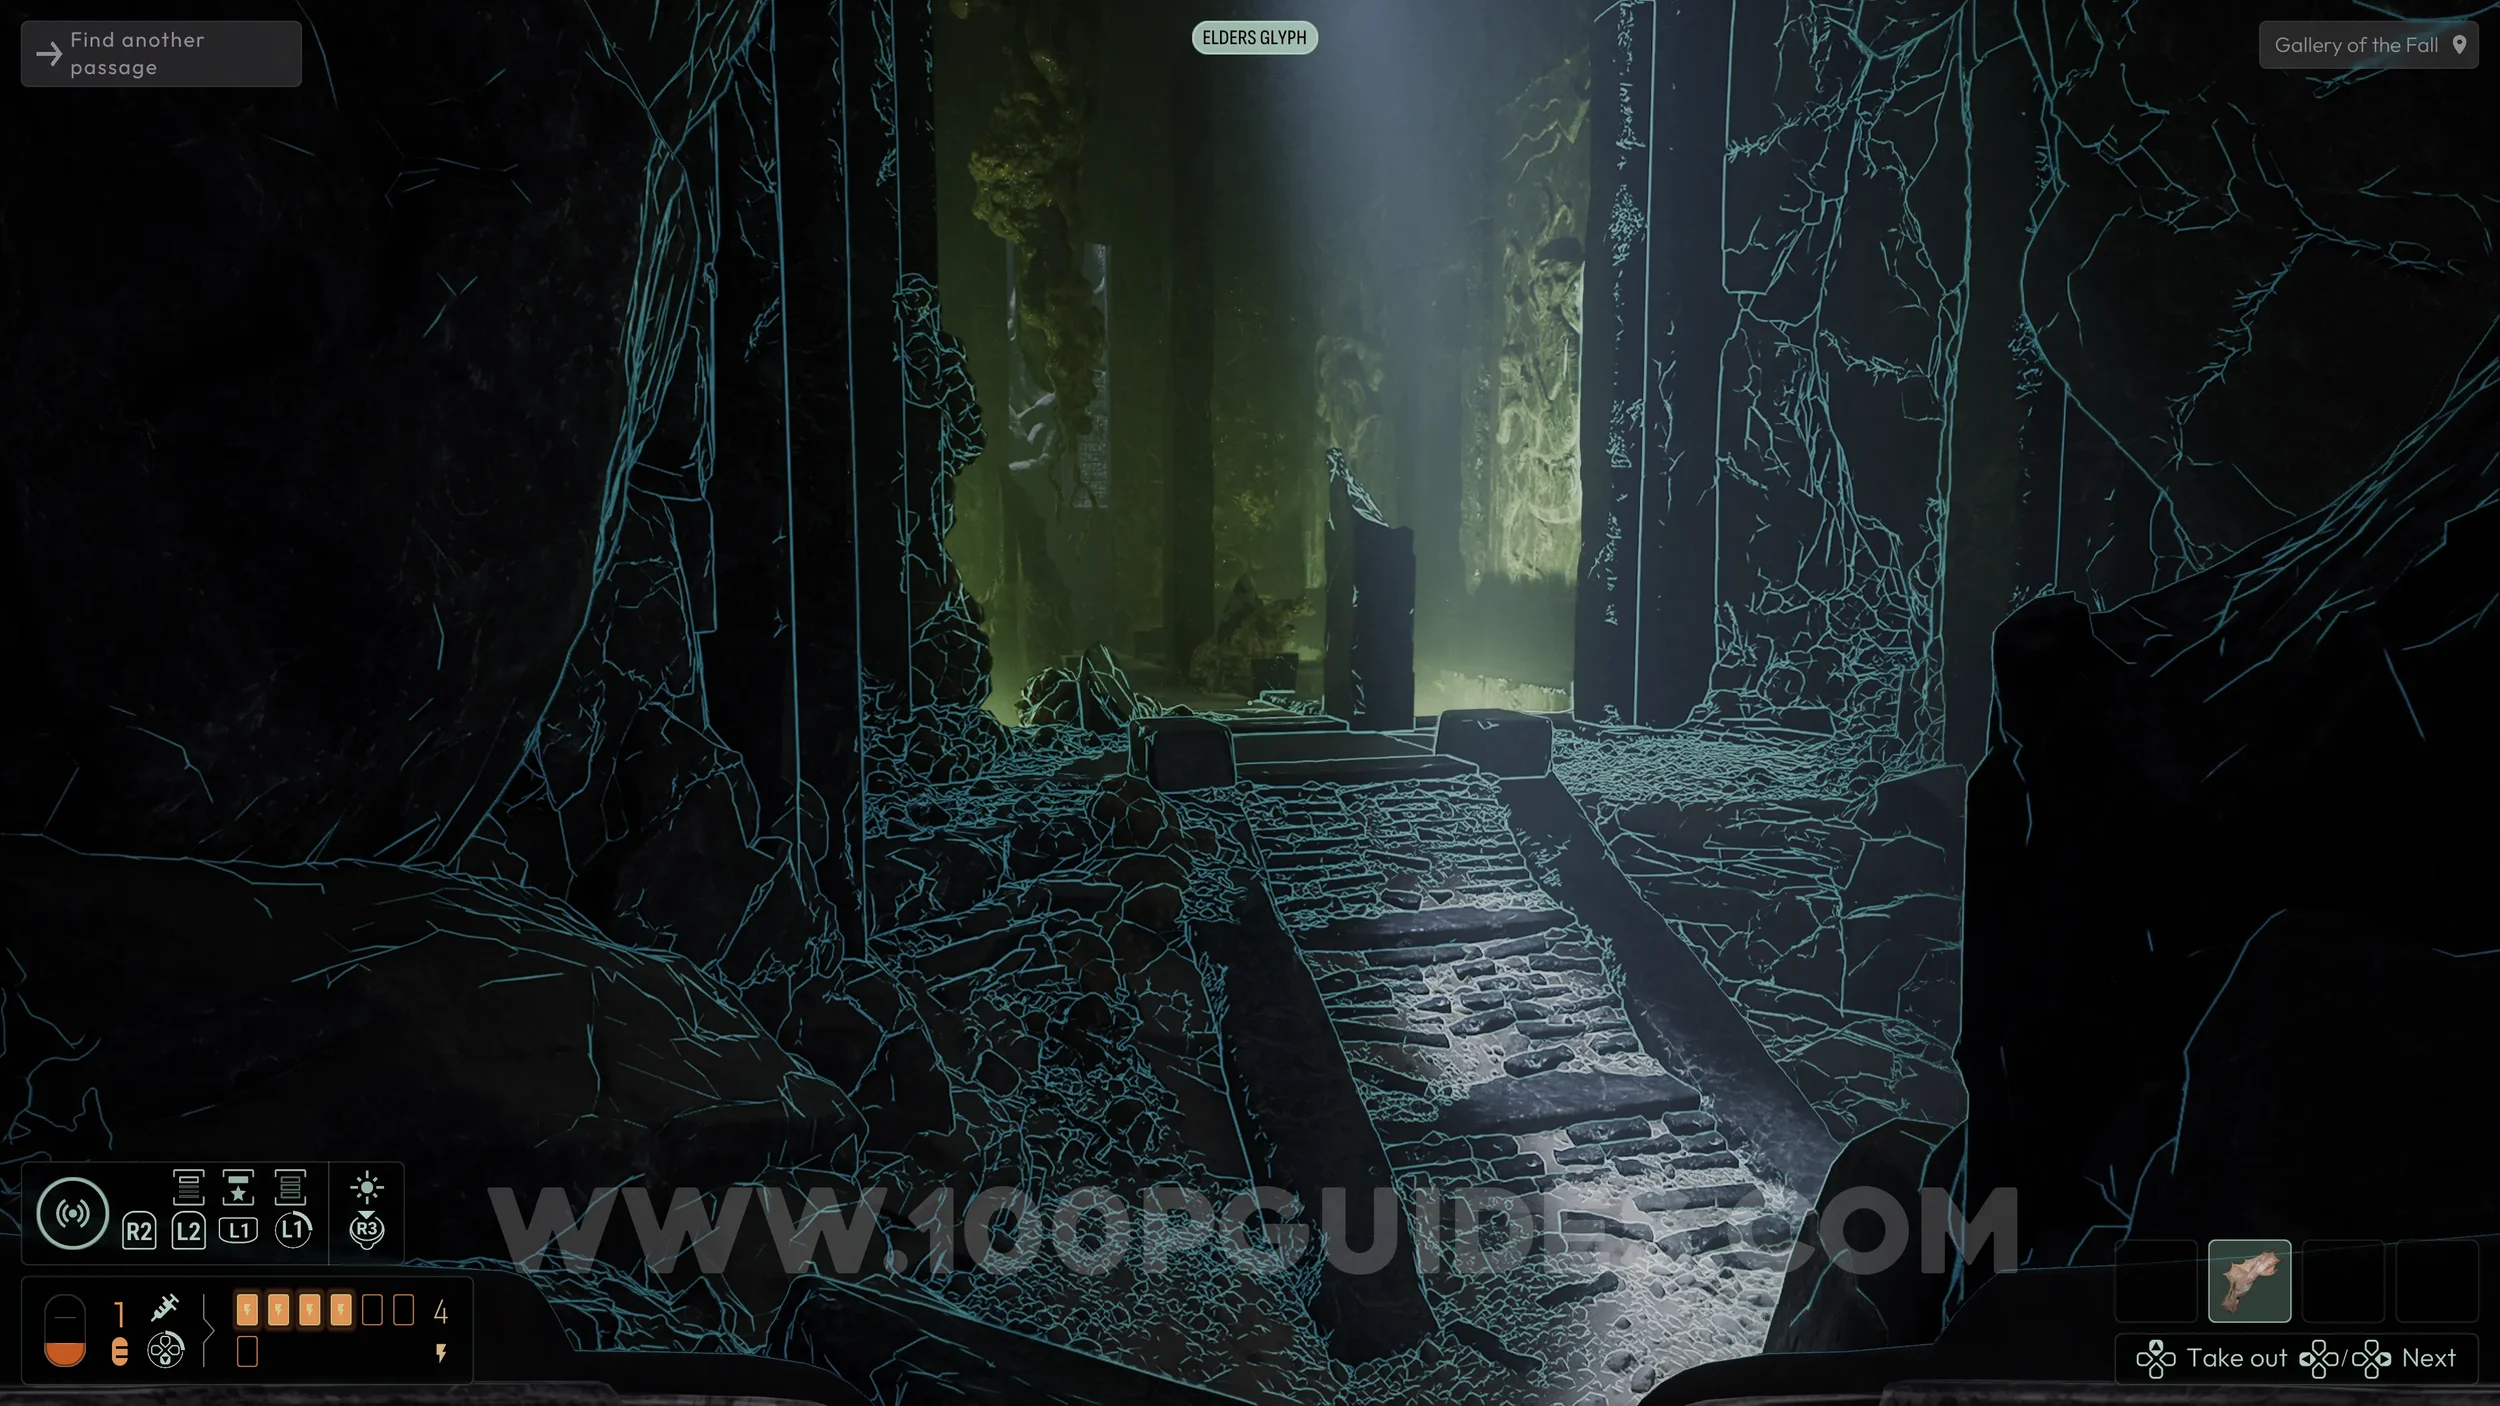
At the start of the chapter, follow the only available path until you reach Camp Mu.
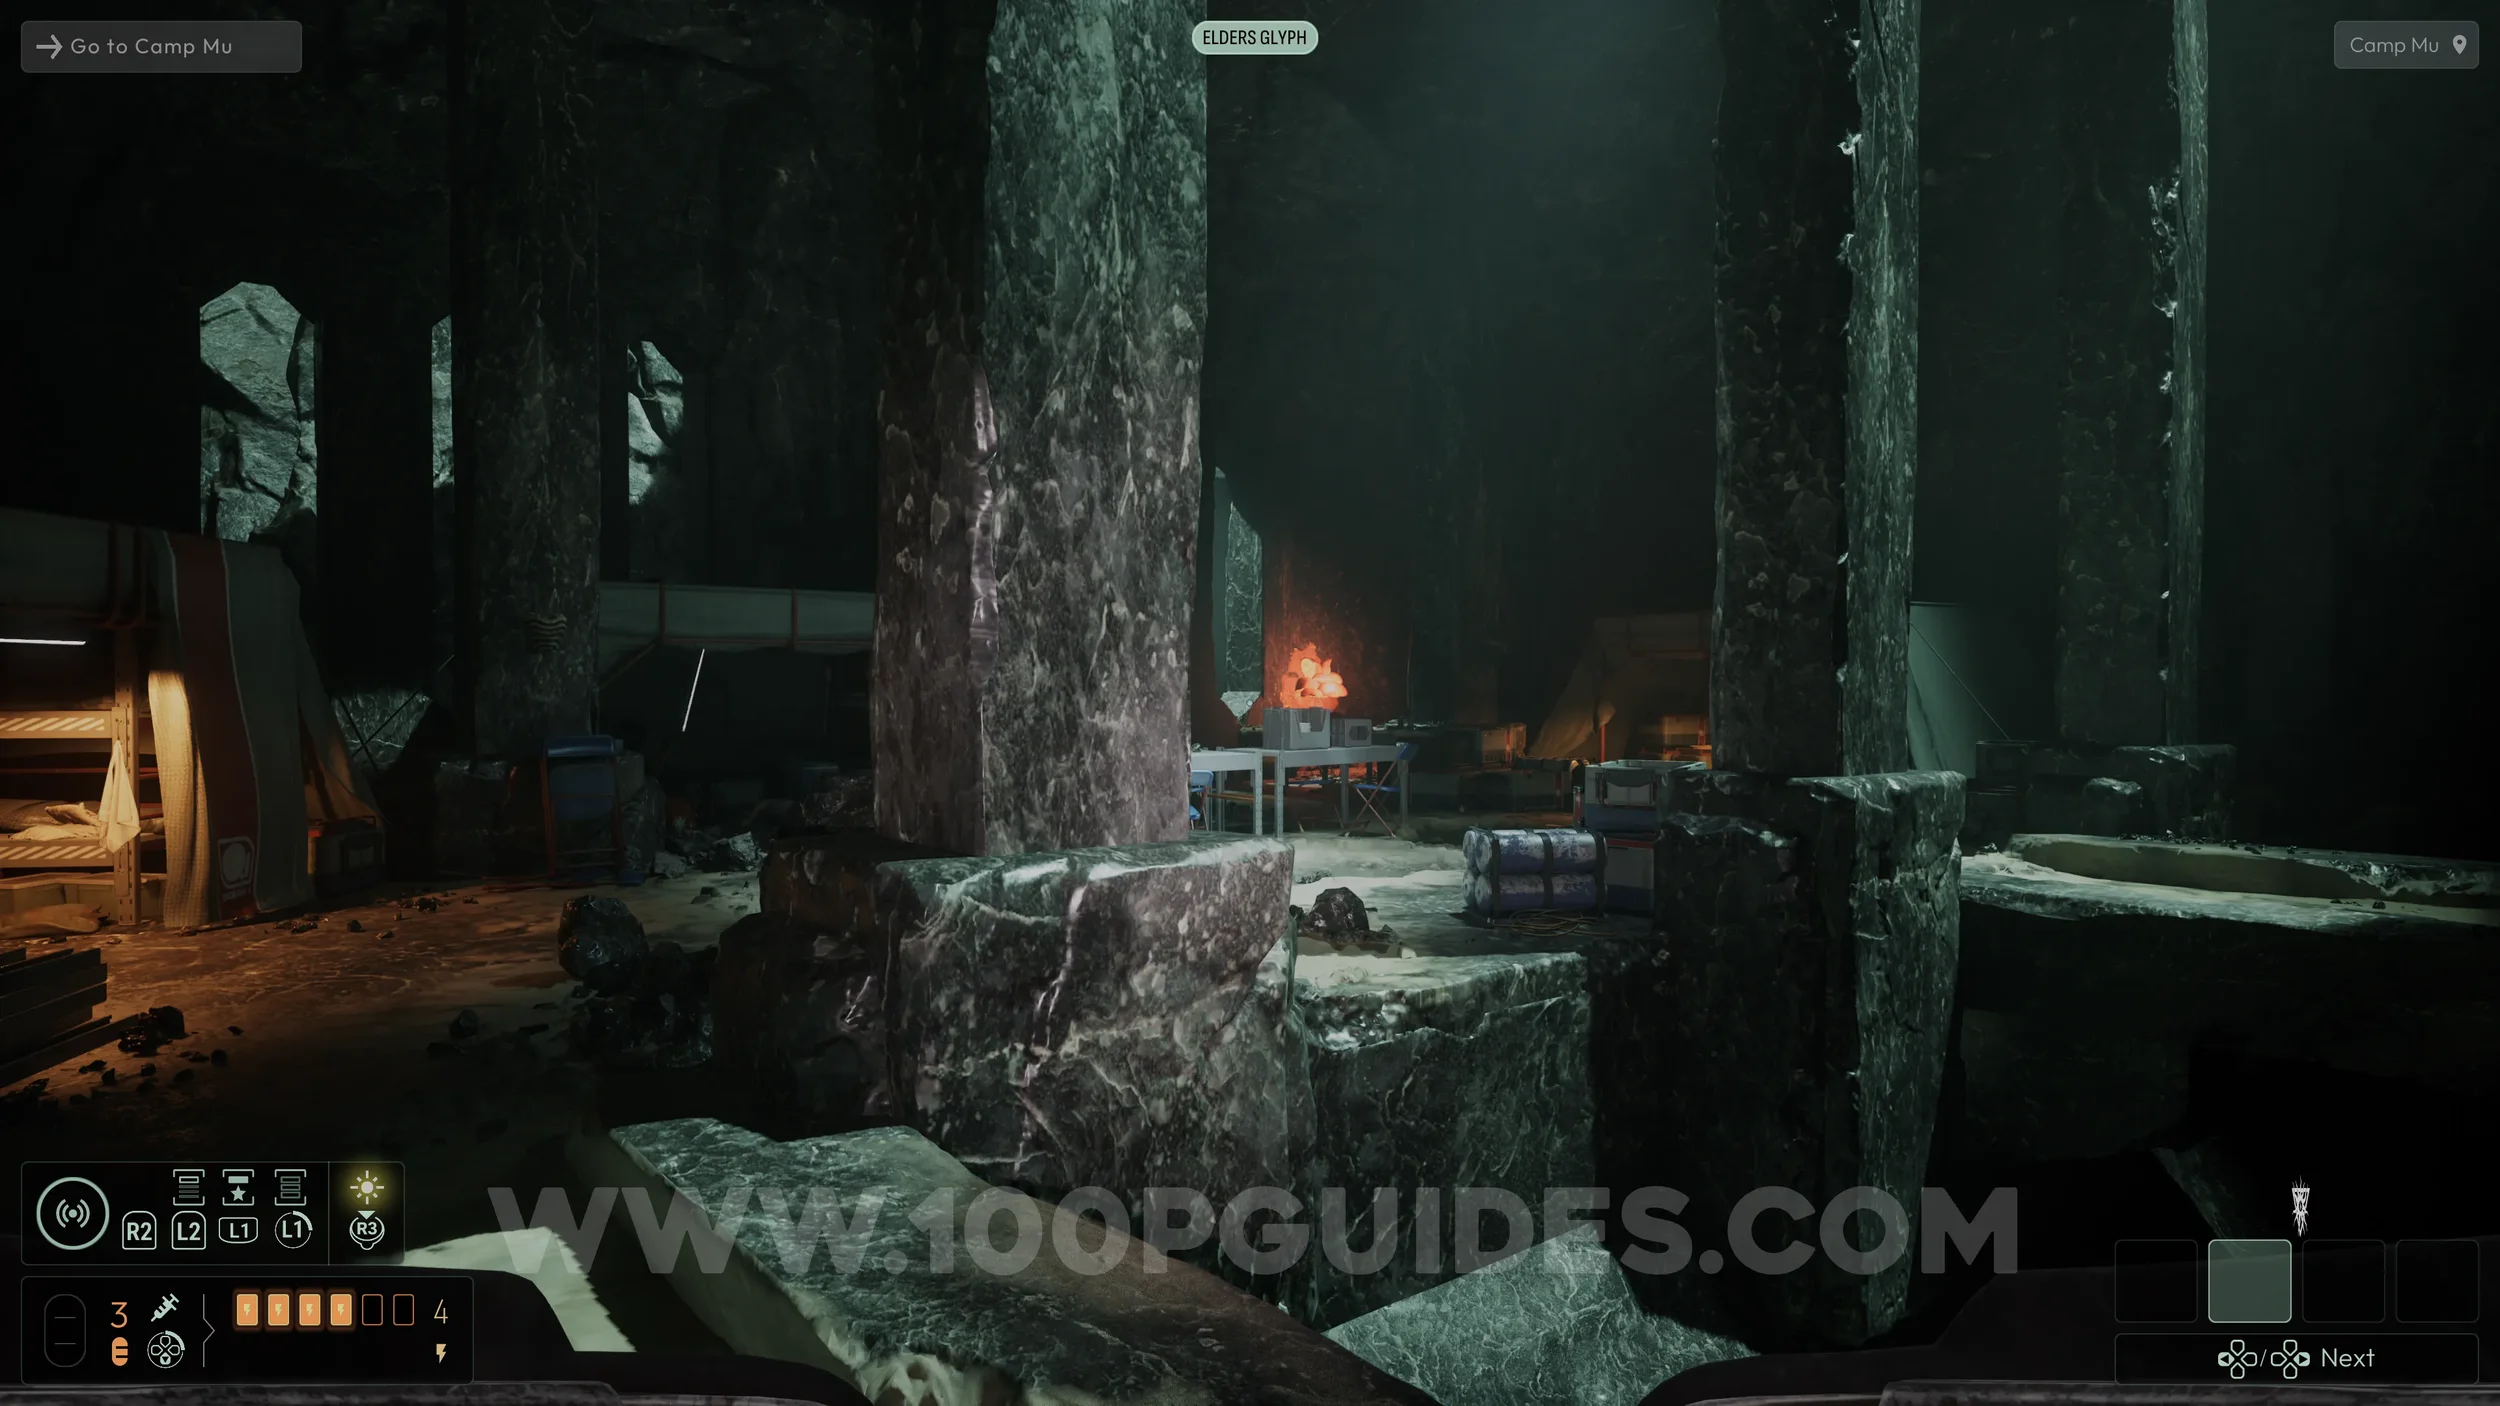
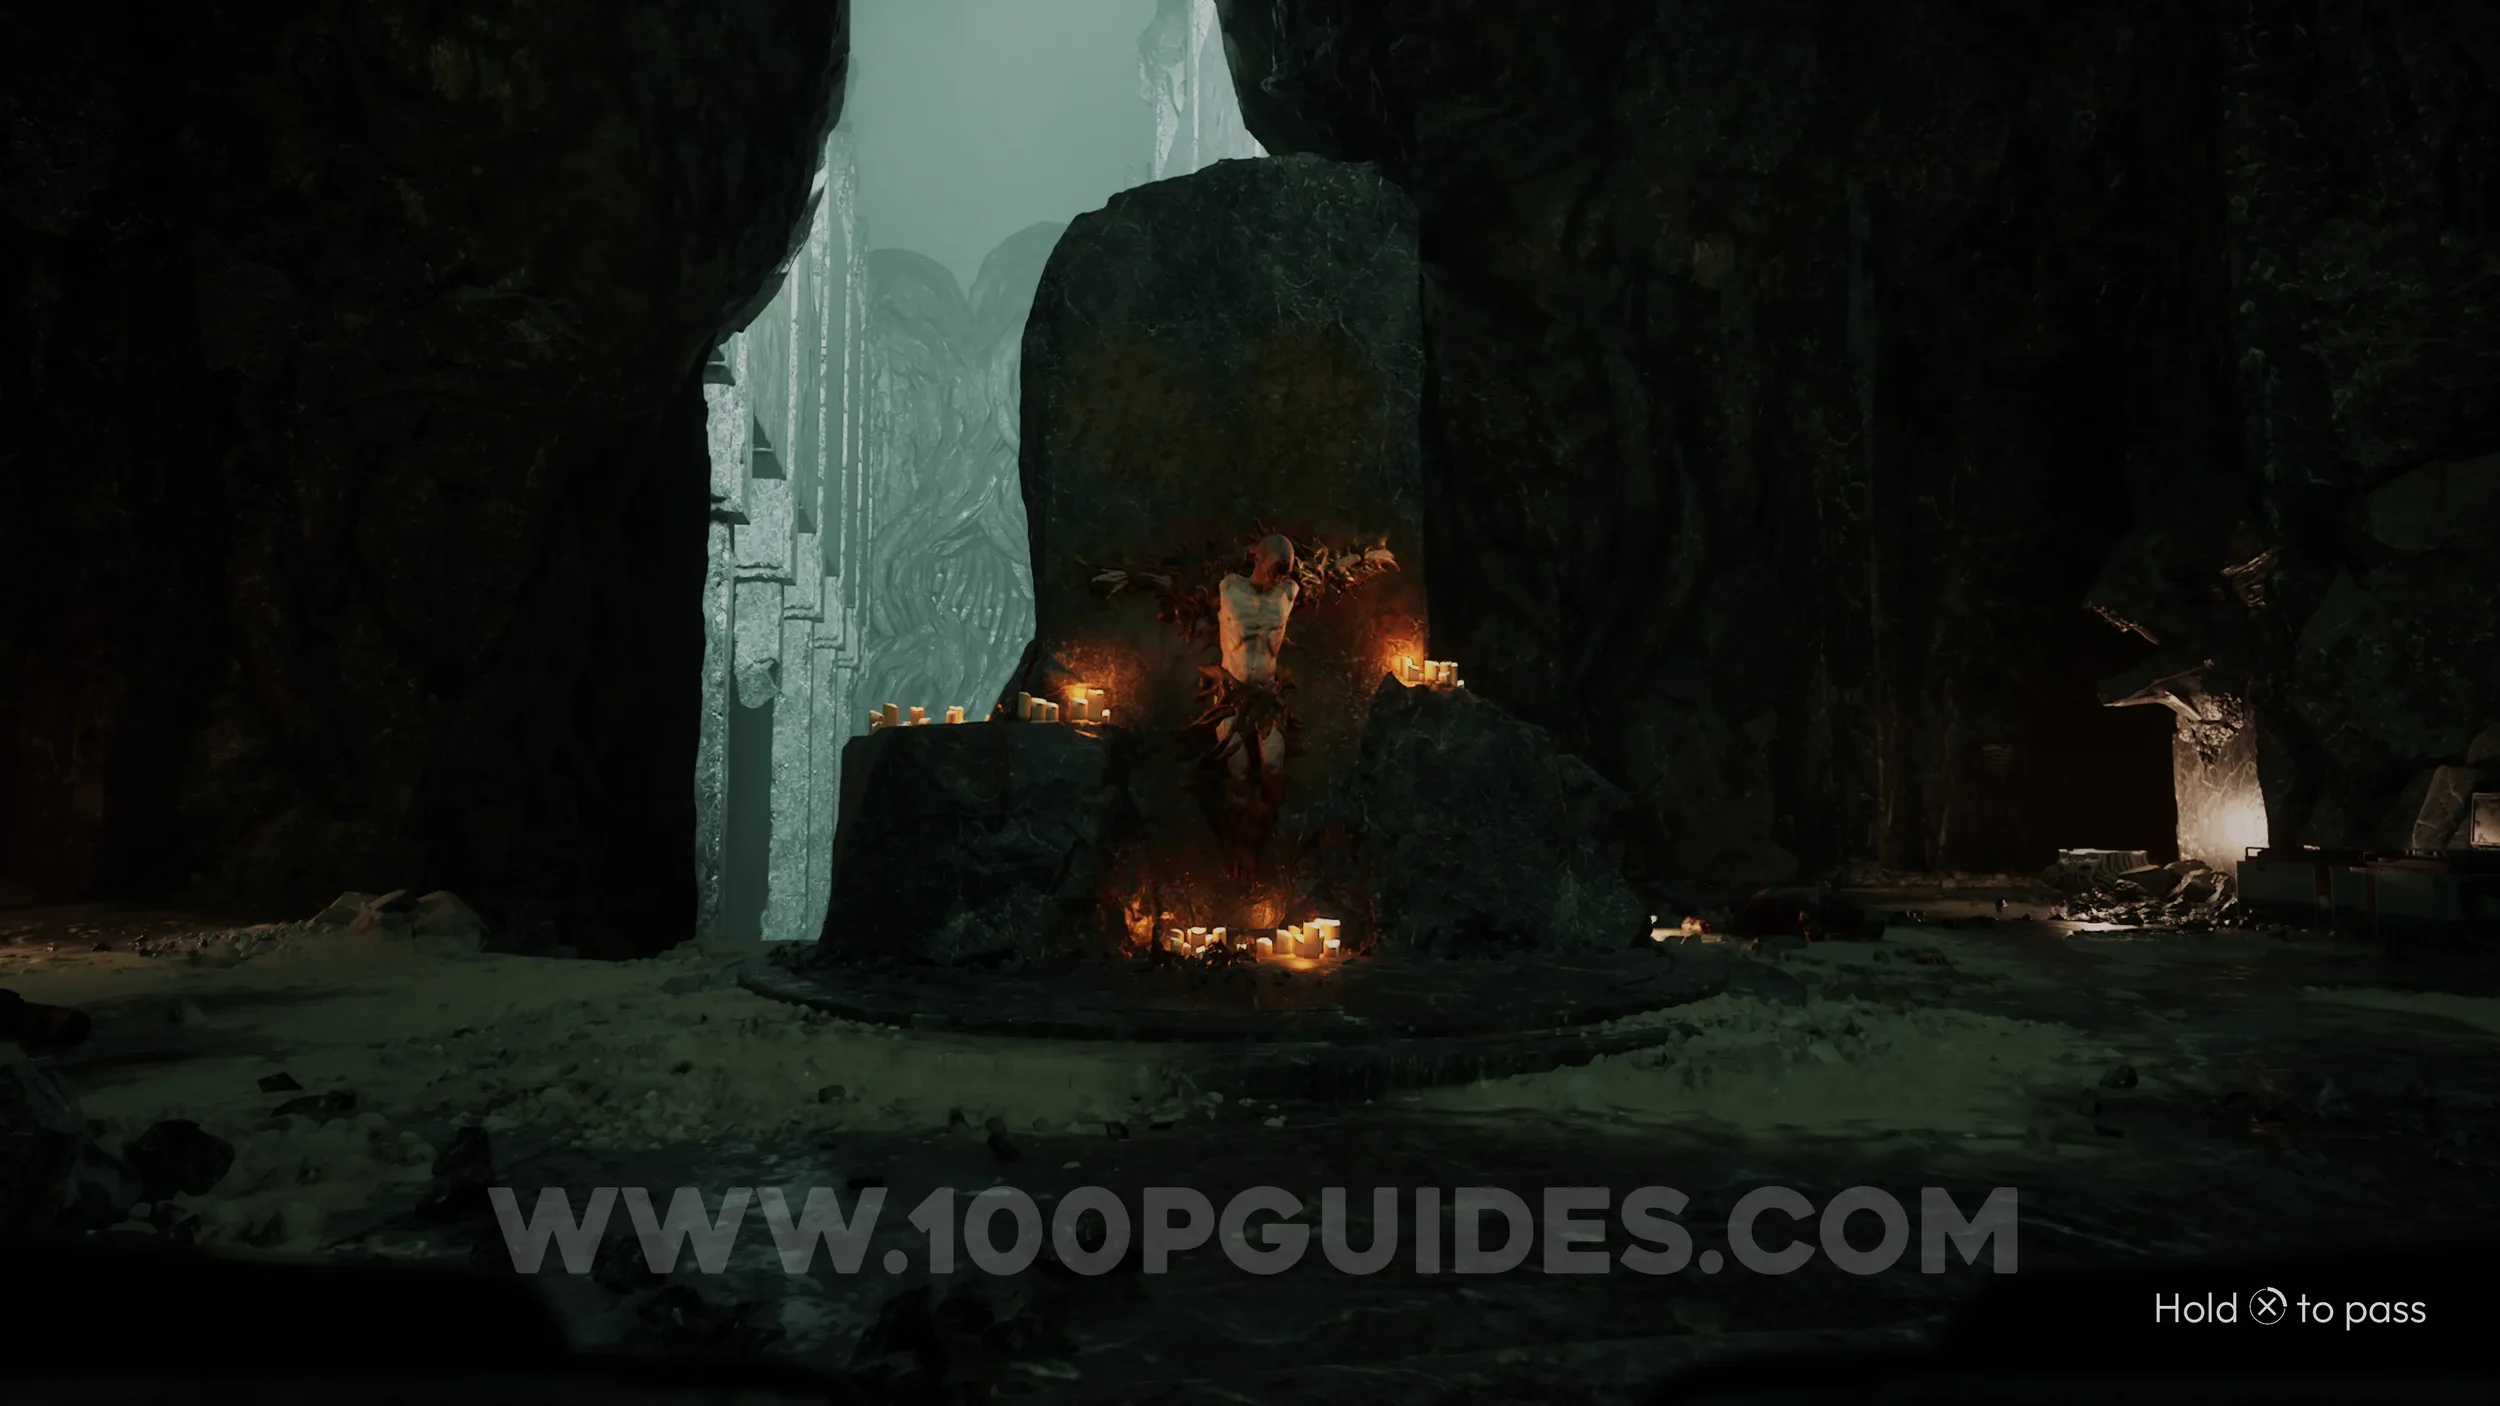
For now, pass through the camp and continue forward until you trigger a cutscene with an NPC tied to a rock. After the cutscene, the investigation for this chapter will begin.
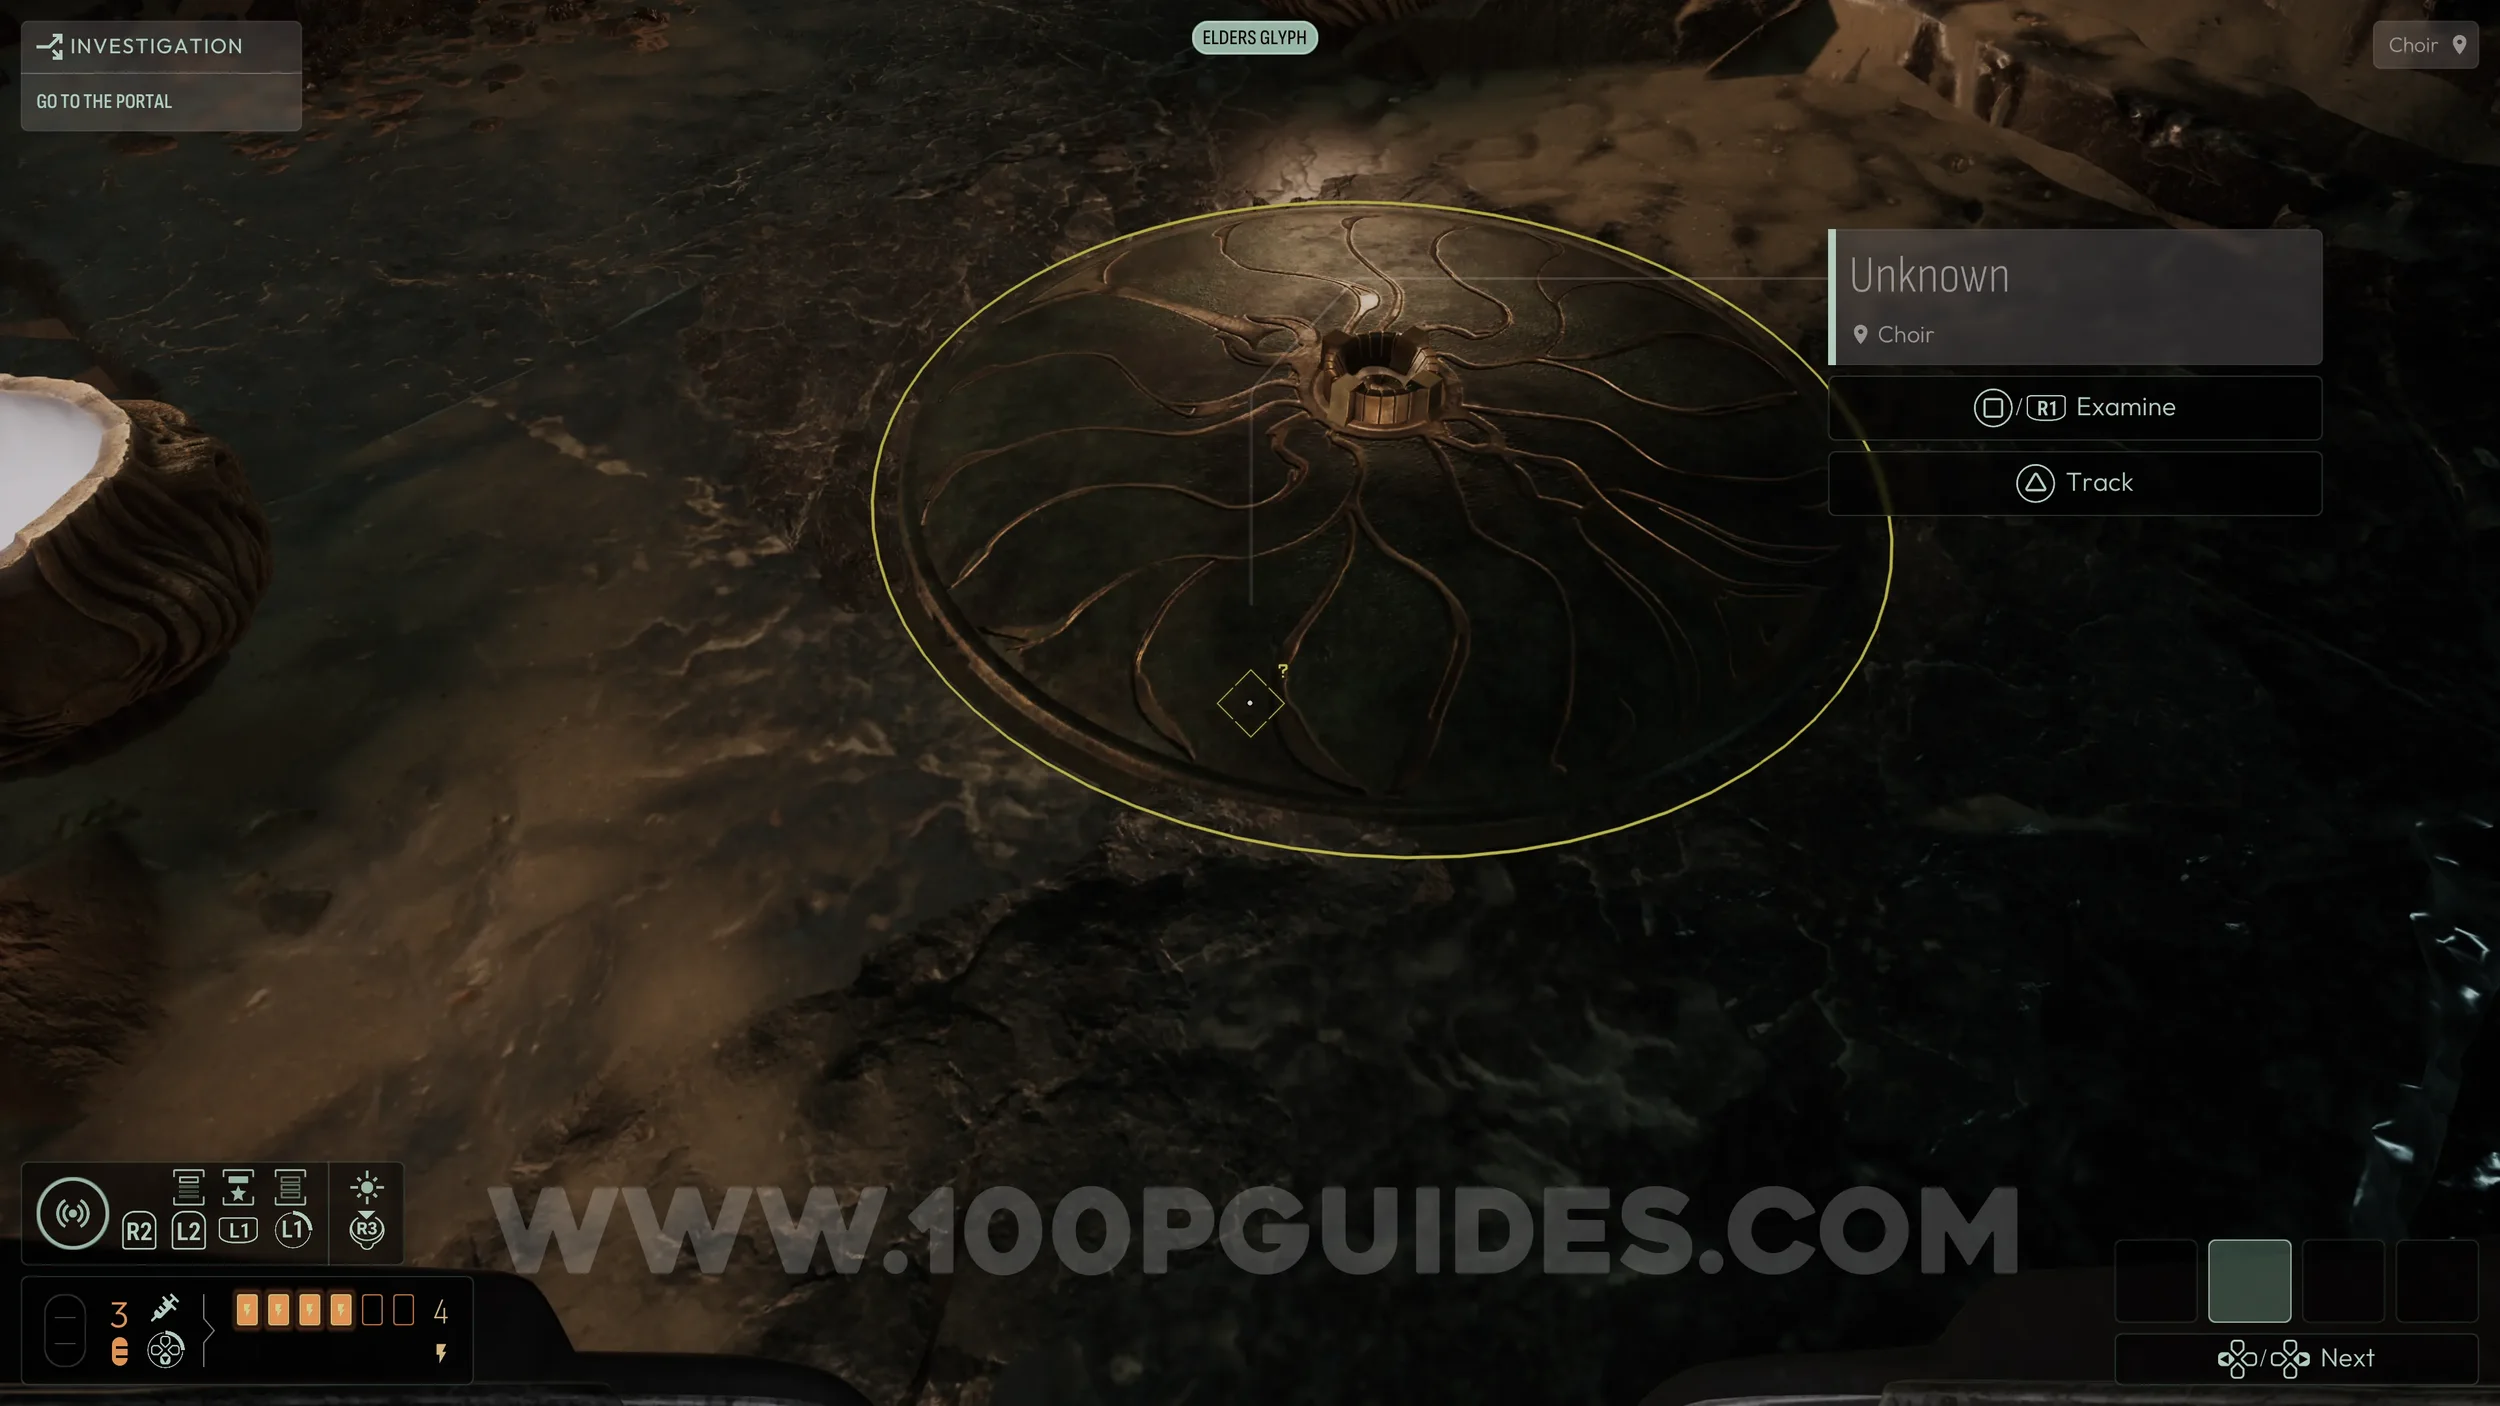
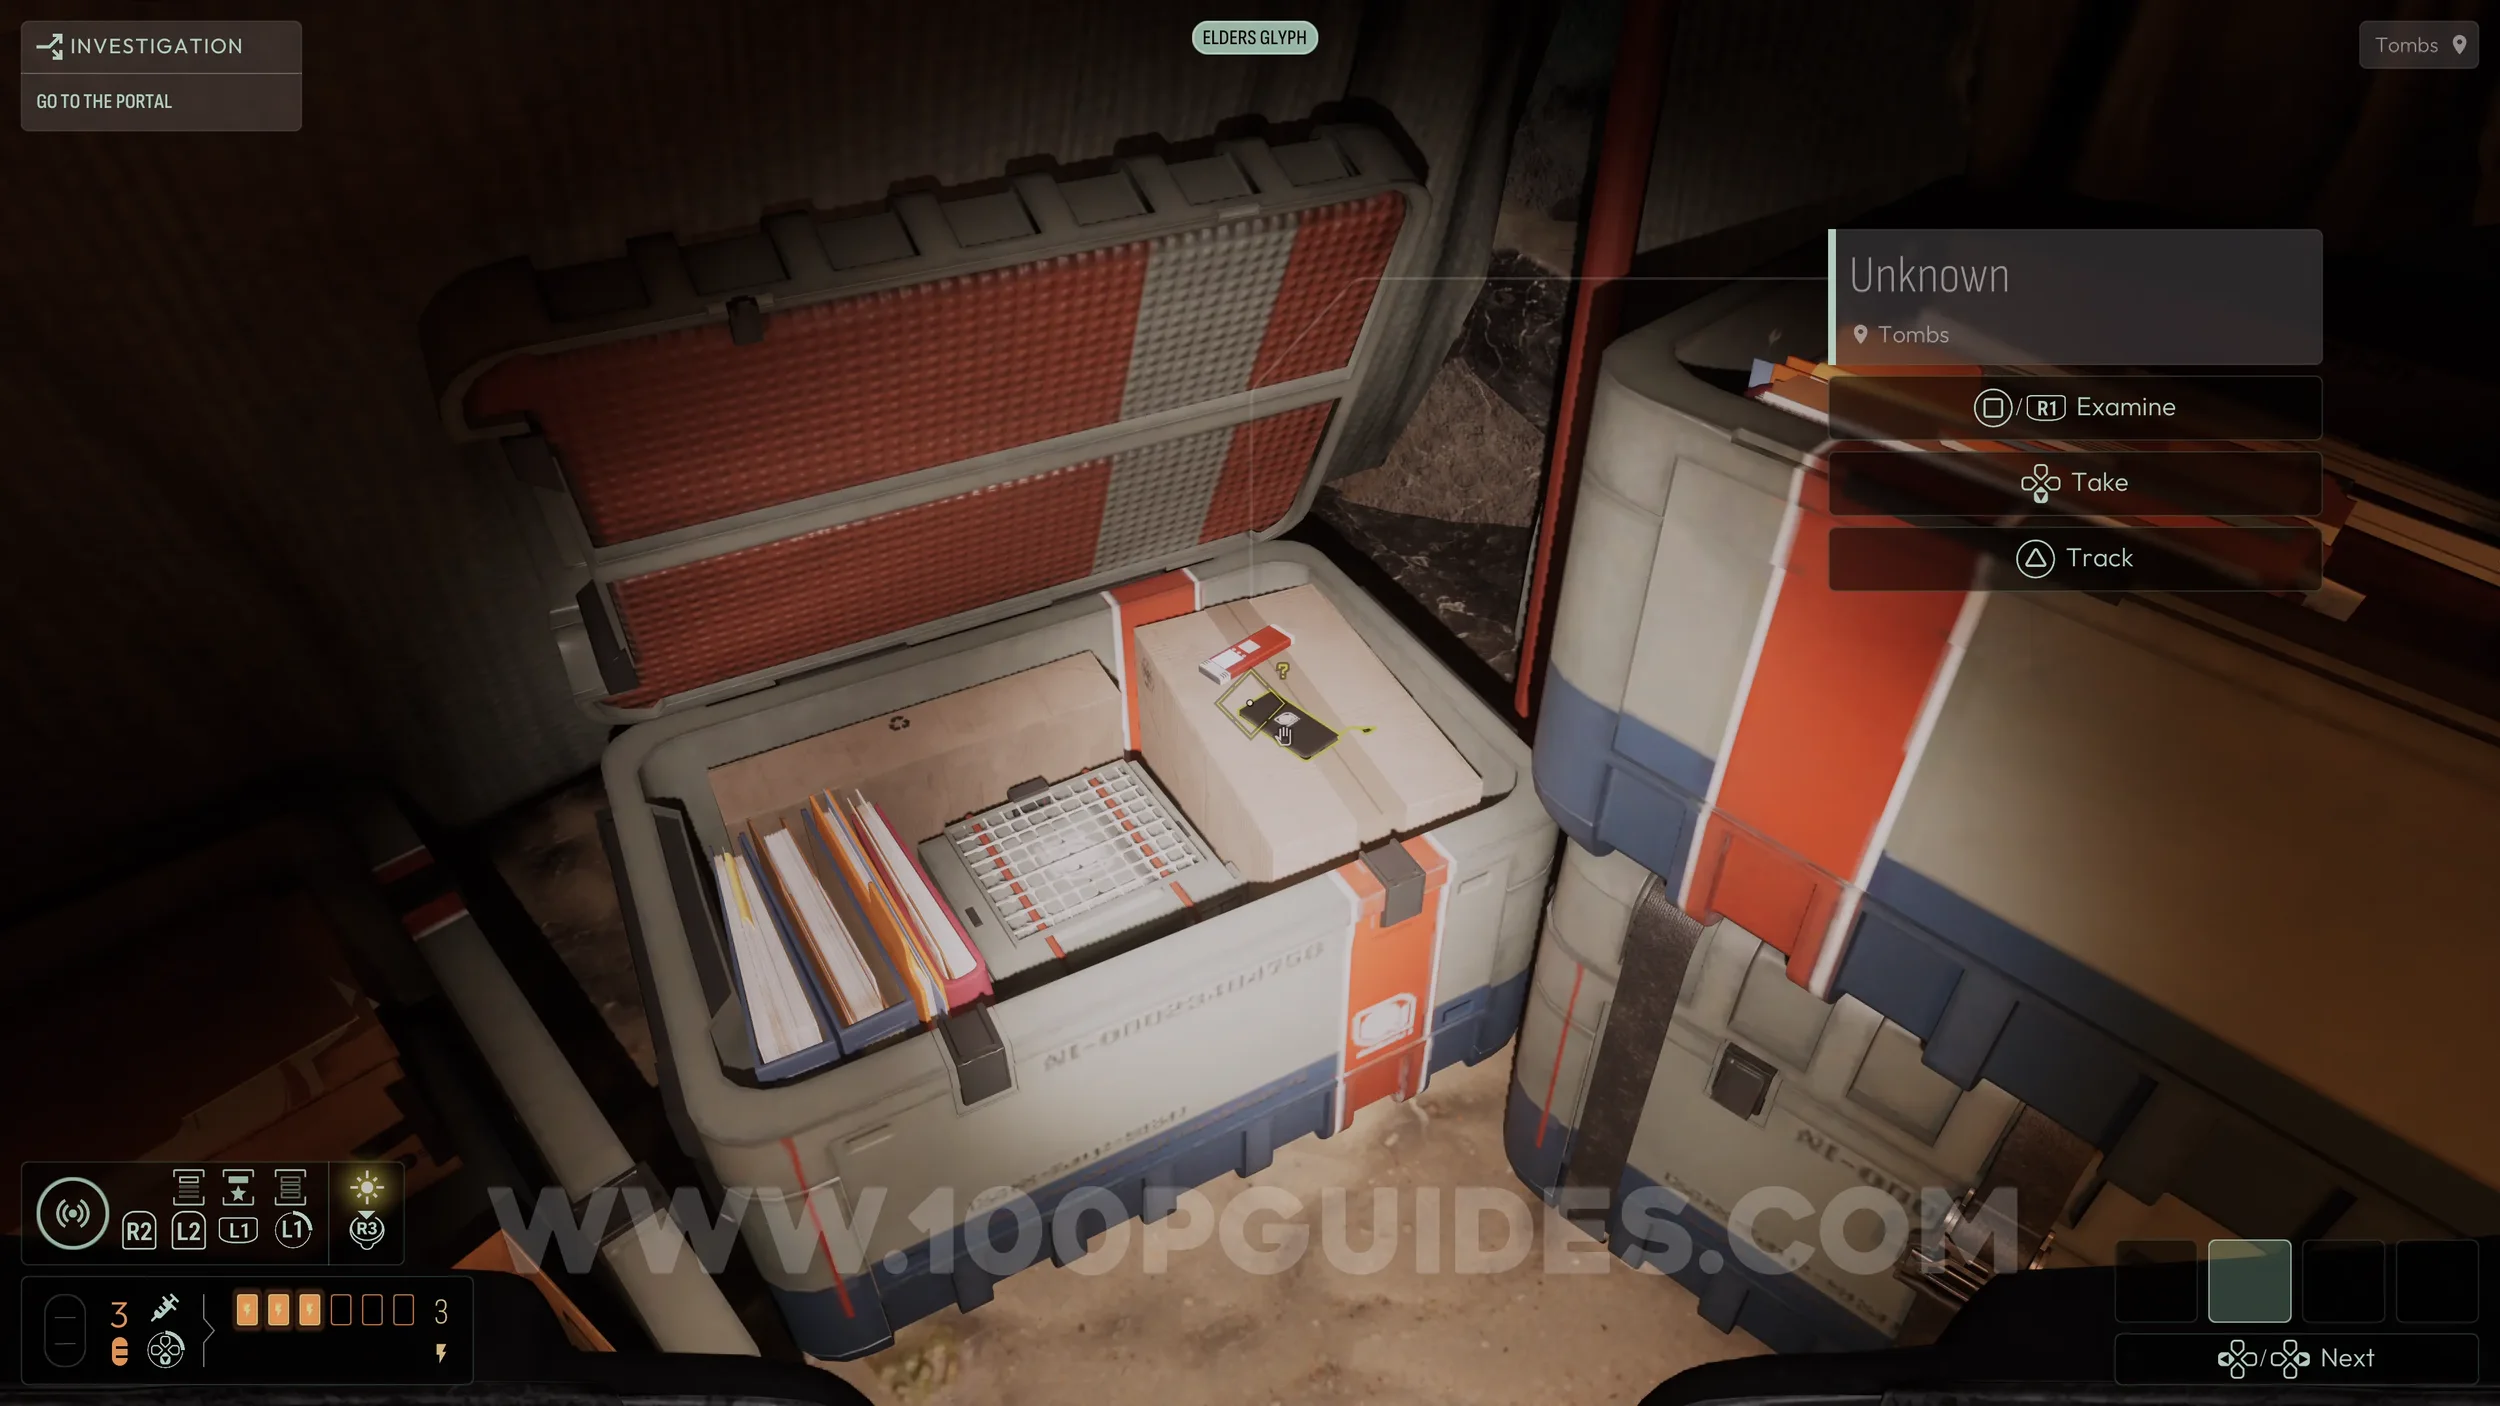
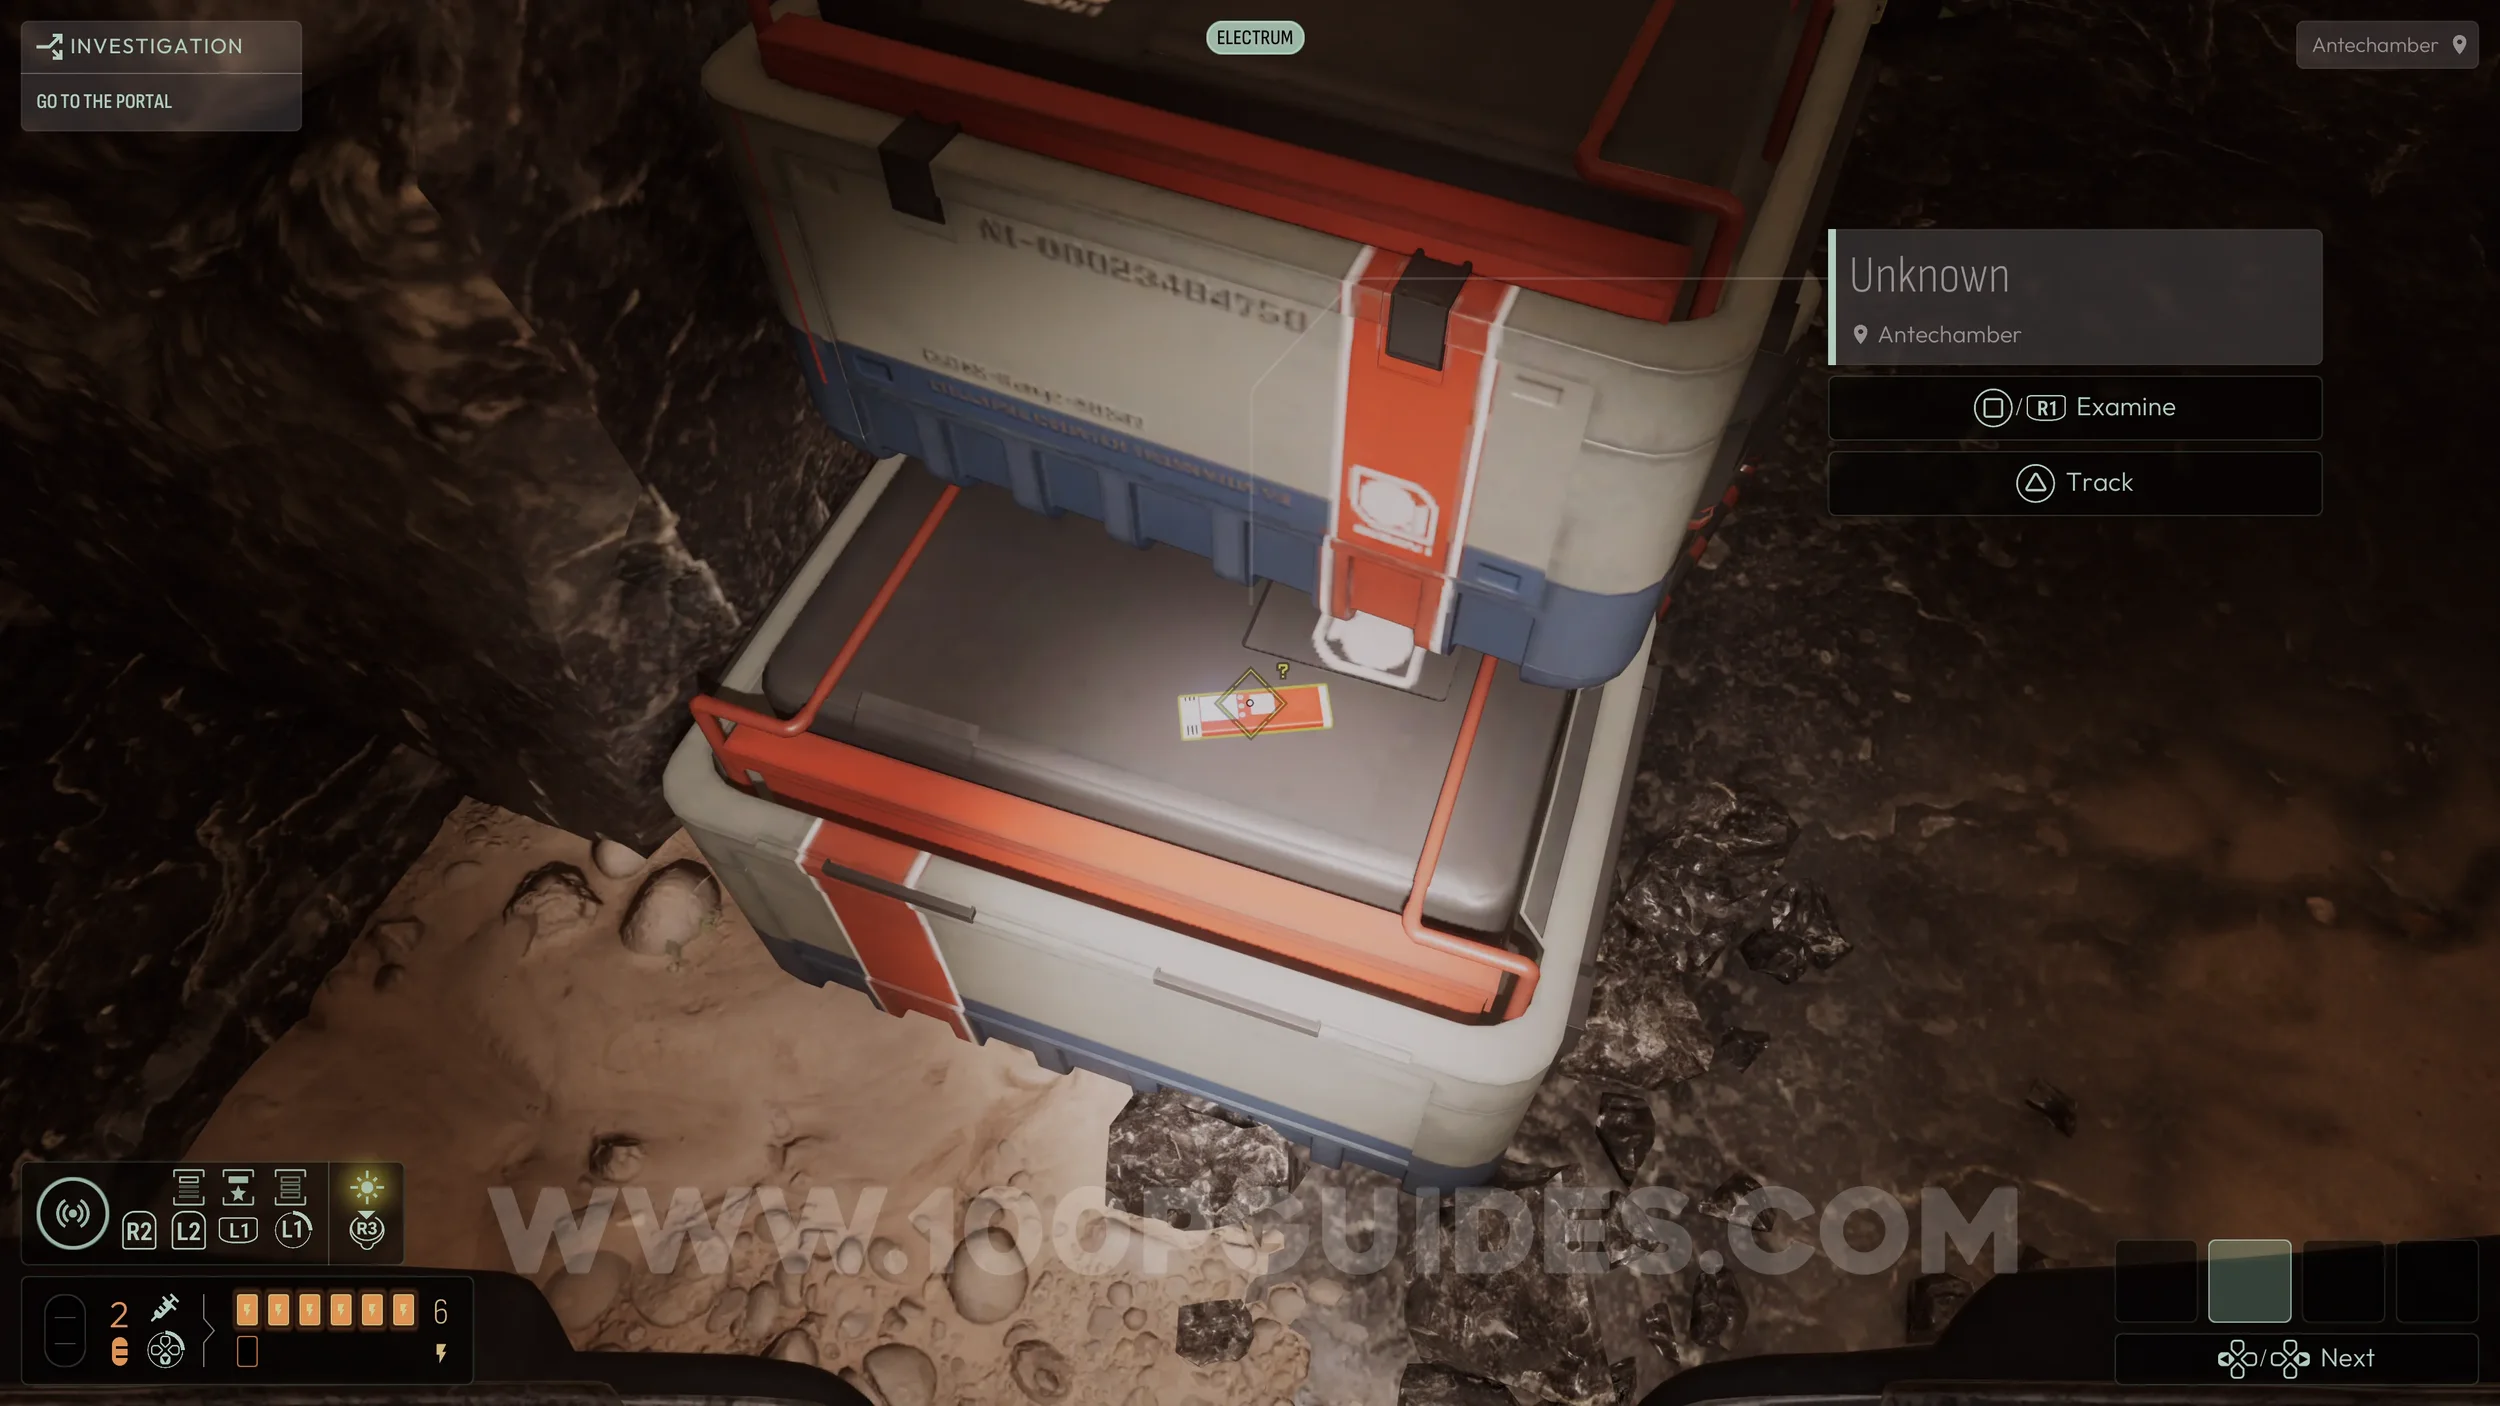
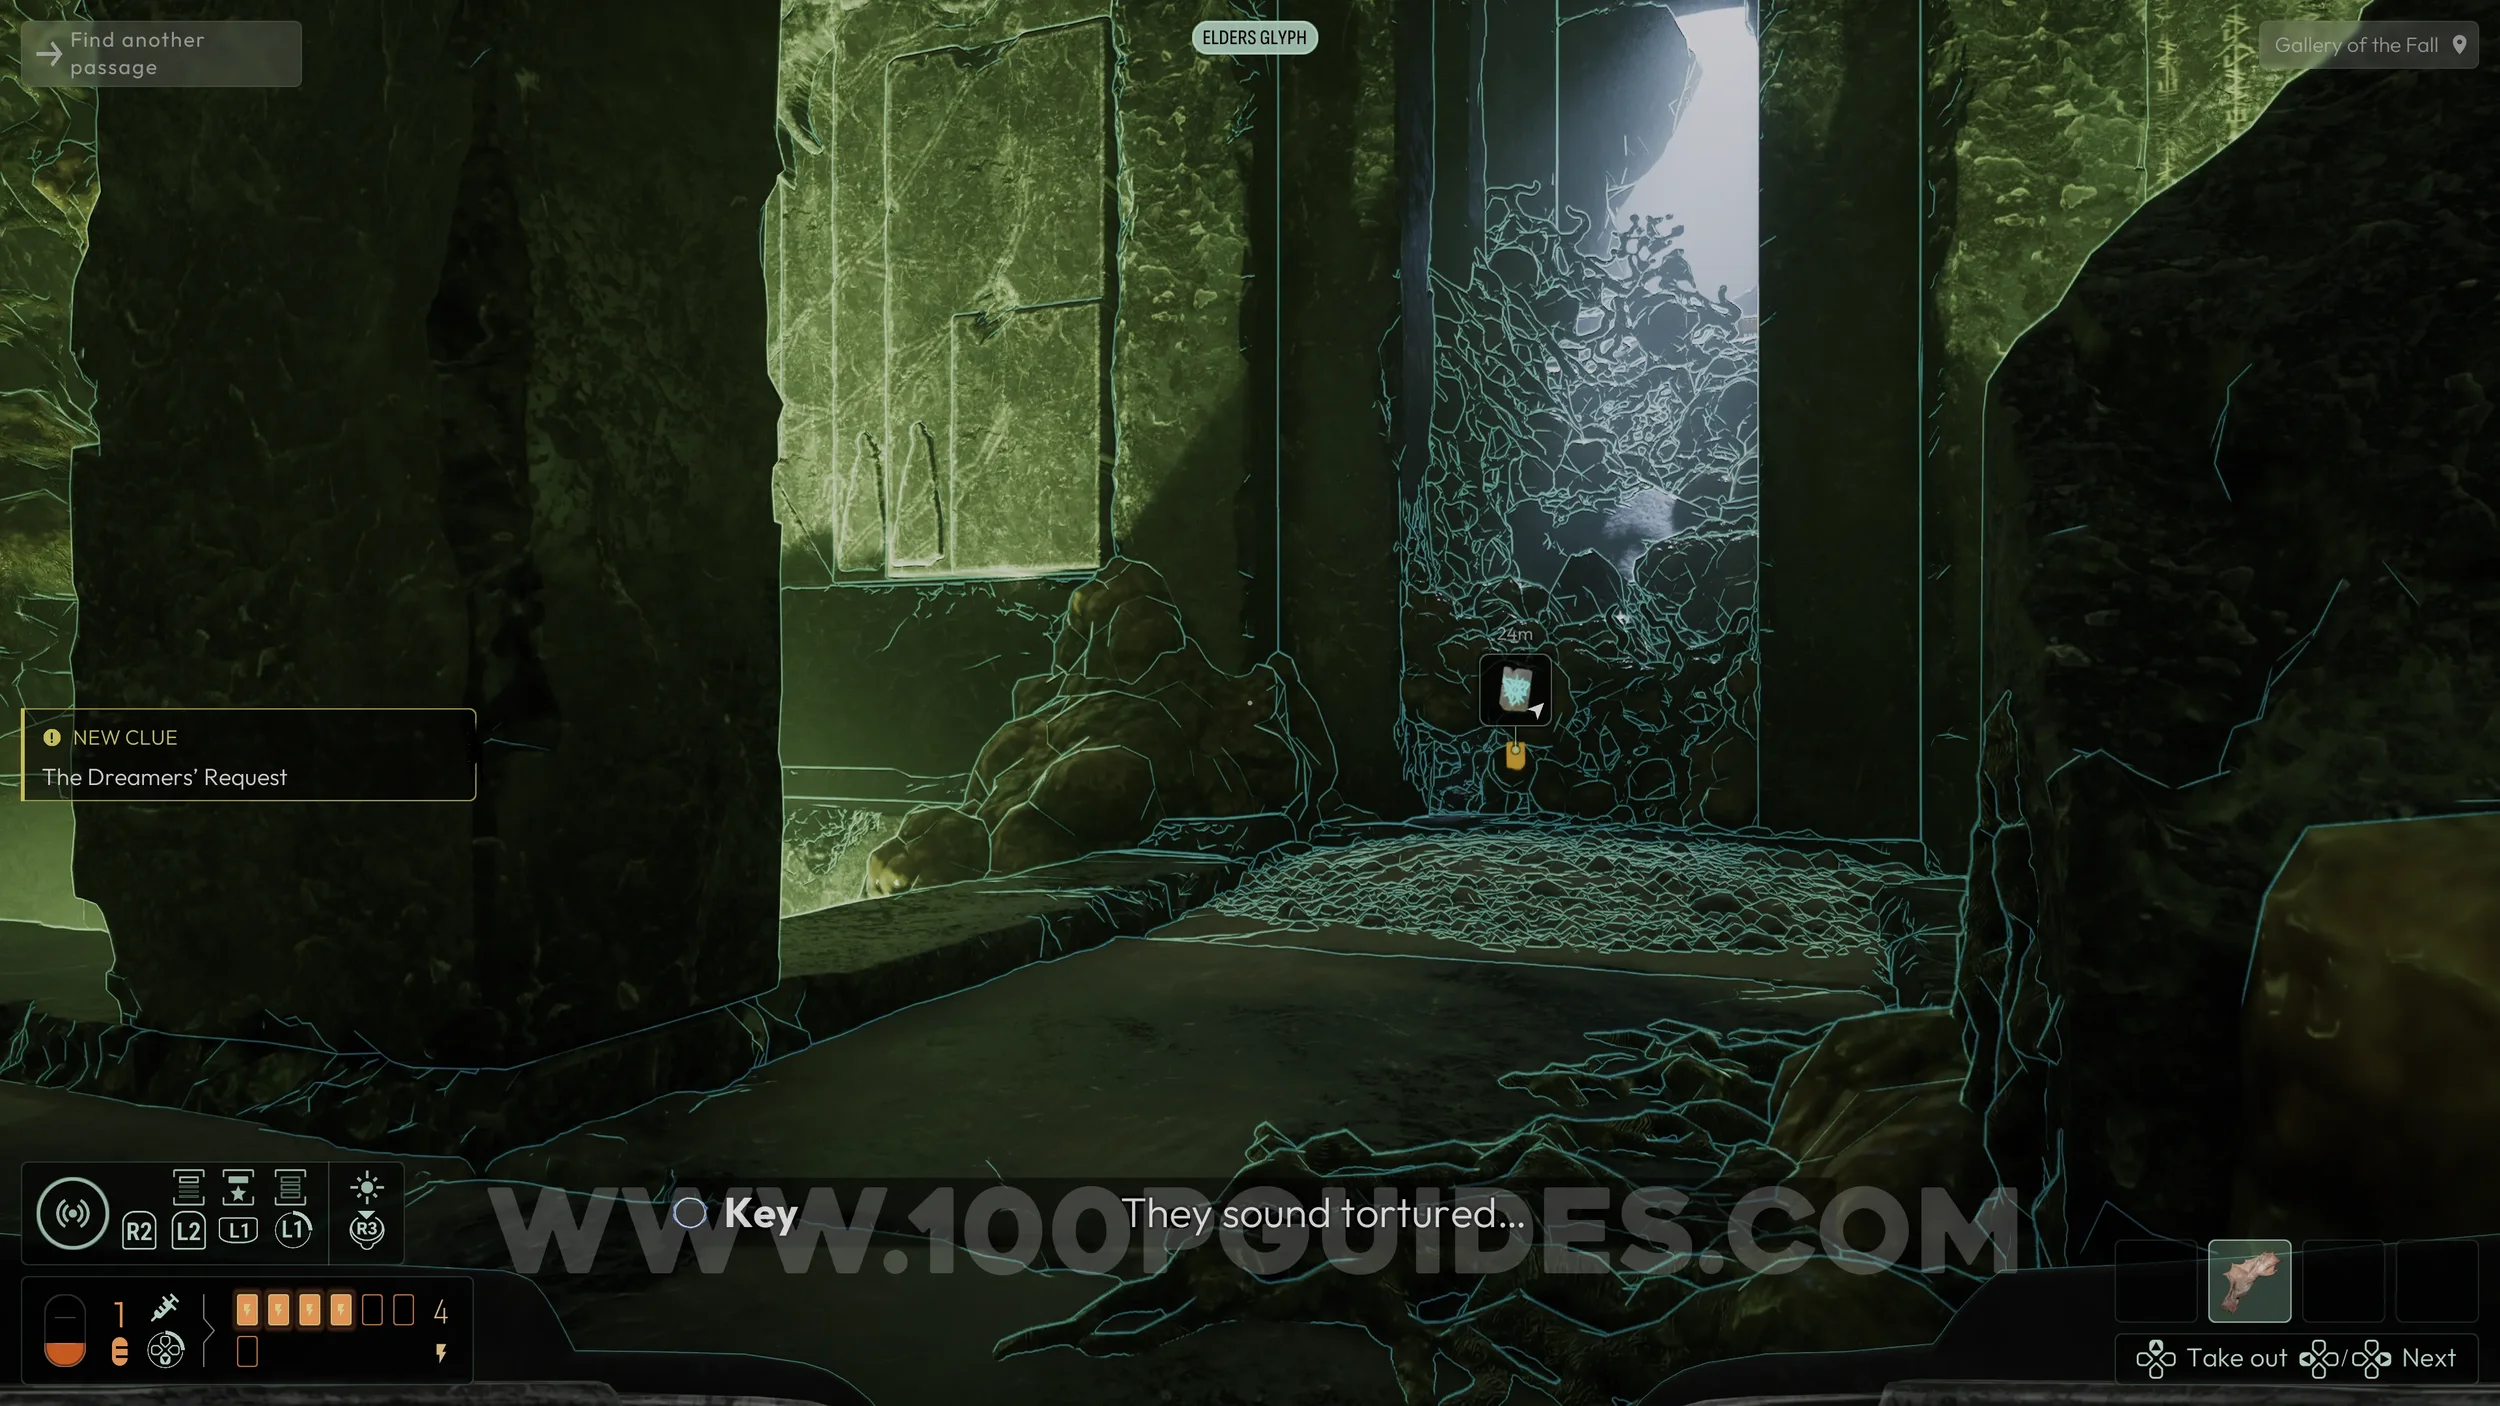
Next, go down the stairs behind the NPC and examine the round metal plate on the floor. Continue further down and enter the open tent between the stairways. Inside, open the crate and pick up the battery.
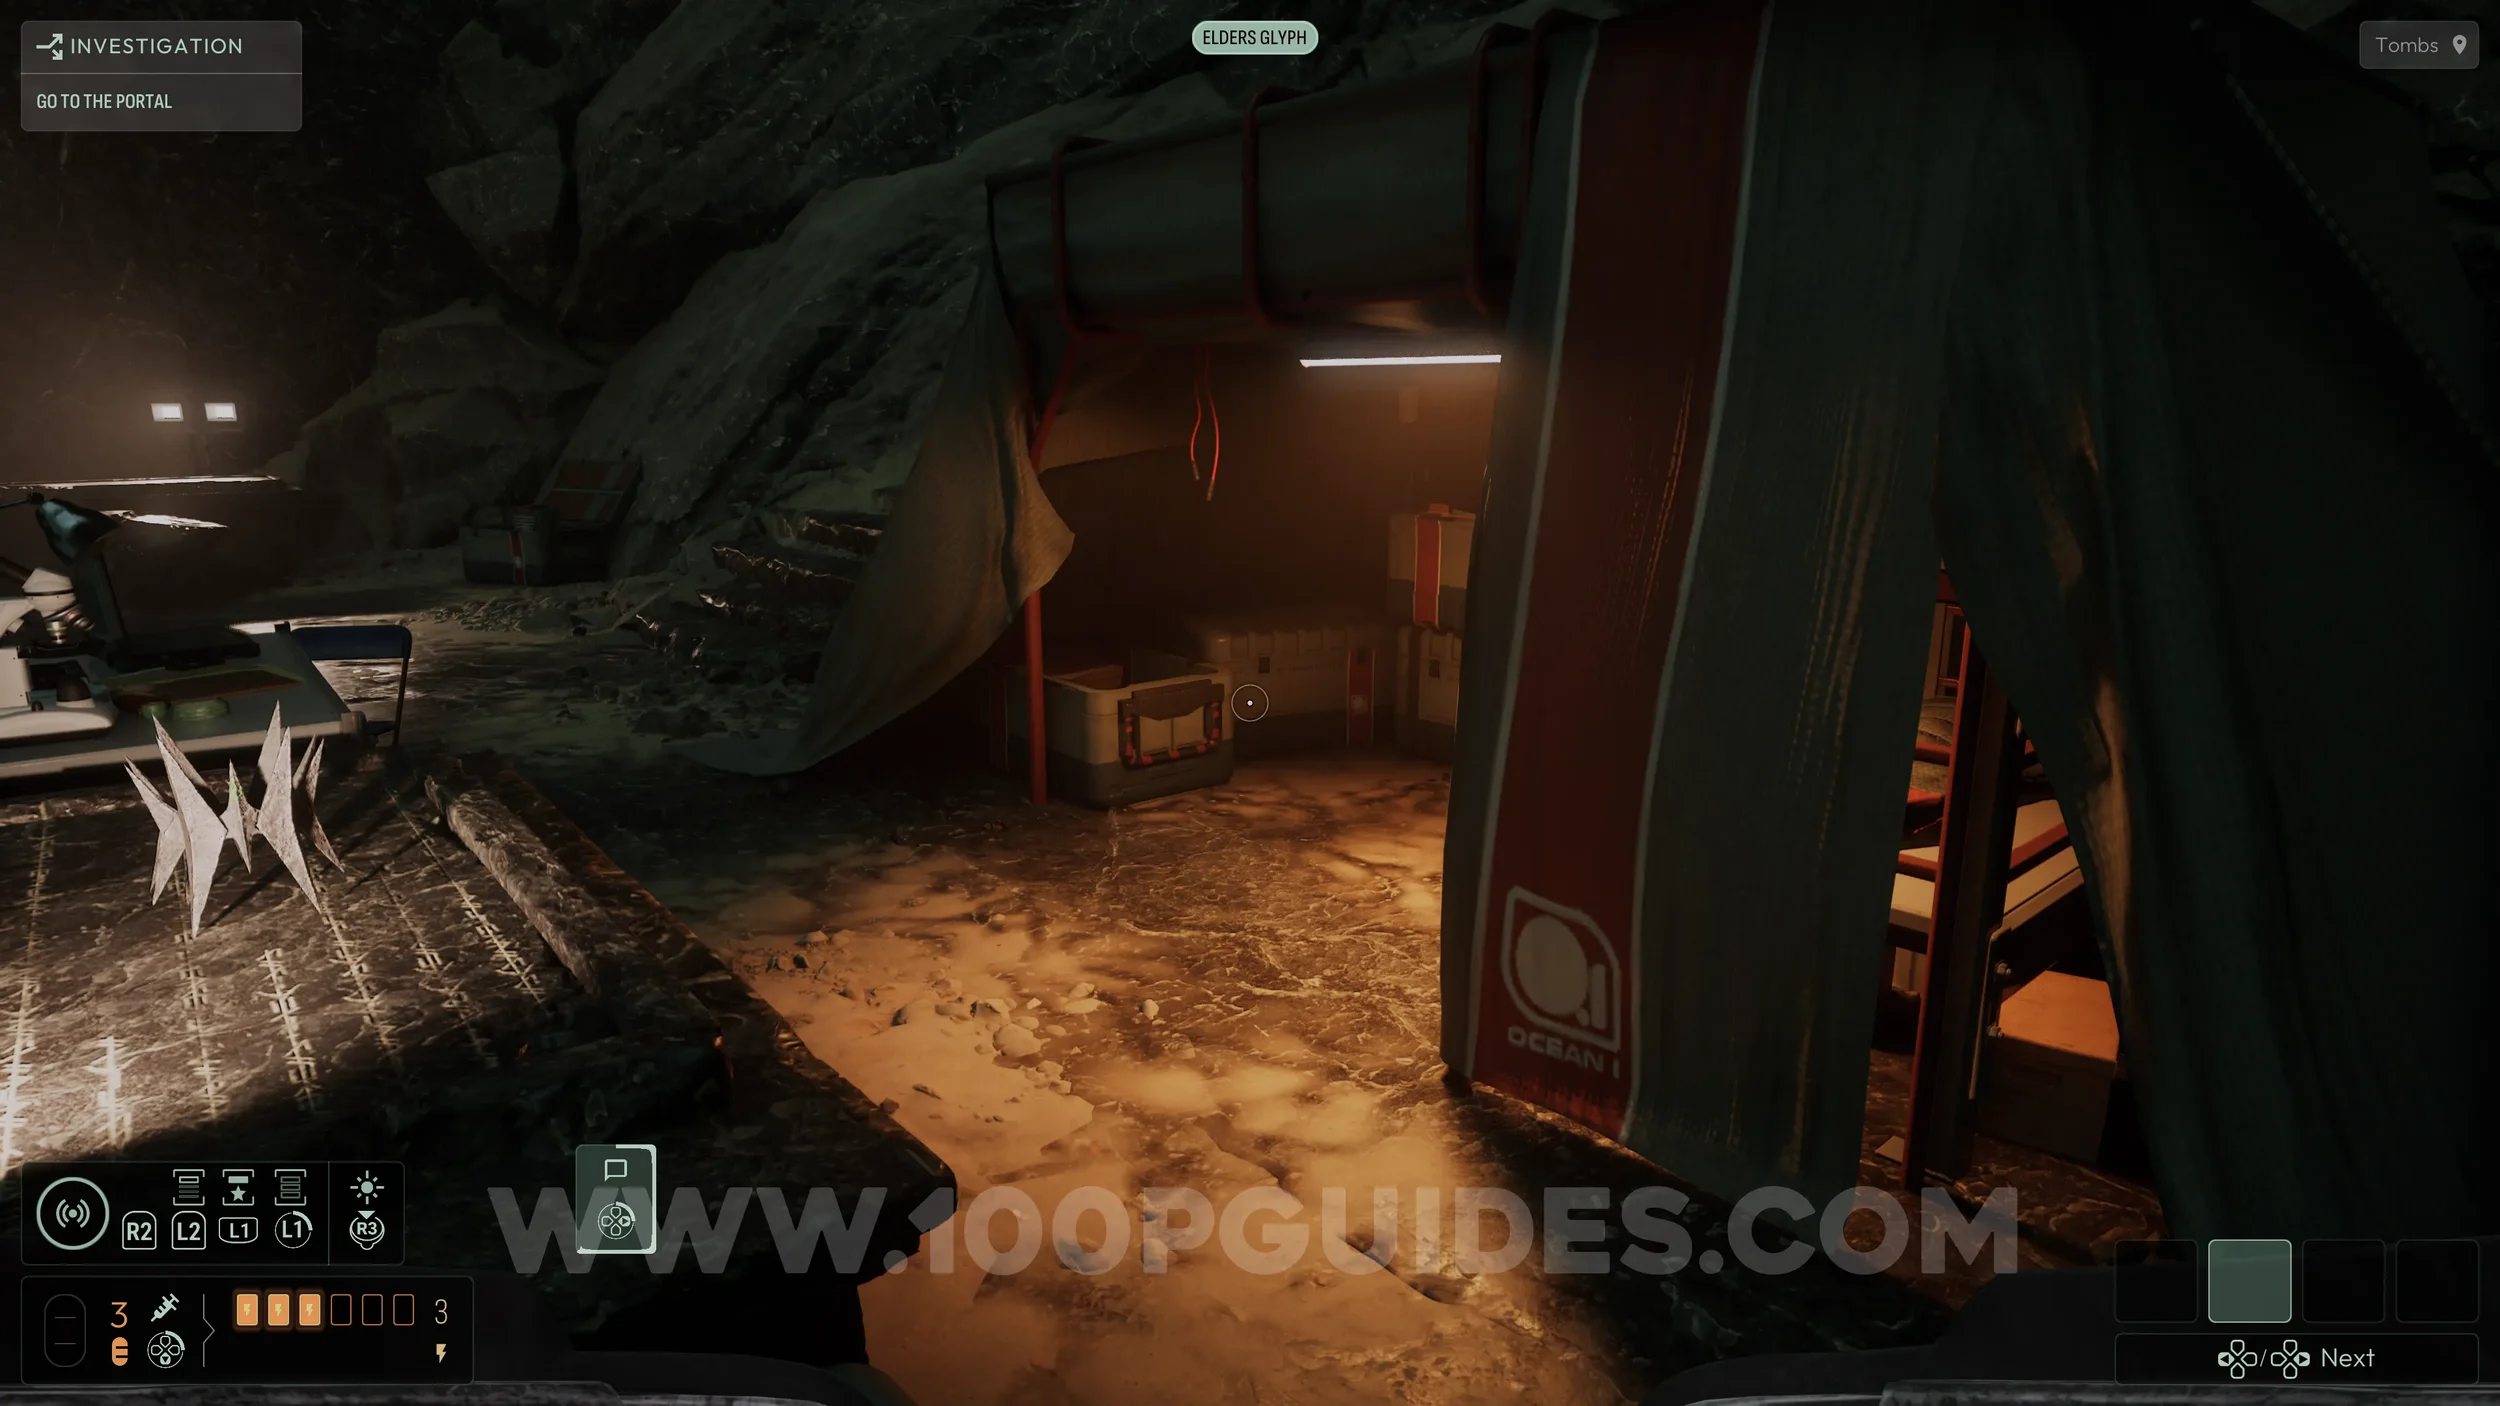
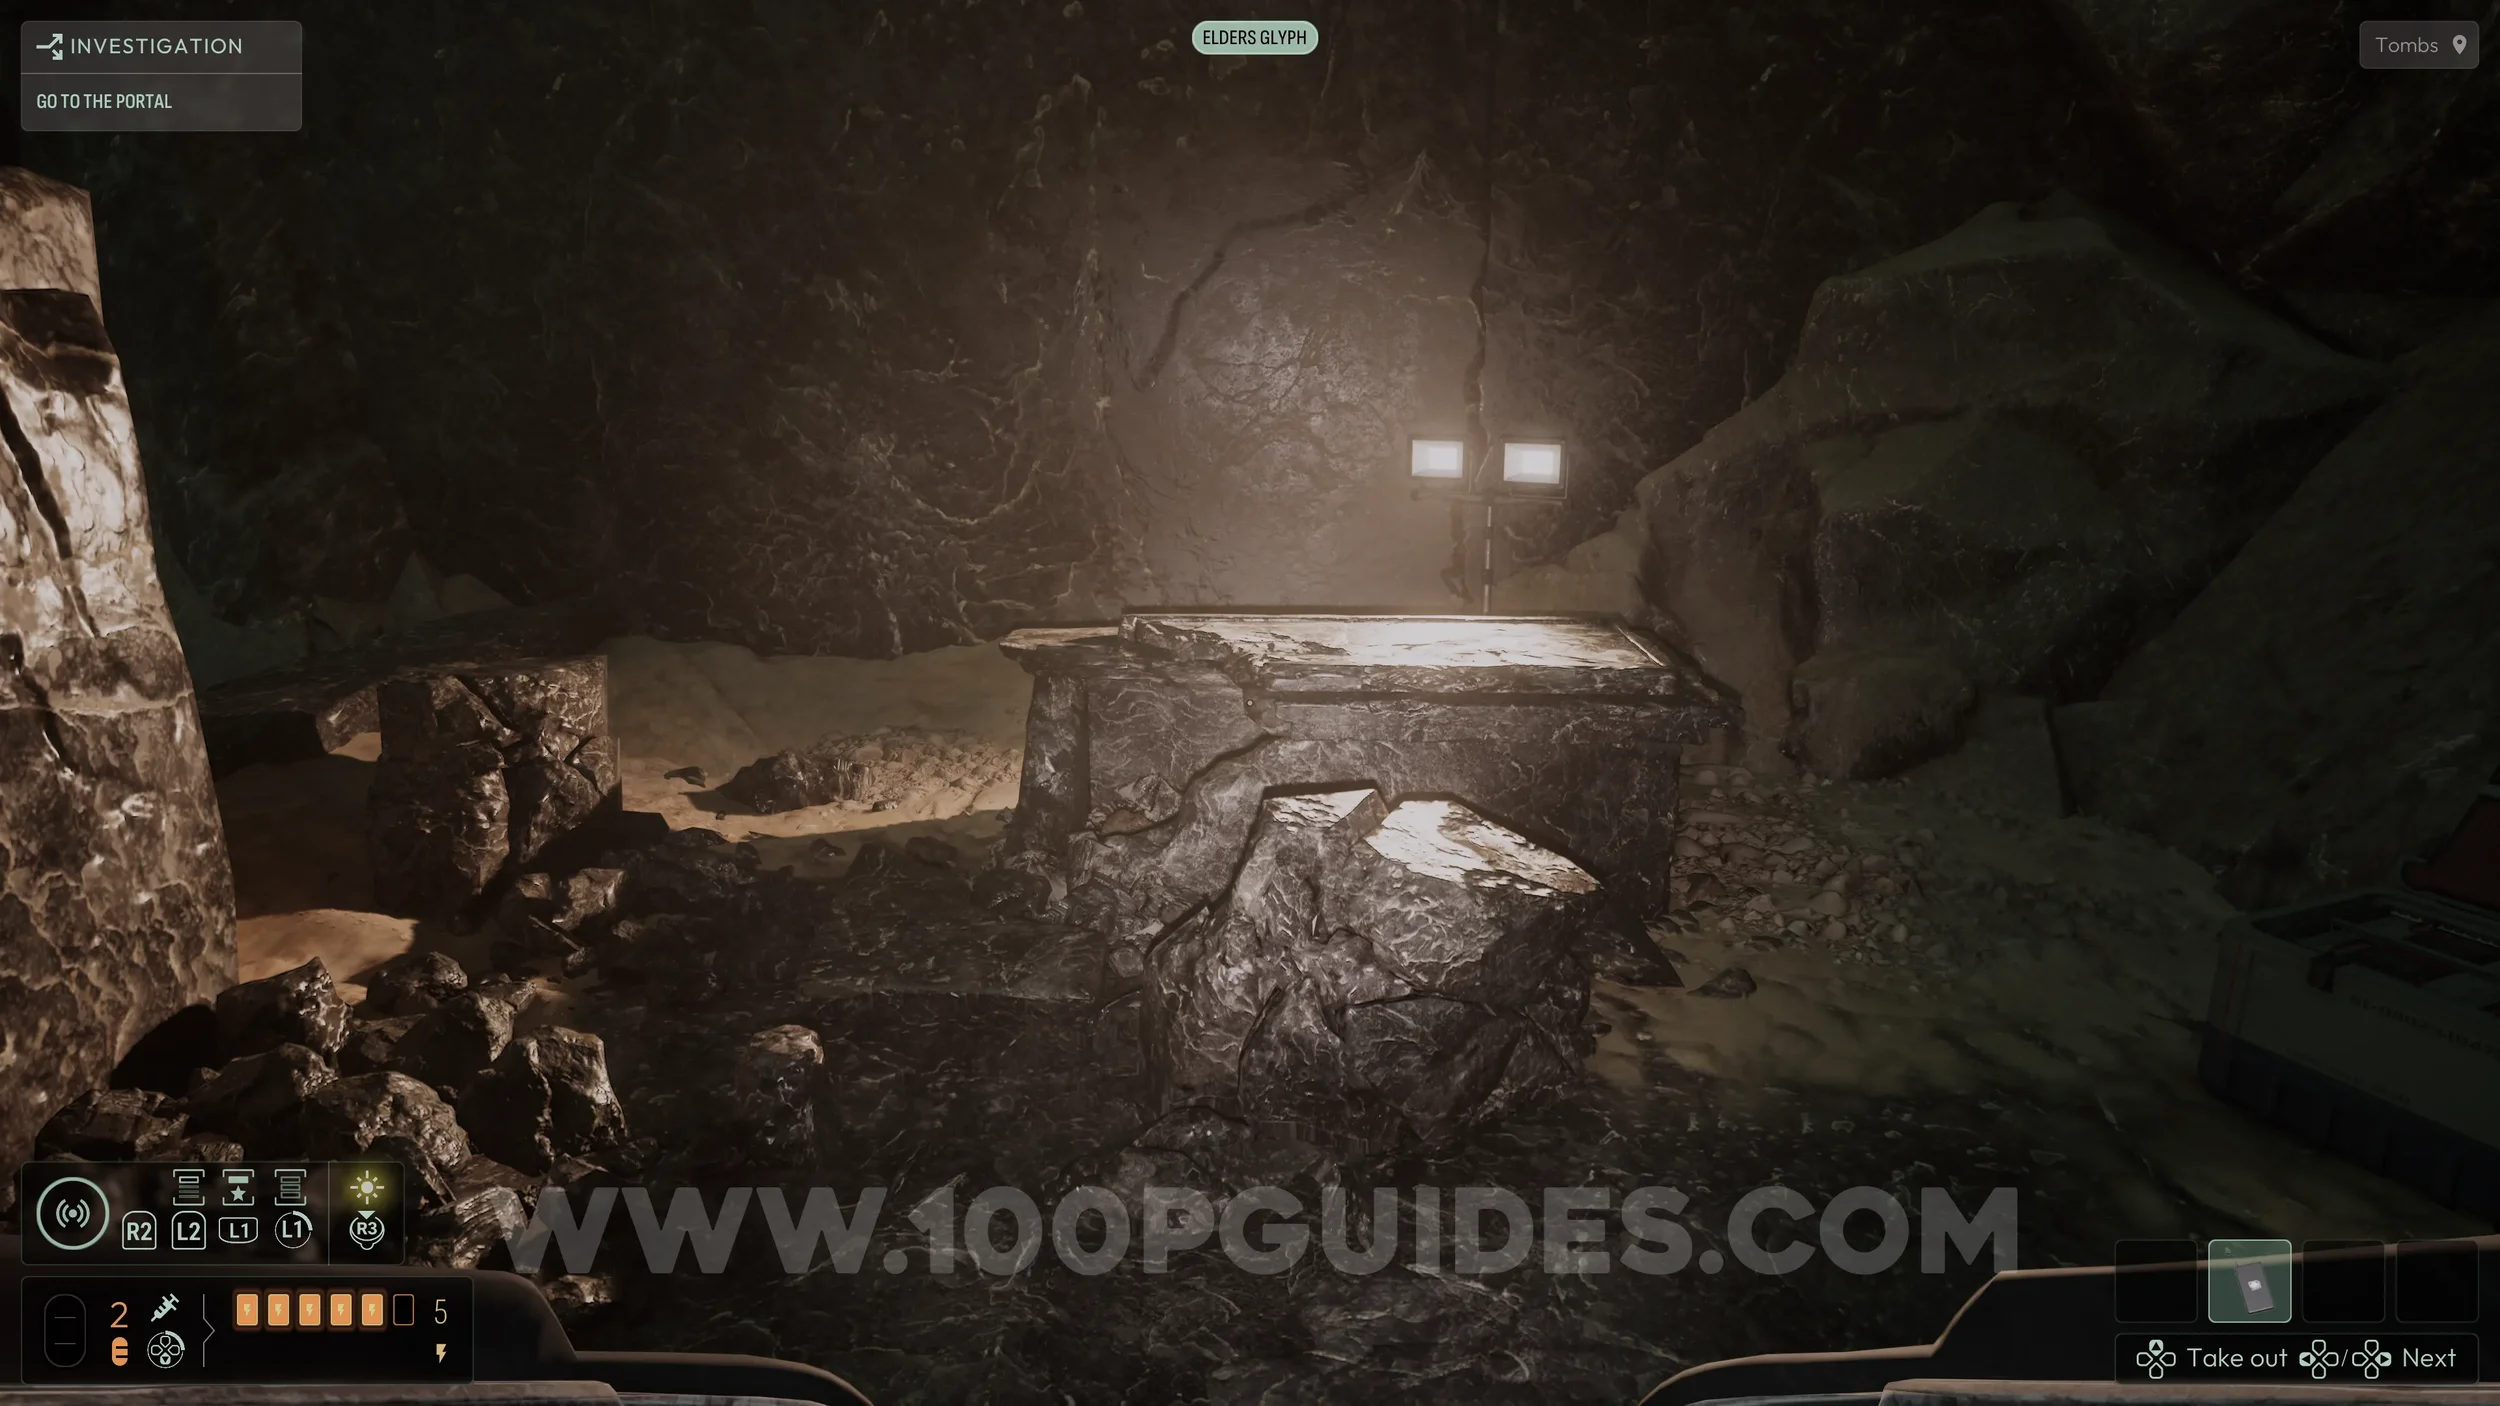
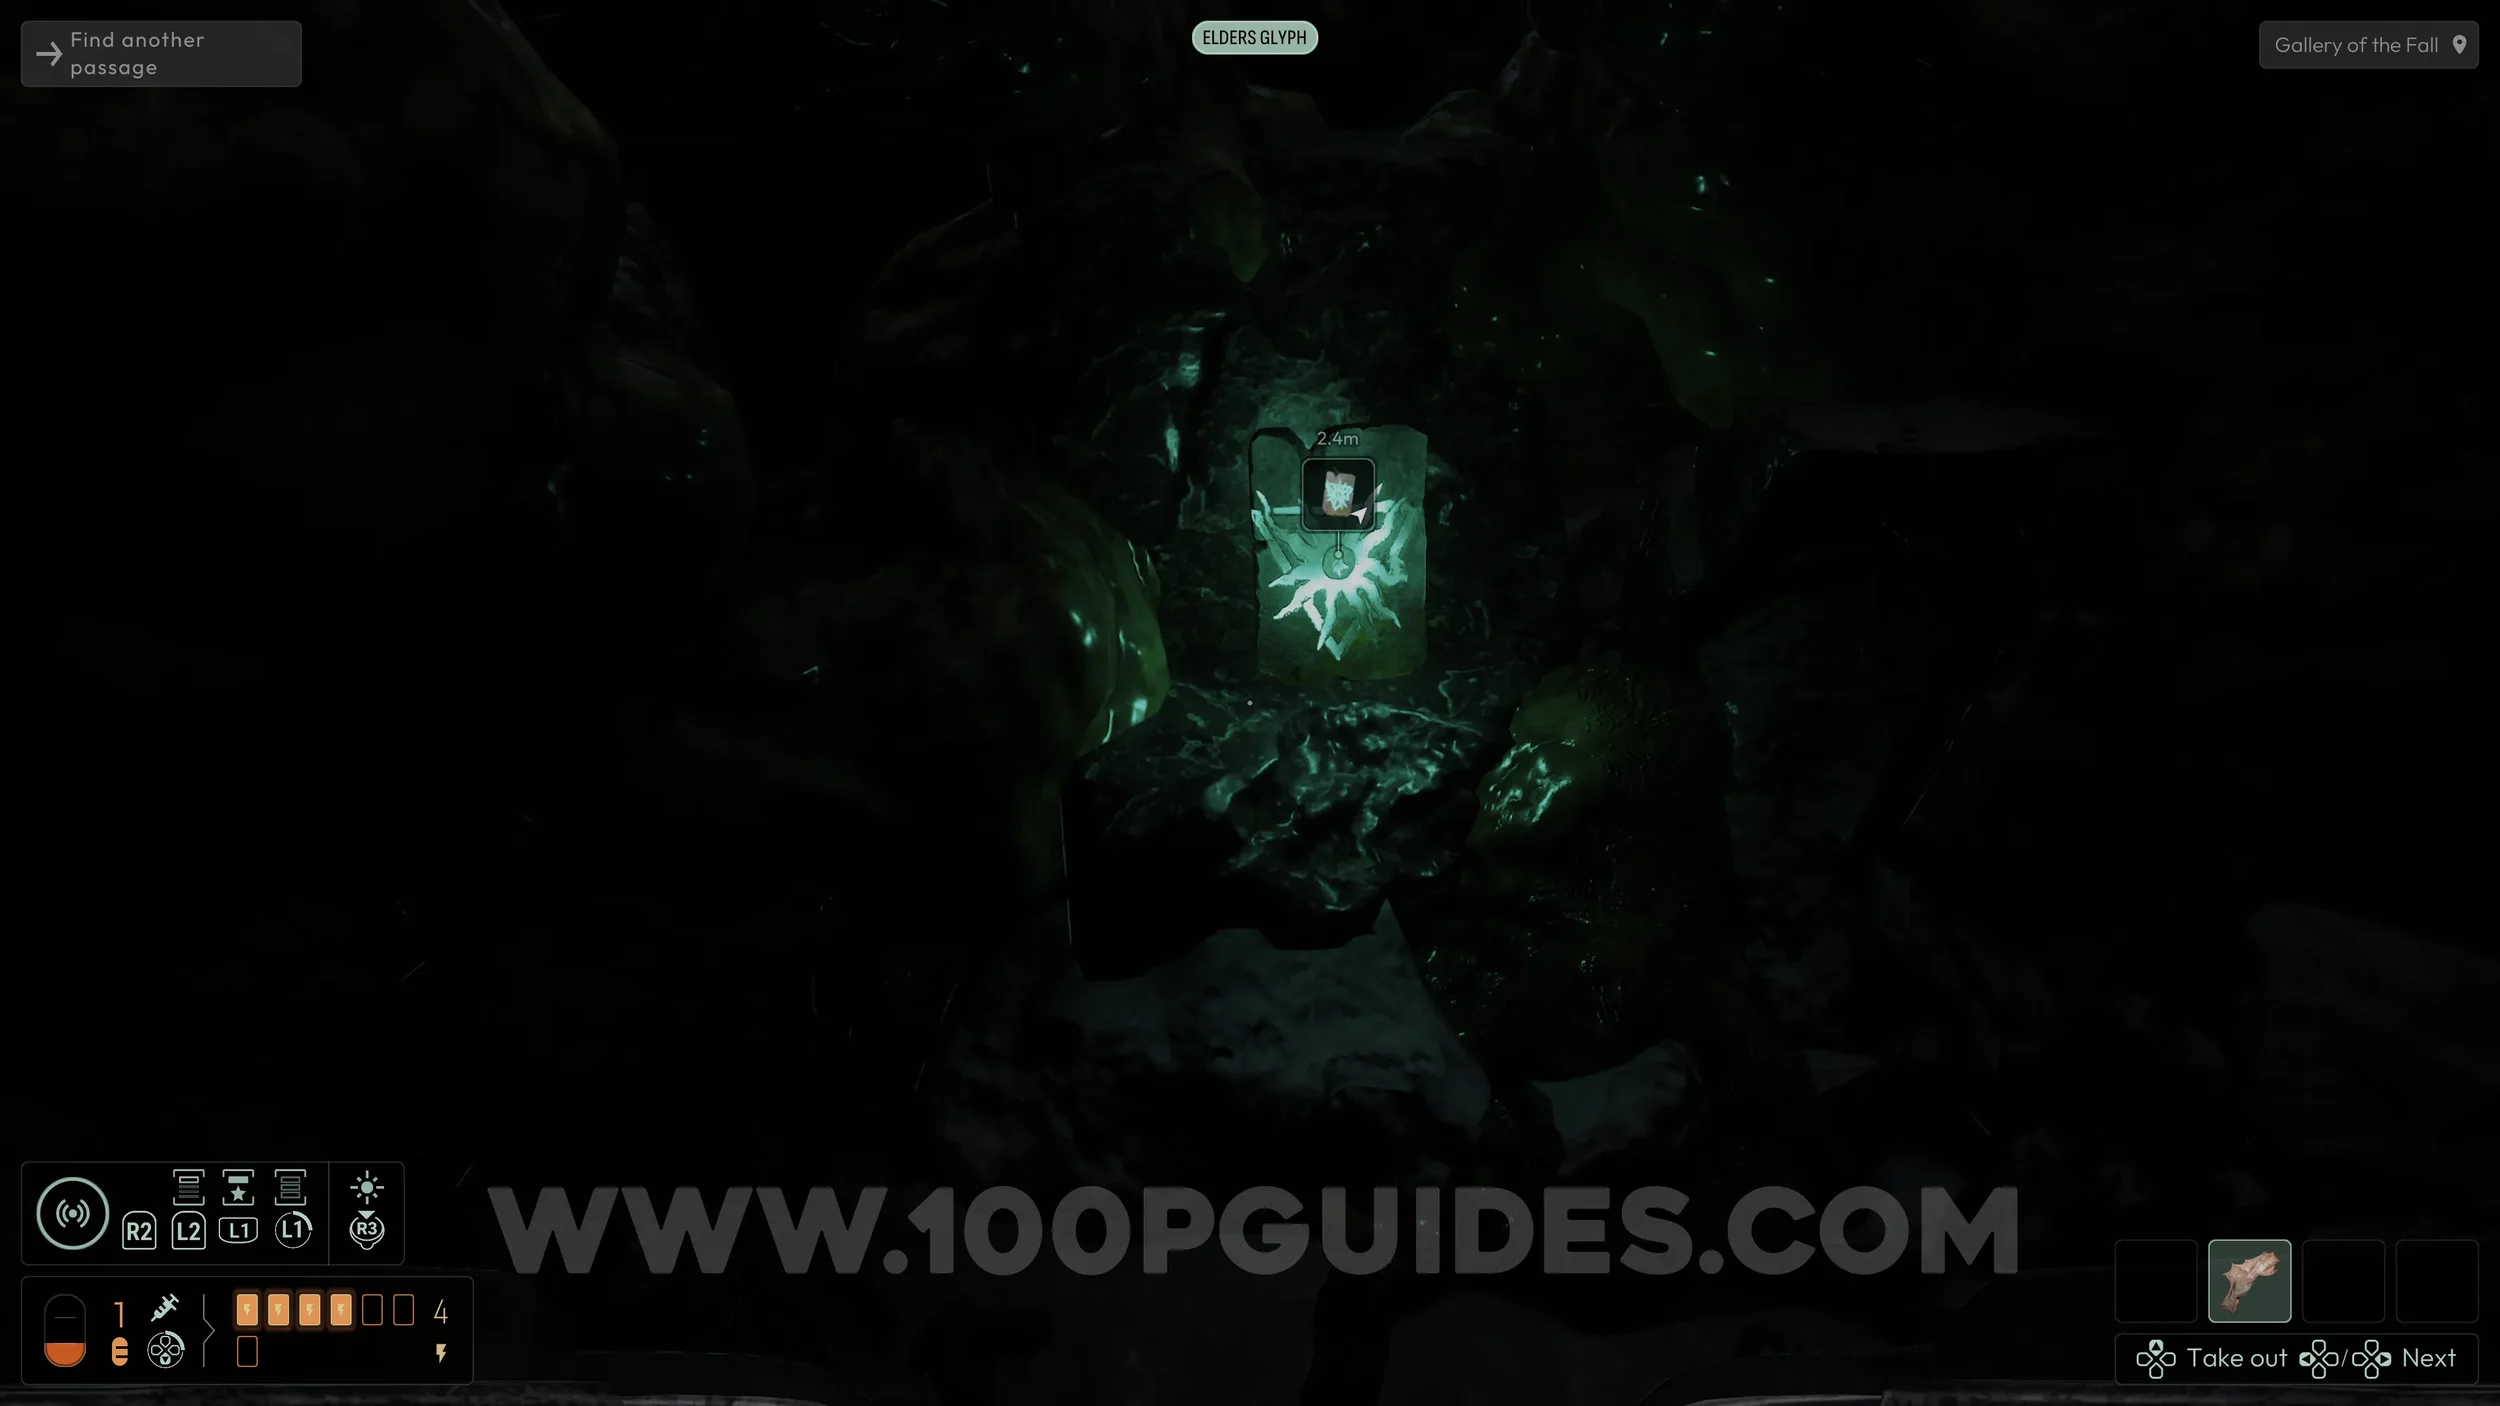
Before leaving this area, head to the right side to find a tomb with a hole in it. Look through the hole and grab the broken piece, then pull it out to reveal another Evolution (3/15).
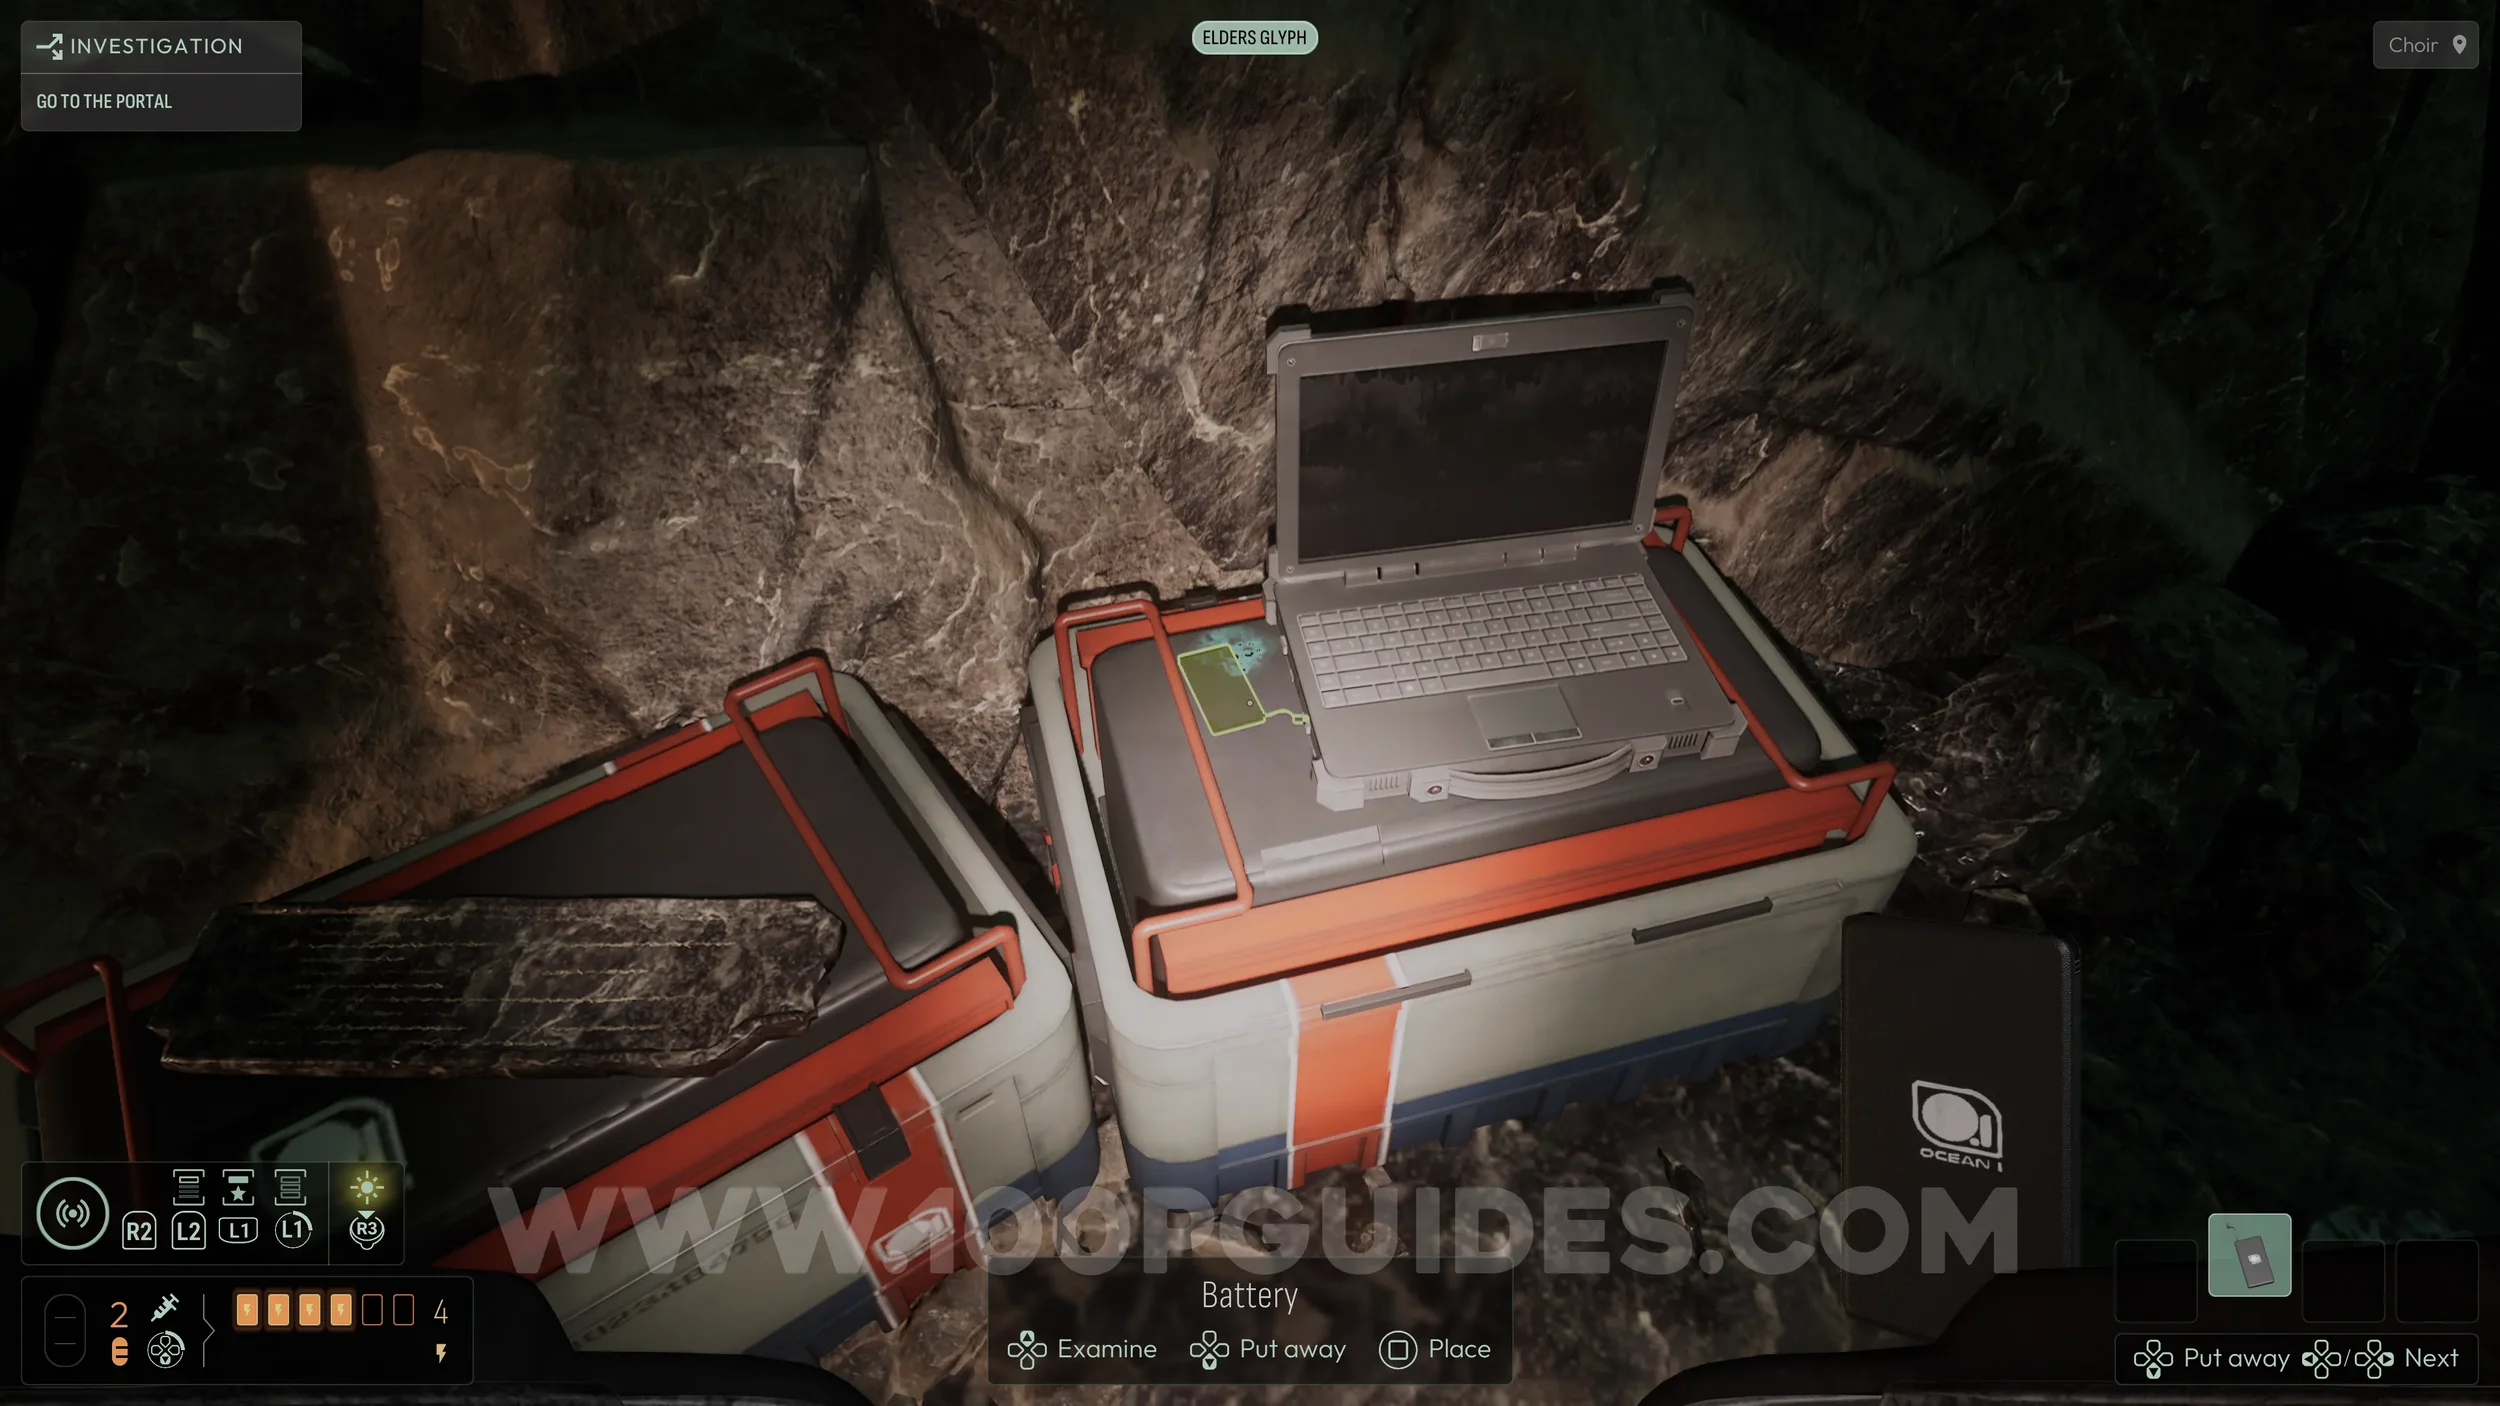
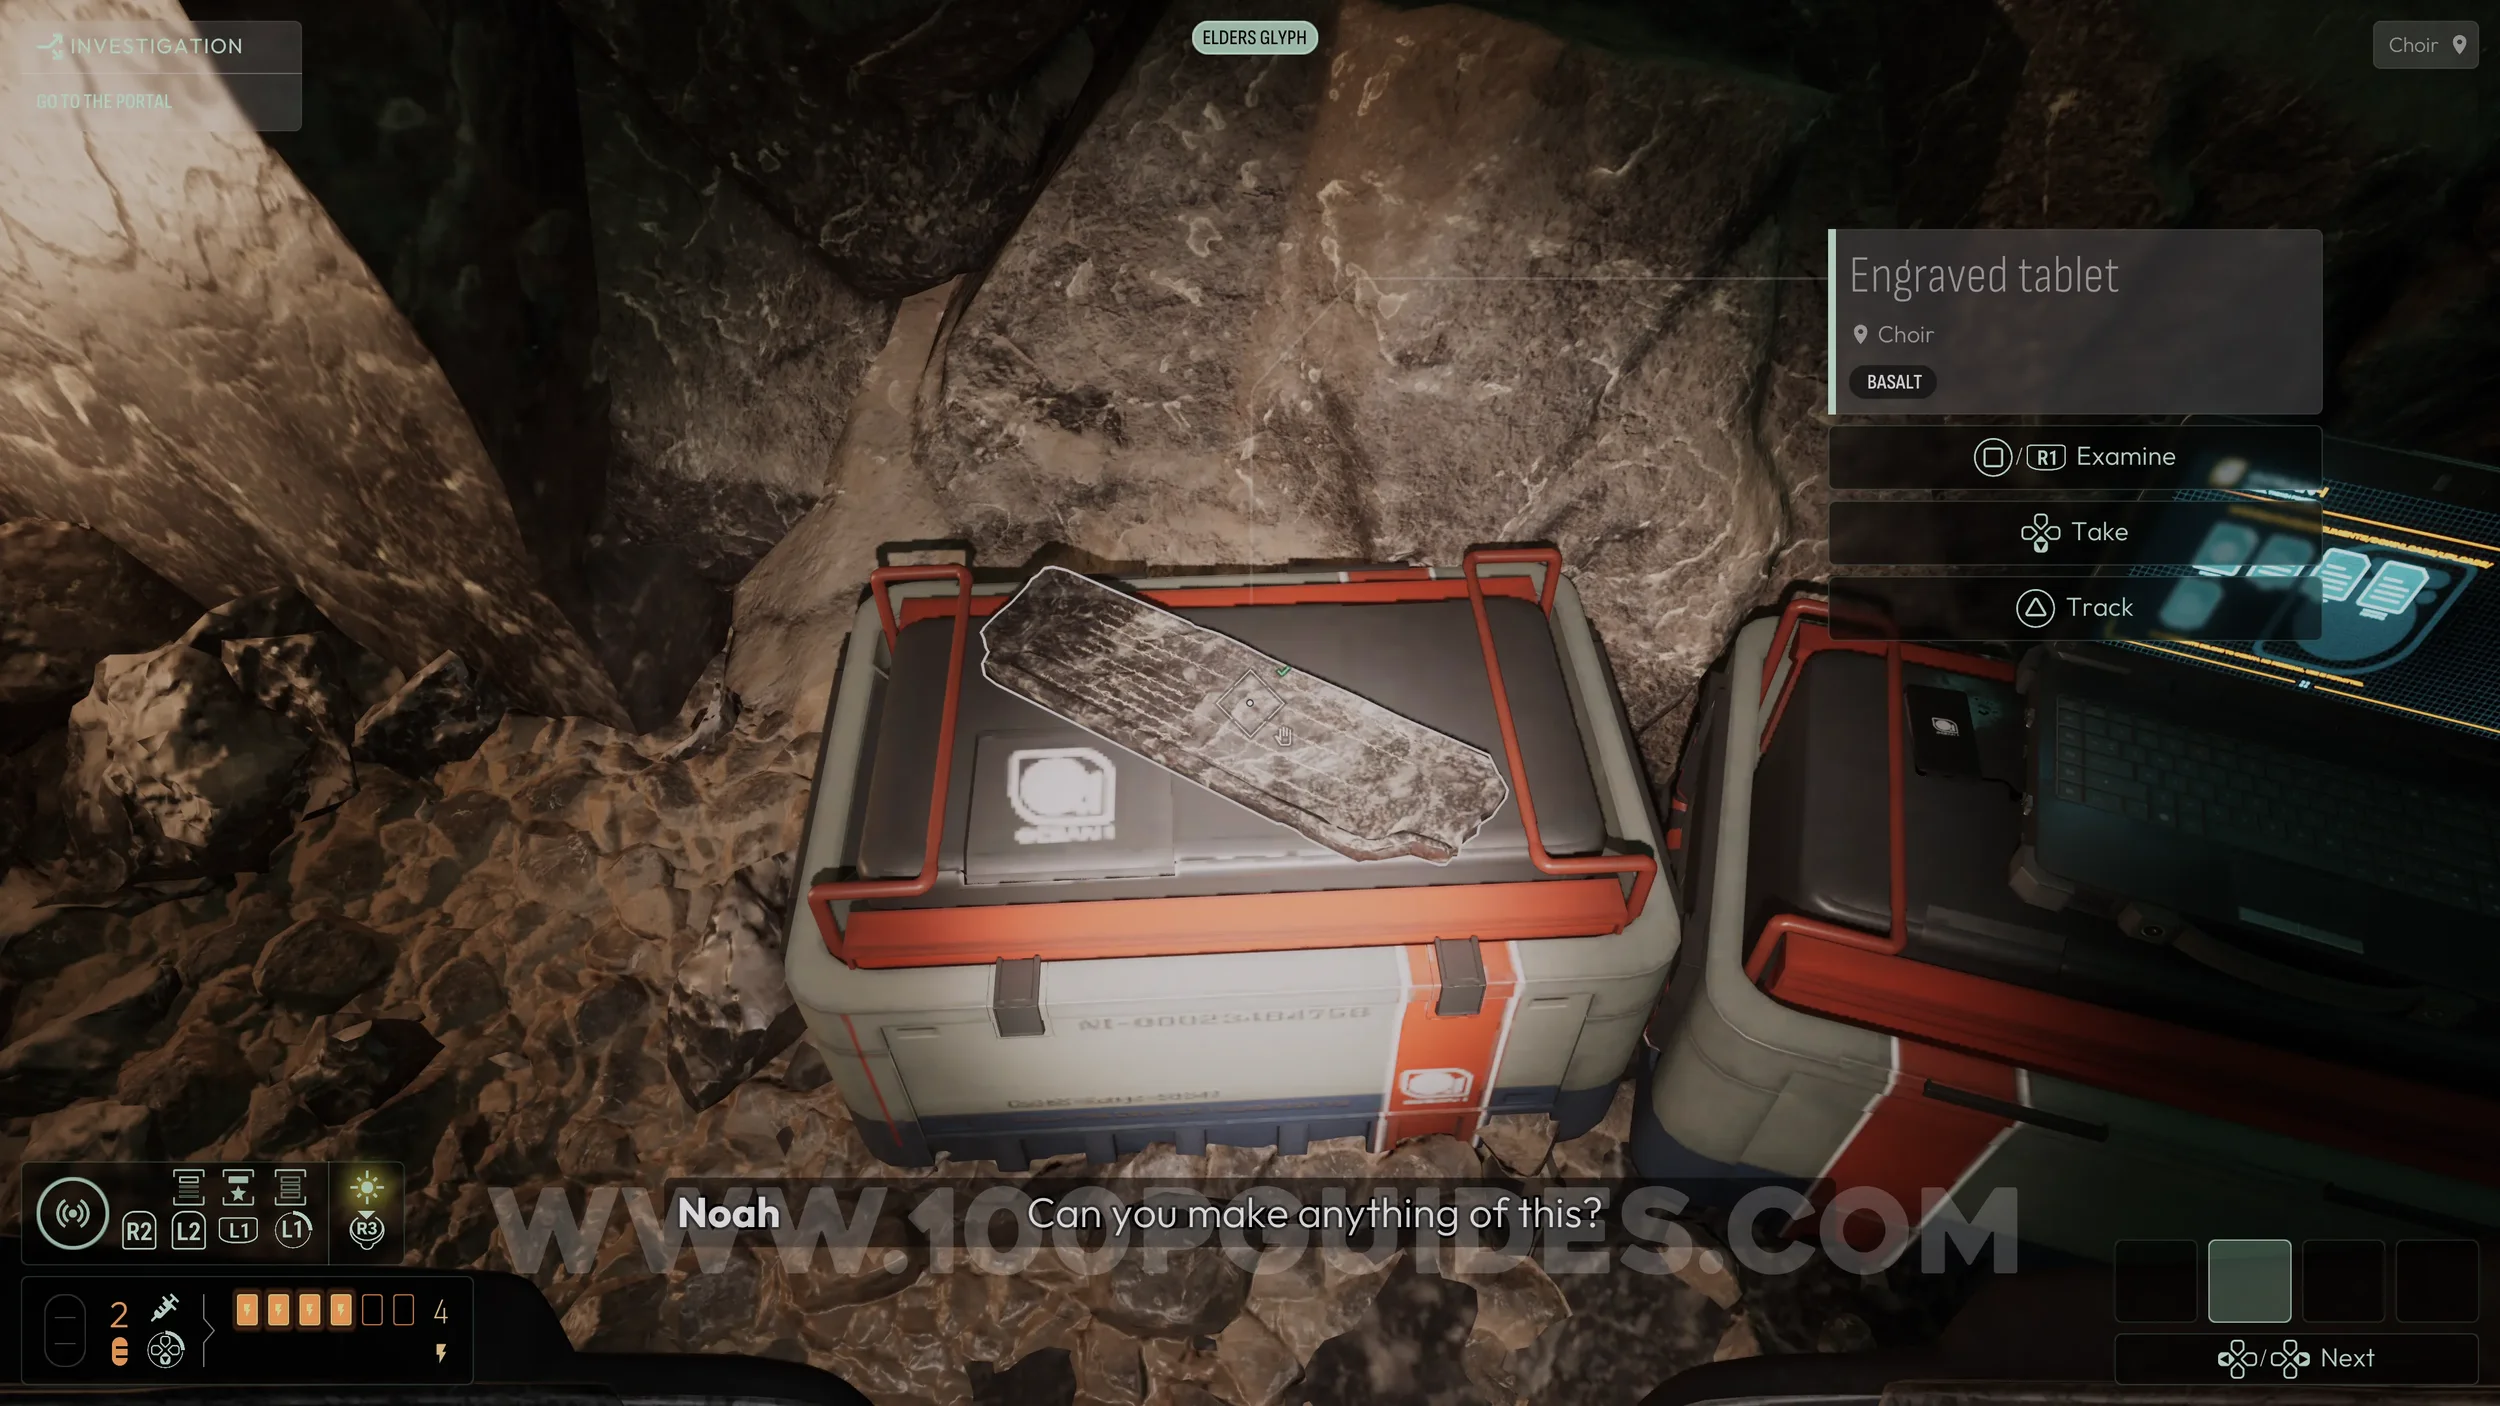
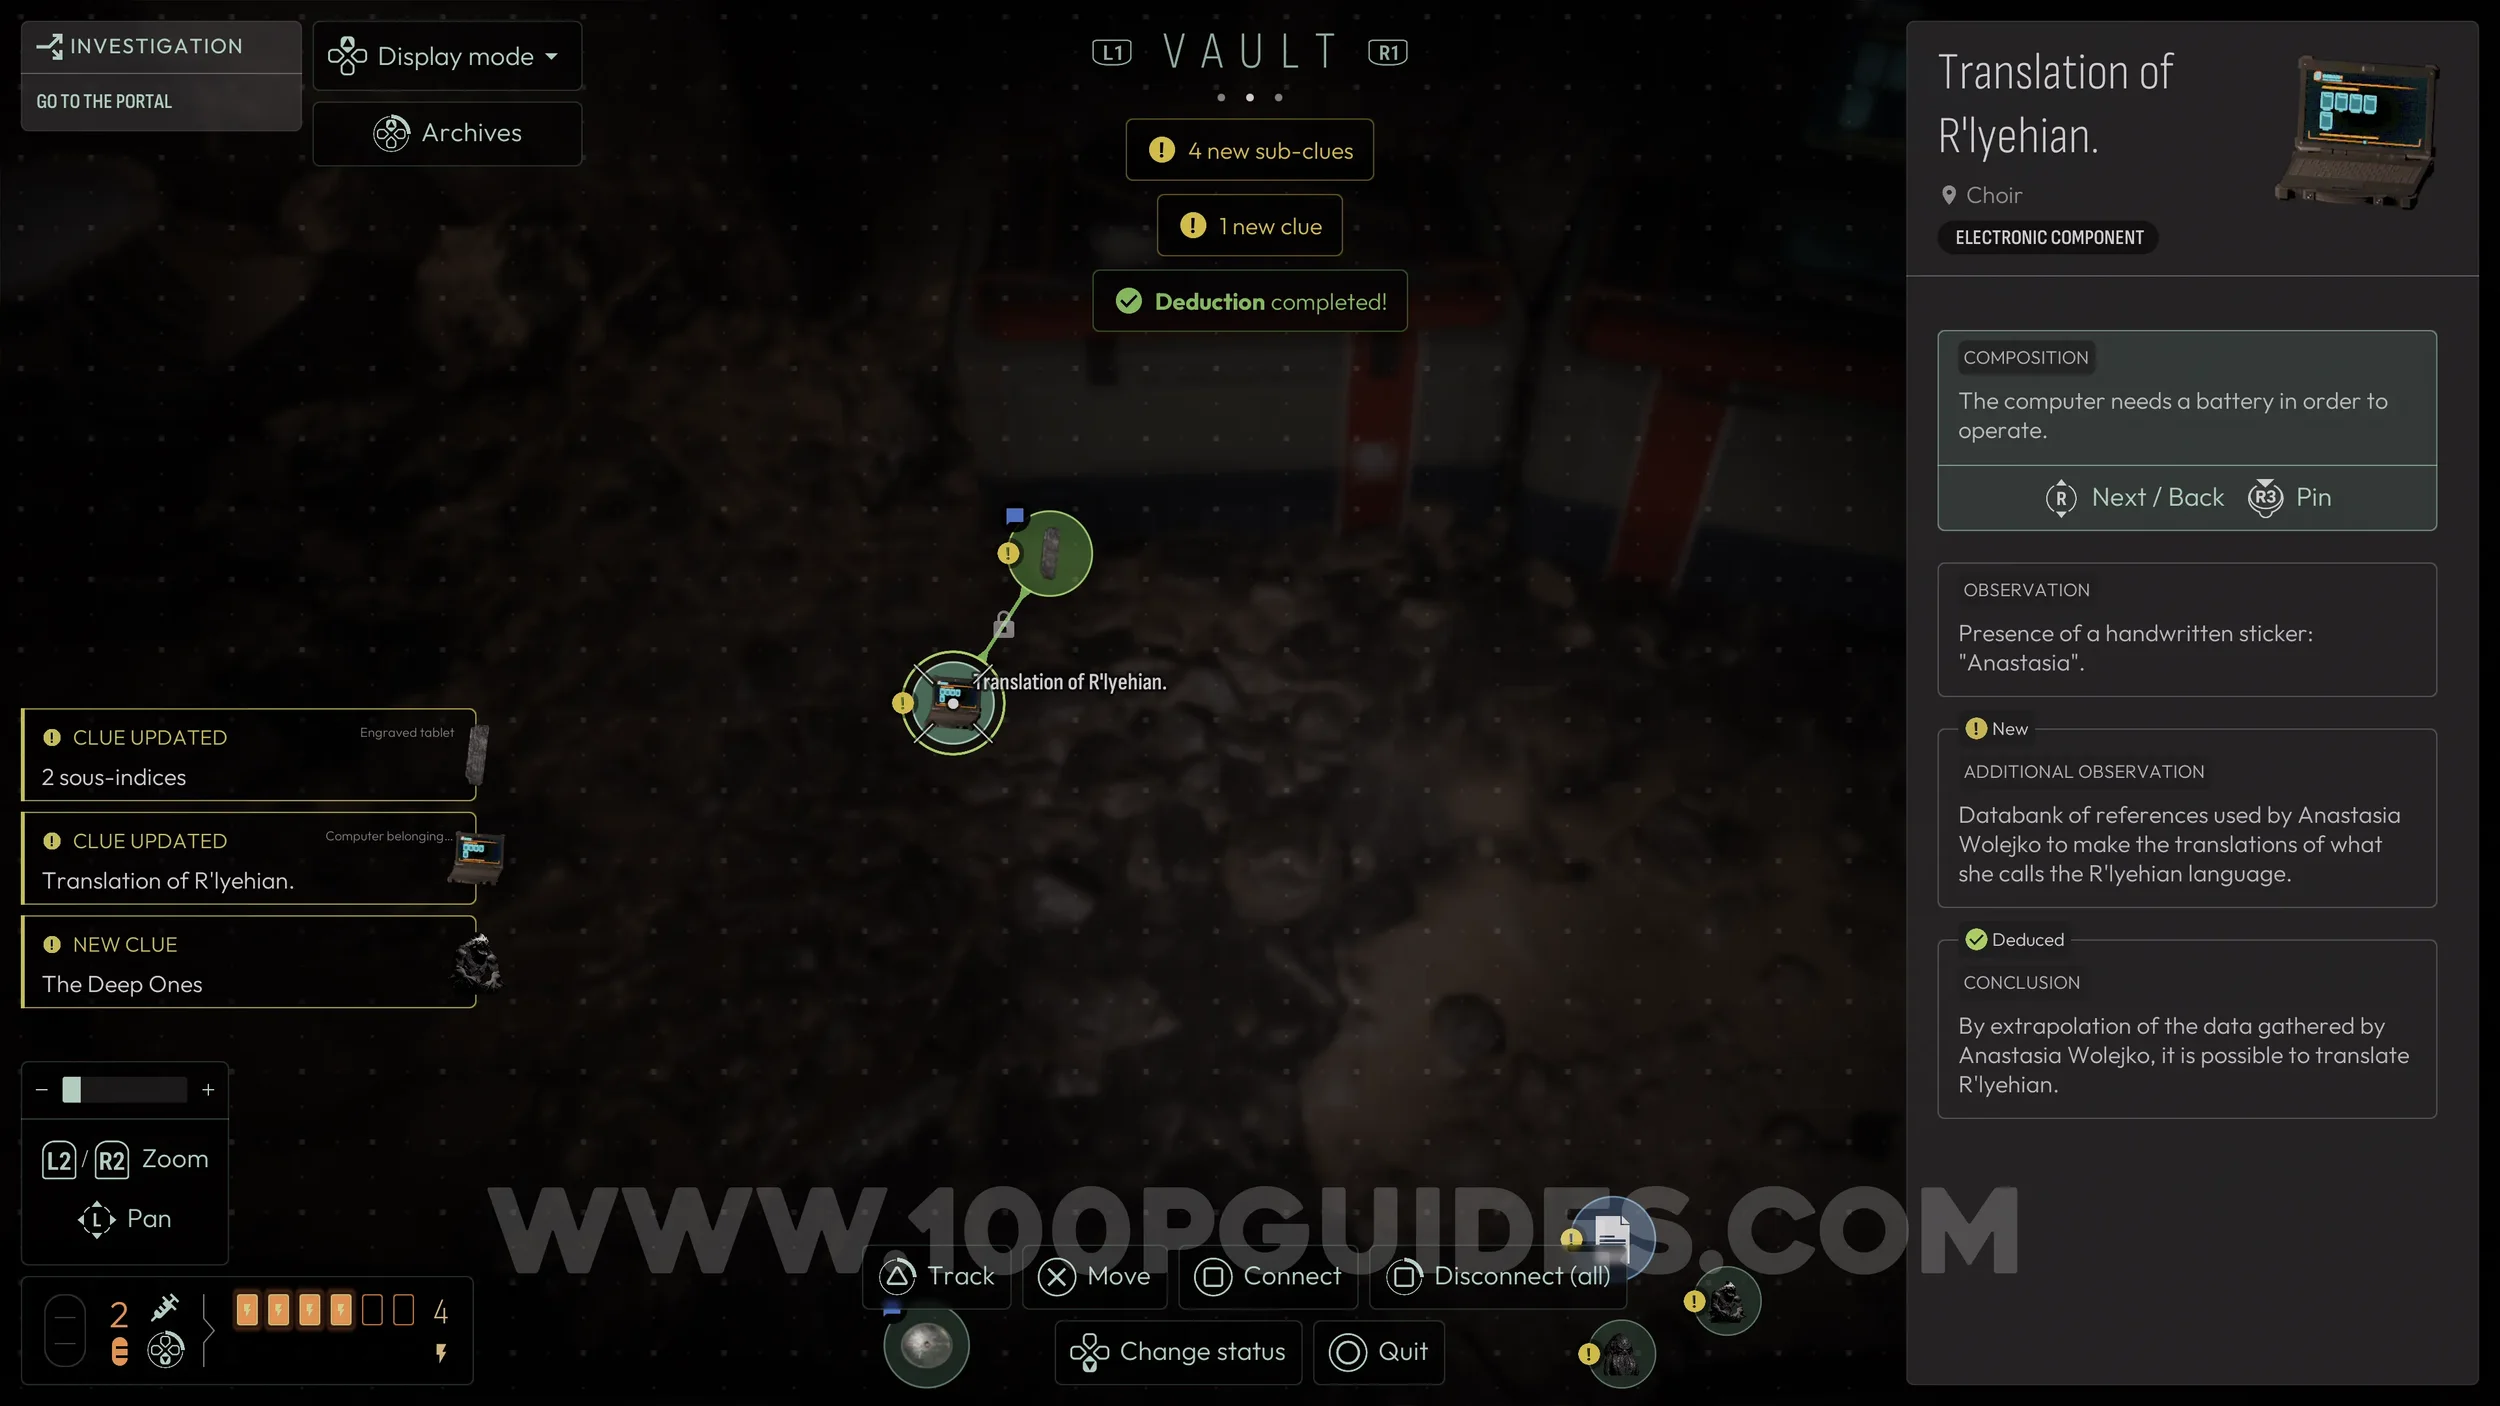
Head back up to the area with the NPC tied to the rock. Look for a computer sitting on some crates next to a stone tablet. Remove the broken battery and plug in the working one you found in the tent to power up the PC. Examine it, then analyze the stone tablet beside it.
With both clues collected, open the Vault menu and drag the “Translation of R’lyehian” clue onto the purple deduction with the tablet icon to solve it. This will unlock the Ph’nglui mglw’nafh Cthulhu R’lyeh wgah’nagl fhtagn trophy.
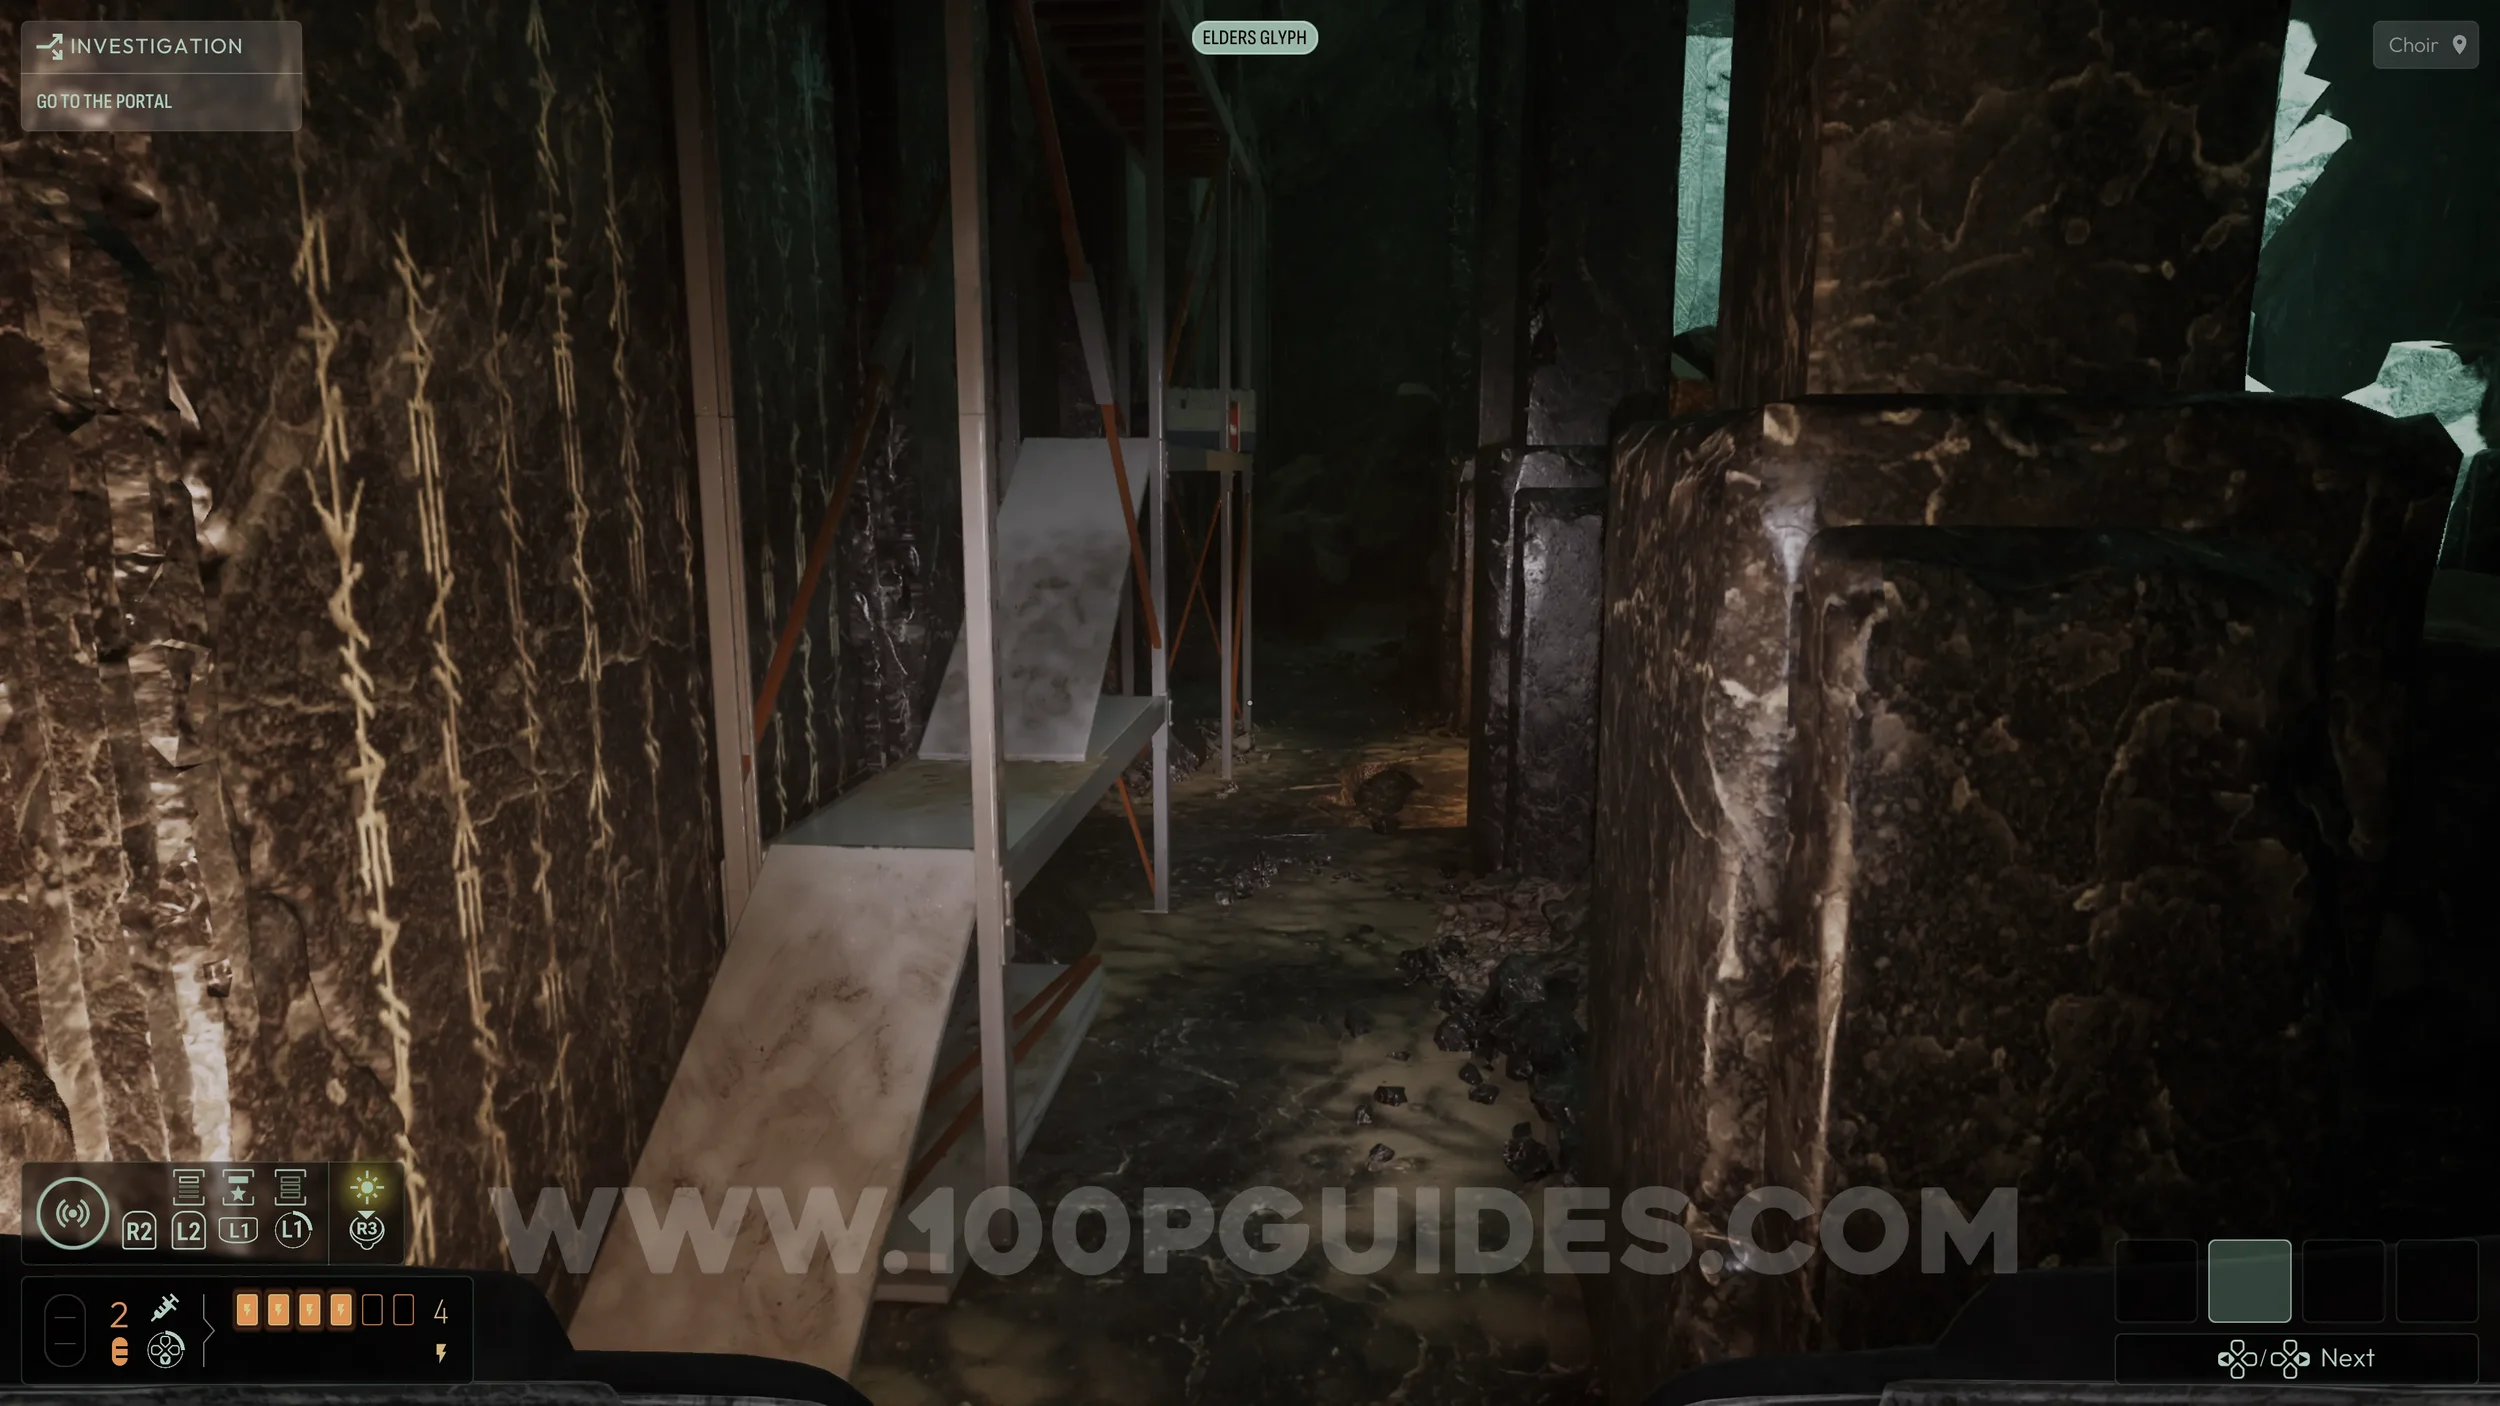
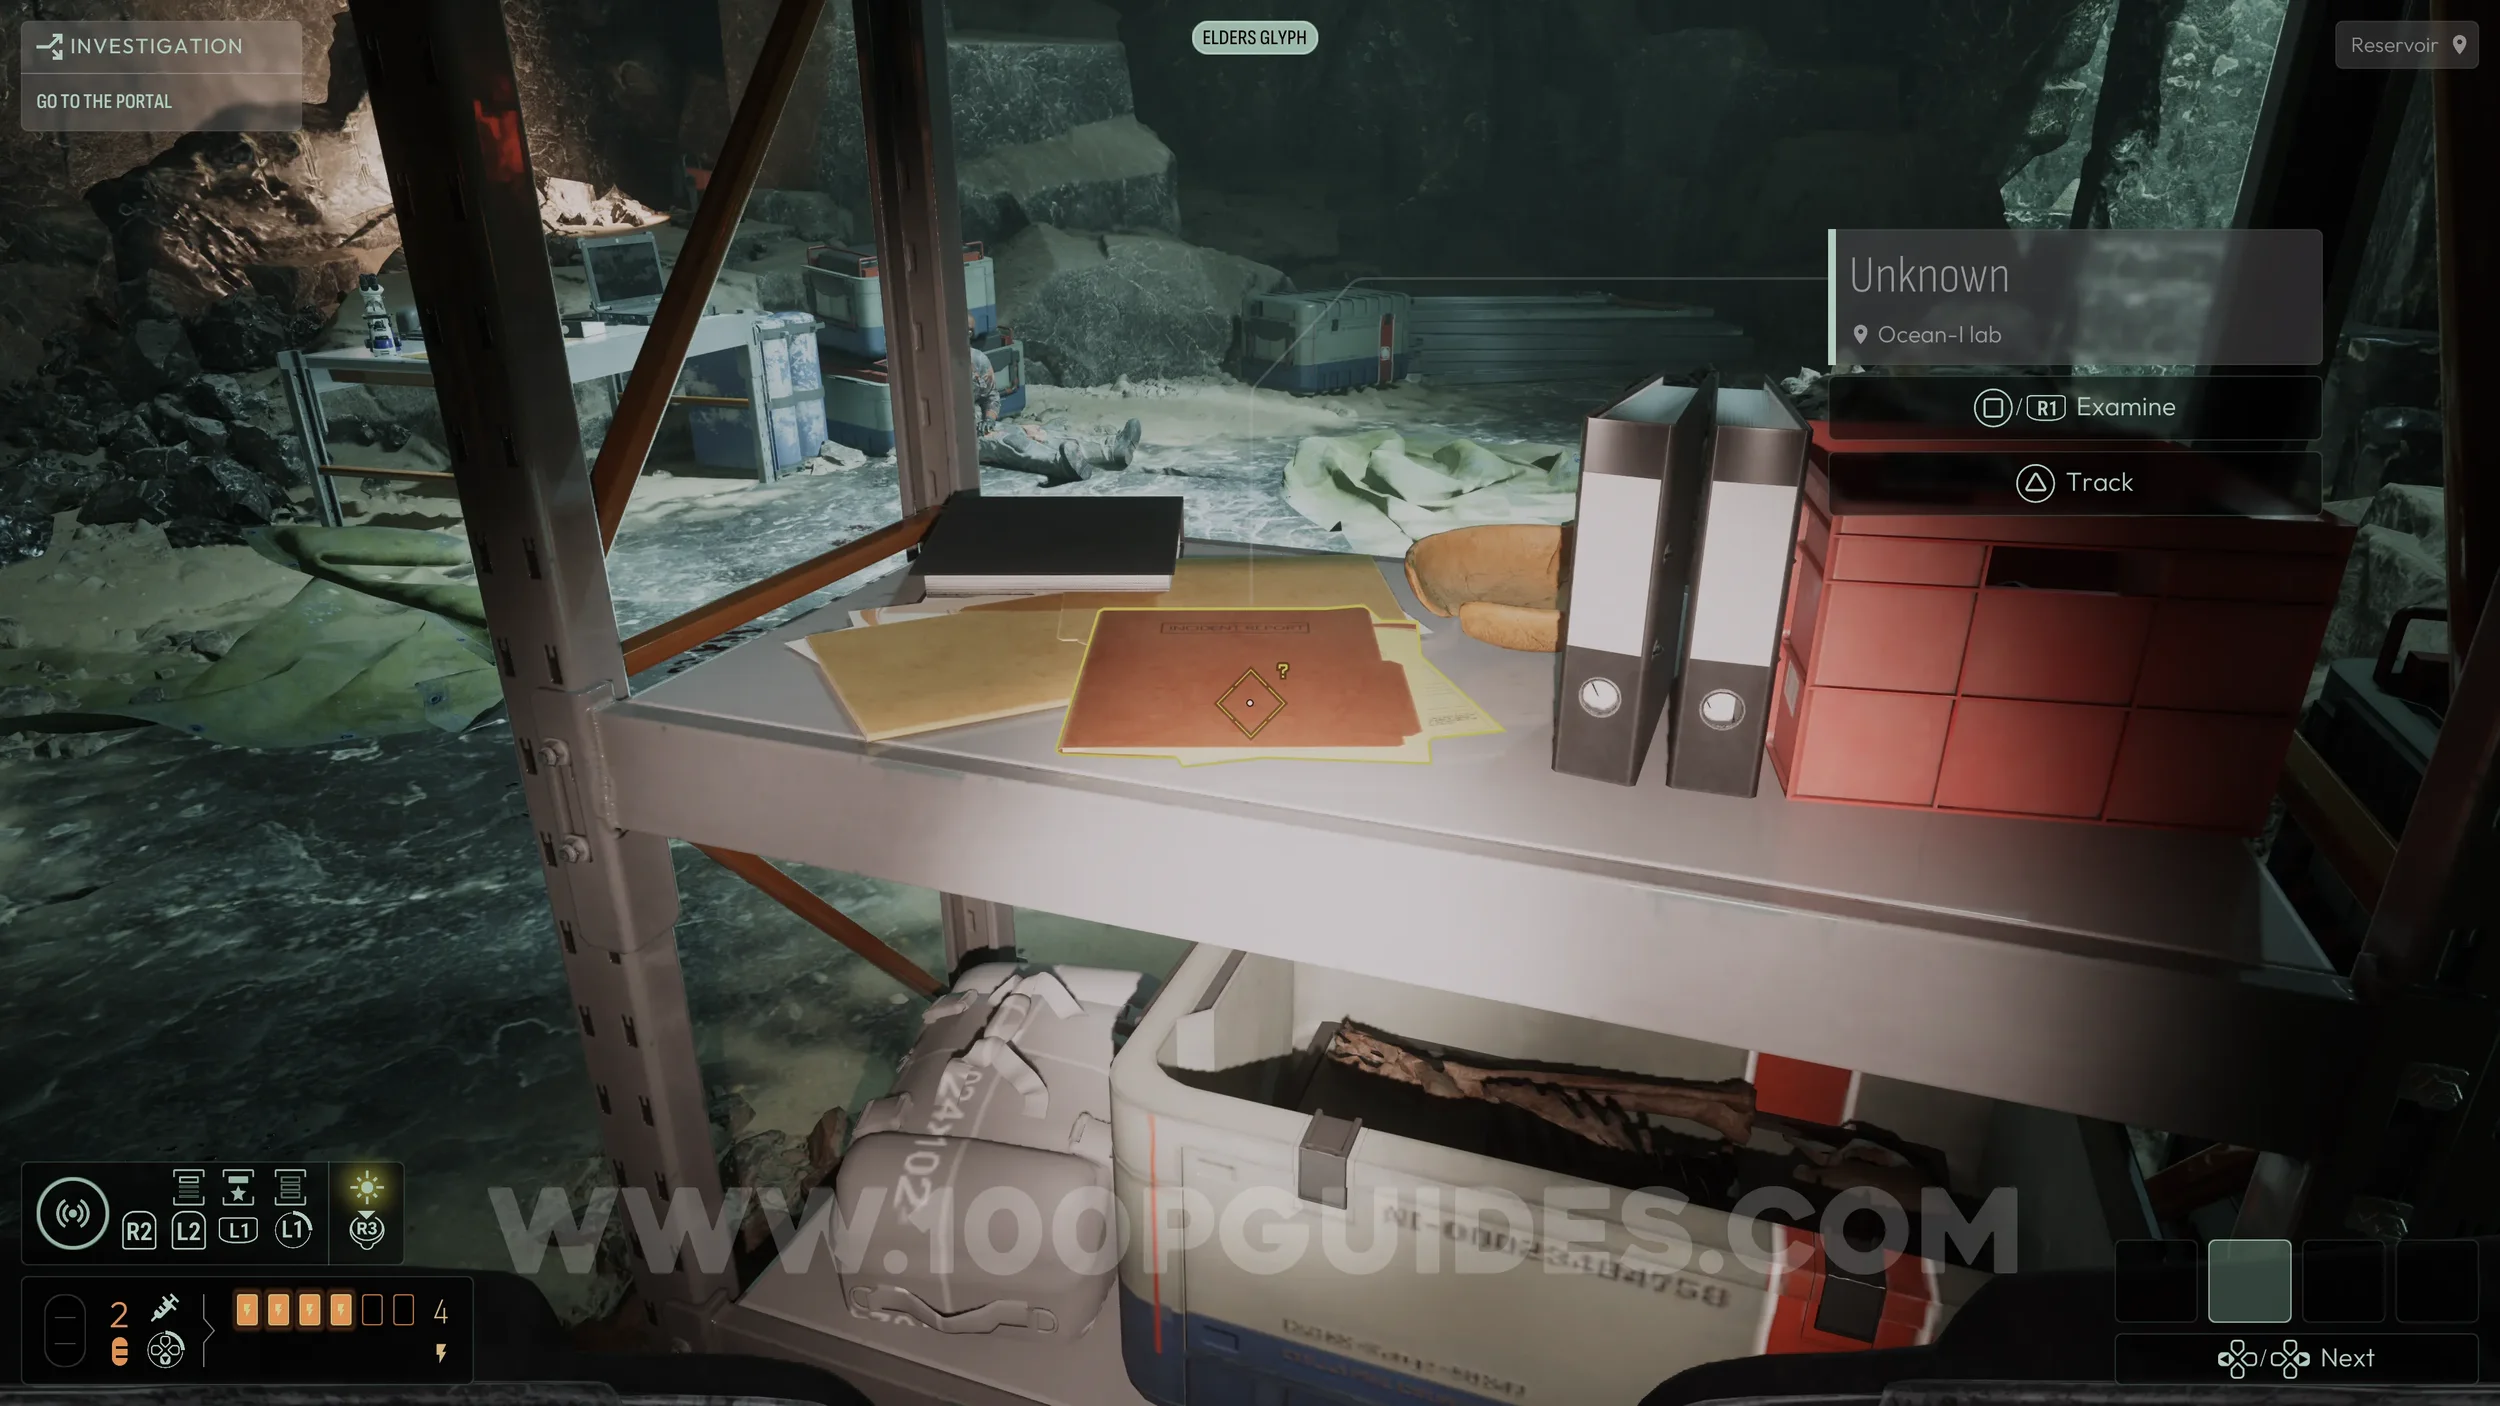
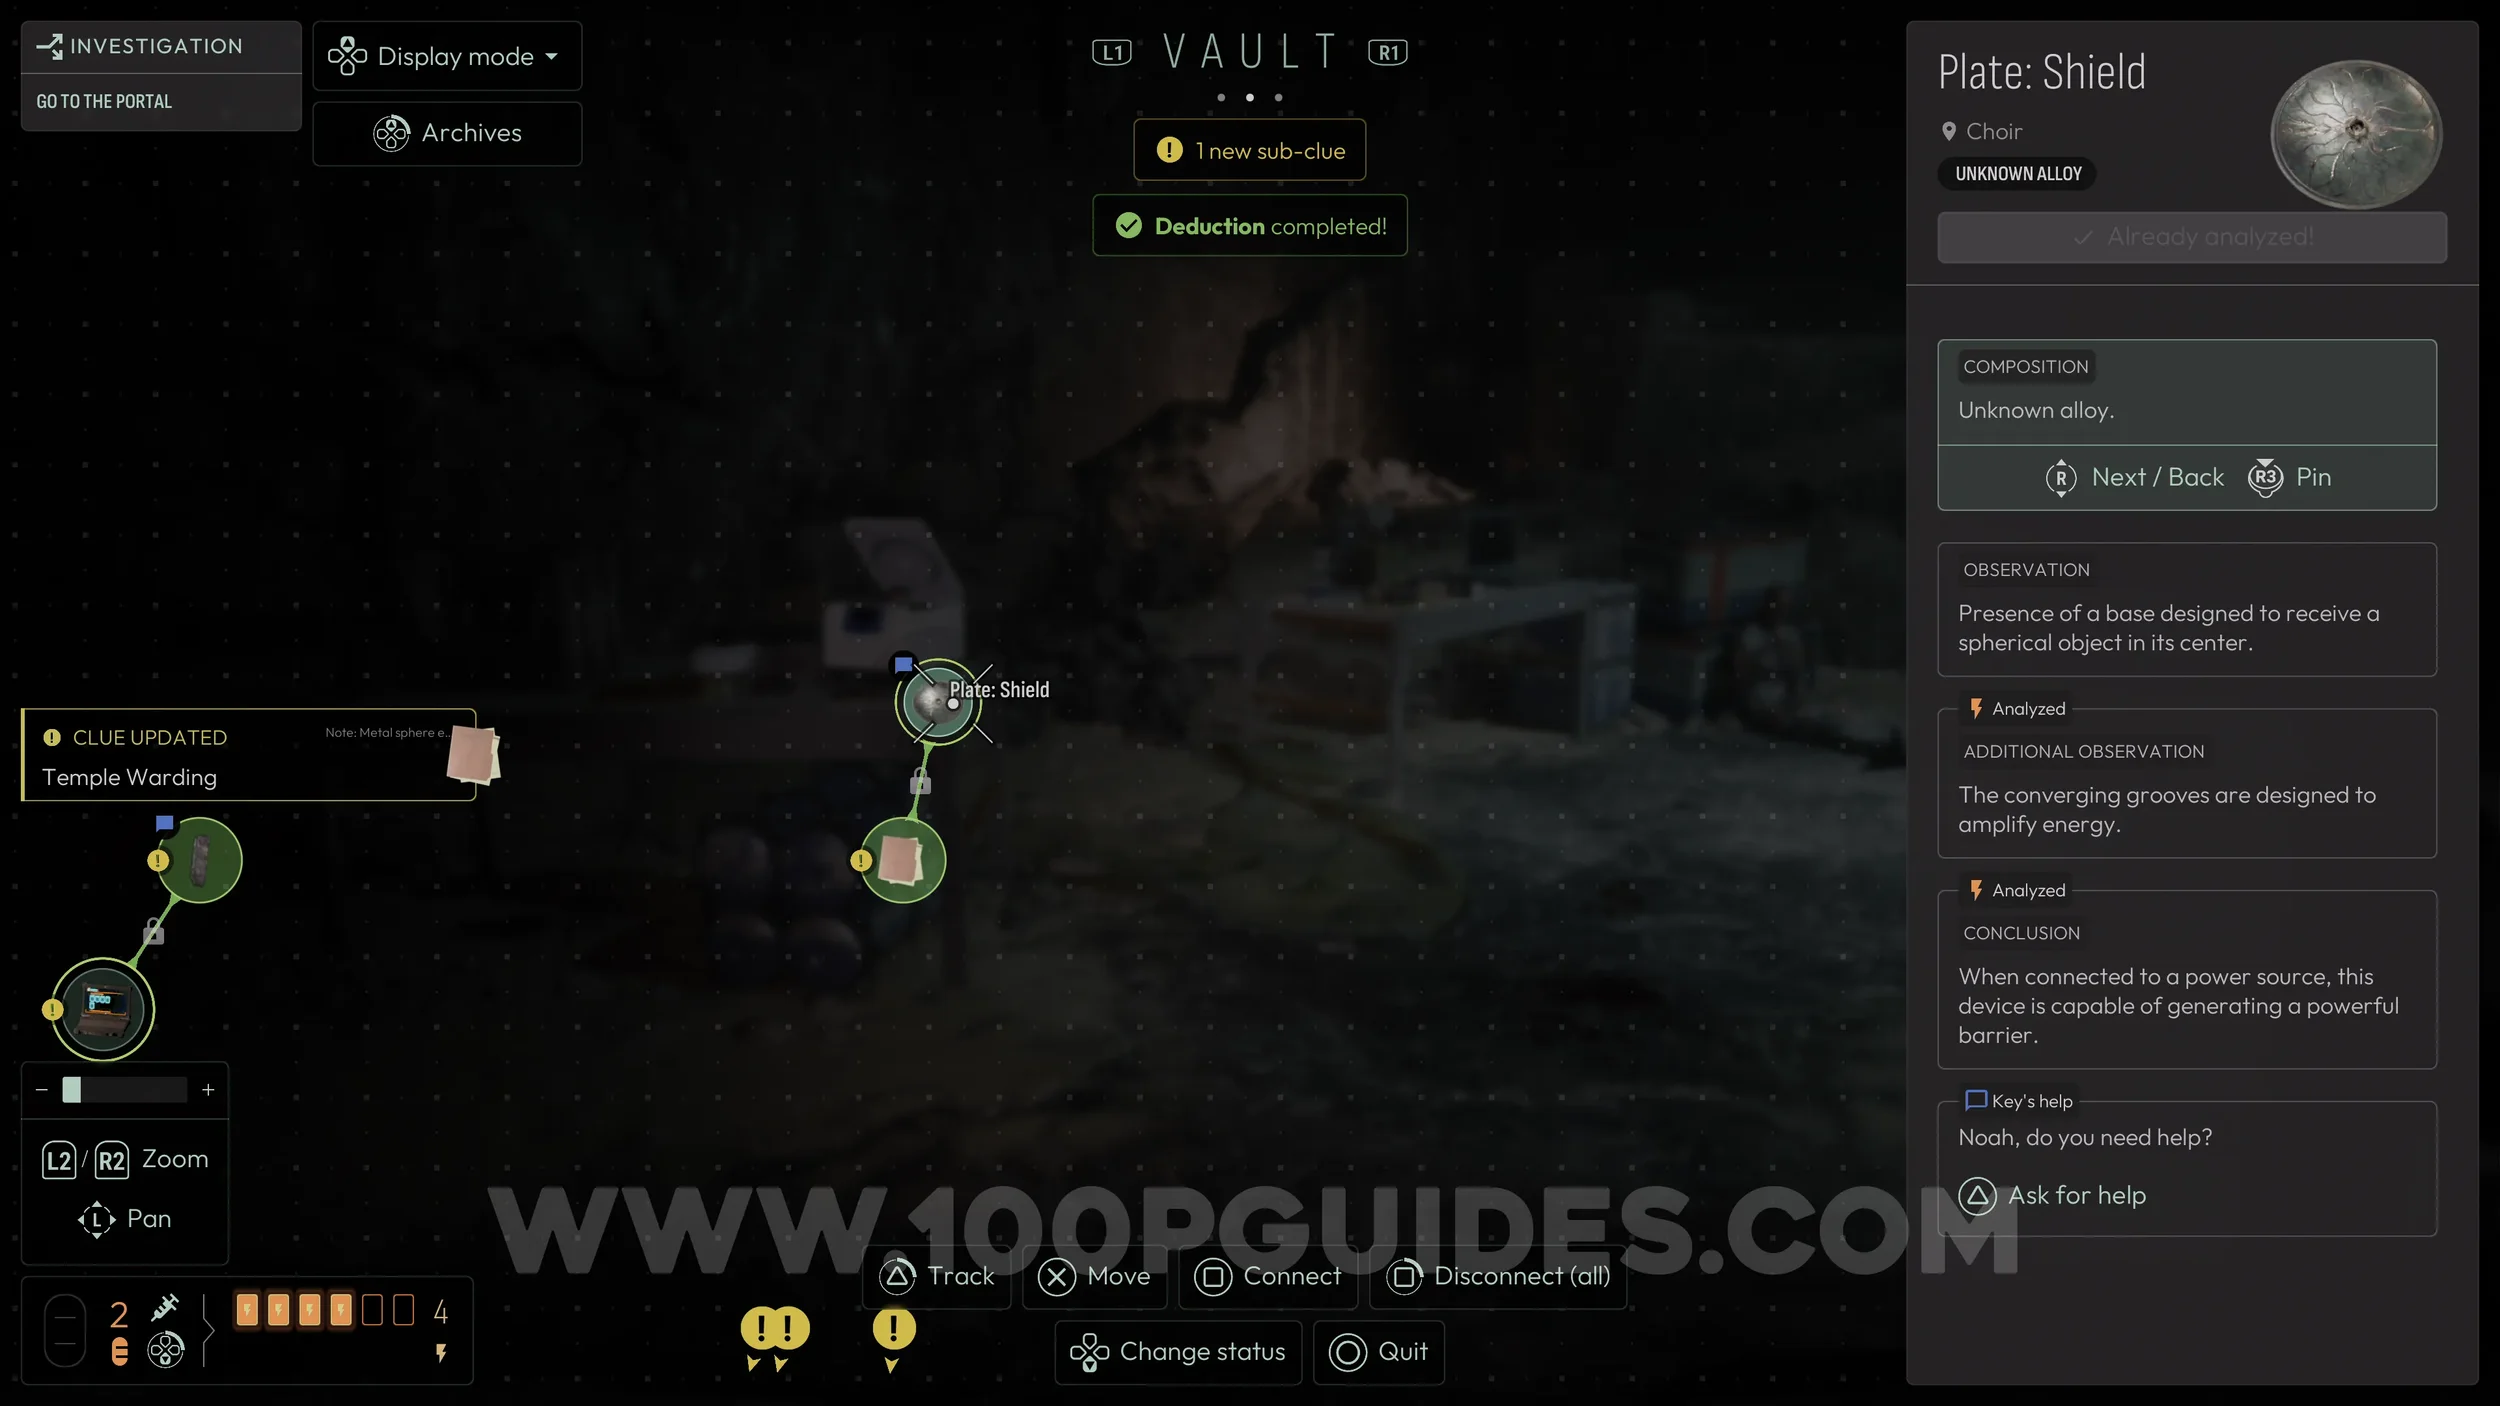
After solving that deduction, head down the path to the right of the computer and stone tablet, pass the scaffolding, then enter the camp on your left. Here, examine the document on the metal shelf to start another deduction. You can solve it by dragging the Plate: Shield clue into the deduction.
Now, head back out of the camp to where the scaffolding is. Climb it and look for a cracked section of floor below. Jump onto it to break through and drop into a room filled with water, with a machine in the center underwater.
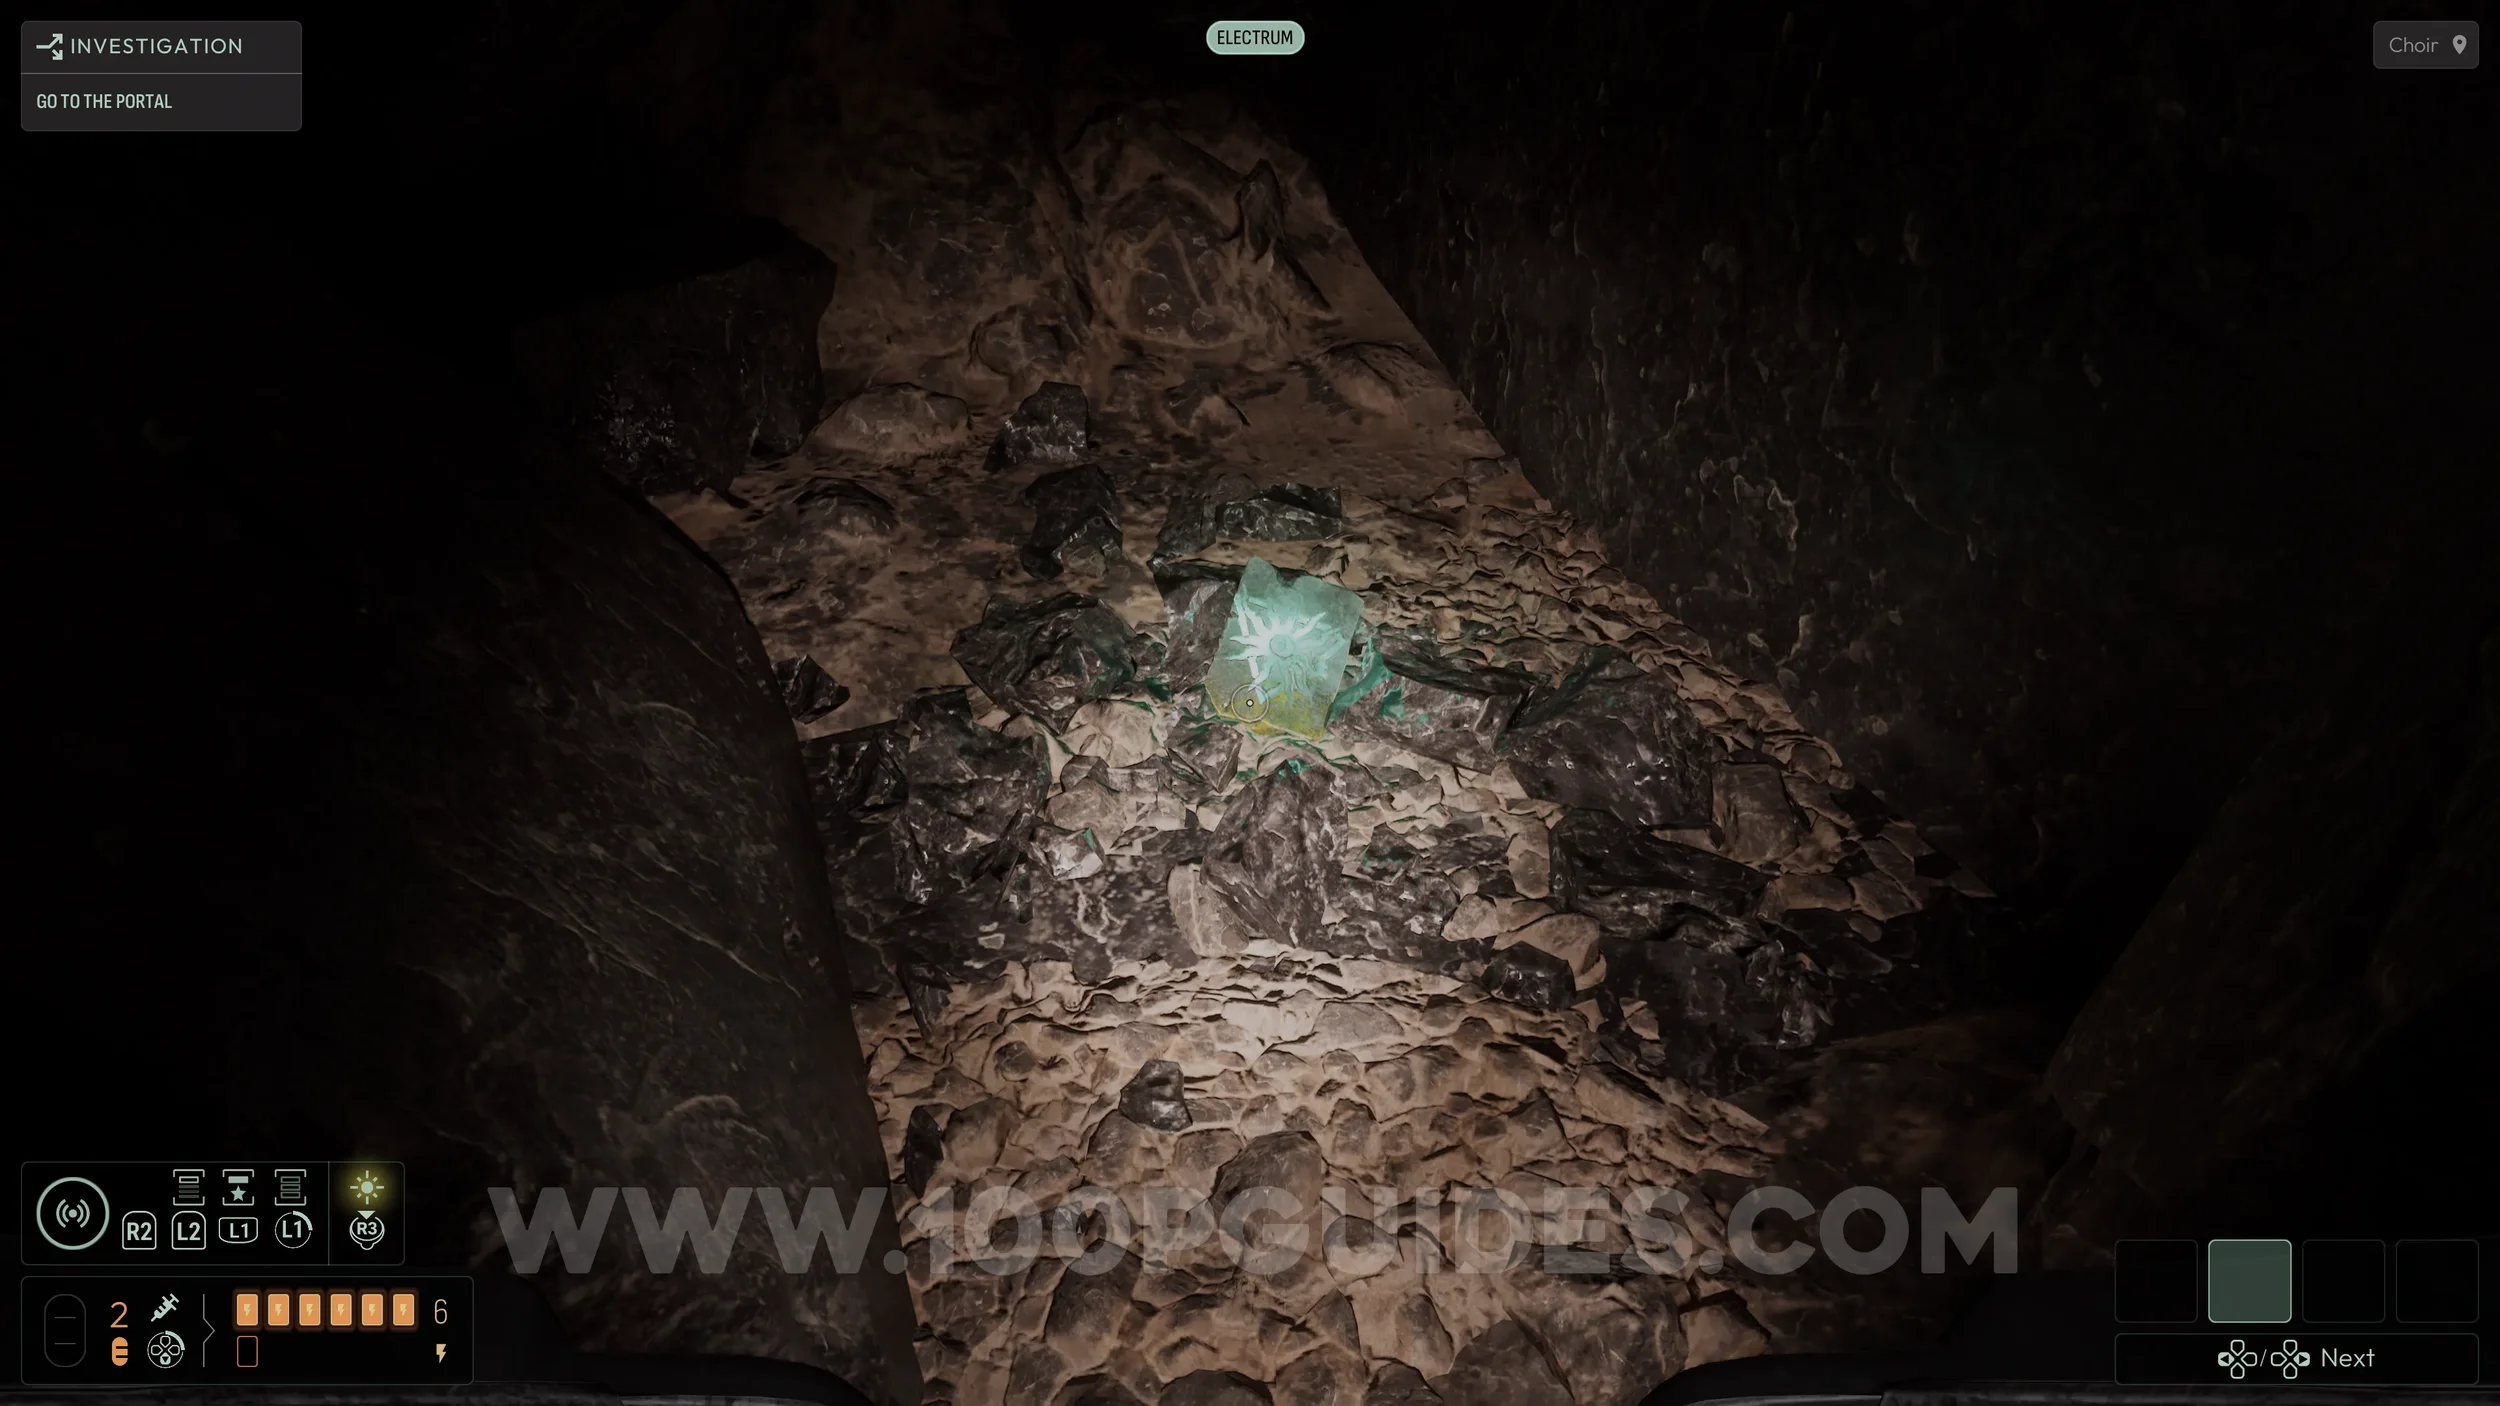
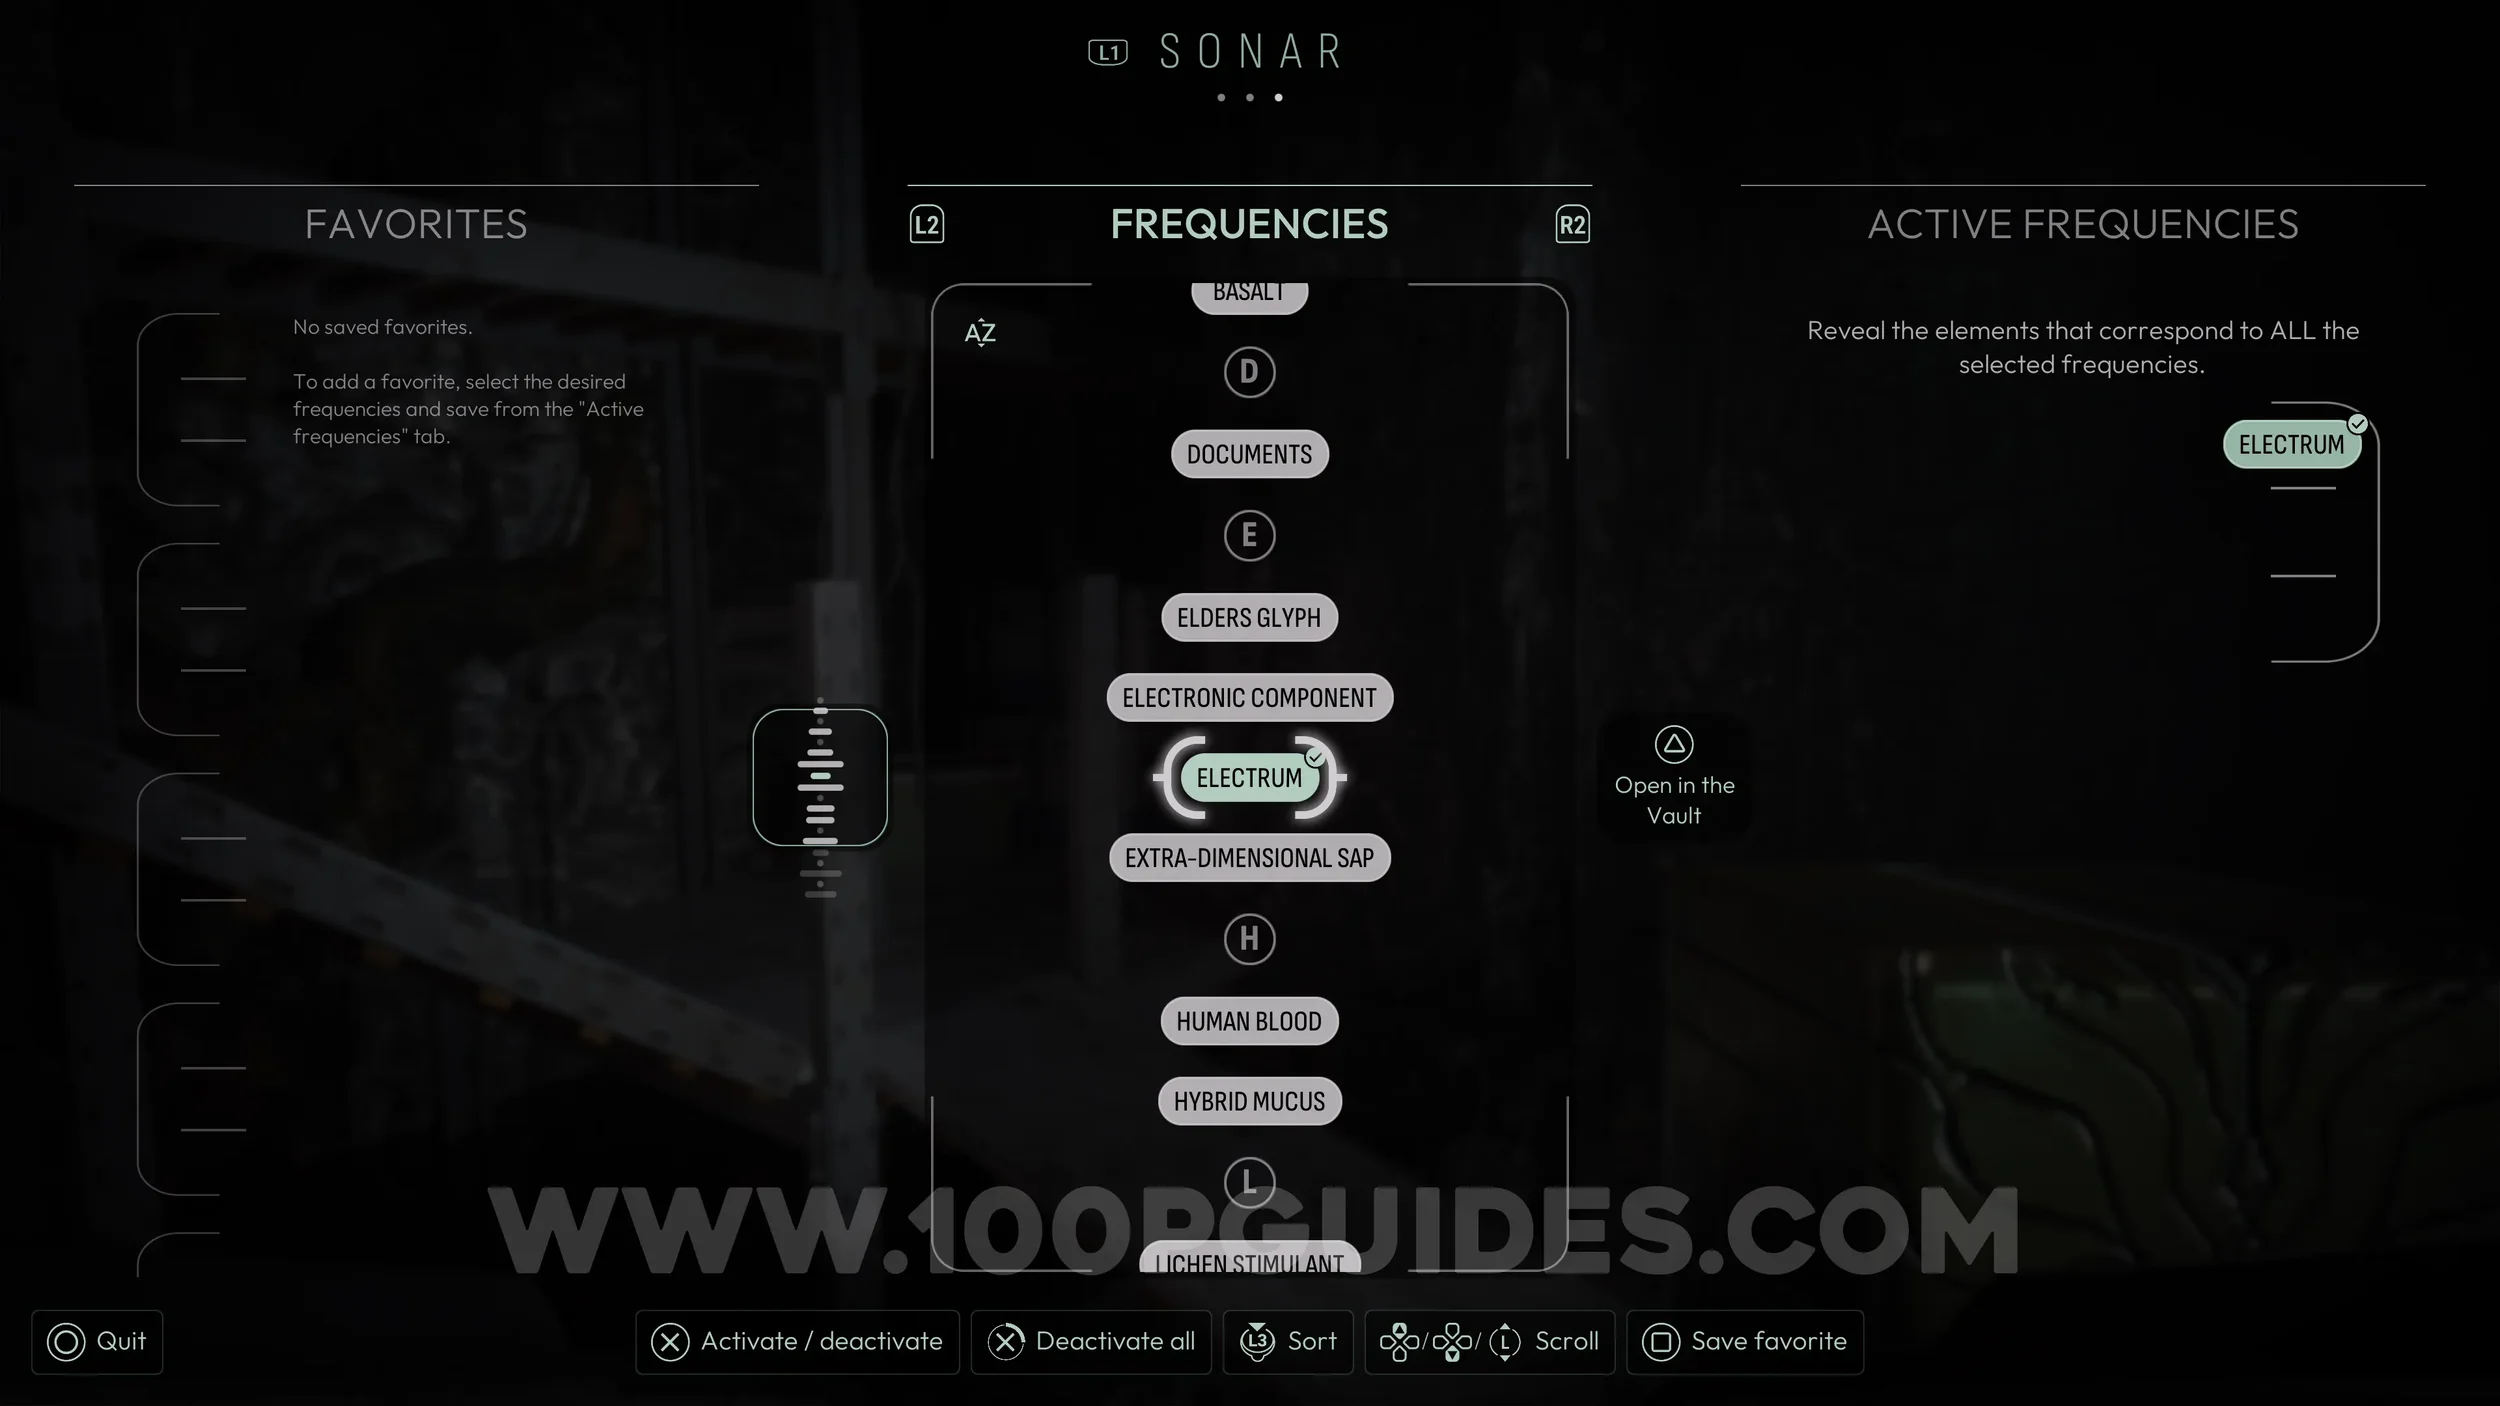
In this room, dive down and analyze the machine to unlock the Electrum frequency. Then look for a small device underwater near the machine. If you have trouble finding it, use the Electrum frequency to highlight it. Once found, place the device onto the machine to activate it.

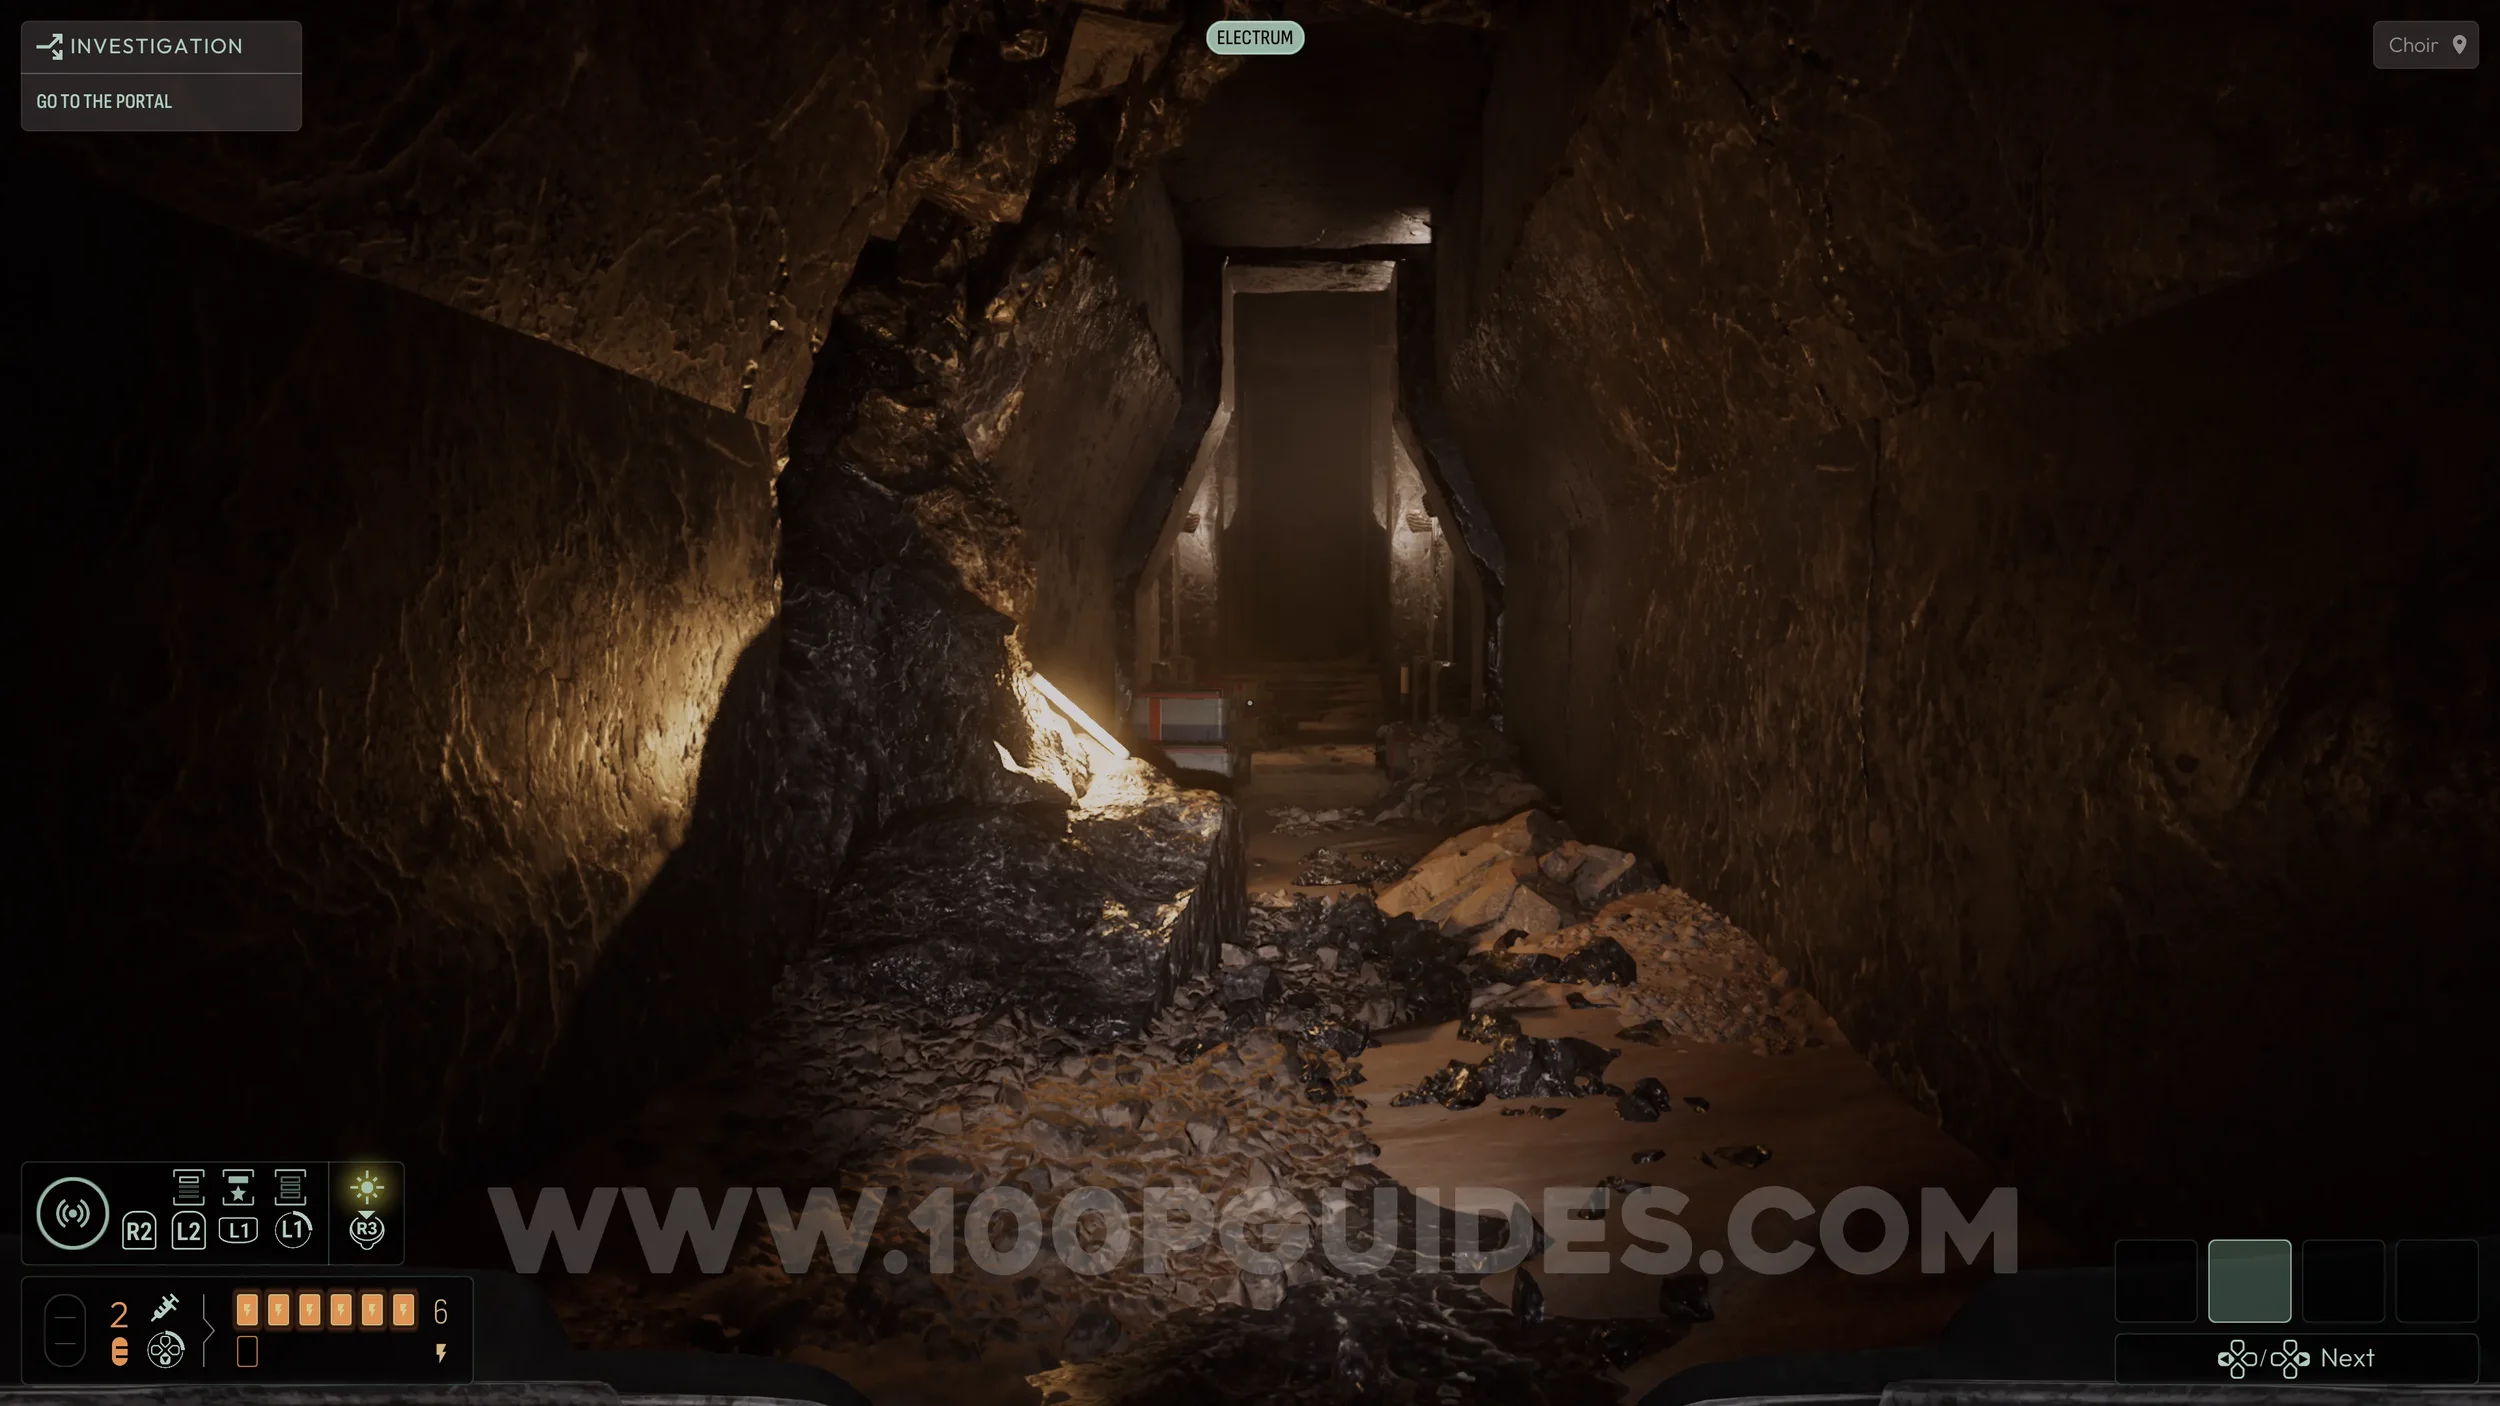
Then, surface and go through either of the two doors that the energy is pointing toward. On the other side, head left and follow the corridor to the end to find a purple mushroom on the wall. This is the first of four Energy Upgrades (1/4). Collecting them all will get you the Full Charge trophy.
After picking up the energy upgrade, follow the corridor to the other end, where you will find a tablet containing another Evolution (4/15).
Now, turn around and look for a rock shaped like a ramp that you can use to climb back up to the camp. From there, return to the area with the NPC tied to the rock. Head down the corridor on your right and look for a small device on a crate on the left side to start another deduction.
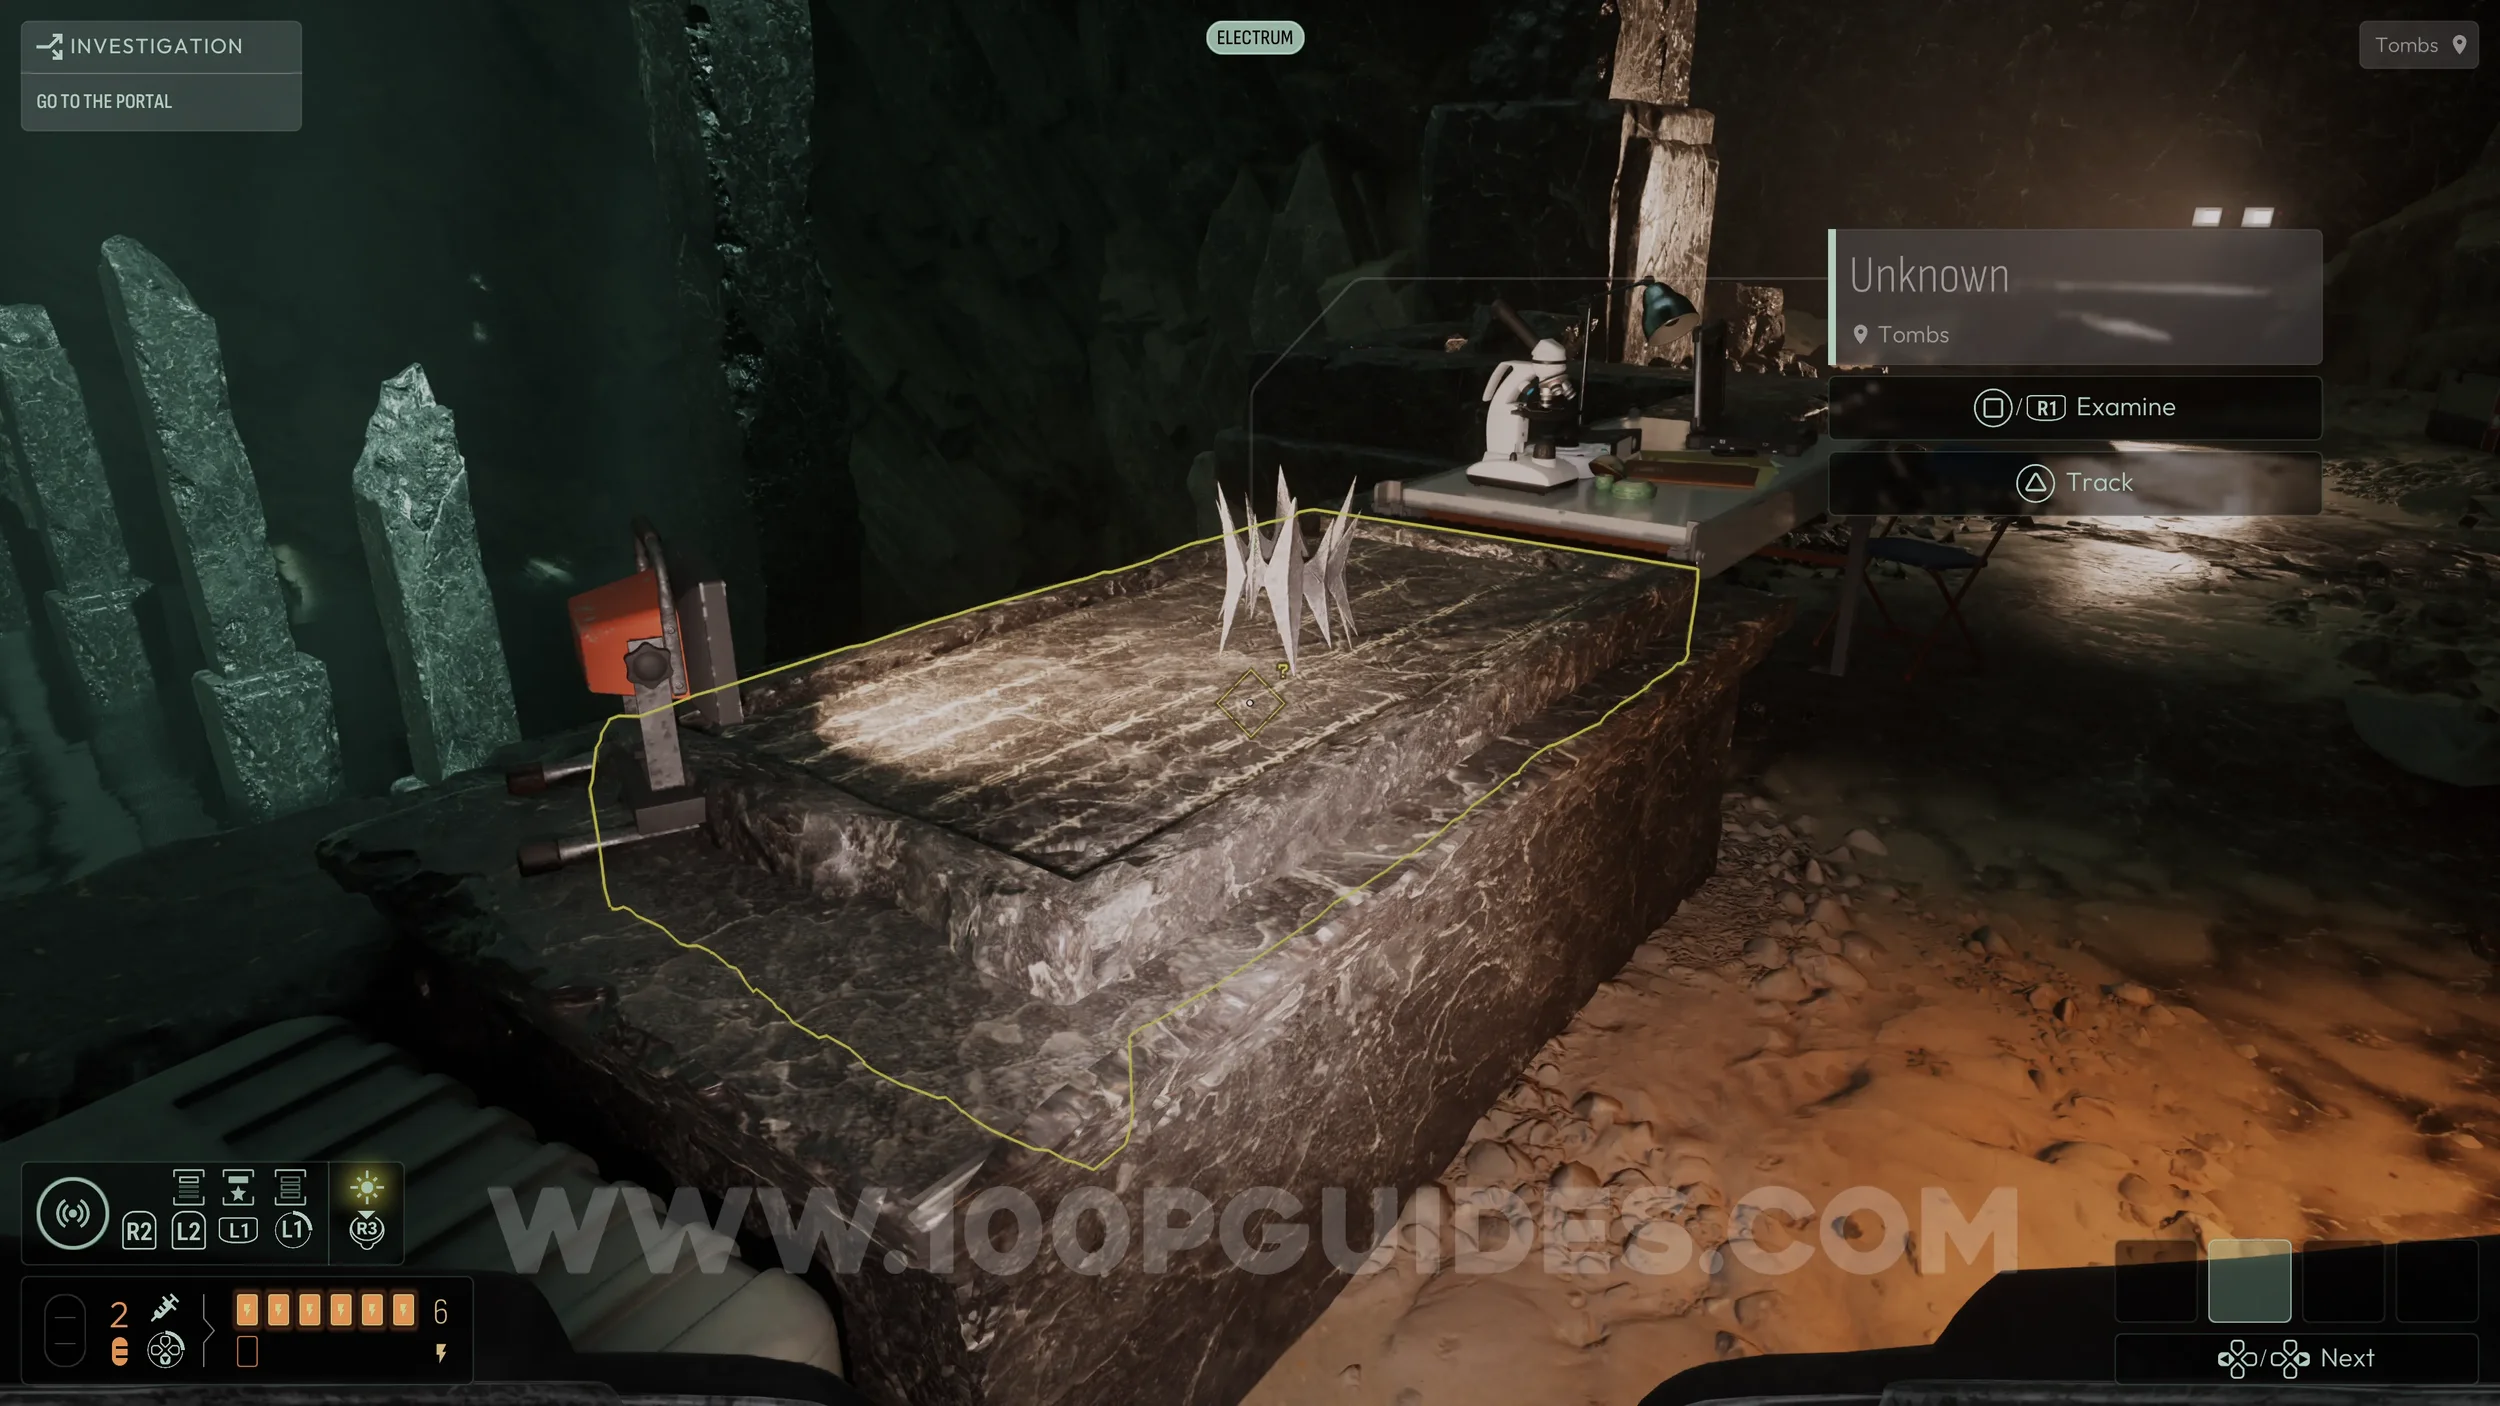
To find the clue needed to solve it, go back to the area with the tent where you picked up the working battery. Here, you will find a stone tablet covering a tomb with a crown on it. Examine the tablet, and with this clue, you will be able to complete the deduction.

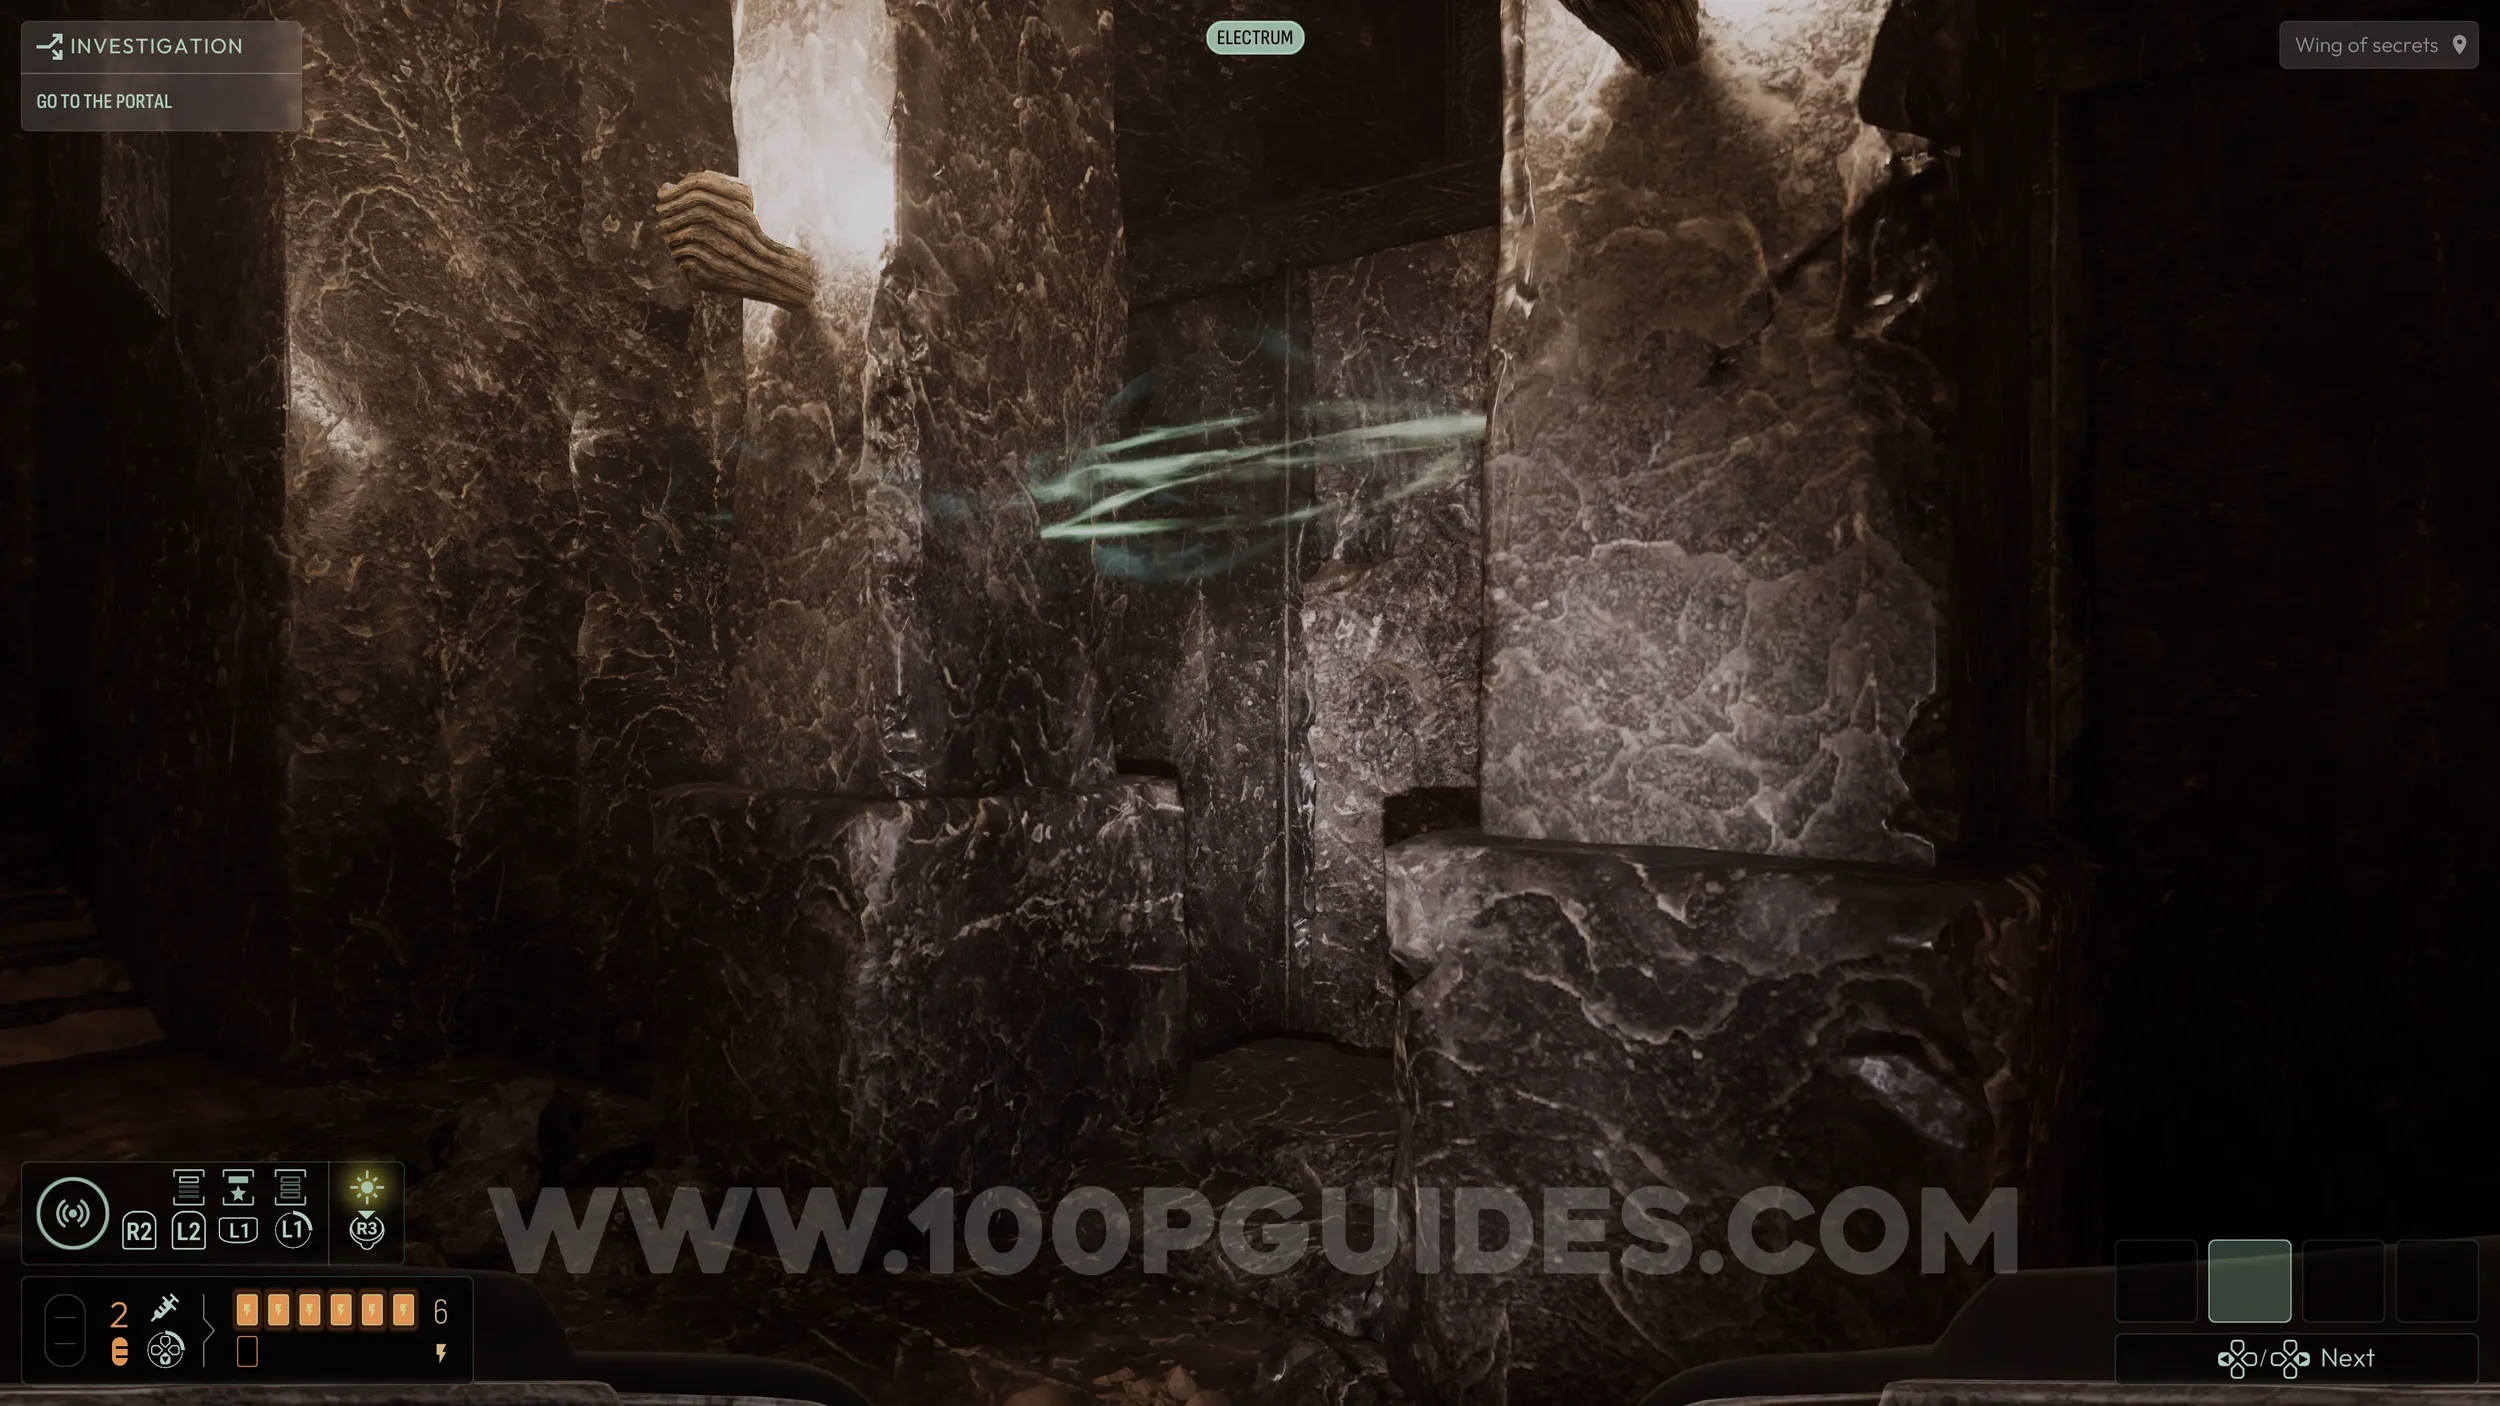
Now that the deduction is solved, return to the corridor where you found the small device to the right of the NPC on the rock. This time, continue forward into the Wing of Secrets. This area is a maze, and if you take the wrong path, you will be sent back to the start.
To navigate it, watch for energy markings along the sides of each room. If a room has energy on either side, continue forward into the next room. If there is no energy present, turn around and go back the way you came.
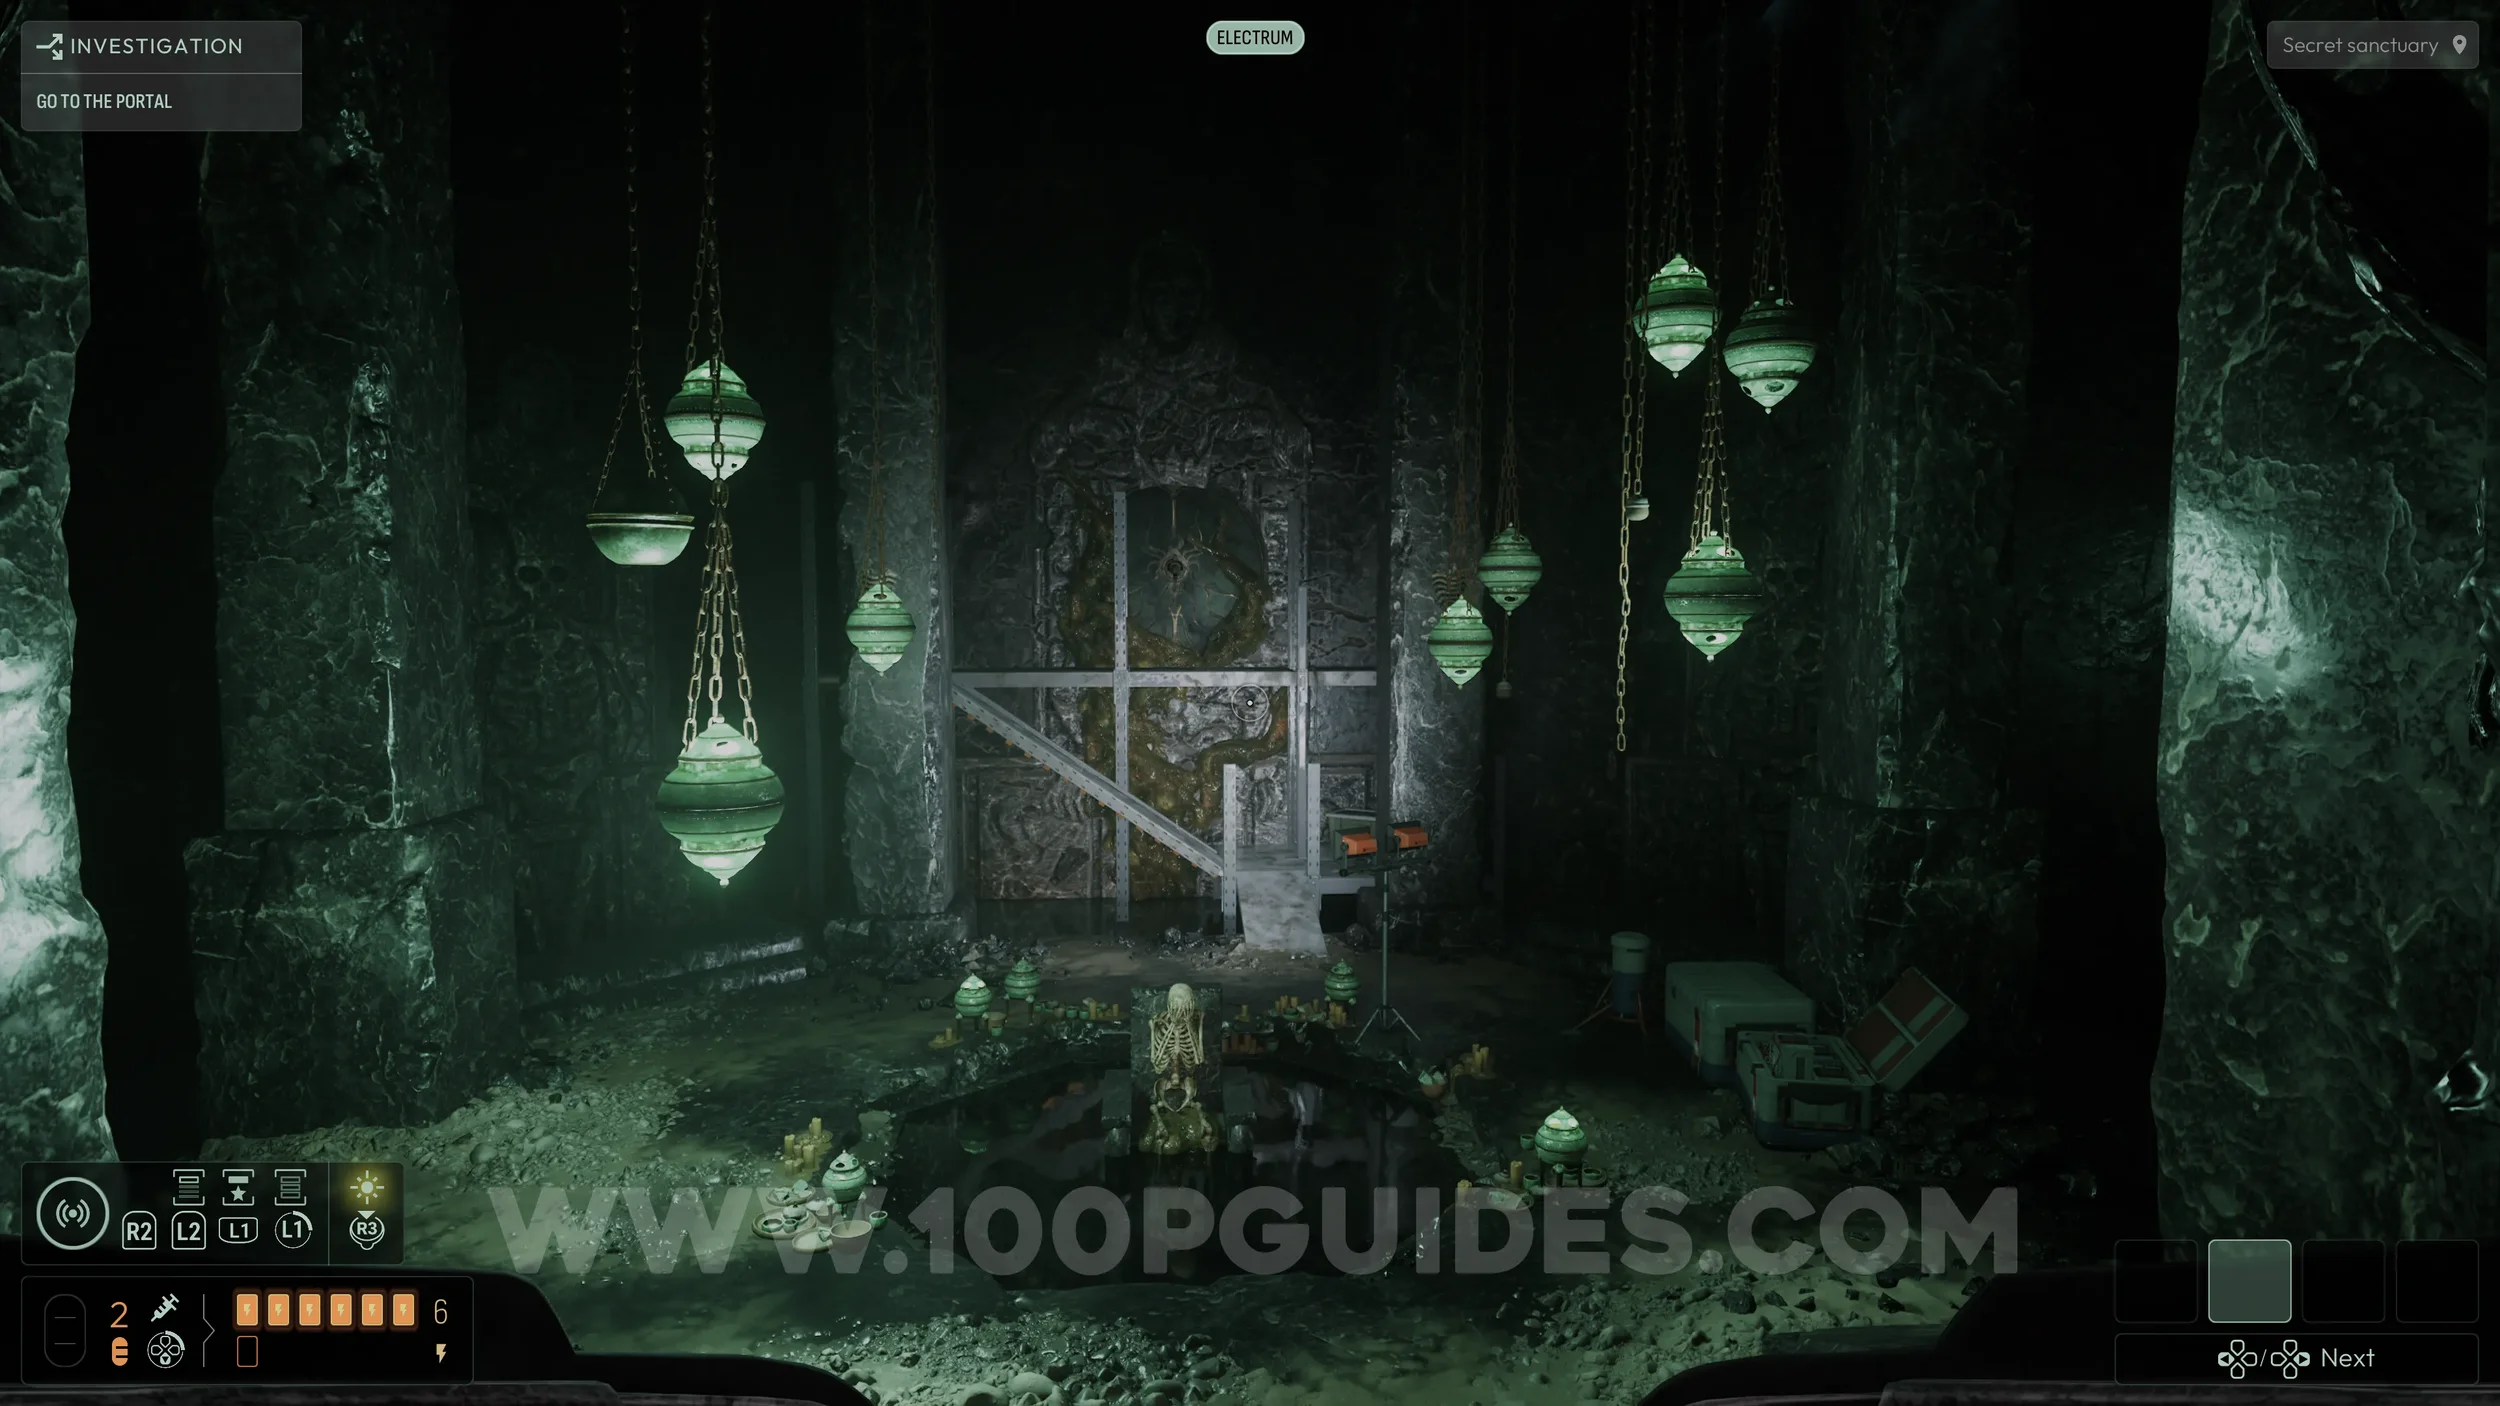
If you follow the correct path, you will eventually reach a room with another Strange Monolith, which grants an additional evolution slot. Continue on and you will arrive at a room with a skeleton in the center, confirming you have completed the maze correctly.
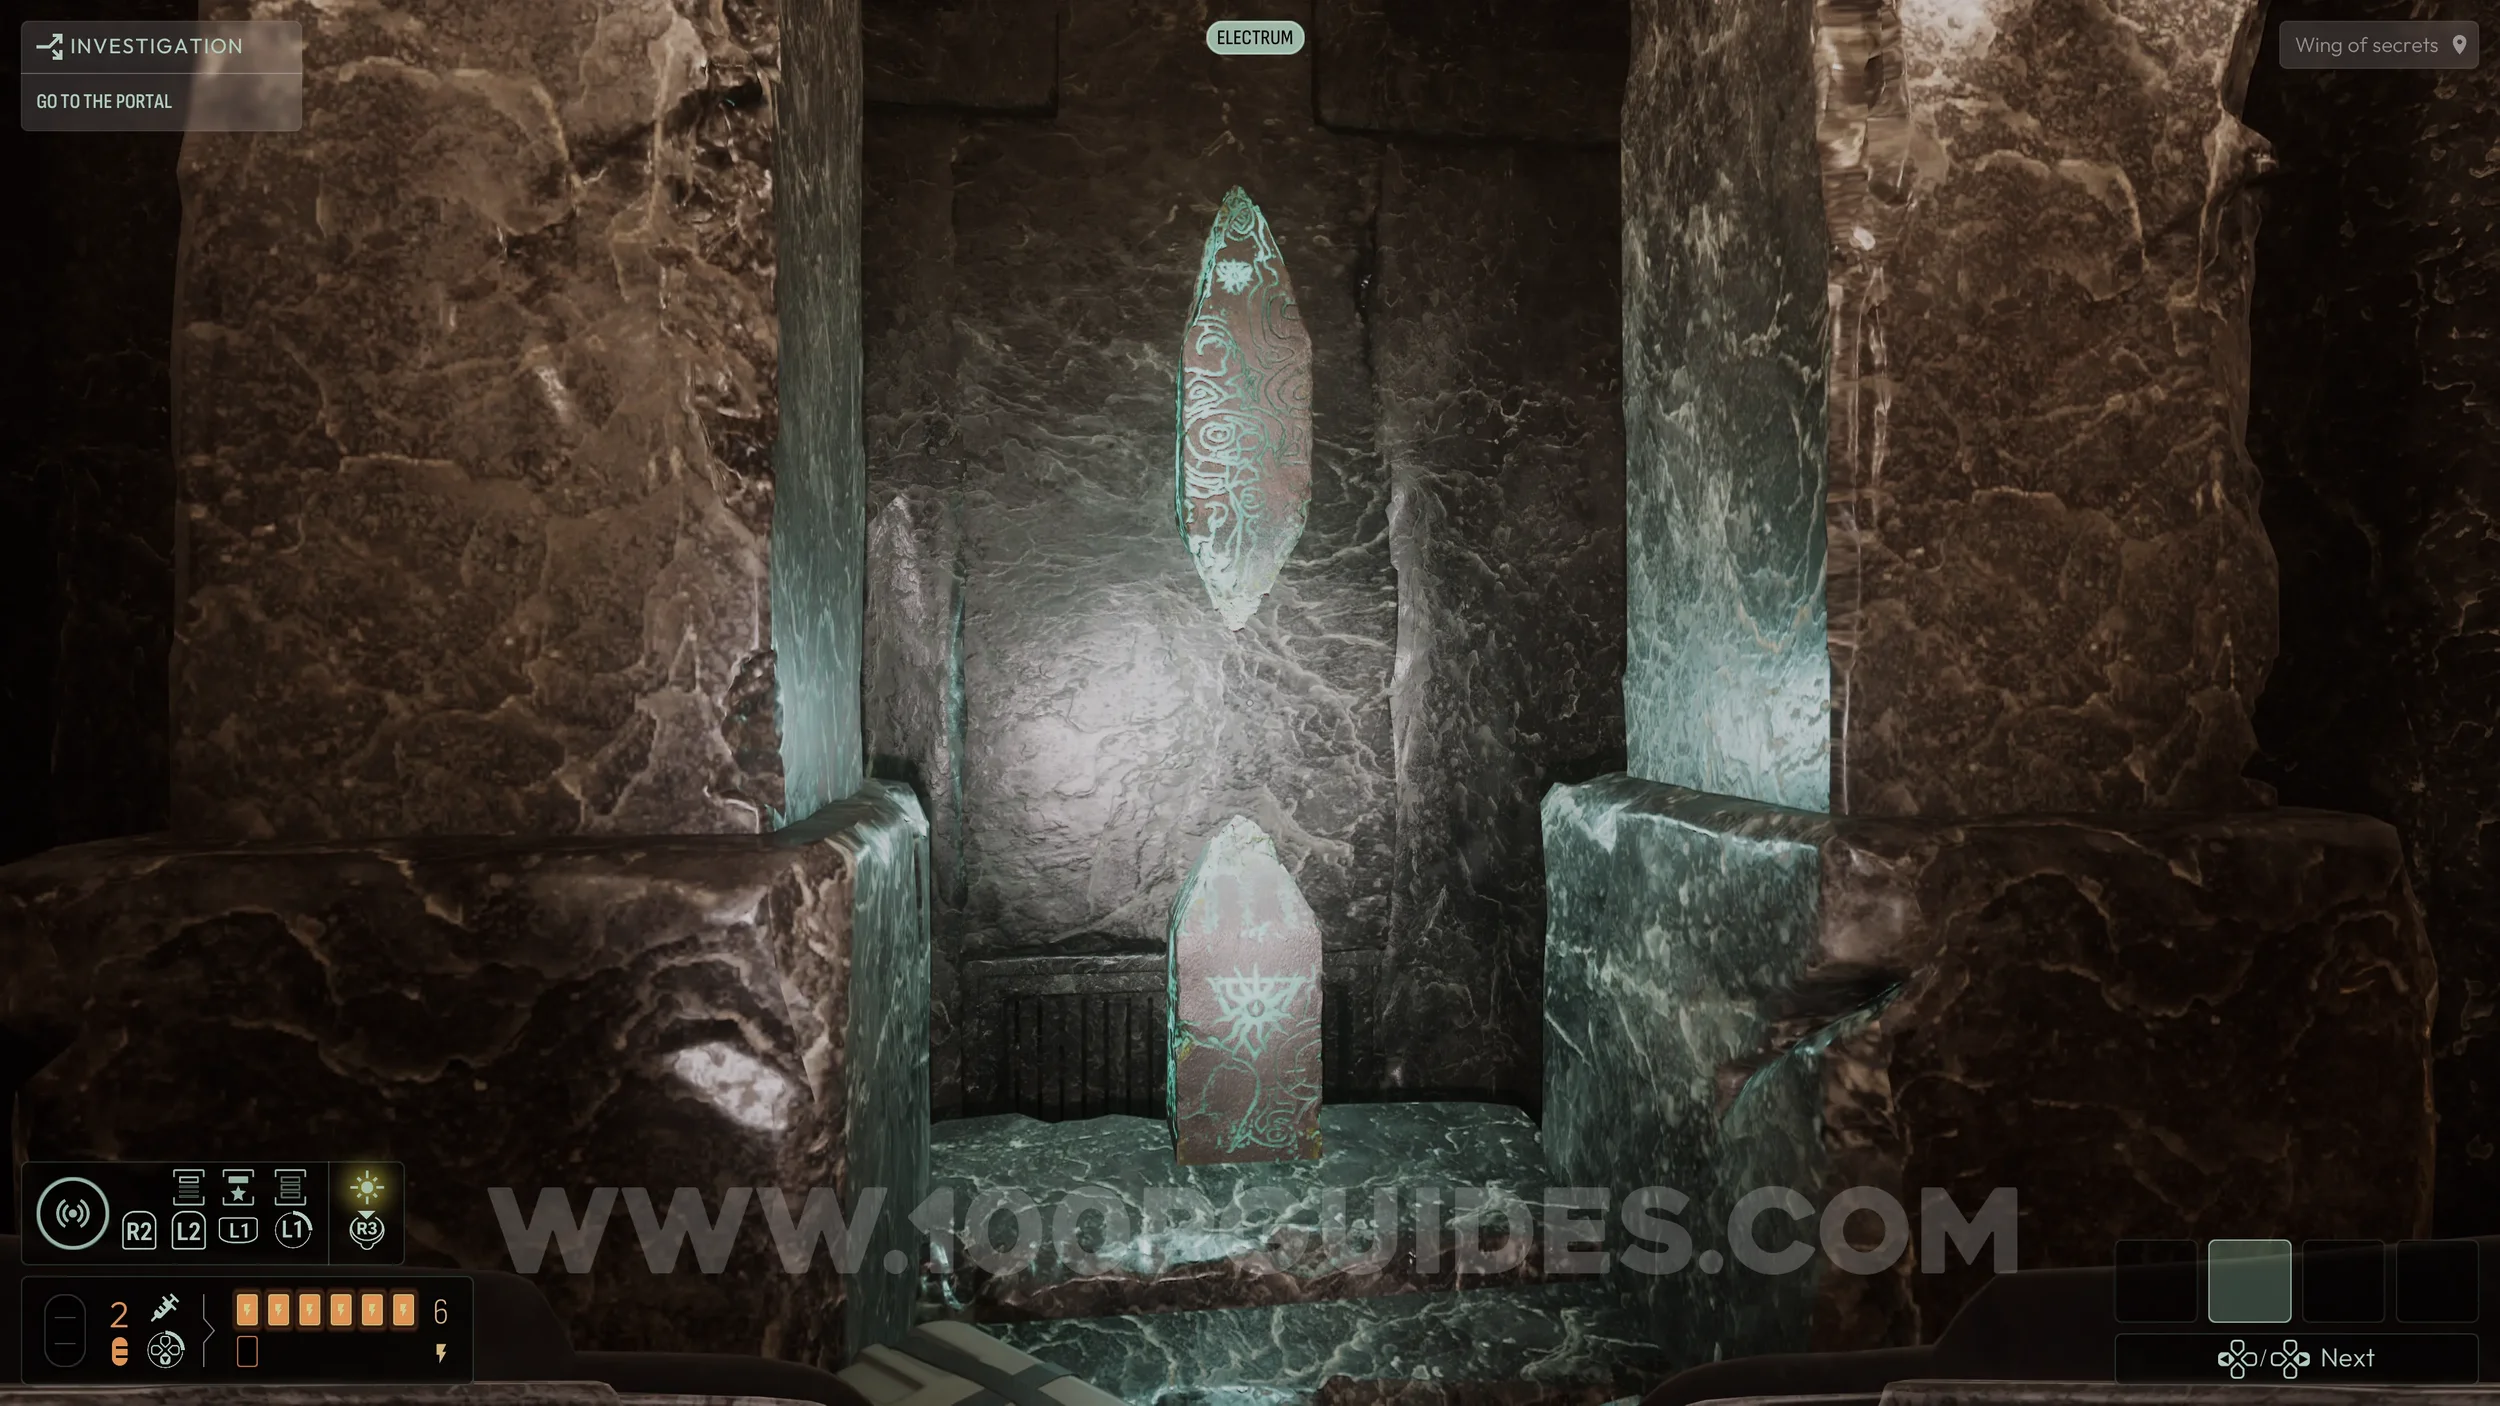
The full correct path is as follows: Backwards > Forwards > Backwards > Forwards > Forwards (which will take you to the room with the Strange Monolith) > Backwards.
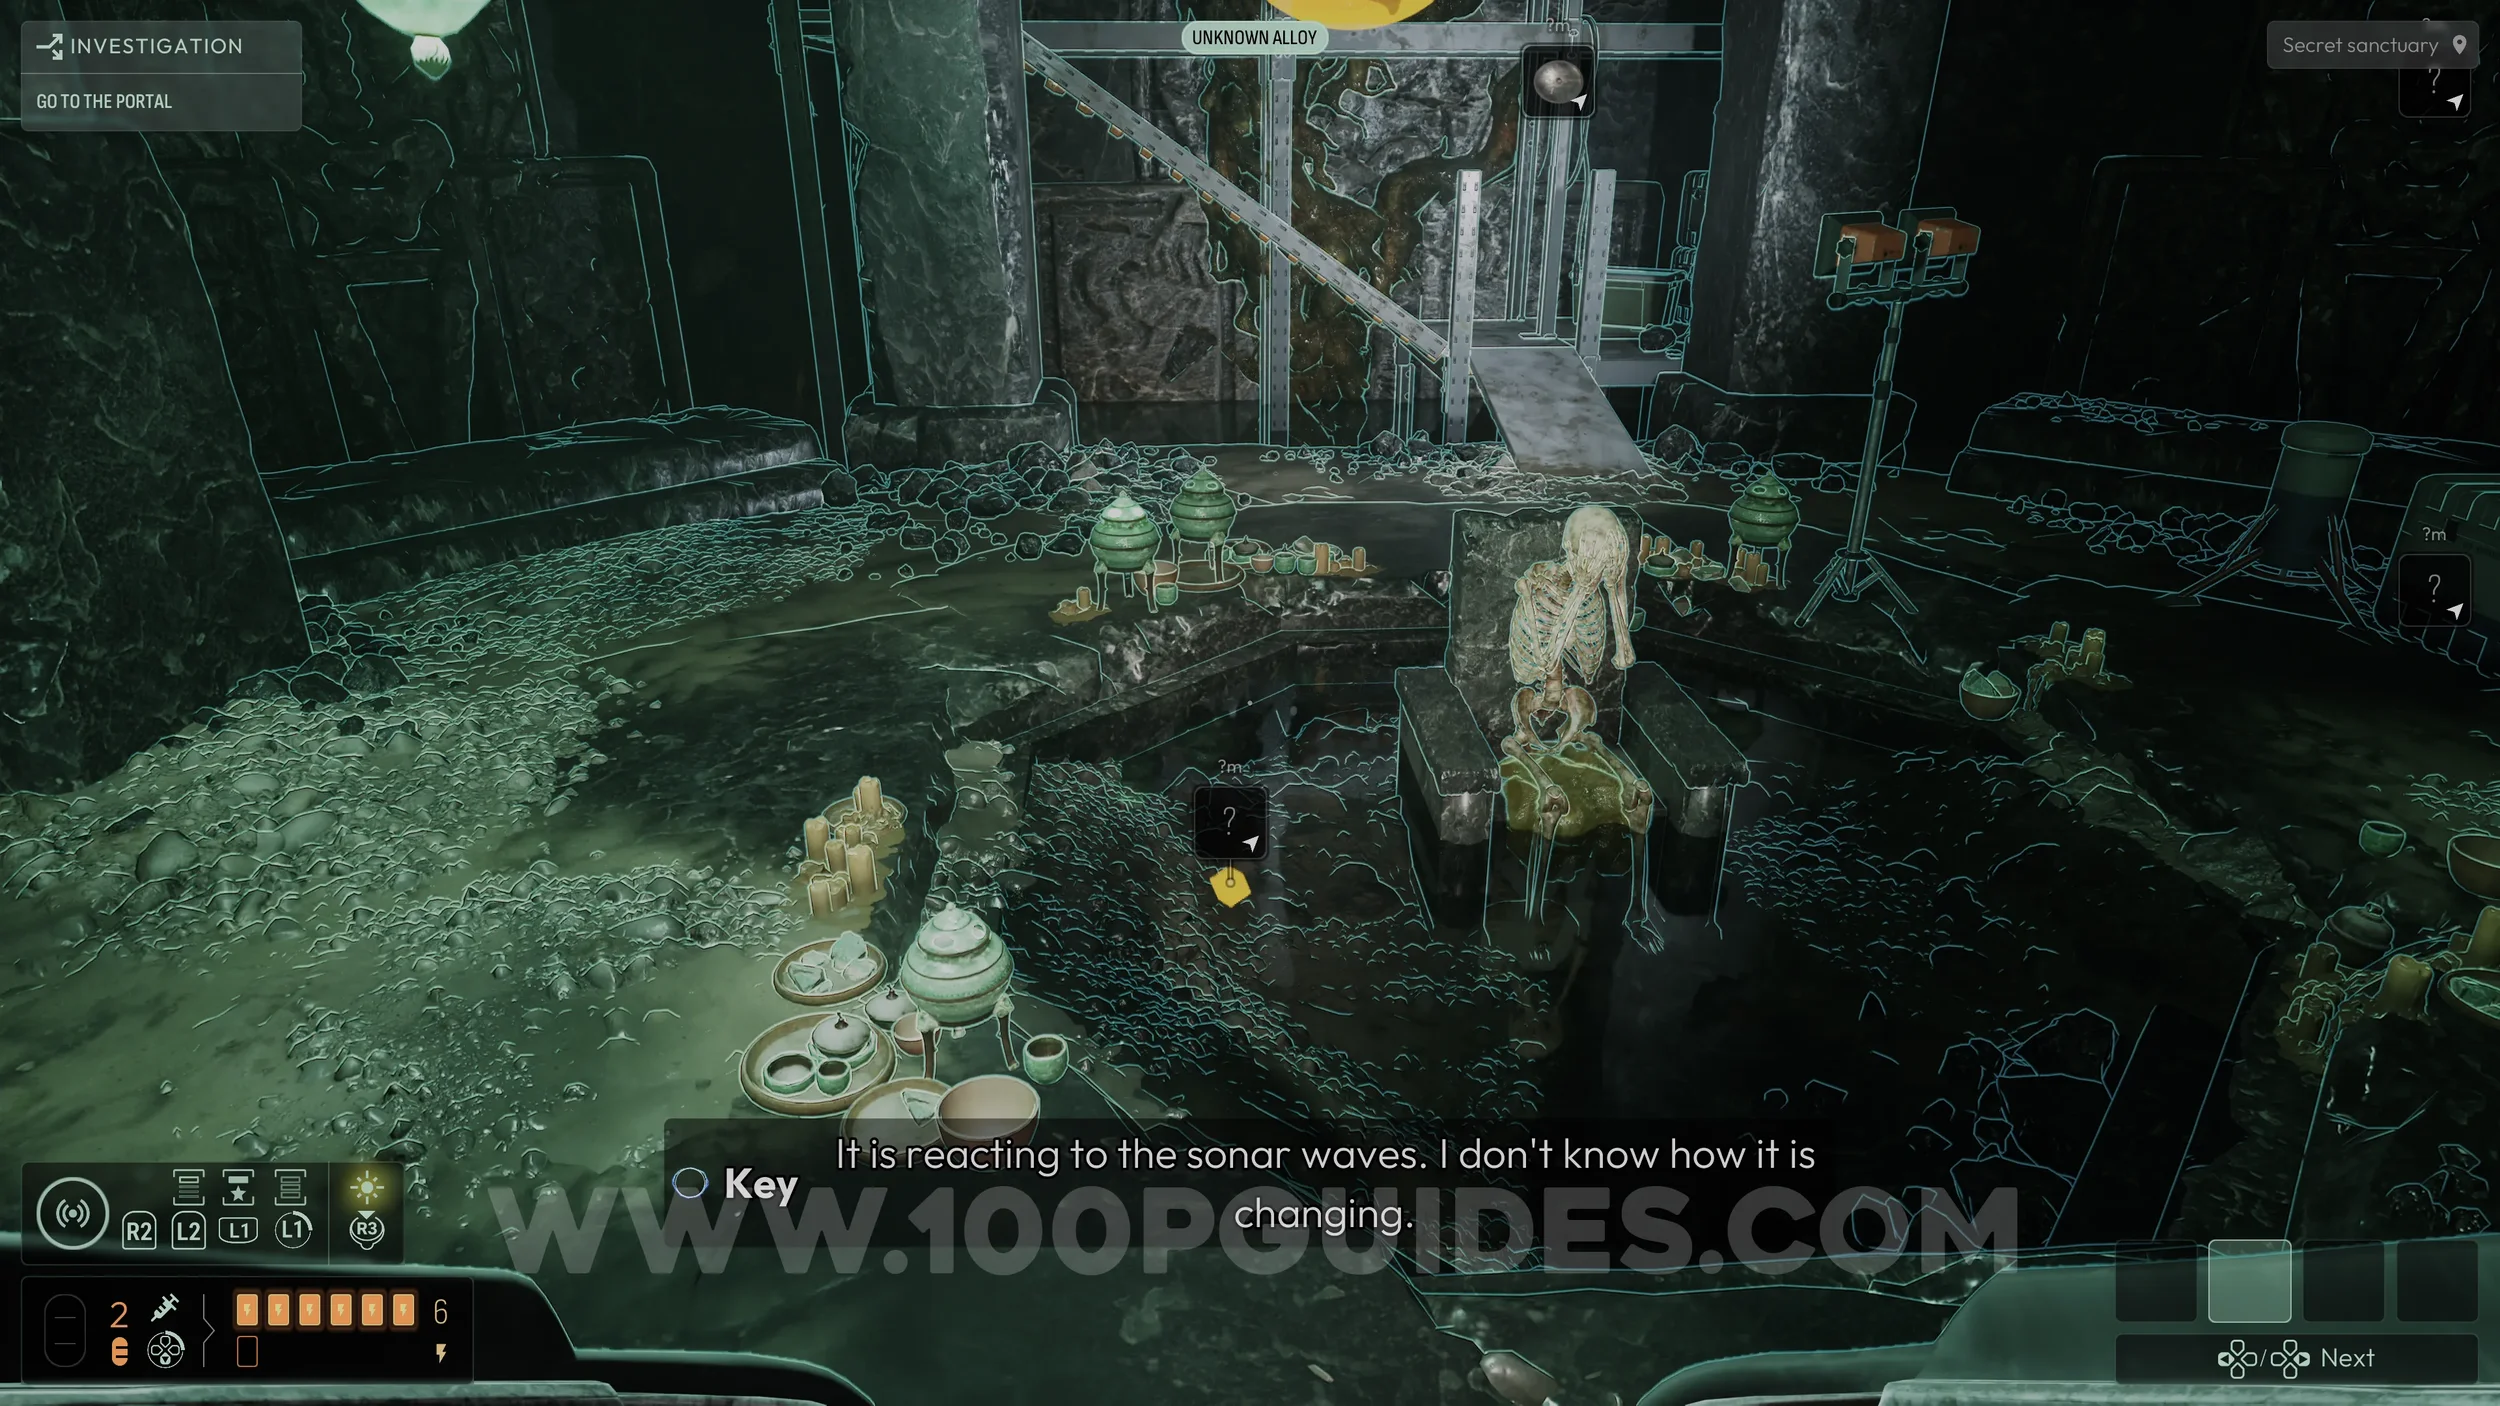
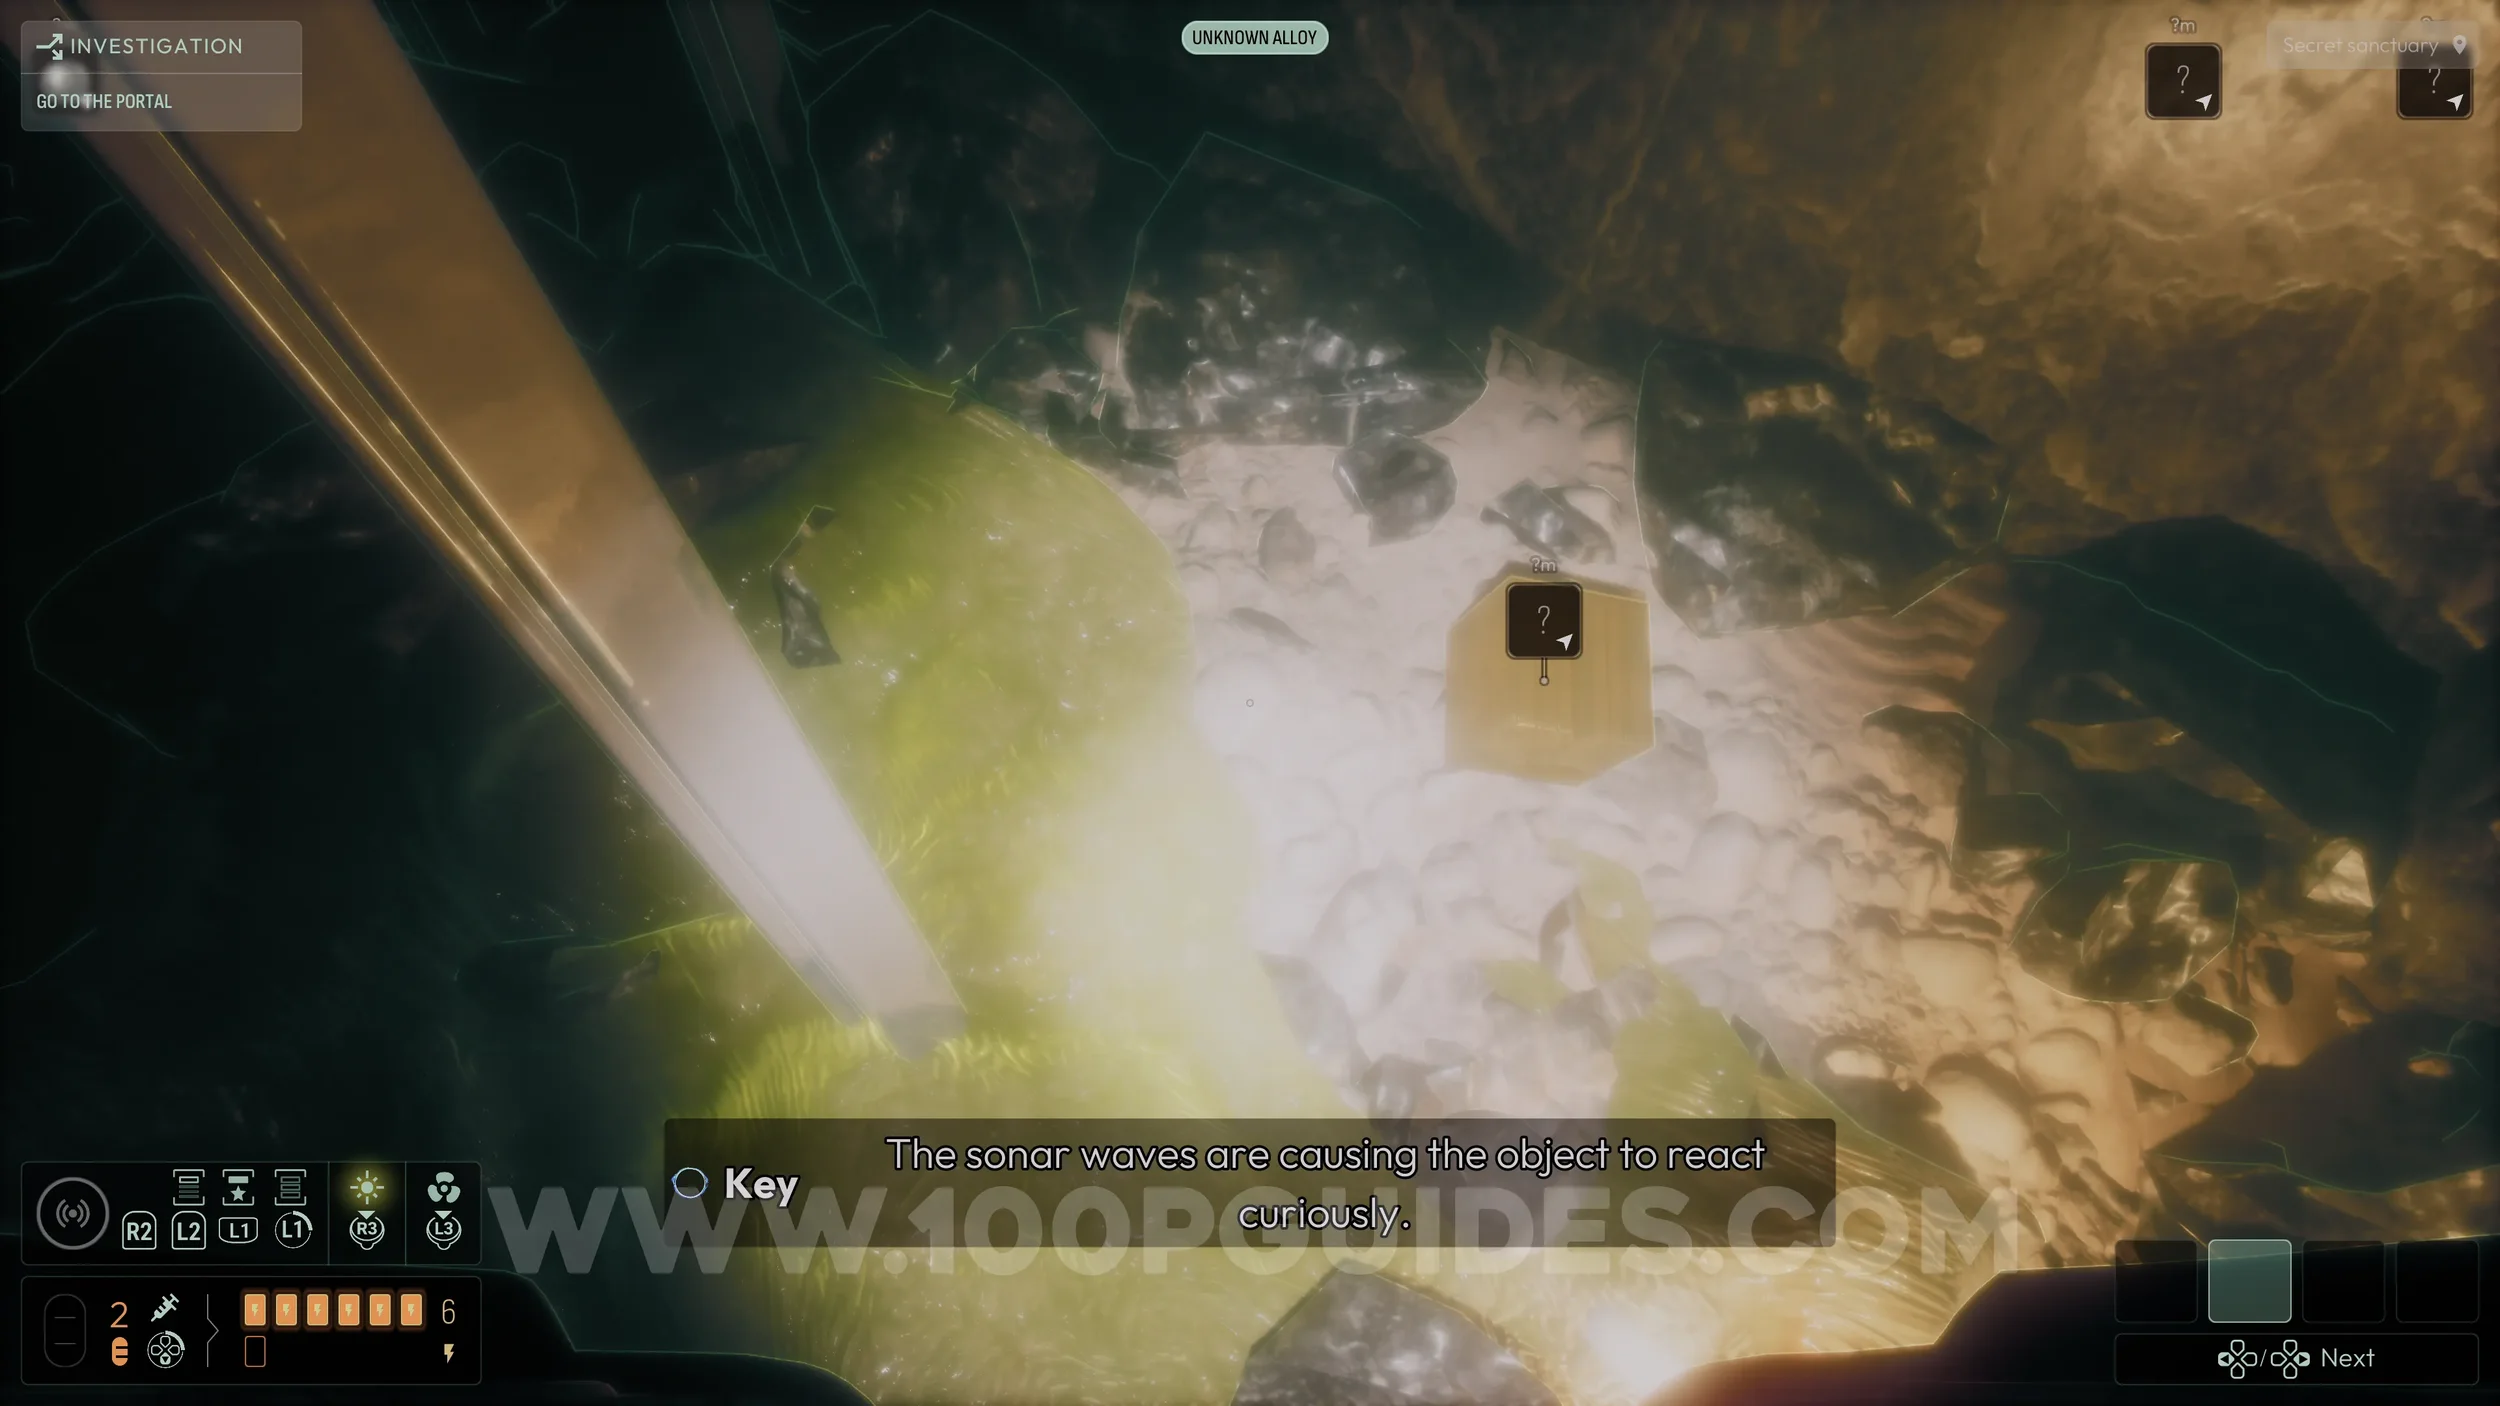
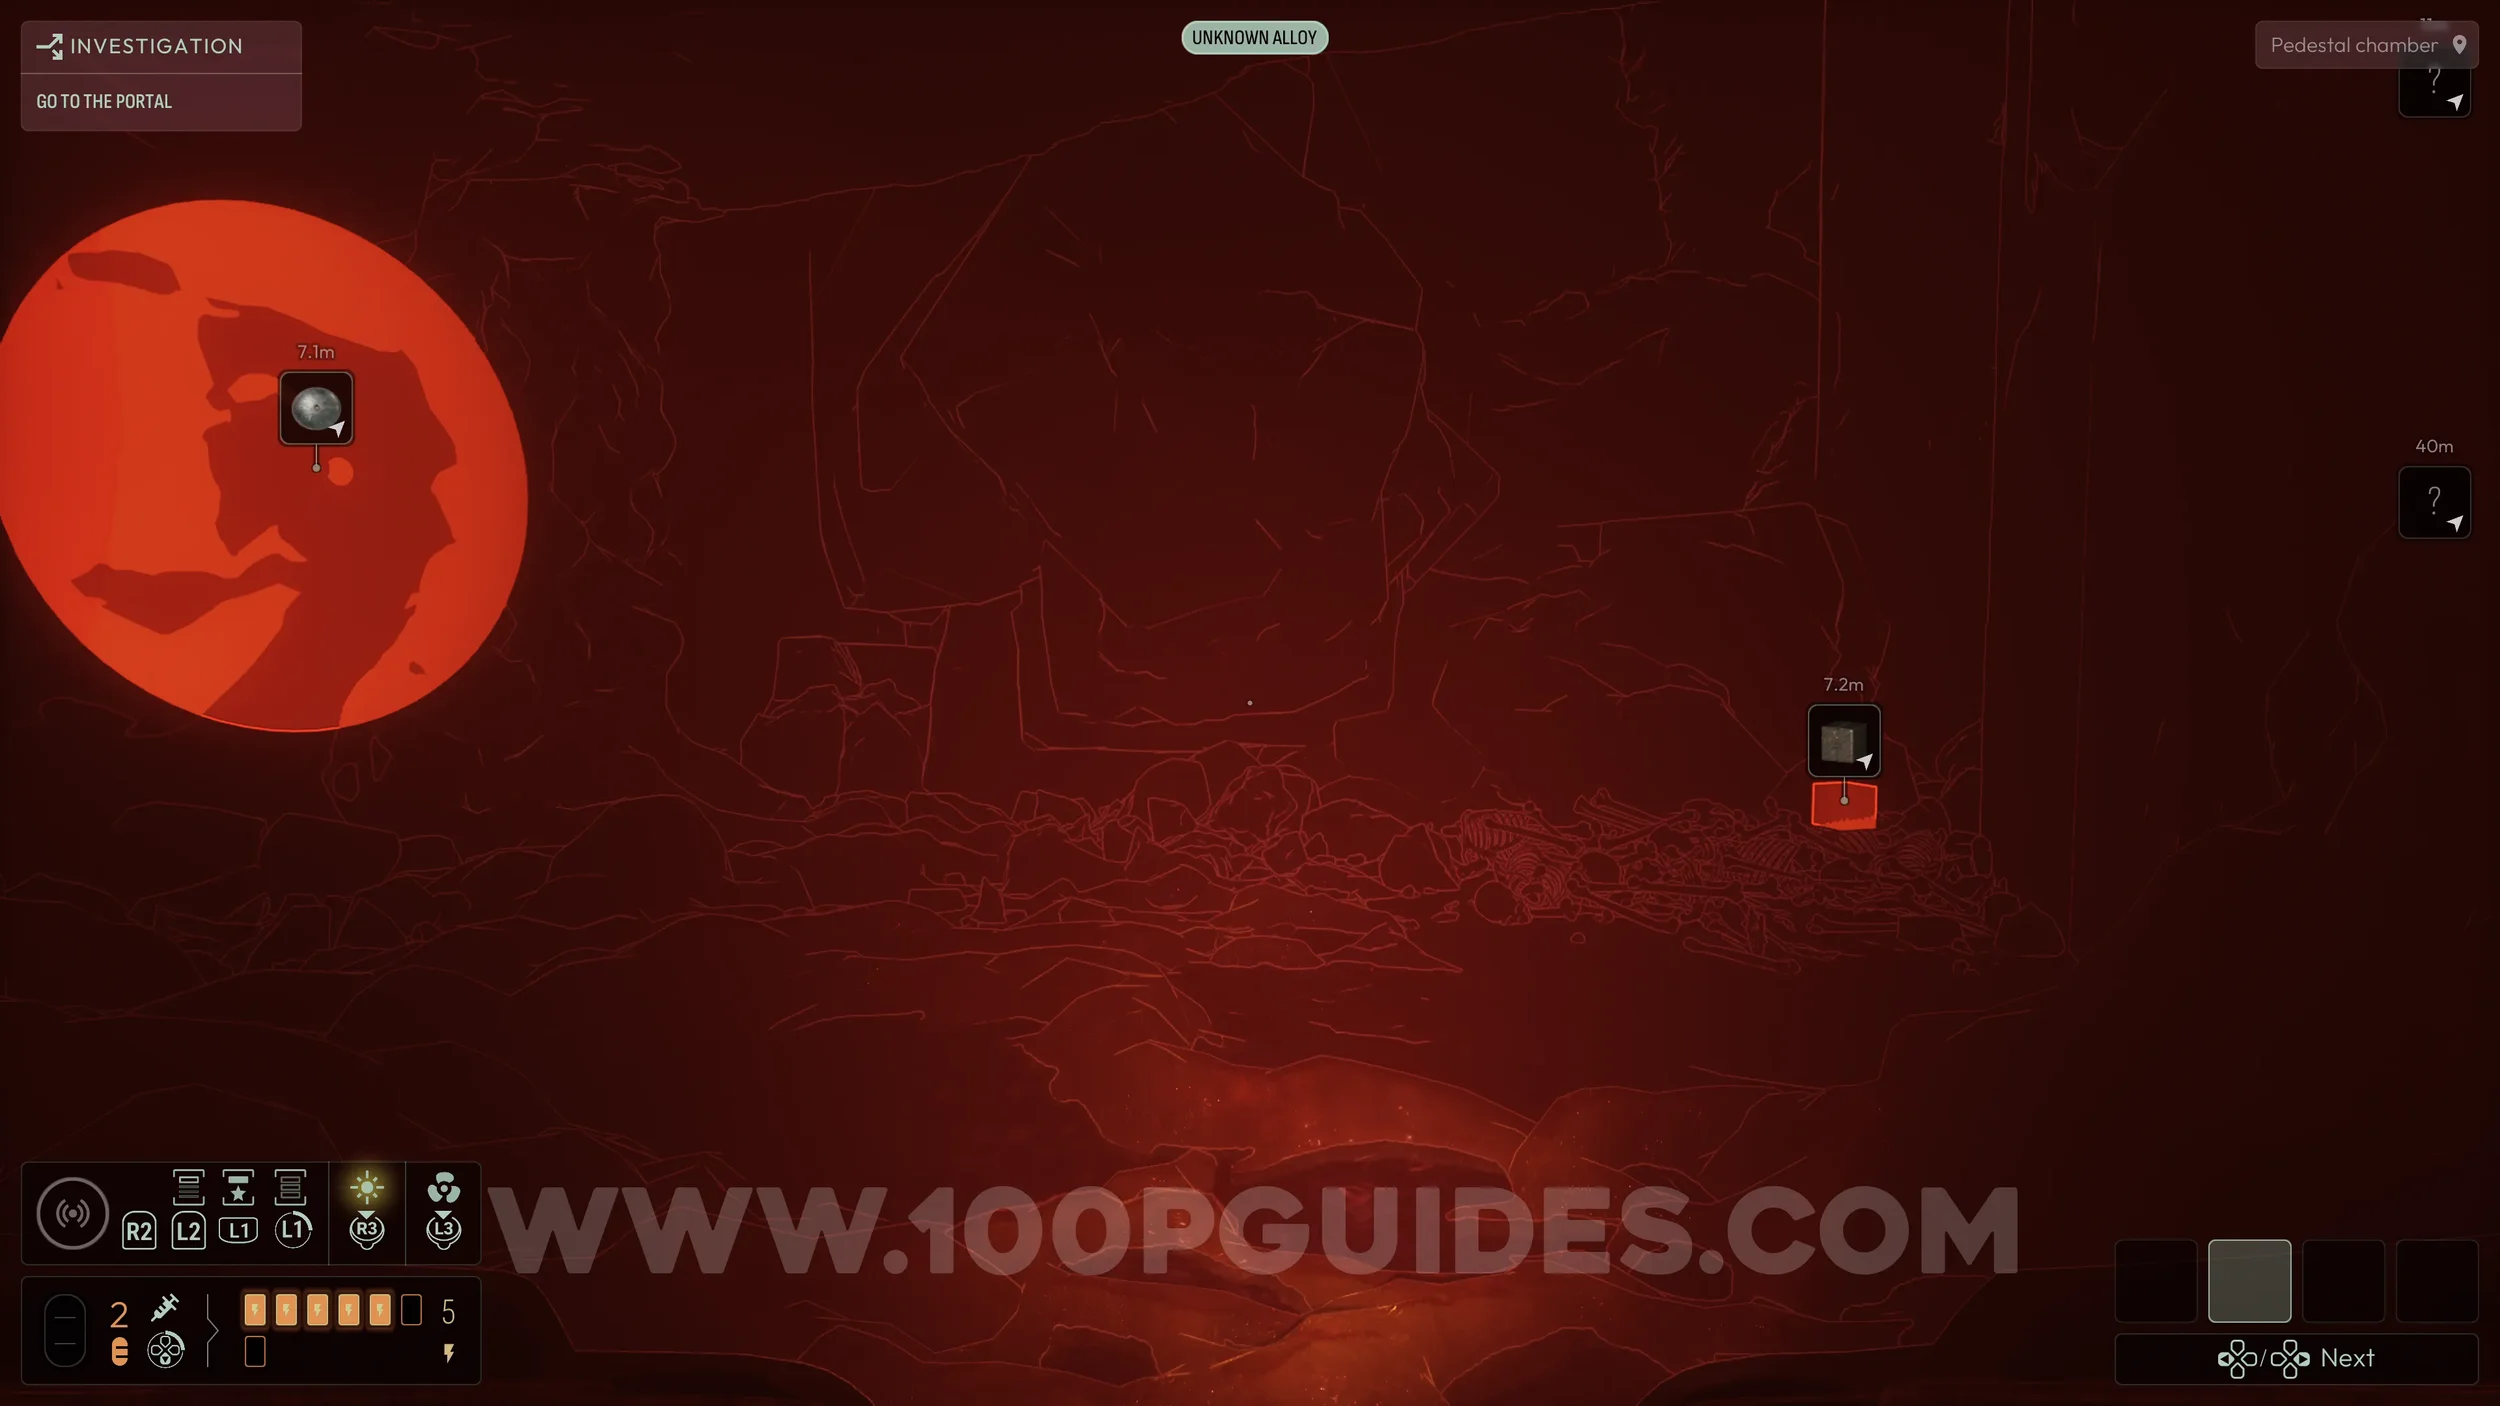
Once you reach the end of the maze, dive into the water behind the skeleton and pick up the cube at the bottom. If you are having trouble finding it, use the Unknown Alloy frequency to highlight it.
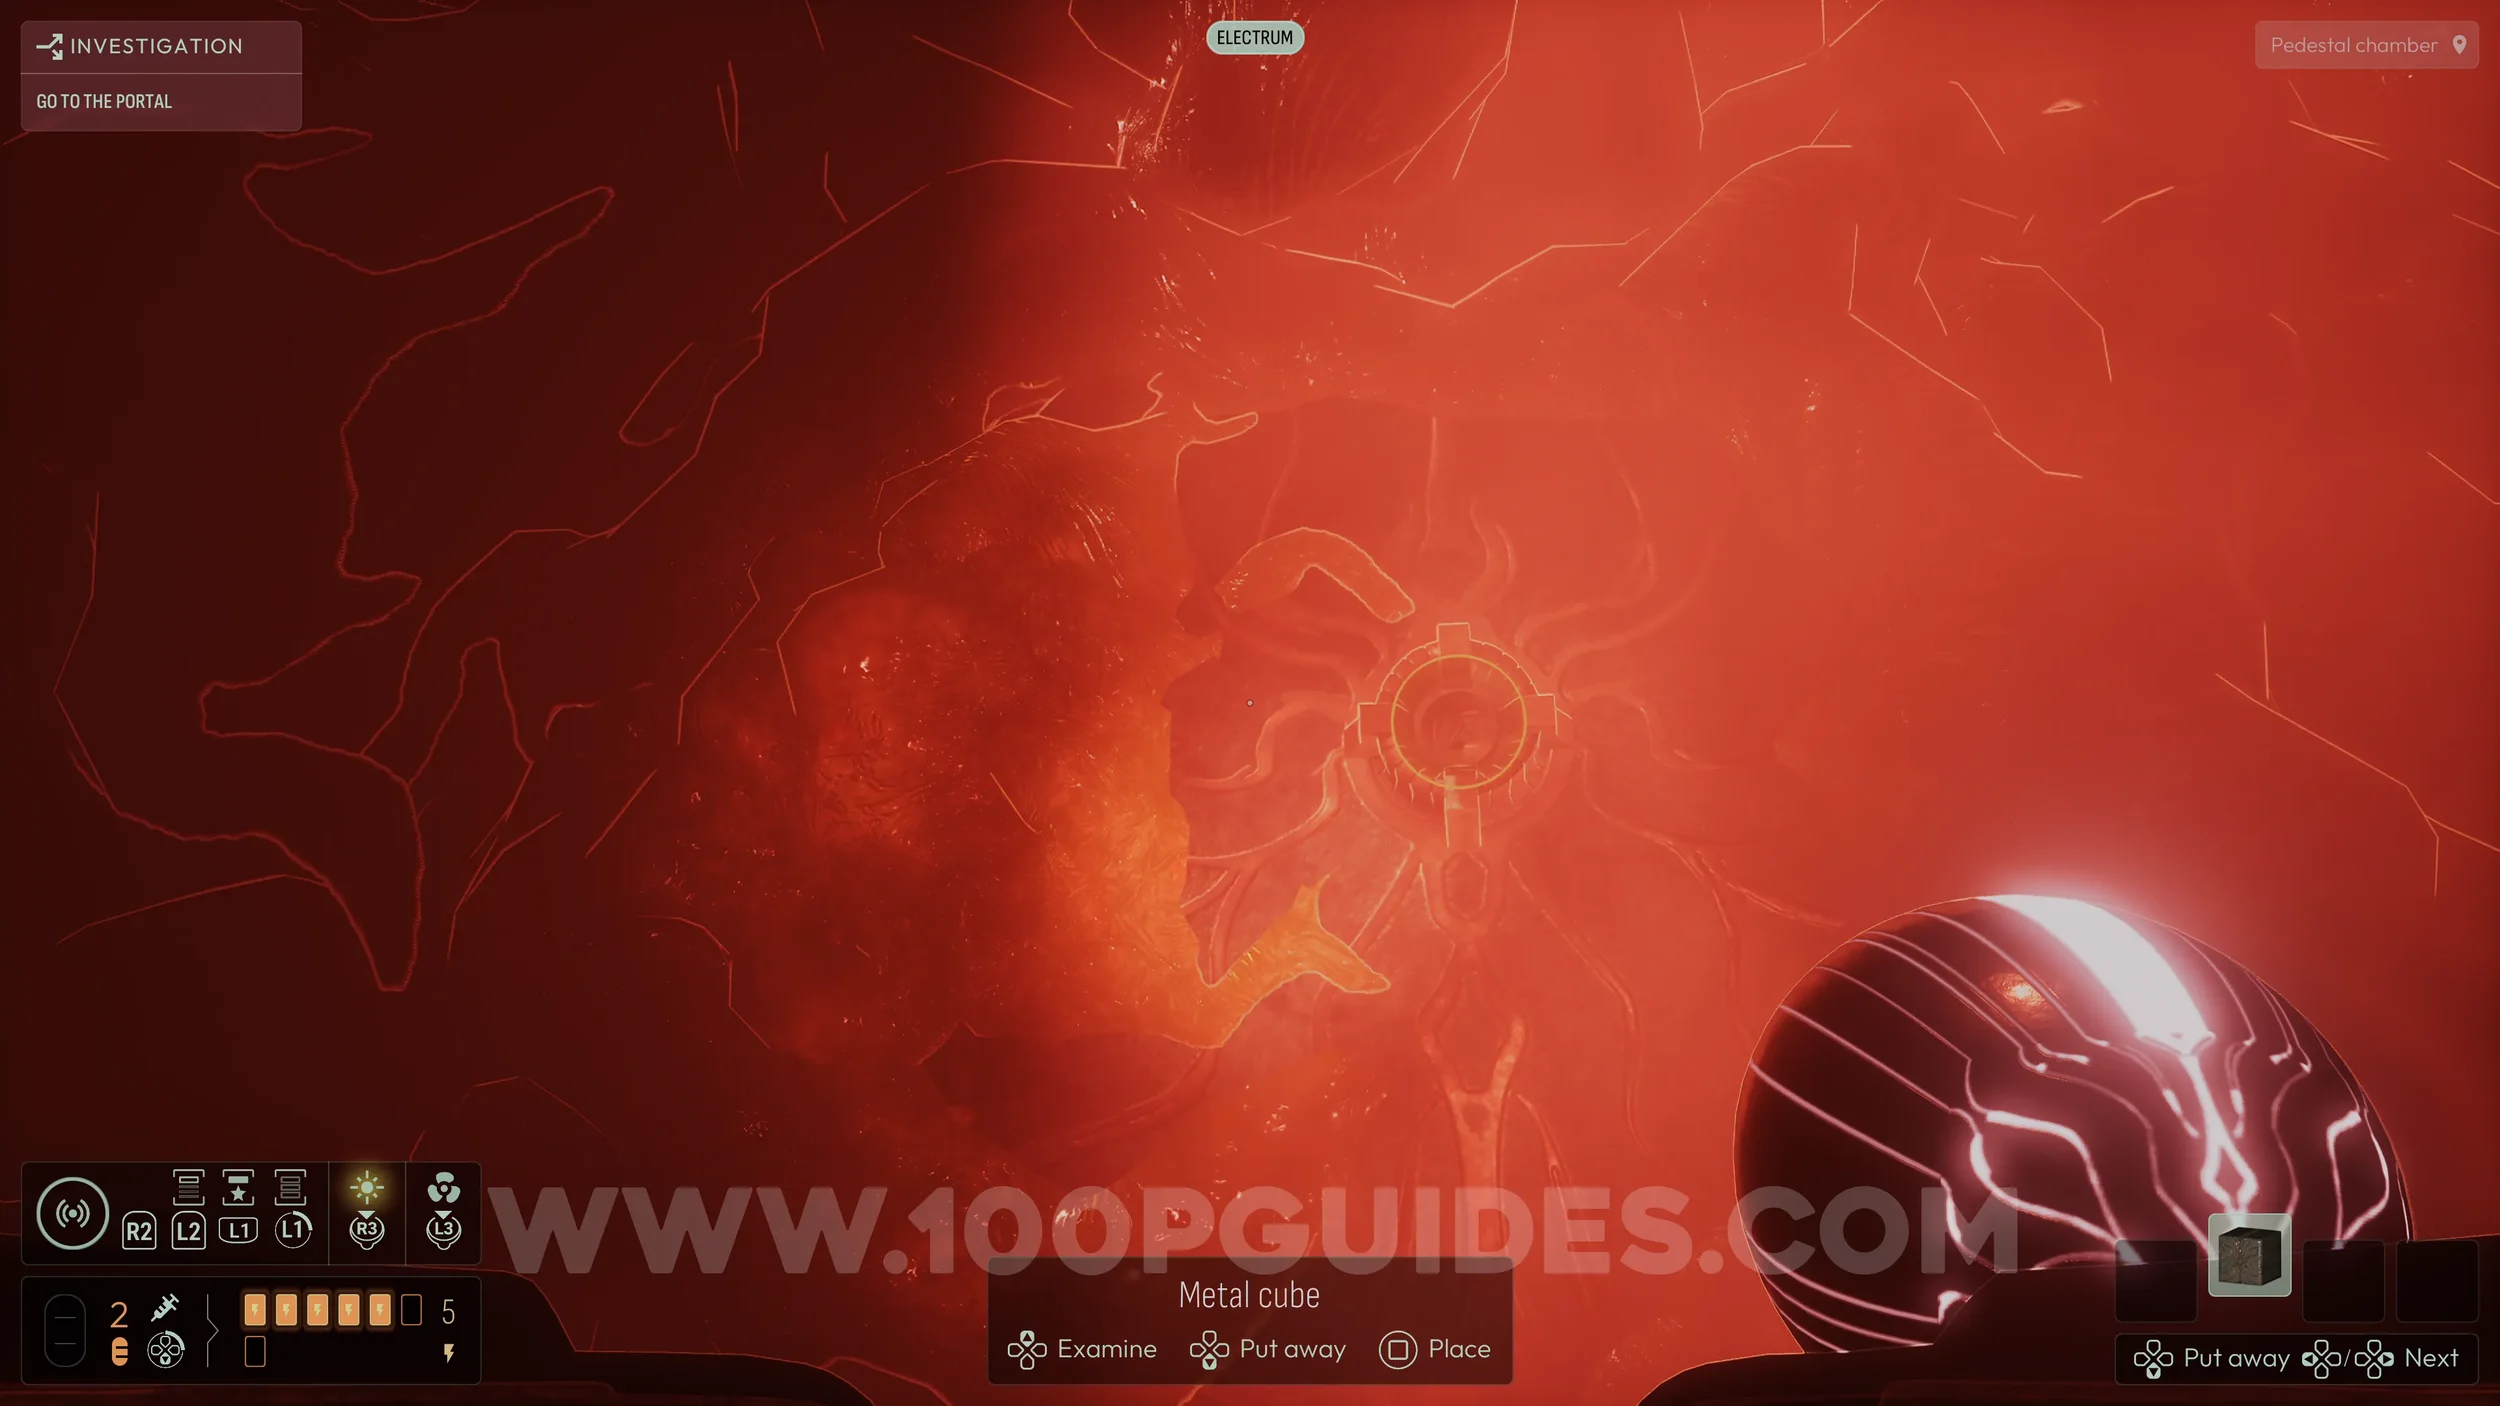
With the cube in hand, climb the scaffolding at the back of the room to find a slot in the wall where it needs to be inserted. Before placing it, you must reshape it into a cylinder. To do this, use the sonar with the Electrum frequency while holding the cube.
After inserting it into the device, you will have activated one of the three required to complete the investigation with low corruption.
Now head back through the maze to the area with the NPC tied to the rock. From here, take the path into the room on the left that is flooded with blood. Look for a set of stairs on the right side beneath the surface, which is easier to spot using the sonar. Dive down and follow the stairs.

In the next room, go left and continue all the way to the end until you find a small triangular gap between the rocks. Go through it, then dive deeper and follow the path to find another Evolution (5/15).
After picking up the evolution, backtrack until you pass back through the triangular gap. Then swim up and climb out of the water. From there, look for an opening on your left on the other side of the rocks. Inside, you will find another Strange Monolith that expands your evolution slots.
Now return to the triangular gap beneath the blood, but do not go through it. Instead, look for a set of stairs on the left and follow that path to reach a room with a skeleton sitting in a chair. Face the same direction as the skeleton to spot a small bridge leading to a locked stone door.
Before heading there, dive under the bridge to find another metallic cube and a device where it needs to be placed. If you are having trouble locating it, use the Unknown Alloy frequency to highlight it. Pick up the cube, use the Electrum frequency to reshape it into a cylinder, then insert it into the device.
After that, you will need to open the stone door. Look for a small medallion next to a corpse in front of the door, then insert it into the center of the symbol to the left of the door. This will open it and allow you to return to the area with the NPC tied to the rock.
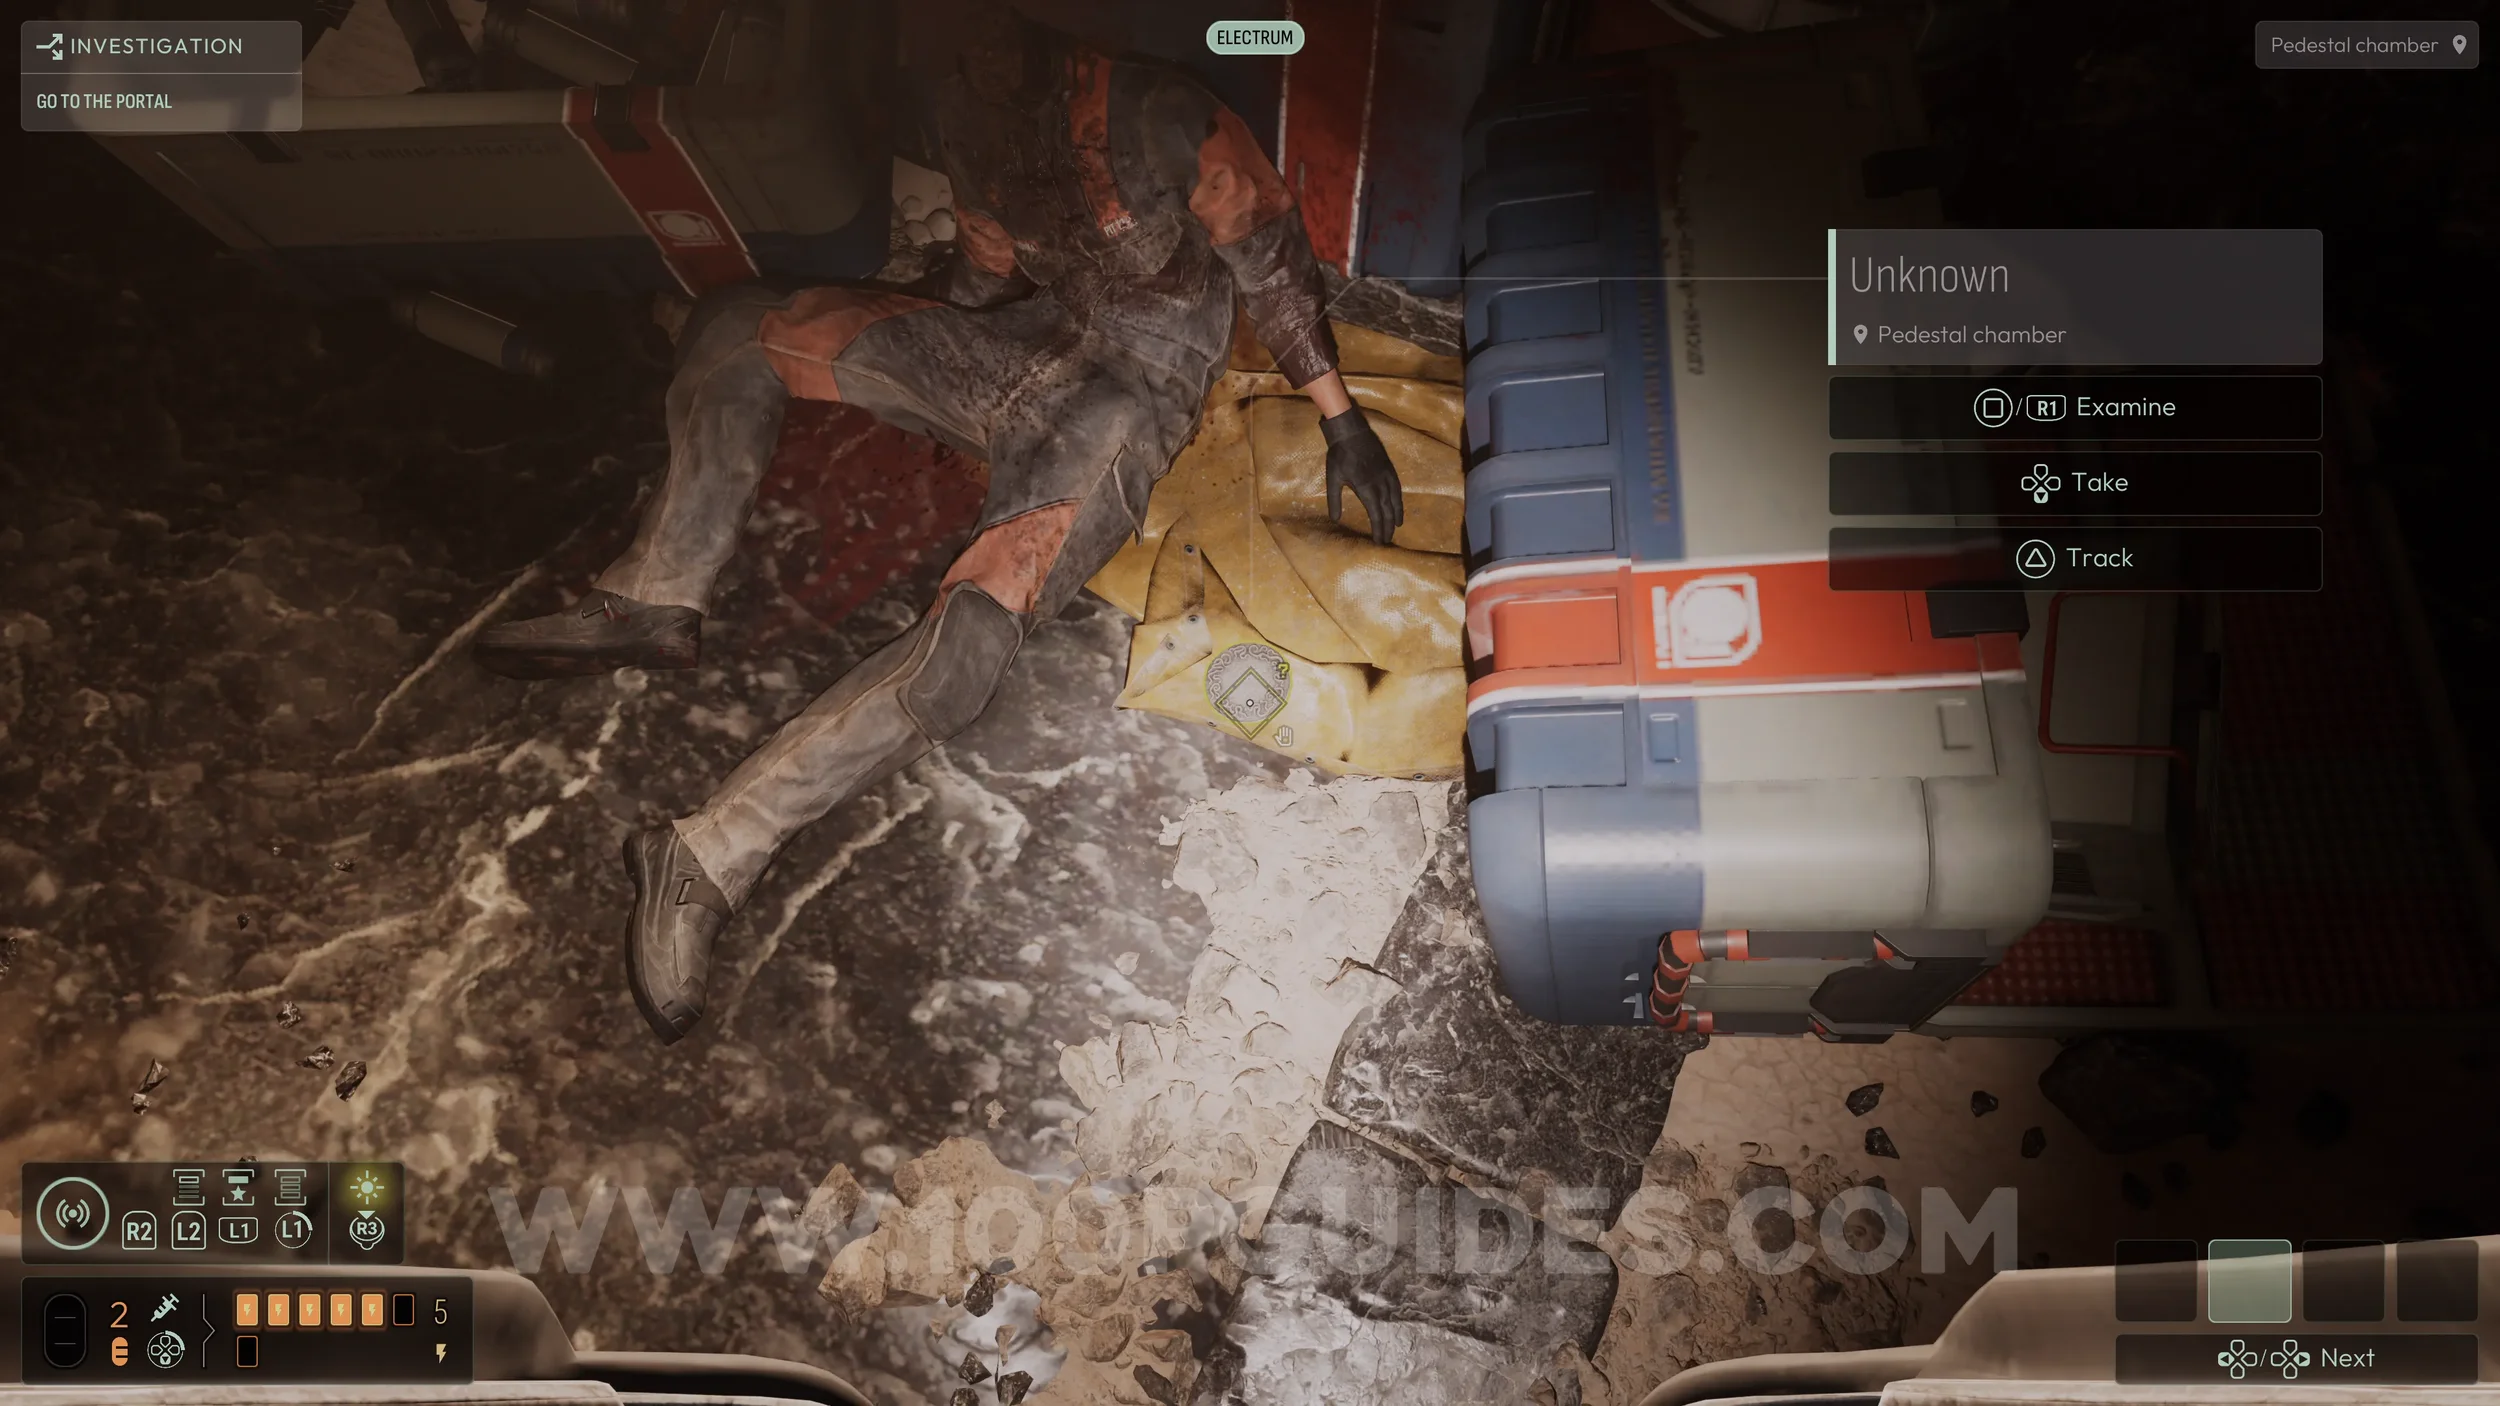
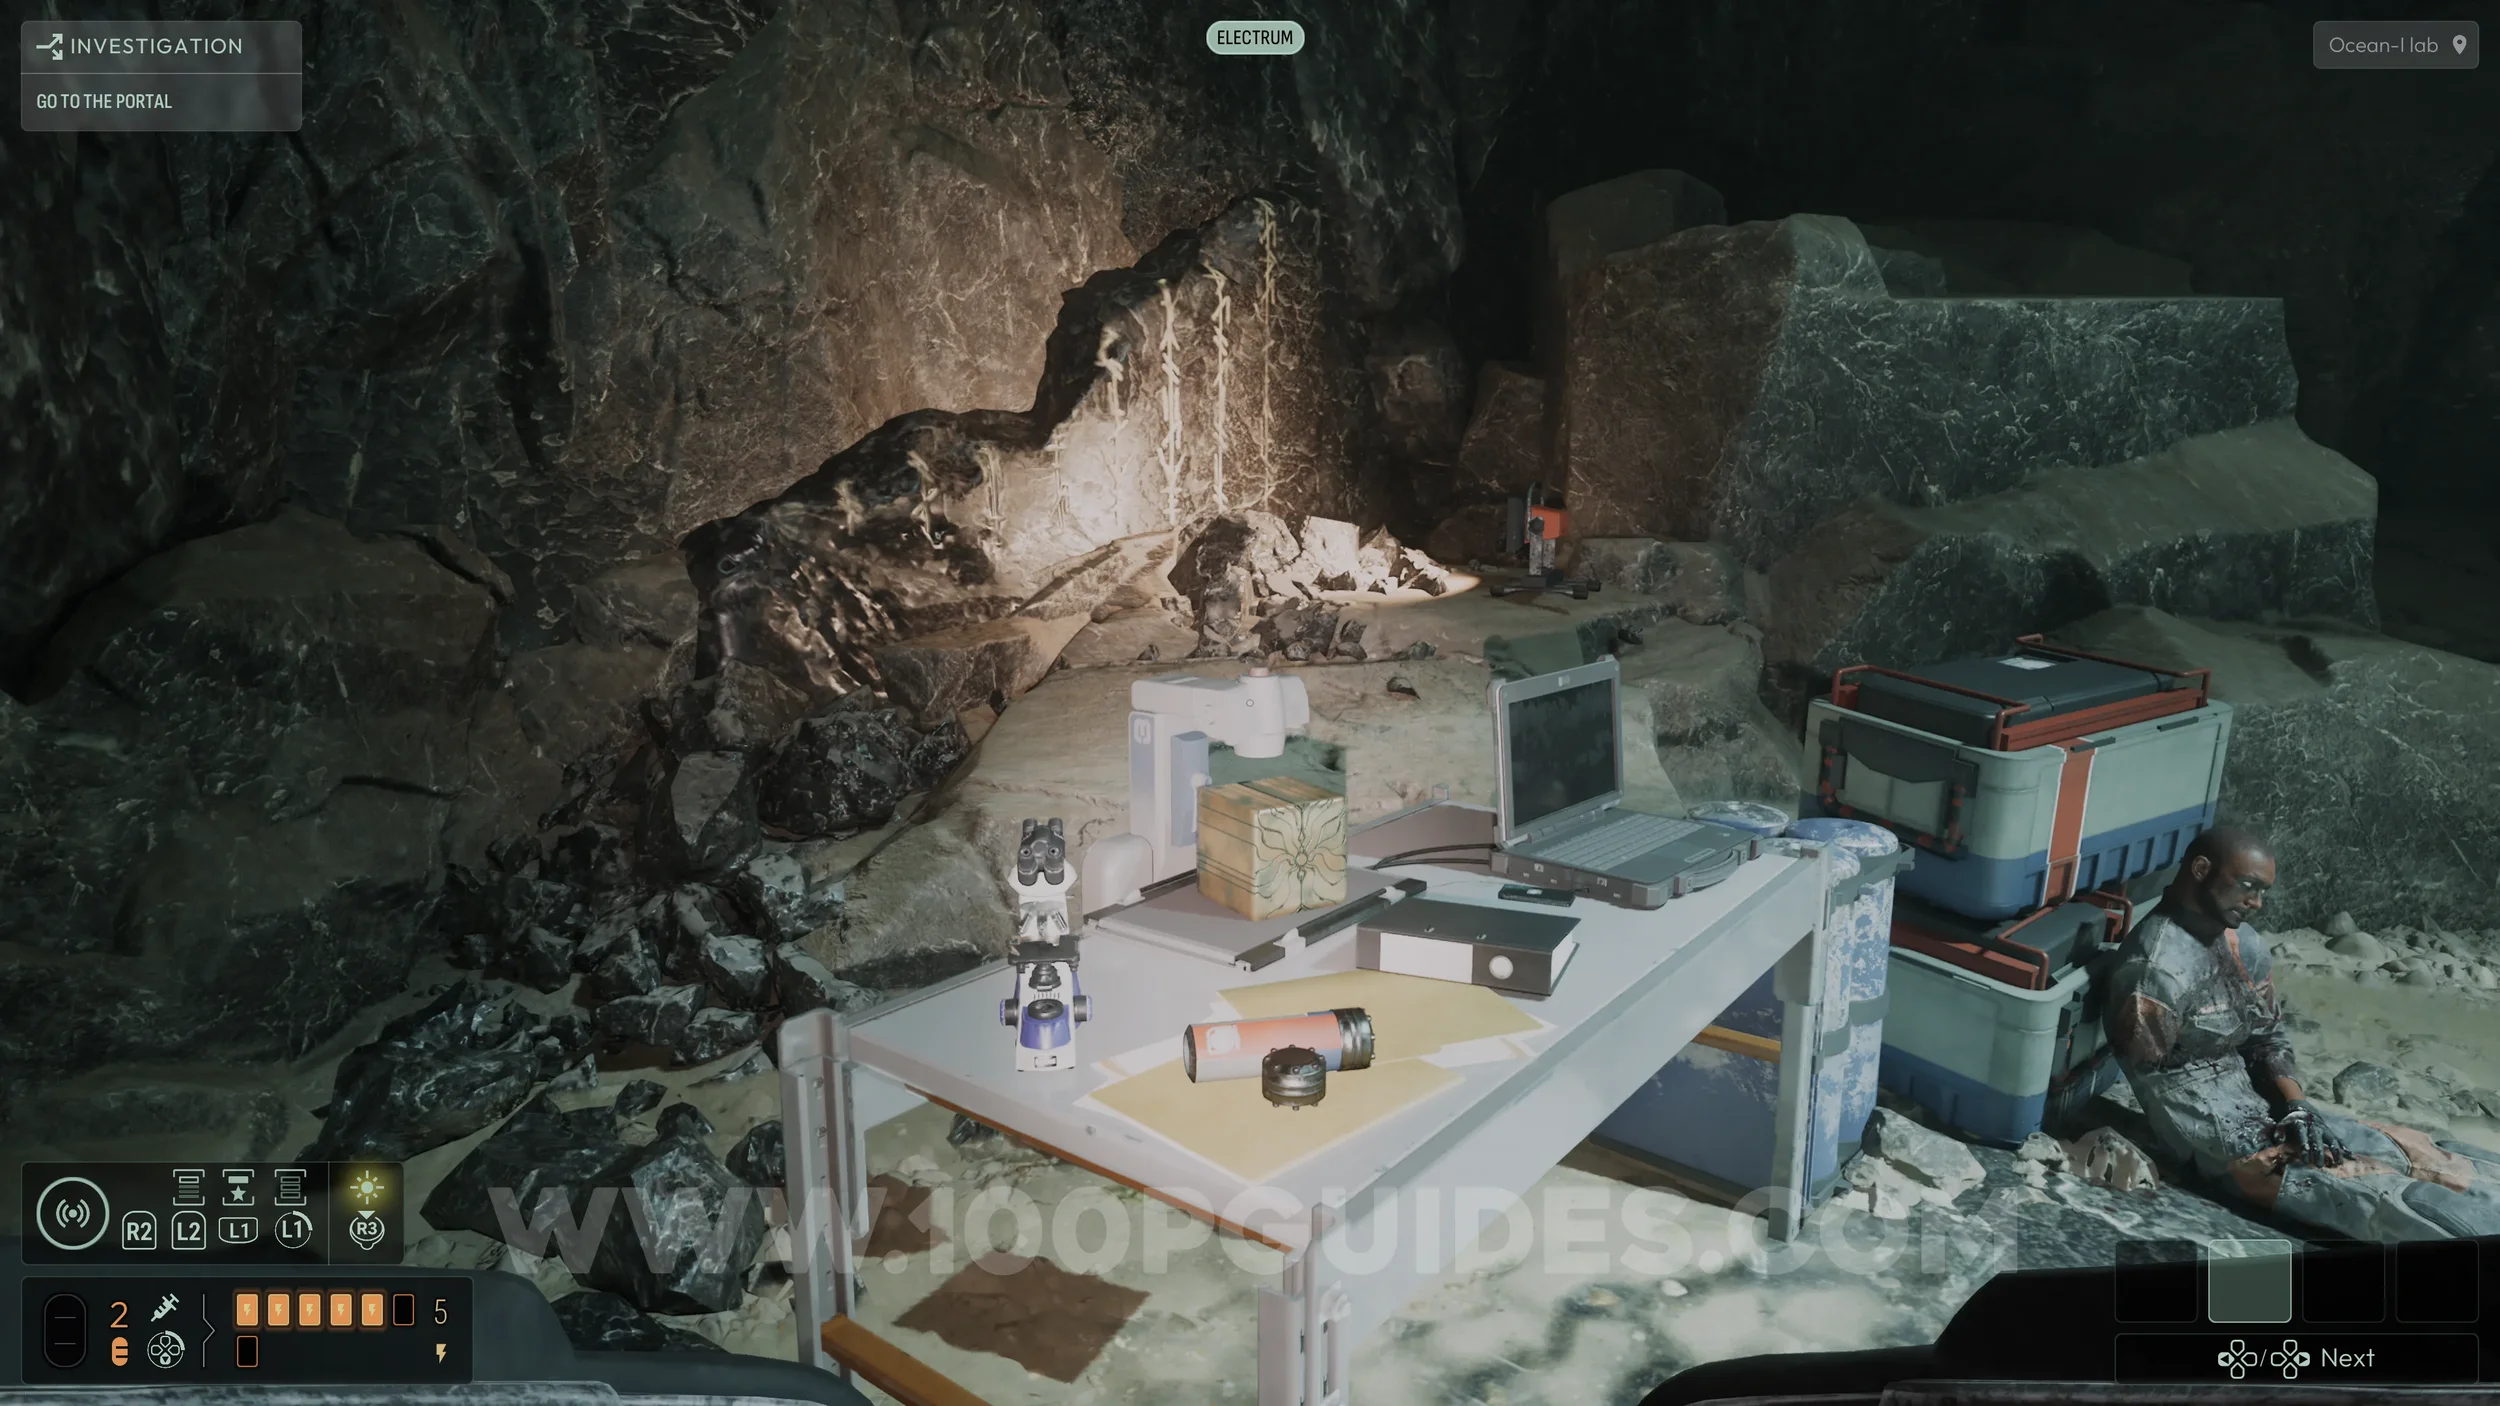
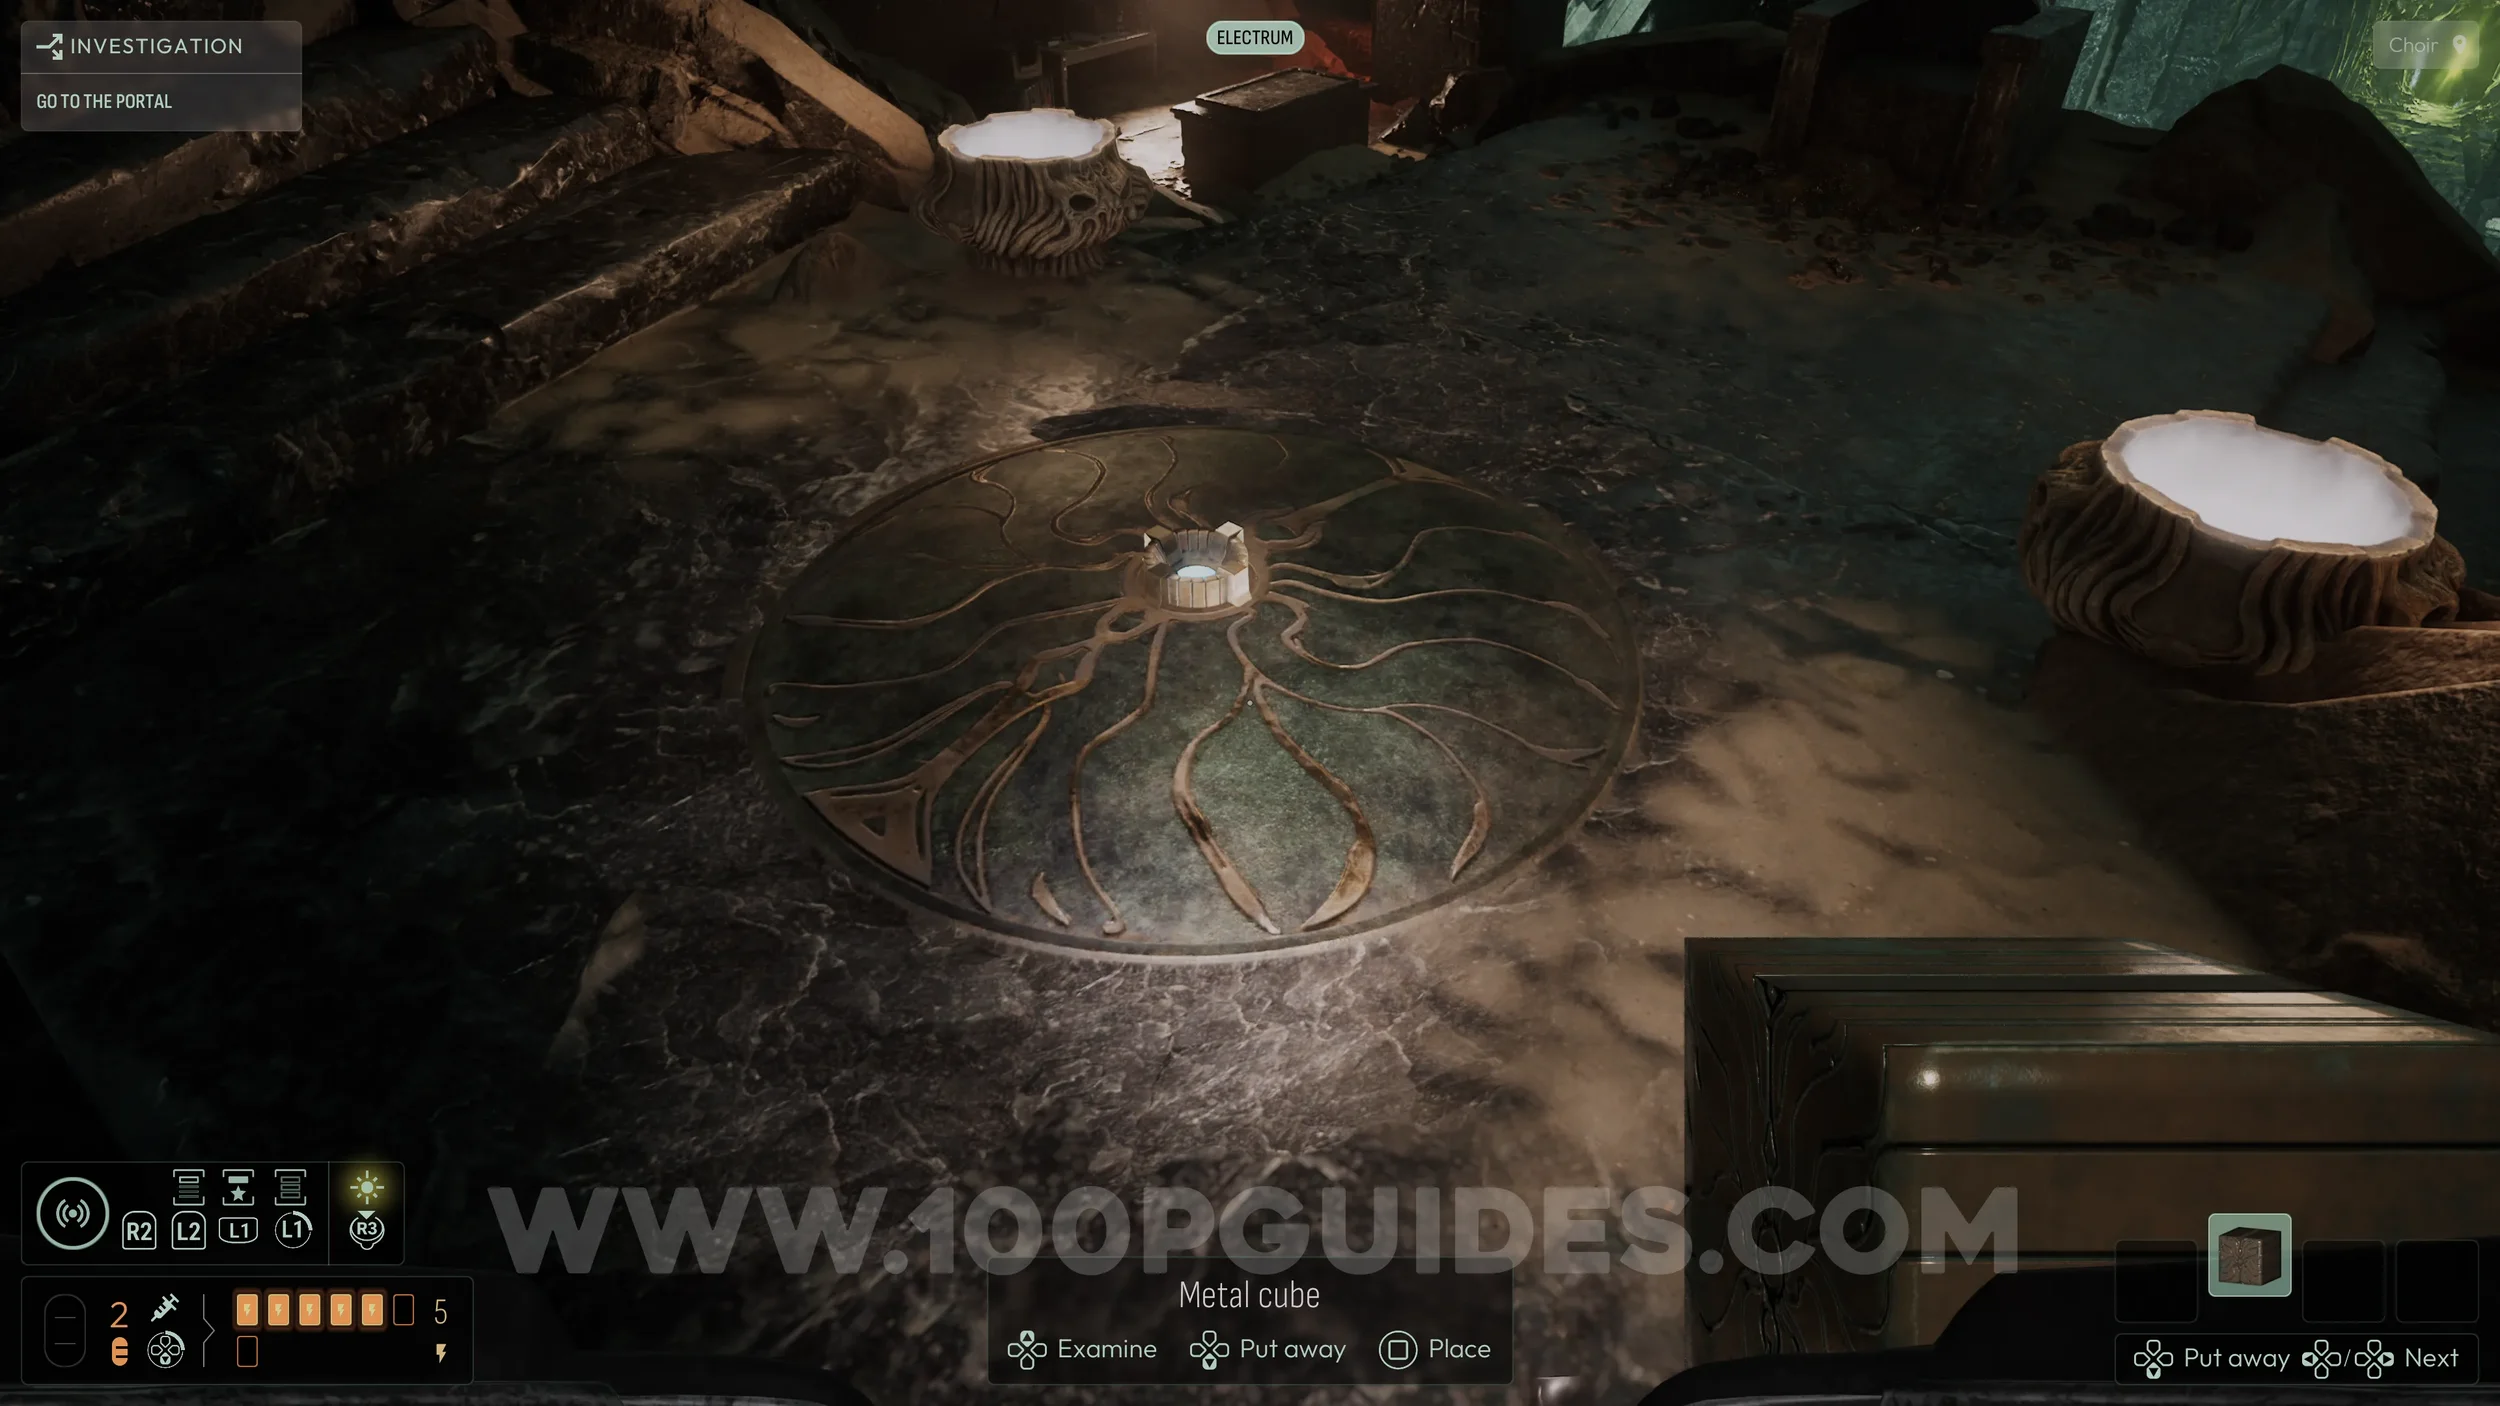
Now head down the path with the scaffolding, where you previously jumped to break the floor, and enter the camp on the left. Look for the final metallic cube on one of the tables. Pick it up, then head back to the original metal plate on the floor by going down the stairs behind the NPC tied to the rock.
Use the Electrum frequency to reshape the cube into a cylinder, then place it into the plate to trigger a cutscene.
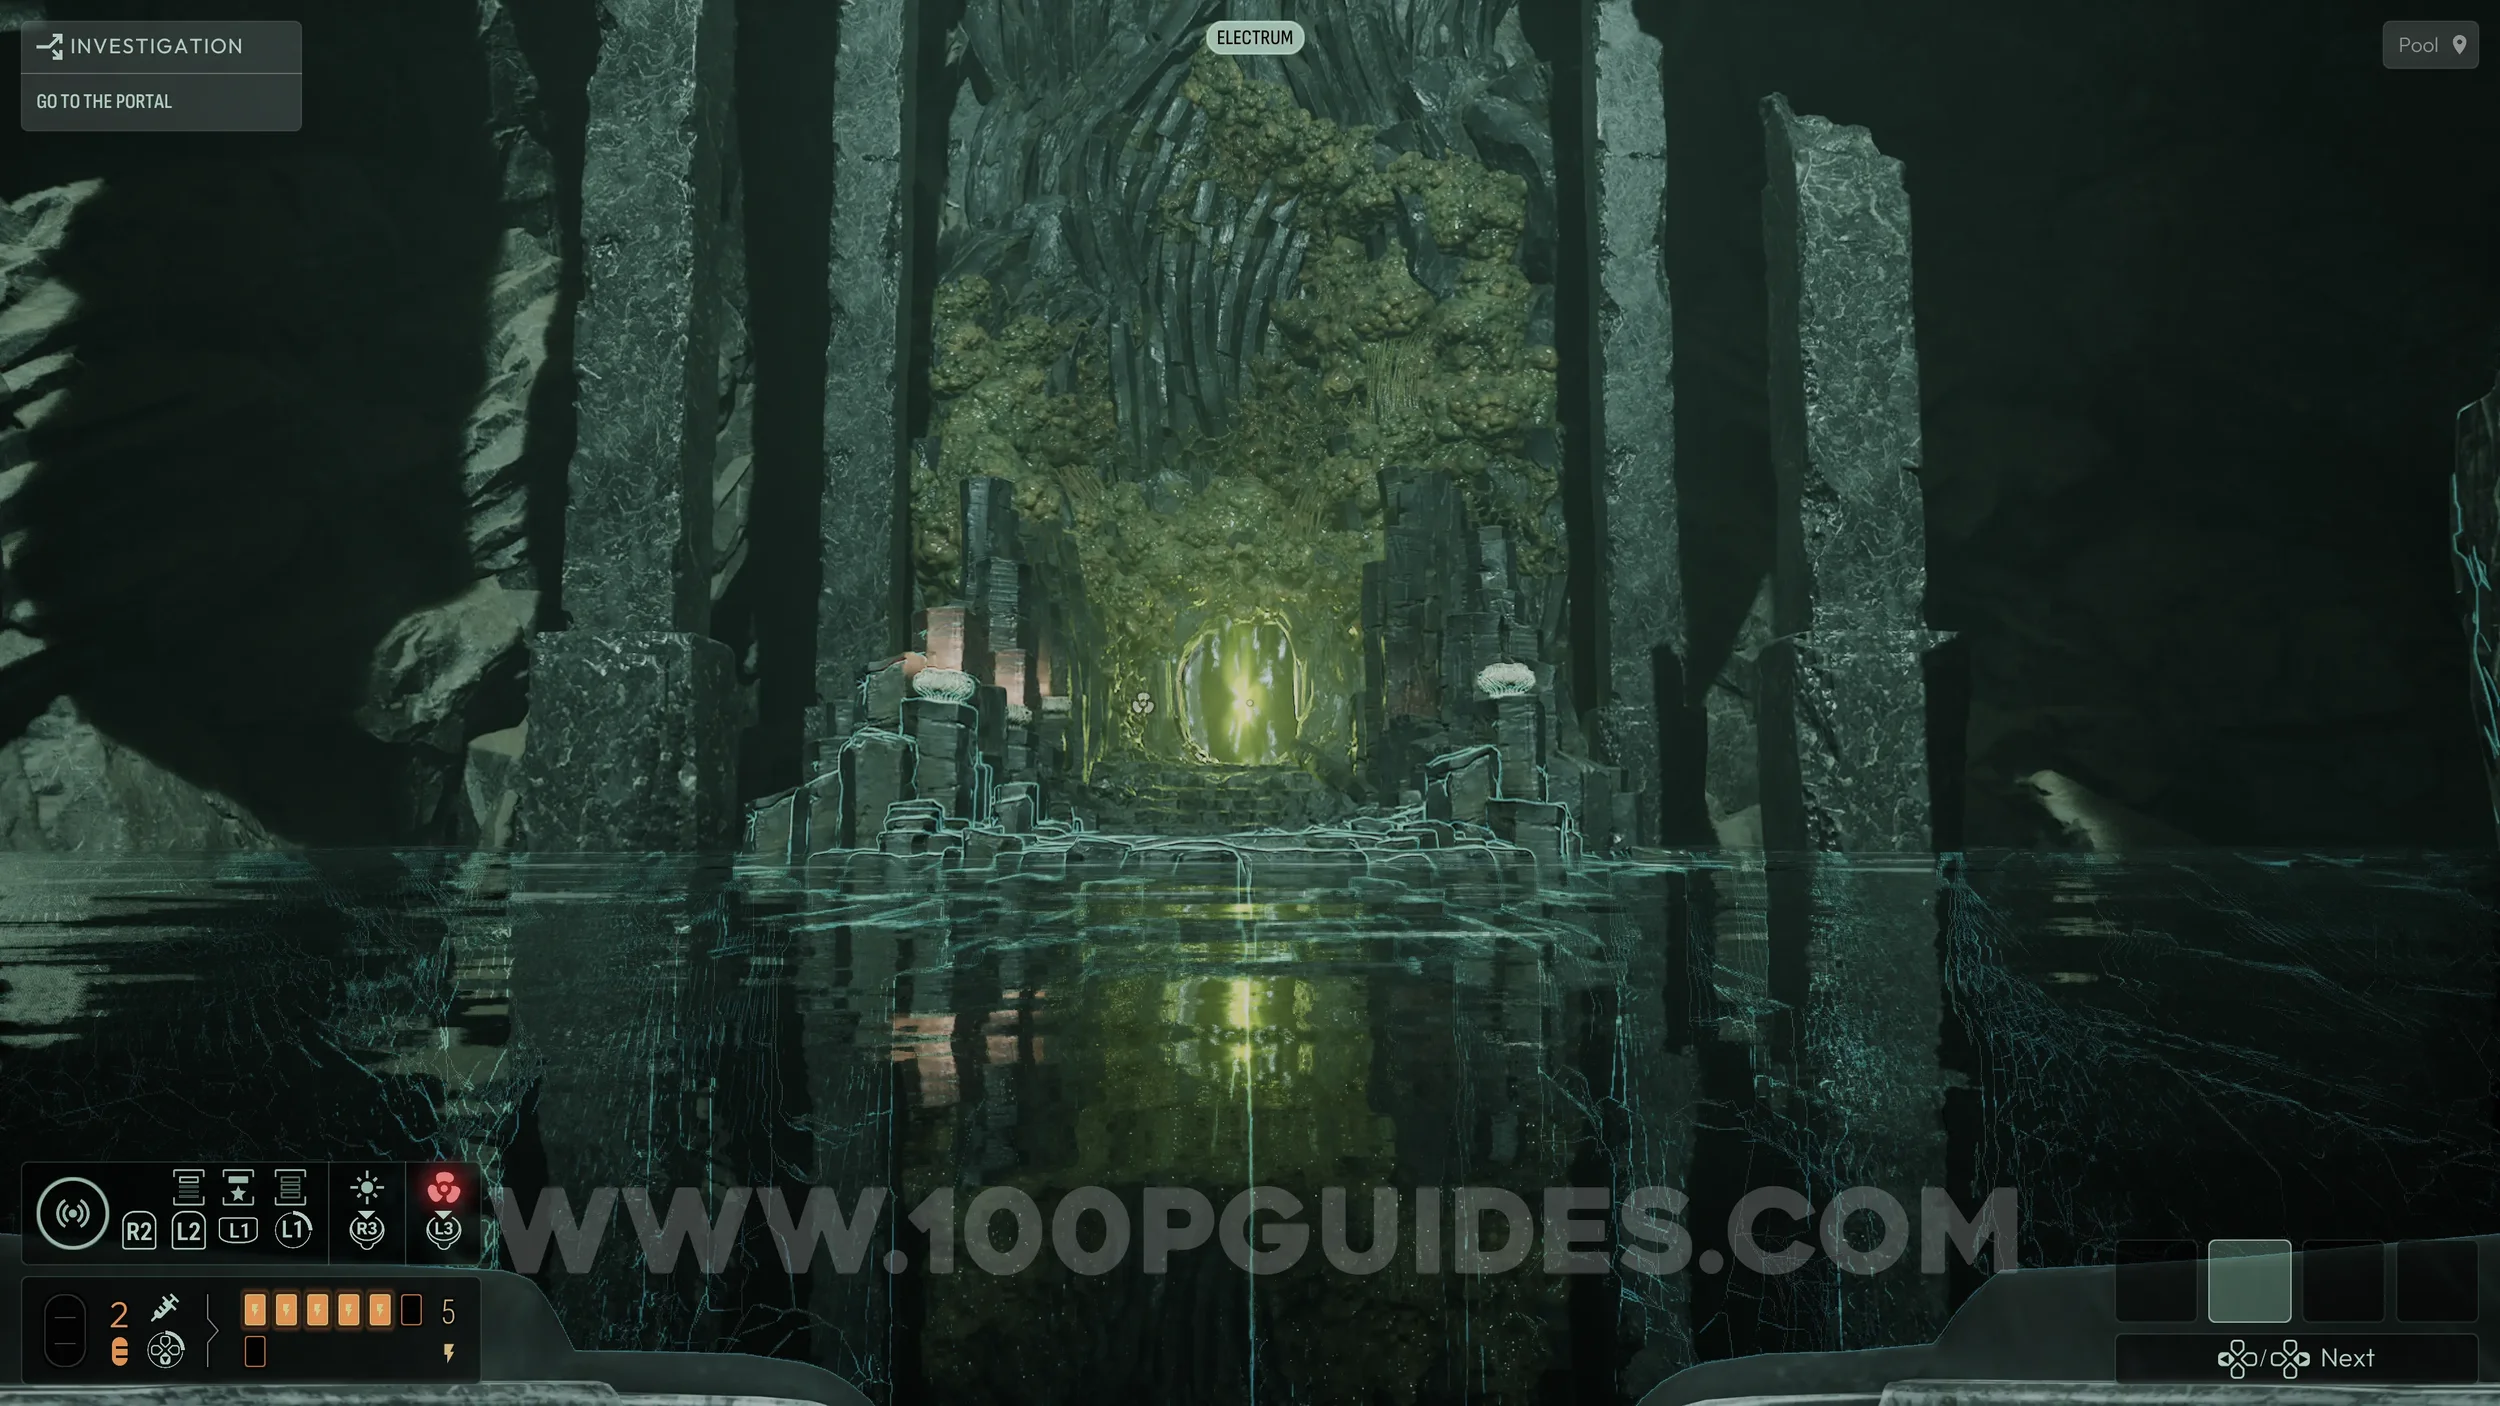
After the cutscene, jump into the water and swim toward the portal to end the chapter.
Chapter 4
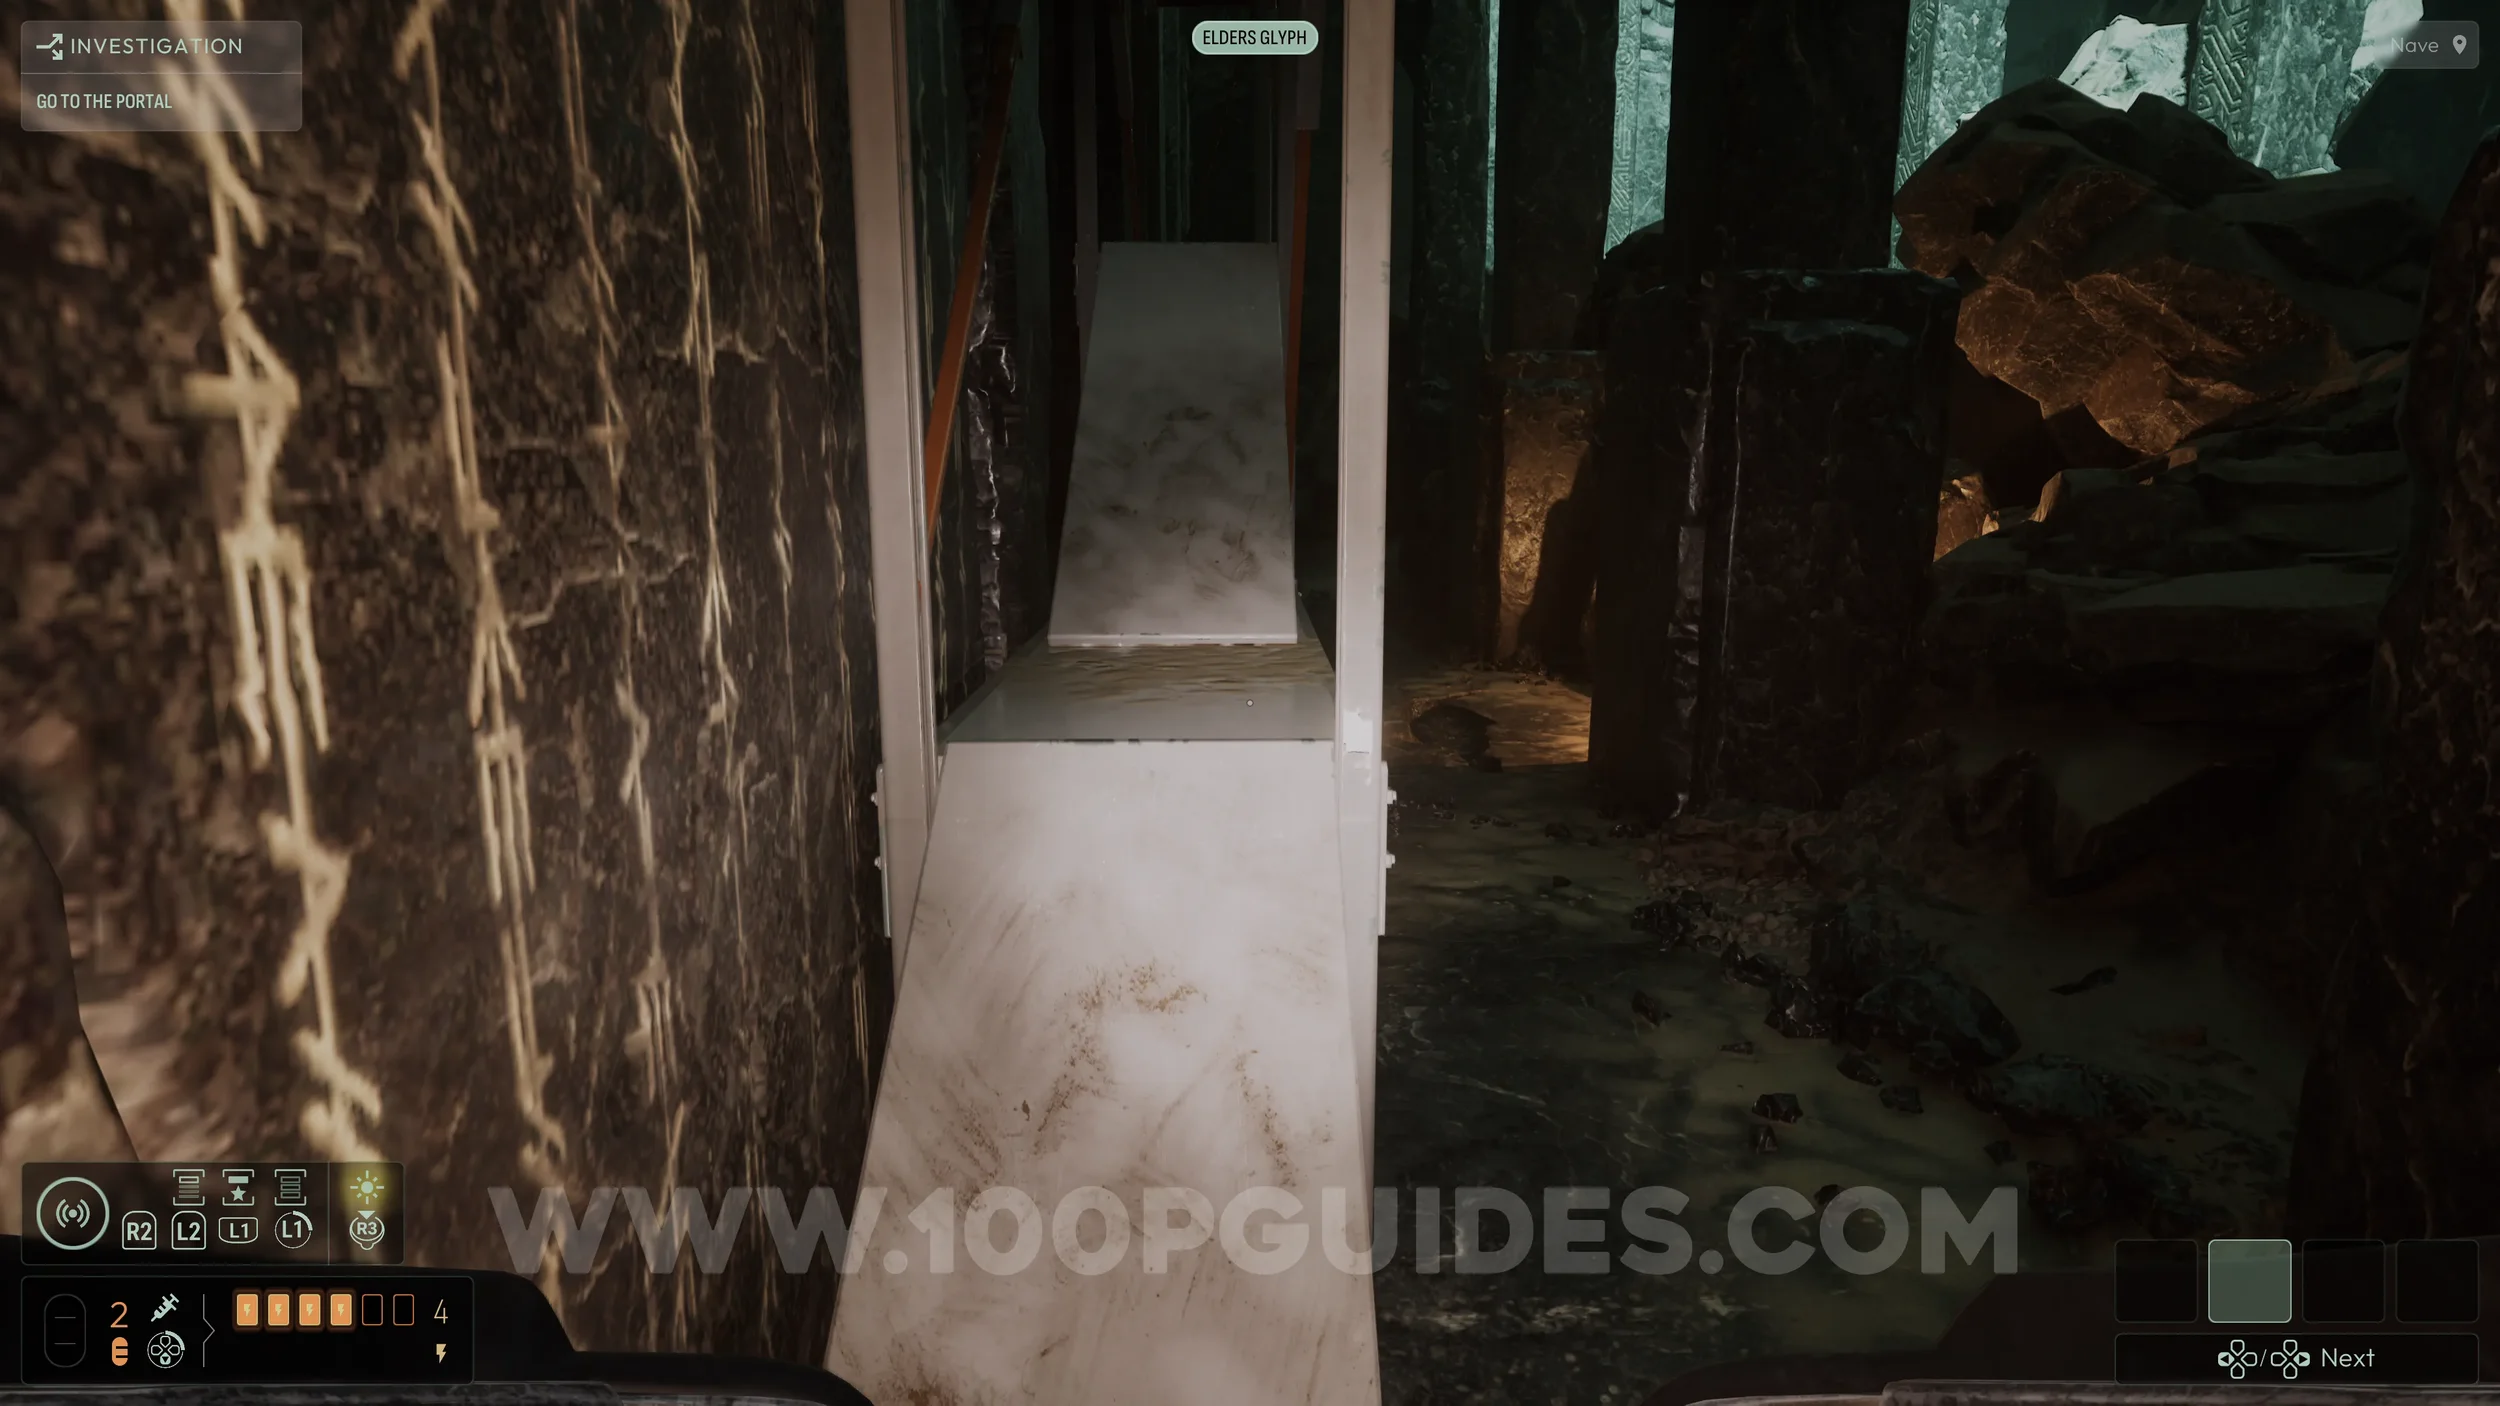
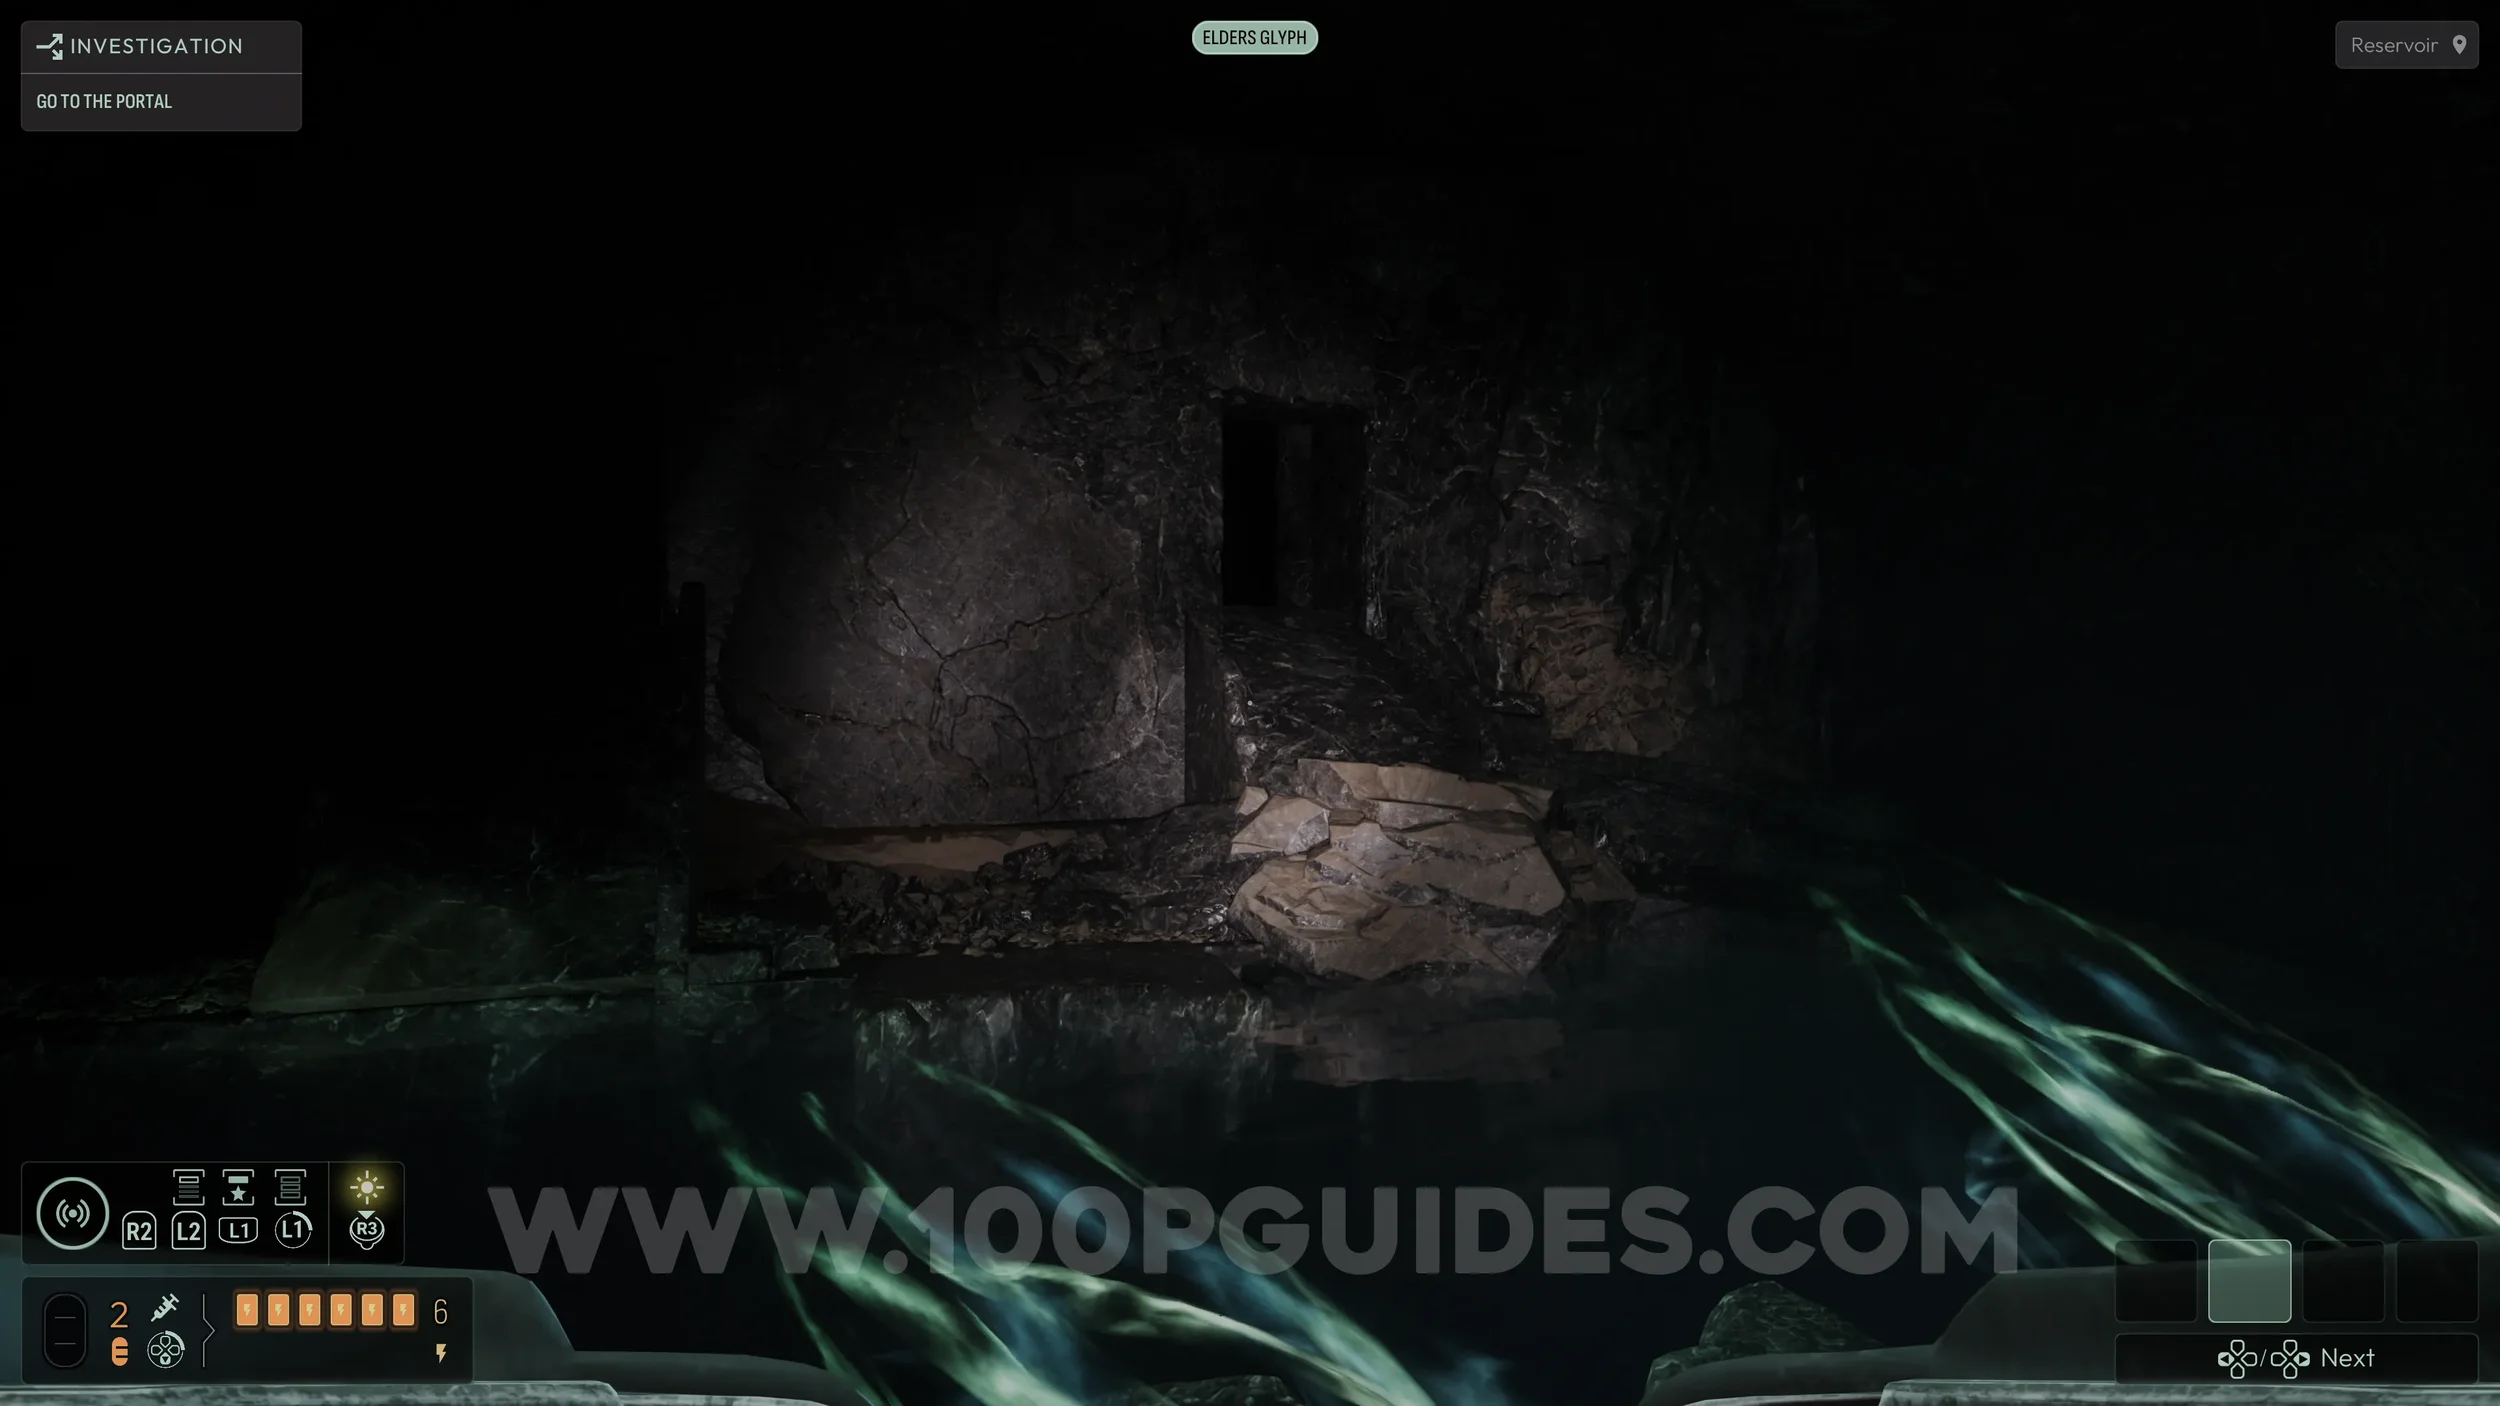
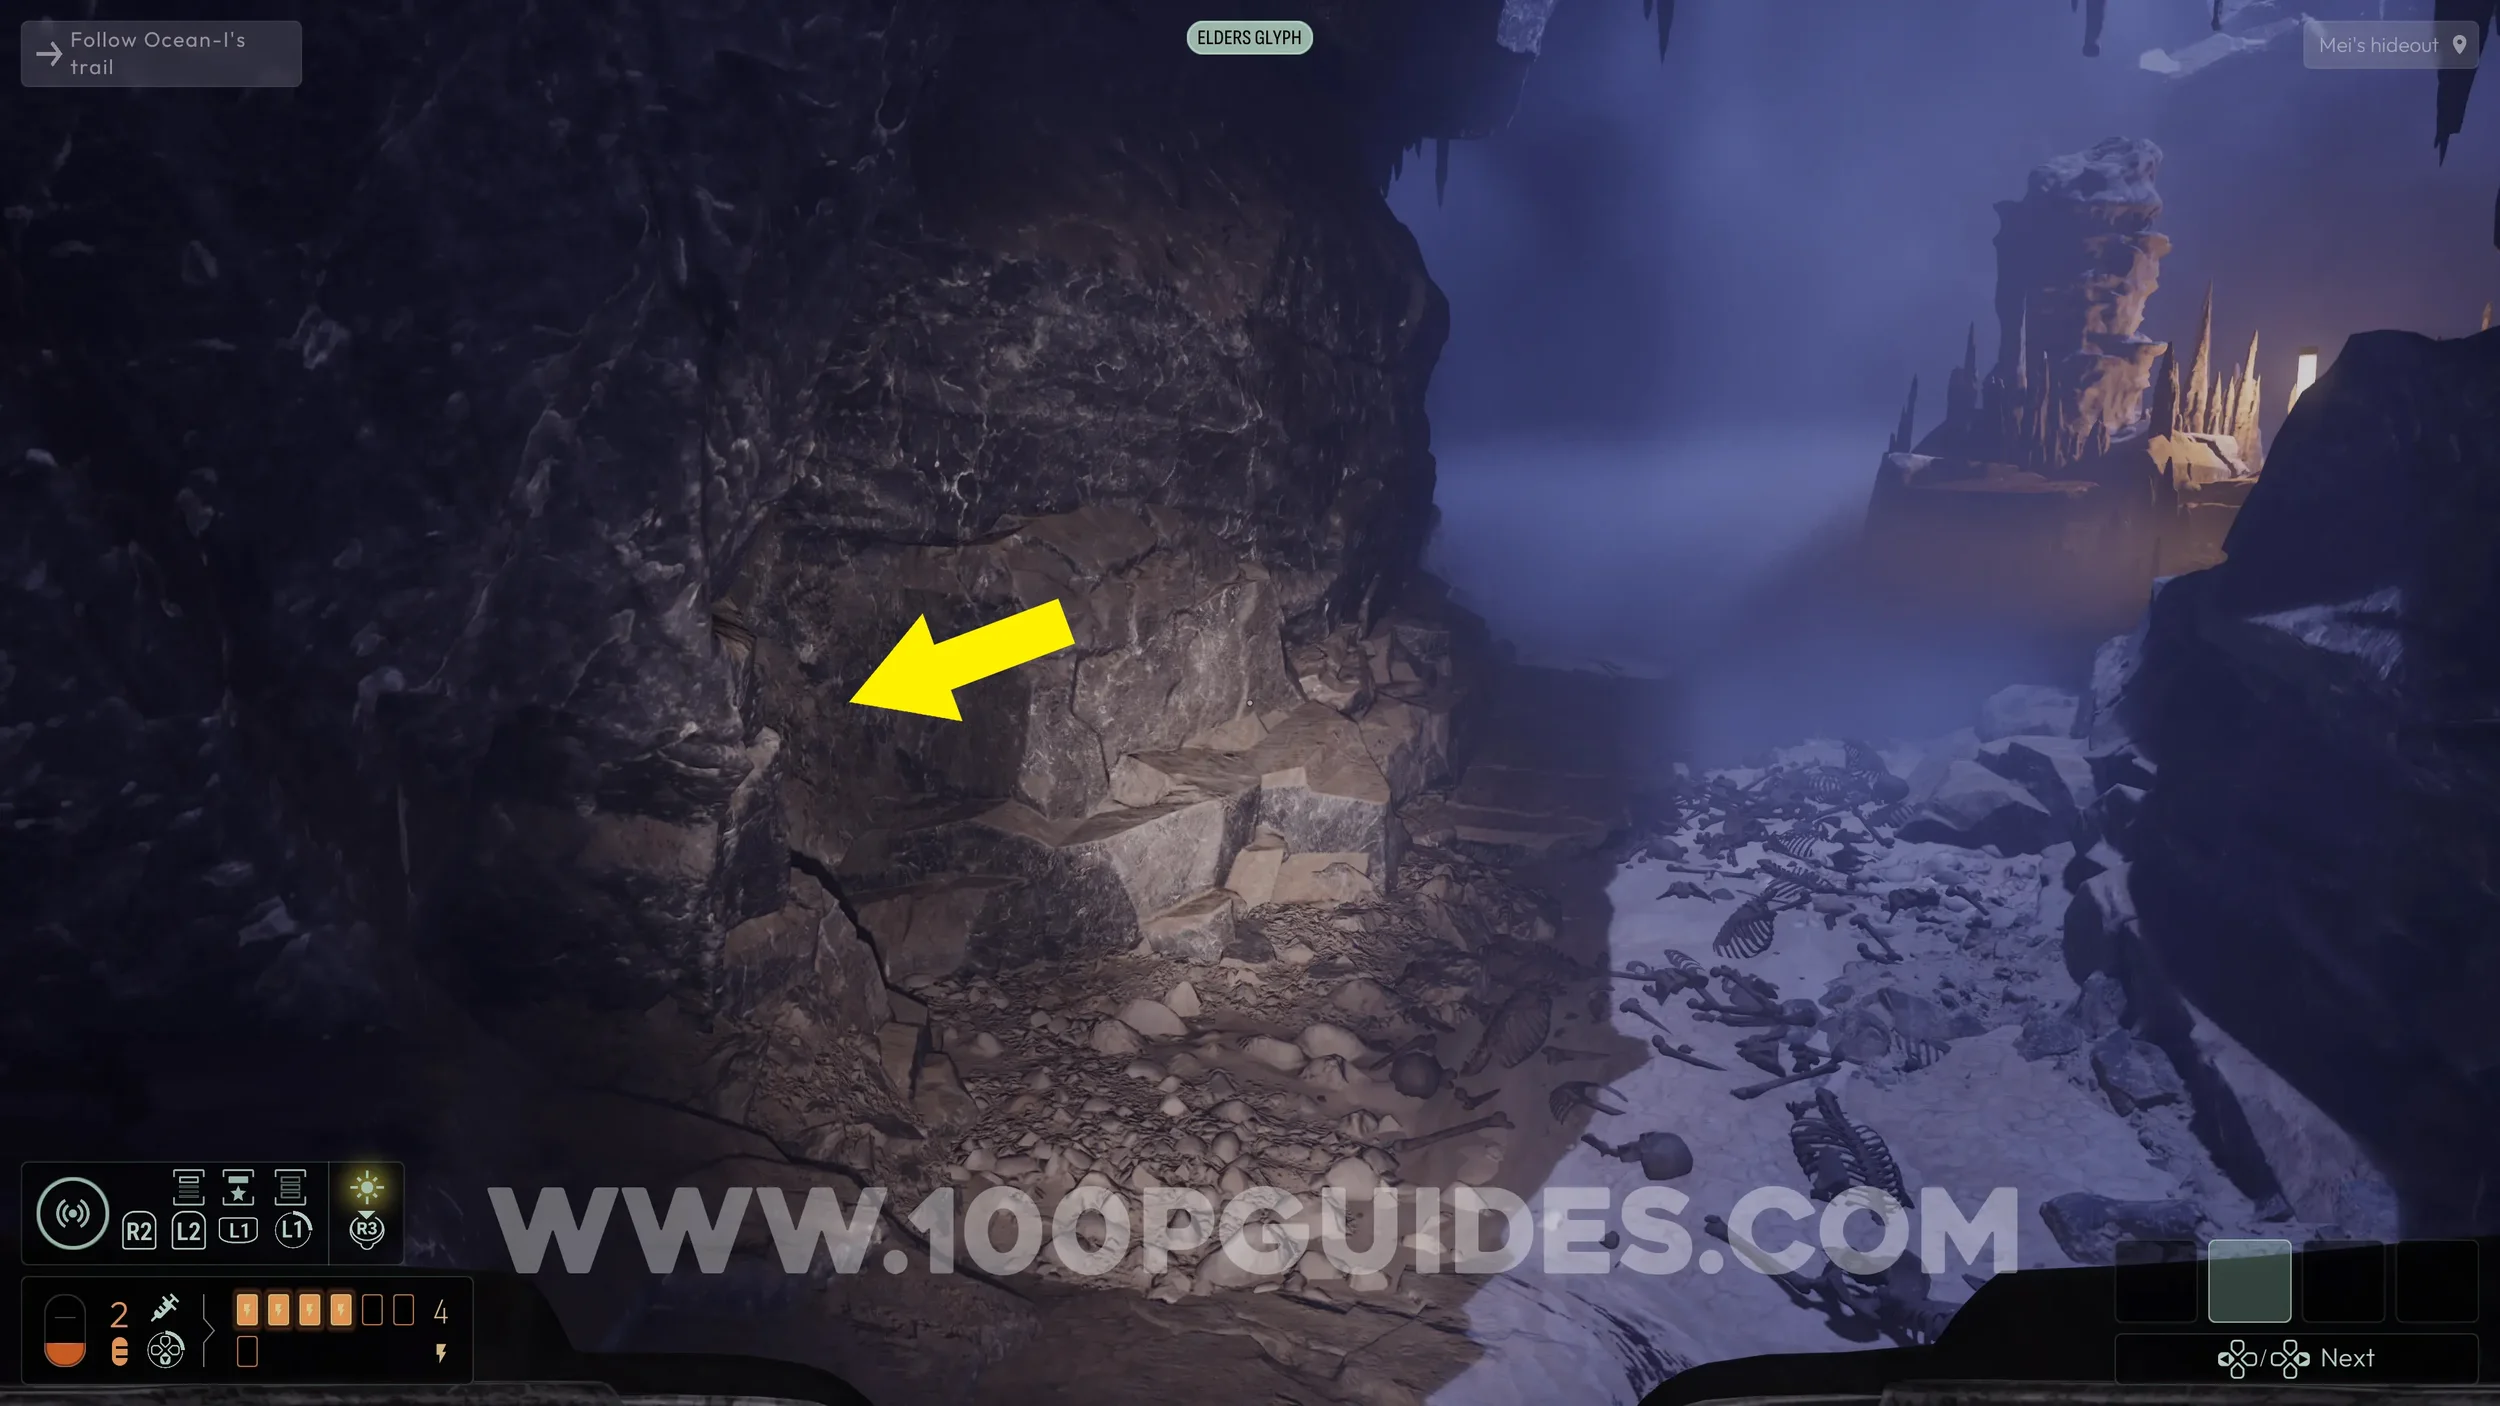
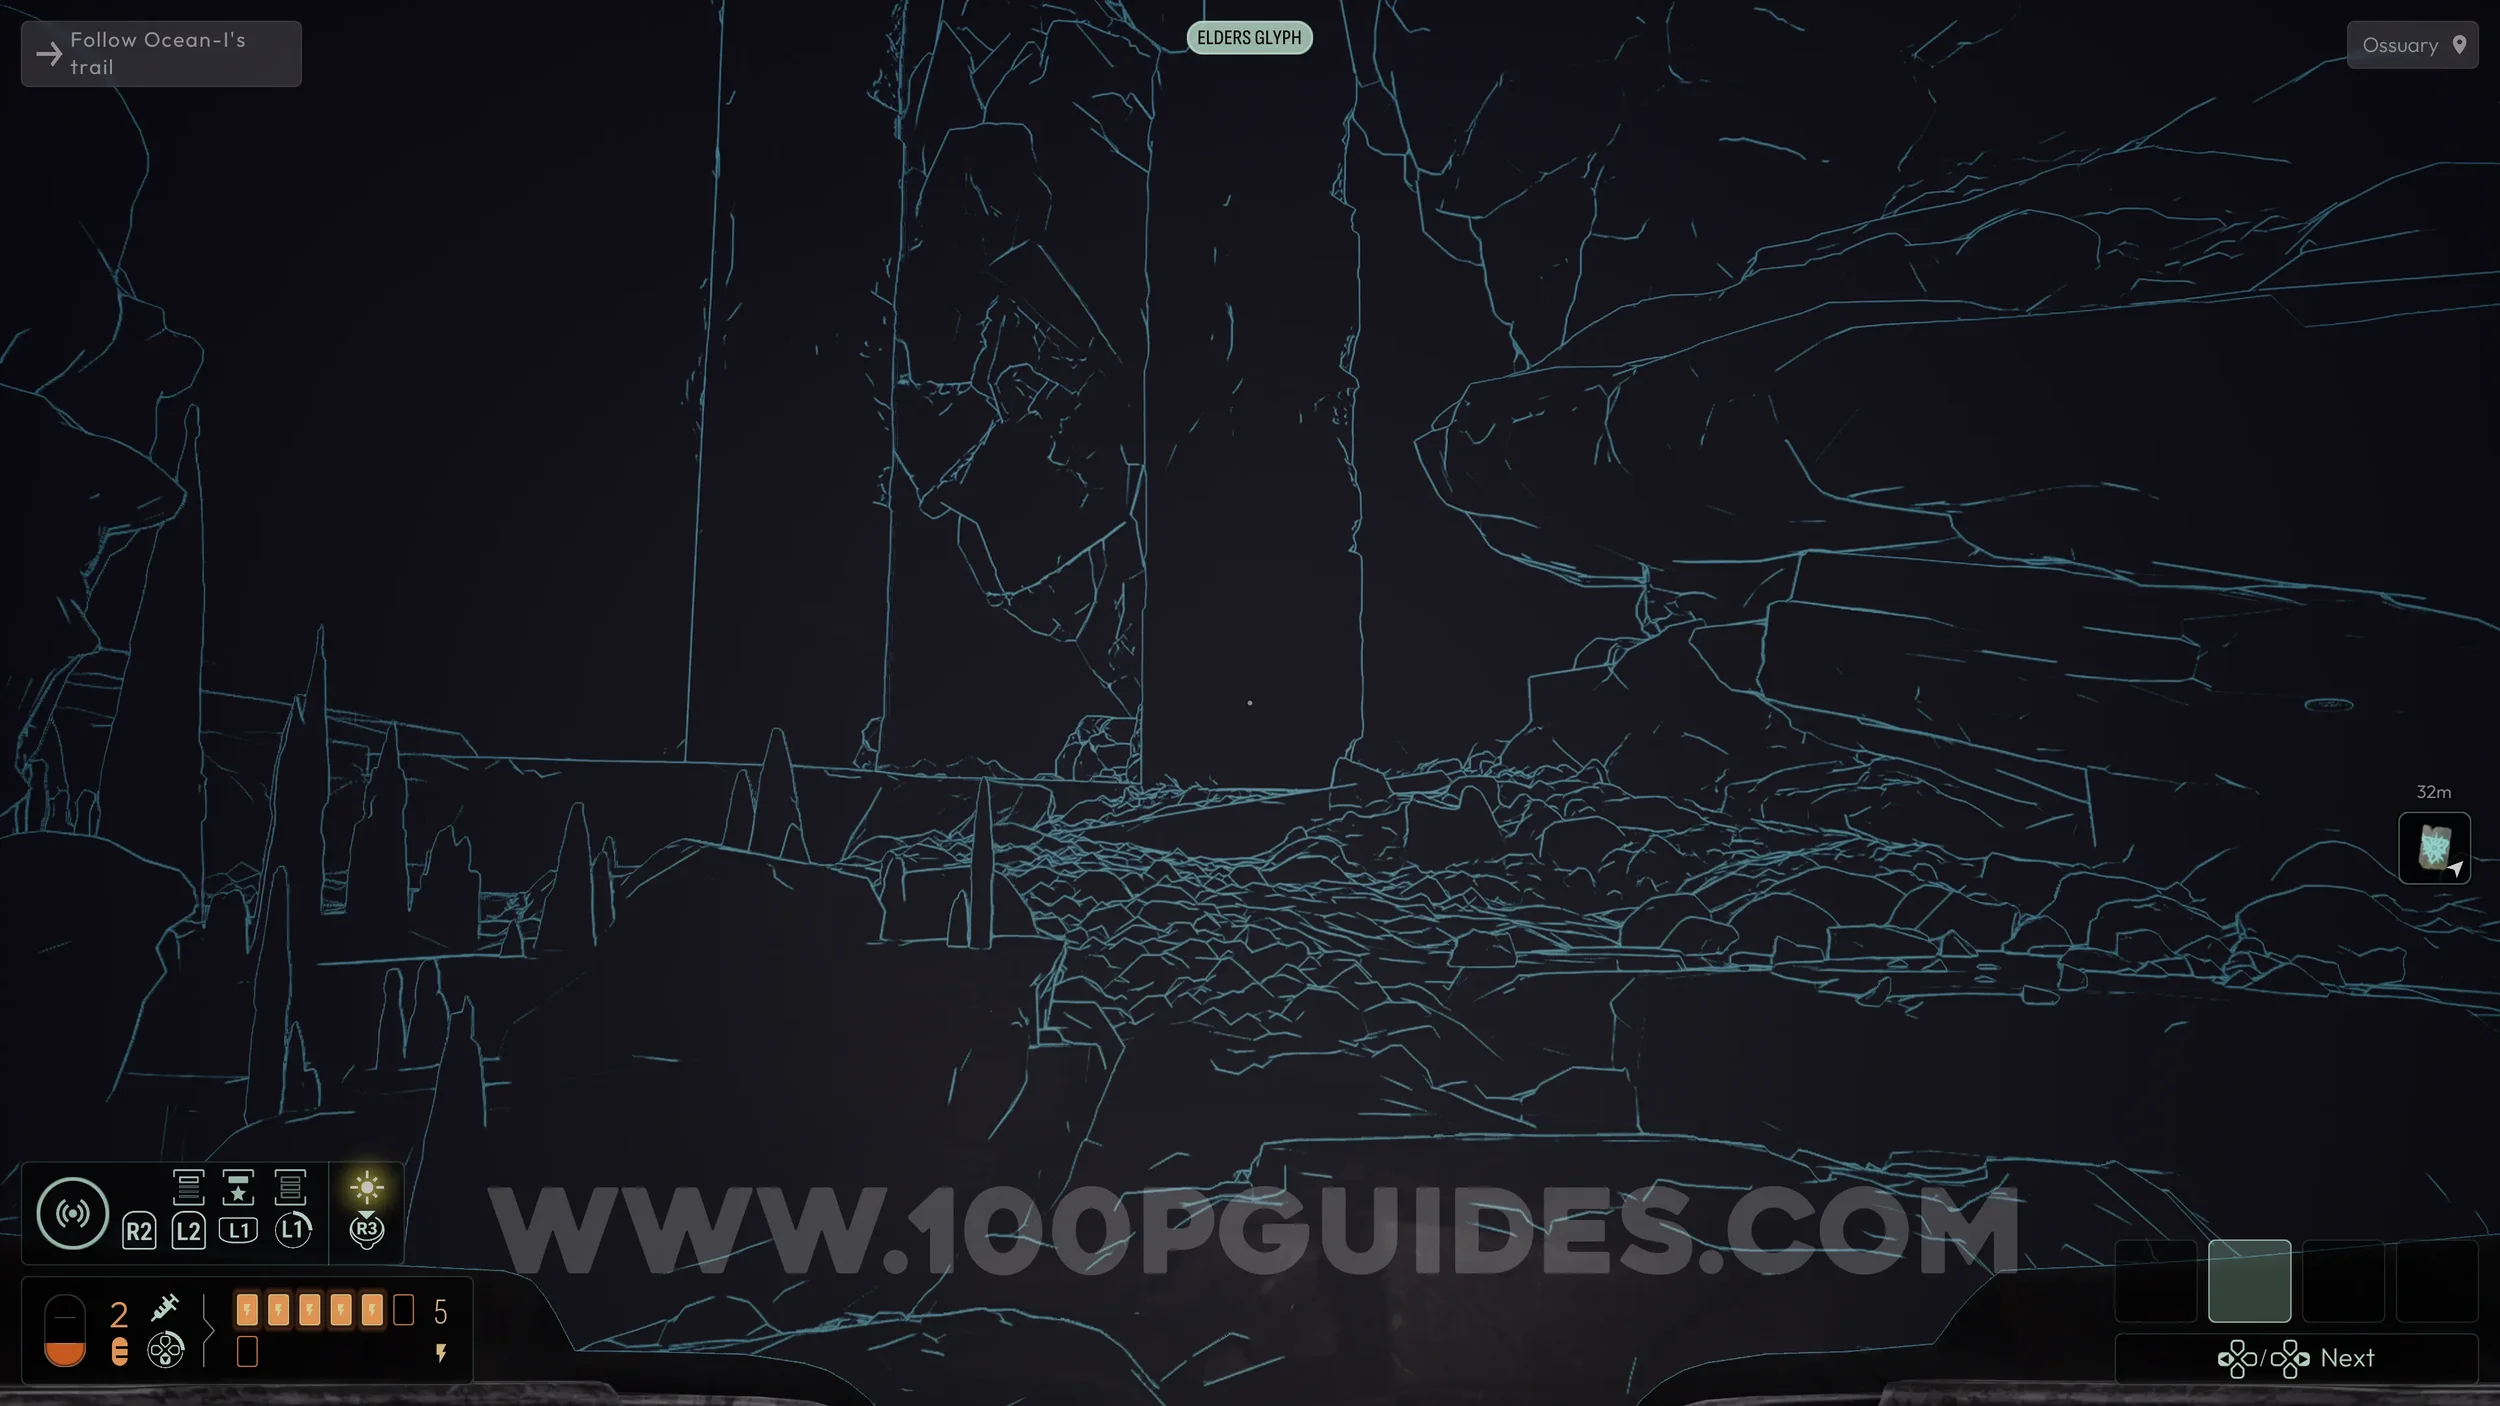
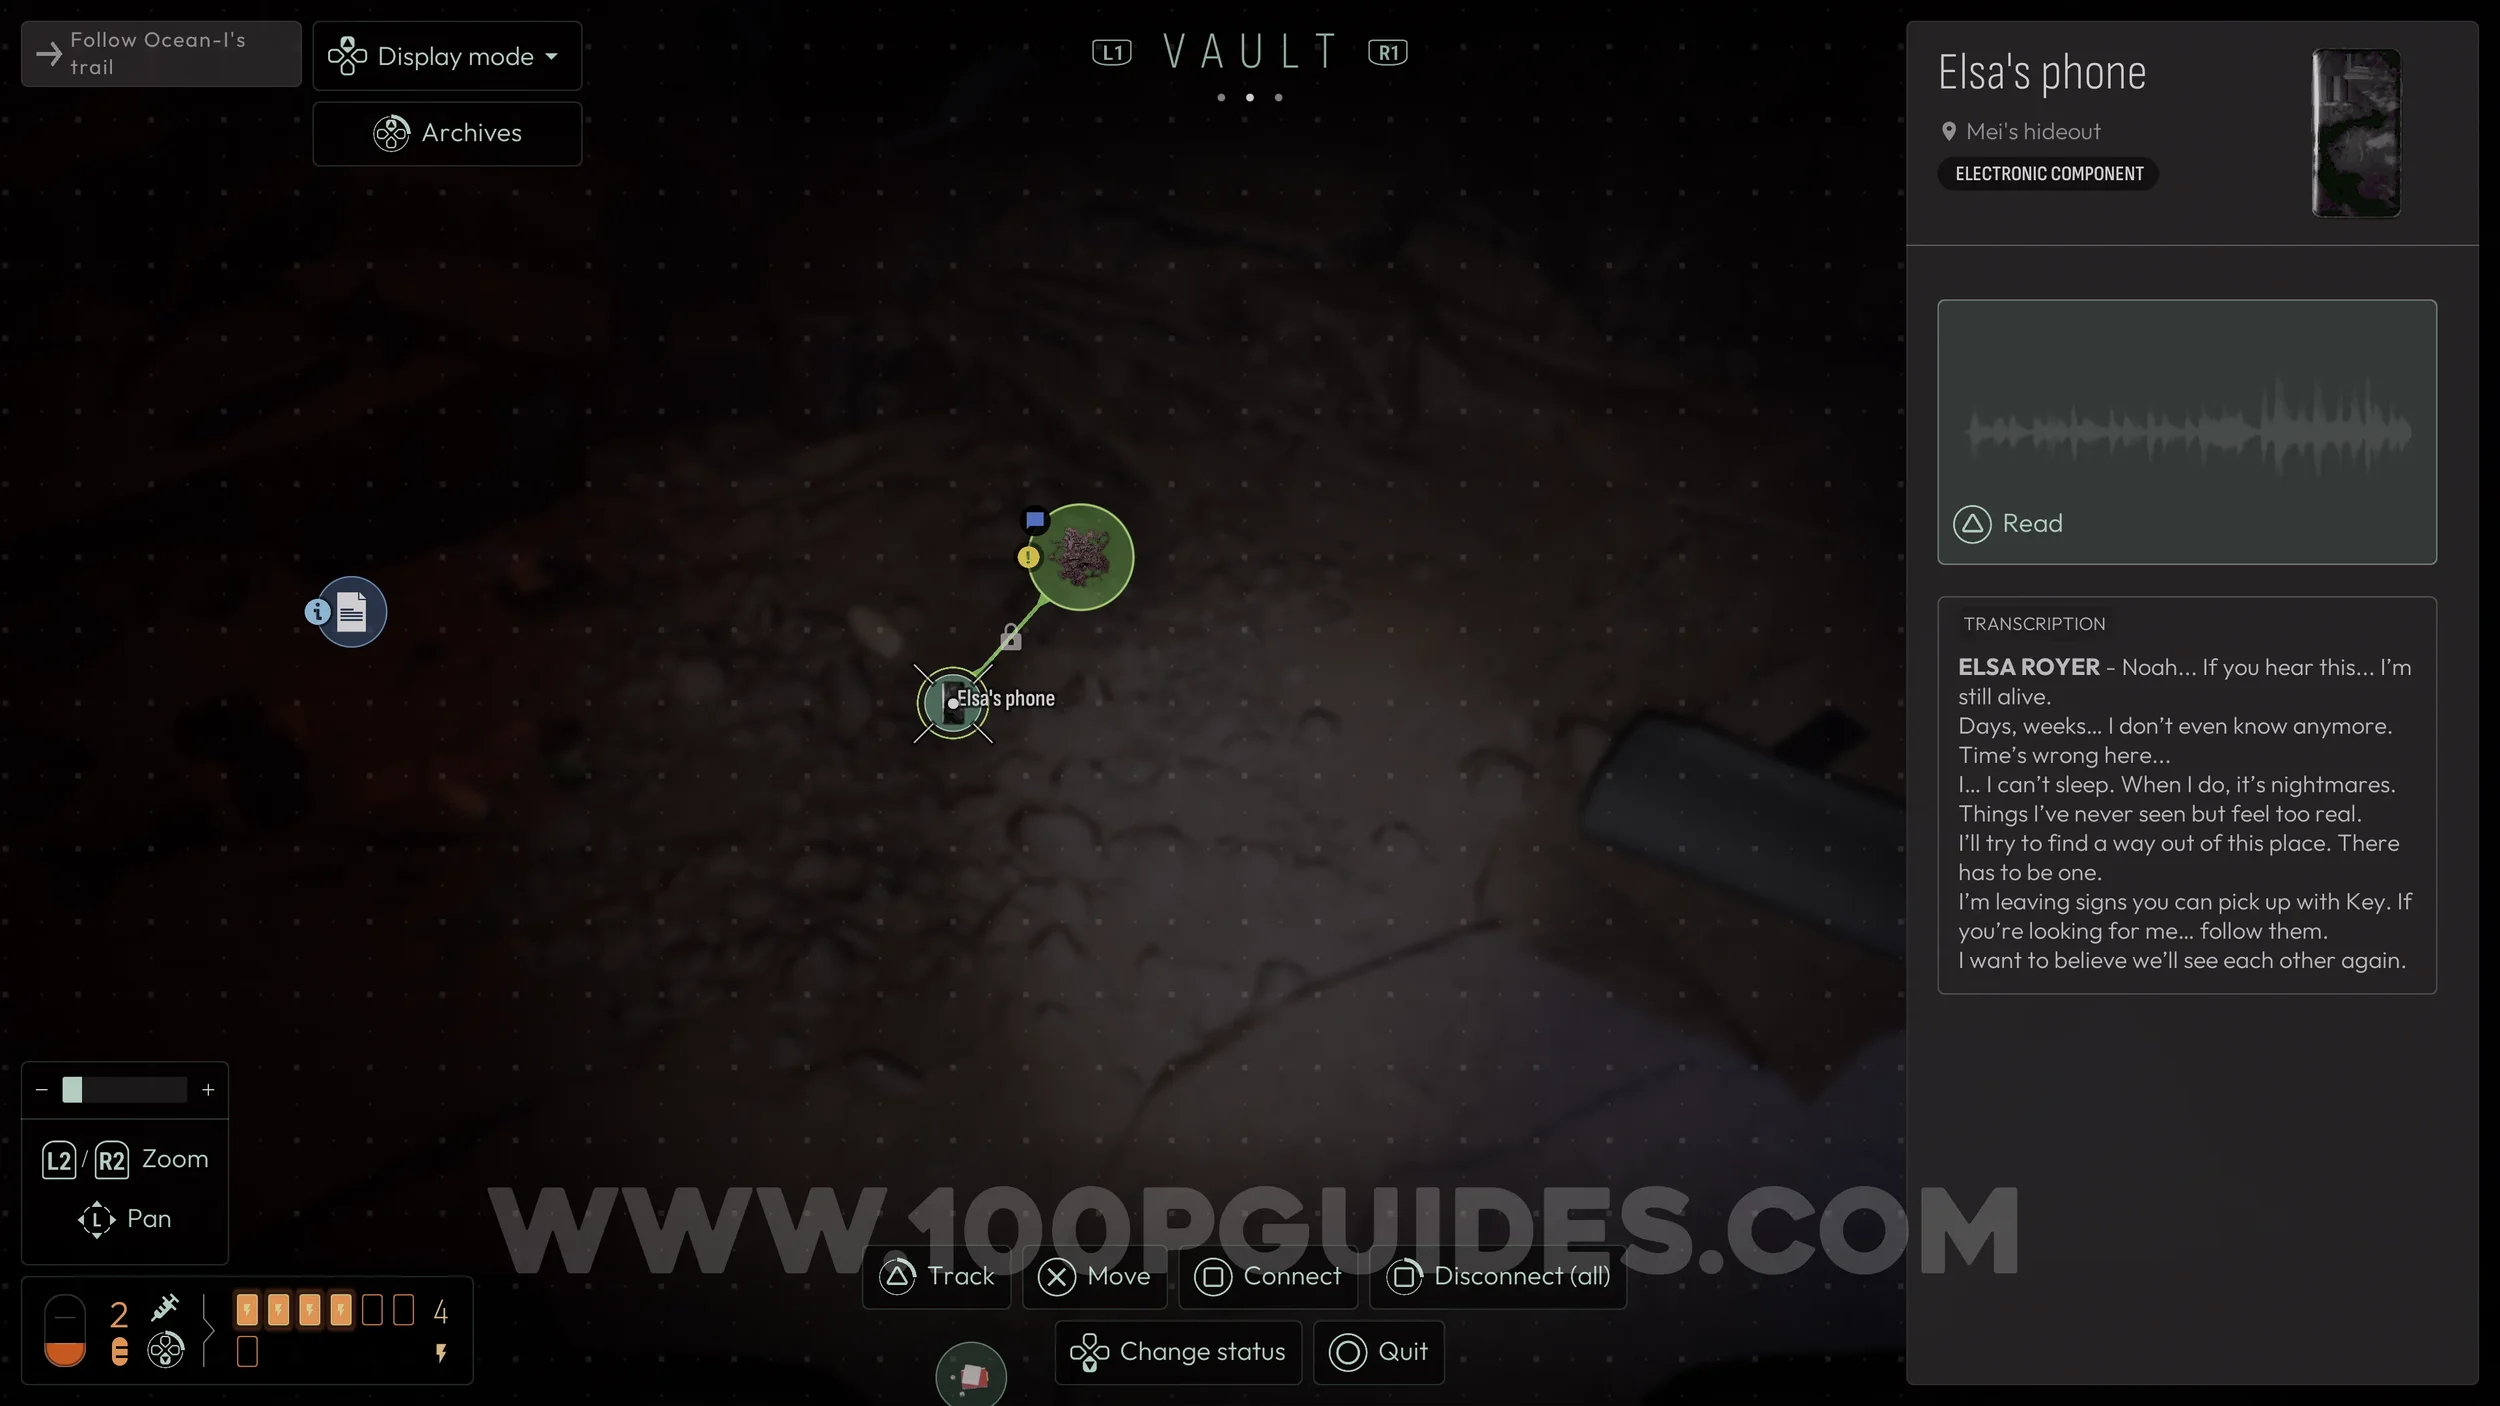
At the start of the chapter, follow the only available path until you enter a cave and go down a rocky slope into a mist-filled room. Just before entering the misty area, look for a small room on your left. Inside, move the wrapped blanket to reveal a phone underneath and examine it, as it will be needed for a later deduction.

Then exit the room and head down into the mist. Use the sonar to improve visibility and enter the first room on the left. Inside, examine the pieces of mushroom on the side to start a deduction in the Vault menu. This can be solved using the phone clue you collected earlier.
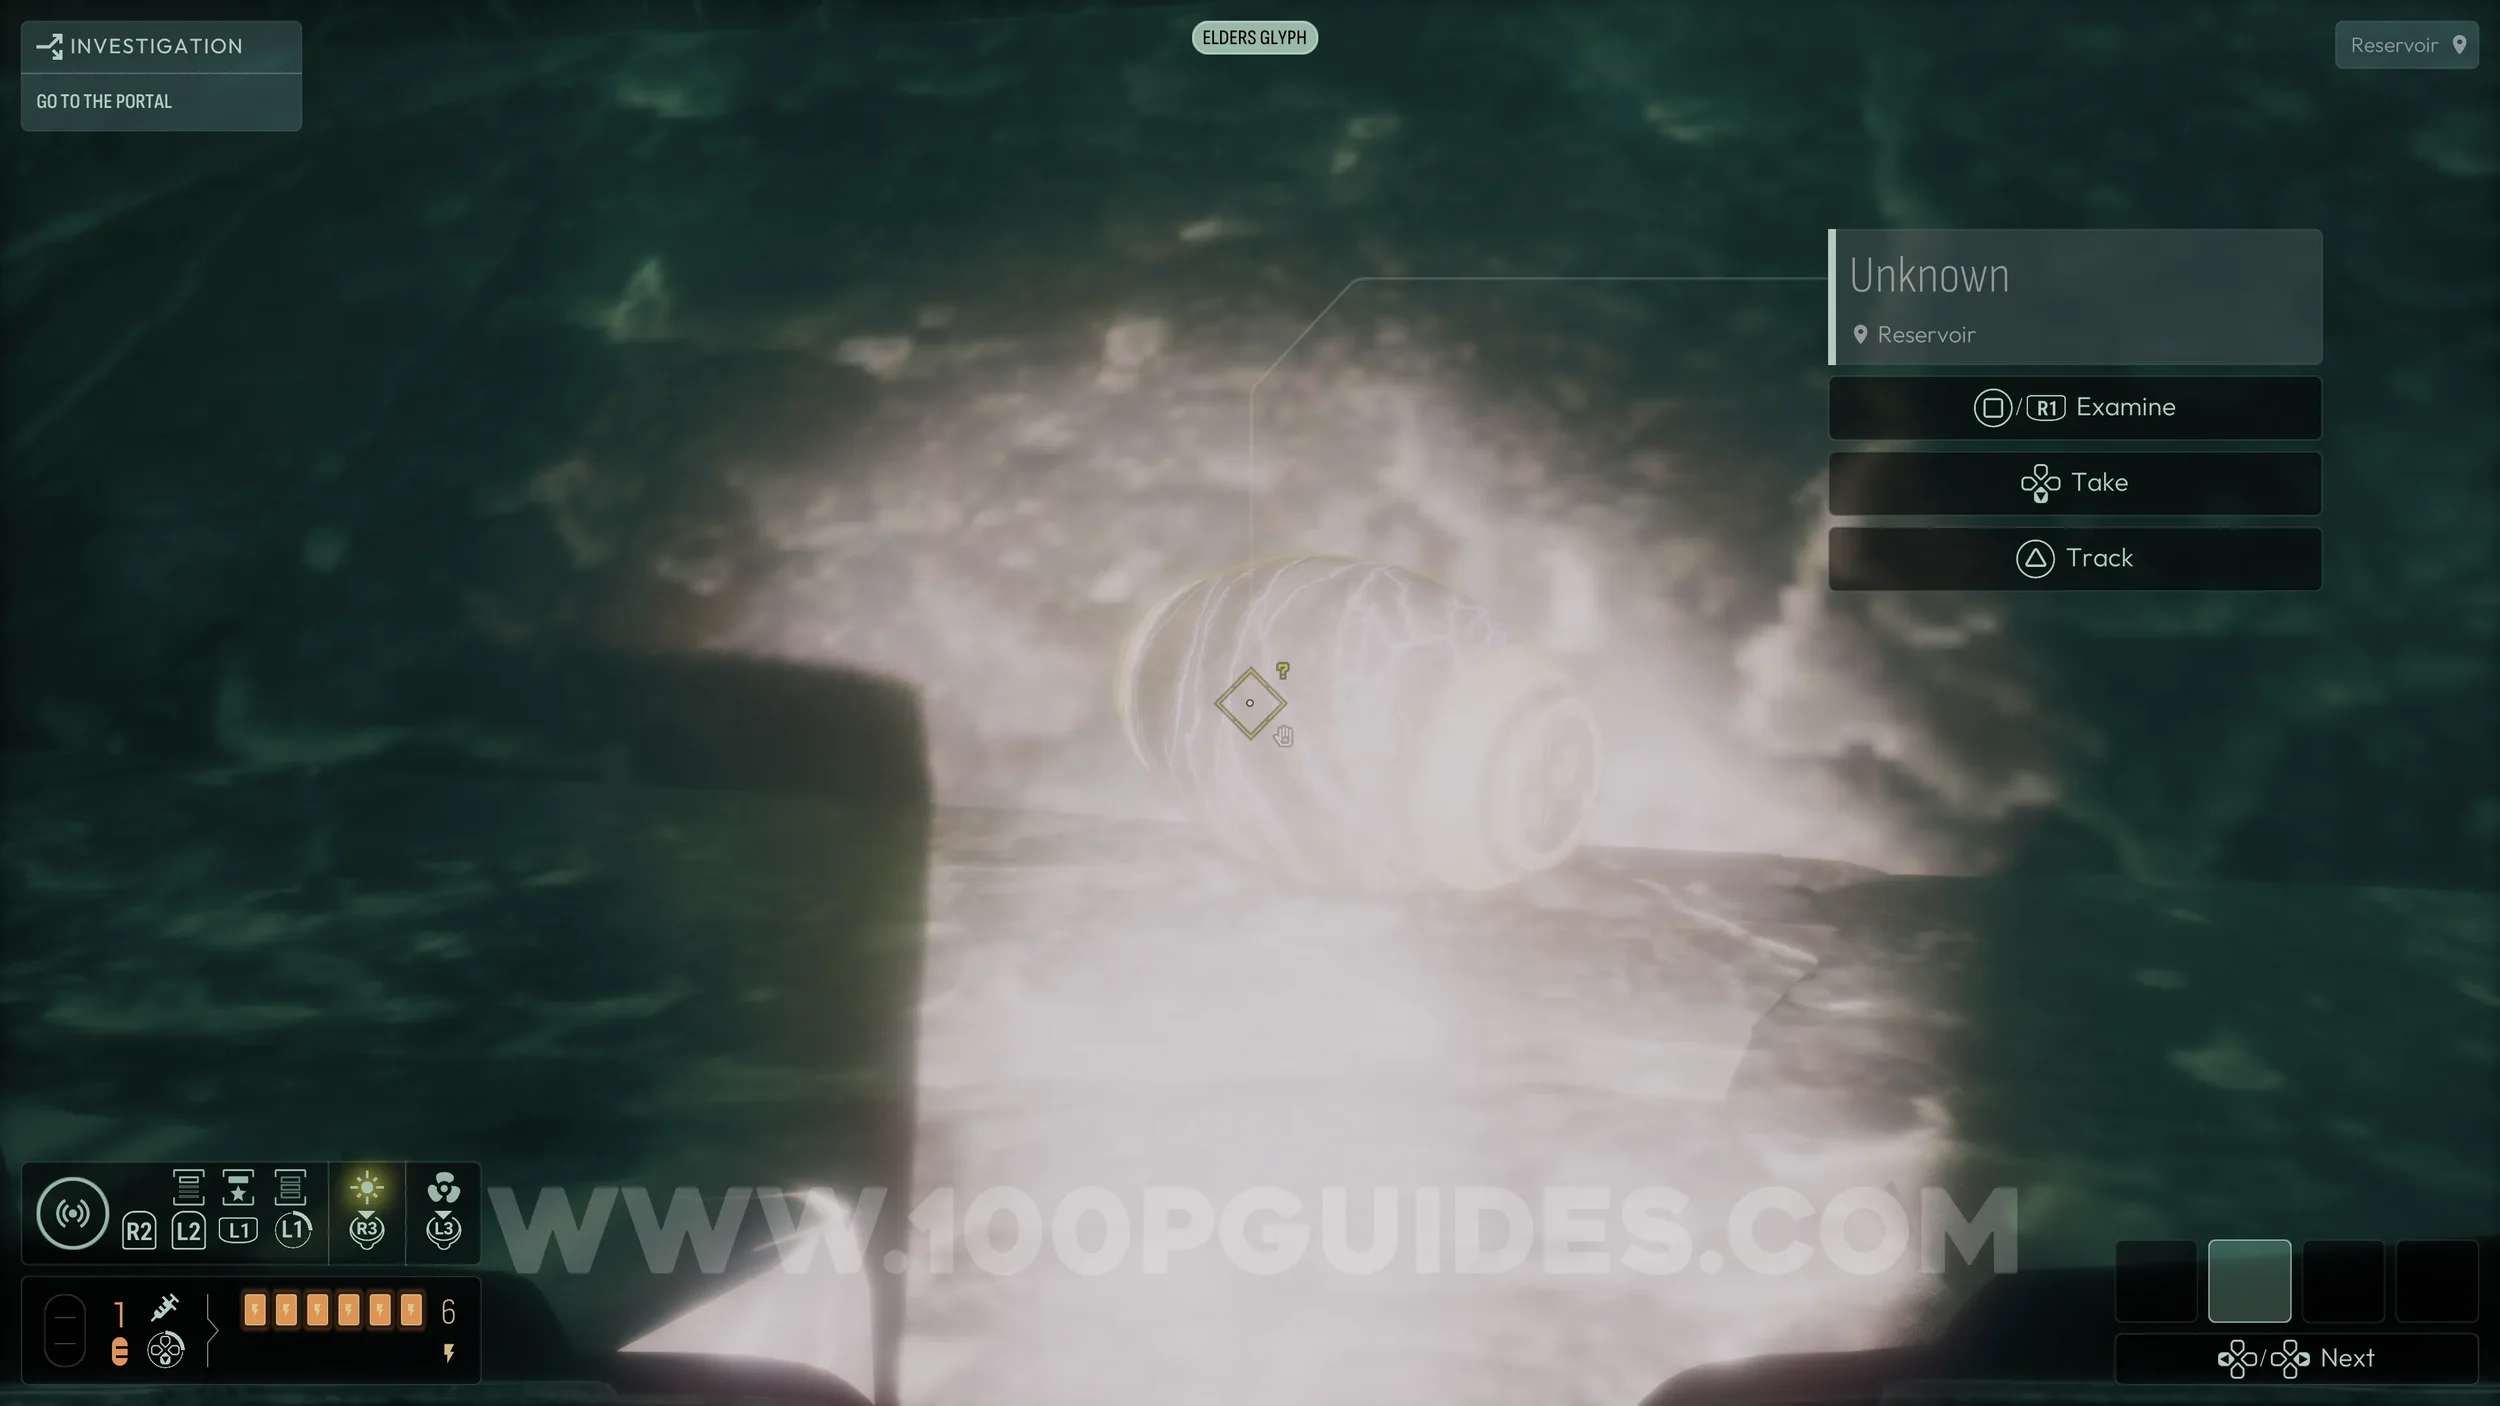
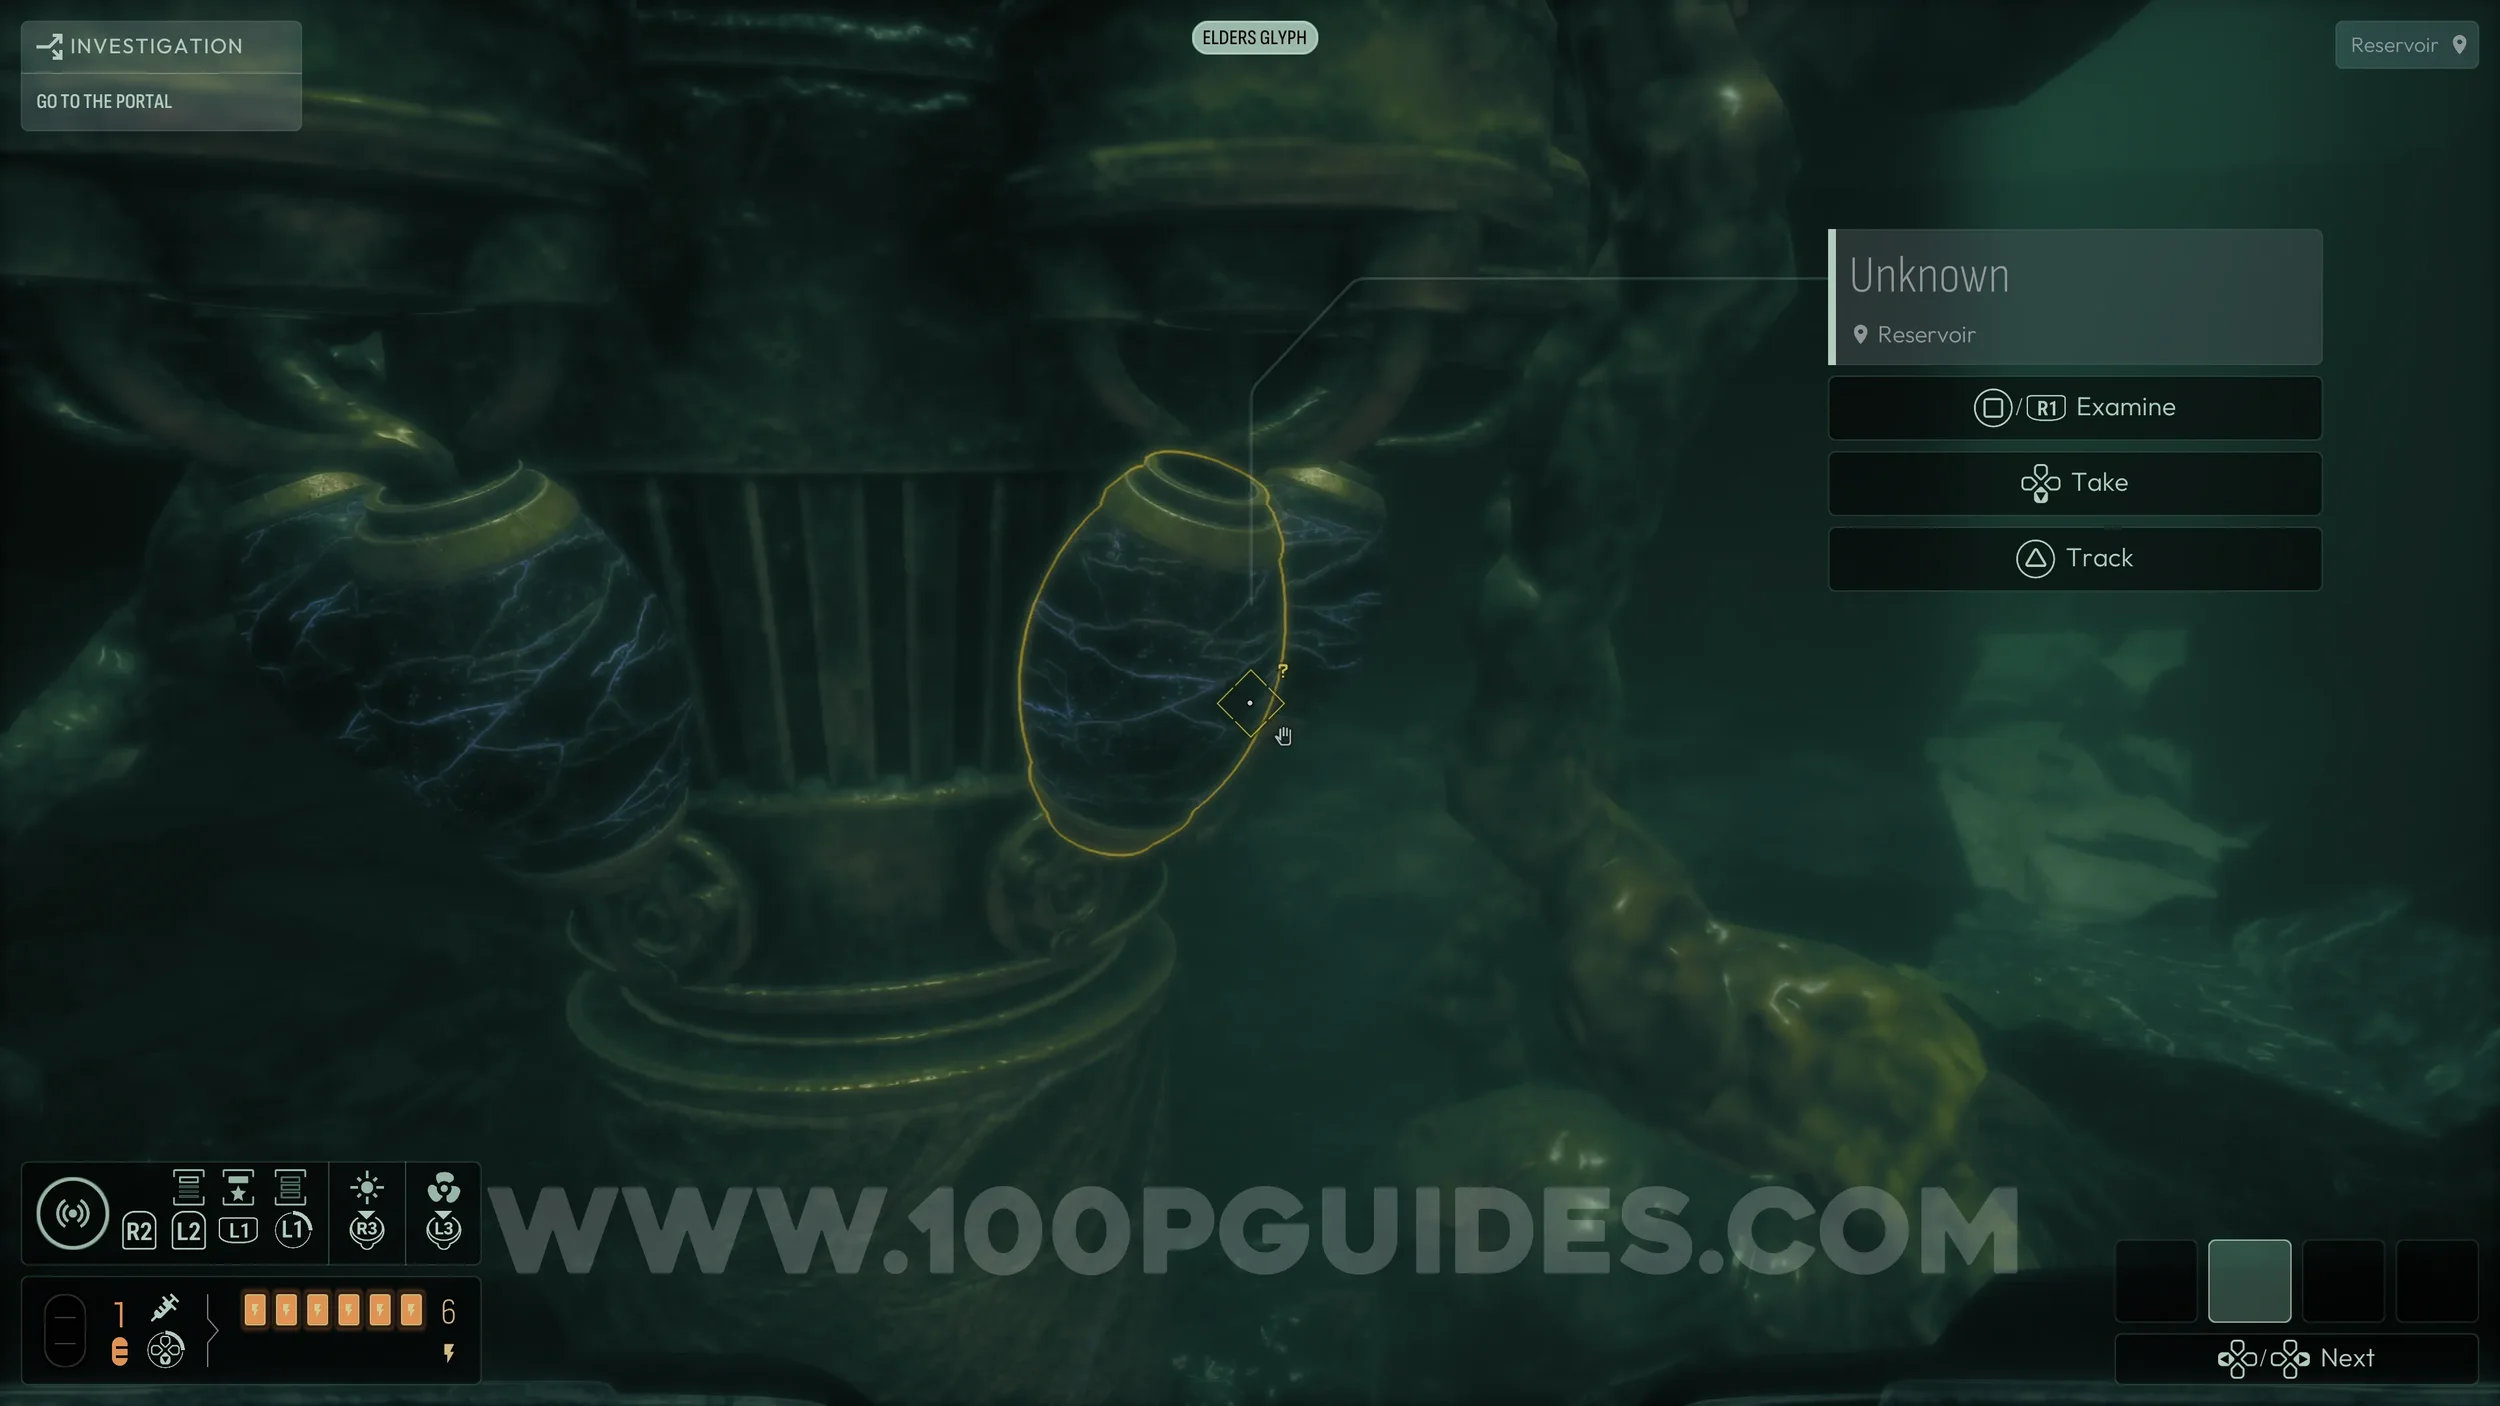
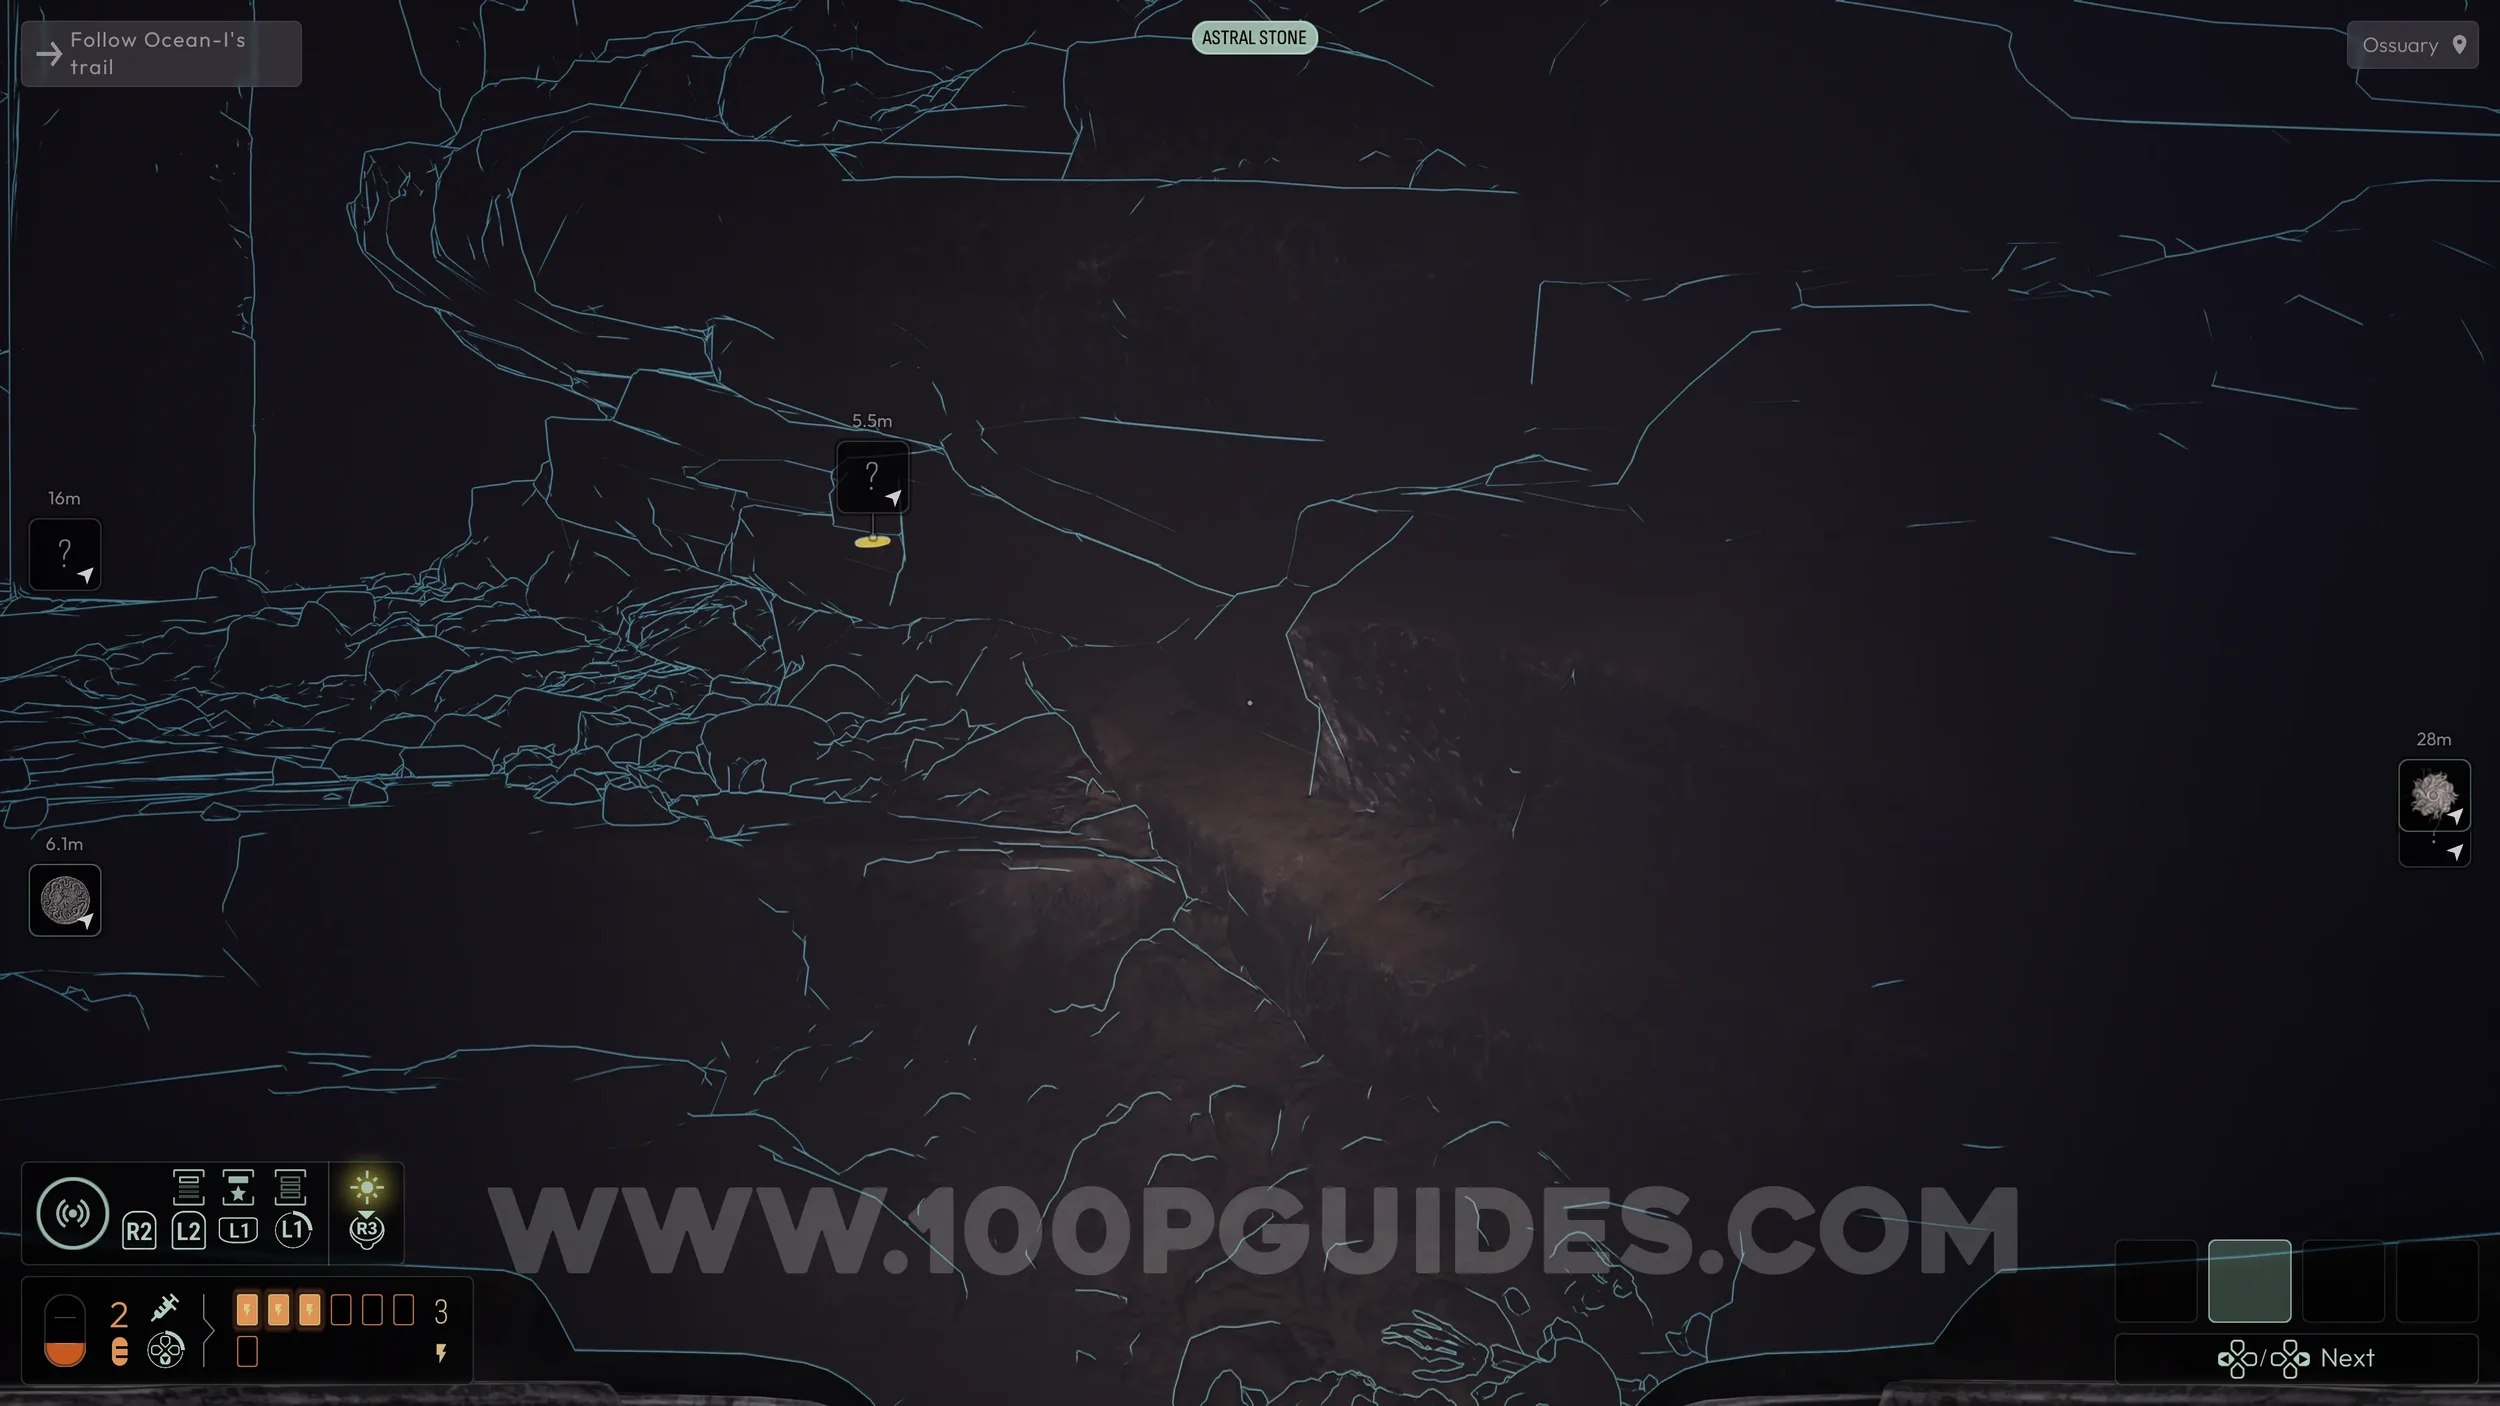
Before advancing any further, activate the Astral Stone frequency and use the sonar in the misty room to reveal several medallions. The one you are looking for is just outside the mushroom rooms, resting on a rock.
Pick it up and enter the room at the end of the misty area. Here, you will see a hole in the center. Do not jump down yet, as you will not be able to return. Instead, place the medallion into the slot on the wall to the left of the hole. This will open a hidden room containing another Evolution (6/15).
Now jump down the hole in the center of the room and continue forward until you reach a small camp with a pool of water beside it. Jump in and dive down, then swim to the left side and look for an opening above you. Swim up through it and surface.
Once at the top, head right into the small cave to find the next Evolution (7/15).
Next, turn around and head back past the opening you emerged from. Nearby, you will find an Energy Upgrade (2/4) on the wall to your left.
From the upgrade, look down into the water on your right to spot a large chain. Drop onto the small ledge attached to it to break the chain and release it.
This will allow you to dive into the water and continue. Once underwater, look behind the column on the left side to find the next Evolution (8/15).
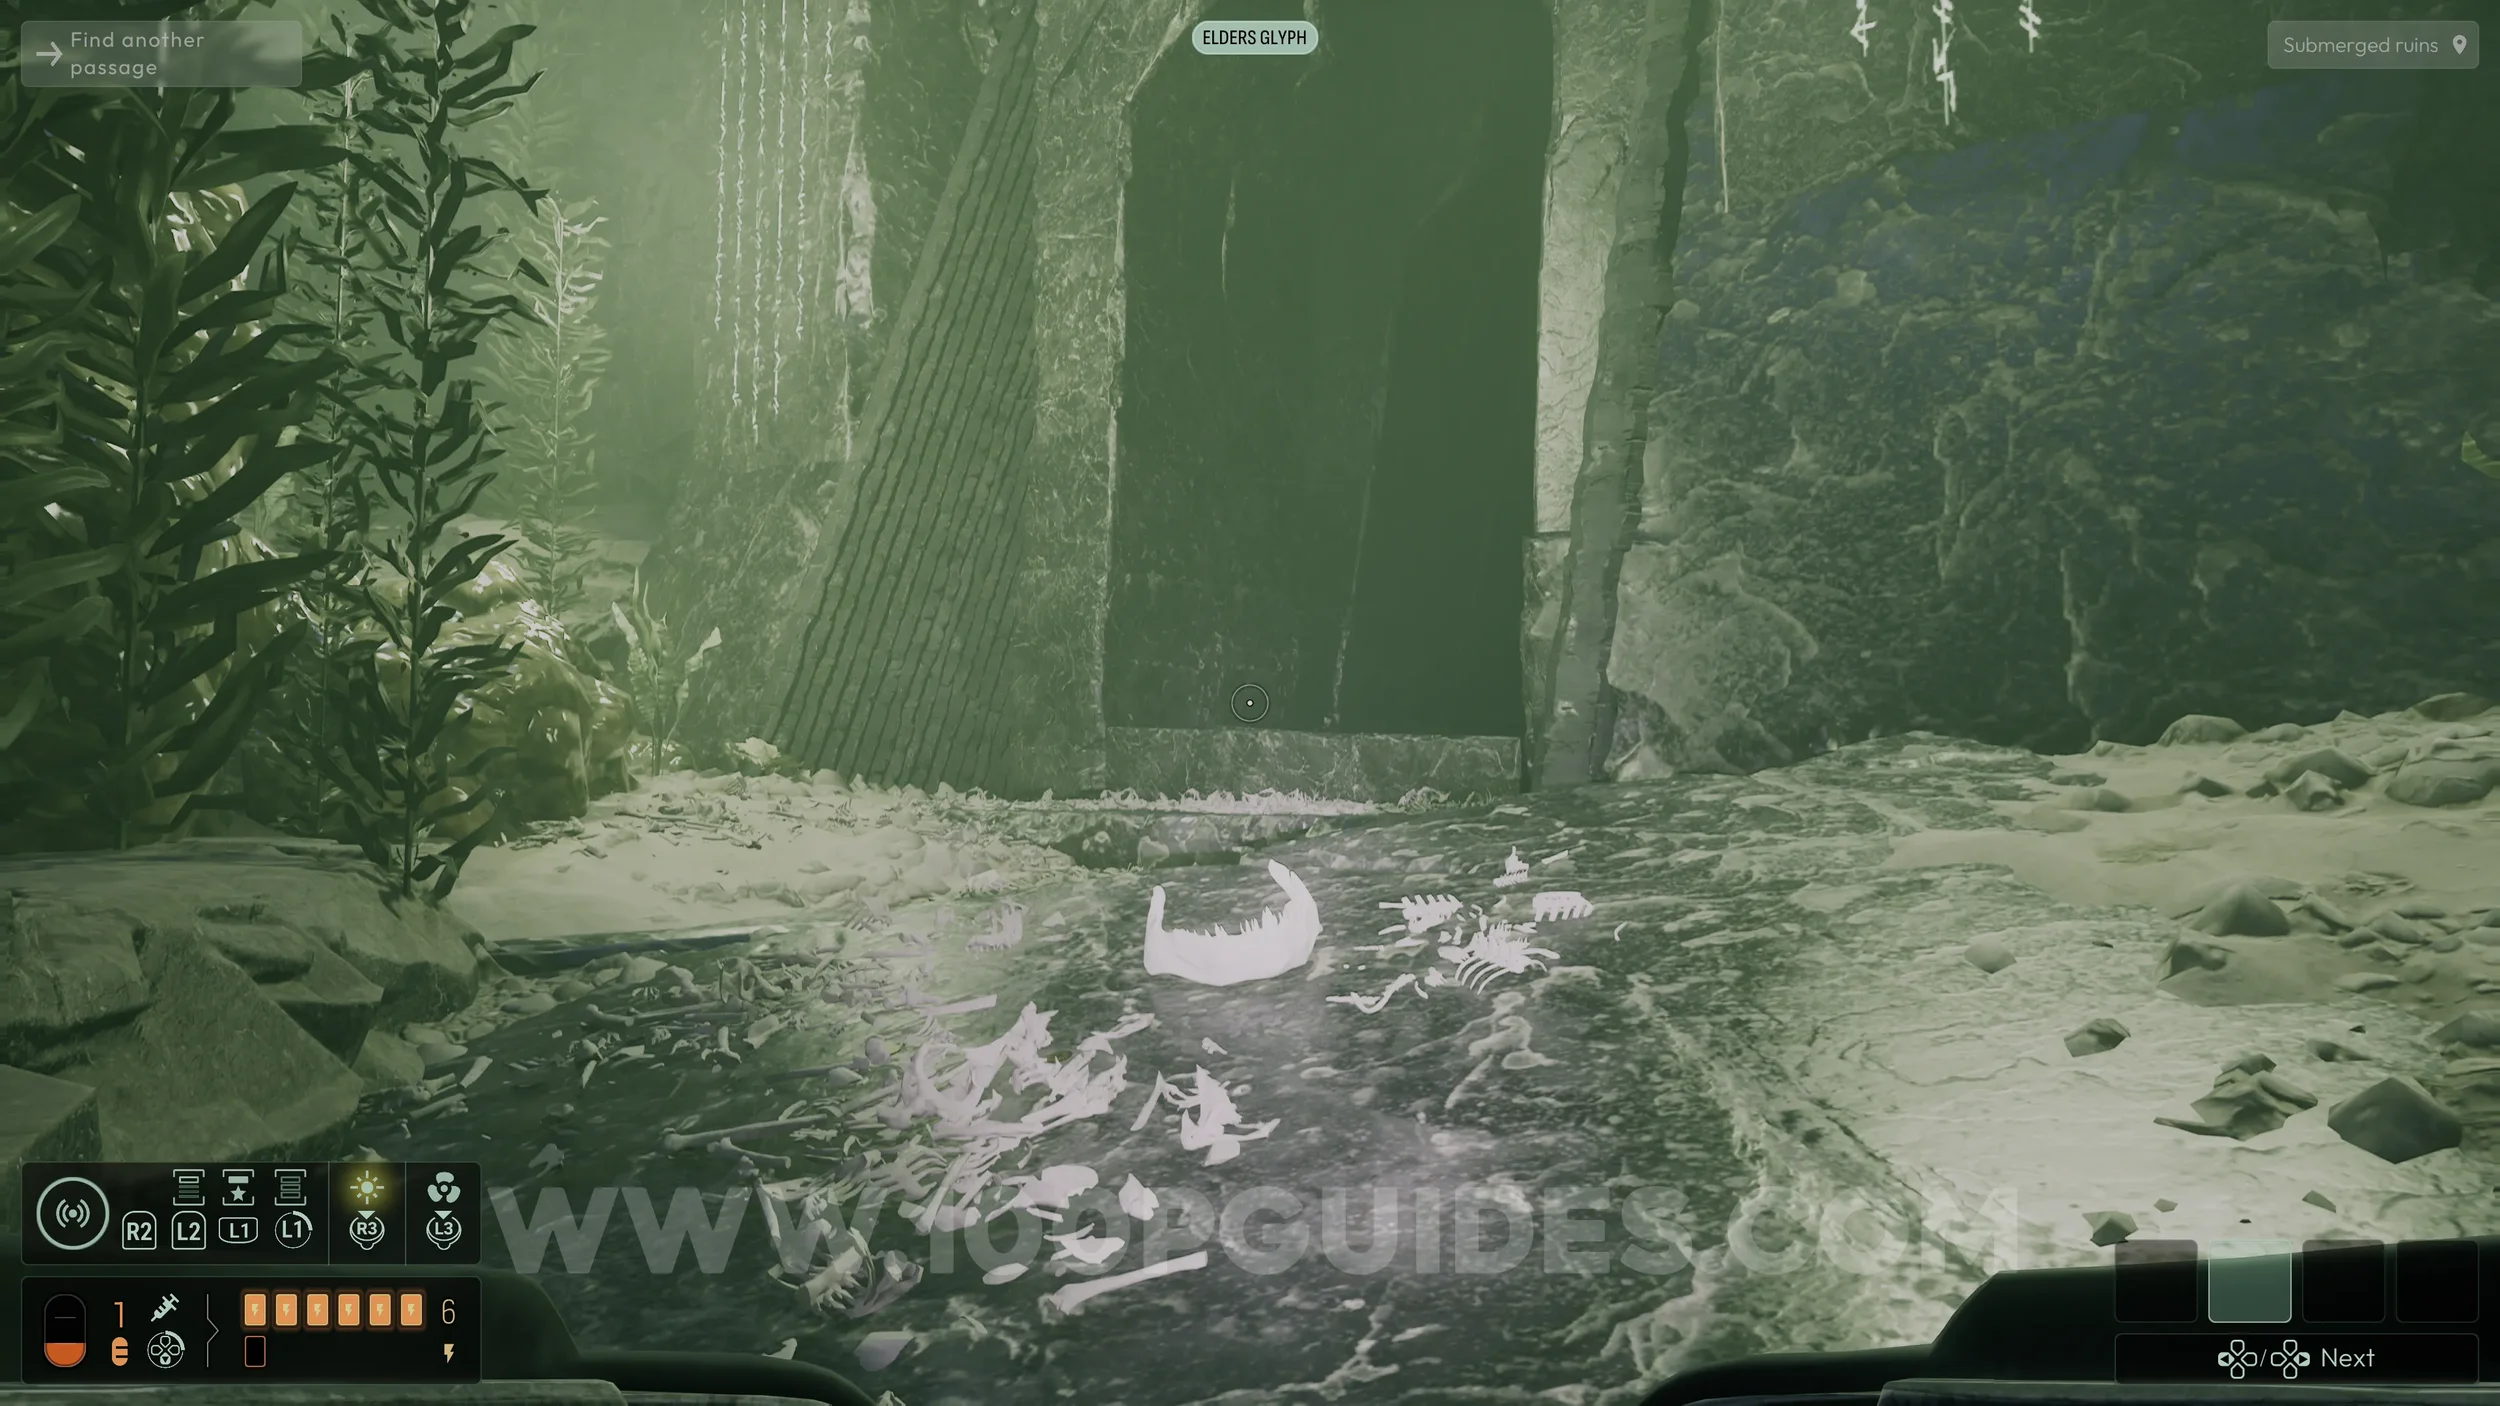
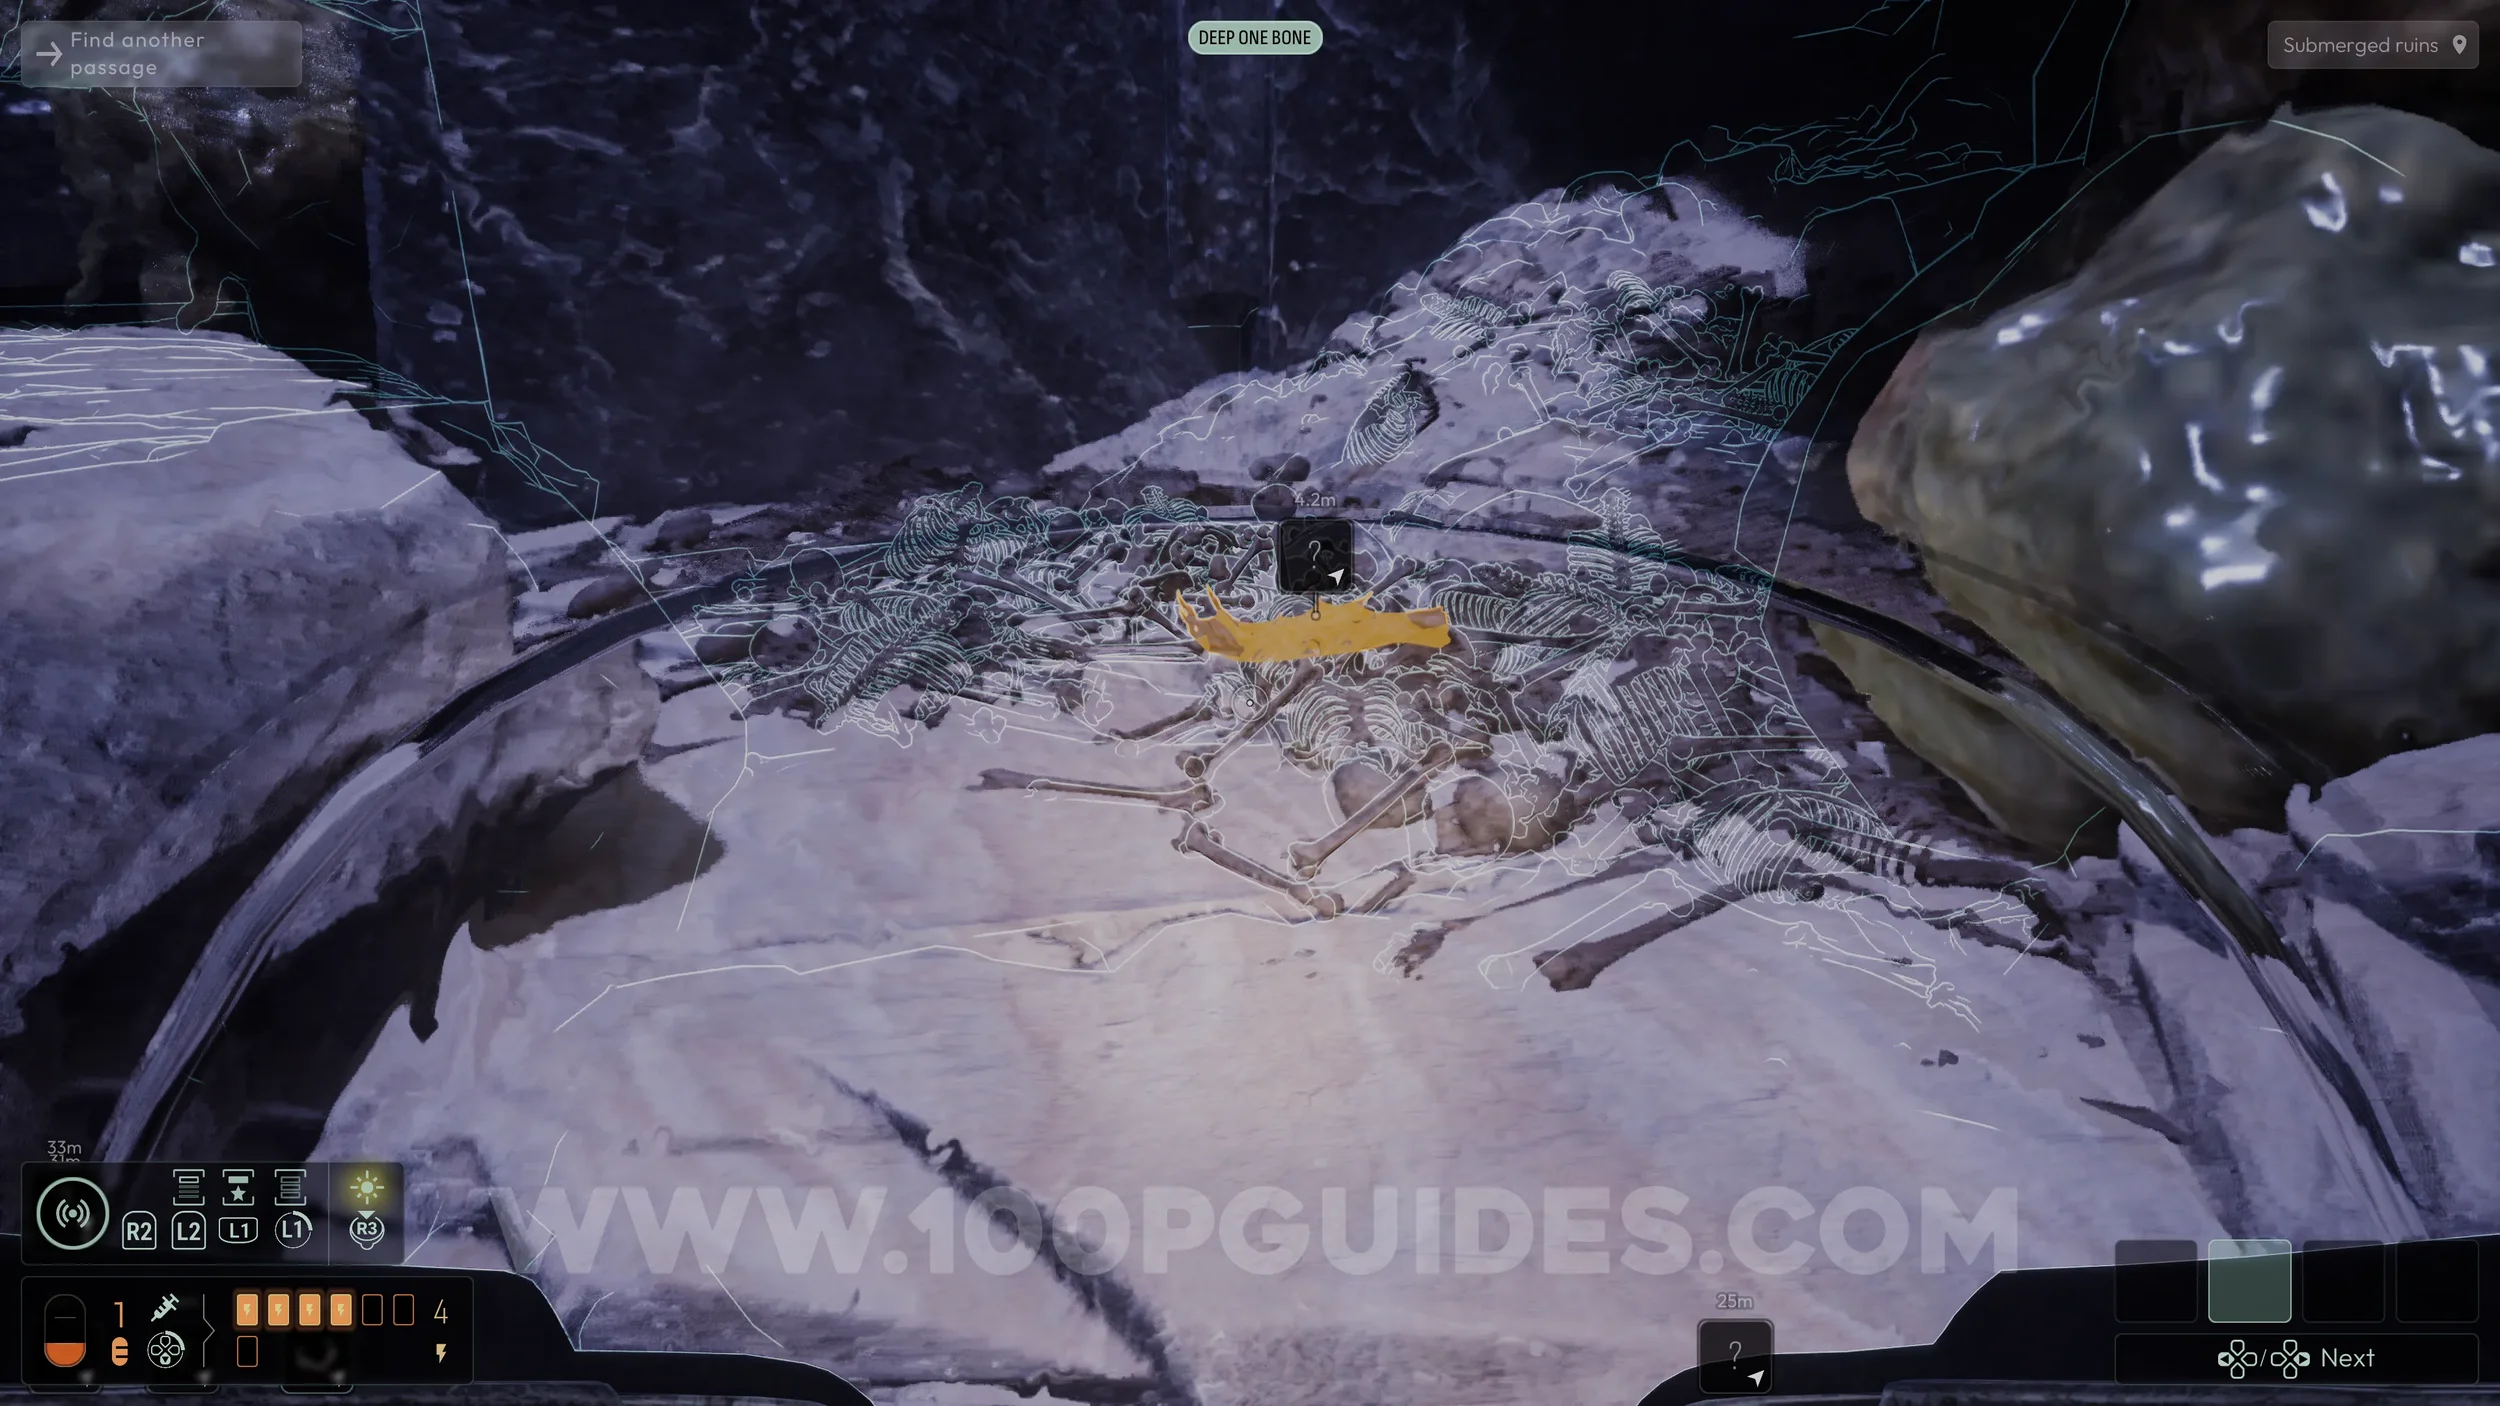
Continue underwater until you reach a strange tunnel with bones at its entrance. Do not go inside yet.
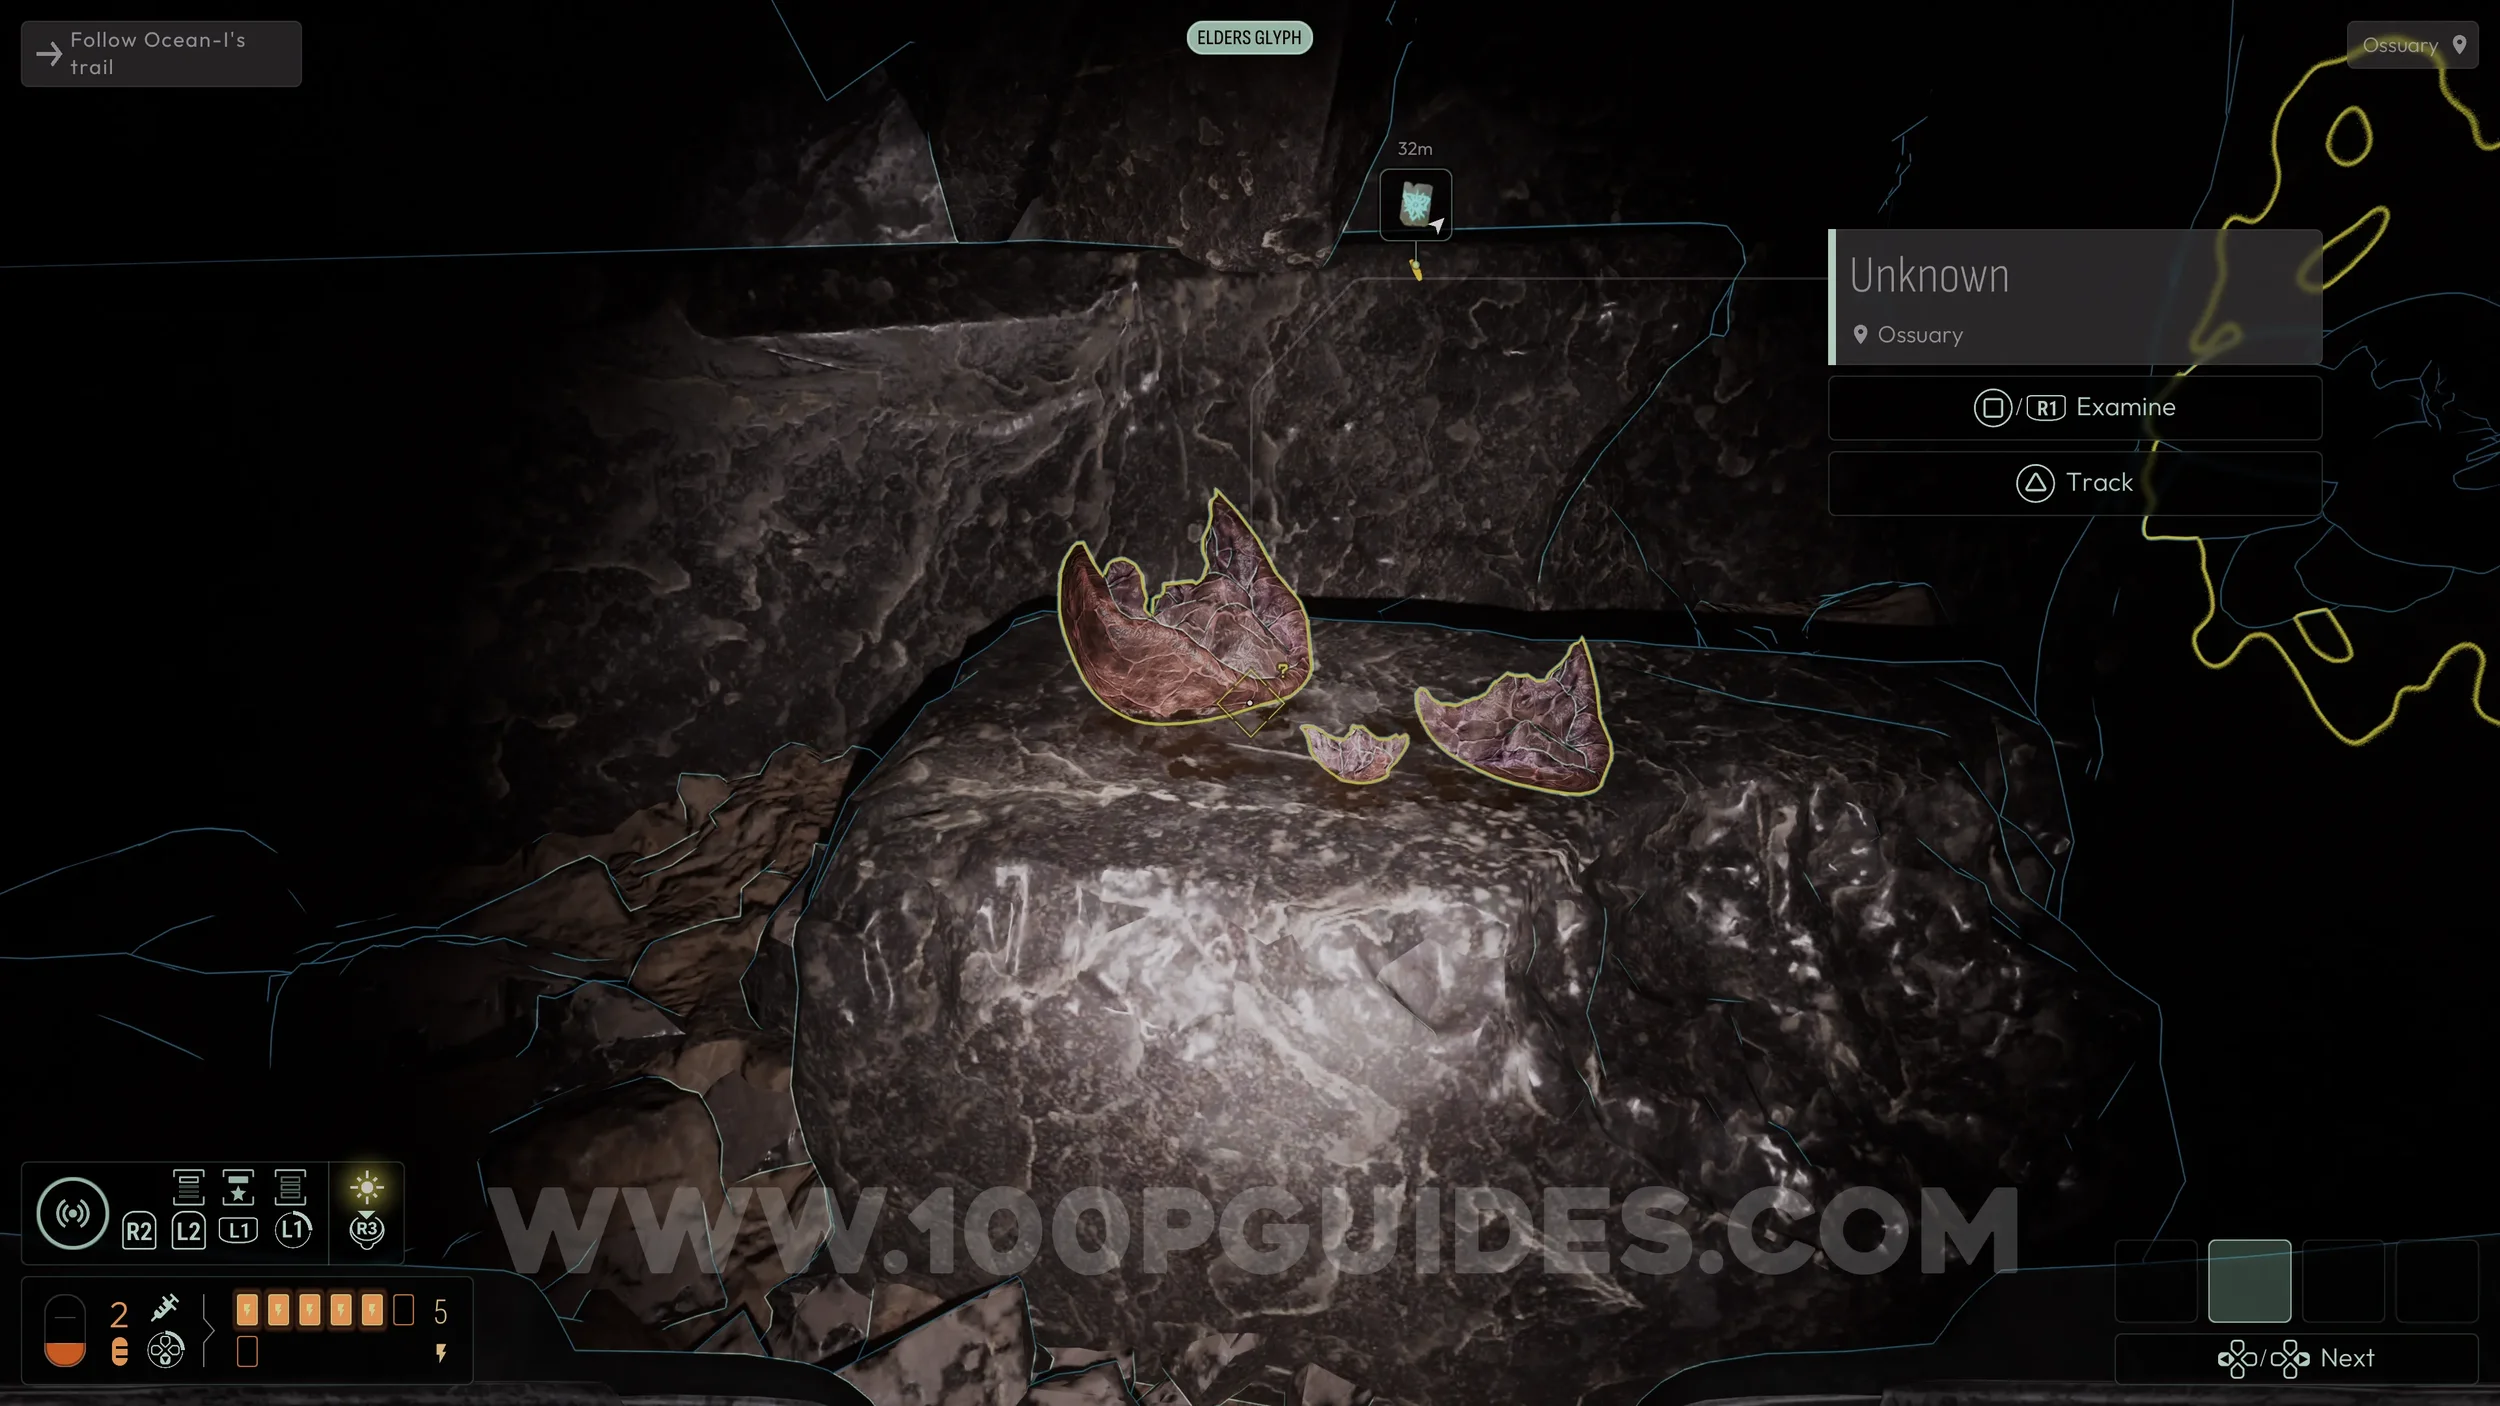
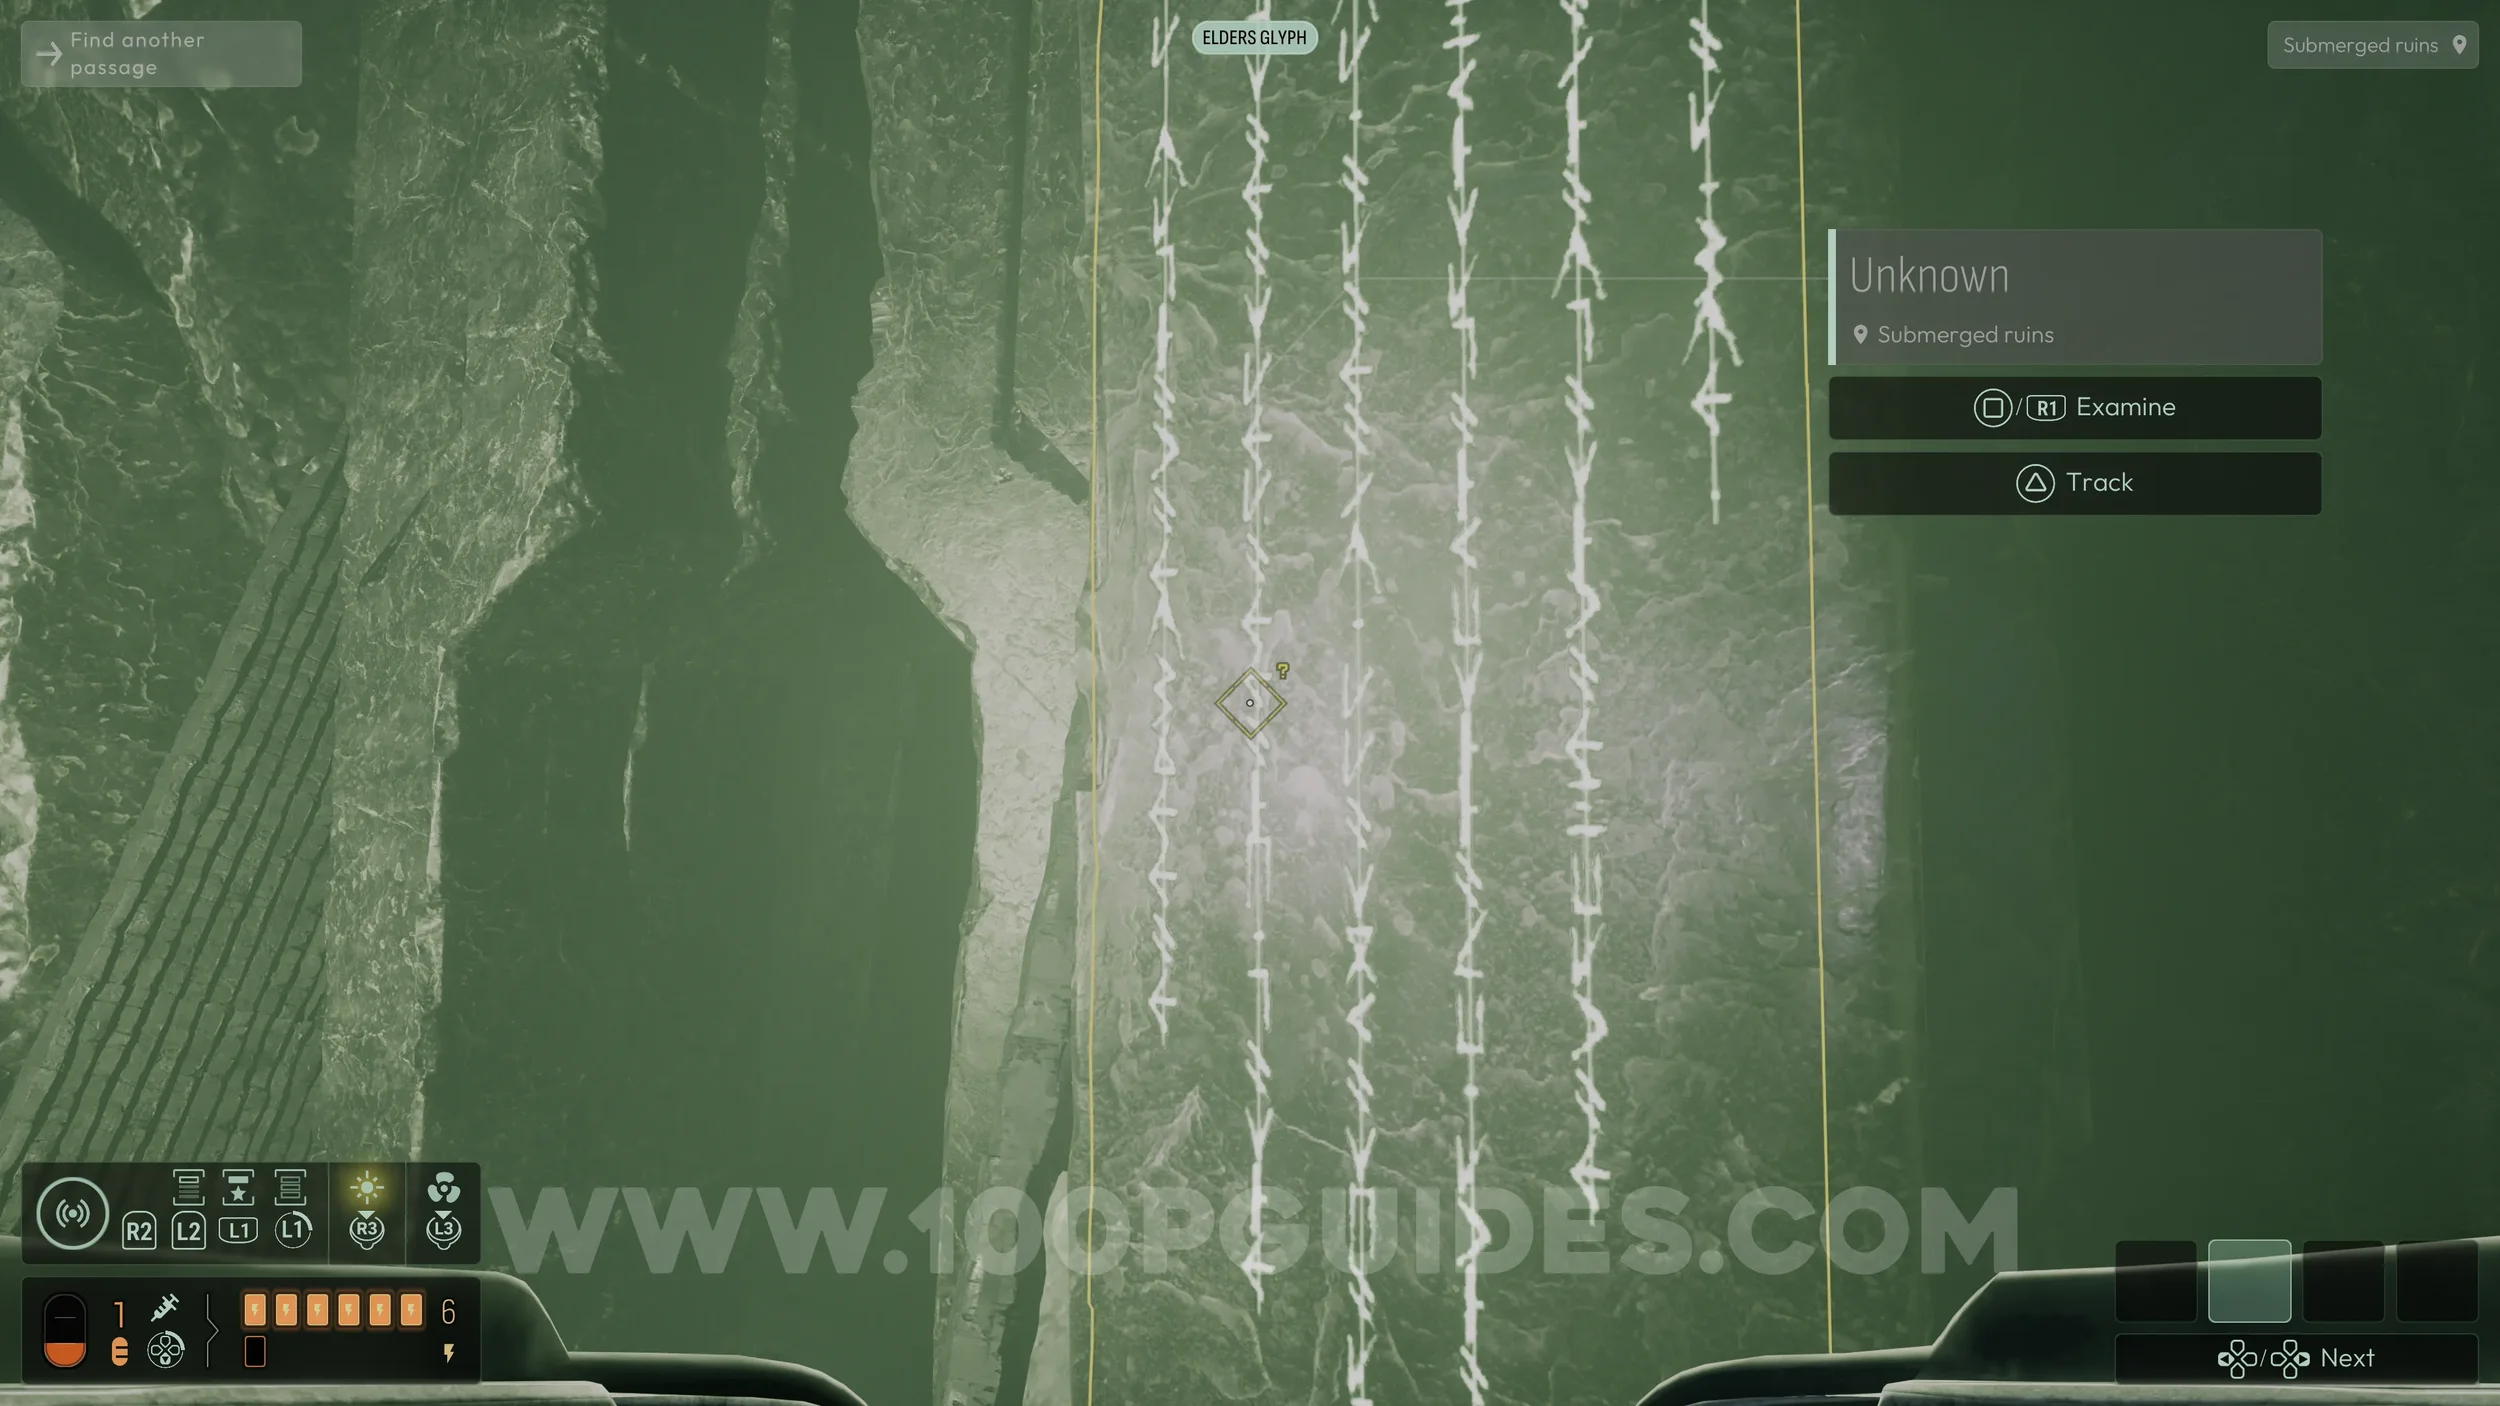
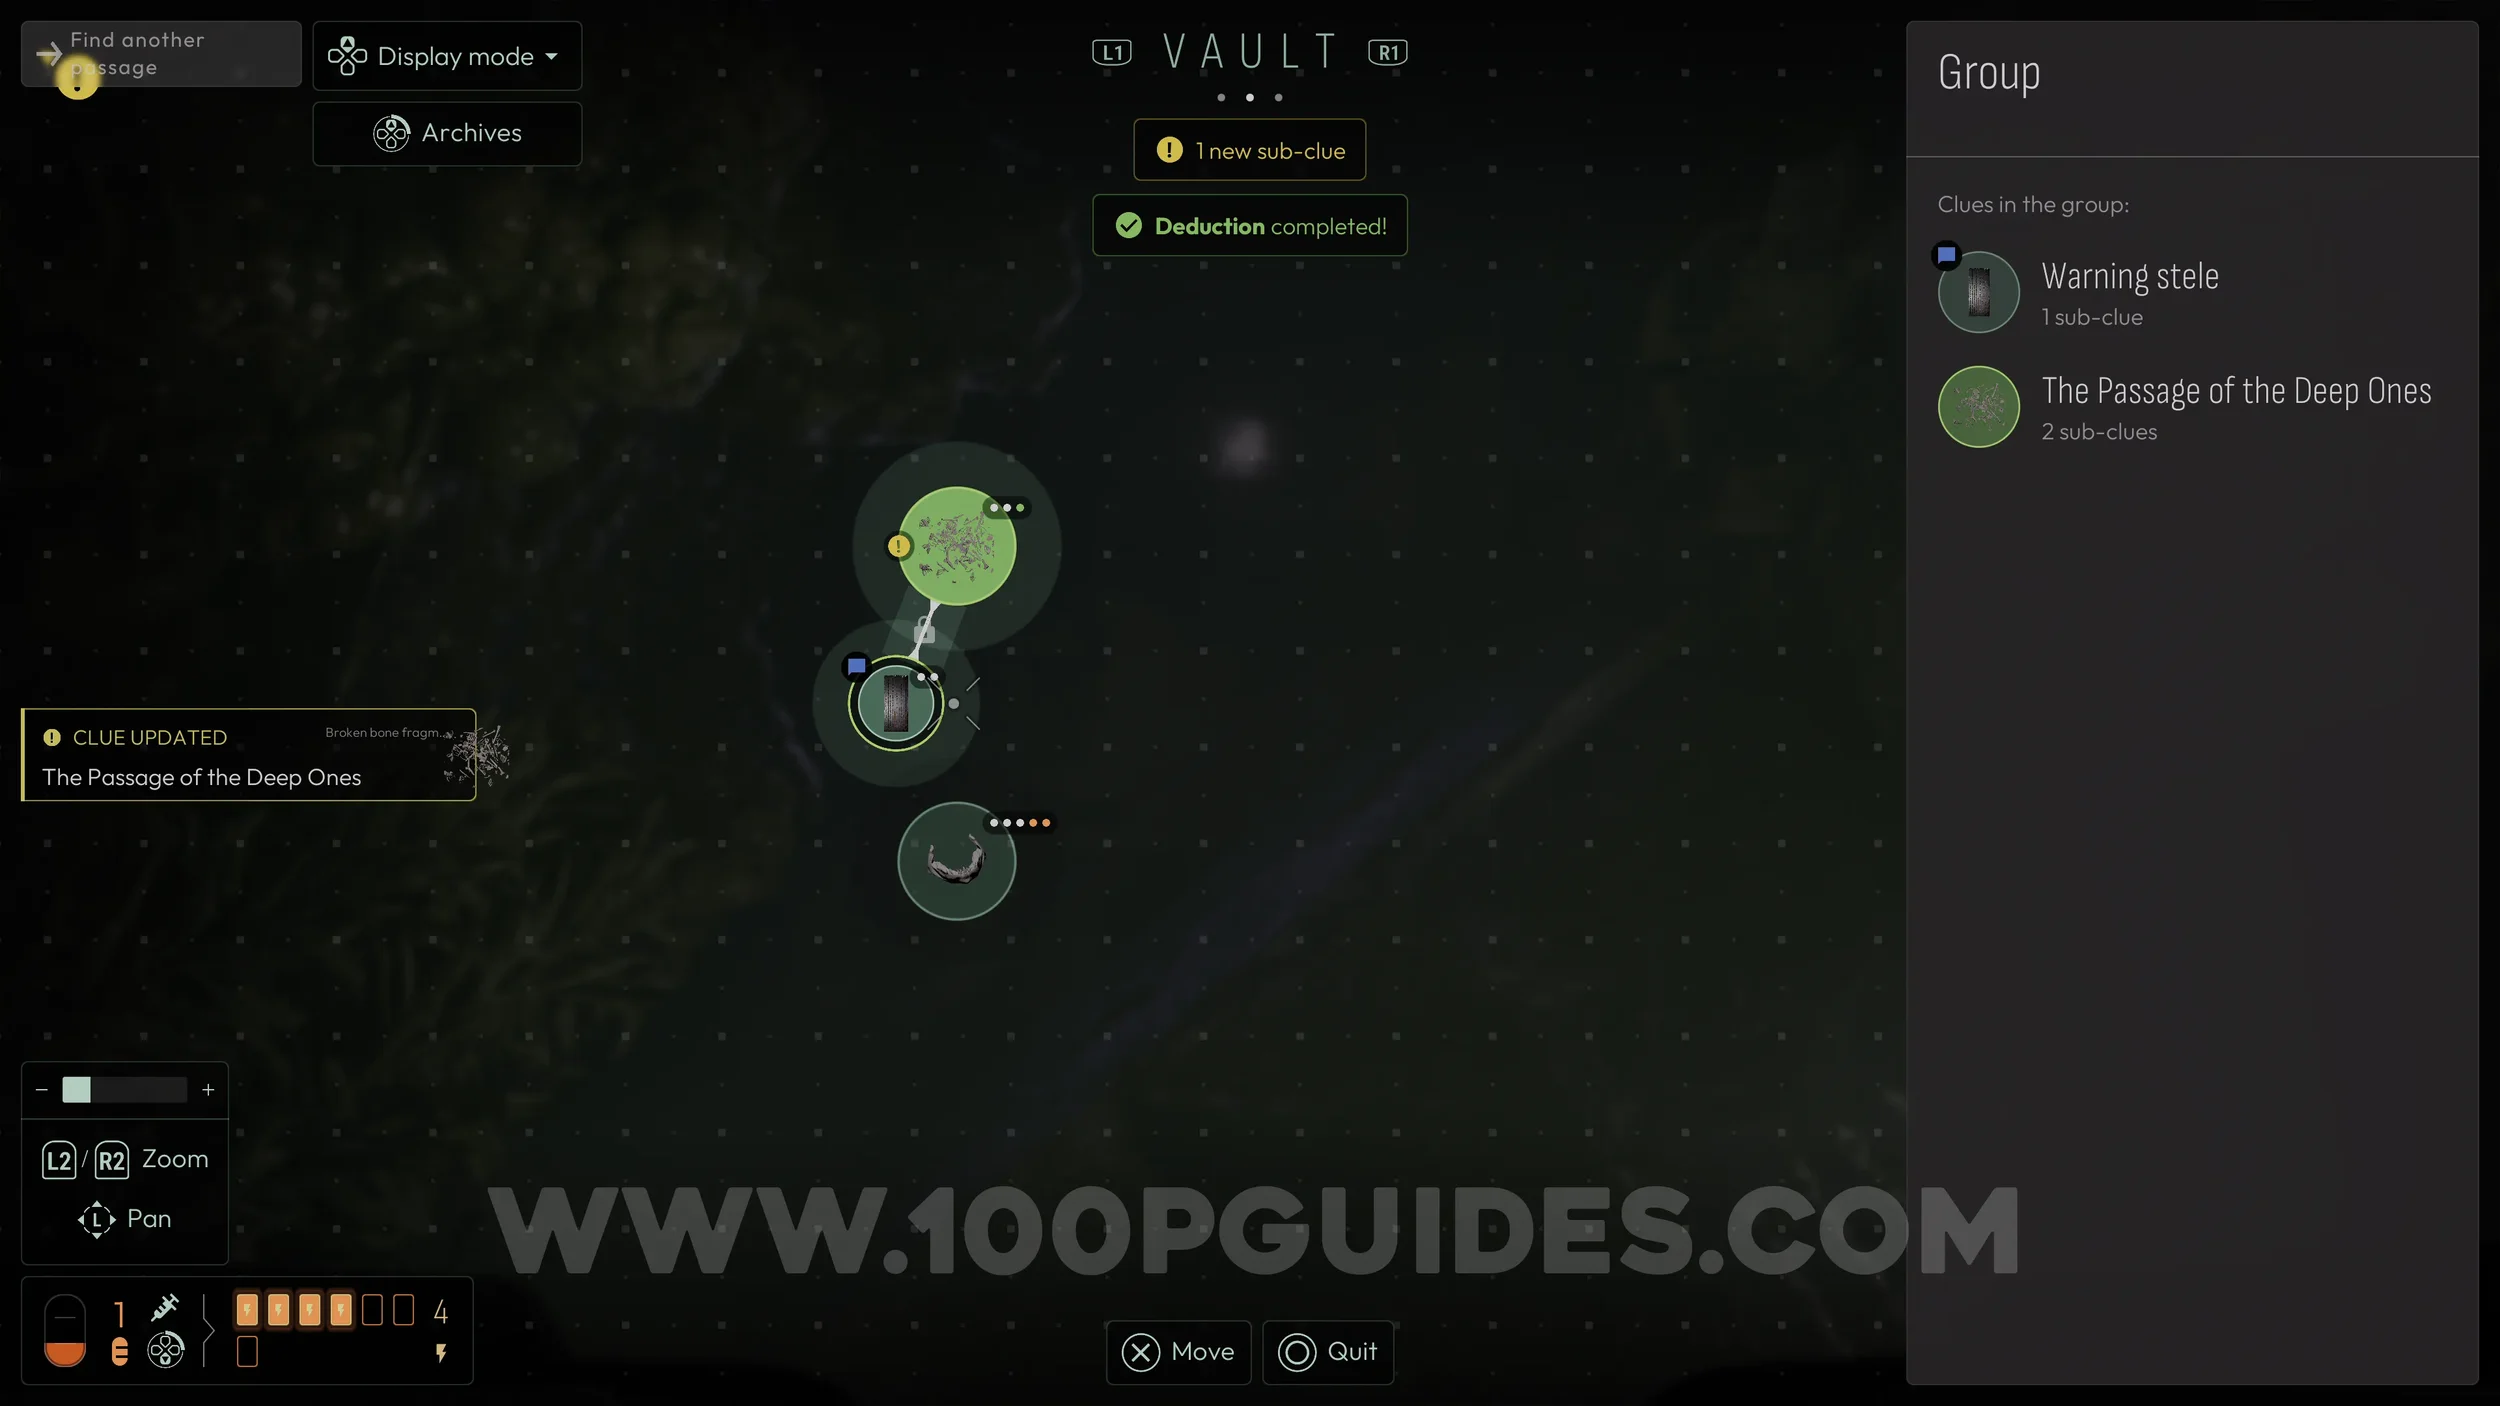
First, examine the tablet on the wall to the right of the tunnel, then inspect the large jawbone on the floor in front of it. This will start a deduction in the Vault menu. Use the tablet clue to solve it.
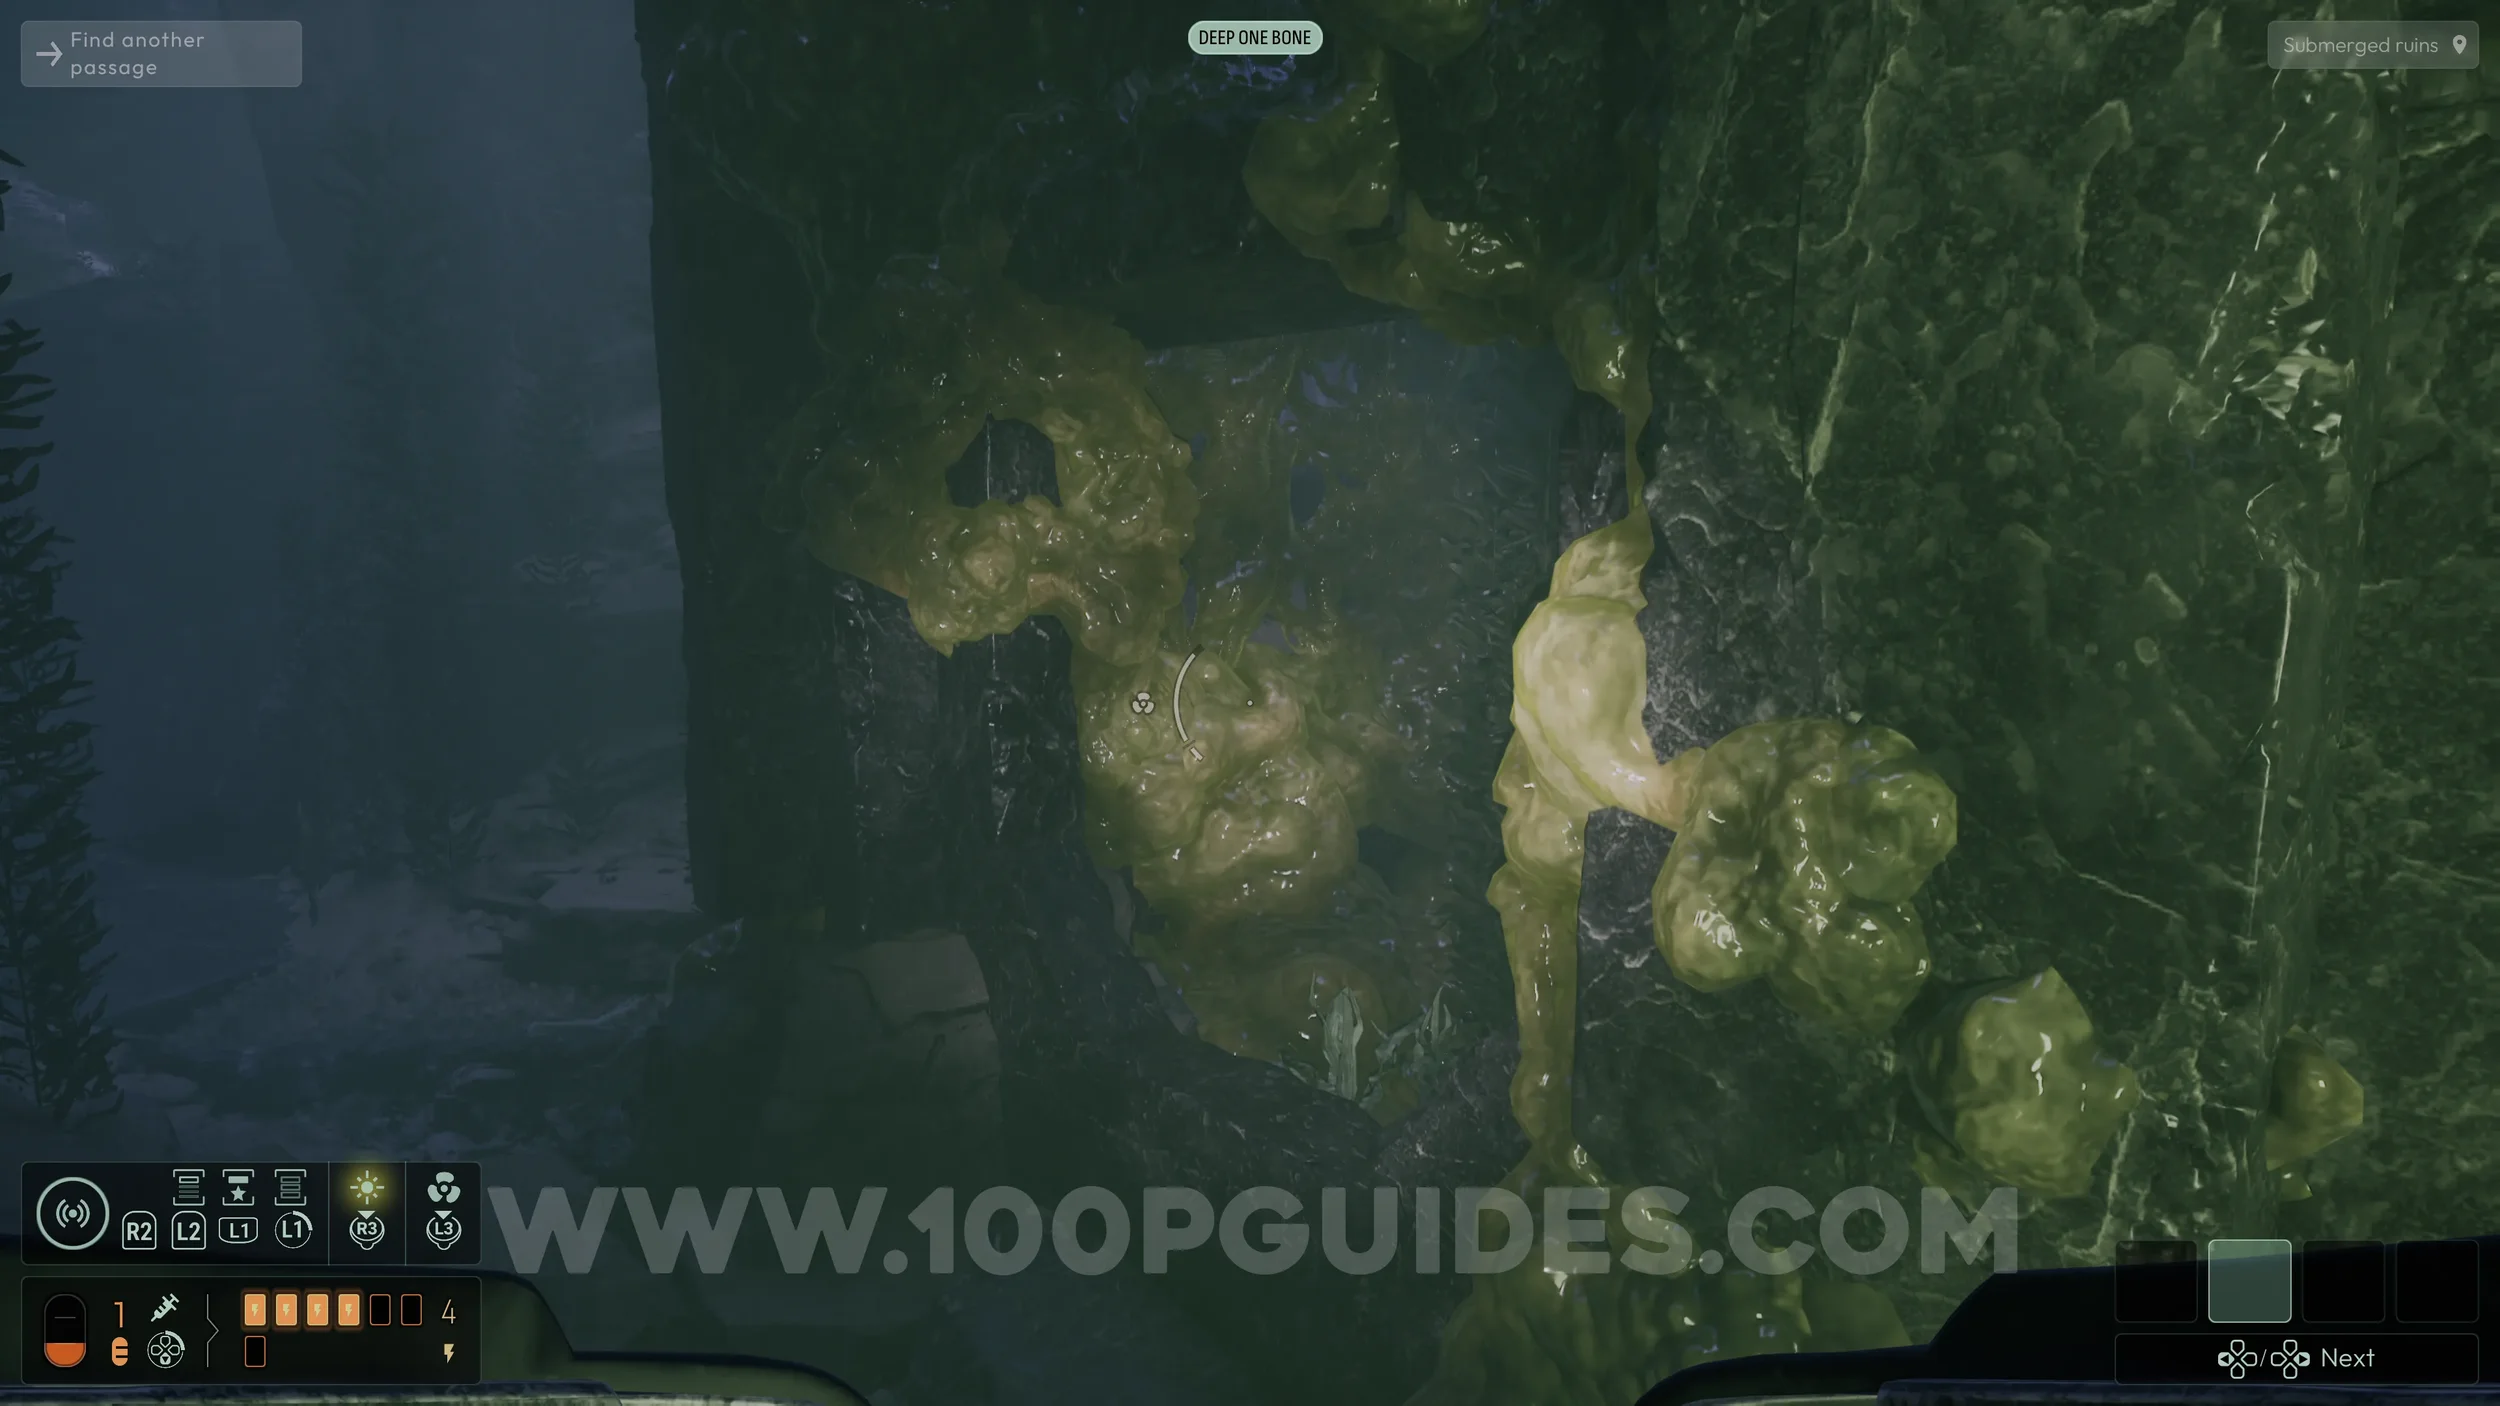
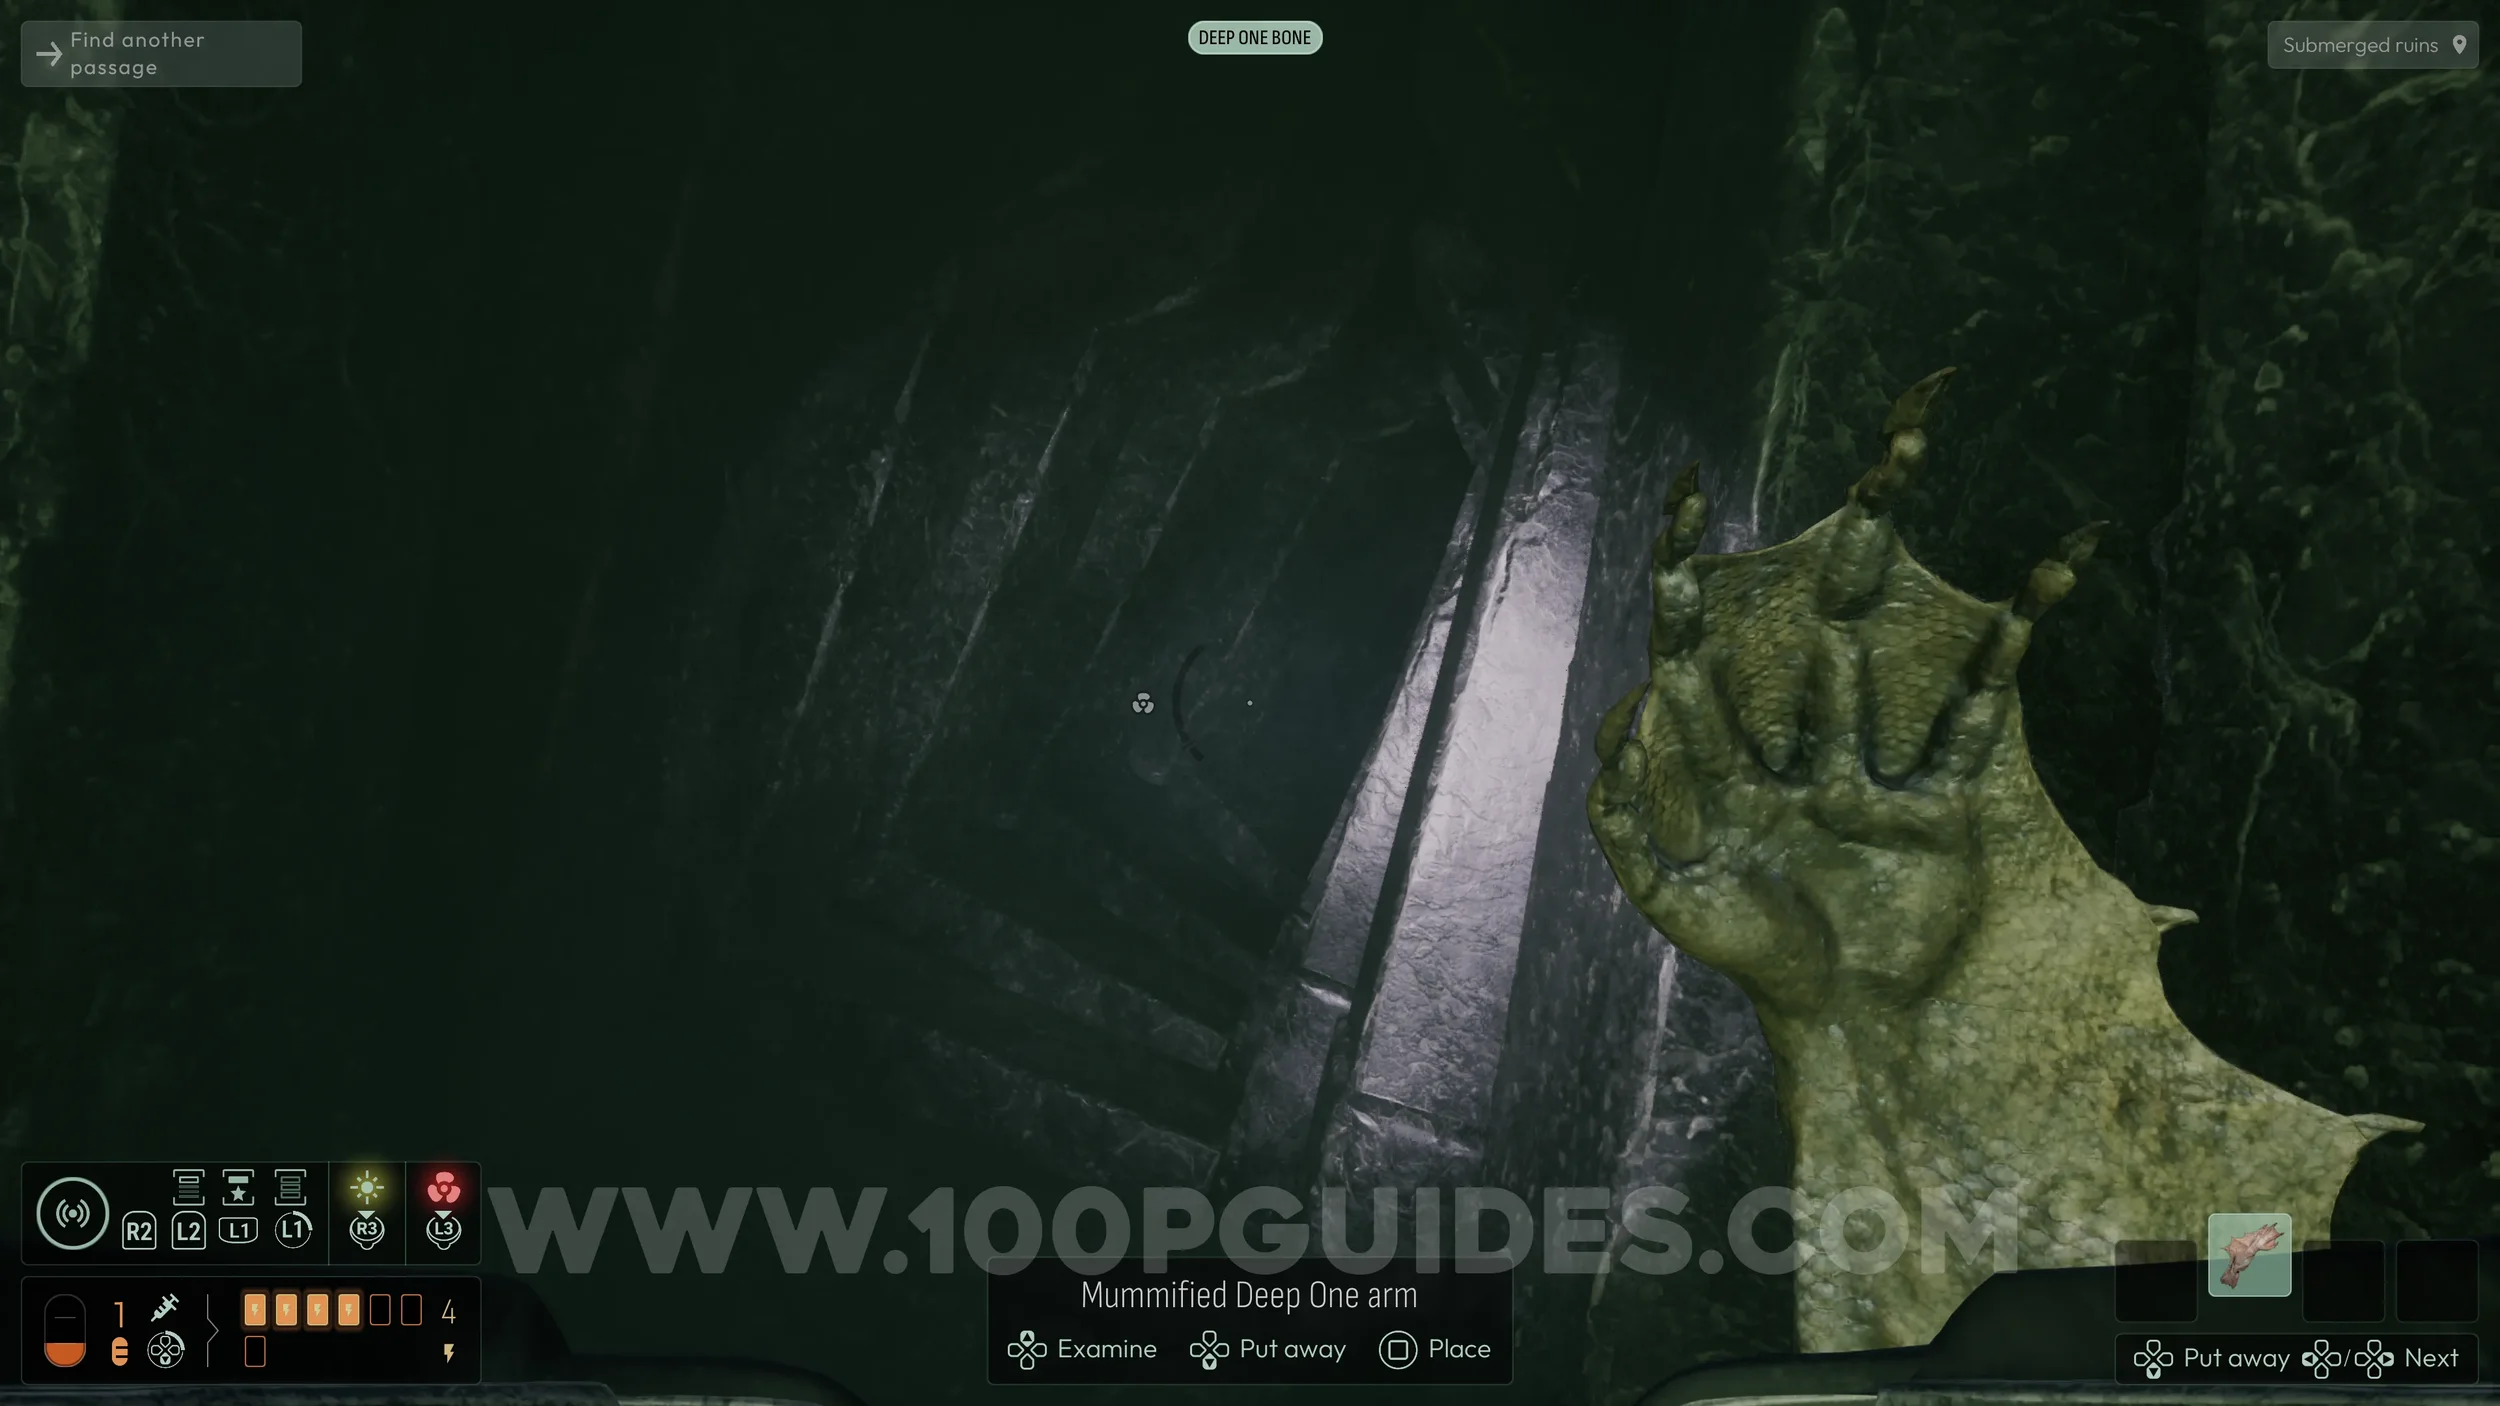
From the jaw, turn around and immediately look to your right to find a structure with an opening you can swim through. Follow this path until you can climb out of the water. Here, you will find a pile of bones with a hand holding a Mummified Deep One Arm. If you are having trouble locating it, use the Deep One Bone frequency to highlight it. Pick it up and keep it in your hand.
This will allow you to pass through the strange tunnel without being crushed.
As soon as you emerge on the other side of the tunnel, swim down to the left to find another Strange Monolith that adds an extra evolution slot.
From here, continue forward along the only available path until you drop into a pool of water below. Then go through the narrow tunnel. Inside, keep turning around when needed until you emerge into a green room.
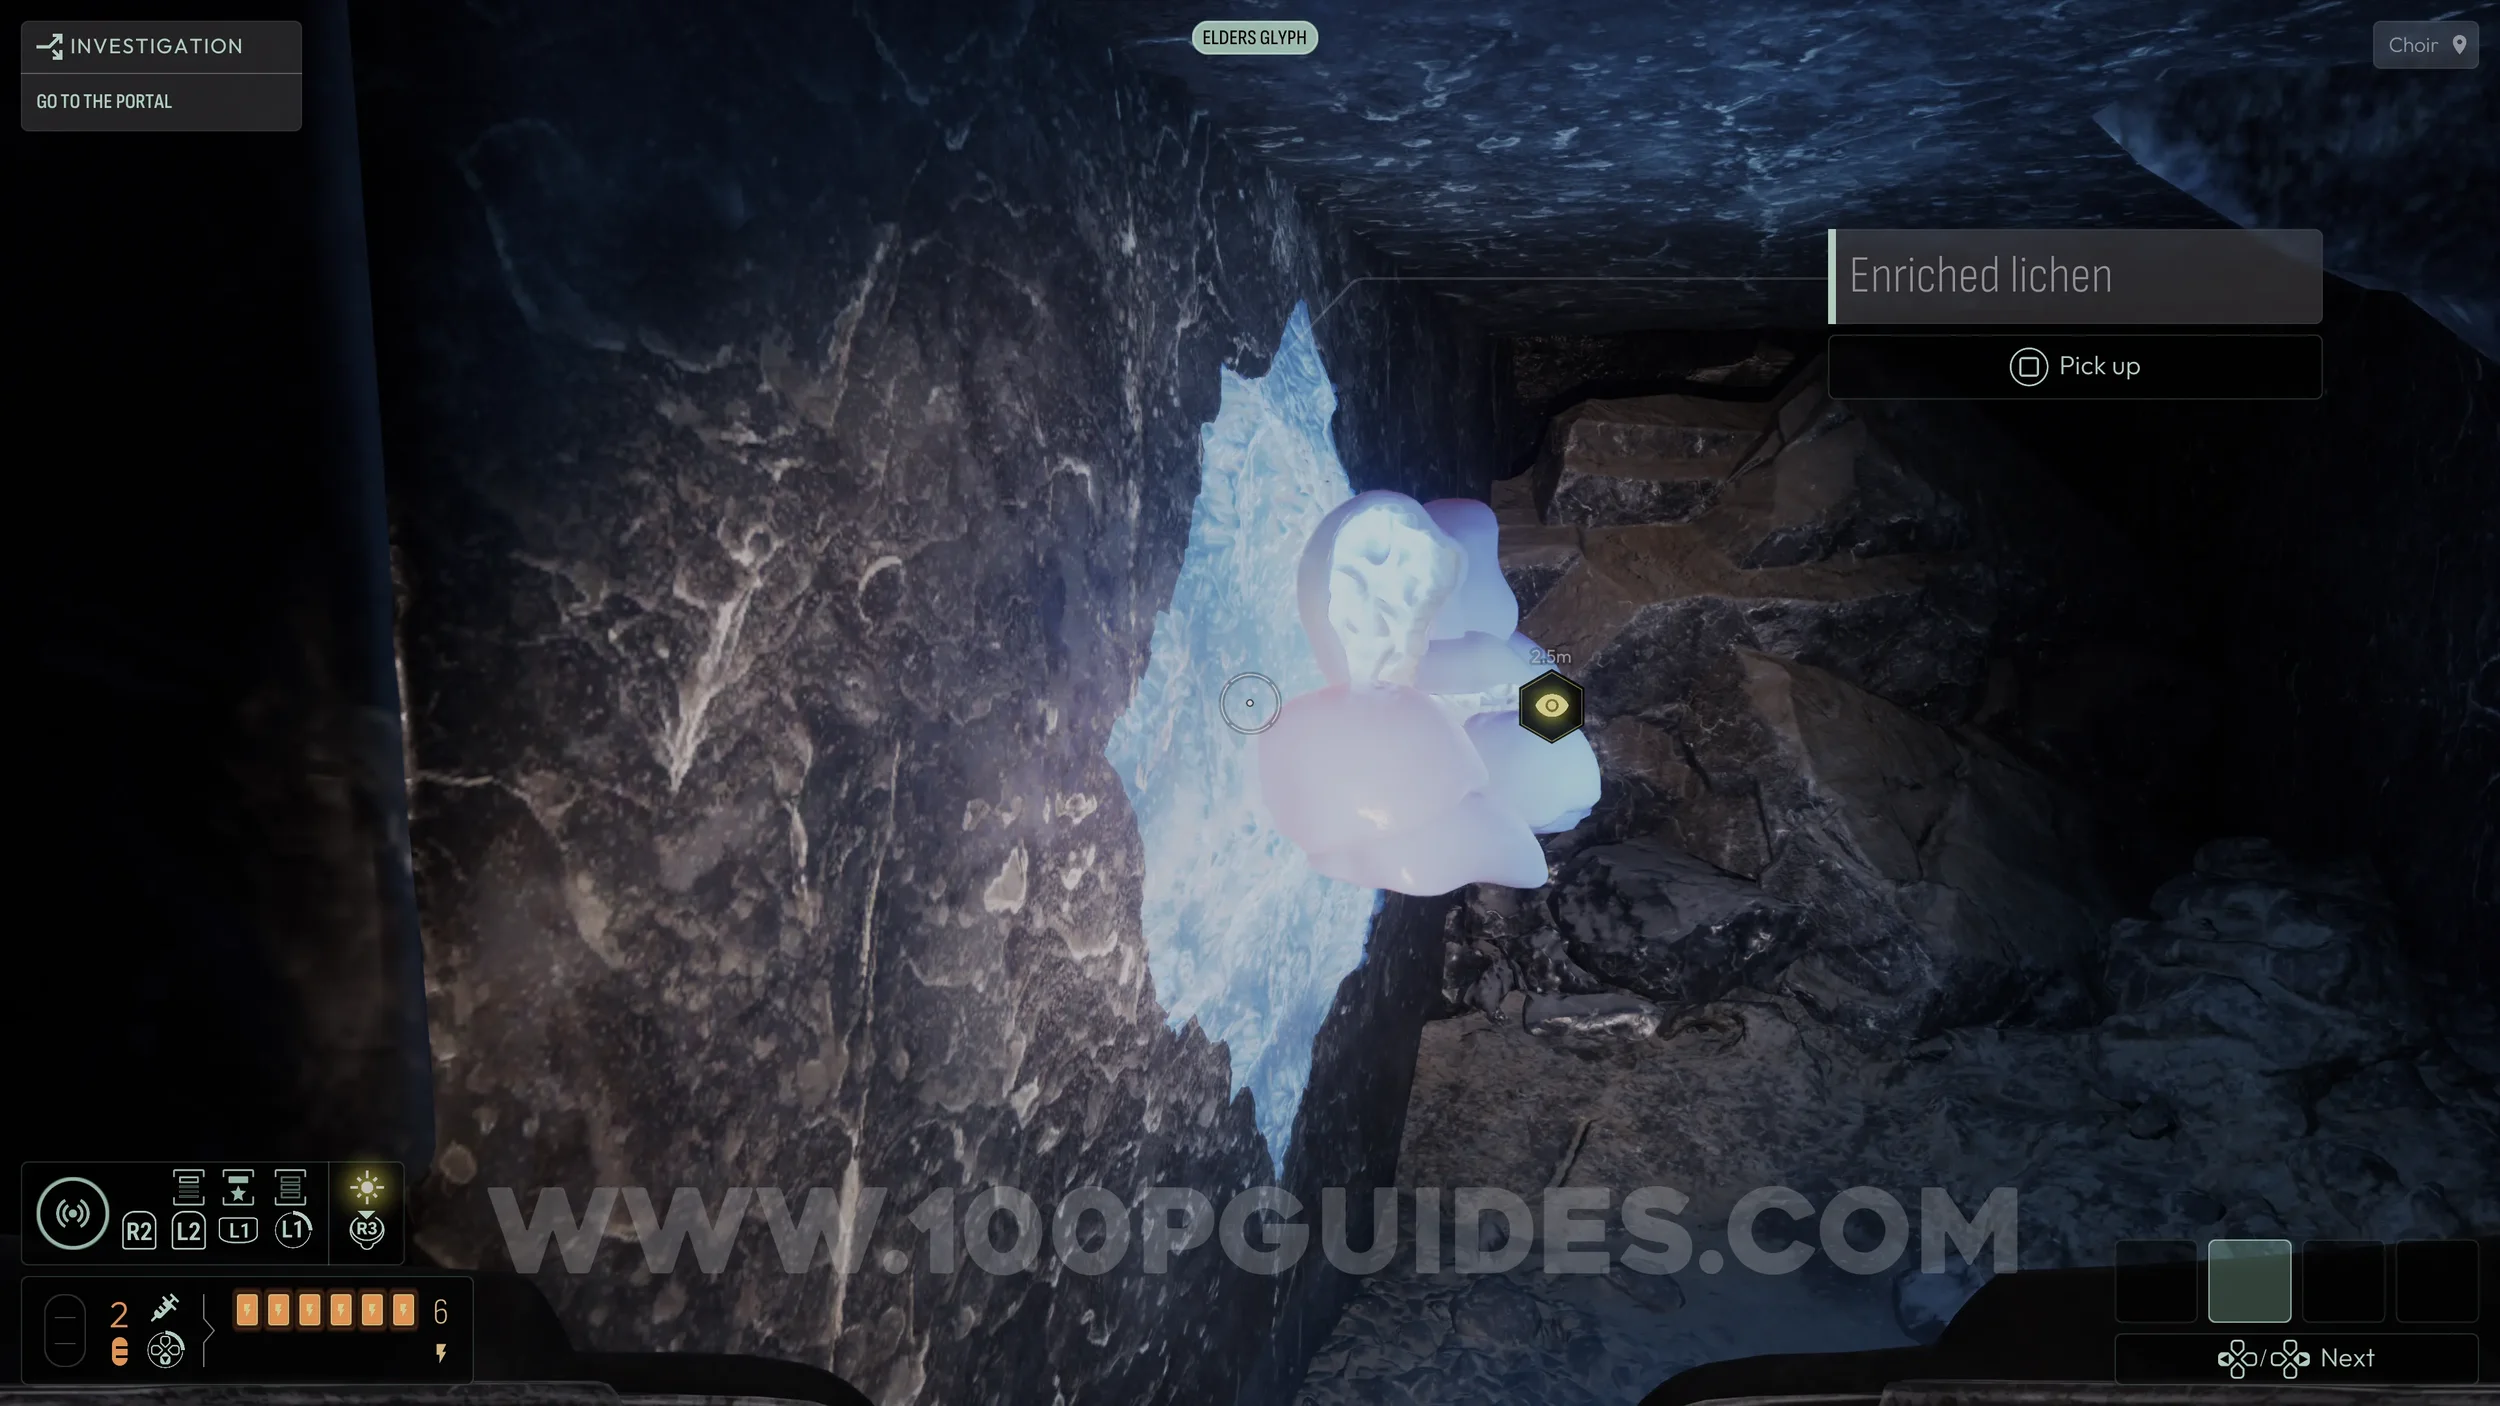
In this room, look for an opening beneath some goo on the right side. Carefully move through the goo to reach the next Evolution (9/15).
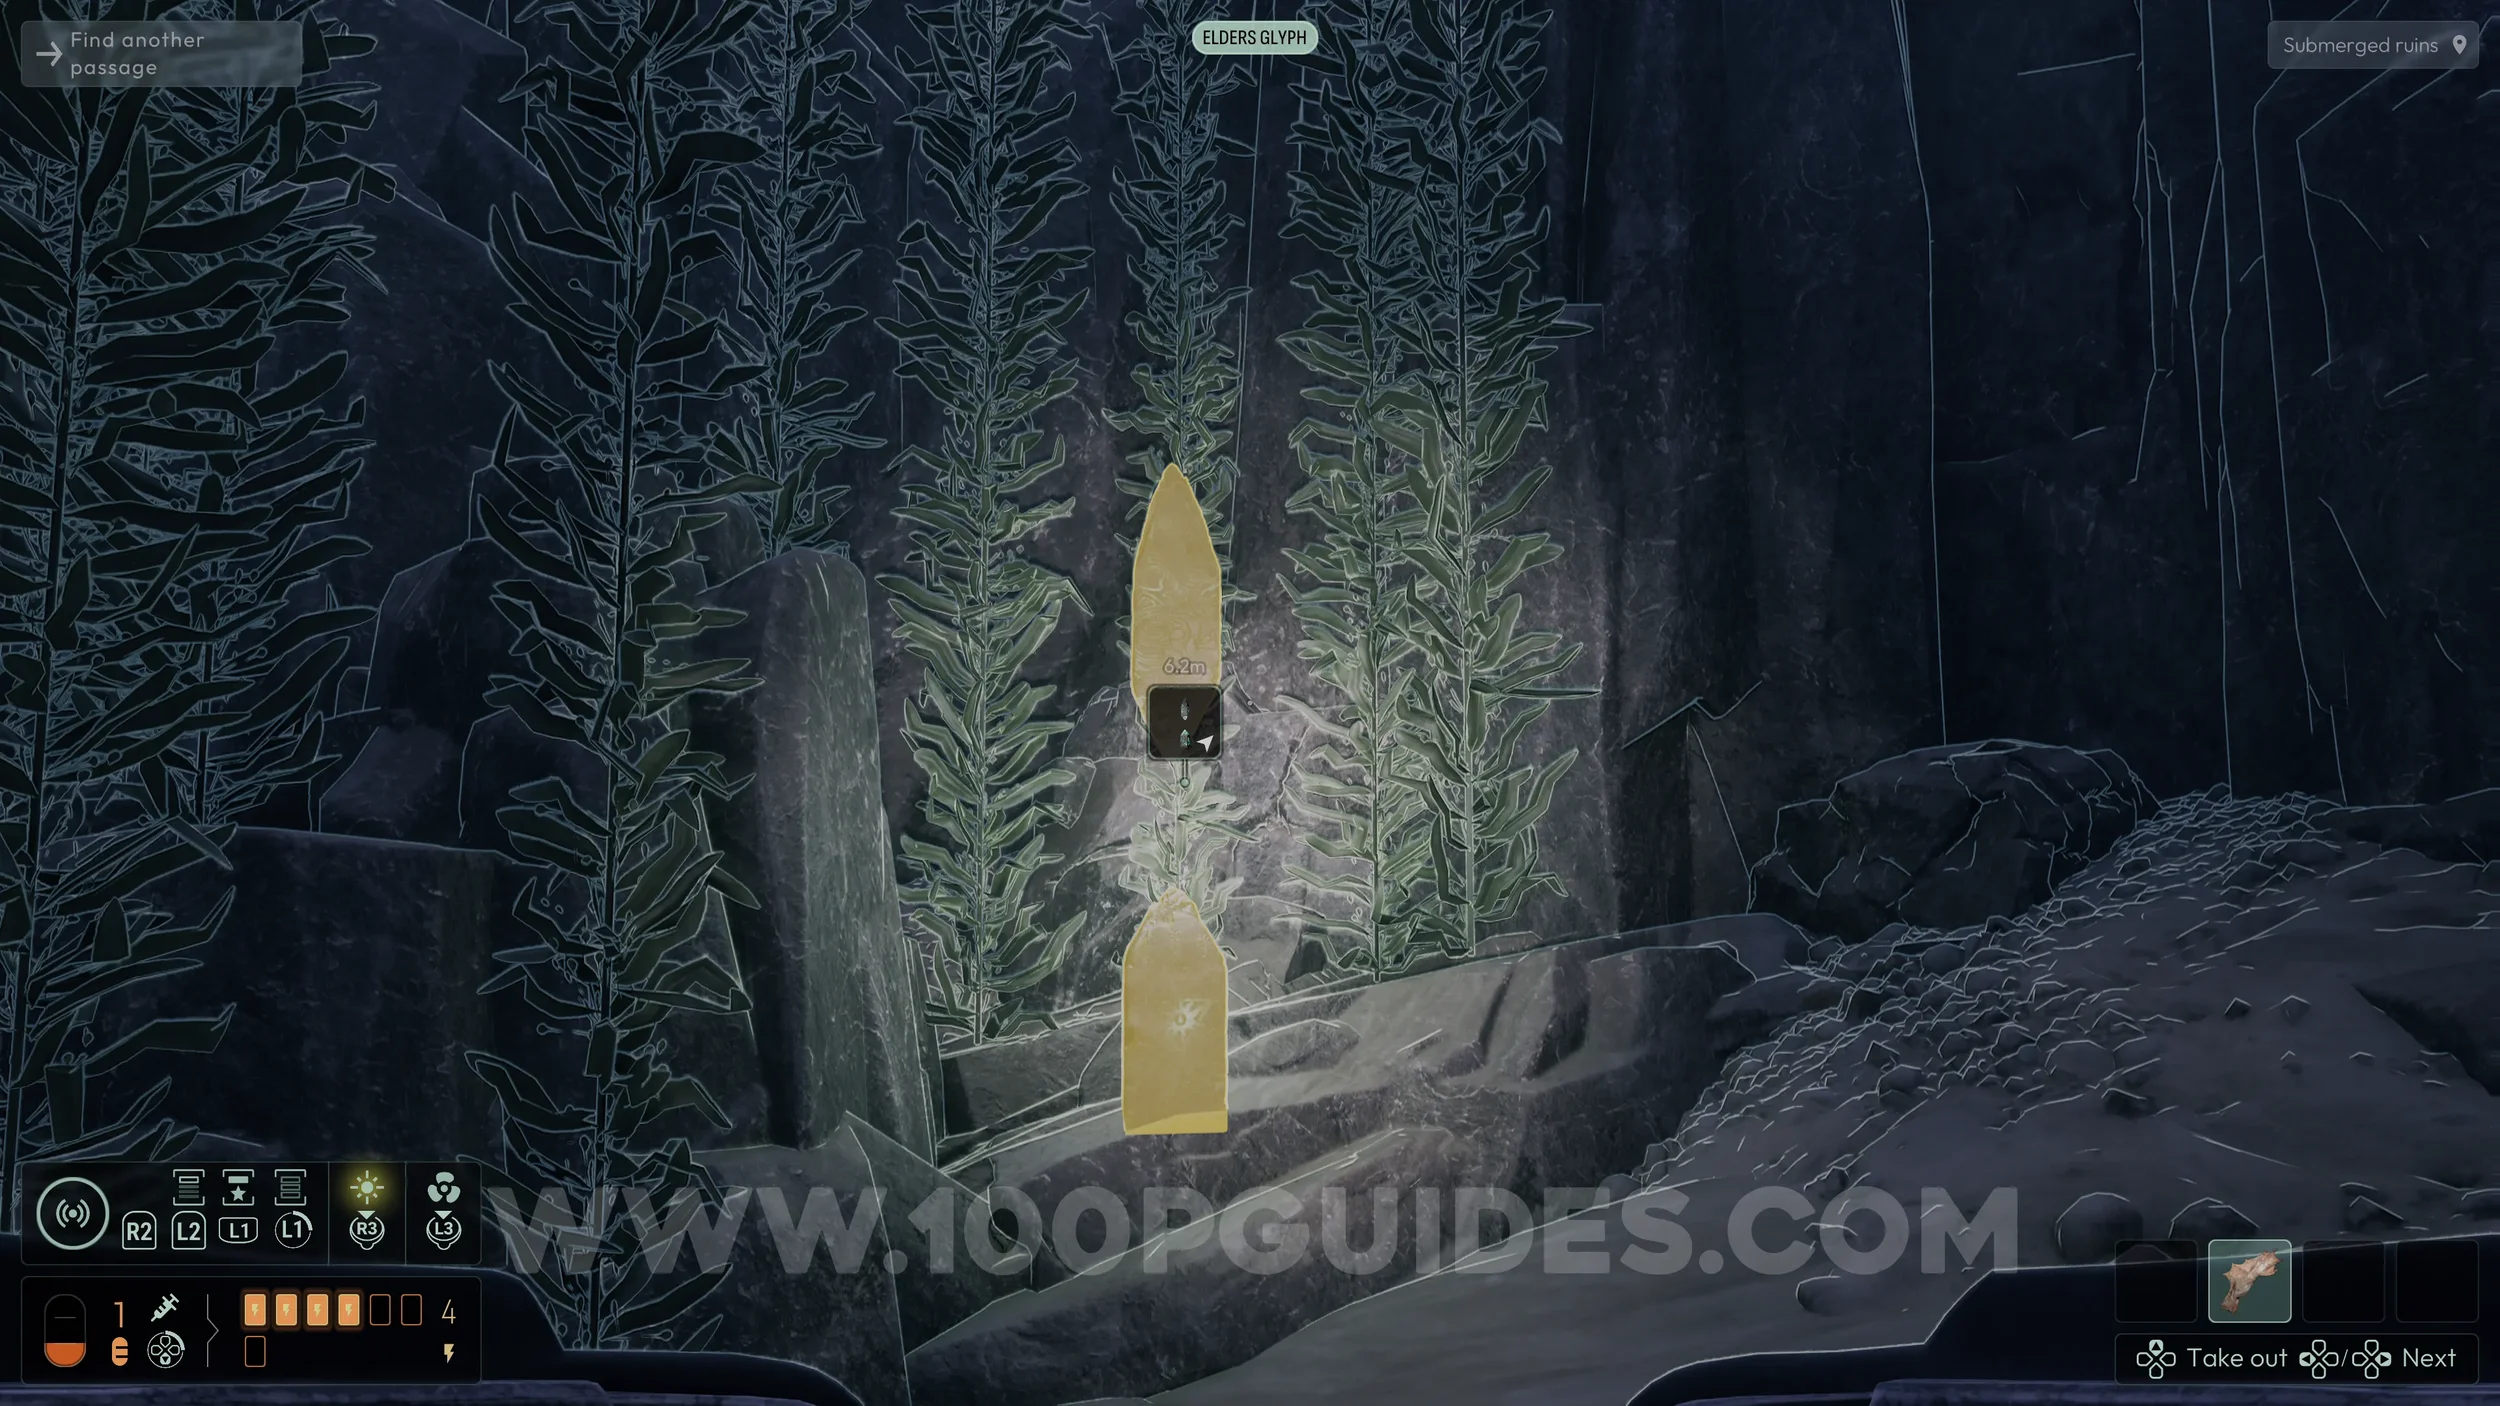
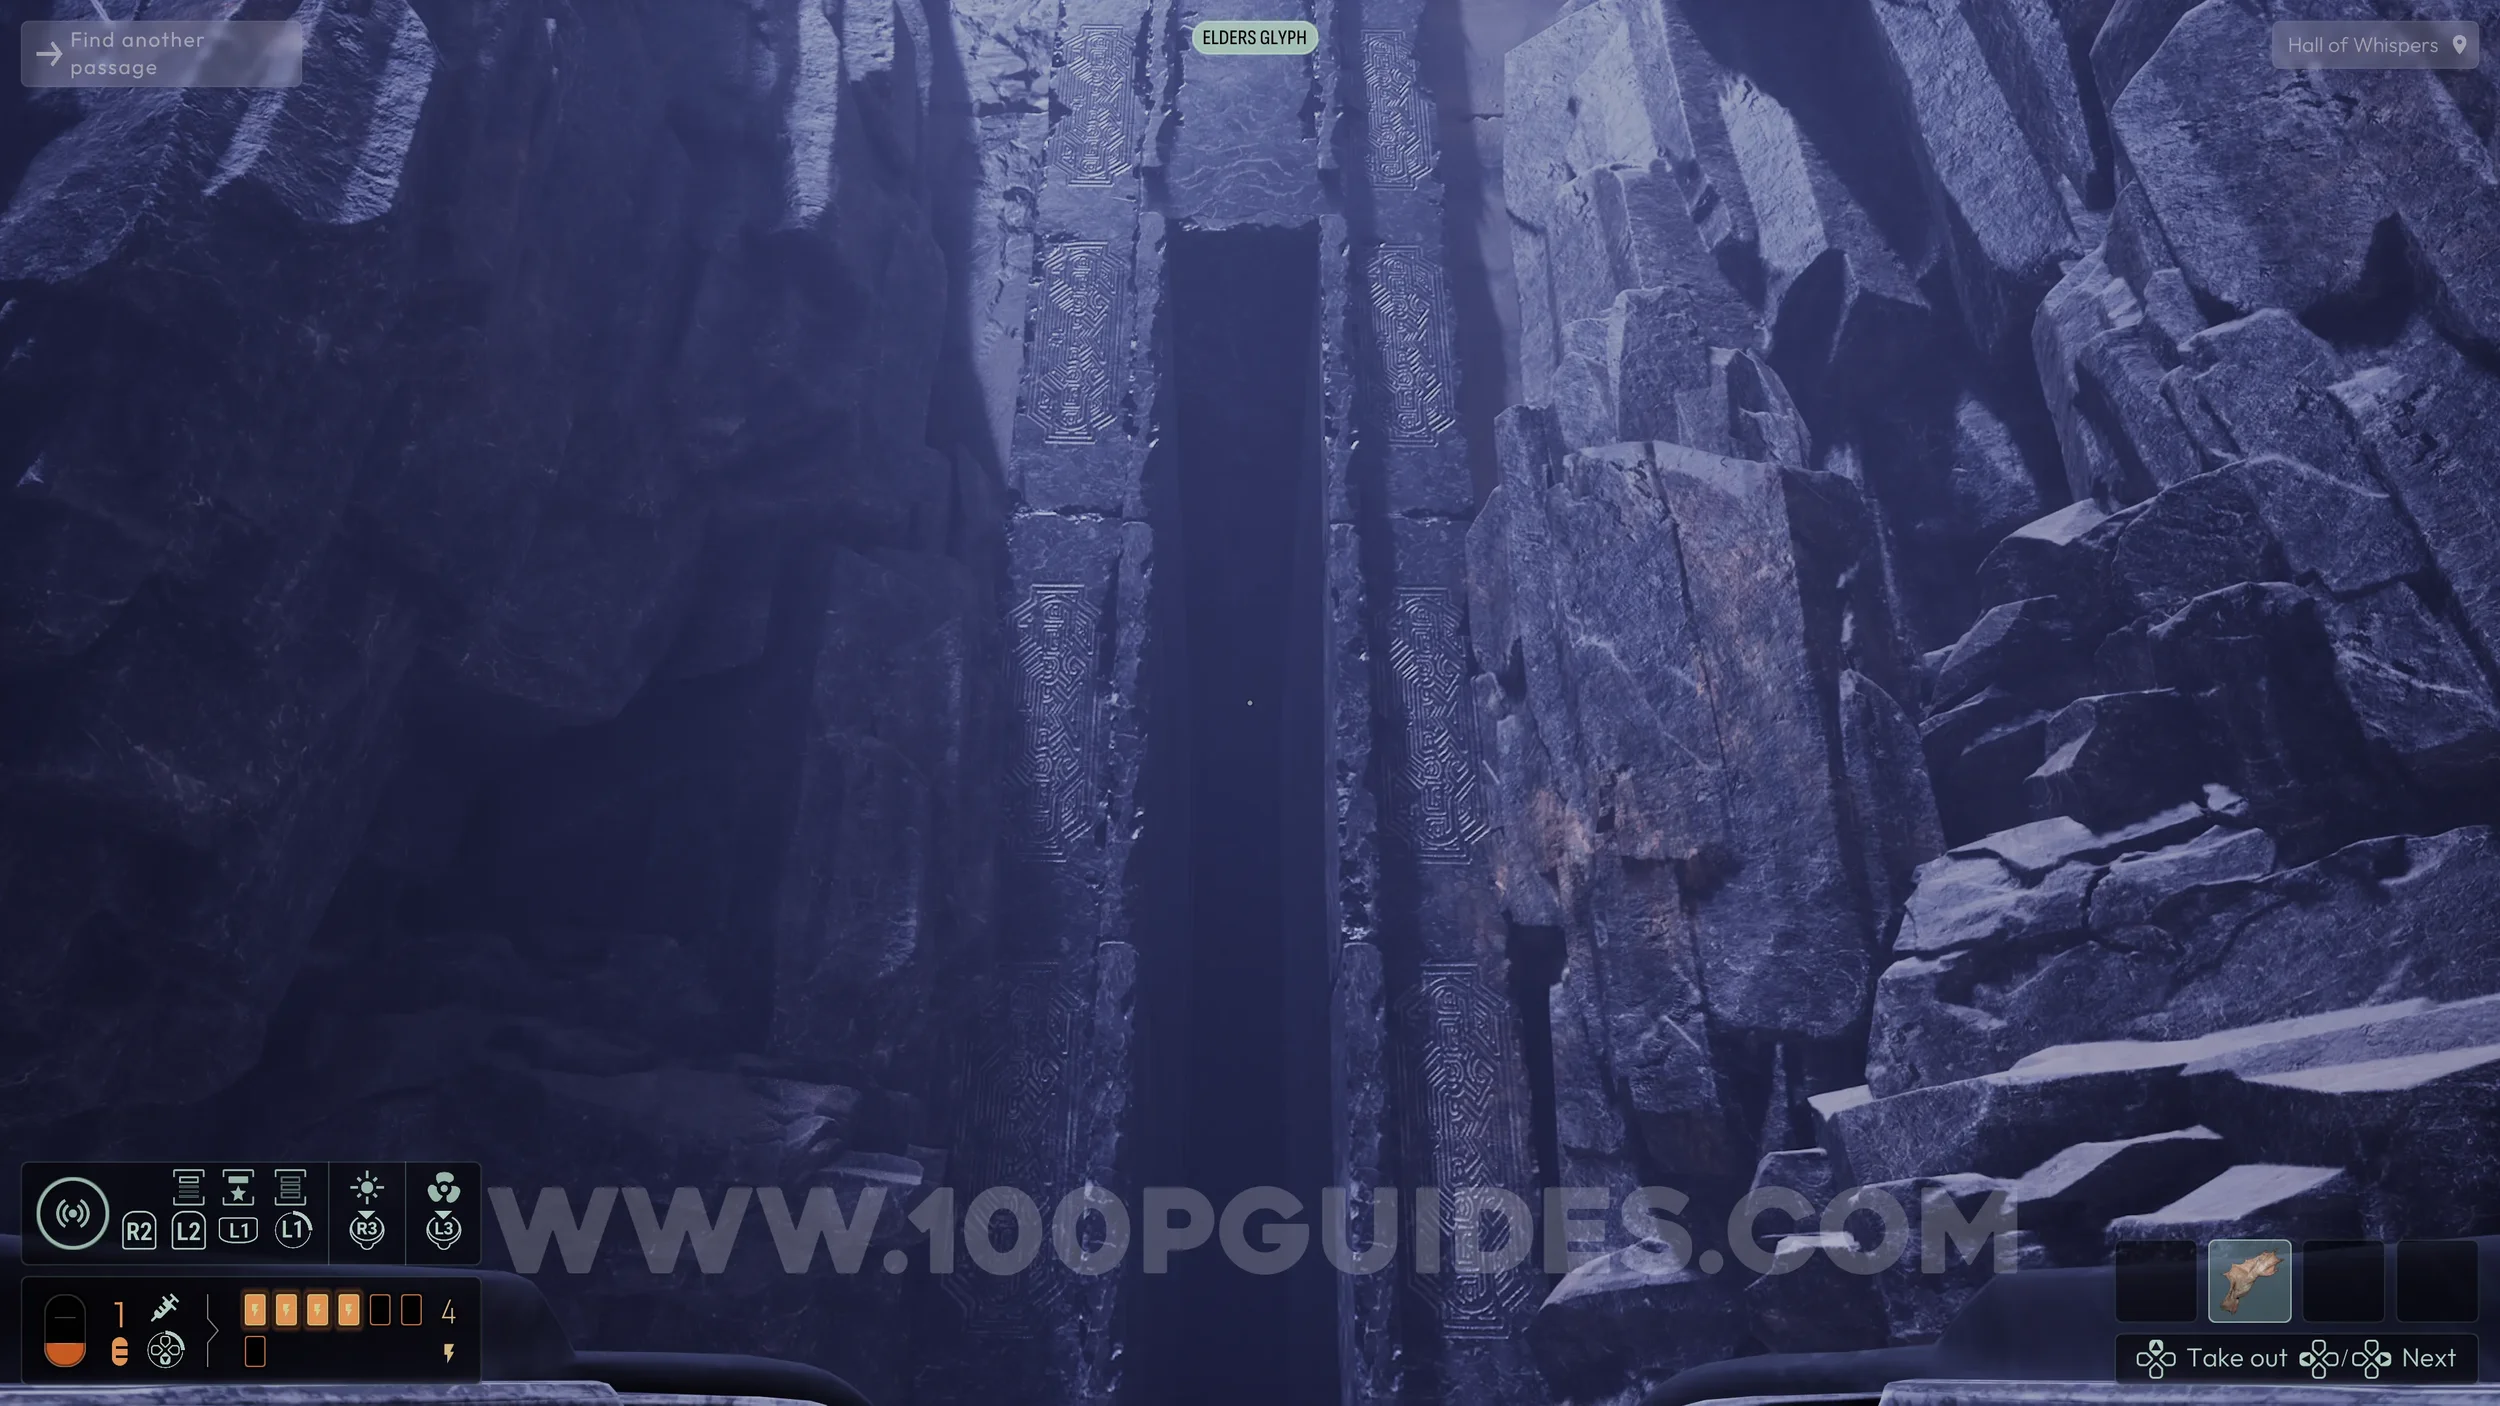
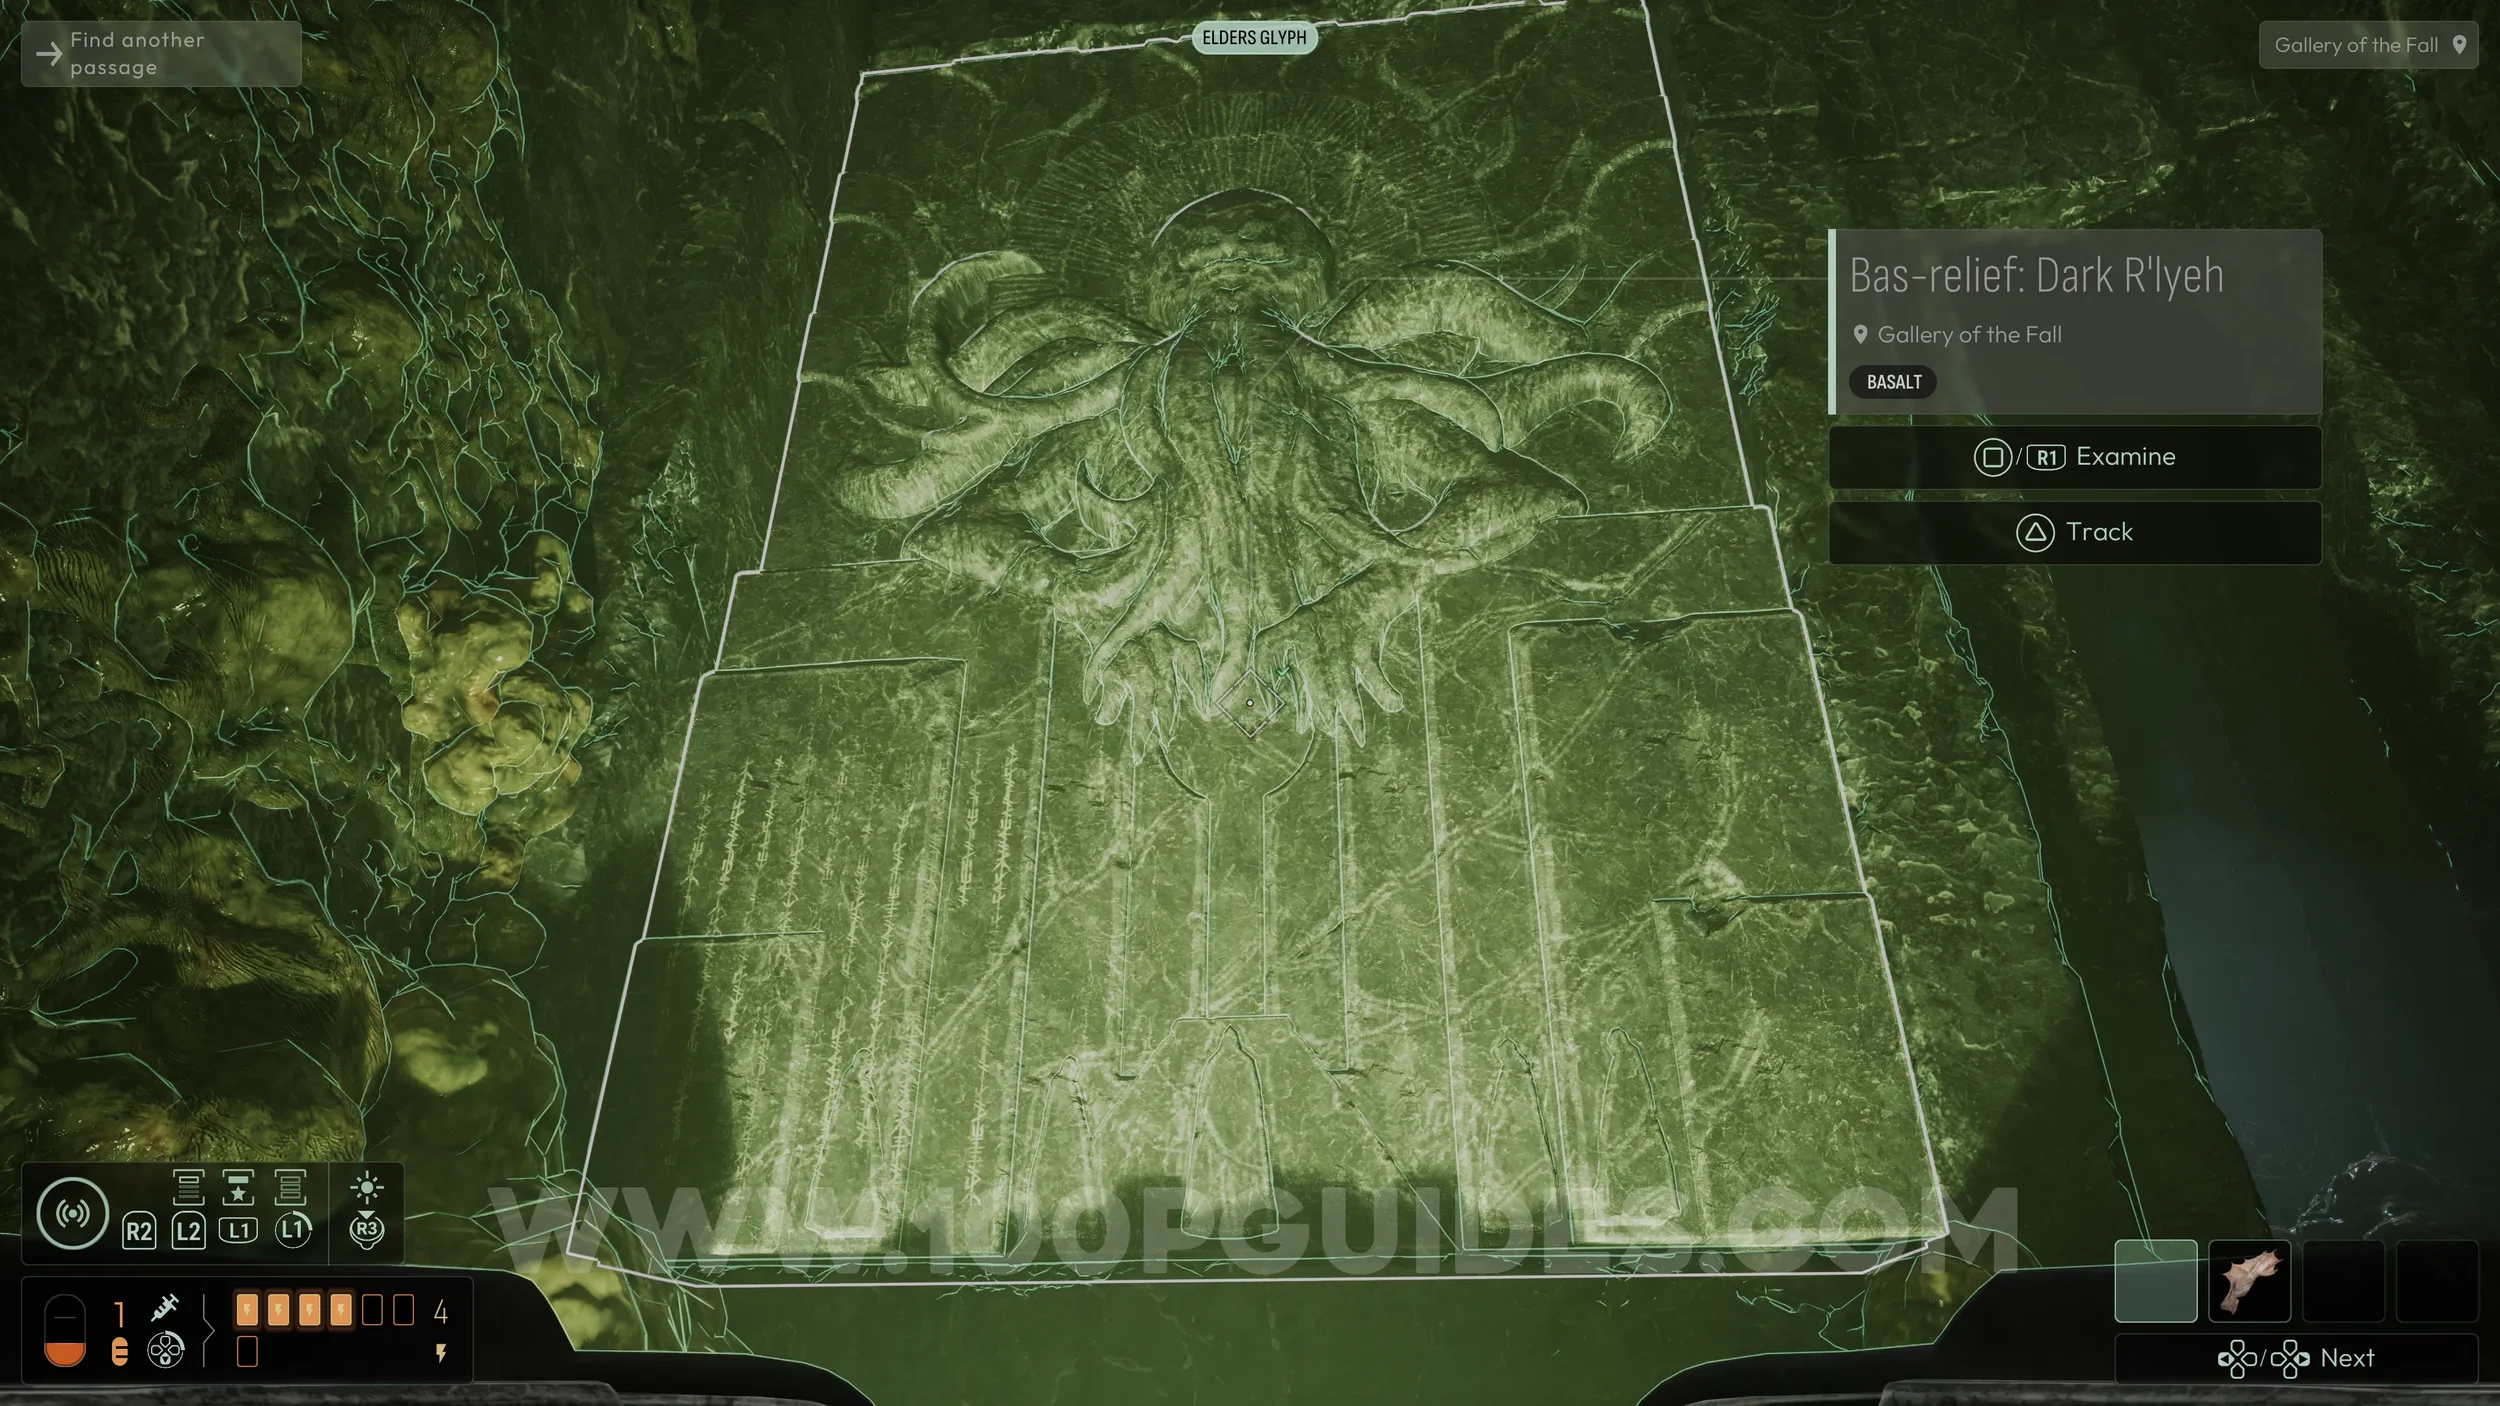
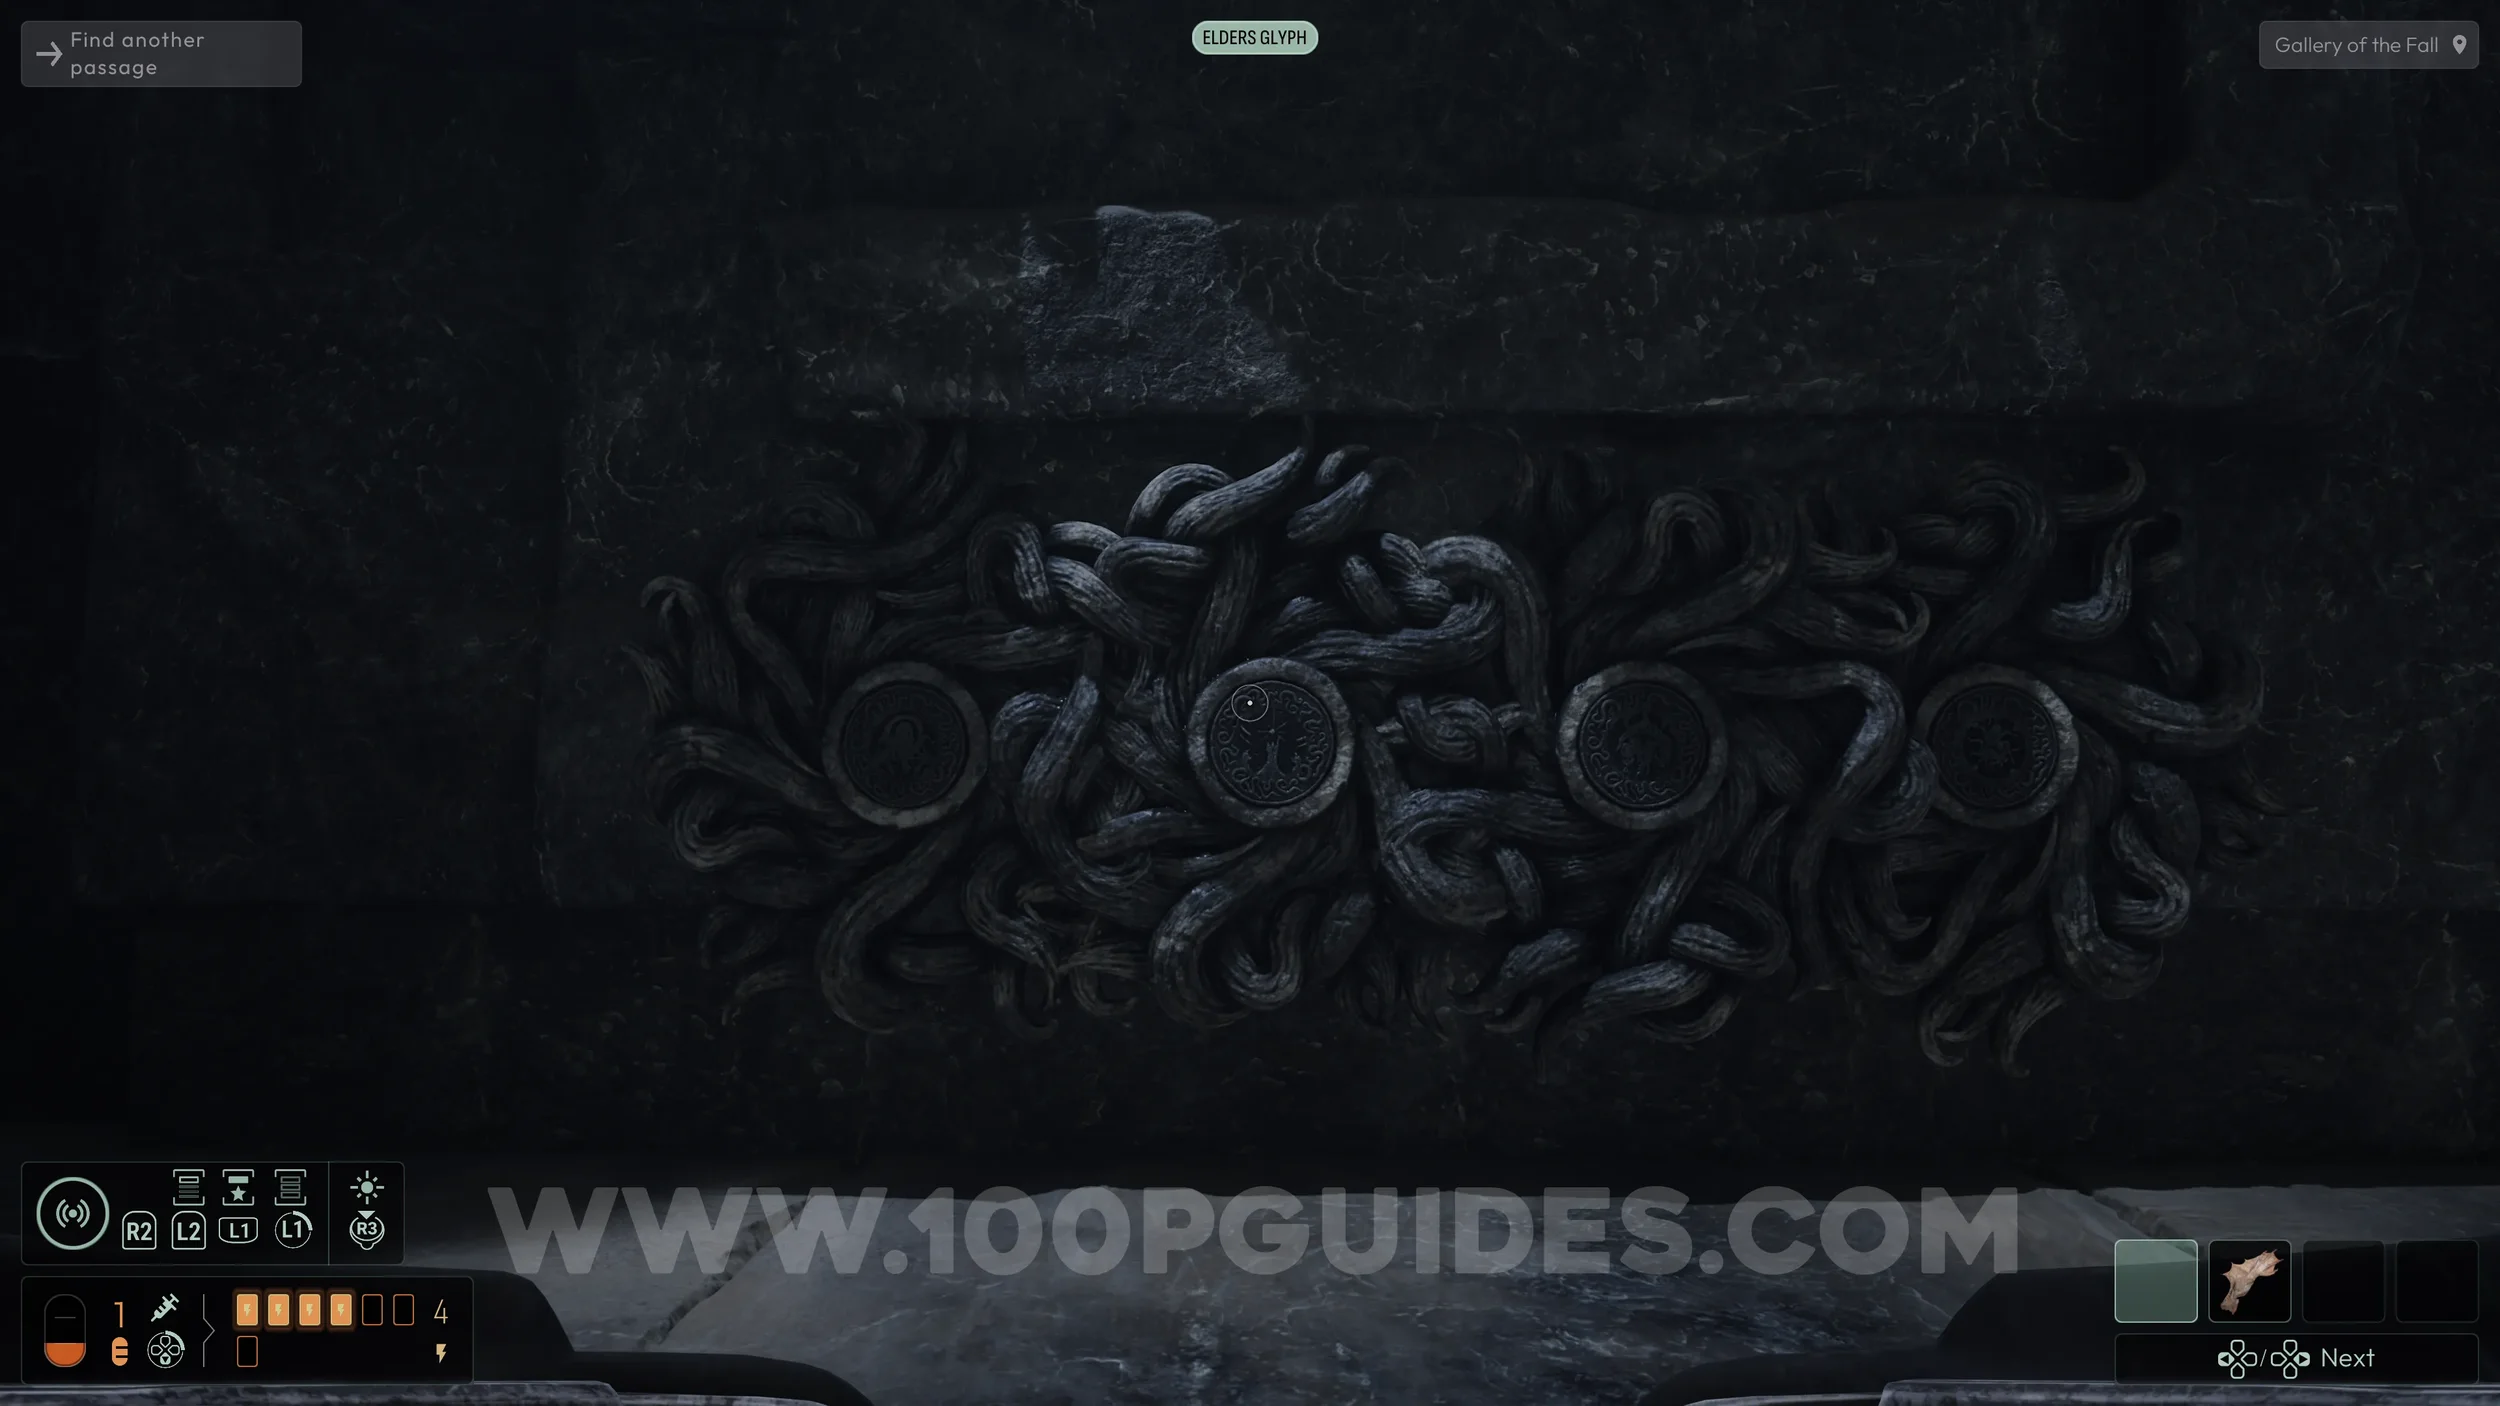
Now return to the large green room and examine the large stone tablets on the walls. There are four in total, and each one will reveal a medallion. You will need to place these medallions in the correct order in the slots in the next room.
The correct order from left to right is as follows.
Dark R'lyeh > The Capture > The Slumber > The Awakening.
You can check the name of each medallion by examining them.

If you placed the medallions correctly, the sides of the room will open, allowing you to advance to the next area.
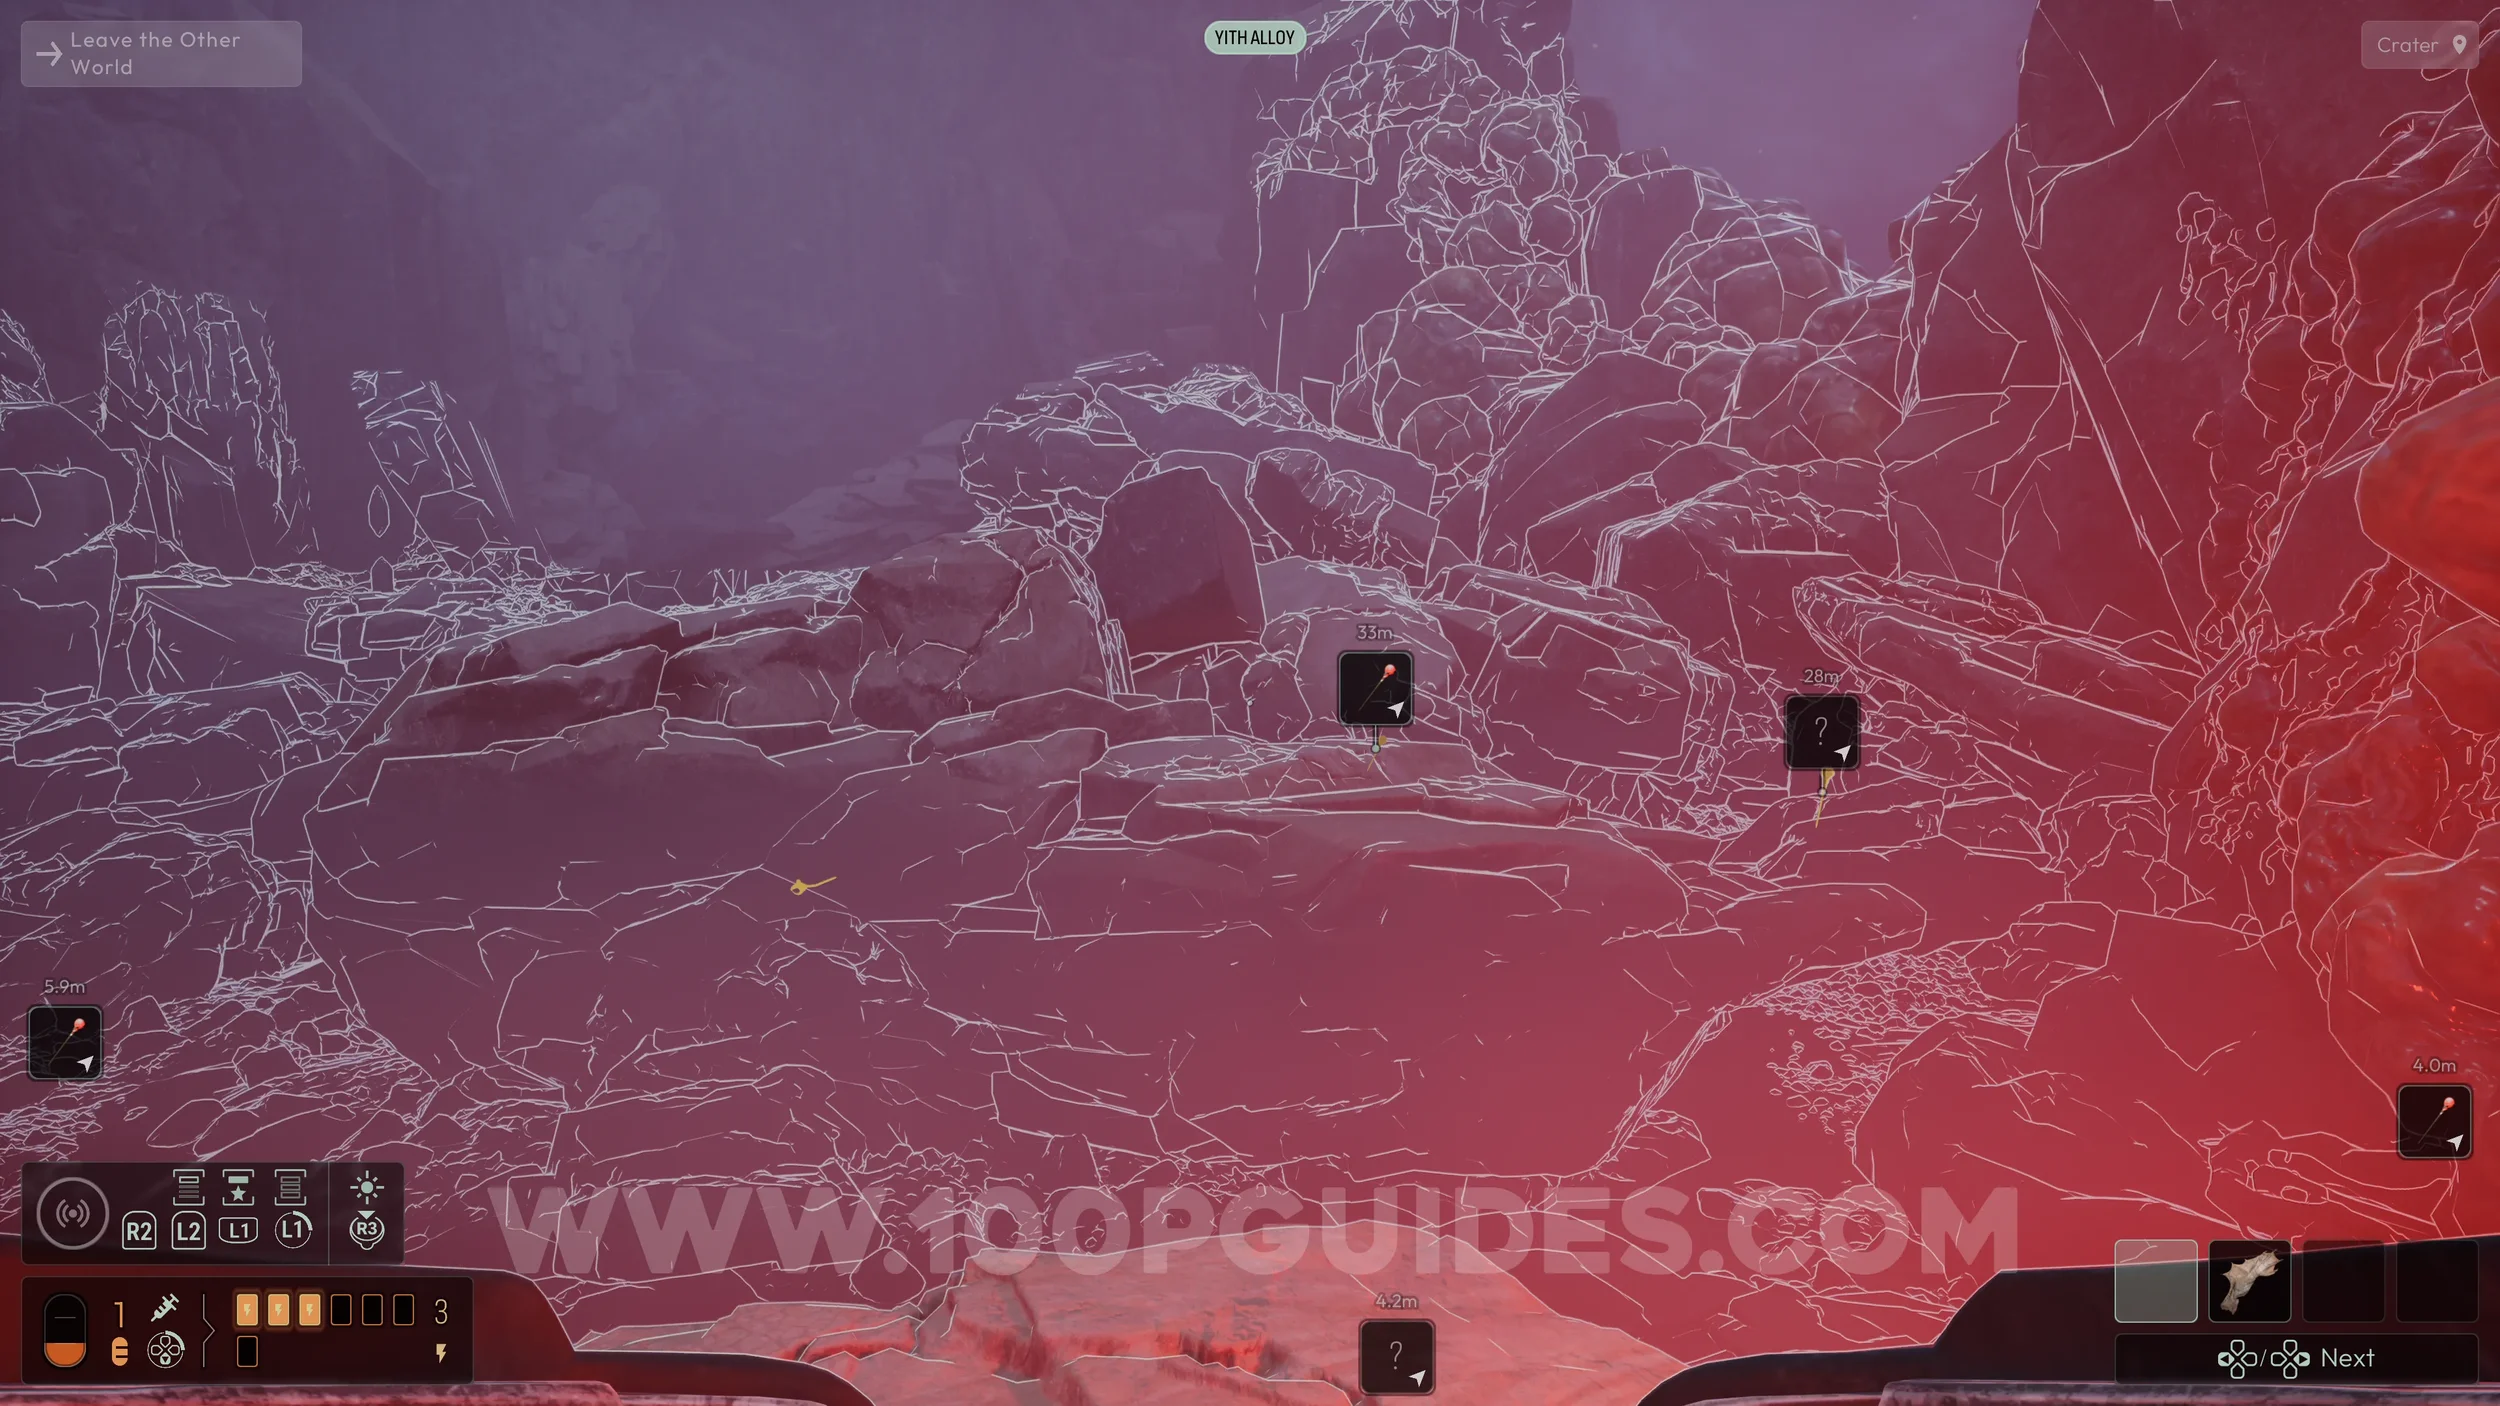
From here, climb down the slope until you dive underwater and emerge on the other side. Just before reaching the glowing red staffs, look to your right to find another Strange Monolith that will upgrade your evolution slots.
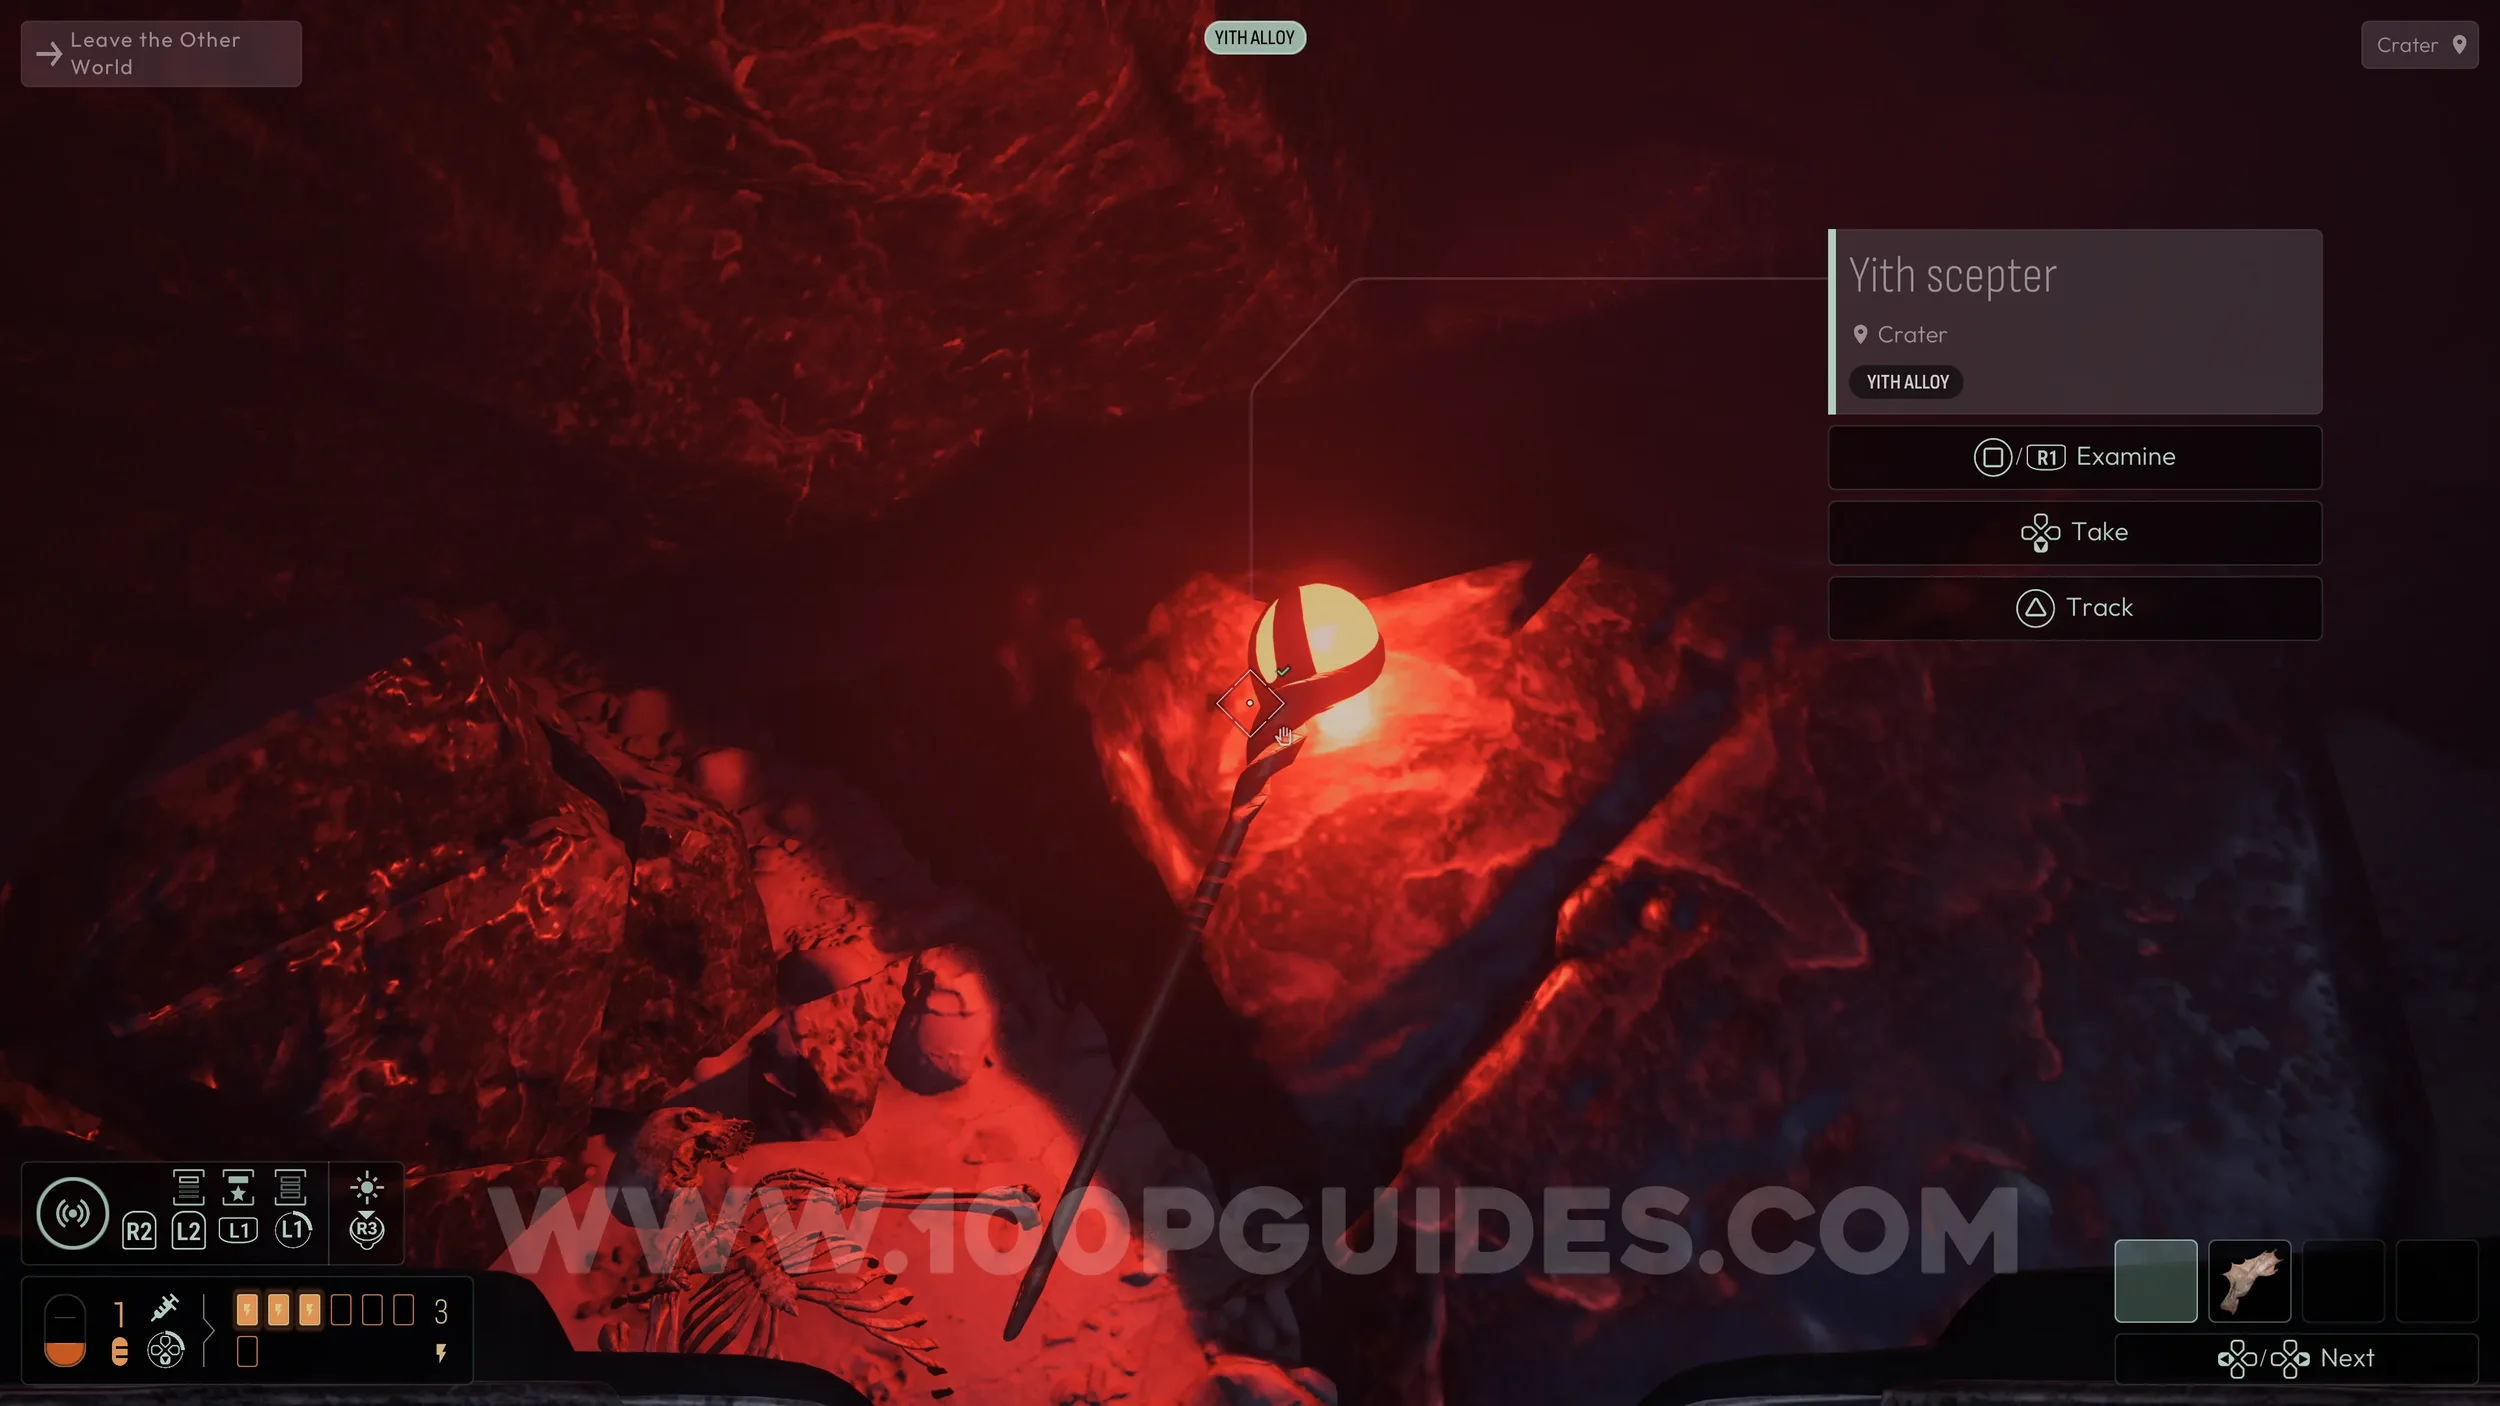
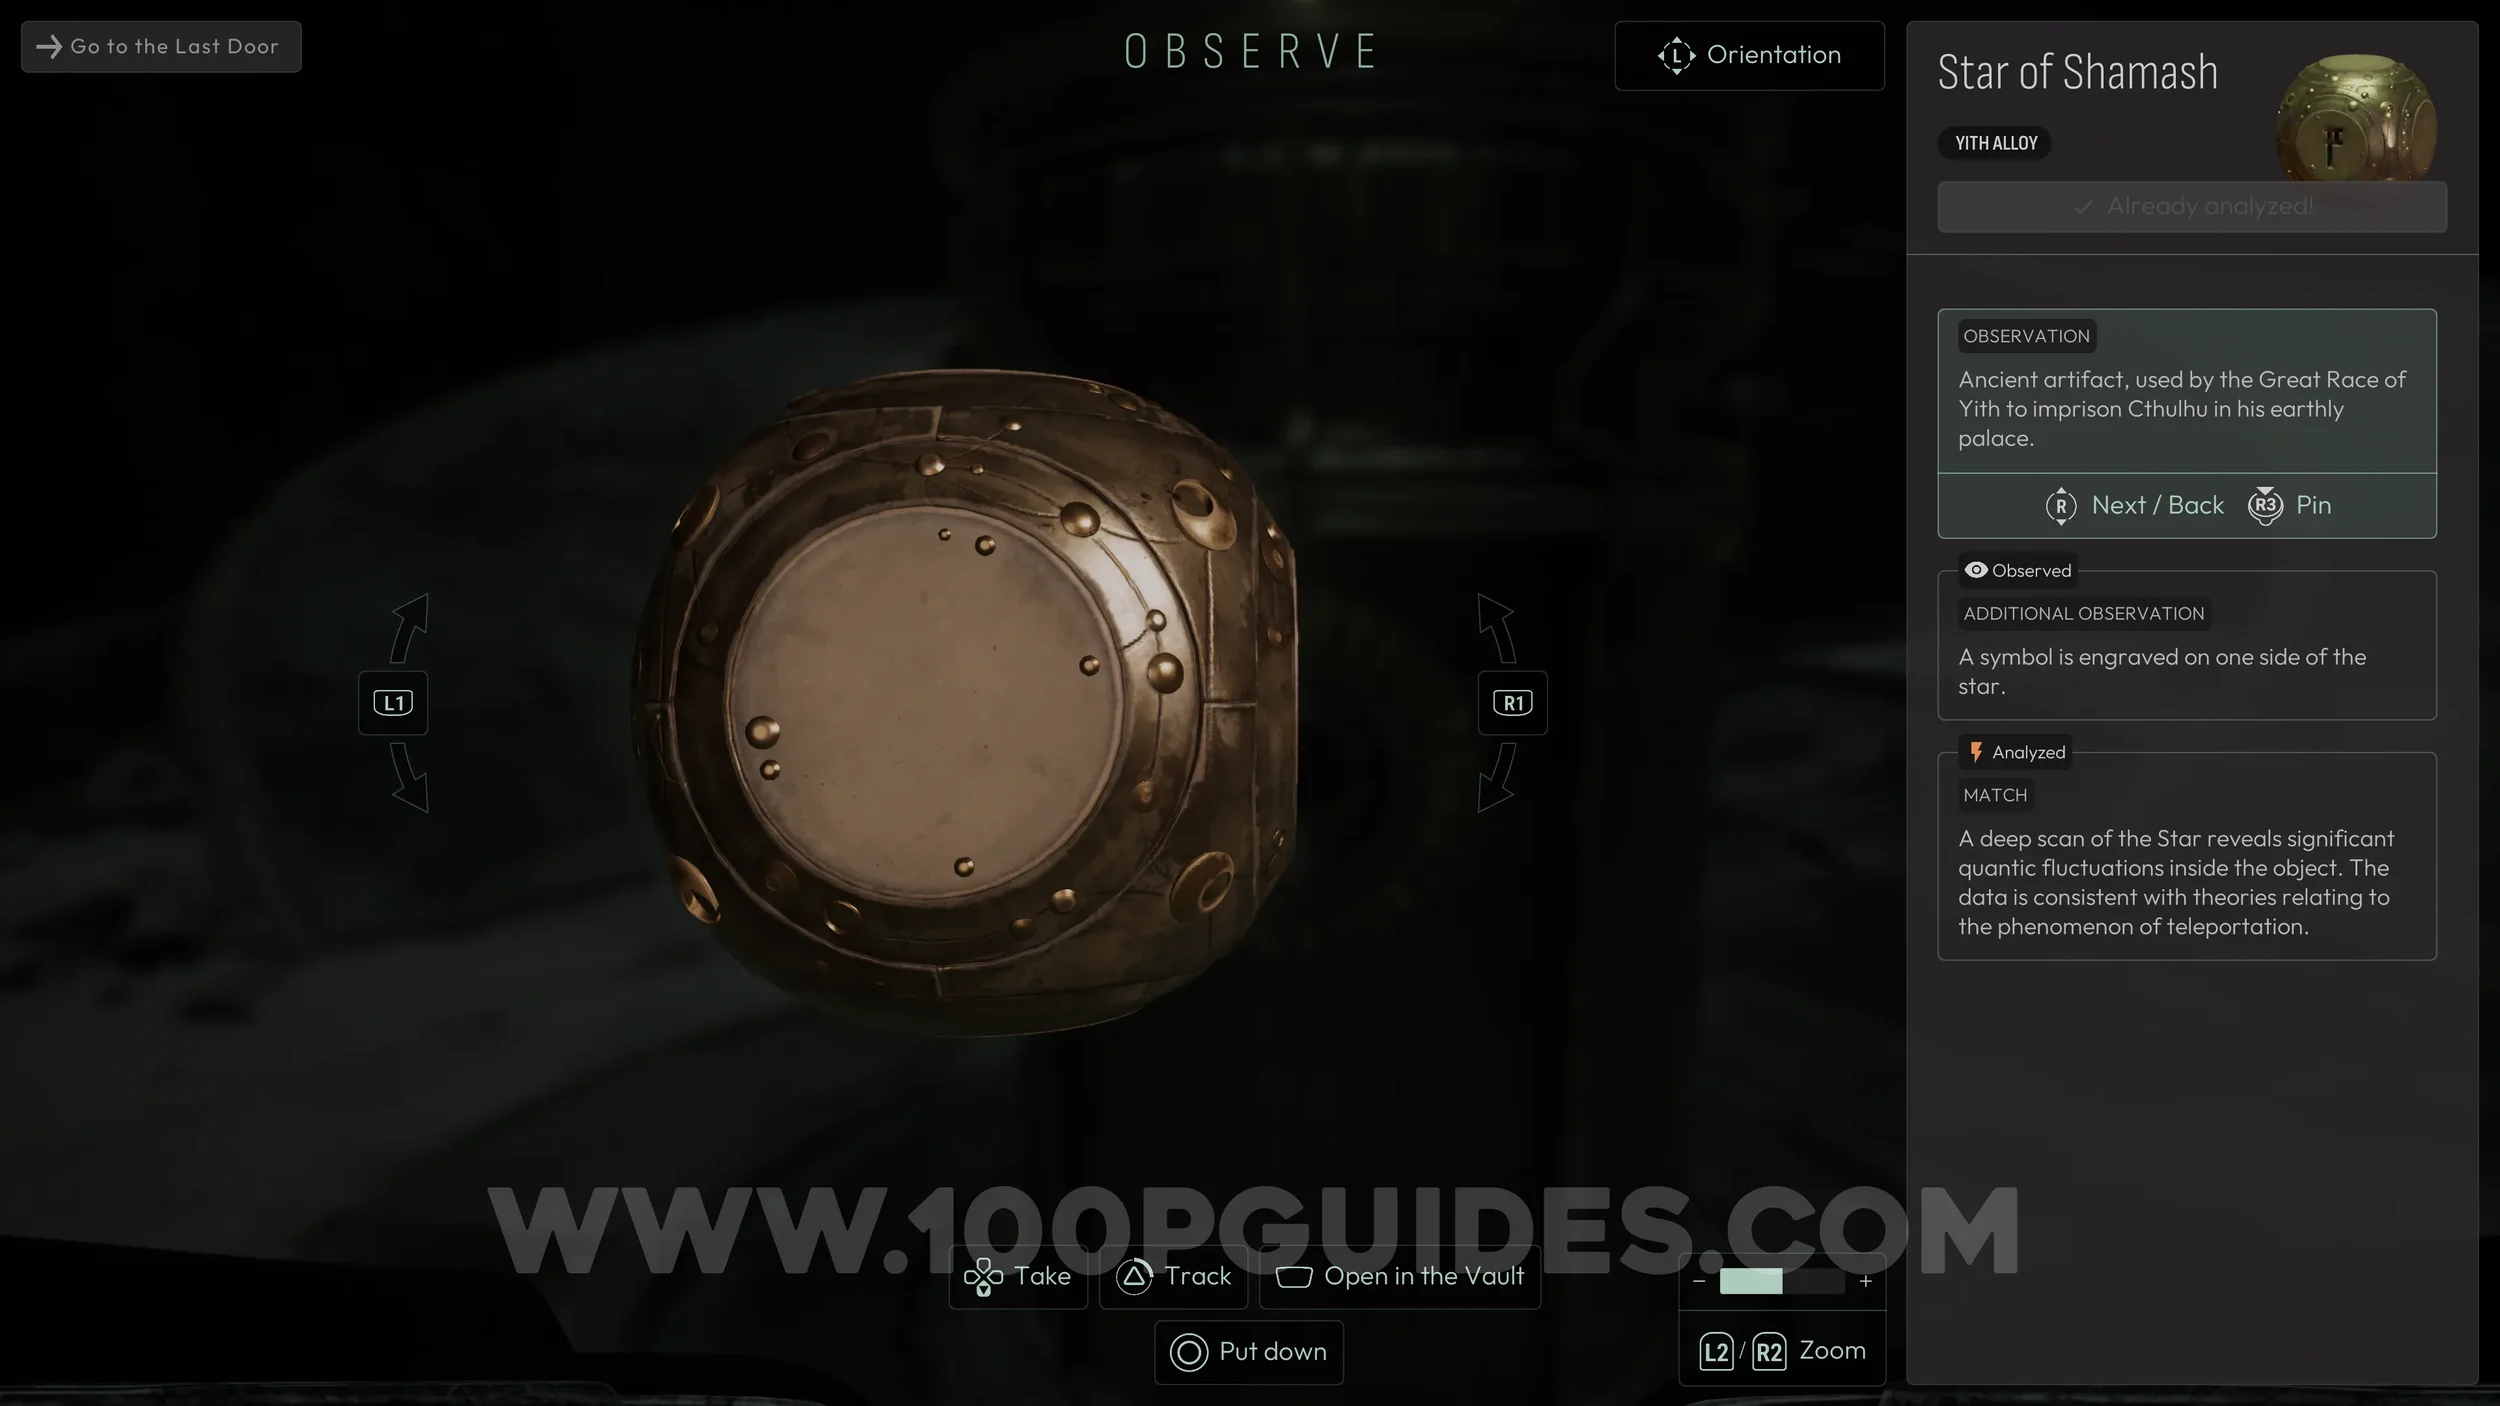
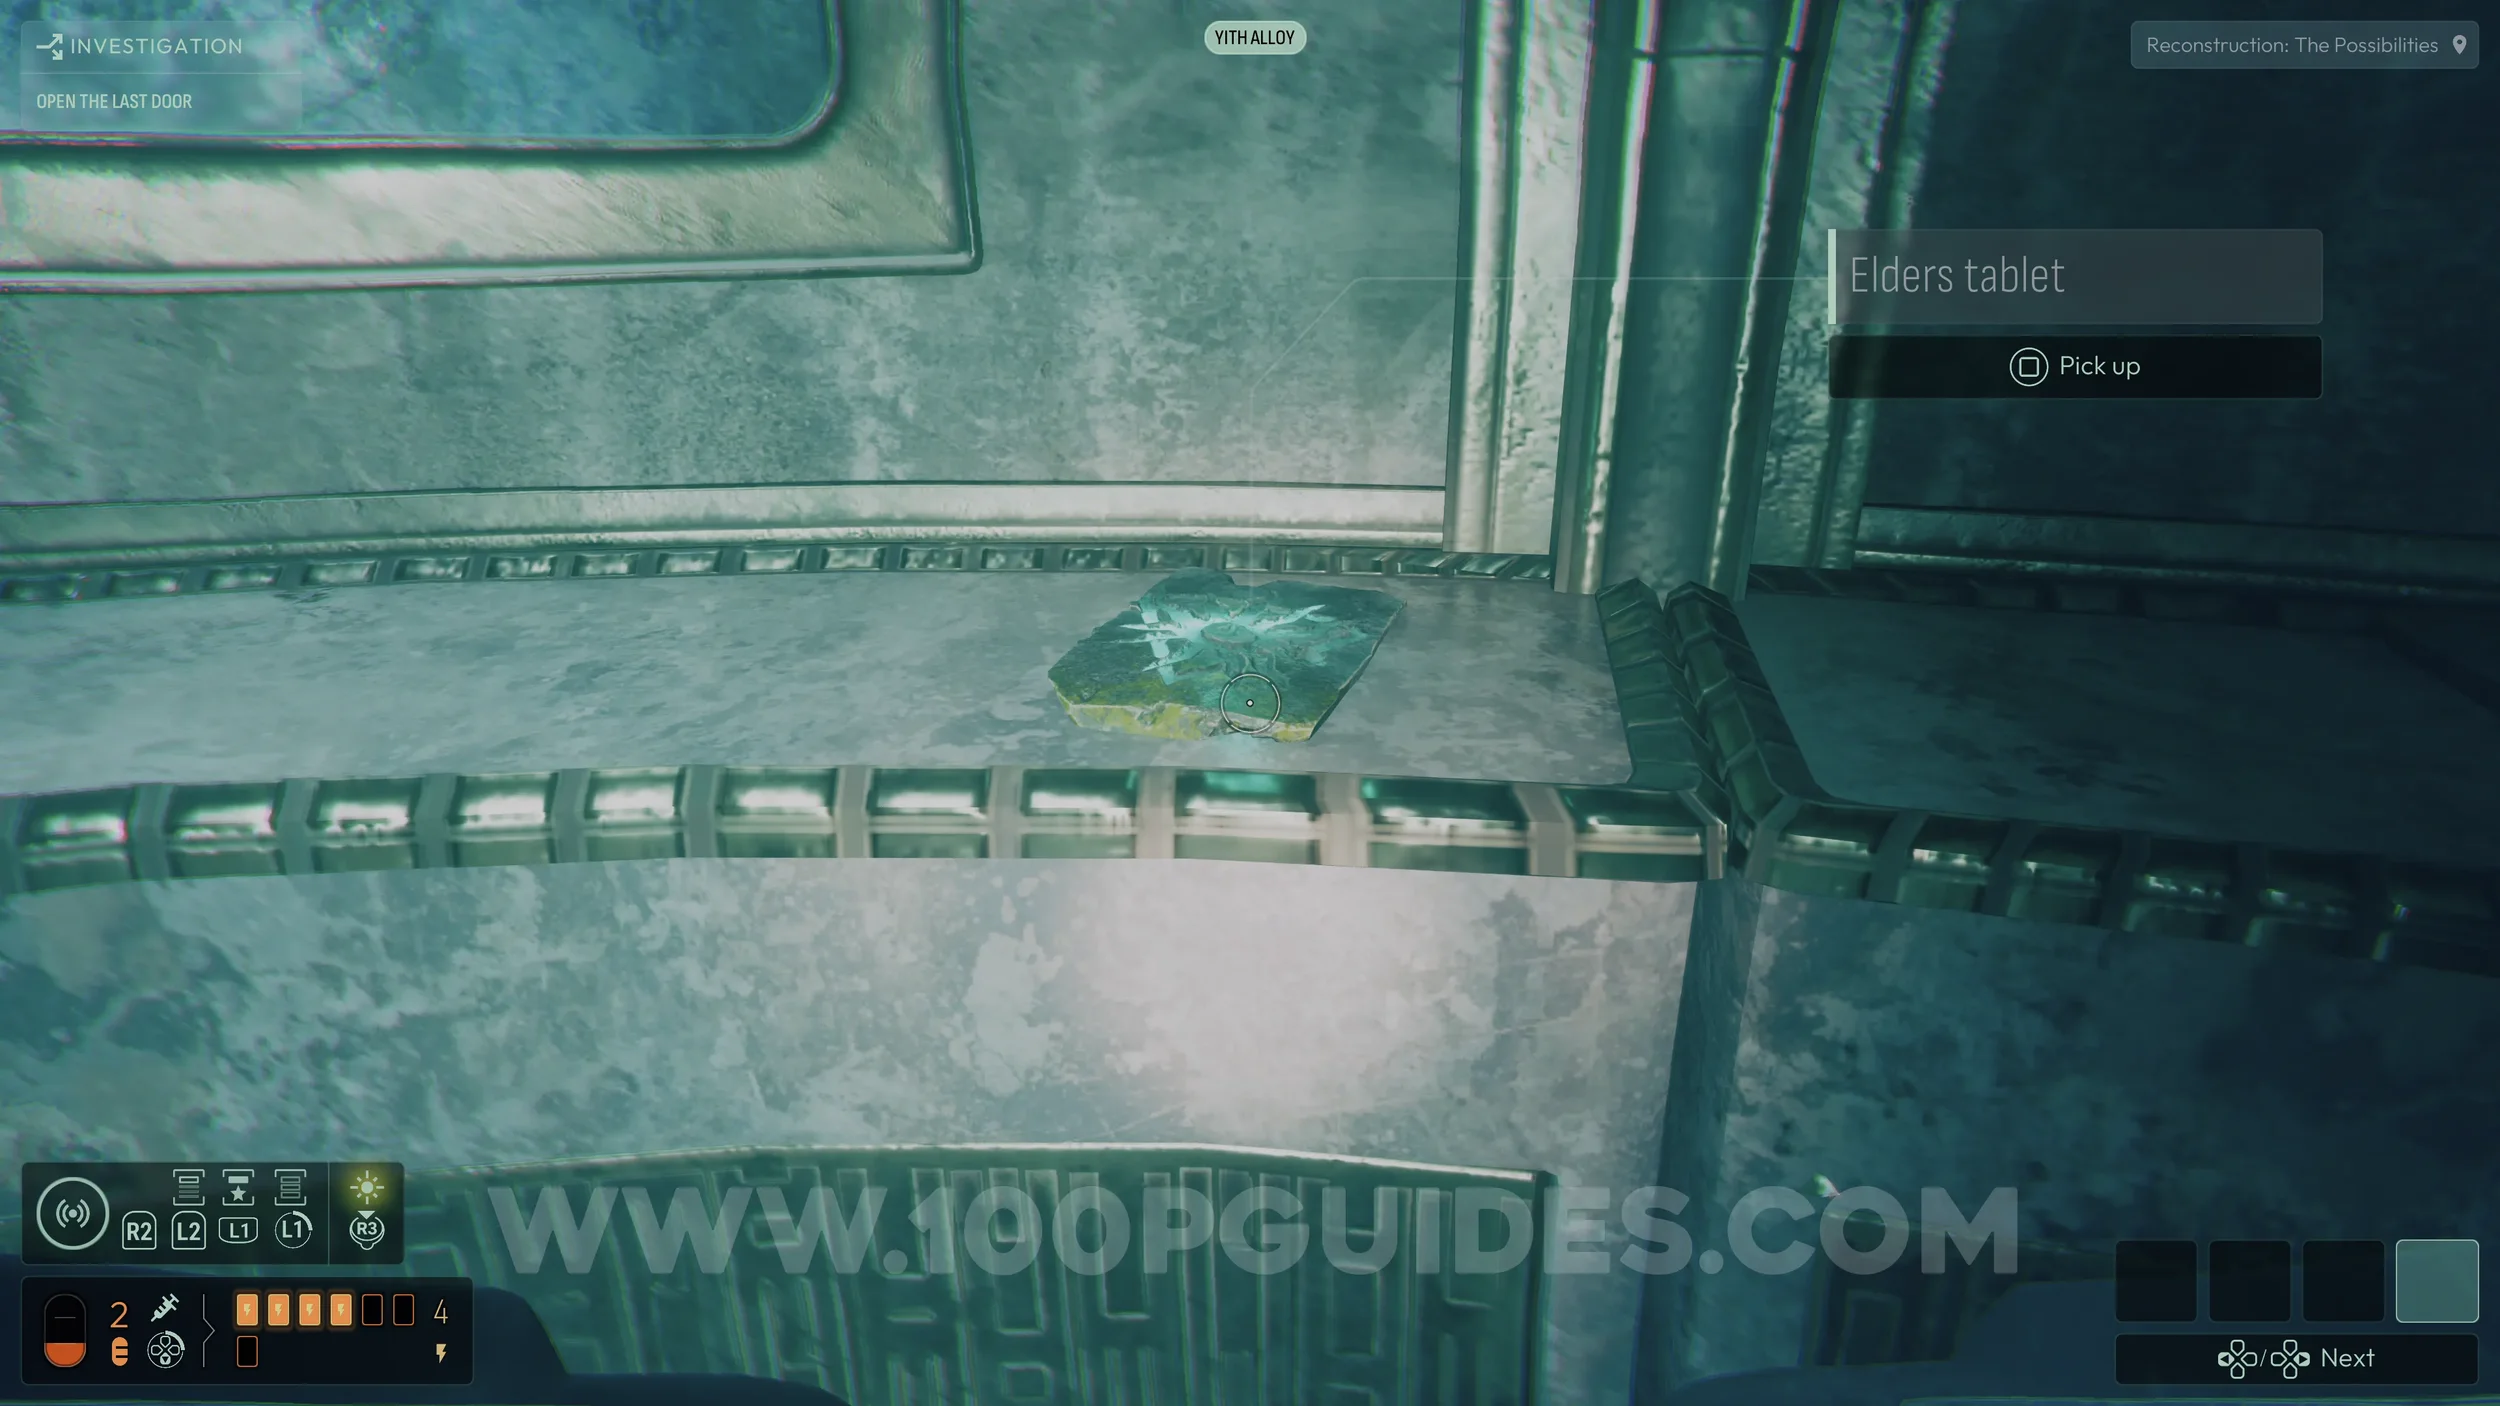
After picking up the collectible, continue to the end where you will find two red staves. Analyze one of them, then activate the Yith Alloy frequency and use the sonar to locate the third staff. It is nearby and easy to find.
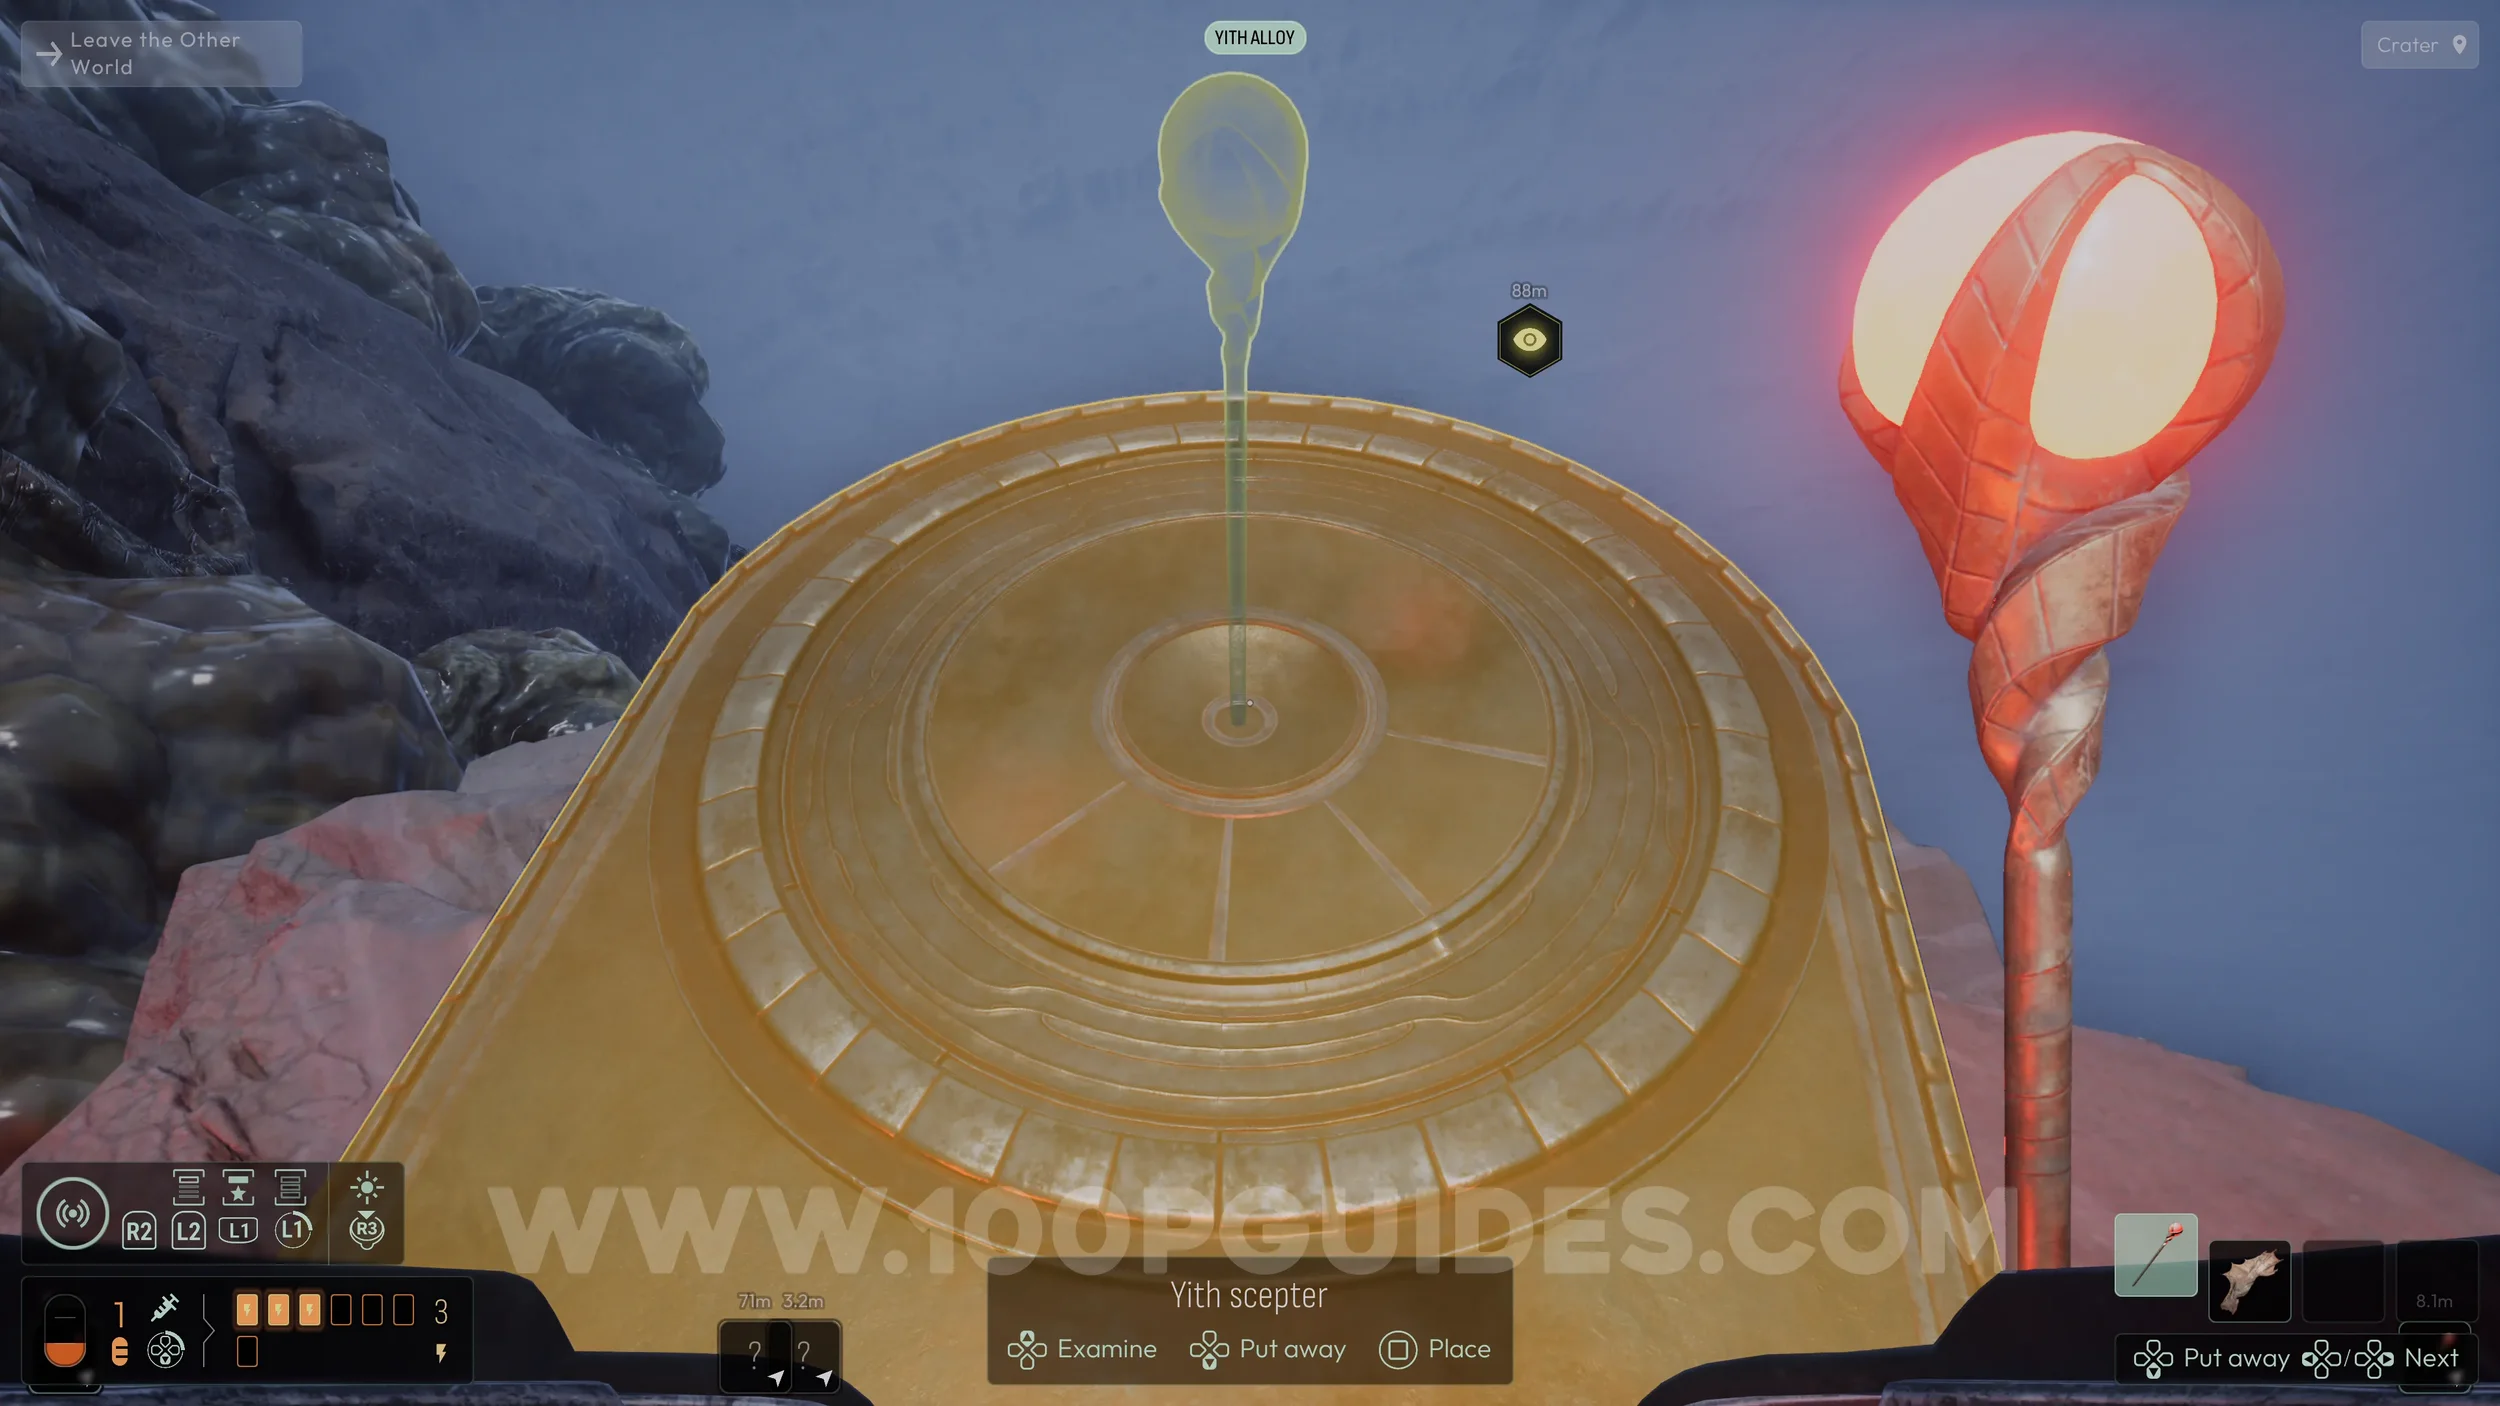
Once you have it, place it in the empty slot next to the other two staves to end the chapter.
Chapter 5
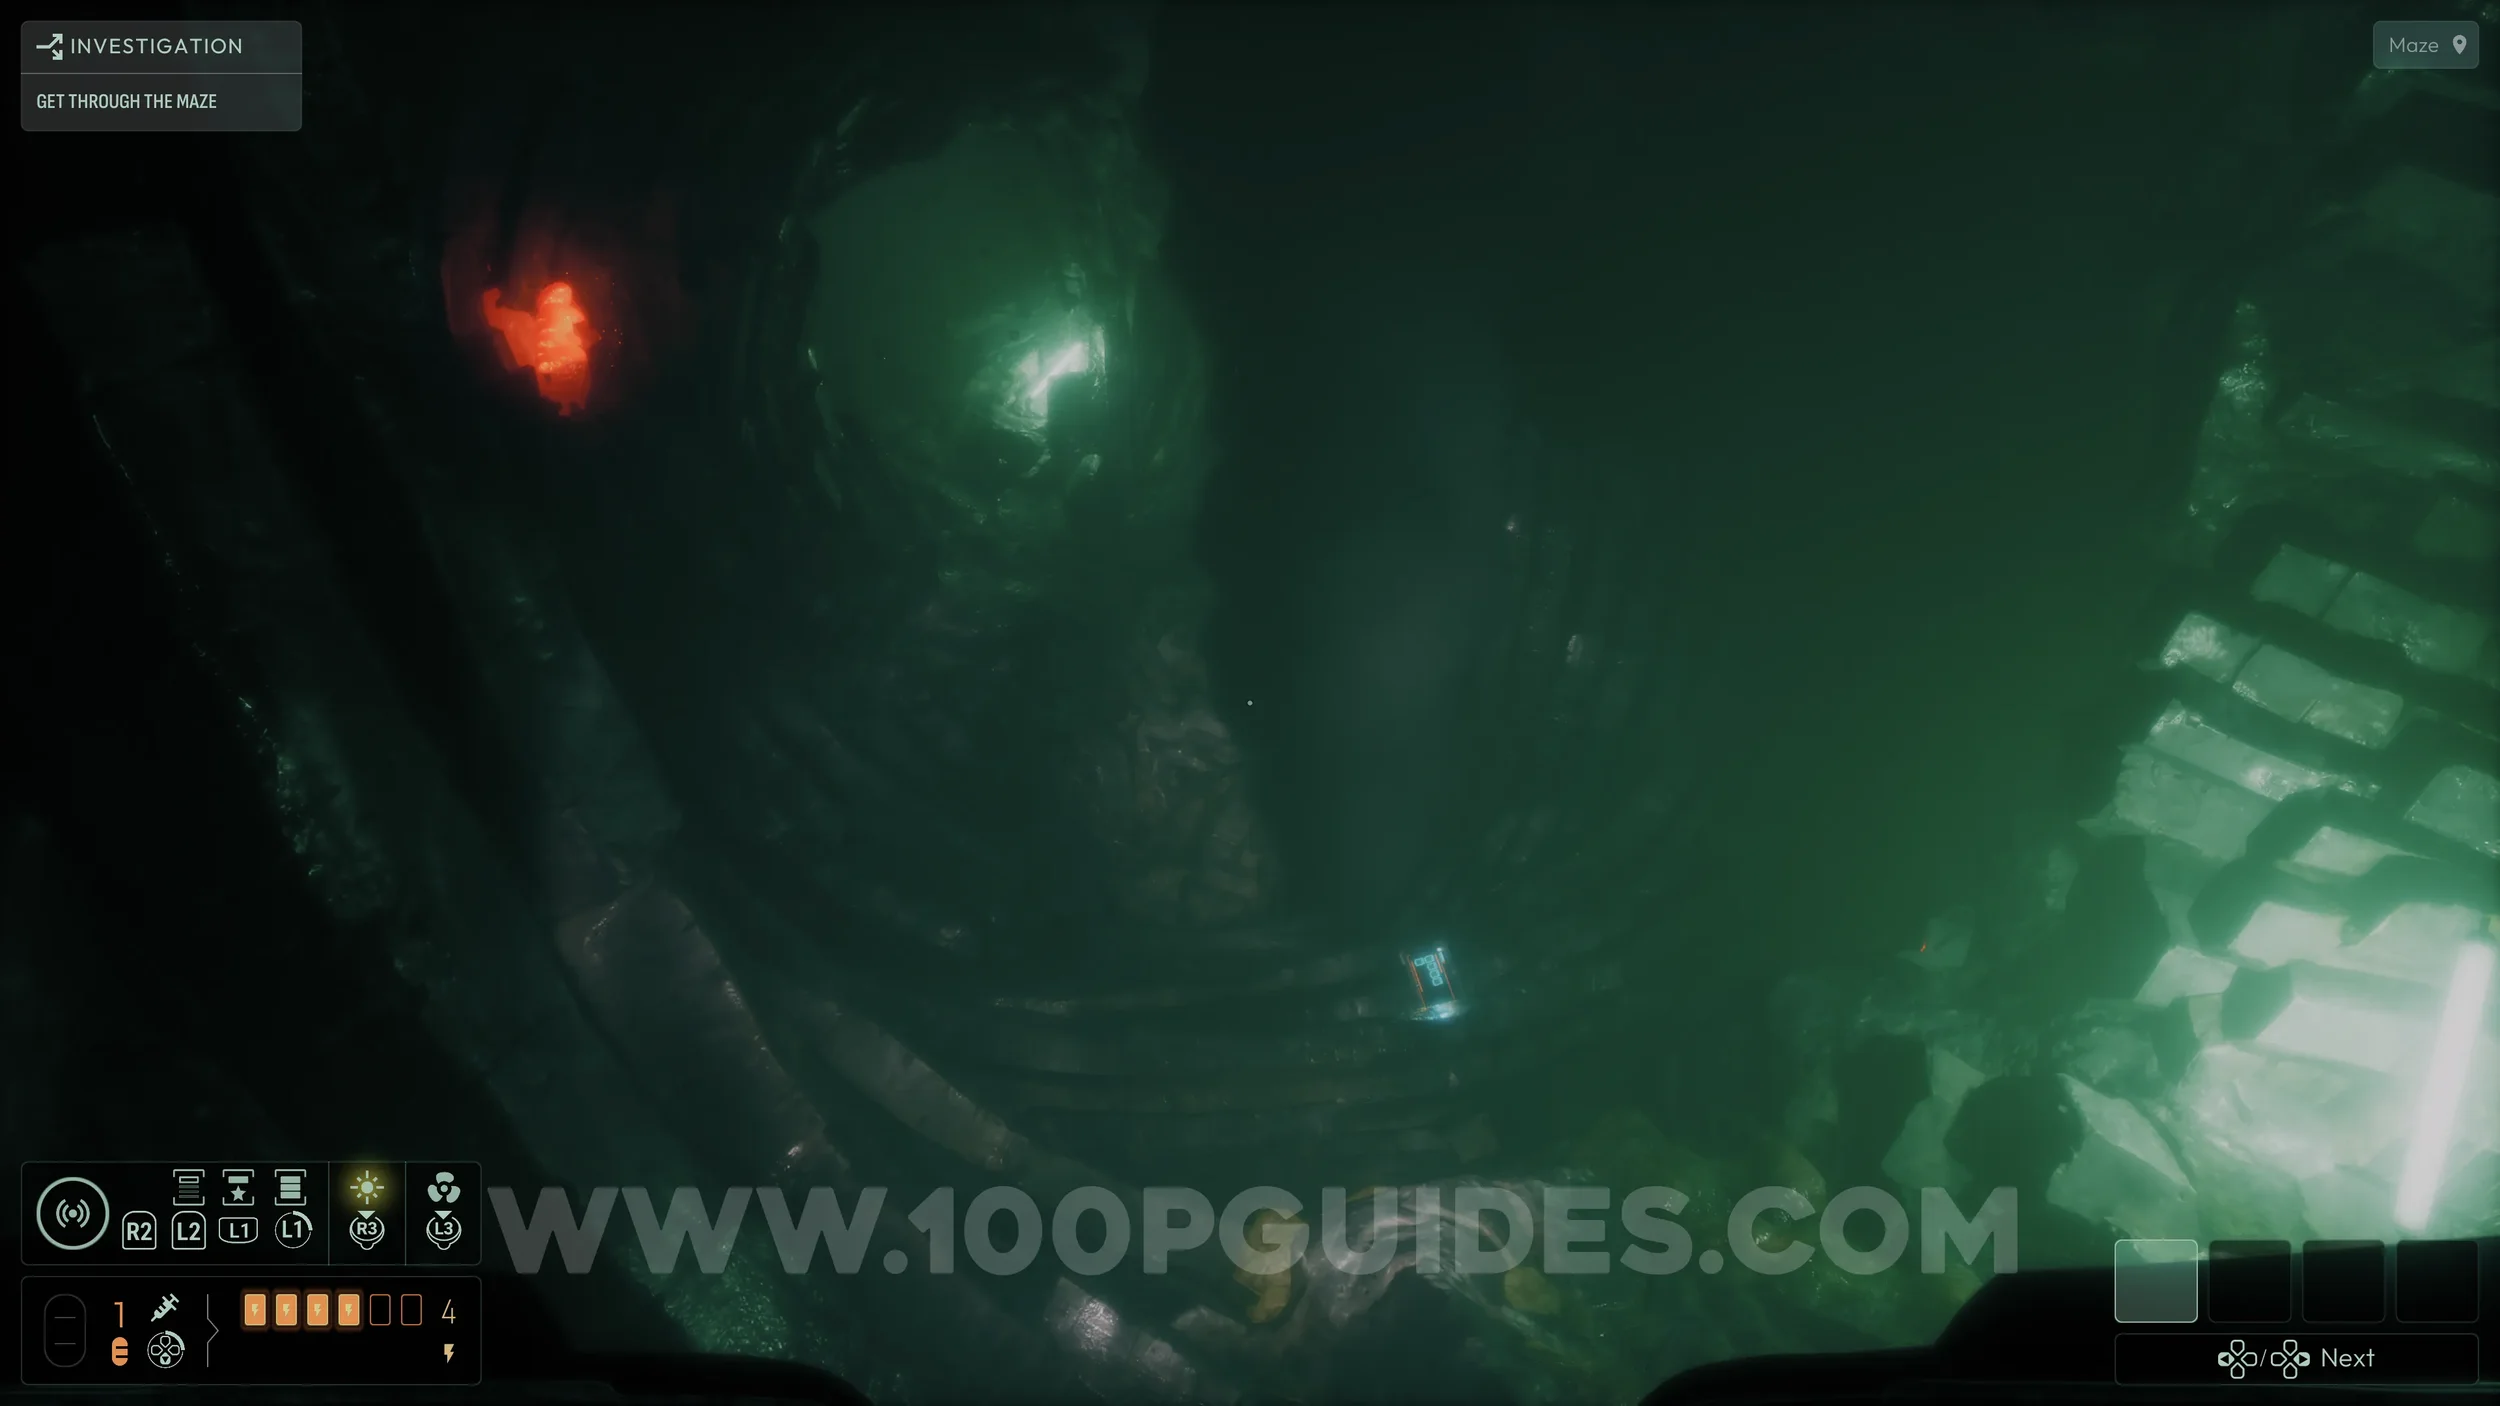
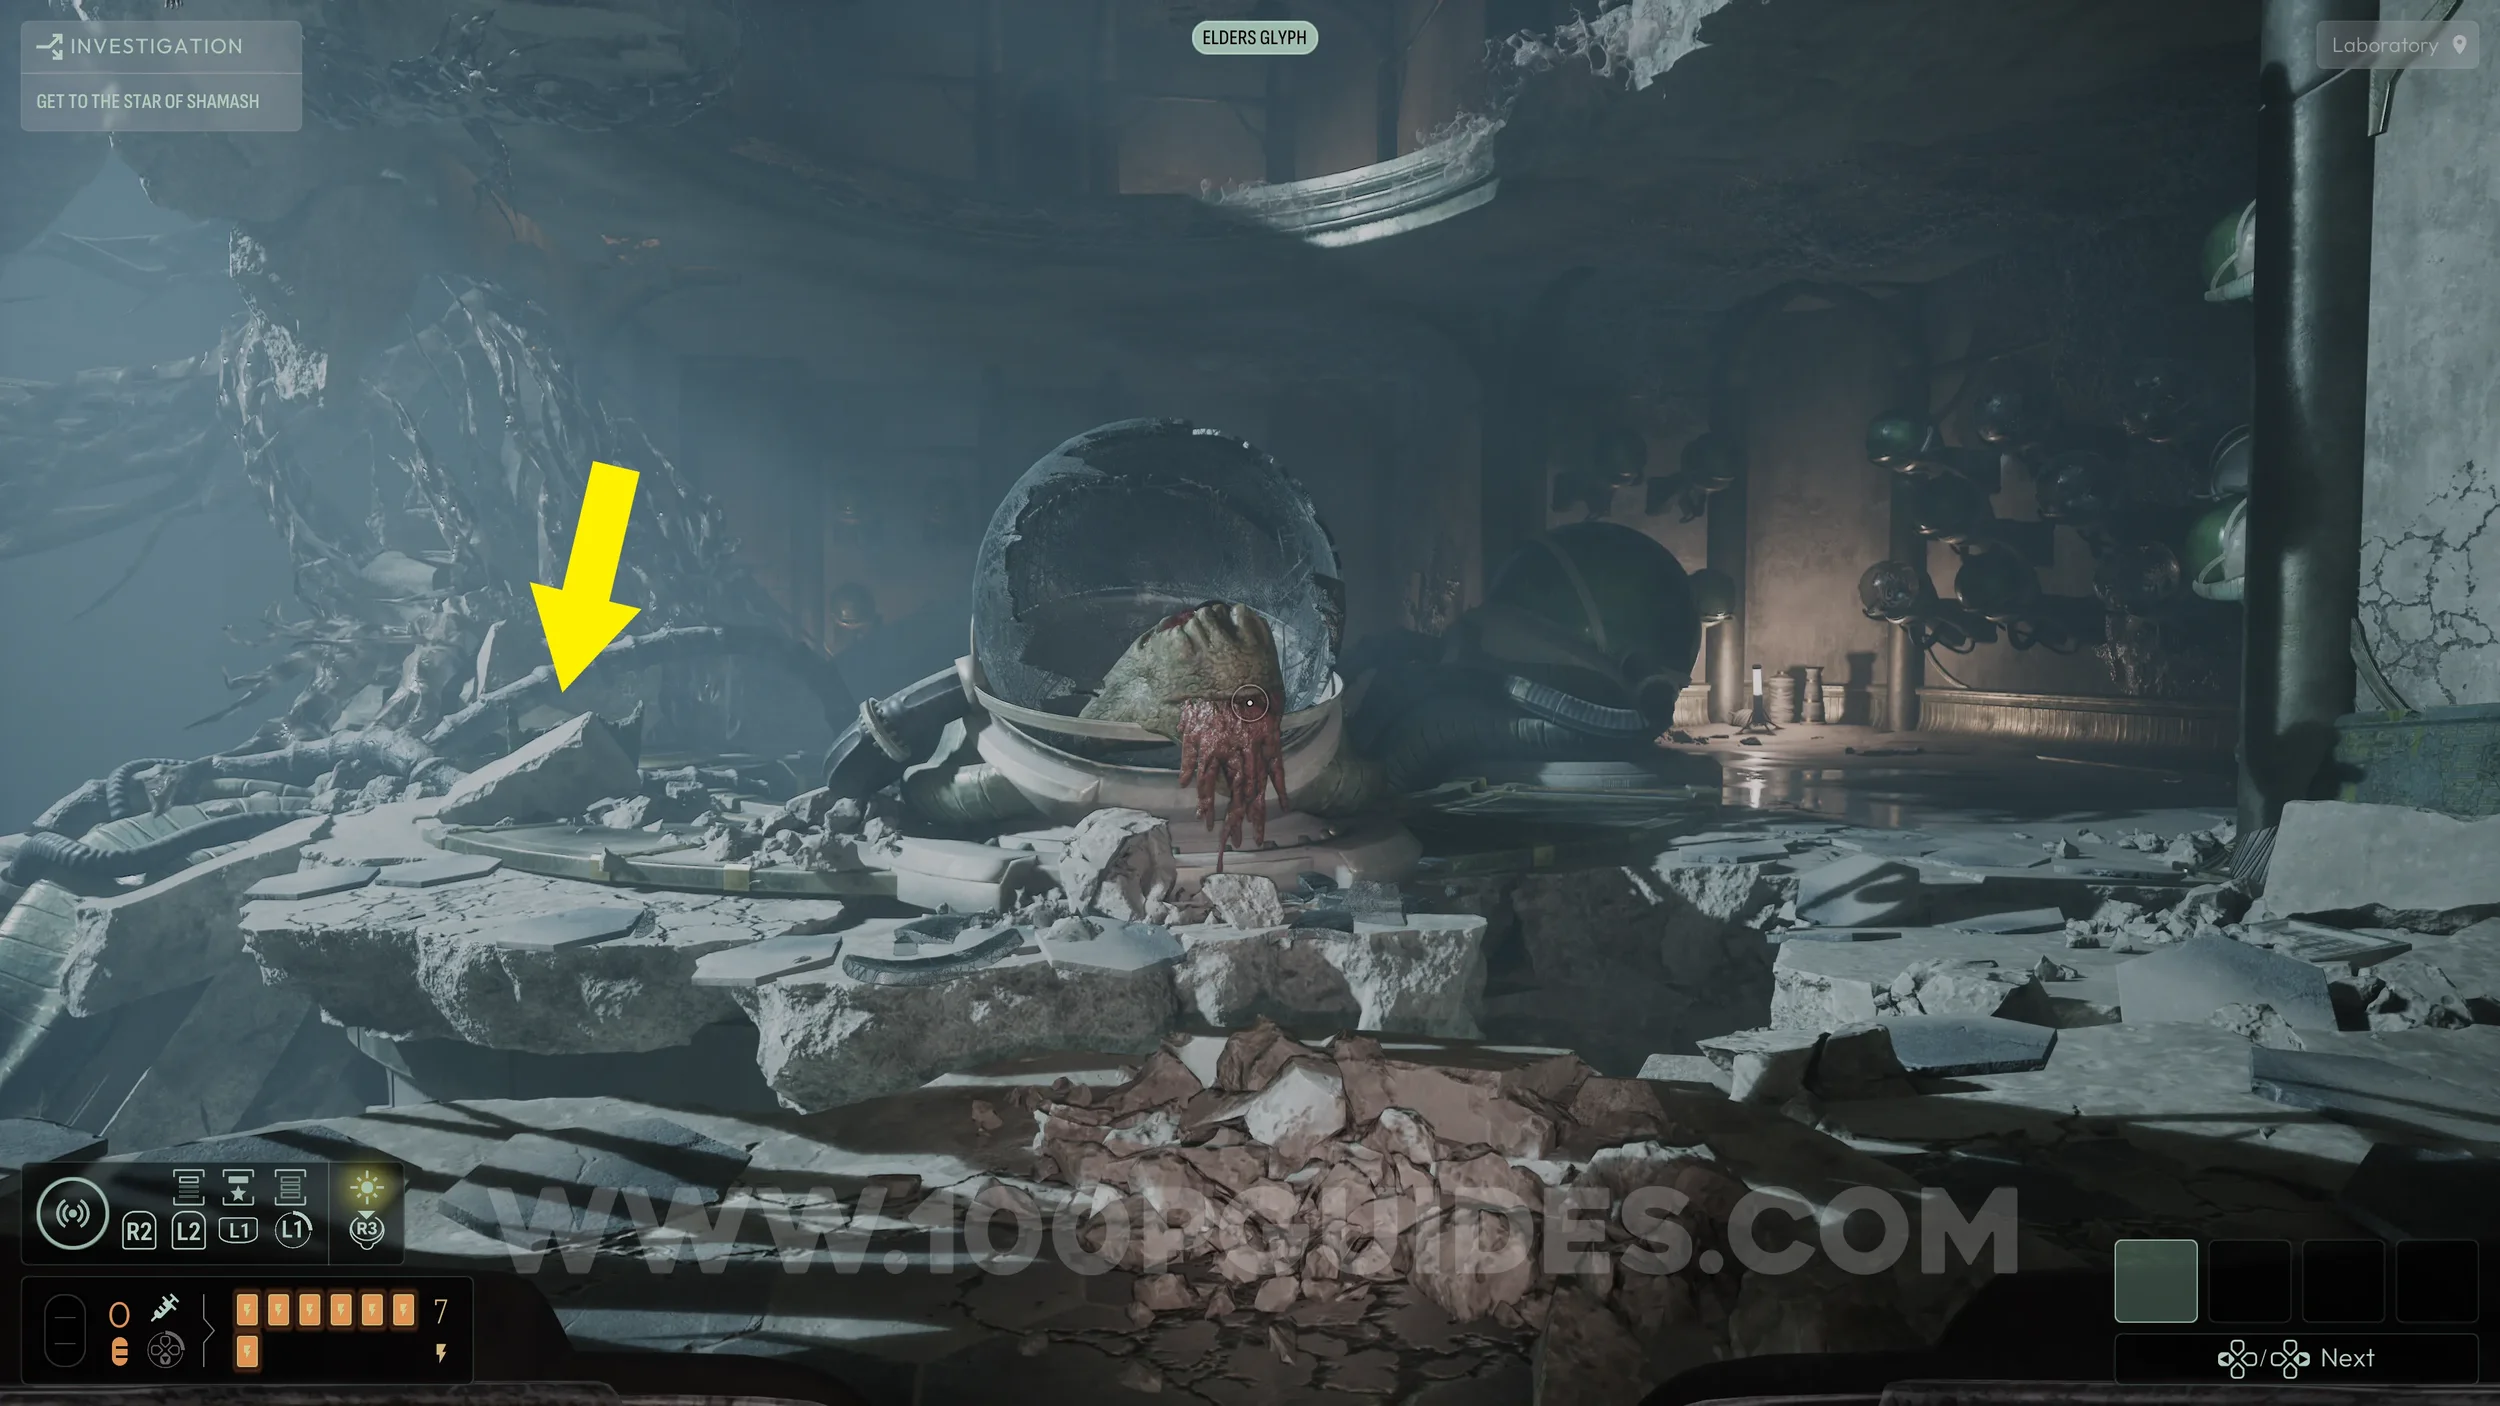
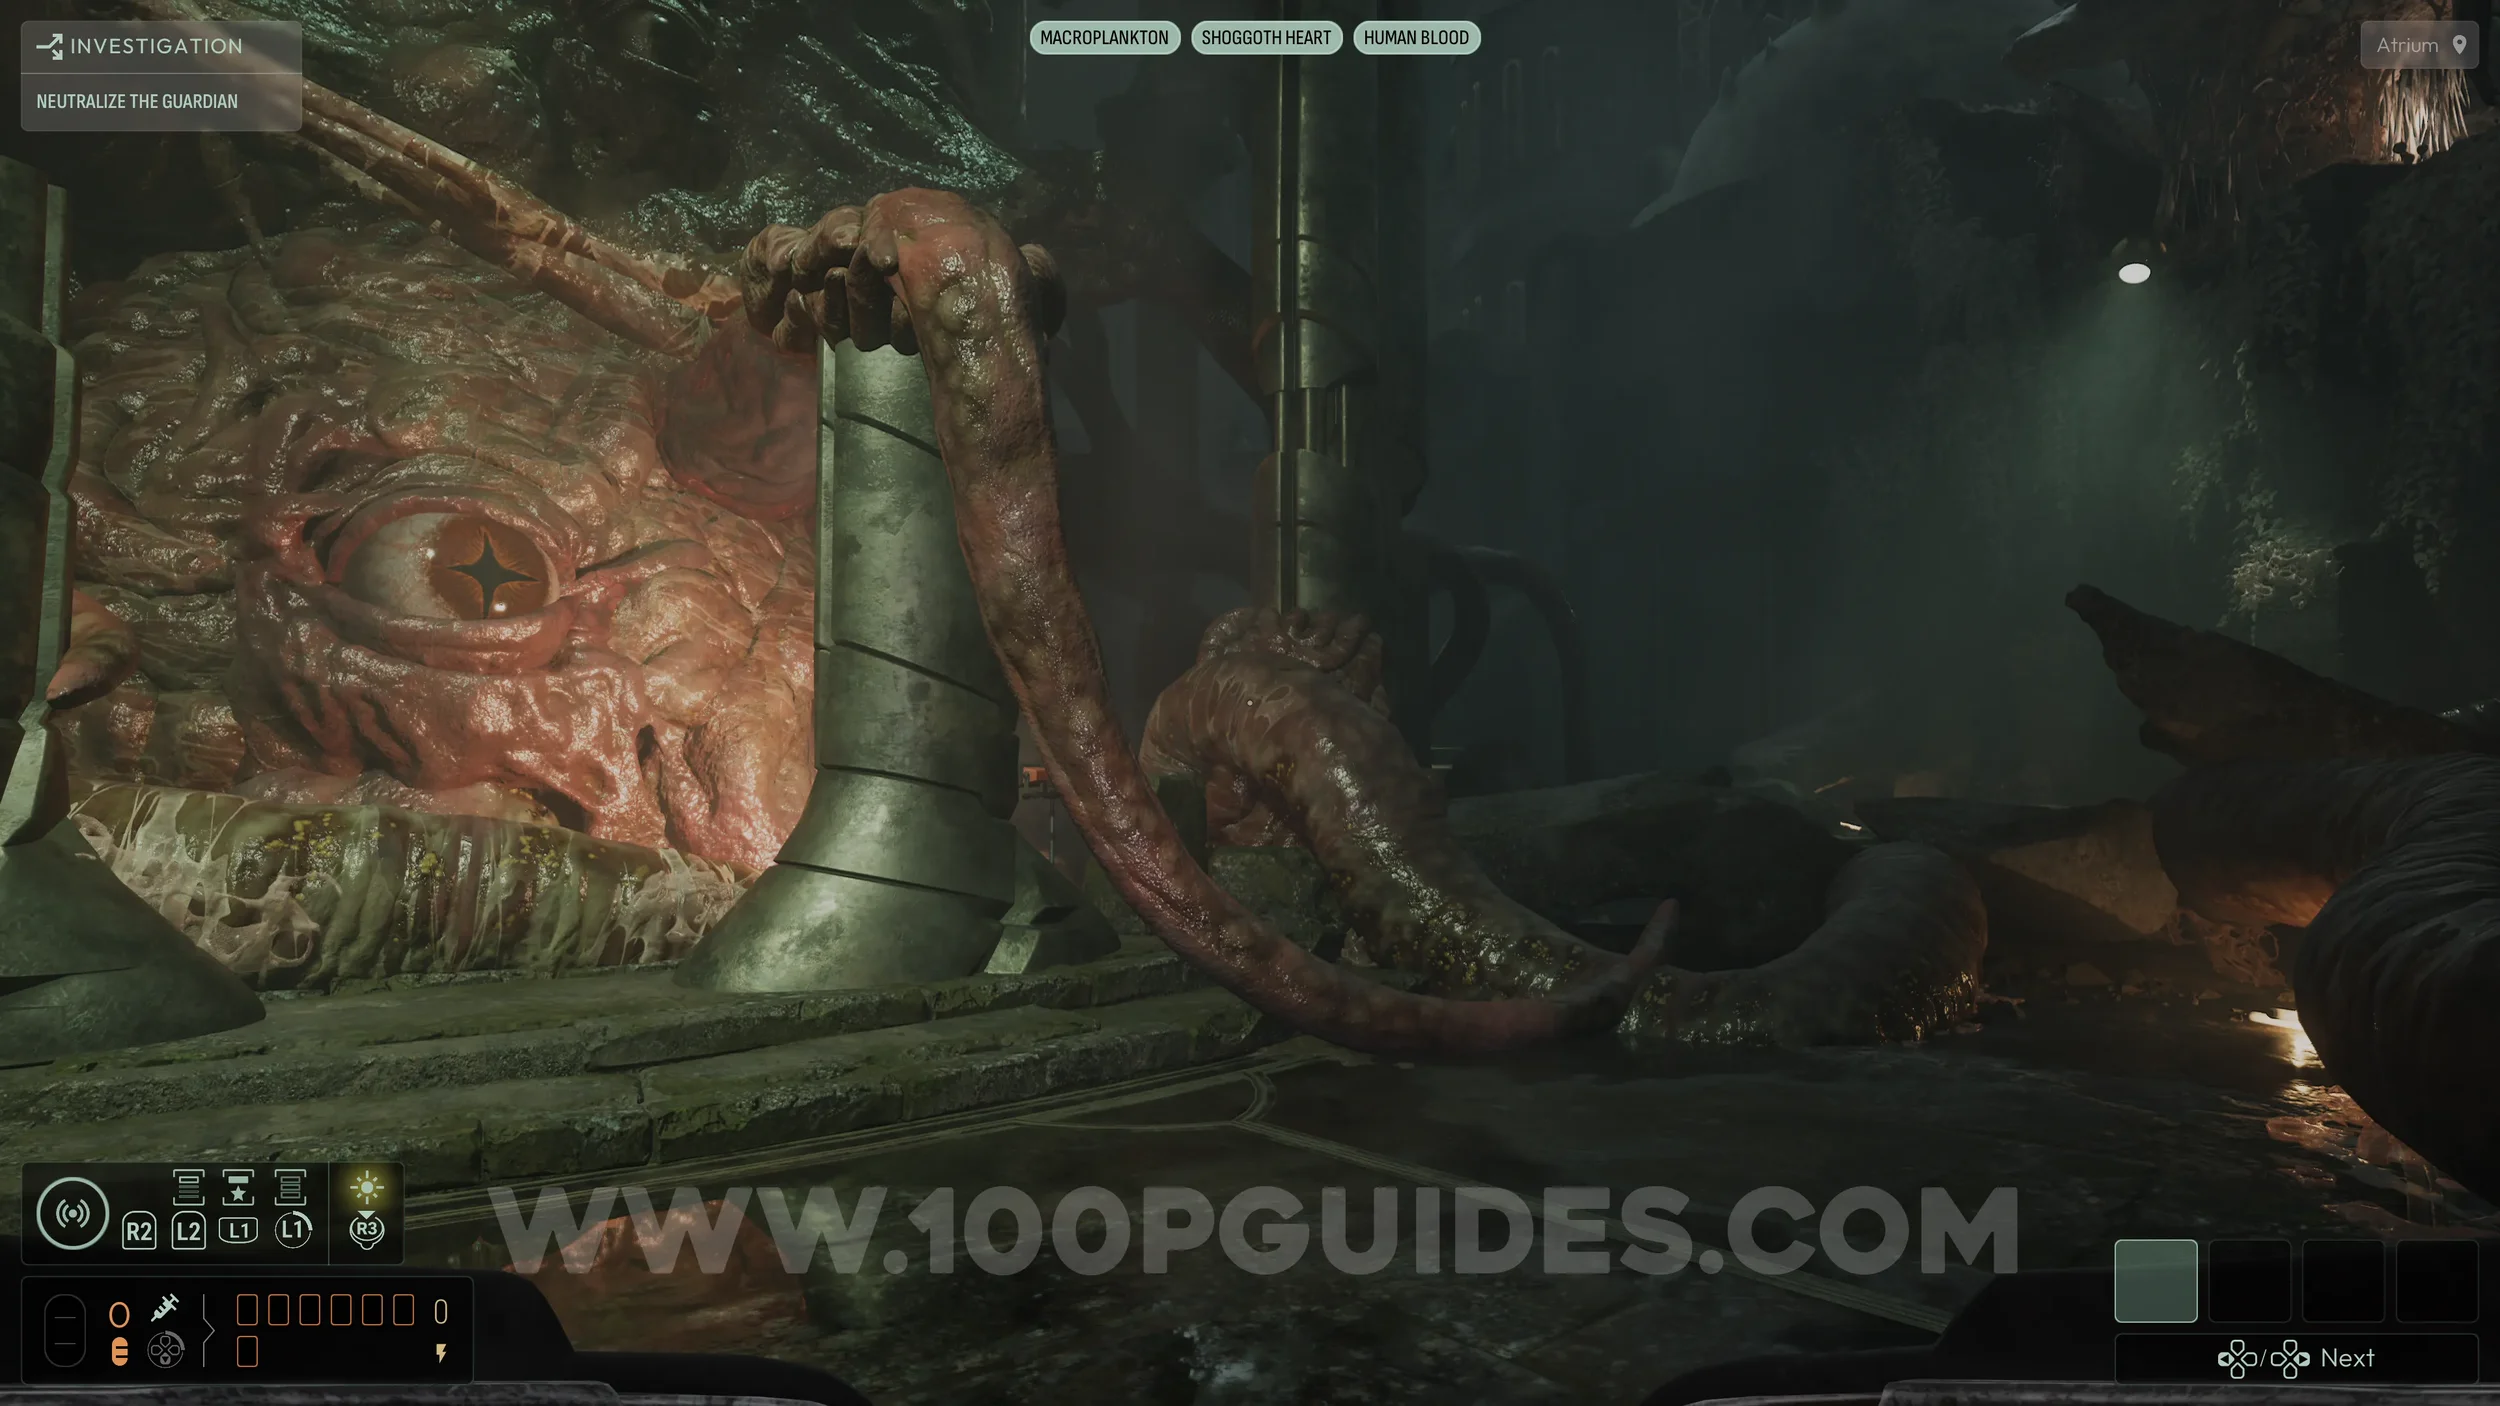
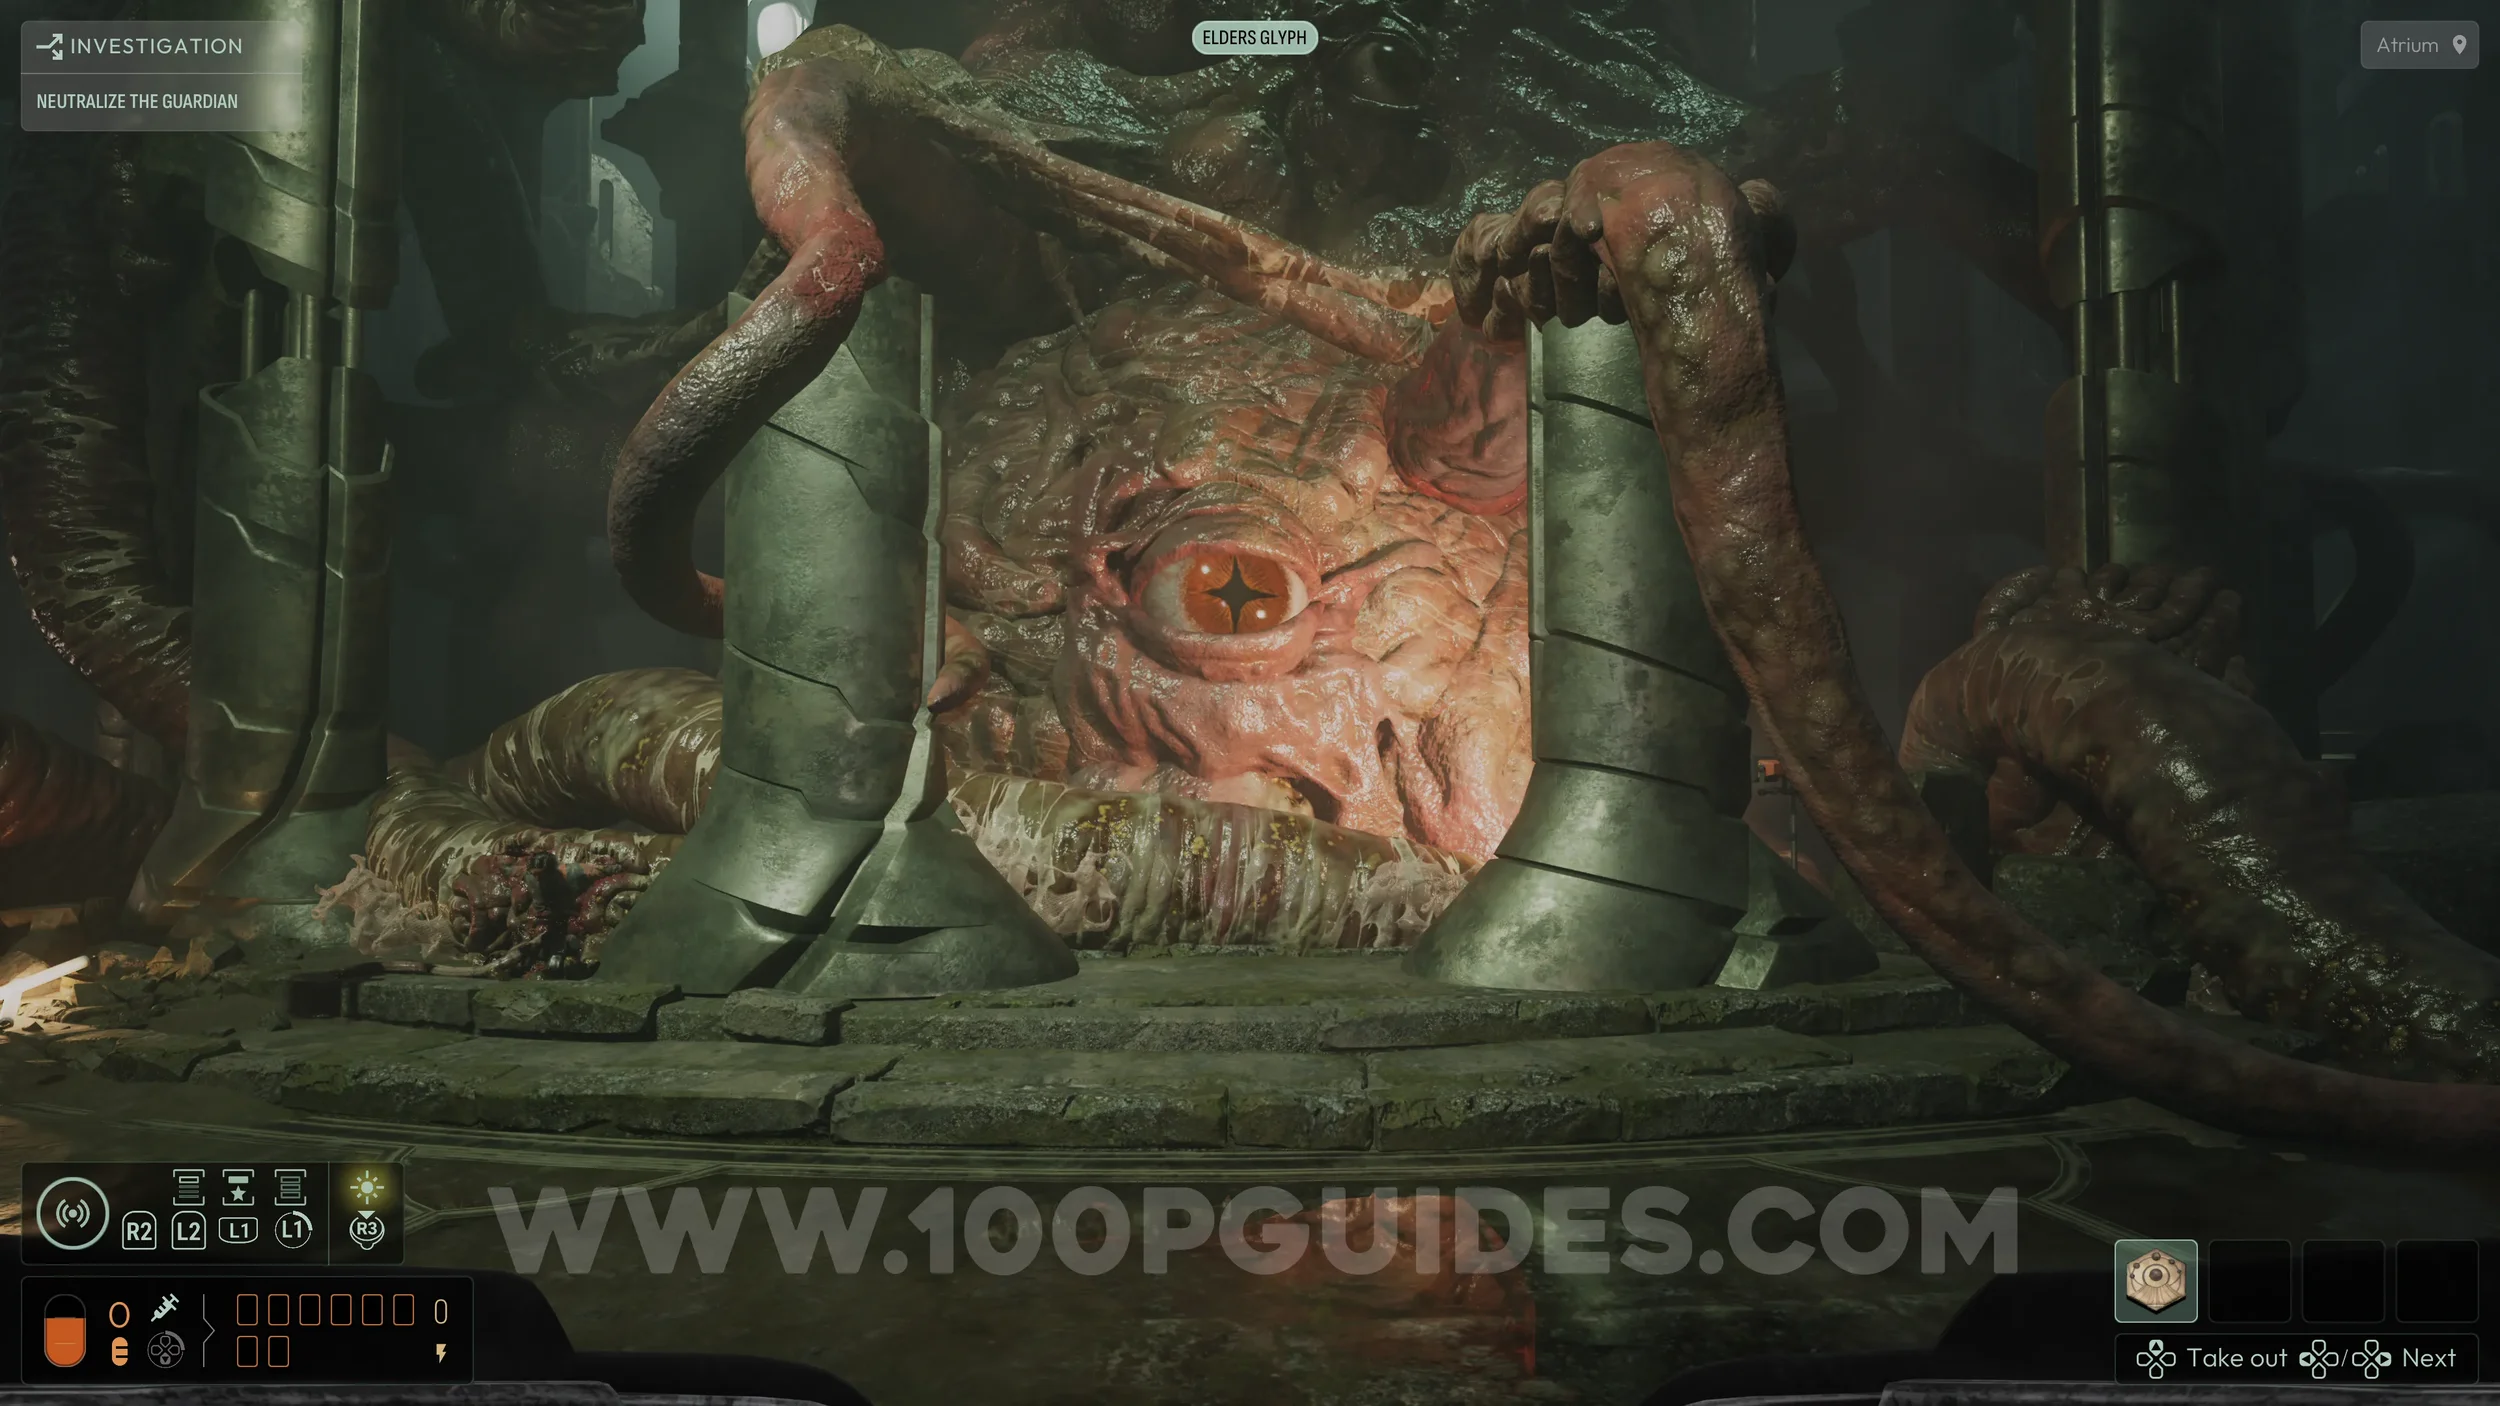
From the start of the chapter, follow the only available path. Drop down the platforms when you reach the broken bridge, then continue forward until you encounter a large creature in the middle of the area, and the chapter title card appears and the investigation starts.
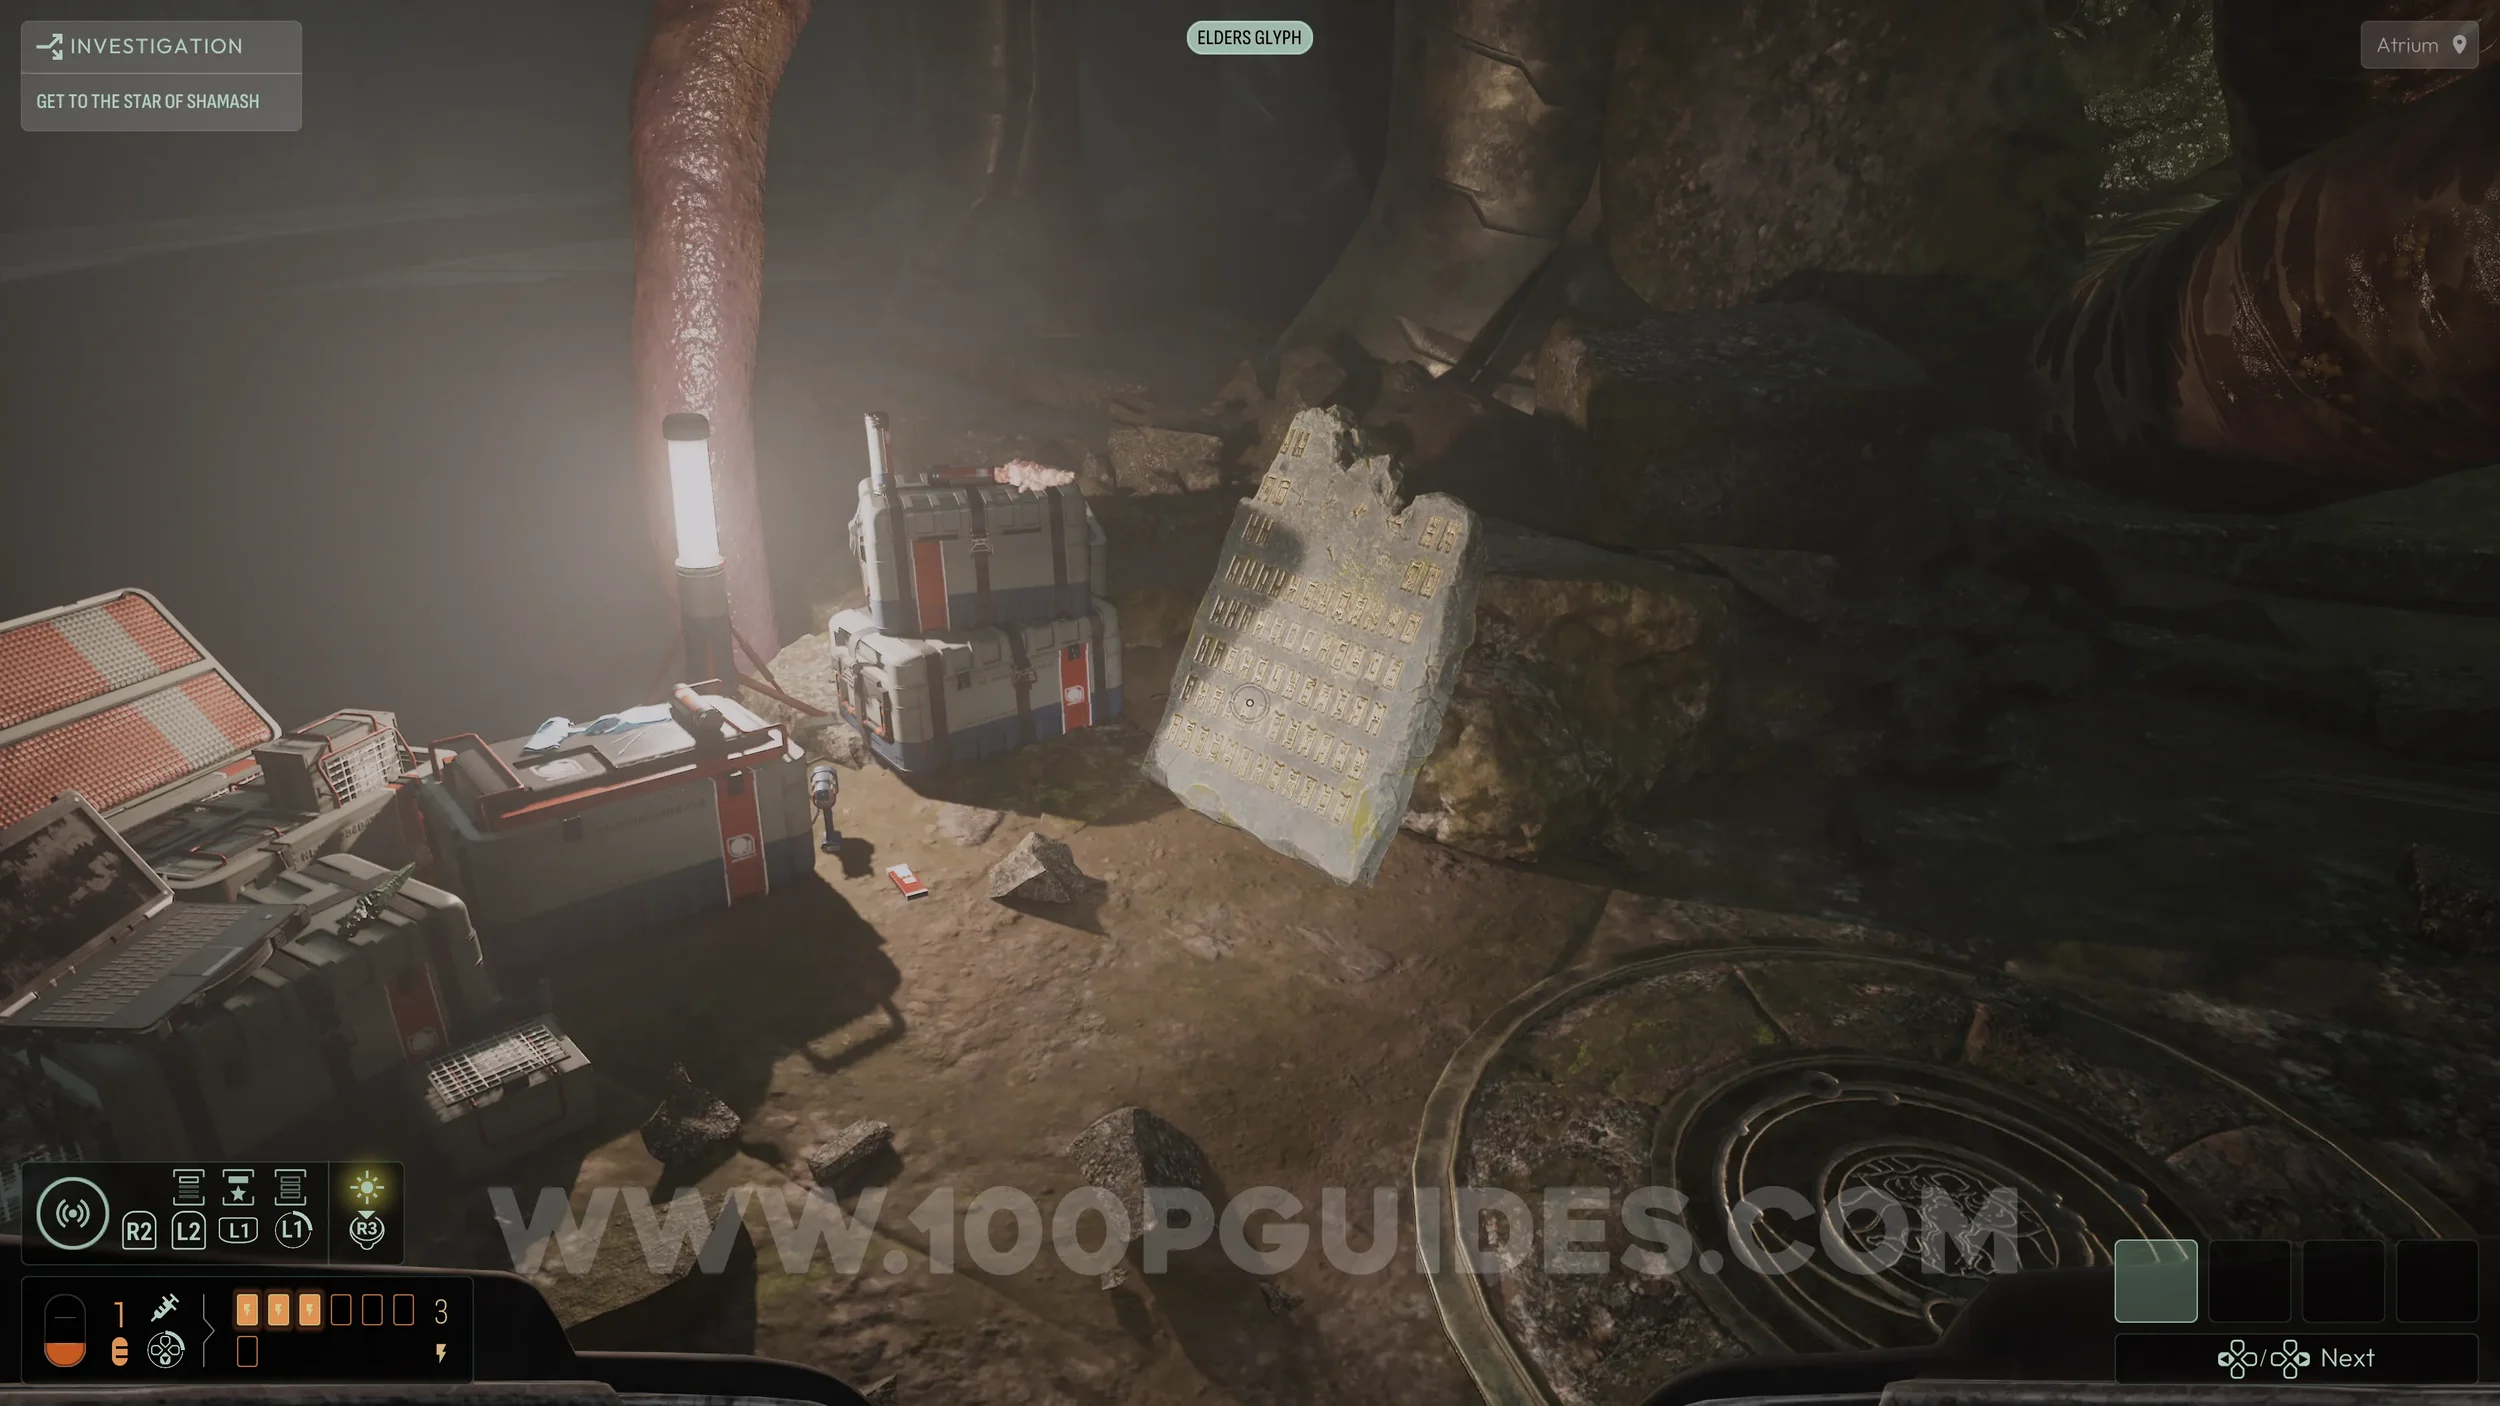
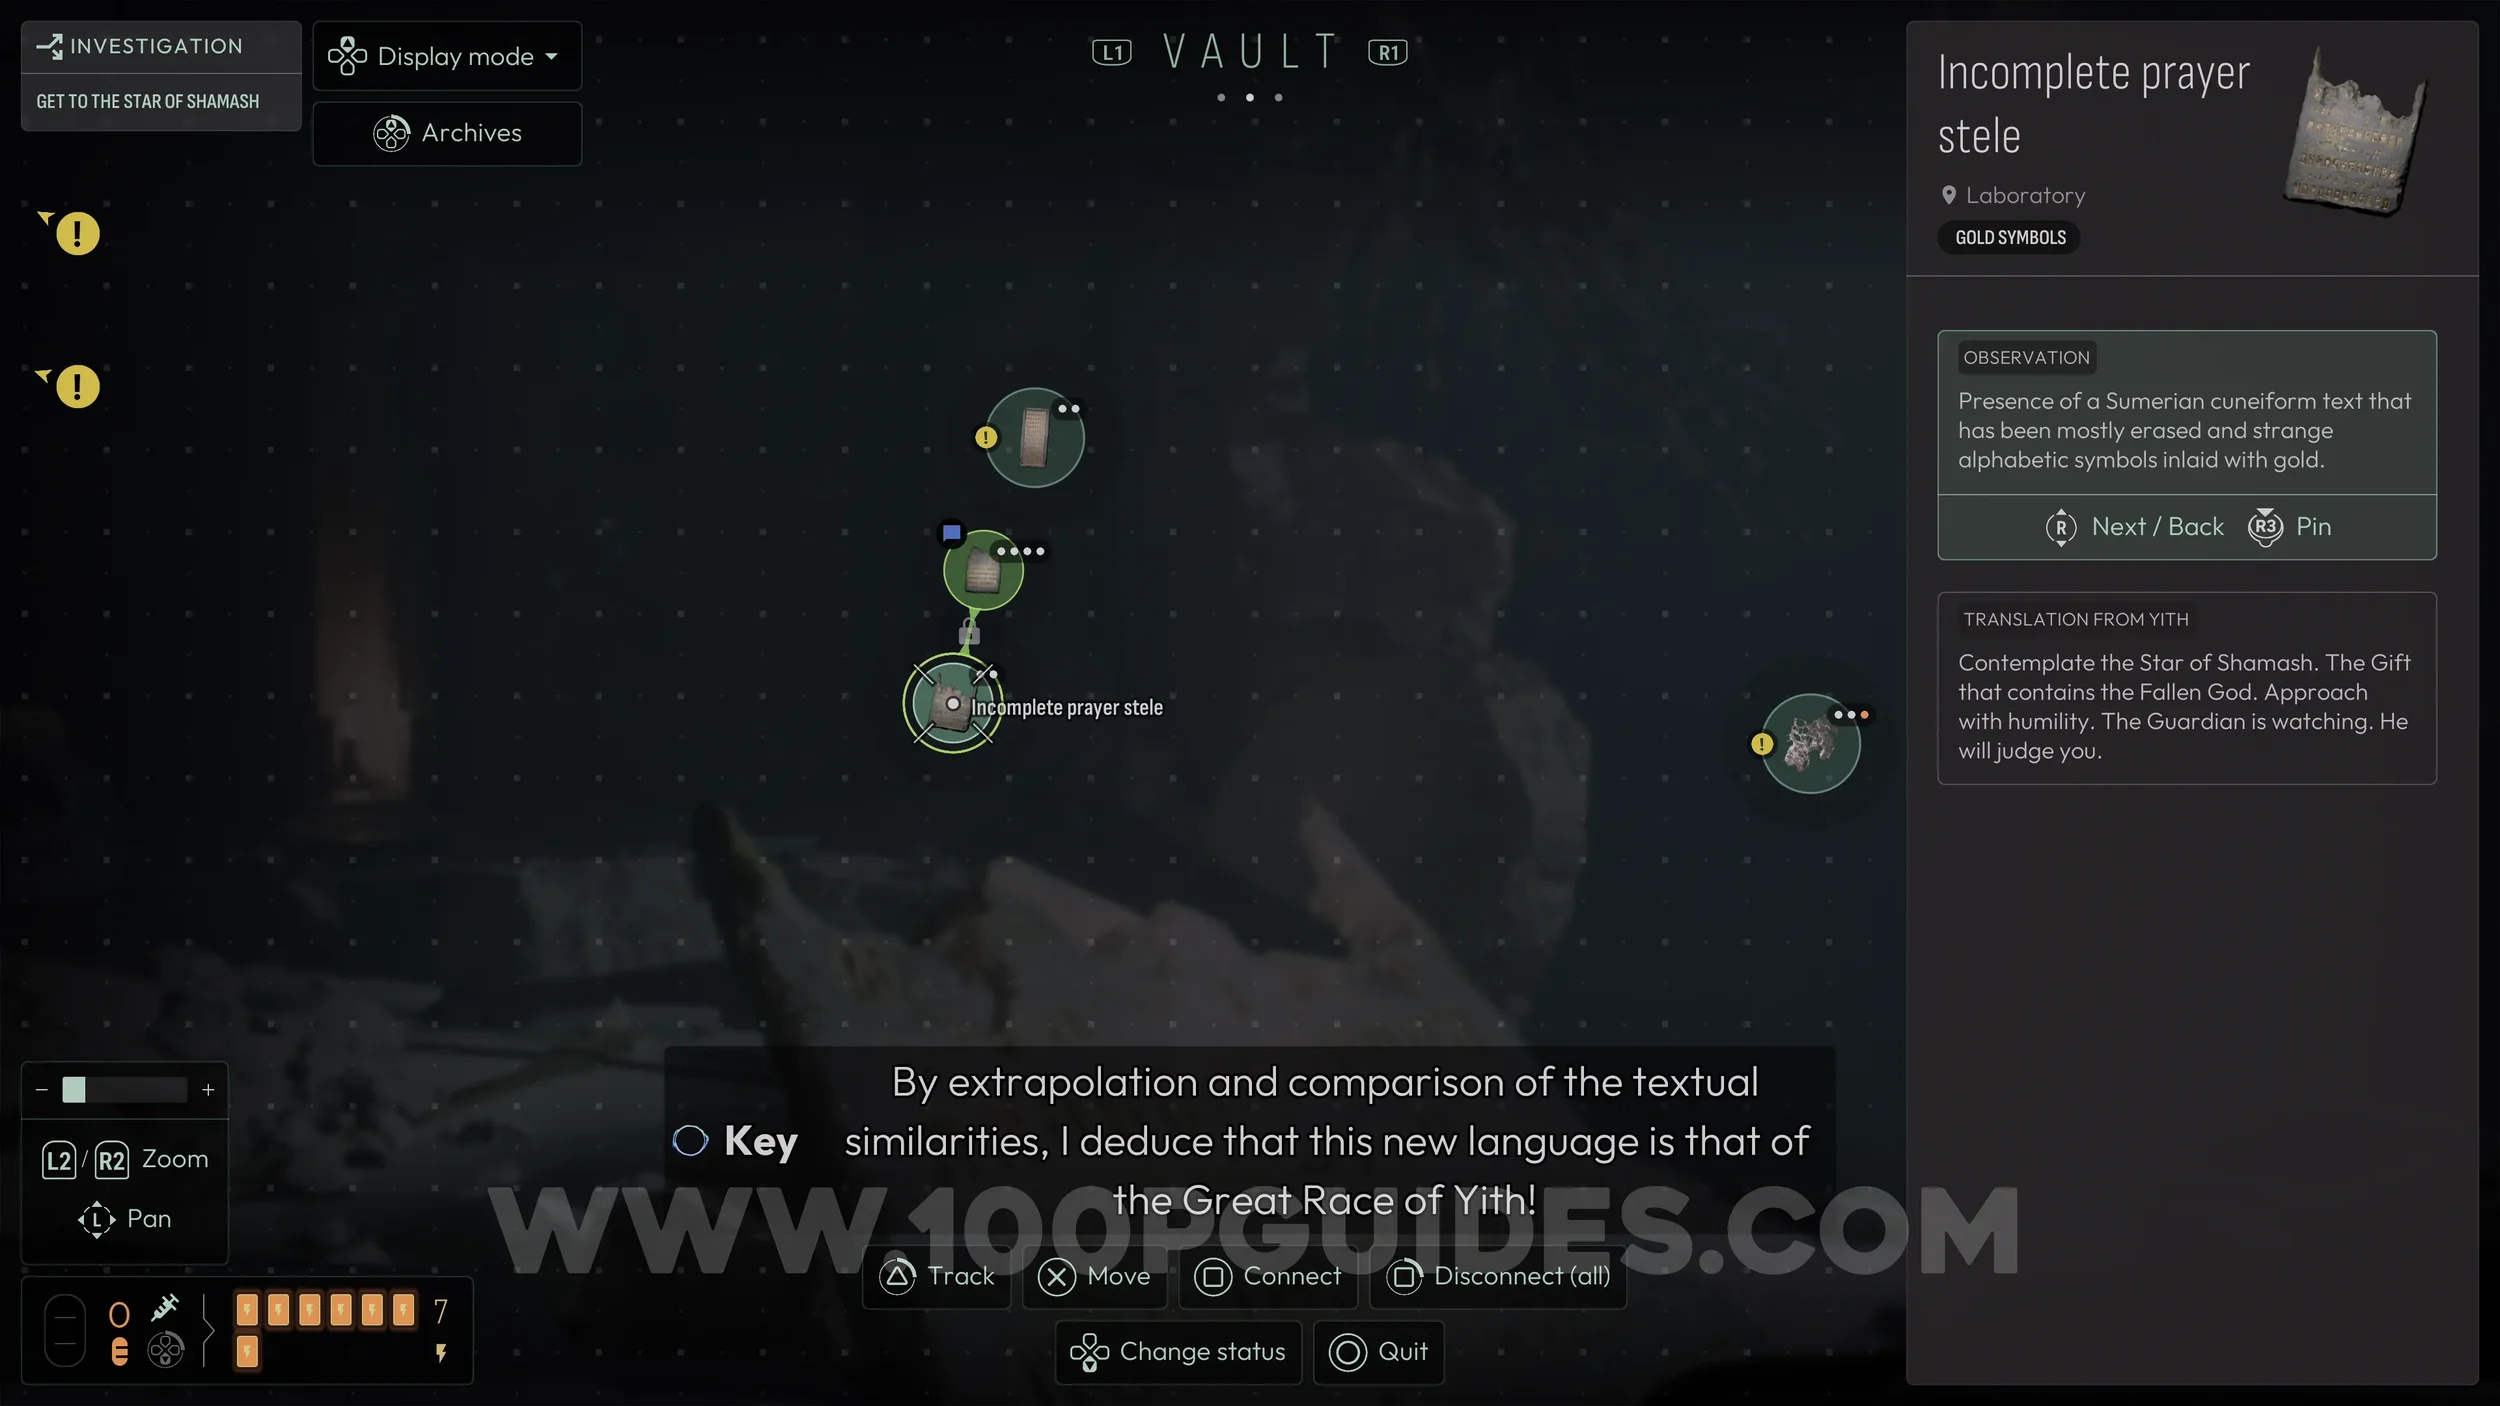
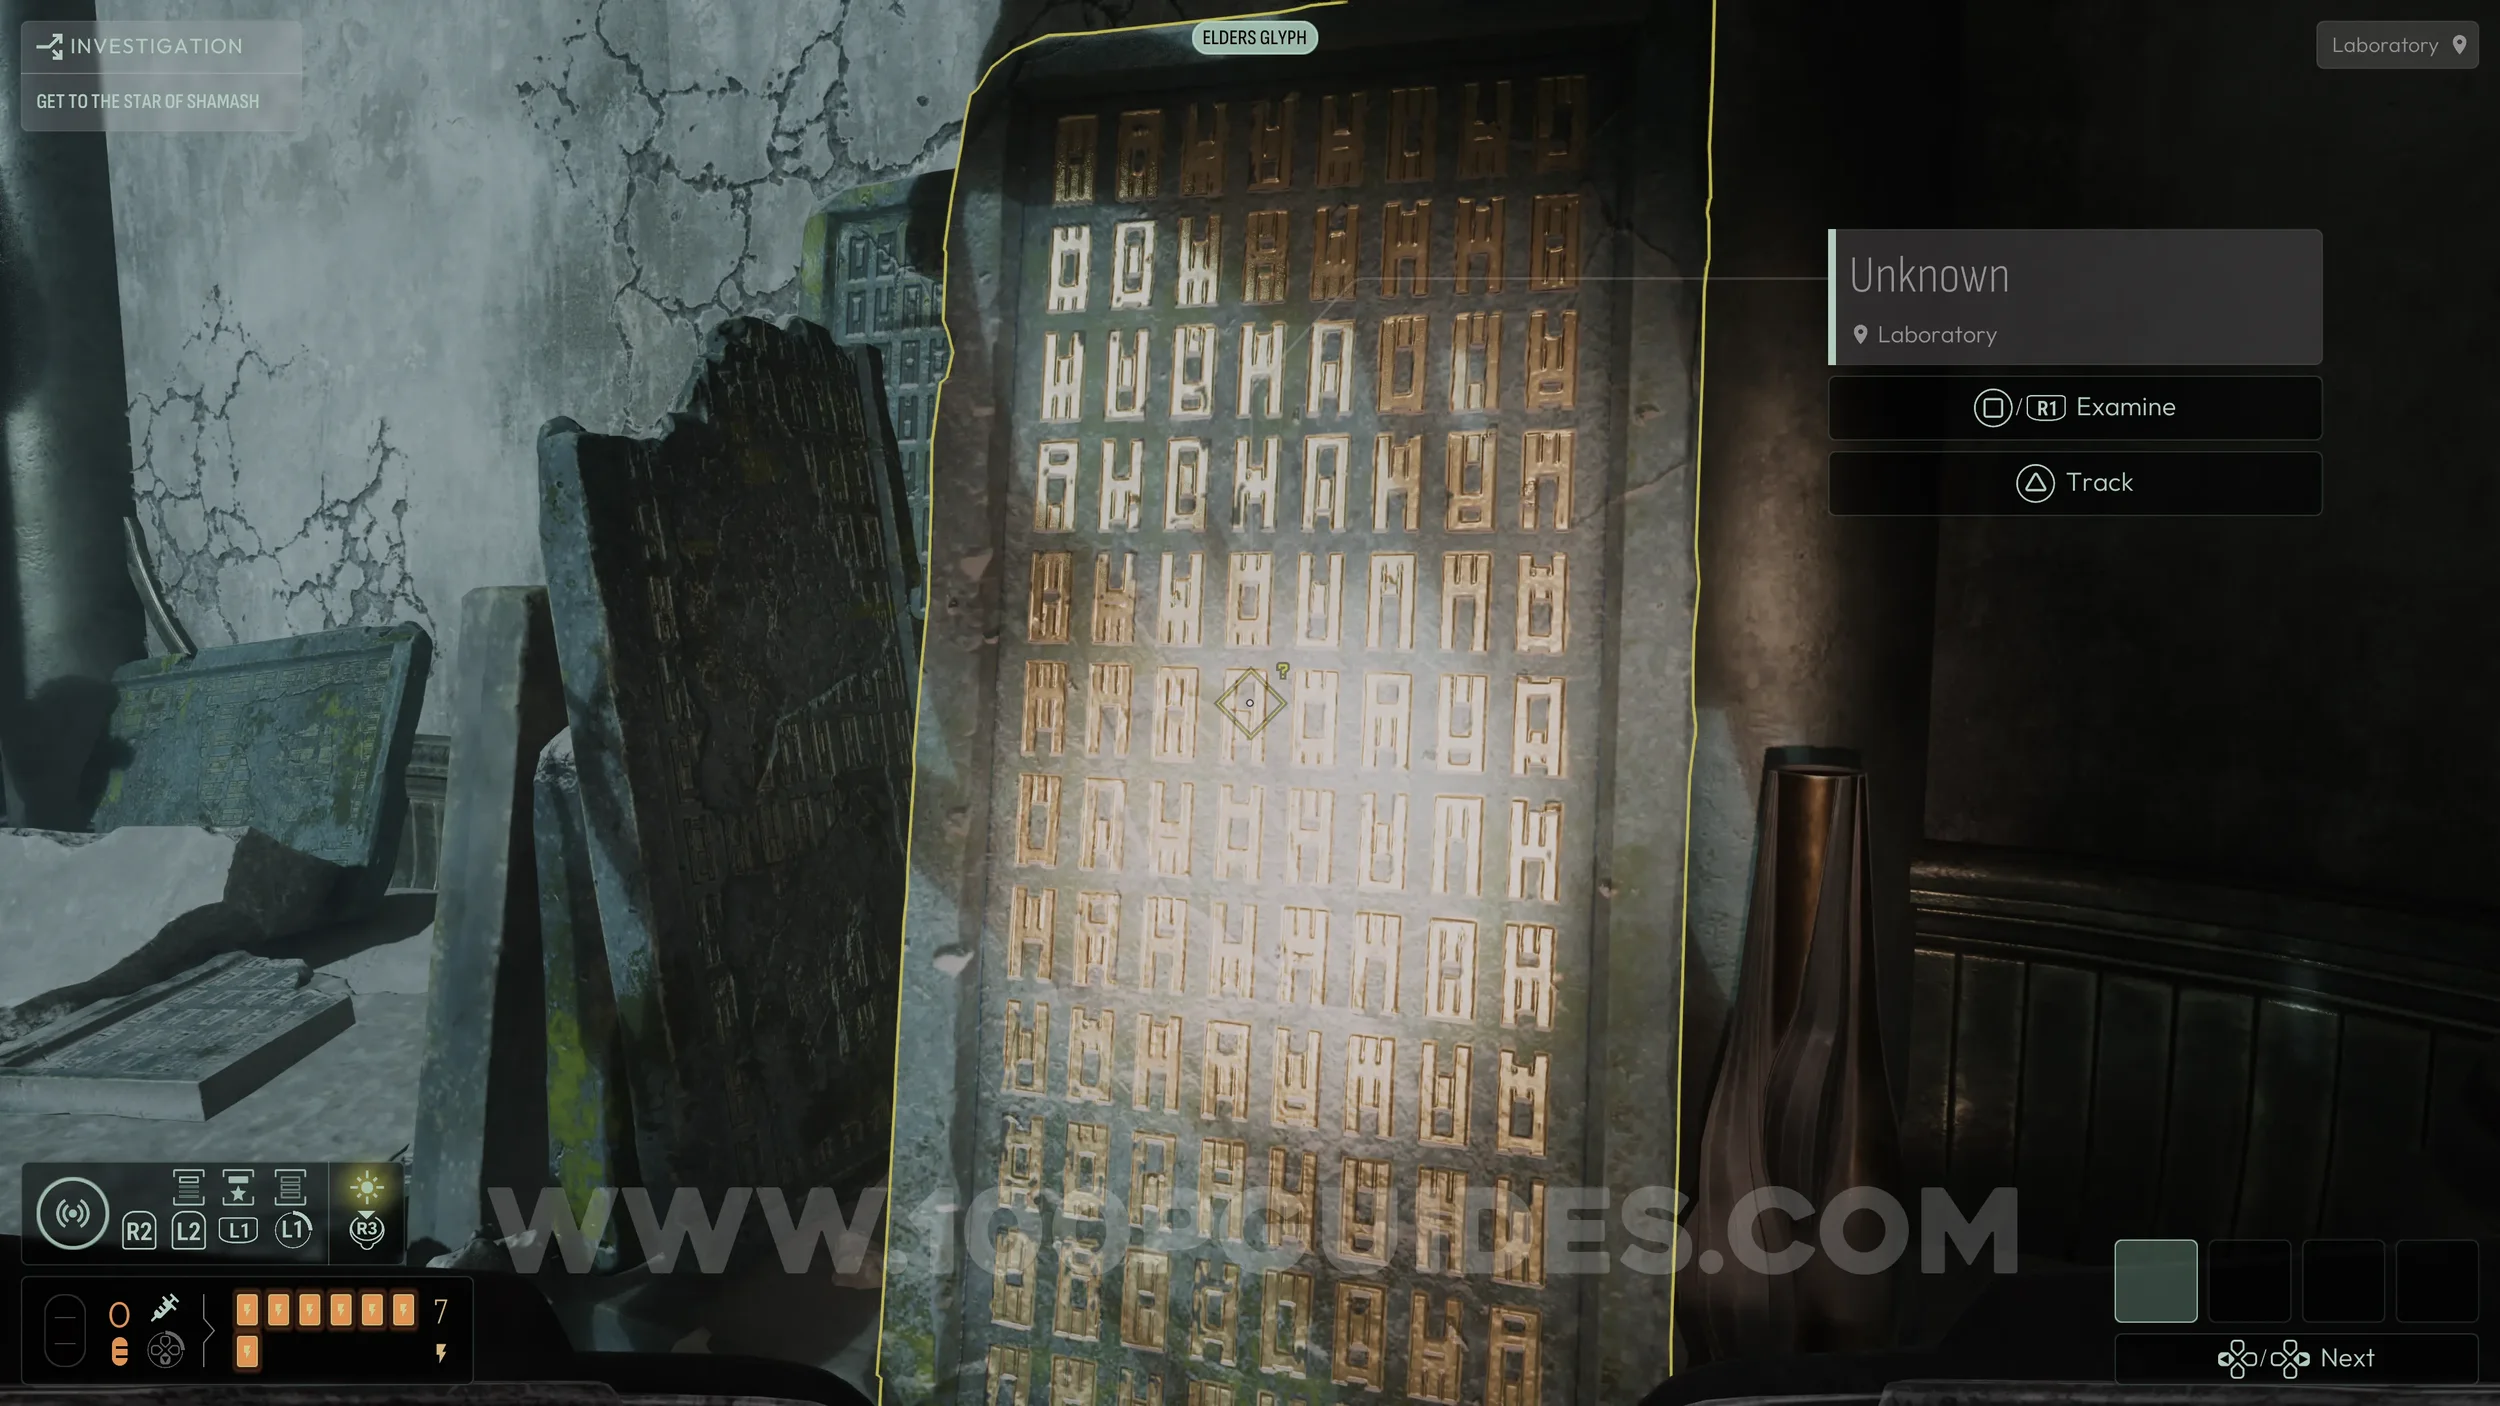
First, head to the left of the eye to find a stone tablet. Examine it to start a deduction that you will return to later. This is also needed for the Linguist trophy.
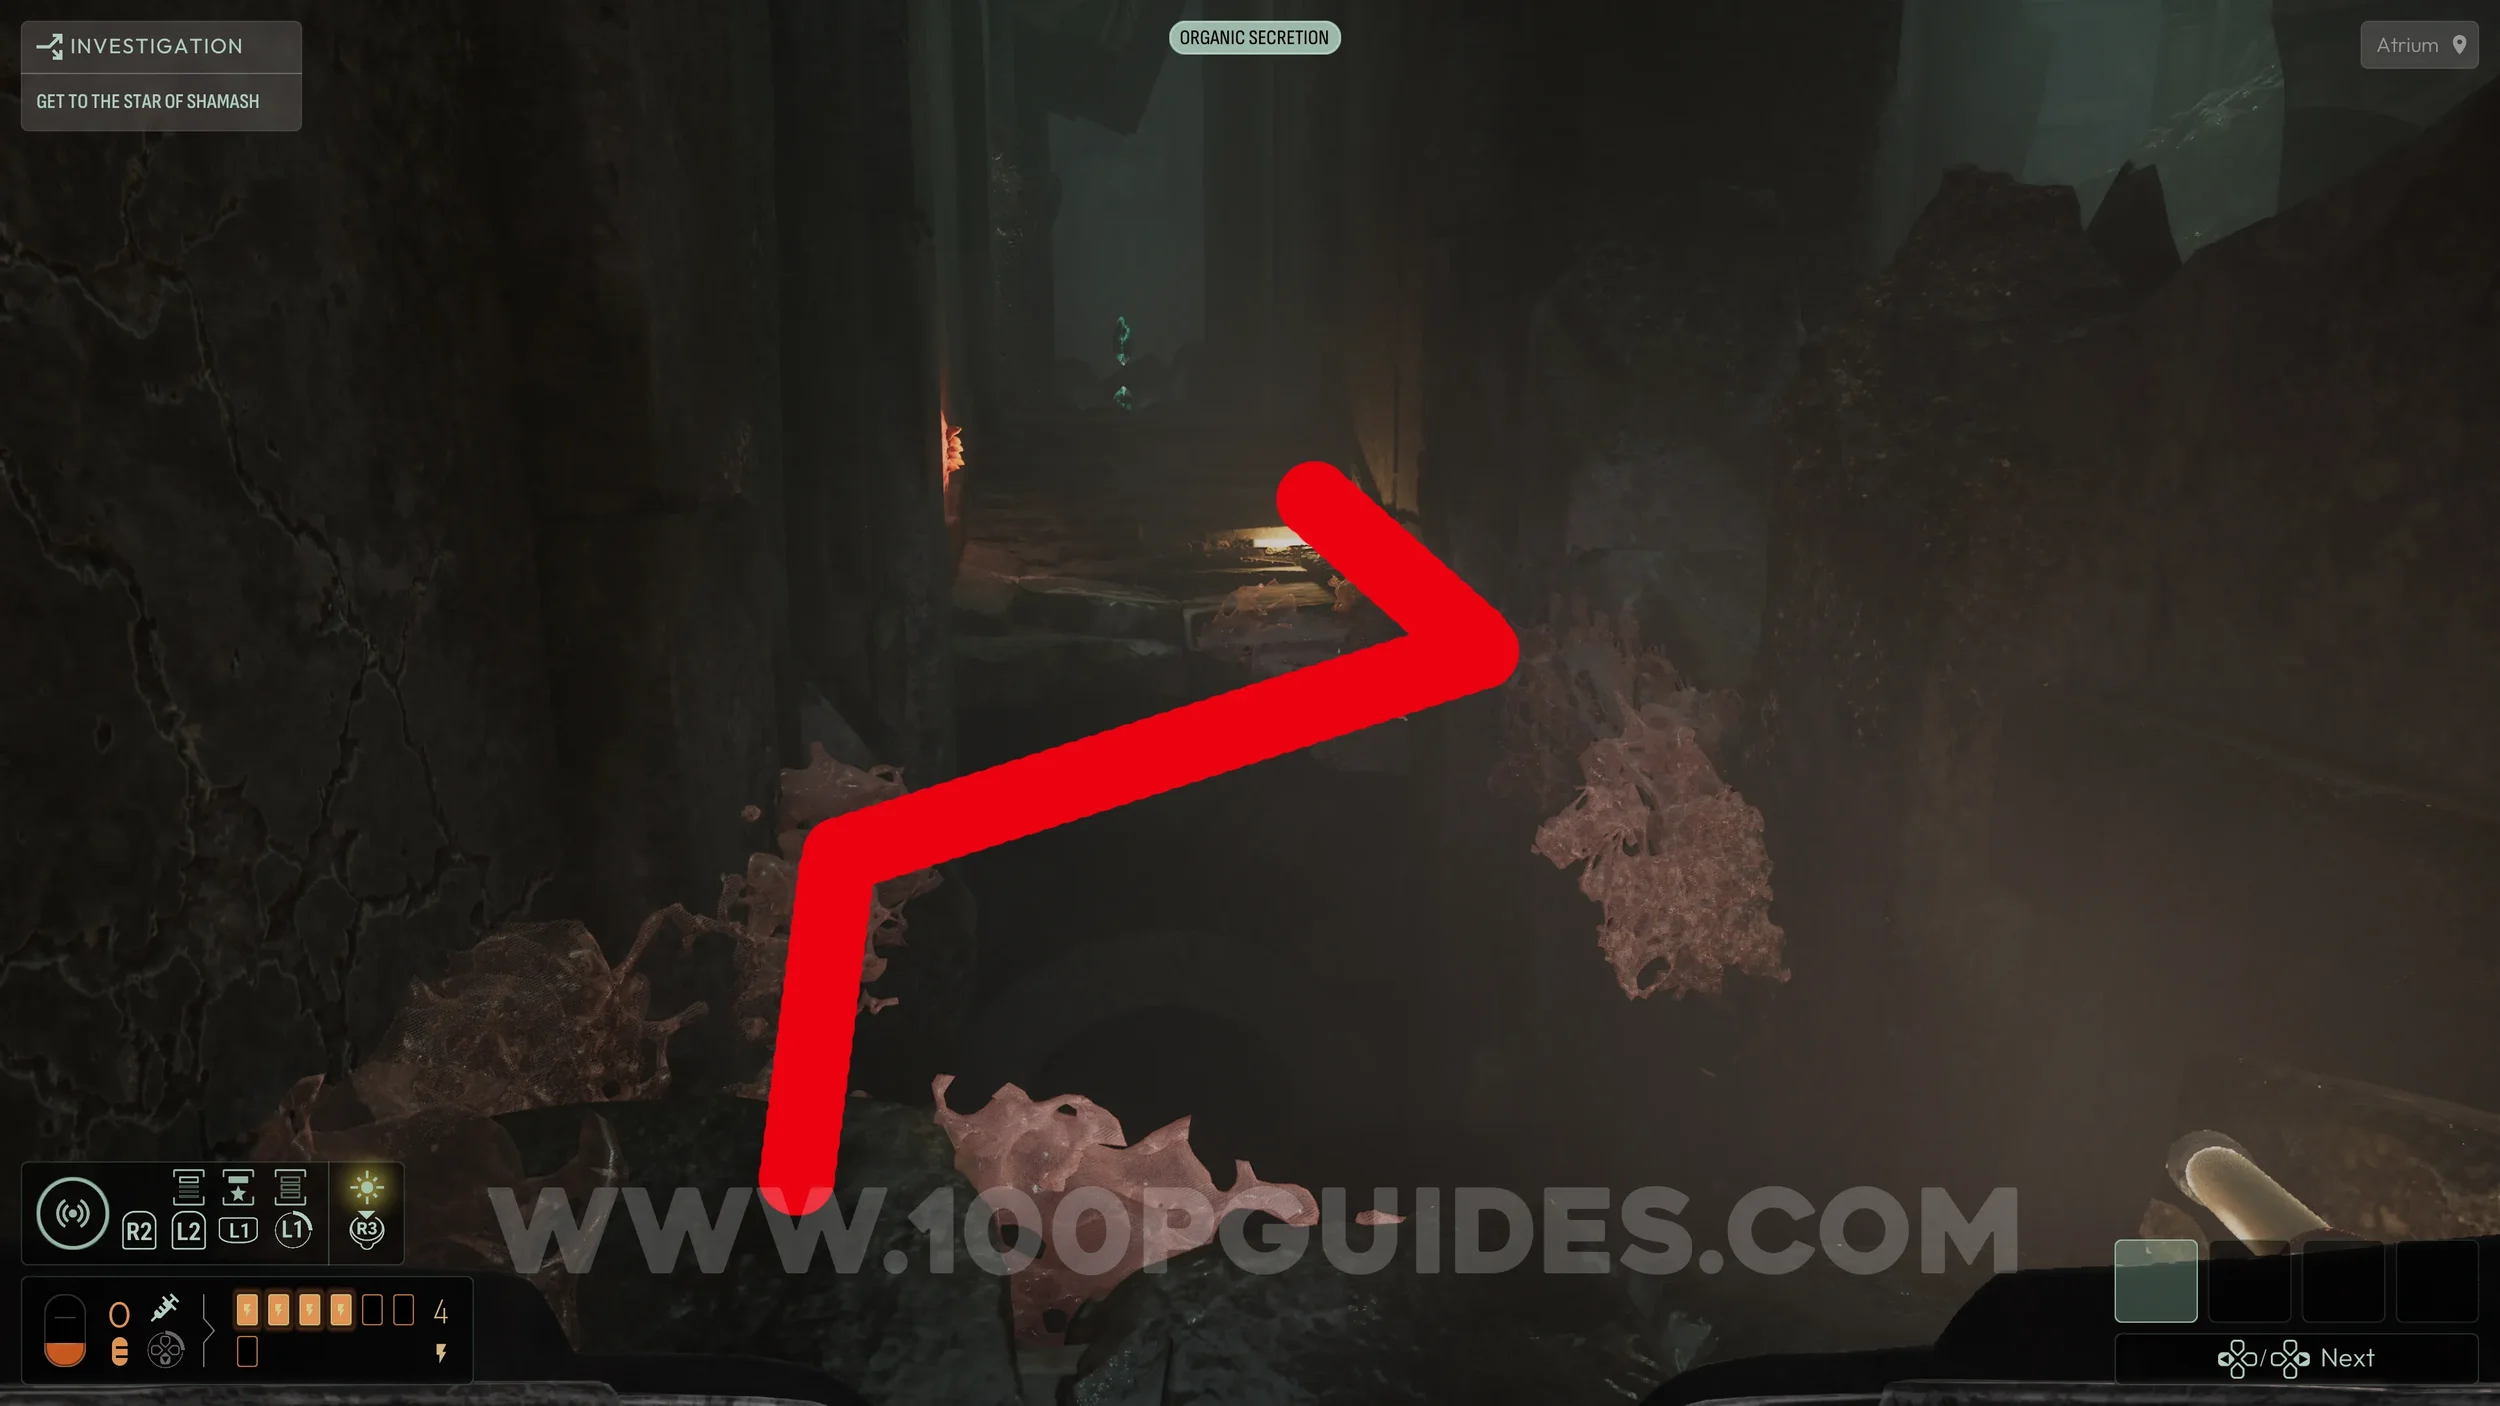
From the tablet, turn around to see a gap with floating goo in the middle. You can cross this by stepping on the correct spots. Start on the left side, move across the goo in the center, then continue along the right side to reach the other side.
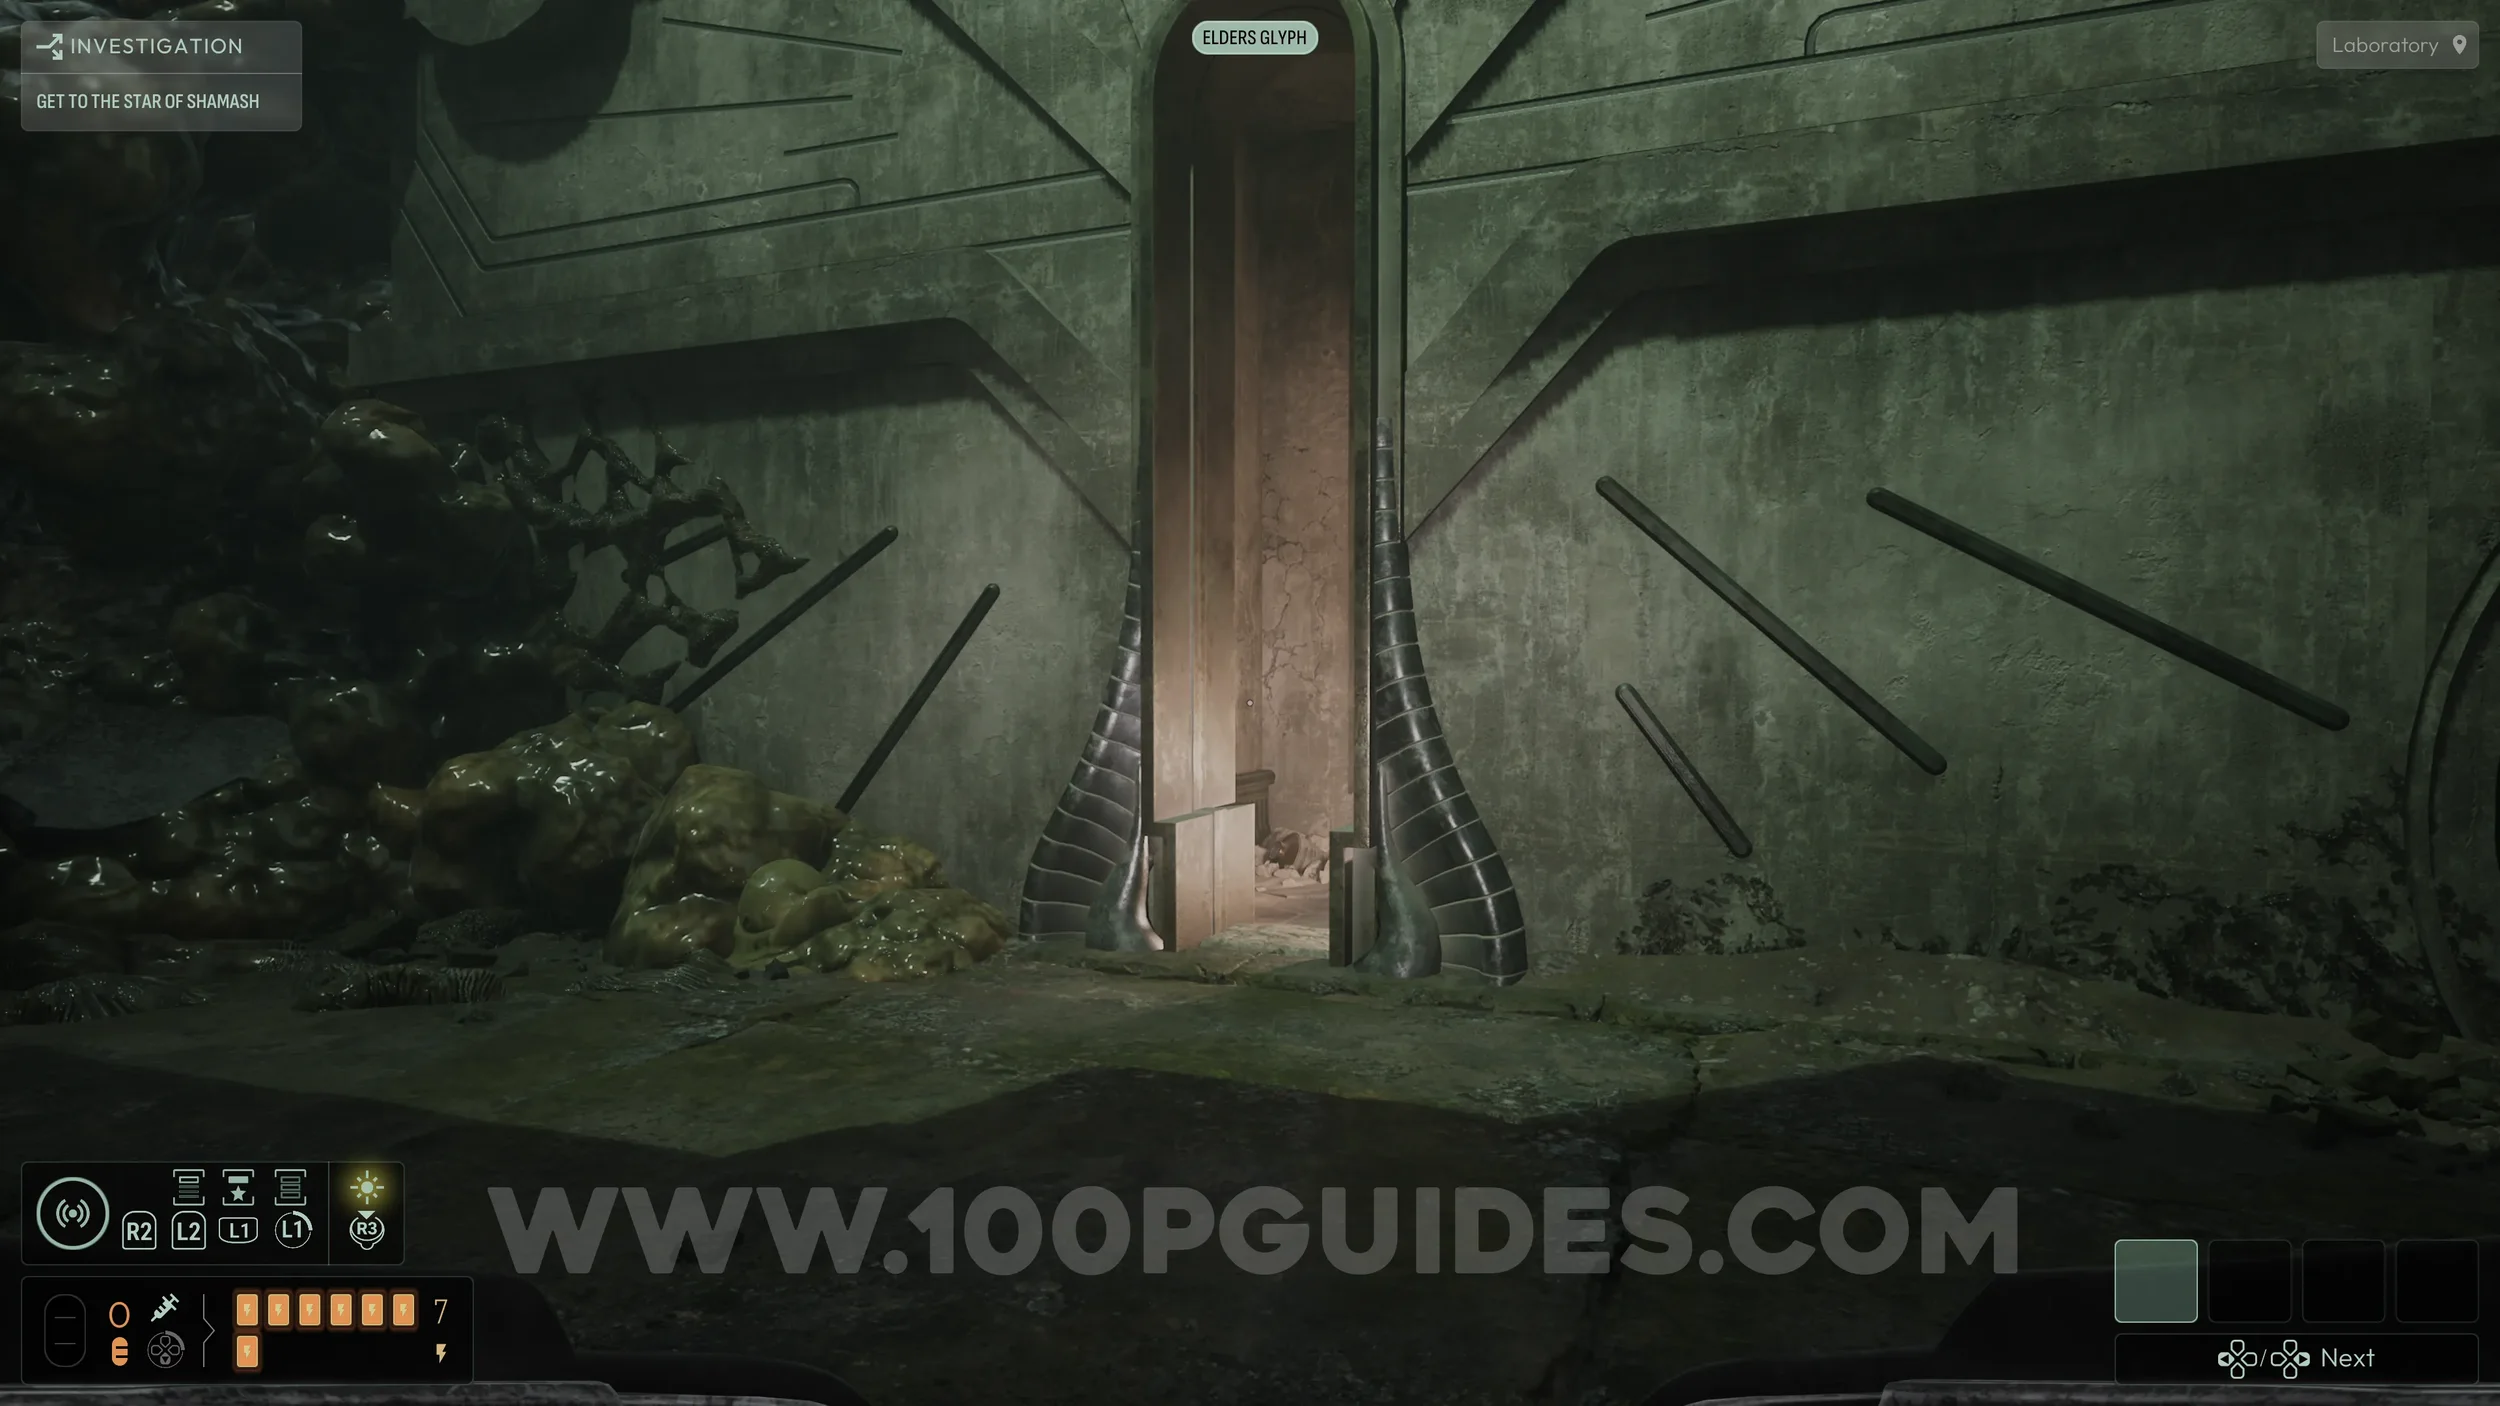
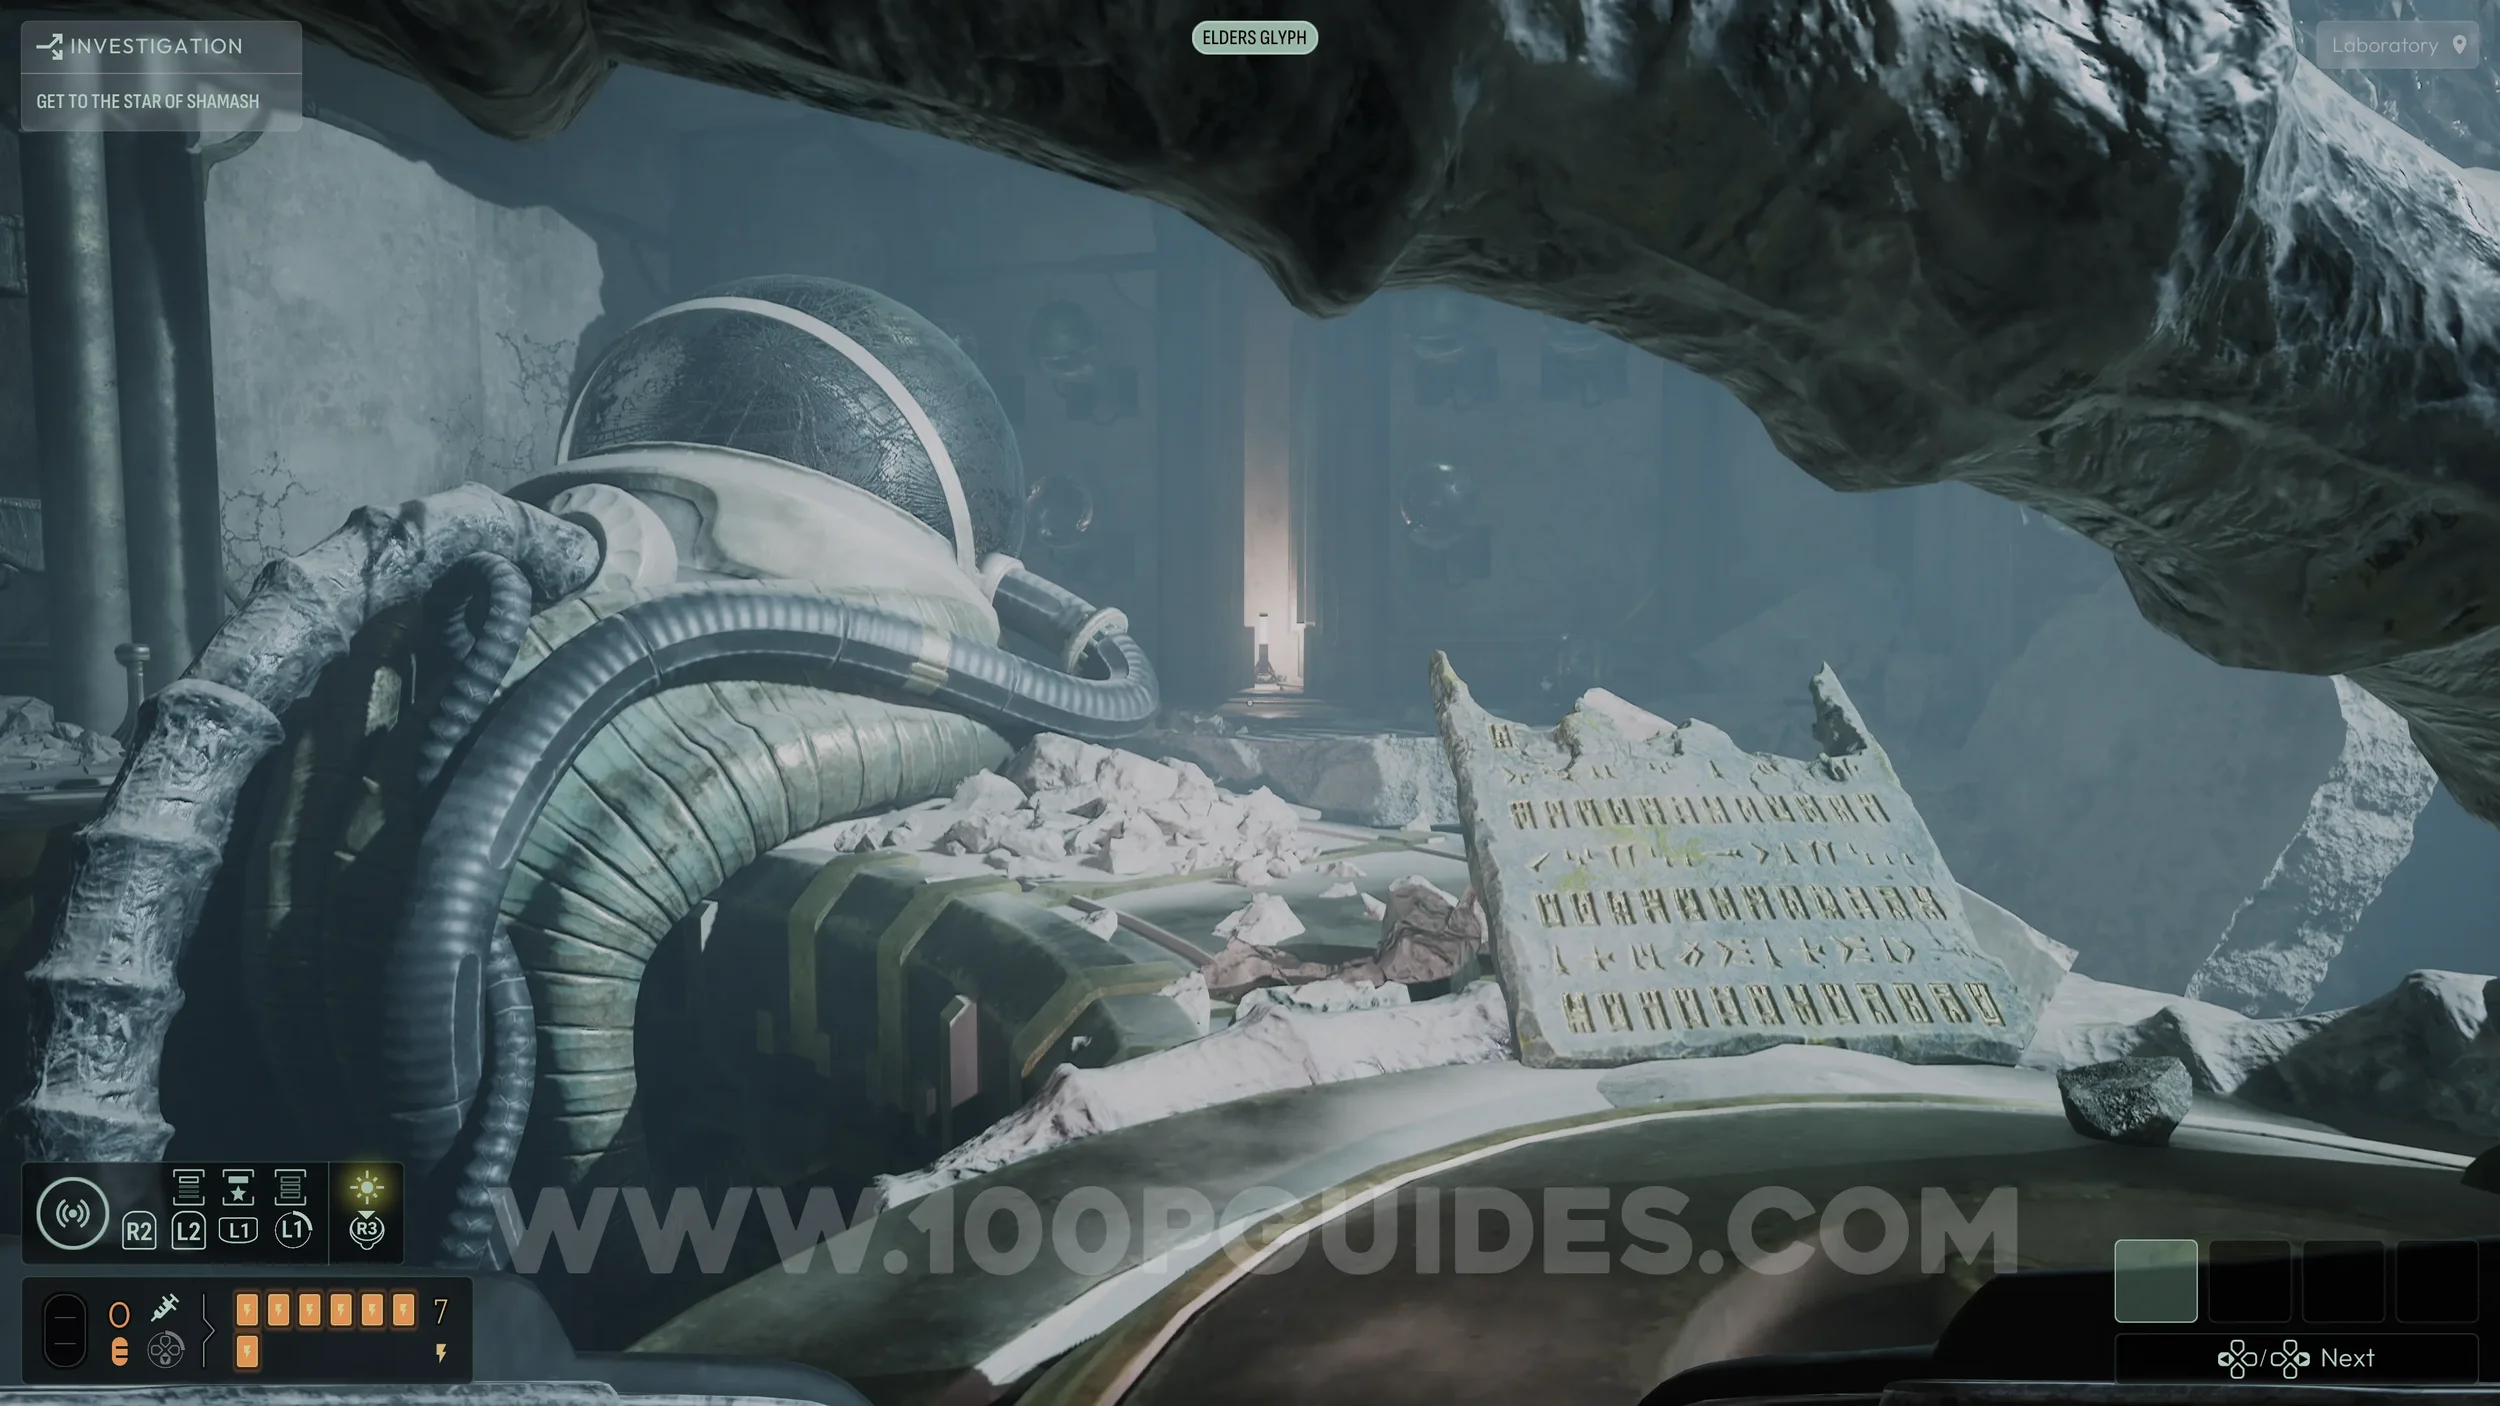
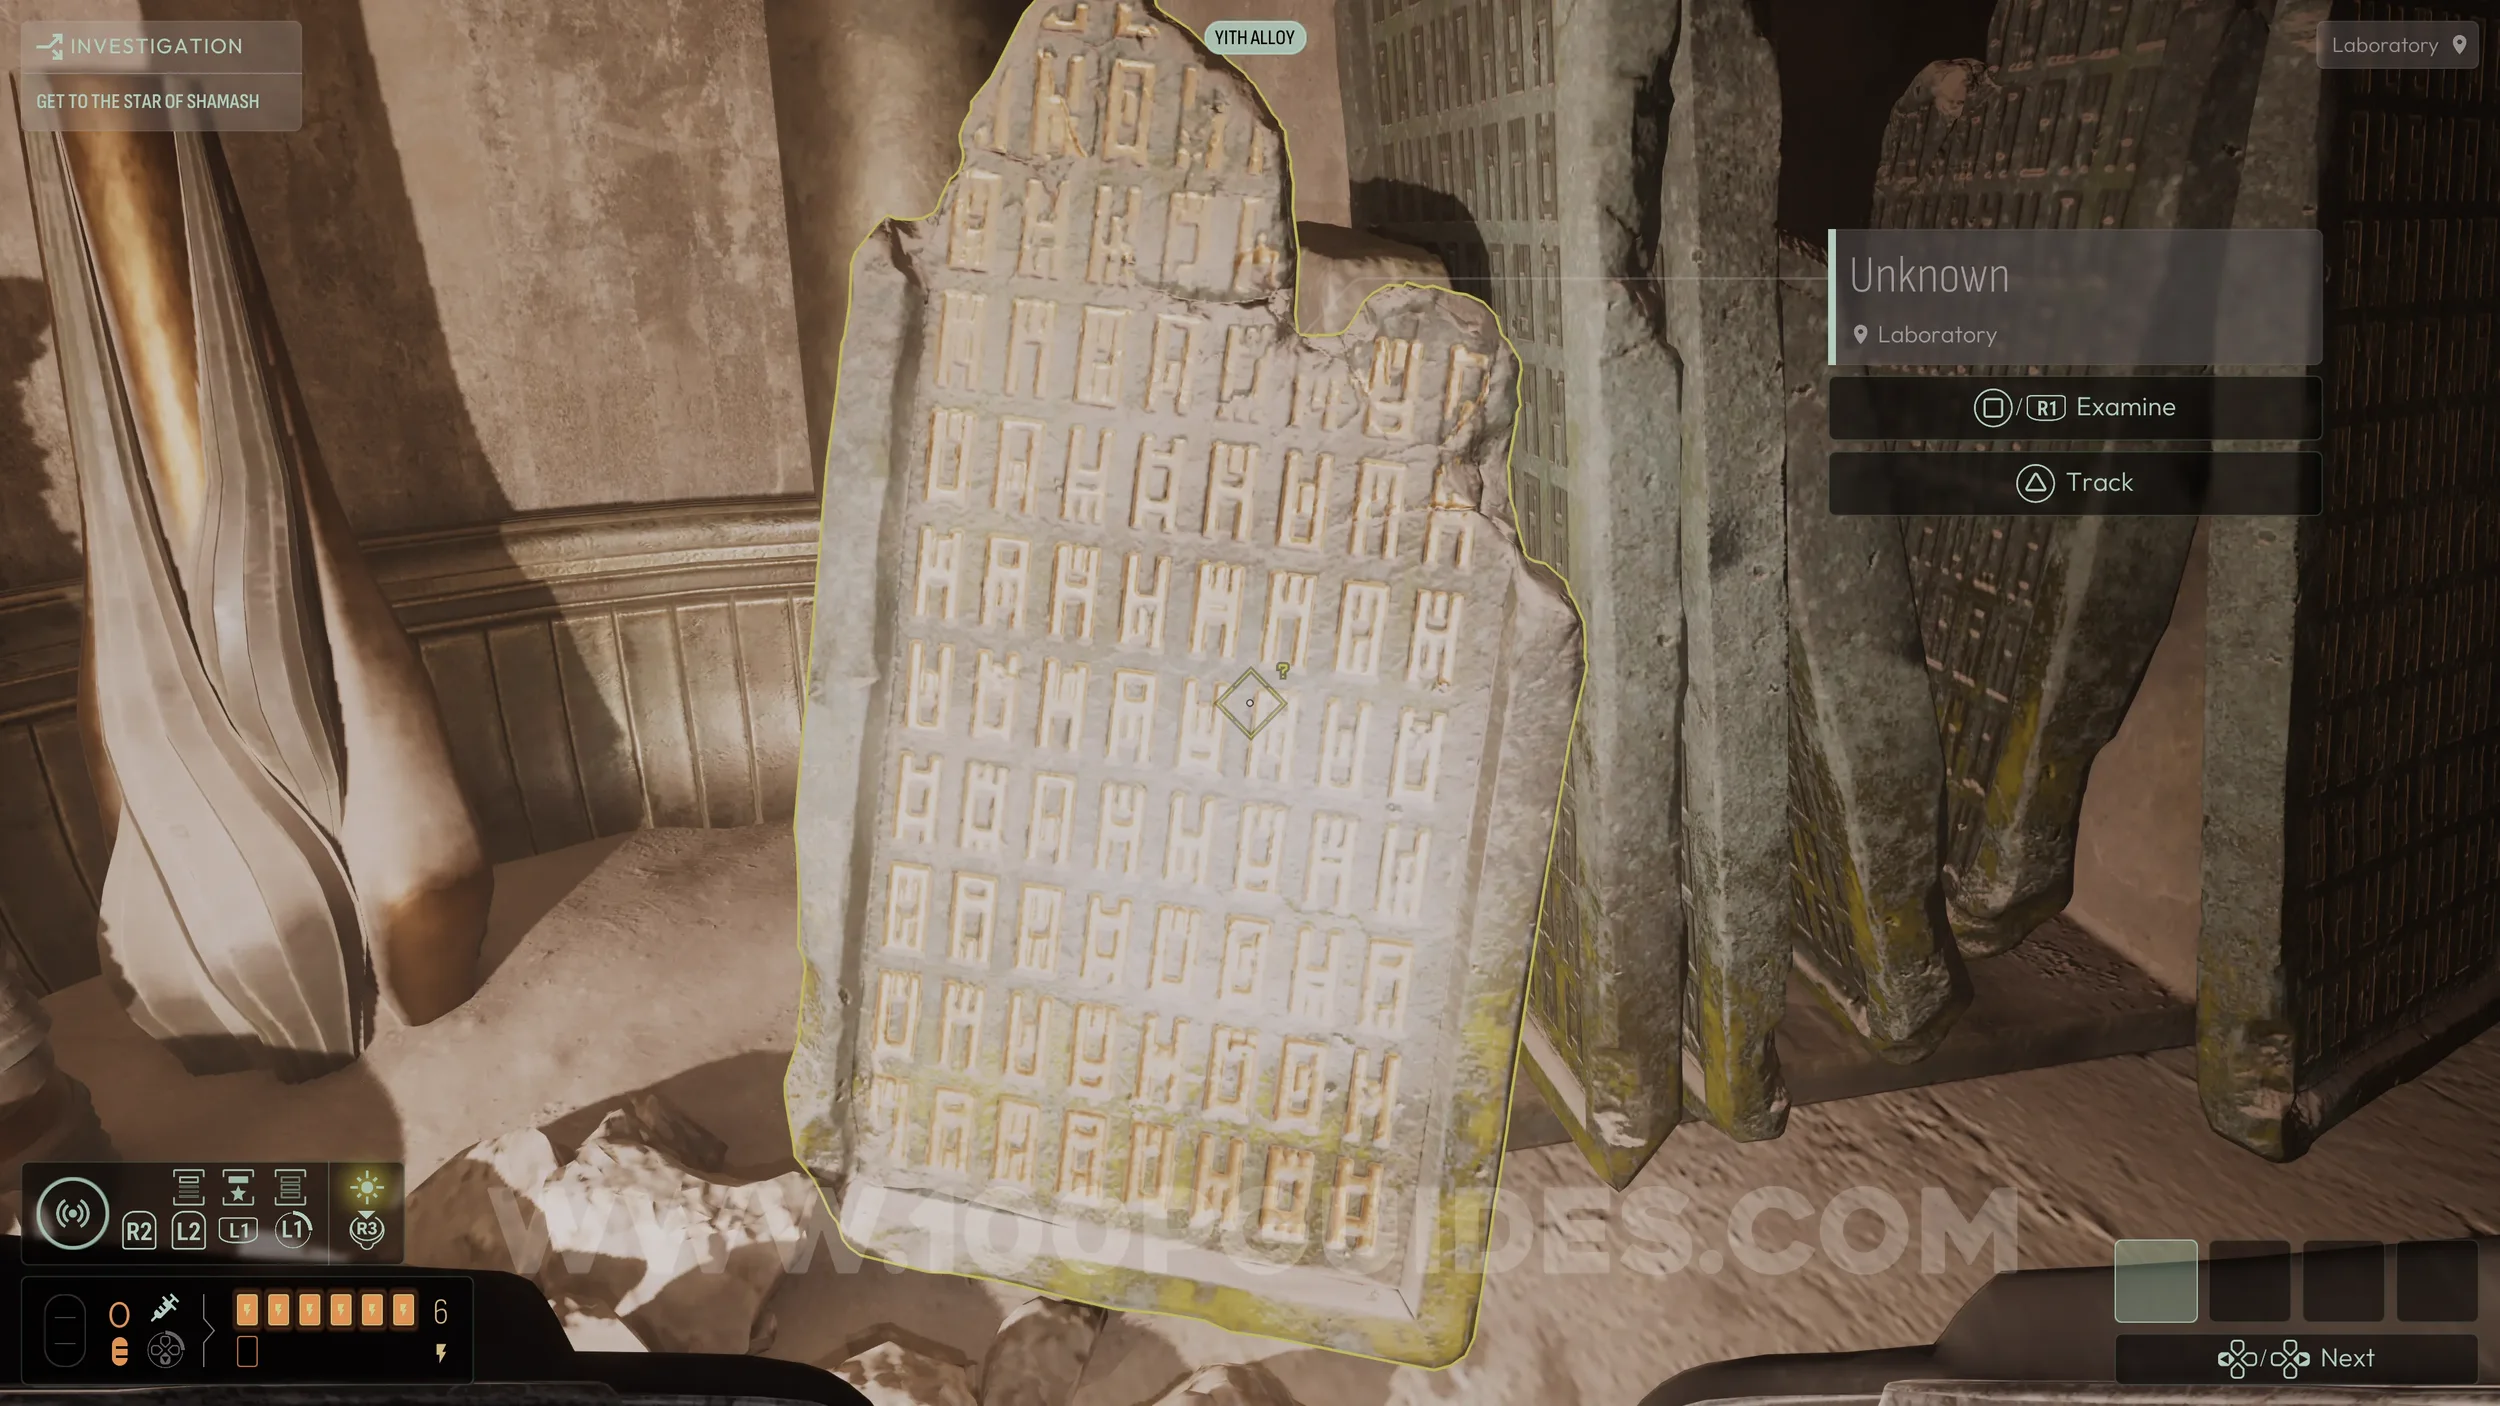
After crossing, go right and pass through the tall, narrow doorway to enter the laboratory. Inside, look for a broken stone tablet on the circular structure in the center of the room. To reach it, go around the right side and then loop back to the left. Examine it, then use it as the missing clue to complete the earlier deduction and unlock the Linguist trophy.
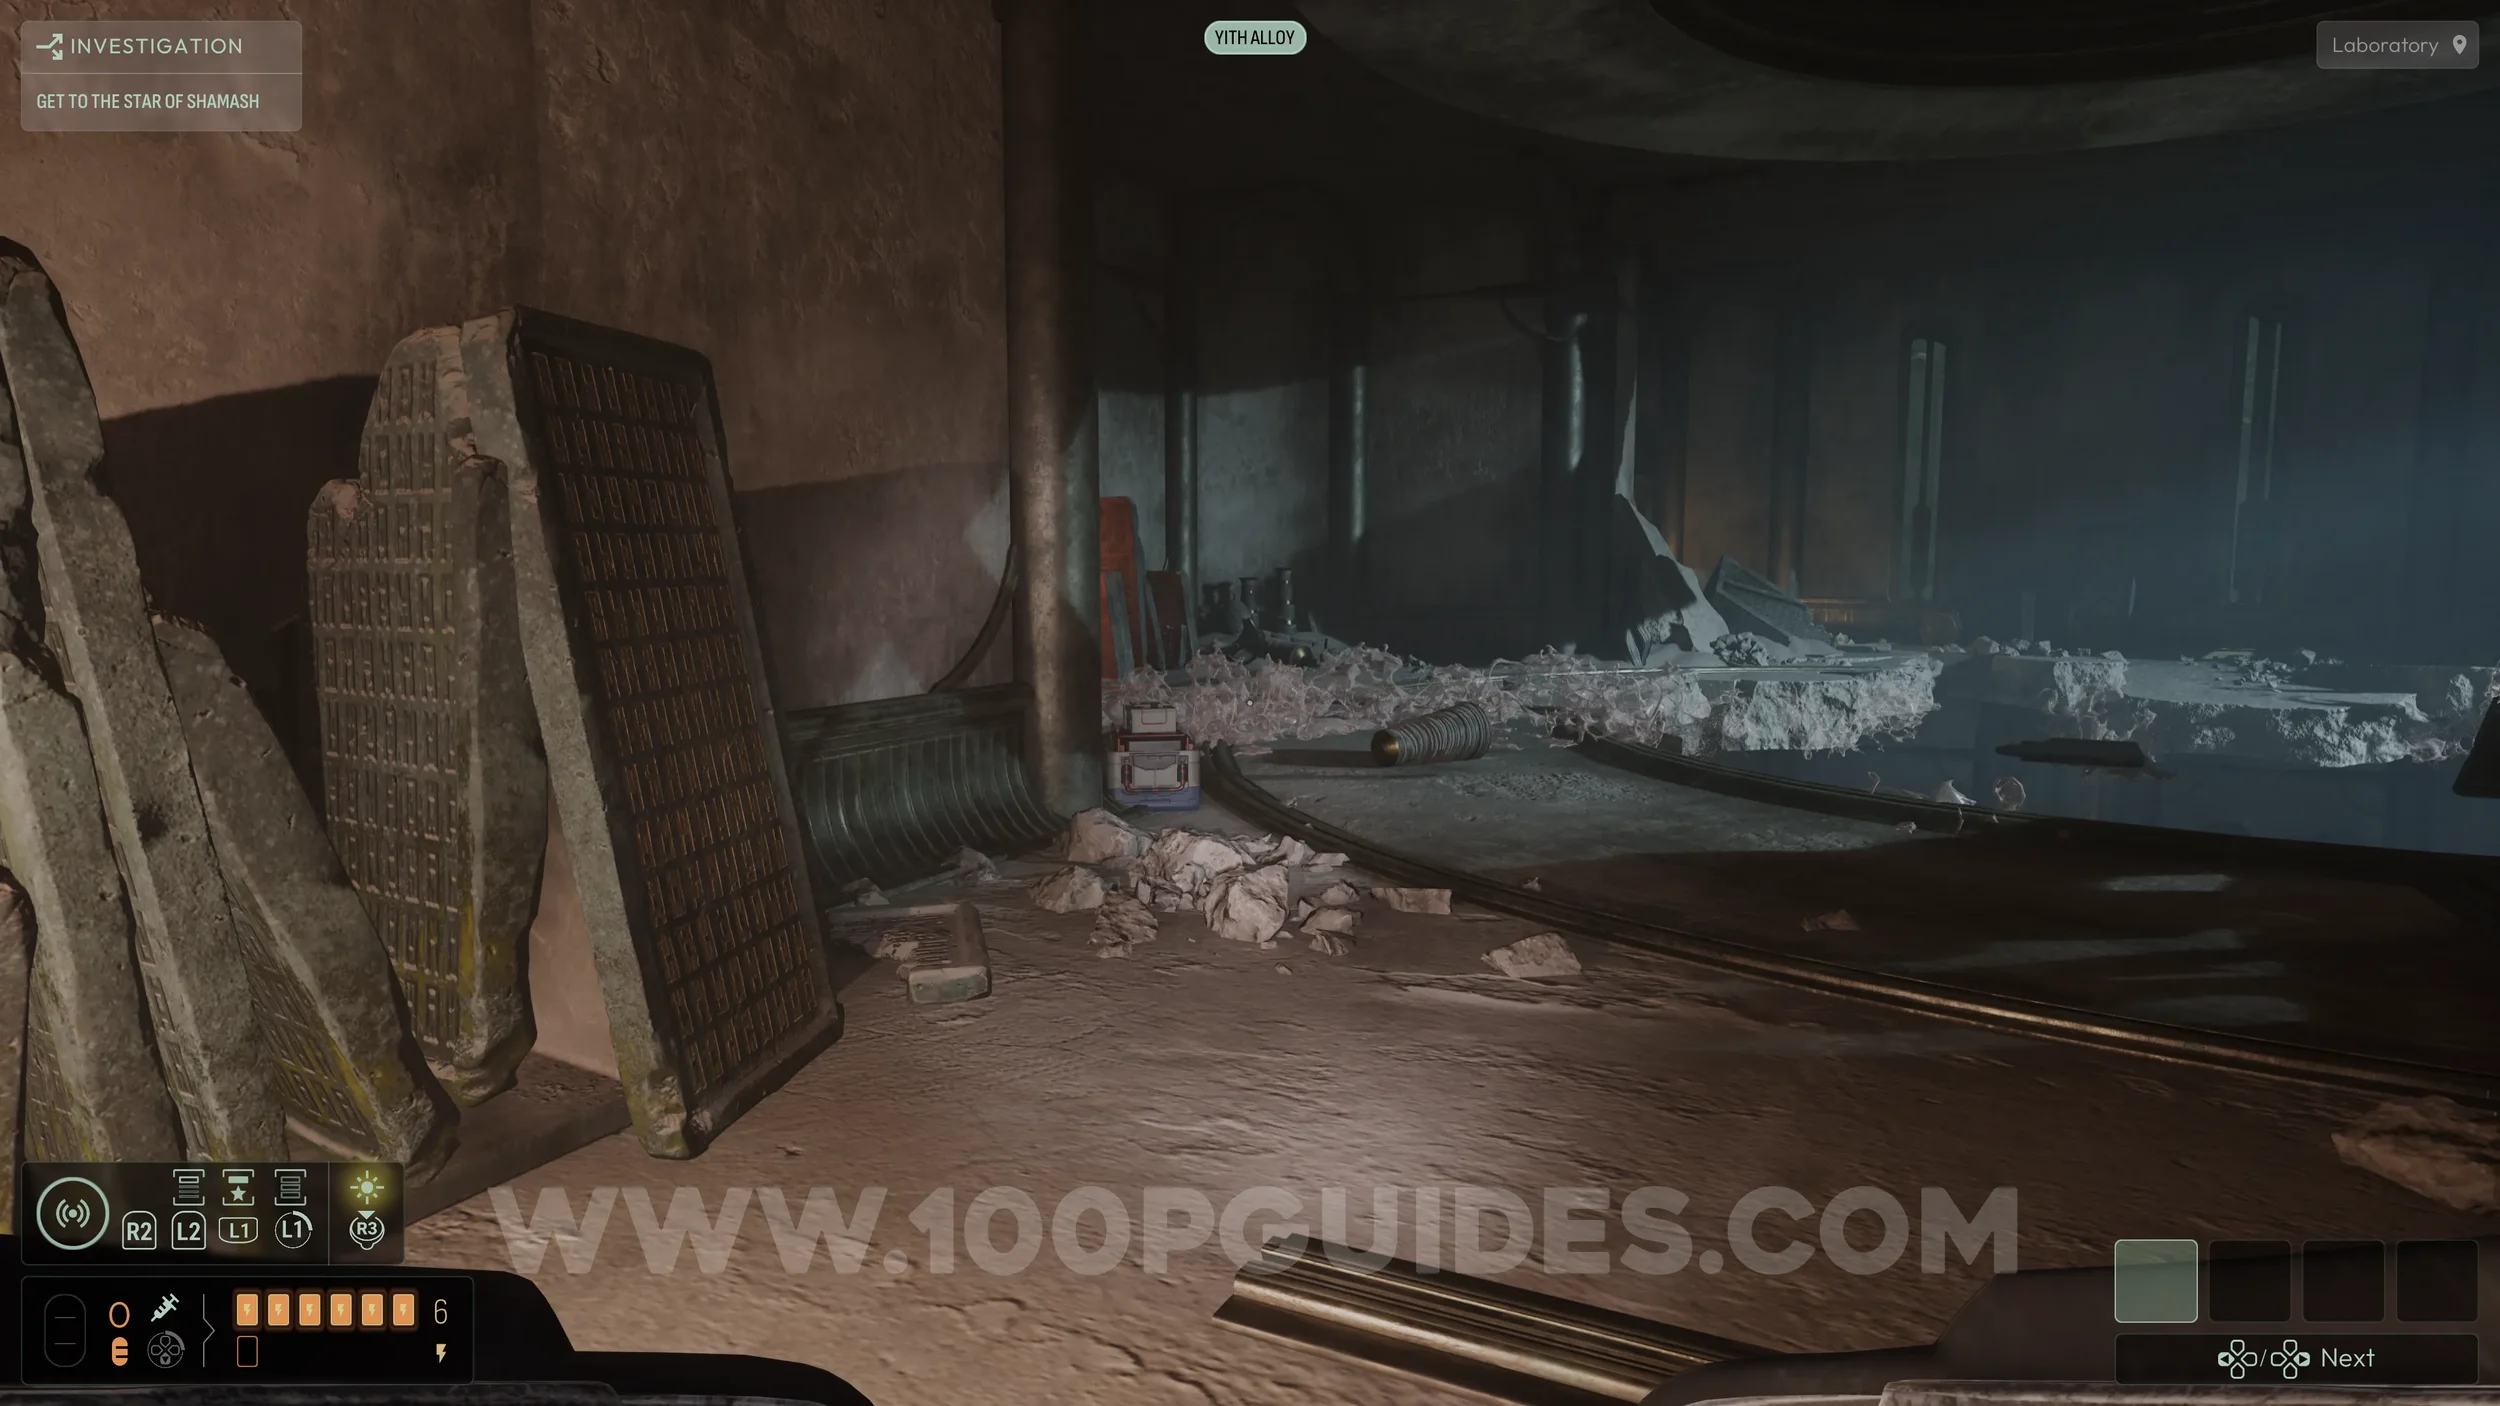
Next, head up to the second floor of the laboratory. On your left, investigate the large stone tablet to start another deduction. To solve it, you will need to drag three additional clues into it, all of which are obtained by examining other stone tablets found throughout the laboratory.
Found to your right on the bottom floor as soon as you enter
Found to the left of the tablet that sarts the deduction
Found on your right as soon as you reach to the second floor.
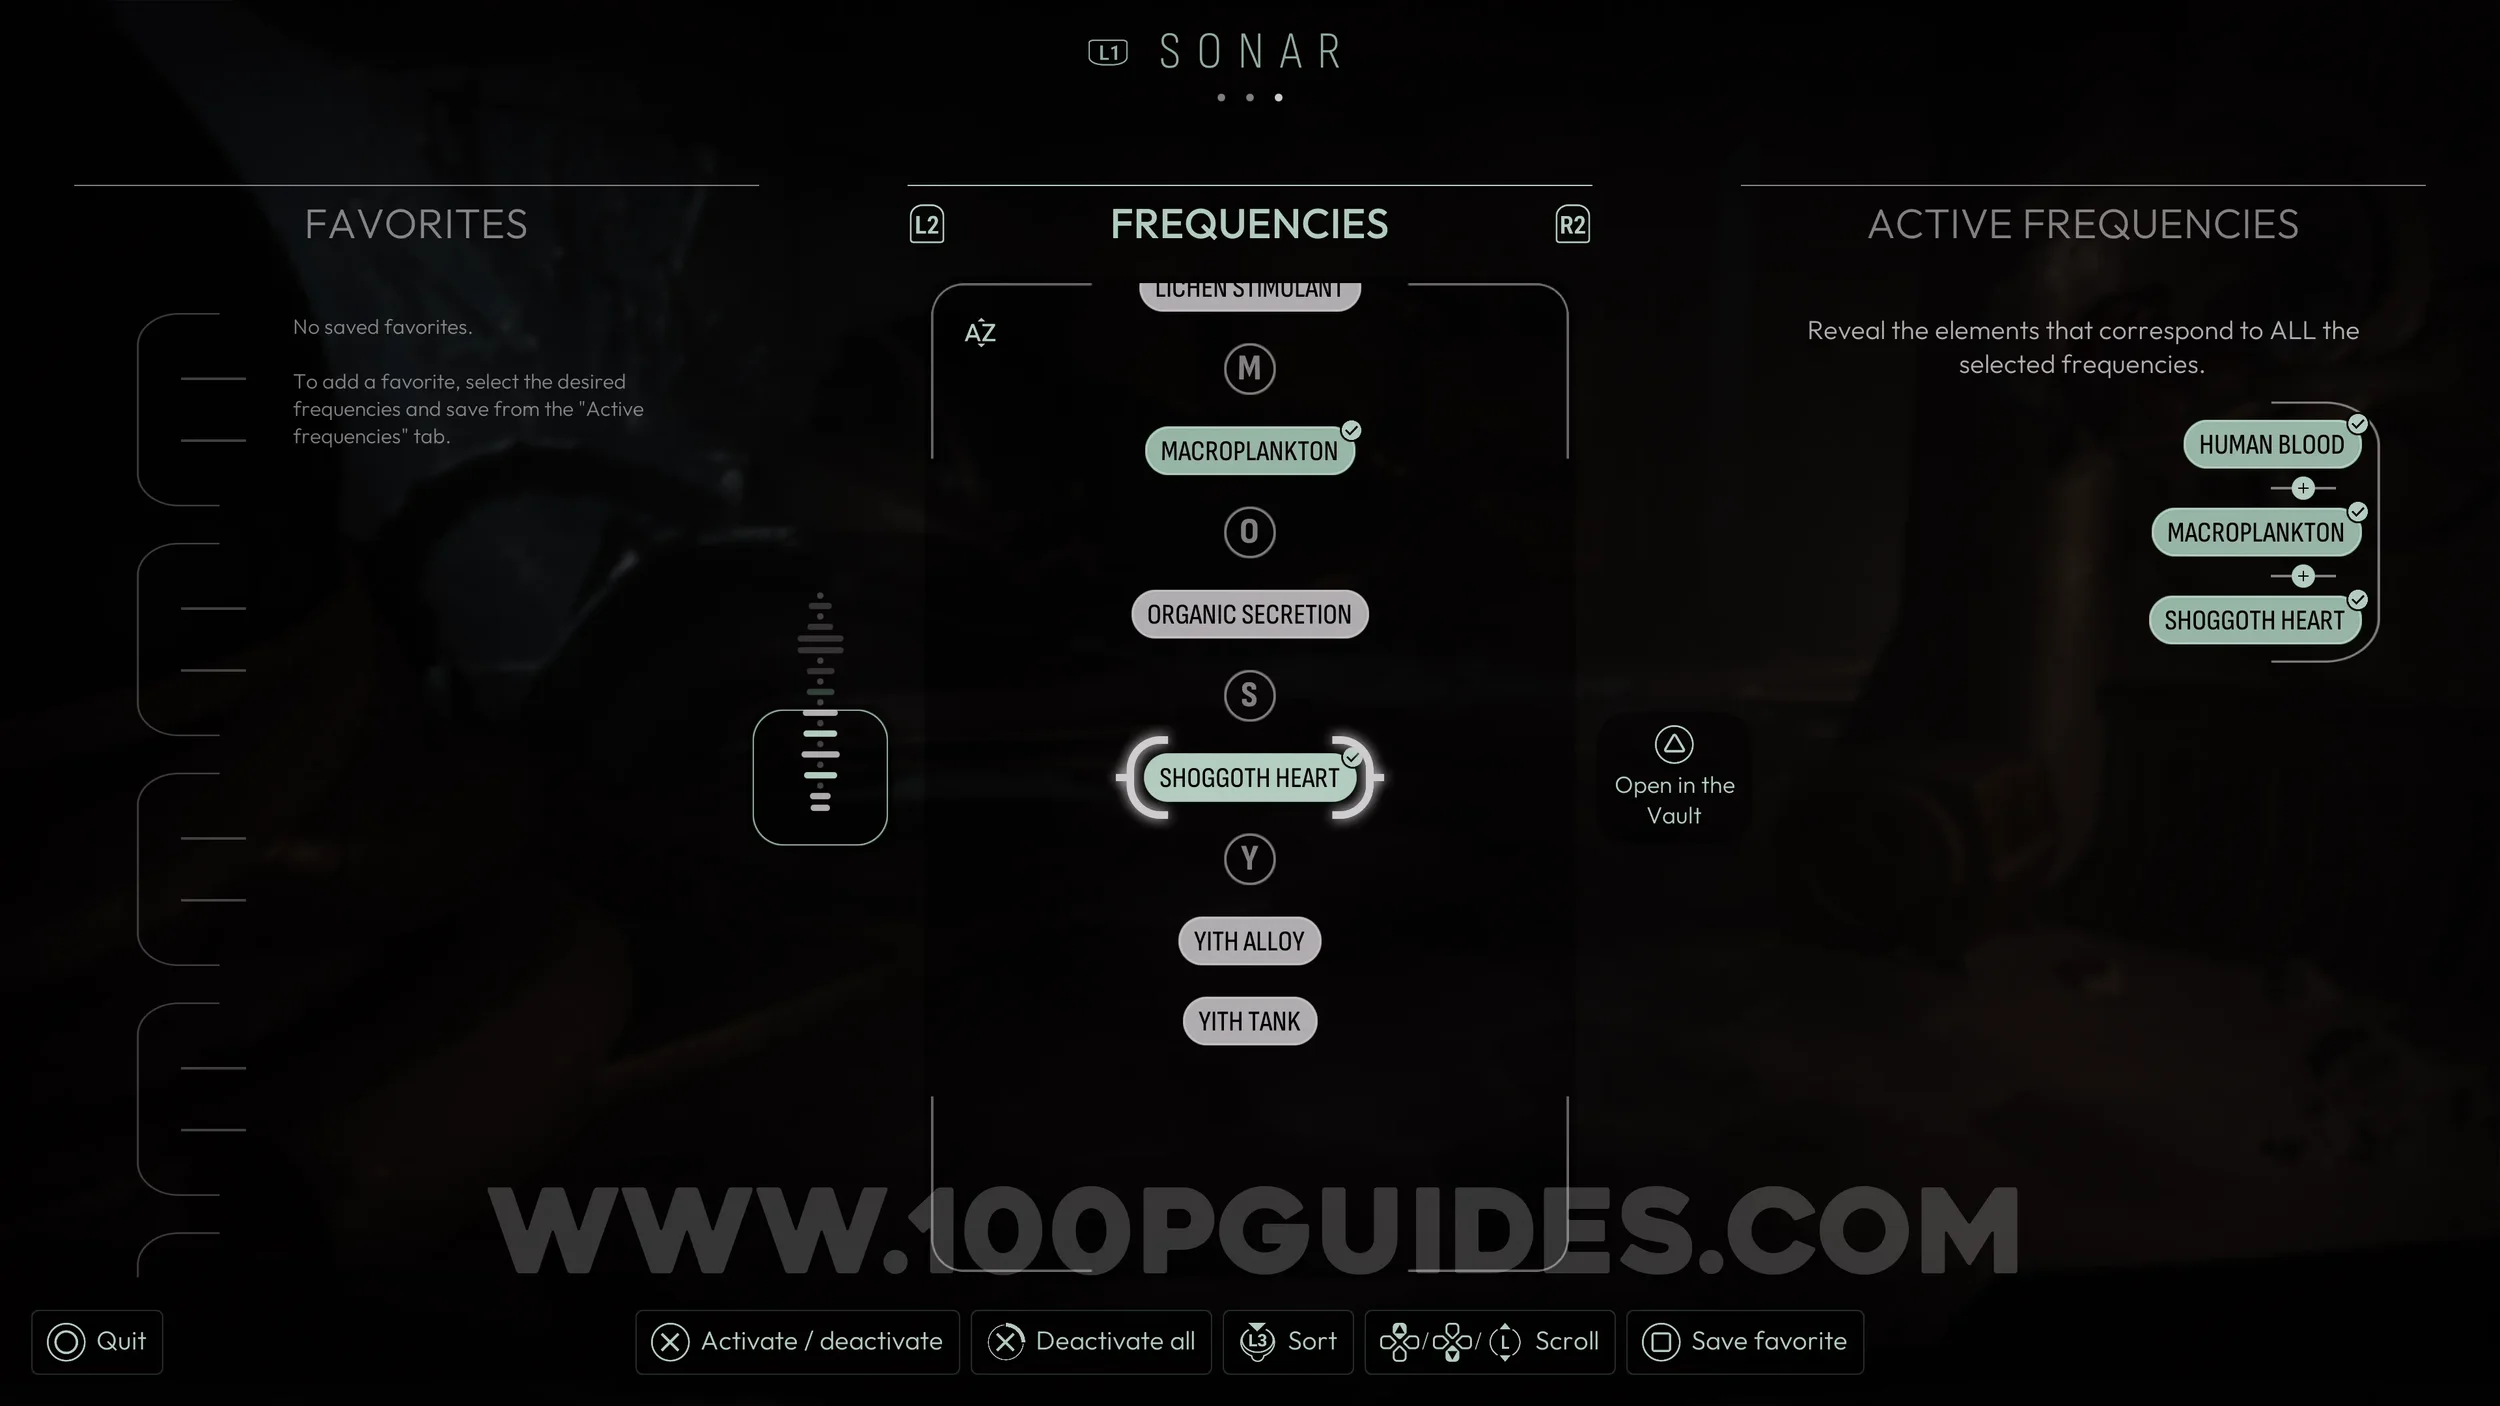
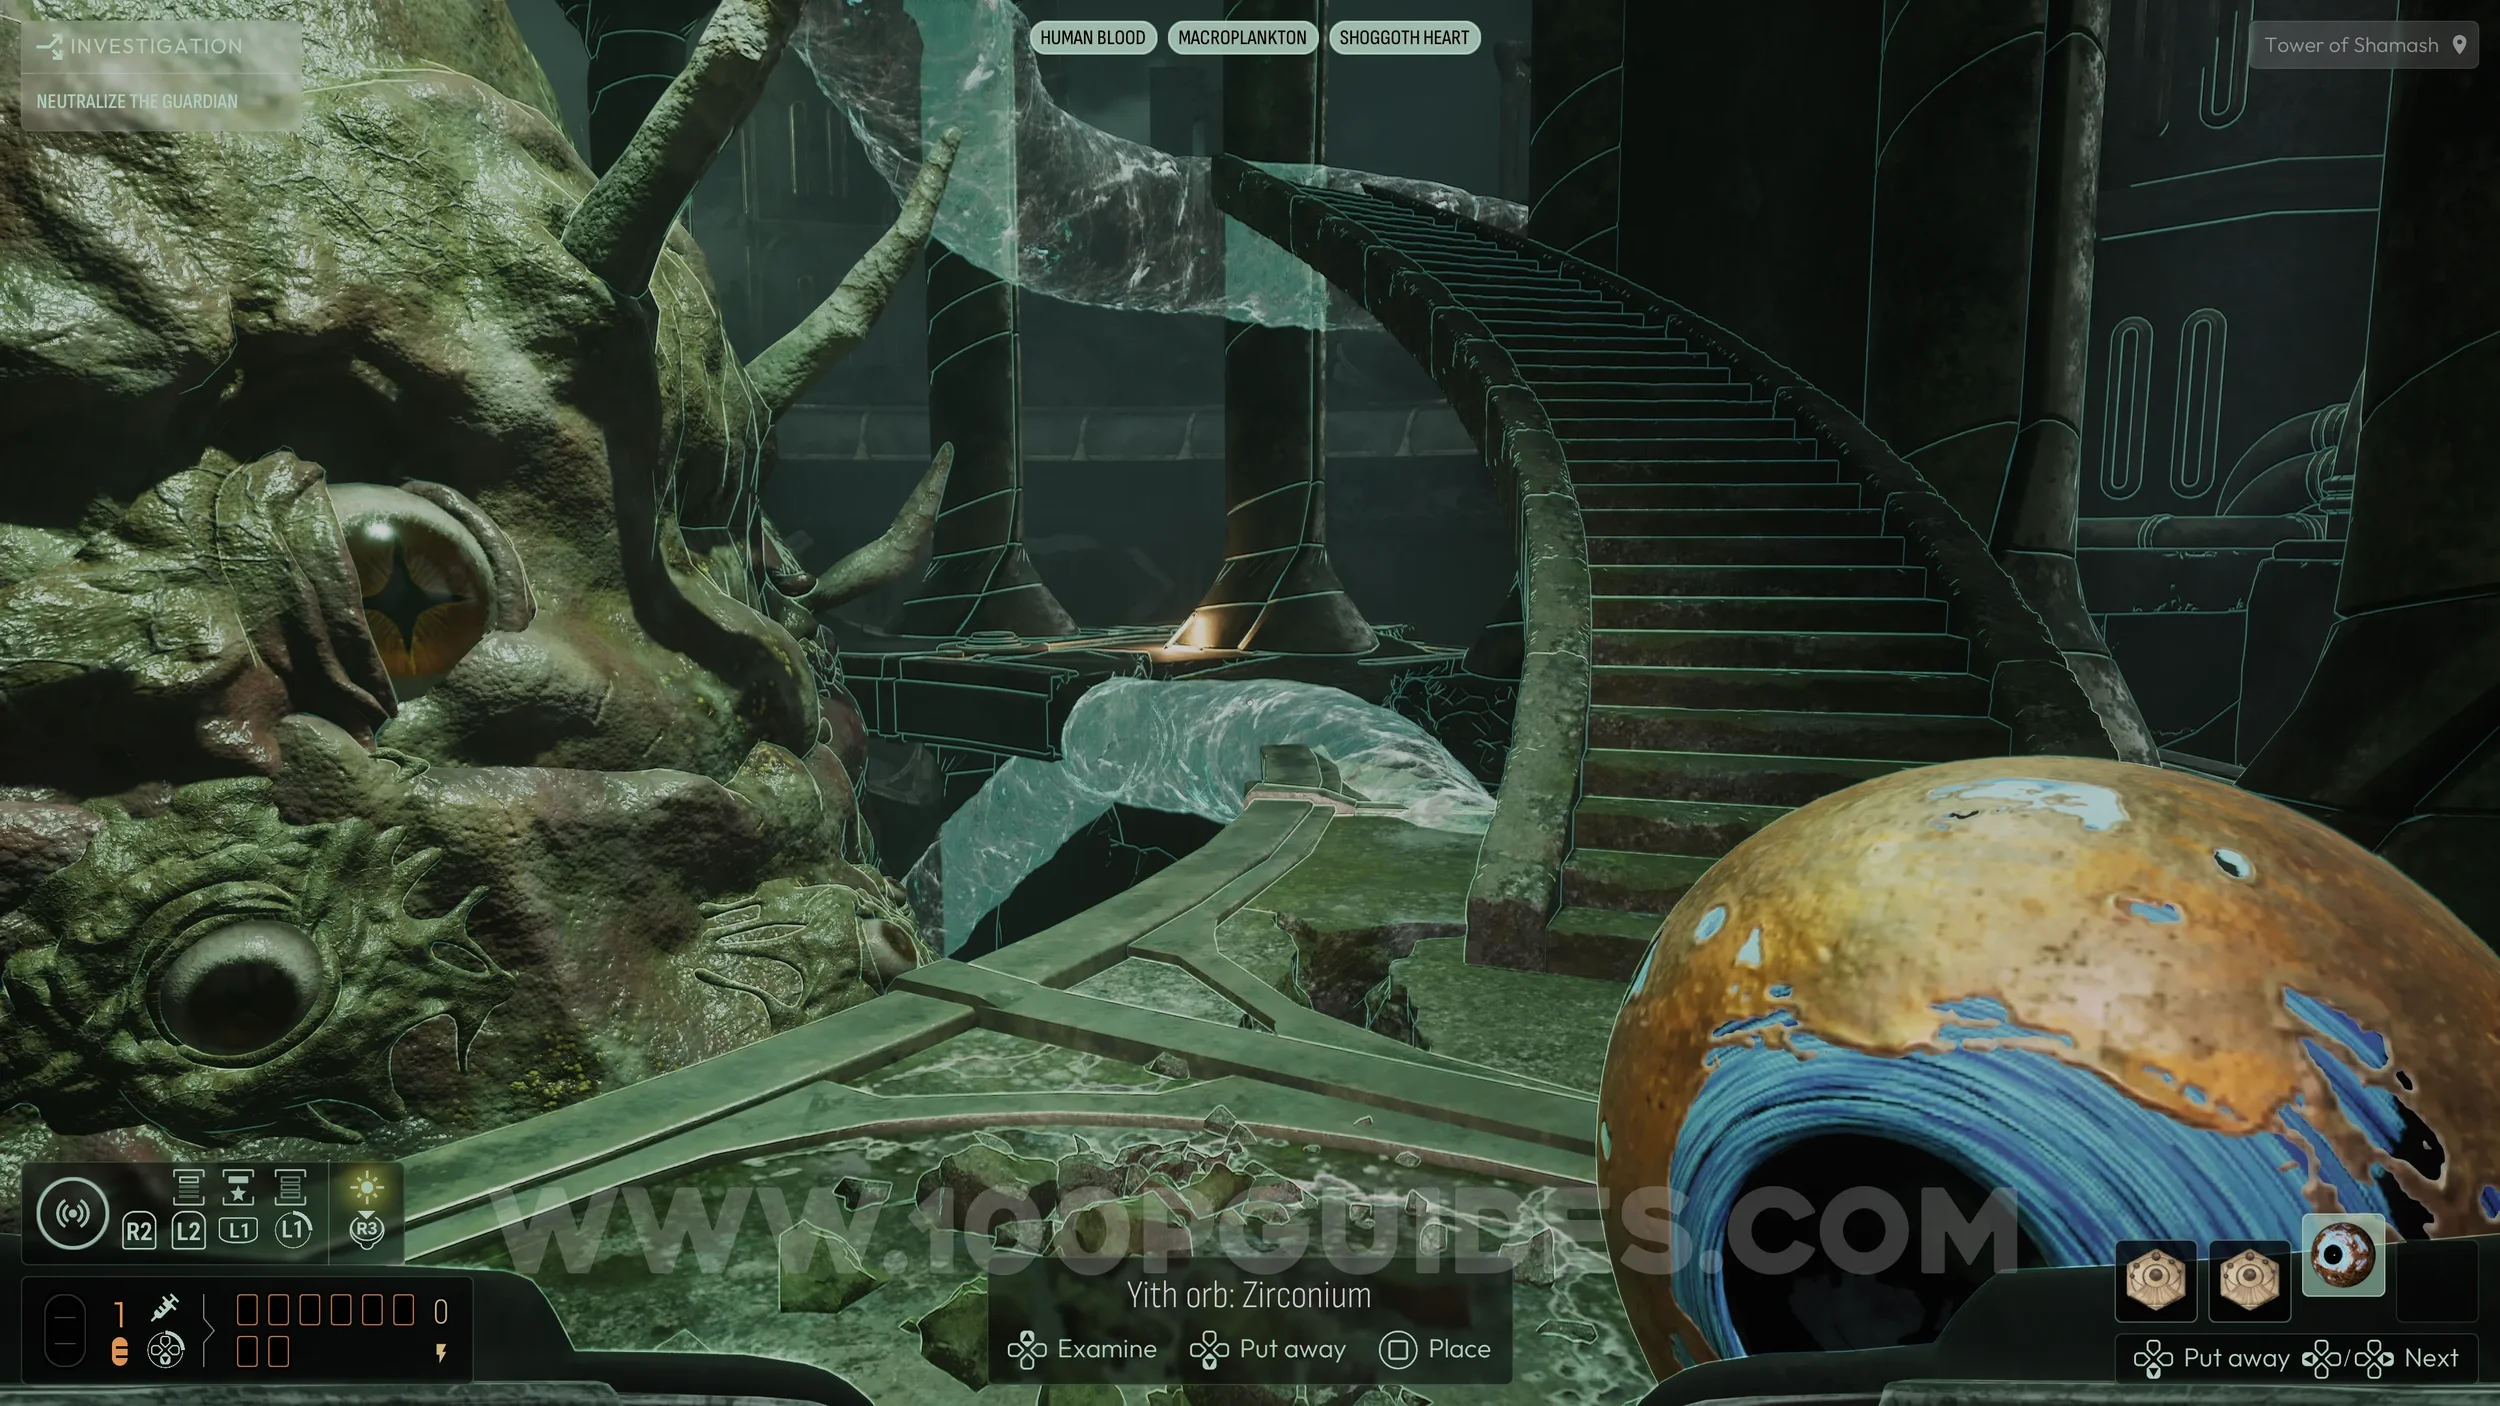
Next, you will need to examine and analyze three specific items around the Laboratory.
The first is Macroplankton, which can be found on your left as you enter the lower floor for the first time.
The second is Human Blood, located in the lower area just to the right of the Macroplankton.
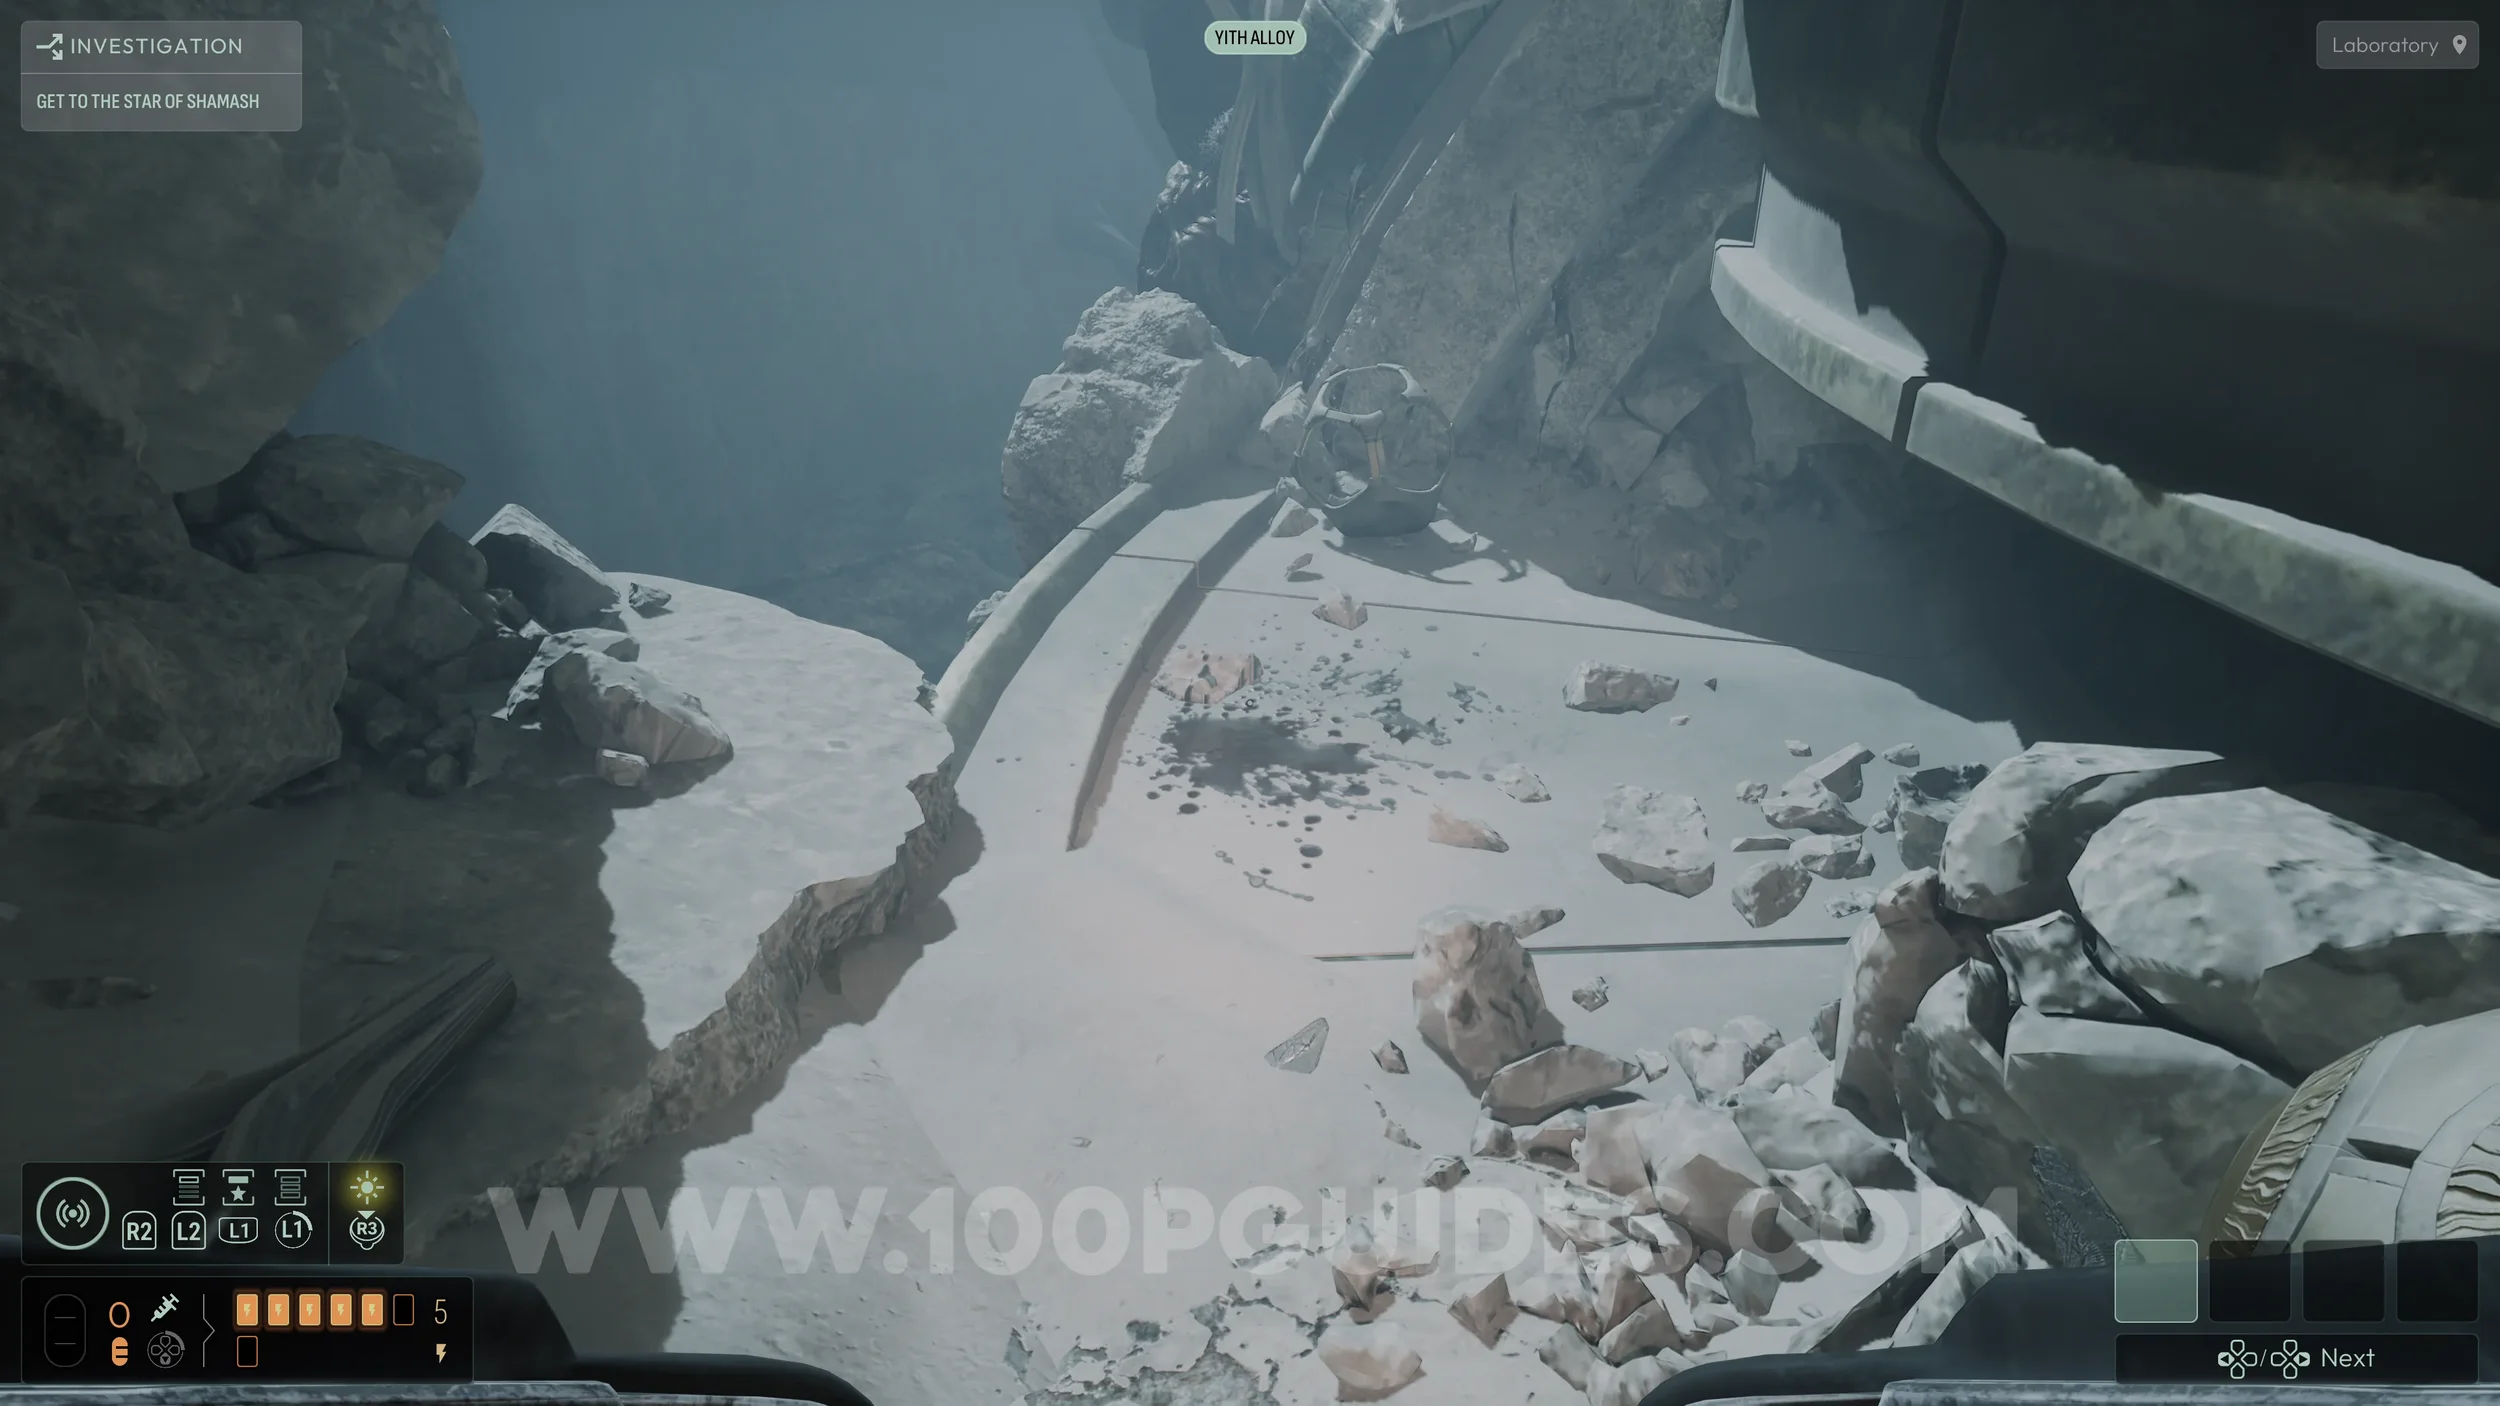
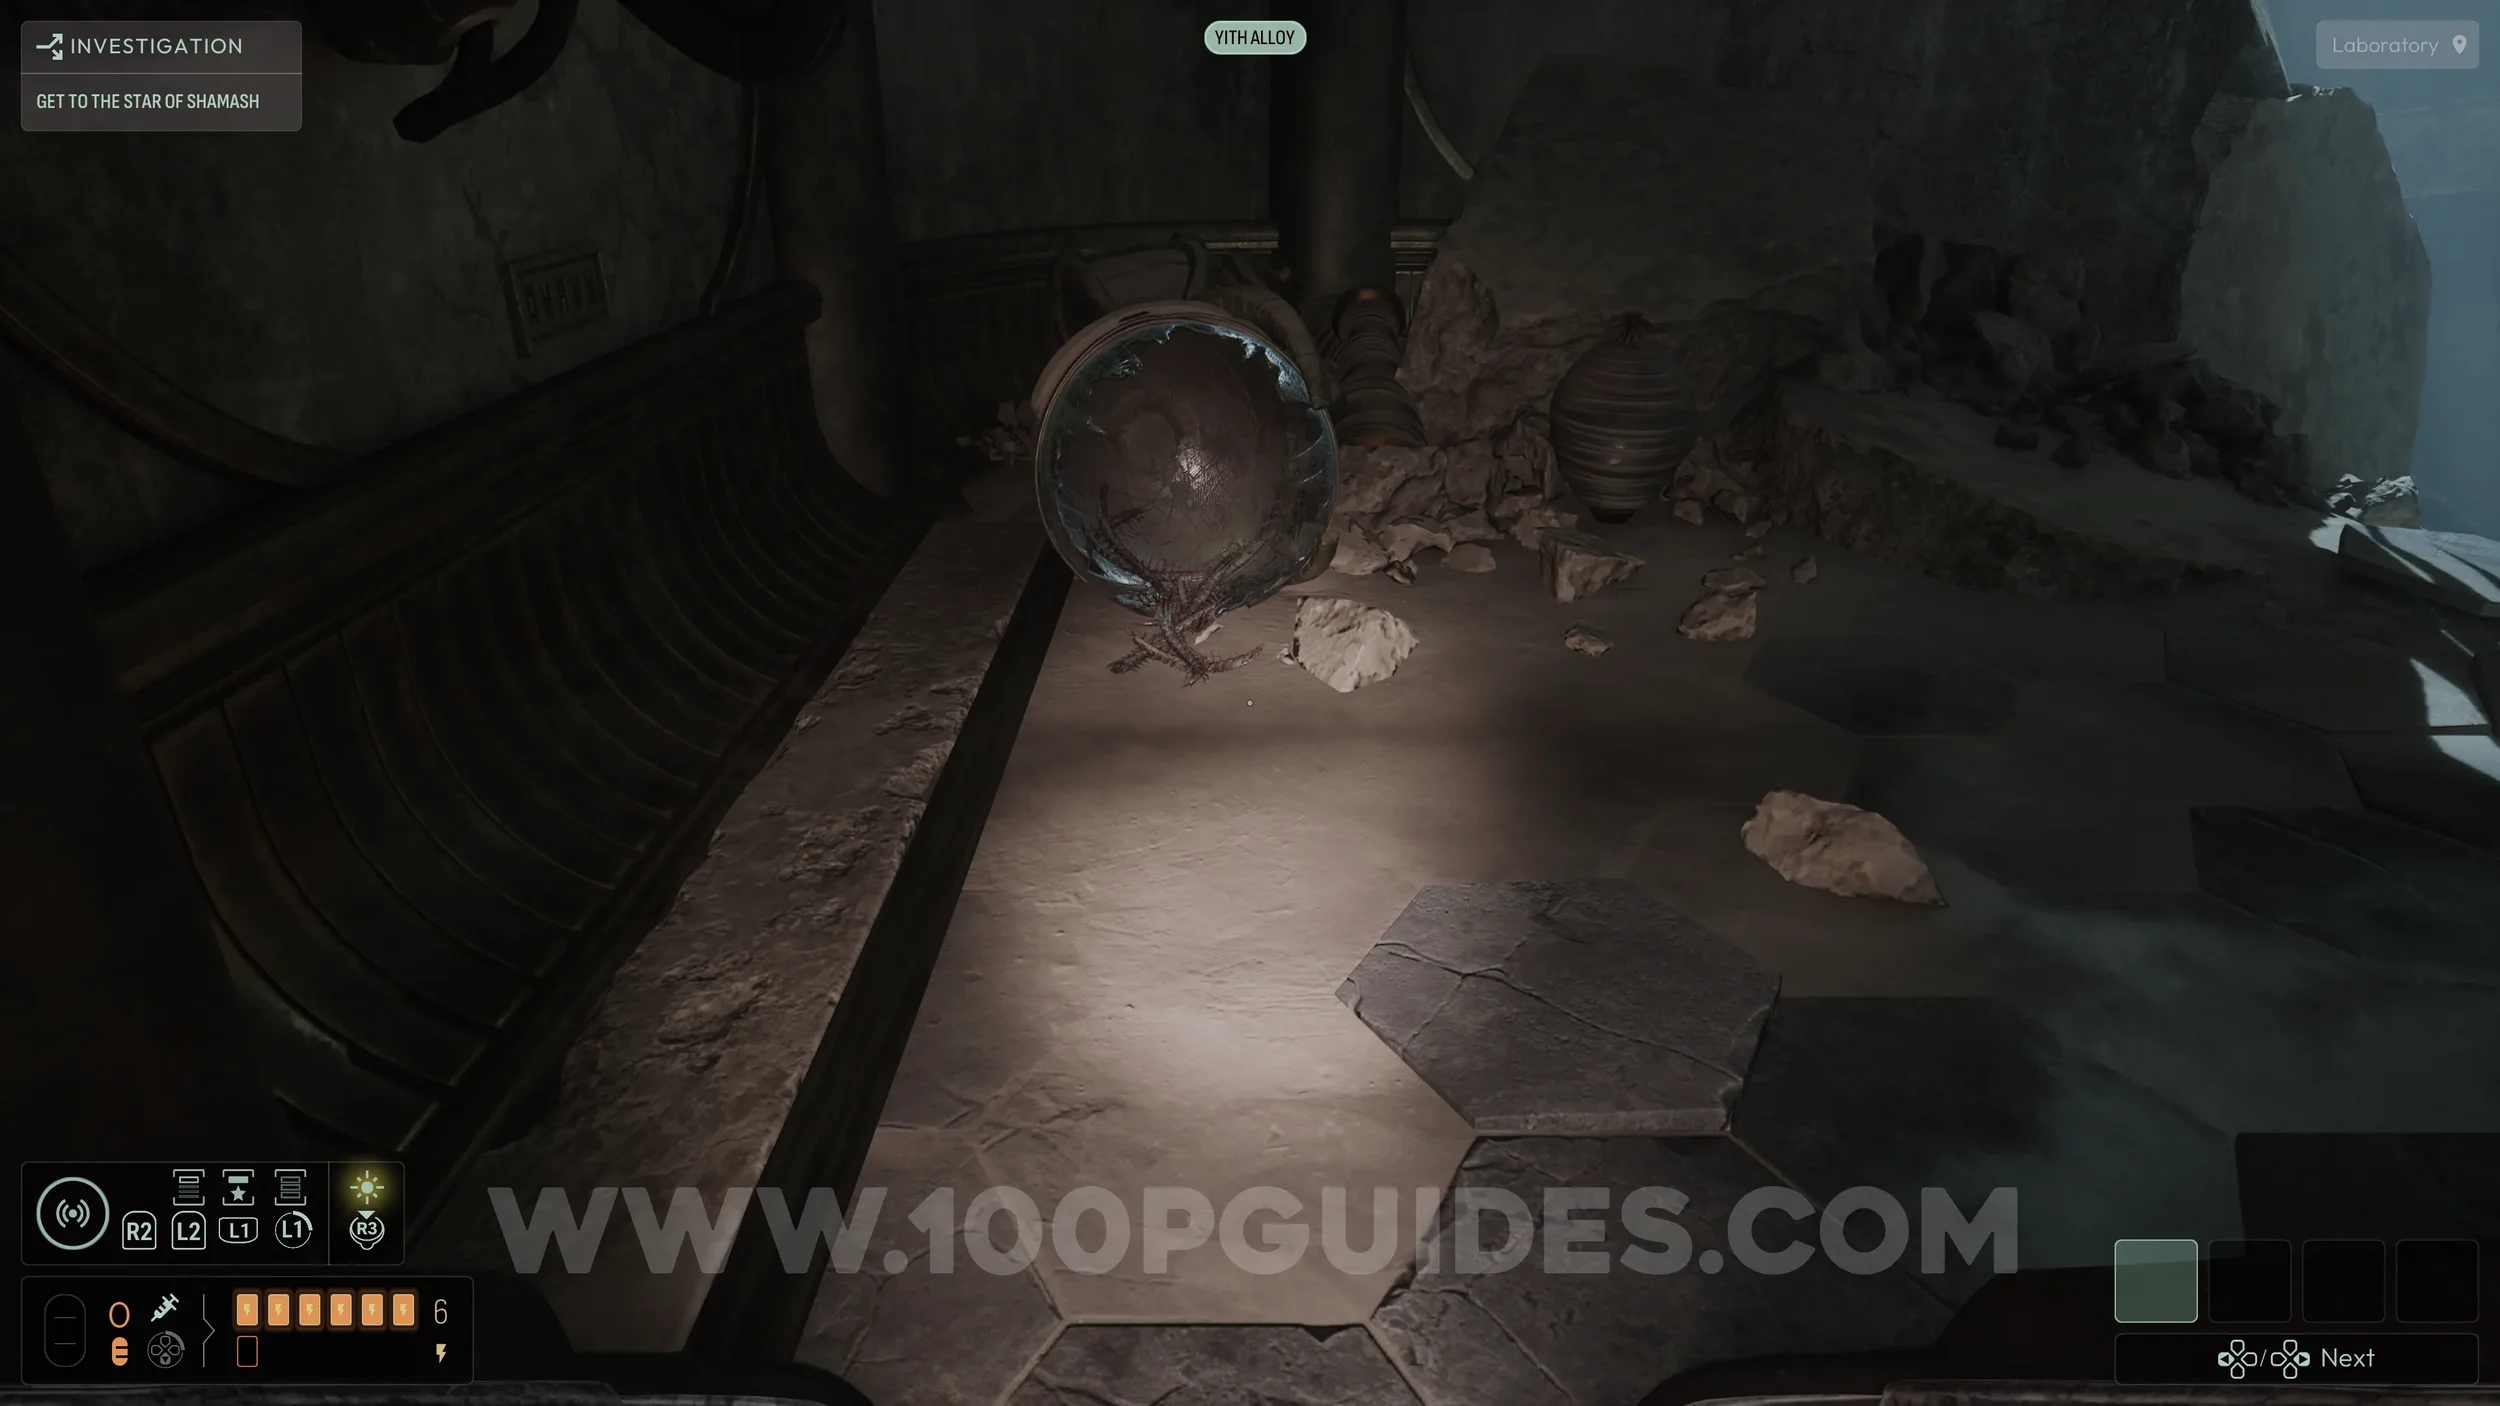
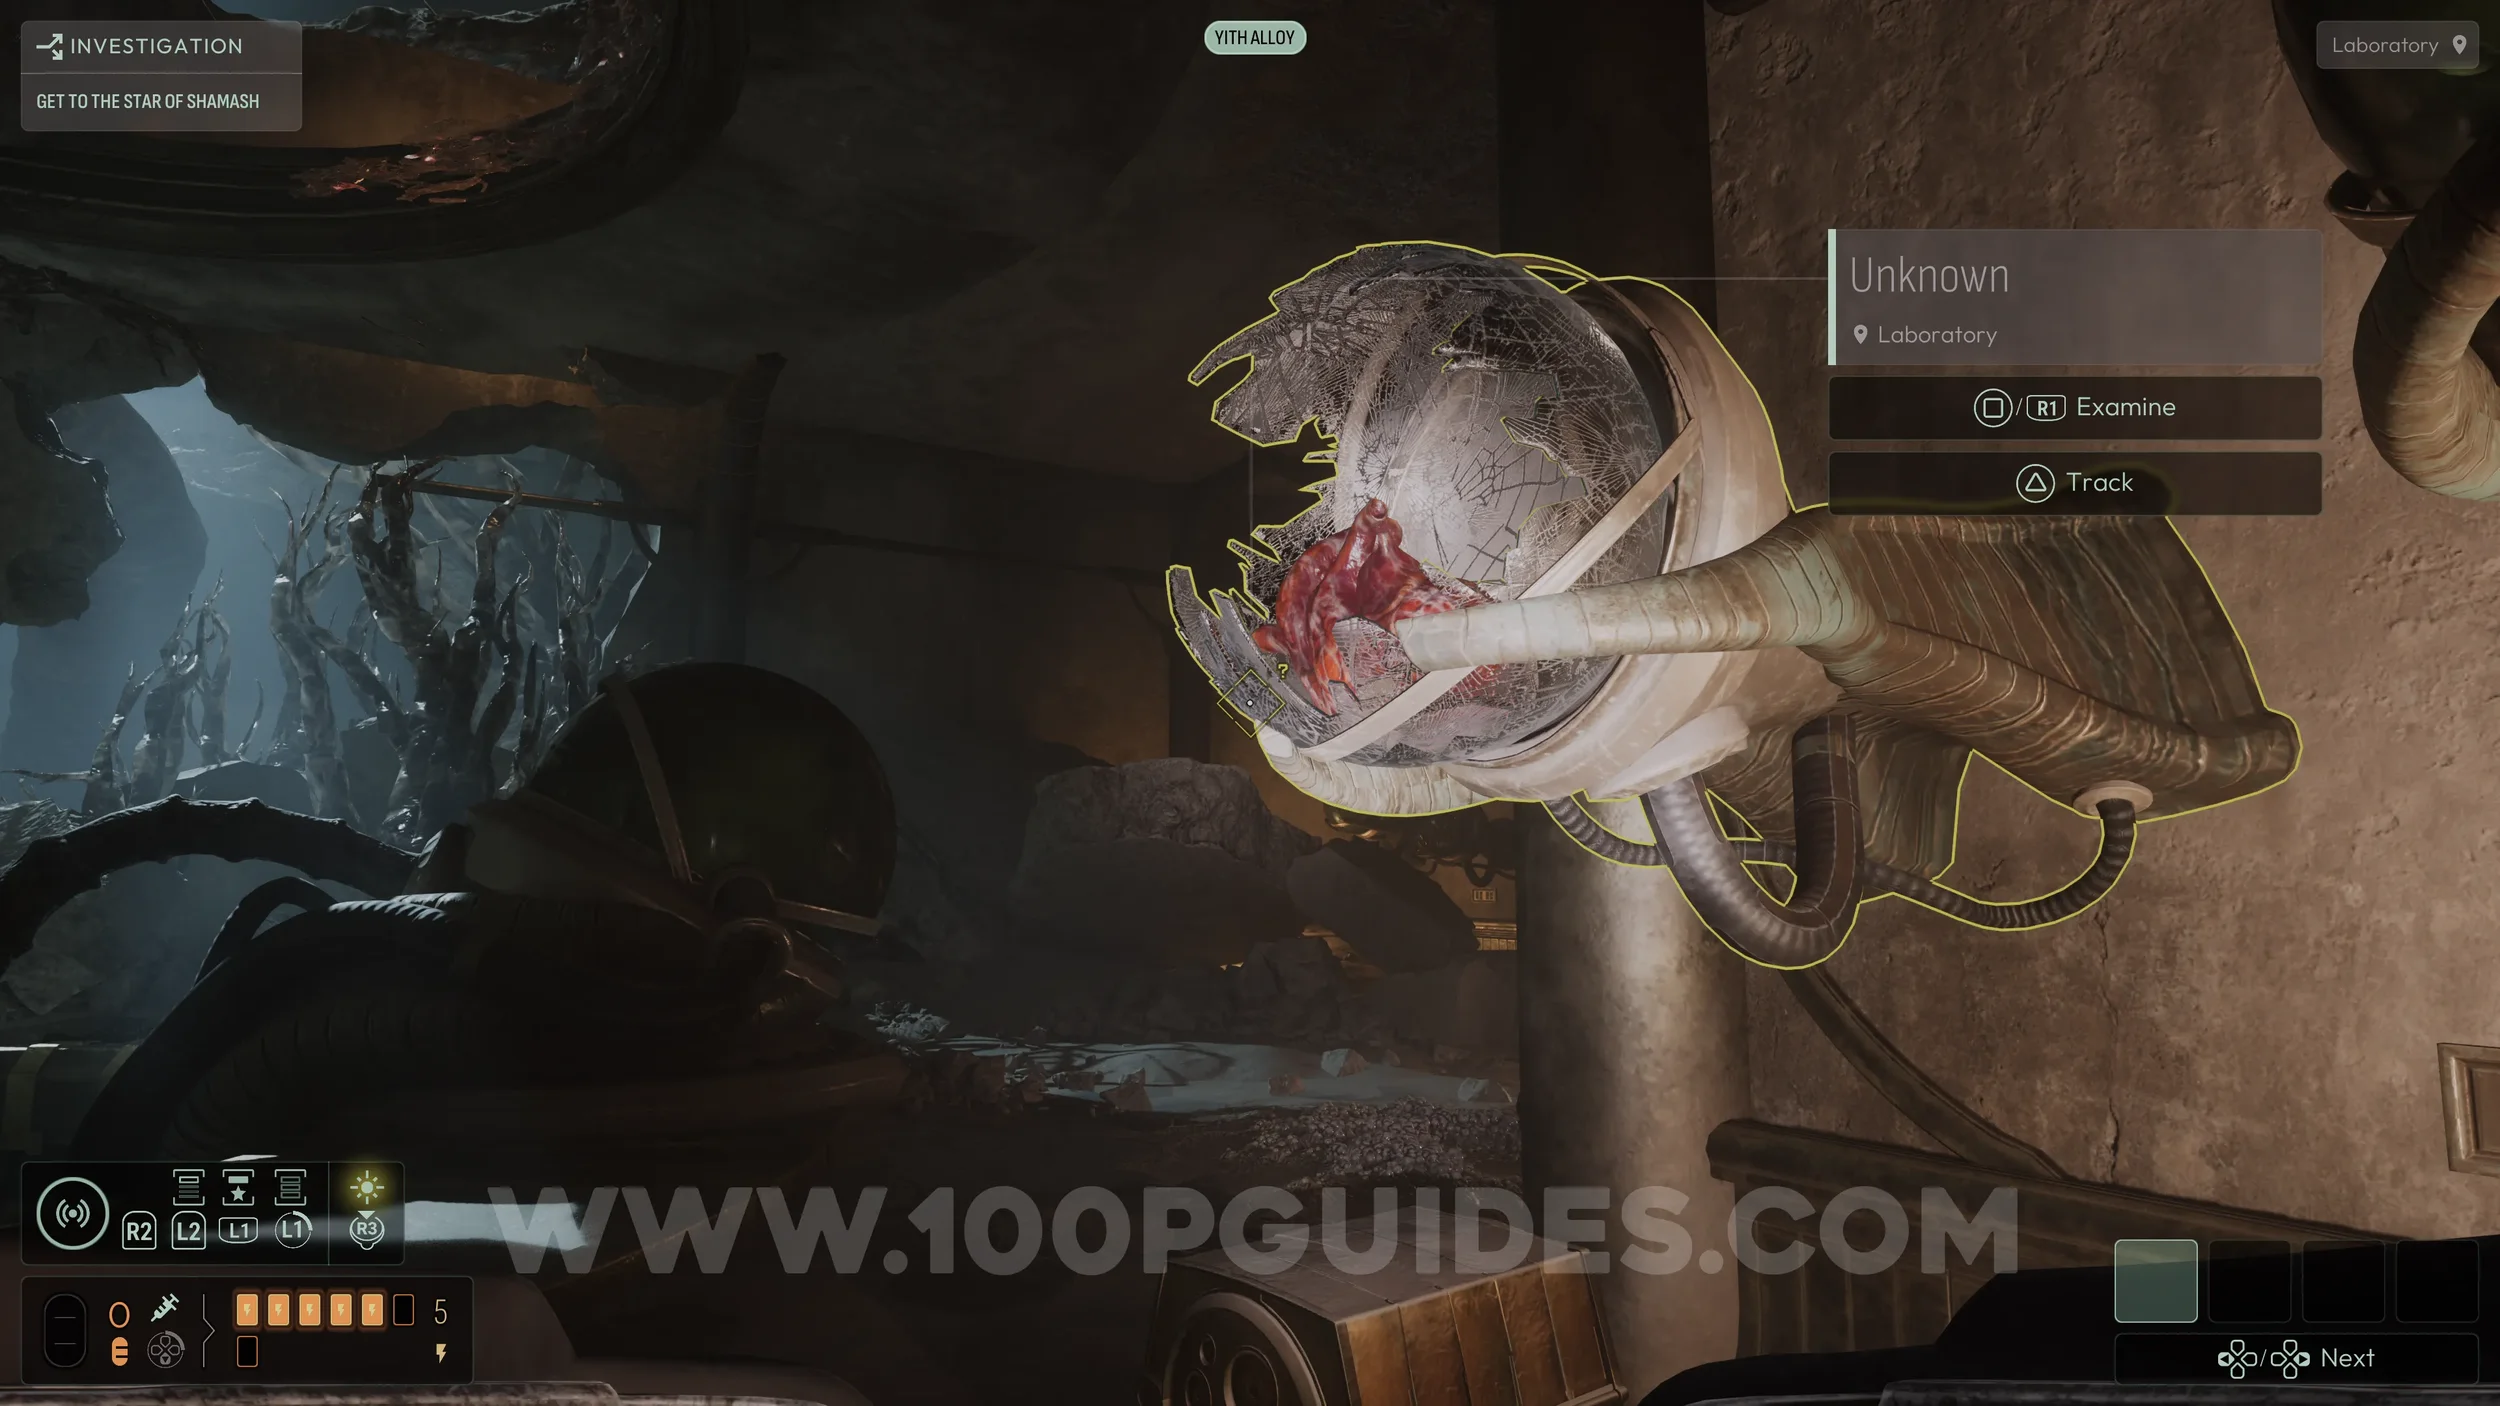
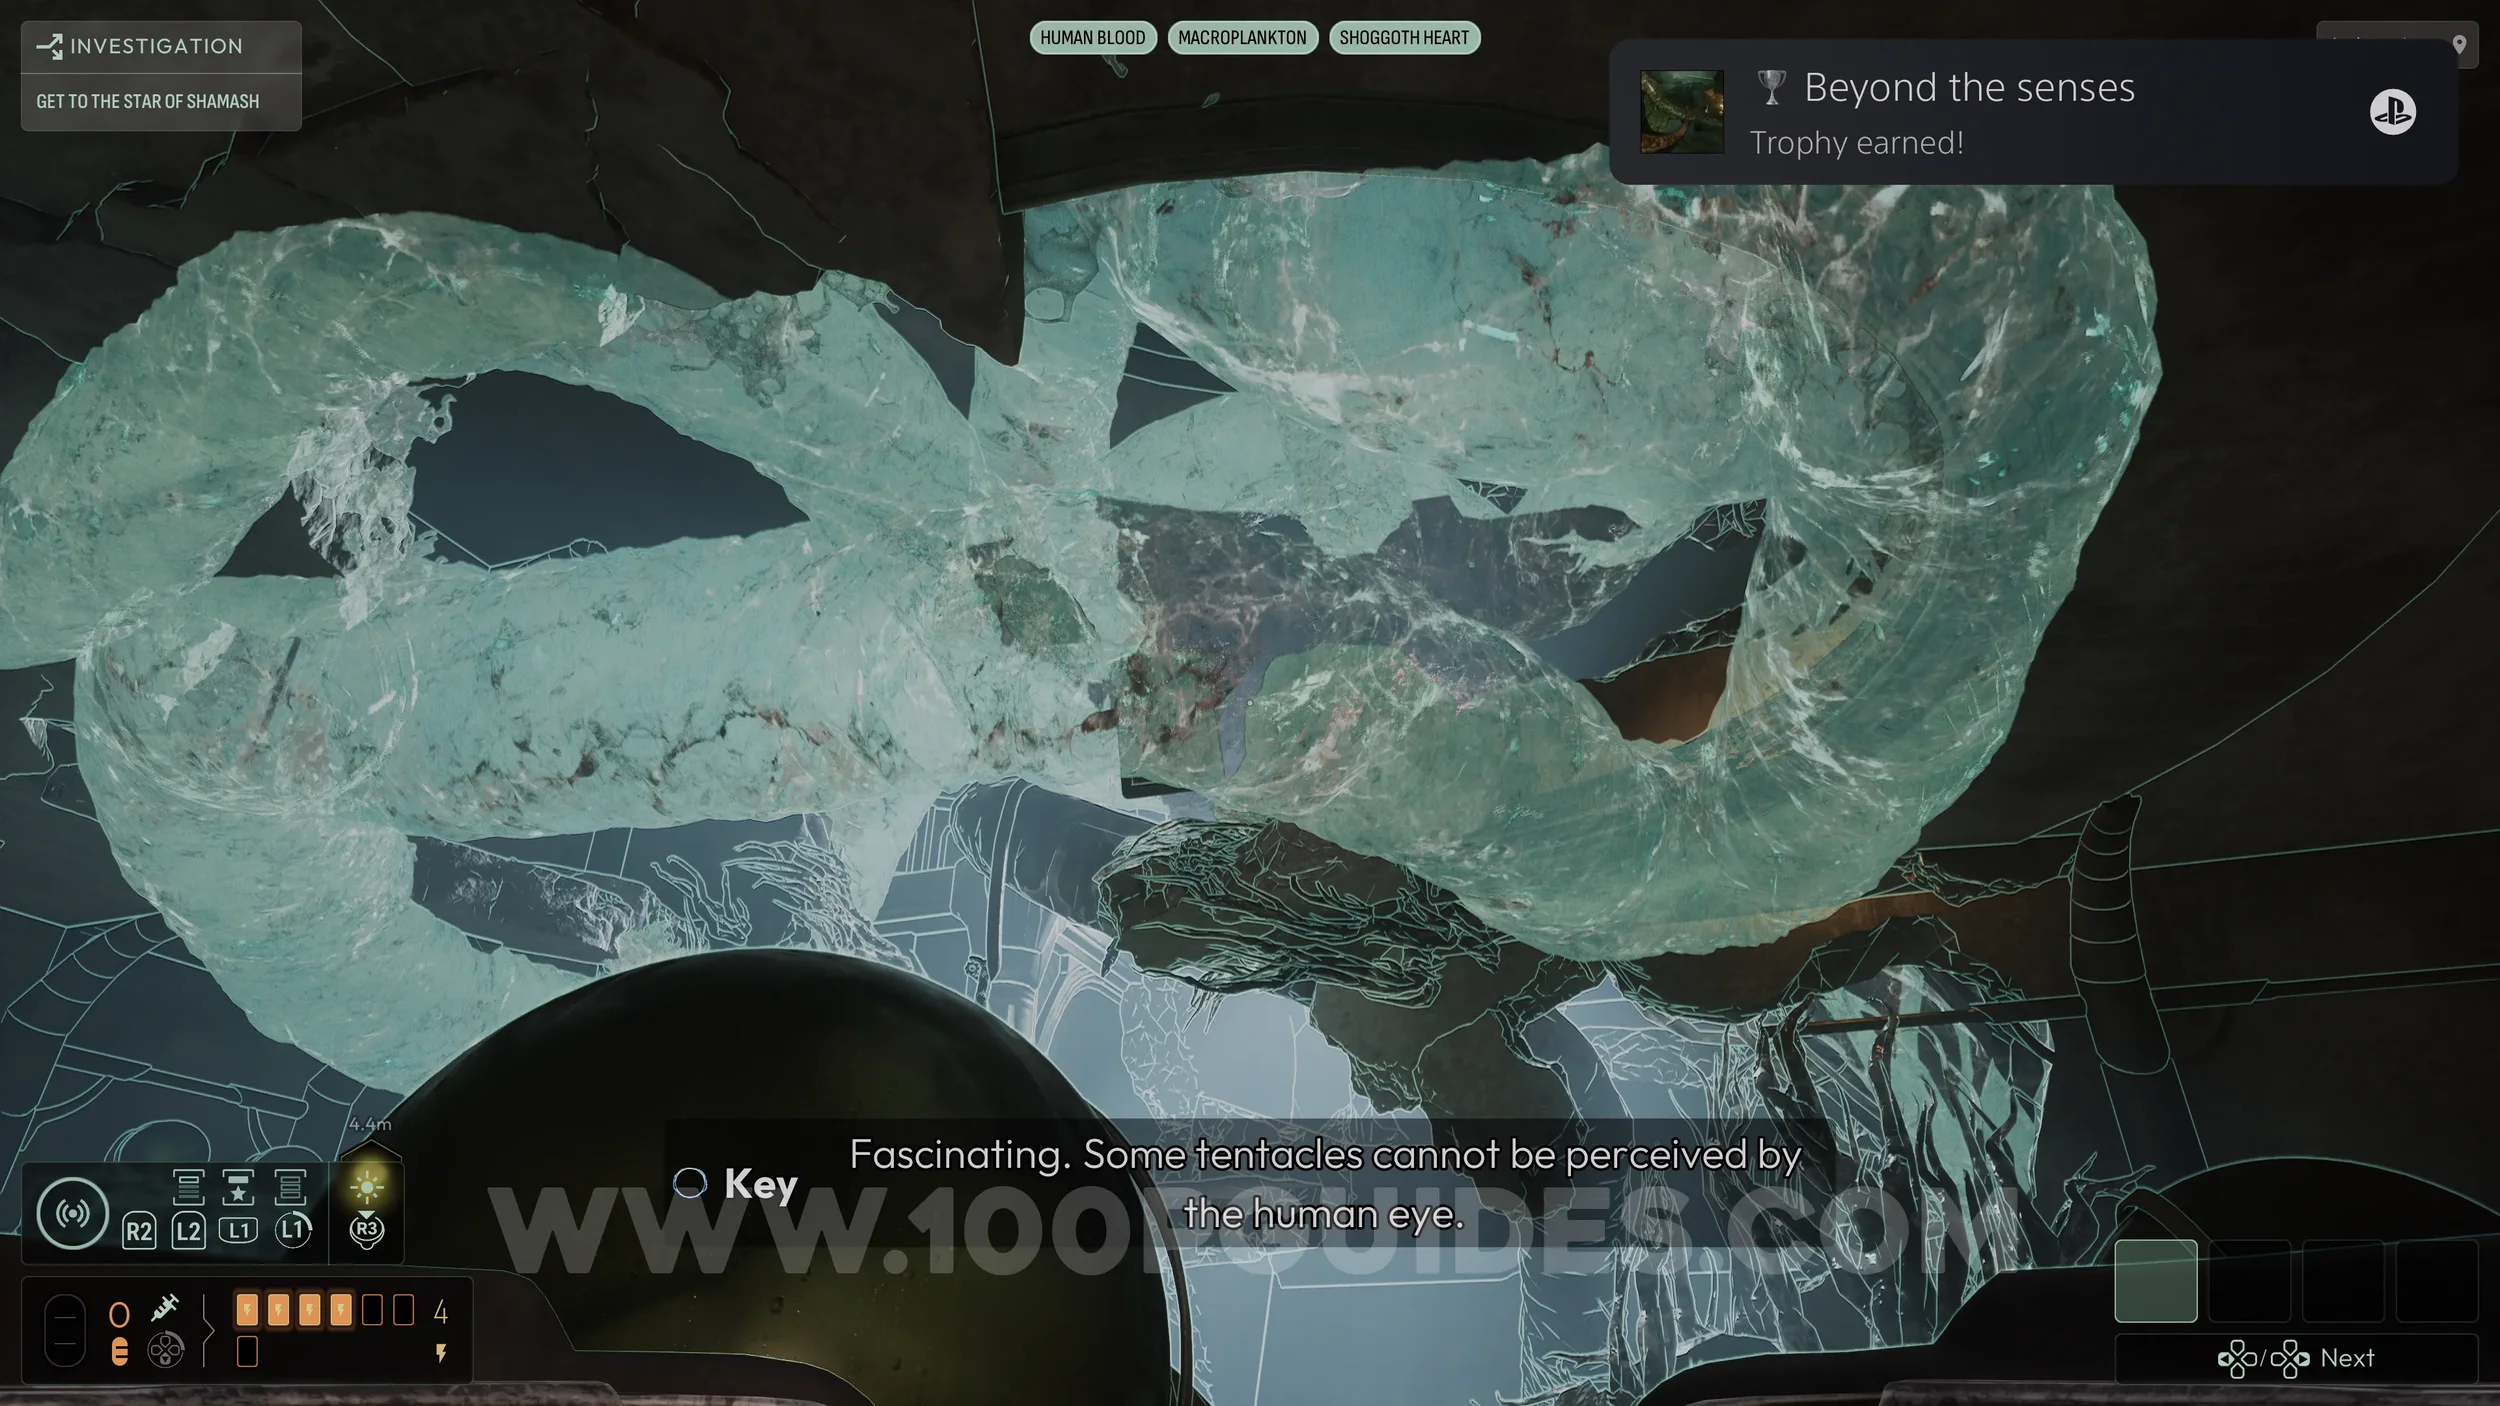
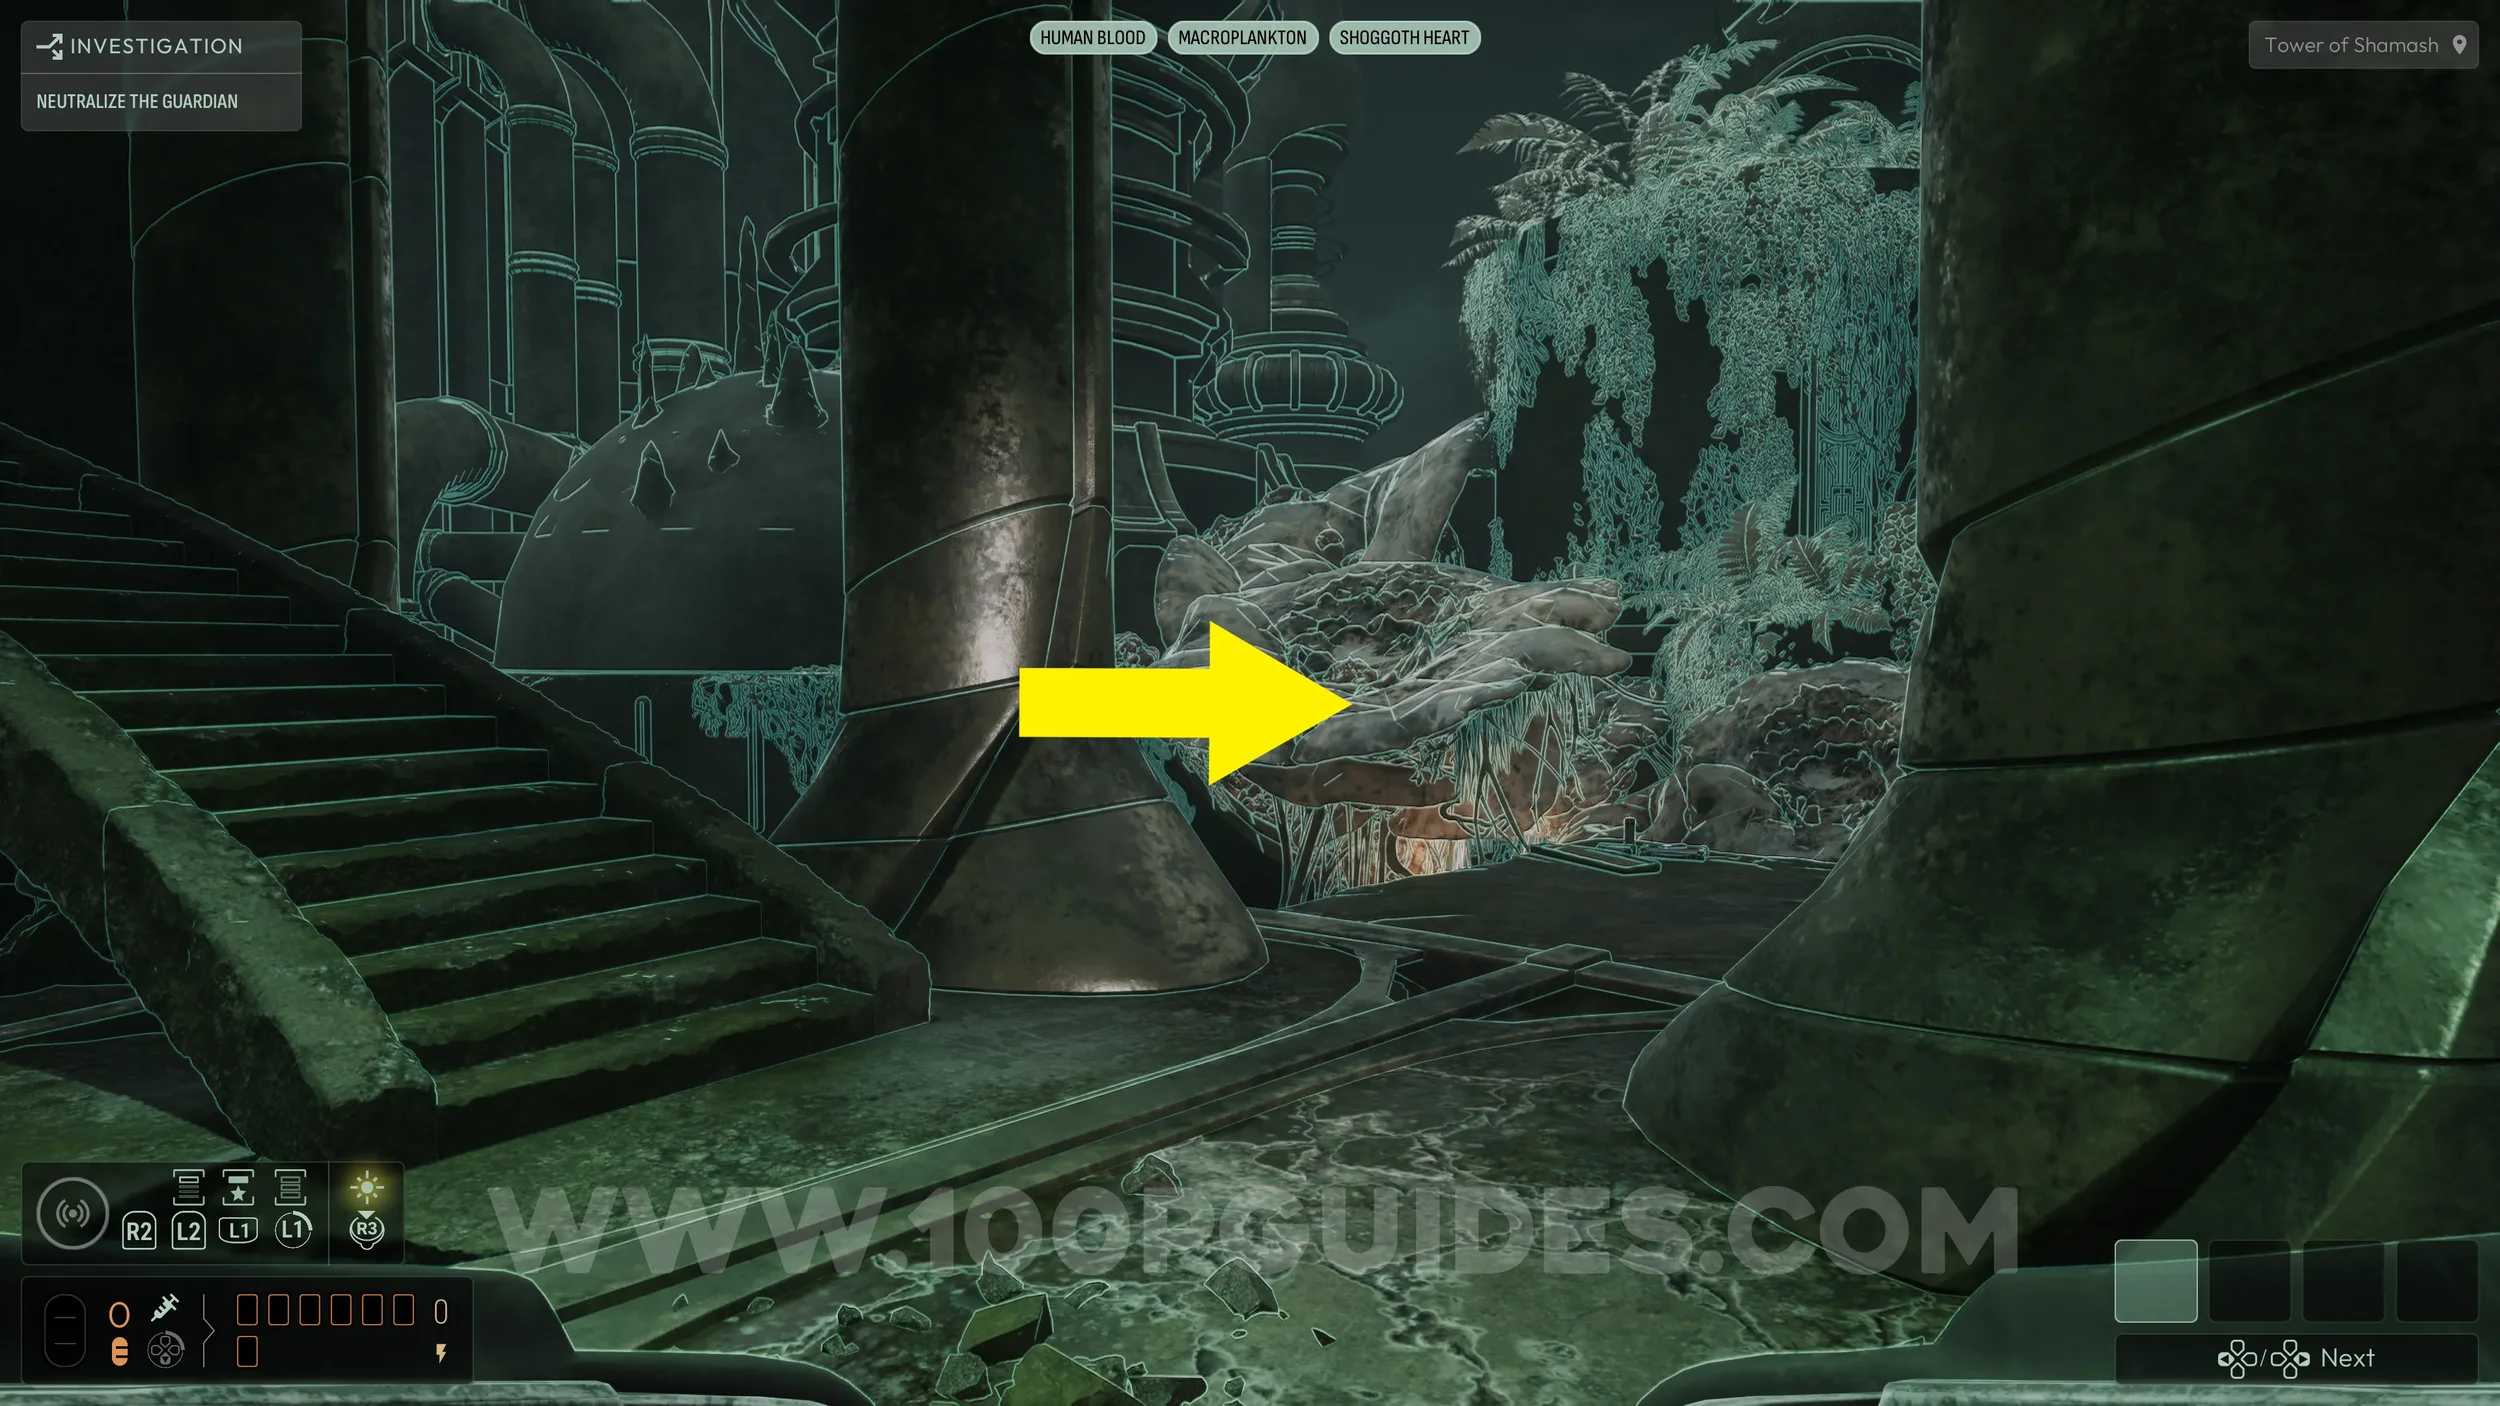
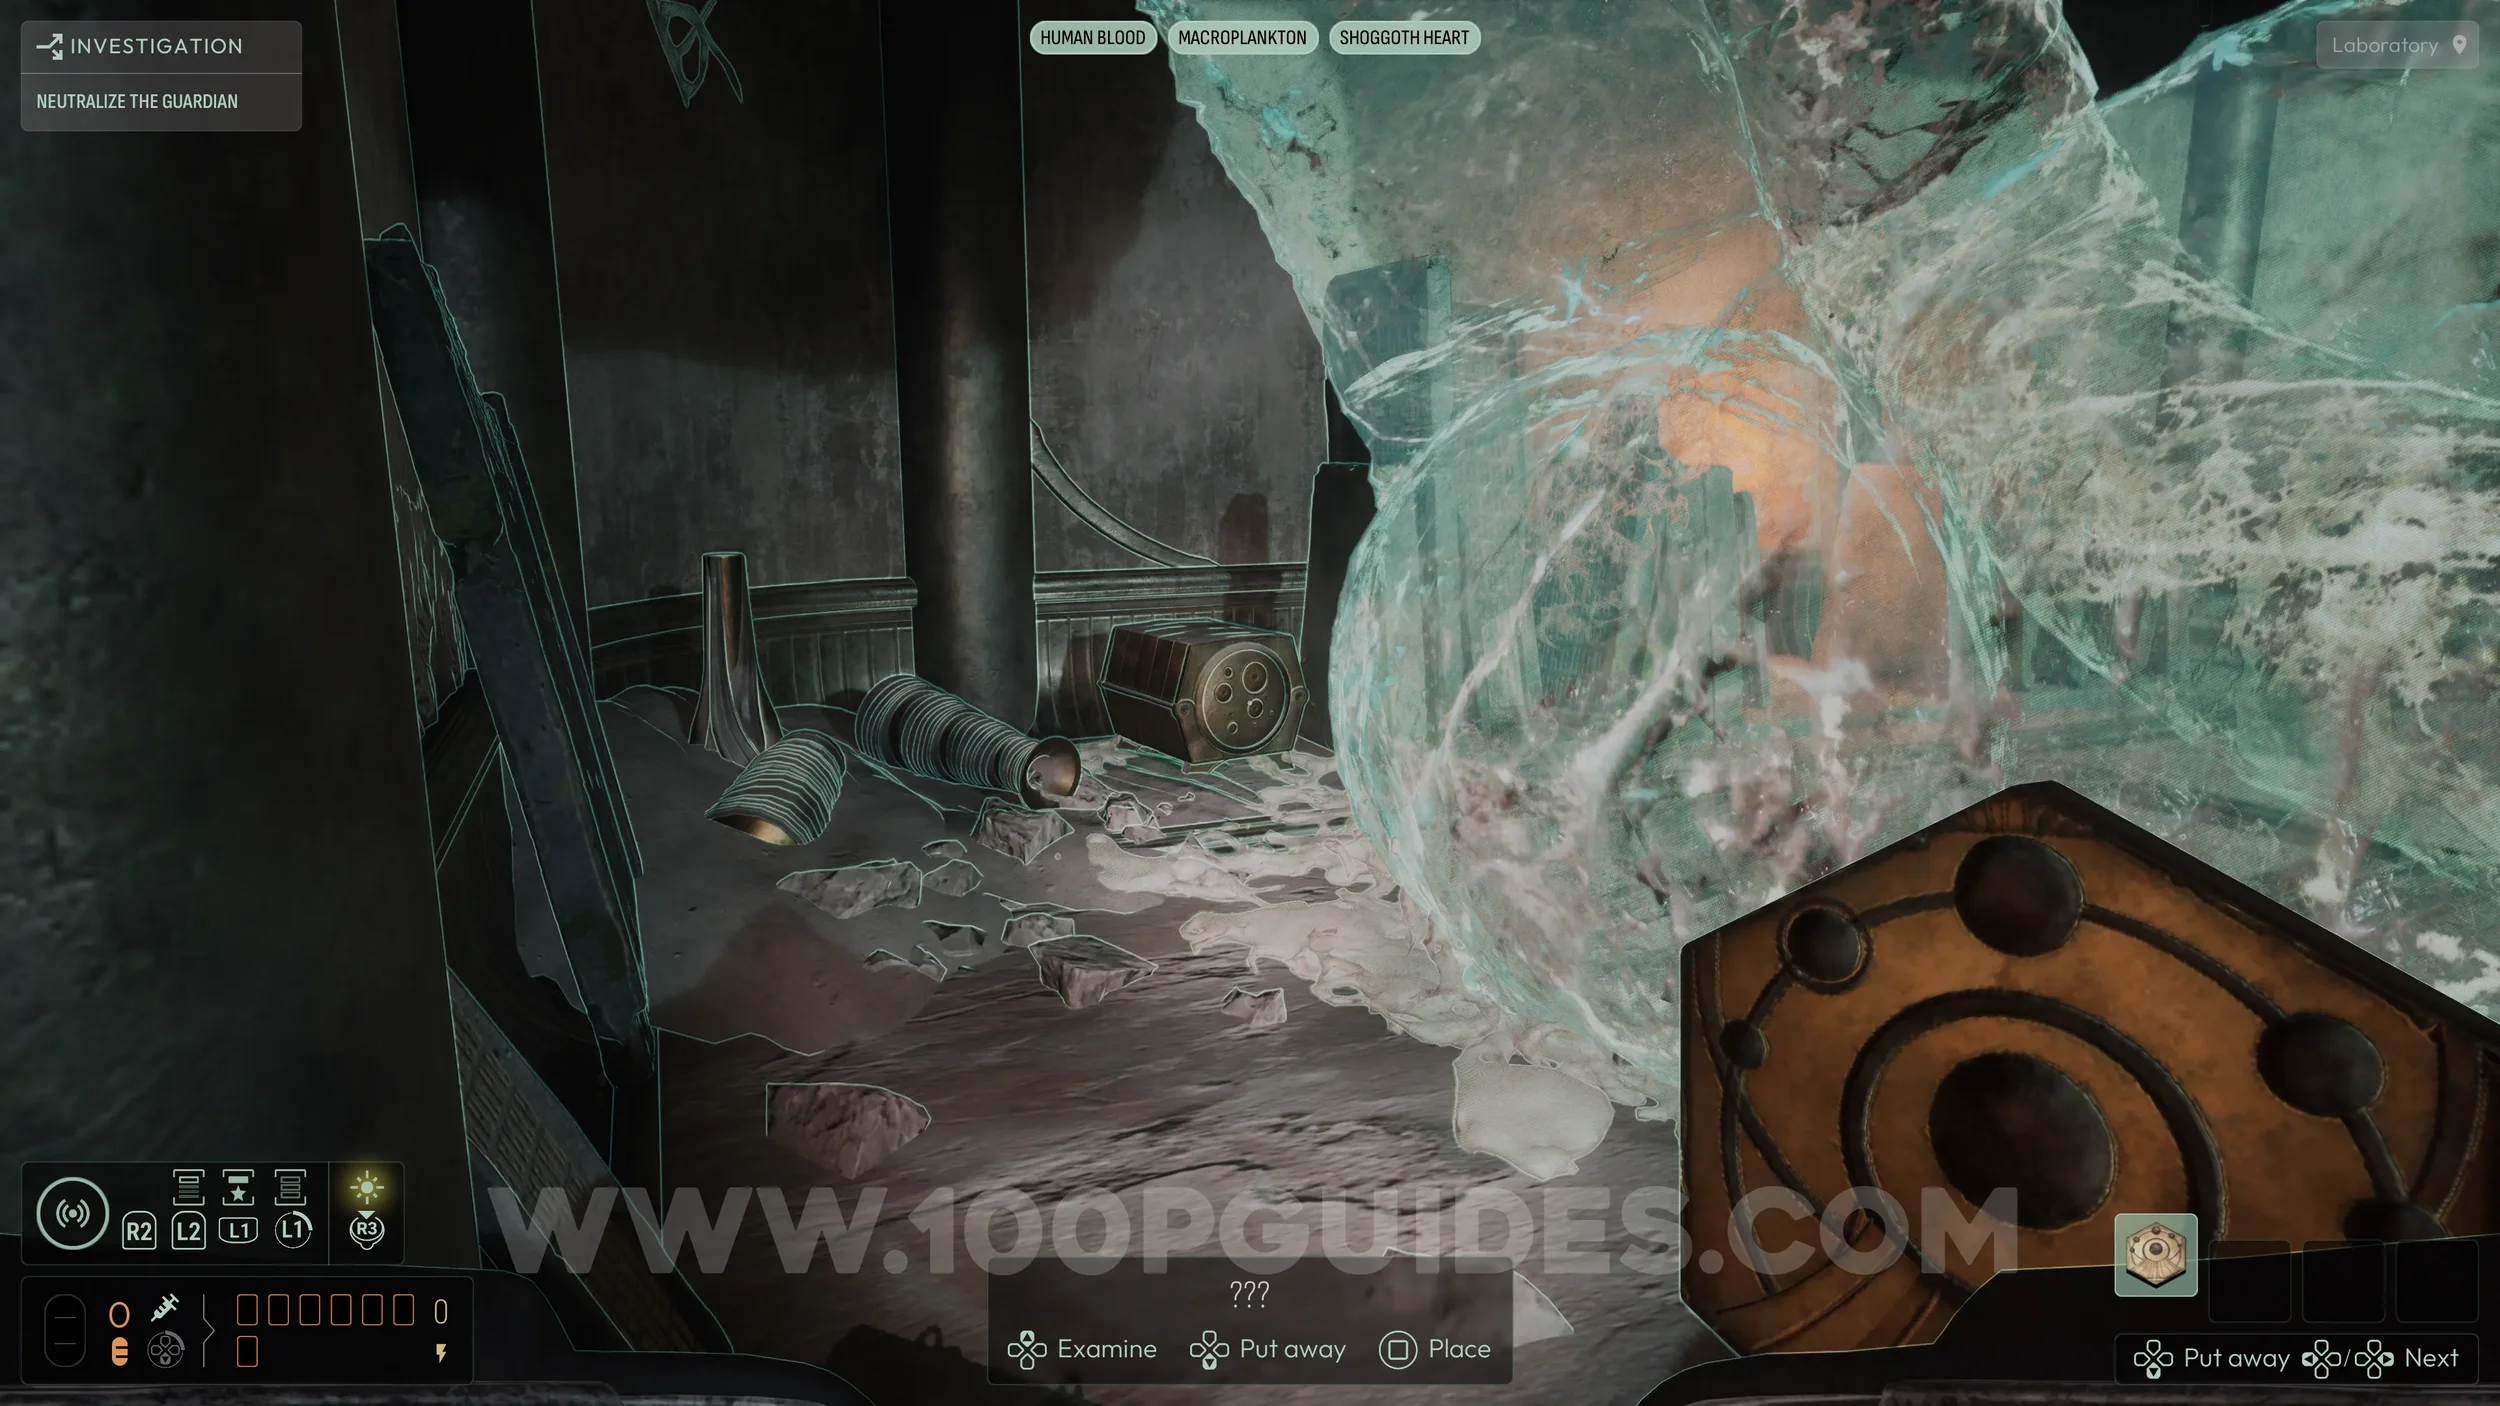
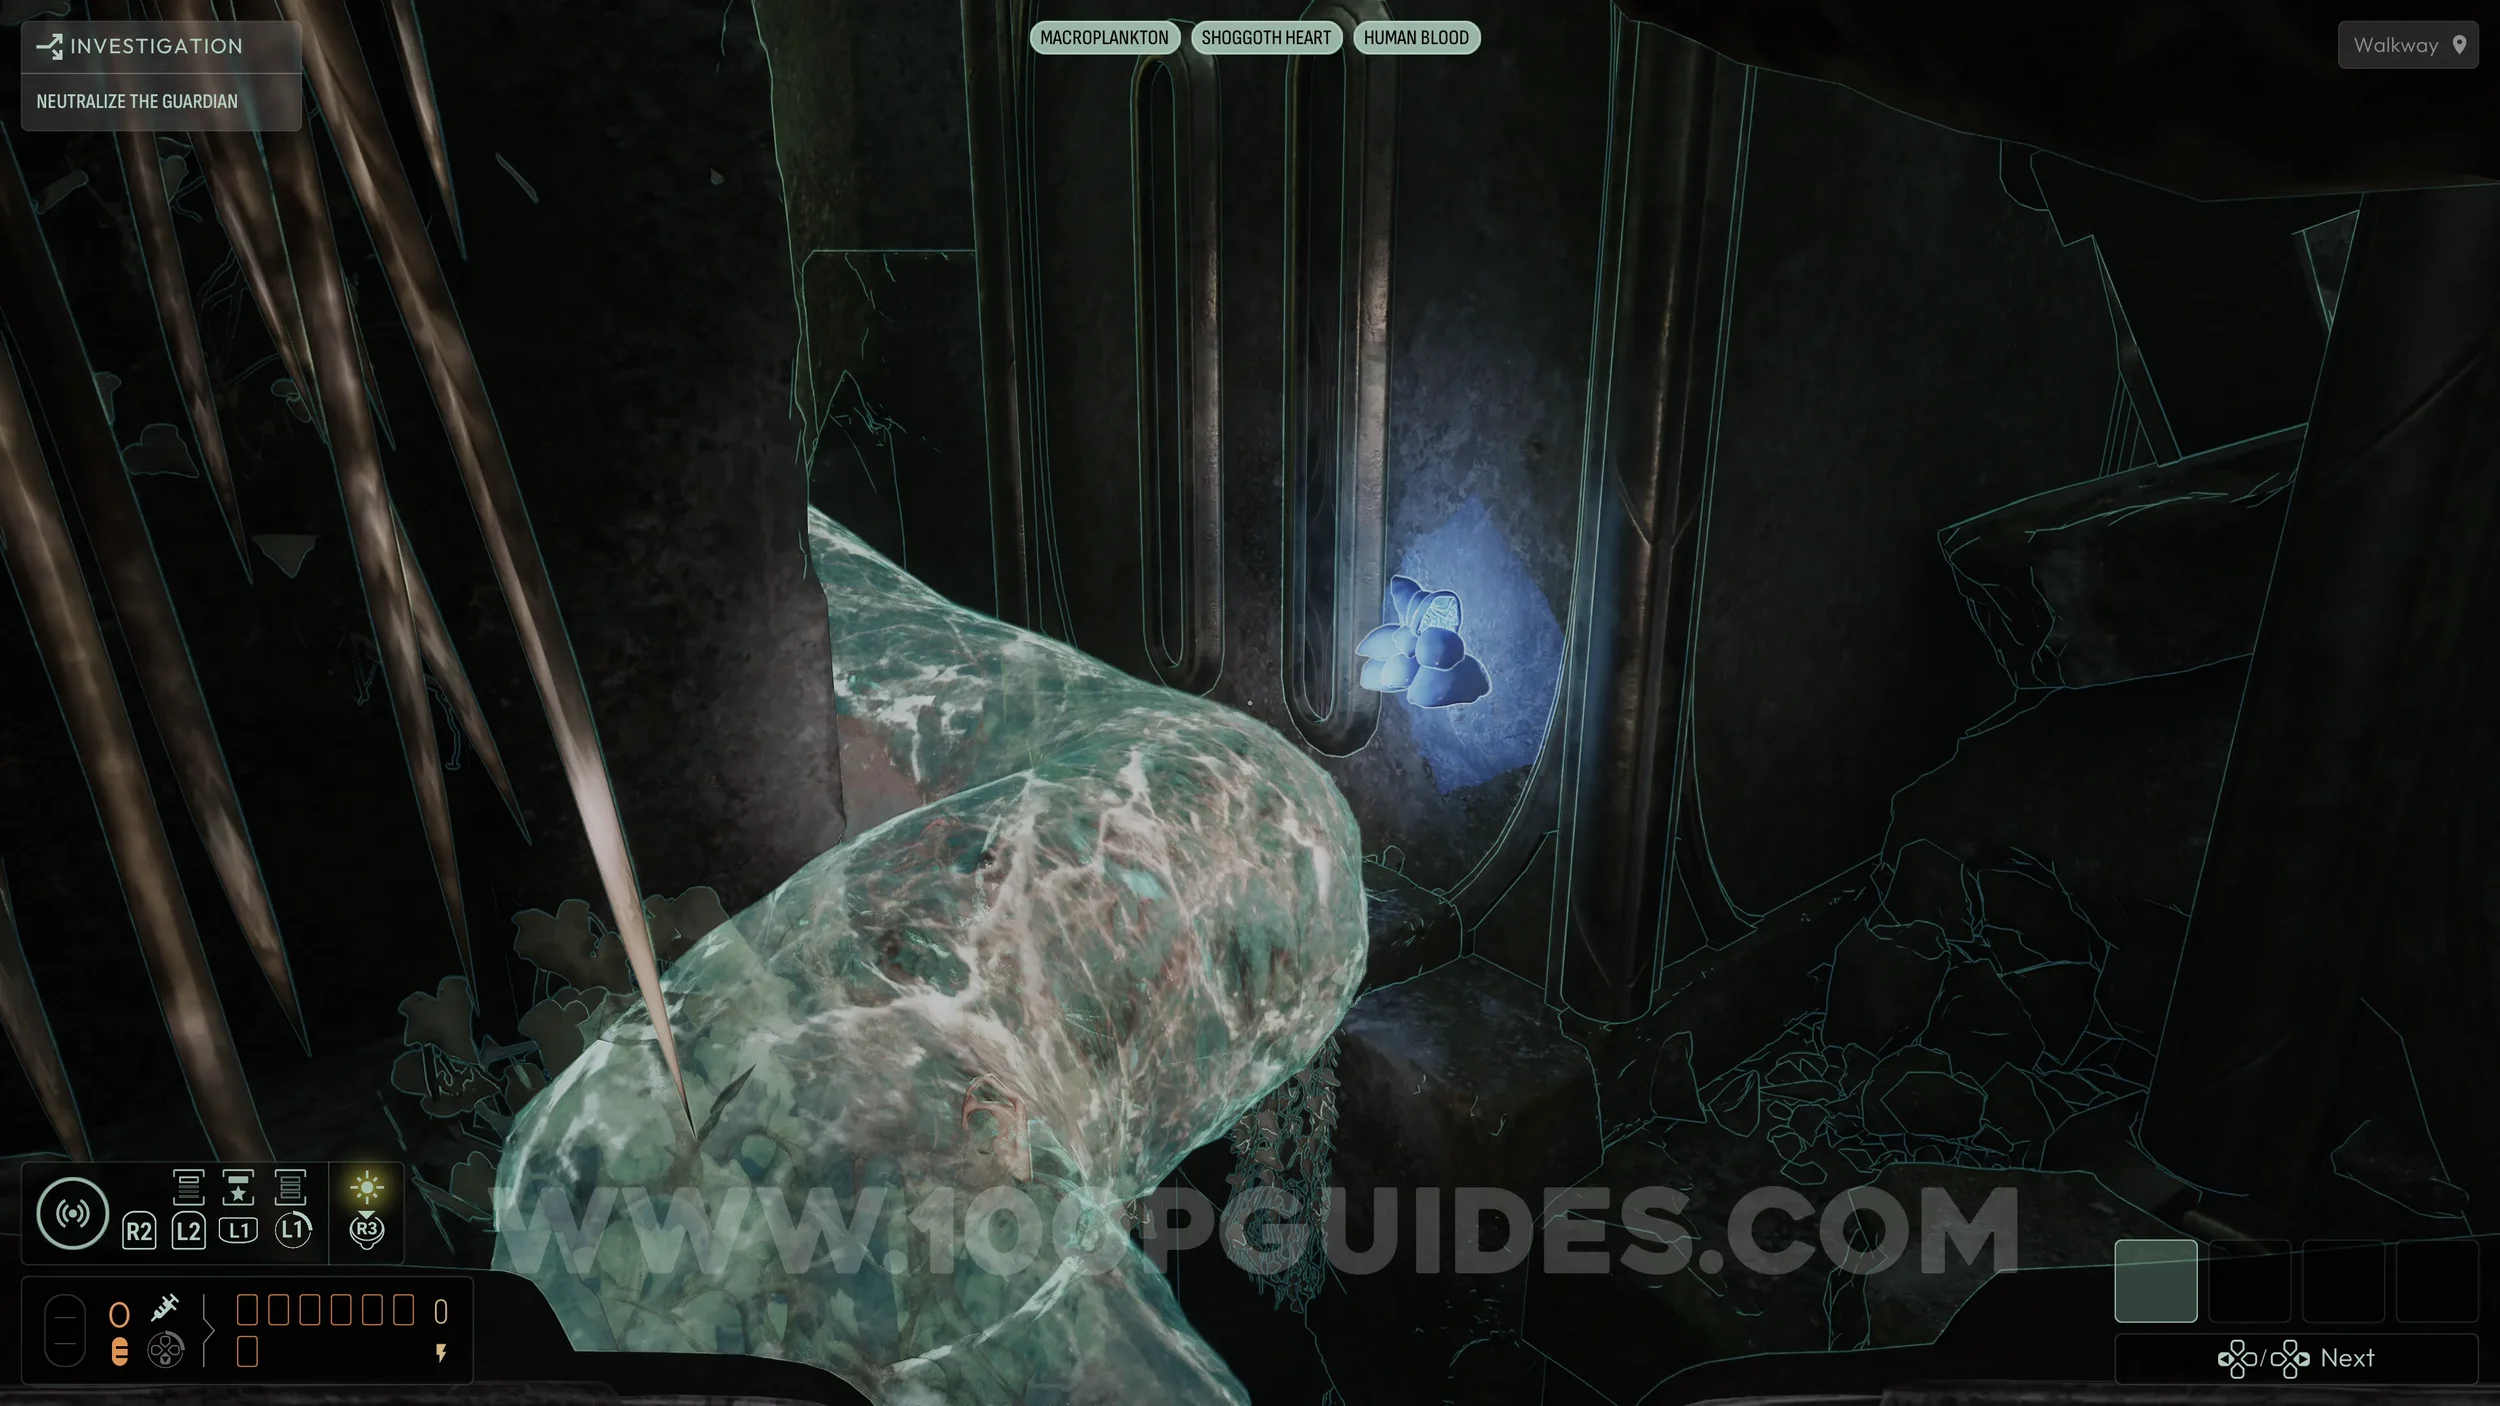
The final item is the Shoggoth Heart, found inside a broken crystal sphere on the wall on the right side of the lower floor.
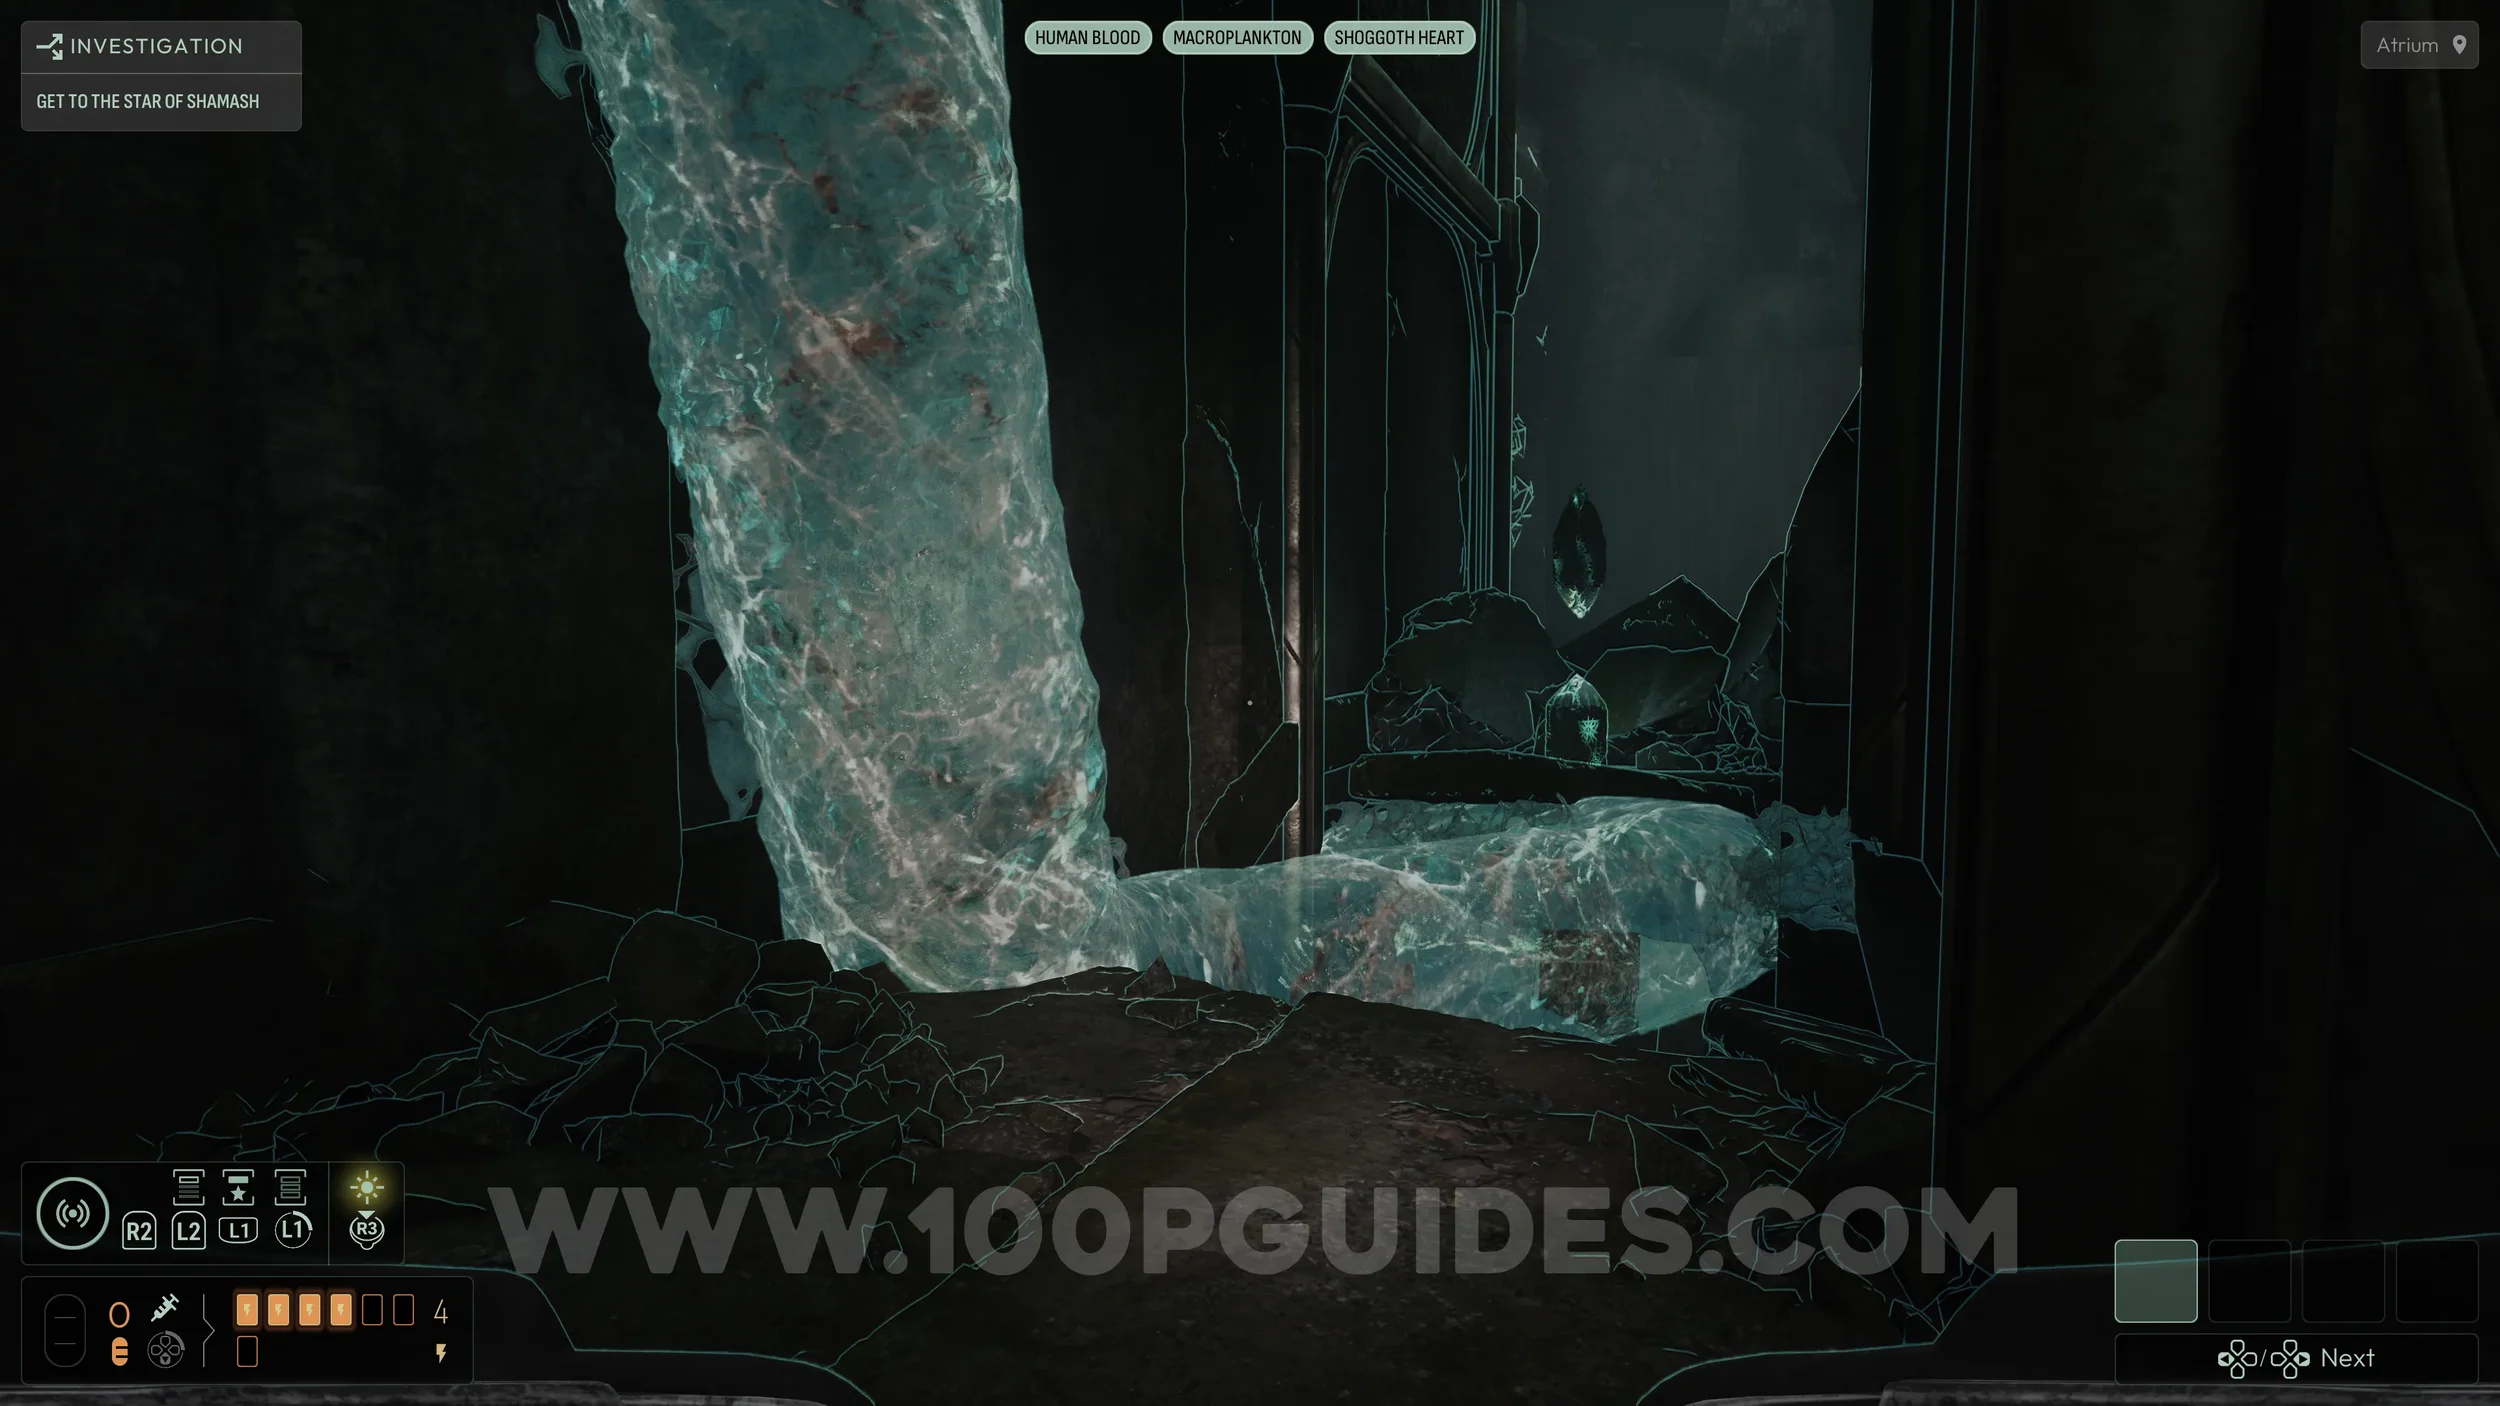
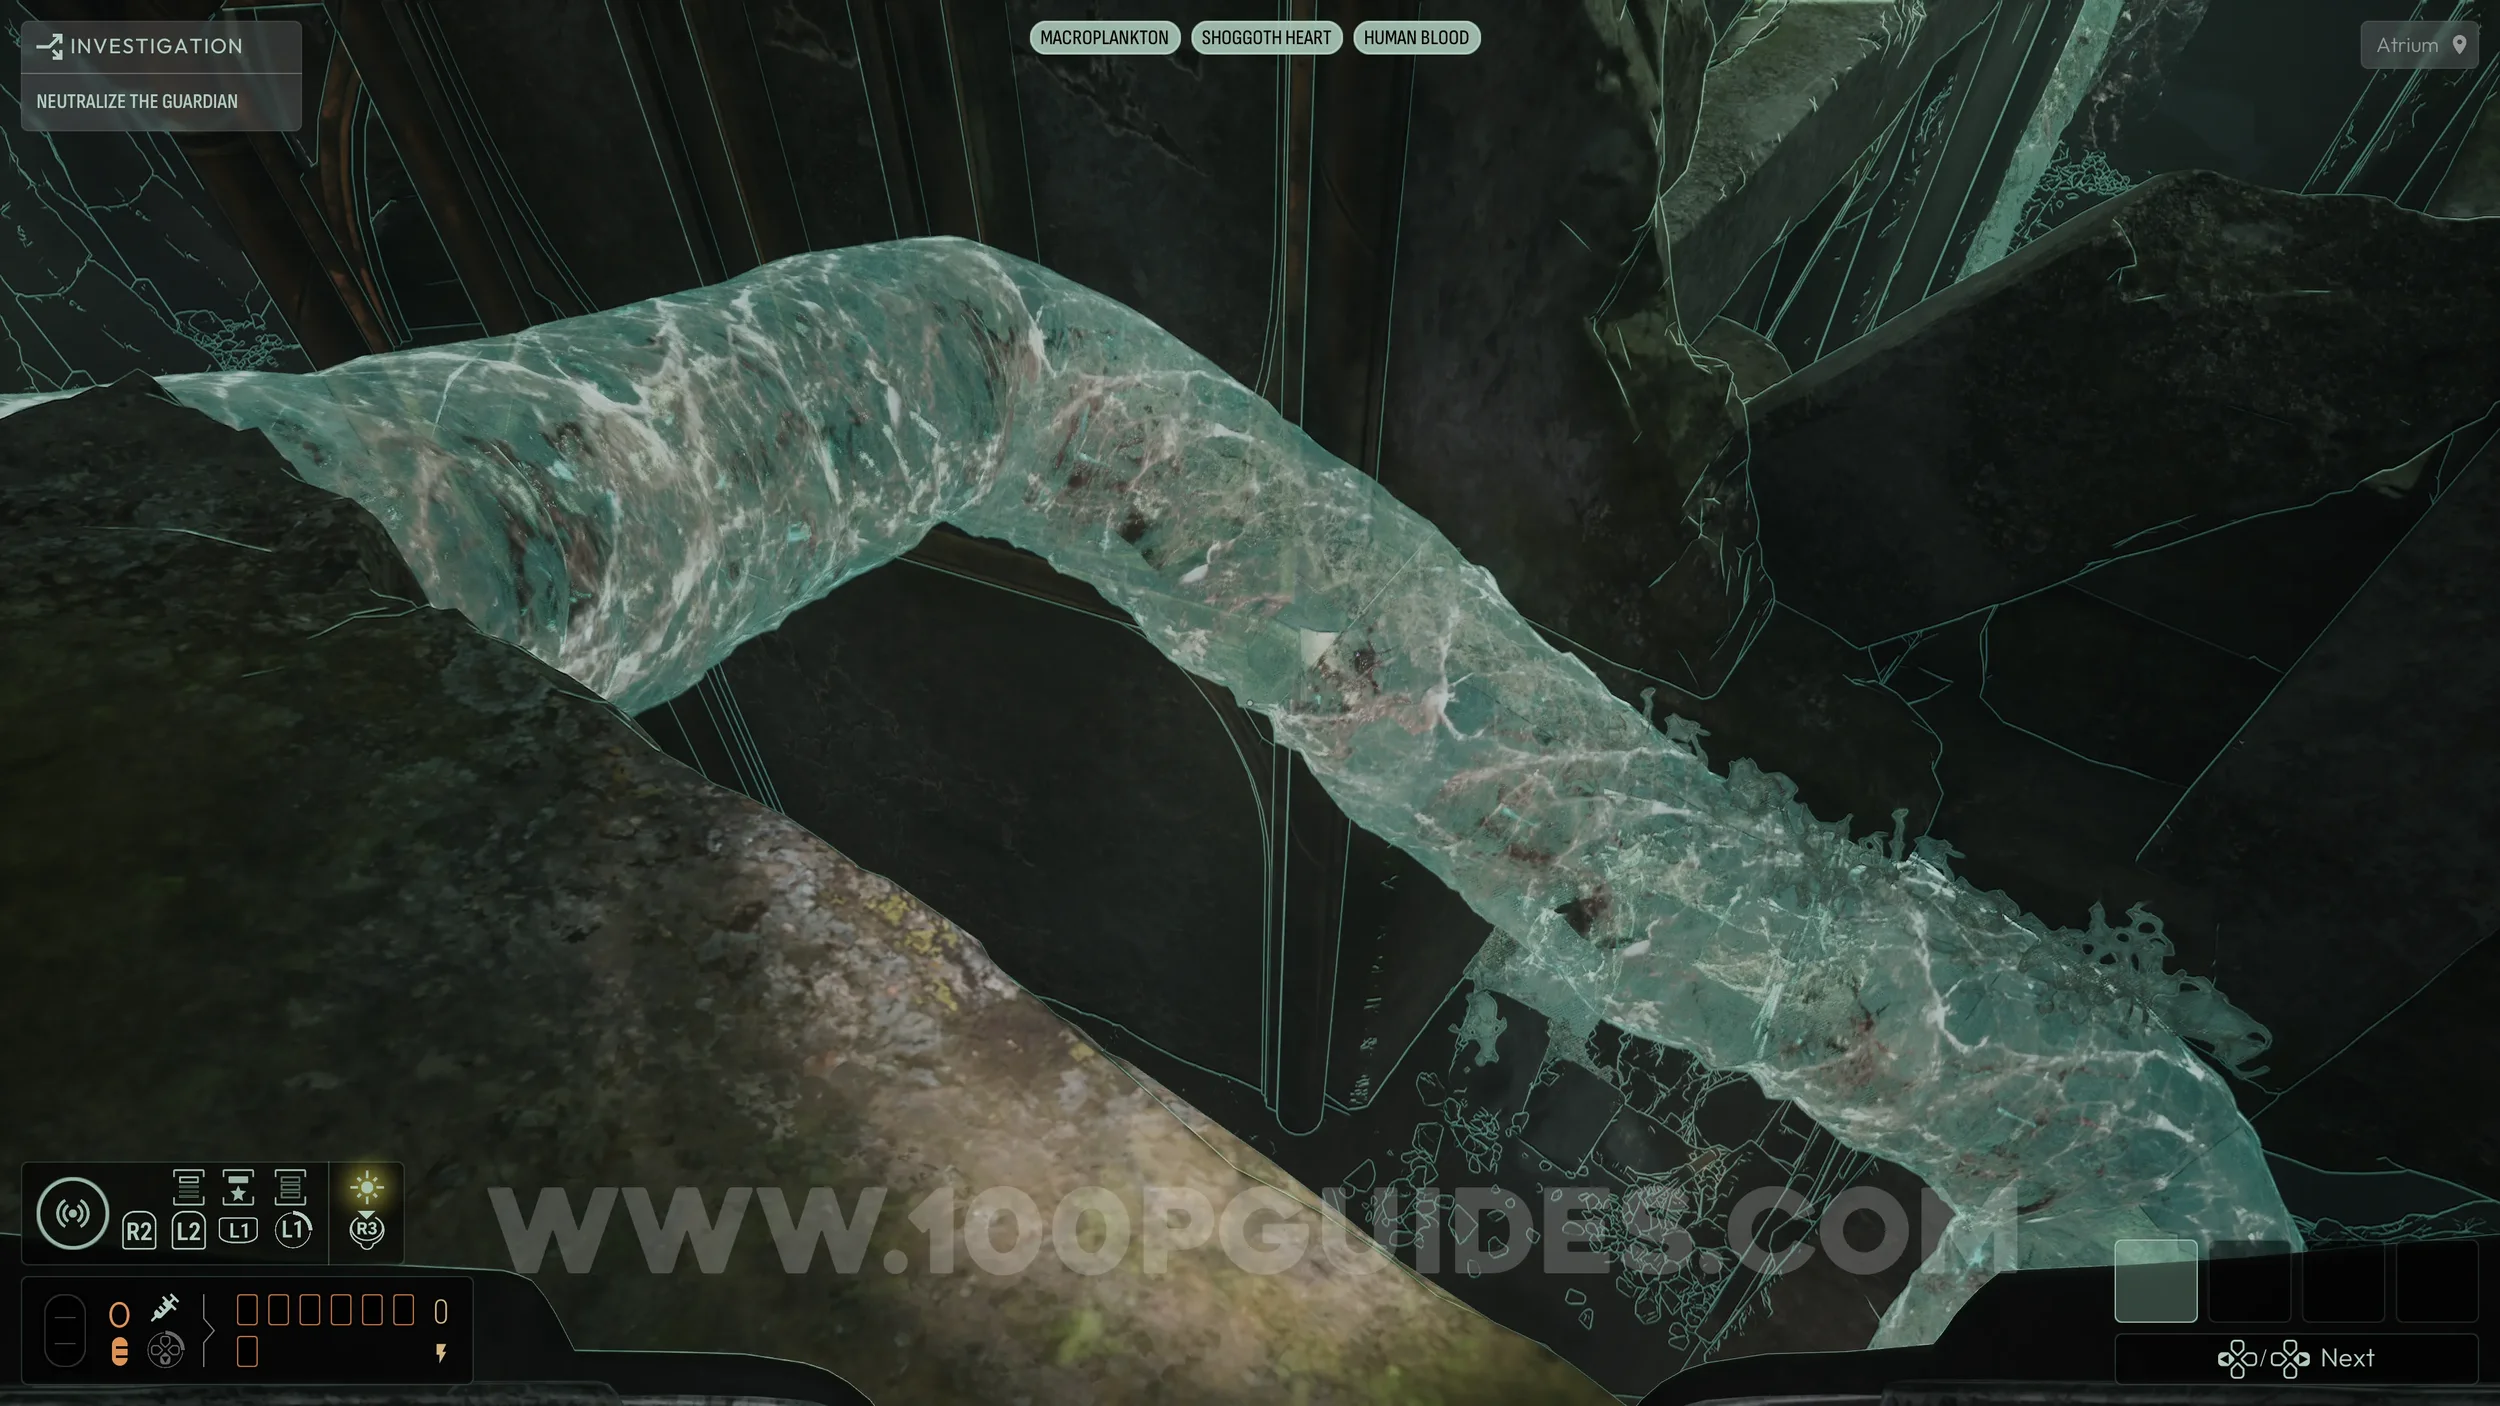
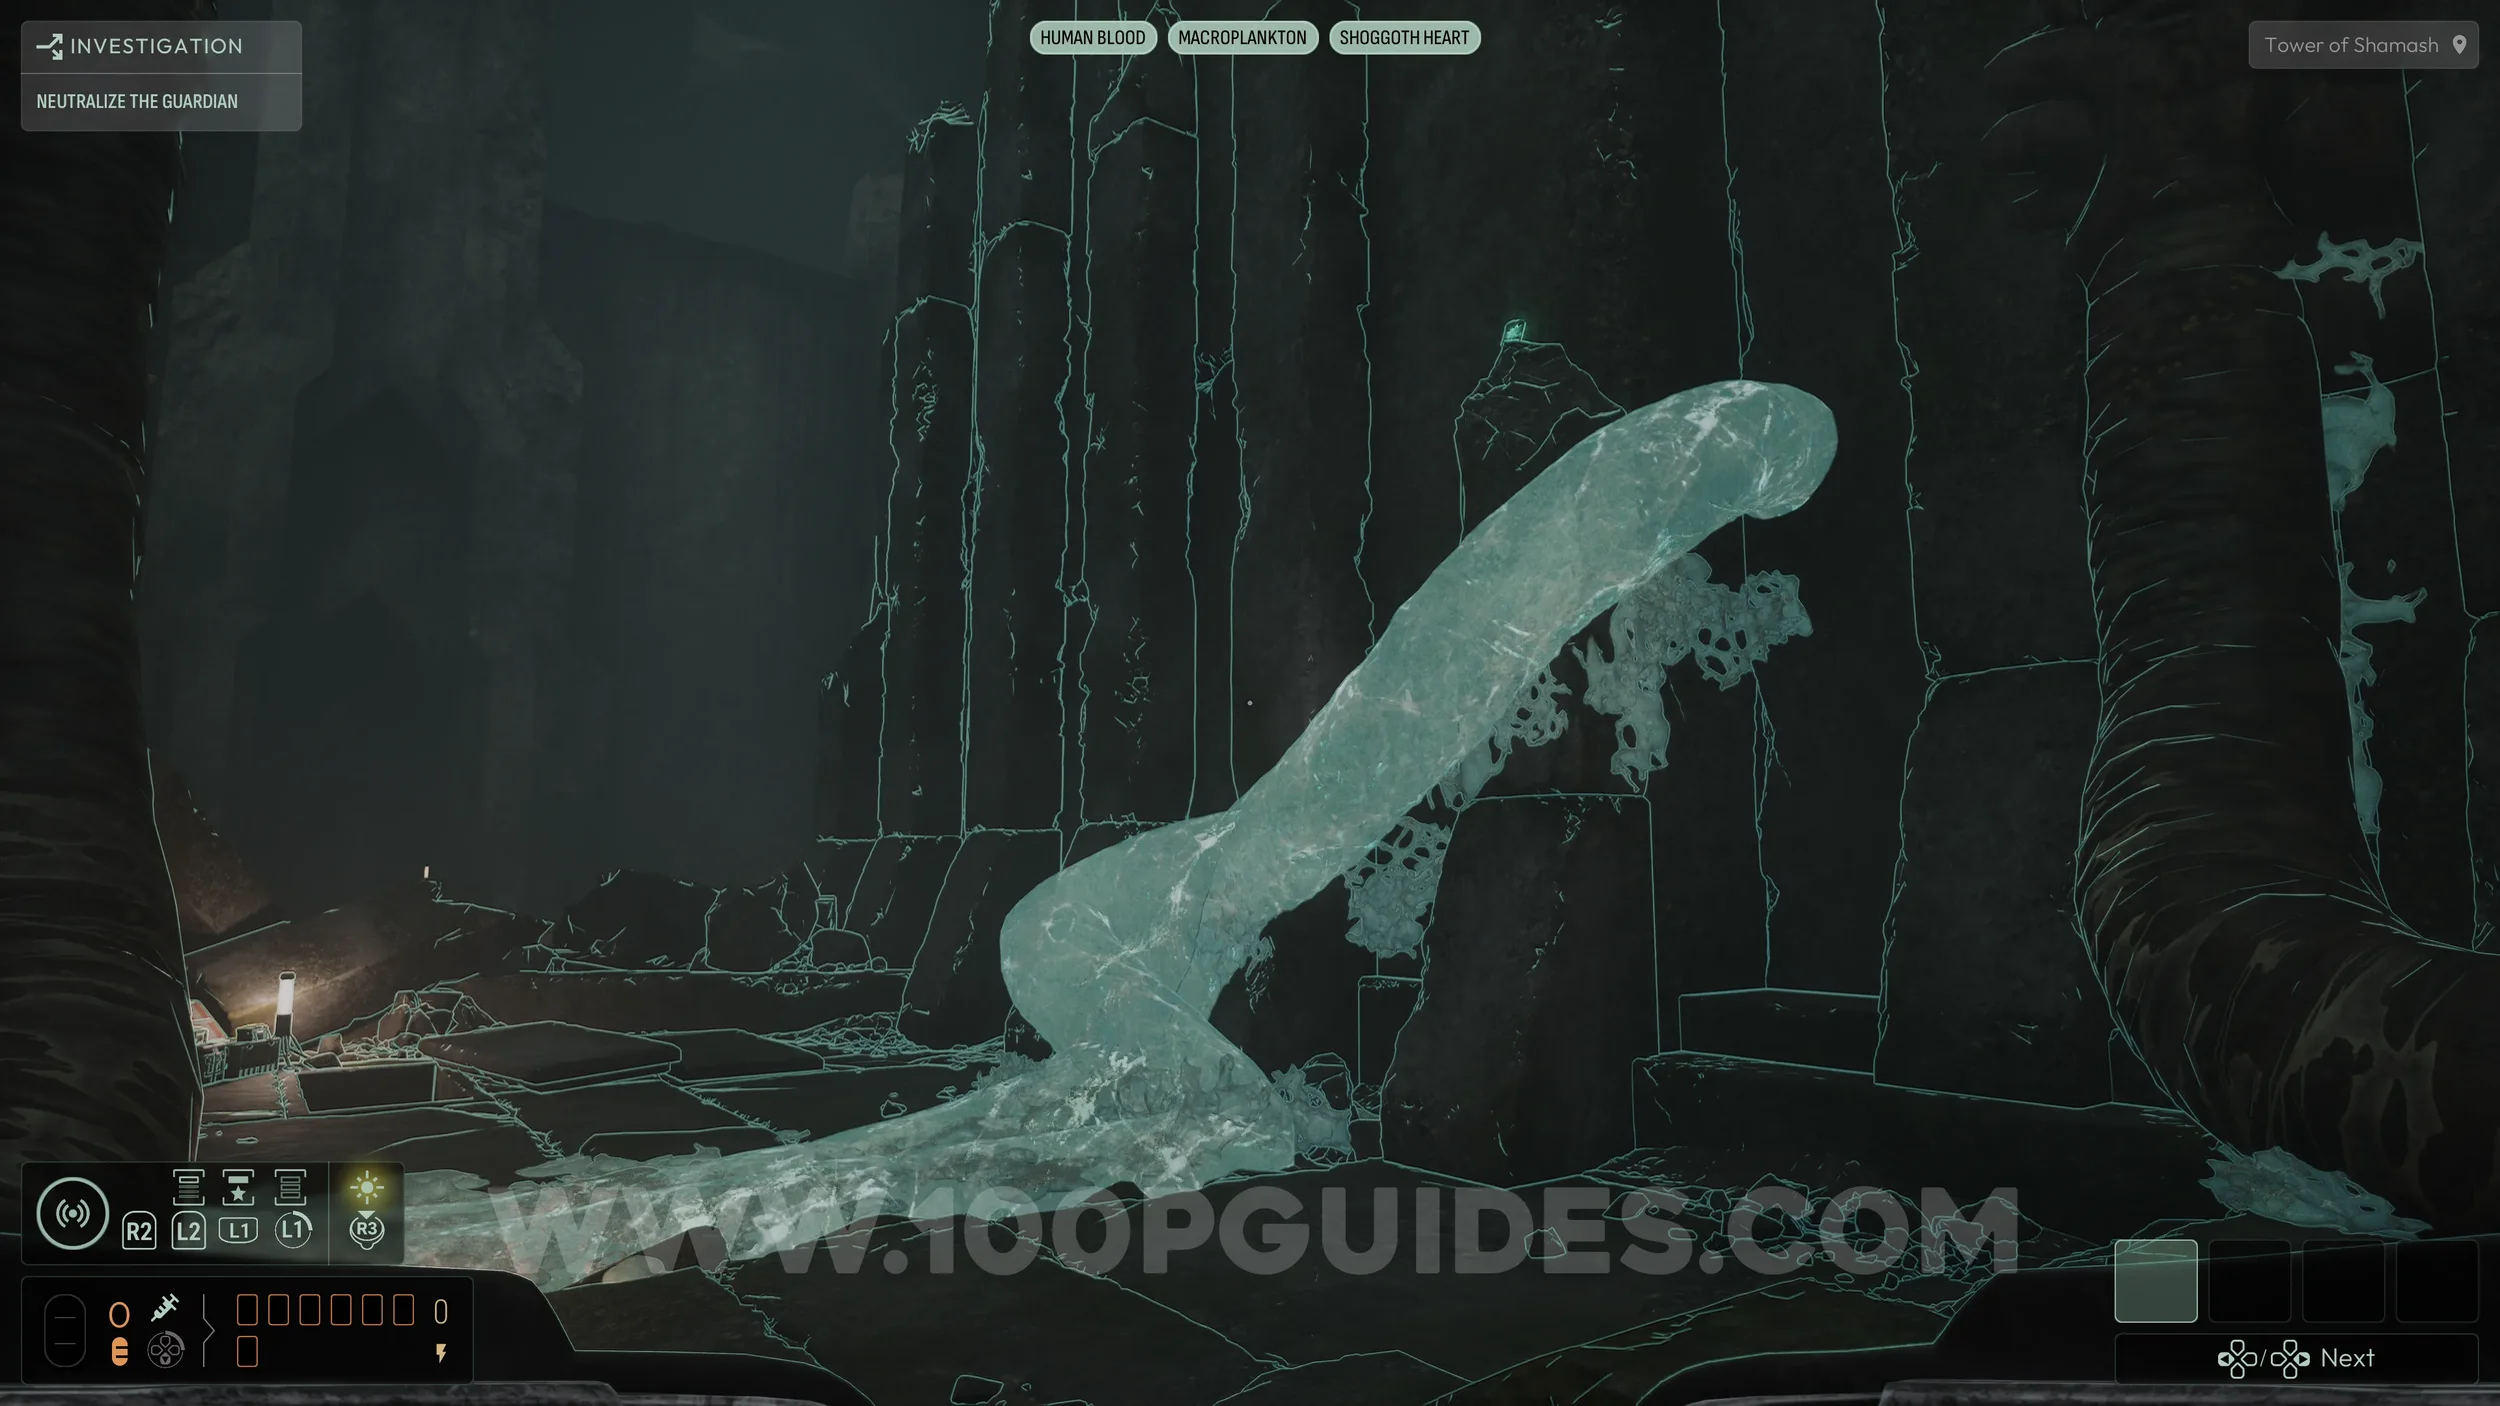
Once you have examined and analyzed all three, open the Sonar menu and activate the three new frequencies. Using the sonar with all three equipped will reveal invisible tentacles and unlock the Beyond the Senses trophy.
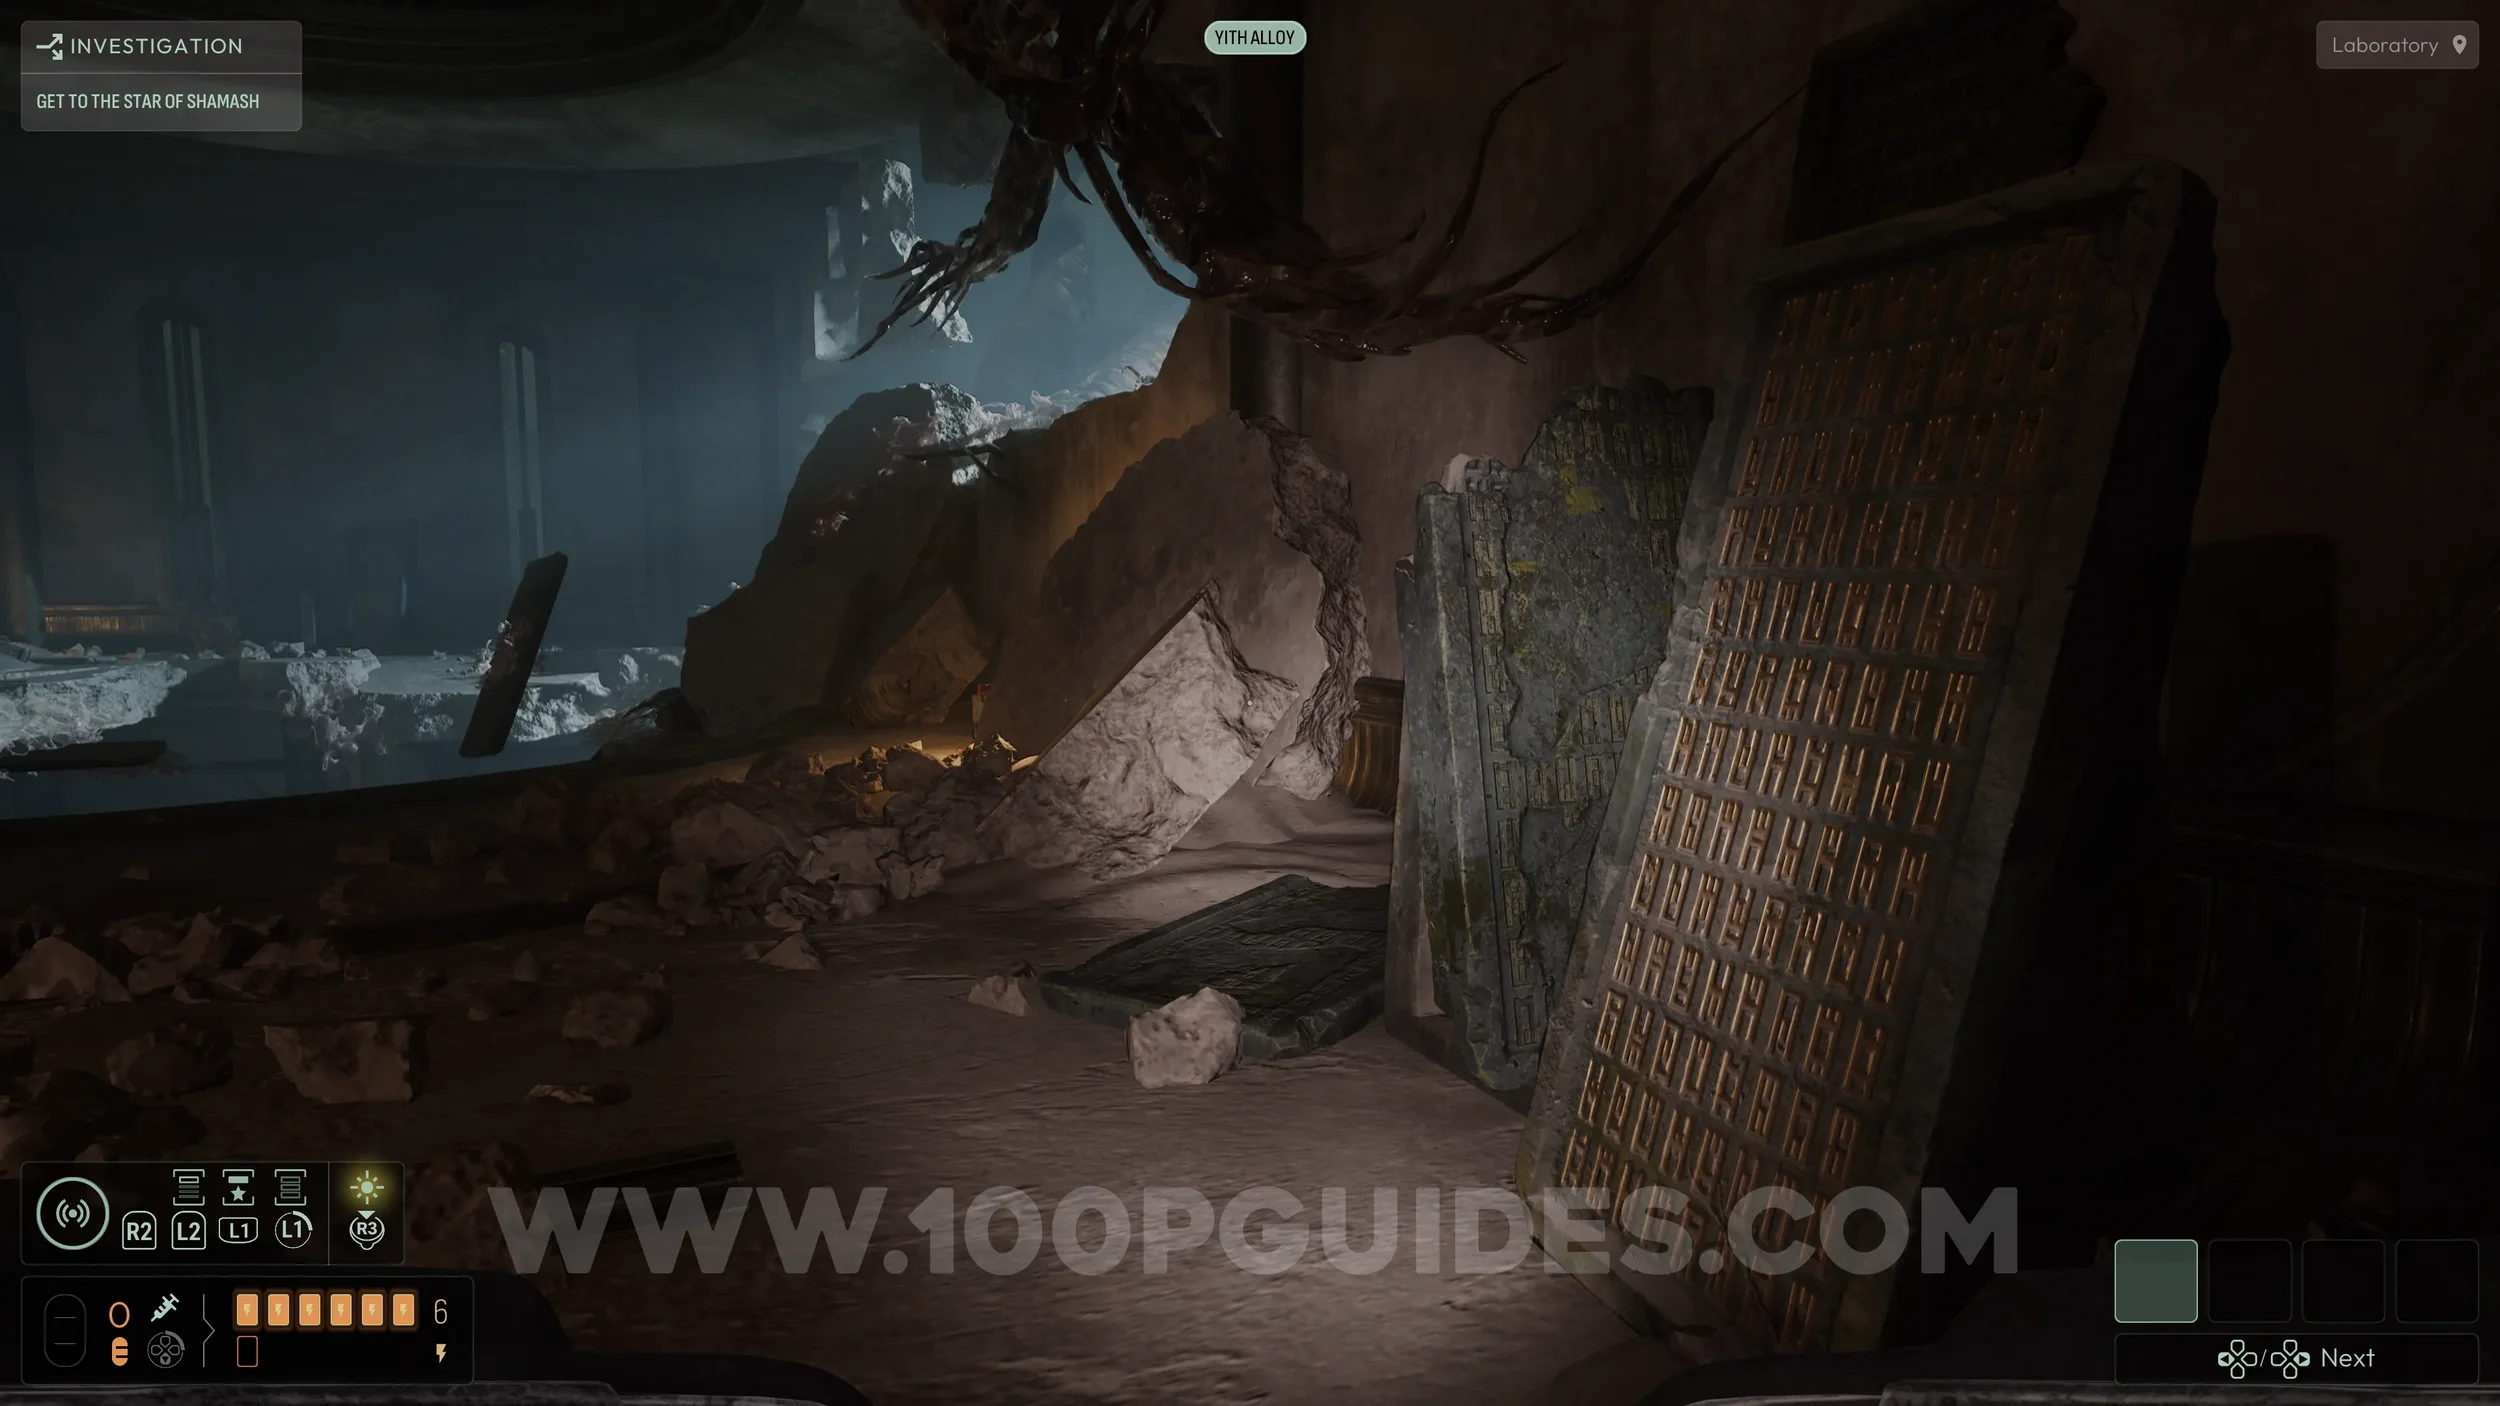
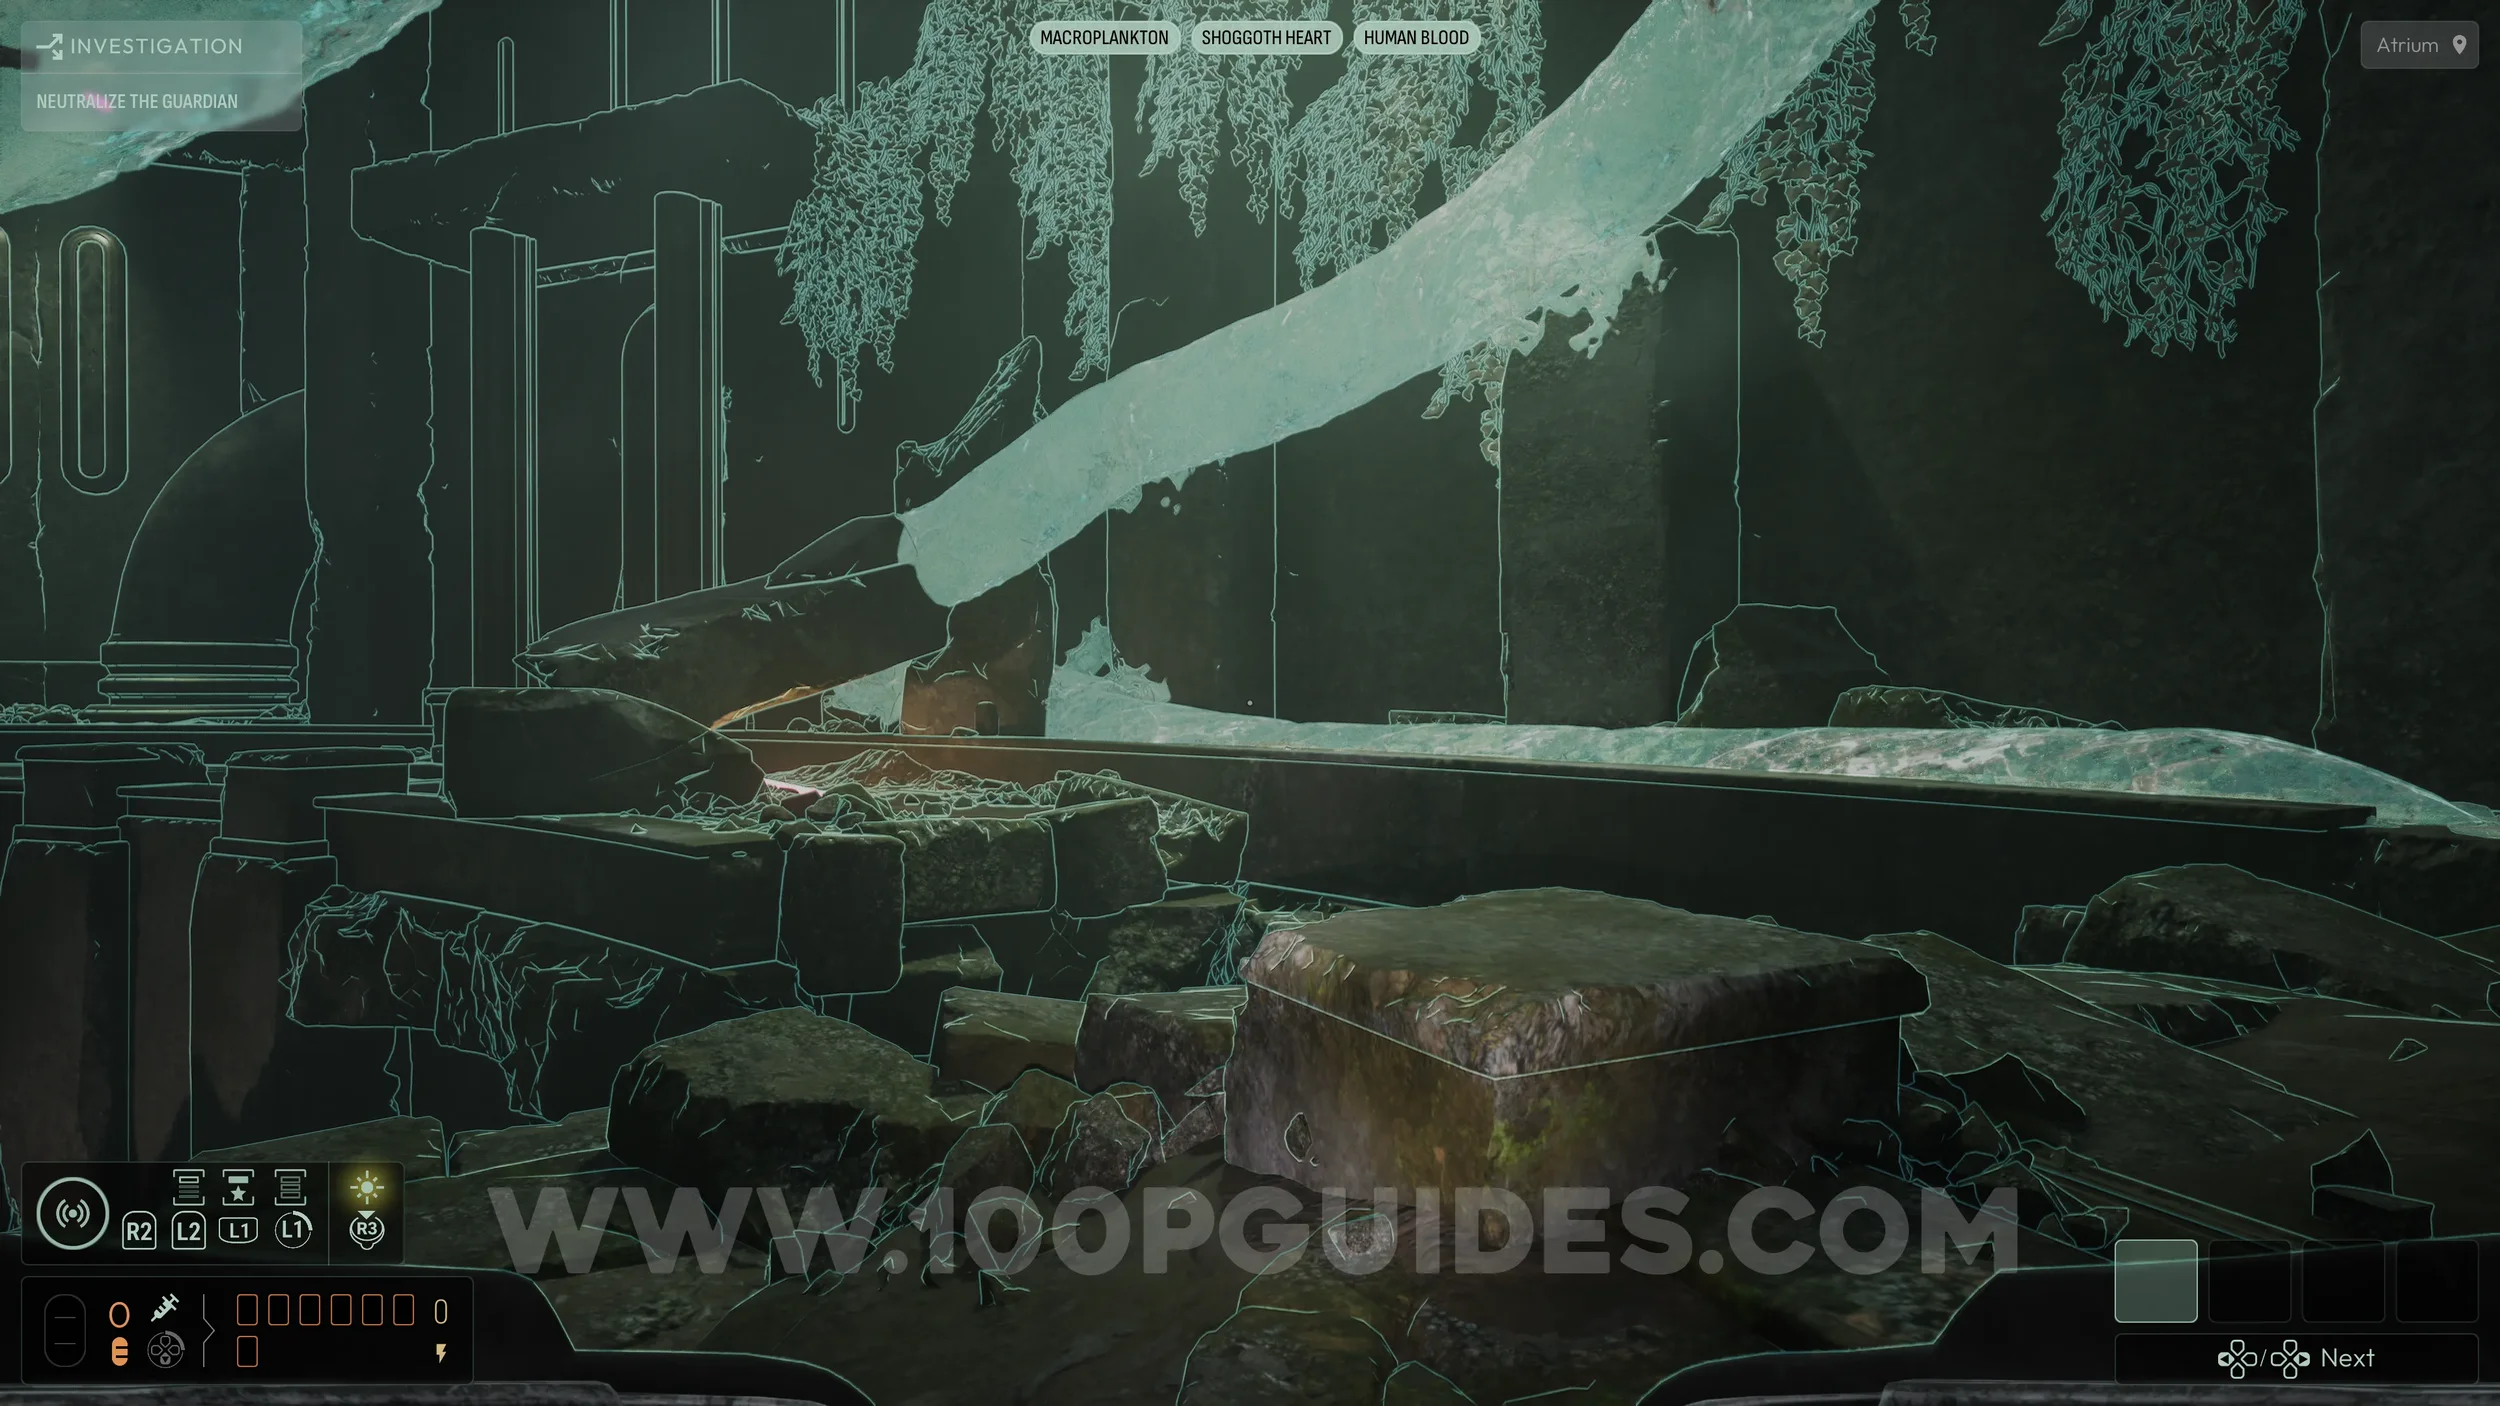
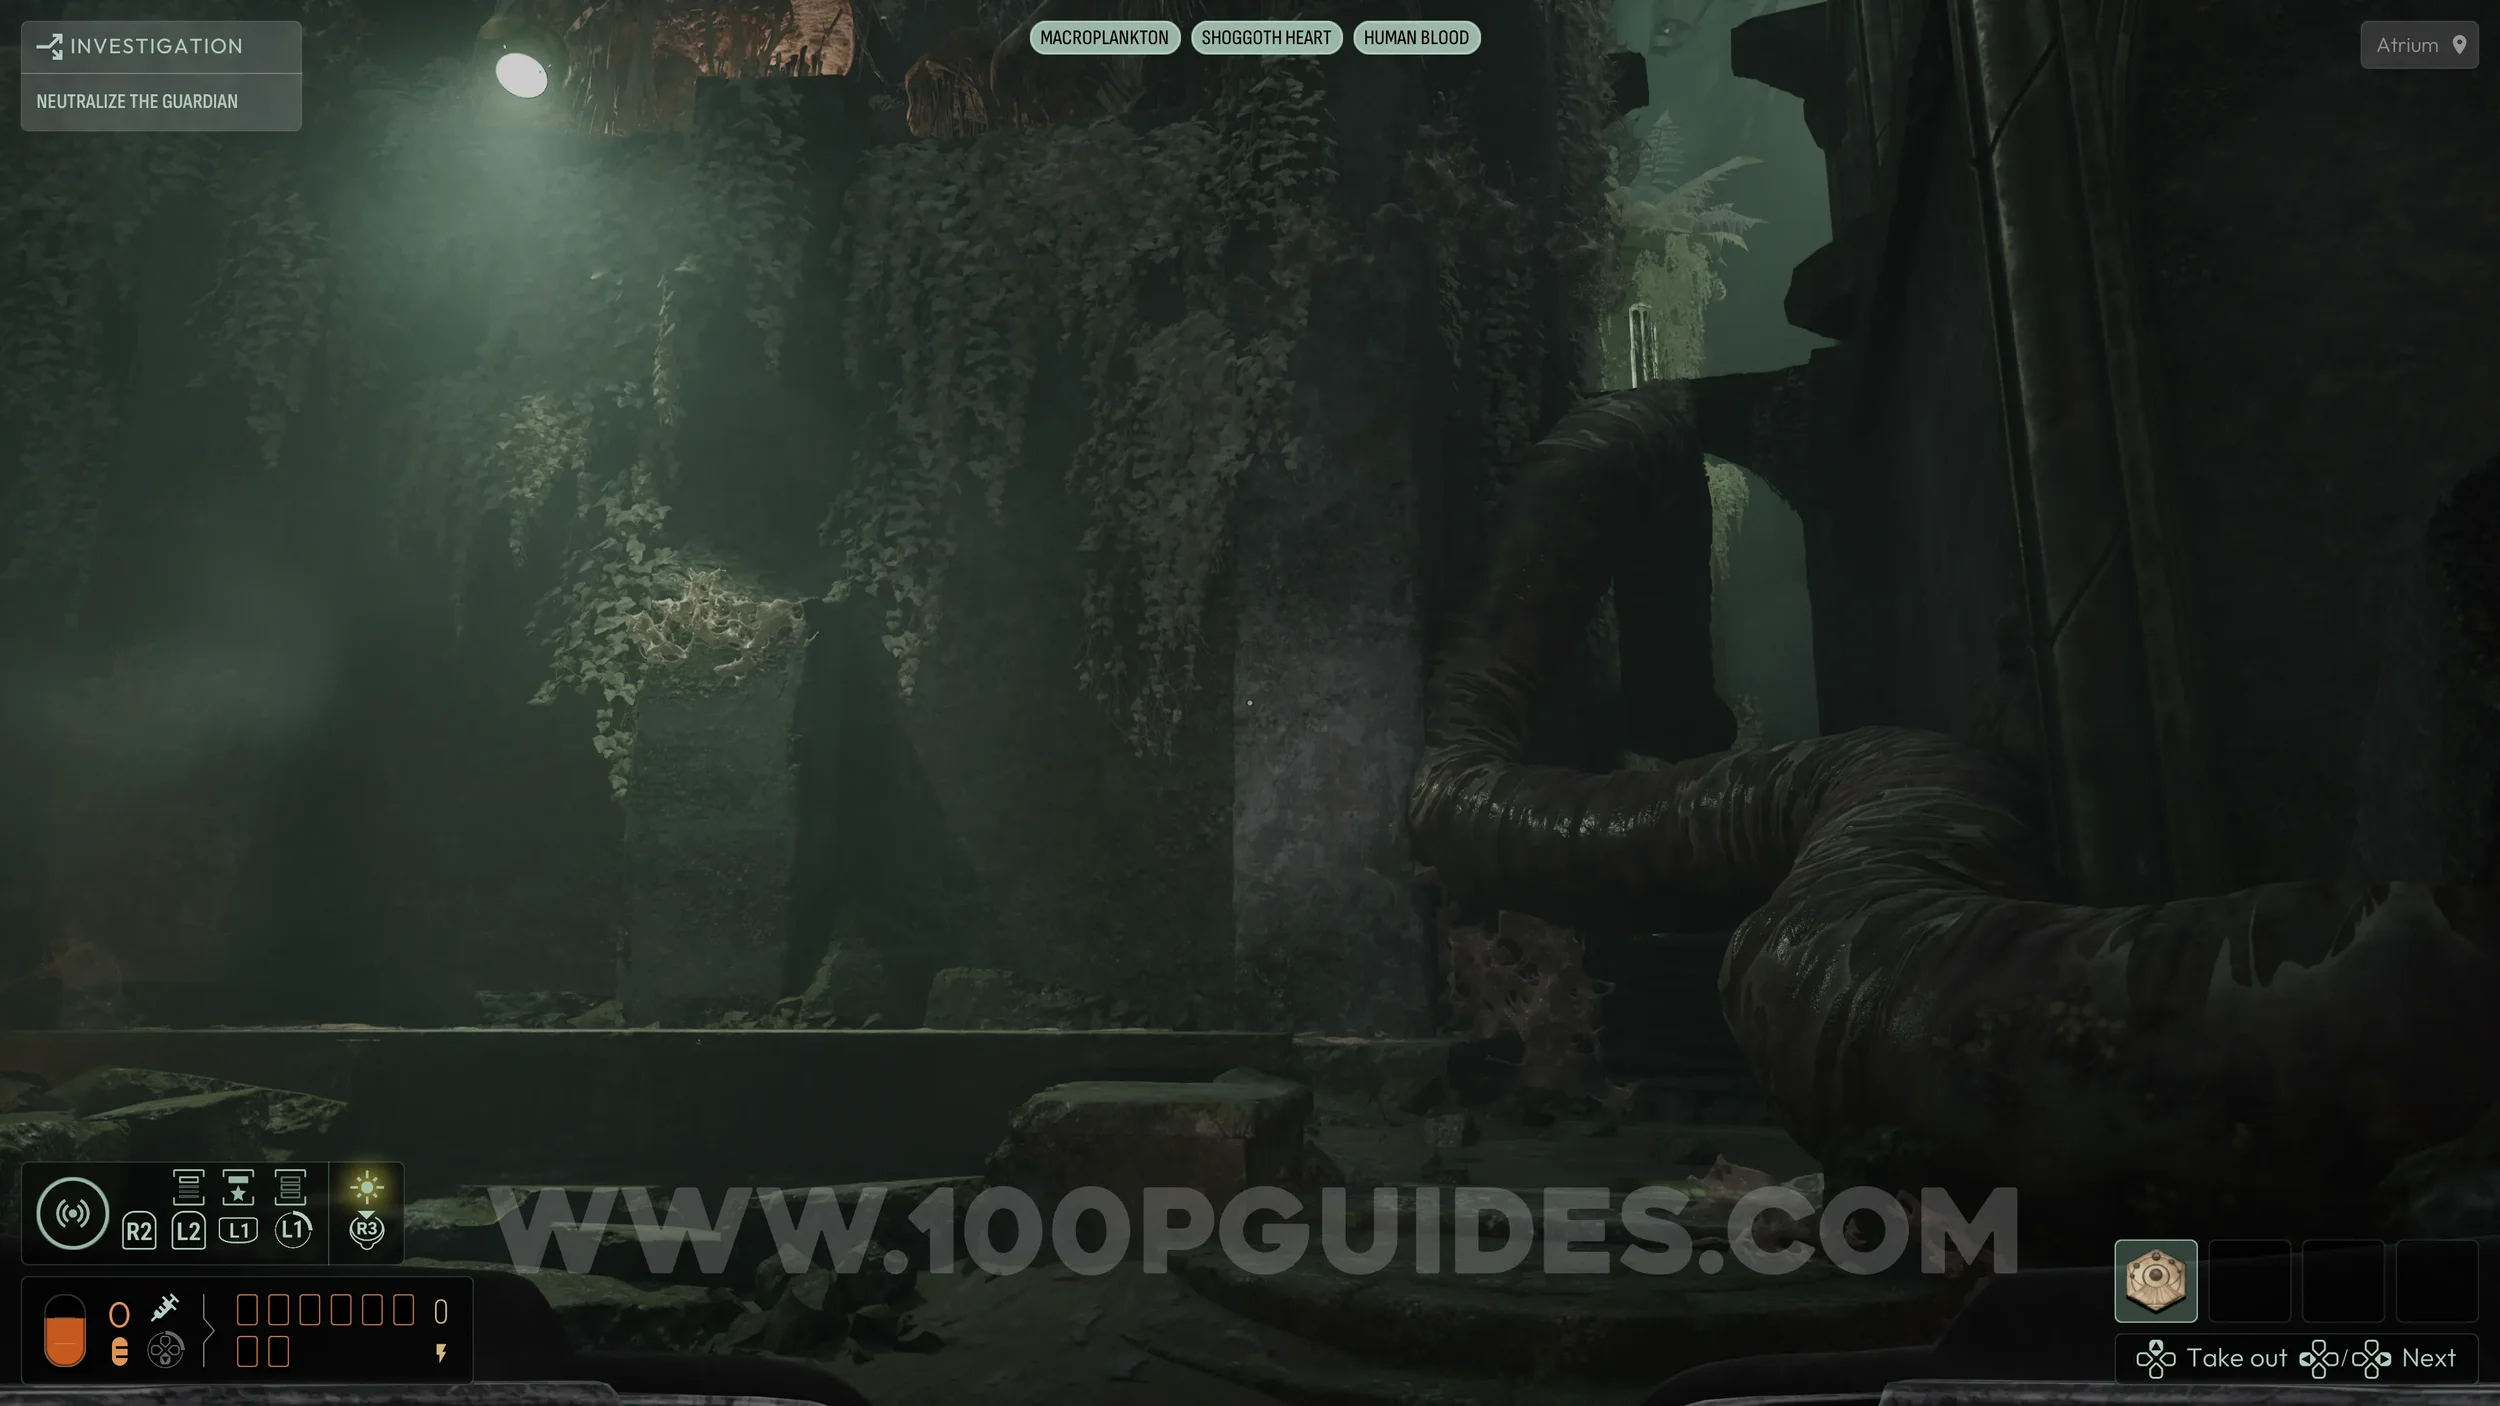
Before continuing, exit the laboratory through the same door you originally used on the lower floor. Then head straight and look to the right to spot a Strange Monolith on the other side of the gap.
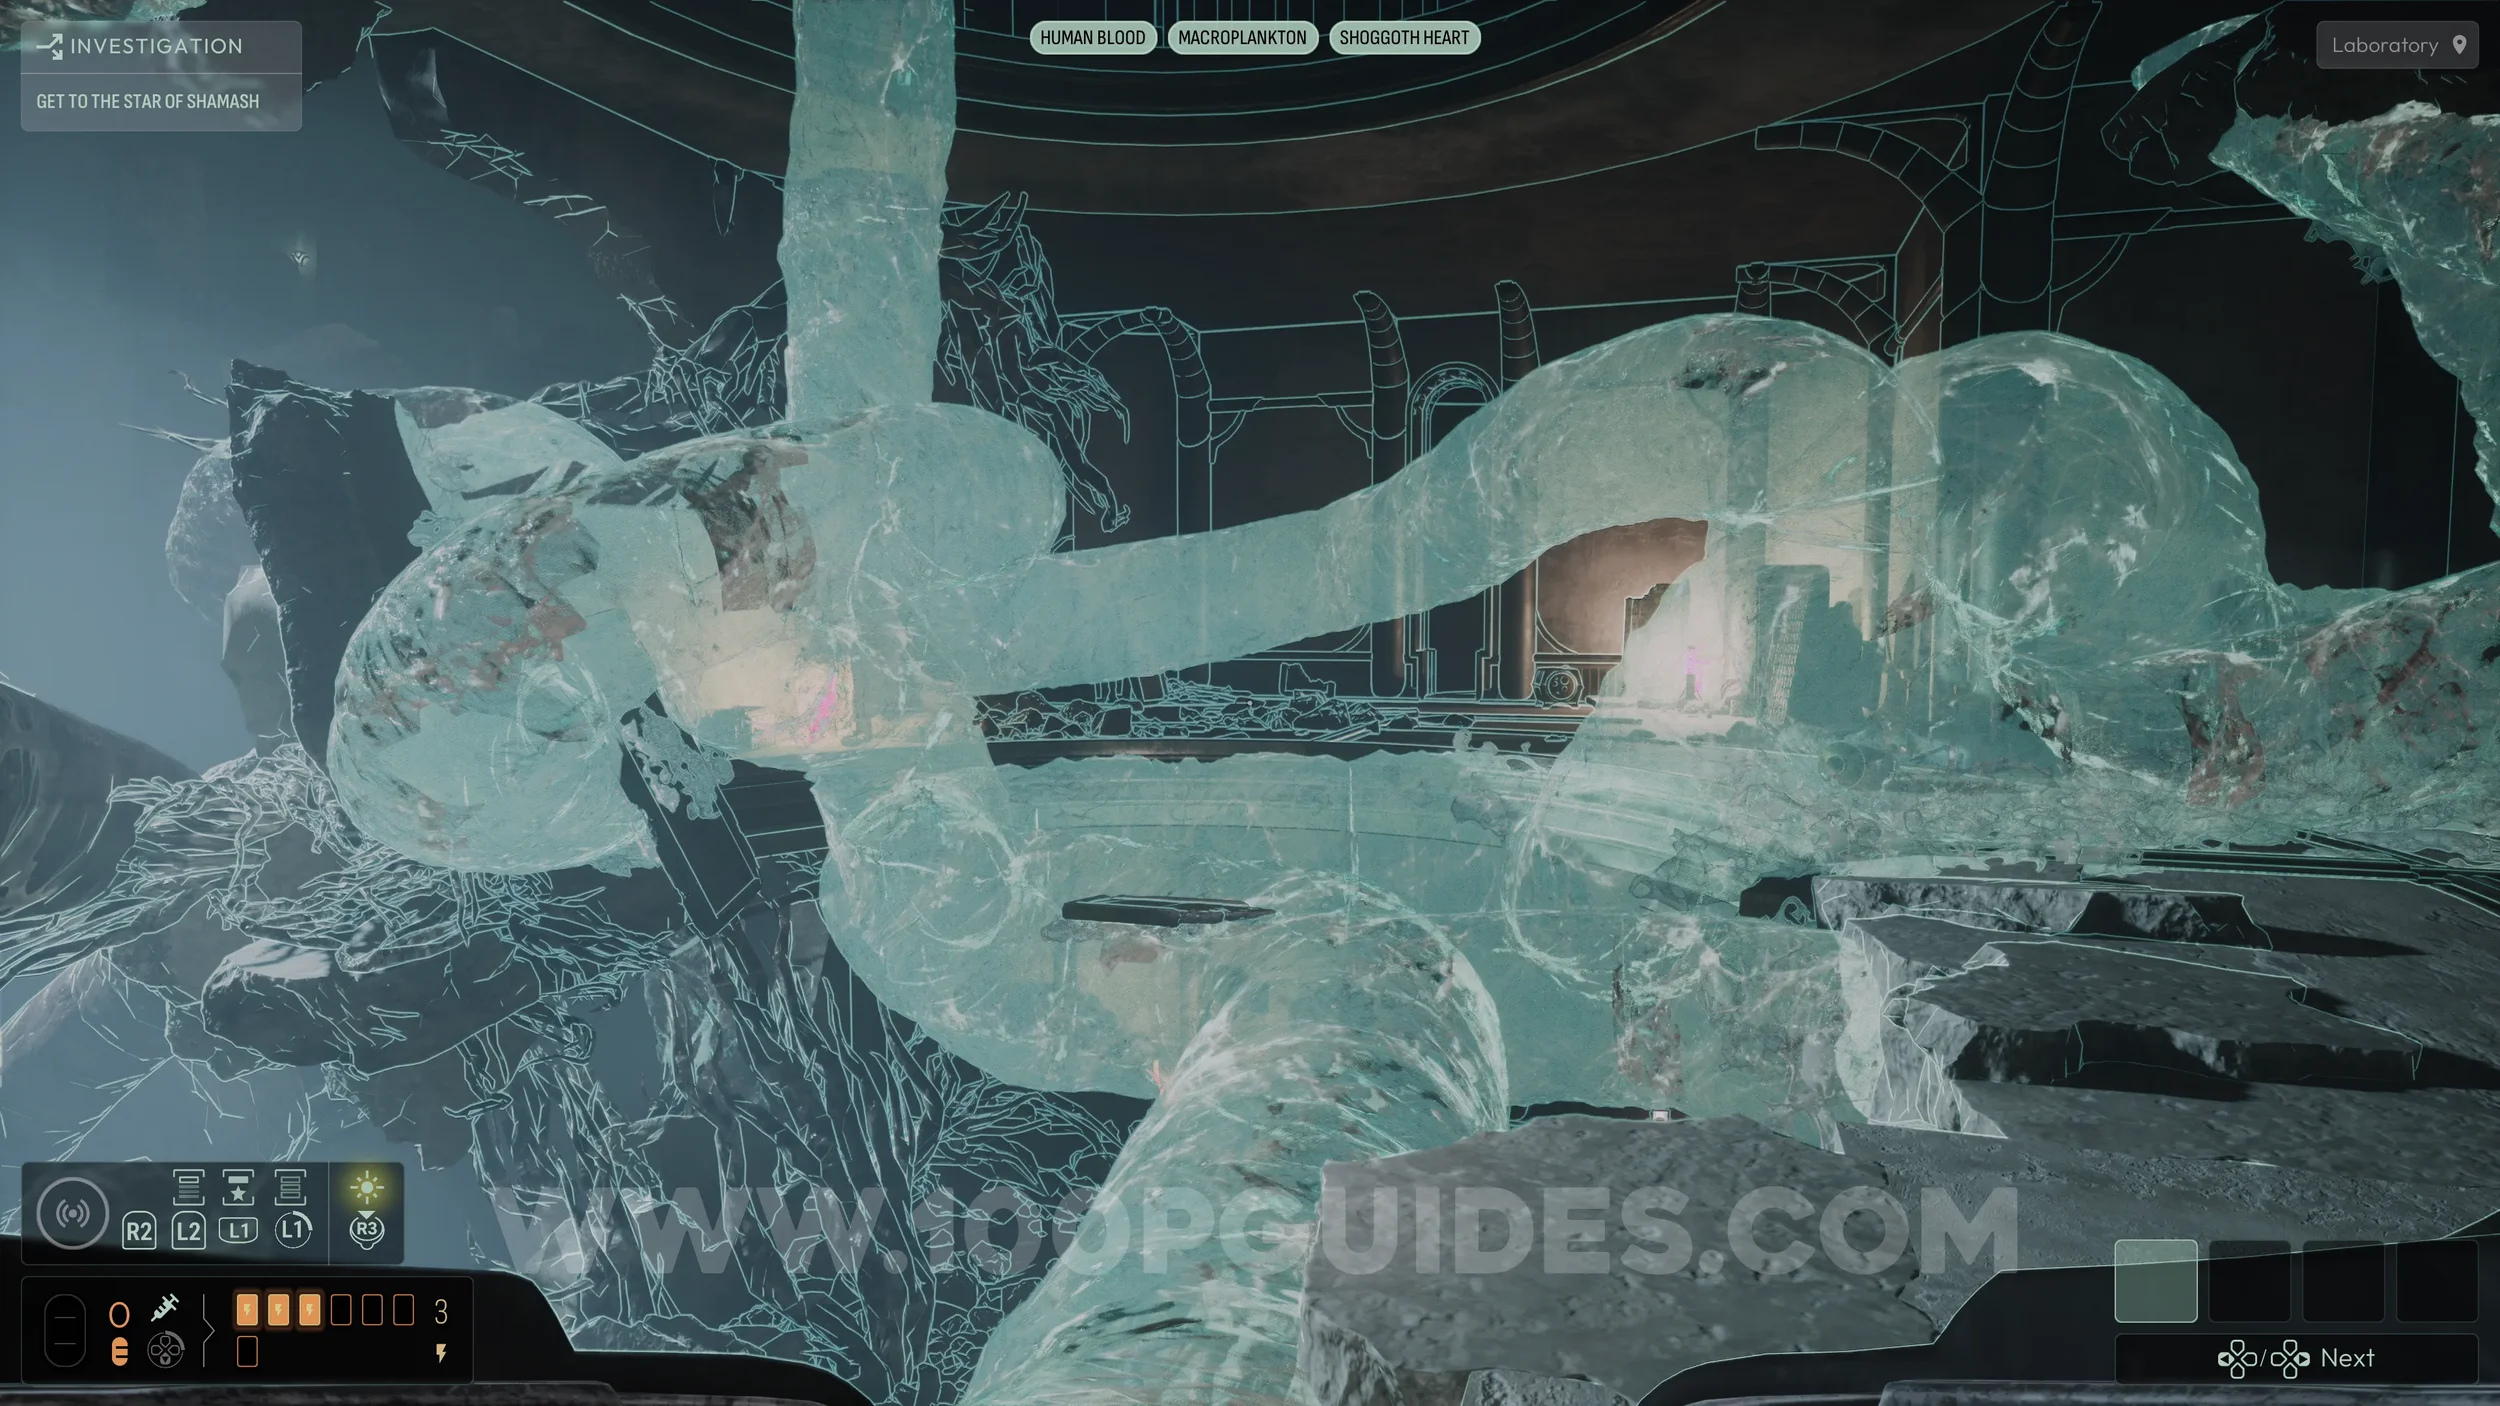
With the three frequencies equipped, use your sonar to reveal the invisible tentacle, which will allow you to cross over and reach it.
Now return to the top floor of the laboratory and use the three frequencies with your sonar to cross the invisible tentacles in the center. Continue across and climb the tentacle on the other side to reach a new area, which will trigger a cutscene.
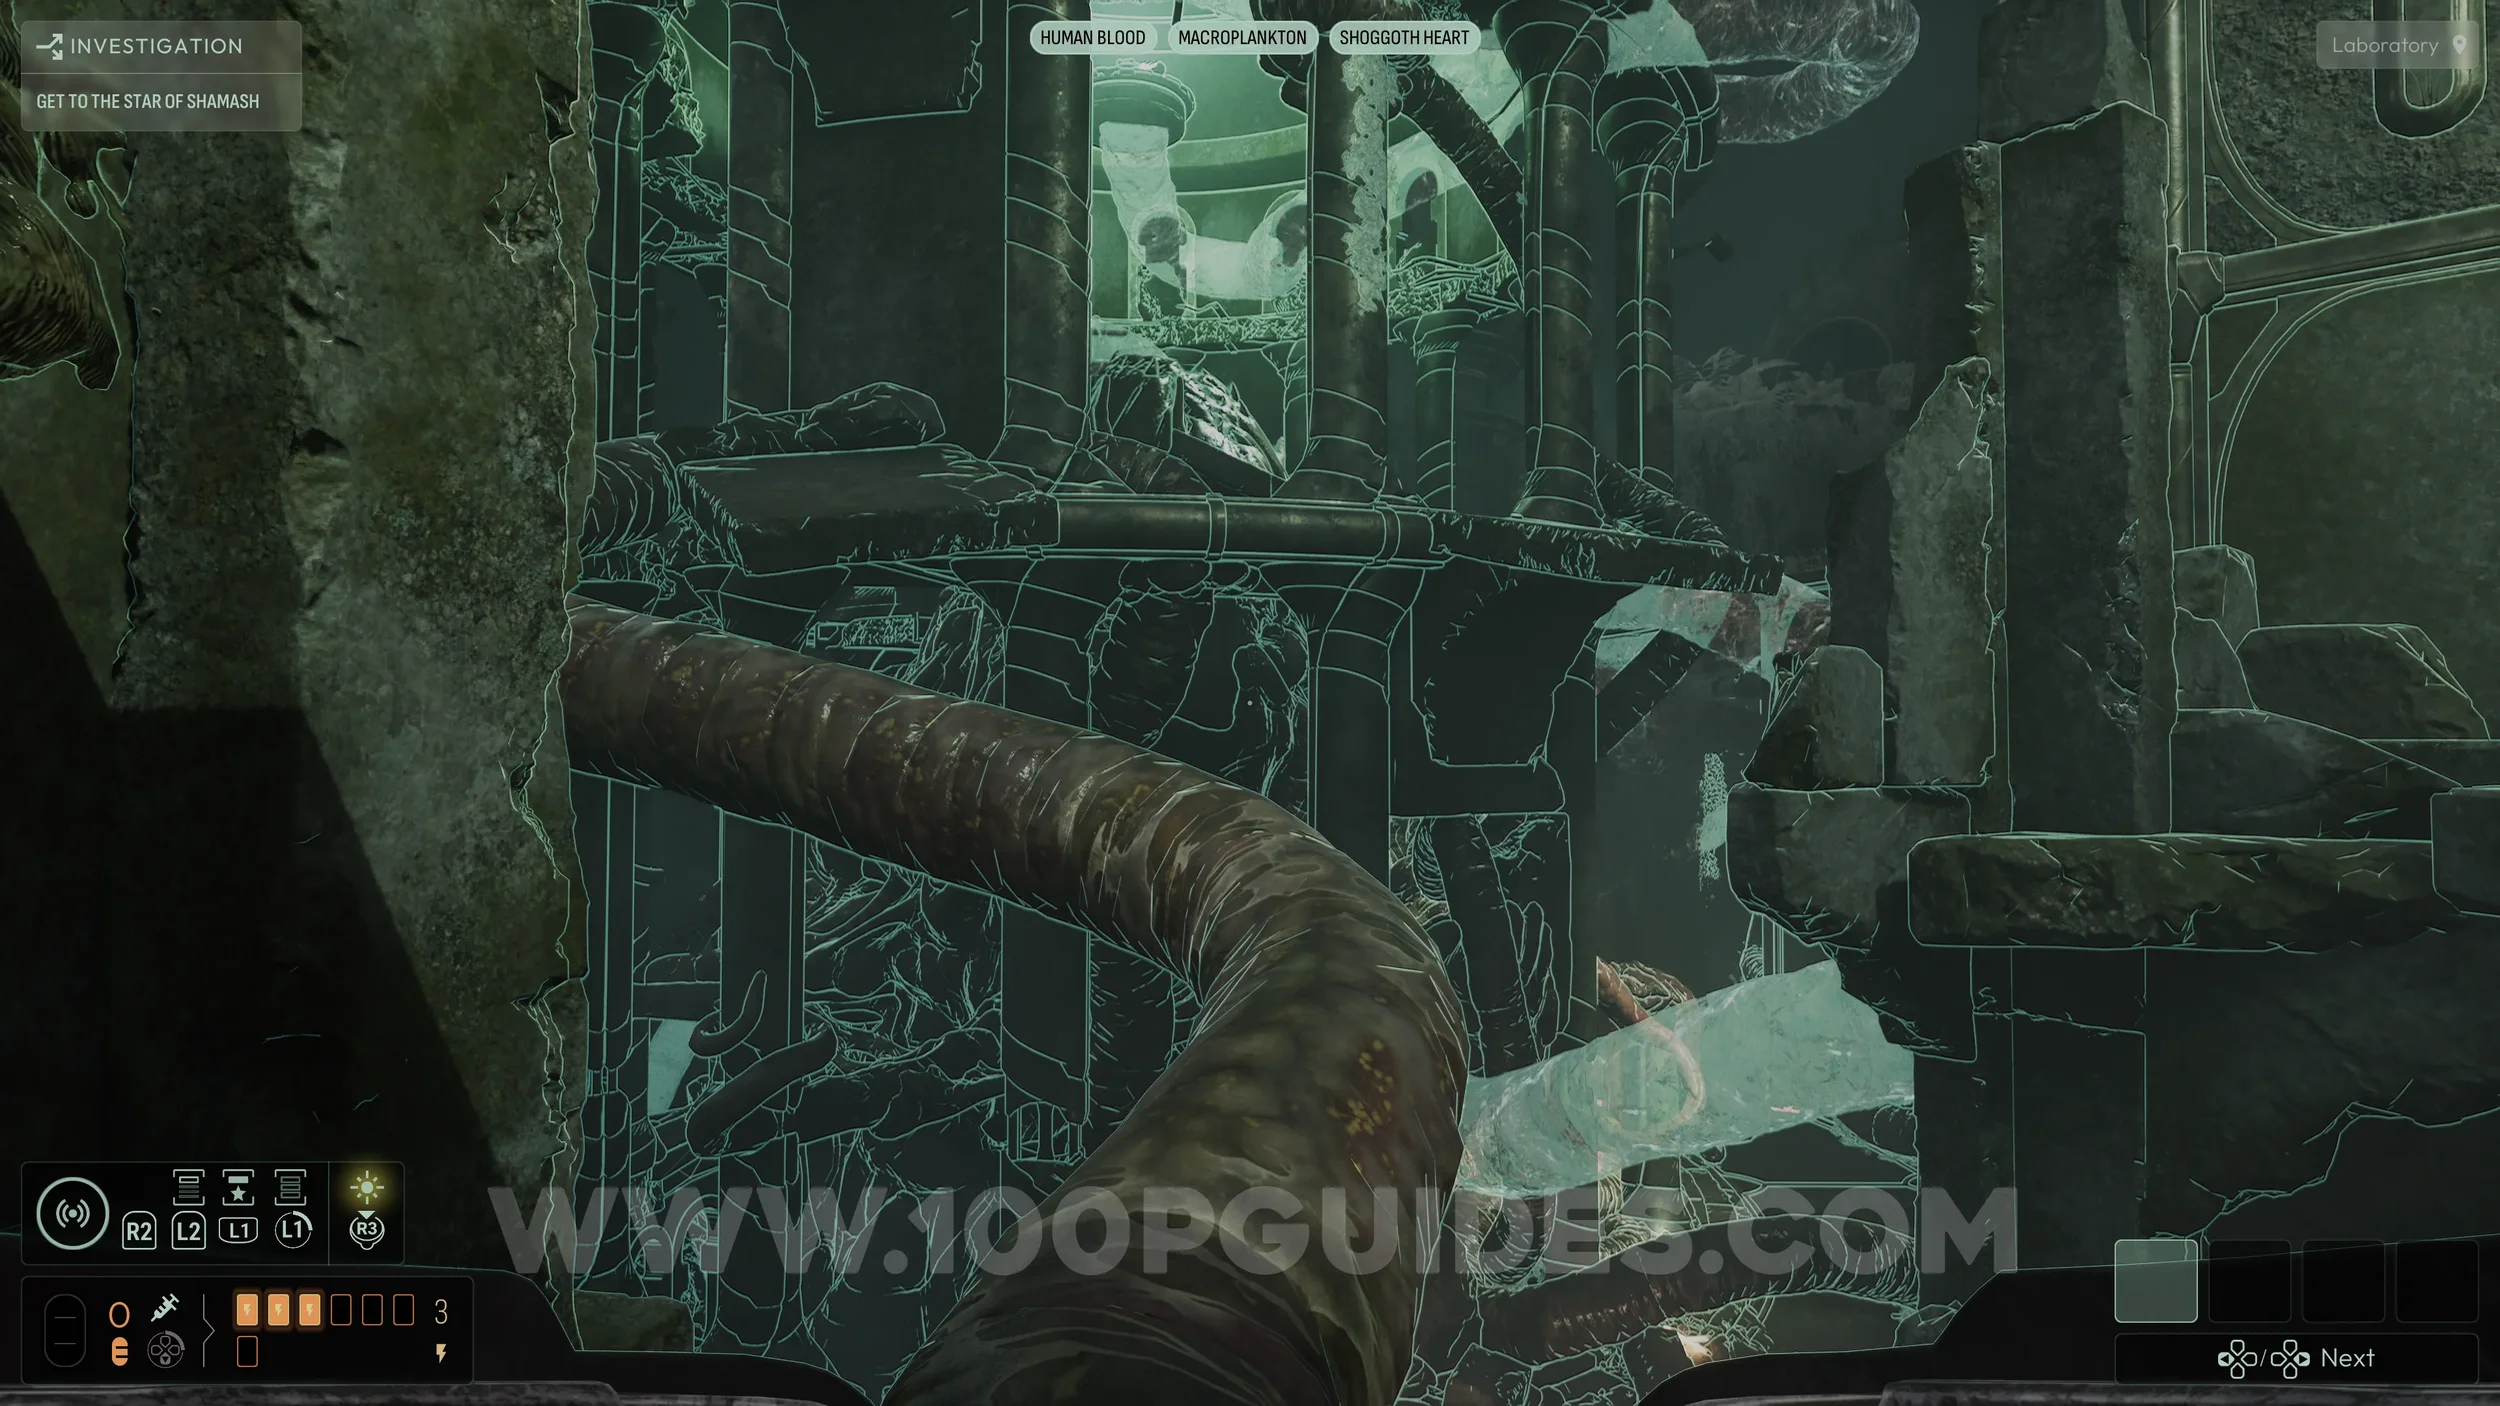
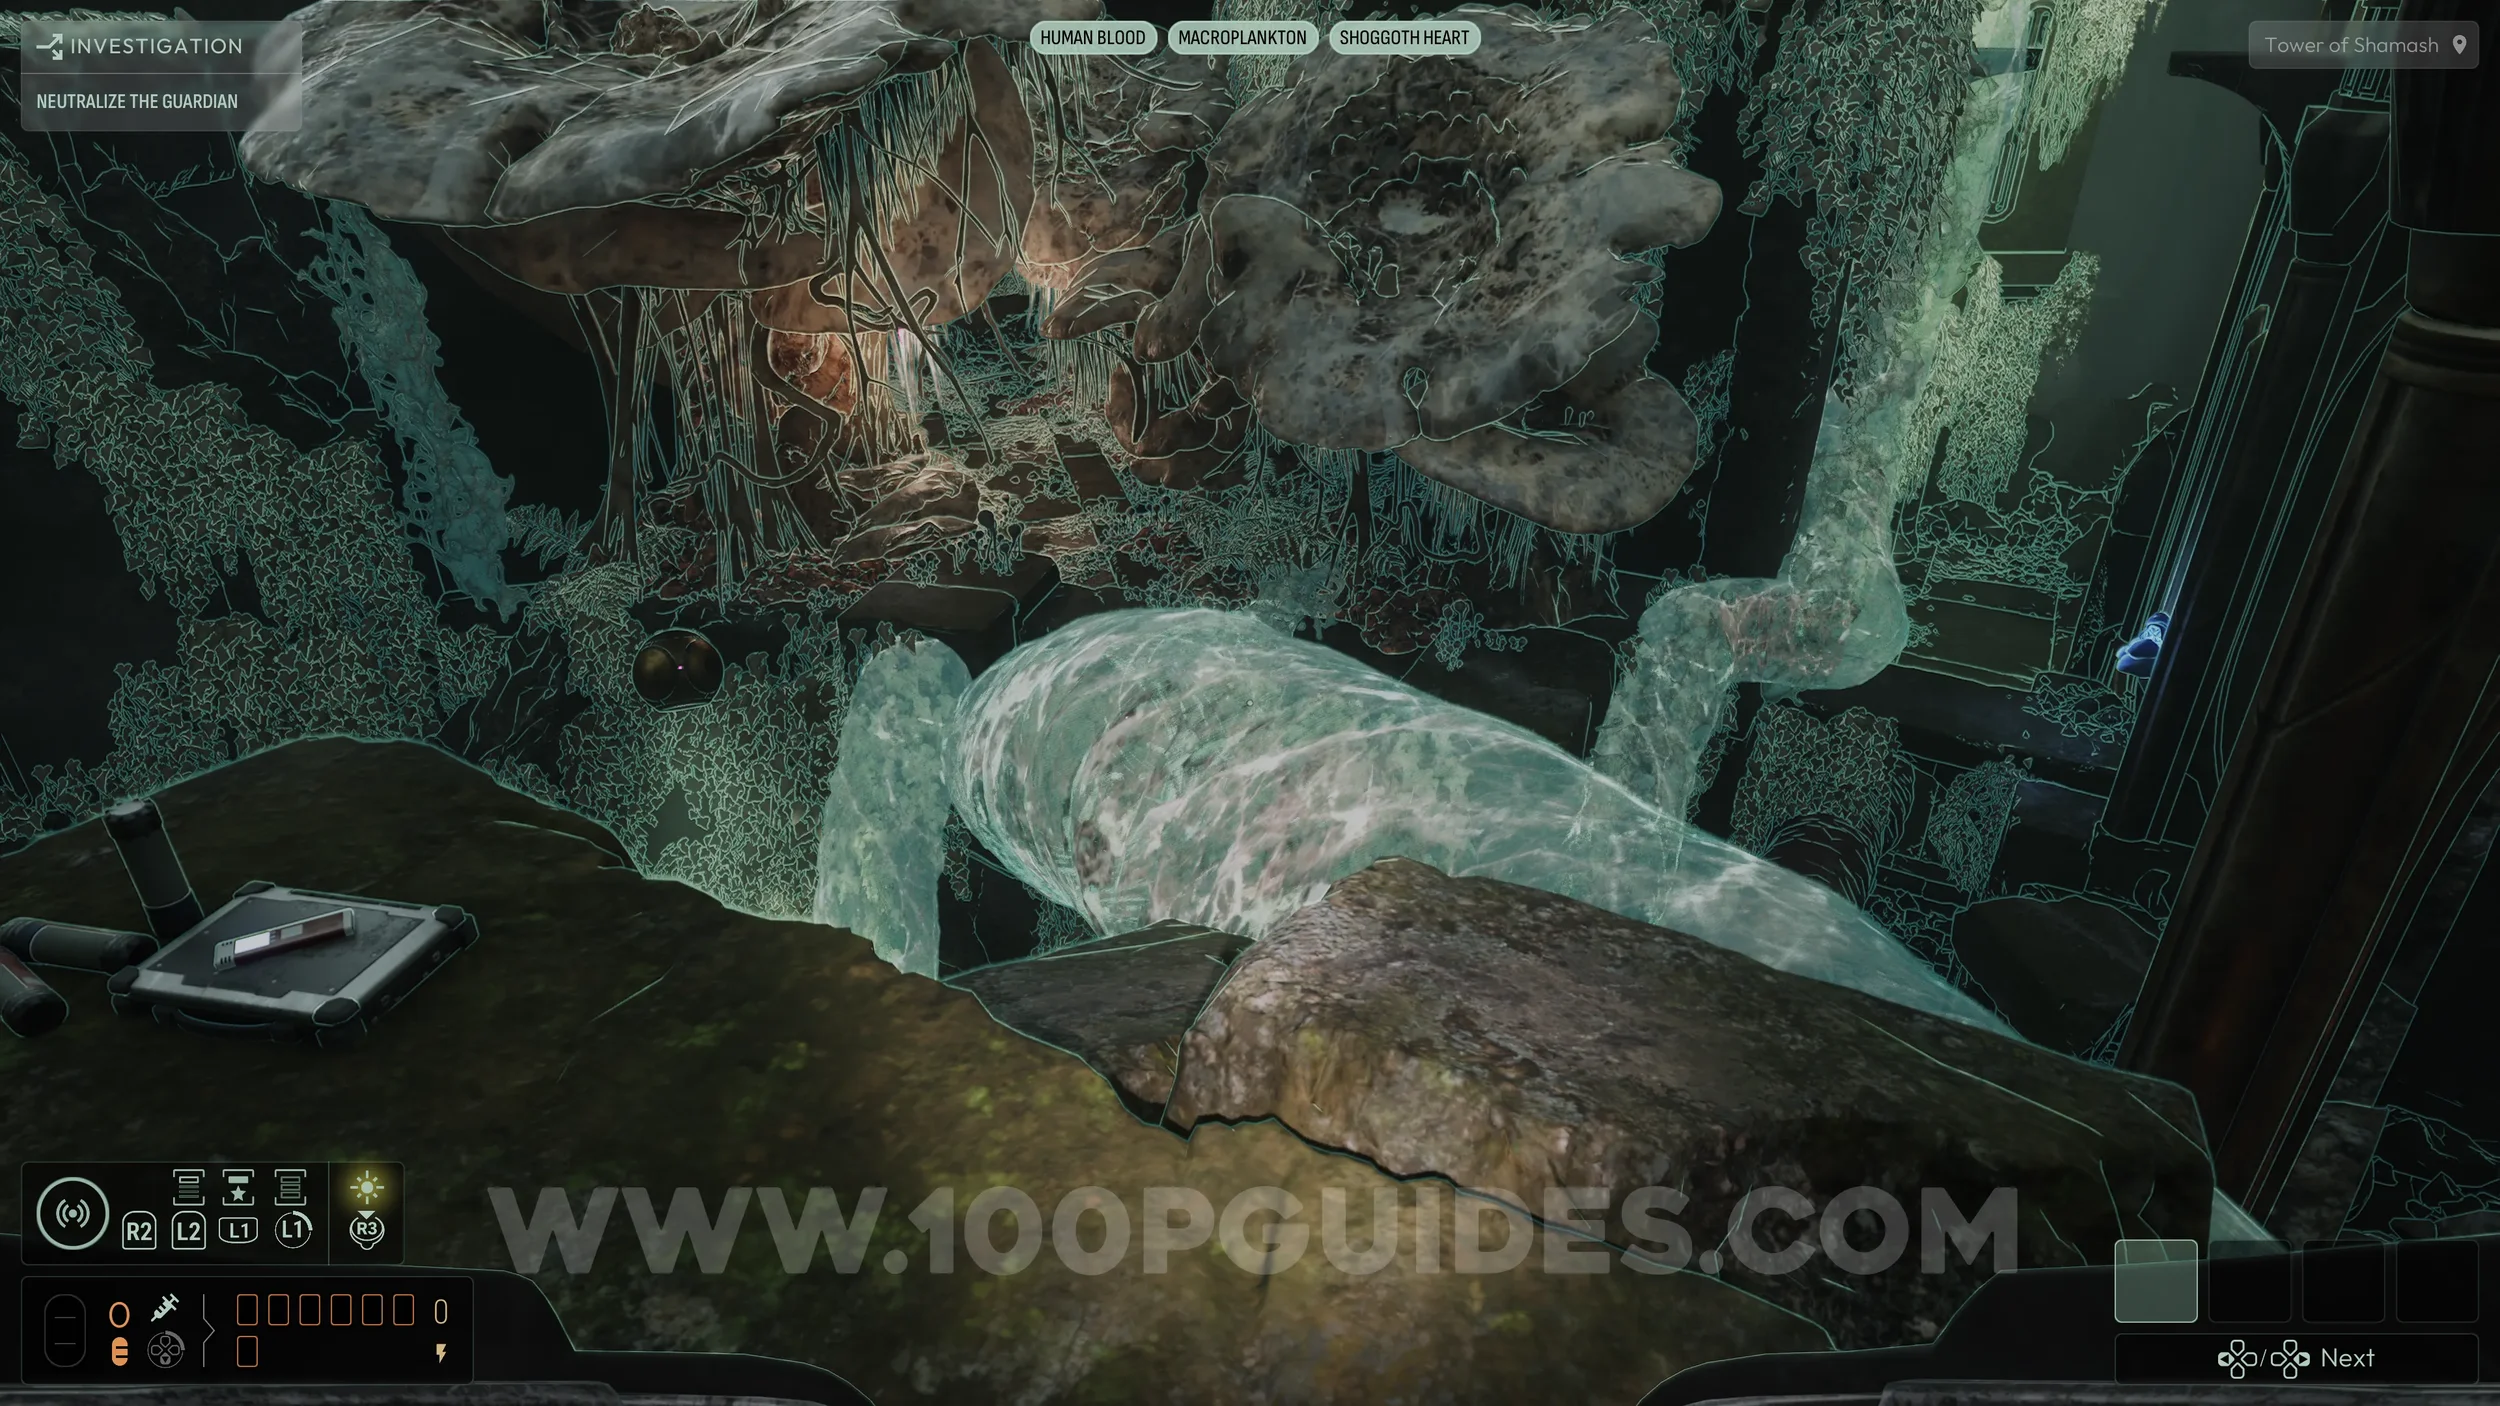
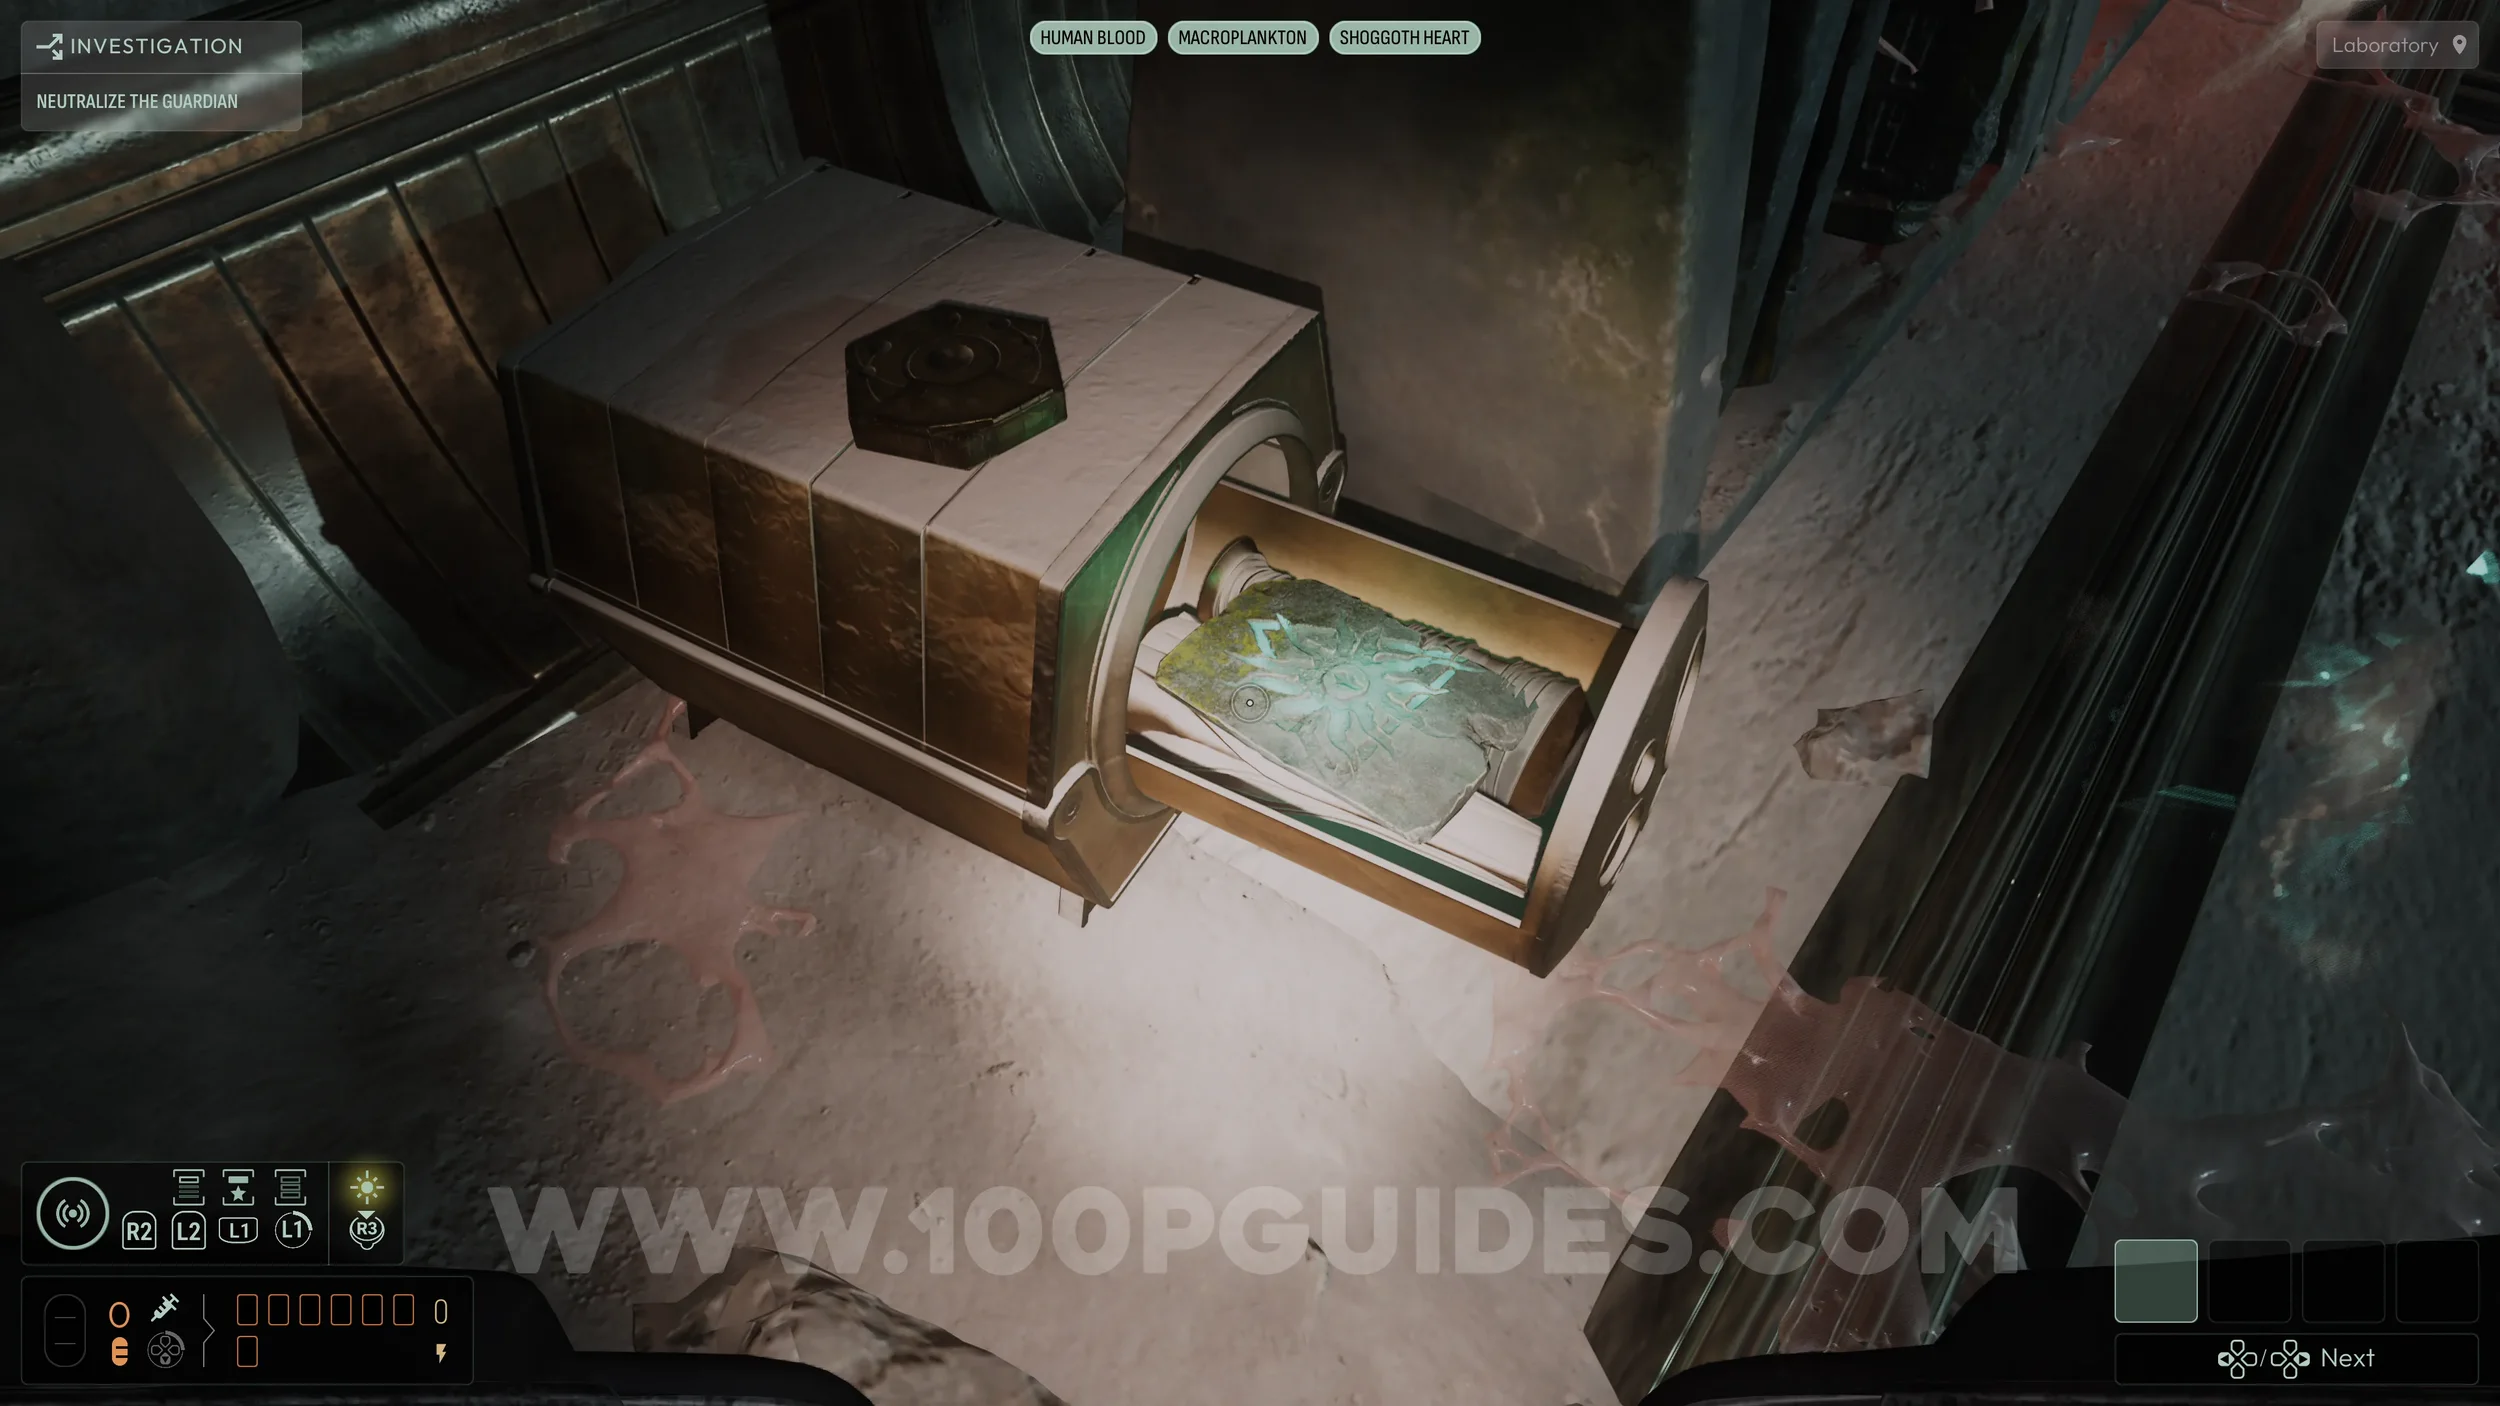
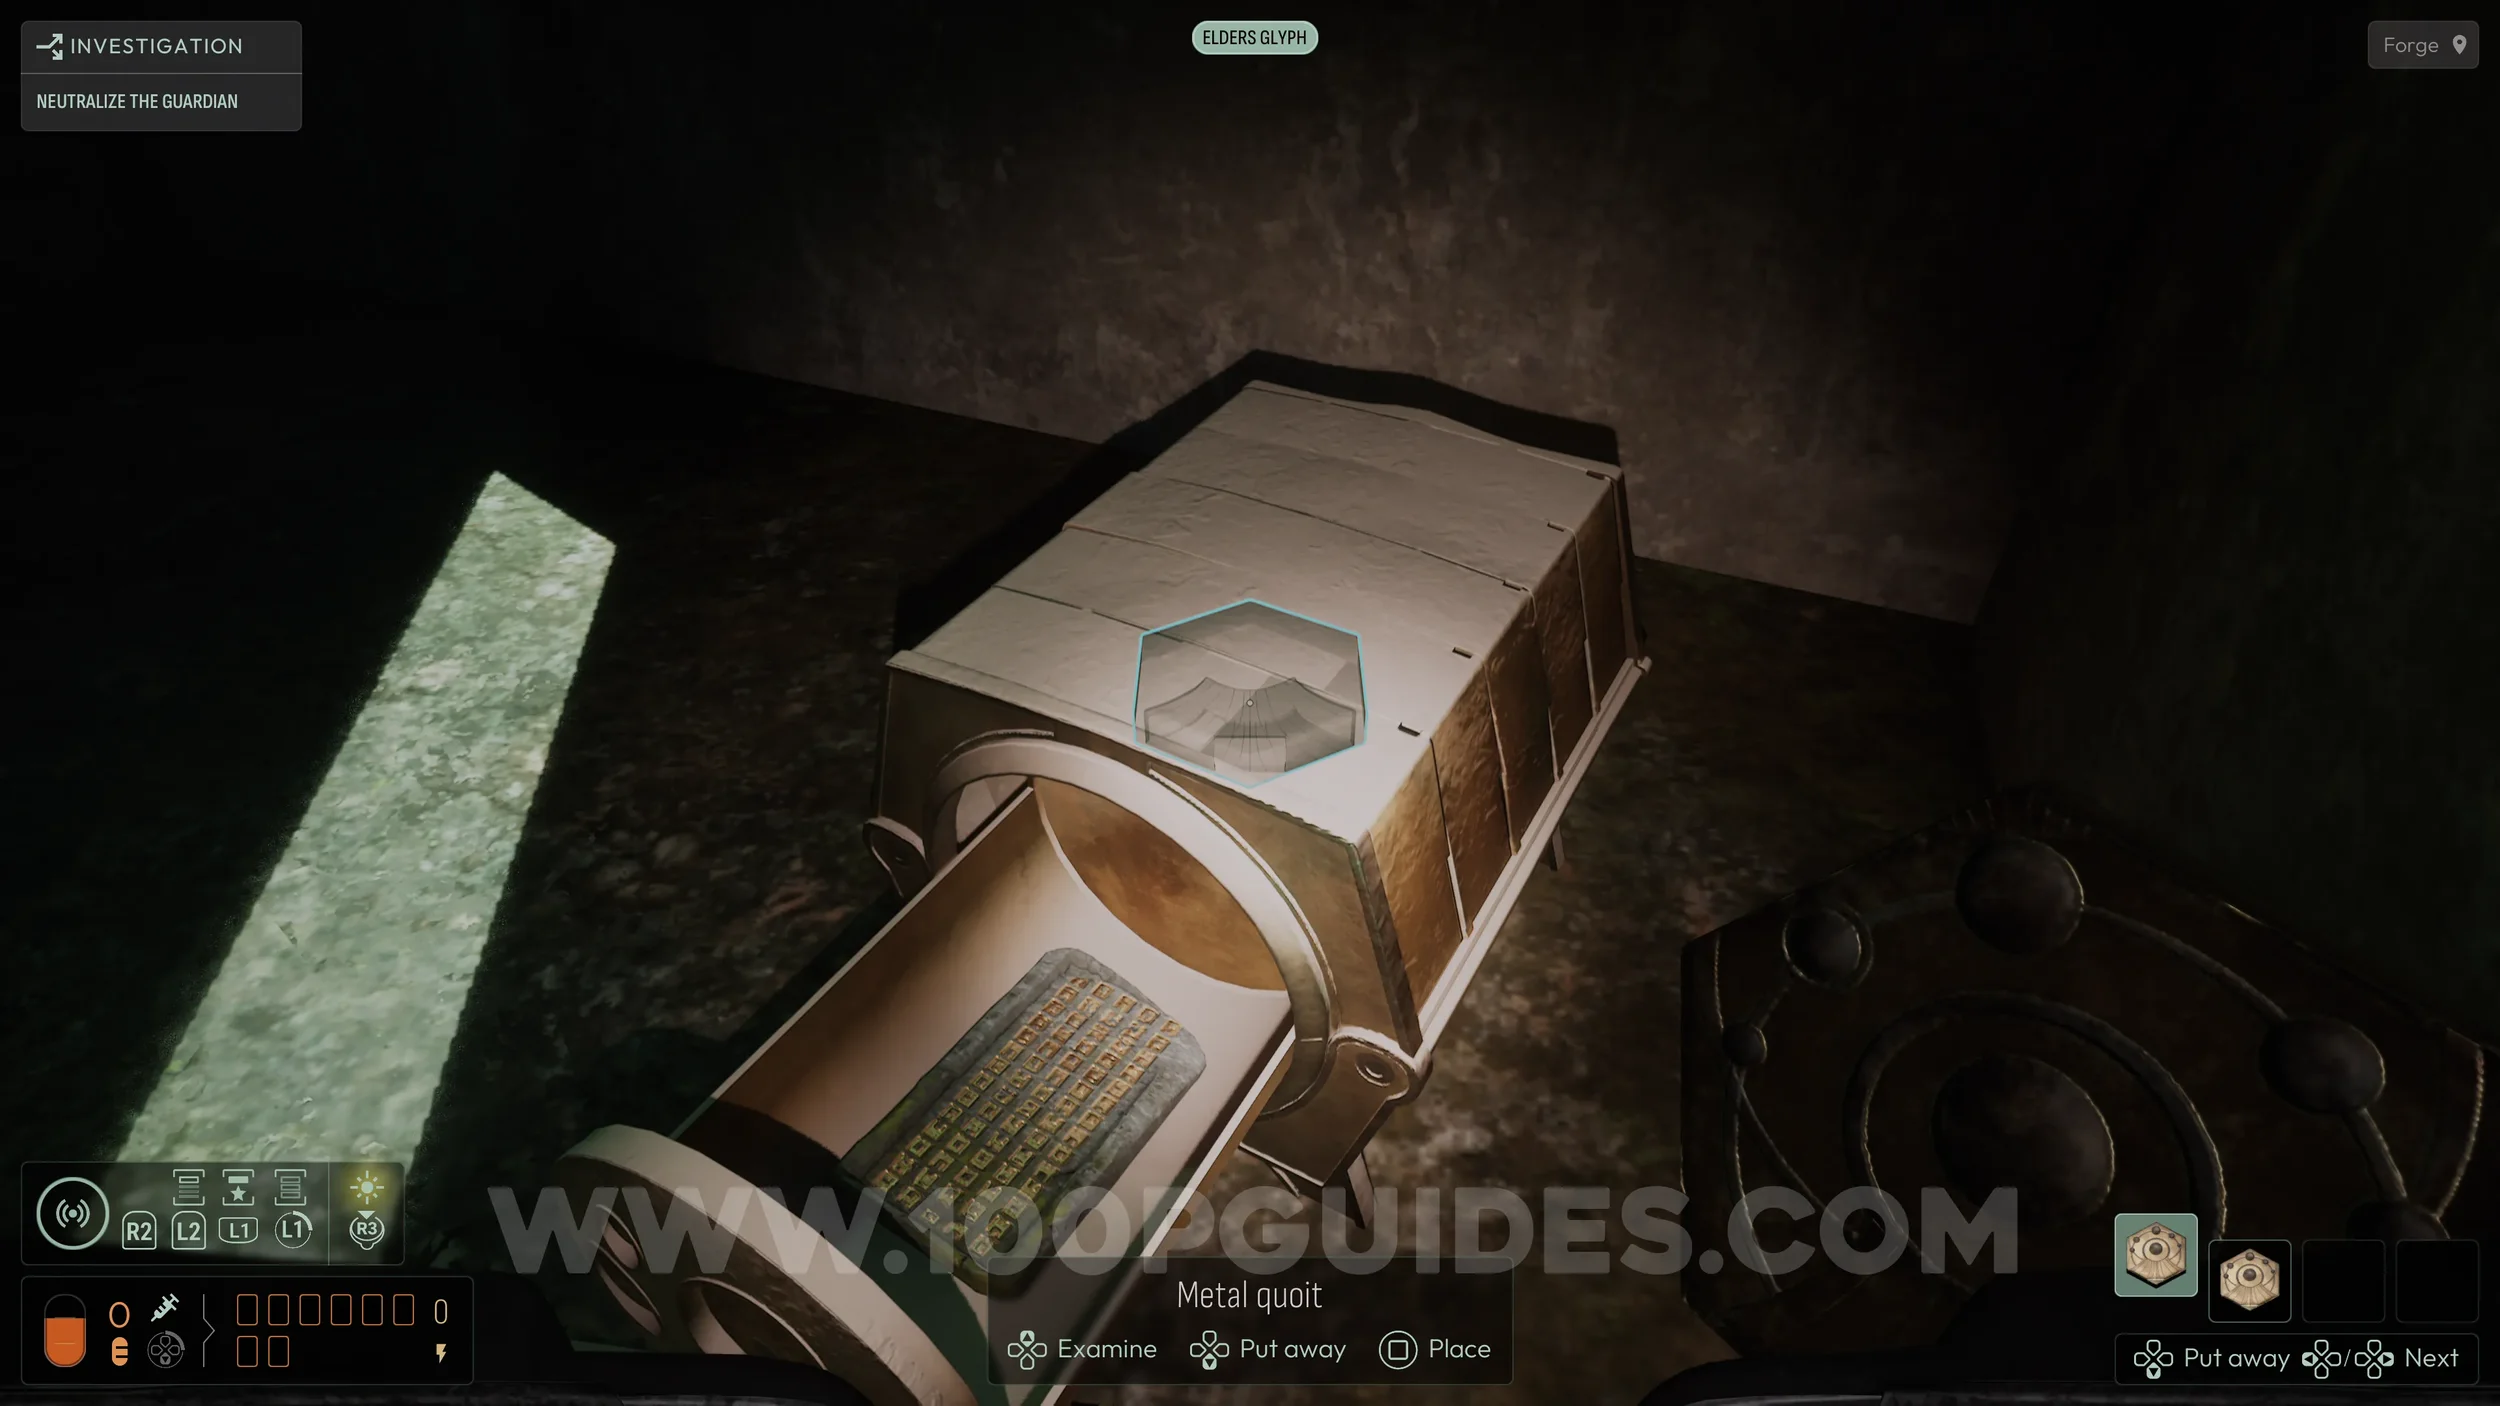
After the cutscene, you will see a set of circular stairs leading upward. Before going up, turn right and use your sonar to reveal an invisible tentacle that leads down to the area ahead. Go through the overgrown section to reach a room with a table and several clues. Make sure you at least examine the stone tablet on the table named “Register of Matter”, we will need this for a future deduction. Then, pick up the strange medallion from the small box.

Then return to the top floor of the laboratory and cross the invisible tentacles in the center. On the other side, go right and look for a similar box behind the tentacles near the wall. Place the medallion on it to reveal another Evolution (10/15). Make sure you pick up the medallion again since we will be using this again soon.
Now return to the upper area with the creature where the cutscene triggered. As soon as you reach this area, use your sonar to reveal another tentacle on the right side that leads all the way back to the starting area where you first saw the creature. Use it to travel back down.
Once there, stand in front of the creature and turn around completely. Use your sonar again to reveal another tentacle, which will lead you to another evolution. (11/15).
Next, face the creature in the lower area again and take the tentacle on your right to climb over the rubble. Then use your sonar to reveal an invisible tentacle that leads up to the right. At the top, you can collect another Energy Upgrade (3/4).
Use the red tentacle to get back down to the bottom. Then climb the same invisible tentacle you used to reach the energy upgrade. This time, at the top, head left and look for another invisible tentacle leading downward. Follow it down until you can drop off onto another Evolution (12/15).


Next, head underneath the red tentacle you used earlier to descend after collecting the energy upgrade. Follow this path until you reach a tall, narrow door at the end. Hold the magnetic medallion in your hand to open it.
Inside, you will find another Strange Monolith that expands your evolution slots.
Head up the ramp to reach the next floor, where you will find another chest that can be opened using the magnetic medallion. Inside, you will find another Evolution (13/15).

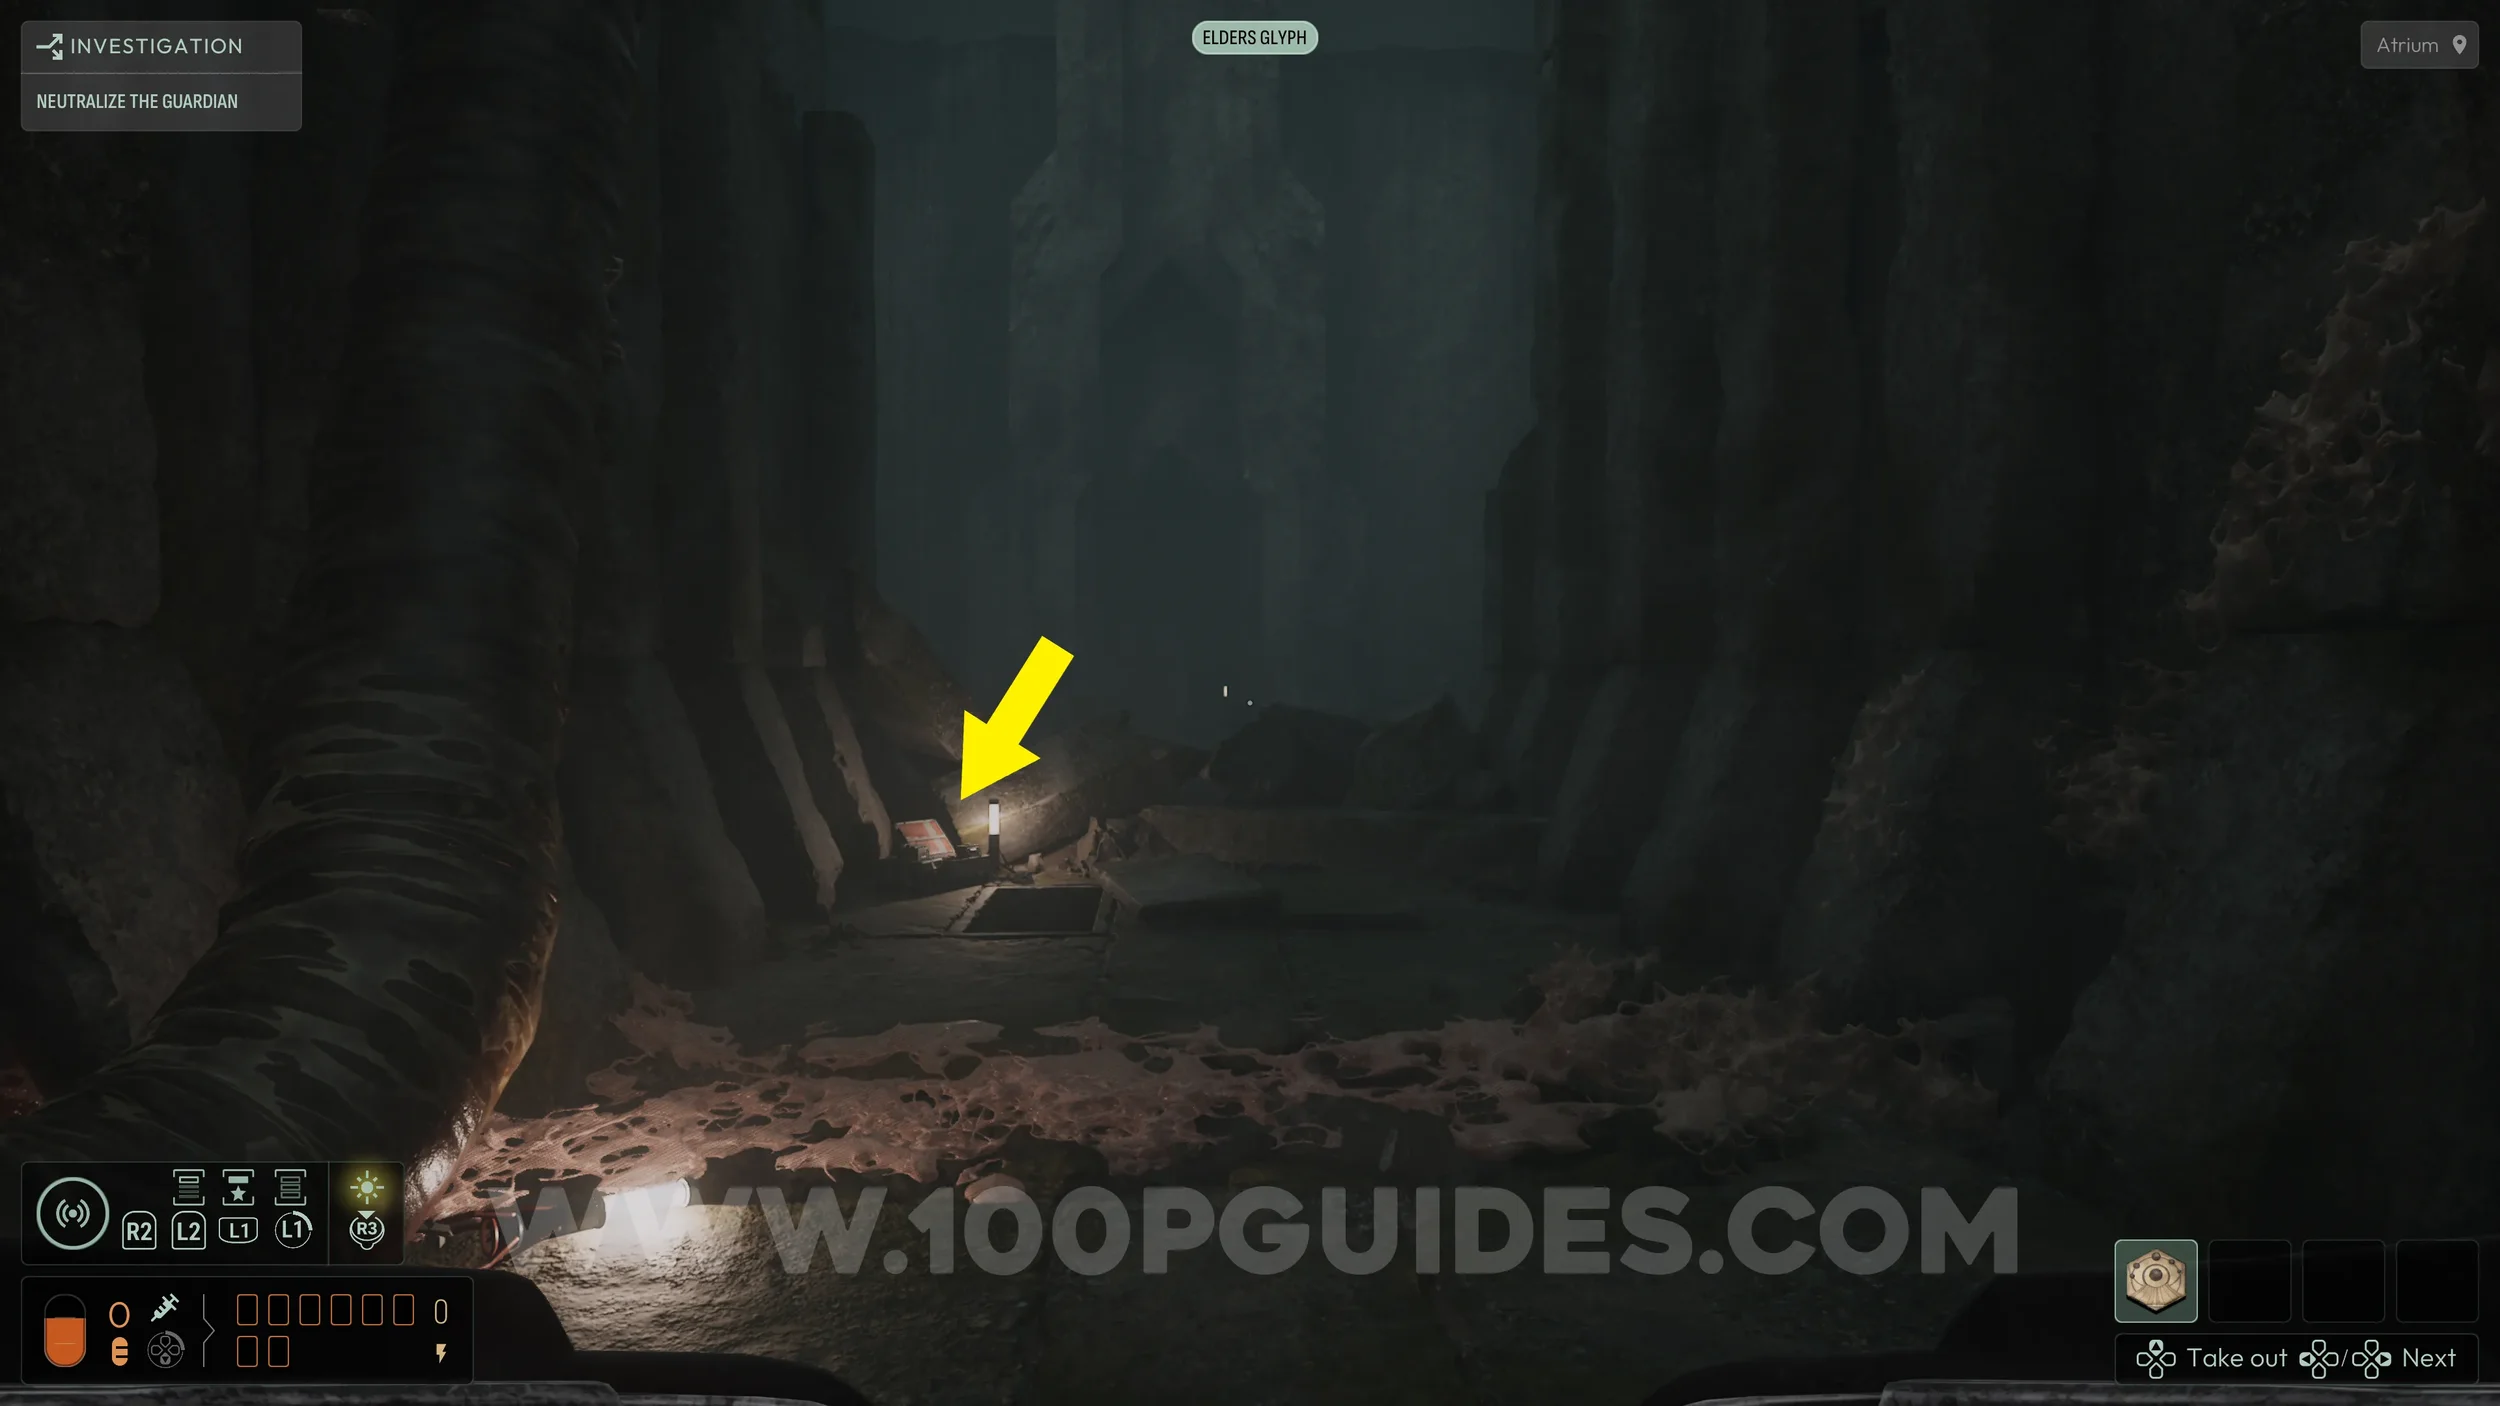
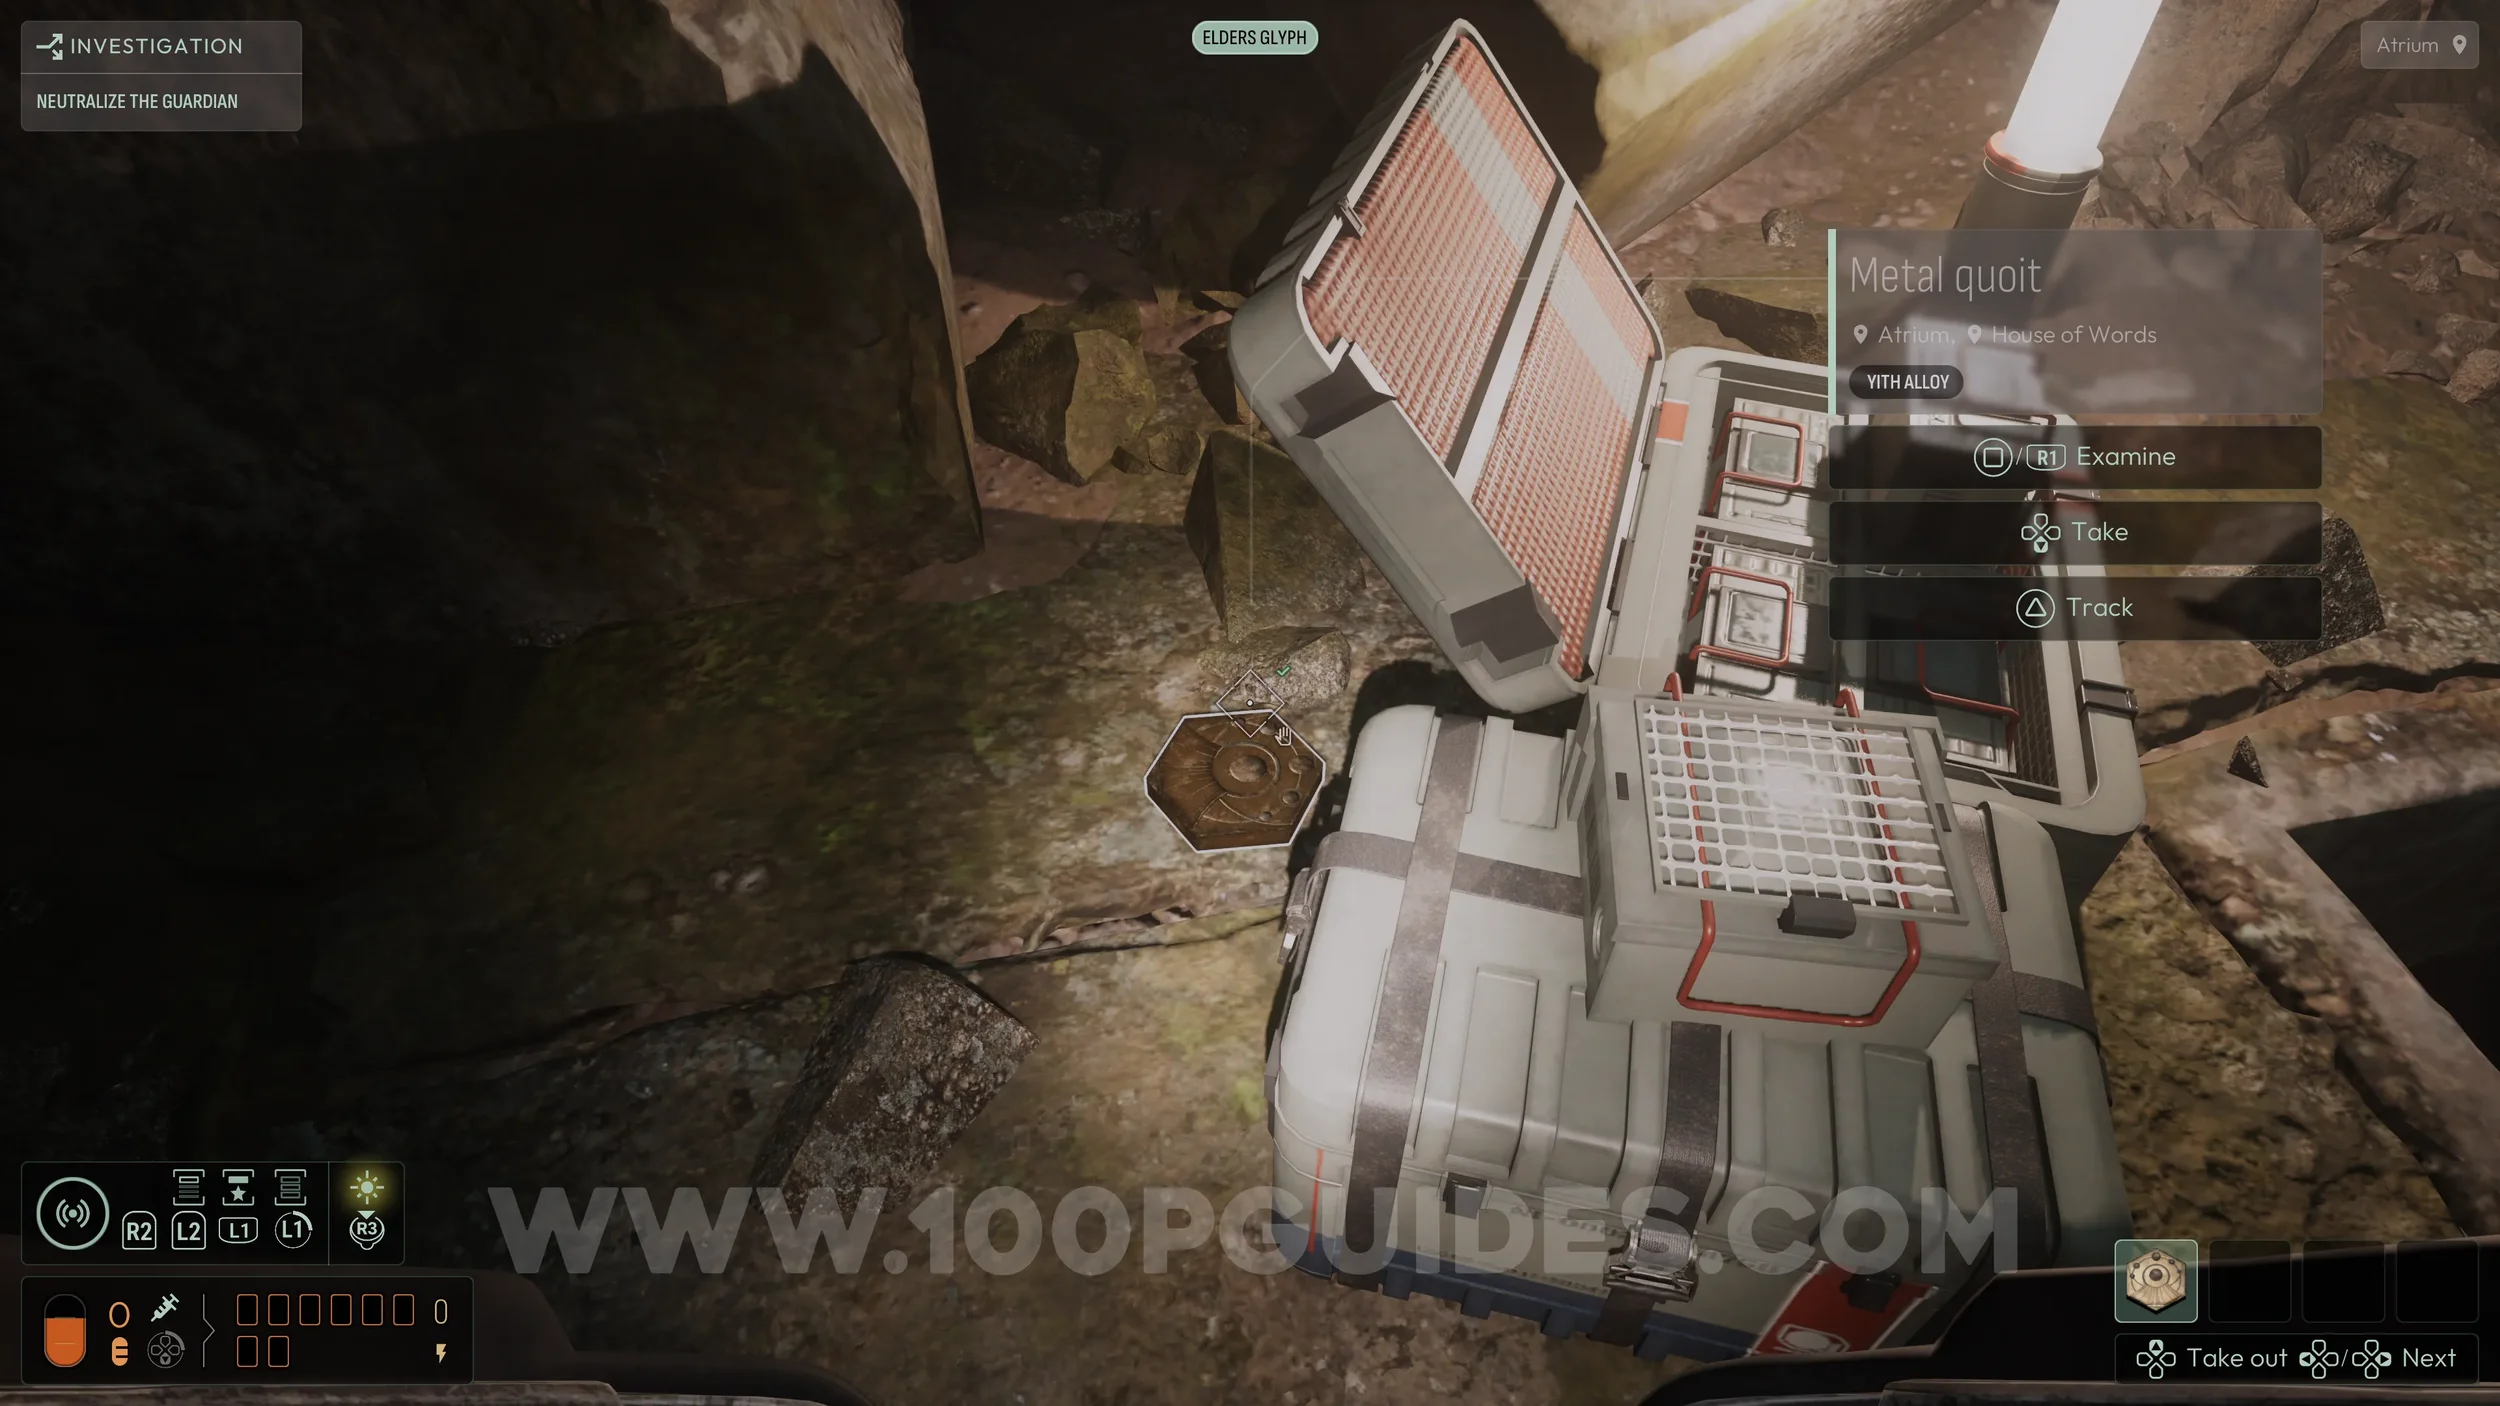
Now that all collectibles in this chapter are taken care of, it is time to achieve the low corruption outcome for the investigation. Return to the eye of the creature at the start of the chapter, then turn around completely and head to the far end. Look behind the crate to find another magnetic medallion.
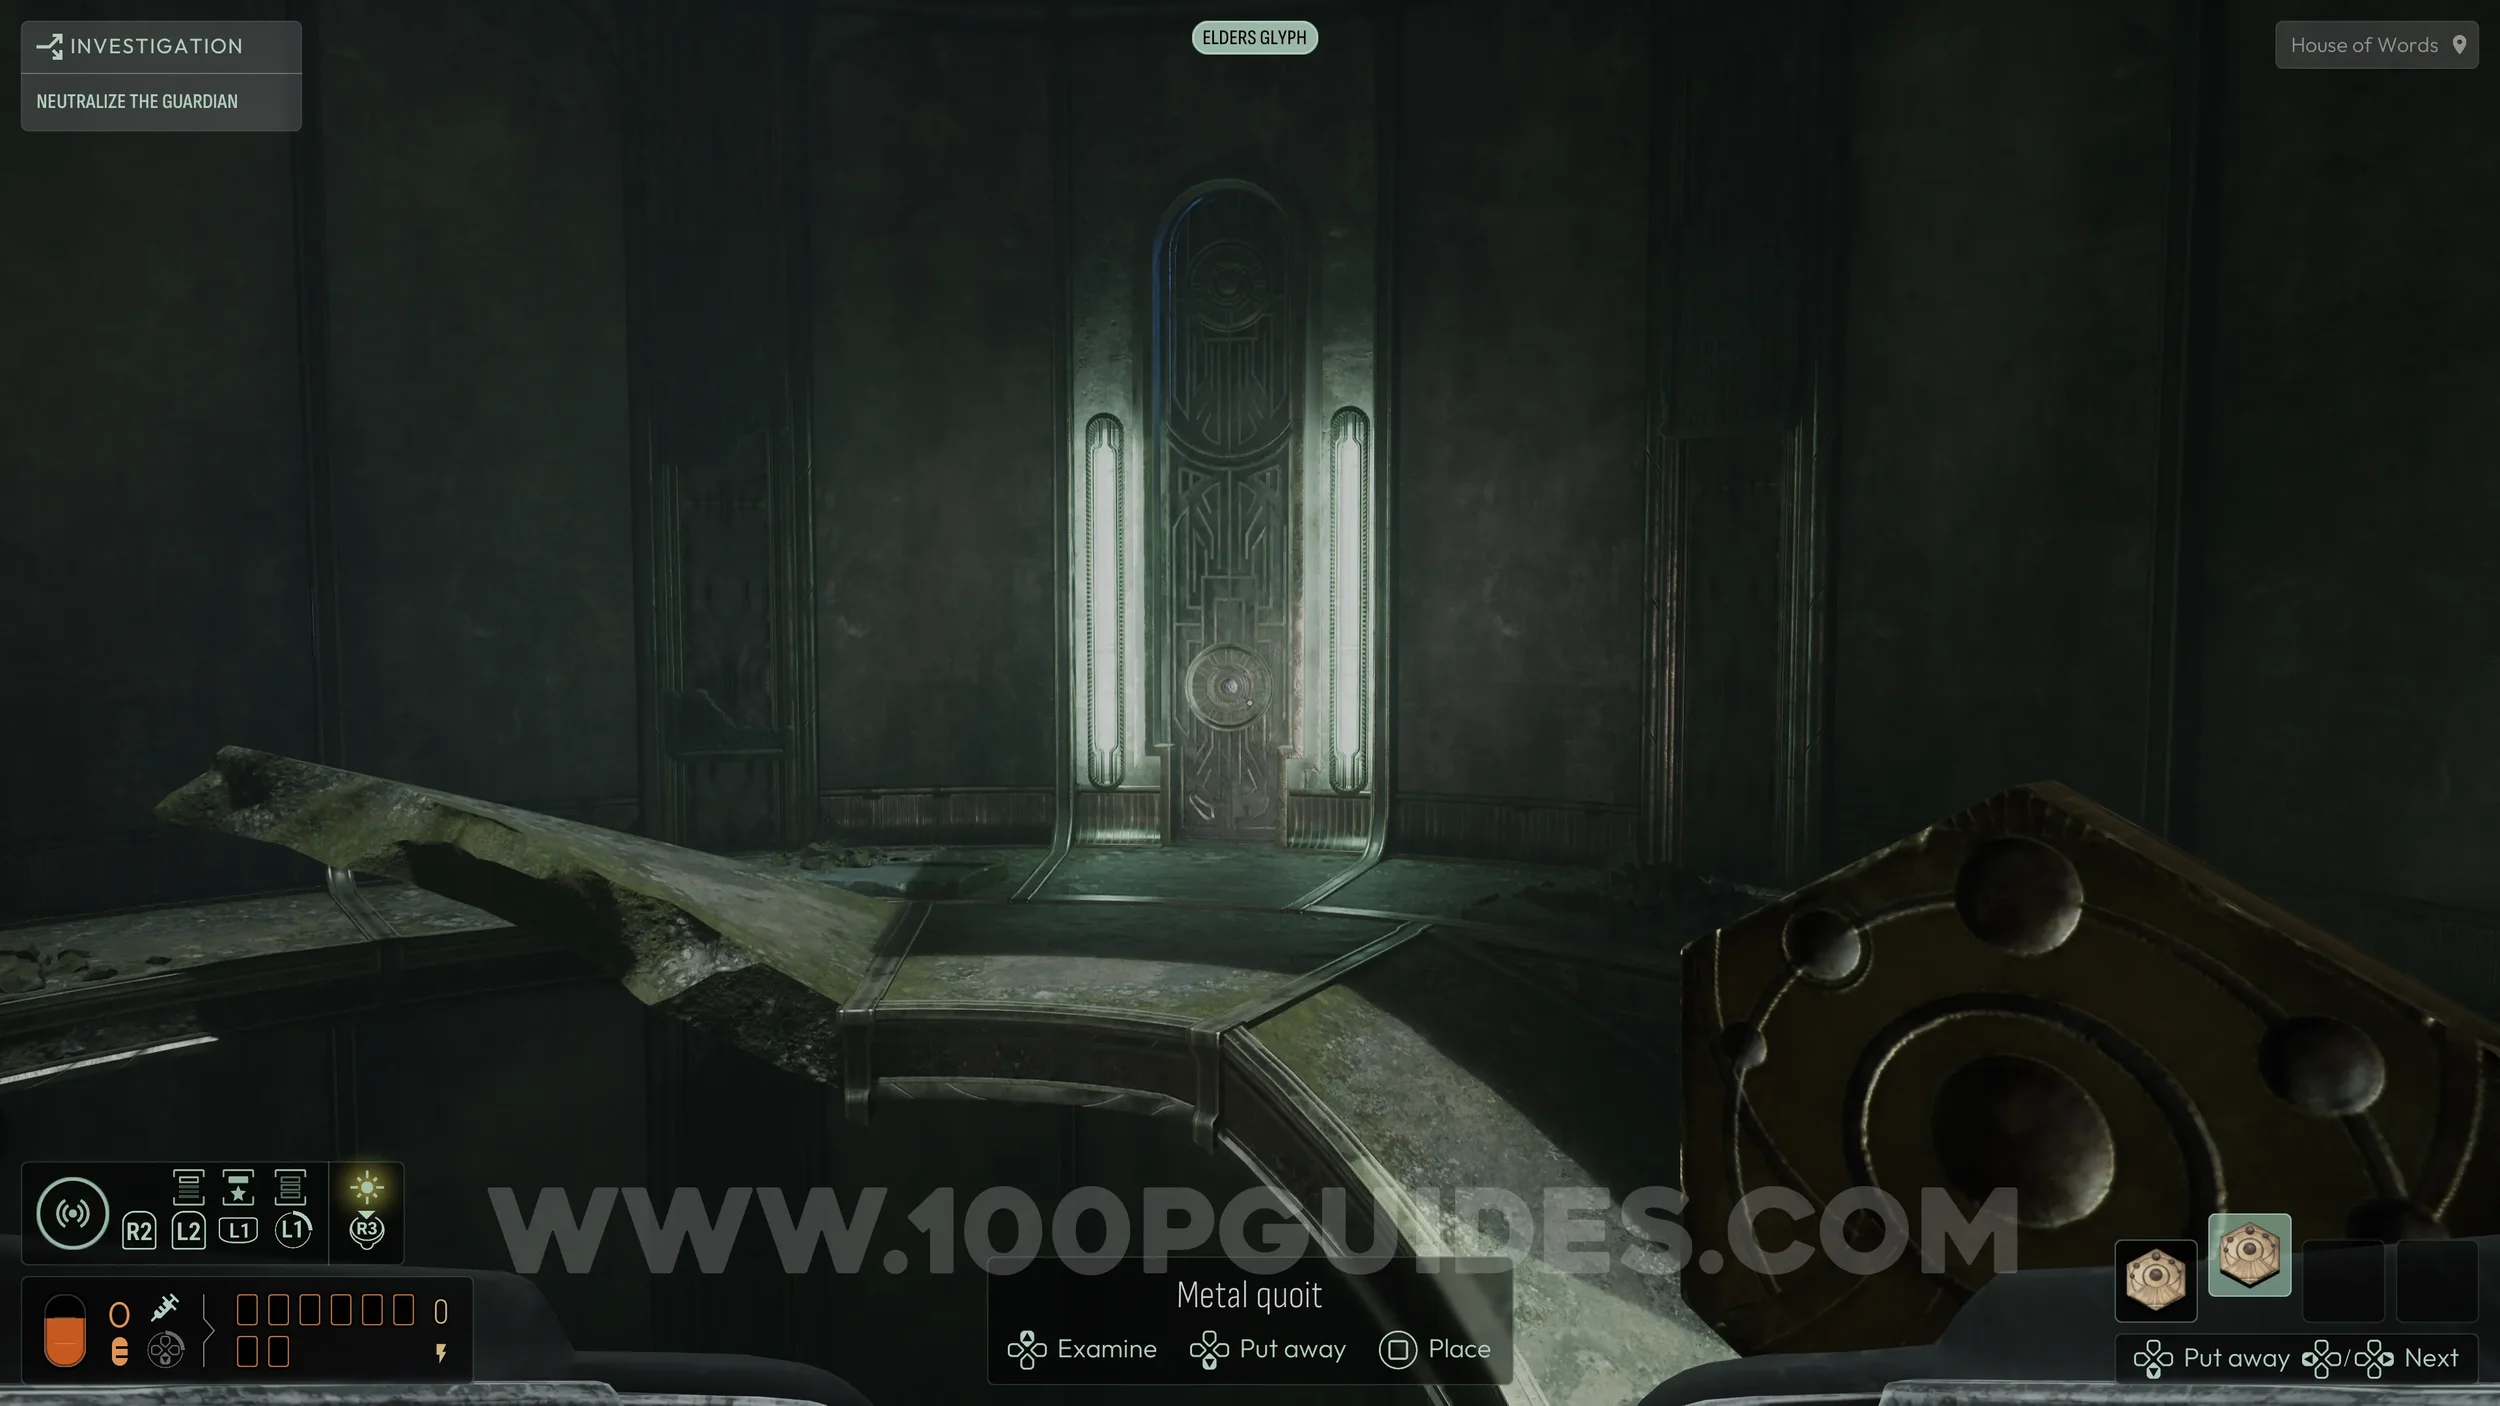
Now that you have two magnetic medallions, return to the large circular room with the ramps, the same room where you found the earlier evolution collectible. Use the ramps to reach the second floor. Here, you will find a door that will not open even if you approach it with a medallion in hand.
To open it, place one medallion on the ground next to the door while holding the other. This will unlock it.
On the other side, go right and use a medallion to open the chest. Inside, examine the stone tablet to start a deduction in the Vault menu. You can solve it using the “Register of Matter” clue that you picked up earlier from the table in the room where you found the first medallion.
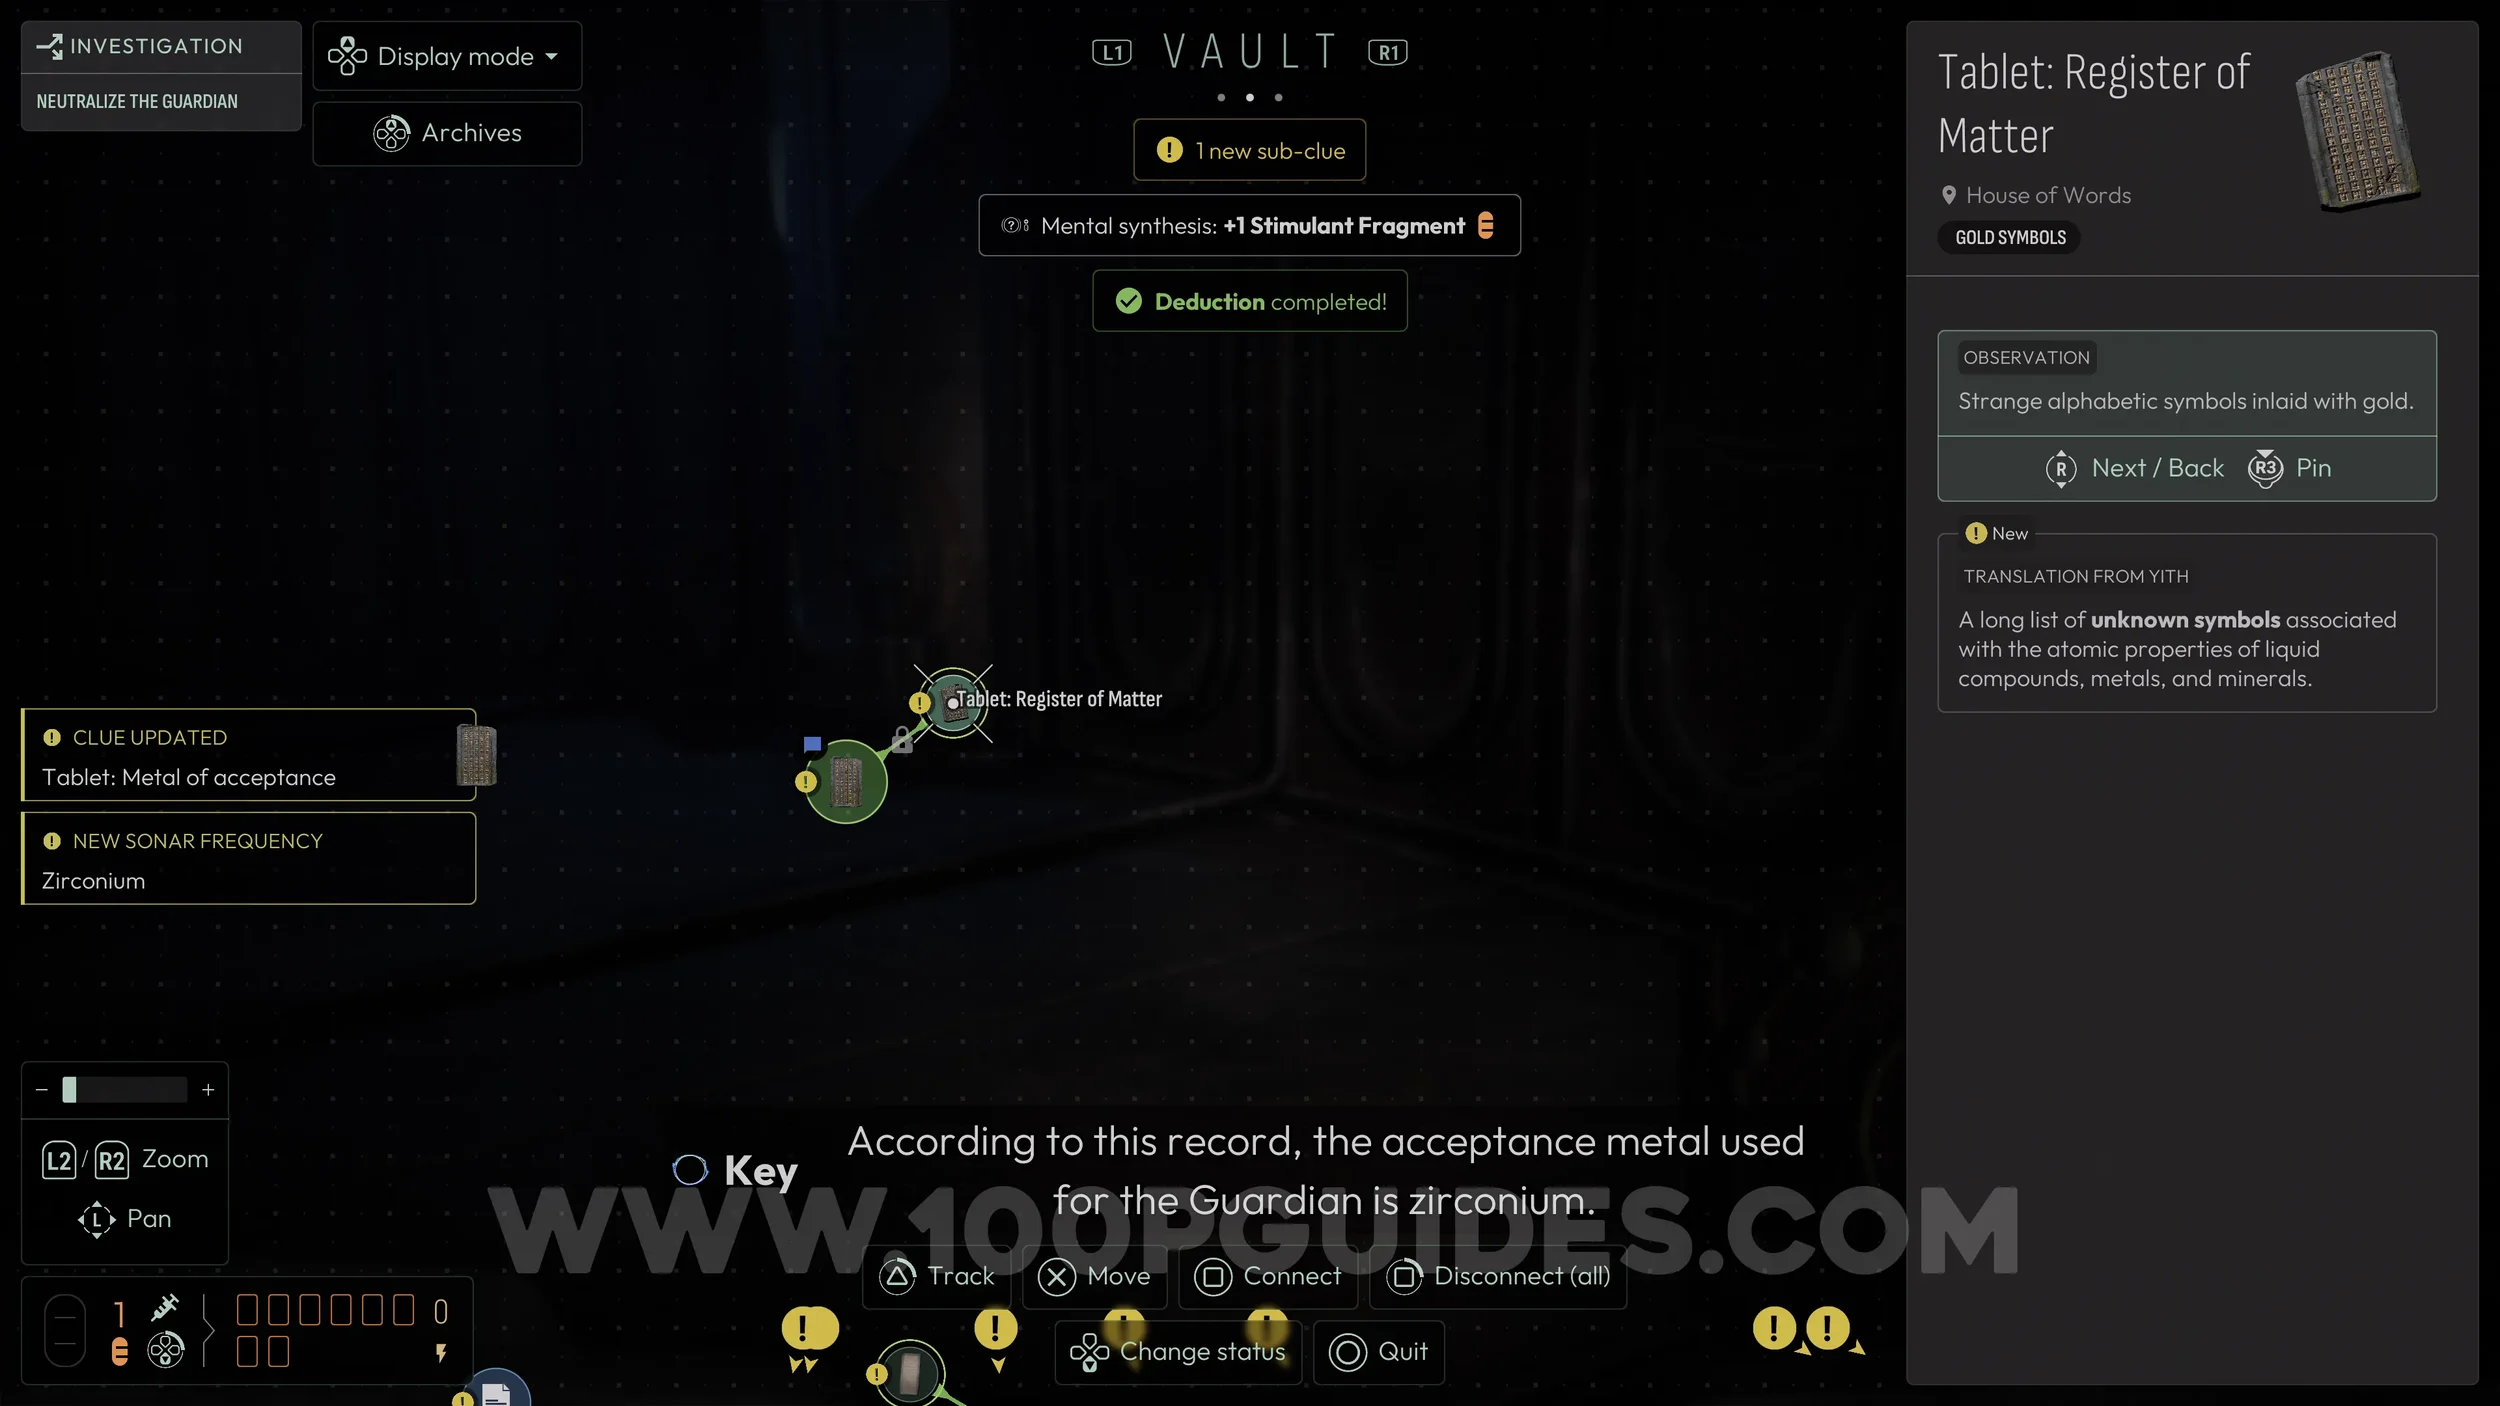
In this same room, you now need to find the correct metal, Zirconium. It can be found just to the left of the door you used to enter. If you are having trouble identifying it, use the Zirconium frequency unlocked from the previous deduction.
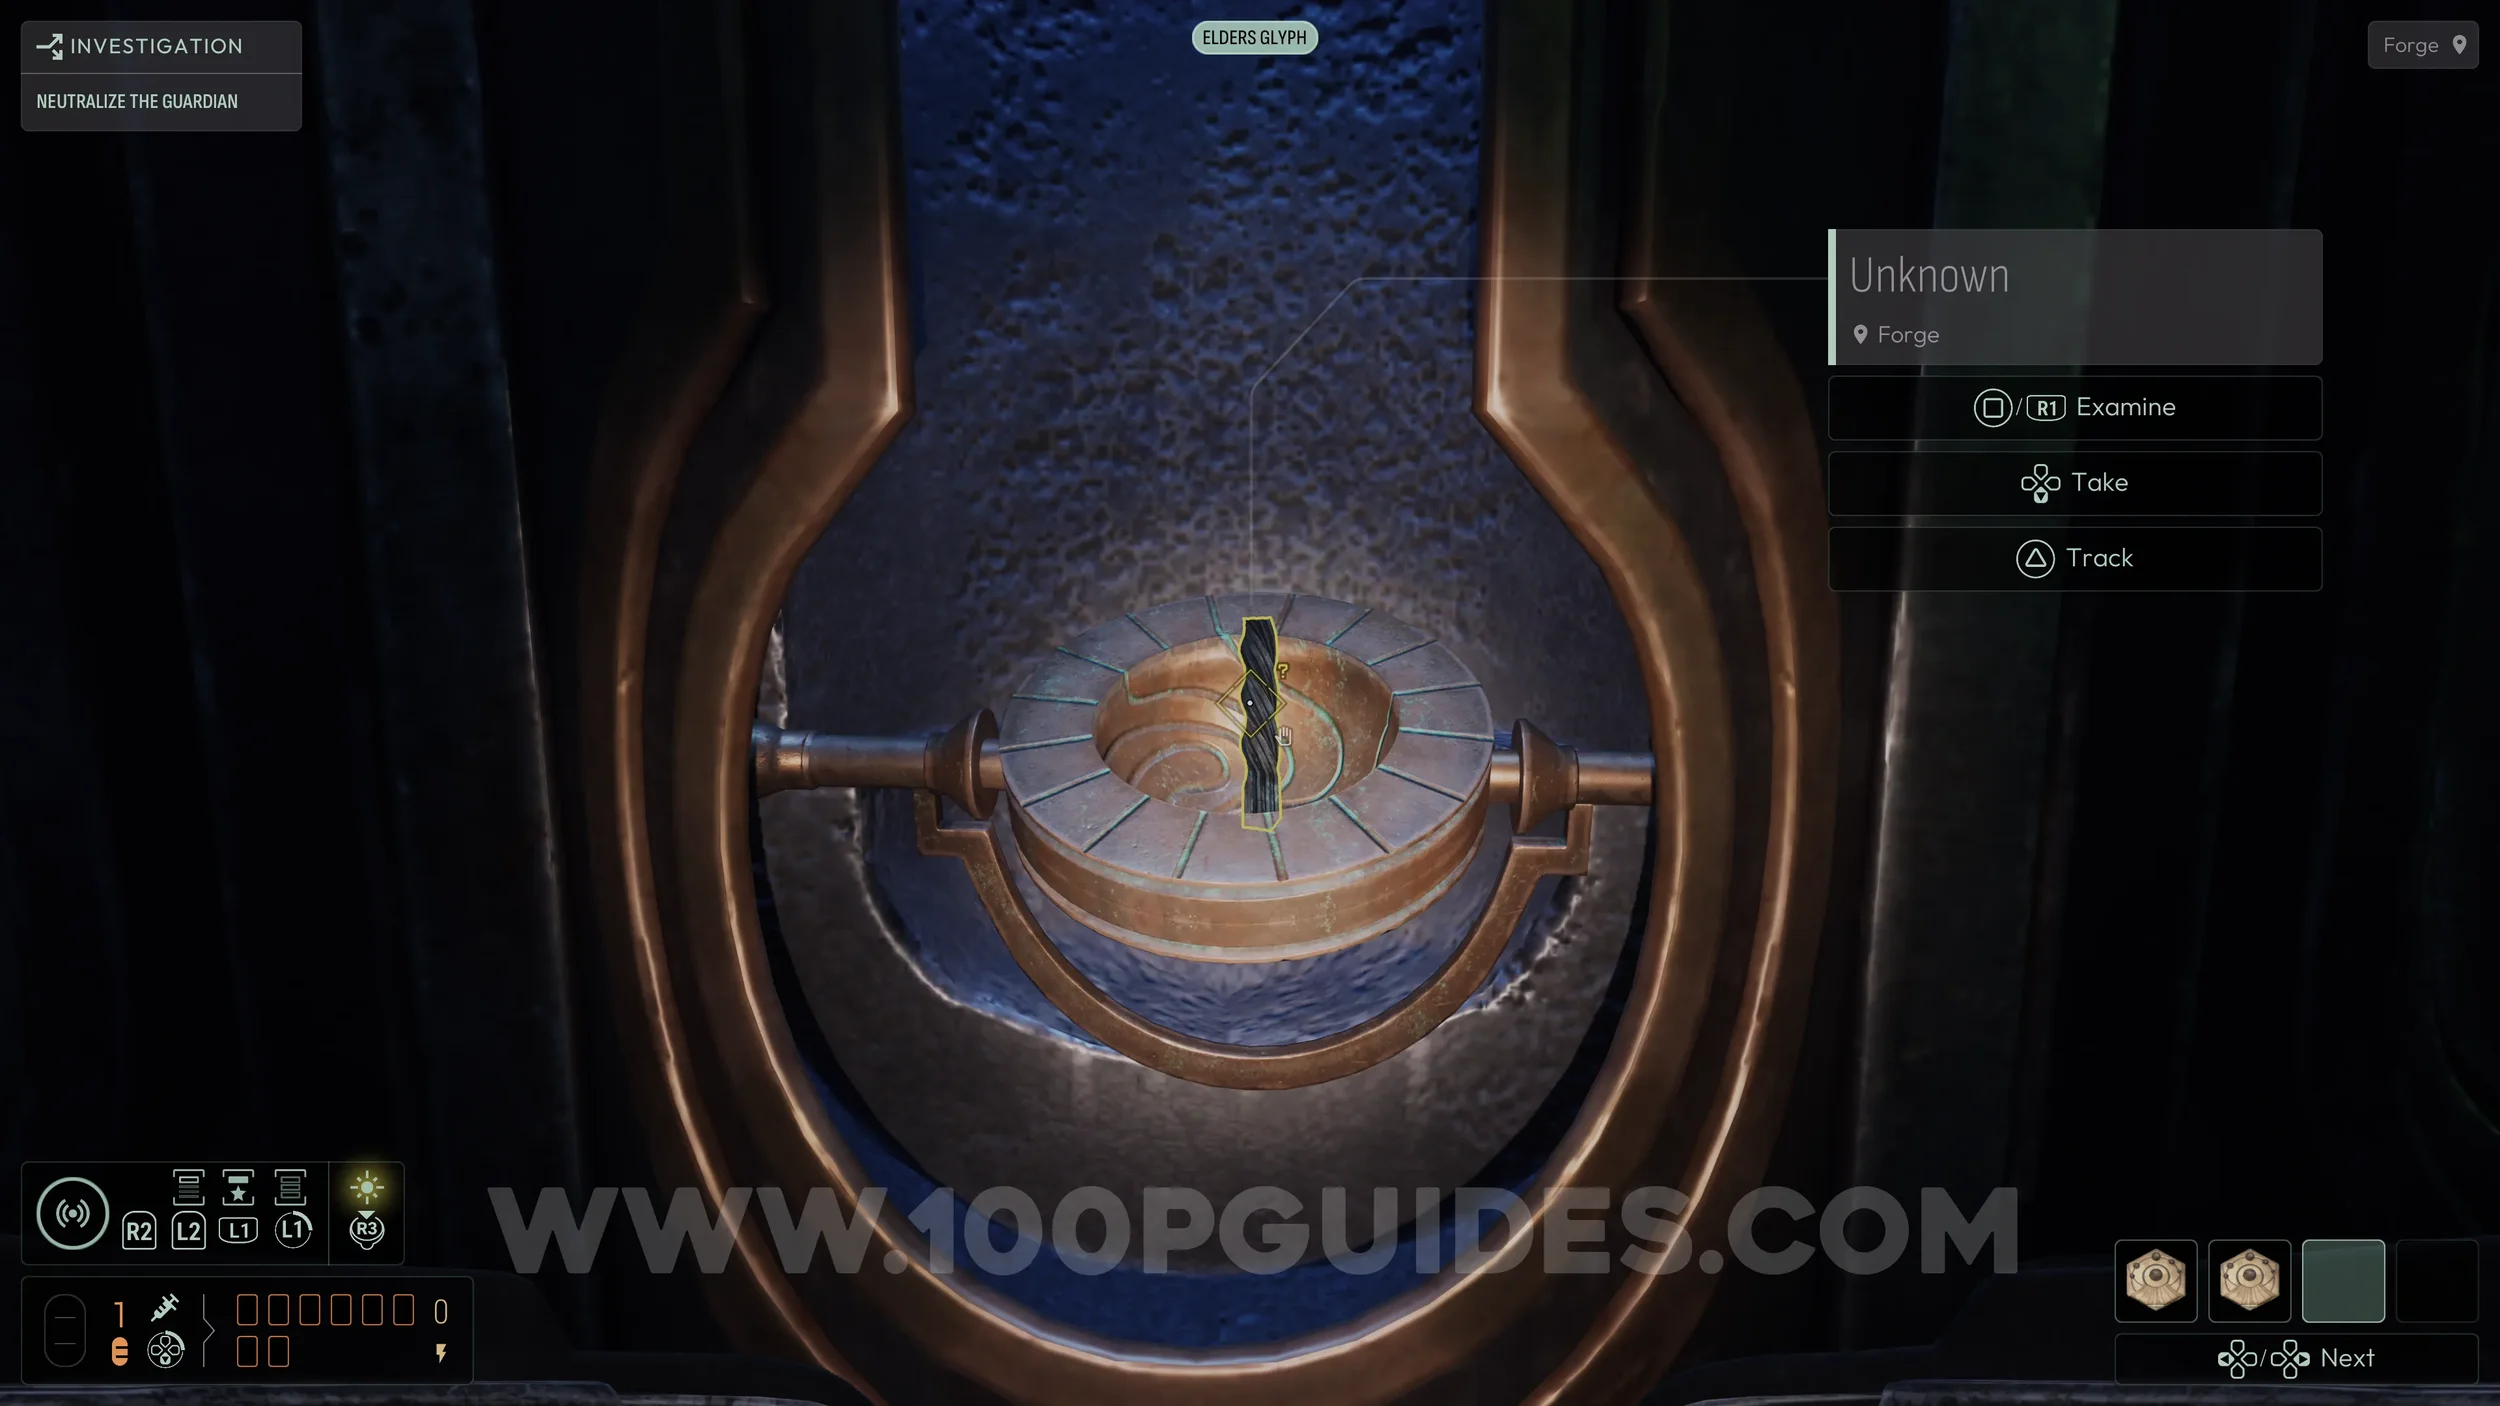
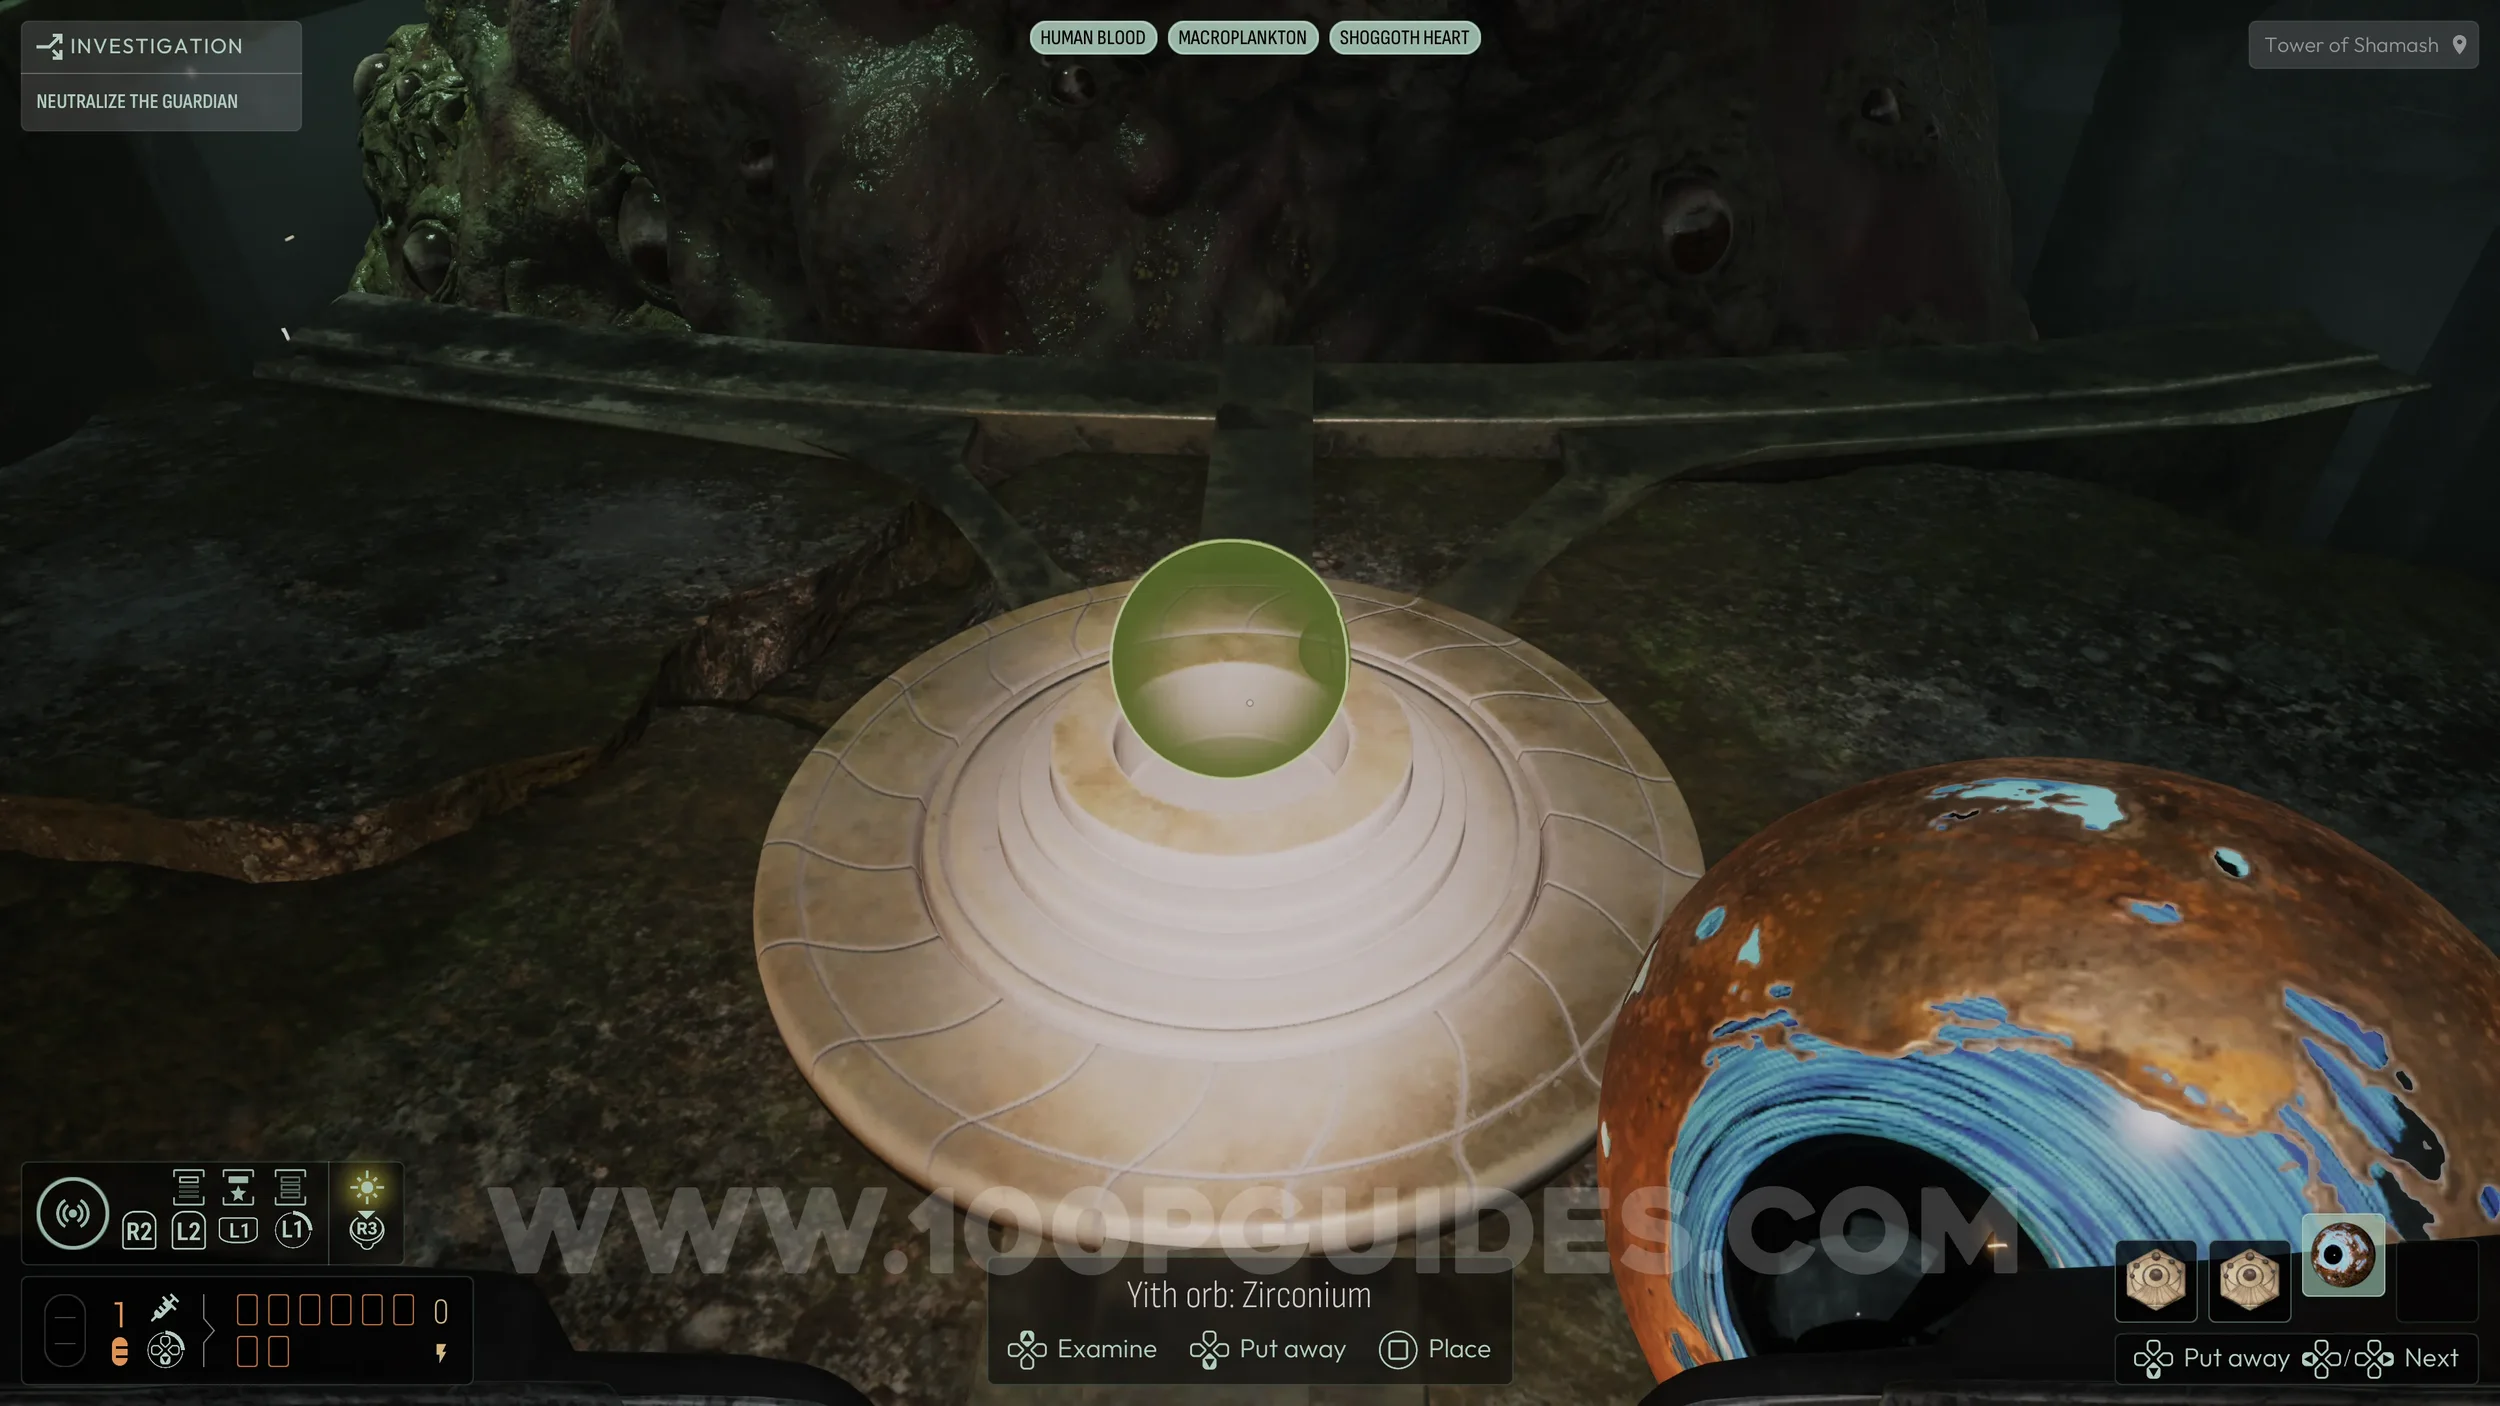
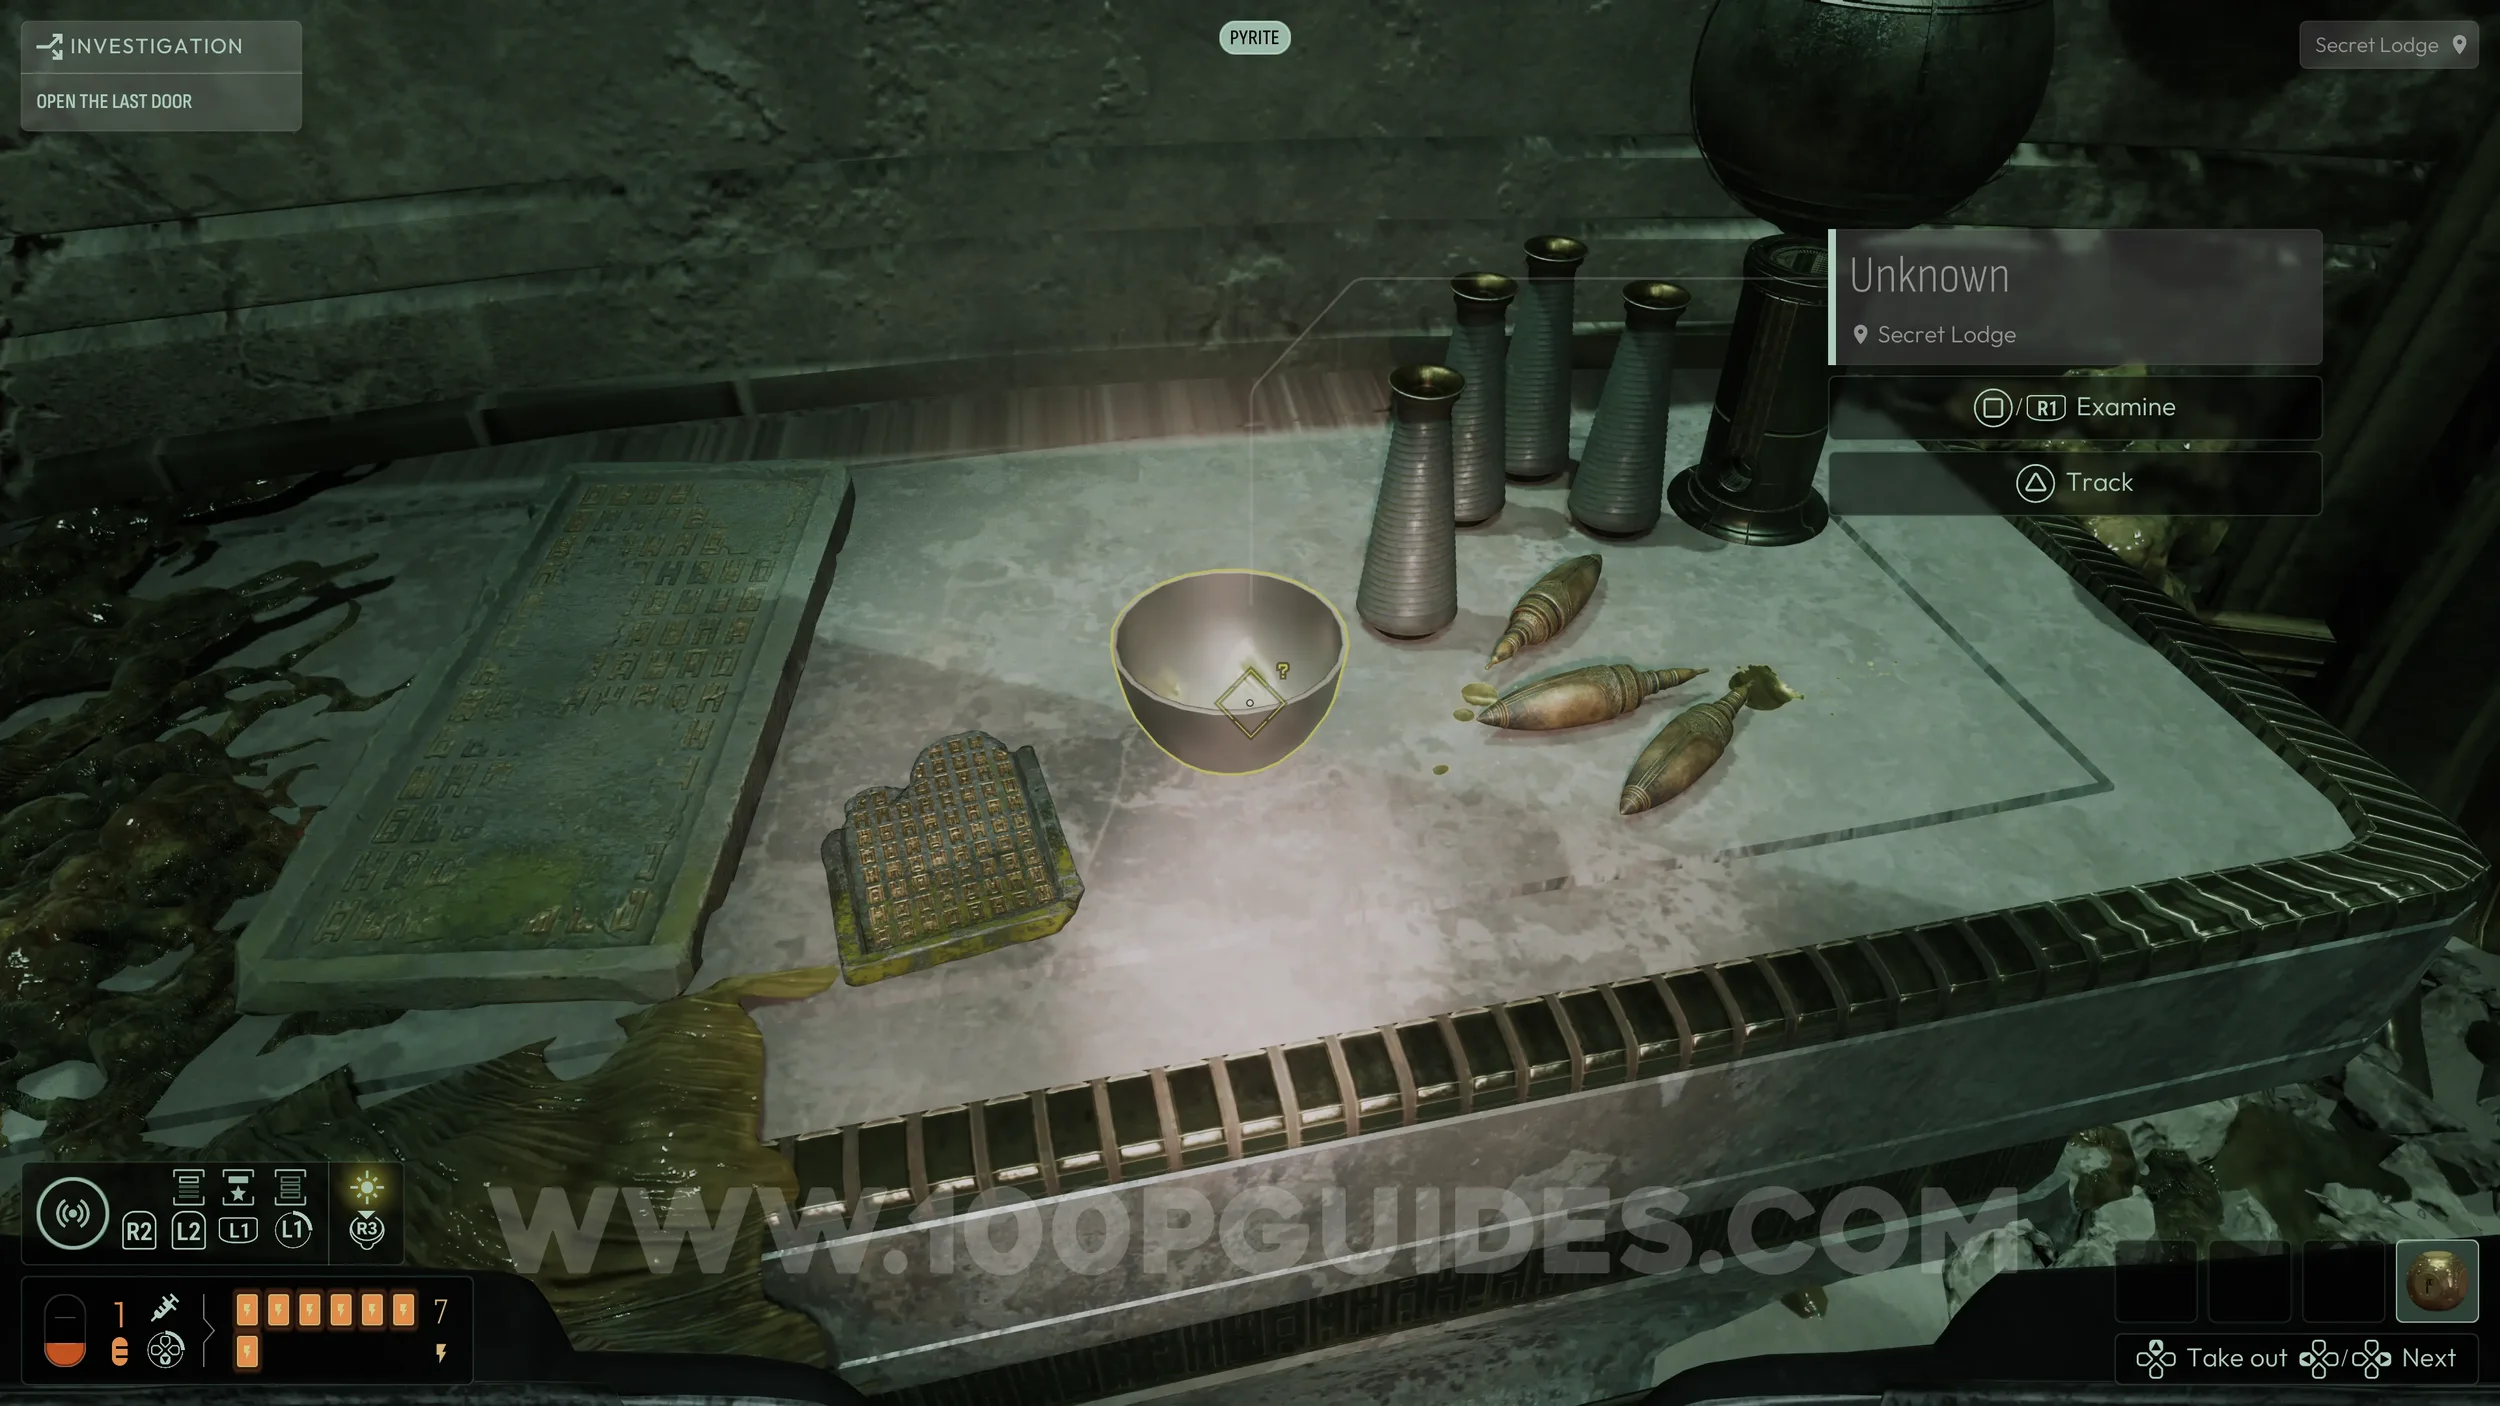
Once you have it, look for a small bowl in the room and remove the metal piece already inside. Place the Zirconium into the bowl, then stand next to it while holding a magnetic medallion and wait a few seconds. If done correctly, it will transform into the Yith Orb.

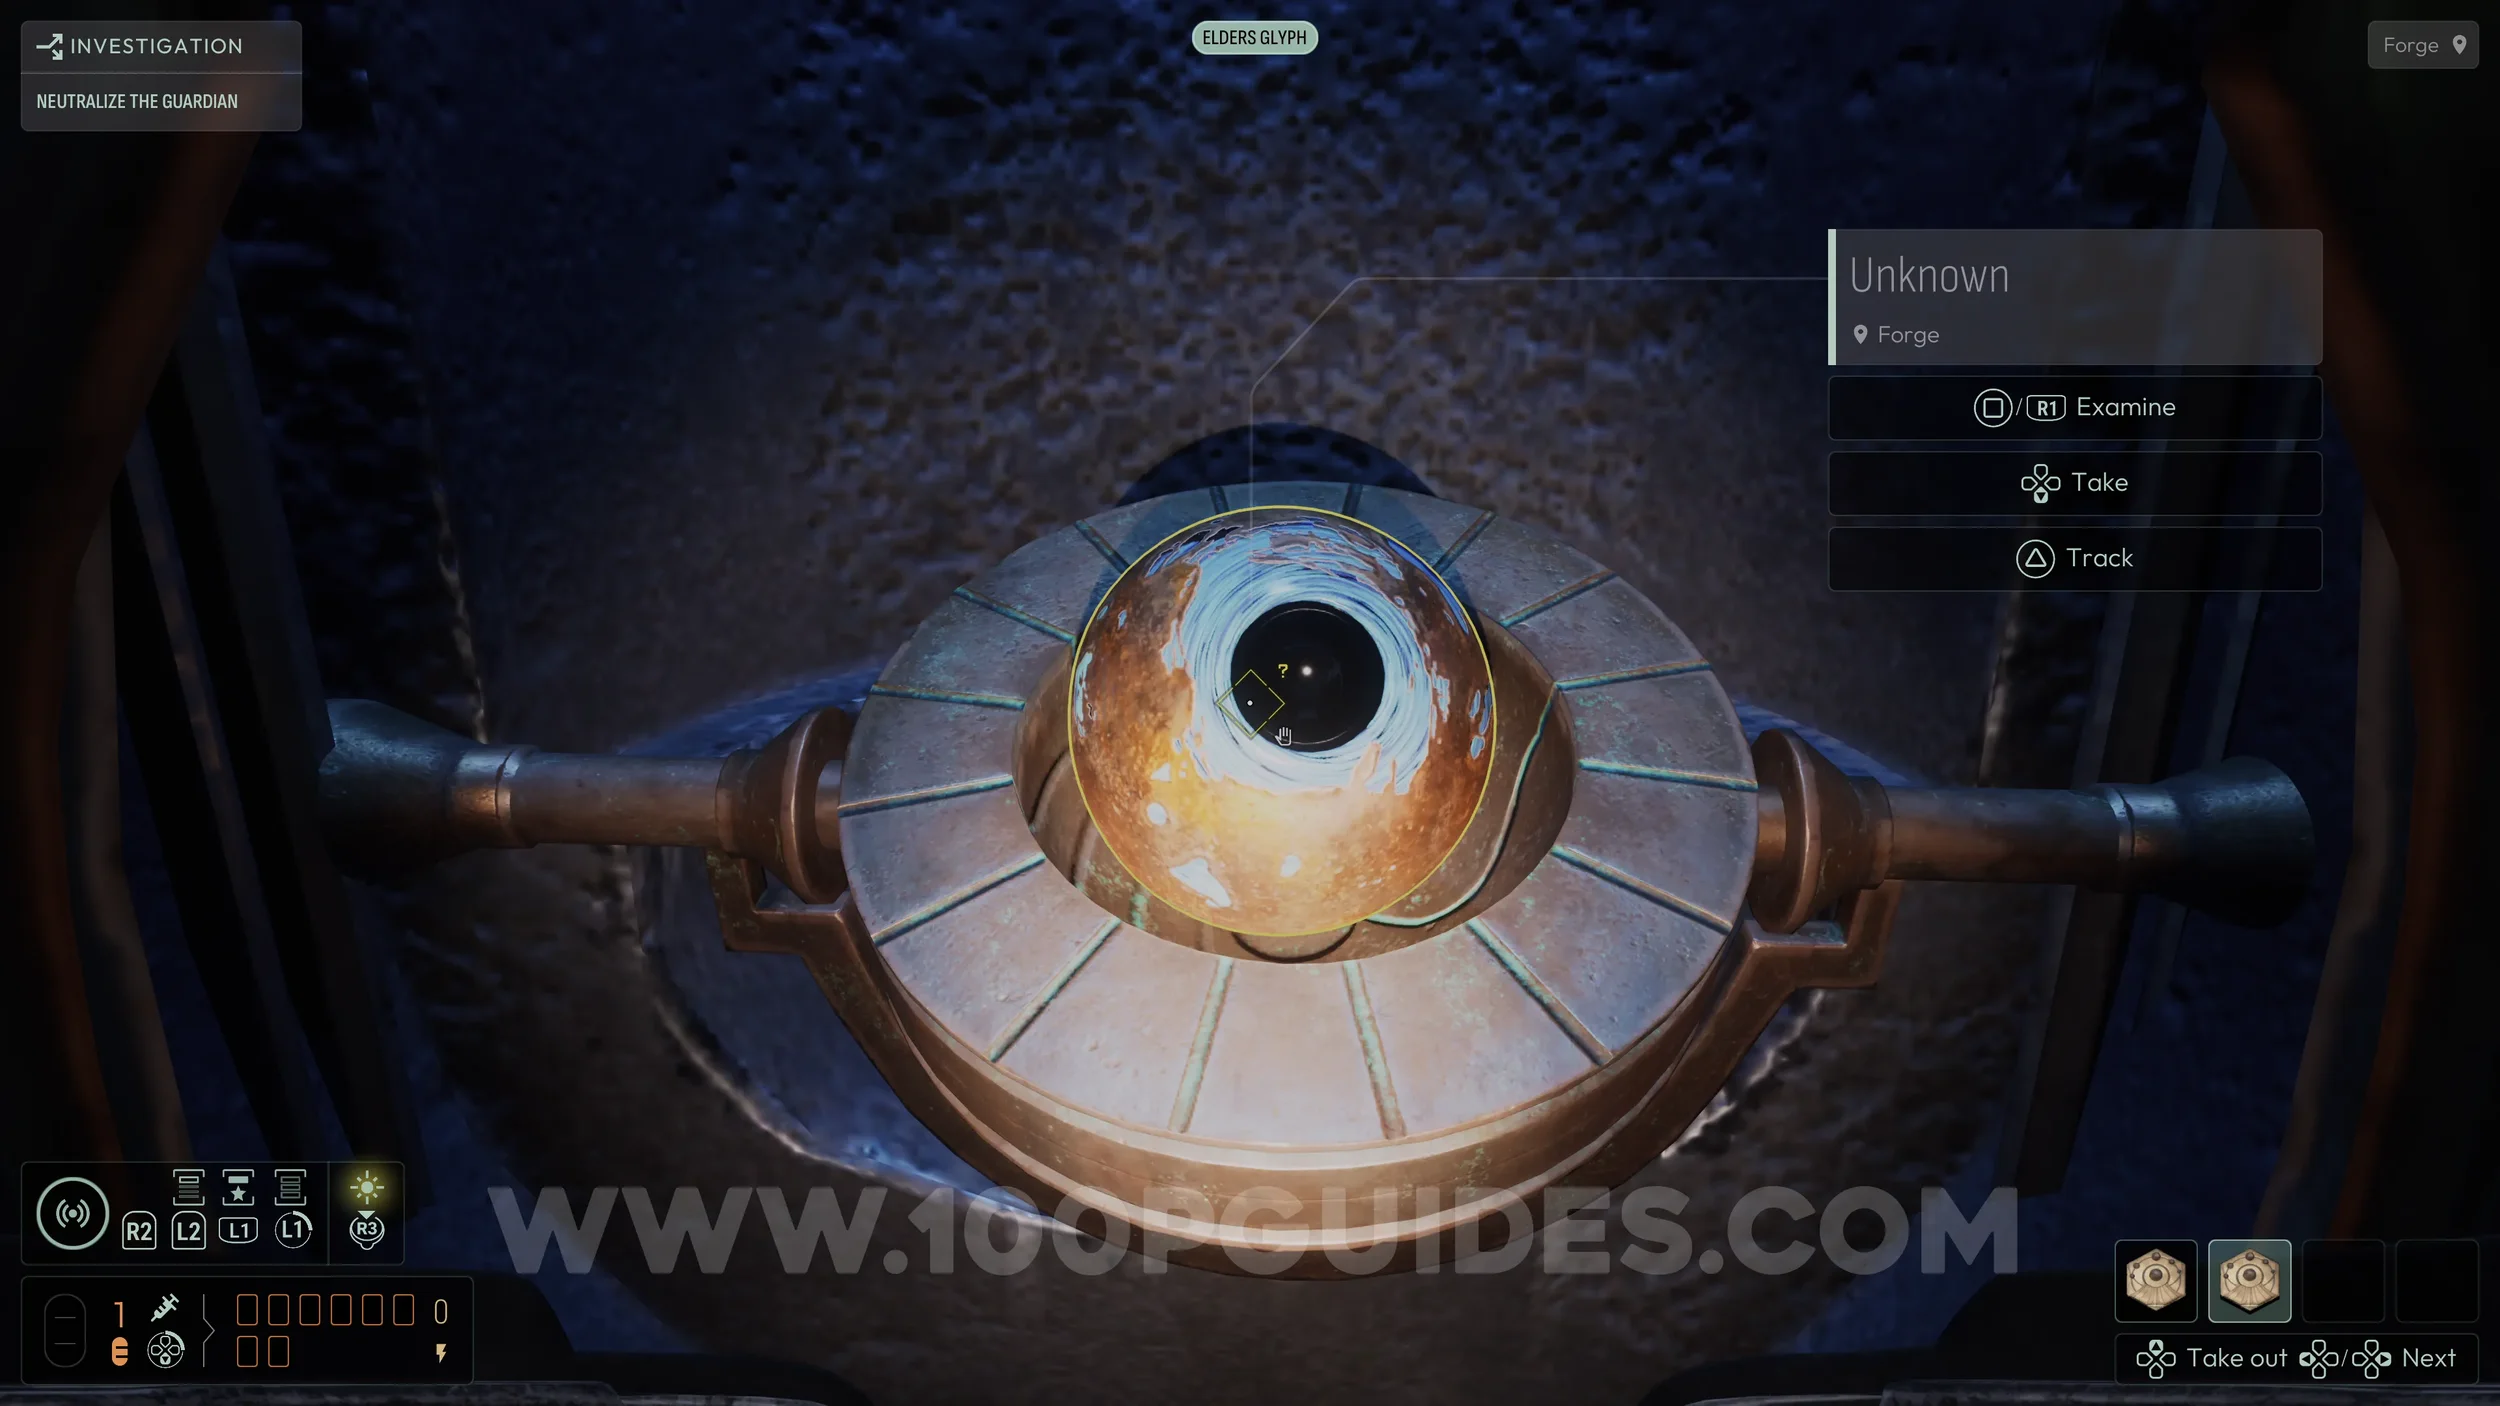
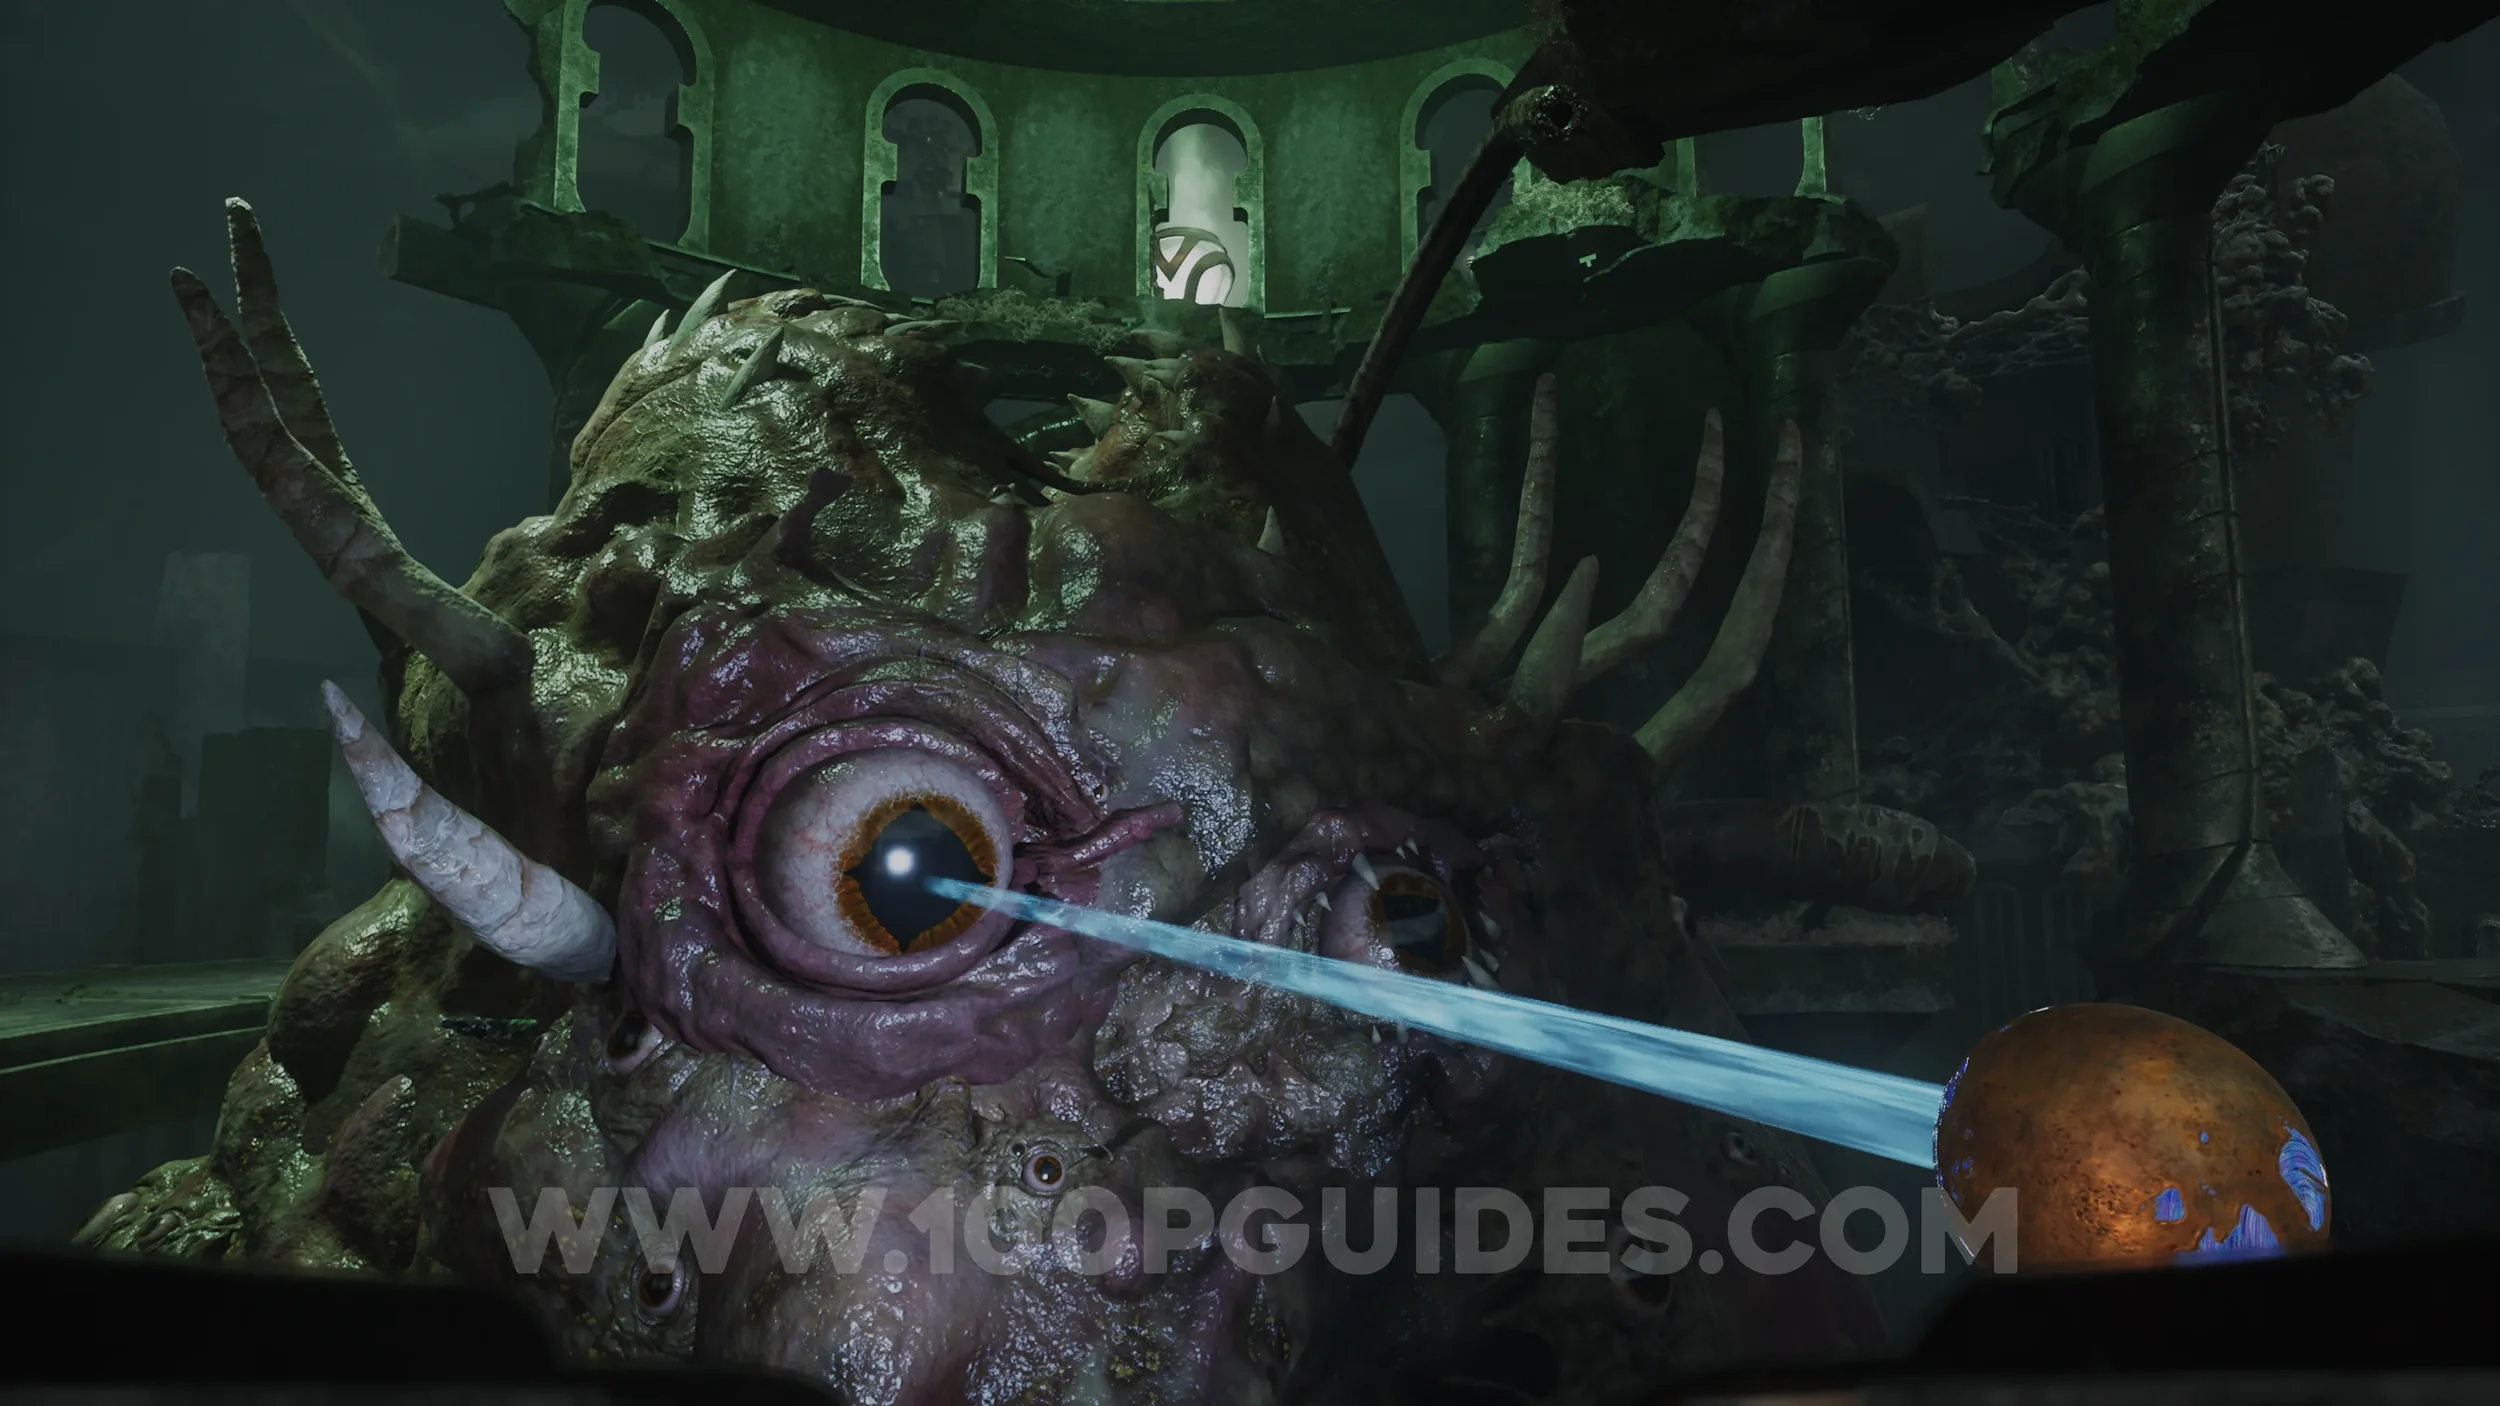
Now return to the upper area with the creature where the cutscene played. Use your sonar to reveal and cross the tentacle beneath the circular stairs. On the other side, place the orb into the slot on the ground.
This will hypnotise the creature and reward you with the His Master’s Voice trophy for completing the investigation with the low corruption outcome.
Finally, head up the circular stairs and follow the invisible tentacles to the top. There, interact with the star to end the chapter.
Chapter 6
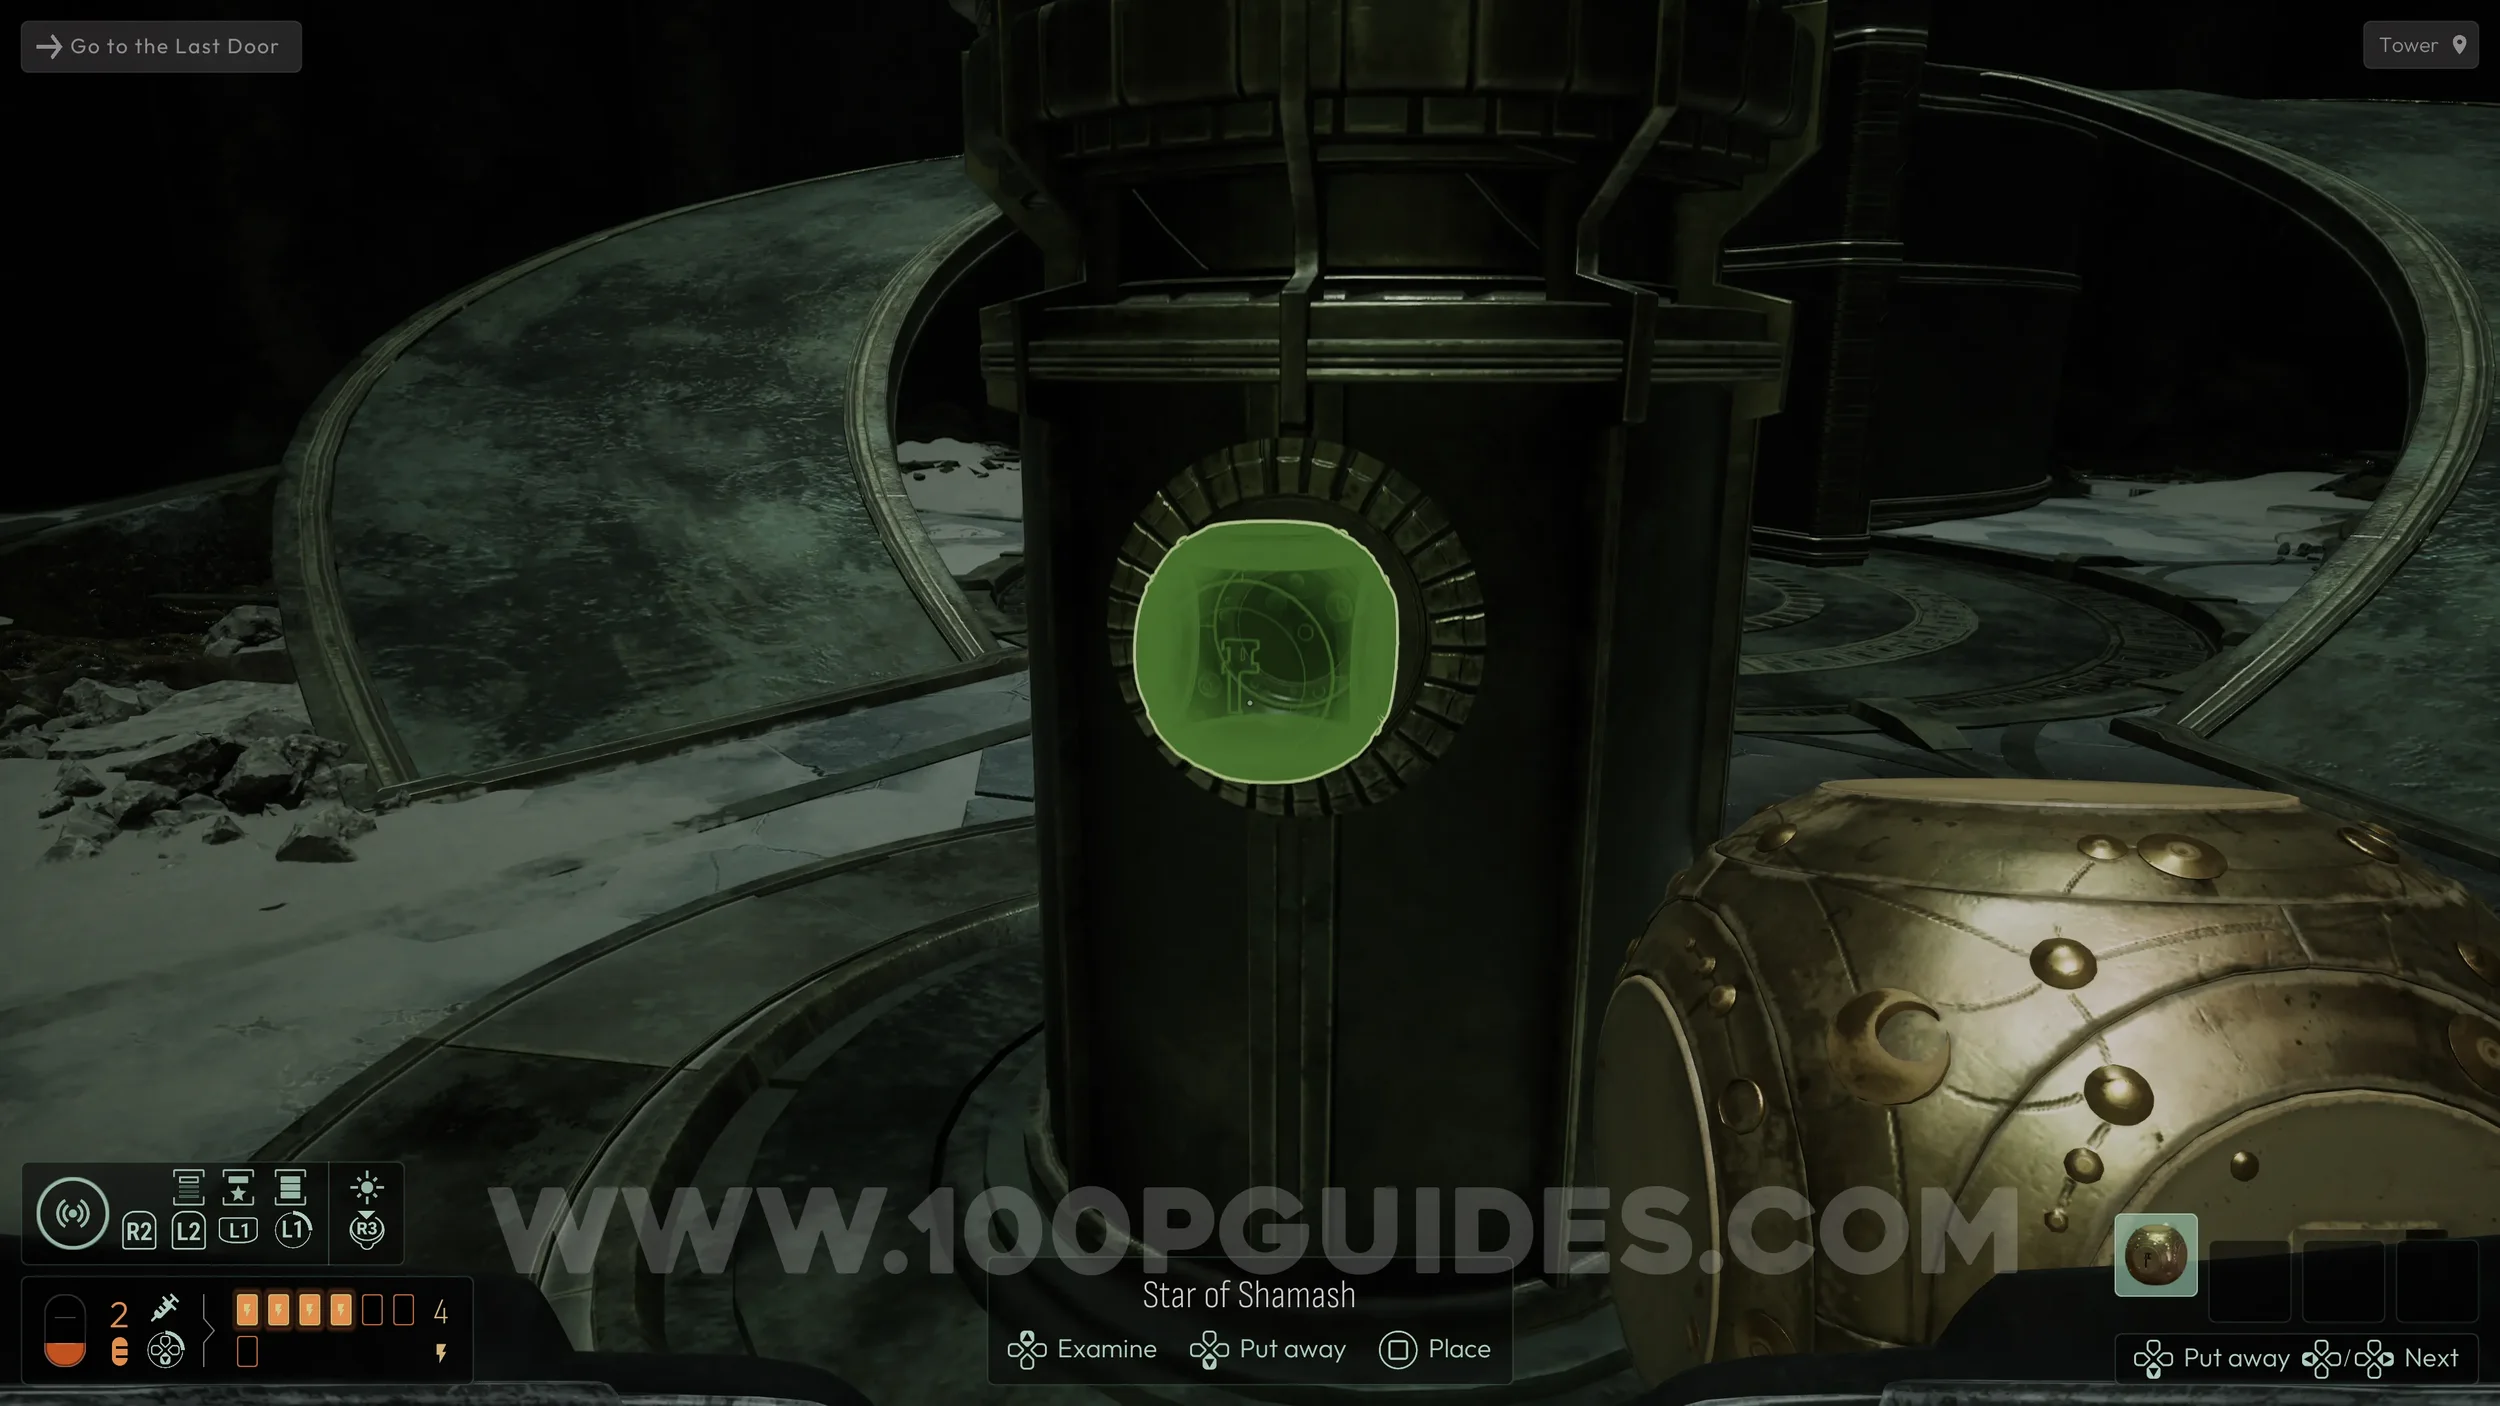
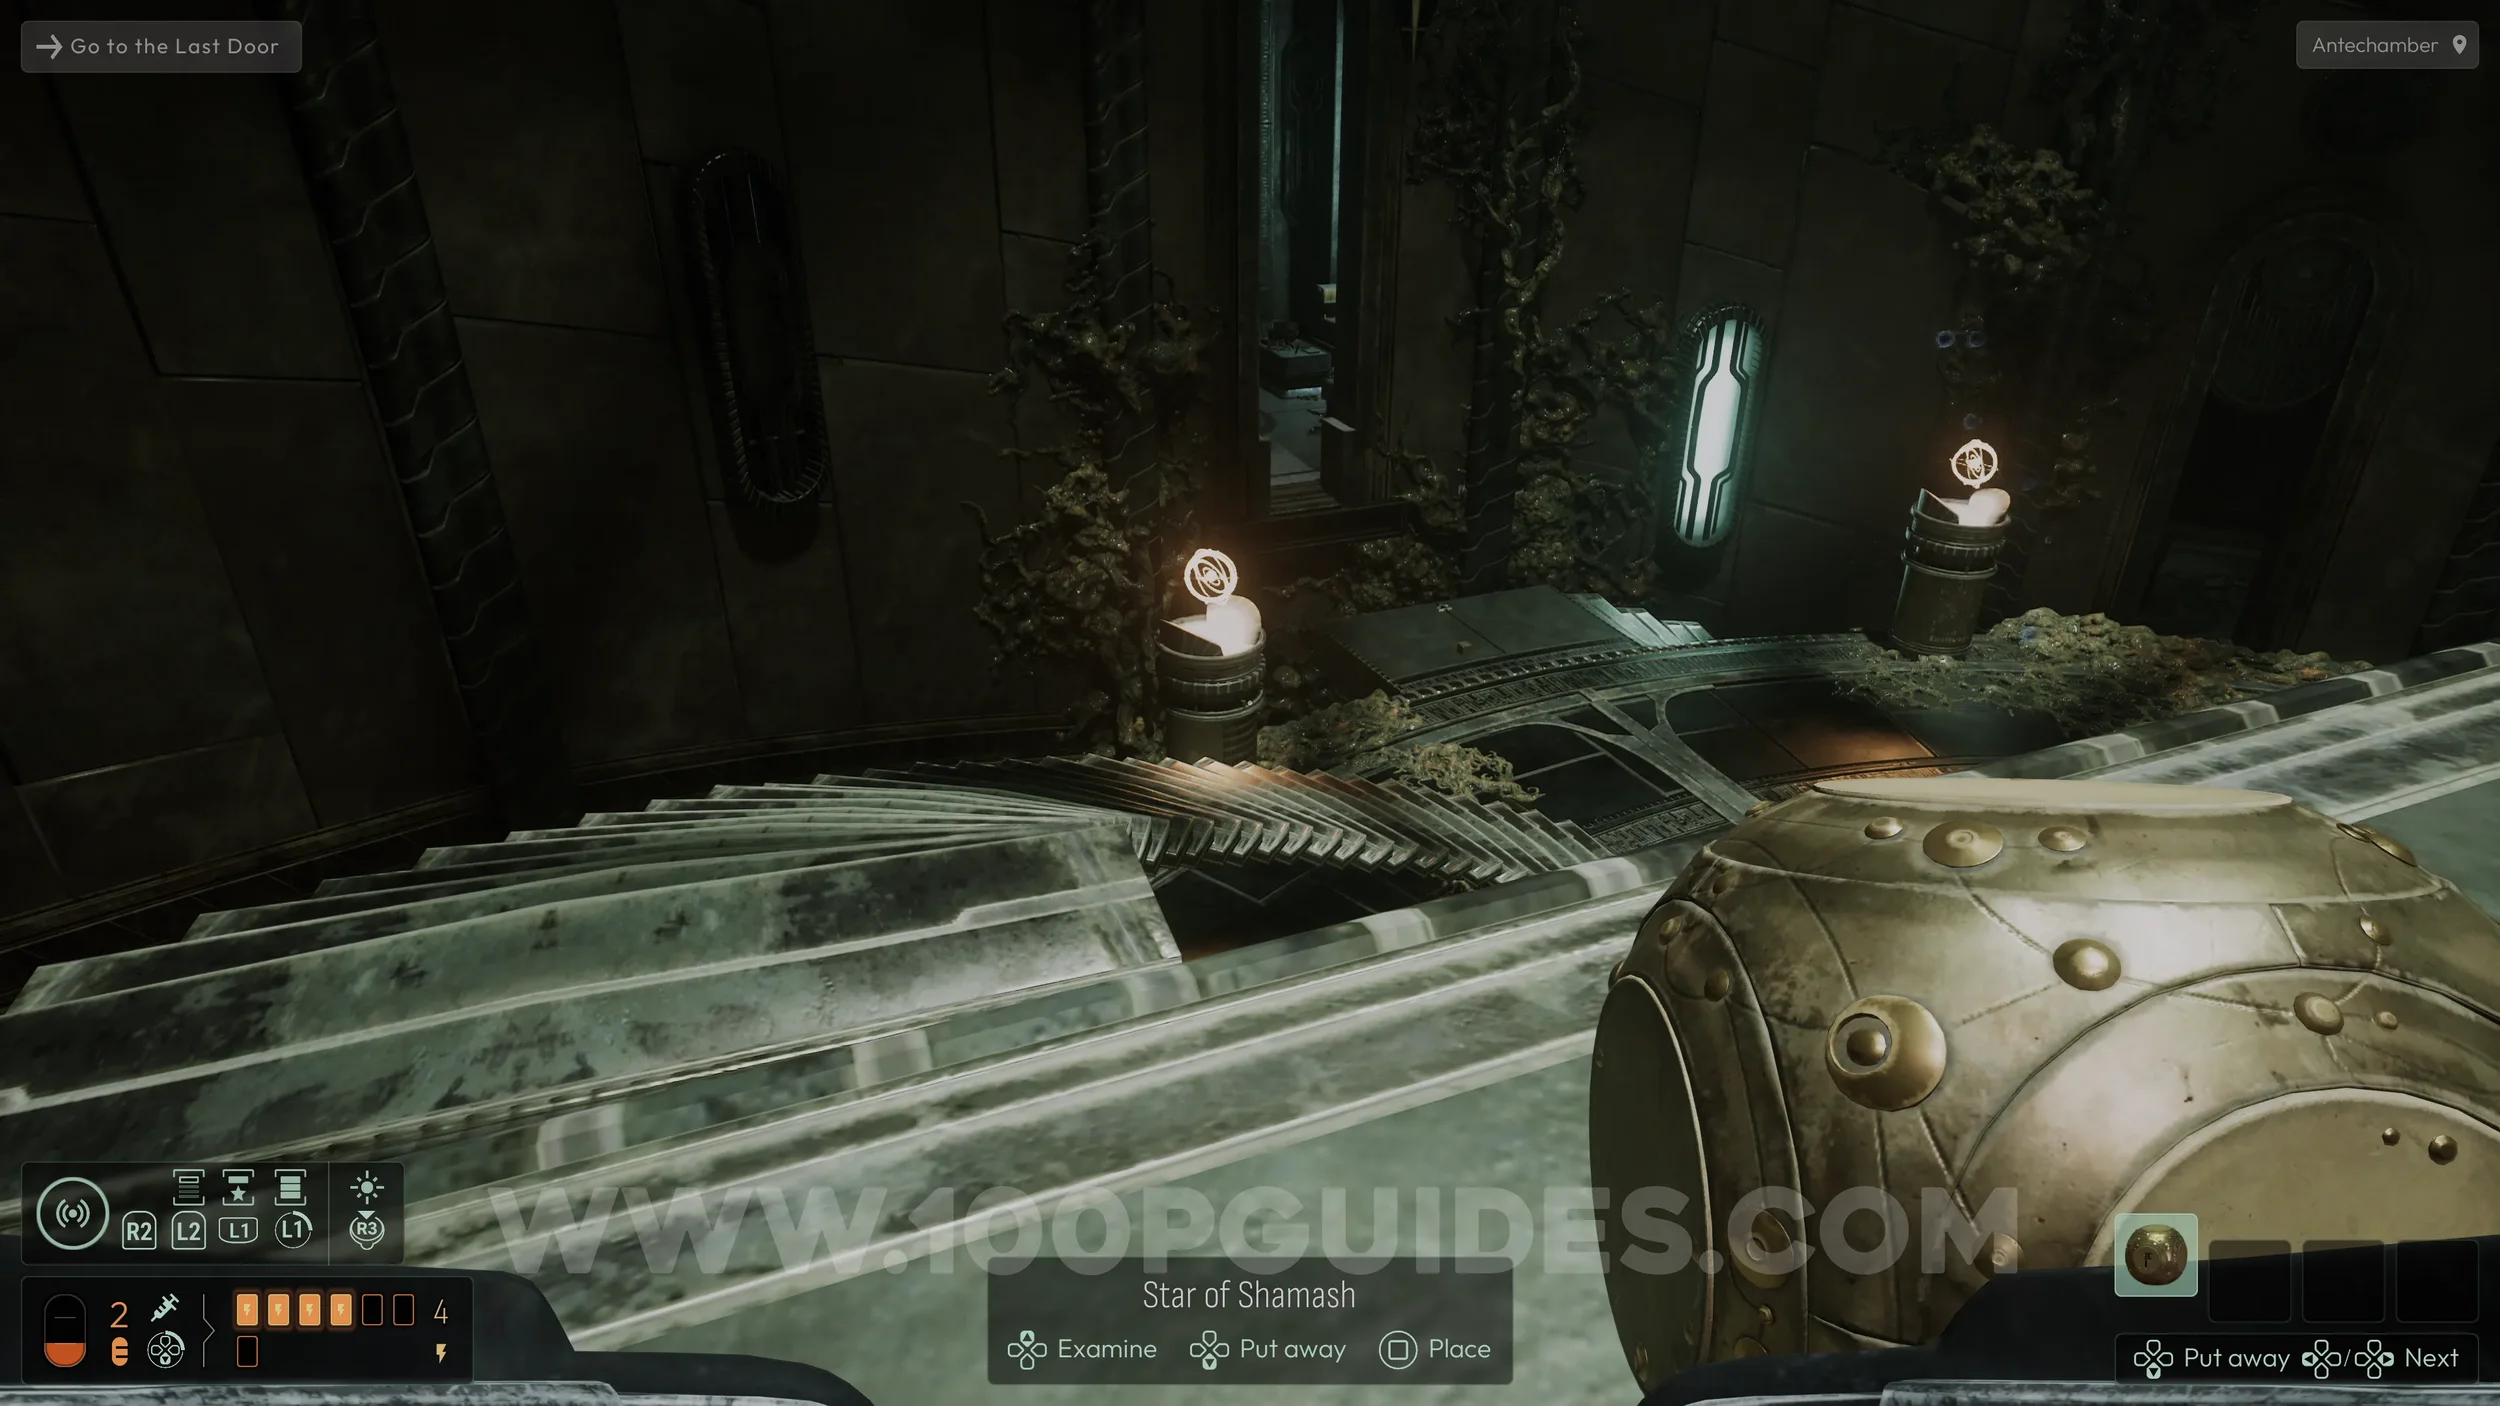
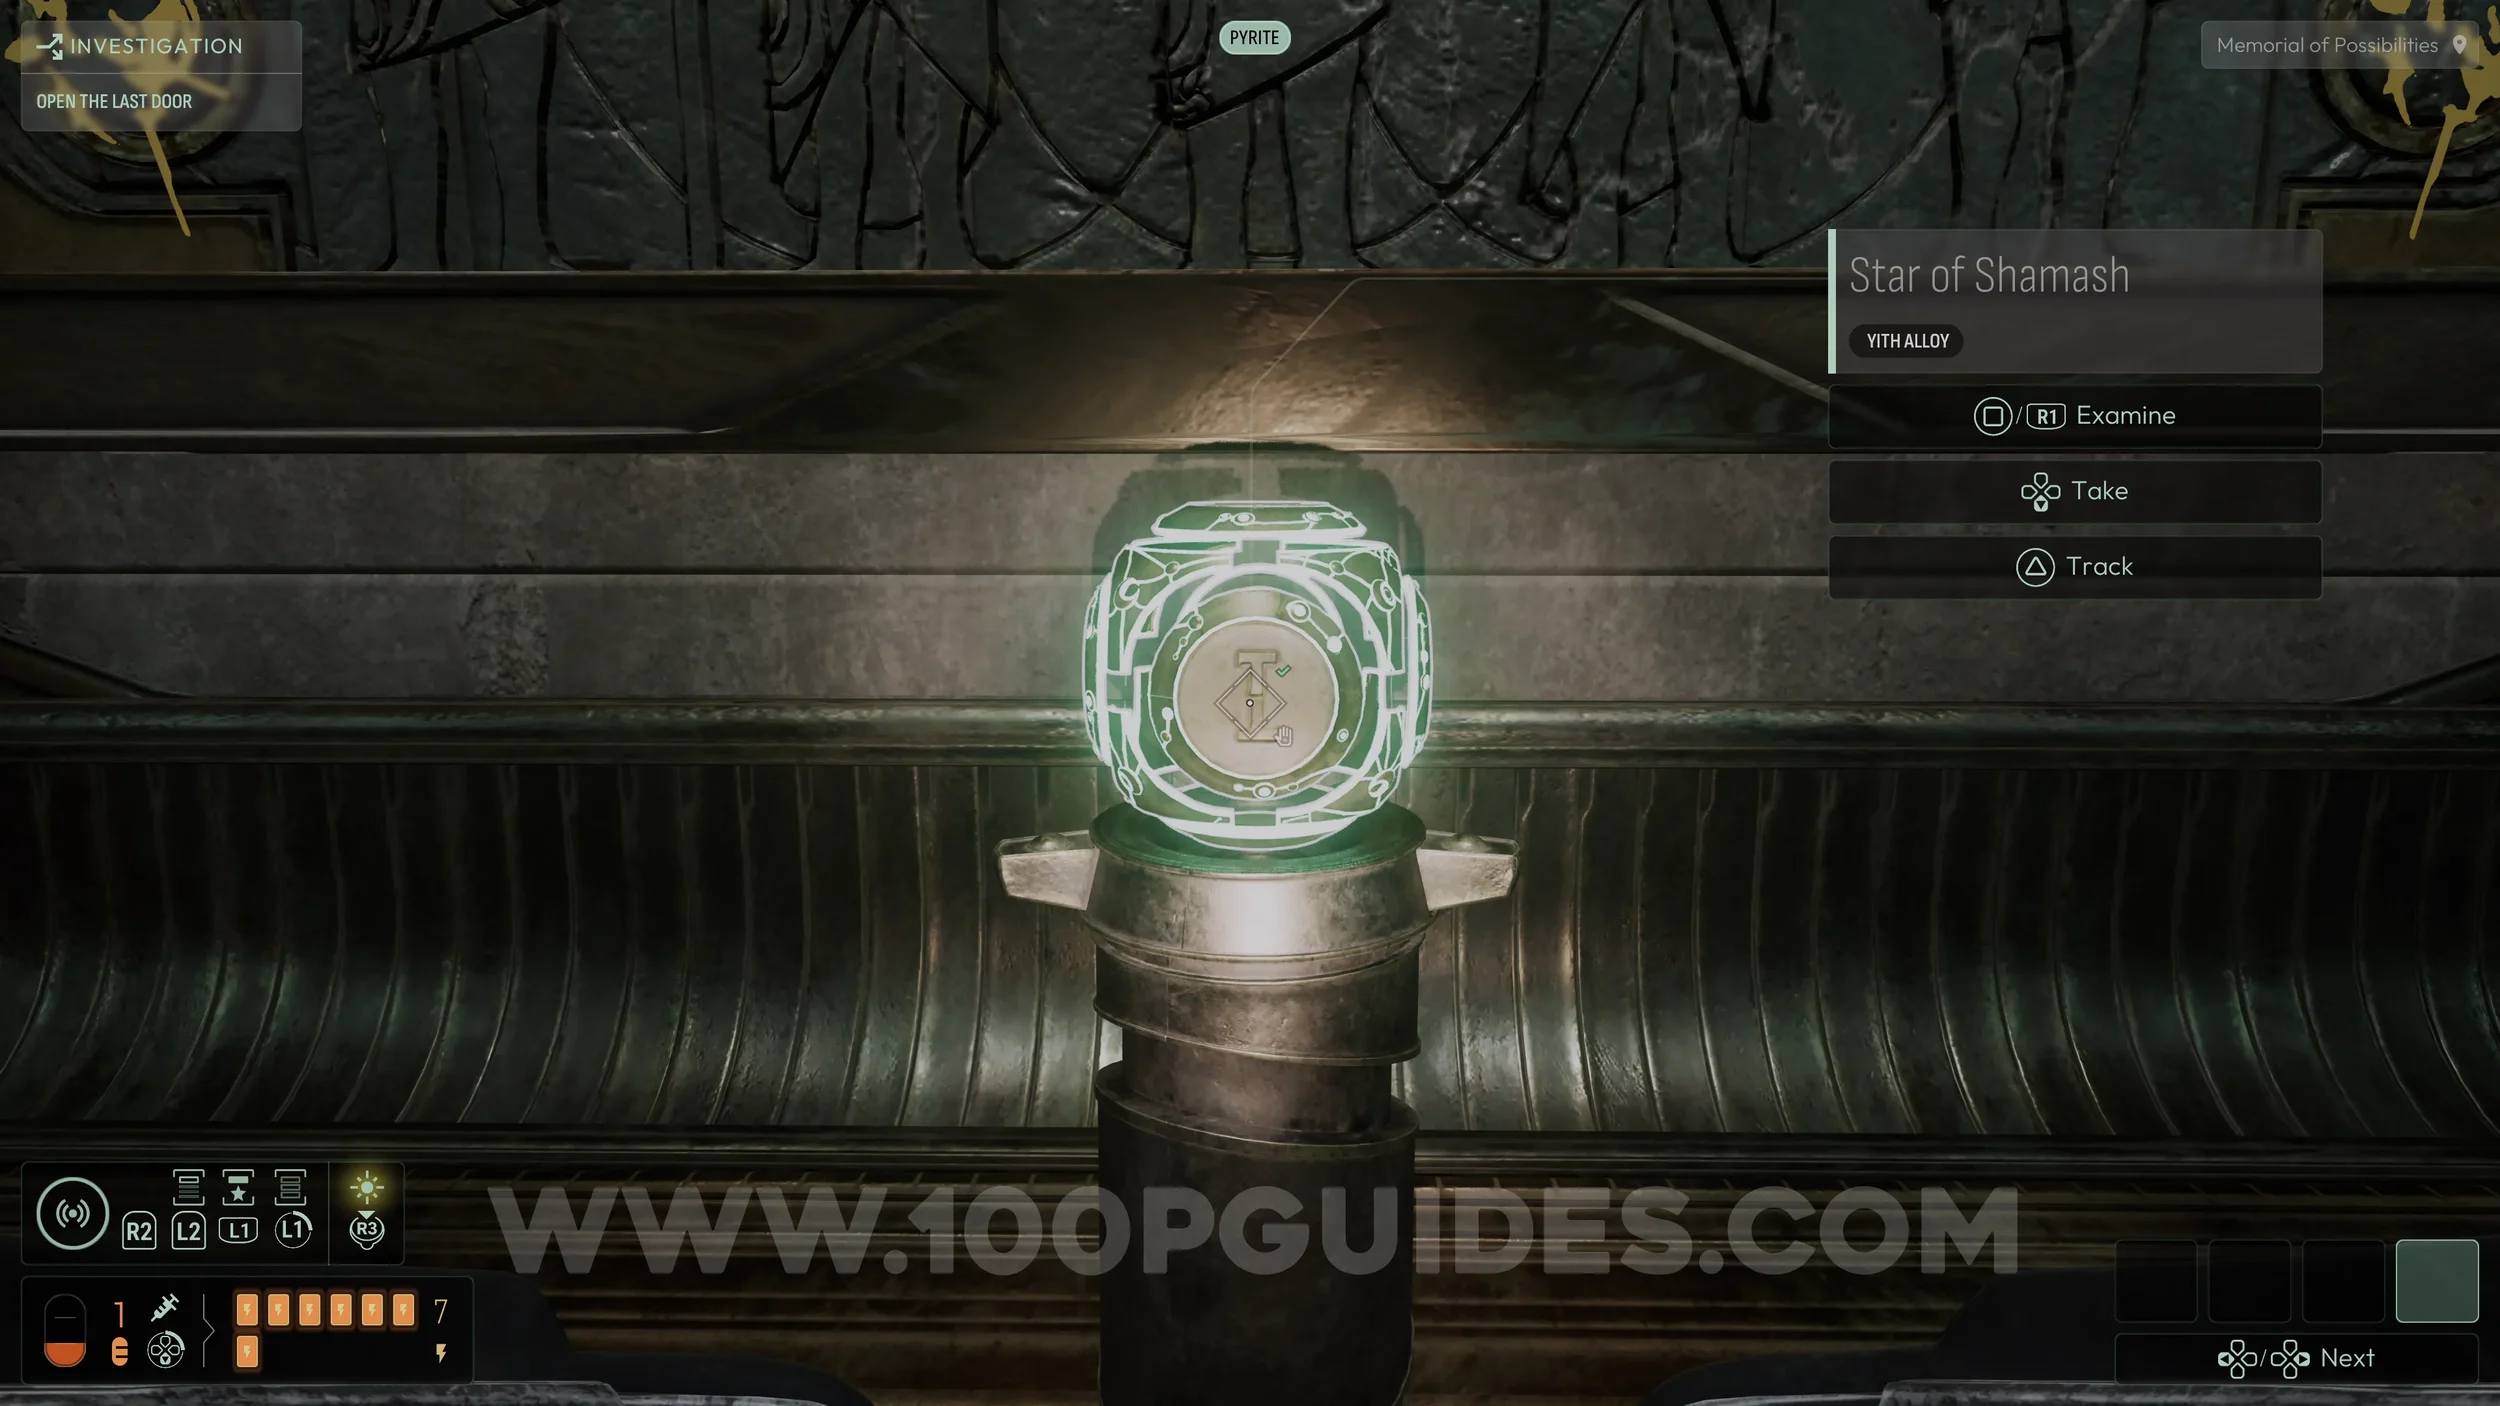
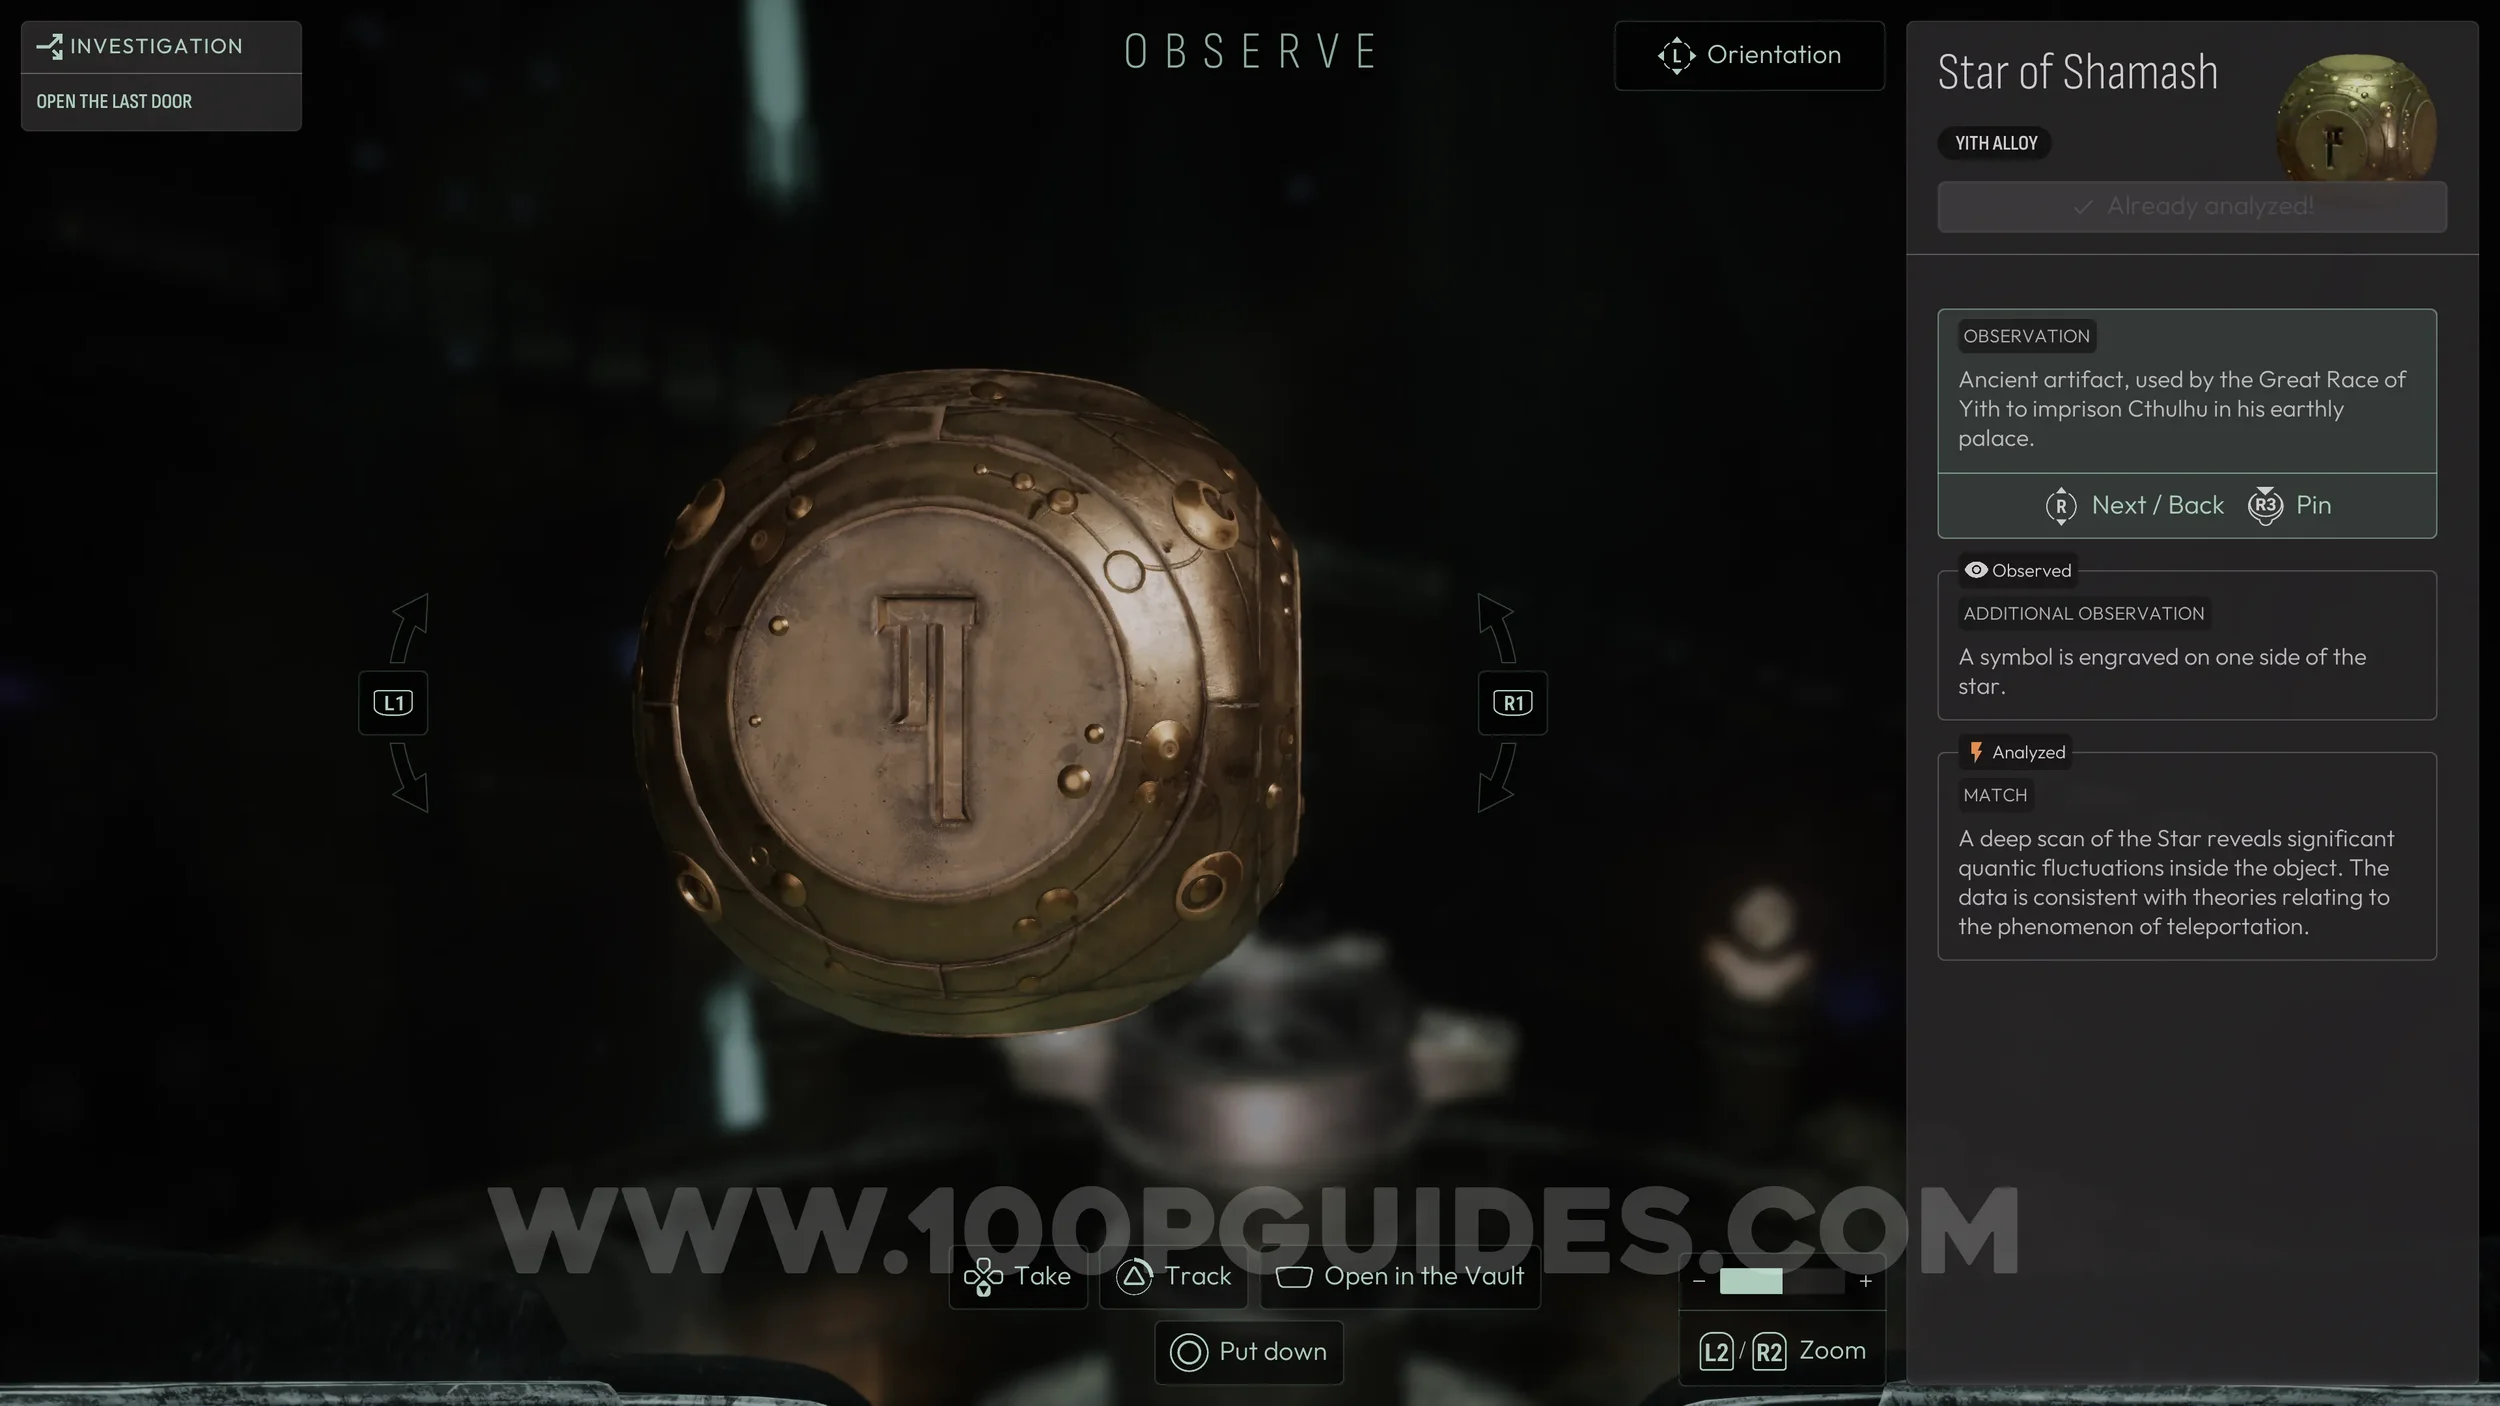
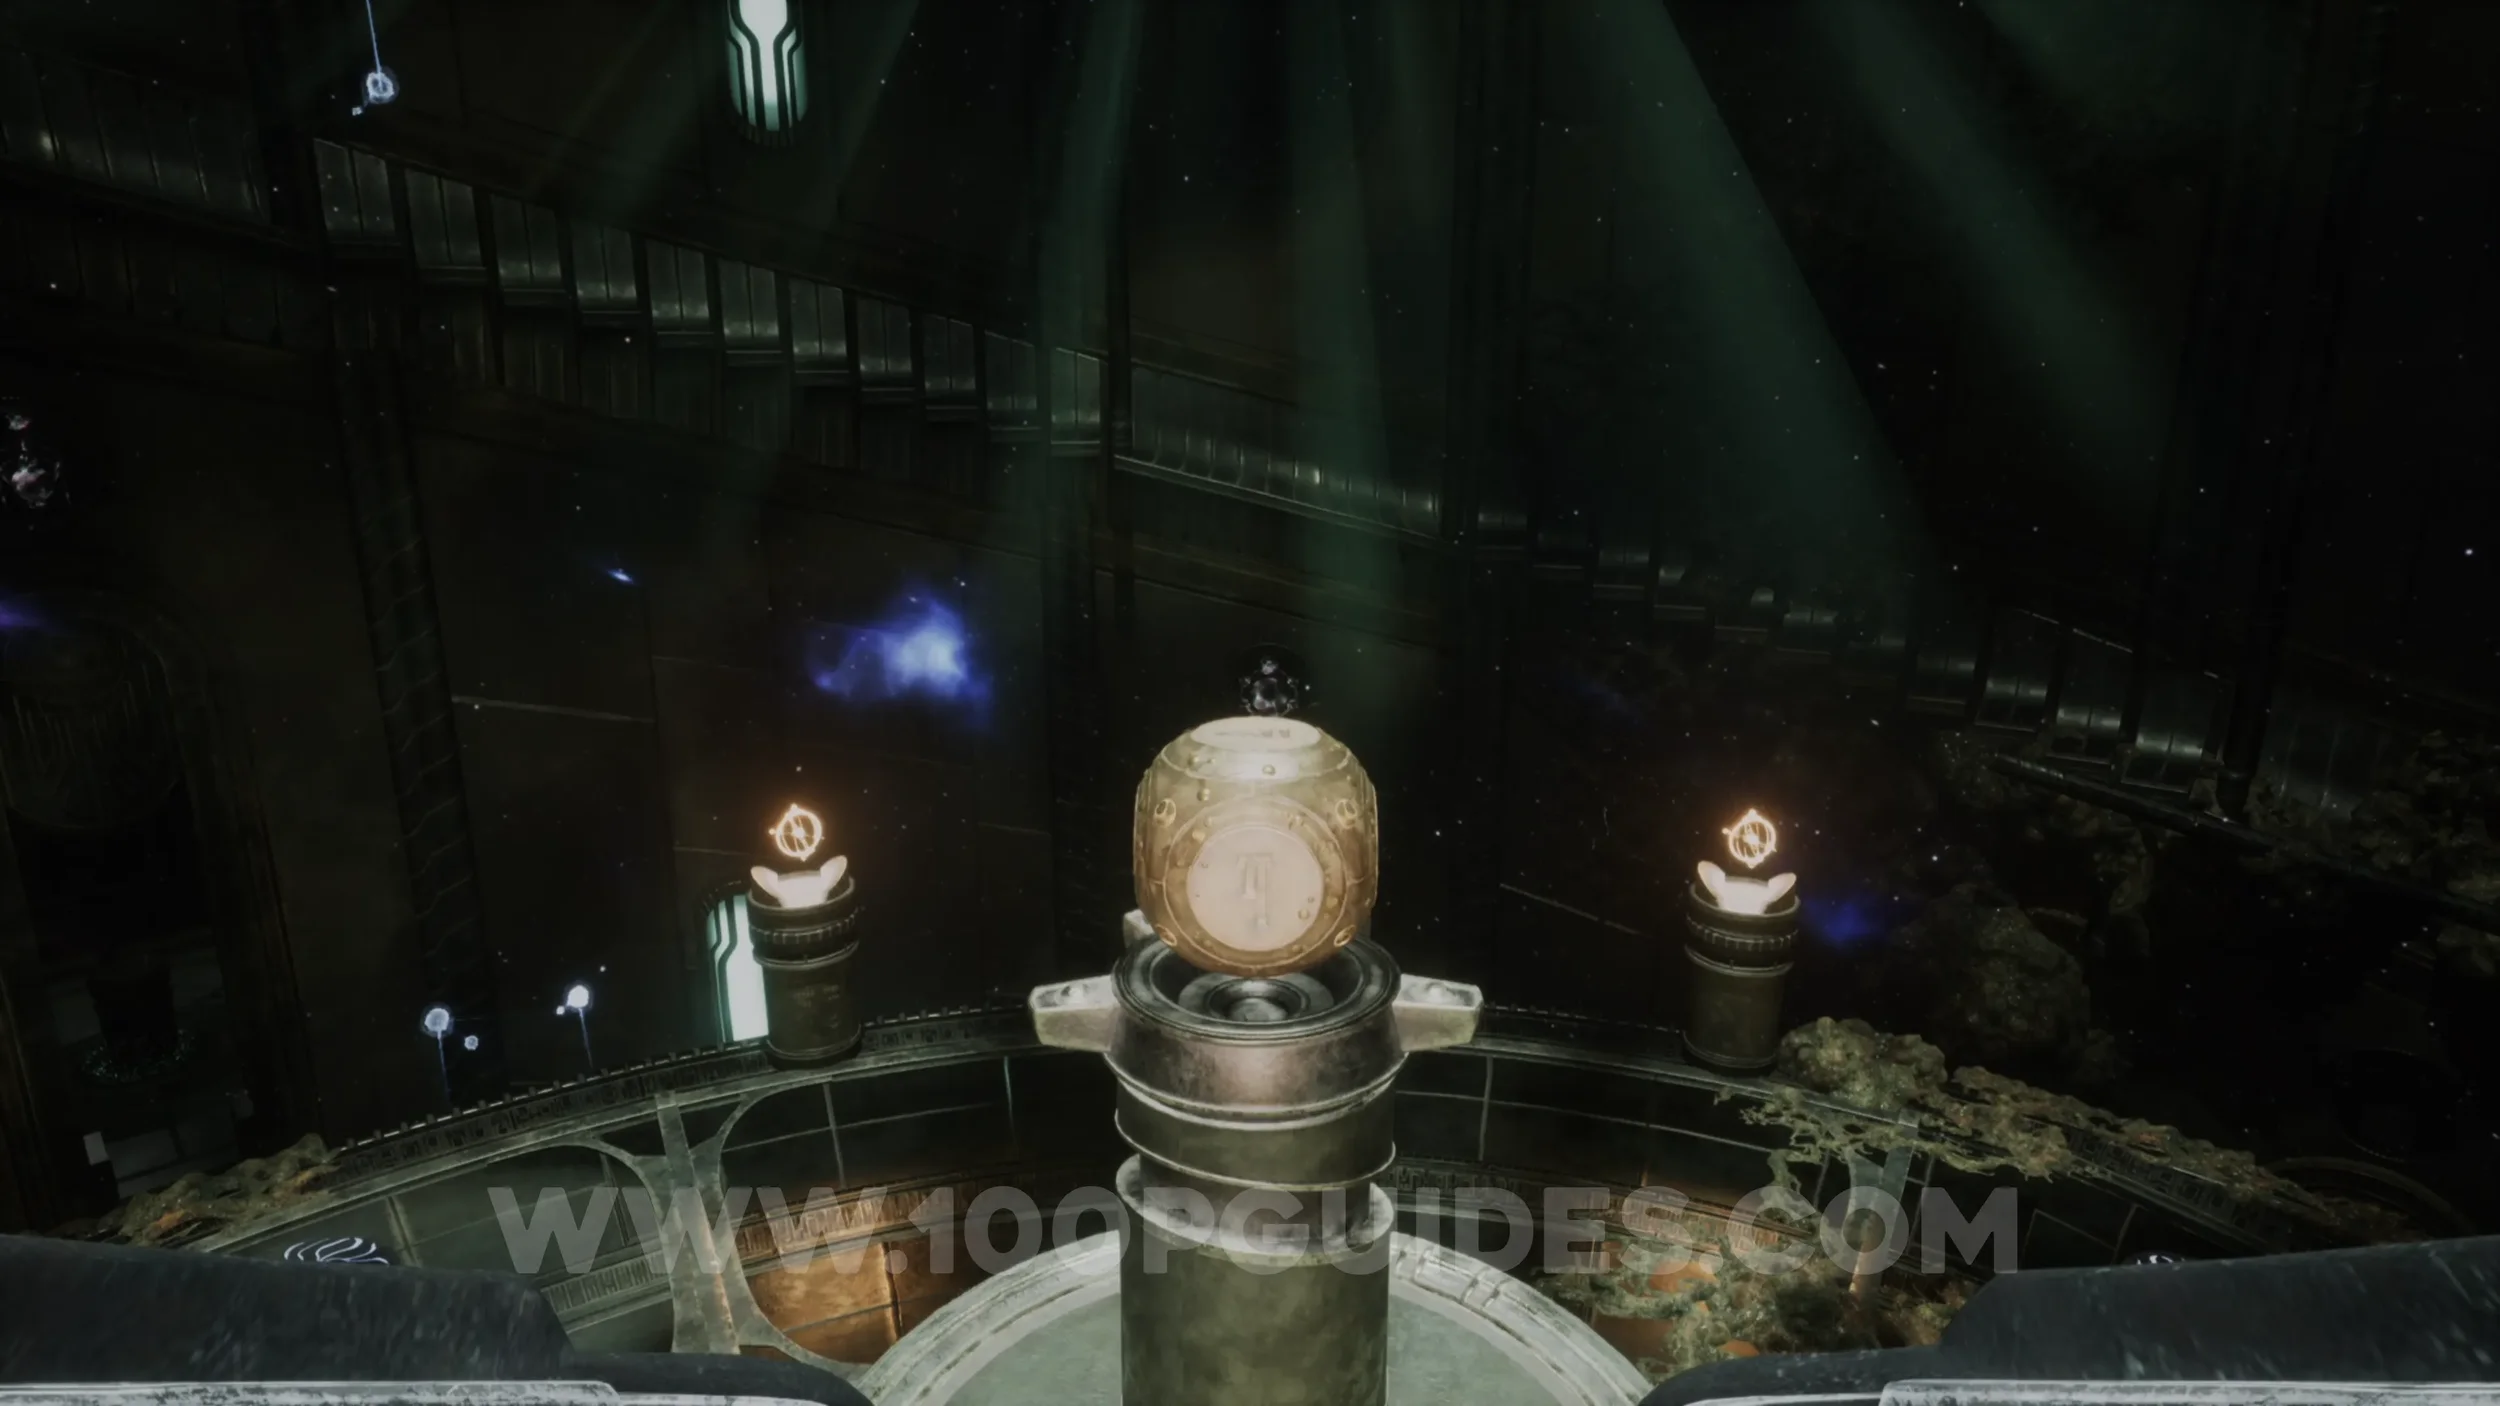
At the start of the chapter, go down the stairs to find a door and a pedestal with a slot. To open the door, you need to insert the star, the device you start the chapter holding, into the pedestal. Before doing so, rotate it so the symbol is aligned with the slot.
To rotate it, press up on the D pad while holding it, then adjust its position until the symbol lines up. Insert it into the pedestal and it will glow. Remove it afterwards to open the door.
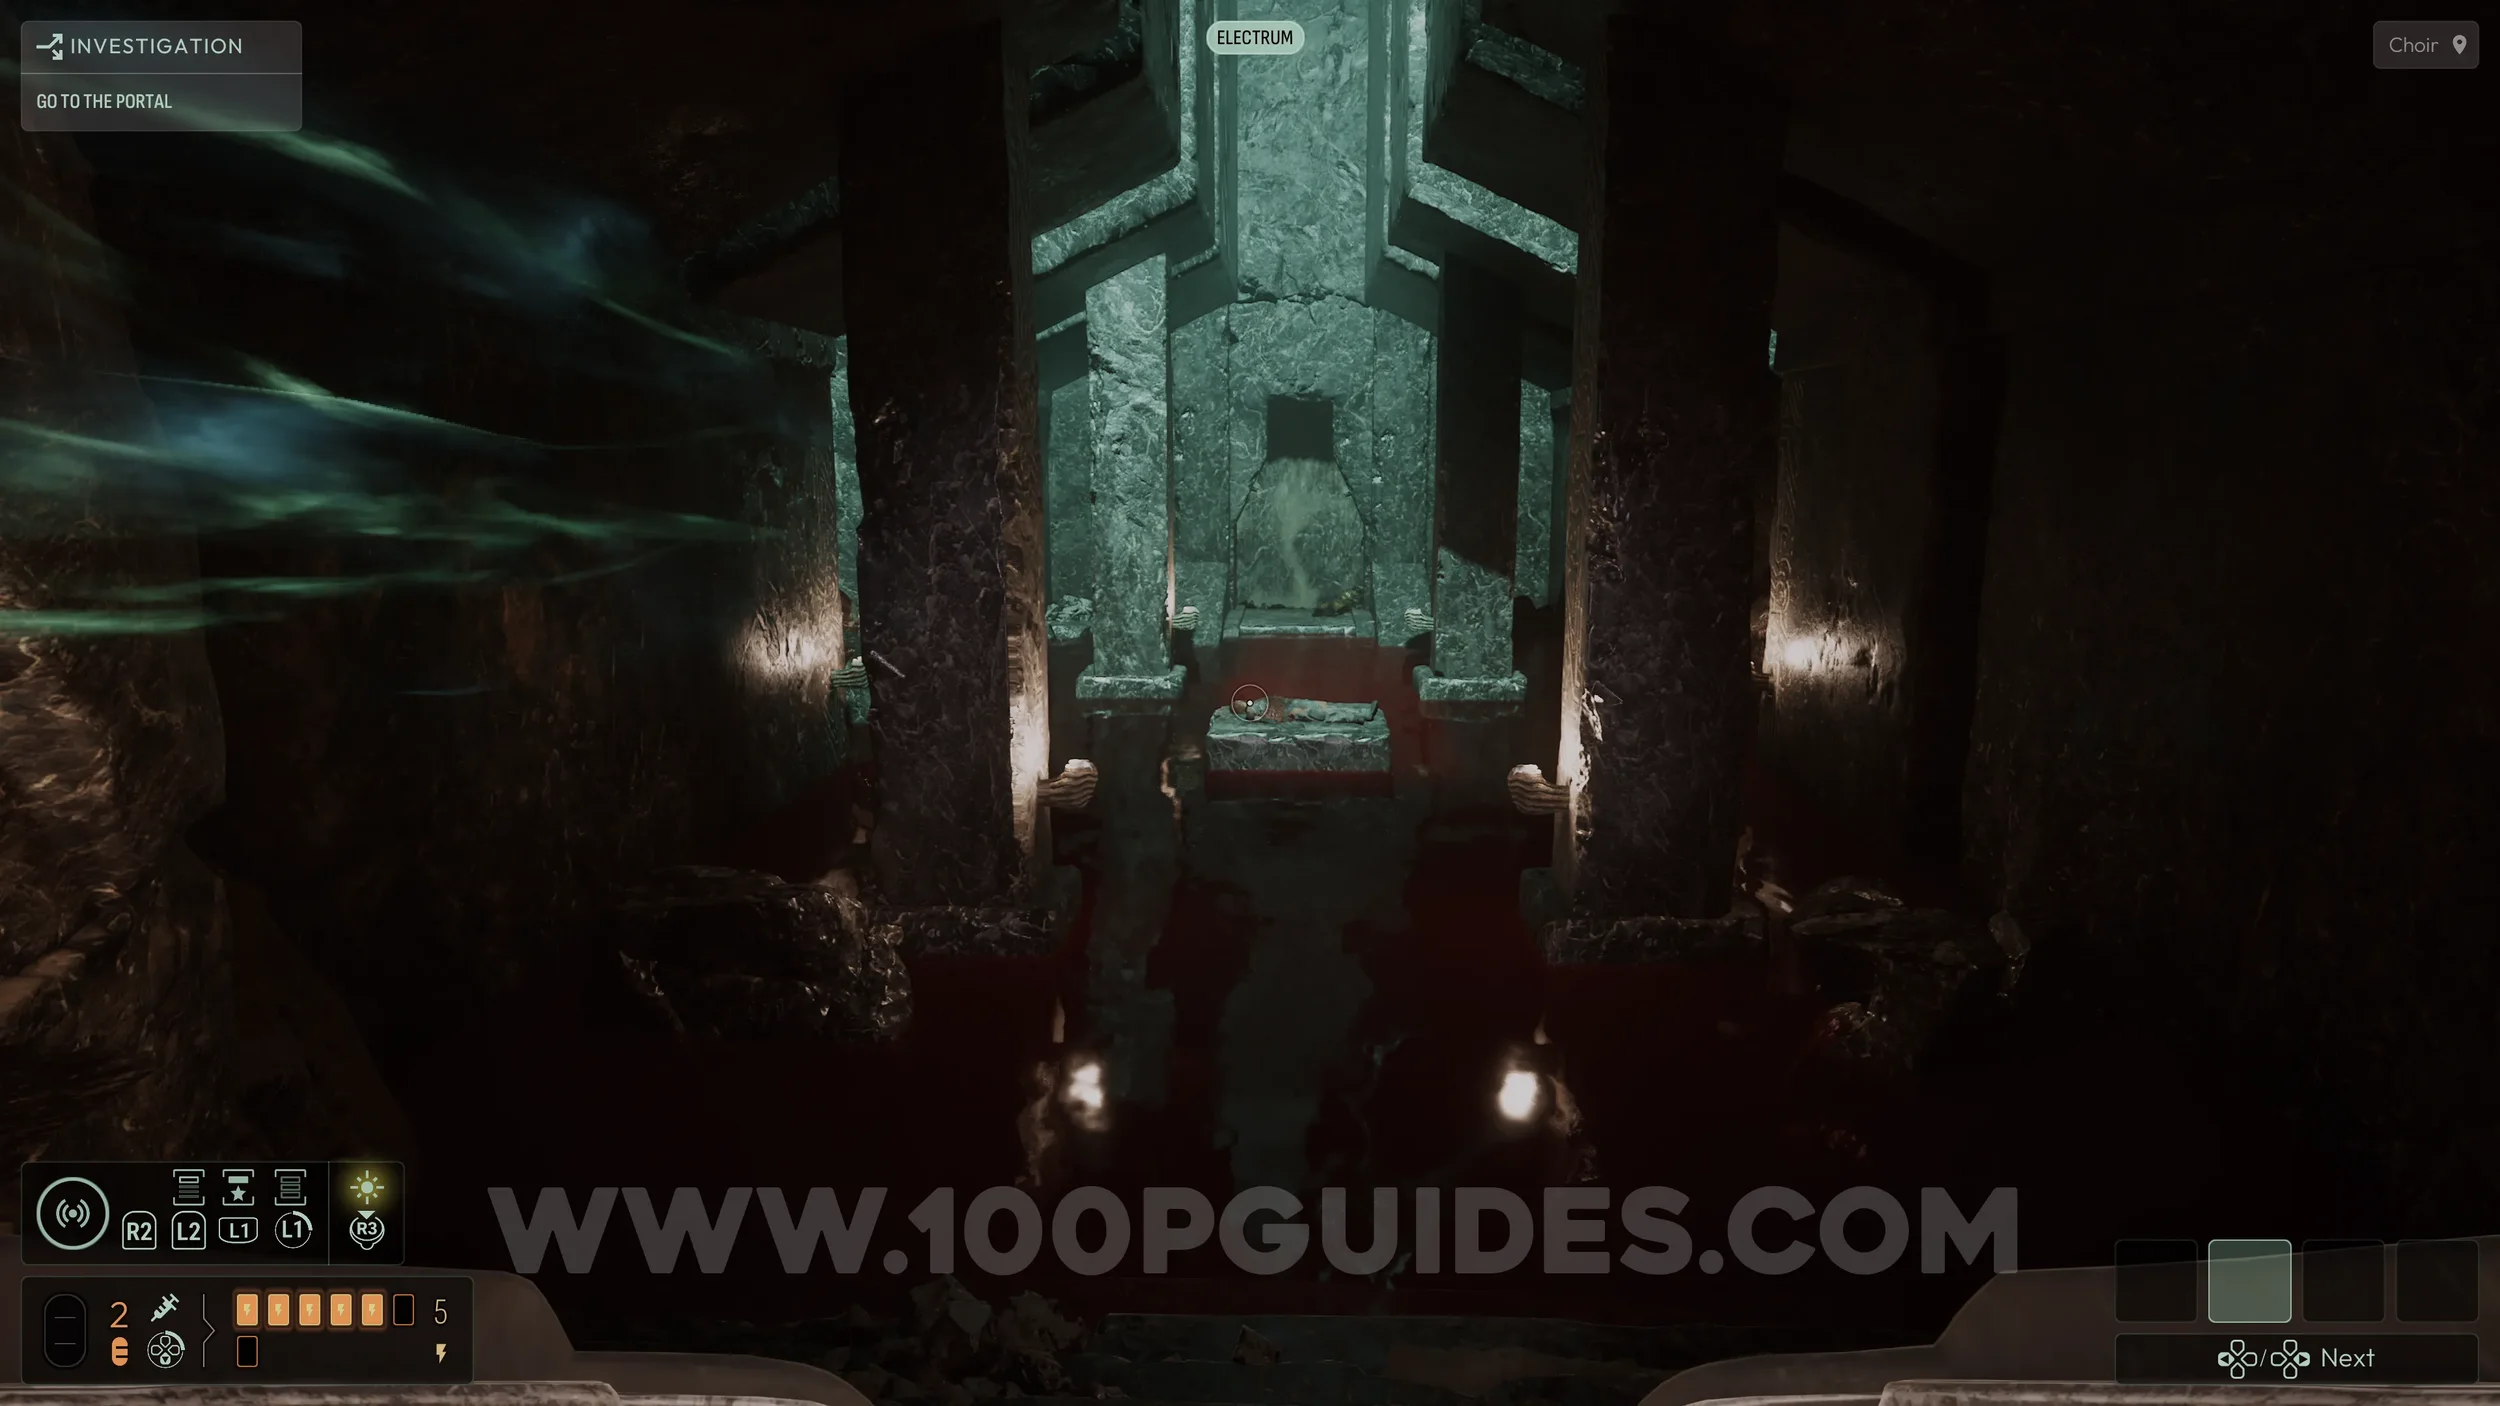
After opening the door, continue along the only available path until you reach a large circular room, where the chapter title card will appear.
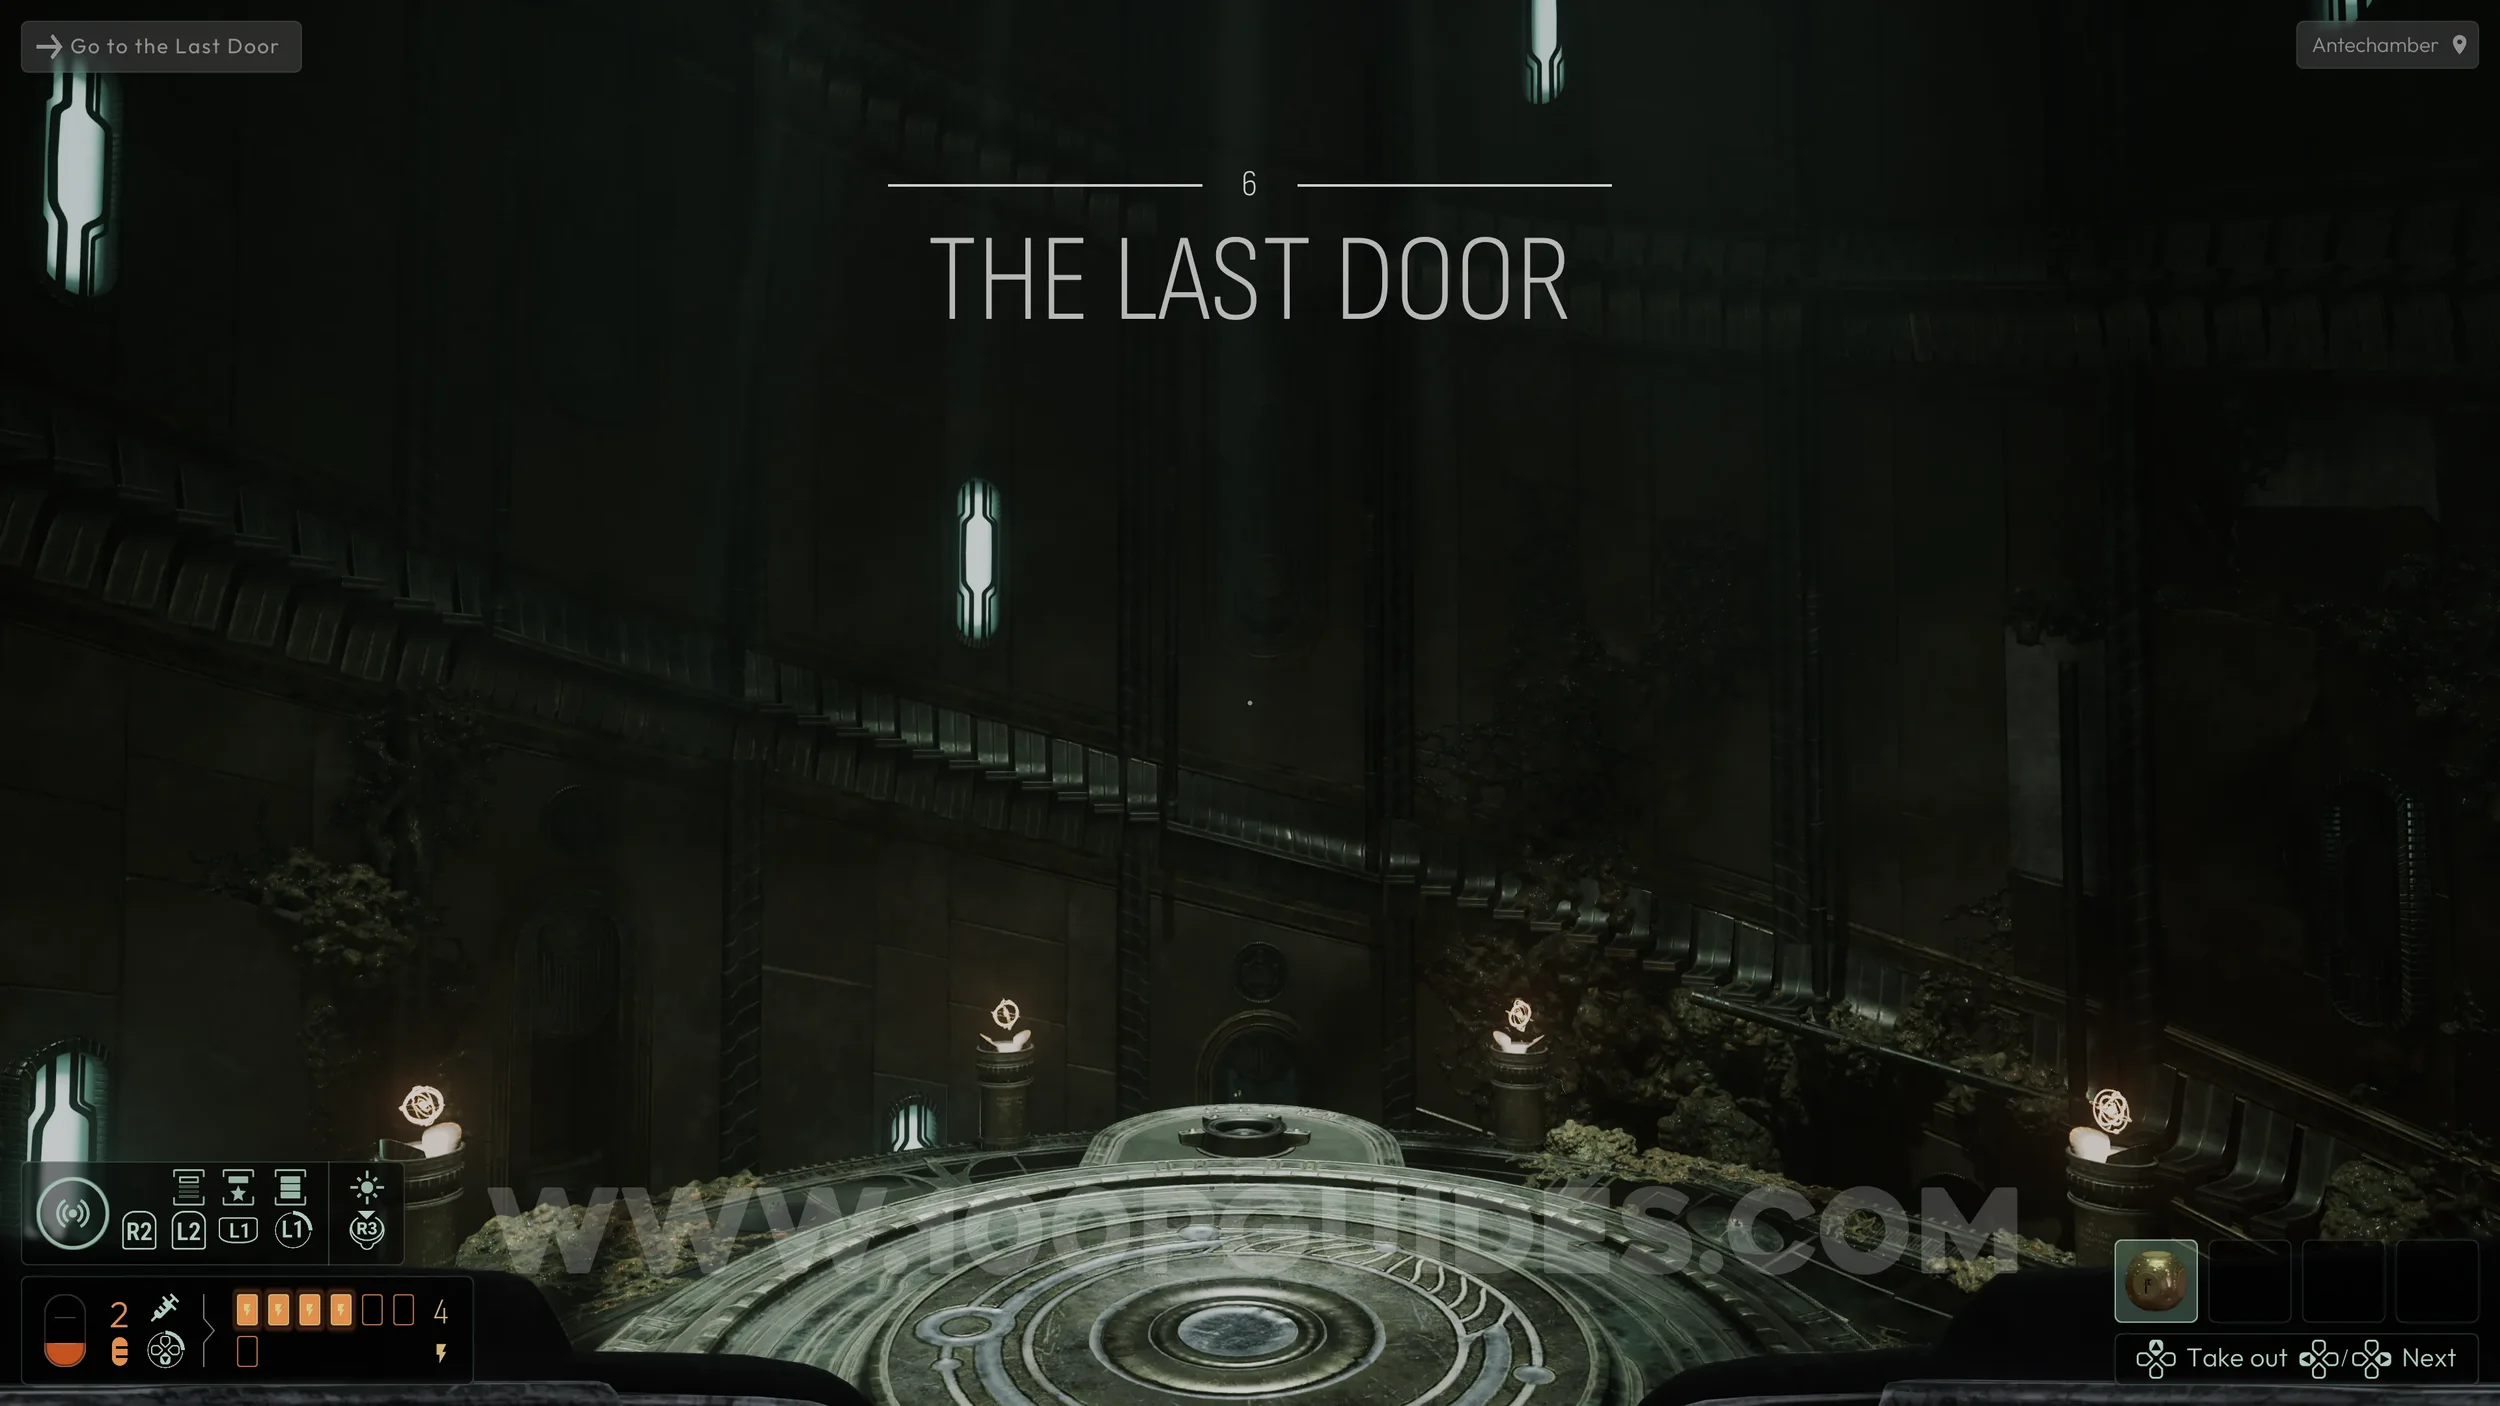
First, place the star into the slot in the floor to activate the room. Then remove it to cause a set of stairs to appear on your left. Go down them to begin the investigation.
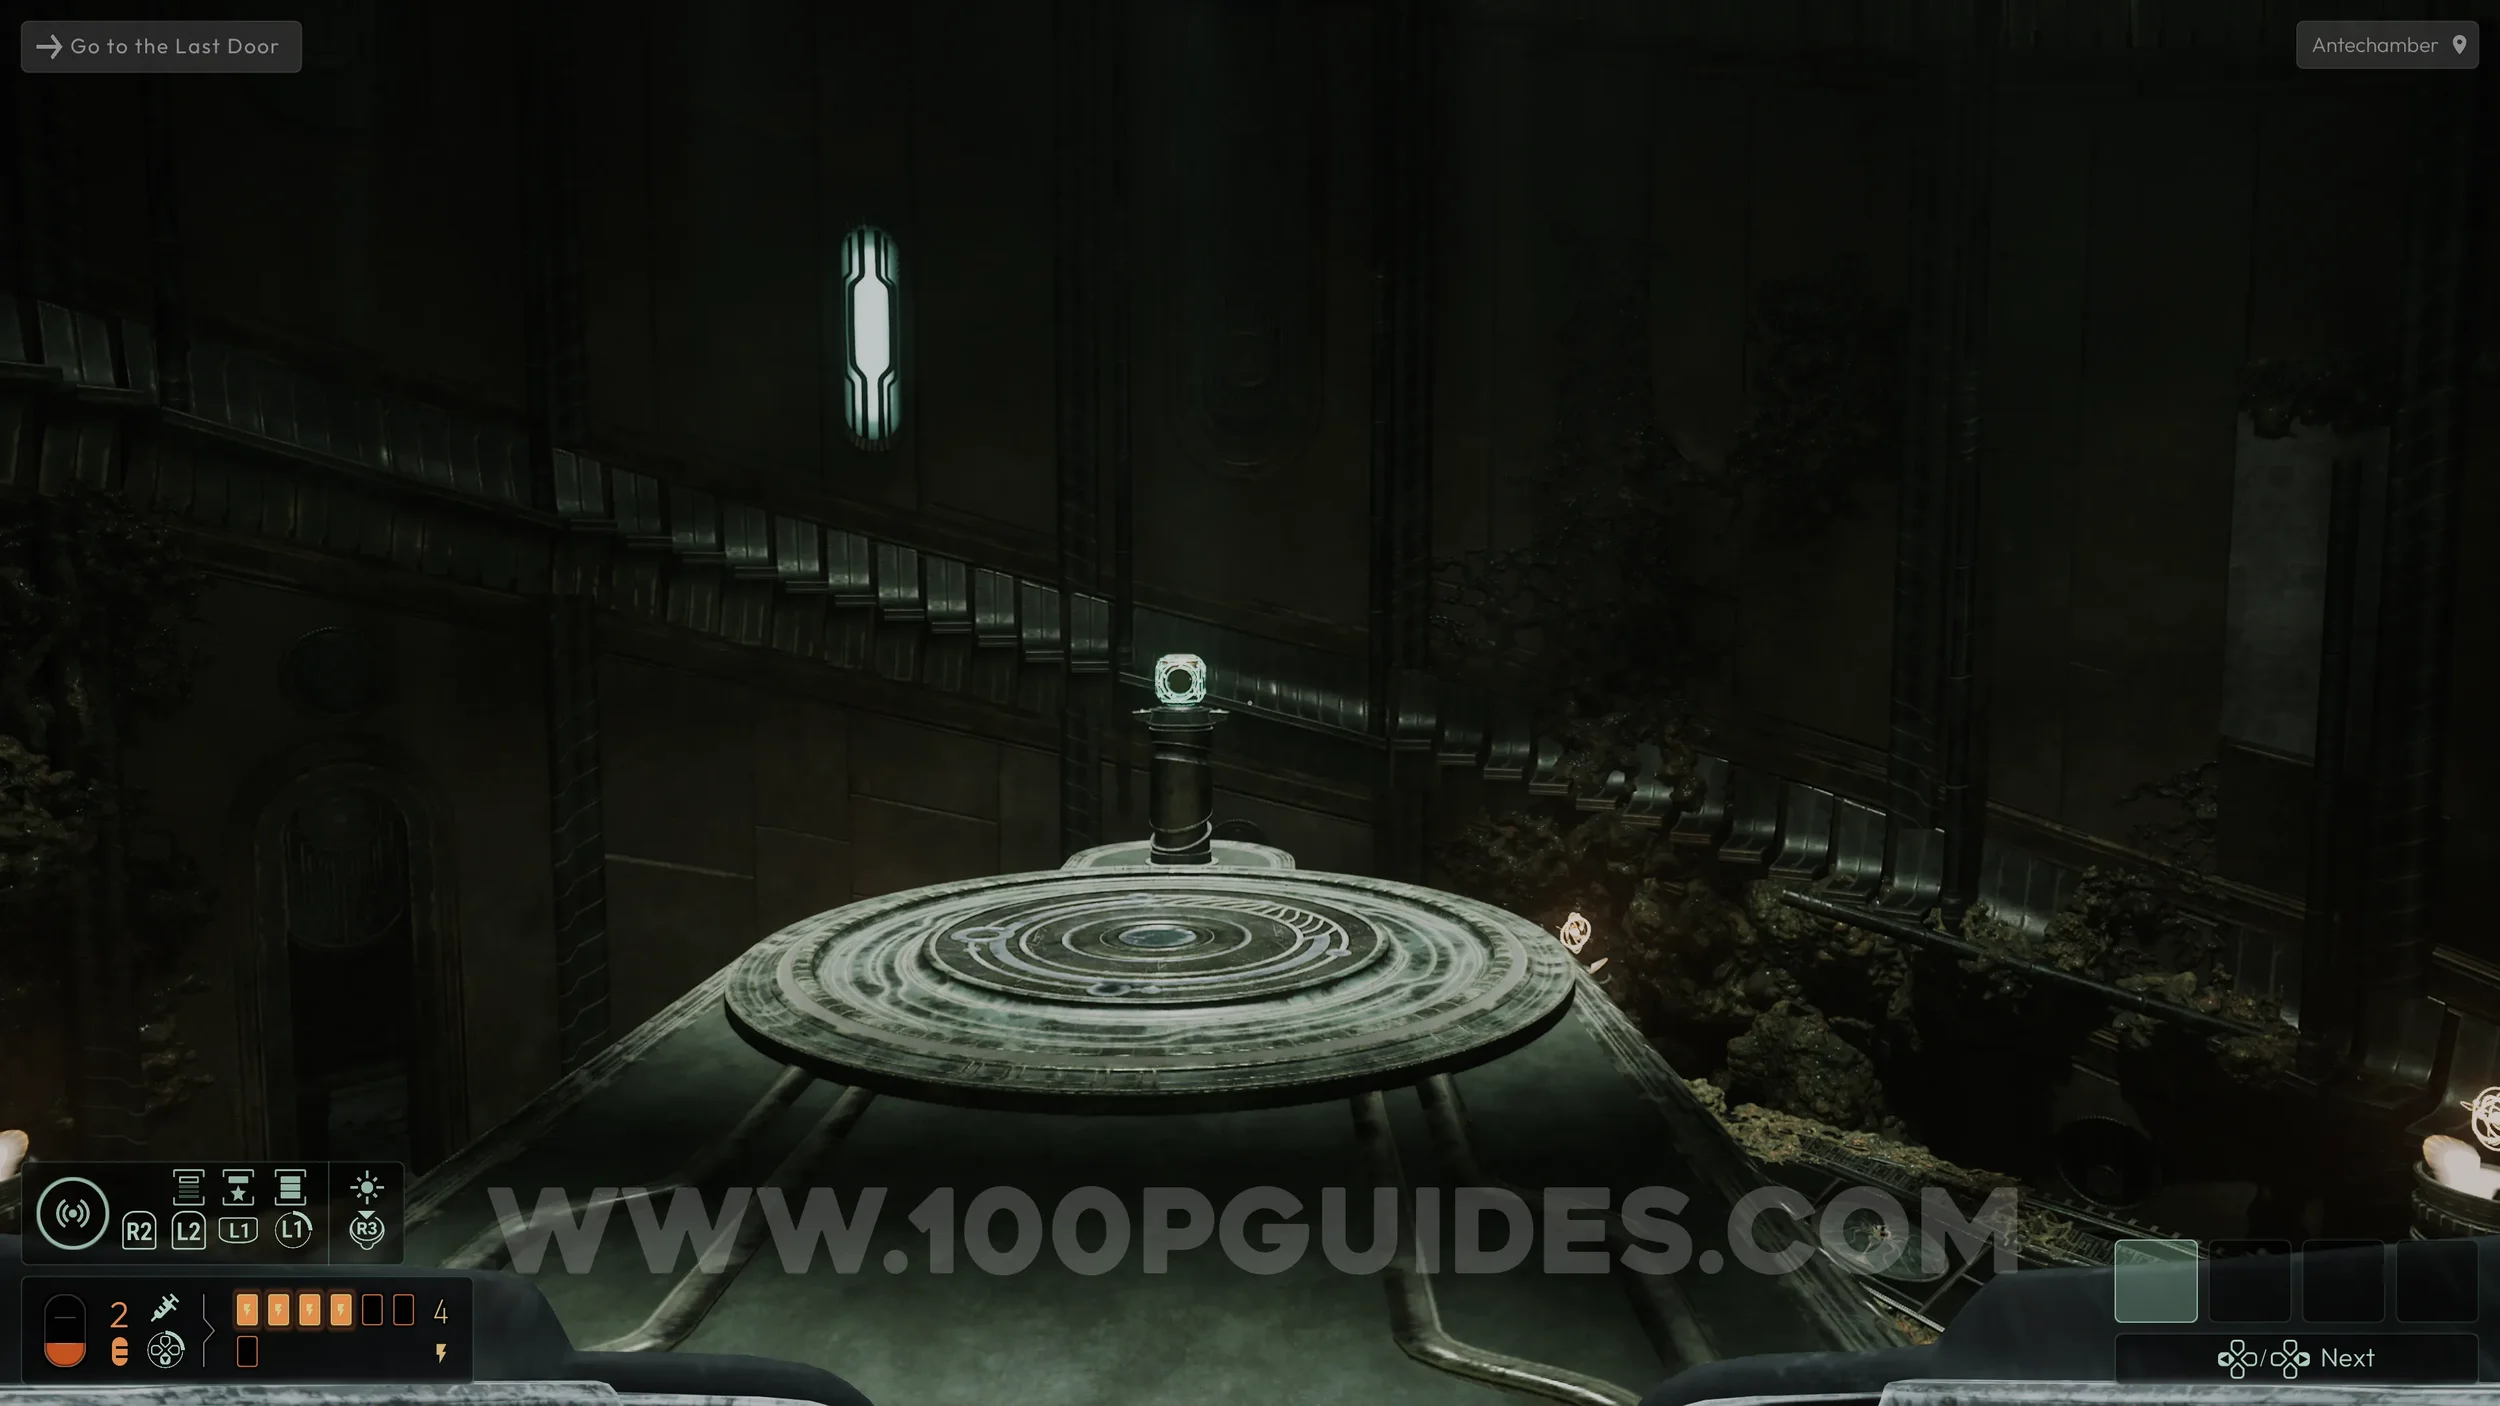
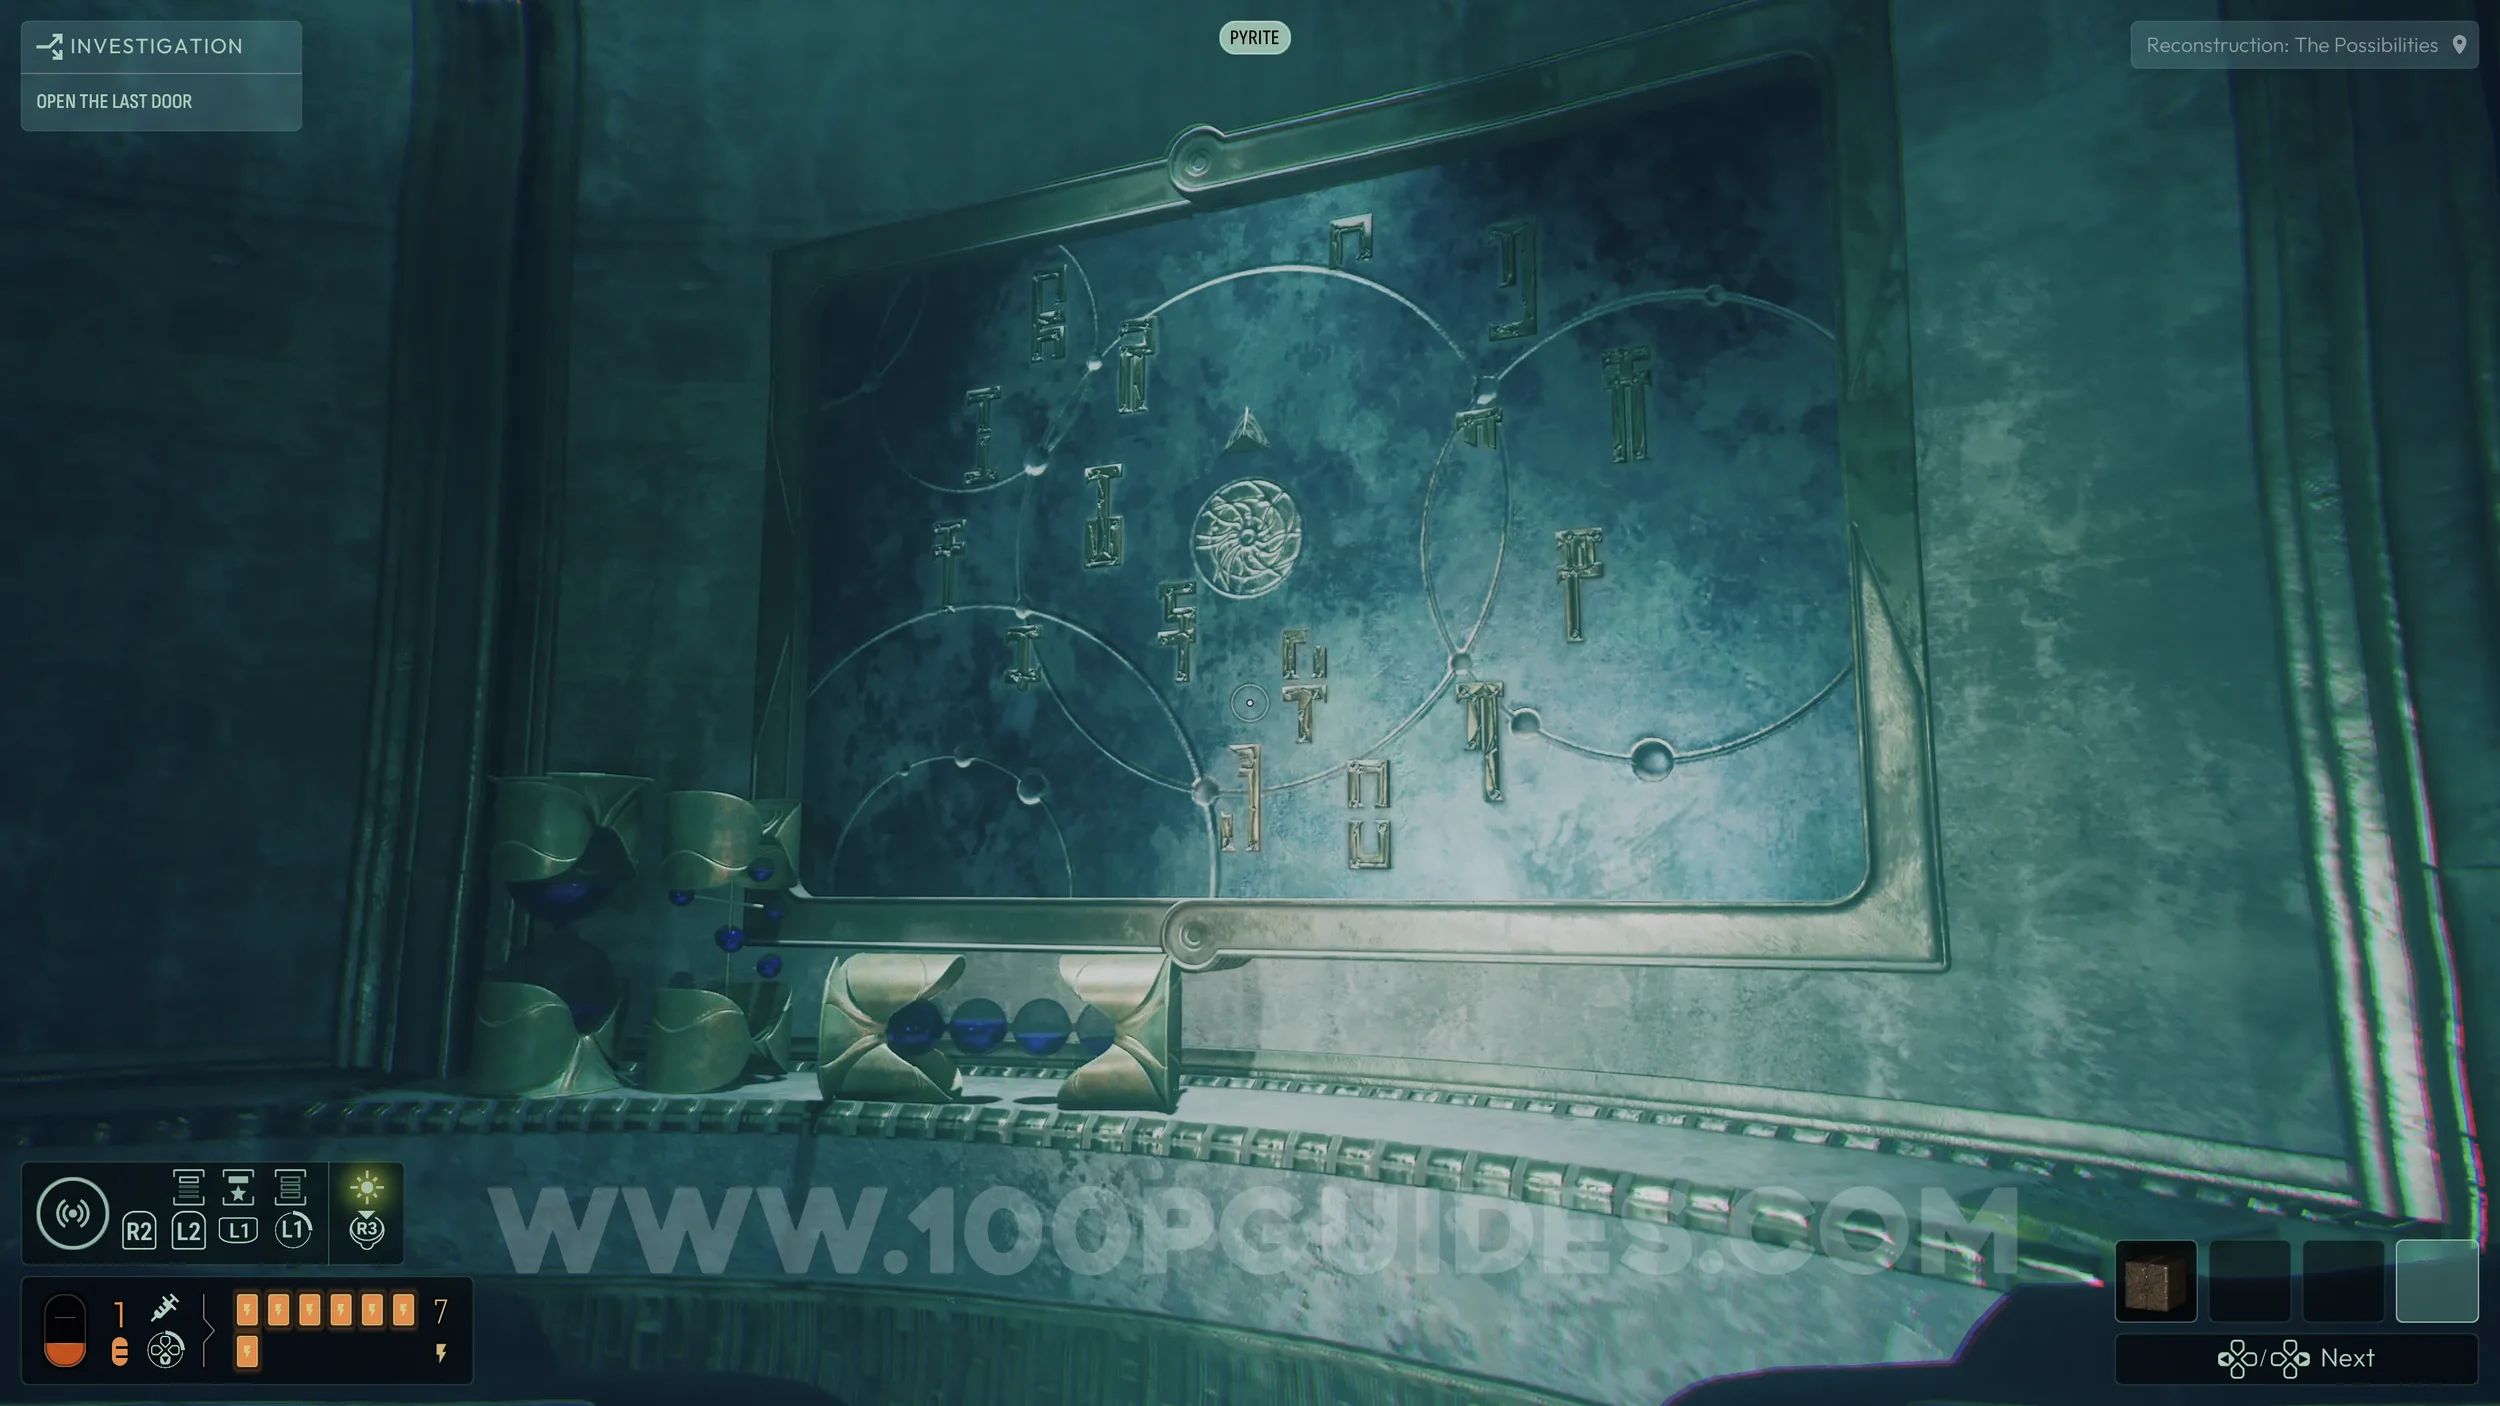
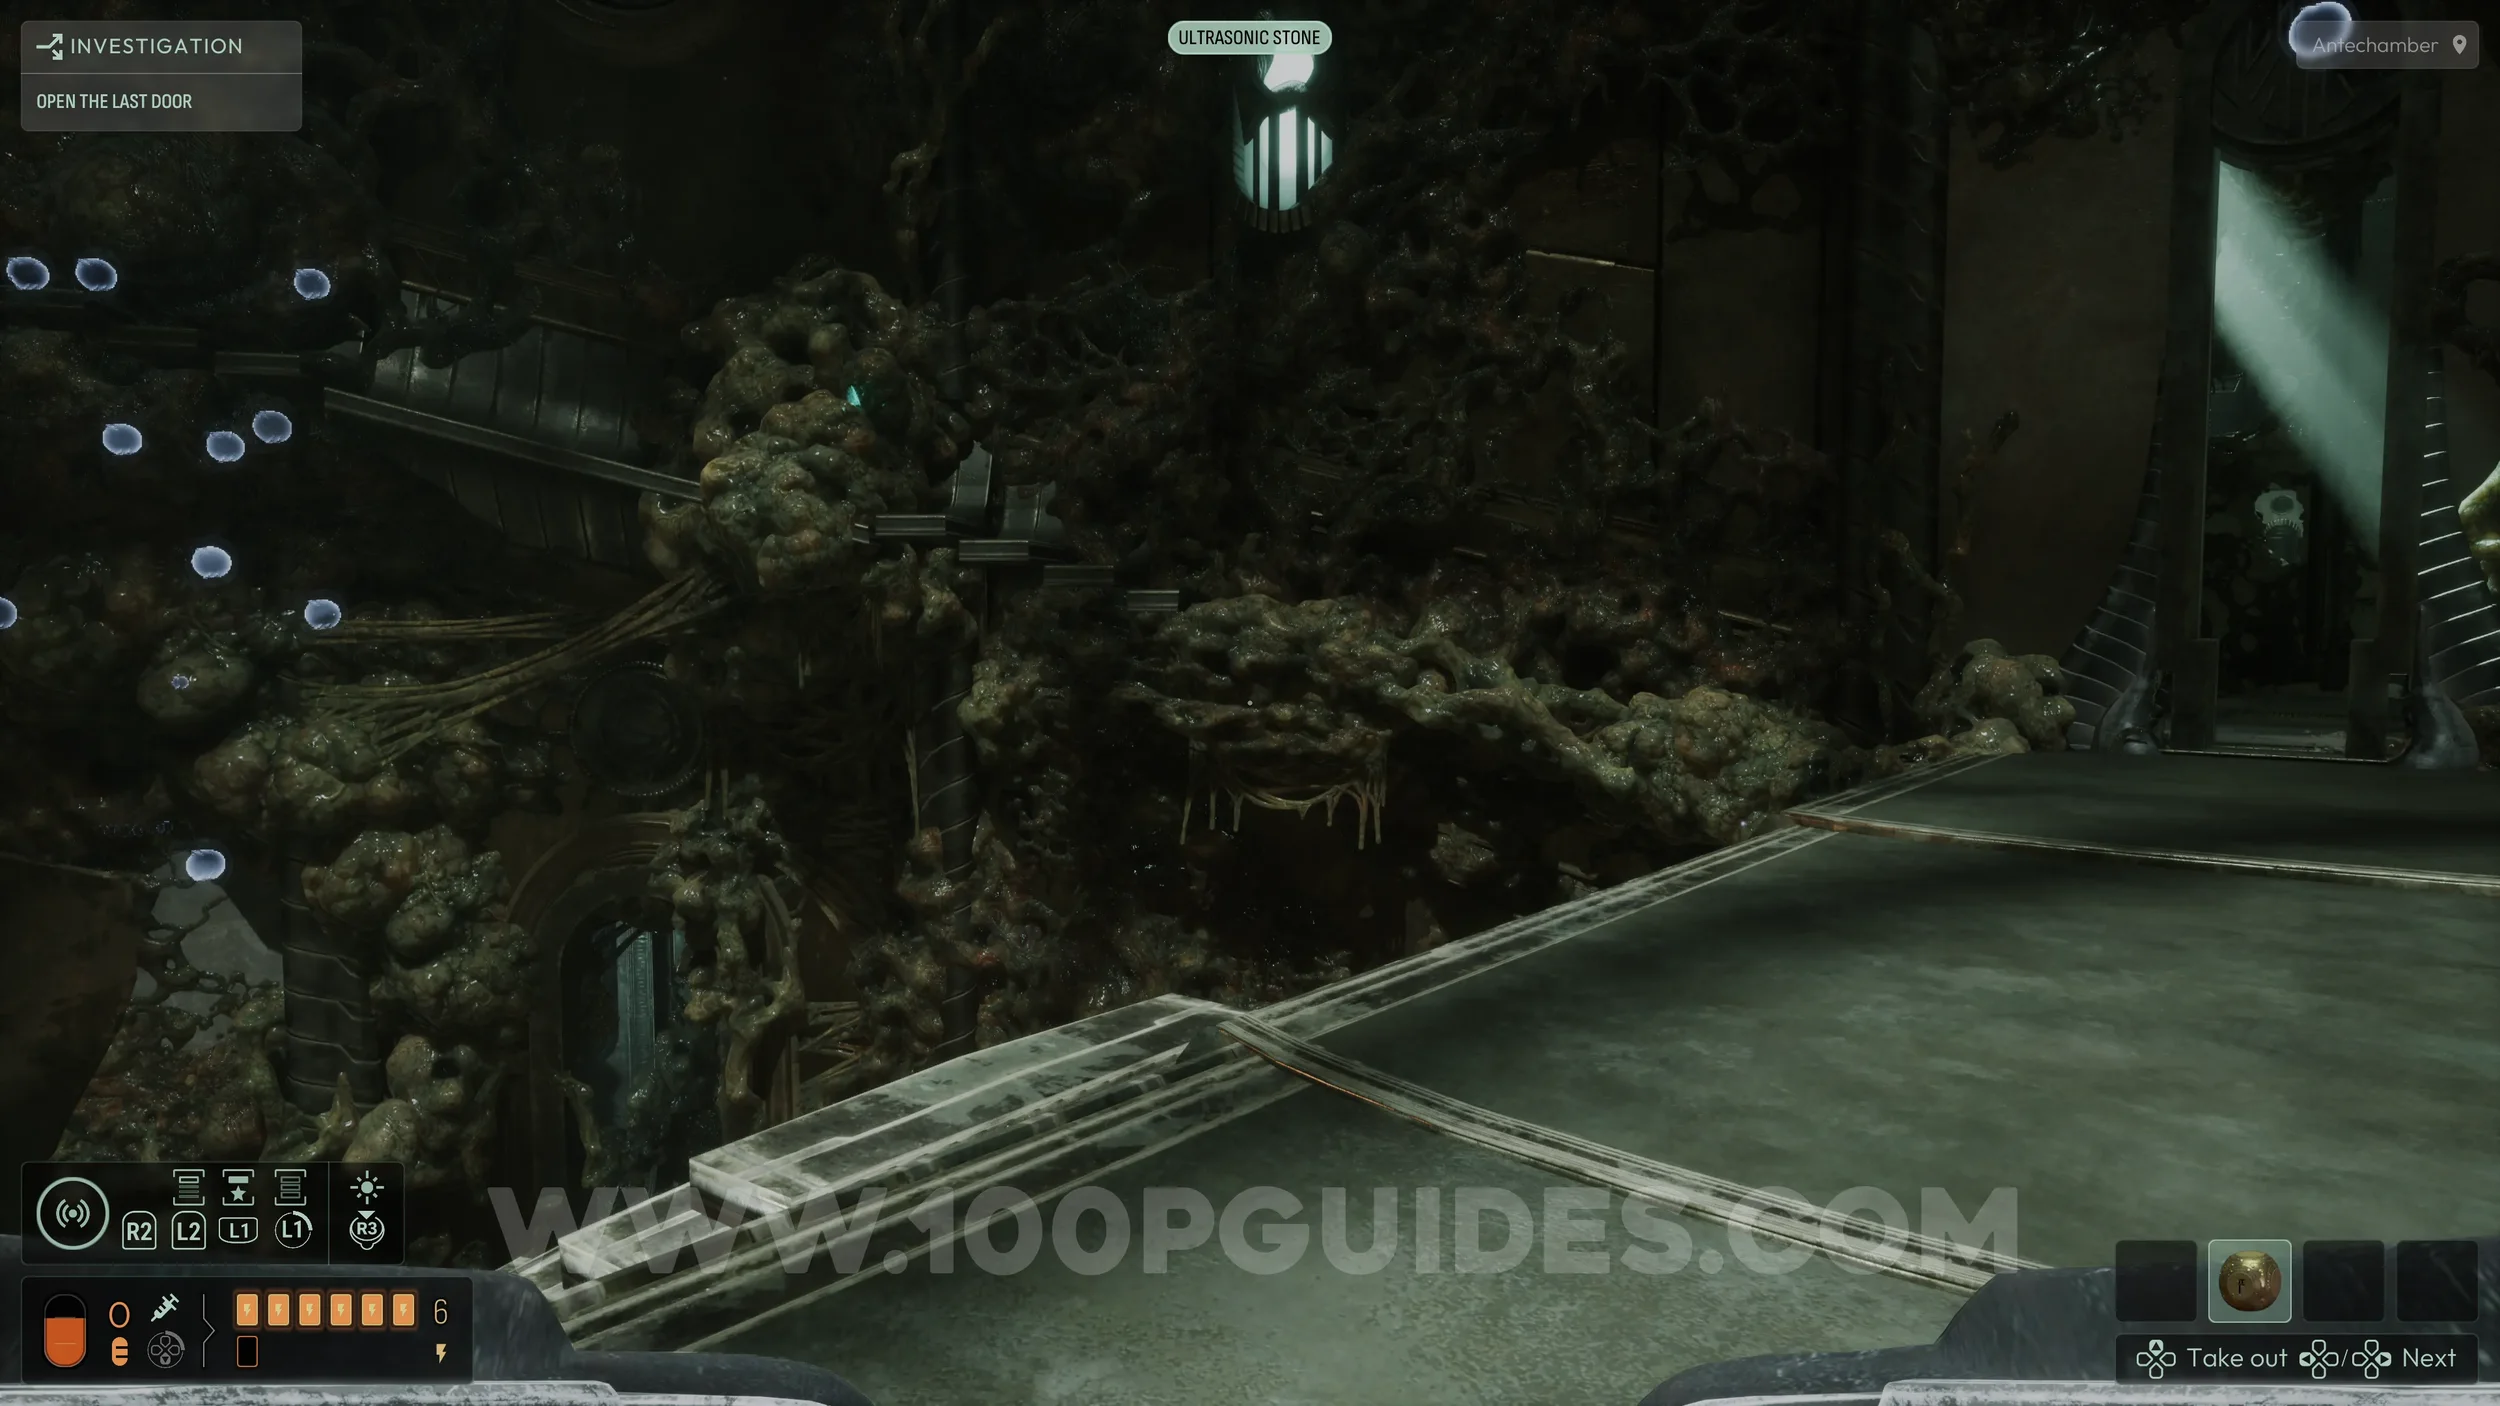
Here, examine and analyze all of the engraved pillars to unlock several clues and frequencies that will be needed later.
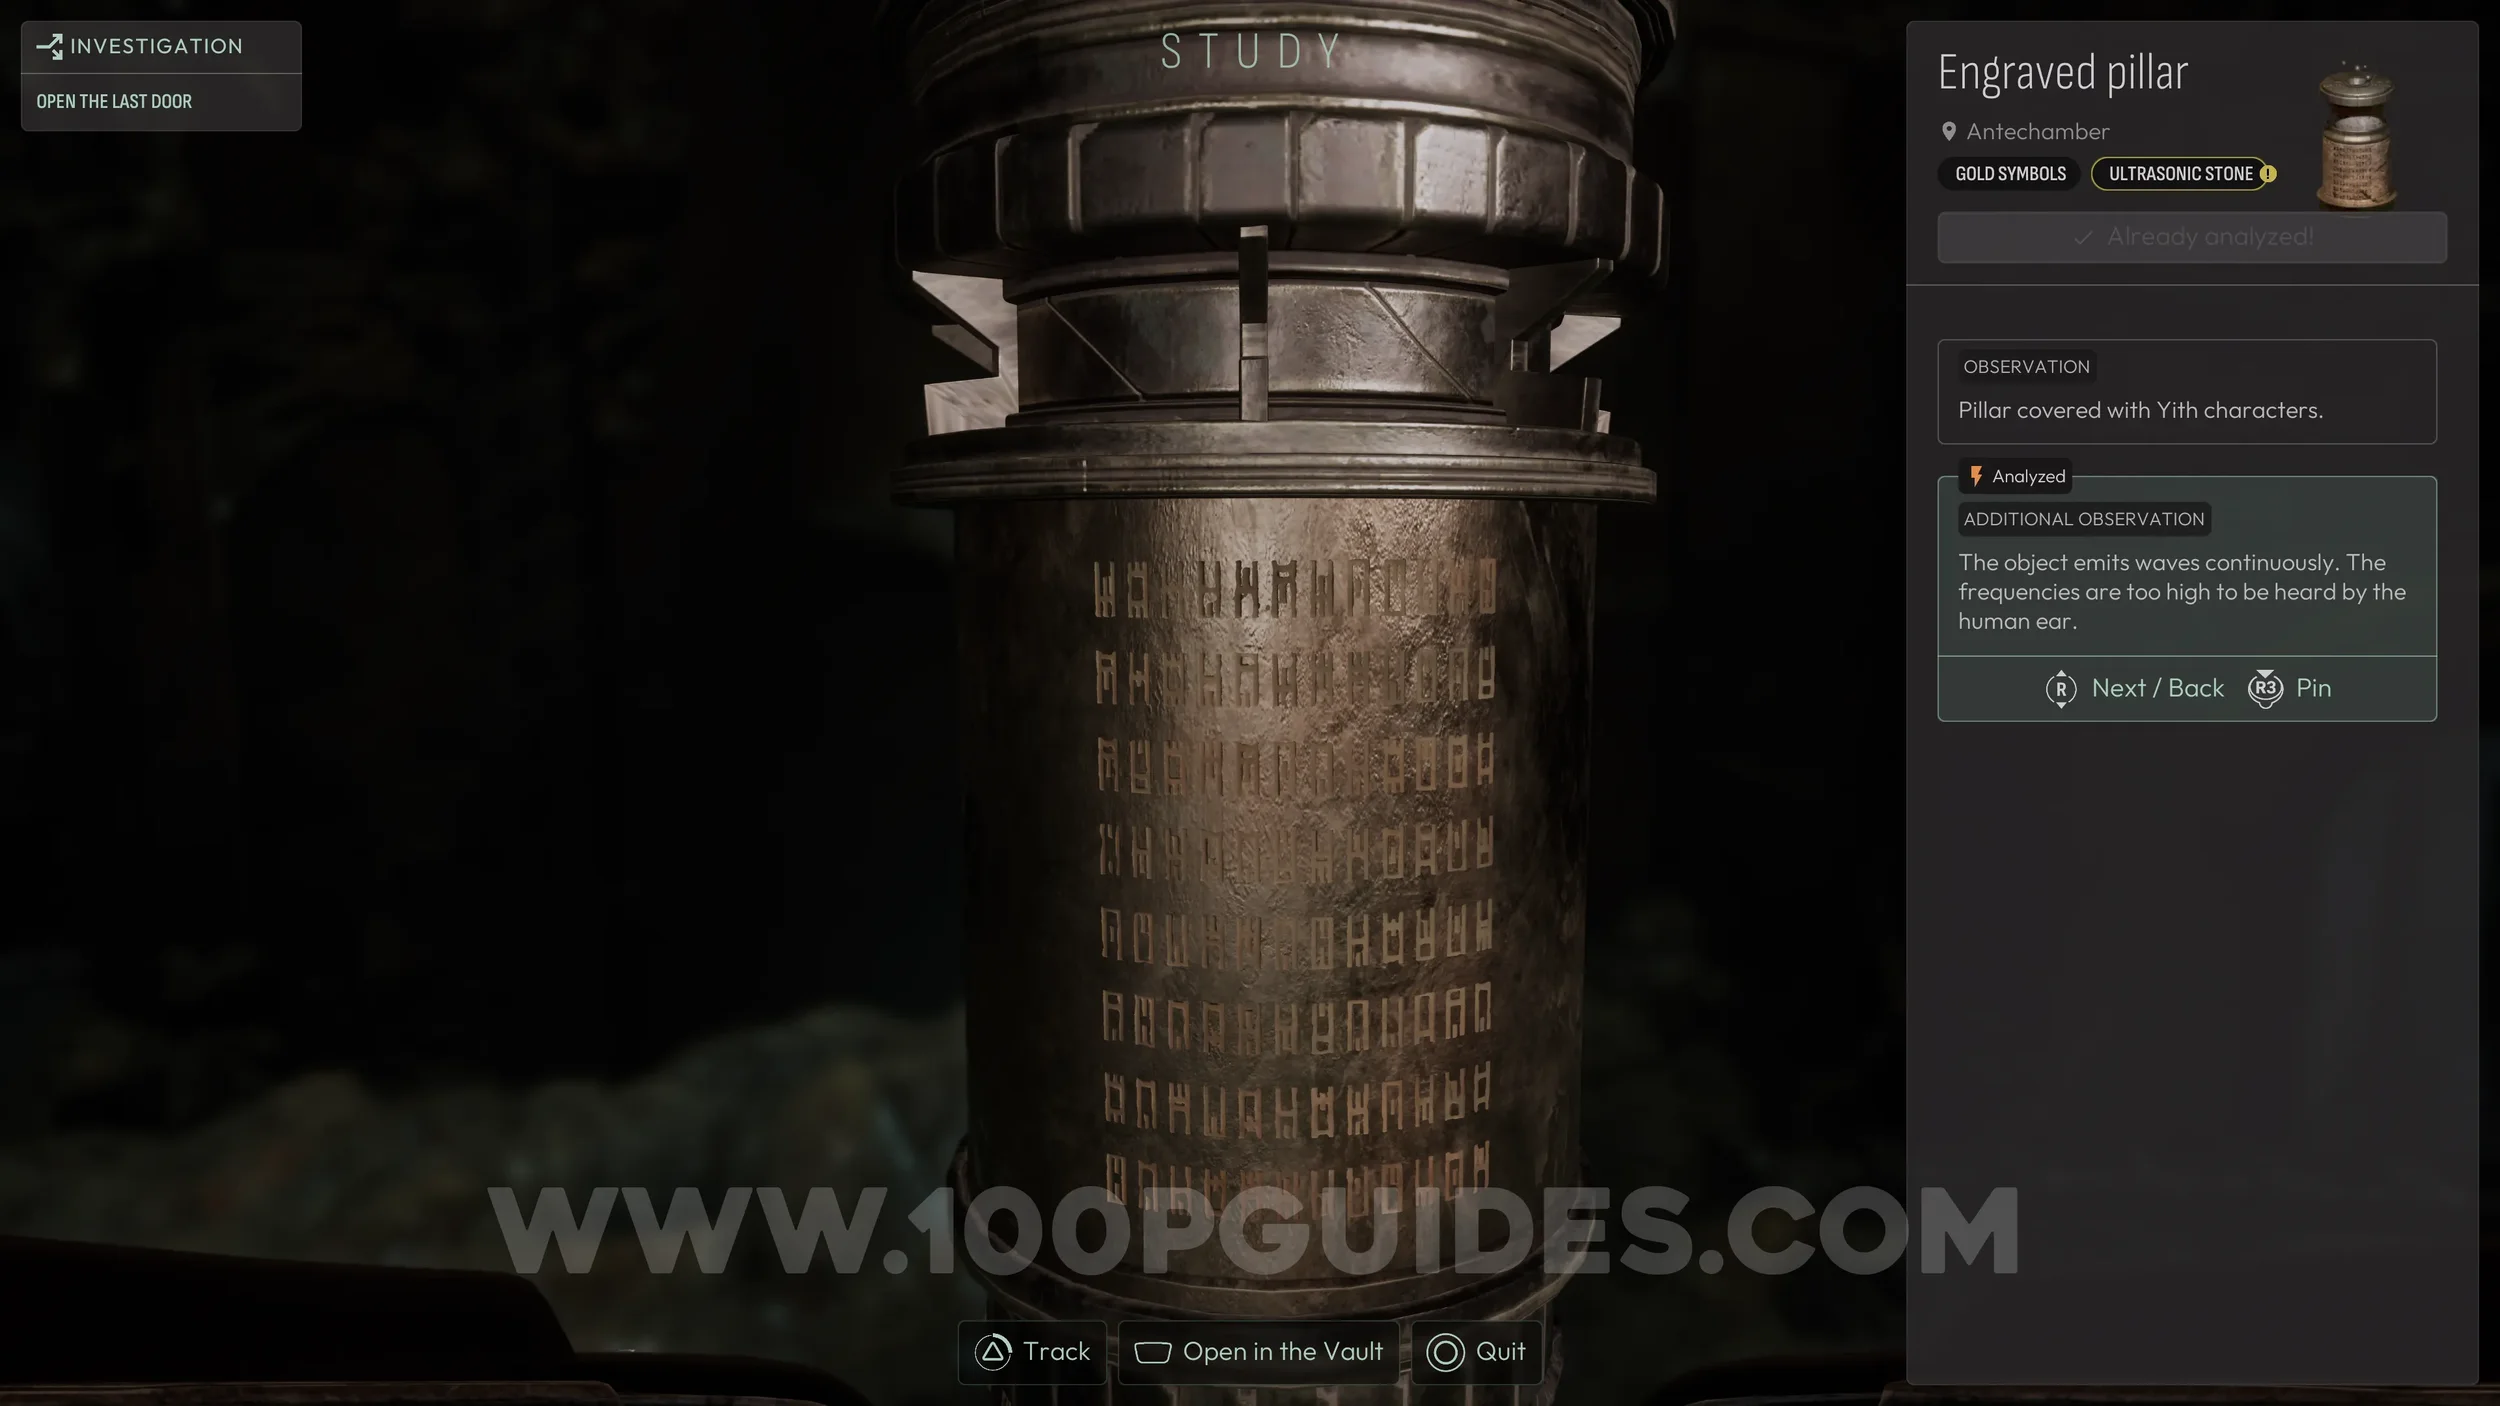
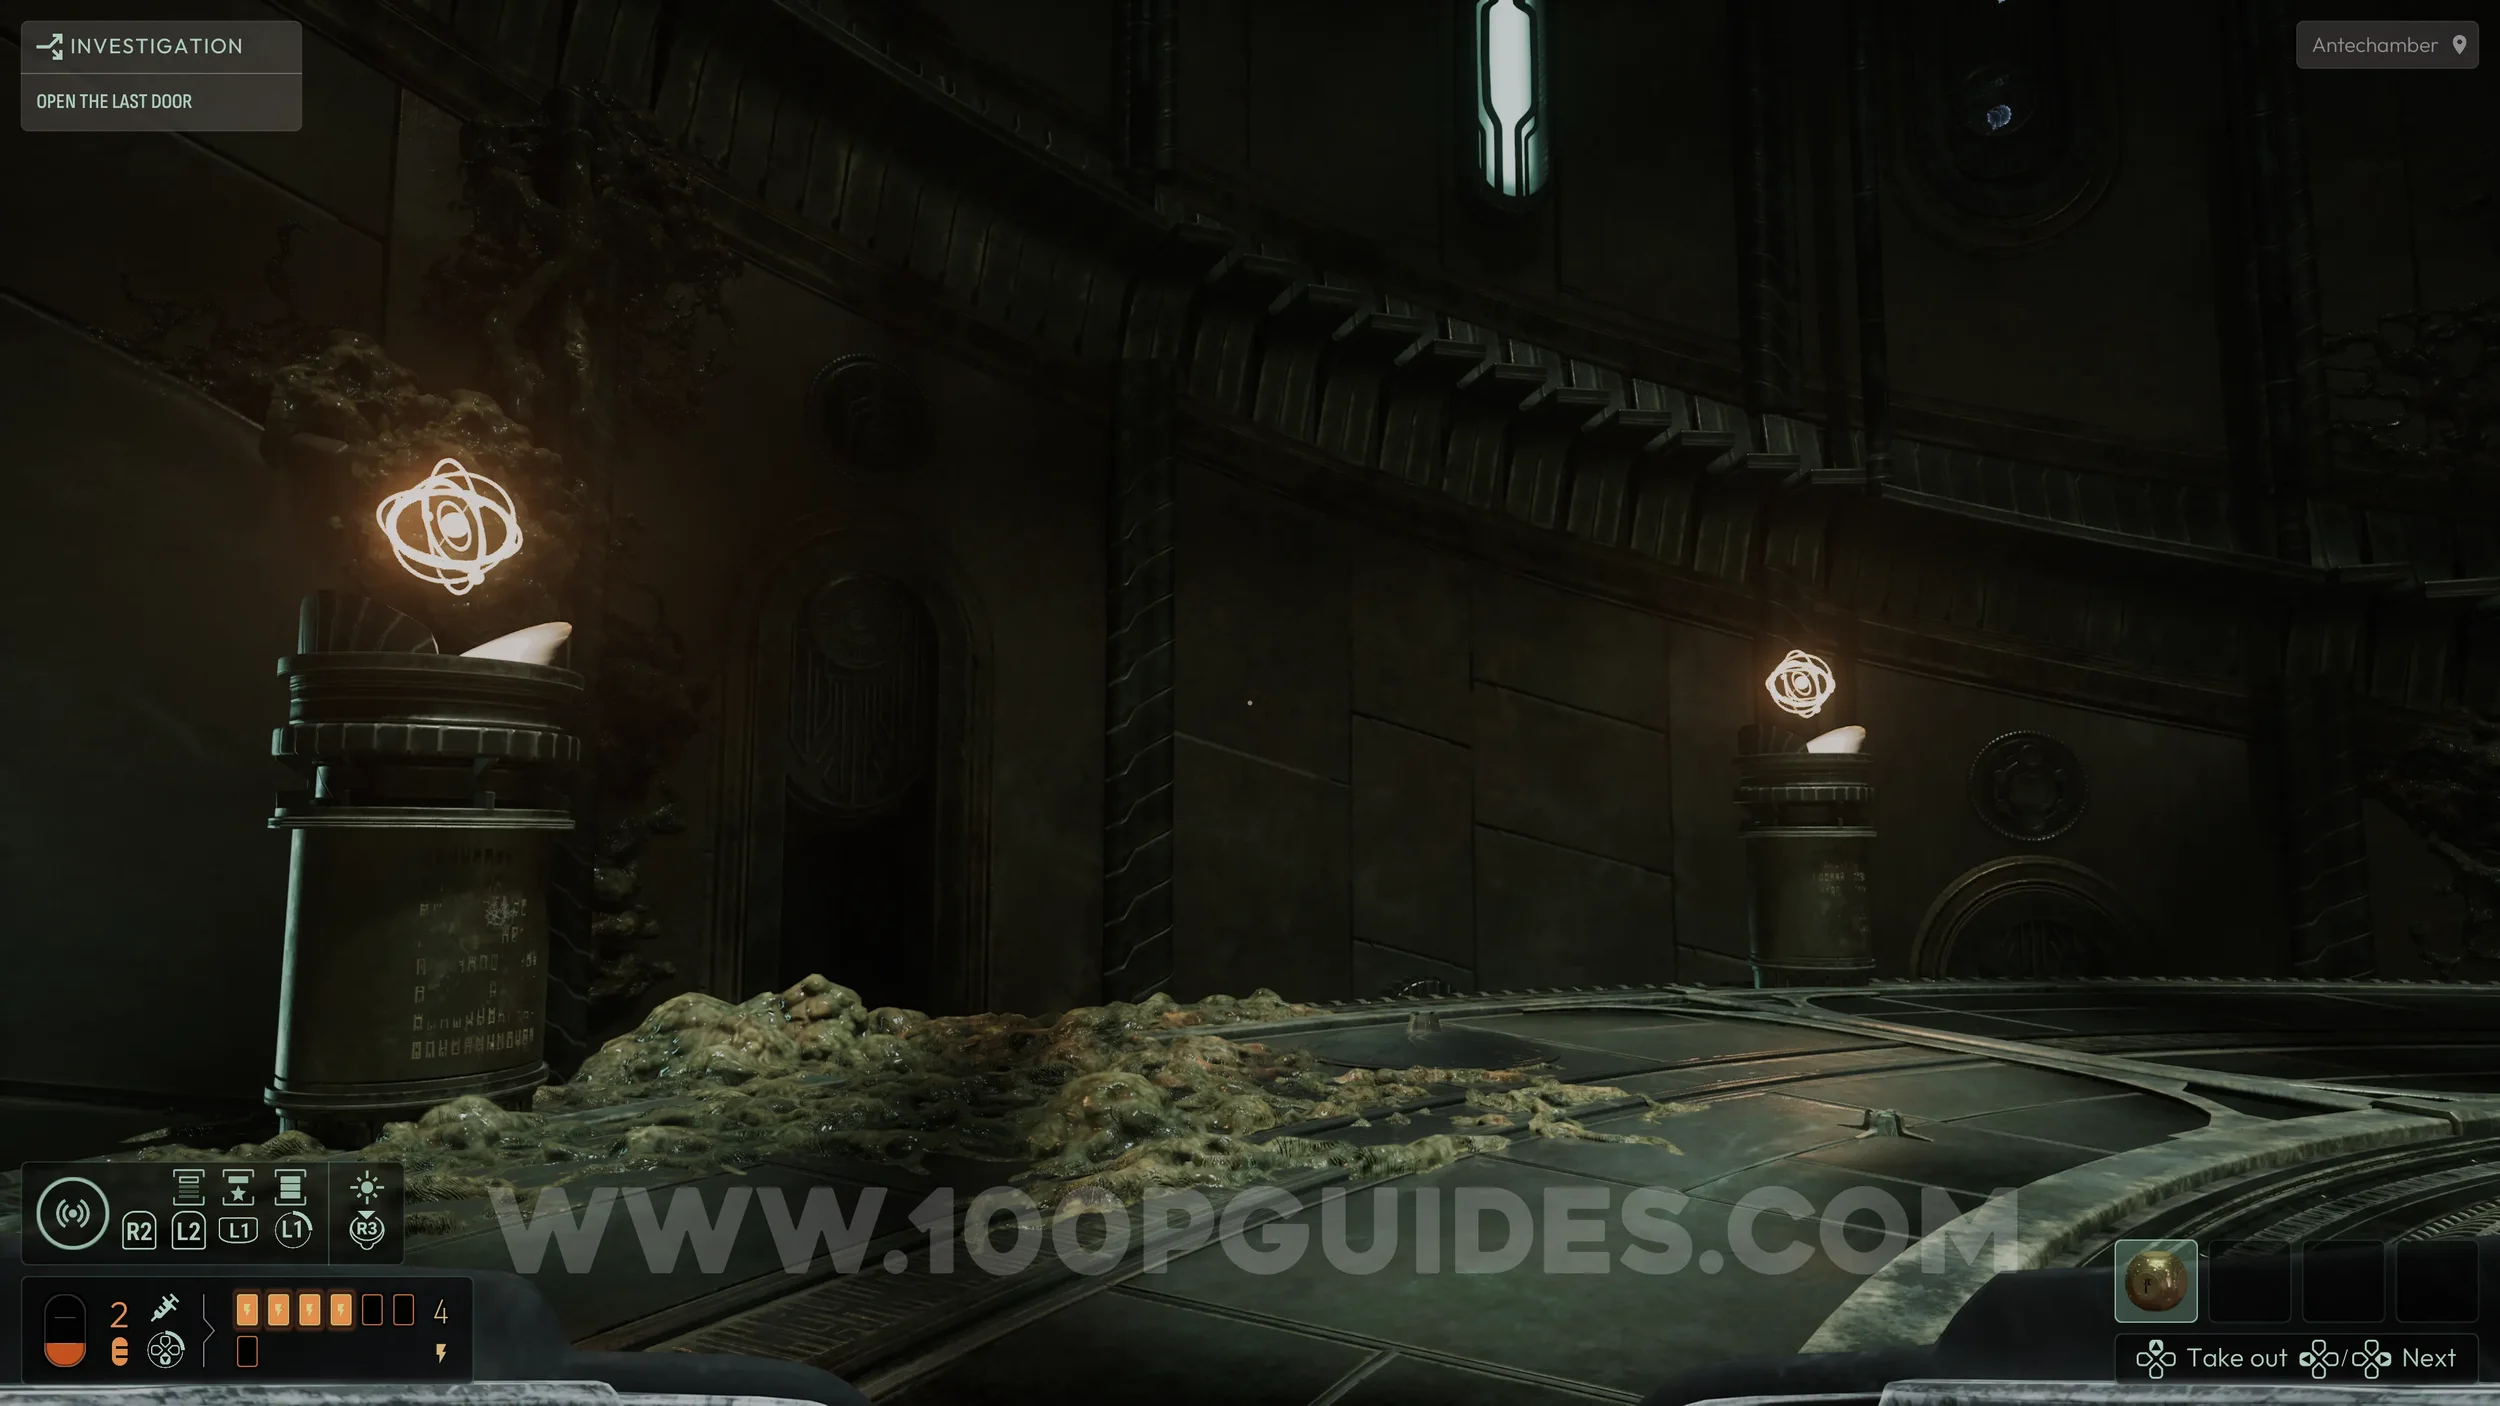
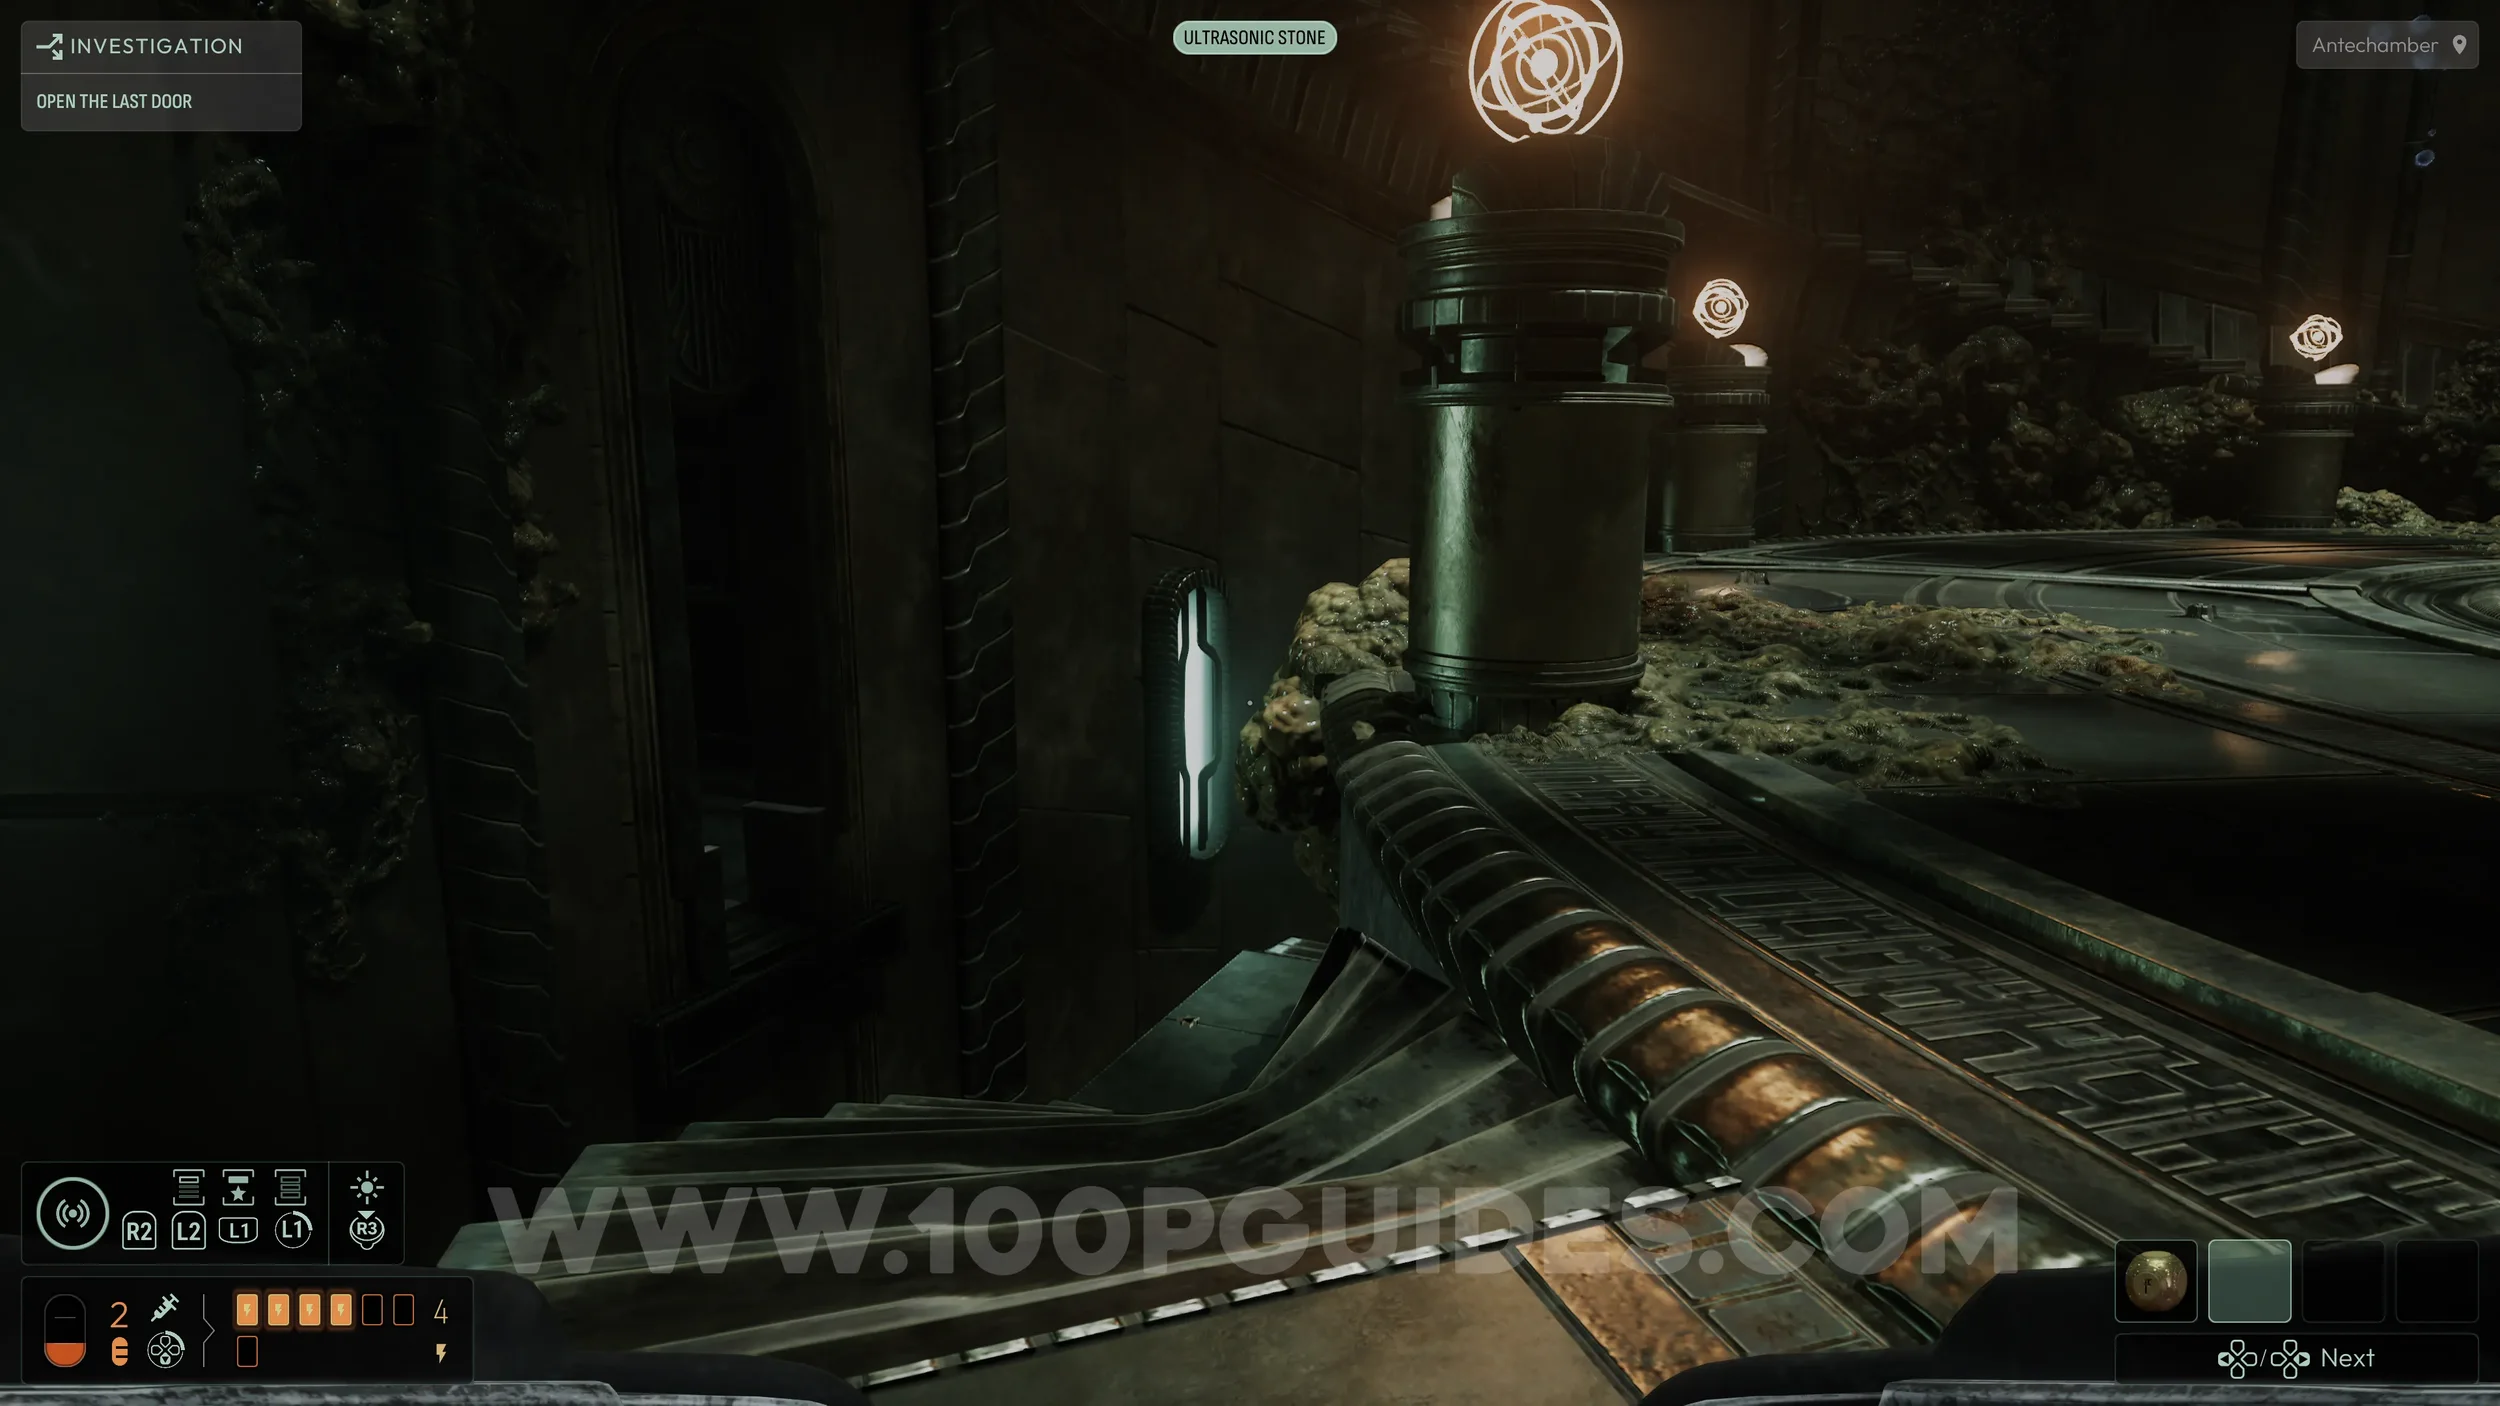
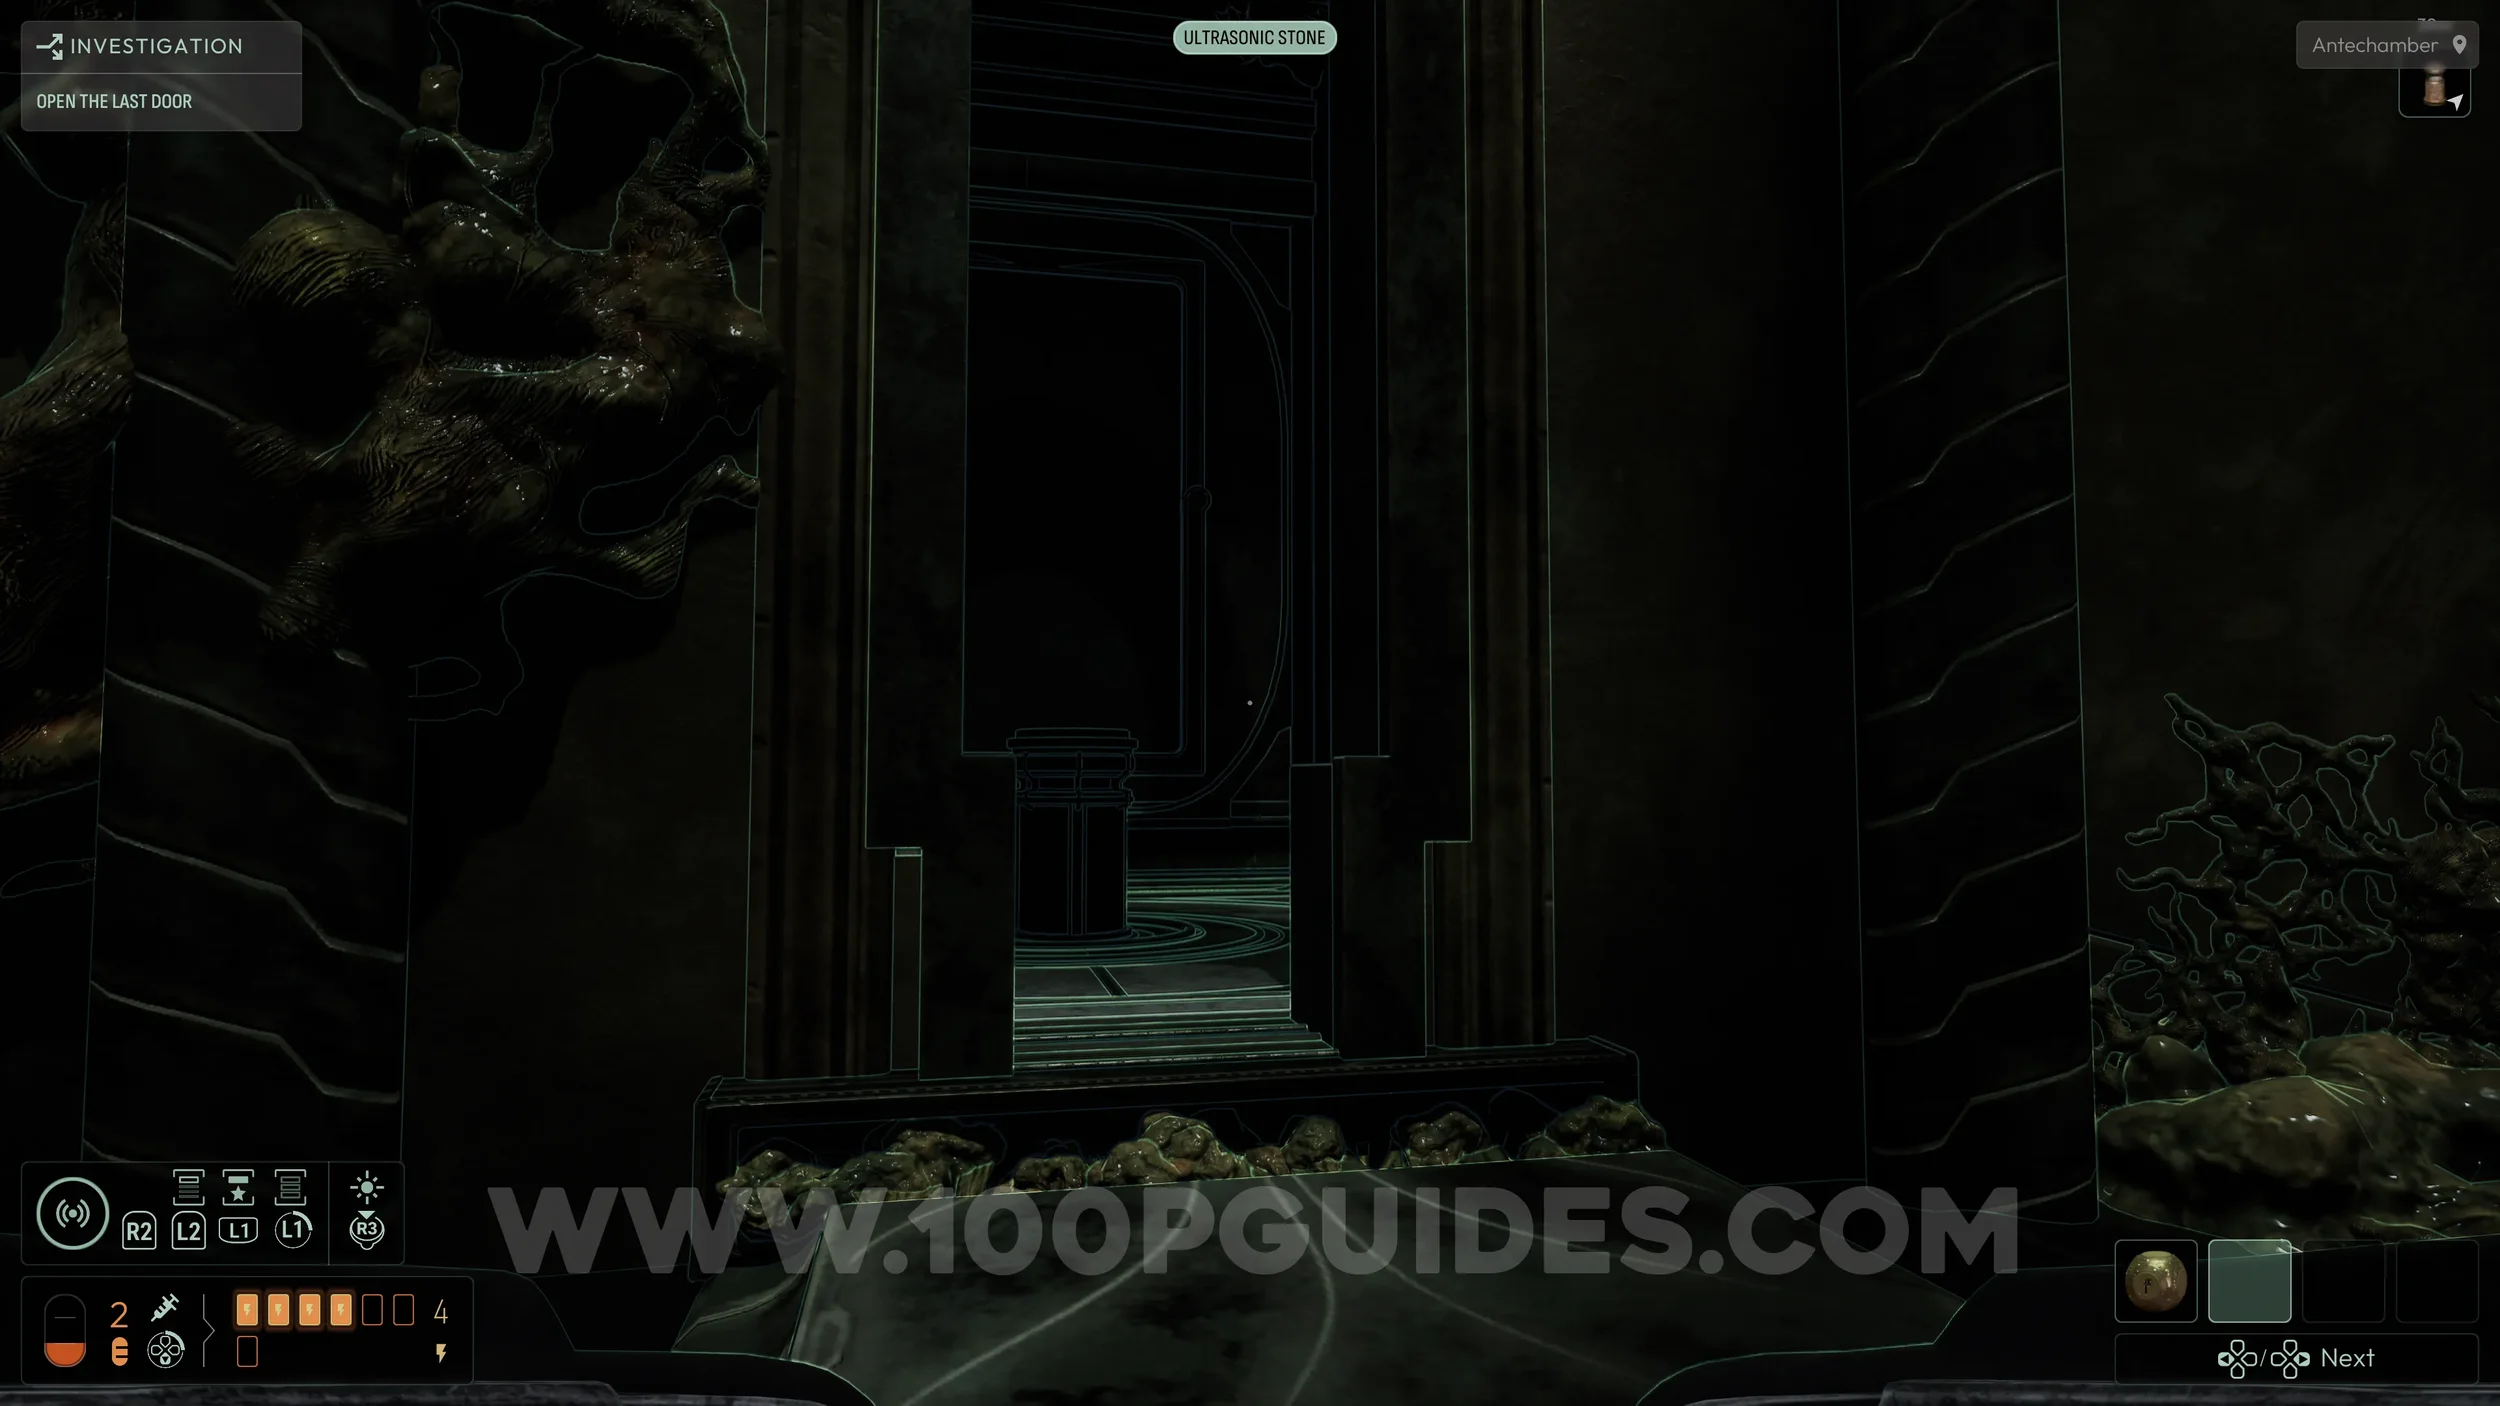
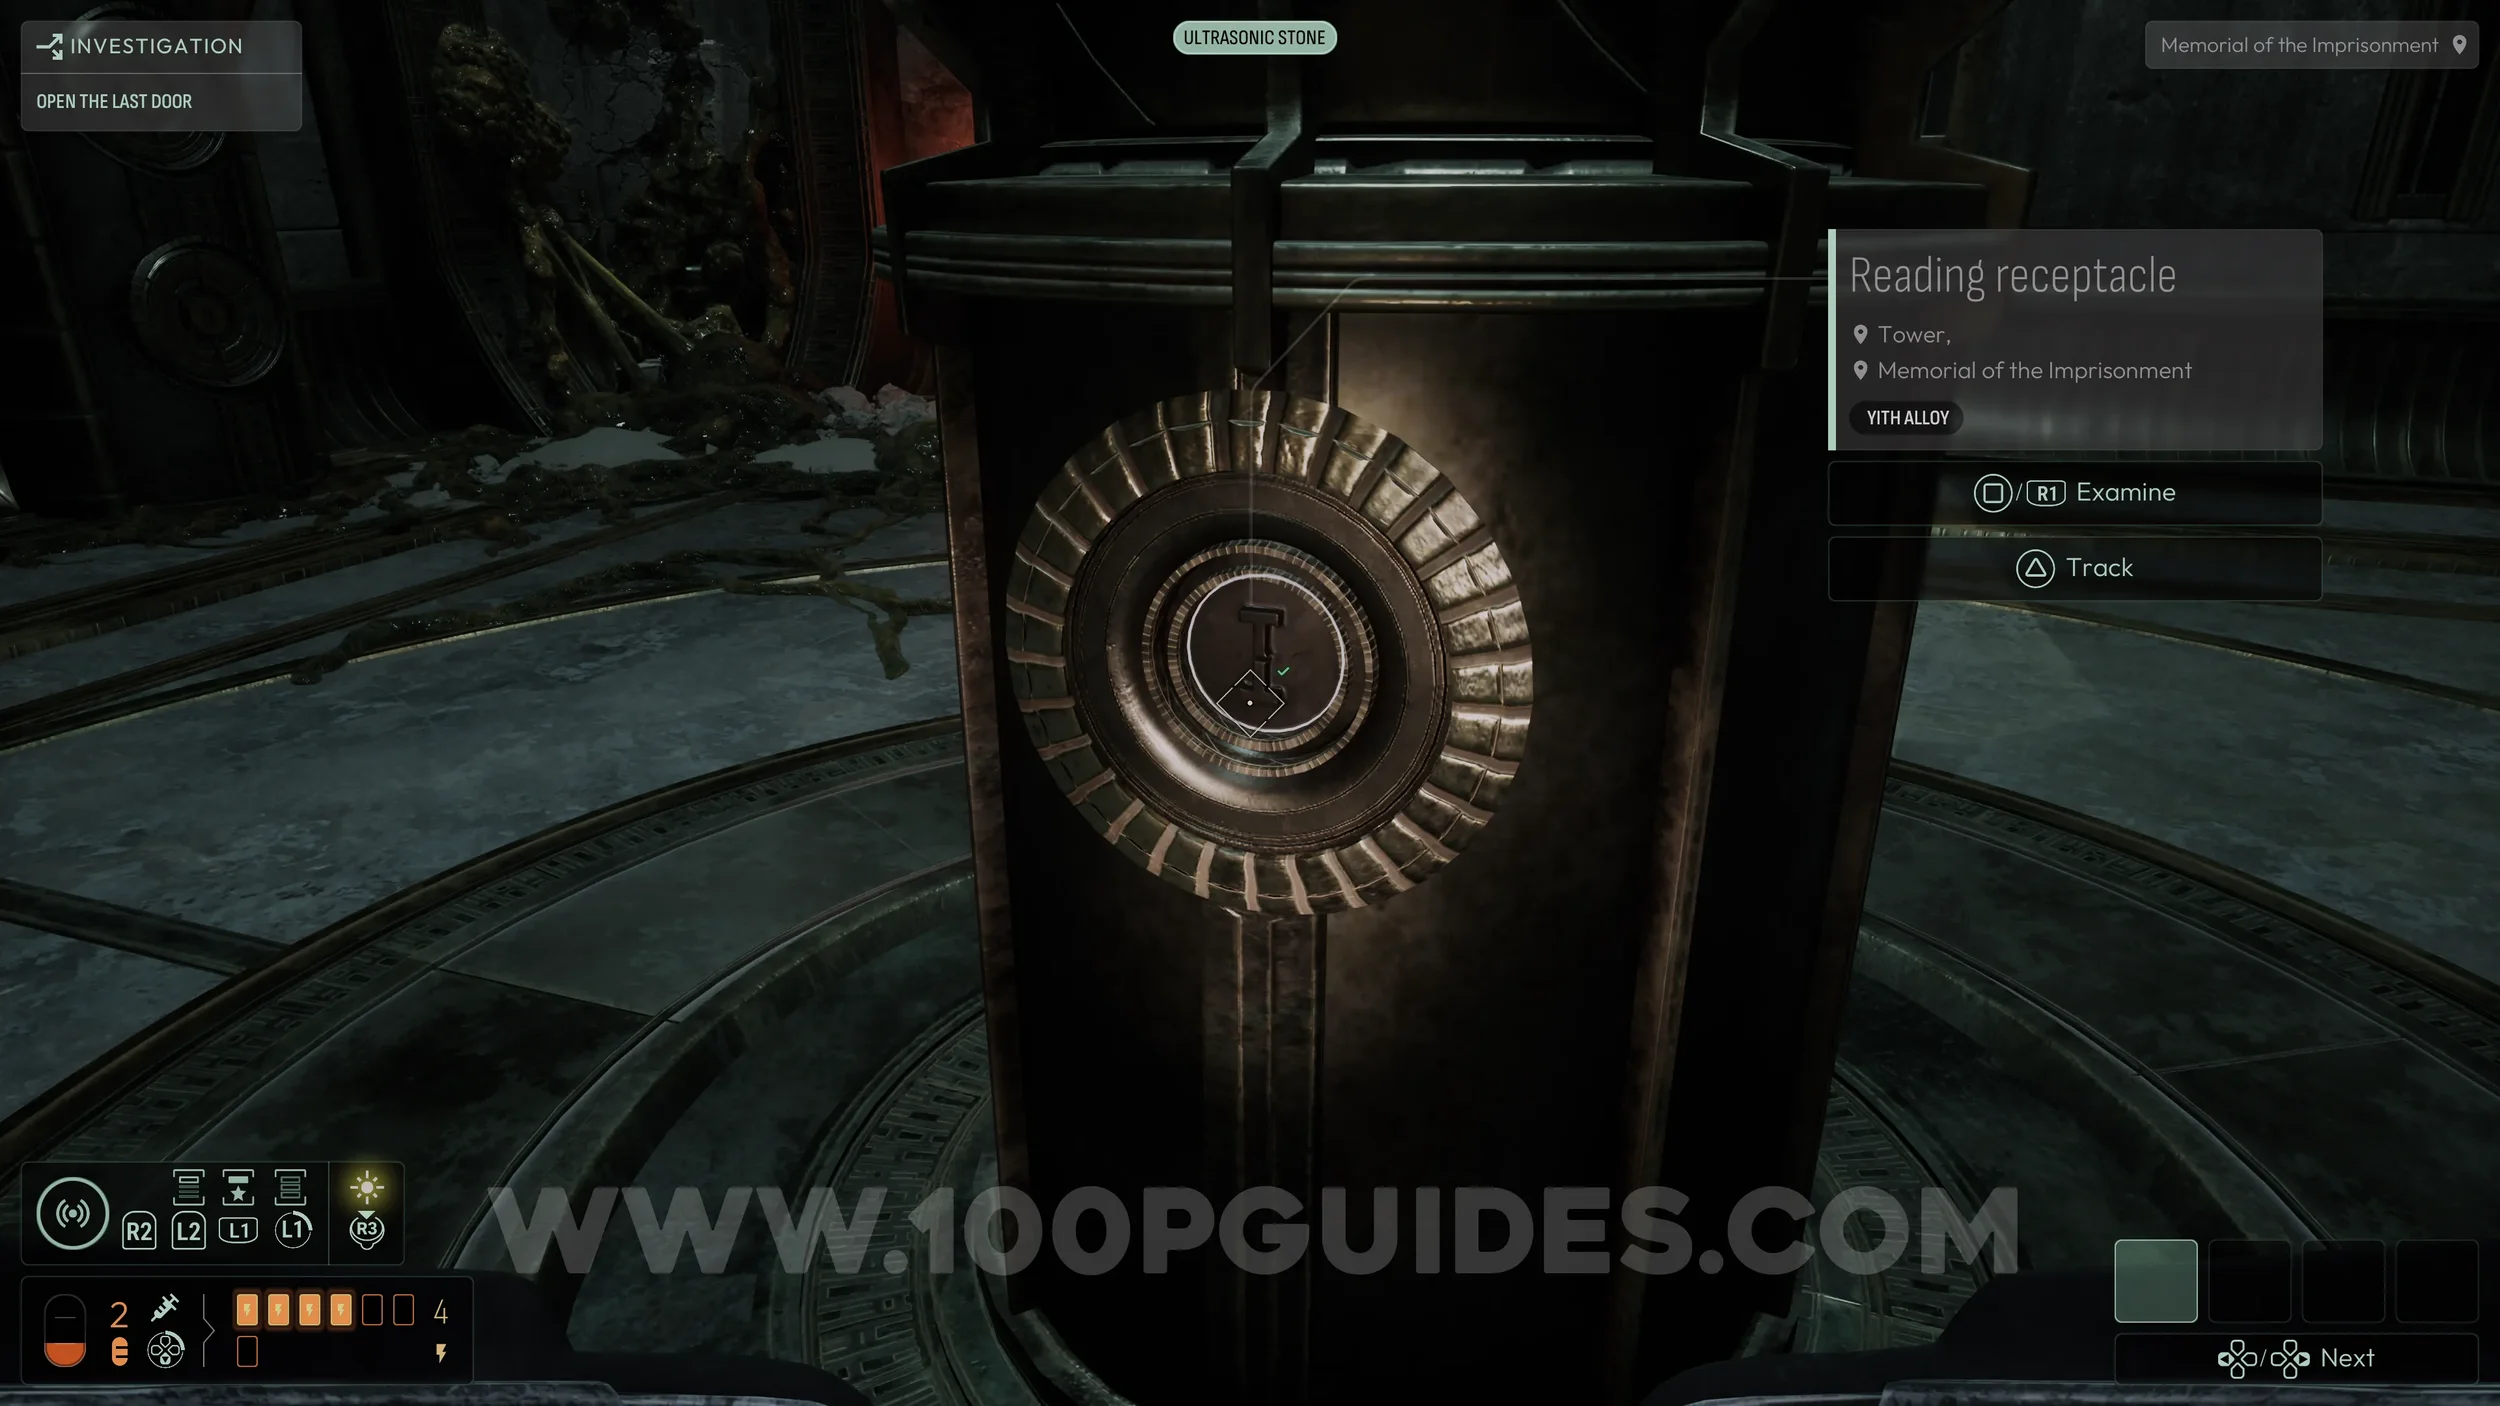
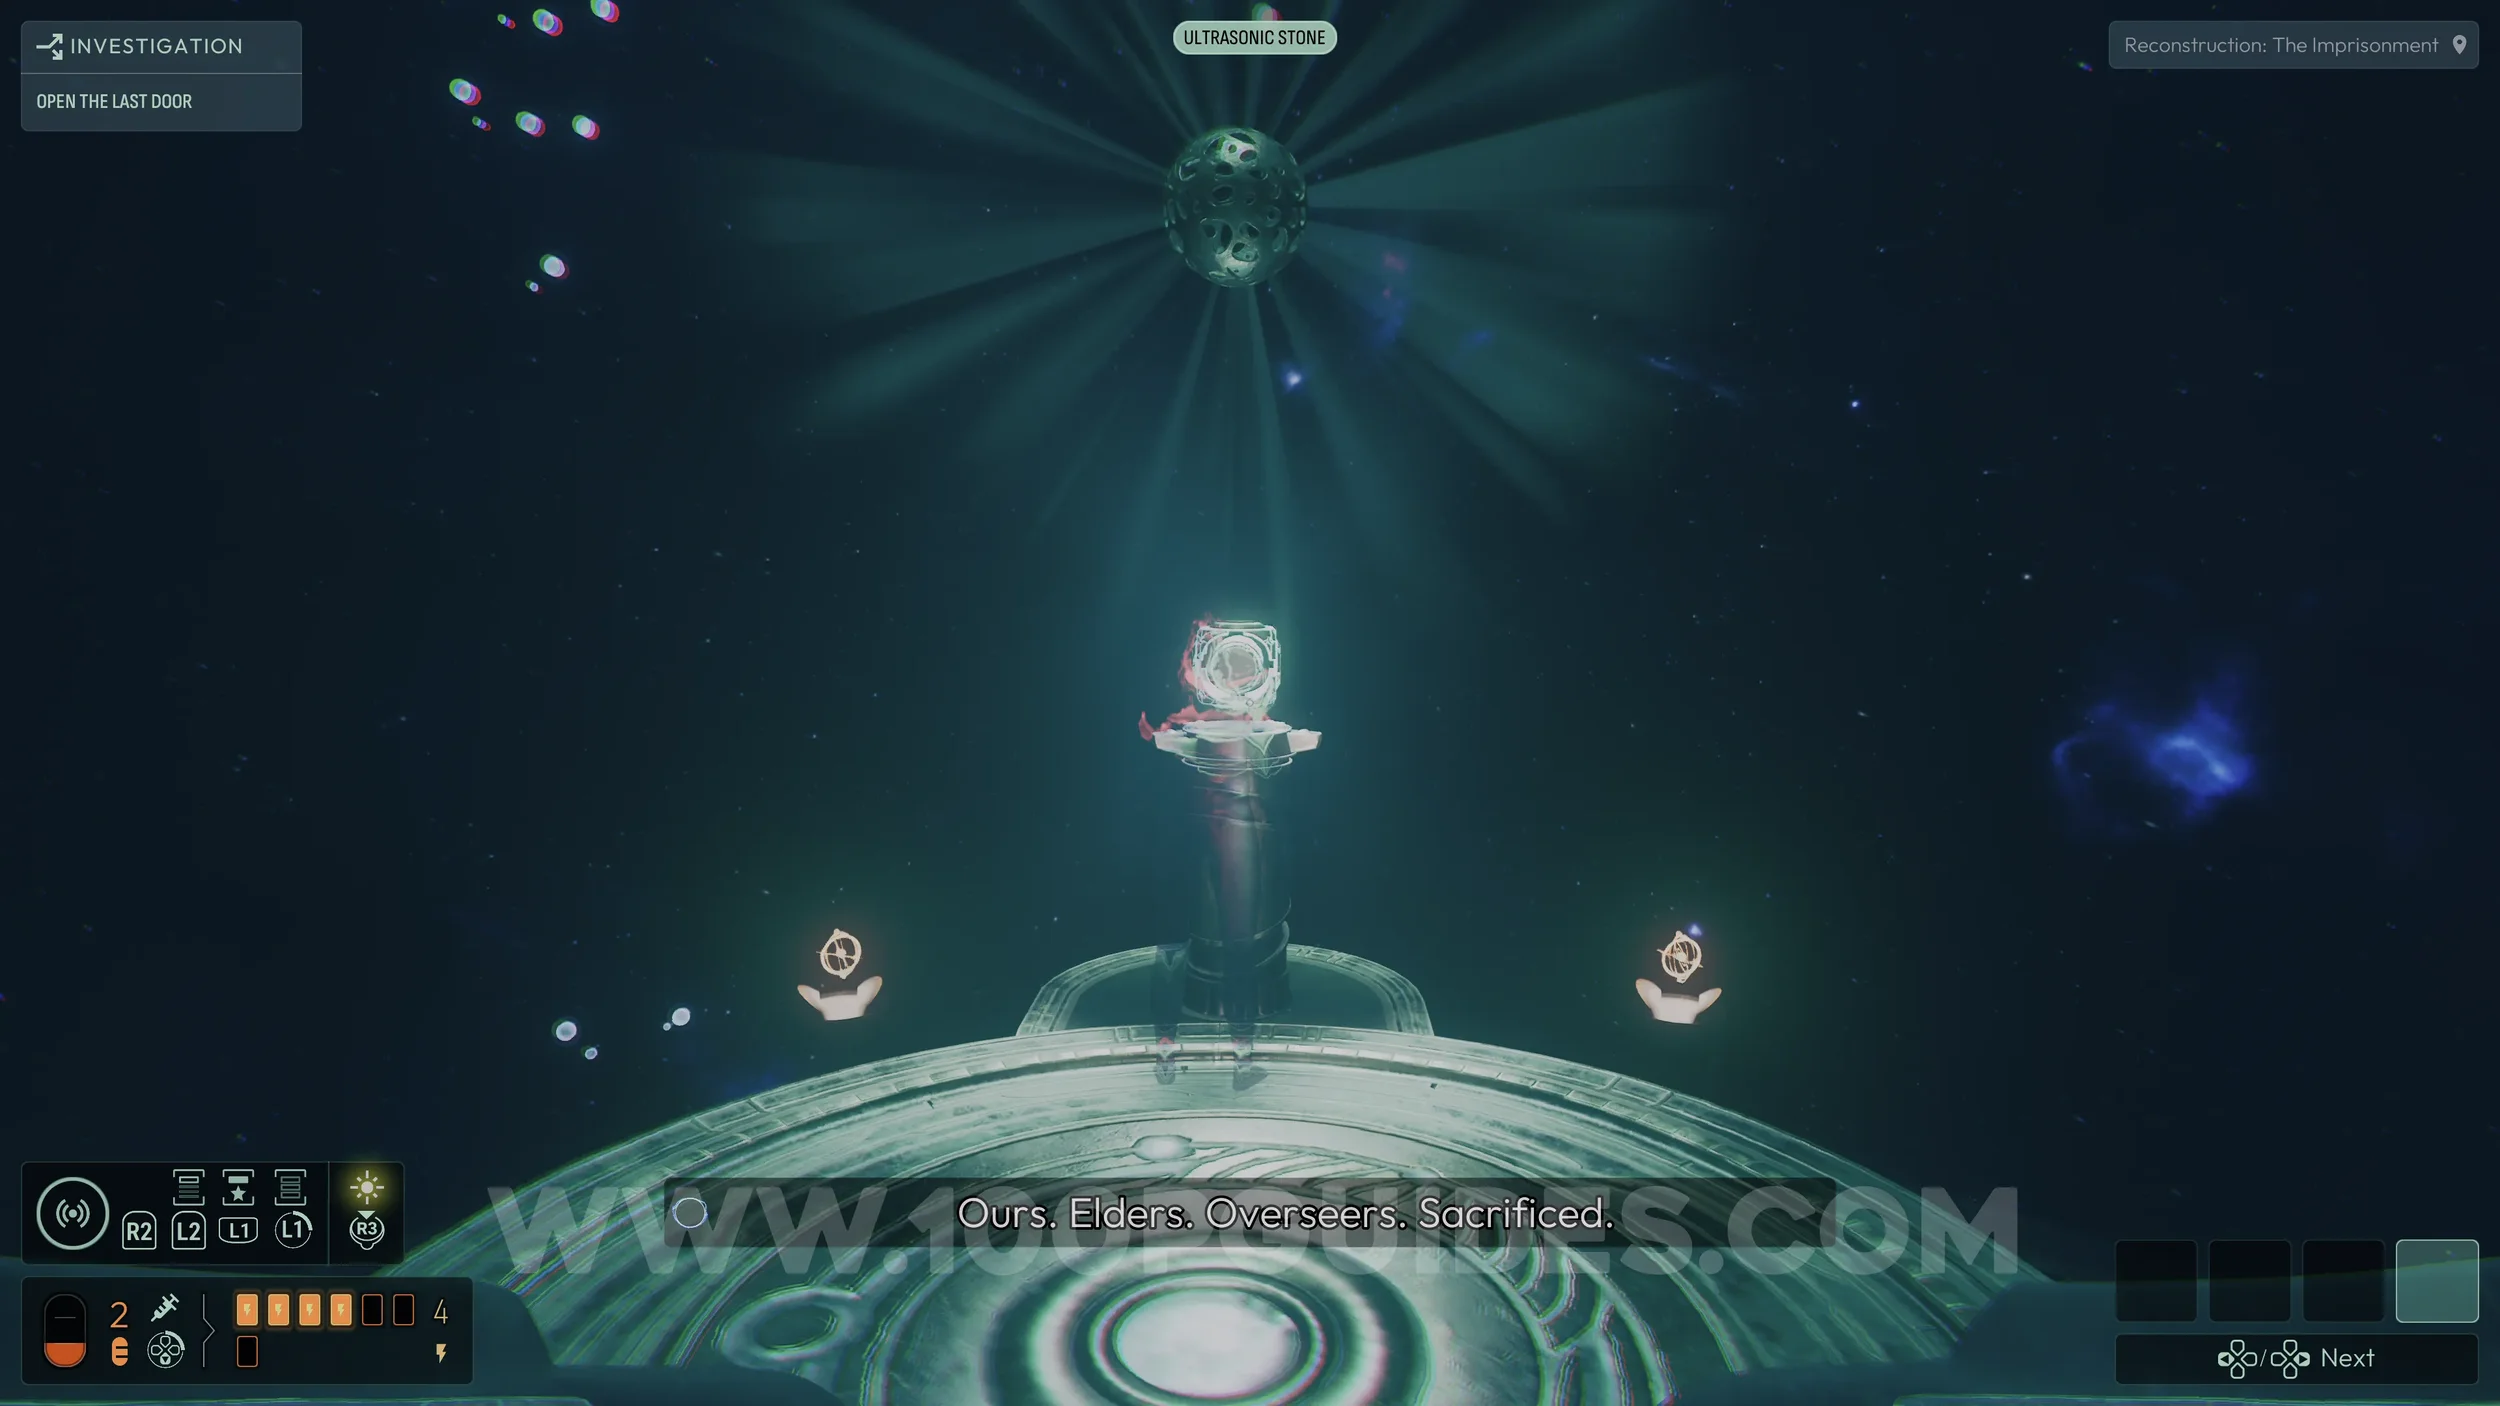
After that, look for a set of stairs leading down near the area with a bridge and a locked door at the bottom. To open the door, equip the Ultrasonic Stone frequency obtained from one of the pillars you examined earlier. This will also get you the Open Sesame trophy.
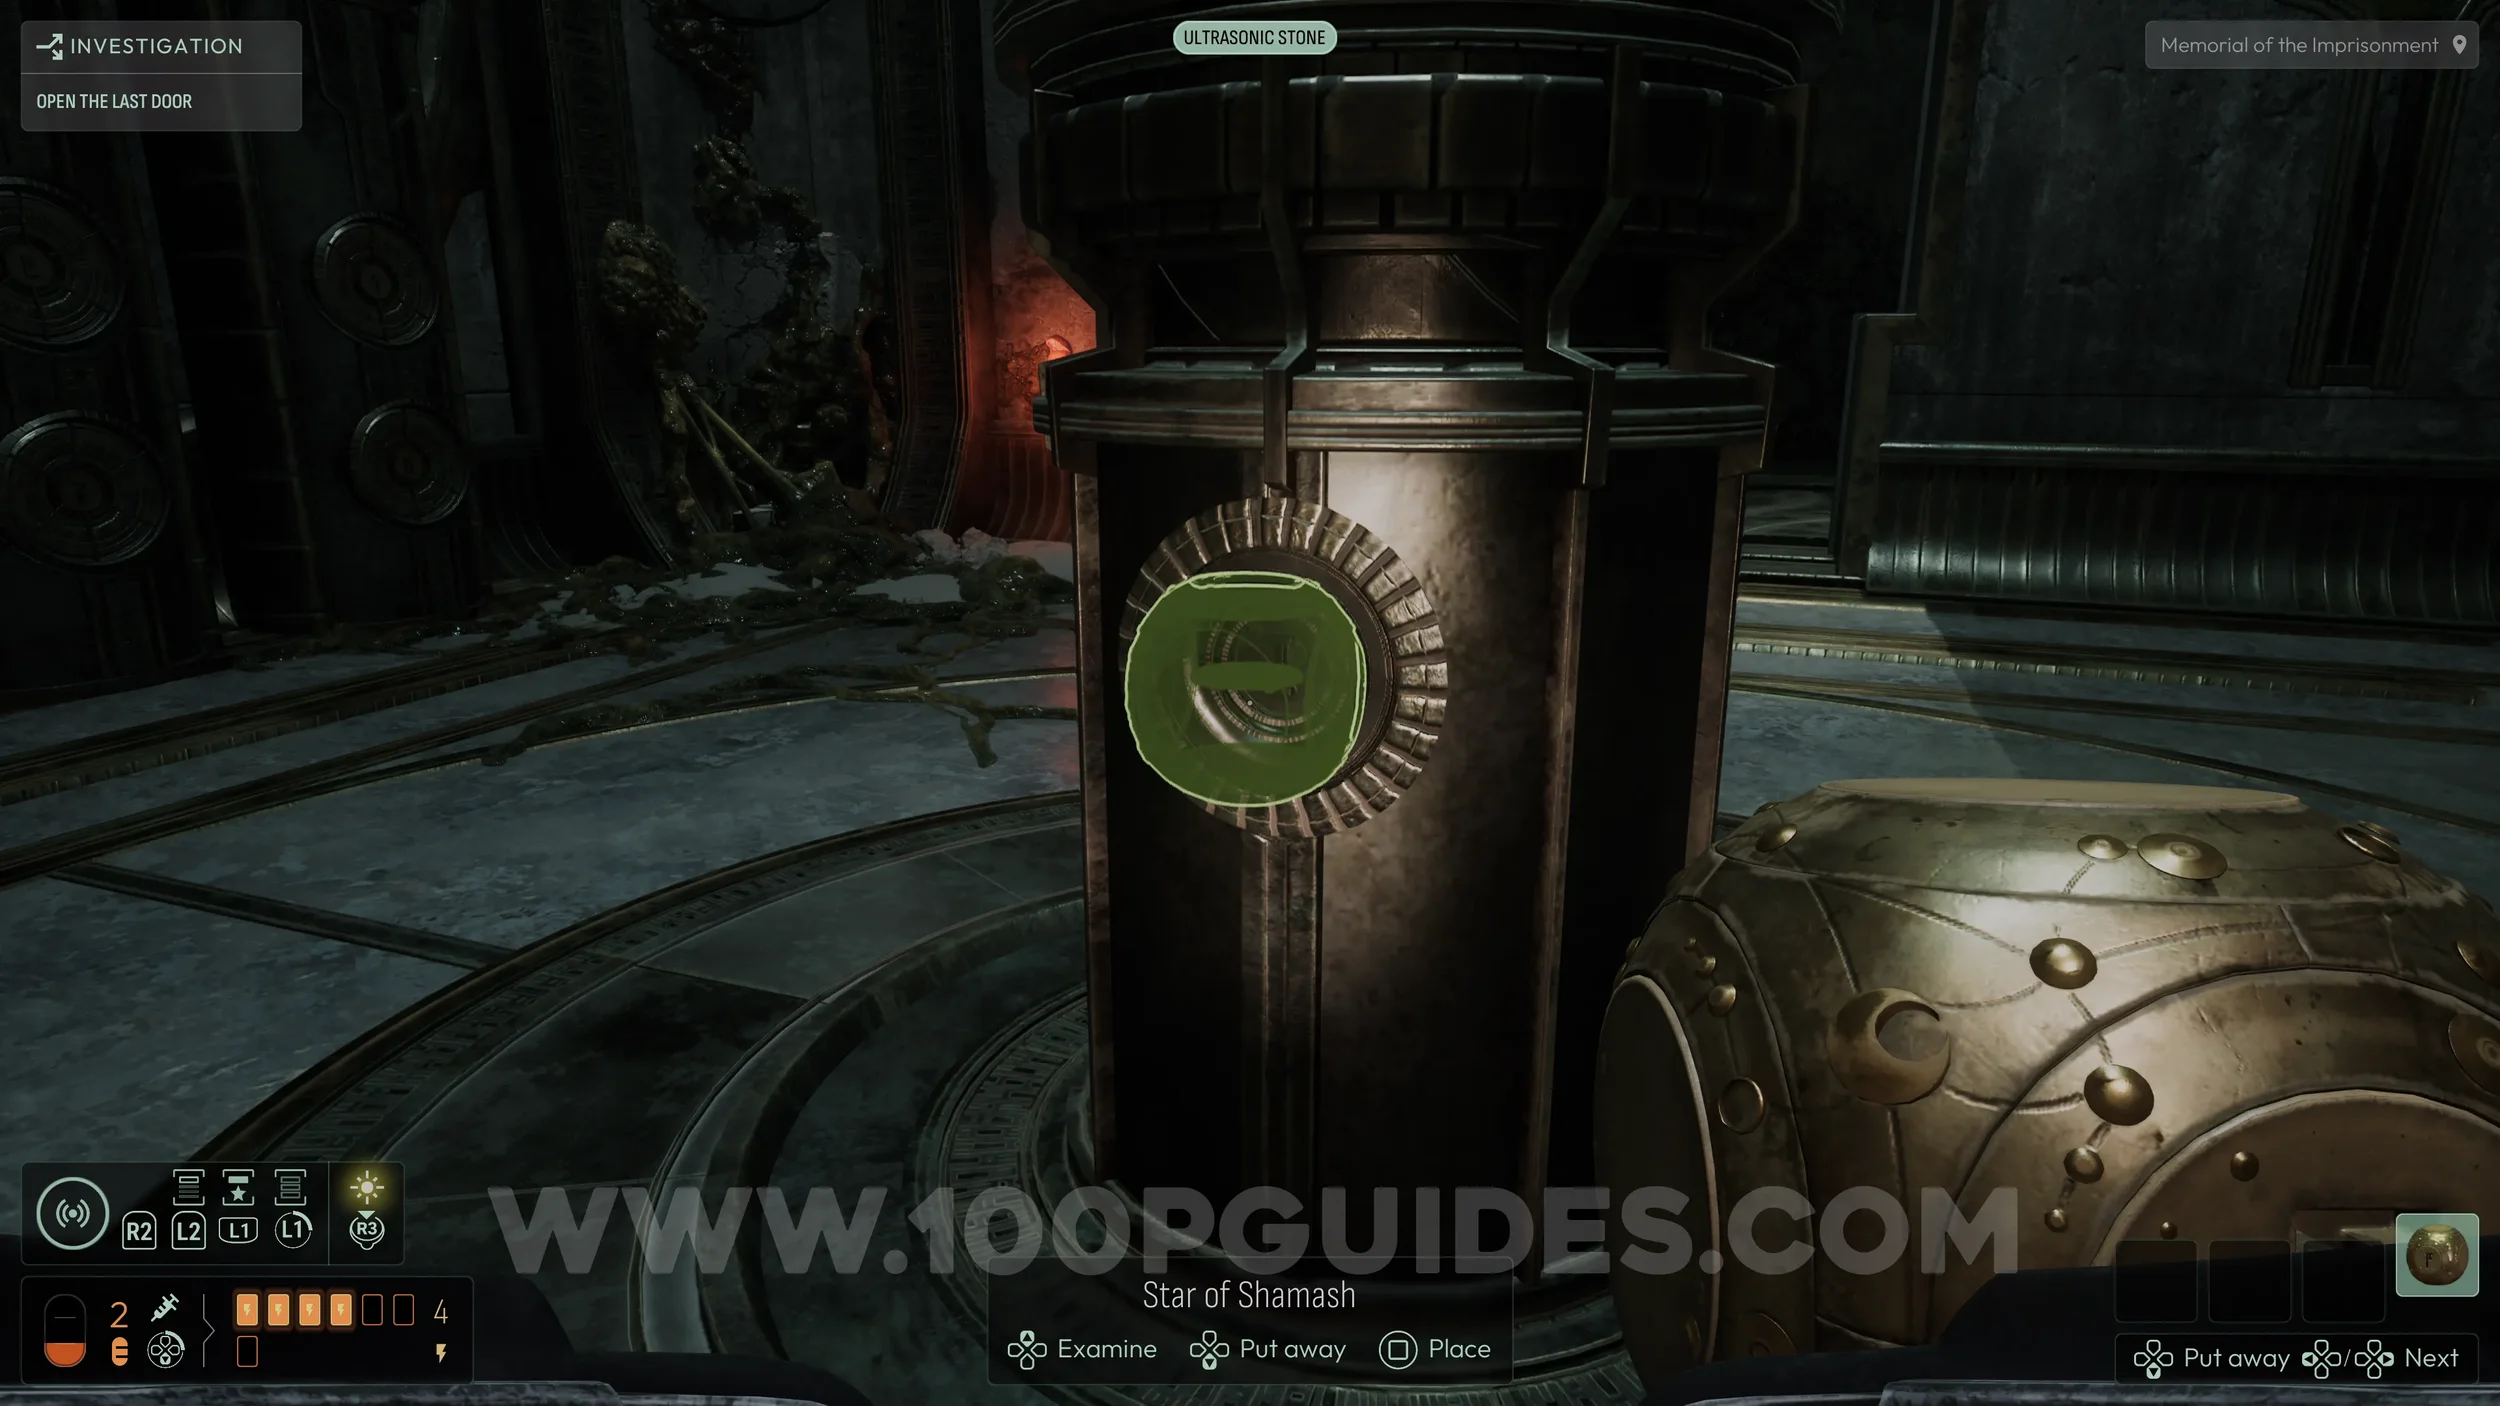
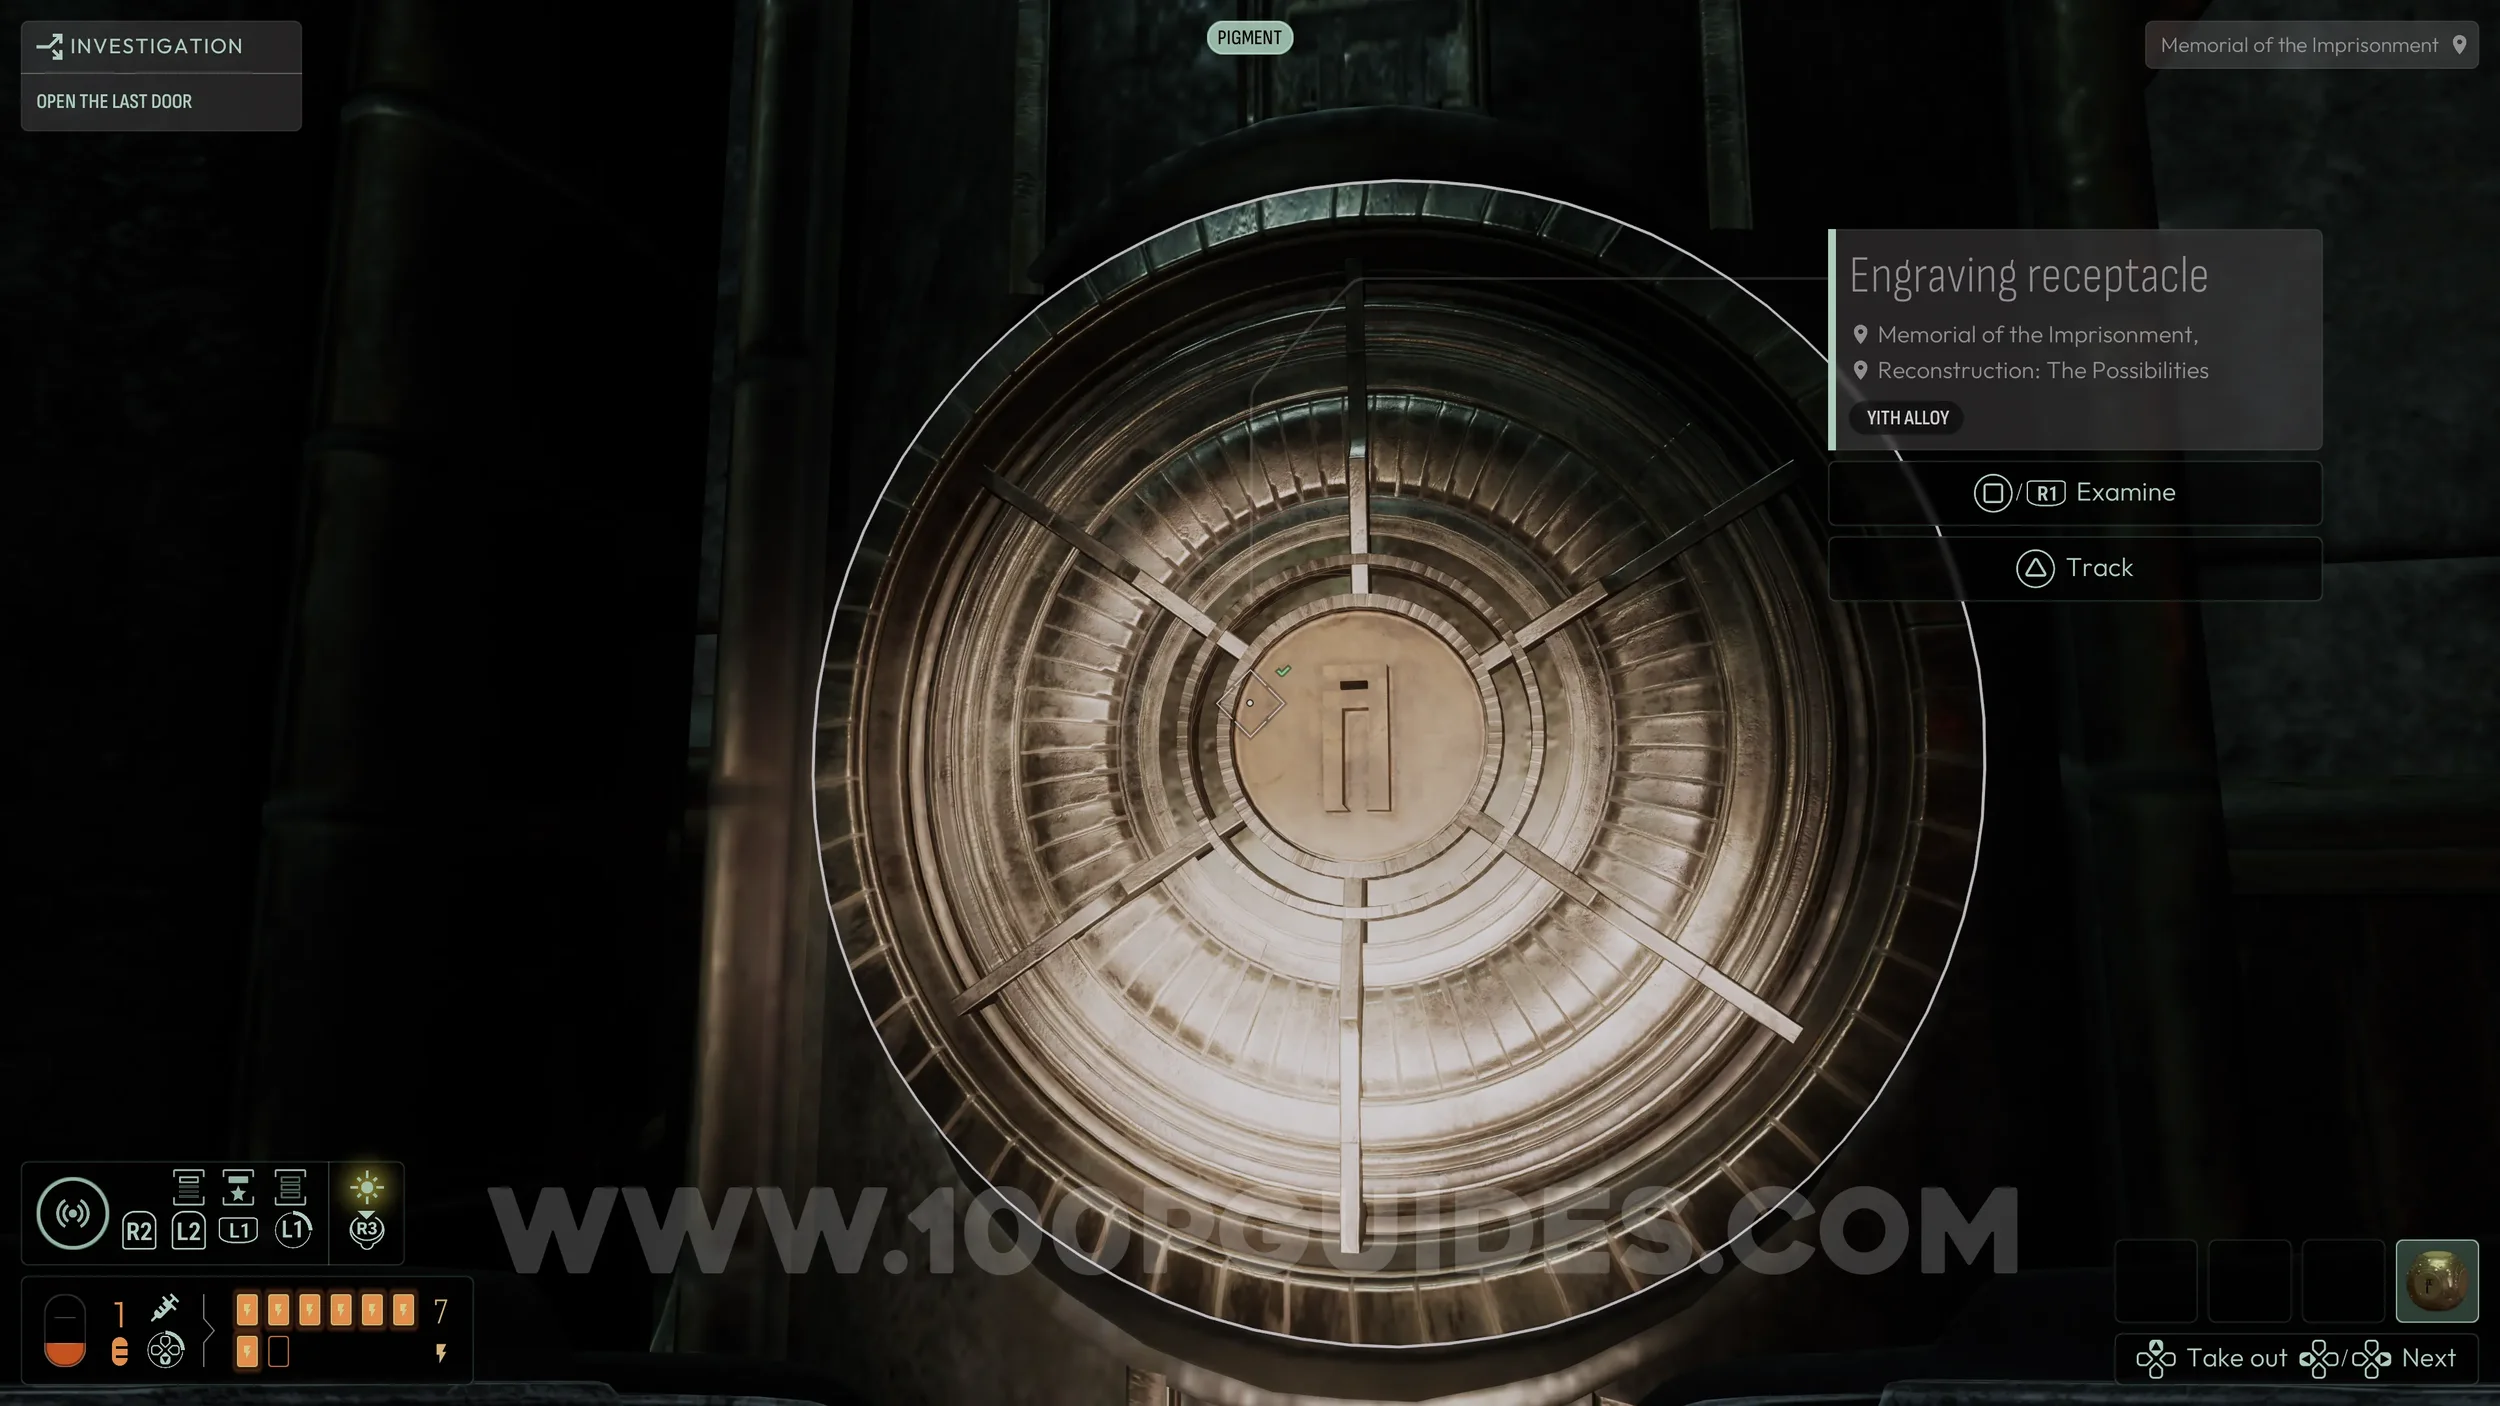
Once inside, look at the symbol on the pedestal in the center of the room. Then find the matching symbol elsewhere in the room, which is located on the left side. Rotate the star in your hands until a blank face is pointing outward, then insert it into the slot with that symbol. This will engrave the symbol onto the star.
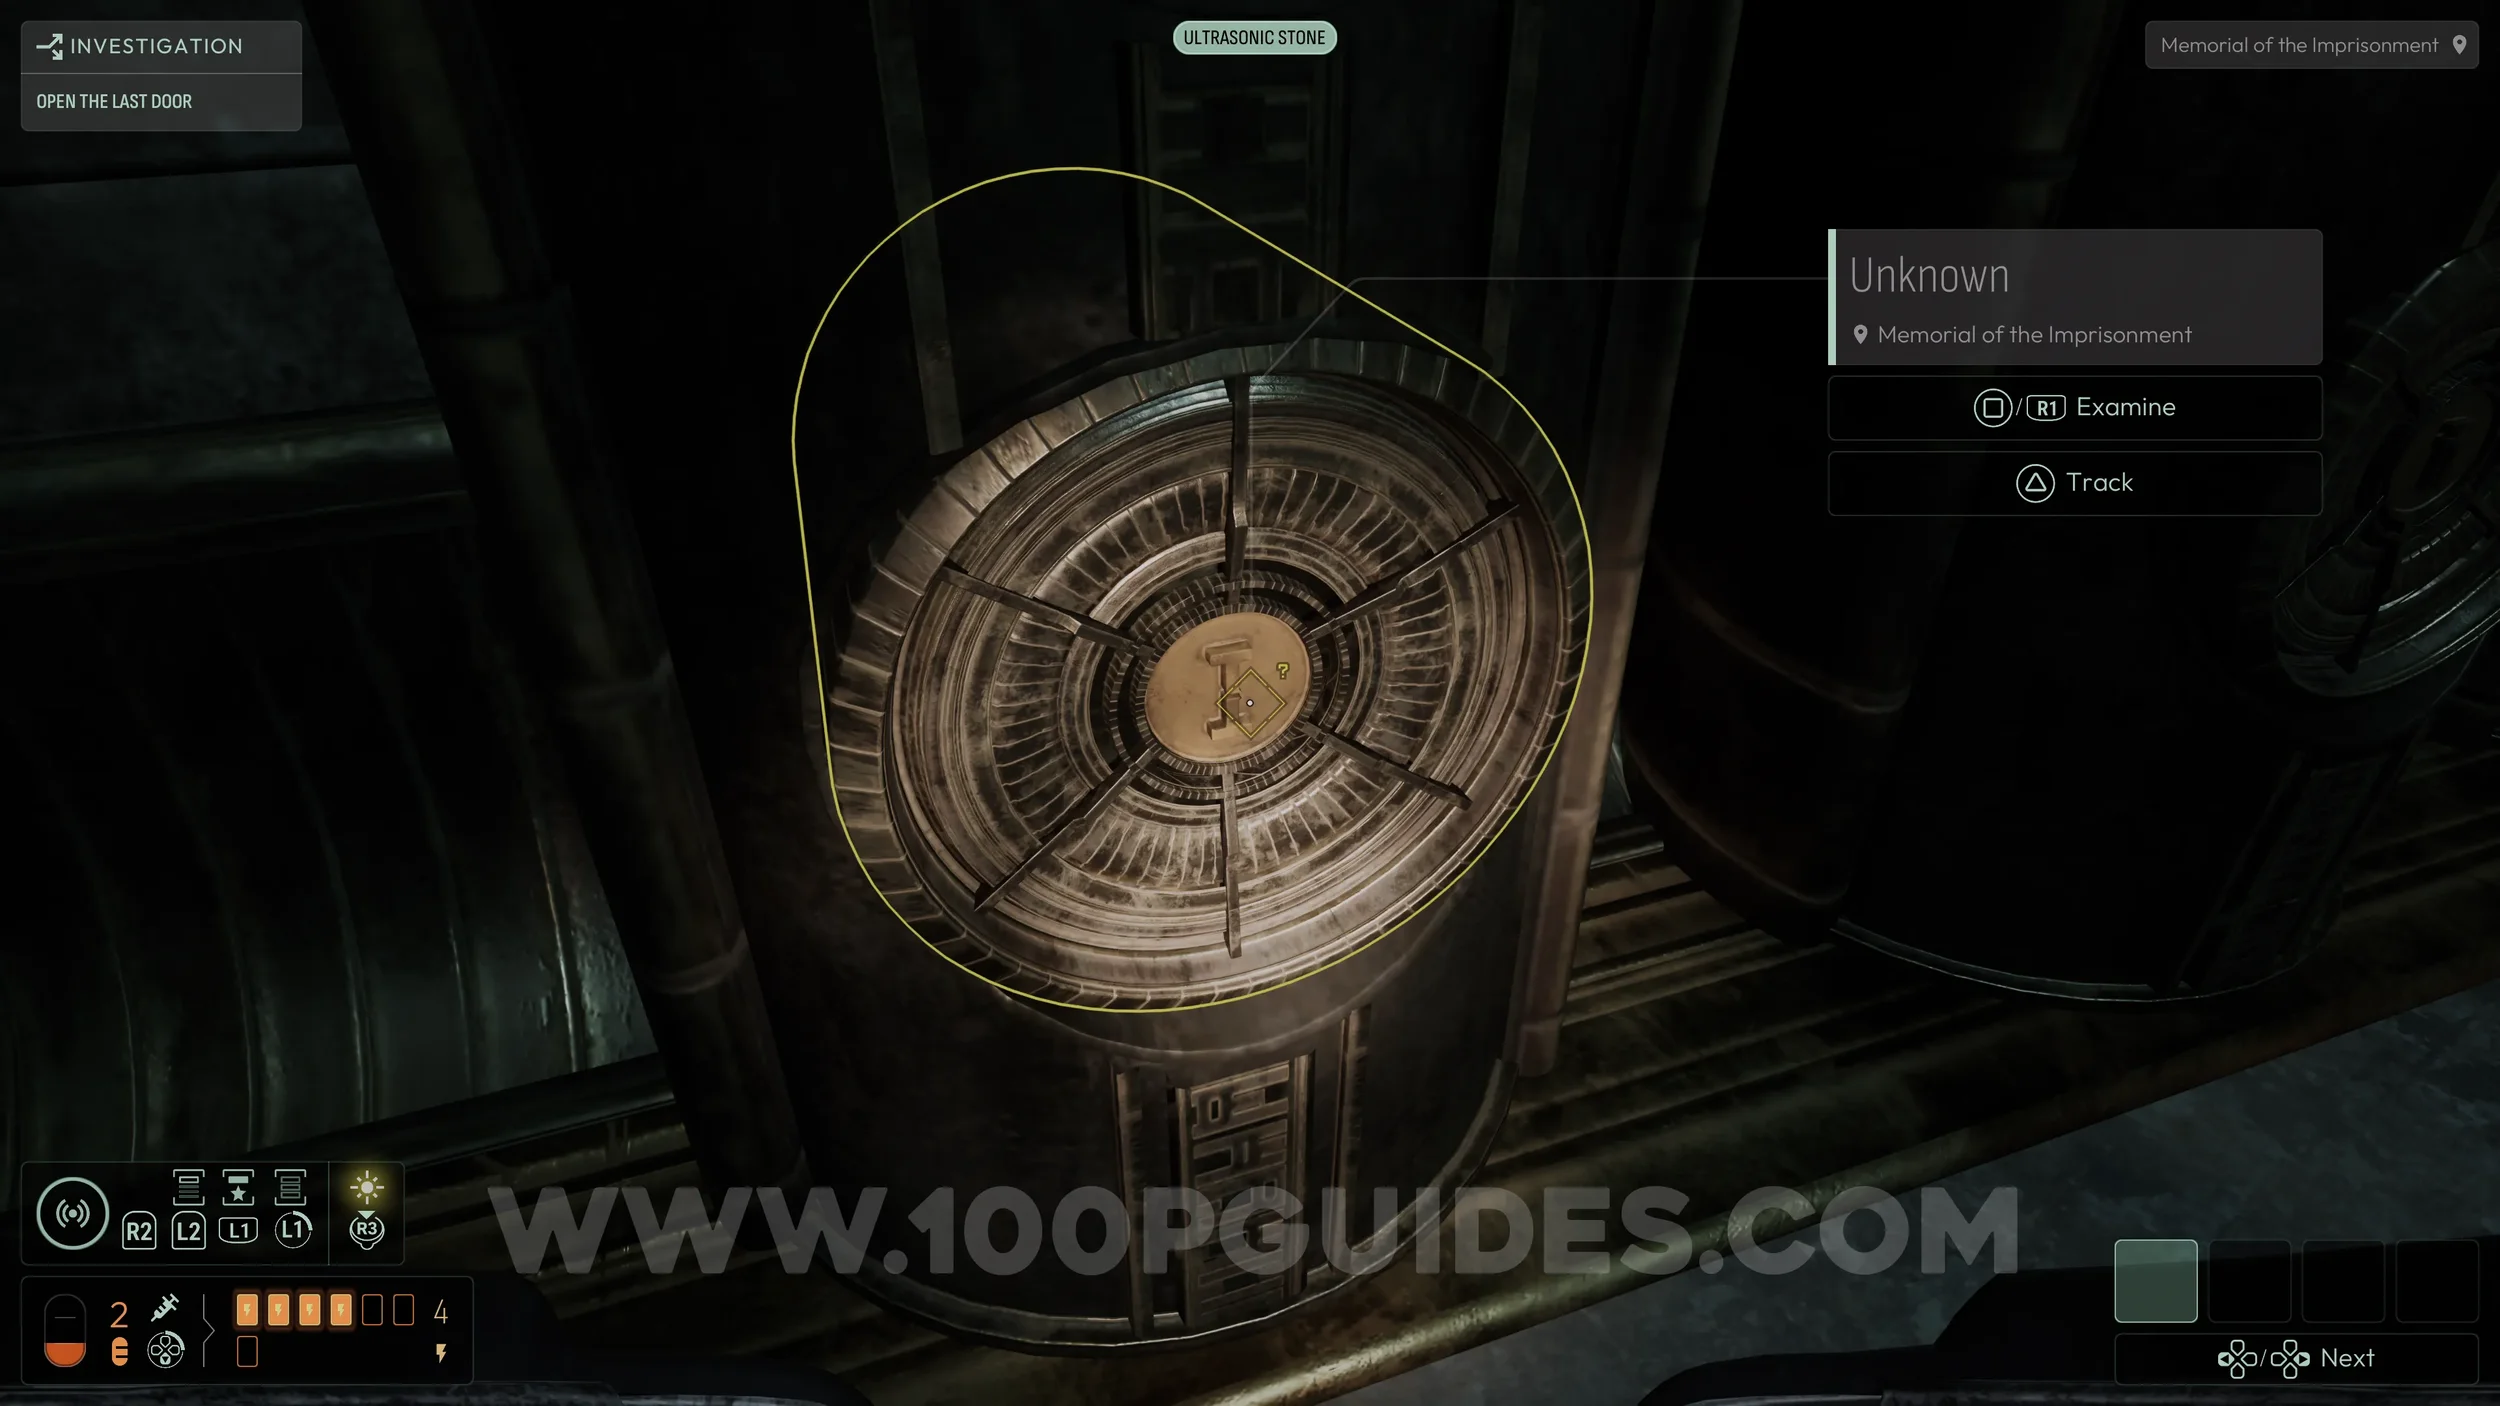
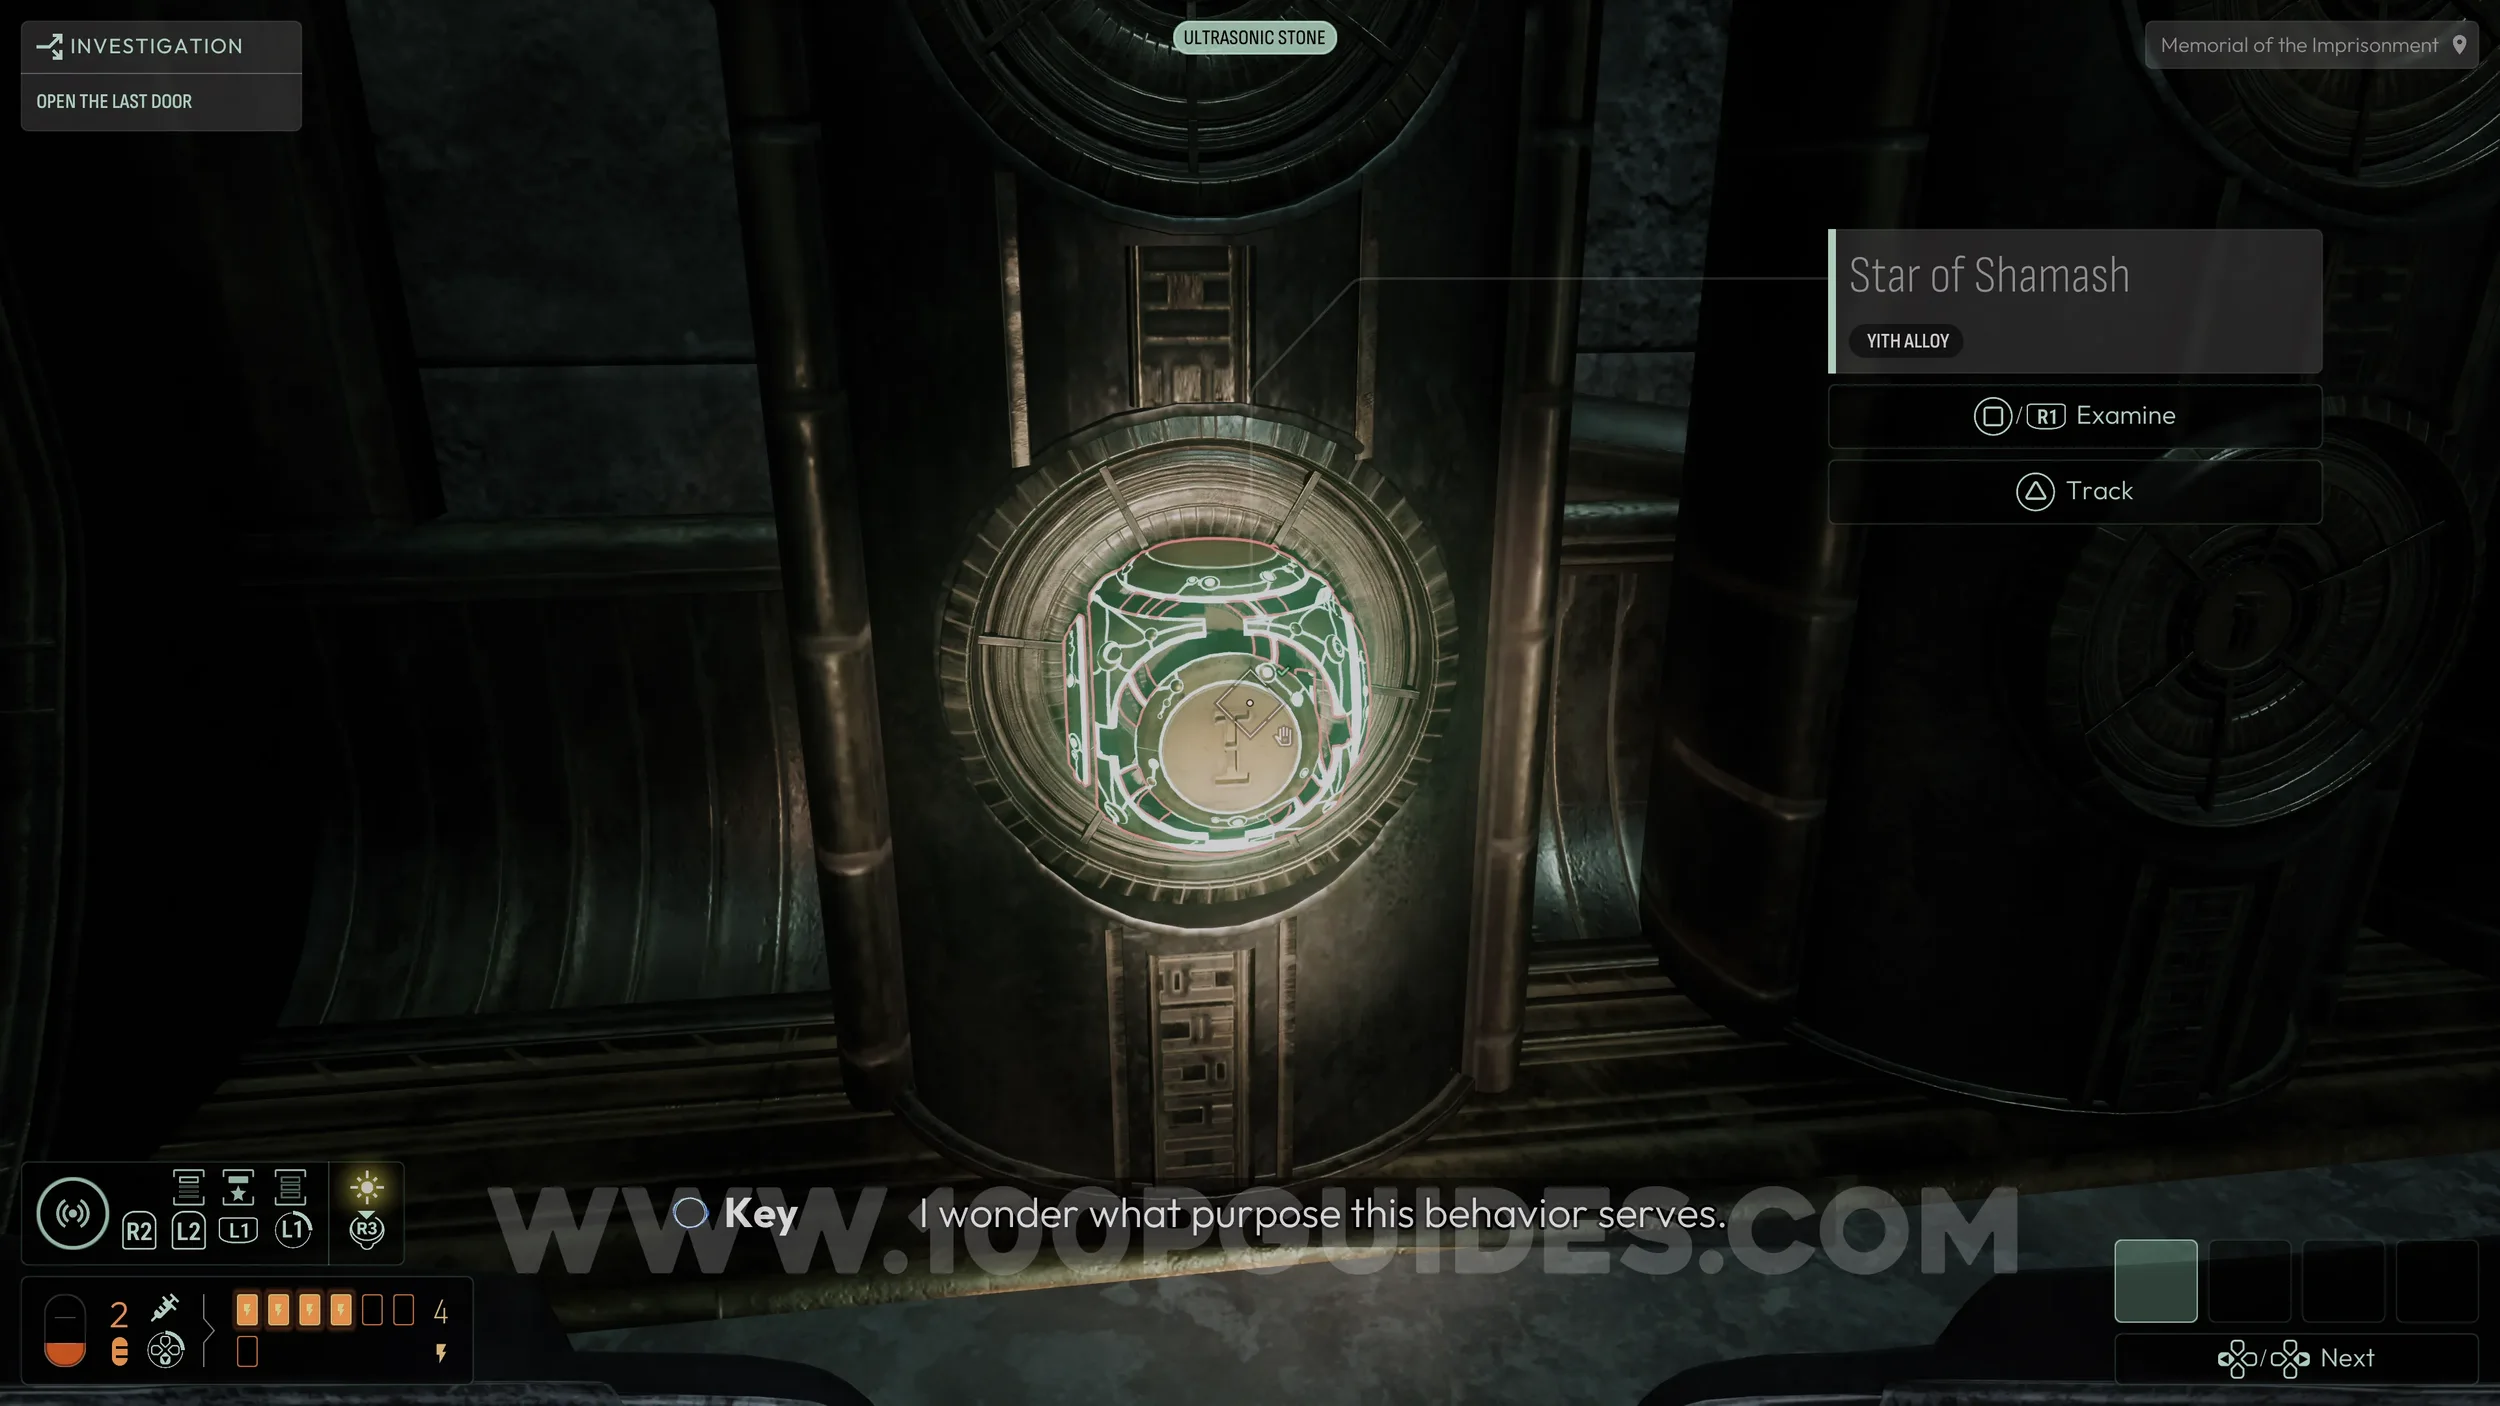
Now that the star has the new symbol, rotate it so that the “I” symbol is facing away from you and insert it into the slot on the pedestal in the center of the room. This will take you into a memory. Wait for the dialogue to finish, then pick up the star to exit.
Now return to the main circular area and find another set of stairs leading down along the edge. At the bottom, enter the room and insert the star into the pedestal in the center with the newly engraved symbol facing the slot. This will teleport you into a memory.
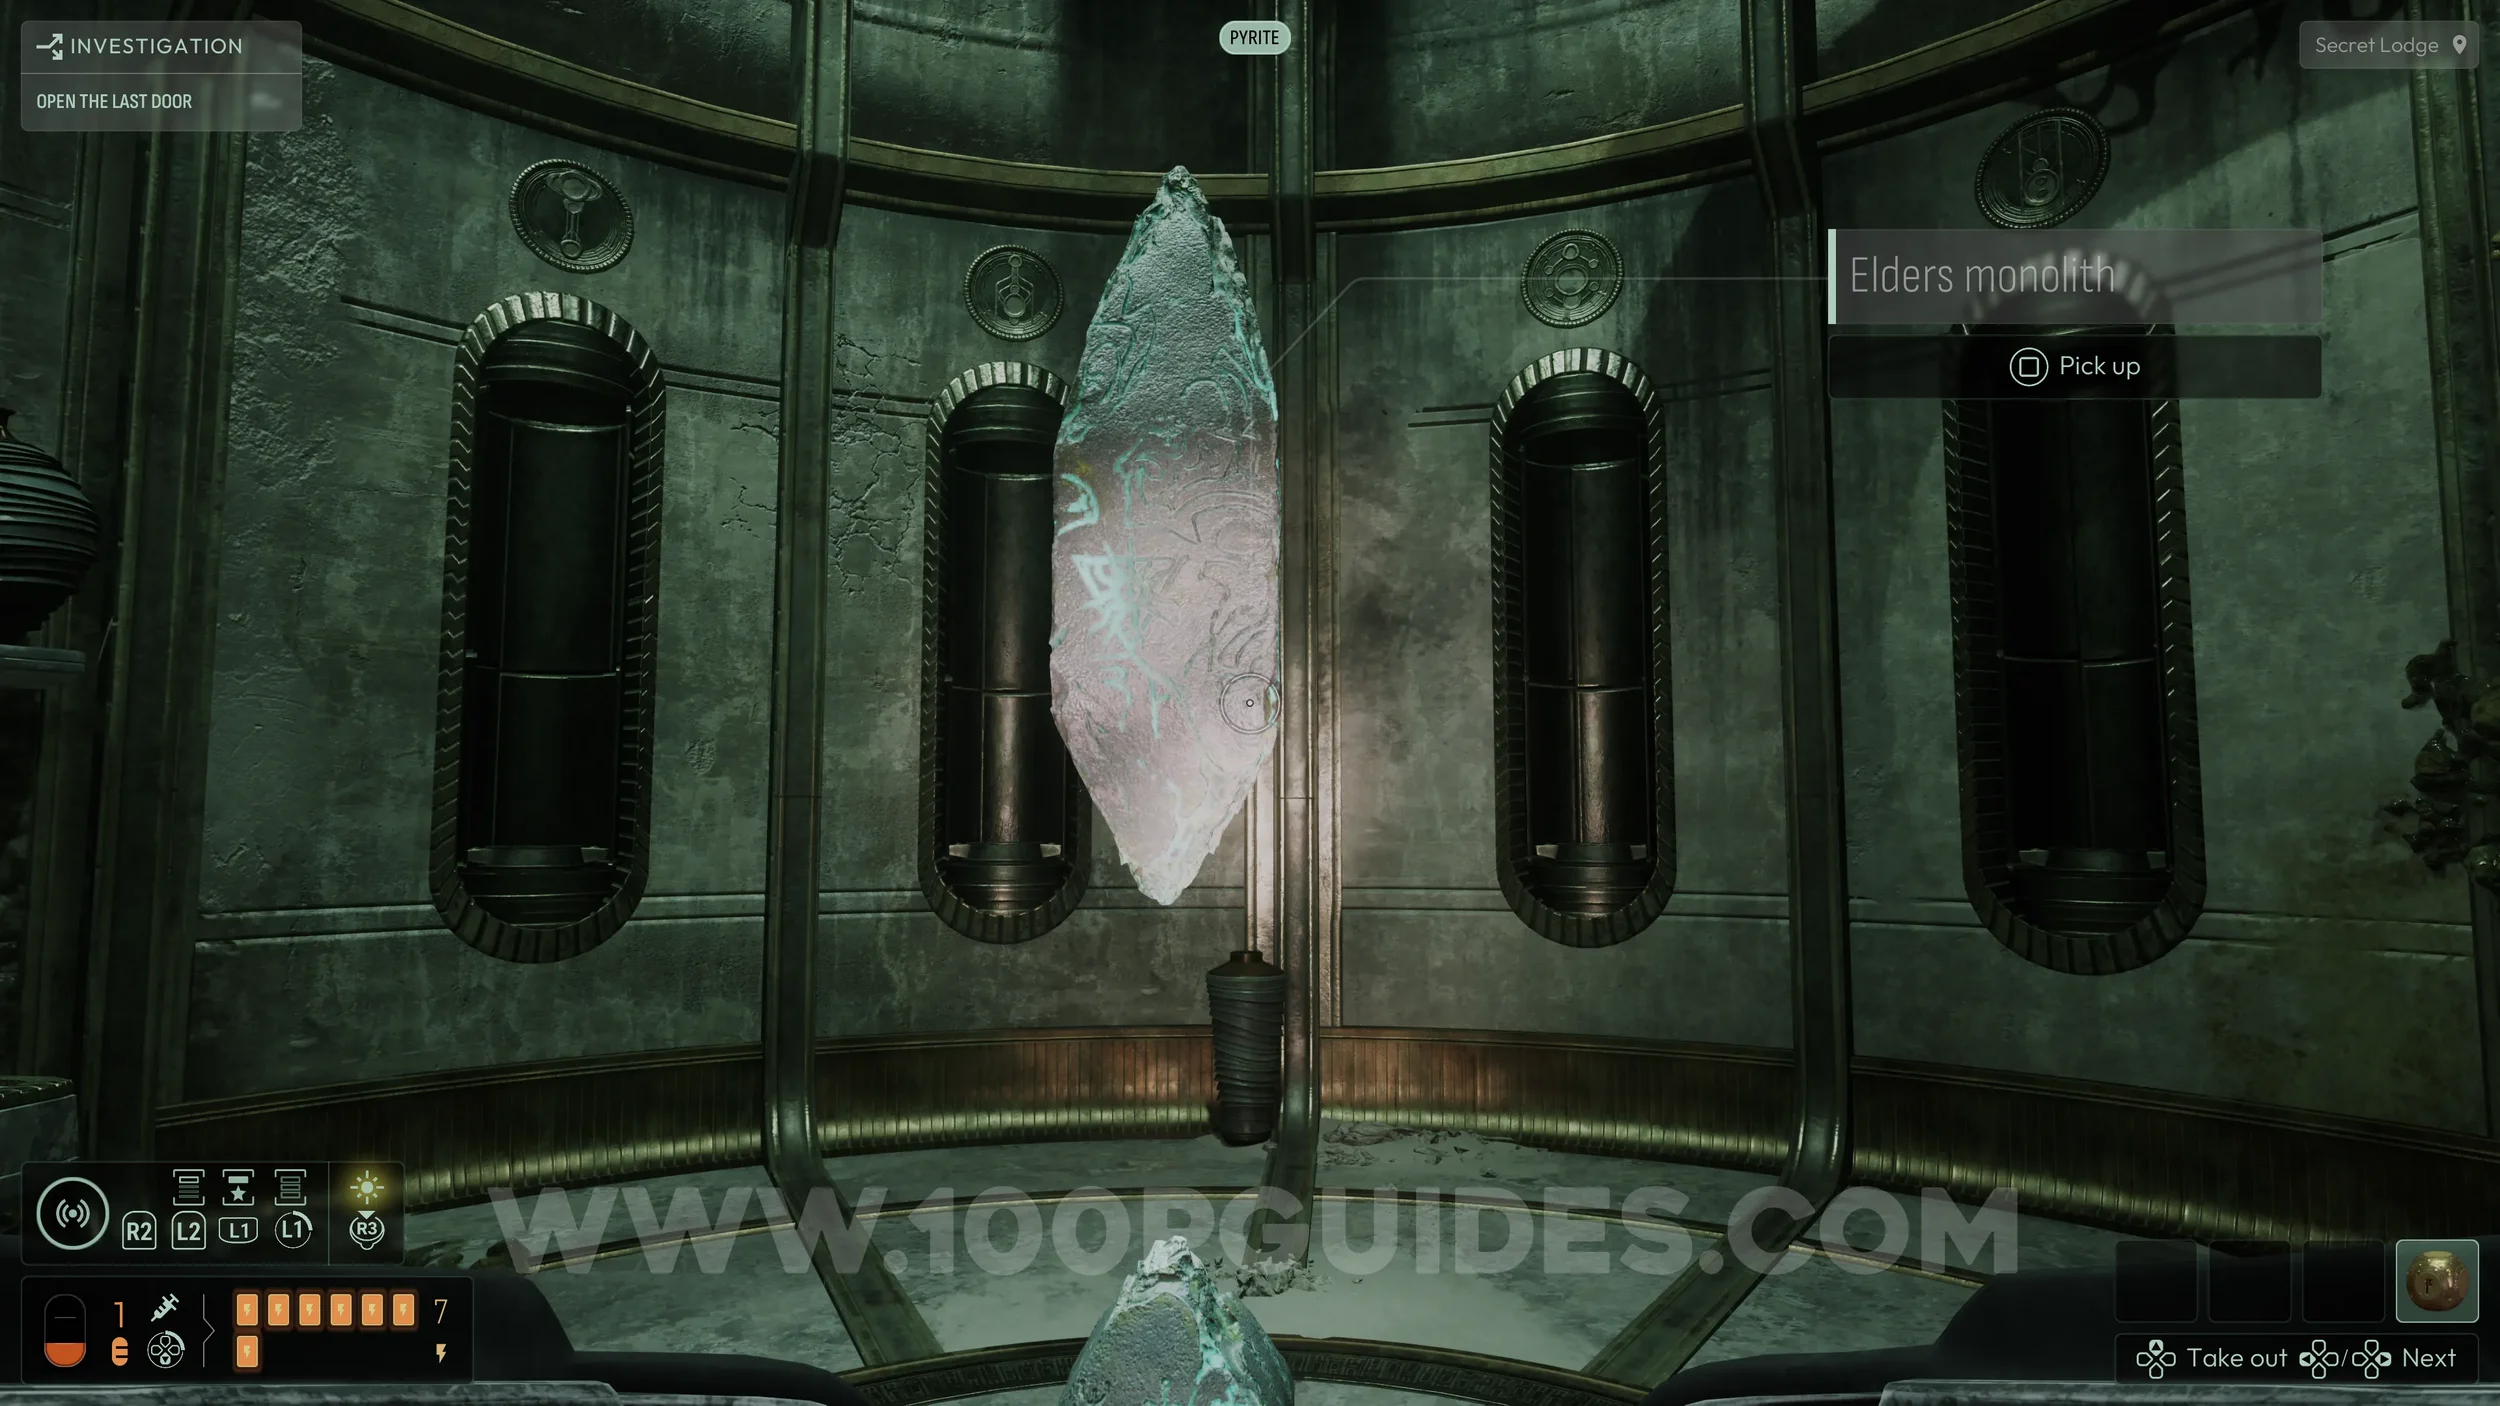
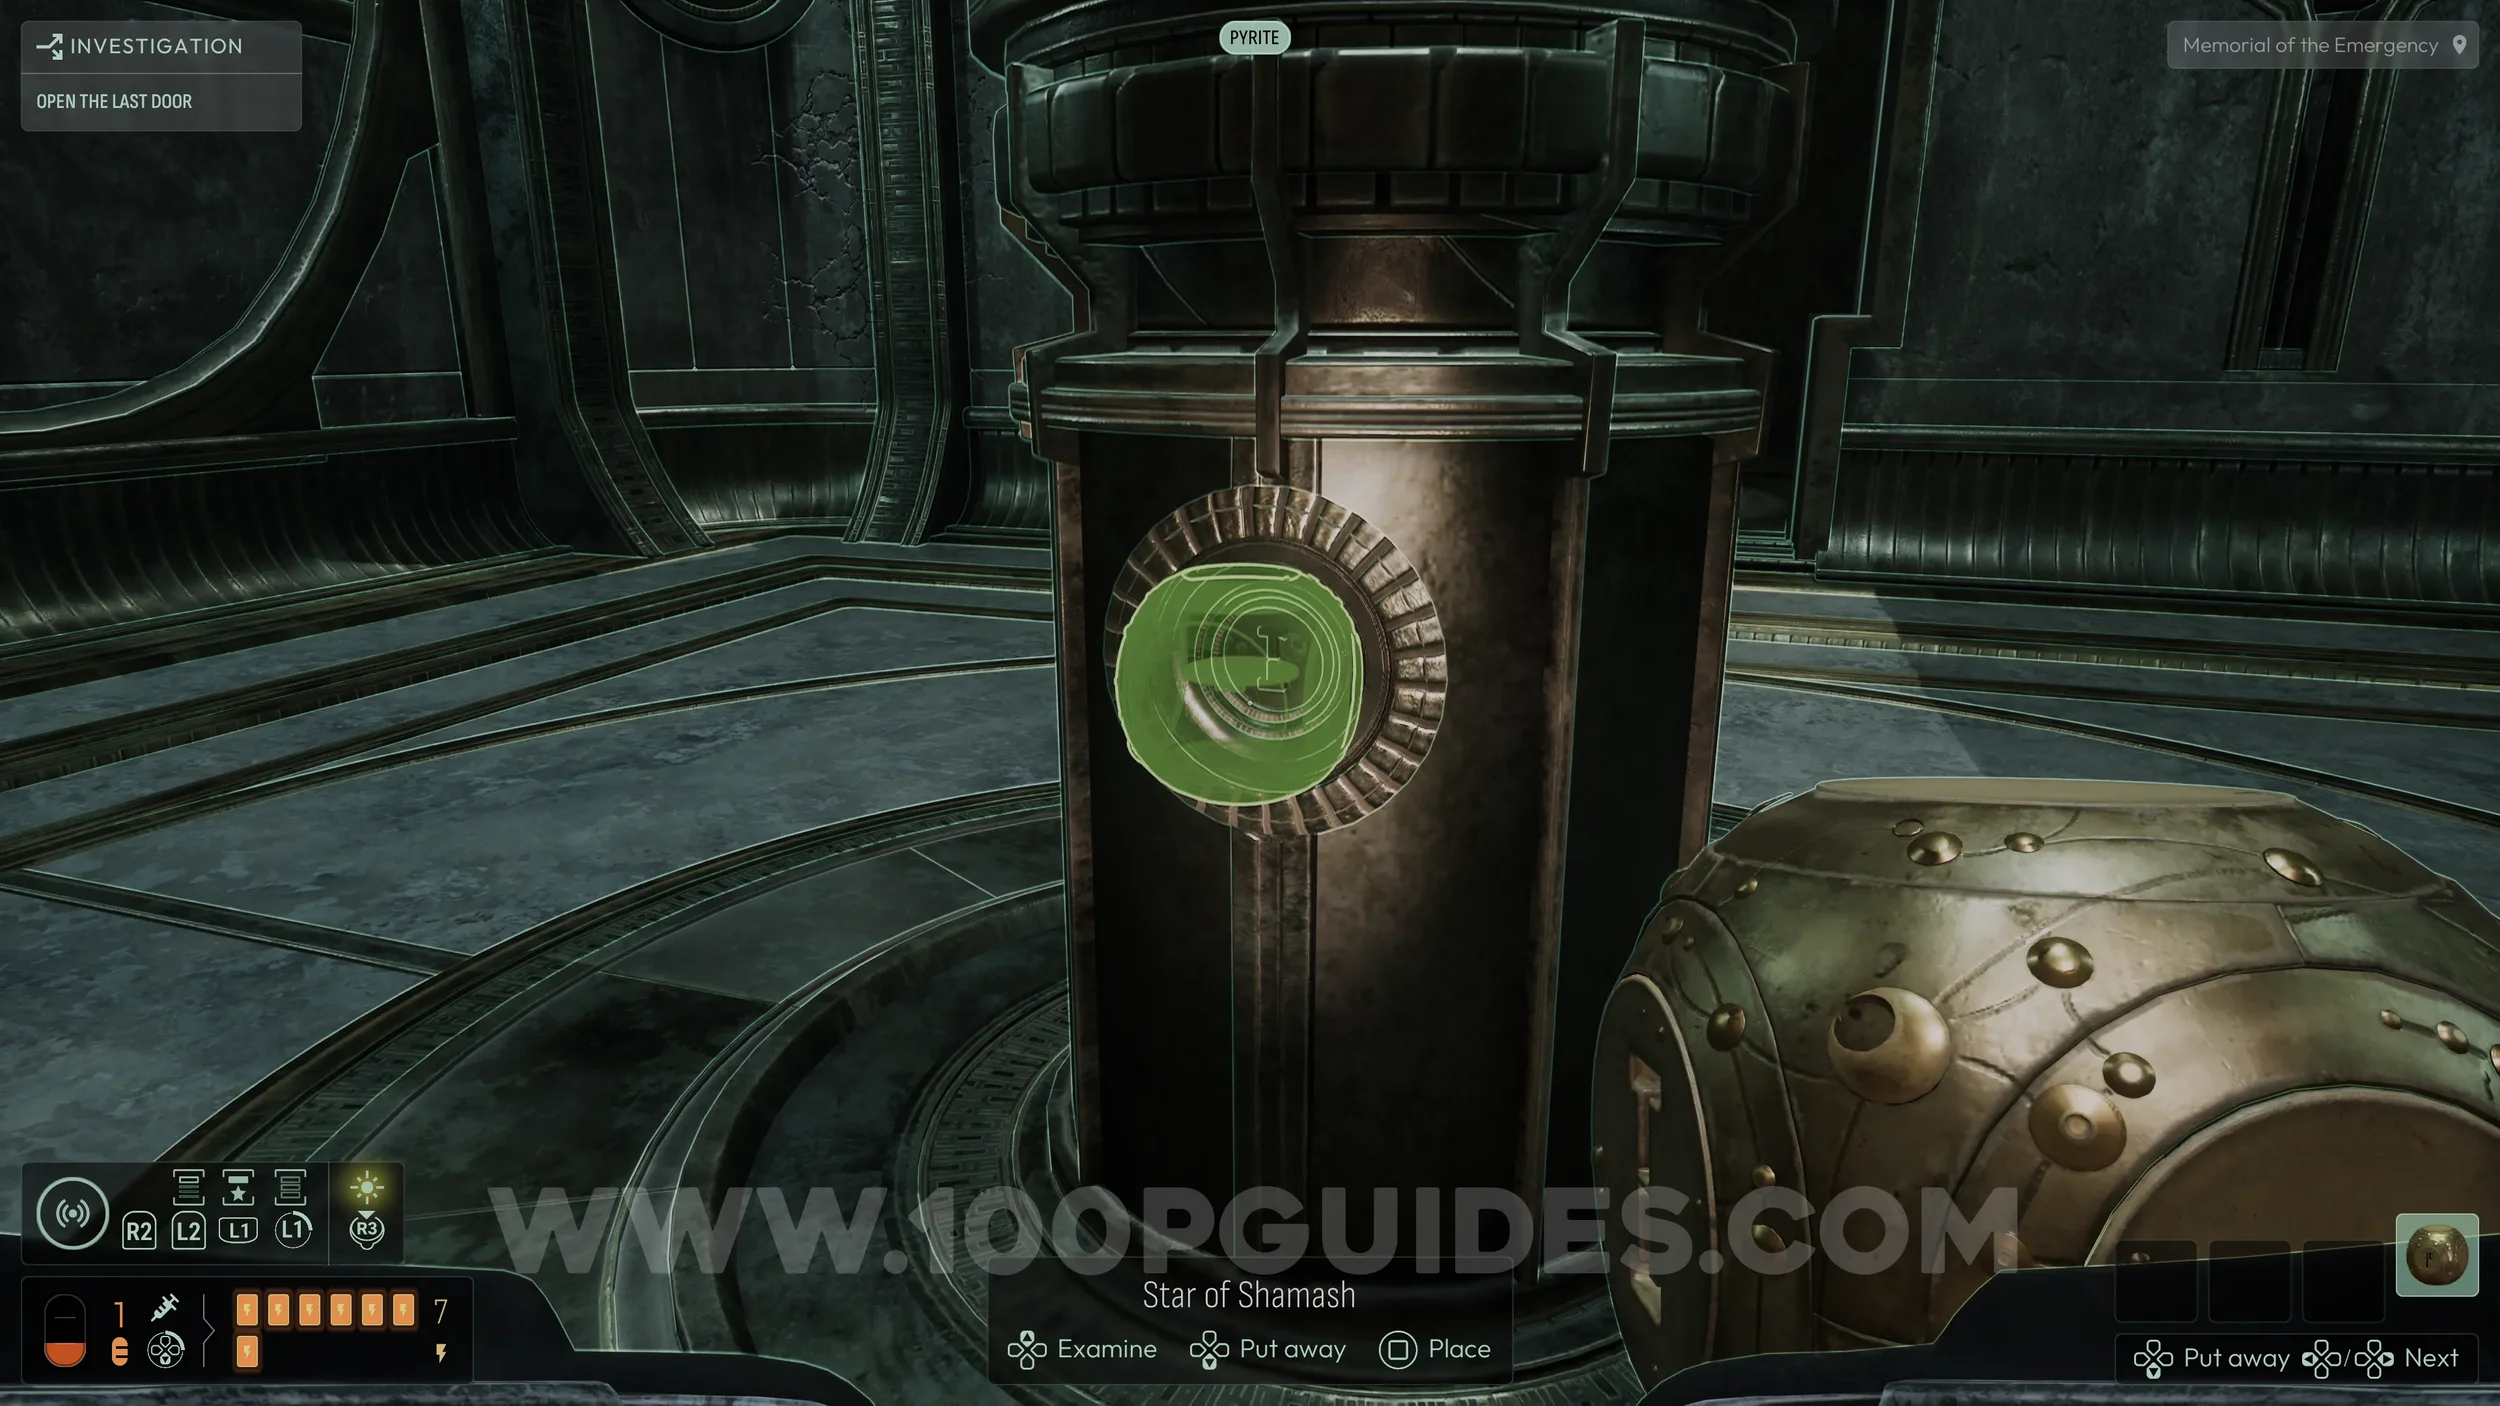
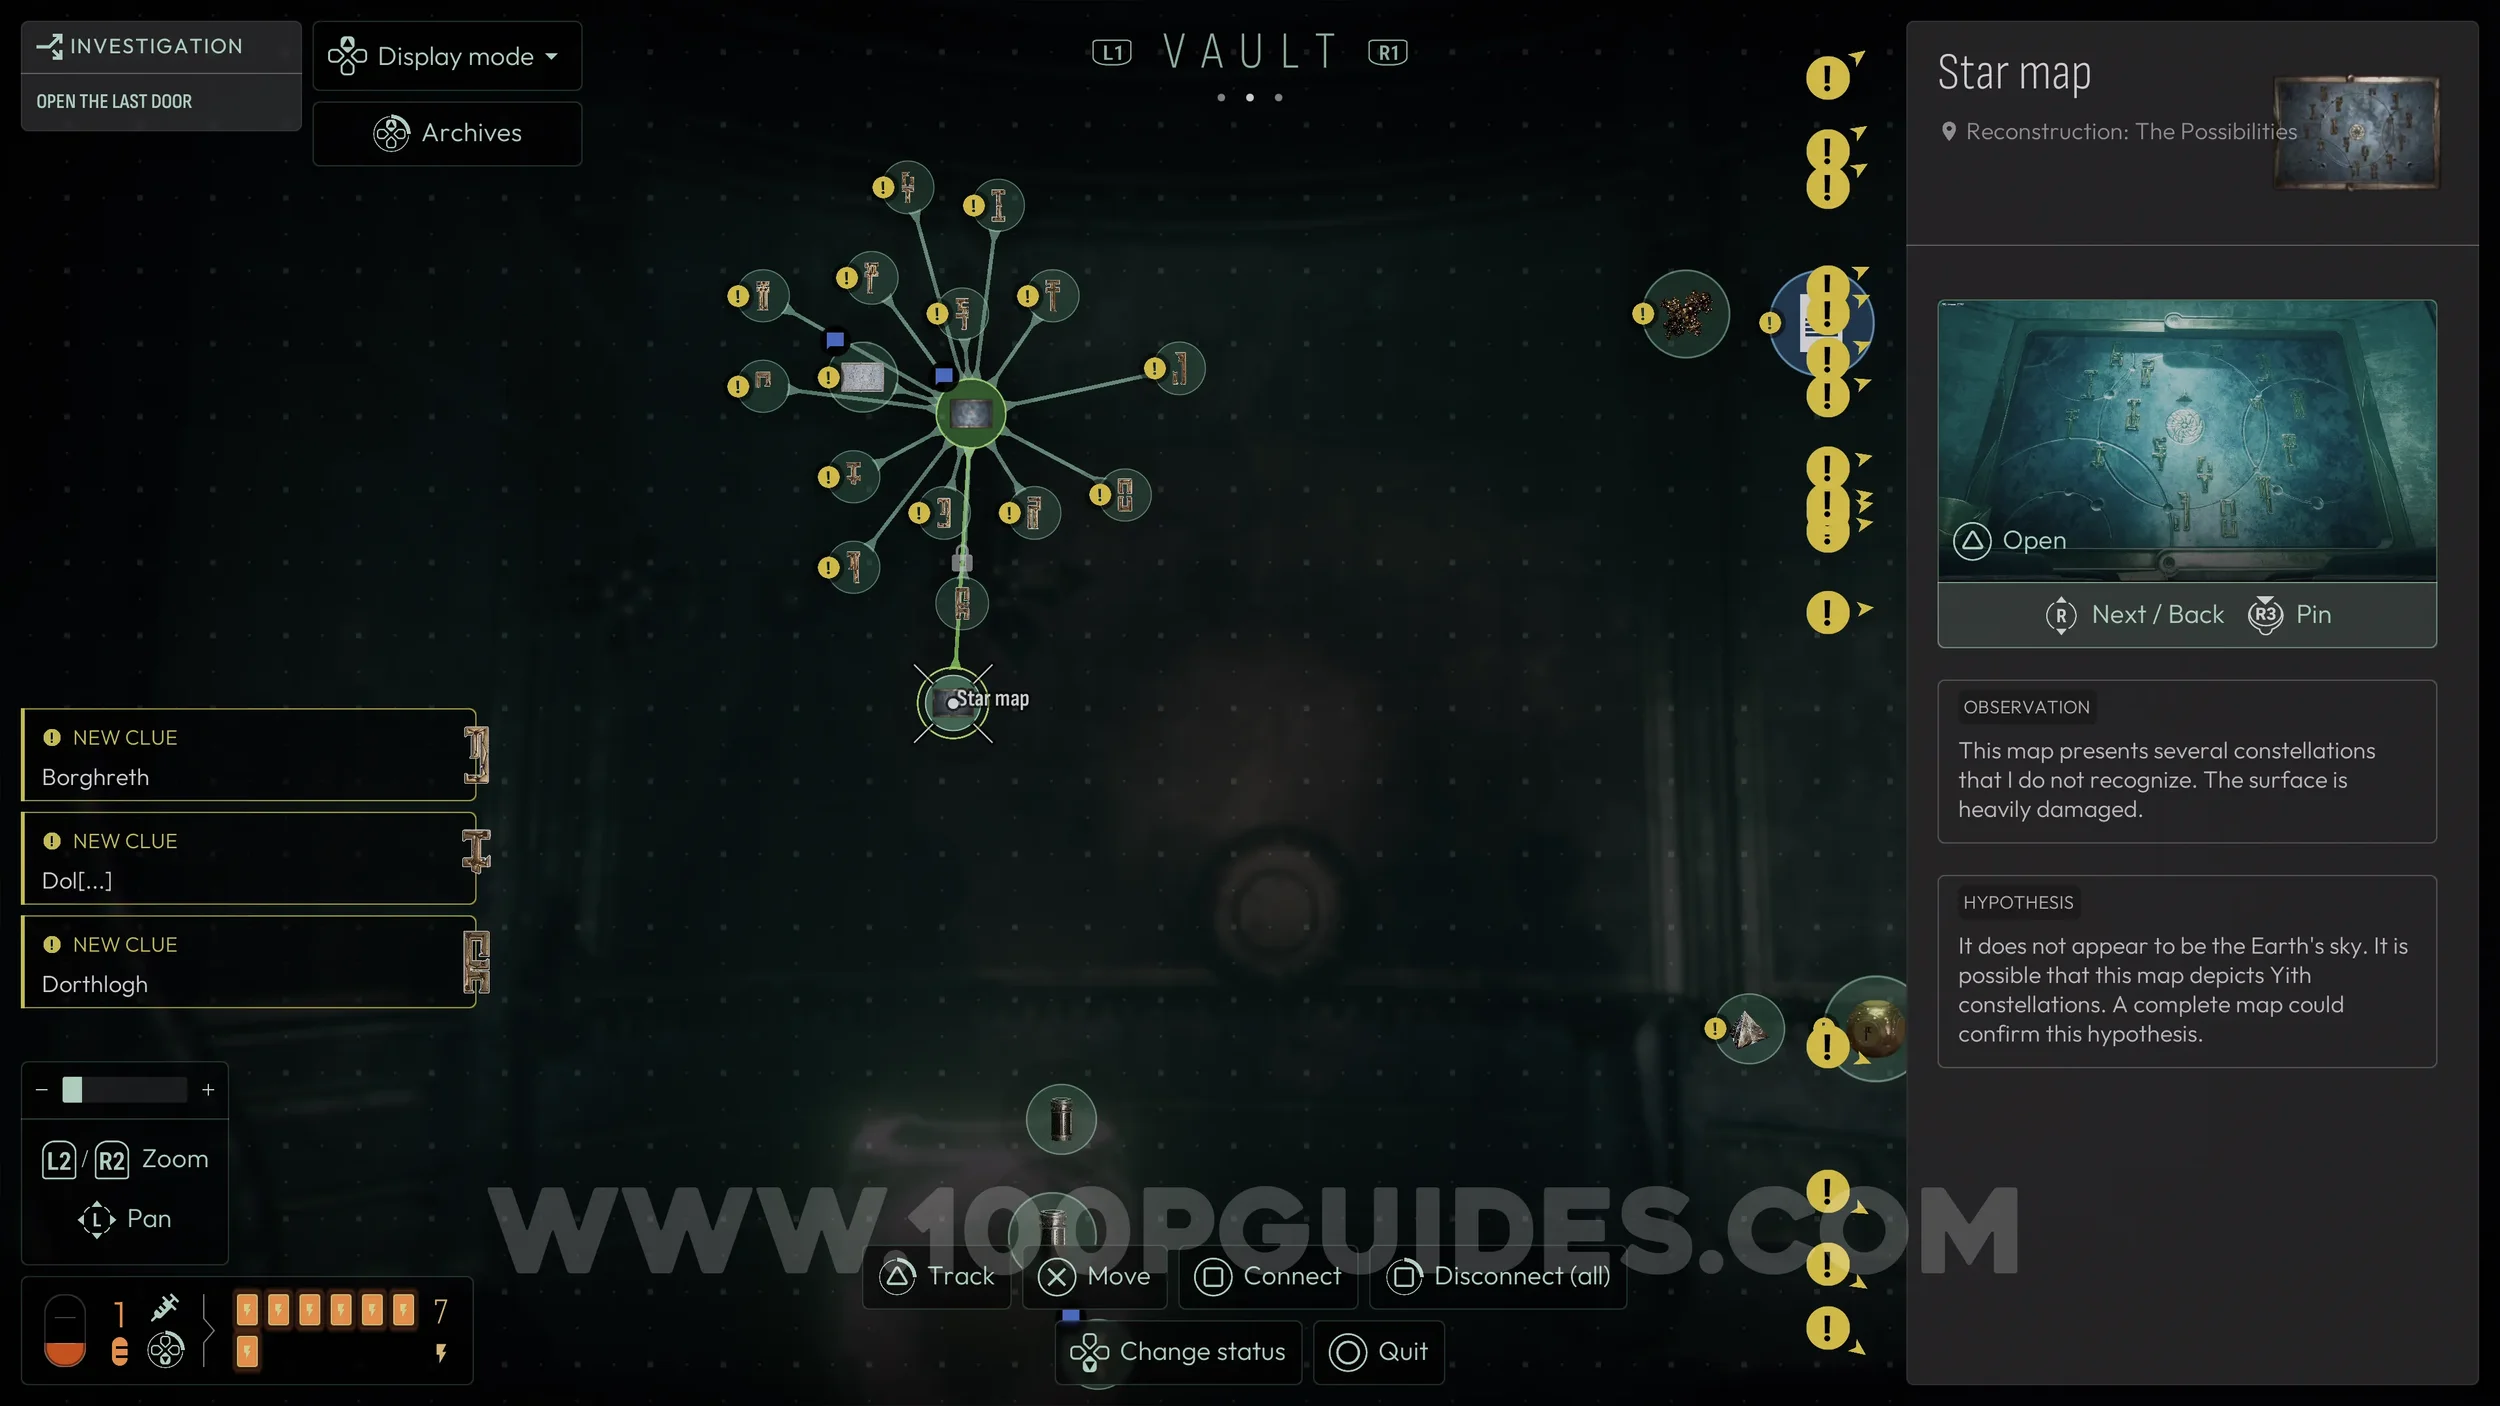
In this memory, analyze the piece of metal to get the Pyrite frequency. You will also find another Evolution (14/15). Make sure you also examine and analyze the Star Map on the wall for a deduction later.
Now grab the star to exit the memory. Stay in this room and place the star on the pedestal near the wall. Look at the “I” symbol for a few seconds until it begins to glow, then pick it up. This will teleport you to a secret room and unlock the Where Am I? trophy.
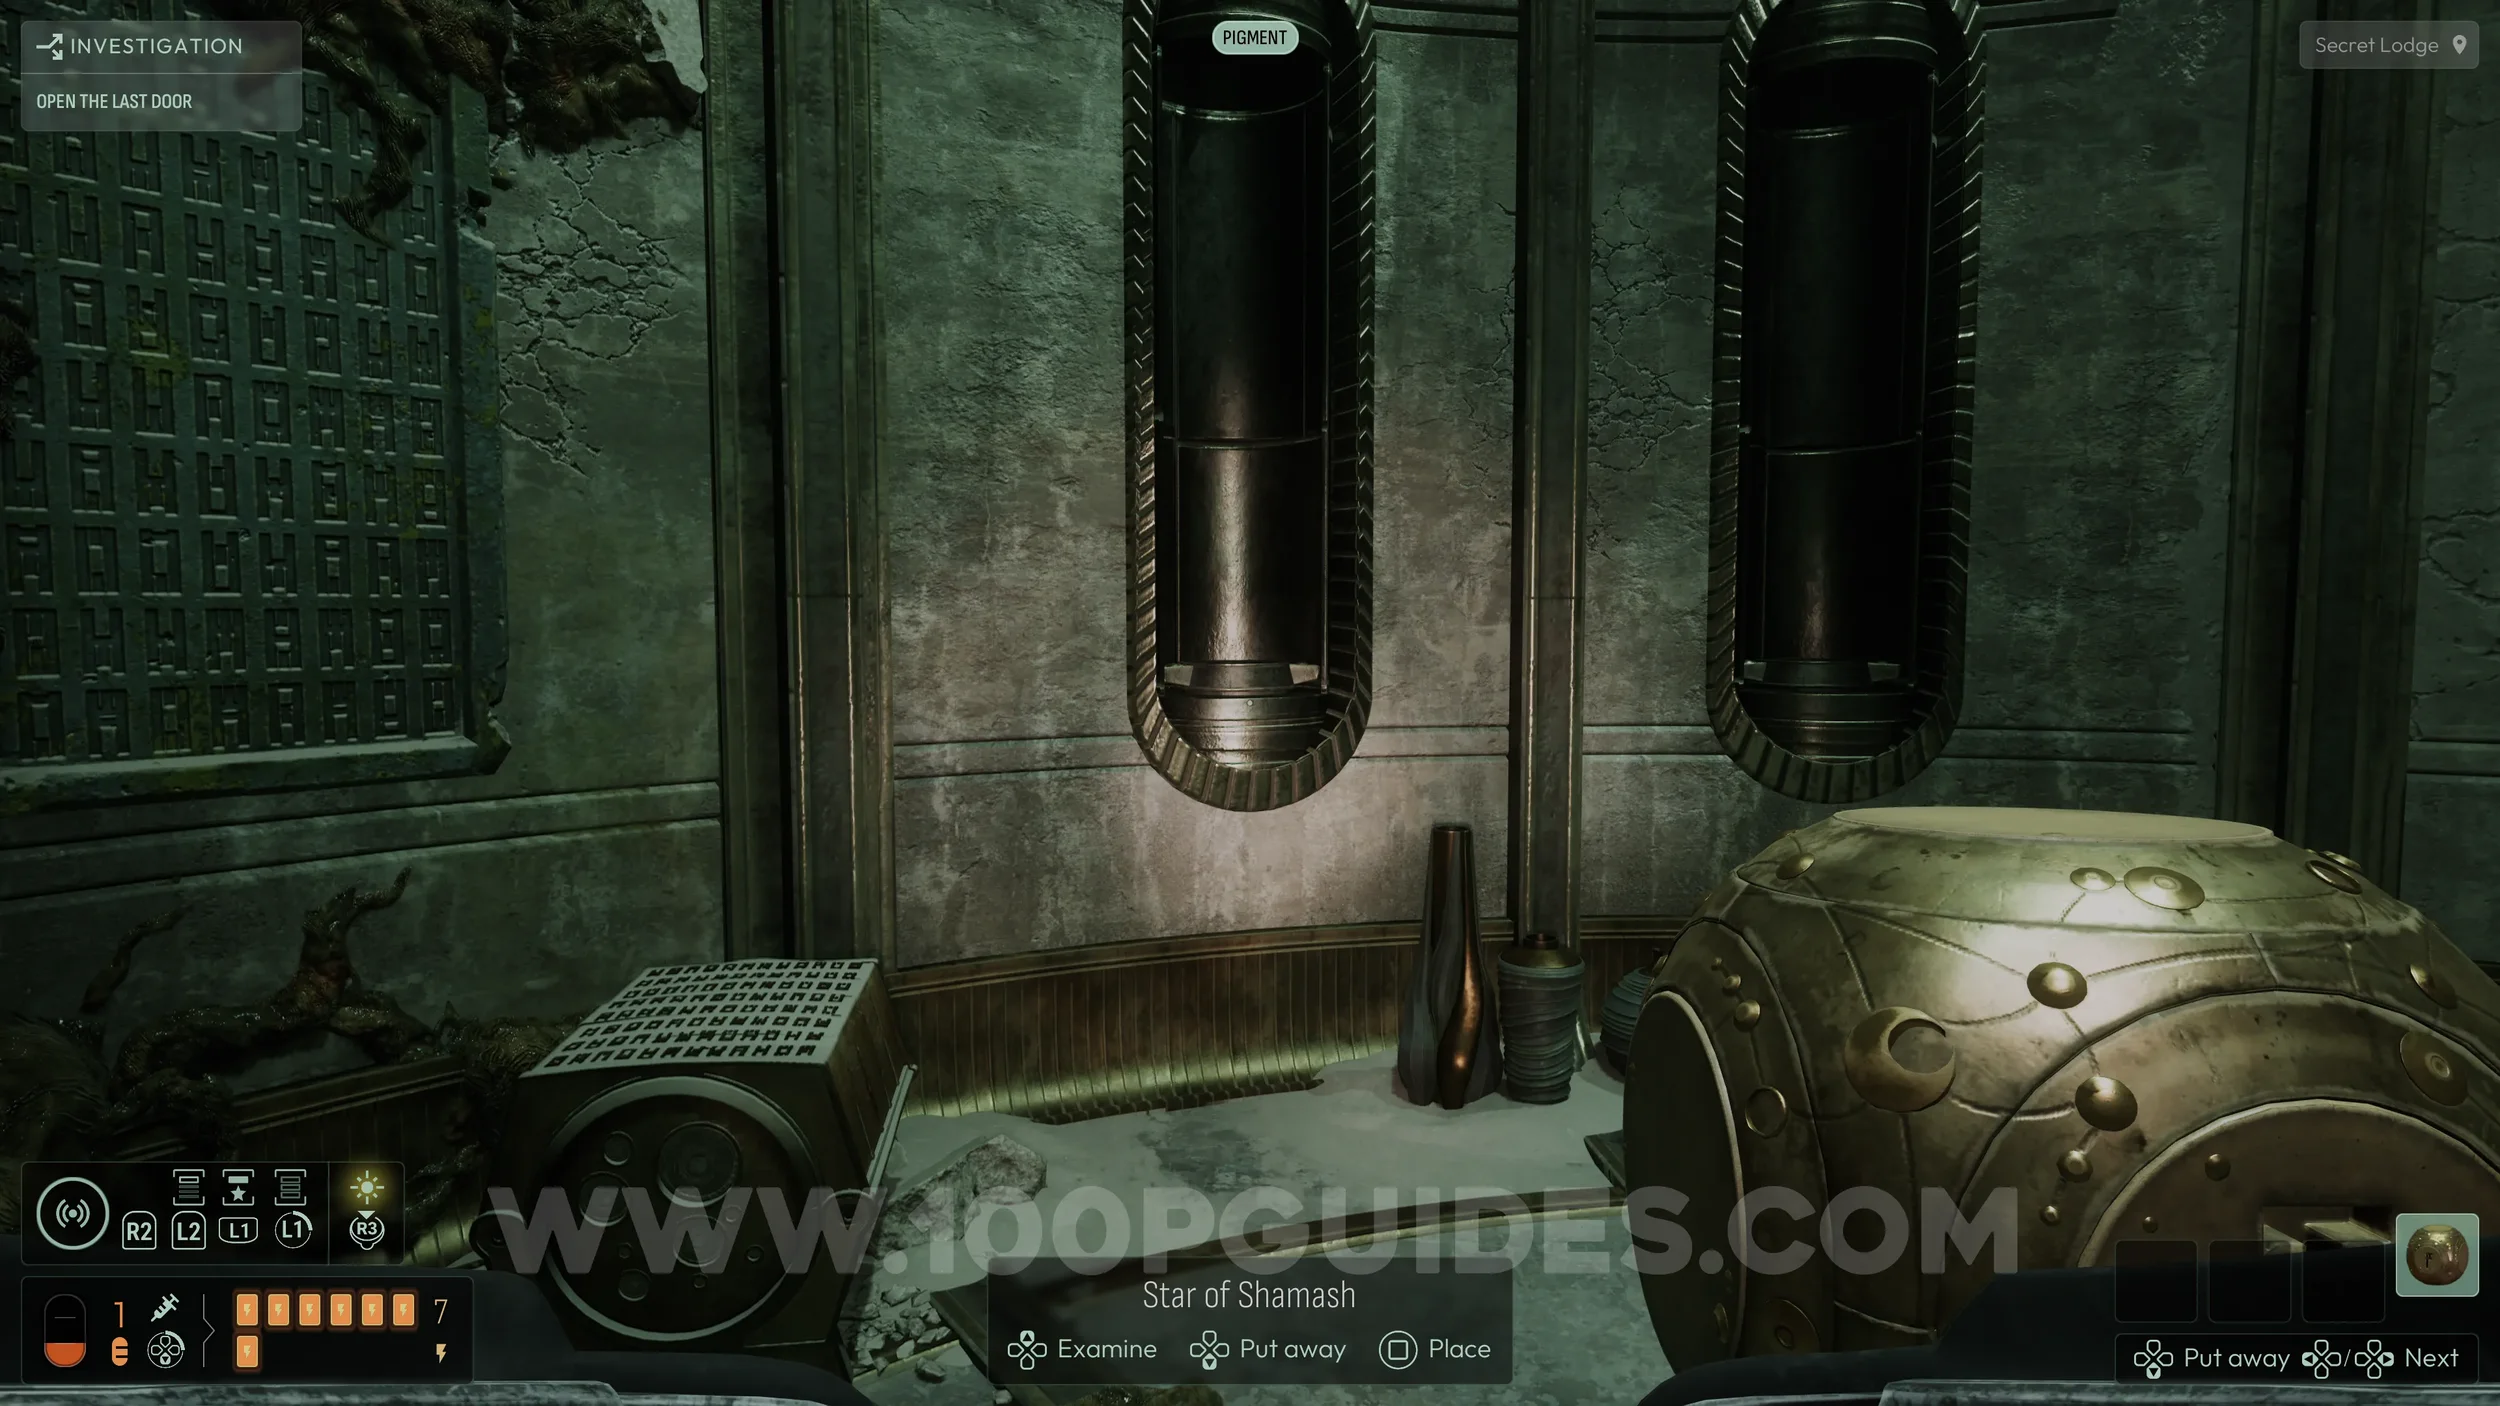
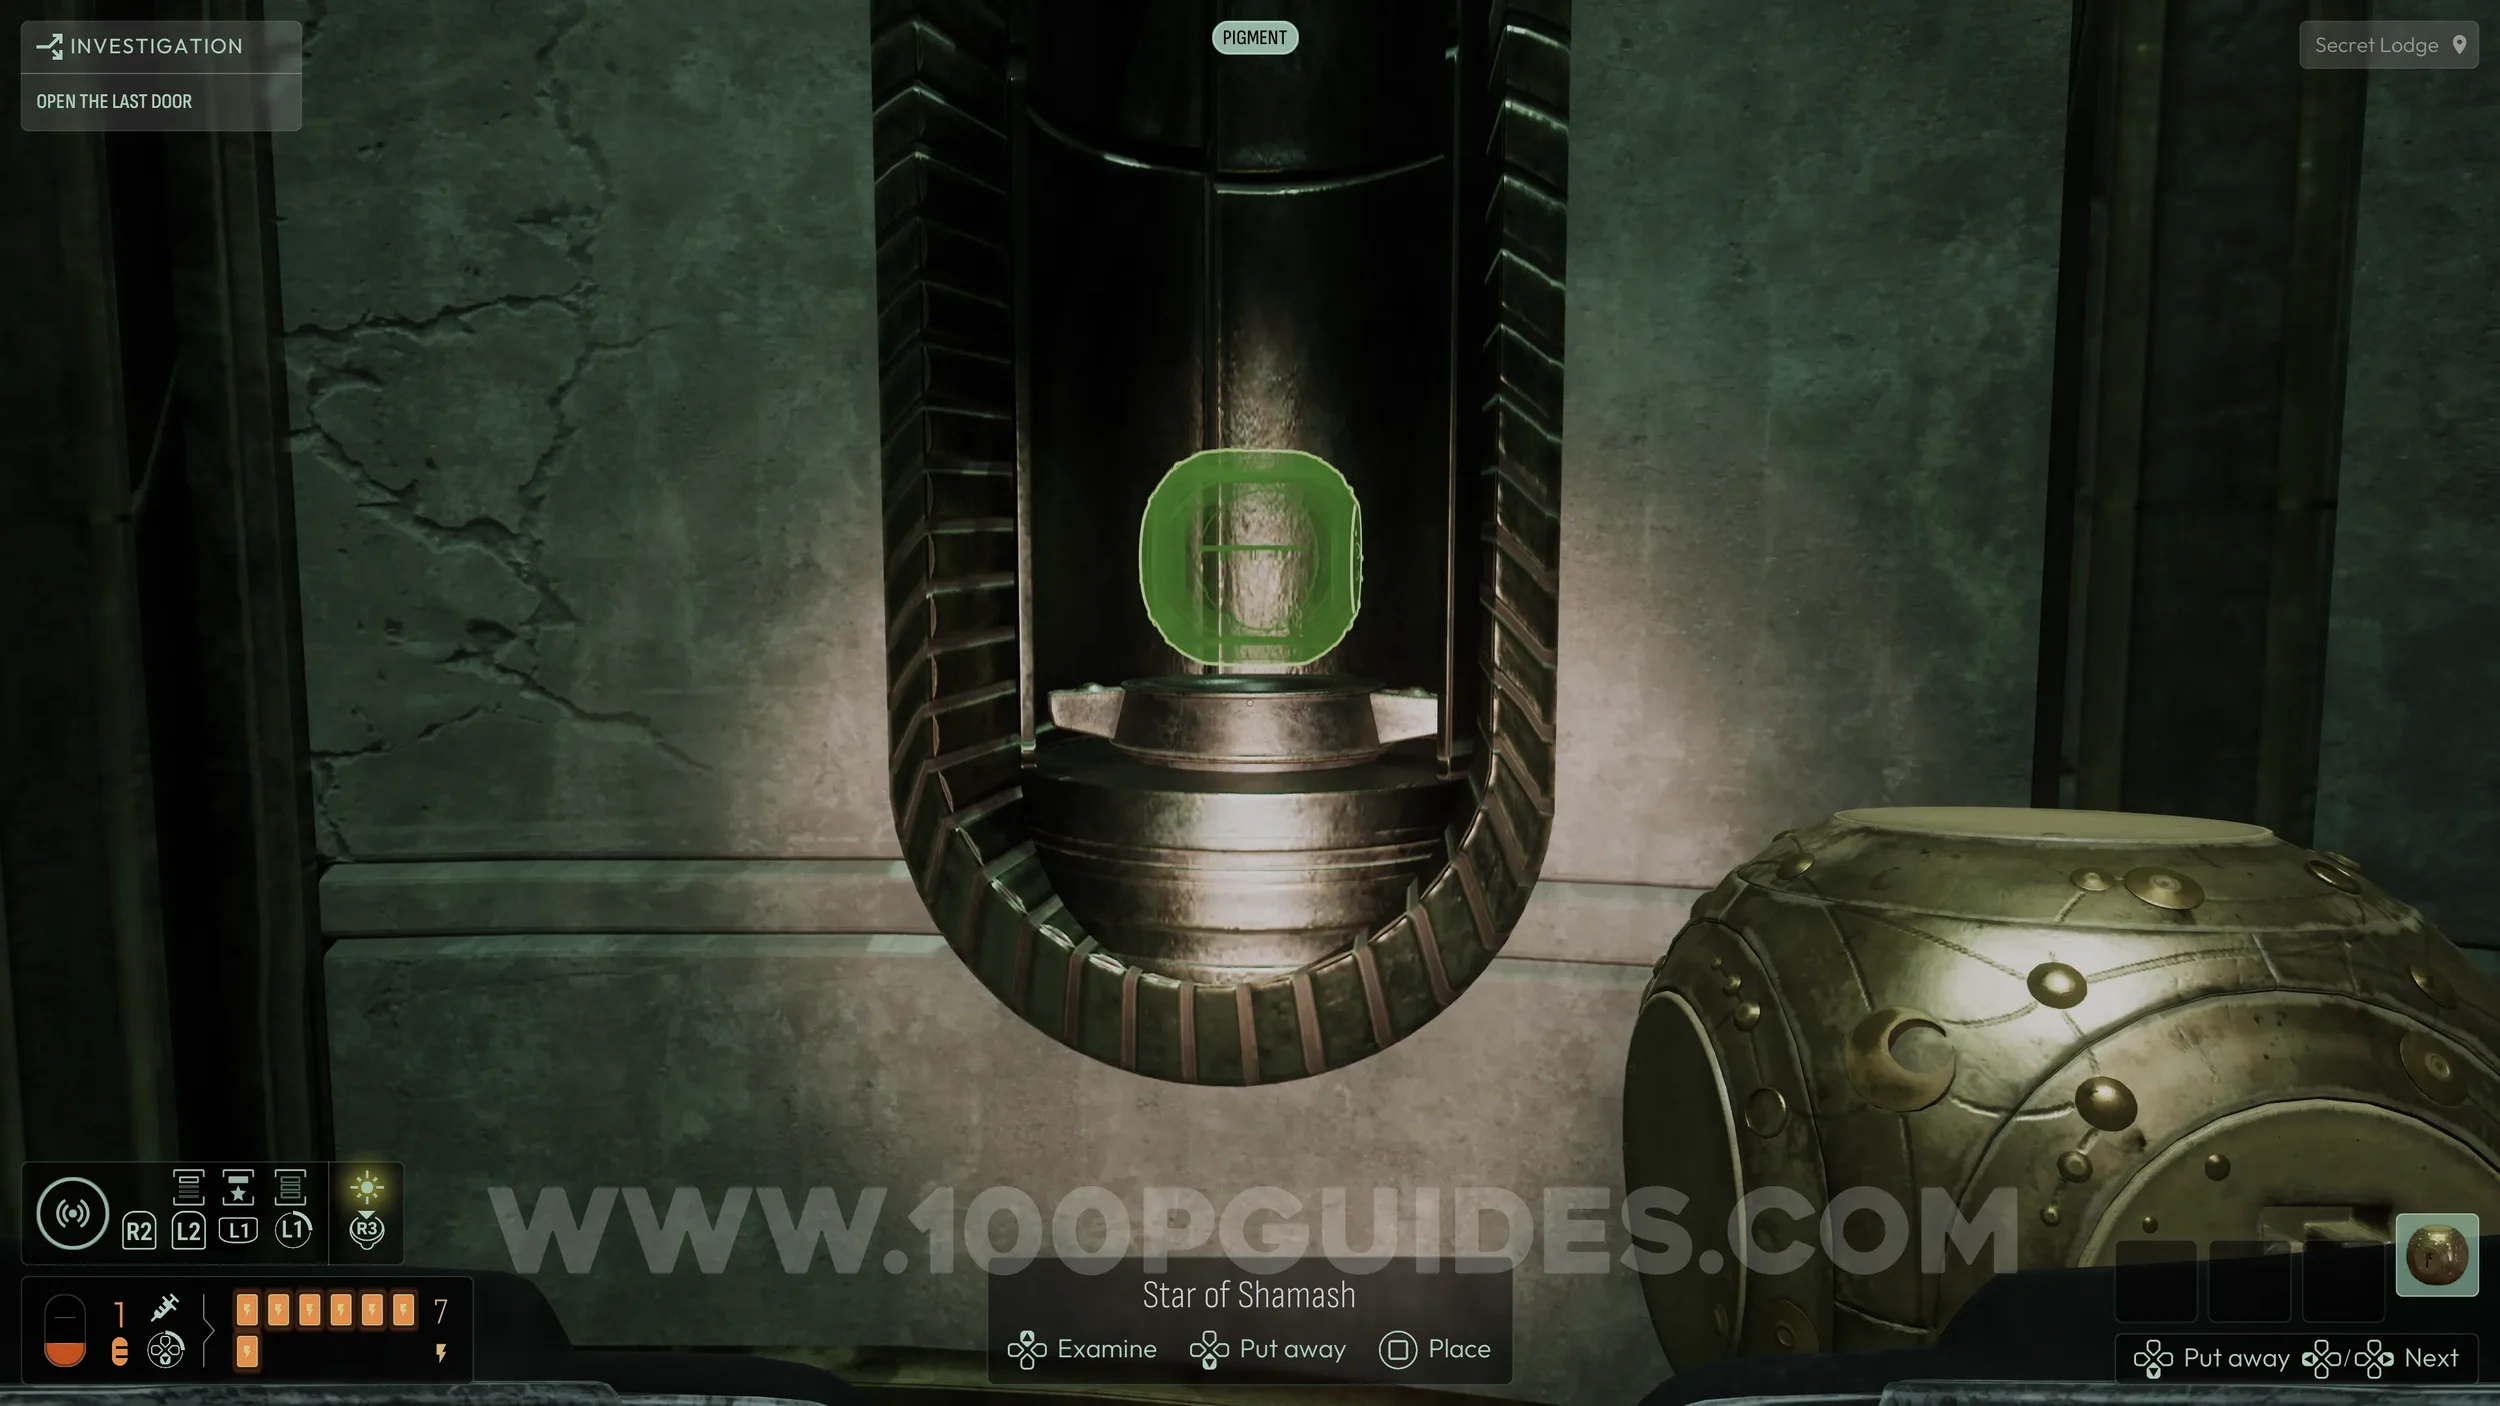
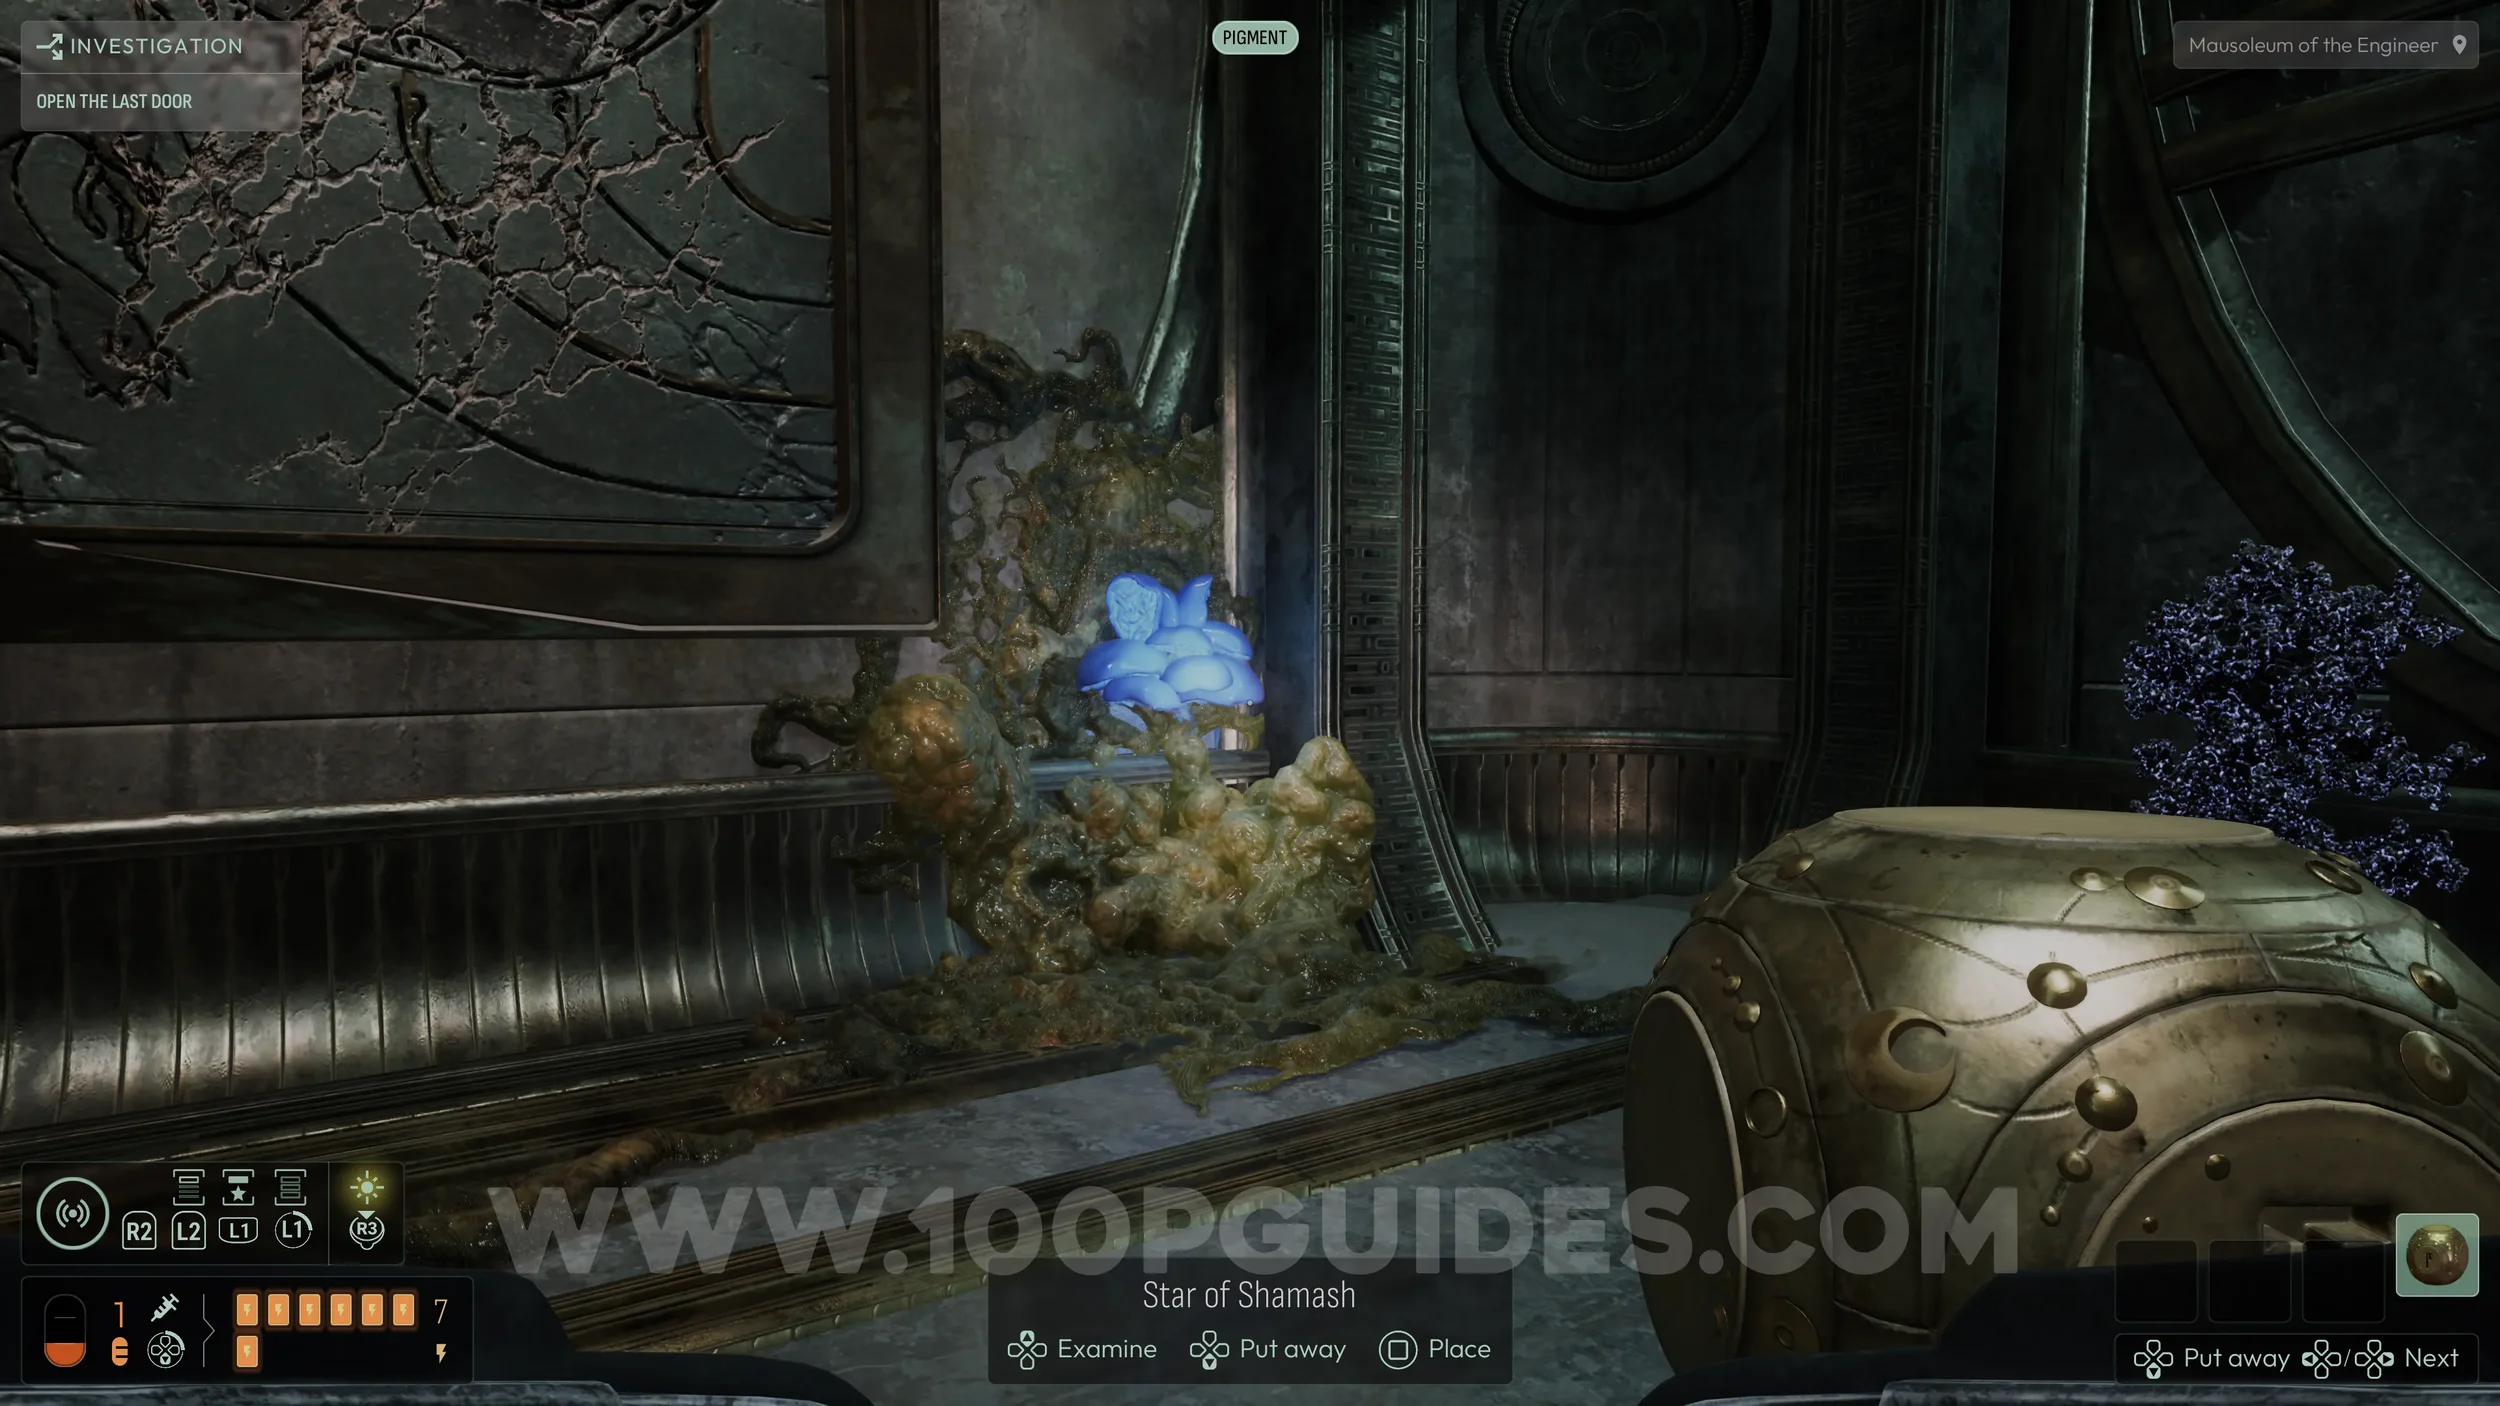
In this room, collect the Strange Monolith to expand your evolution slots, then examine and analyze the bowl next to the skeleton to learn the Pigment frequency.
Around the secret room, you will notice several slots where you can insert the star. Each one will teleport you to a different room connected to the main circular area. First, place the star into the slot next to the magnetic chest. Wait for it to glow, then remove it to be teleported.
Once there, place the star into the pedestal in the center of the room to enter another memory.
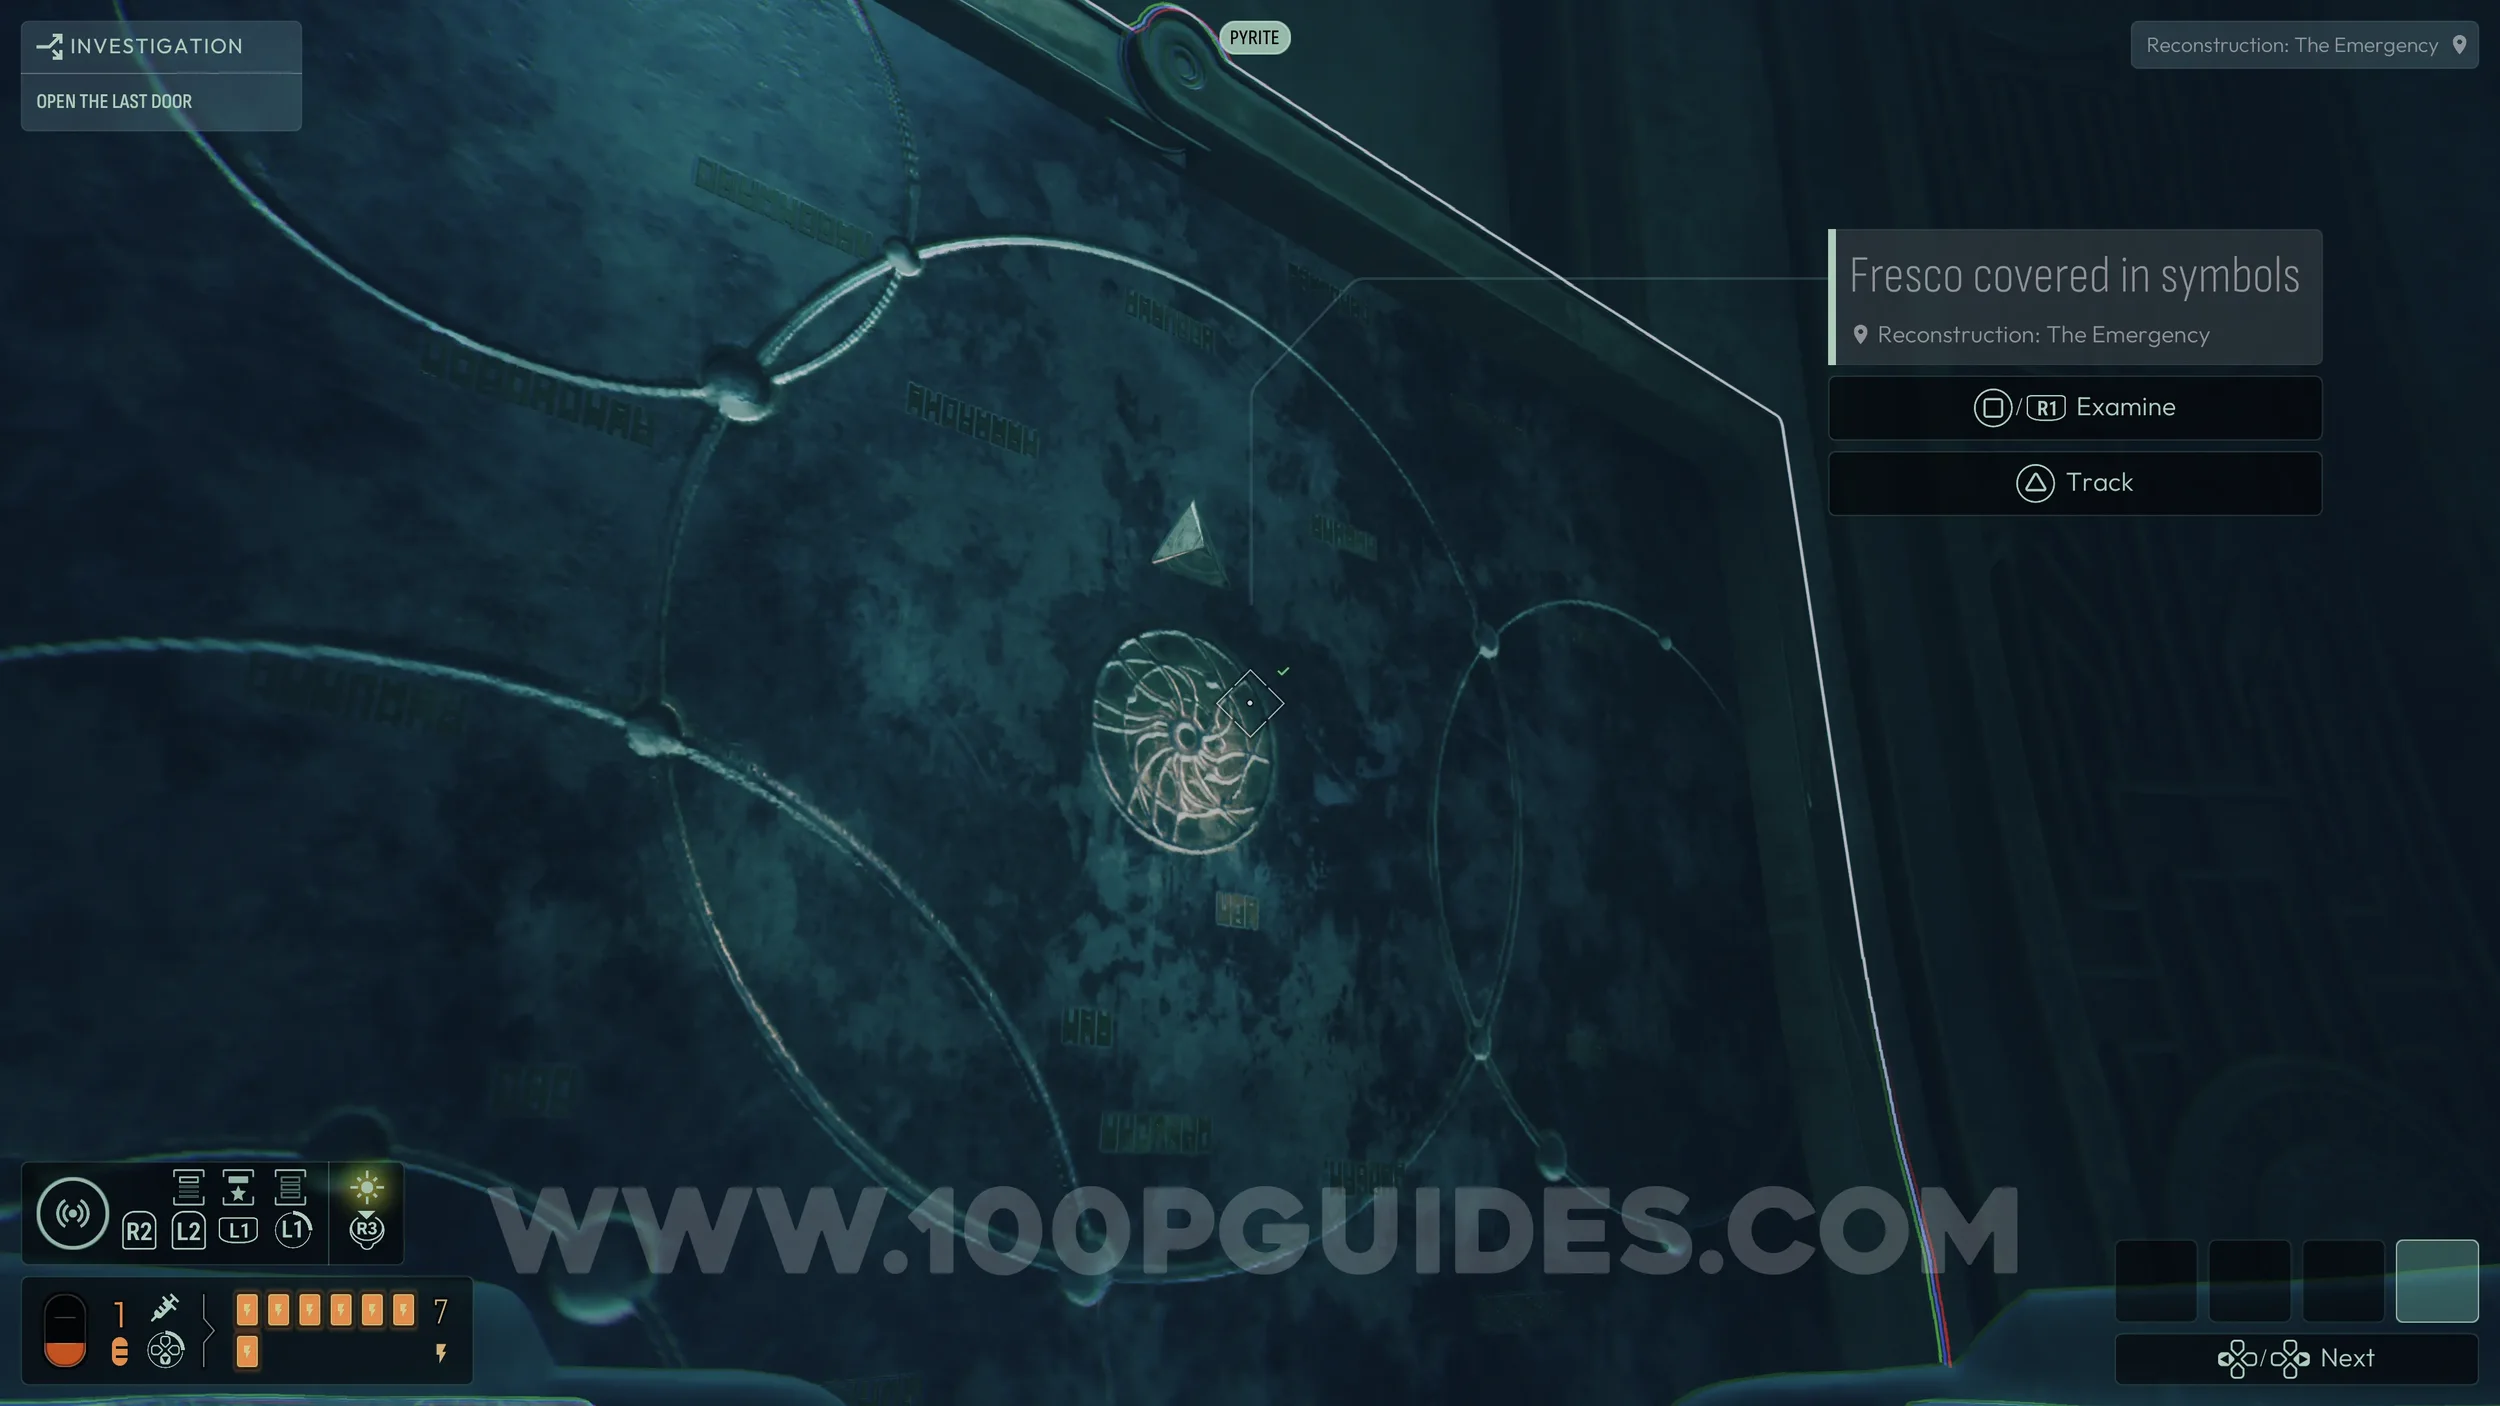
Inside, examine the large fresco on the wall to start a deduction. You can solve it with the clue from the star map from the other memory.
After solving the deduction and examining everything in the room, leave the memory and return to the secret room using the pedestal near the wall. Then place the star into the third slot to the right (starting from the locked magnetic chest). Wait for it to glow, then remove it to be teleported to a room covered in goo.
Inside, examine the pedestal in the center and collect the final Energy Upgrade (4/4).
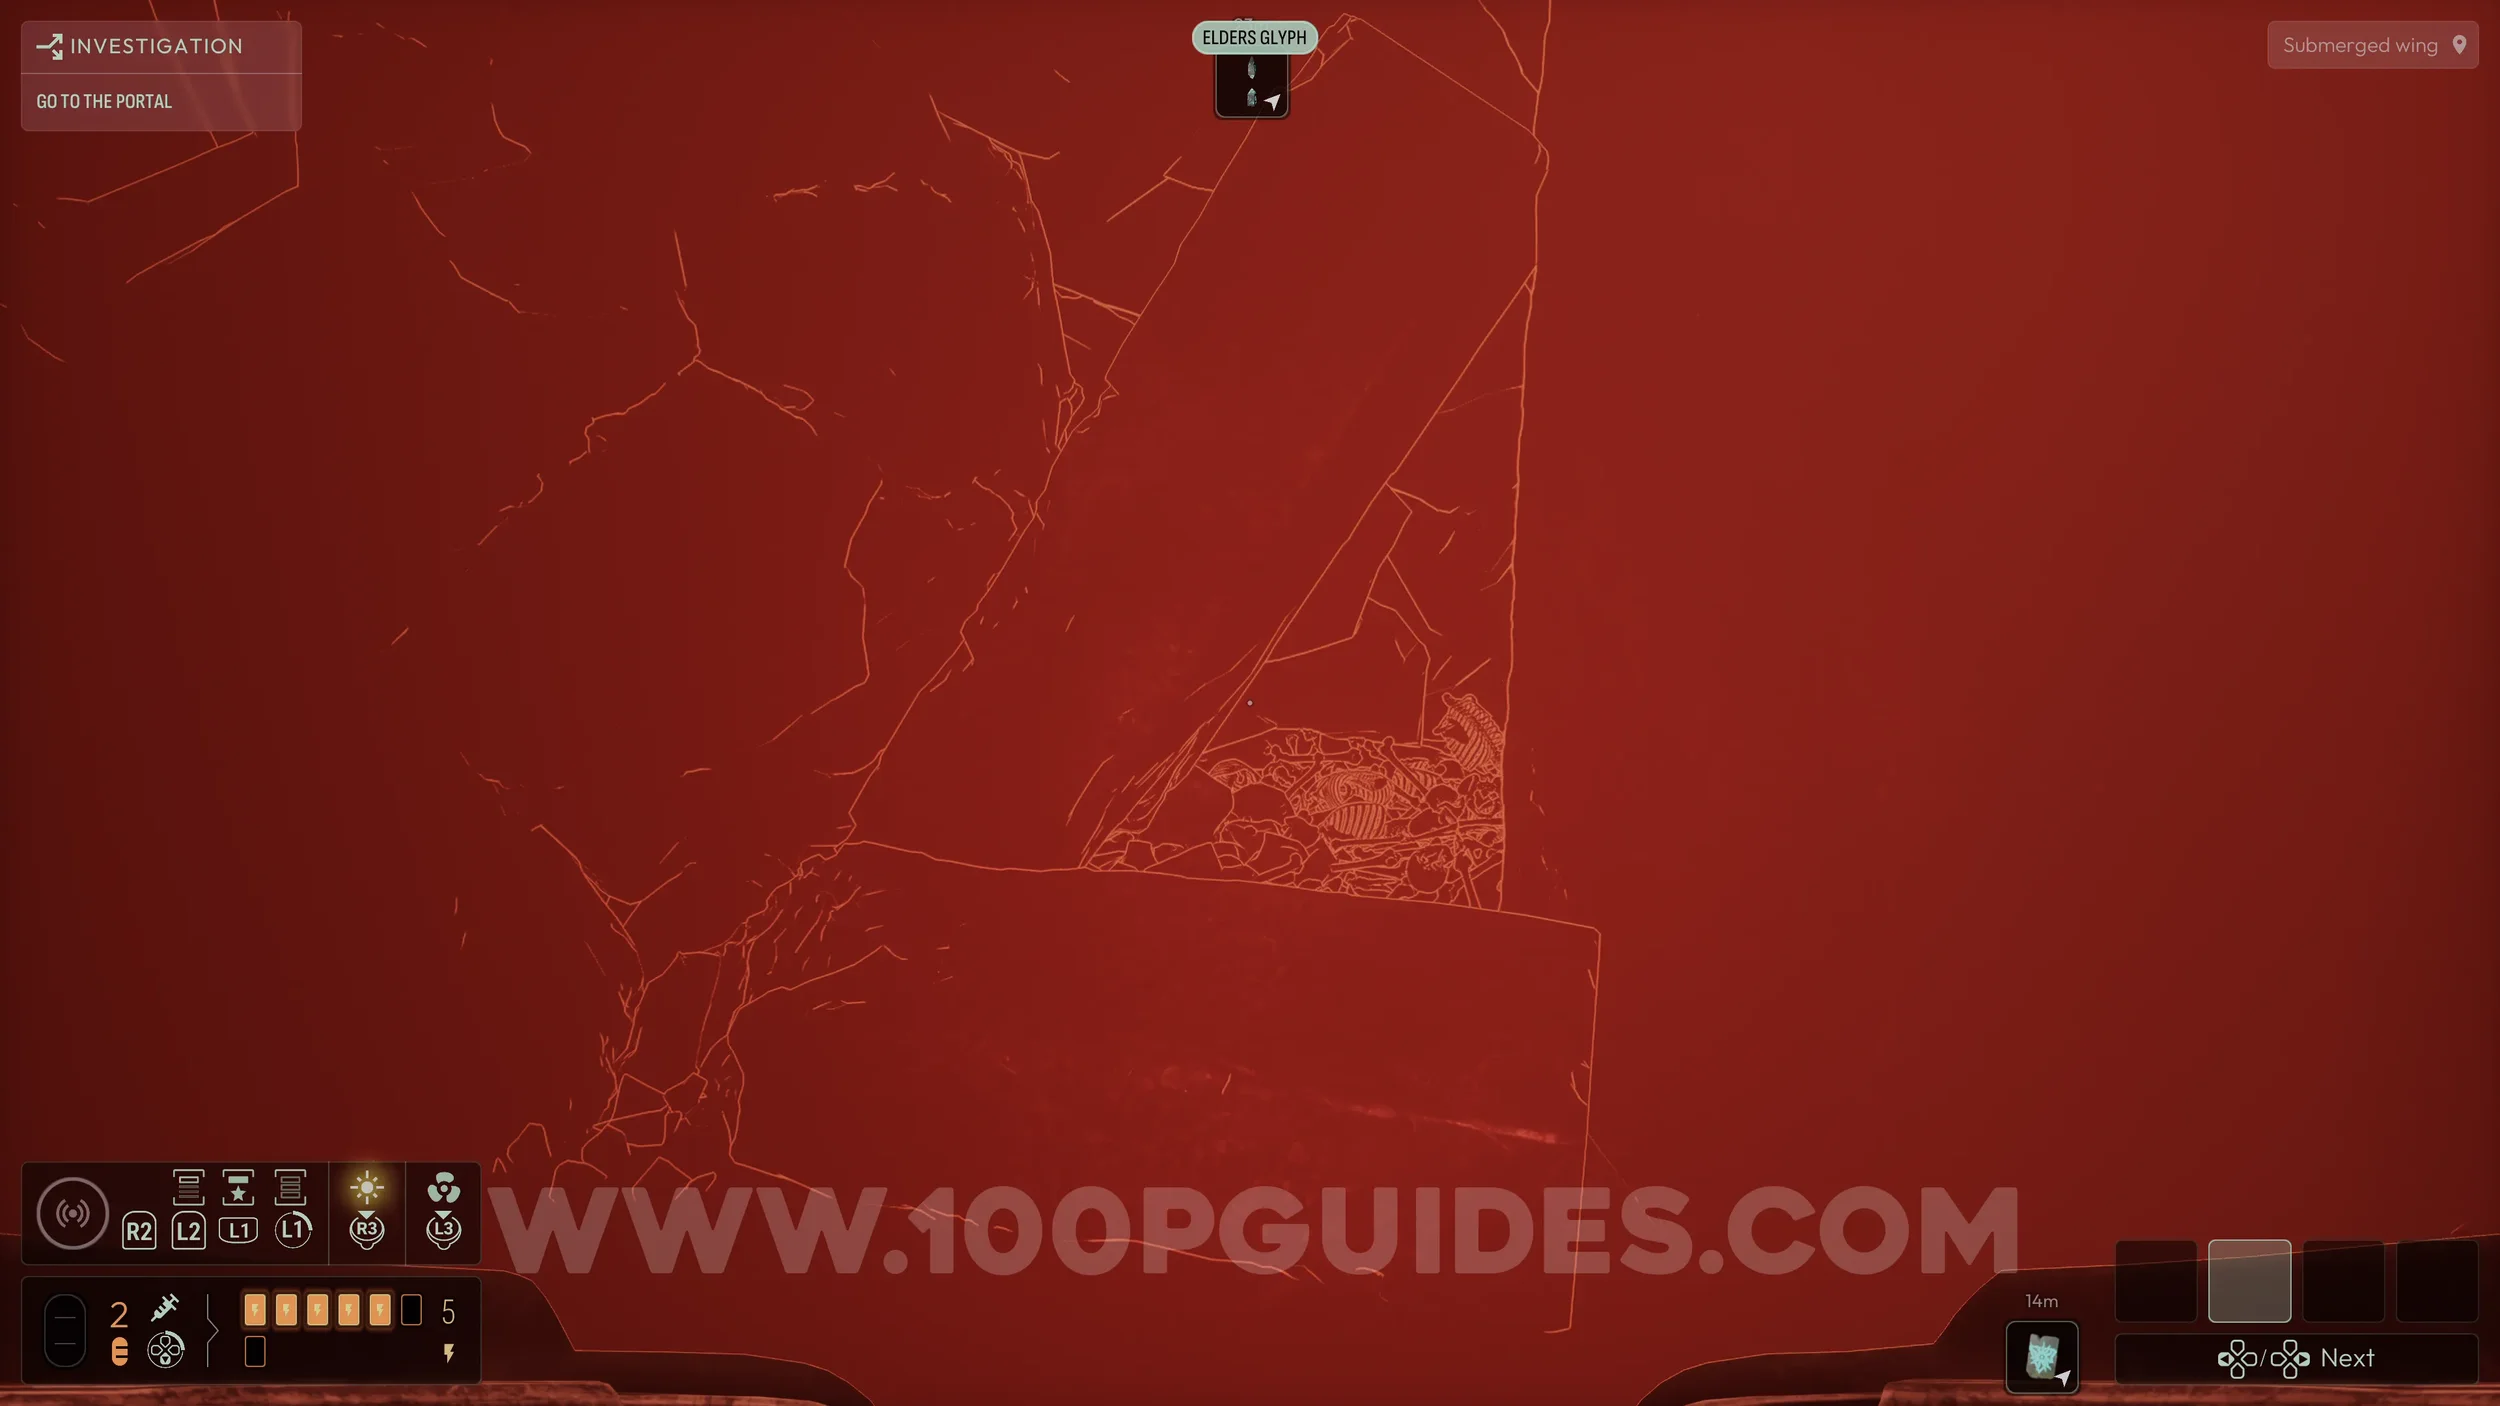
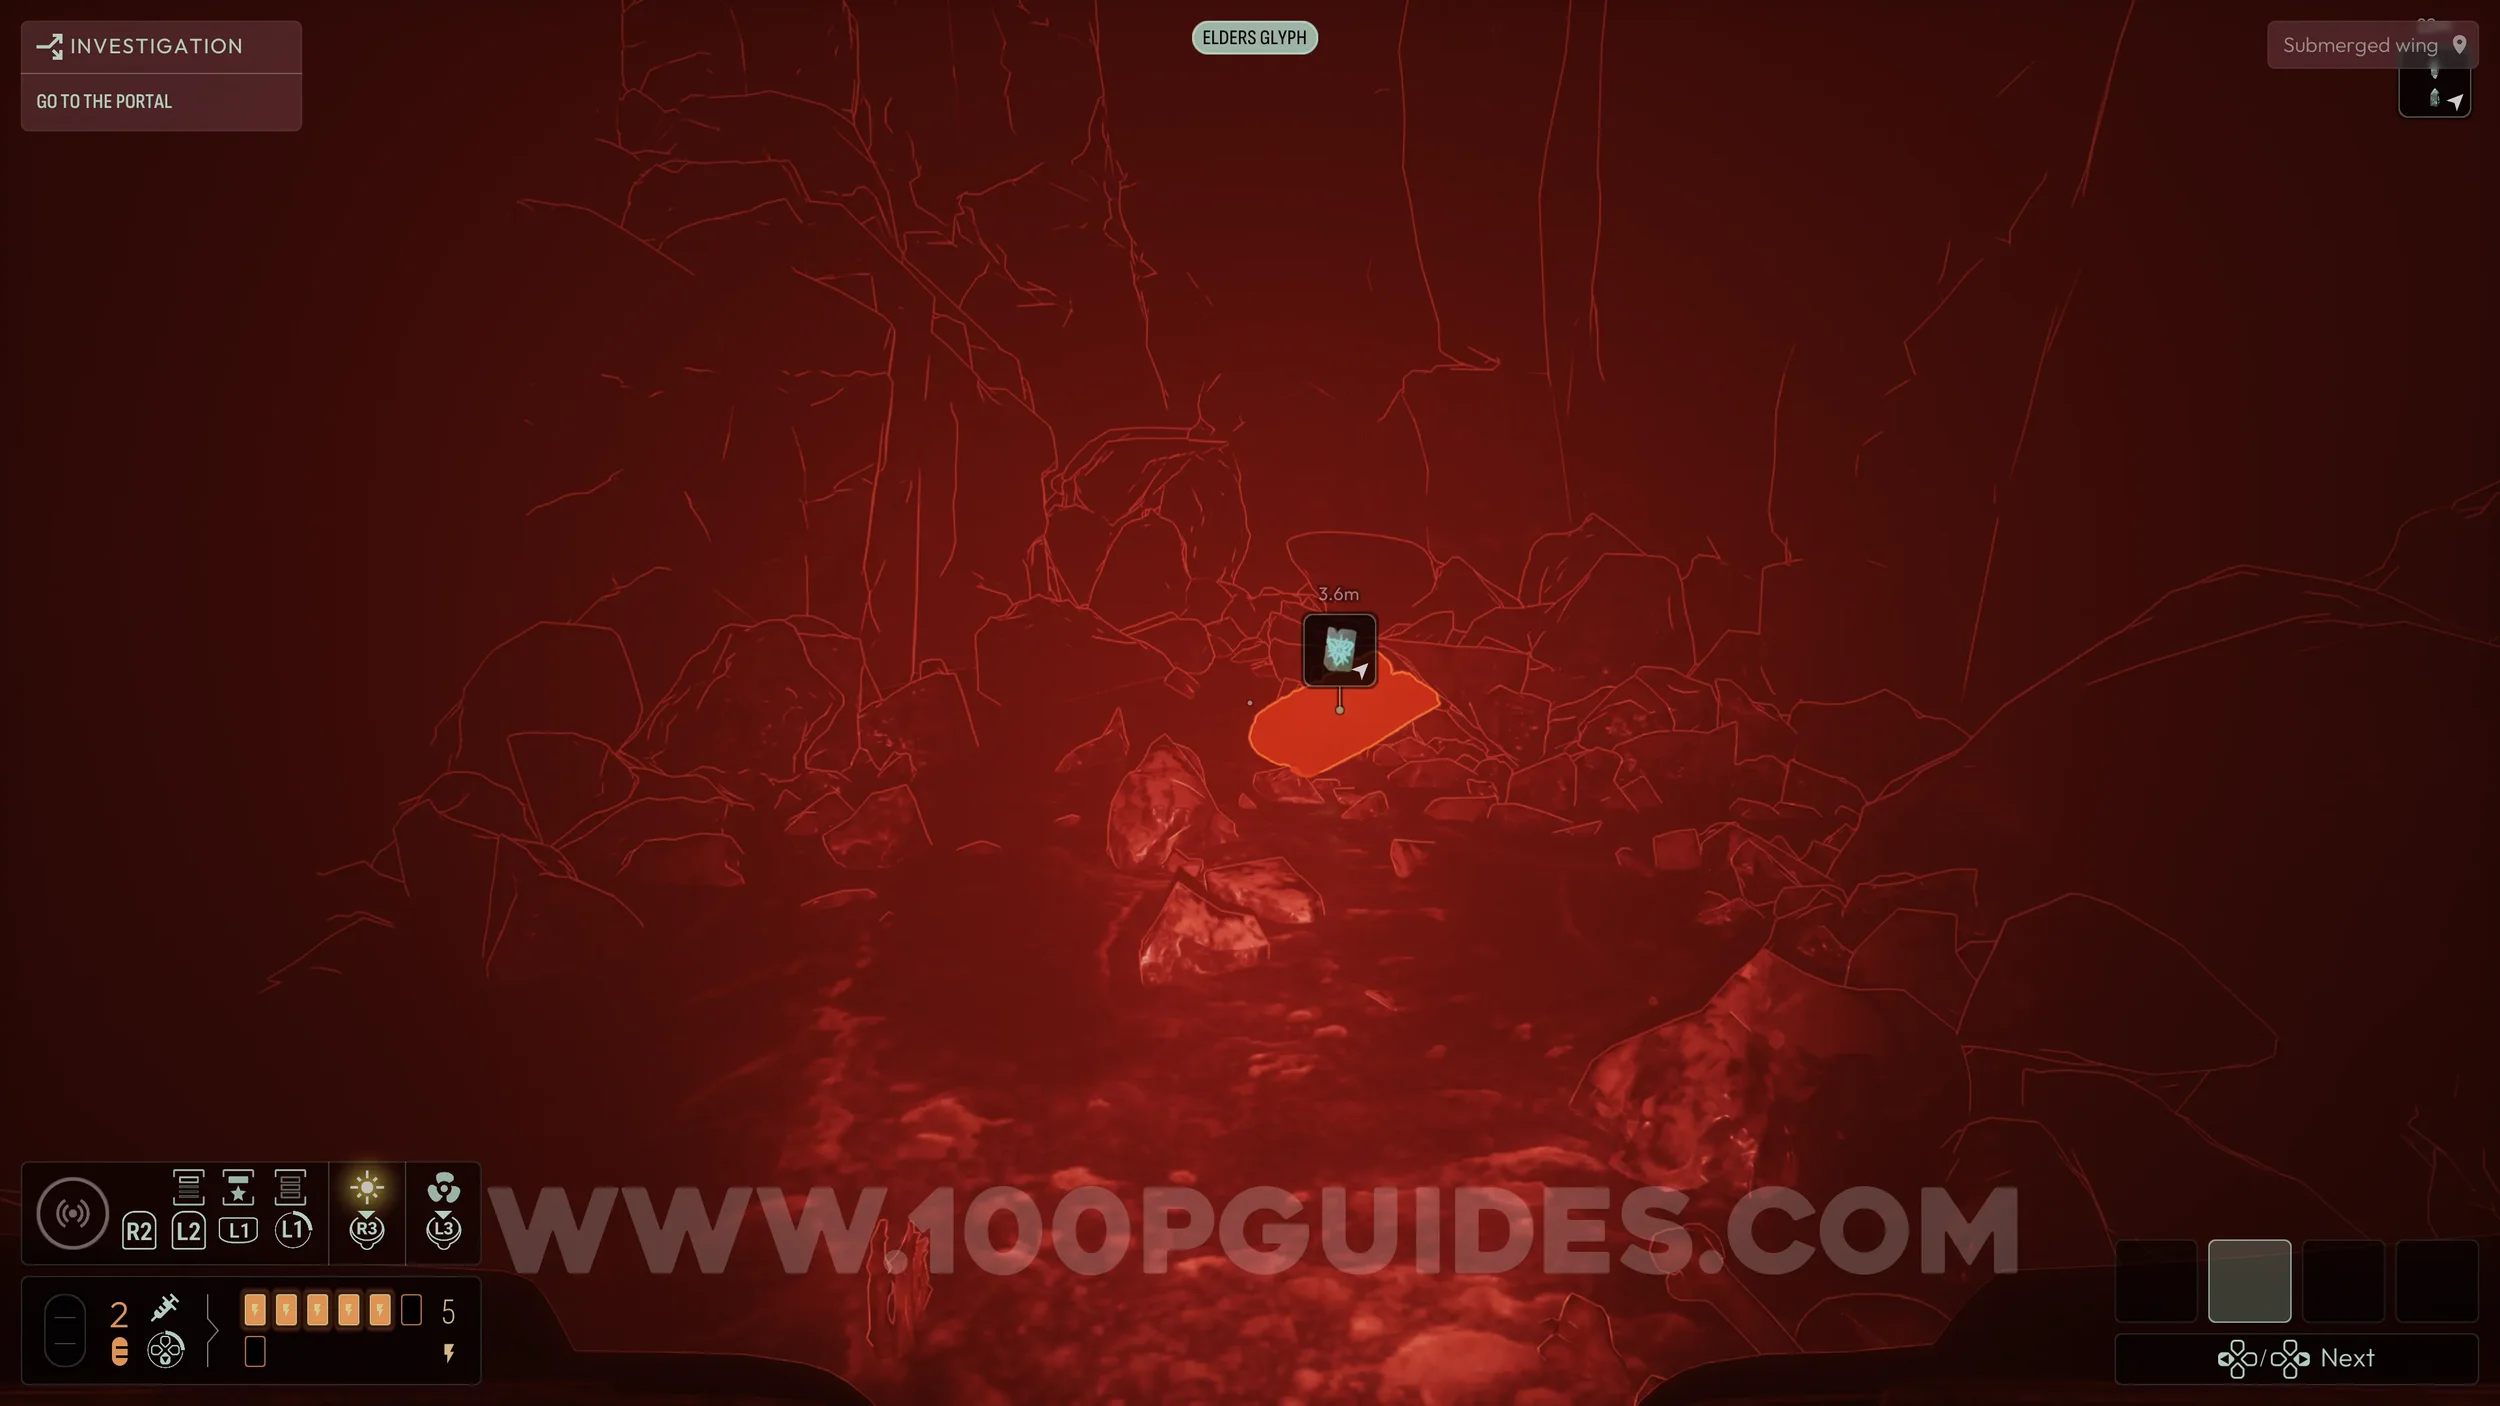
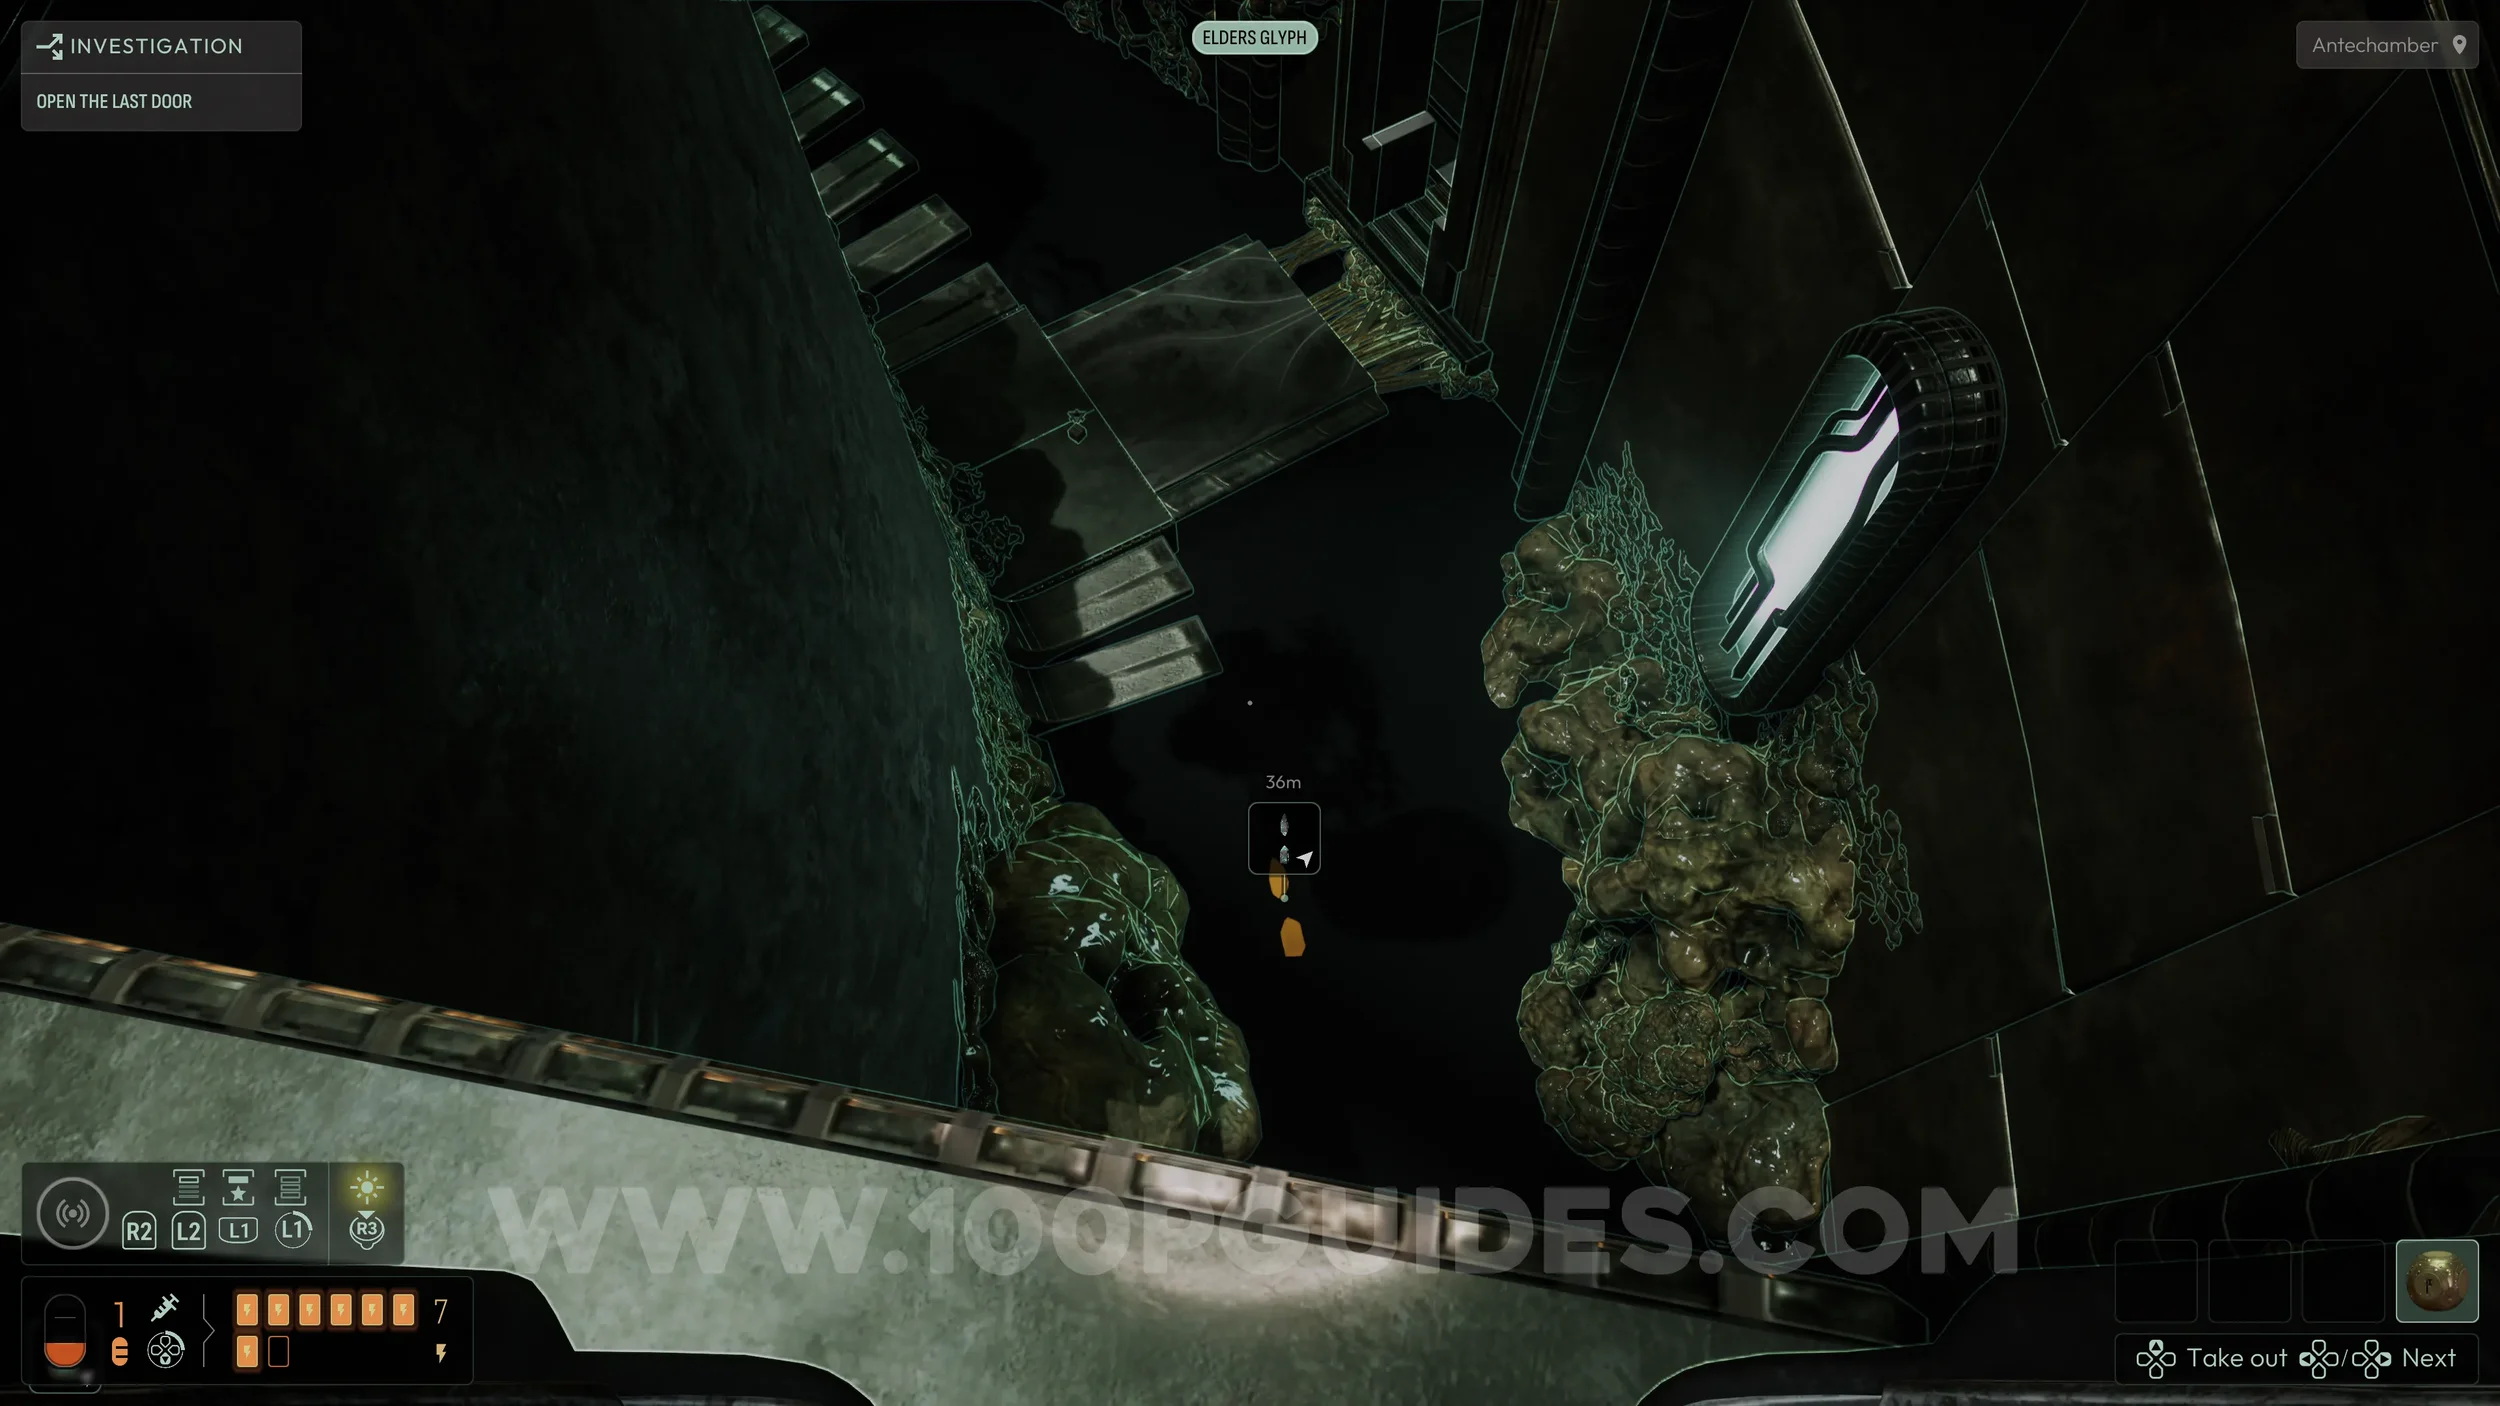
Now return to the main large circular room. Equip the Elder Glyph frequency and look down into the water until it highlights another Strange Monolith upgrade. Jump into the water near the small bridge and look for a tunnel leading to the collectible next to an orange Lichen.

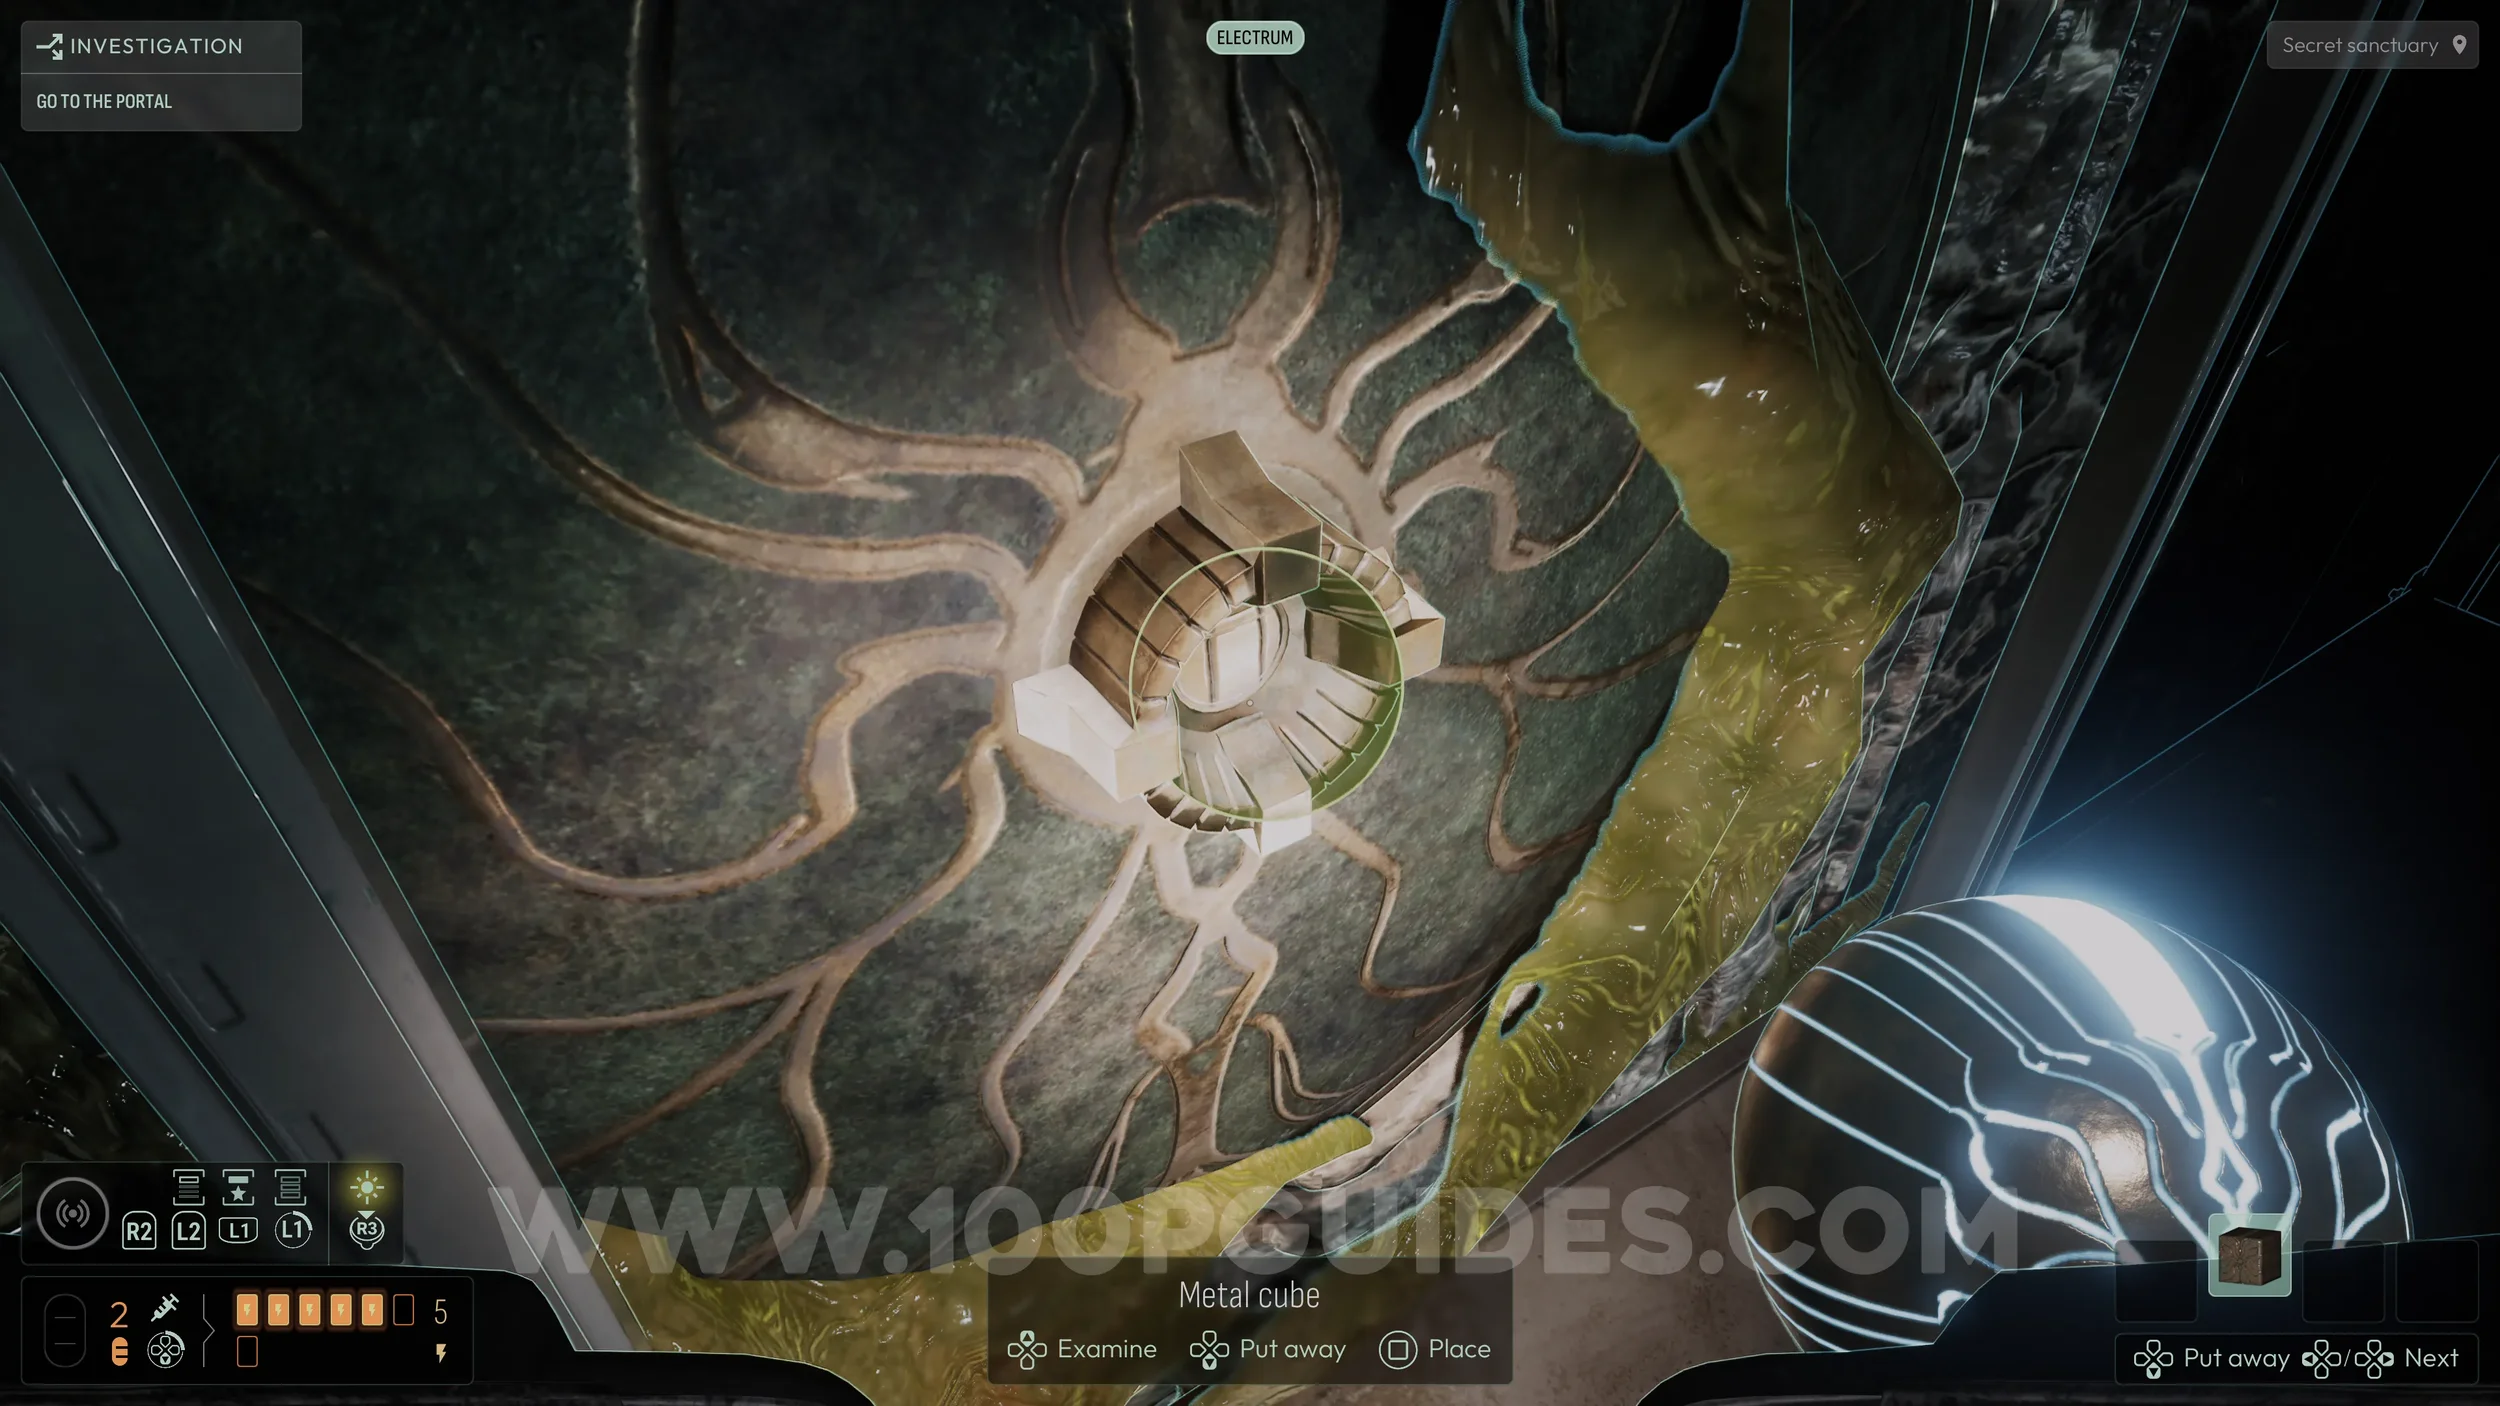
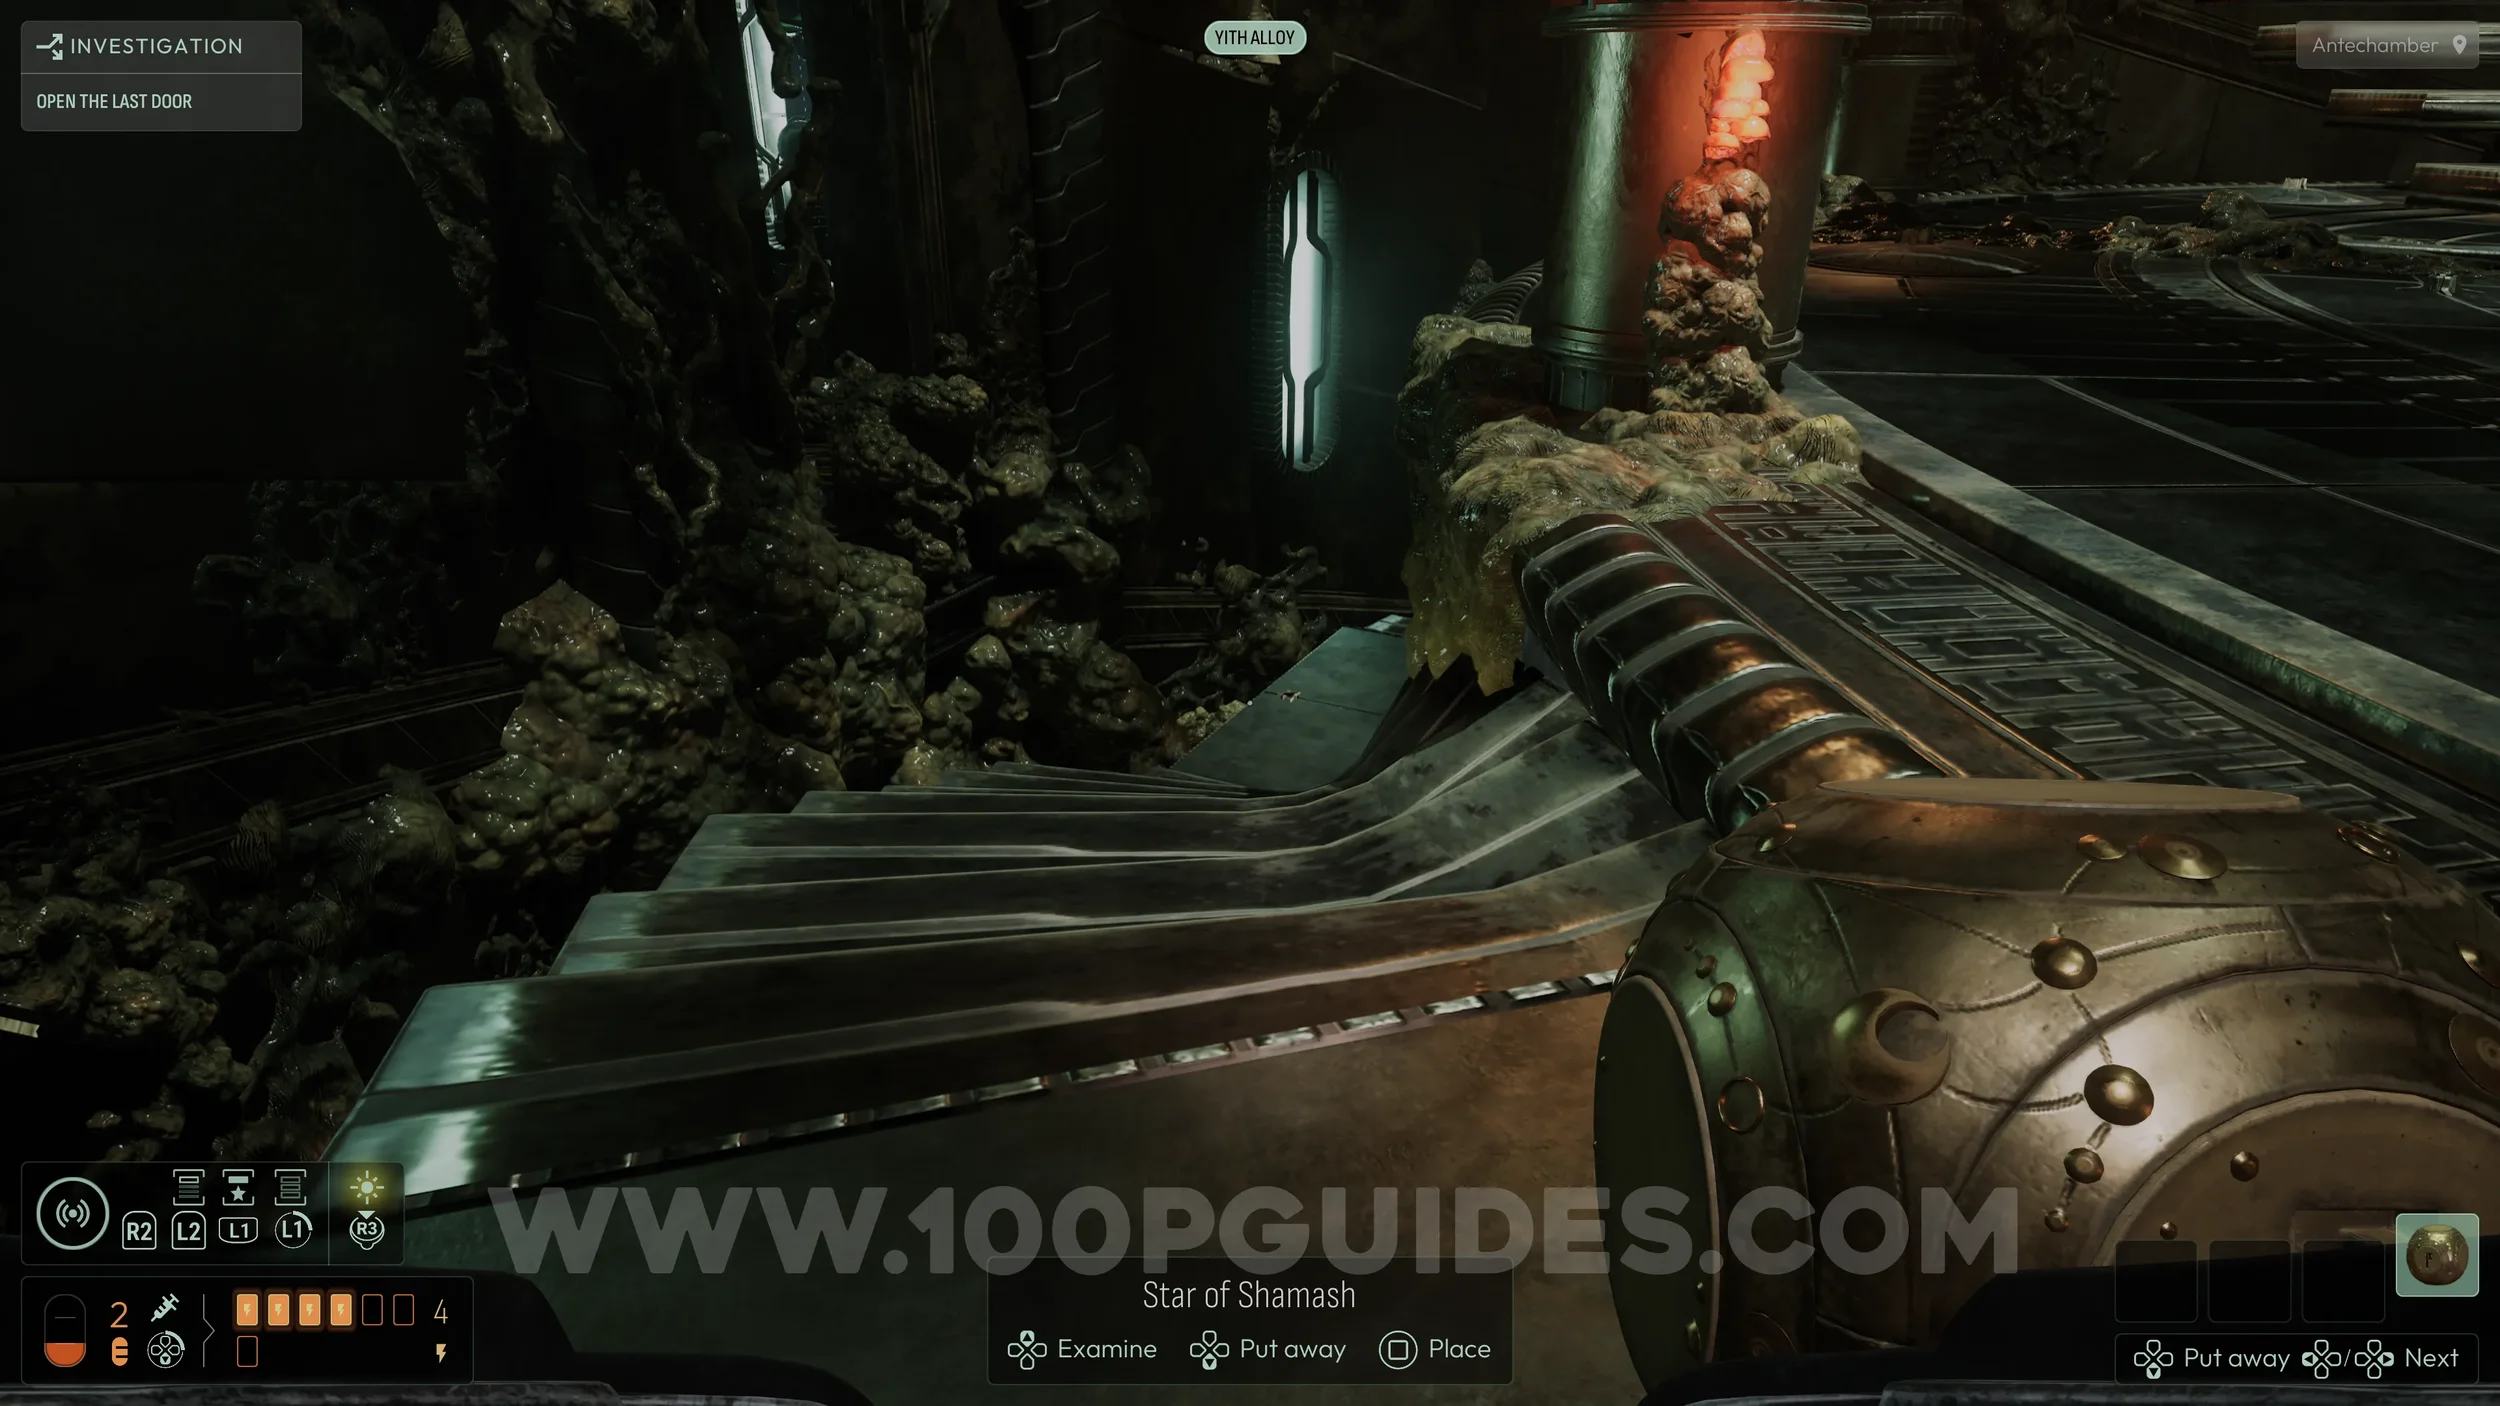
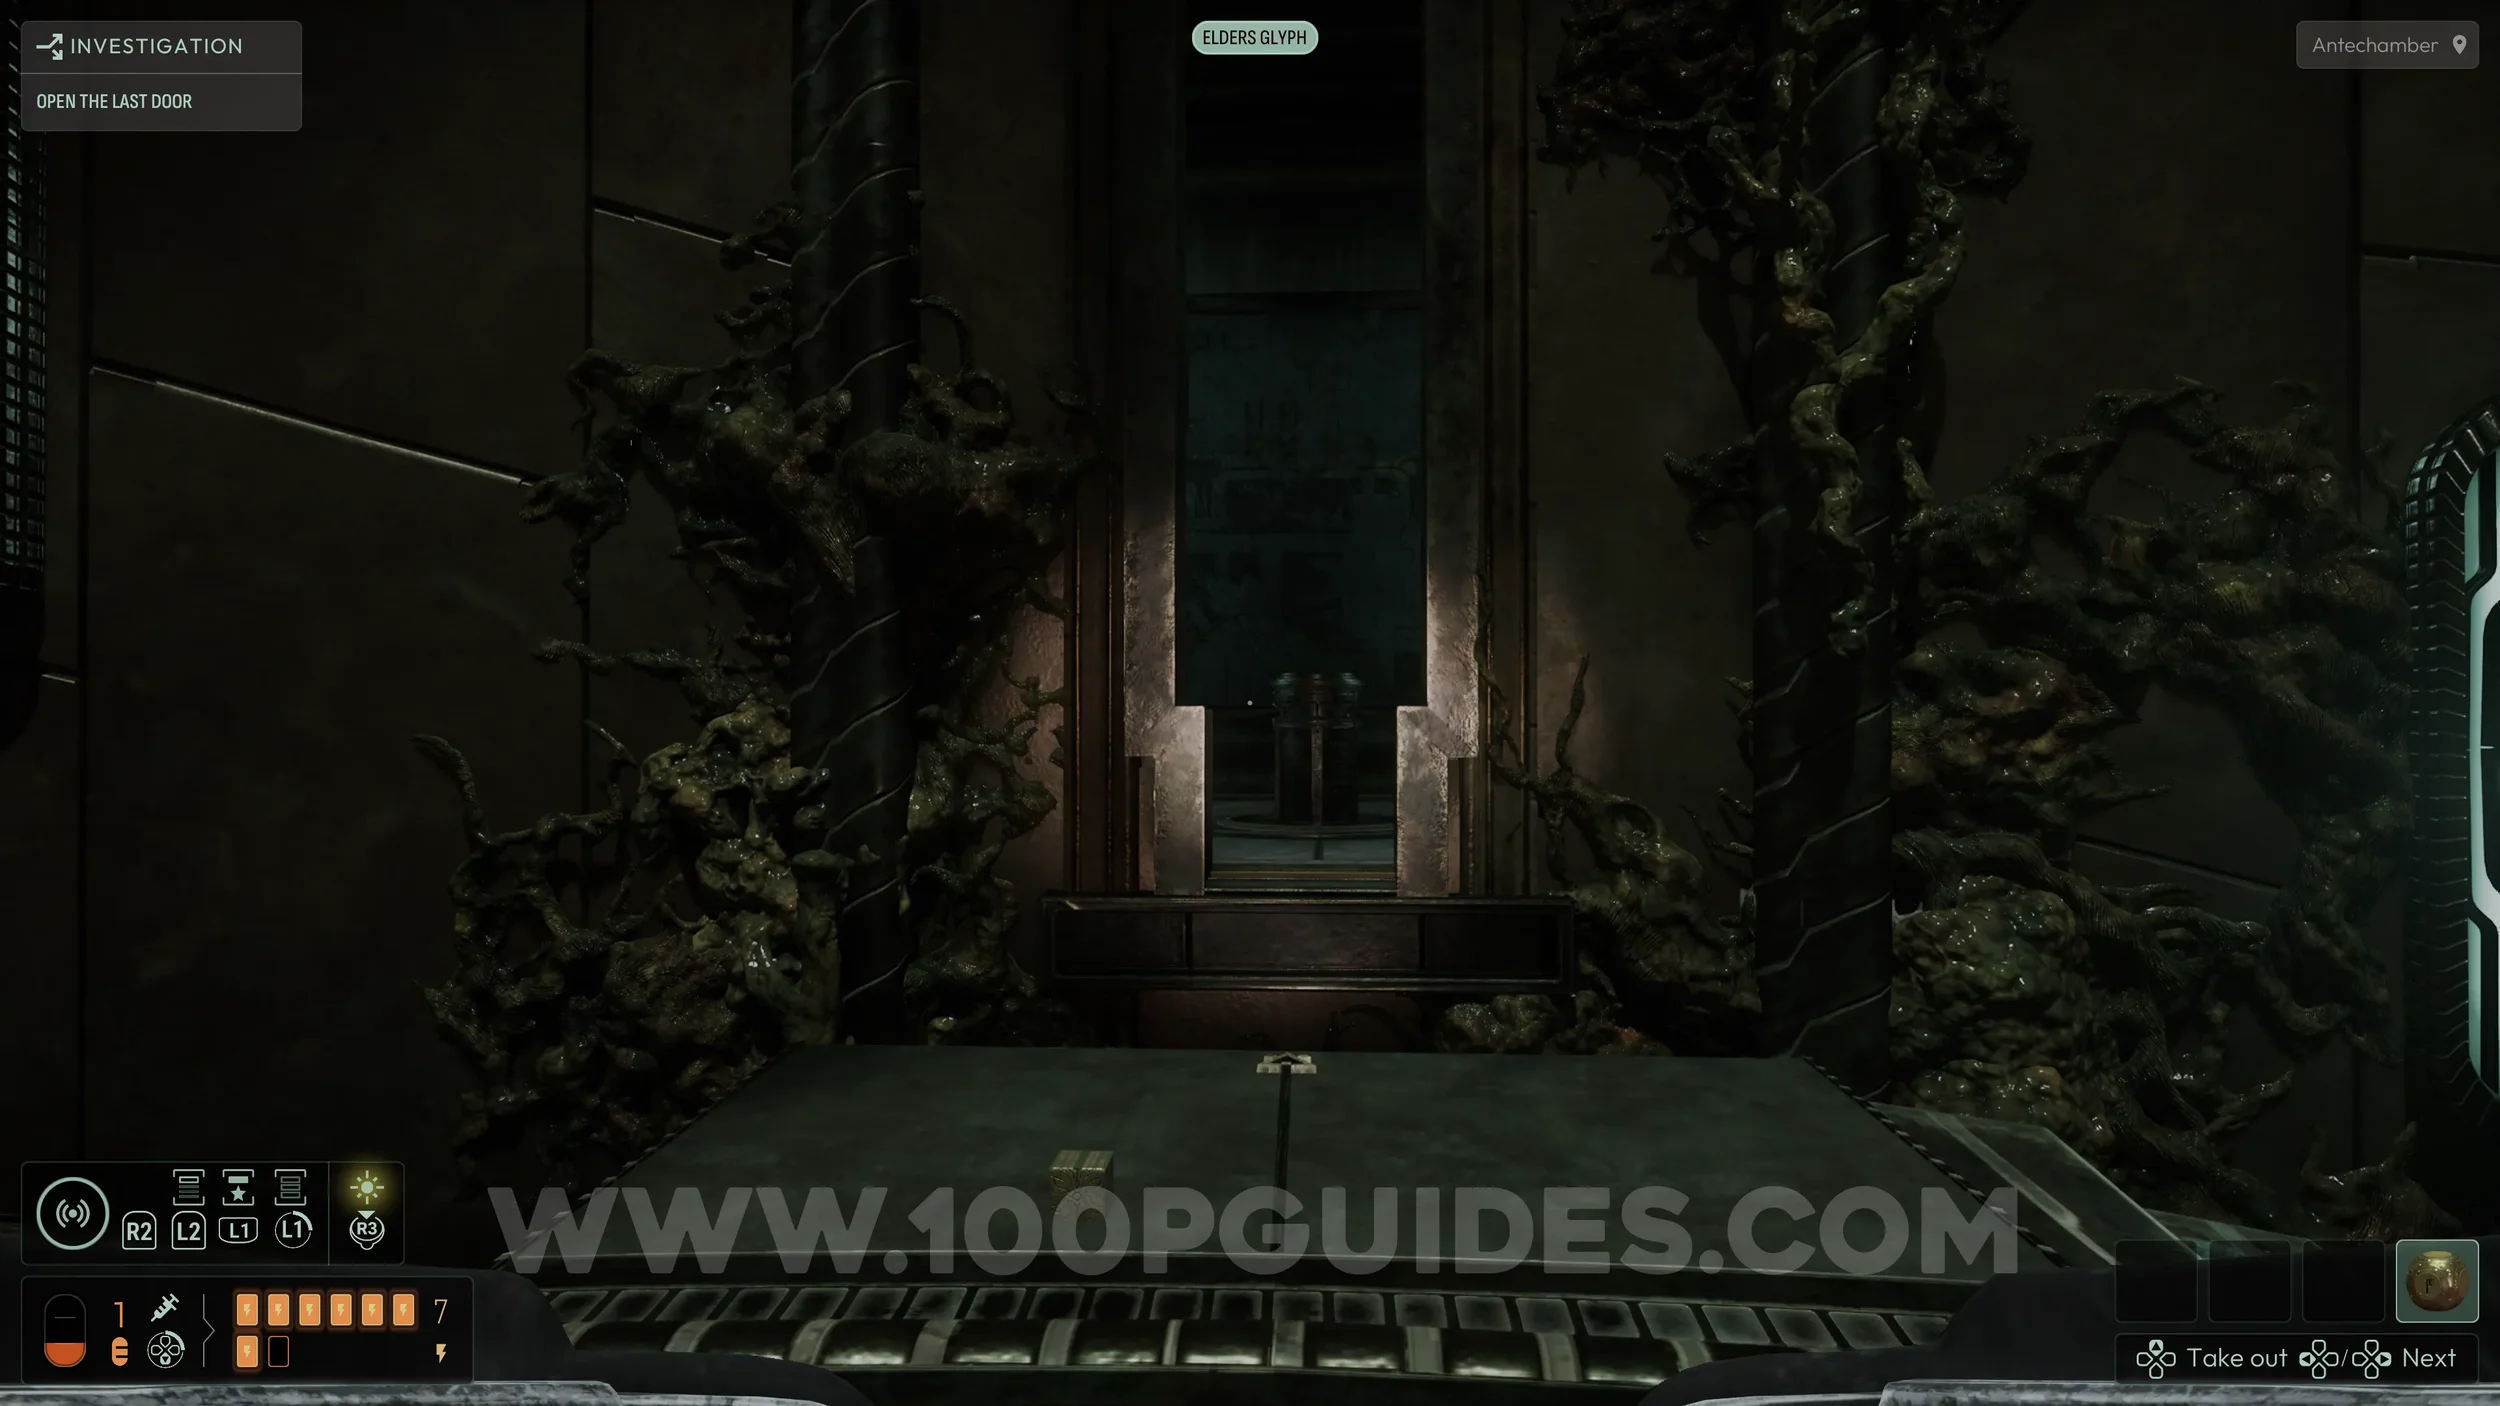
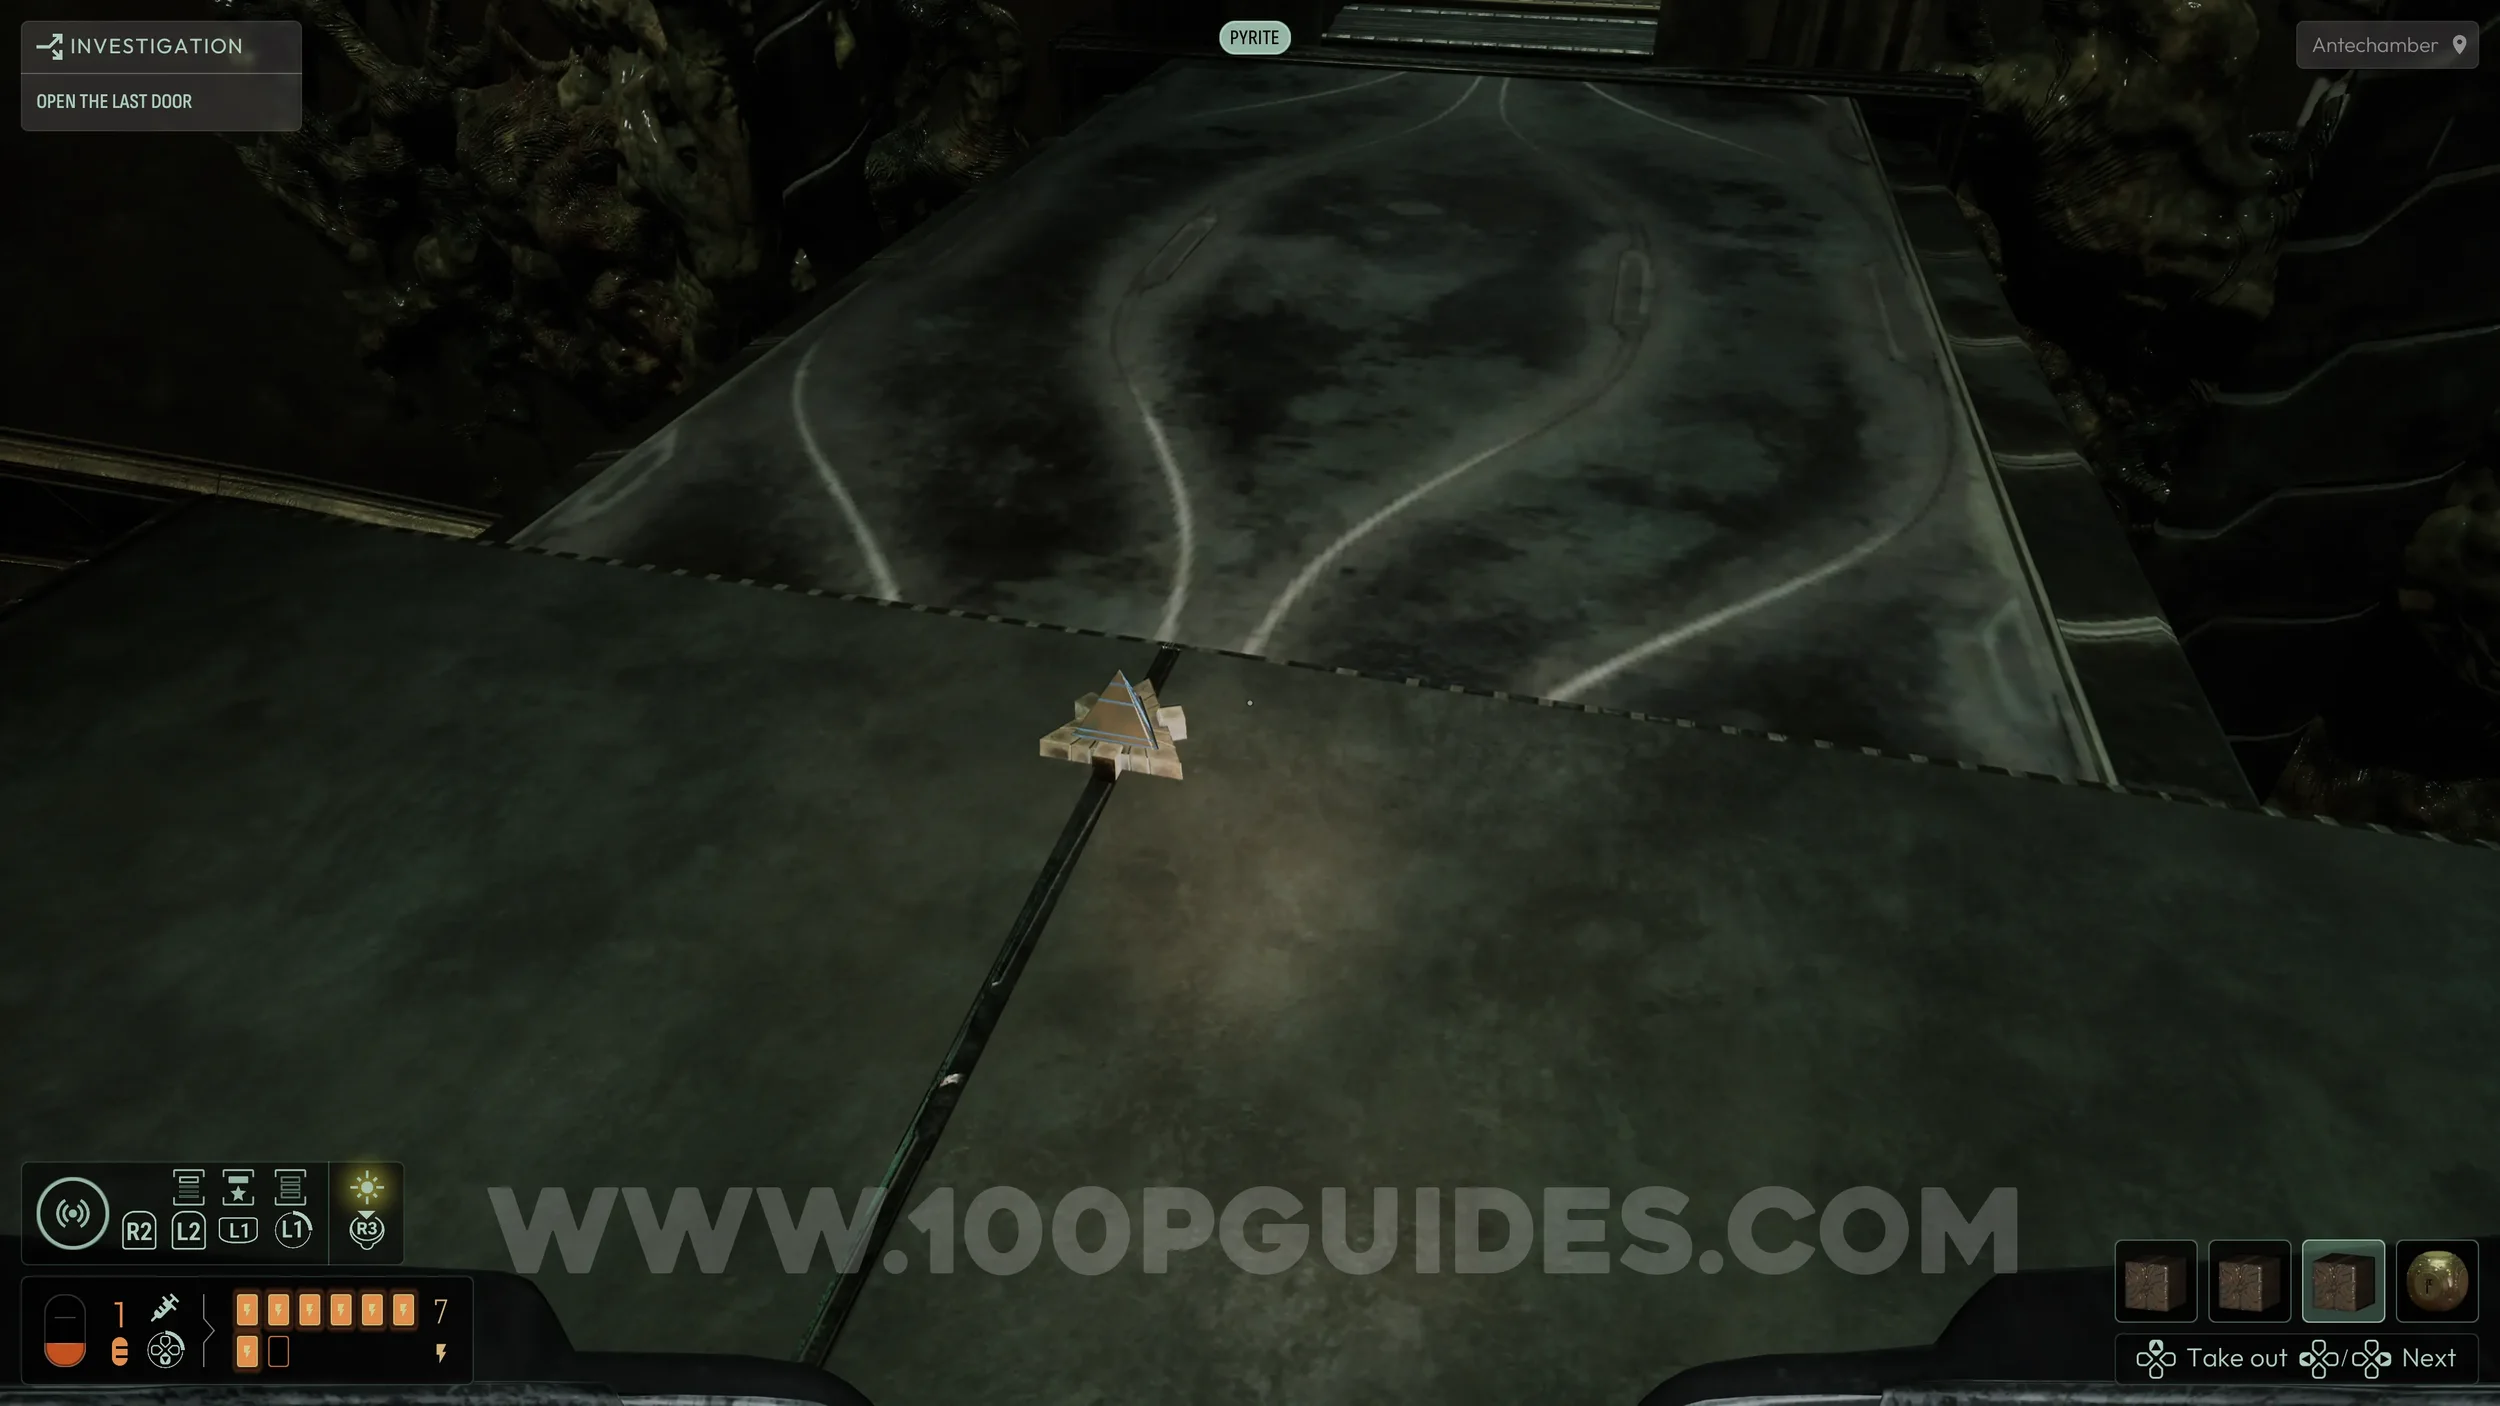
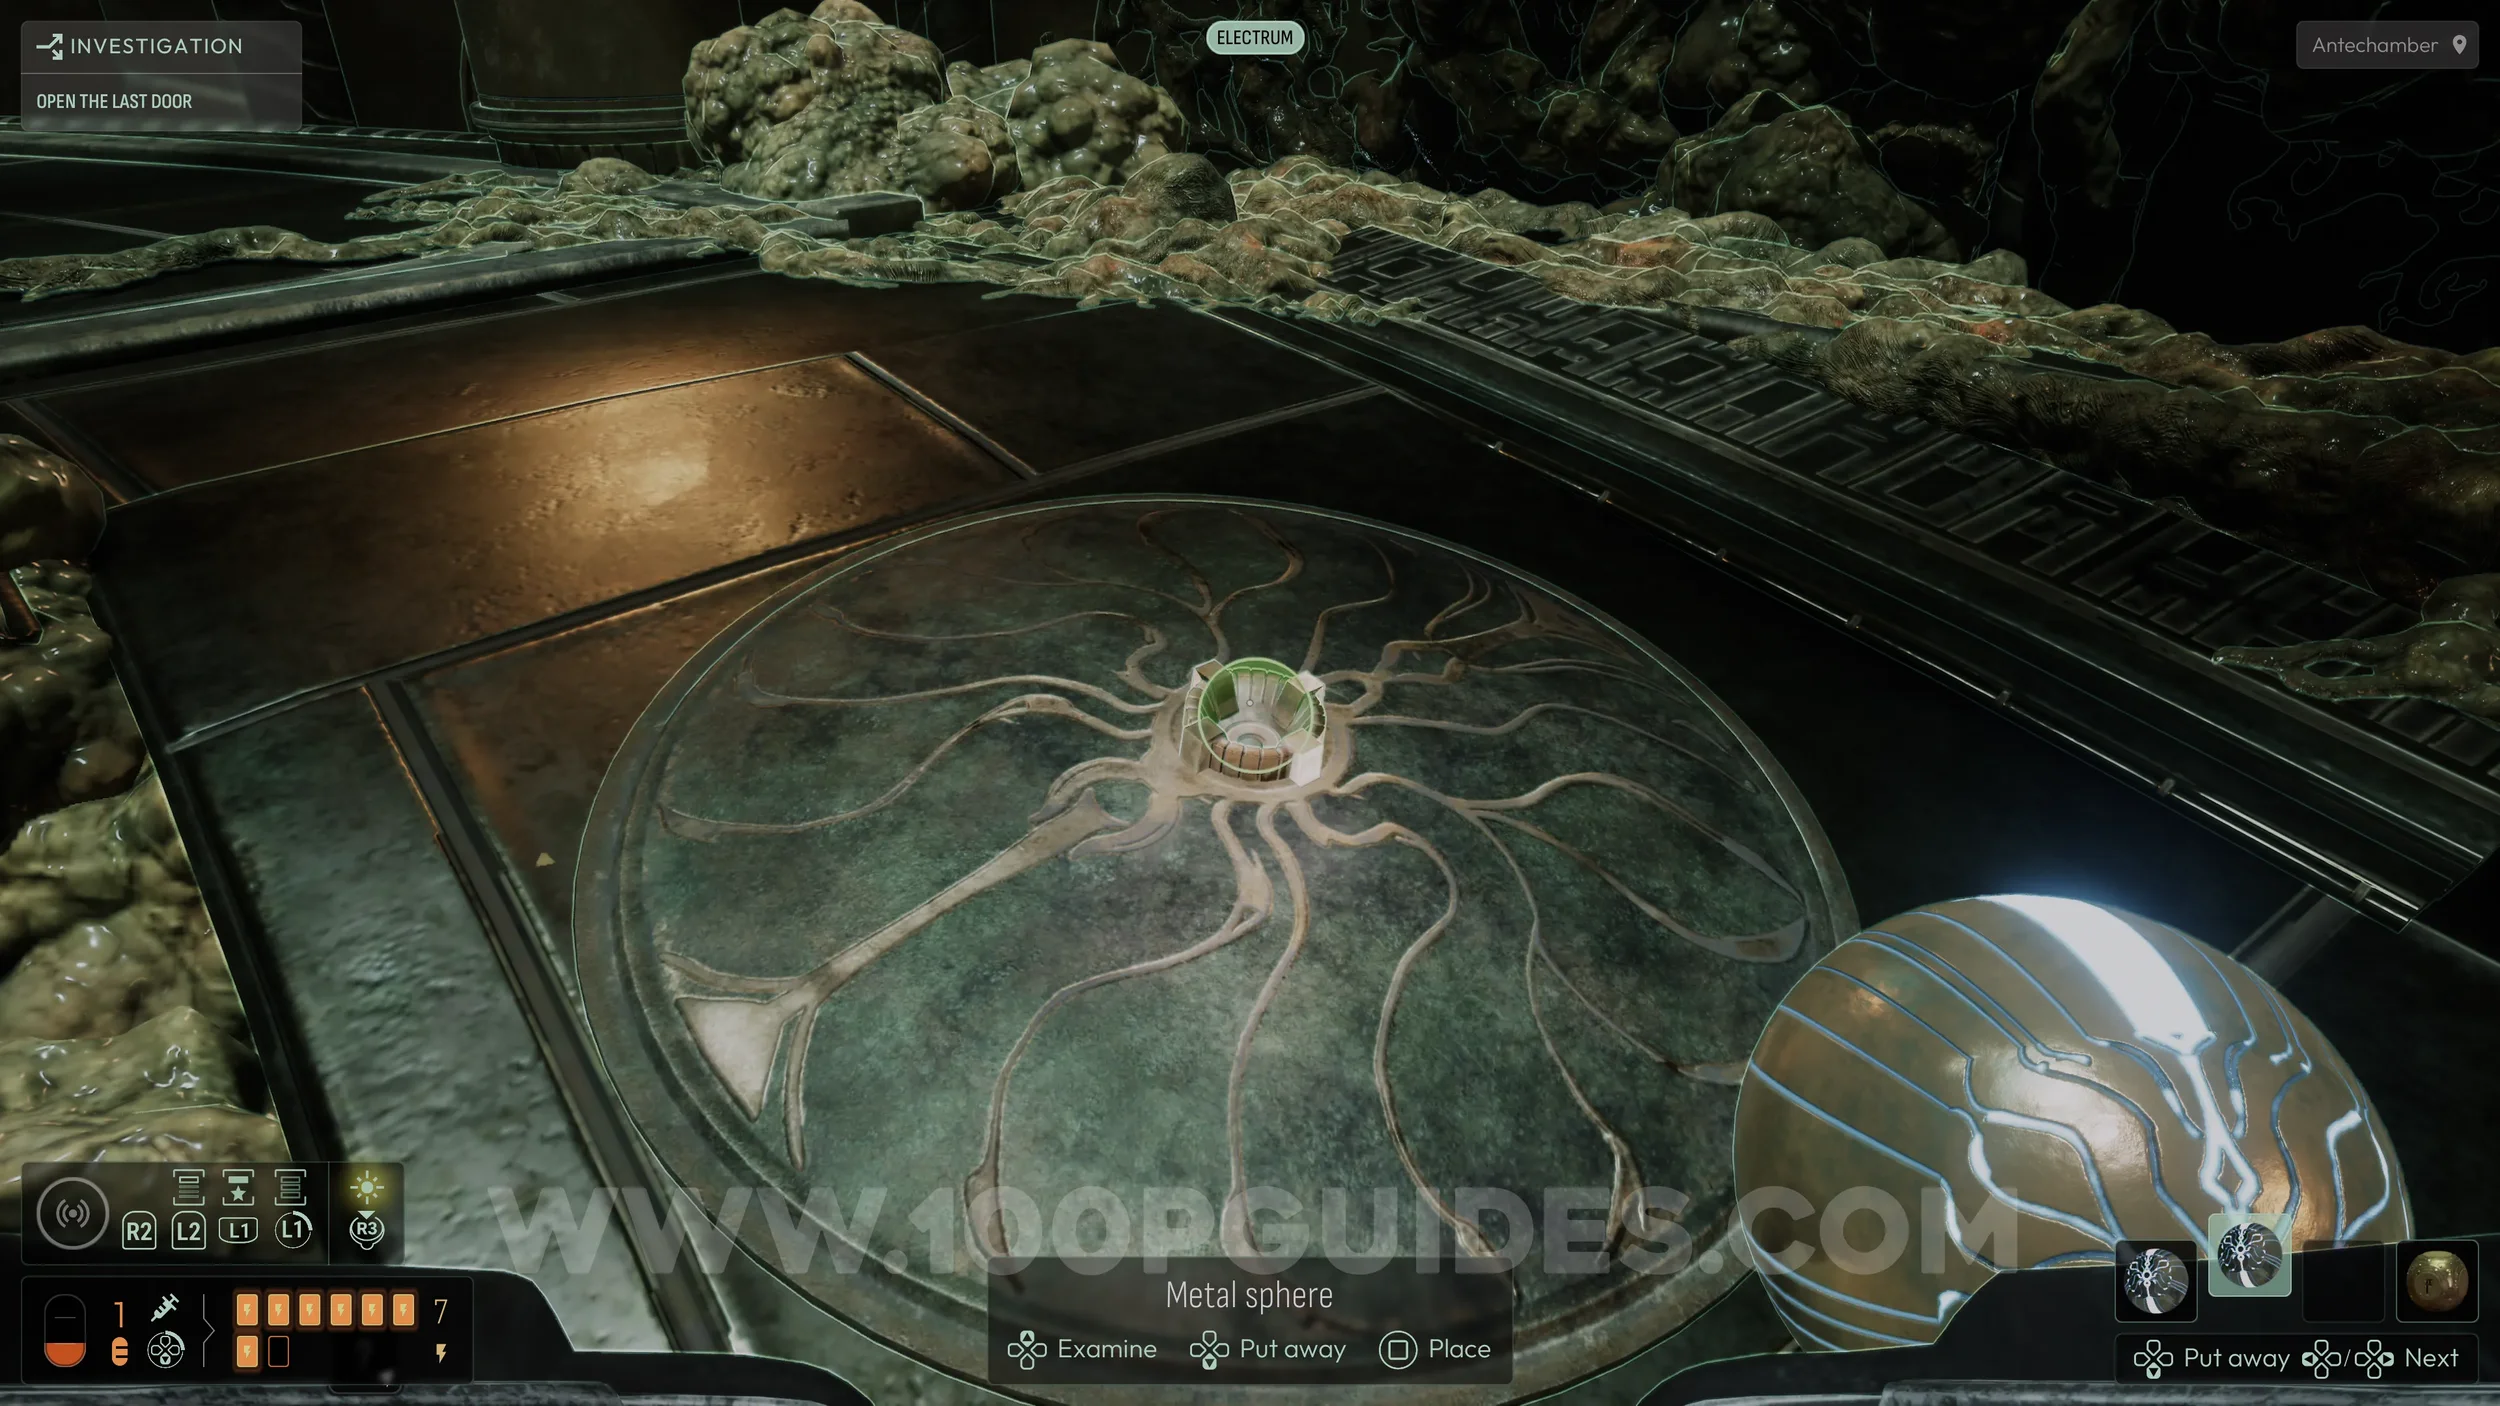
Now swim around and look for a set of circular stairs that will take you back to the main round area in the middle. Once there, find a cube on the floor next to a triangular slot. Pick it up and use the Pyrite frequency to reshape it into a triangle, then place it into the slot to extend a bridge to the room ahead.
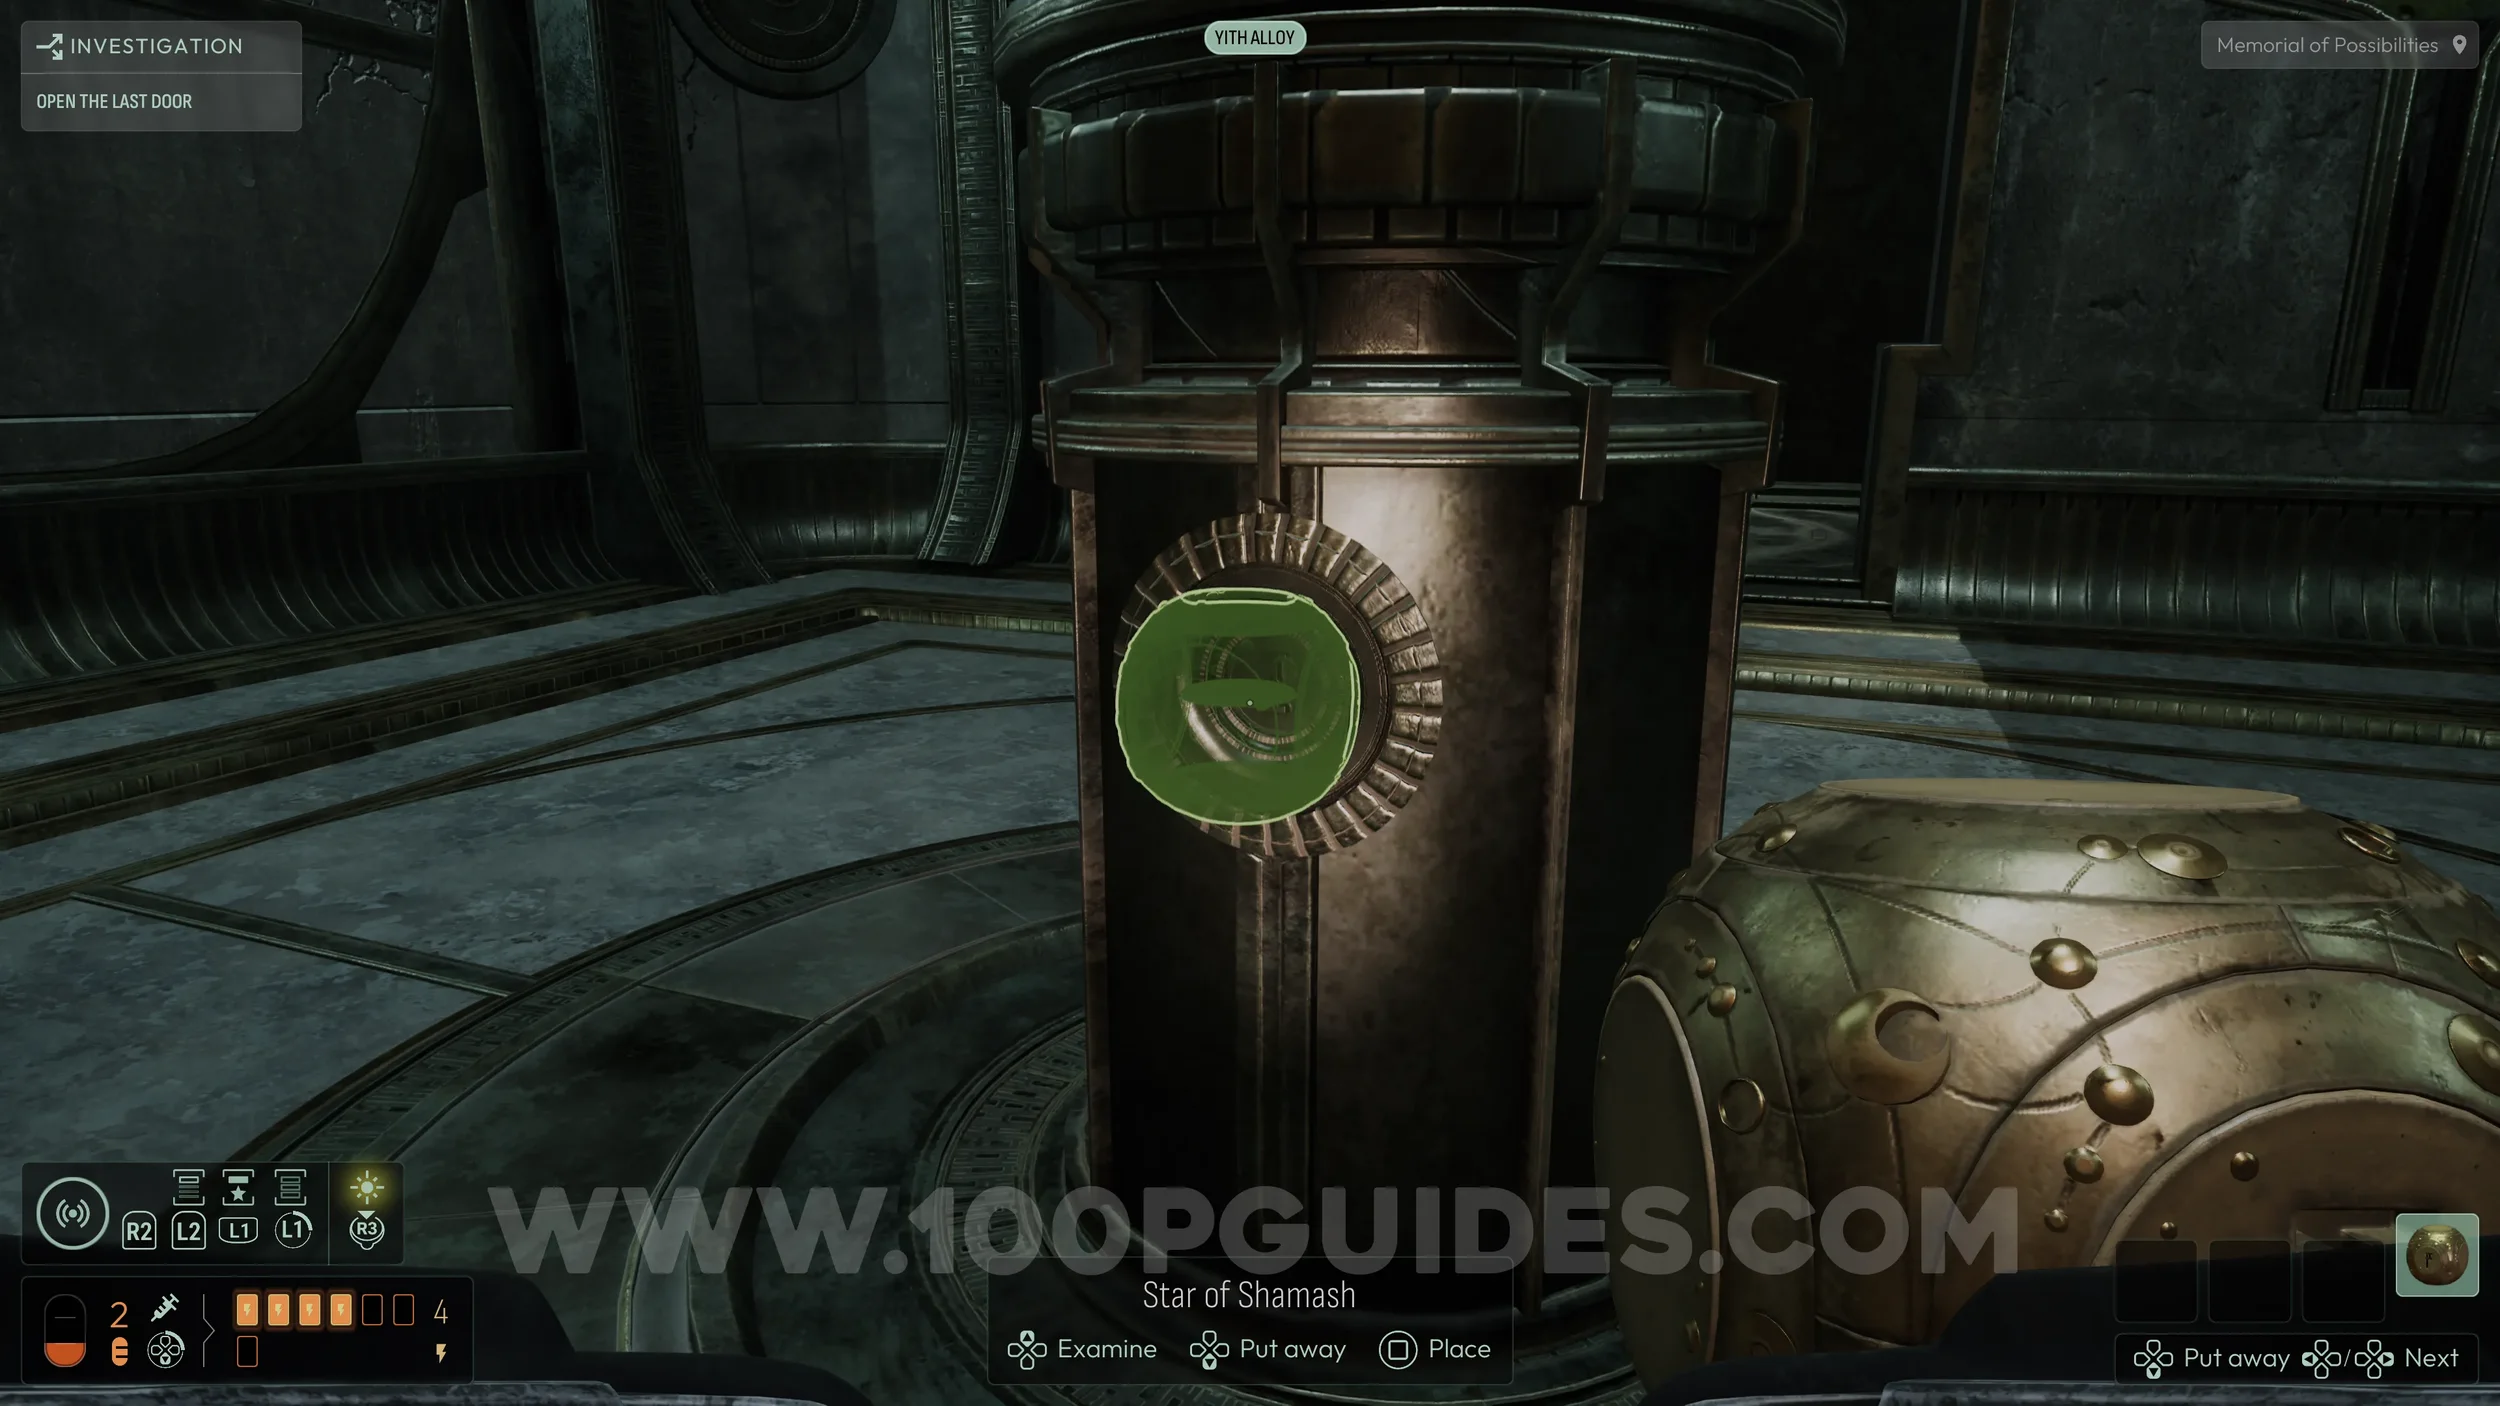
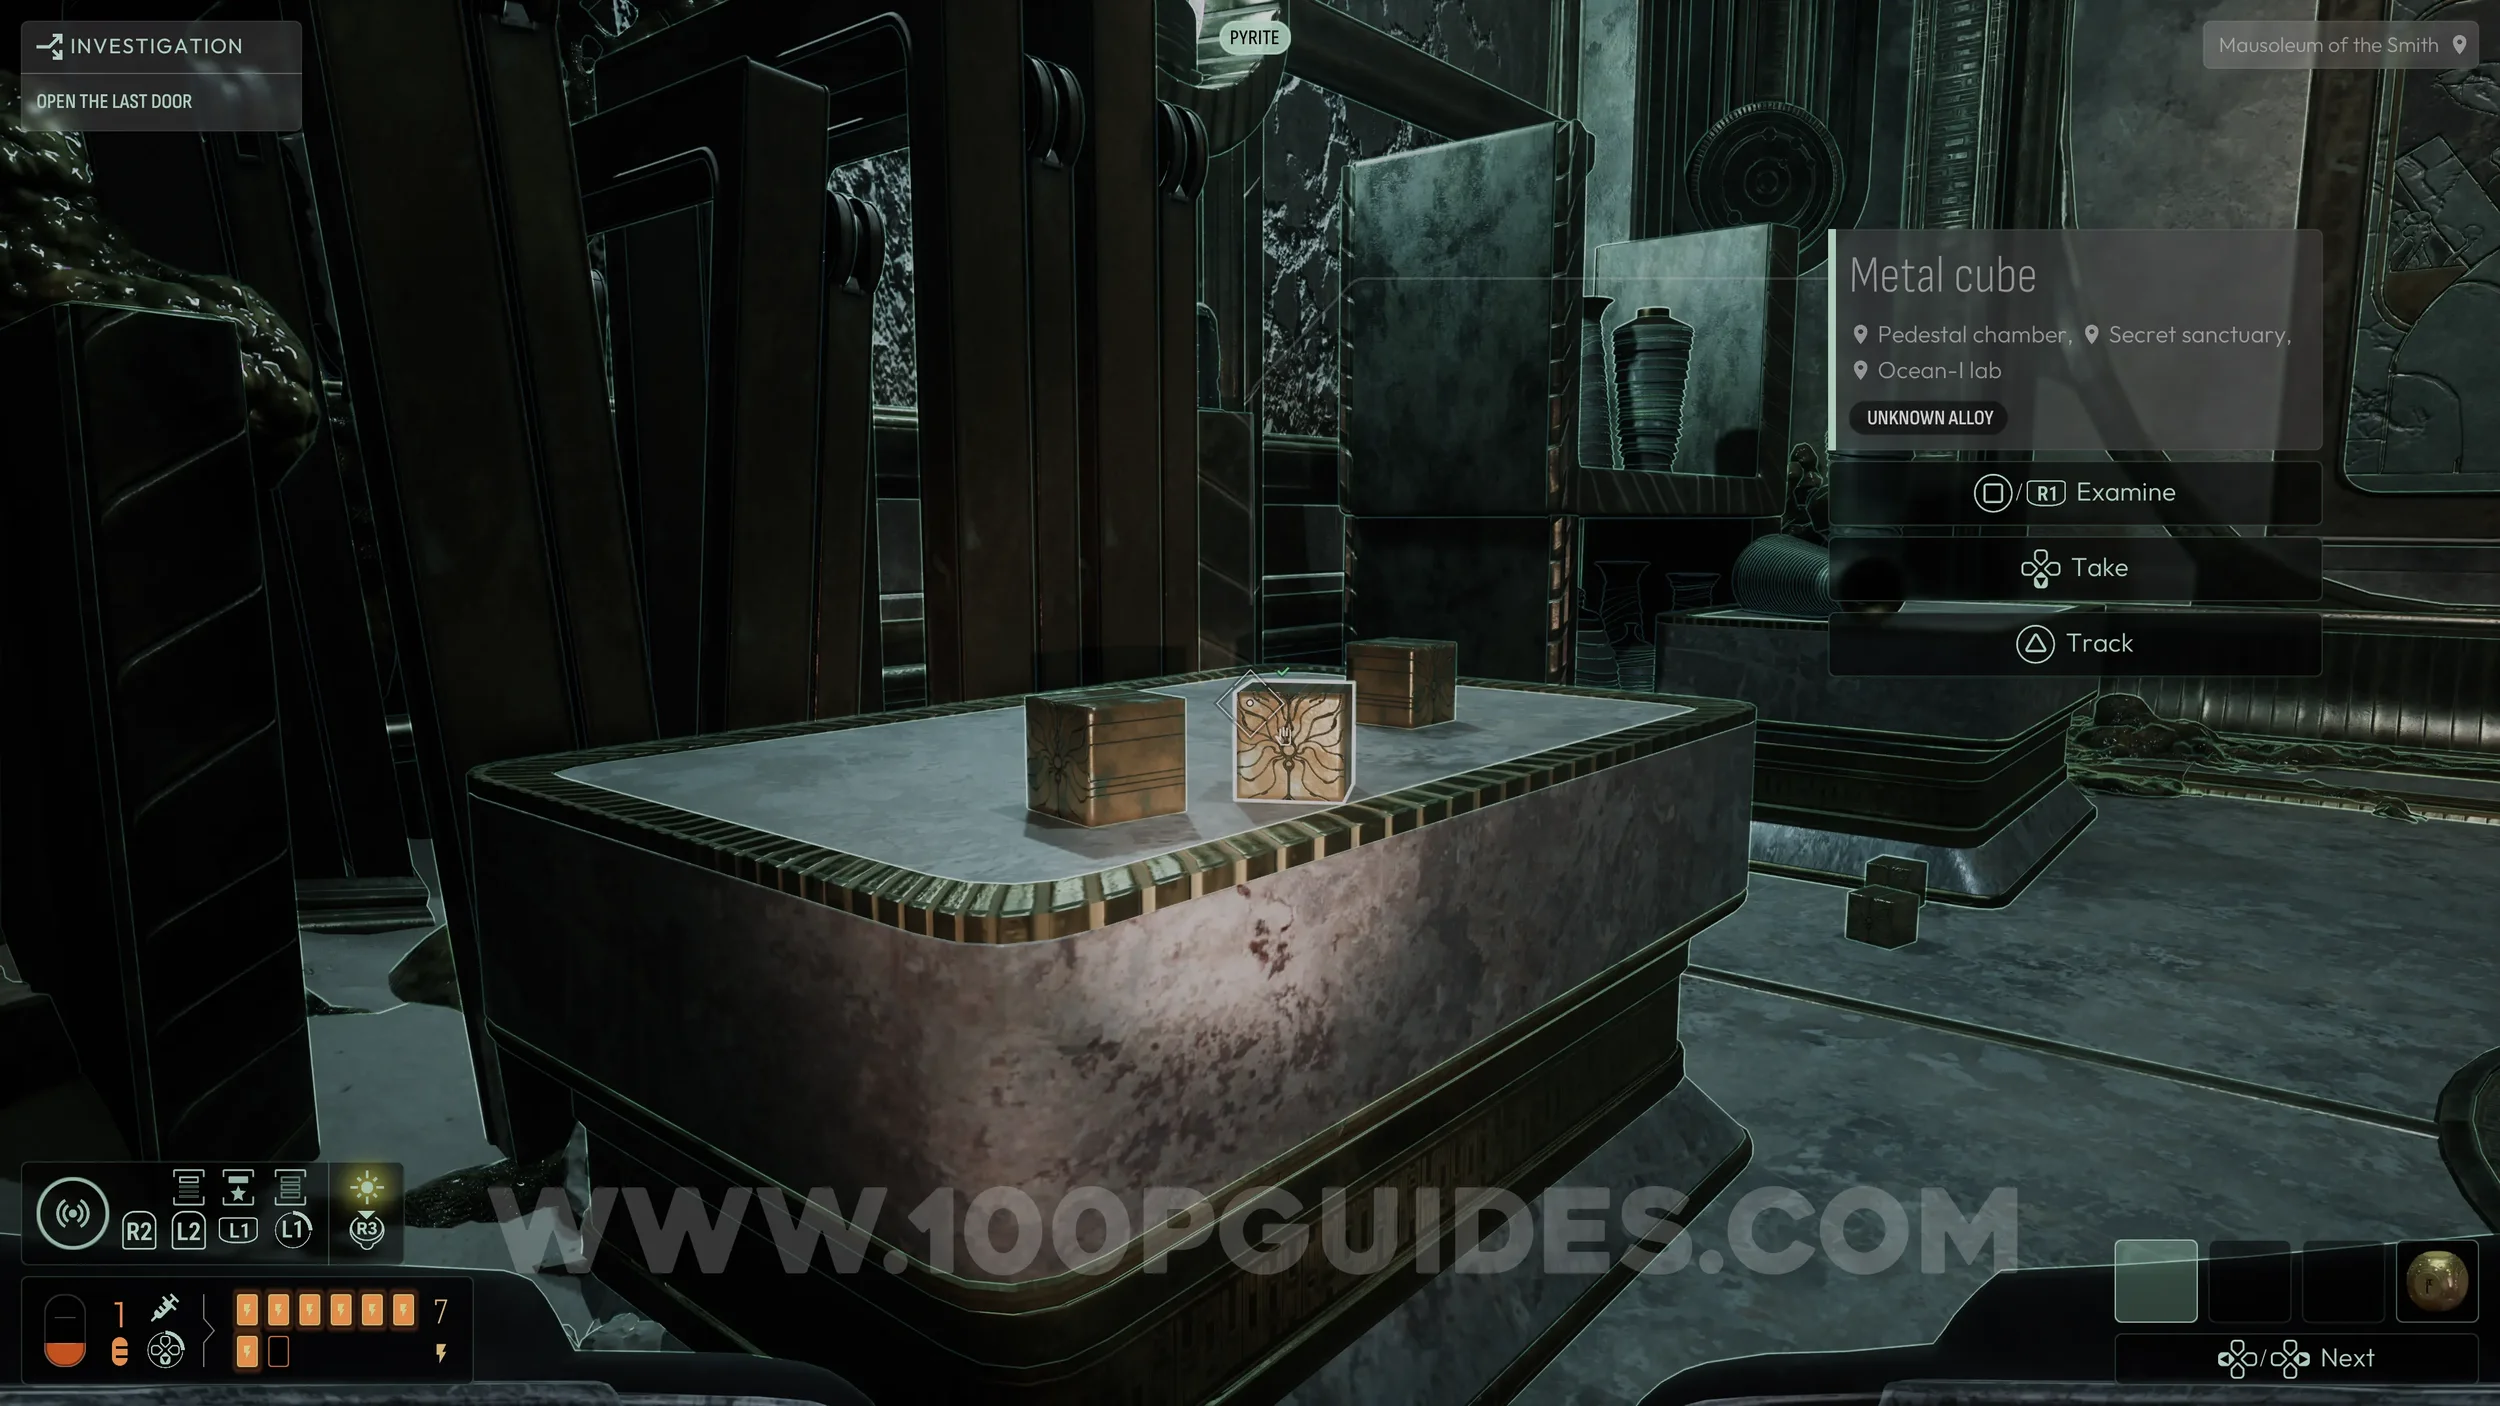
Inside this room, you will find several metal cubes. Pick up as many as you can, then return to the main circular area. Here, you will see five slots on the ground. You need to collect five cubes, either from that room or elsewhere in the area, use the Electrum frequency to transform them into spheres, and place one in each slot.
This step is required to achieve the low corruption outcome for the investigation later.

Now that all five cubes have been placed into the slots on the floor in the main area, it is time to solve the final puzzle. This is the most complex puzzle in the game.
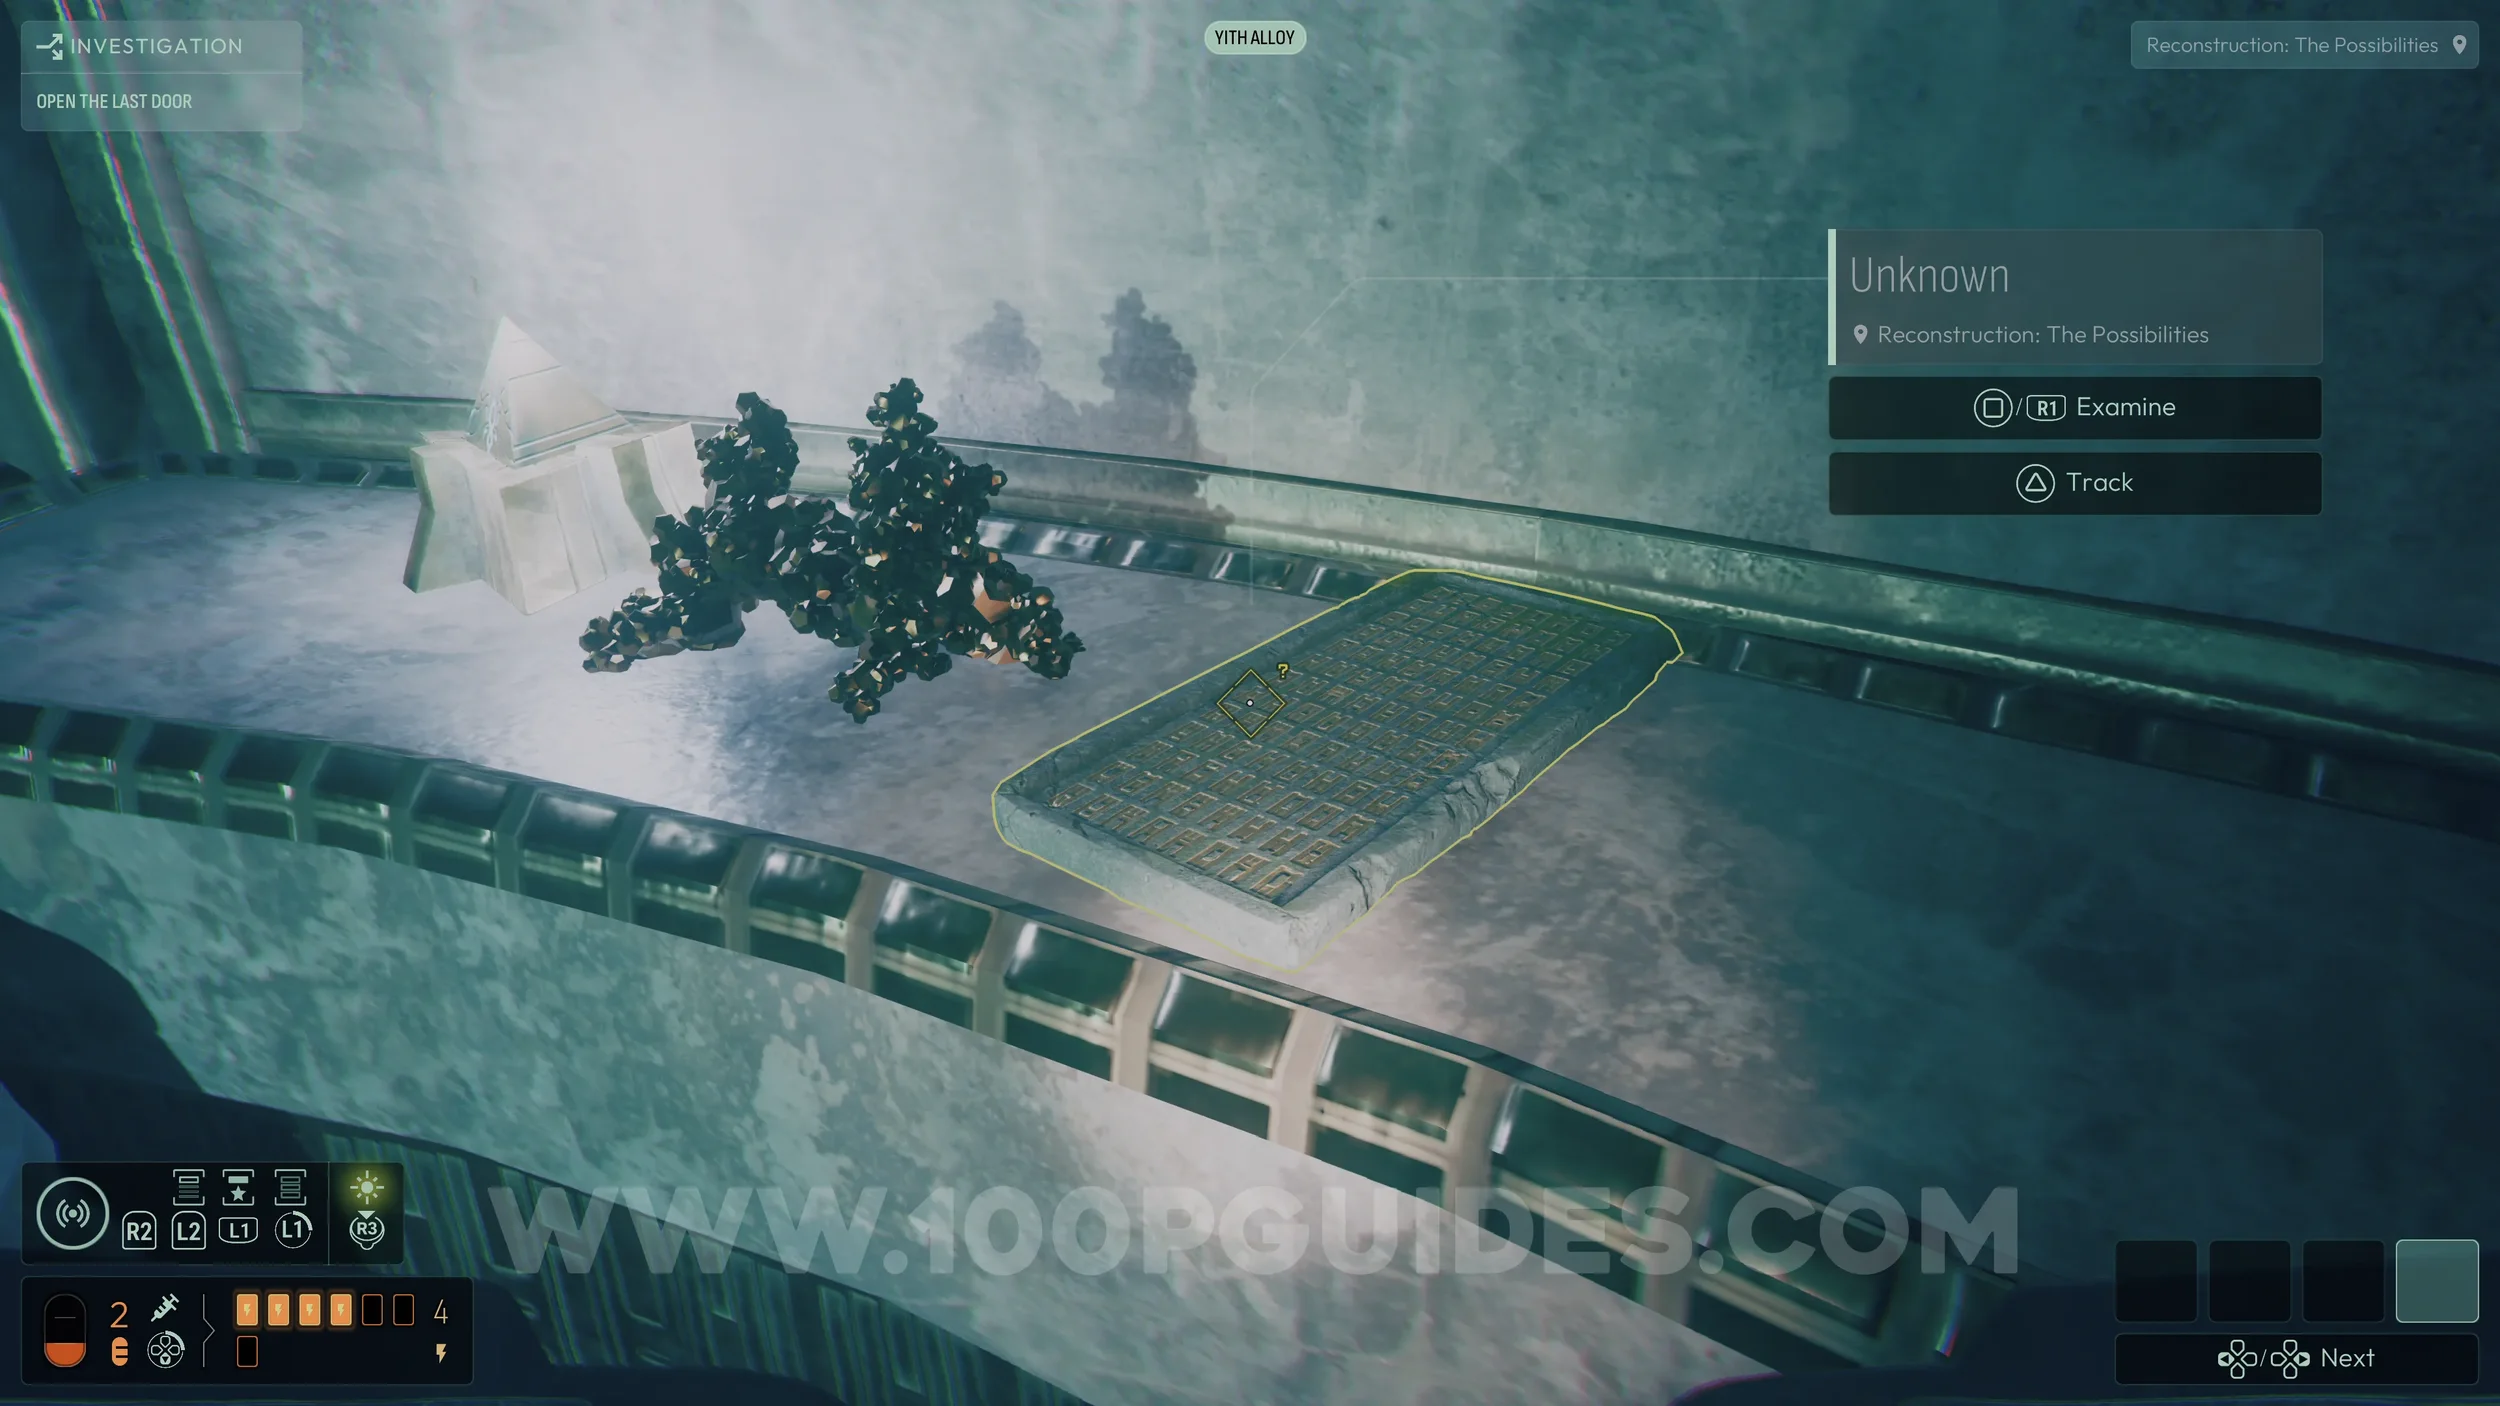
If you want to solve it yourself, use the Pigment frequency on the large murals in the small mausoleum rooms to reveal information about the constellations and their correct positions on the star. Then return to the Memorial of Imprisonment, where you originally engraved the “i” symbol onto the star and apply the correct symbols to each corresponding side based on what you discovered.
If not, here is the solution.
Head to the Memorial of Imprisonment, the room where you can apply symbols onto the star.
Now assign the following symbols to the corresponding sides of the star. If you make a mistake, do not worry; you can overwrite any symbol with a new one.
Use the original “I” symbol that was engraved at the start of the chapter as your reference point.
Imh’Tar. On the top of the cube (above the “I”).
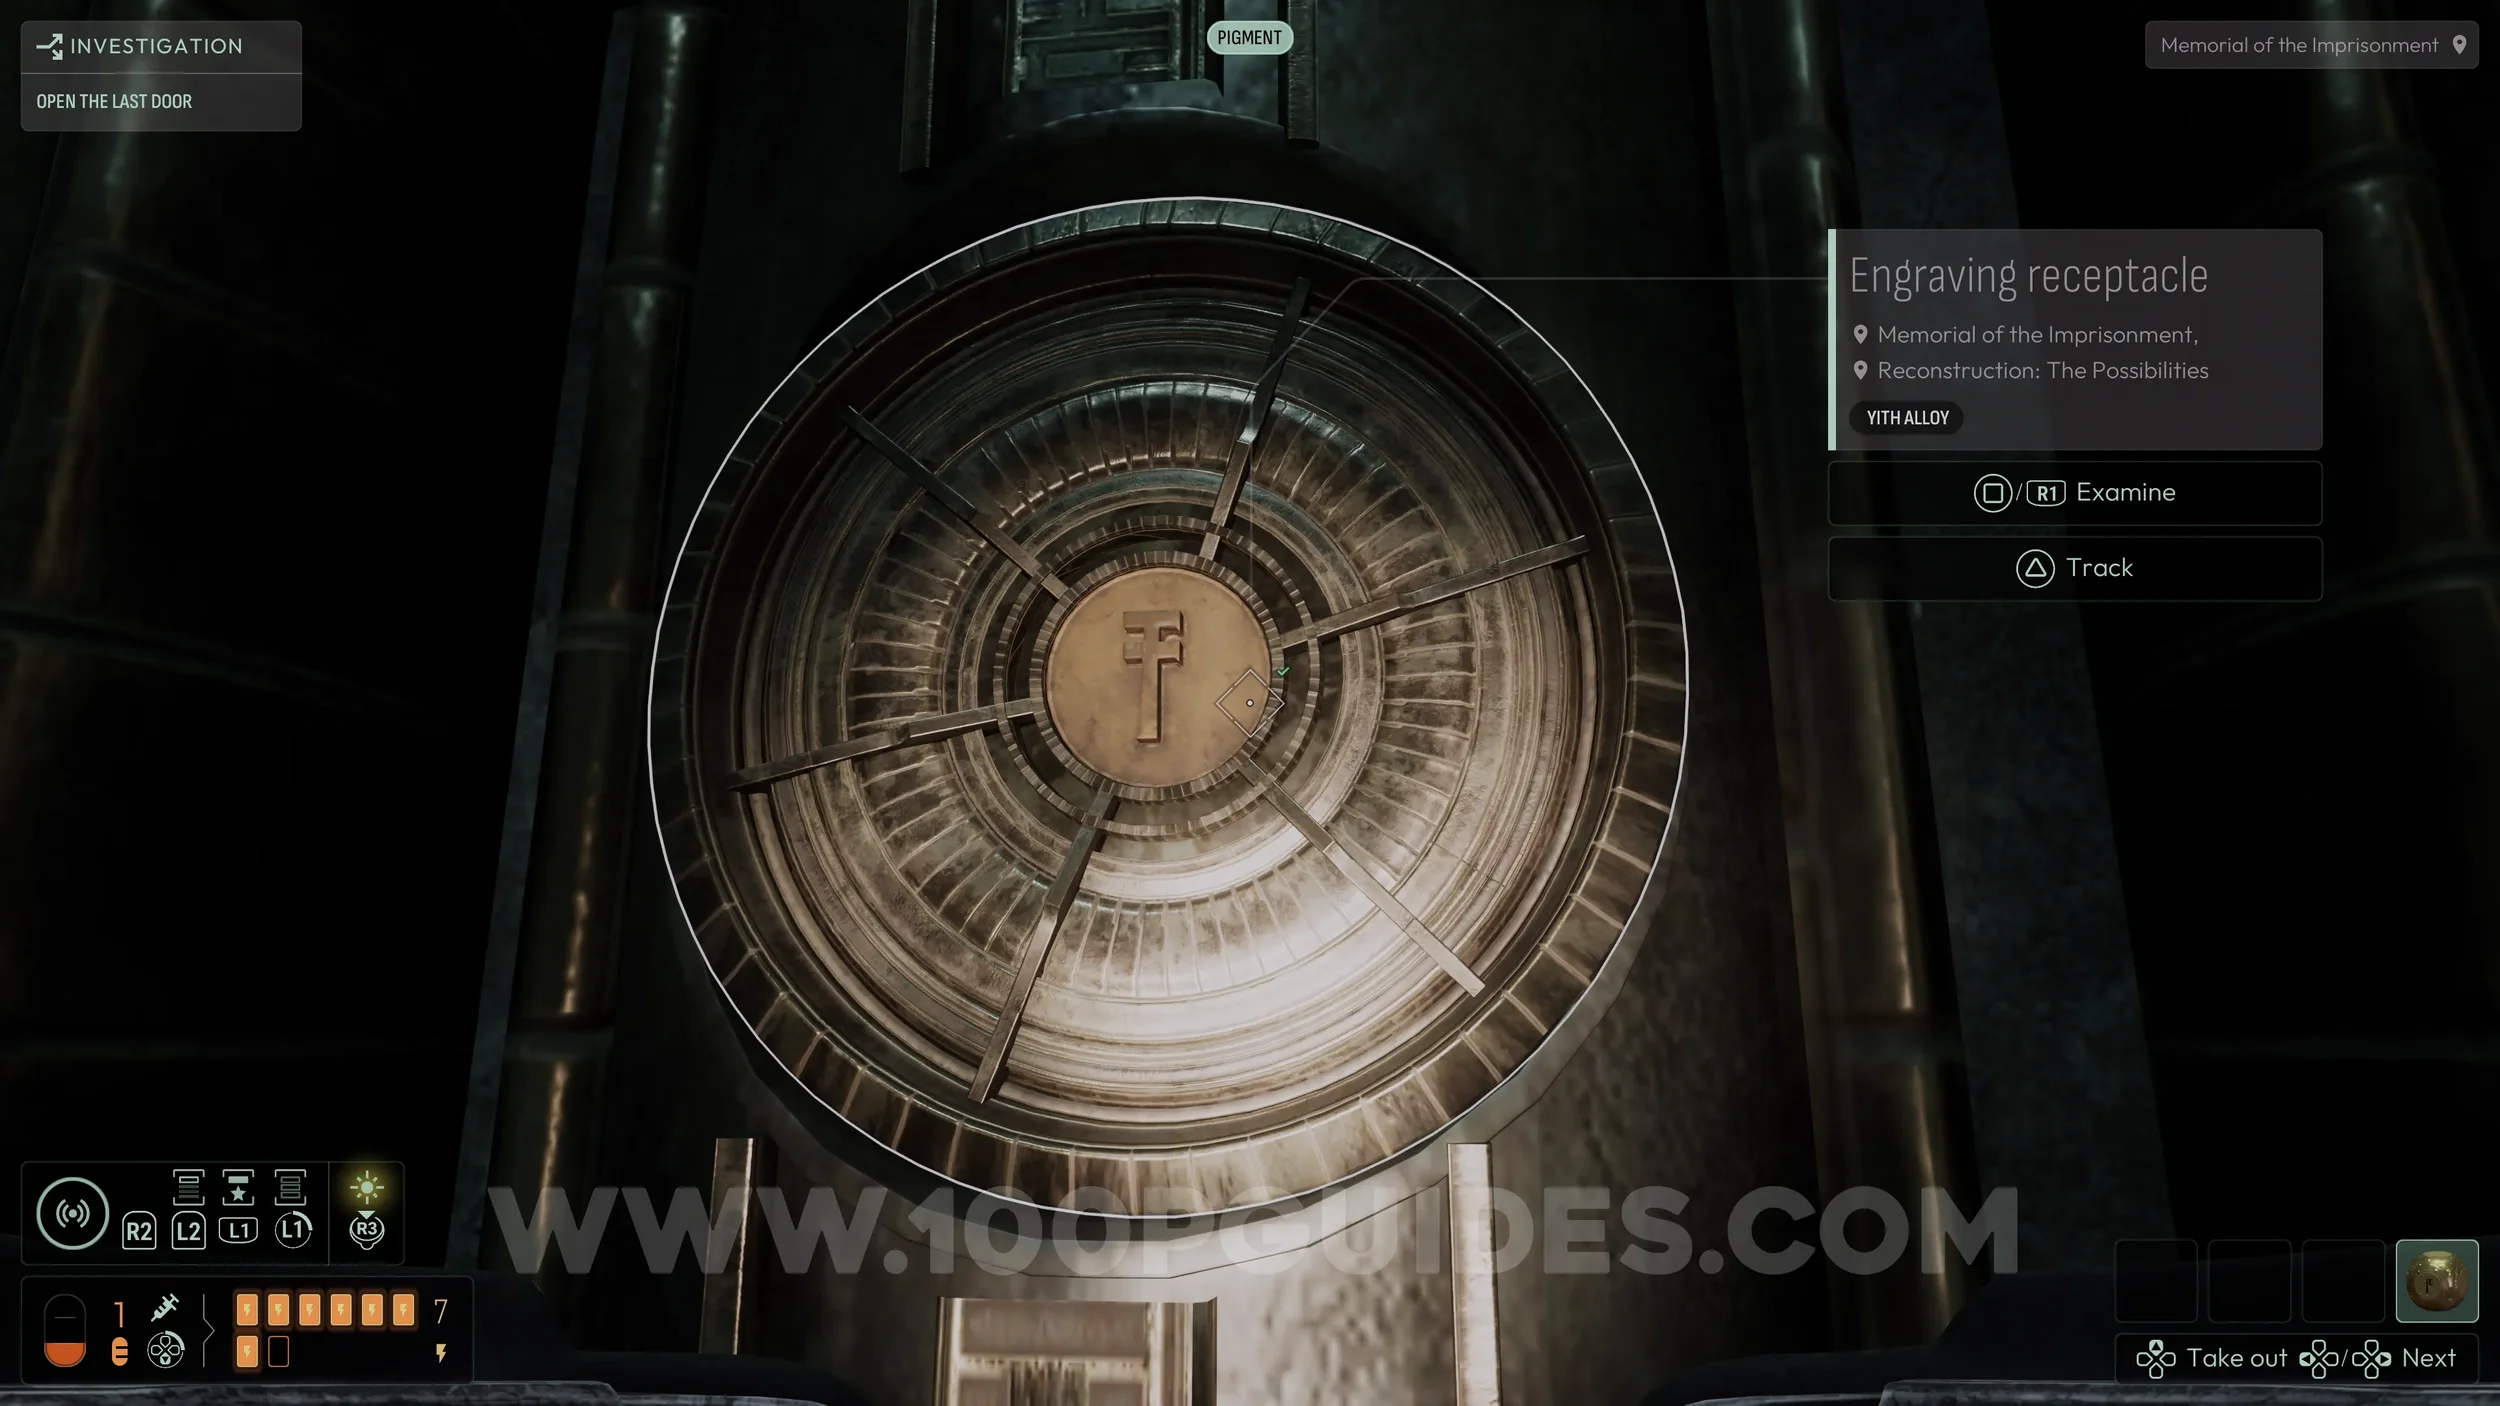
Vulghred. On the bottom of the cube (below the “I”).
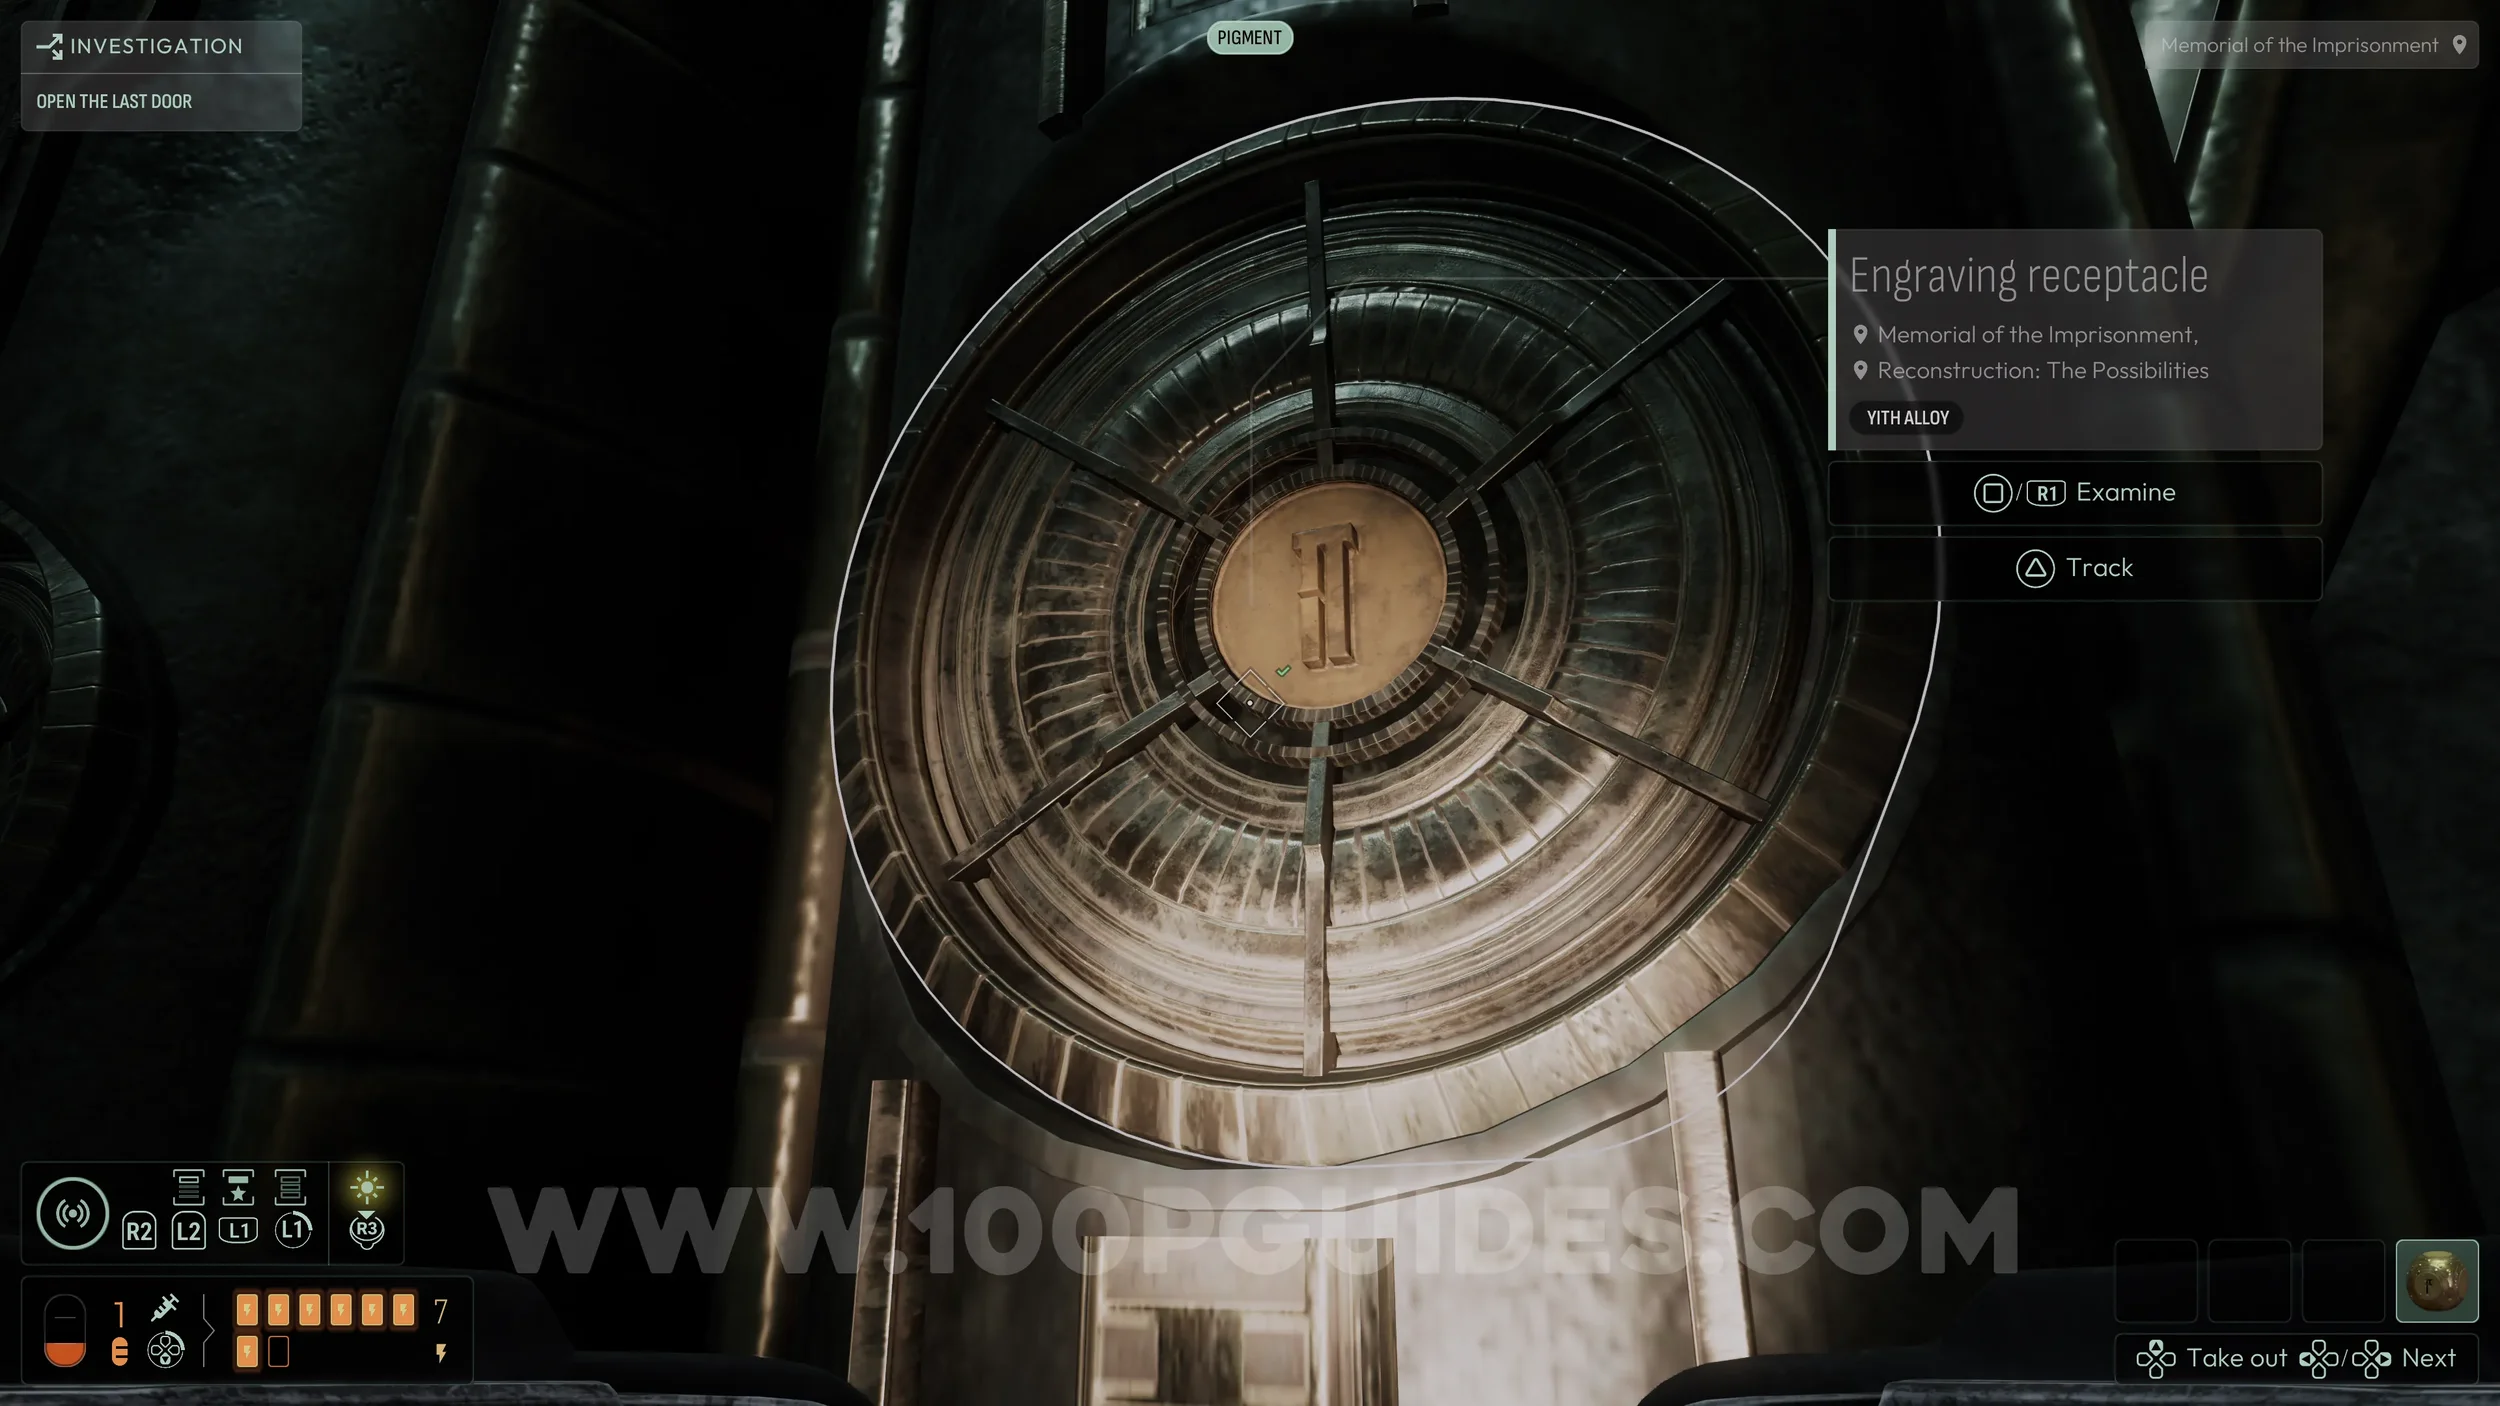
Azdryggh. On the back of the cube (opposite the “I”).
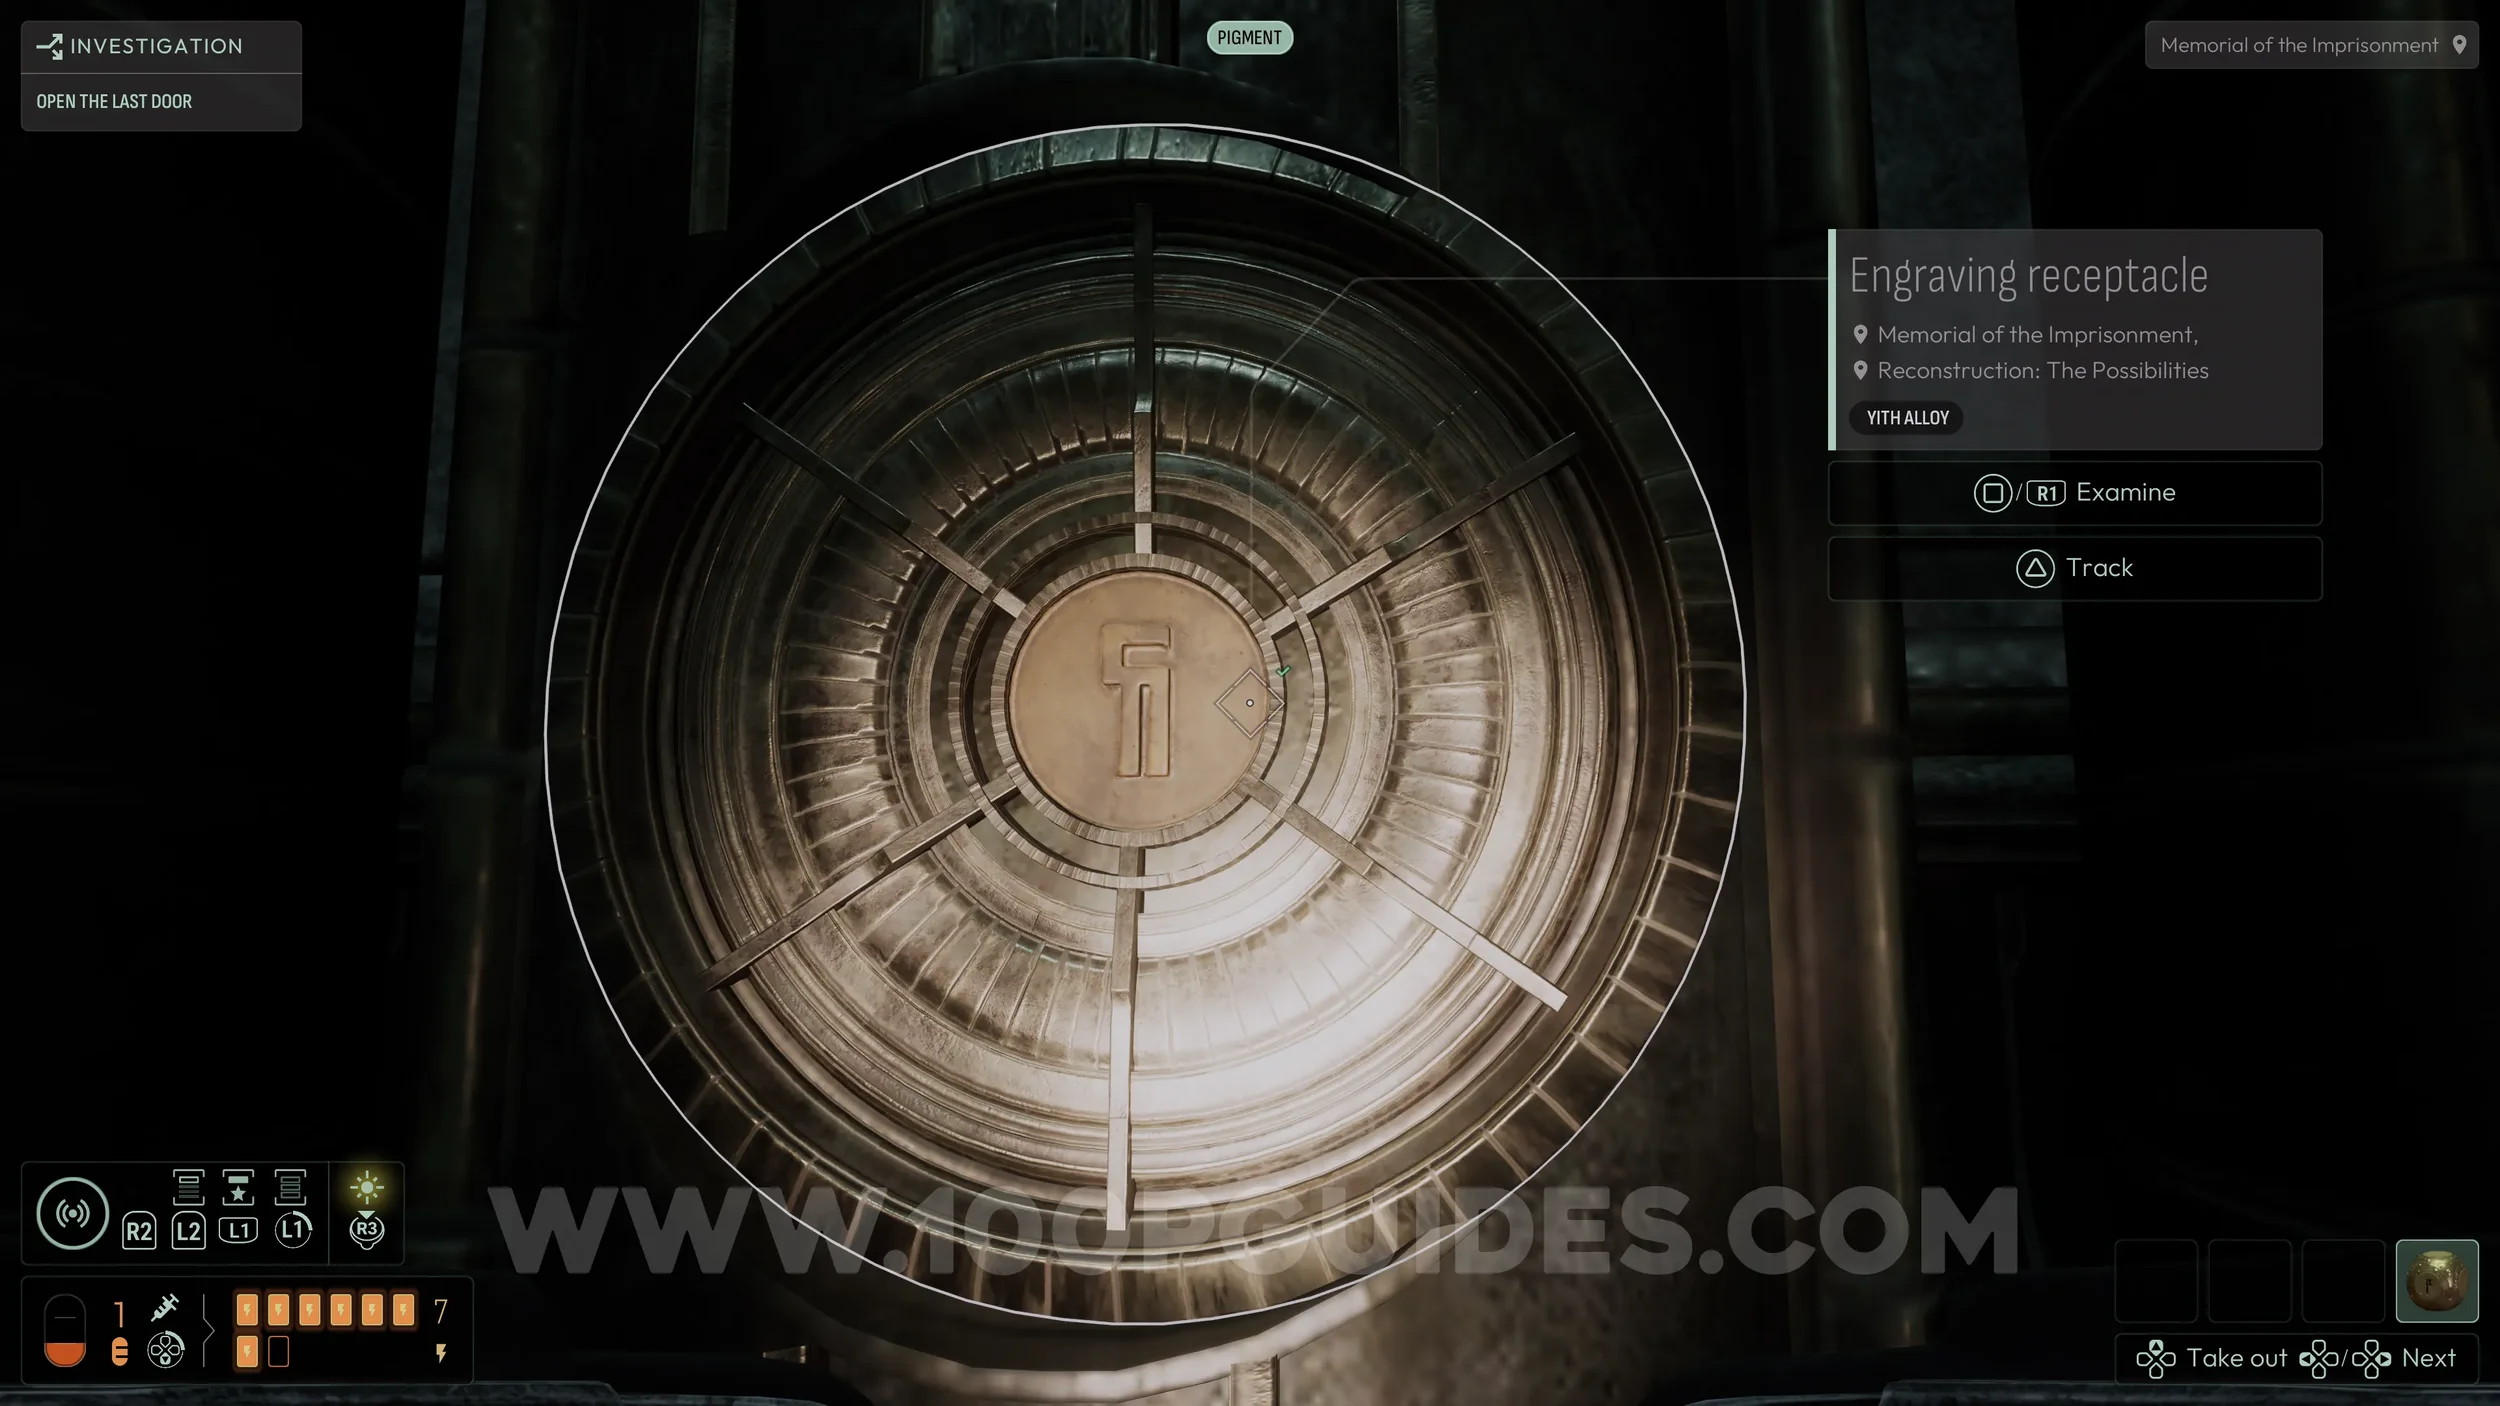
Mhexart. On the right of the cube (to the right of the “I”).
Thultris. On the left of the cube (to the left of the “I”).
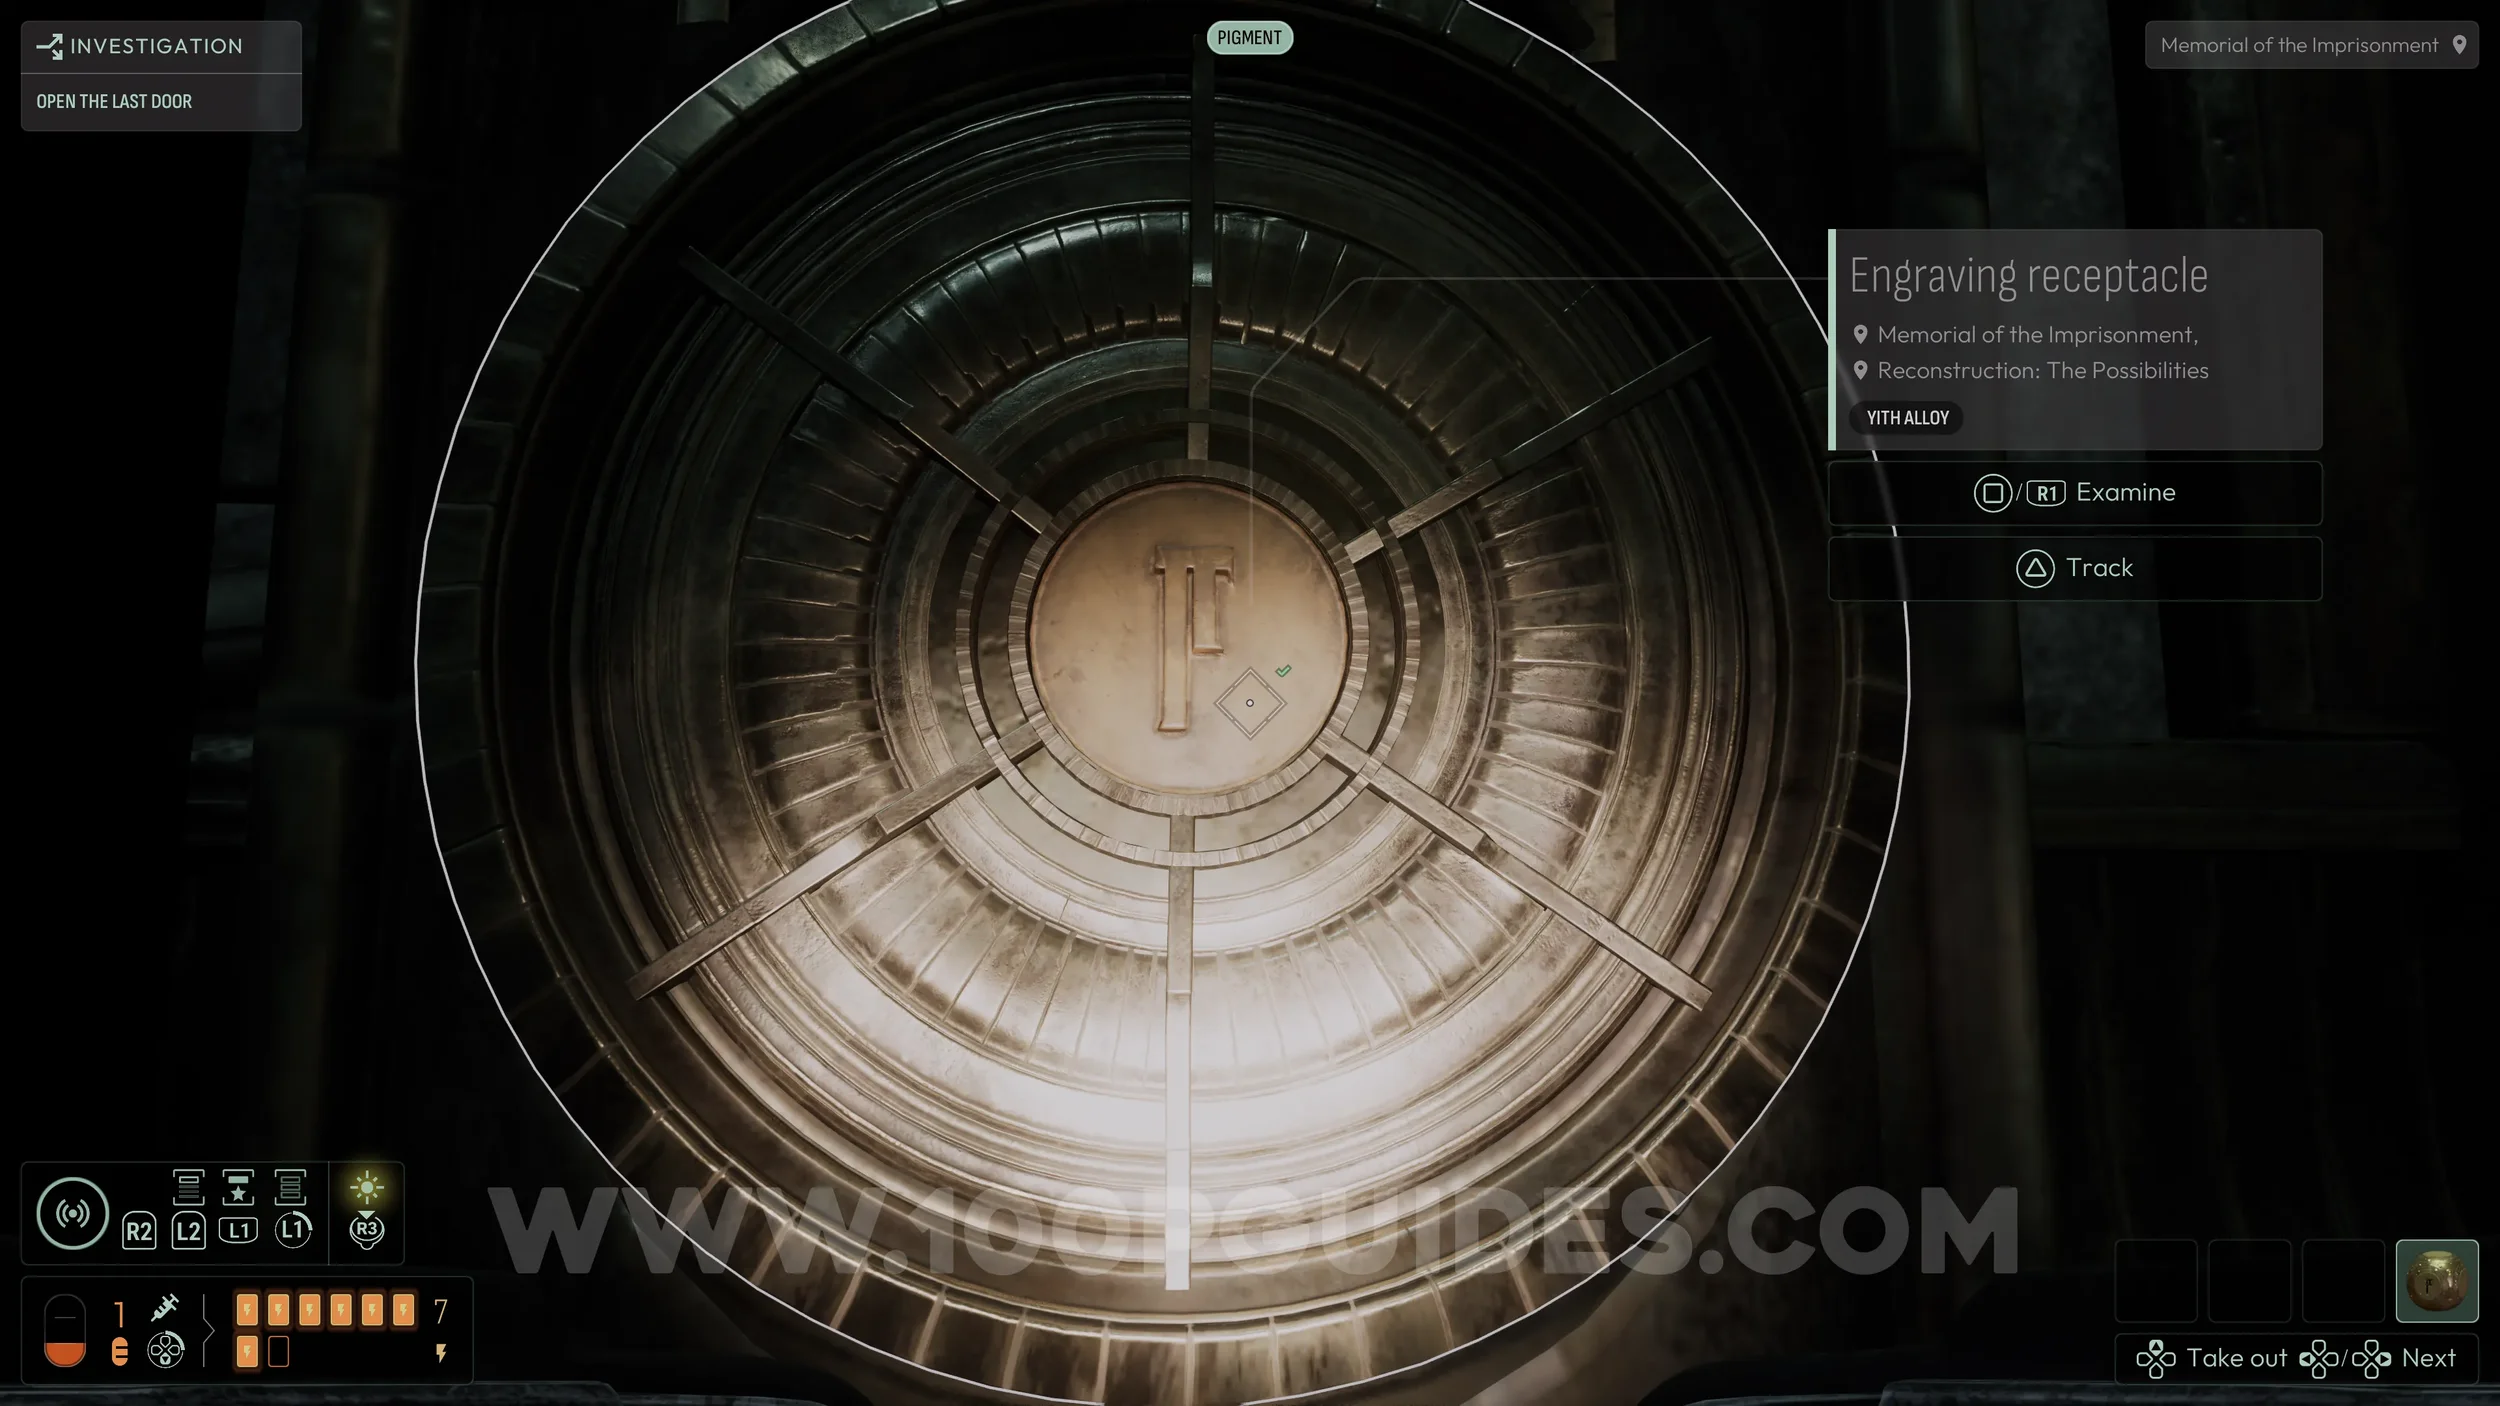
If done correctly, you will hear a line of dialogue from Noah when picking up the cube after applying the sixth symbol.
Now head back to the pedestal above the main circular area. Before placing the star, look toward the entrance you originally used to get here. You should now see a path of goo leading to a collectible on the wall to the left of the entrance. This path only appears after the short scene with the tremors that occurs once you have visited all three memories in this chapter. Follow it to obtain the final evolution (15/15).
This step can sometimes be buggy, and in some cases, the tremor event may not trigger. If that happens, continue the walkthrough and finish the game with 14/15 evolutions. Then restart from the beginning of chapter six by using the “Load” option on the menu, and then select the chapter you would like to reset on the right. Then quickly revisit the three memories. This should cause the event to trigger correctly.
Finally, take the star to the pedestal above the main circular area and place it with the “I” symbol facing to the right.
If done correctly, a cutscene will play and the chapter will end.
Remember, you will only achieve the low corruption outcome for the investigation and earn the Better than Pandora trophy if you placed spheres into all five slots around the main area beforehand.
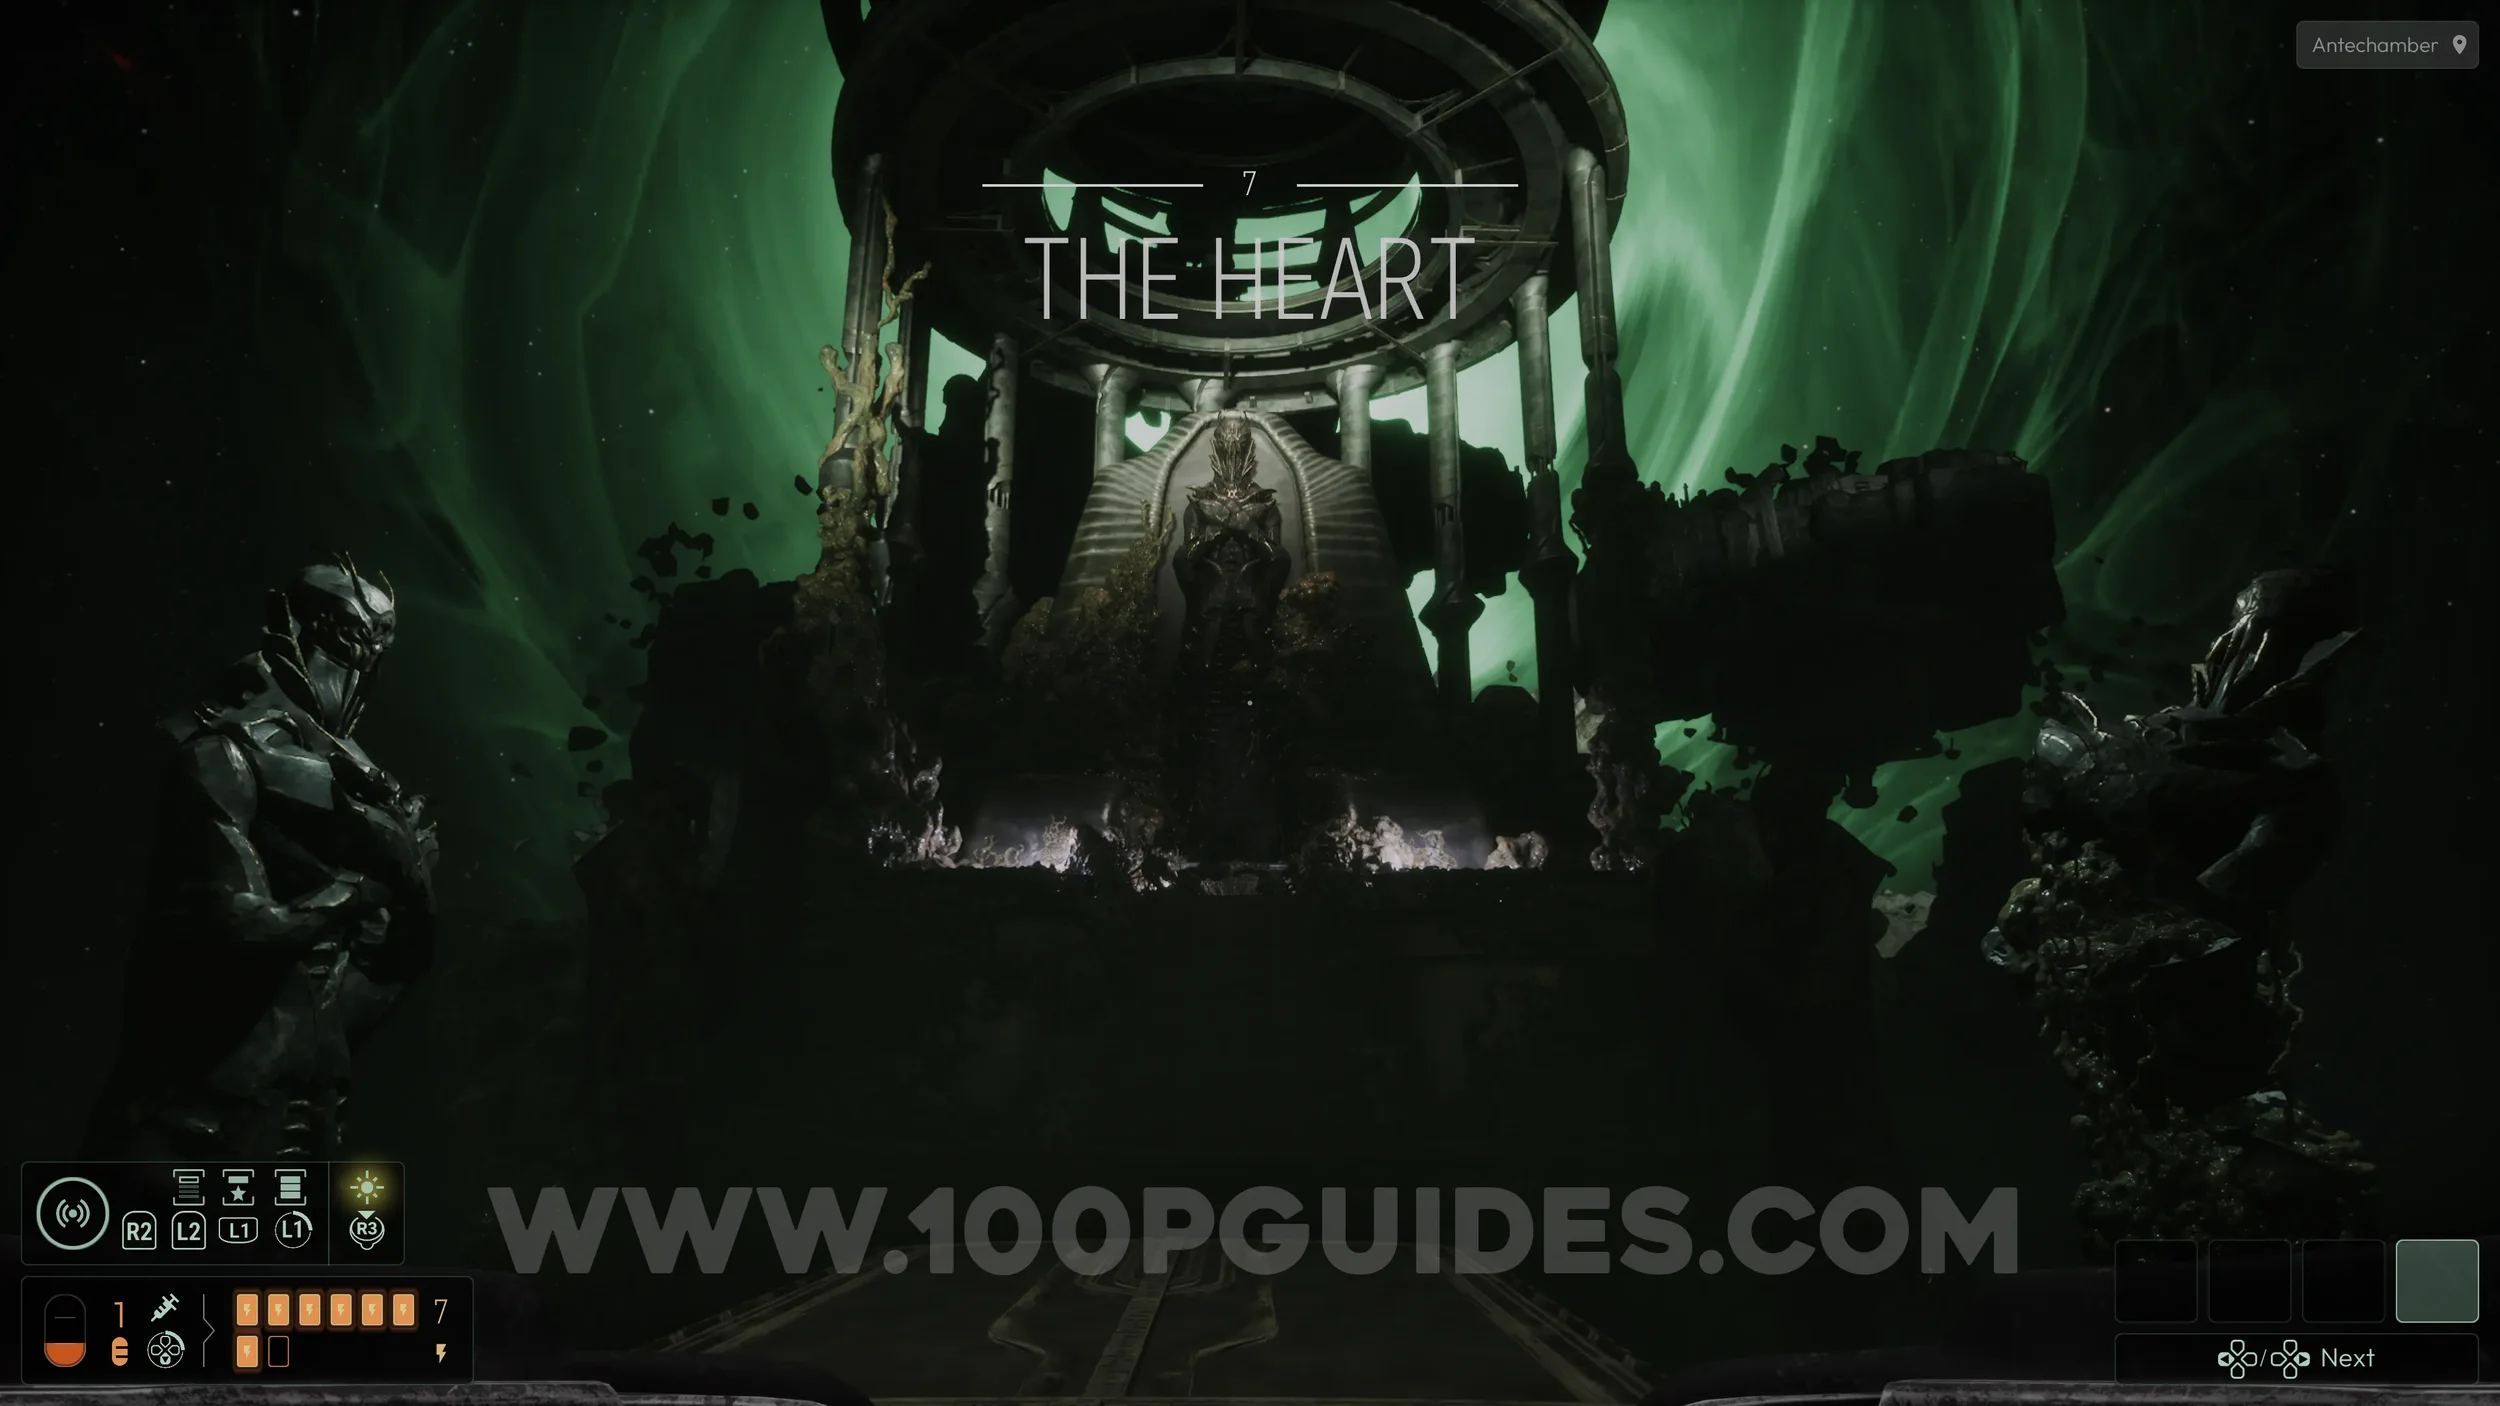
Chapter 7
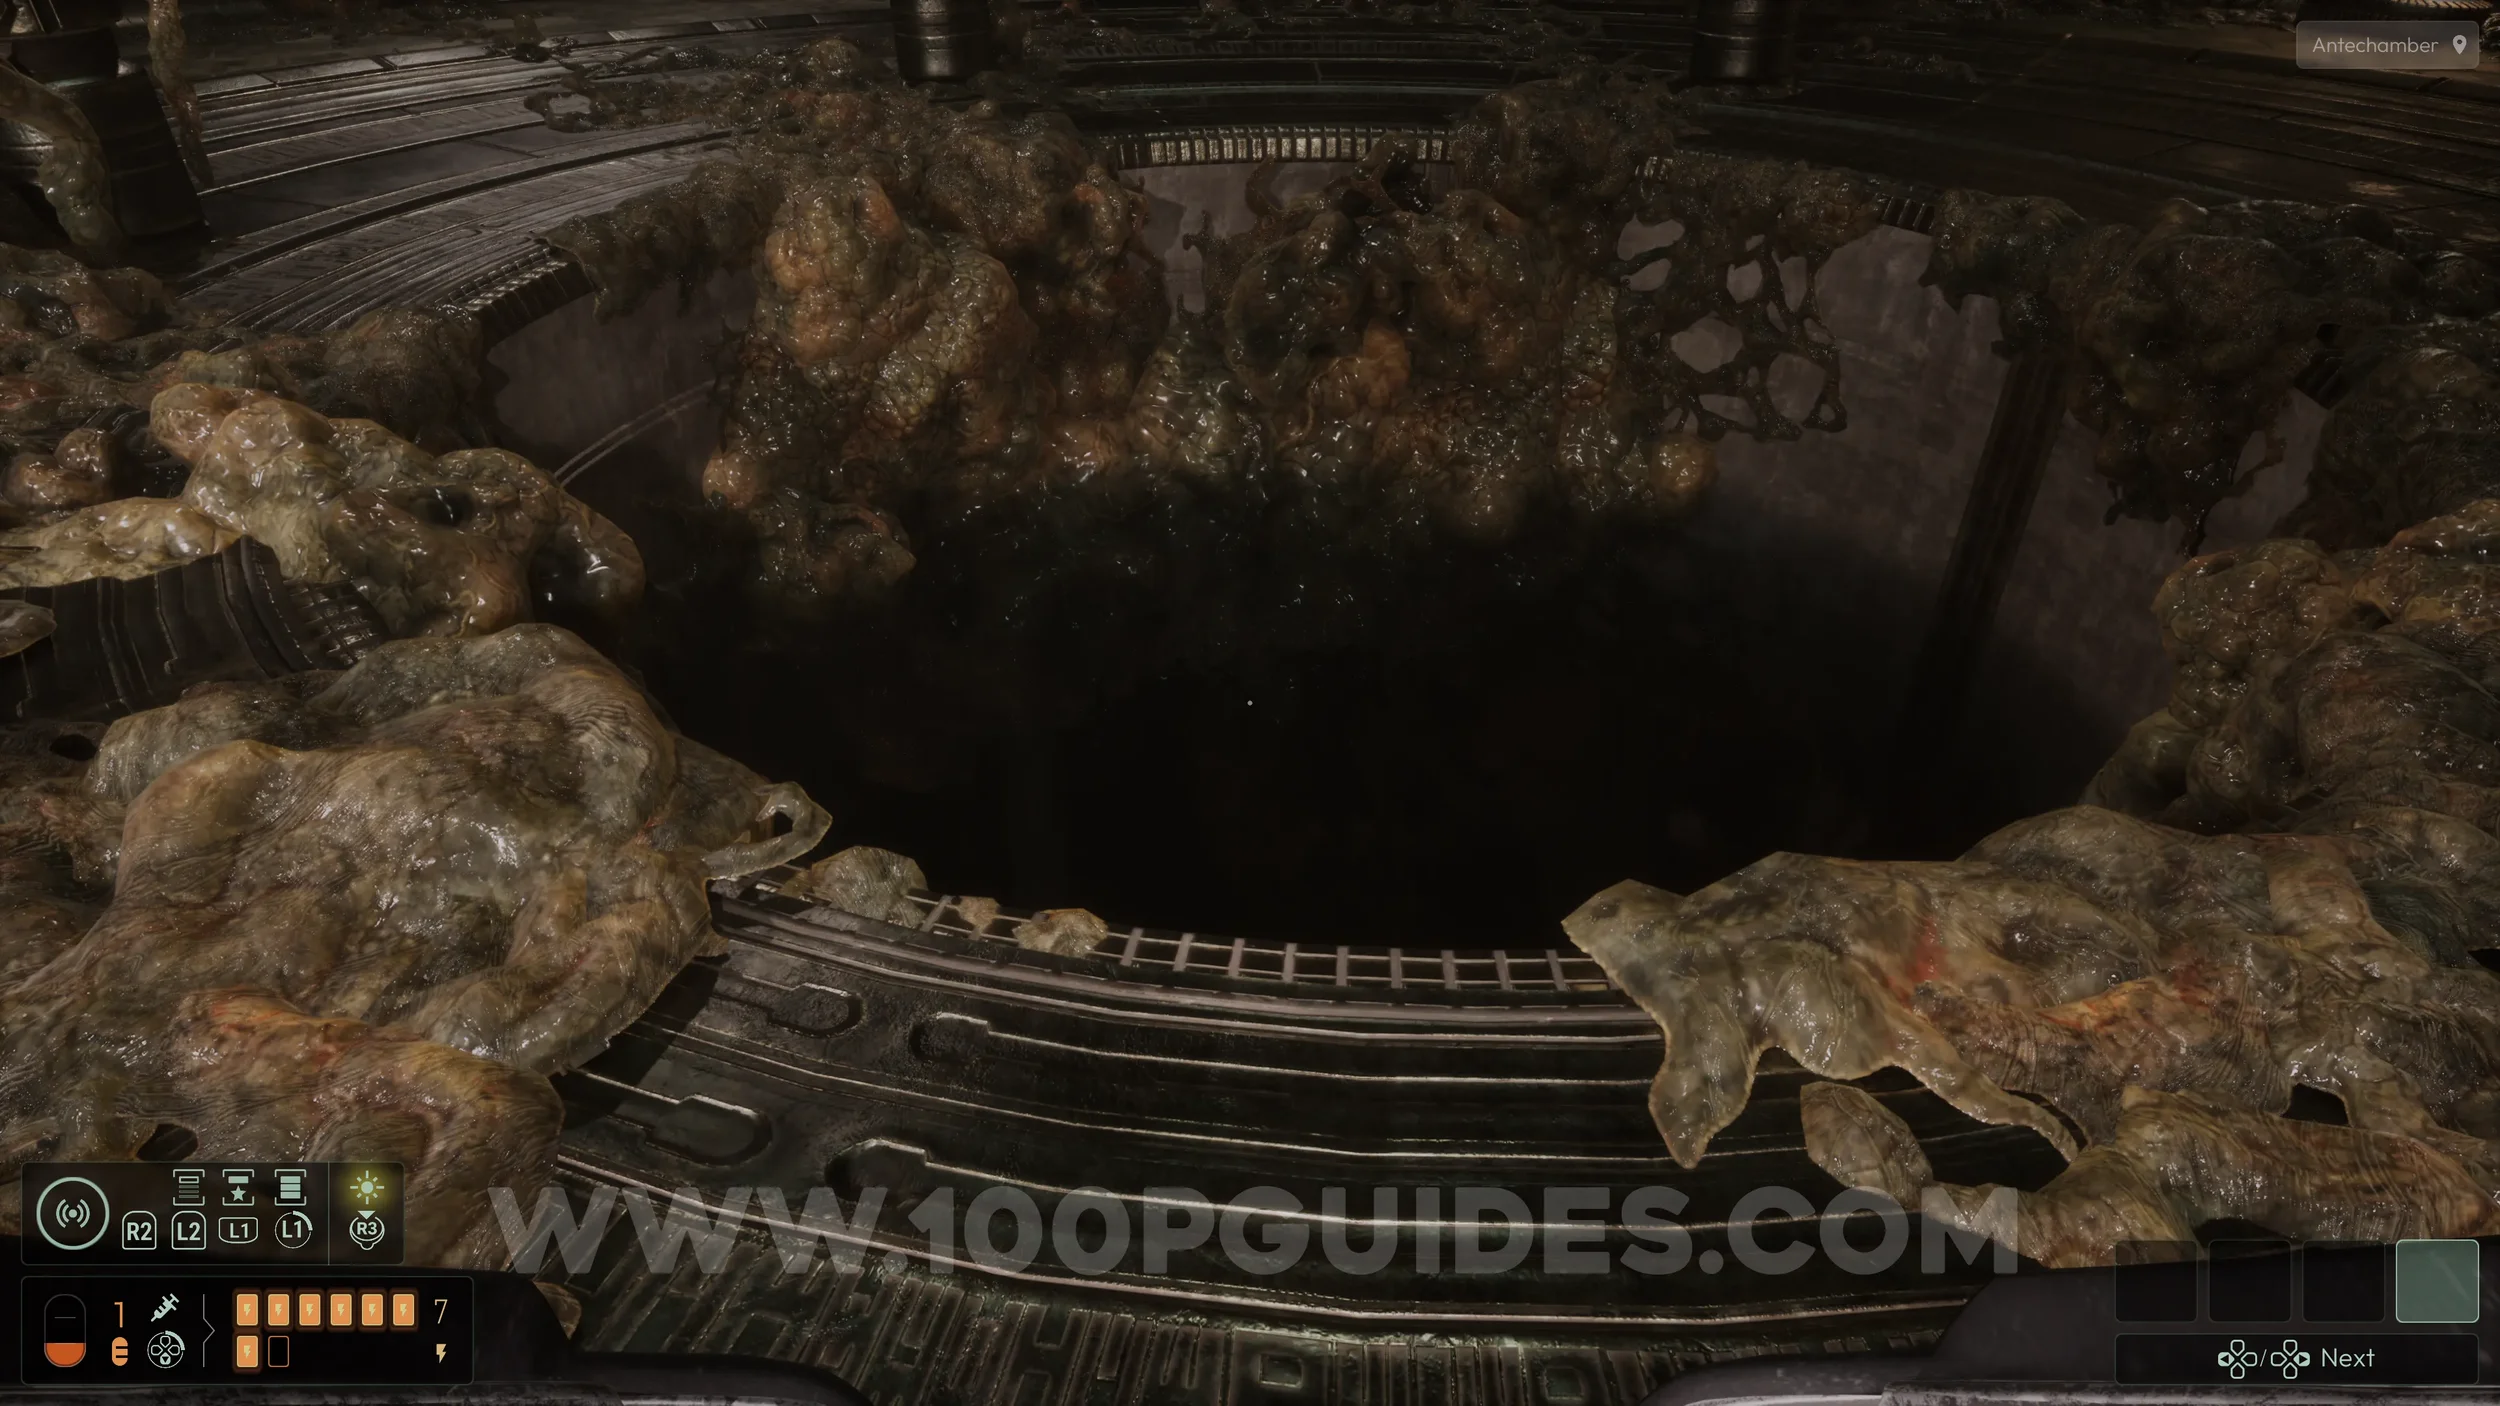
From the start of the chapter, follow the only available path until you reach a room with a pool of water in the center. Jump in, then swim up and surface in a new area. From here, head toward the giant statue.
Here, examine the stake lodged in the corpse’s head, listen to the dialogue, then interact with it again using R1. After the cutscene, interact with it once more.
You will now be given a choice of what to use the stake on. You can use it on the star or on one of the two NPCs. To avoid awakening Cthulhu and earn the A New Watcher trophy, make sure to aim at the star (the cube) and press R1.
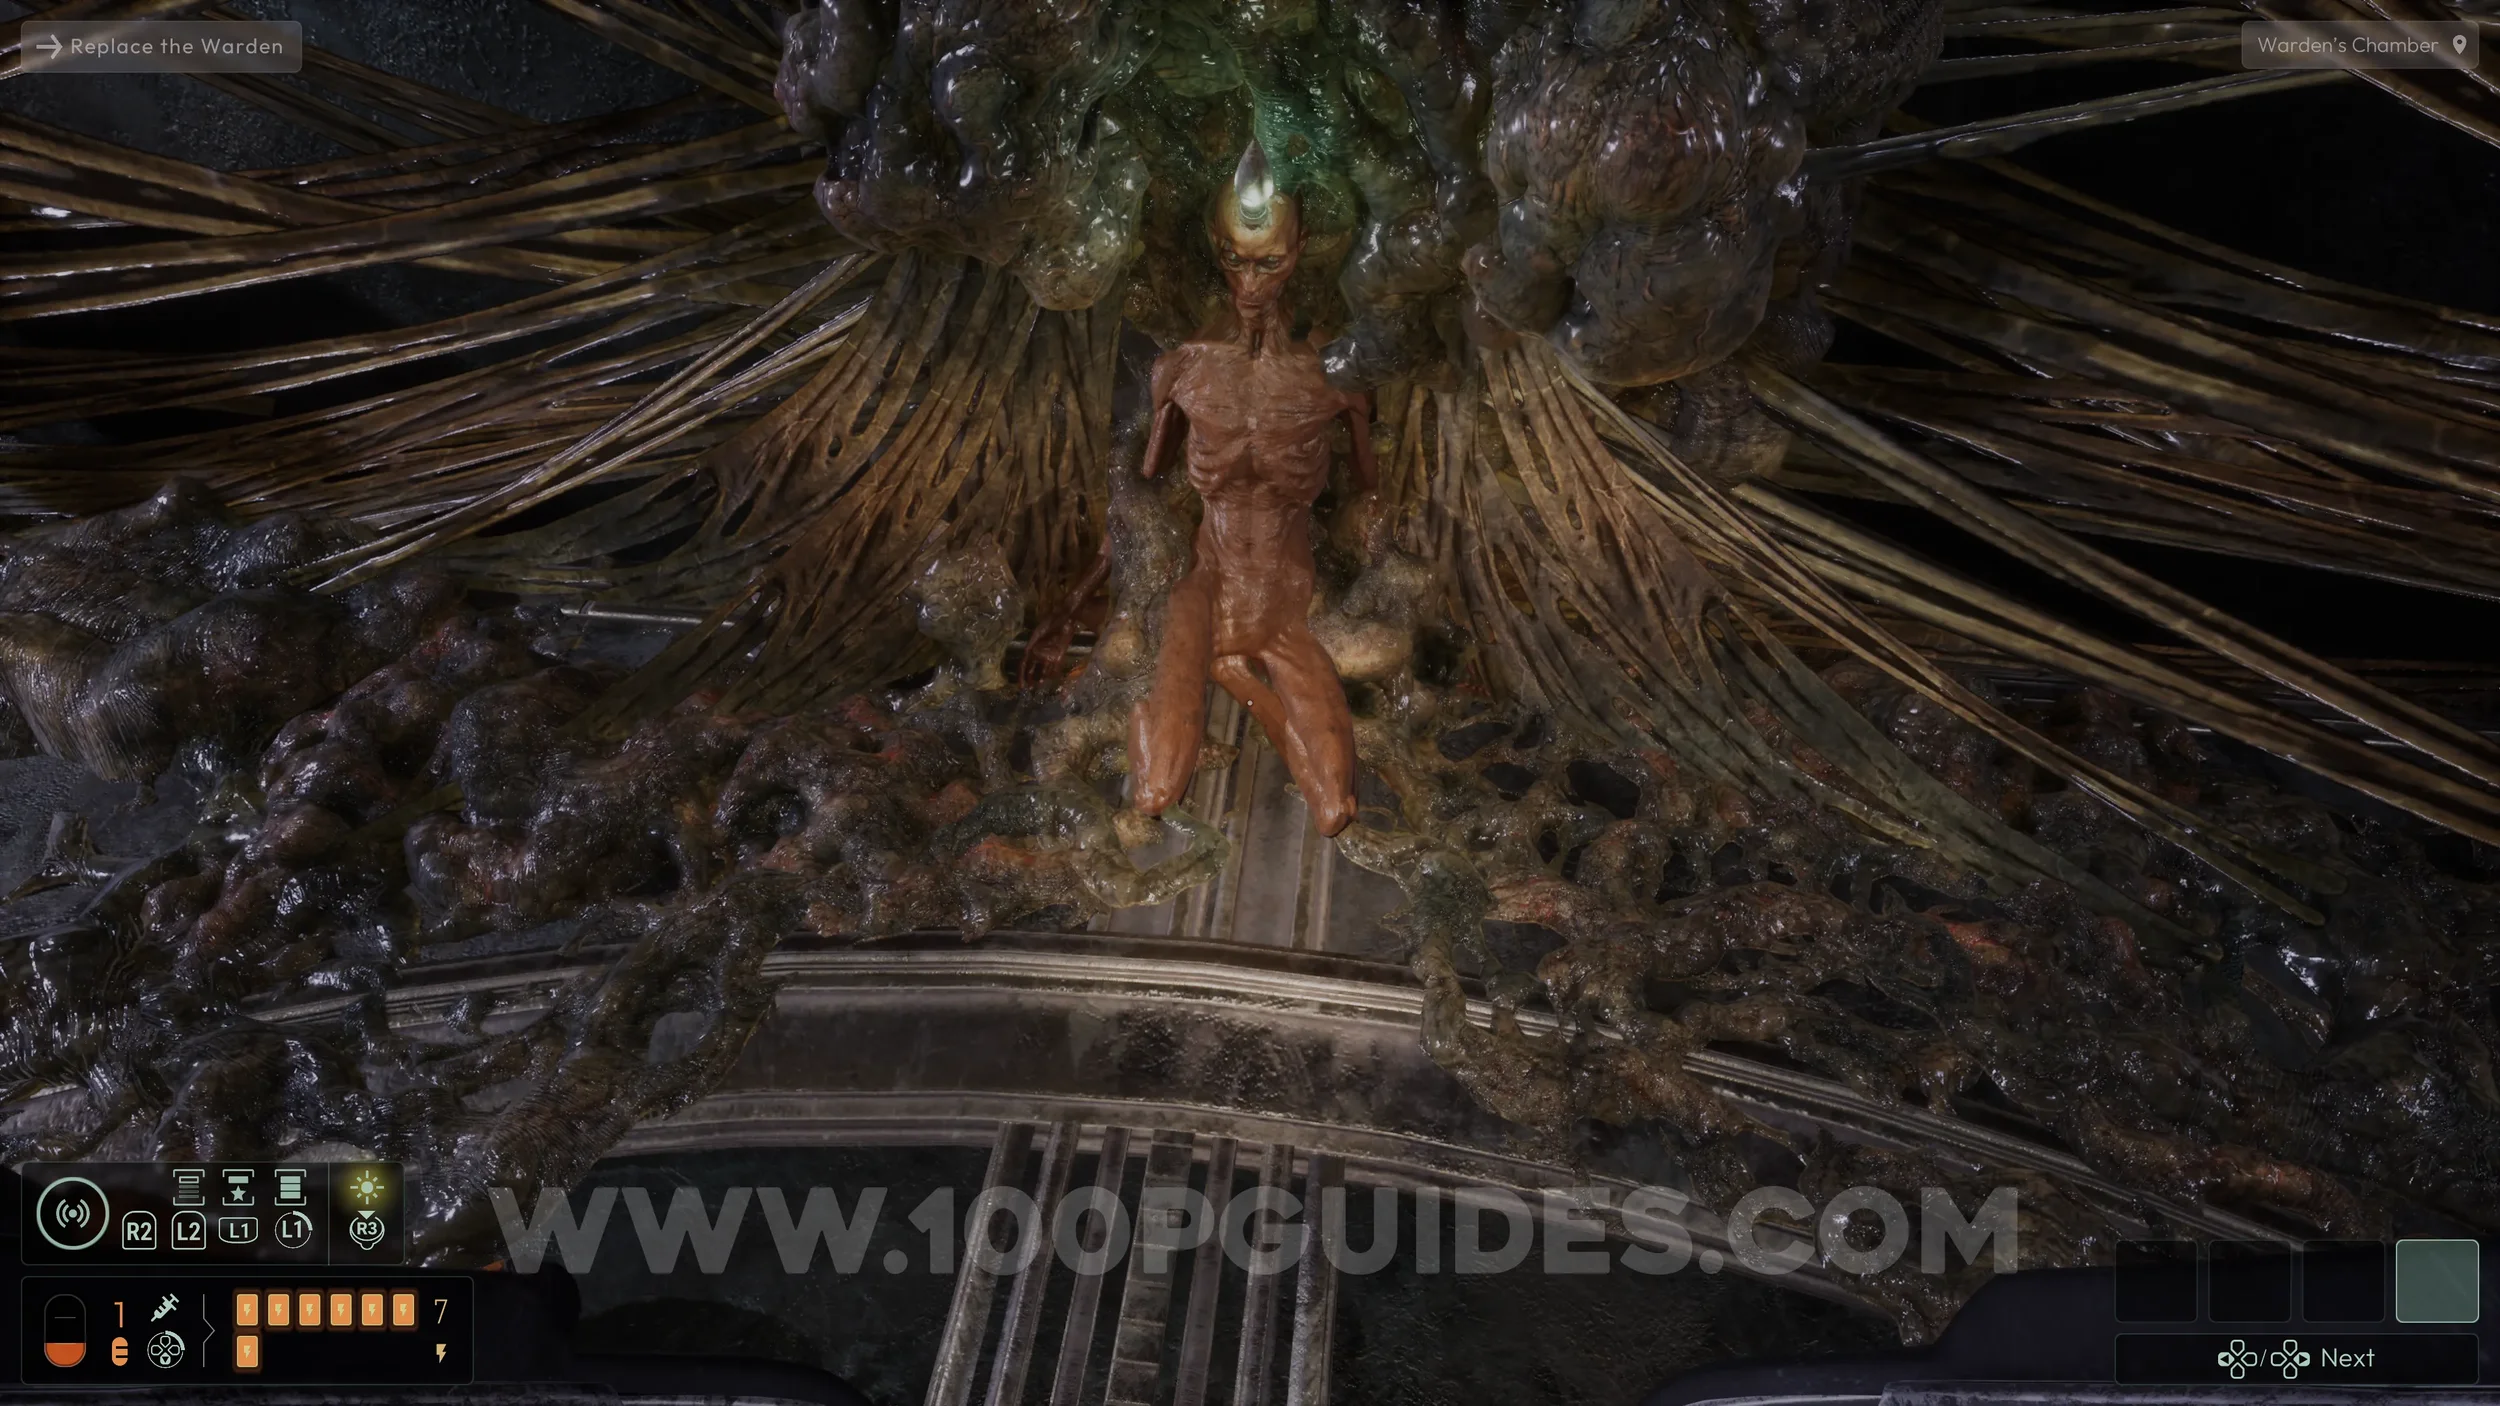
After this, if you did not exceed the corruption threshold and chose to destroy the star with the stake, you will unlock the final three trophies: A New Watcher, Cosmic Abyss, and Mens Sana.
THE END!