

Denshattack! All Collectible & Dare Locations
This guide will show you where to find every collectible and complete every Dare in Denshattack!
There are 395 collectibles and 325 Dares in total (though some Dares involve collecting the other collectibles), and they are all needed for the game's trophies and achievements. None are missable. You can return to any level at any point, and everything can be obtained after finishing the game.
The collectibles are as follows:
134 Spray Cans. Found across the 65 main levels. These are needed for the Jet Setter trophy and can be spent at shops to purchase sticker sets.
65 Film Rolls. One in each of the 65 main levels. These are needed for the Total Toritetsu trophy and can be spent to fill in the comics that unlock the (EN)Zines.
110 Gears. Found across the 65 main levels. These are needed for the All Geared Up trophy and can be spent at shops to buy new trains.
8 (EN)Zines. These are not found directly around the levels. They are obtained by filling in comic books, which are special levels you don't play. Filling them in requires Film Rolls, and they are needed for the Fandom Royalty trophy.
31 Trains. Purchased at shop levels by spending Gears. These are needed for the True Densha Collector trophy.
40 Sets of Stickers. Purchased at shop levels by spending Spray Cans. These are needed for the Full Set trophy.
7 Onsens. Secret levels unlocked by finding alternate exits in certain levels. These aren't really levels in the traditional sense, just dialogue and lore. They are needed for the Sento Master trophy.
There are also a total of 325 Dares. These are challenges that must be completed in each of the 65 levels. Some of them are just for collecting the other collectibles but they can be anything from “get X score at X point of the level” to “hit X thing in the level”. They are all covered in this guide, and they are needed to get the Ultimate Challenger trophy.
CHAPTER 1
1-1-1 Hot Ramen Delivery
No collectibles in this level.
1-1-2 There’s A Trick To It
No collectibles in this level.
1-2-1 Adventure Awaits!
Dare: Smash 2 Wooden Bridges (1/2). After the first tunnel, you will see a ramp. Use it to smash through the bridge above you. It's hard to miss unless you actively jump over the ramp.
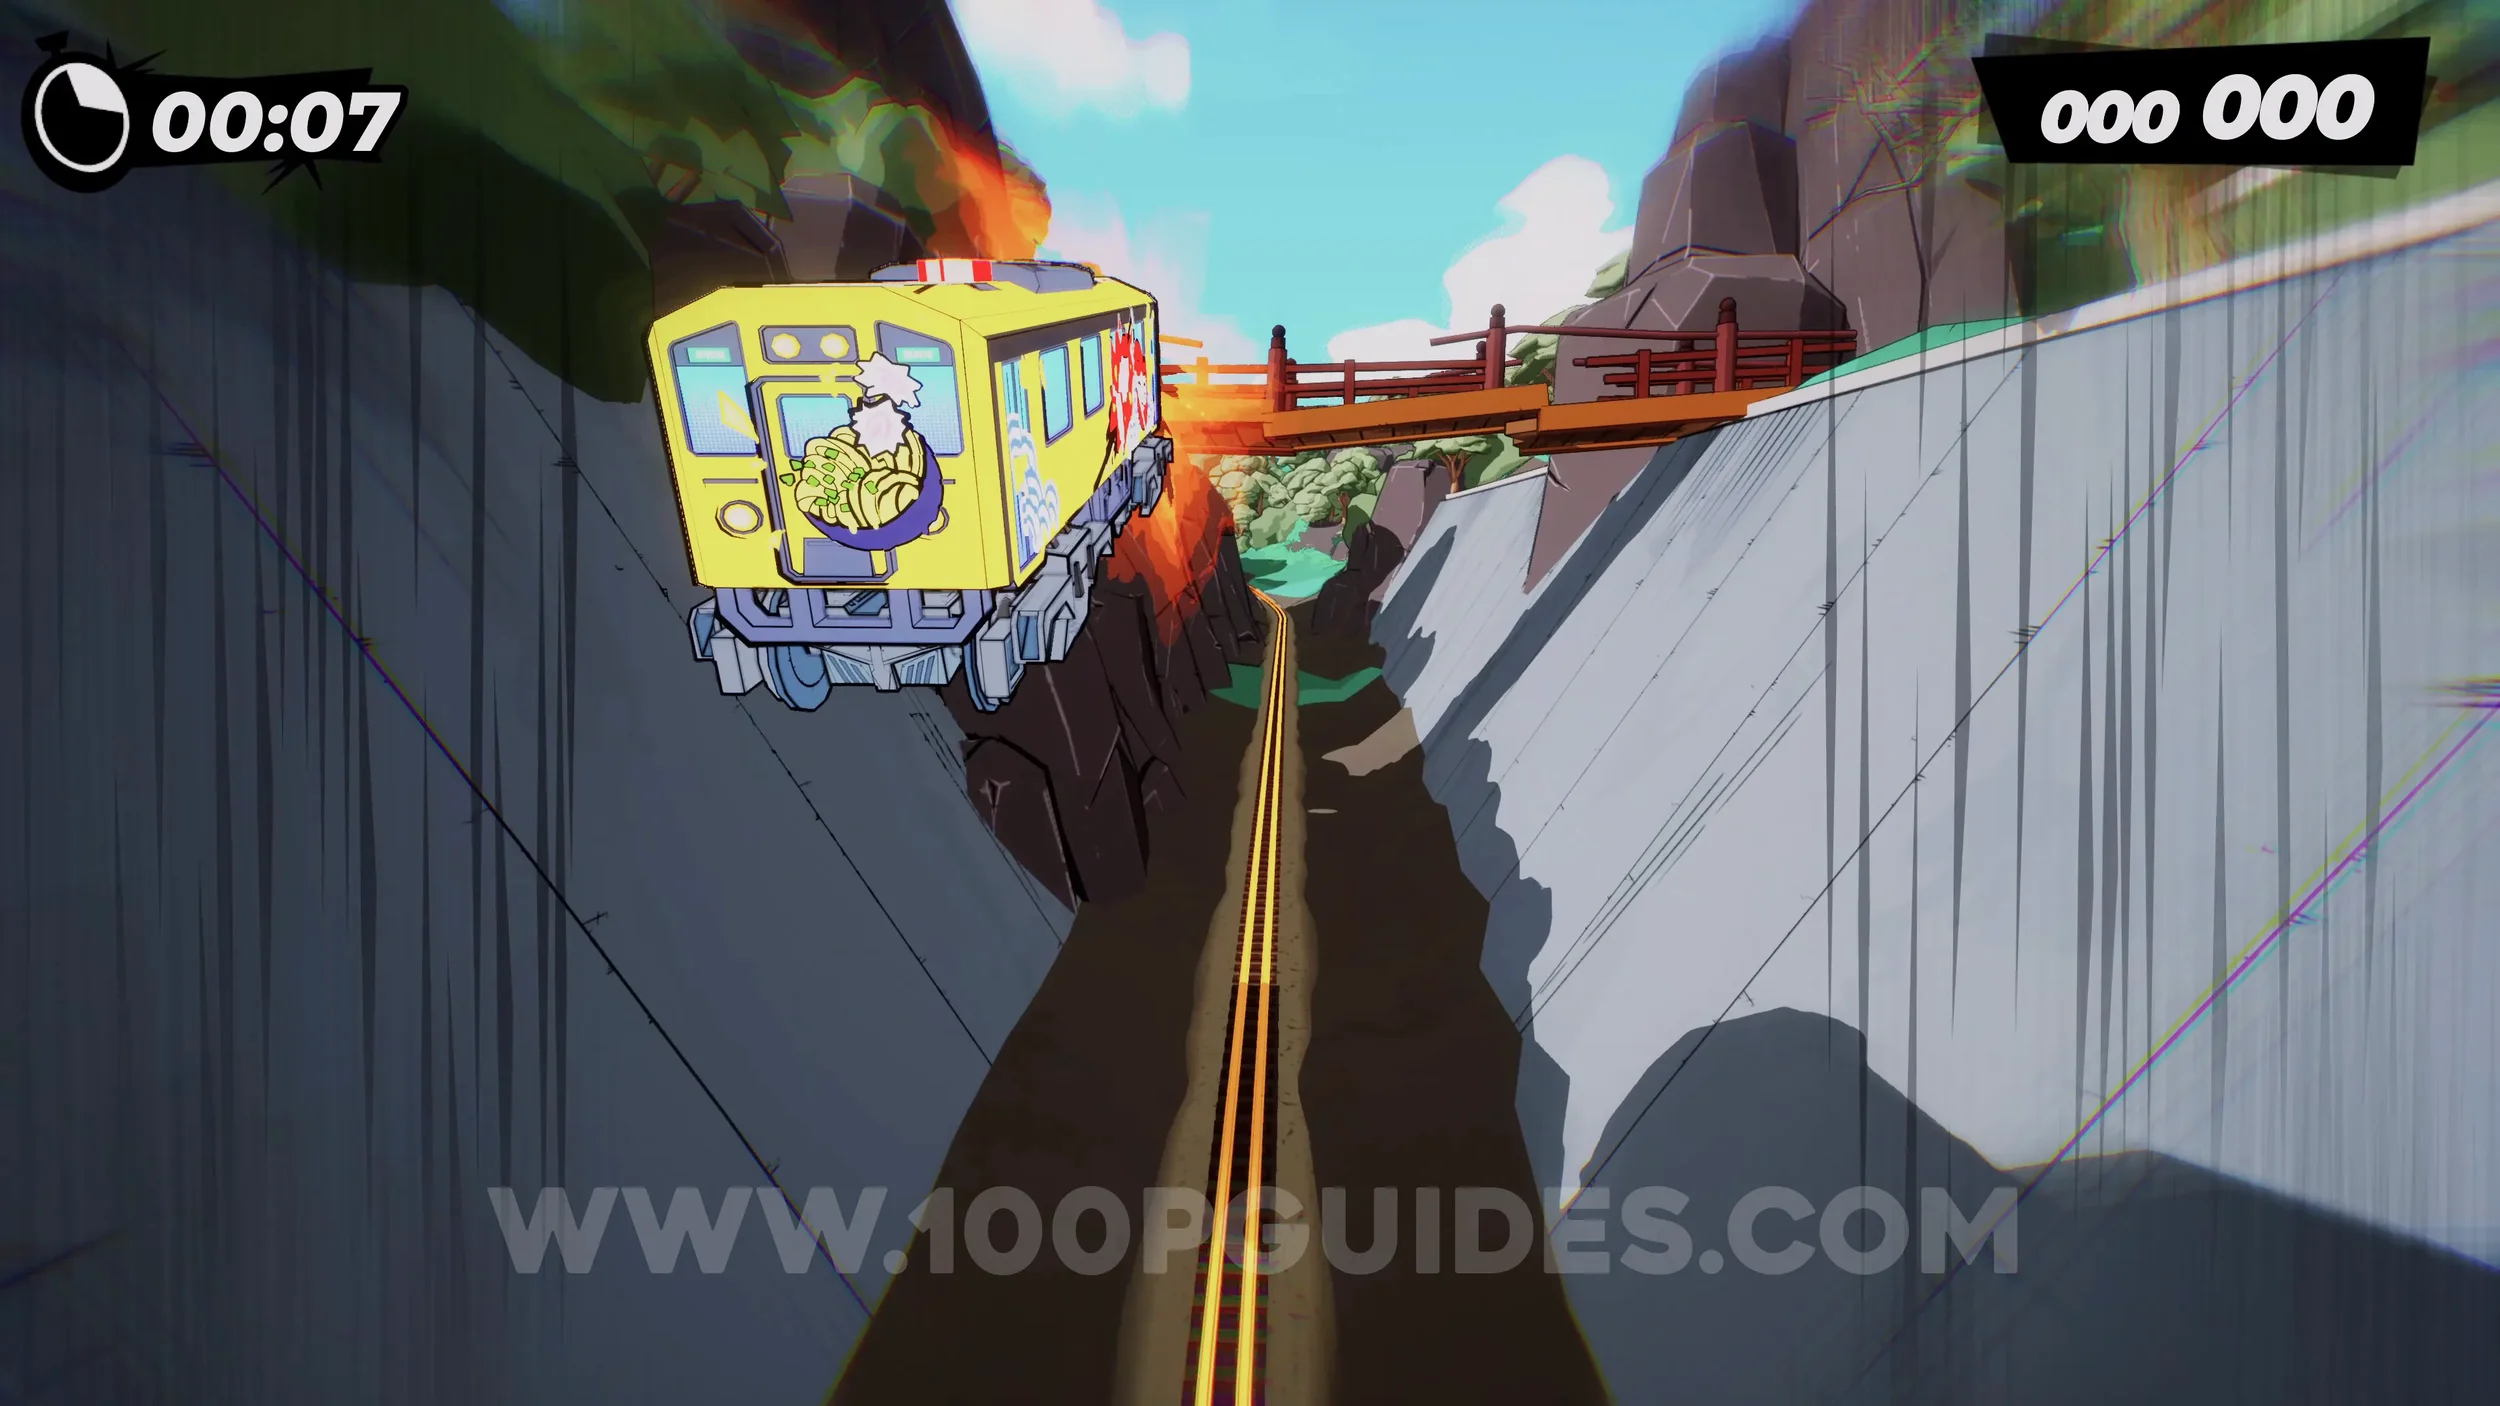
Spray Can (1/4) & Dare: Smash 2 Wooden Bridges (2/2). After the previous bridge, go around the next corner and jump using the R2 button to reach the can and smash the bridge.
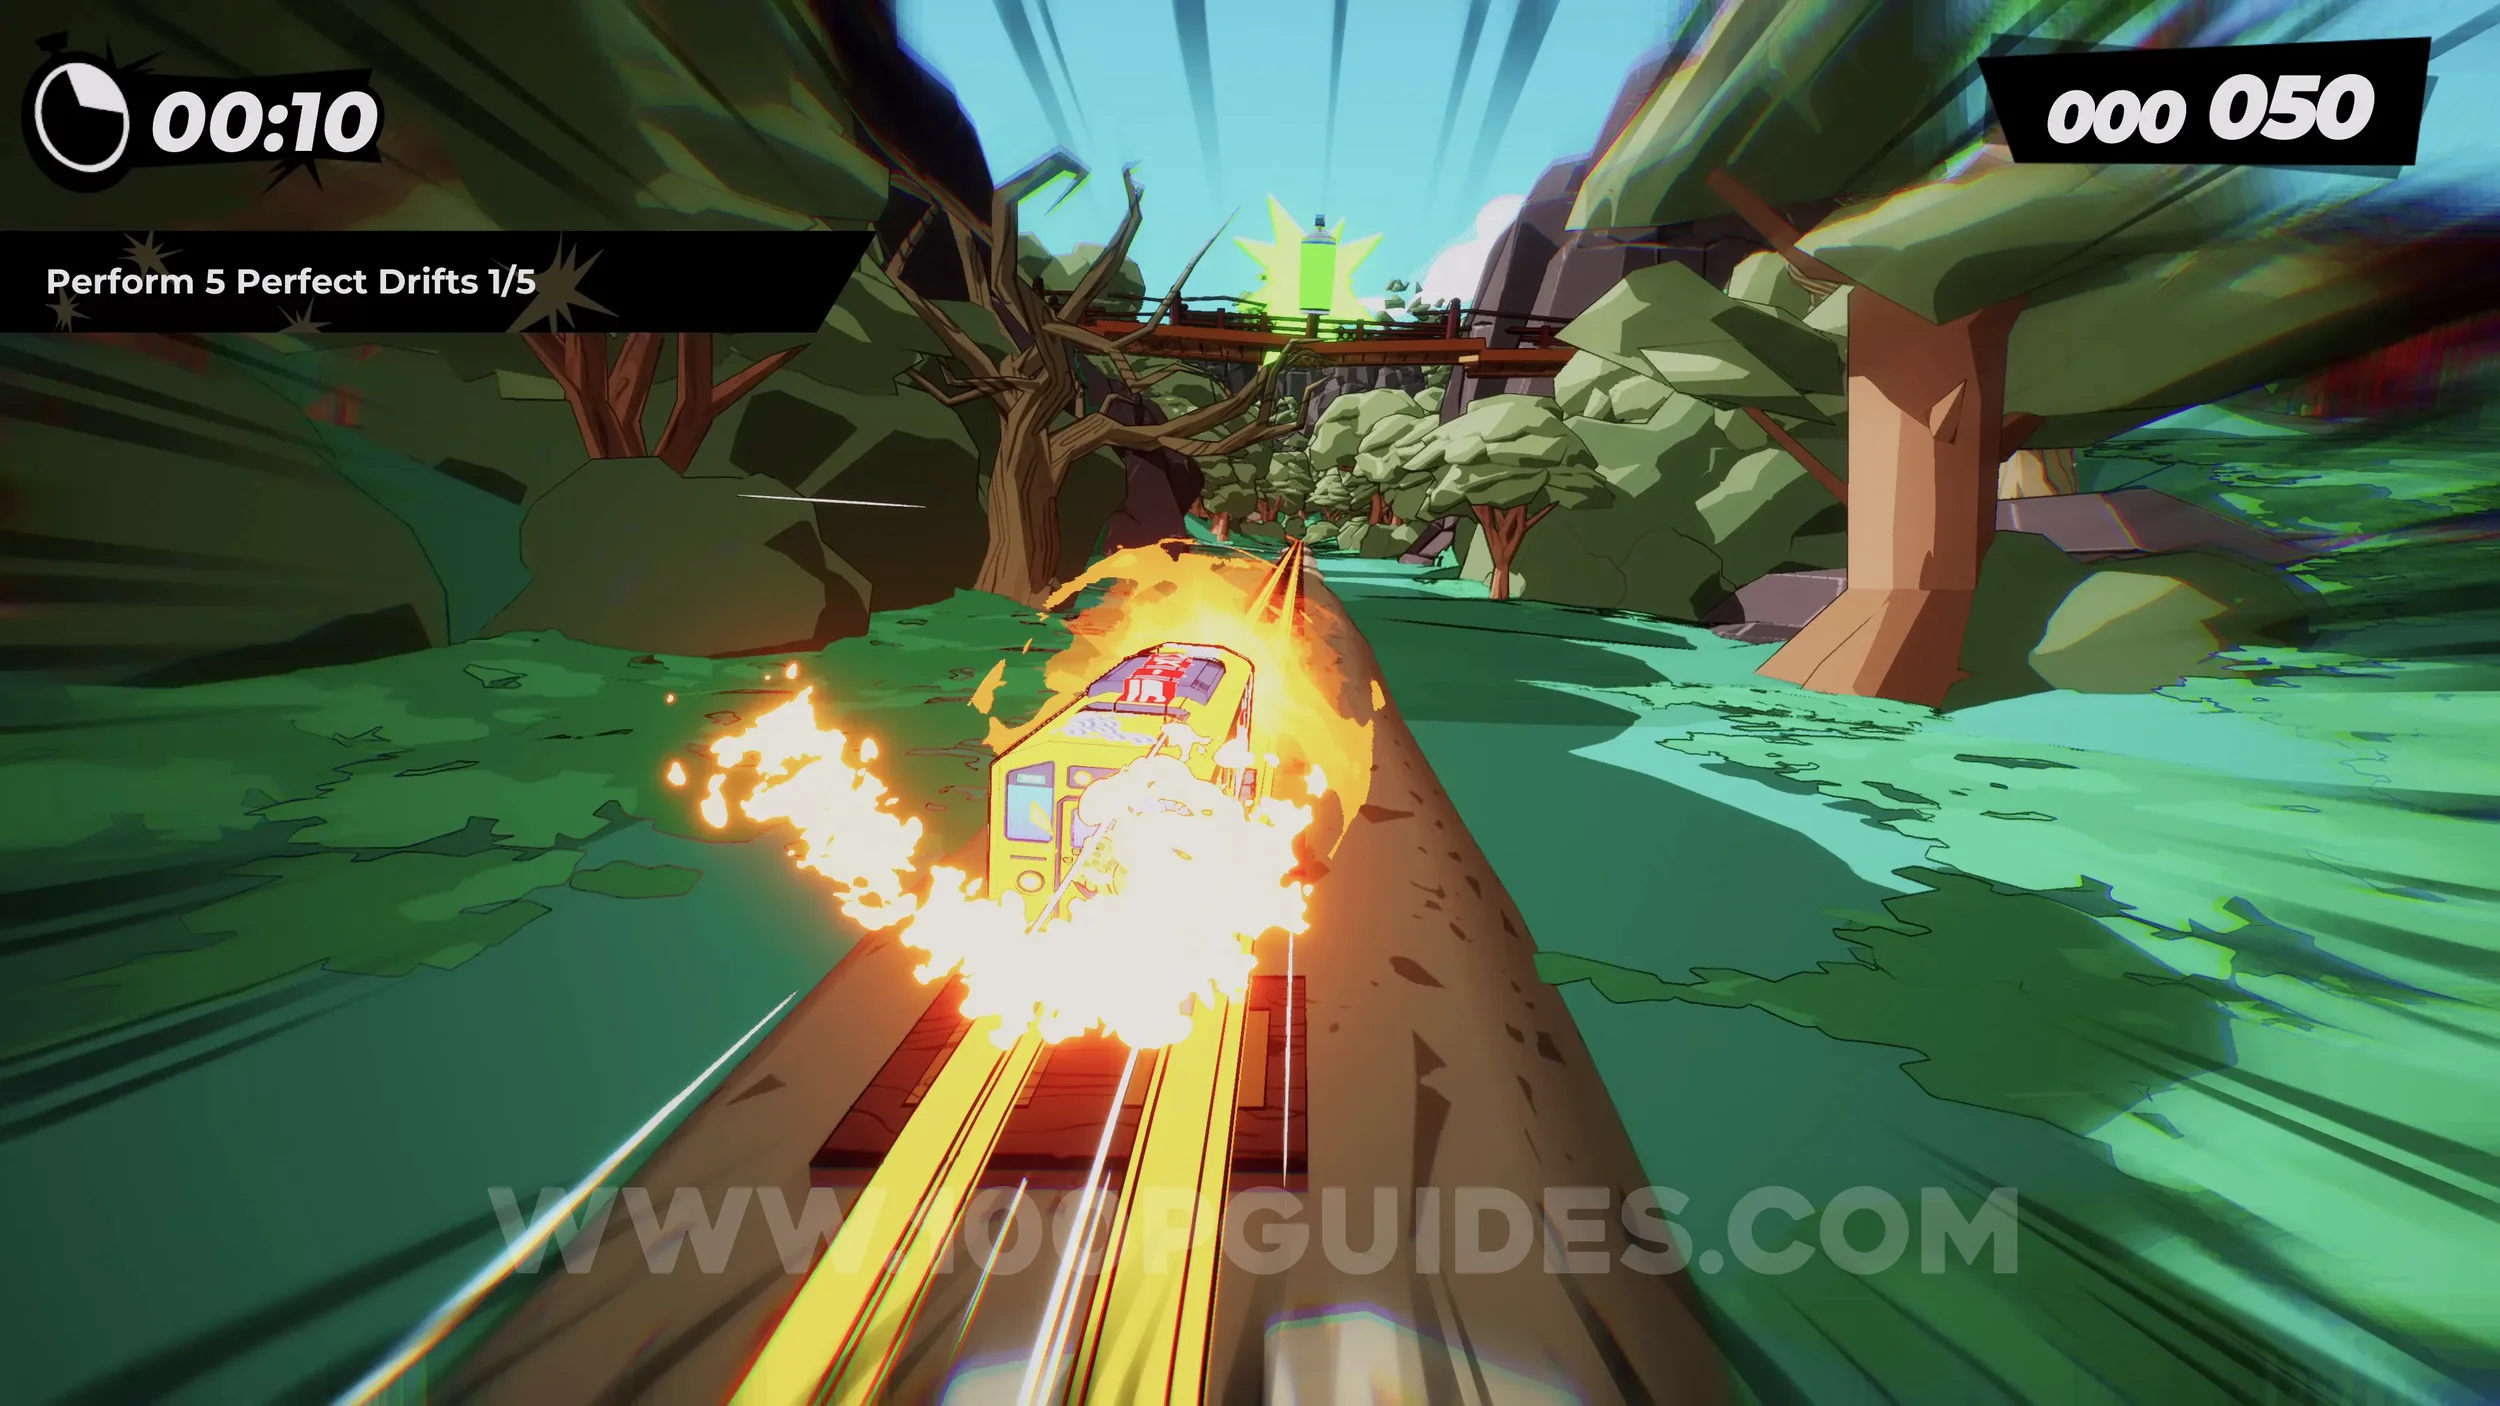
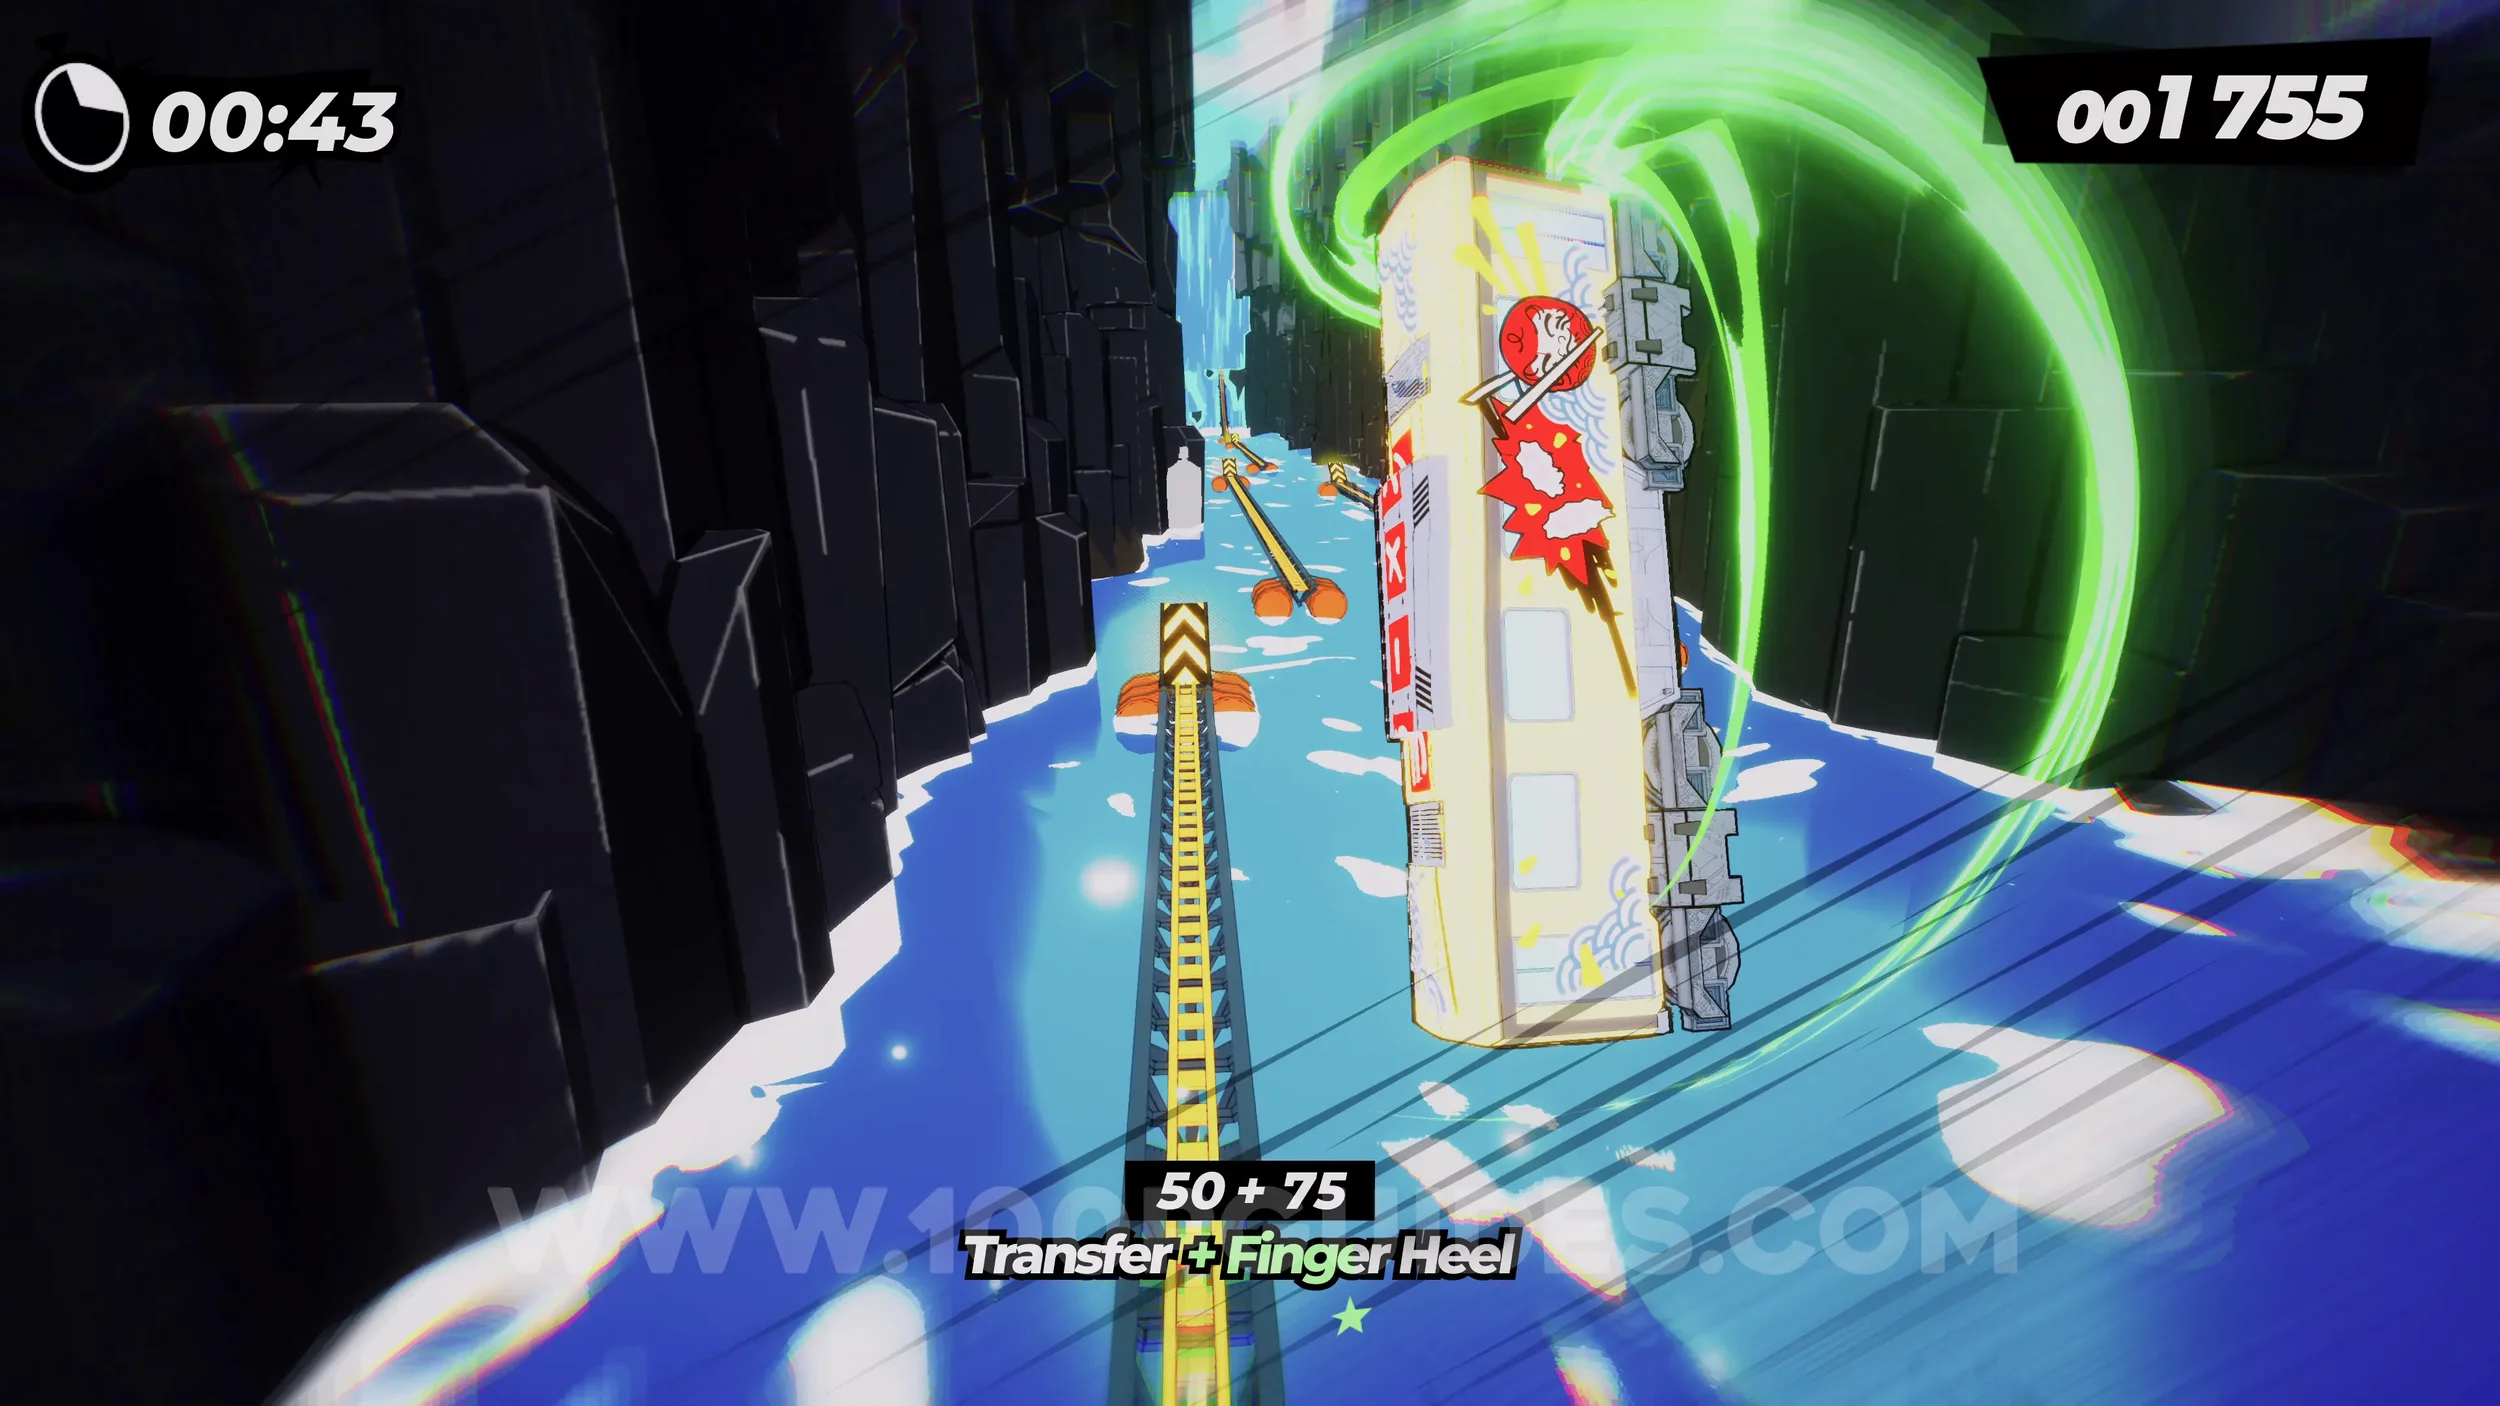
Spray Can (2/4). Once you reach the part with the tracks on the water, always stick to the left side to get it.
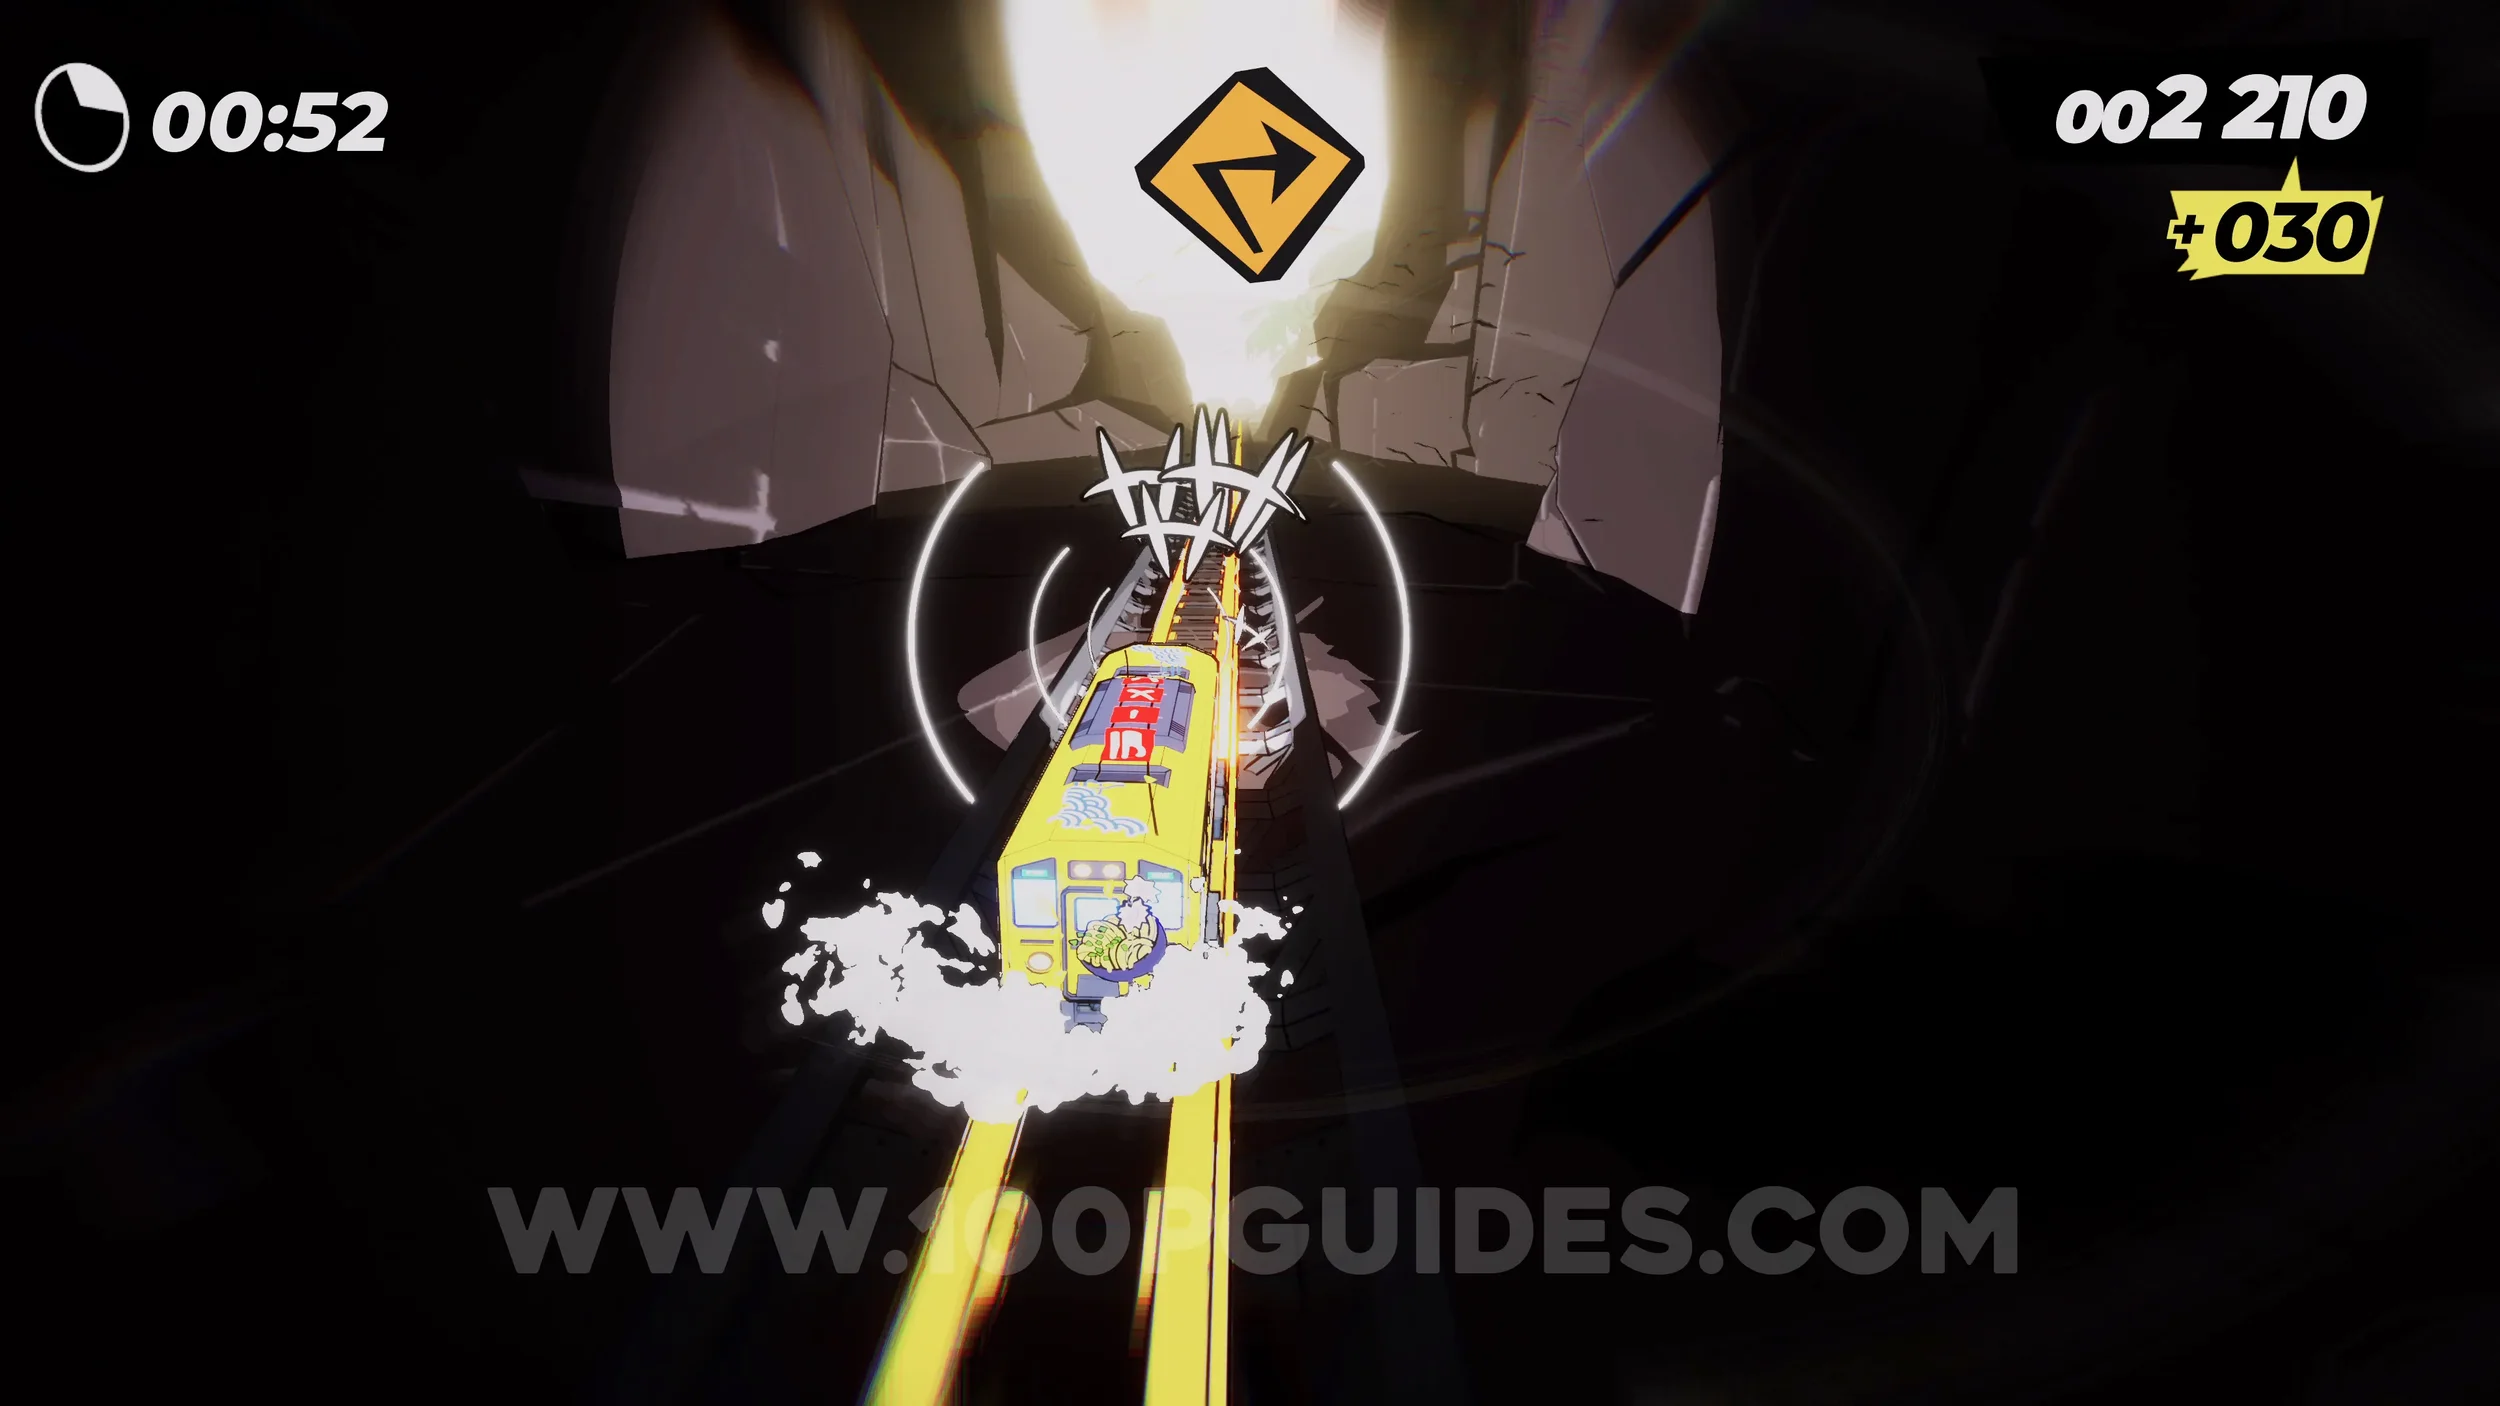
Dare: Scare the Bats in the Cave. After the water section, you will go through a cave. Just keep pressing the R3 button to blow the horn as you go through it.
Spray Can (3/4). After the cave section, you will be back outside. After the first corner, the tracks will split. Stick to the left and take the jump. You will soon reach the can in the middle of the tracks.
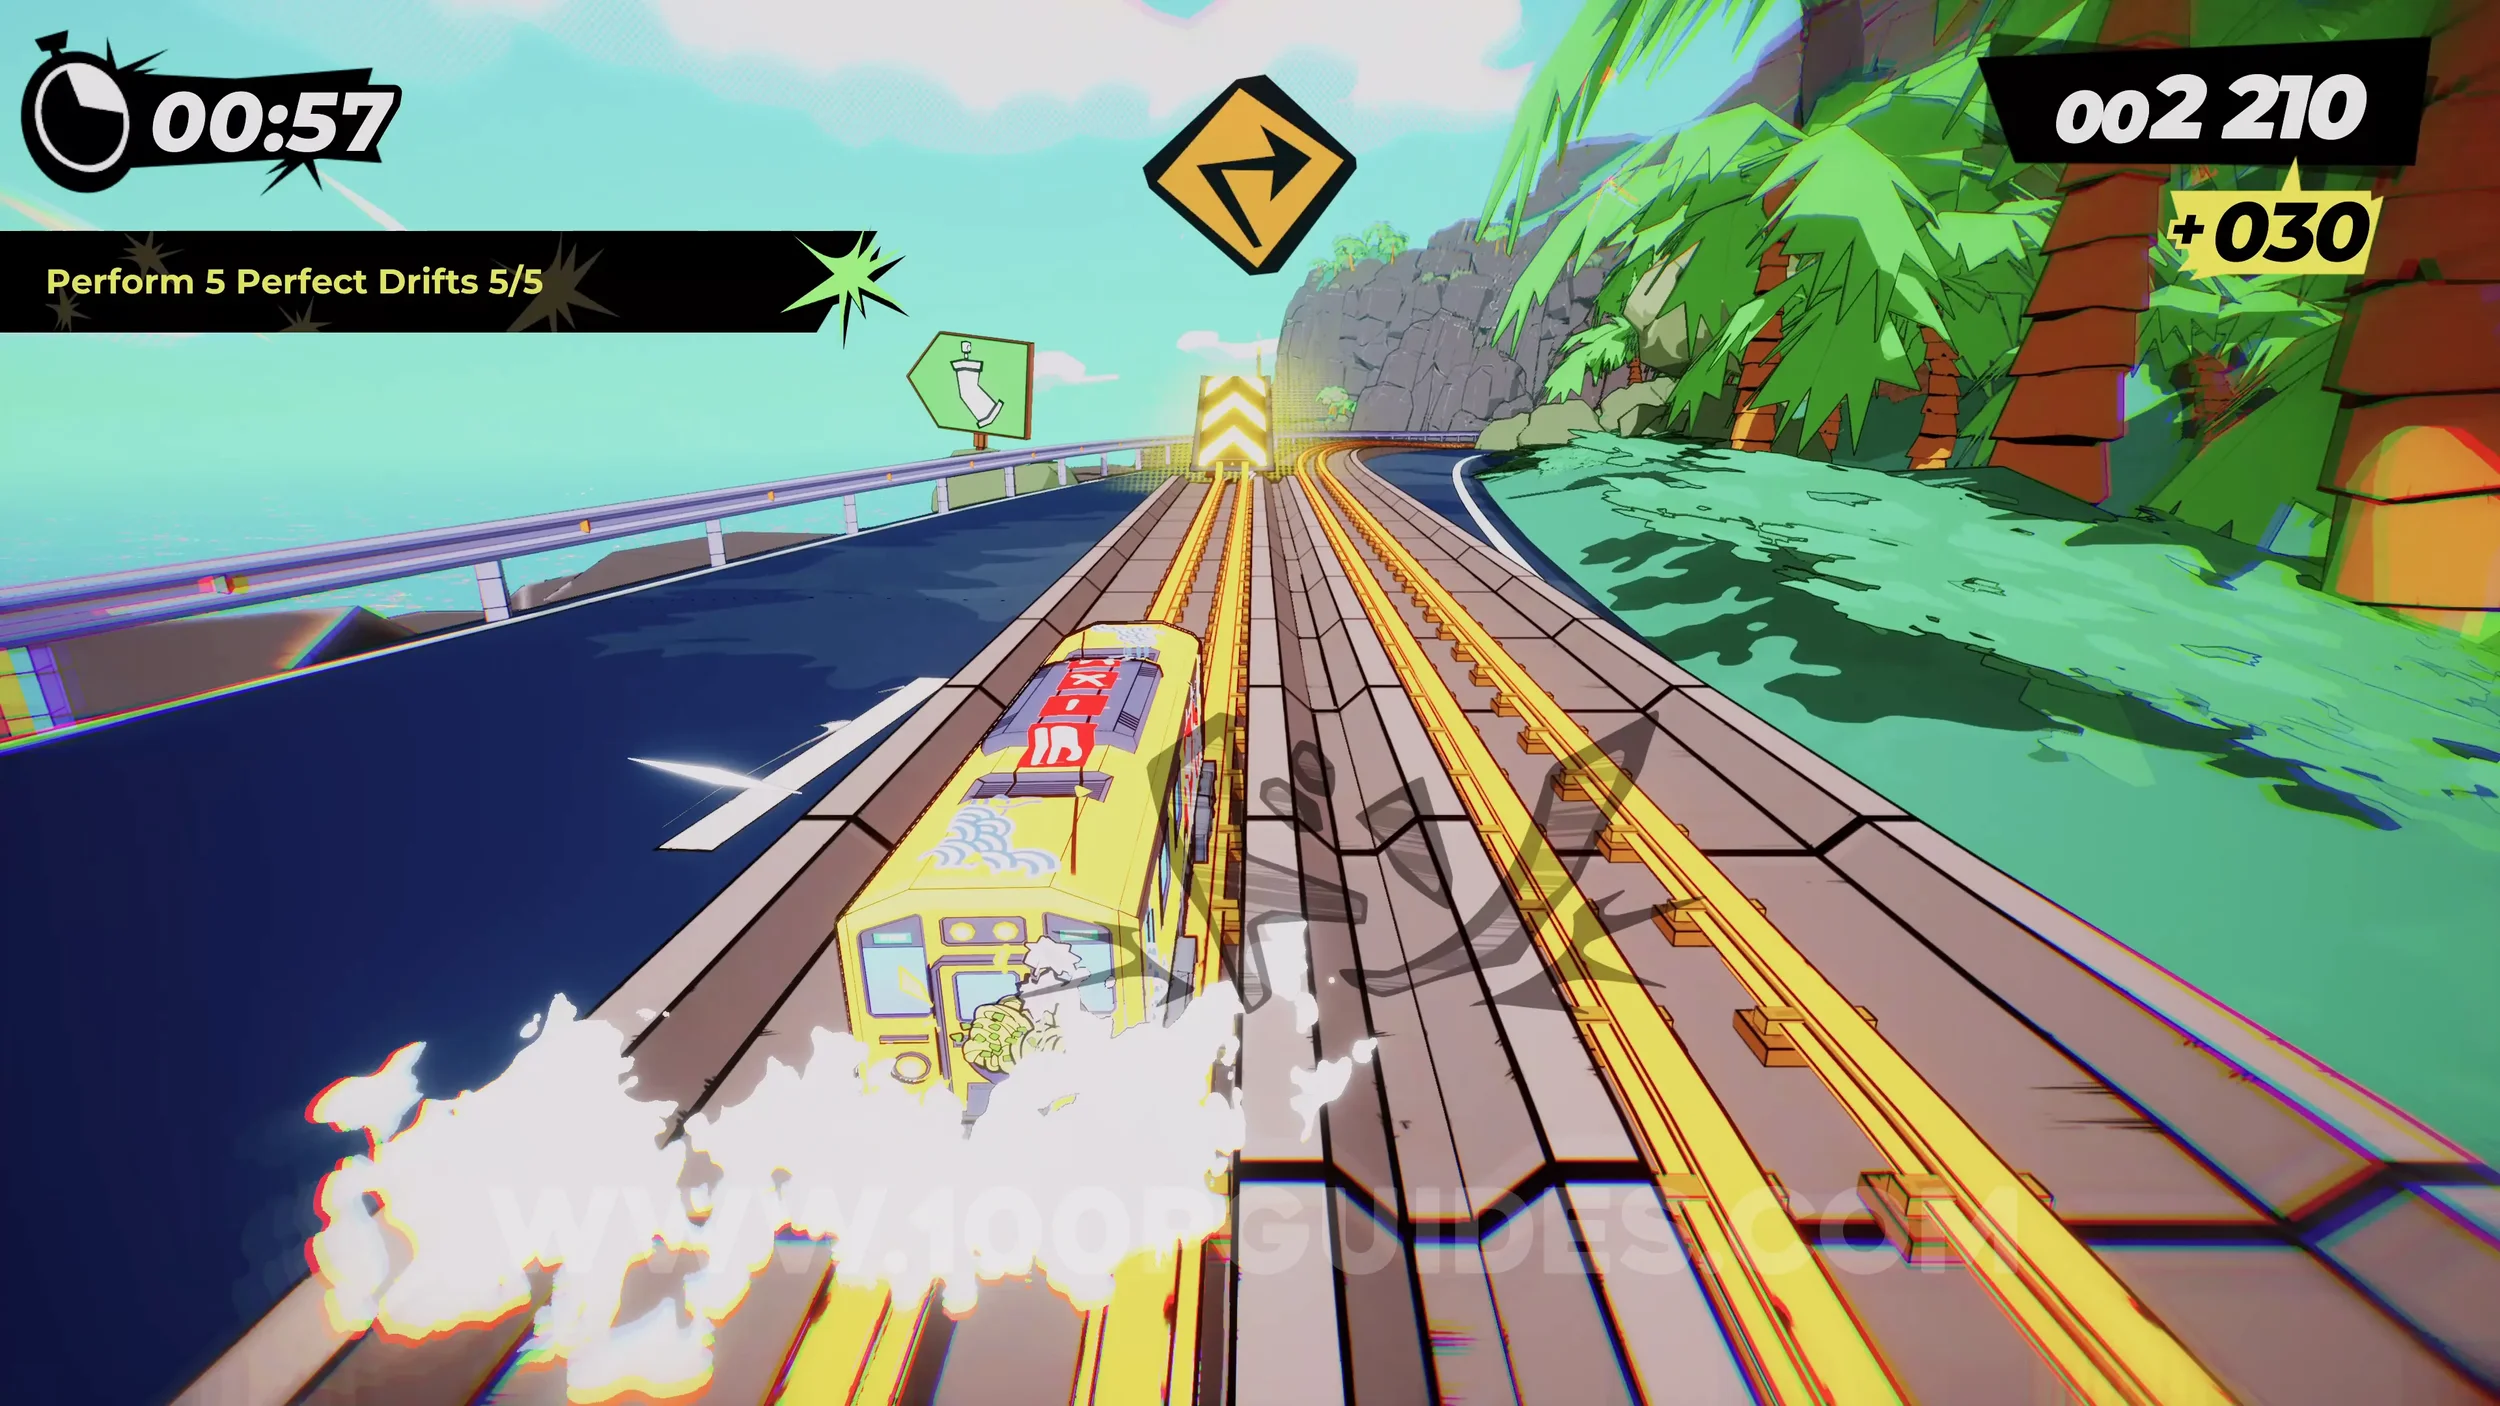
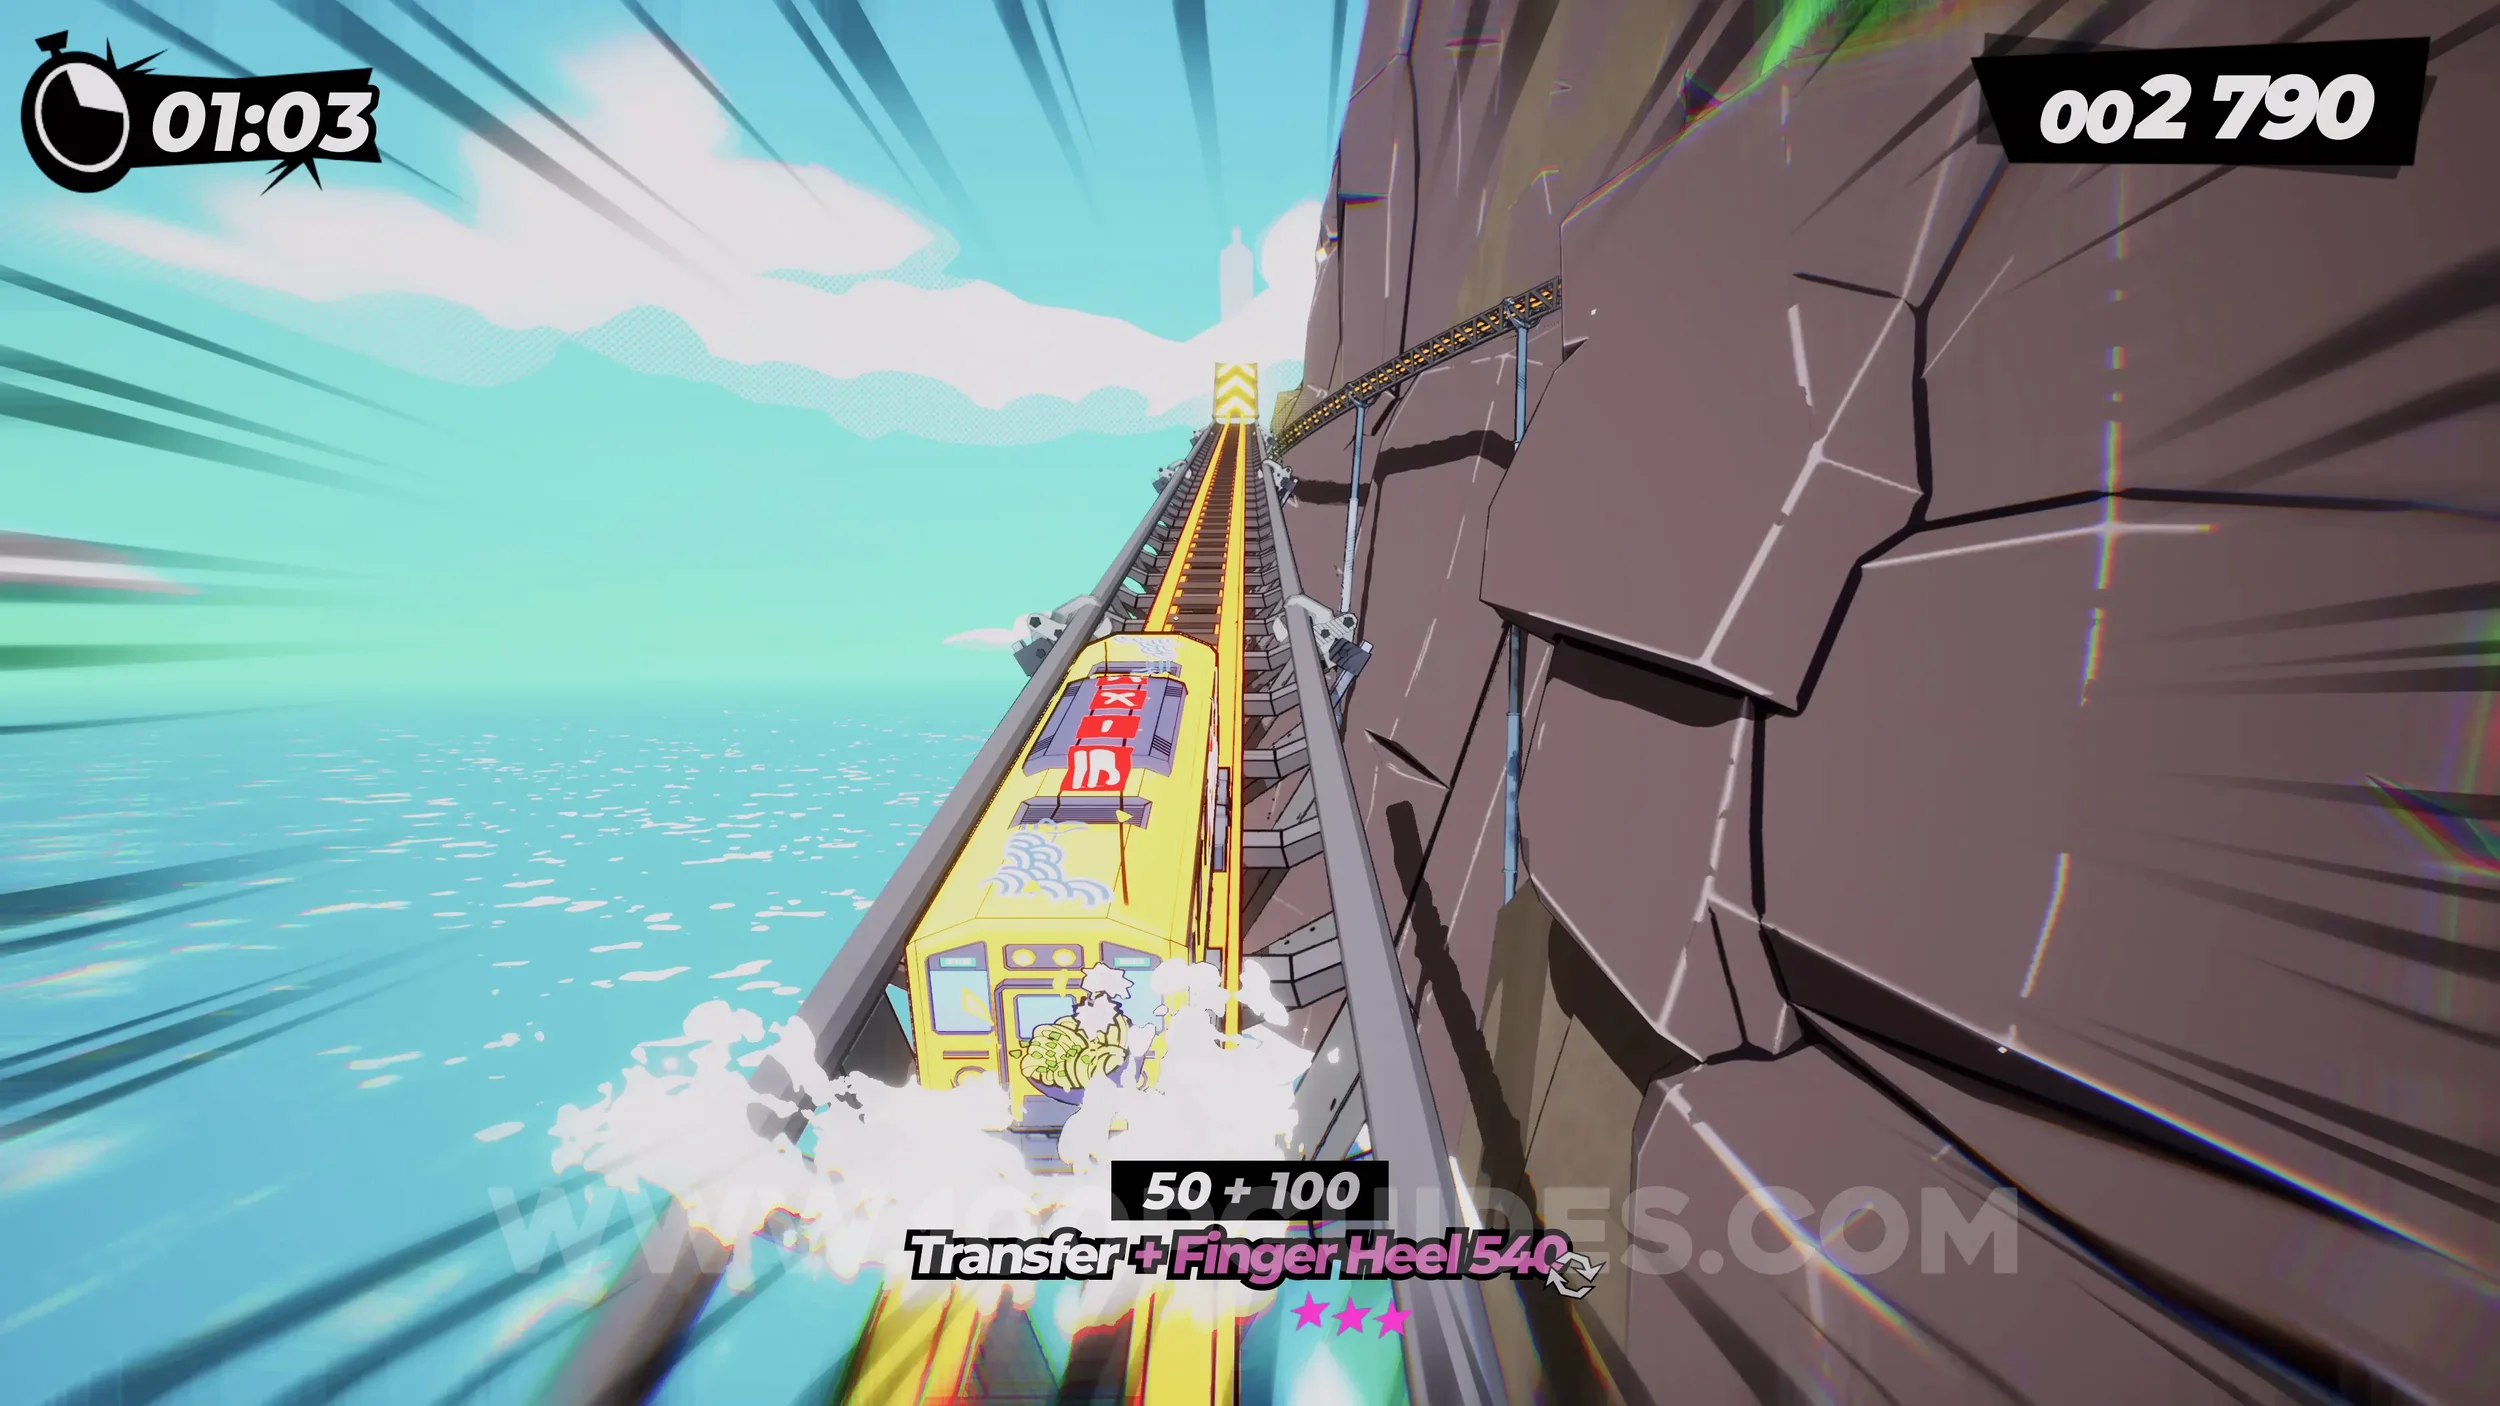
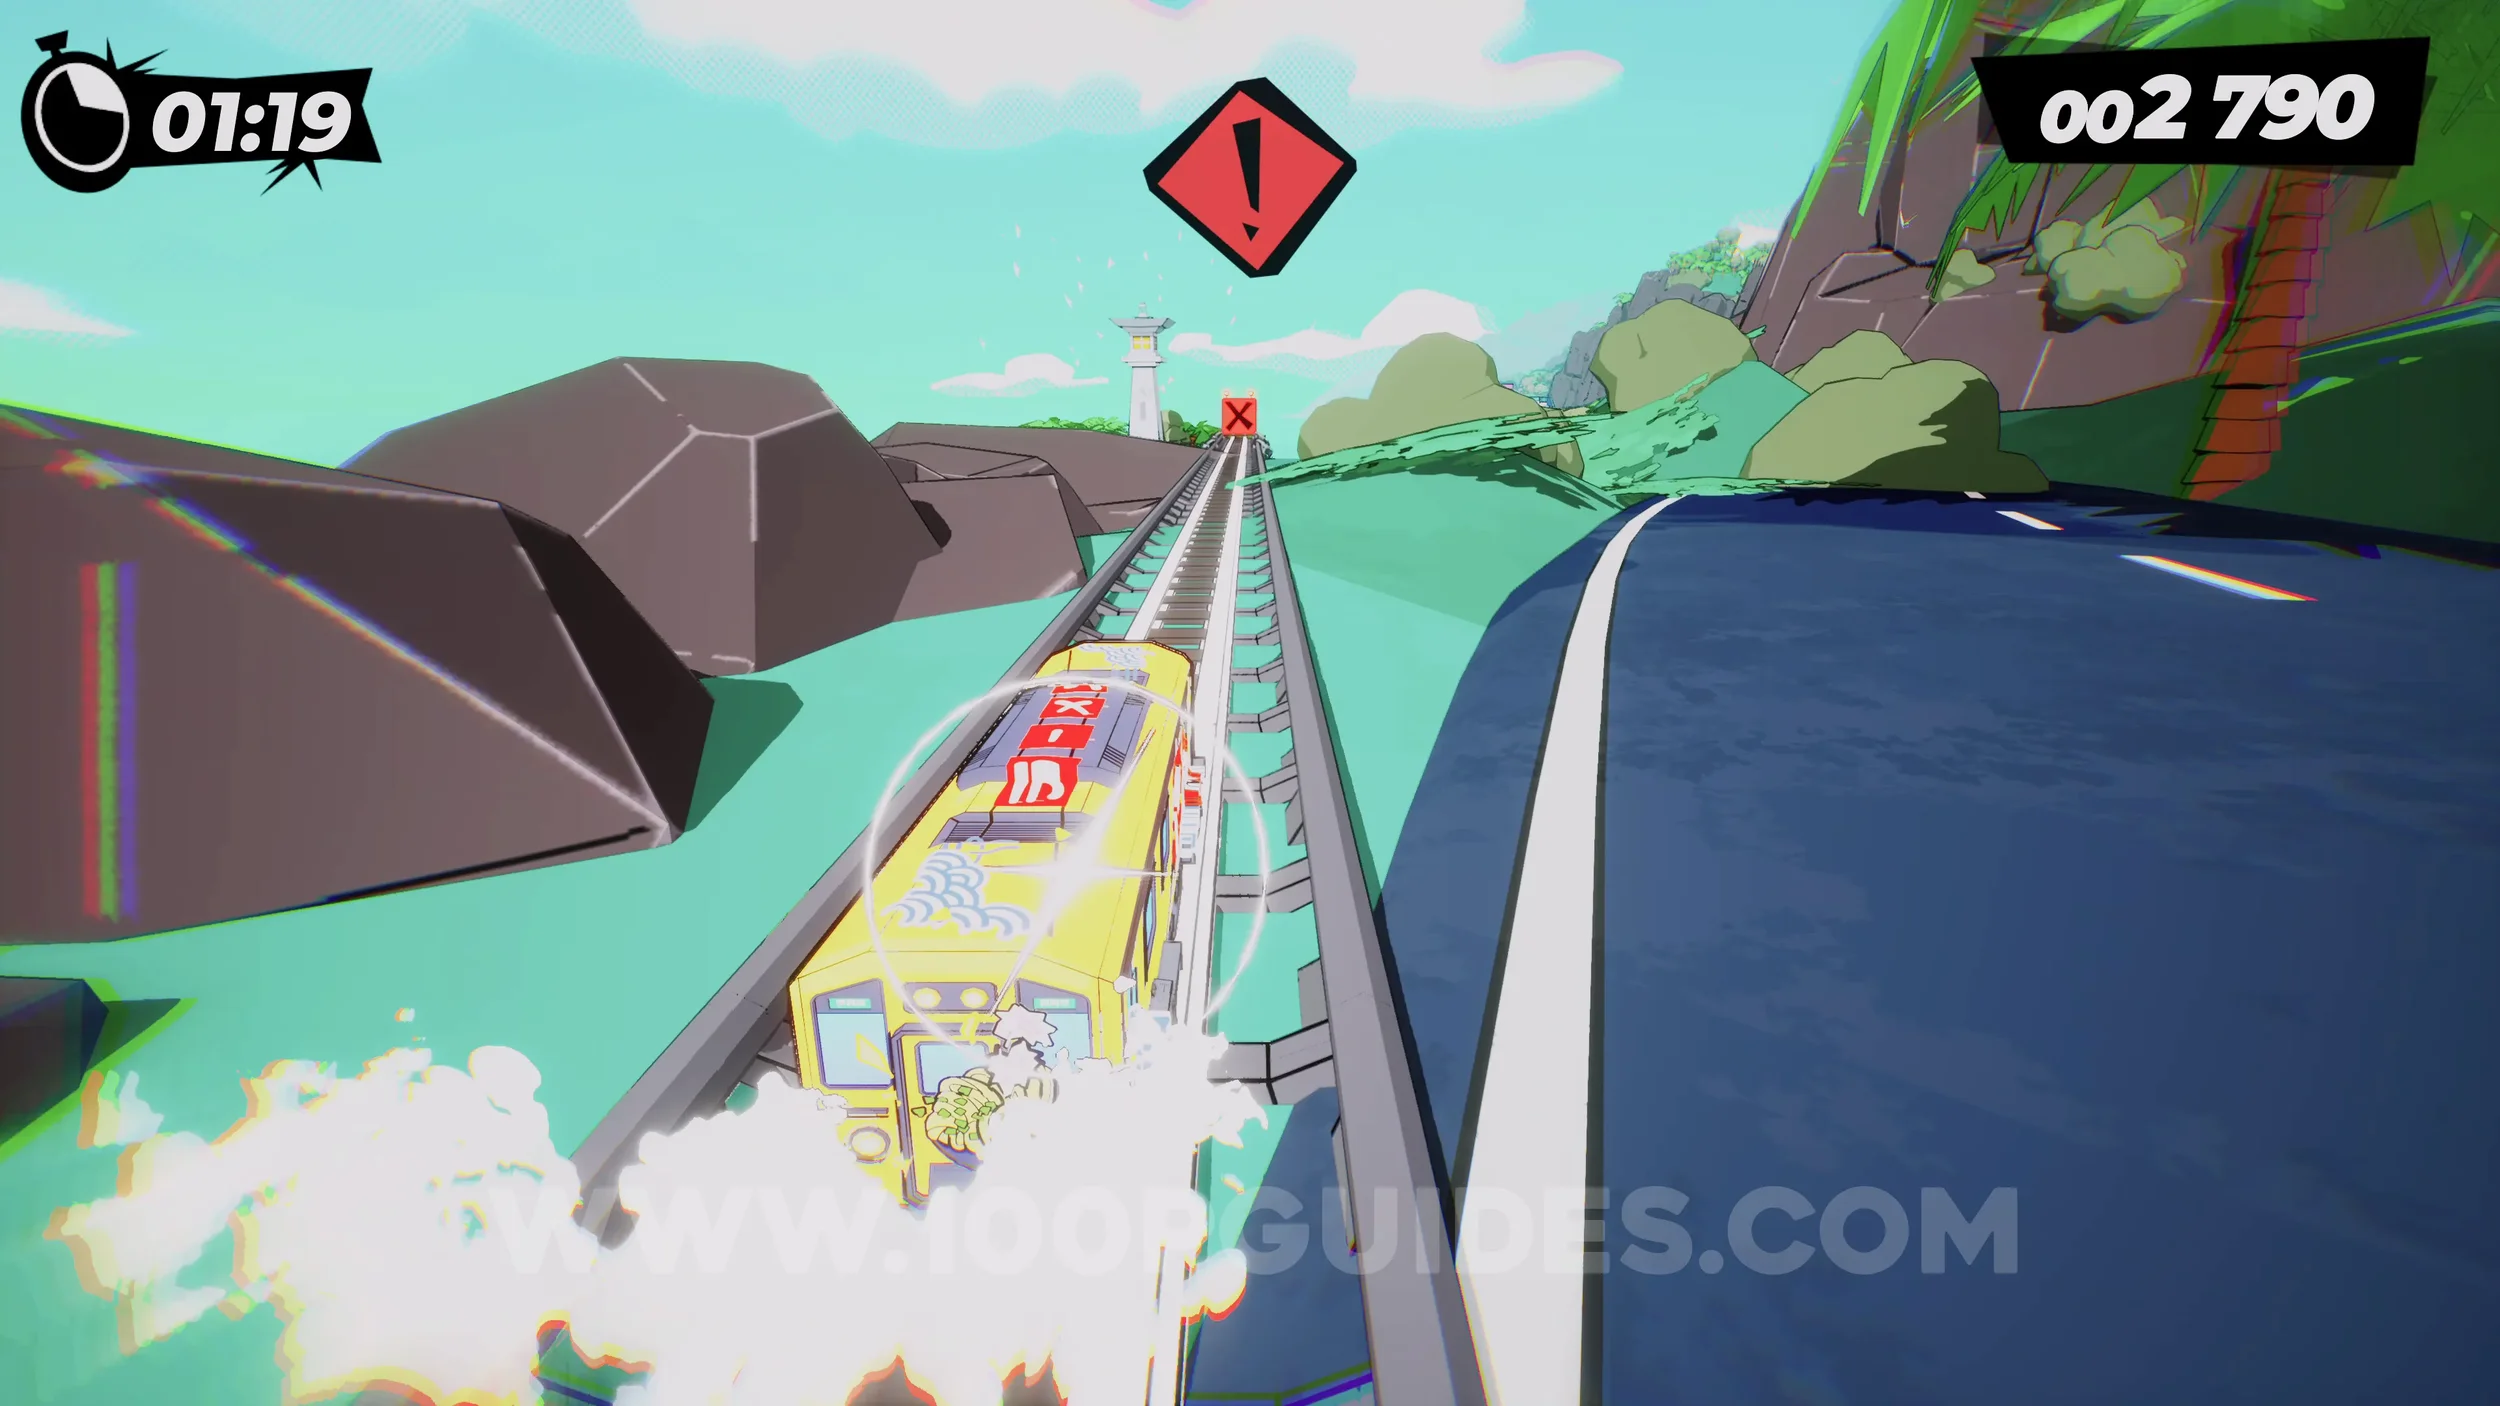
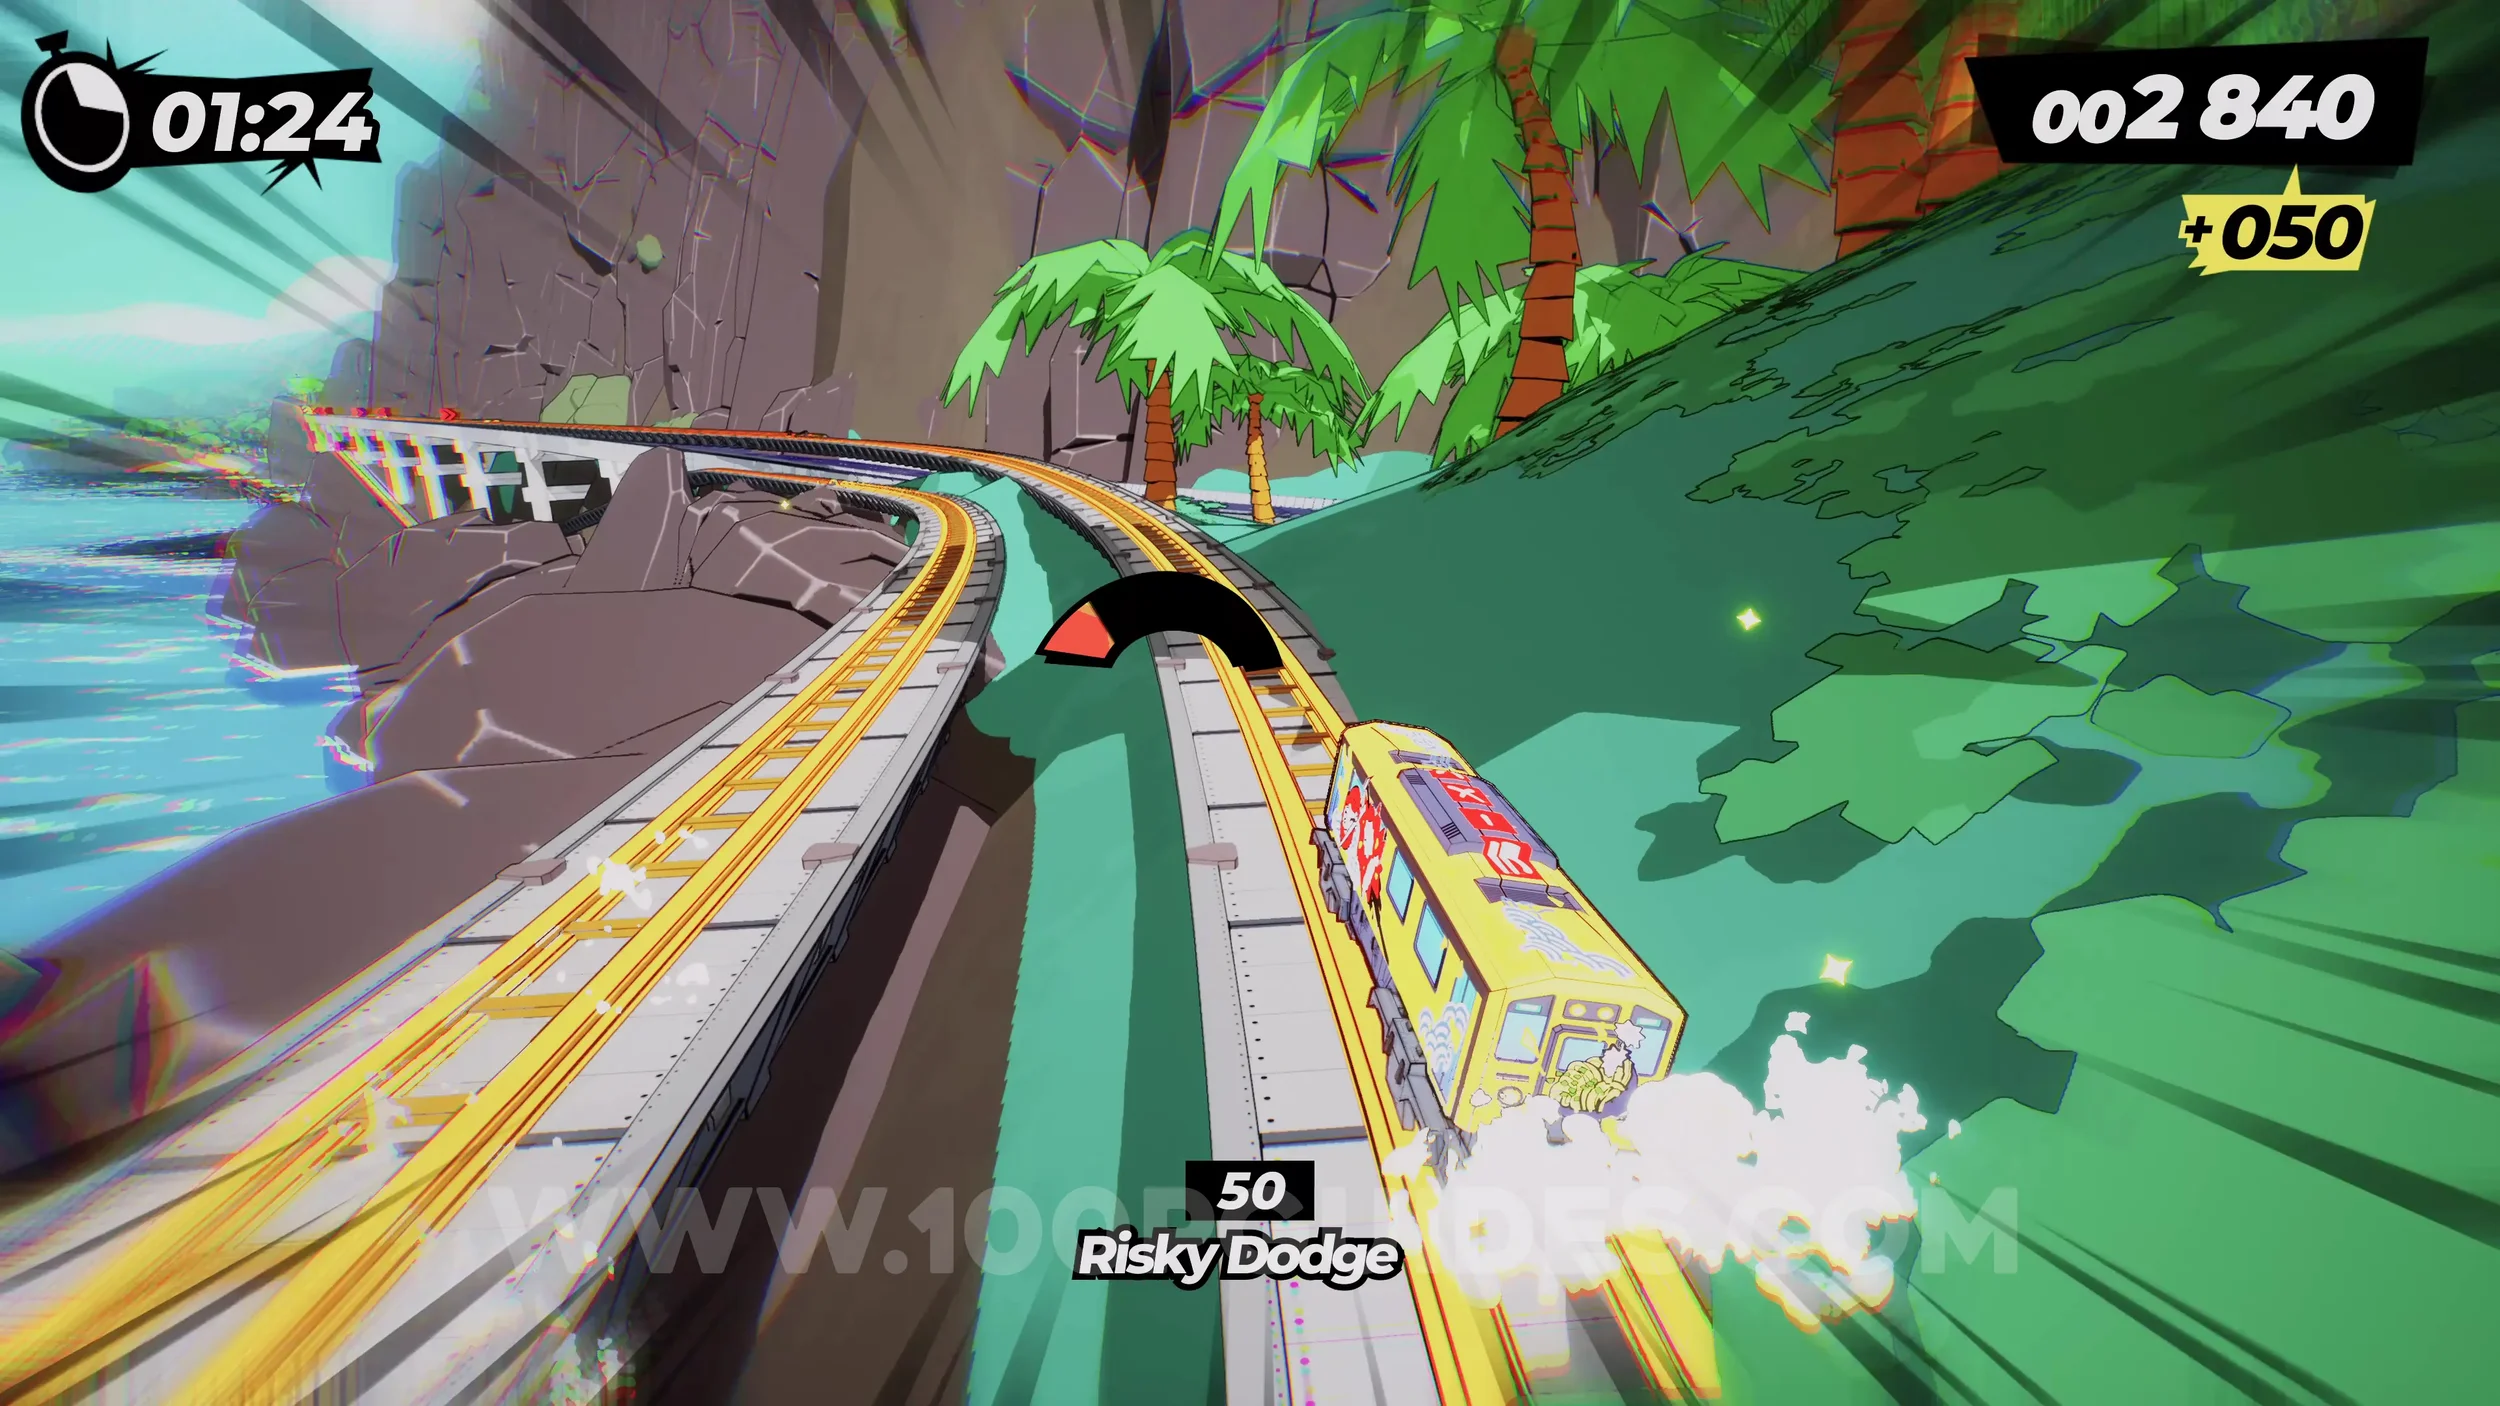
Spray Can (4/4). Soon after the previous can, you will have to manually jump over a red sign in the middle of the tracks and then land near a lighthouse. Here, stick to the right, then use the jump at the end on the left side to get the can.
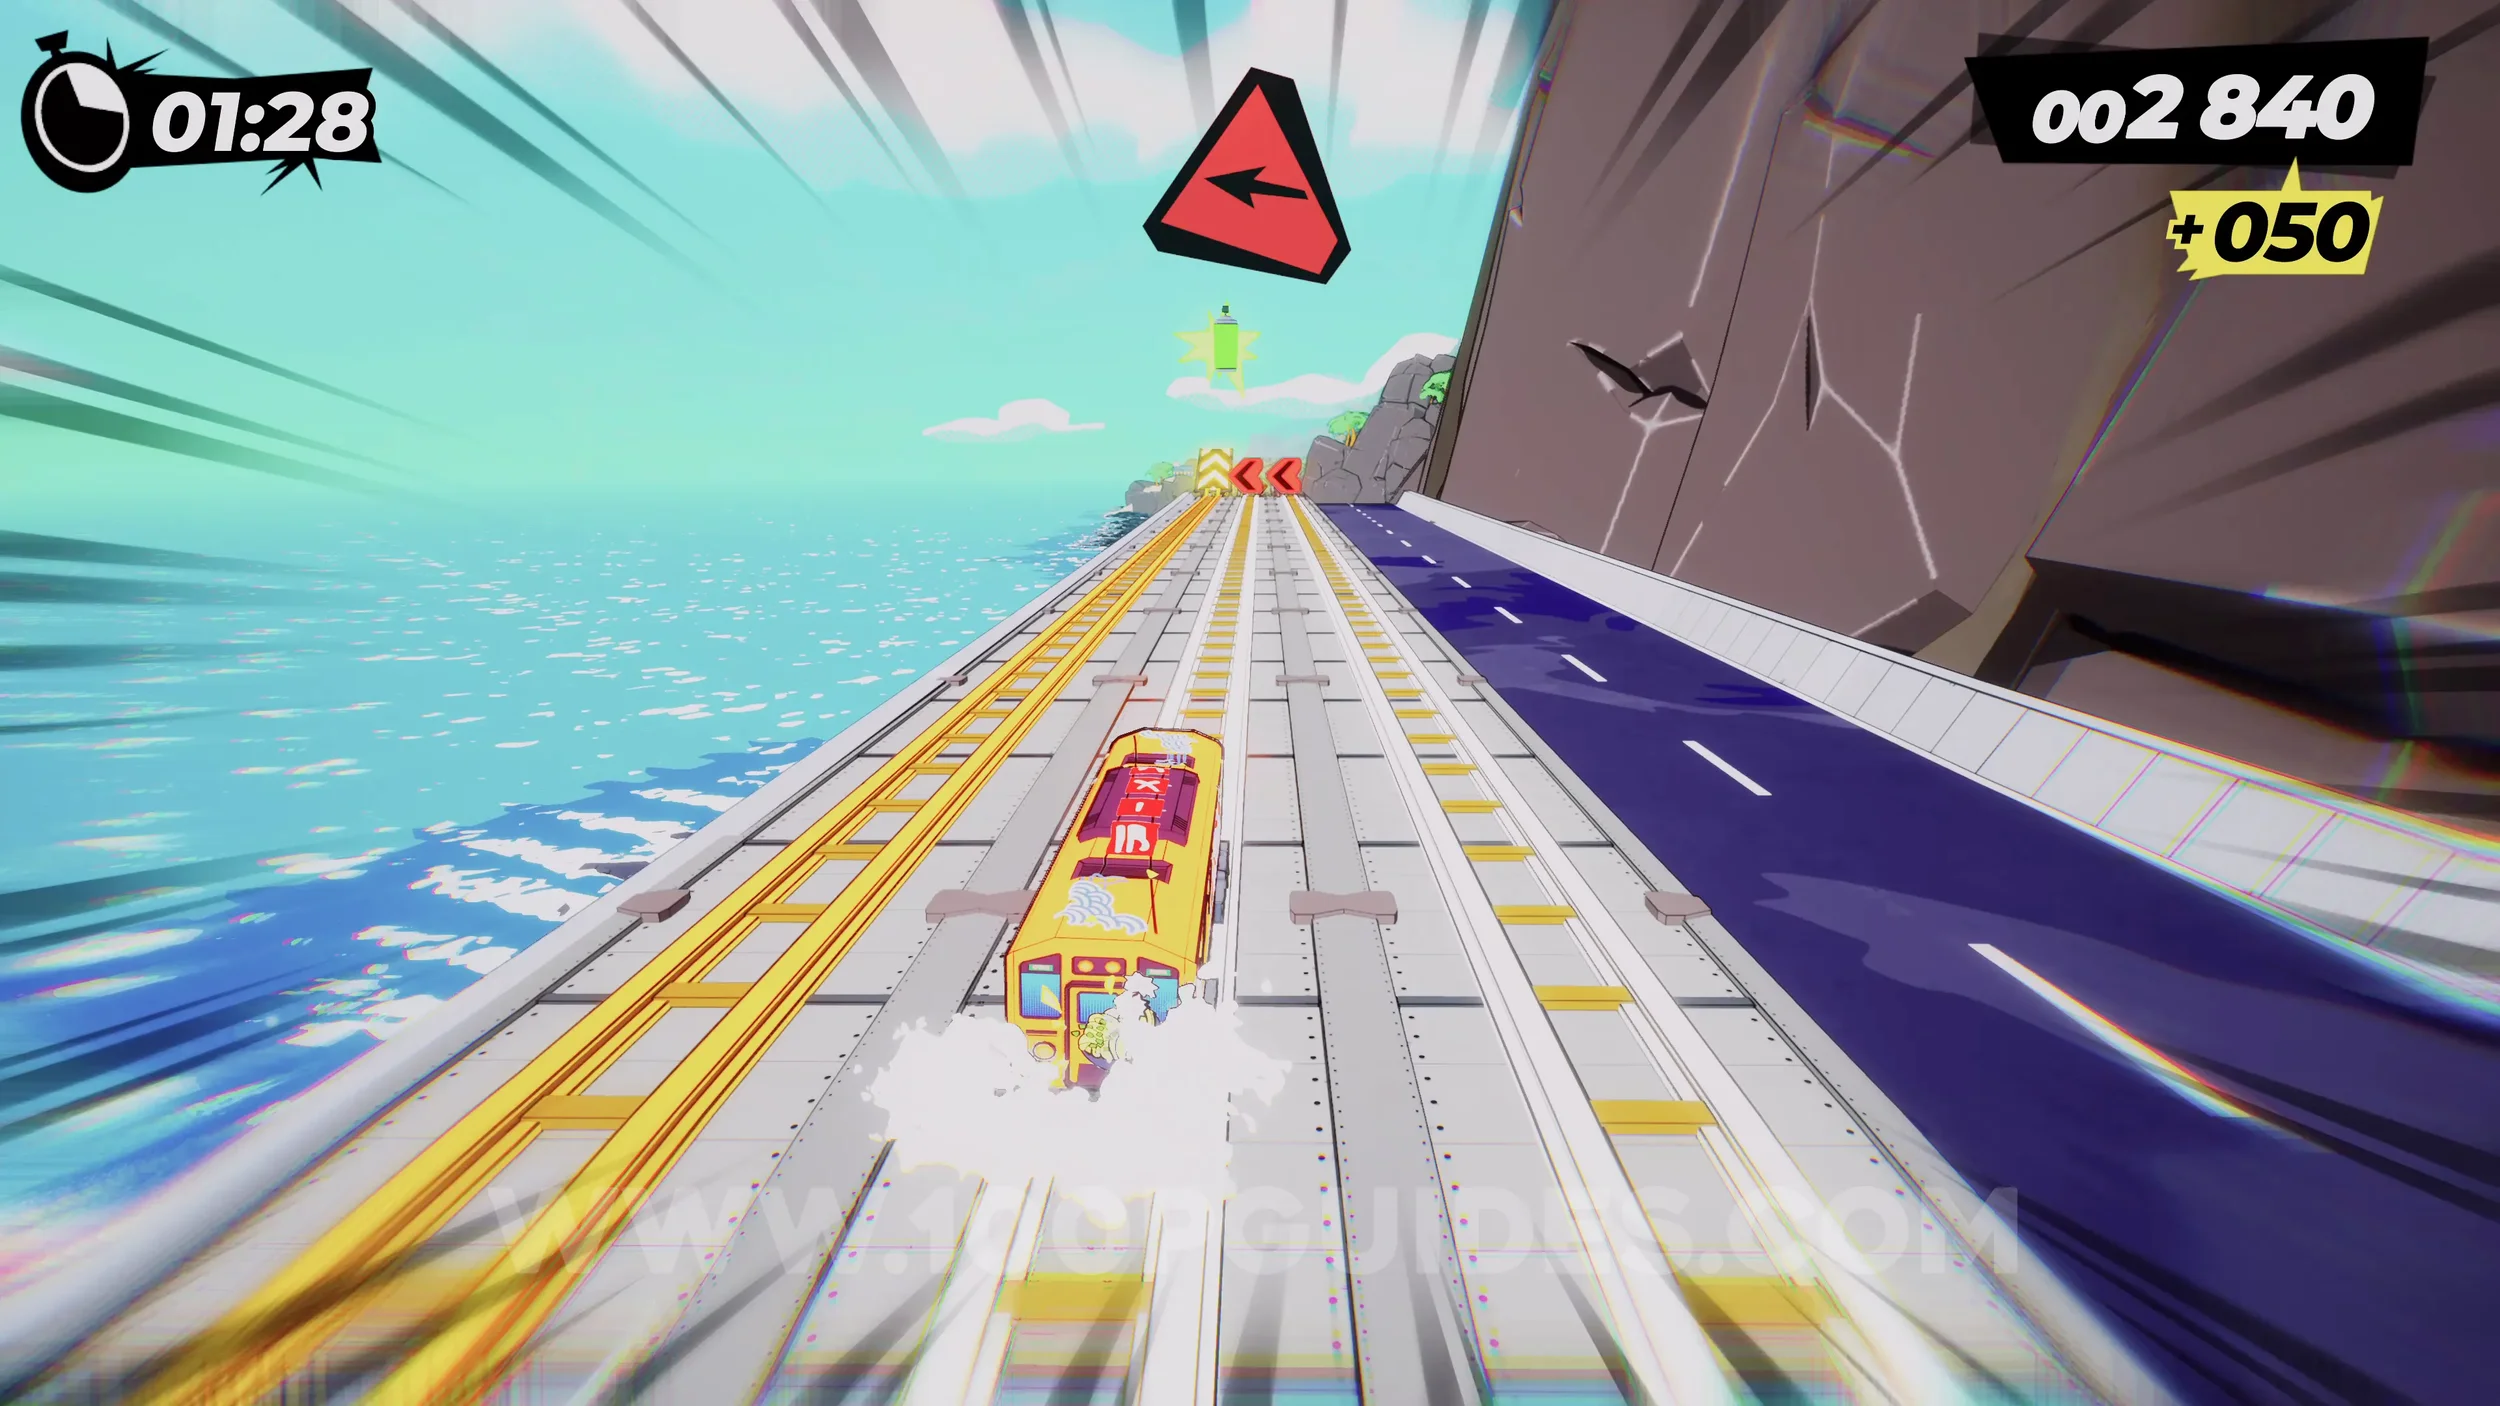
Film Roll (1/1). On top of one of the Moai heads. Press L2+R2 once you are over it to drop down to it.
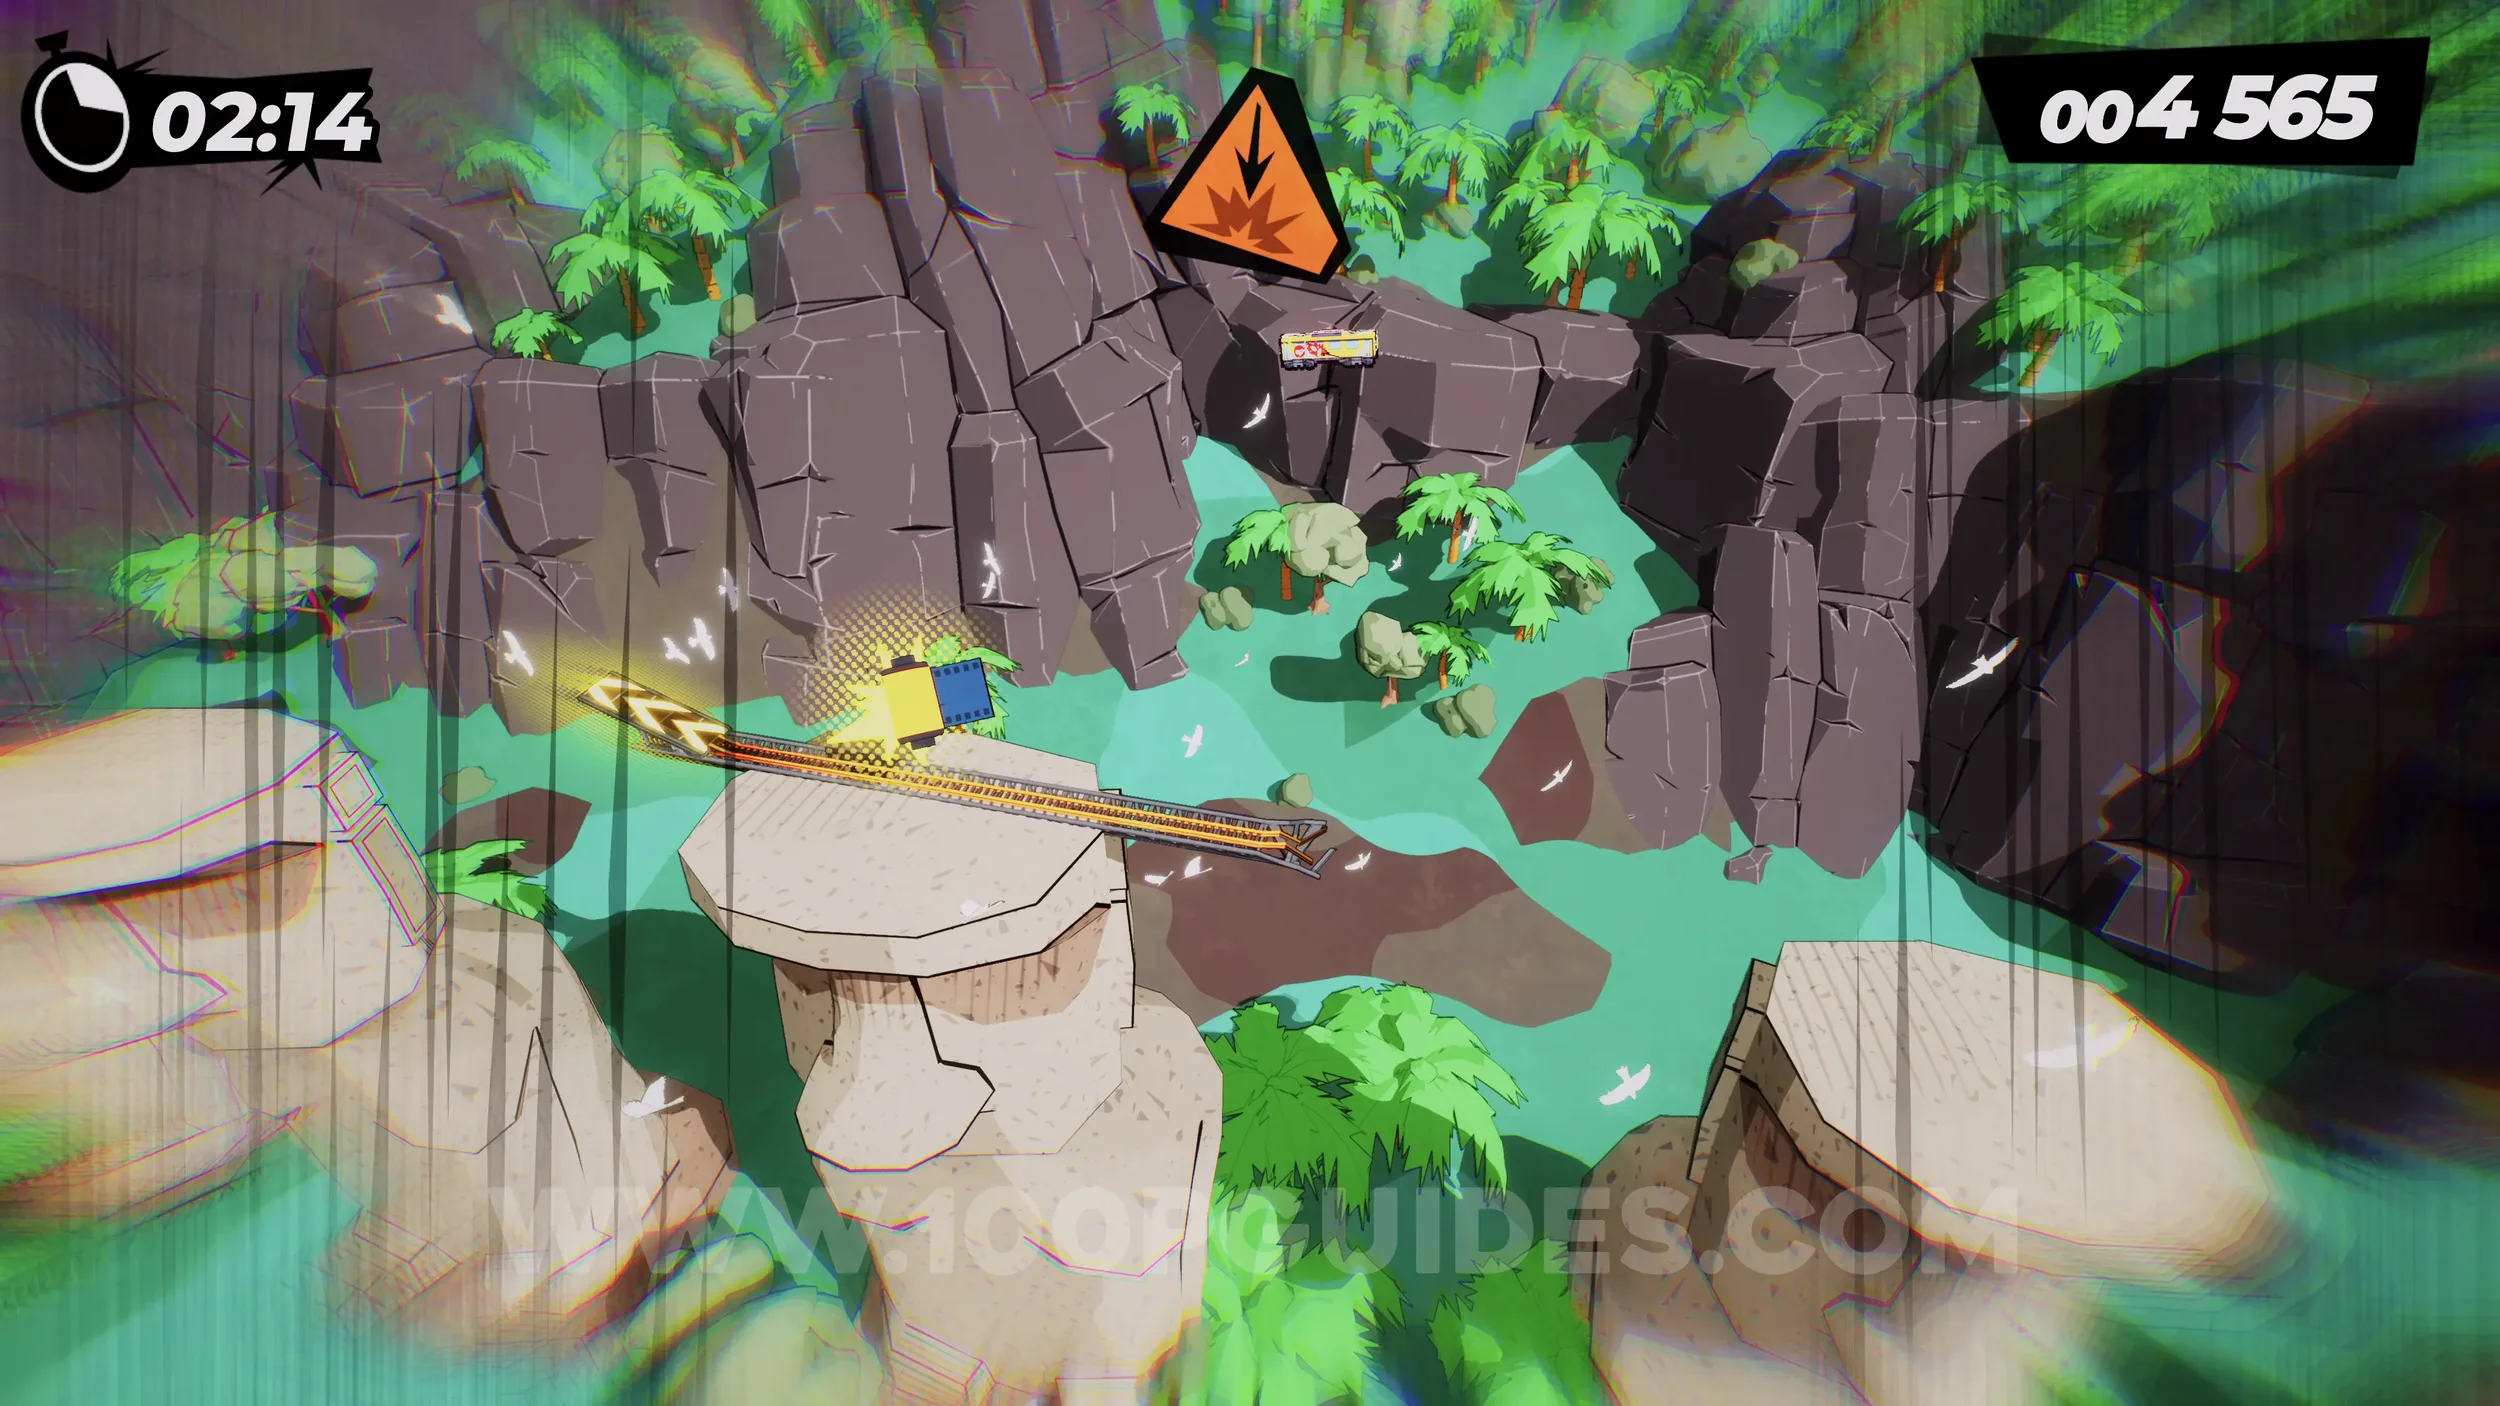
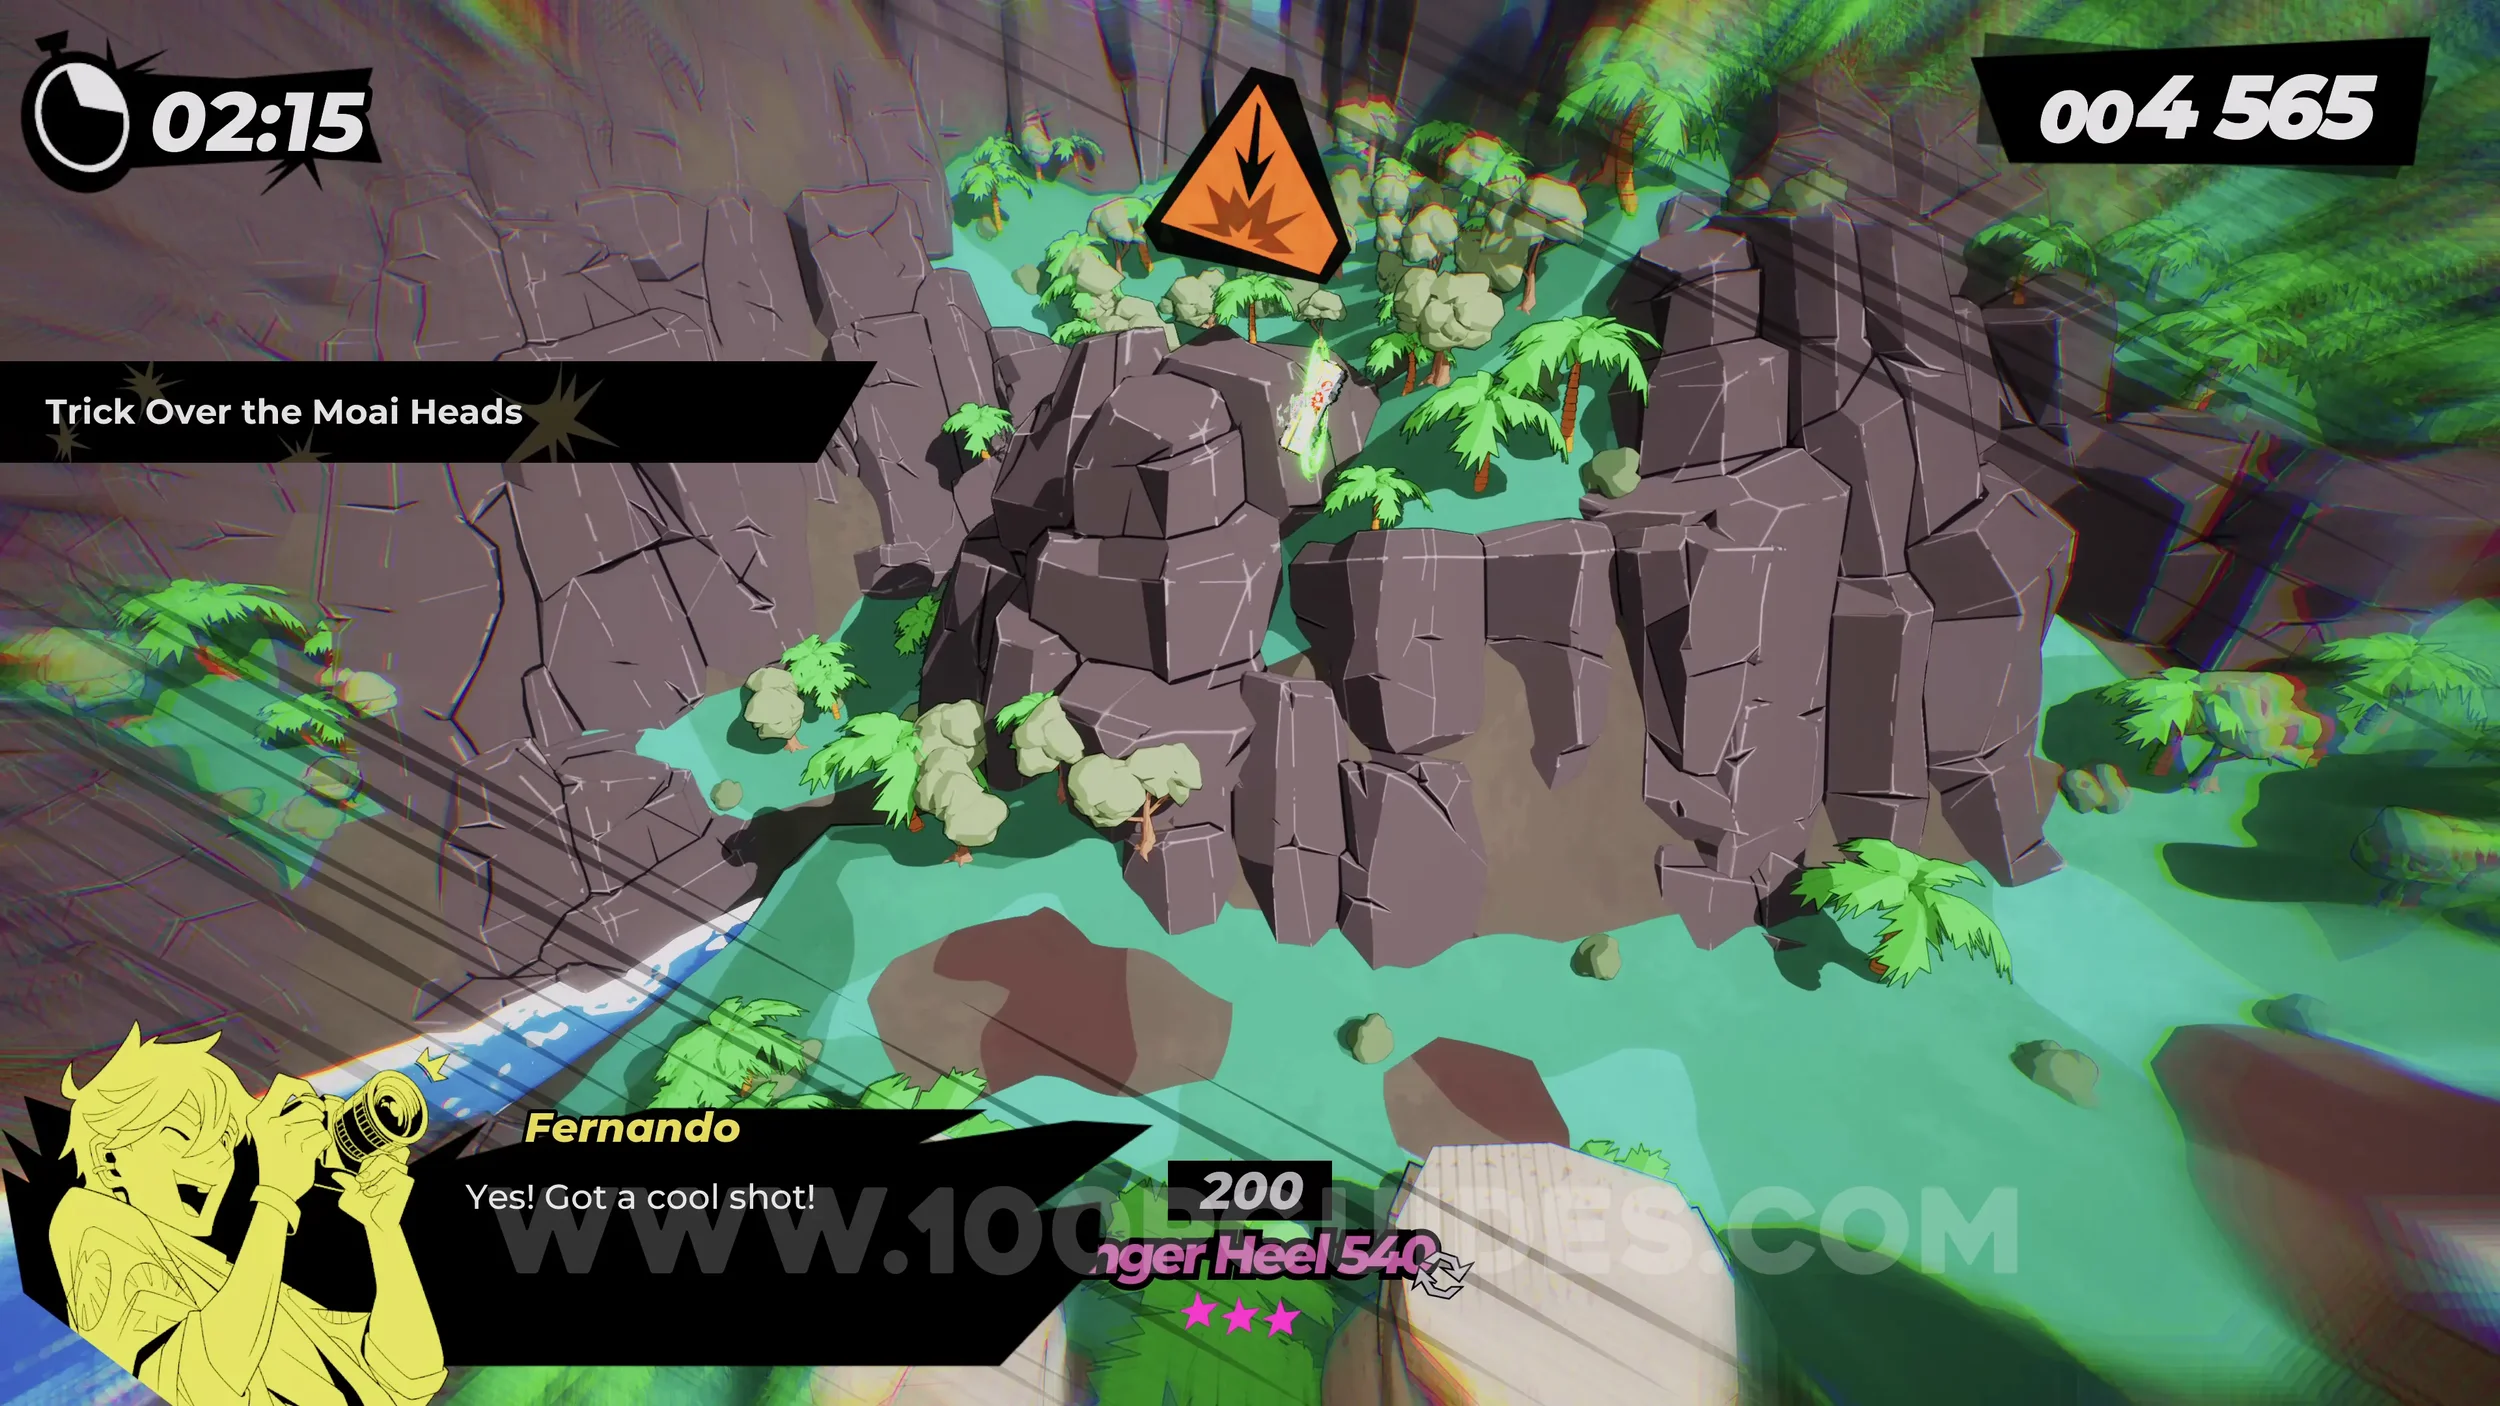
Dare: Trick Over the Moai Heads. After picking up the film roll, you will use a jump to get over the remaining Moai heads. Just perform any trick over them.
Dare: Perform 5 Perfect Drifts. Self-explanatory. Just hold the L2 button when going around a corner, then release it once the marker hits the green area.
Dare: No Crash Finish. Self-explanatory. Don’t crash during the level.
1-3-1 Seaside Showdown
Dare: Stomp on the Sandcastle. Just after the first corner, you will jump over a giant sandcastle. Press L2 + R2 as you go over it to smash down and destroy it.
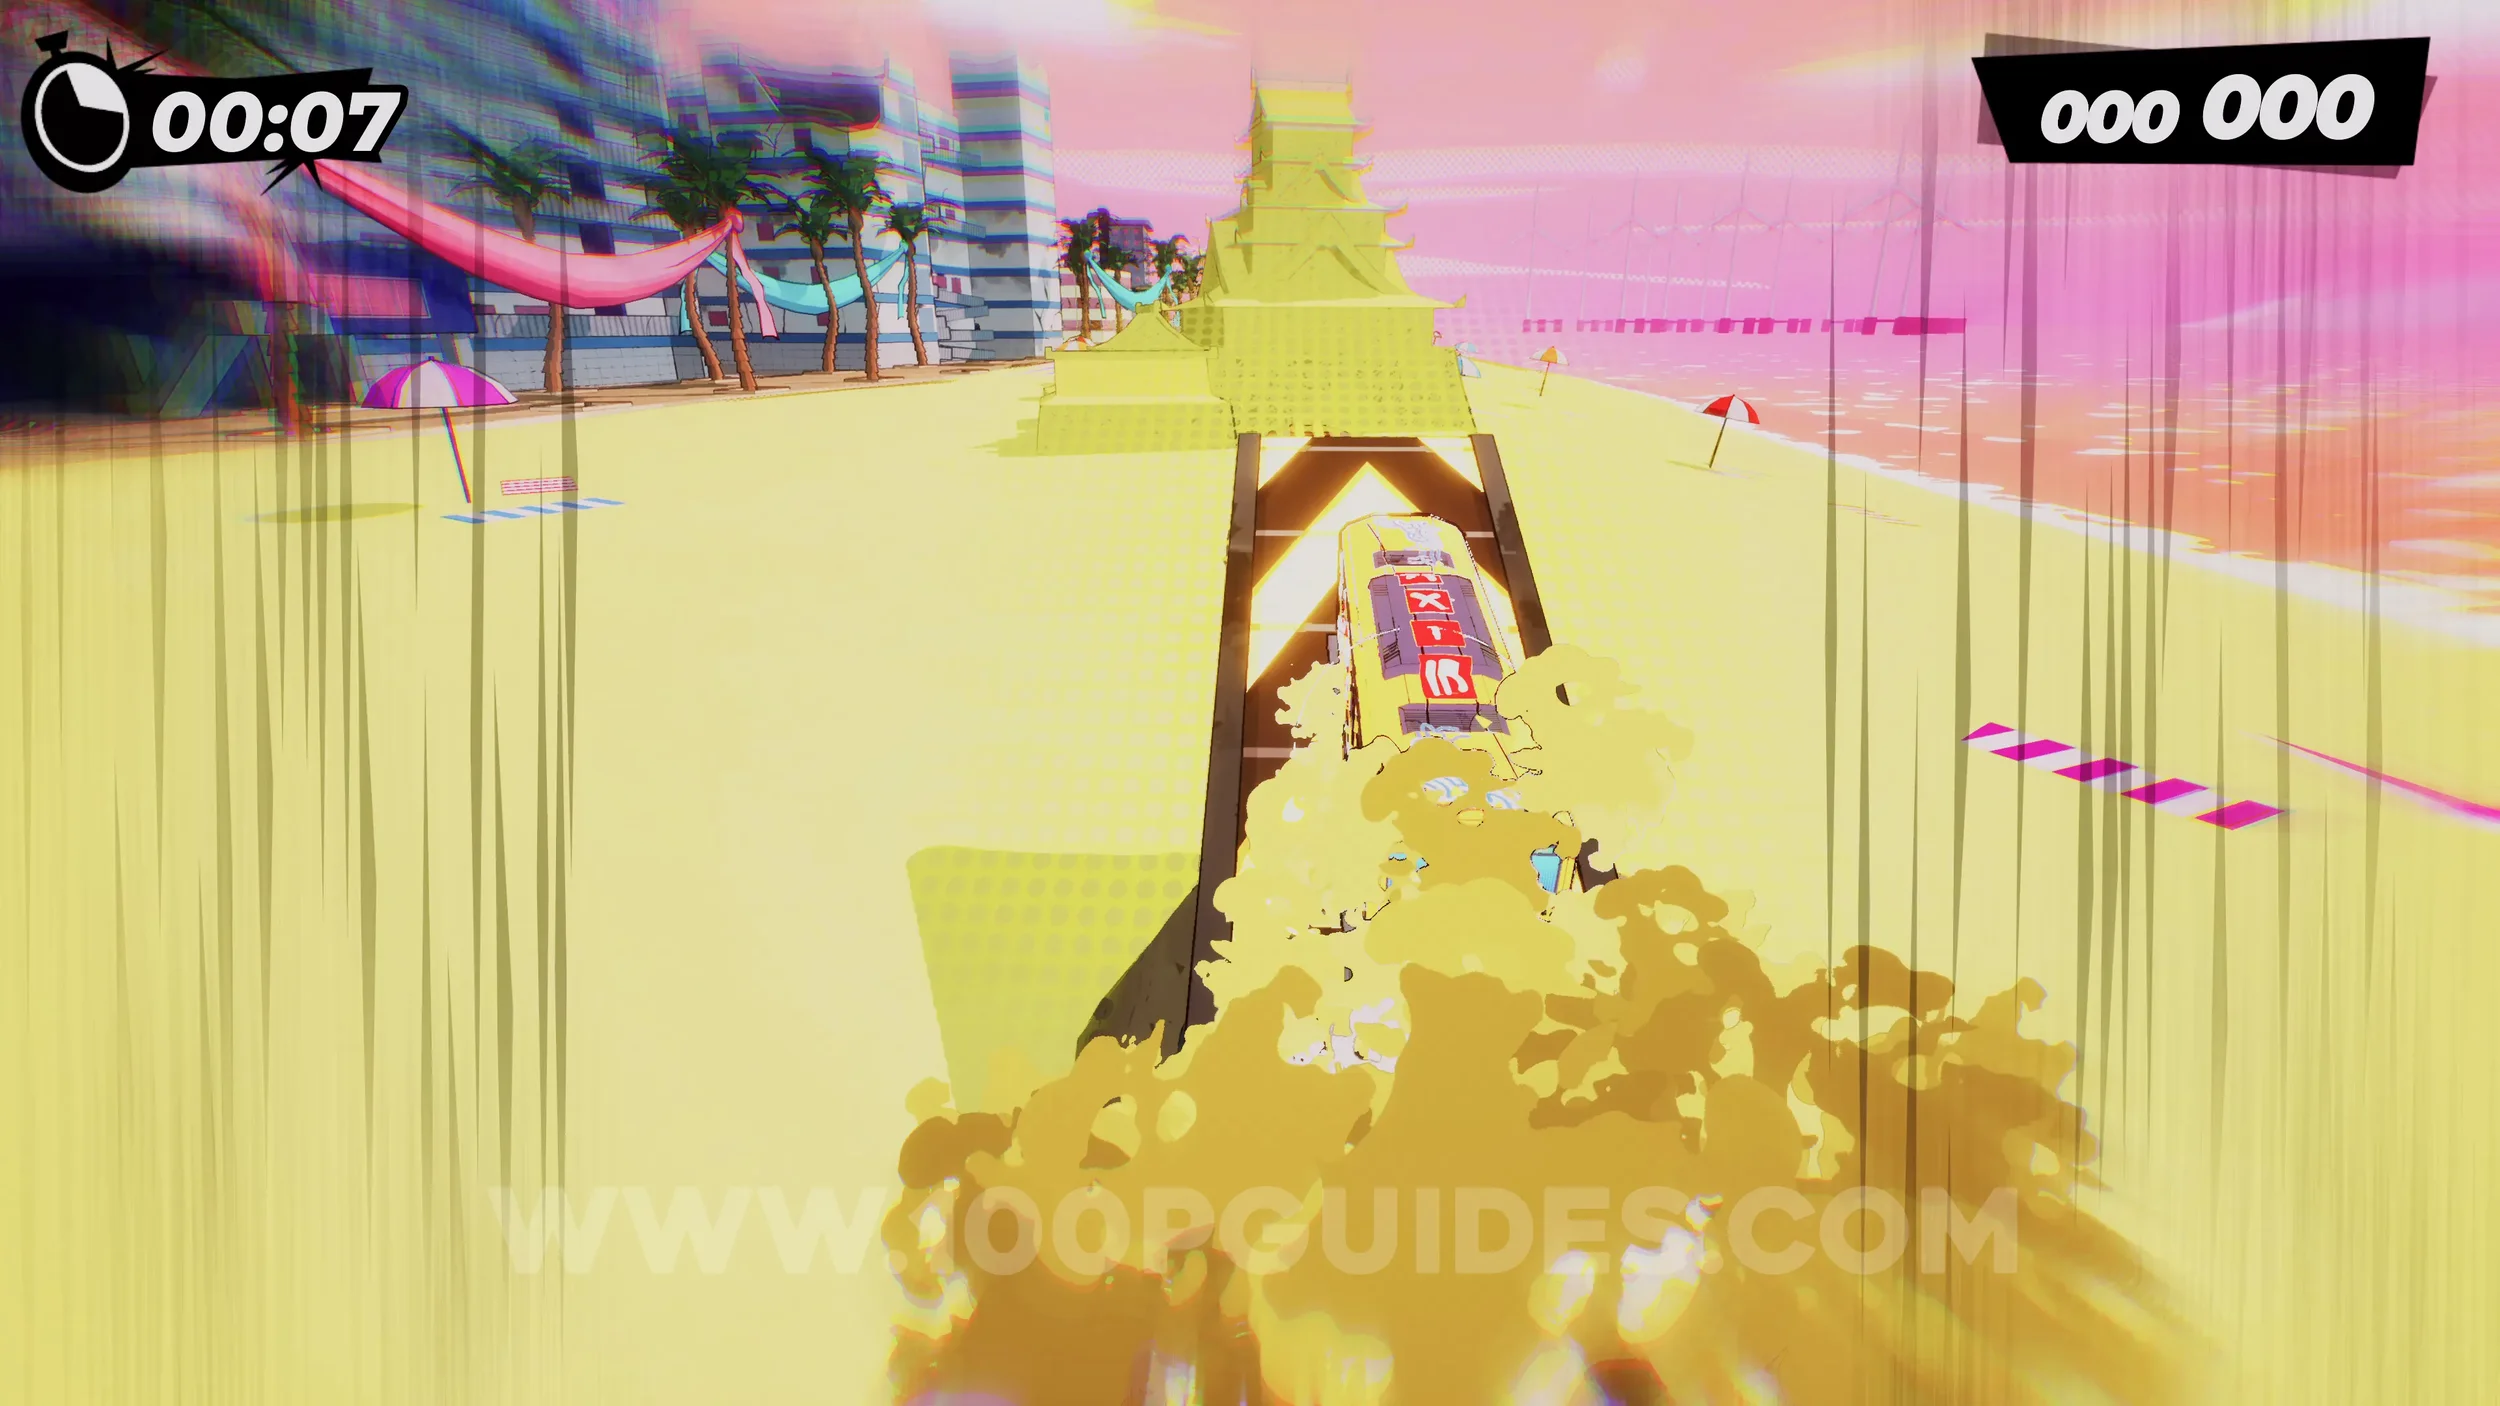
Spray Can (1/4). After the next corner, stick to the left to reach the lower area with the spray can.
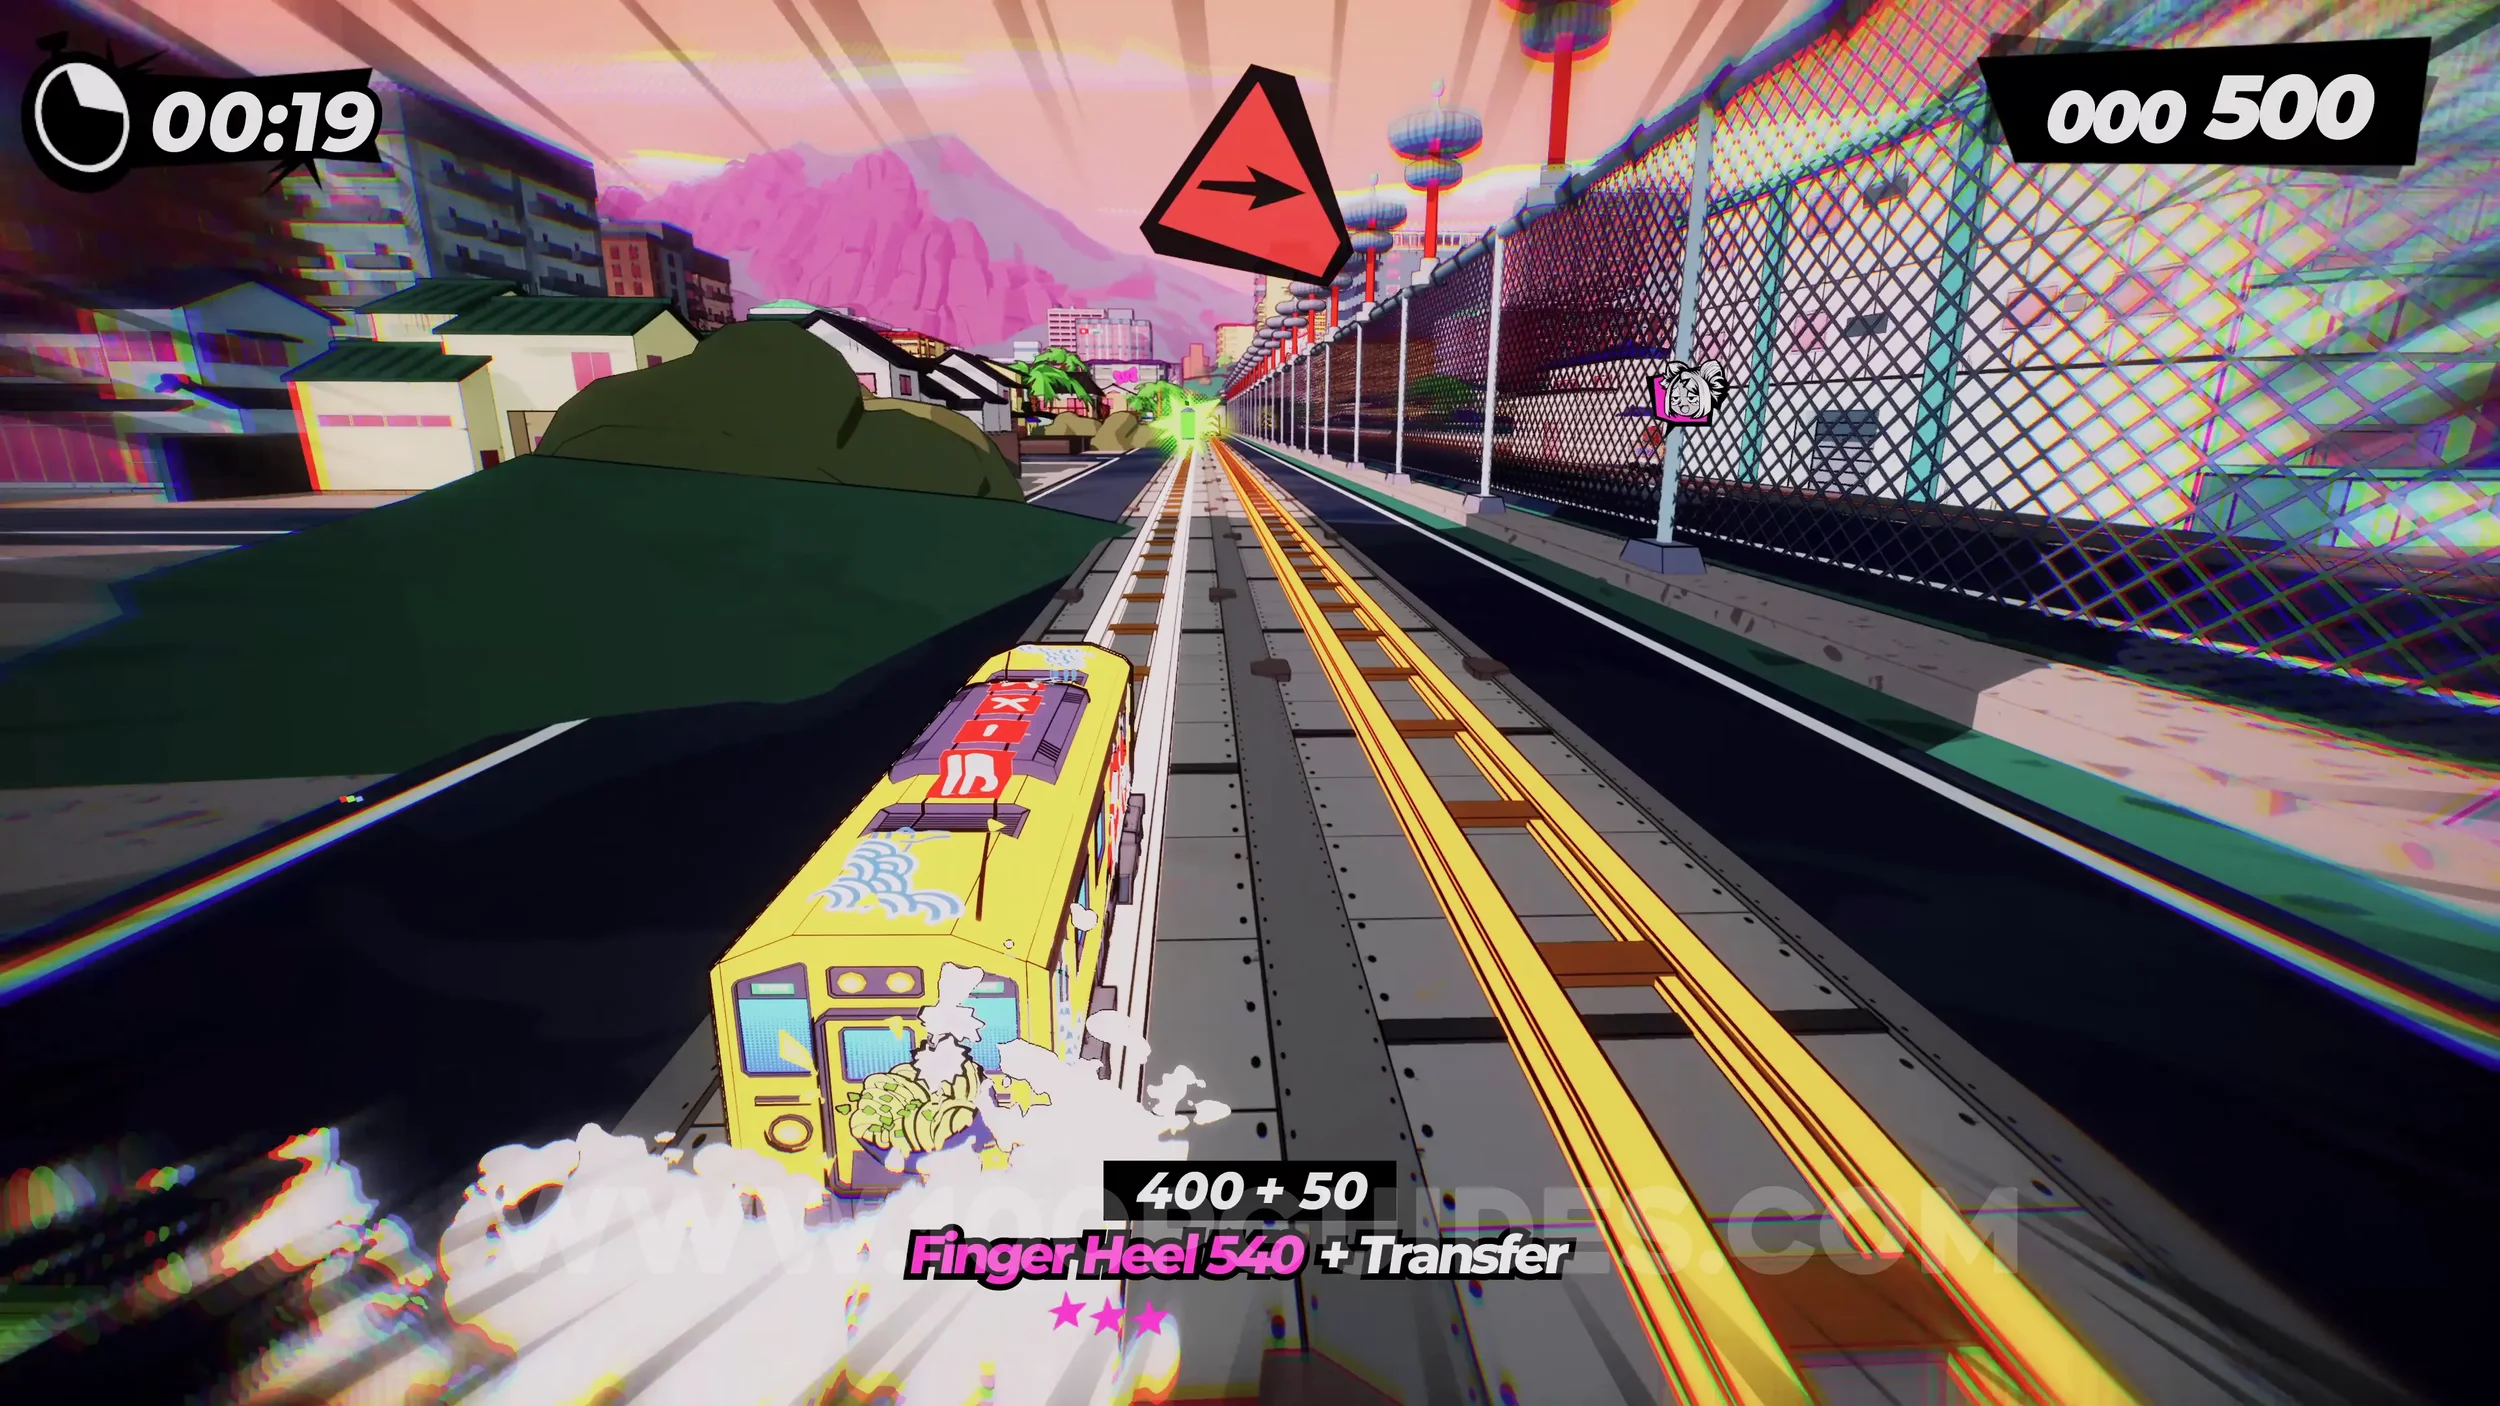
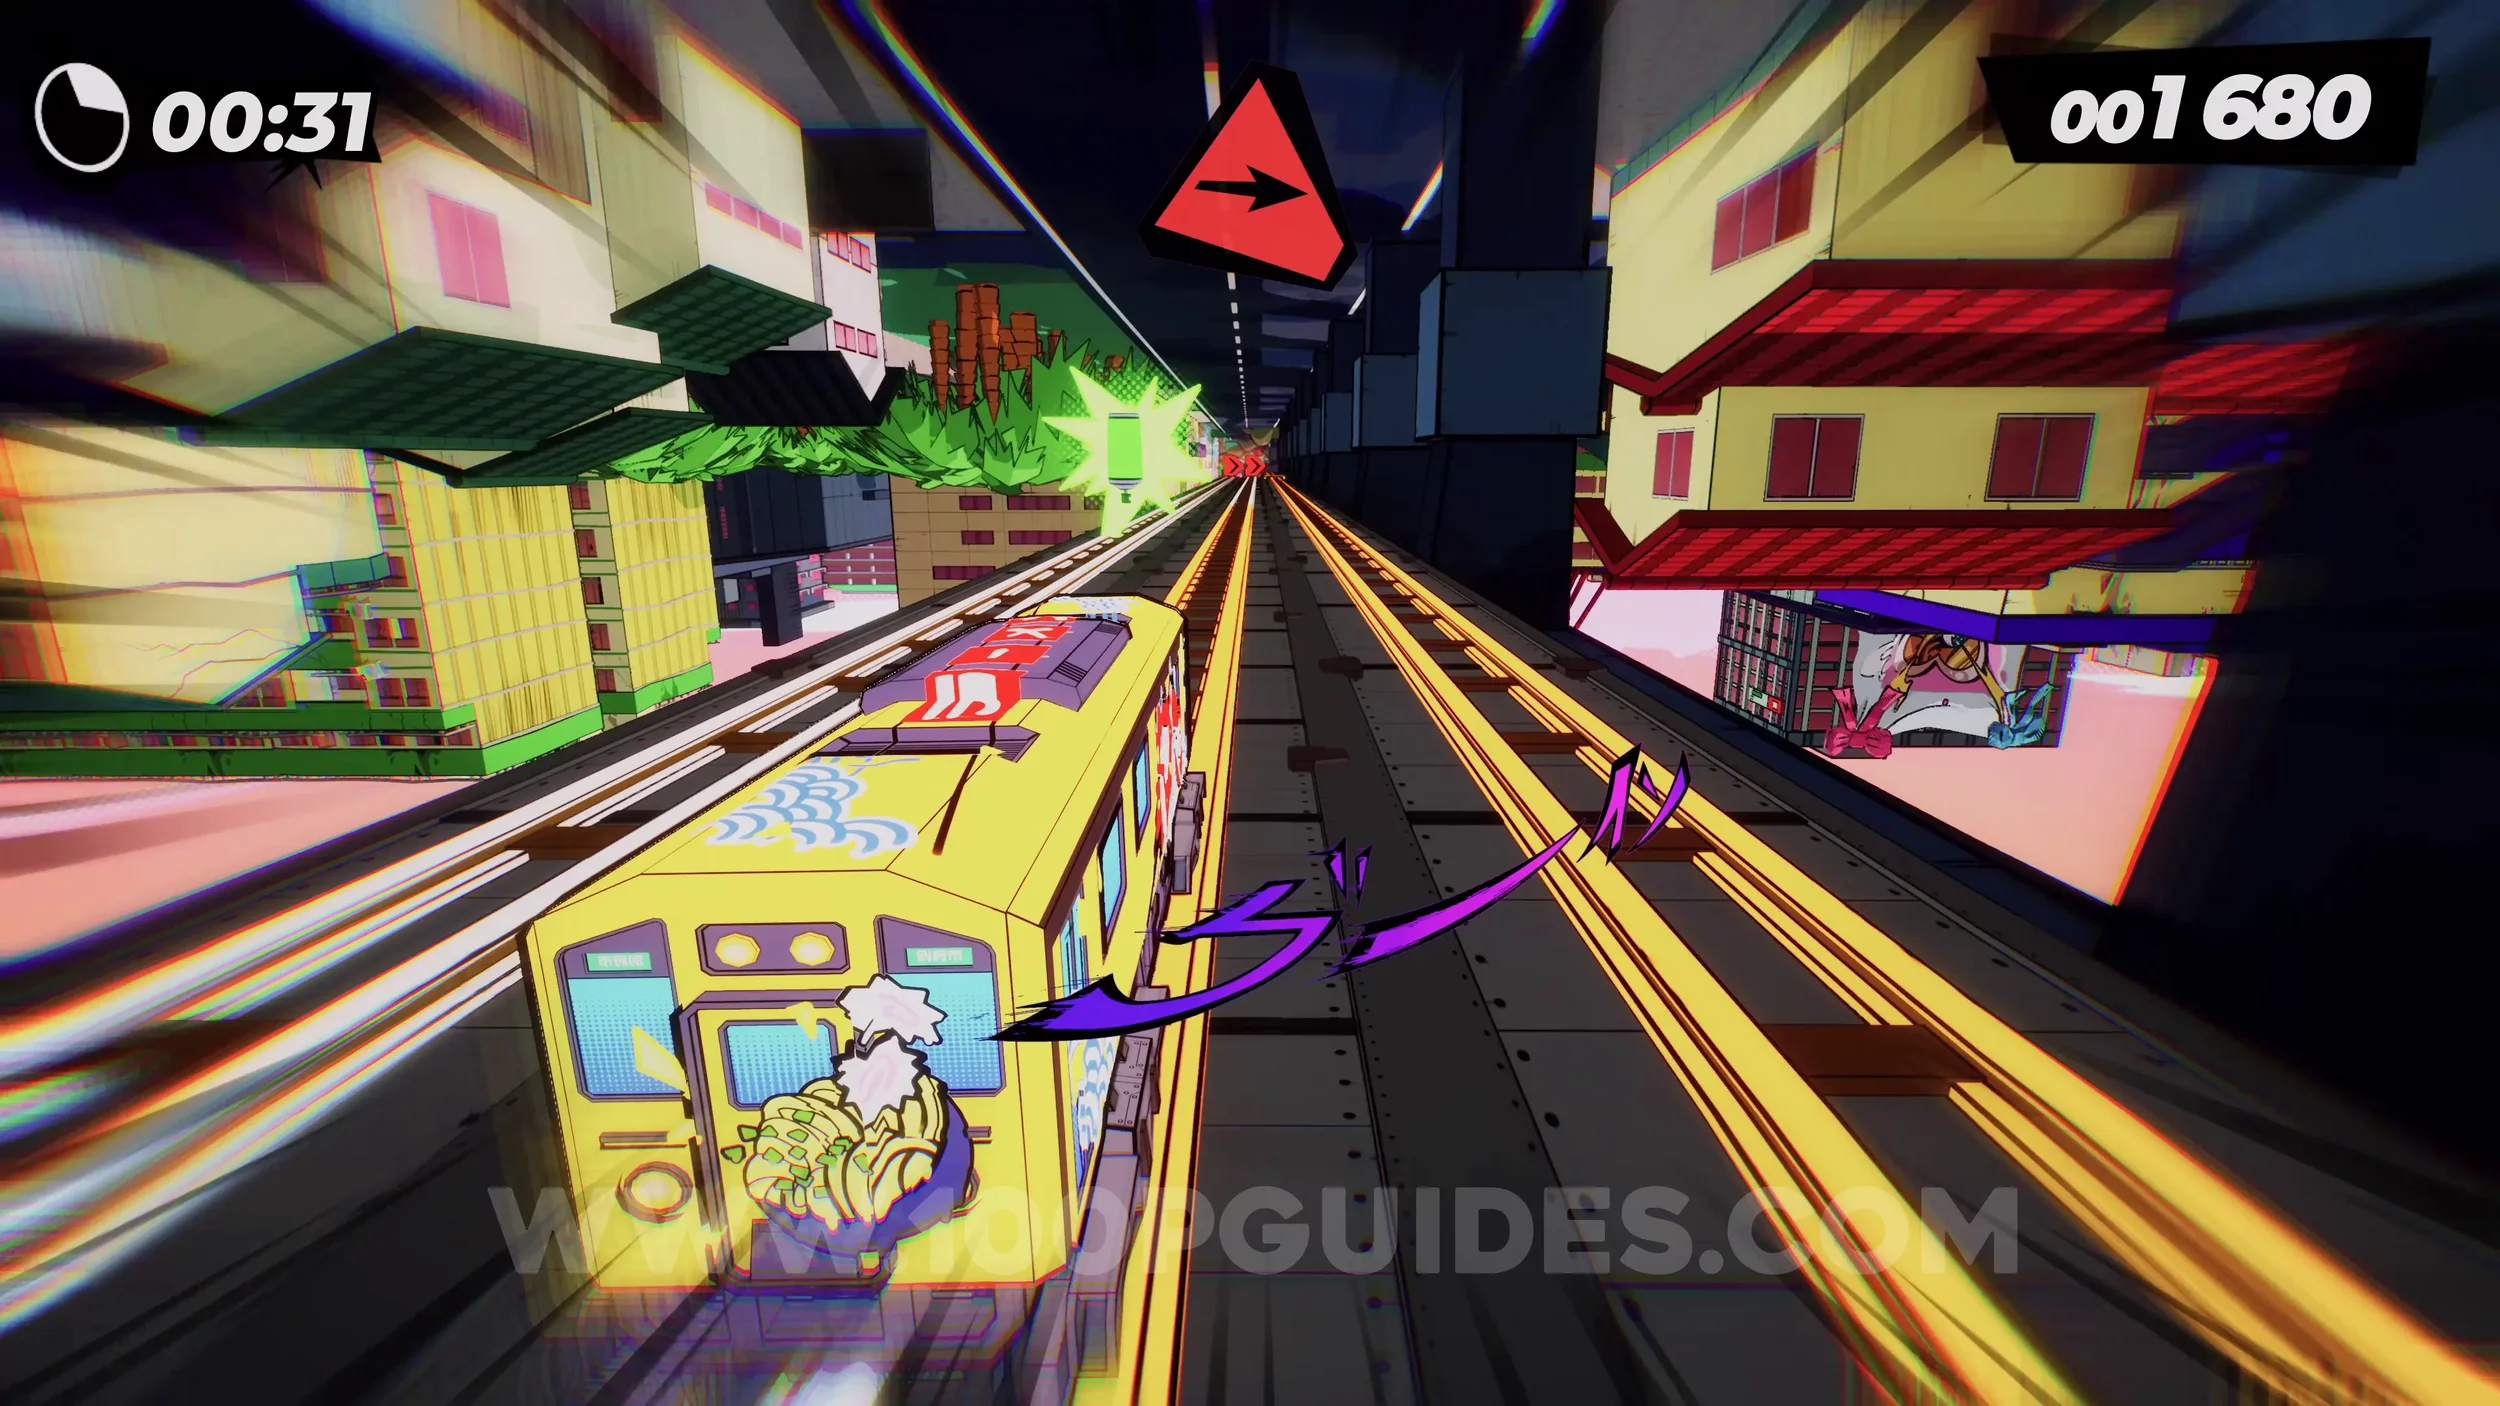
Spray Can (2/4). You will see it in plain sight on the left side just after going upside down, soon after the previous spray can.
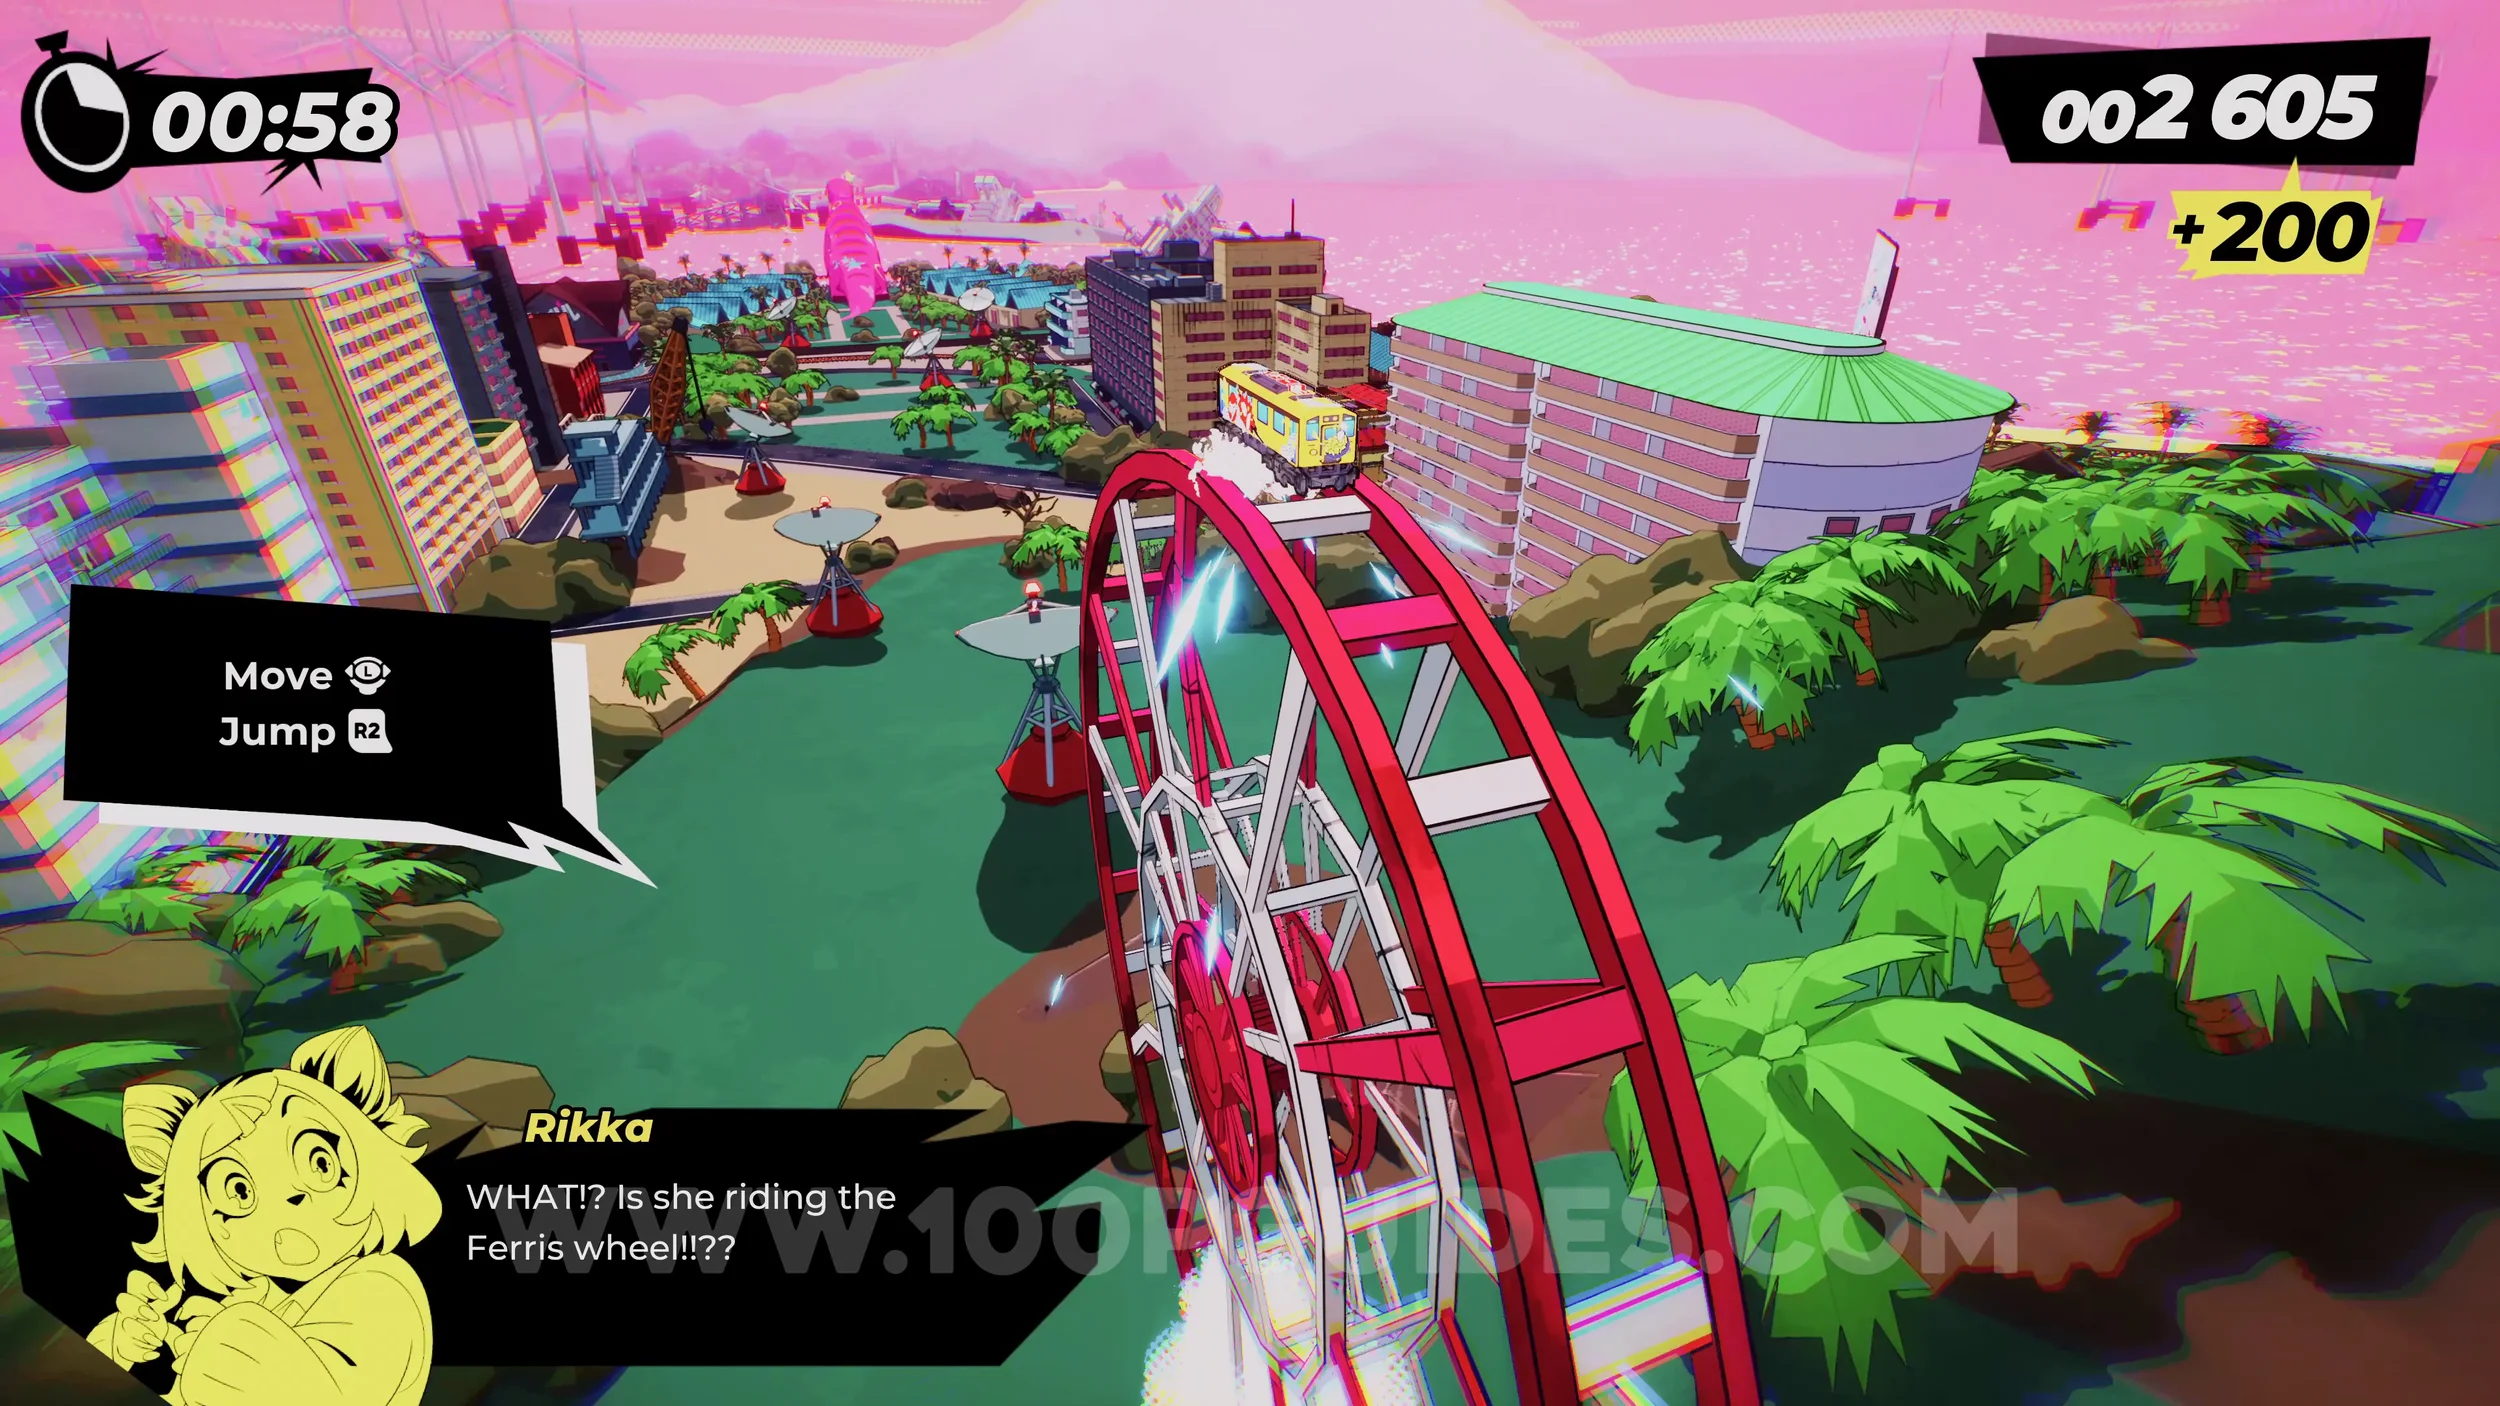
Dare: Smash 10 Satellite Antennas. During the section where you ride the Ferris wheel, you will see antennas. They are all on the main path. Destroy 10 of them.
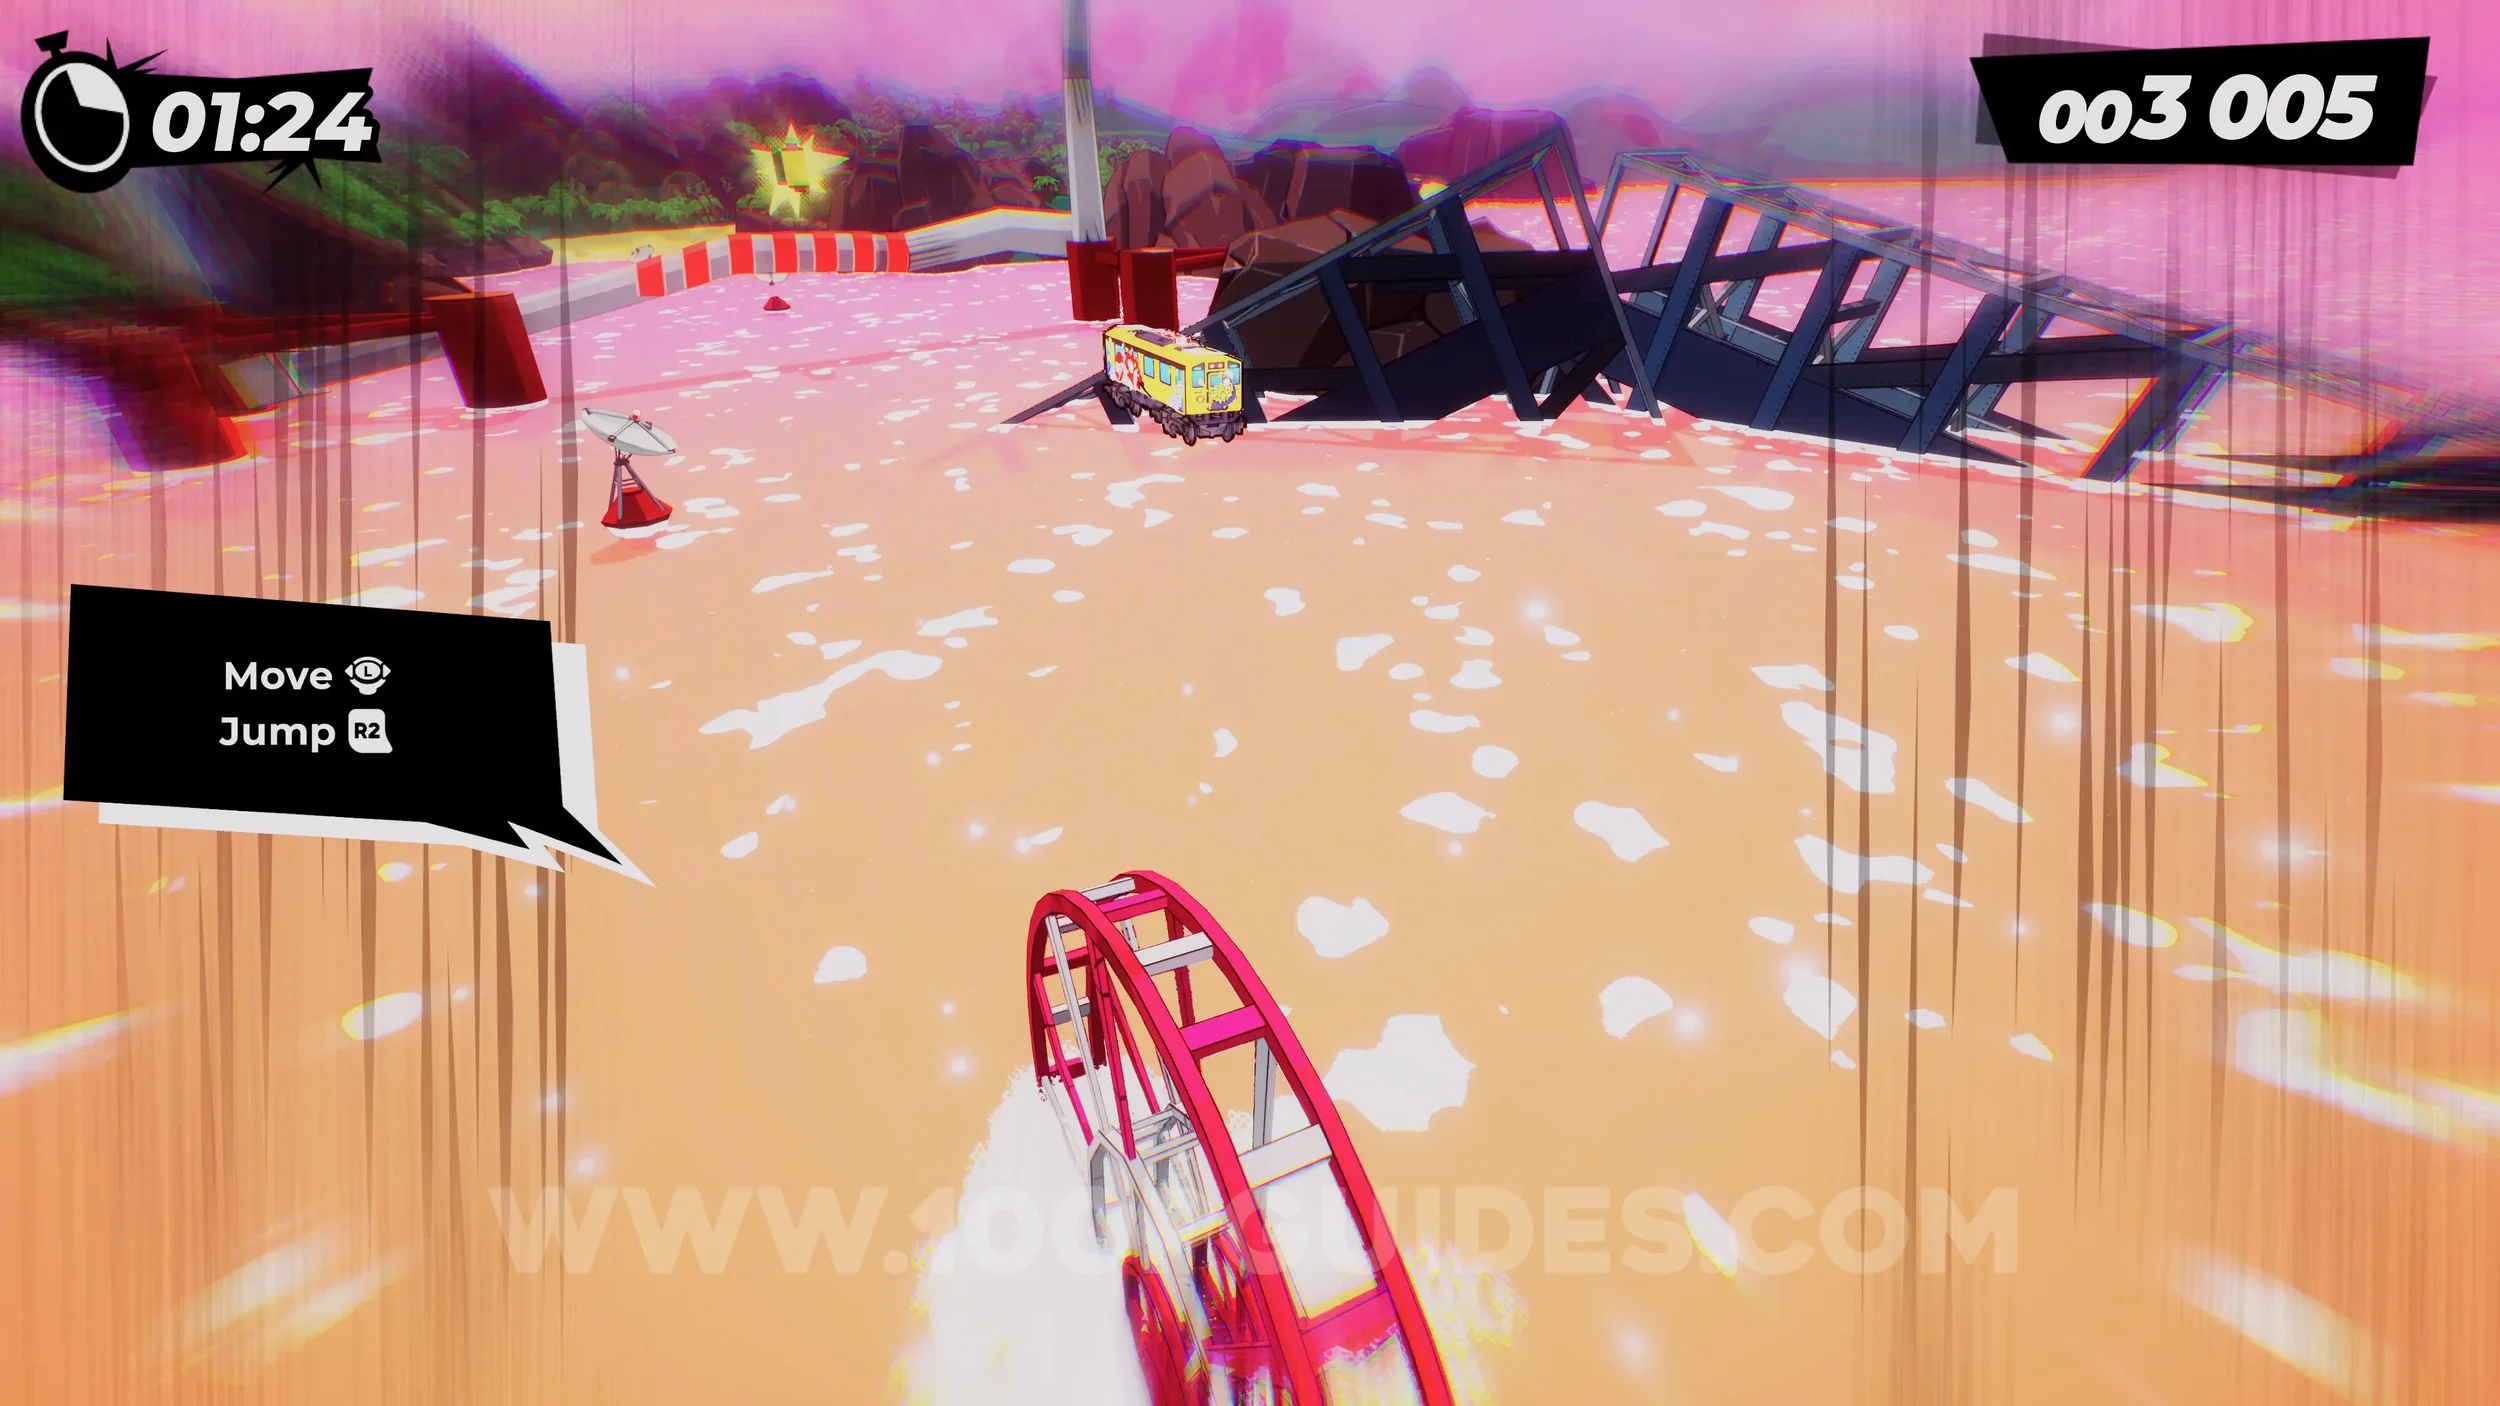
Film Roll (1/1). You will see it above you during the section where you ride the Ferris Wheel through the water. Press R2 to jump to it.
Spray Can (3/4). After the ferris wheel section, you will enter a lava filled cave. As soon as you land inside, stick to the right side to find the can.
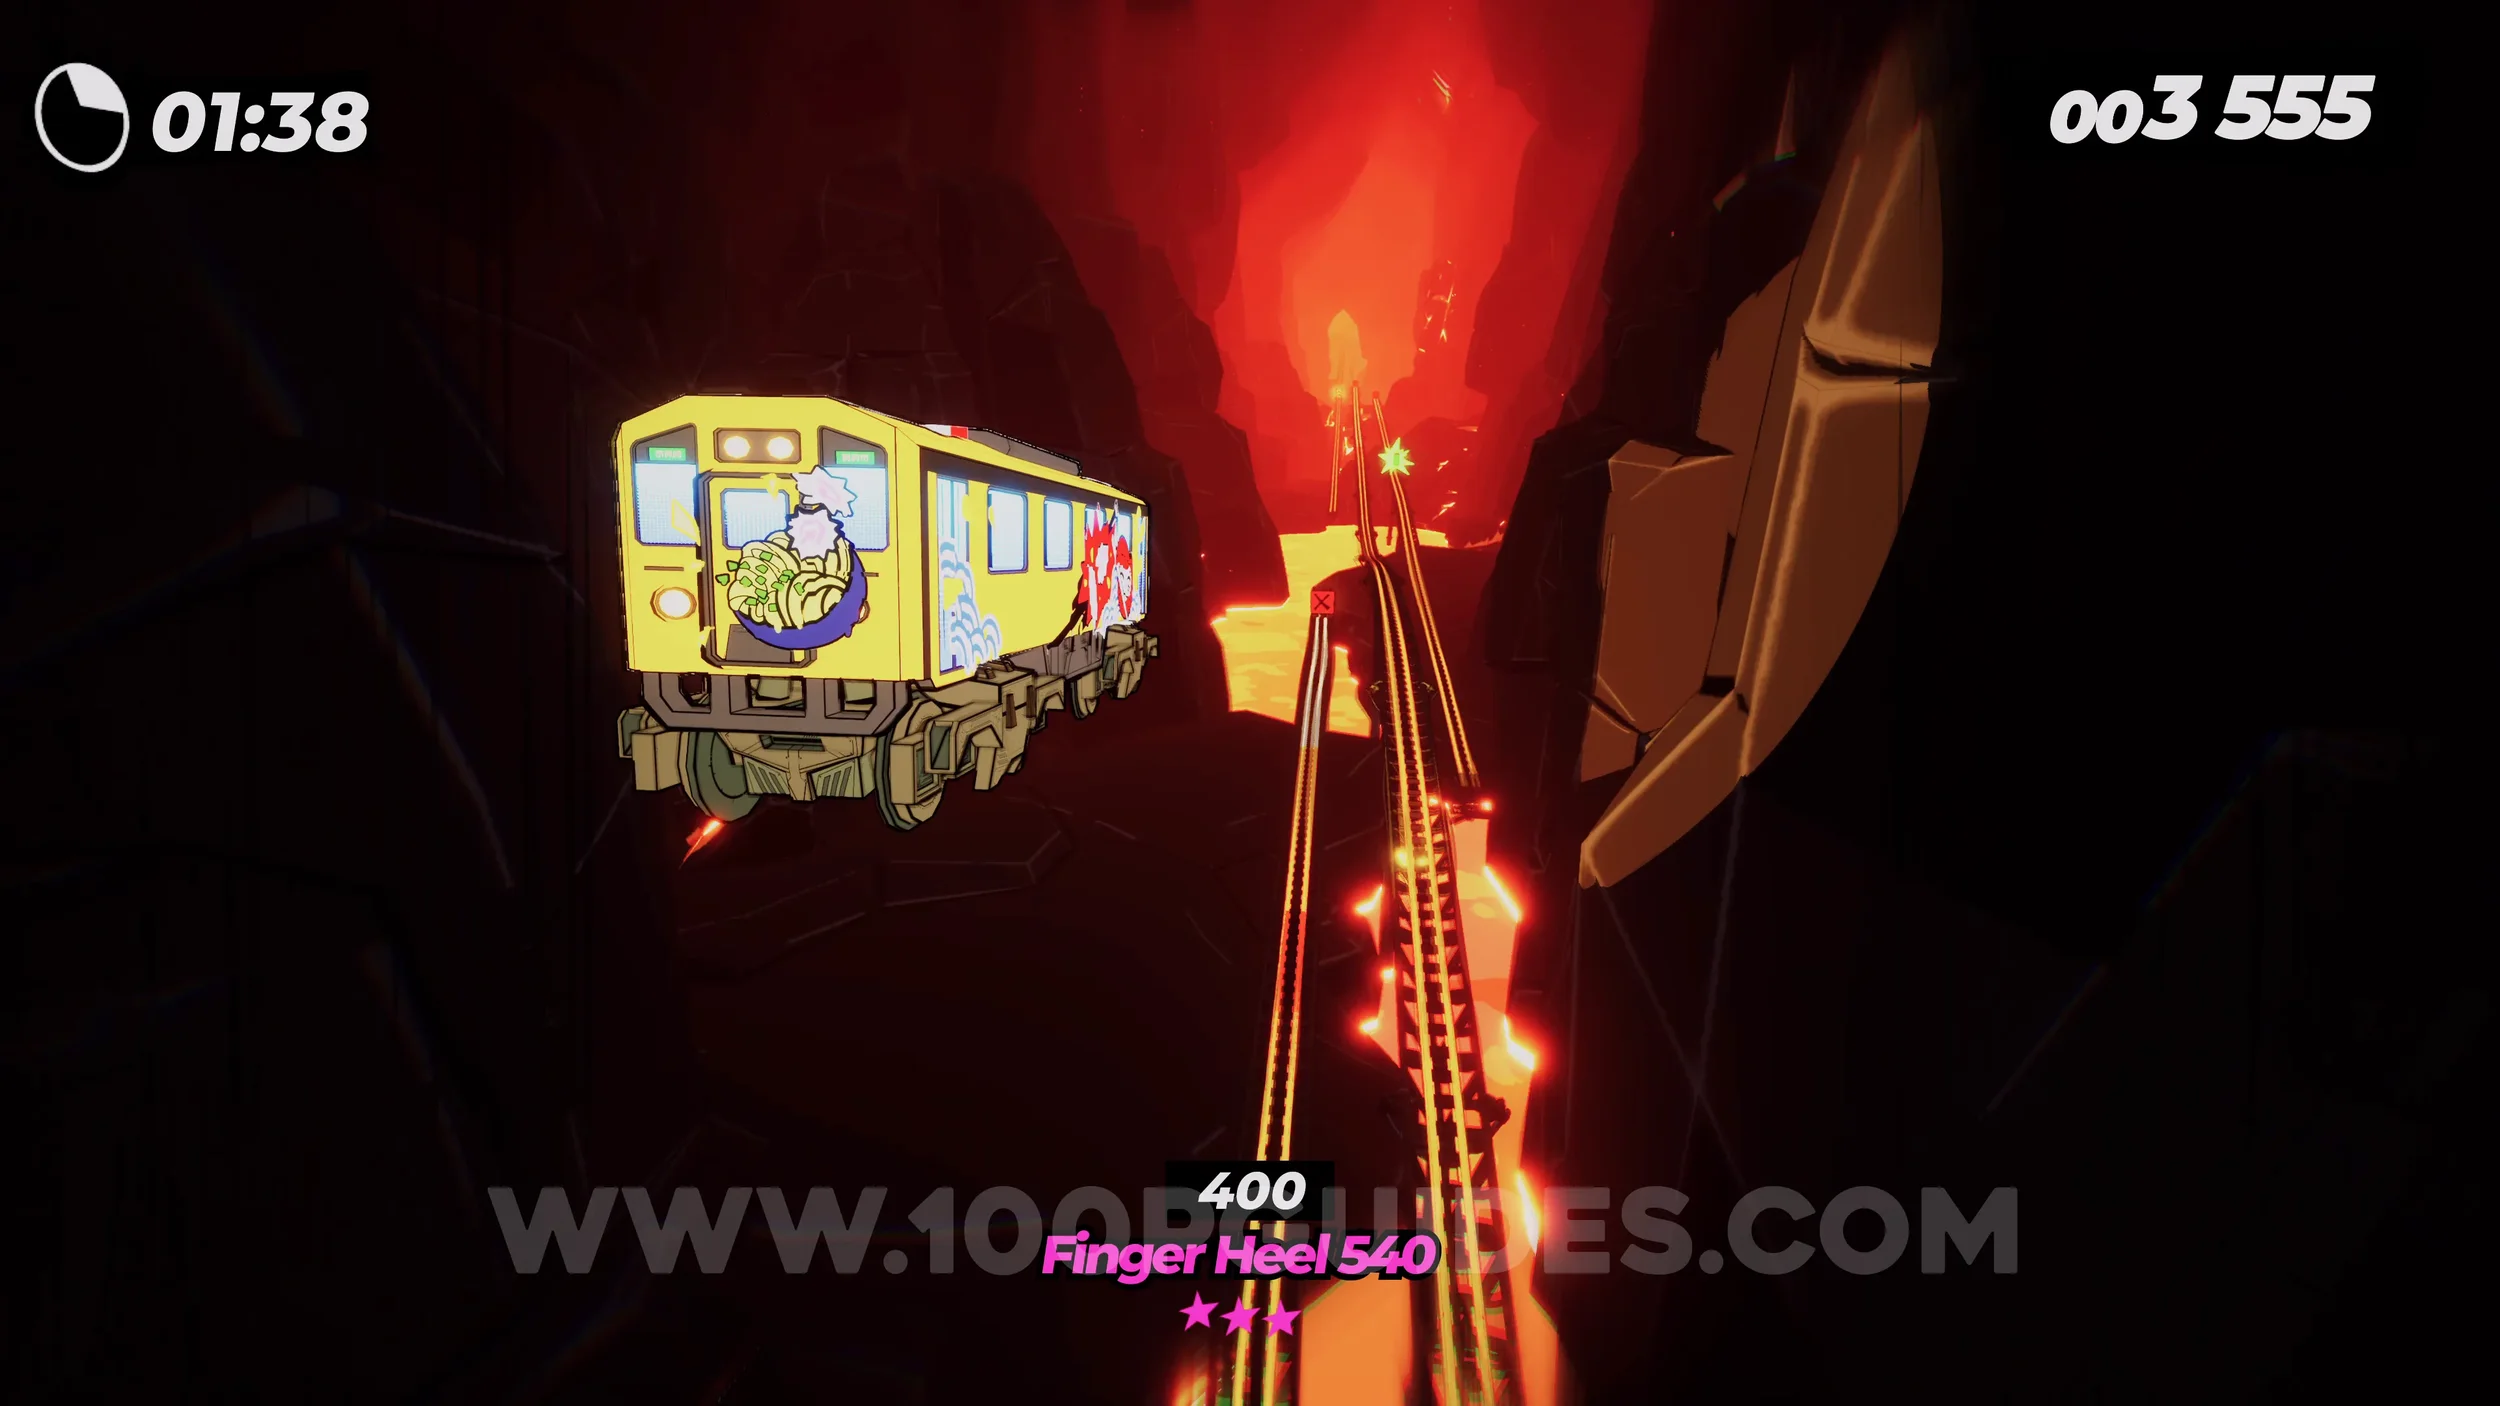
Spray Can (4/4). Soon after the previous can, you will use a jump and then see a green sign on your right telling you to stick right for a can. Do so until you see the can. You will have to jump to reach it.
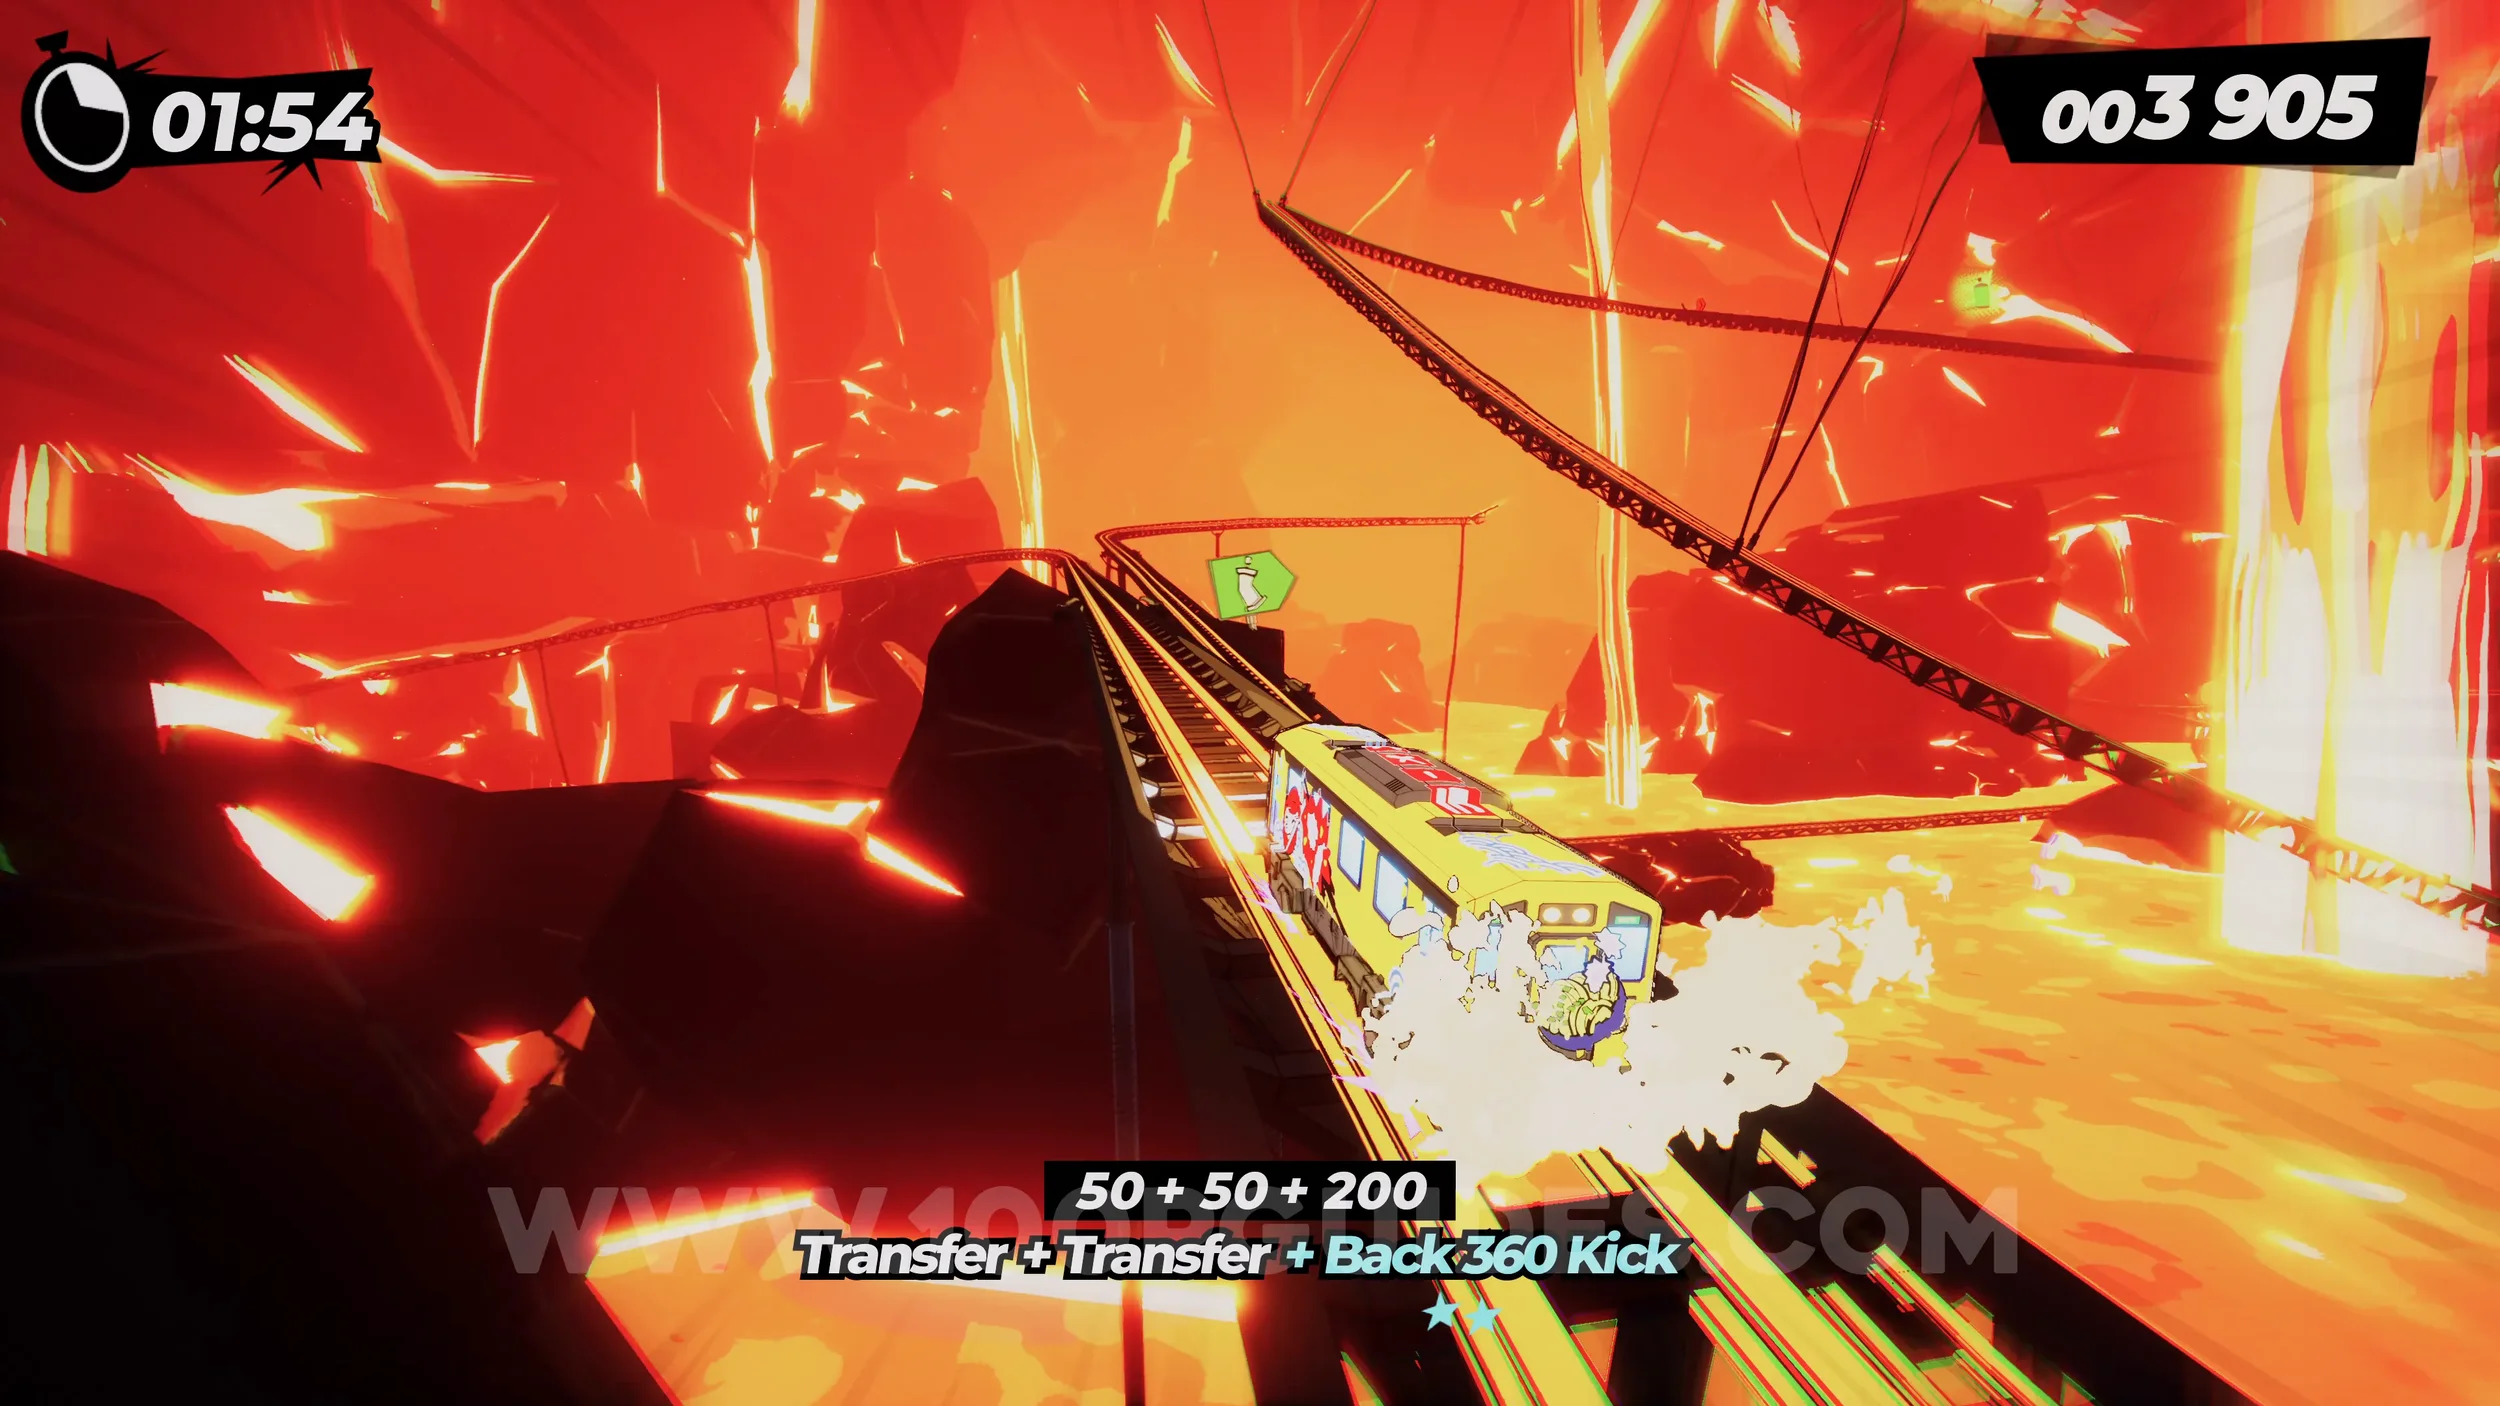
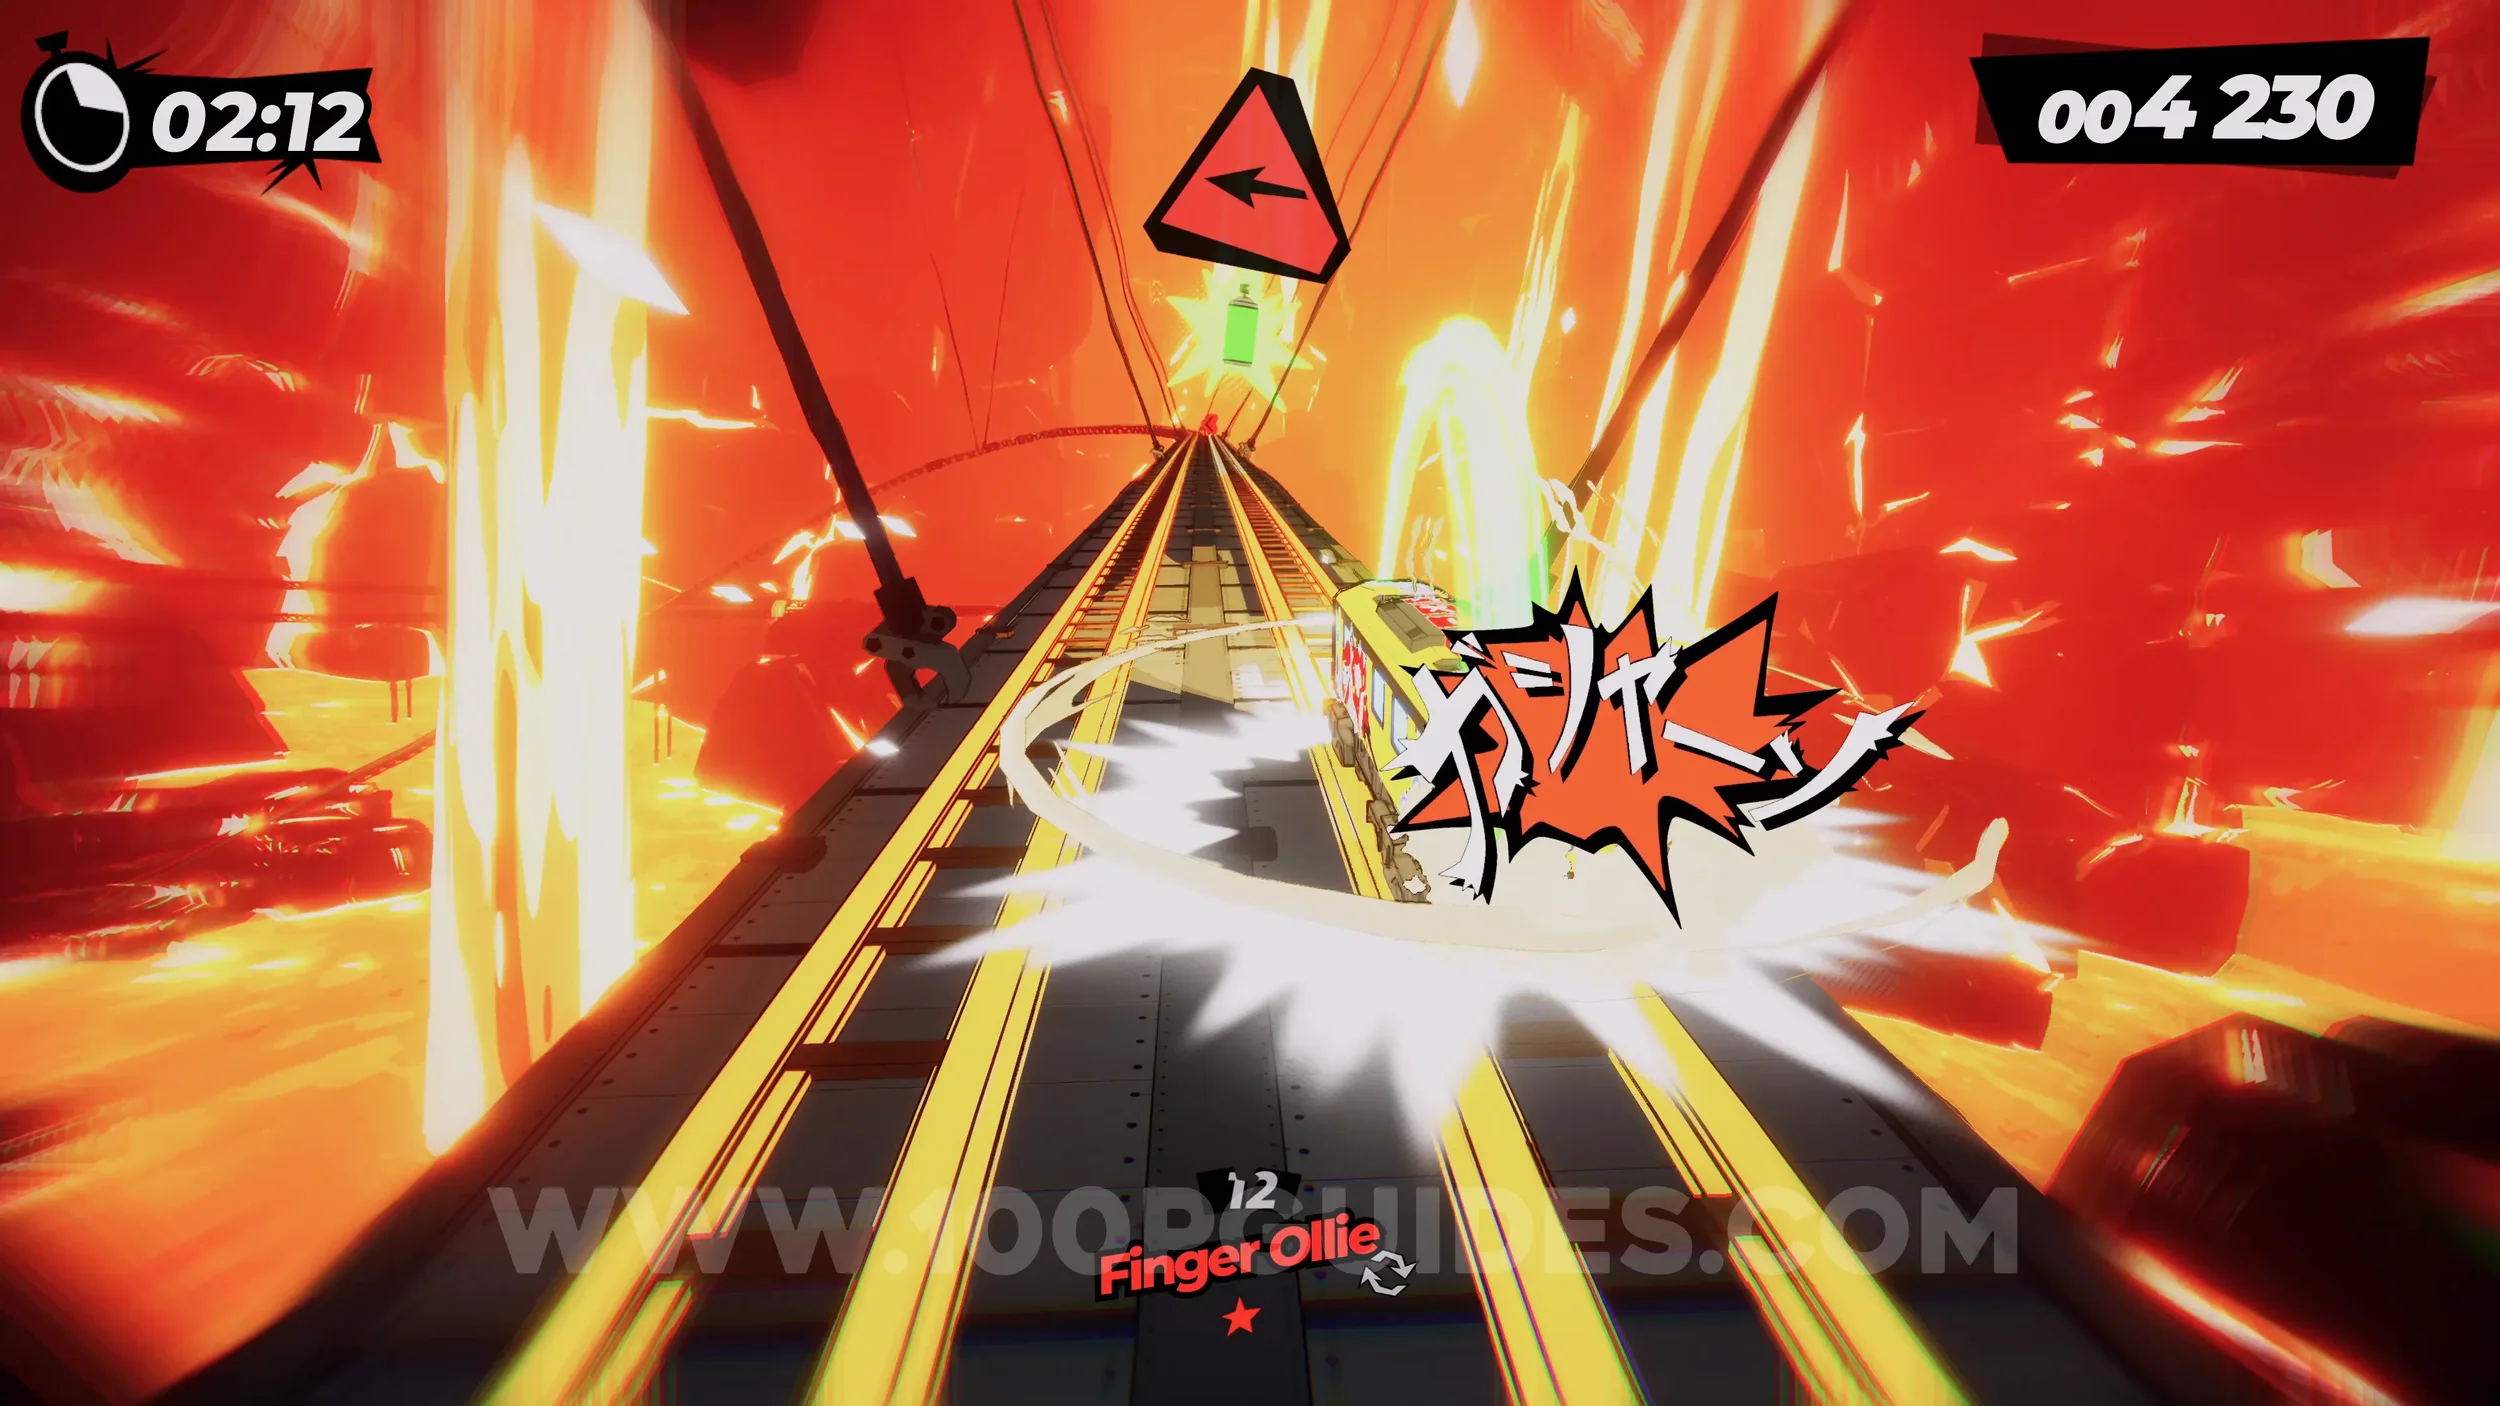
Dare: Perform 3 Different Tricks in a Row. Self-explanatory. Do three different tricks in a row. They do not have to be during the same jump.
Dare: Perform 5 Risky Dodges. Just move out of the way and change track just as you are about to hit something. This also works with the fireballs near the end of the level.
Dare: No Crash Finish. Self-explanatory. Get to the end without crashing.
1-4-C Kumamoto Castle
Here you will be able to spend your spray cans to purchase stickers needed for the Full Set trophy.
1-4-1 Keep The Balance
Dare: Score Over 100 Points on a Single Grind’s Sweet Spot. During this level, you will have single rails you can grind on. Just keep the marker in the green and get 100 points in a single grind.
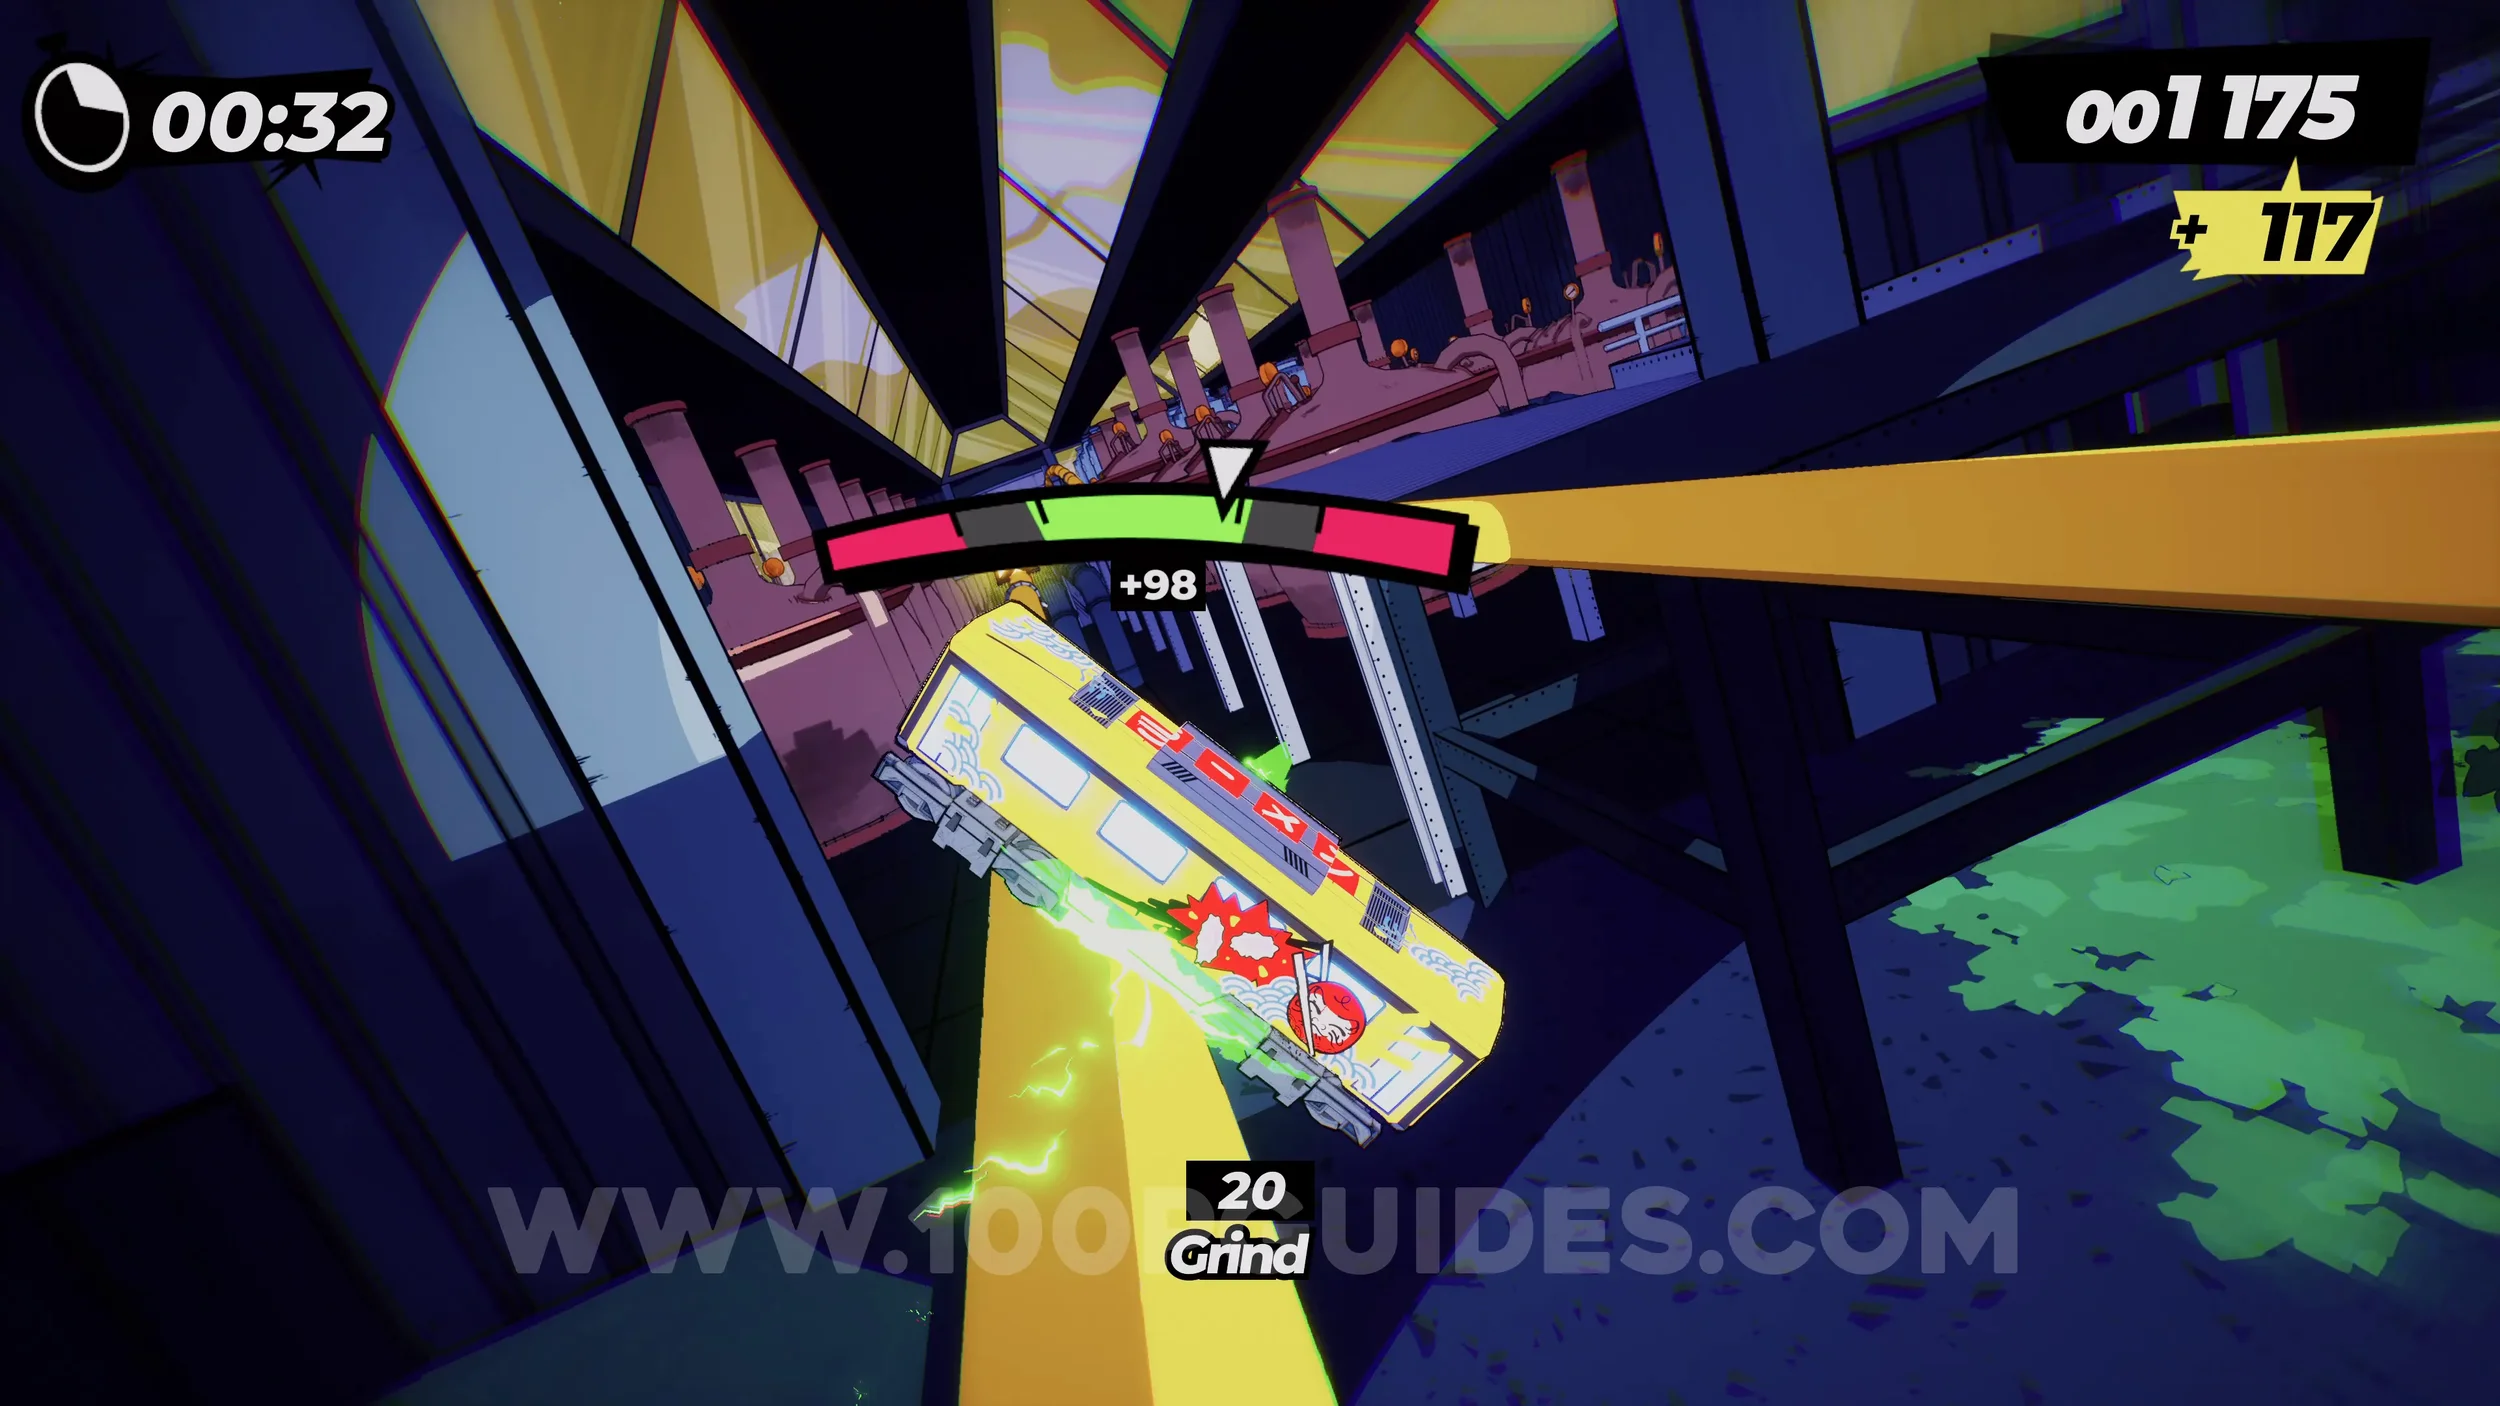
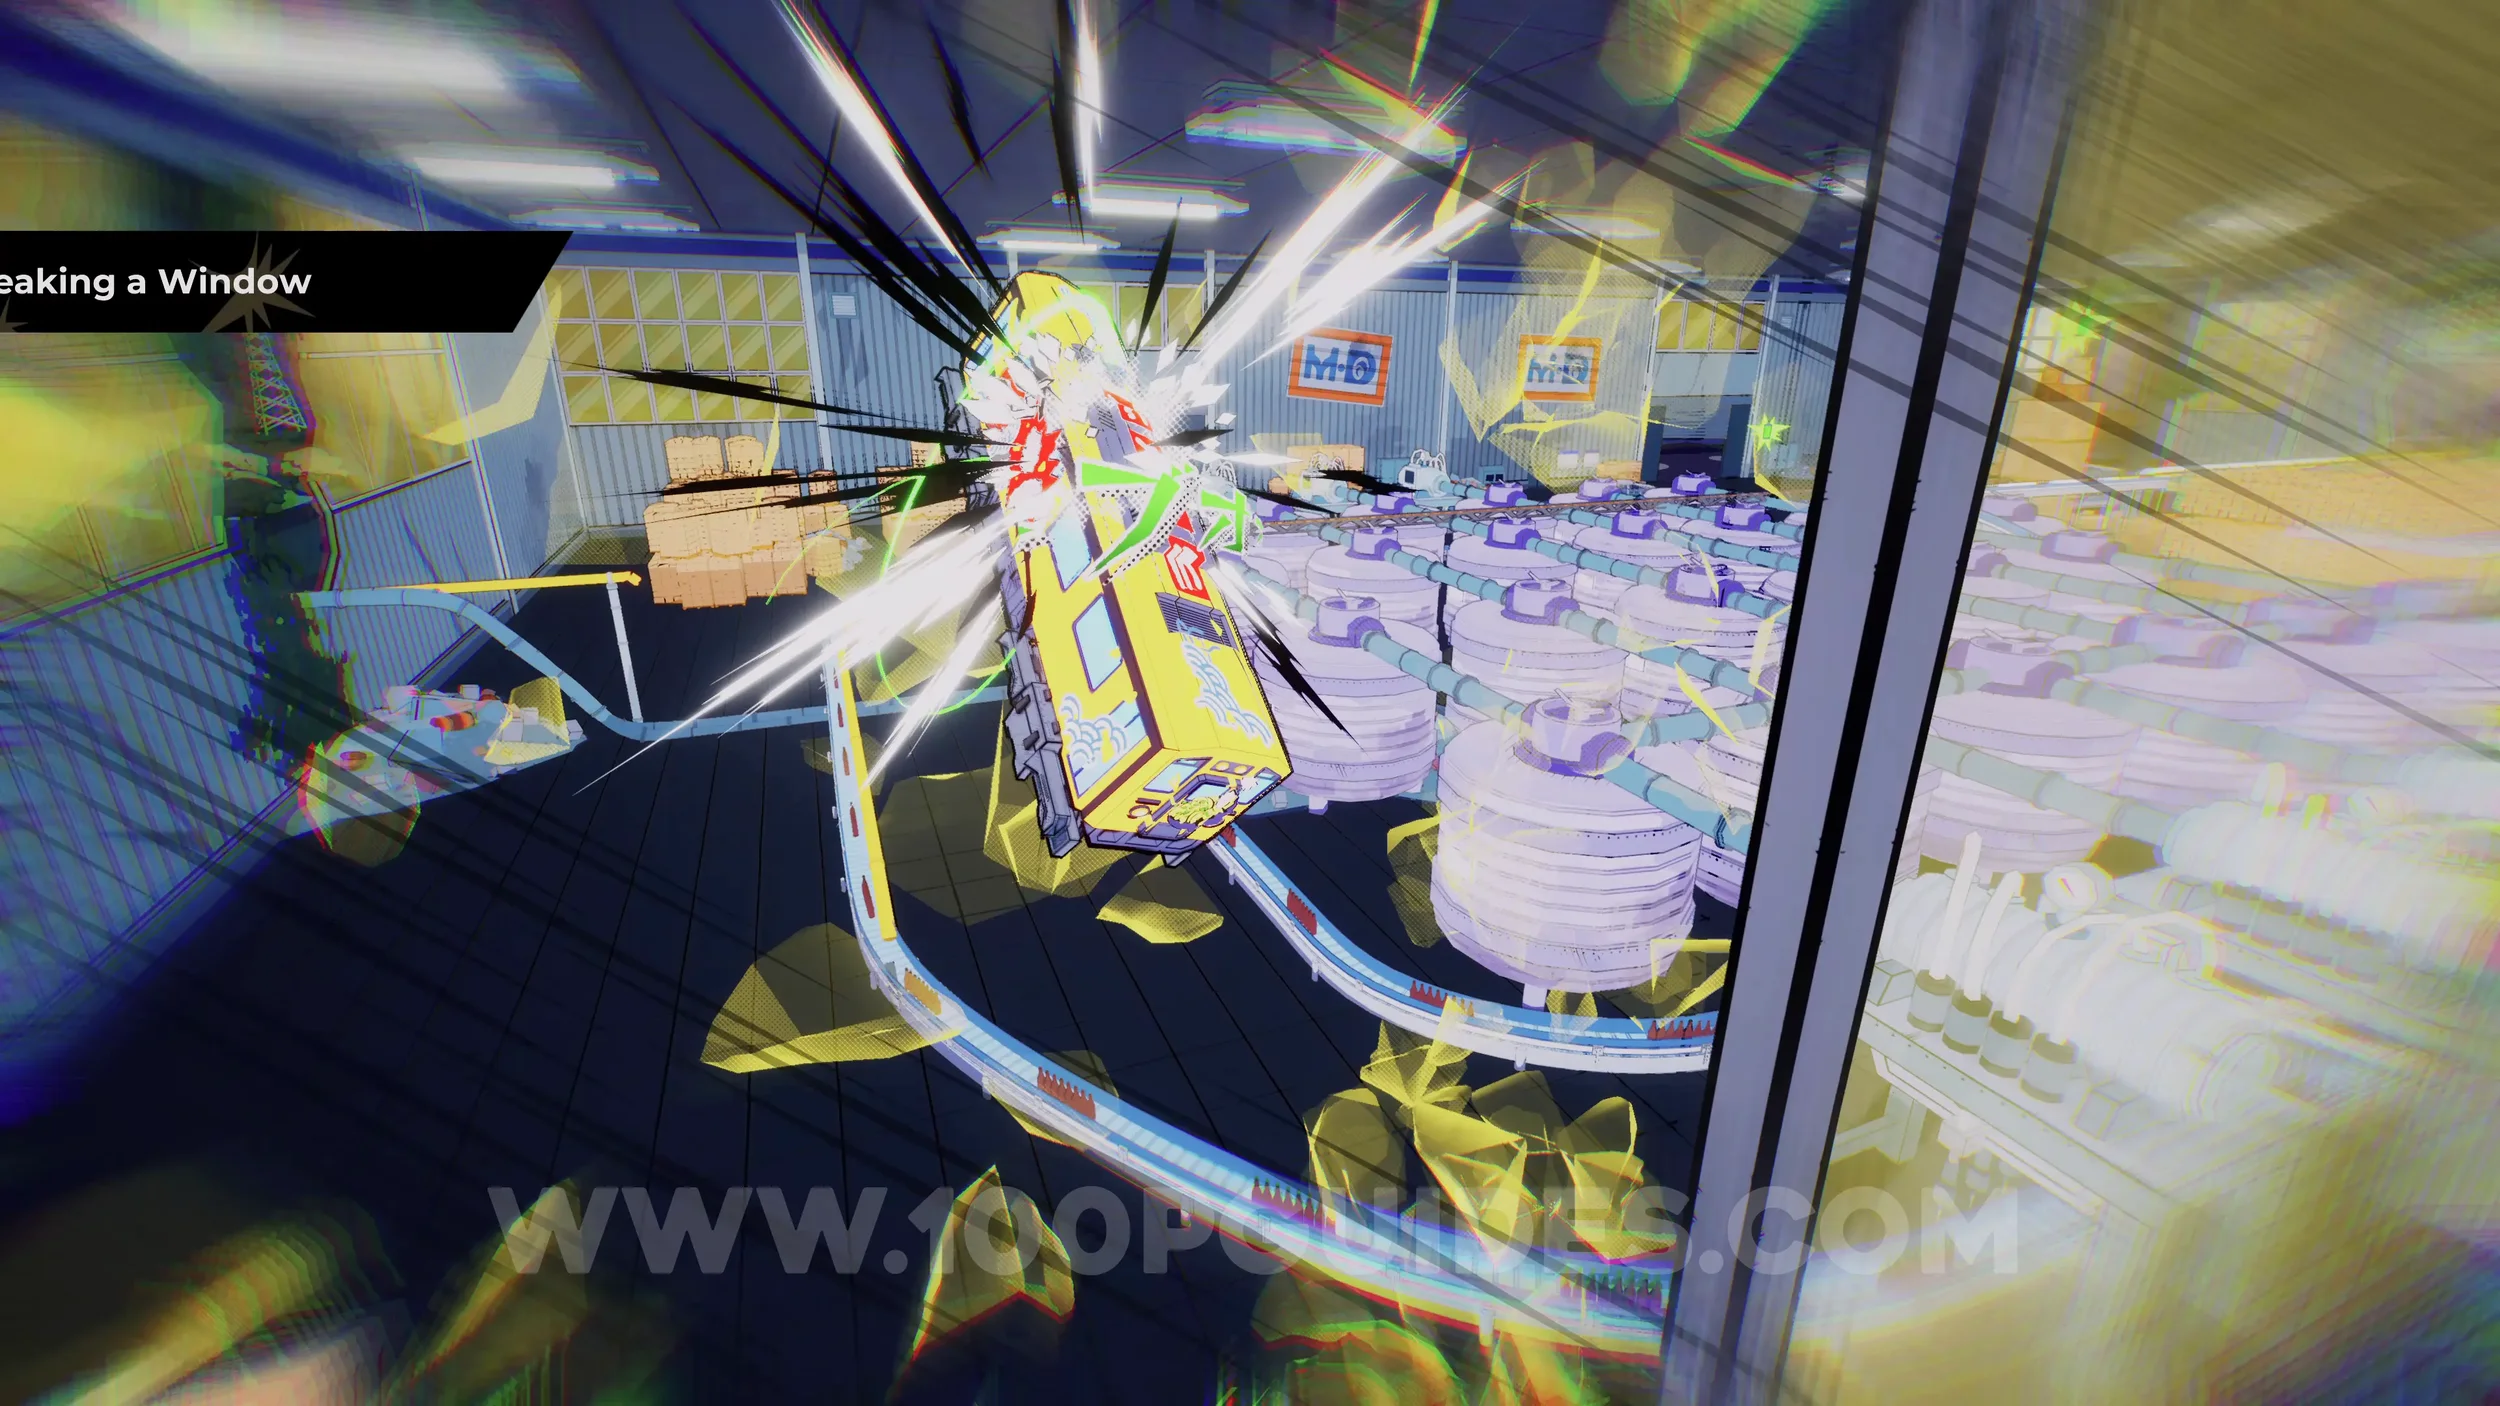
Dare: Trick while Breaking a Window. After the first few grind rails, you will jump and smash through a window. Just use the right analog stick to do any trick as you smash it.
Dare: Perform a Back 360 Kick. Self-explanatory. Just do this trick during any jump. Pause the game to see the combination.
Spray Can (1/4). After smashing through the window, stay on the left track and jump over the red board to get the can (don't swap over to the right-side track).
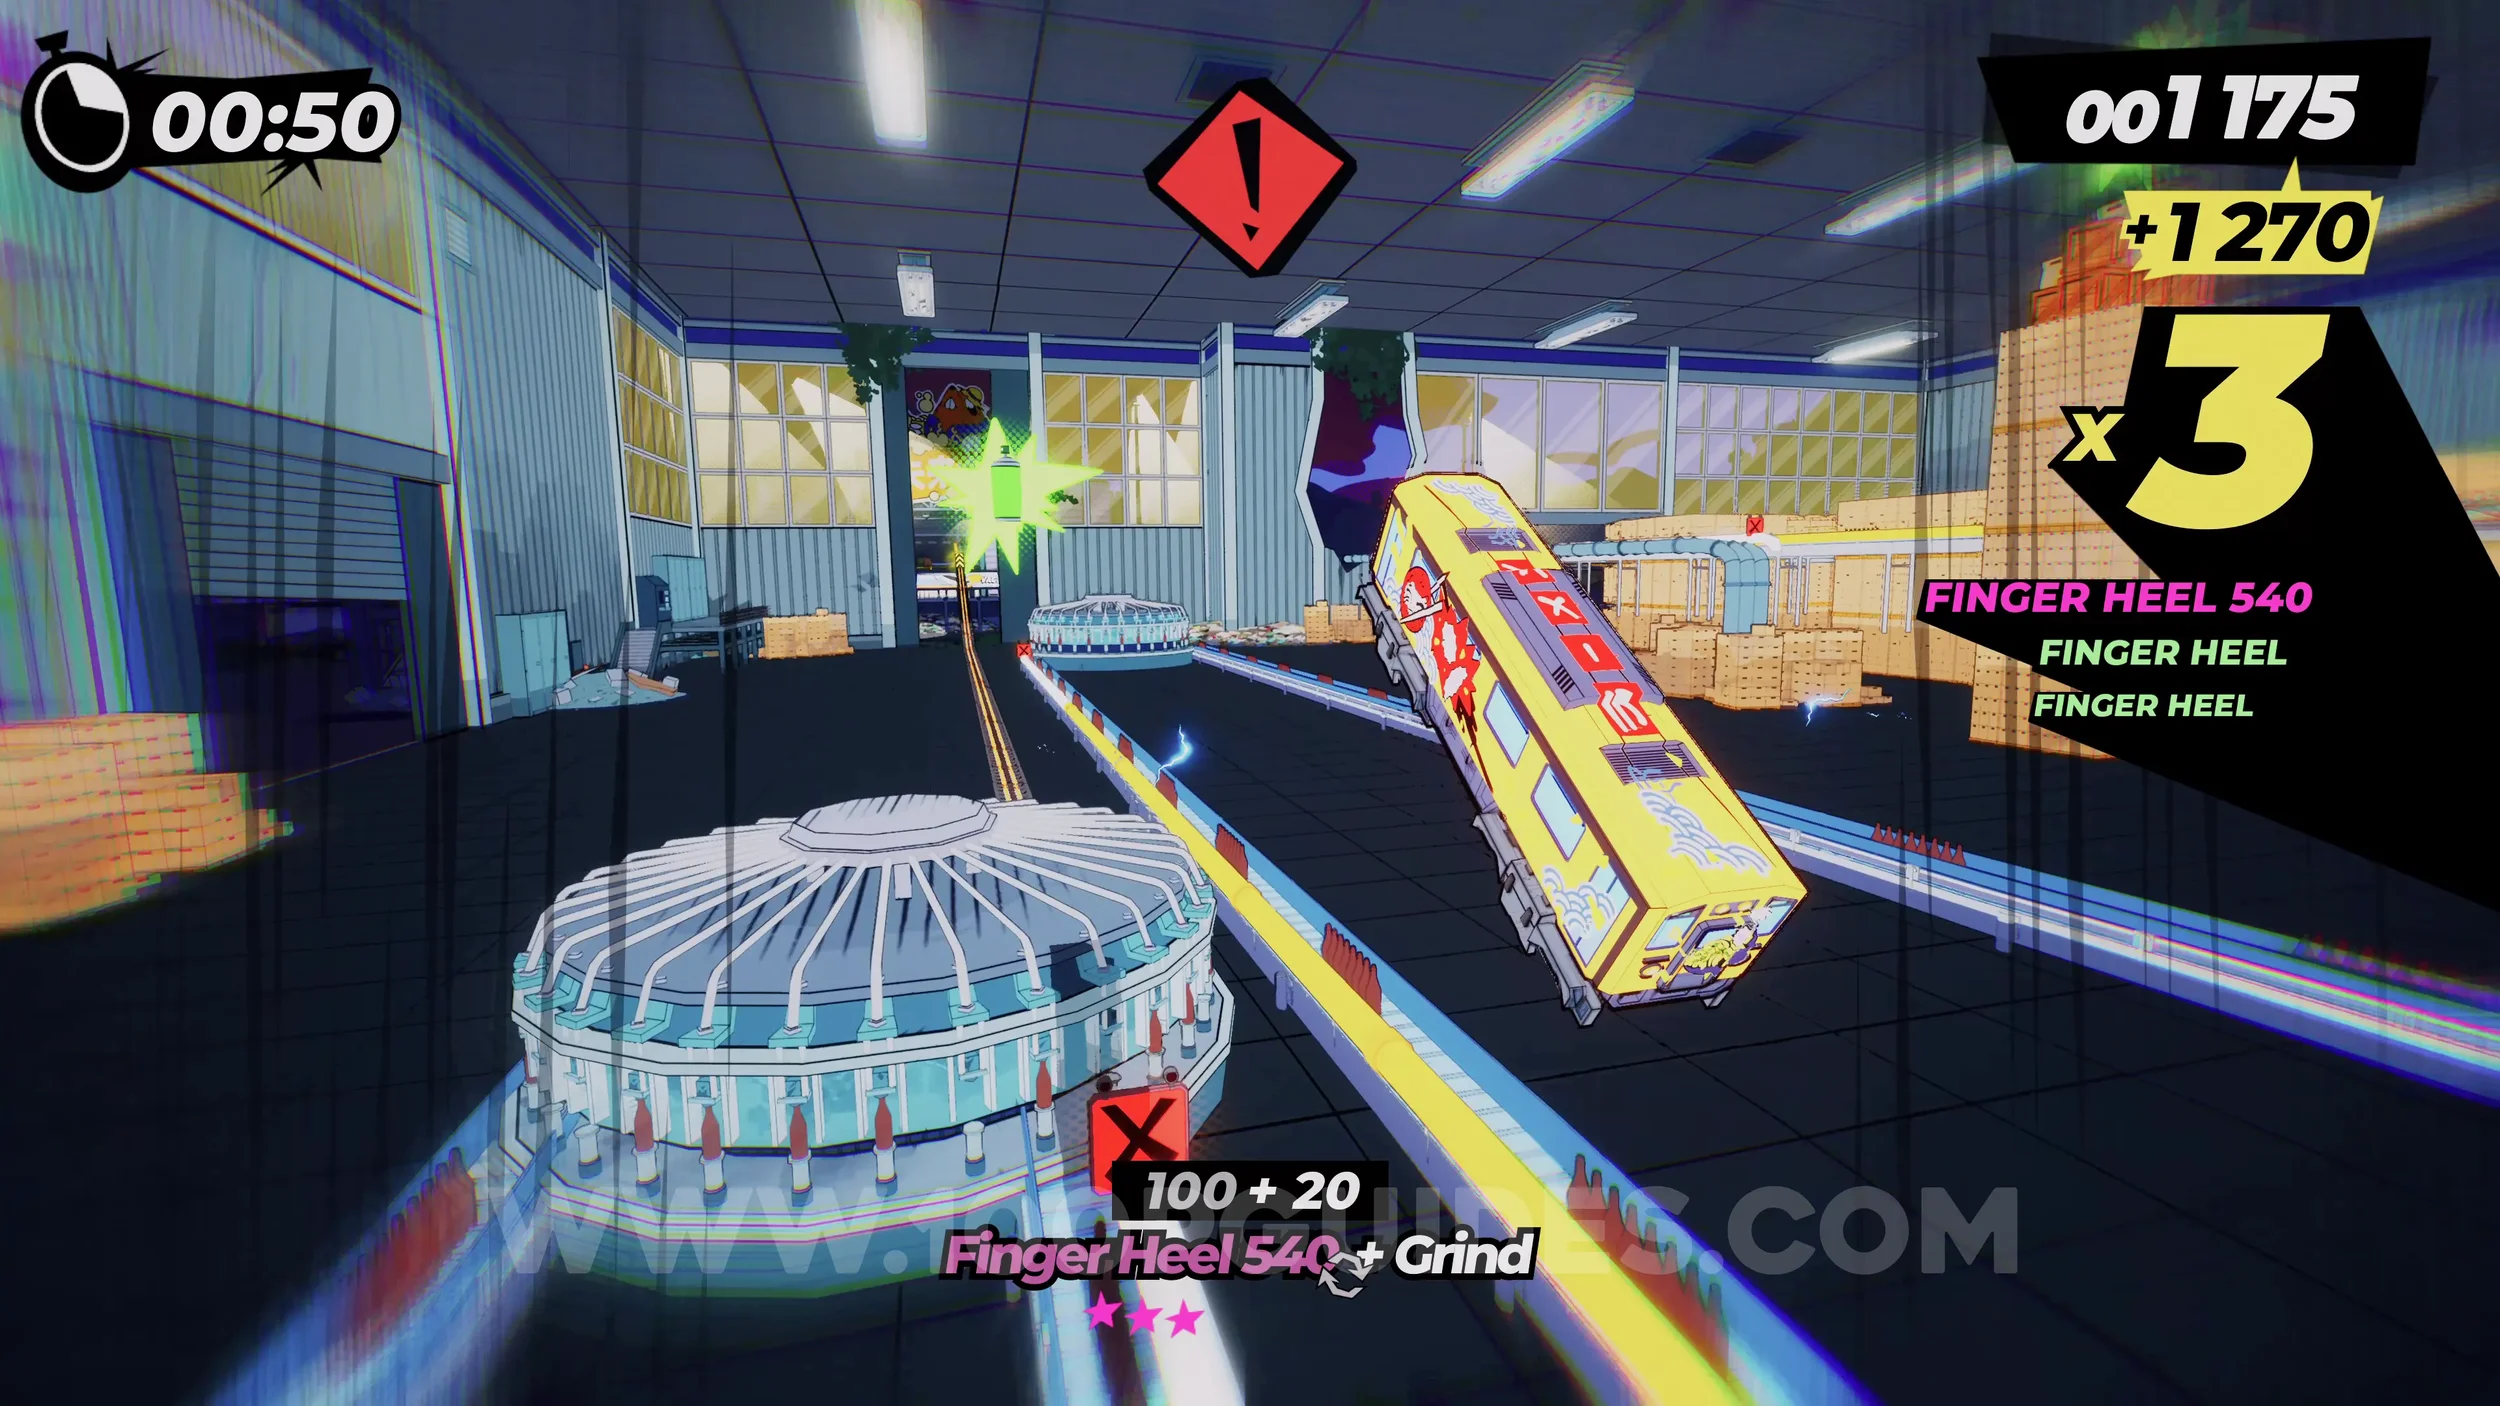
Spray Can (2/4). After exiting the building and almost hitting a billboard, which you have to dodge by pressing L2+R2, you will then go around a few corners and then see the spray can above the two red boards in the middle of the tracks.
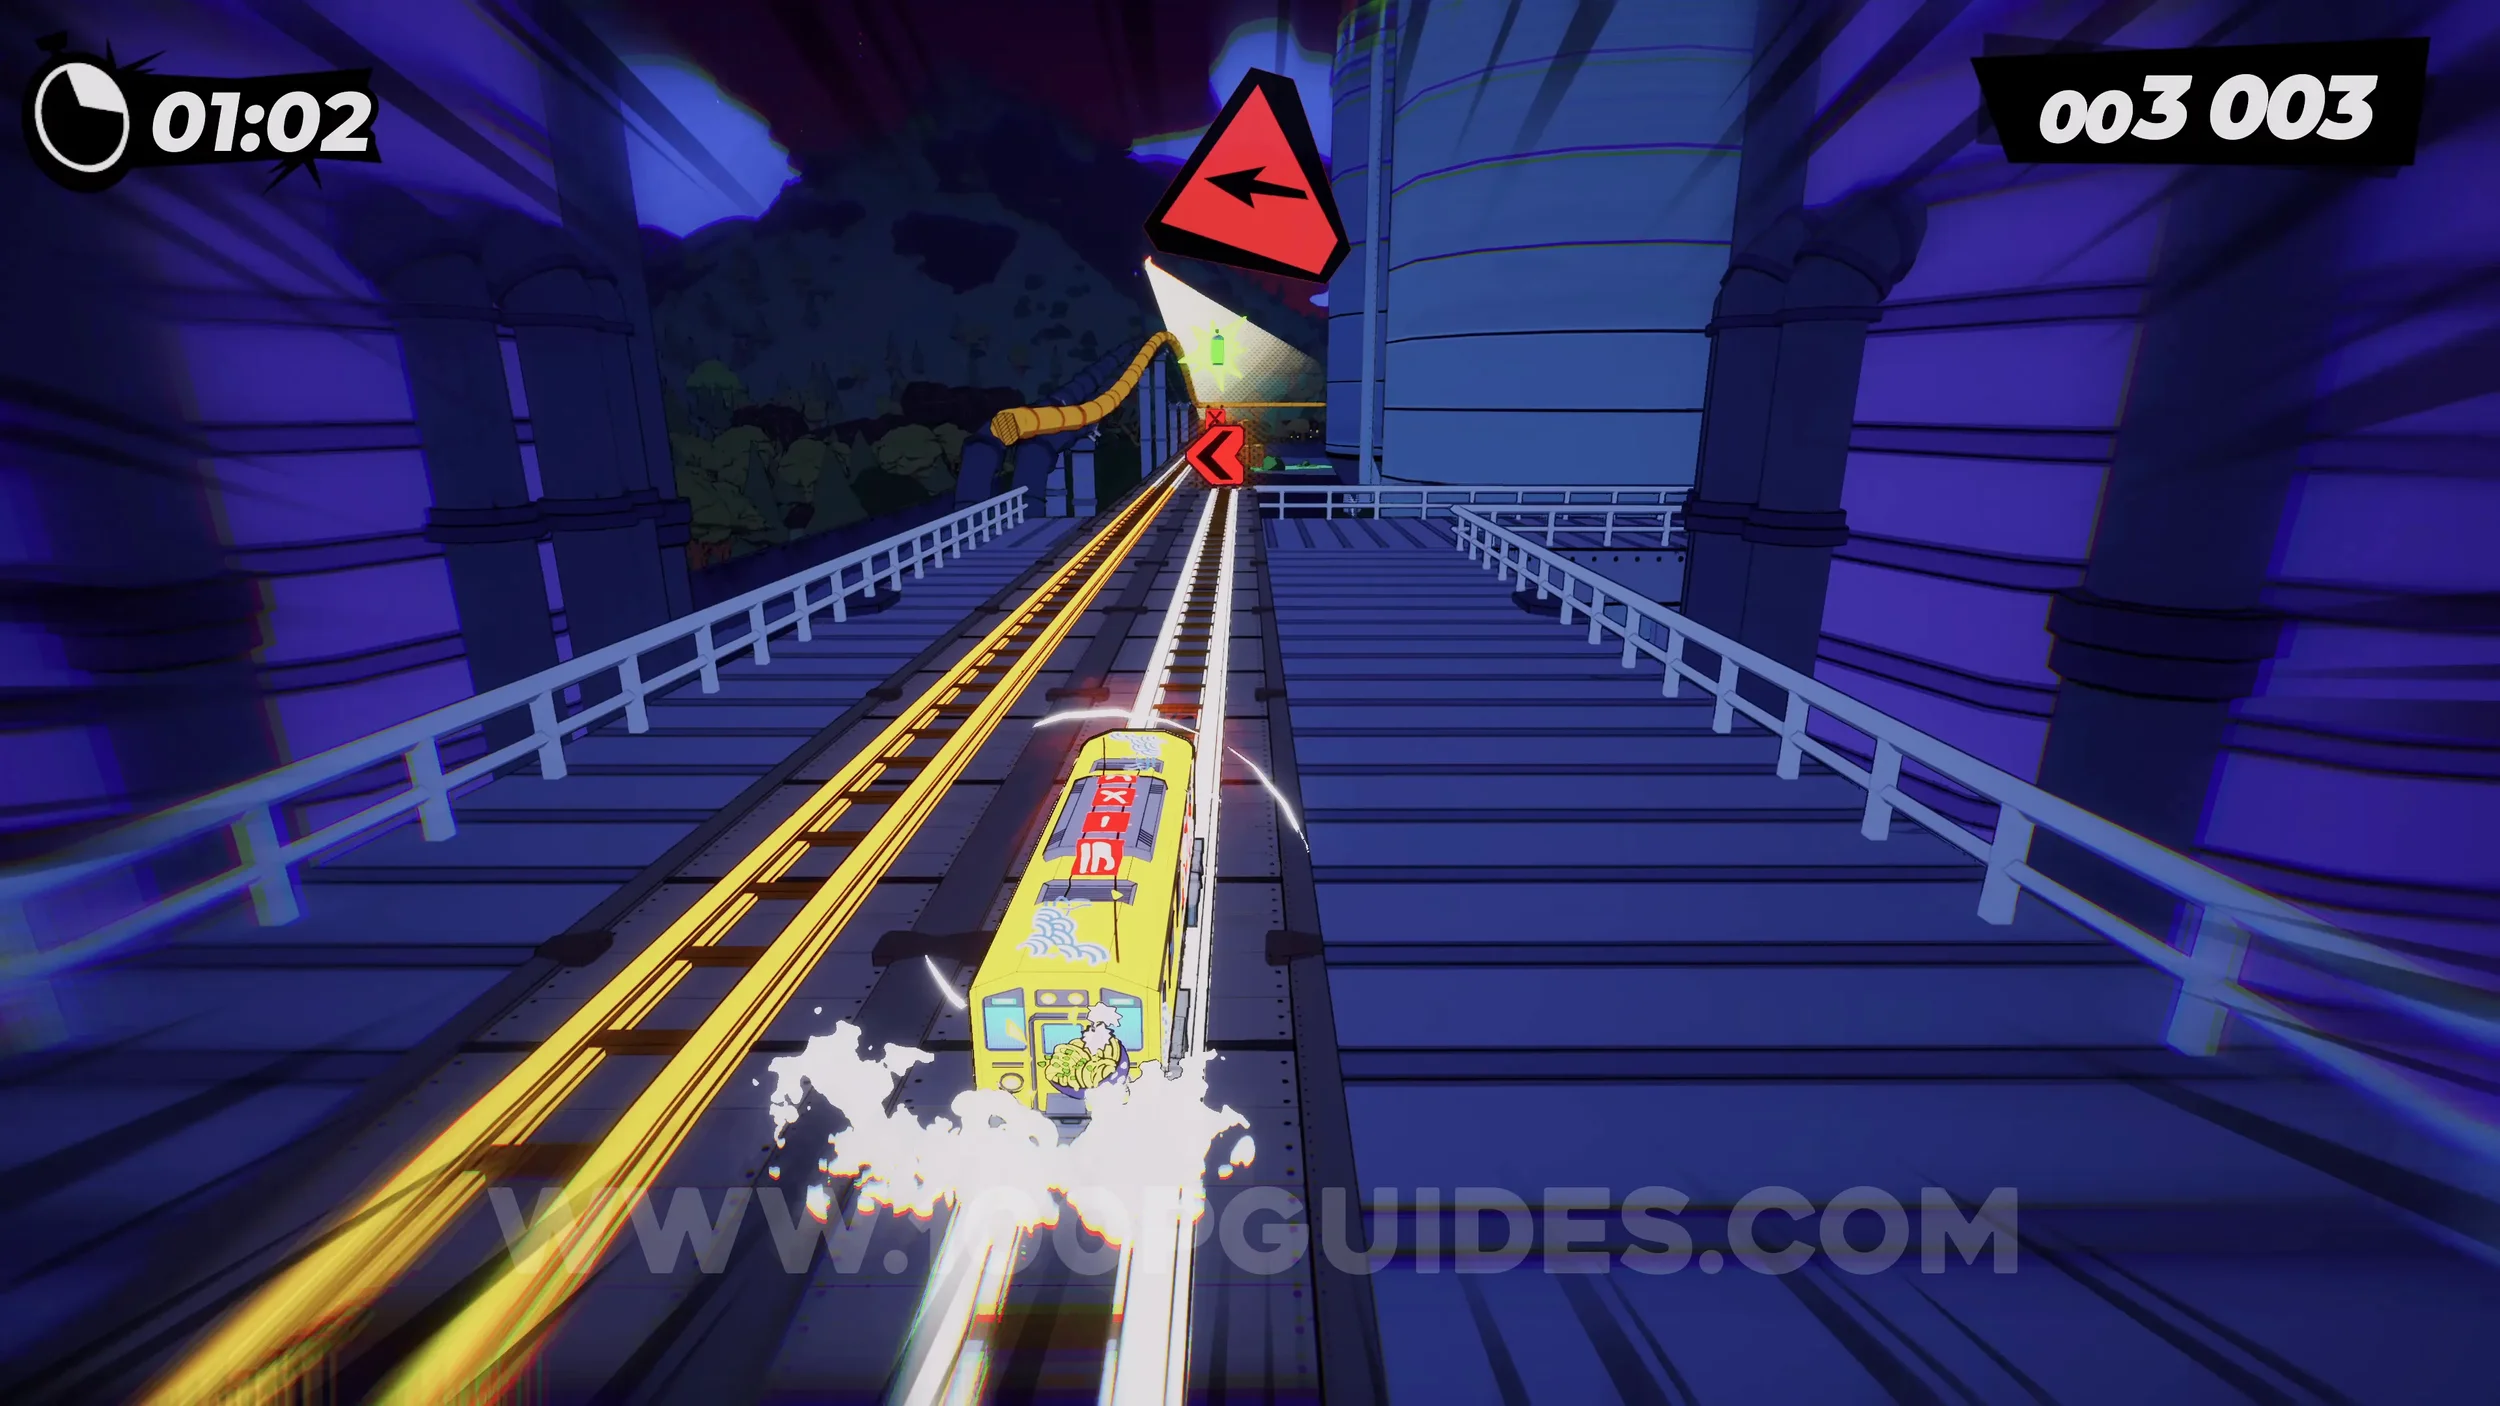
Spray Can (3/4) & Dare: Knock Over The Boxes. After the previous can, you will enter another large building. You will see the can above the tower of boxes inside.
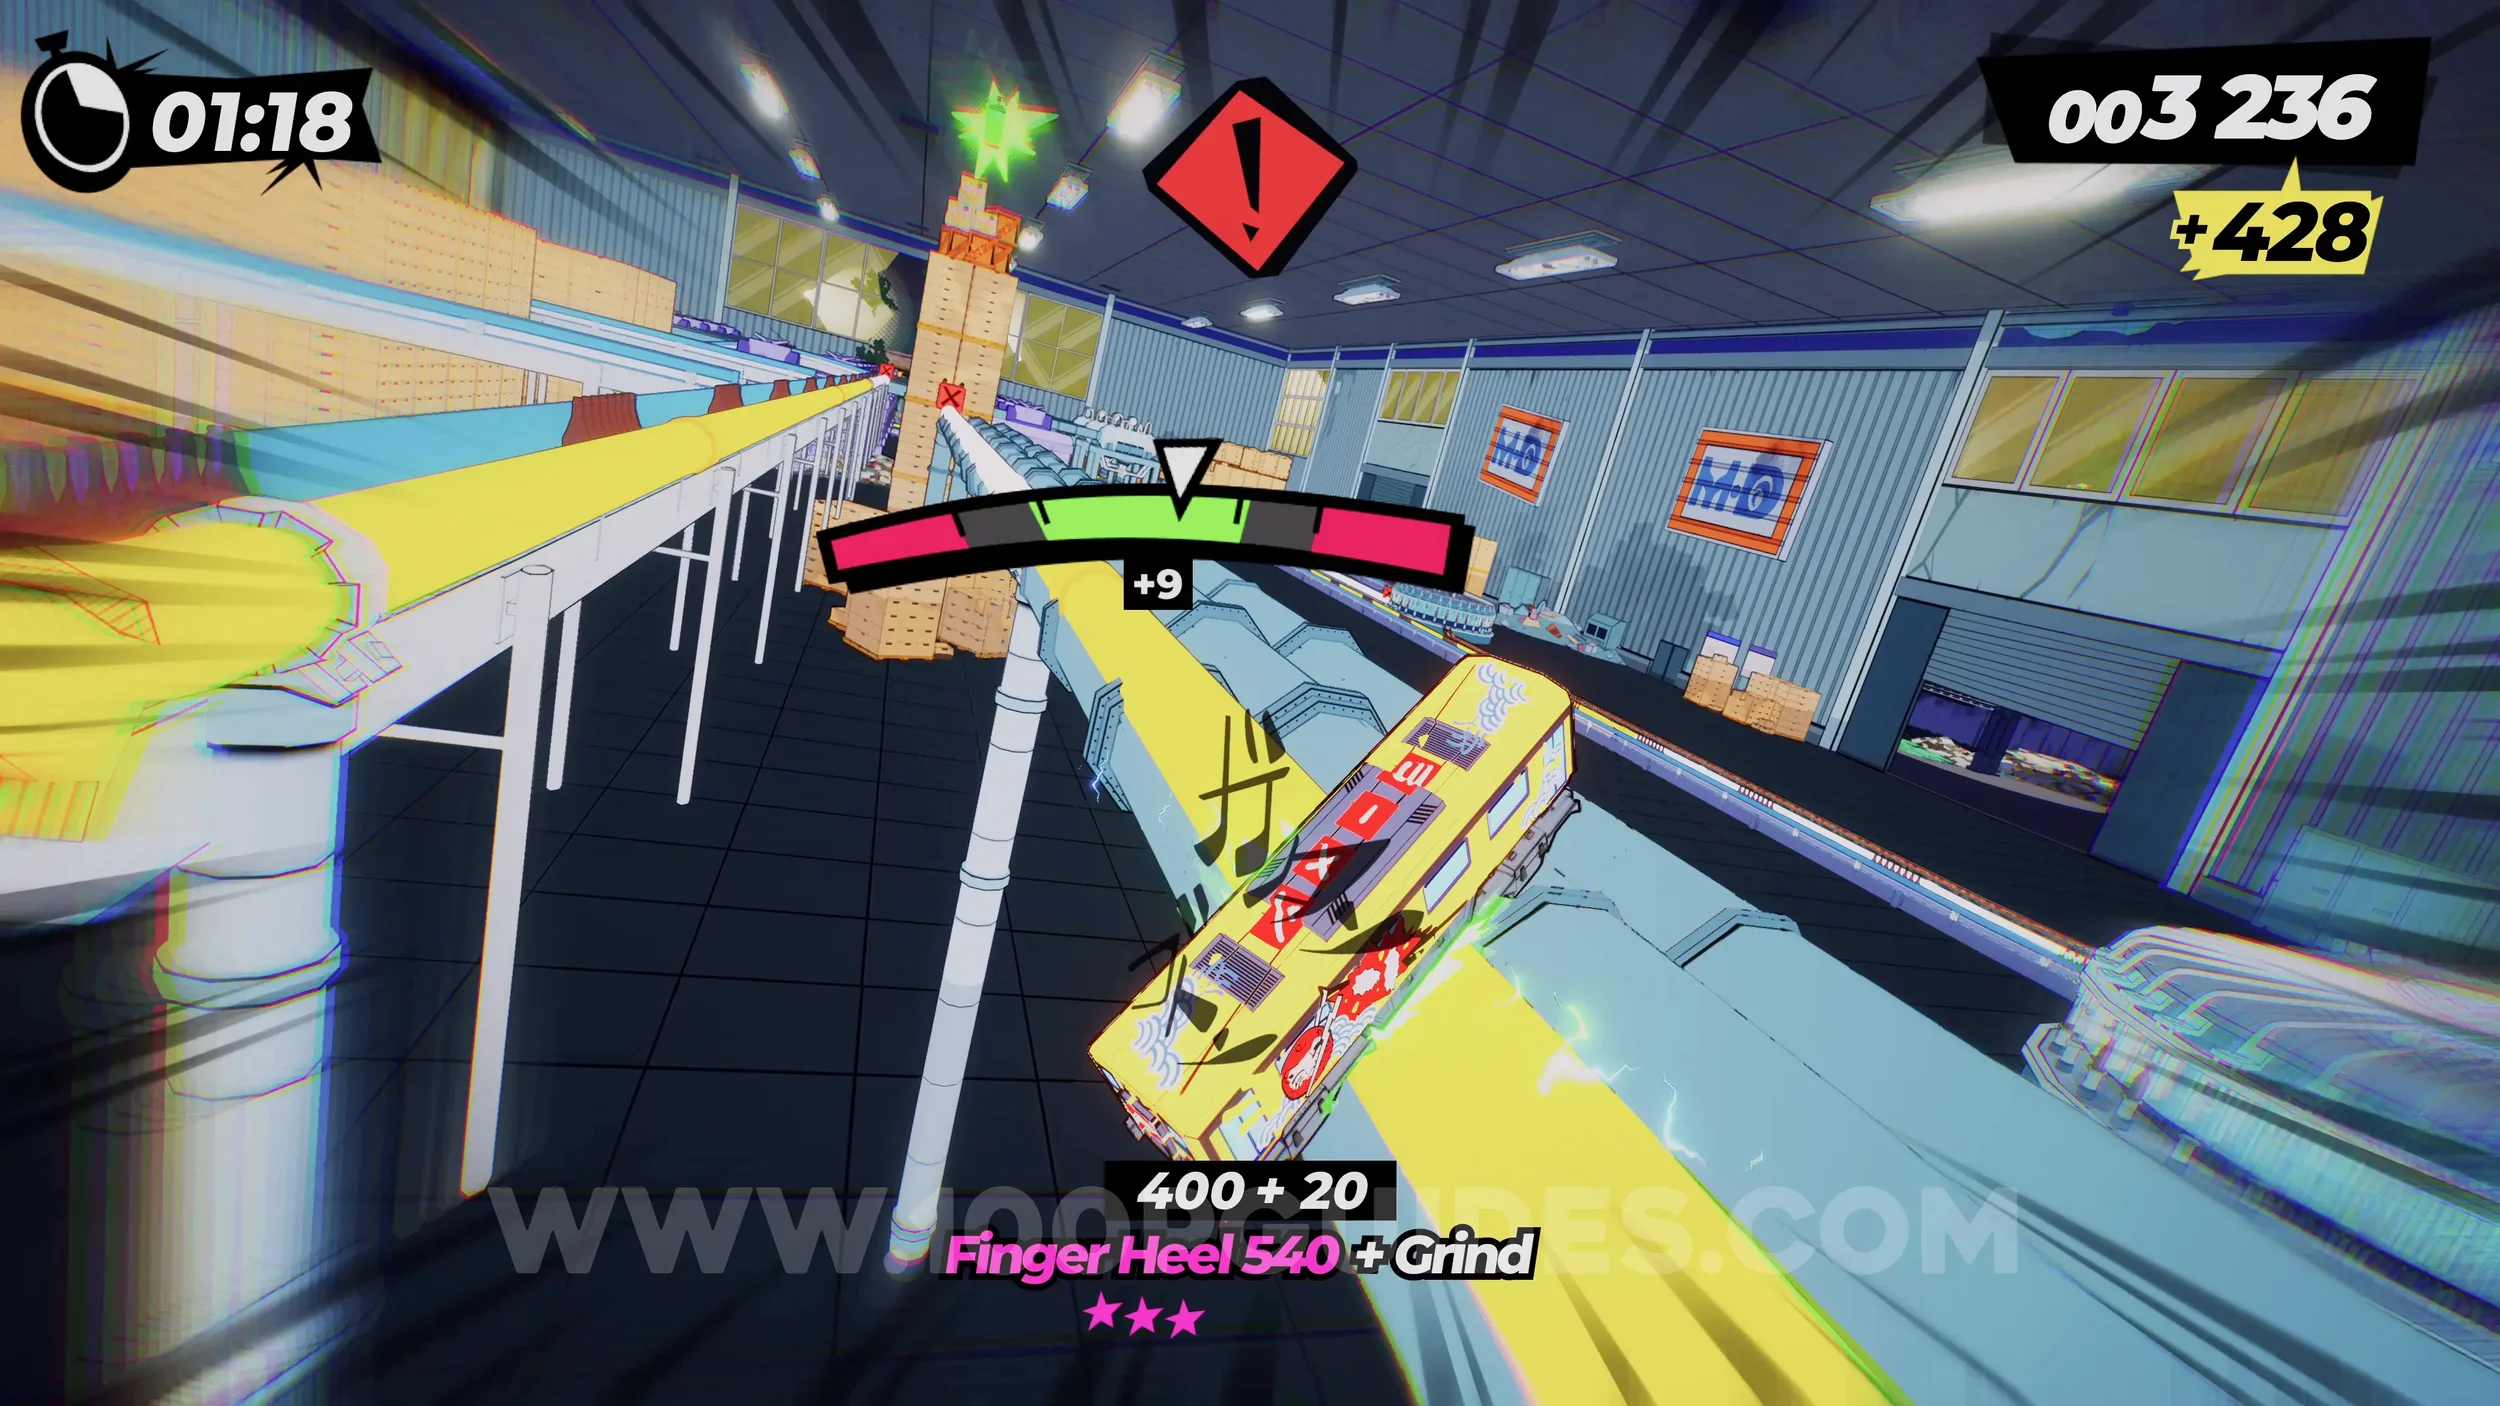
Spray Can (4/4). After leaving the building, you will grind around a corner and then have to jump over the red board at the end. As soon as you do, press L2+R2 to drop down to the can.
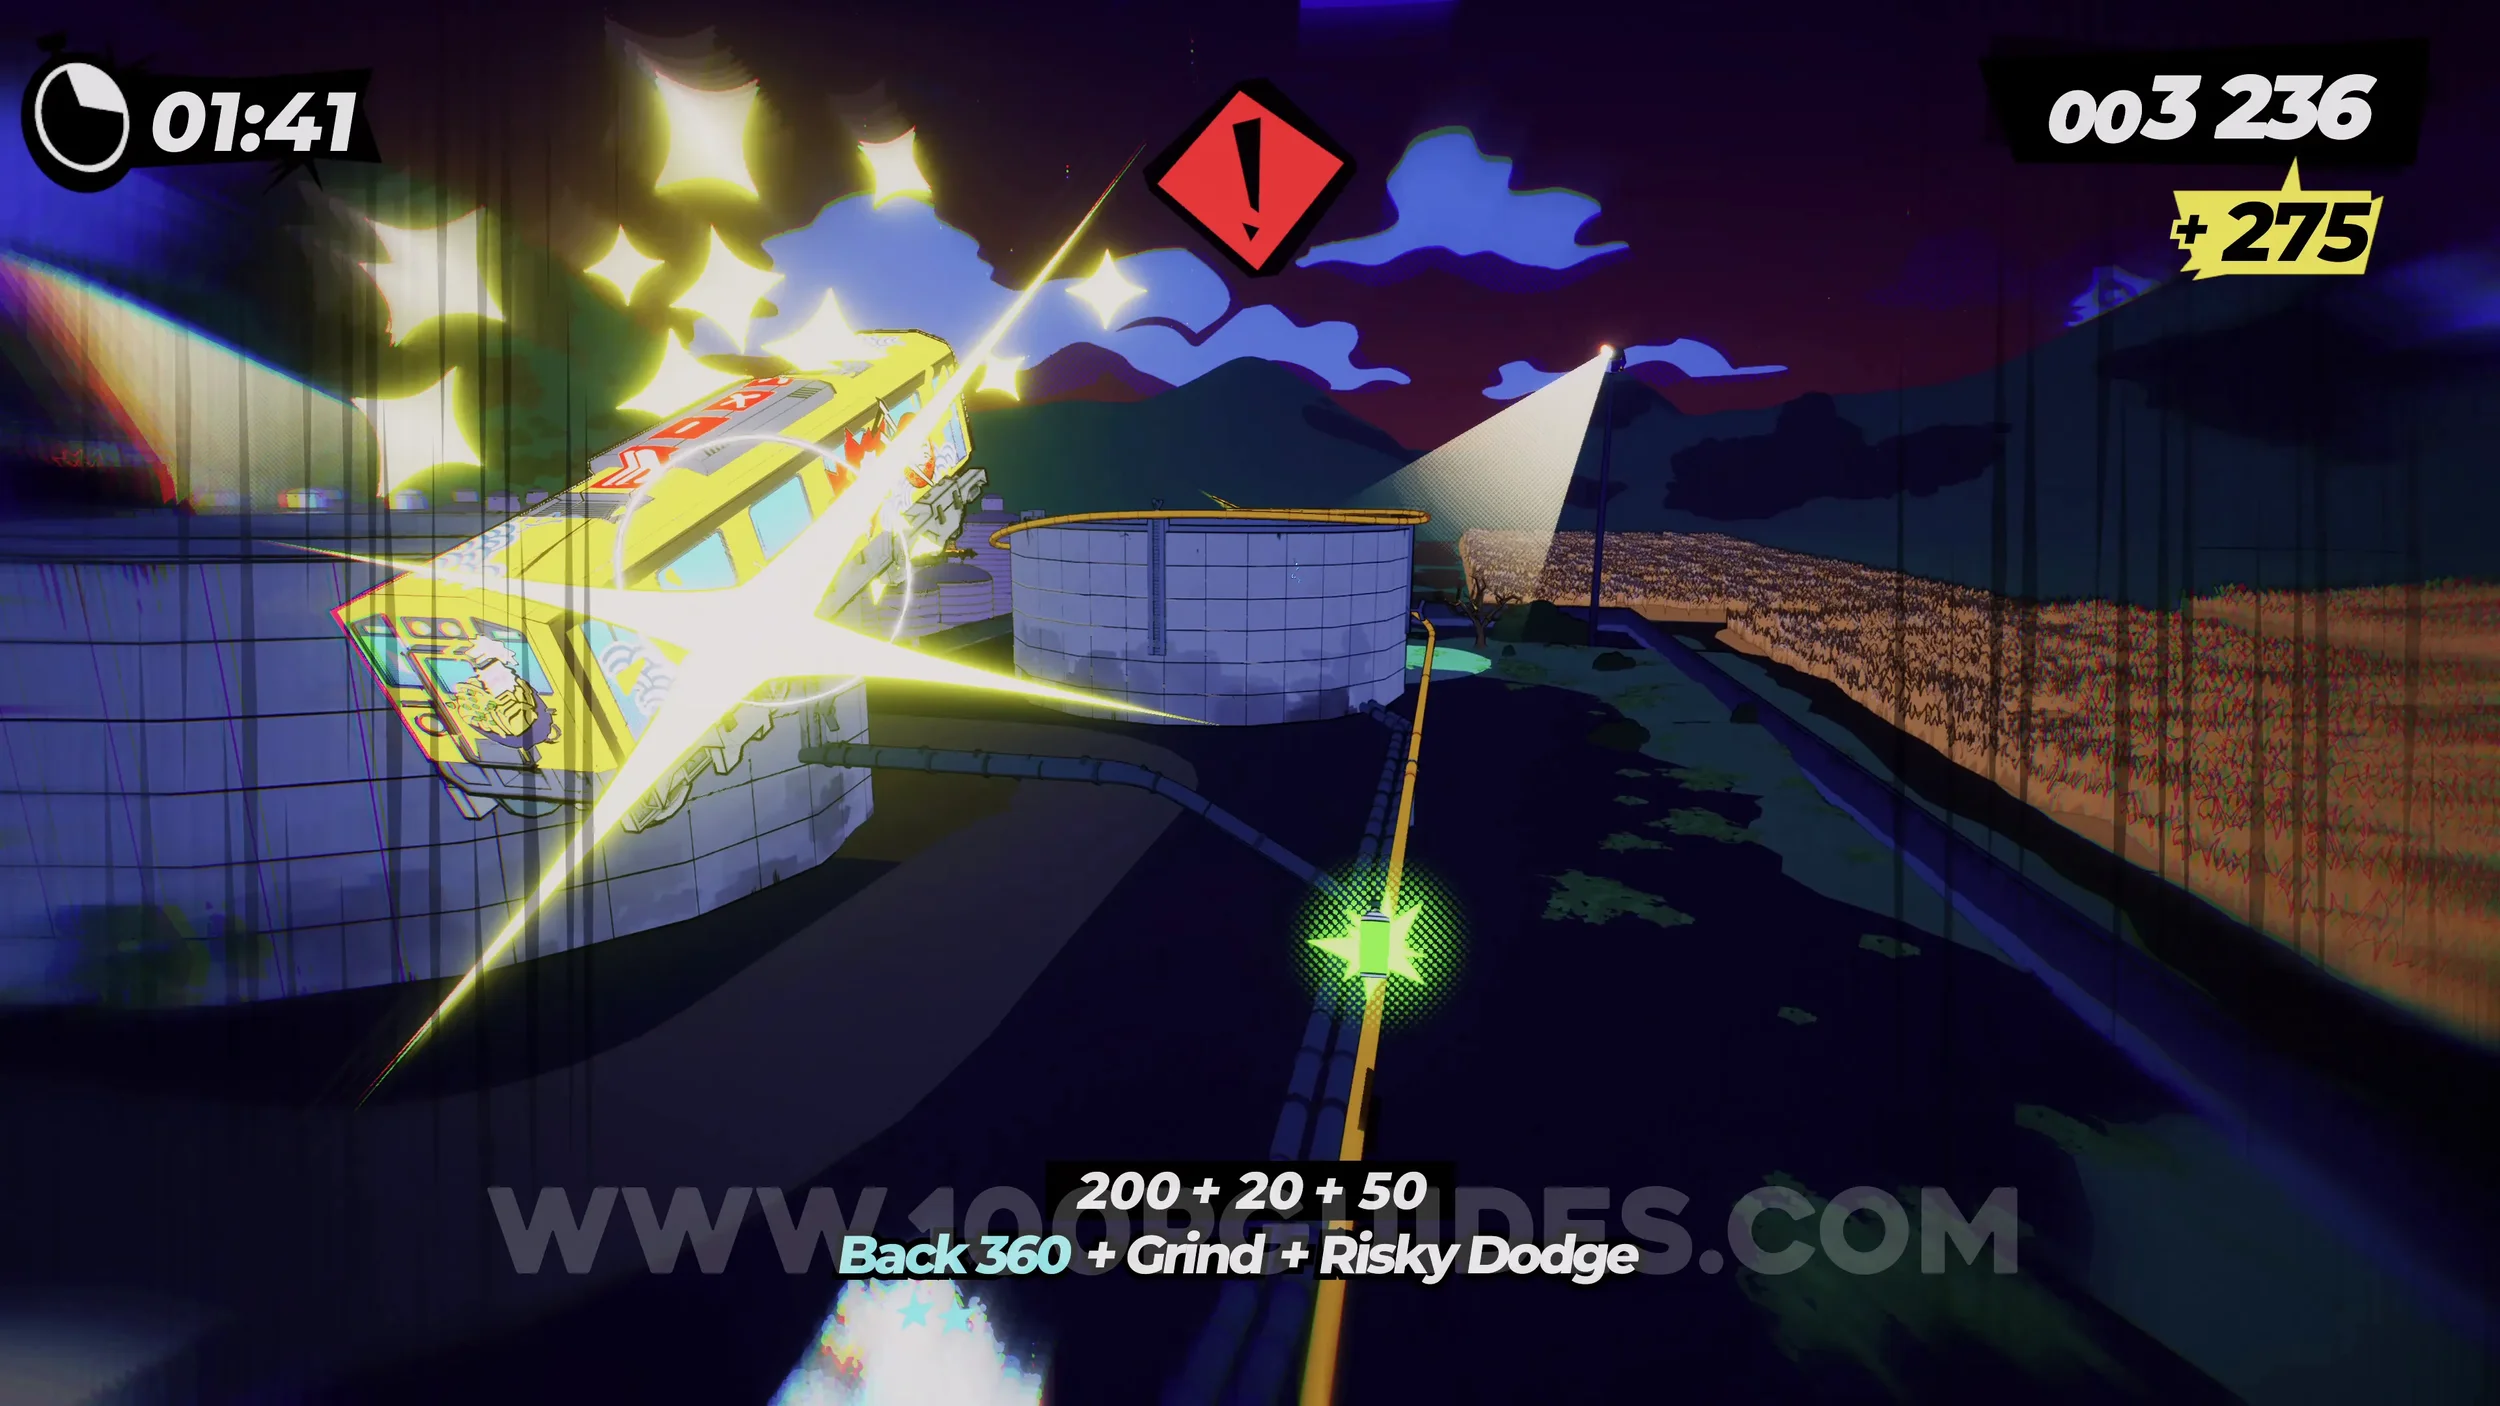
Film Roll (1/1). Obtained automatically on one of the jumps during the last section when the camera is looking behind you.
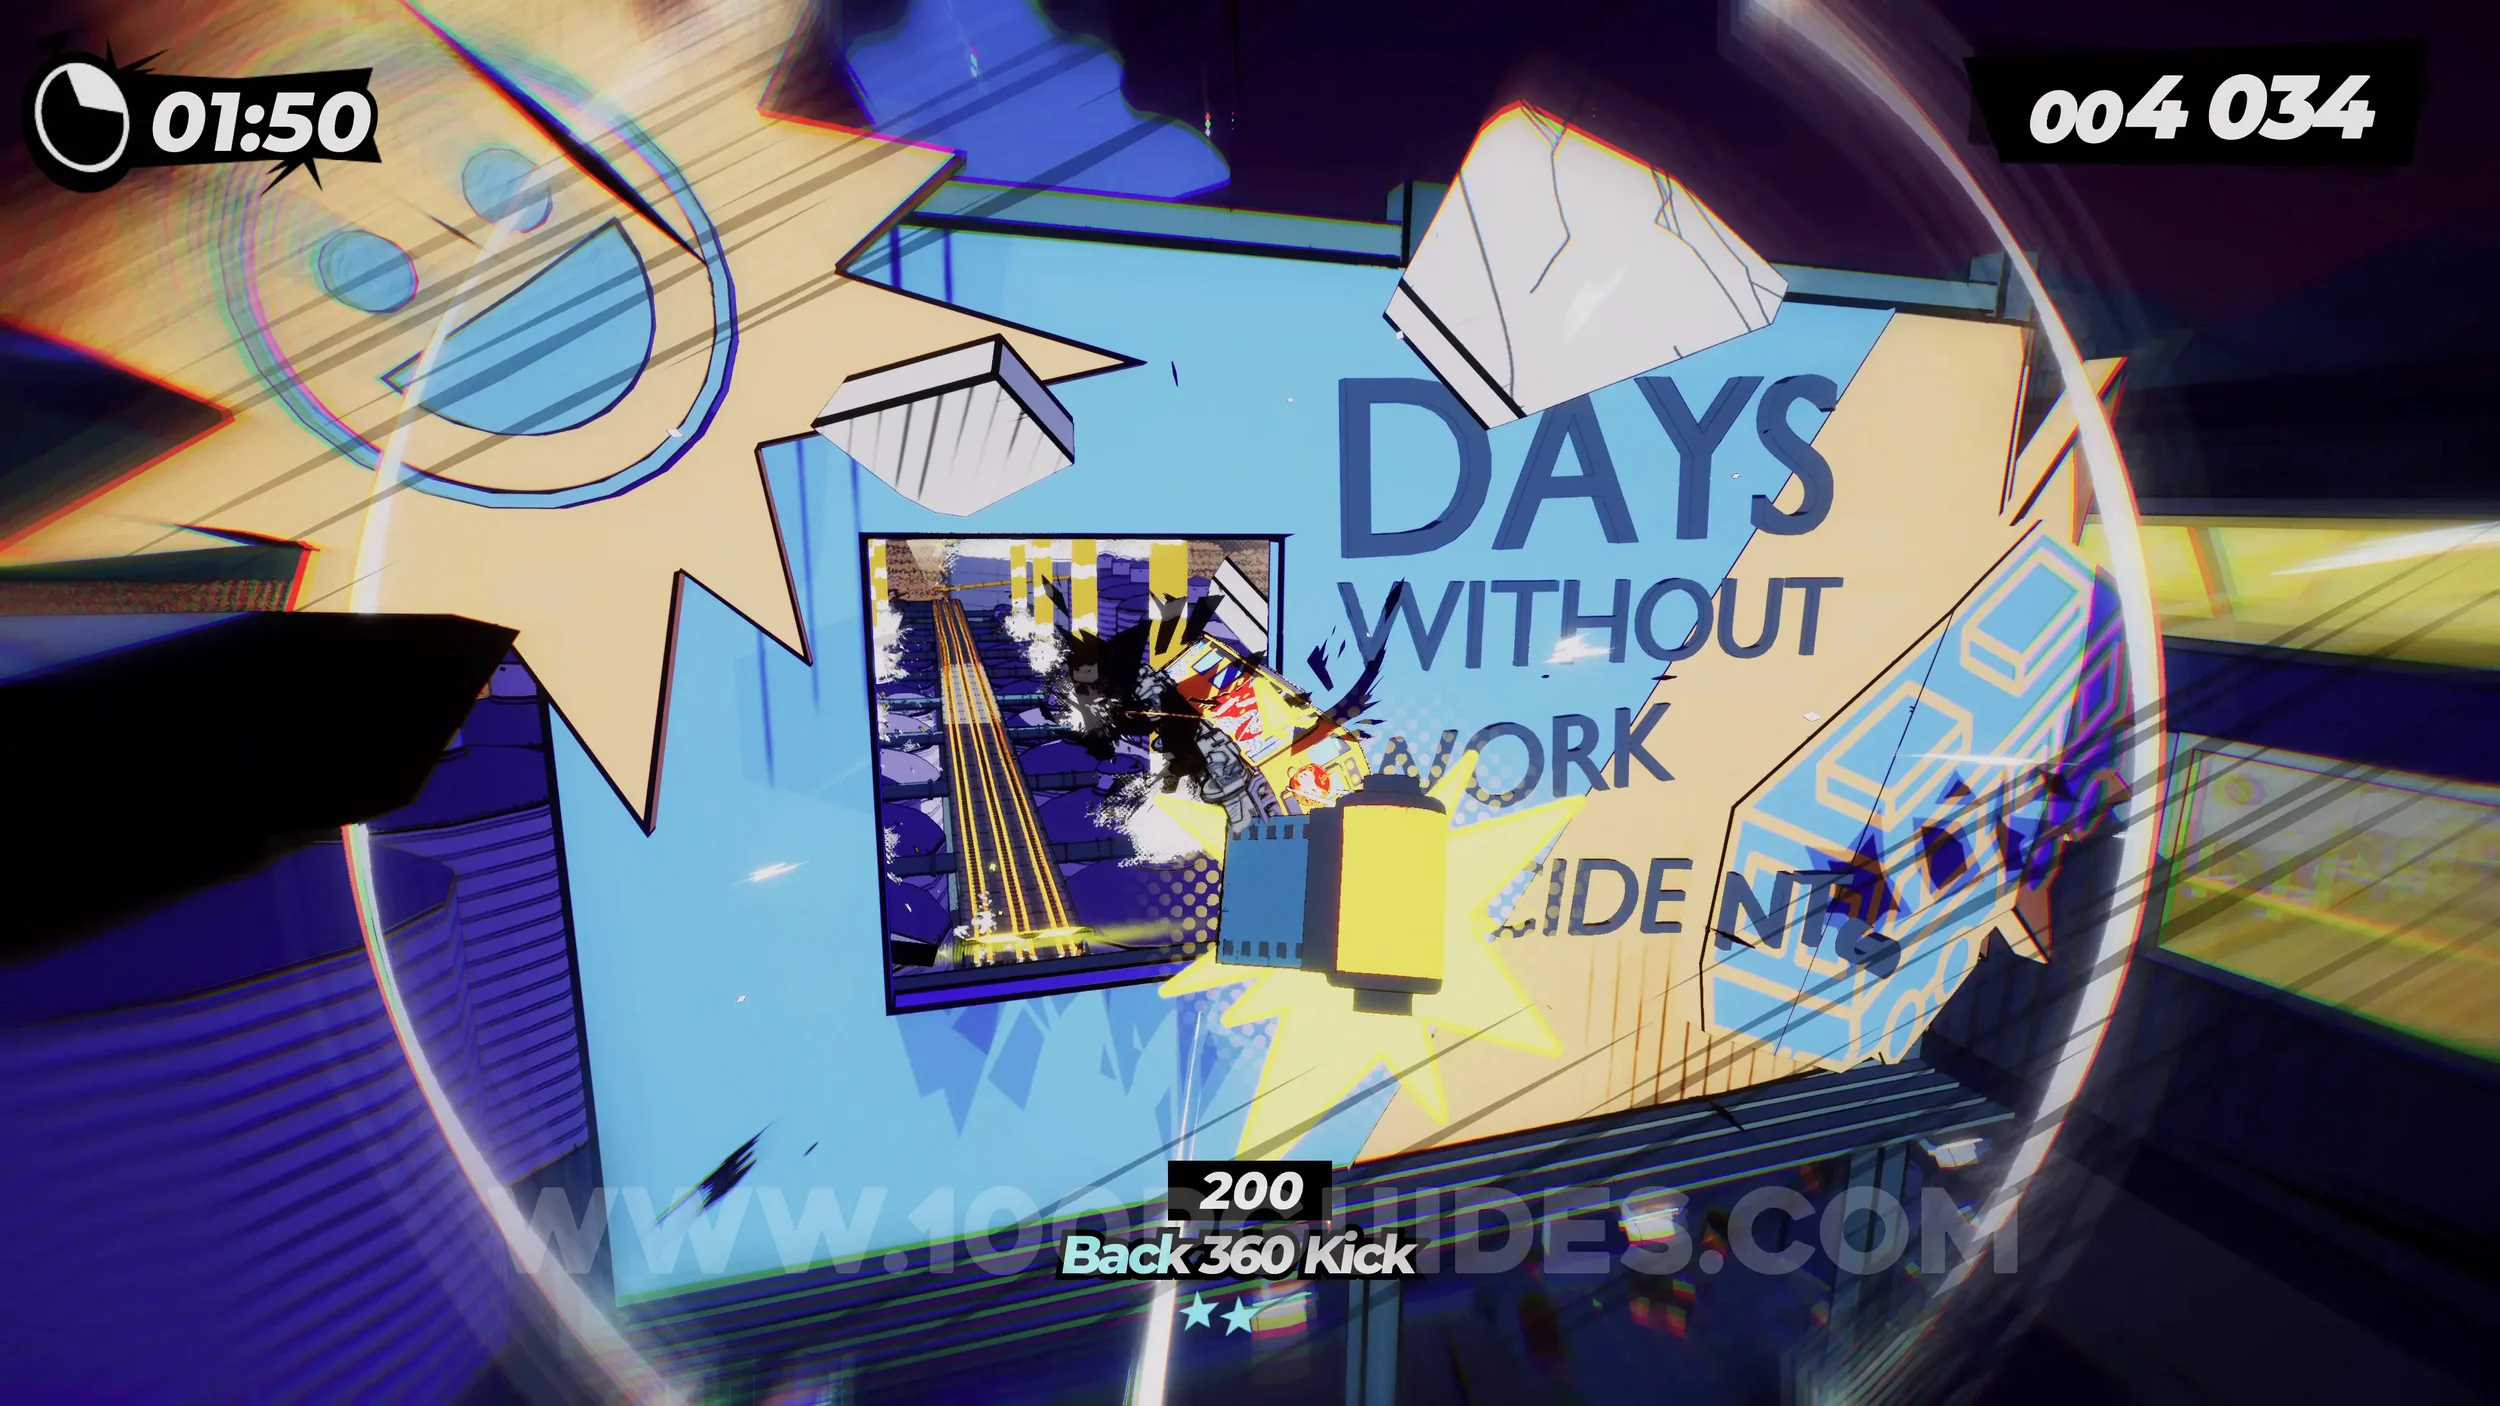
Dare: No Crash Finish. Self-explanatory. Finish the level without crashing.
1-4-2 Riding The Tides
Spray Can (1/4). At the very start, jump before the corner to get to the grind rail in front of you, where you will find the can at the end.
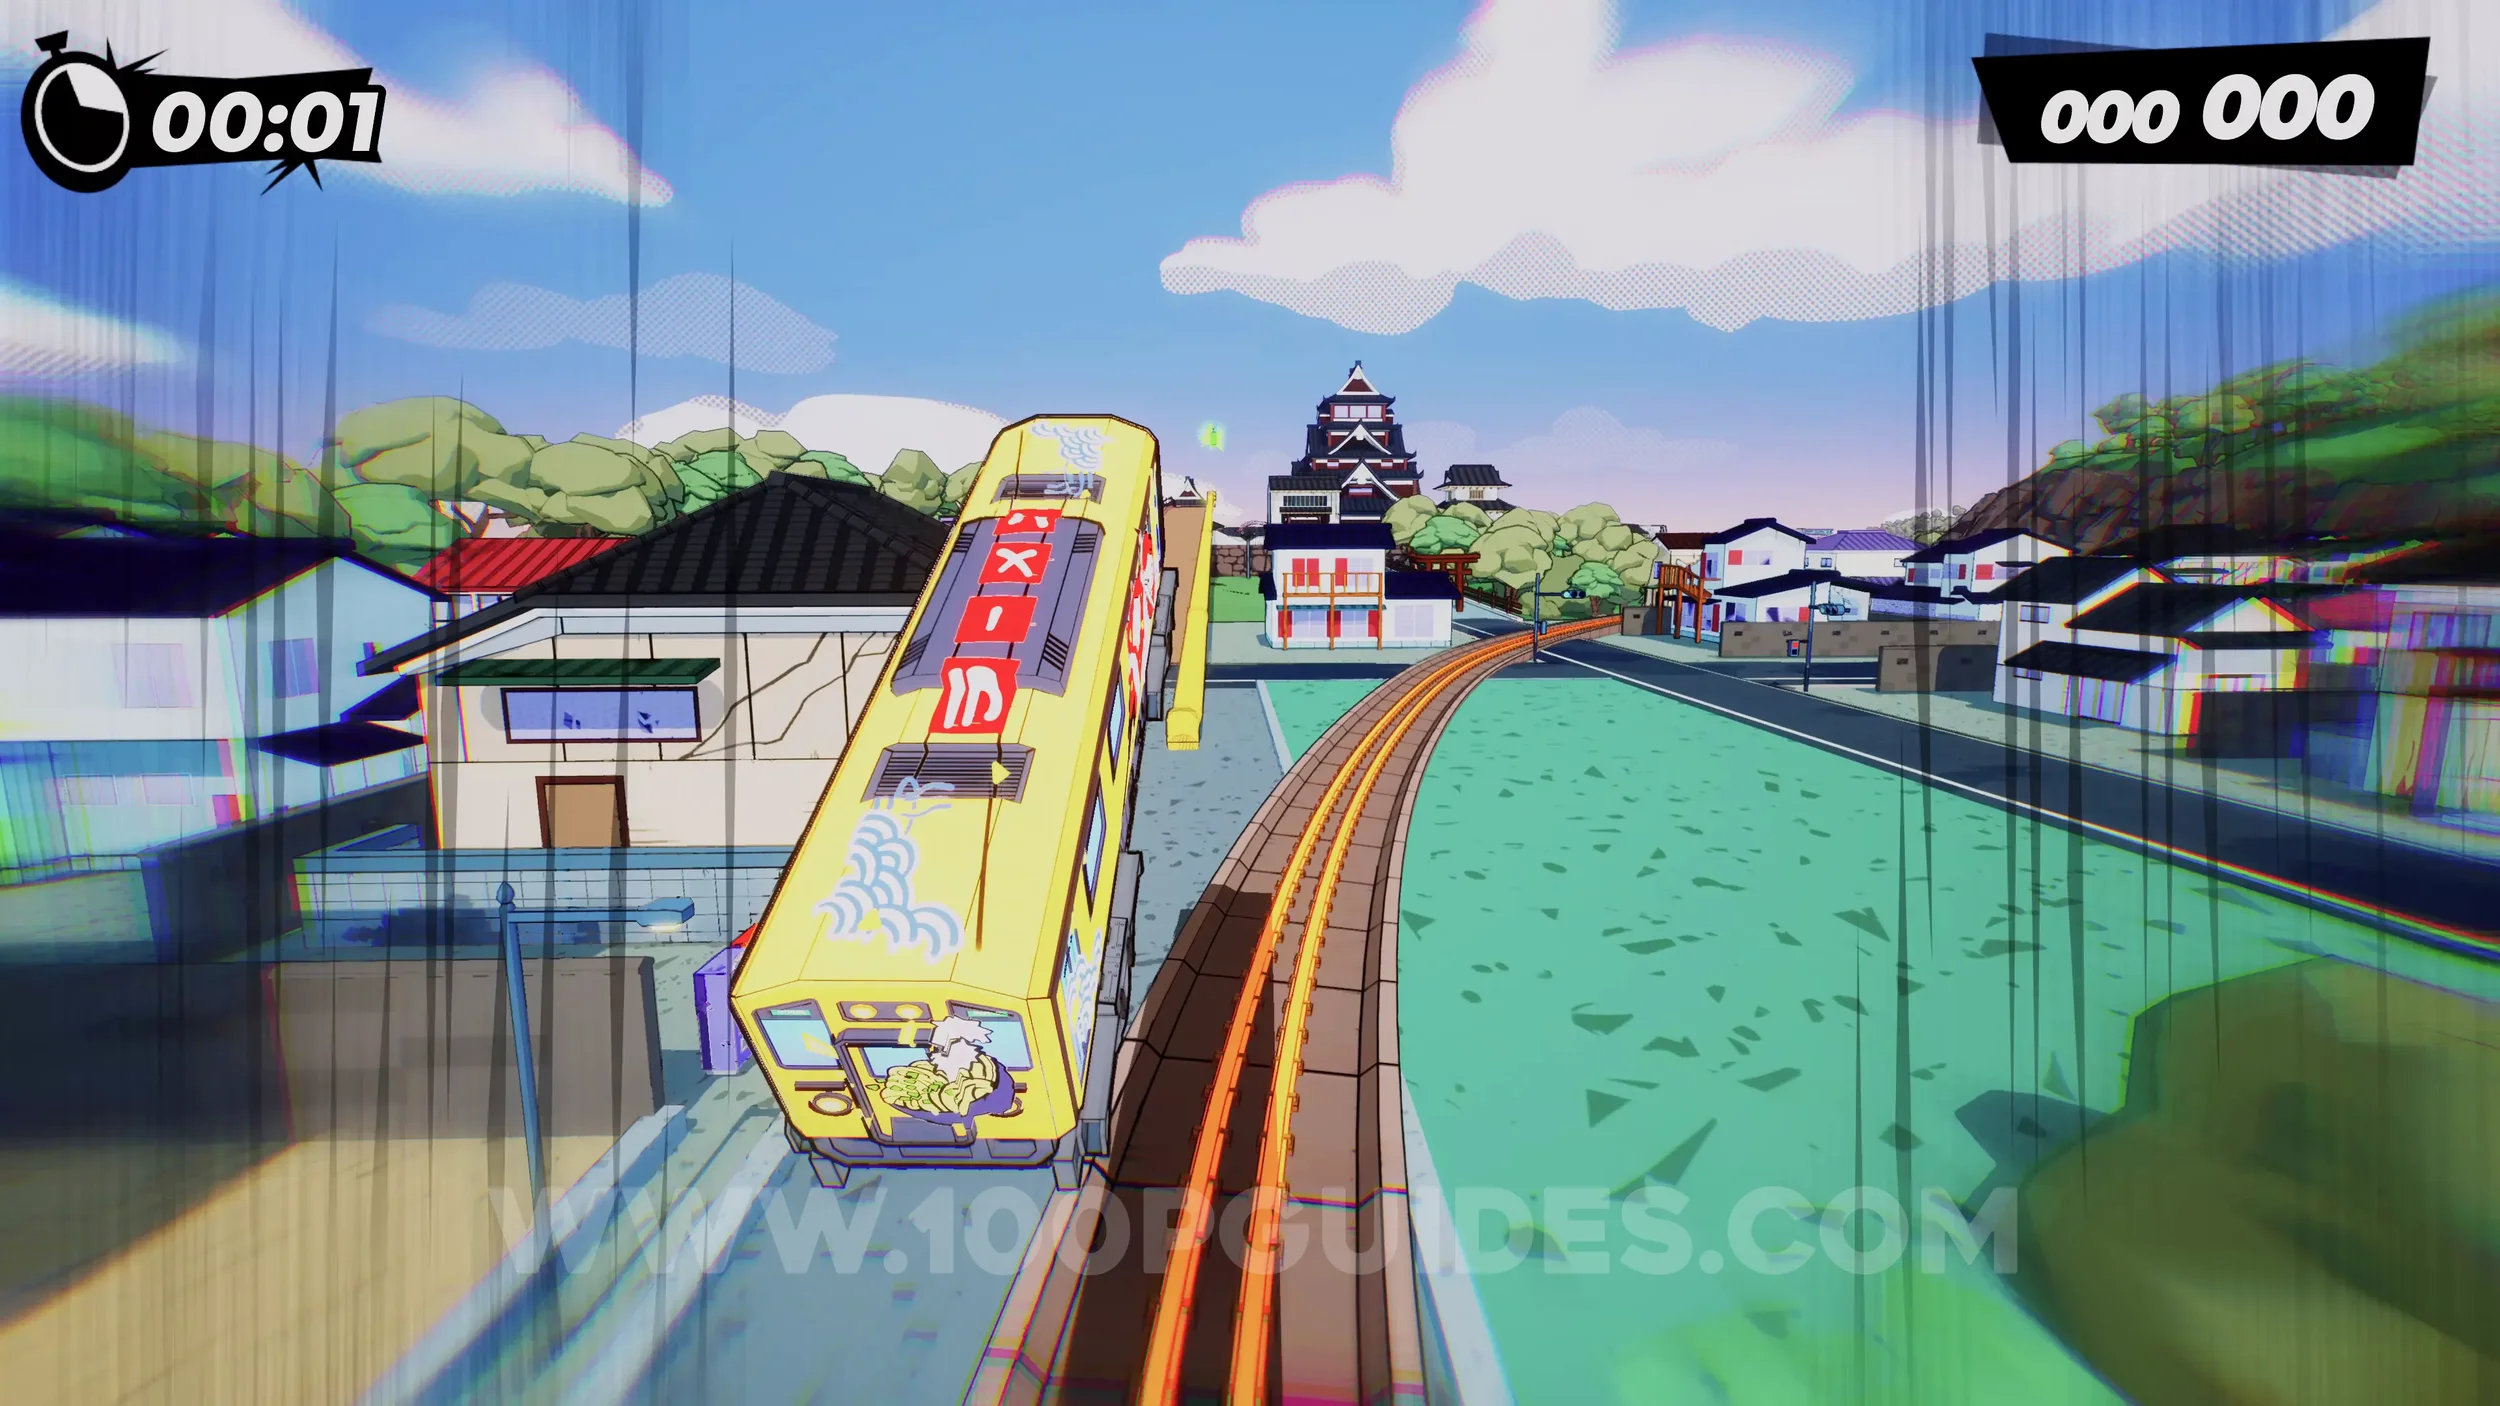
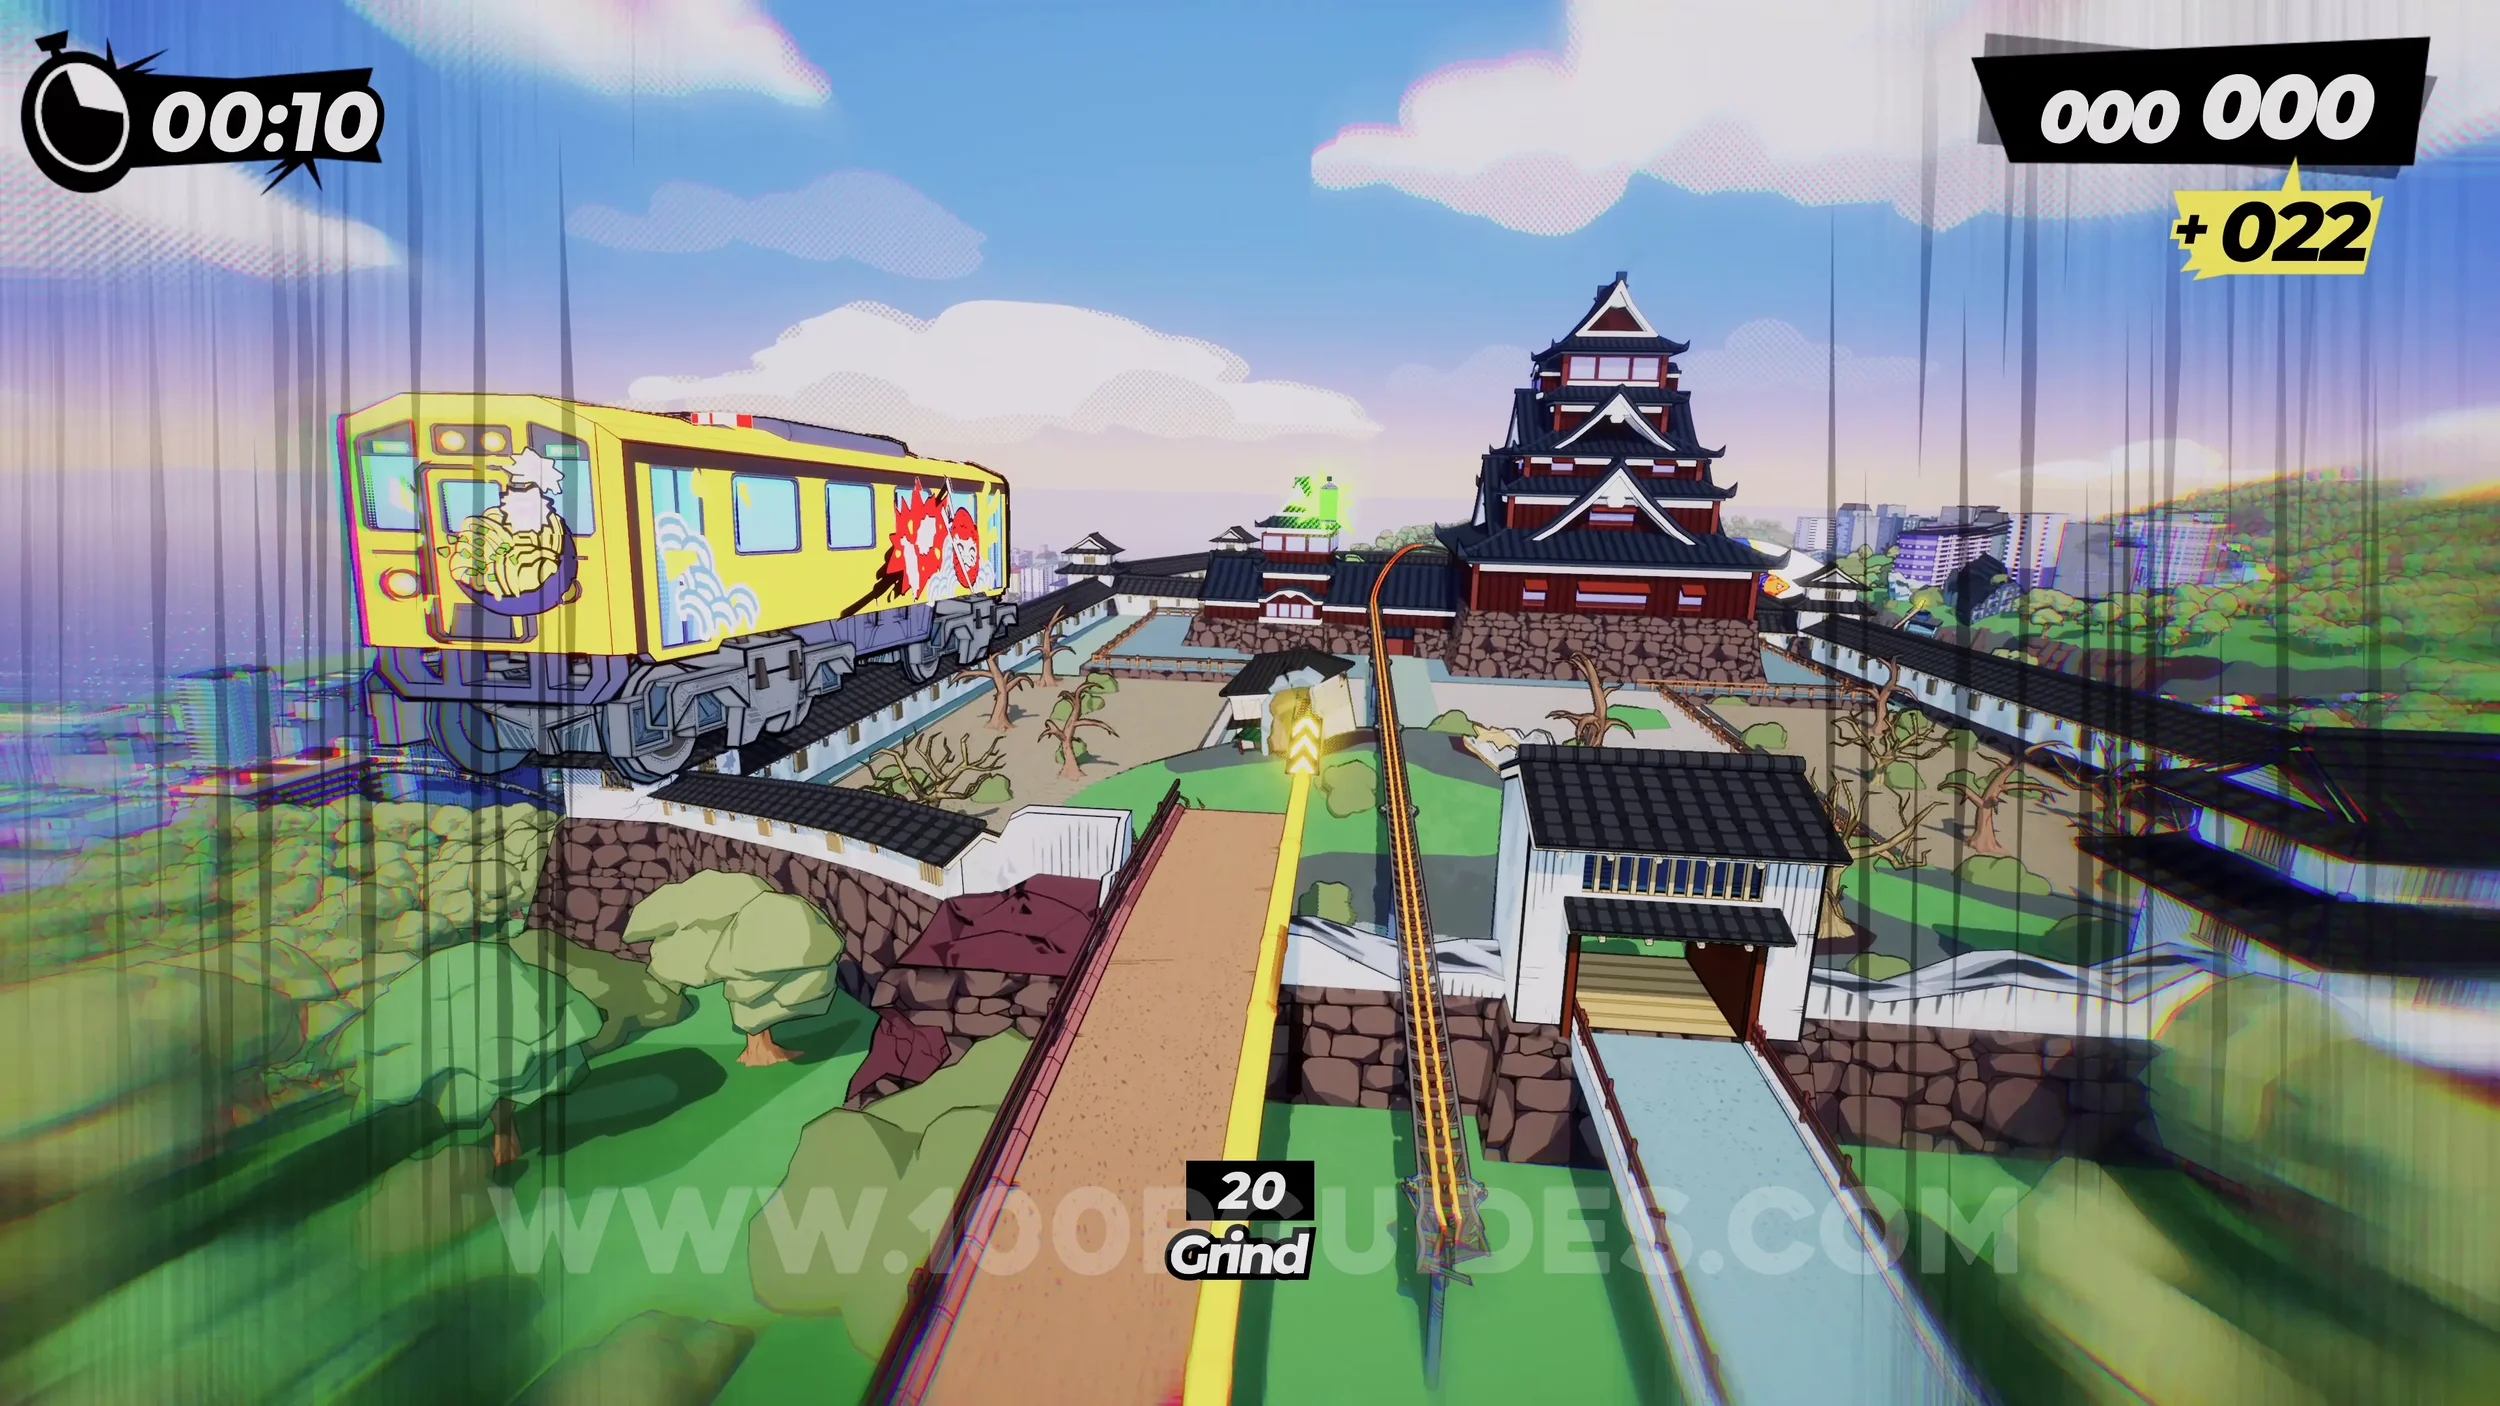
Dare: Air Stomp on the Zeppelin. Just after the previous can, you will jump over a zeppelin. Press L2+R2 while you are right above it to bounce off it.
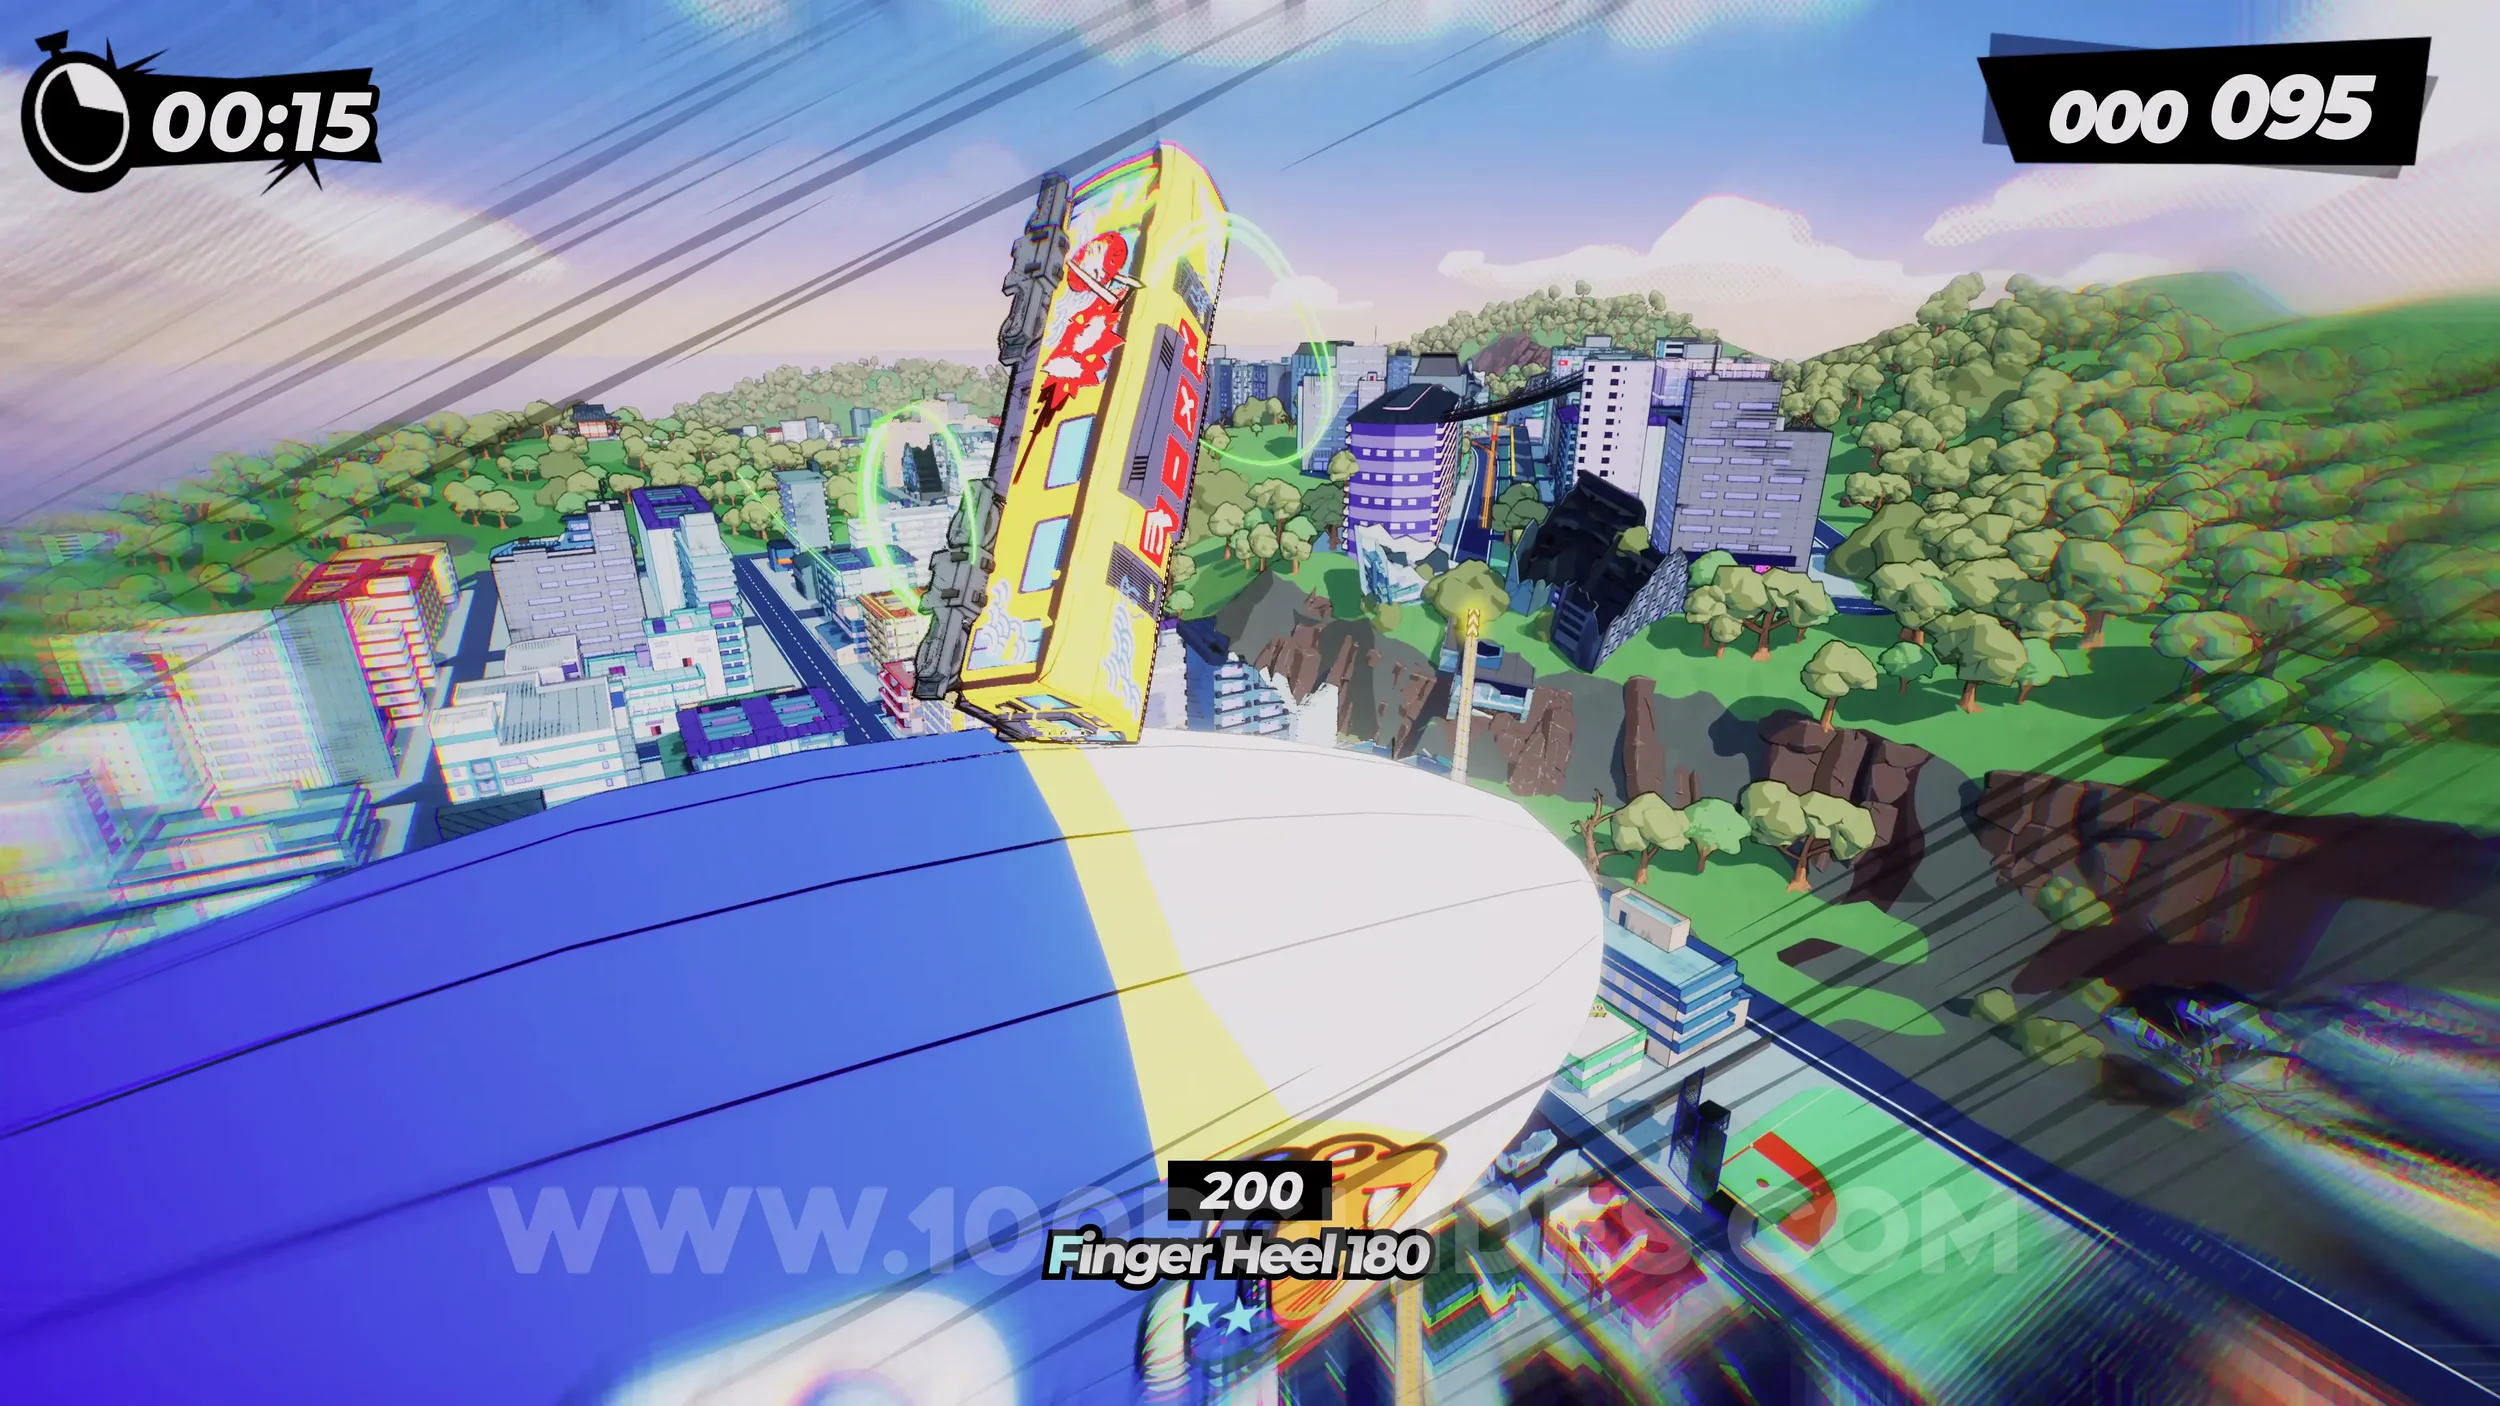
Spray Can (2/4). After the zeppelin, you will jump to the tracks below (watch out for the electric wires). You will then see a green sign telling you to keep left for a spray can. After going left, jump up to the grind rail on your right to get the can.
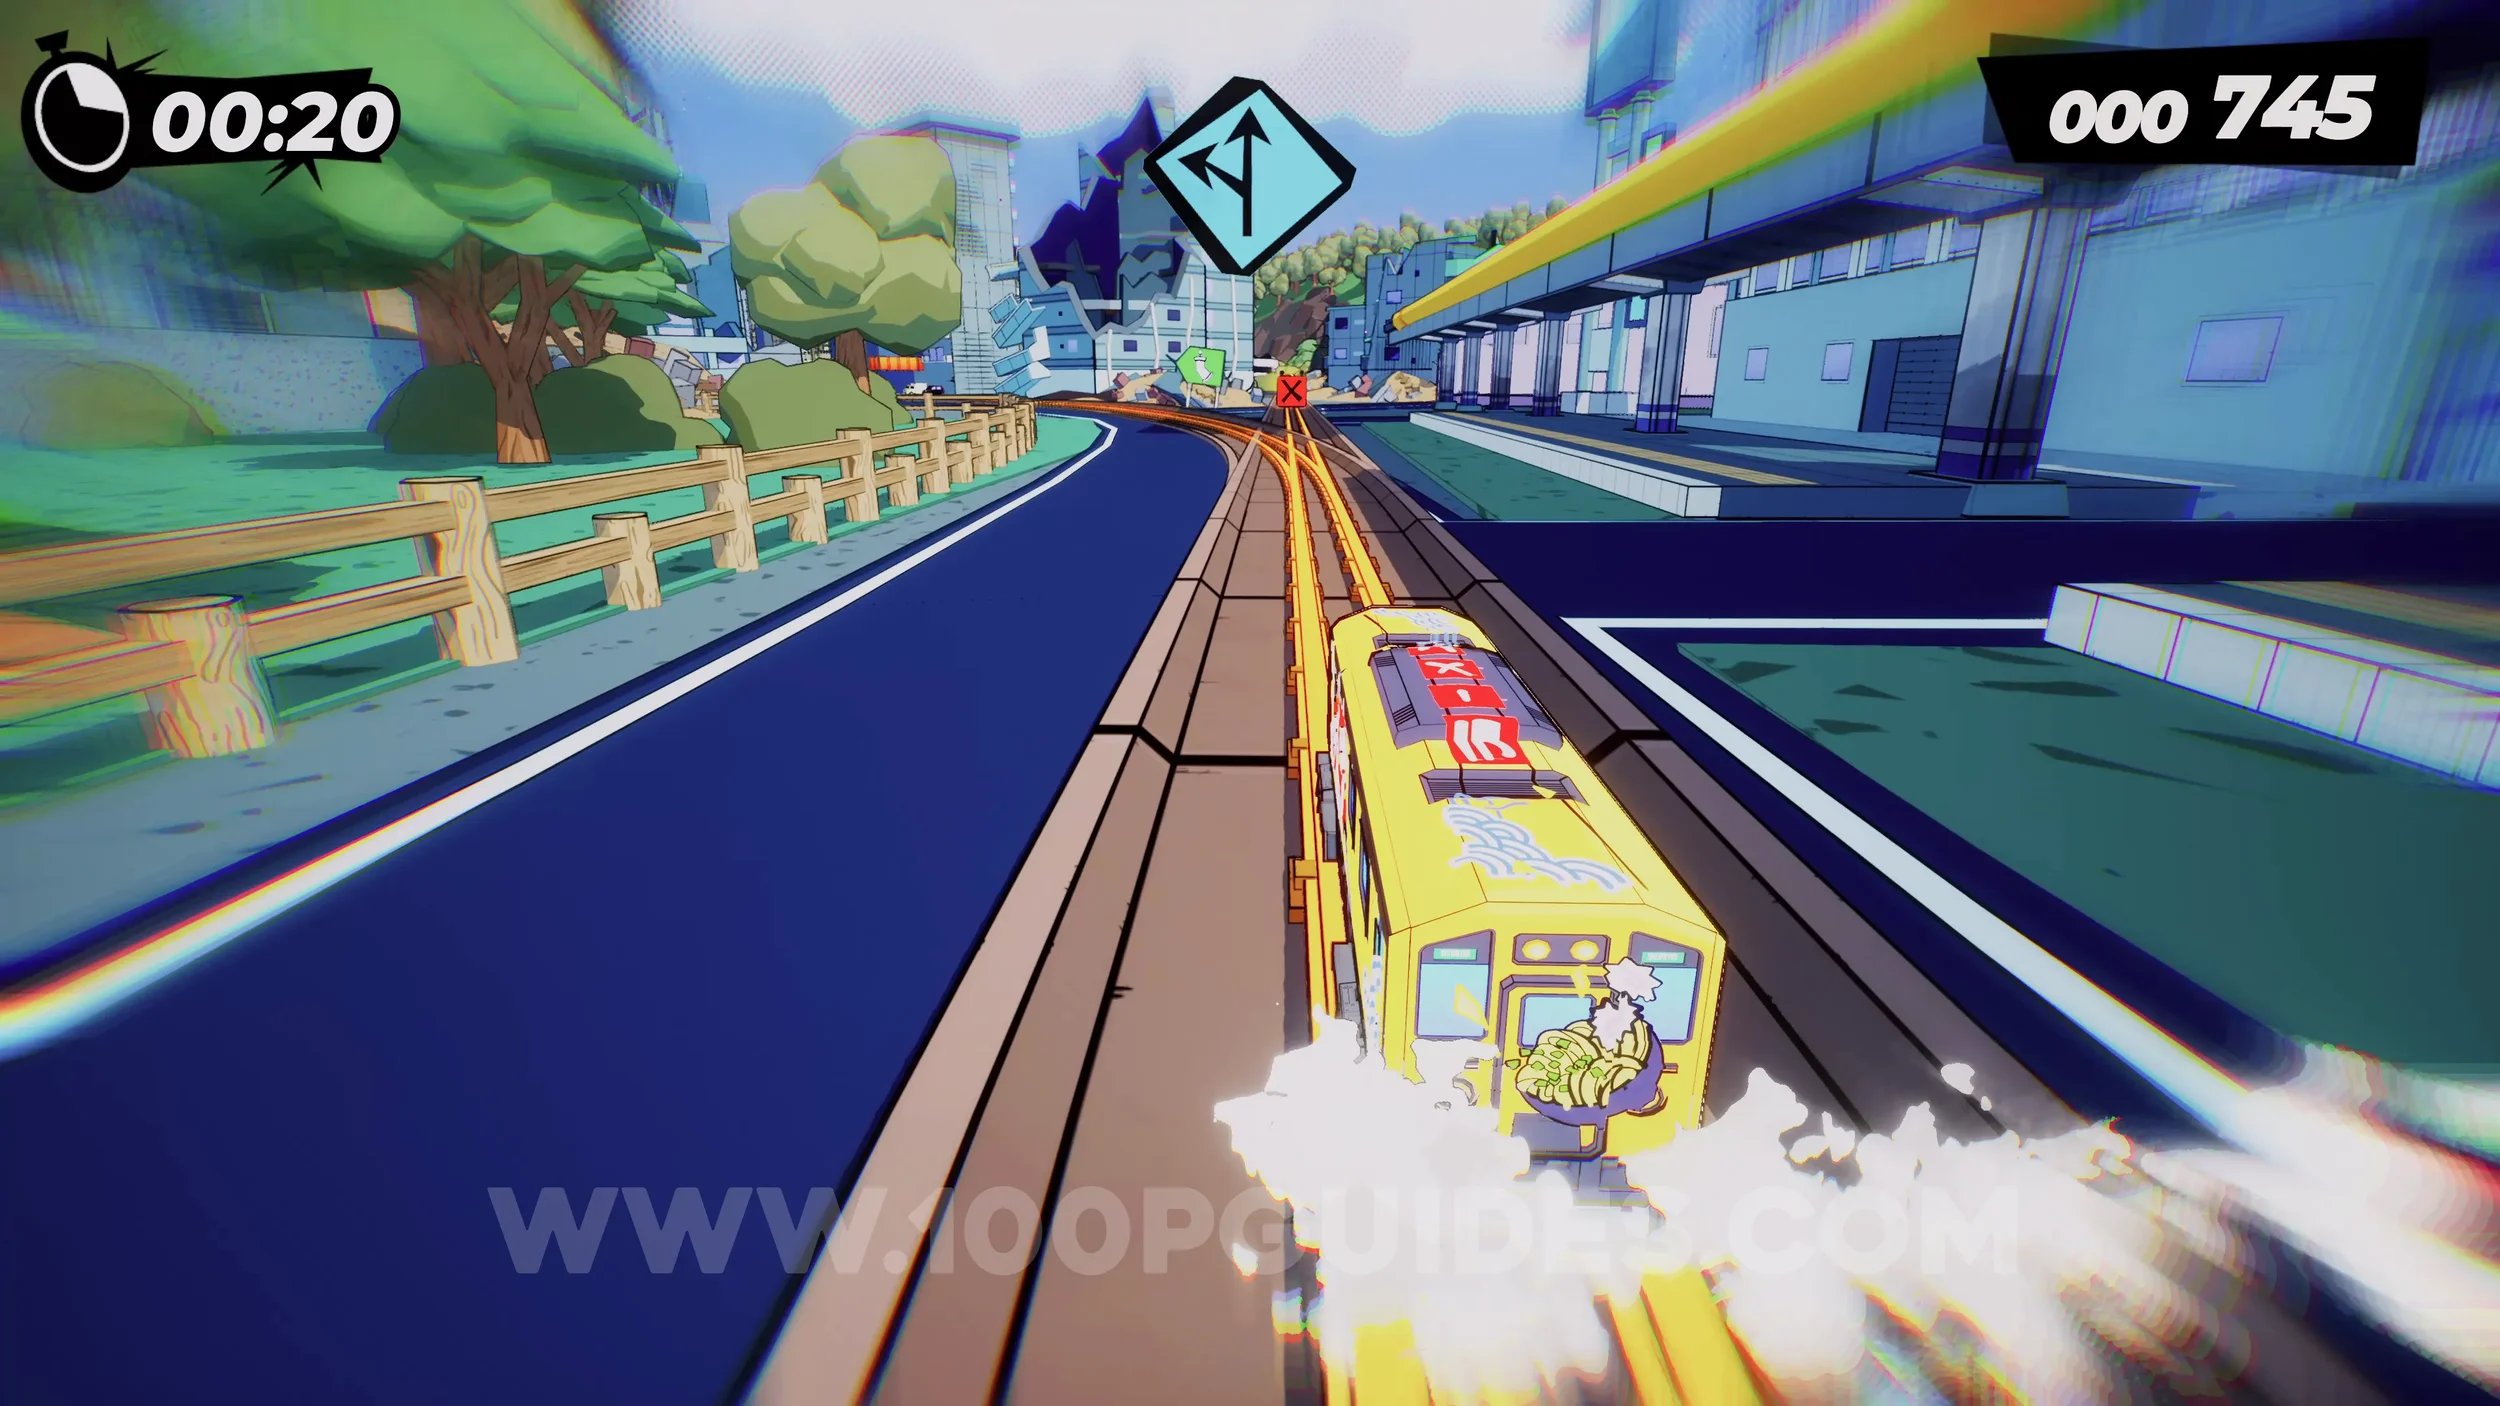
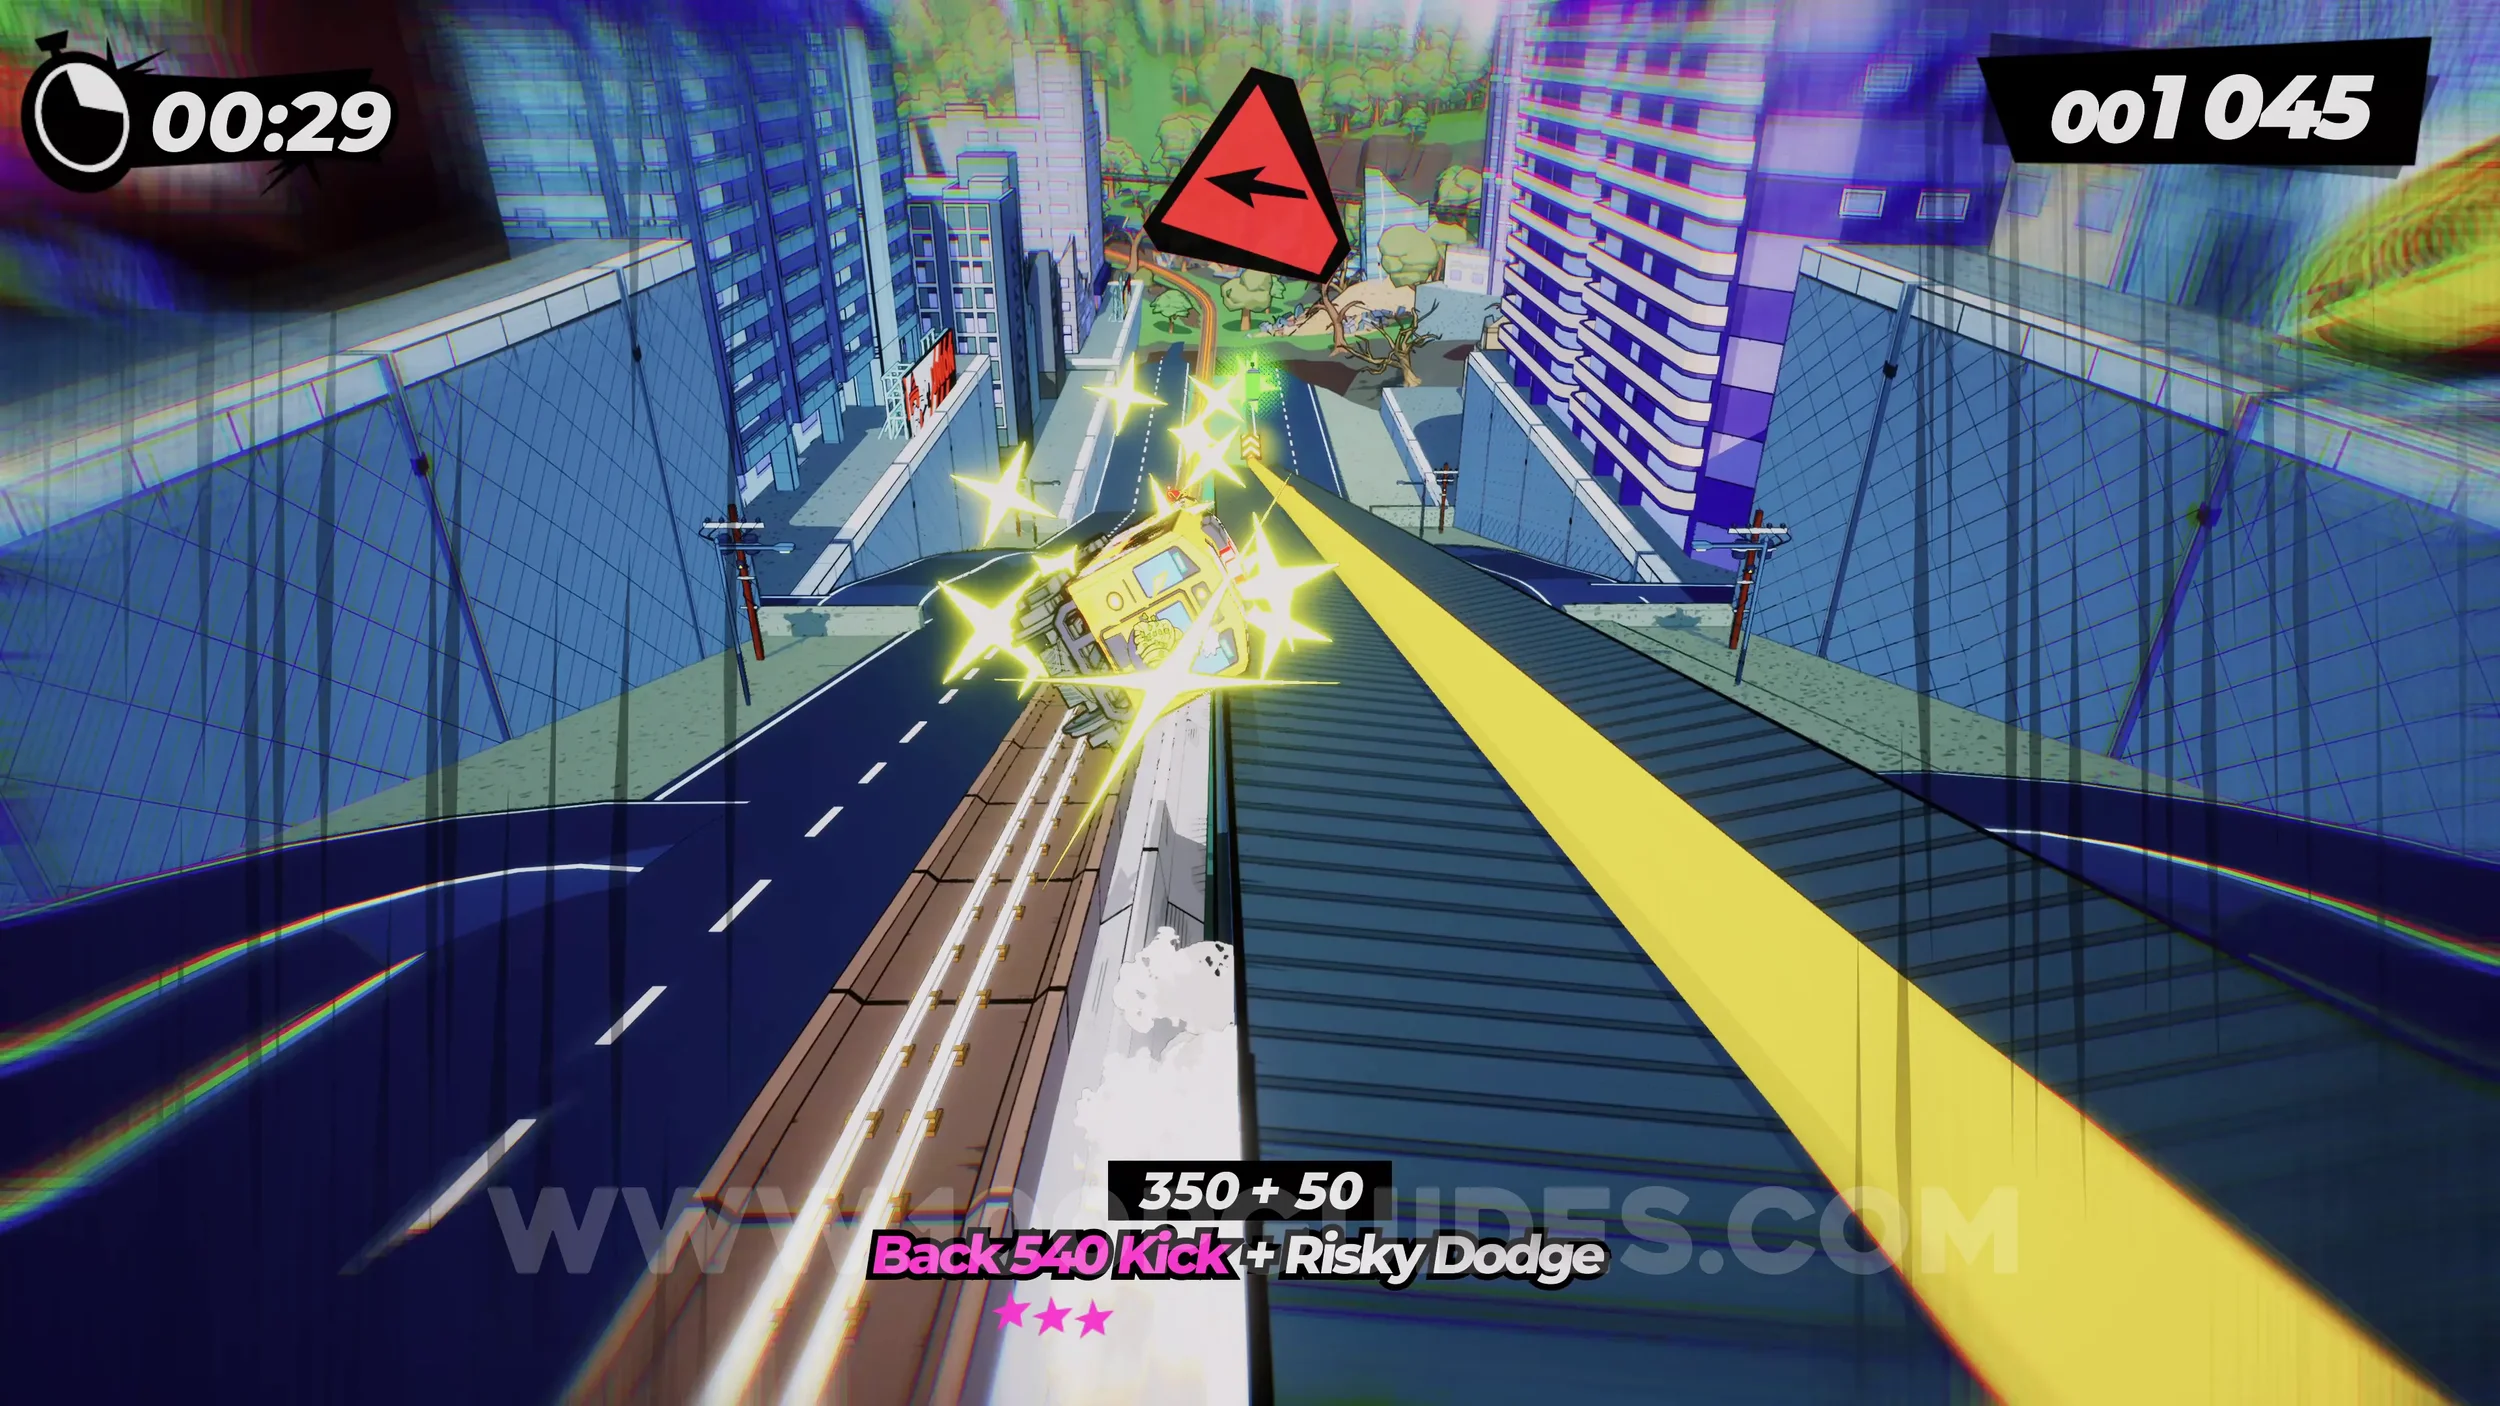
Spray Can (3/4). After the previous can, you will go around a corner to the left. During the next downhill slope, jump up to the rail on your right to get the can.
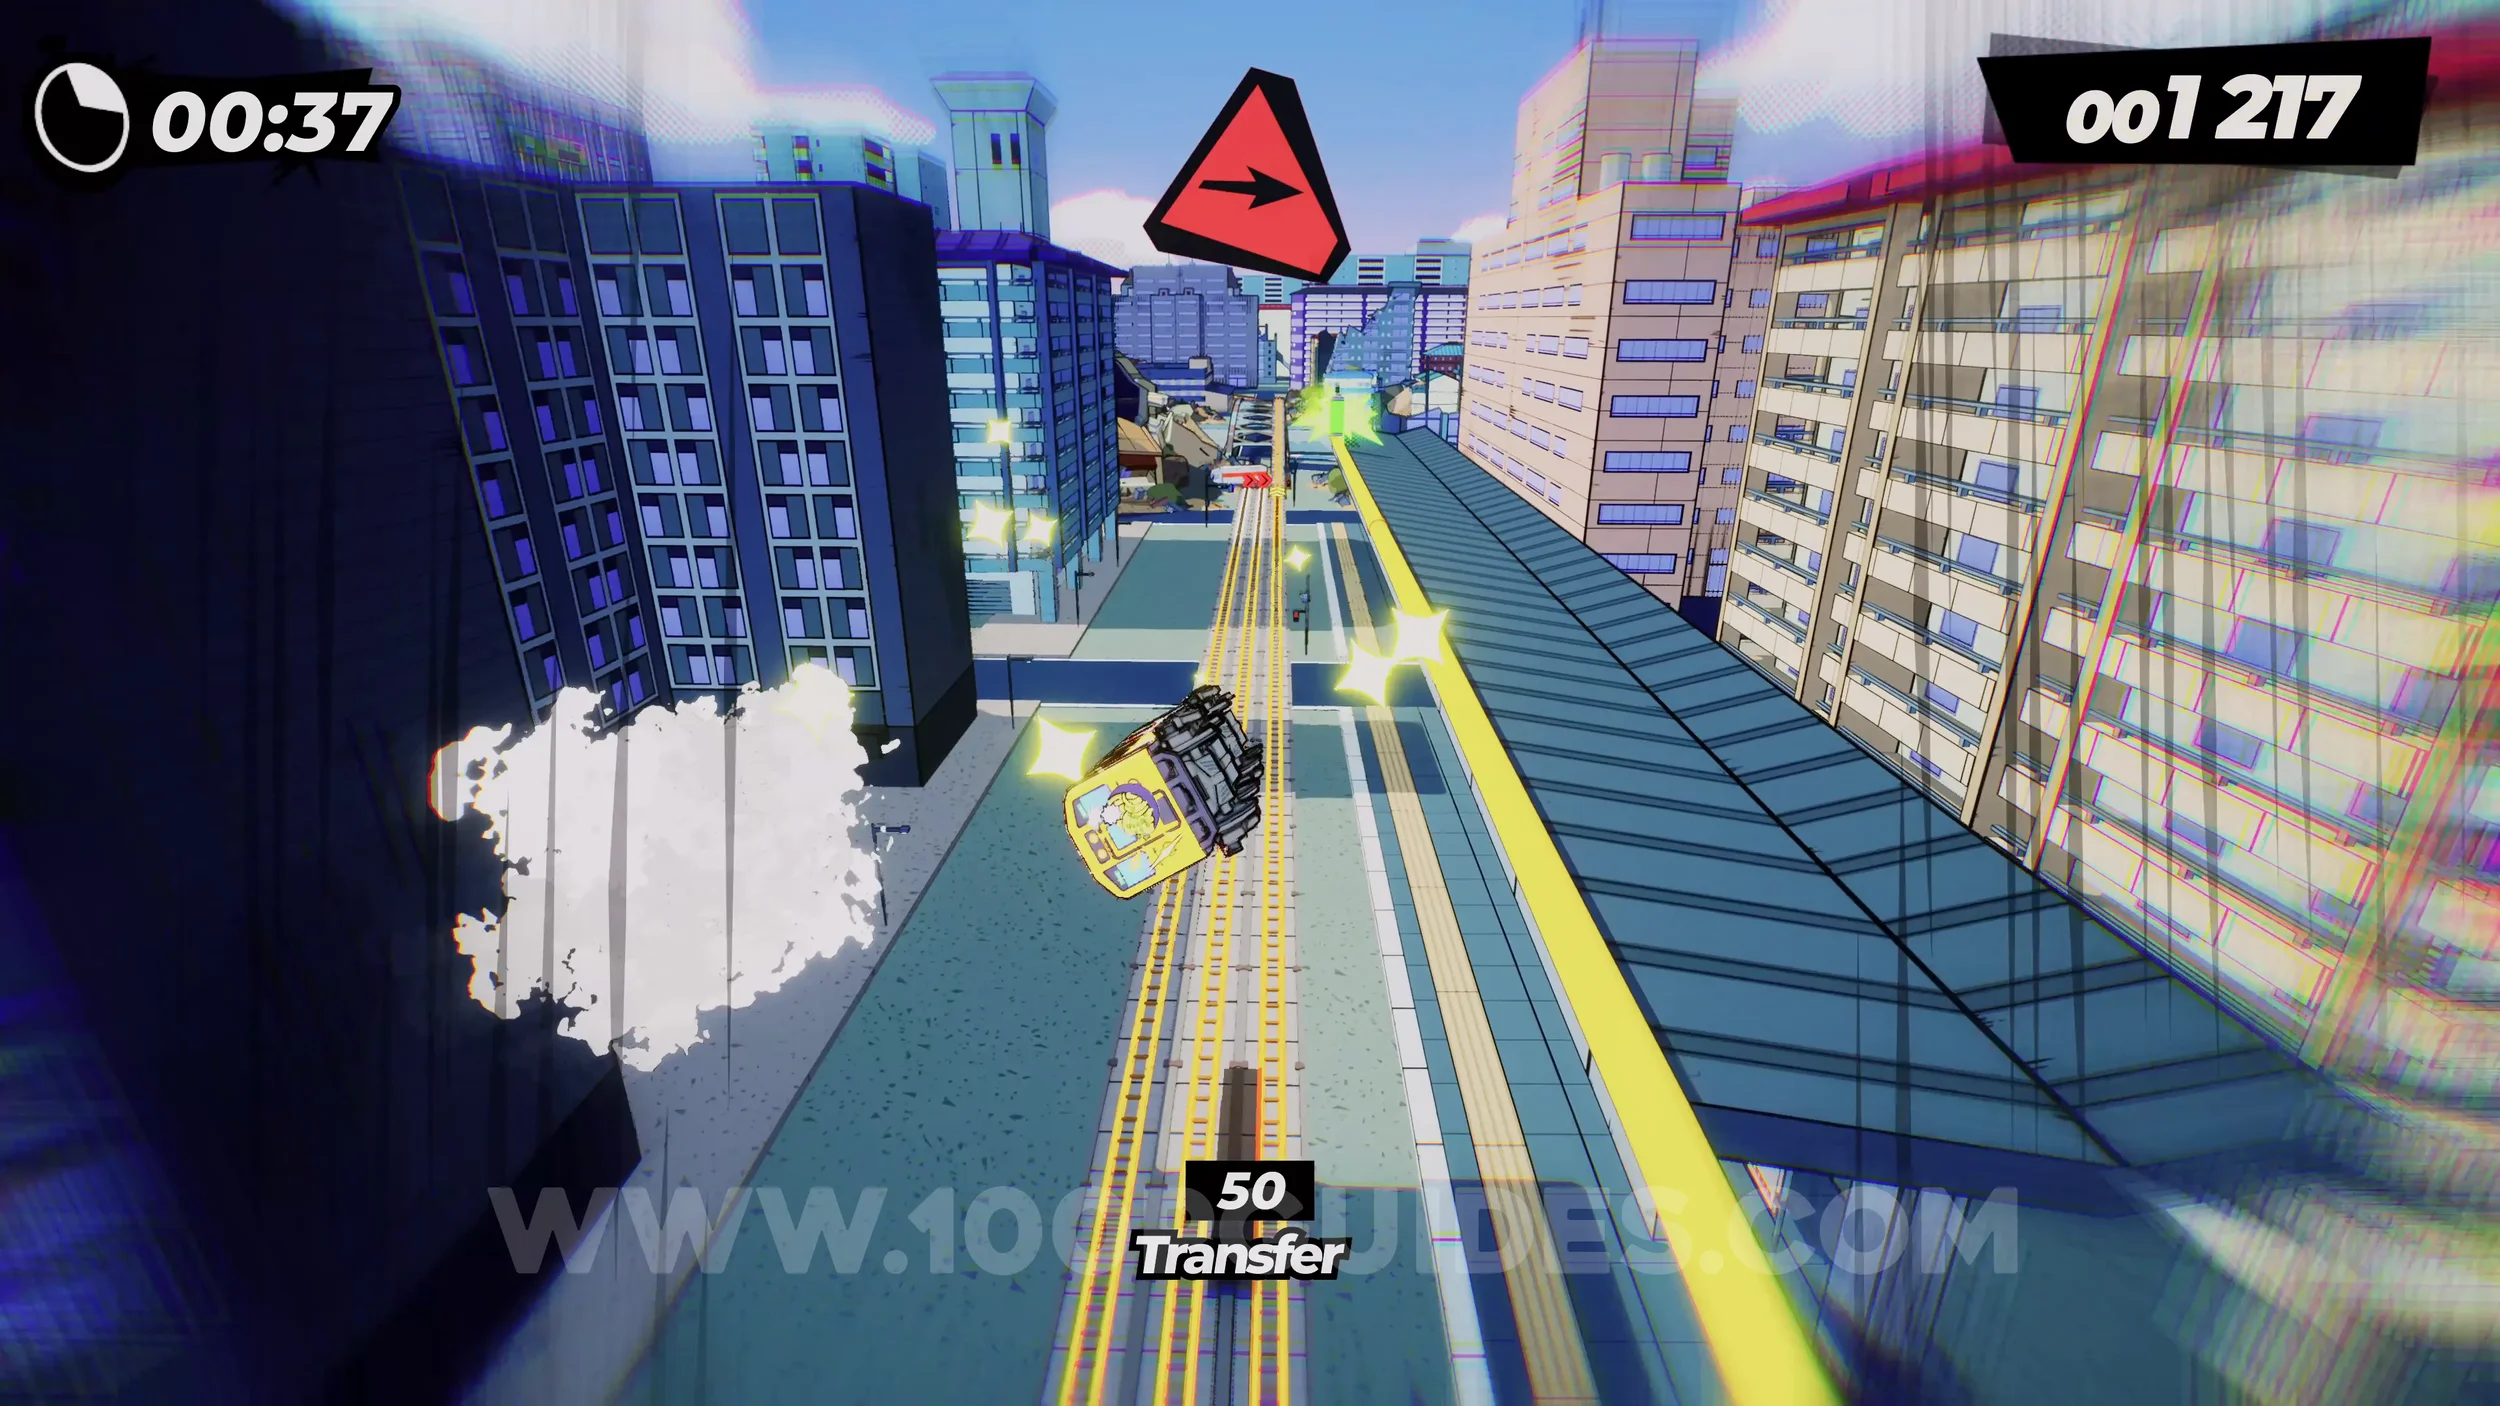
Spray Can (4/4). After the previous can, you will go around a corner and then go over a bridge. Just before you get to the bridge, jump, then press left to land on the left side grind rail that goes over the bridge, where you will see the can.
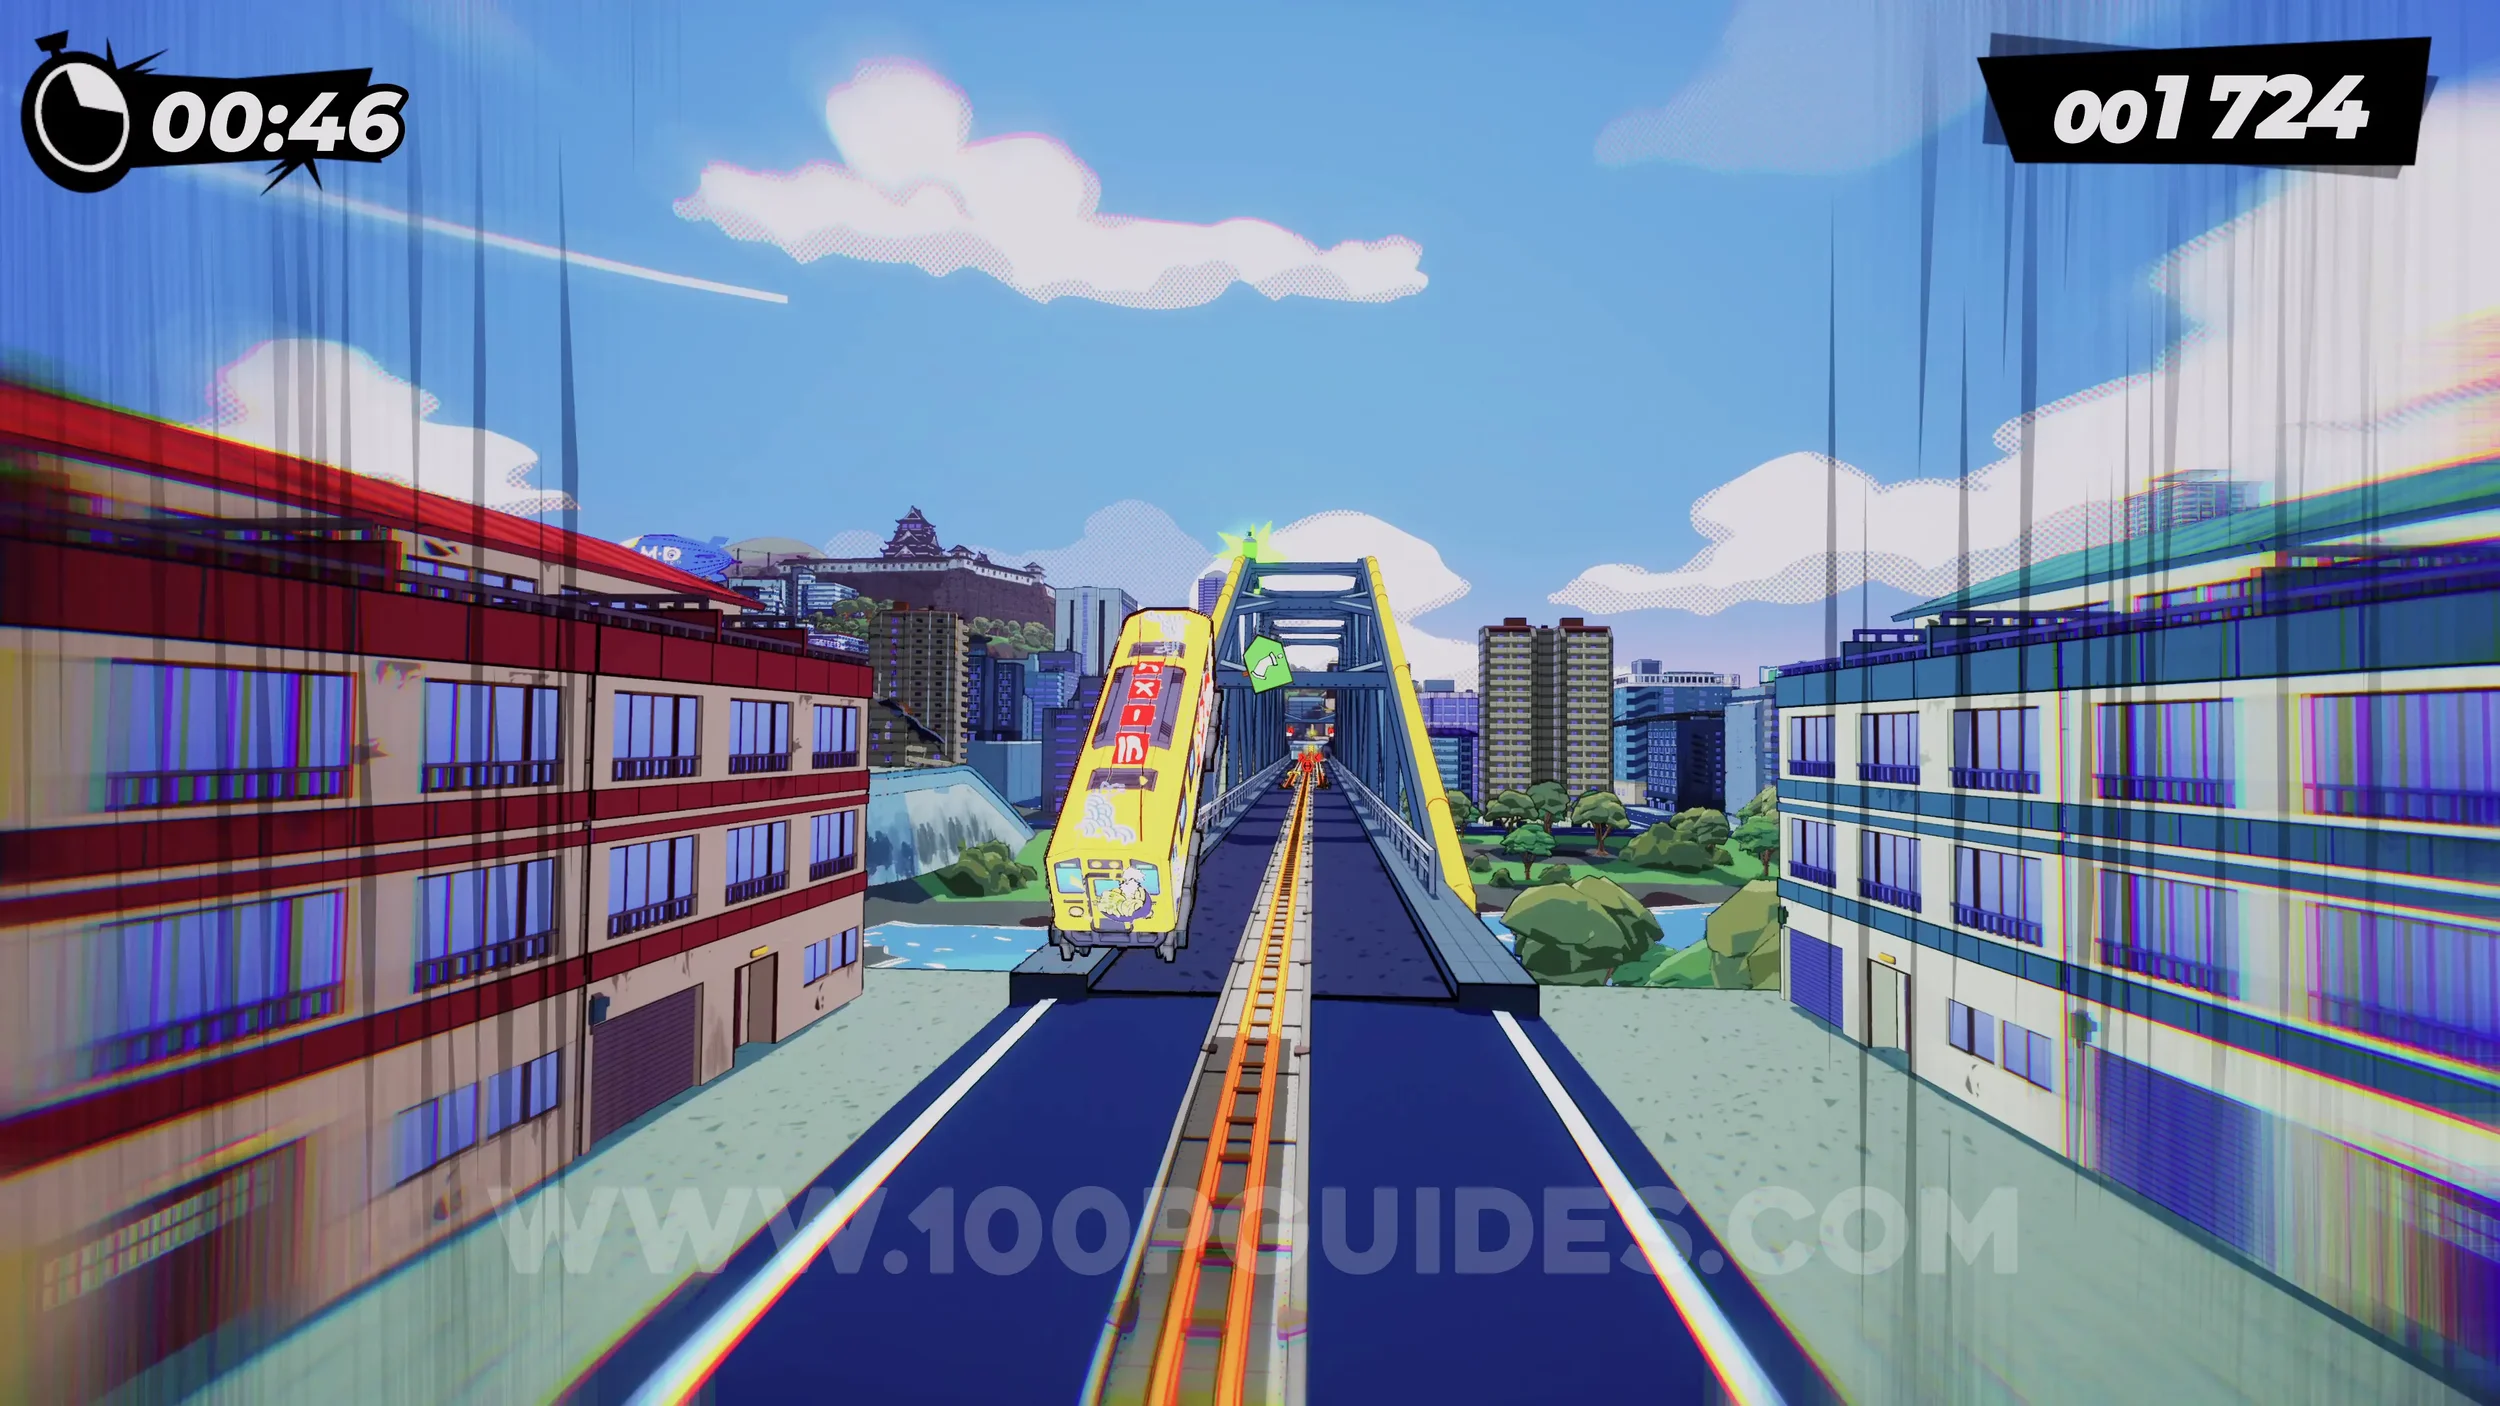
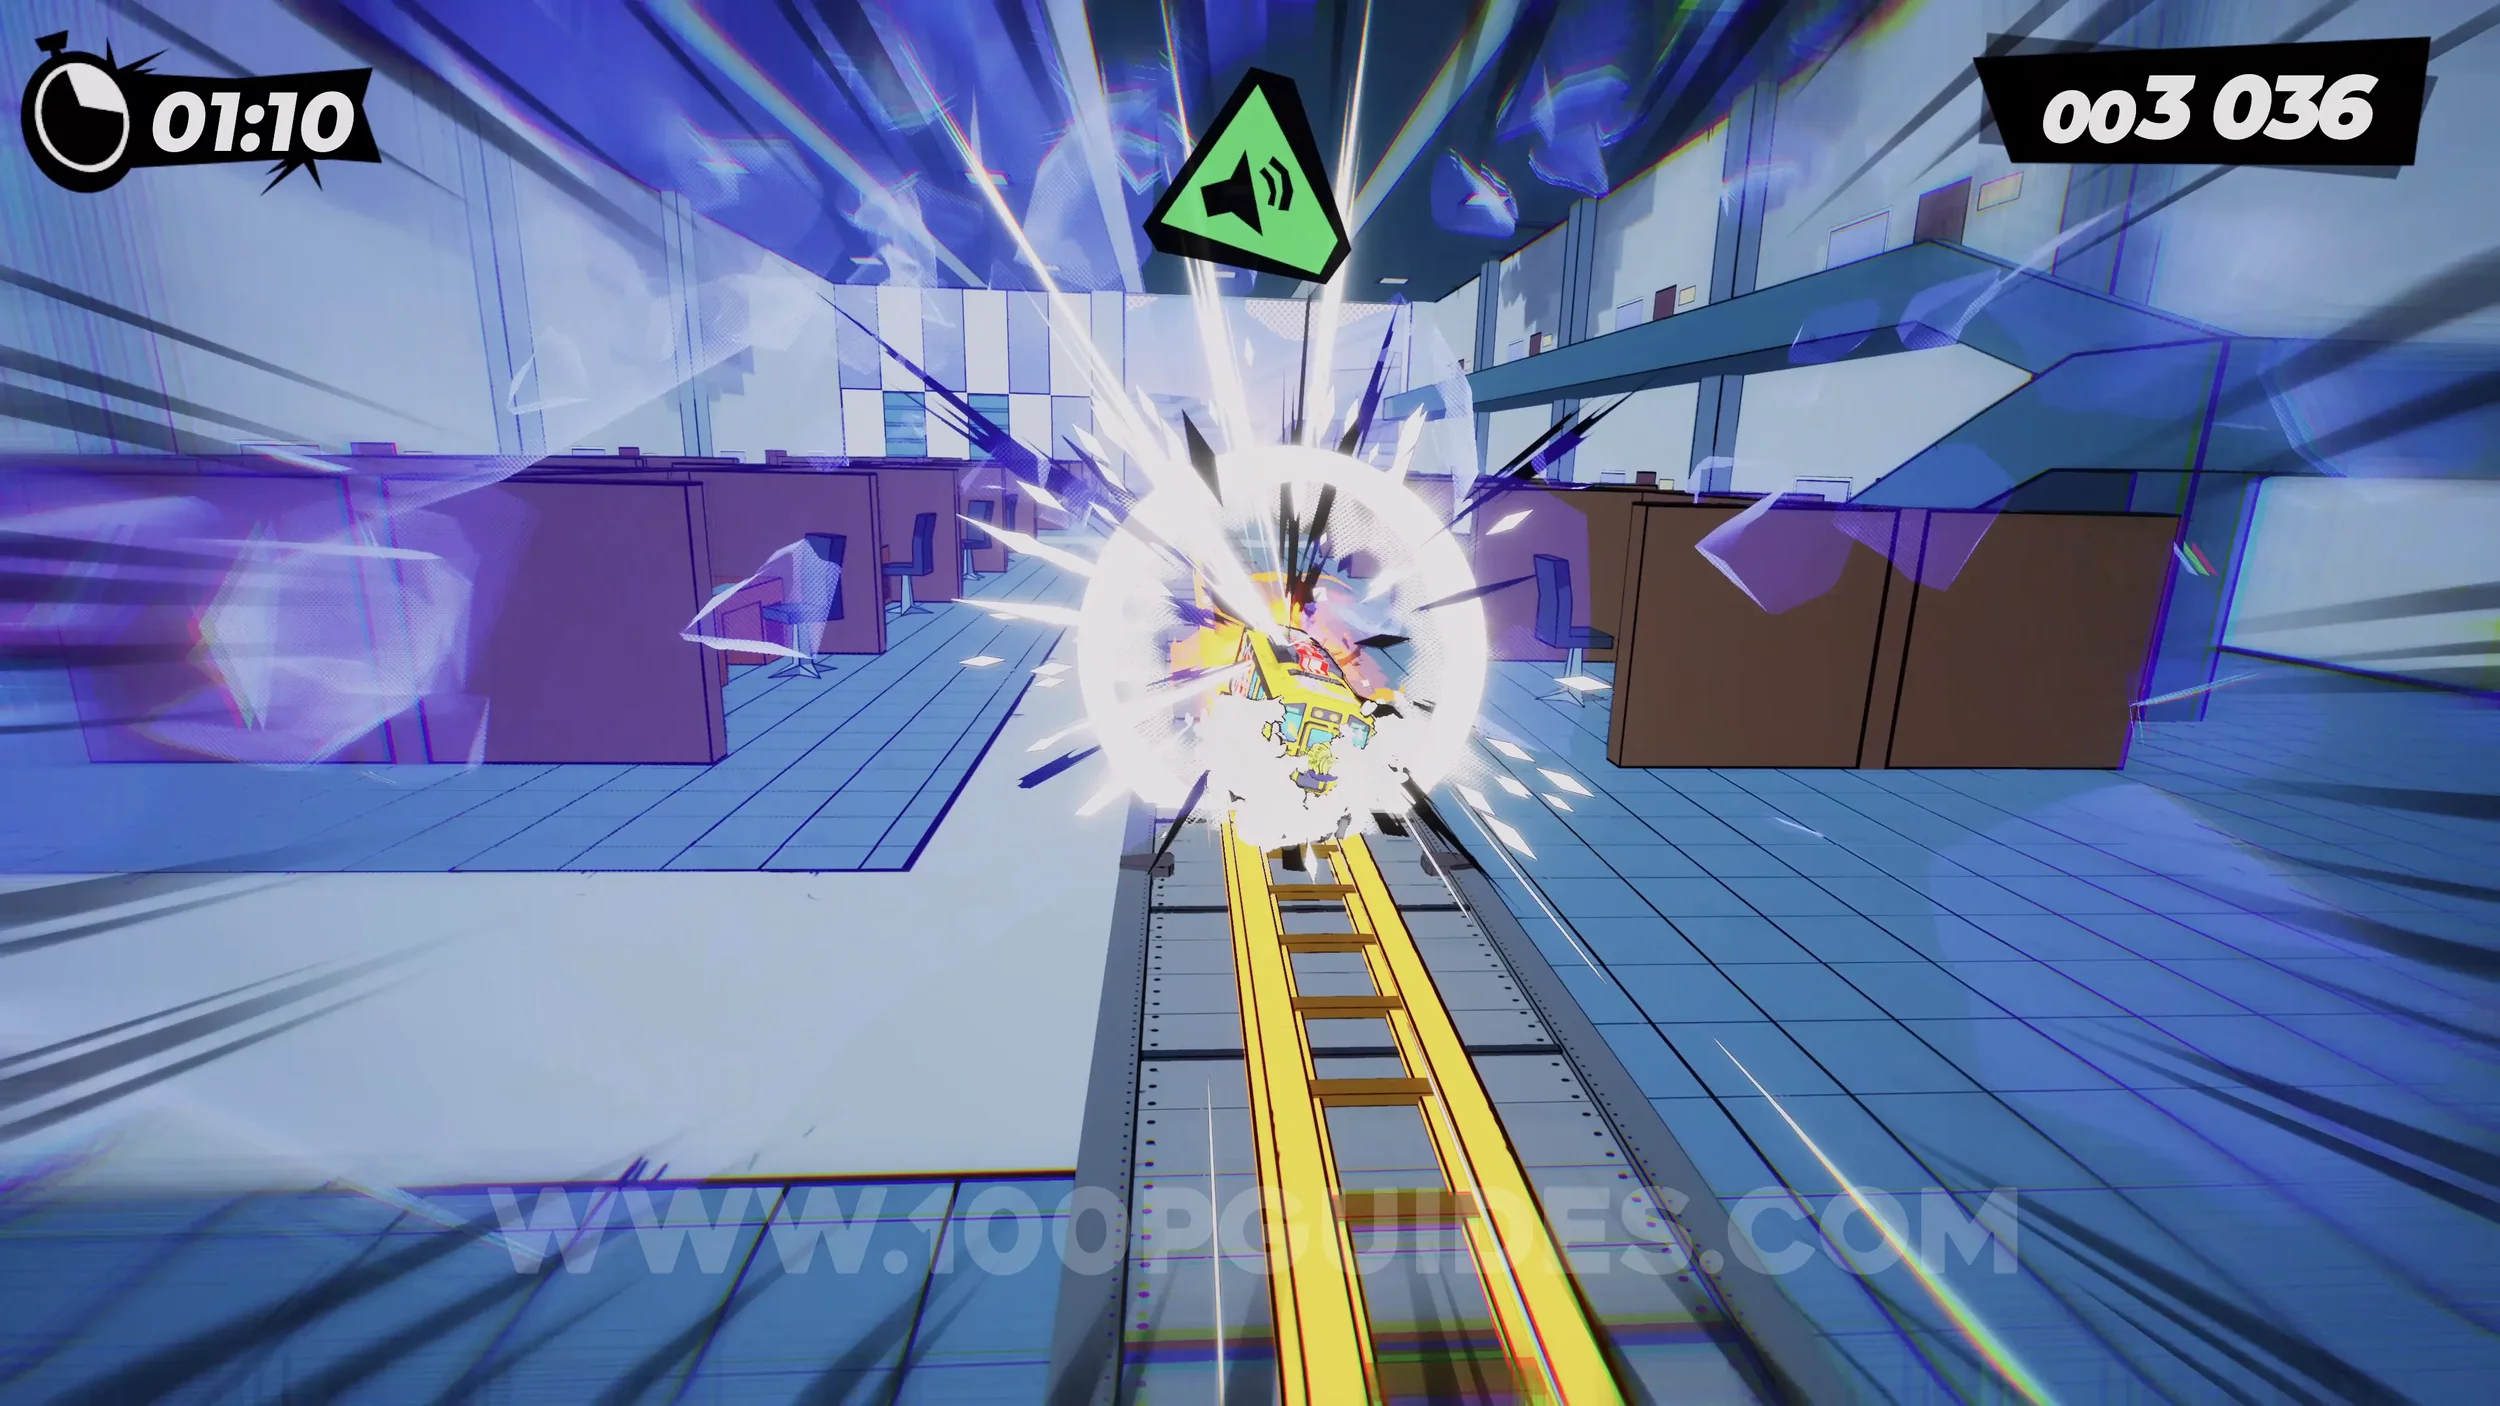
Dare: Blow Away the Office Papers. Continue through the level a little until you go through a building. The game will slow down a little and the "horn" symbol will appear in the middle of the screen as you go through the building. Press R3 to blow the horn to complete the dare.
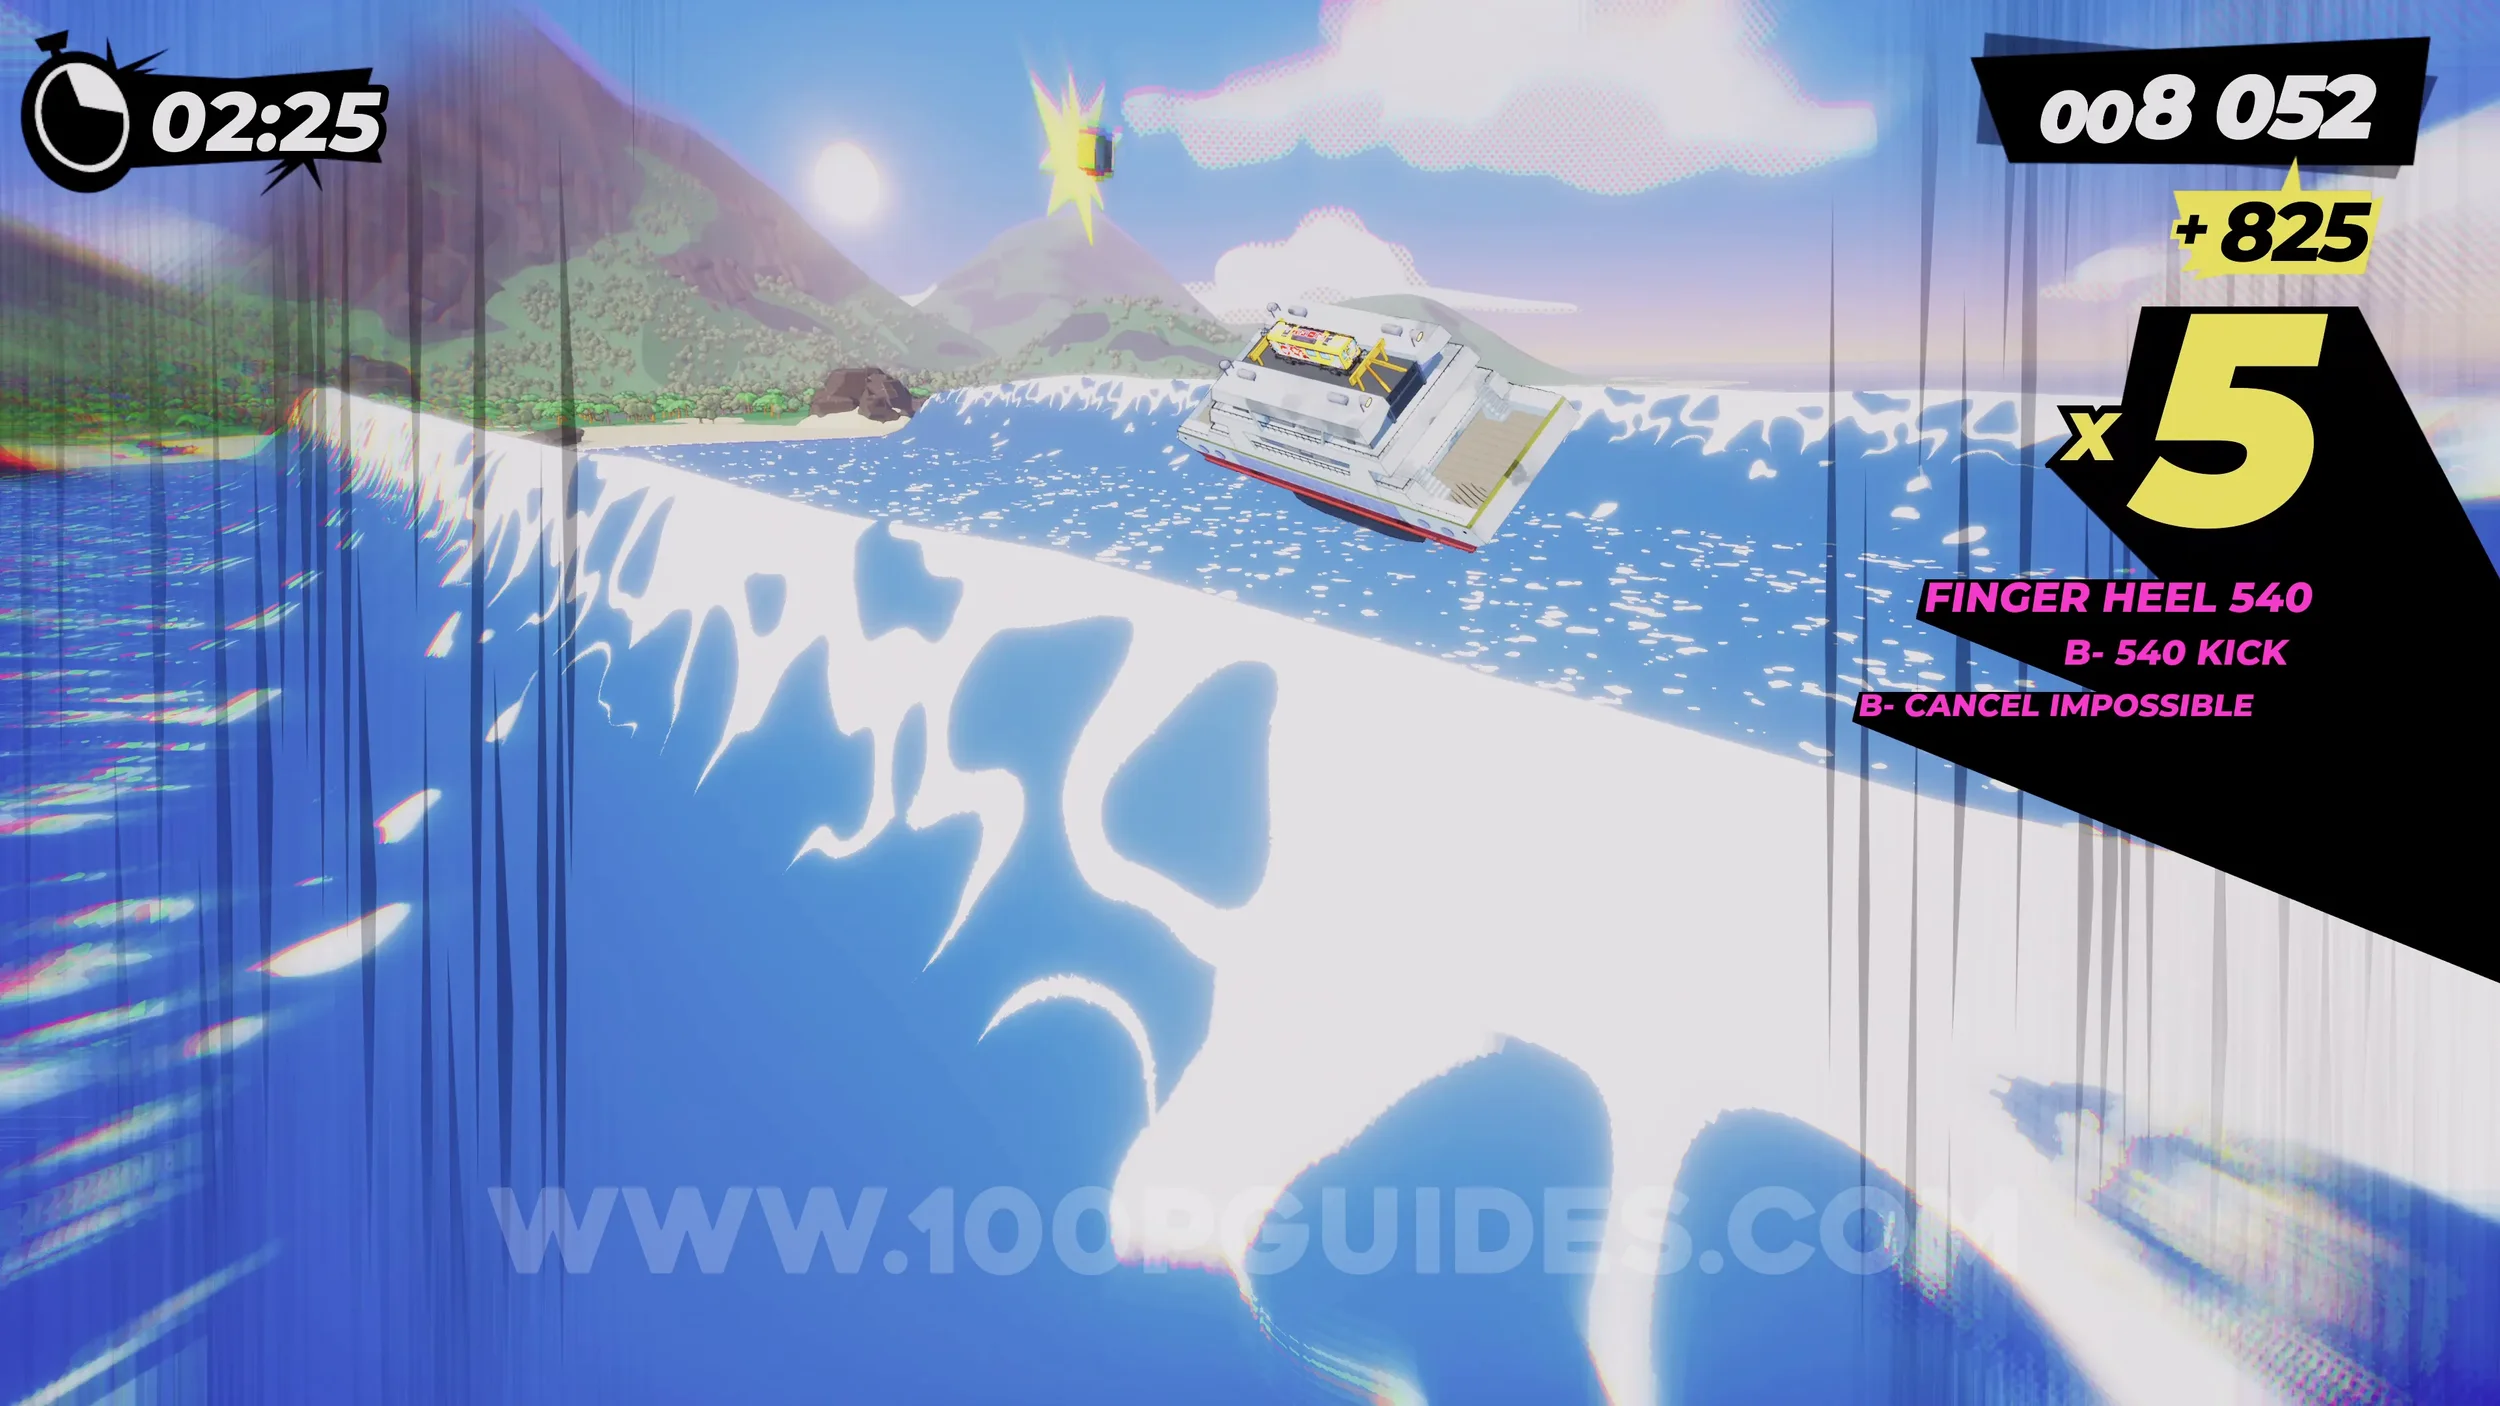
Dare: Trick While on the Sea Wave. Close to the end of the level, you will ride a boat and then, with the boat, be on the side of a wave. Press R2 to jump off the top of the wave and perform any trick.
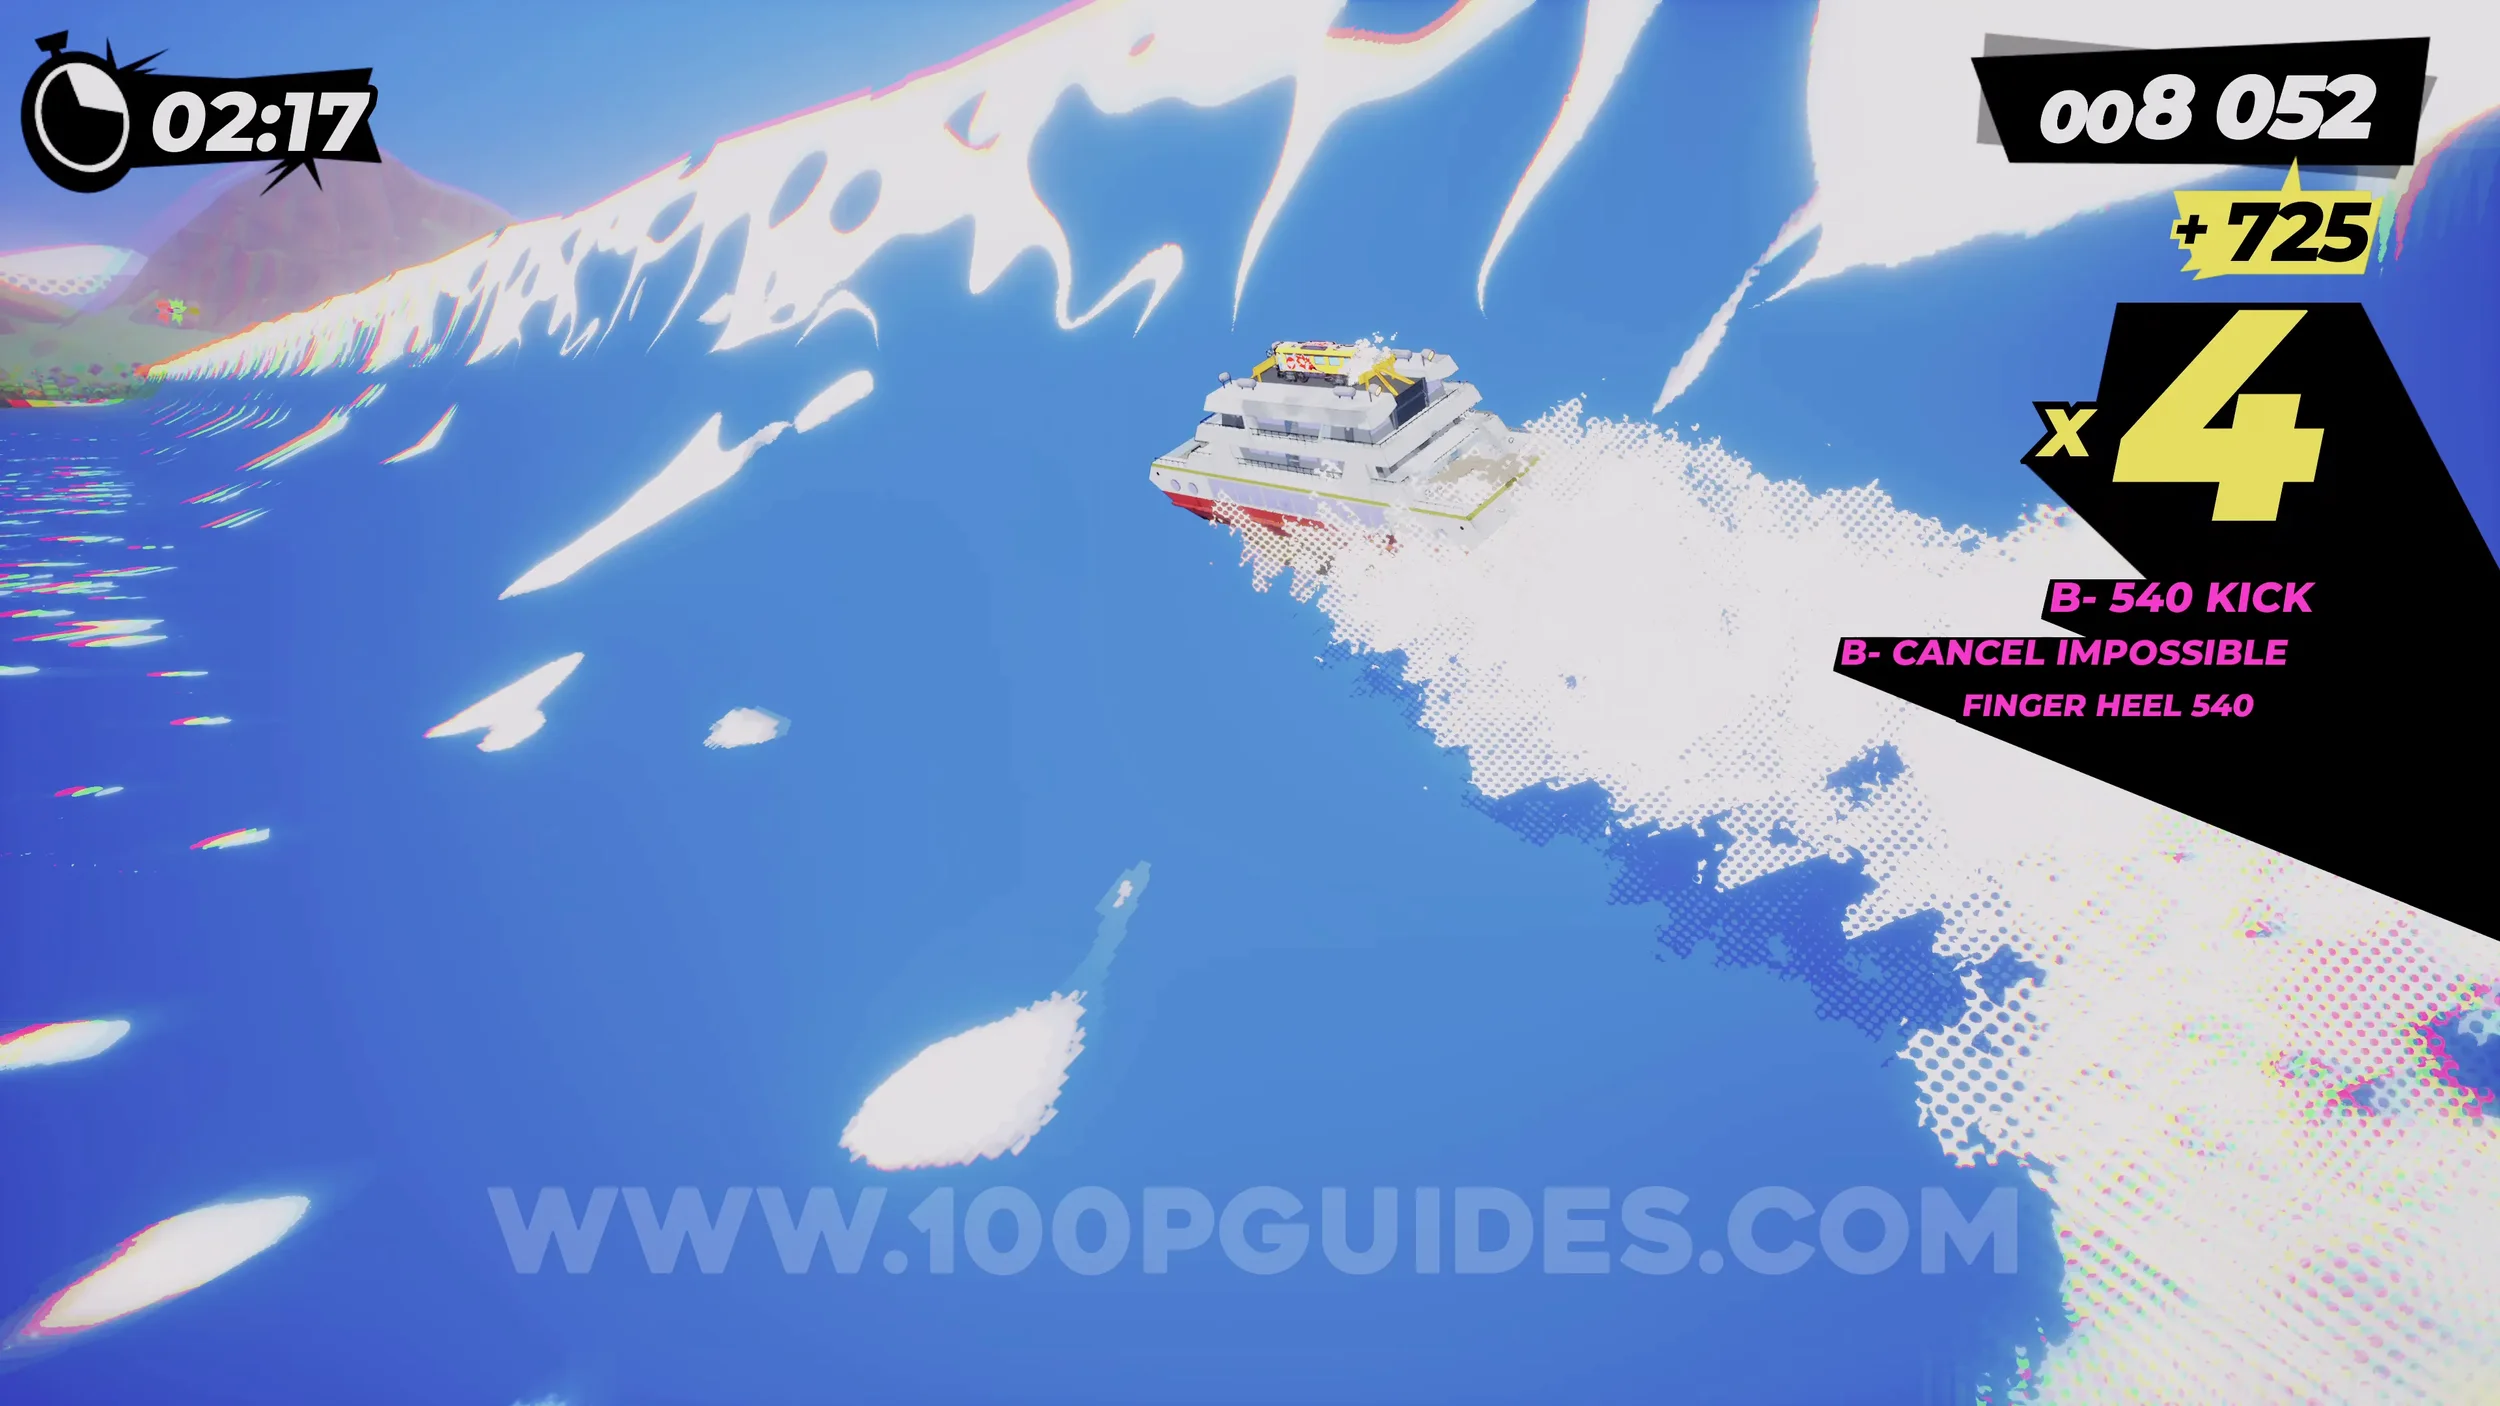
Film Roll (1/1). On top of the wave, as you ride the boat, press R2 to reach it.
Dare: Score Over 500 Points From Grind Sweet Spots. Self-explanatory. Get a total of 500 points from grinding.
Dare: No Crash Finish. Self-explanatory. Finish the level without crashing.
1-5-F Kyushu Fanzine H.Q.
(EN)Zine #1. Here you will be able to spend your film rolls to fill in the comic. Once it is filled, you will get the (EN)Zine. You will not be able to fill it in on your first visit since you will need more film rolls from later levels. Come back after collecting every film in the chapter.
1-5-1 Glow Up
This level is more open than the rest, and you get a little more freedom to finish the objectives and collect things in the order you like.
Dare: Piece of Castella (1/5). From the start, stay on the default path until you see the three signs telling you where things are. Here, stick to the left side, then continue until you see another three signs. Also stick to the left, and you will collect the piece of Castella automatically after the next corner.
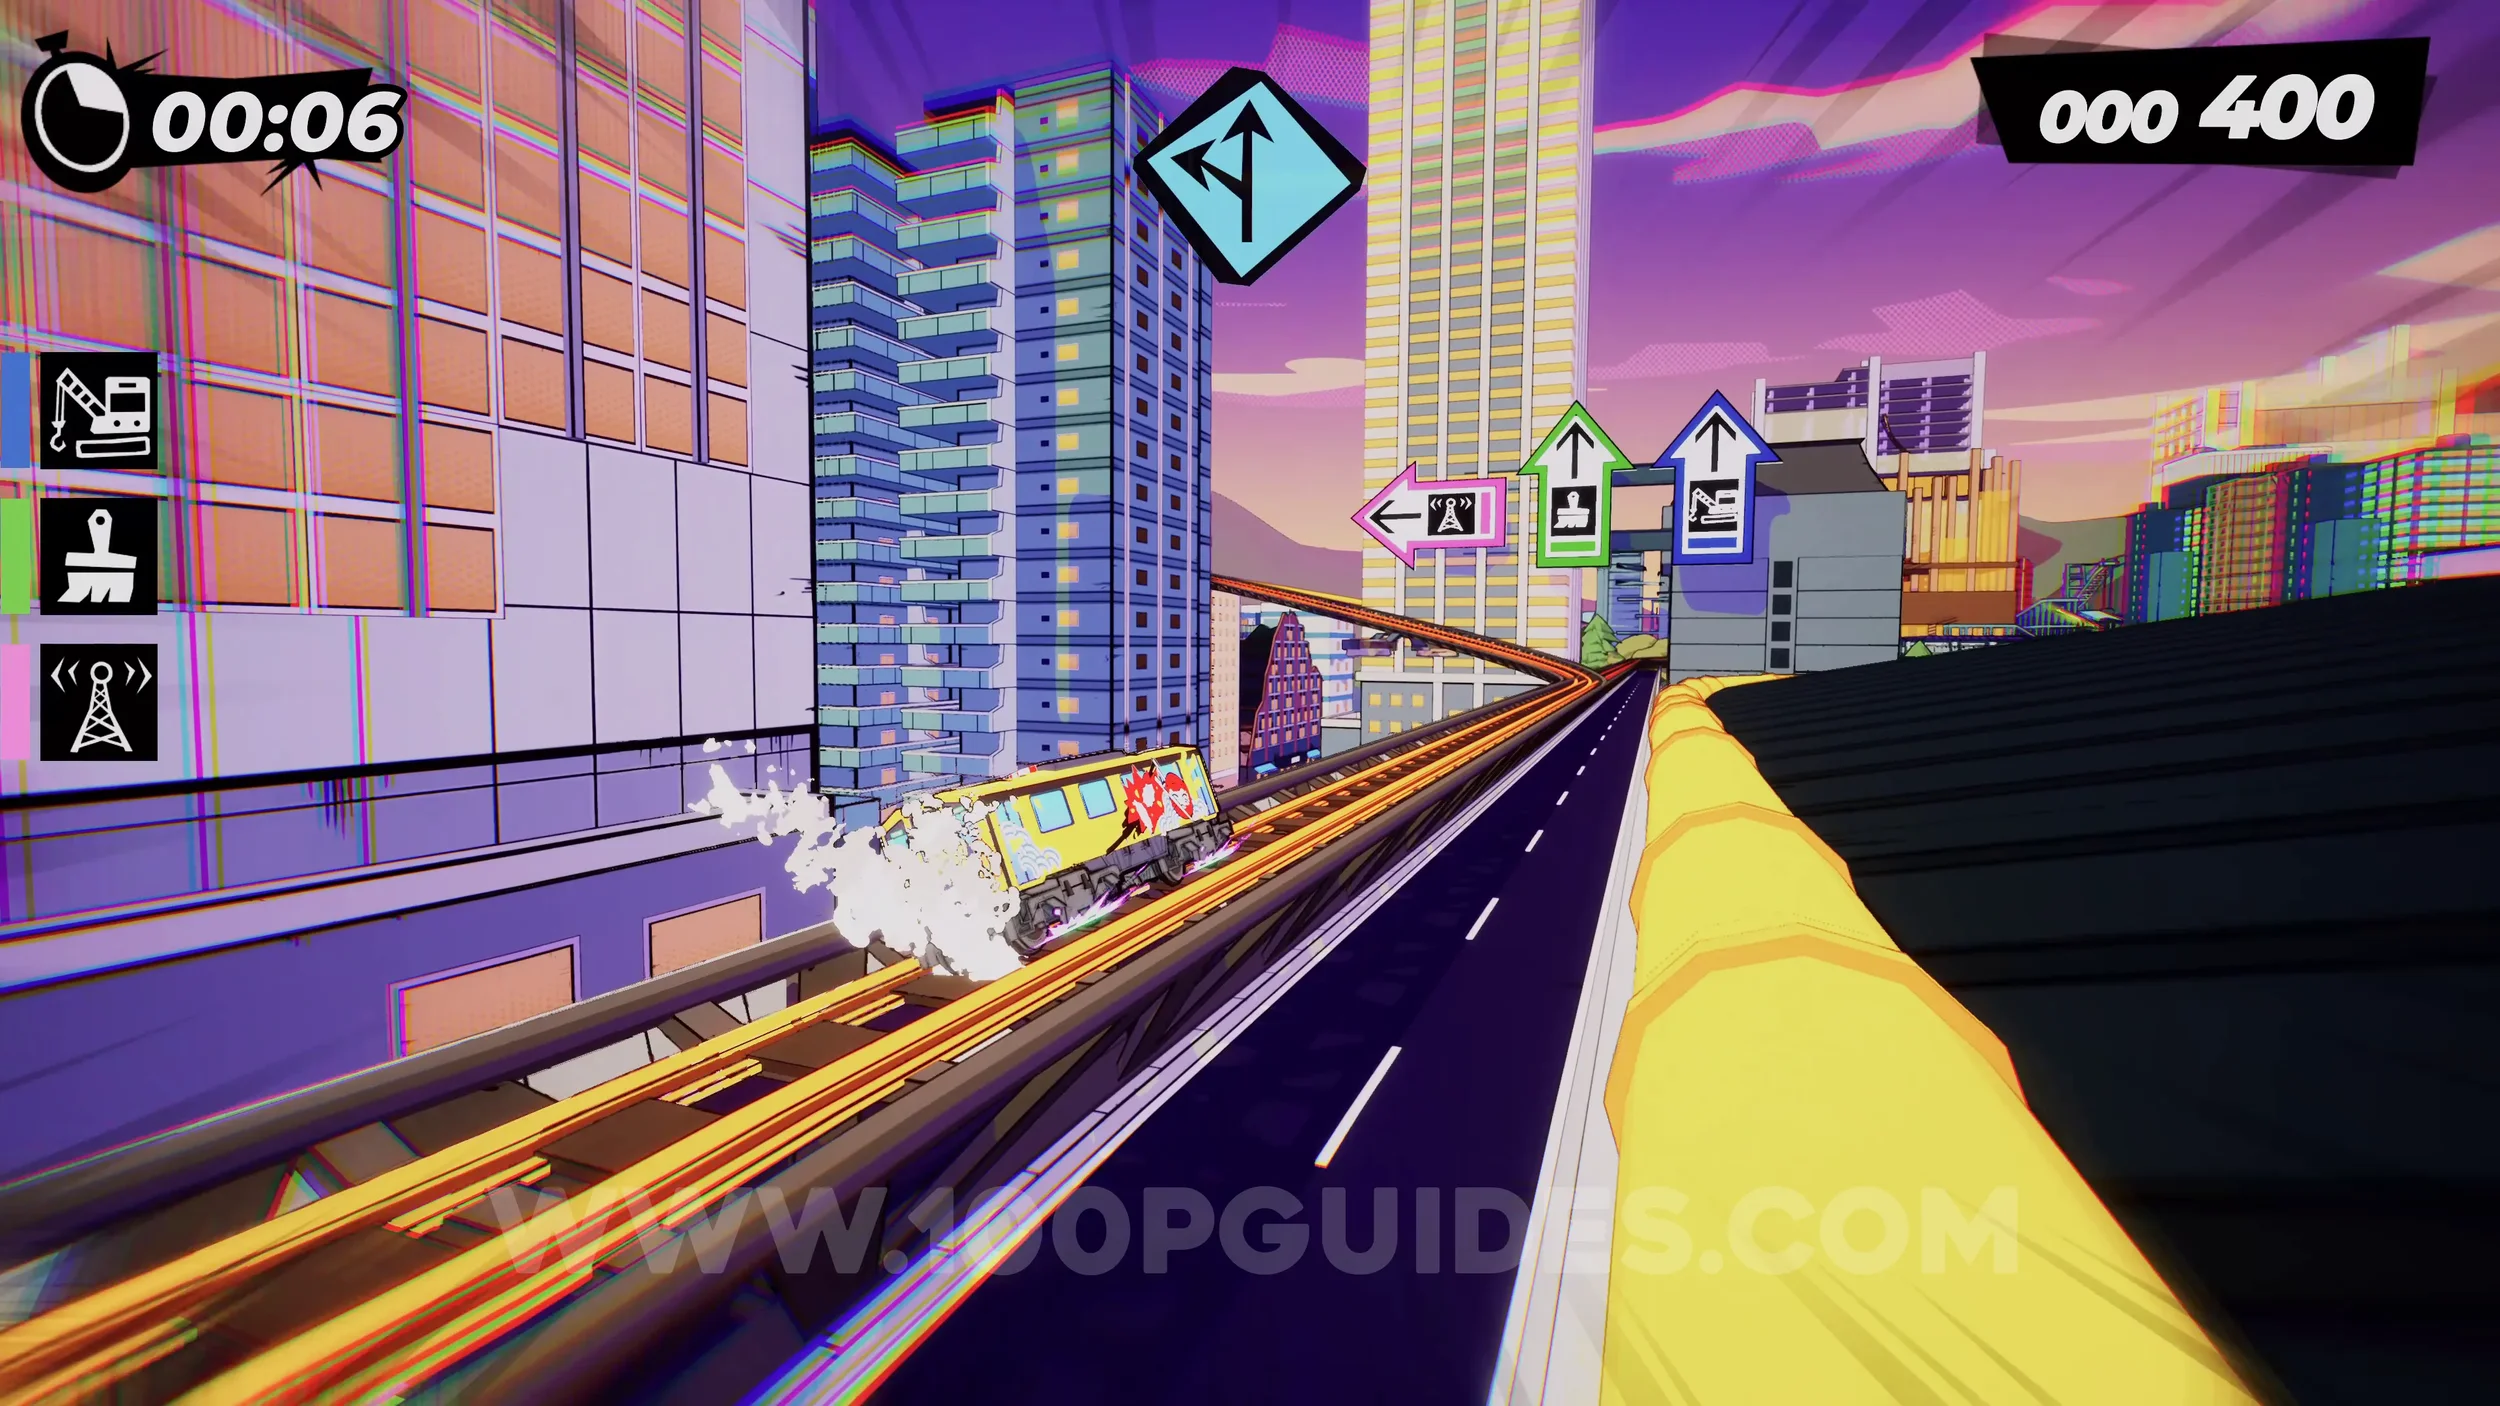
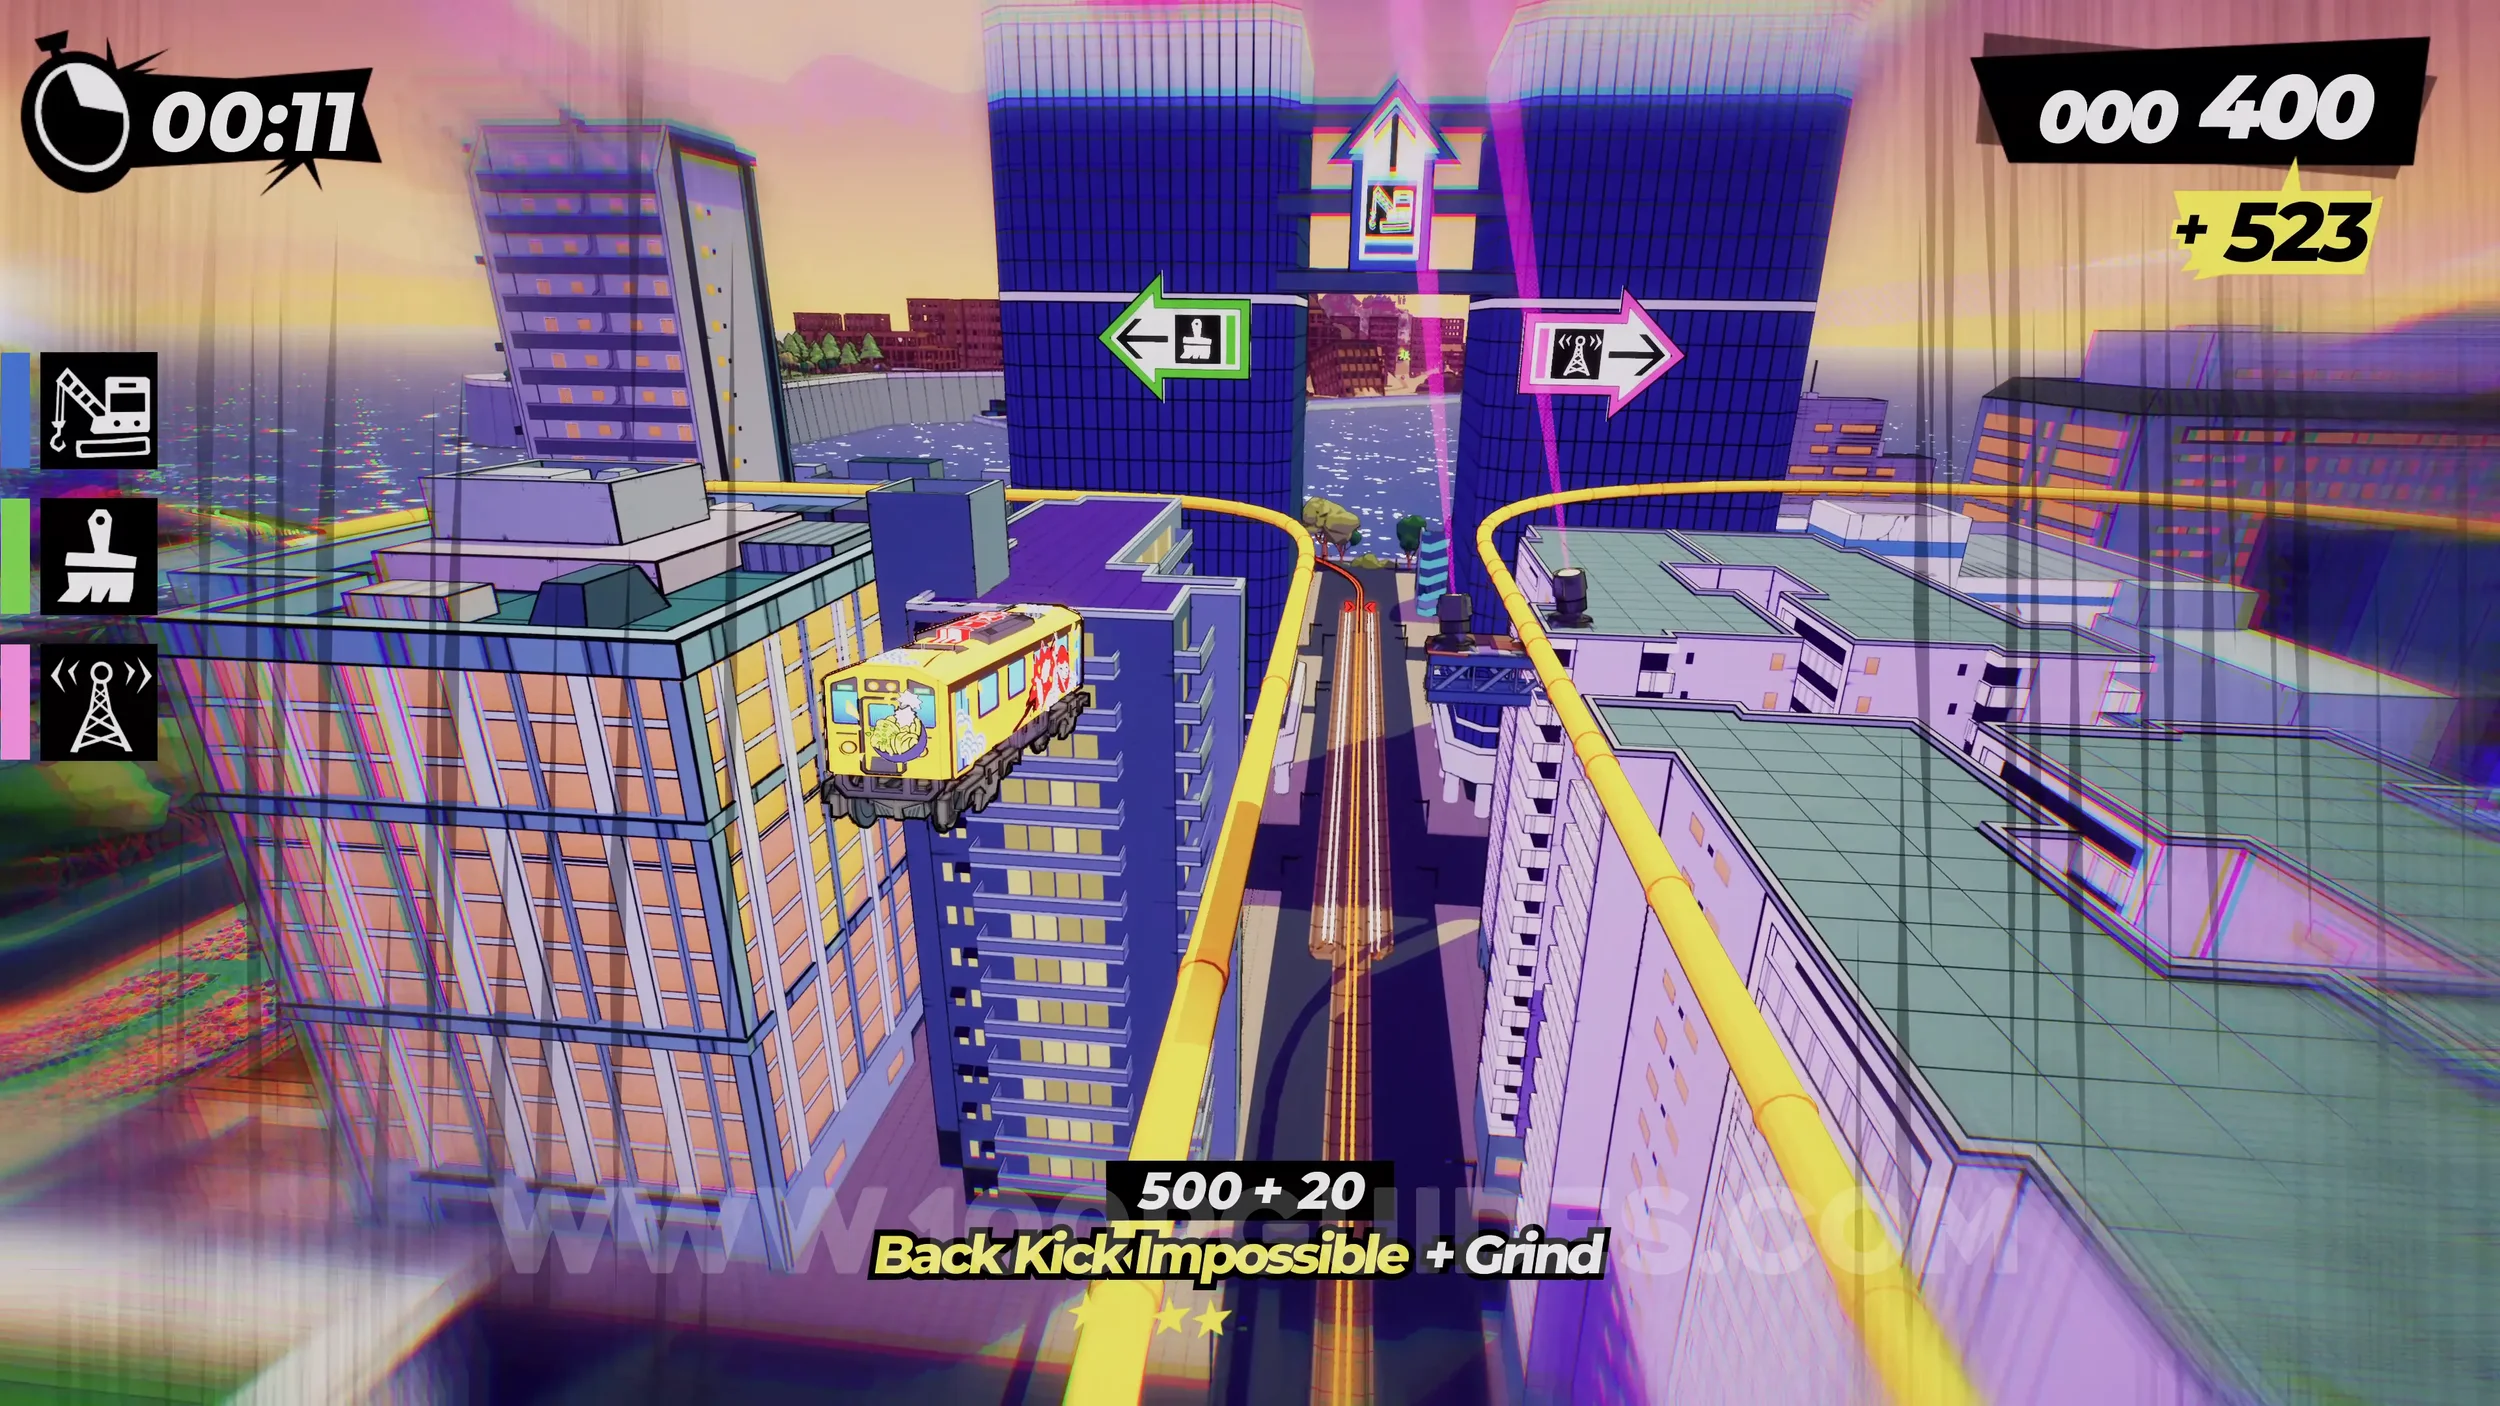
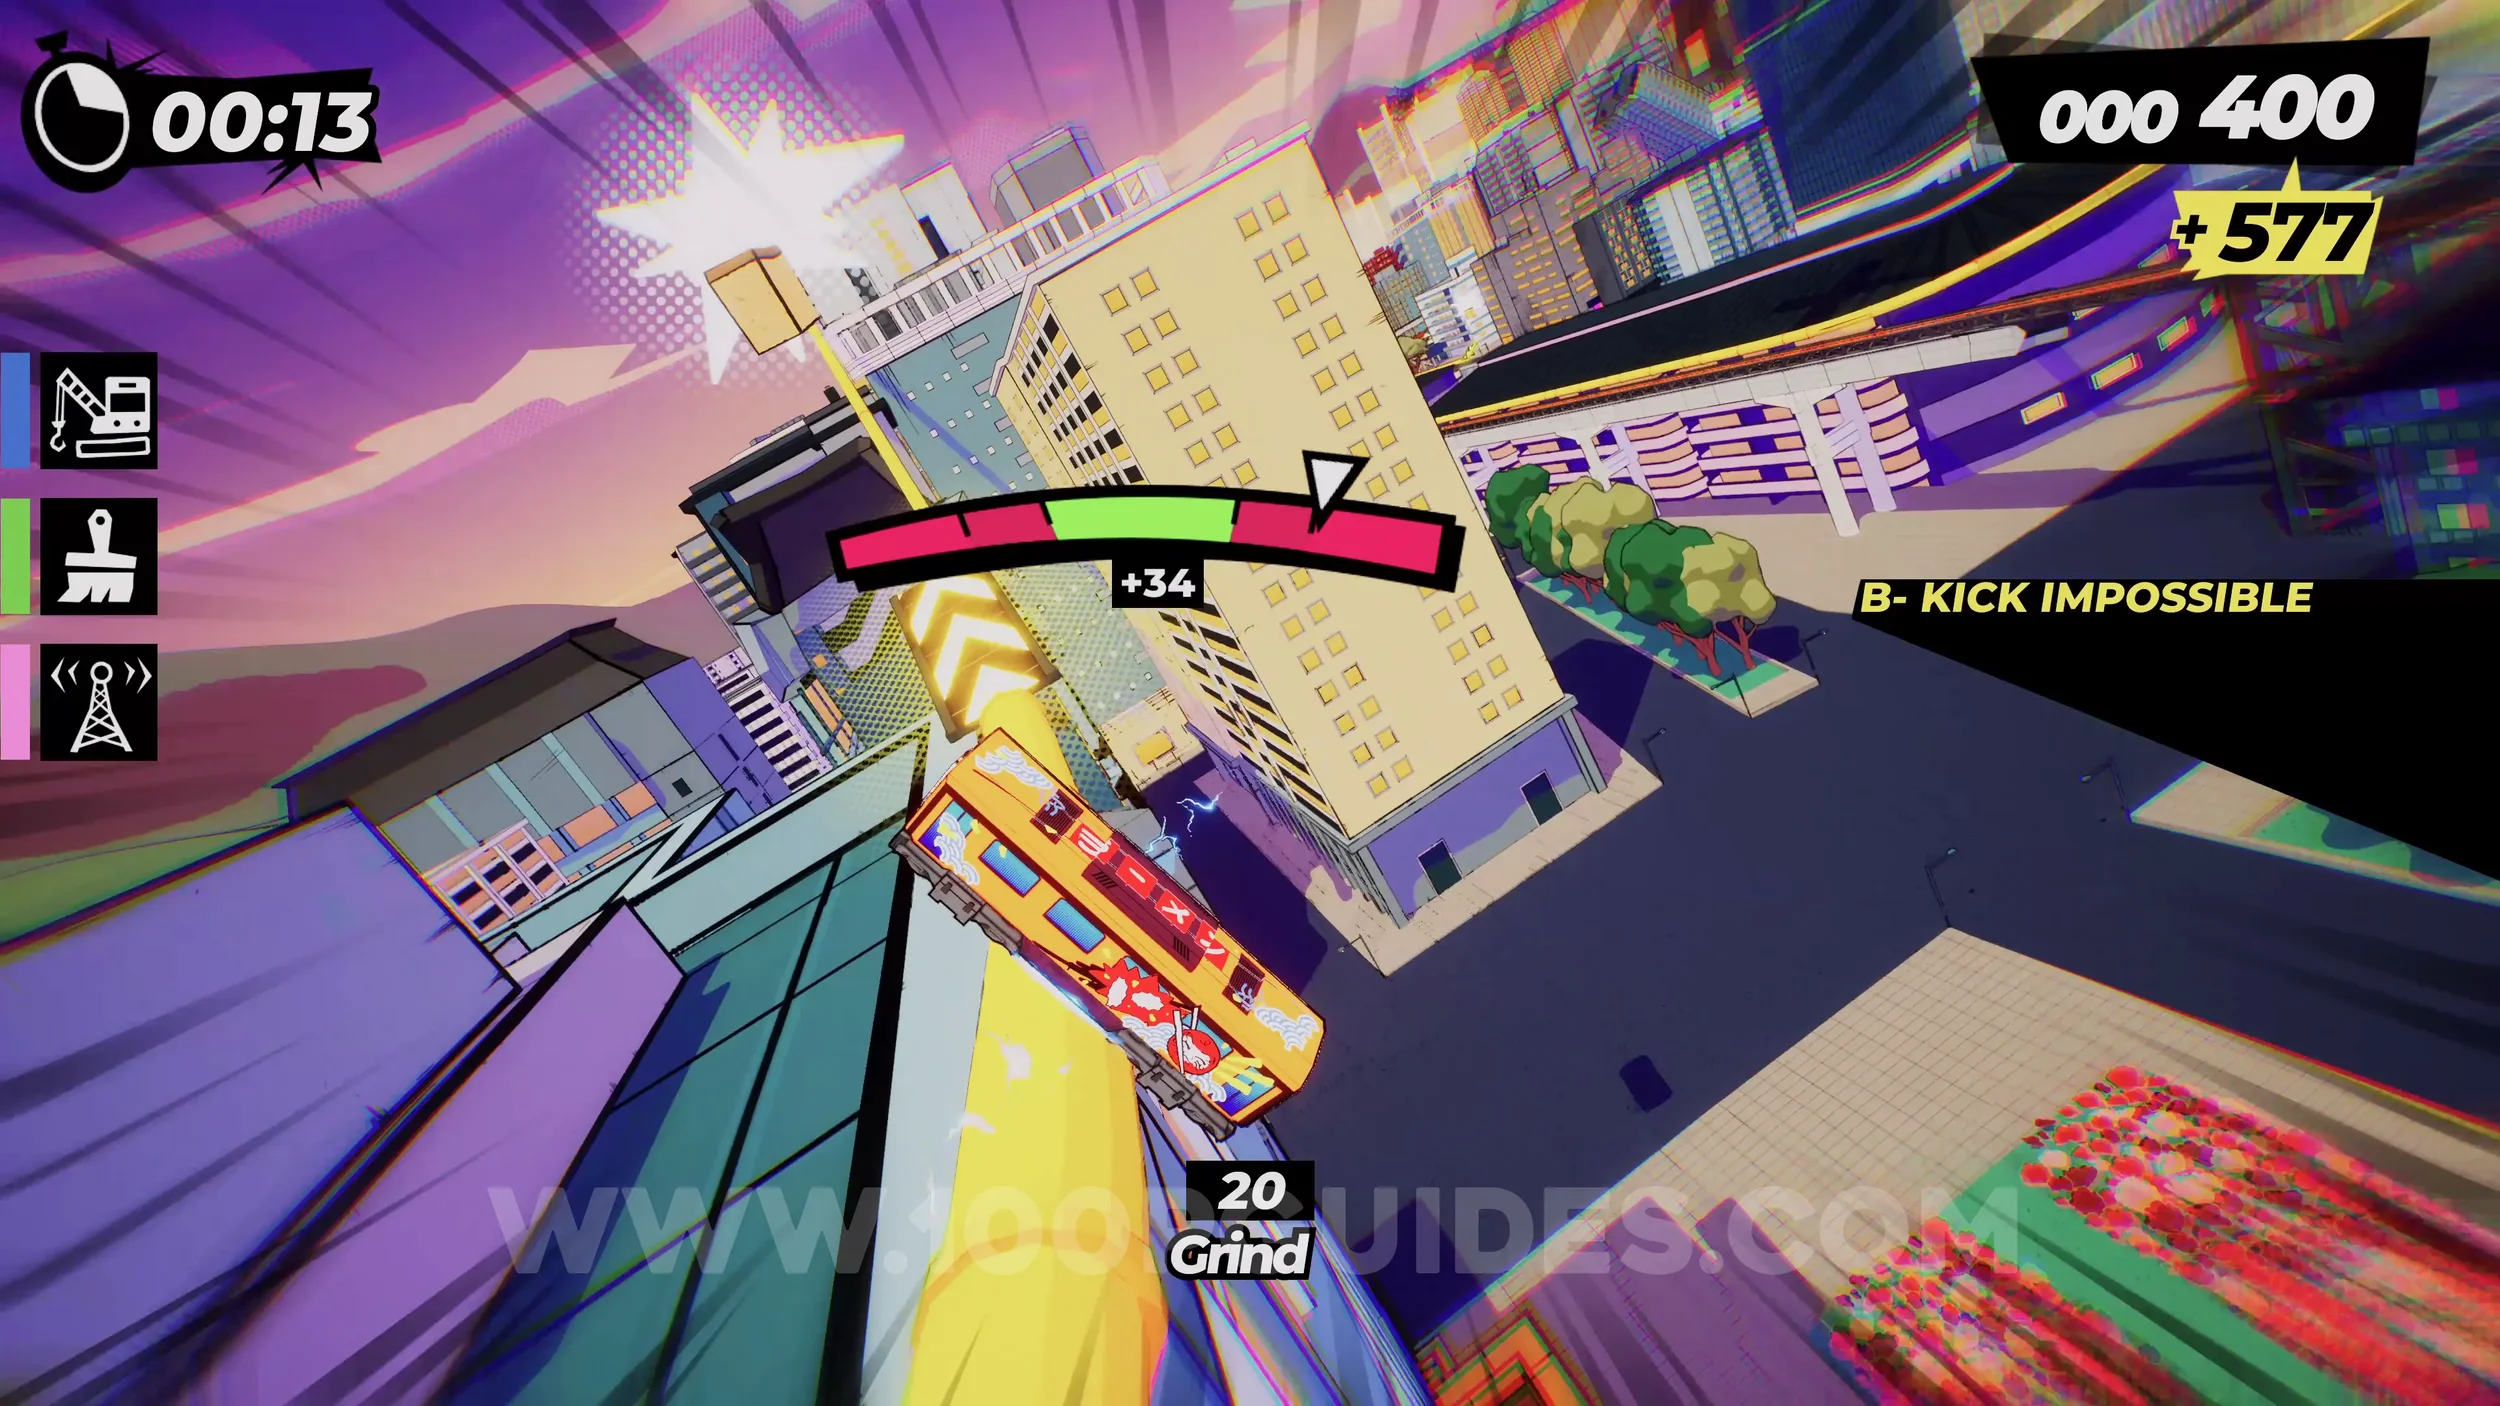
Dare: Smash Molty’s Statue. After the previous piece of Castella, take the jump and then stick to the right, following the blue and pink signs. This will take you to the Molty Statue.
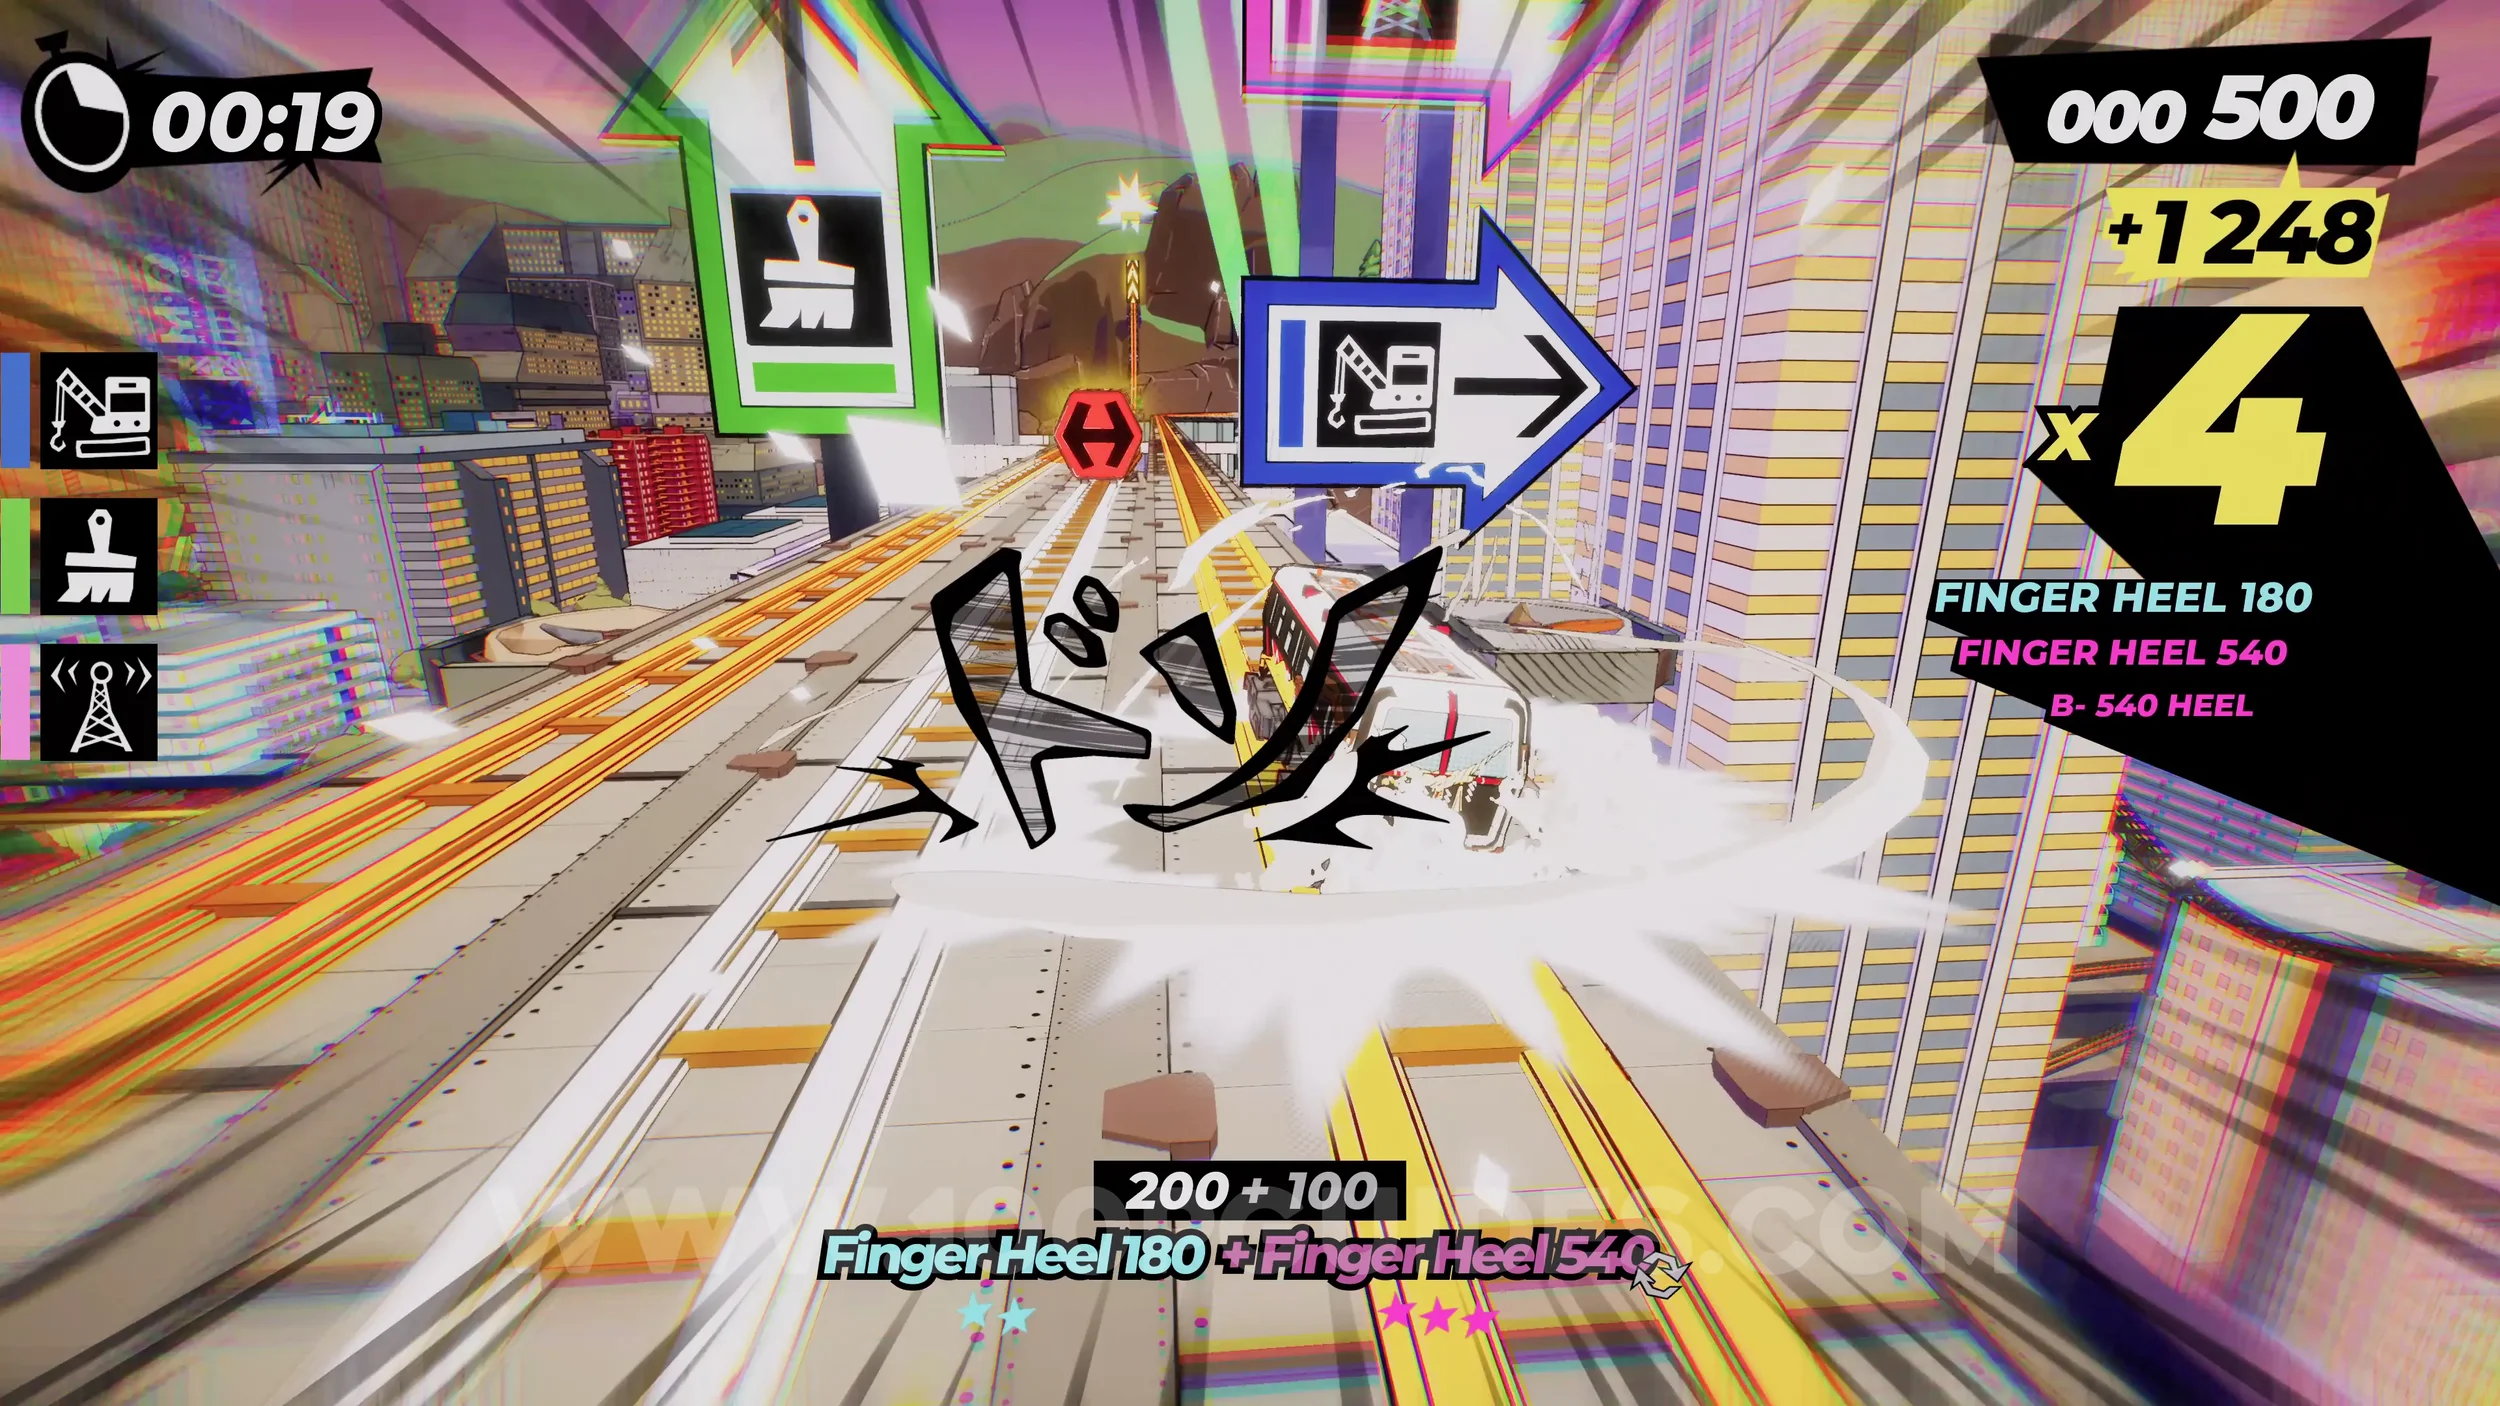
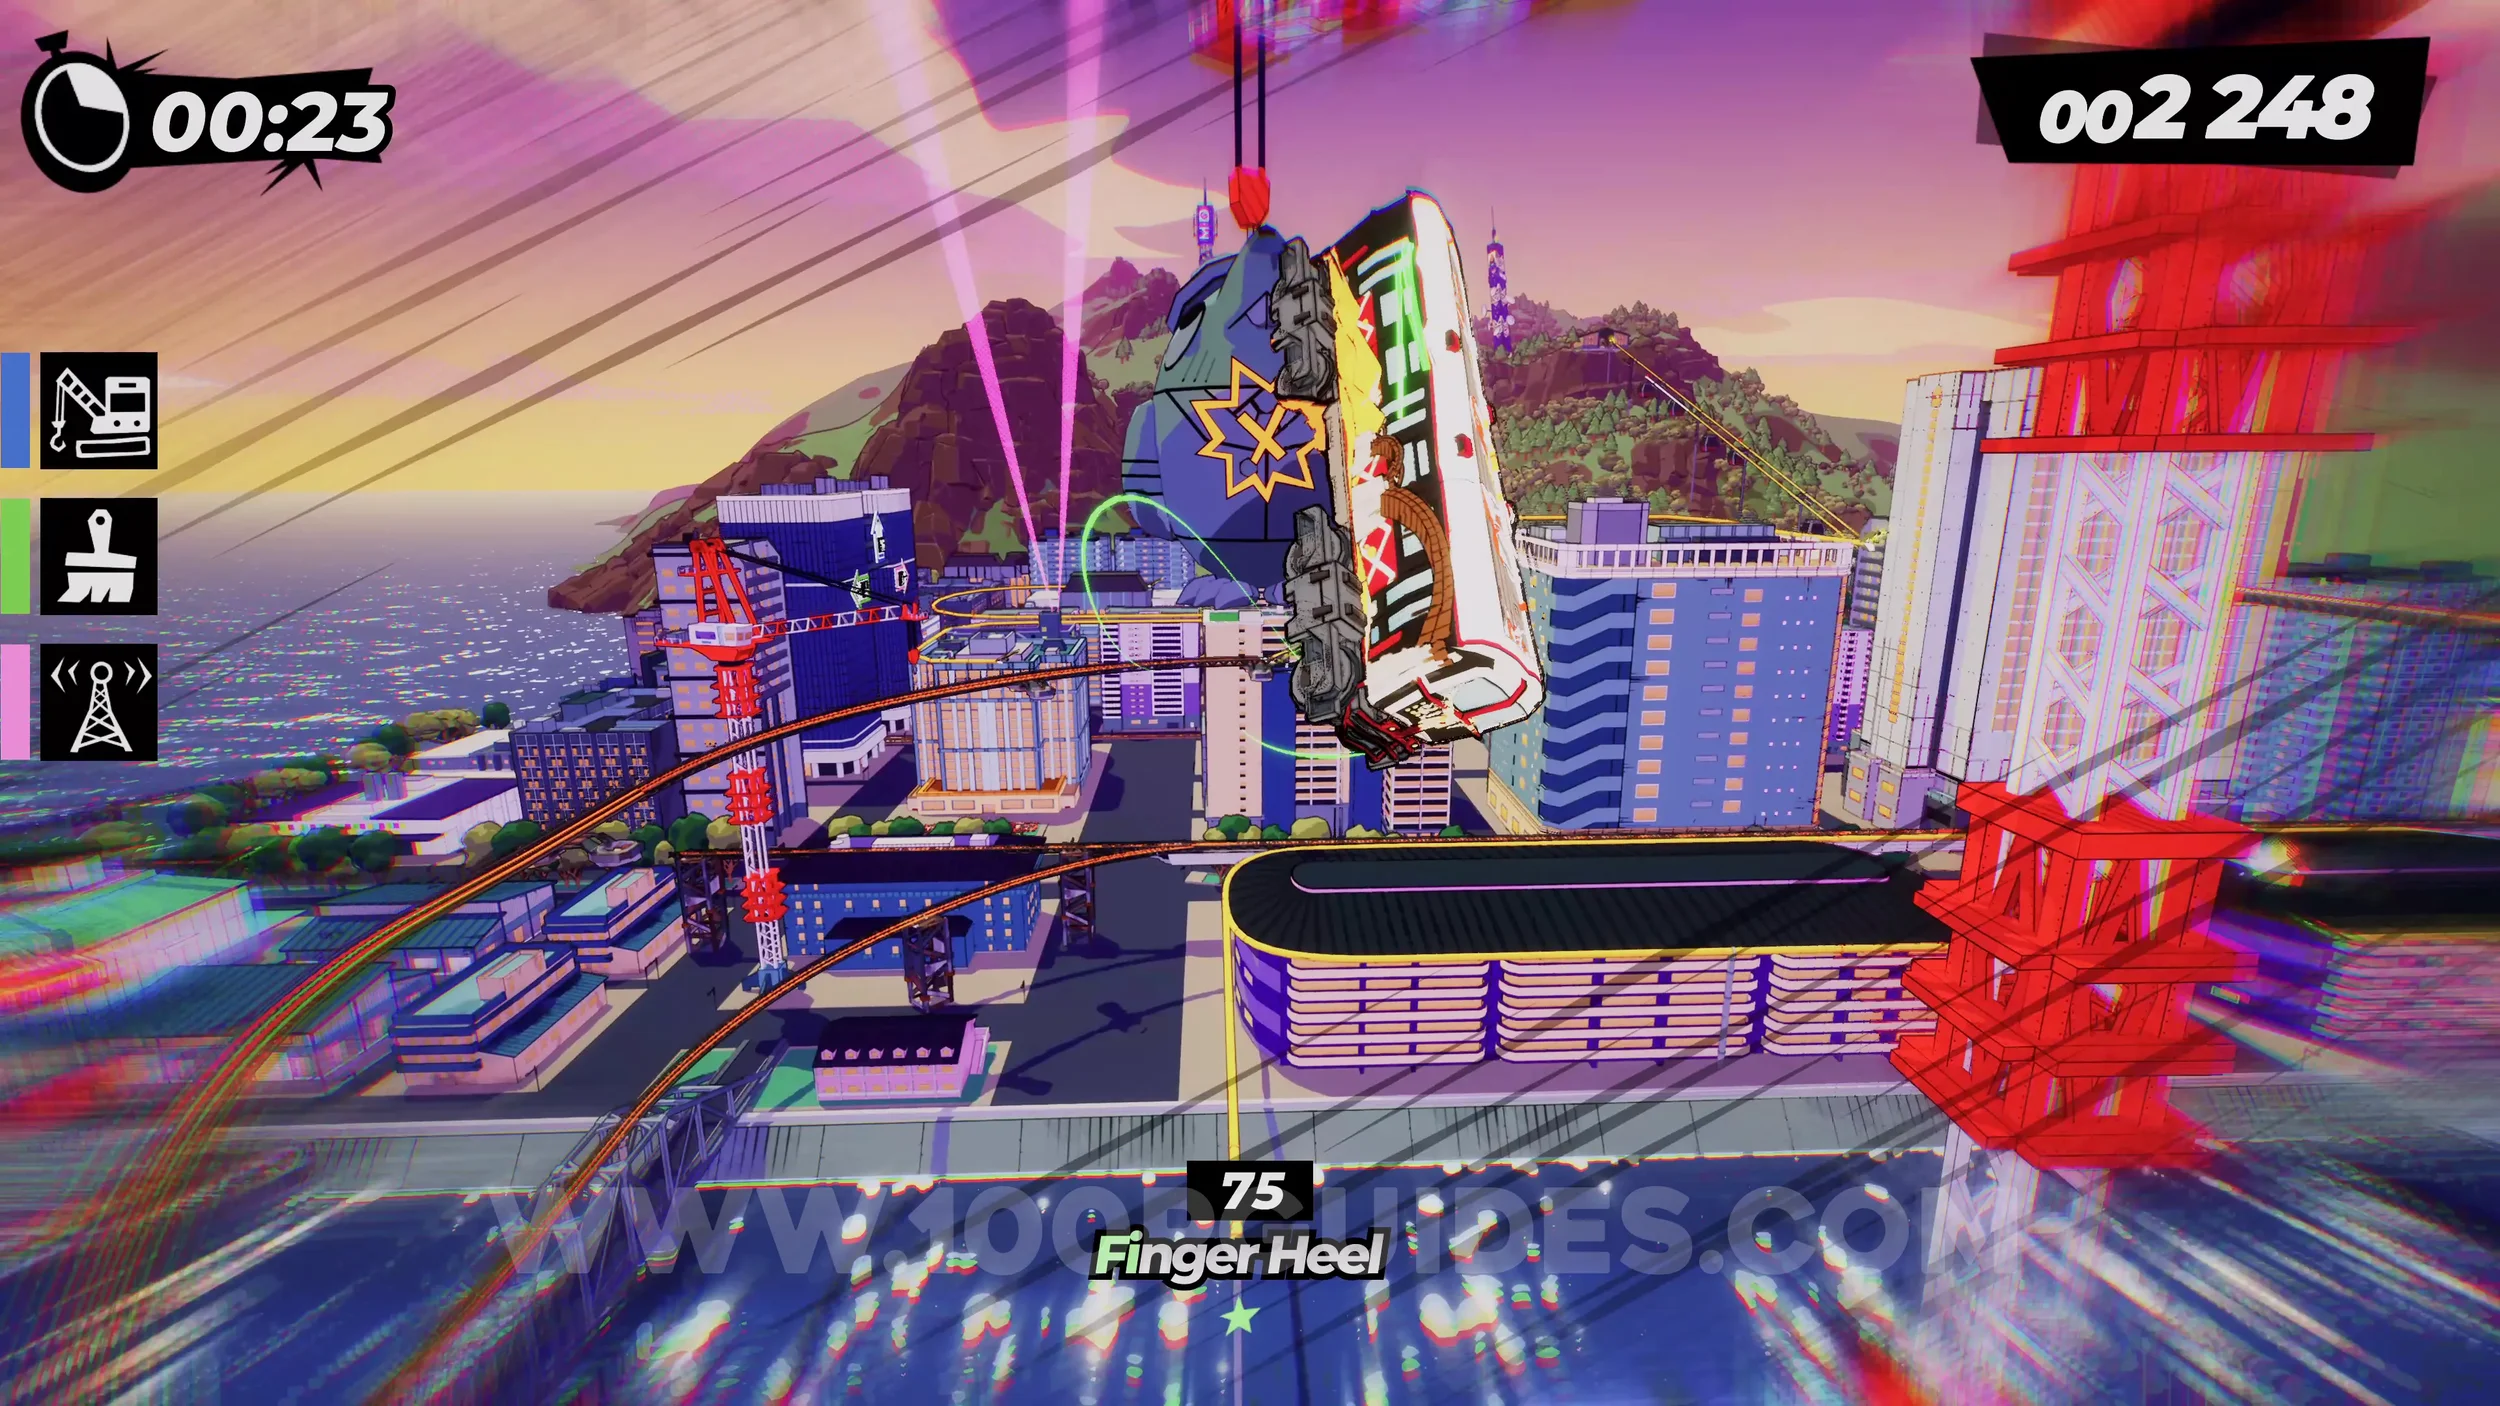
Dare: Piece of Castella (2/5) & Dare: Trick on 5 Different Vert Ramps (1/5). After the Molty Statue, you will return to the start where the track splits. Take the same path as before to get to where you picked up the first piece of Castella. After the jump, this time stick to the left side and follow the green sign. You will then use a vertical ramp to collect the piece of Castella, then land on the rail below. During this jump, do a trick for the vert ramp dare.
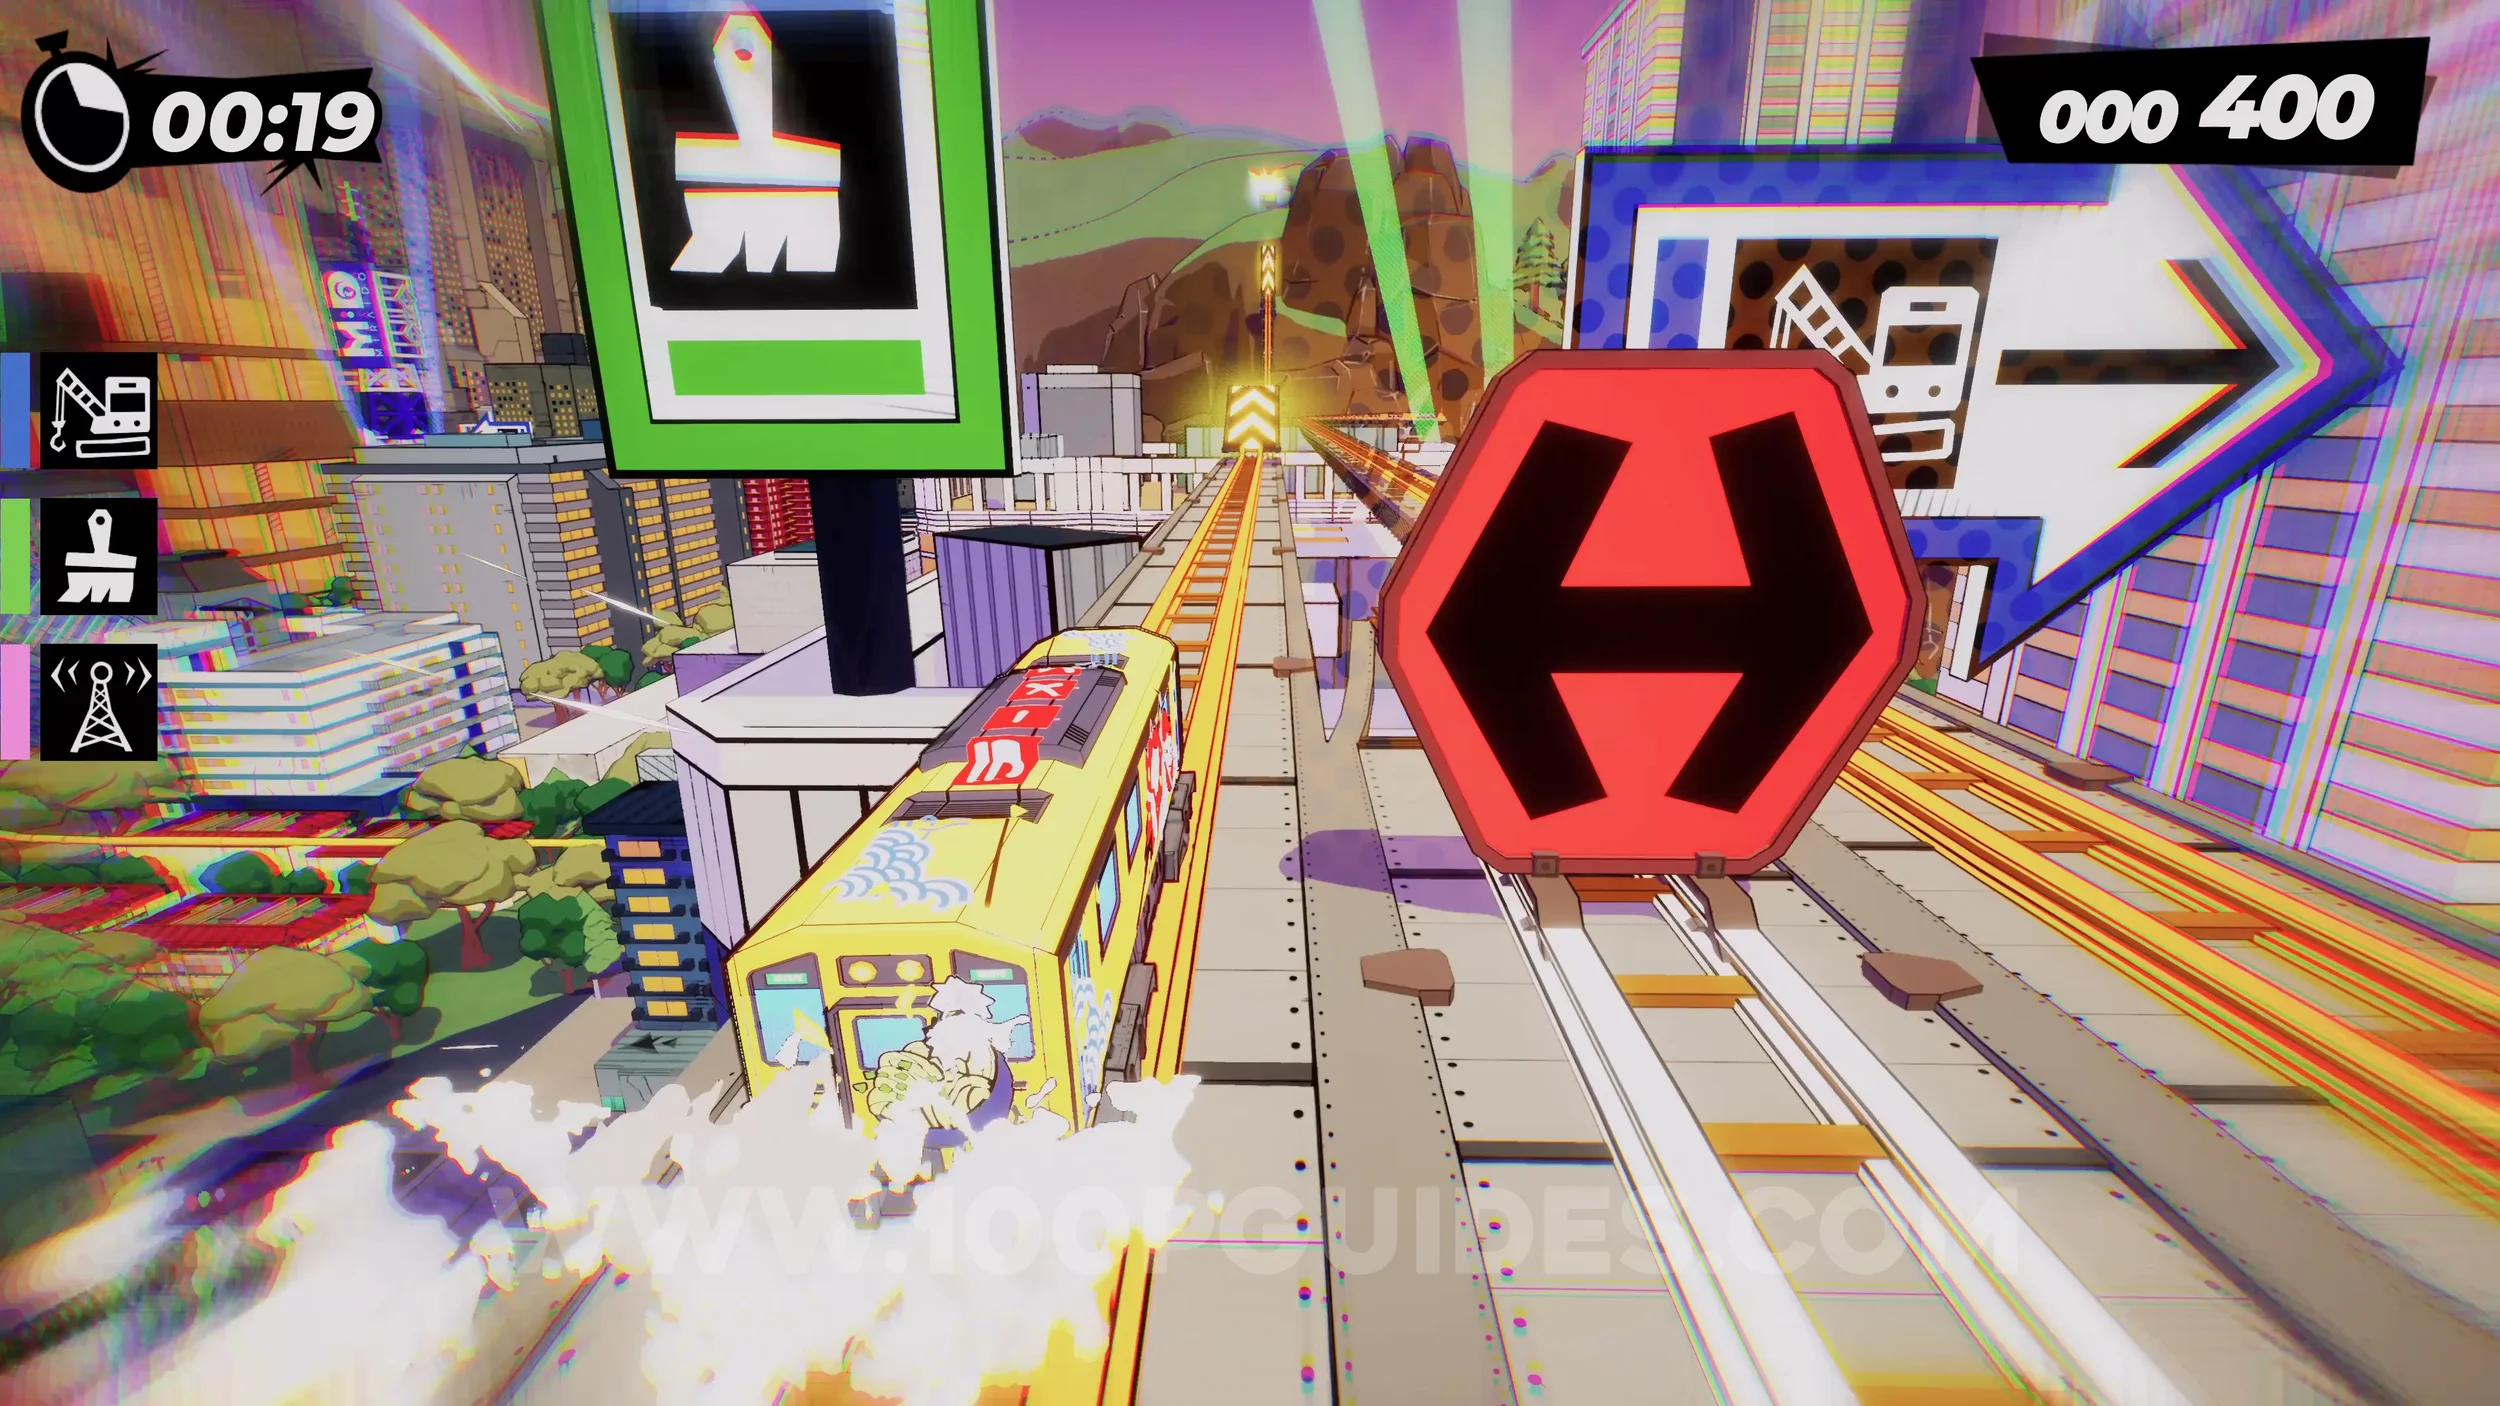
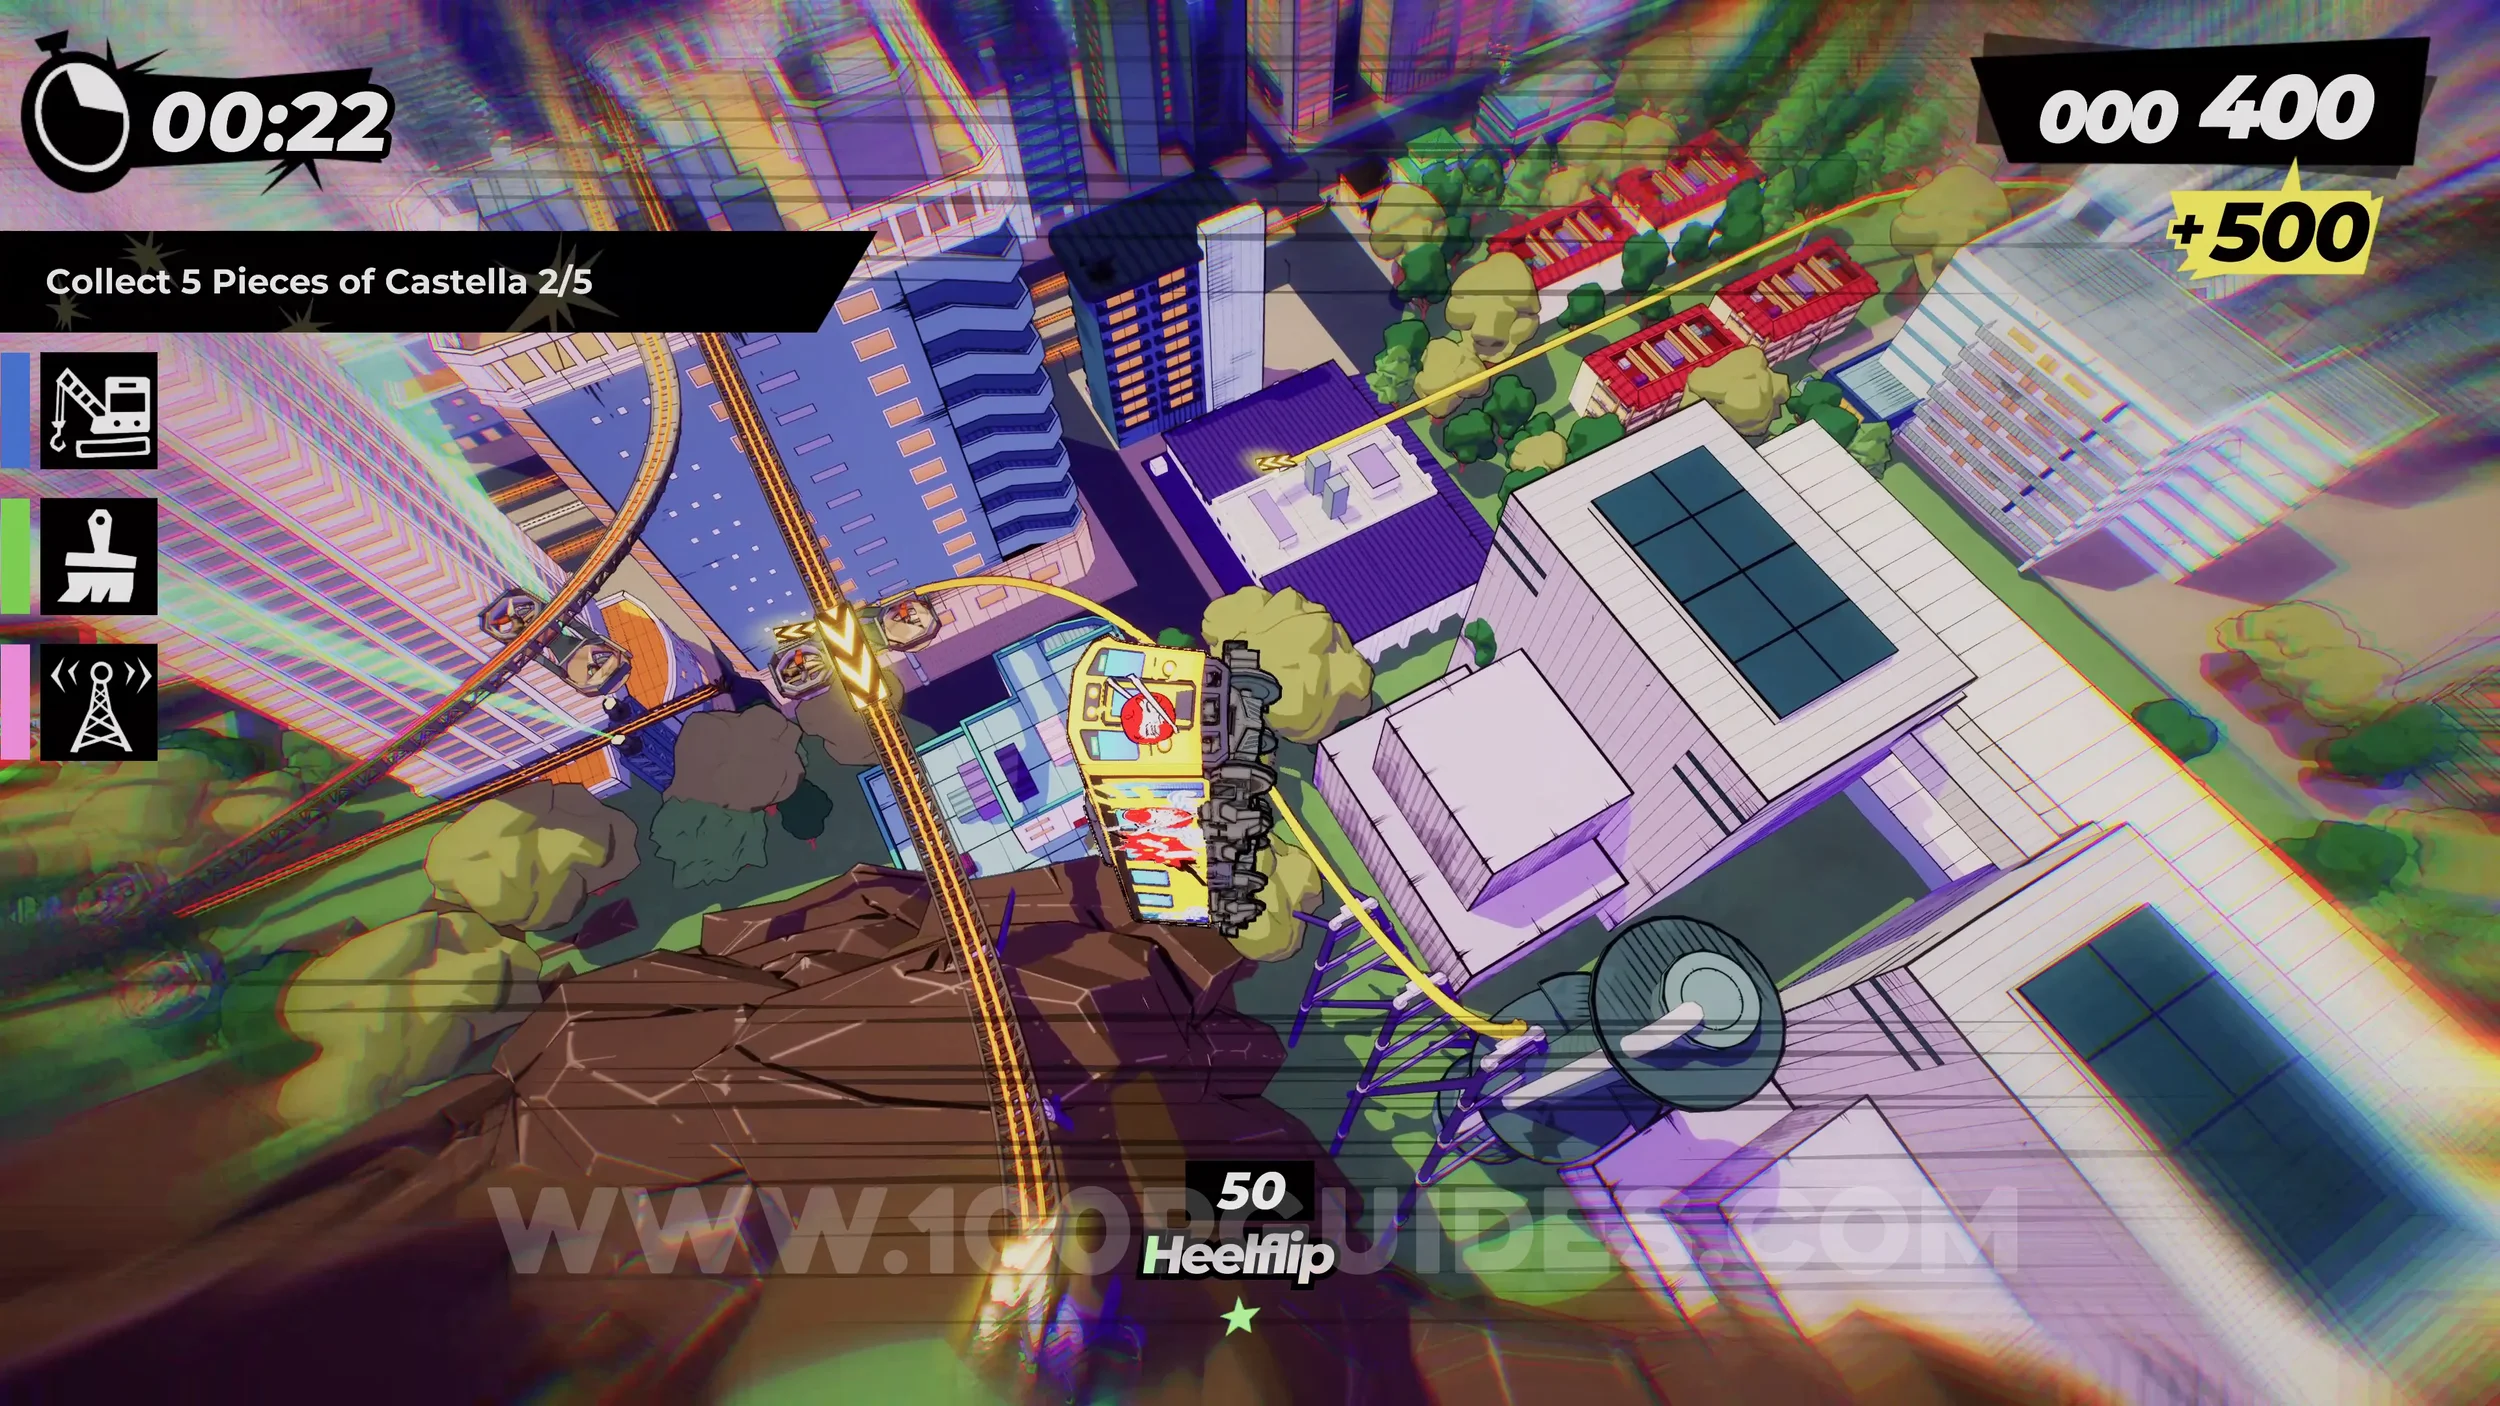
Dare: Trick Through a Paint Balloon. After the previous collectible, you will see balloons on the track. Just do a trick as you pop one of them.
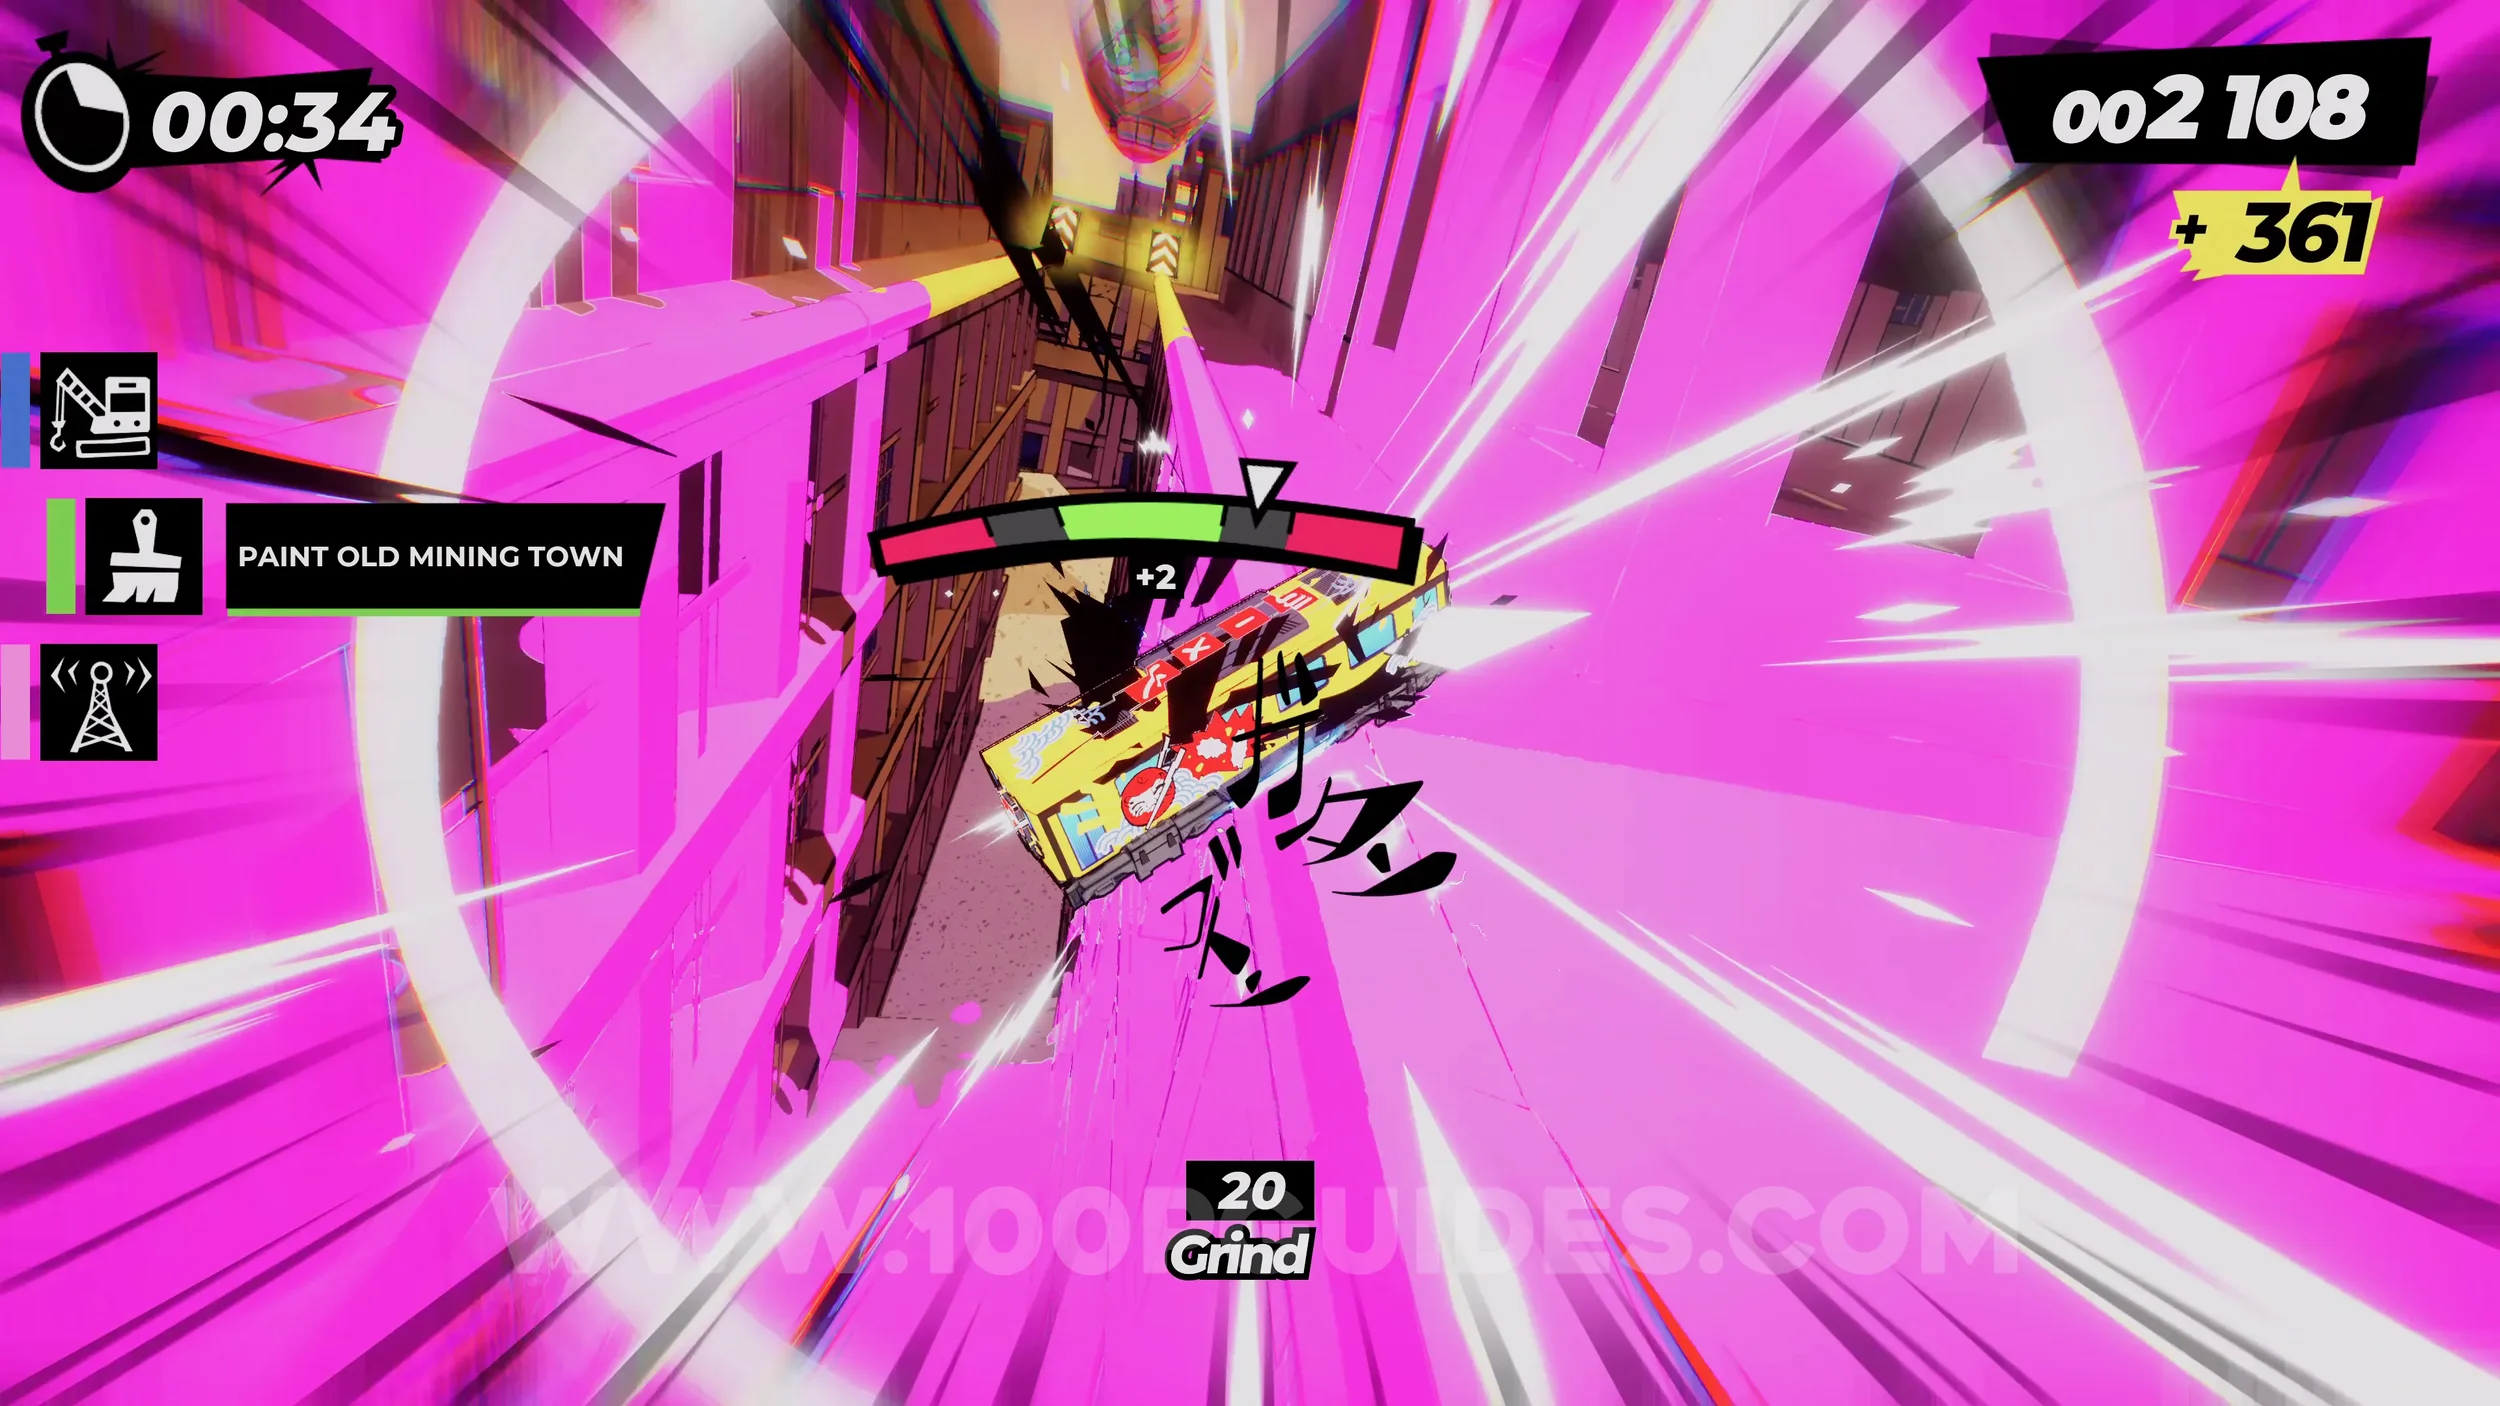
Film Roll (1/1). In the area with the balloons on the track, you will go through a tunnel. As soon as you come out the other side, you will see more balloons and the film roll in the middle.
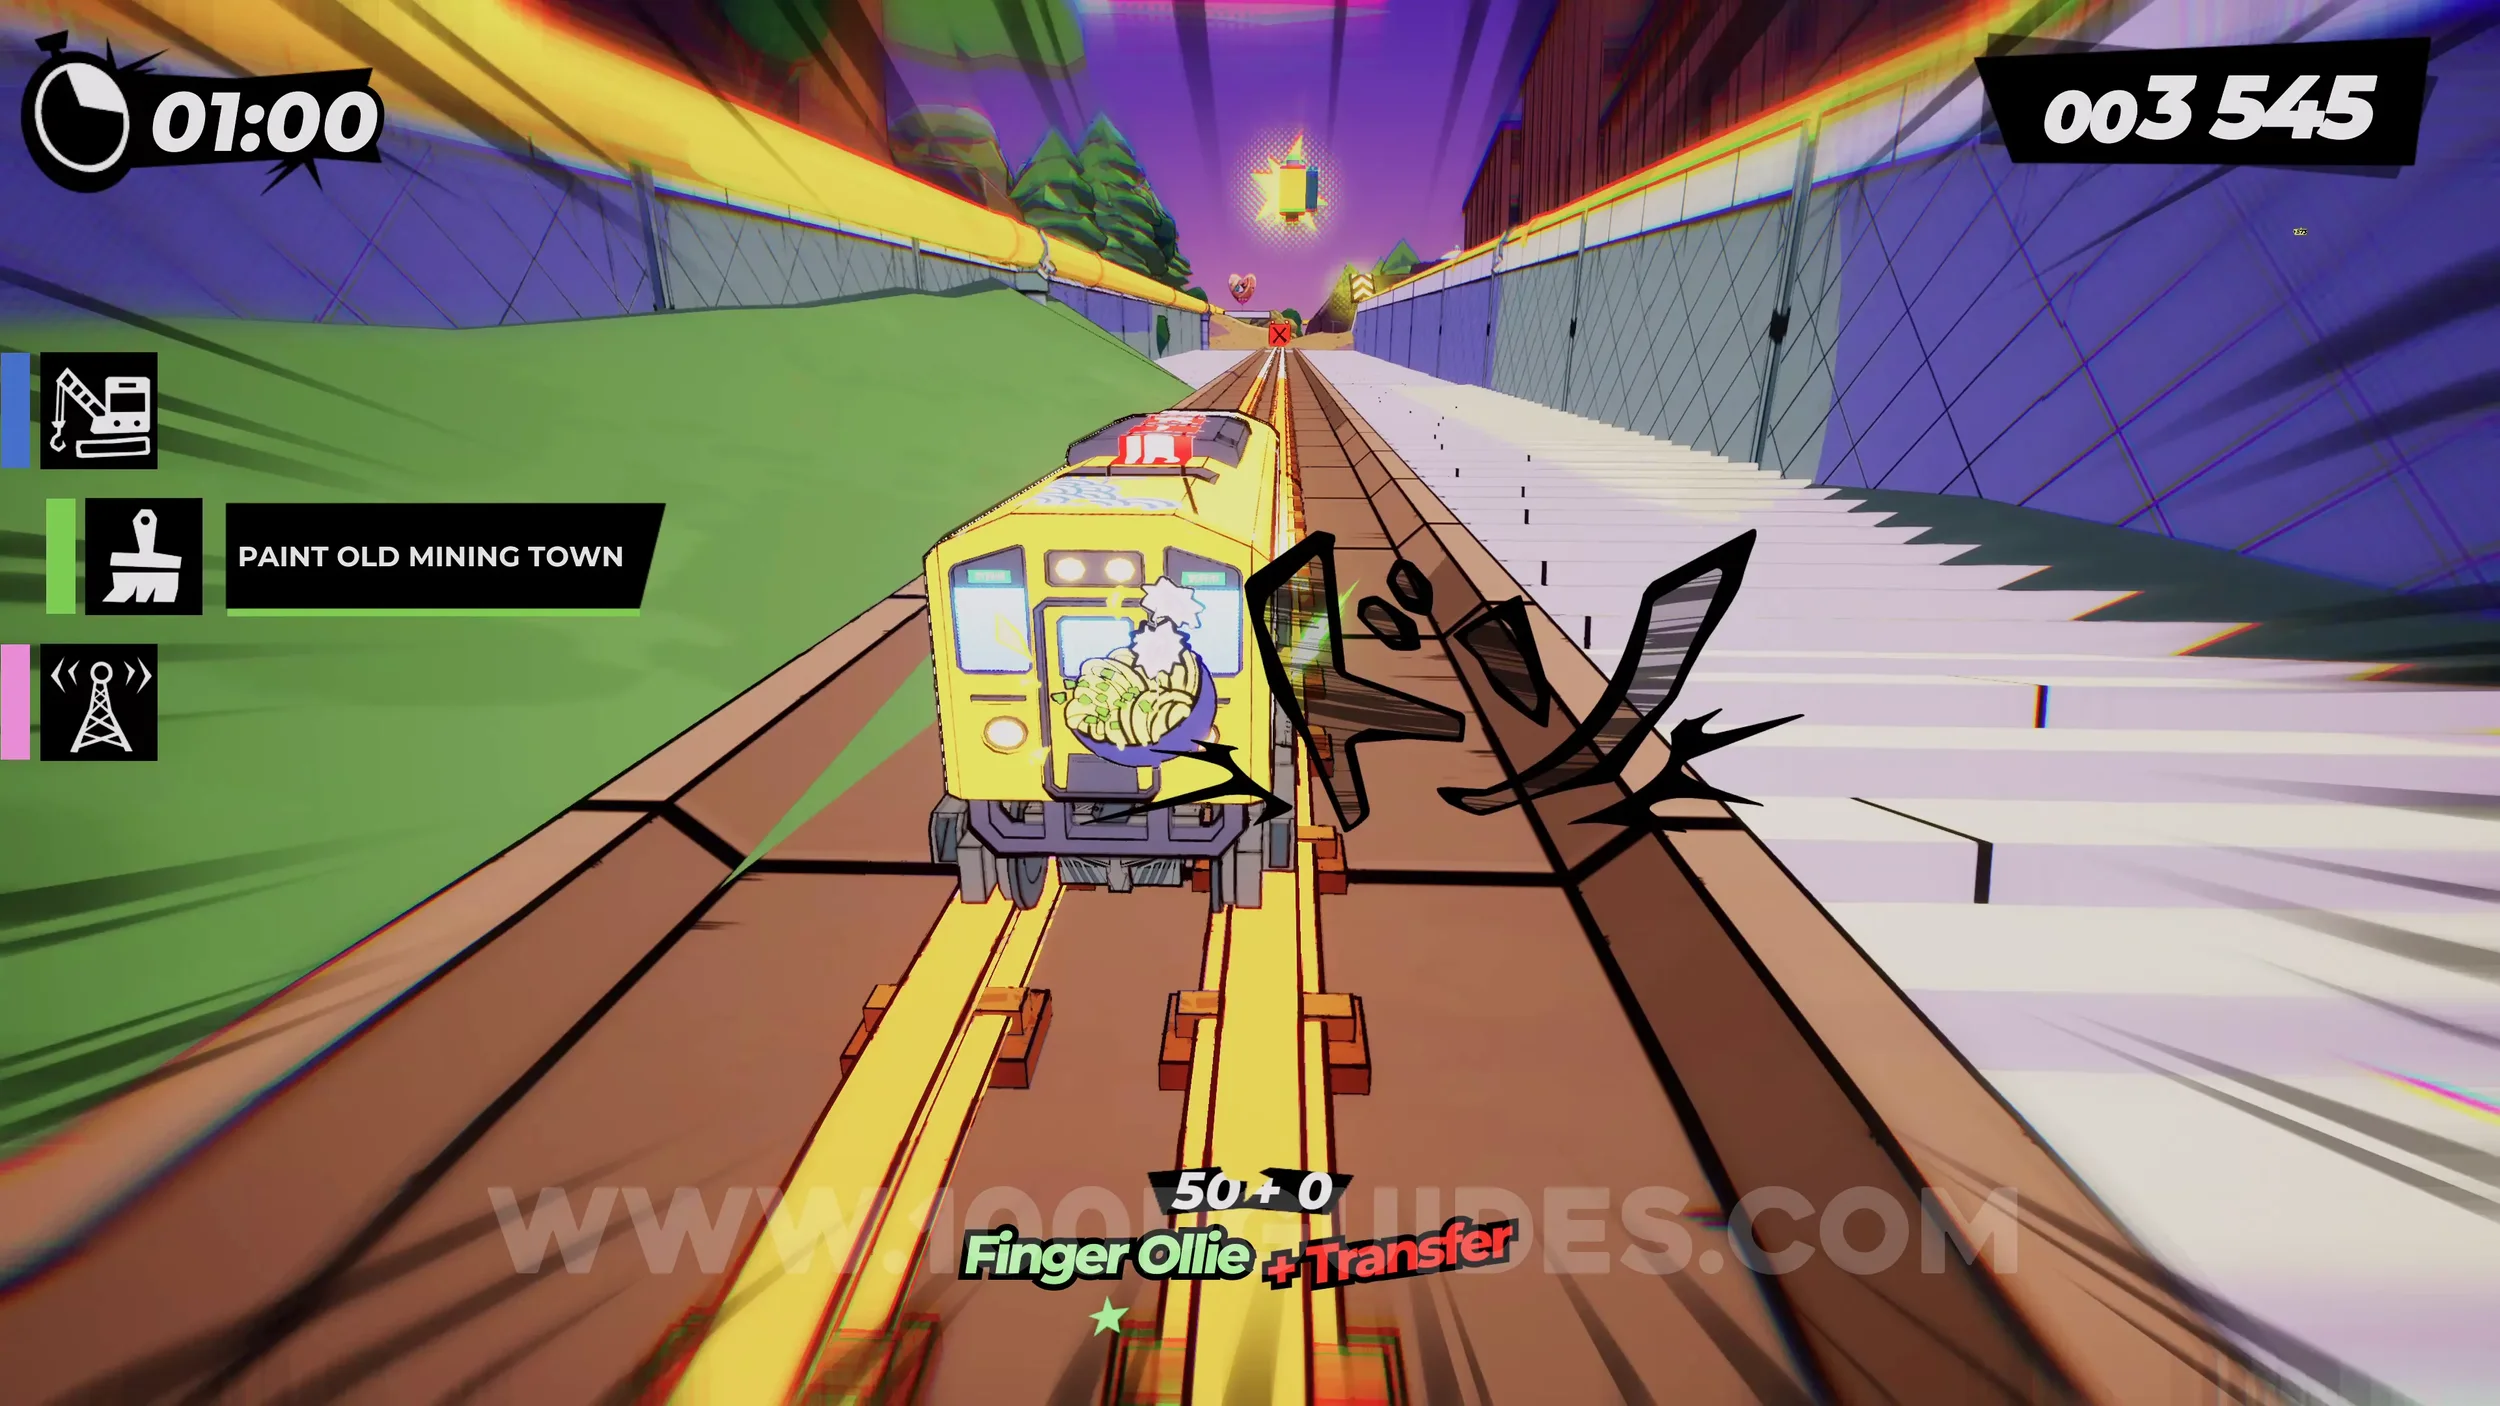
Dare: Trick on 5 Different Vert Ramps (2-3/5). After the previous collectible, you will go around a corner and then through some old buildings. Then you will go over two vert ramps almost one after the other. Remember to do any trick.
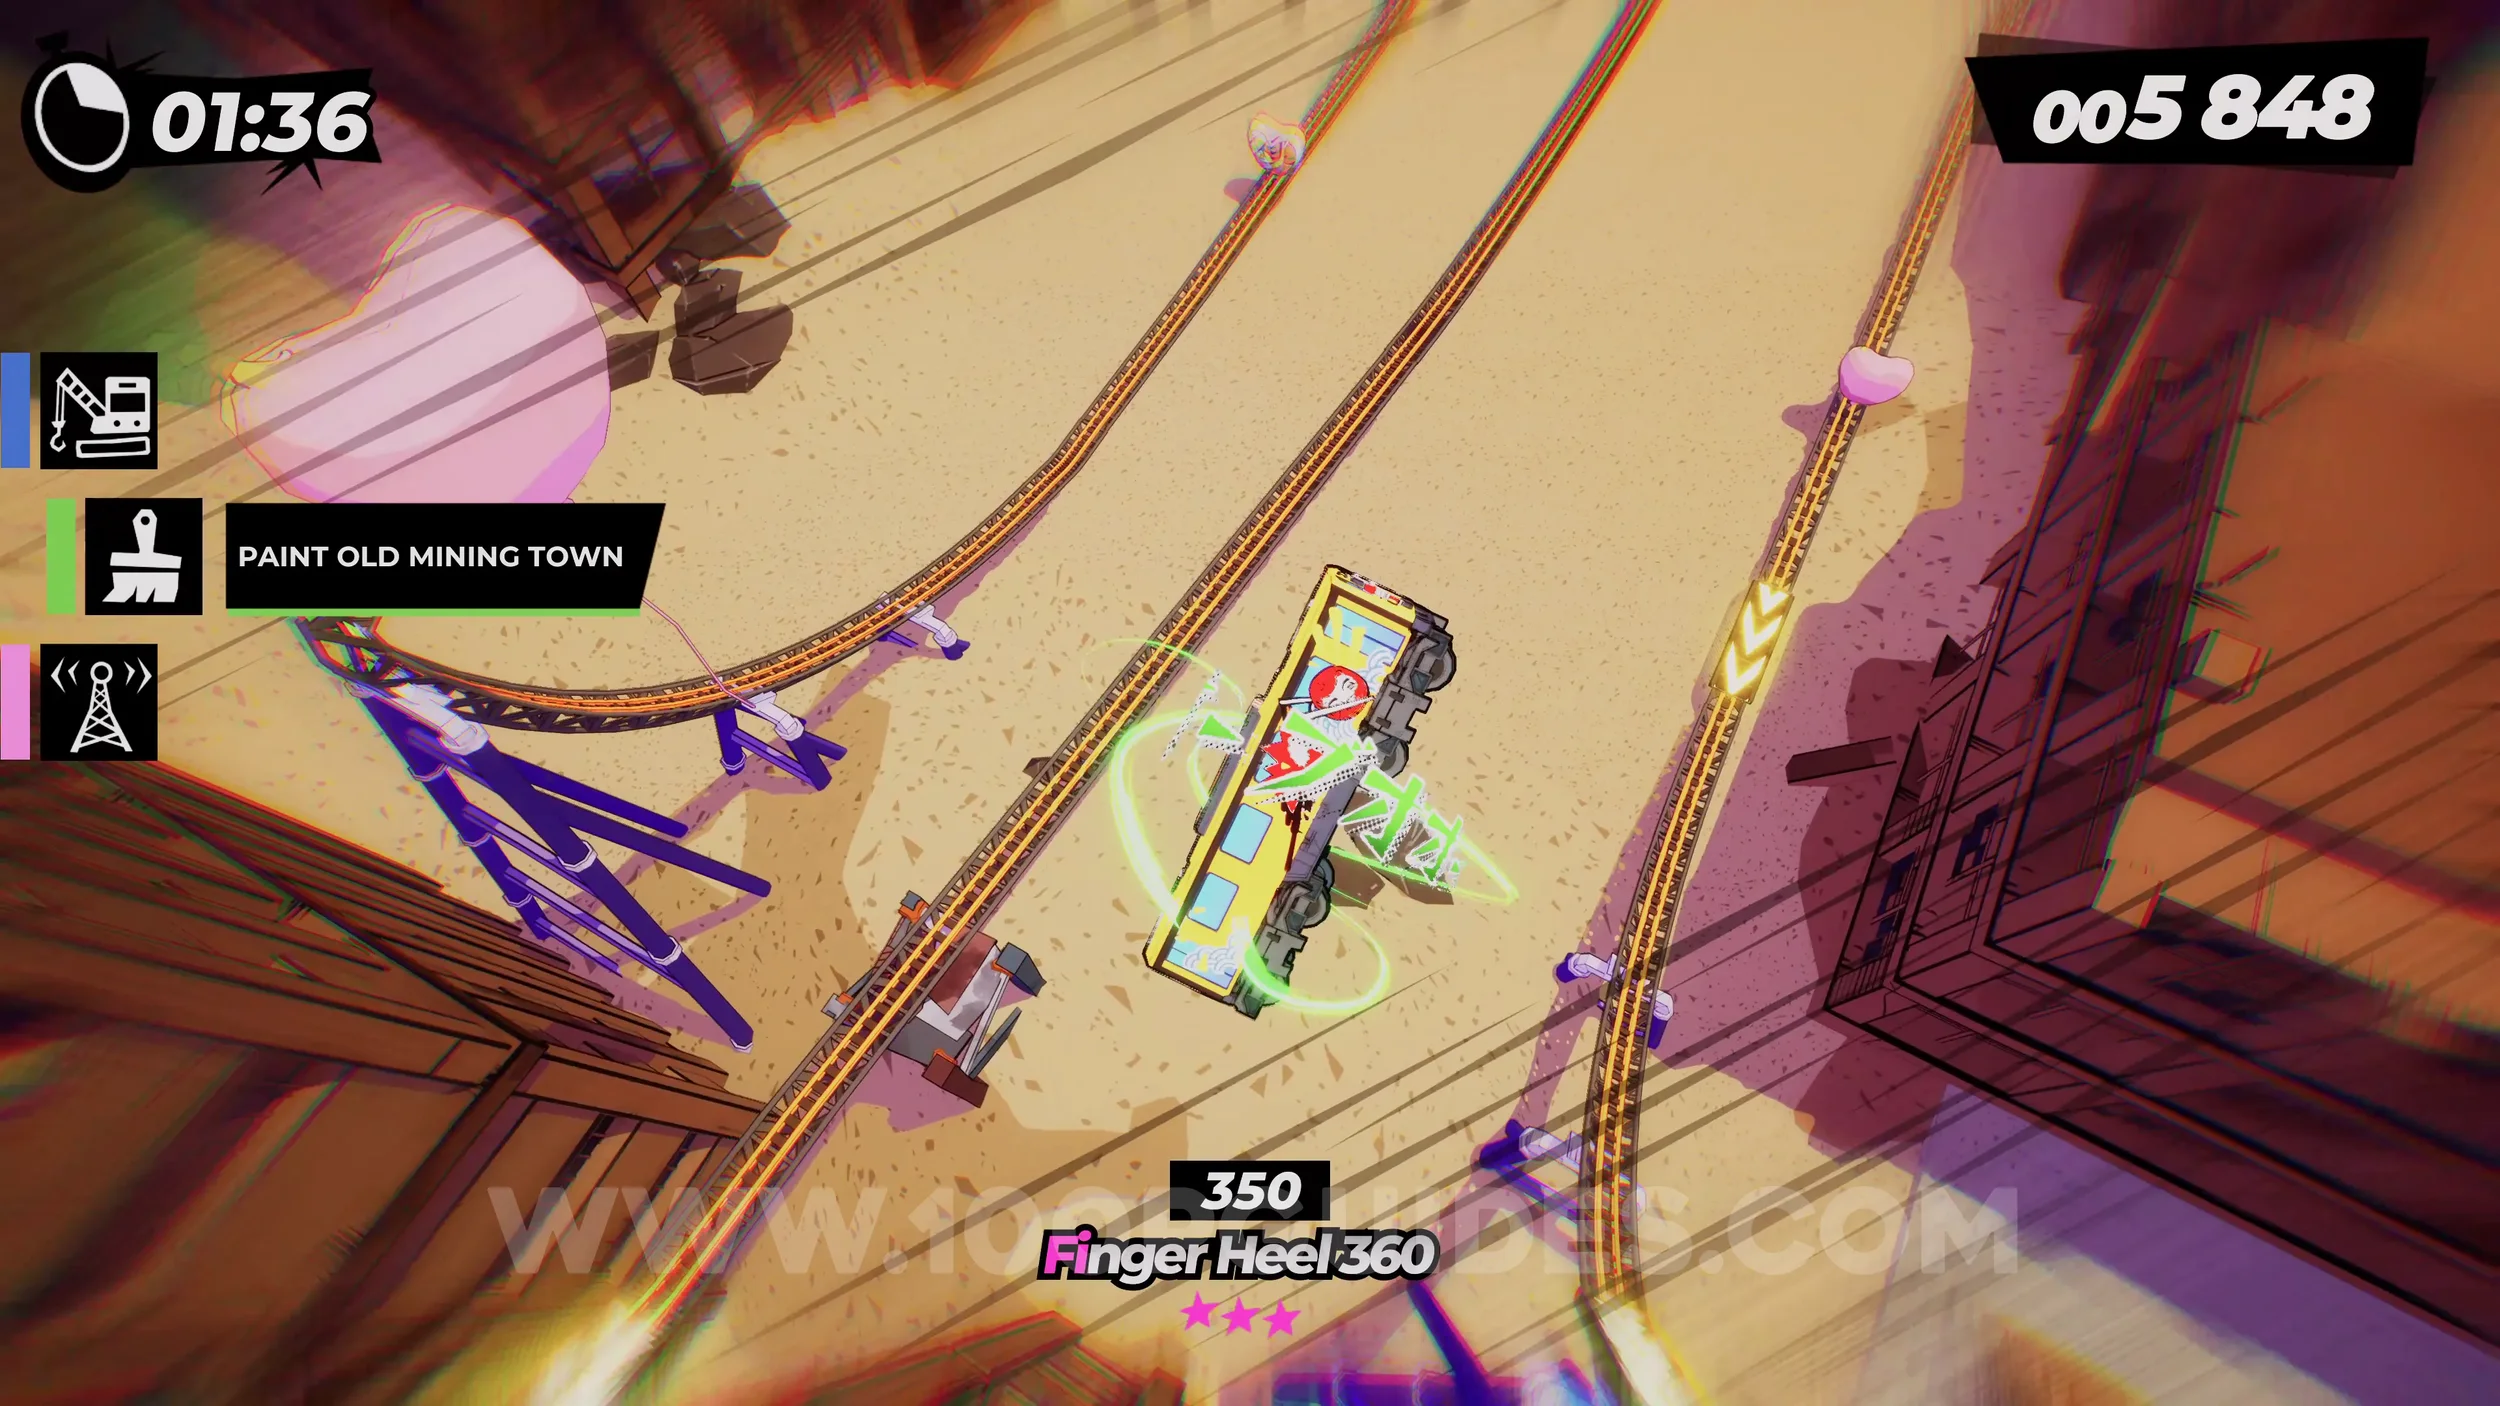
Spray Can (1/4). After the two vert ramps, you will use another jump and you will see the spray can in plain sight. Make sure you press L2+R2 to get down to it in time.
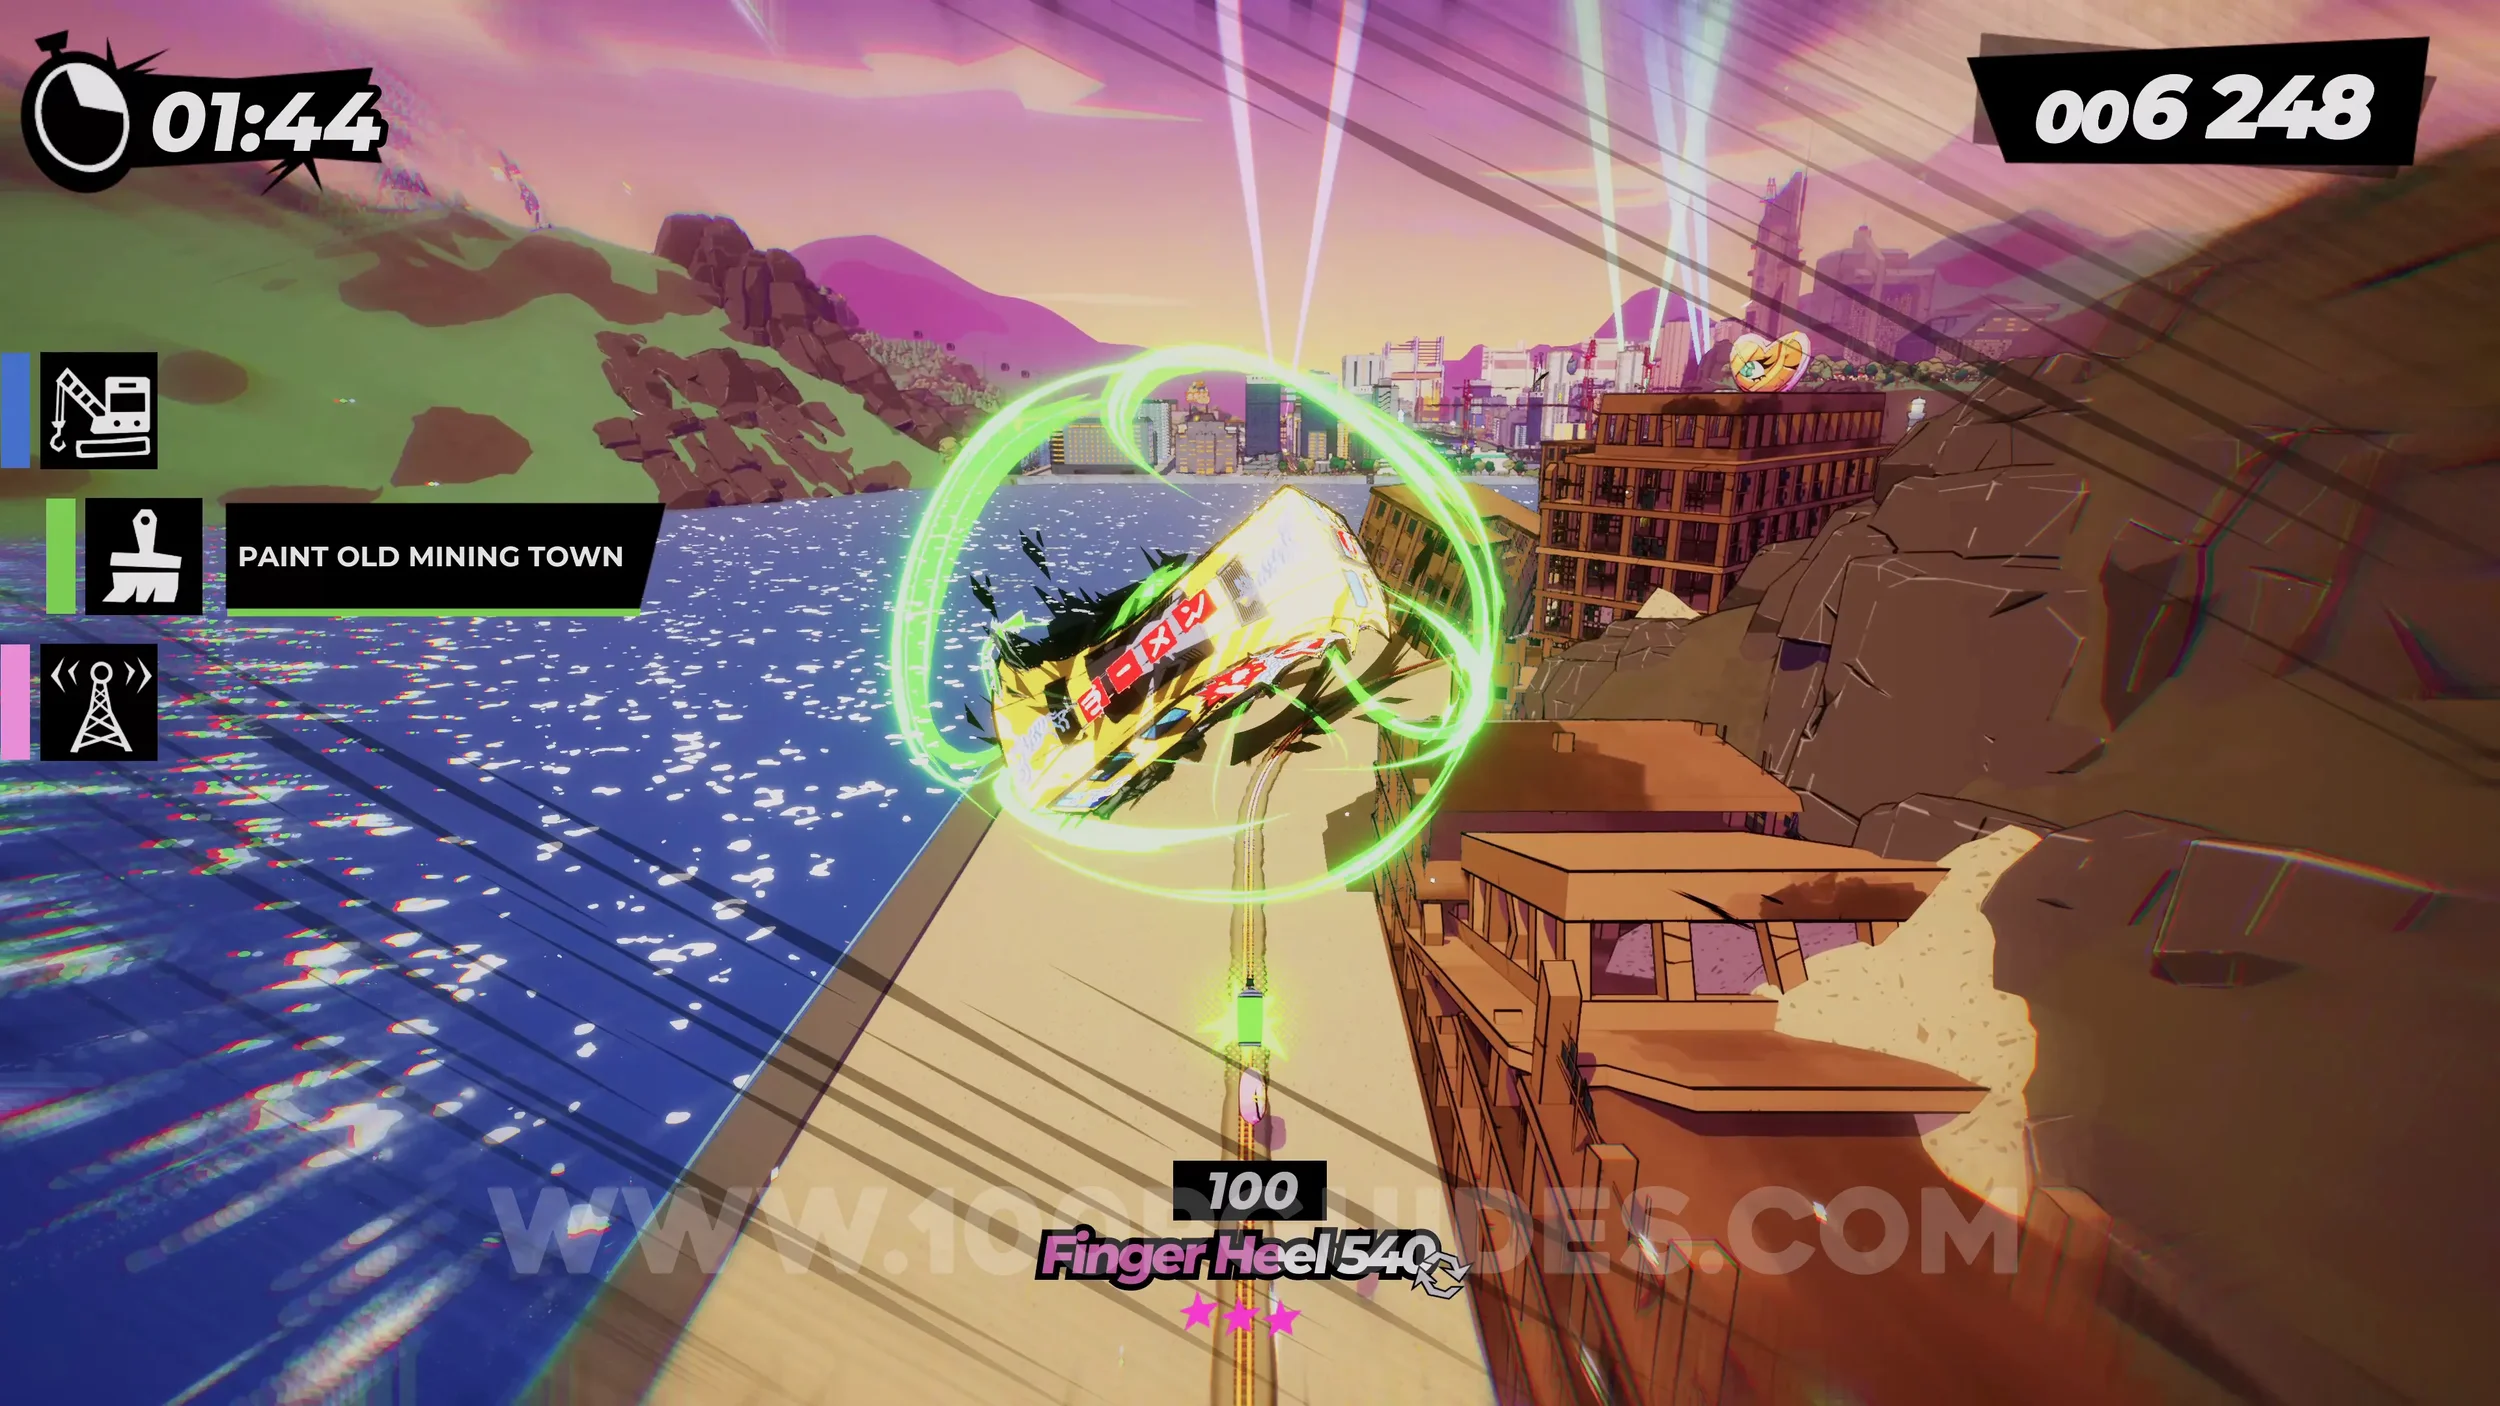
Dare: Trick on 5 Different Vert Ramps (4/5). As soon as you finish the main objective of painting the old town, you will be back in the main city area and you will automatically go over another vert ramp.
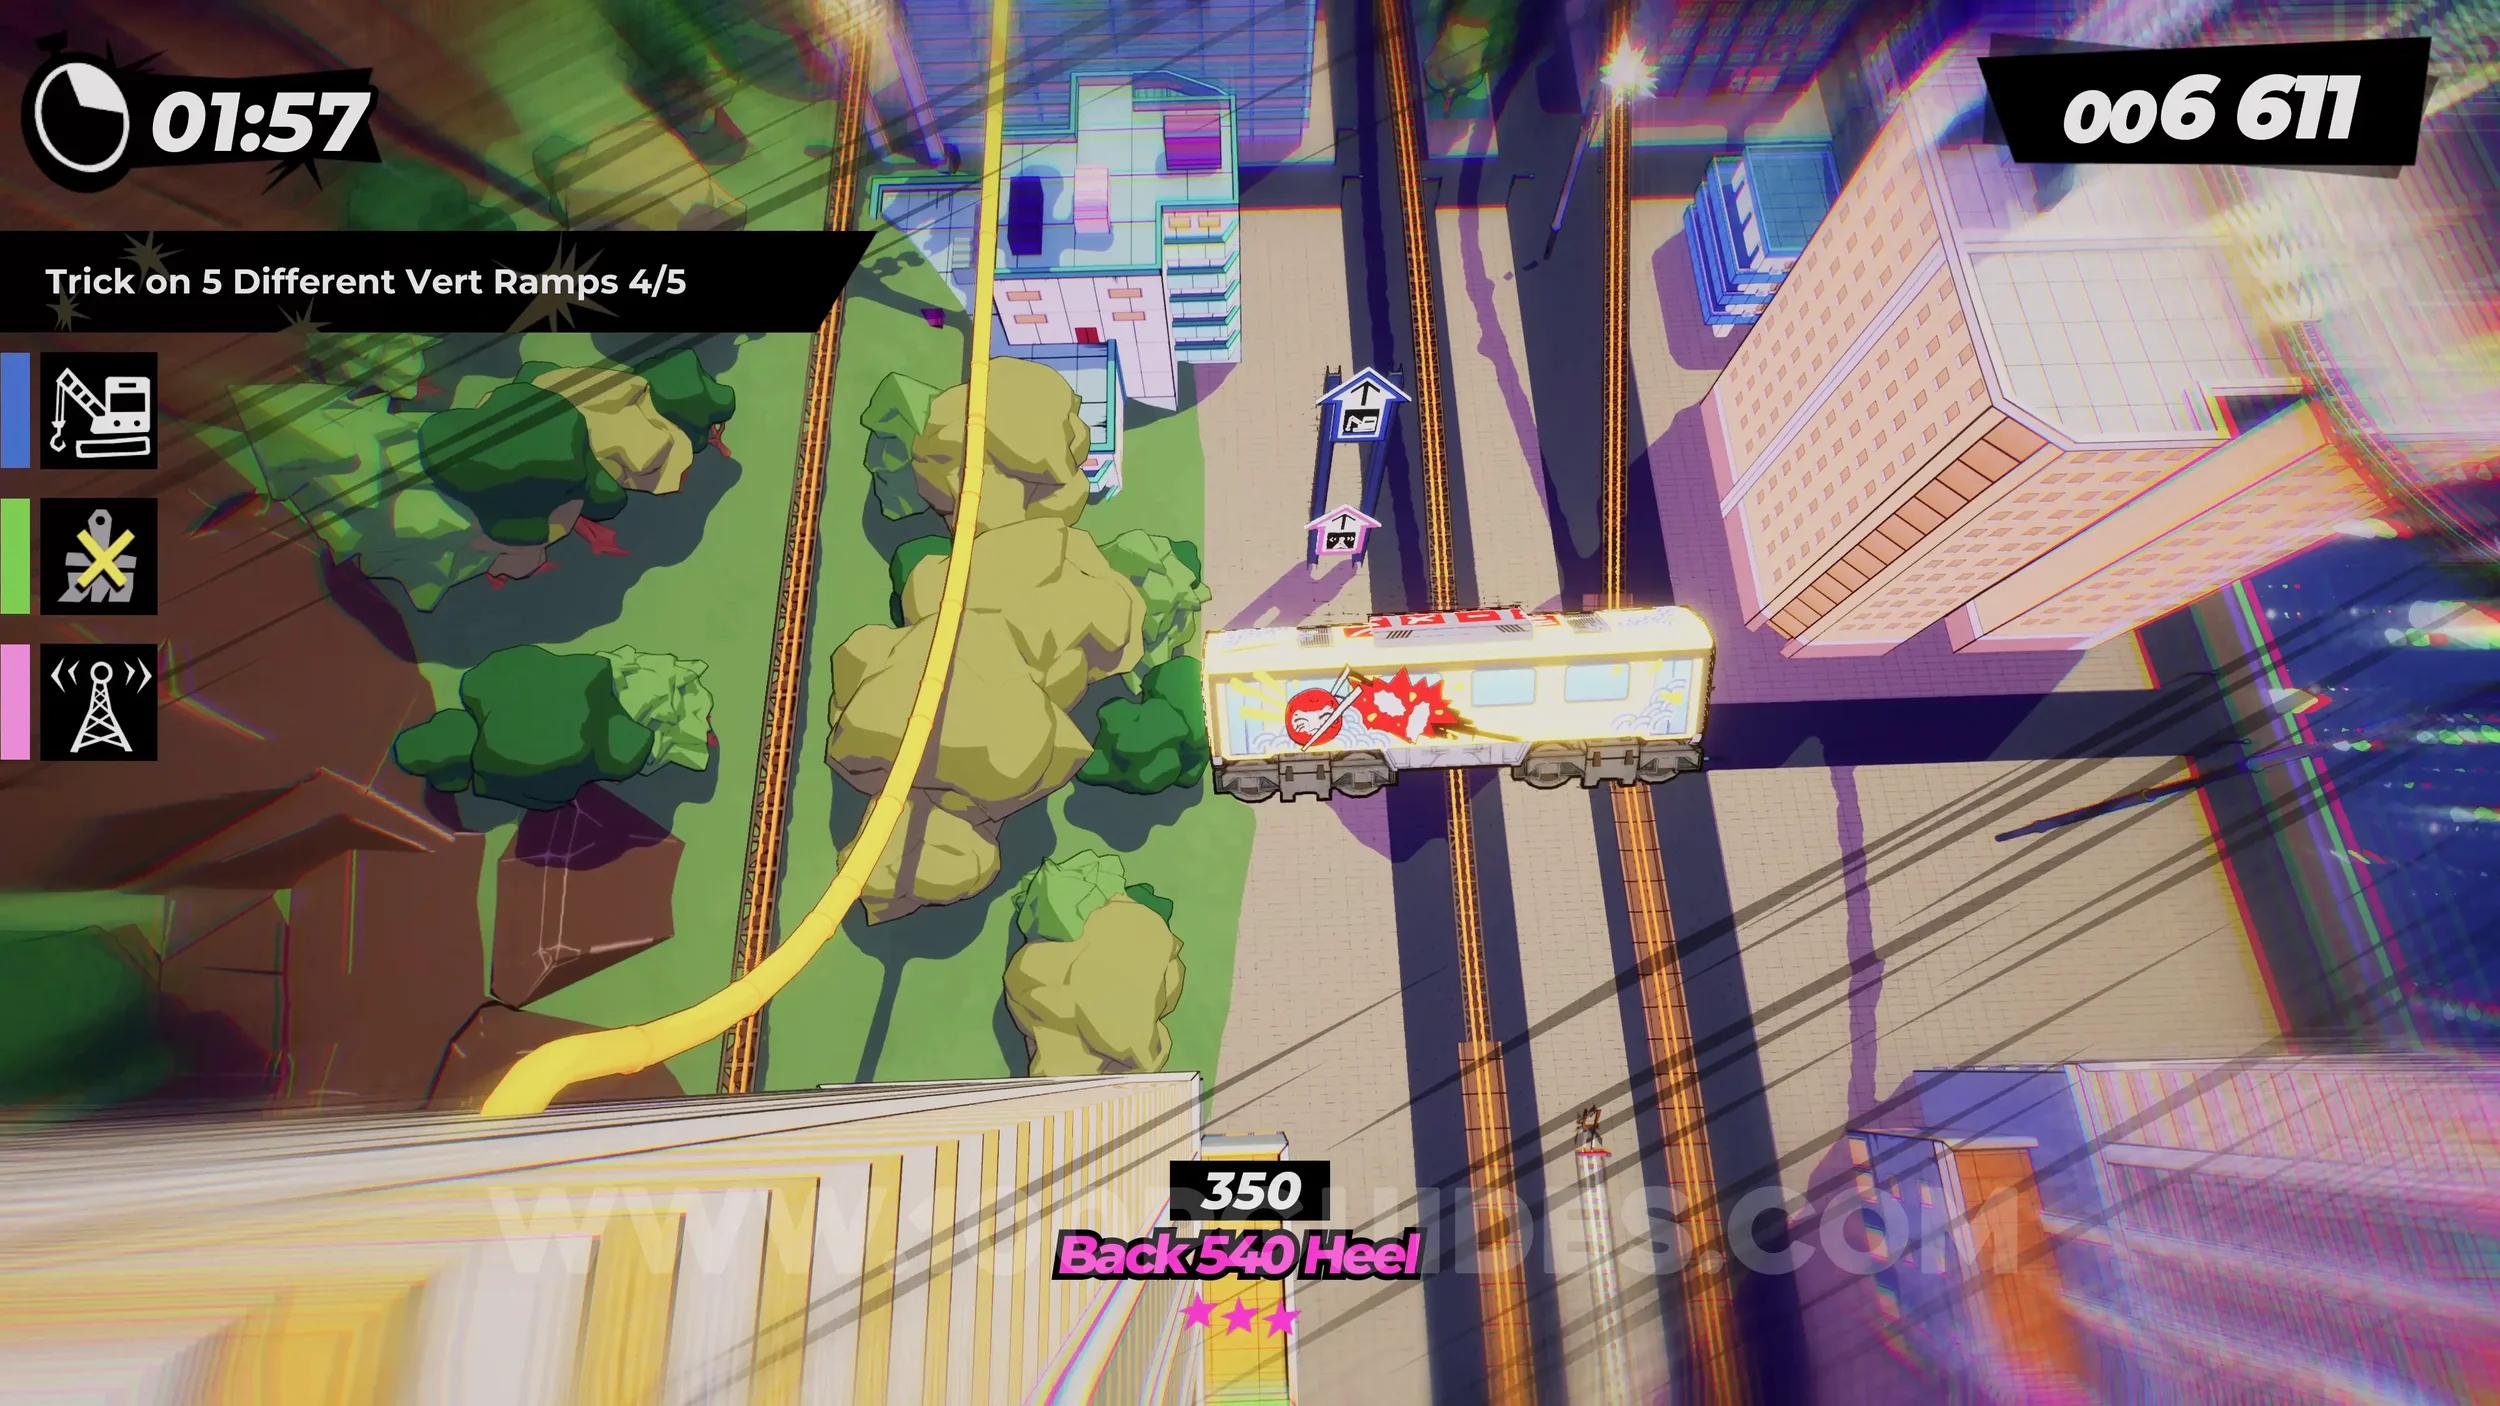
Dare: Piece of Castella (3/5). Continue until you return to the original three signs that split the paths. This time go down the middle track, then jump to the rail on the right to get the piece of Castella.
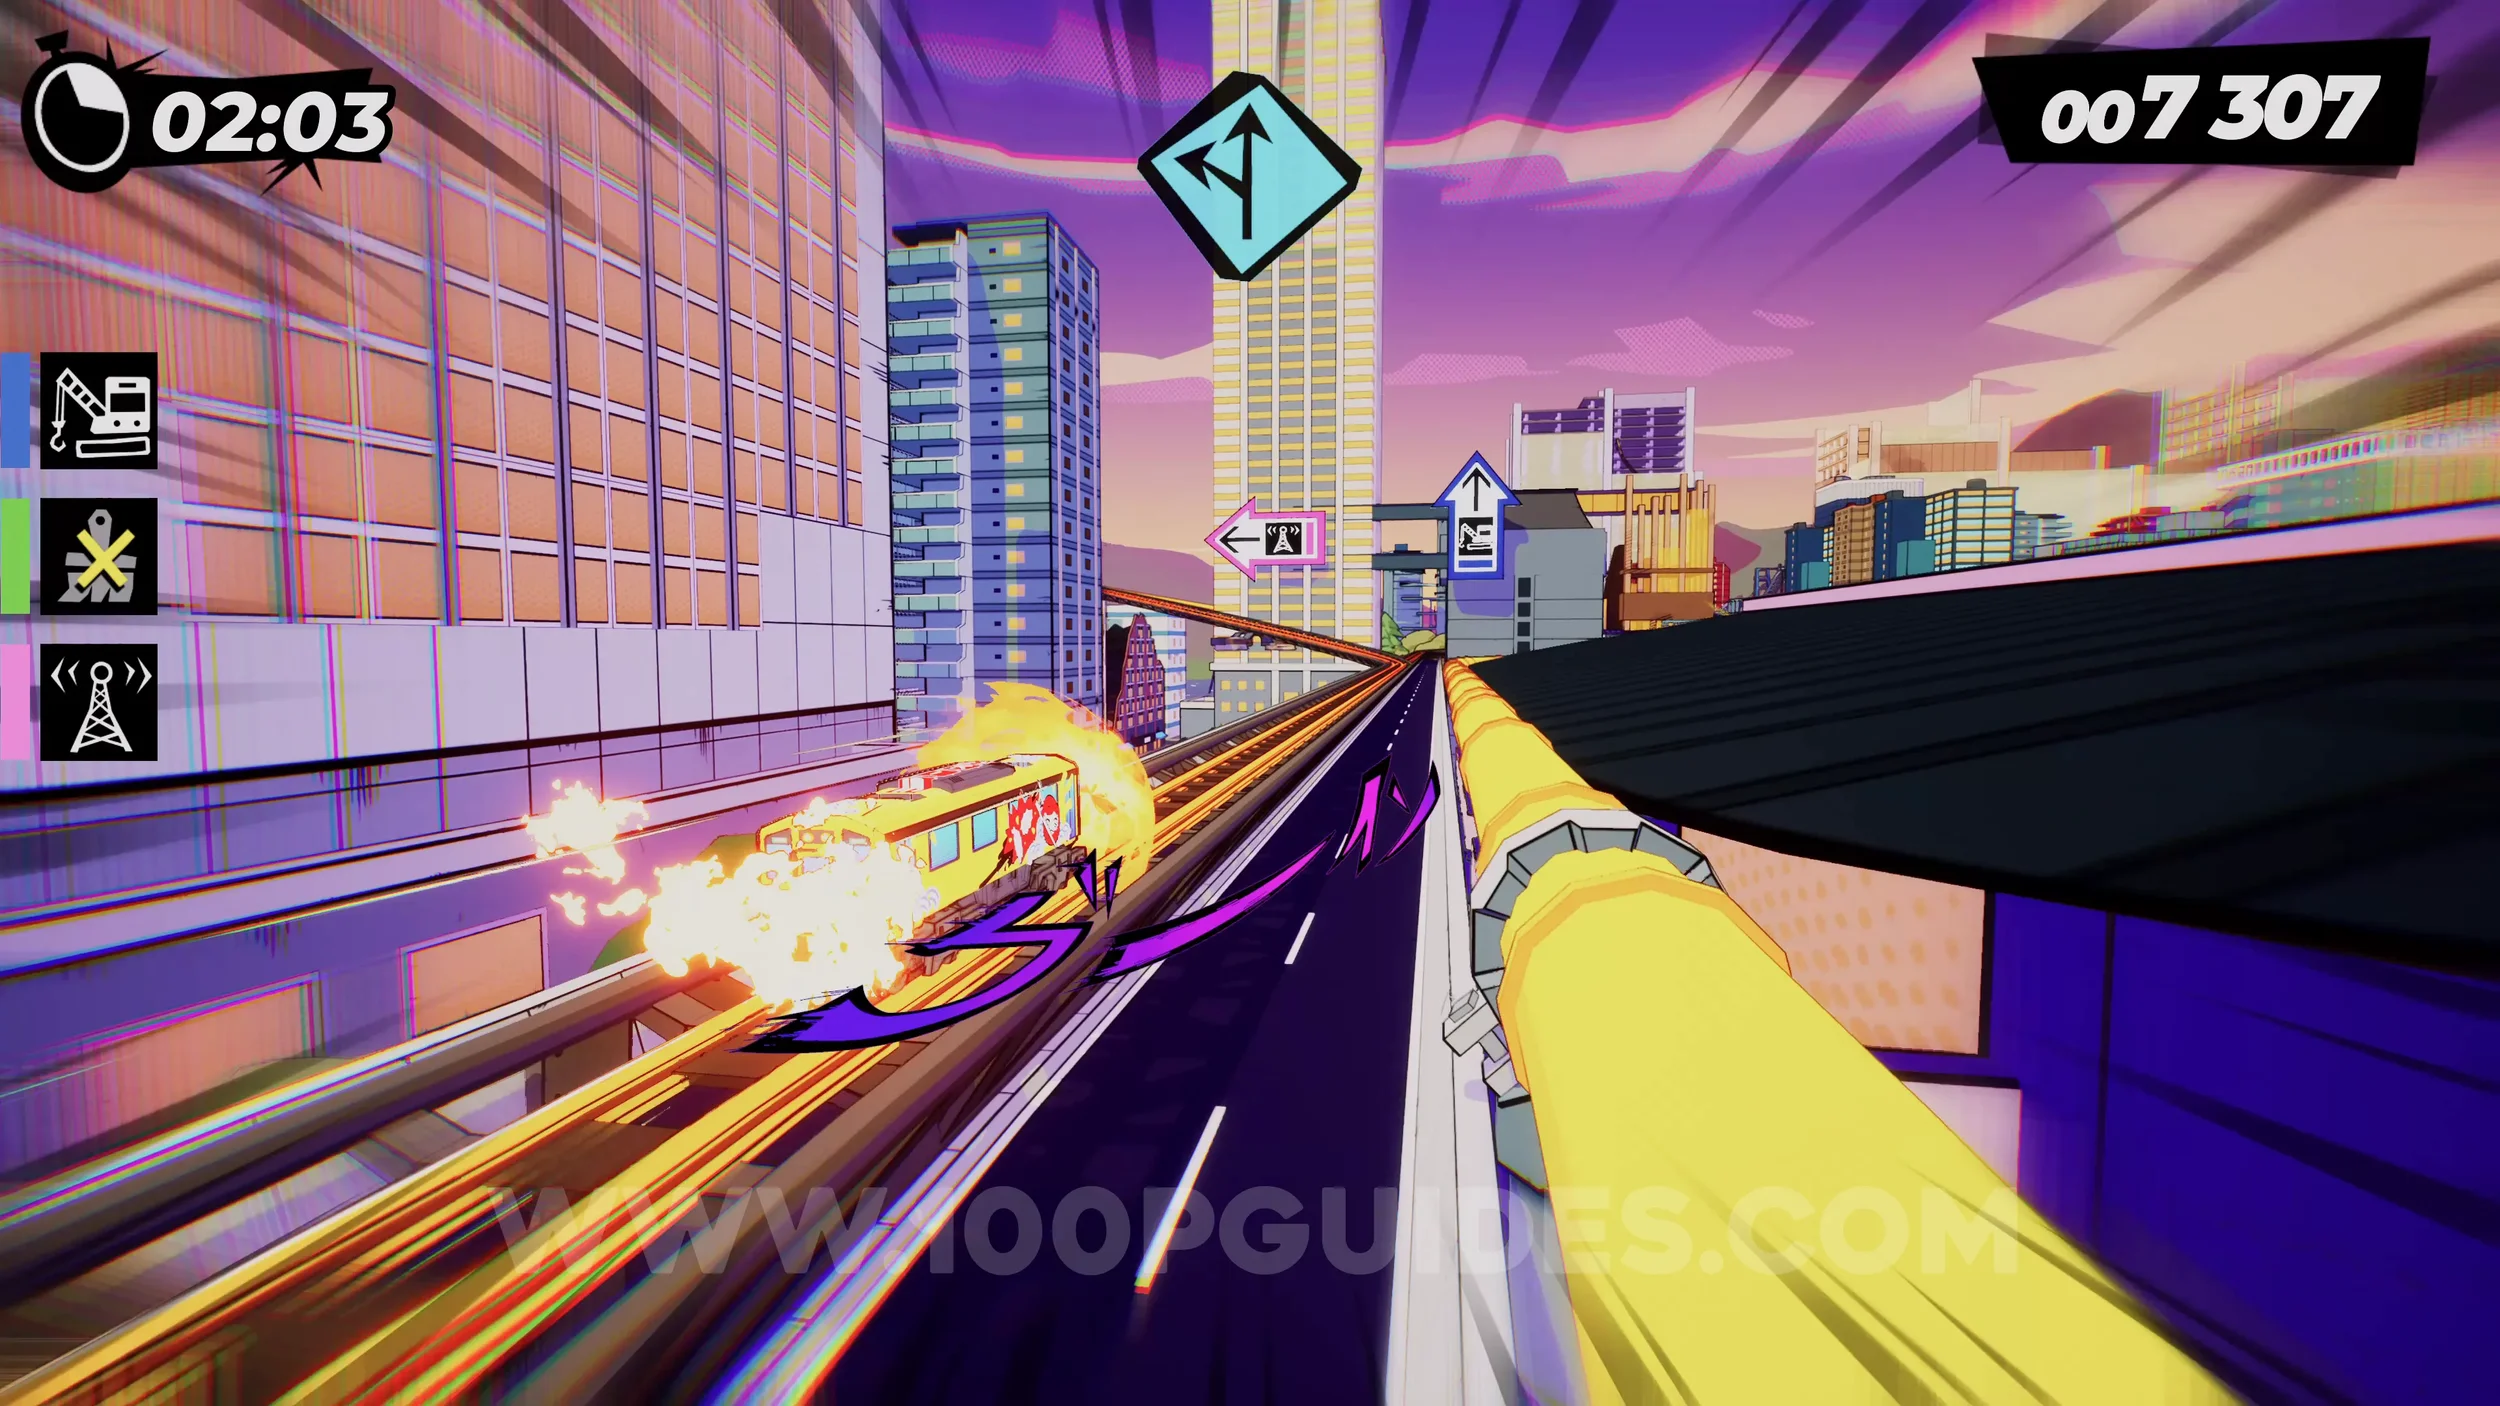
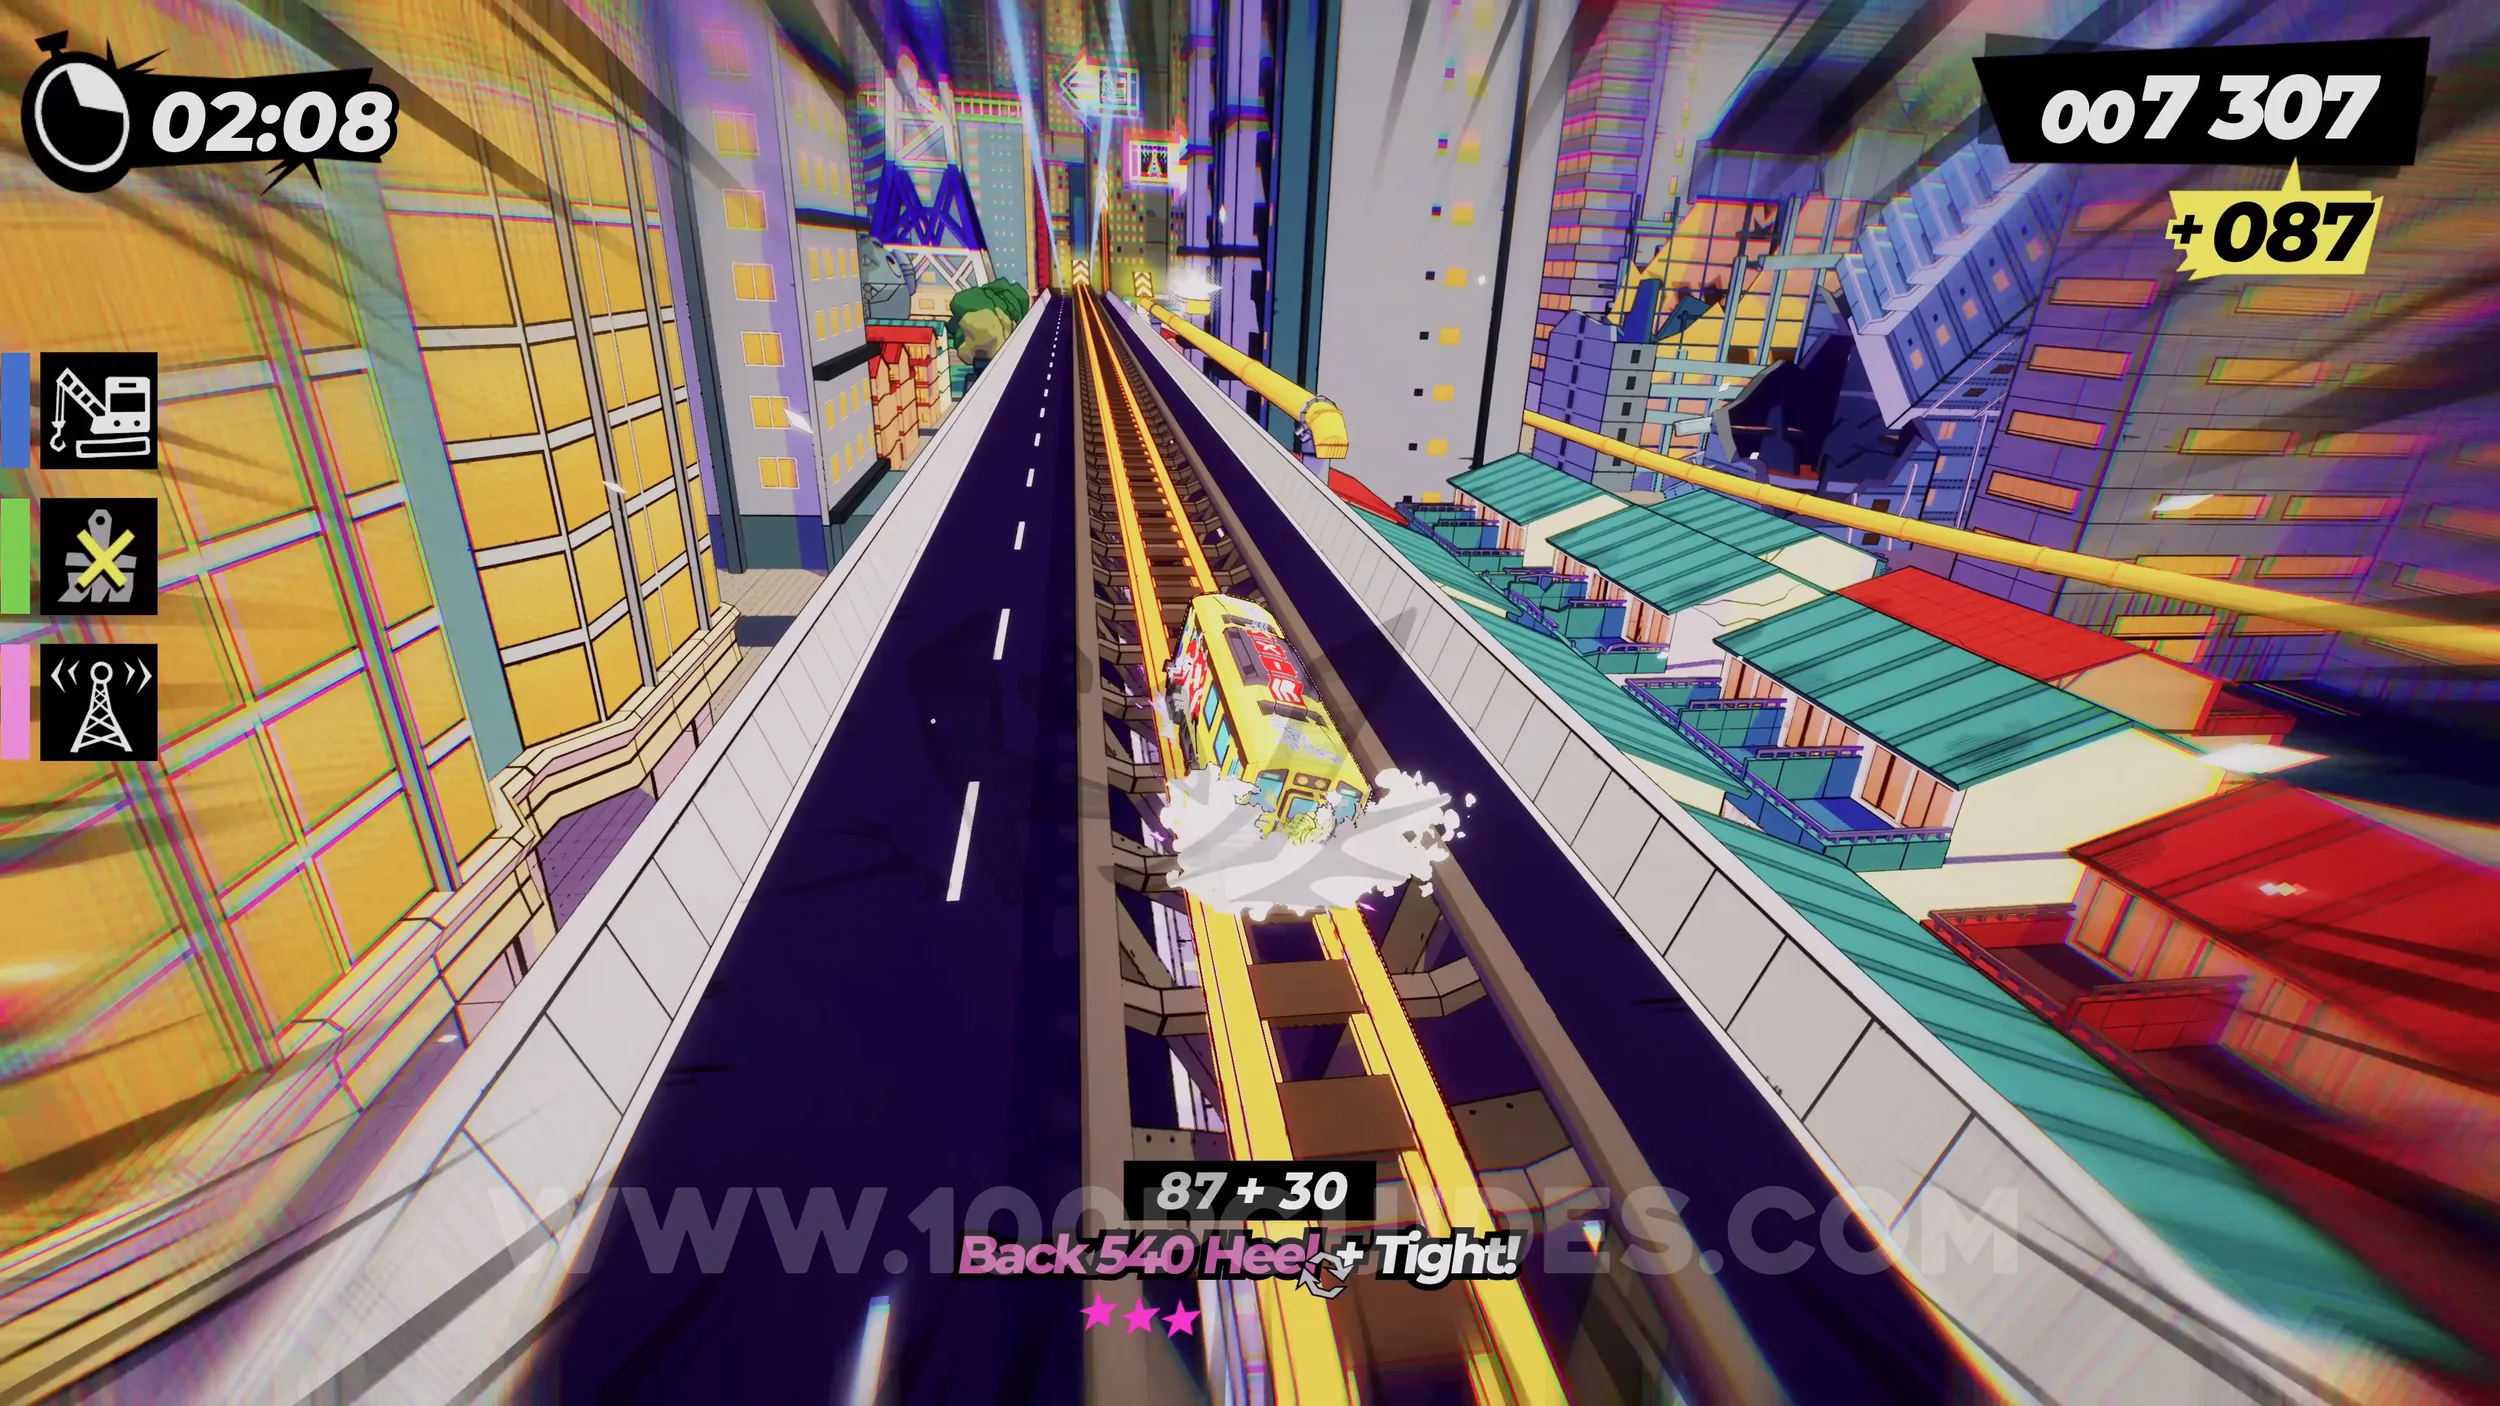
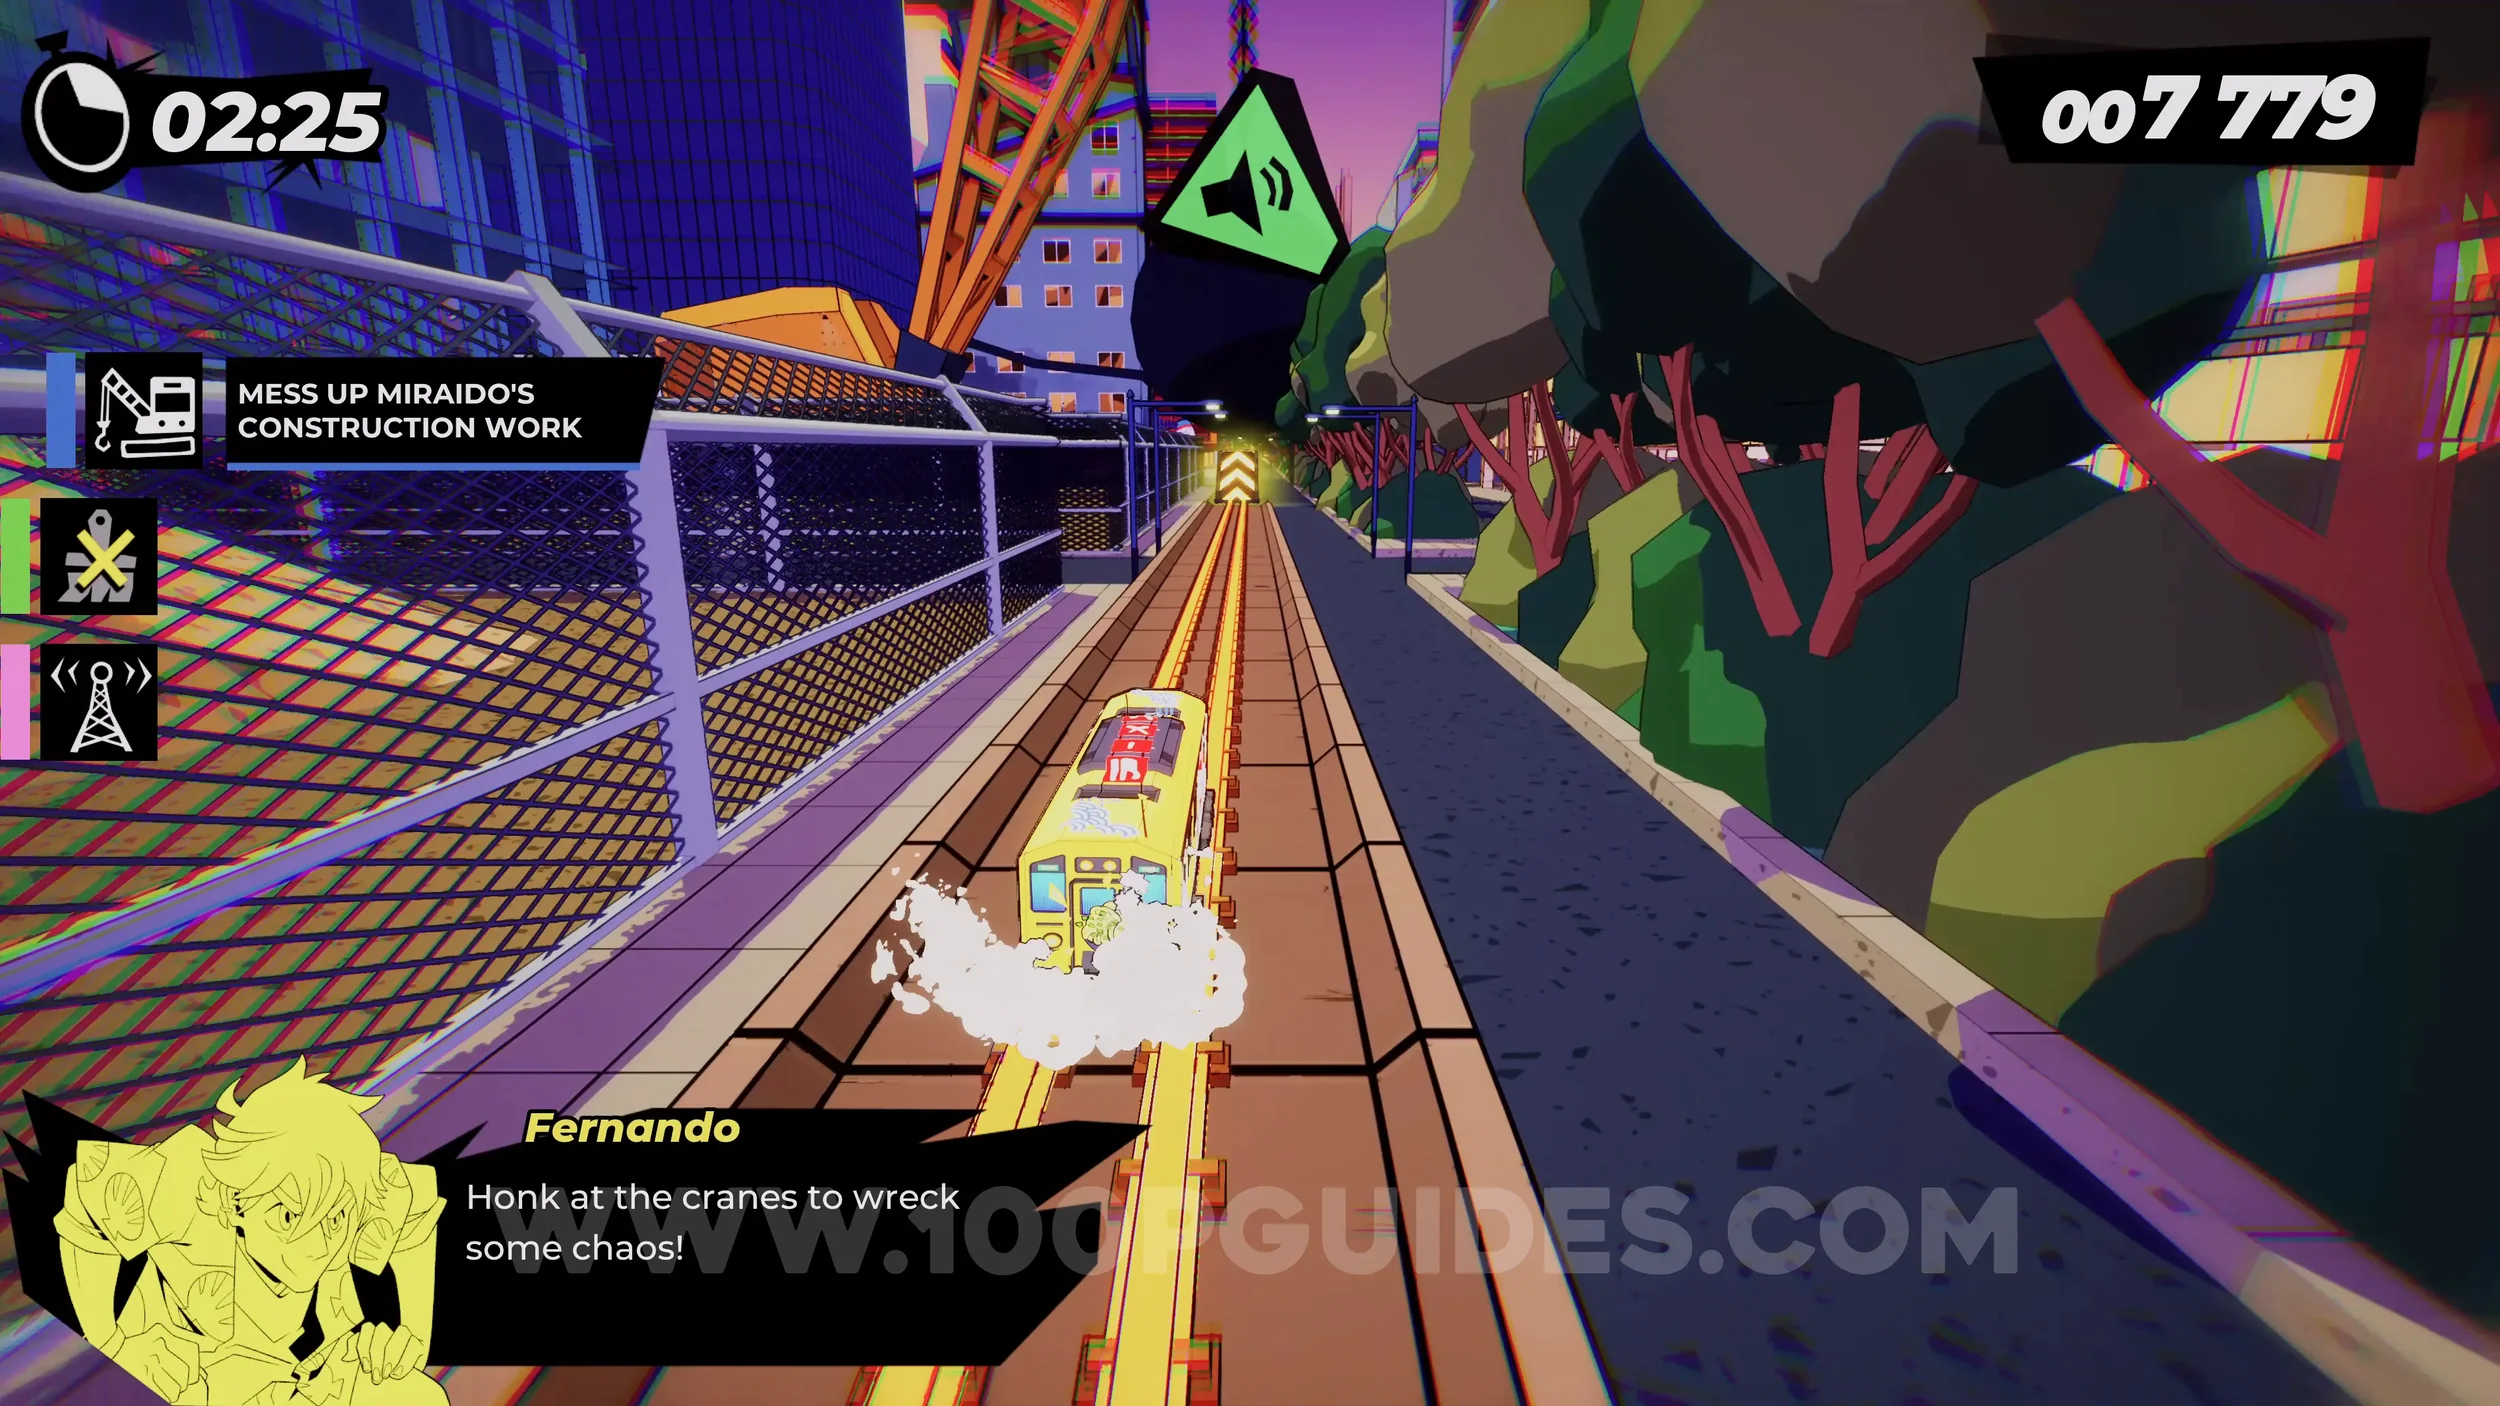
Dare: Trick on 5 Different Vert Ramps (5/5). After the previous collectible, stick left, and you will see the first cranes with wrecking balls. Honk at them with R3 to move them out of the way. After the first few, you will use the vert ramp.
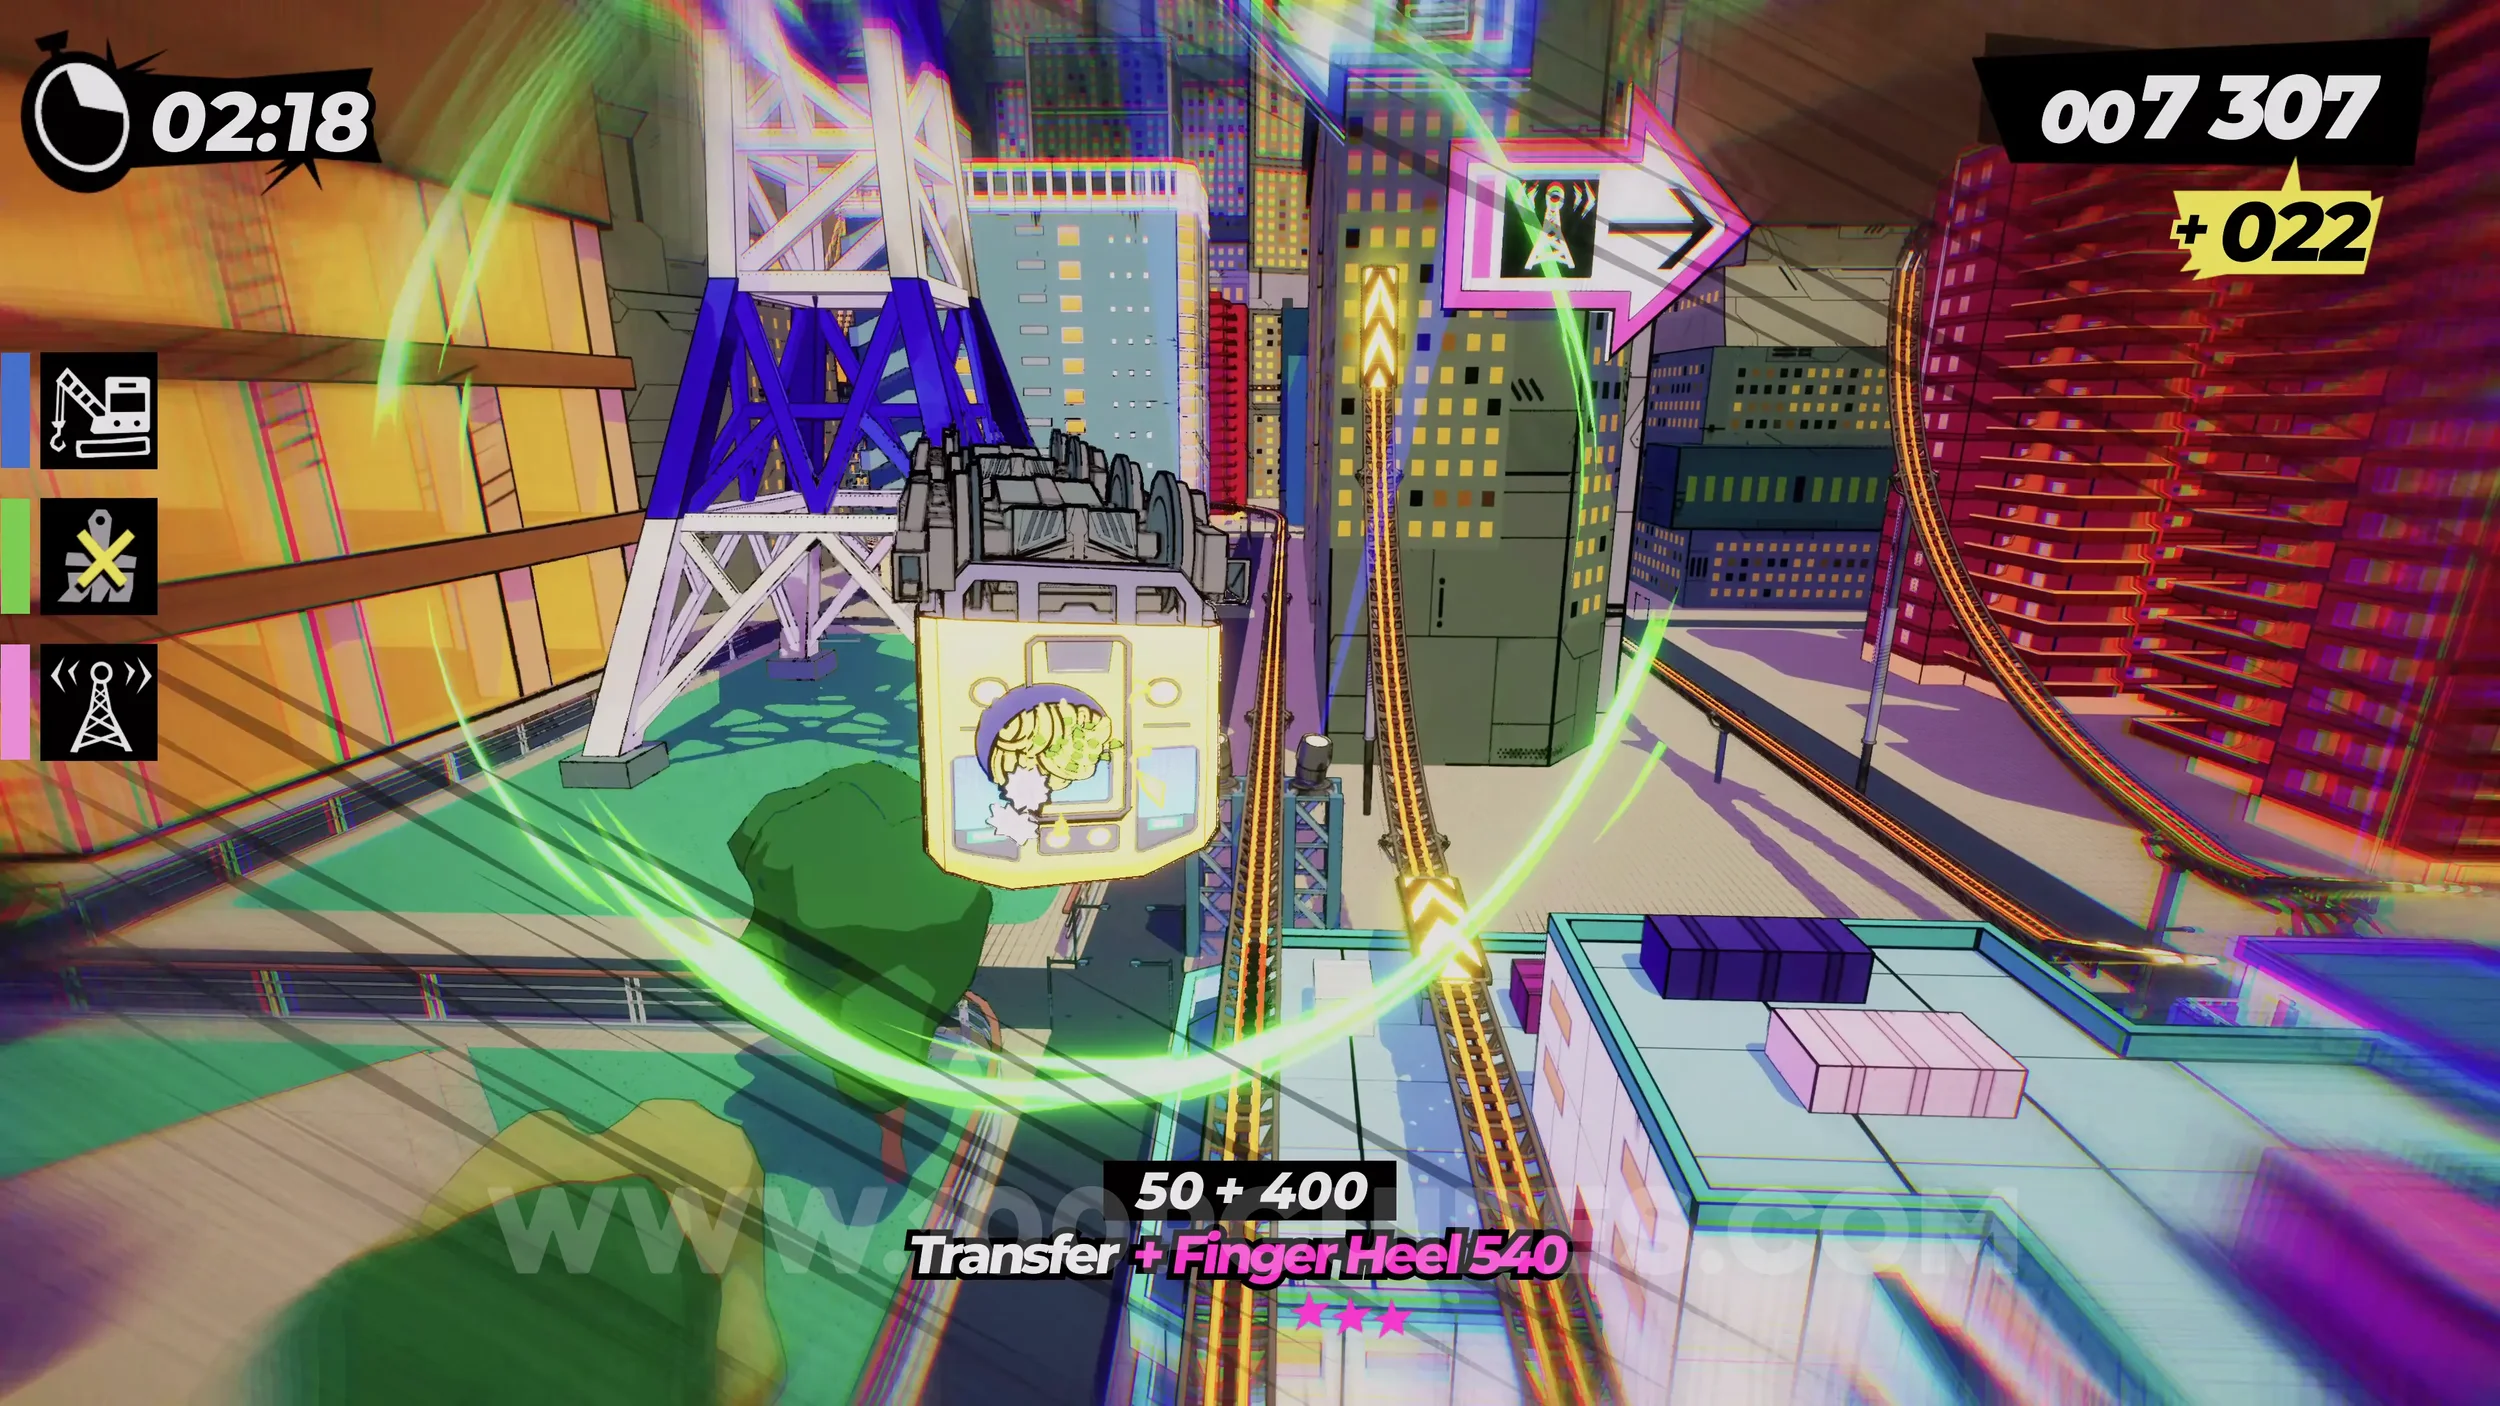
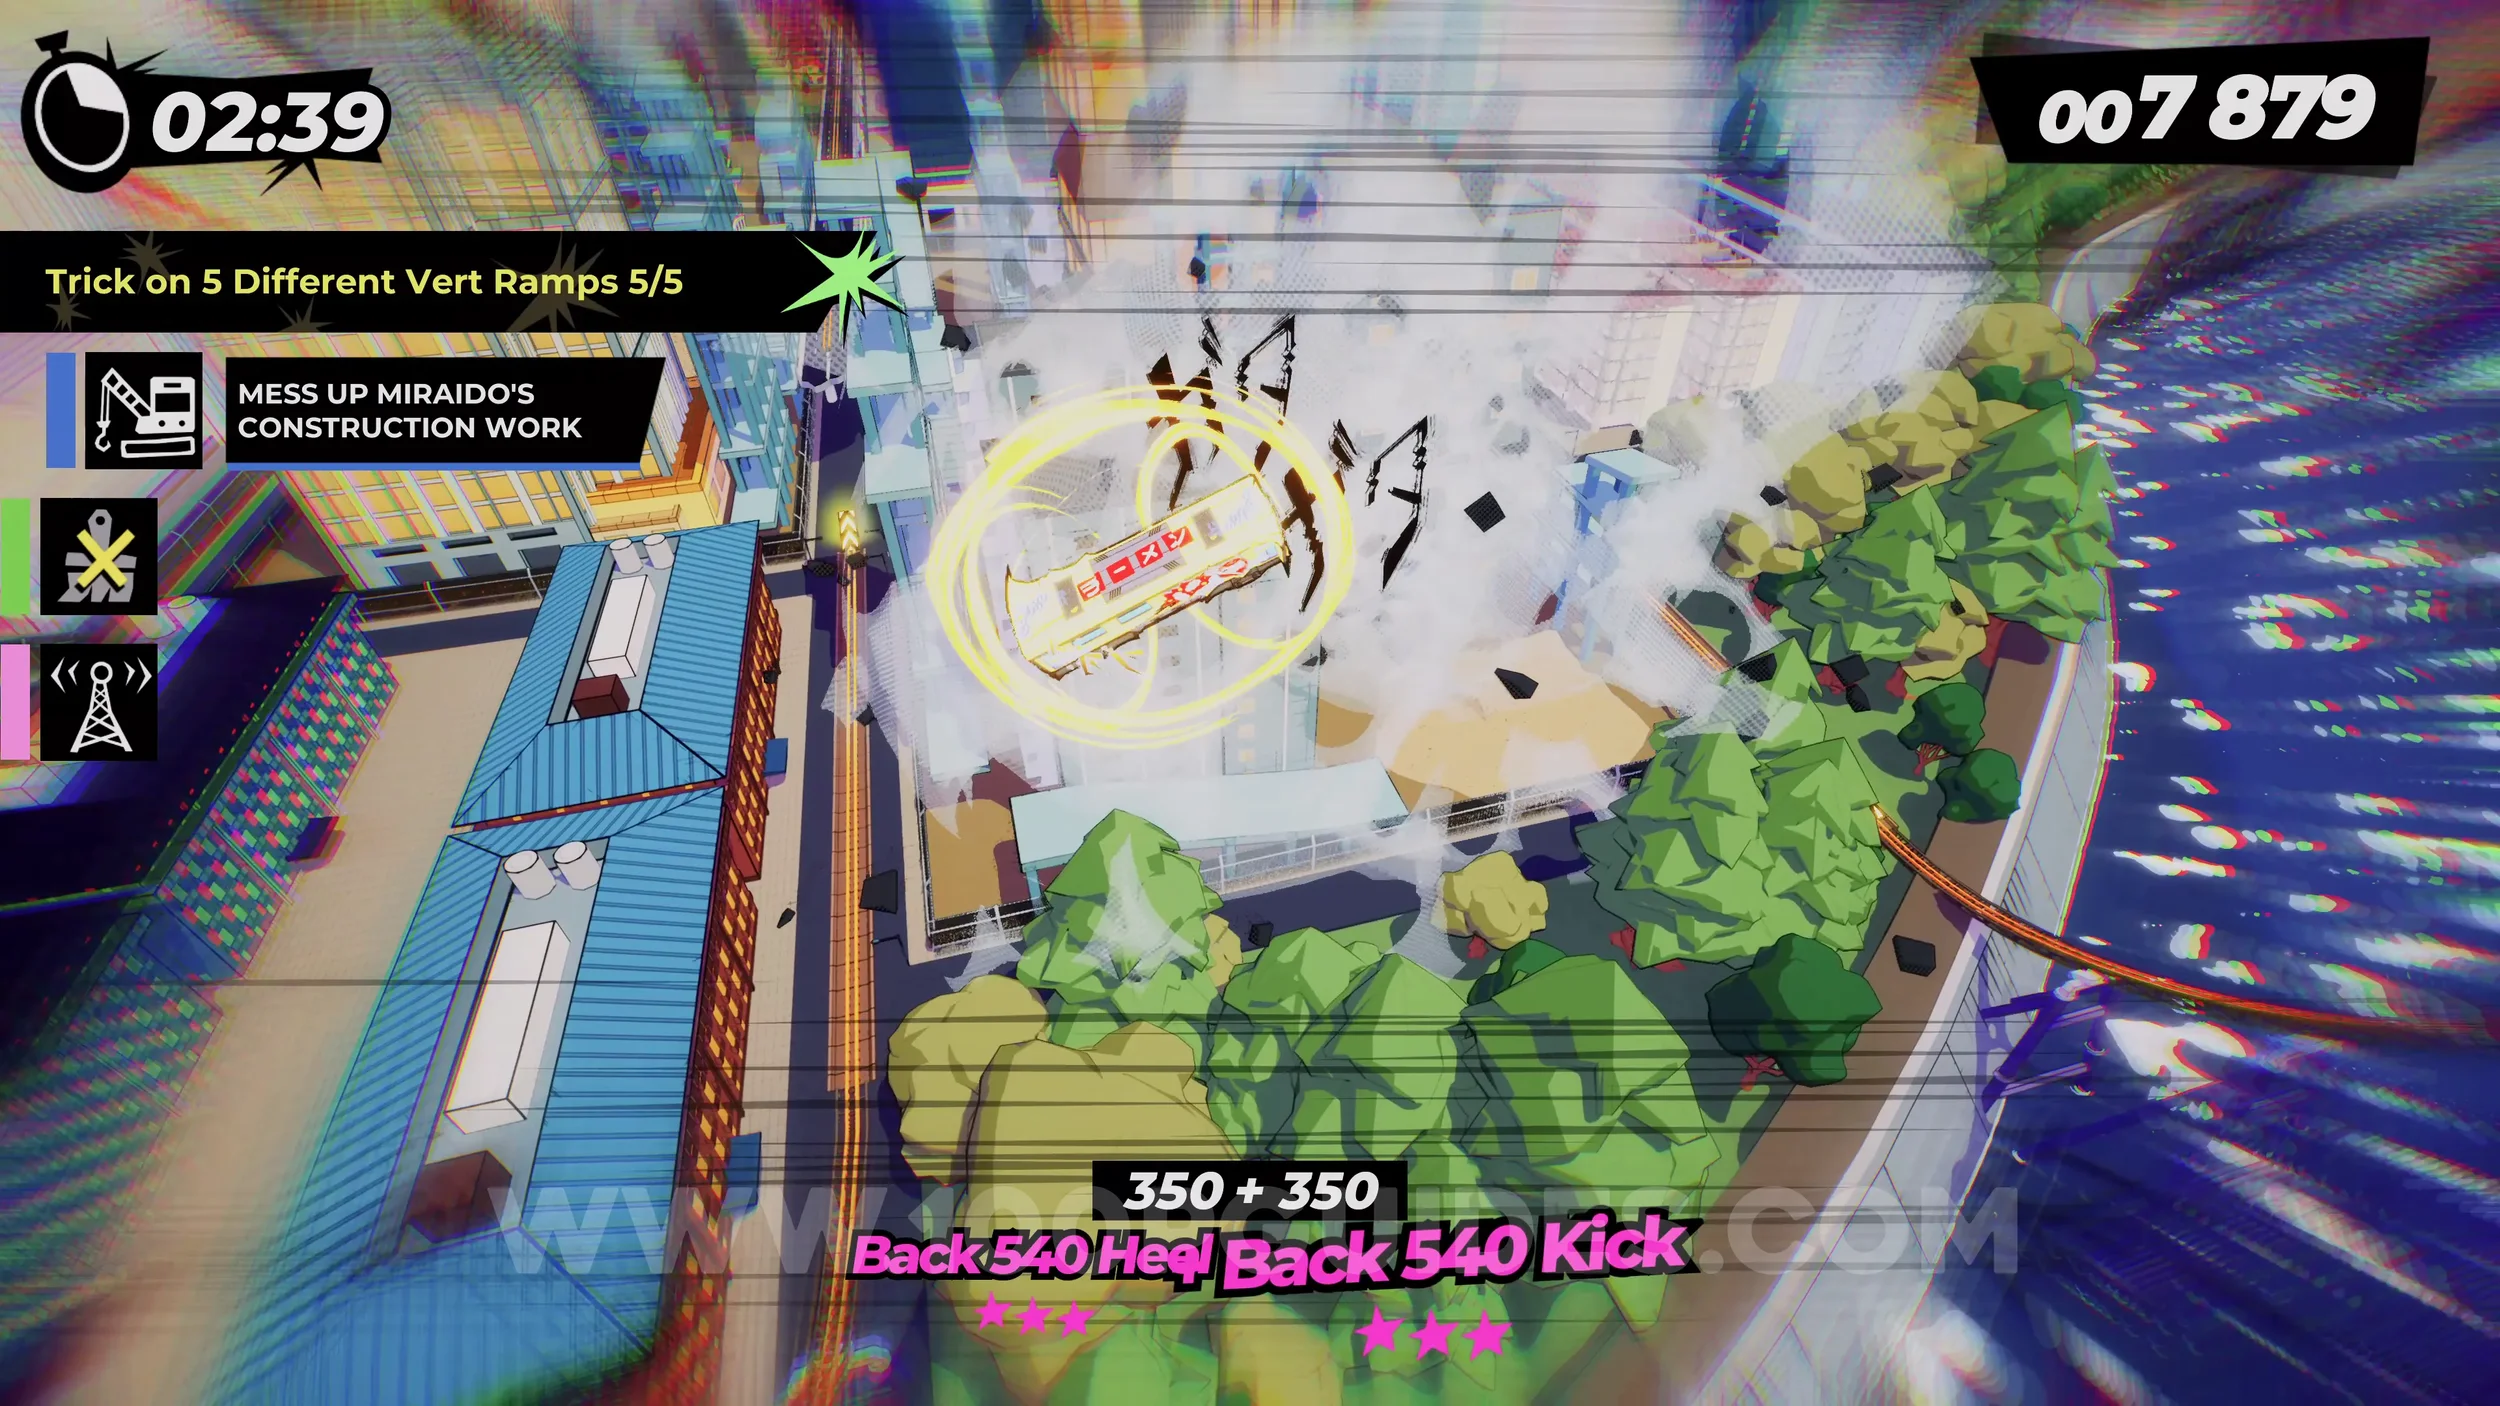
Spray Can (2/4). After the previous ramp, continue forward until you smash through some glass and go through a building. Here, stick to the middle grind rail to find the spray can.
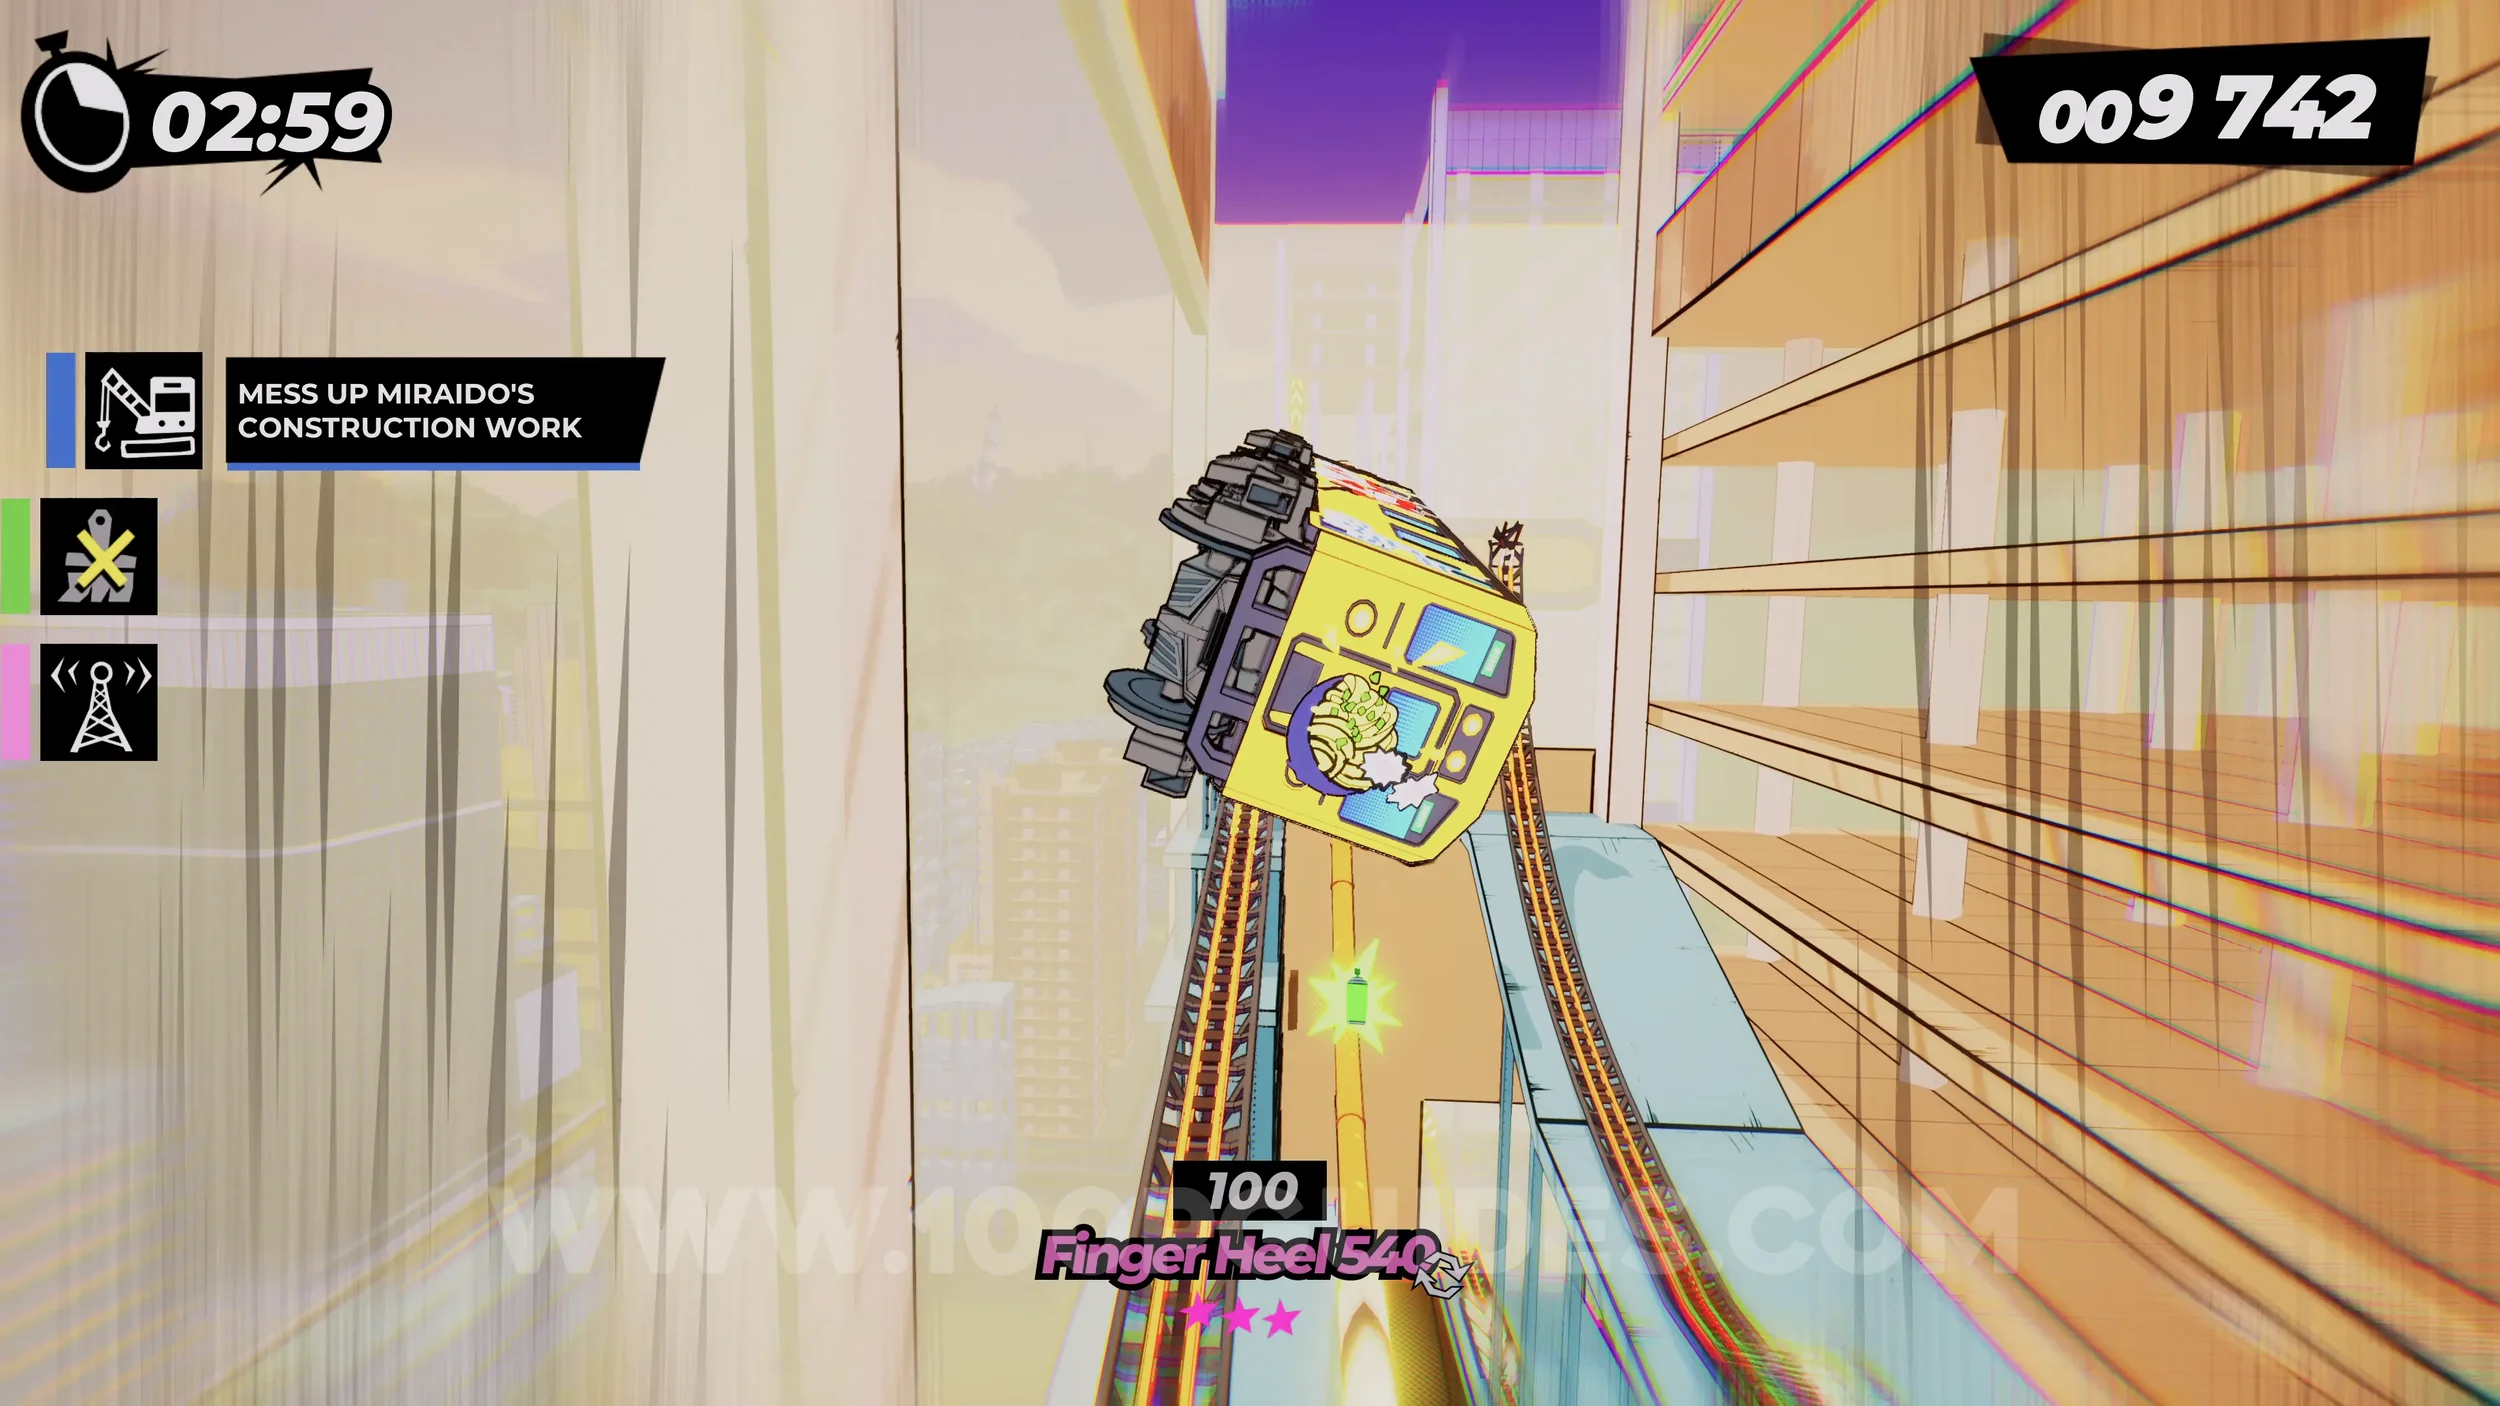
Dare: Piece of Castella (4/5). Soon after the previous spray can, you will finish the main objective about the crane and wrecking balls. After that, stay on the default track until you go around the left side corner. You will then see the piece of Castella on the right side.
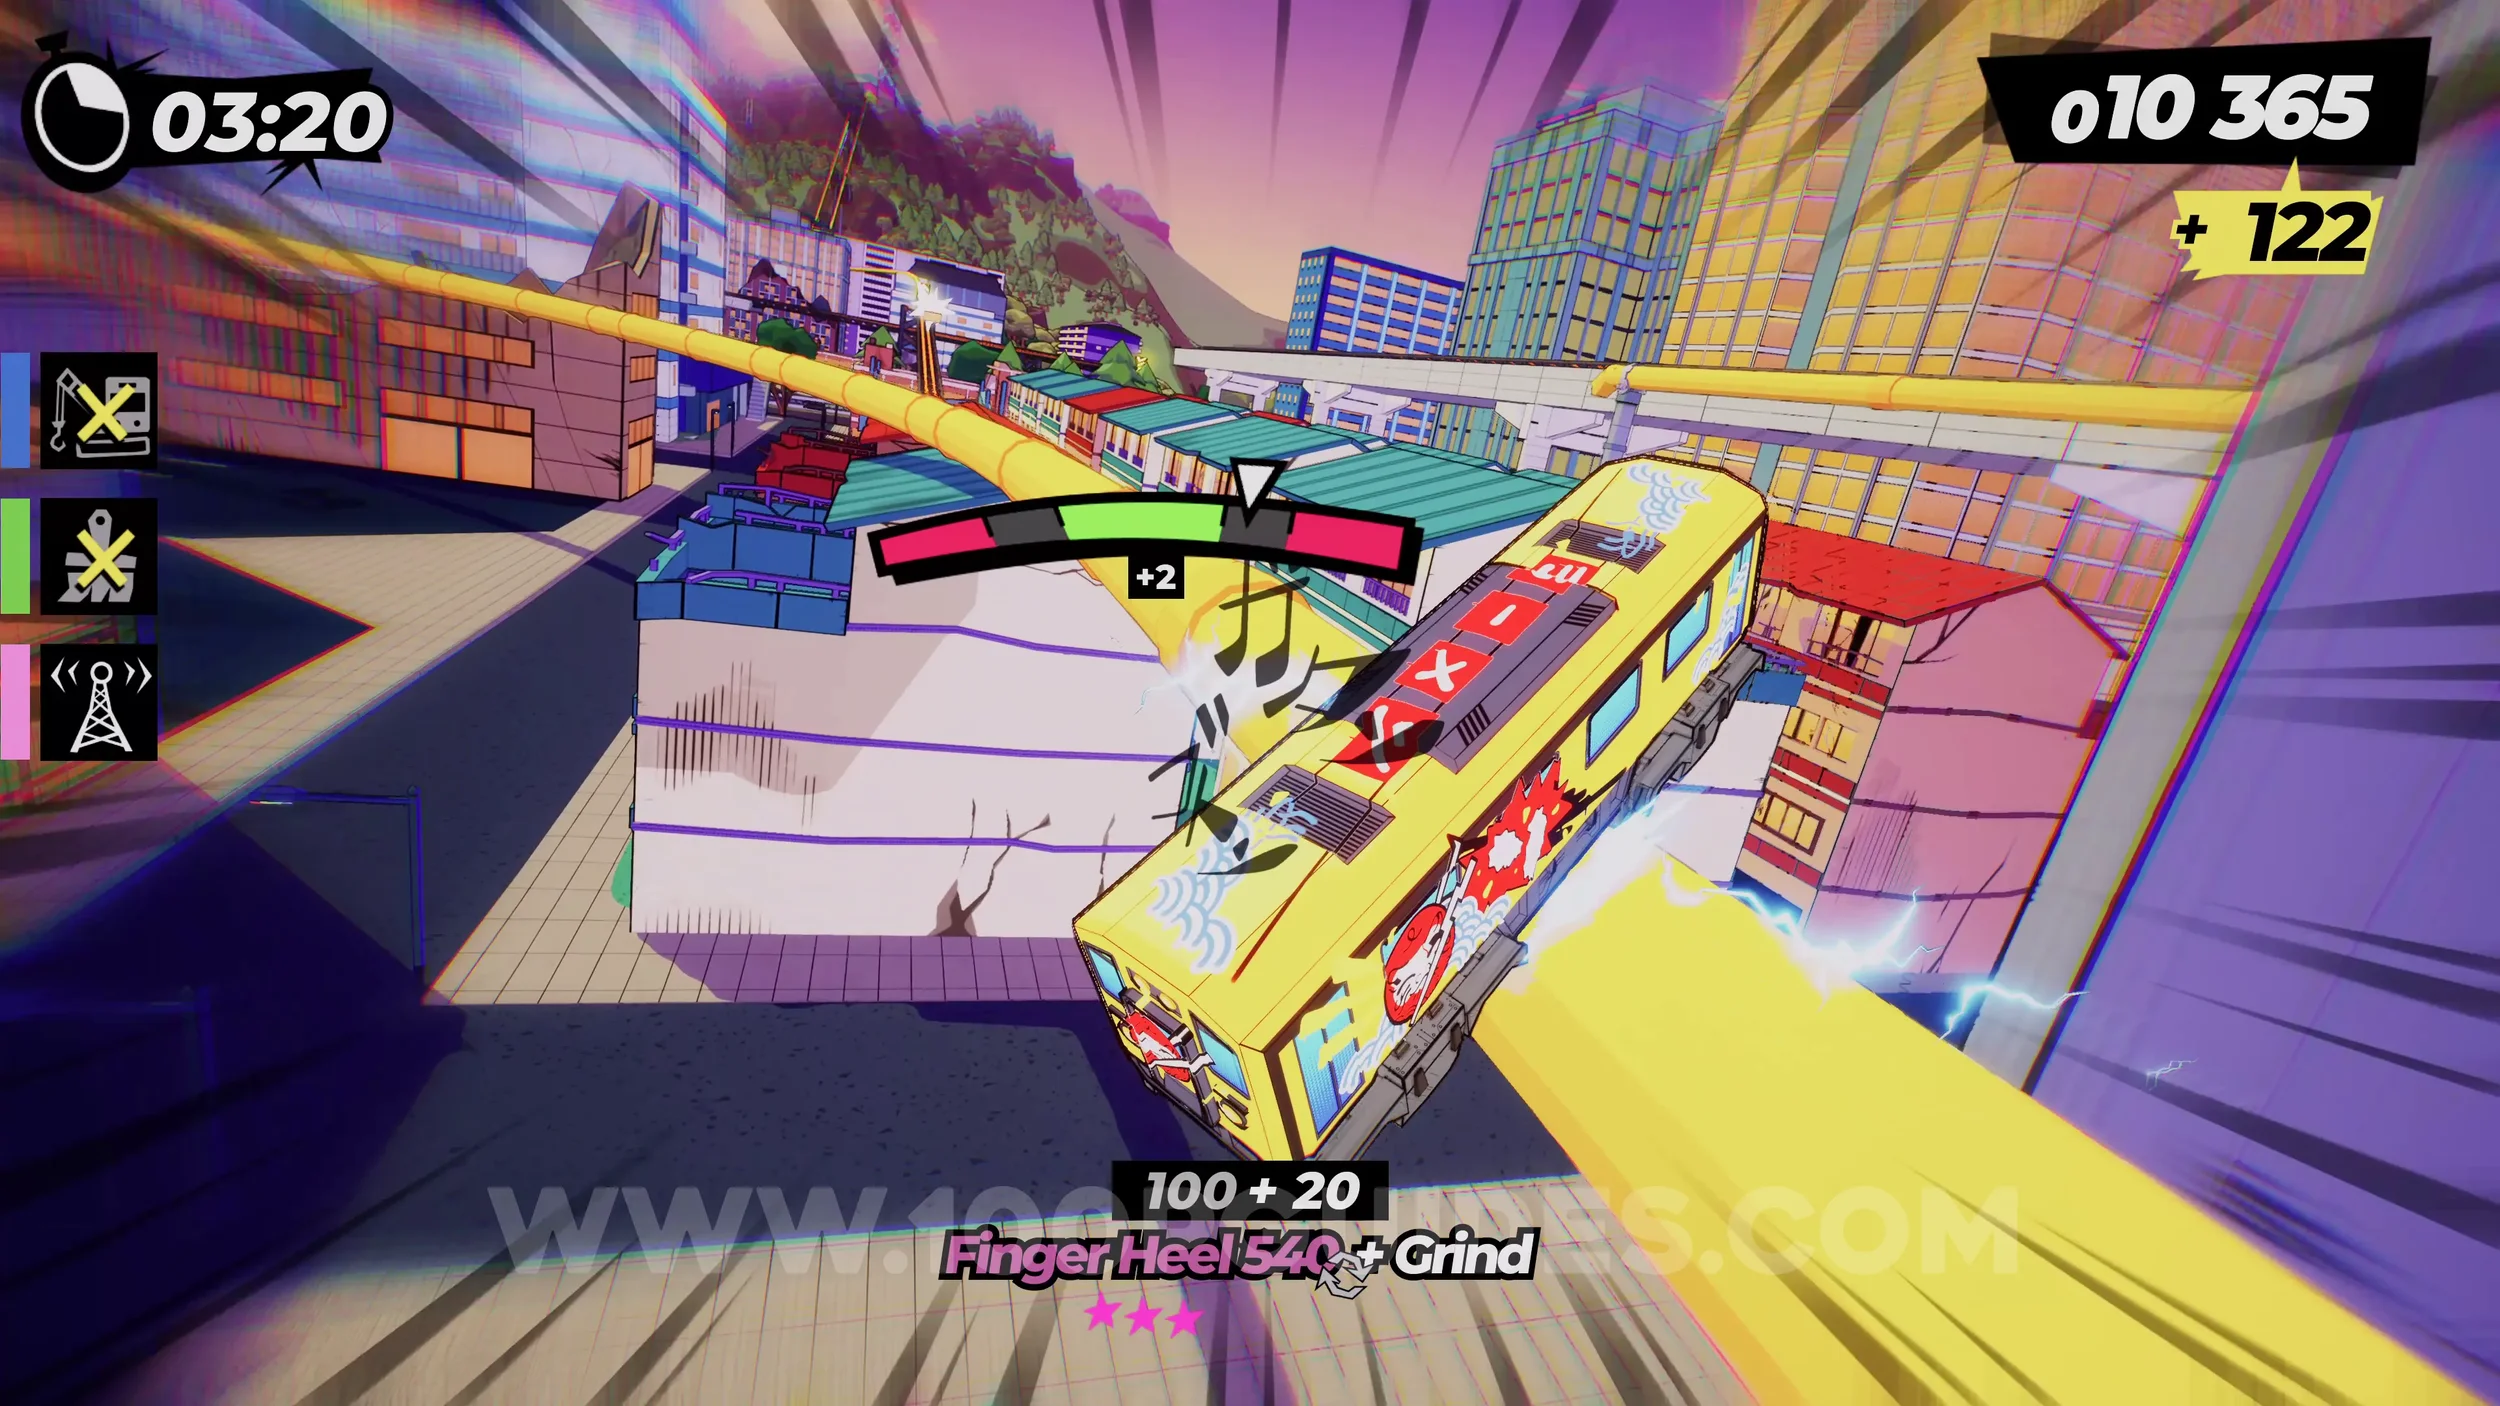
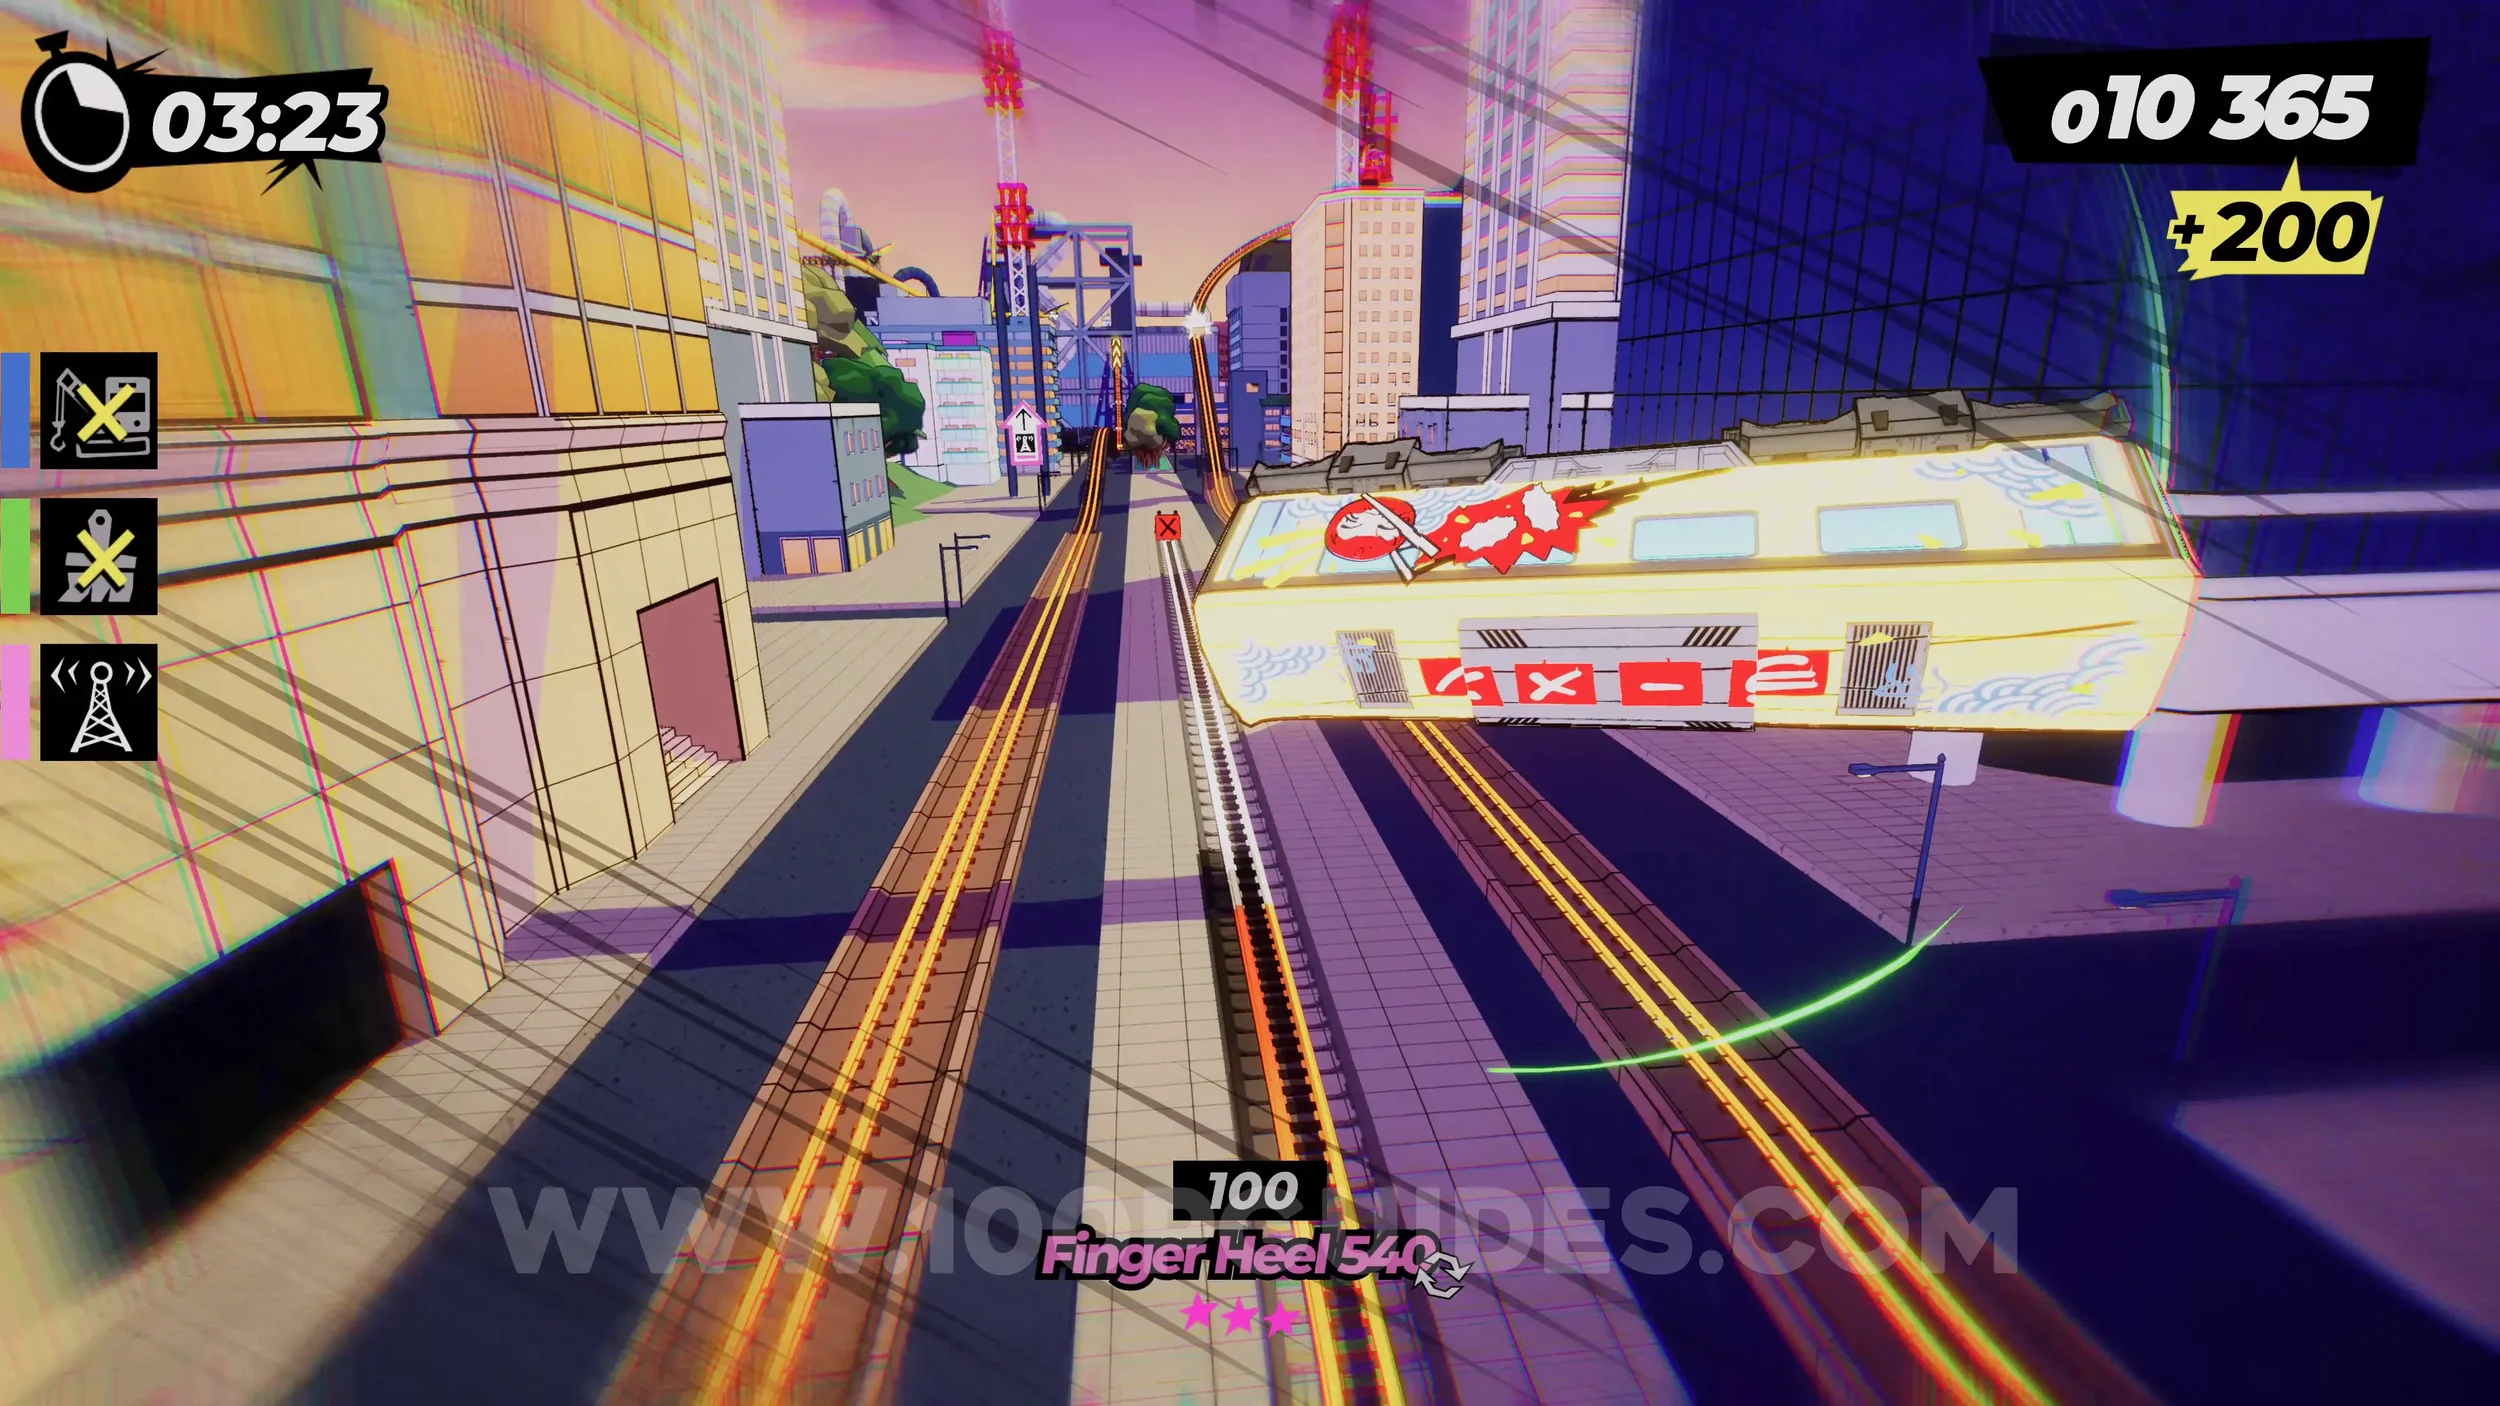
Dare: Piece of Castella (5/5). After the previous collectible, you will go around a tight right corner. Immediately after the corner, jump to the grind rail on the right. This will take you to the final piece of Castella.
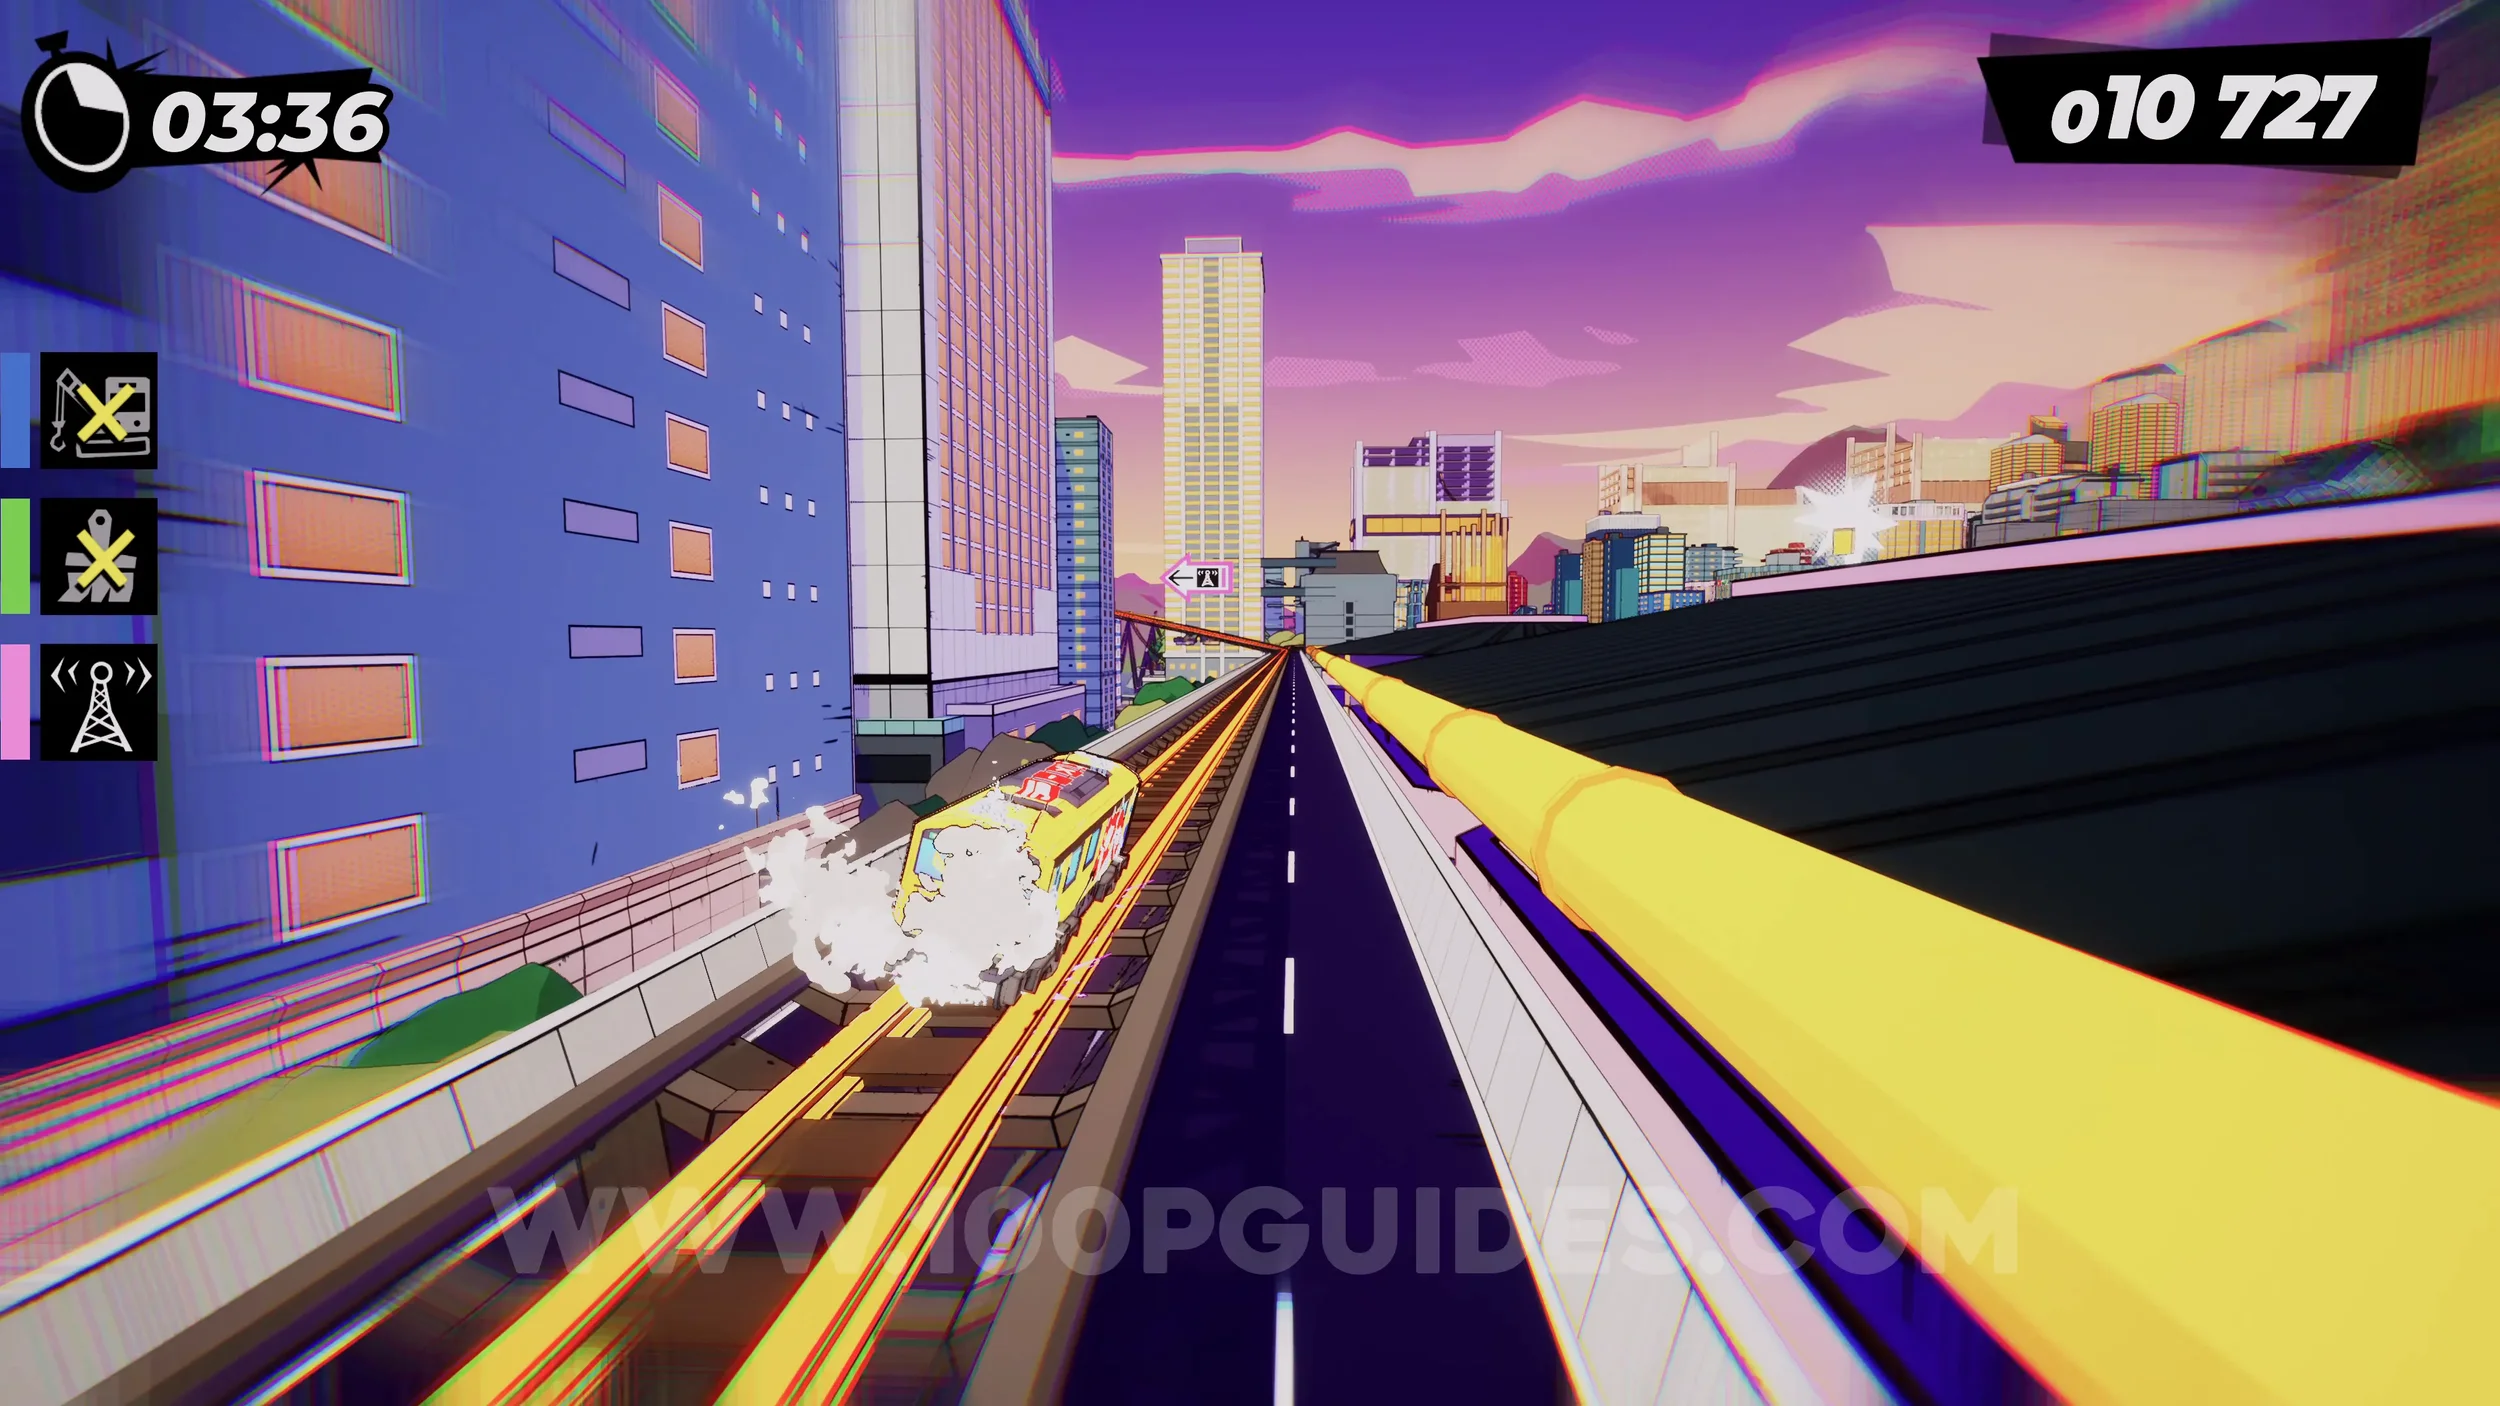
Spray Can (3/4). You will now have only one main objective left (the one about destroying four towers). Follow the pink signs until you get to the first tower. Just after the first tower, you will see the spray can in plain sight. You will have to jump to reach it.
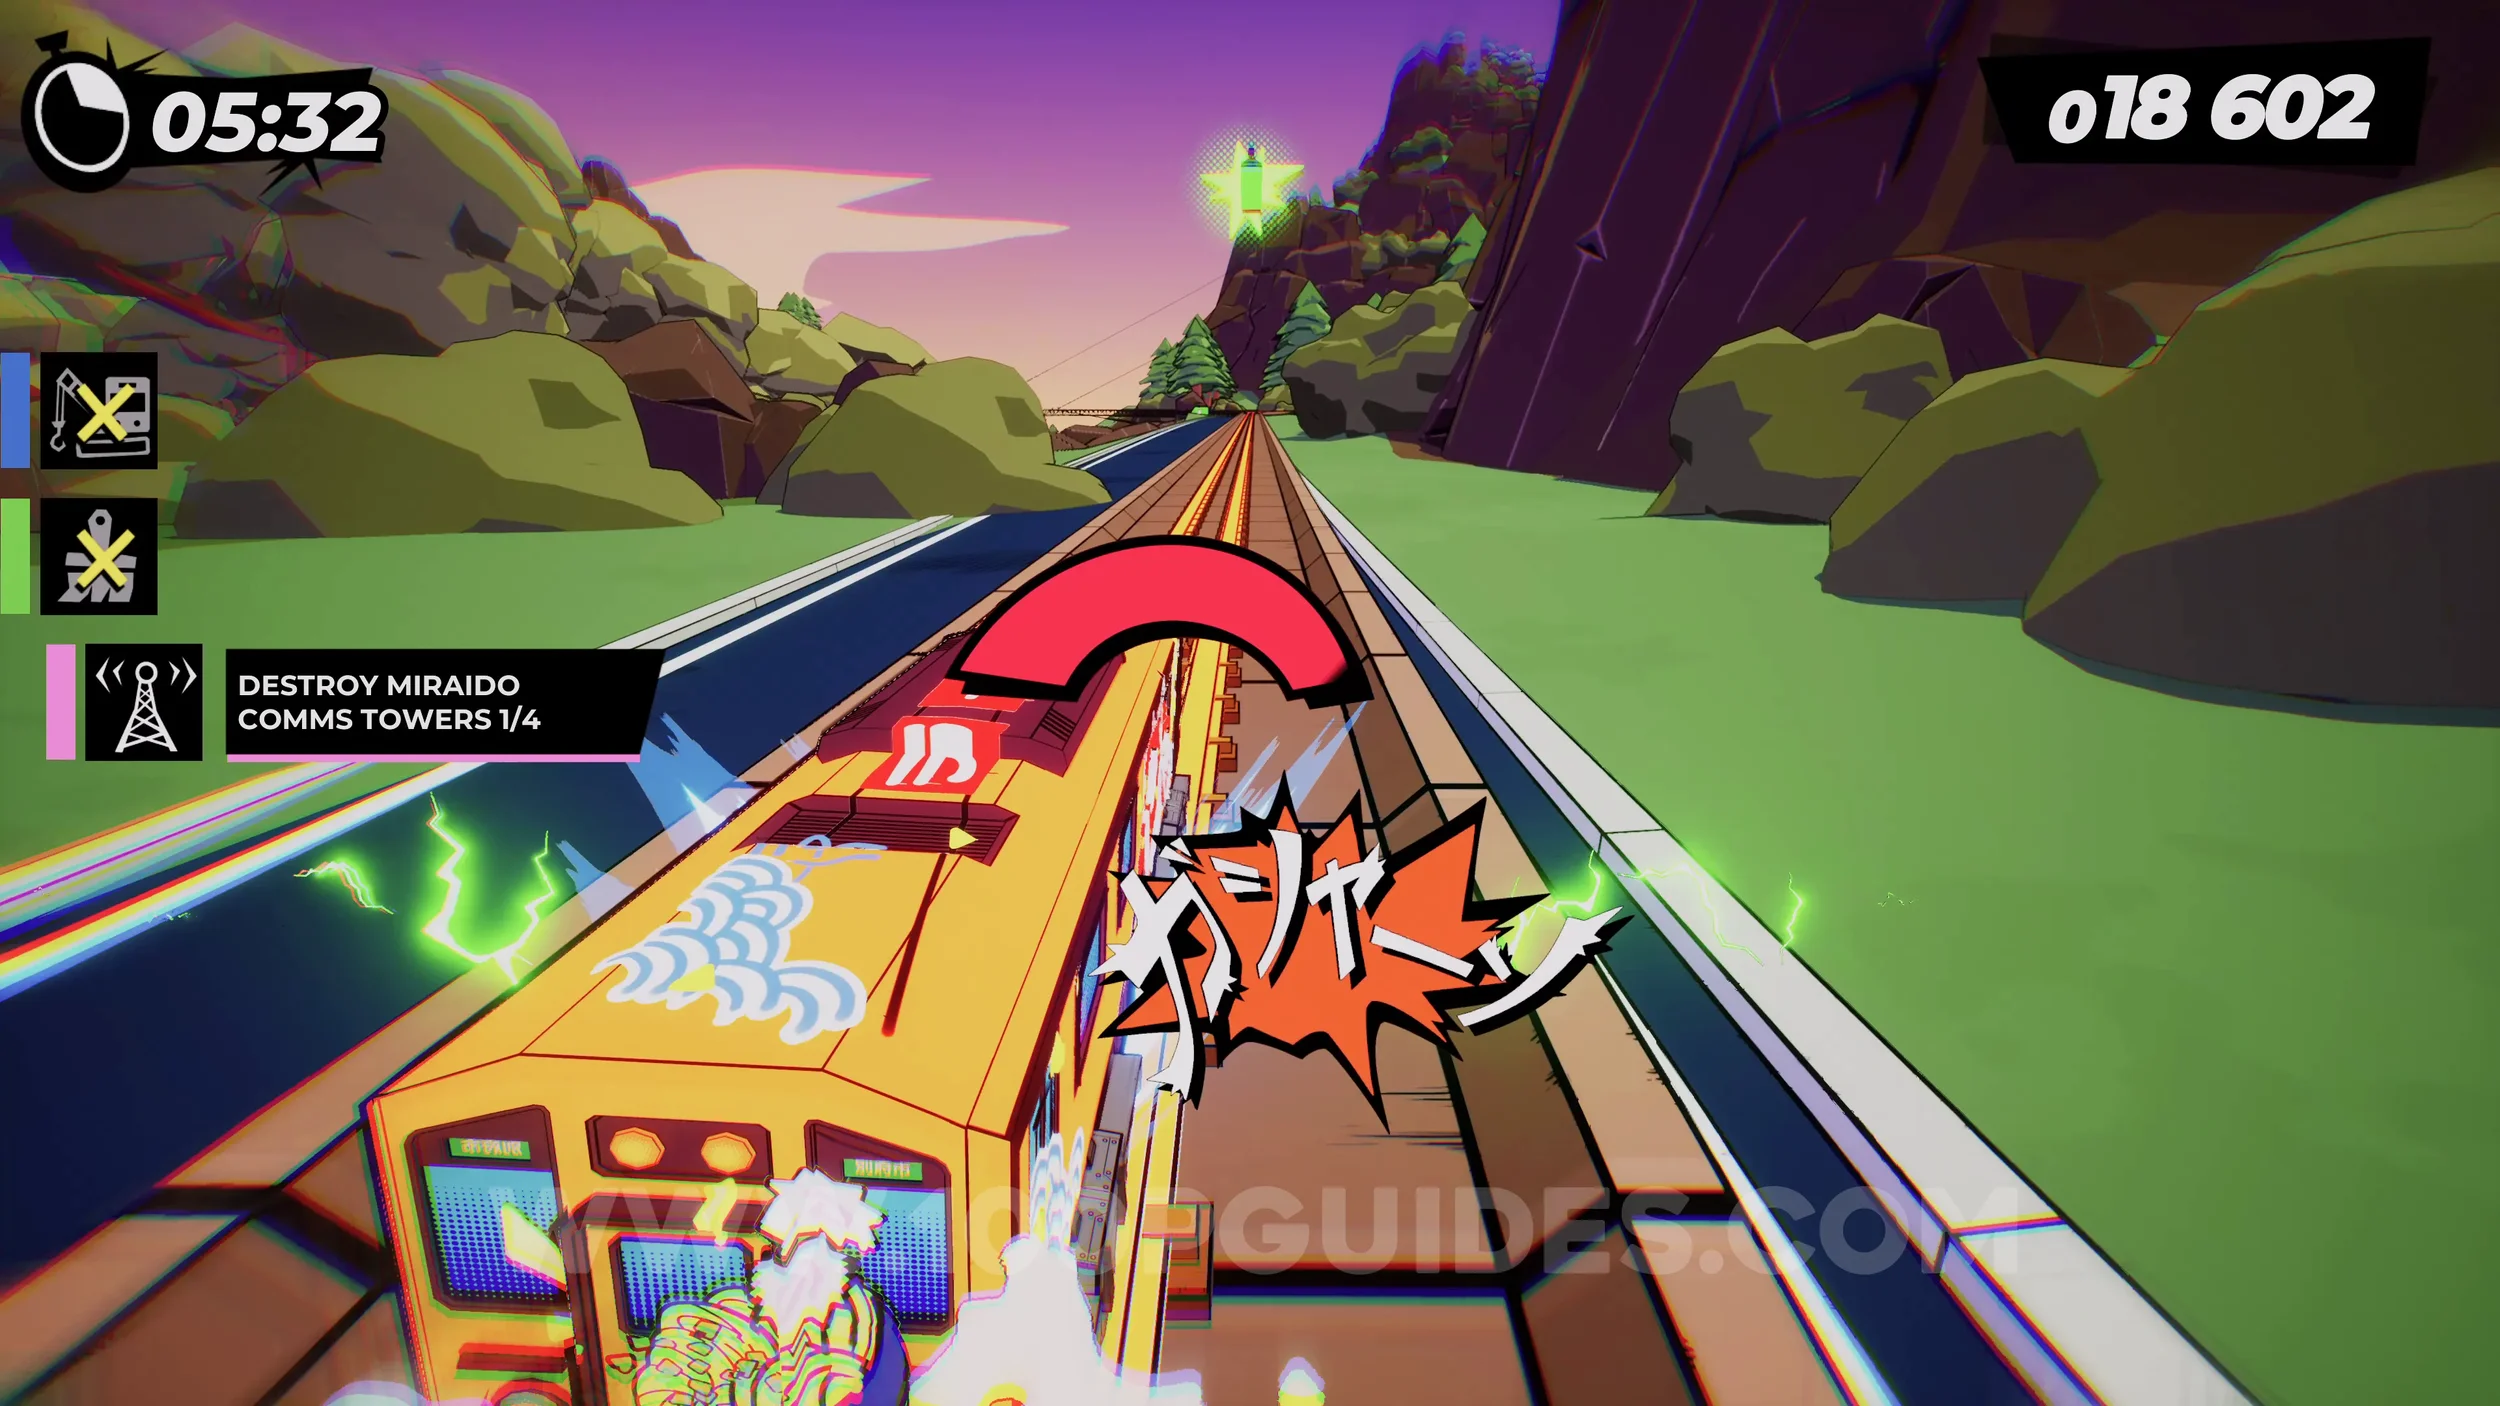
Spray Can (4/4). As soon as you pick up the previous spray can, stick left and follow the green spray can sign. You will then see the can on the left side.
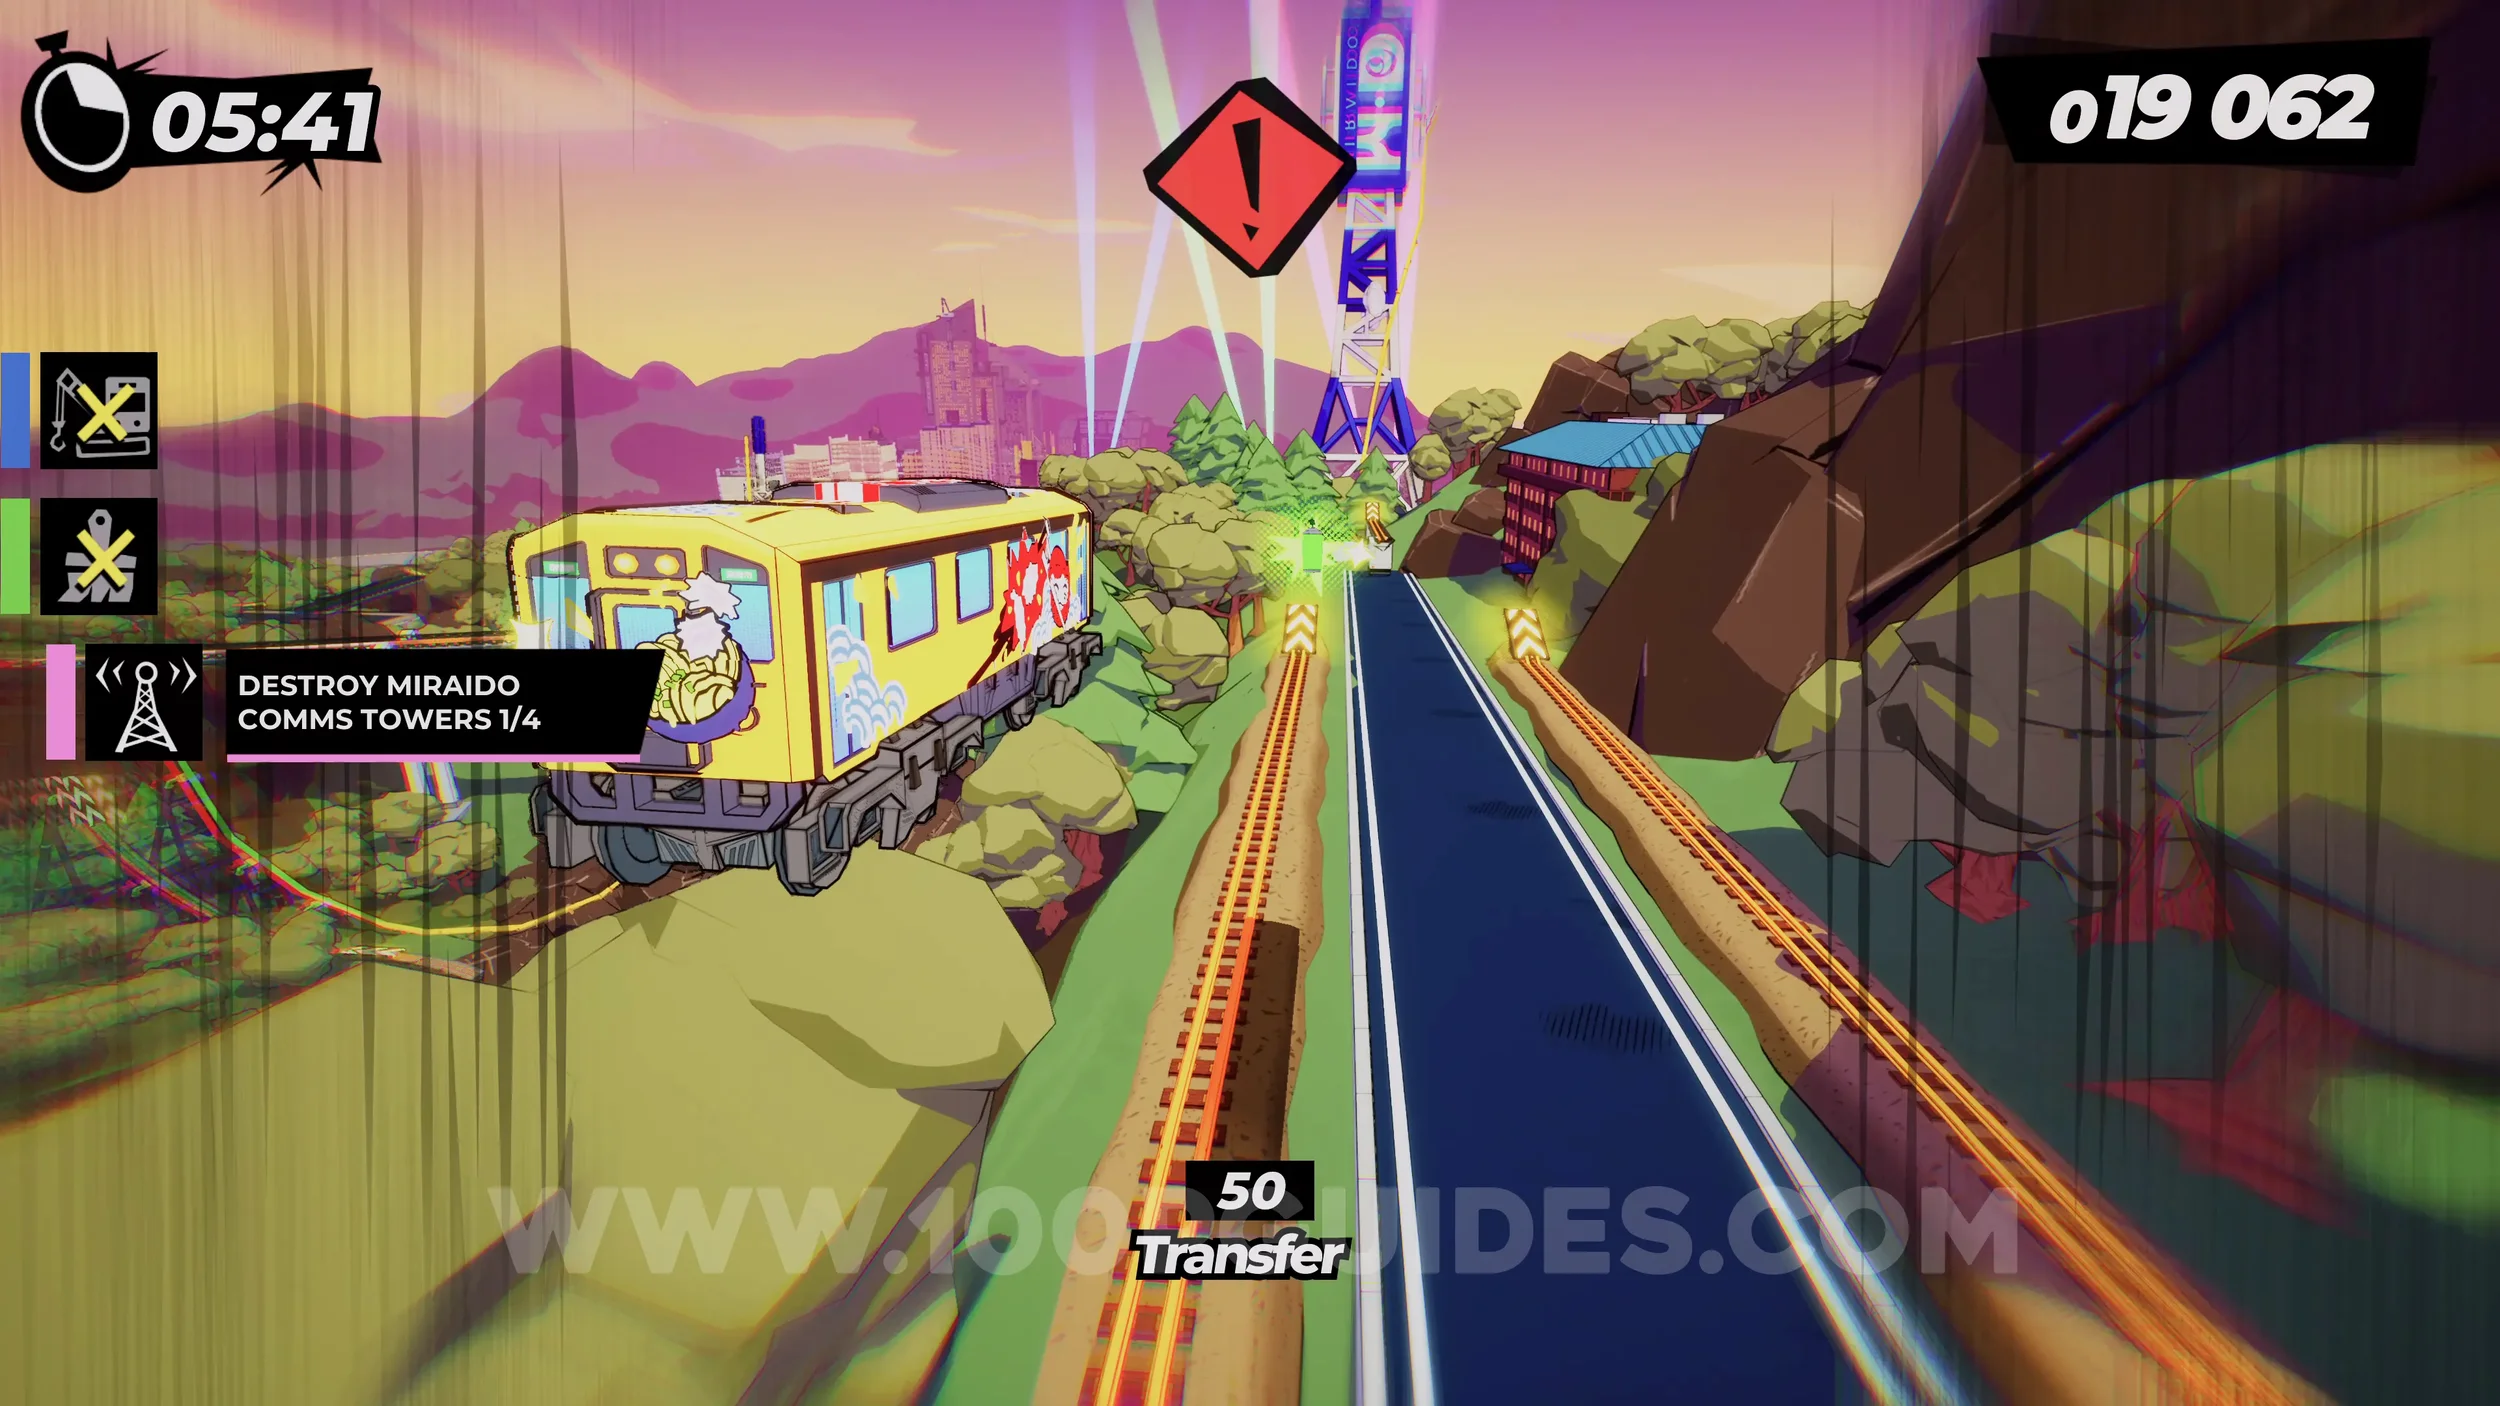
Dare: Perform 3 Grind Tricks. Self-explanatory. During a grind, use the right analog stick to perform tricks. Do this three times.
1-6-1 8 Million Roads
Spray Can (1/4). Below you on the very first jump. Press L2+R2 to get it.
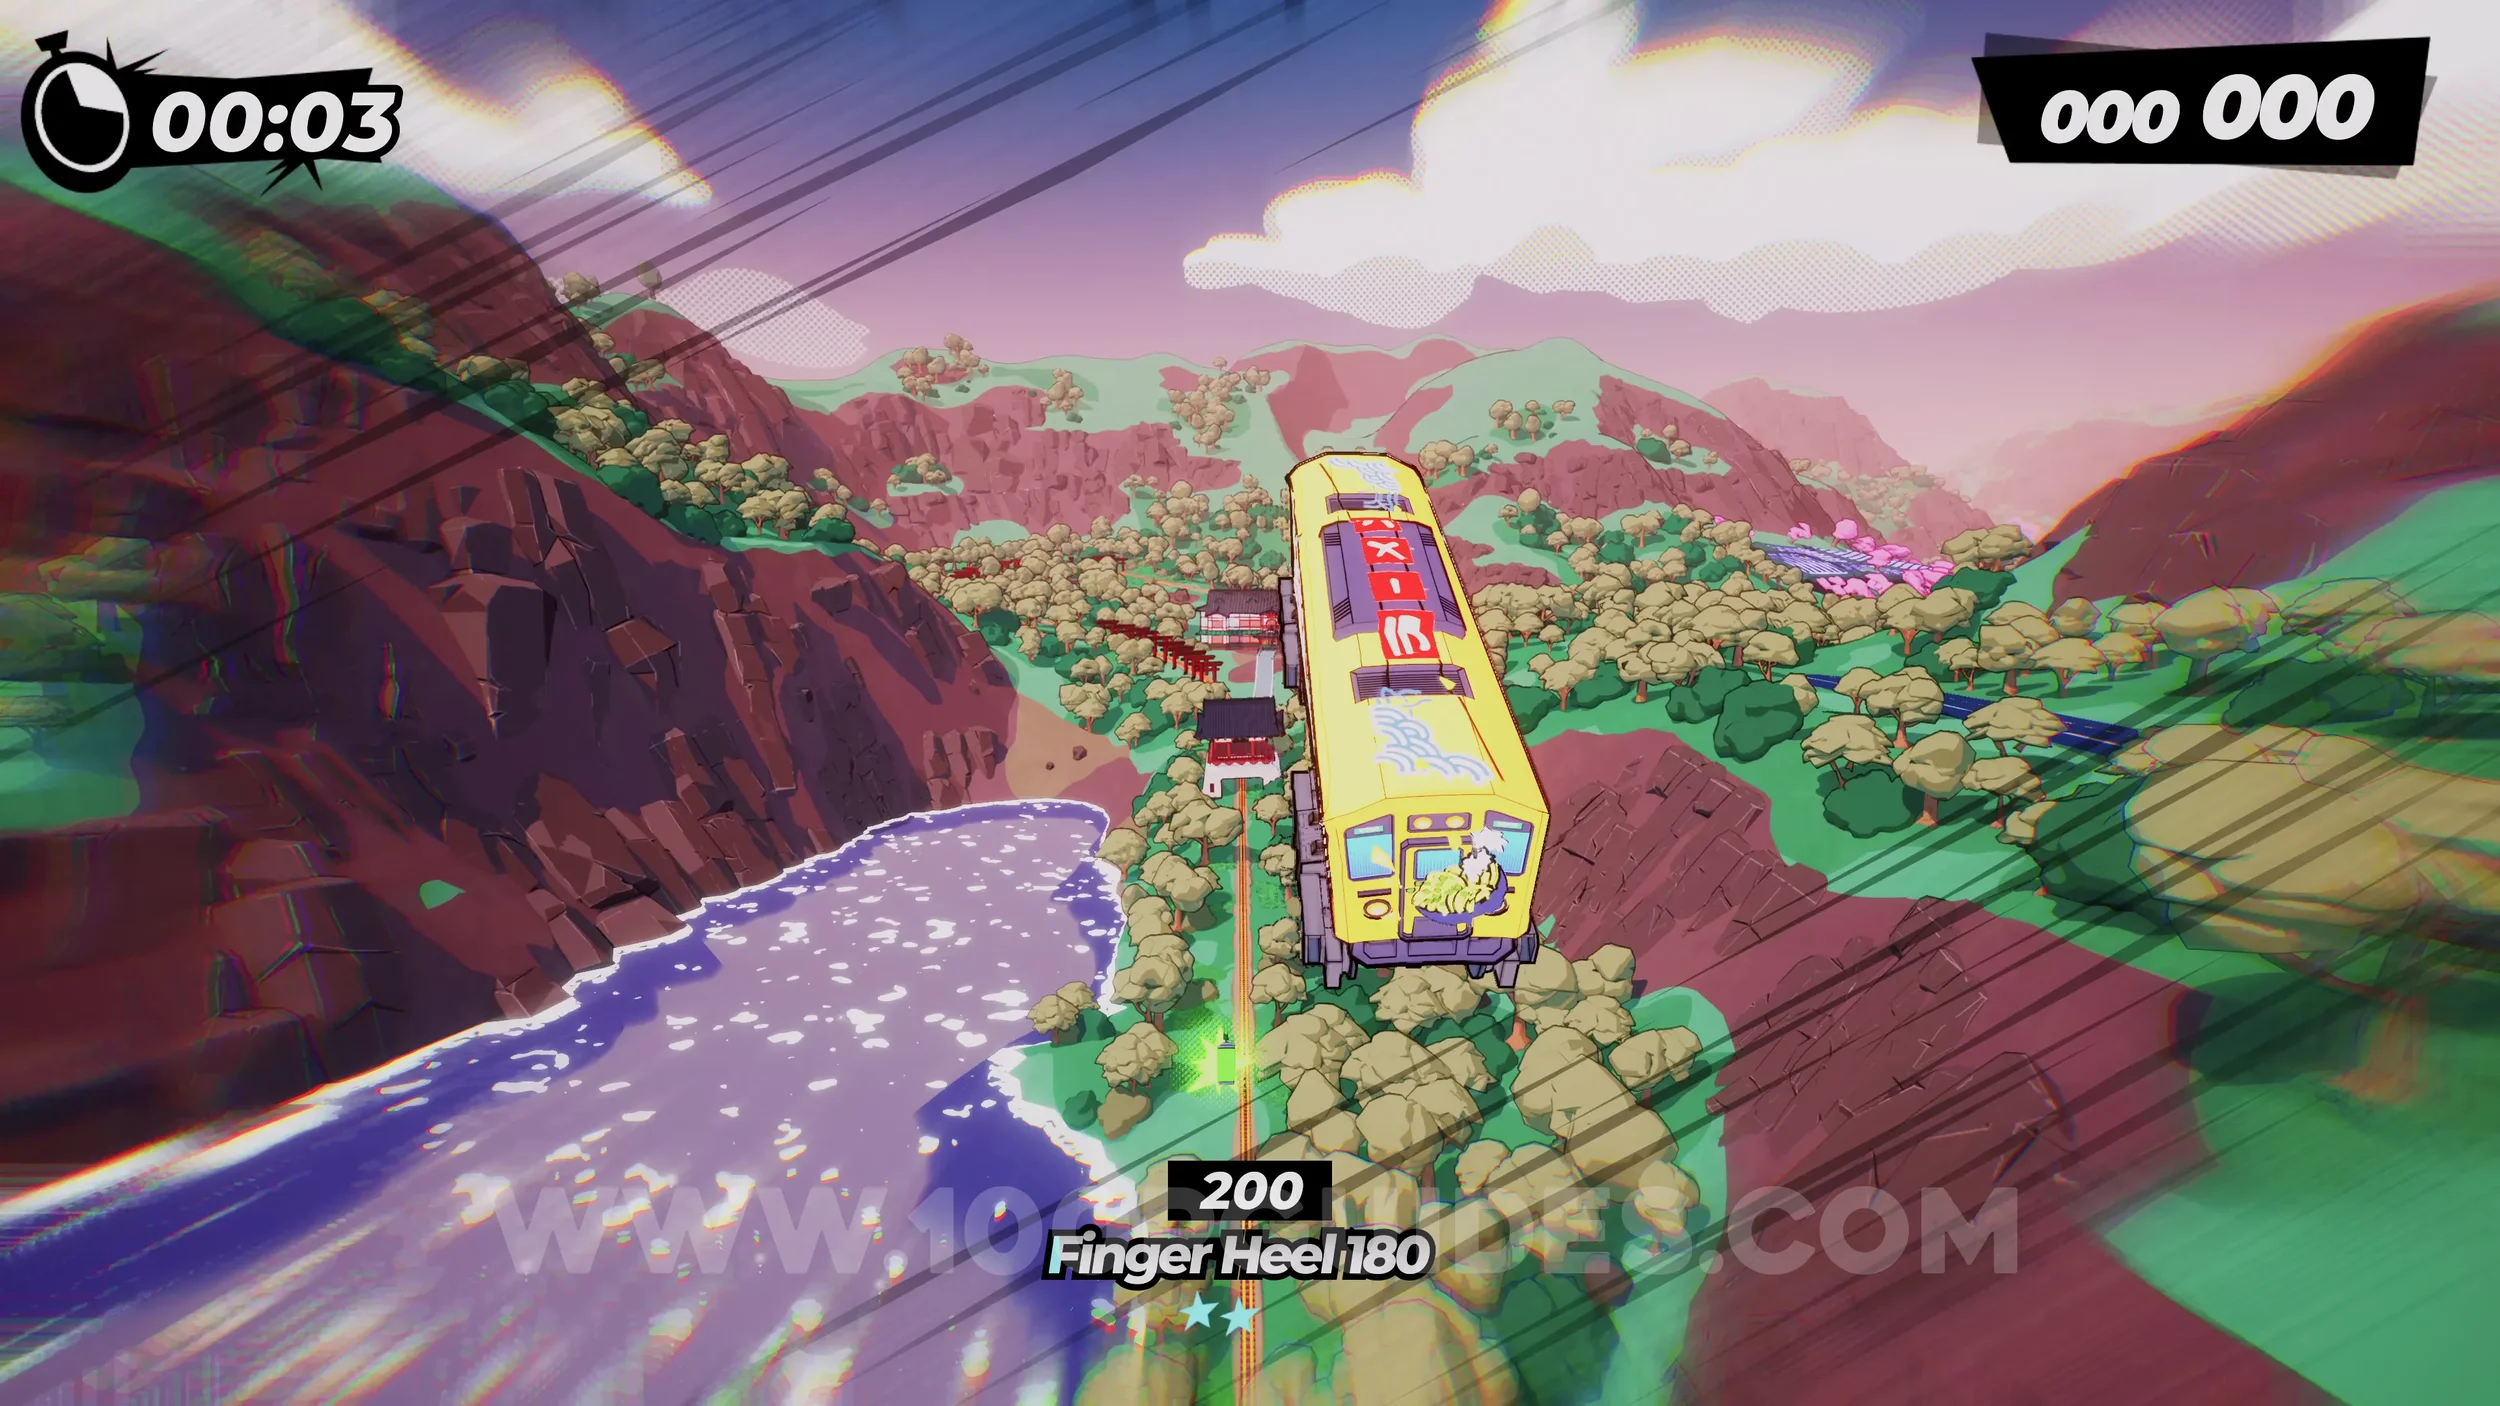
Dare: Perform 3 Perfect Drifts in a Row. Self-explanatory. Can be done at any point, but you get three easy corners in a row at the start after the previous collectible.
Film Roll (1/1). In plain sight on the right side after the first few corners.
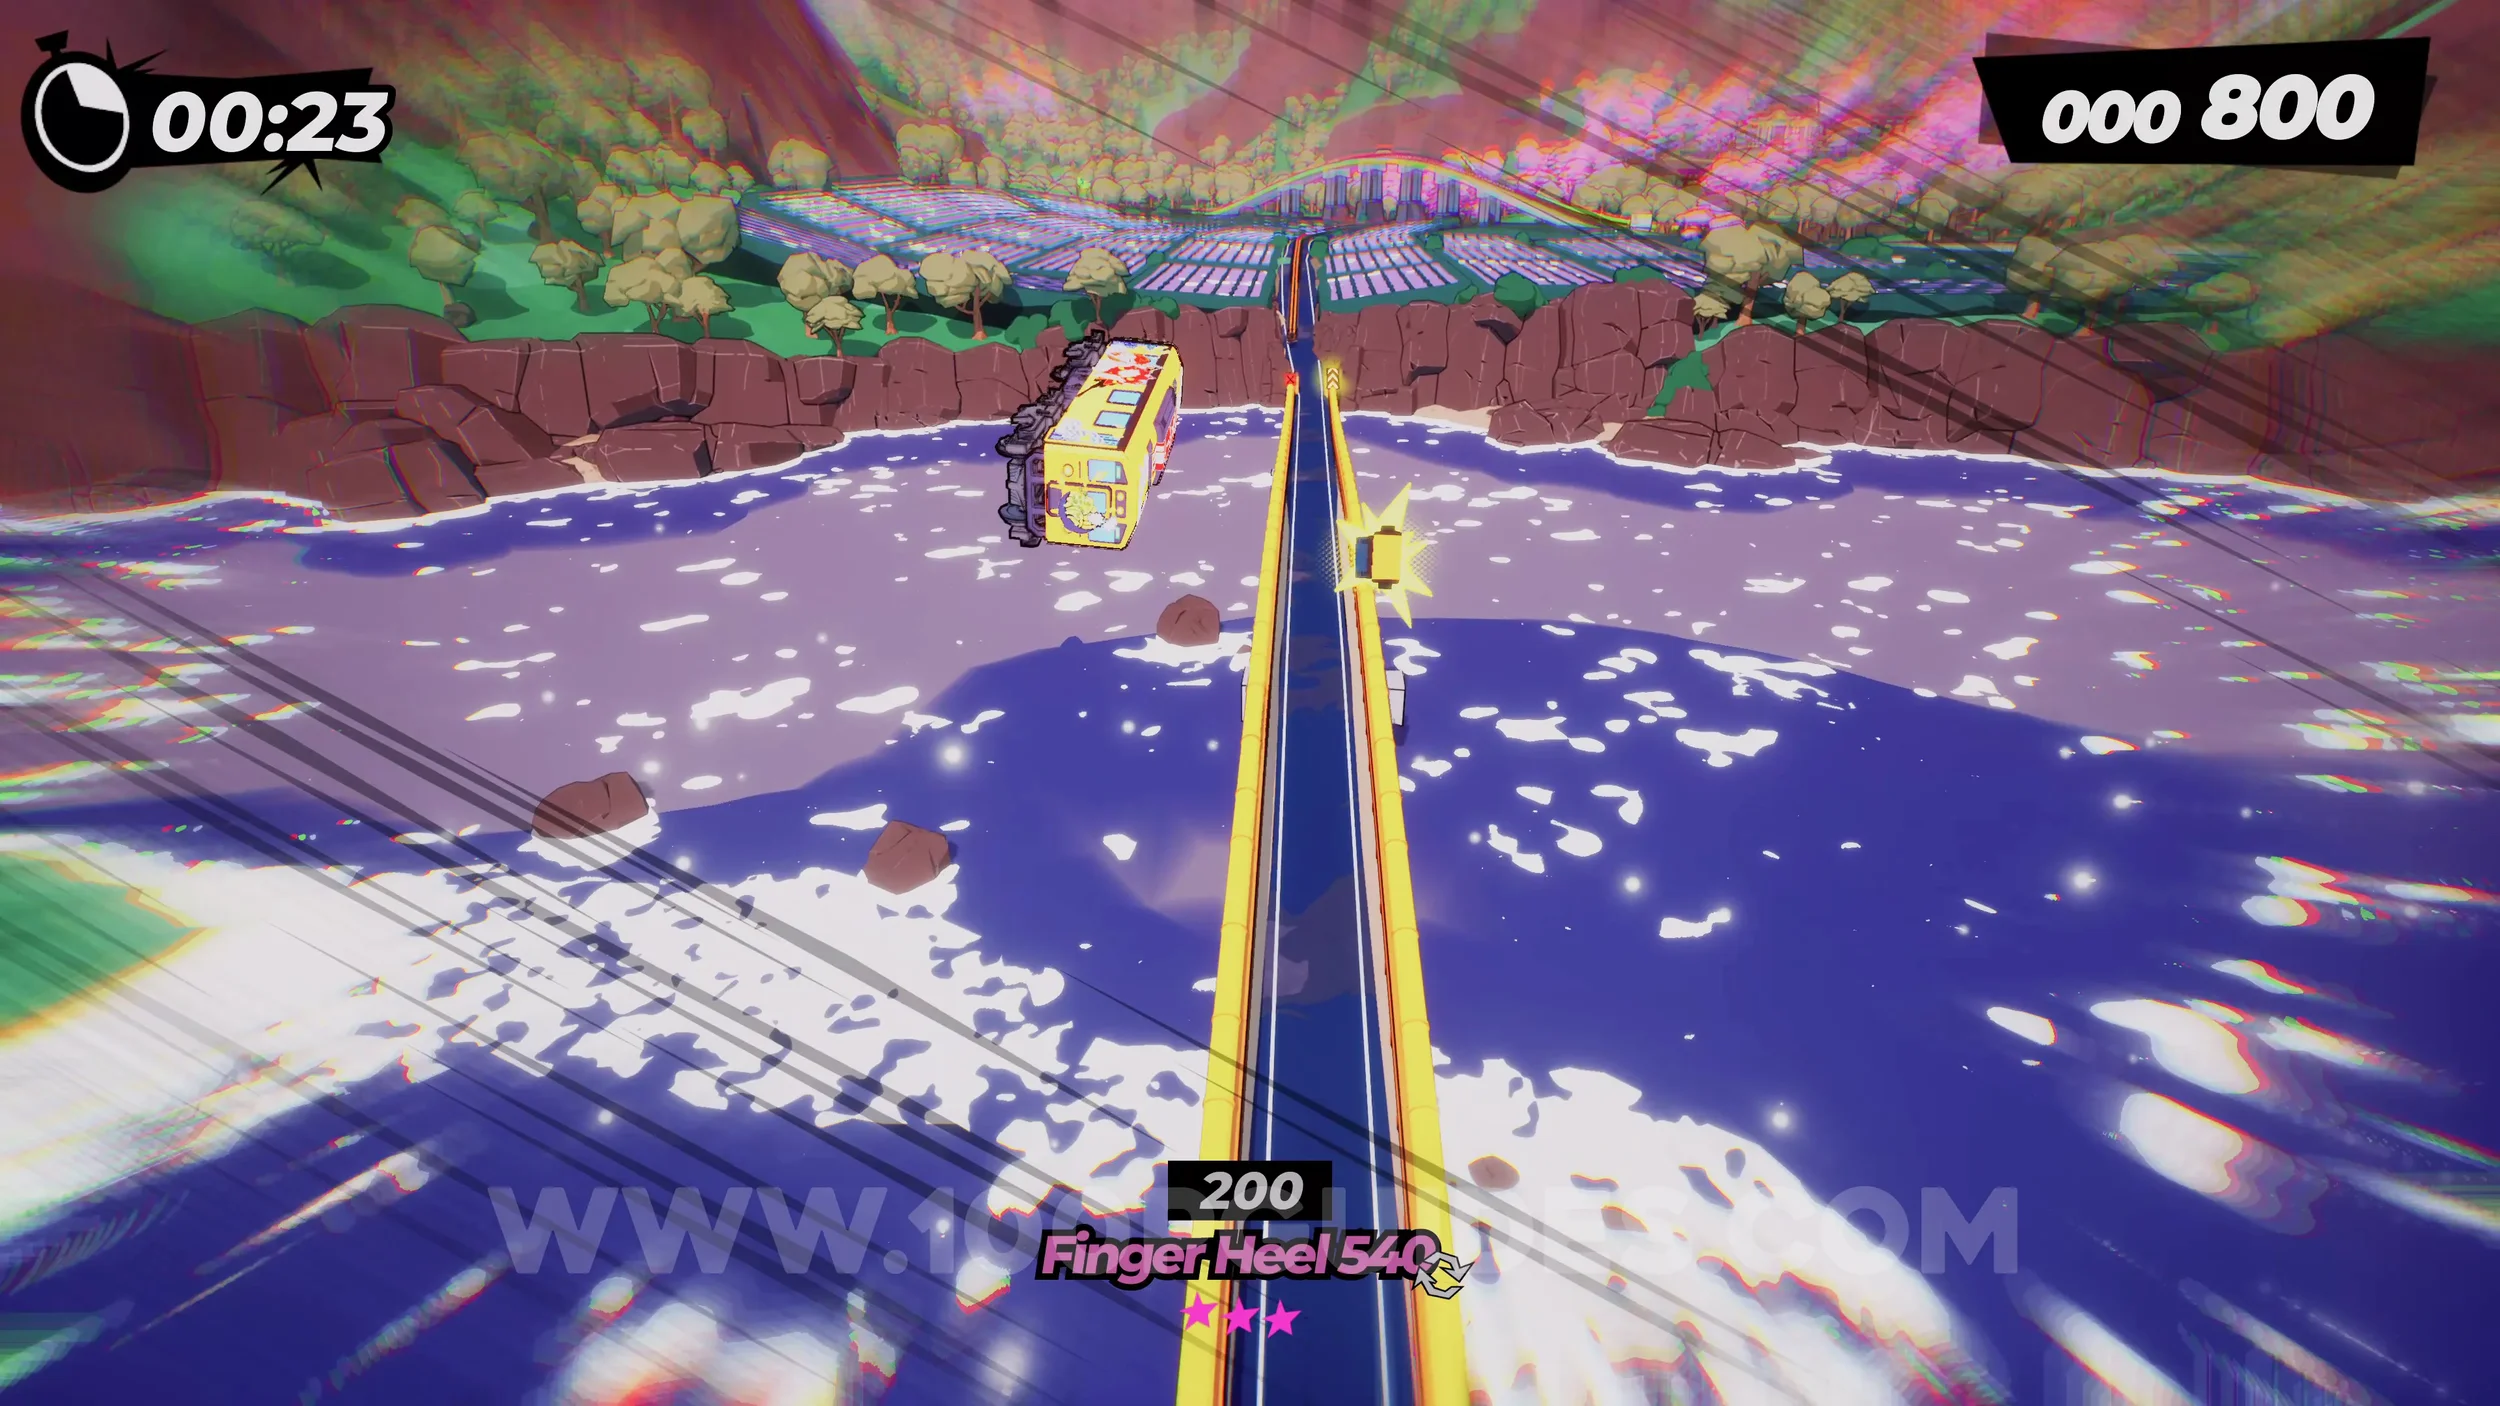
Dare: Scare the Small Temple Pigeons. Just after picking up the film roll, you will go around a corner to the right. Look out for the horn symbol in the middle of the screen and press R3.
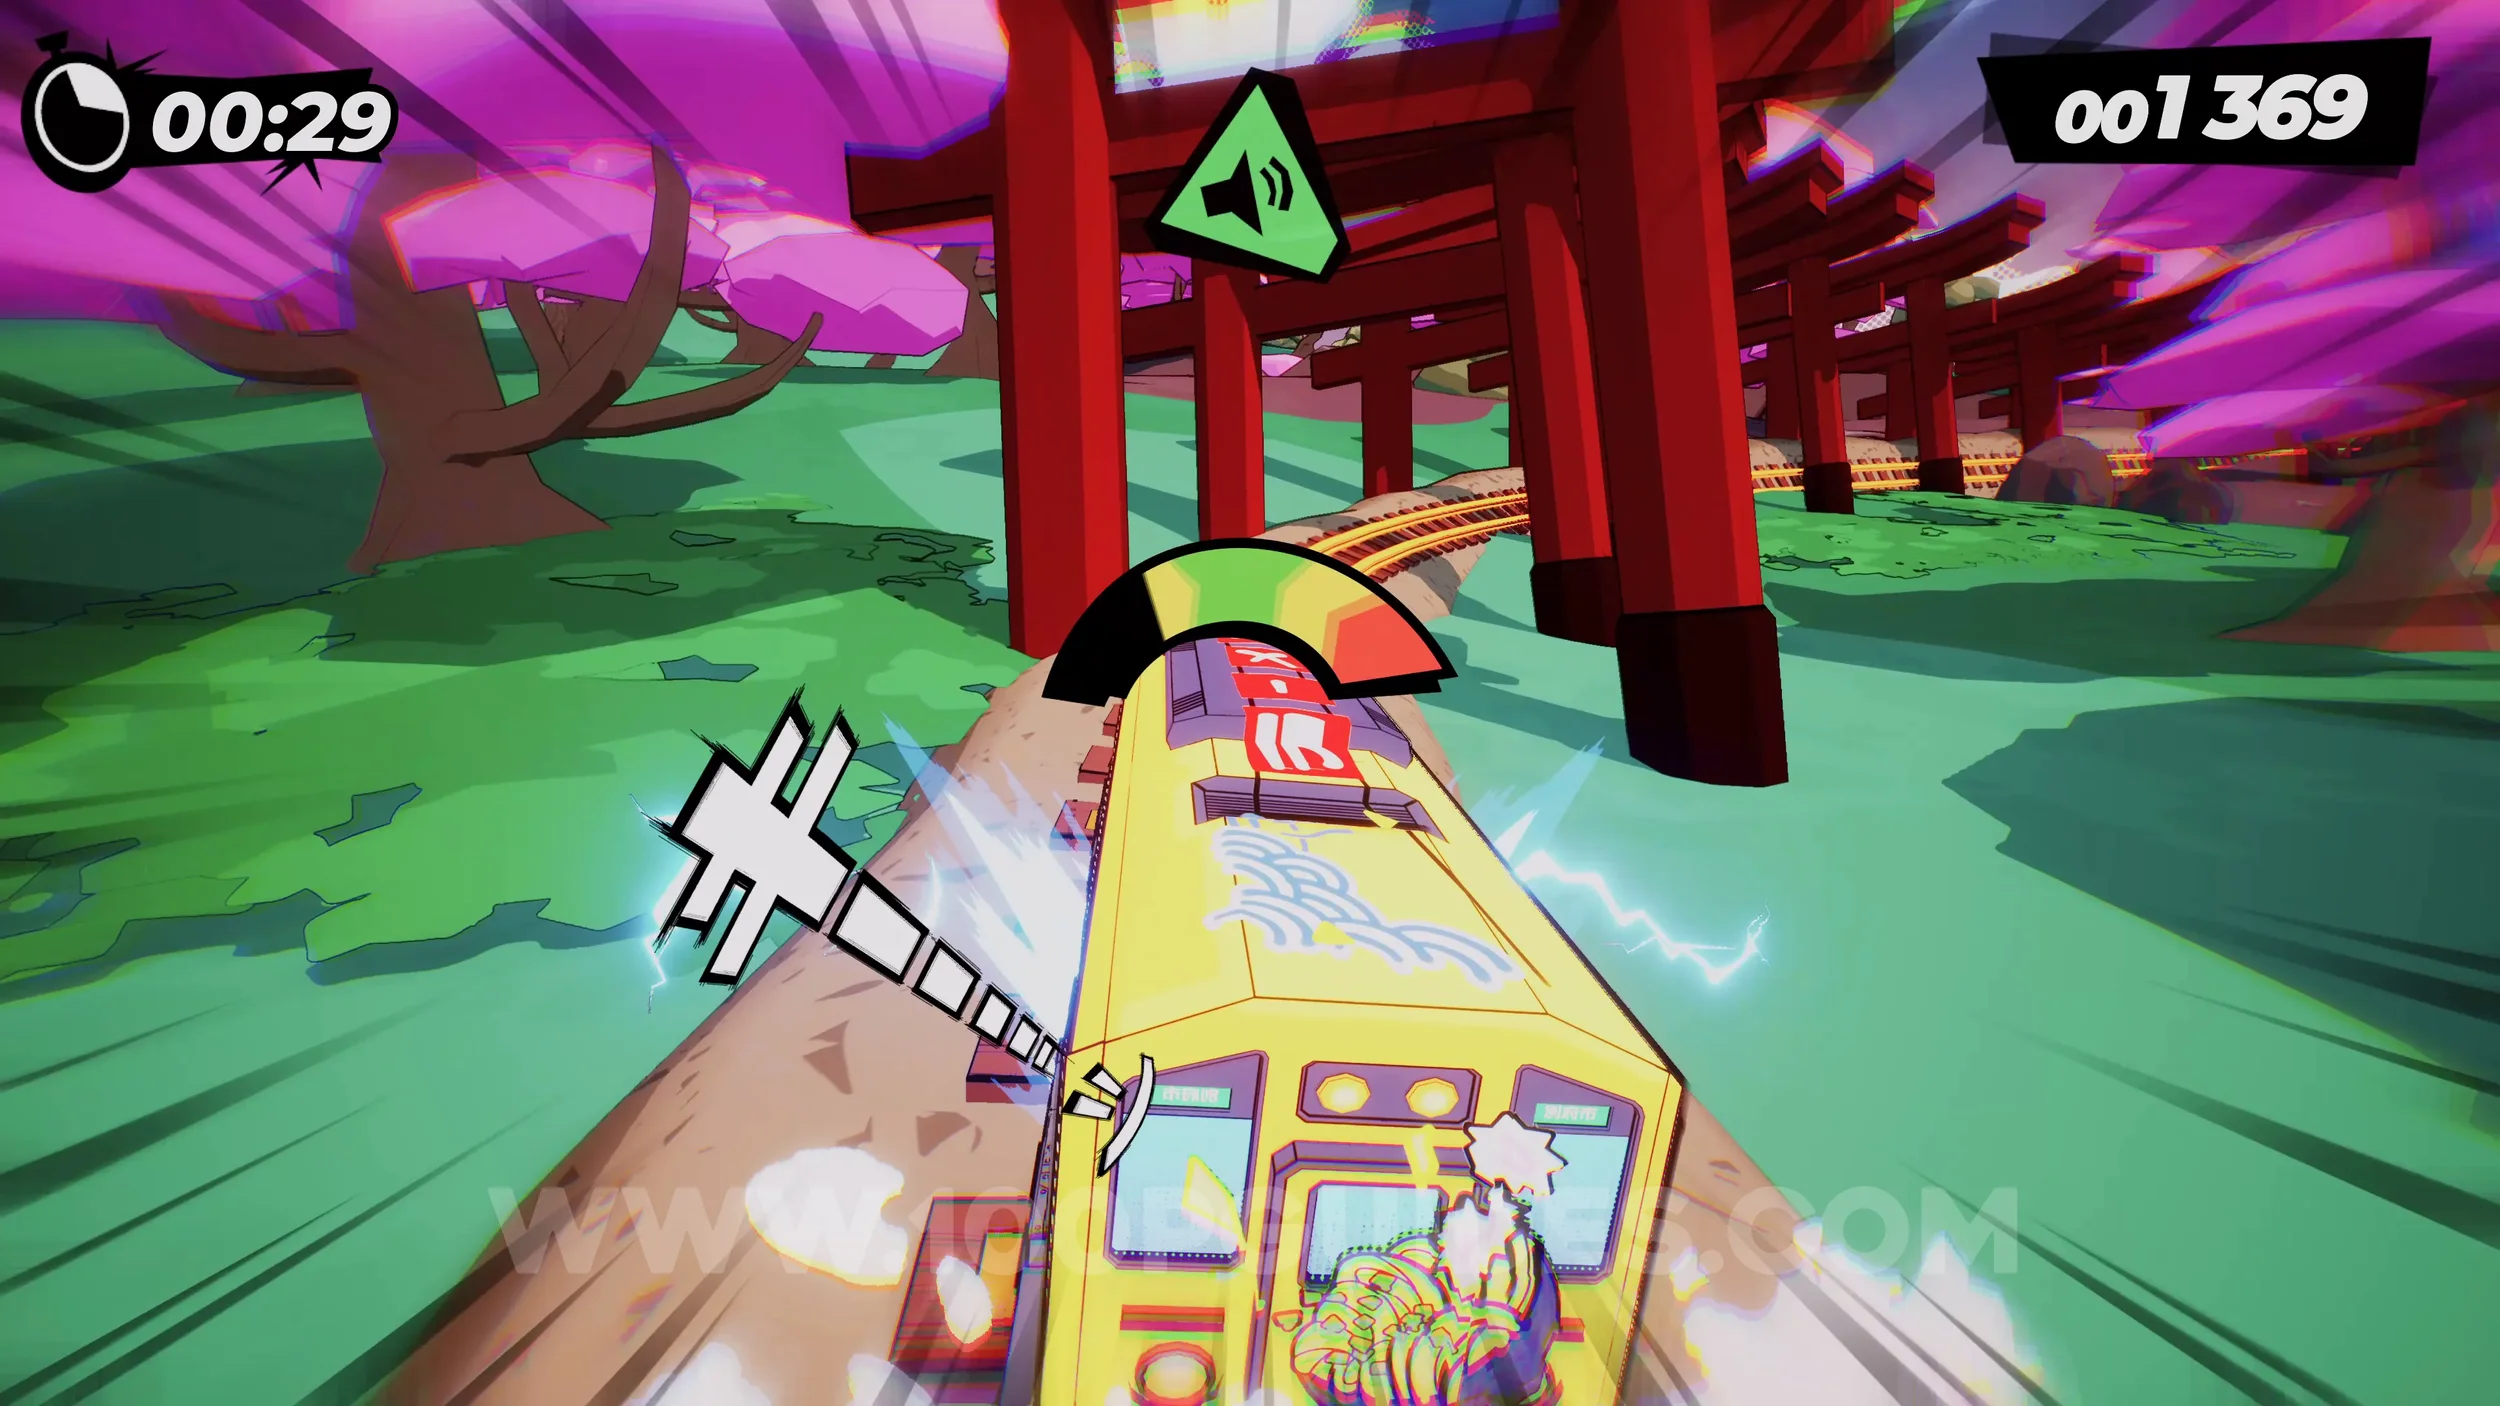
Spray Can (2/4). In plain sight on the left side very soon after the previous dare.
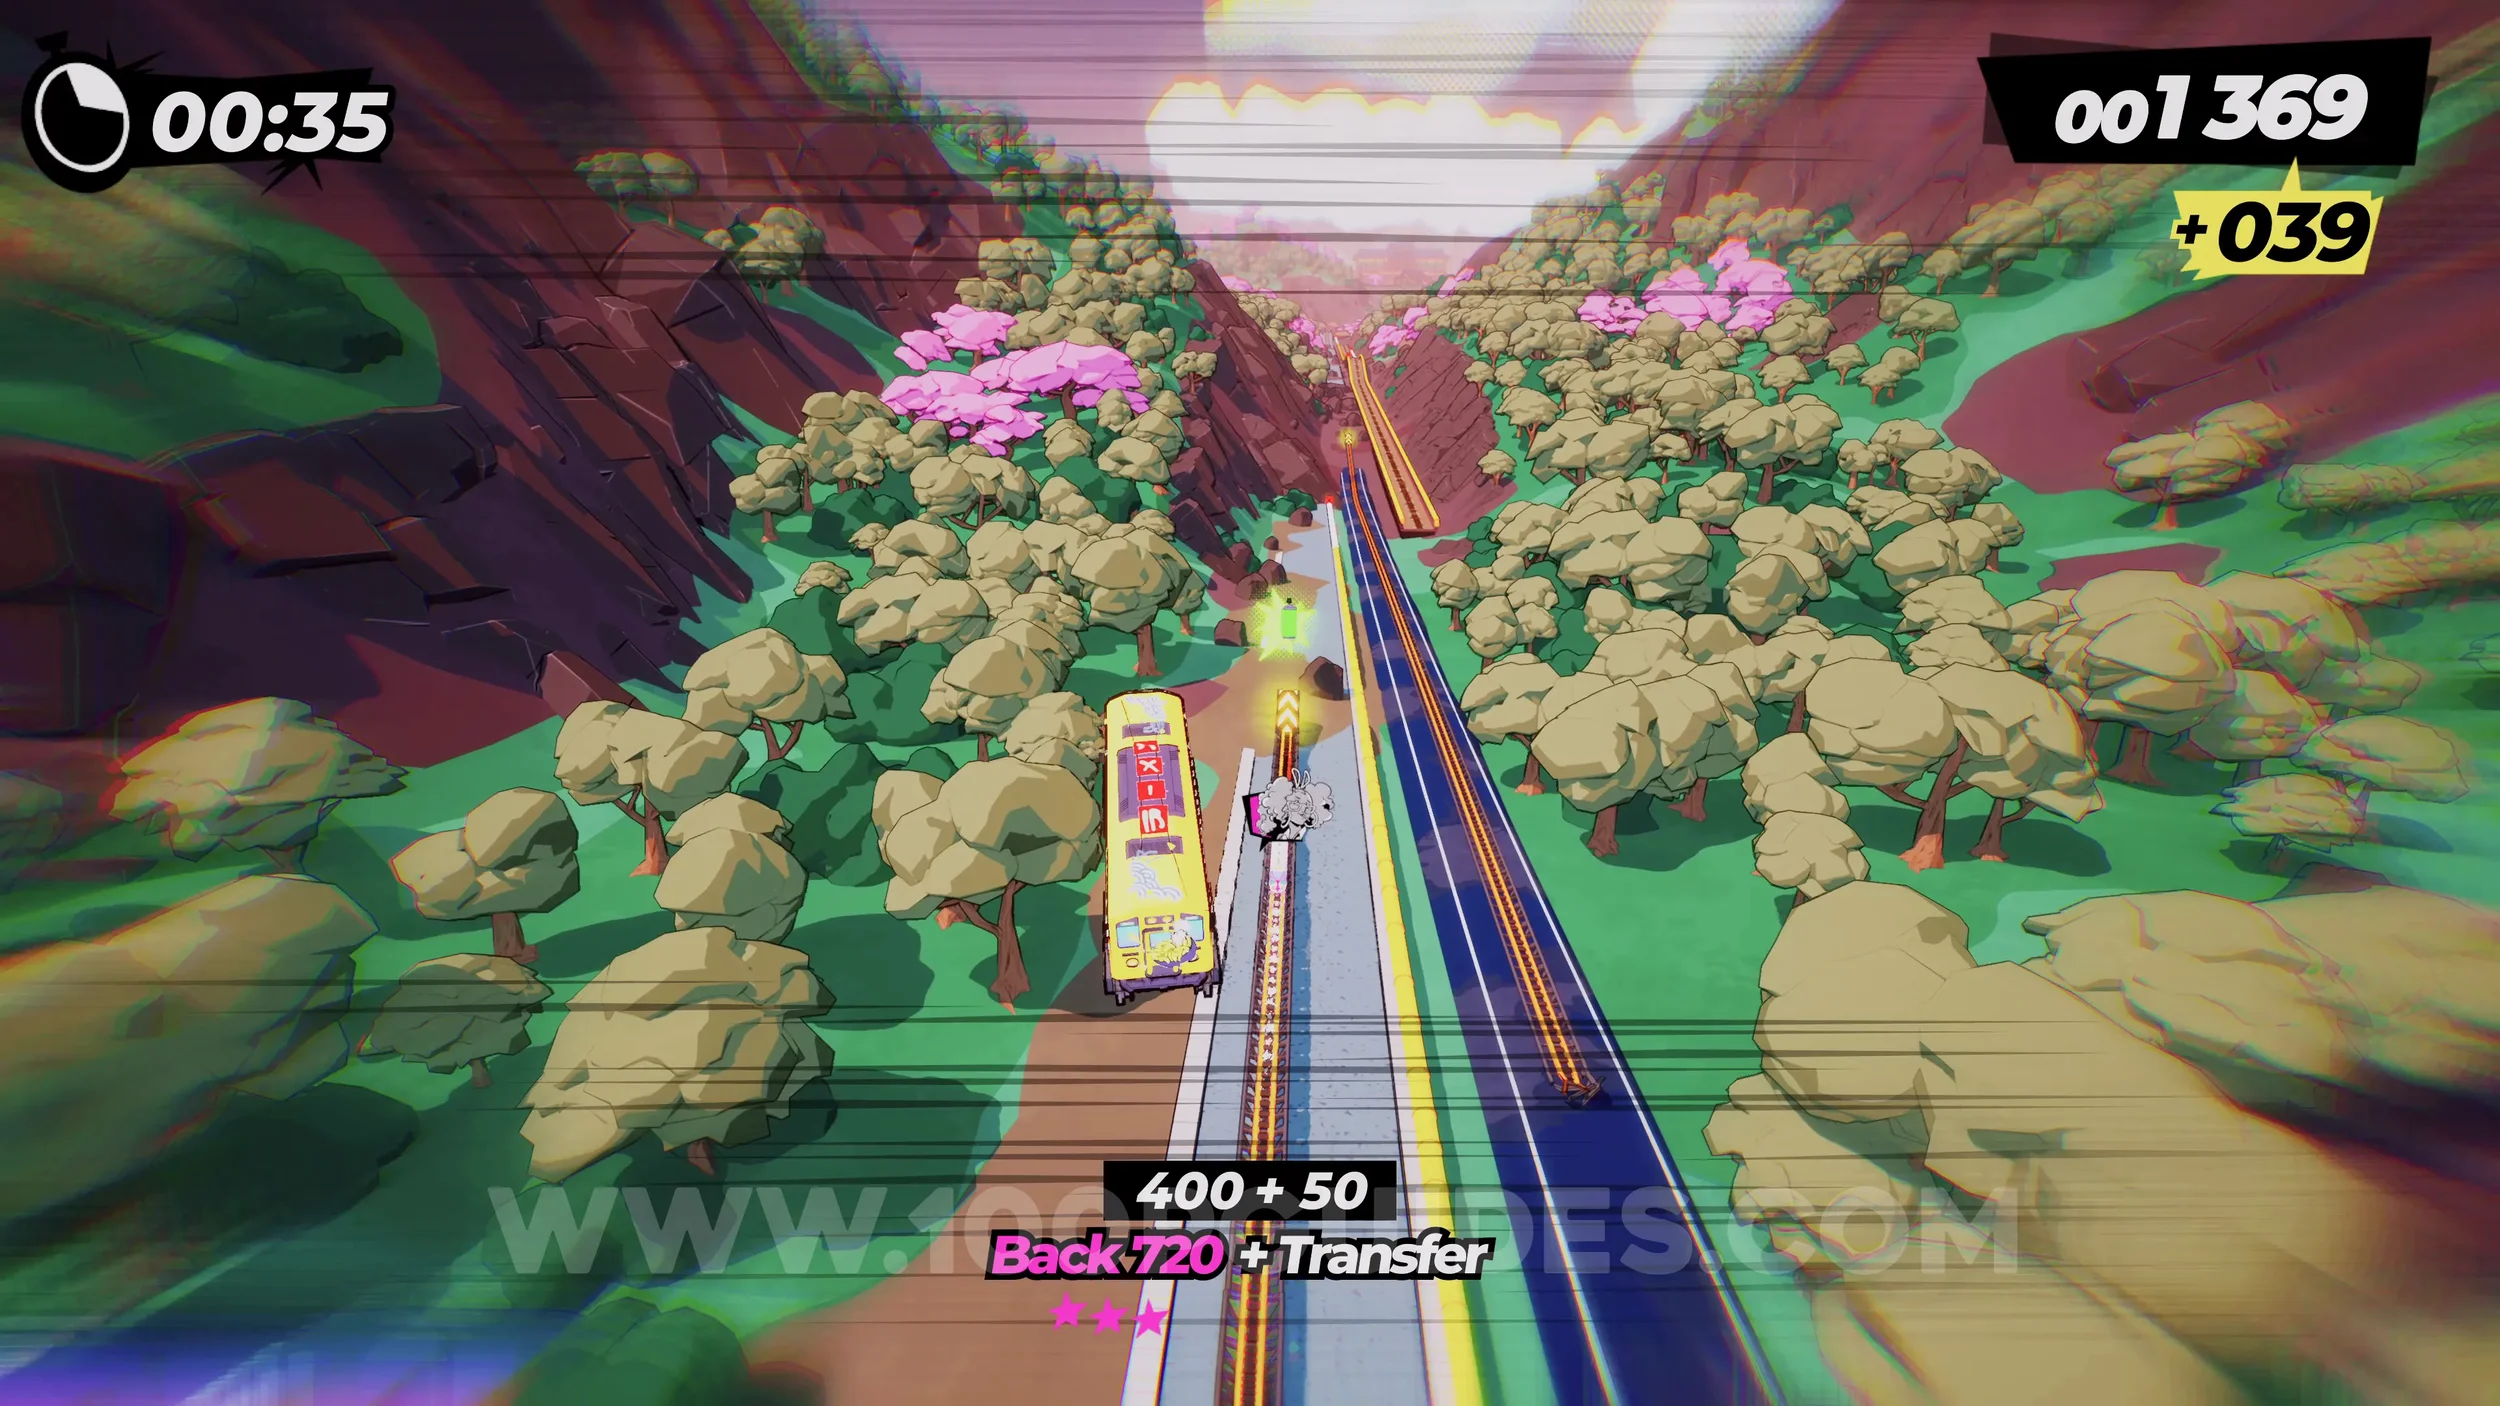
Dare: Trick on all the Vert Ramps (1/4). You will use the vert ramp automatically soon after the previous spray can. Just do any trick while you jump it.
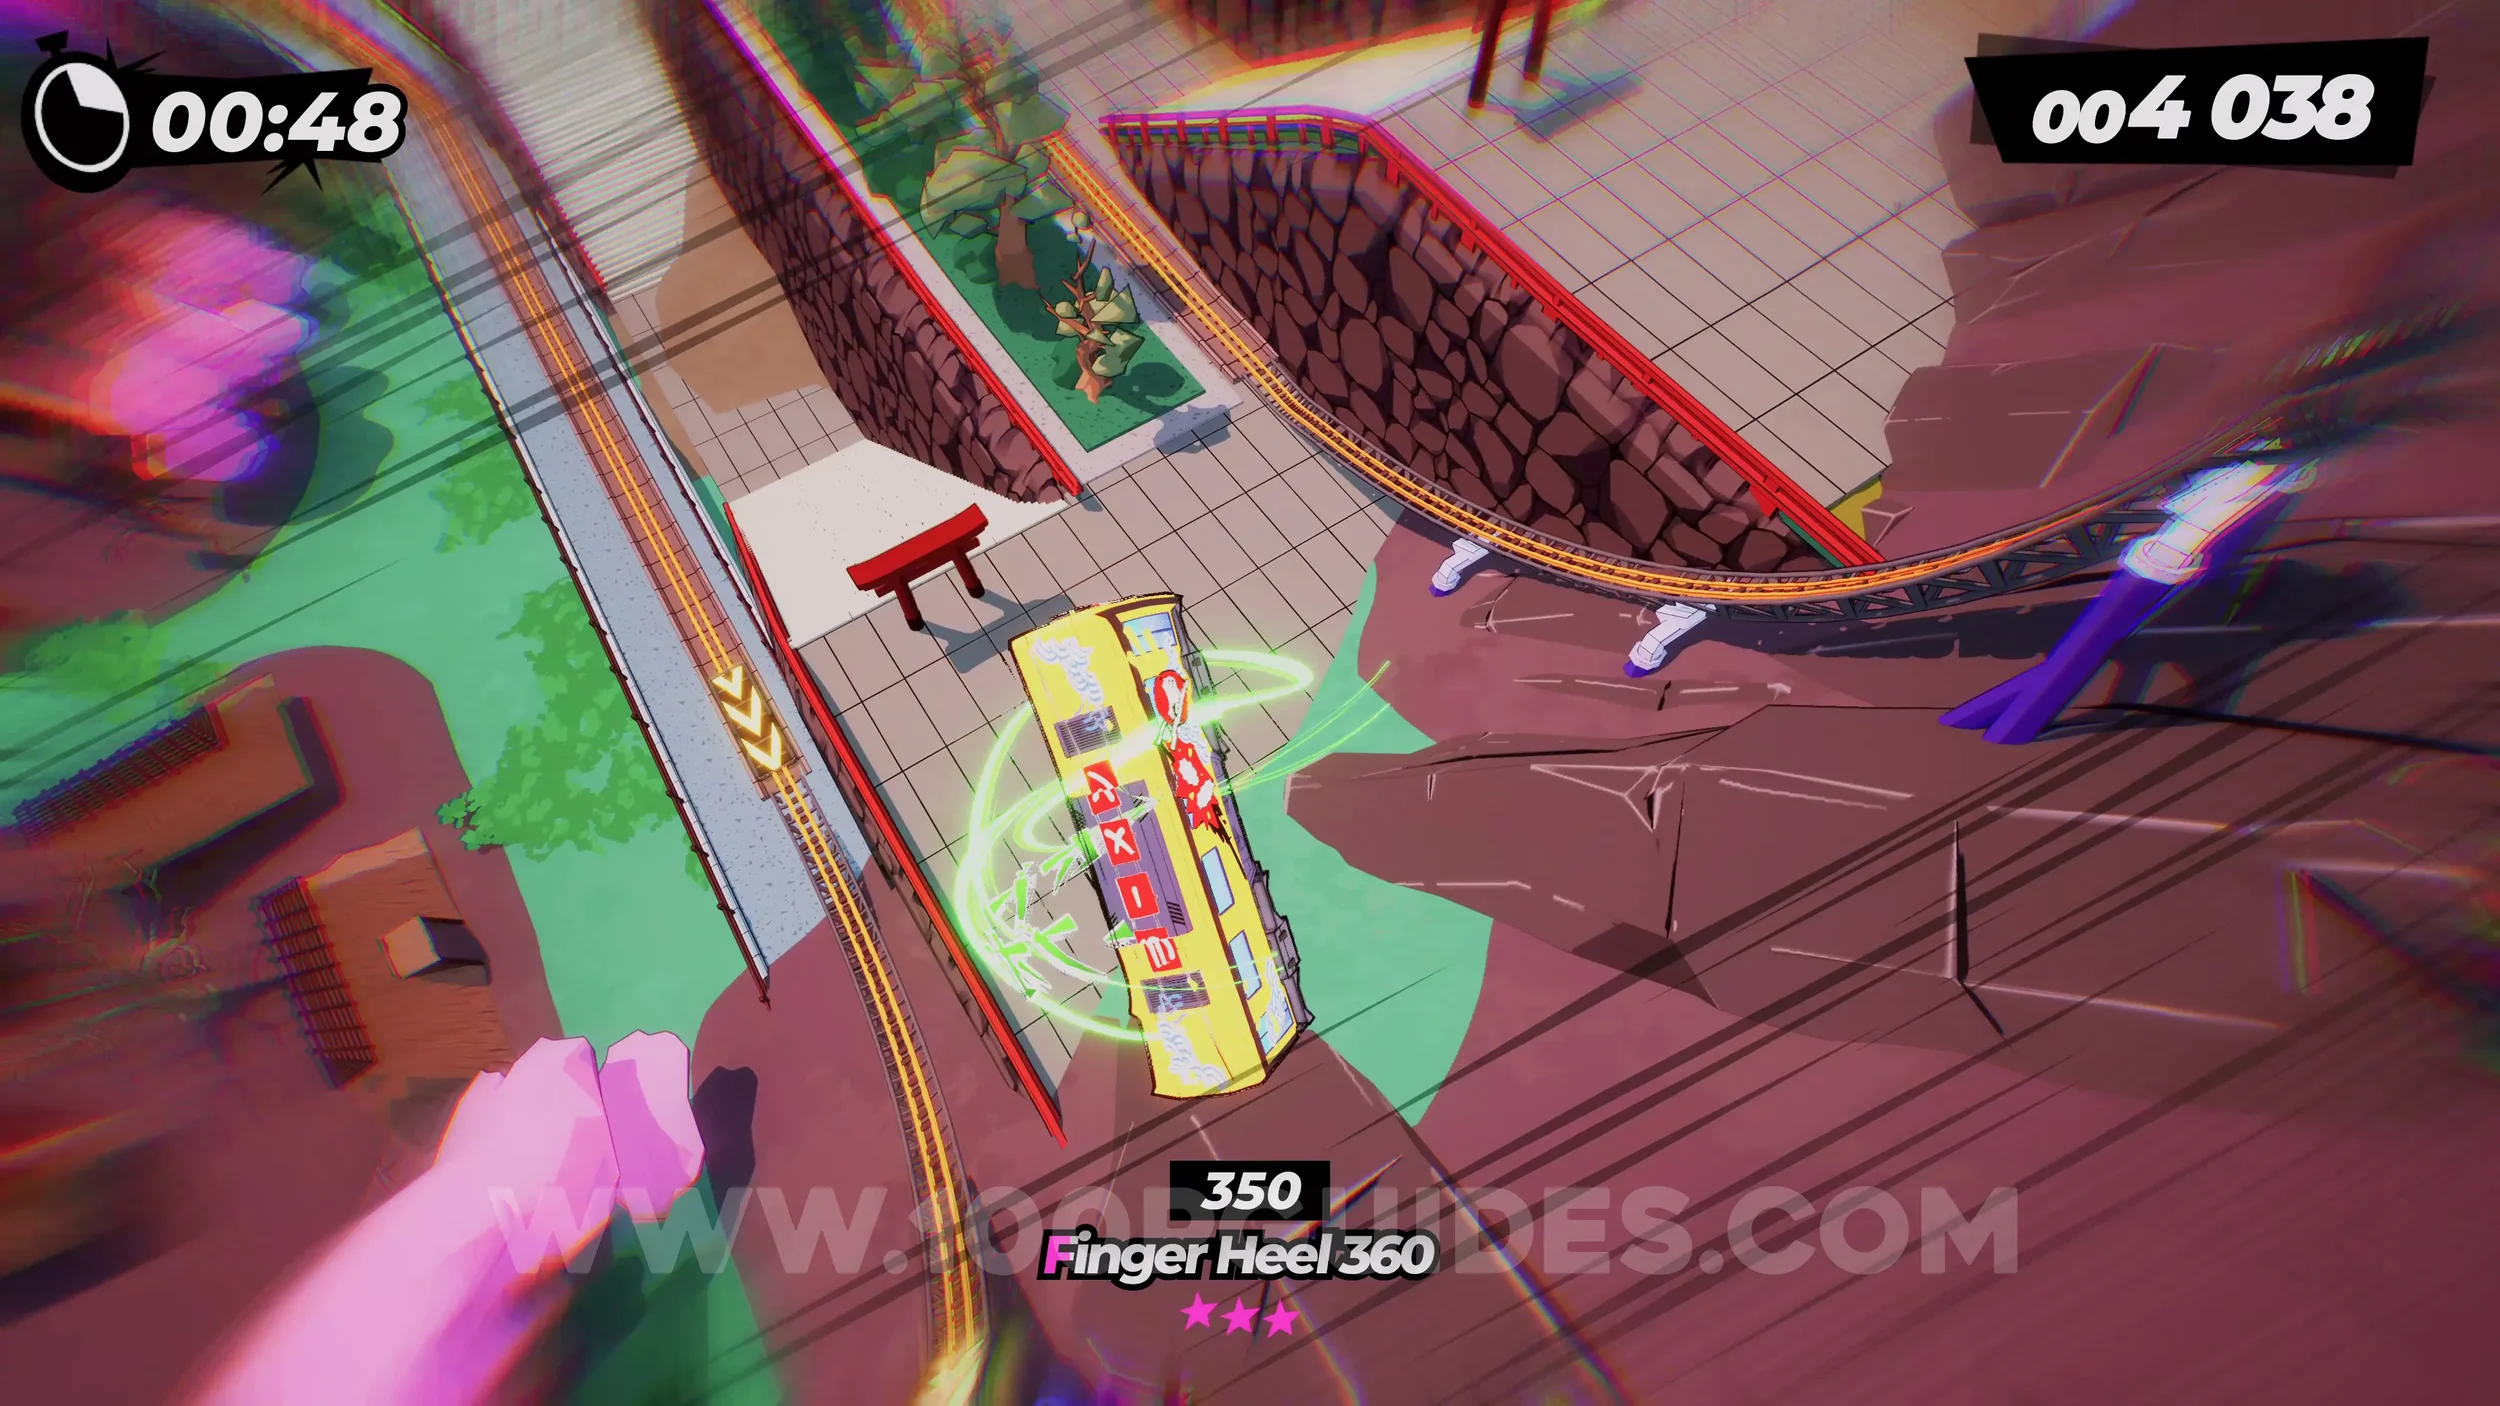
Dare: Trick on all the Vert Ramps (2/4). Immediately after the previous one.
Dare: Trick on all the Vert Ramps (3/4). Immediately after the previous one.
Spray Can (3/4). Once you reach the part where you go under a temple, look out for the green sign on the left pointing you towards the spray can. Jump to the grind rail and follow this path to get the can.
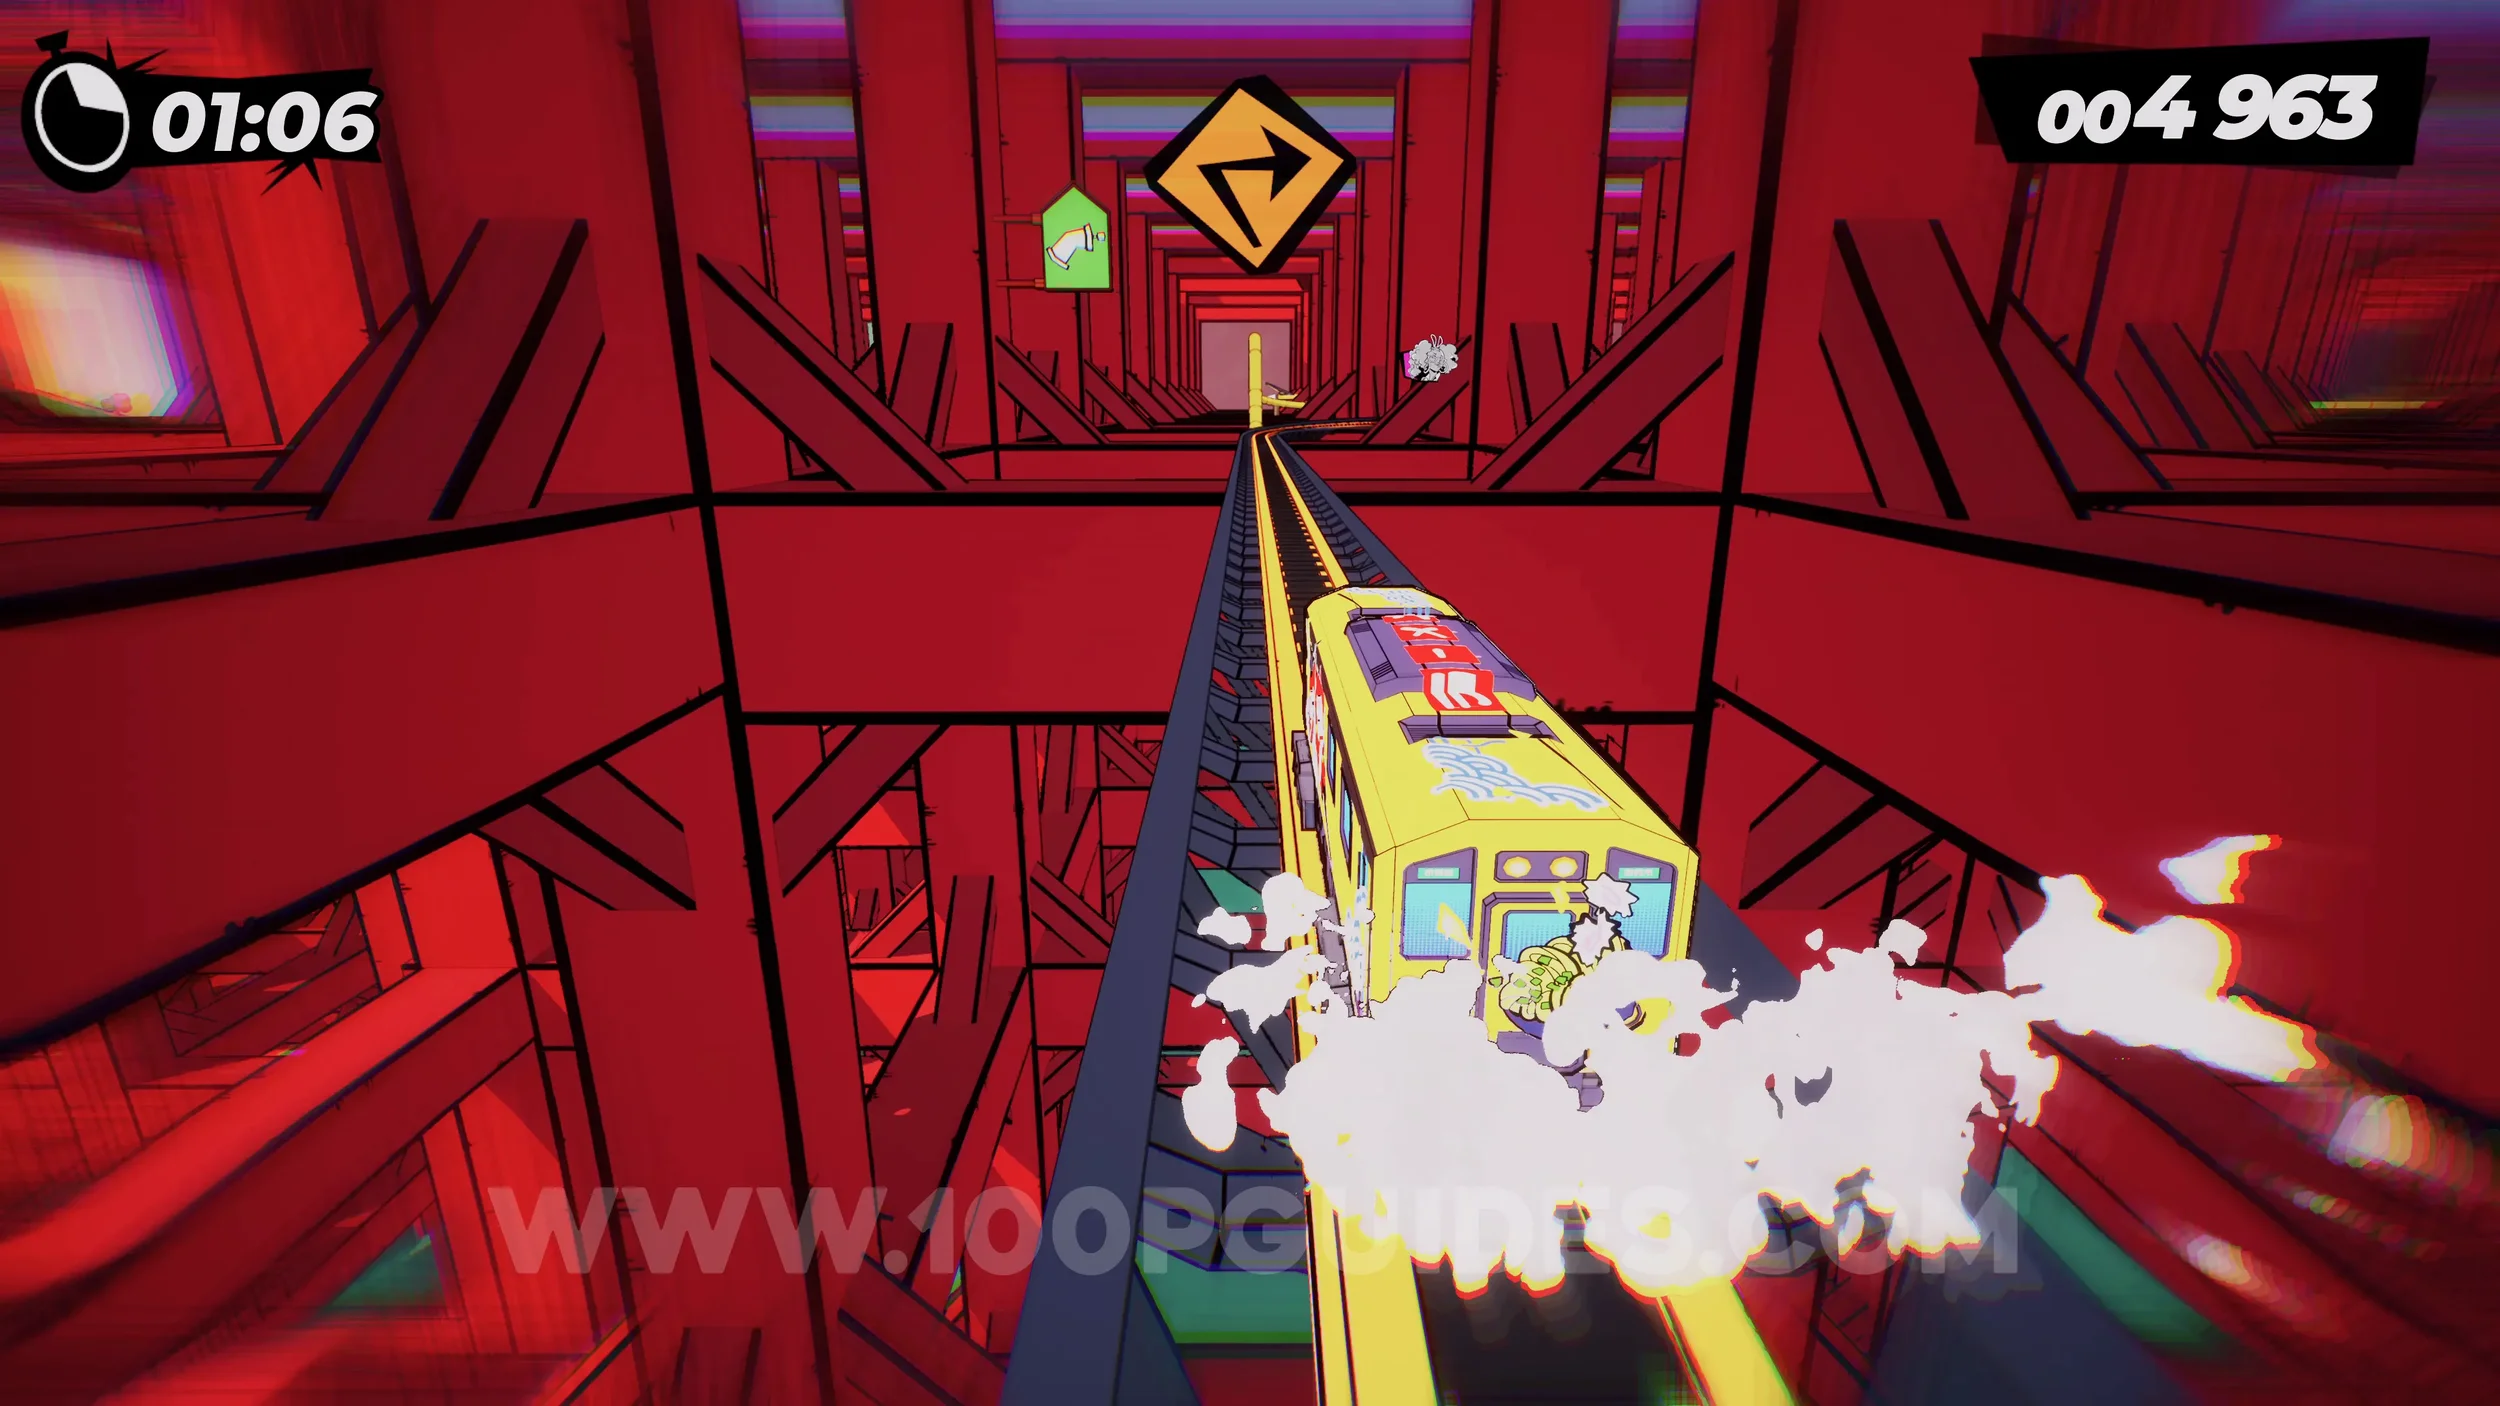
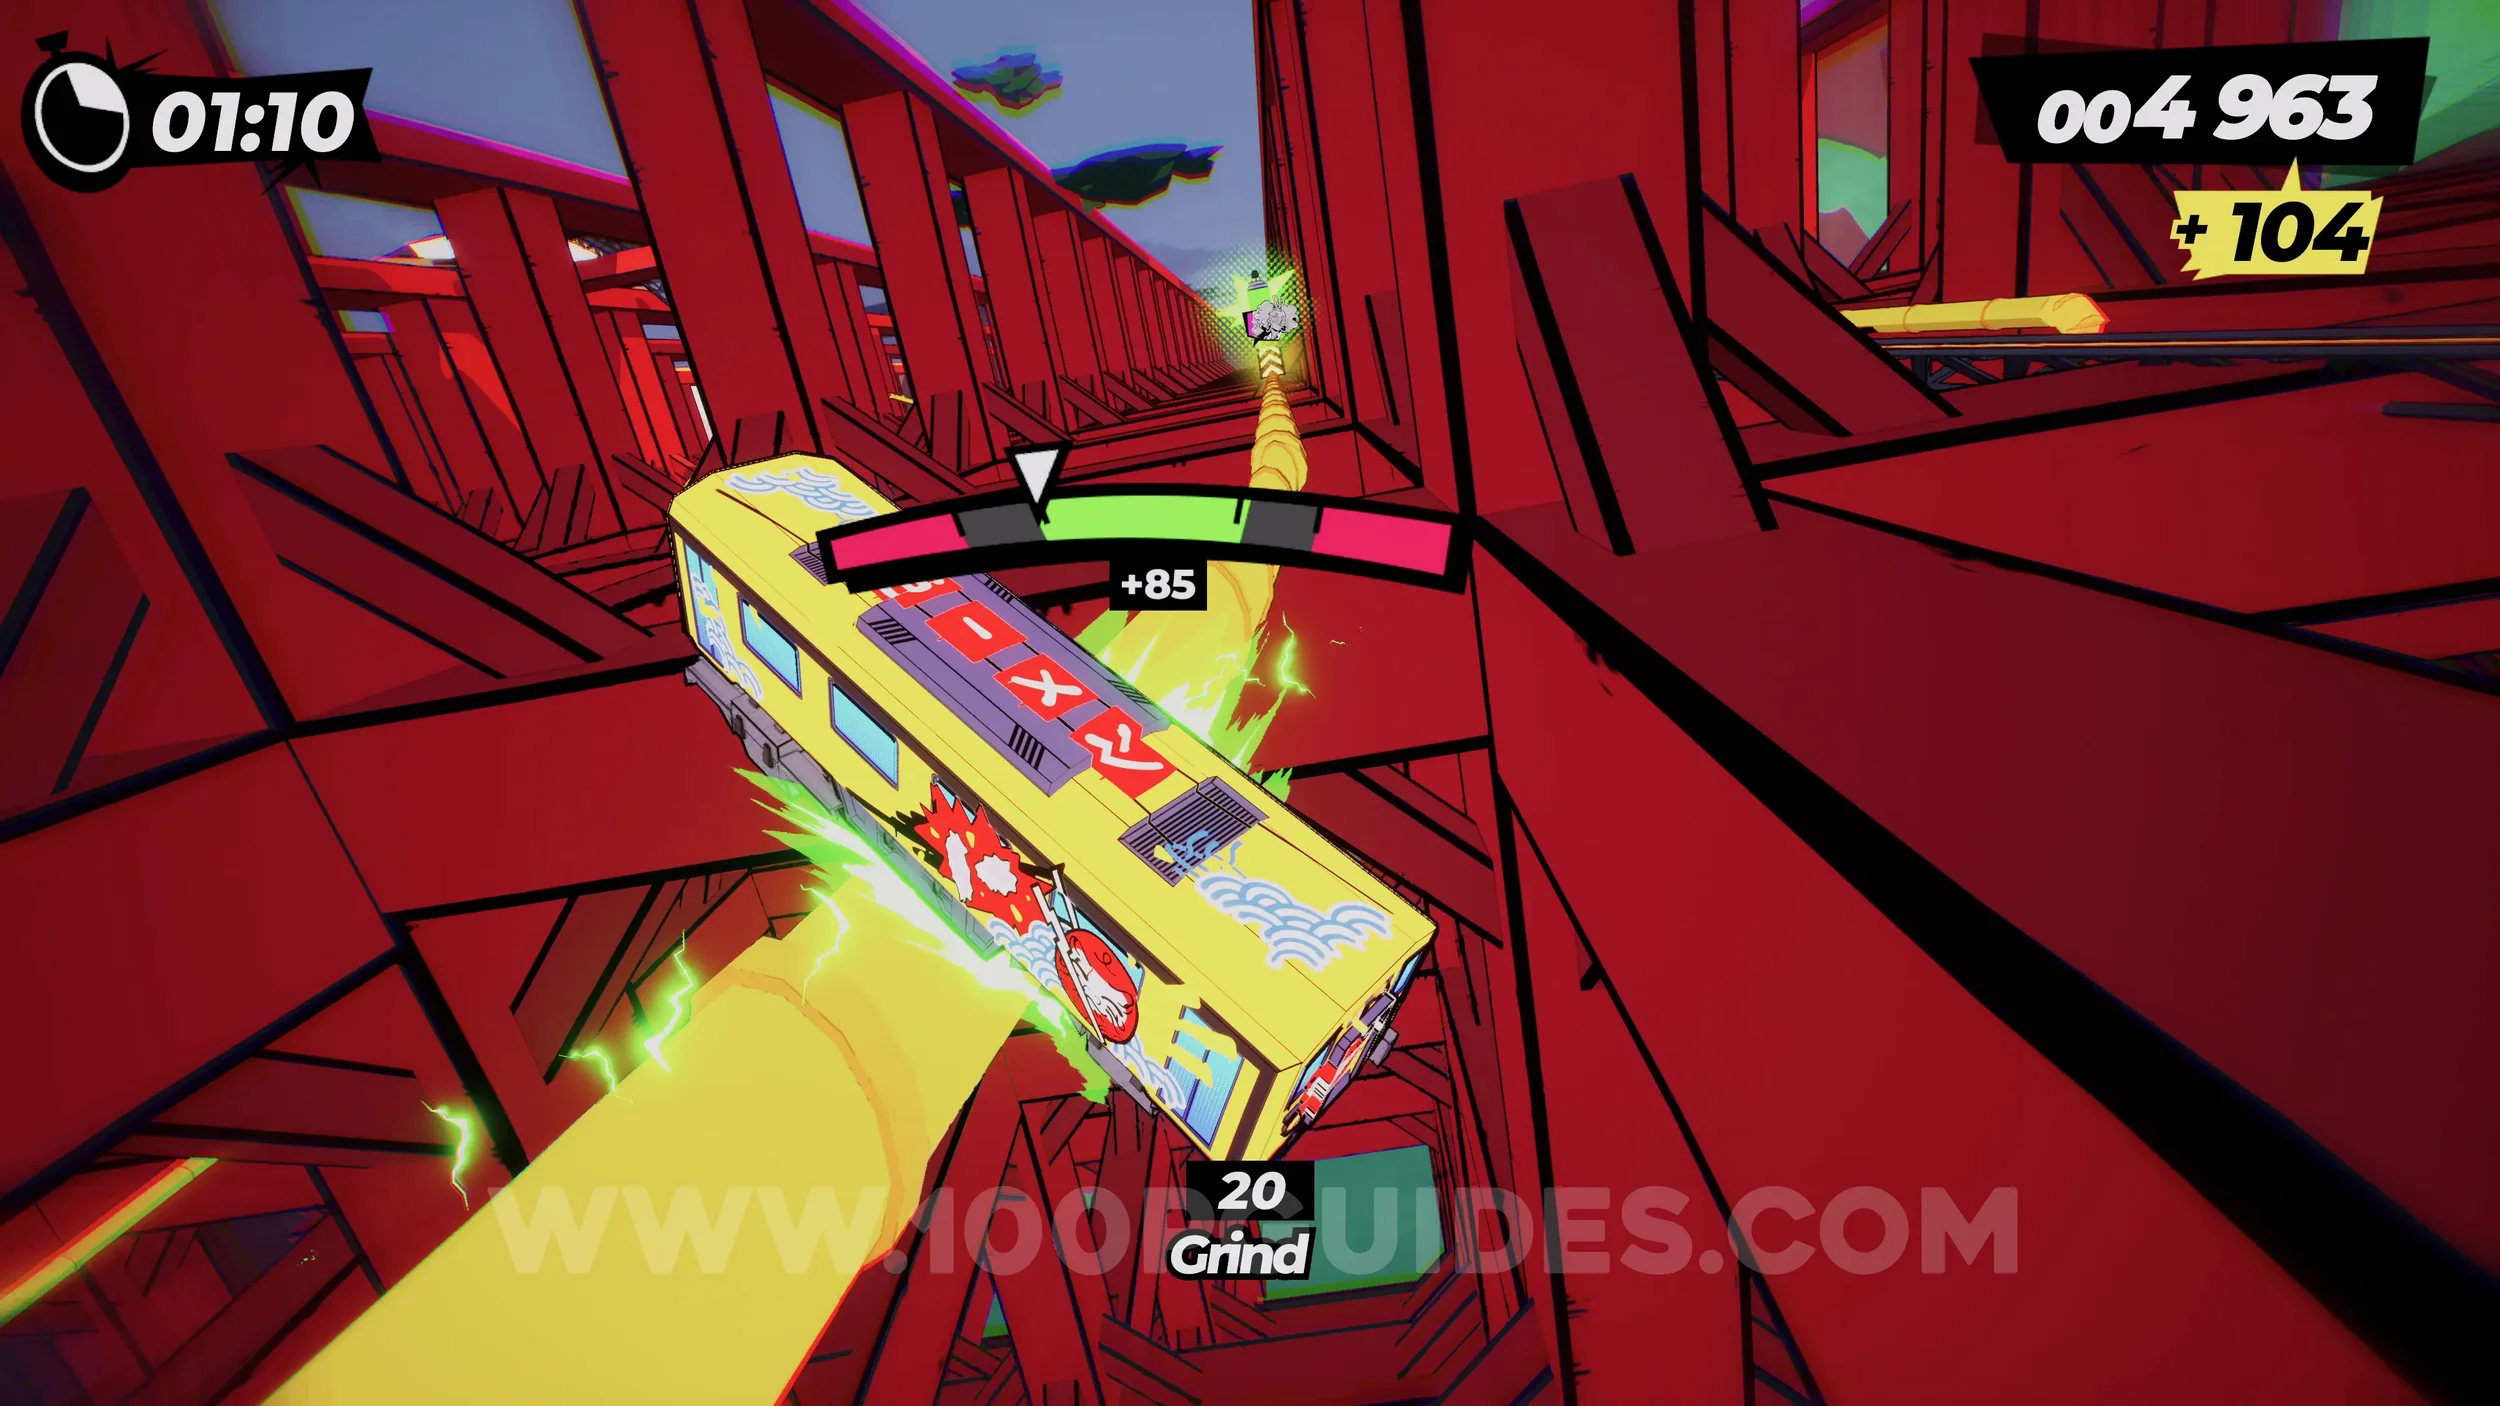
Dare: Trick on all the Vert Ramps (4/4). You will use it automatically soon after the previous spray can.
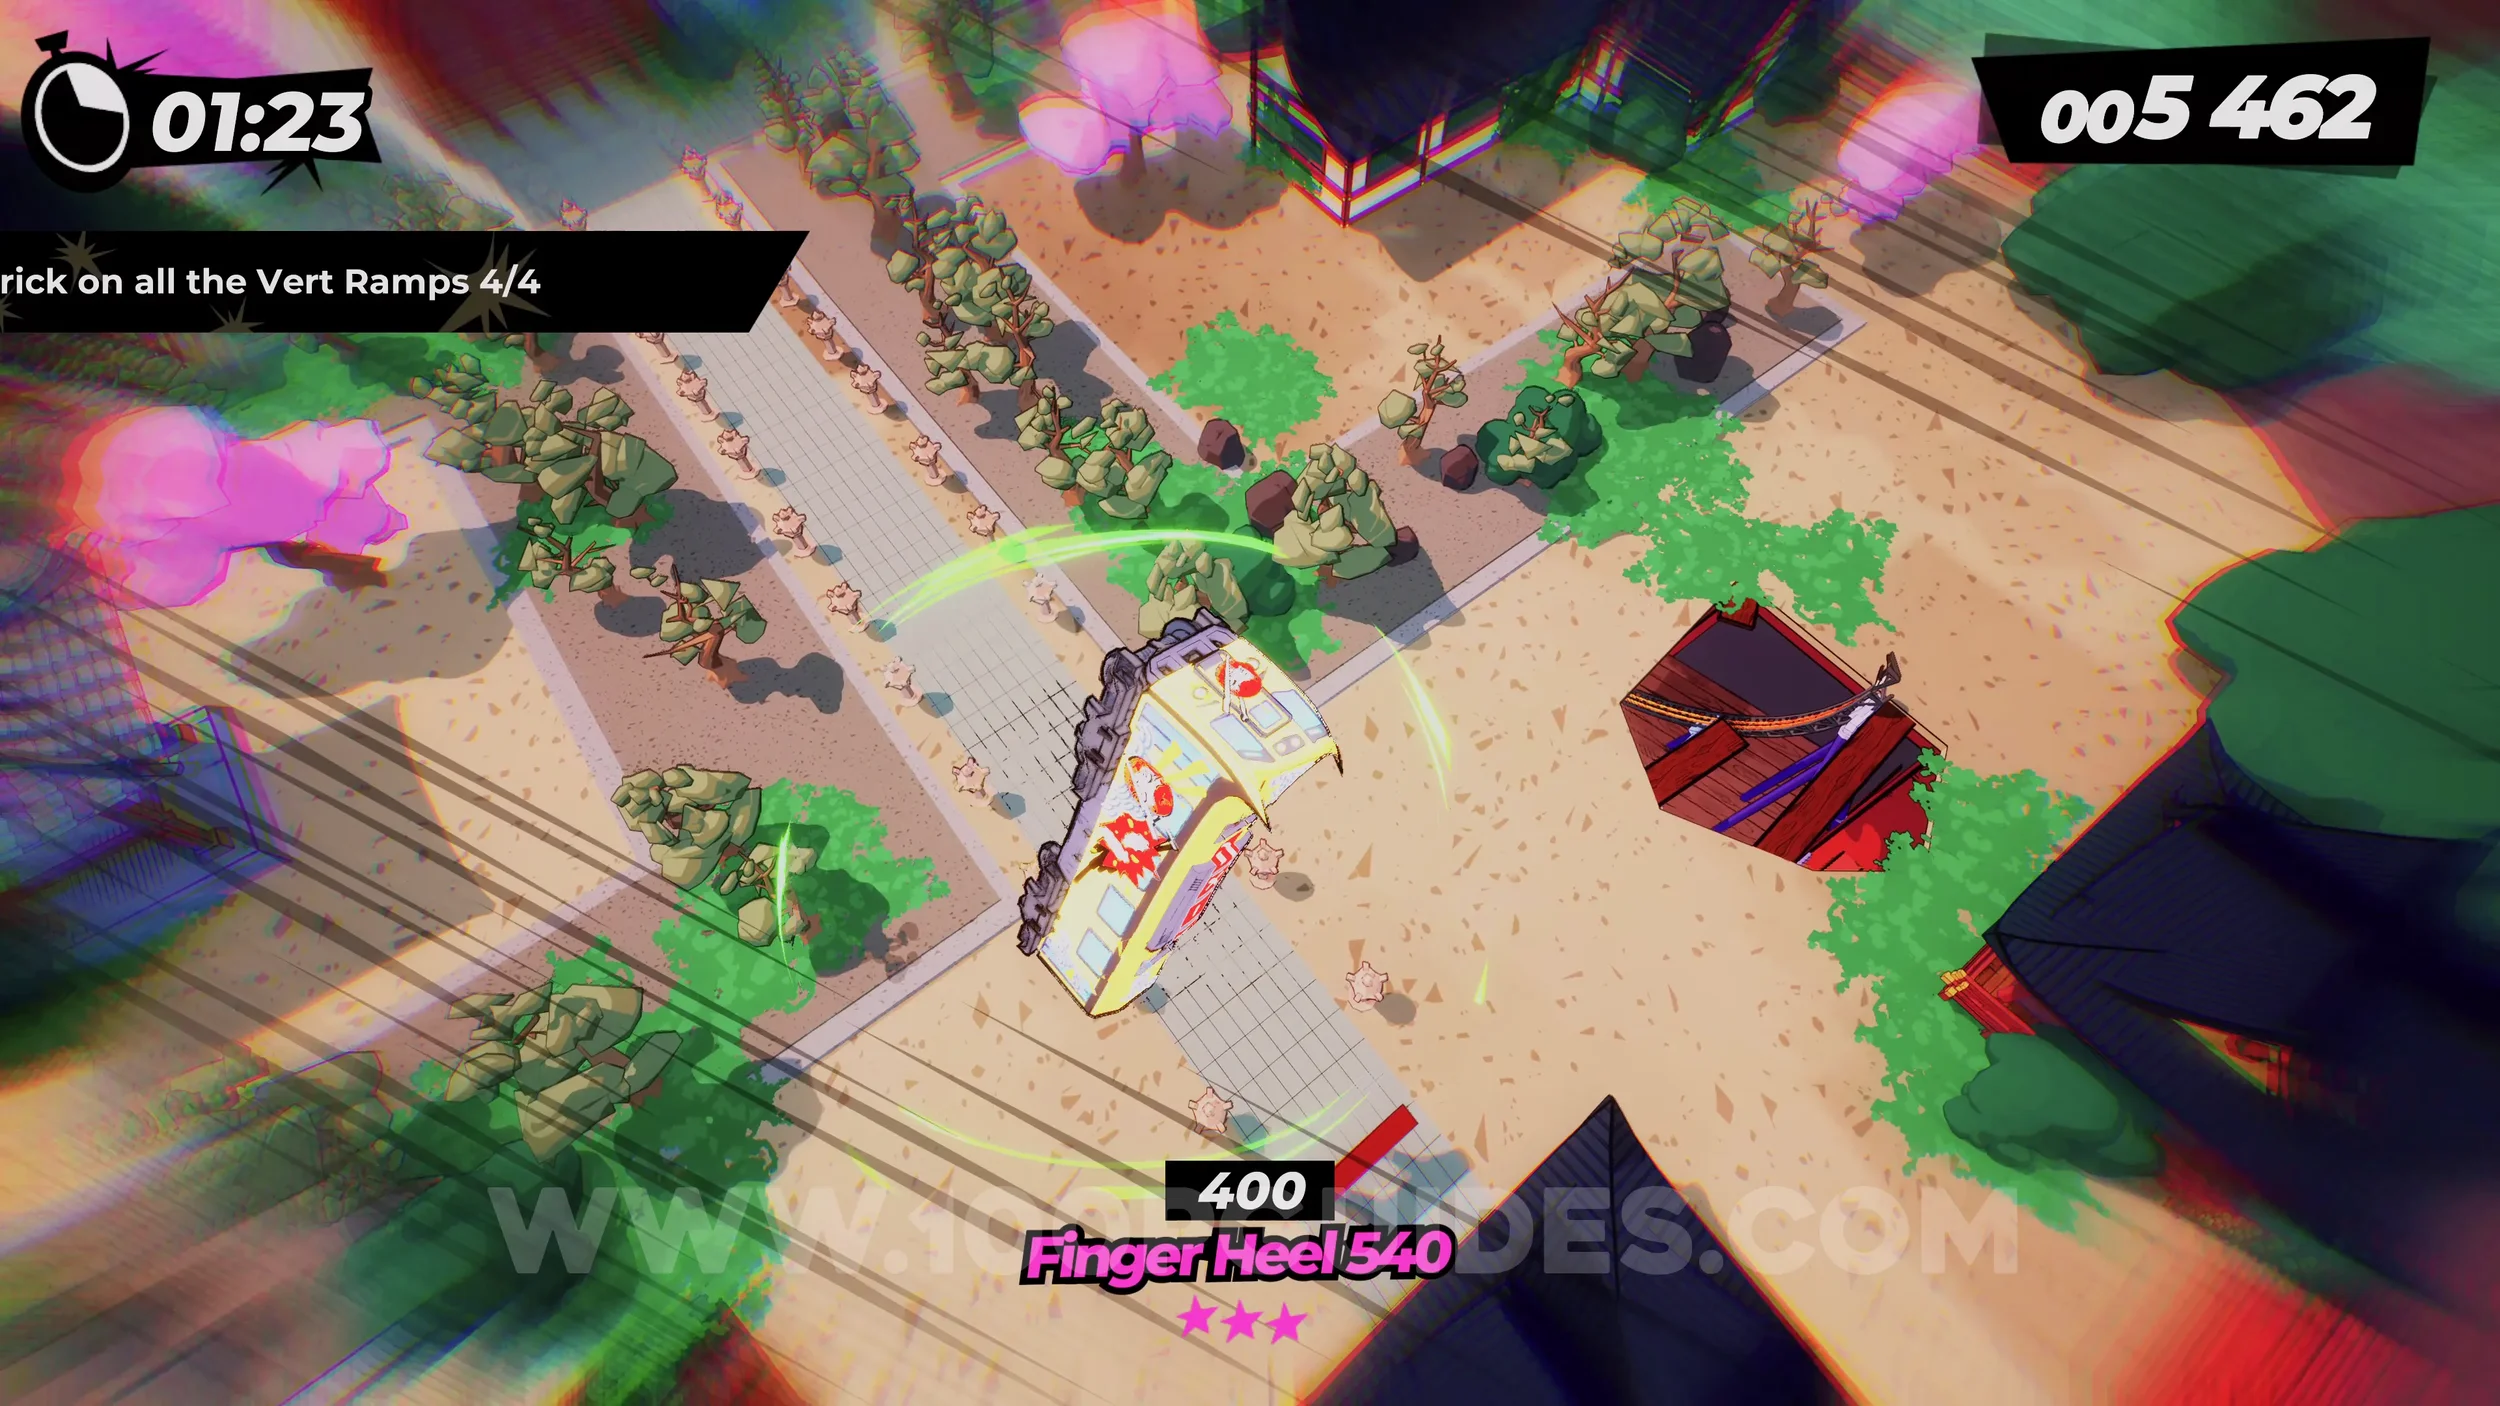
Spray Can (4/4). After the previous jump, stick to the right (follow the green sign), and you will then see the can in plain sight on the left side.
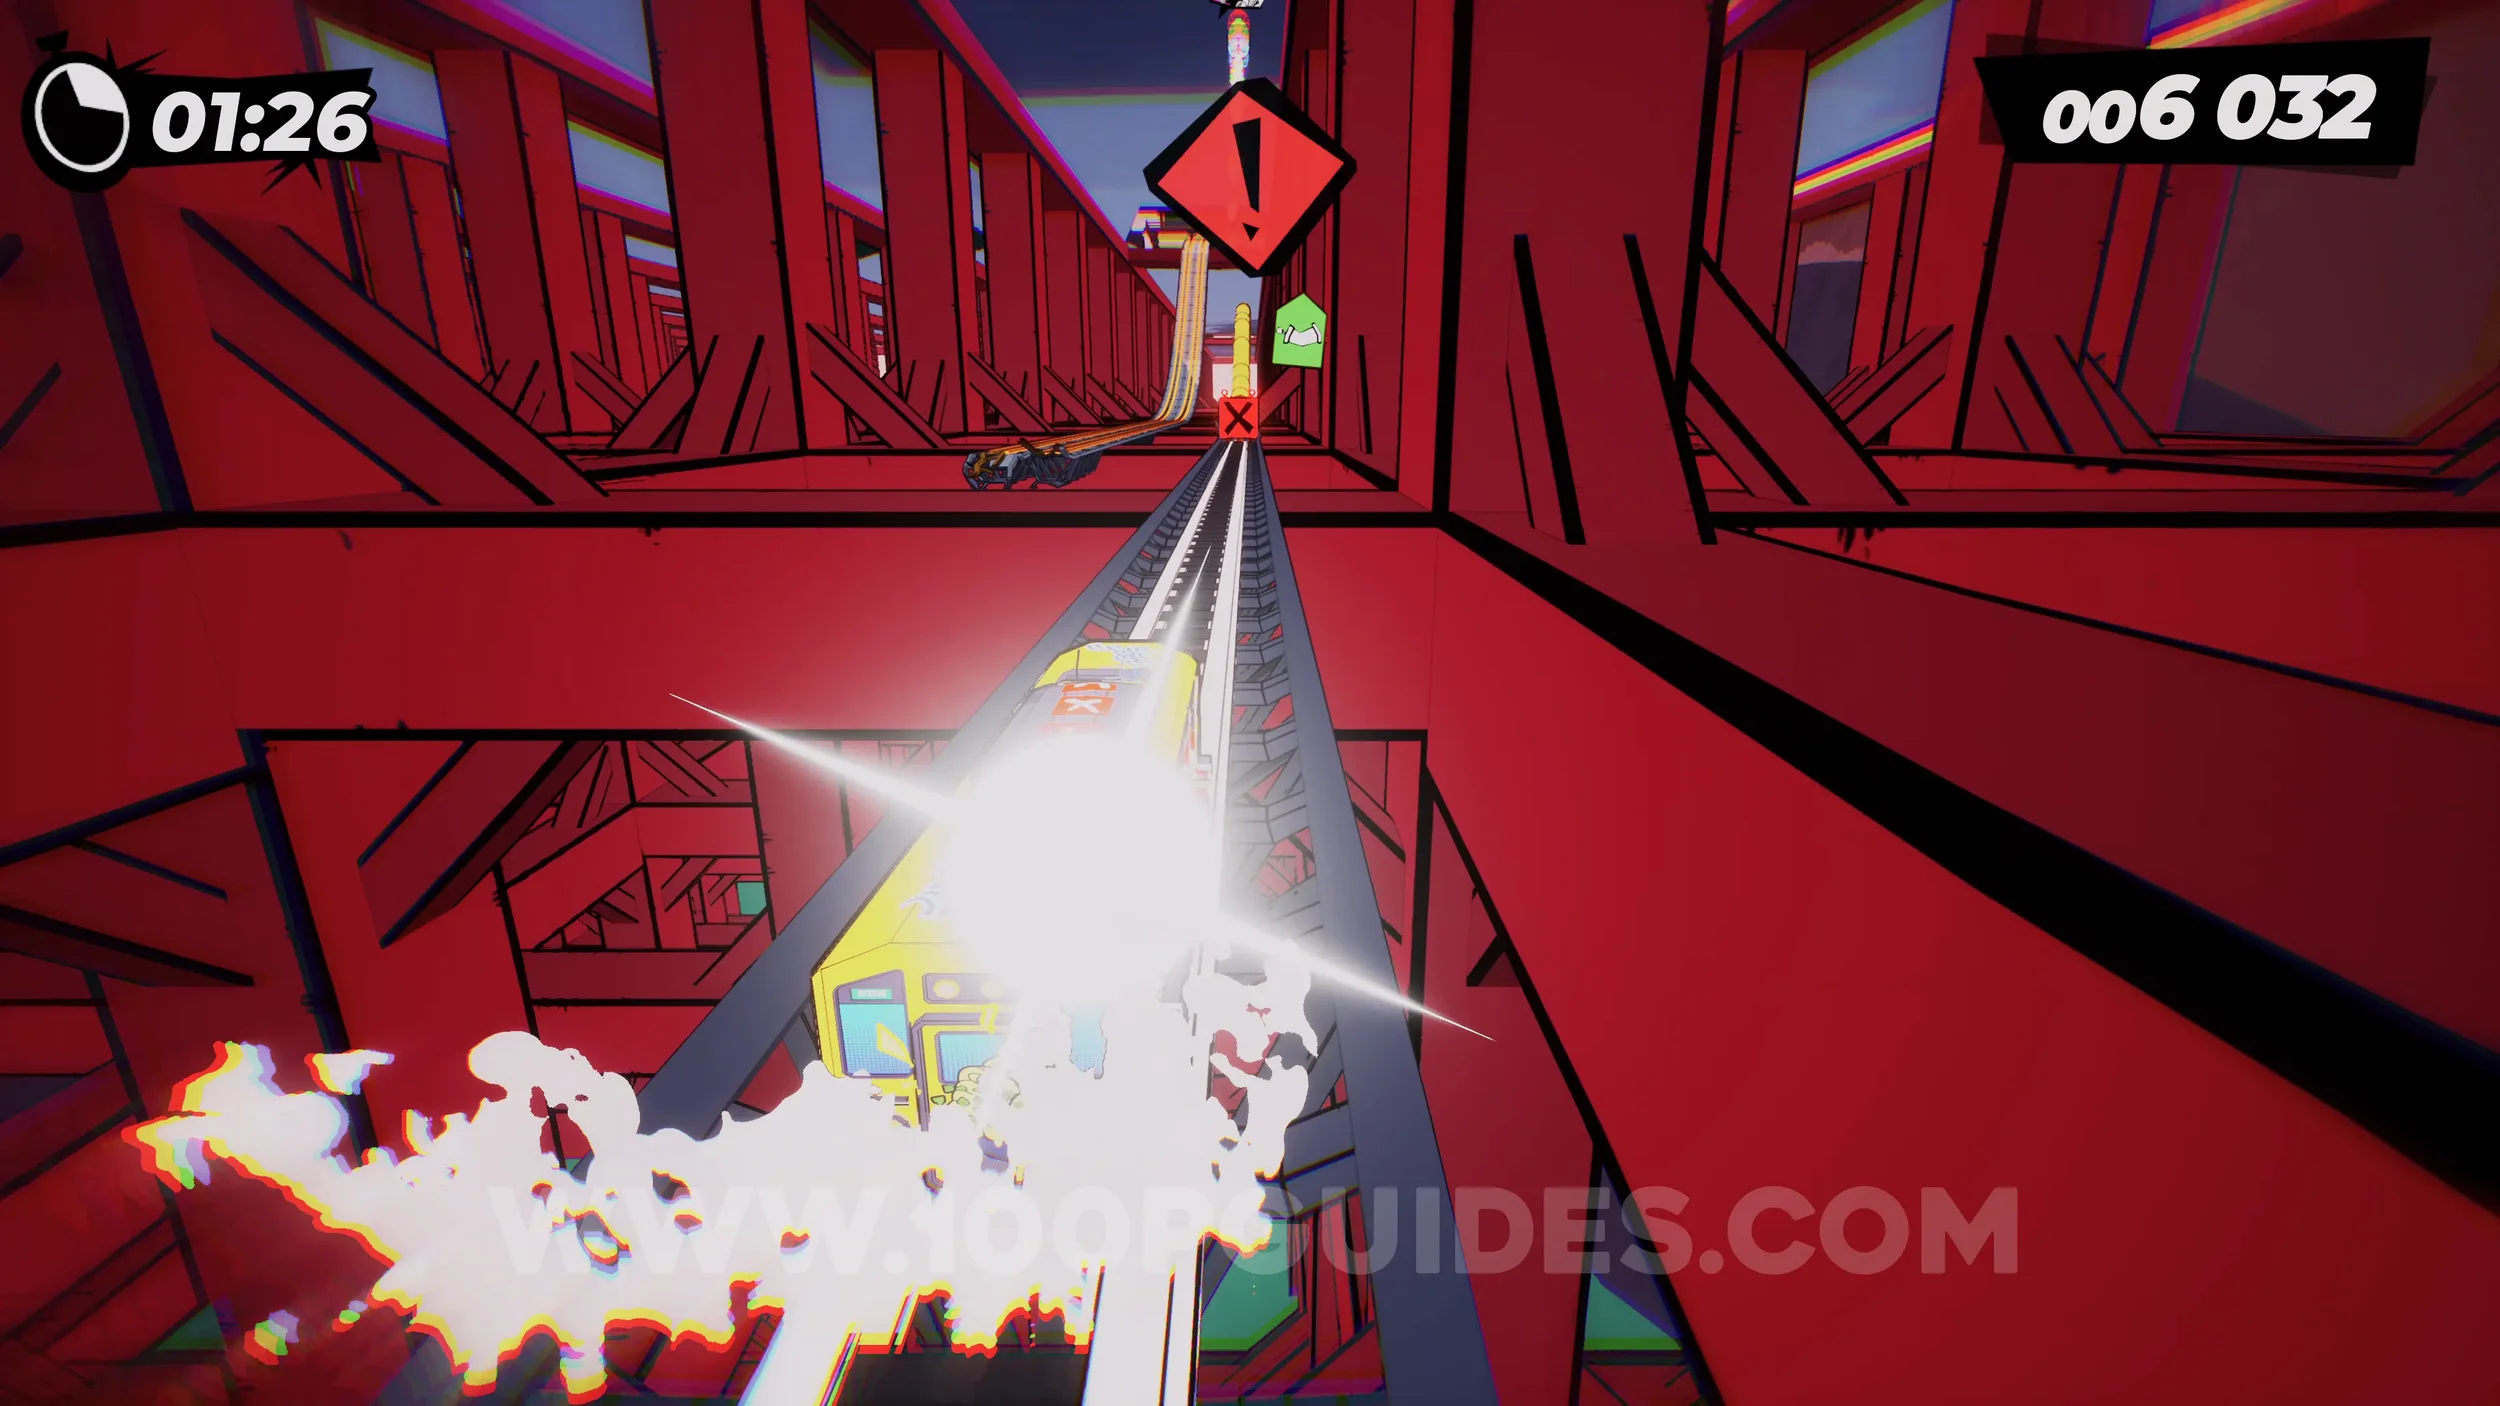
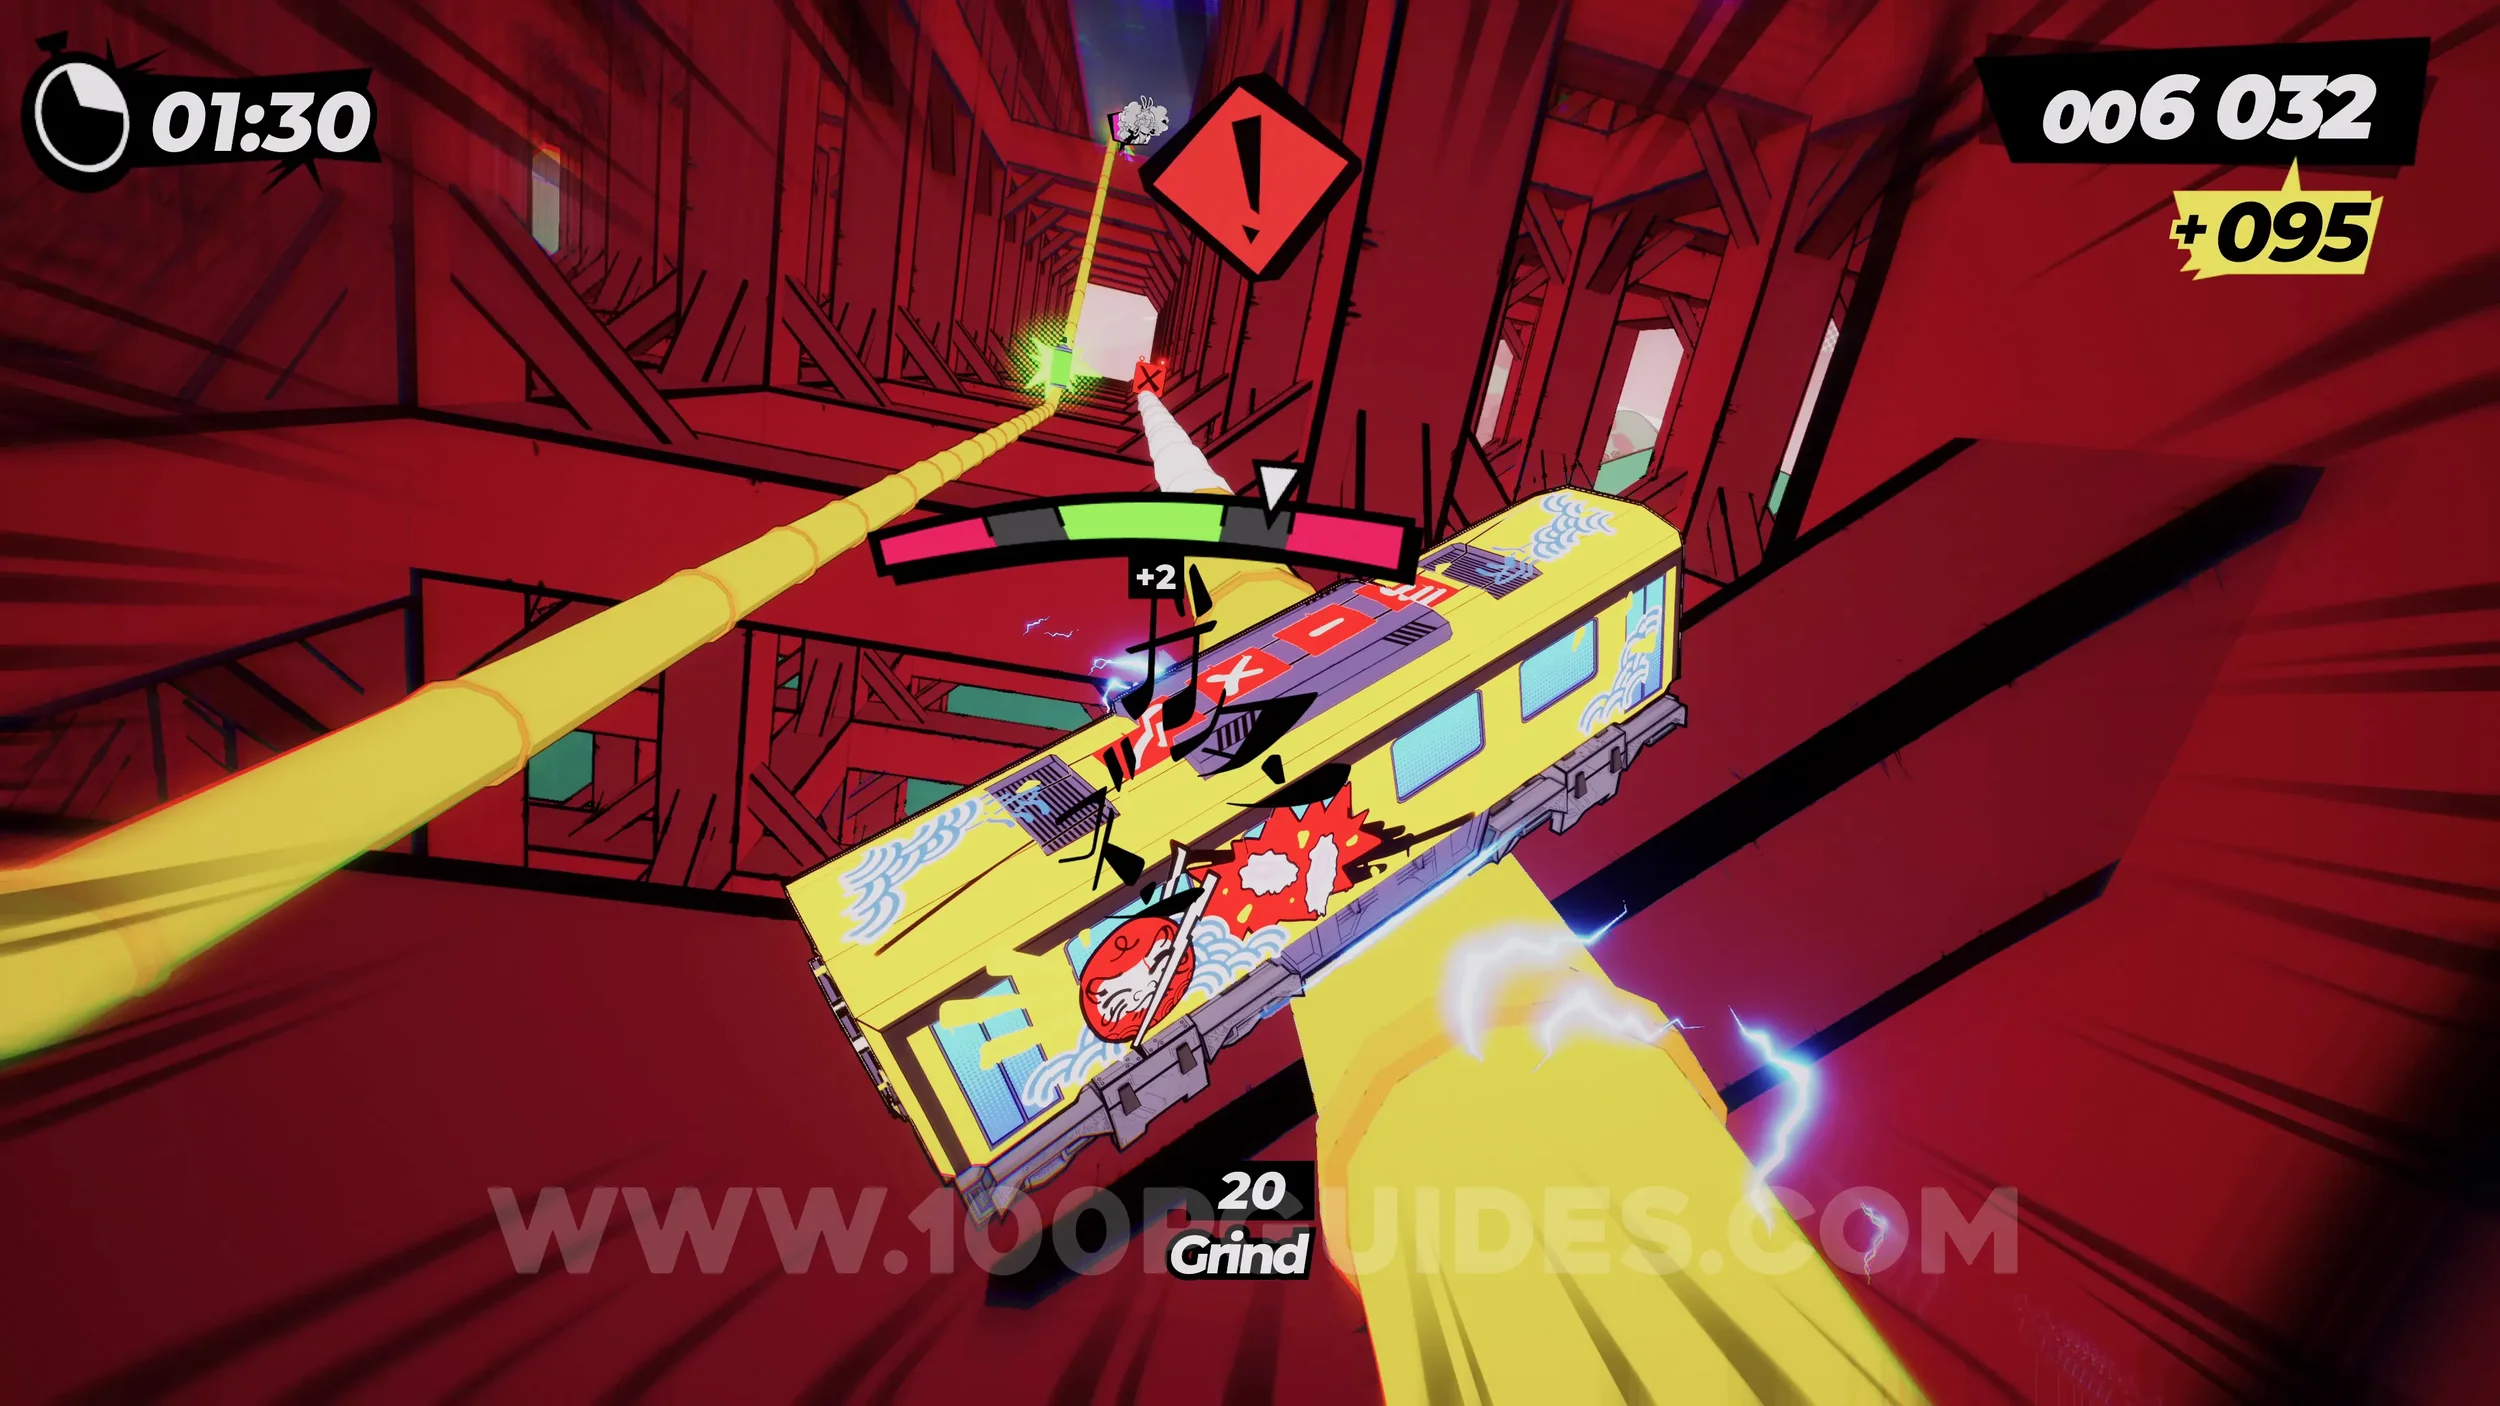
Dare: Find the Onsen Exit. After the rainbow track section and coming back down to the normal tracks, you will see the finishing signs. Just before them, you will see a red onsen sign and a track going to your left. Take the left track to find the alternative finish.
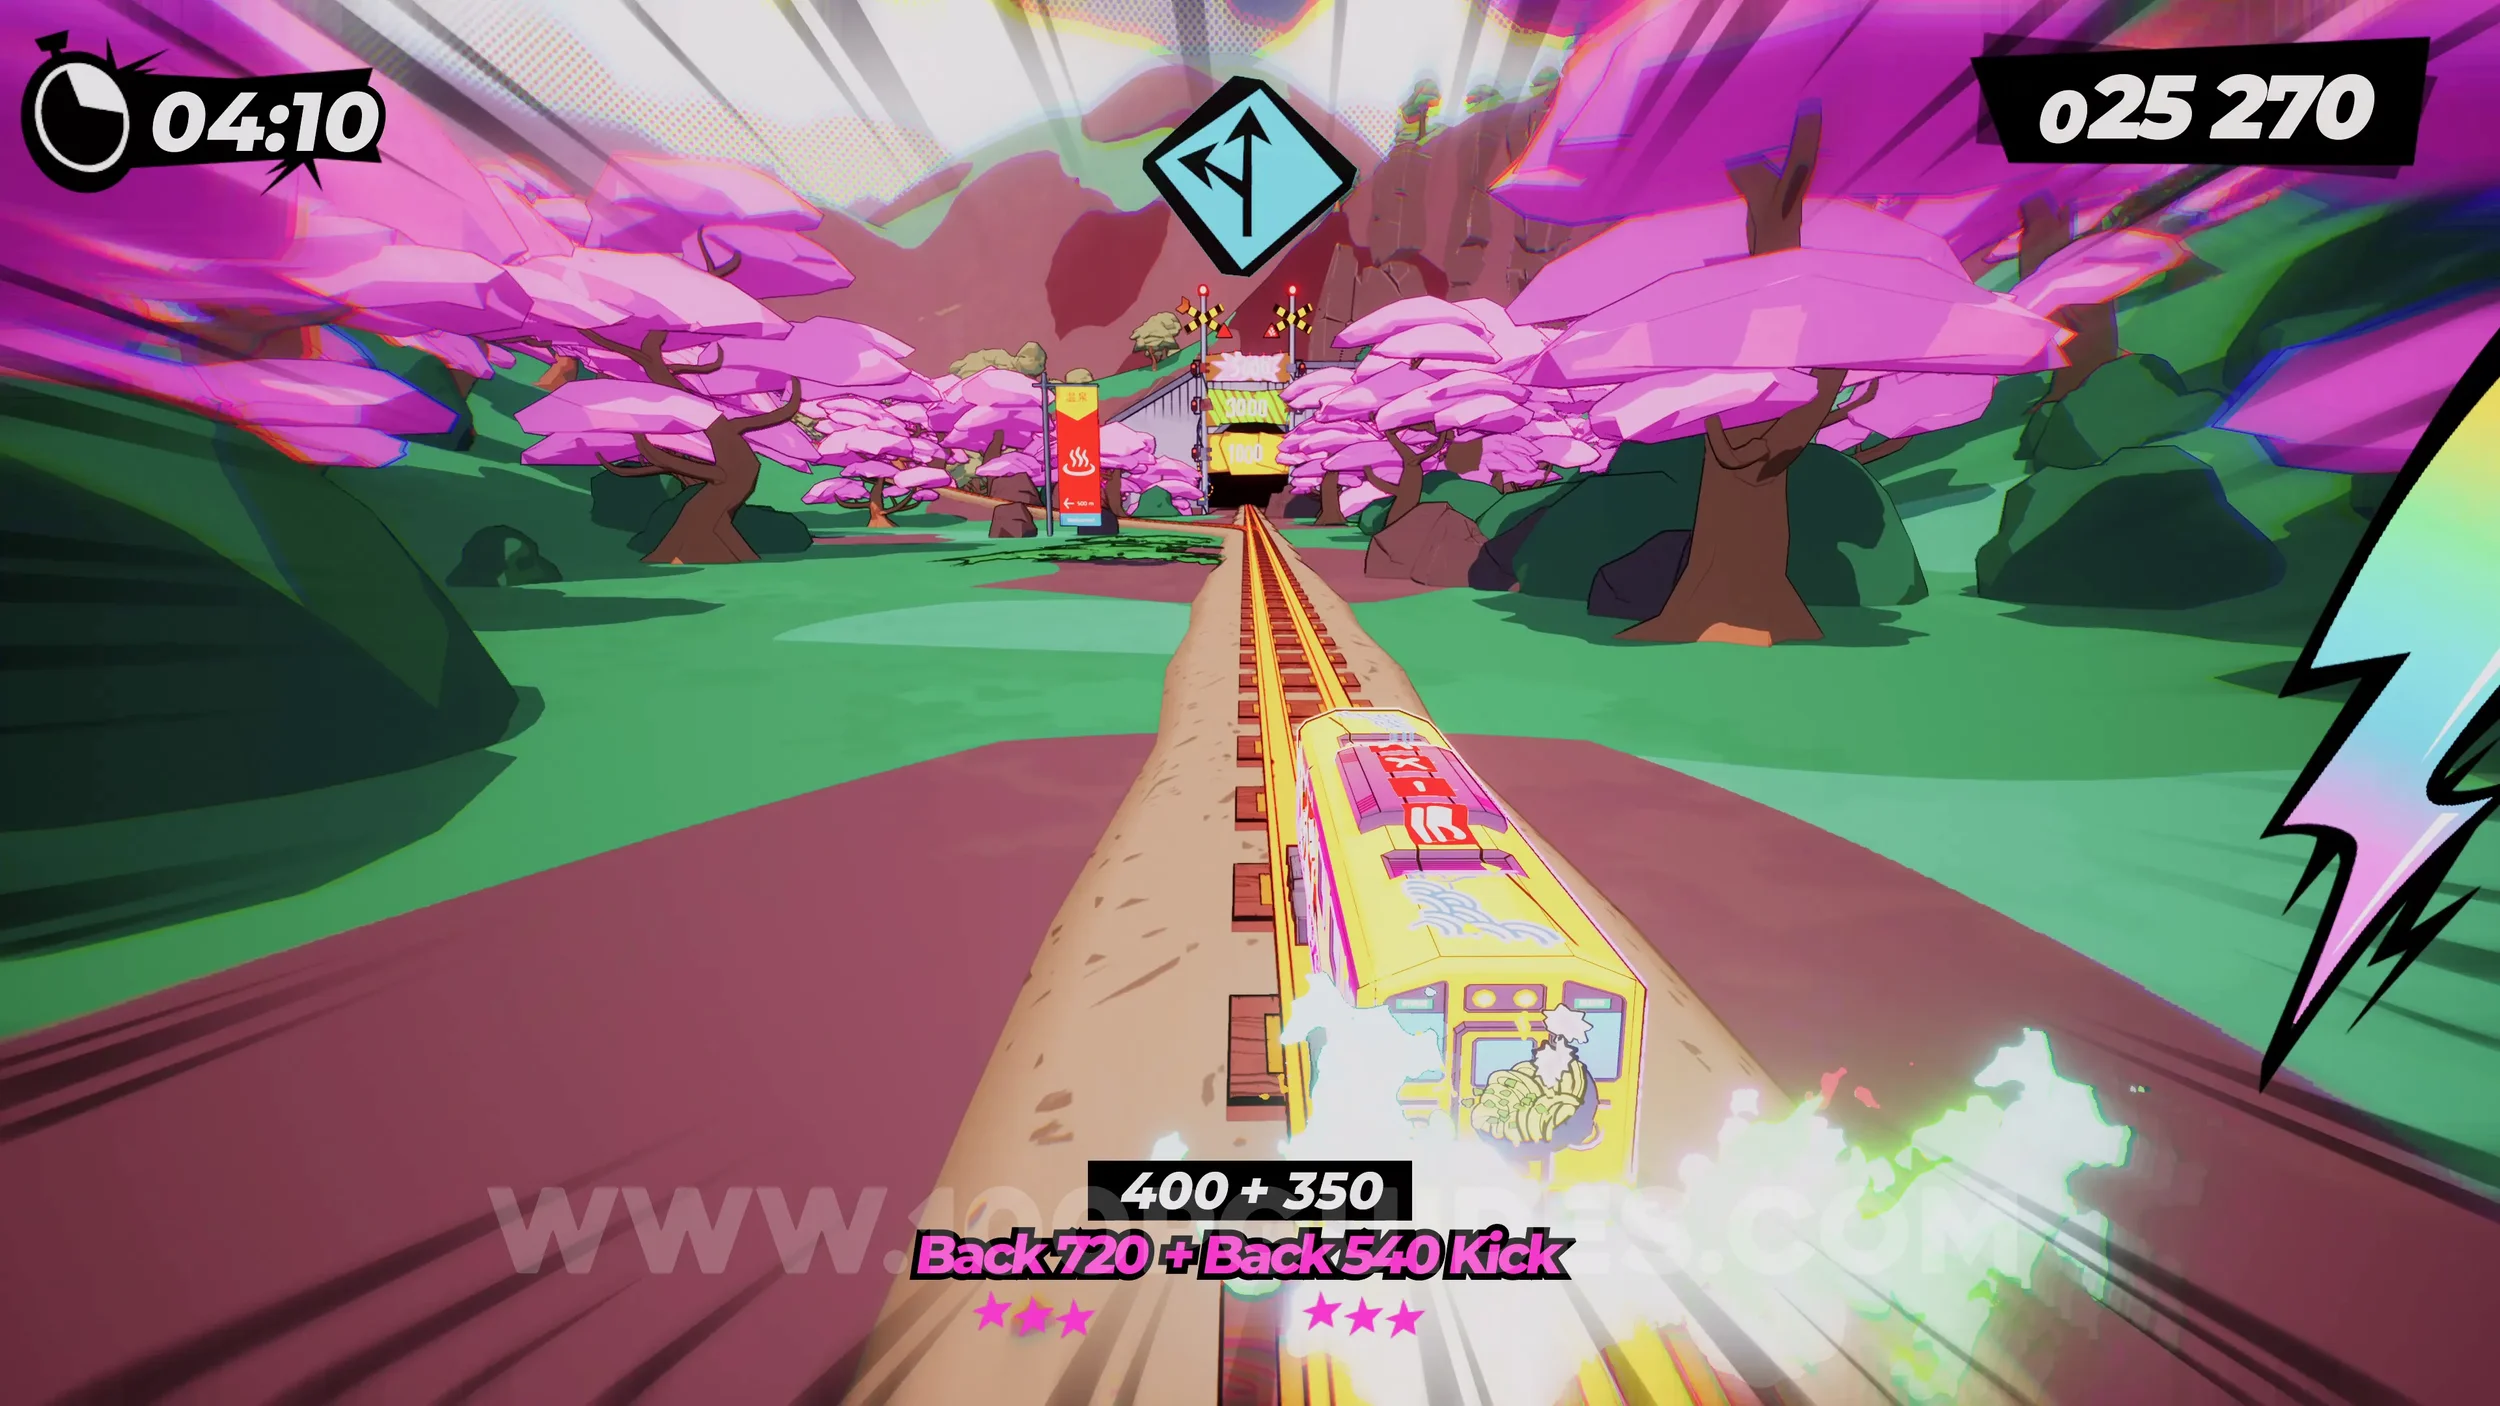
Dare: No Crash Finish. Self-explanatory. Do not crash during the level.
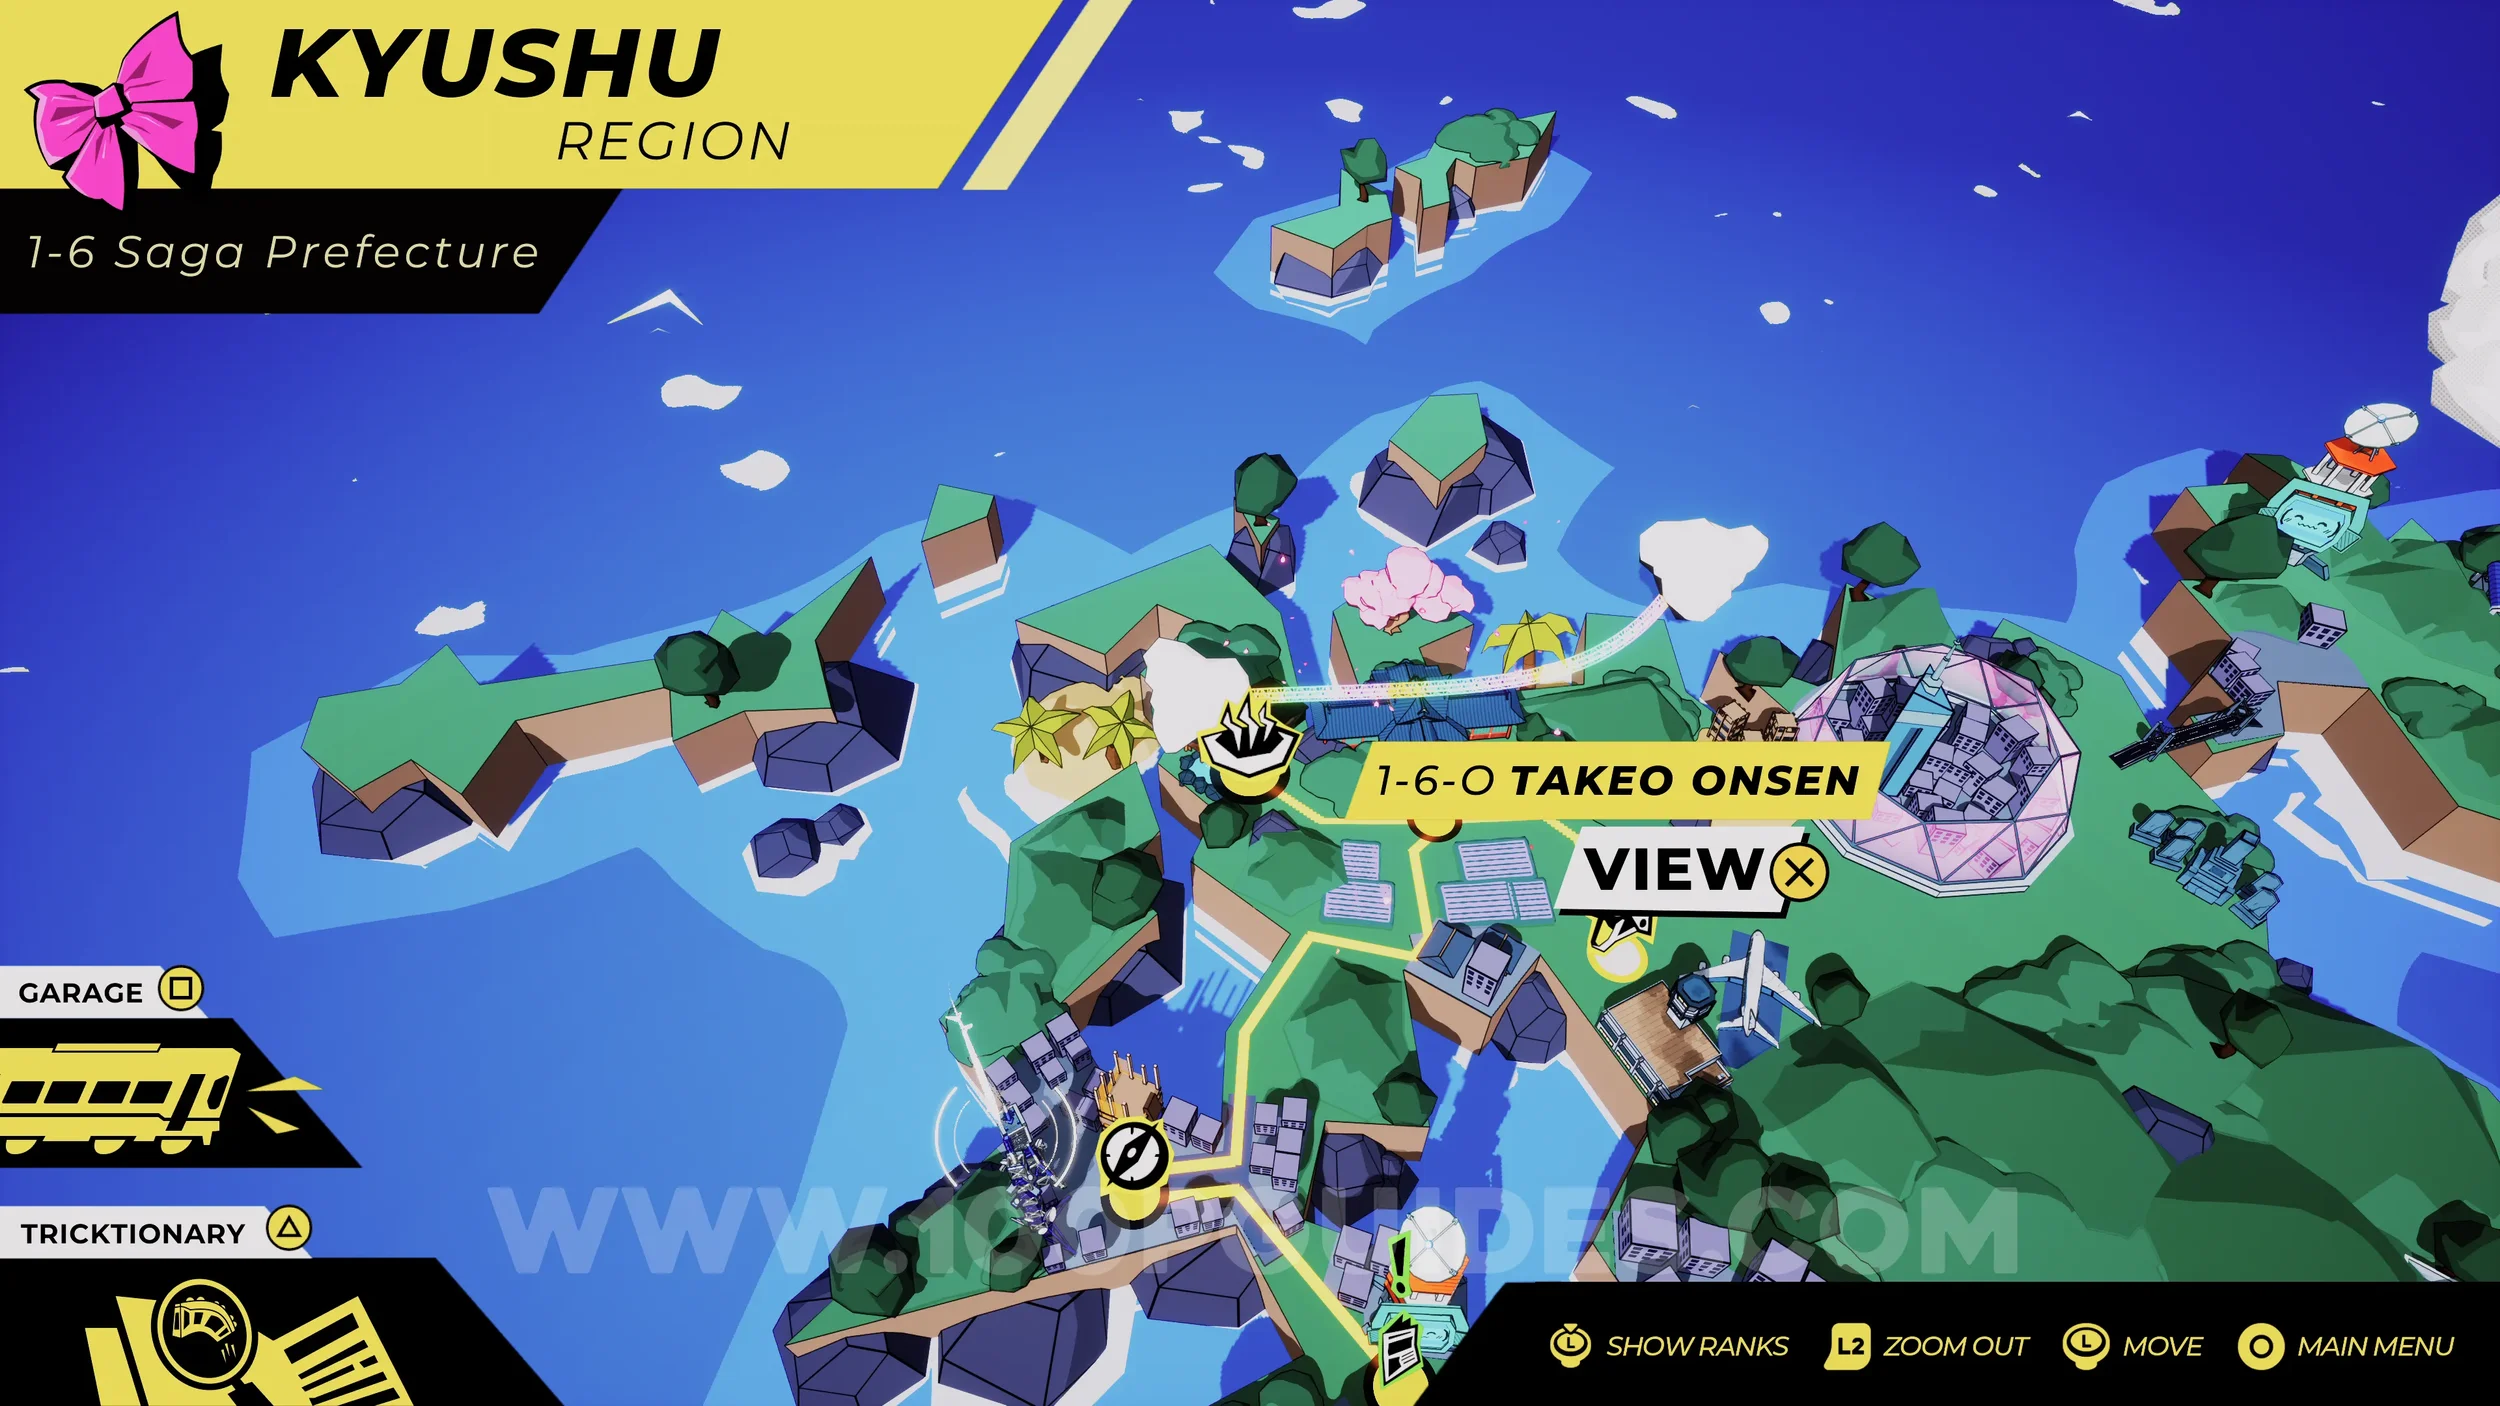
1-6-O Takeo Onsen
Onsen #1. This level will only unlock if you found the onsen exit in level 1-6-1. These levels are more of a collectible in themselves than an actual level. Here you can just learn more about the world, lore and characters of the game.
1-6-2 Trick Terminal
Spray Can (1/4). At the very start, stick to the left, and you will soon see the can in plain sight on the left-side track.
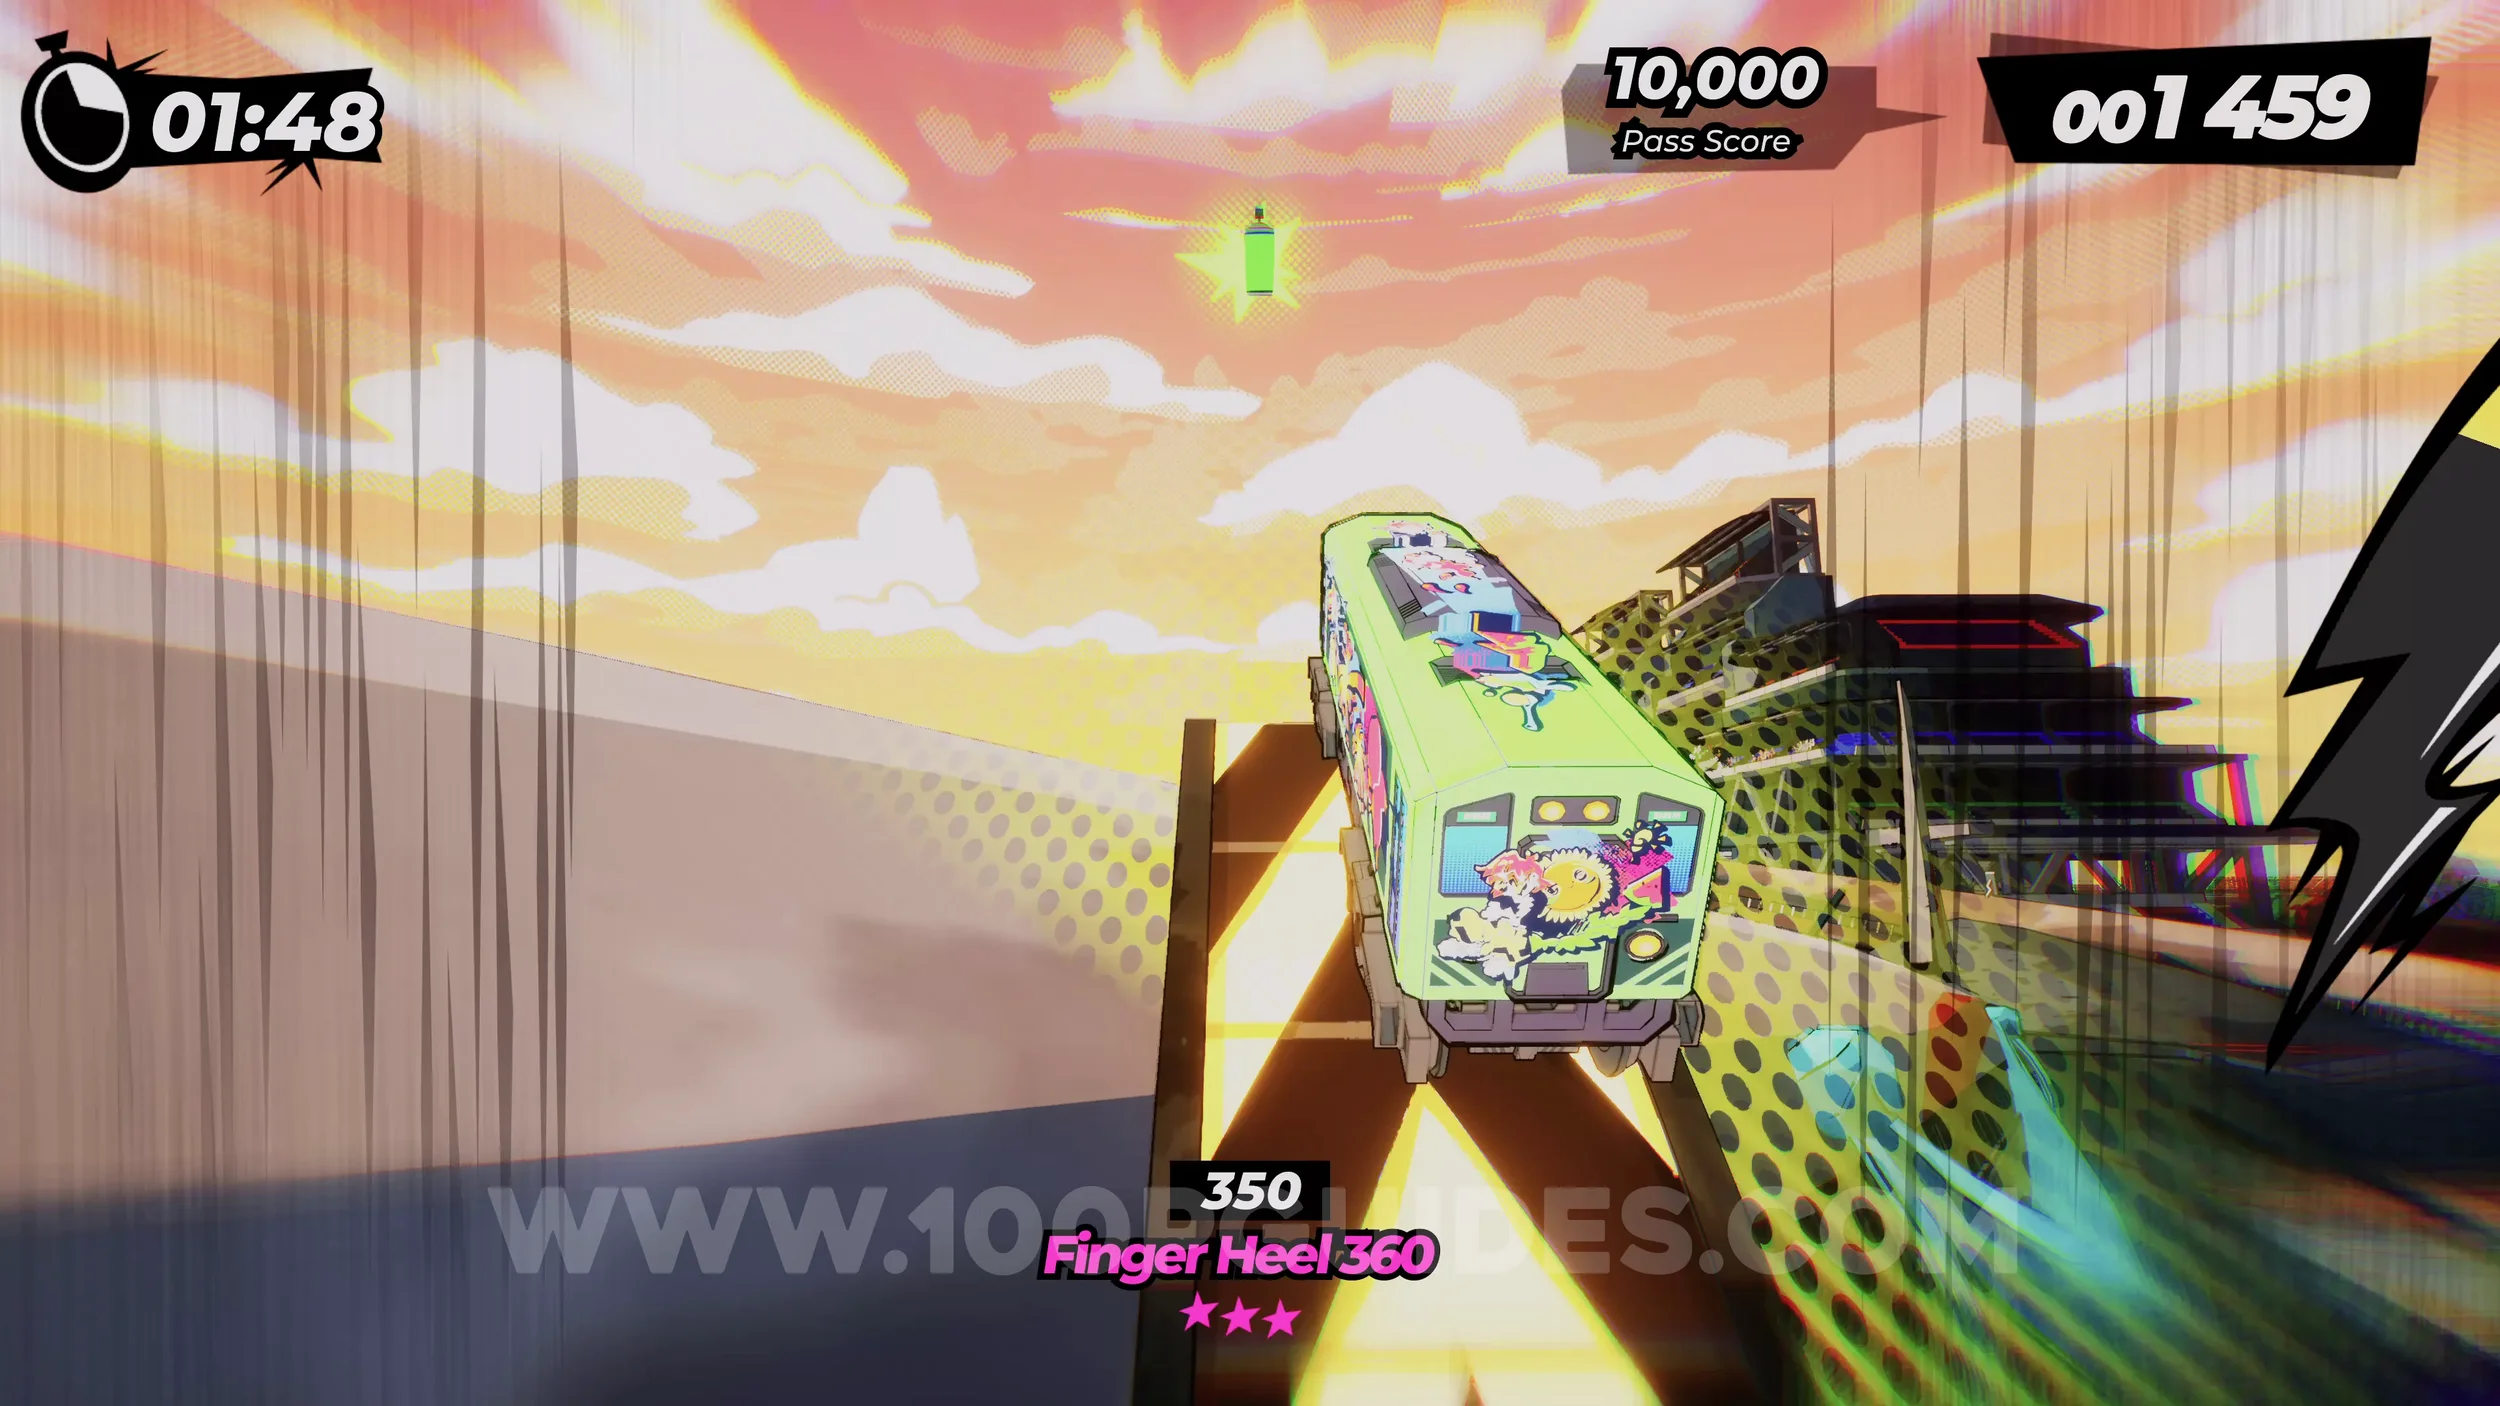
Dare: Collect 3 Airport Tickets (1/3). You will collect it almost automatically soon after the previous can.
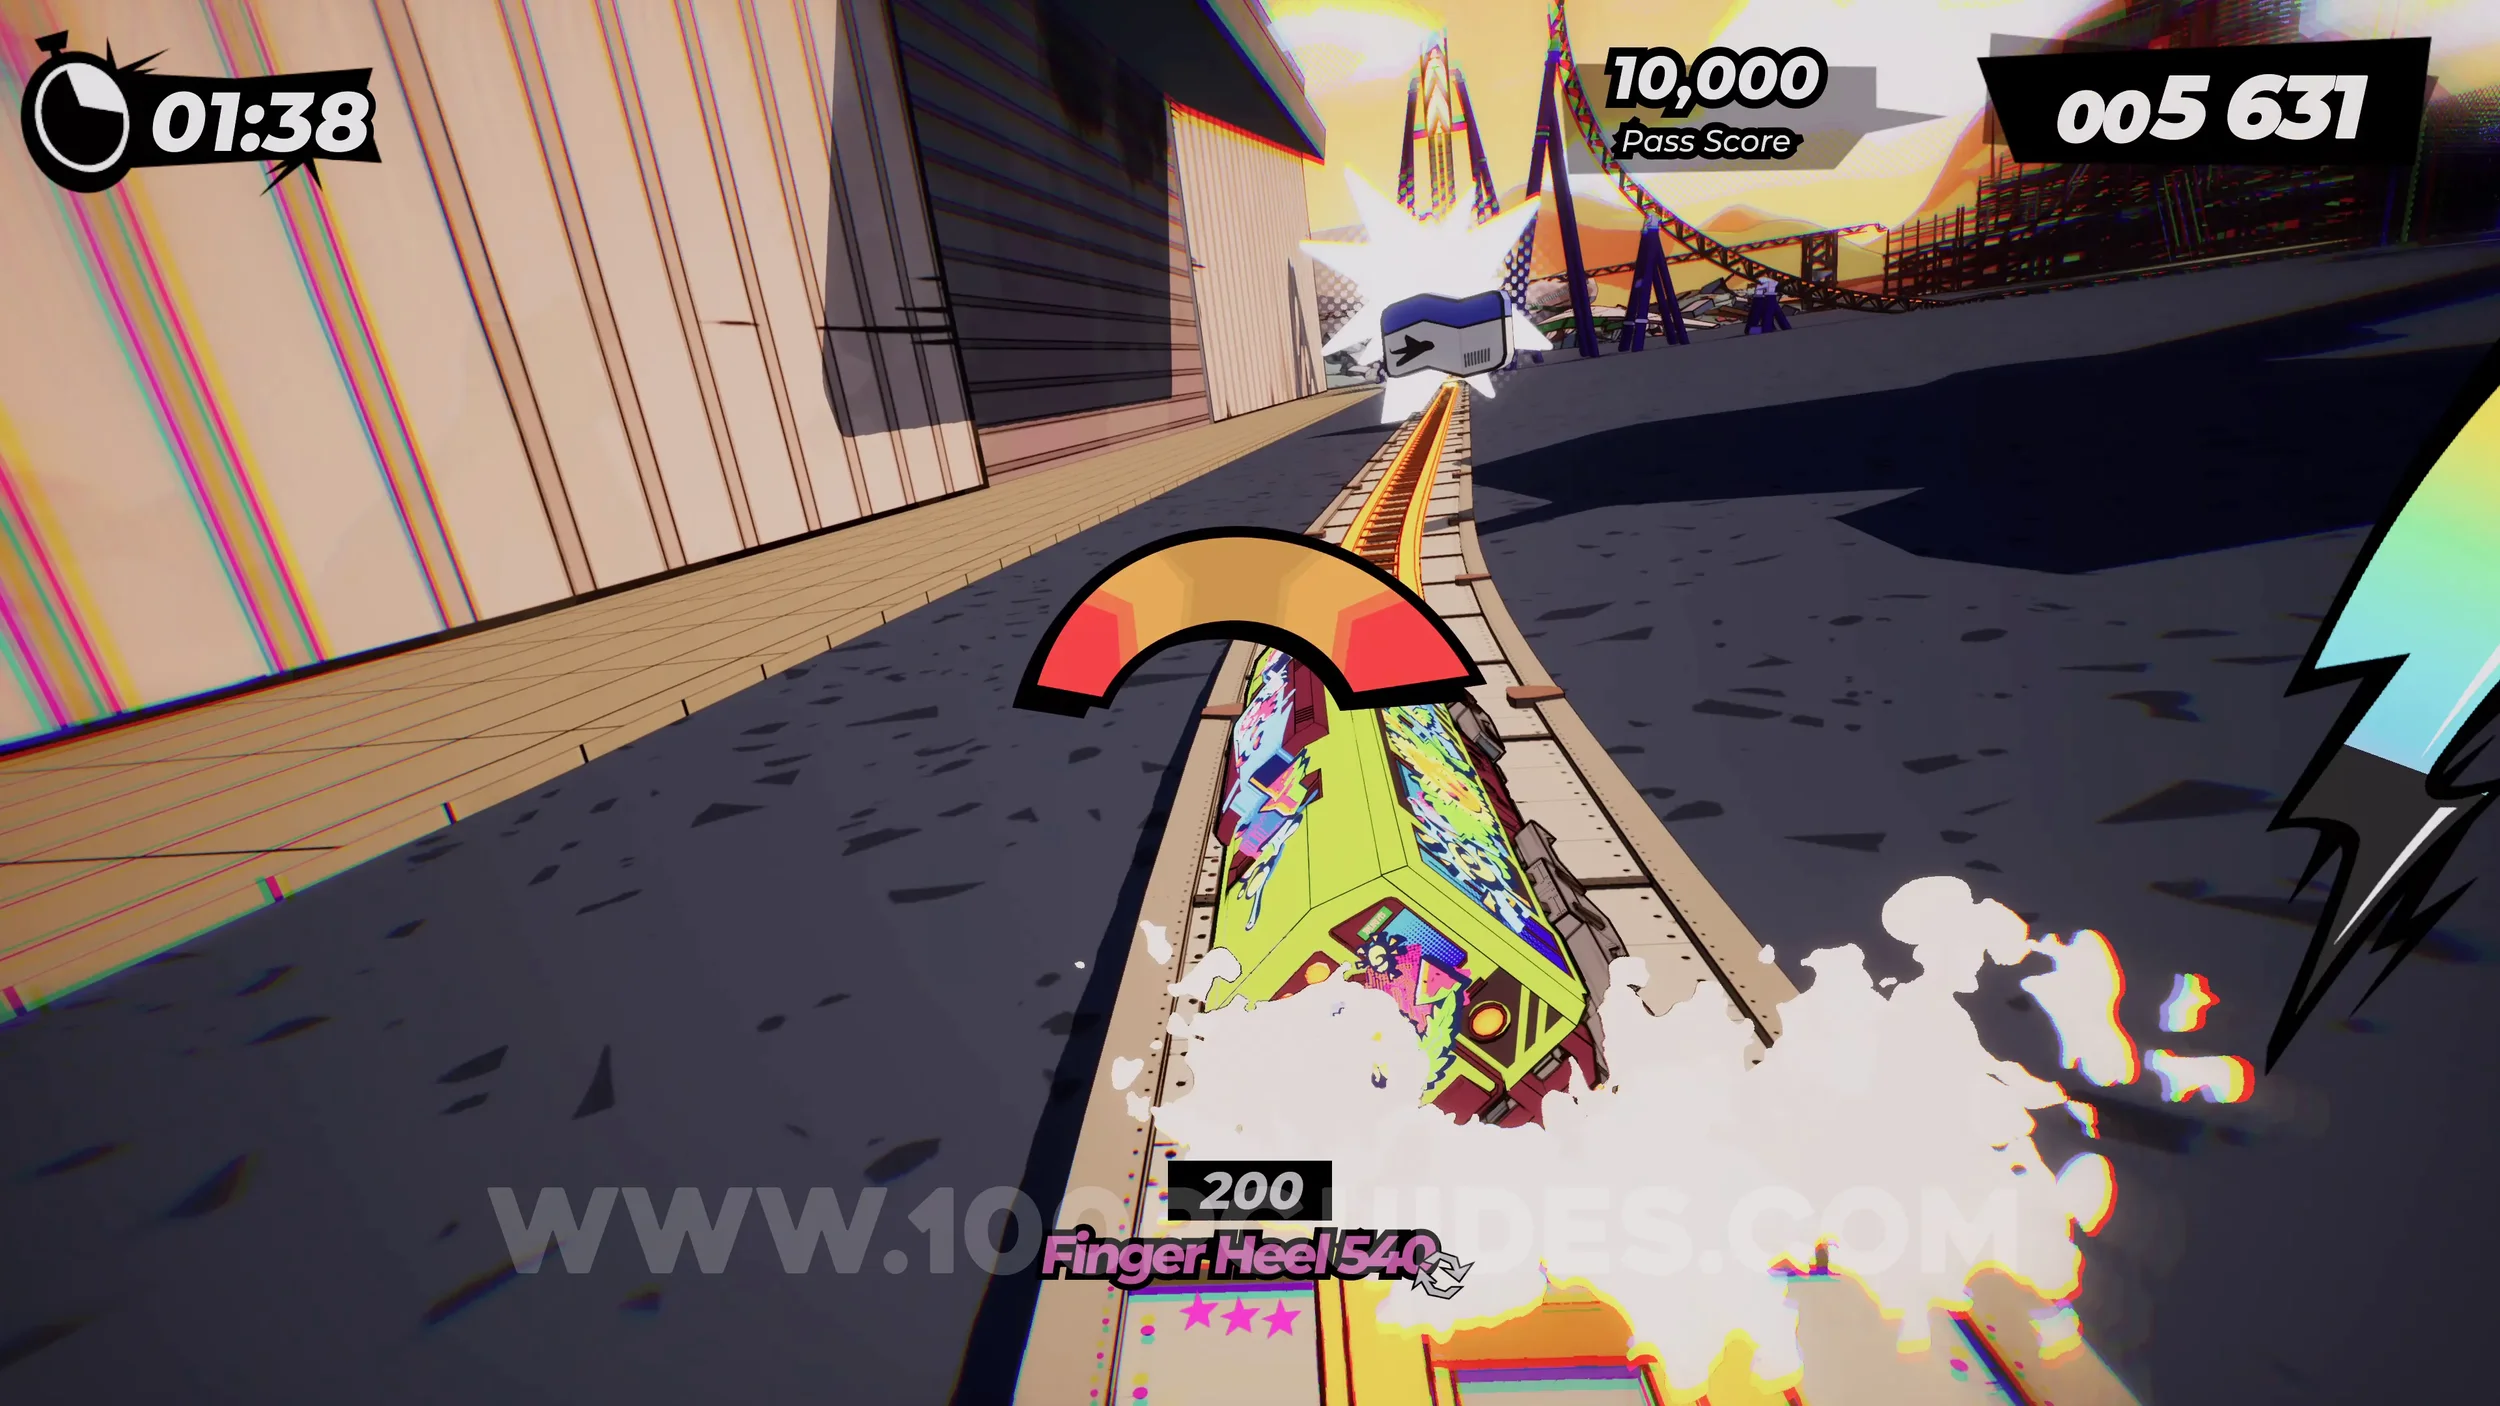
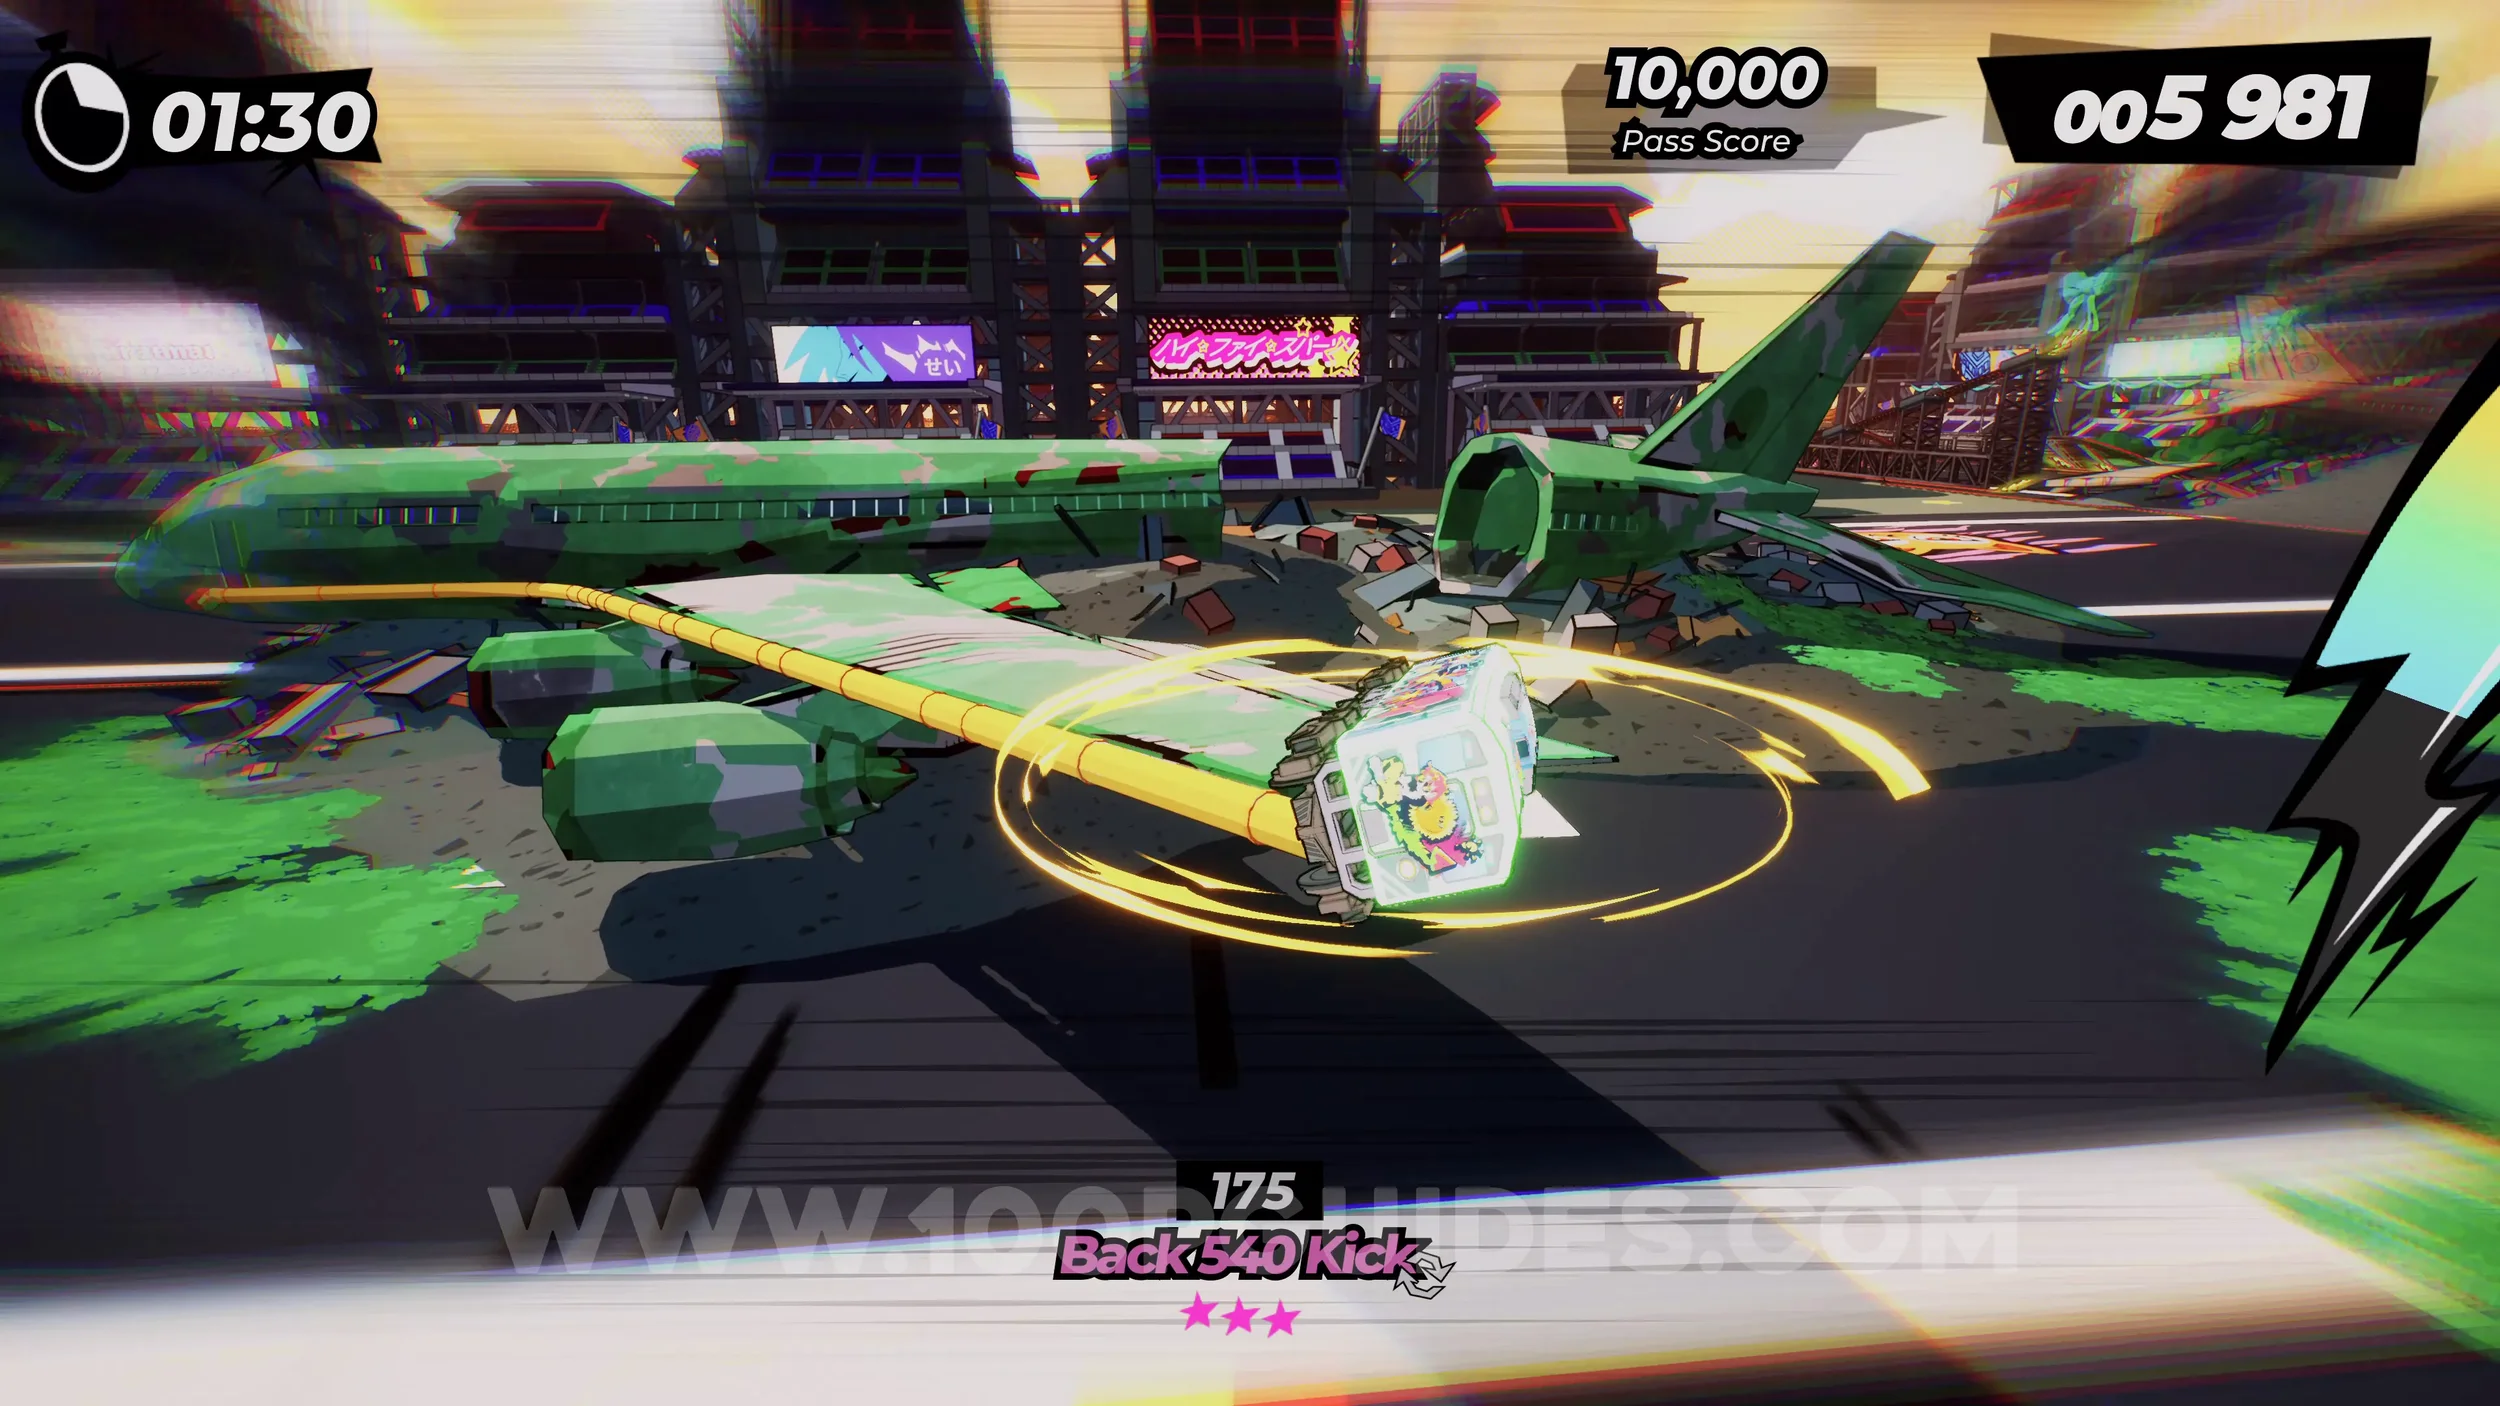
Dare: Trick on the Plane Wing Grind. Just after the previous ticket, you will grind on the wing of a green plane. Use the right analog stick during the grind to do a trick.
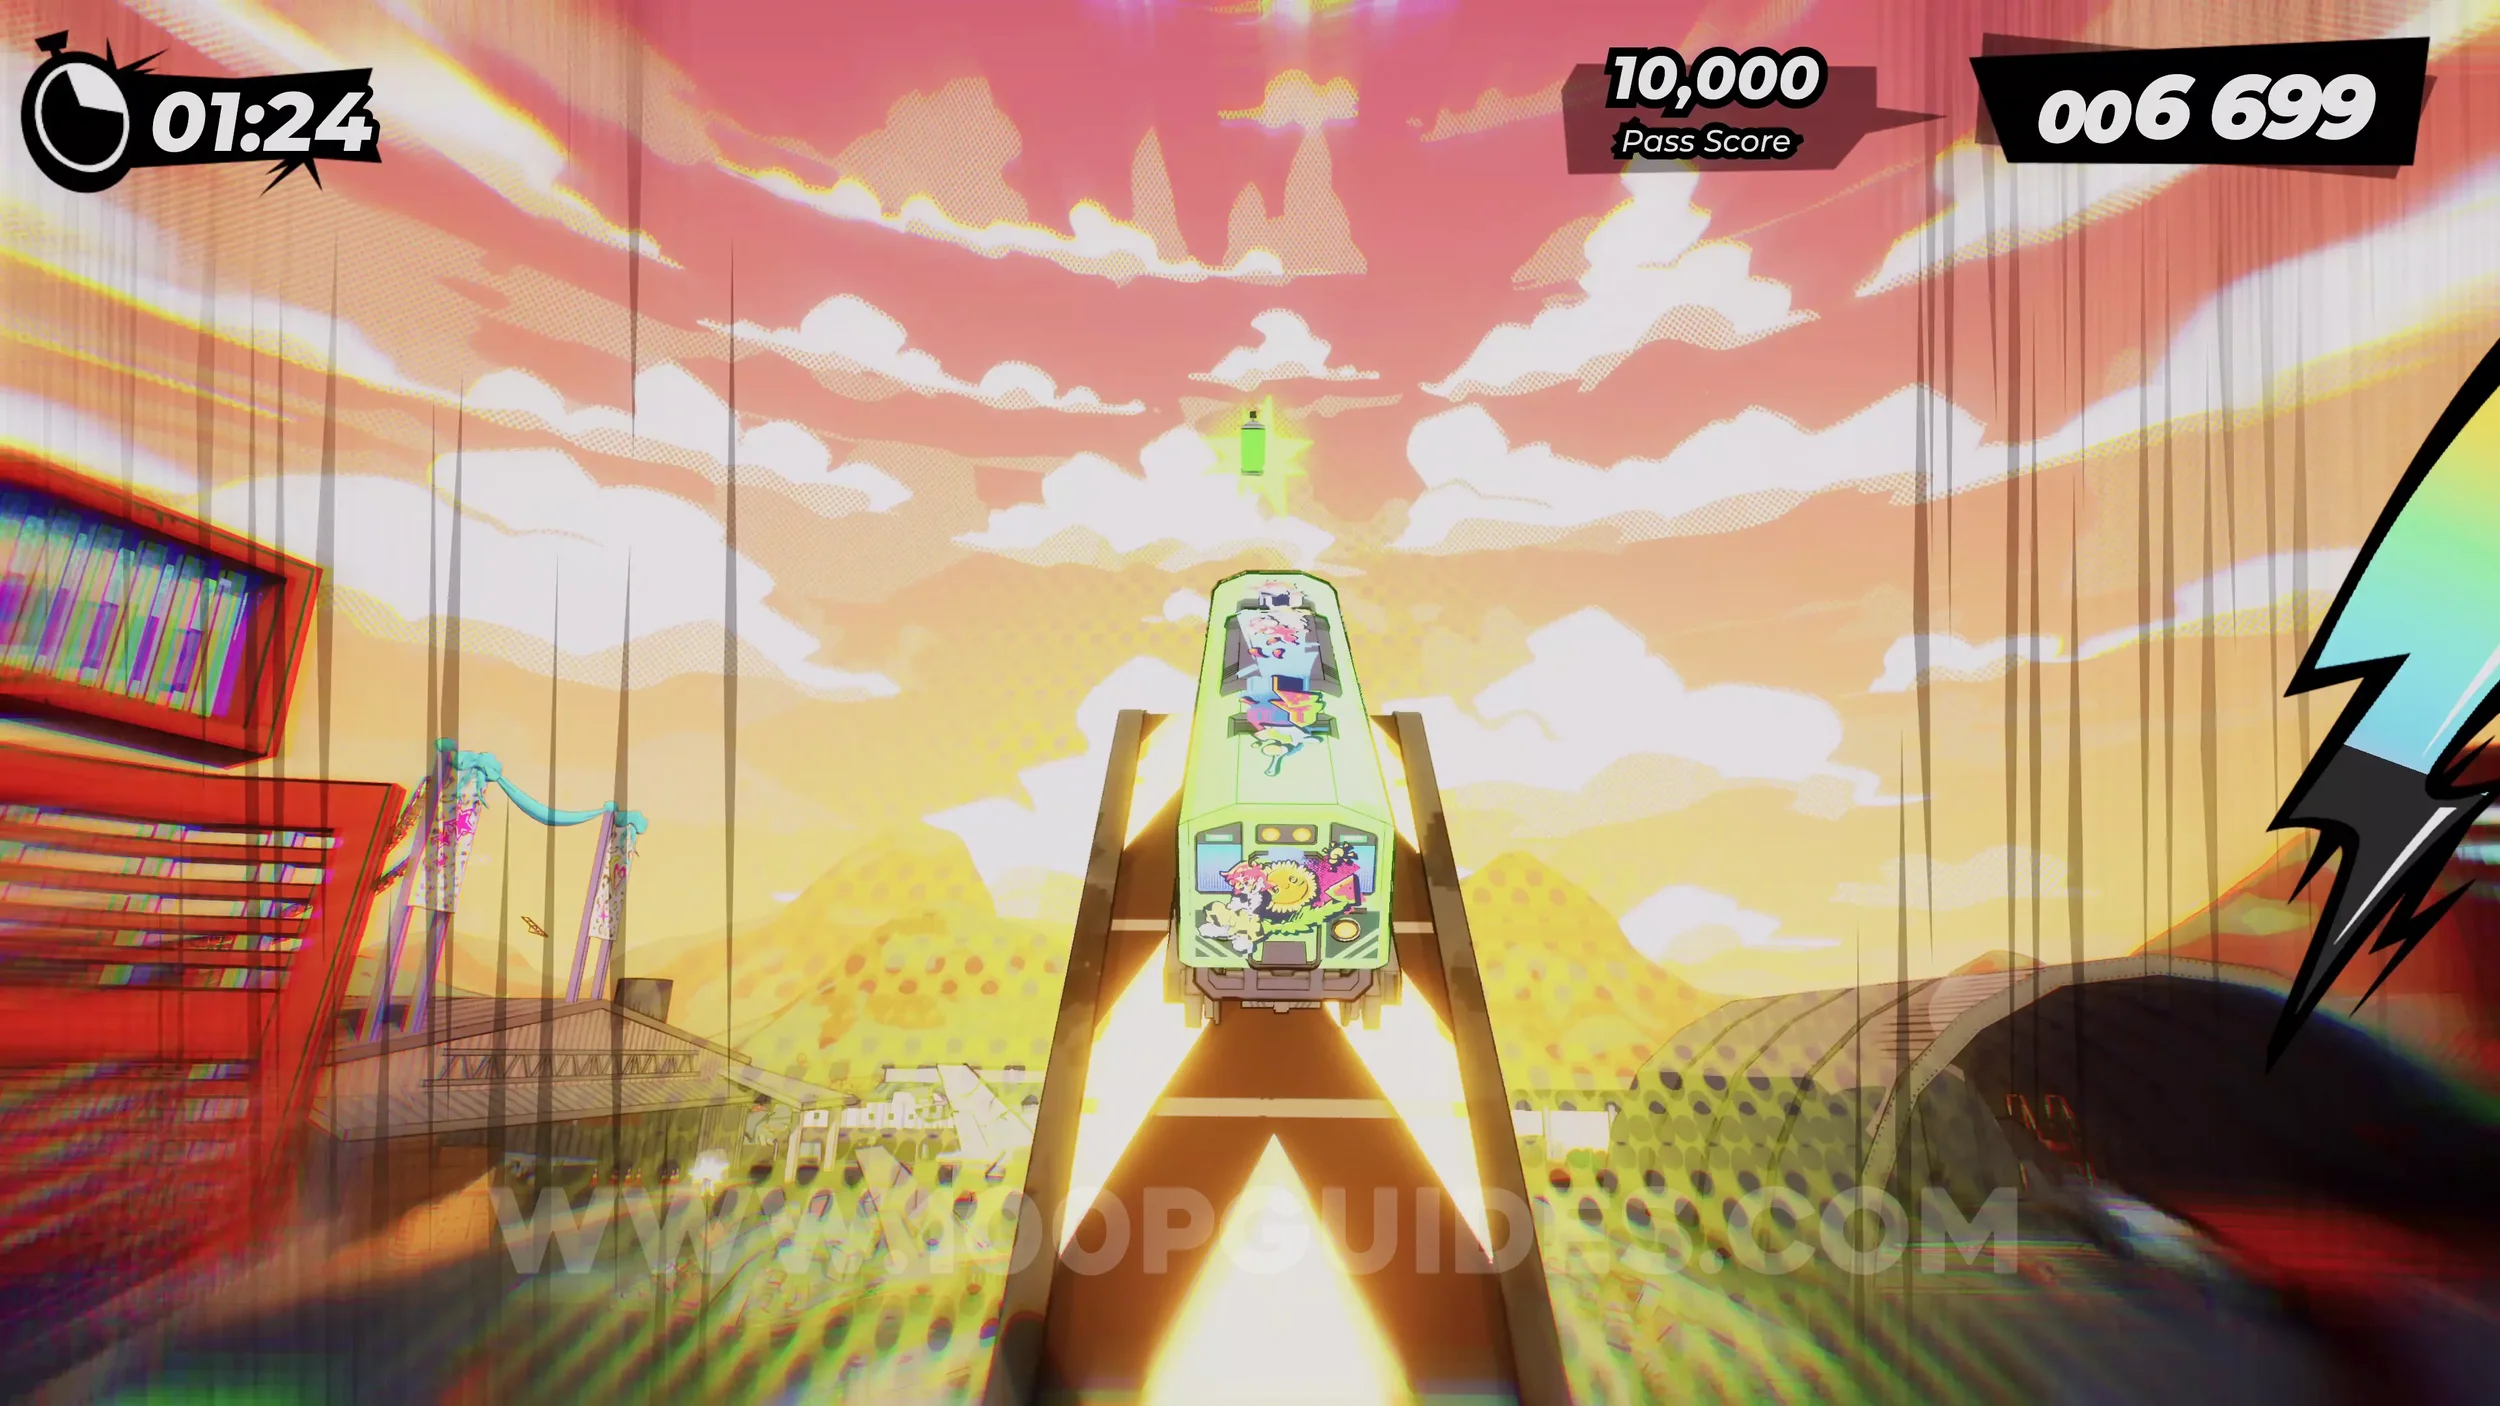
Spray Can (2/4). Found in the air after the next jump, soon after the wing grind.
Dare: Collect 3 Airport Tickets (2/3). In plain sight on the single track after the spray can, hard to miss.
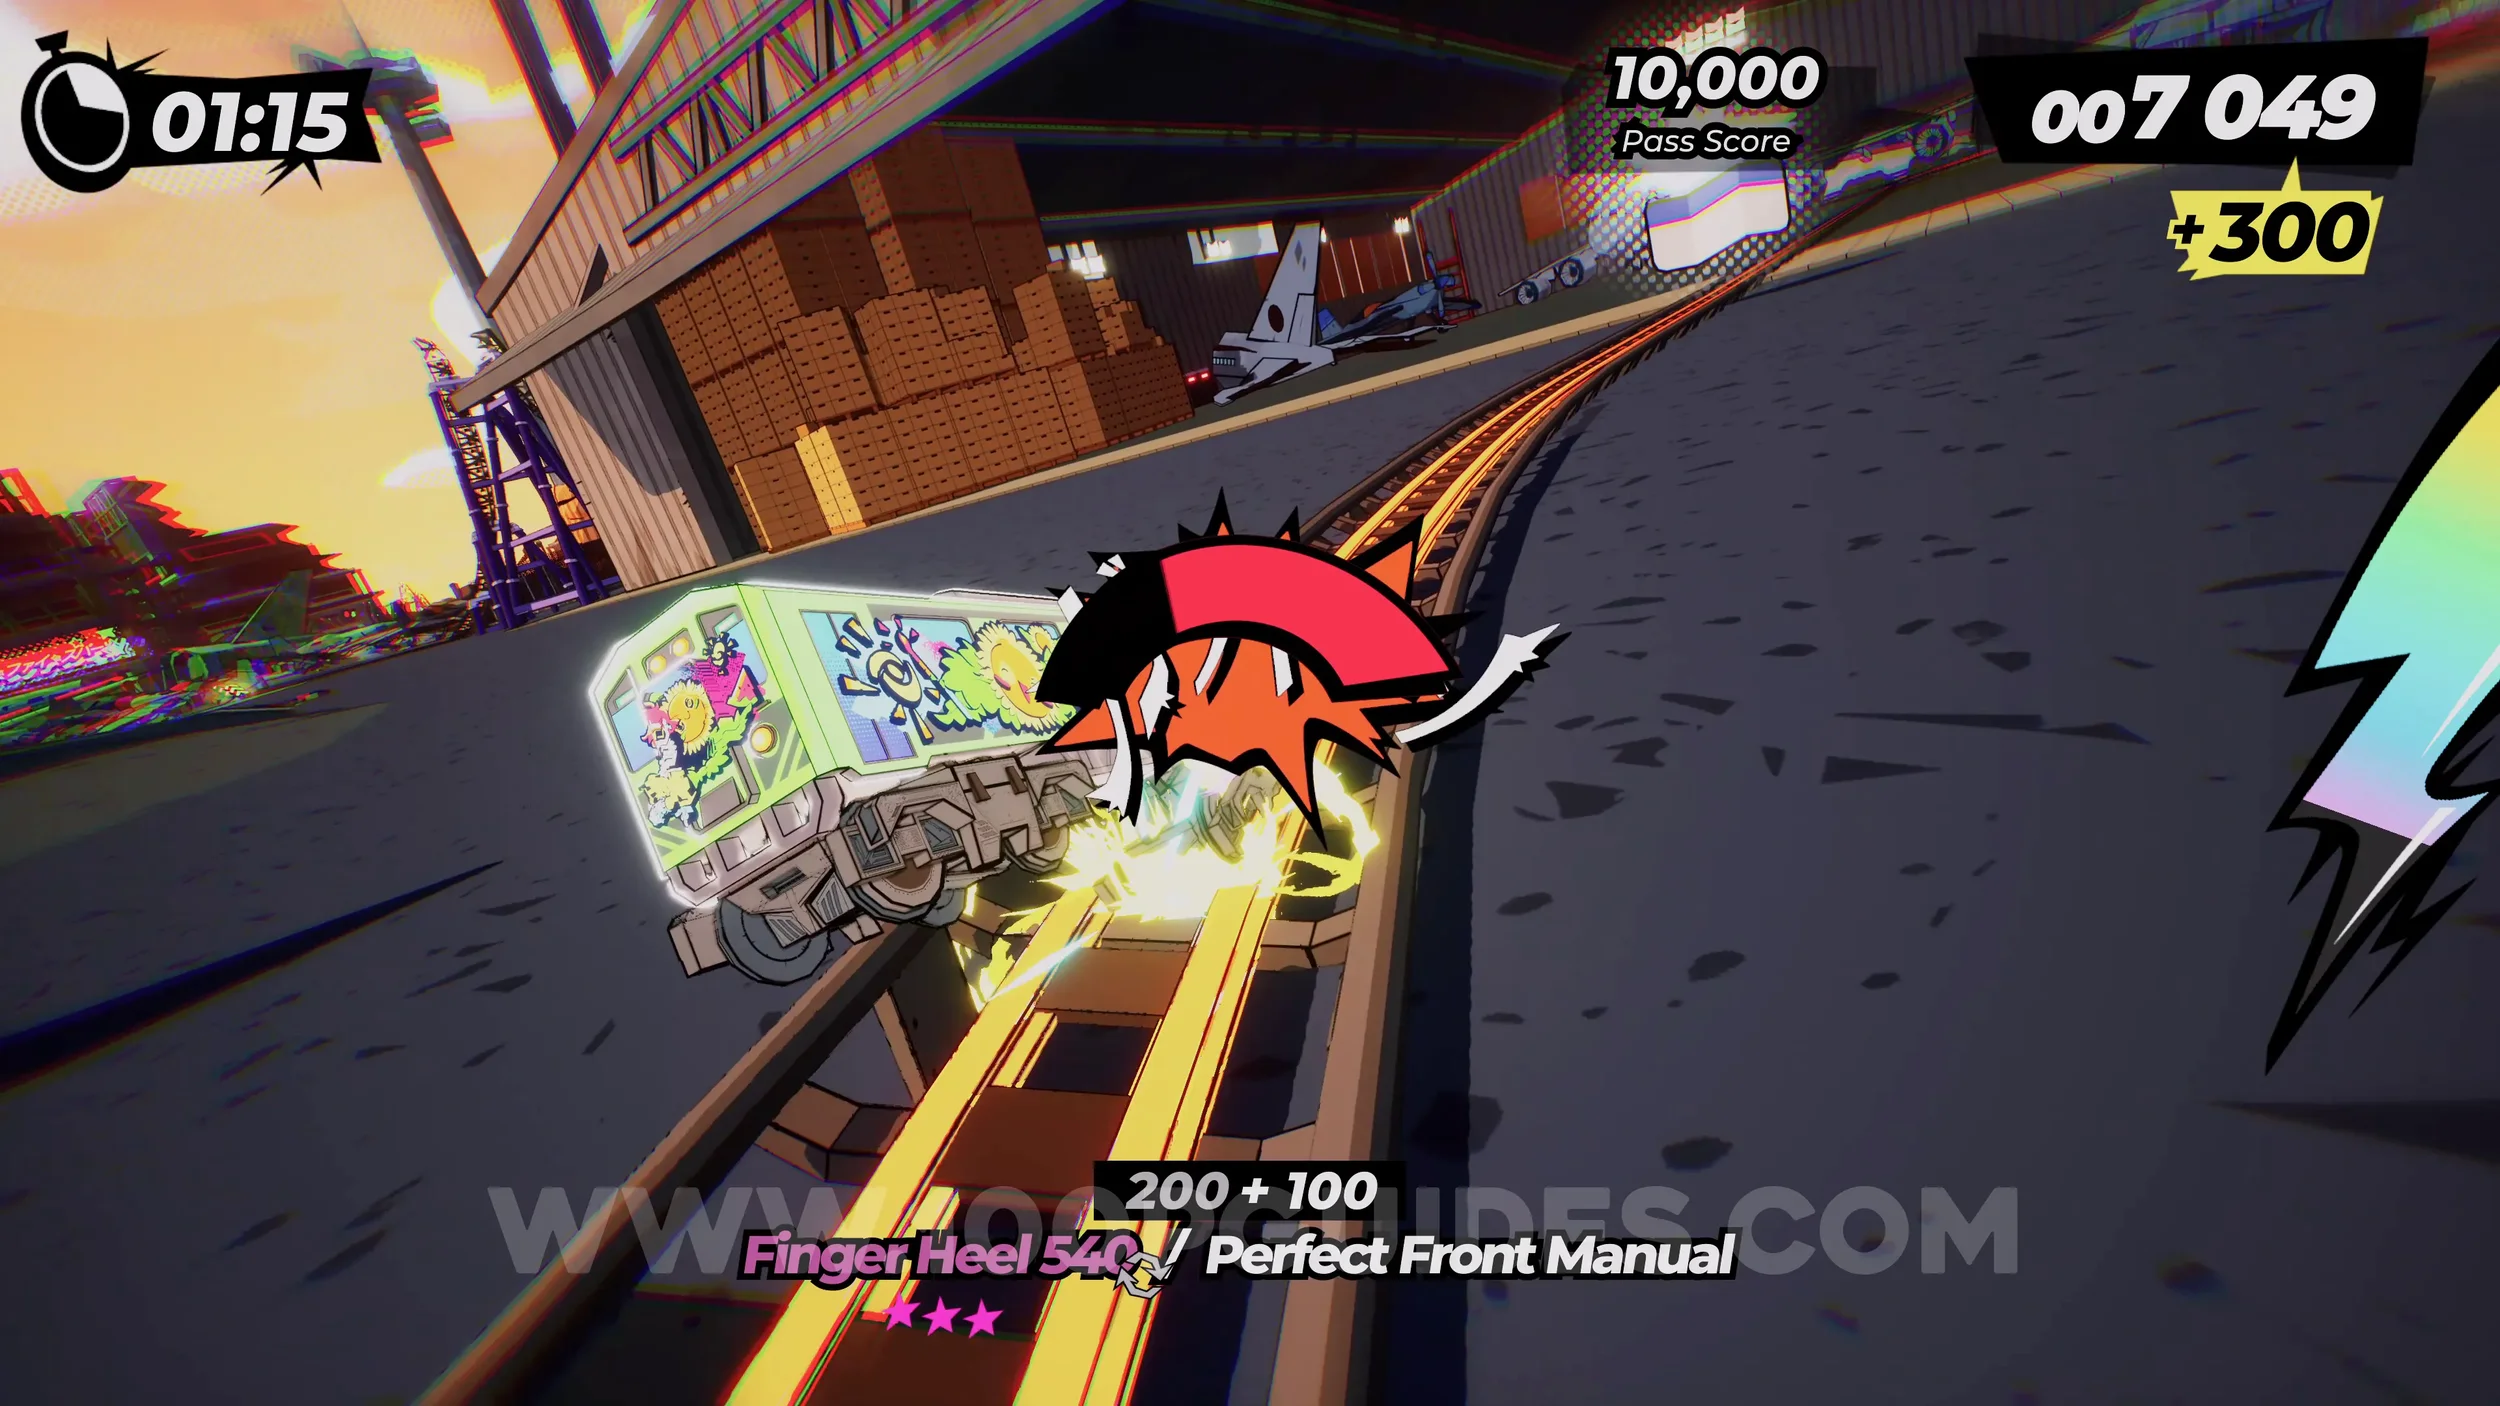
Dare: Collect 3 Airport Tickets (3/3). In the hangar, stick to the left side to return to the start of the level. This time, go right. This will eventually bring you back around to the start again, but this time from the left side. Stay on the right track (without counting the rainbow one) to collect the airport ticket at the top of the jump.
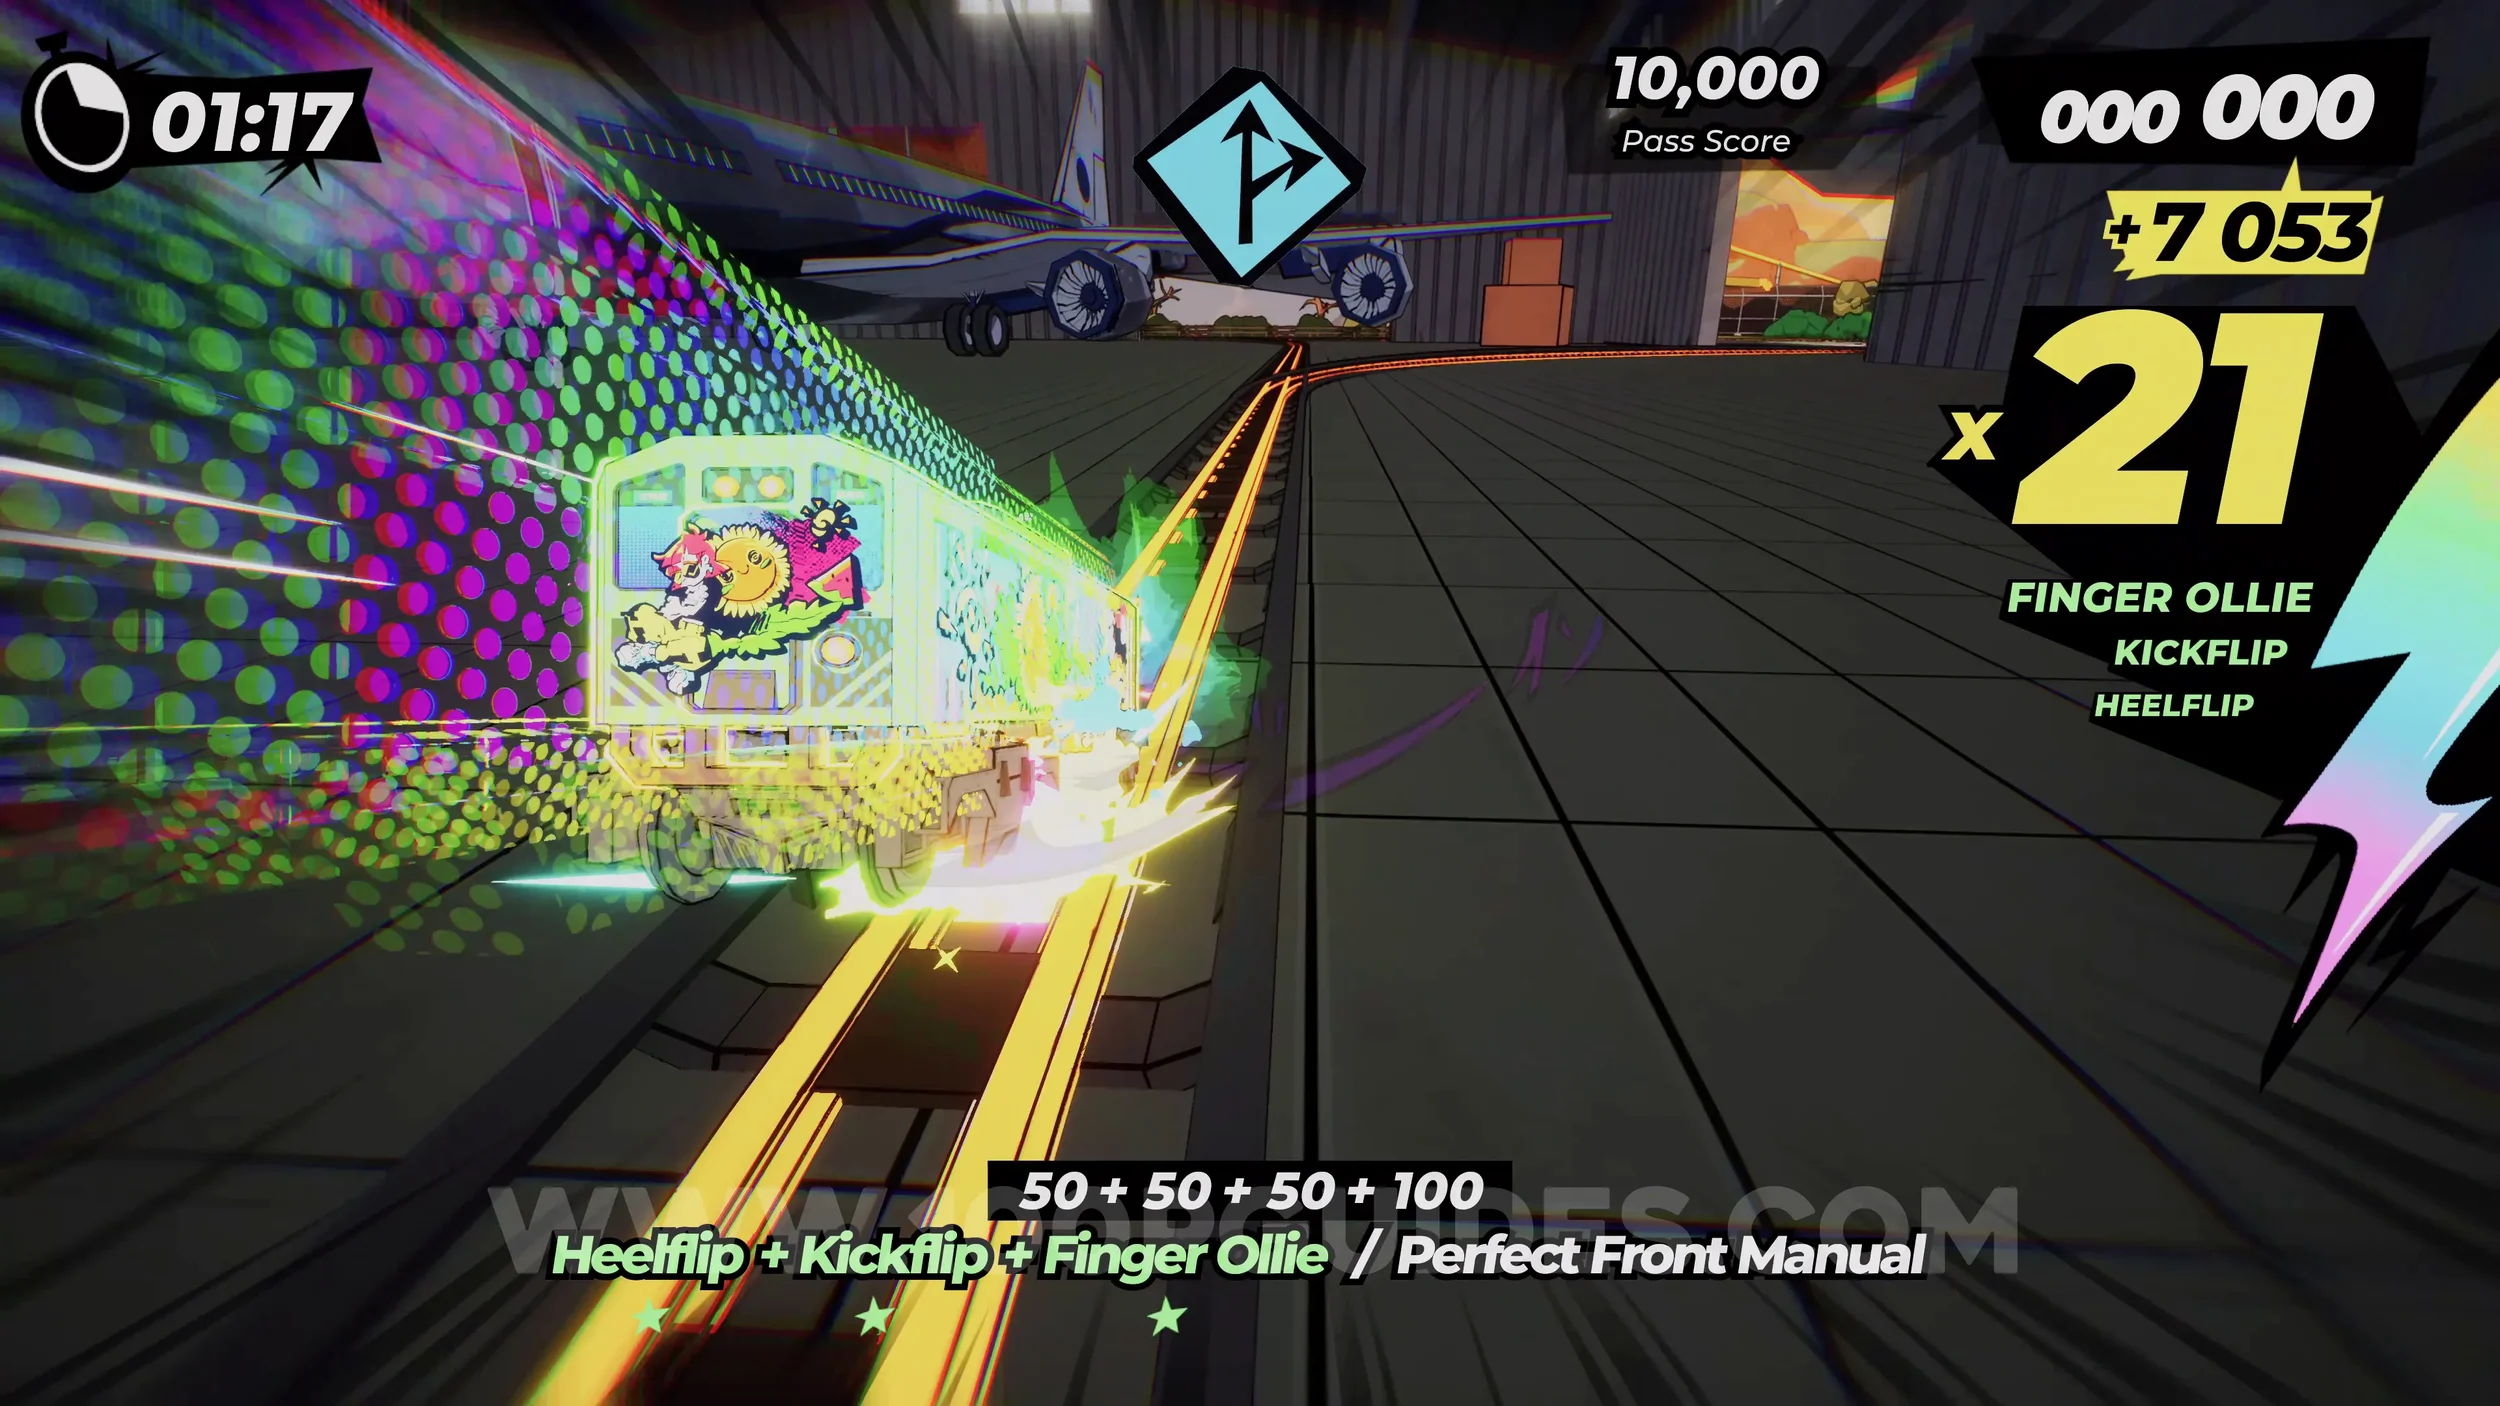
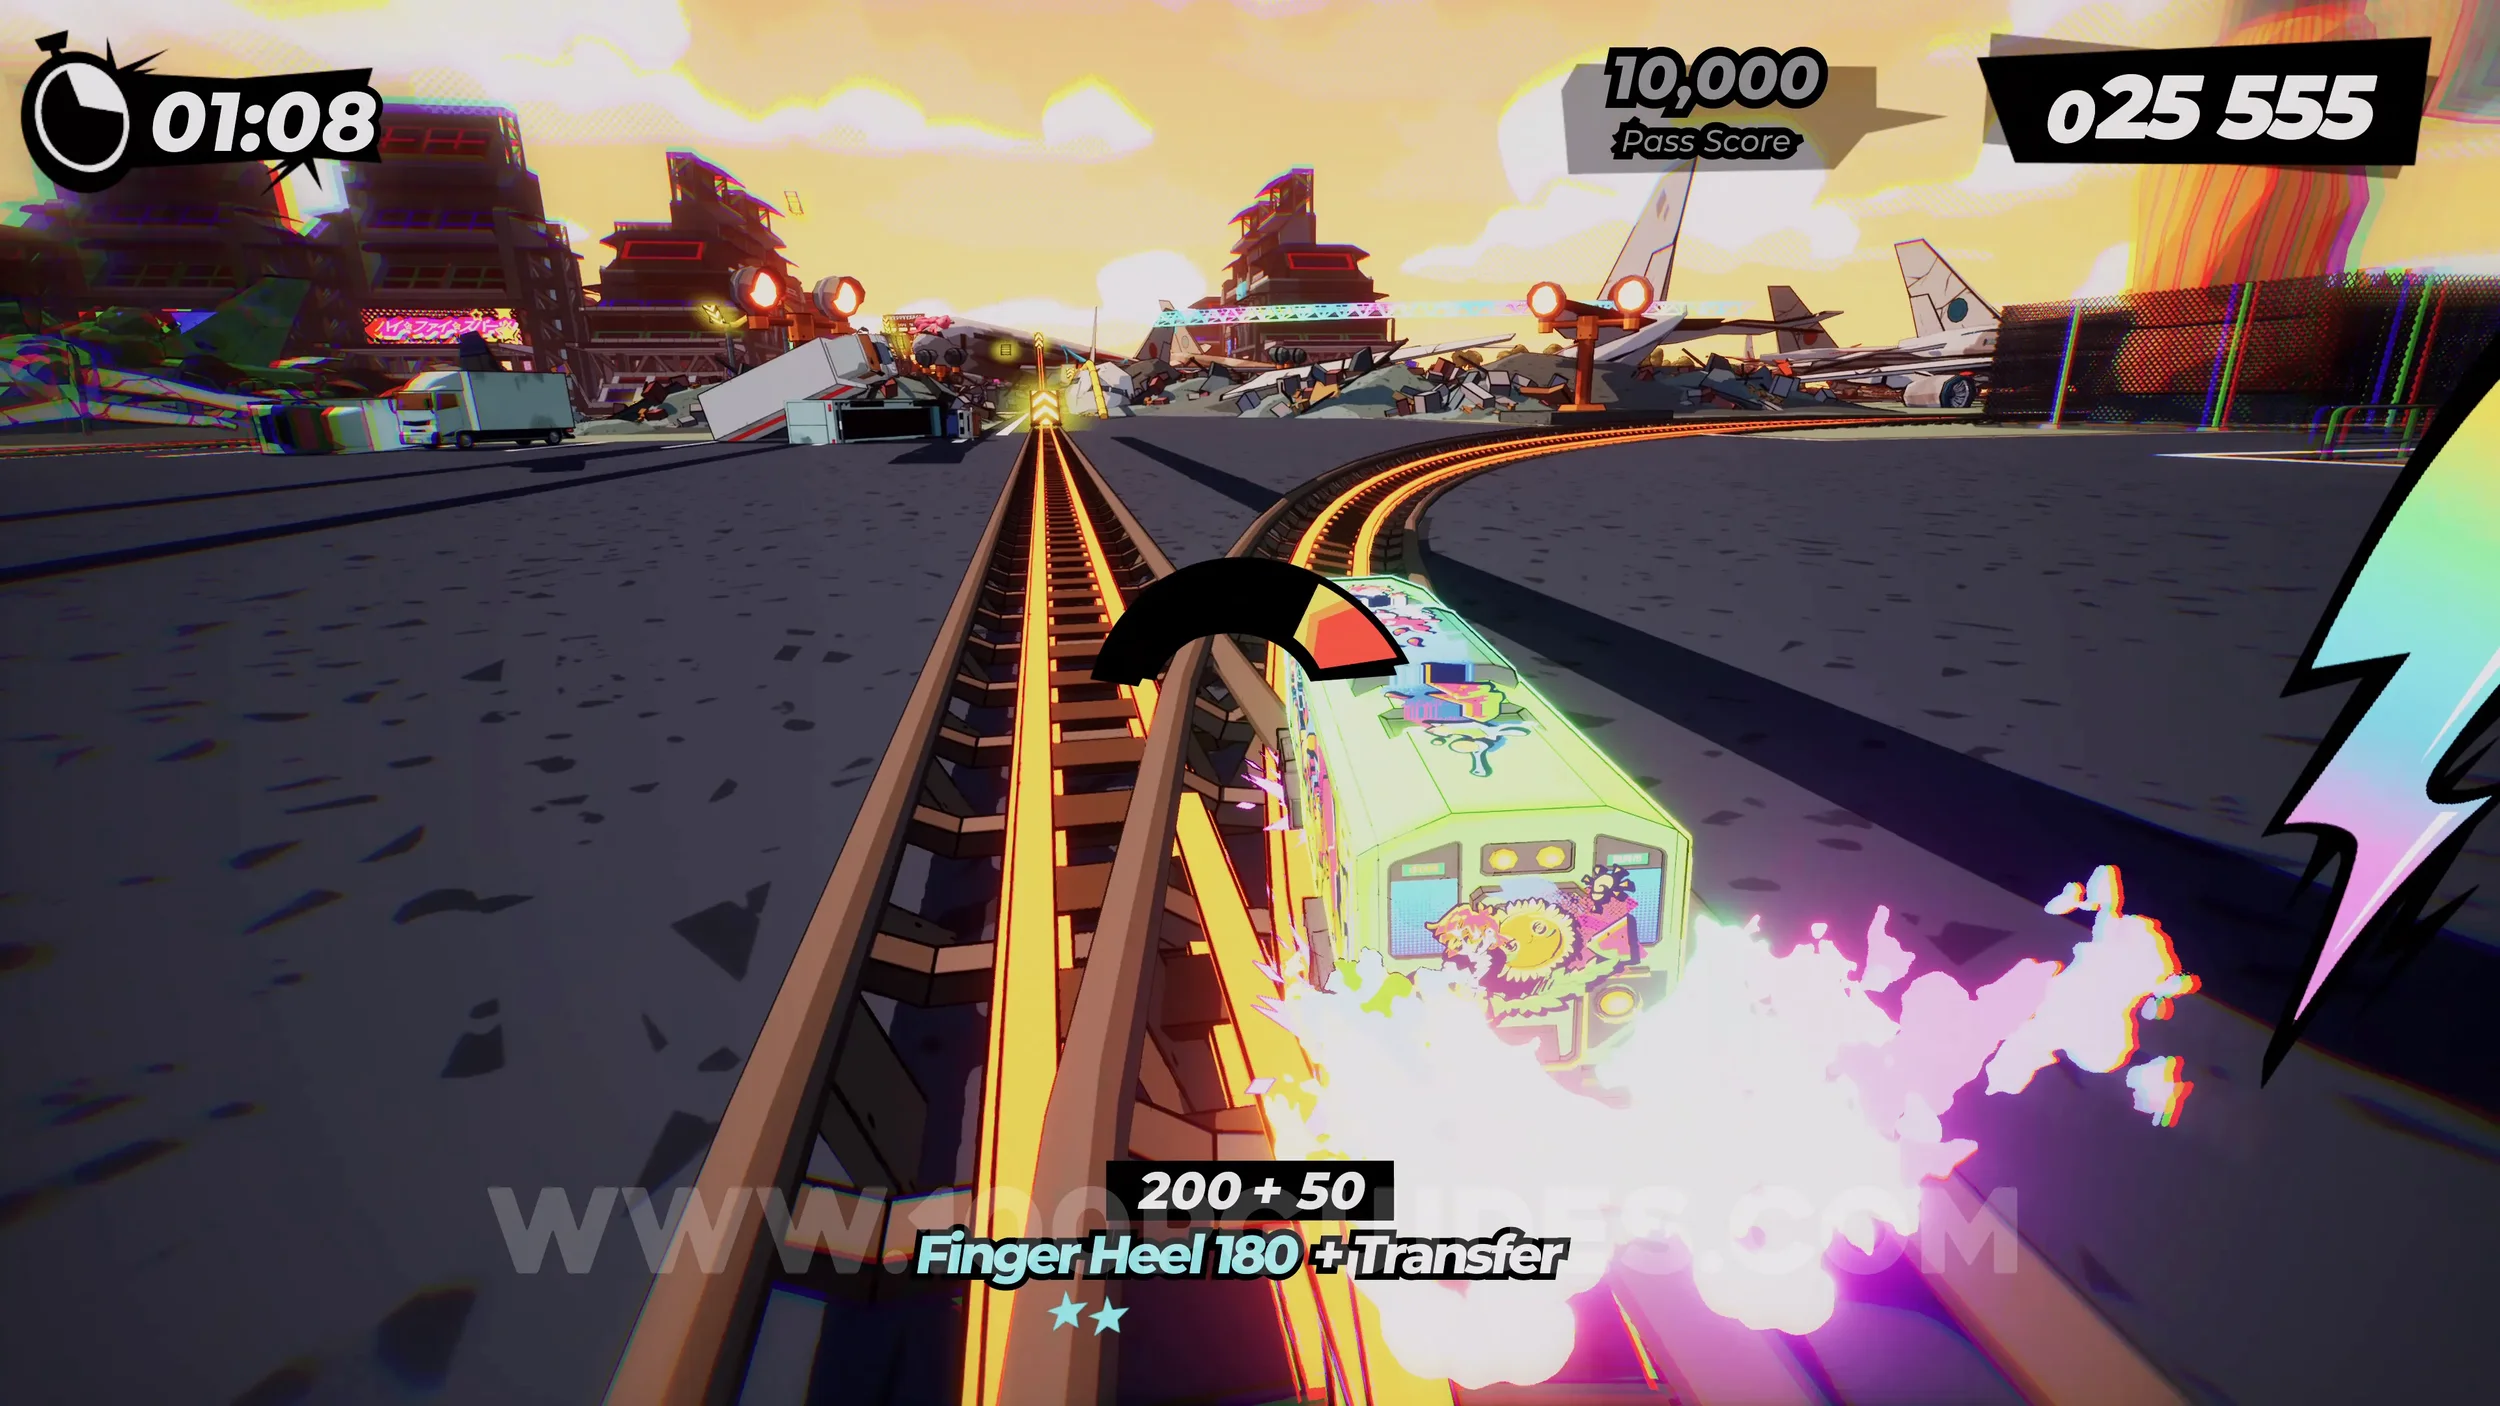
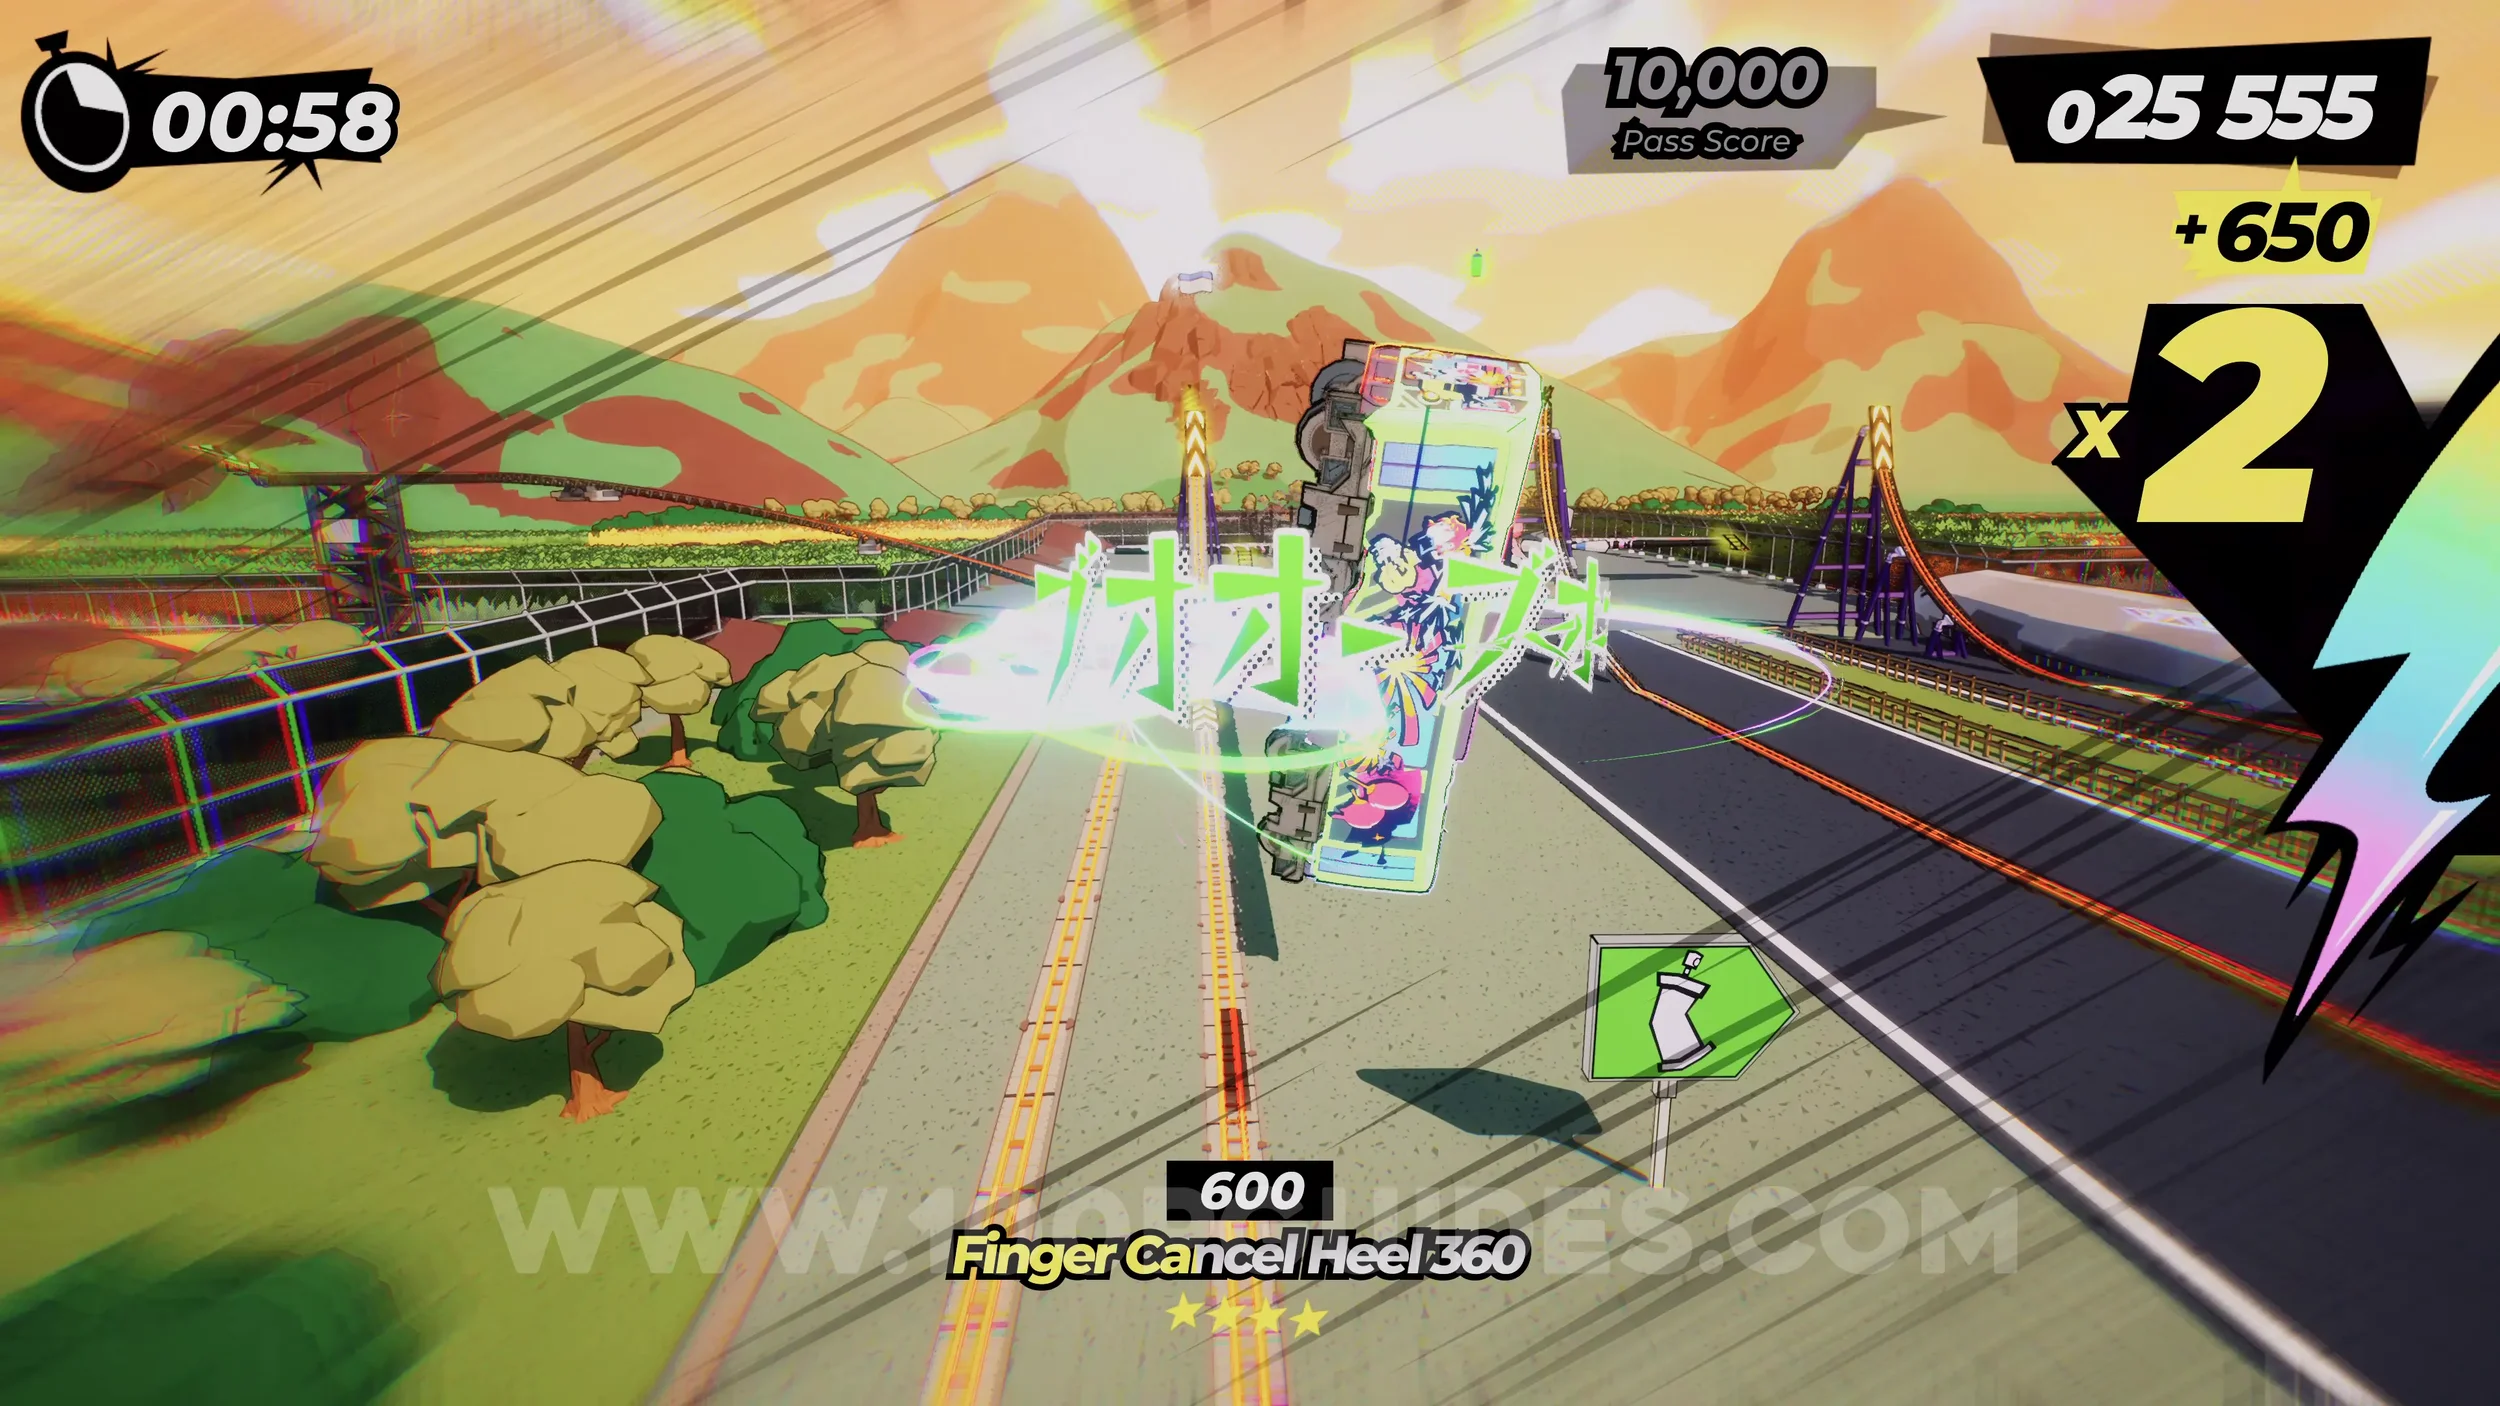
Spray Can (3/4). Now you are back at the start; take the same path you took the first time (the left track). By this point, you should have had enough time to build up a combo and fill up the special bar on the right side of the screen. This will make special rainbow tracks appear. Just after the jump where you picked up the first spray can, stick to the right to see a new rainbow track. Take it to get the spray can.
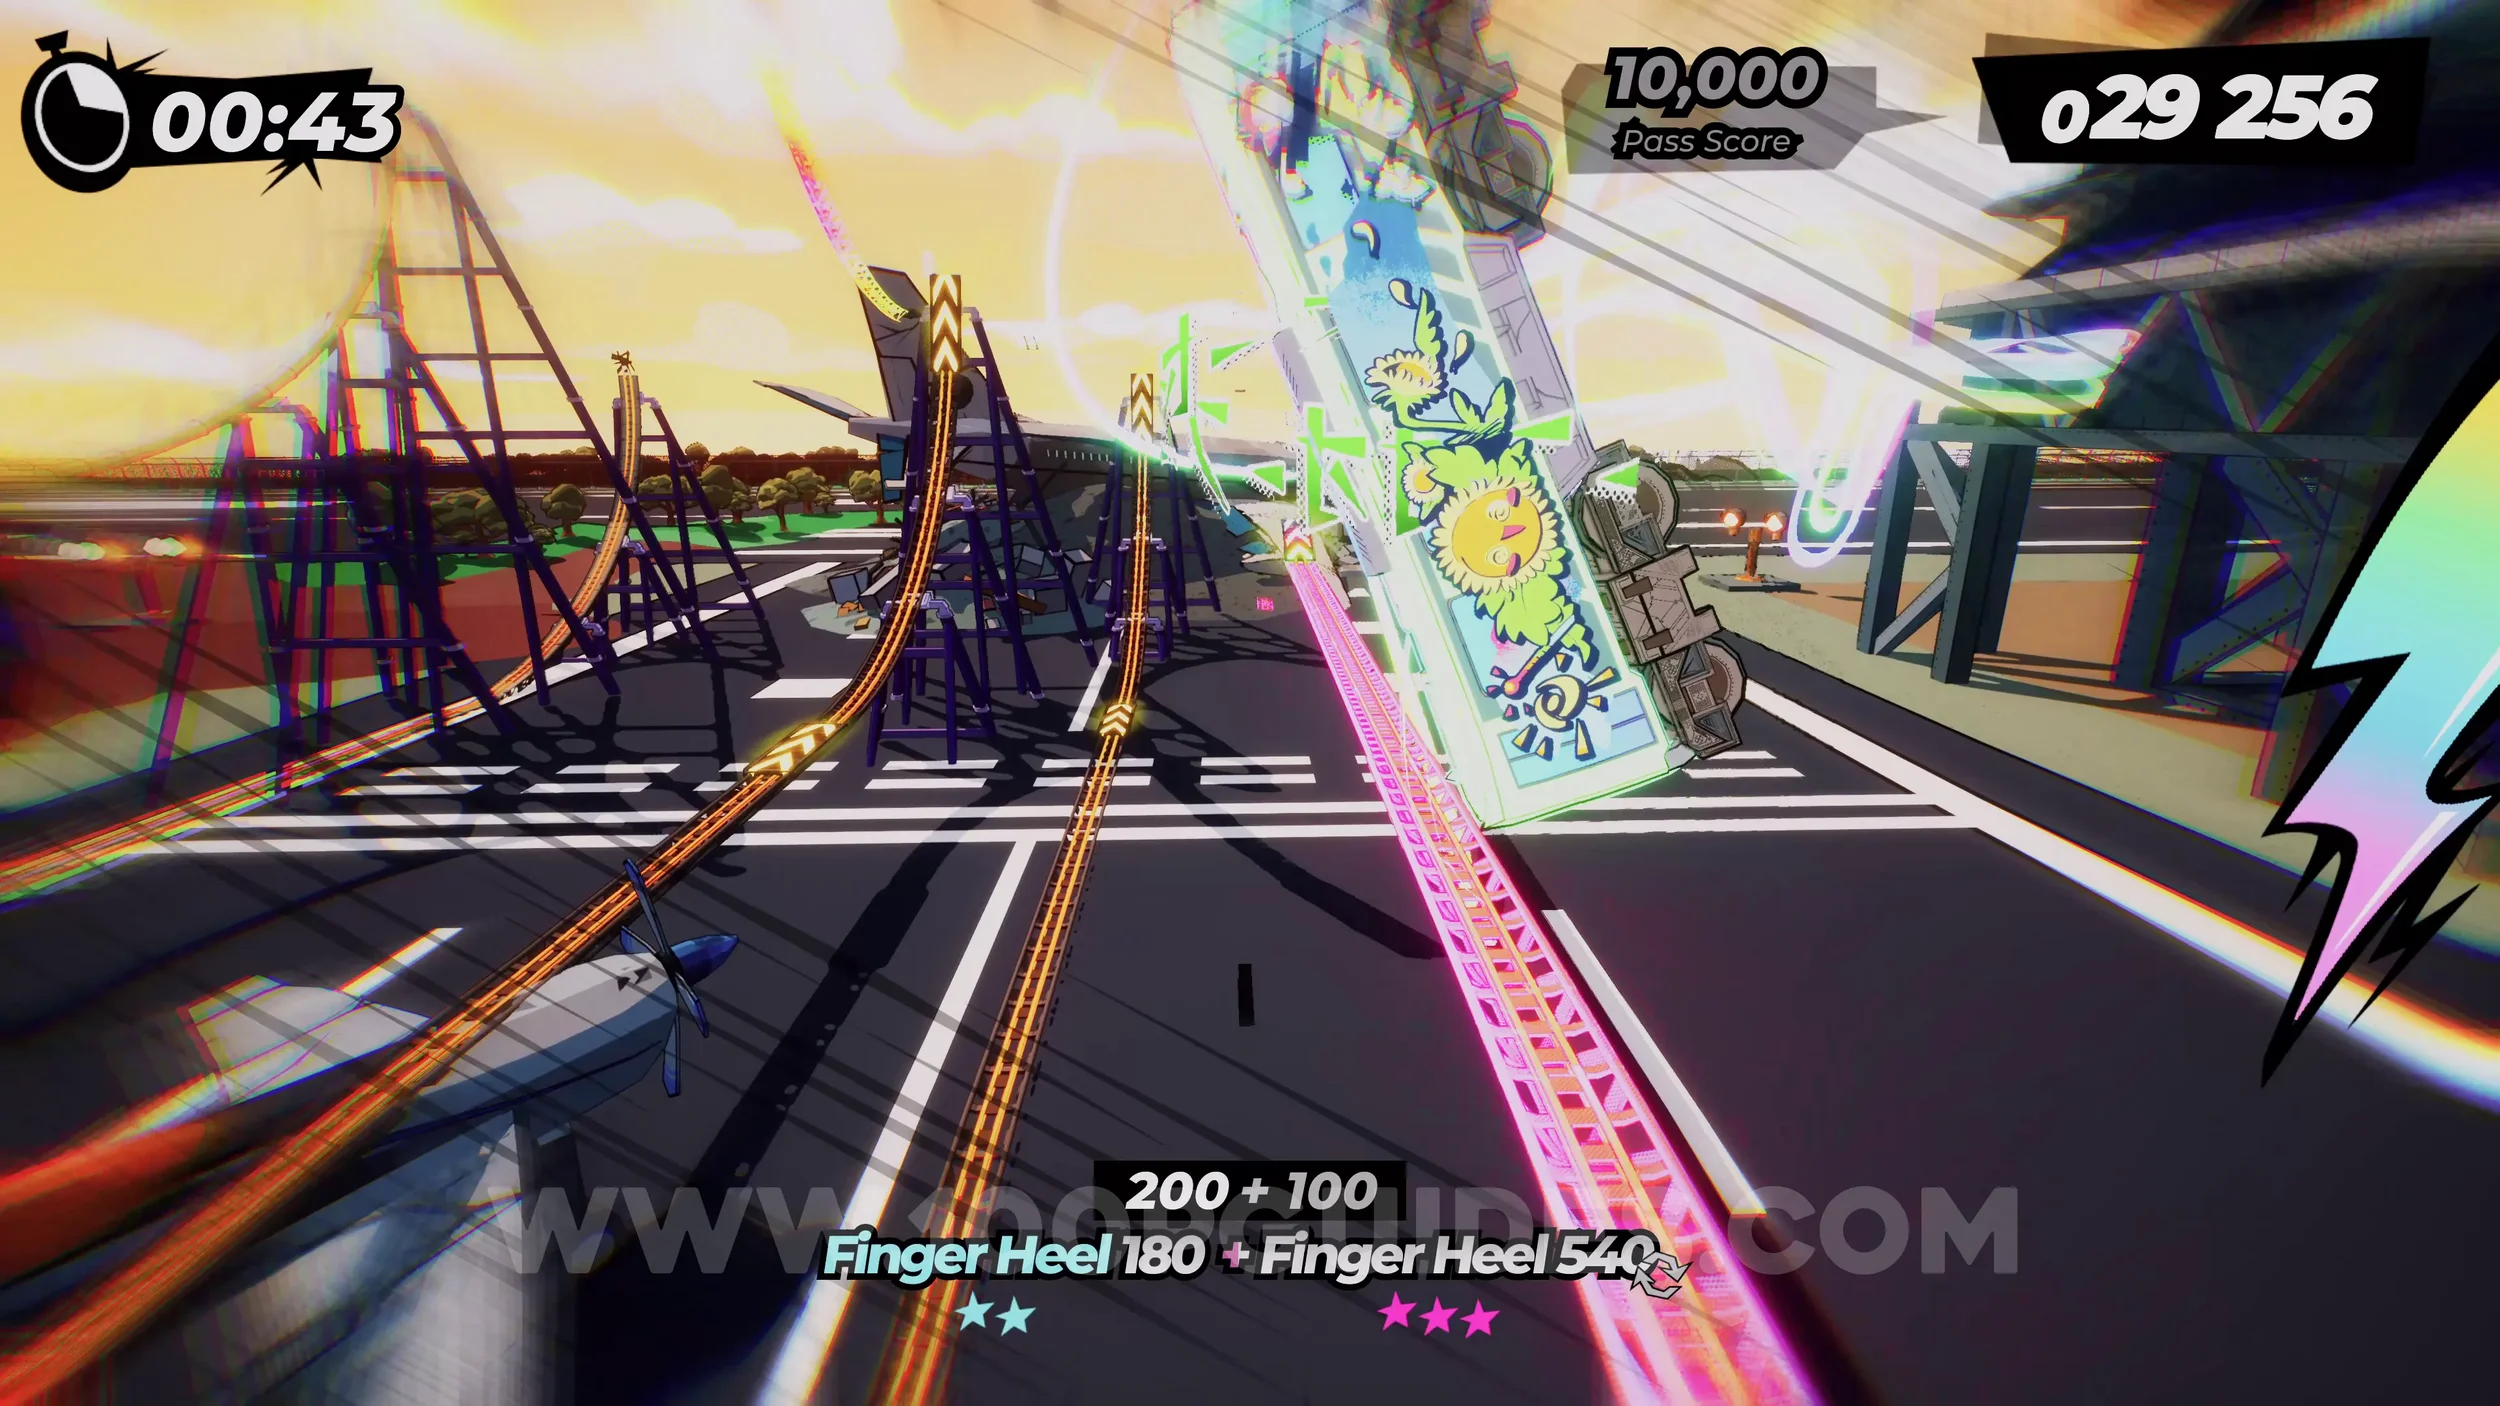
Spray Can (4/4). Follow the track just like you did on your first time around, all the way until you are approaching the hangar again (where the second ticket was). Here you will now see a rainbow track on your left. Take it and go over the rooftops. Just as the tracks unite again, press R2 and jump to the right to get on the rainbow track. Then follow this track to get the spray can.
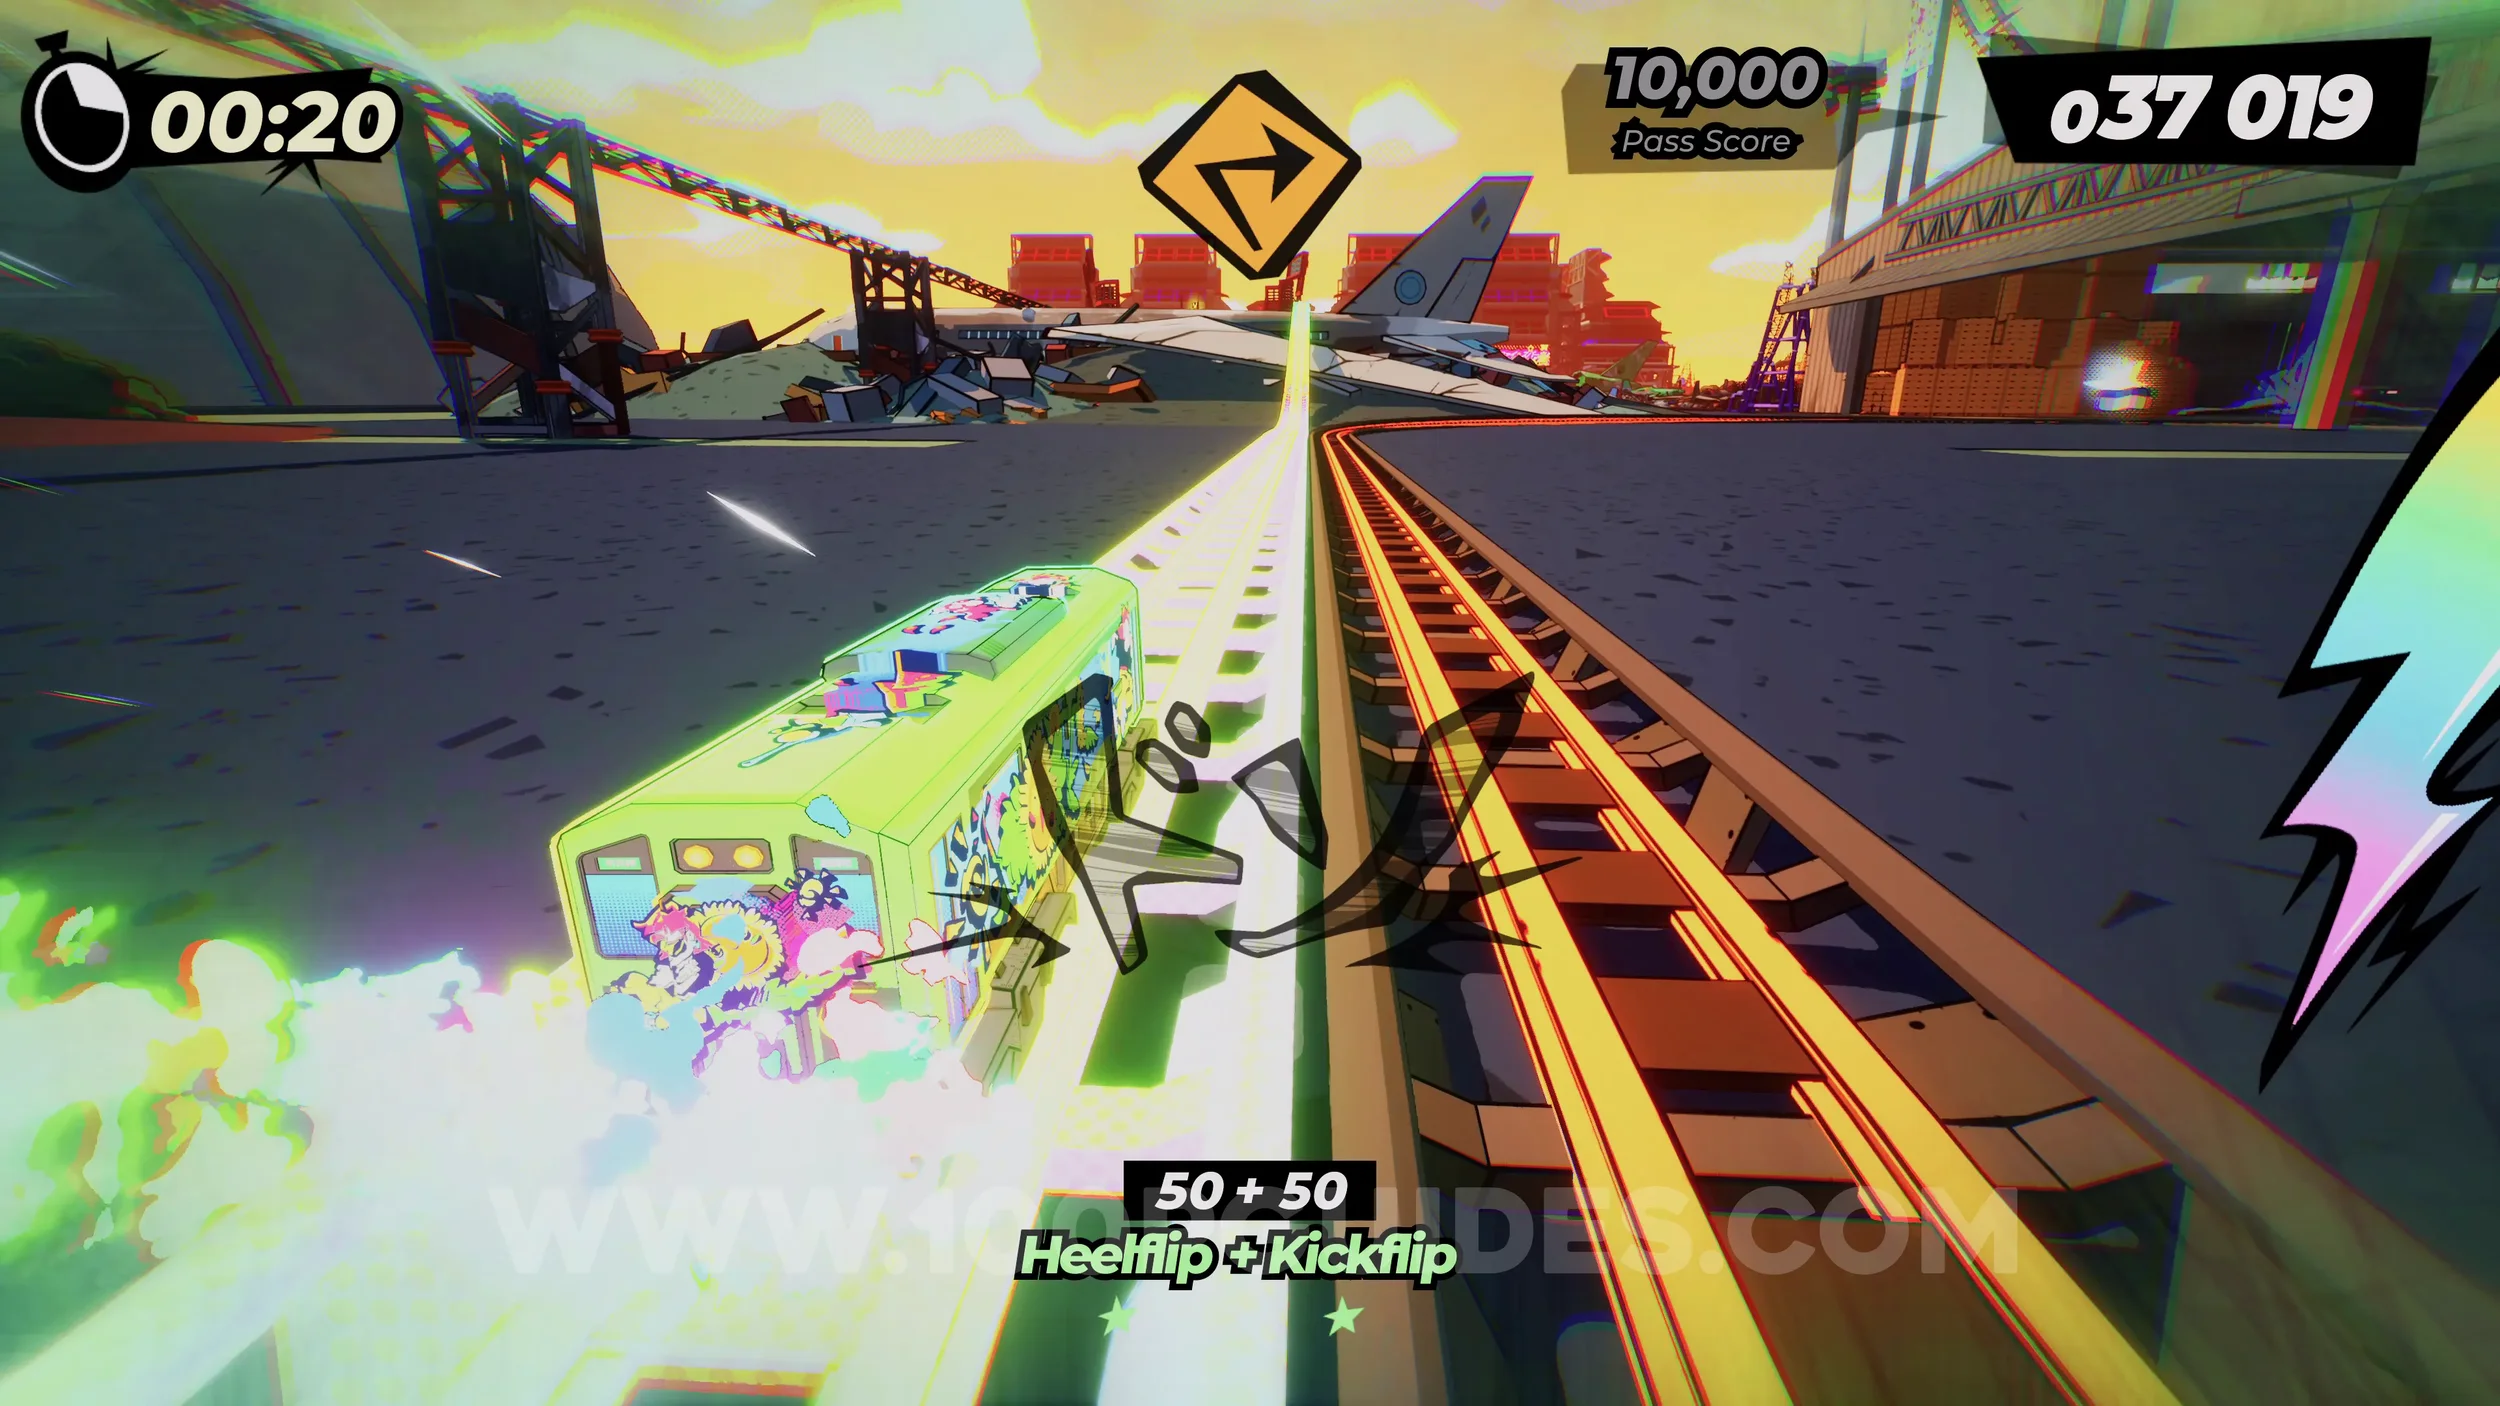
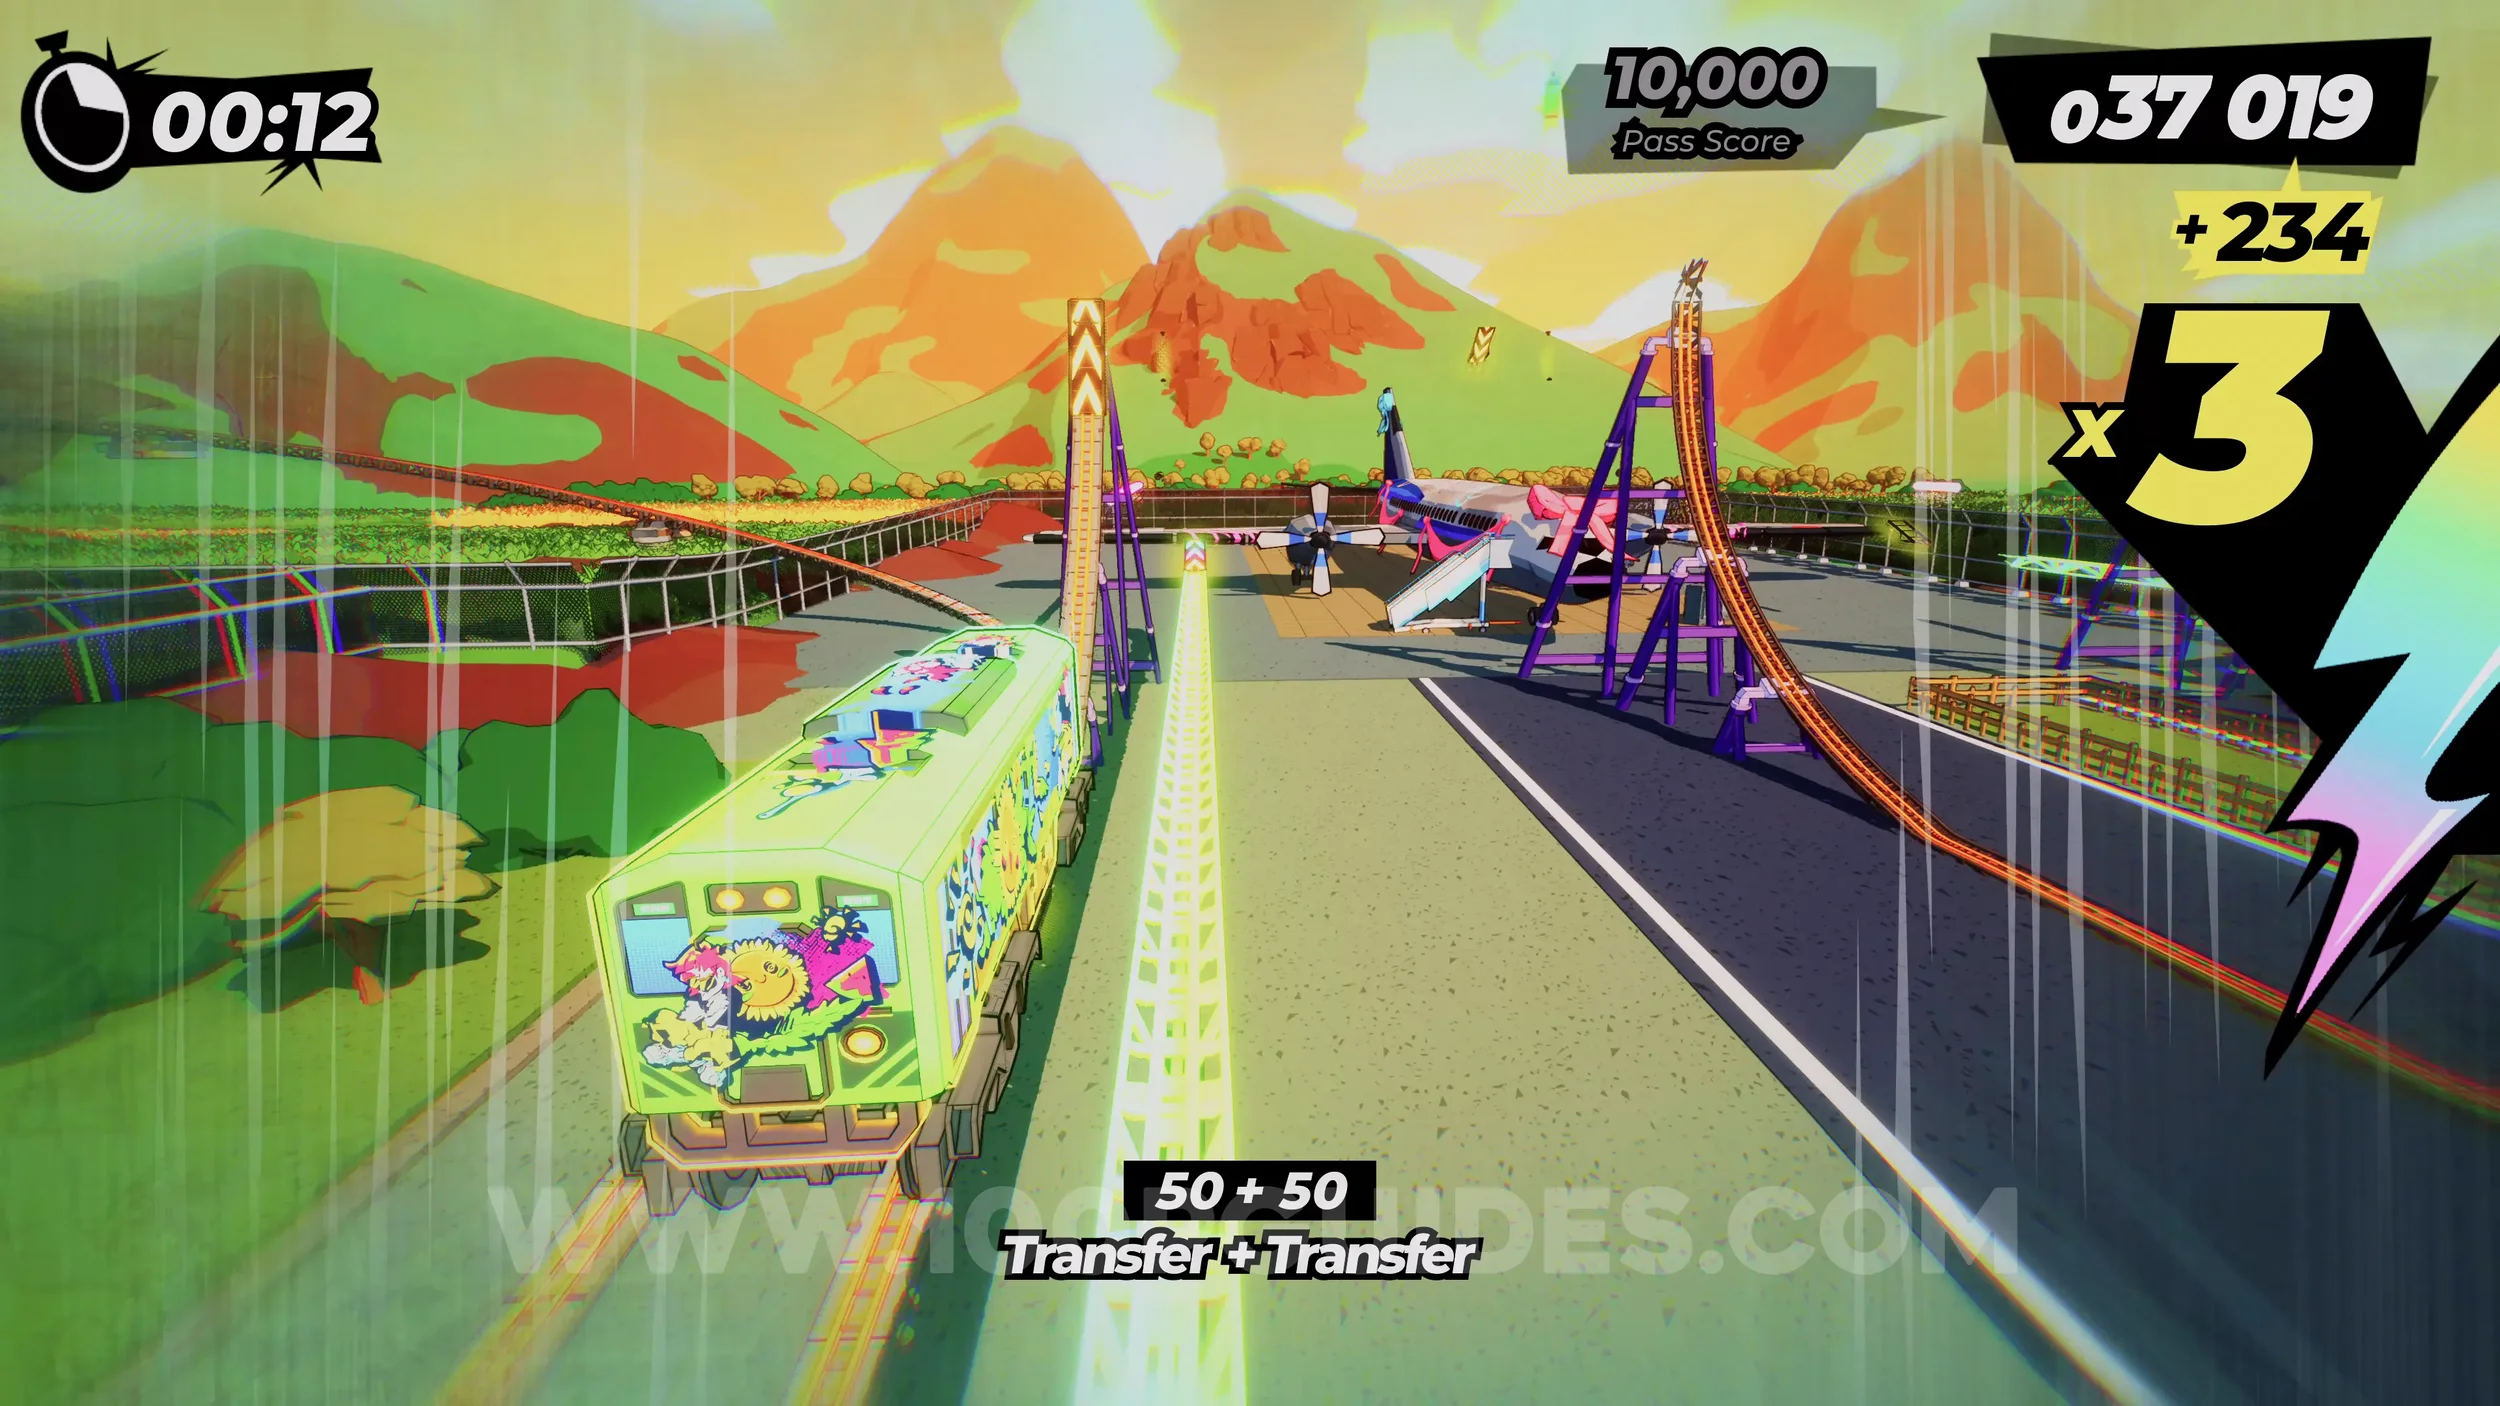
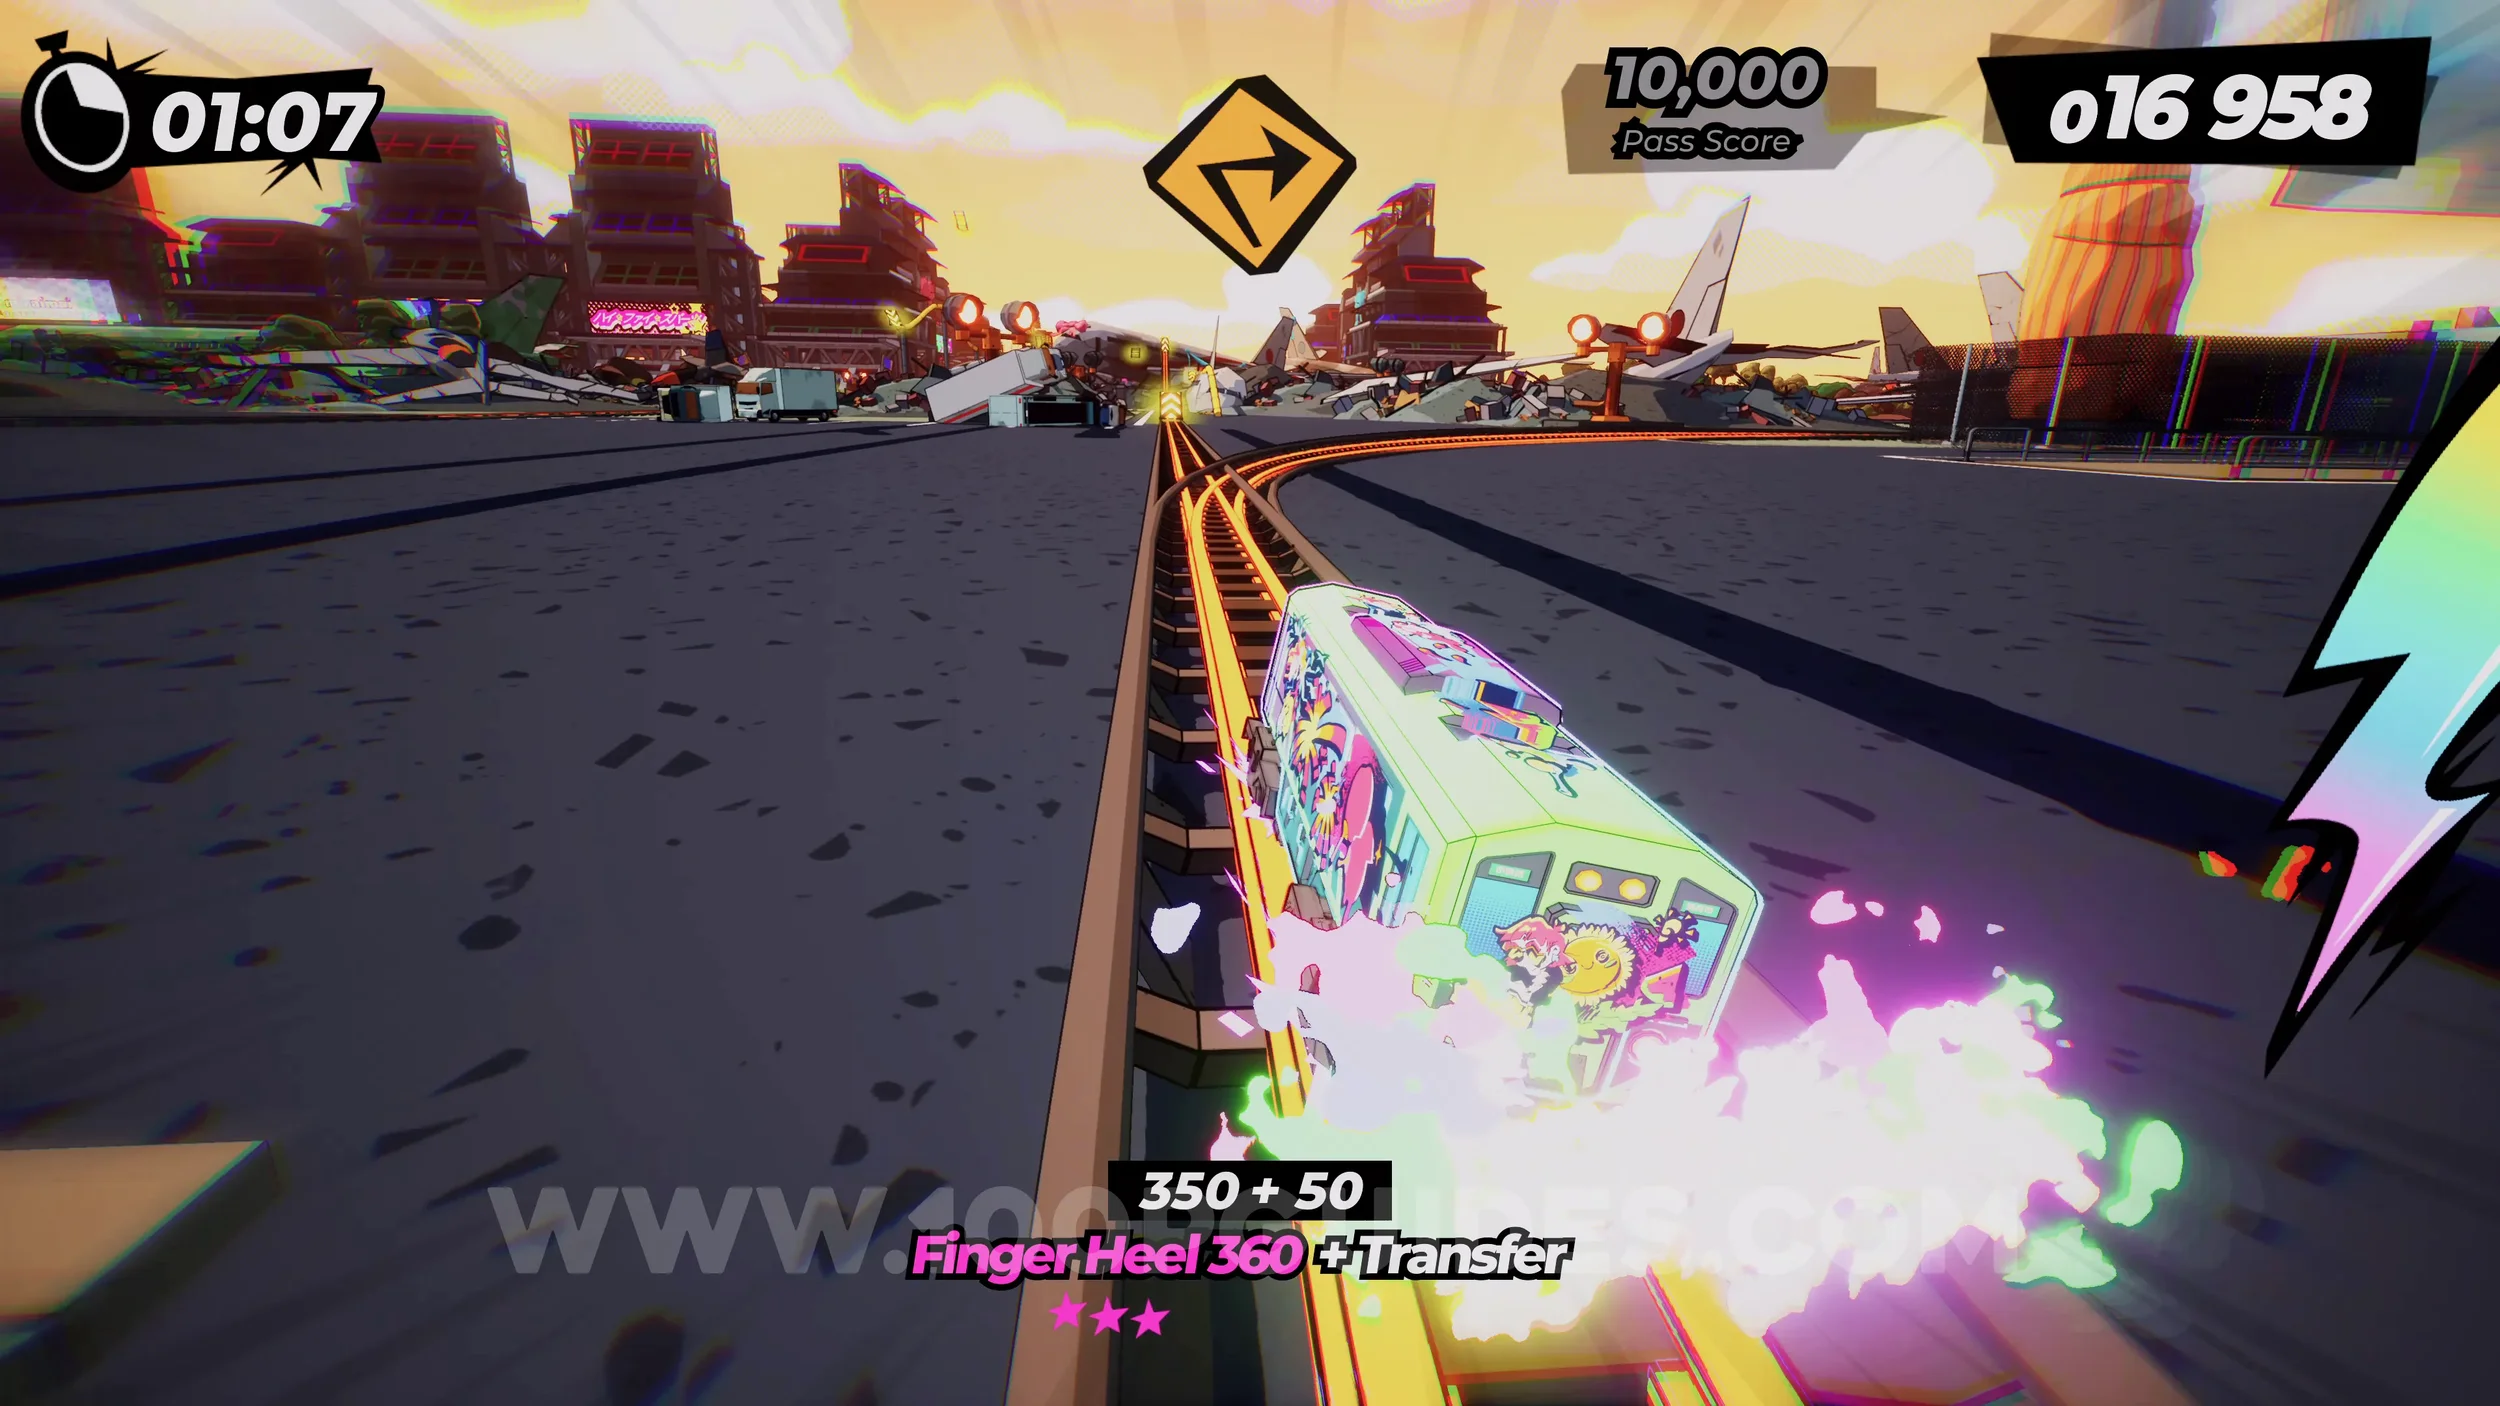
Film Roll (1/1). Once you return to the start with the super bar filled up, stick to the right side lower track and you will see a yellow sign telling you the film roll is to the right. Jump up to the rails, then look for another sign telling you the film roll is to your left. Here, you will see a rainbow track in front of you. Use the R2 button to jump to it and get the film roll.
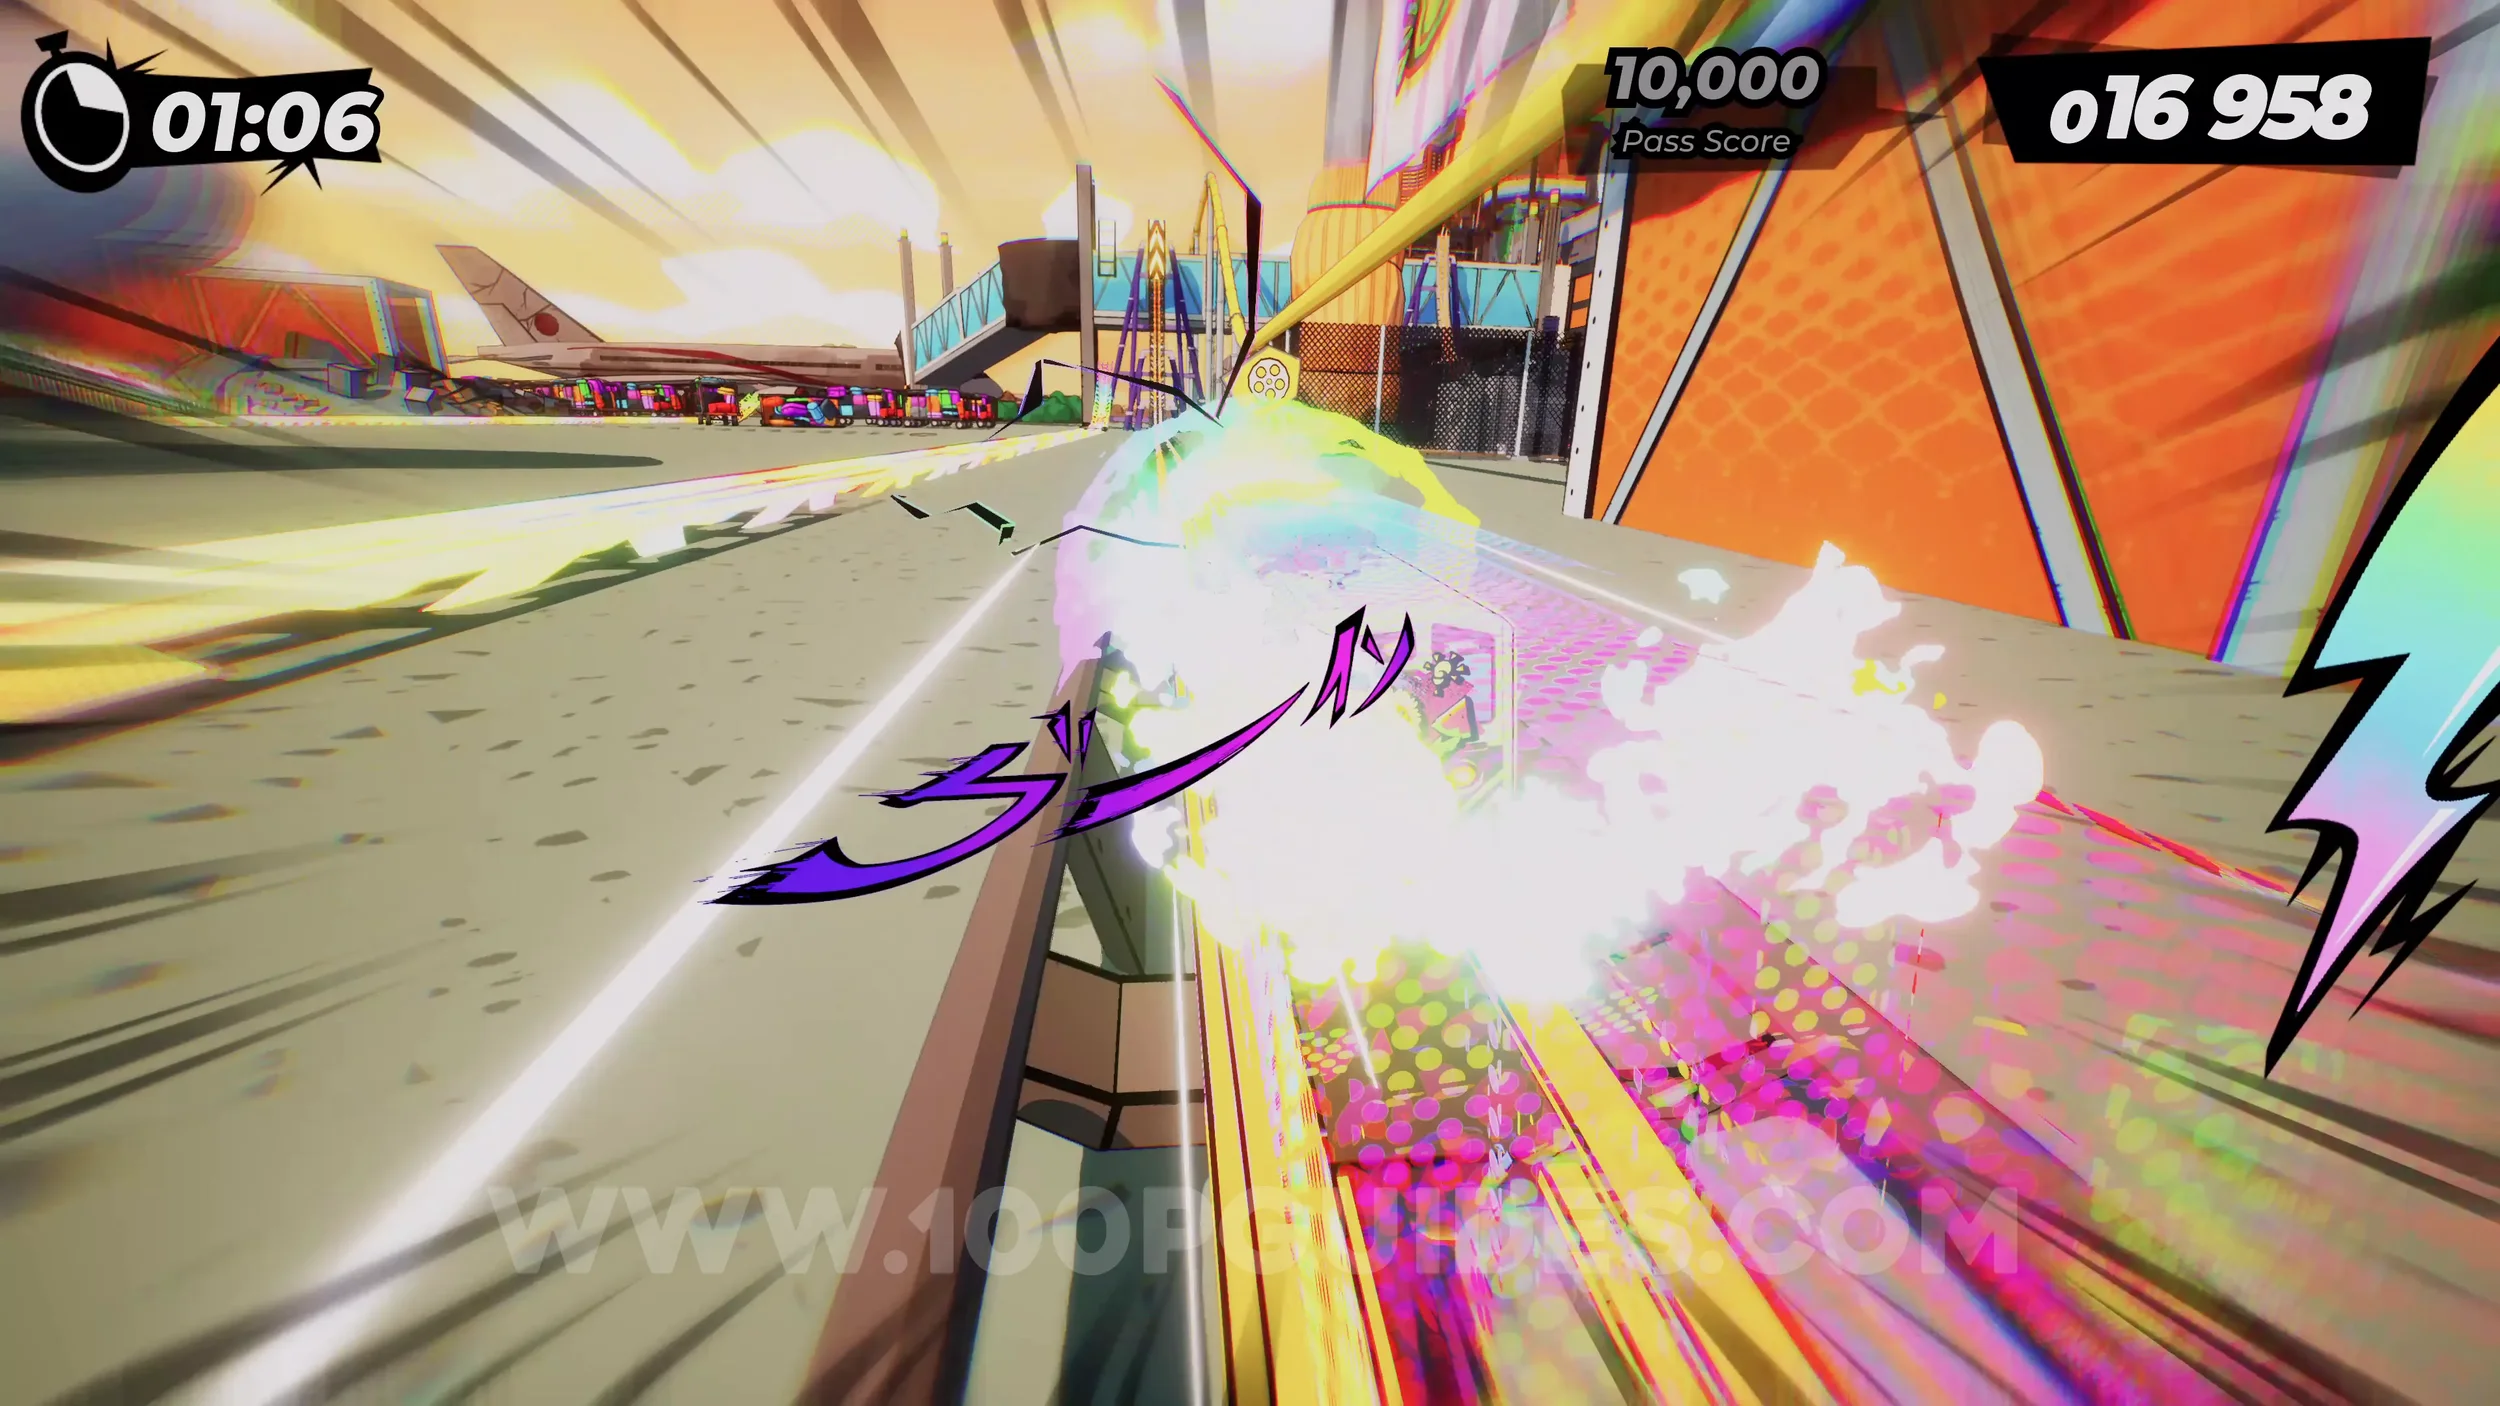
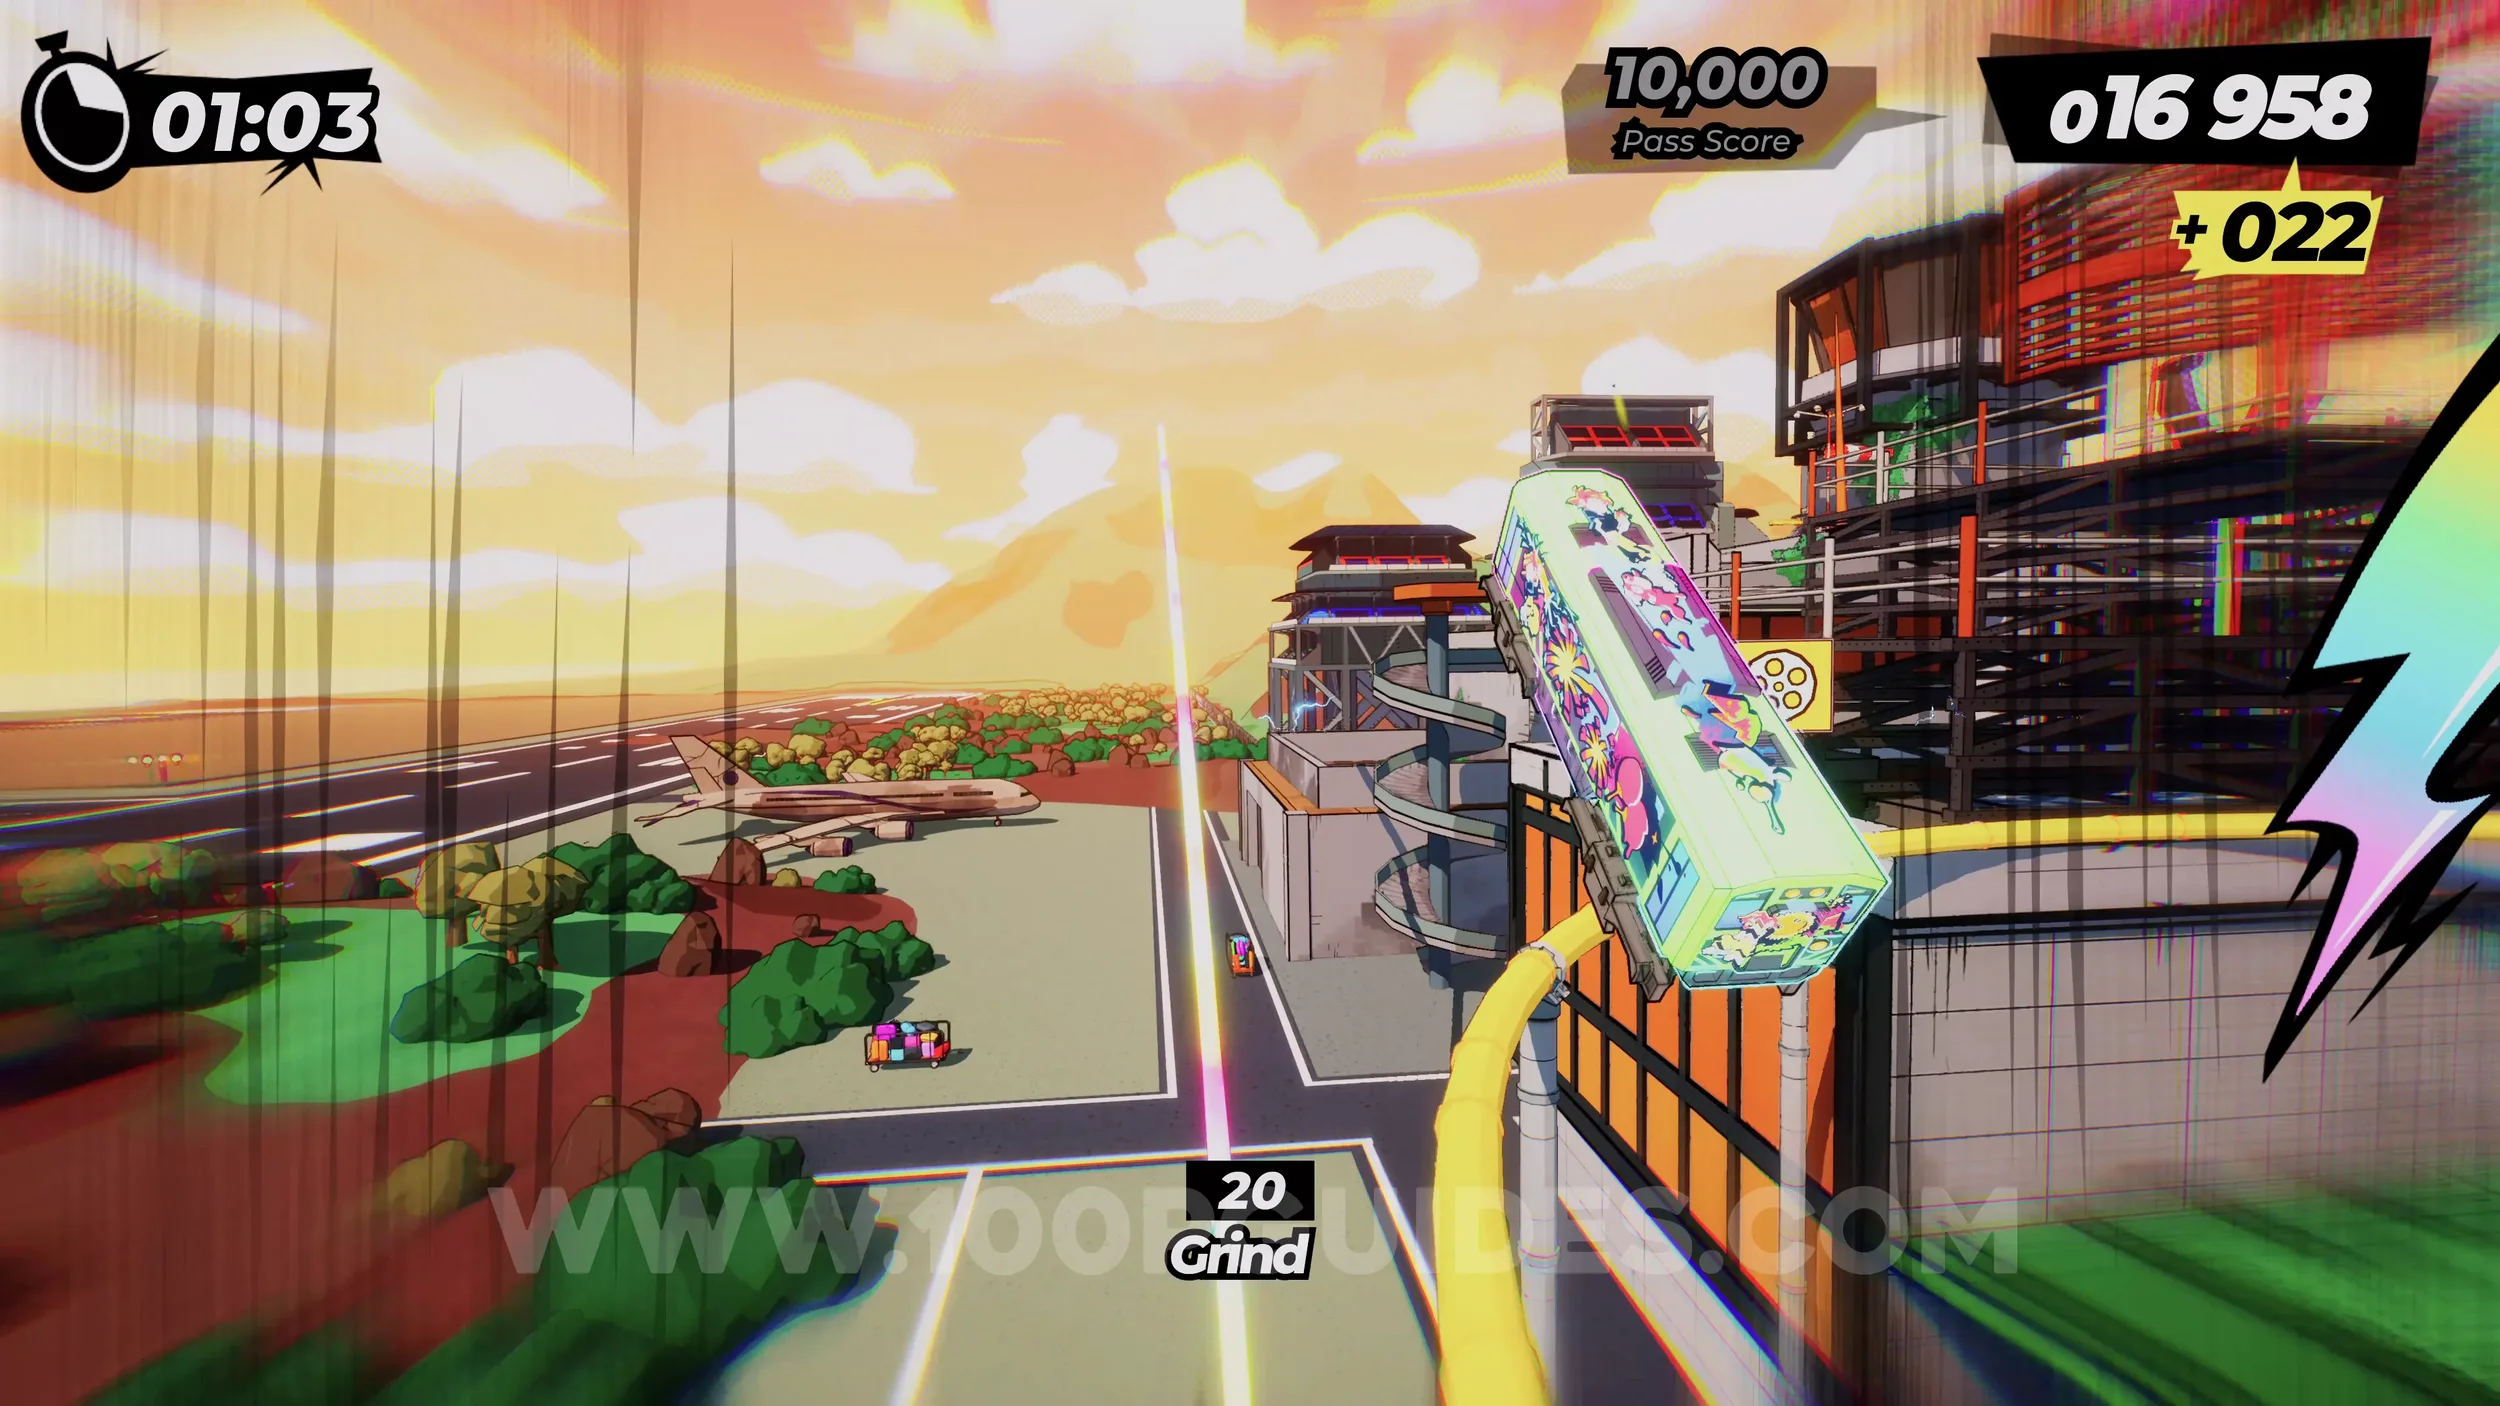
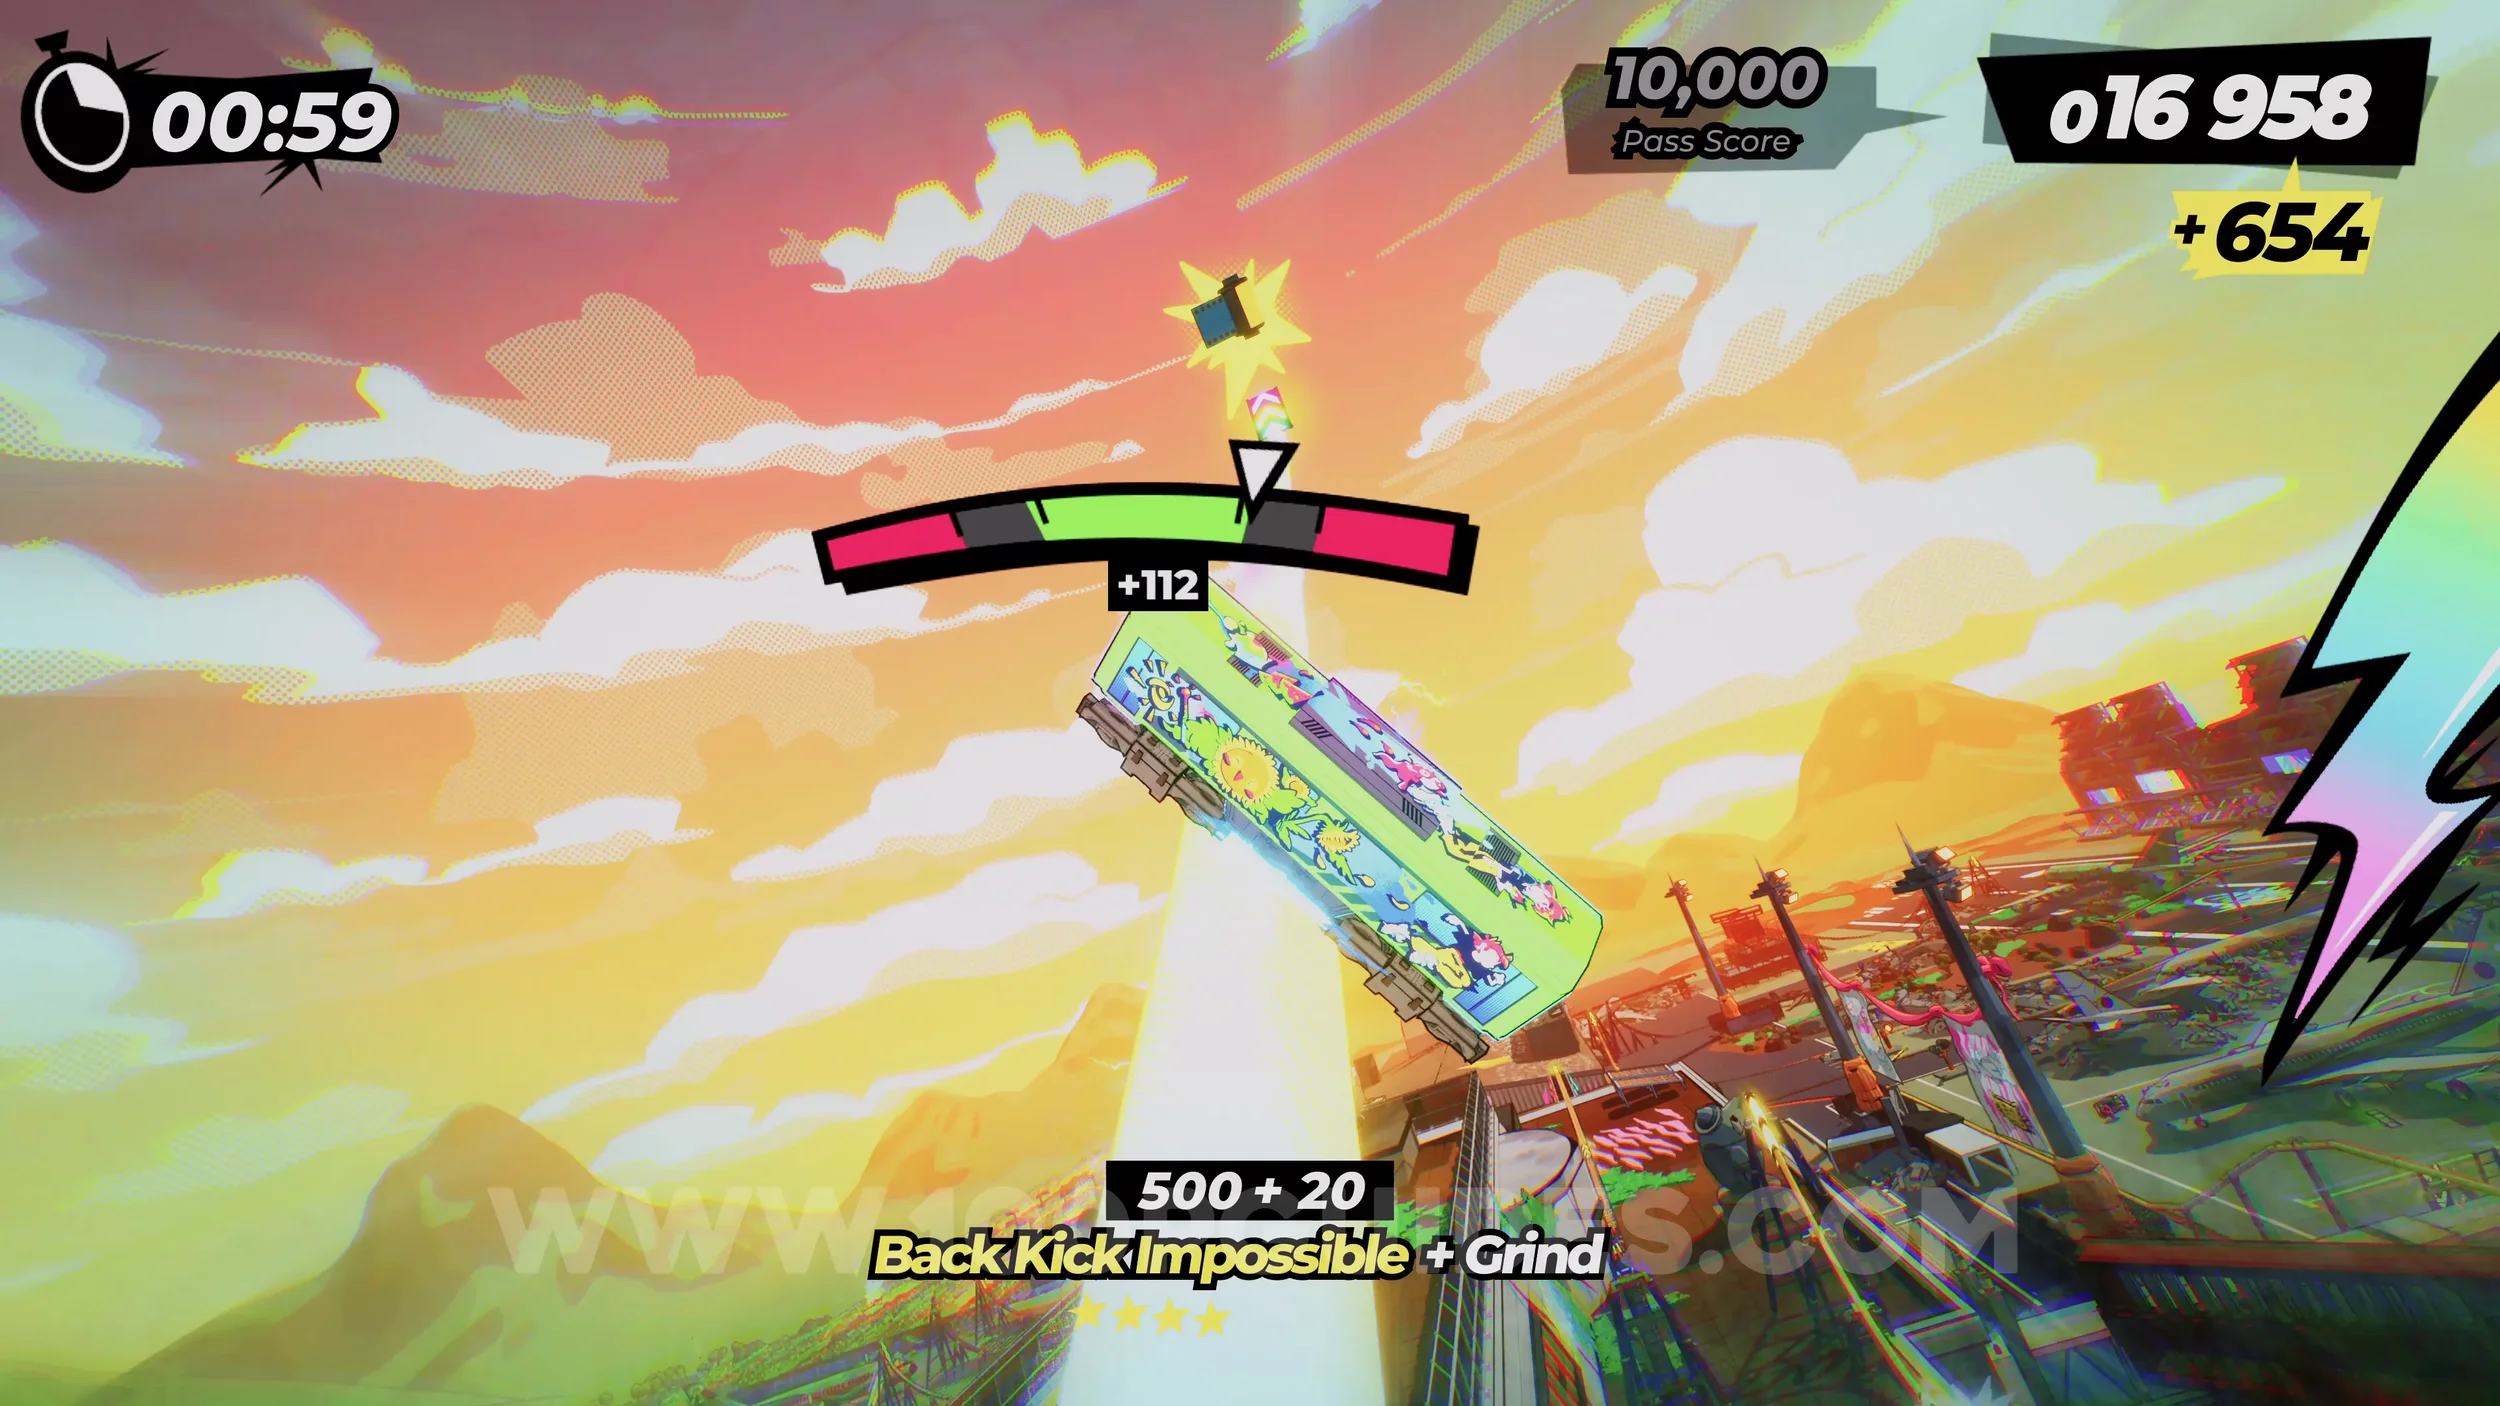
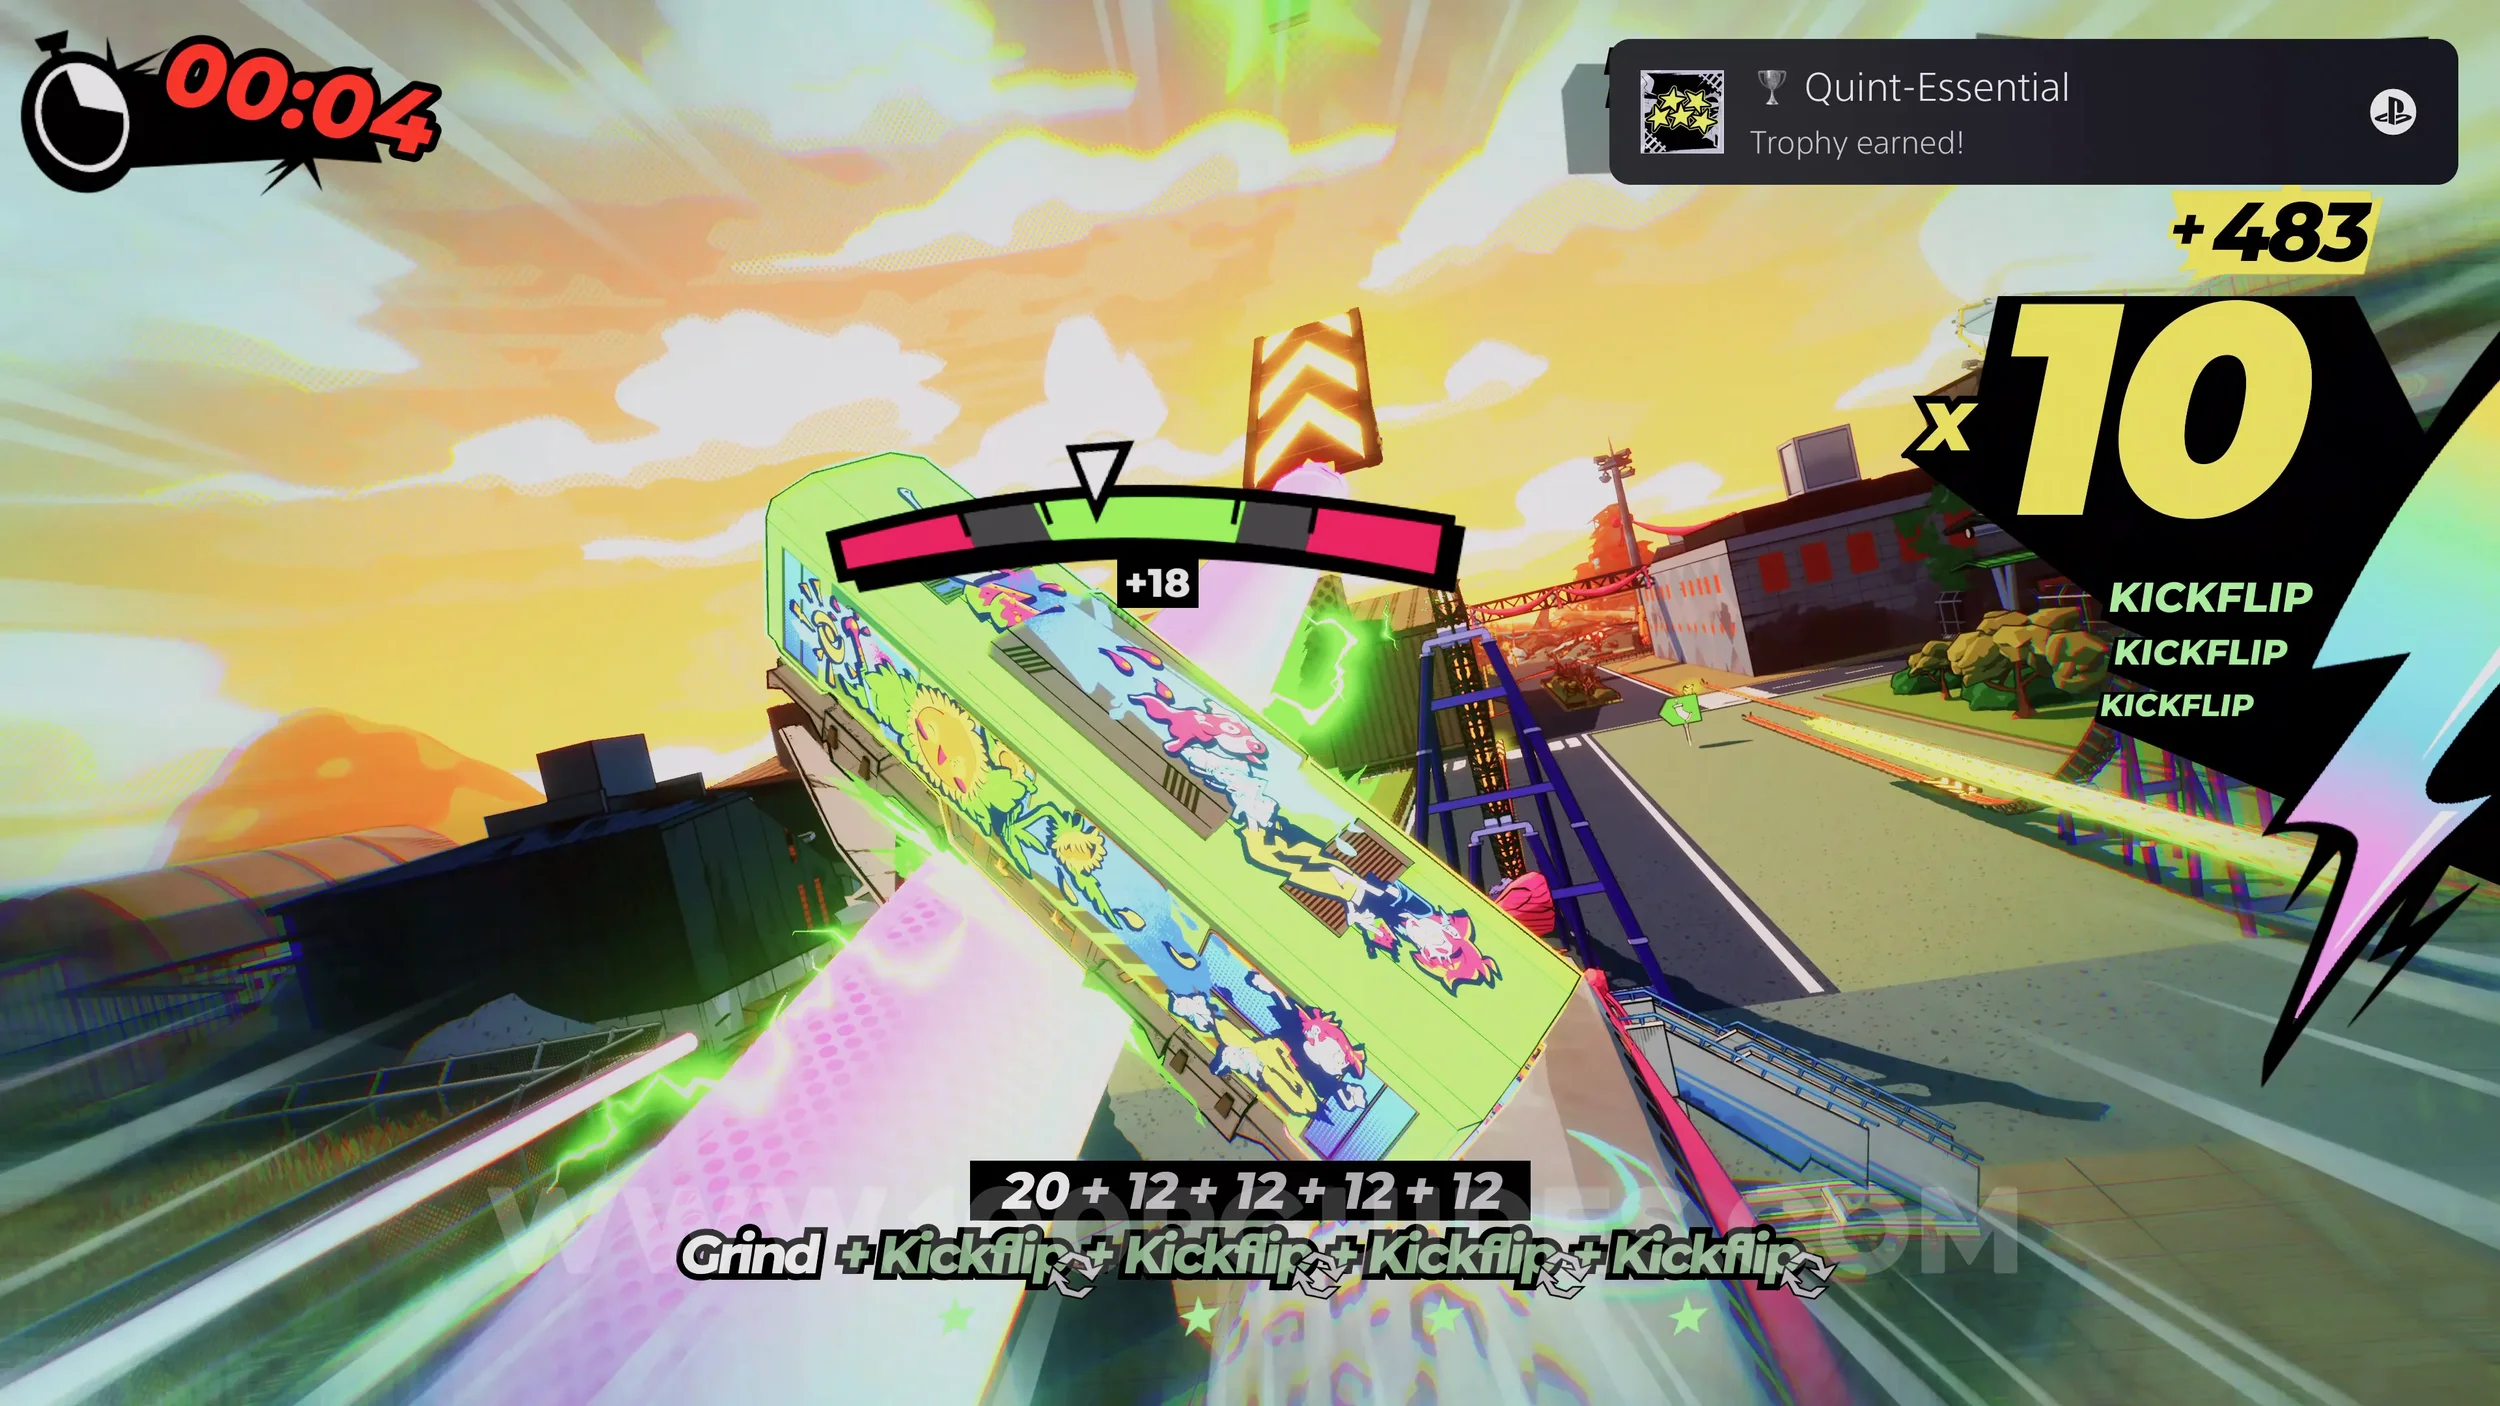
Dare: Pull a 10 Trick Combo. Self-explanatory. Just build a chain of tricks, grinds and manuals until you get a combo of x10.
Dare: Chain 3 Tricks in a Single Jump. Self-explanatory. Easiest to do on some of the larger vert jumps.
Dare: Land A Manual After an Air Stomp. While in the air, press L2+R2 to air stomp down to the track. Just before landing, hold up or down on the left analog stick to land with a manual.
1-7-B Fashion Overdrive
Spray Can (1/2). At the very start, stick left until you see it on the rail you can grind.
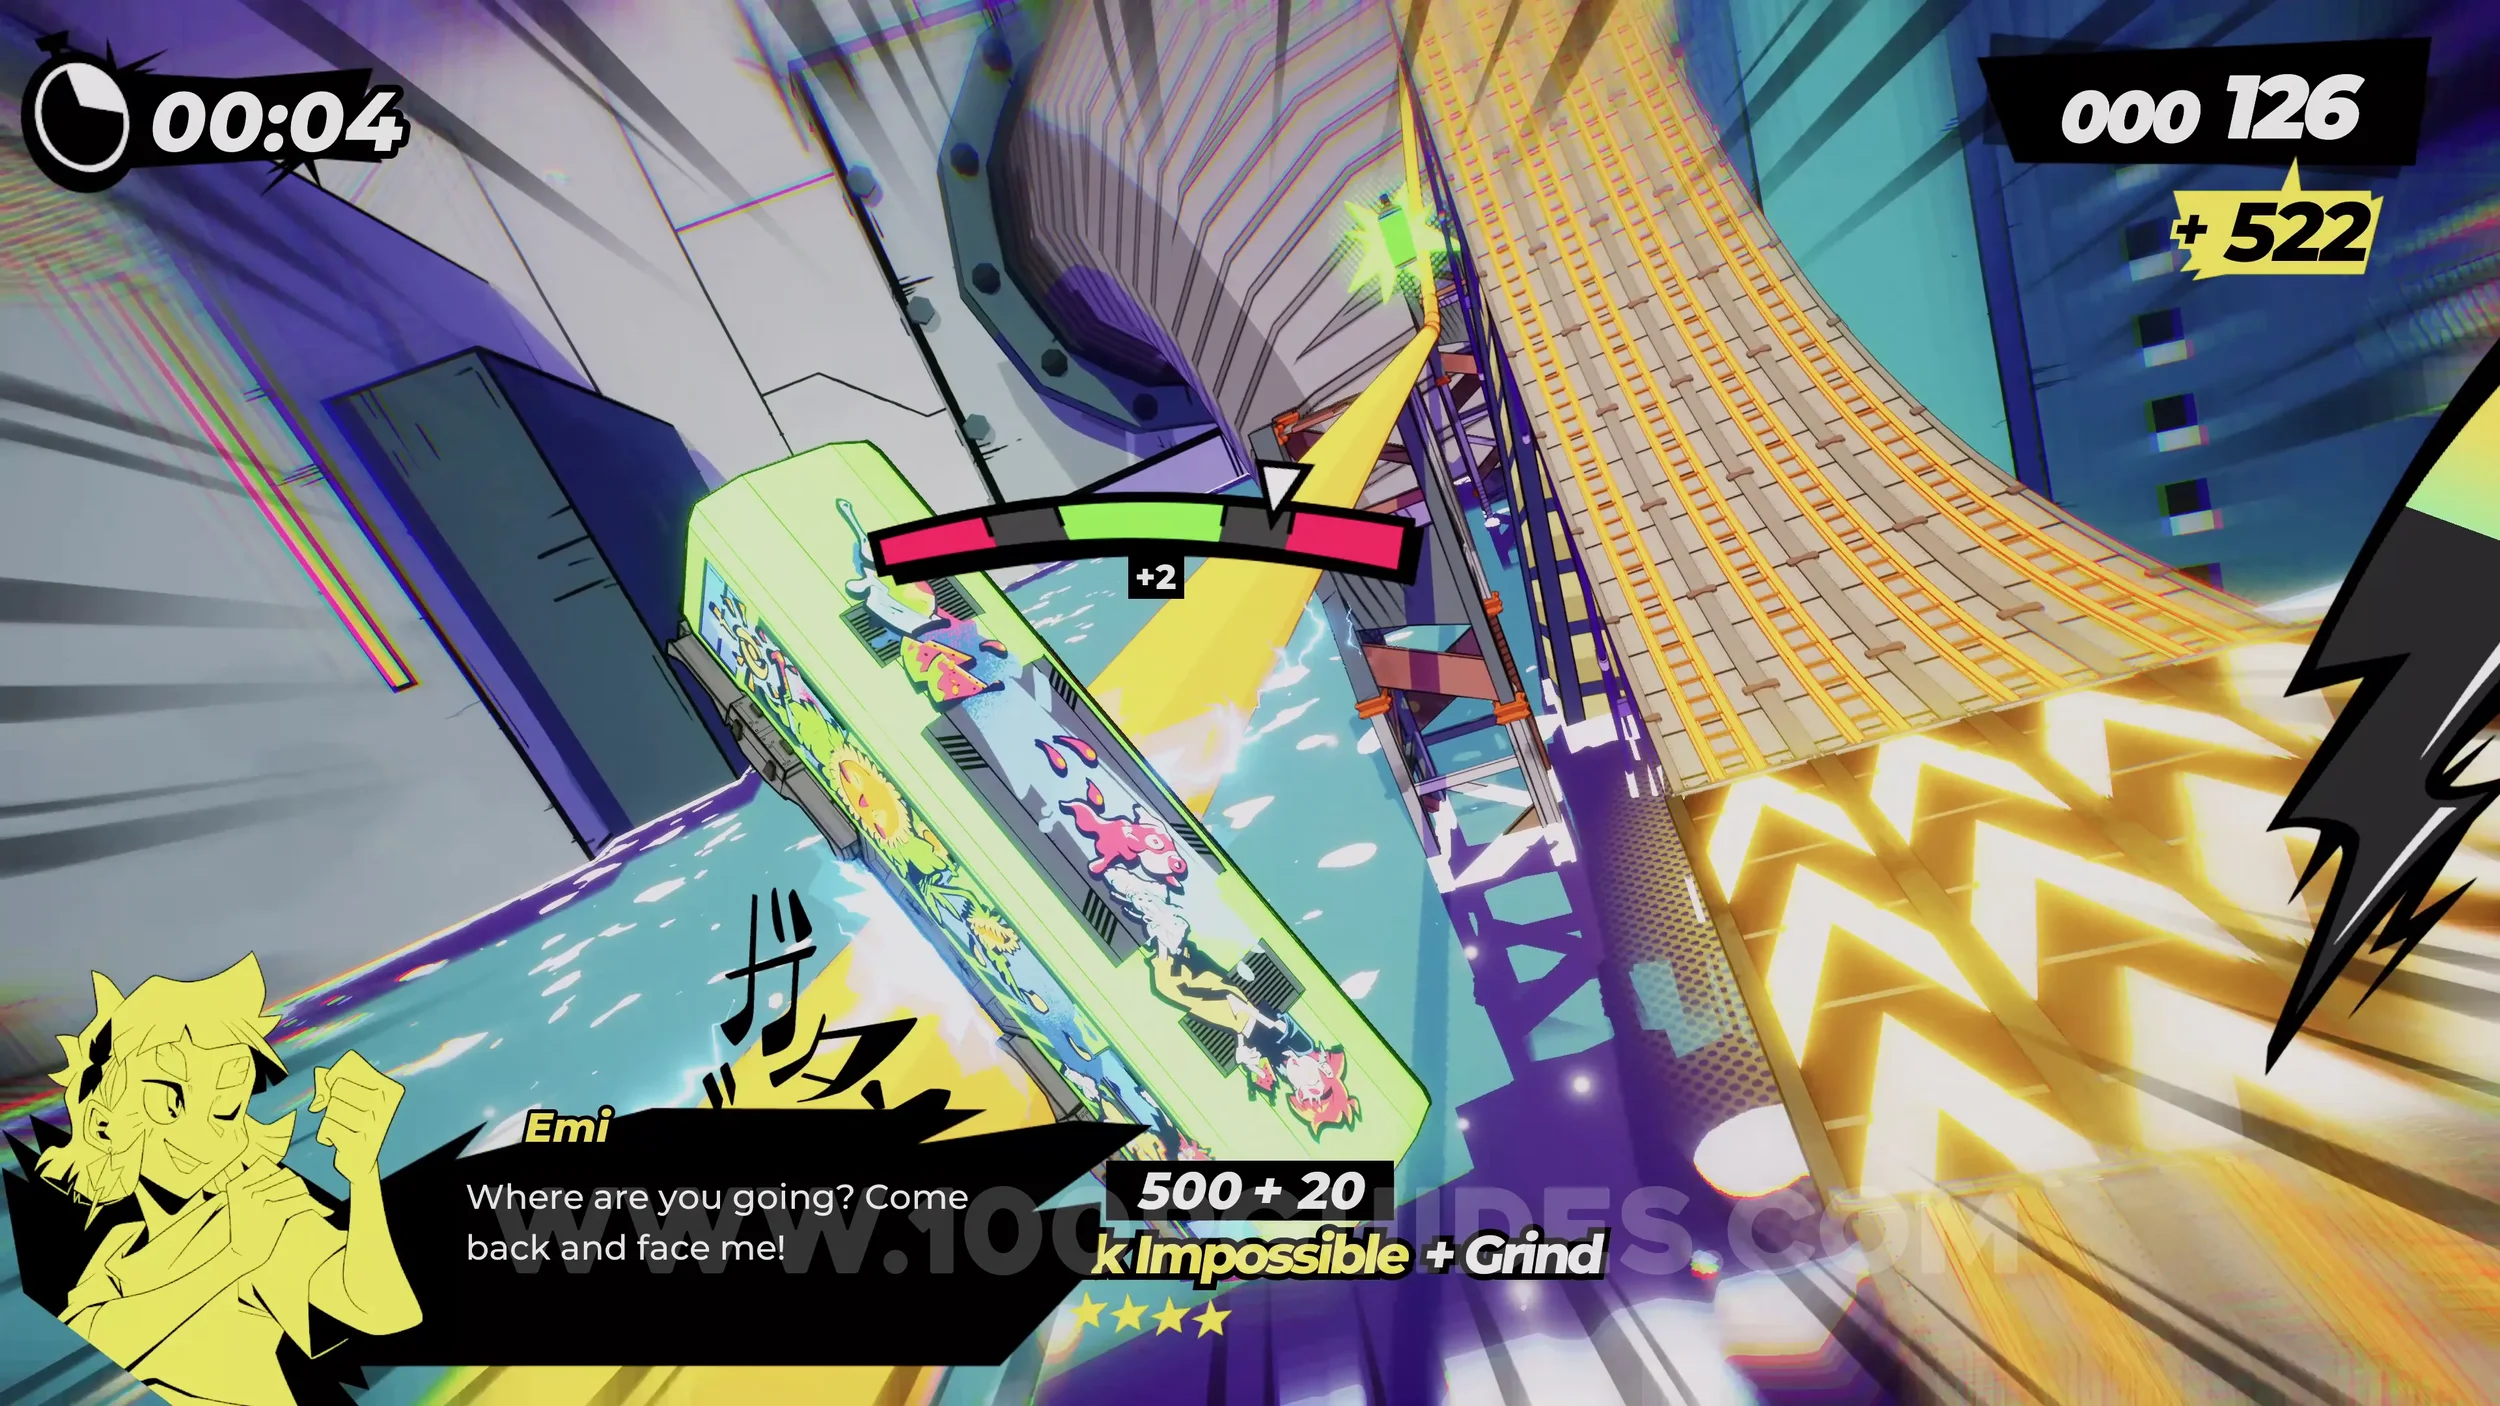
Dare: Derail 5 Rivals. Will most likely come automatically. At the start of the level, you will see other trains on the track. Just hit five of them.
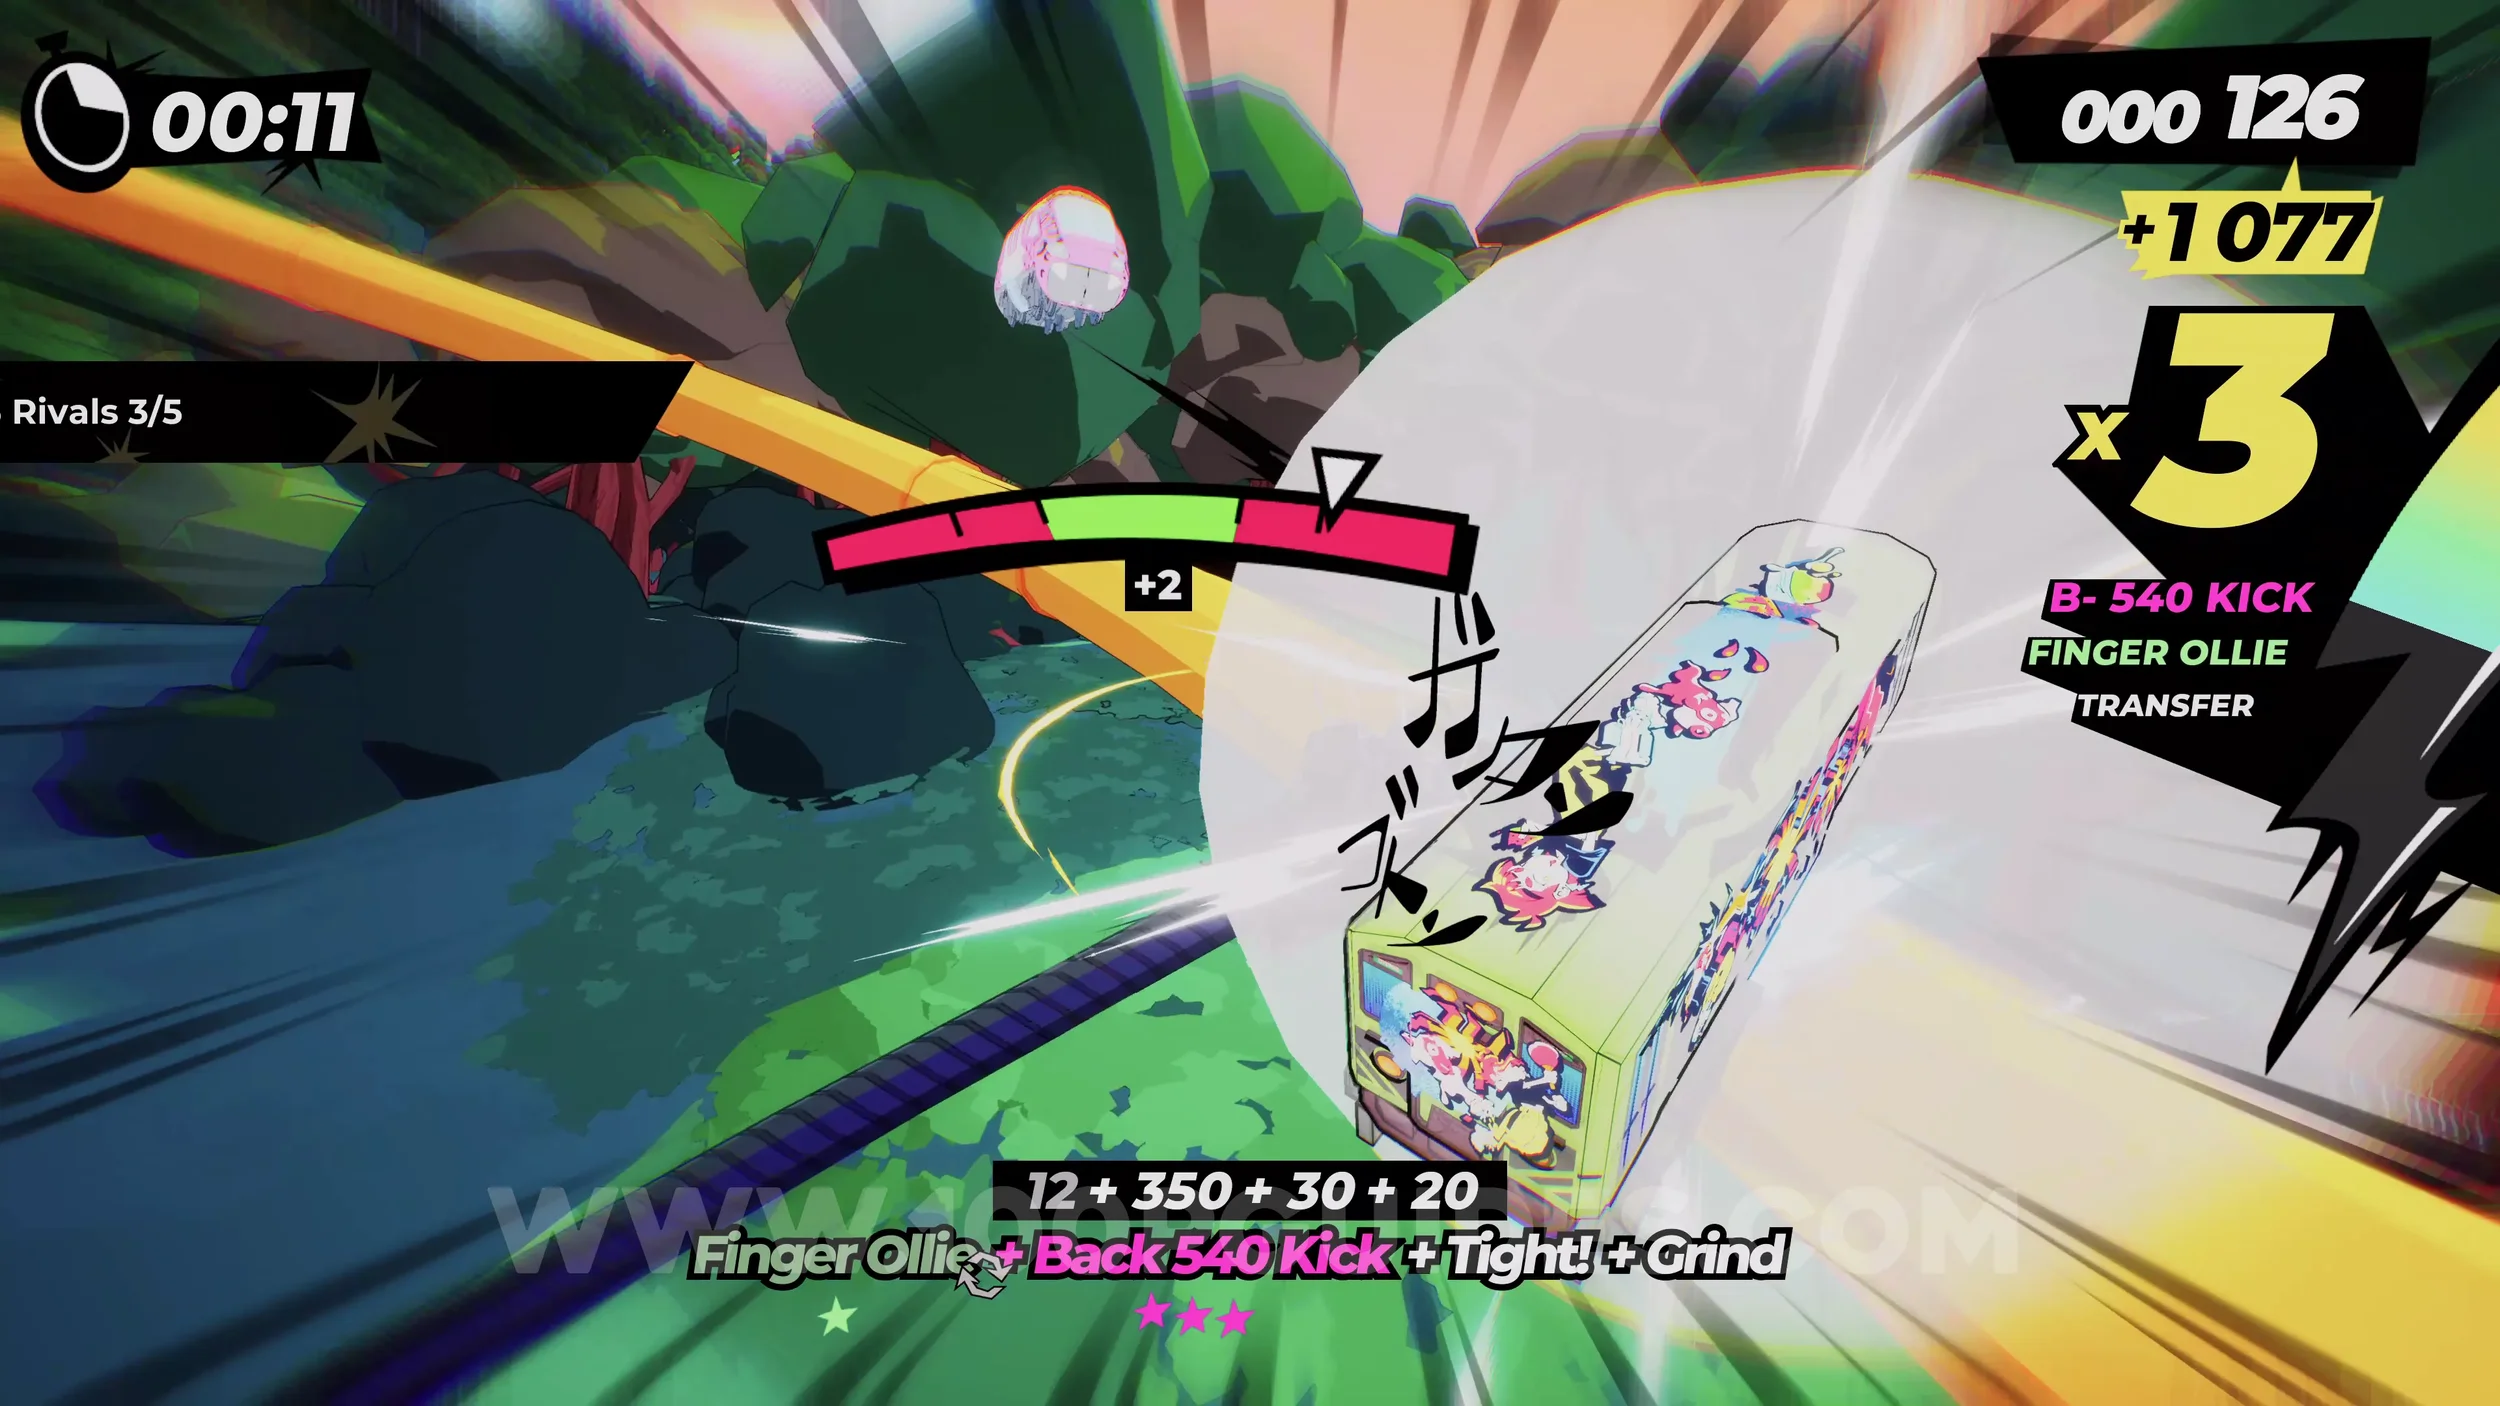
Dare: Risky Dodge 5 Mecha Energy Columns. Once you trigger the cutscene and the boss fight starts, the boss will create pillars on the tracks that can hurt you. Just change tracks just before they hit you to trigger a risky dodge. Do this five times.
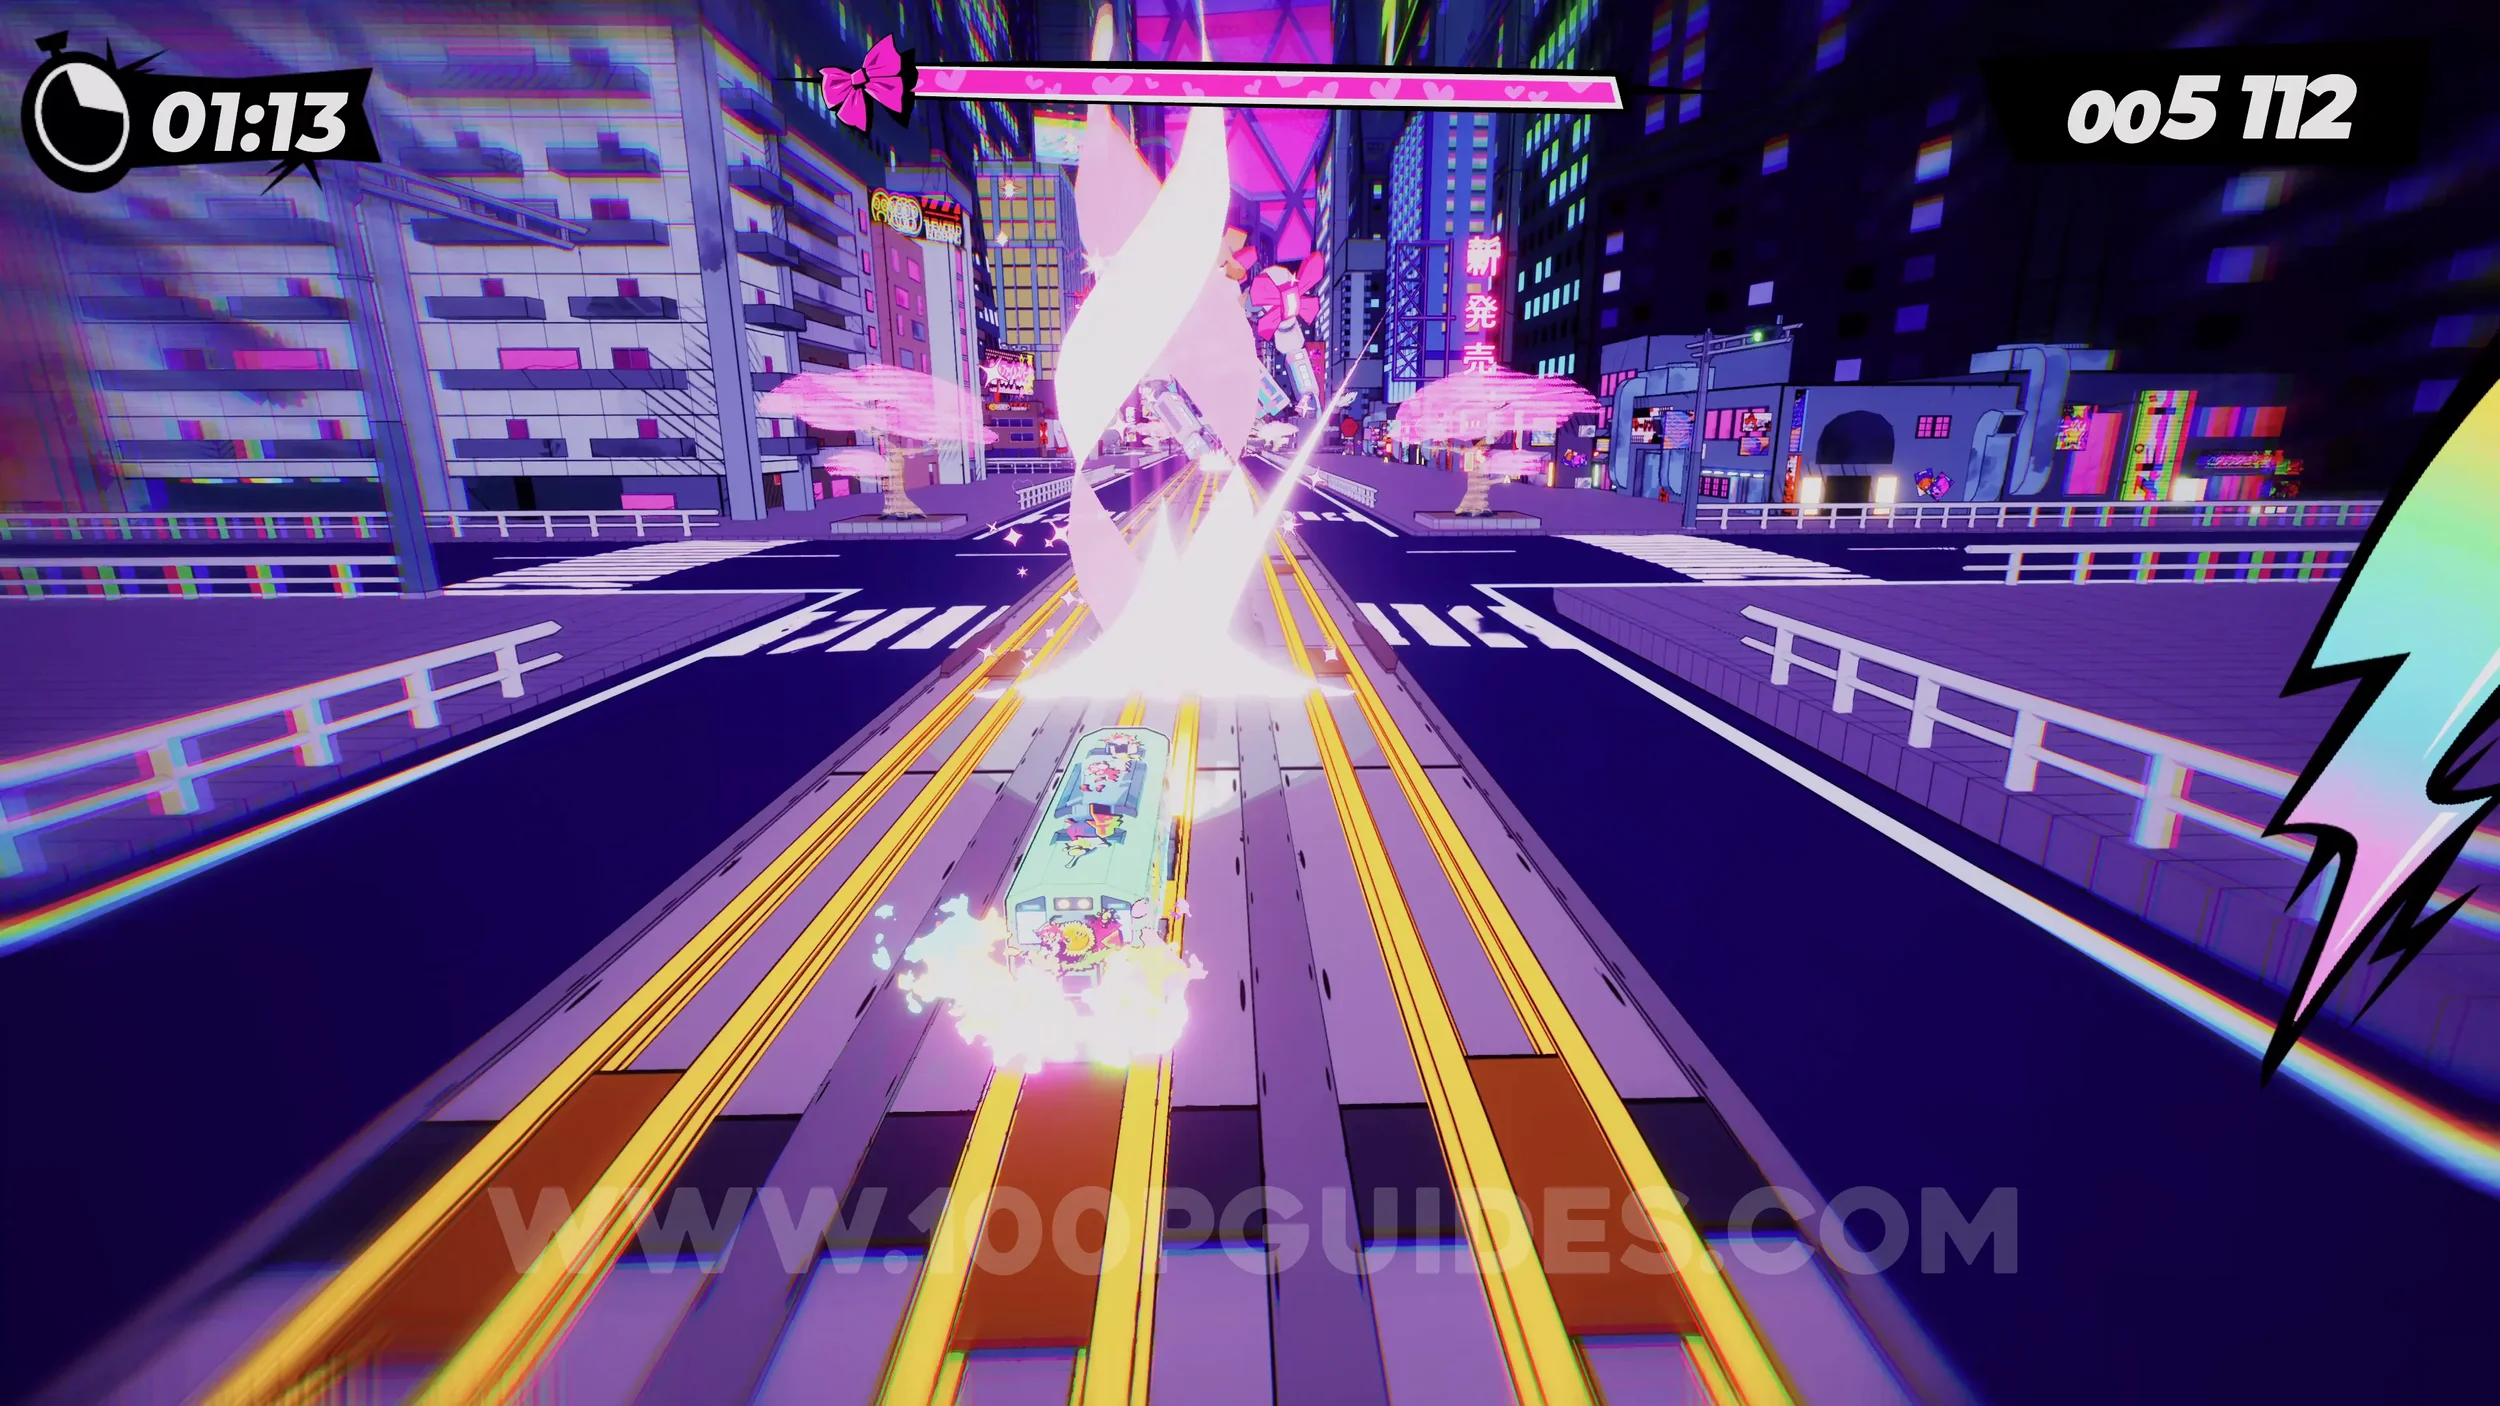
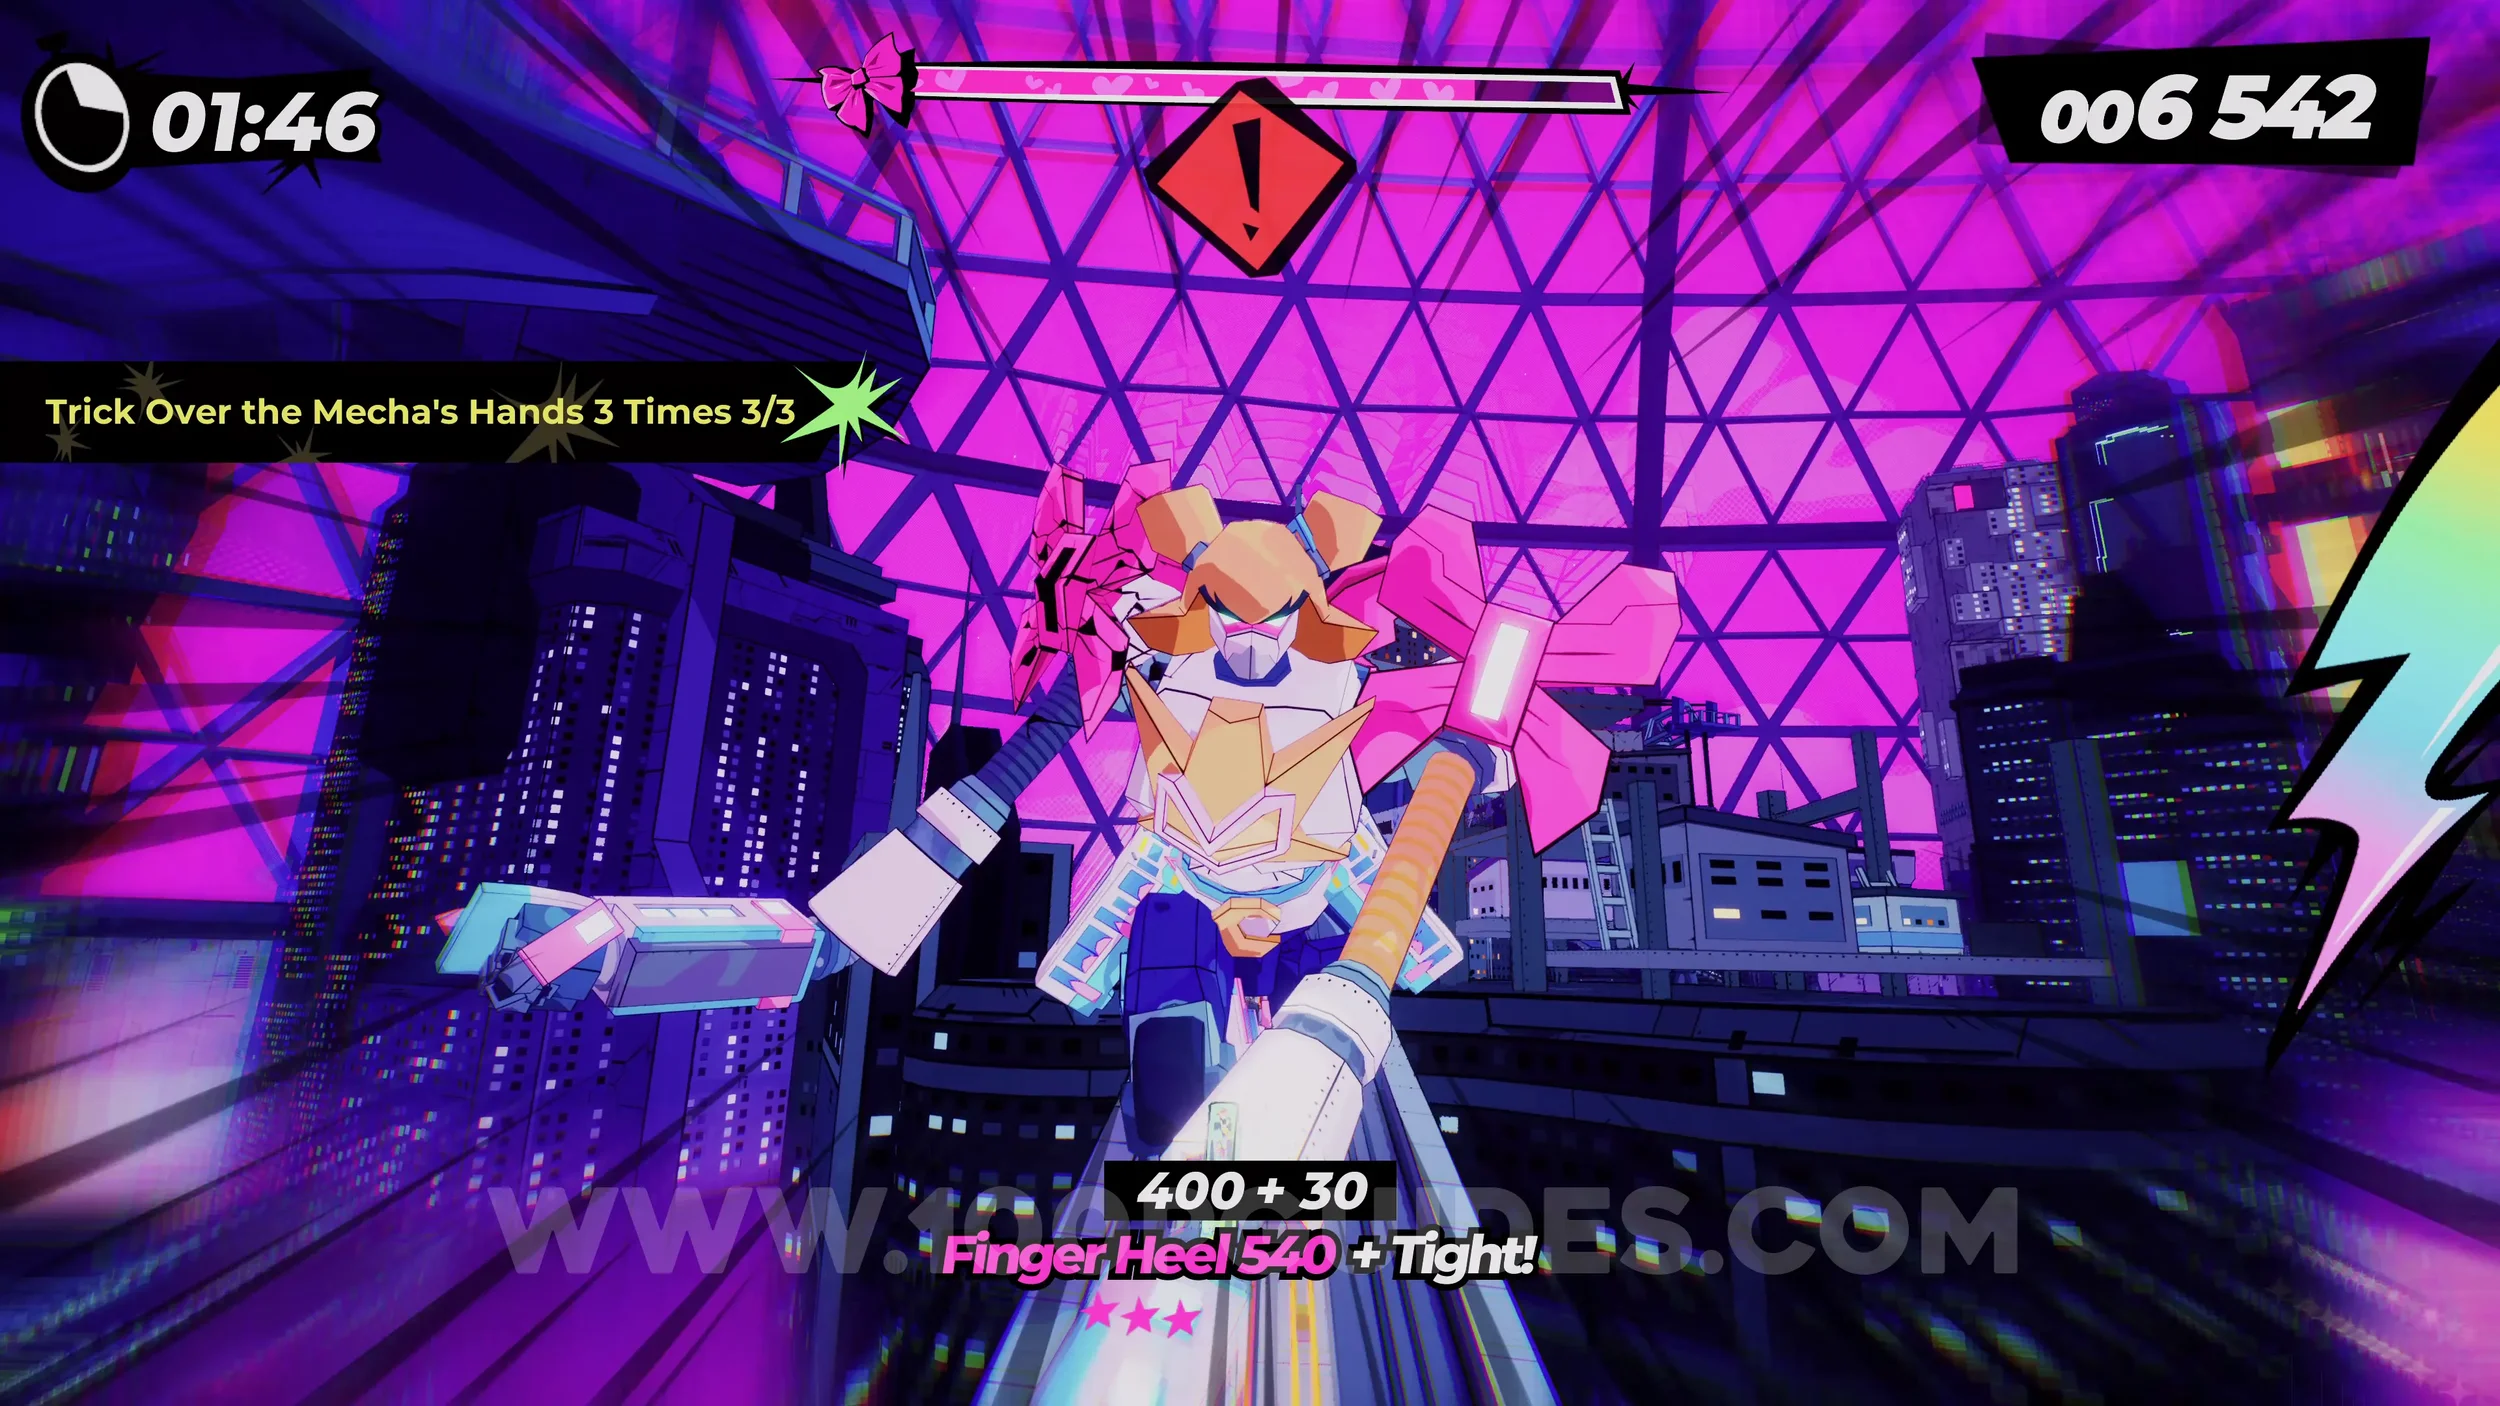
Dare: Trick Over the Mecha’s Hands 3 Times. During the section where you have to evade the hand swipes from the boss, jump over them and do any trick three times.
Spray Can (2/2). In plain sight on the left side of the track after the boss does her second set of hand swipe attacks.
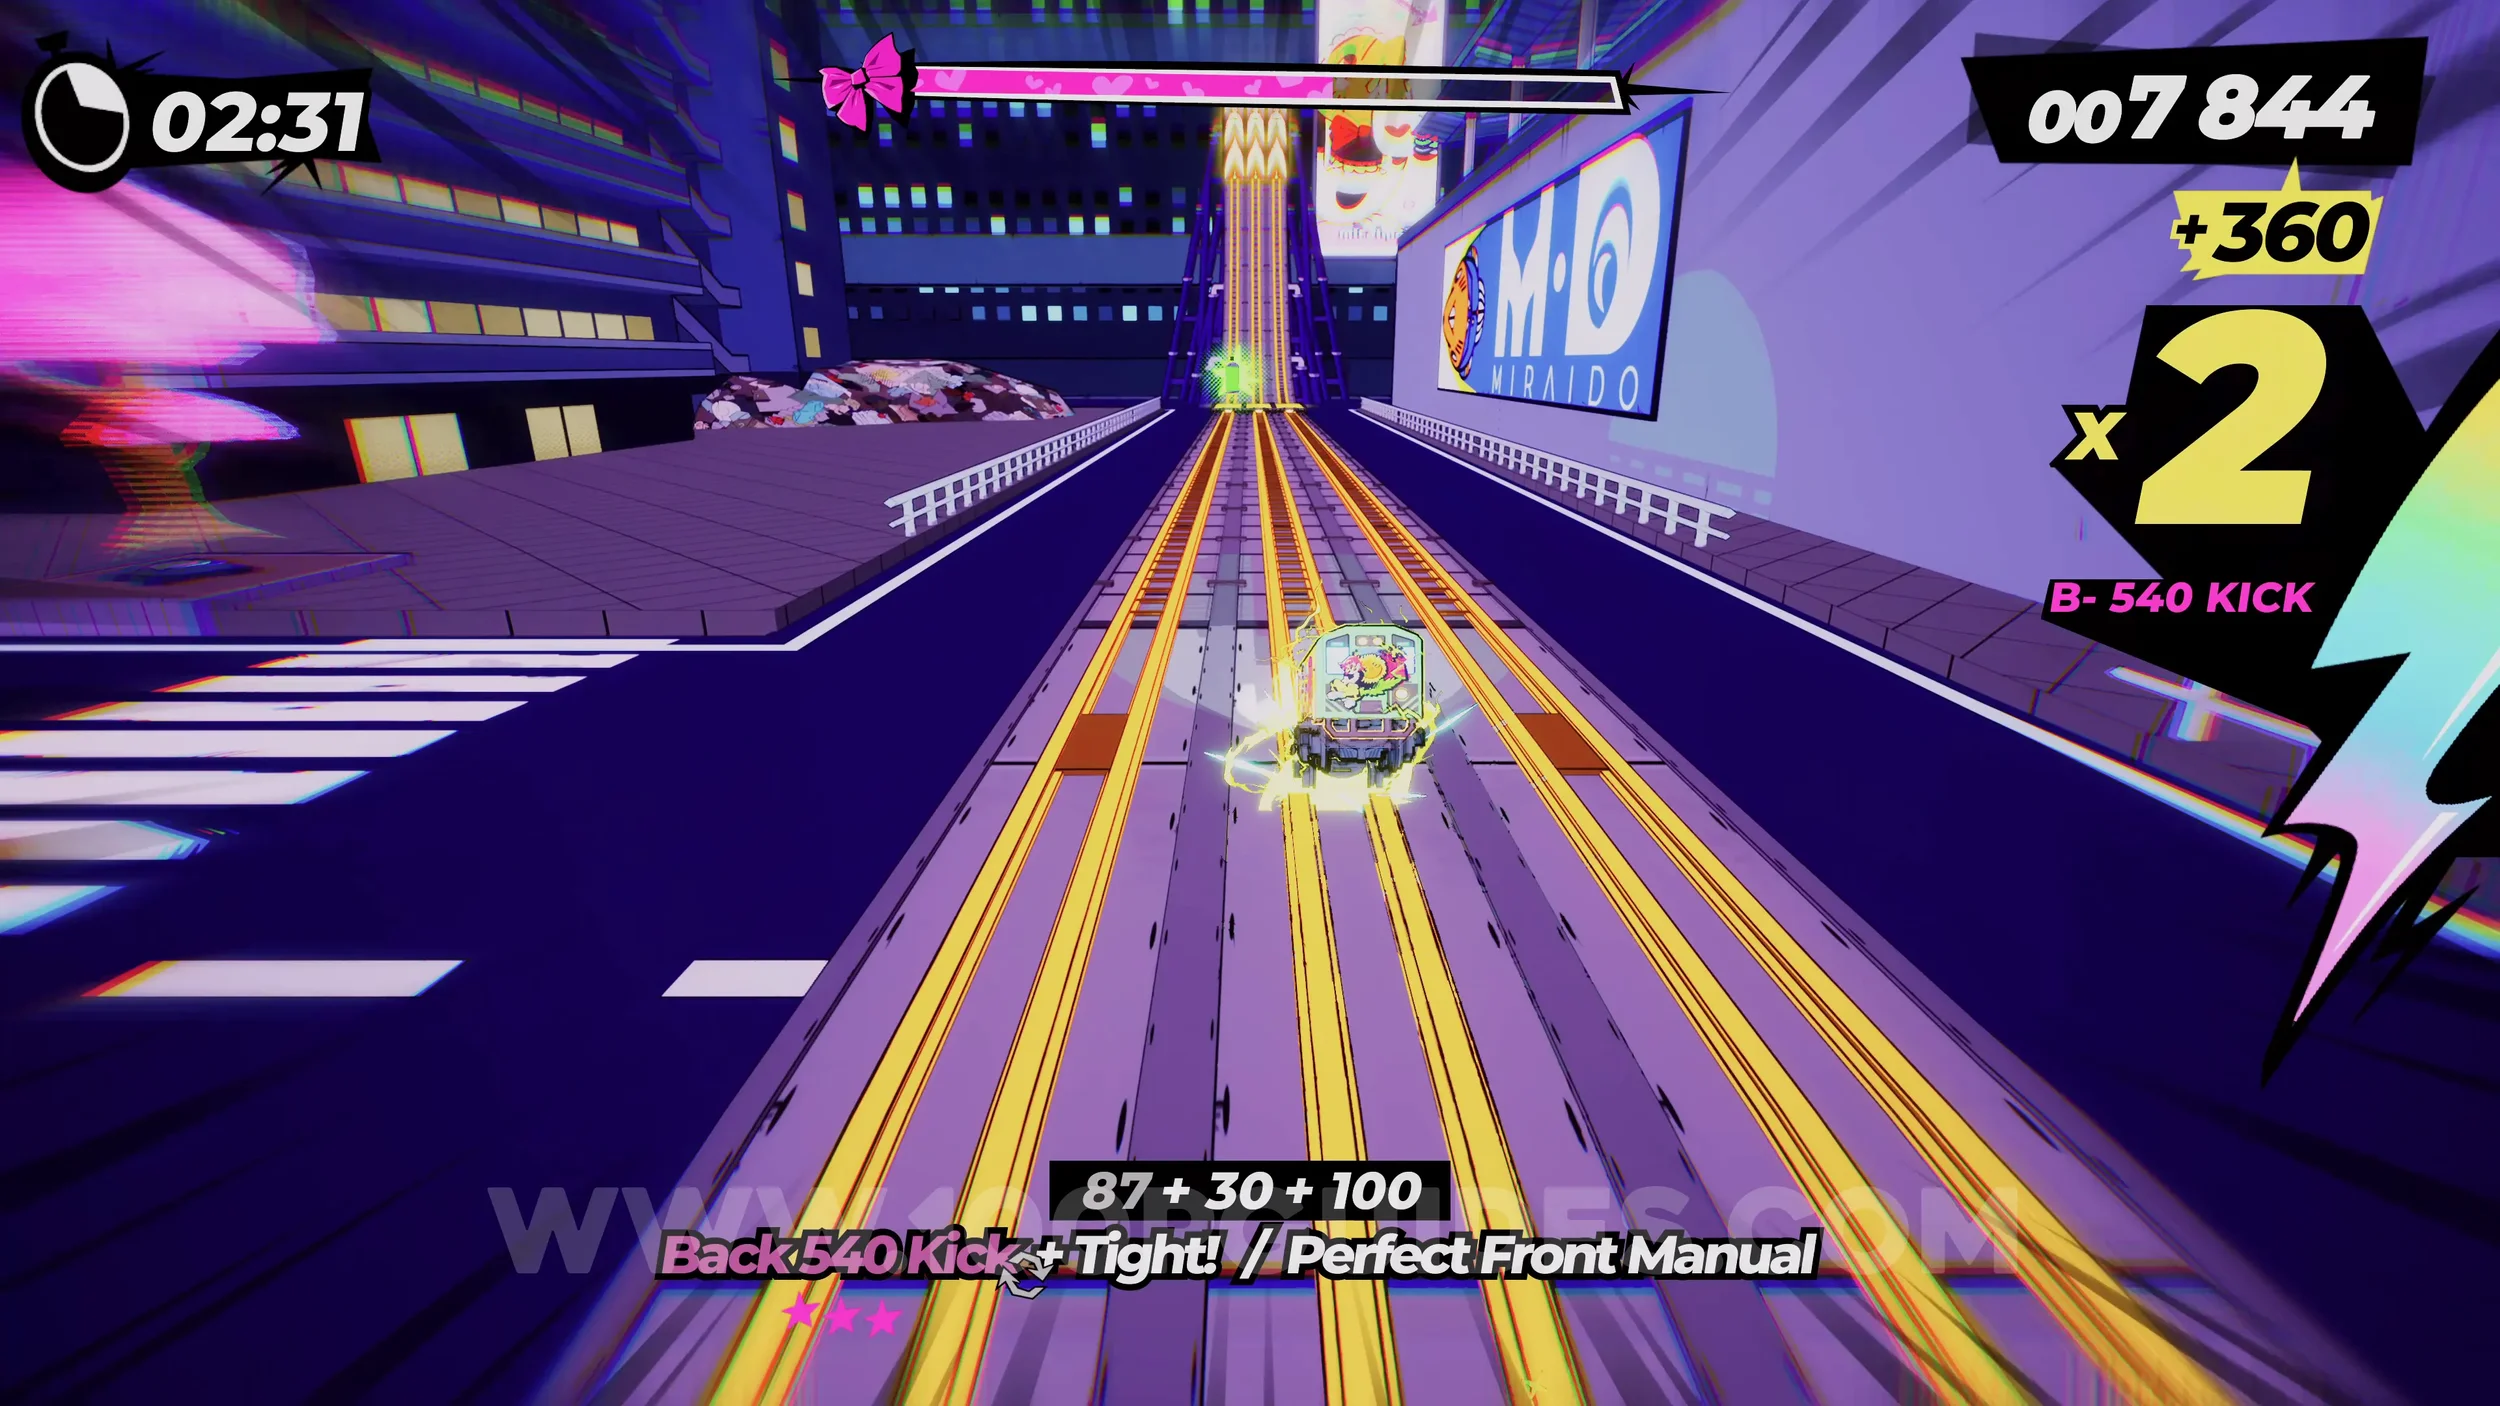
Film Roll (1/1). Hard to miss. In plain sight during the section where you are grinding on the floating structures.
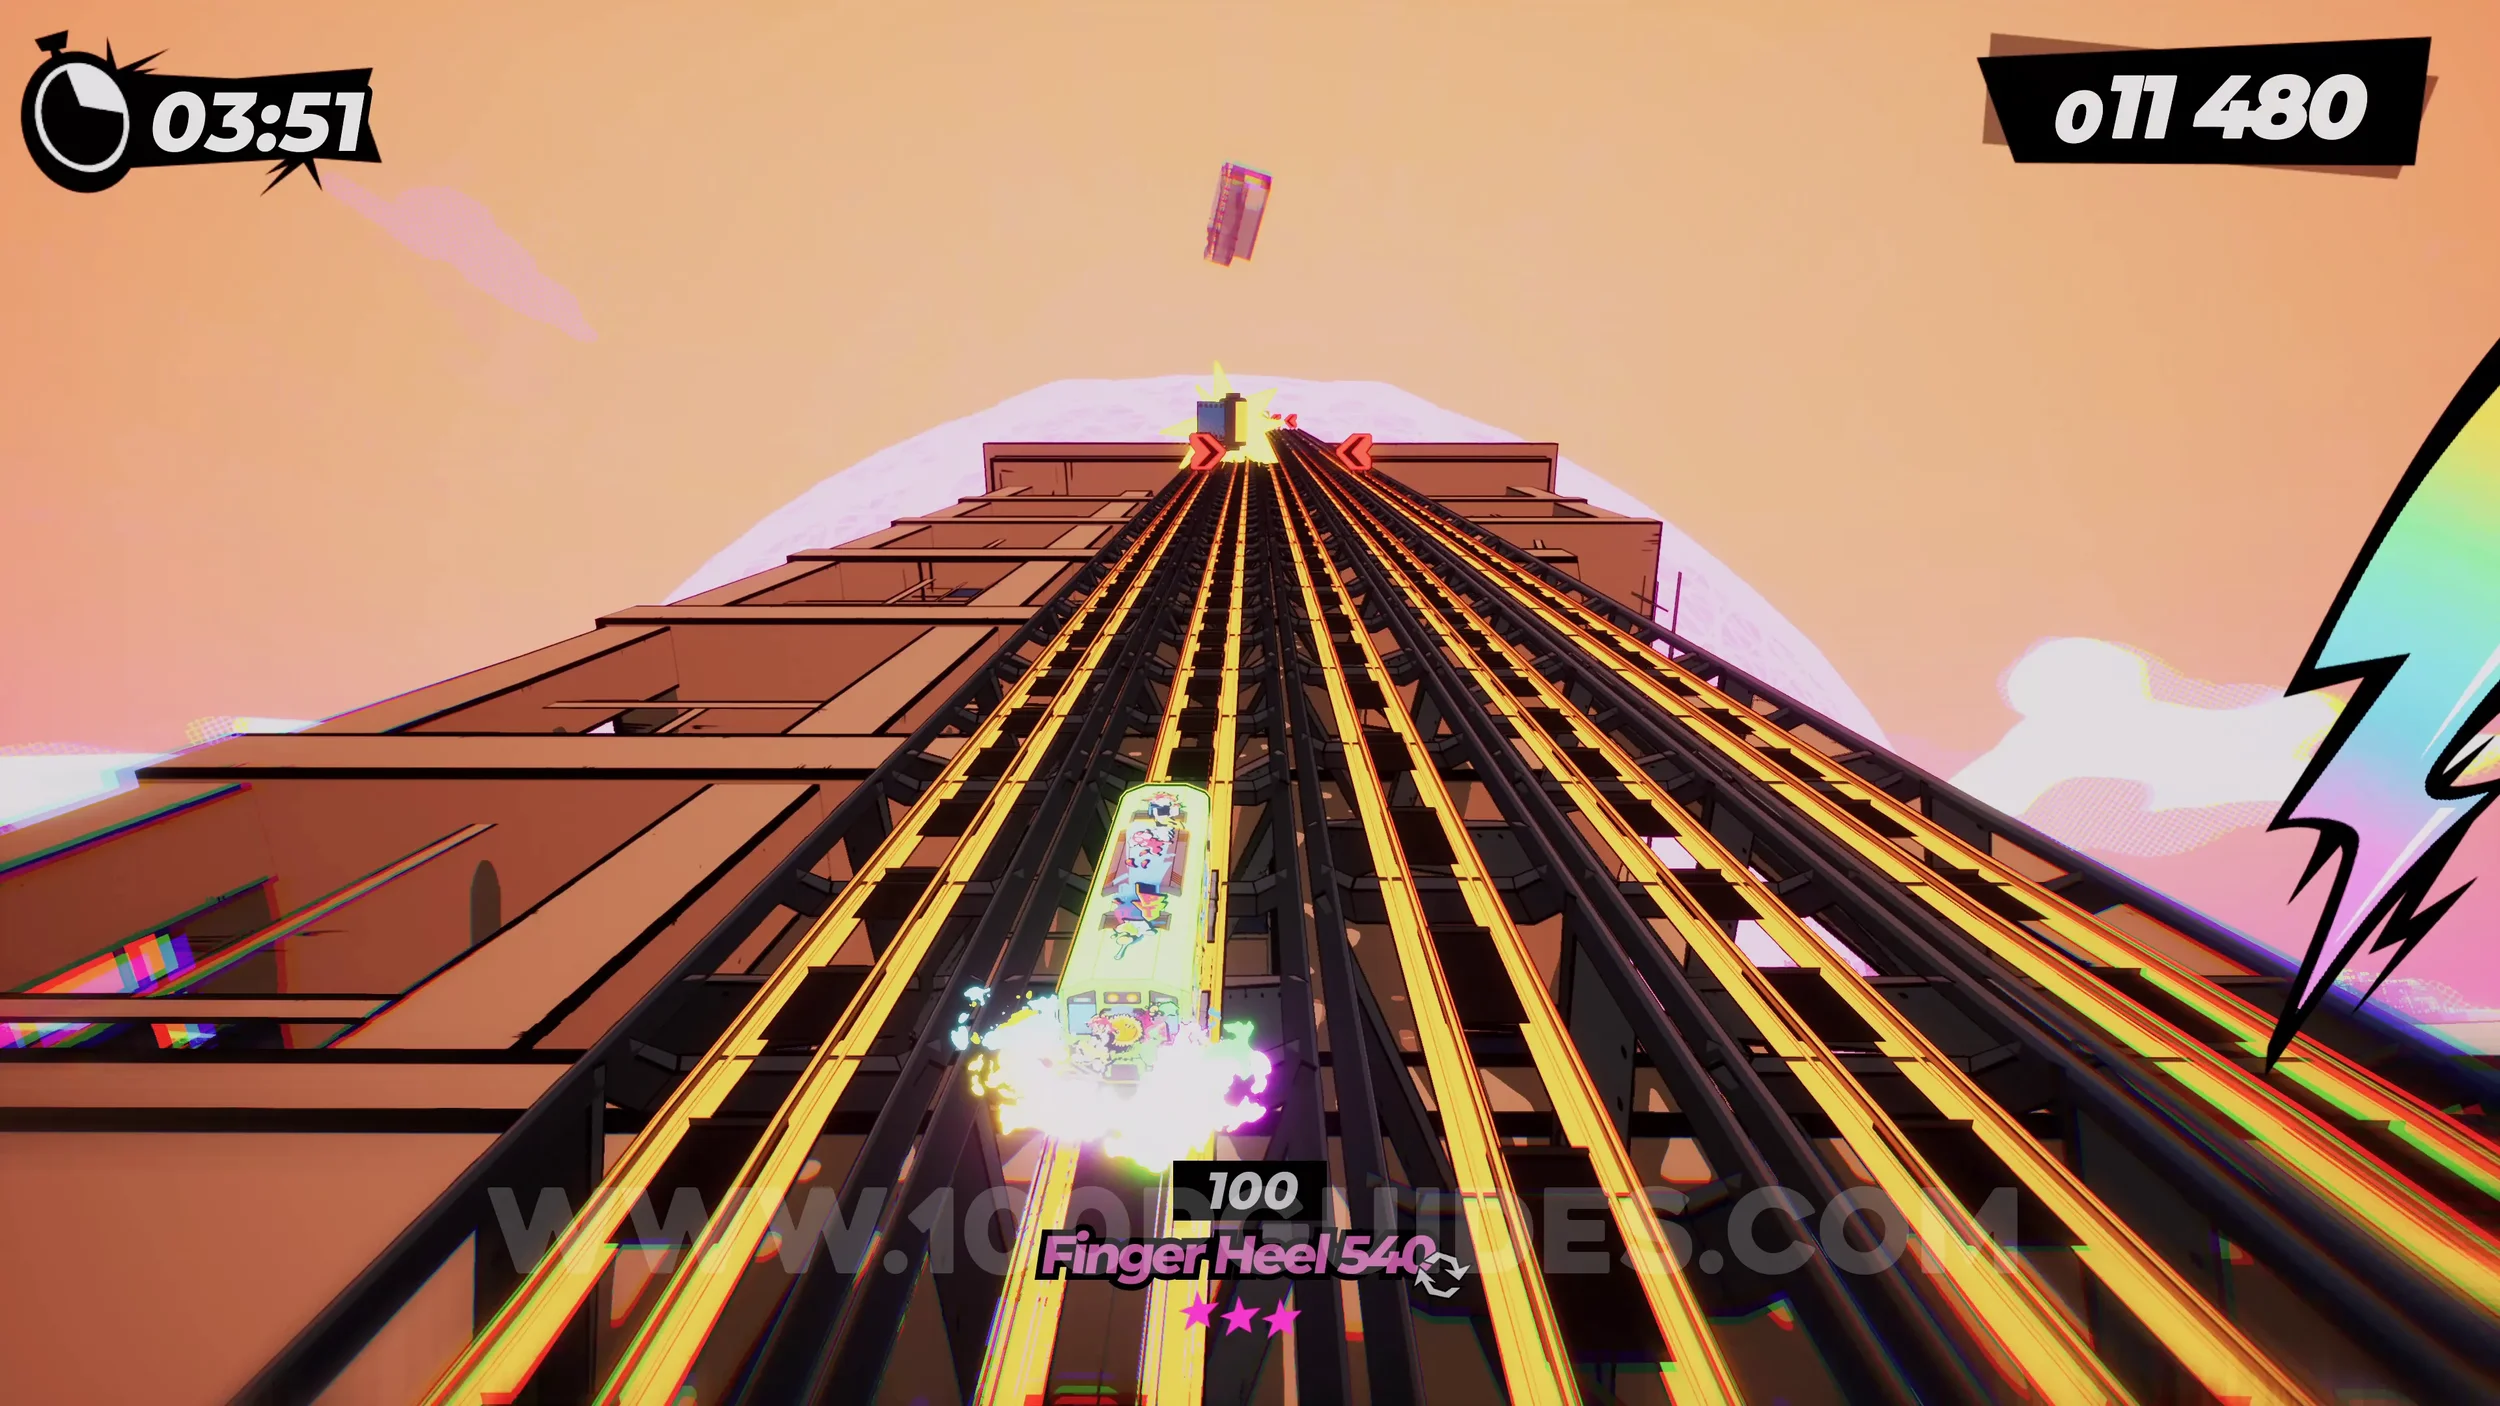
Dare: Smash 5 Oil Drum Stacks. During the section where you are riding the boss's rocket punch, you will see stacks of barrels on ground level. Just look out for them and smash through them.
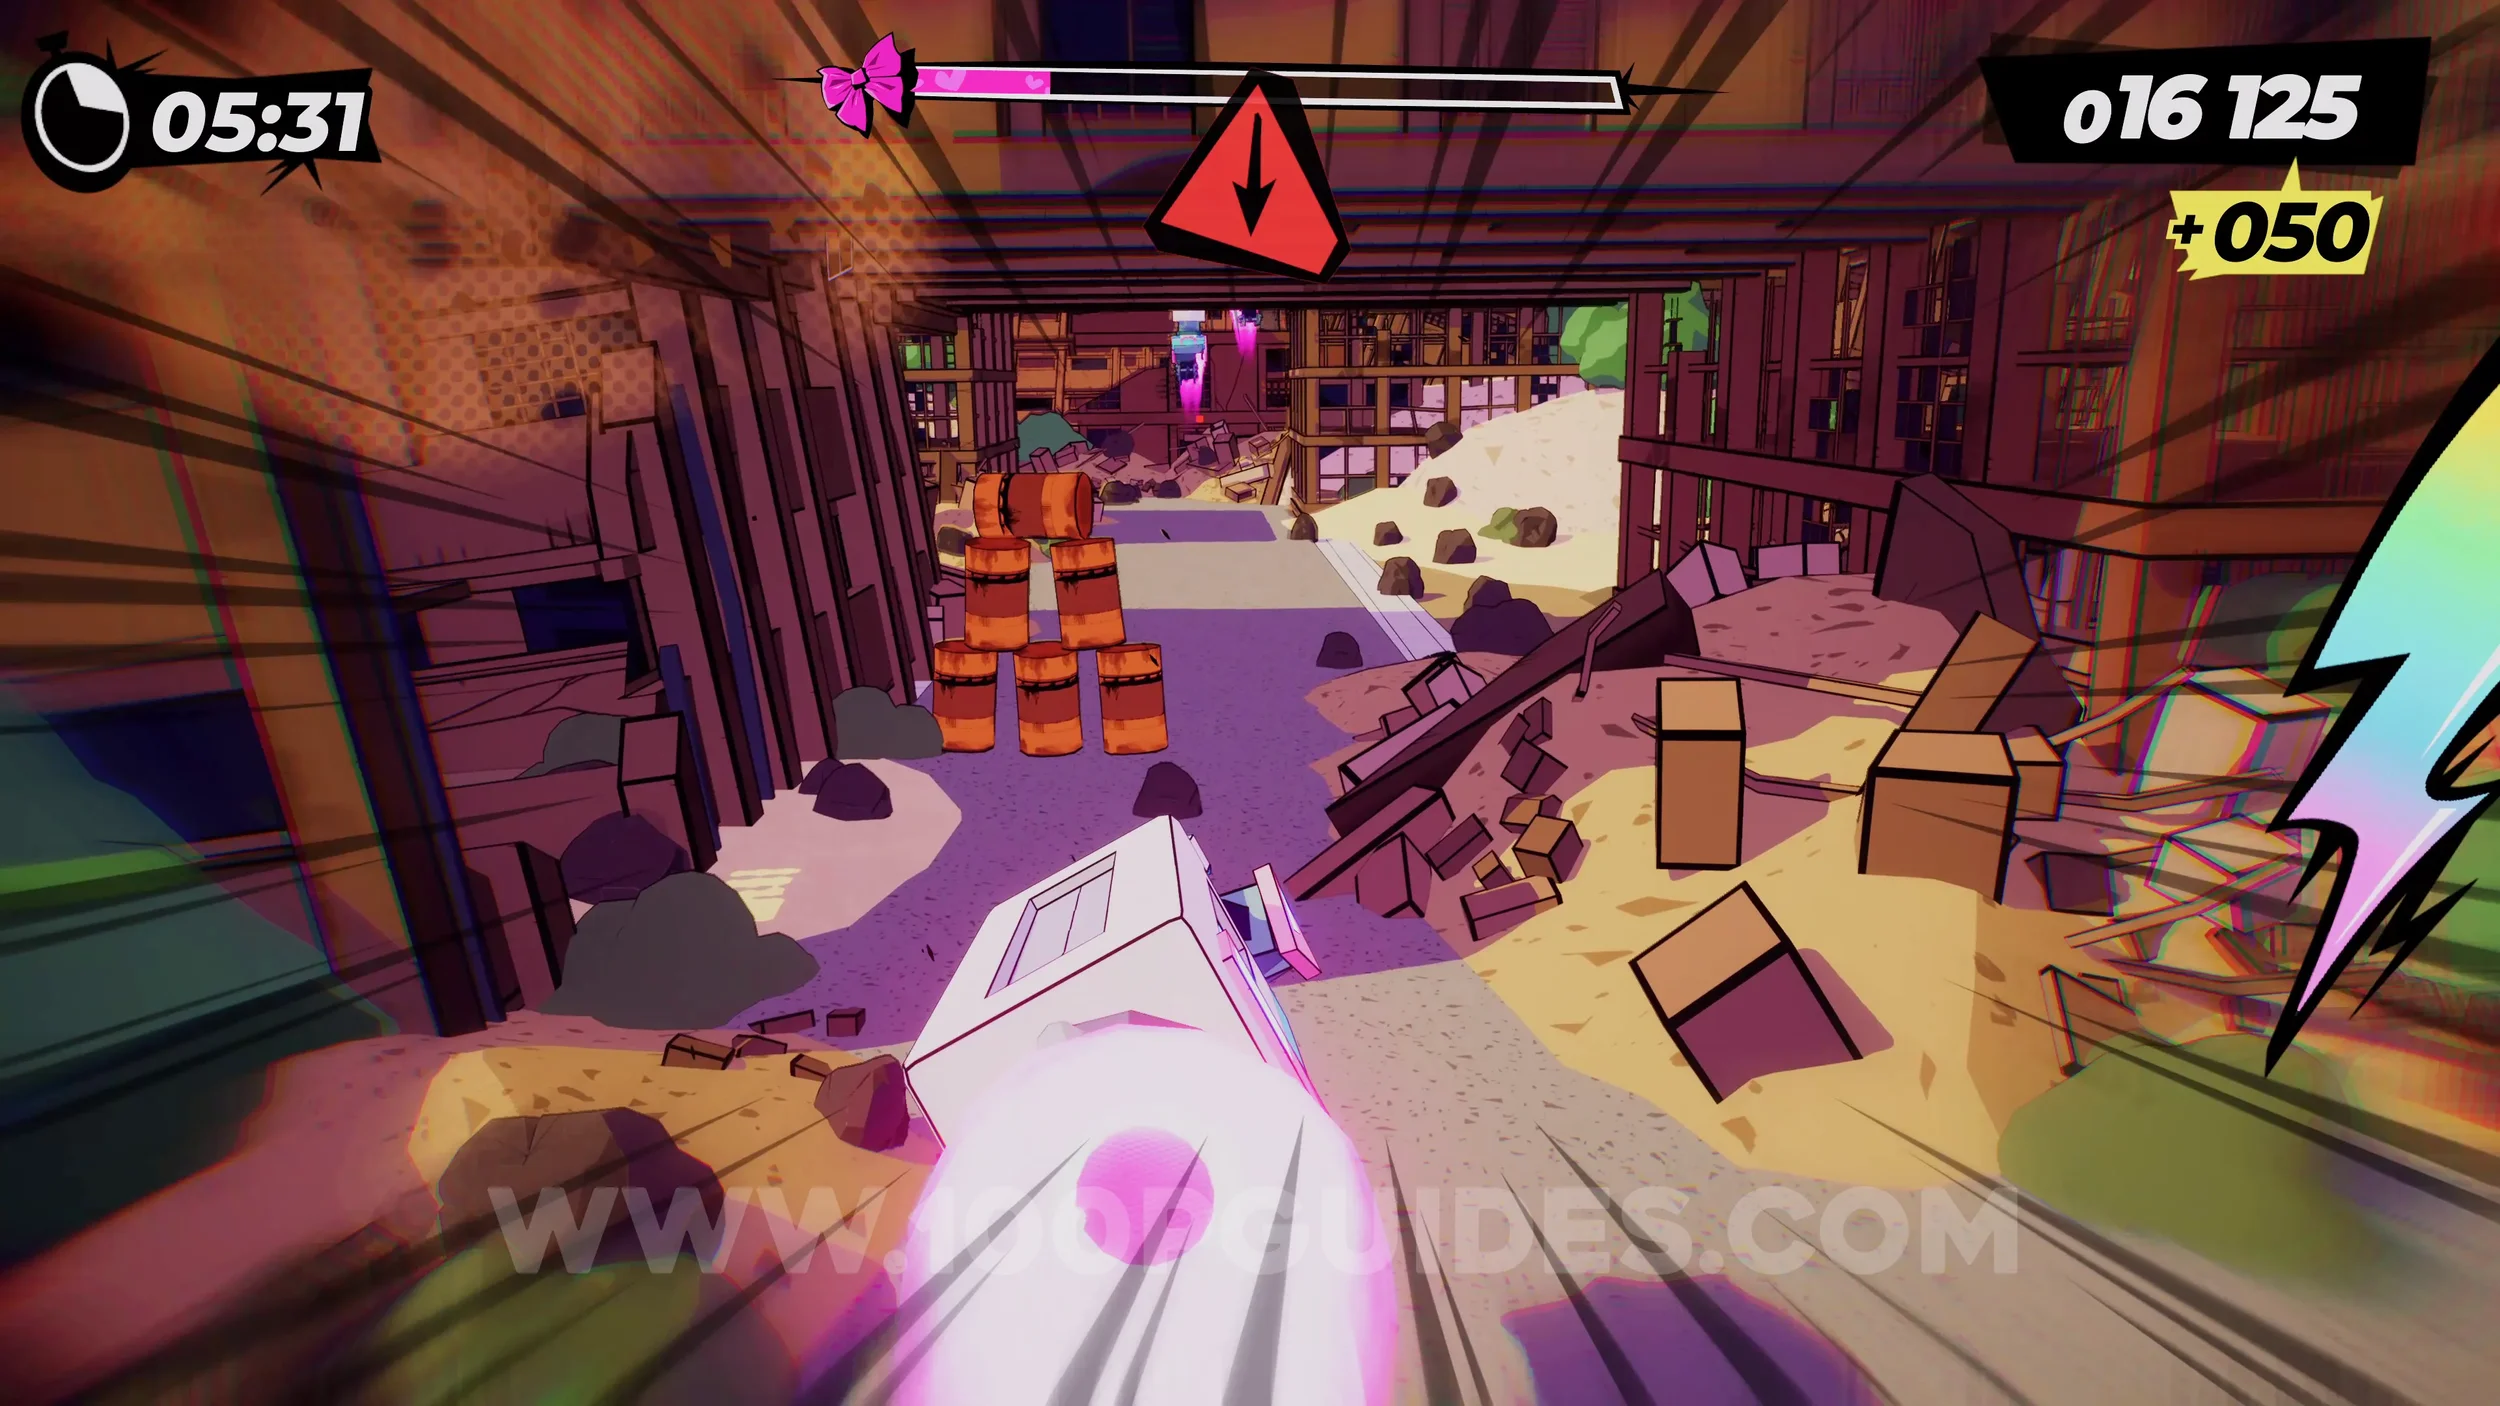
Dare: No Crash Boss Defeat. Finish the level without crashing.
1-7-S Saying Goodbye
No collectibles in this level.
CHAPTER 2
2-1-1 Wallriding Coast
Dare: Ride All the Billboards (1/10). On your right in plain sight soon after the start.
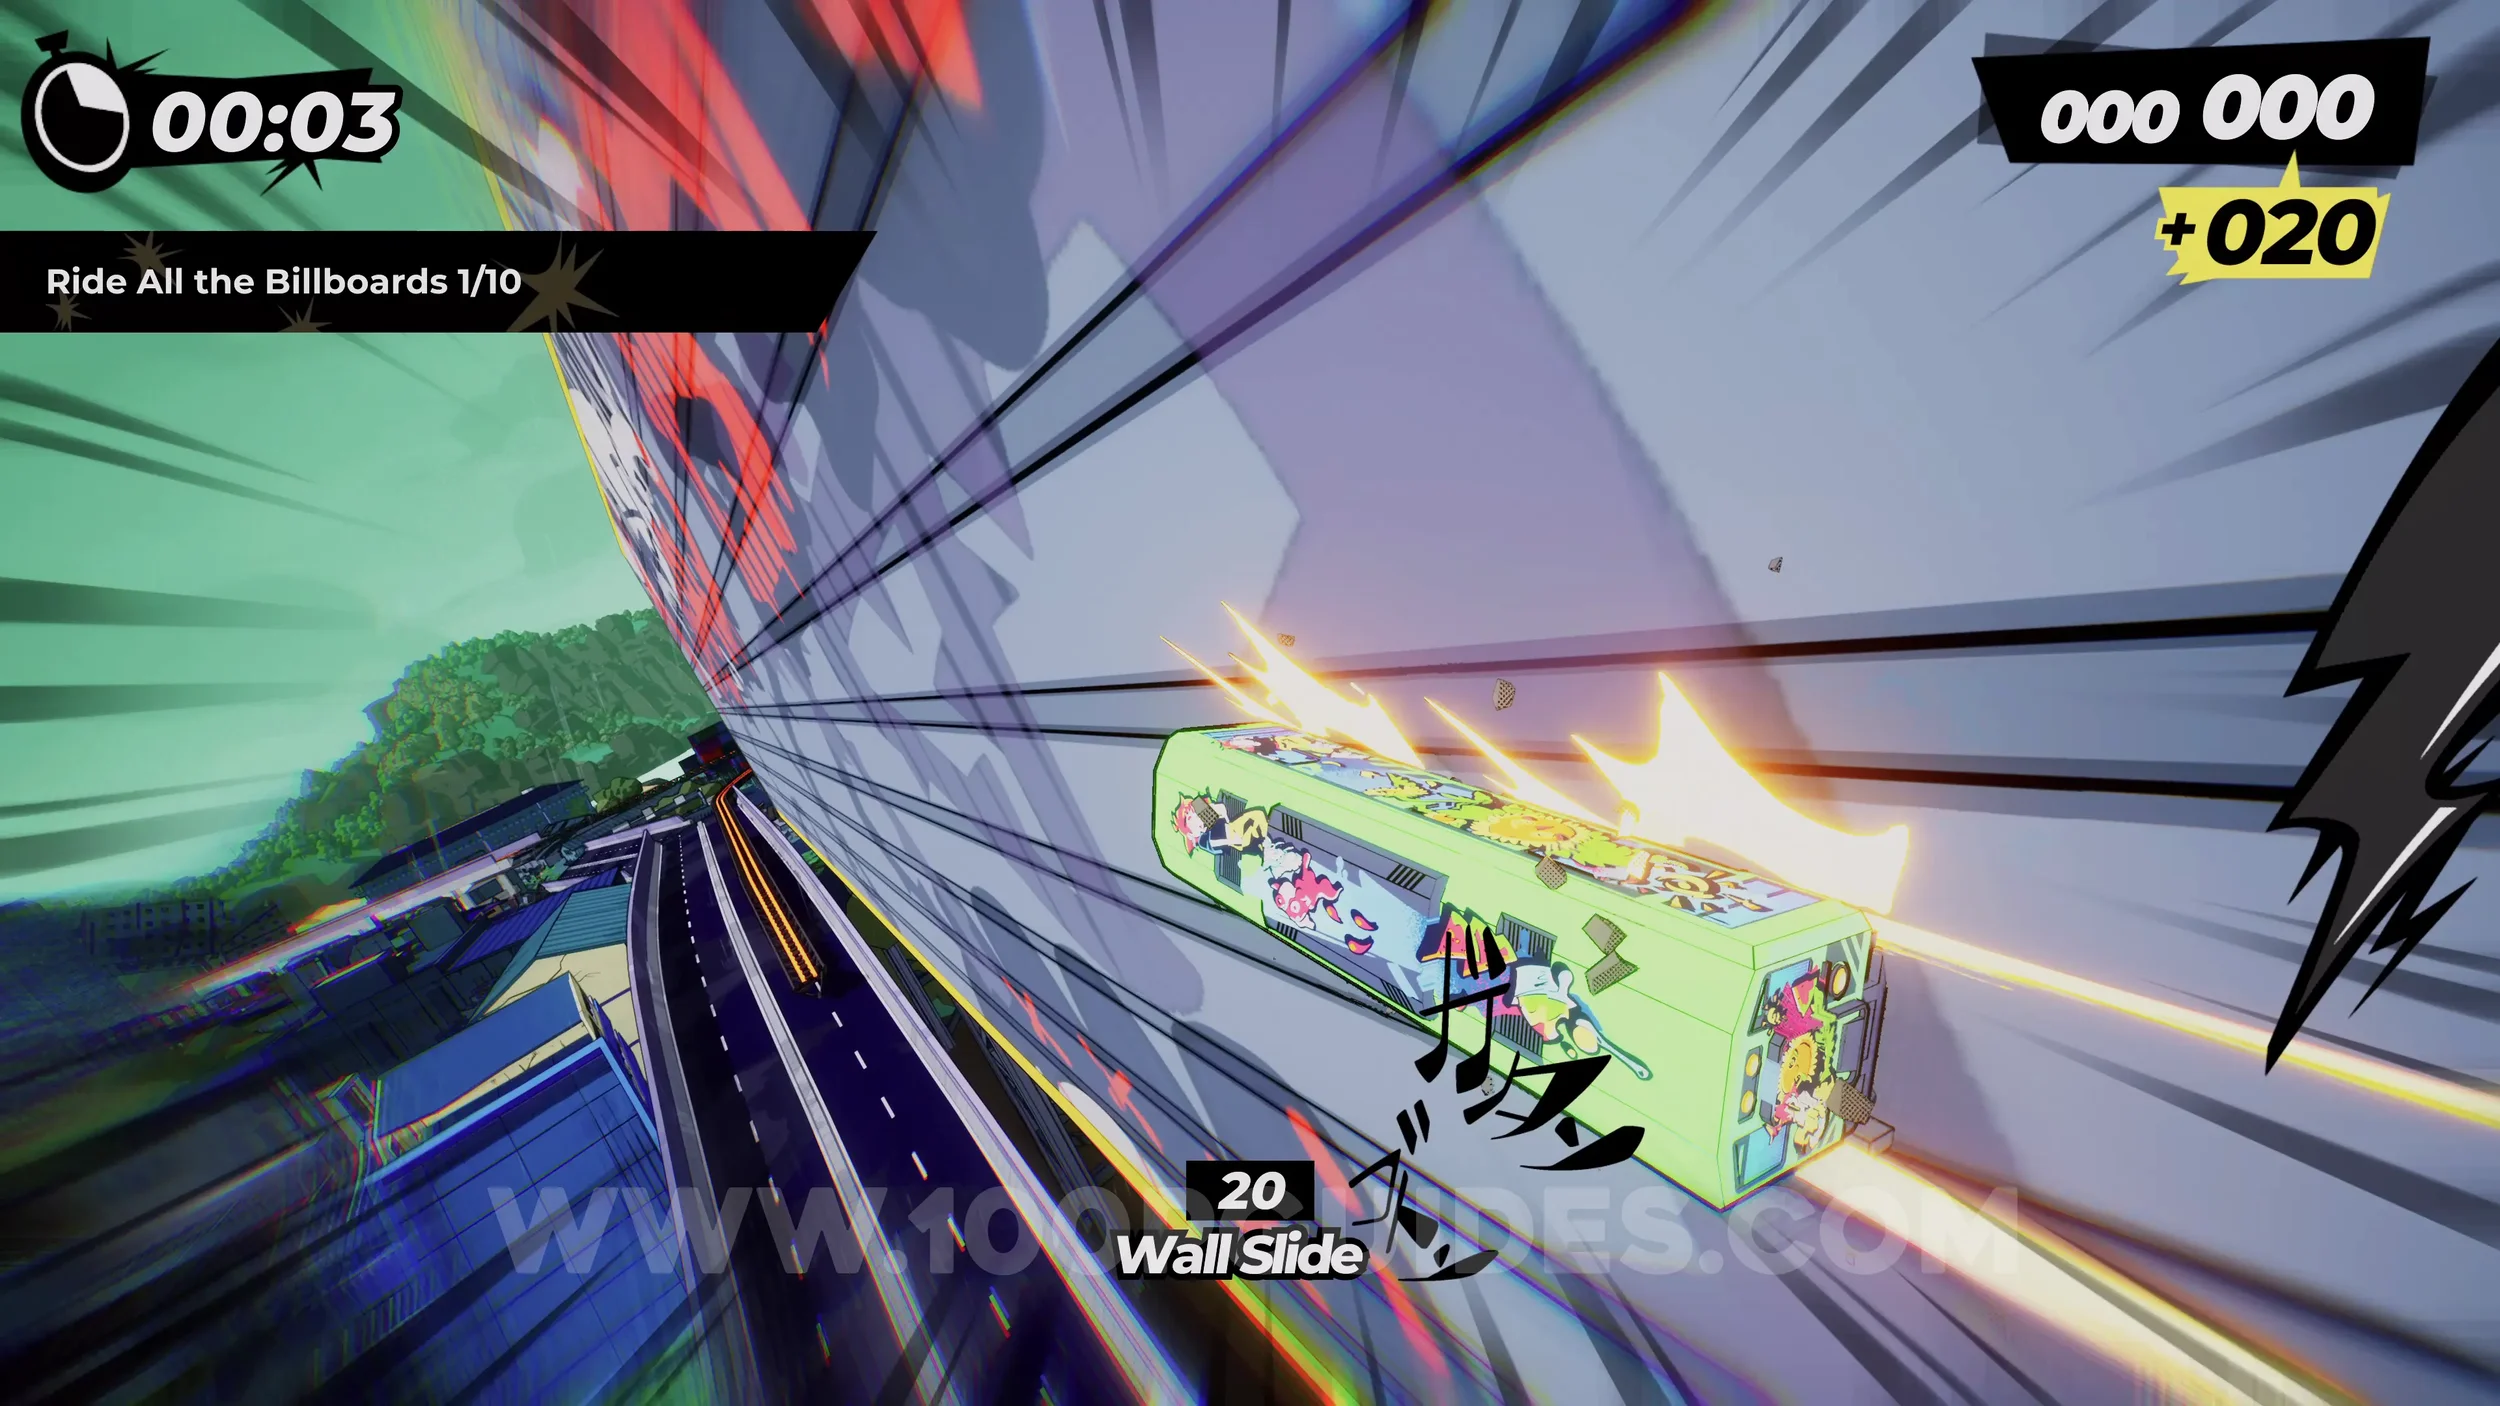
Dare: Ride All the Billboards (2/10). On your left after the next corner.
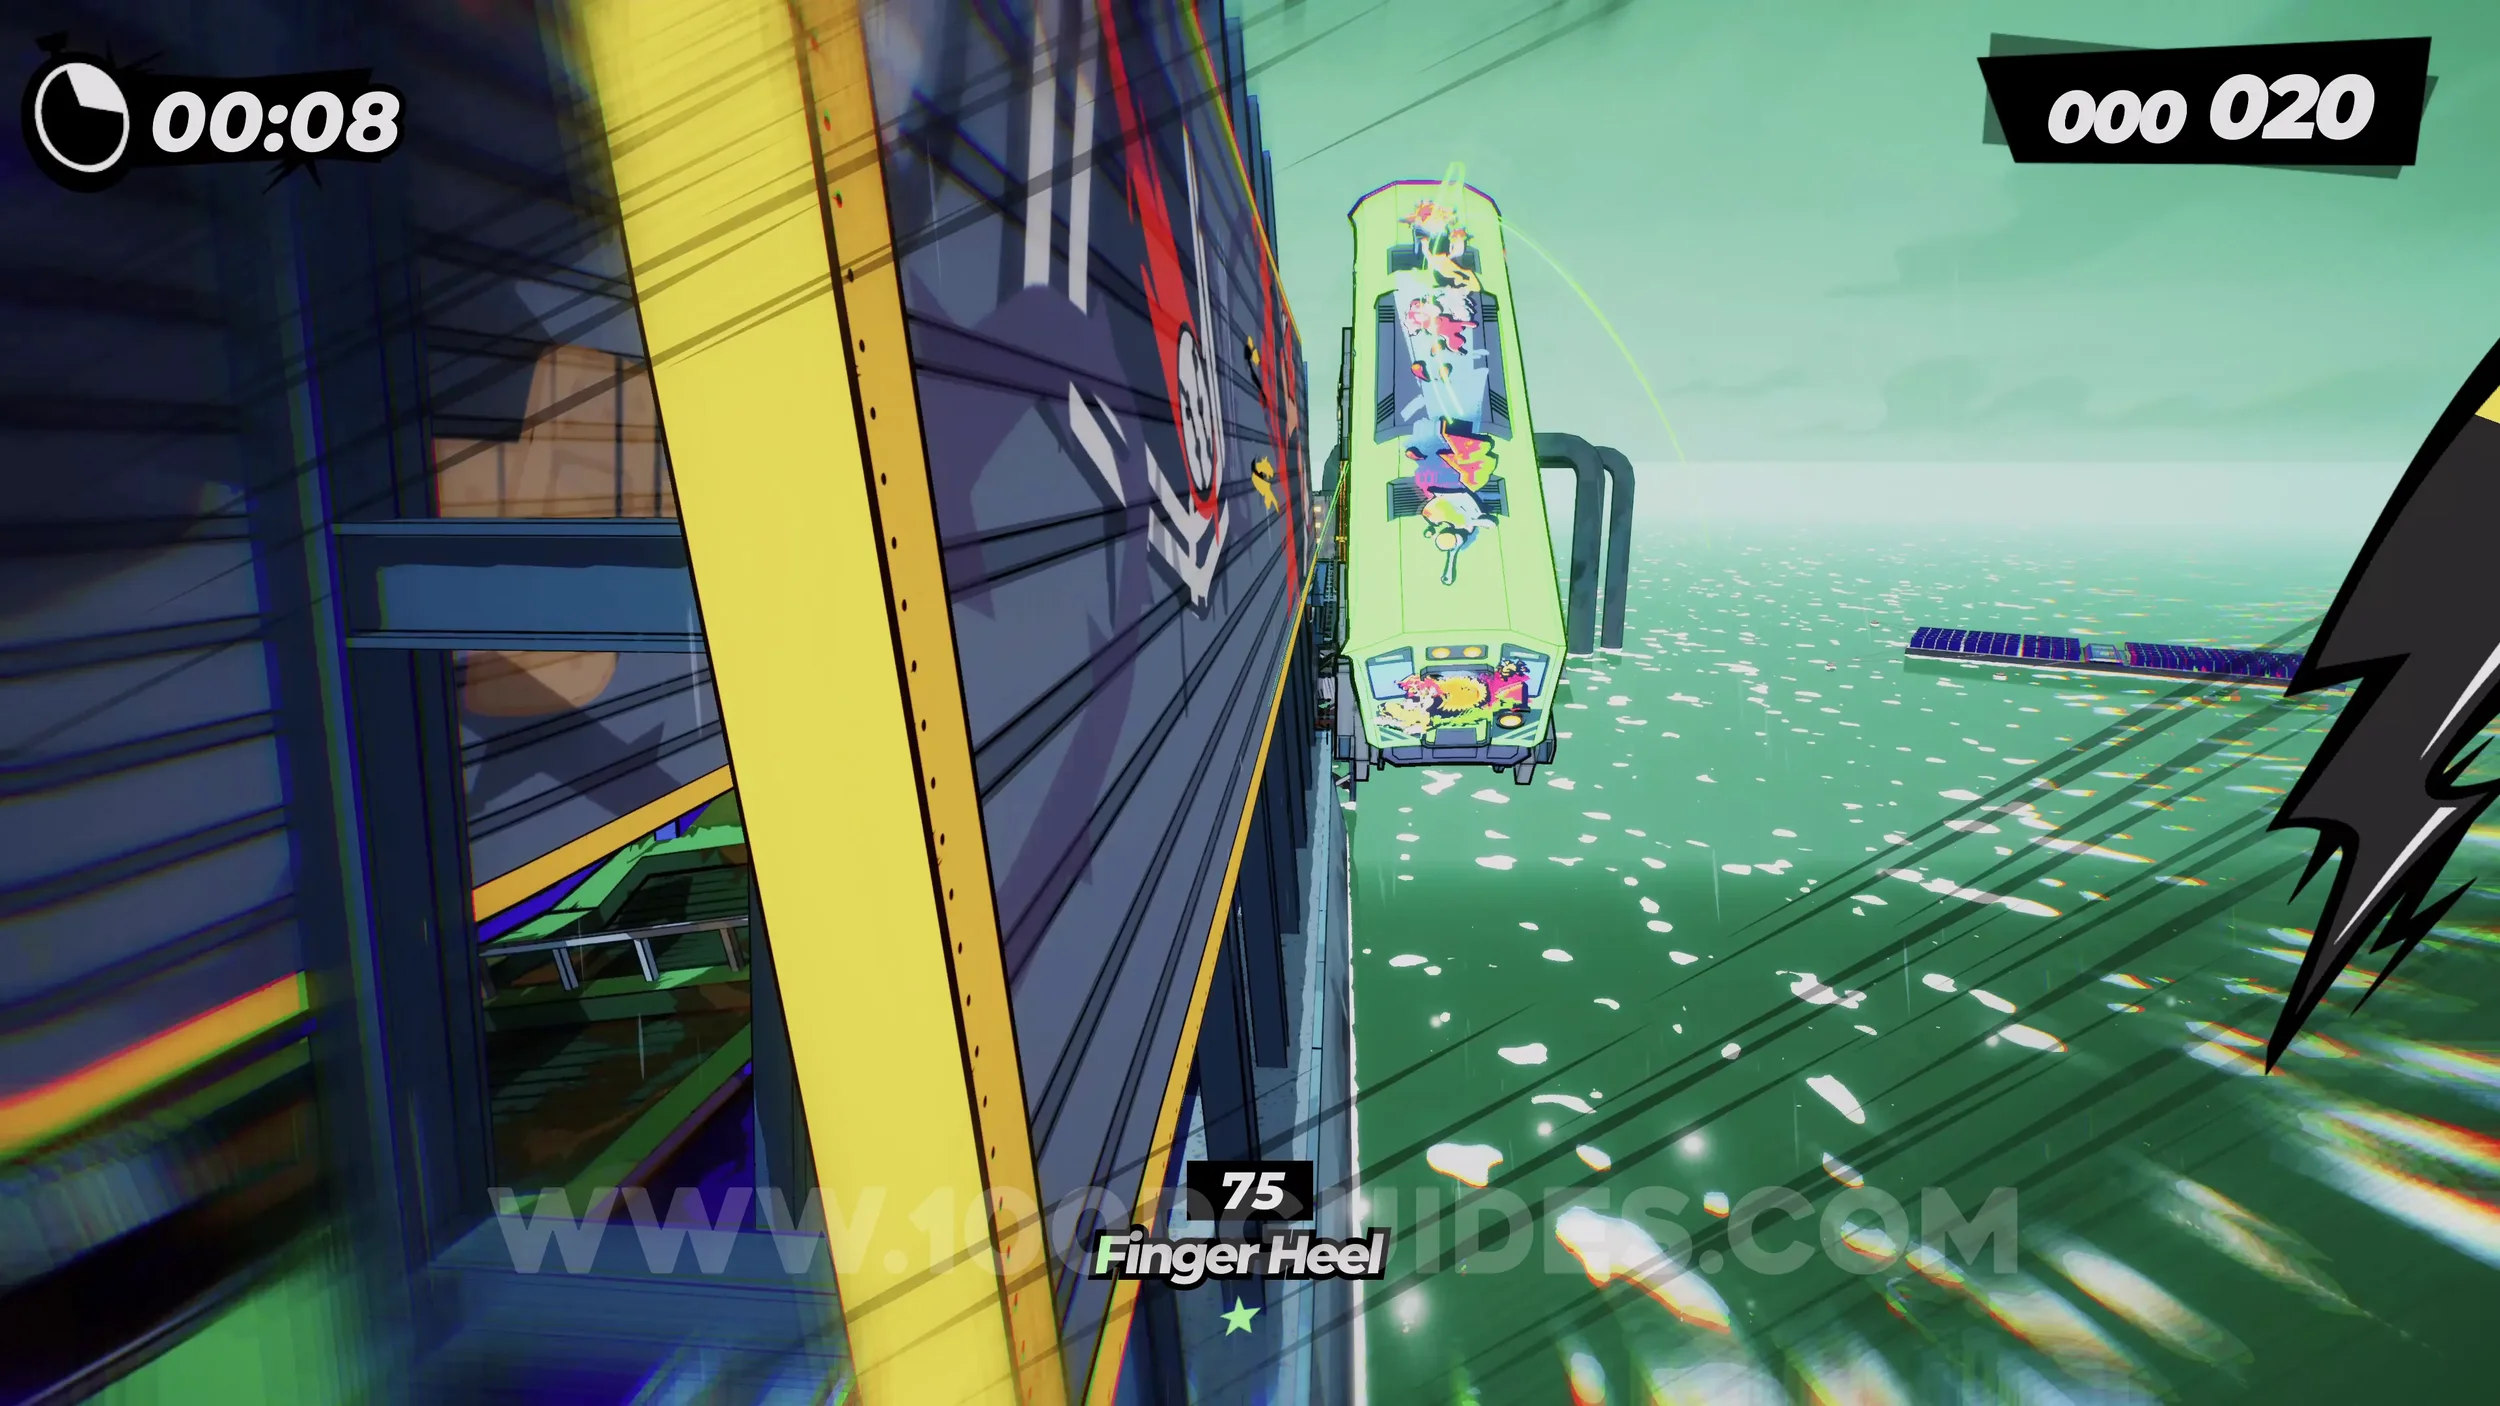
Spray Can (1/4). Obtained almost automatically at the highest point of the vert jump after the second billboard.
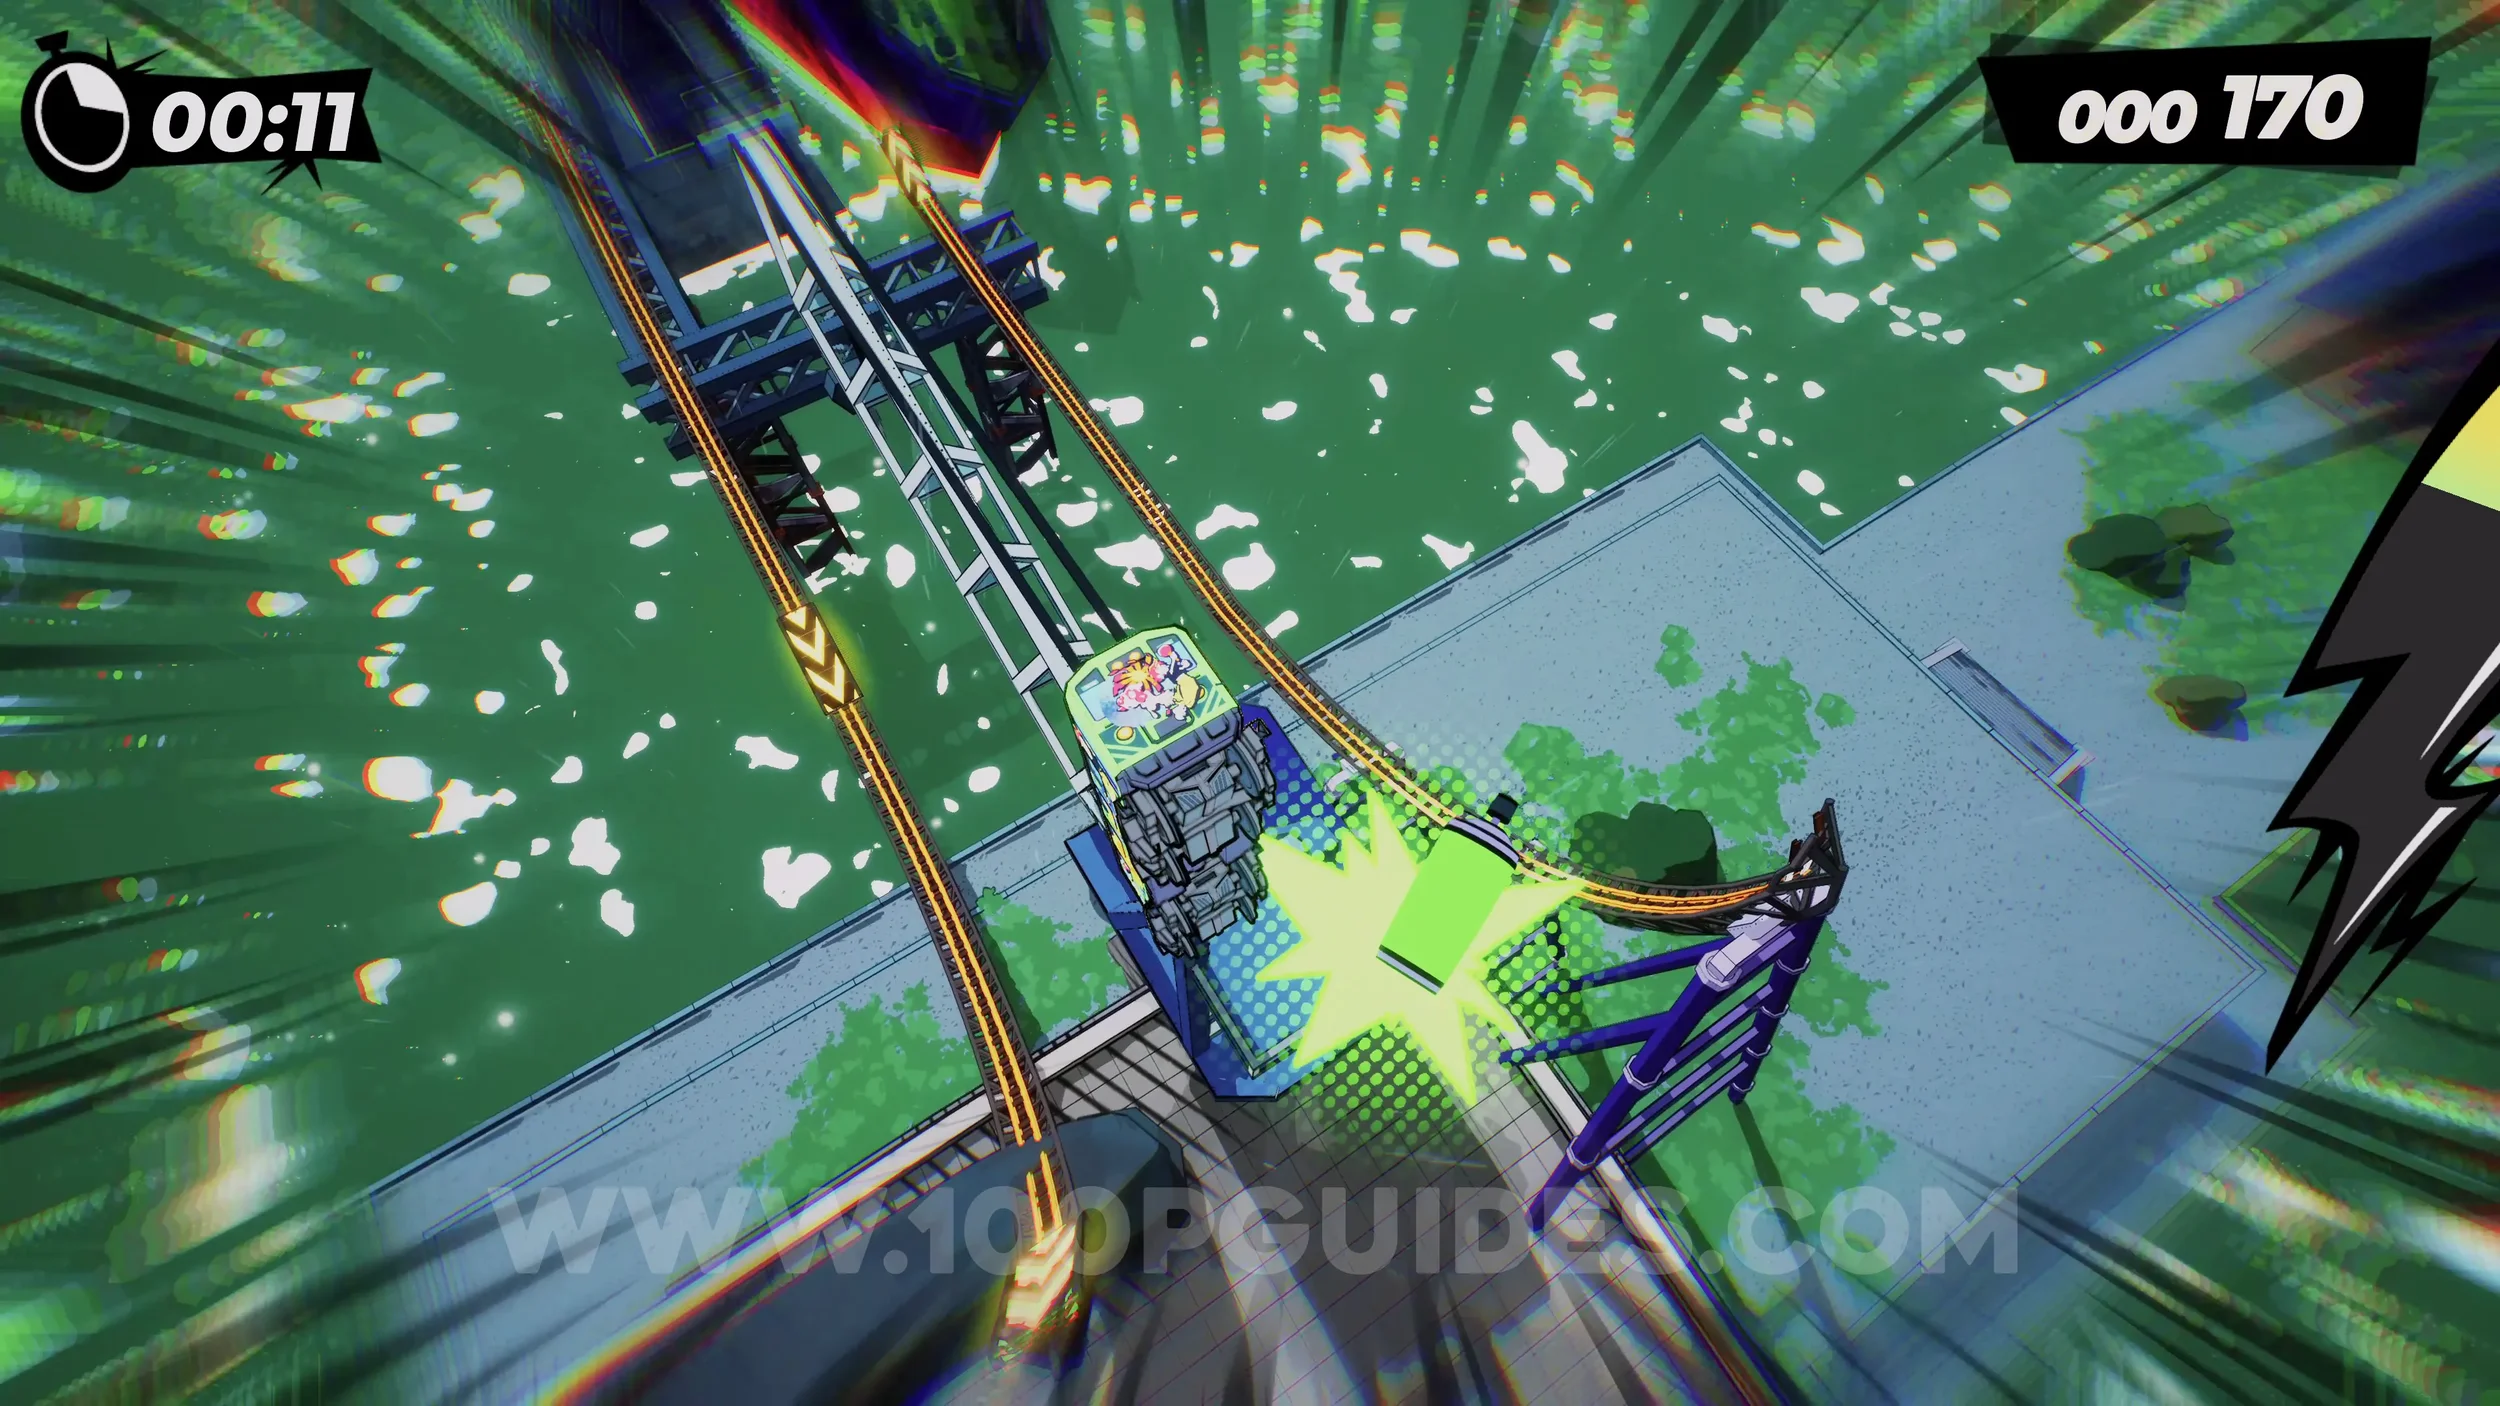
Dare: Ride All the Billboards (3/10). On your left after landing the vert jump, where the previous can was.
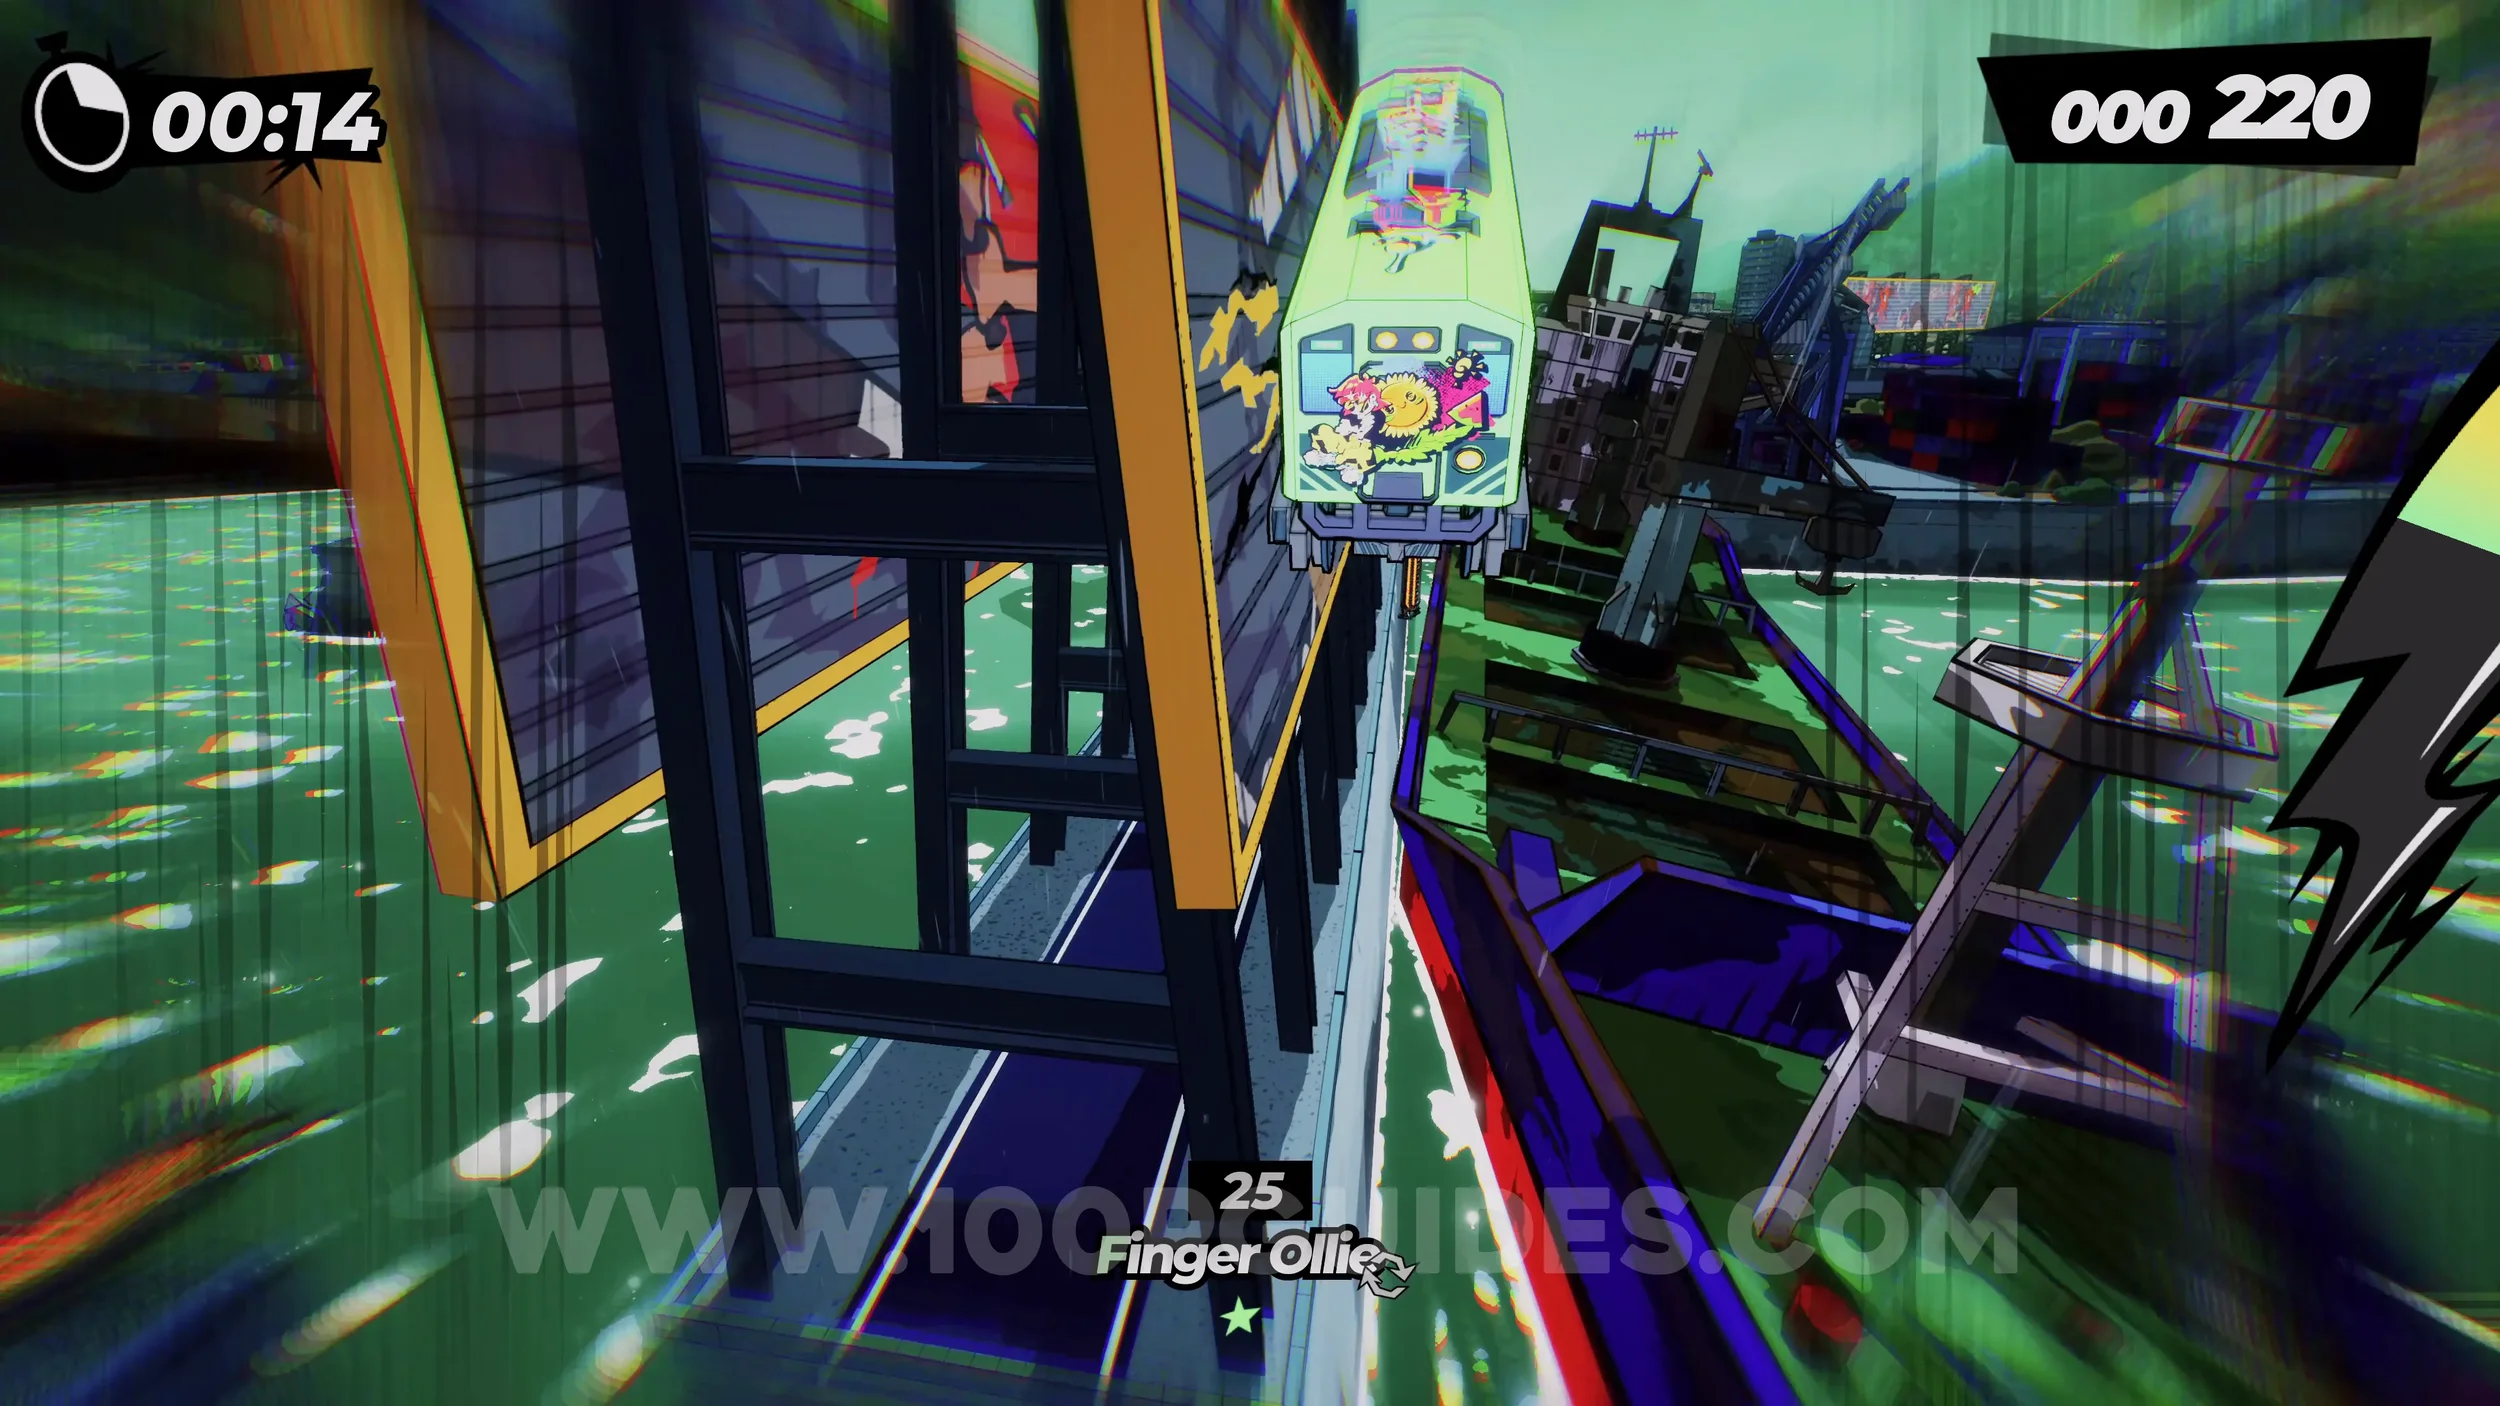
Dare: Ride All the Billboards (4/10) & Spray Can (2/4). On your left soon after the previous billboard. The spray can is on this billboard. Just use the left analog stick to reach it.
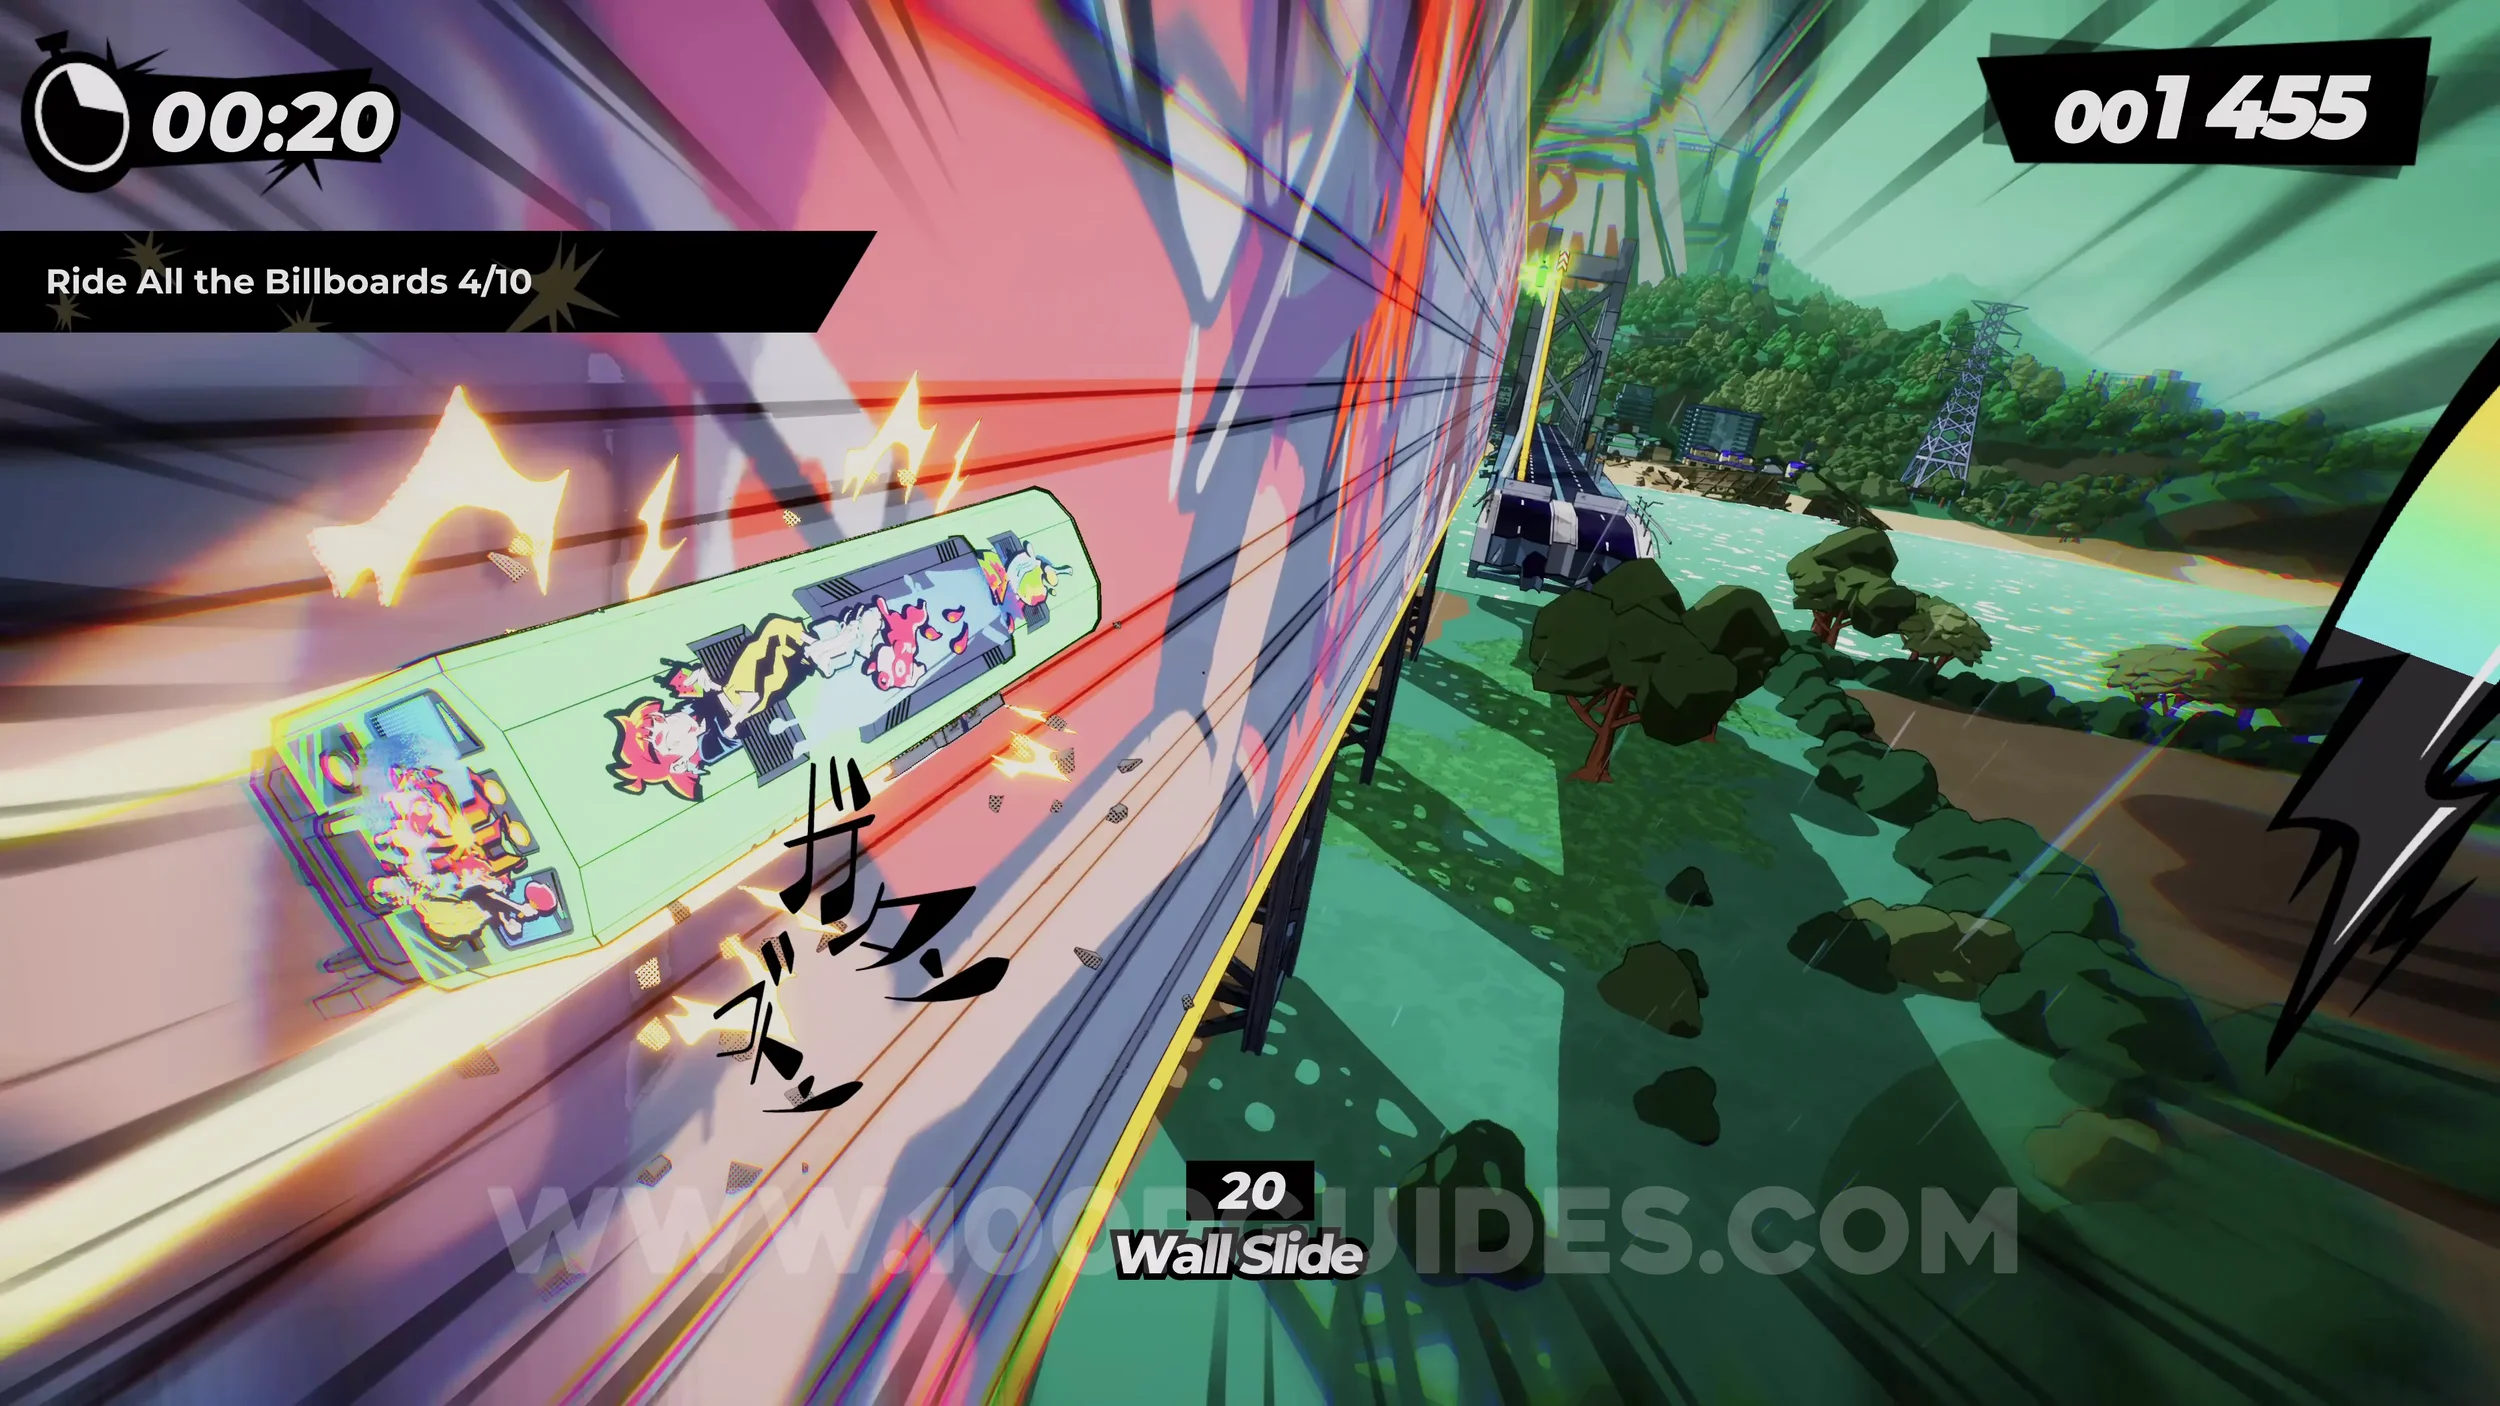
Dare: Finger Heel 180 Over the Broken Bridge. After the previous spray can, you will ride up the left side of the bridge, then once you use the jump at the top, perform a finger heel 180 in the air by pressing up on the right analog stick and then rotating it clockwise until it reaches the bottom.
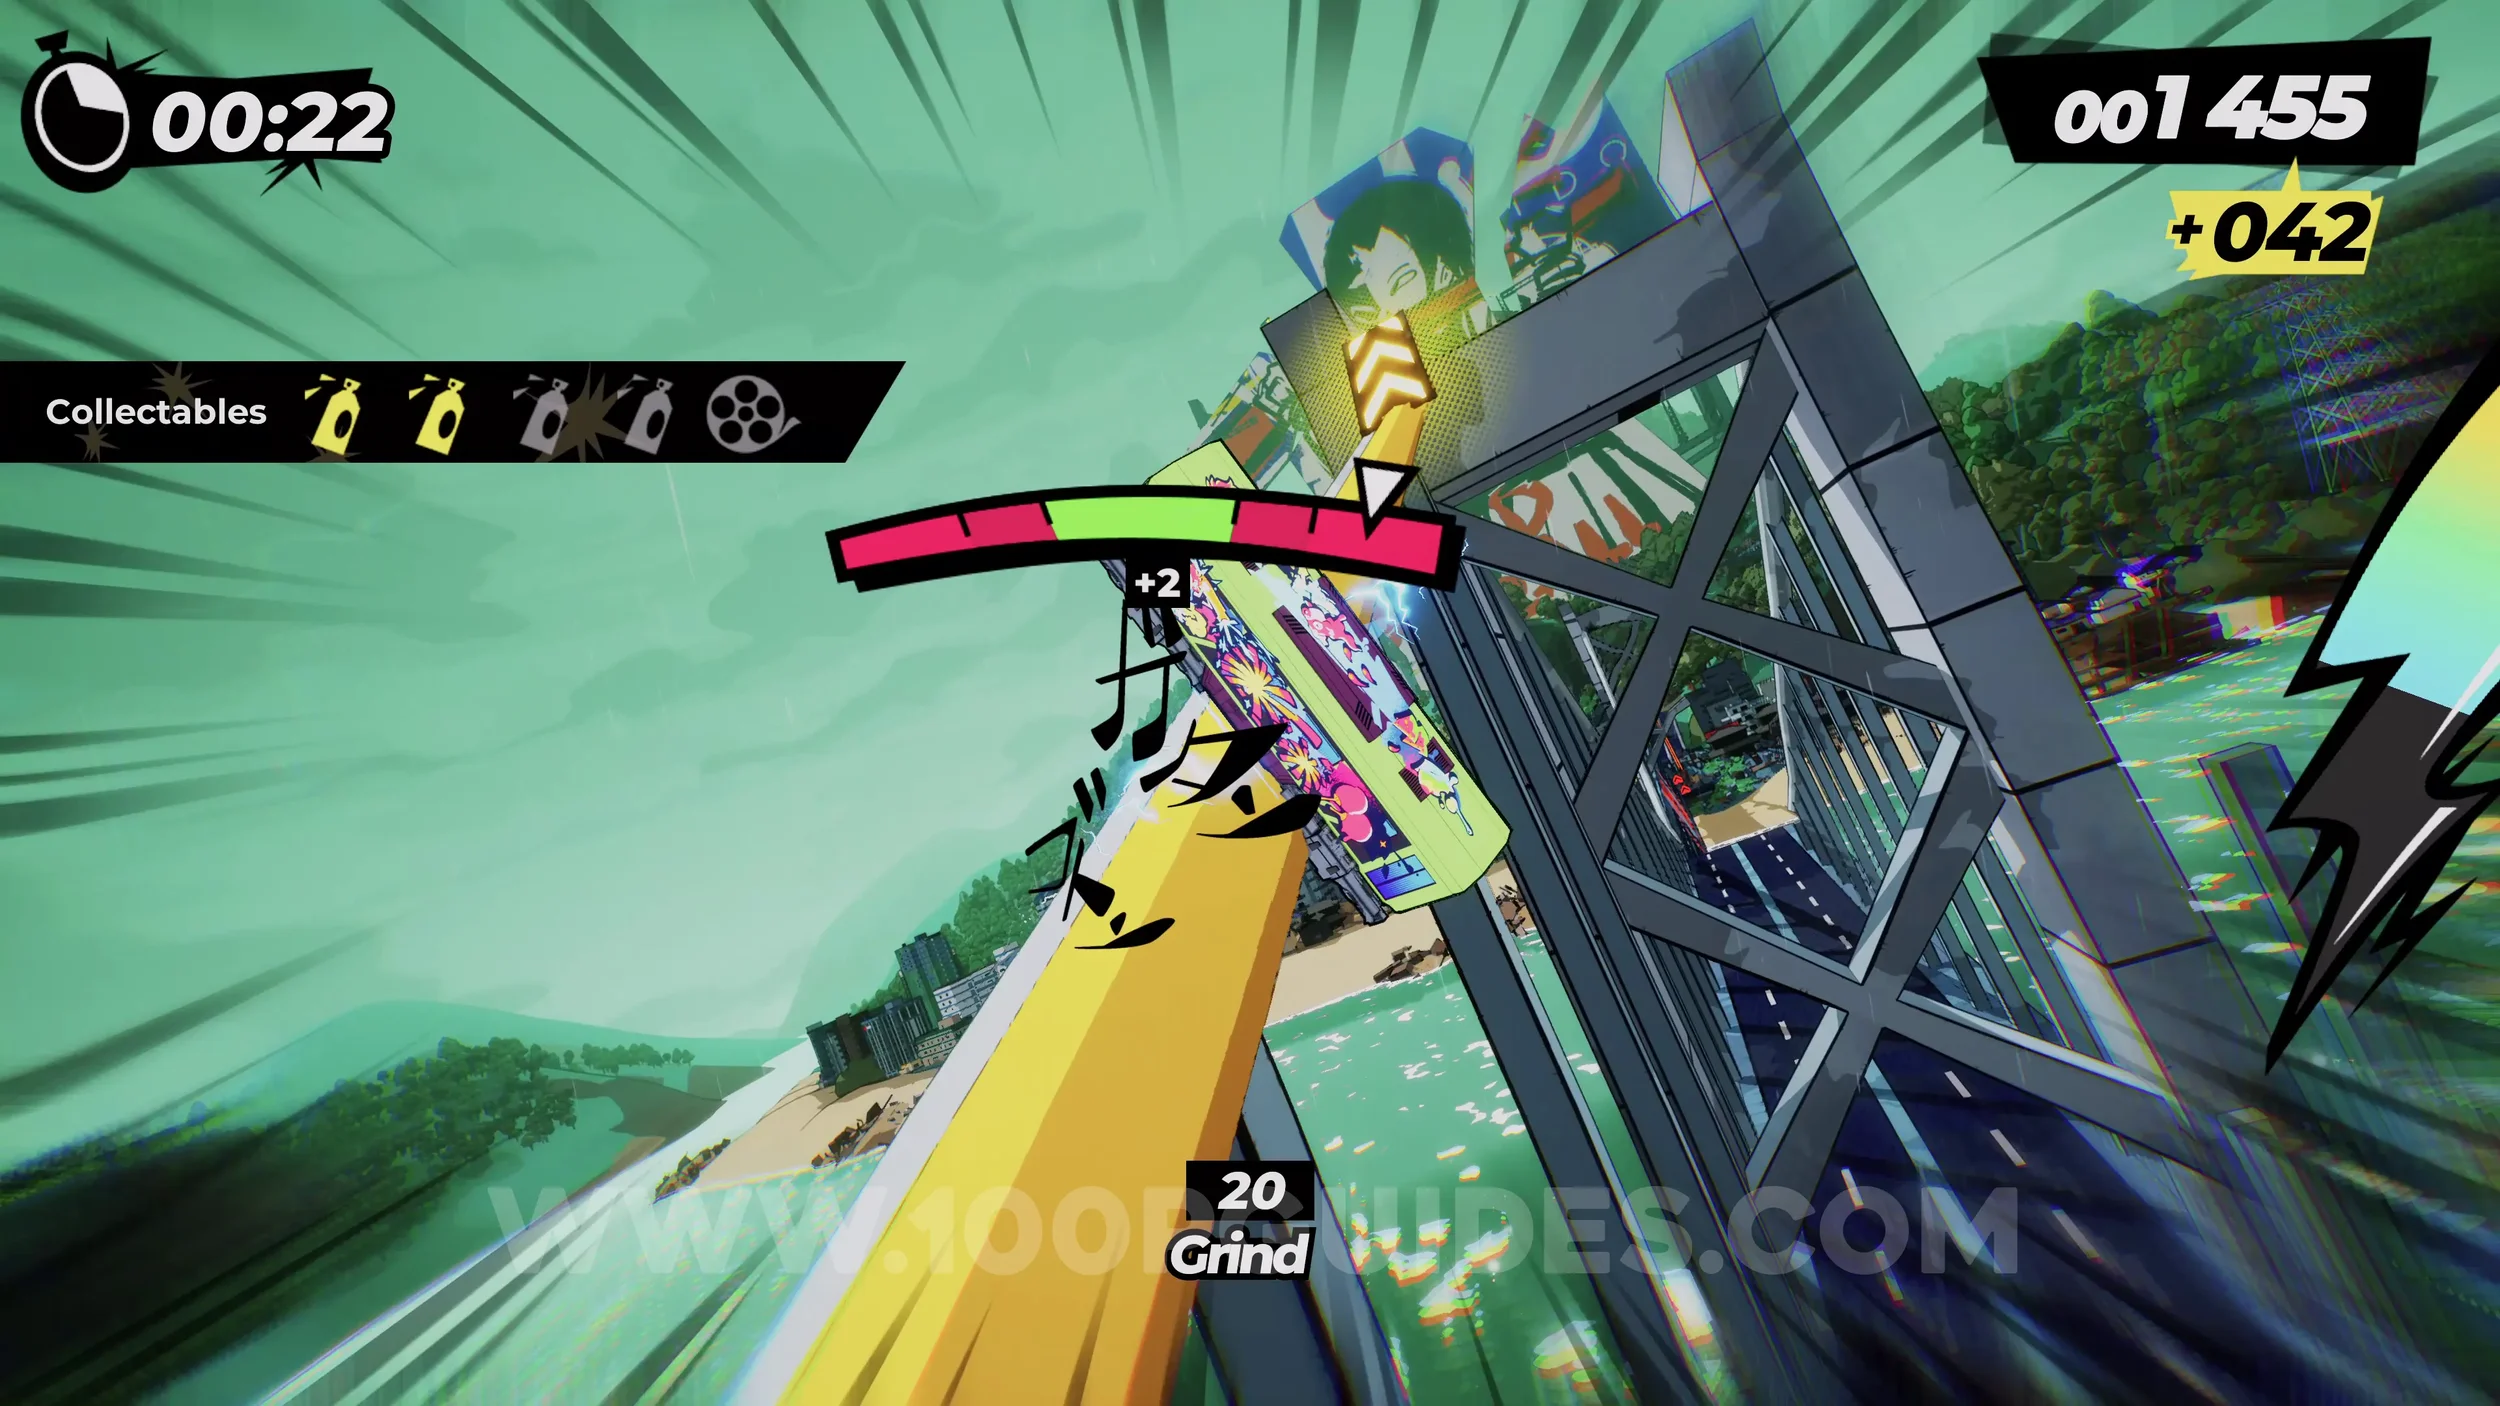
Dare: Ride All the Billboards (5-6/10). On your right soon after wallriding along the road. From the first billboard, press R2 to jump to the next one on the left.
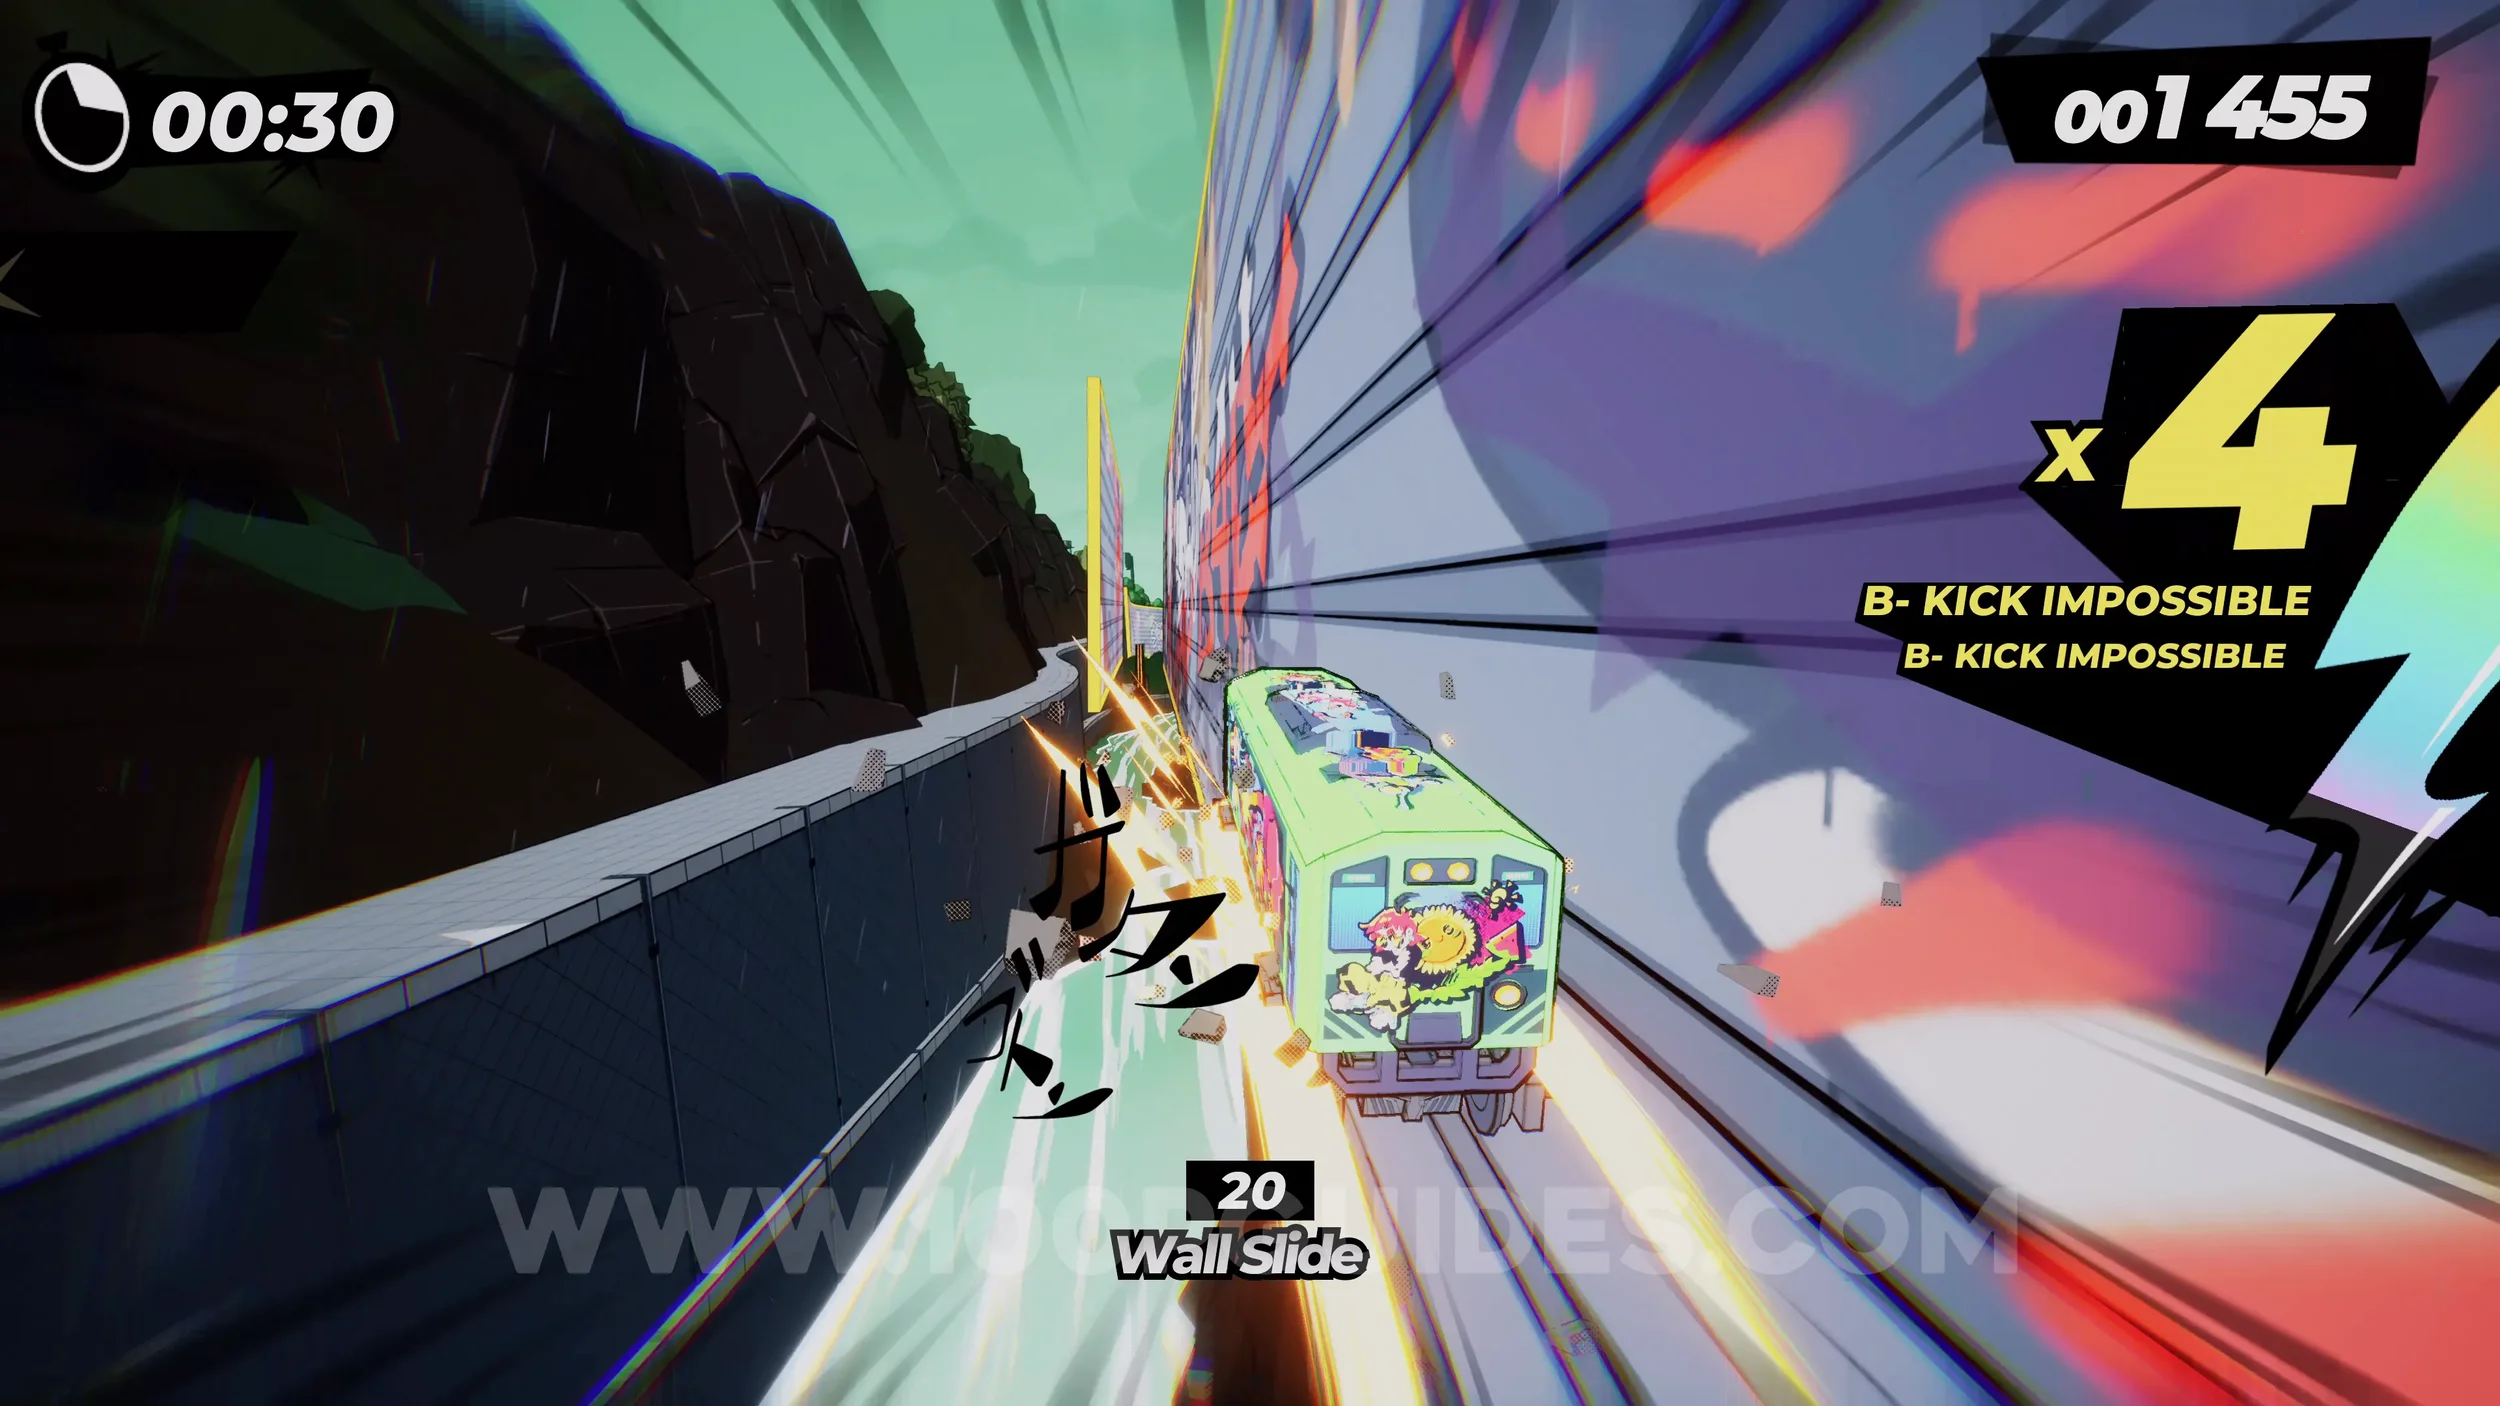
Dare: Ride All the Billboards (7-10/10). The final billboards are all grouped together soon after the previous ones. Just use R2 to jump from one to another.
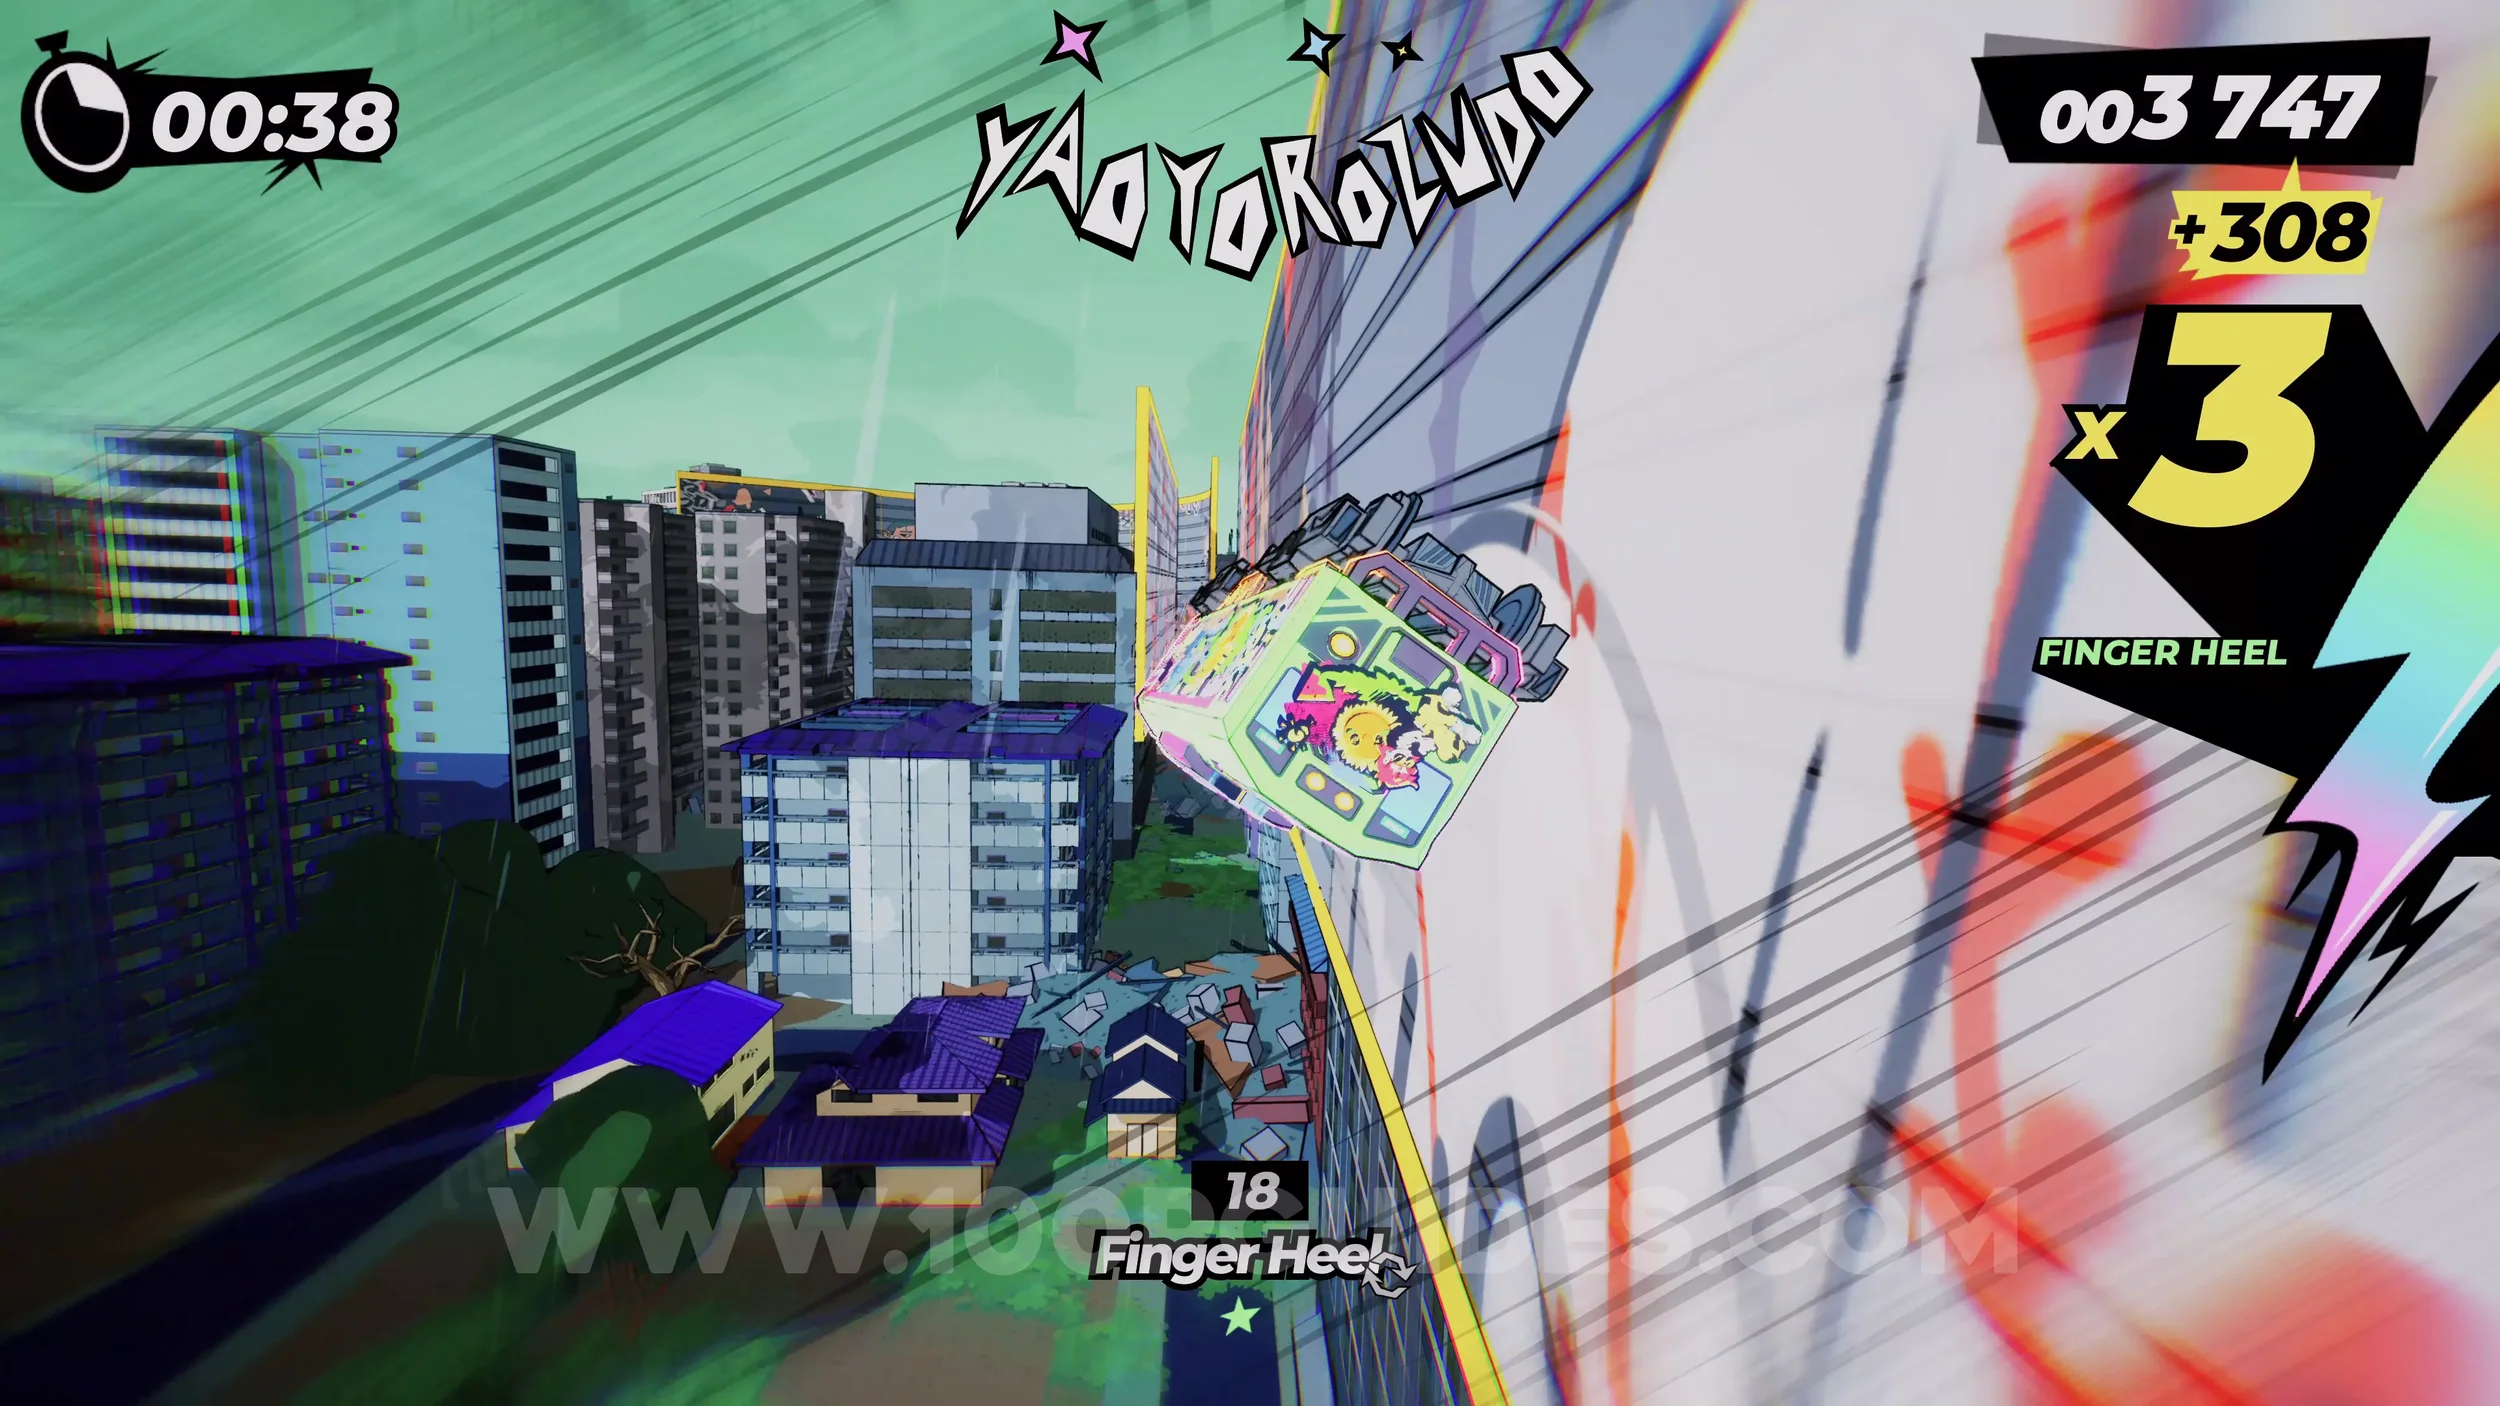
Spray Can (3/4). After the final billboard, you will still see more billboards on the next straight. The spray can is on the large billboard on your left.
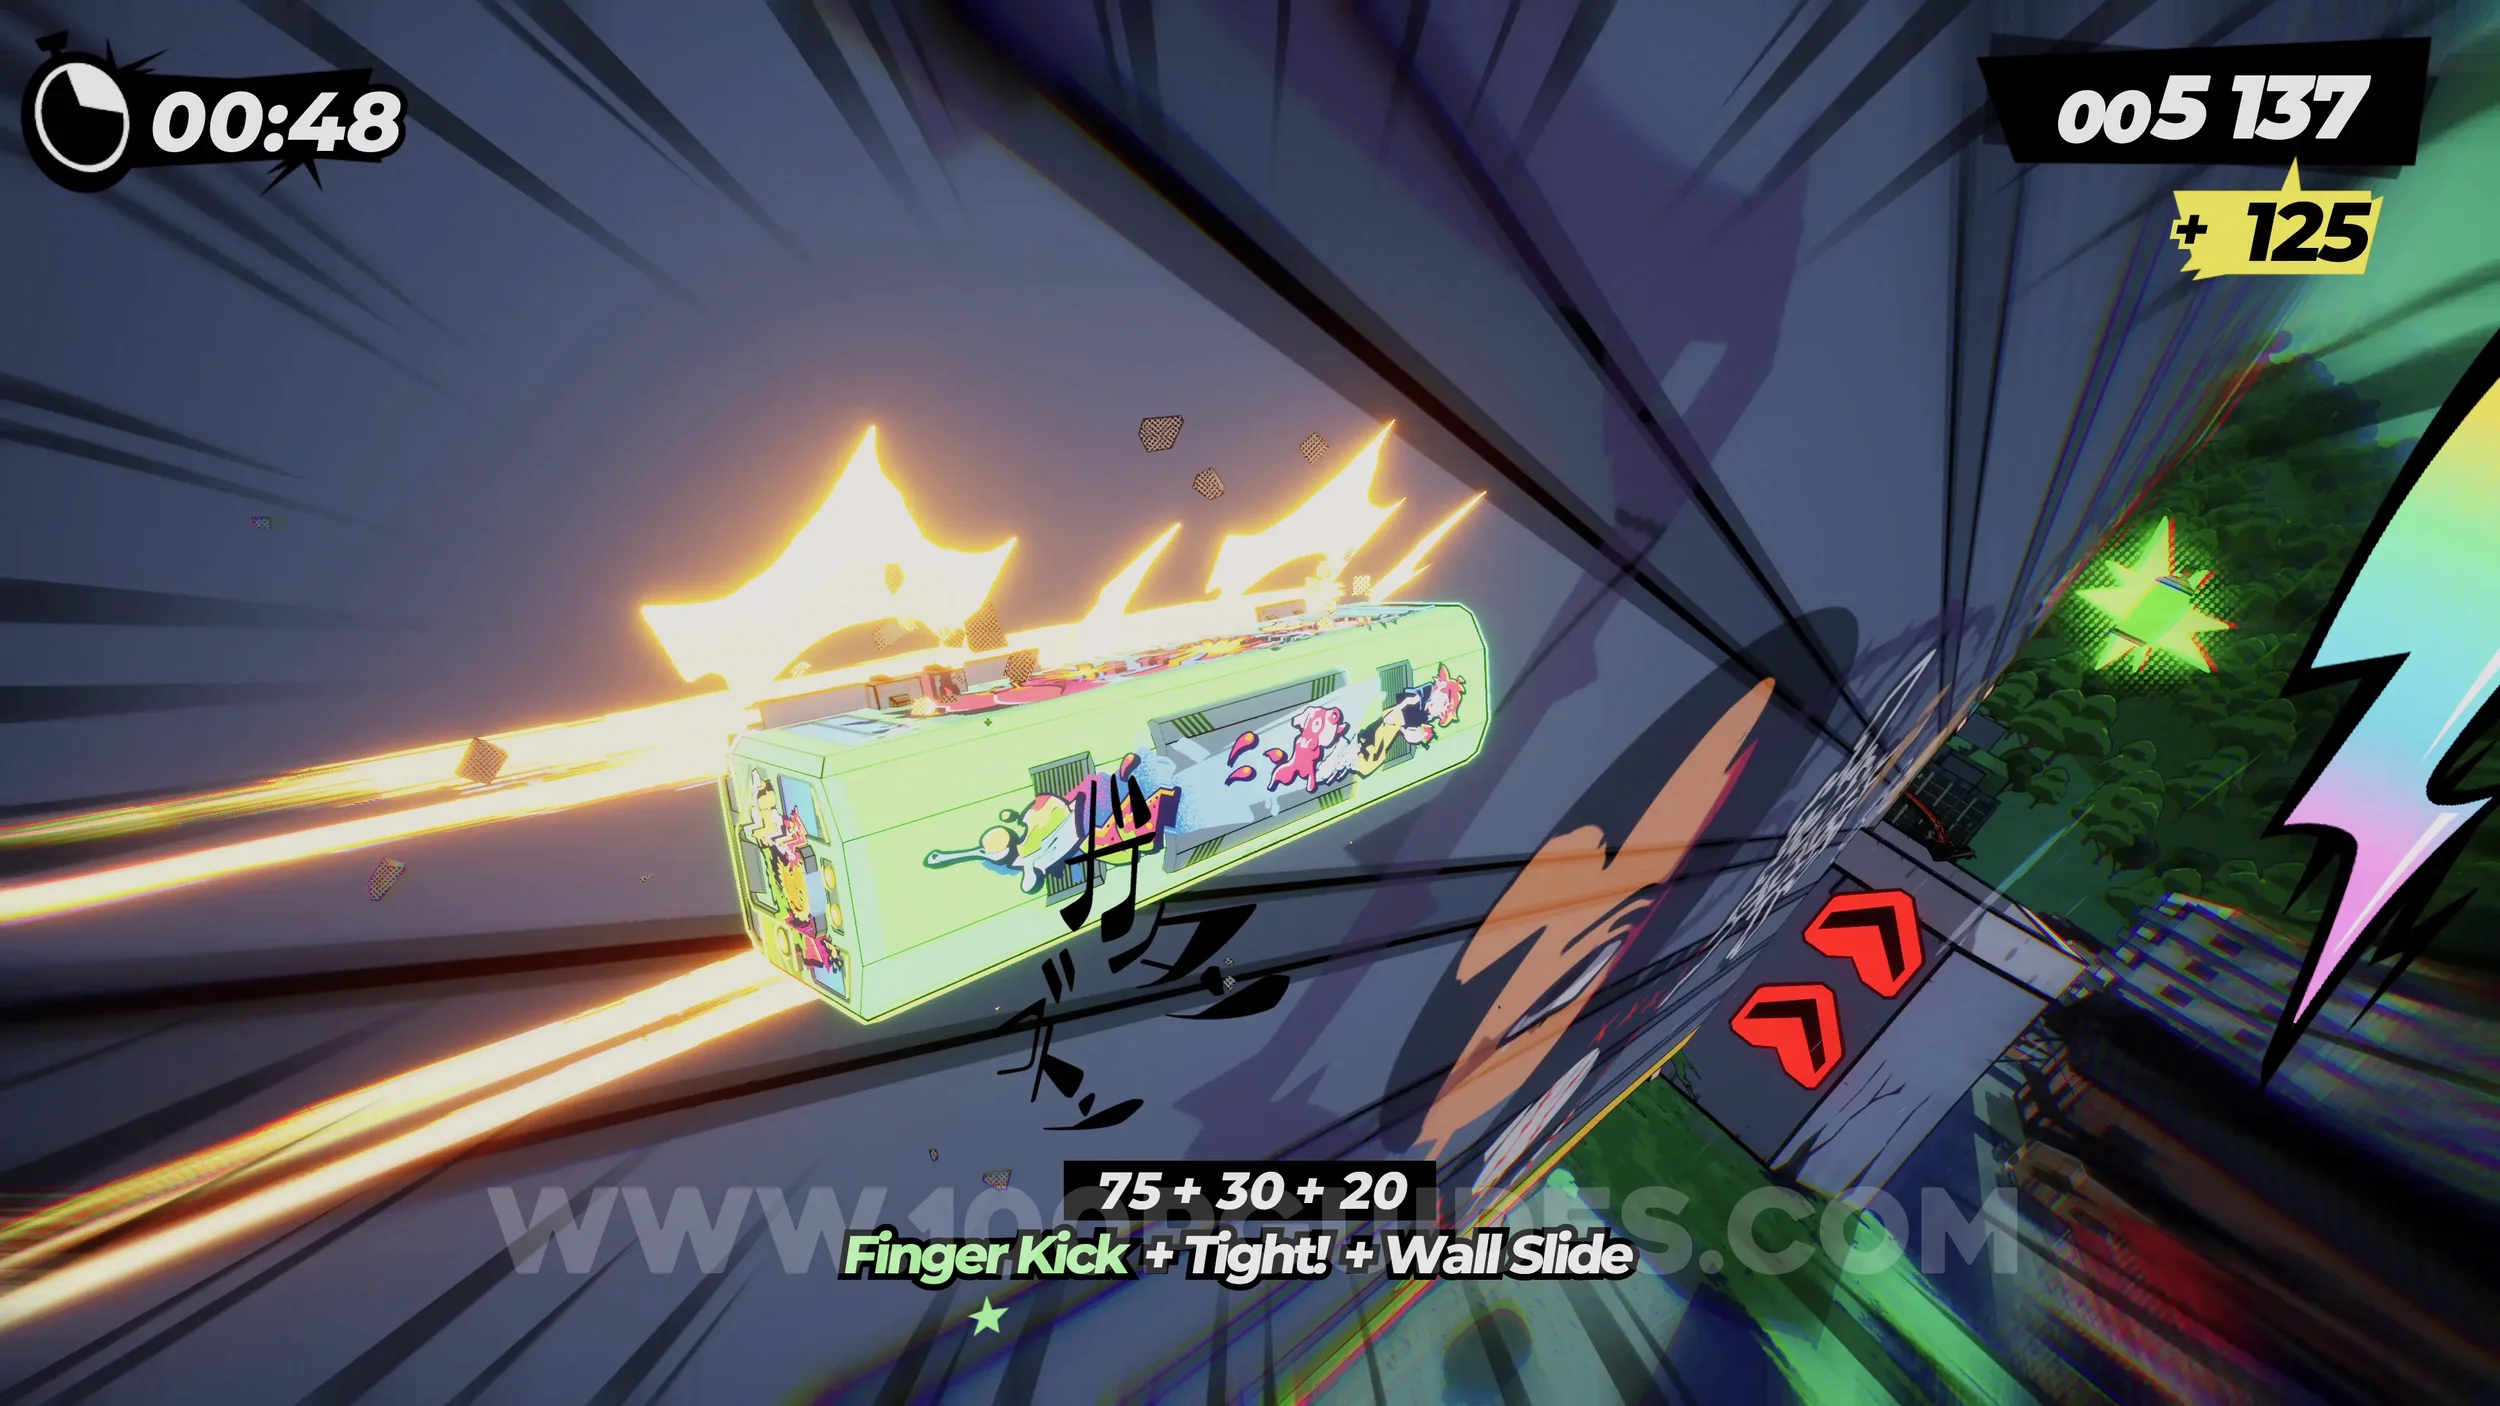
Spray Can (4/4). After the previous can, you will see a green sign on the right side pointing to a can. You will only see the right side rainbow track if you have filled the special meter. Follow the rainbow track to find the can.
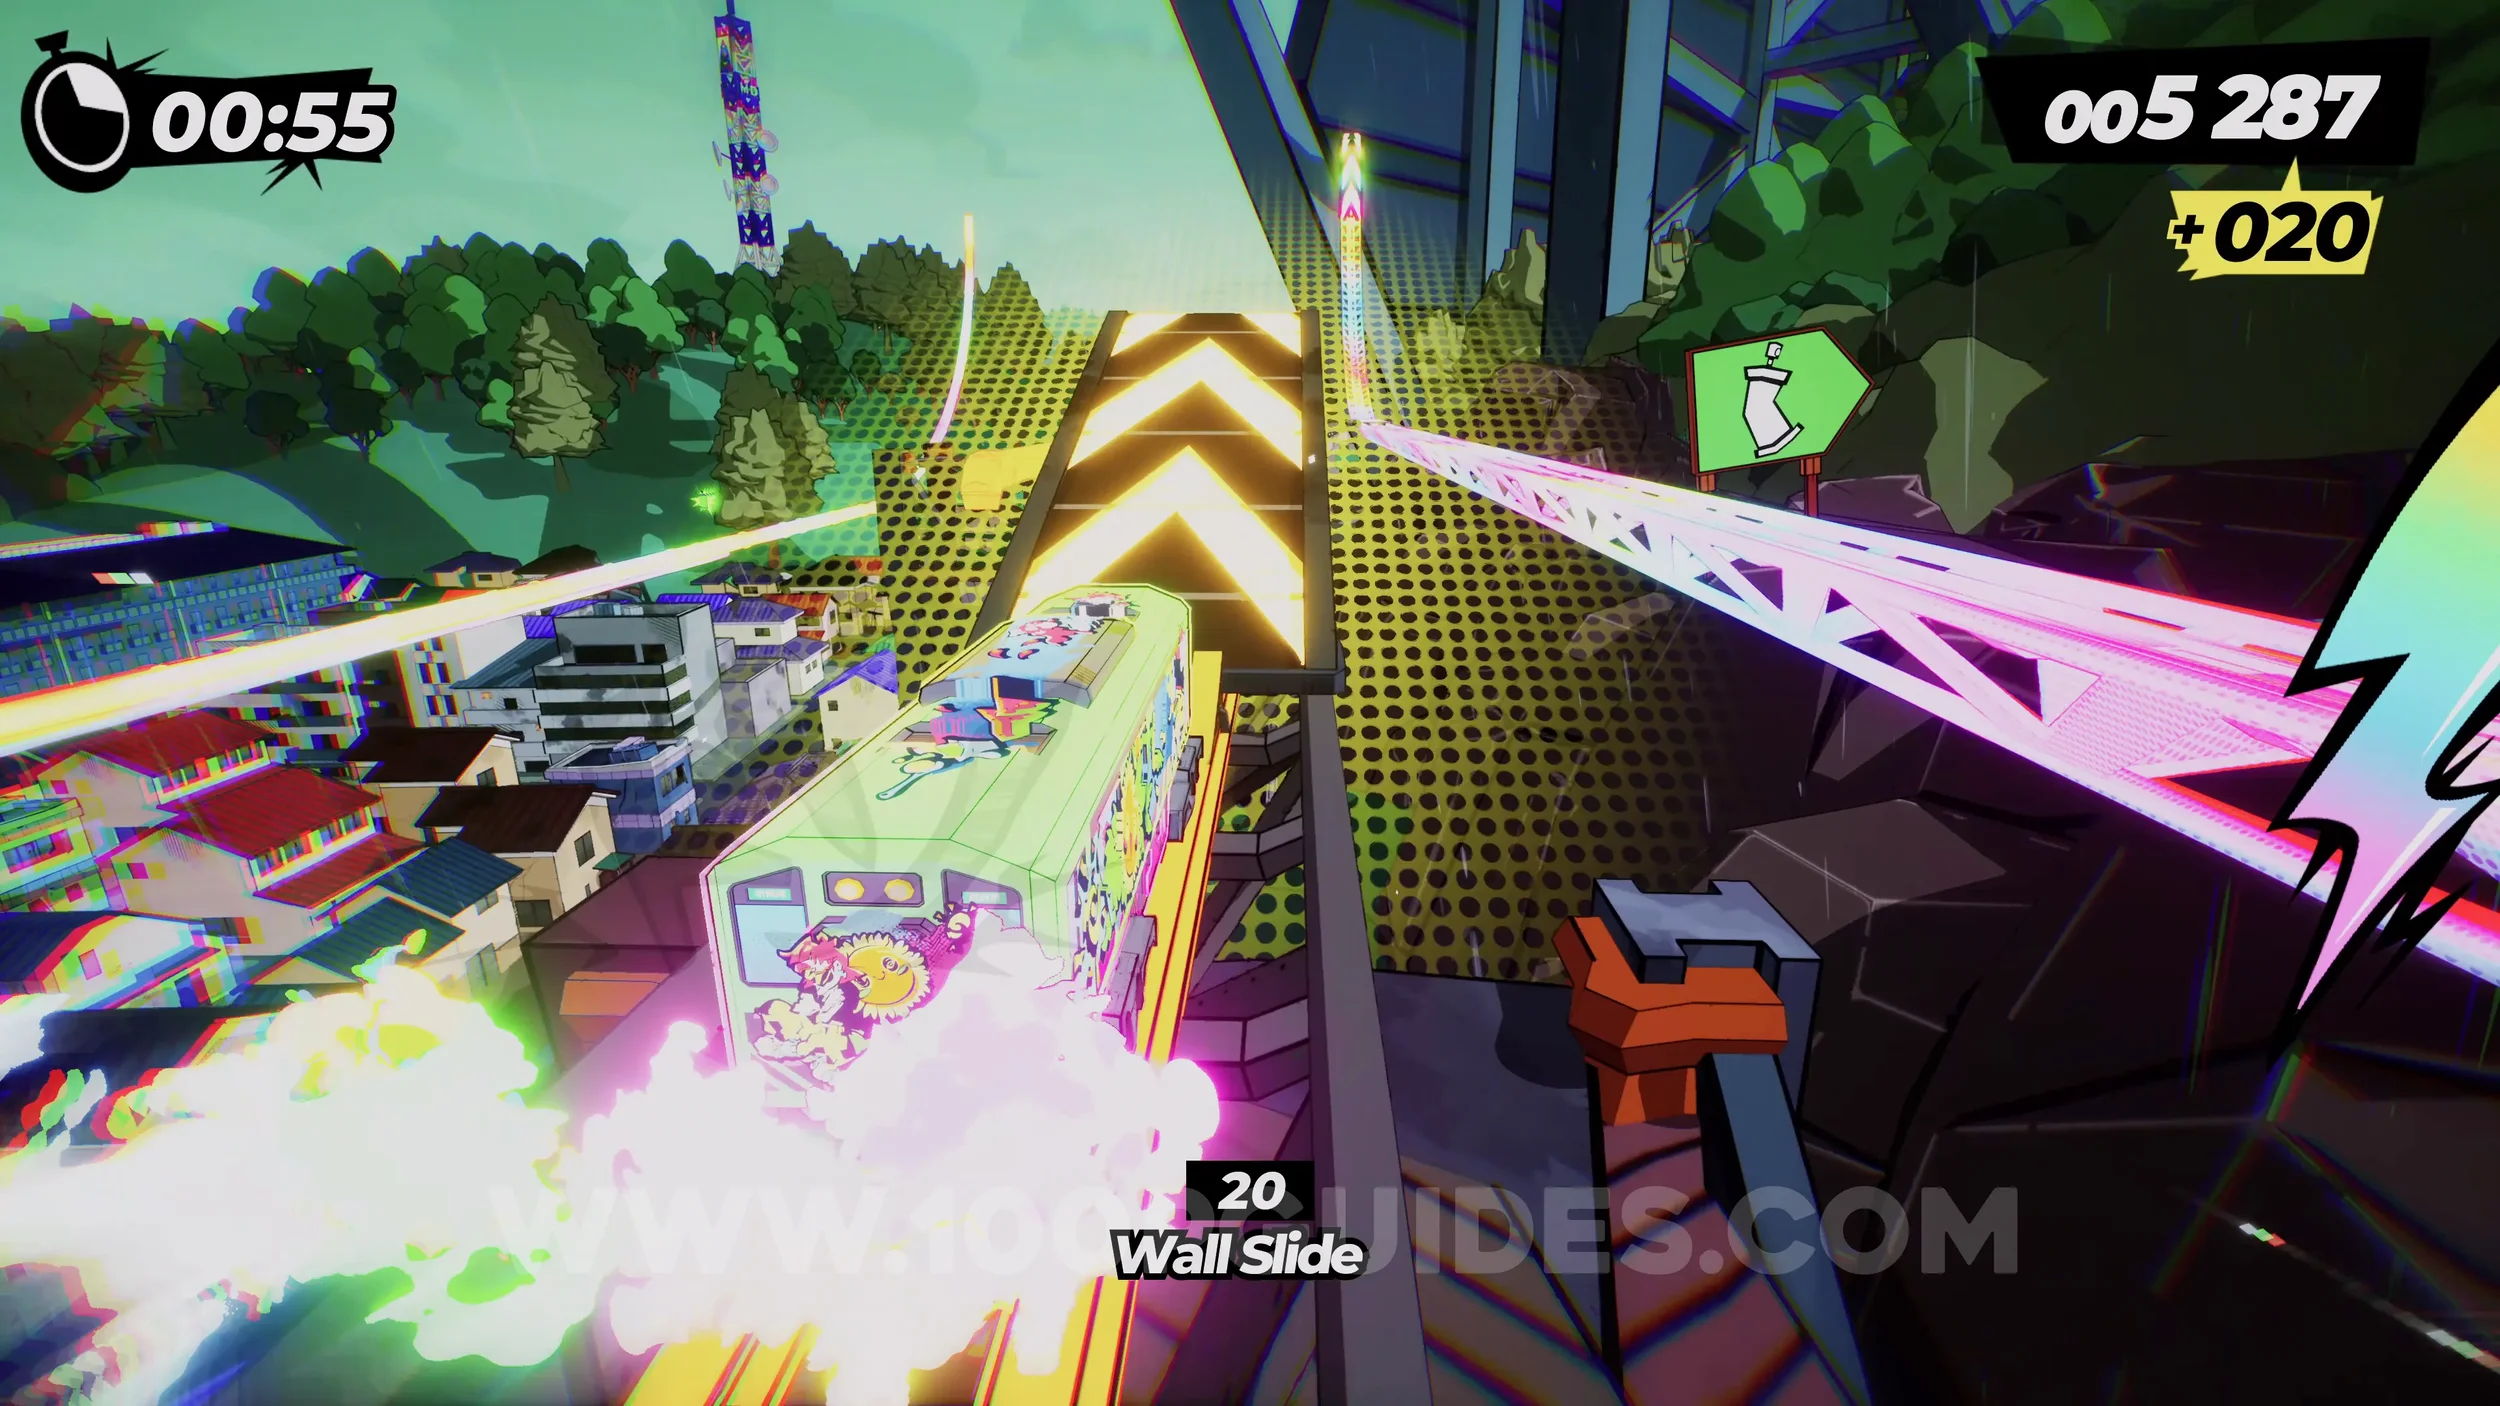
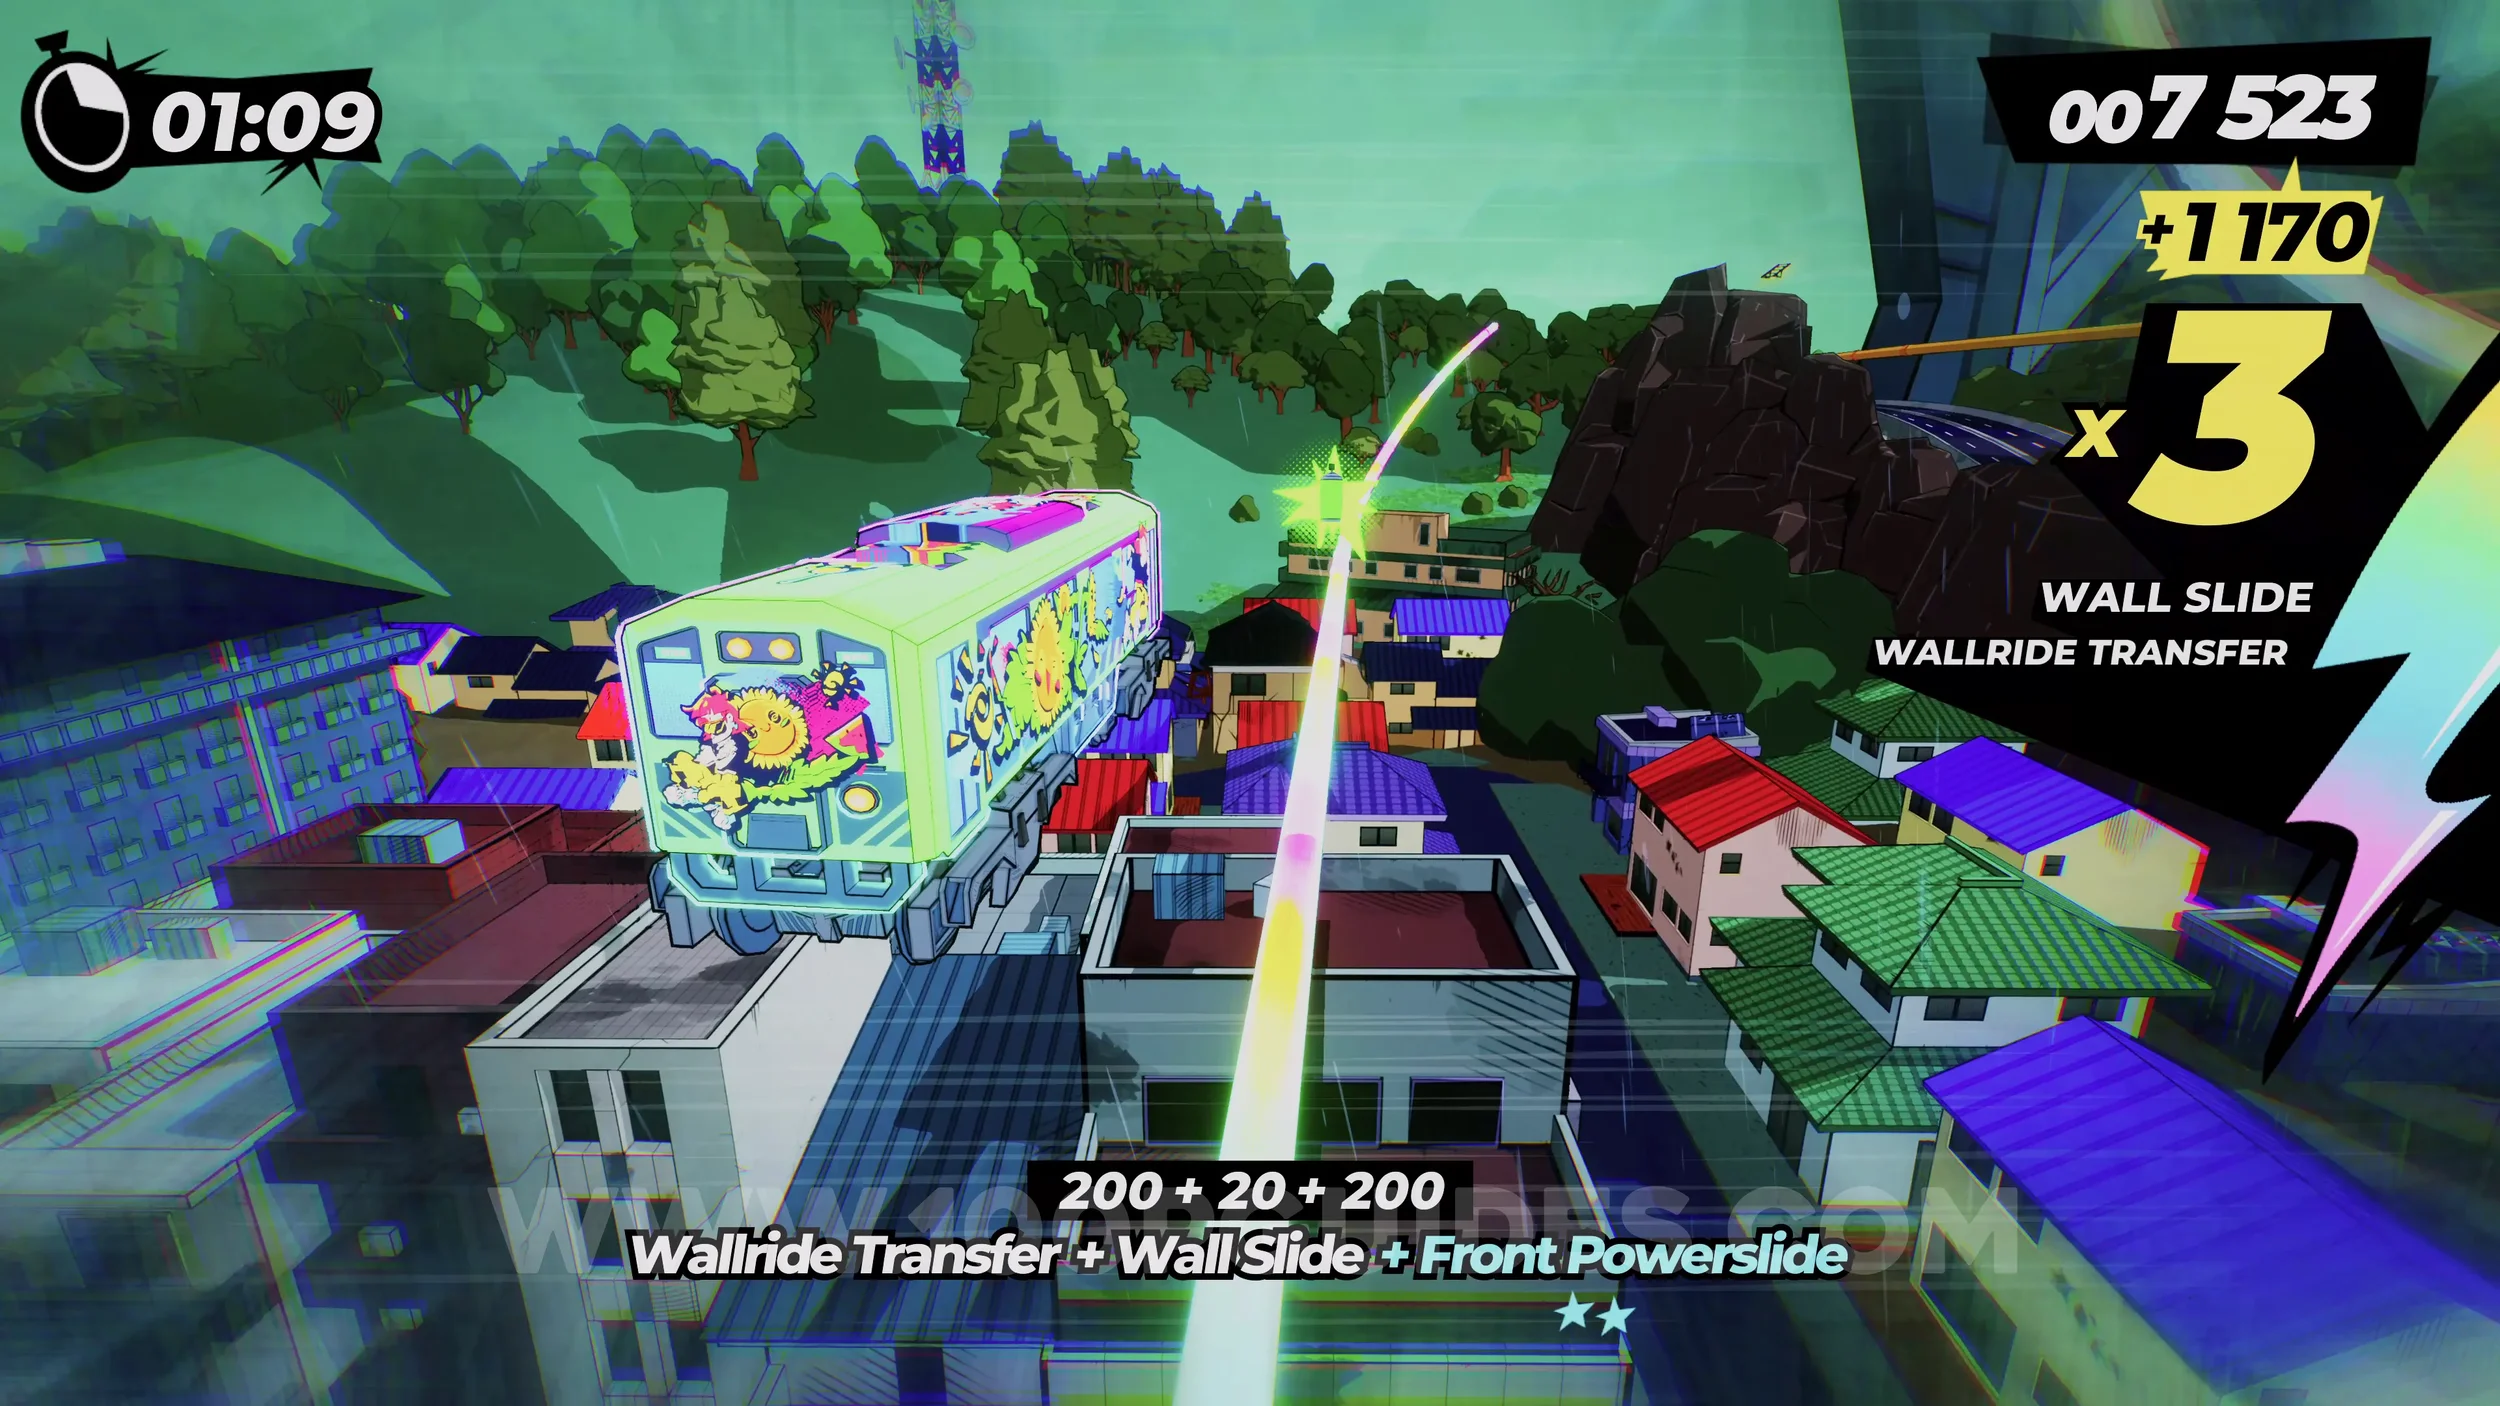
Dare: Rattle Madoka’s Billboard & Film Roll (1/1). After the previous spray can, follow the tracks and wallride on the sides to follow the natural path. Once the camera switches view and a billboard falls down behind you, press R3 to use the horn for the dare. You will also get the film roll automatically.
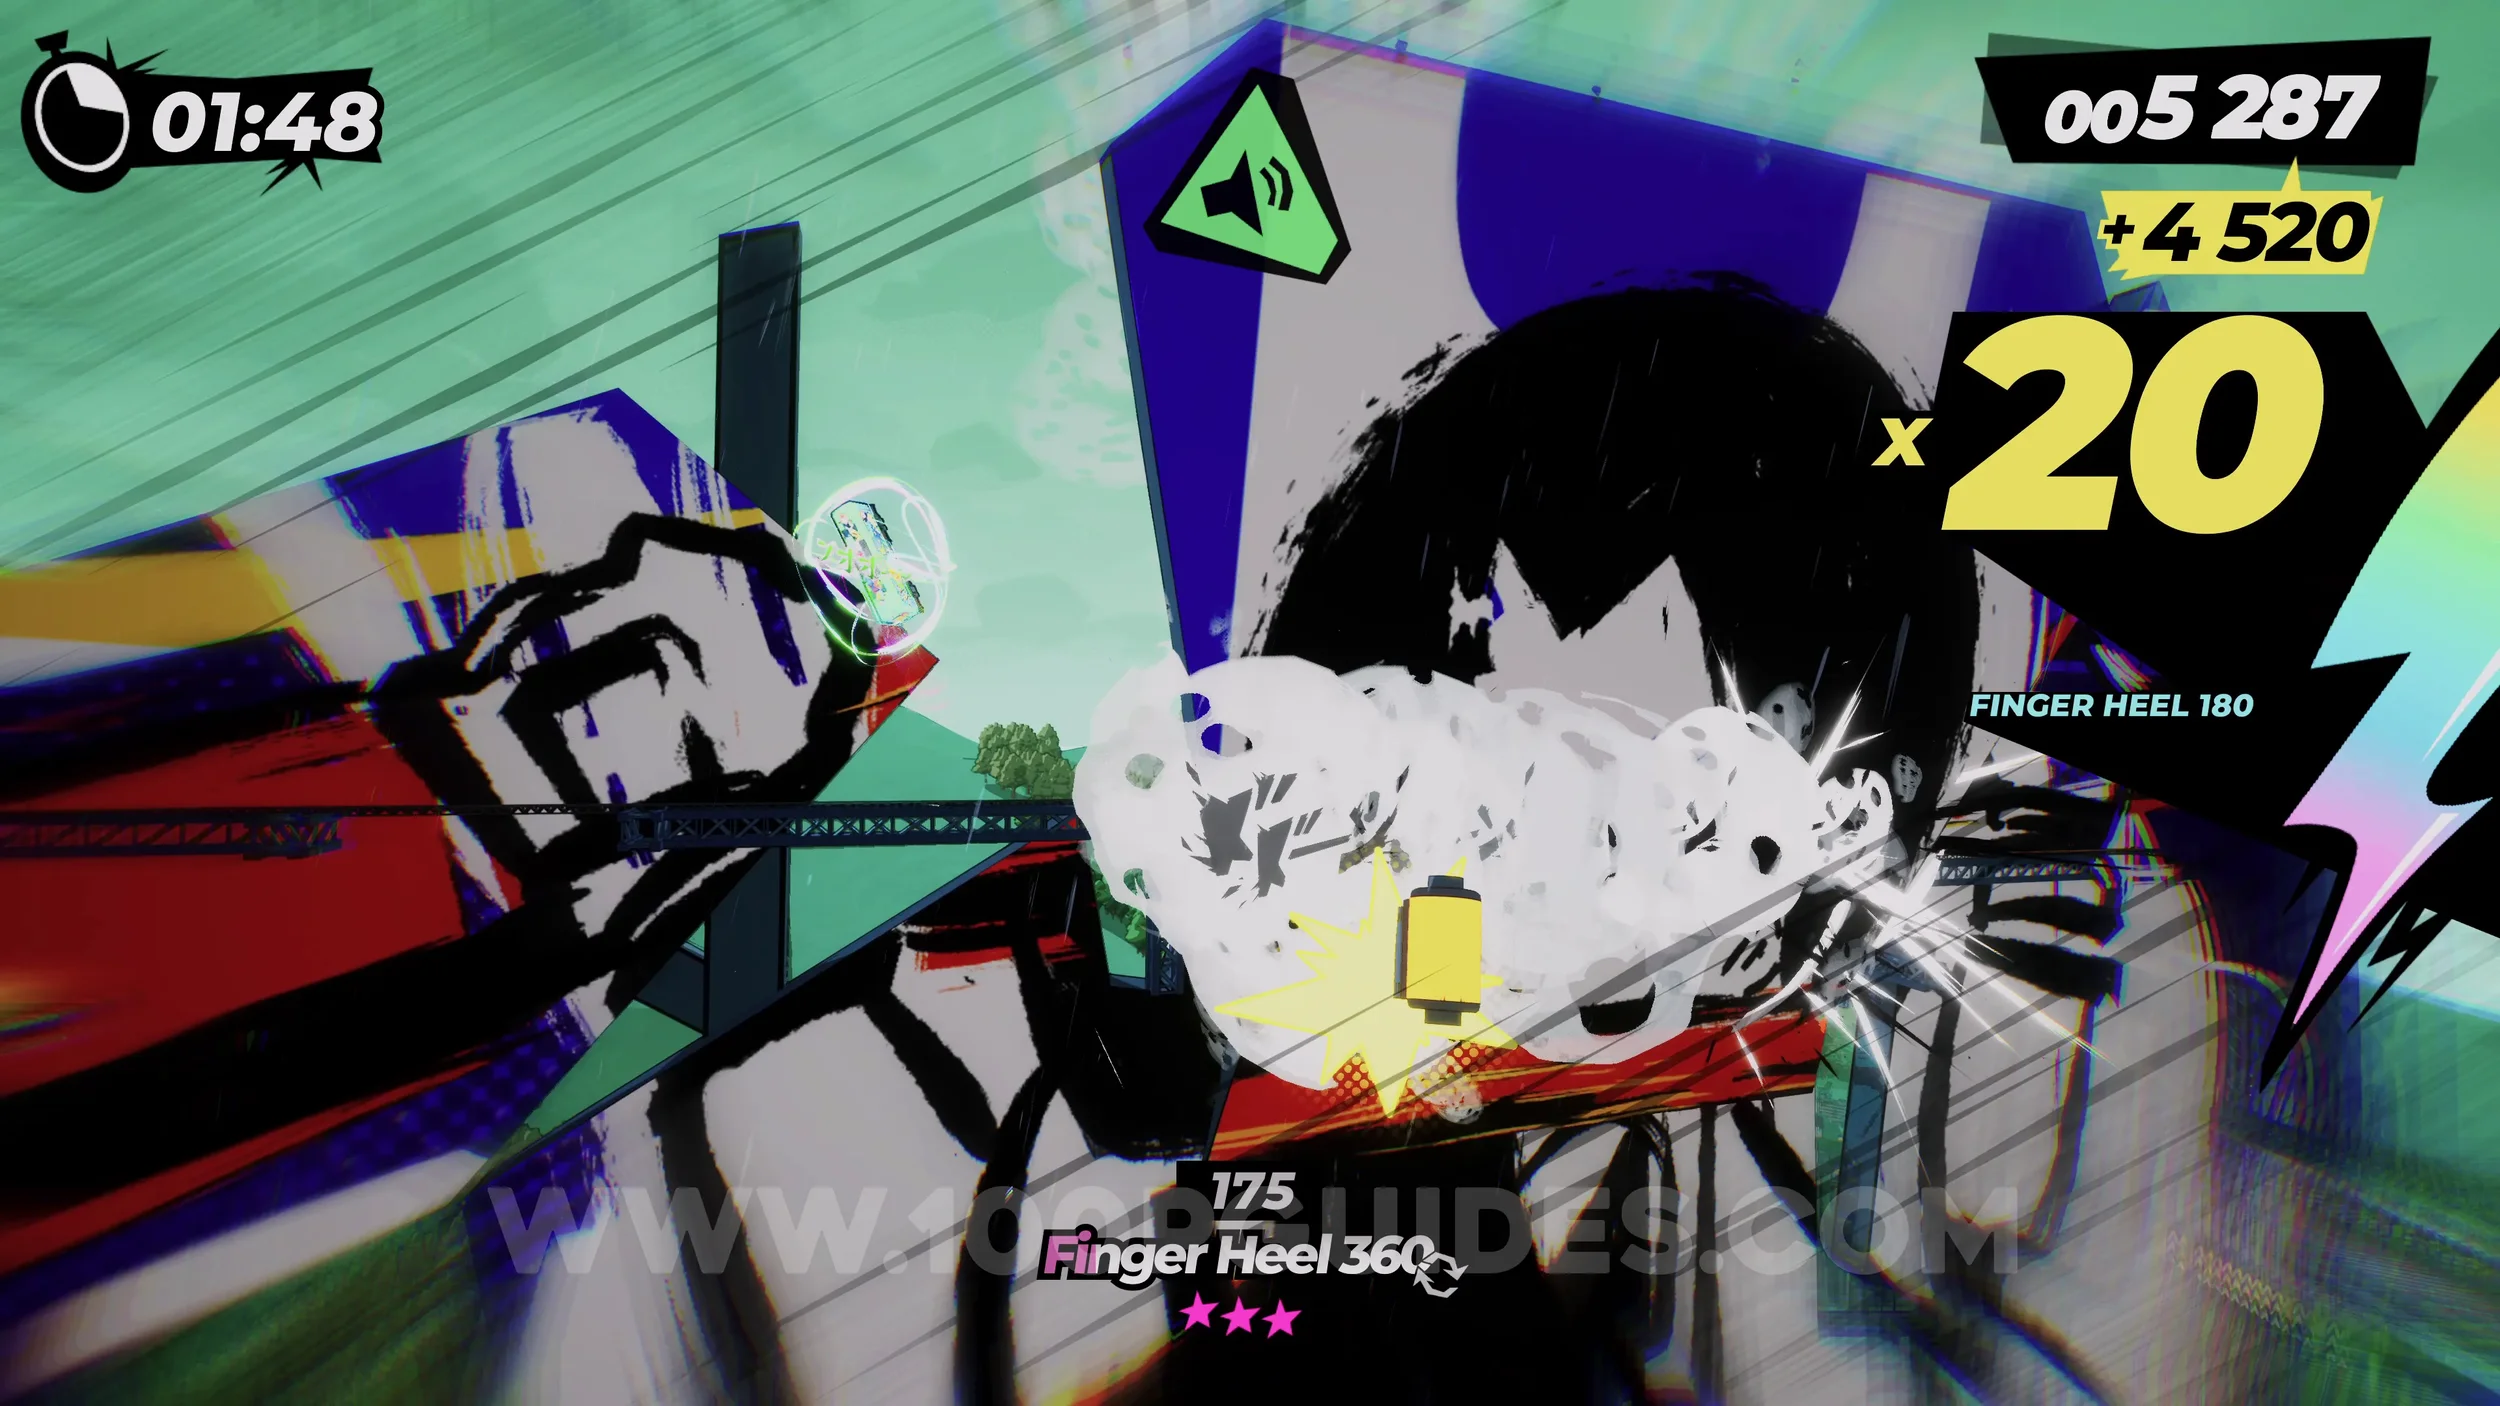
Dare: Perform a Trick After Leaving a Wallride. Self-explanatory.
Dare: No Crash Finish. Self-explanatory. Finish the level without crashing.
2-1-F Chugoku Fanzine H.Q.
(EN)Zine #2. Fill the comic book up with the film rolls to get the (EN)Zine. You will not be able to do this on your first visit, since some of the required film rolls are collected in later levels. Come back after collecting every film in the chapter.
2-1-2 Raiders Of The Dead Ball
Spray Can (1/4) & Dare: Grind Both Rails on the Kintaikyo Bridge (1/2). On the right side rail after the first corner. Stay on this rail until you get to the bridge.
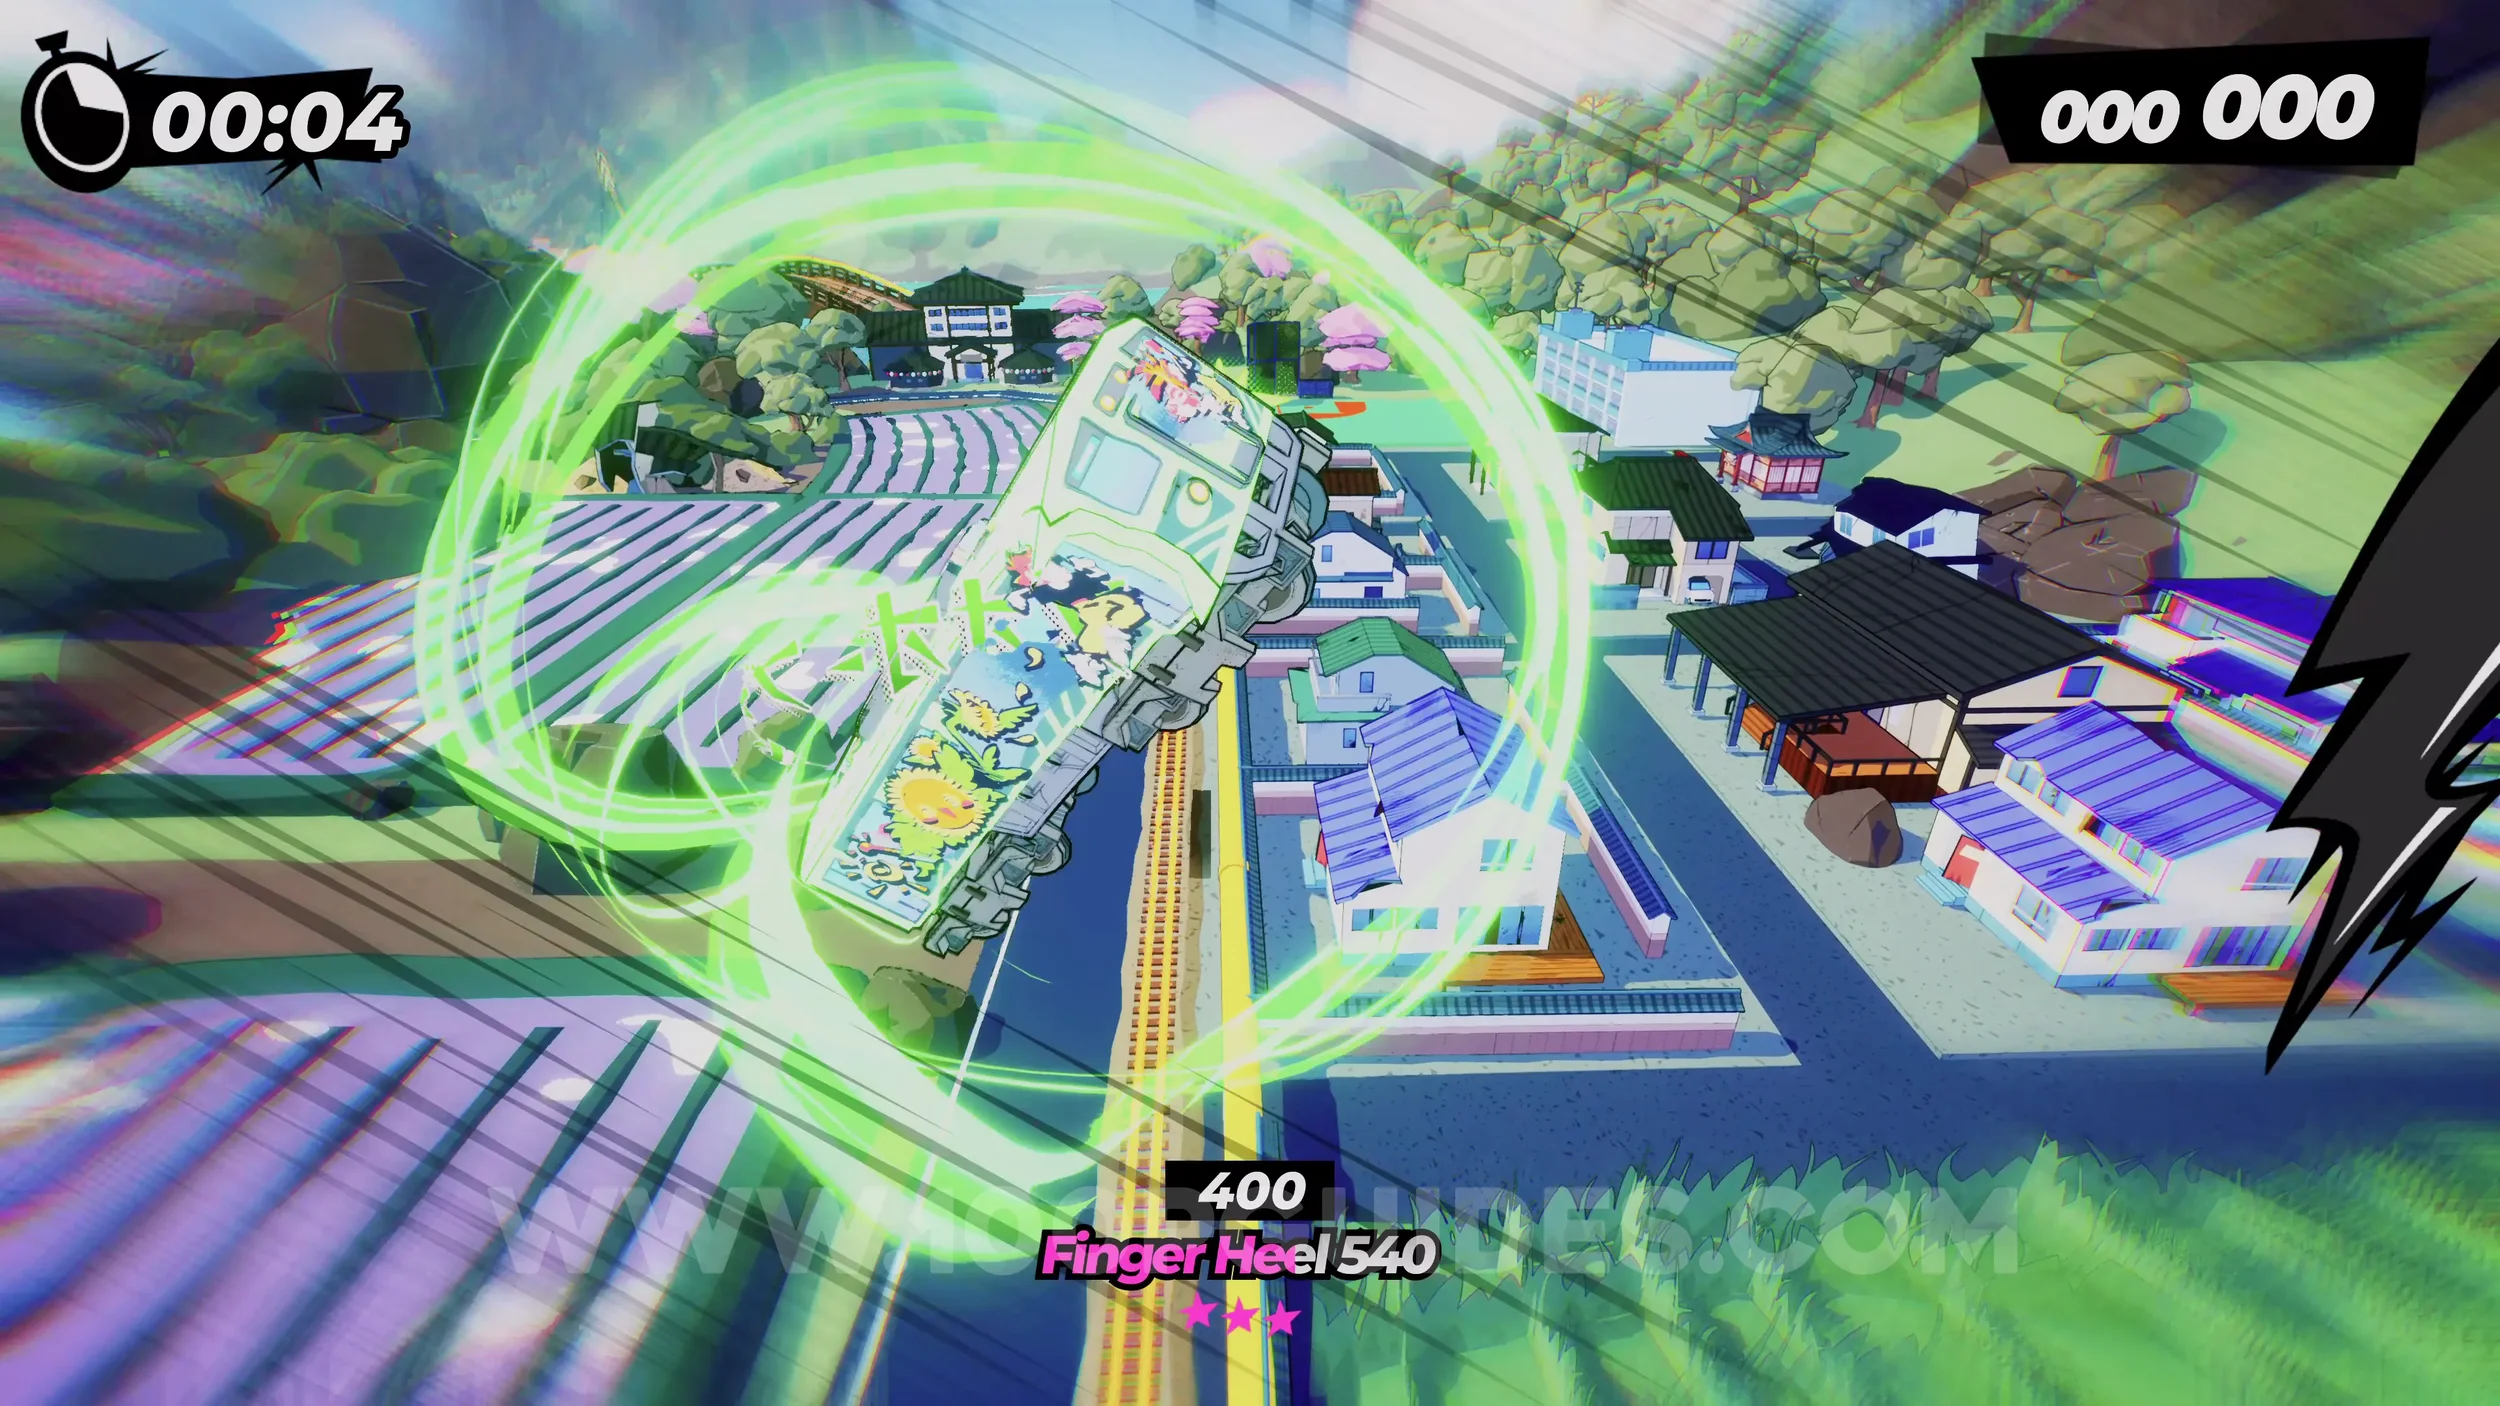
Spray Can (2/4). Just after the previous can, you will get to a bridge. Look out for the green sign pointing towards the can. Here, jump to the middle track that takes you up to a vert jump. After this, you will get the spray.
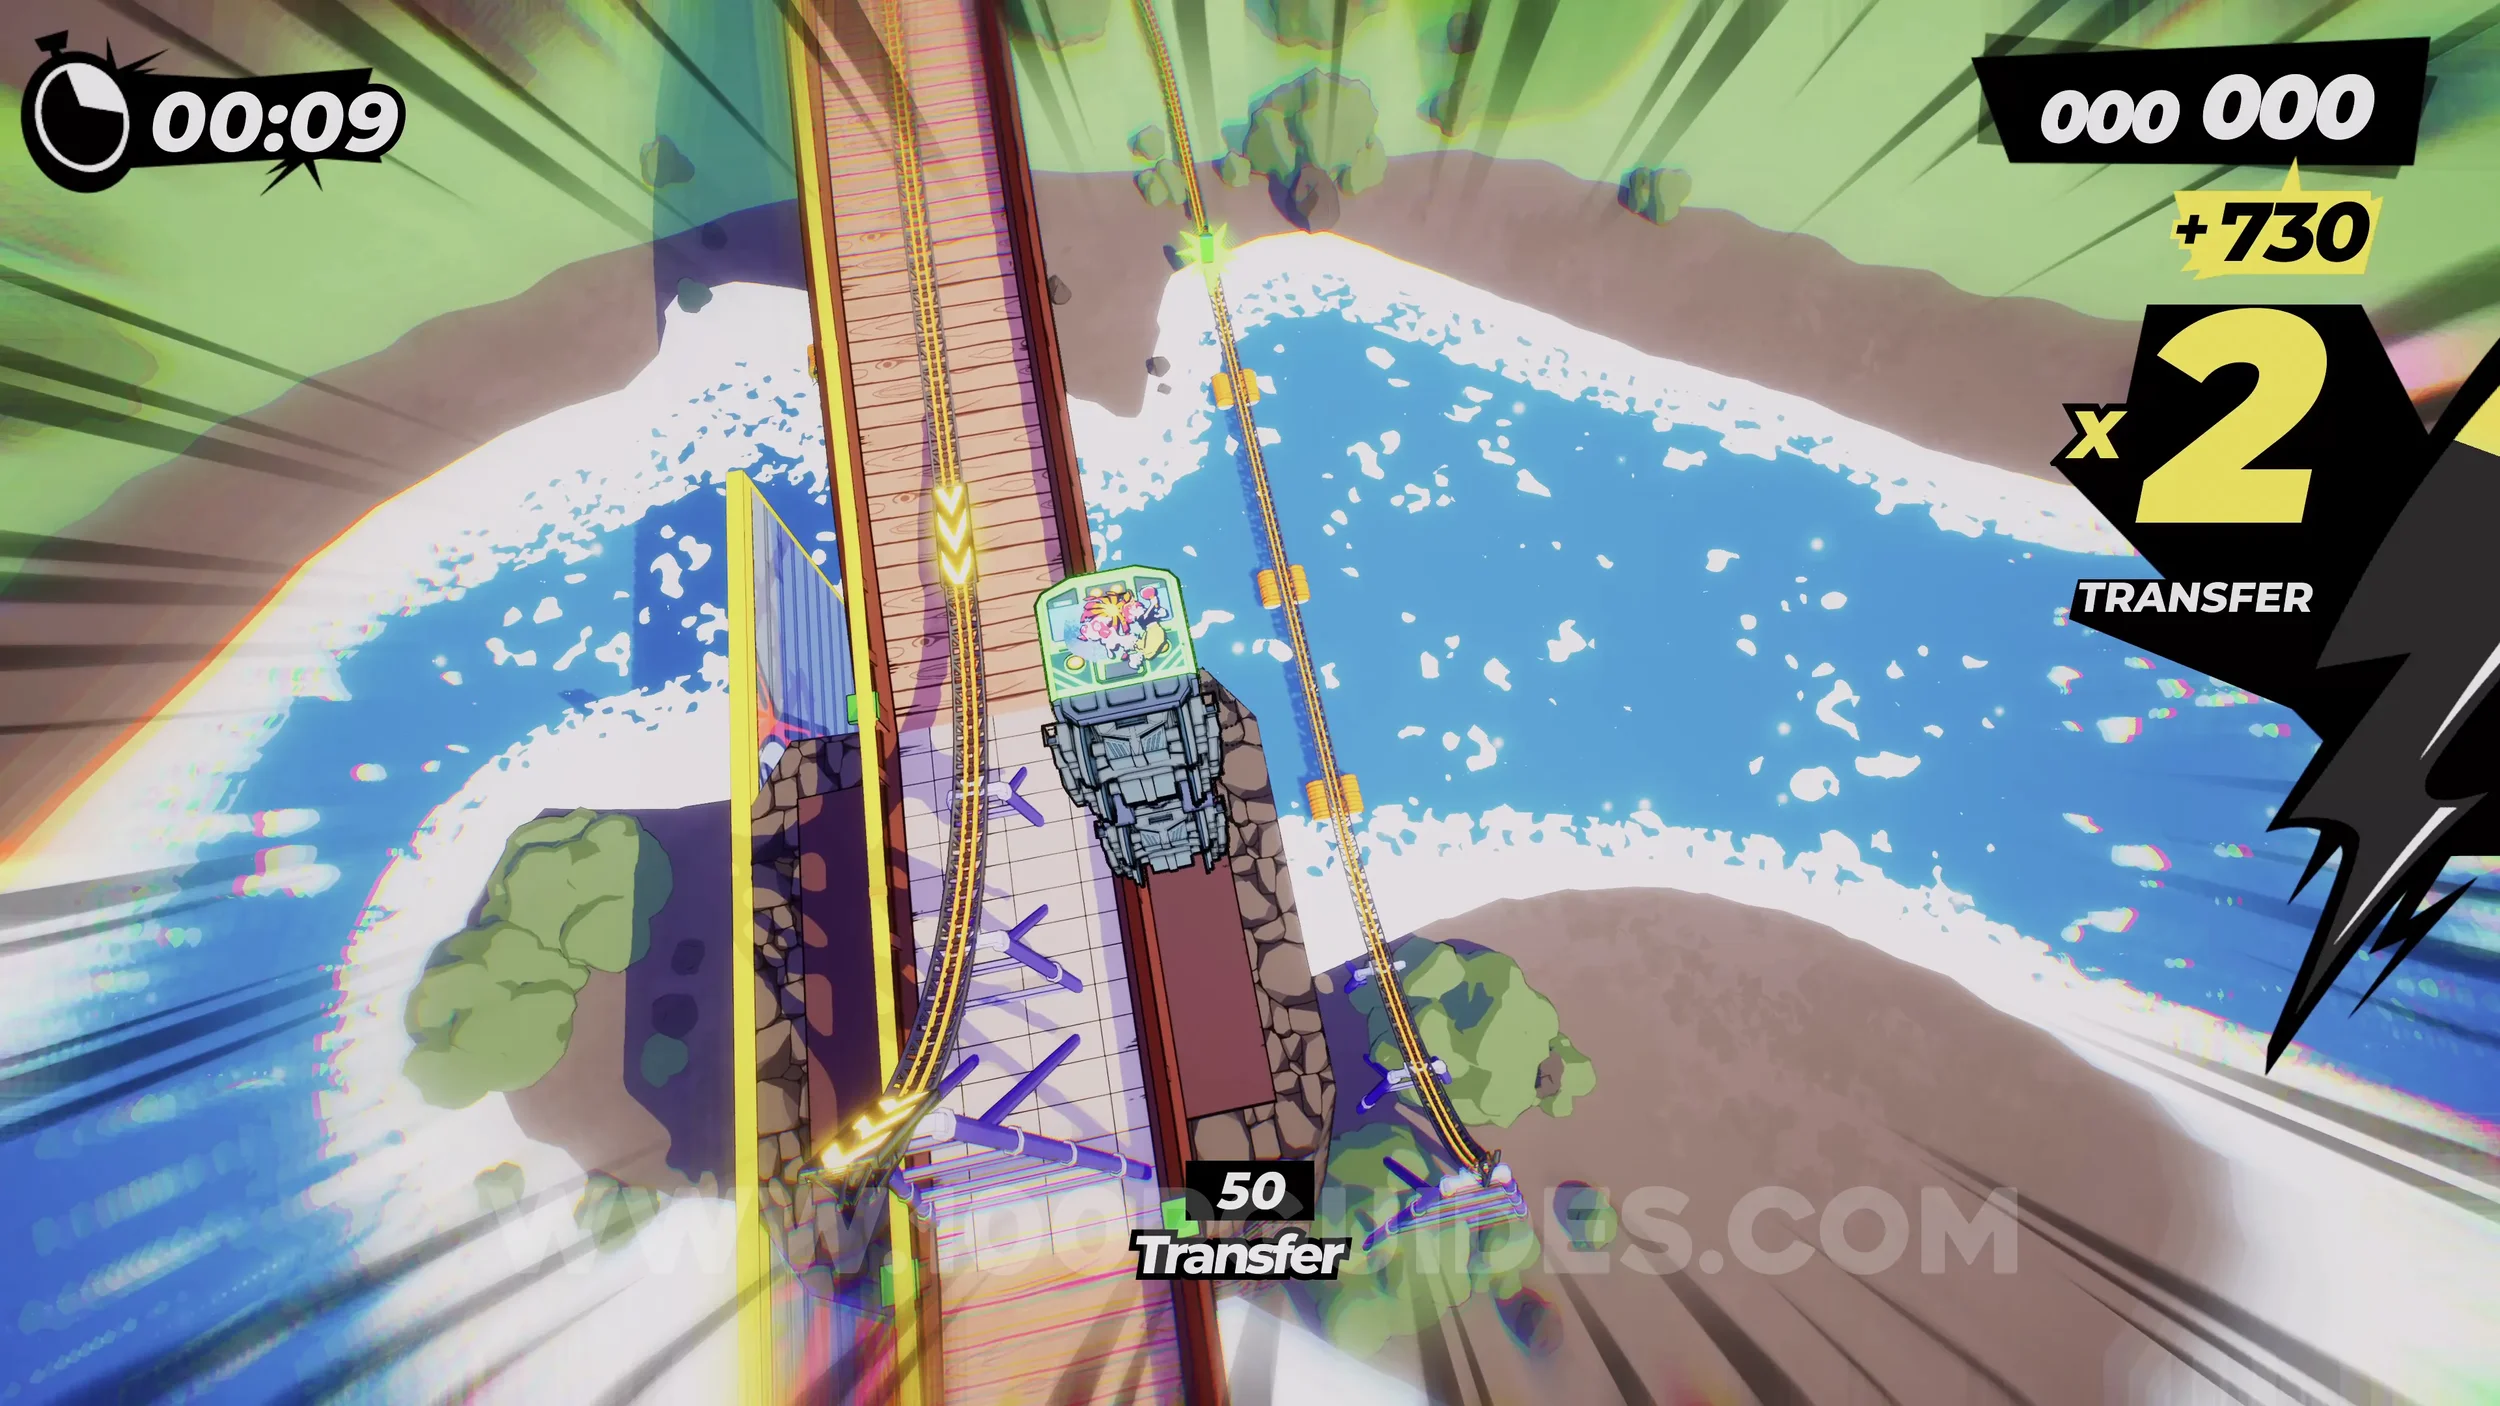
Dare: Grind Both Rails on the Kintaikyo Bridge (2/2). Once you return to the tracks on the bridge, jump to the rail on the right side.
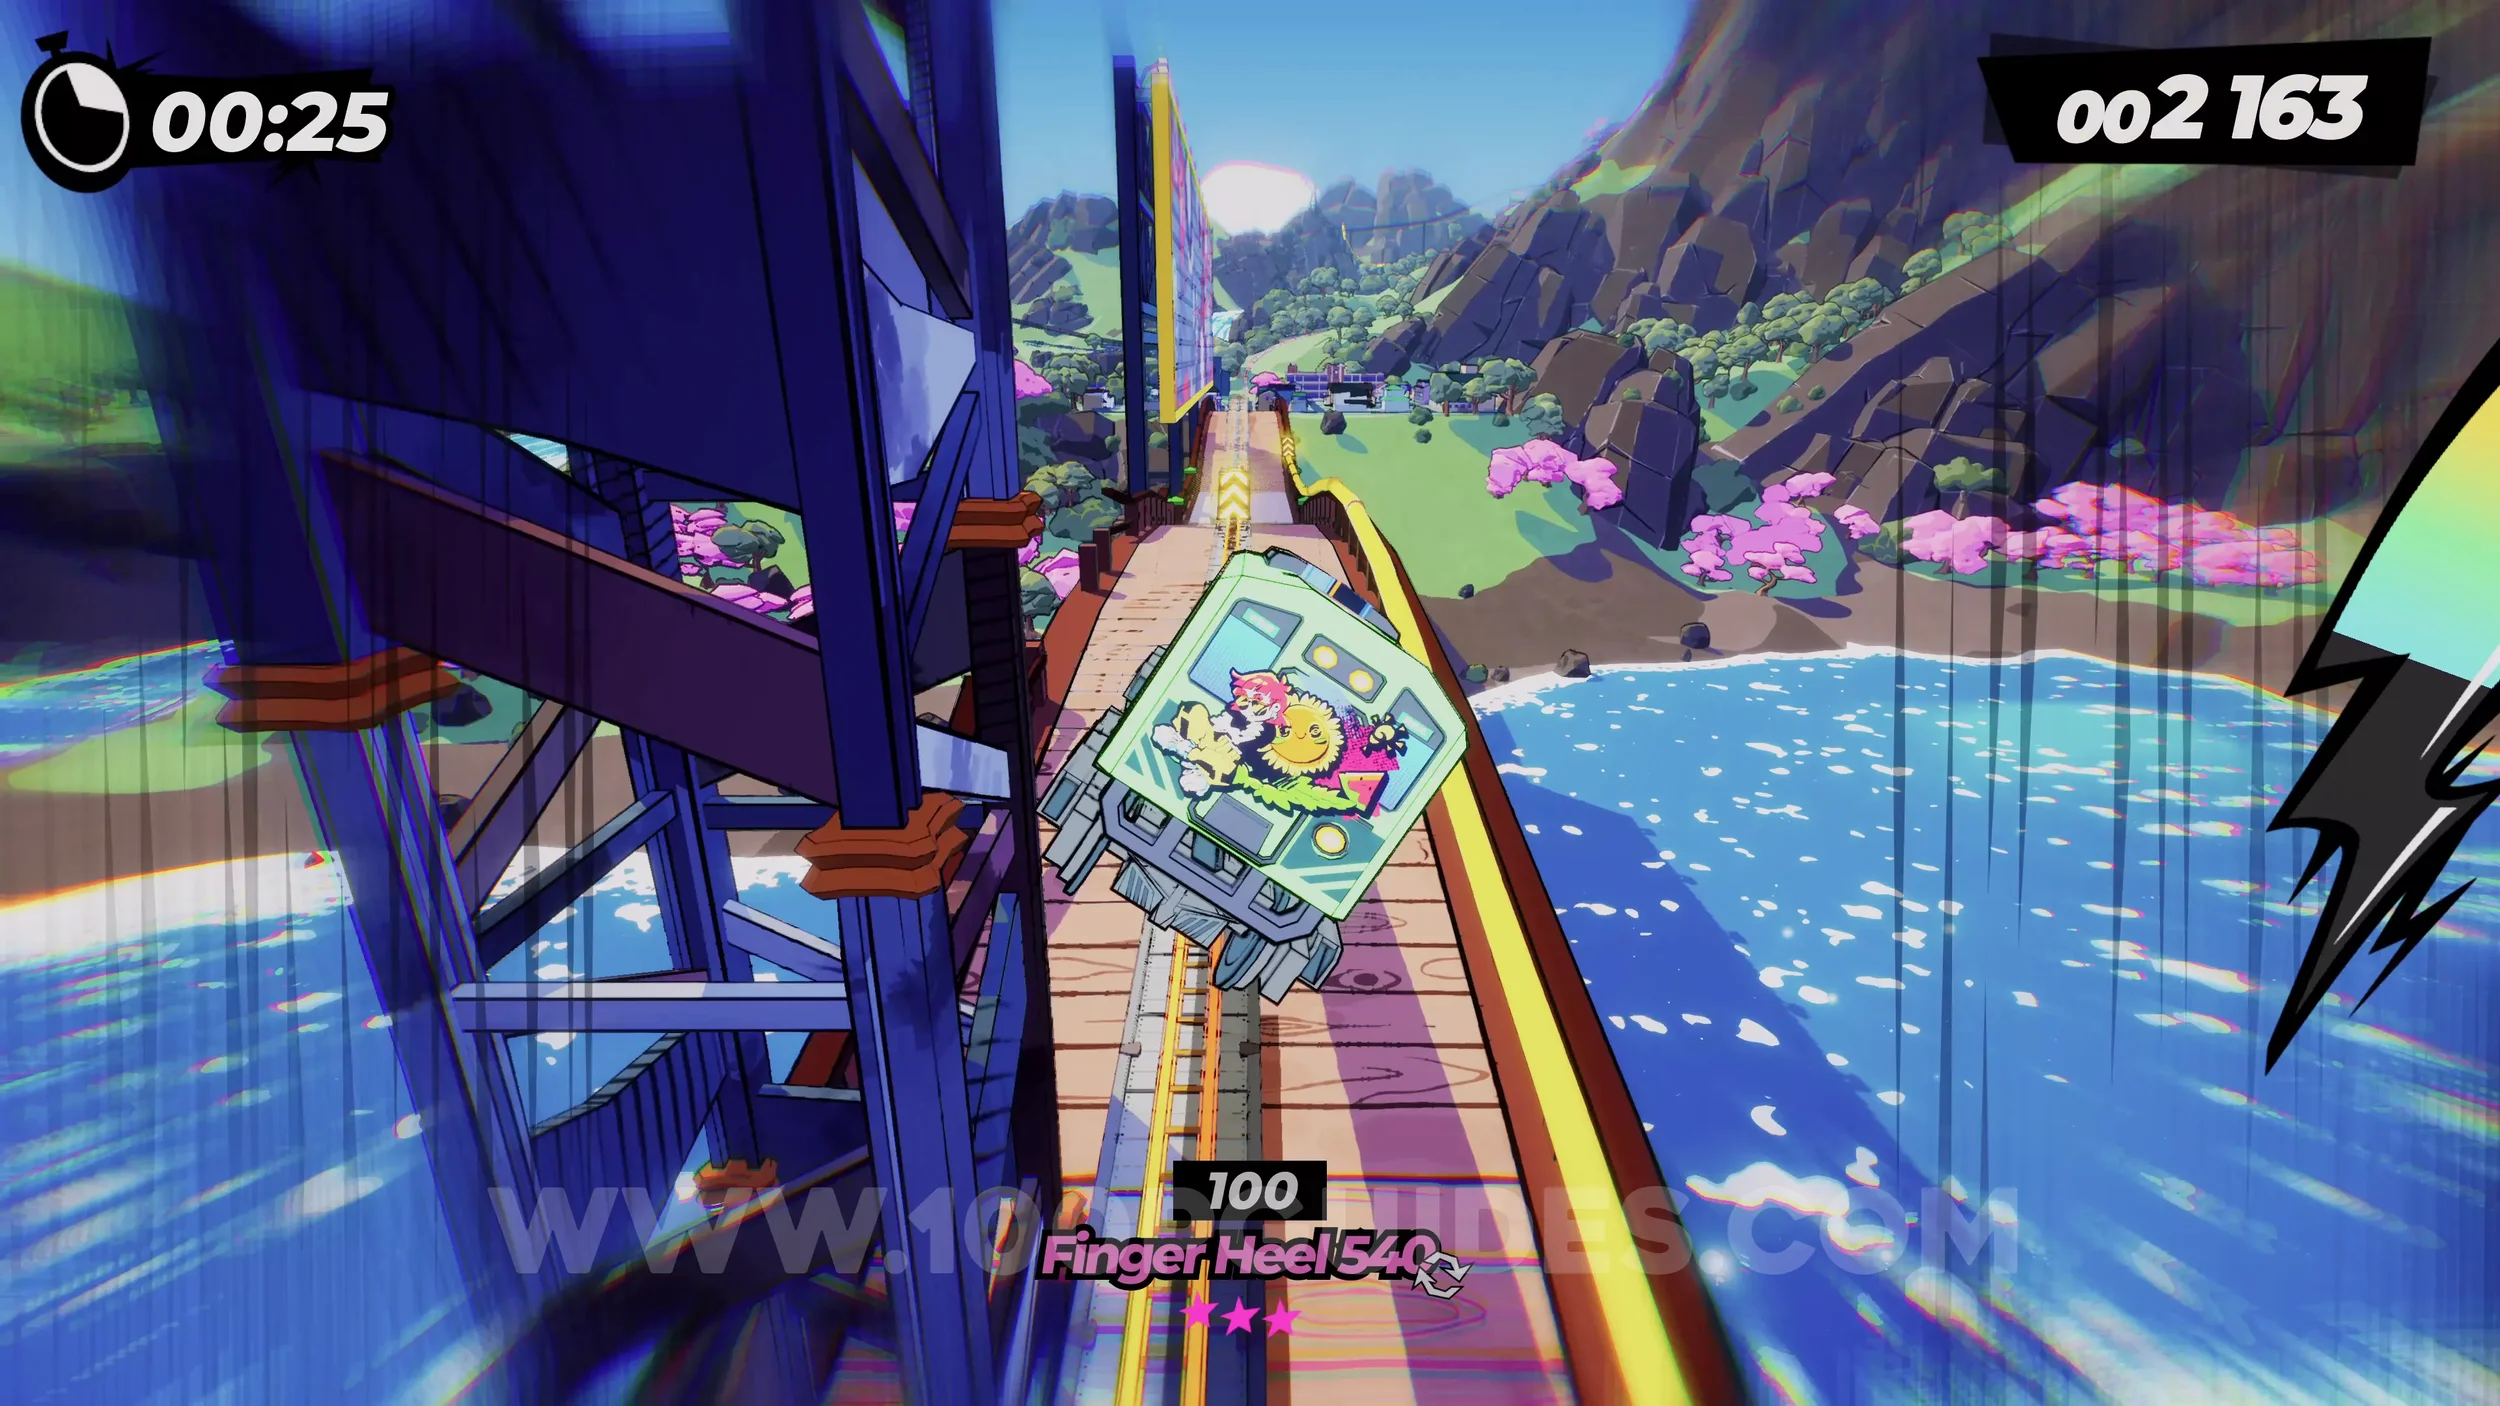
Dare: Perform 3 Tricks While Wallriding. You can do this during any wallride by using the right analog stick to do tricks, just like when you are in the air. Soon after the previous collectible, you will get to a section where you wallride along a waterfall. This is a good place to get this out of the way.
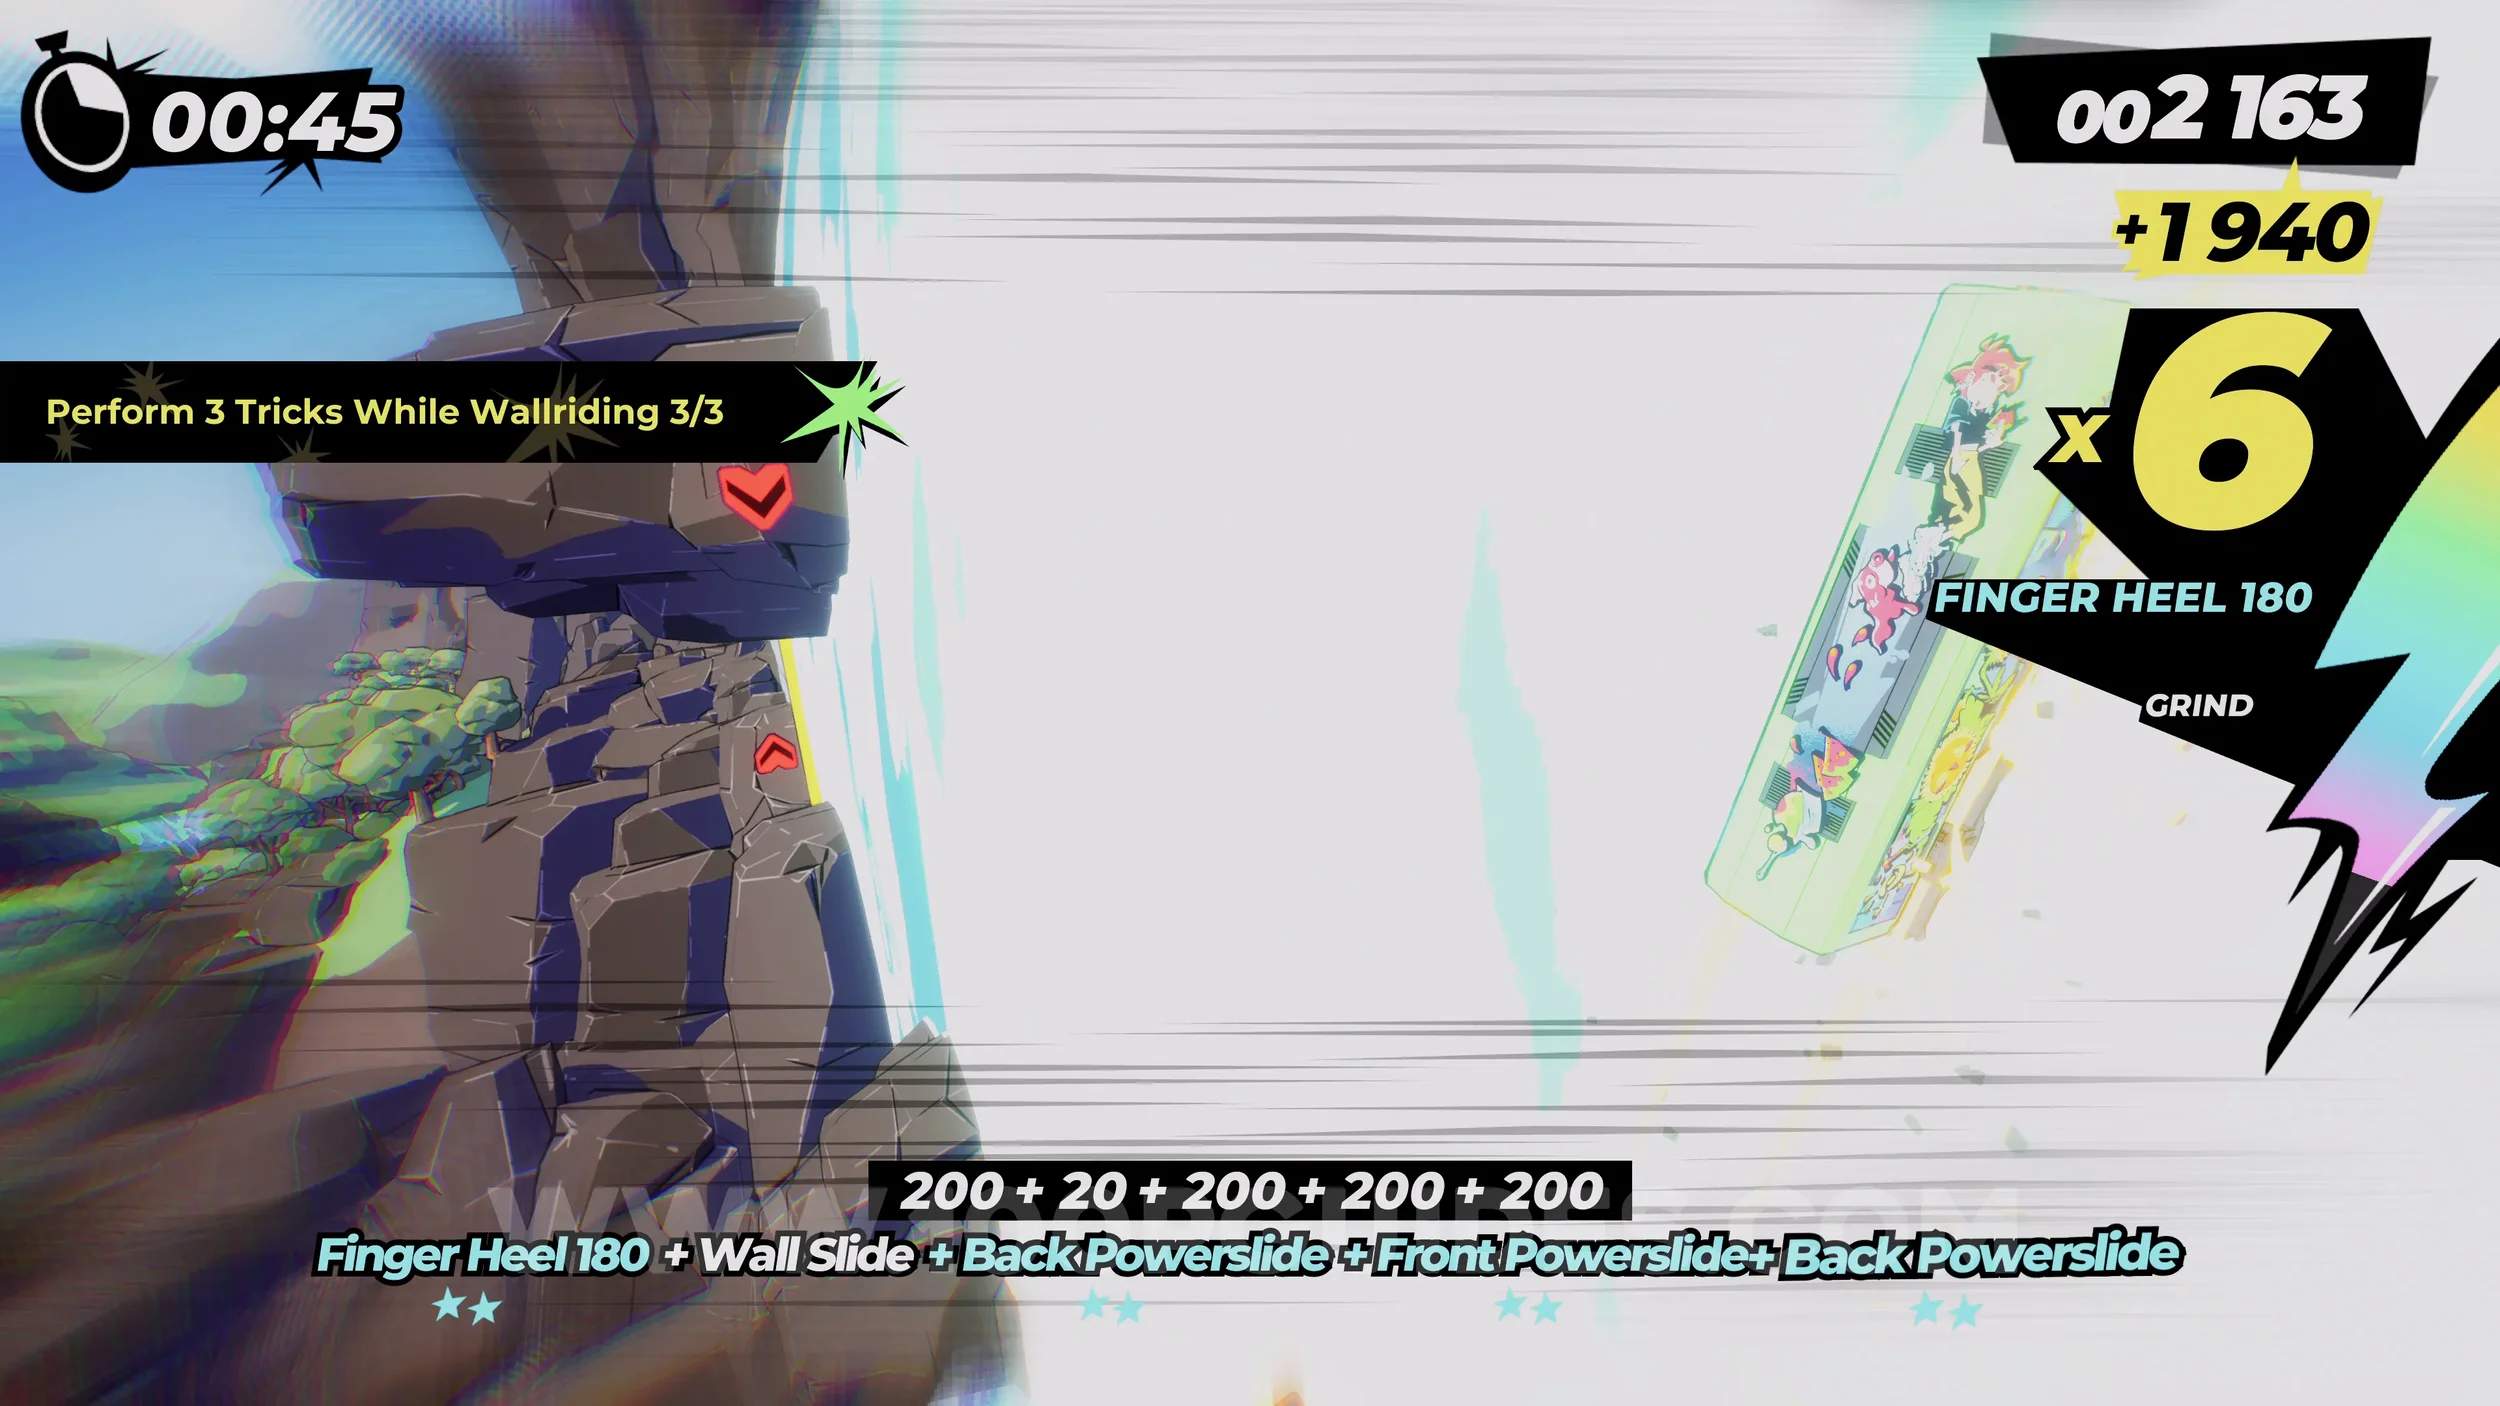
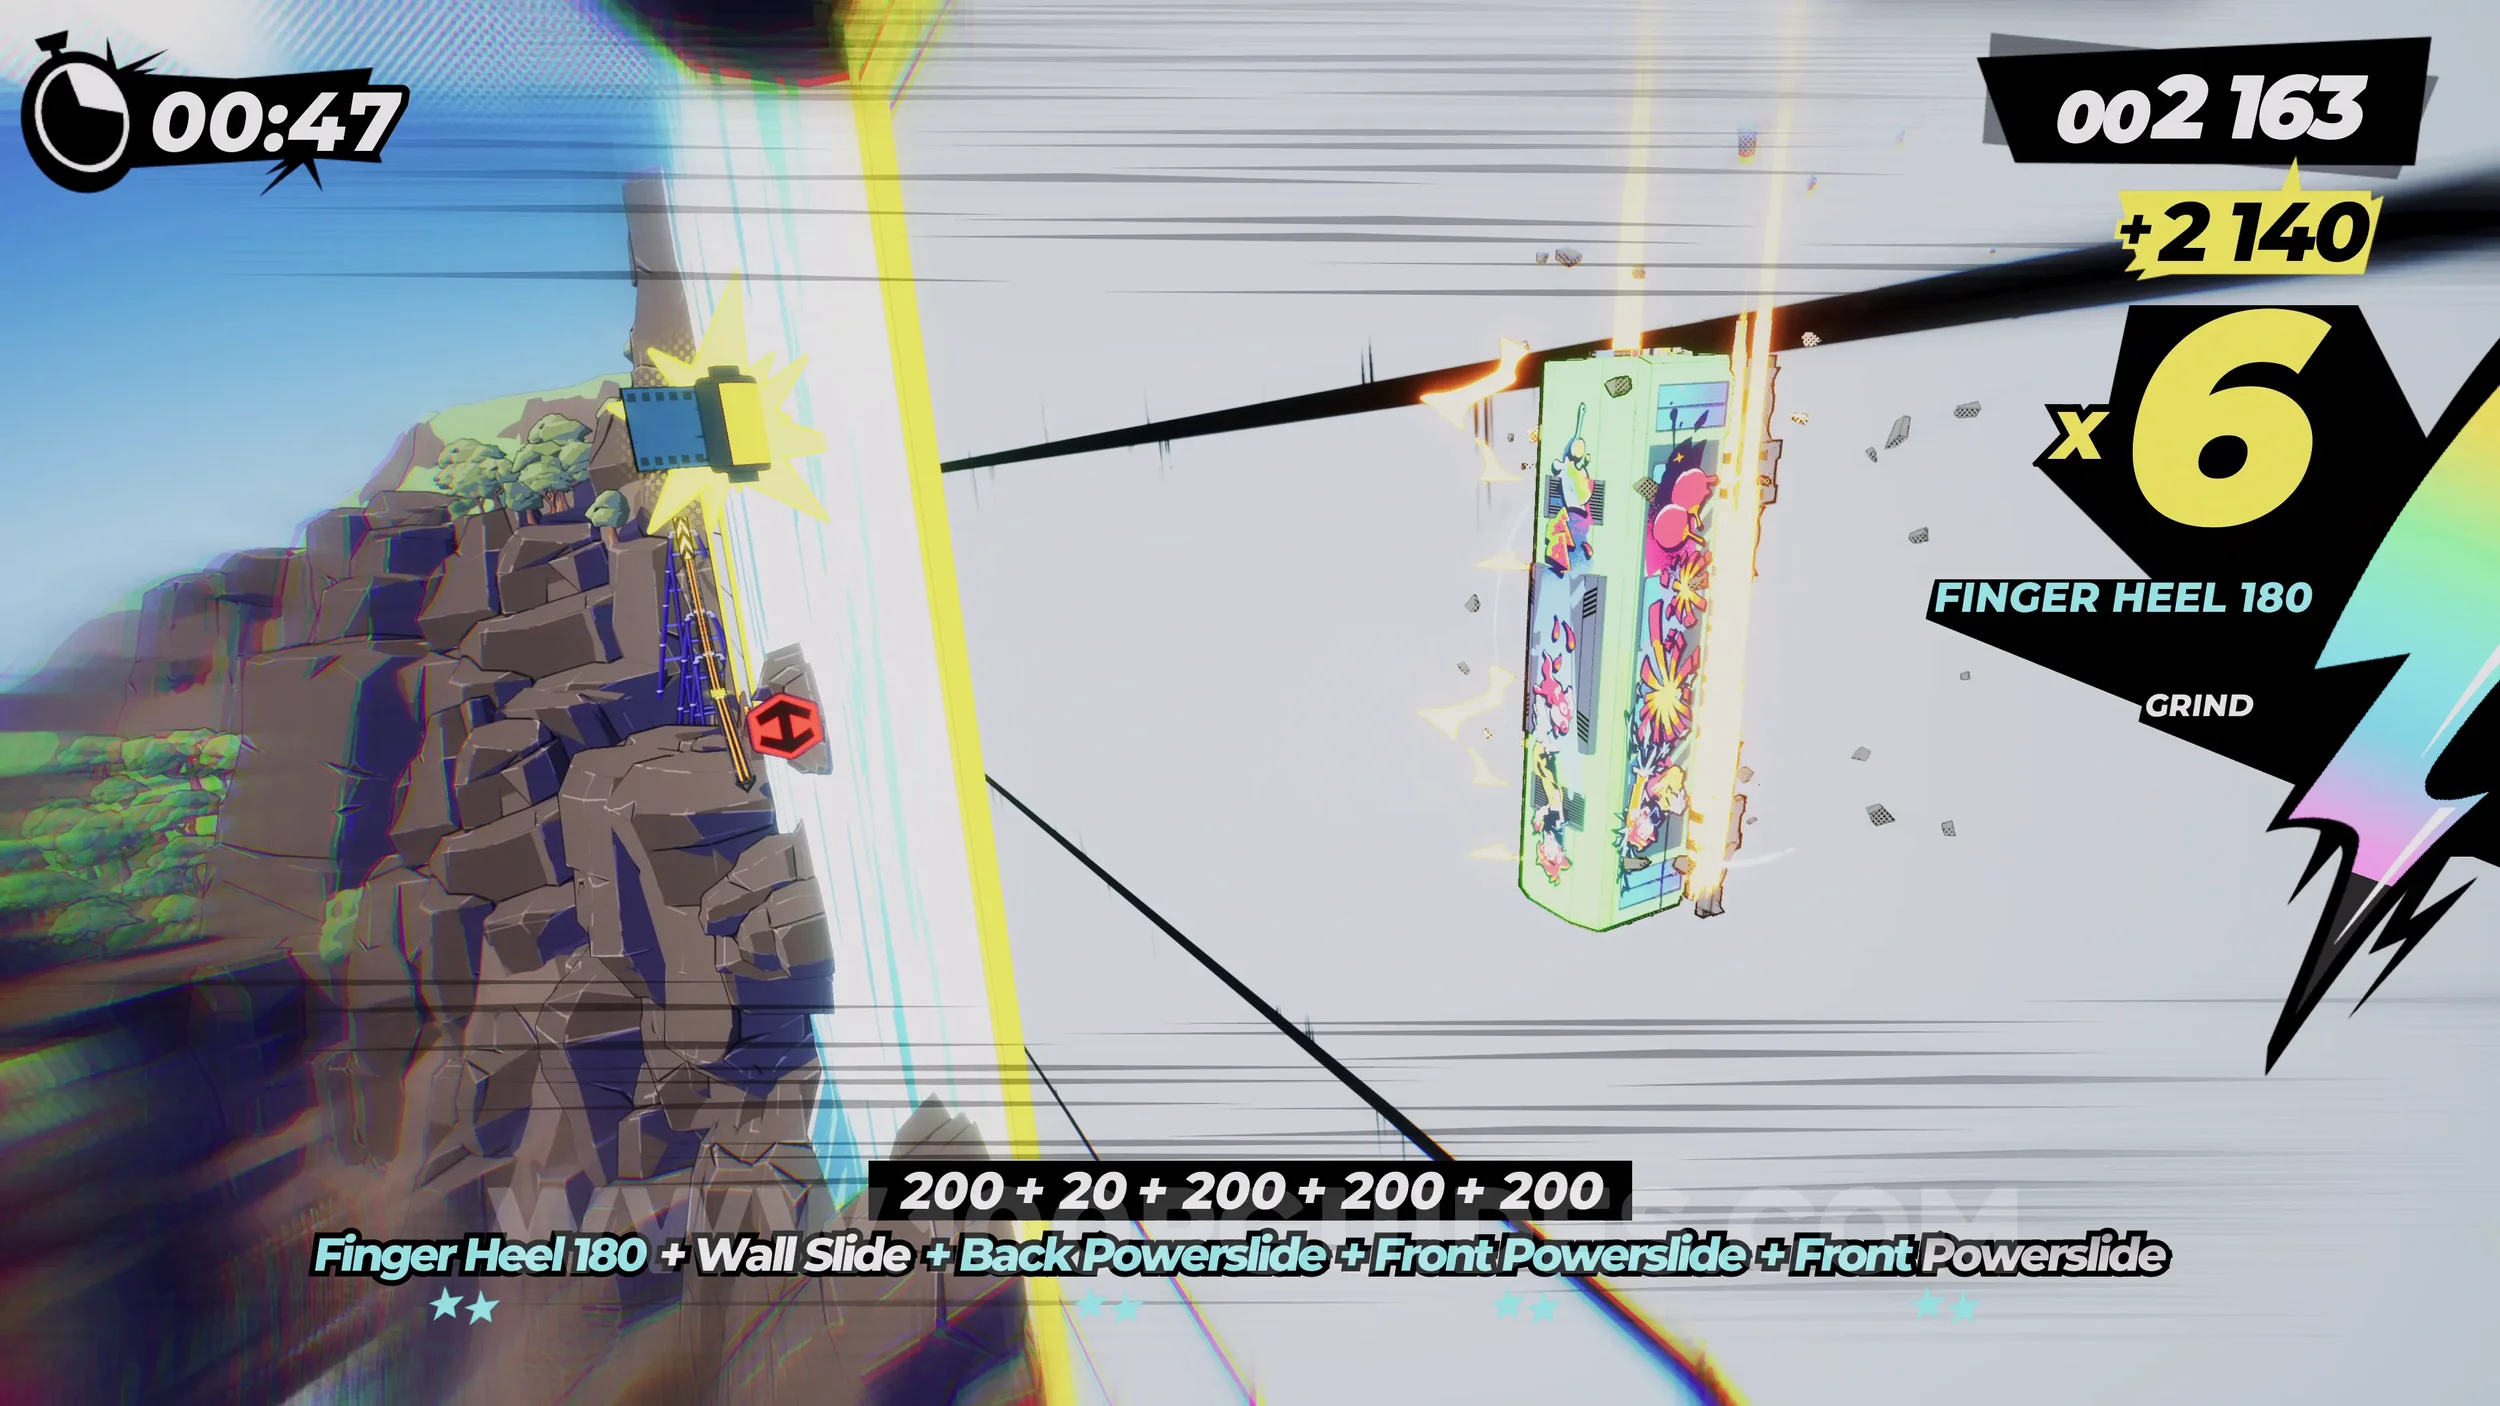
Film Roll (1/1). Also in the section where you are wallriding the waterfalls.
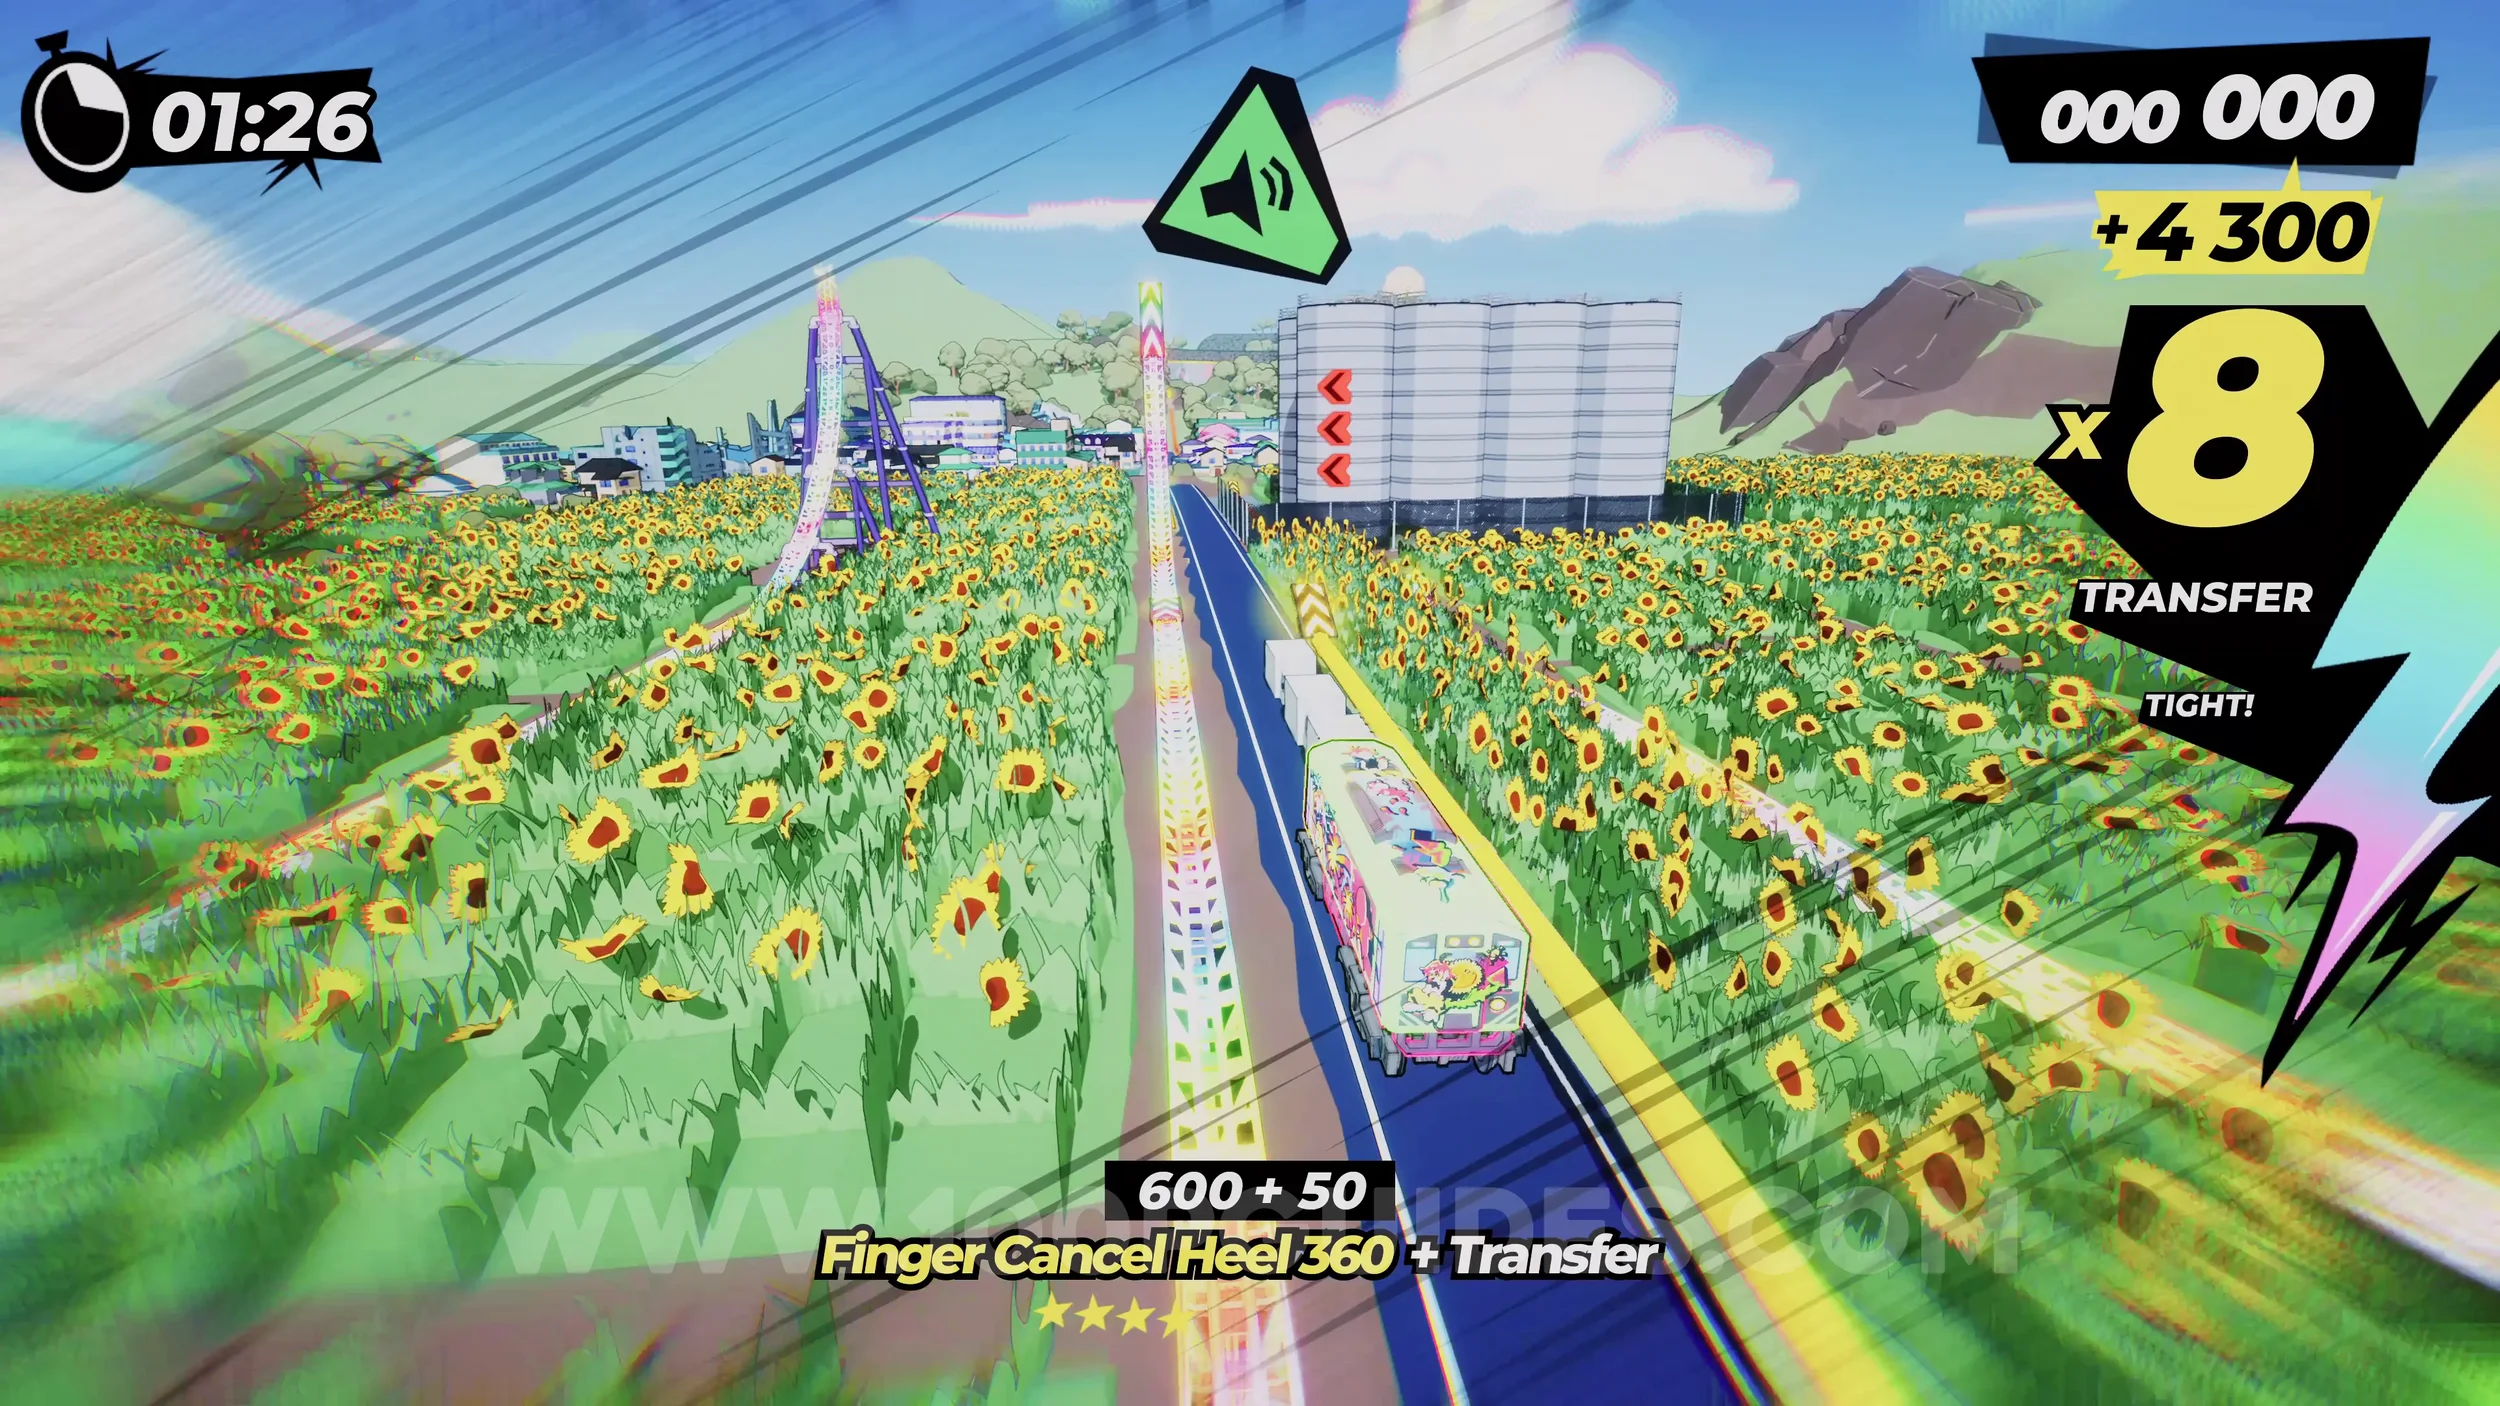
Dare: Blow the Sunflowers Away. After going through the forest section, you will go through a field of sunflowers. Here, press R3 and use your horn.
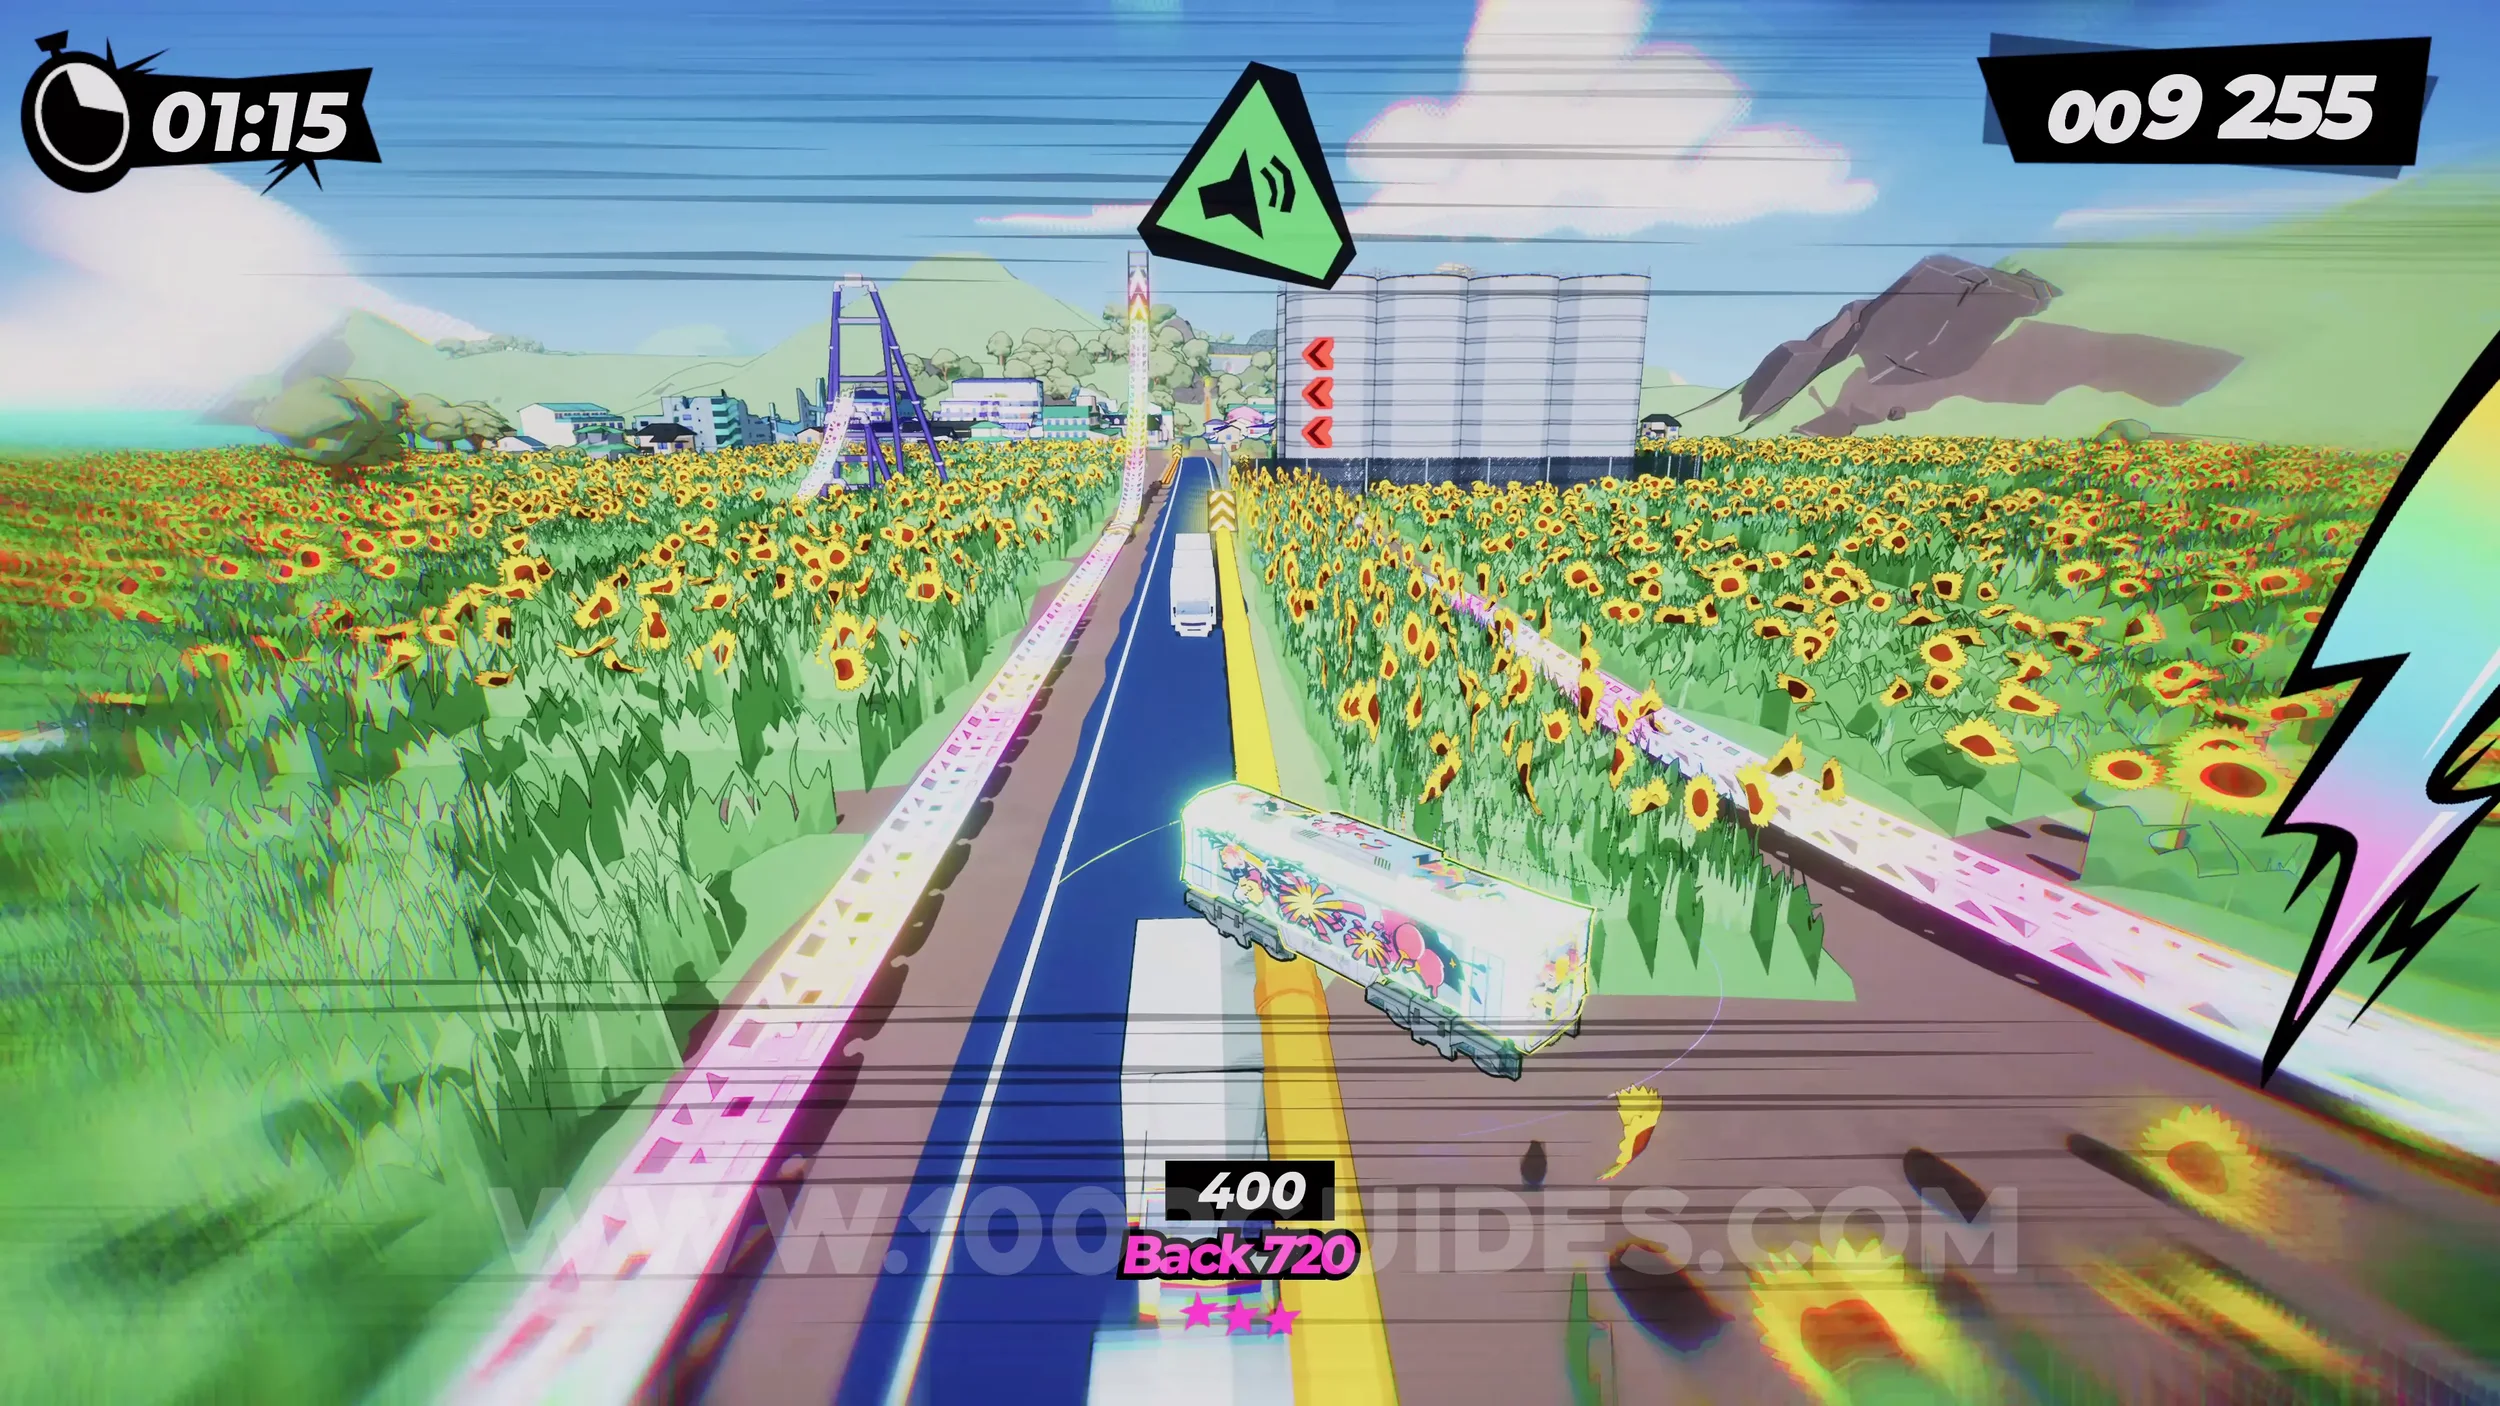
Spray Can (3/4). If you have the special bar filled up, you will see a rainbow track on the left side of the sunflower field. Take it to reach the spray.
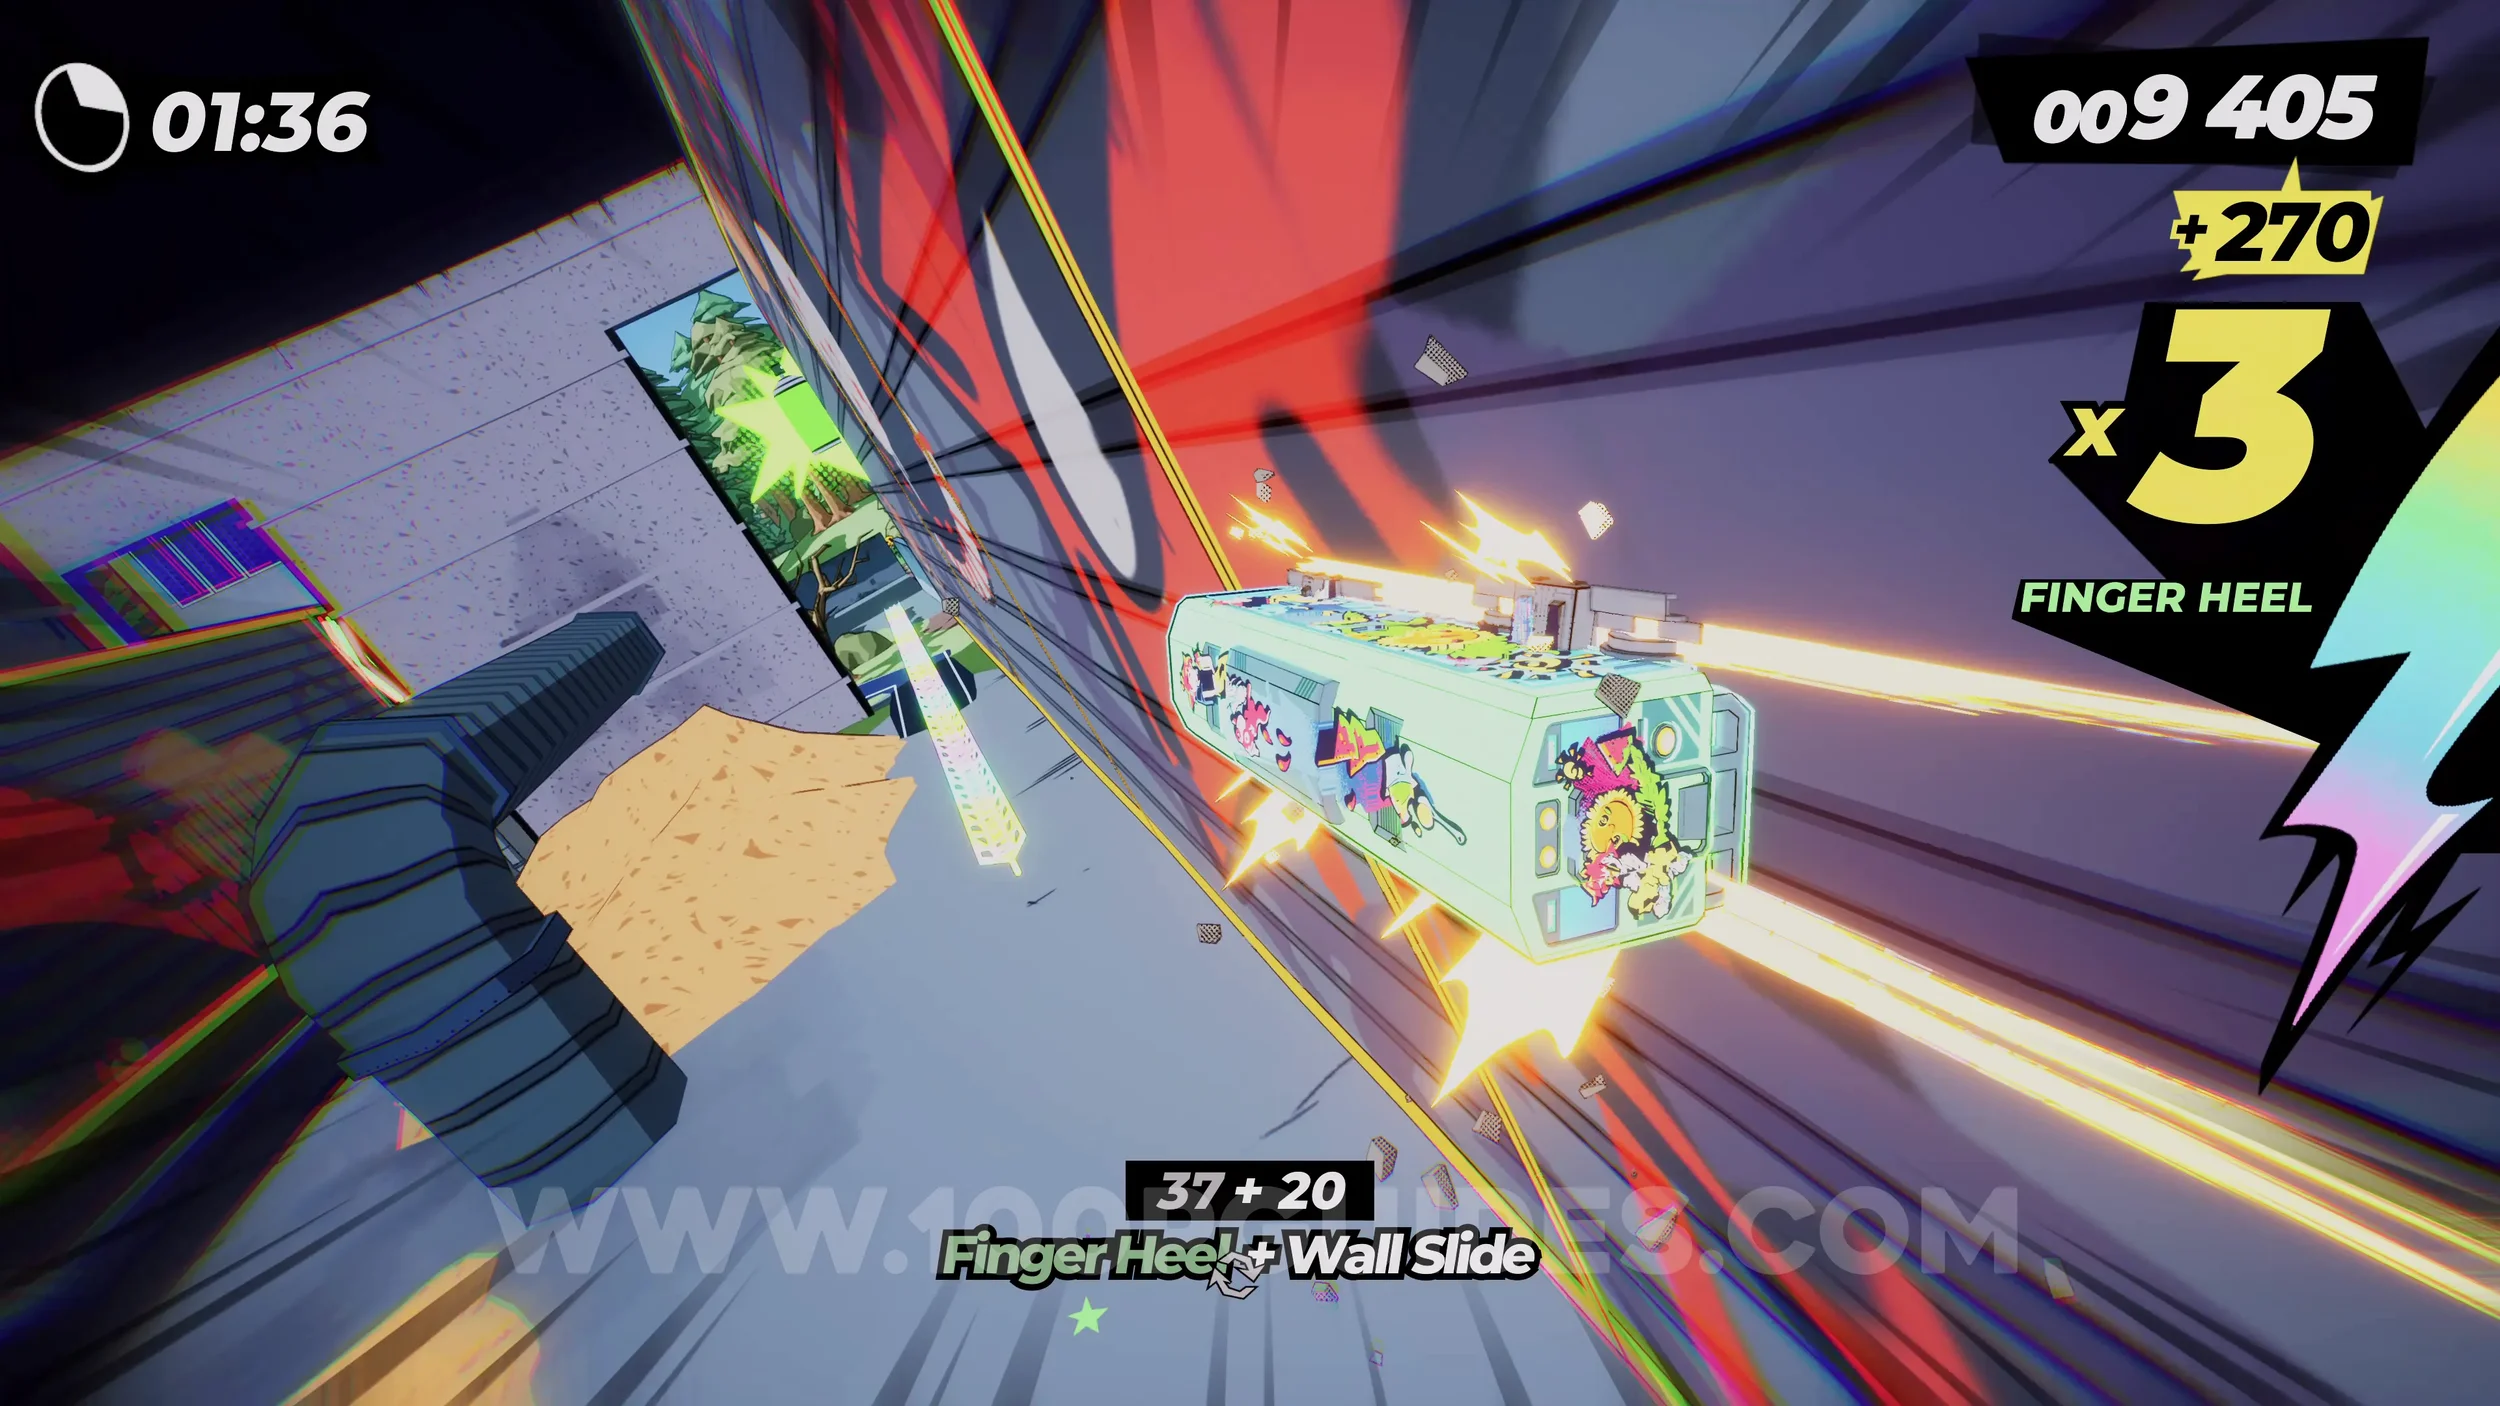
Spray Can (4/4). On the billboard to your left, just after the giant ball starts chasing you.
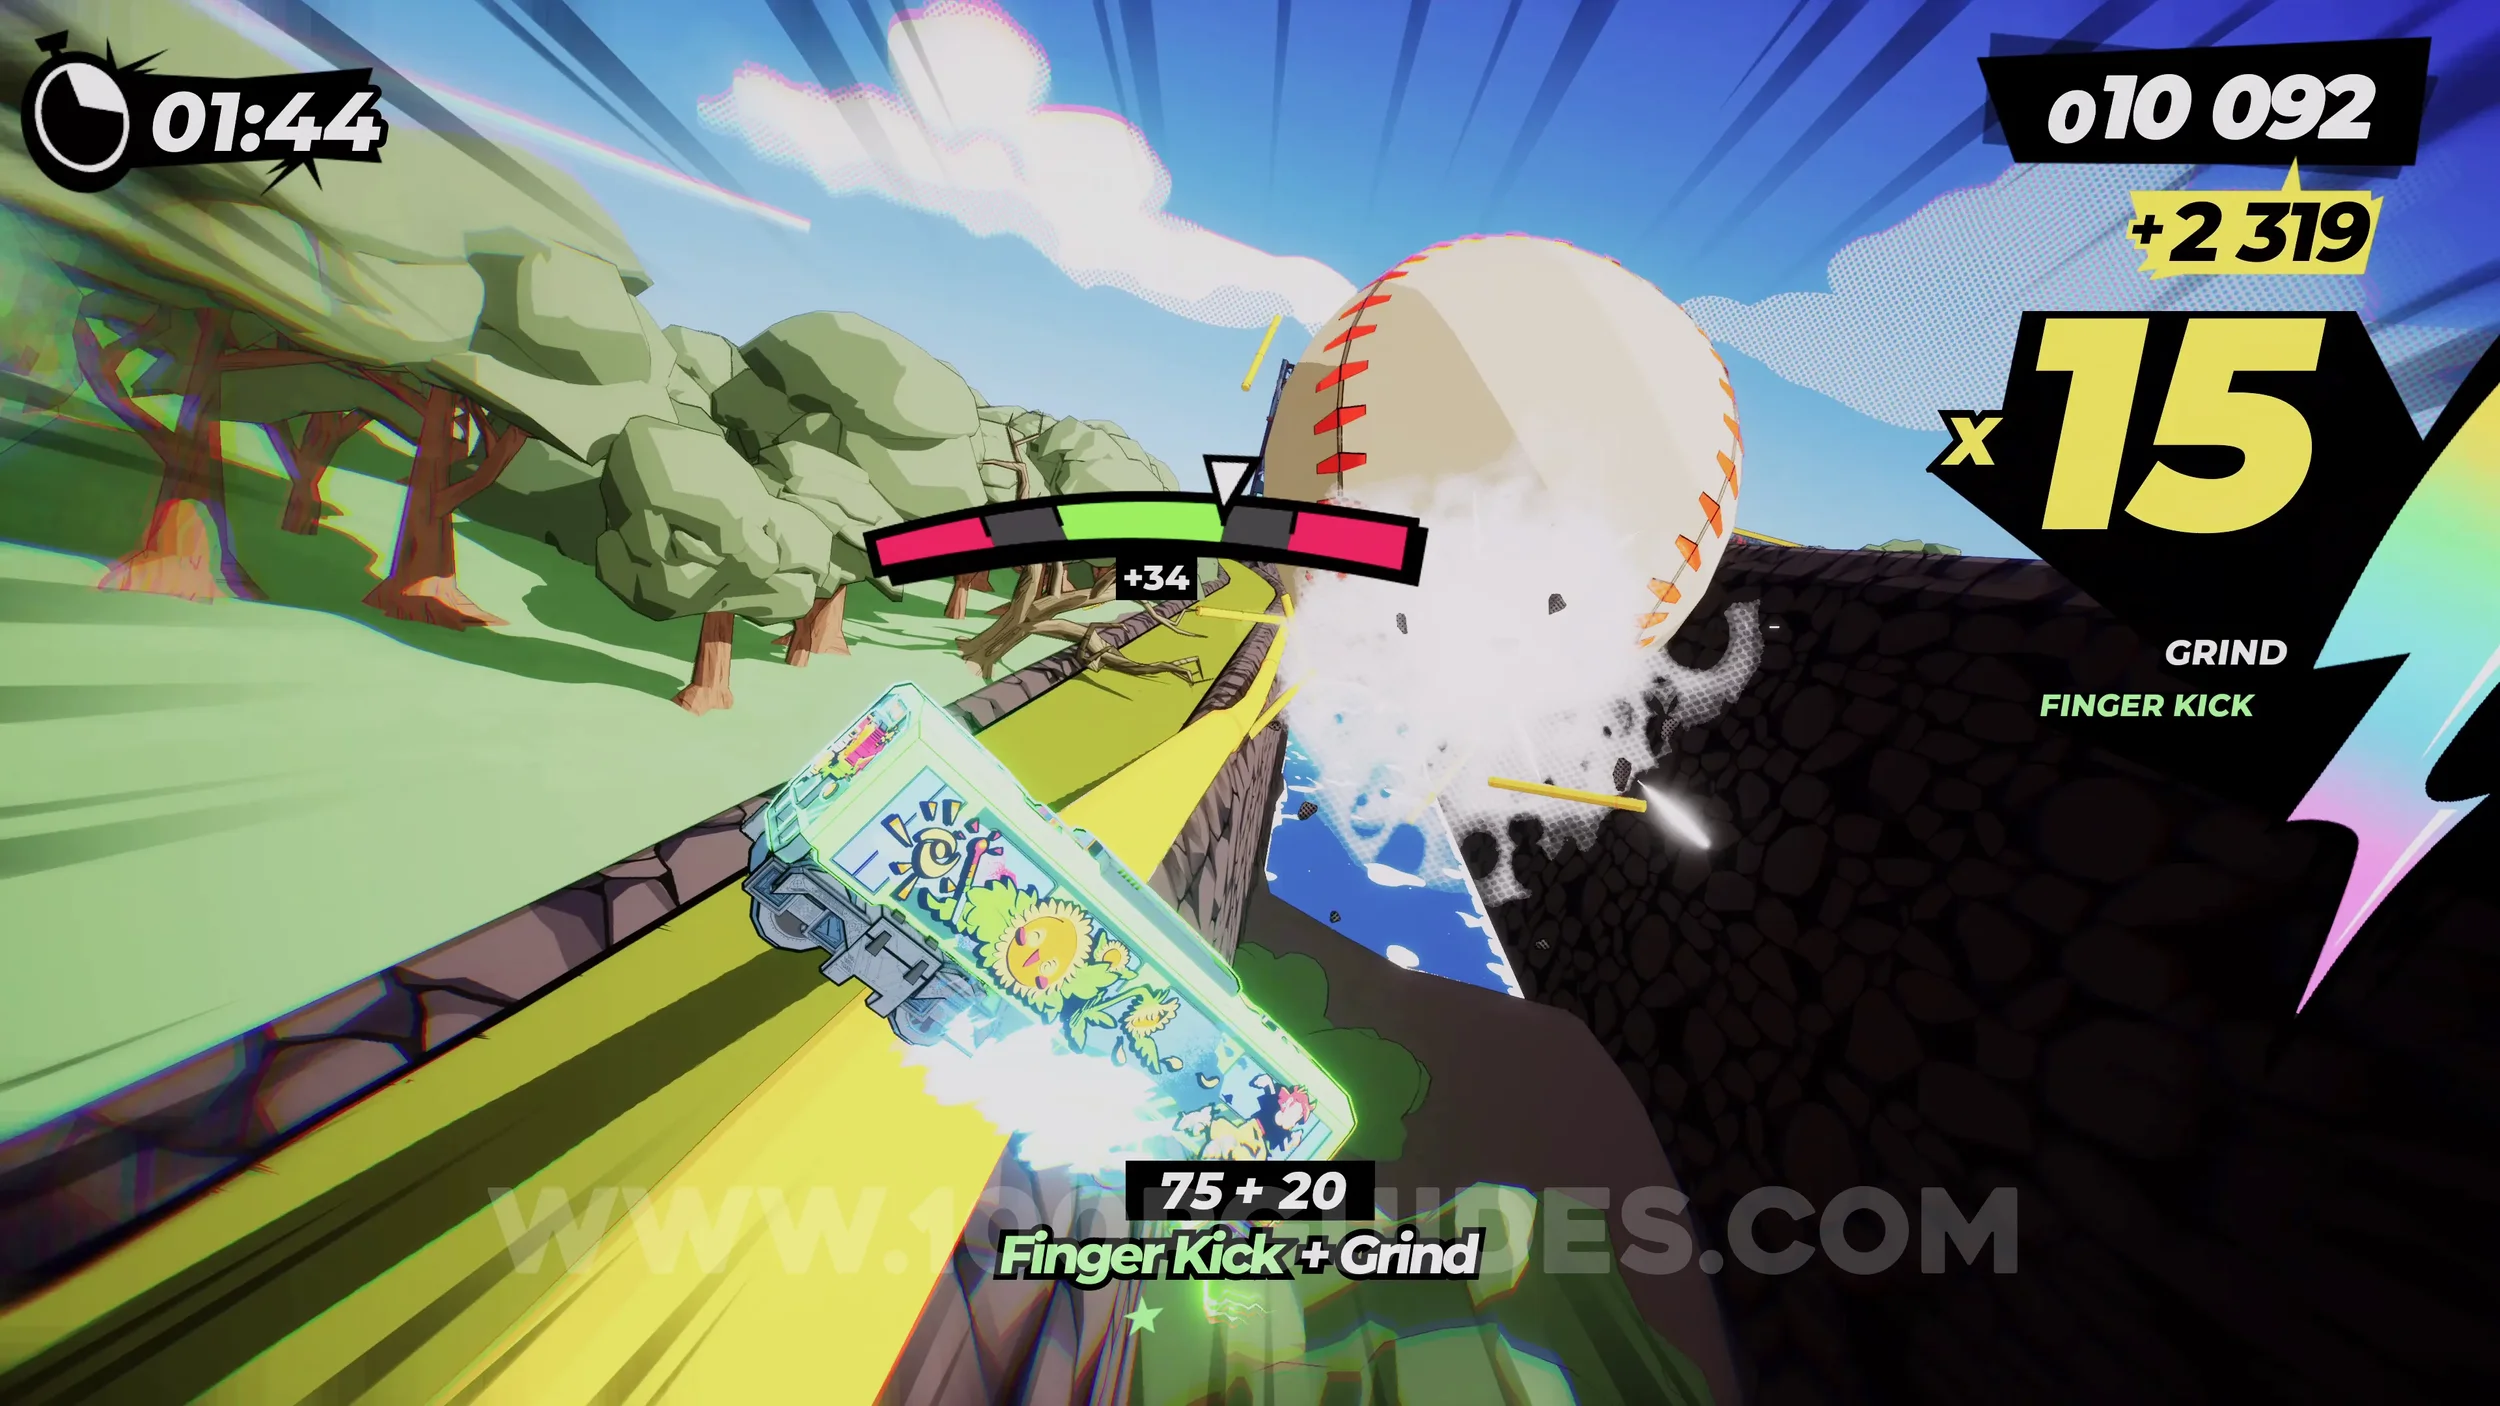
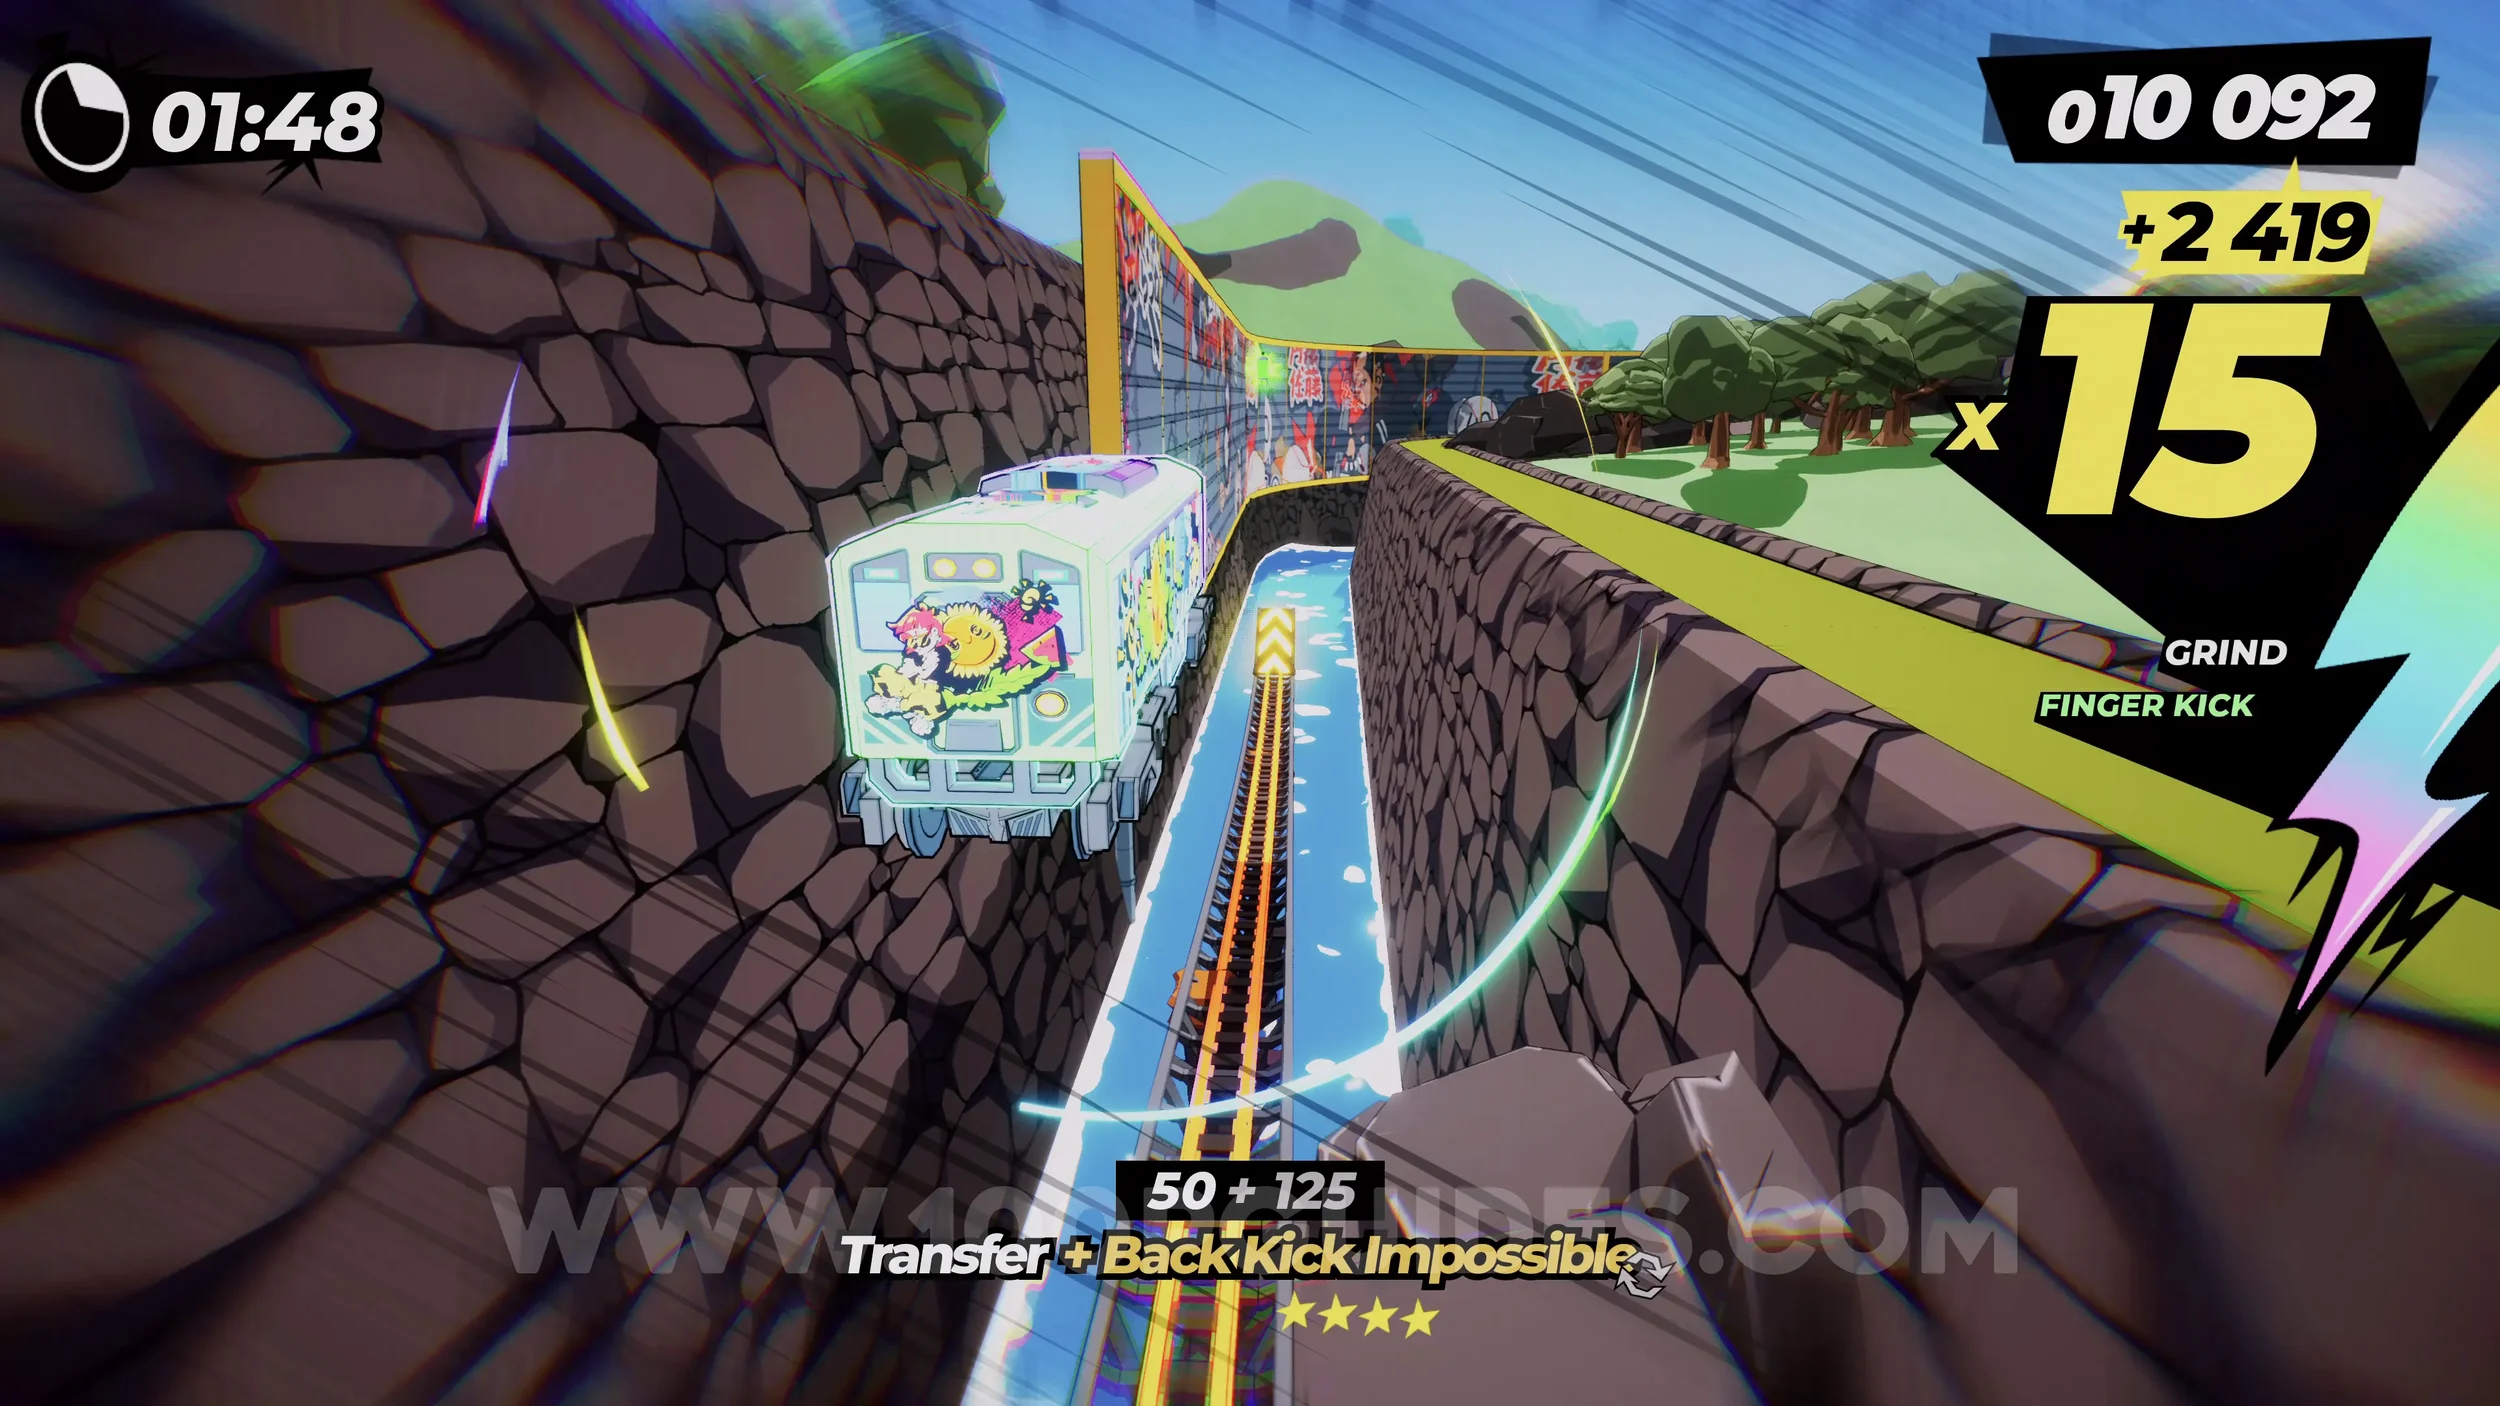
Dare: Escape the Trap With a Combo of at Least x15. Accumulate a combo of x15 or more by the end of the section where the ball is chasing you. Just use manuals to combo tricks together.
Dare: No Crash Finish. Self-explanatory. Get to the end without crashing.
2-1-R Proving Grounds
Dare: Smash 3 Crash Dummies (1/3) and Dare: Hit All the Wallride Boosters (1/15). After the first corner, stick to the right to find it after the first red signs. Also ride the wall on the right side and hit the booster on it.
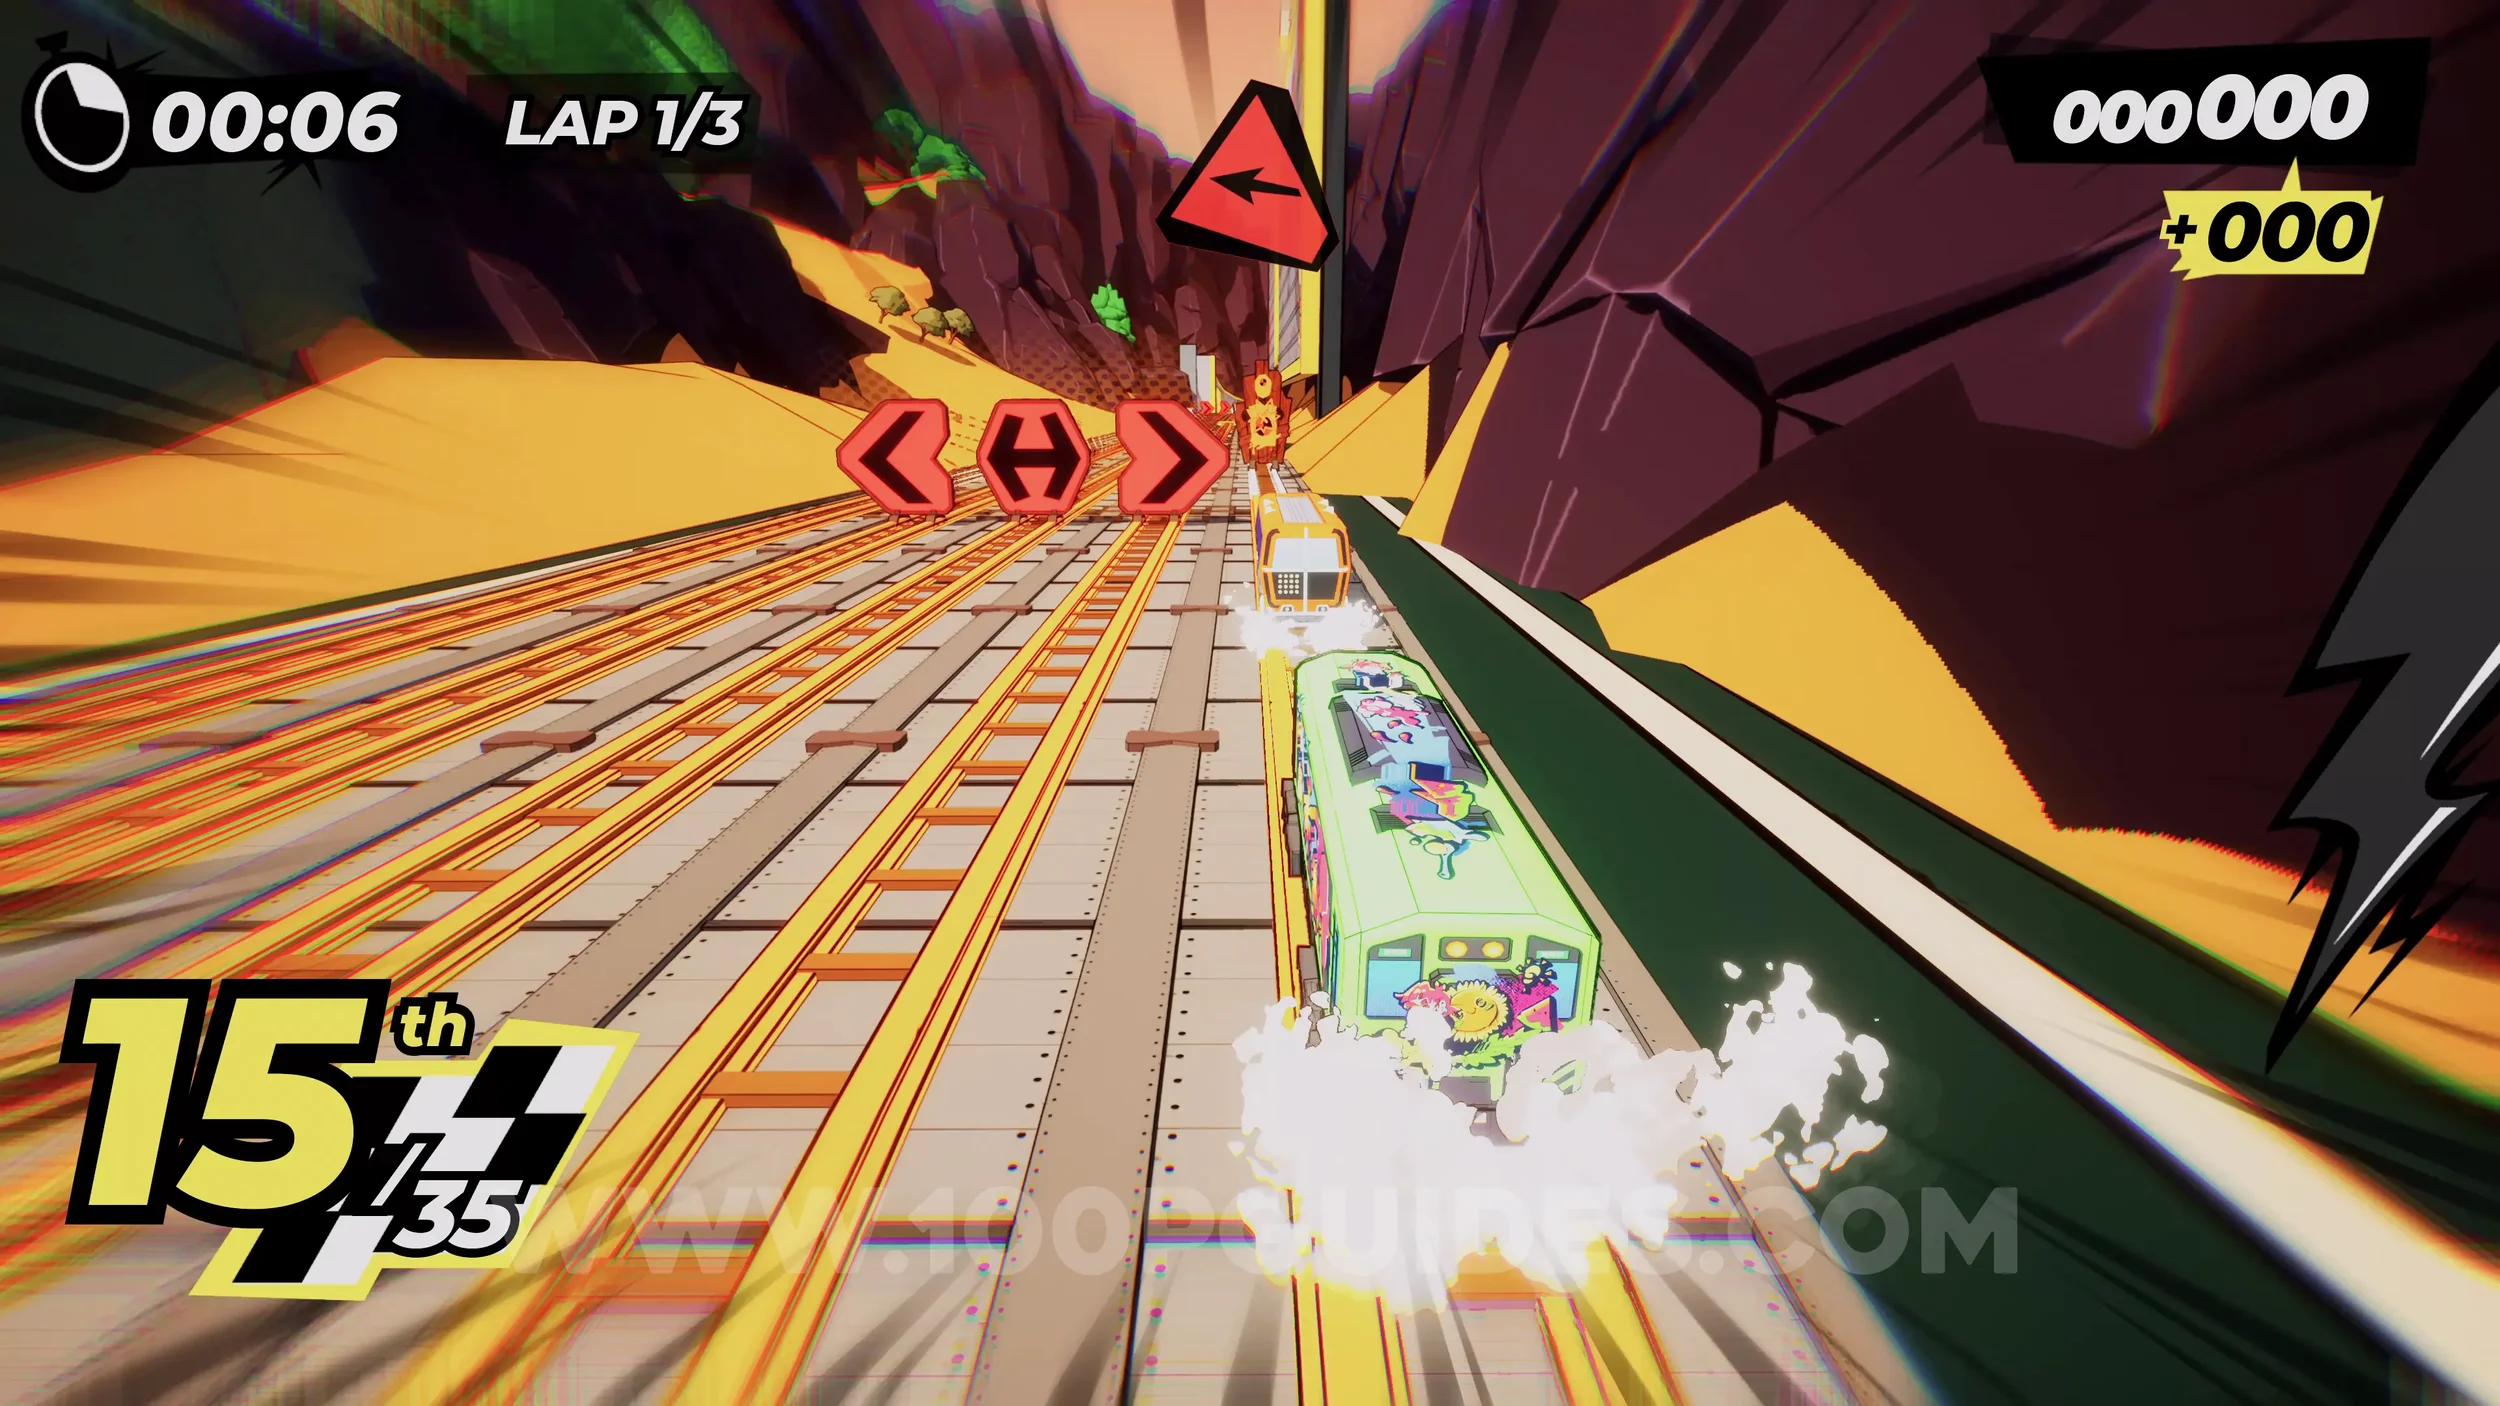
Spray Can (1/4) & Dare: Hit All the Wallride Boosters (2-6/15). At the second corner, press R2 and jump to the wall where you will find the spray can. Here, make sure you hit all five of the boost pads on the wall.
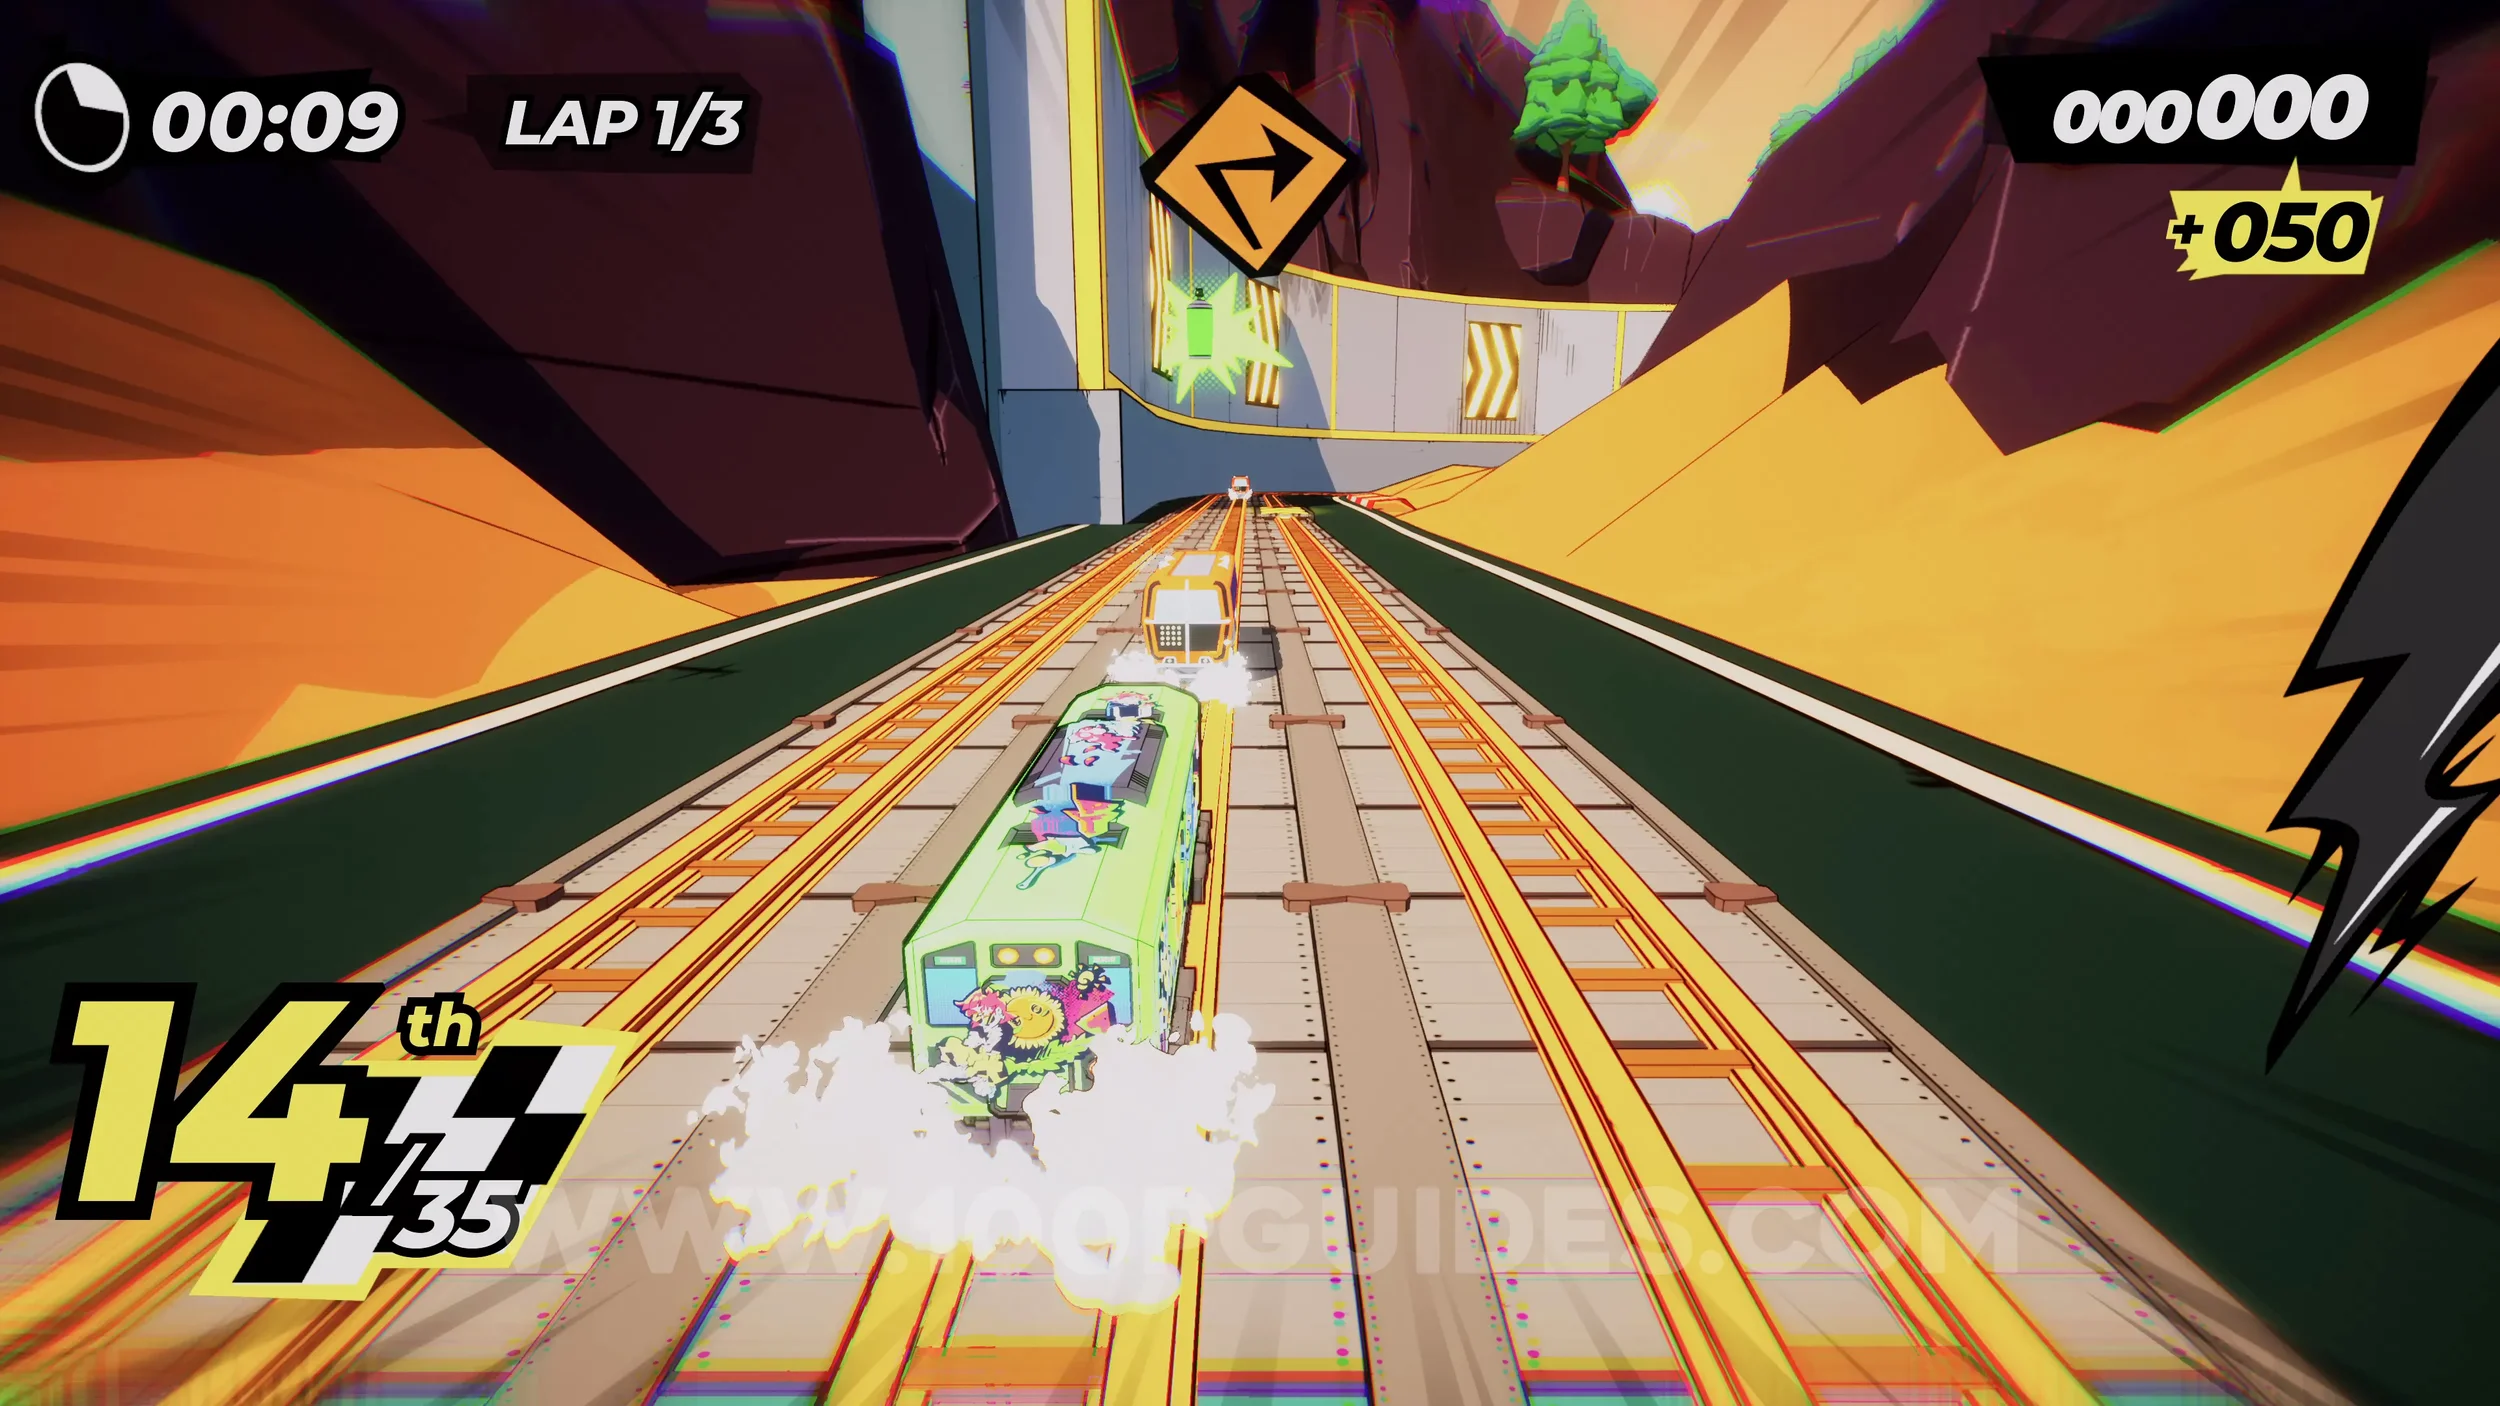
Dare: Smash 3 Crash Dummies (2/3). After the tunnel, you will go around a corner going left. After this, stick right to smash the dummy.
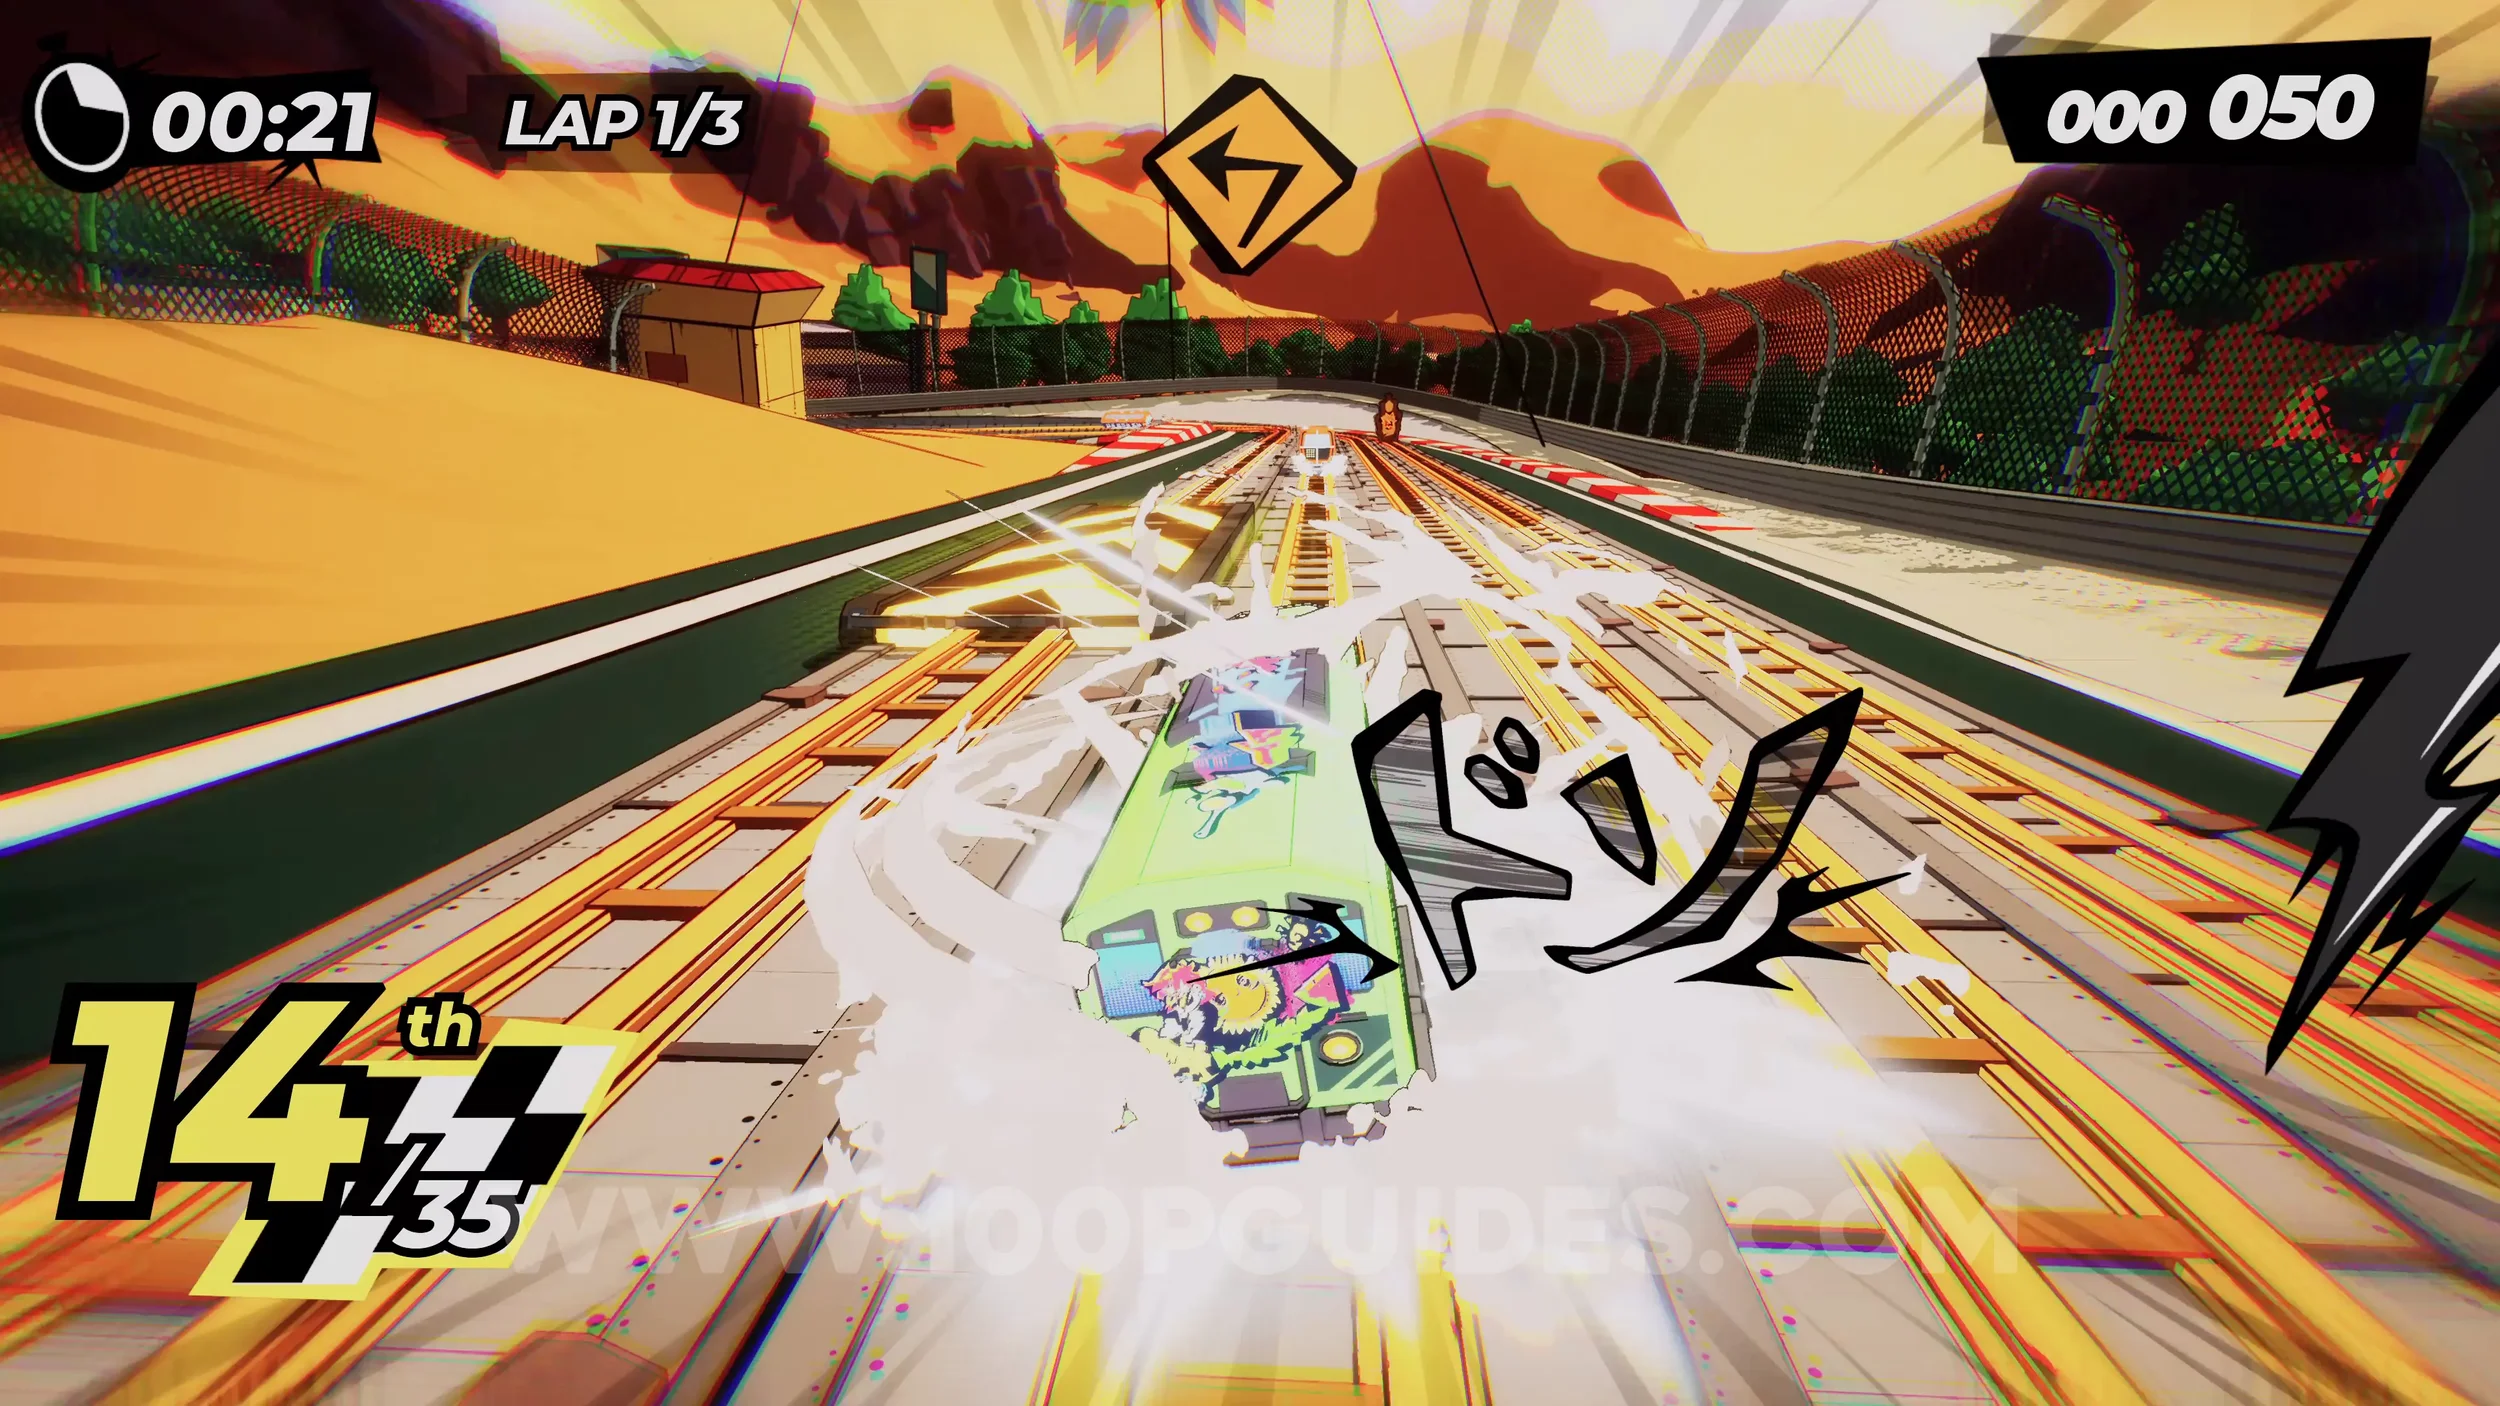
Dare: Smash 3 Crash Dummies (3/3). After dodging a large rock by passing it on its right-hand side, you will see the dummy at the end of the next straight, to the left of the red signs.
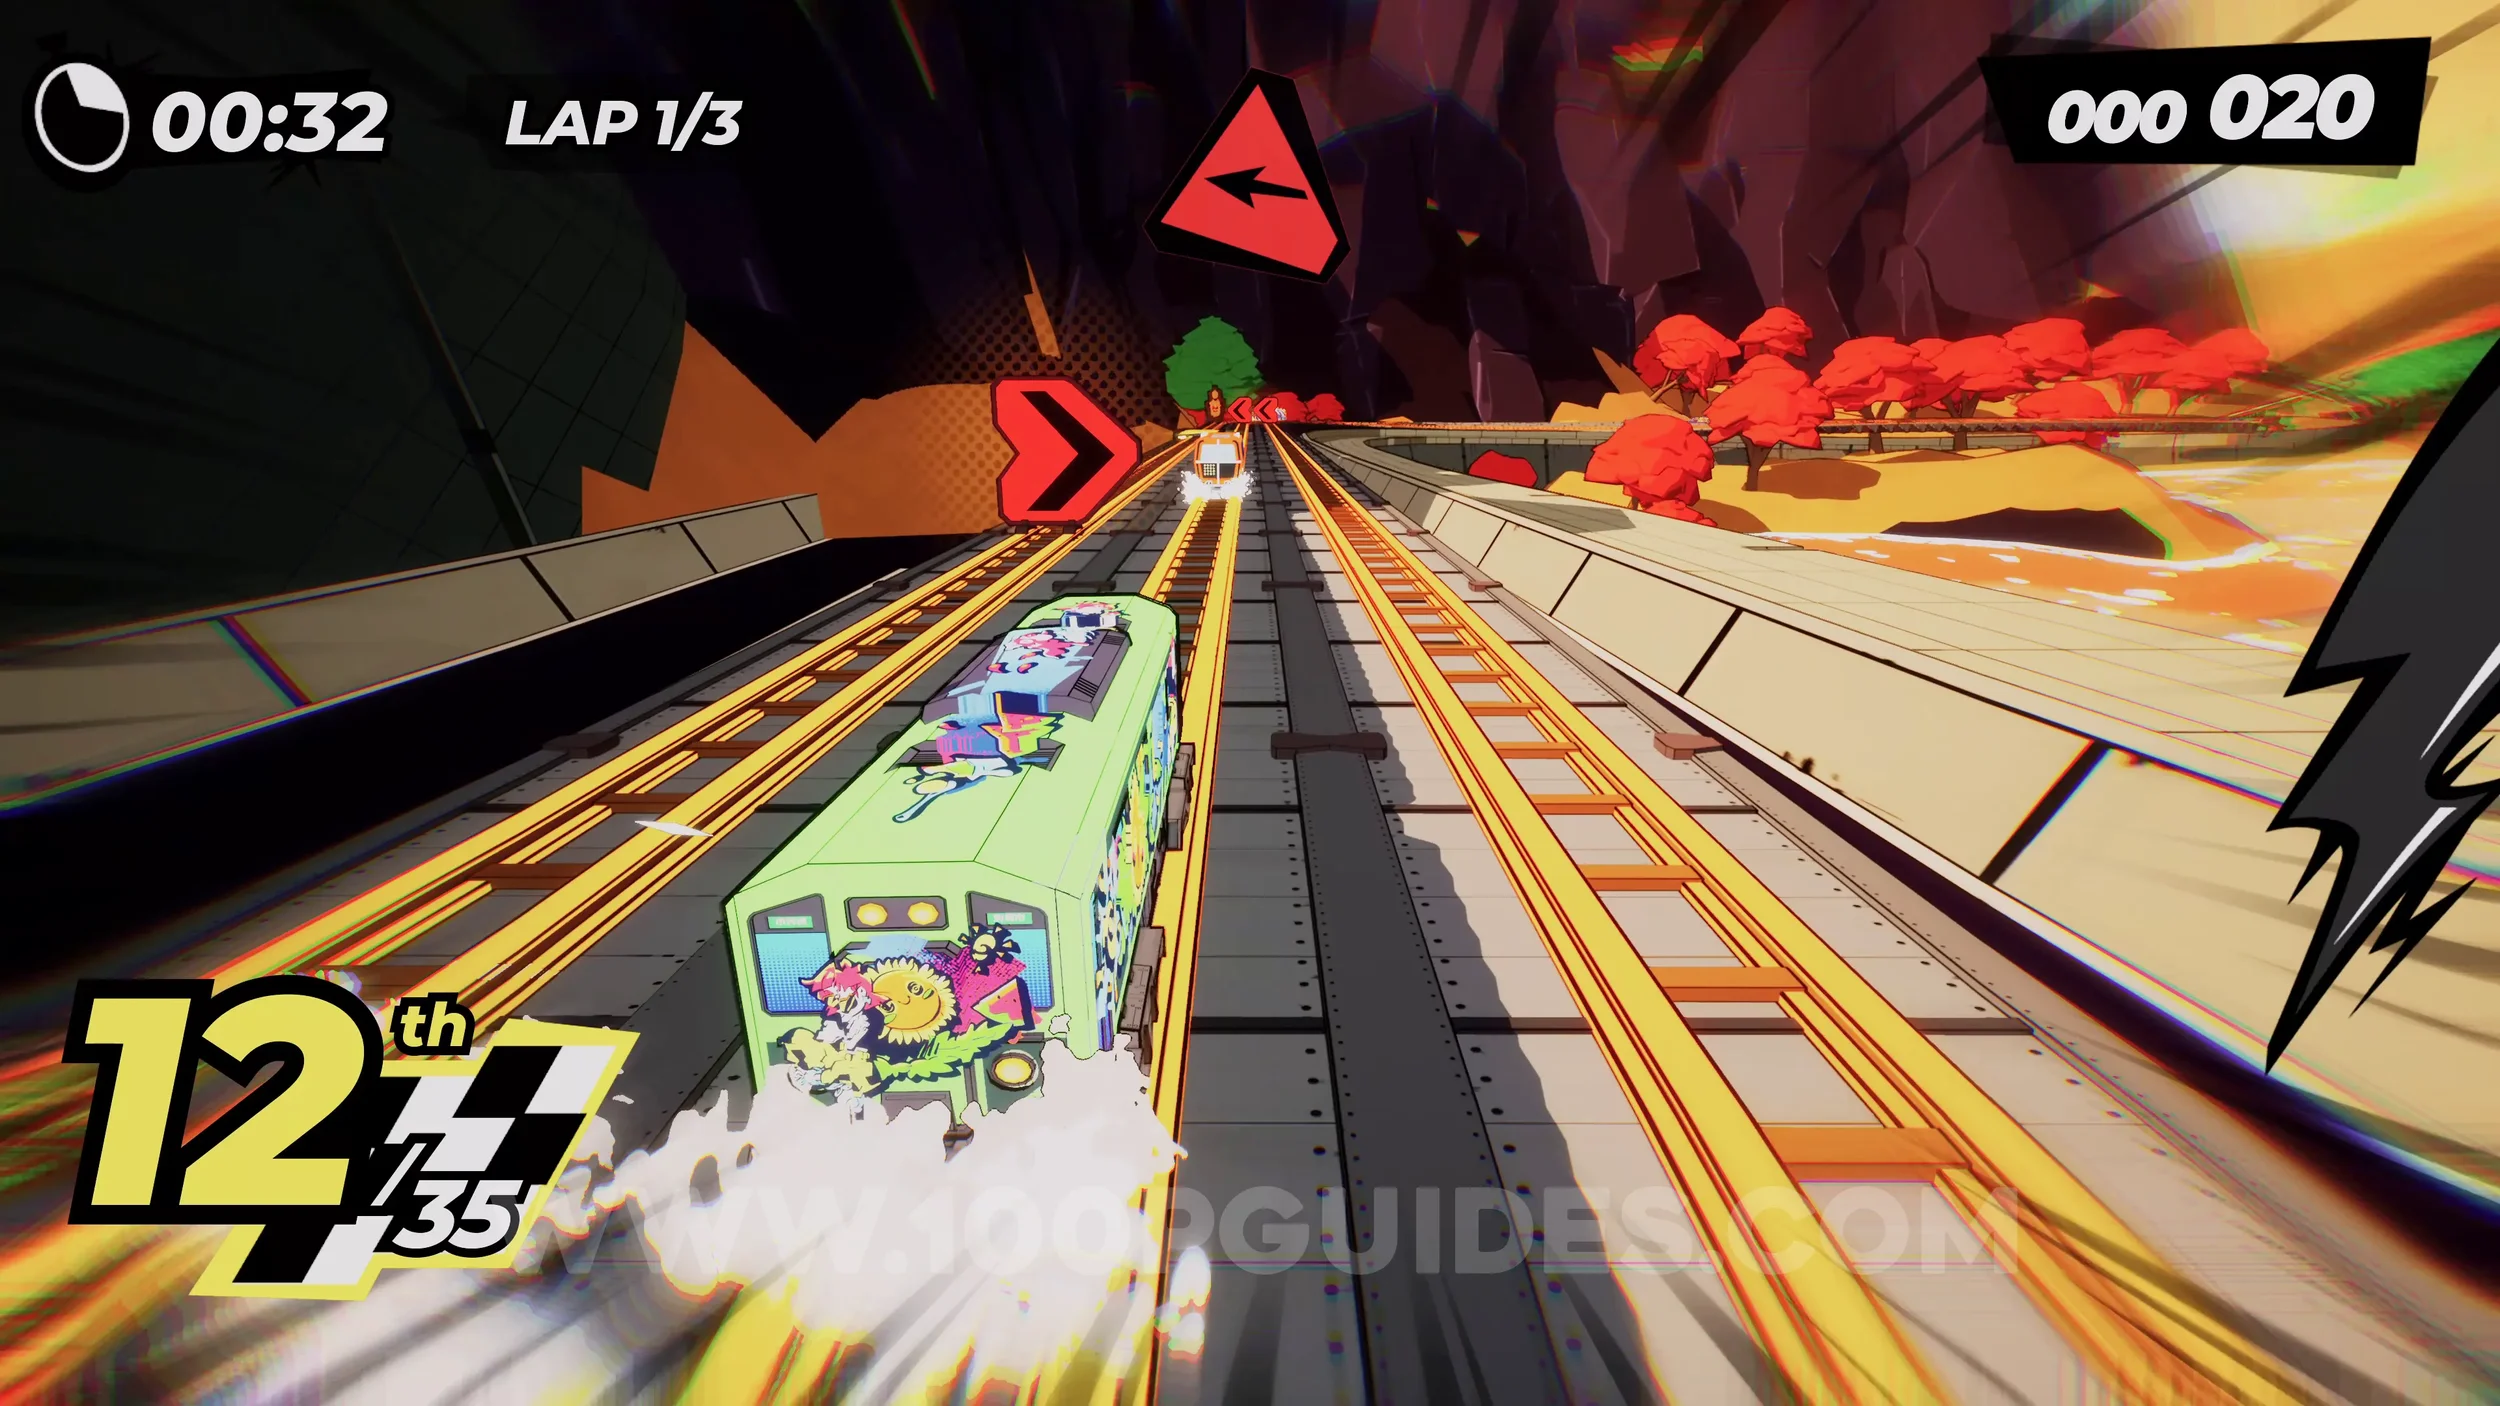
Dare: Hit All the Wallride Boosters (7-10/15). After the jump, go around the next right-hand corner, and then you will see the next wall with boosters as you approach the next corner.
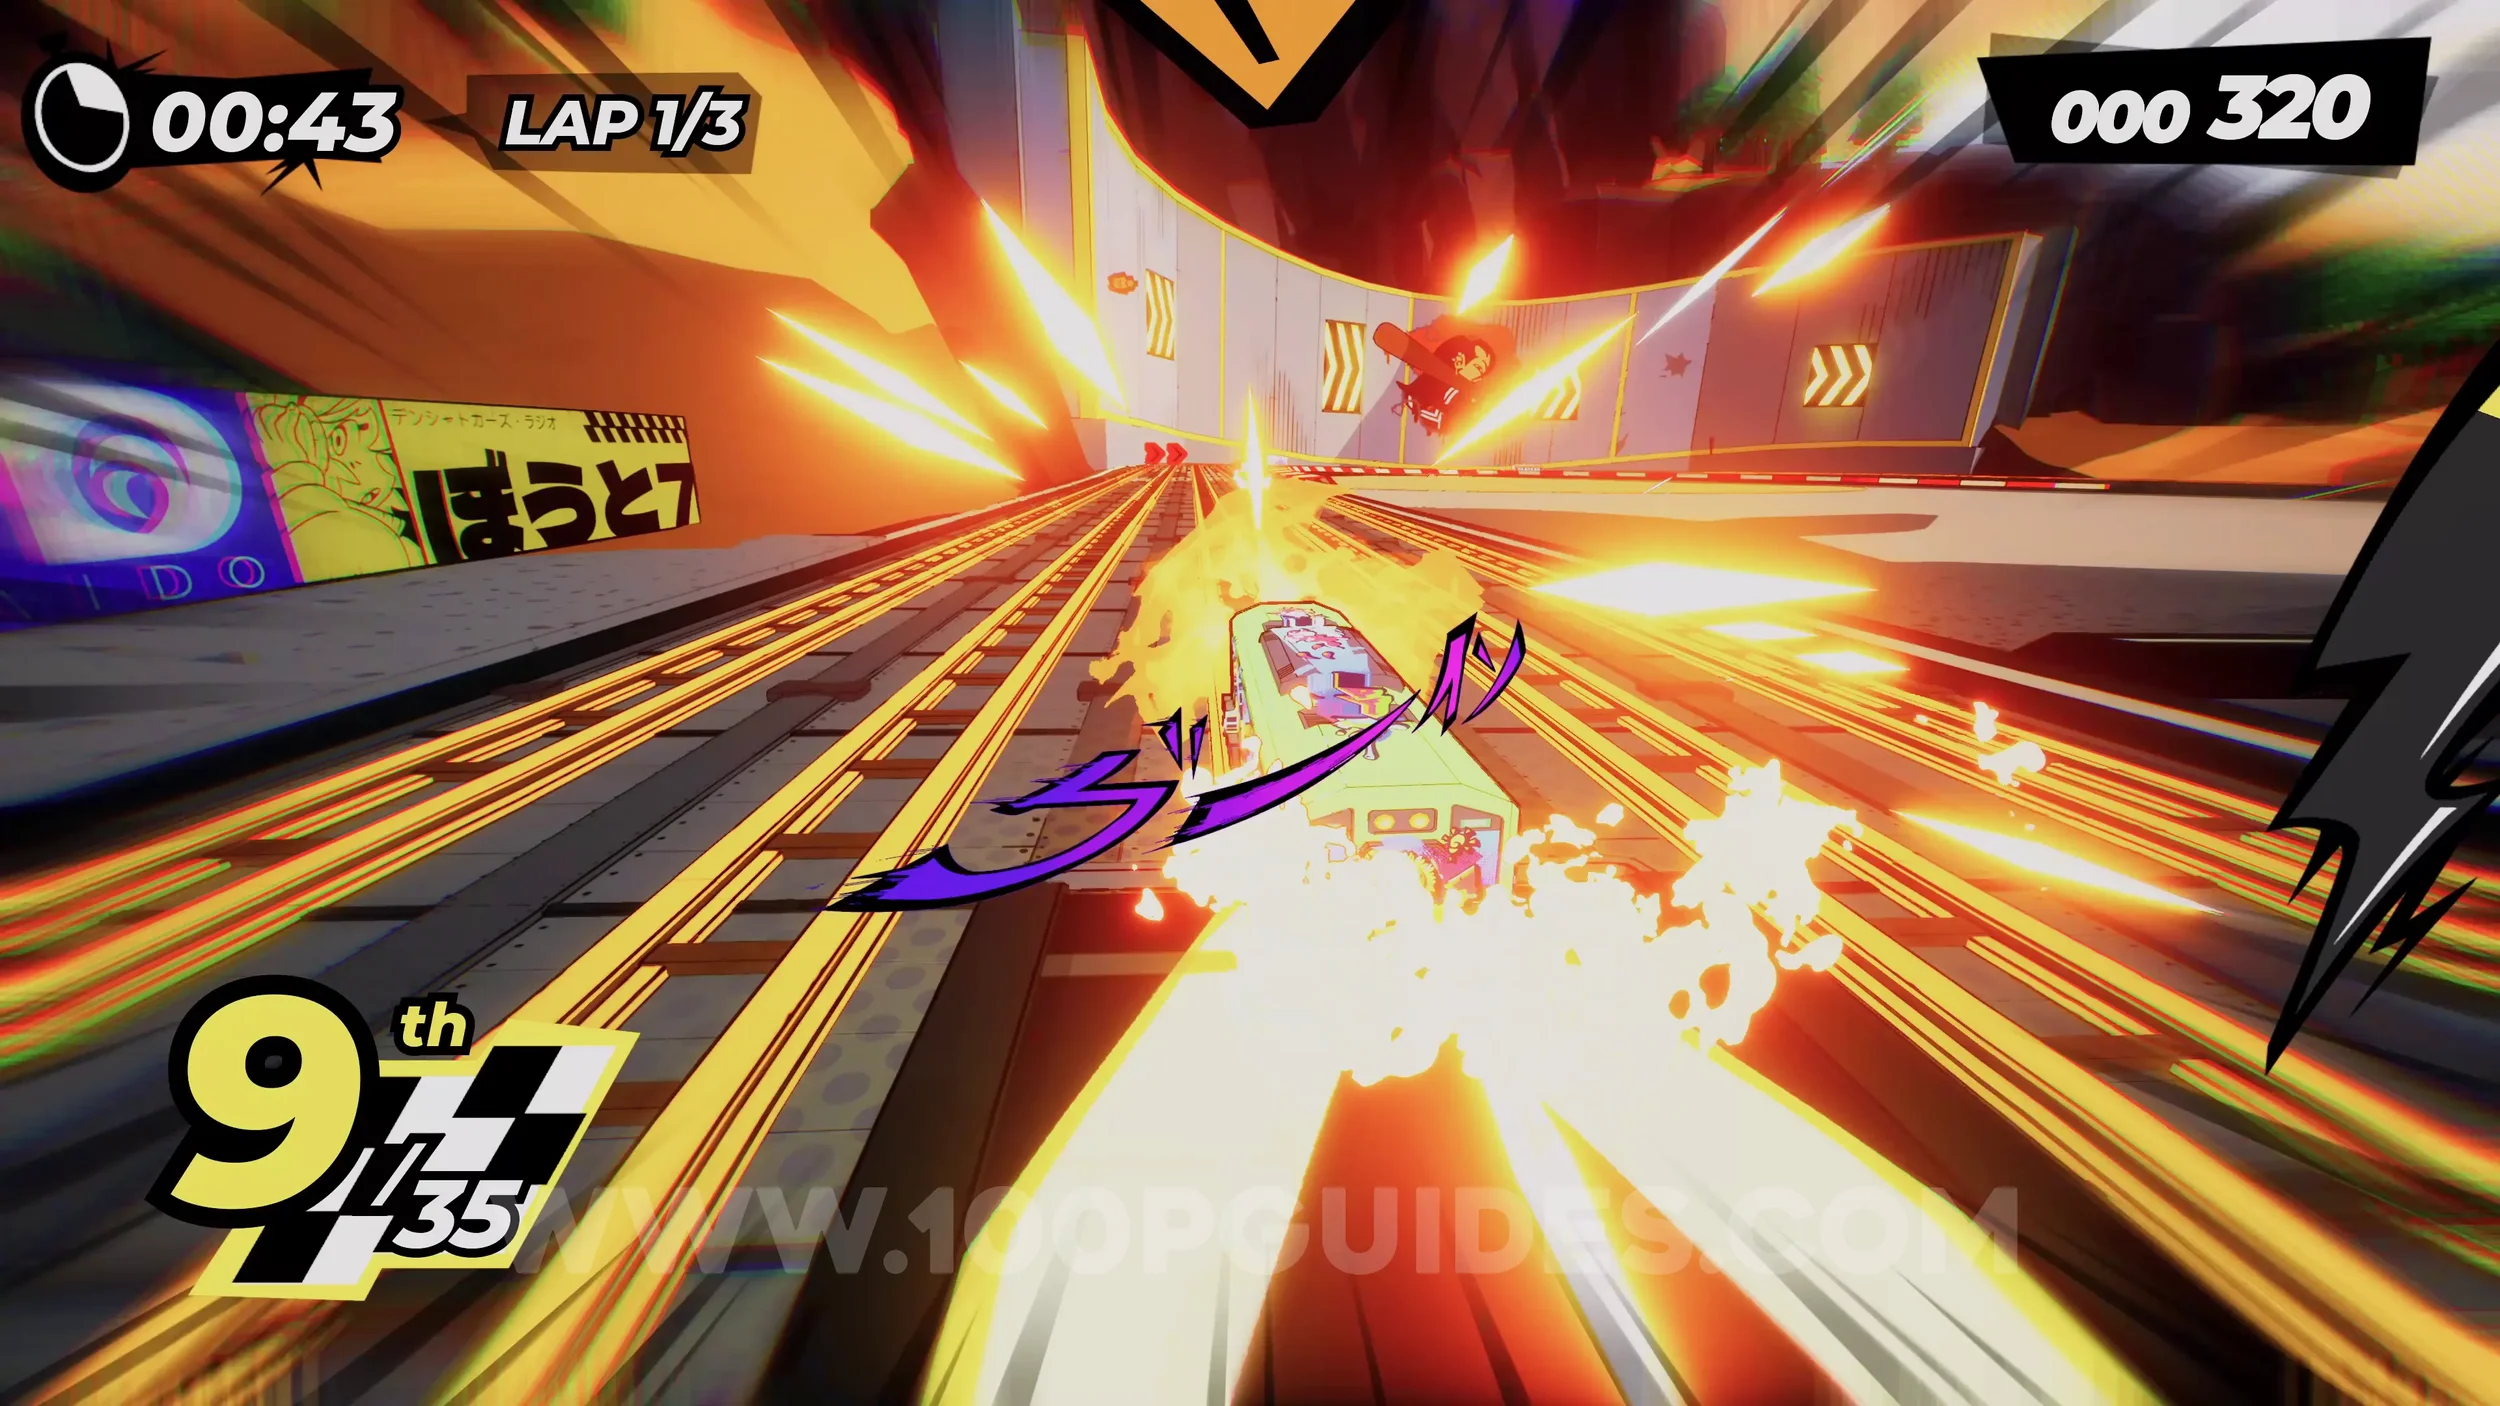
Spray Can (2/4) & Dare: Hit All the Wallride Boosters (11-15/15). As soon as you get to the next straight, look for a large billboard on your left. It has a booster and a spray can on it. From this board, quickly jump to the rainbow wall on the right with the other four boosters (must have the special bar filled). If you do not get time, do not worry, you can do a separate run just for the booster dare.
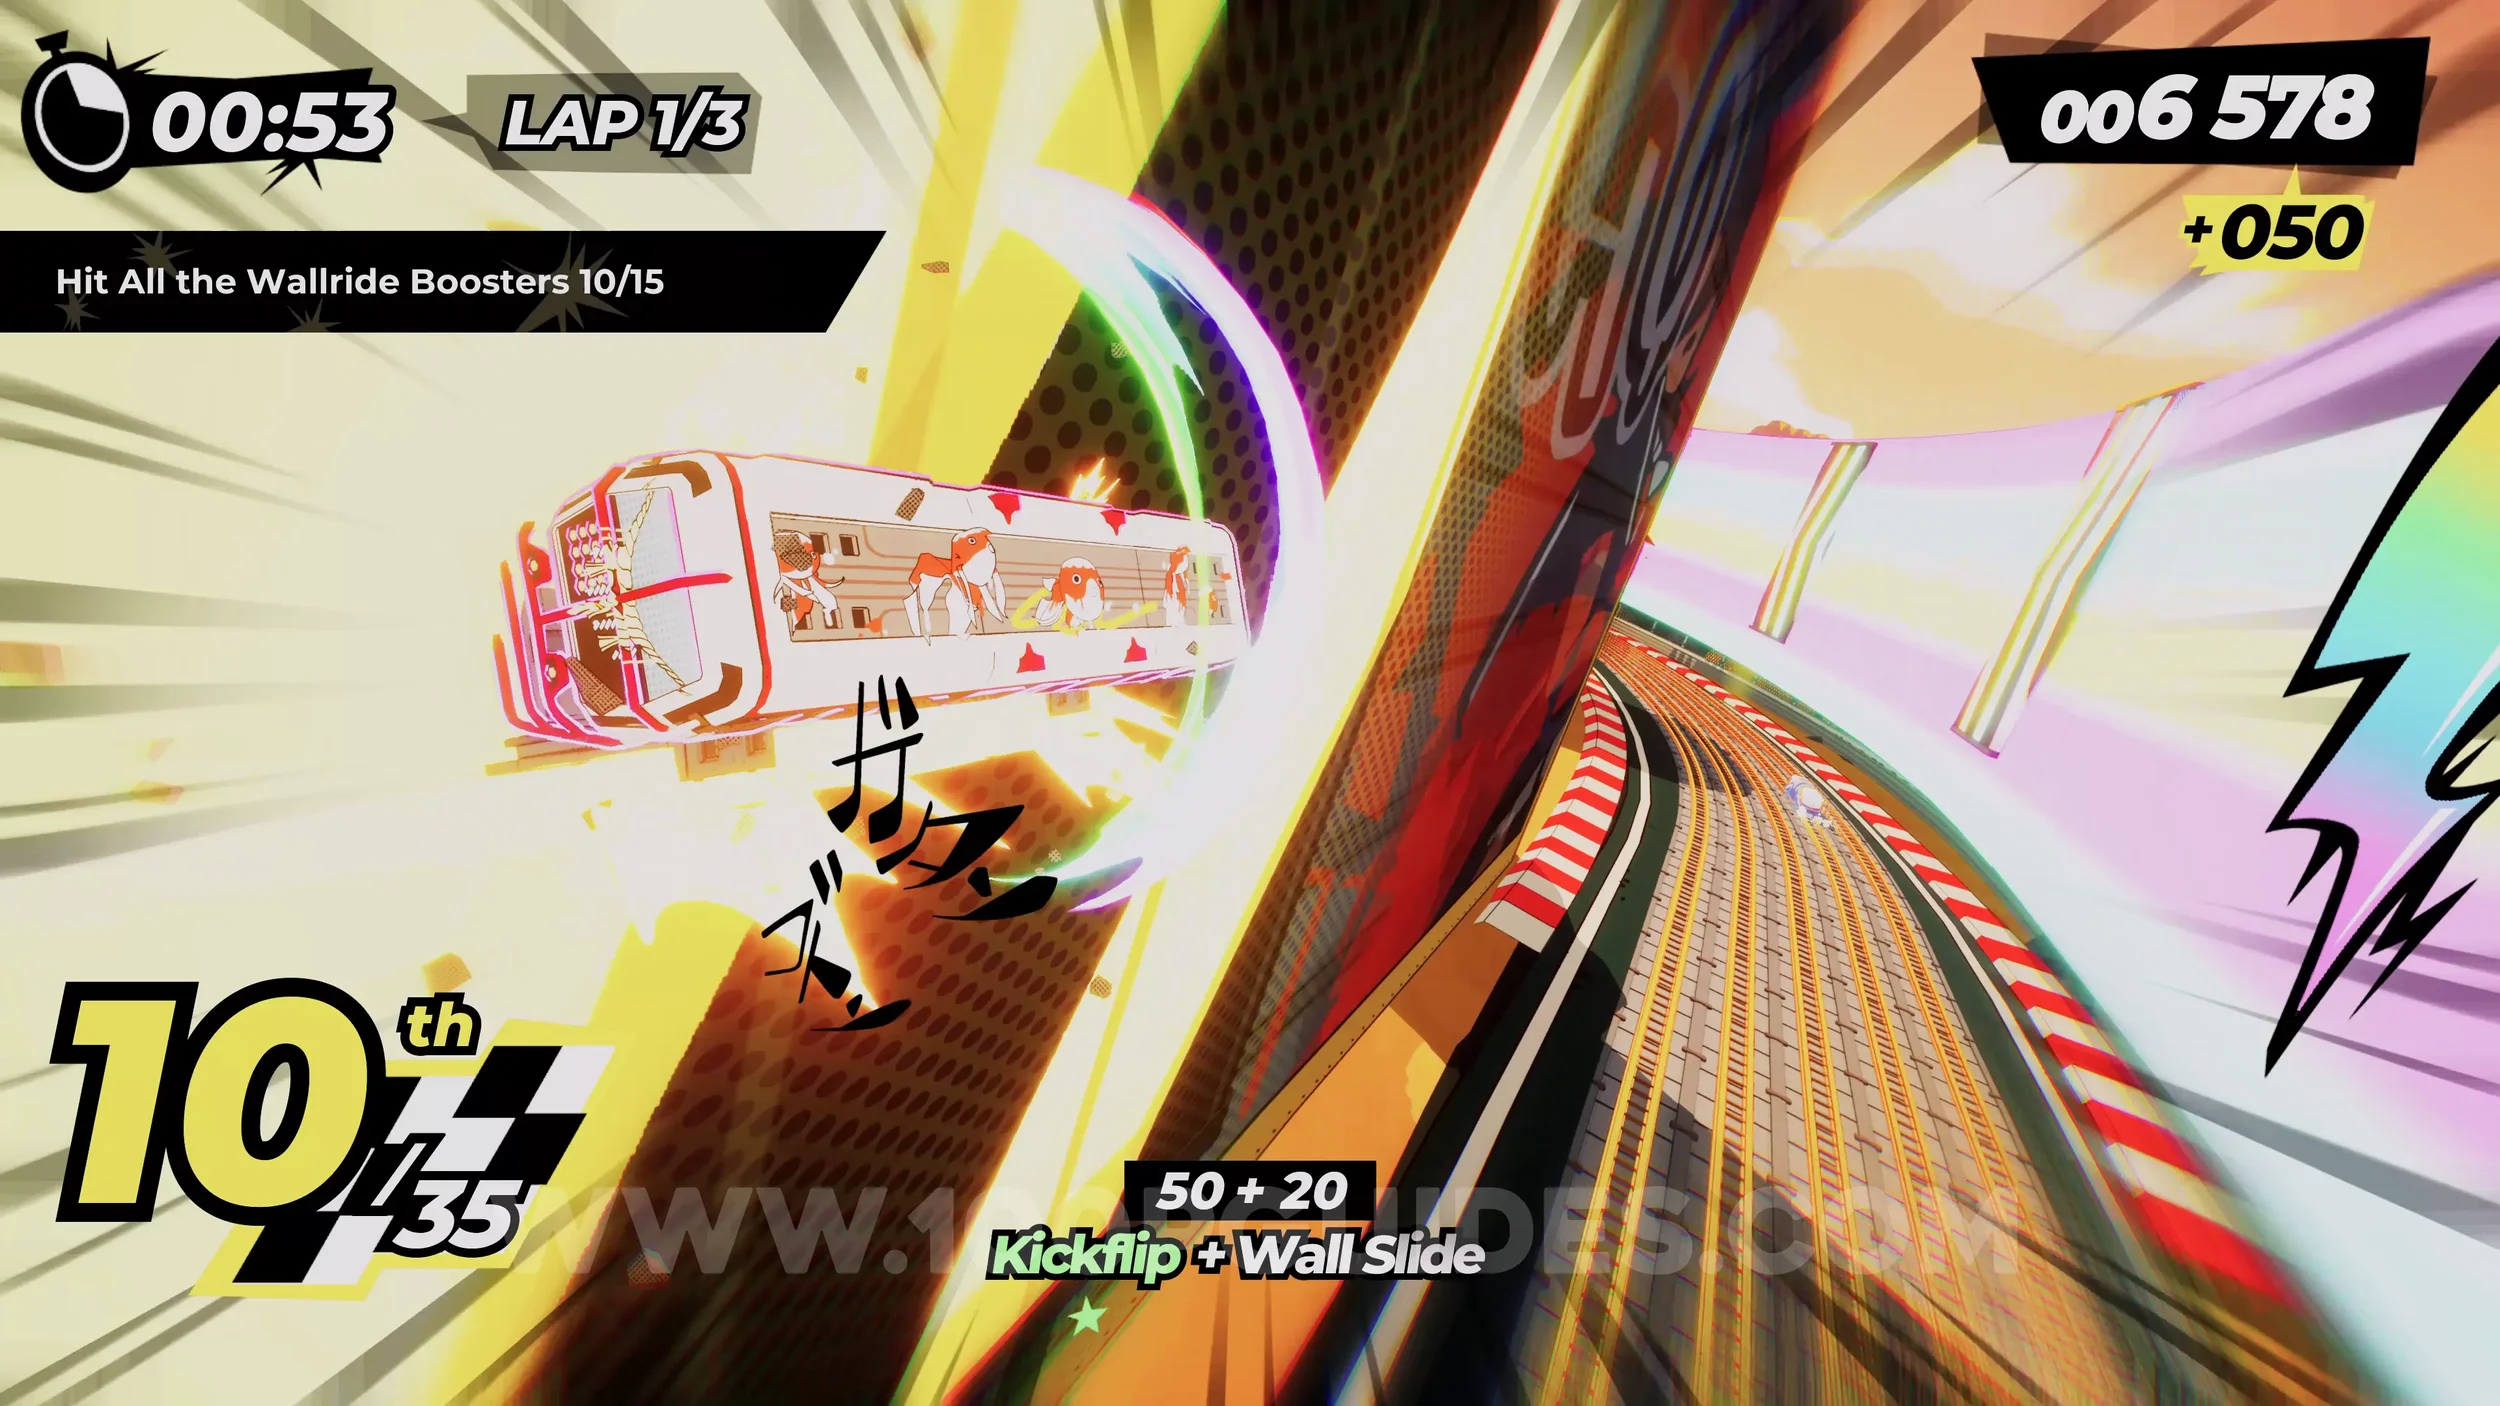
Dare: Ride The Tunnel Shortcut. During the second lap, you should have charged up your special bar. After going through the first tunnel, jump to the rainbow railing on your right. This will take you through the shortcut tunnel.
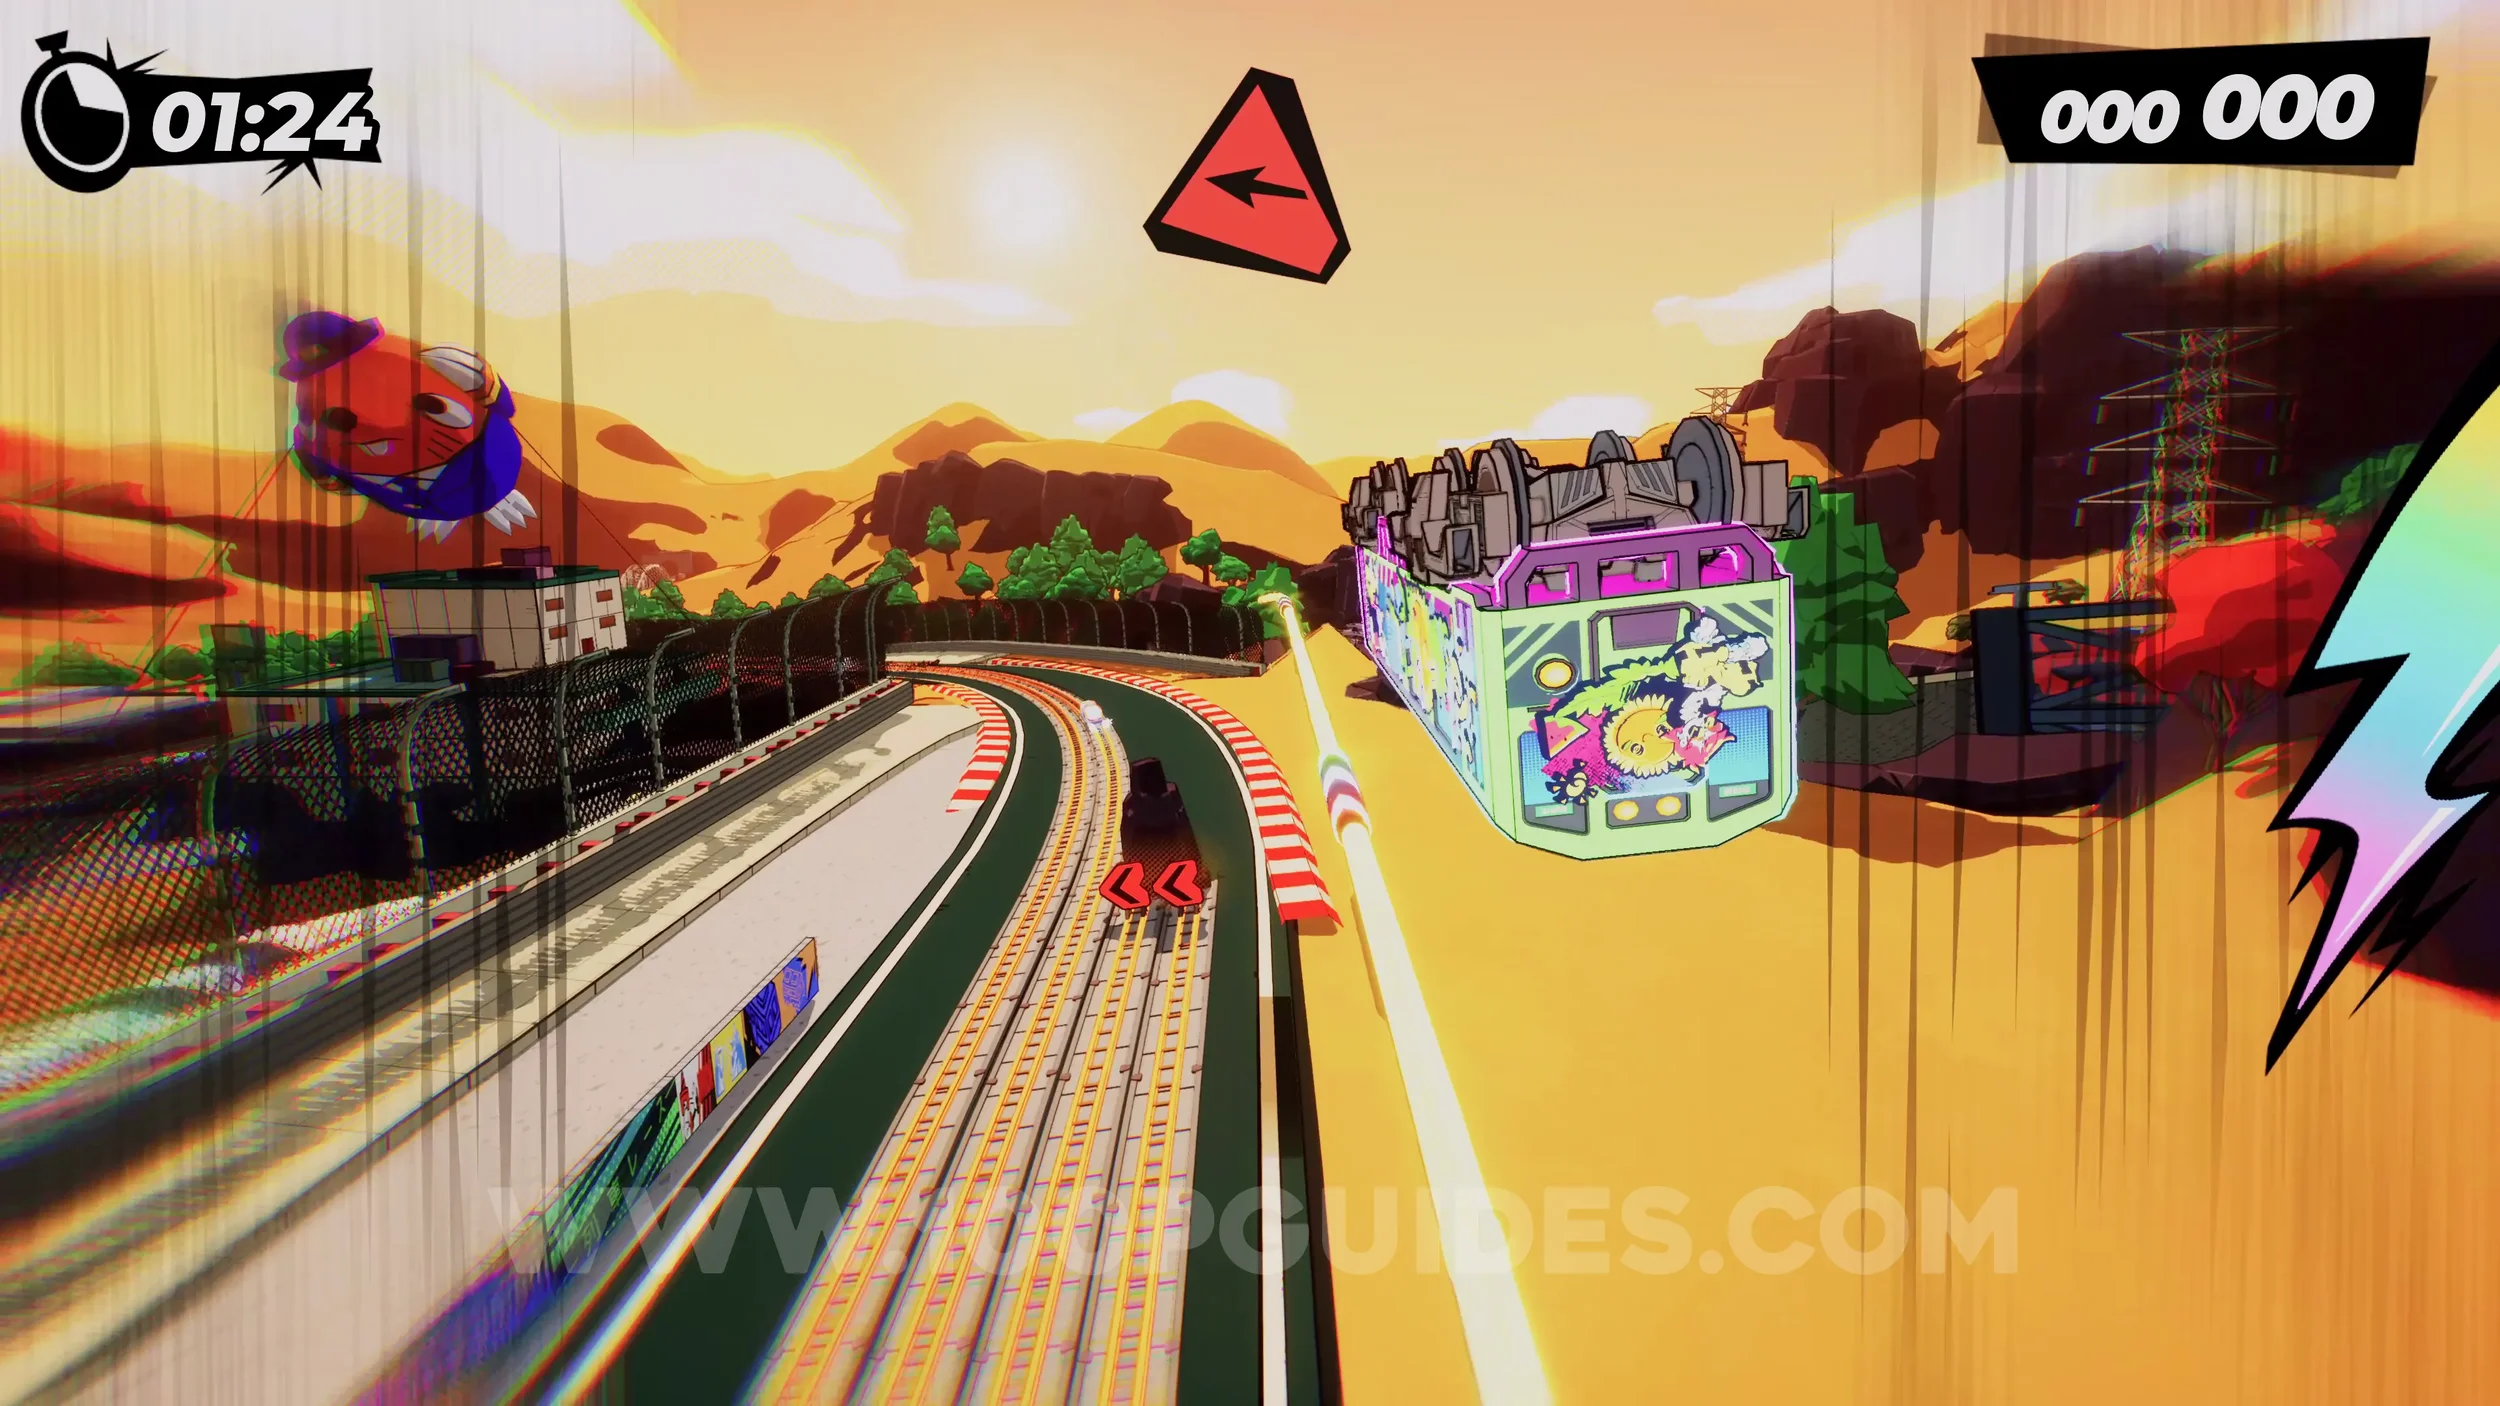
Spray Can (3/4). As you approach the corner where you hit the third crash dummy on your first lap, you will see a rainbow rail on your right (if you have the special bar filled up). Use it to grind around the corner and collect the next spray can.
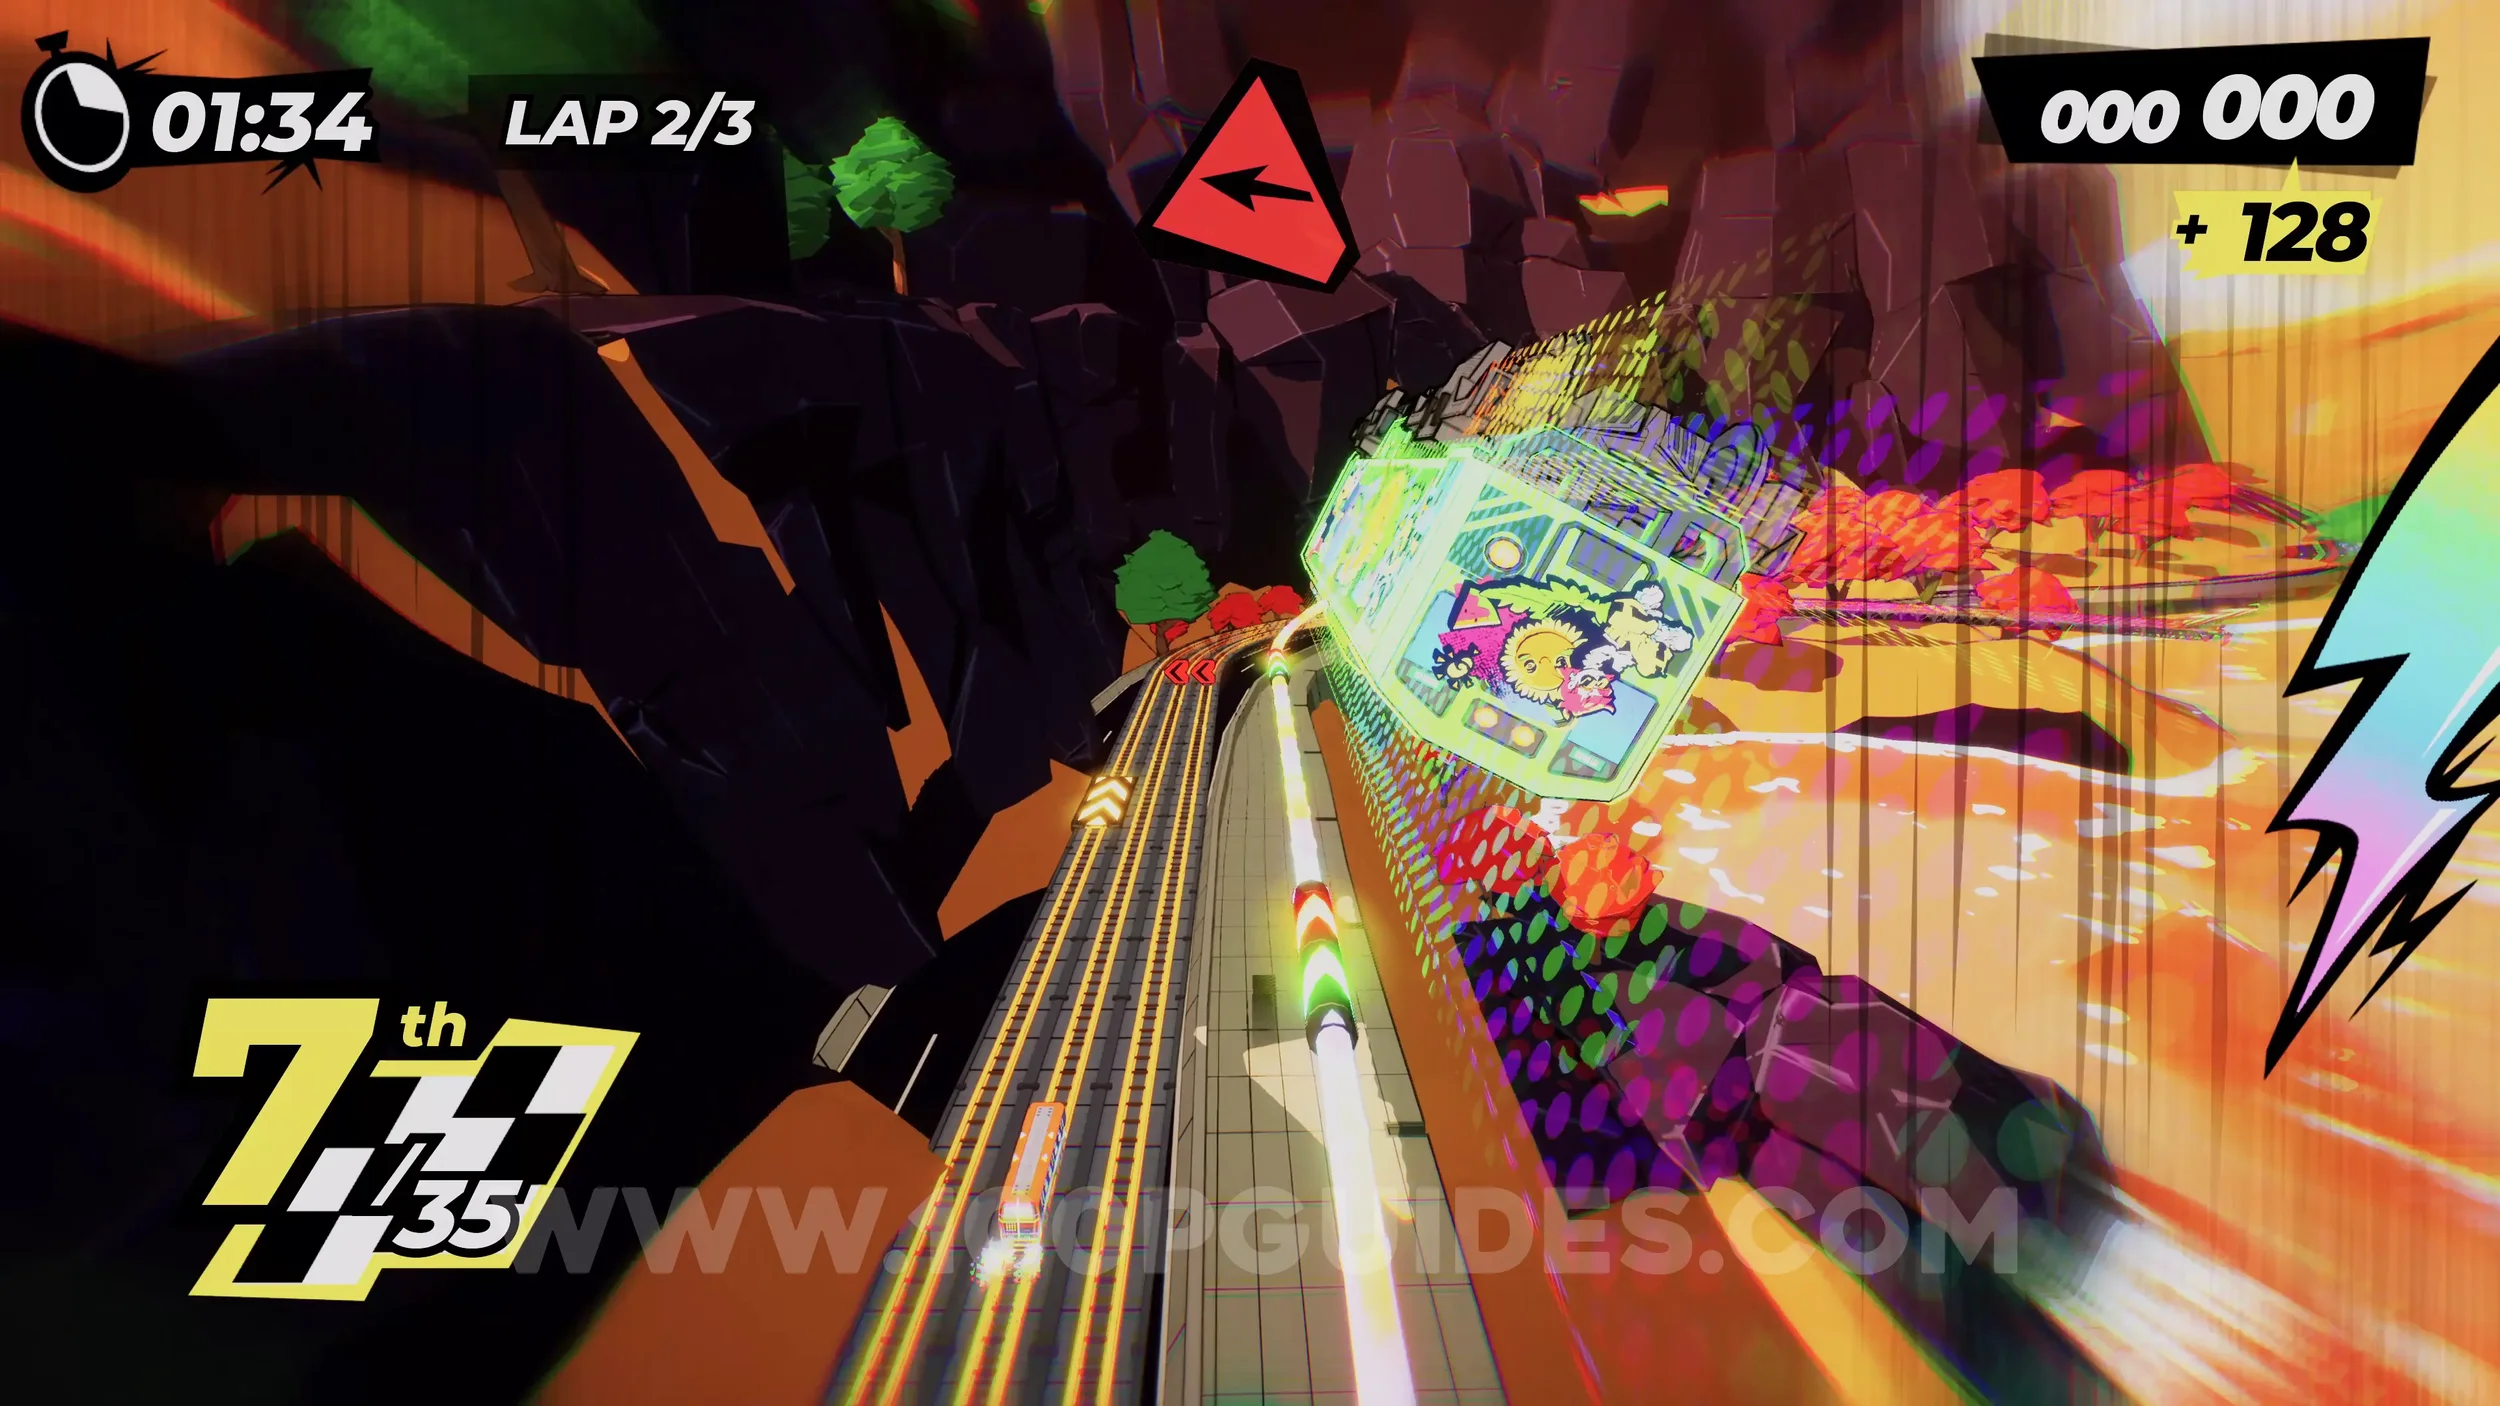
Spray Can (4/4). During the second lap, just after the jump where you got the previous can, stick to the left and jump over to the track that separates and goes through the cave. The can will be inside this cave.
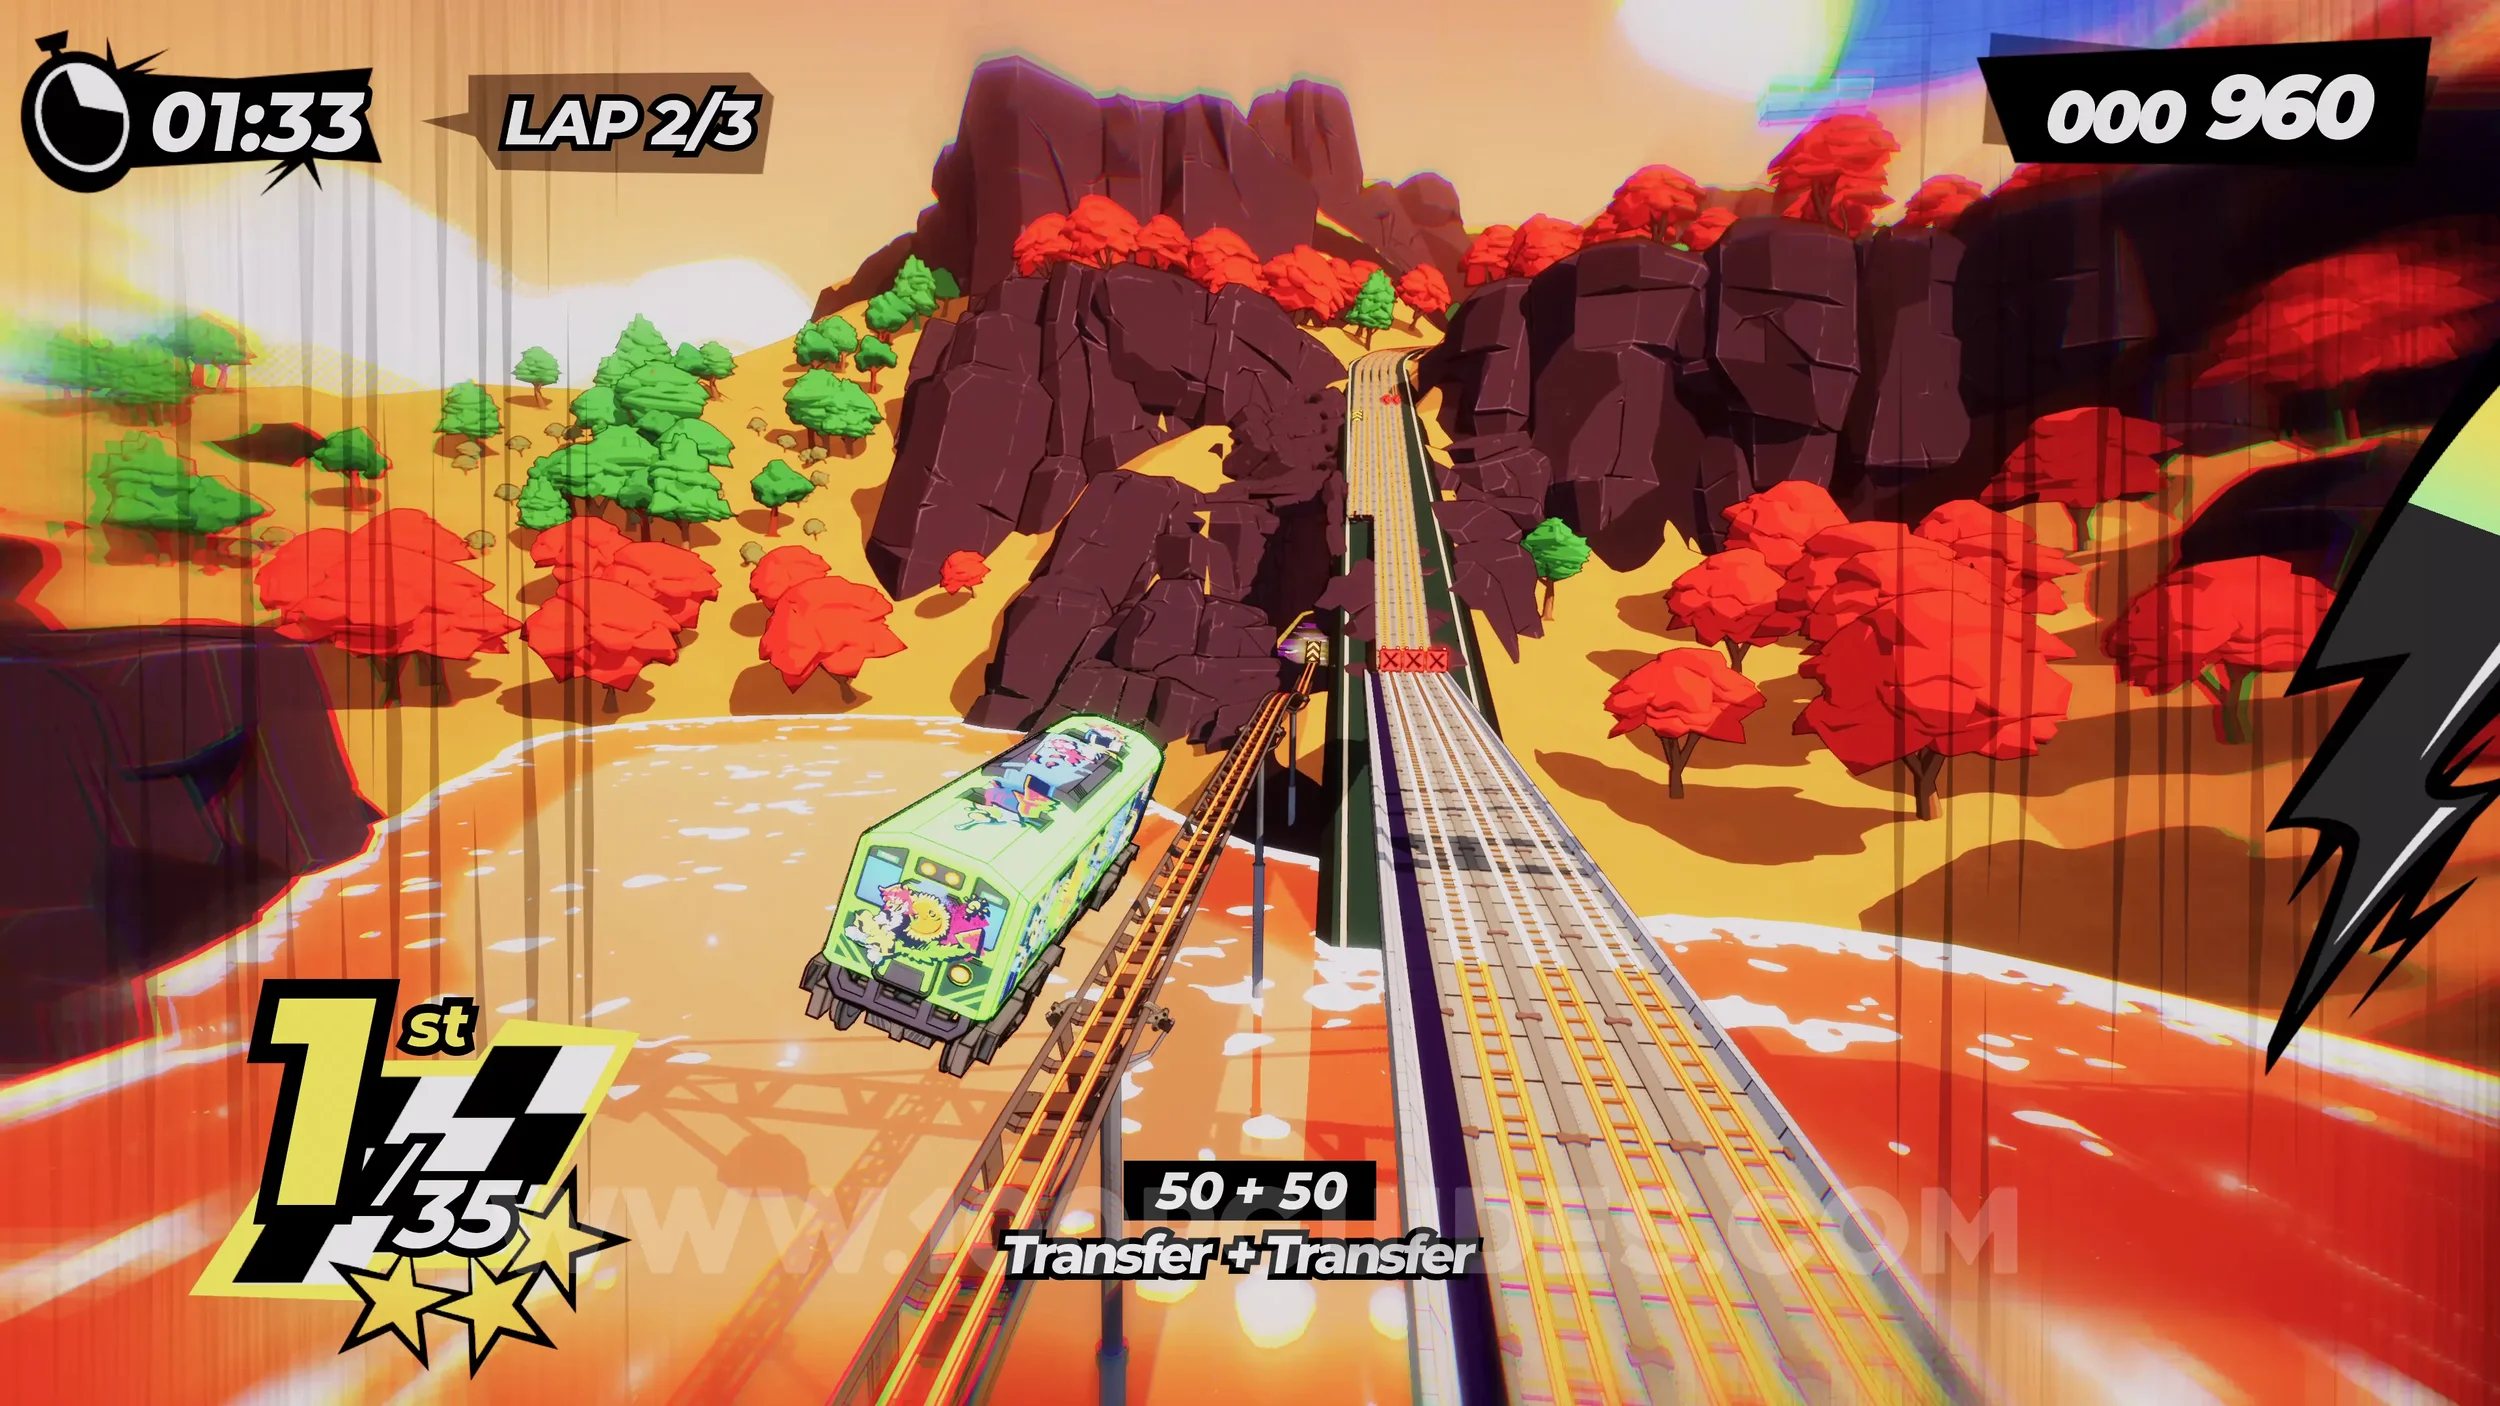
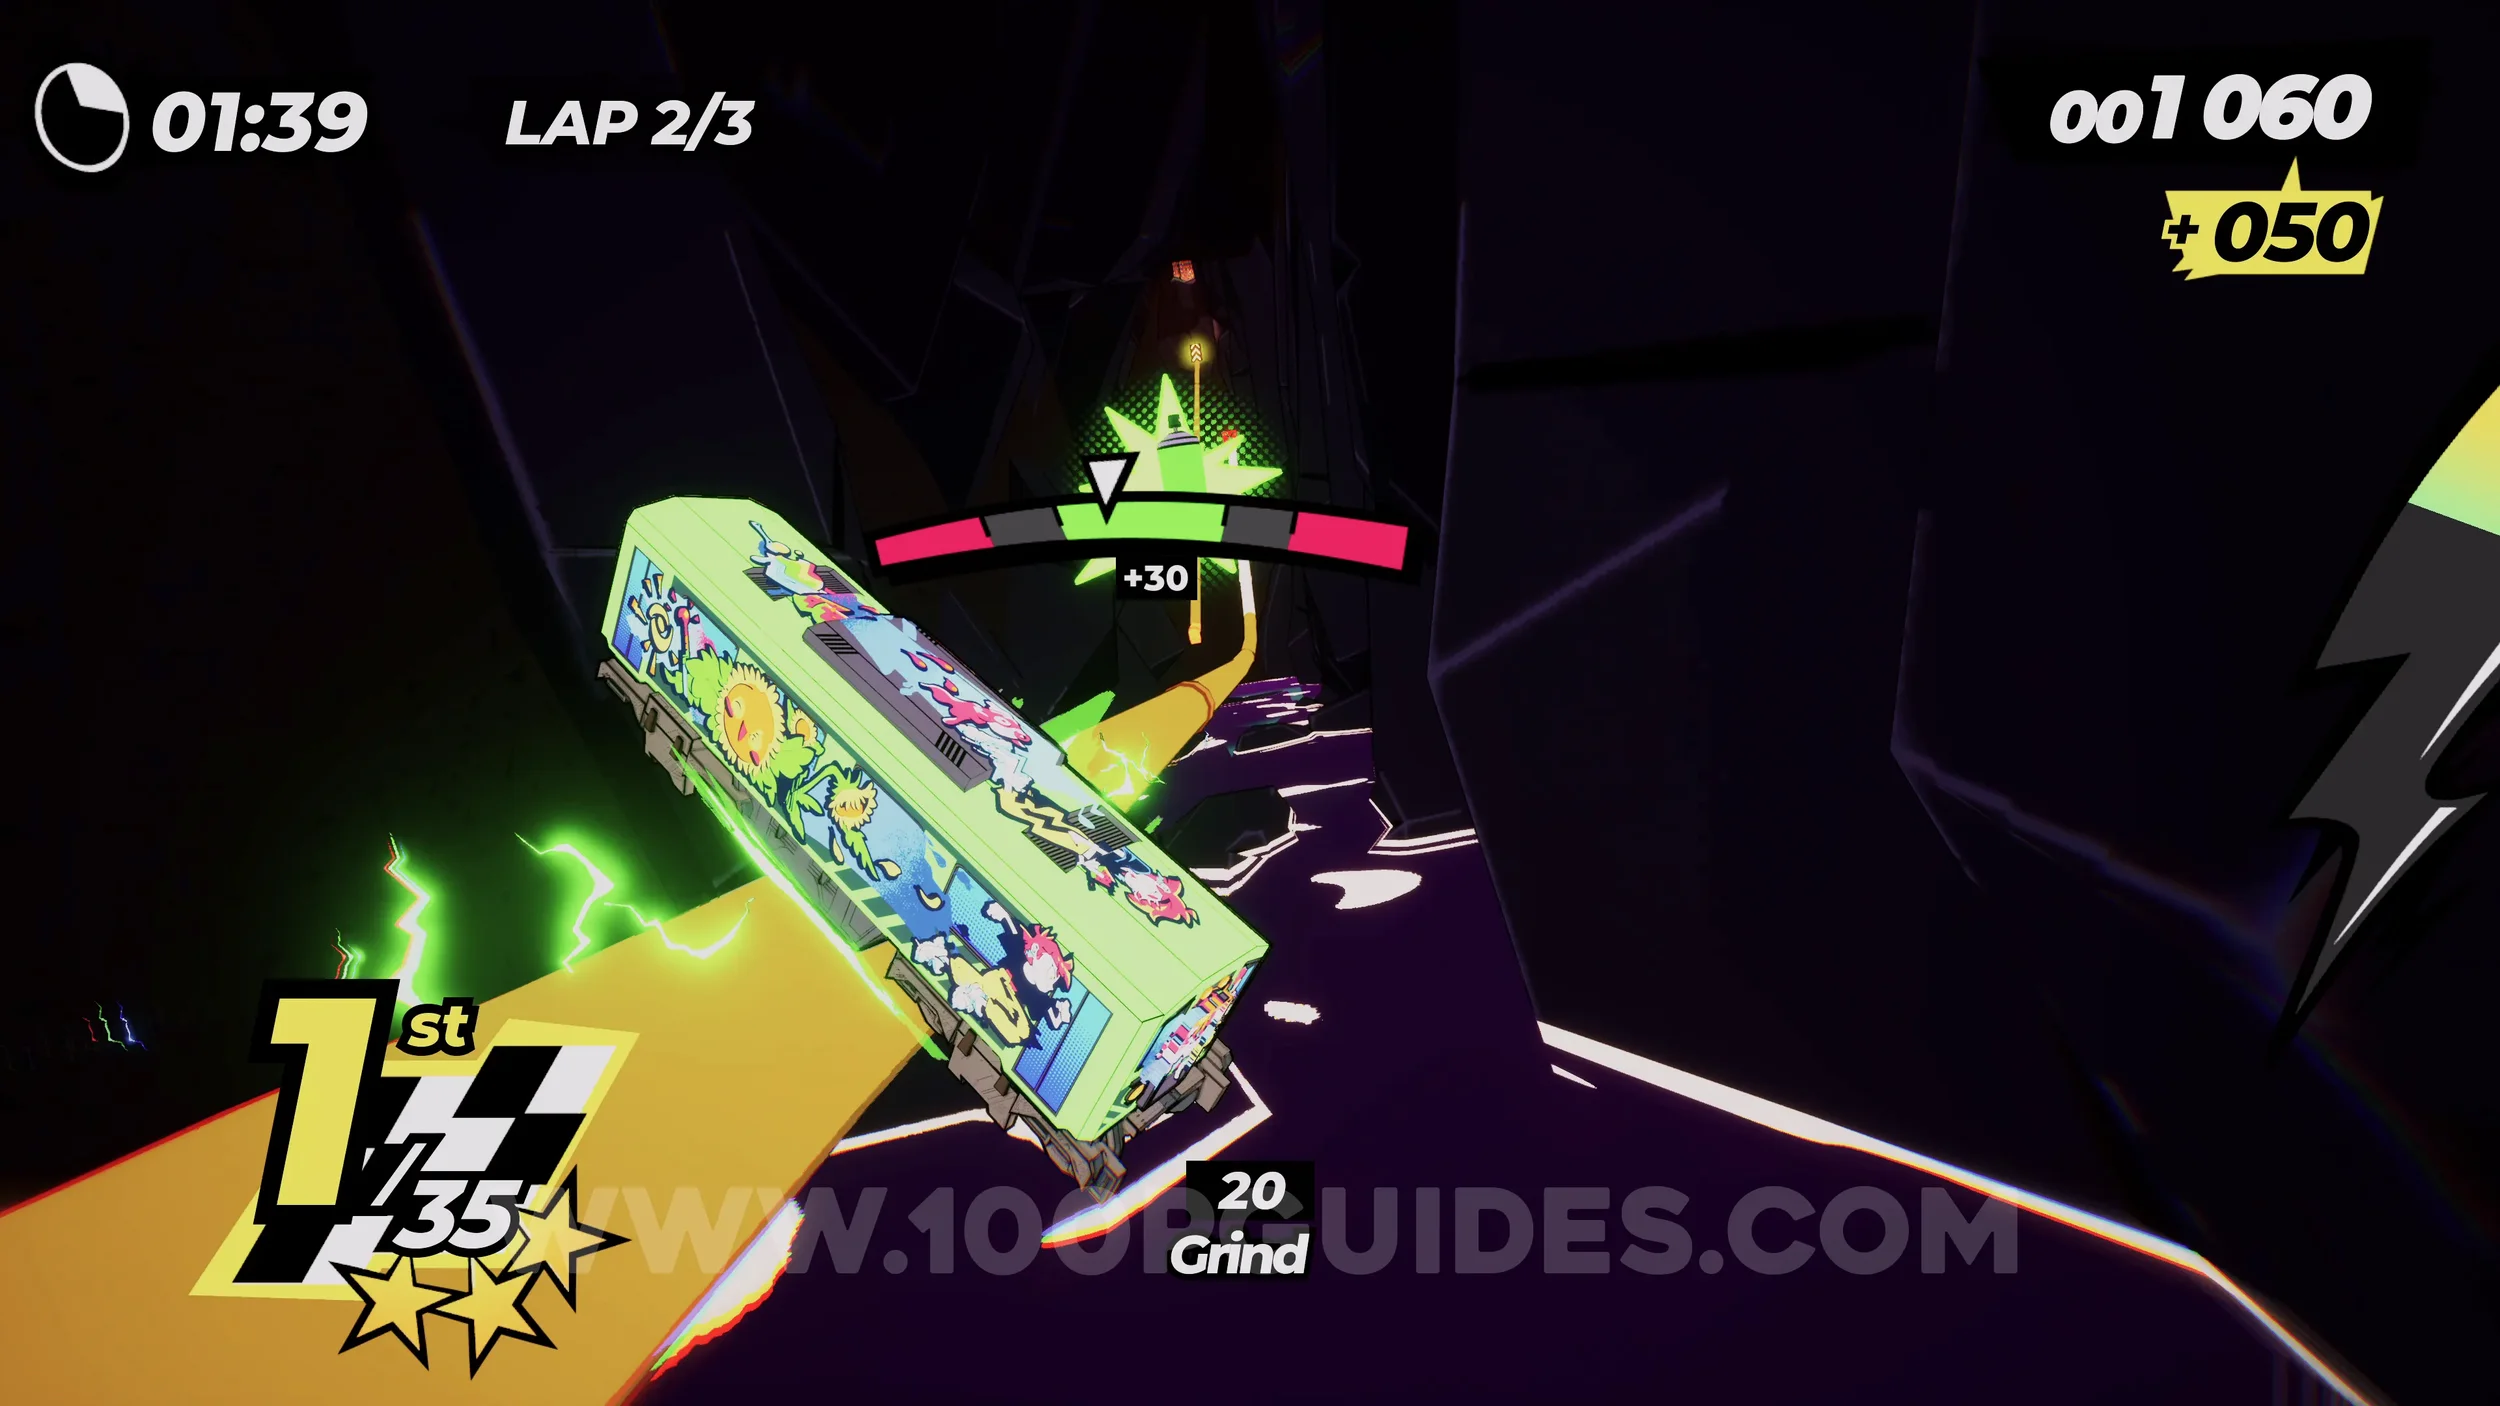
Film Roll (1/1). On the final lap, once you get to the bridge with the cranes, you will see a rainbow rail on the right (if you have the special bar filled). Follow it to get the film roll.
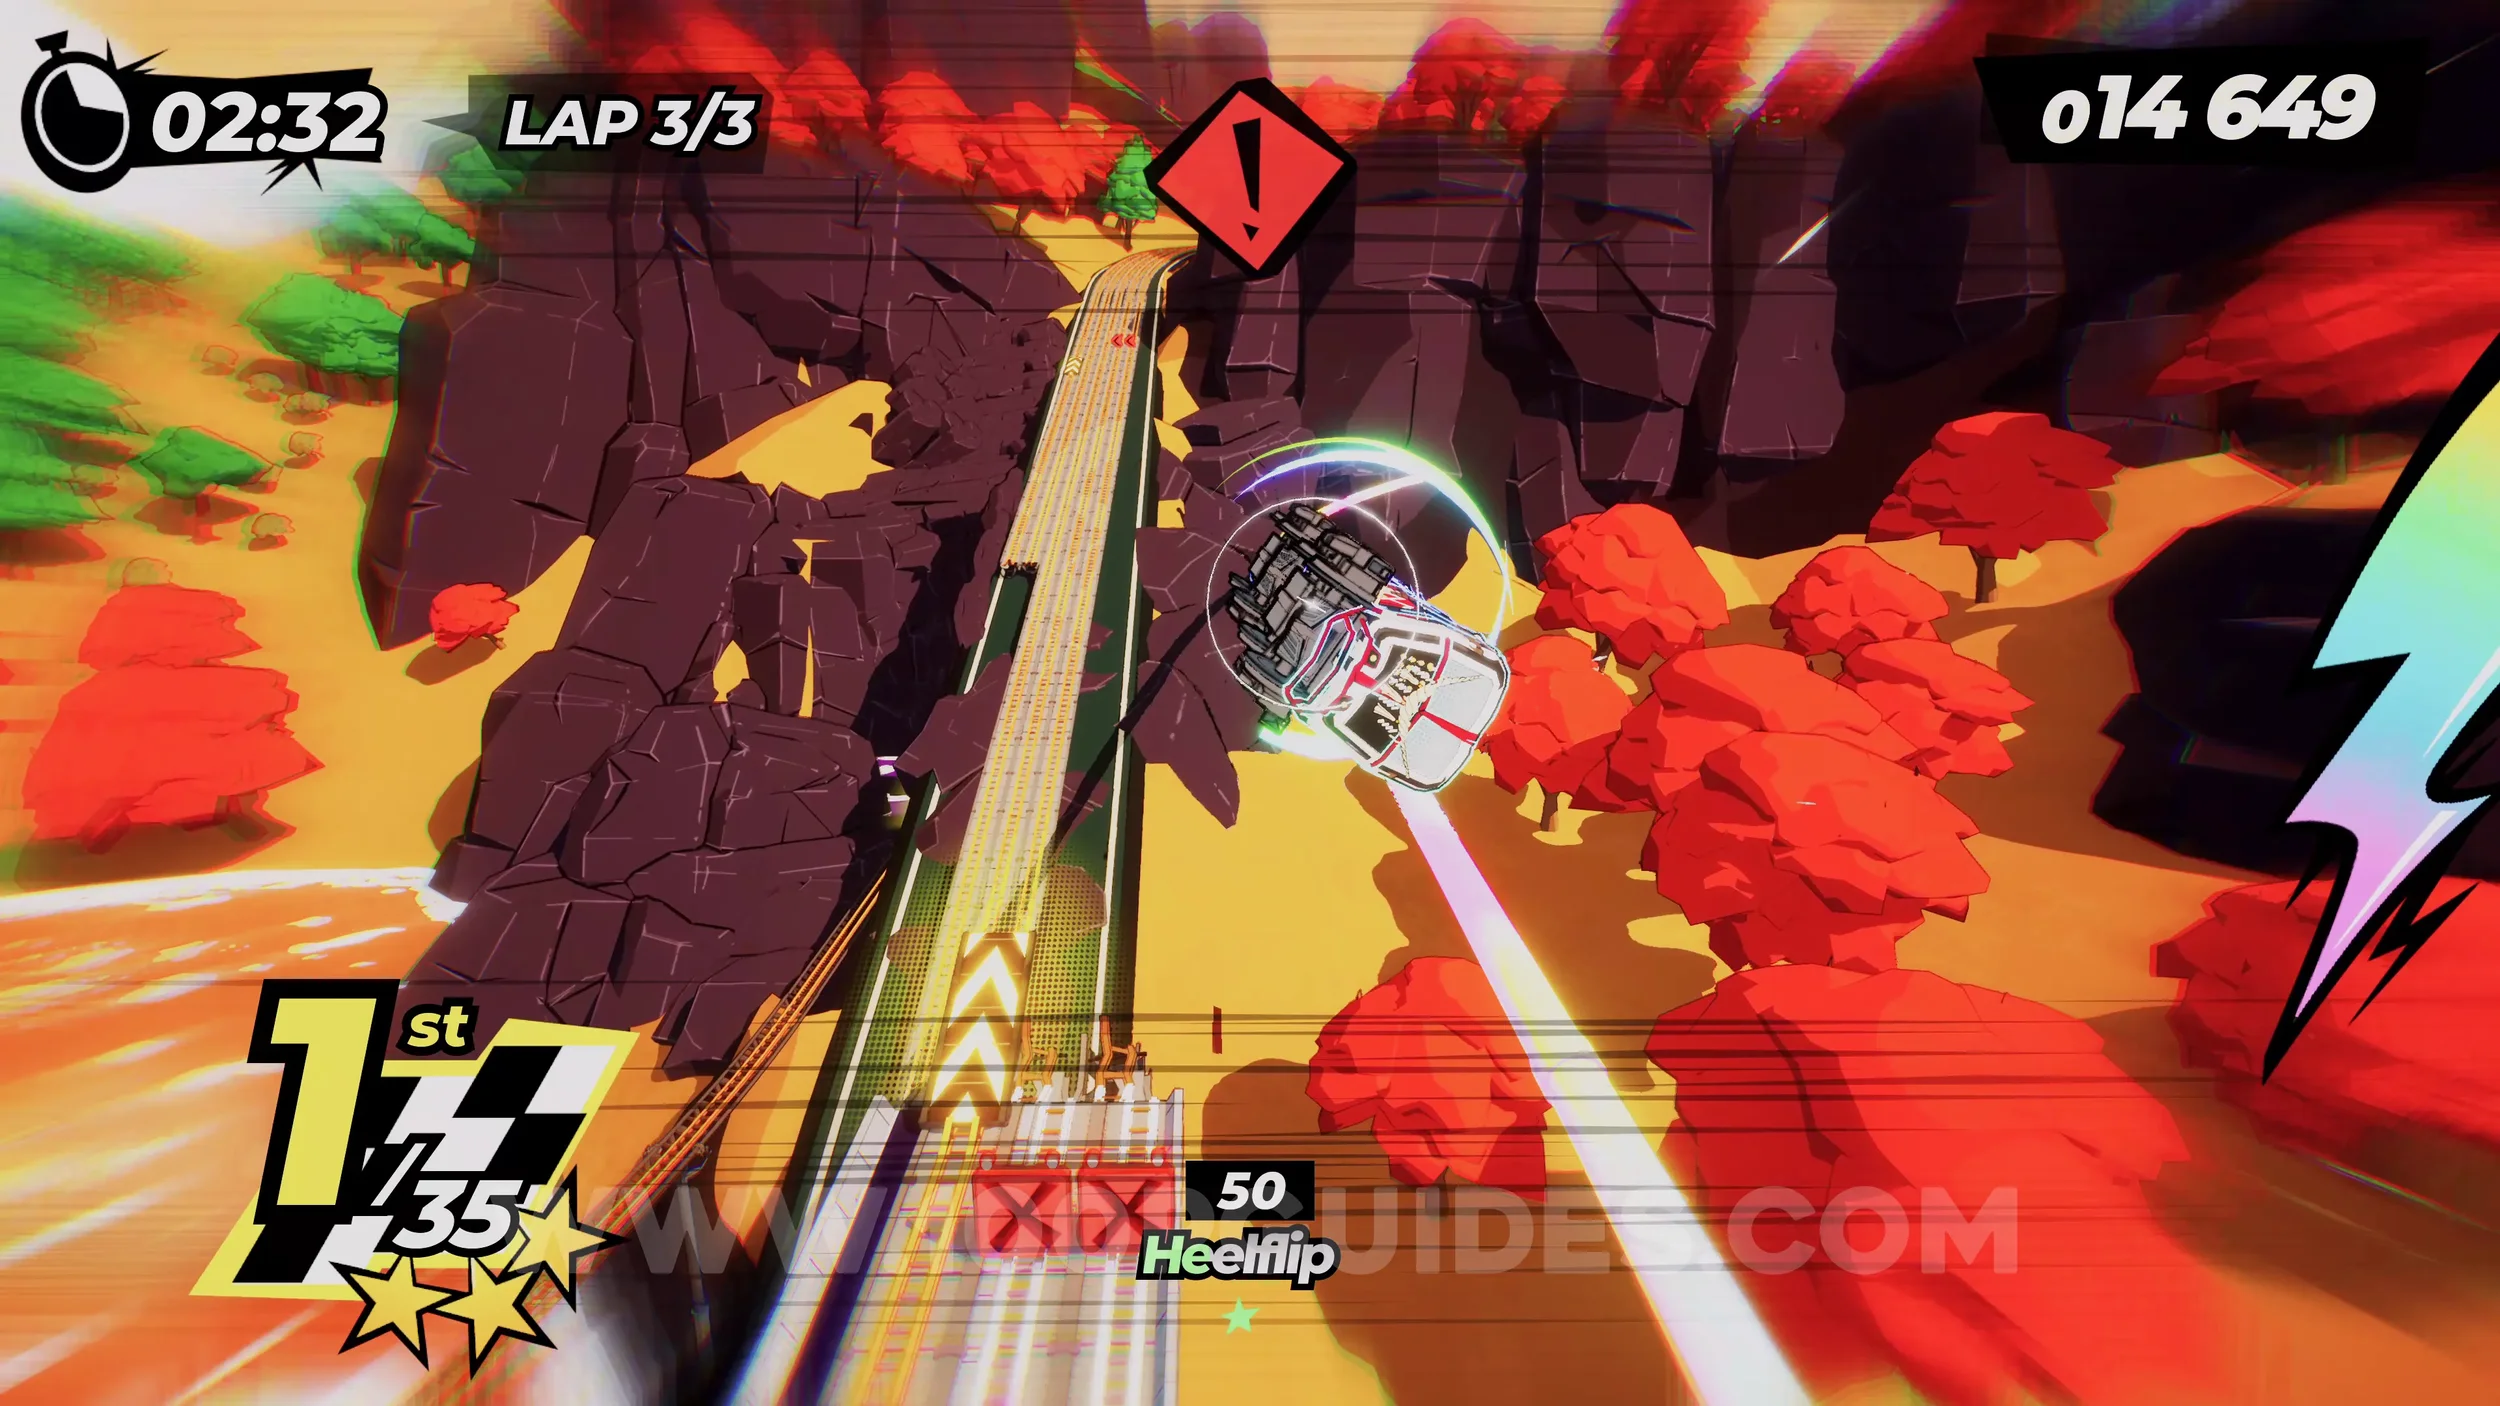
Dare: Finish in 1st Place. Self-explanatory. Finish the race in 1st place.
Dare: Get a Lap Time Under 55s. Self-explanatory.
2-2-S Meeting Madoka
No collectibles in this level.
2-2-1 Healthy Vandalism
Dare: Activate a Rail Switcher With an Advanced Trick. At the very start of the level, you will go over a jump and hit a rail switcher. Just do any advanced trick during this jump (you can see the list of advanced tricks in the Tricktionary in the pause menu).
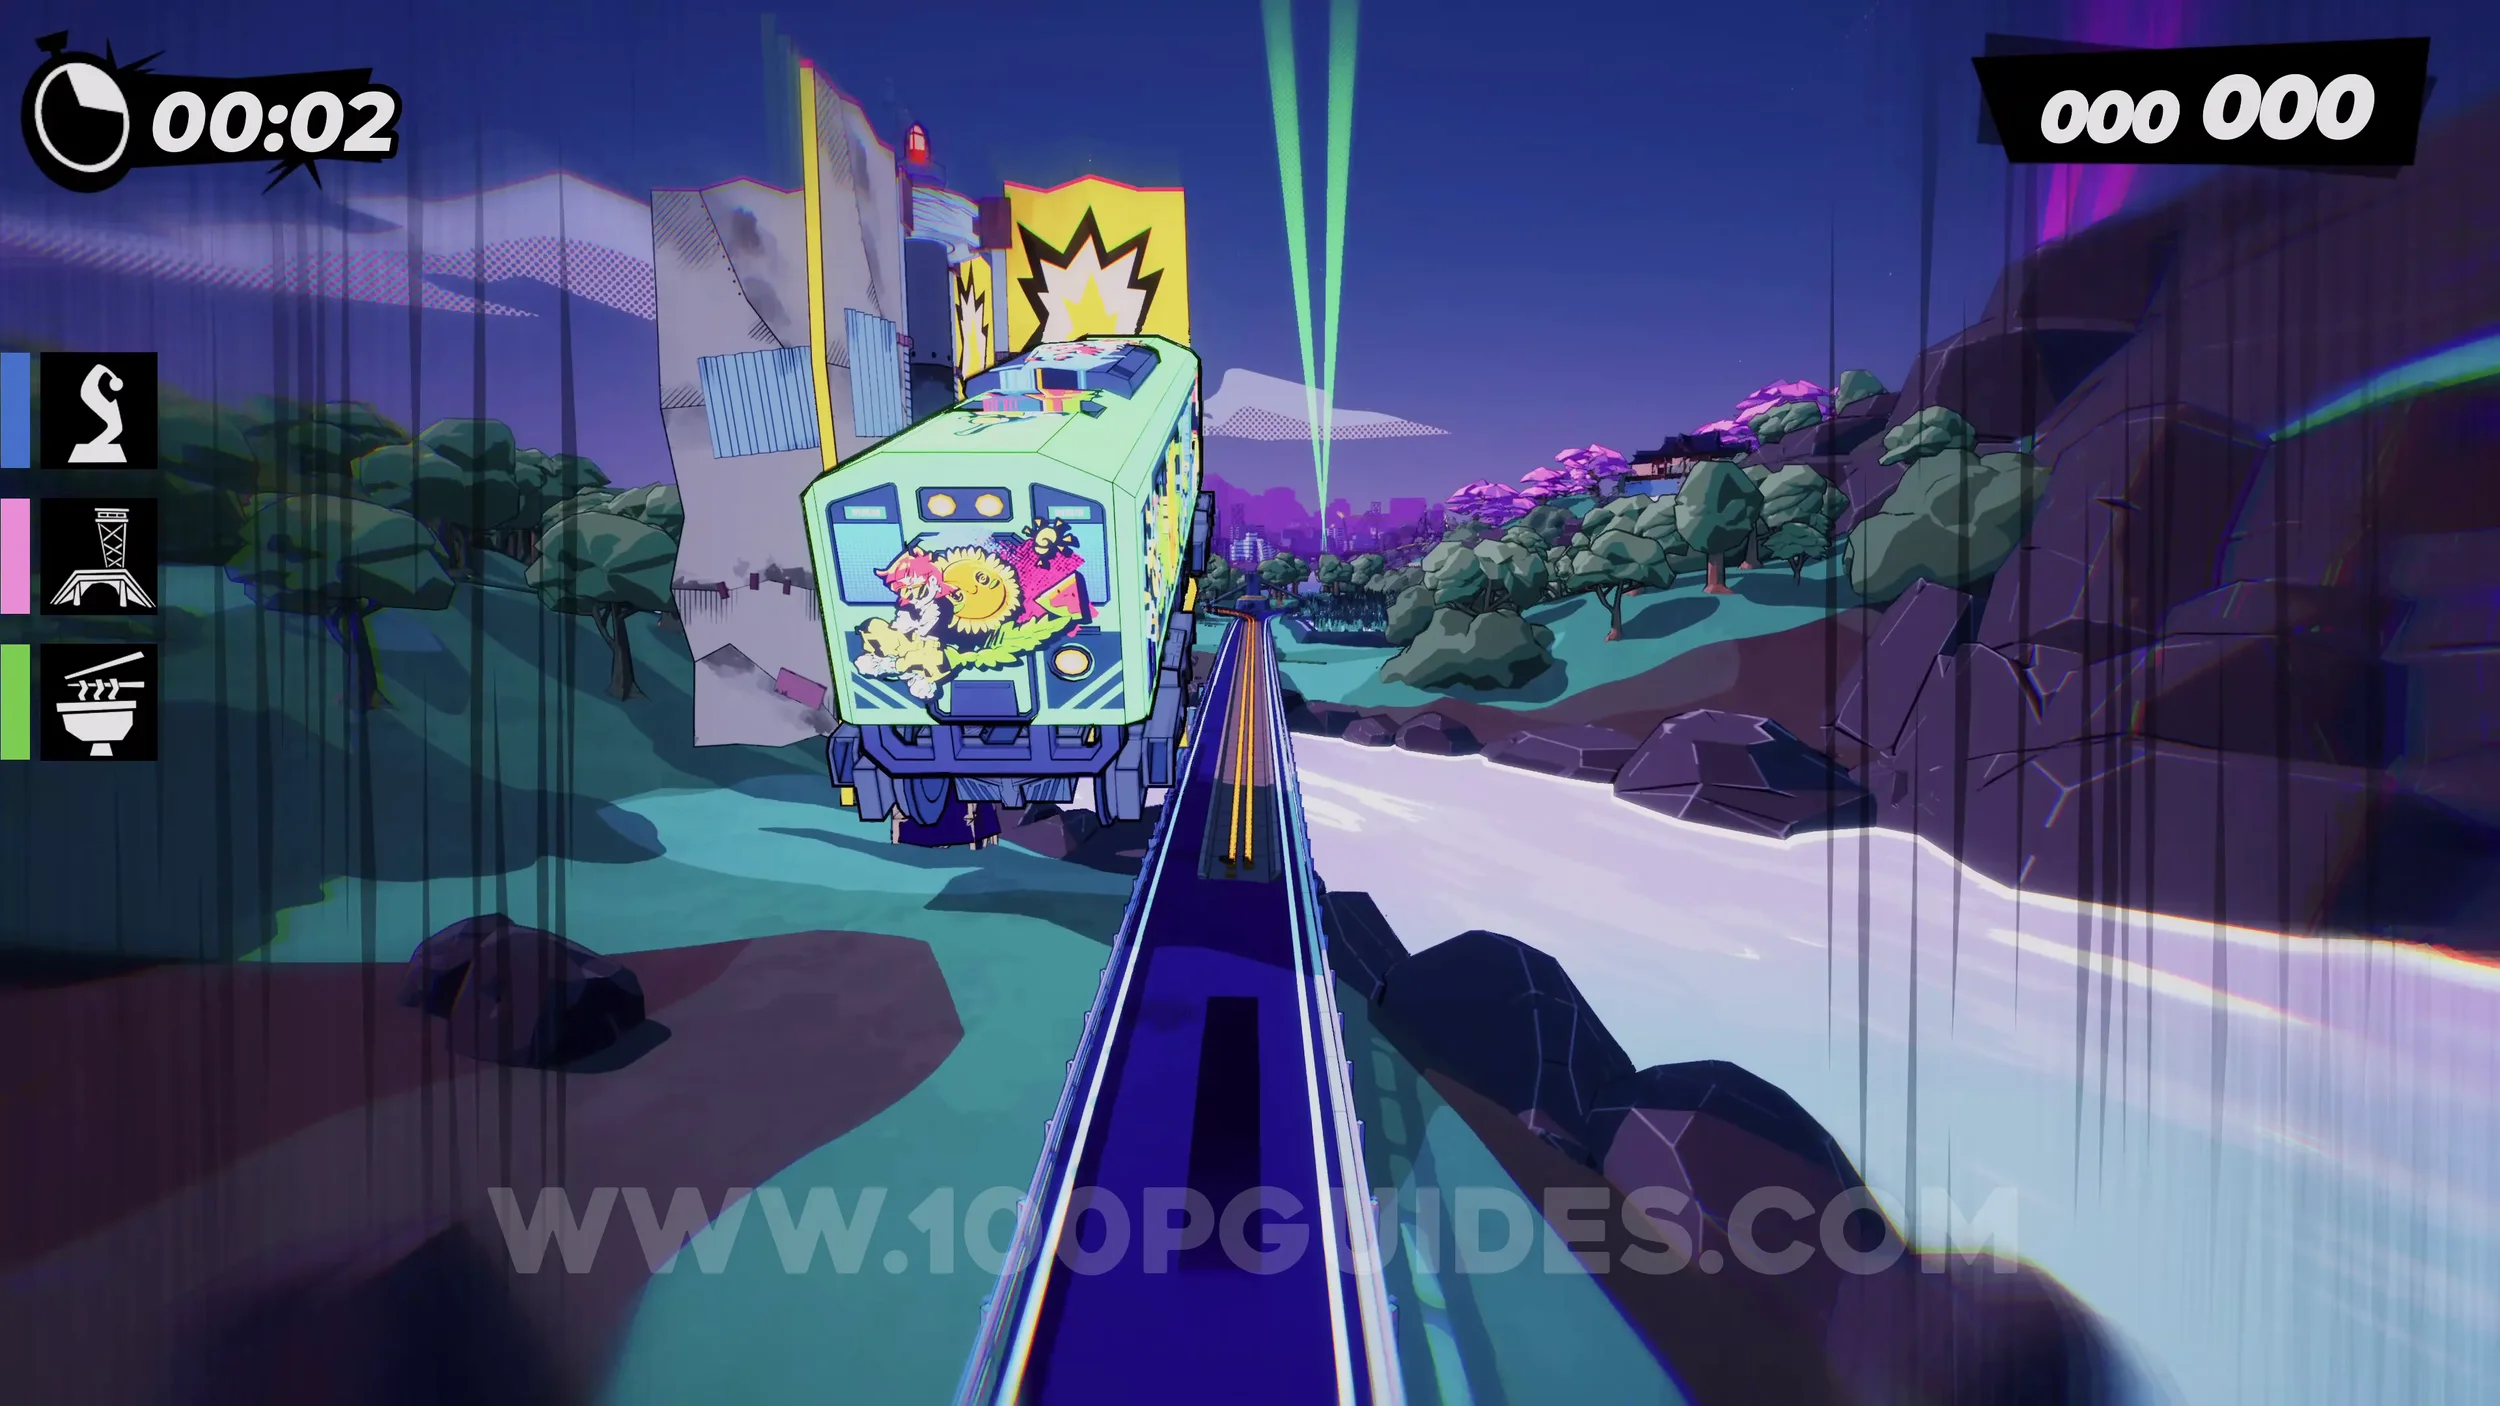
Spray Can (1/4). After the first few corners, you will see the three main signs pointing you in the direction of the main objectives. Here, jump to go straight past the signs and collect the spray can.
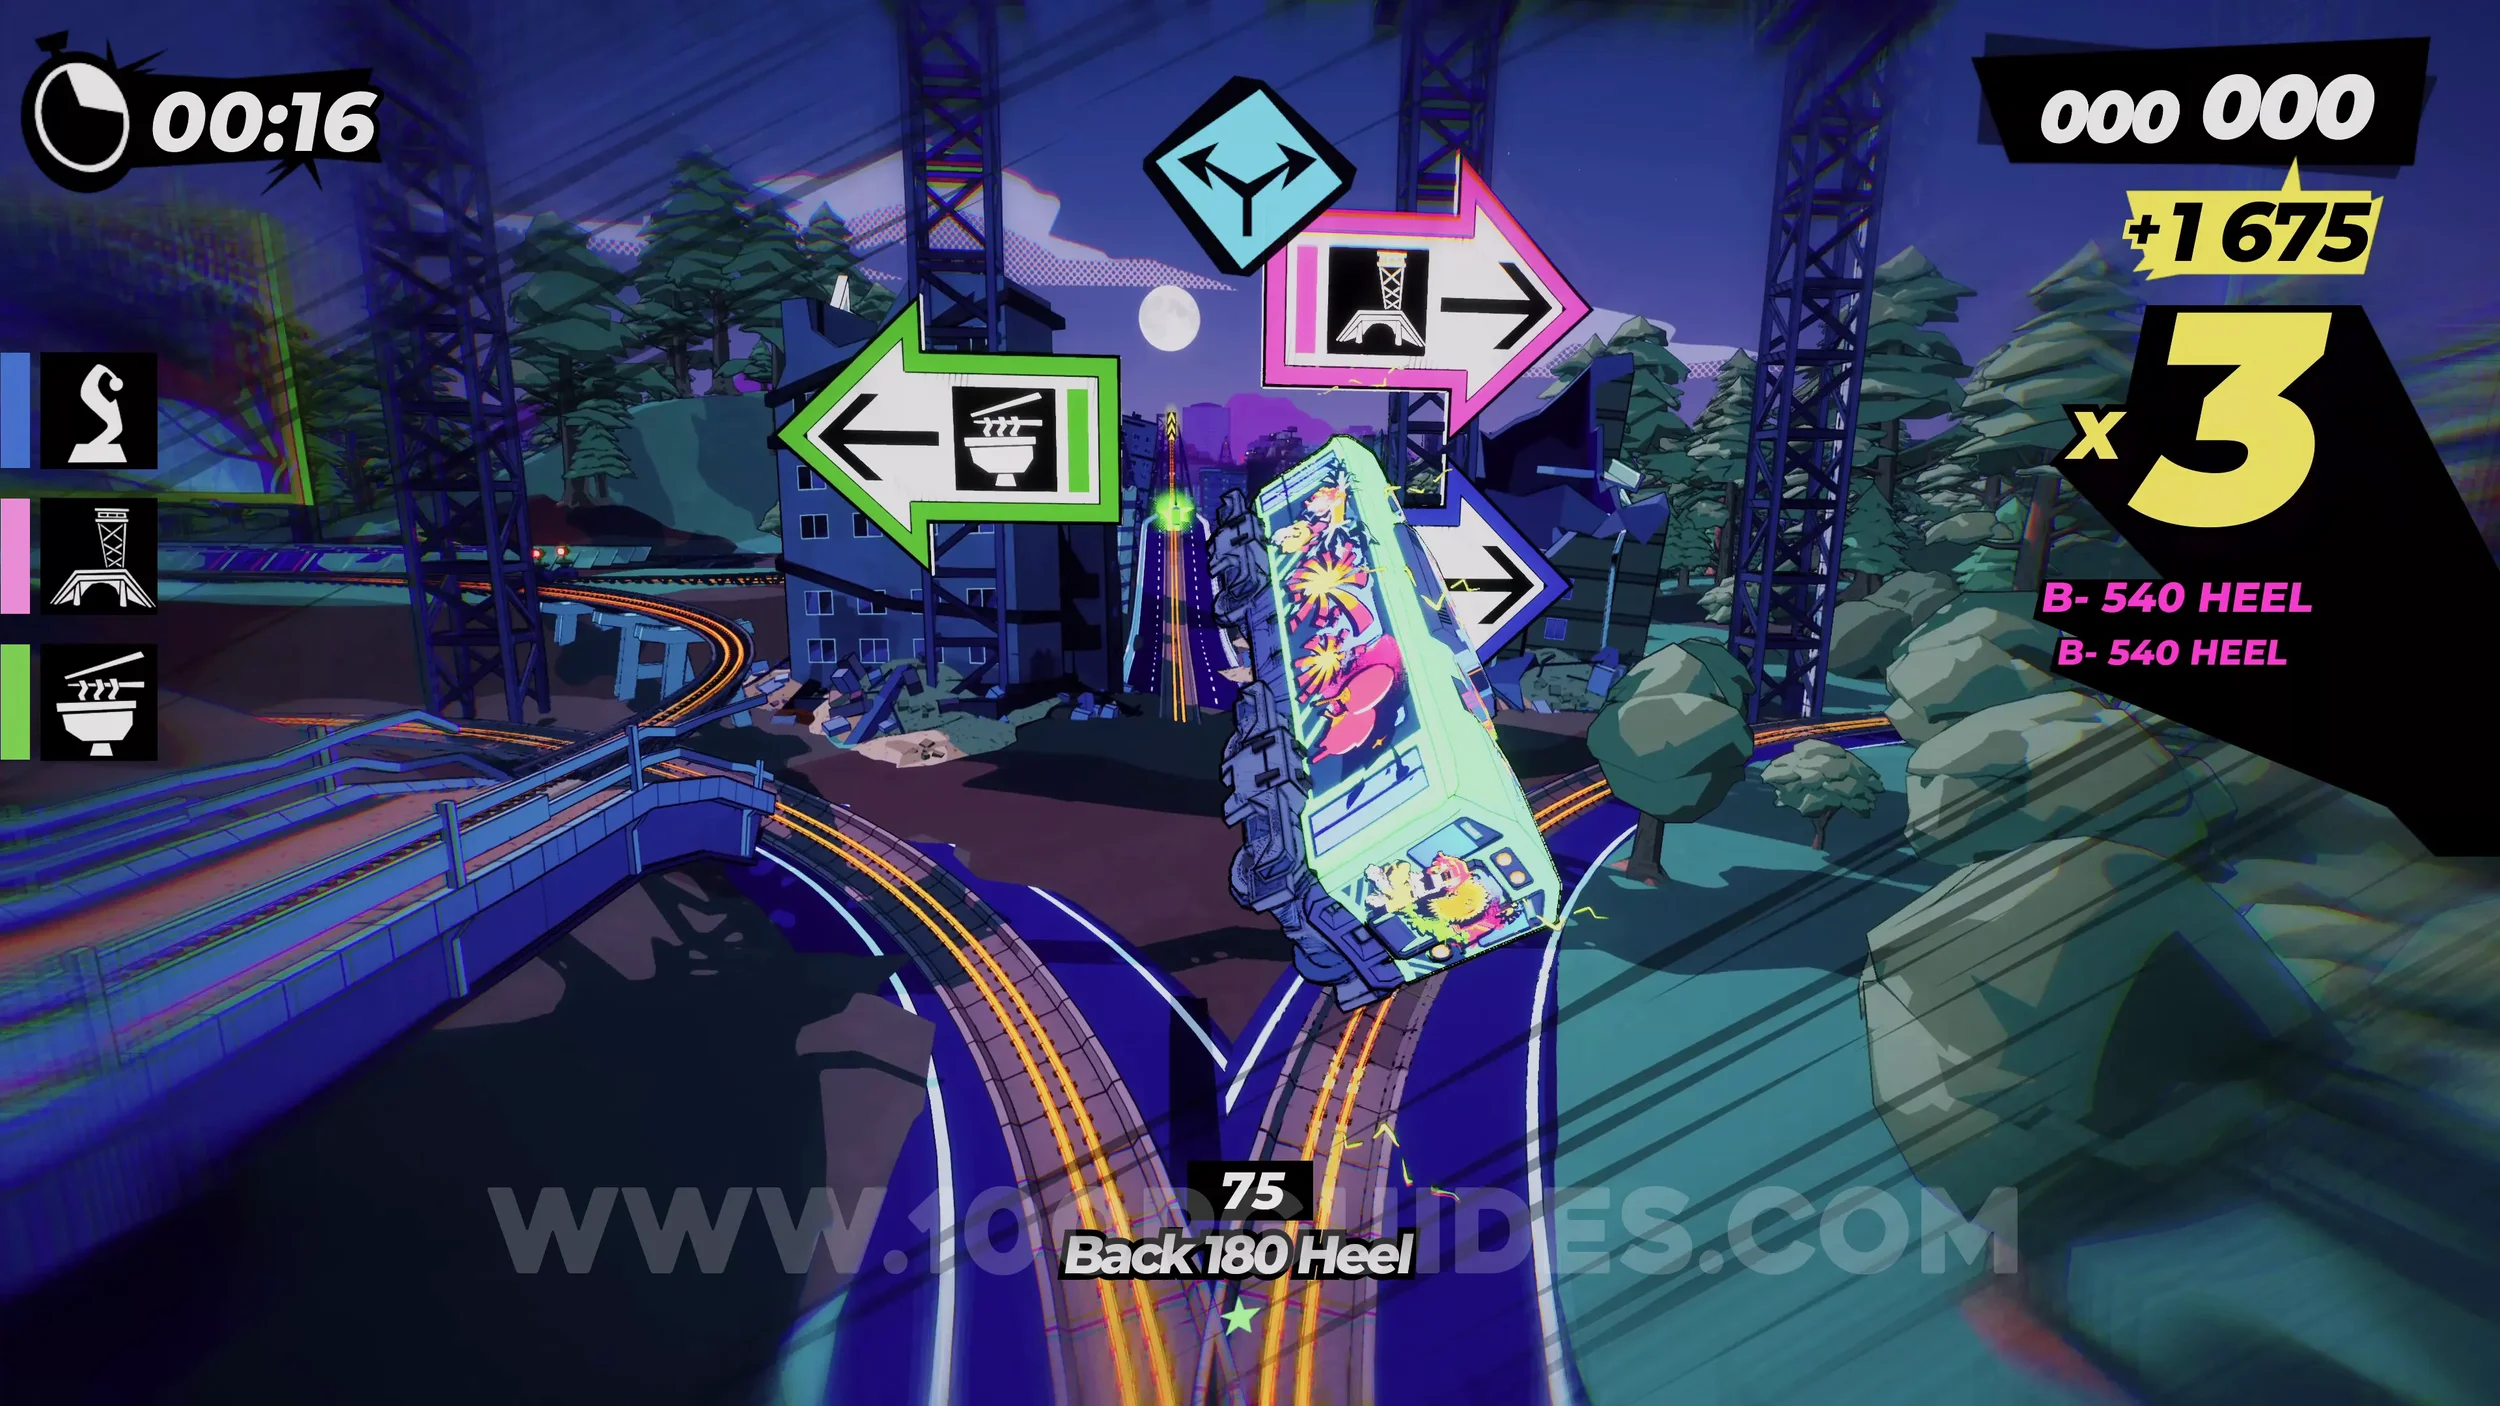
Spray Can (2/4). After the previous can, you will go over a vert jump, then over another jump. After that, continue forward by following the green sign into the tunnel. You will get the can just before the next vert jump.
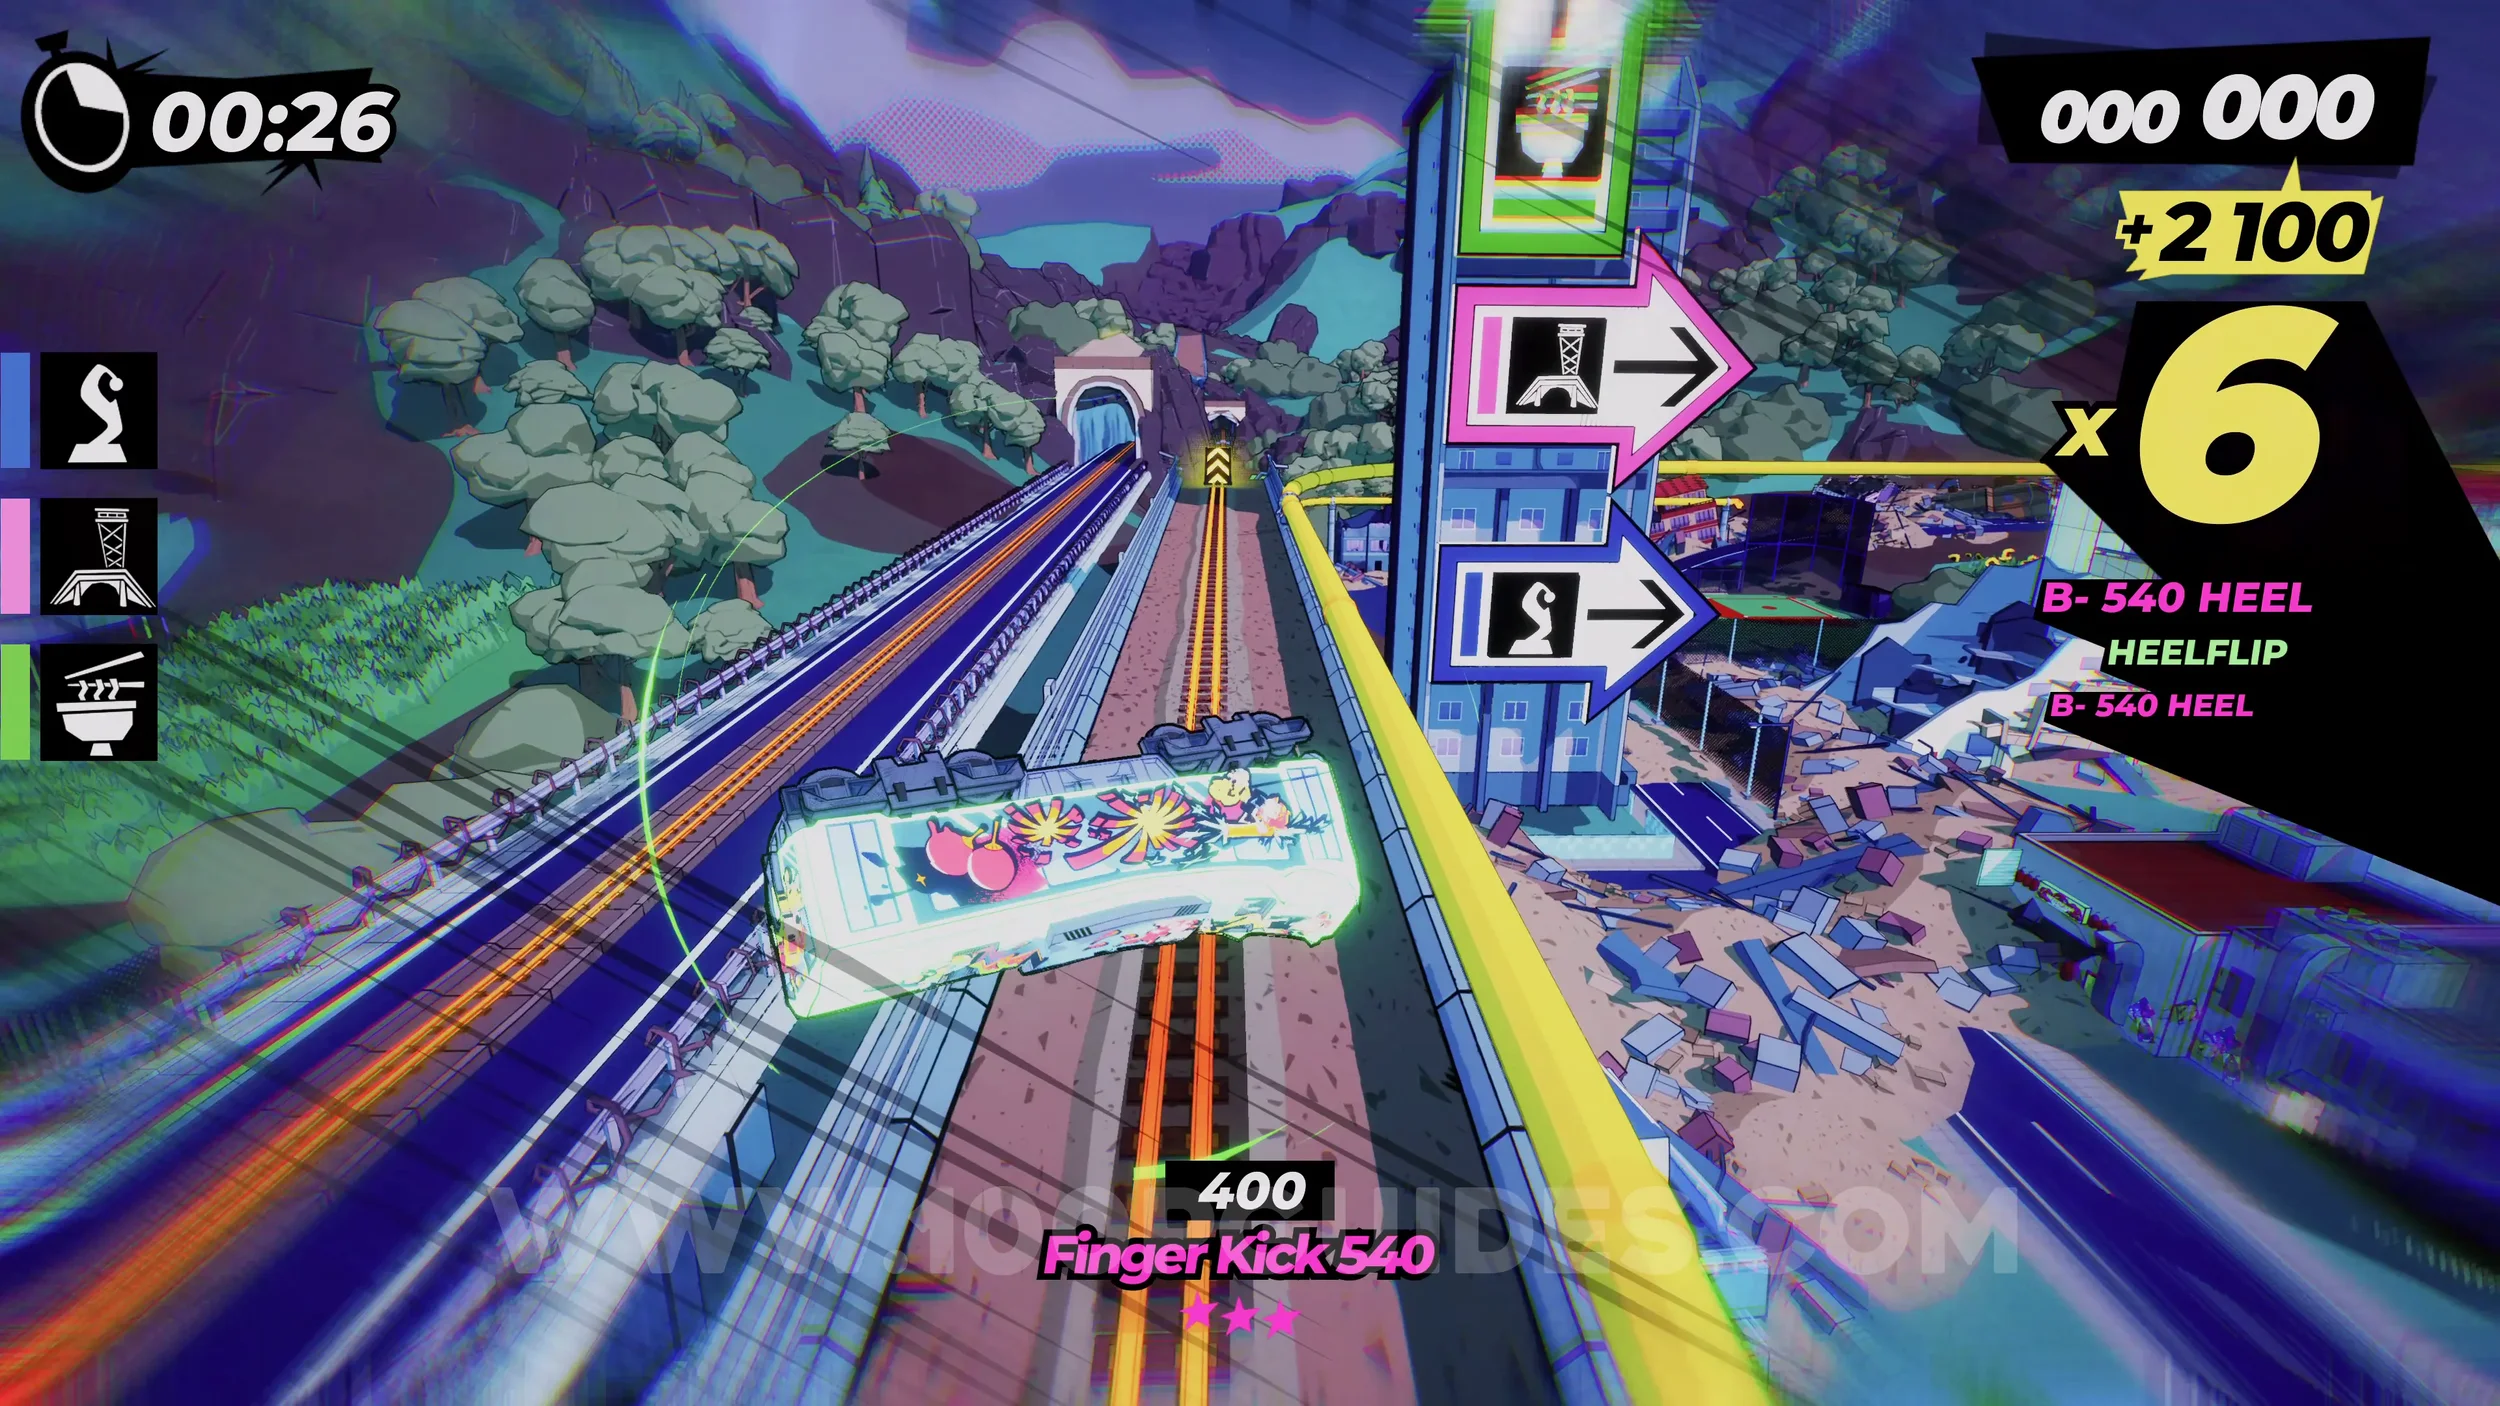
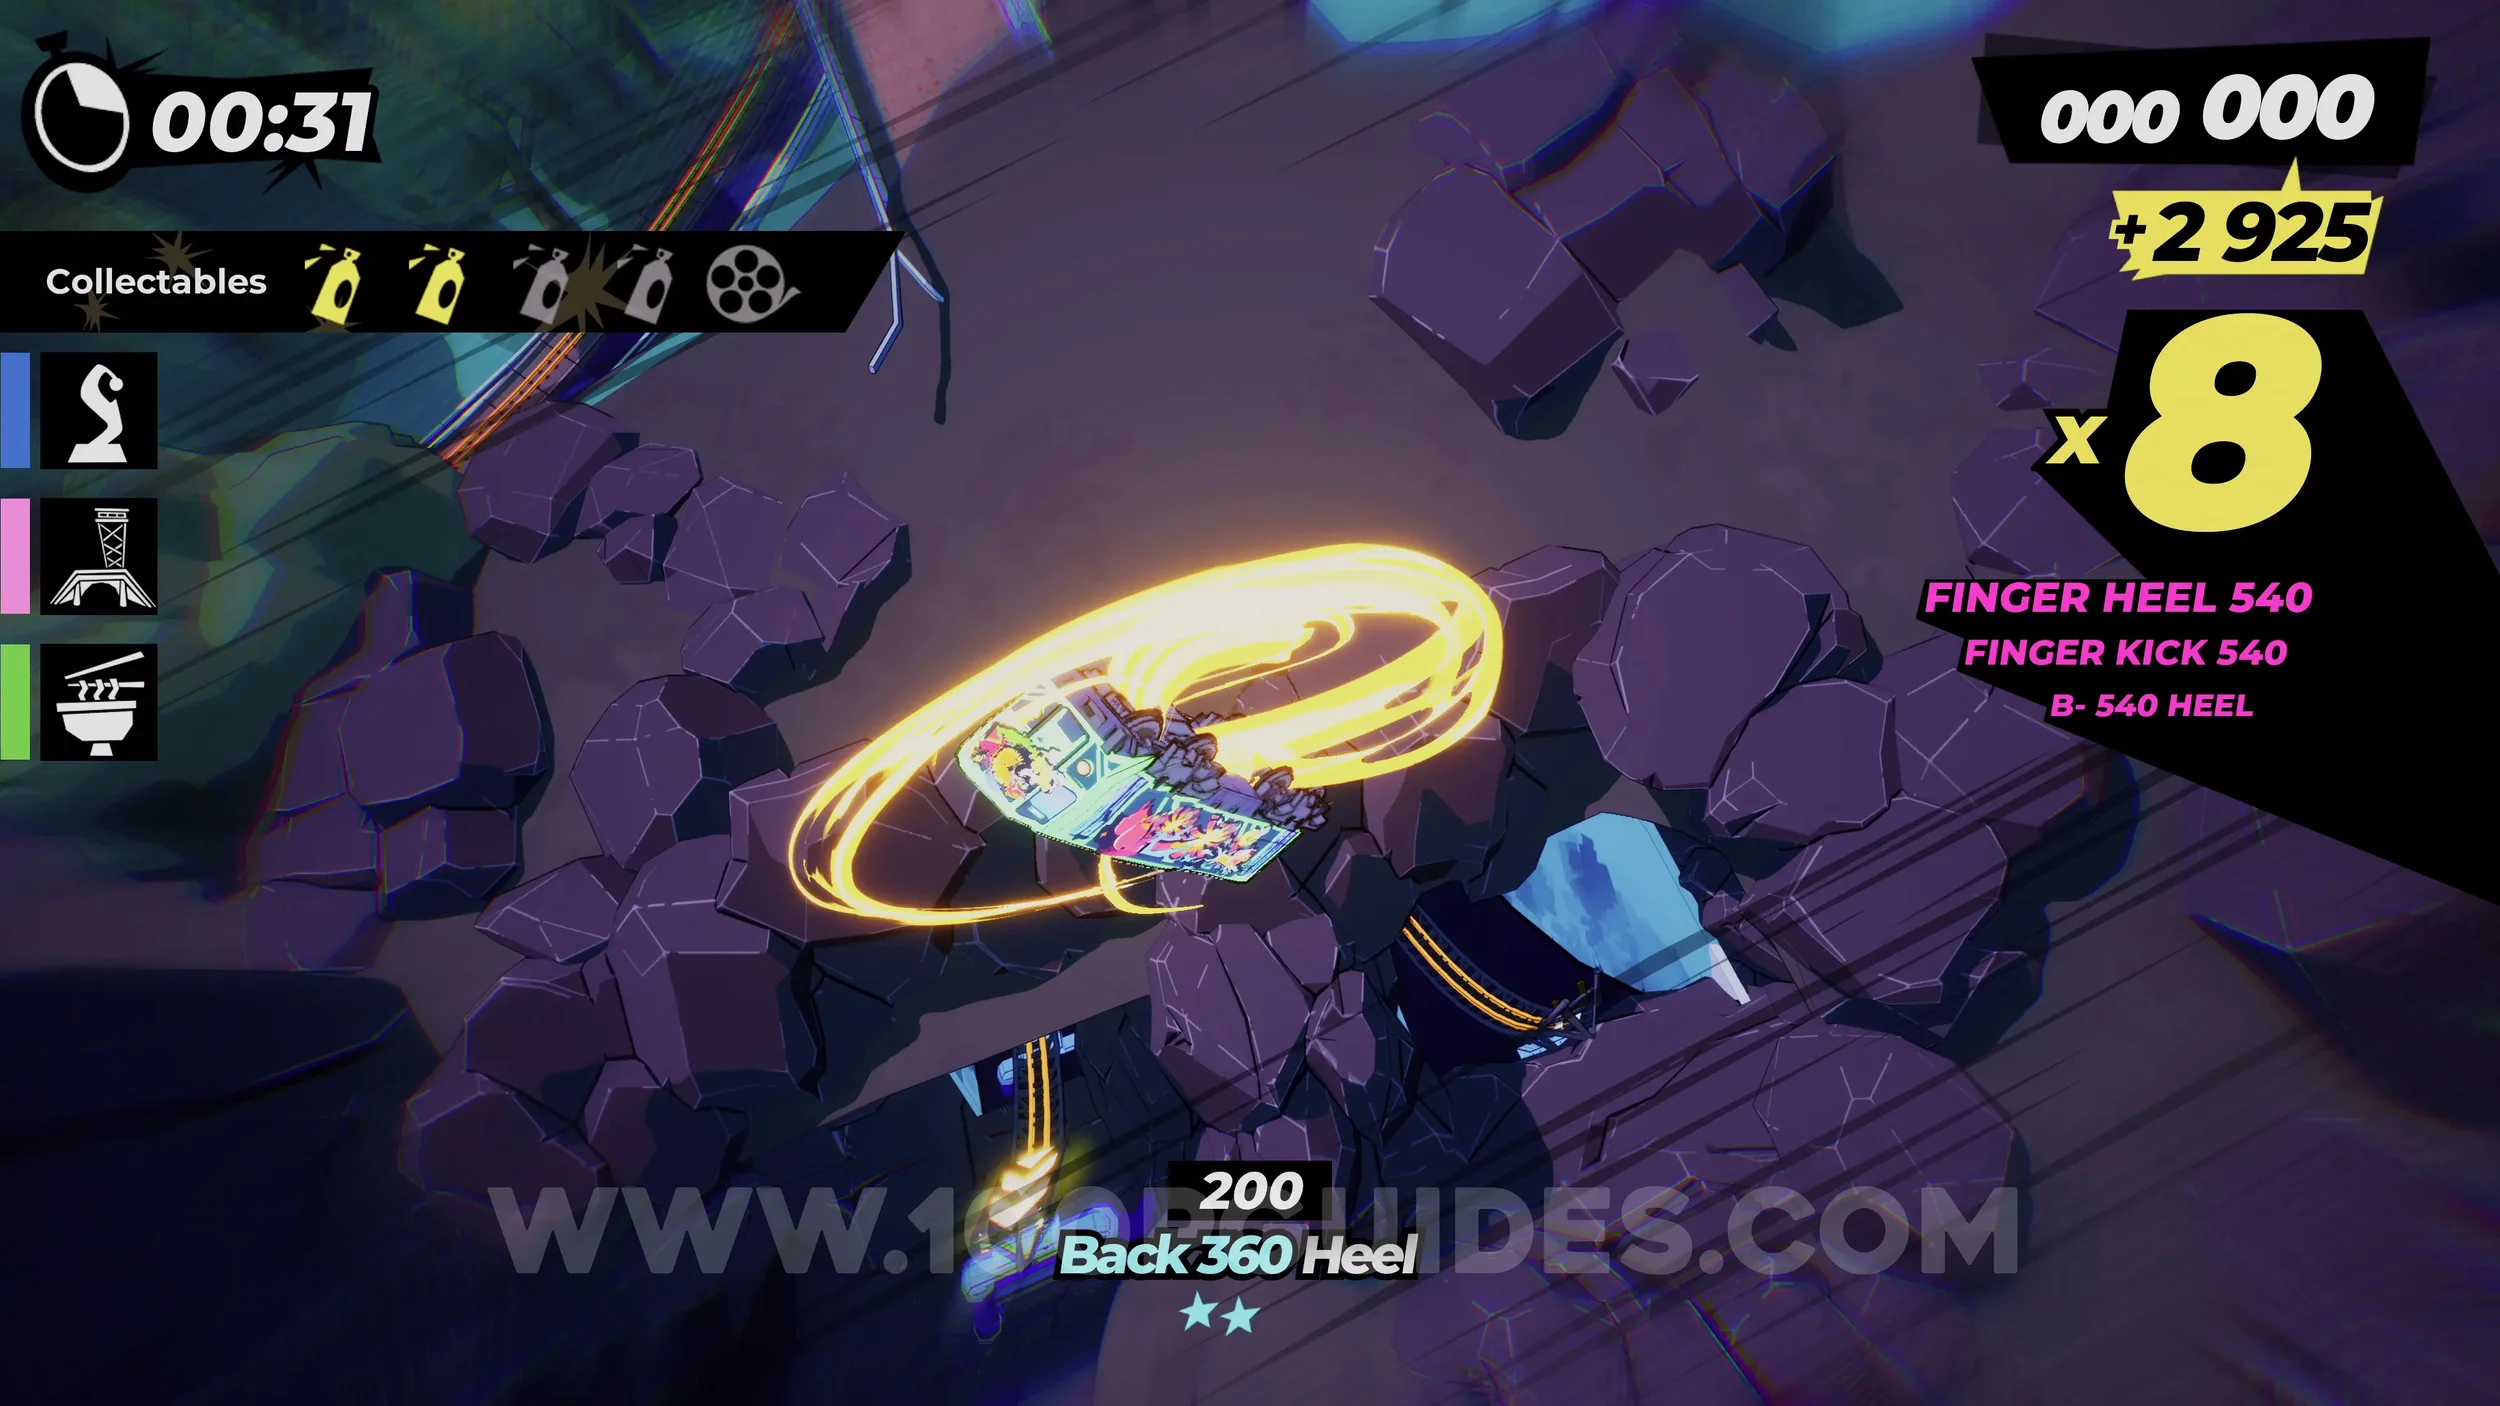
Spray Can (3/4). Once you return to the start where the three signs are, follow the green ramen sign to the left, then follow it again by sticking to the right. Follow this path by delivering the ramen. After delivering the third ramen bowl, you will wallride on a wall to your left, then jump to one on your right, where you will find the spray can.
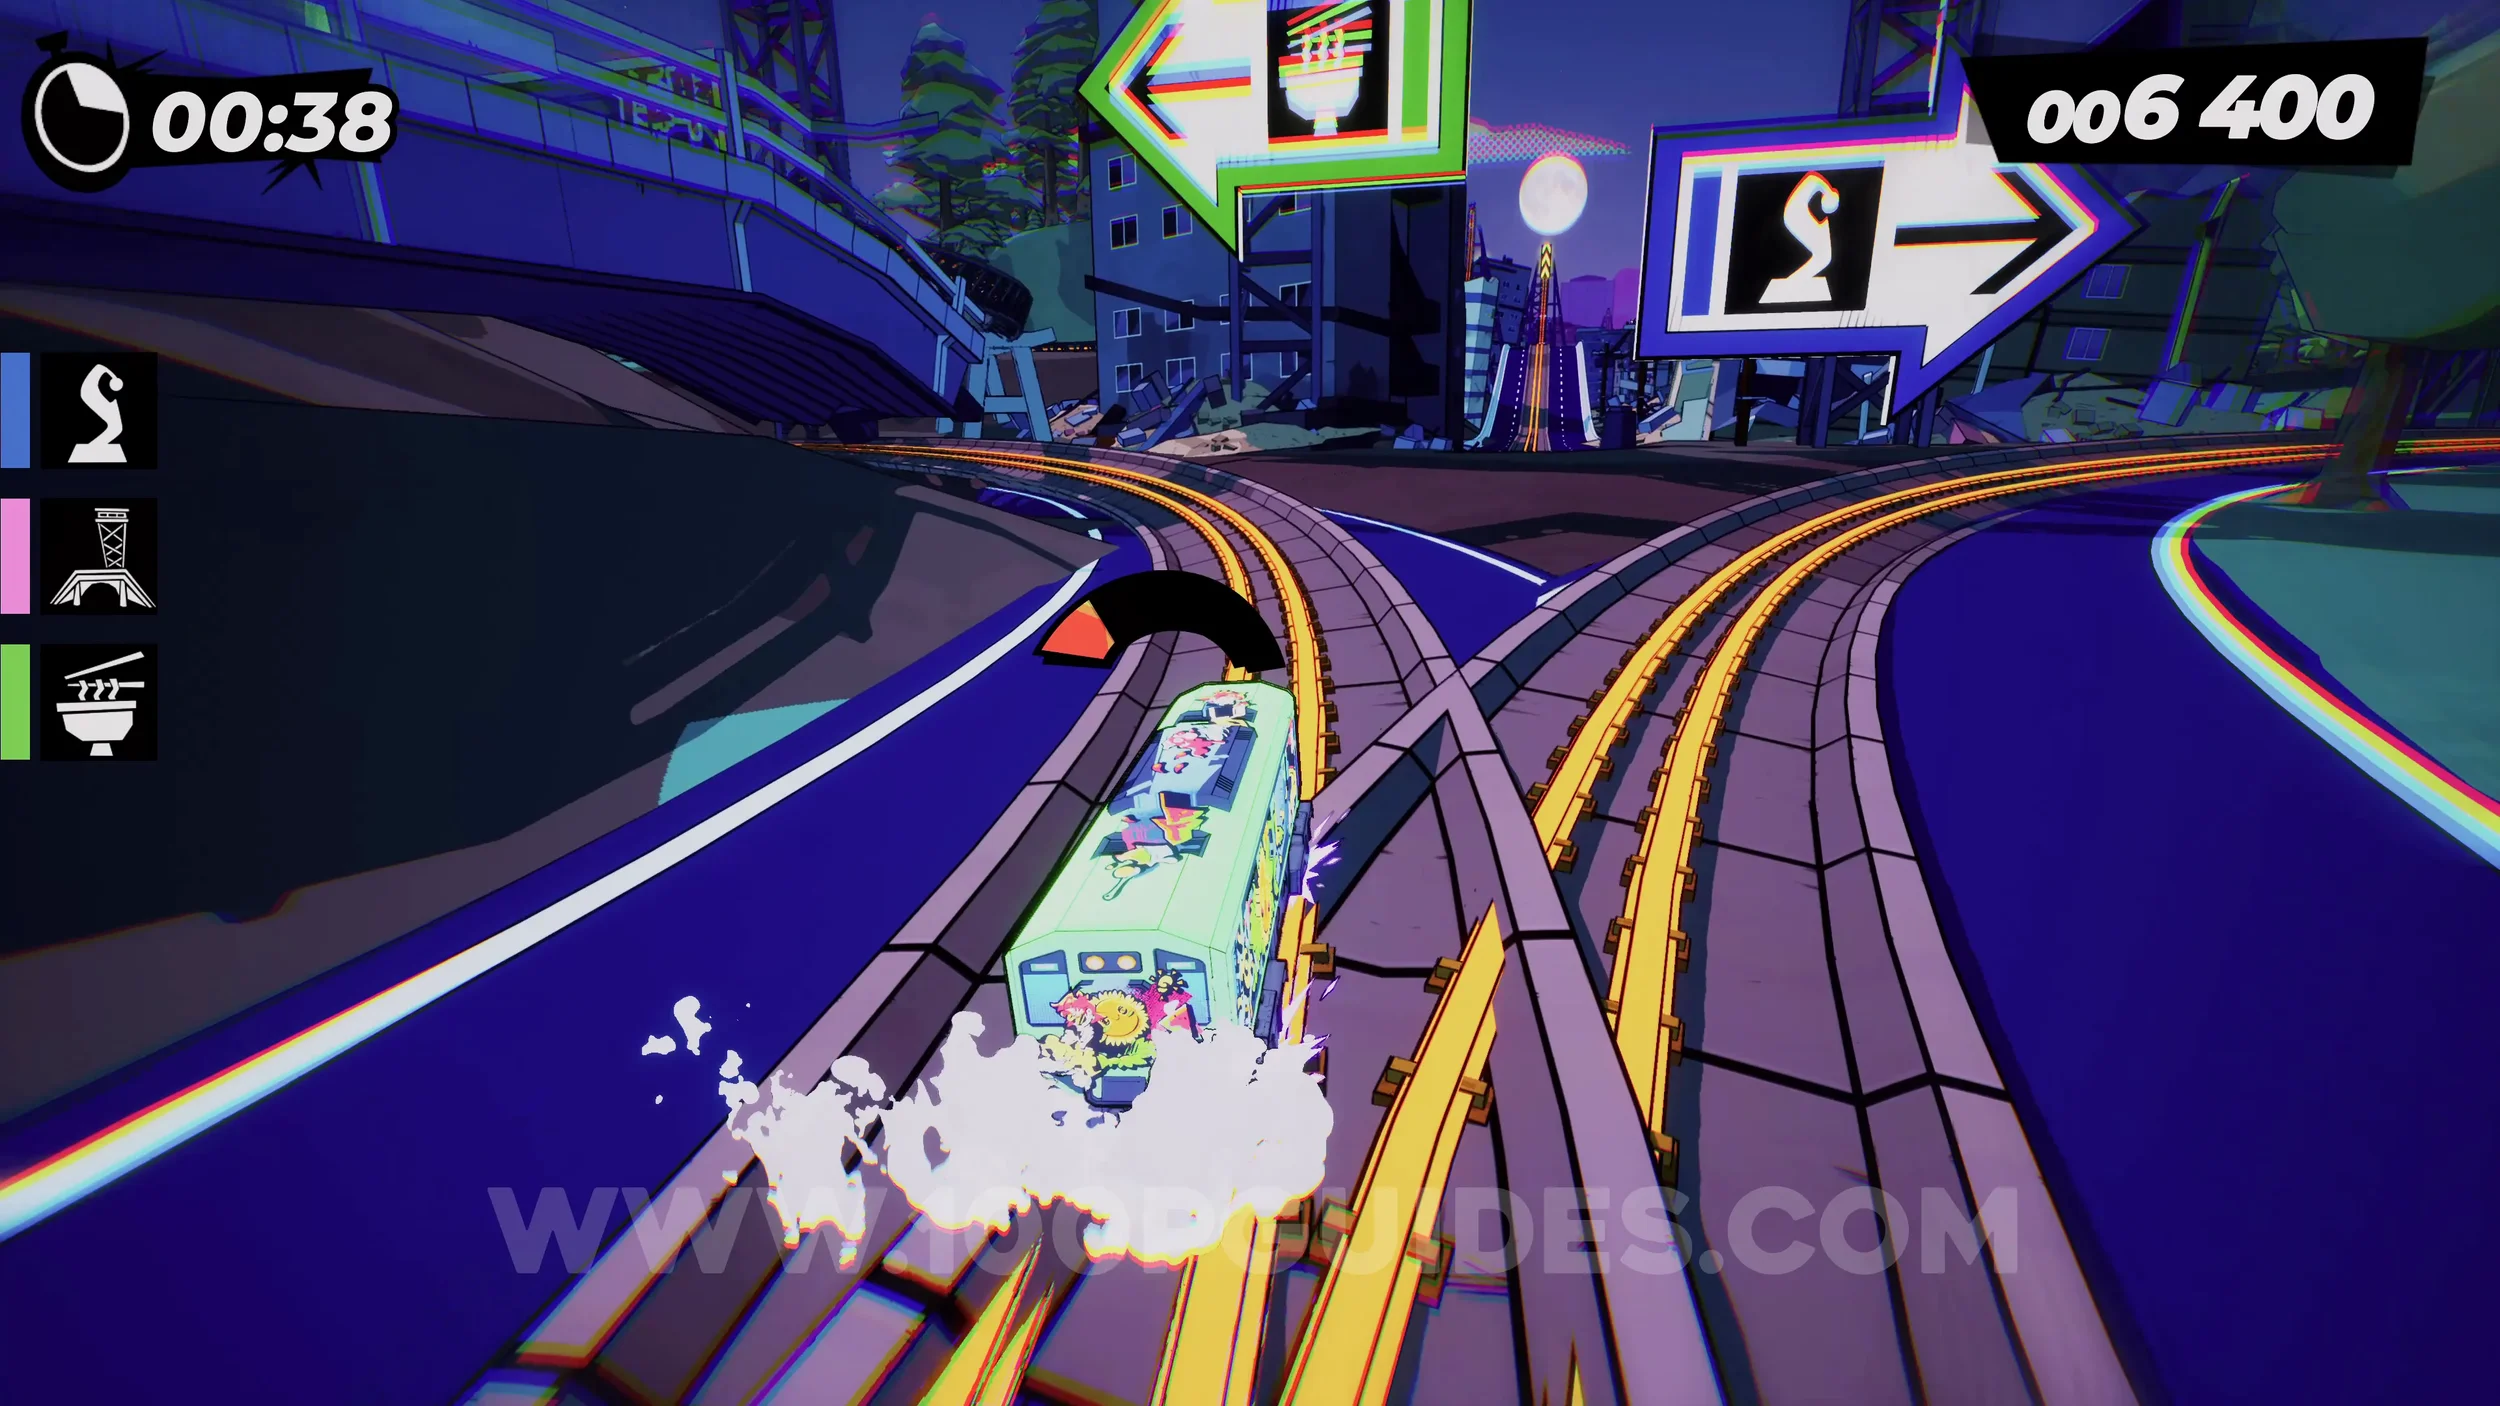
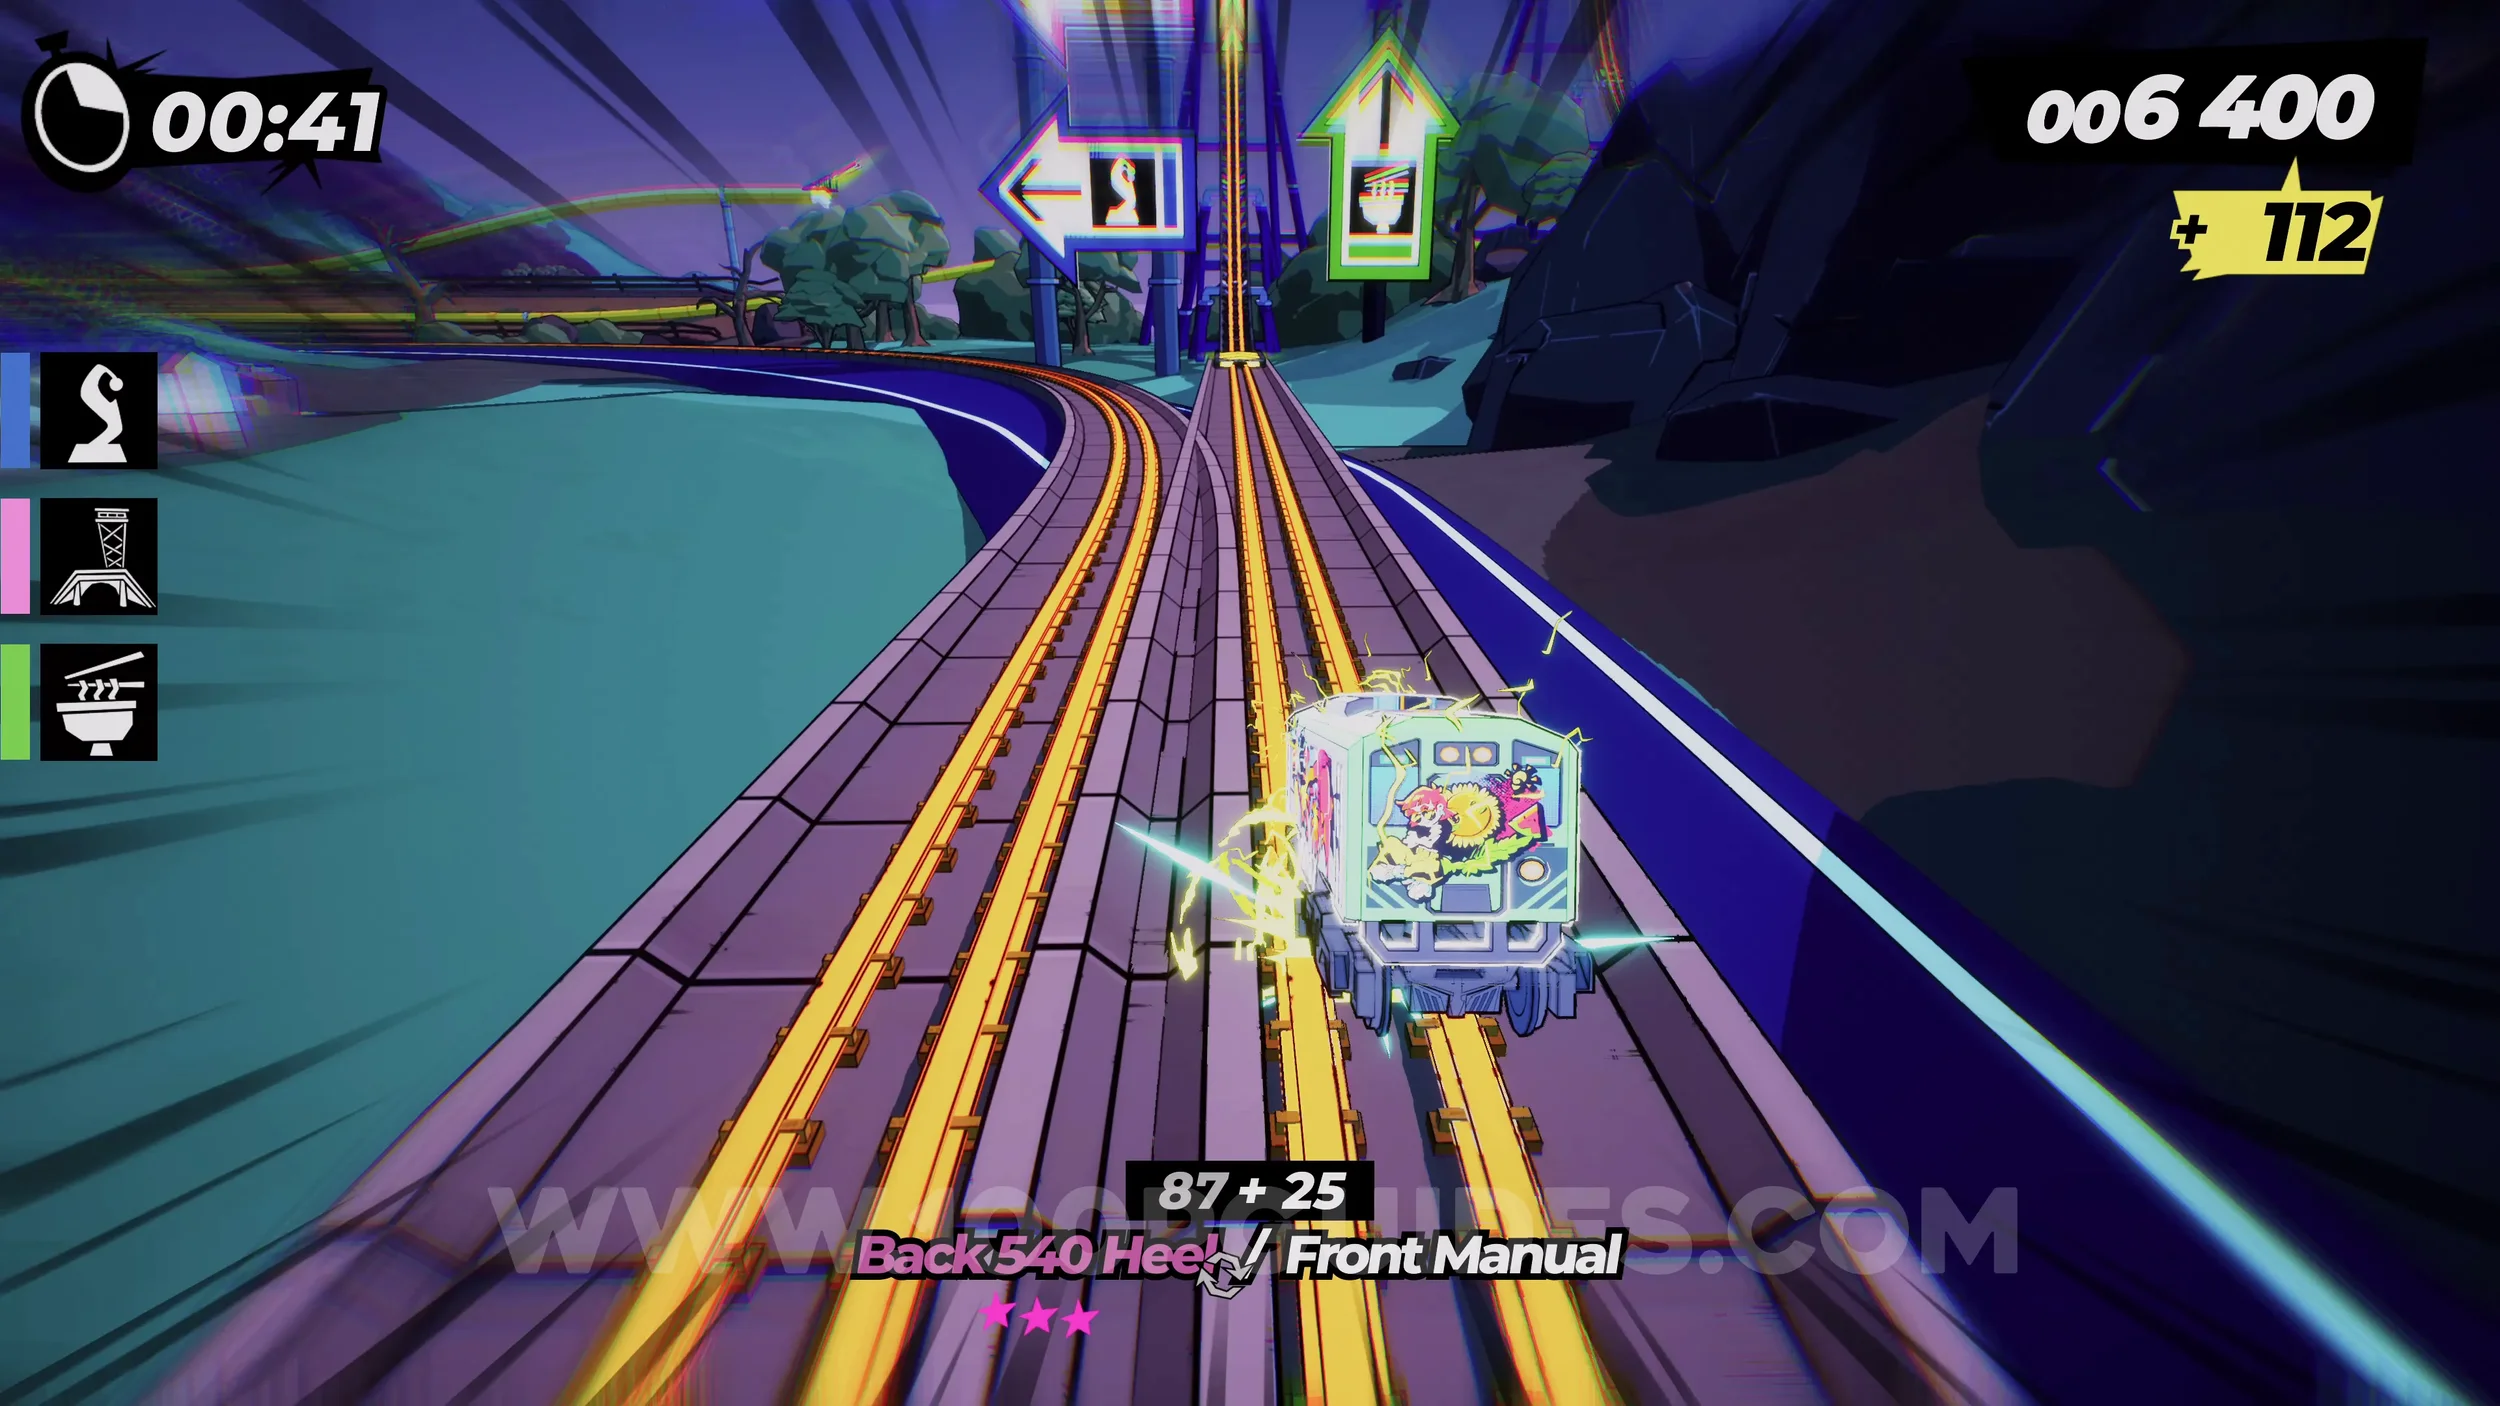
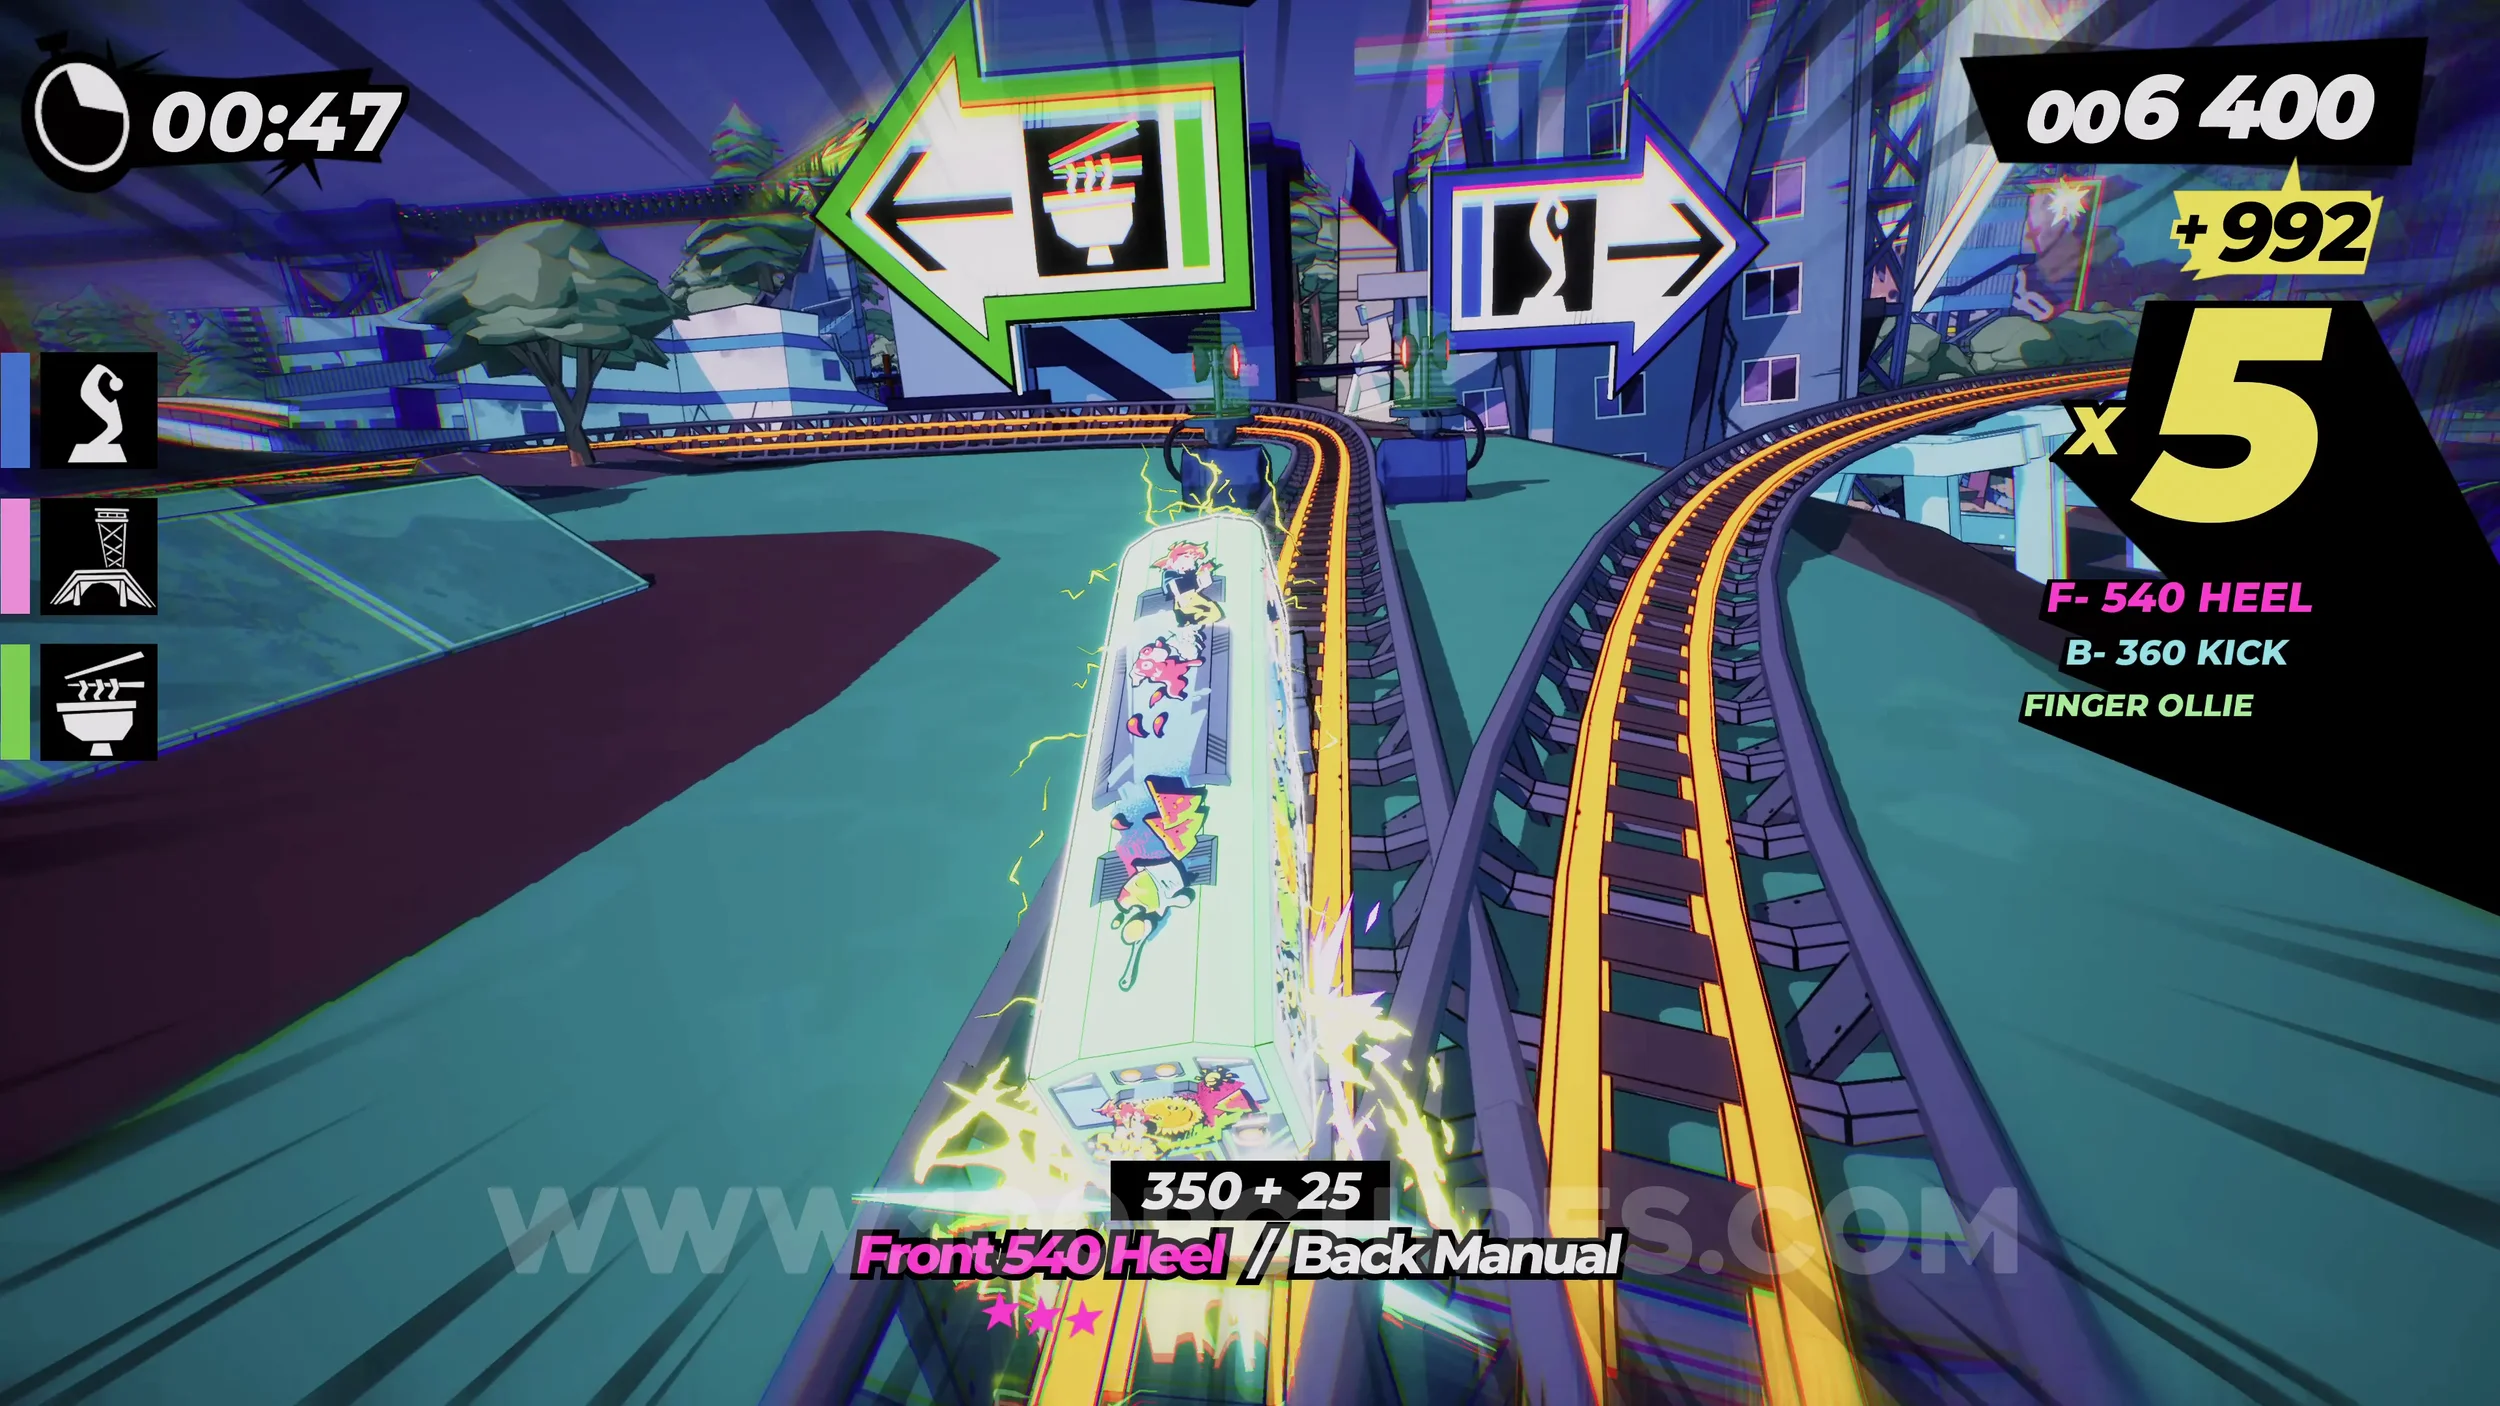
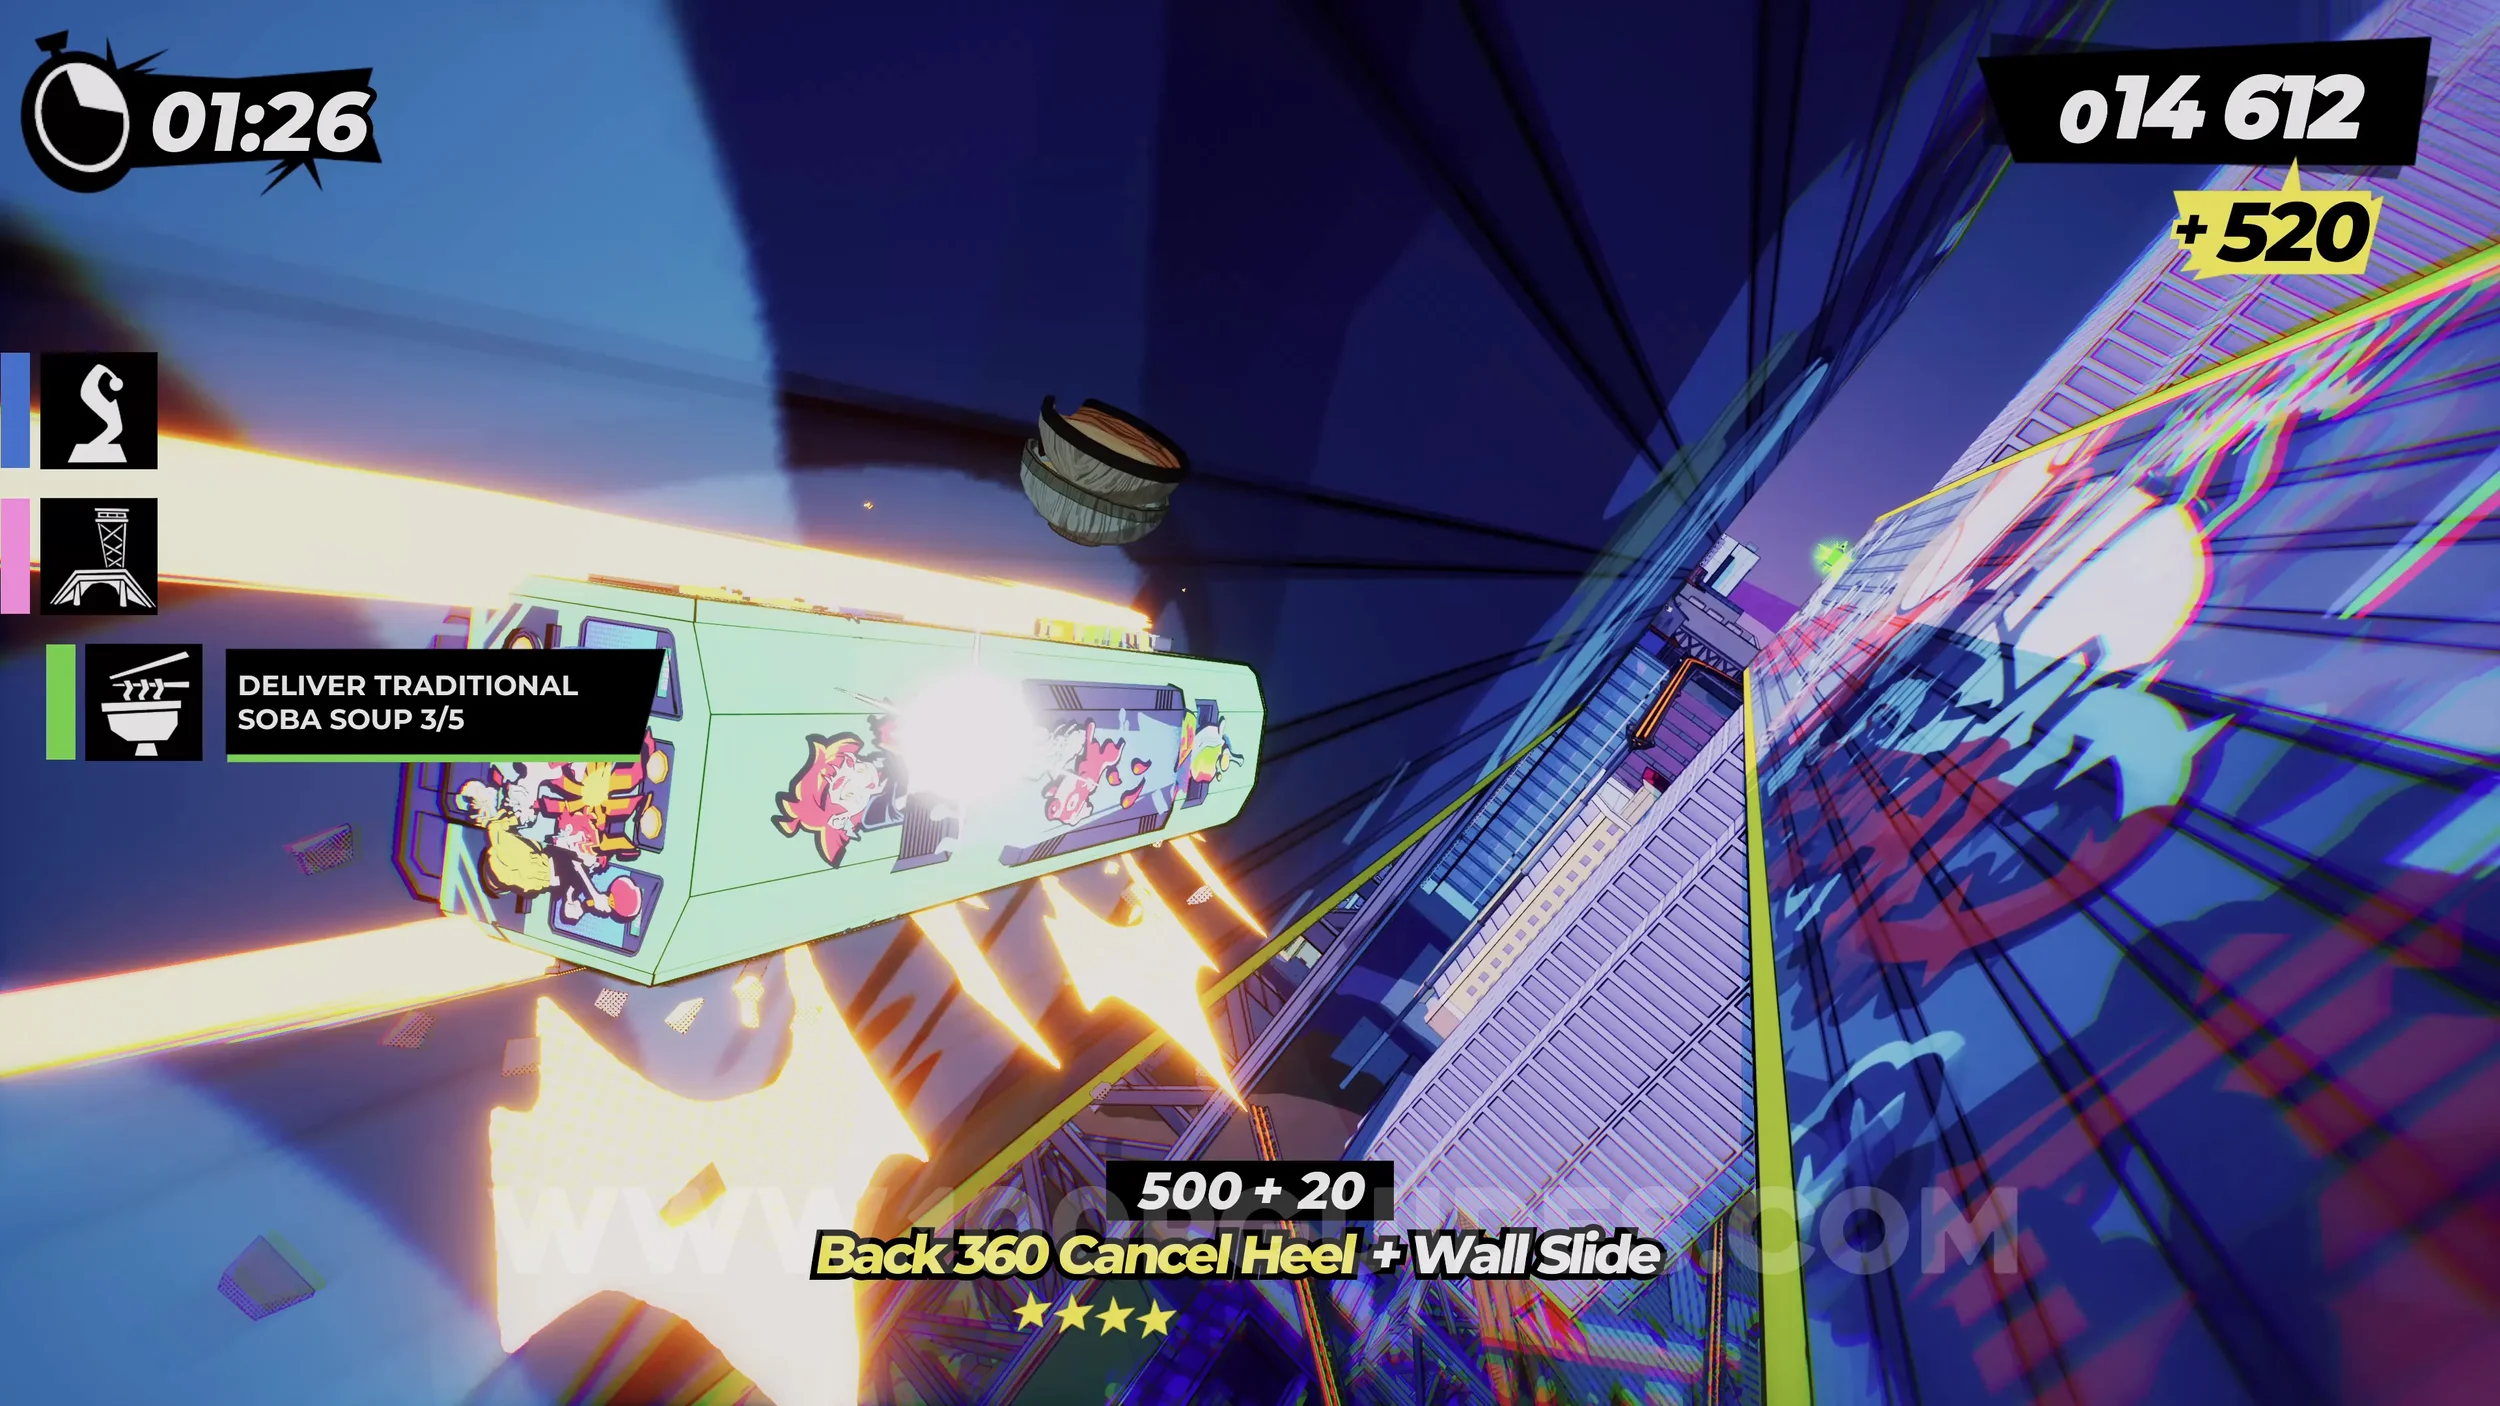
Dare: Collect 3 Anedama Dolls (1/3). After delivering all the ramen, continue straight until you circle back around to the start of the level, where the three signs are. Go left again (where the ramen sign was), then at the next split, follow the blue sign to the left. On the next straight, dodge the red boards to hit the doll in the middle of the track.
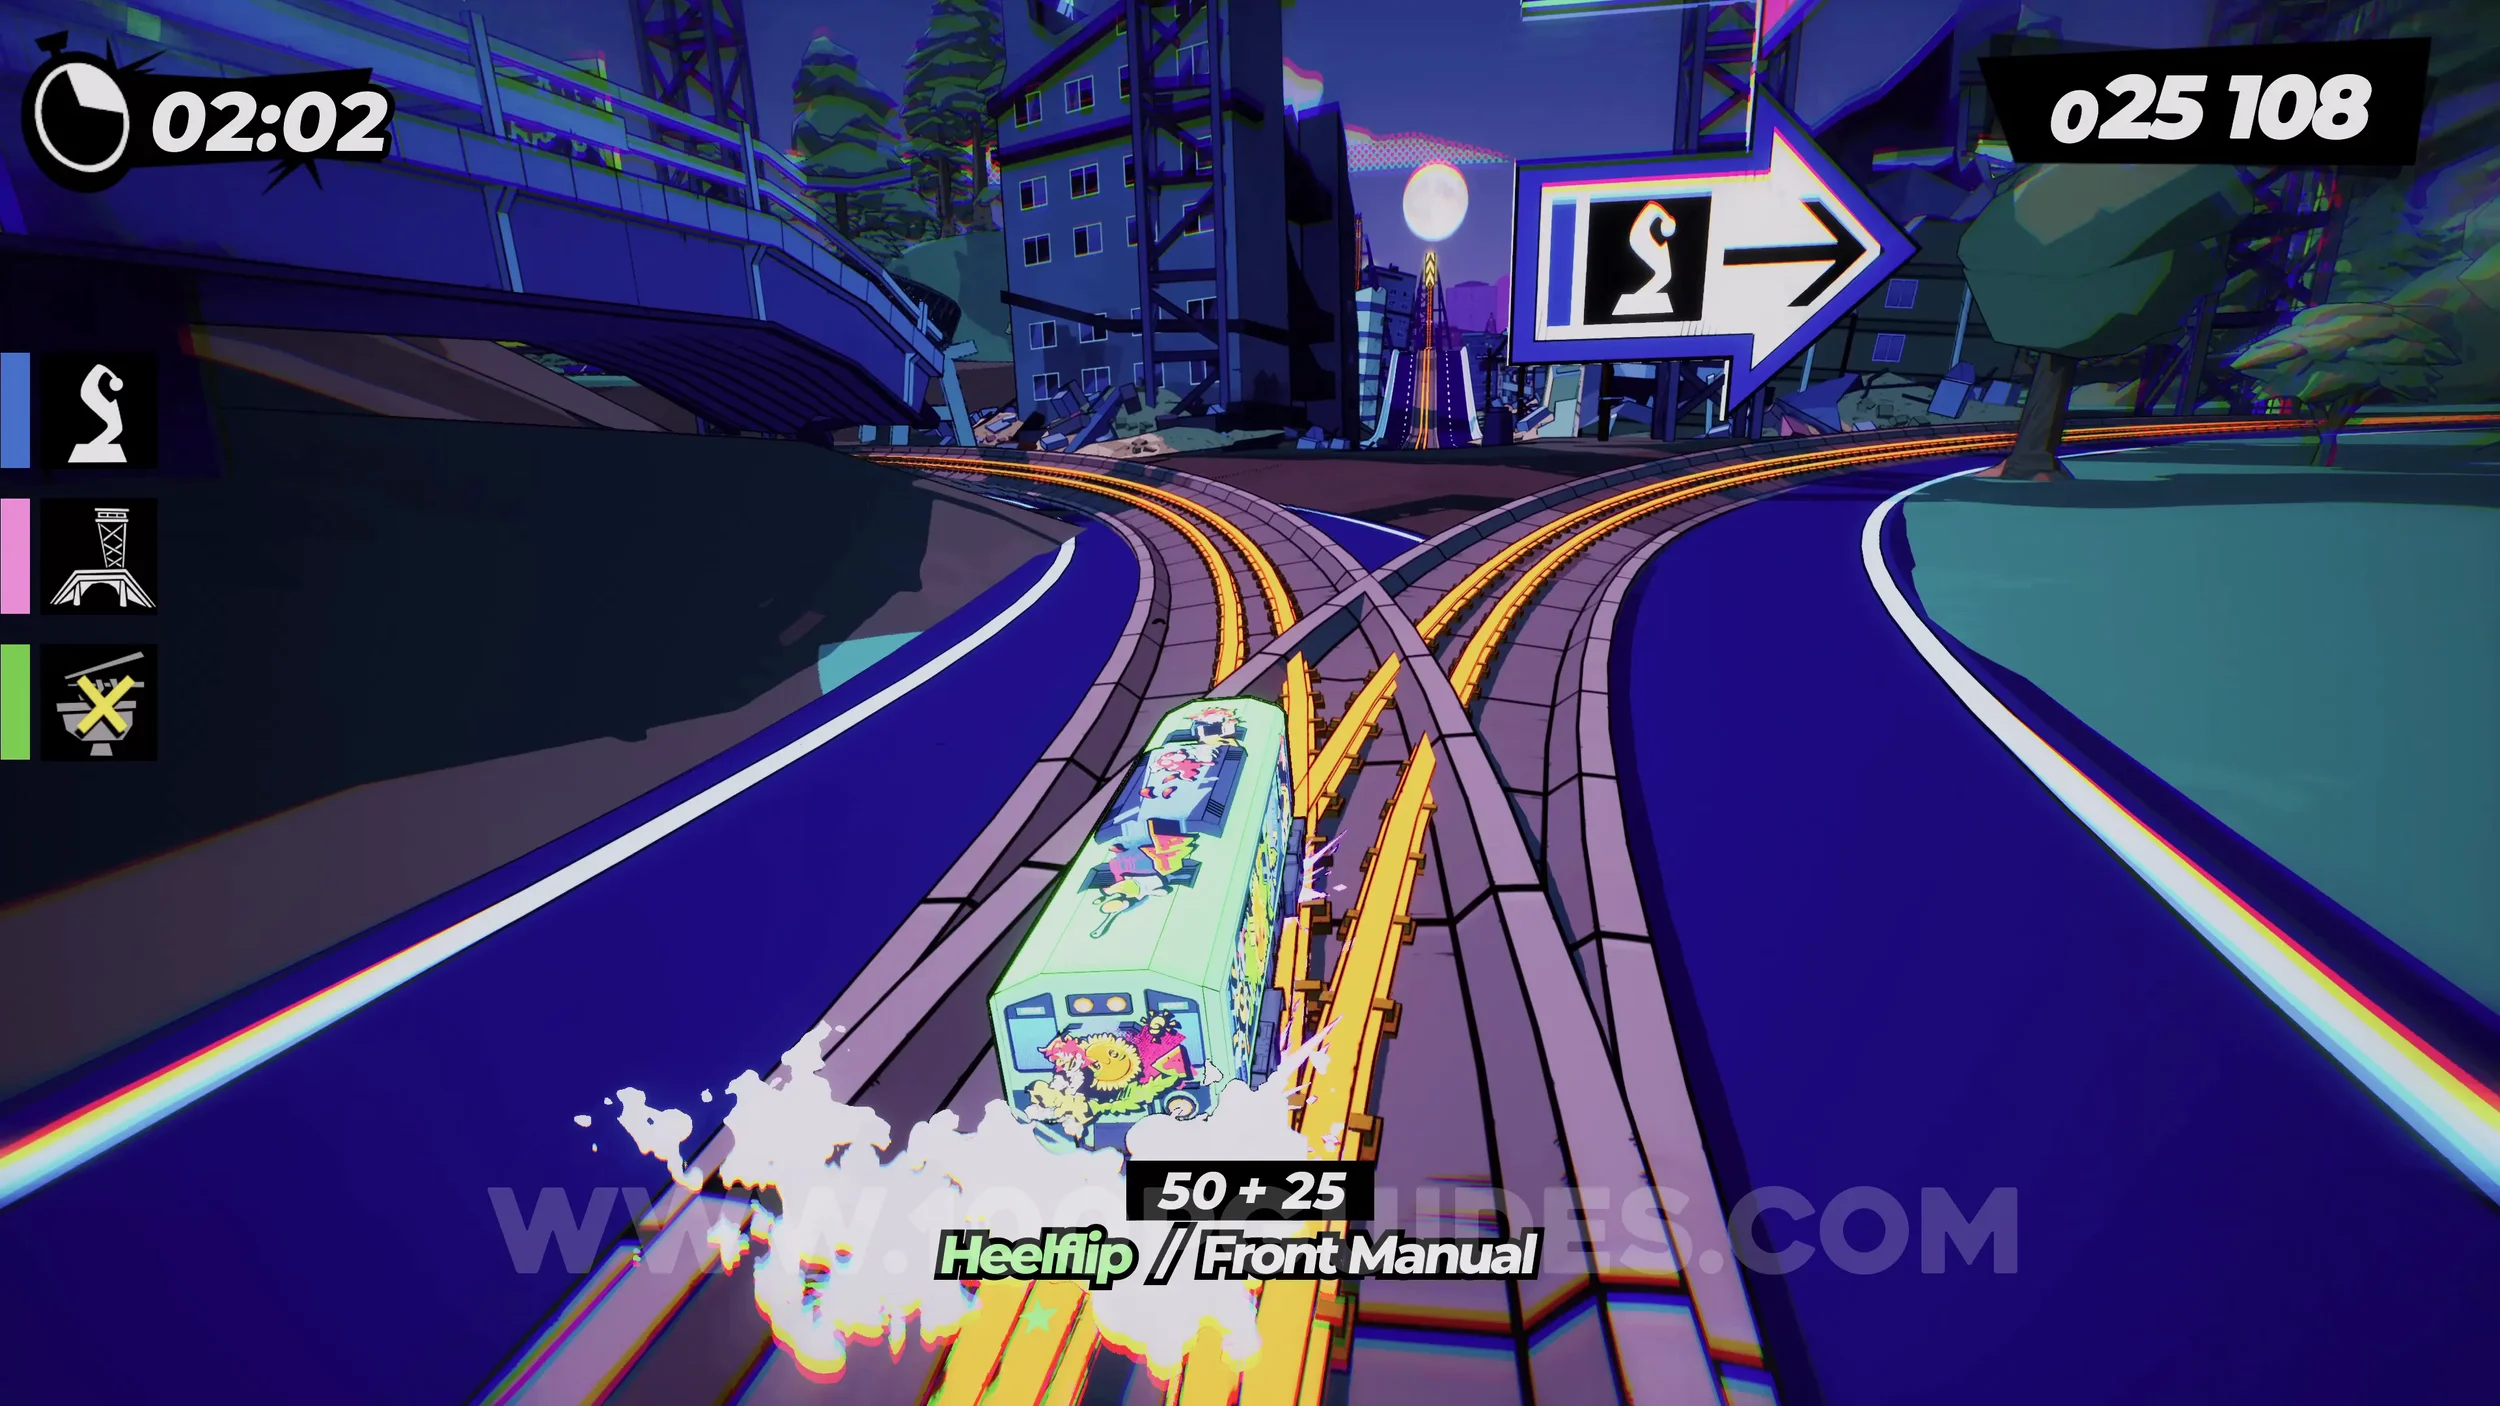
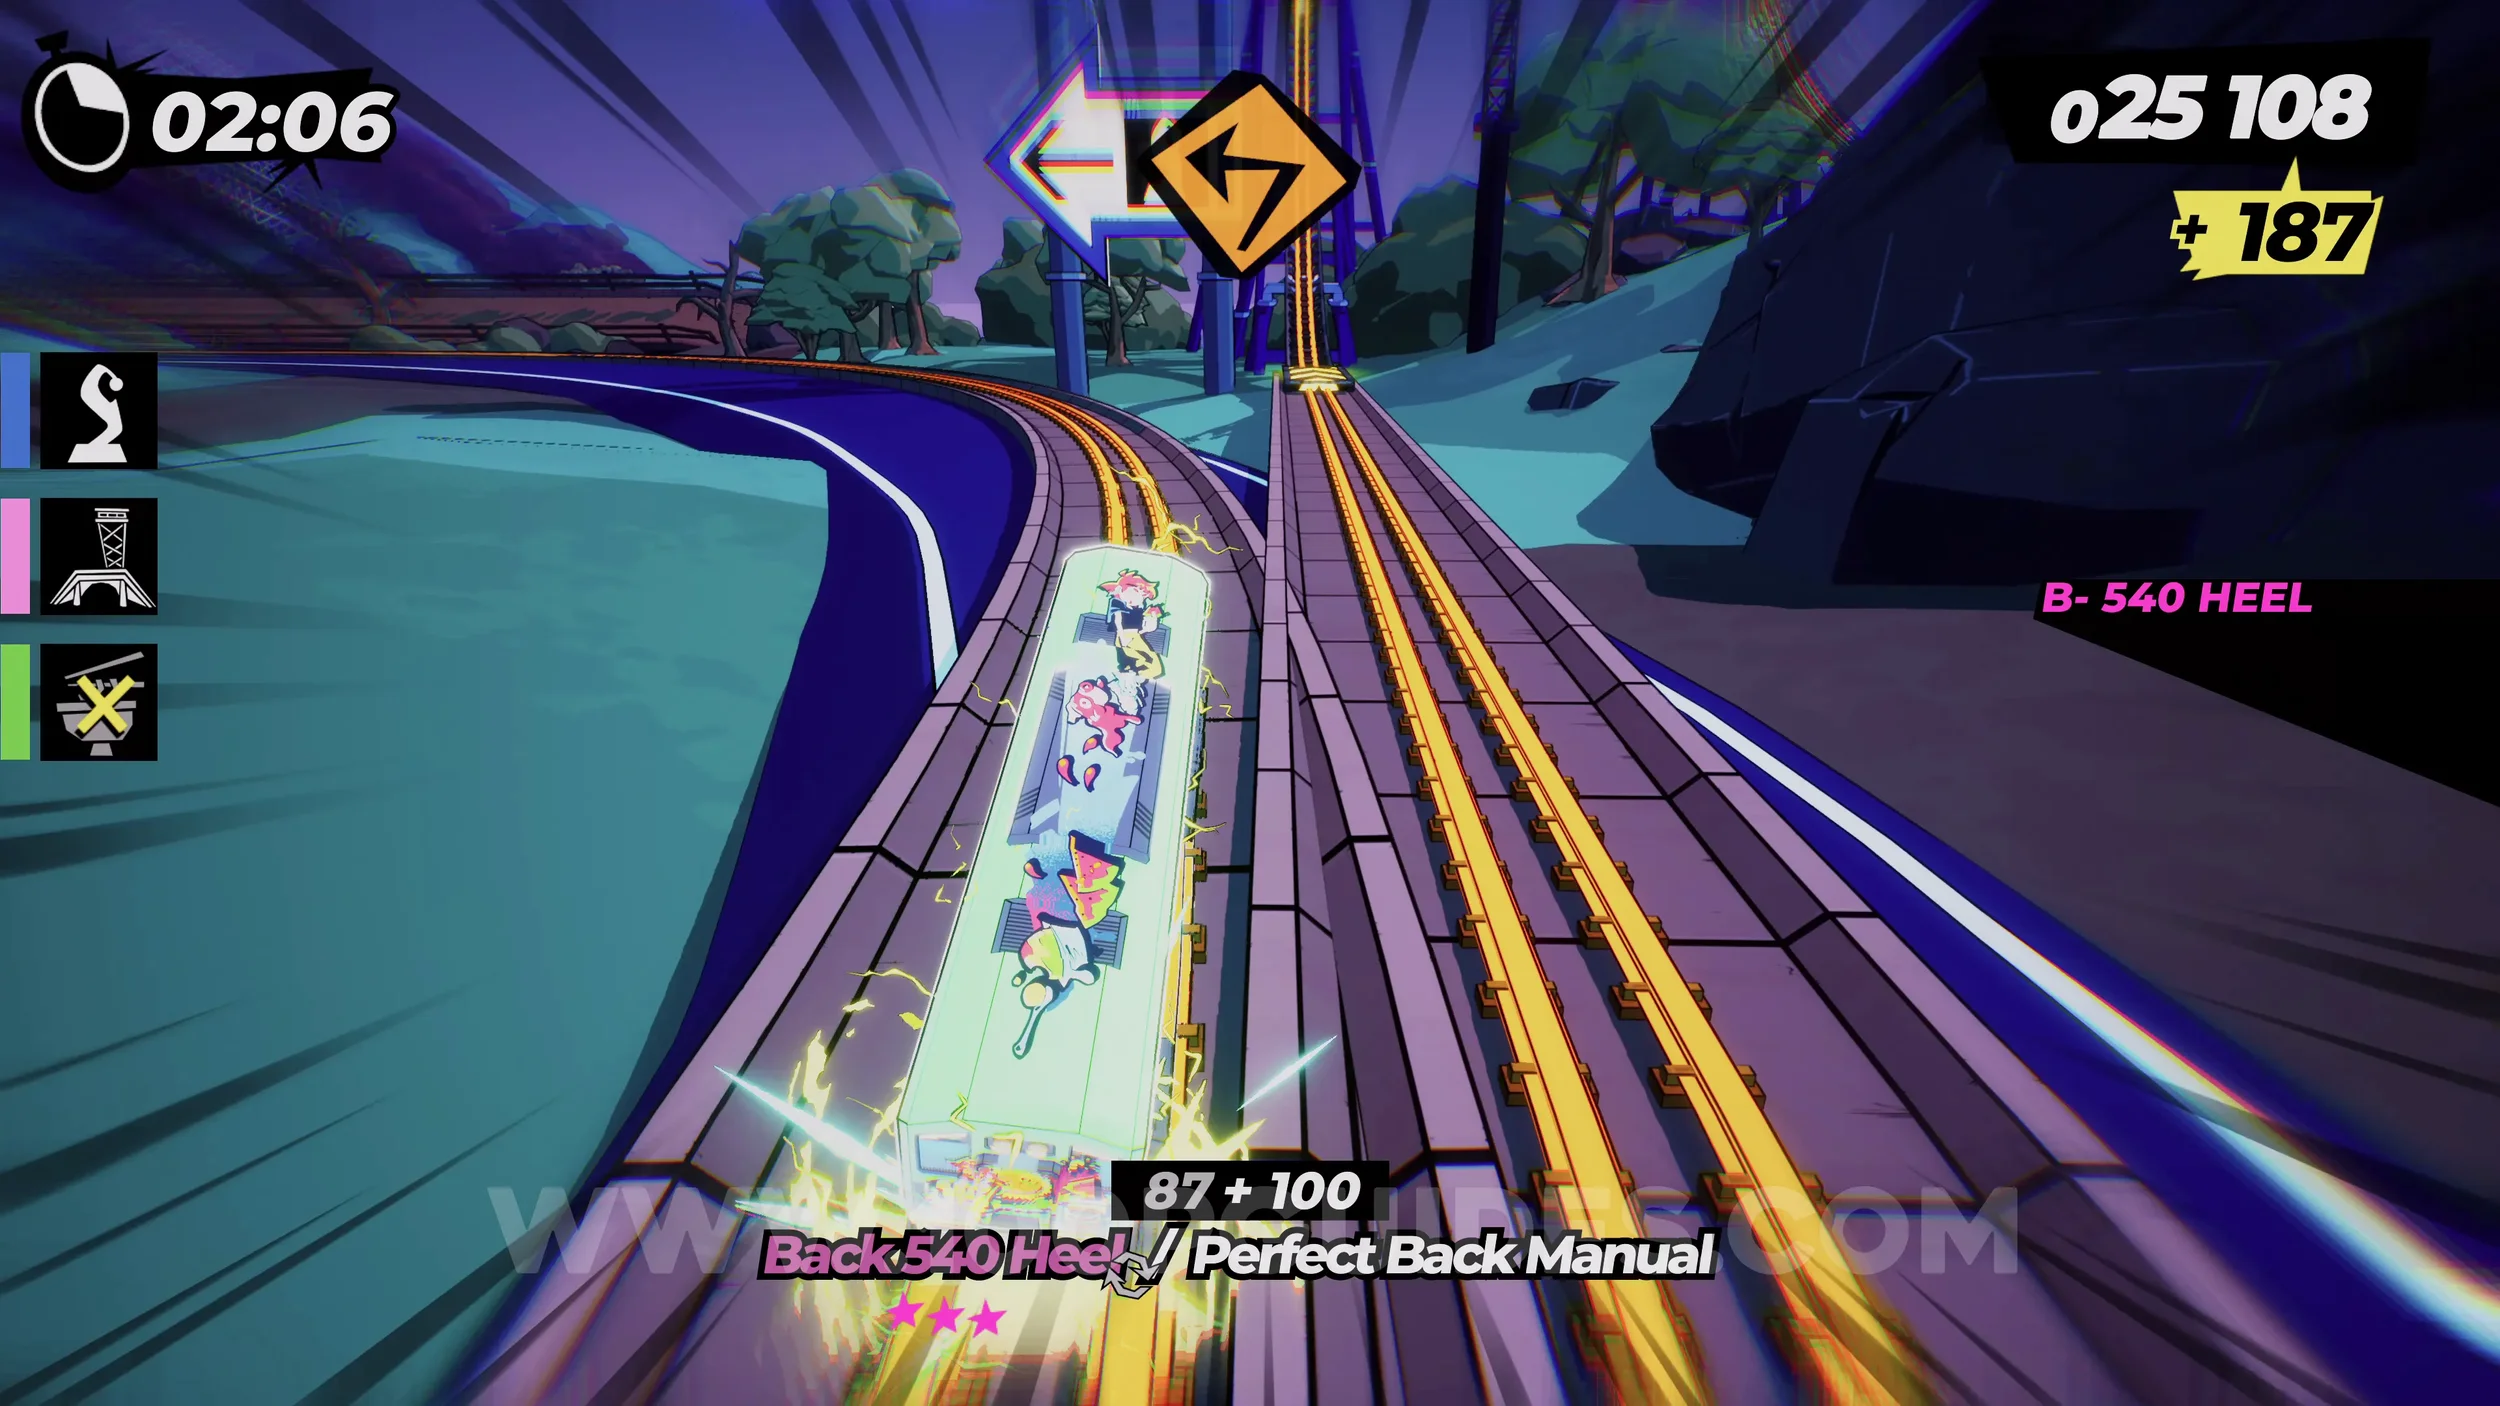
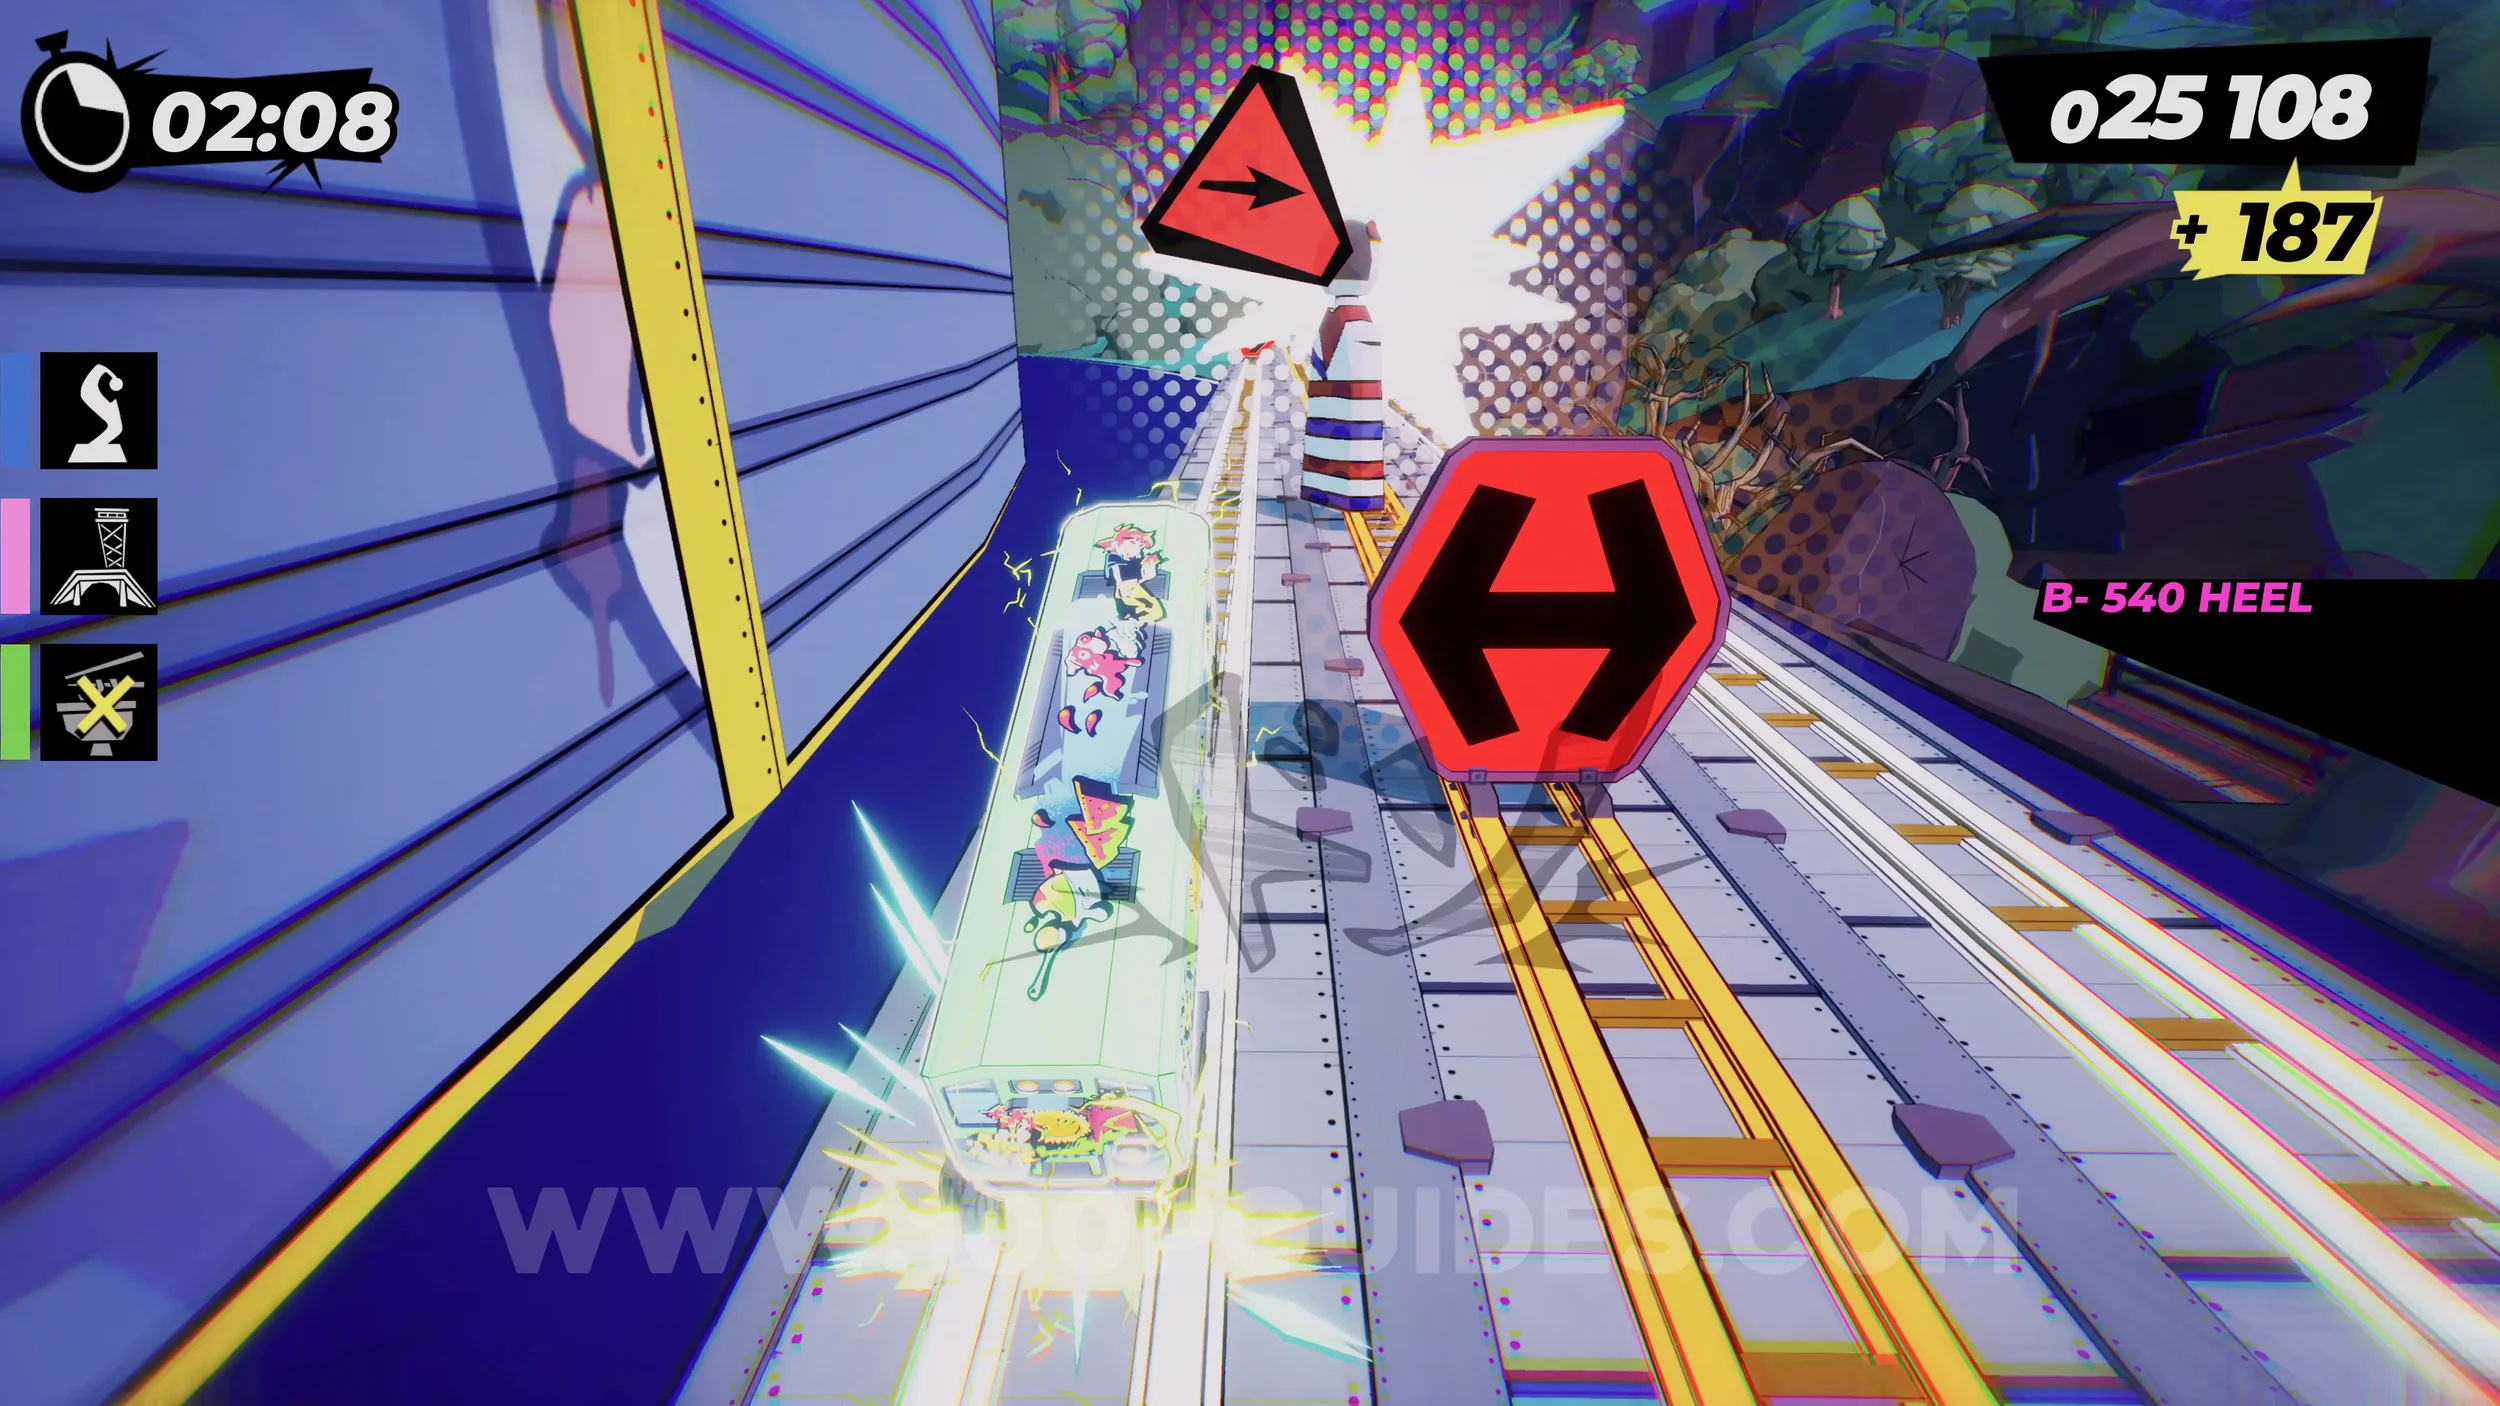
Dare: Collect 3 Anedama Dolls (2/3). After the previous collectible, you will then go around a corner while grinding on a yellow rail. Then, on the next straight, you will see two tracks. Stick to the one on the left (the one that ends on a vert jump). After the vert jump, you will collect the doll.
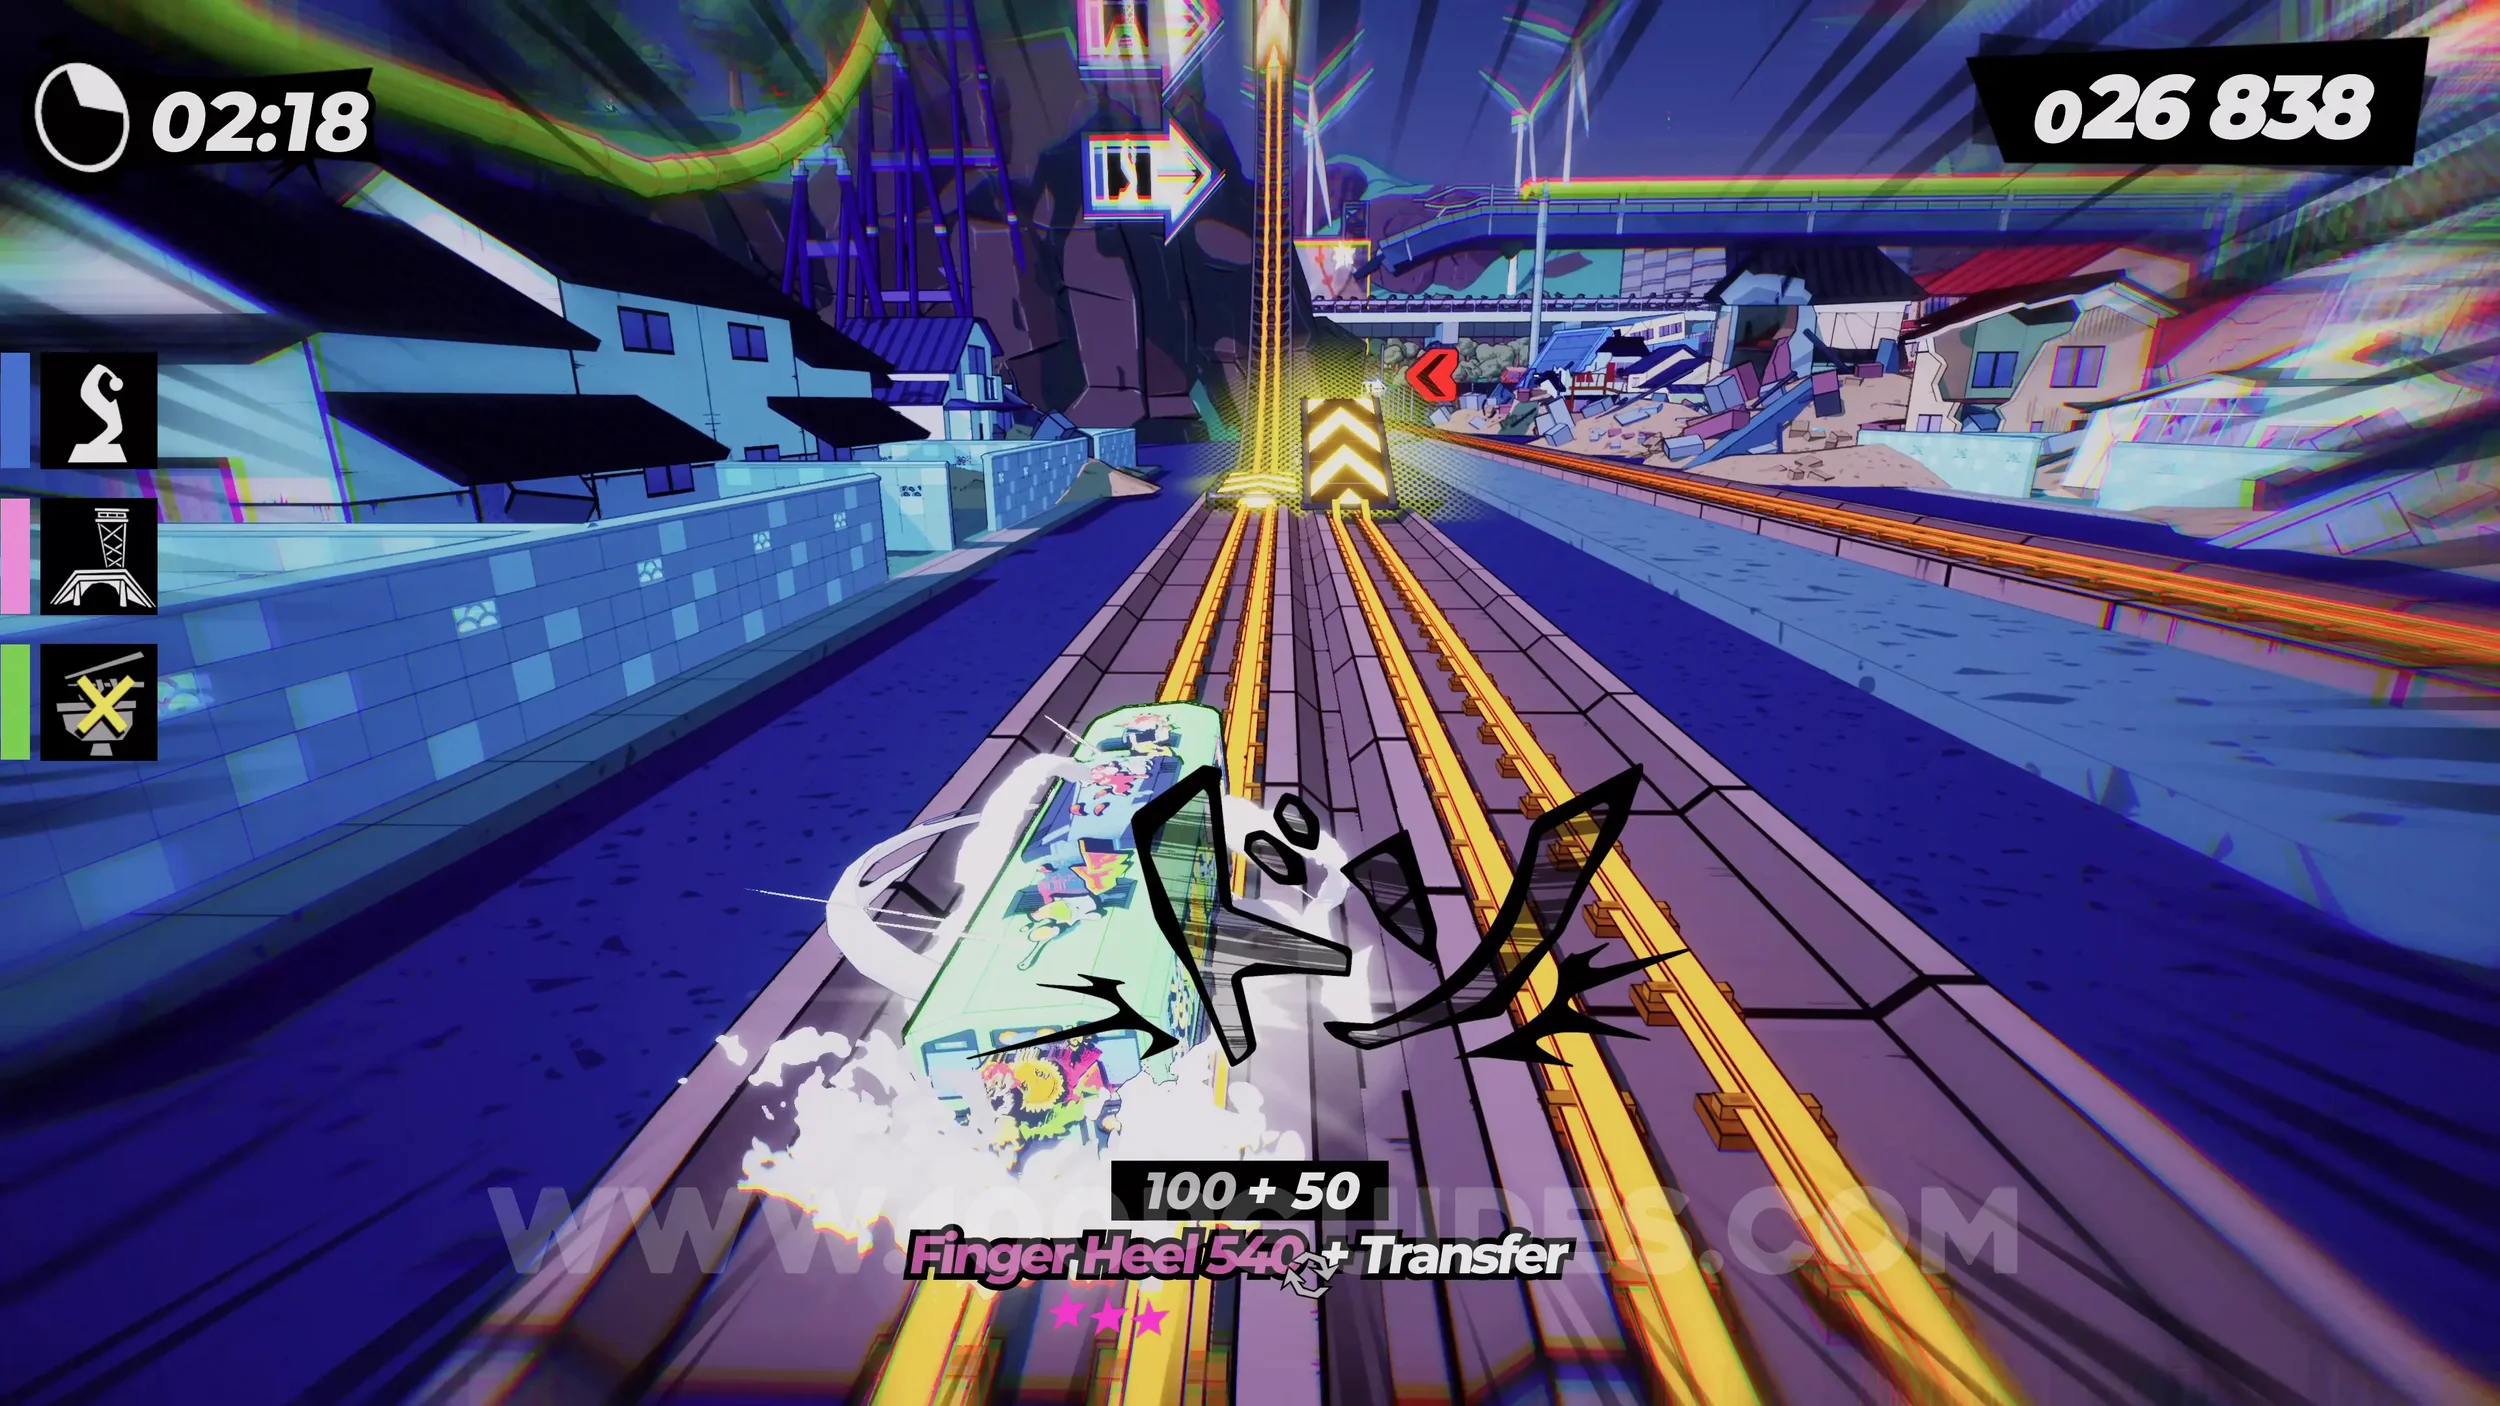
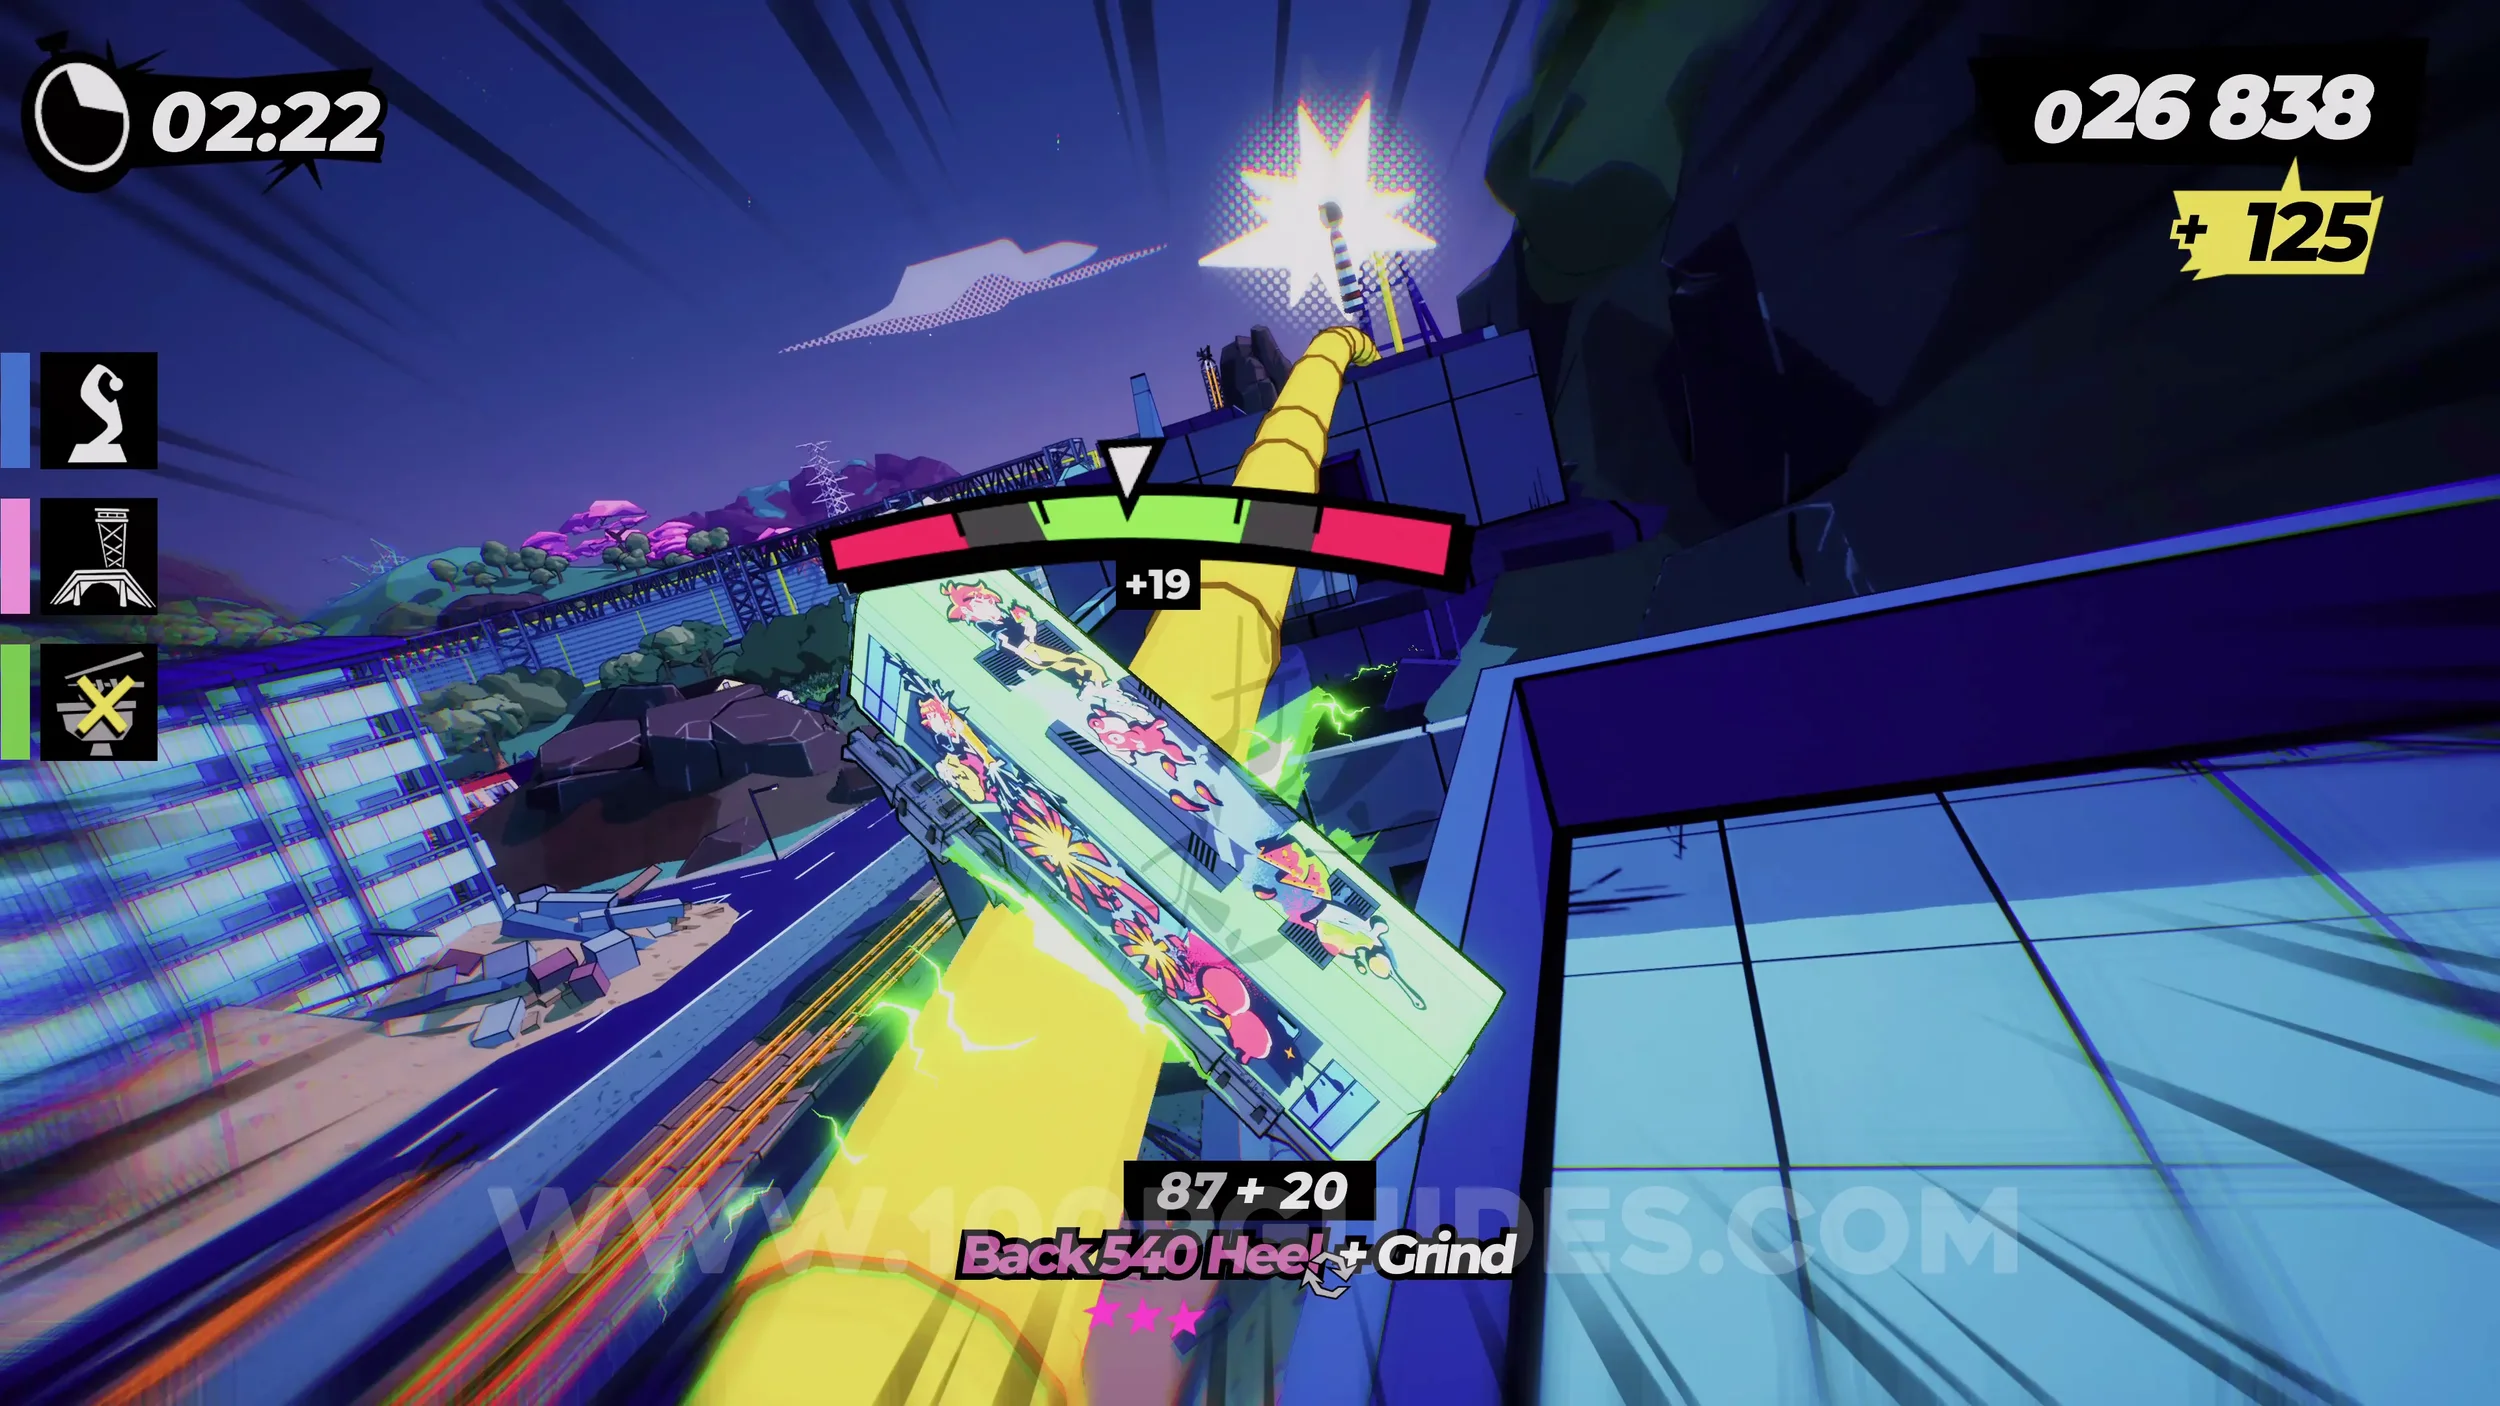
Spray Can (4/4). After the previous collectible, you will circle back around to the straight. At the end of it, follow the pink sign to the left. Follow this path until you grind on a boat, then air stomp to avoid crashing in the air. Straight after that, jump to the rightmost rail to get the spray can.
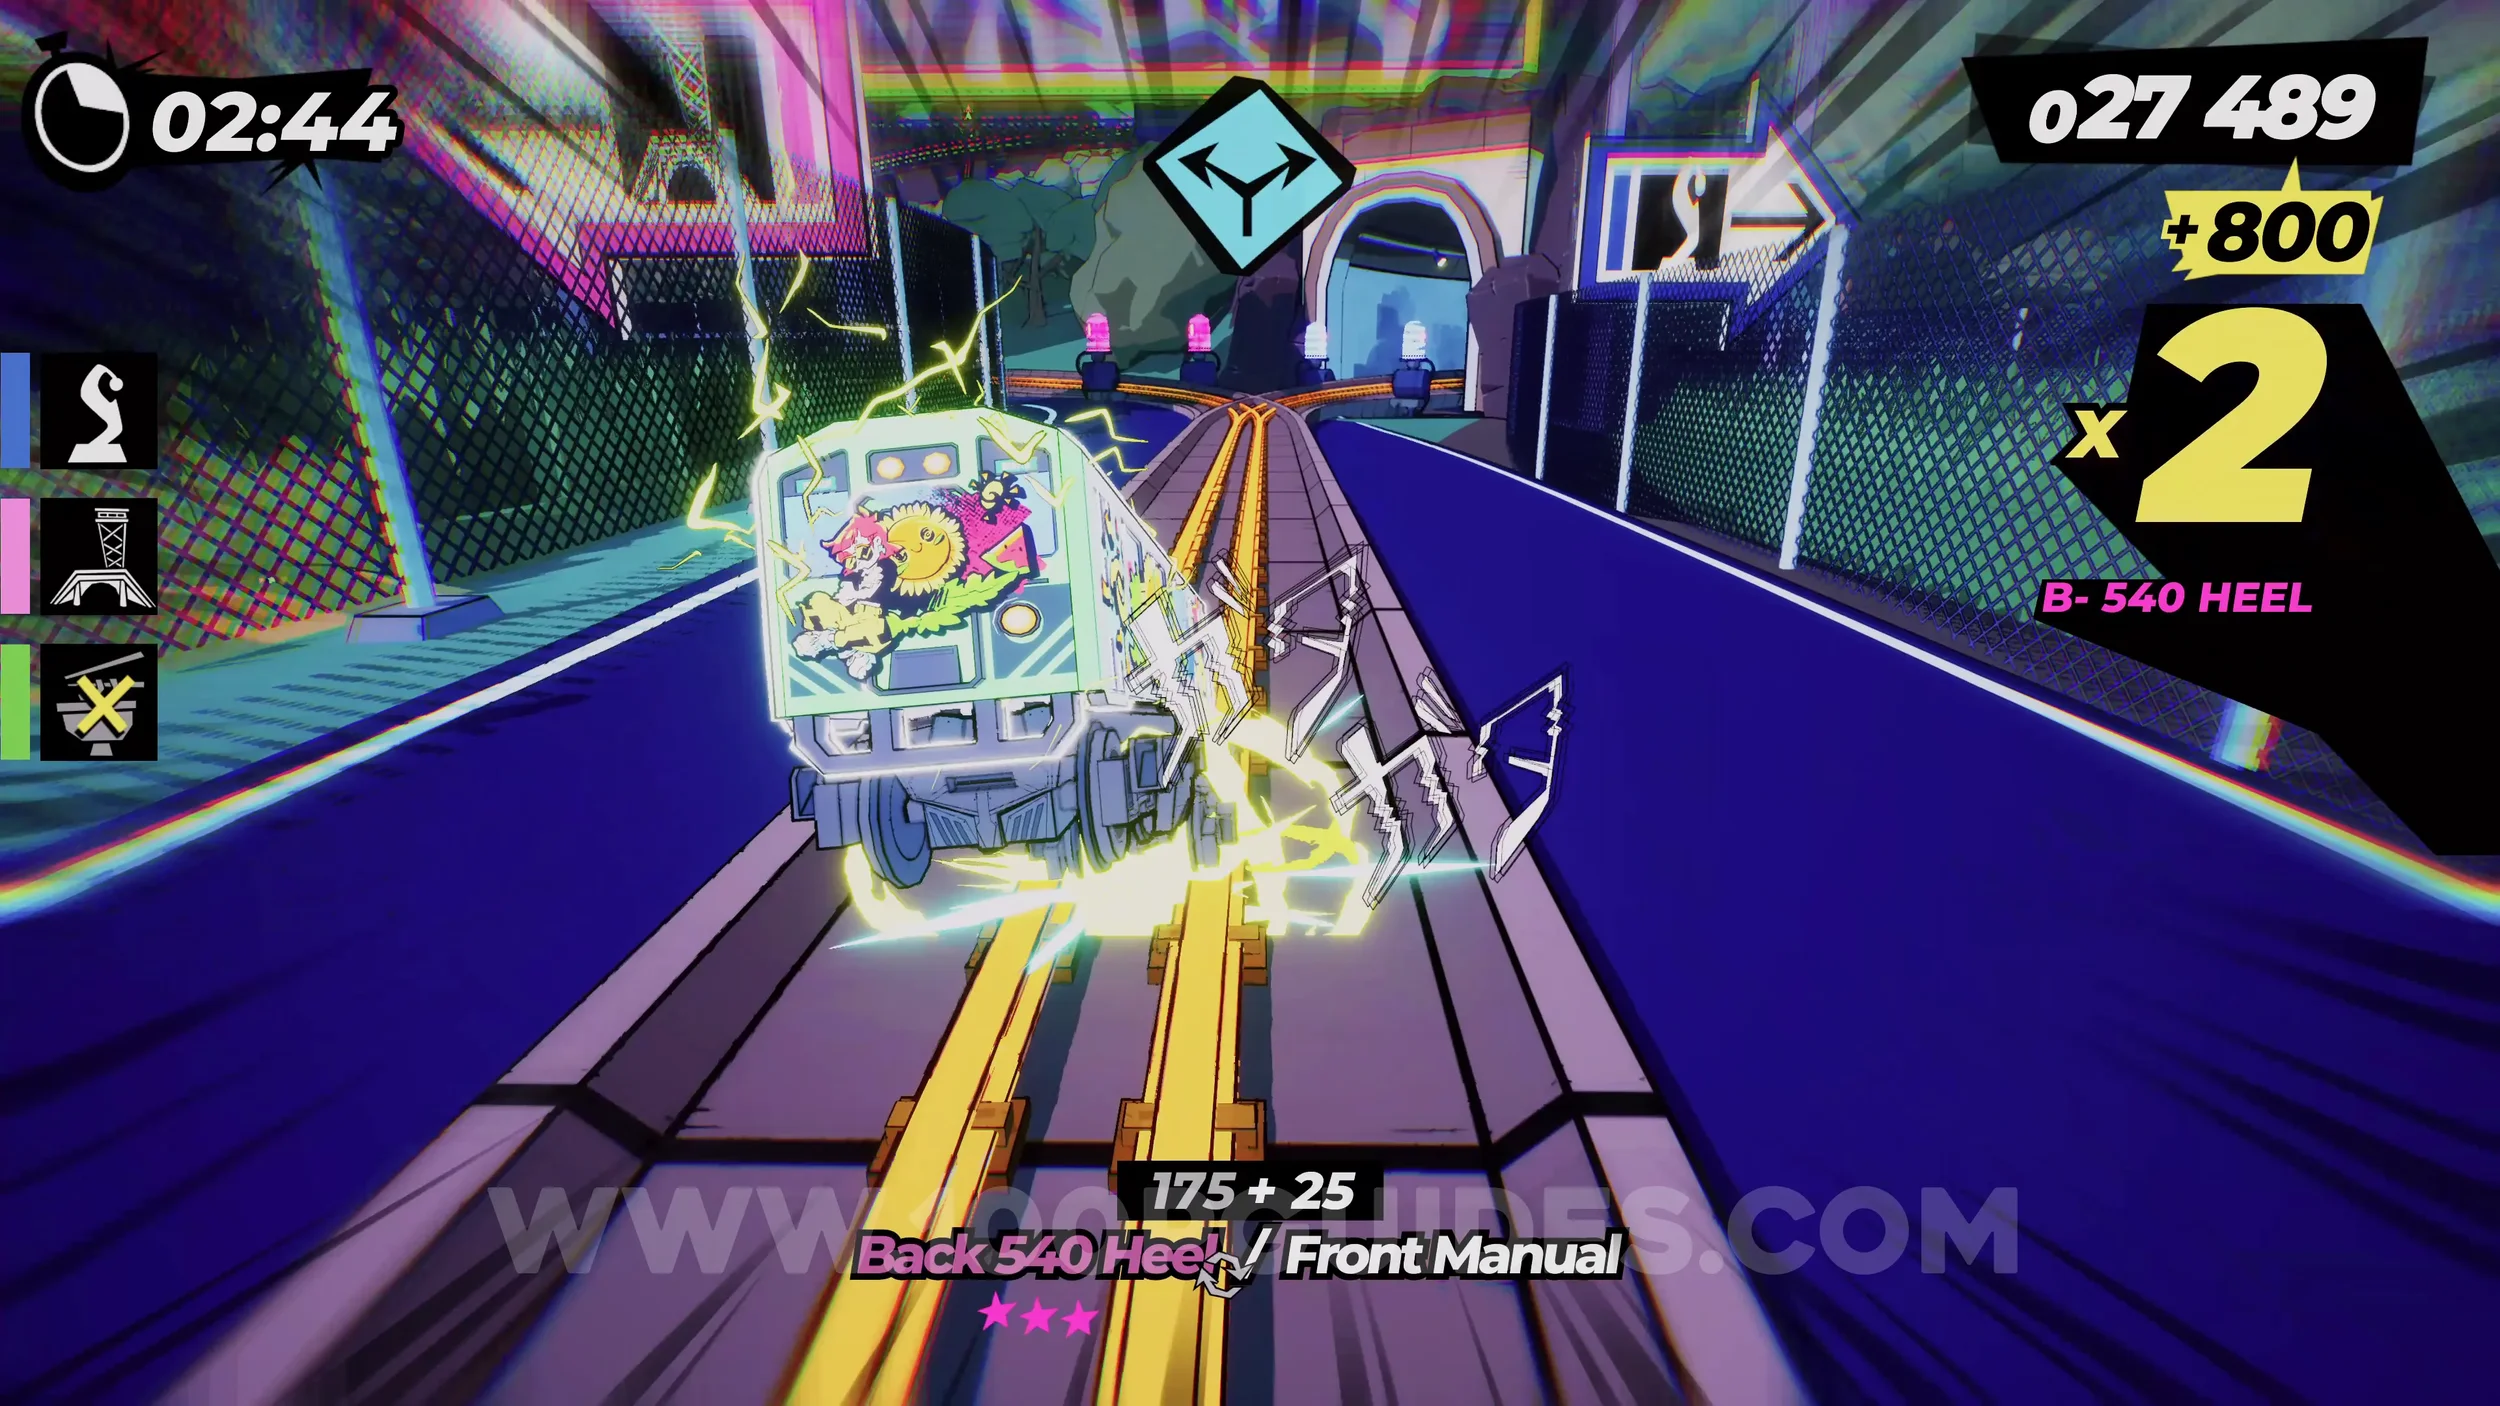
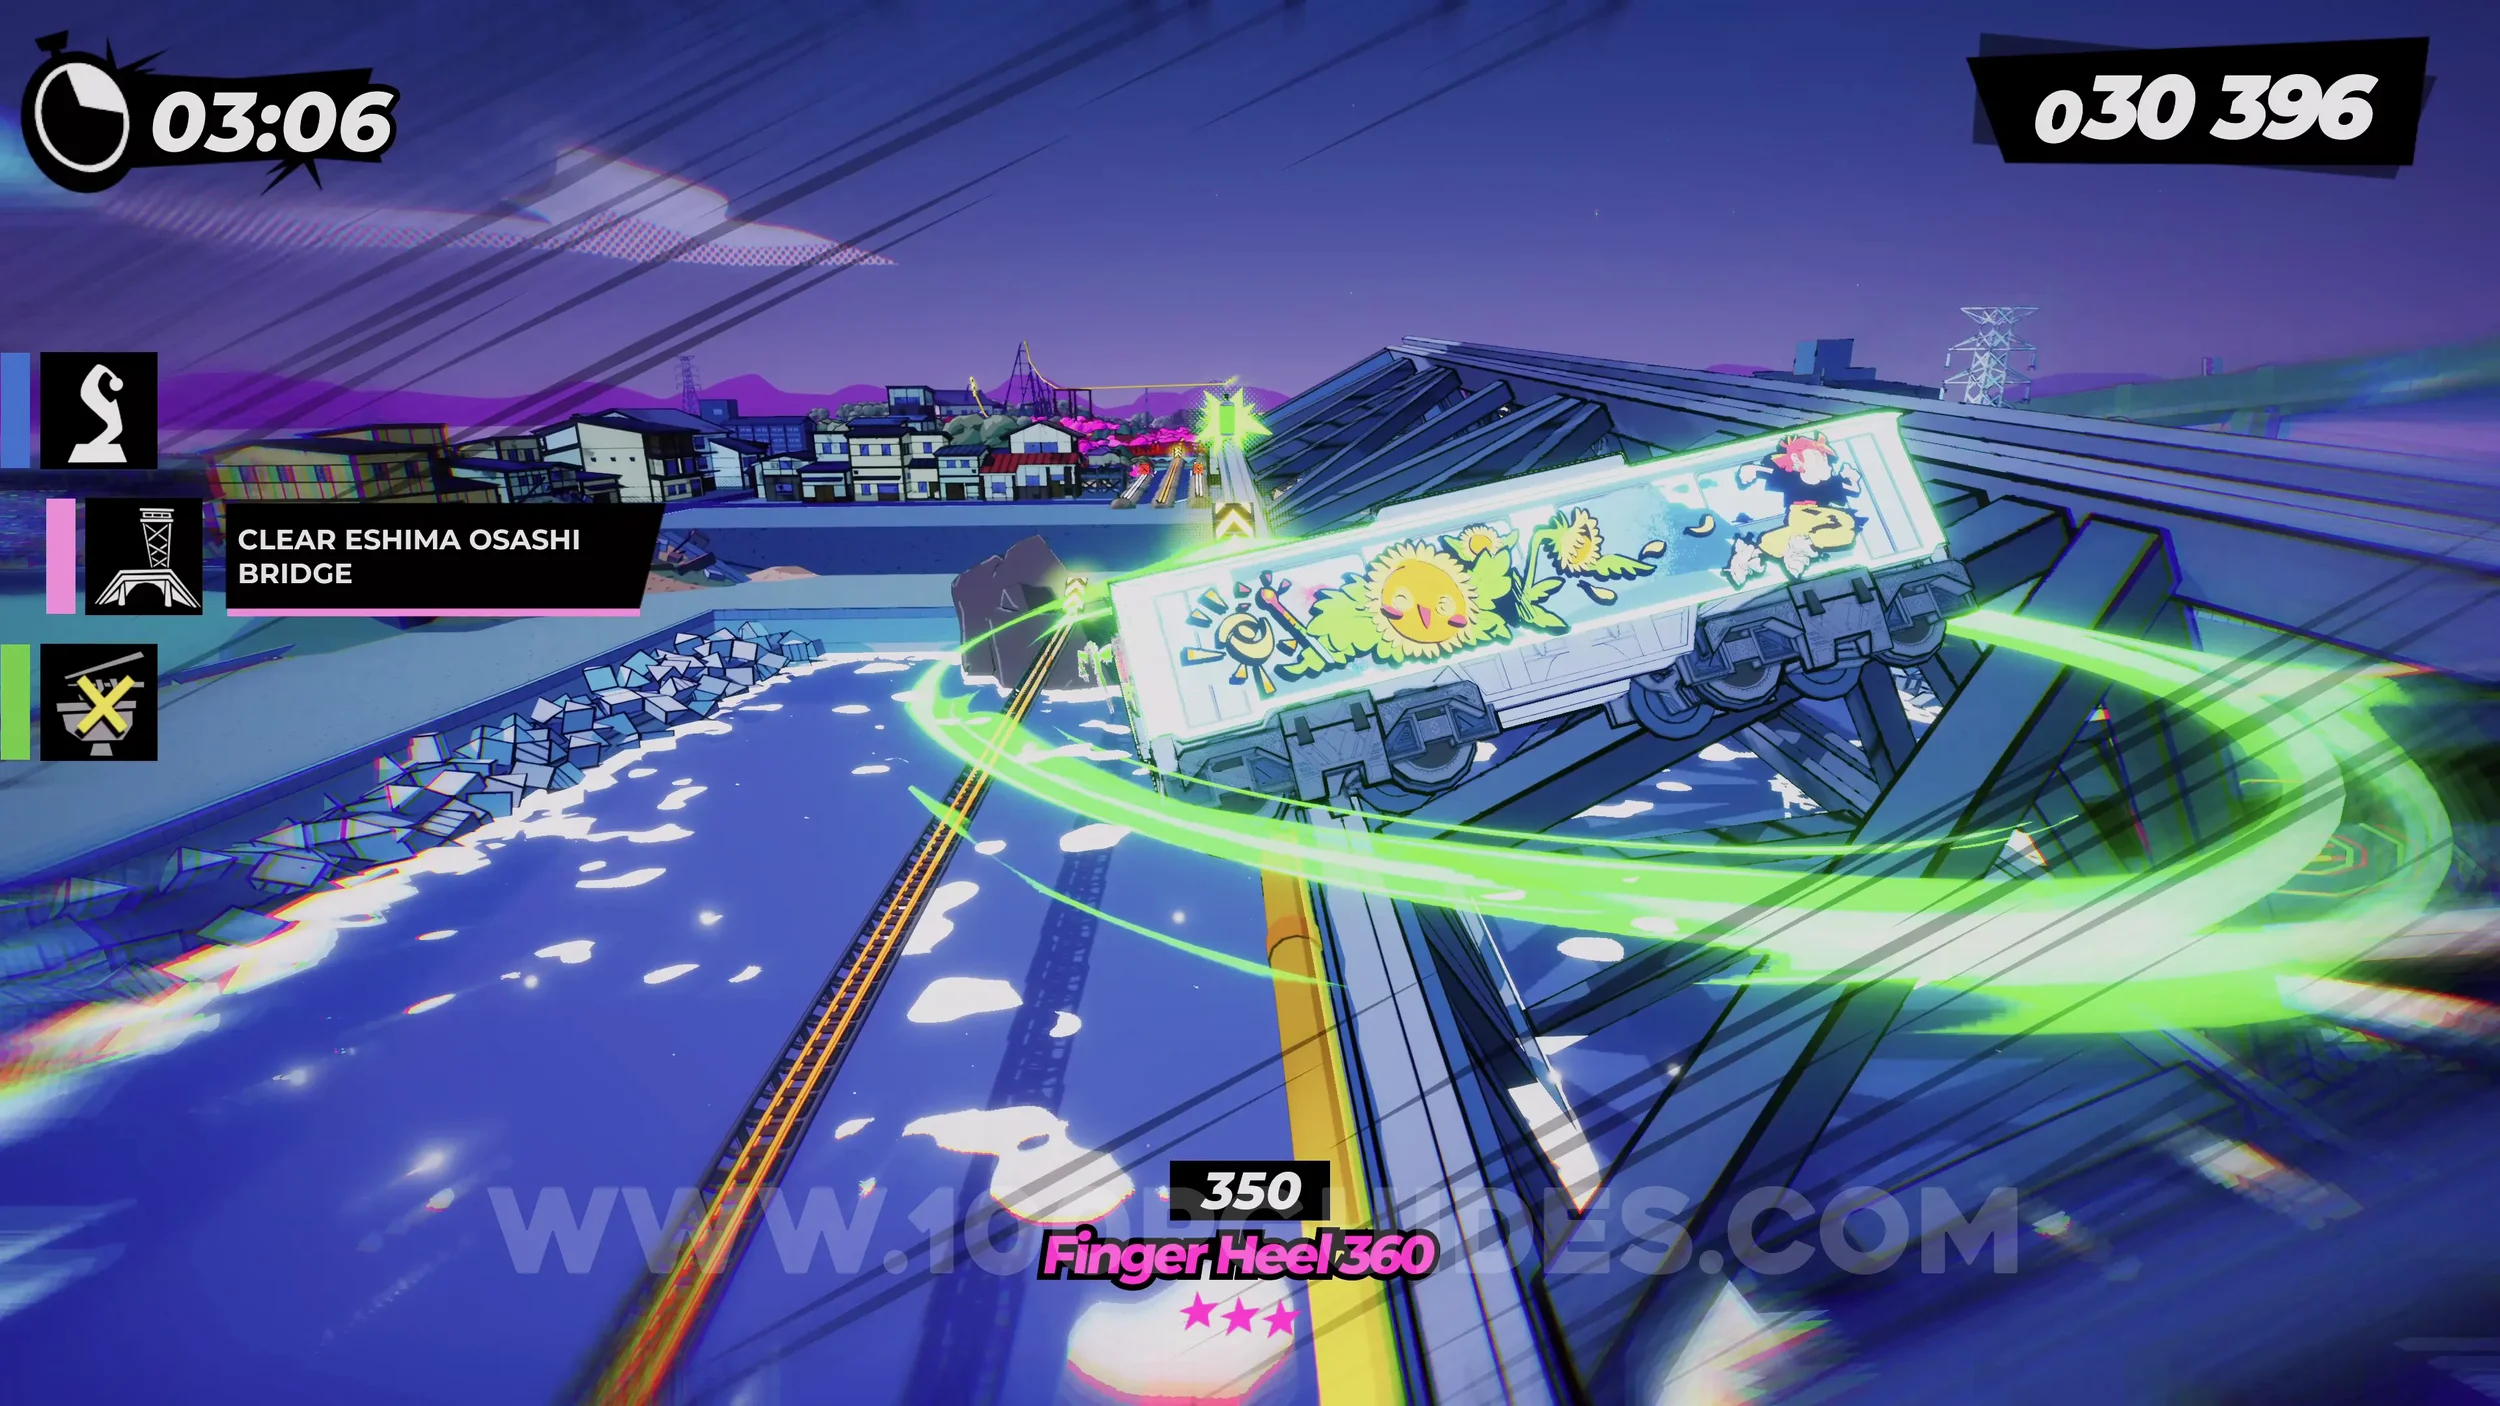
Dare: Collect 3 Anedama Dolls (3/3). After clearing the bridge, you will circle back around to the start of the level, where the three signs are. This time, follow the right side path (blue sign). You will then wallride around a corner. At the end of this wallride, you can collect the final doll.
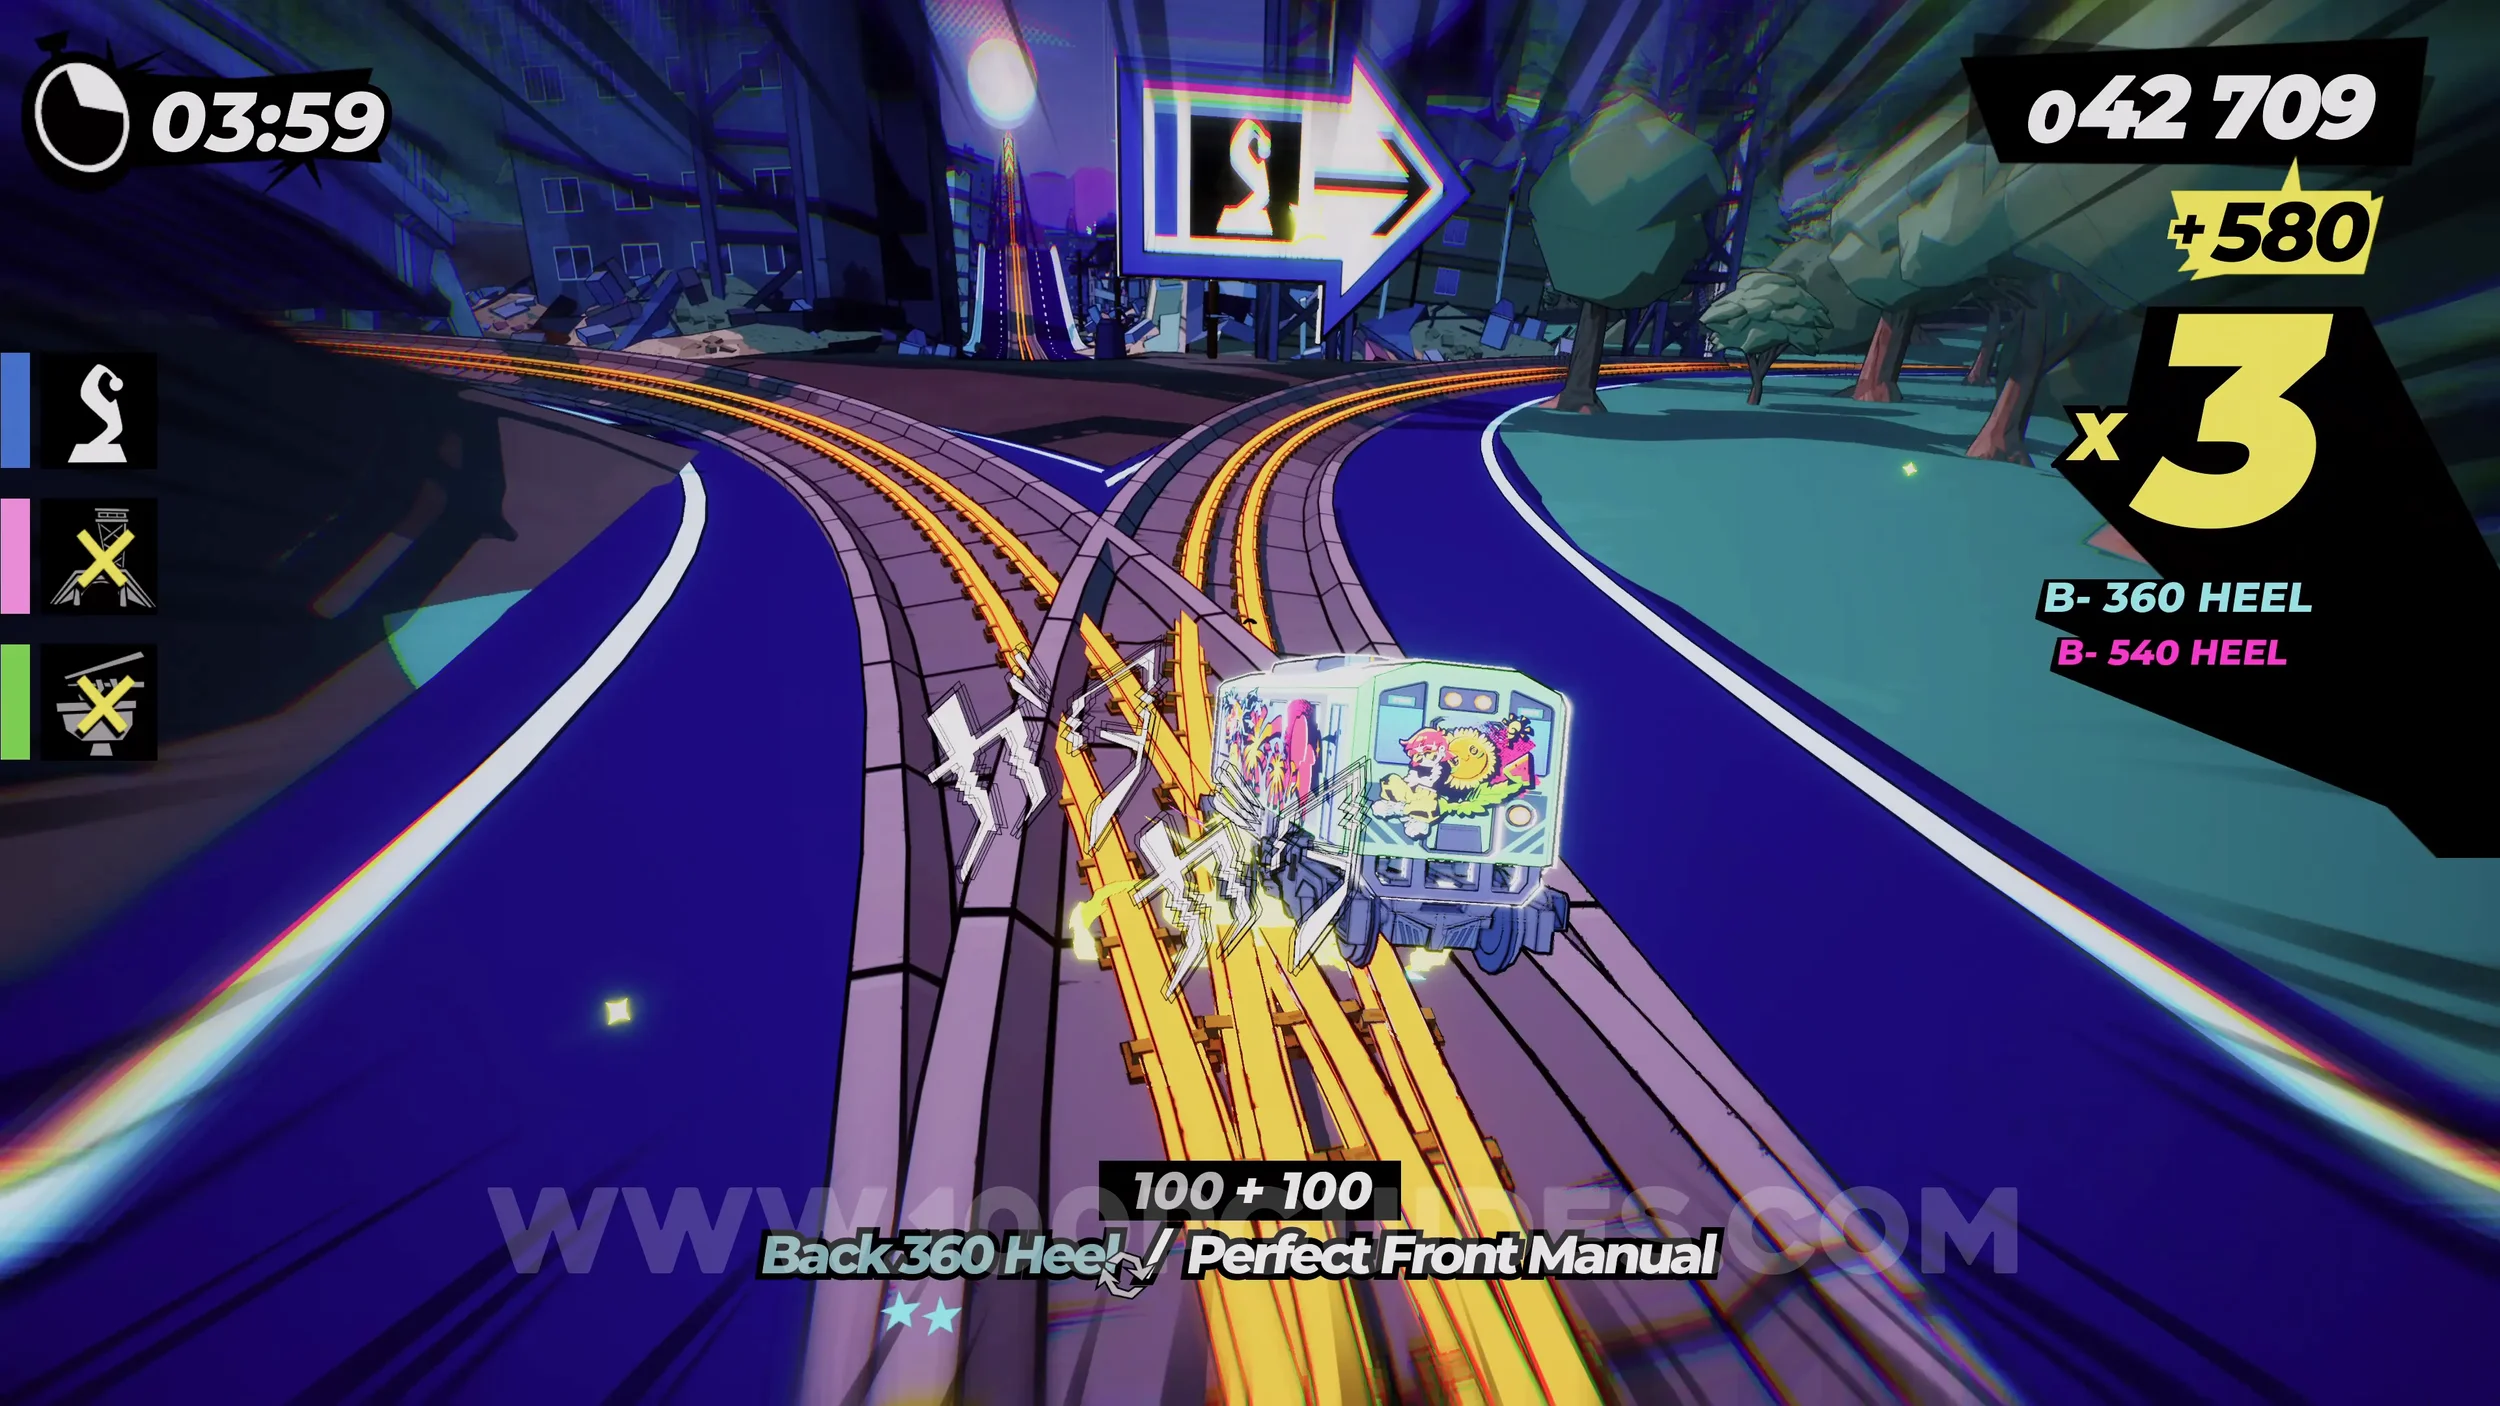
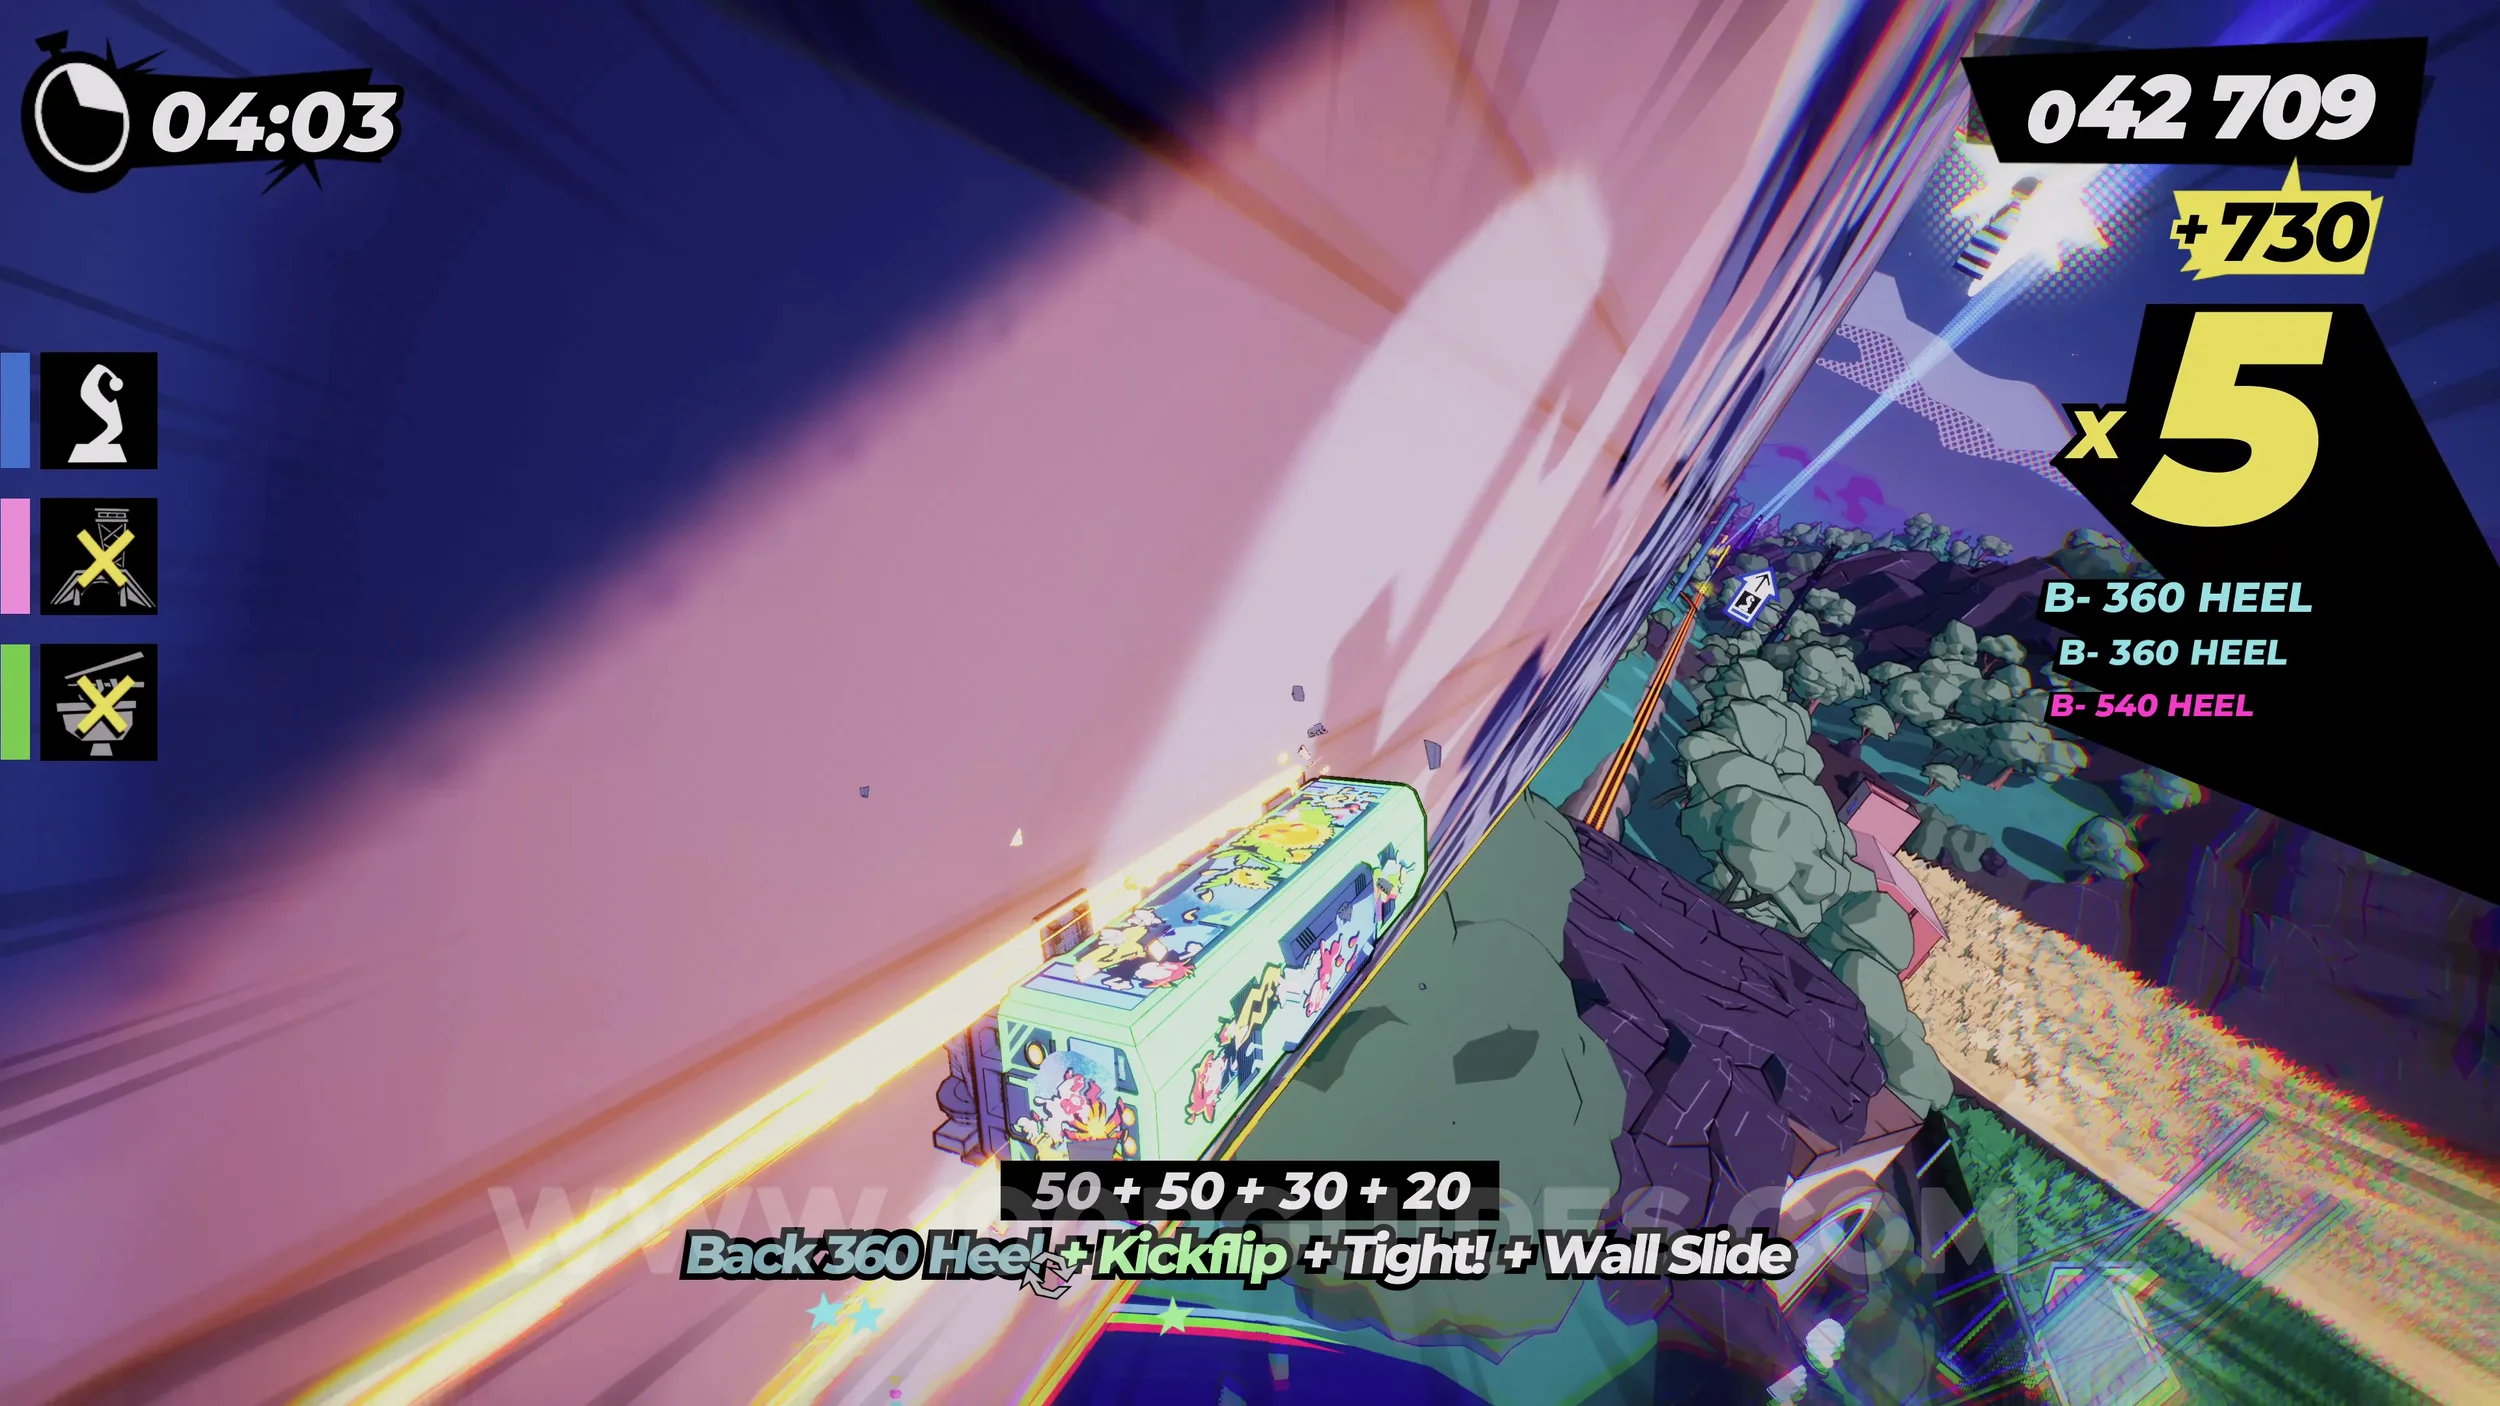
Film Roll (1/1). After the previous collectible, continue straight. You will then destroy the first work of art (main objective). After that, you will go around the corner to the right. As soon as you land the jump, get to the rail on your right to collect the film roll.
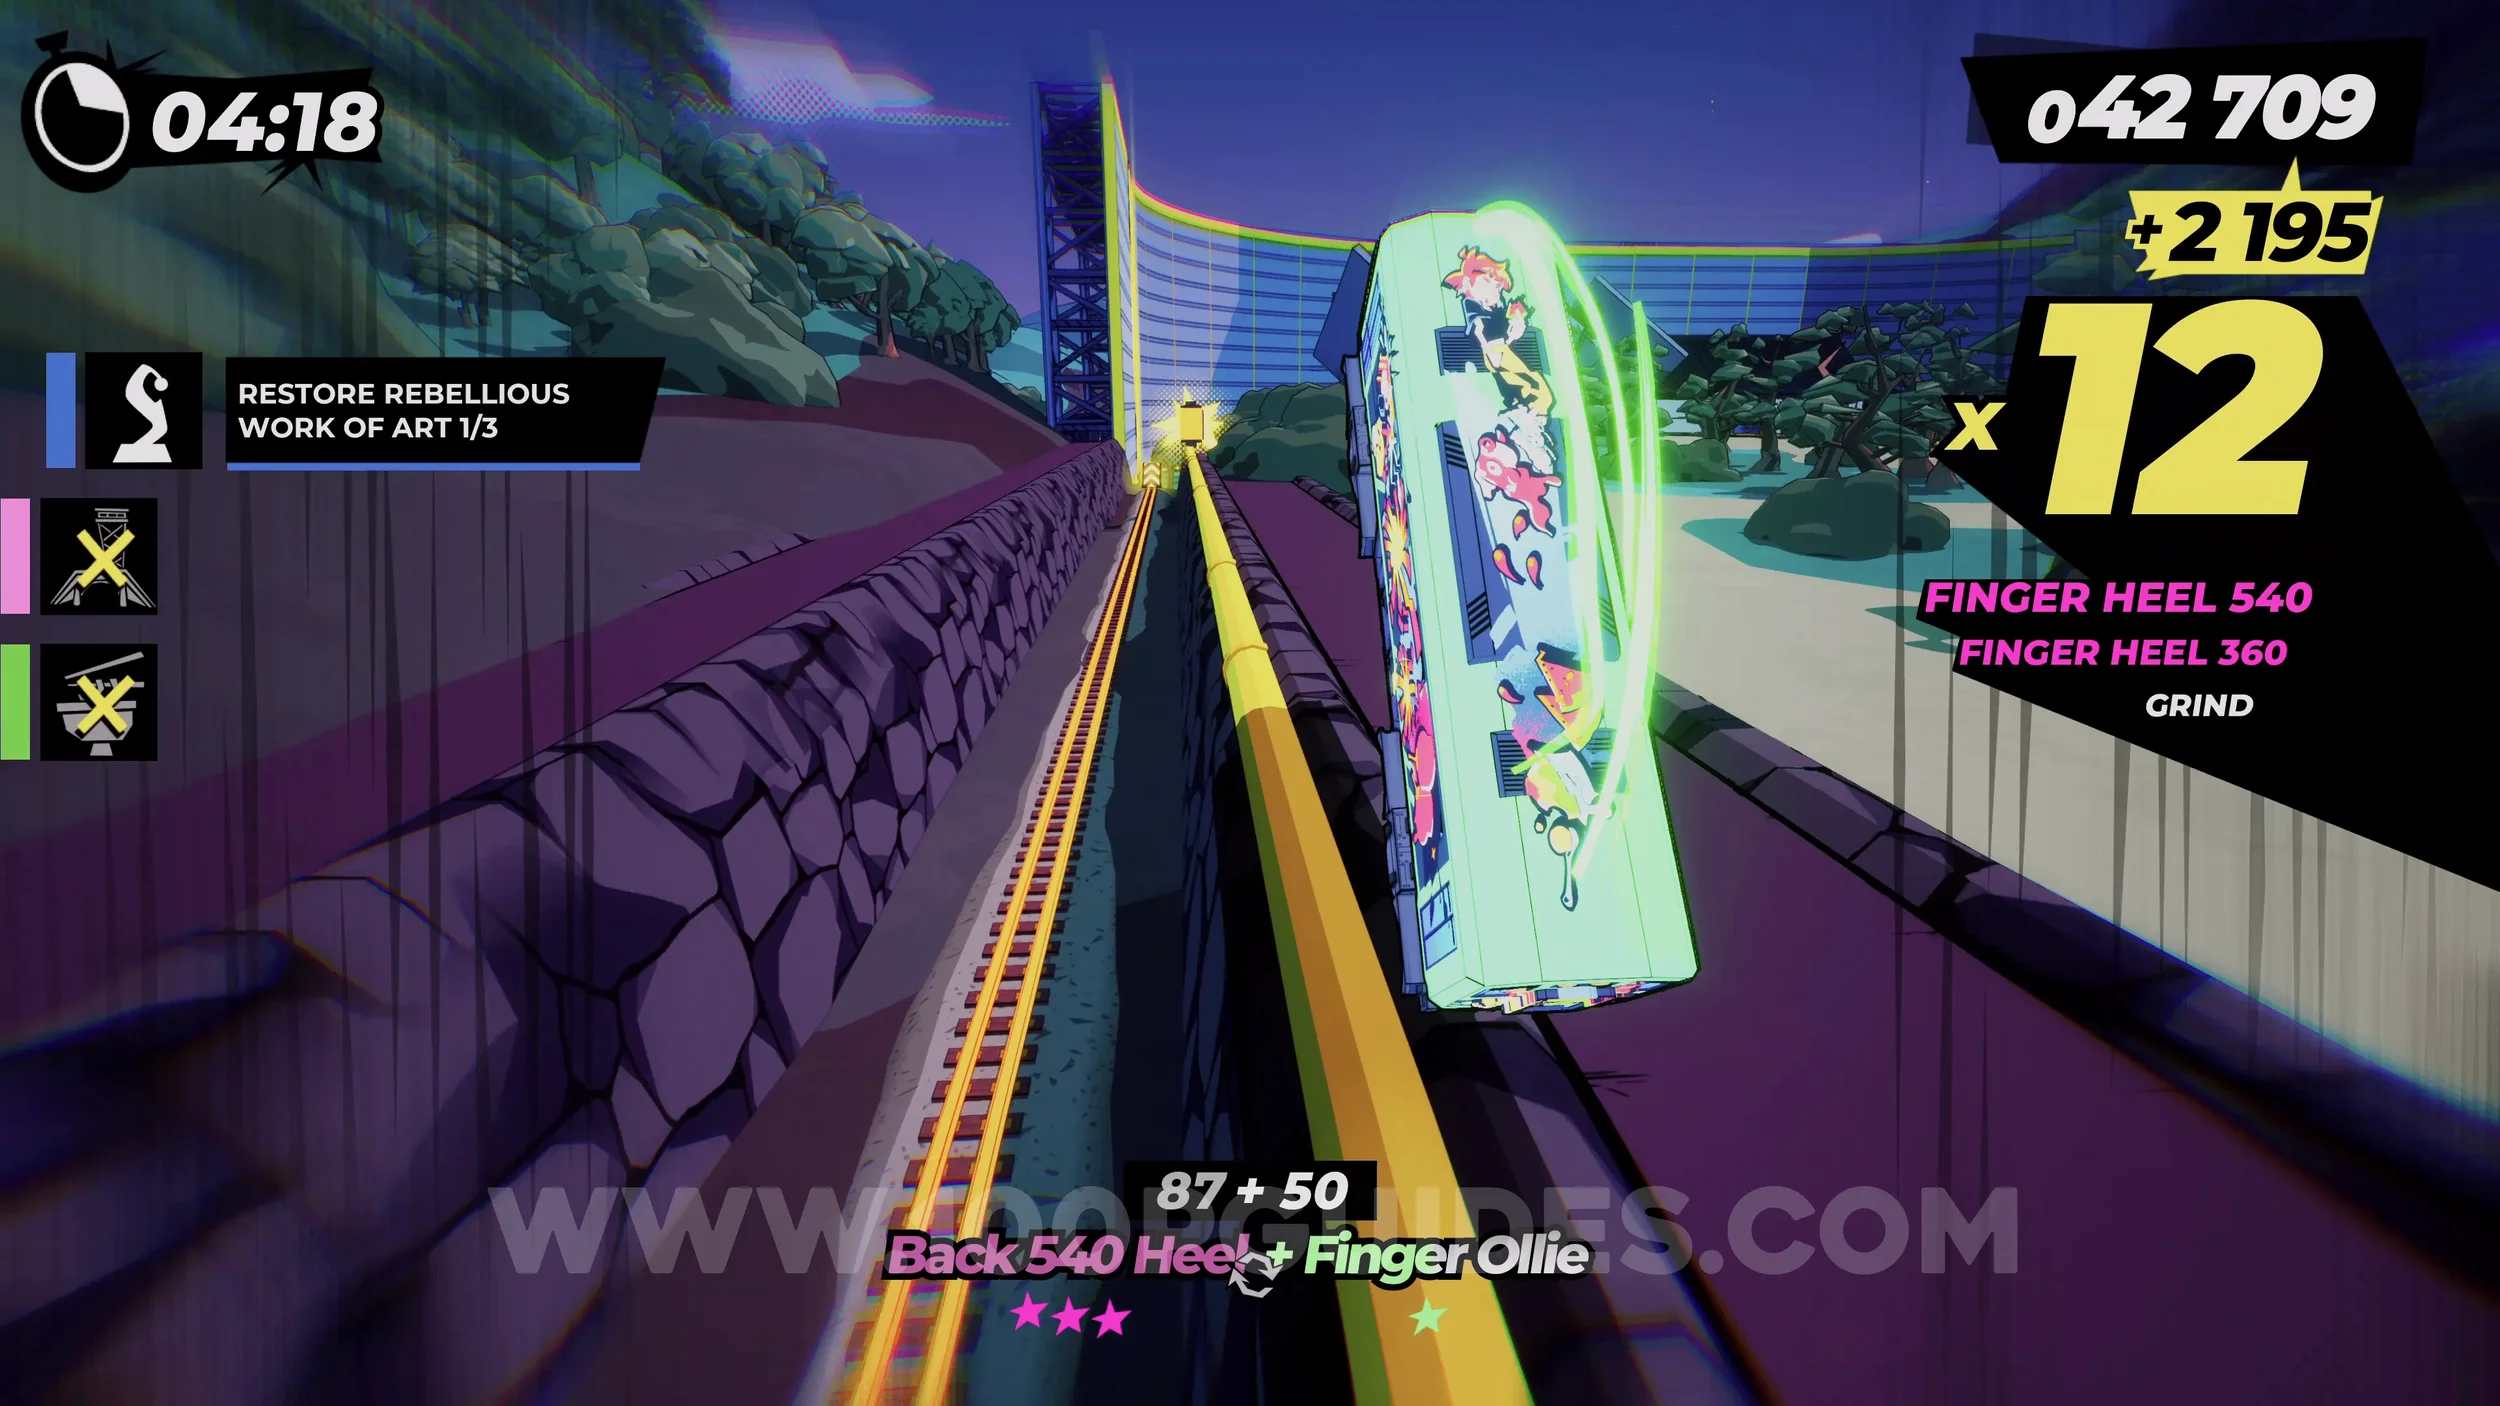
Dare: Pull a 10 Trick Combo. Self-explanatory.
Dare: Perform 10 Perfect Drifts. Self-explanatory.
Dare: Score Over 1000 Points From Grind Sweet Spots. Self-explanatory.
2-2-C Matsue Castle
This level is another shop where you can spend your spray cans on new stickers needed for the Full Set trophy.
2-2-2 Strength Is Absolute
Spray Can (1/4). Soon after the track splits into two paths (it doesn't matter which way you go), you will see the can on the wallride to your left.
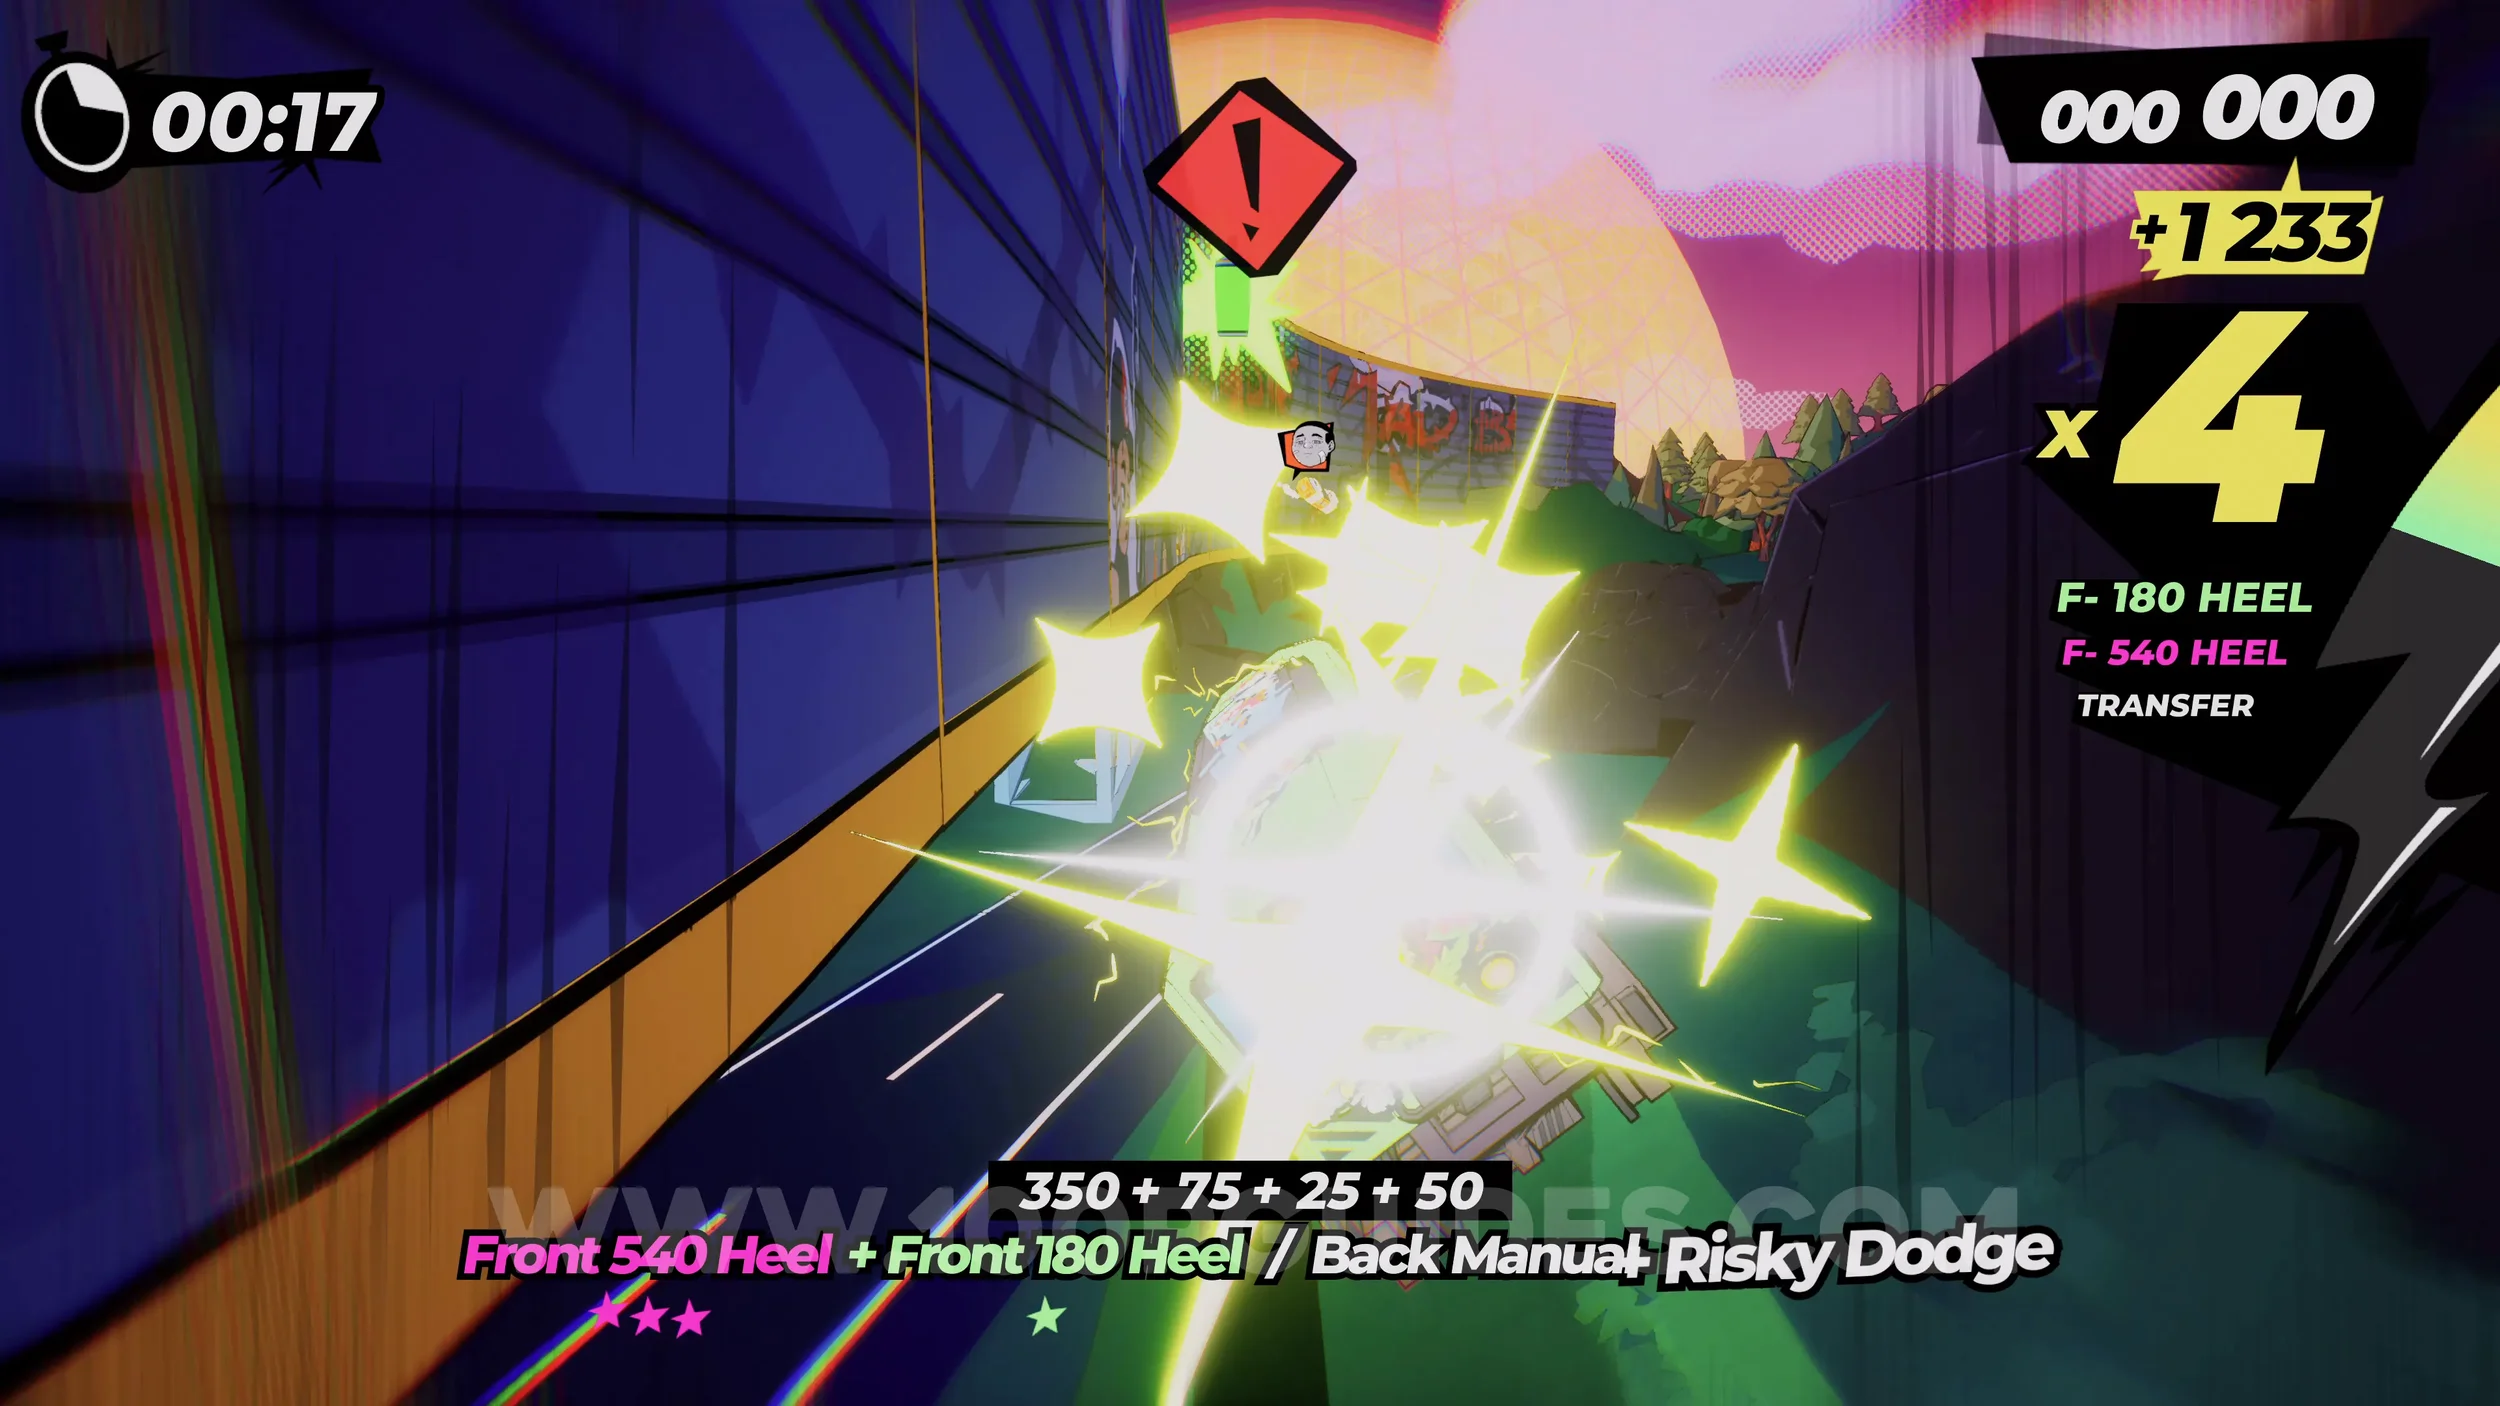
Dare: Activate 3 Rail Switches With Advanced Tricks (1/3) & Spray Can (2/4). On the next straight, jump up to the rail on your right, then hit the rail switcher while performing any advanced trick (look for the list in the Tricktionary in the pause menu). Then continue straight by following the now straight track into the cave, where you will find the spray can.
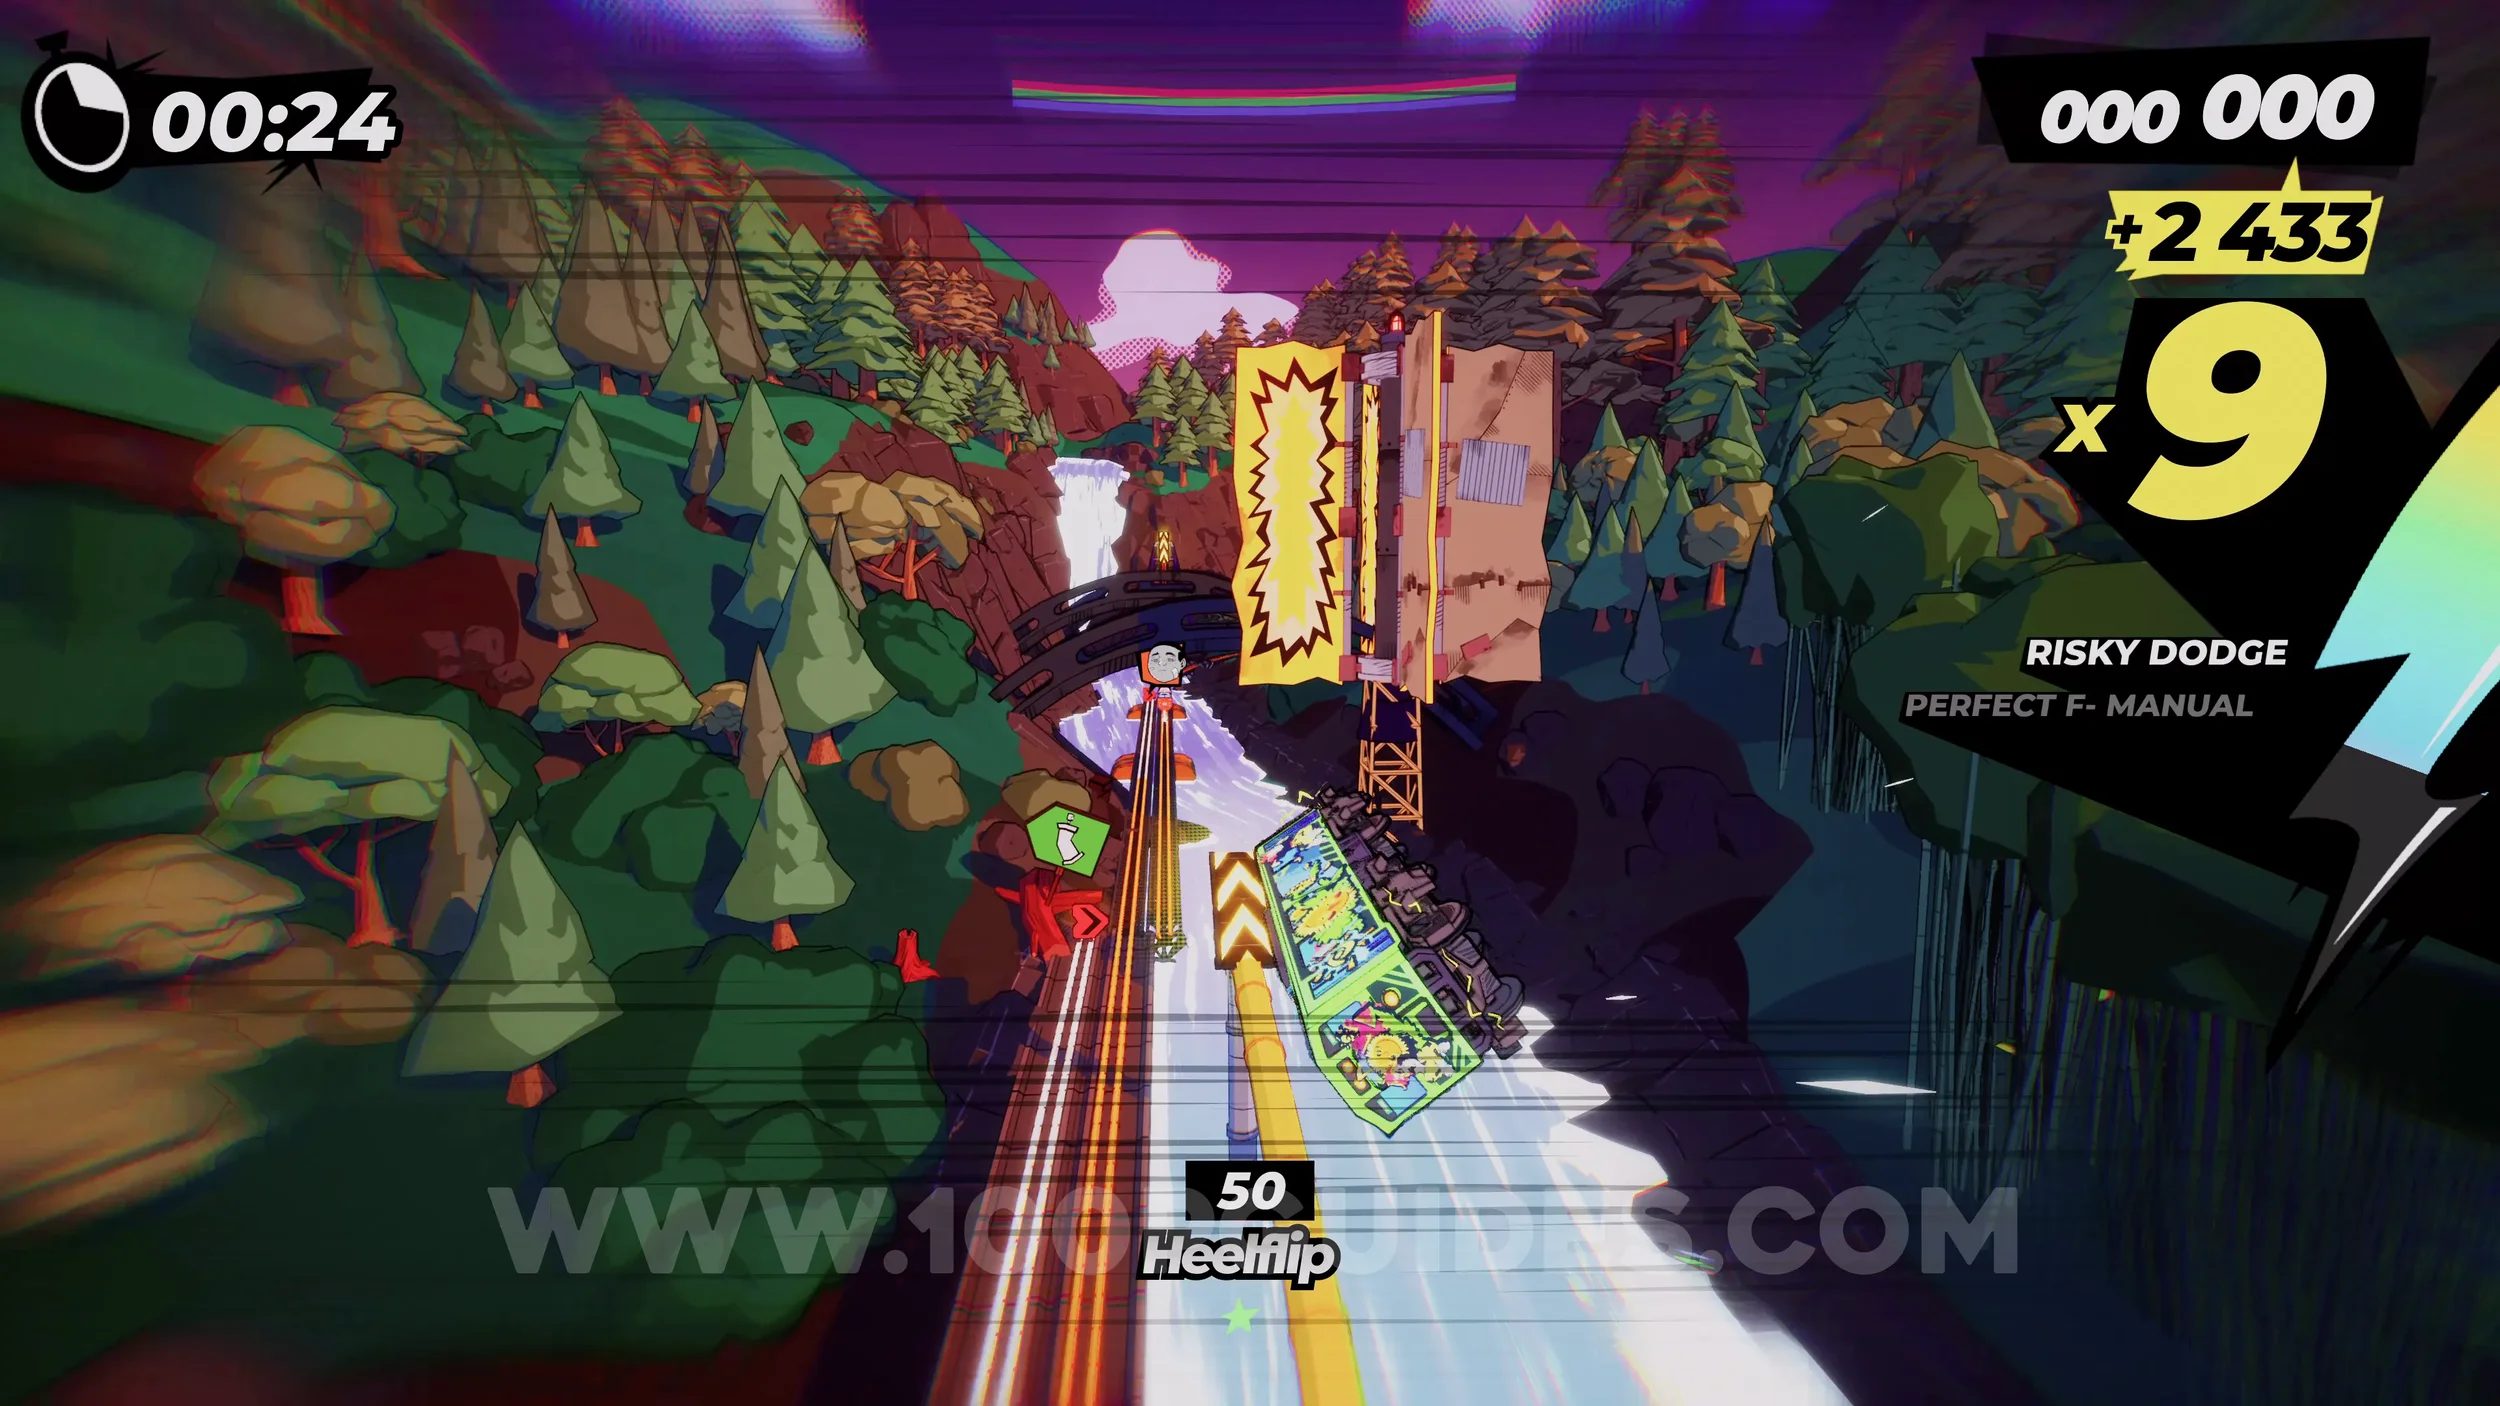
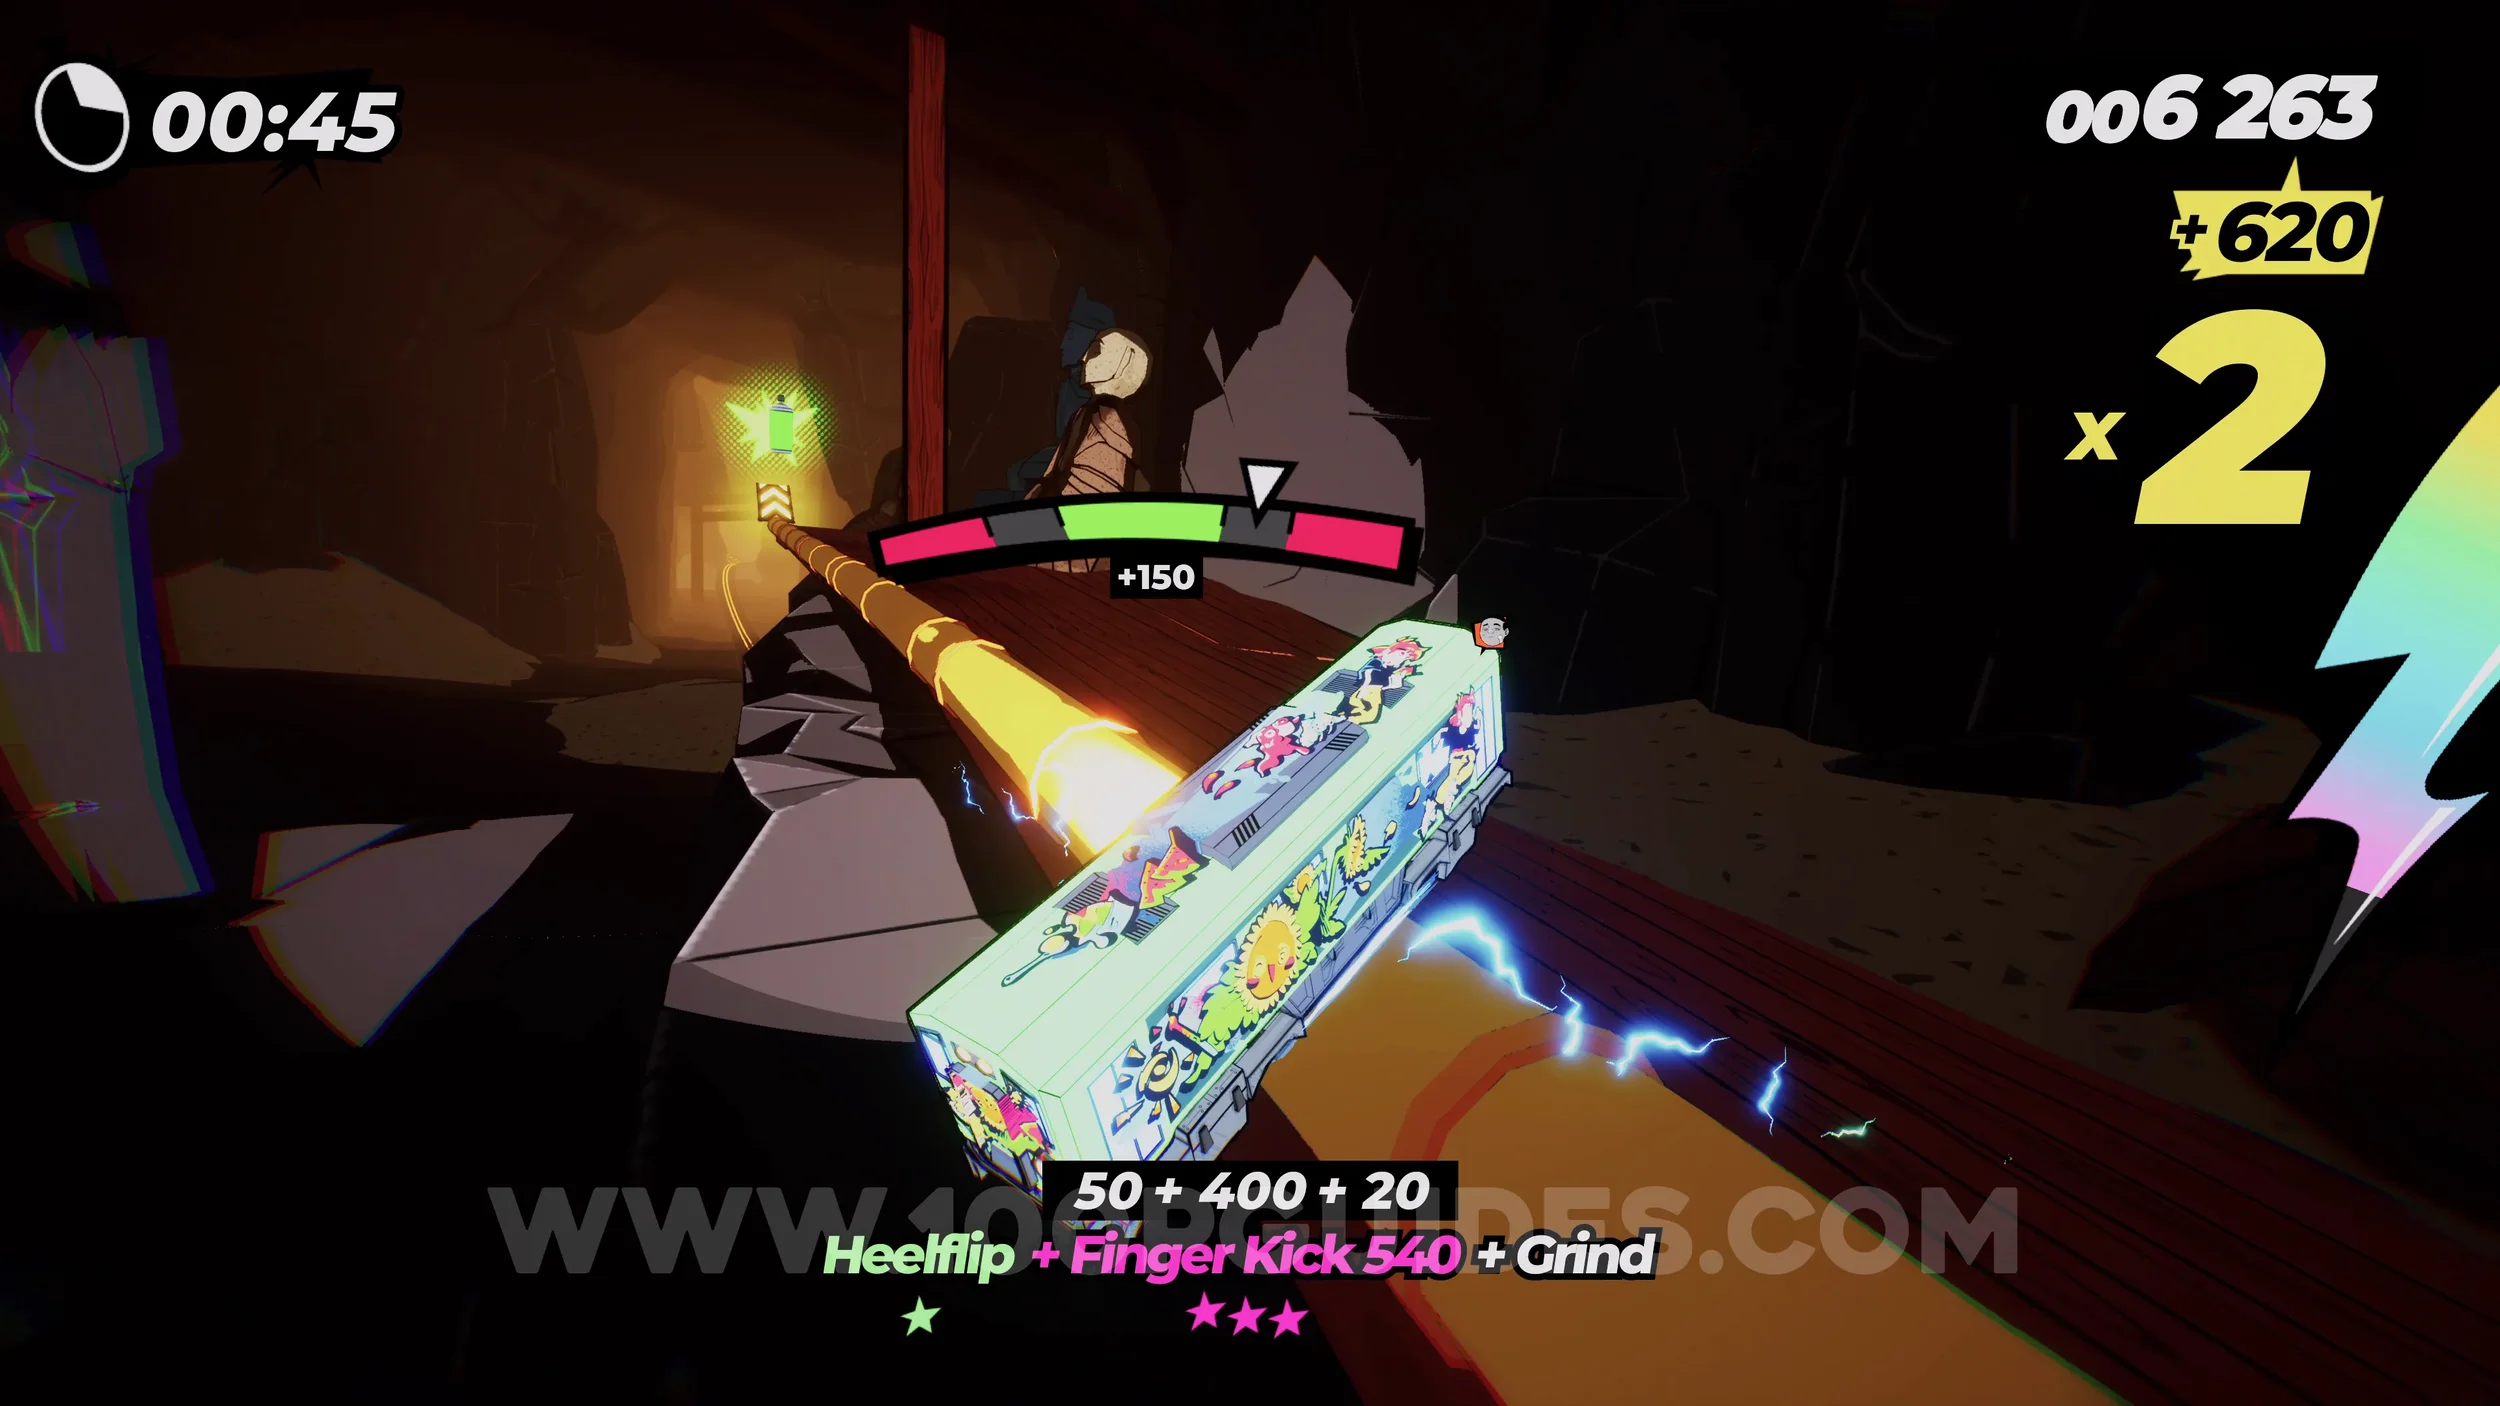
Dare: Activate 3 Rail Switches With Advanced Tricks (2-3/3). As you make your way through the cave, you will have multiple more chances to hit rail switchers with advanced tricks.
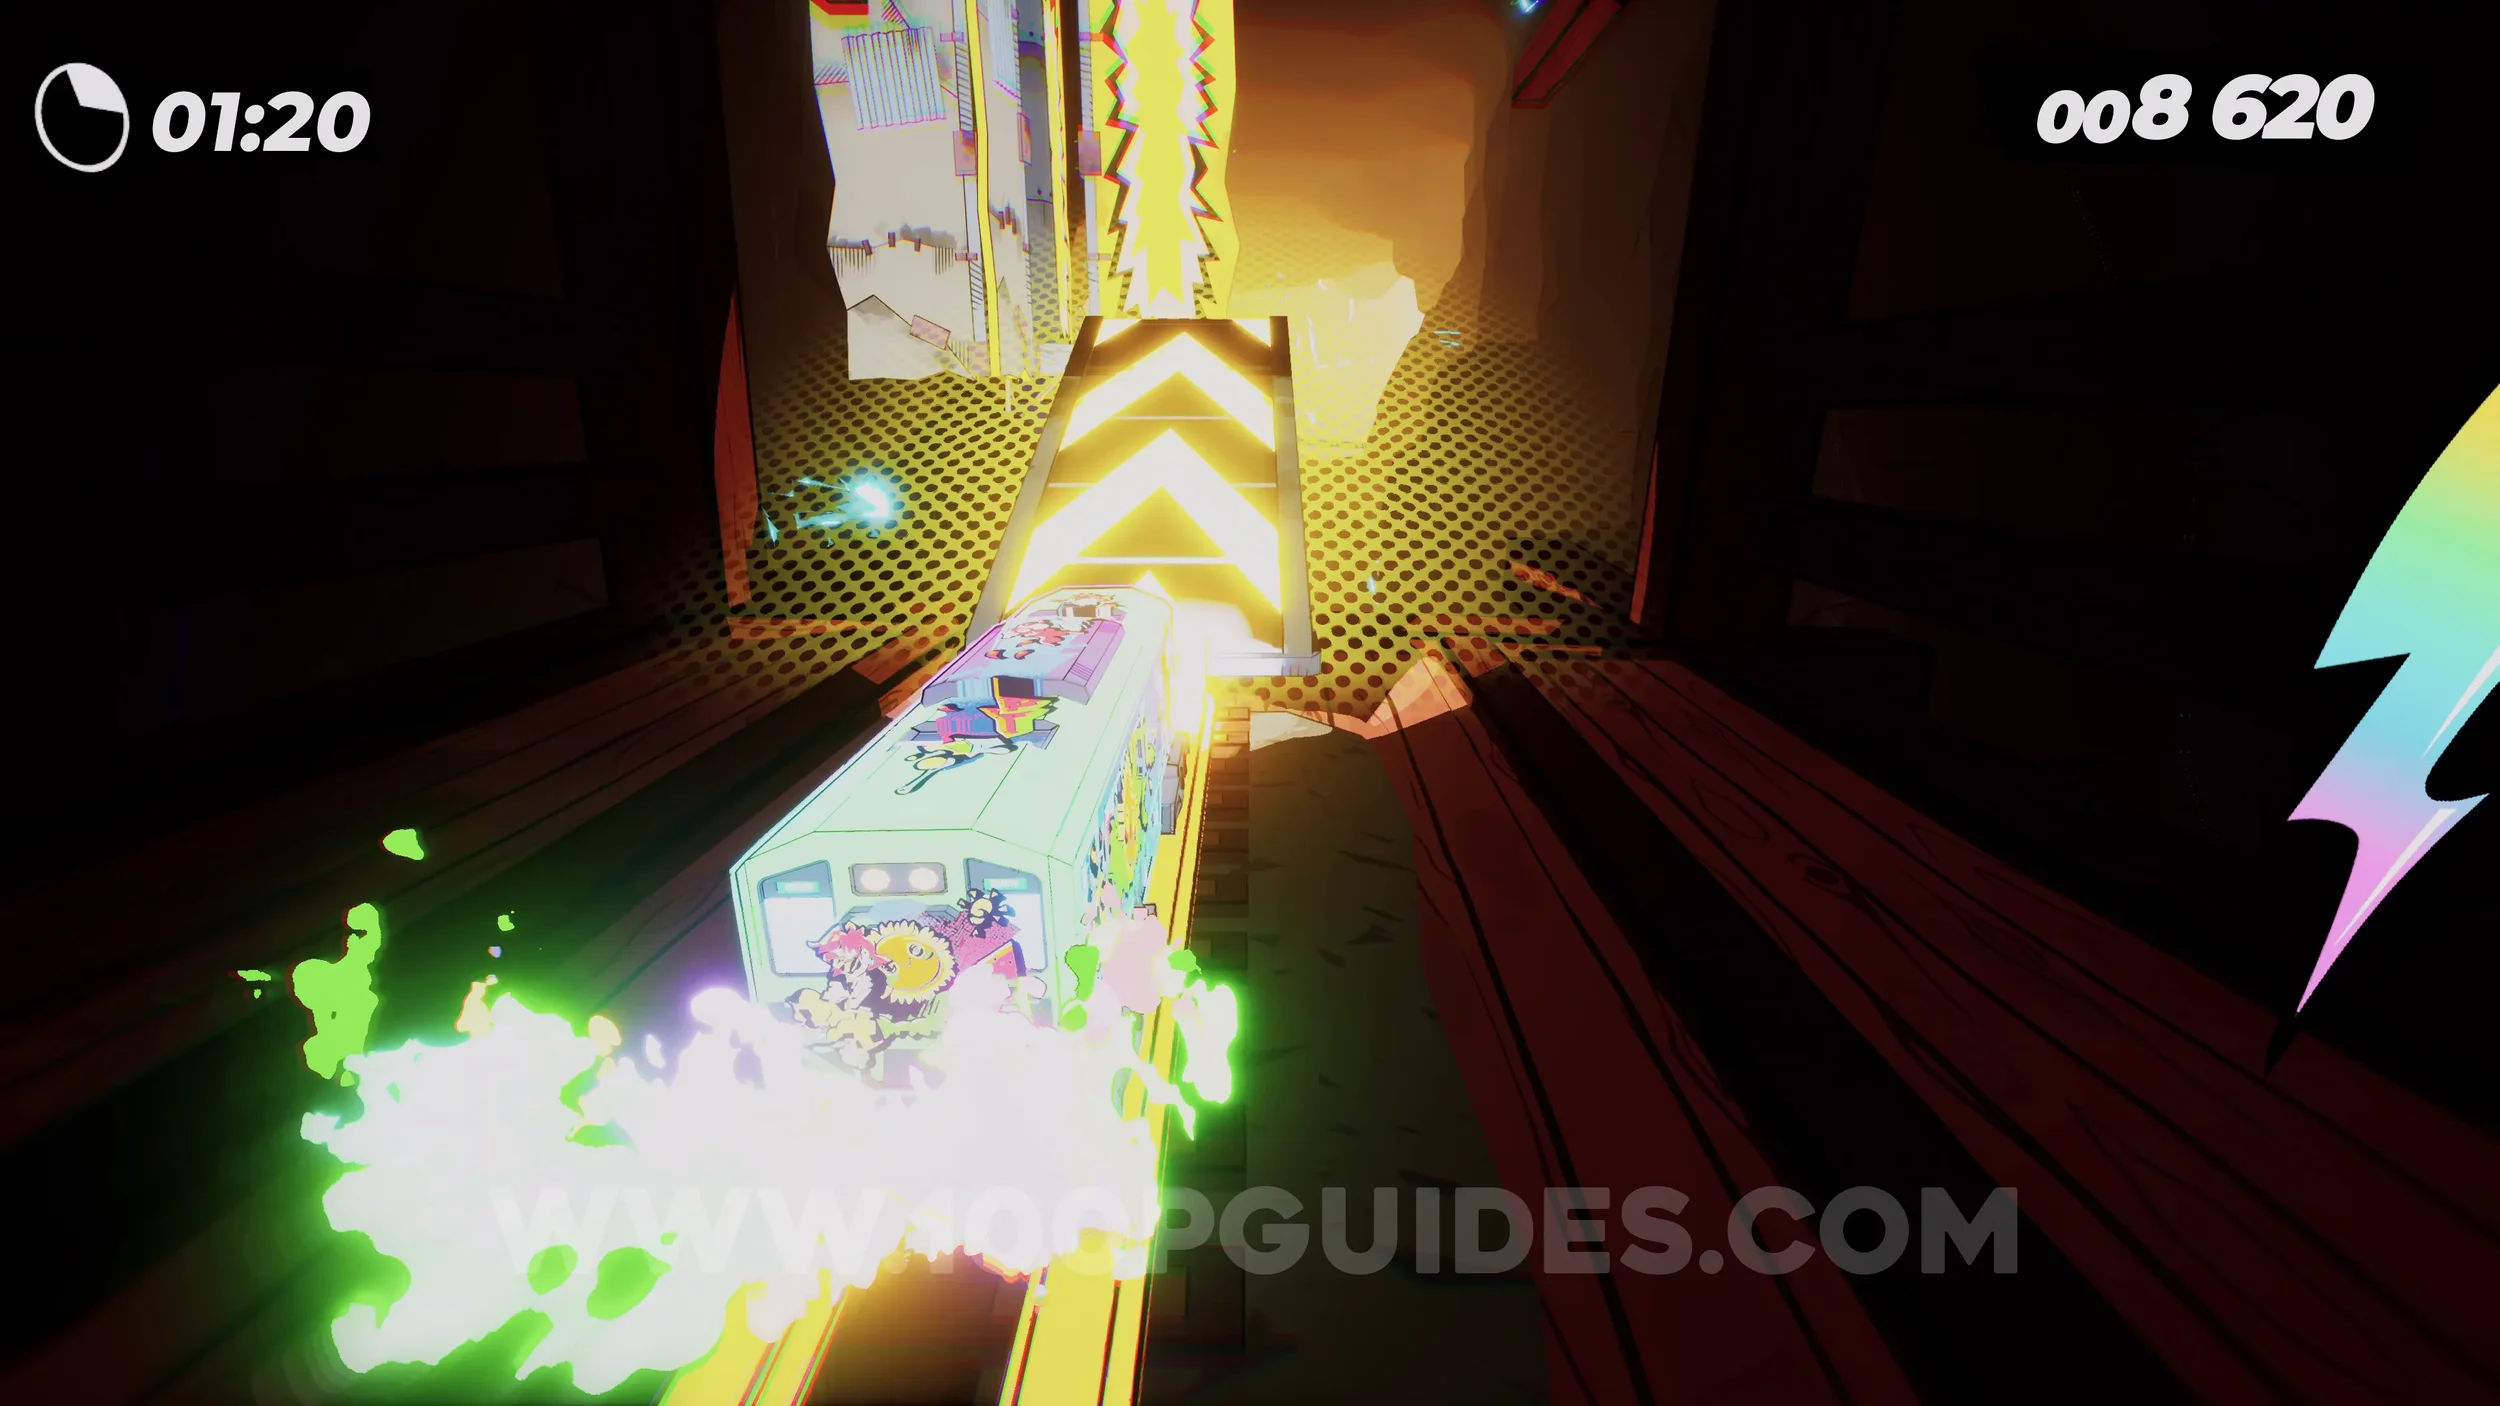
Spray Can (3/4). Follow the cave until you do another vert jump, then land back in the cave. Just after this jump, if you have your super meter full, you will see a rainbow track on your right with a spray can sign. Jump onto it and follow it to the end to get the can.
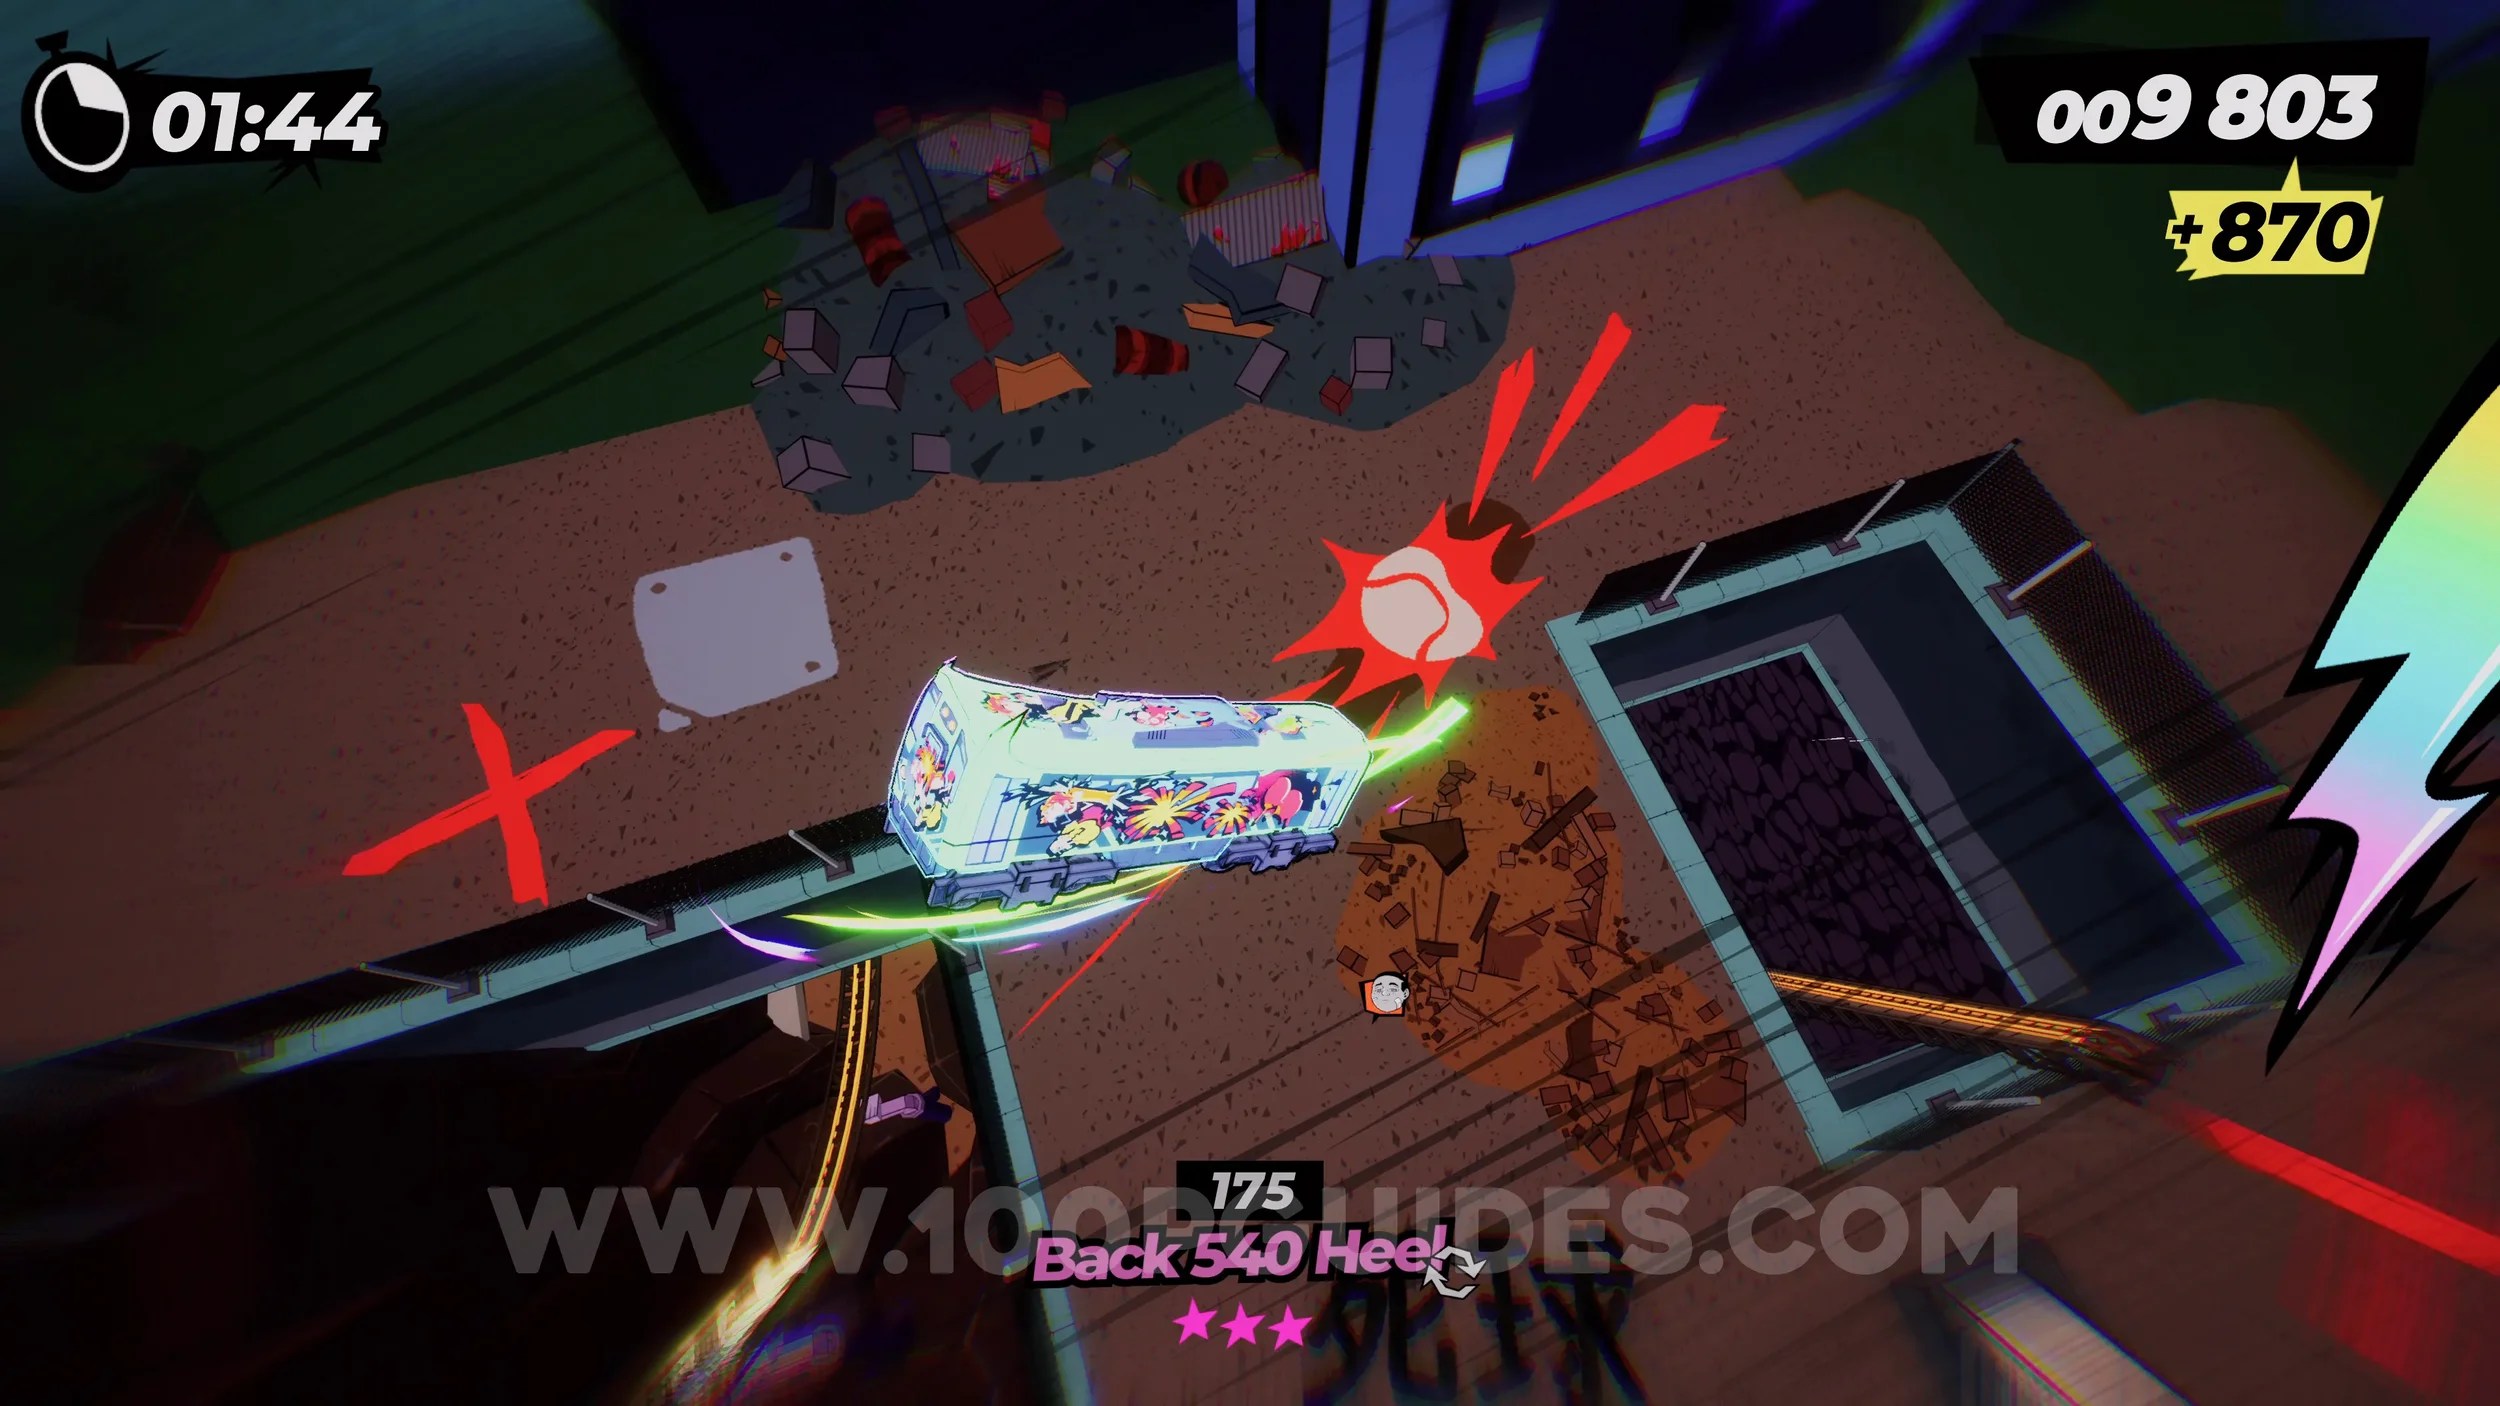
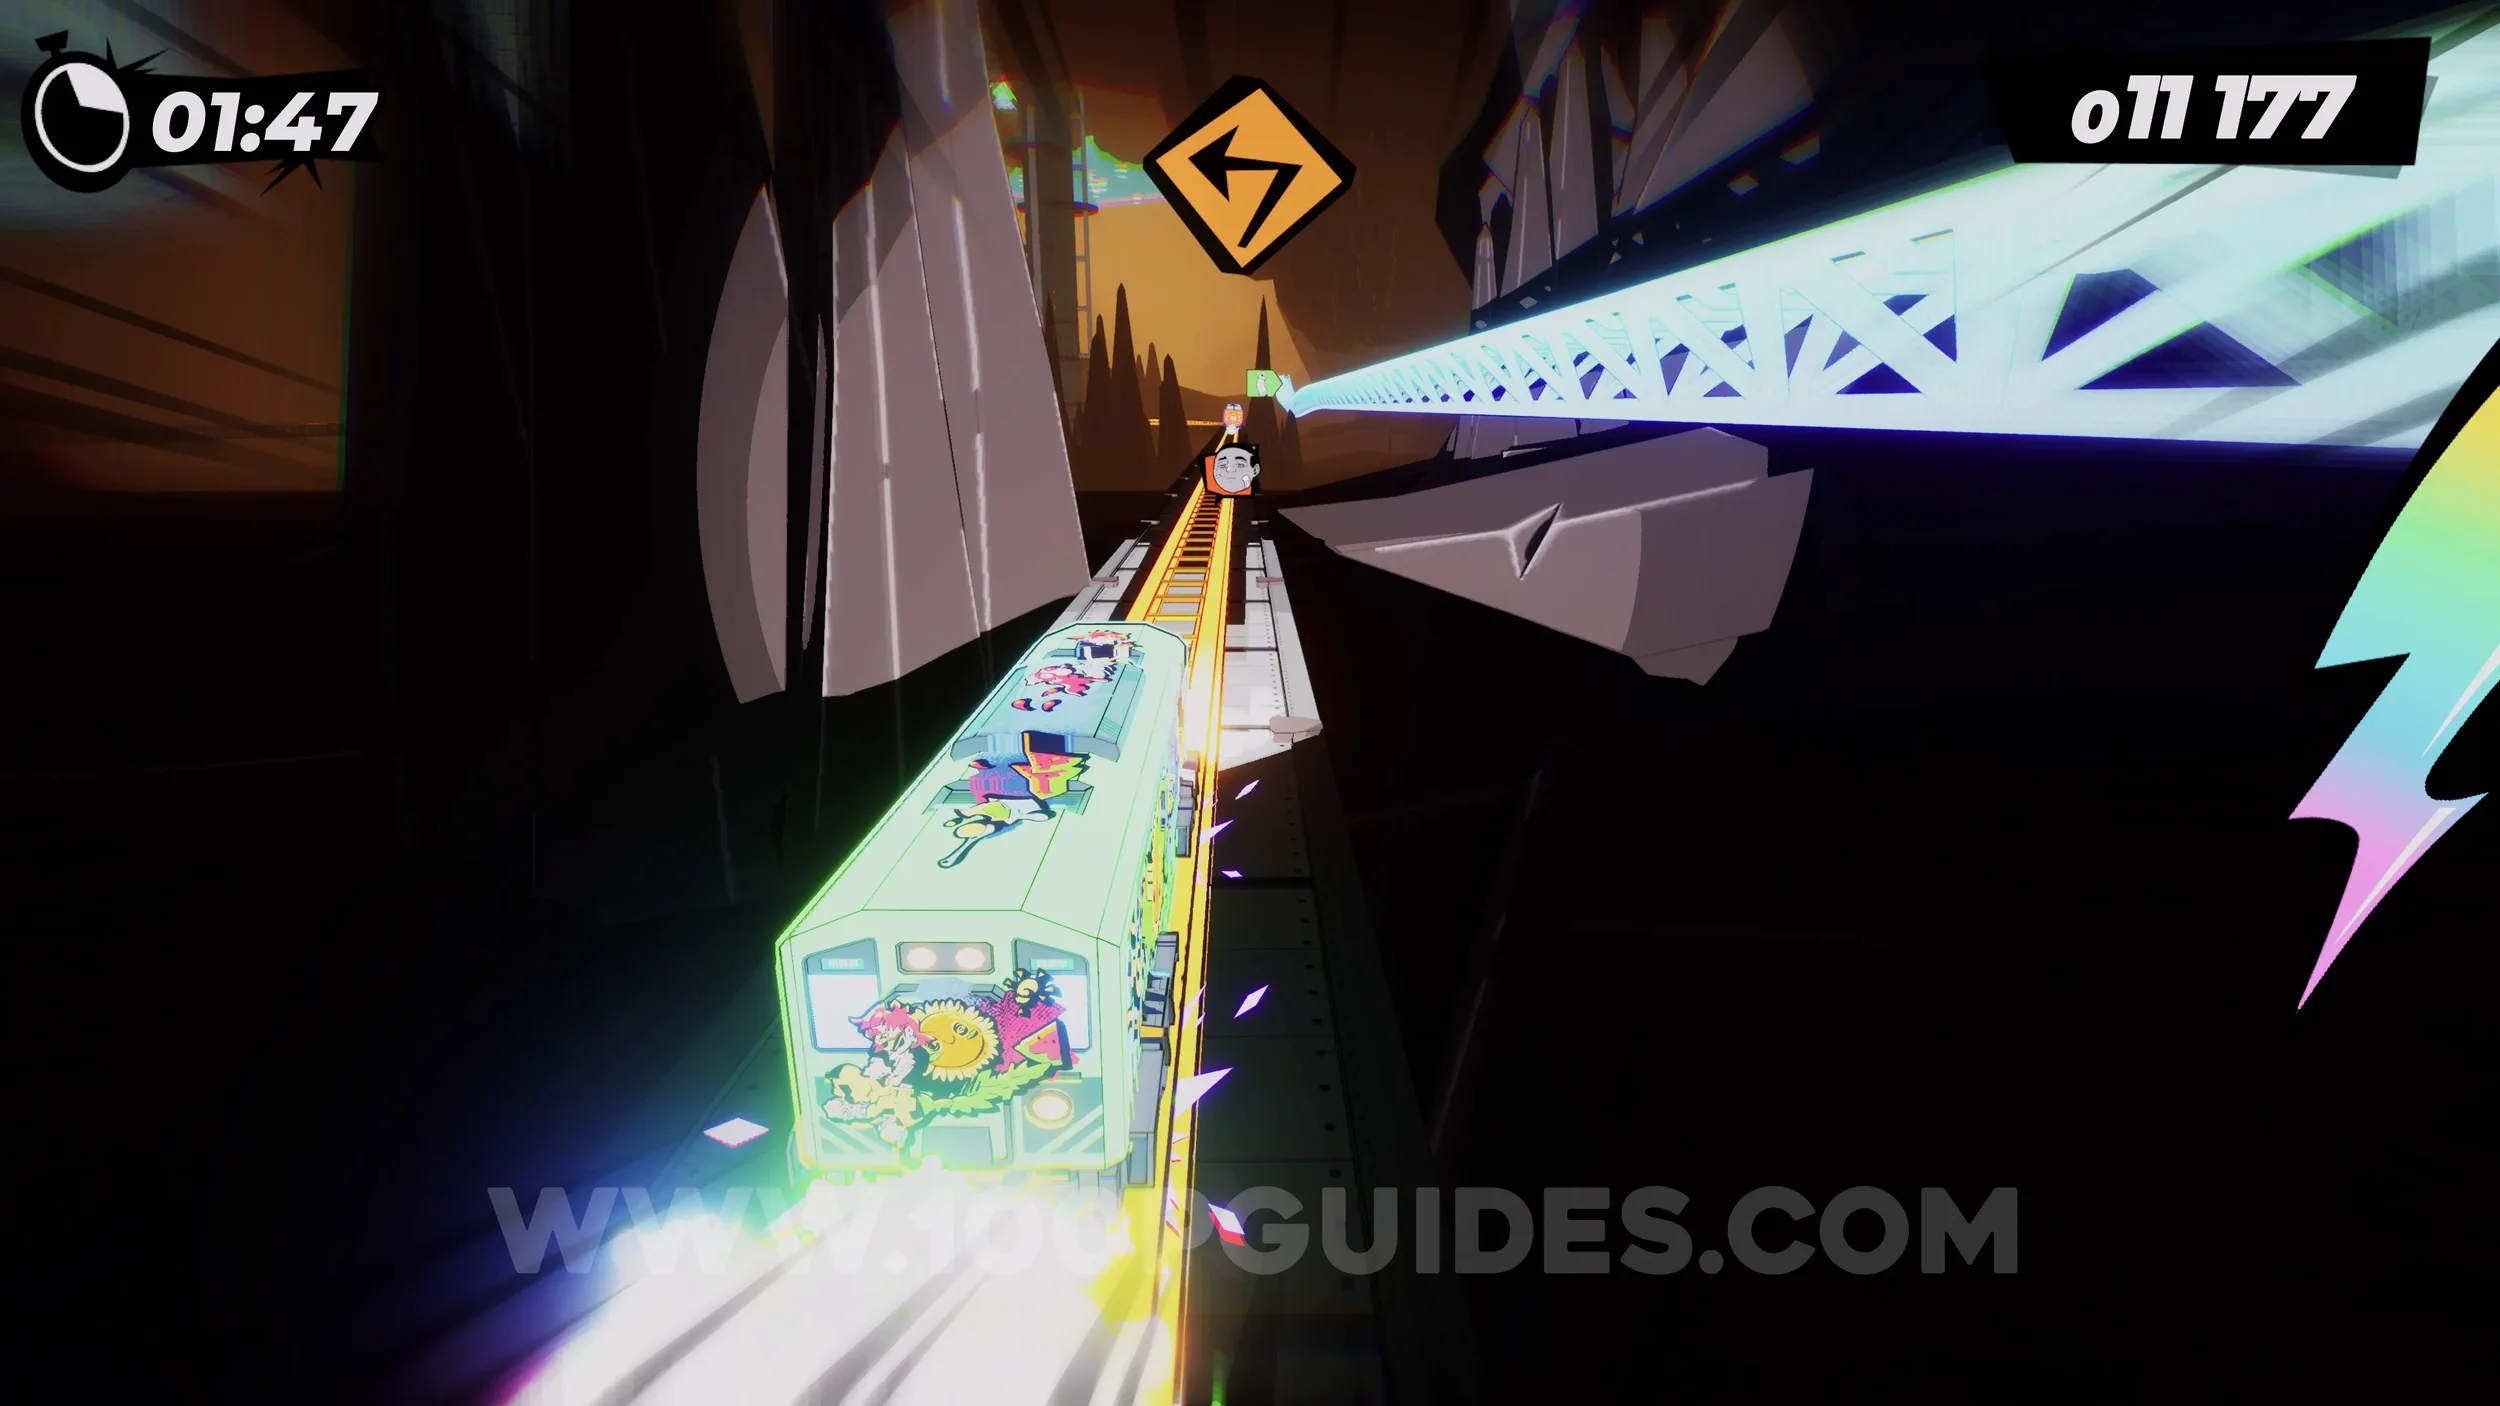
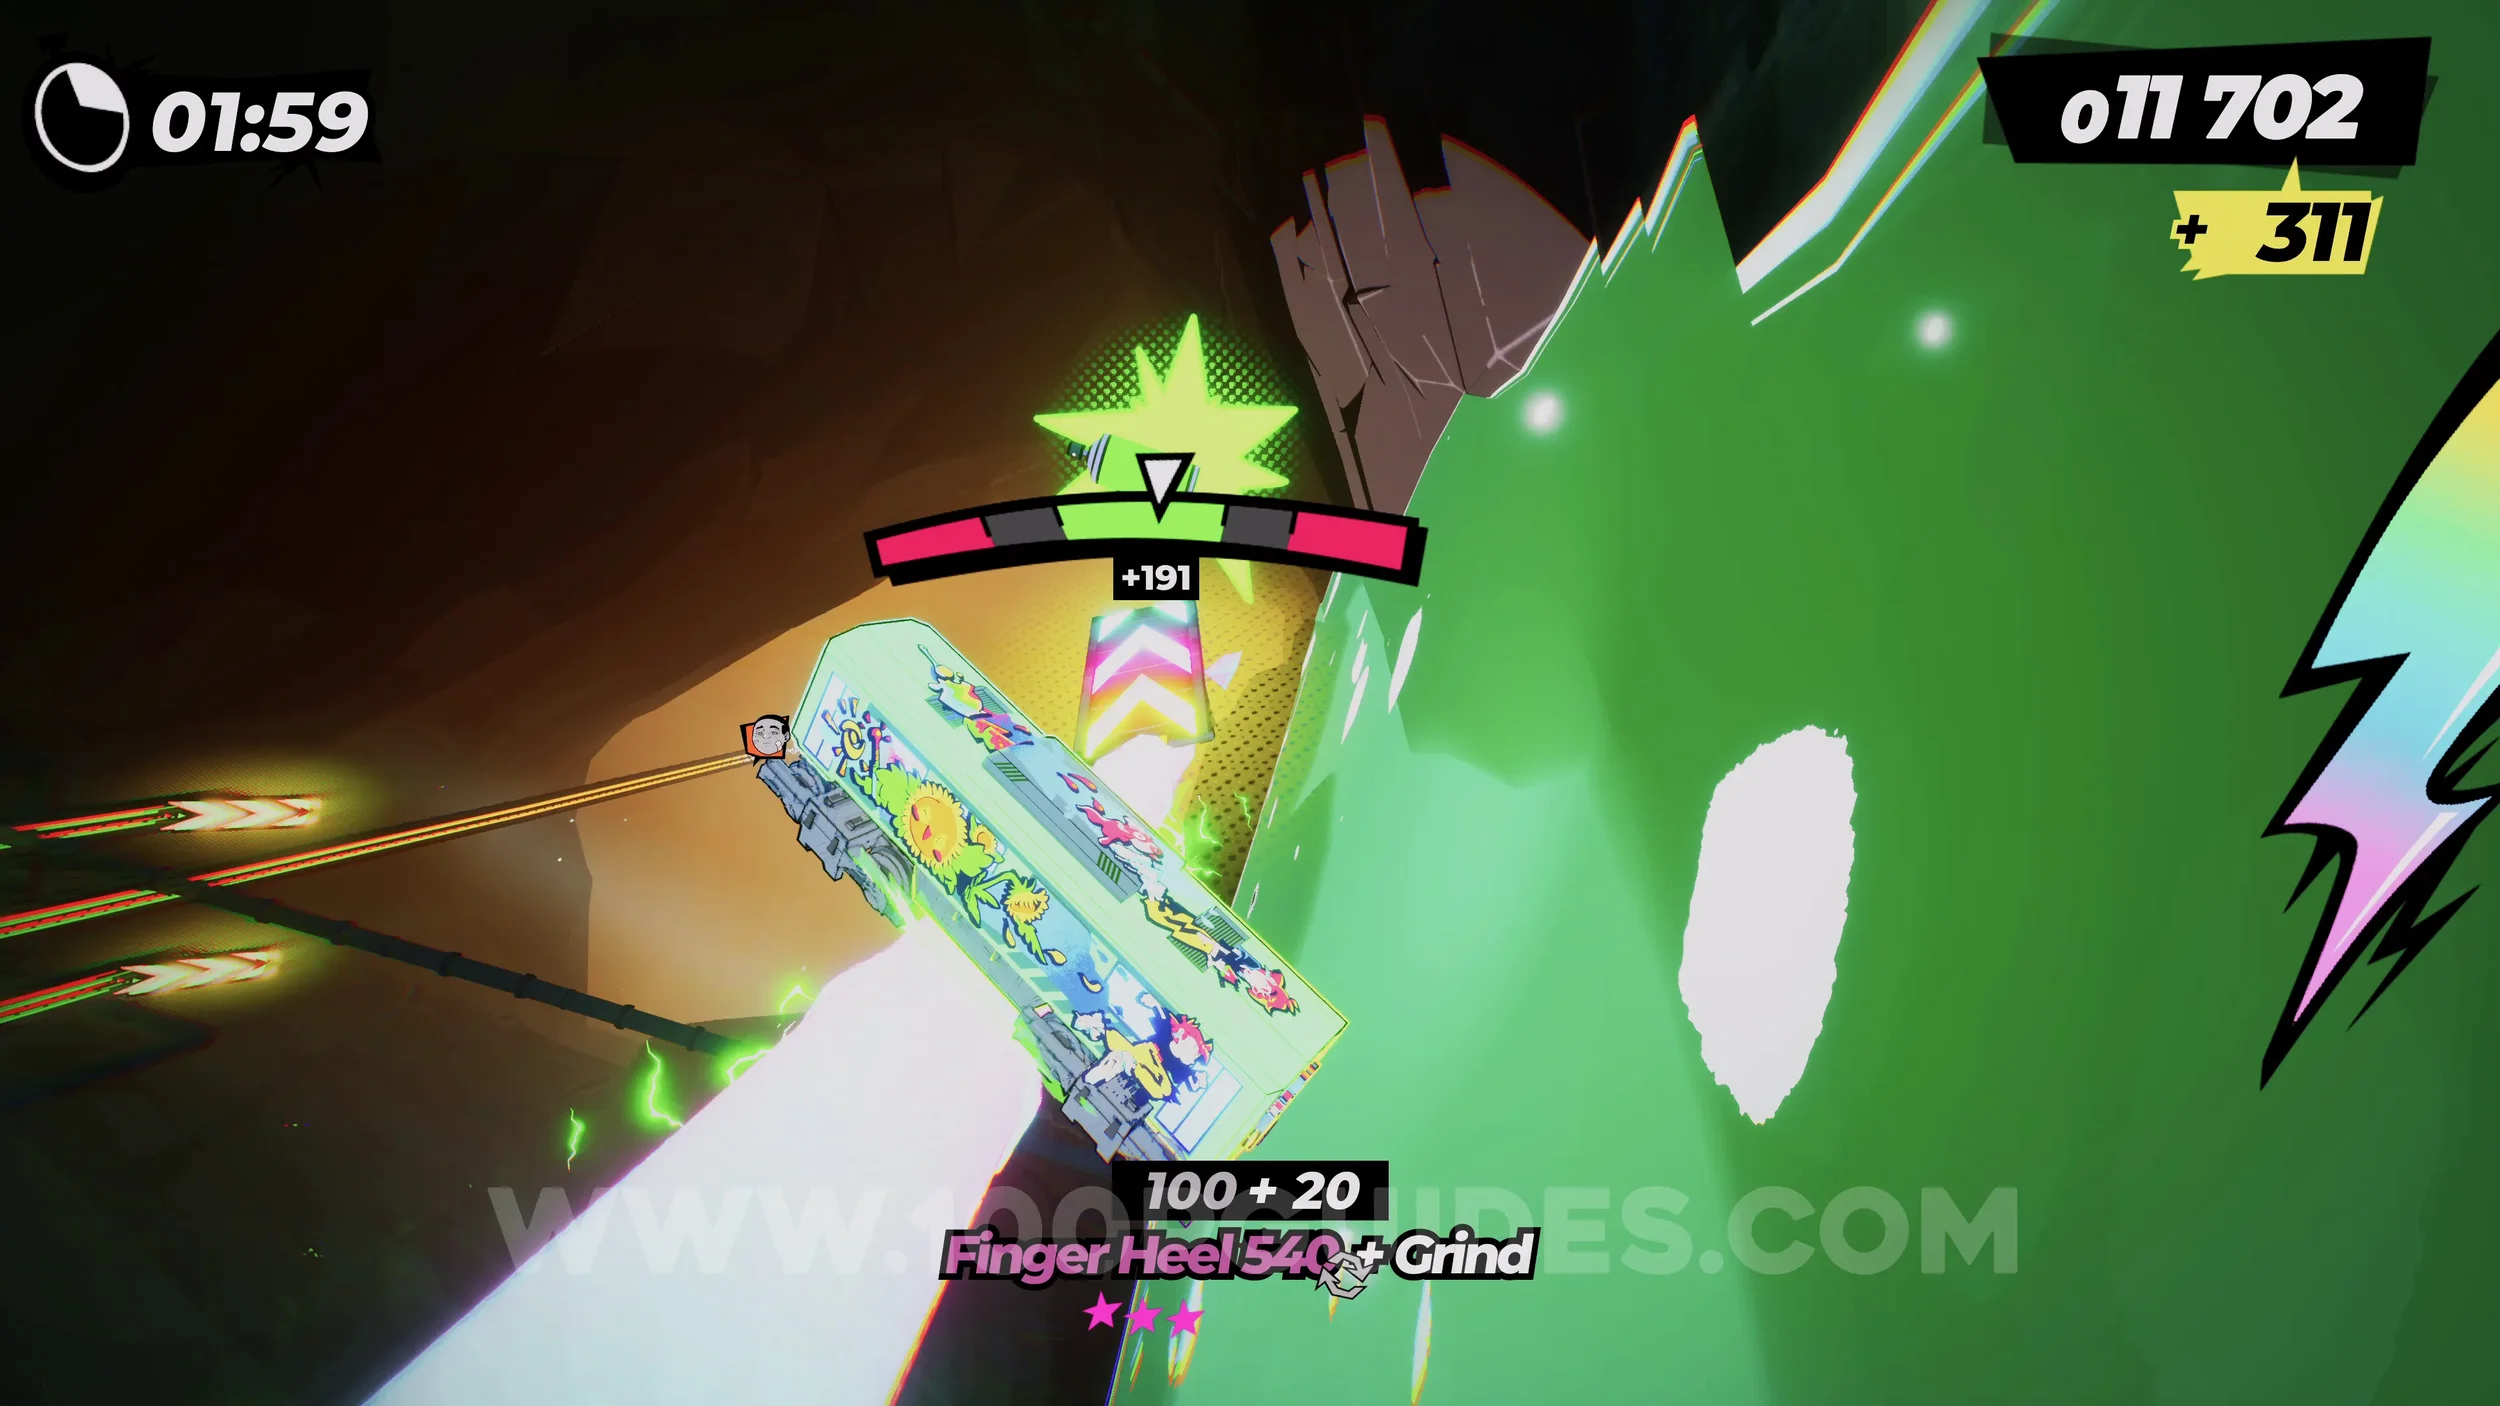
Spray Can (4/4). Just after the previous spray can, you will get to an area in the cave with water spouts coming from below with multiple grind rails. Here, stick to the right rail to get the spray can.
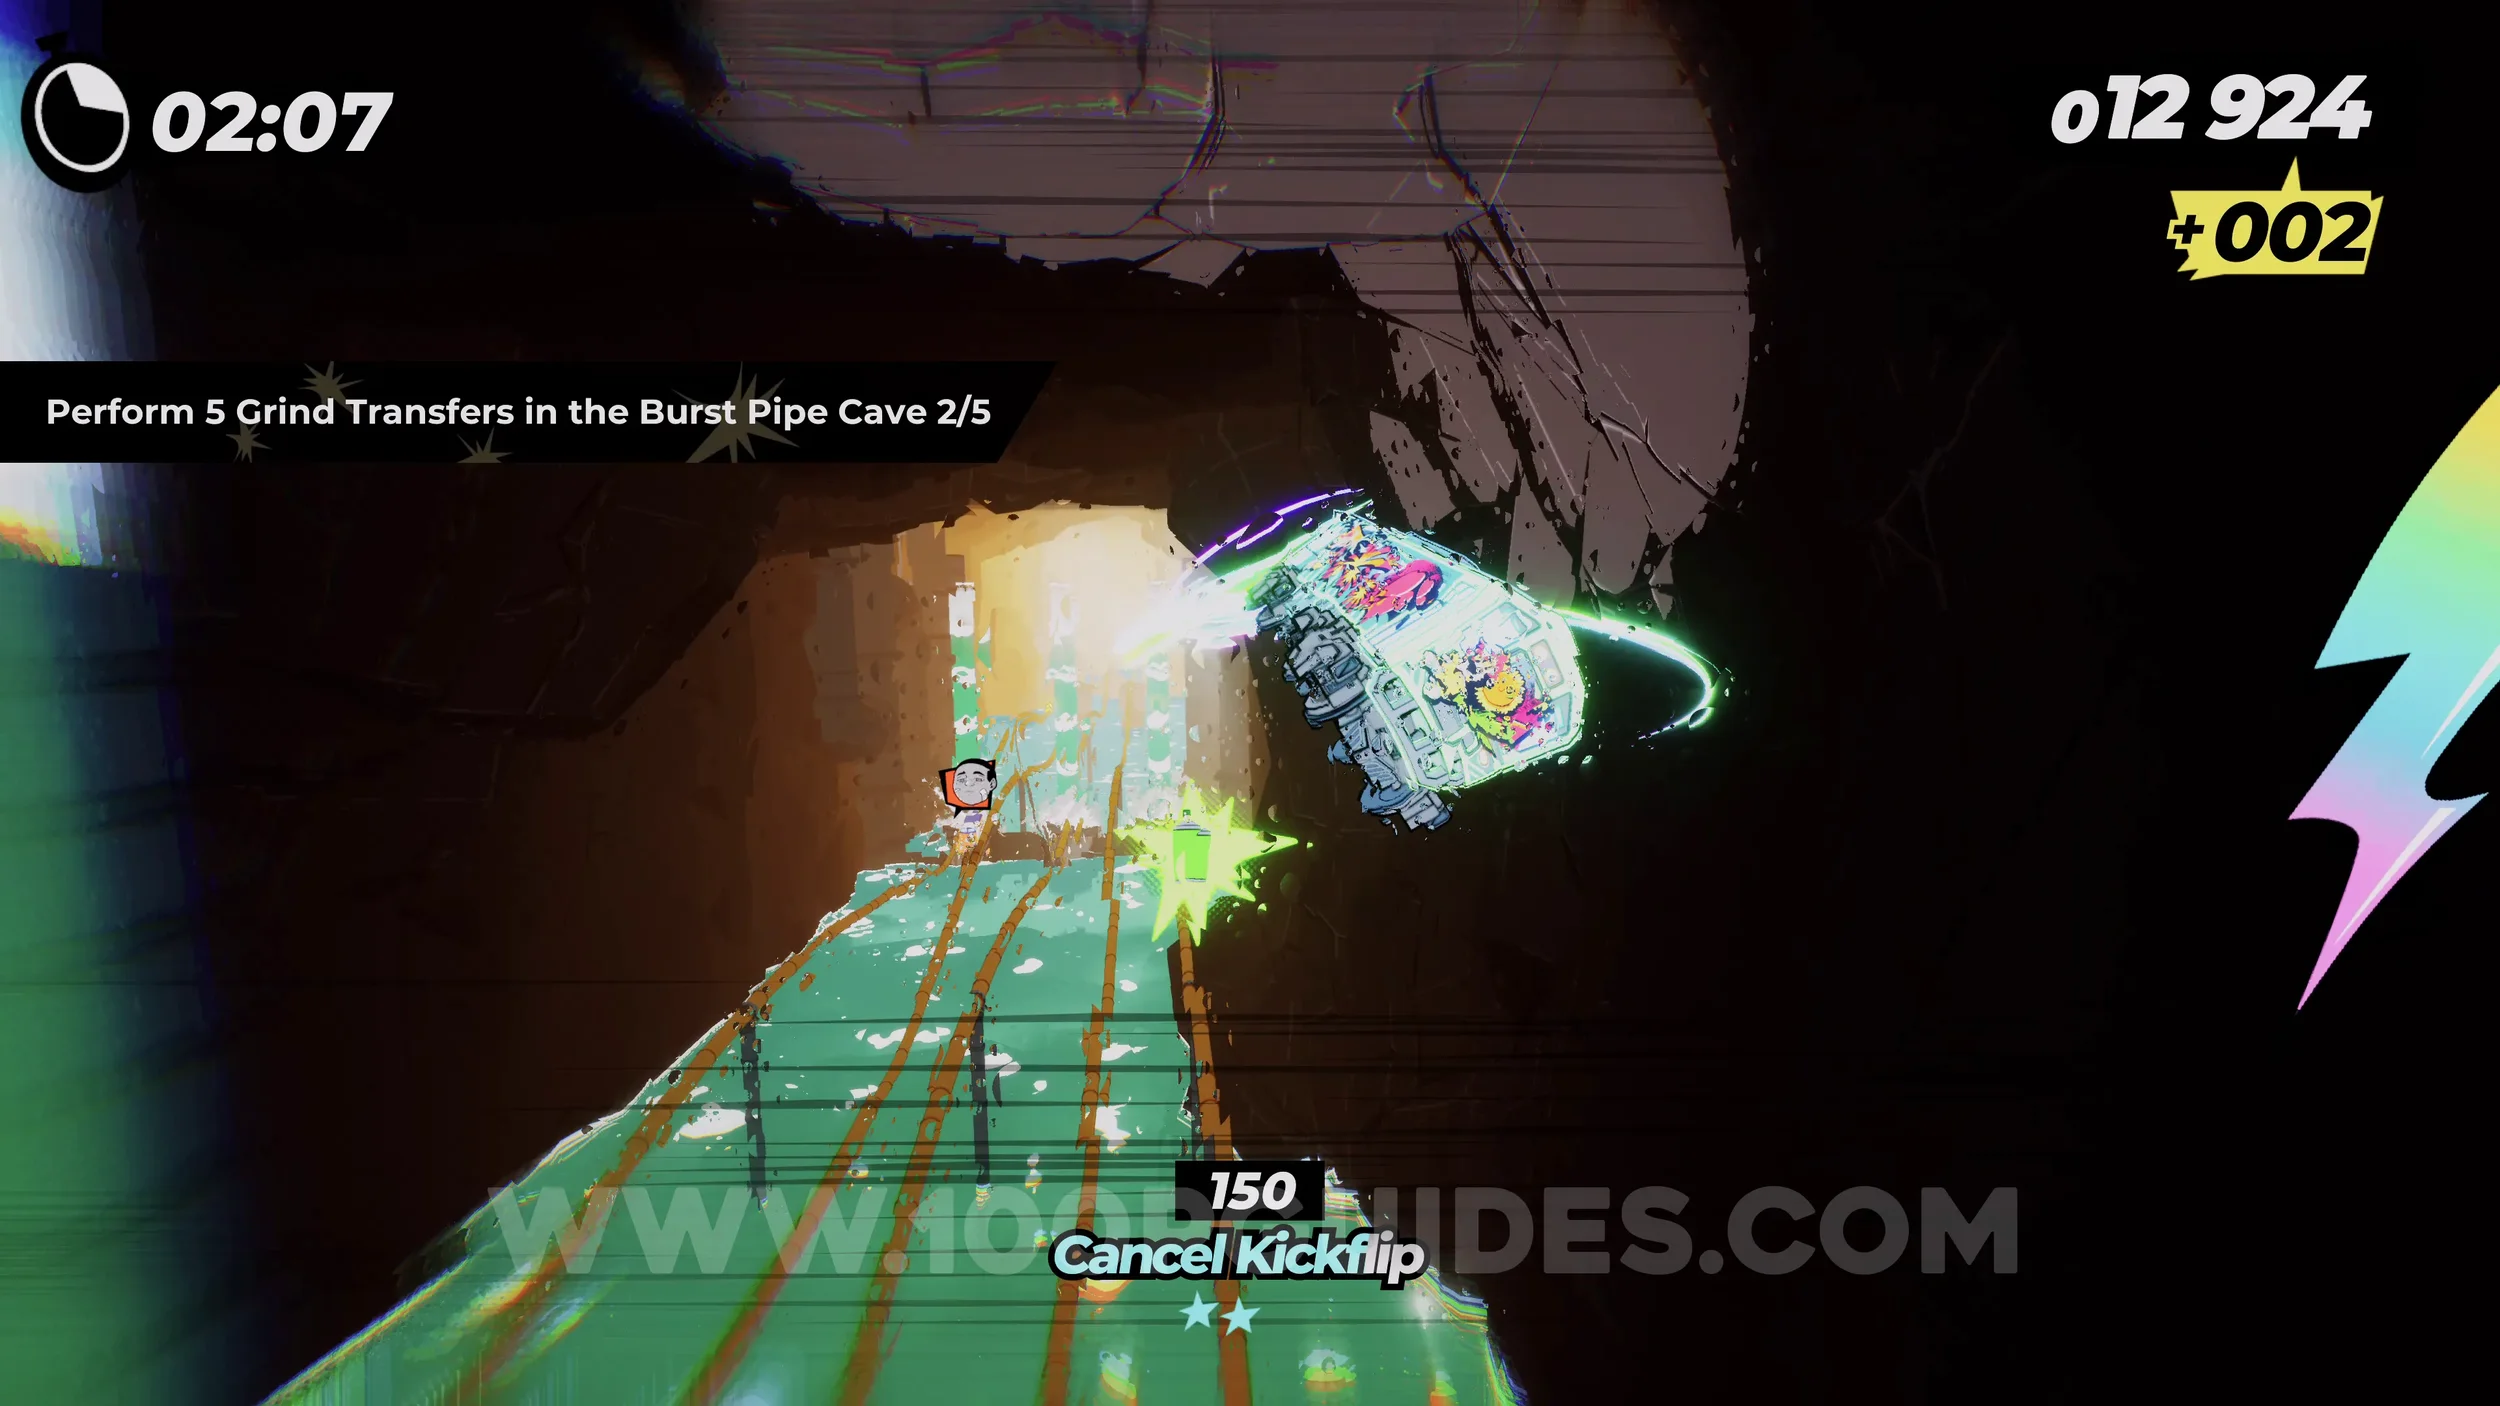
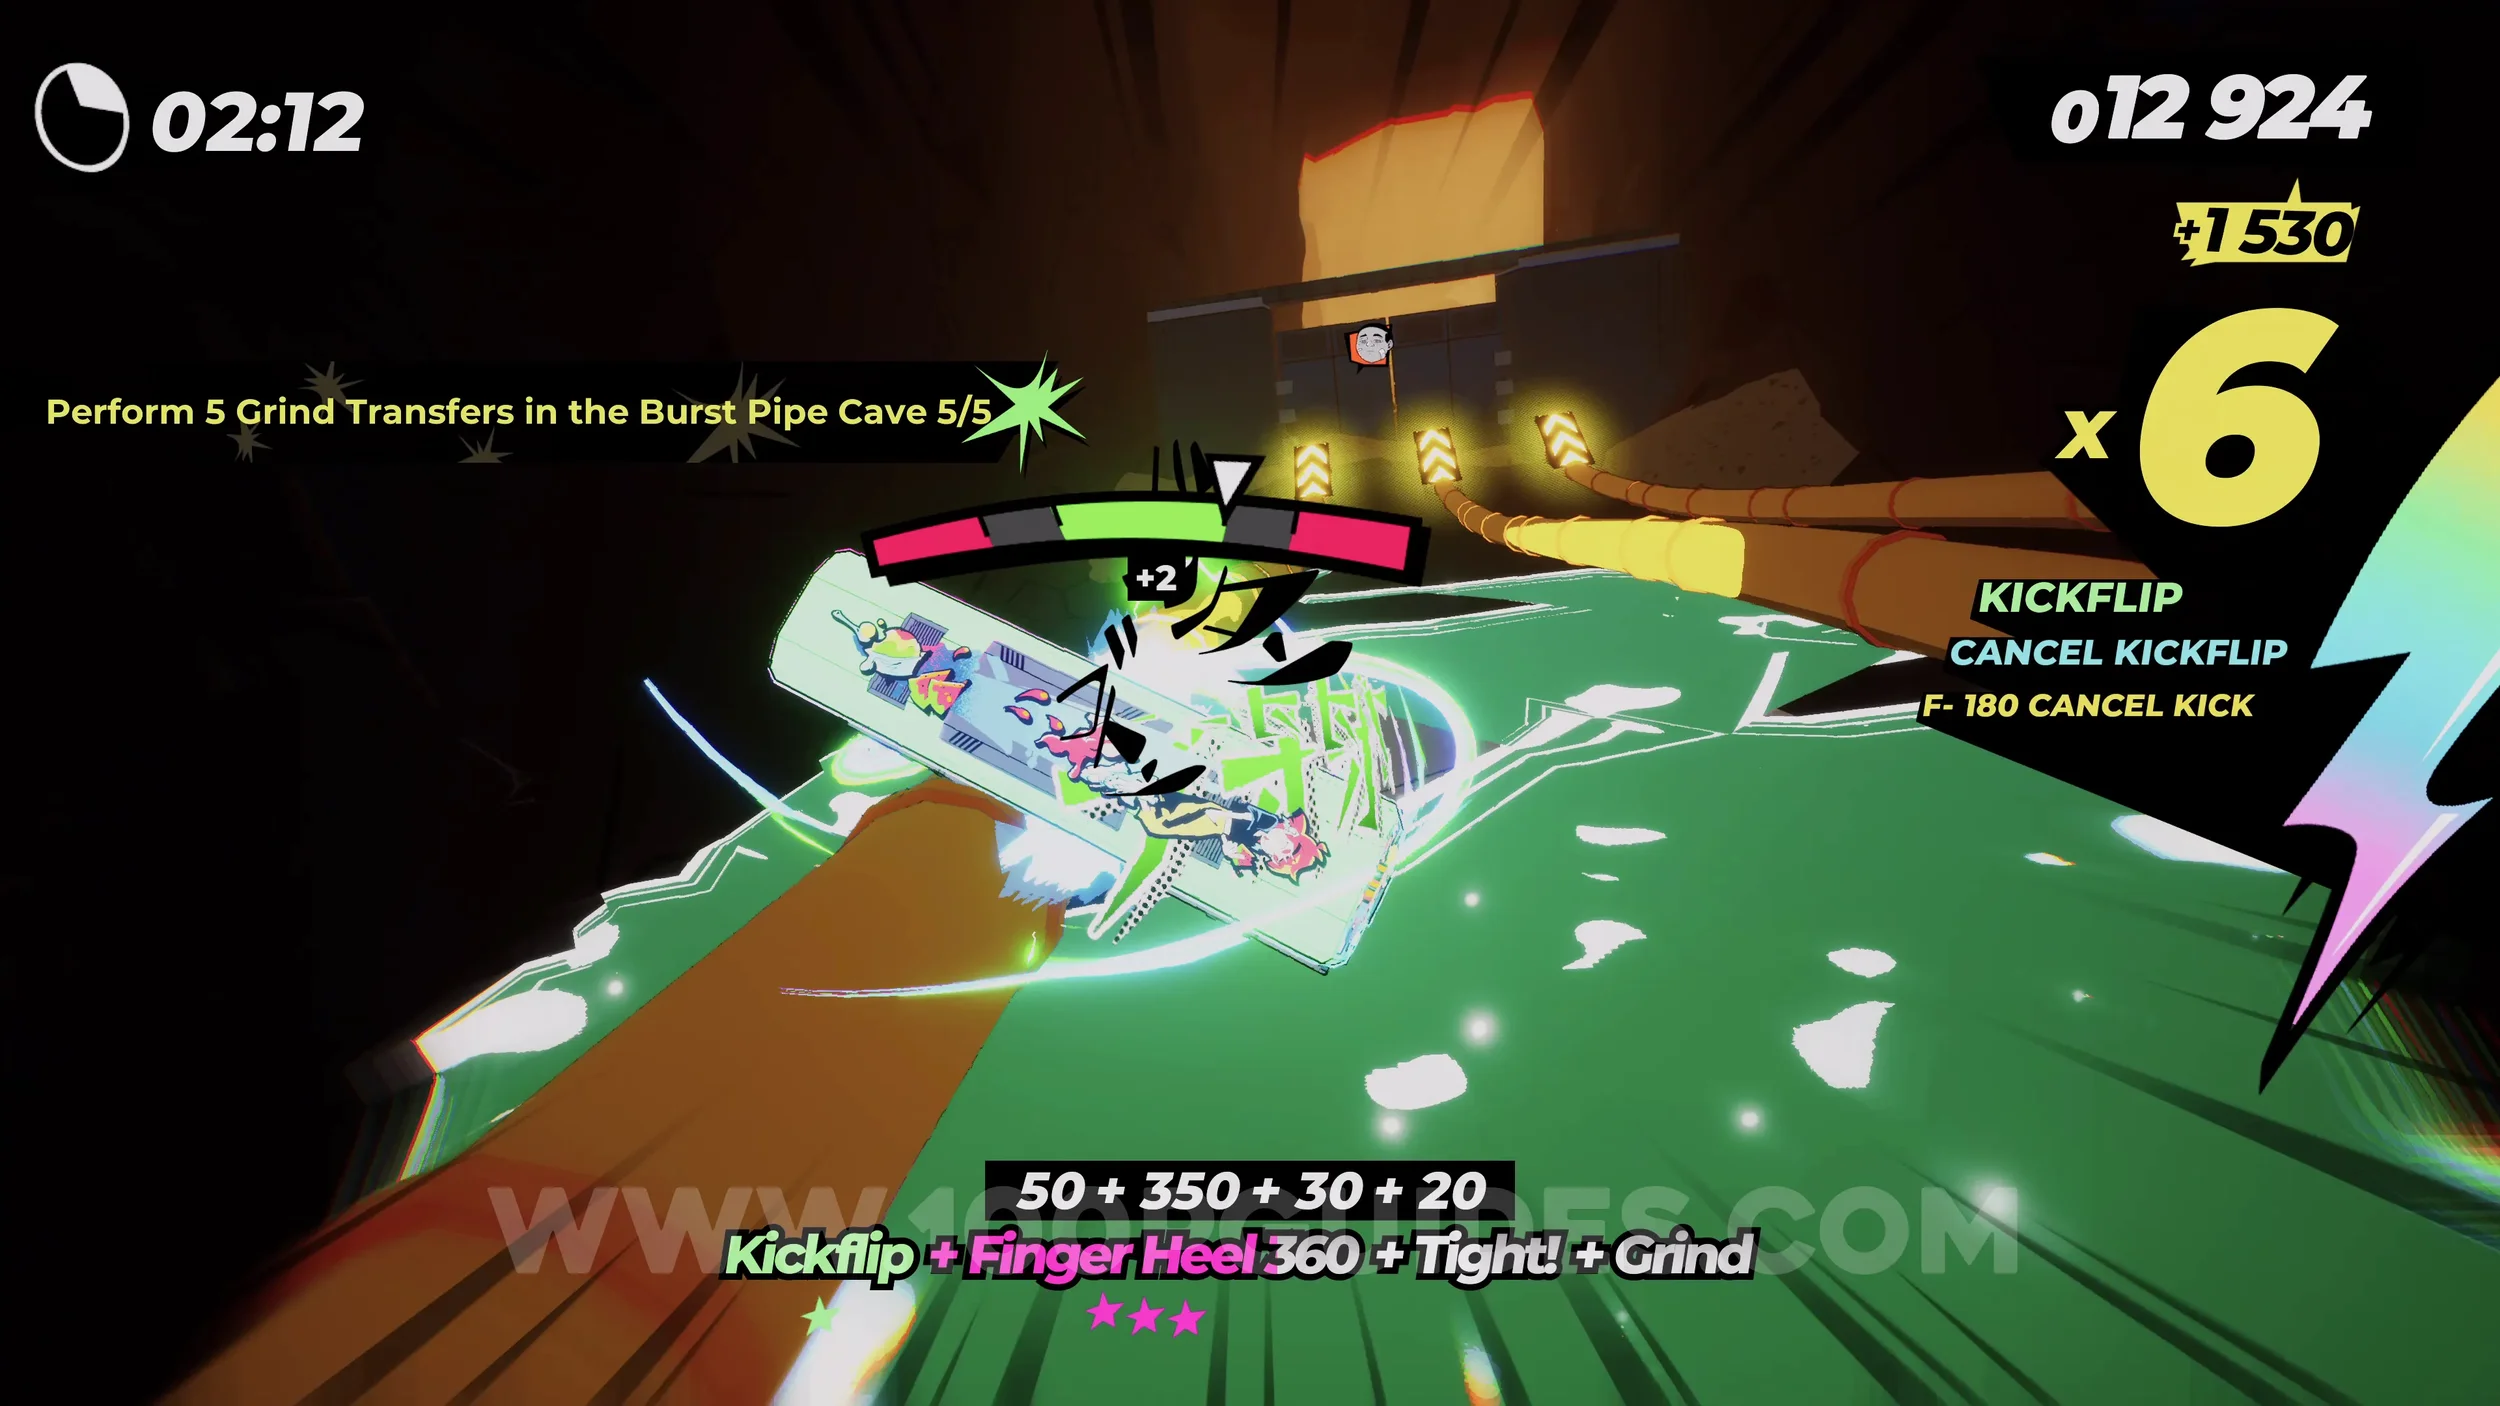
Dare: Perform 5 Grind Transfers in the Burst Pipe Cave. Just jump from one rail to another five times in the area with the water spouts (same place as you picked up the previous can).
Dare: Panic During the Big Reveal. Immediately after the water spouts area, you will spiral up through a cave room with a massive drill ascending in the middle. Wait until the horn symbol appears in the center of the screen, then press R3.
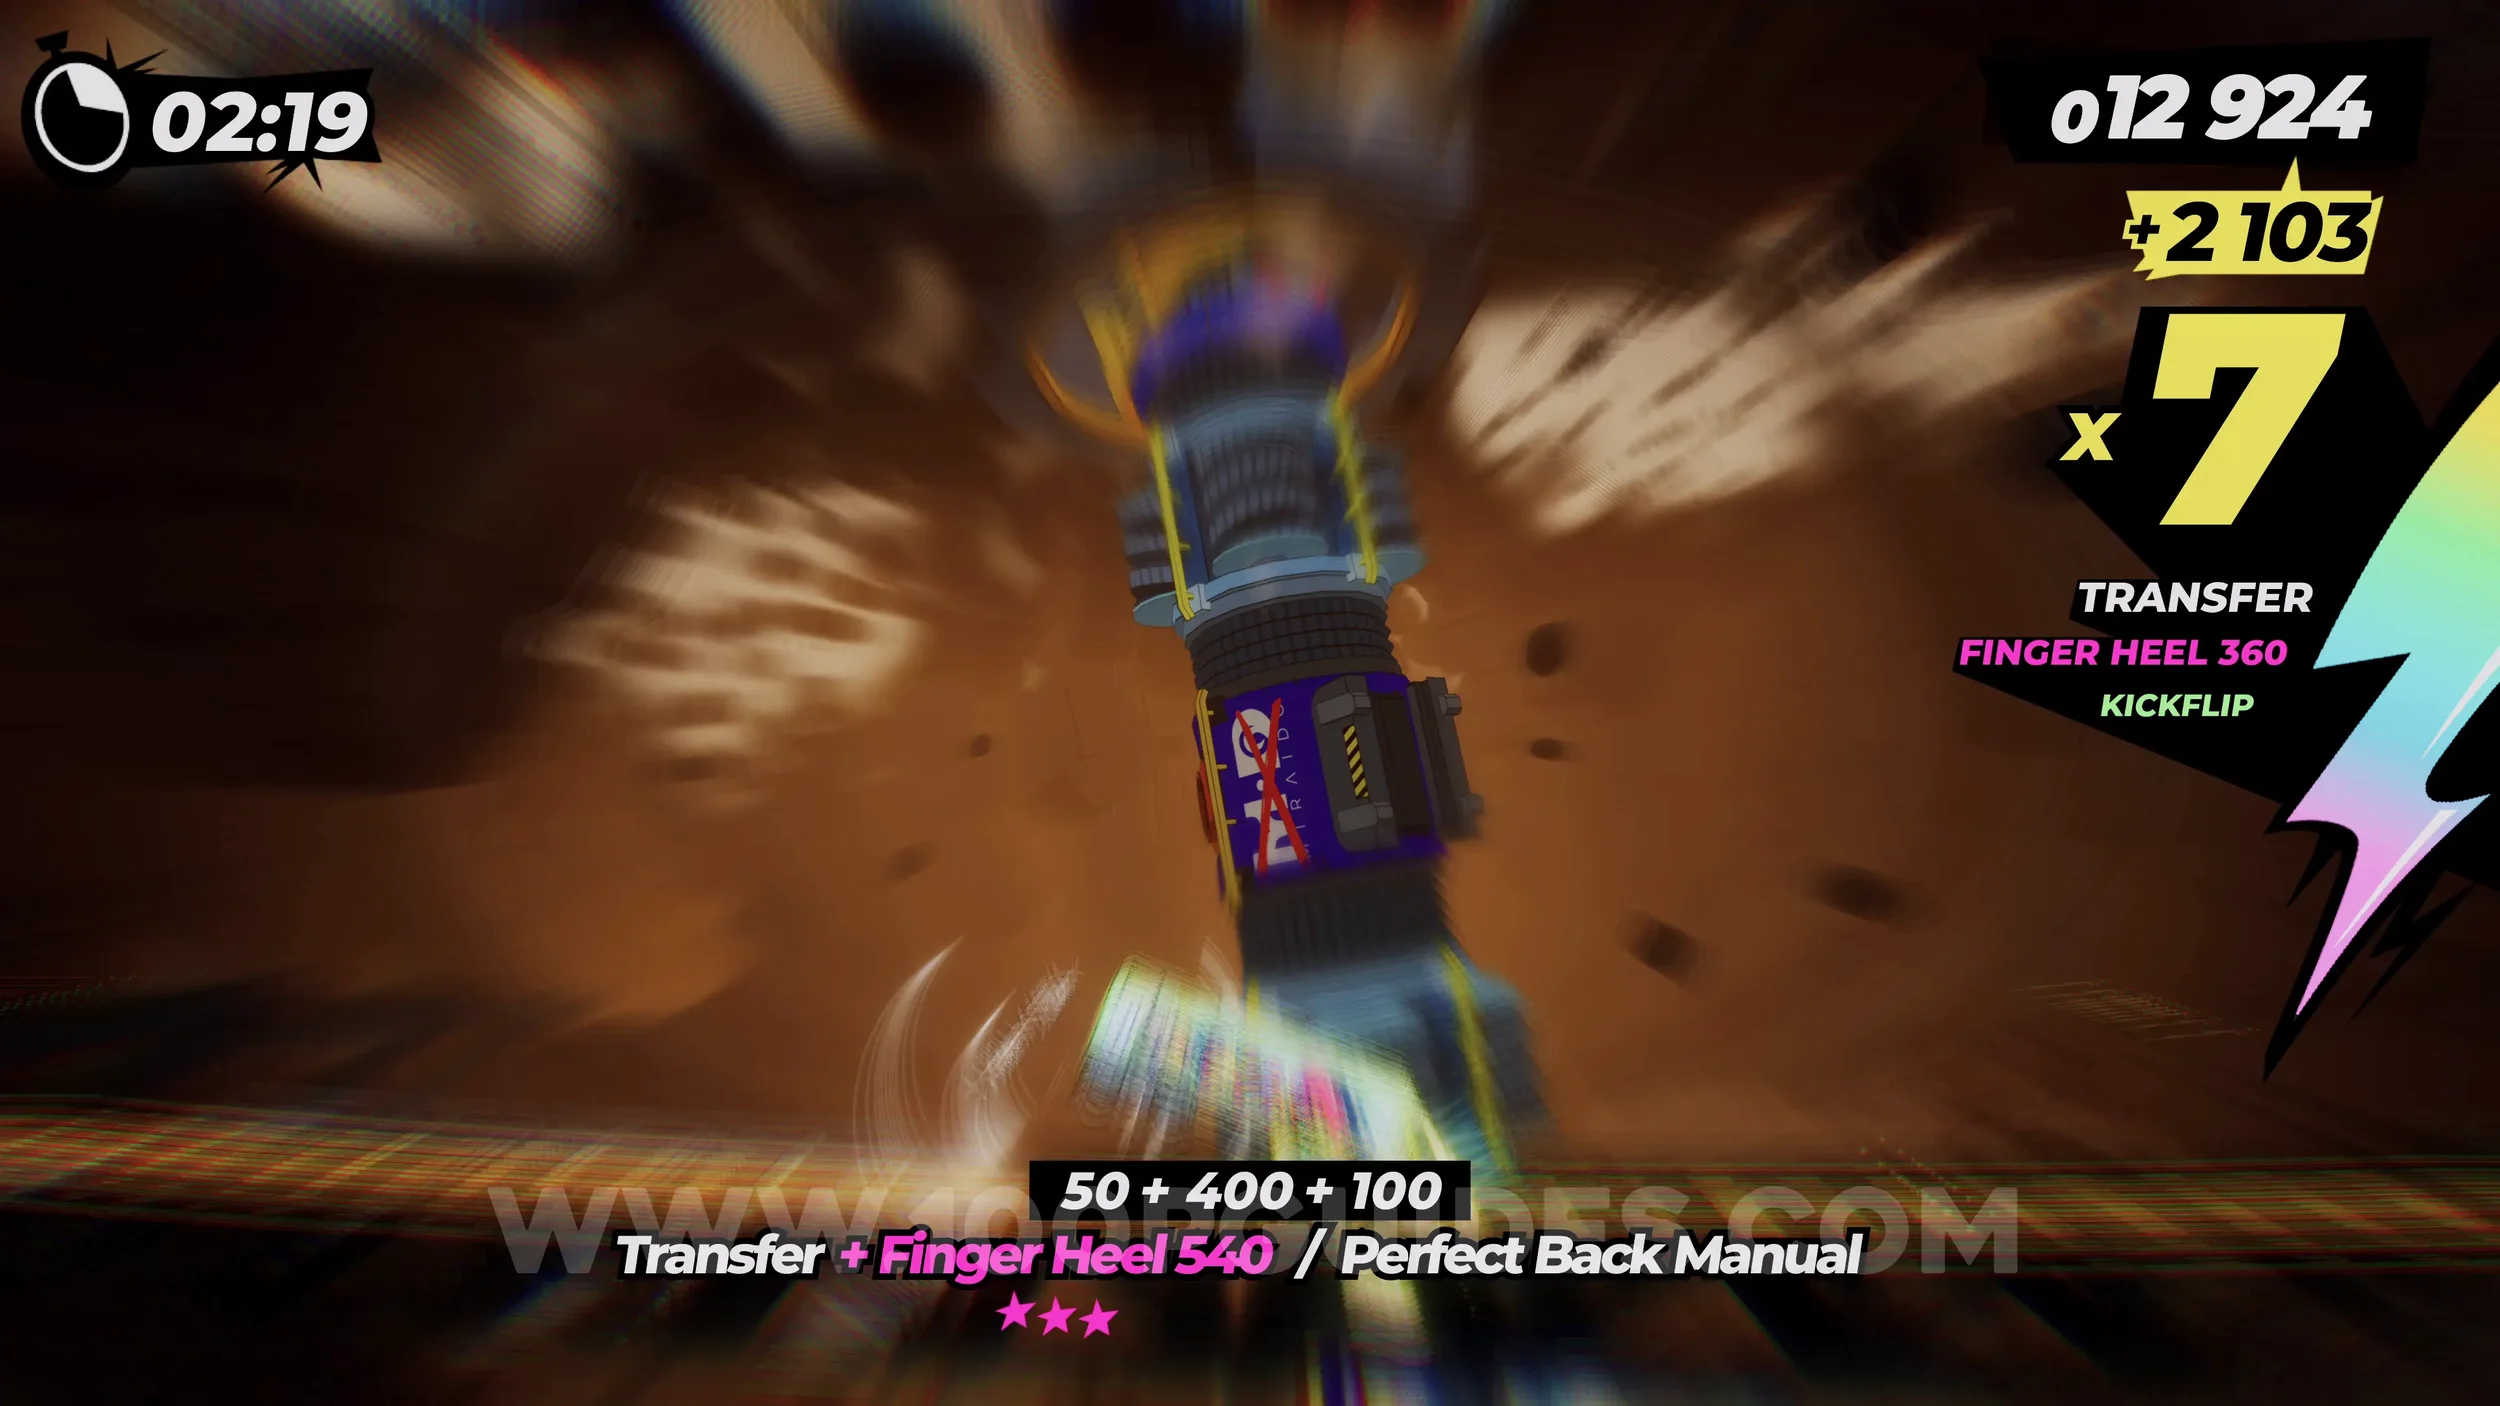
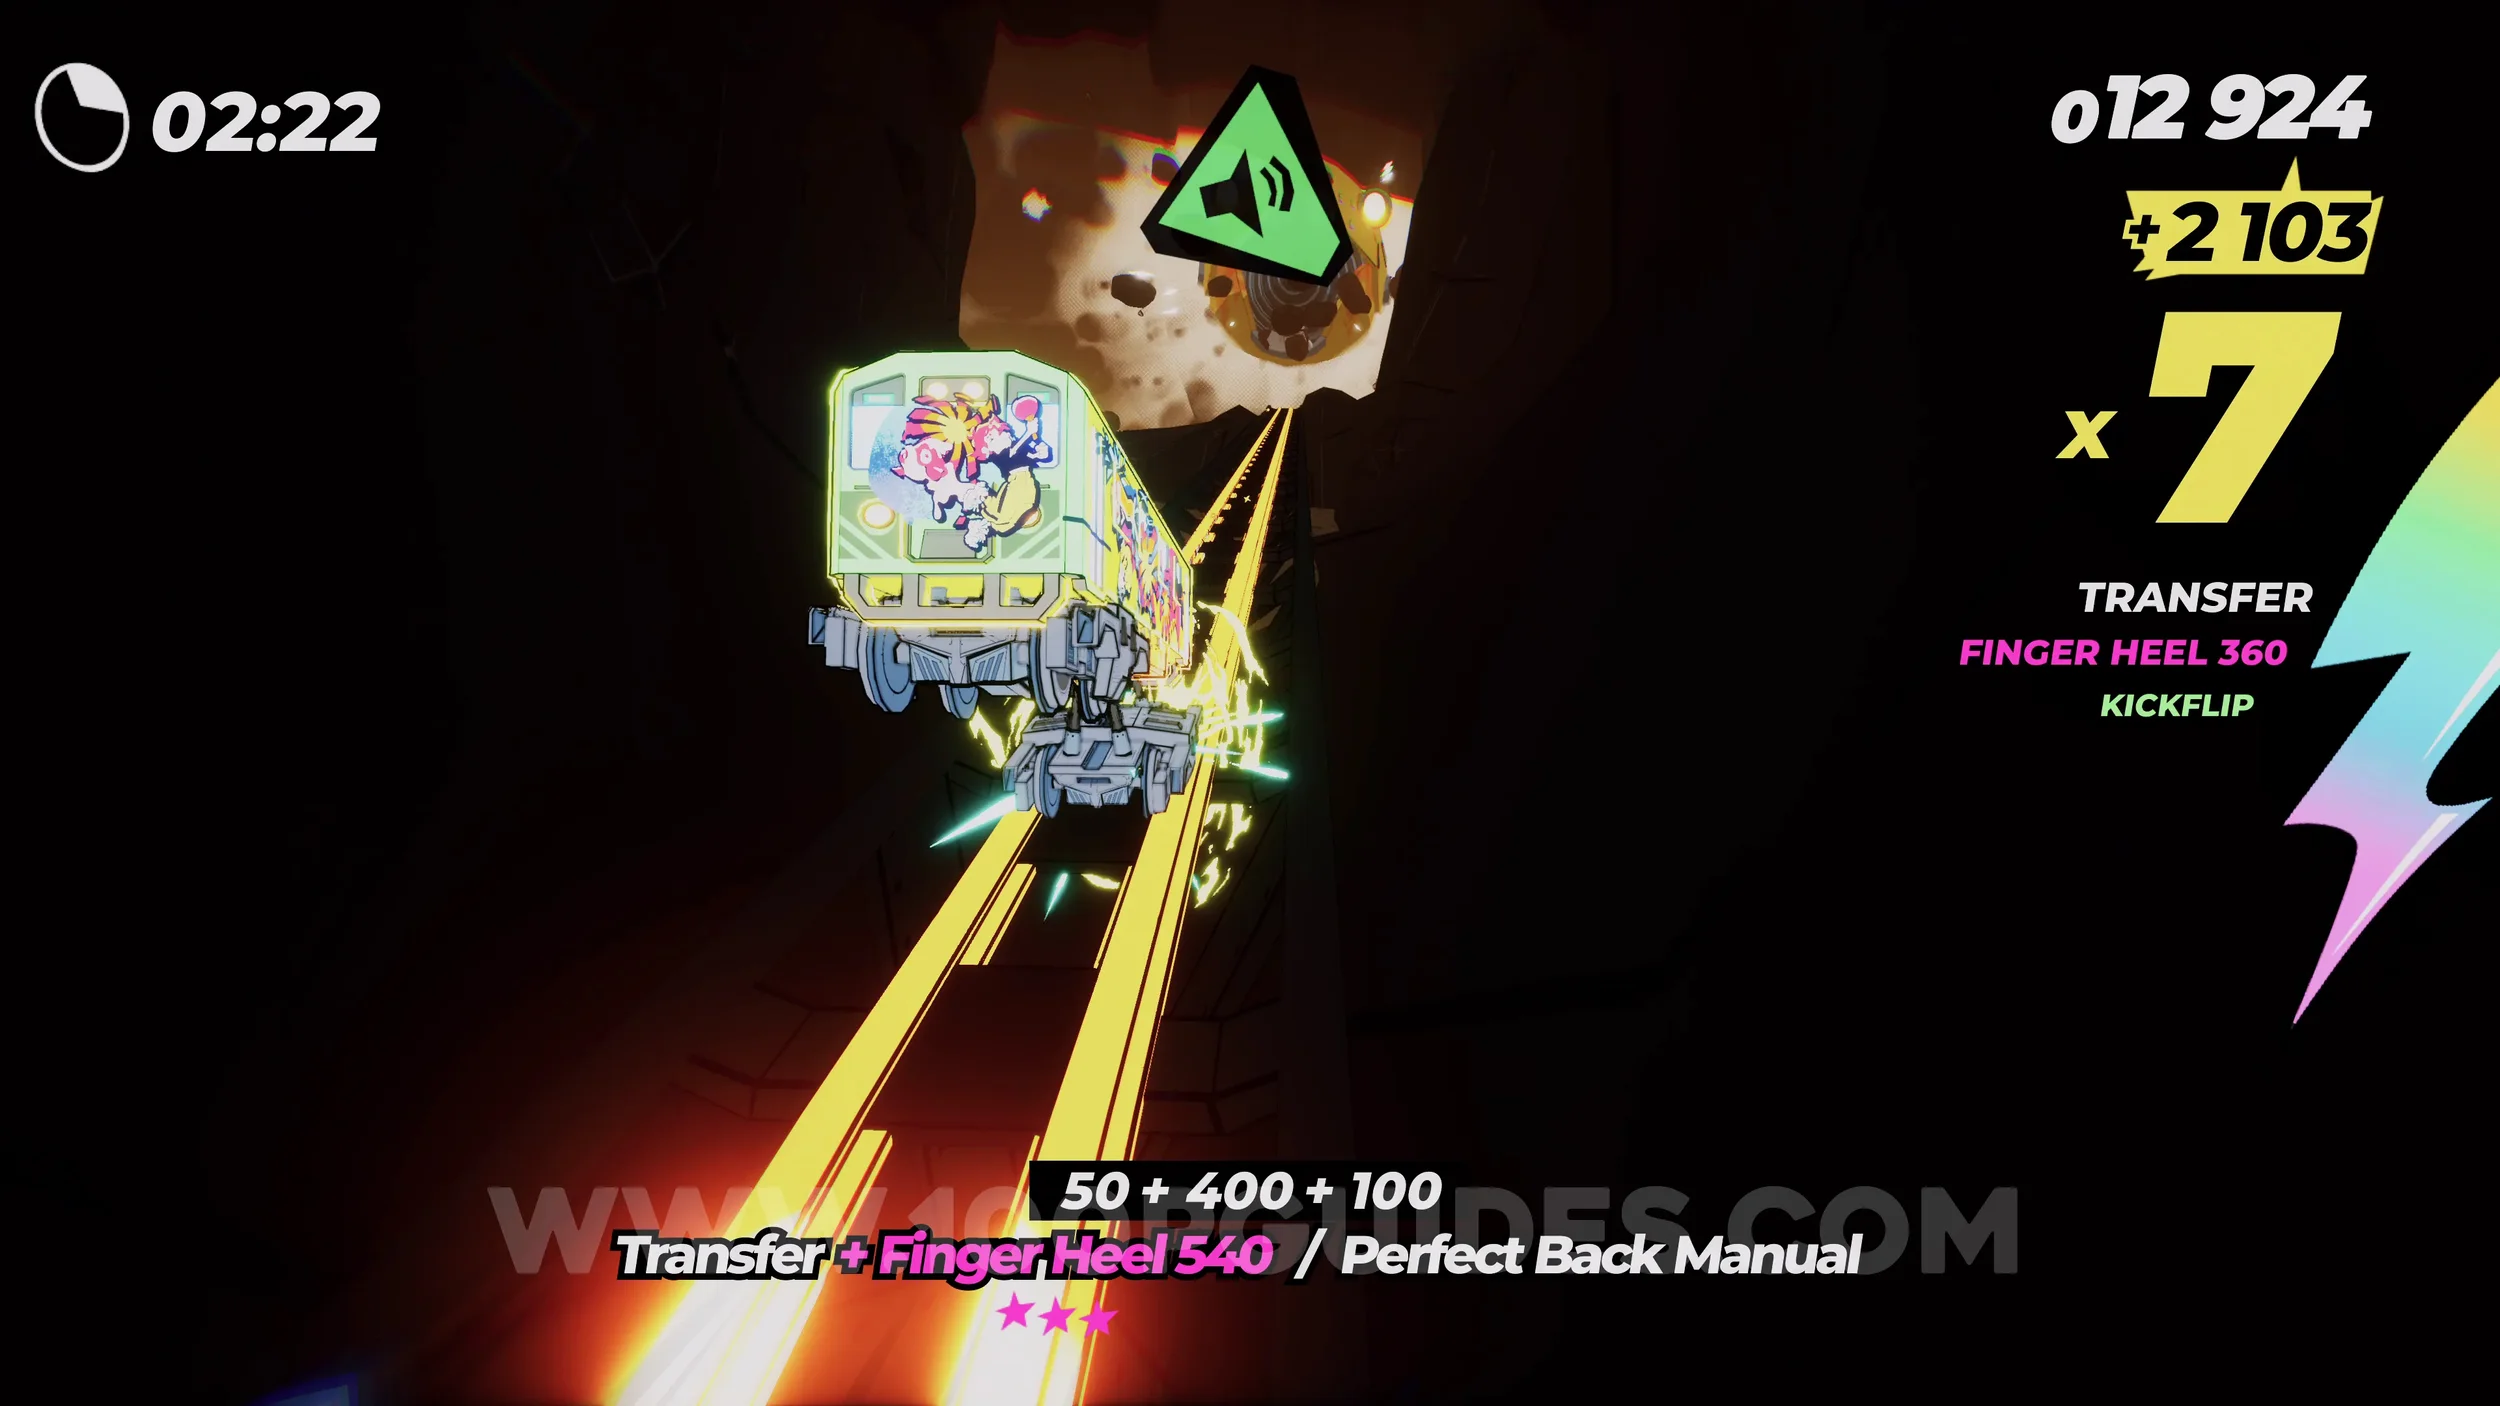
Film Roll (1/1). In plain sight in the large tunnel where you have to dodge the drills coming toward you.
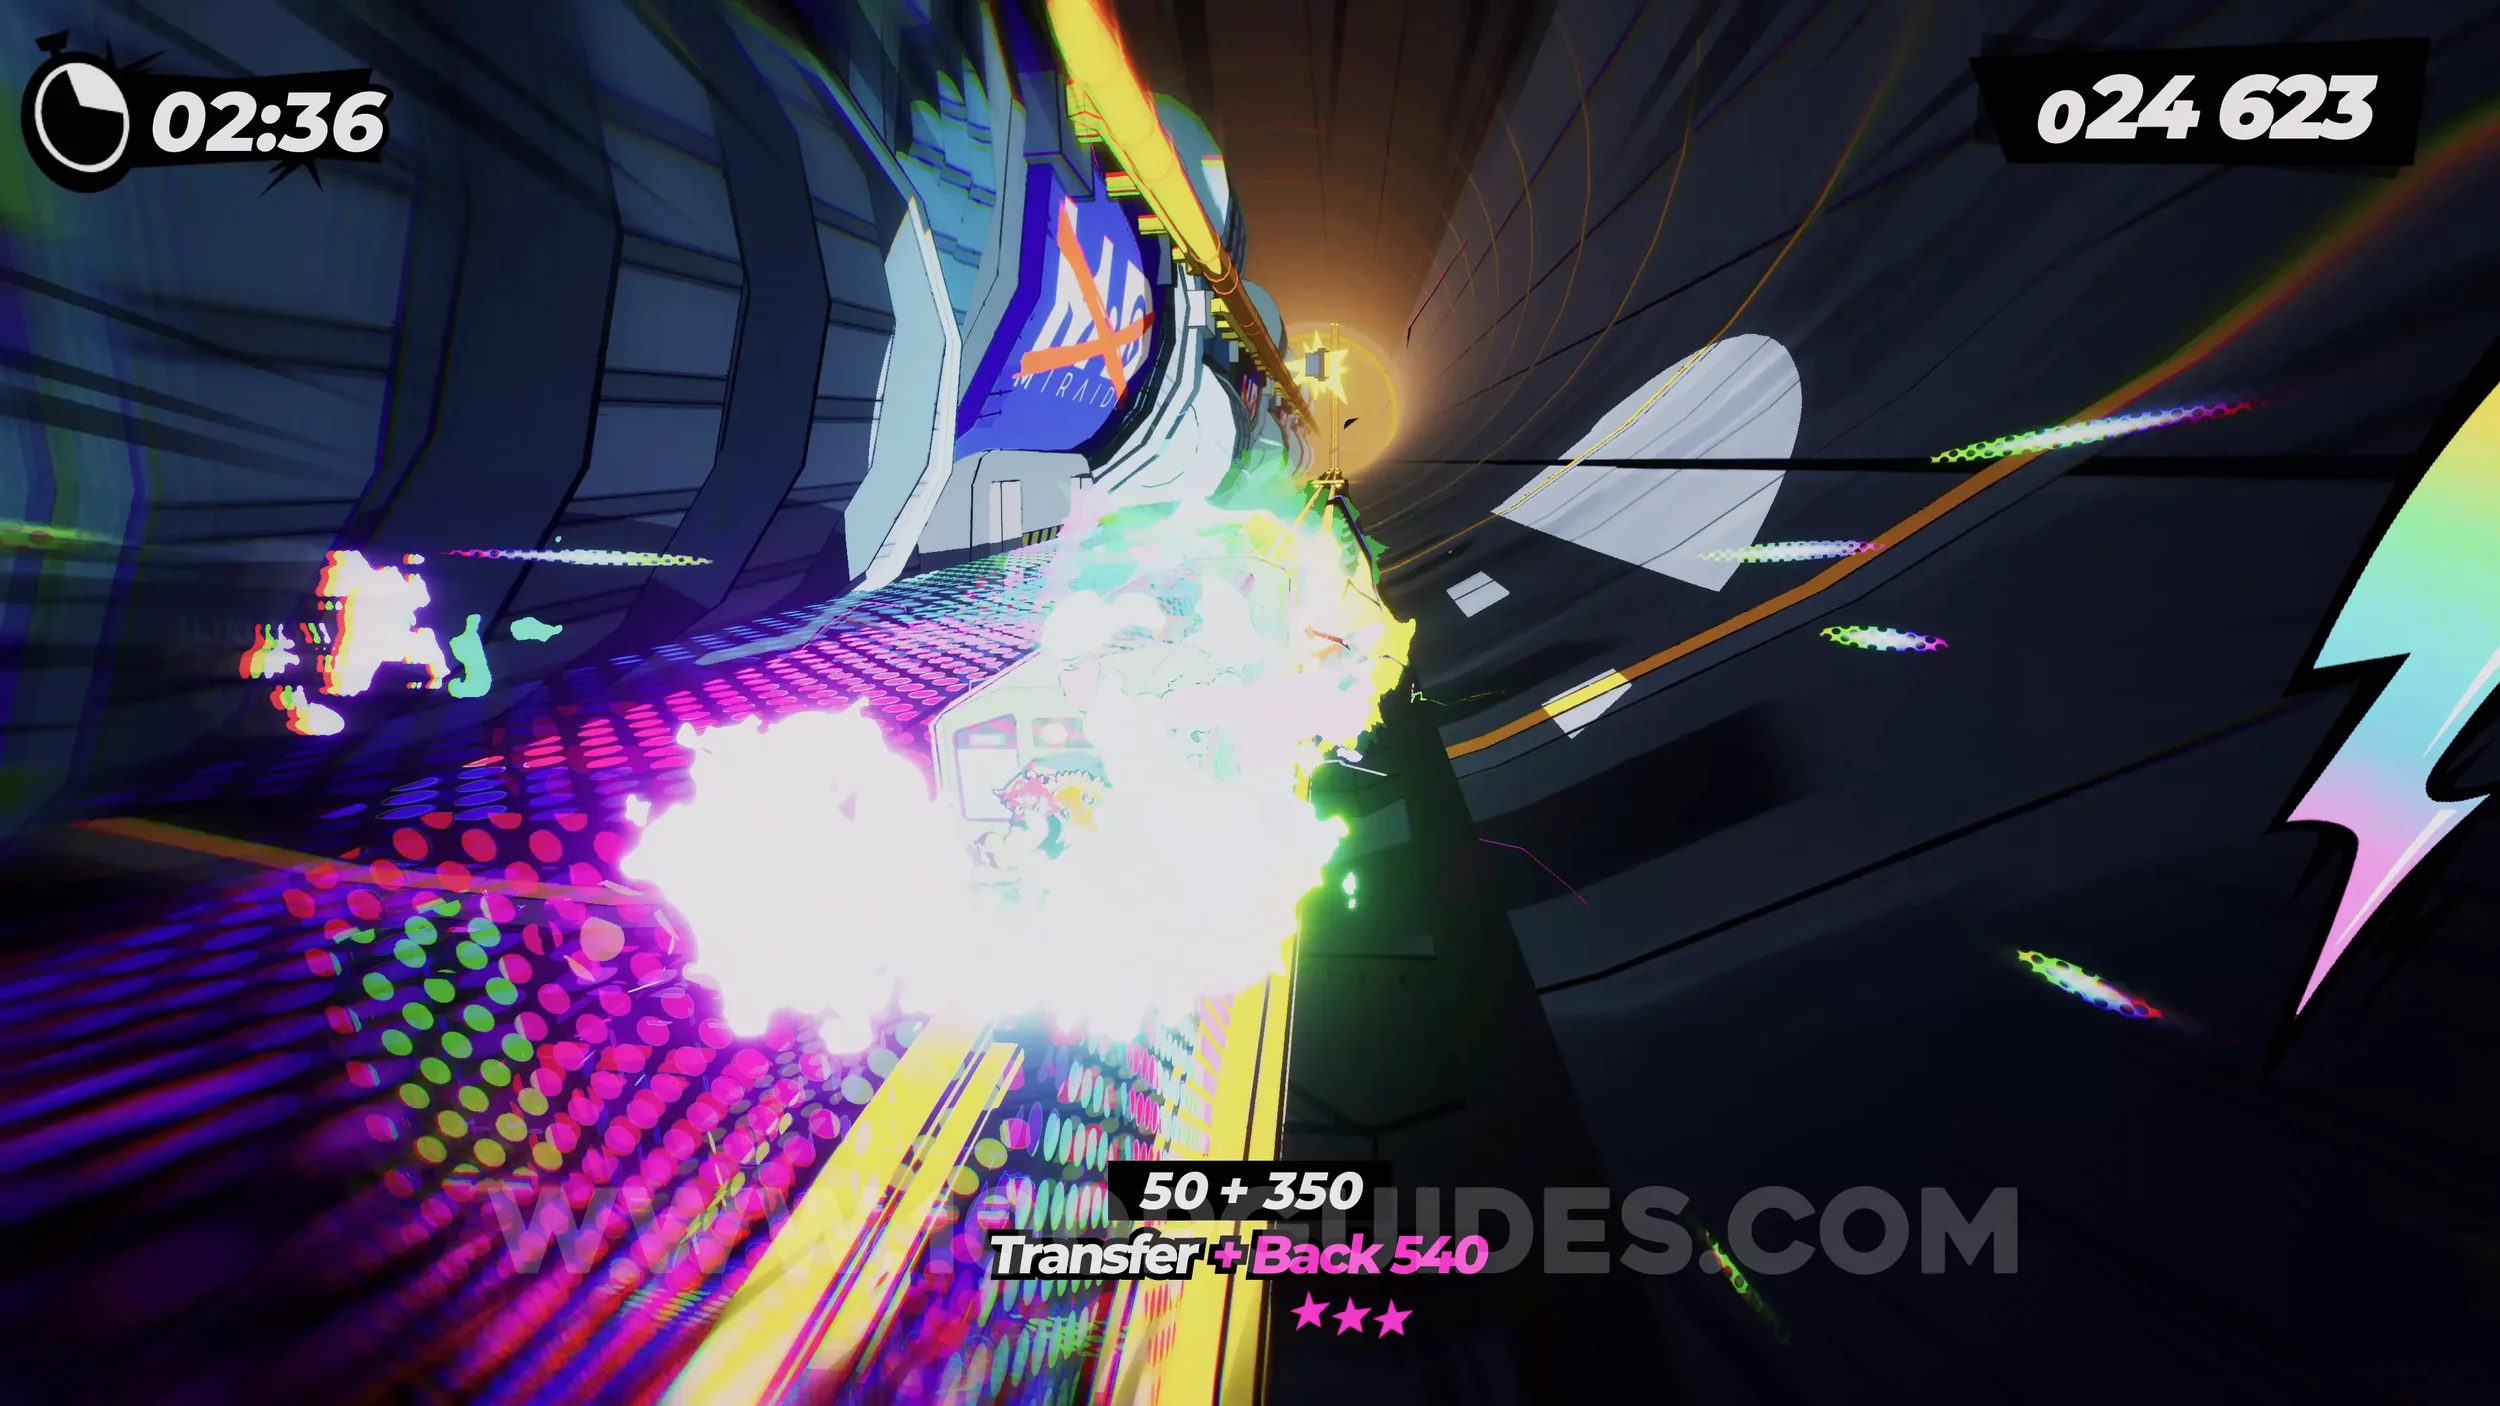
Dare: Score Over 1000 Points From Grind Tricks. Self-explanatory. Just get more than 1000 points with tricks that you perform with the right analog stick while grinding.
Dare: No Crash Finish. Self-explanatory. Get to the end of the level without crashing.
2-3-B Knock It Out Of The Park
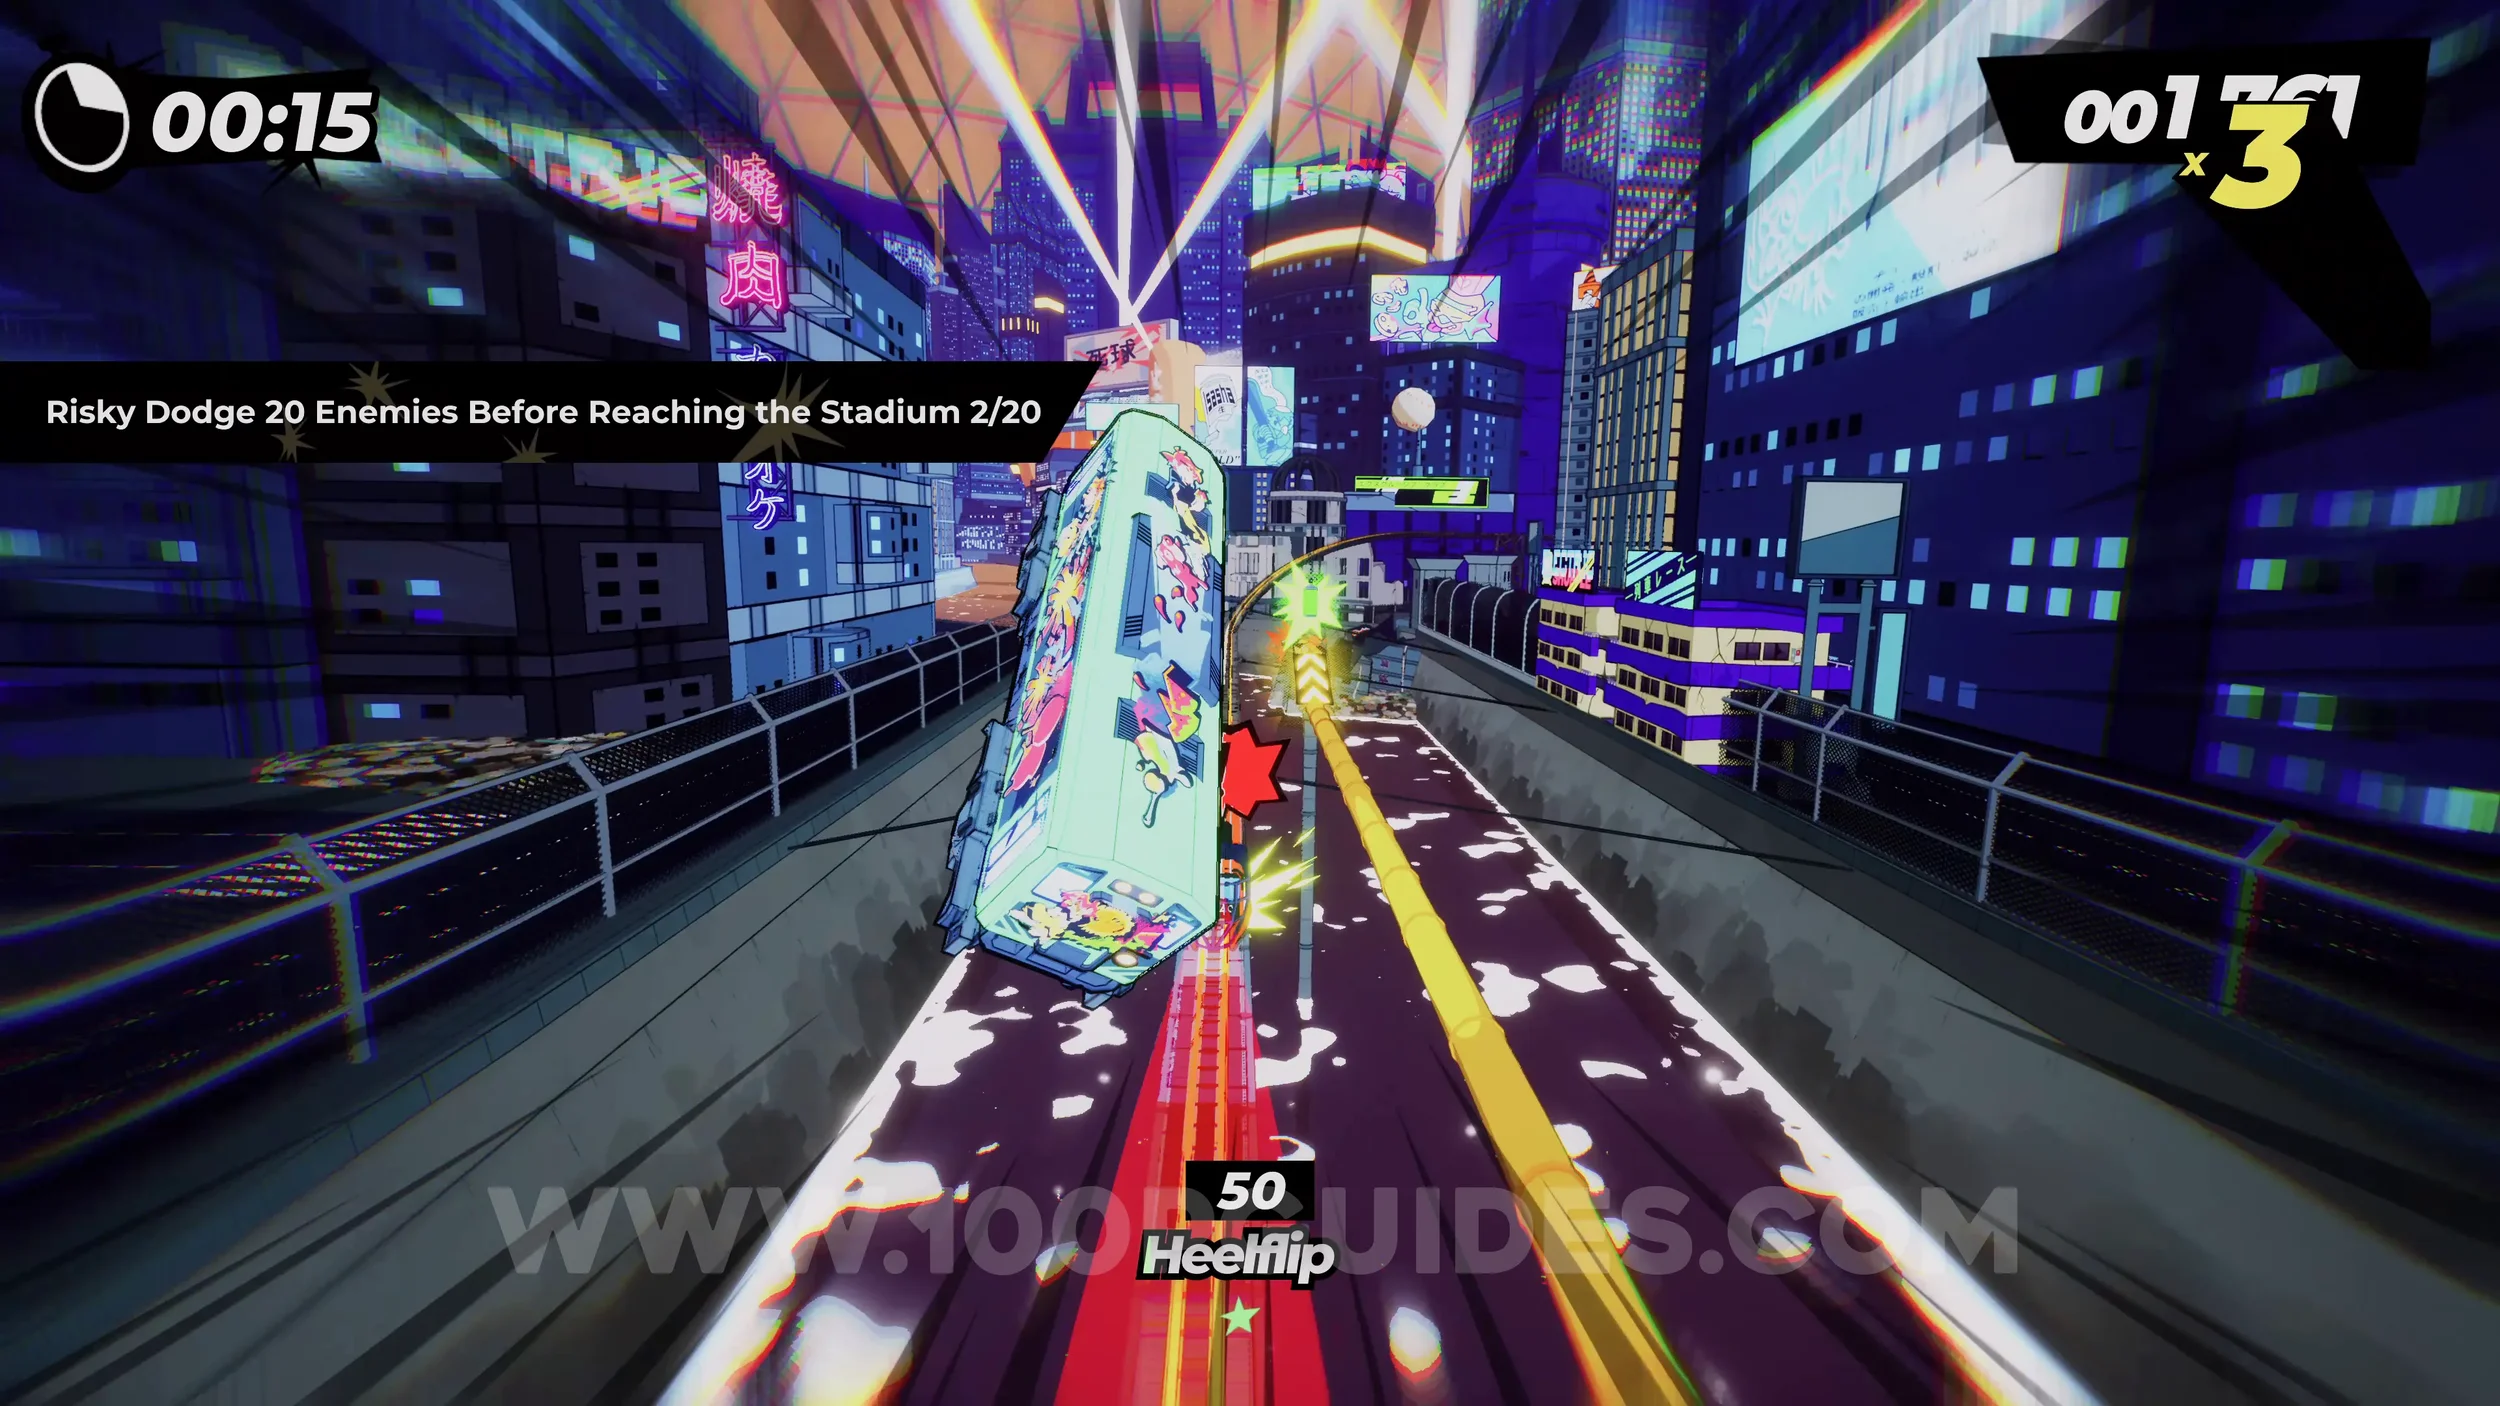
Dare: Risky Dodge 20 Enemies Before Reaching the Stadium. From the start, every time you see an enemy, dodge or jump over it at the very last second to get Risky Dodges. You will have to do this 20 times before you reach the stadium.
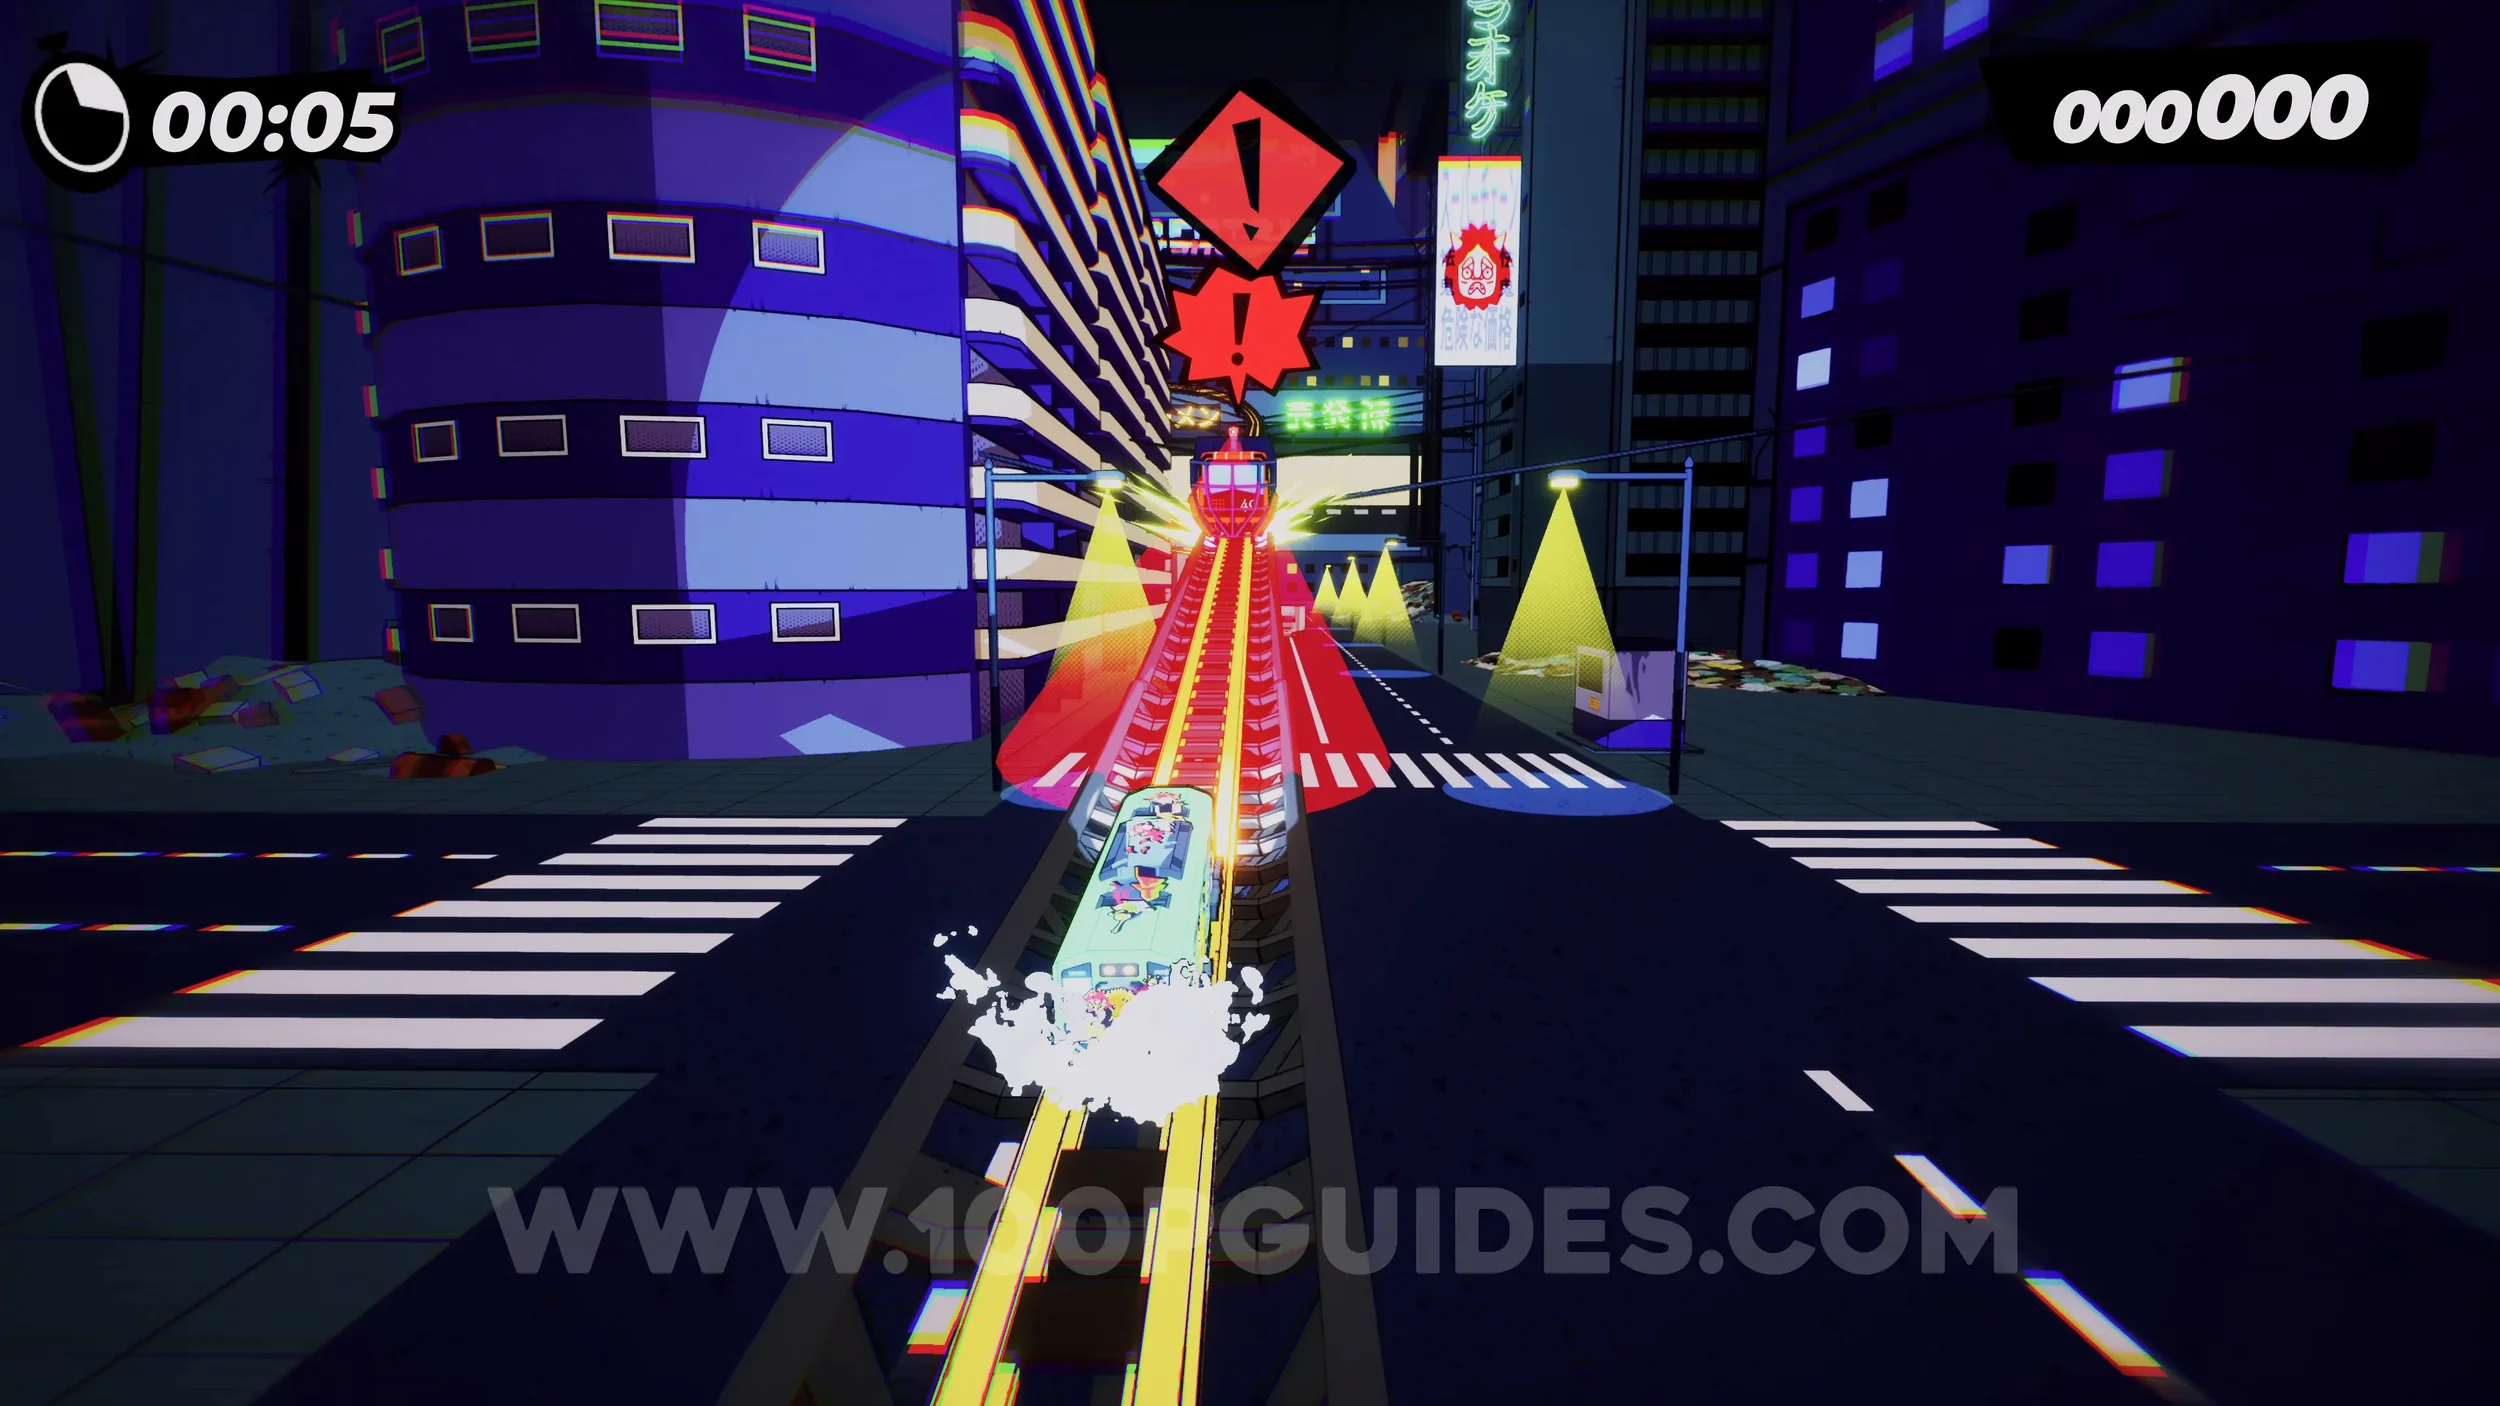
Spray Can (1/2). After the big jump close to the start of the level, you will land on a straight with a few enemy trains. Here, jump to the rail on your right where the spray can is.
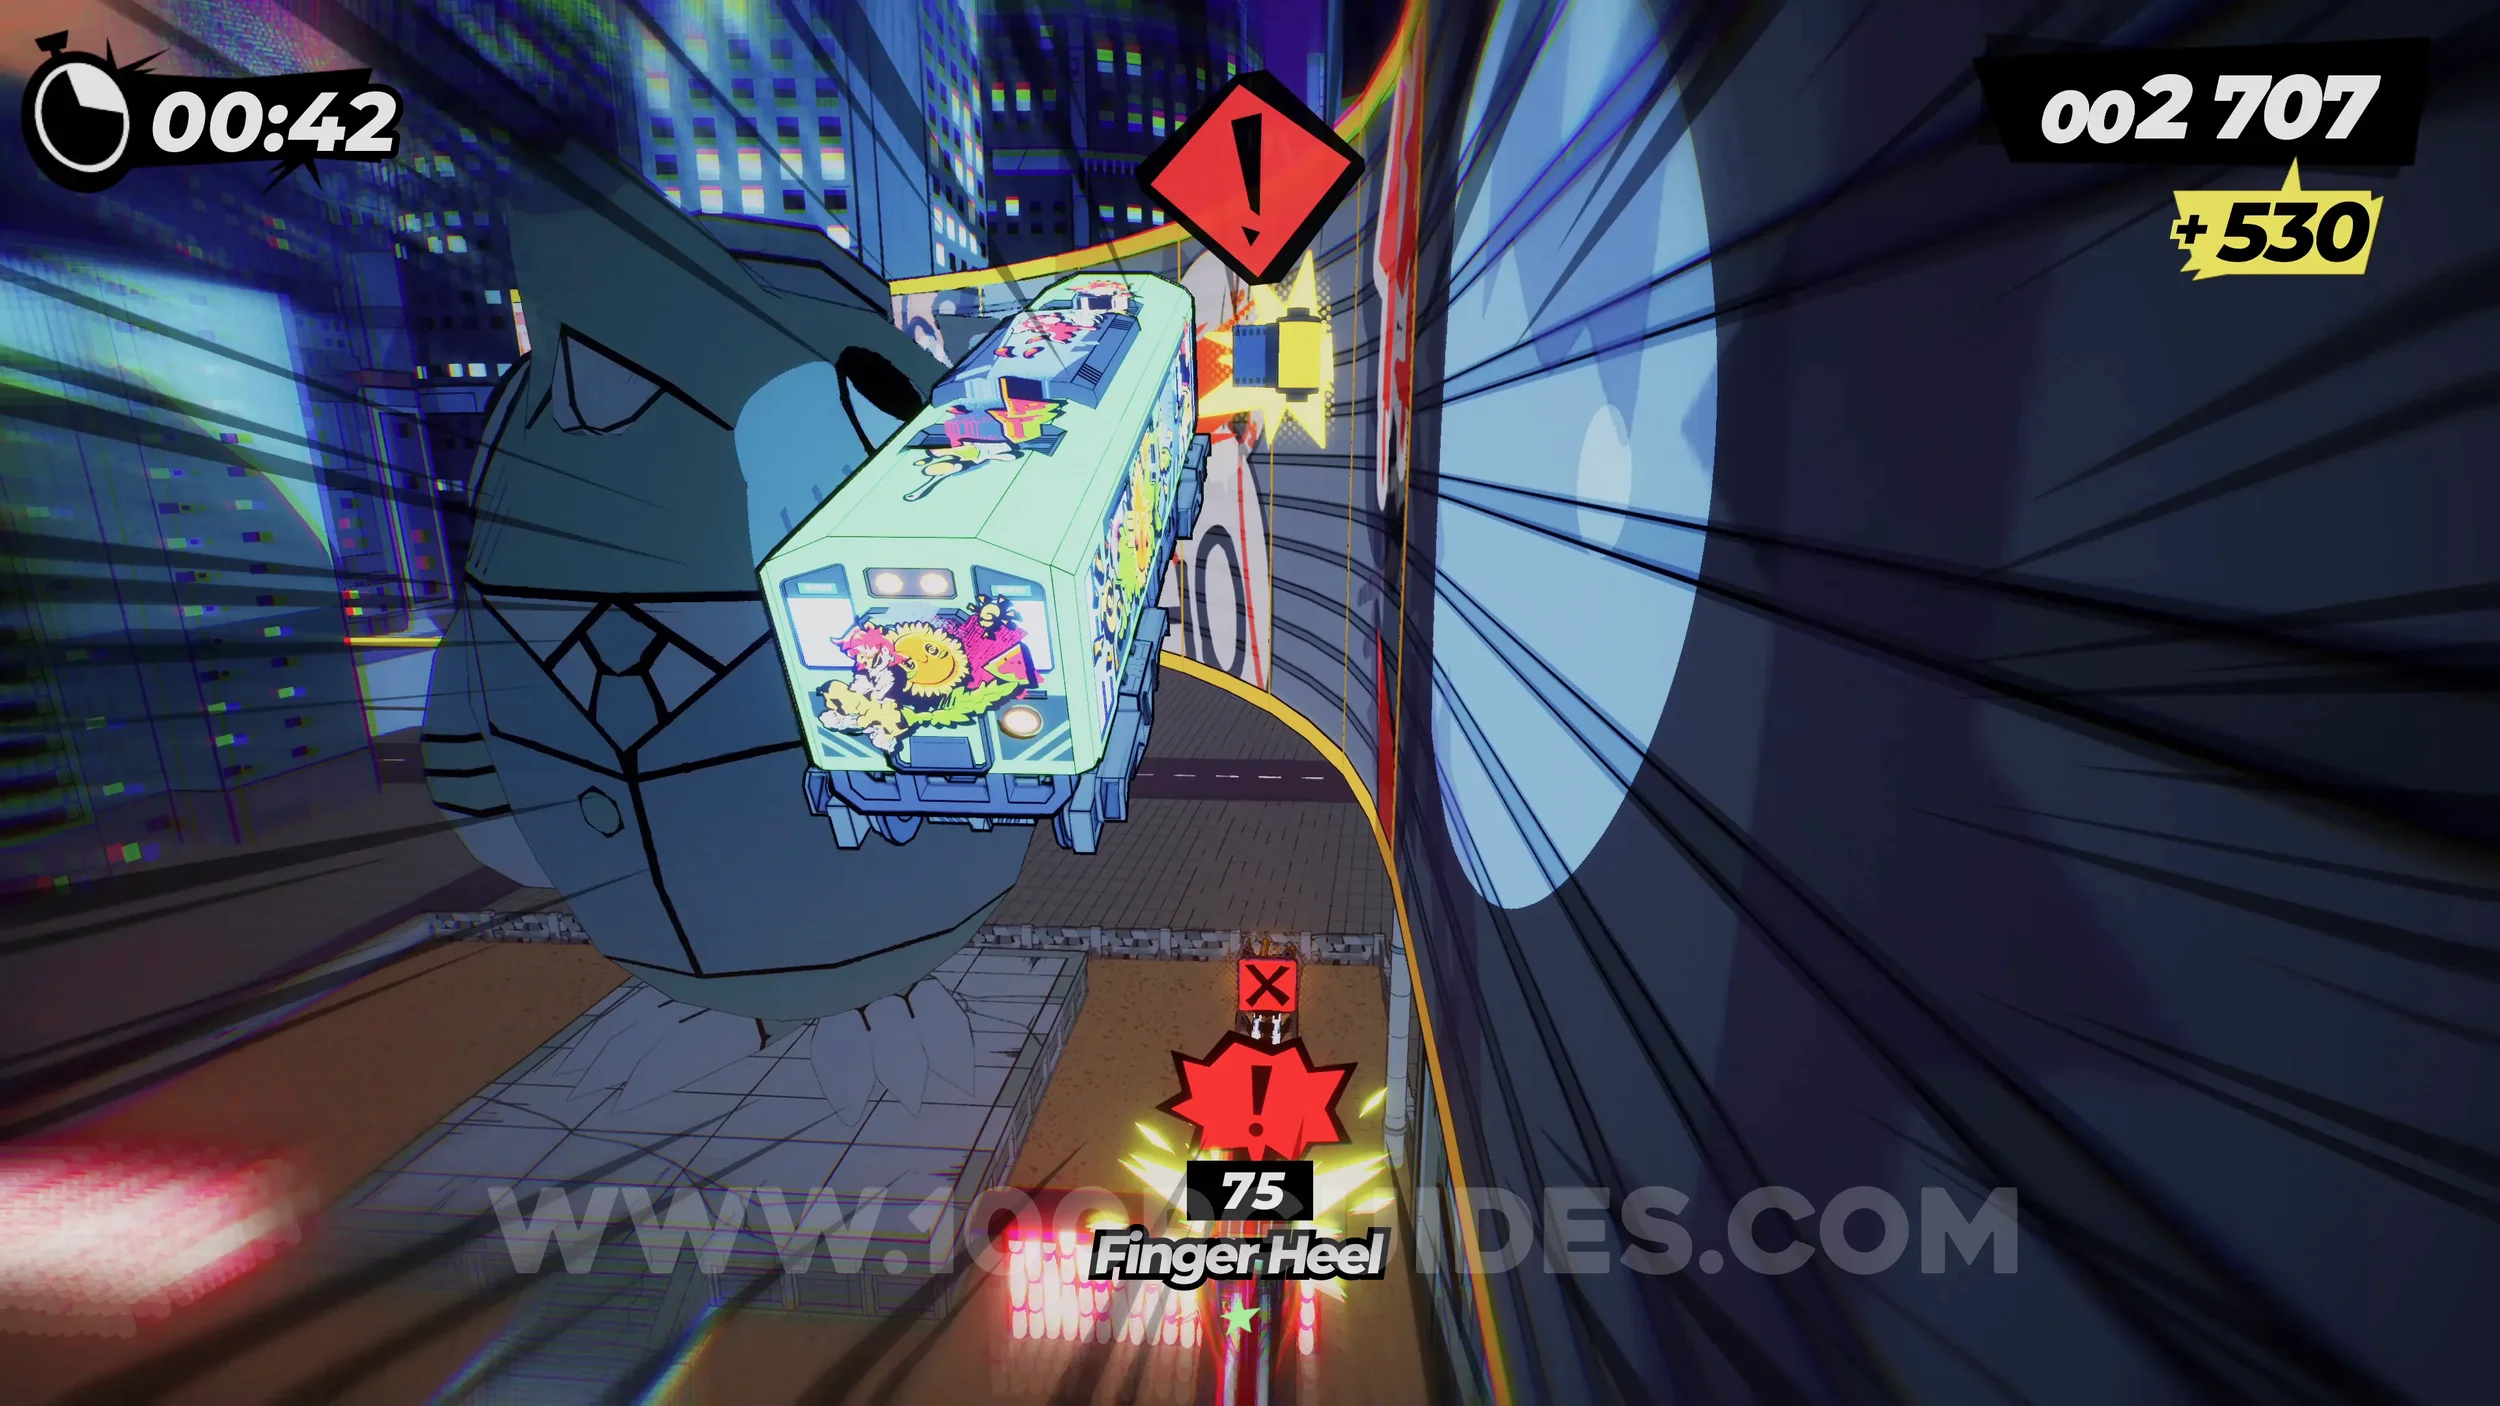
Film Roll (1/1). After going through a tunnel where you have to dodge a lot of enemies, you will see a wallride on your right that follows the left hand corner. The film roll is on this wall.
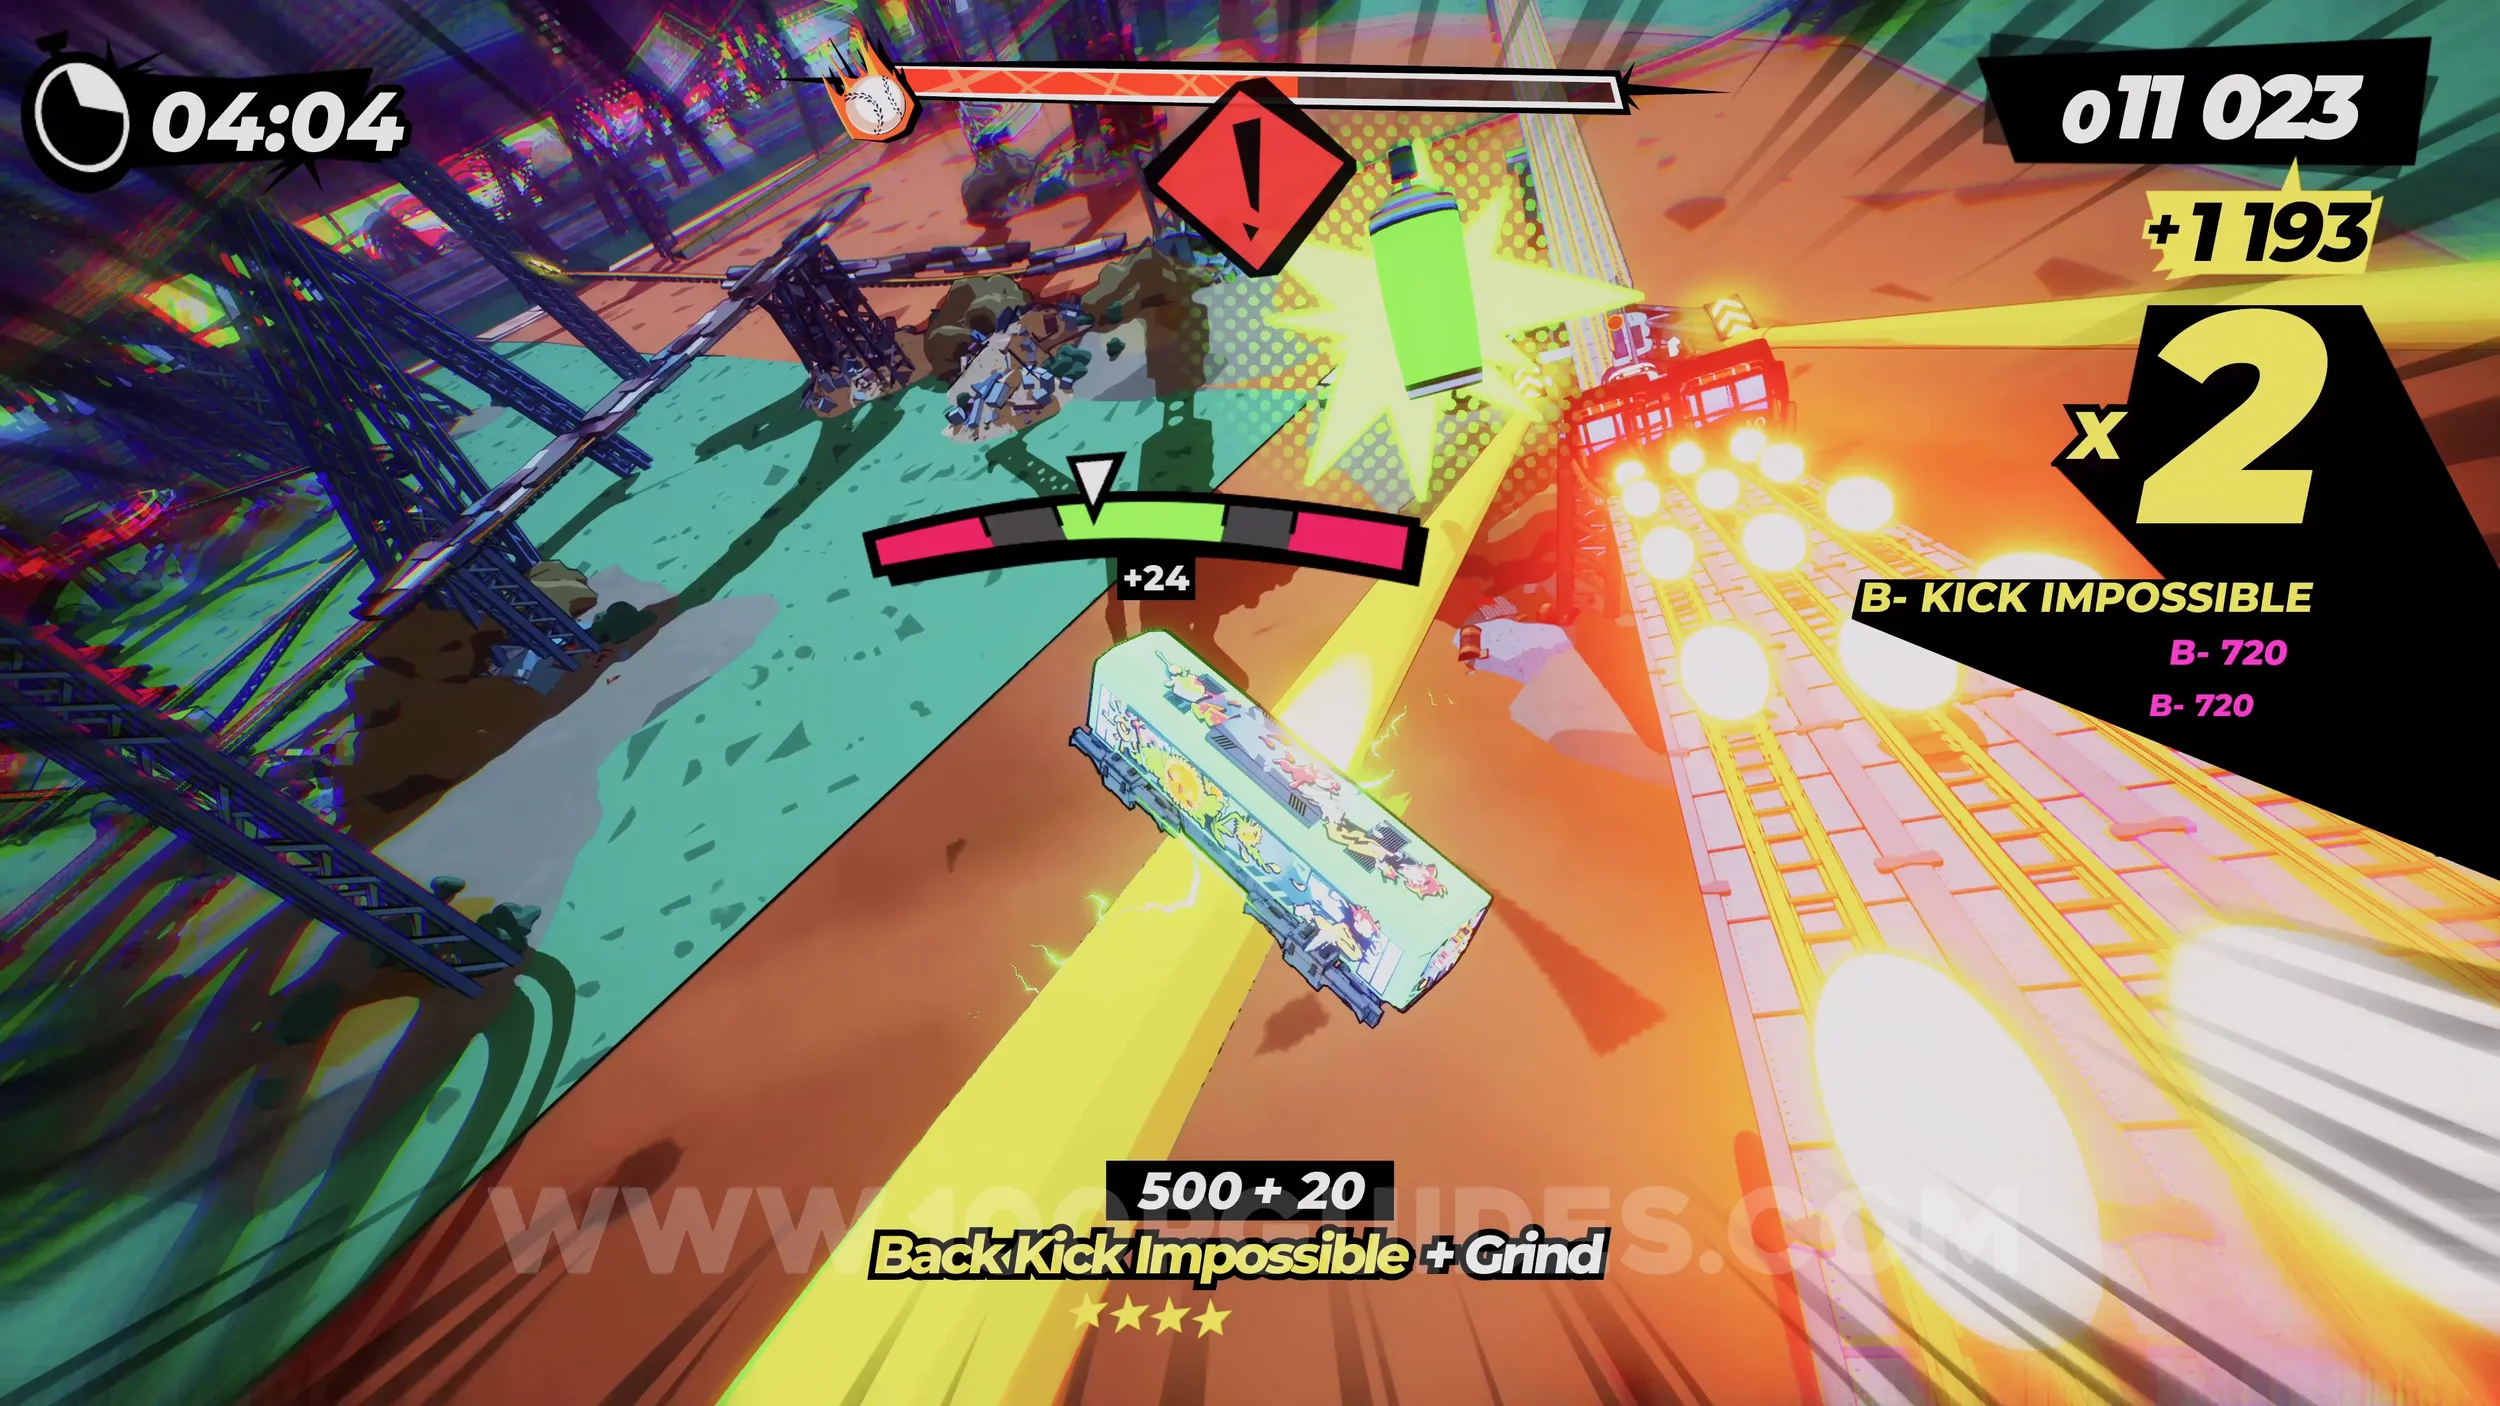
Dare: Hit a Baseball With a Back 720, Dare: Hit a Baseball With a Front Cancel Impossible and Dare: Hit a Baseball With a Finger Heel 360. Once you reach the stadium, the boss will start launching baseballs at you. You will then have to do a trick and return it to her. The three tricks linked to dares can be seen by pausing the game.
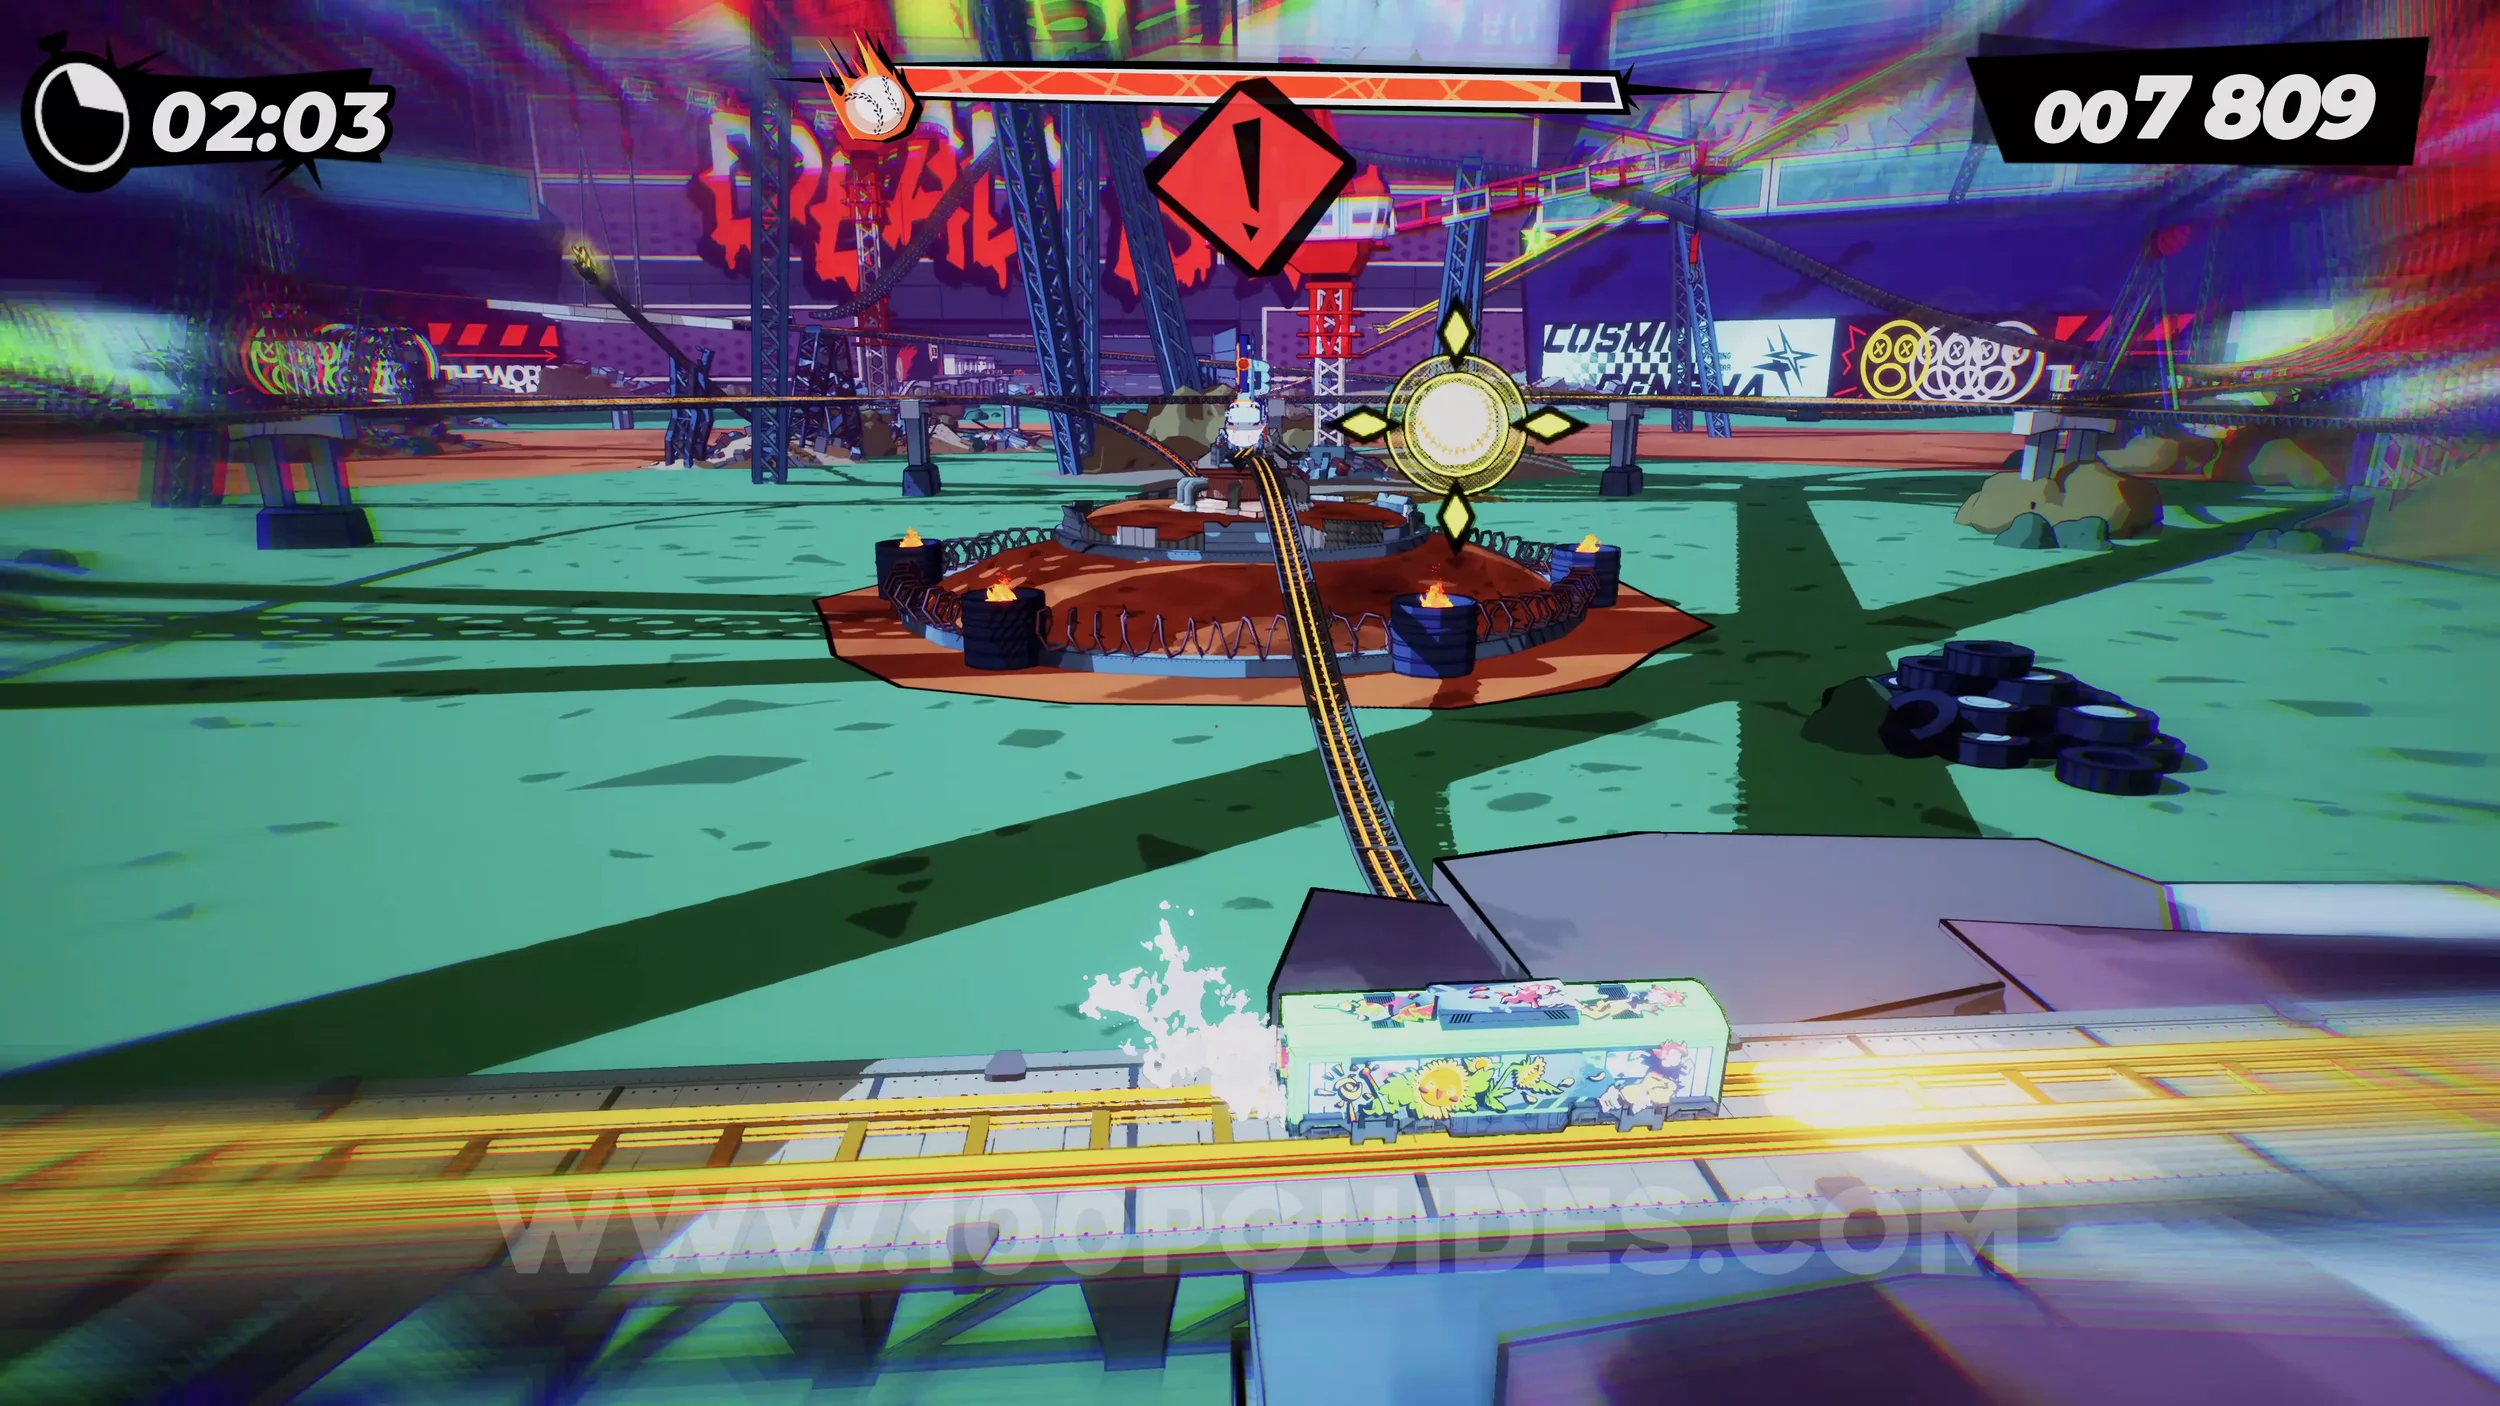
Spray Can (2/2). Once you get the boss down to about half HP, she will activate the third loop of the track. Soon after this, you will go downhill and see a rail on your left where the spray can is.
Dare: No Crash Defeat. Self-explanatory. Do not crash during the entire level.
CHAPTER 3
3-1-1 Light, Fire Destruction!
Spray Can (1/2). After crossing the water close to the start, you will see a green spray can sign telling you to keep left. Just stay on the tracks and do not jump to continue straight. This will take you up to the bridge where the can is found.
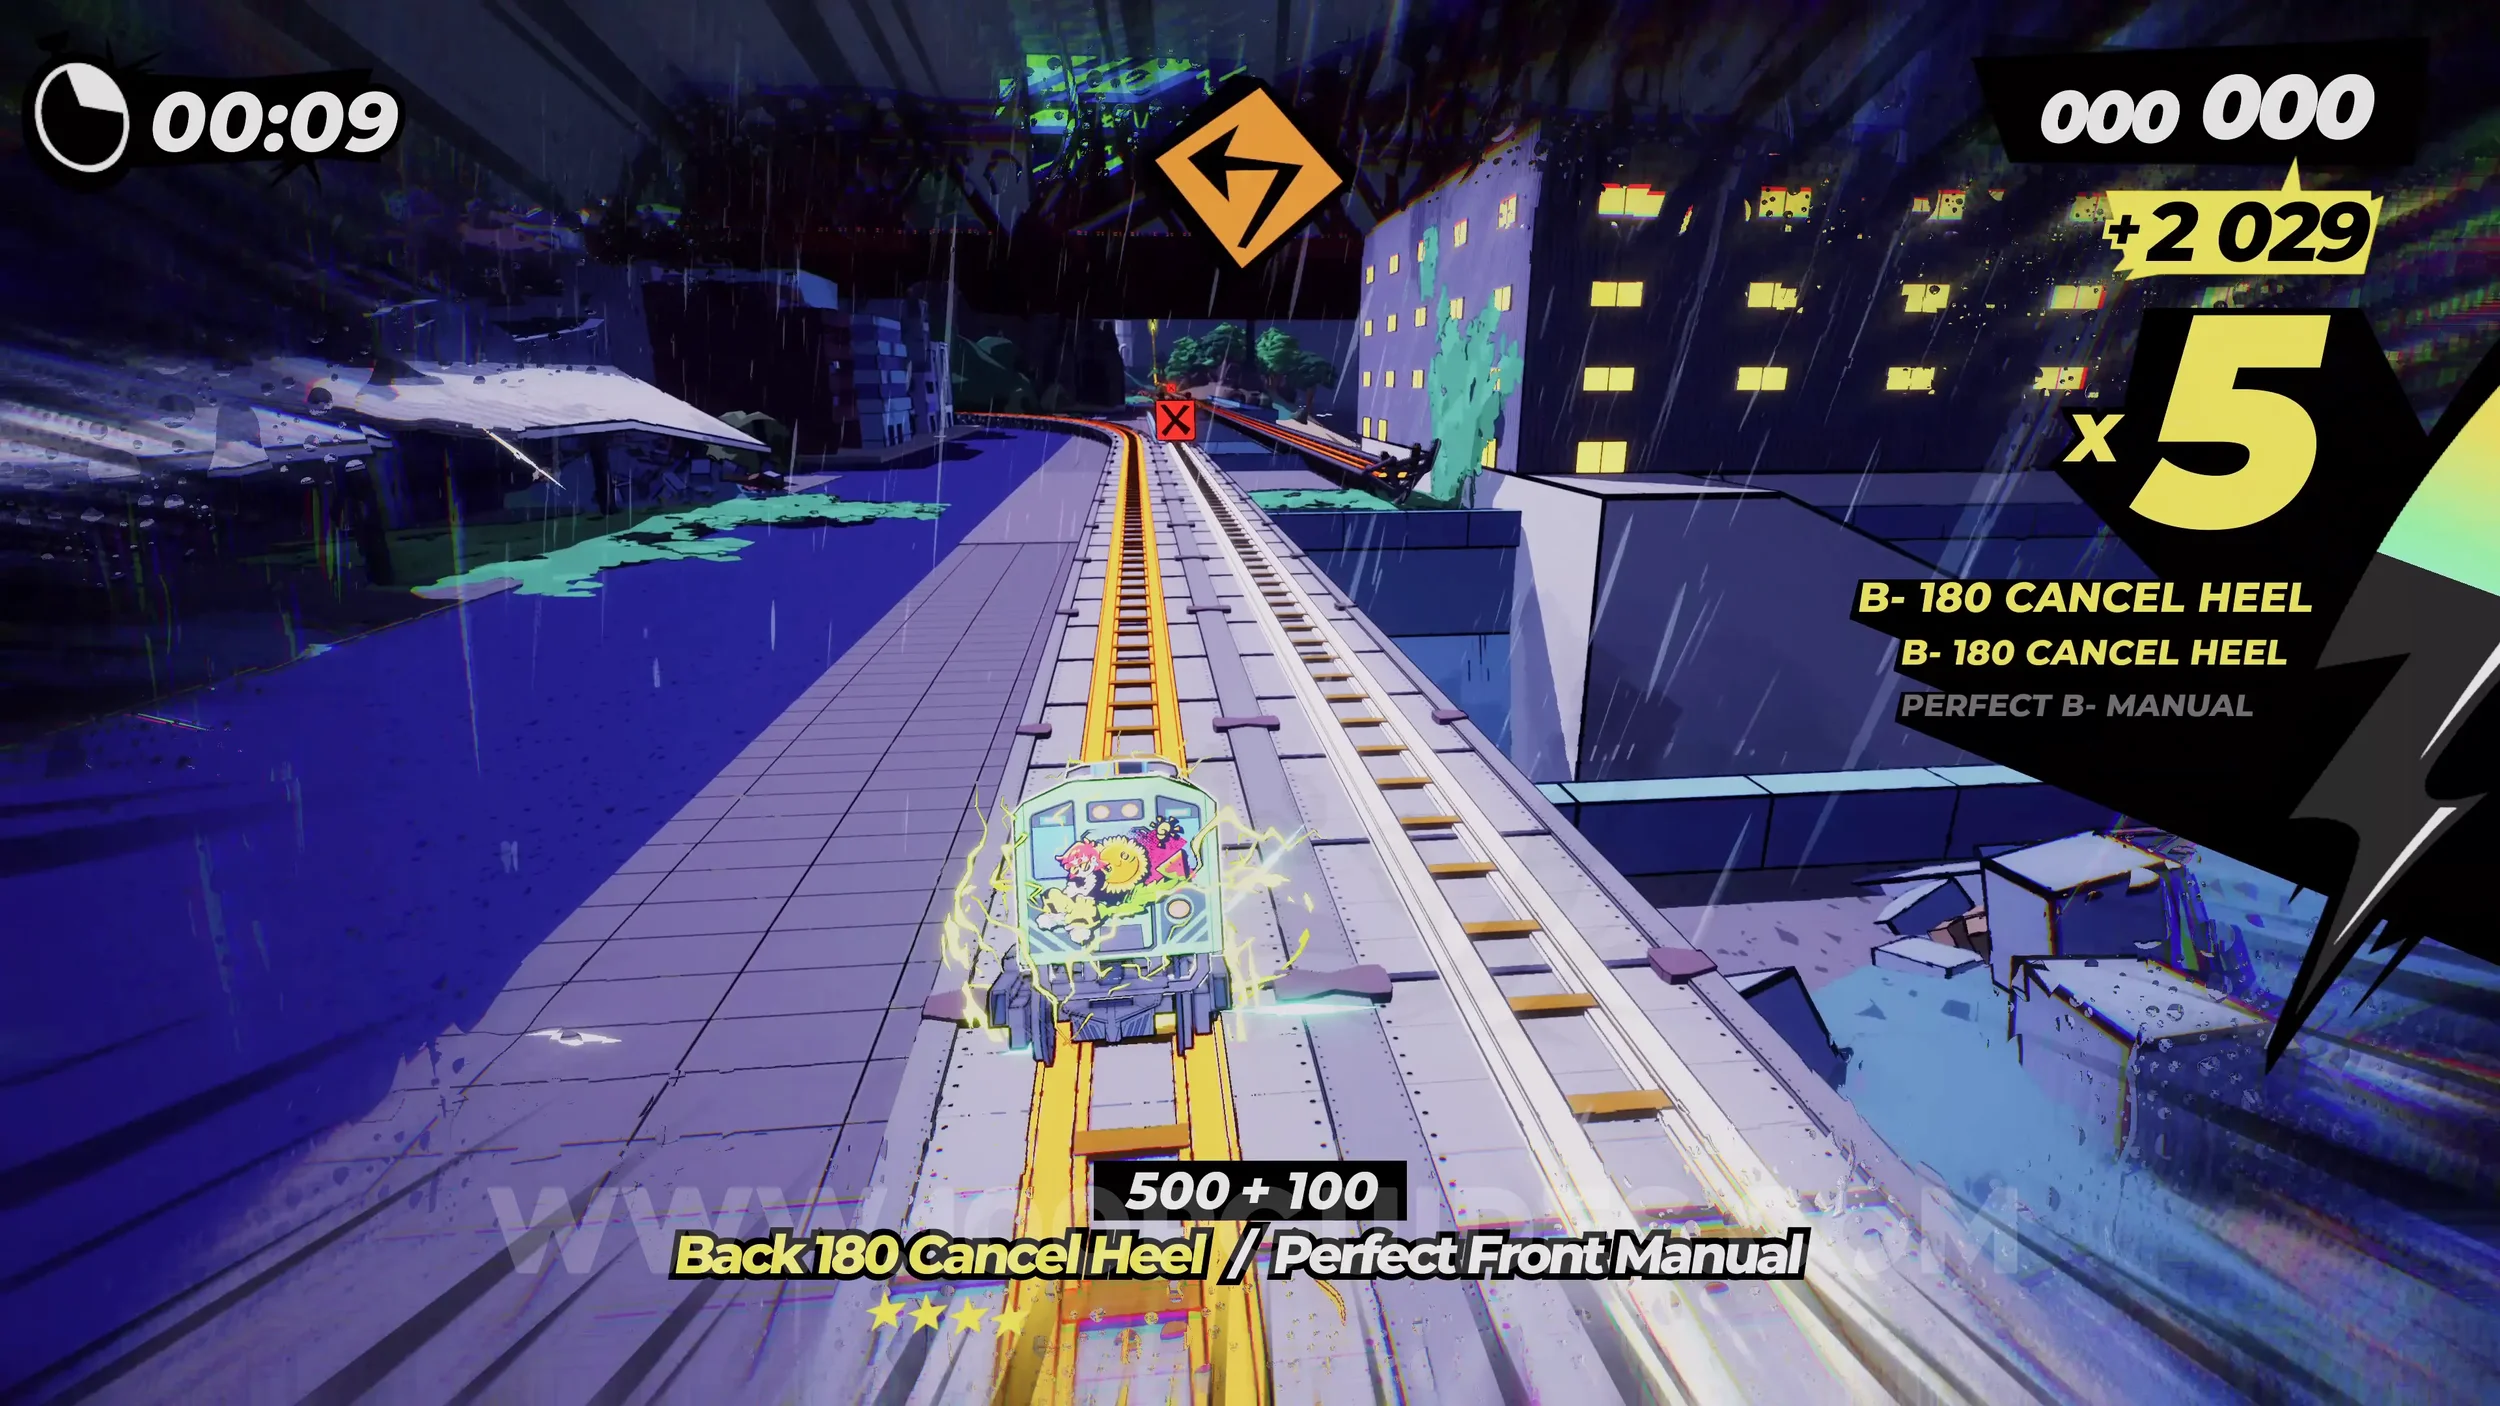
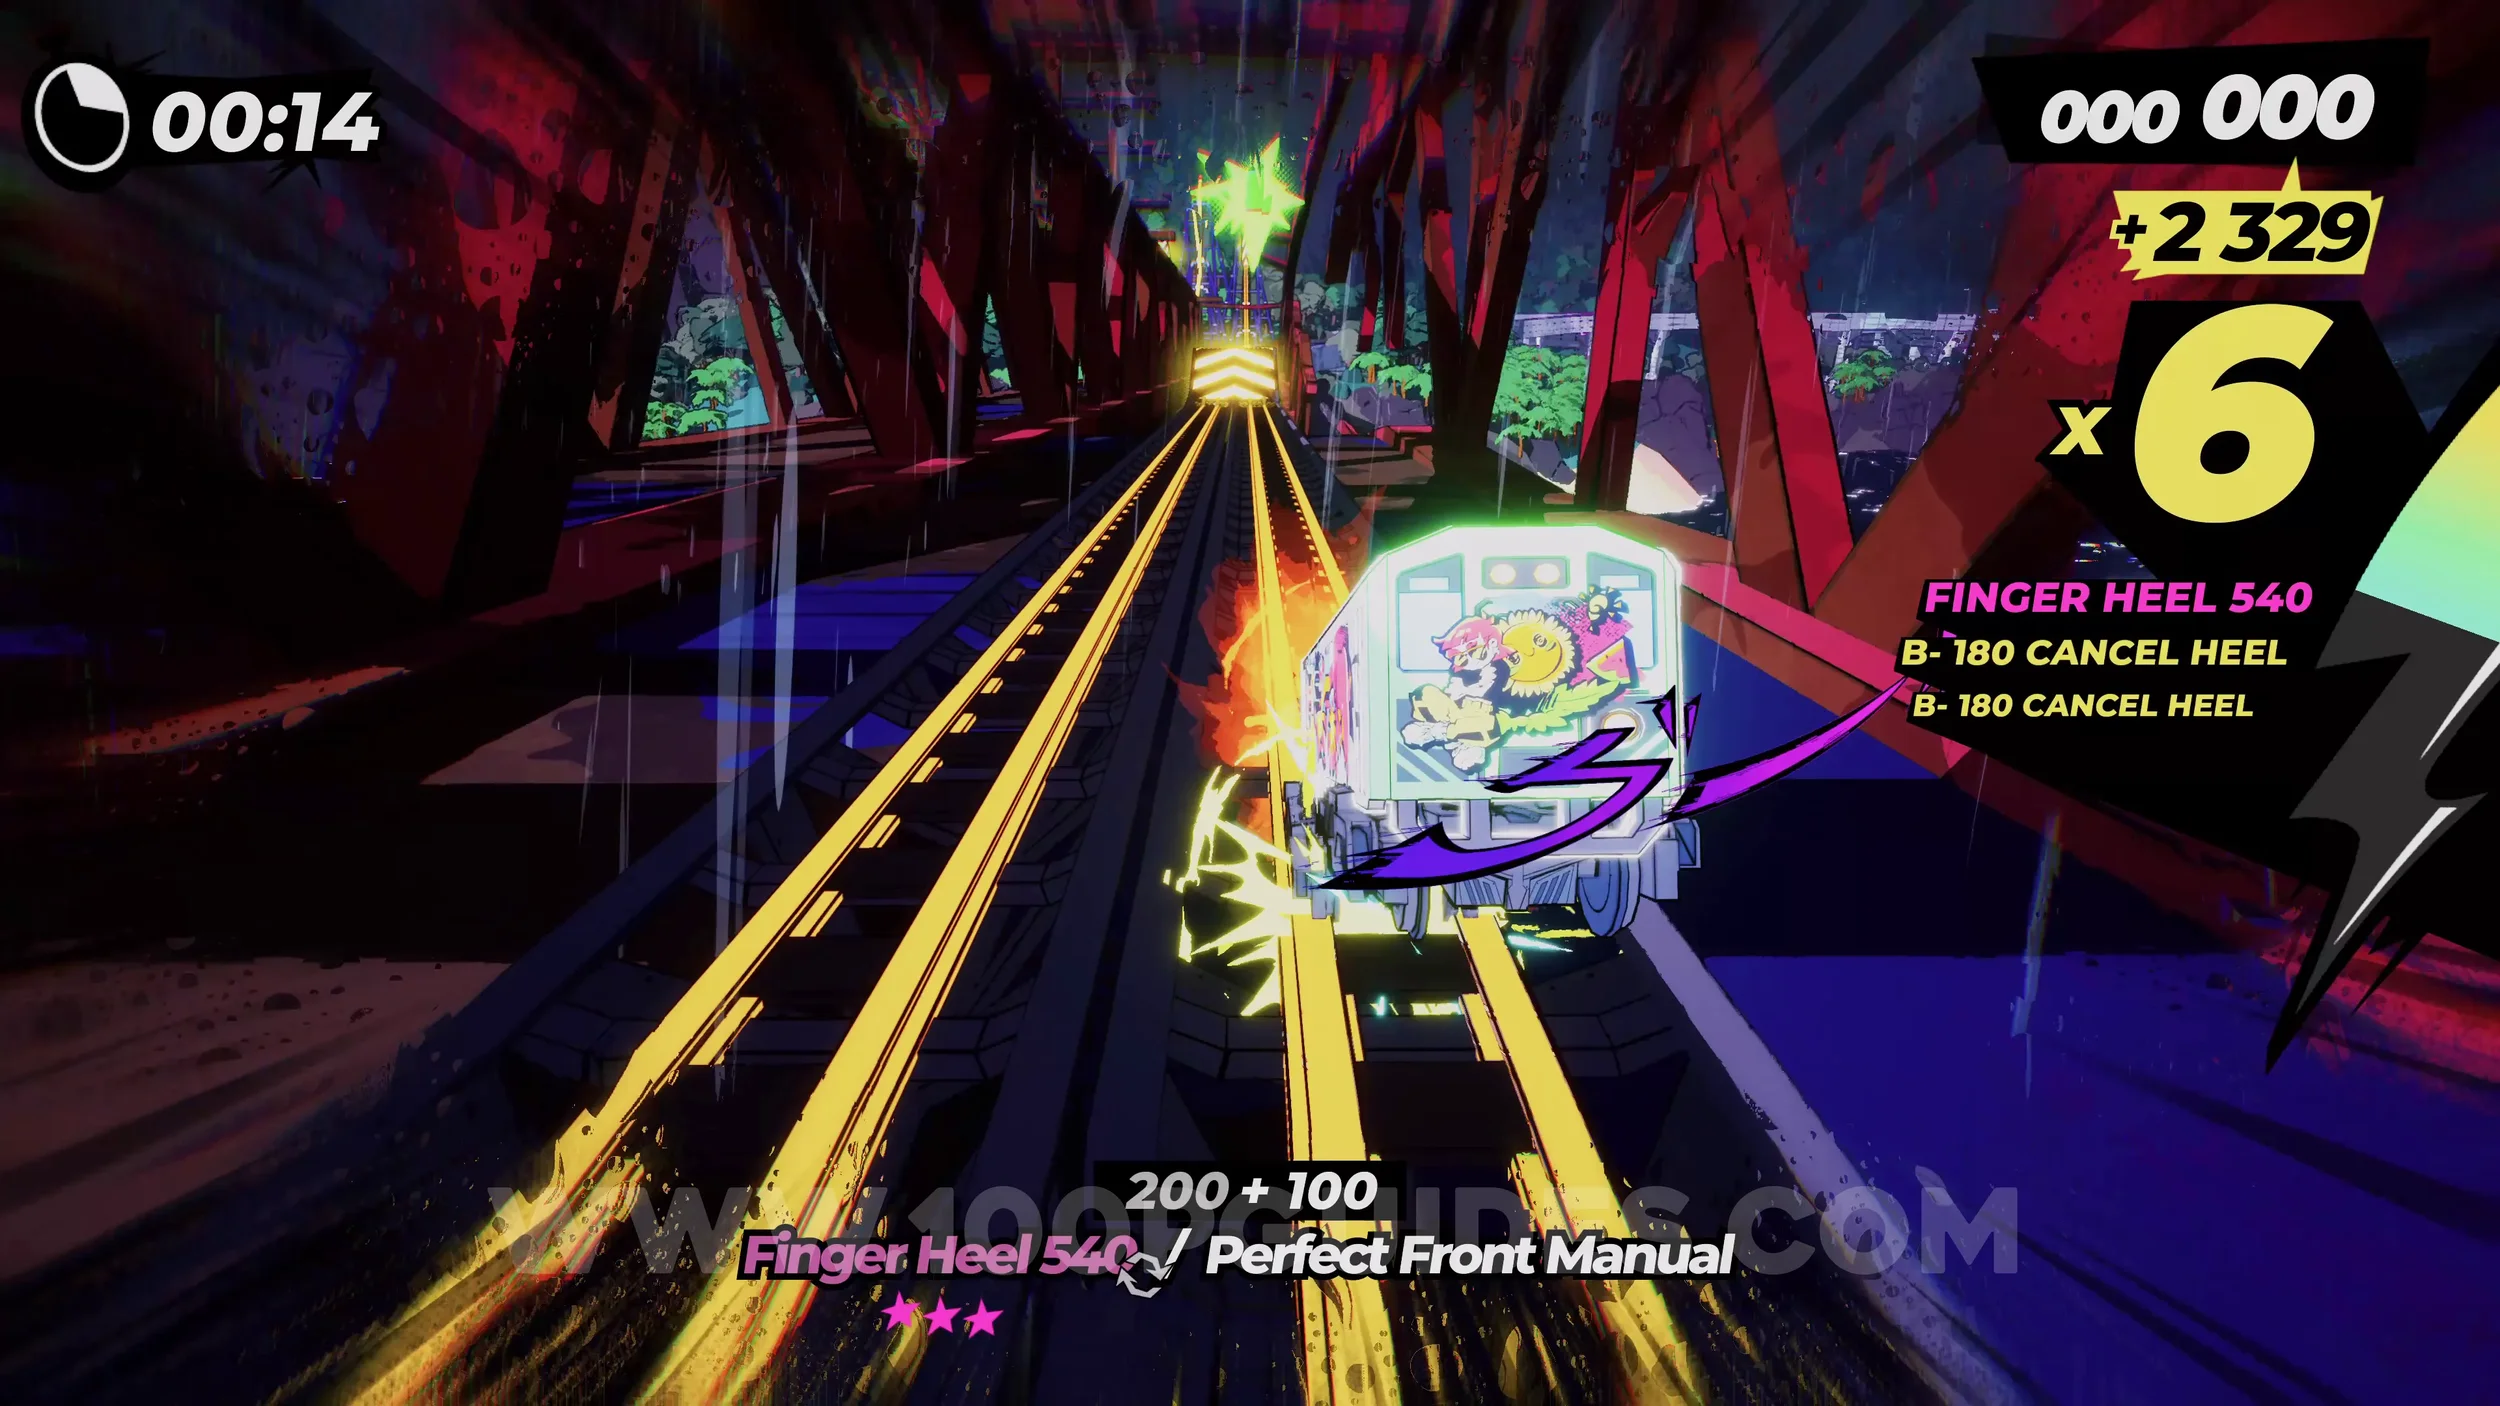
Dare: Jump Over the Lighthouse. After the previous collectible, continue until you have to air stomp to avoid a billboard. As soon as you land, look out for a grind rail on your right. Ride it, then use the vert jump to jump over the lighthouse.
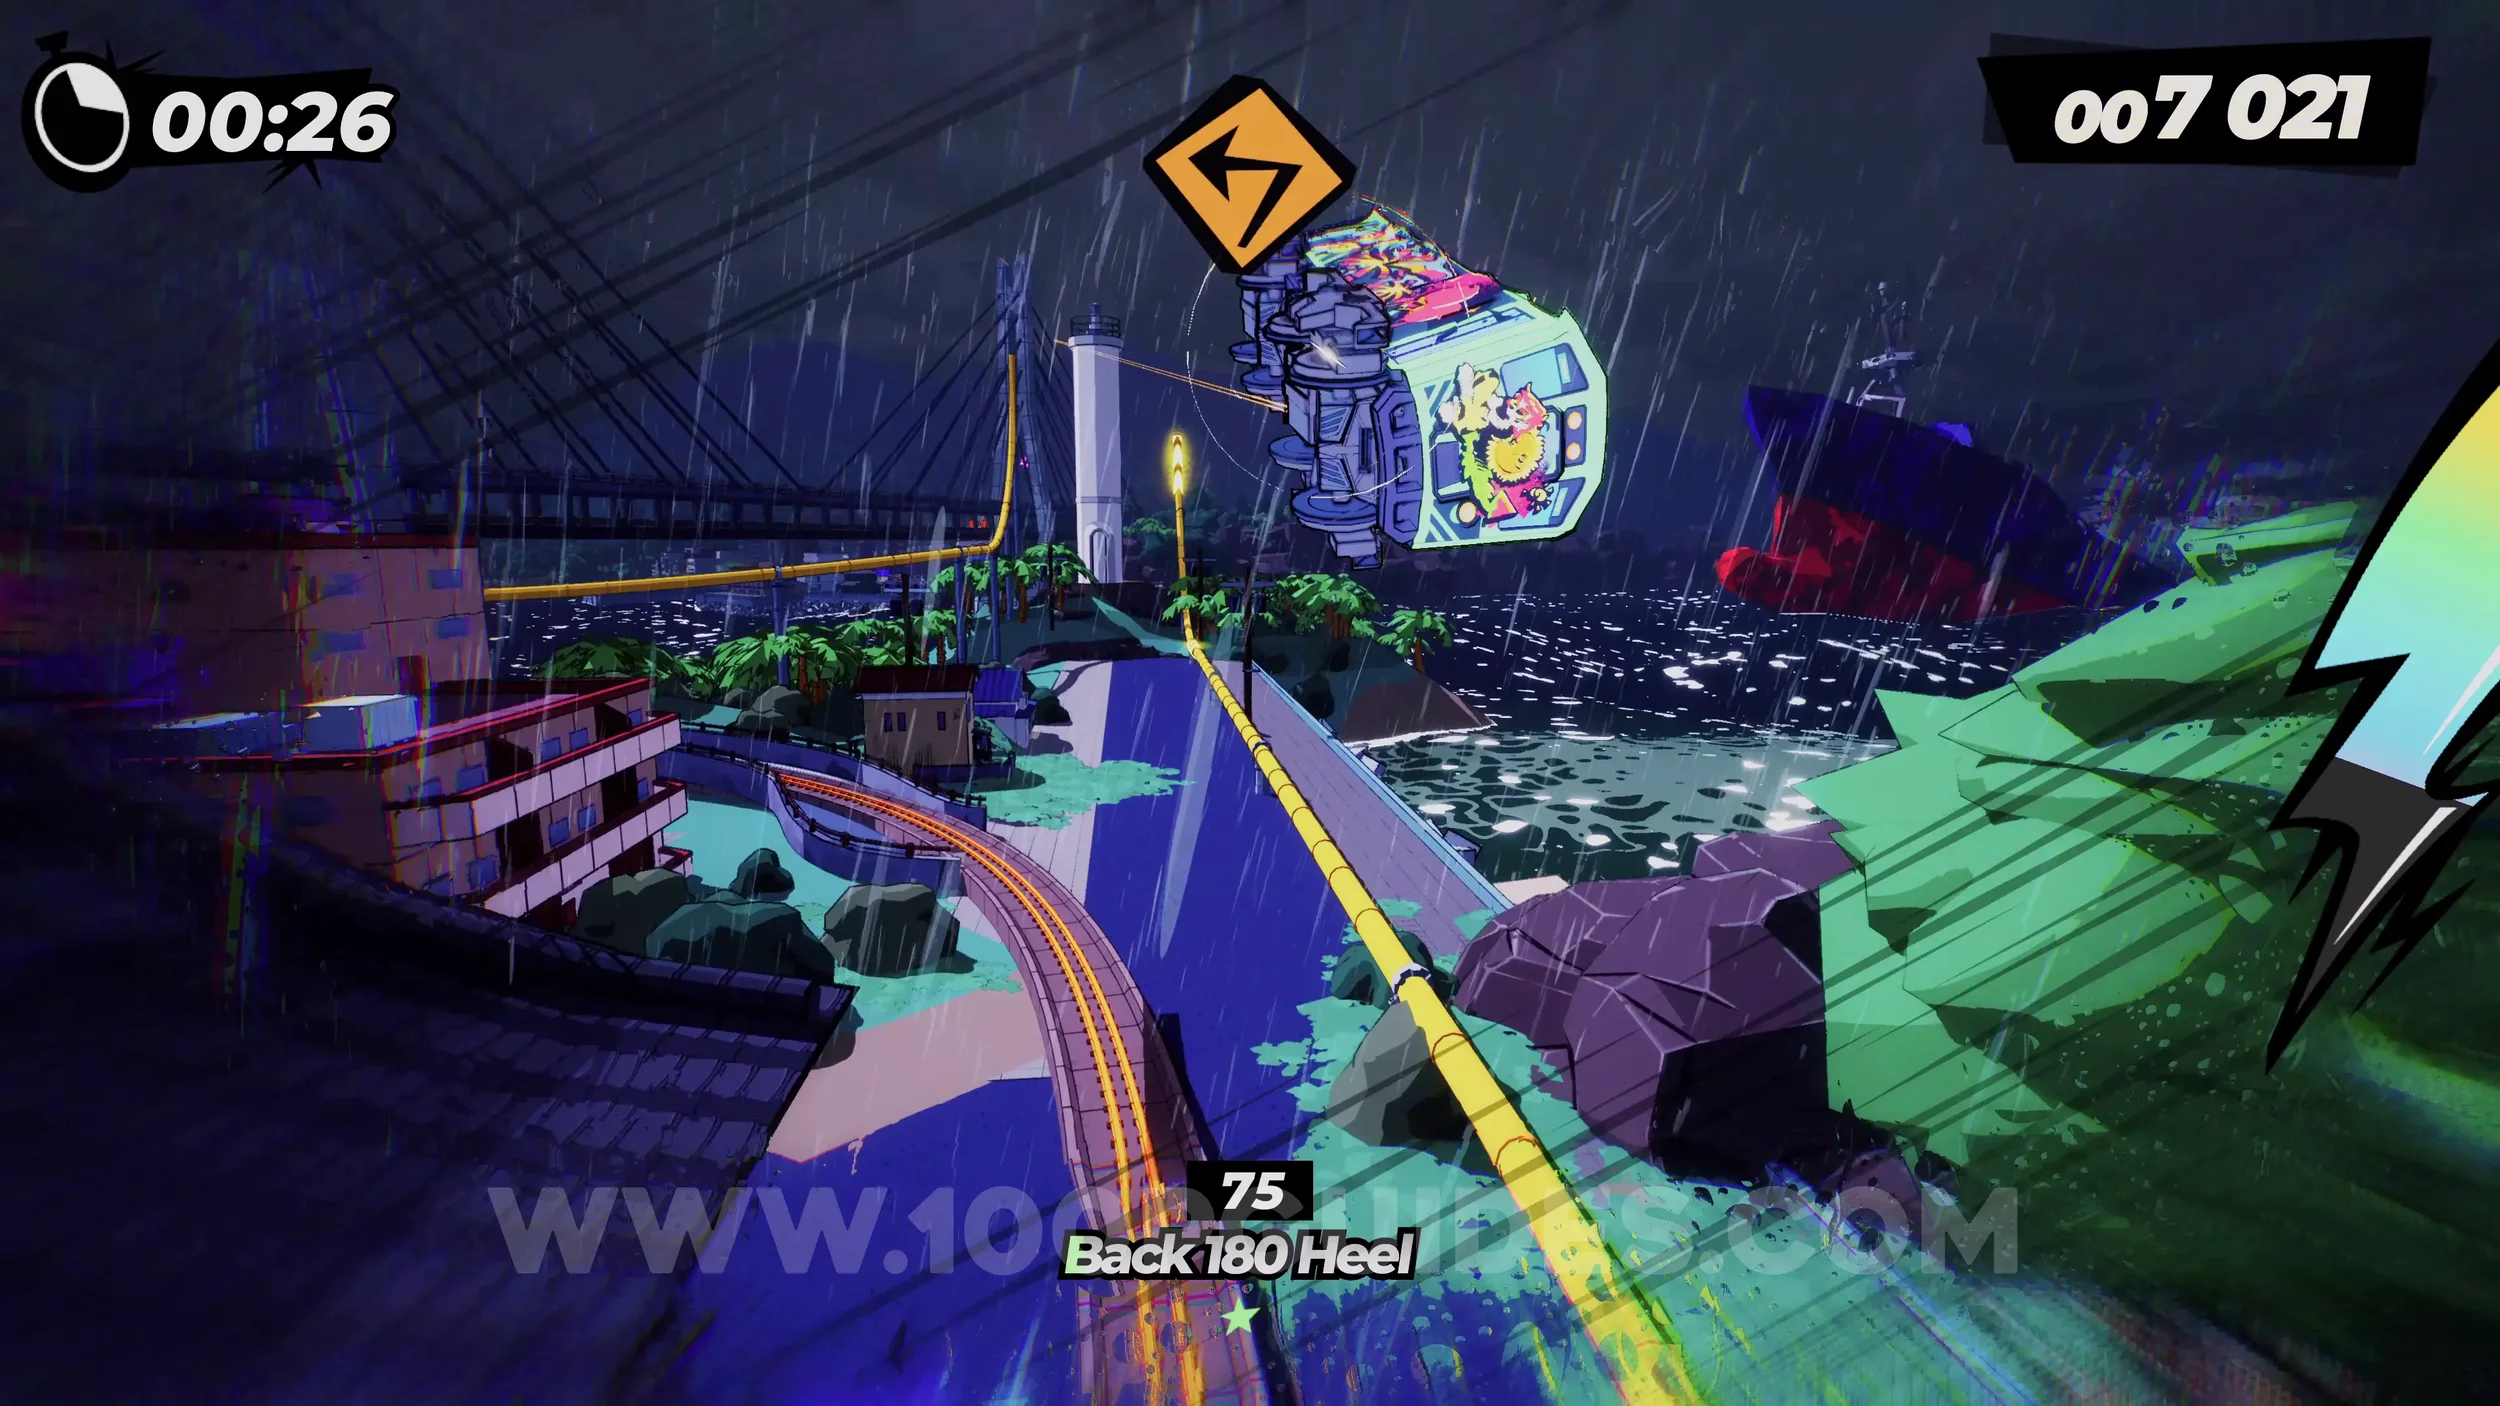
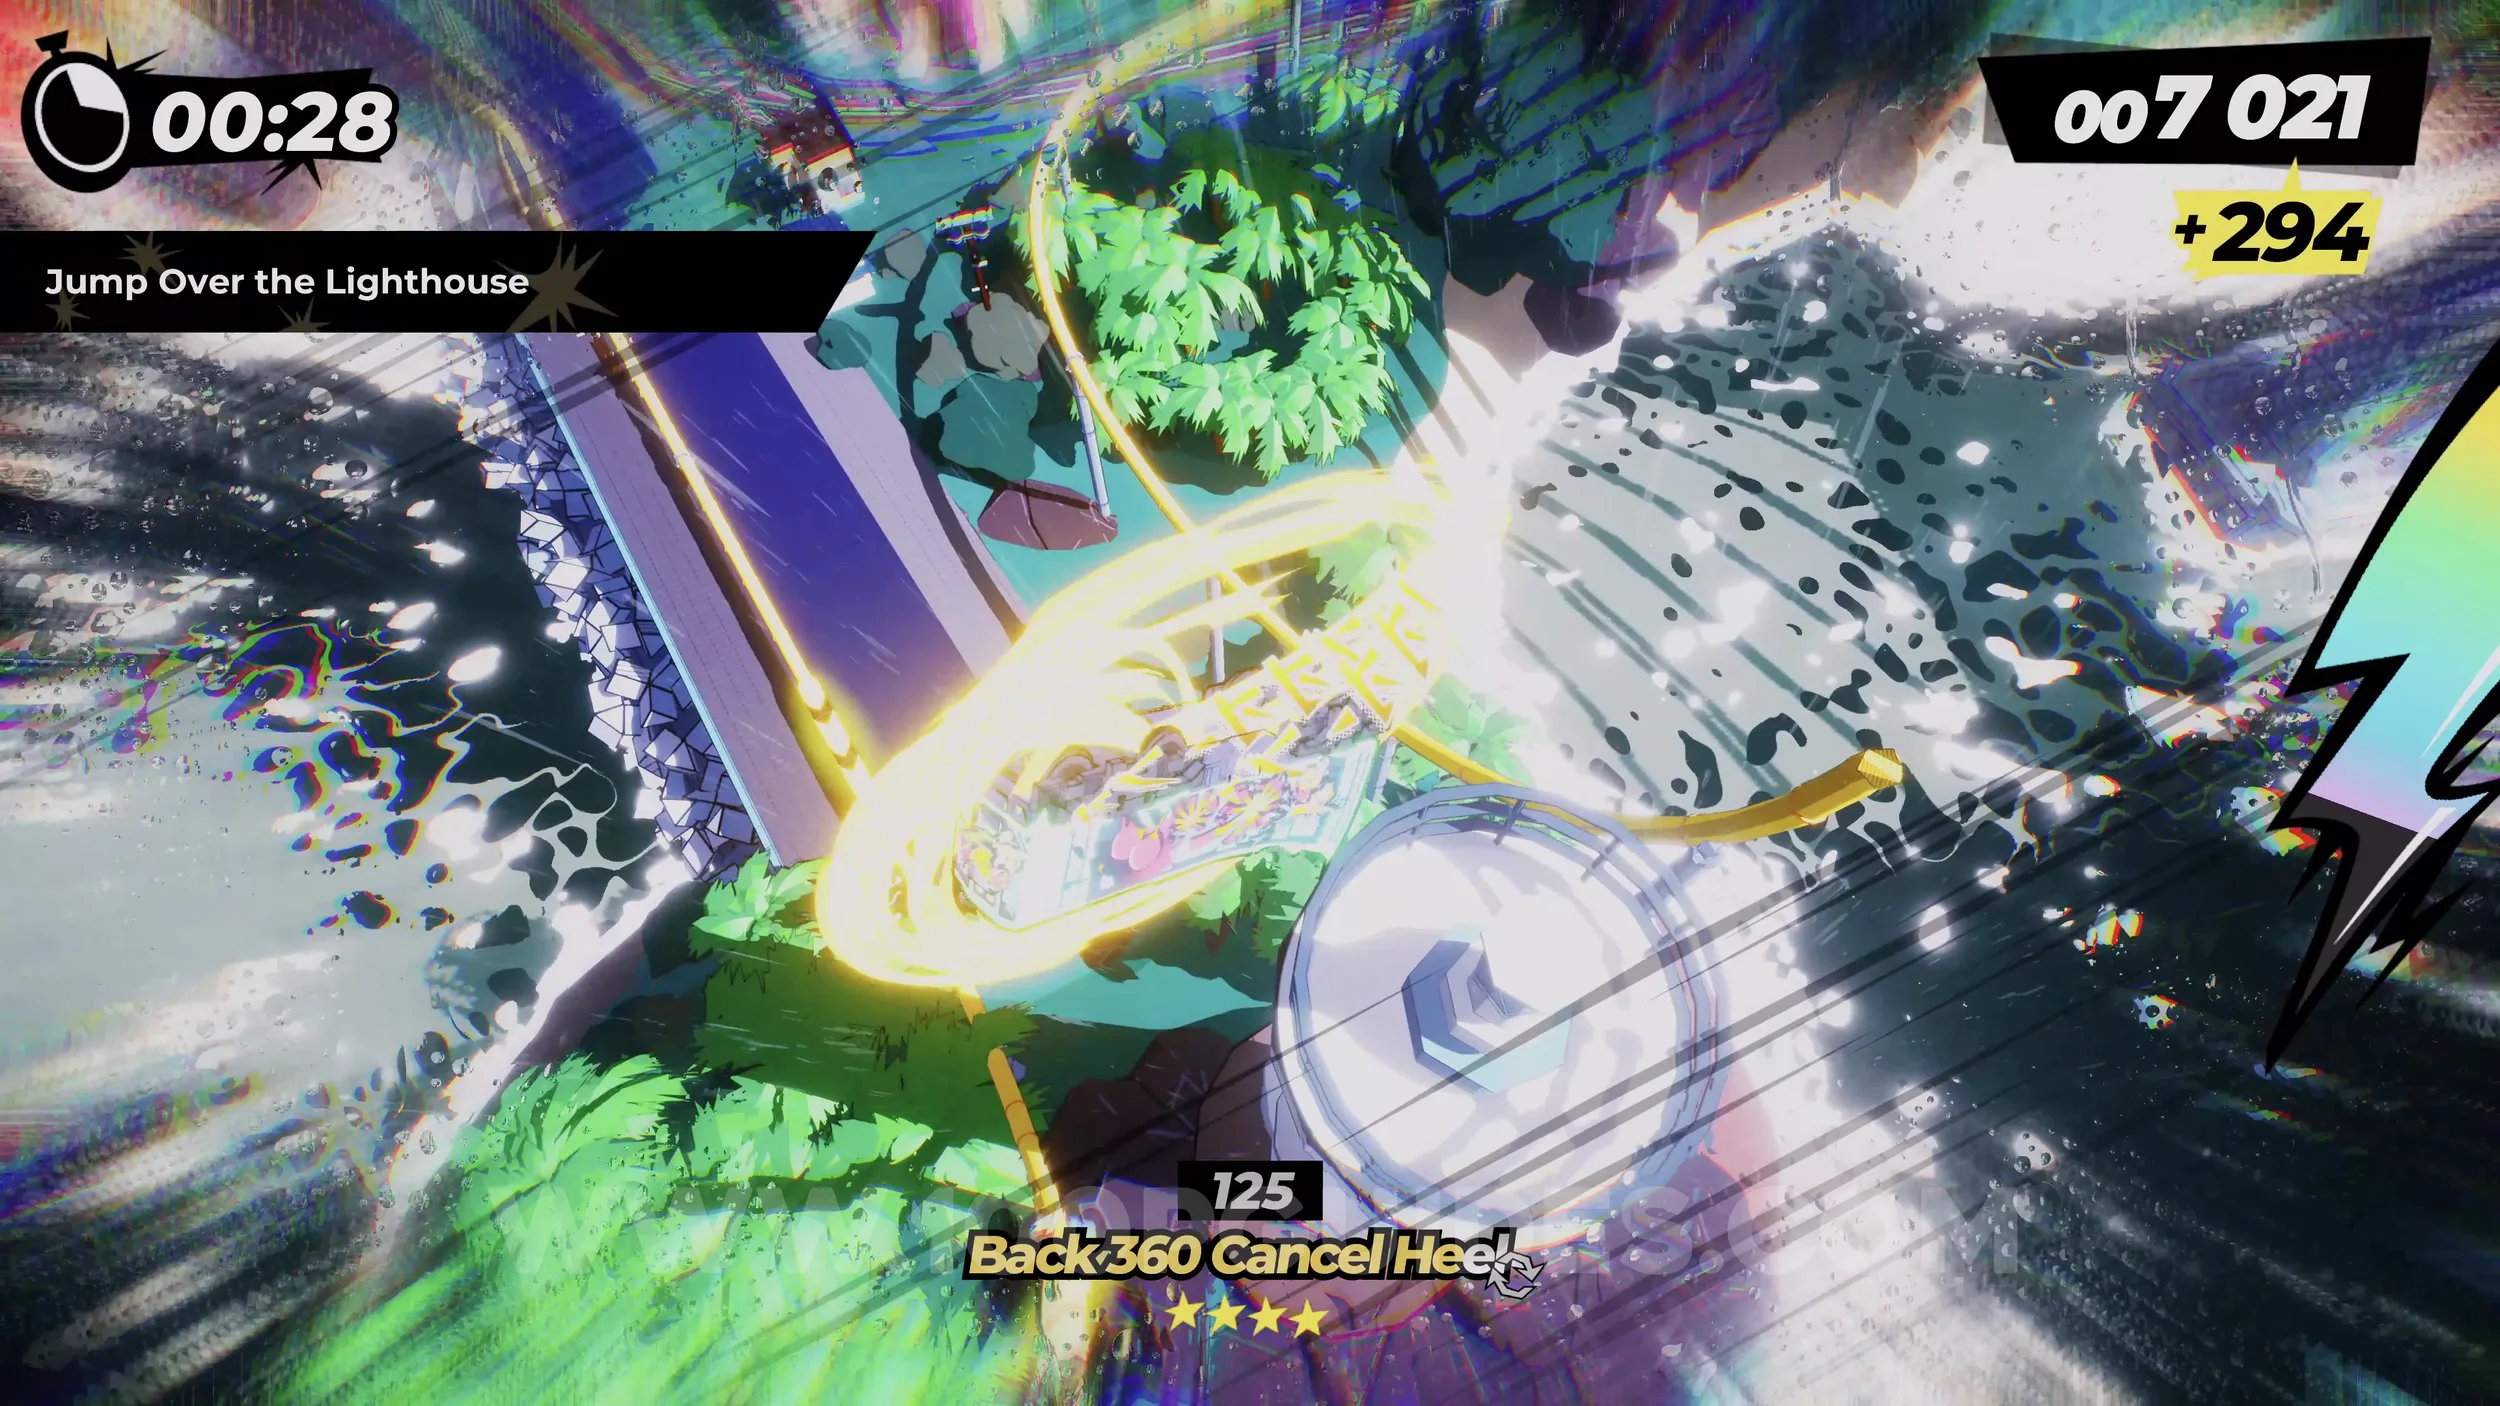
Gear (1/2). Continue on this path and you will soon have to dodge some red signs under a bridge. After going around the next corner, get ready to jump with R2 to reach the gear above the temple.
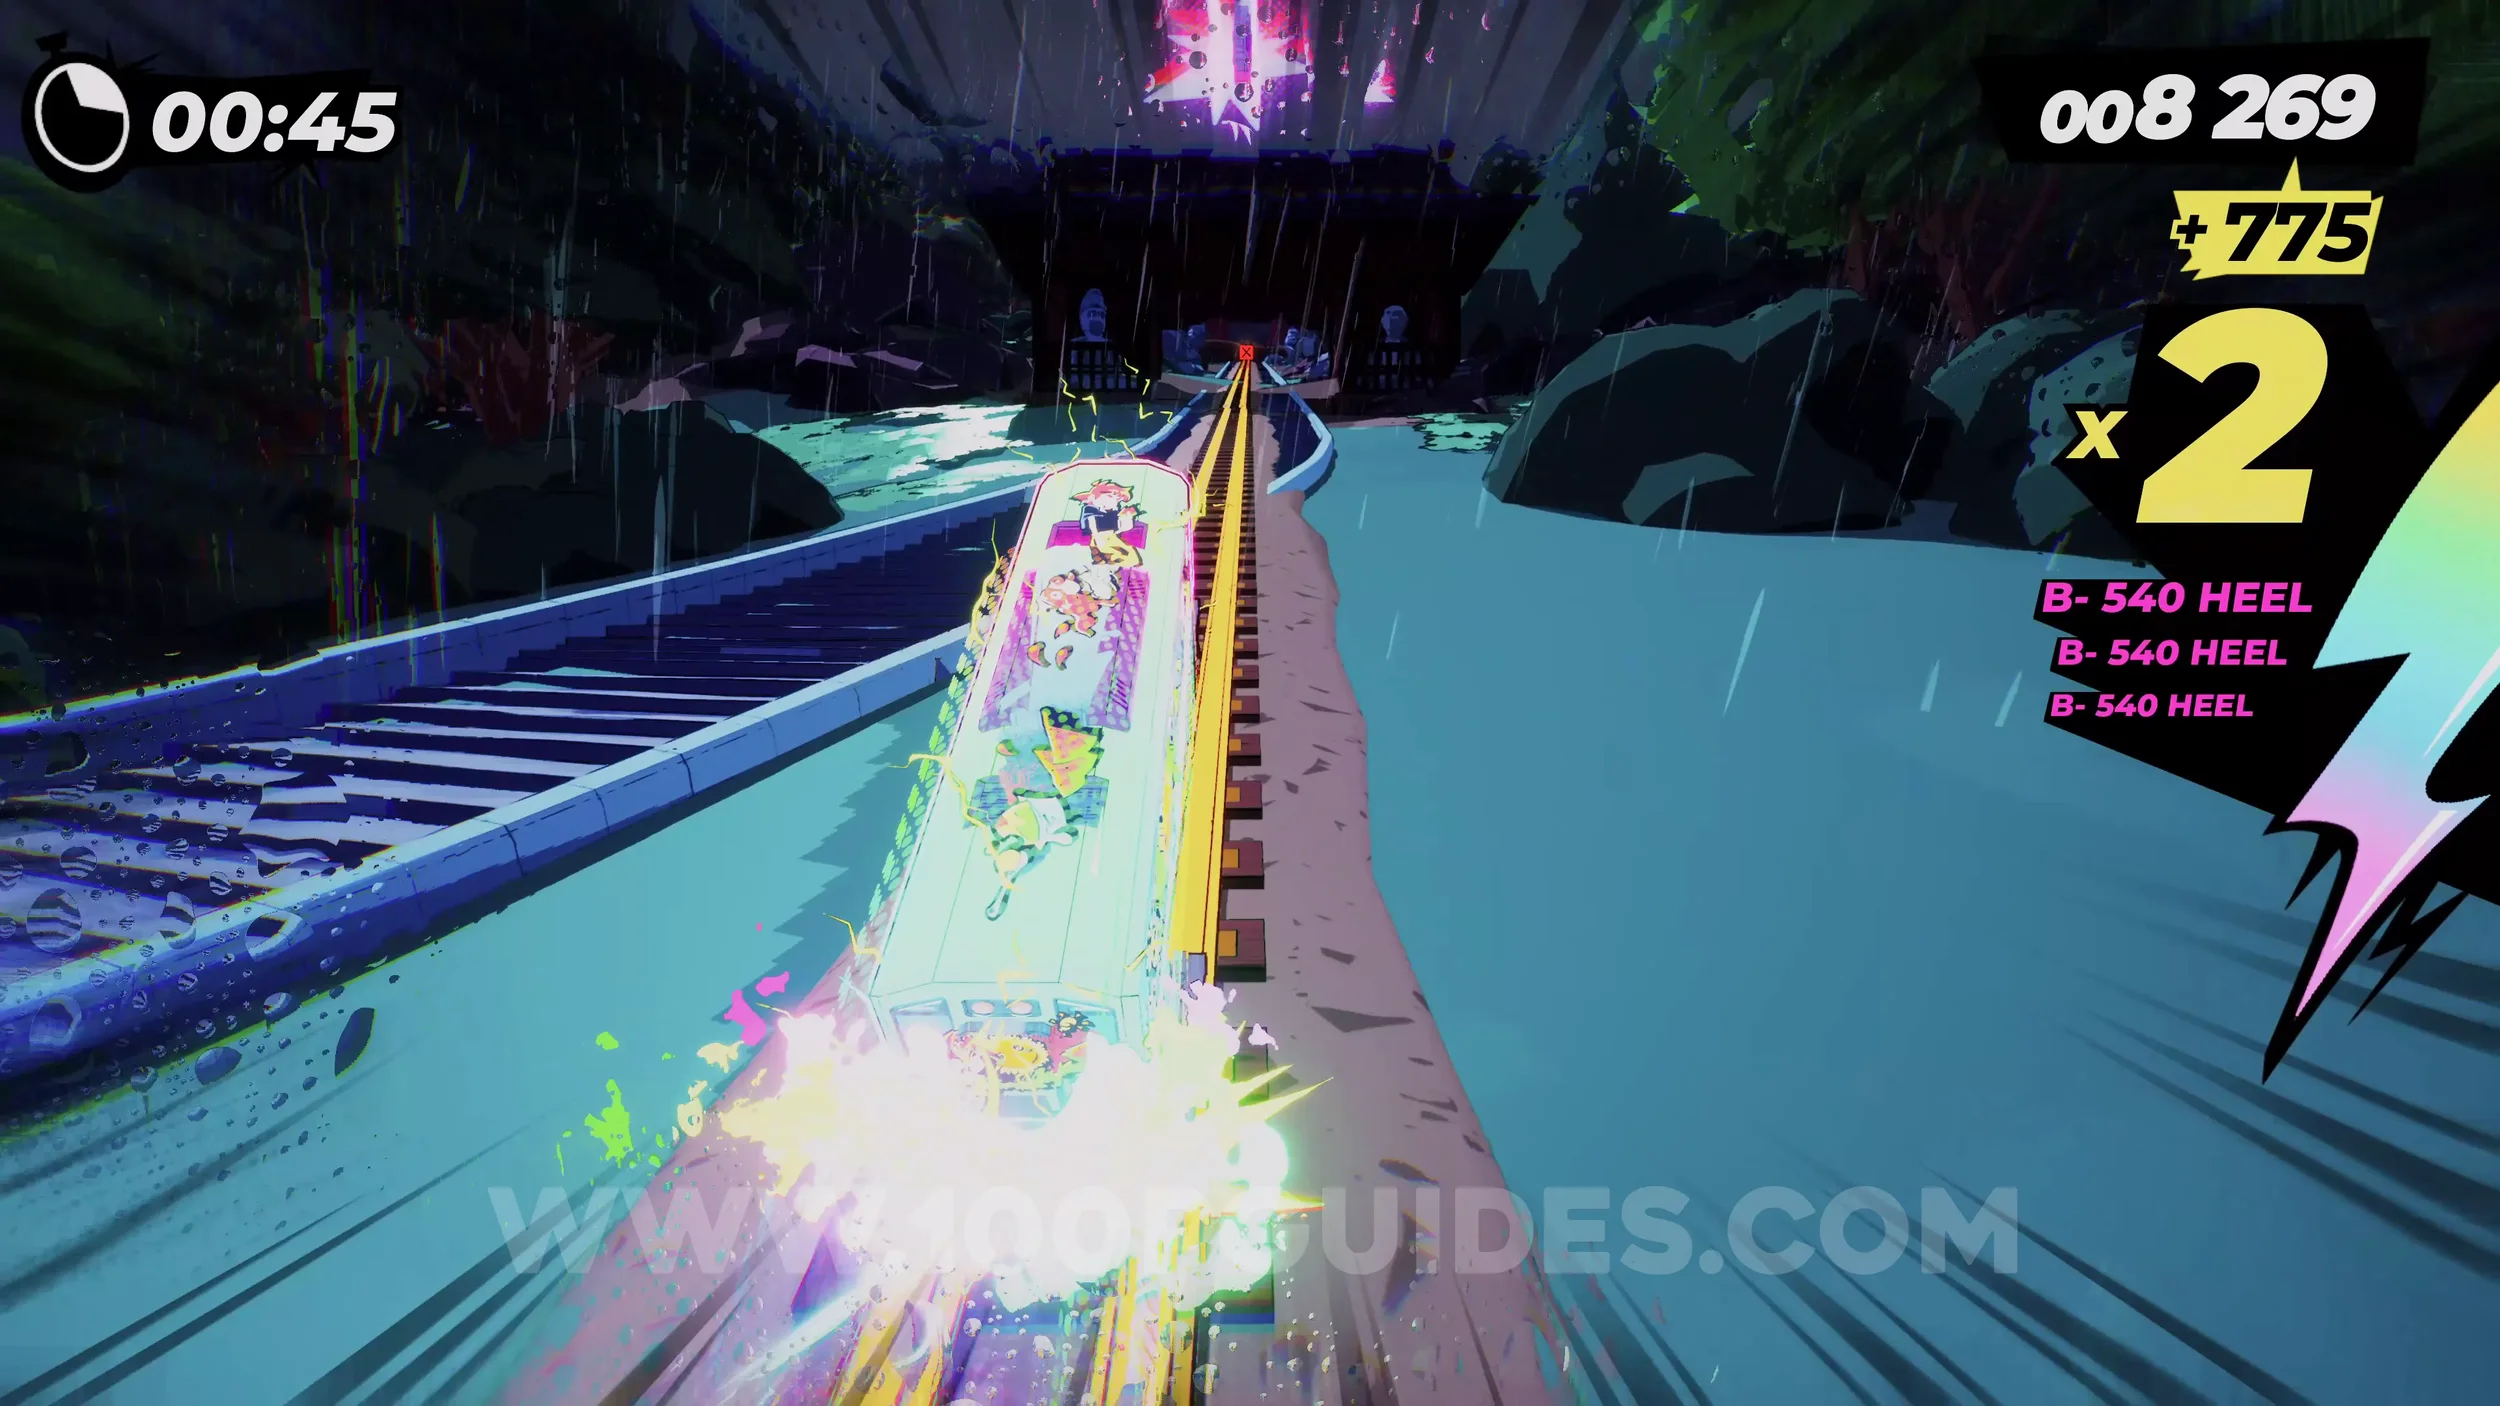
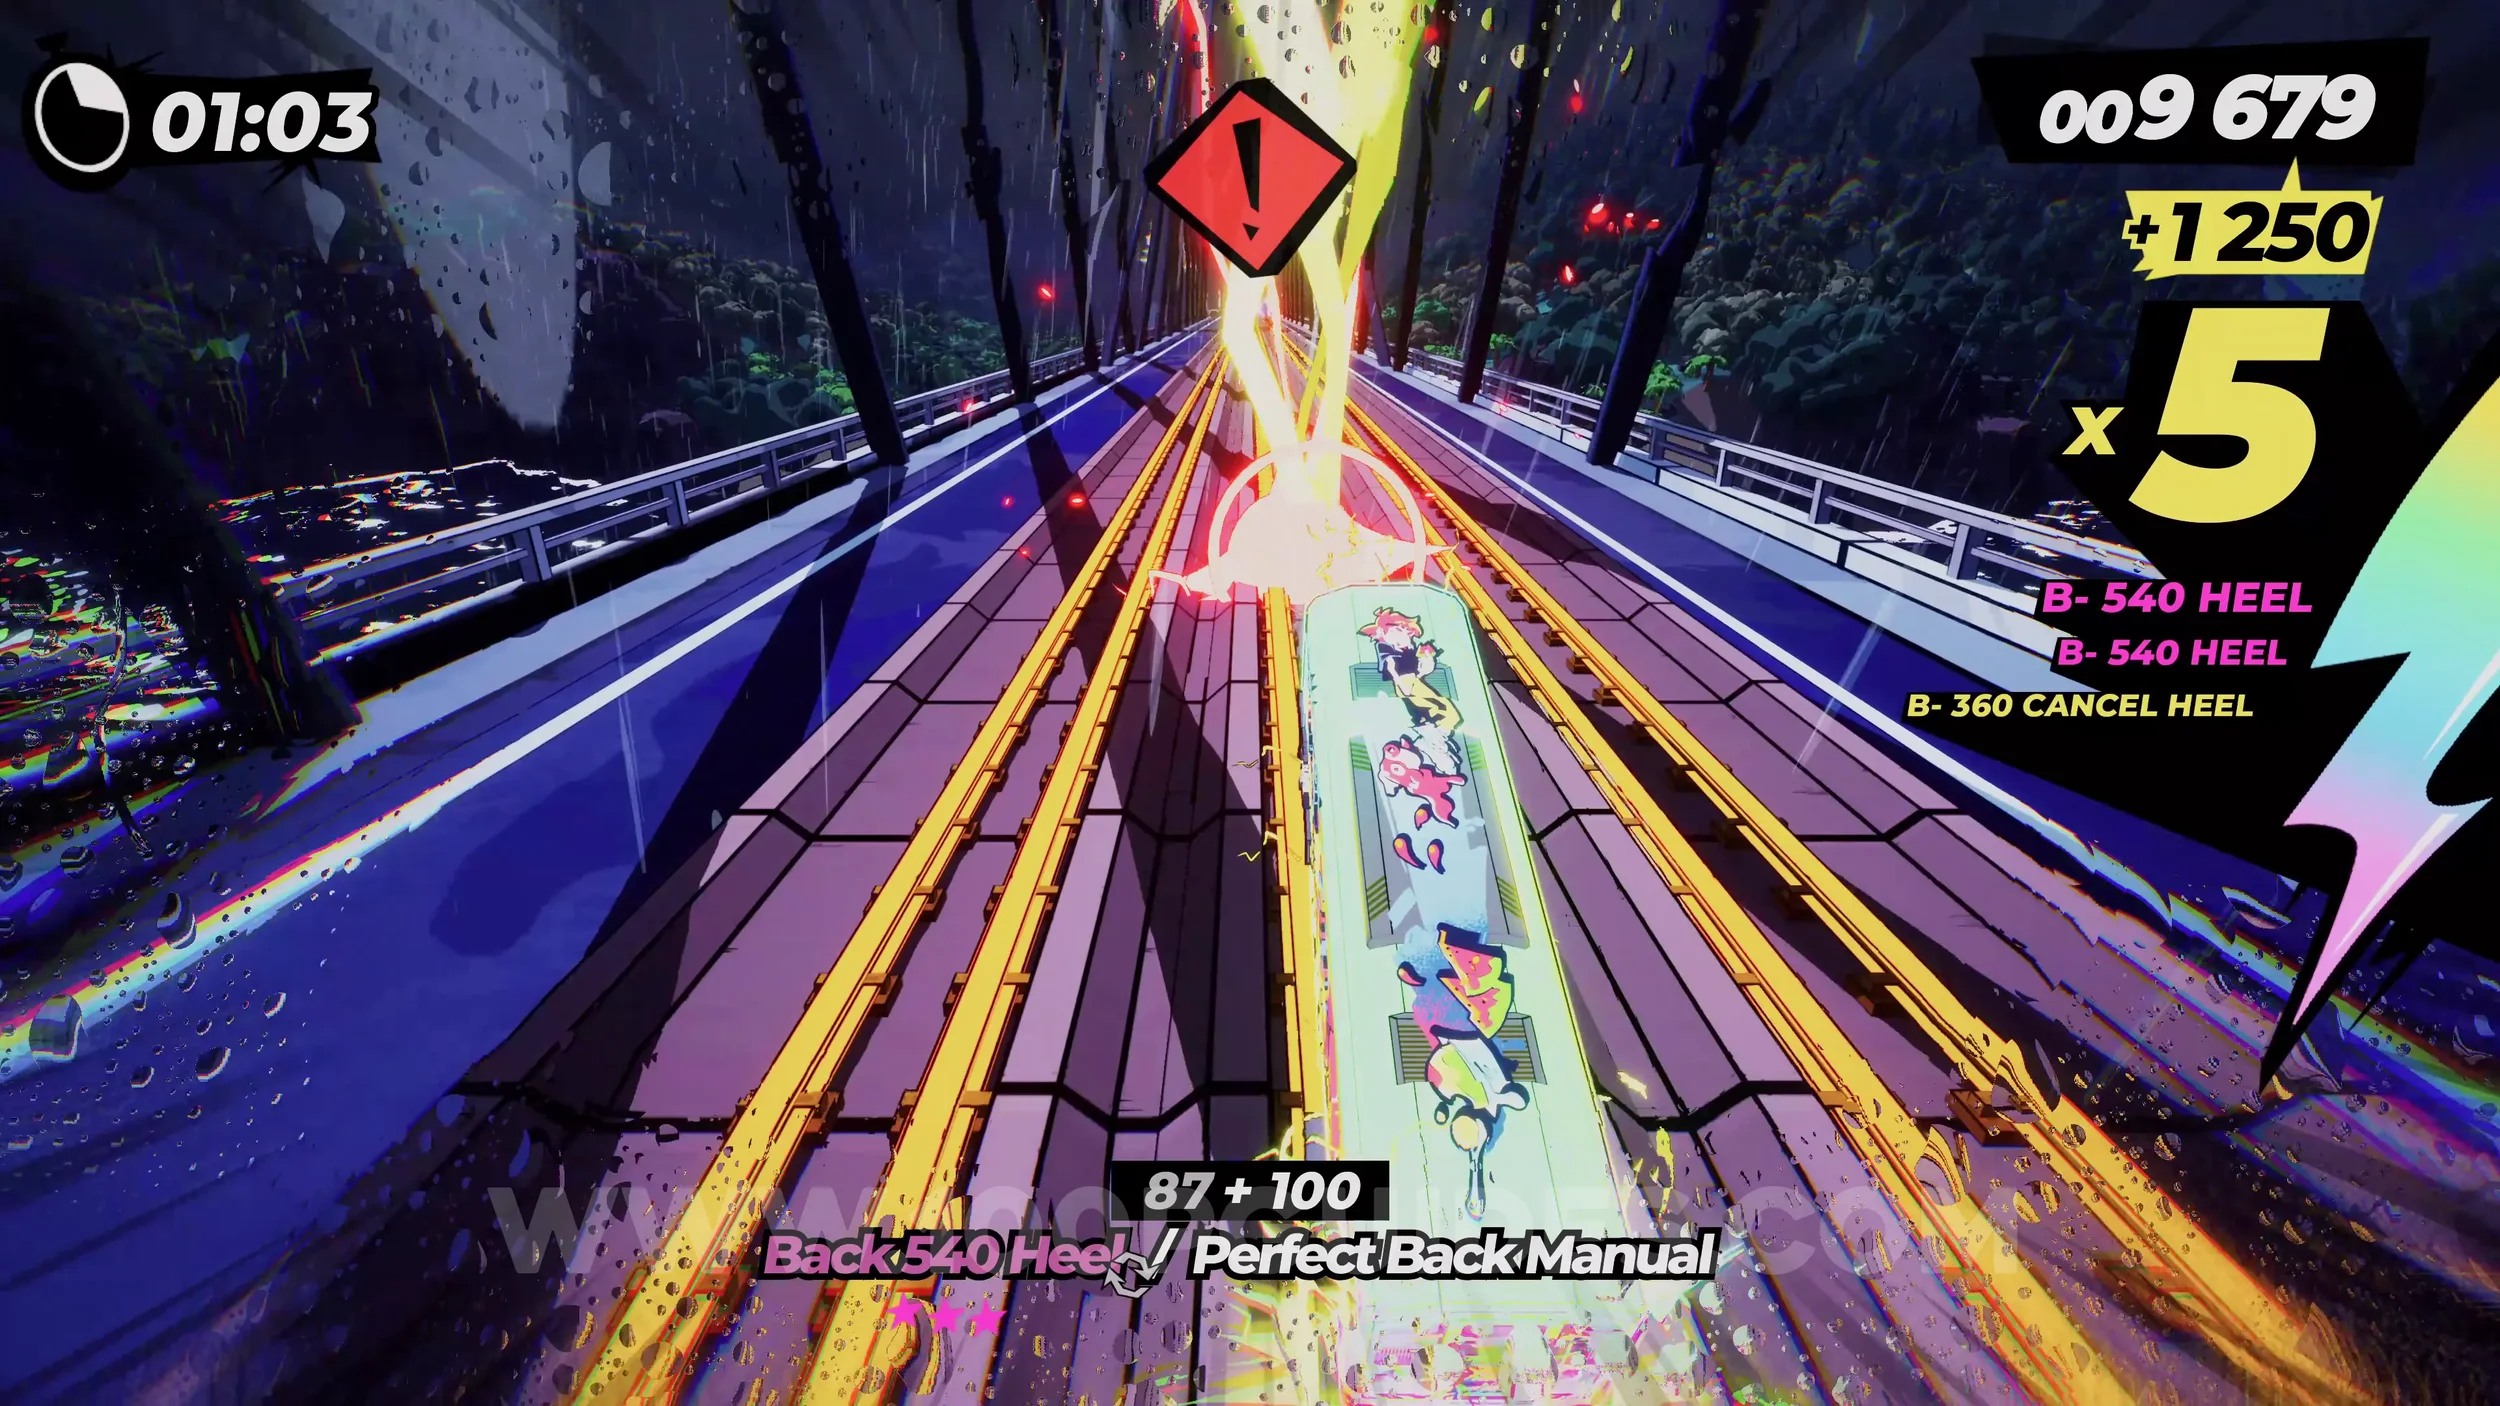
Dare: Risky Dodge 3 Lightning Bolts on the Bridge and Gear (2/2). Continue forward and you will eventually reach a bridge with lightning striking on it. Dodge three of them at the last moment to finish the dare. The gear can also be found on this bridge, close to the end on the right side.
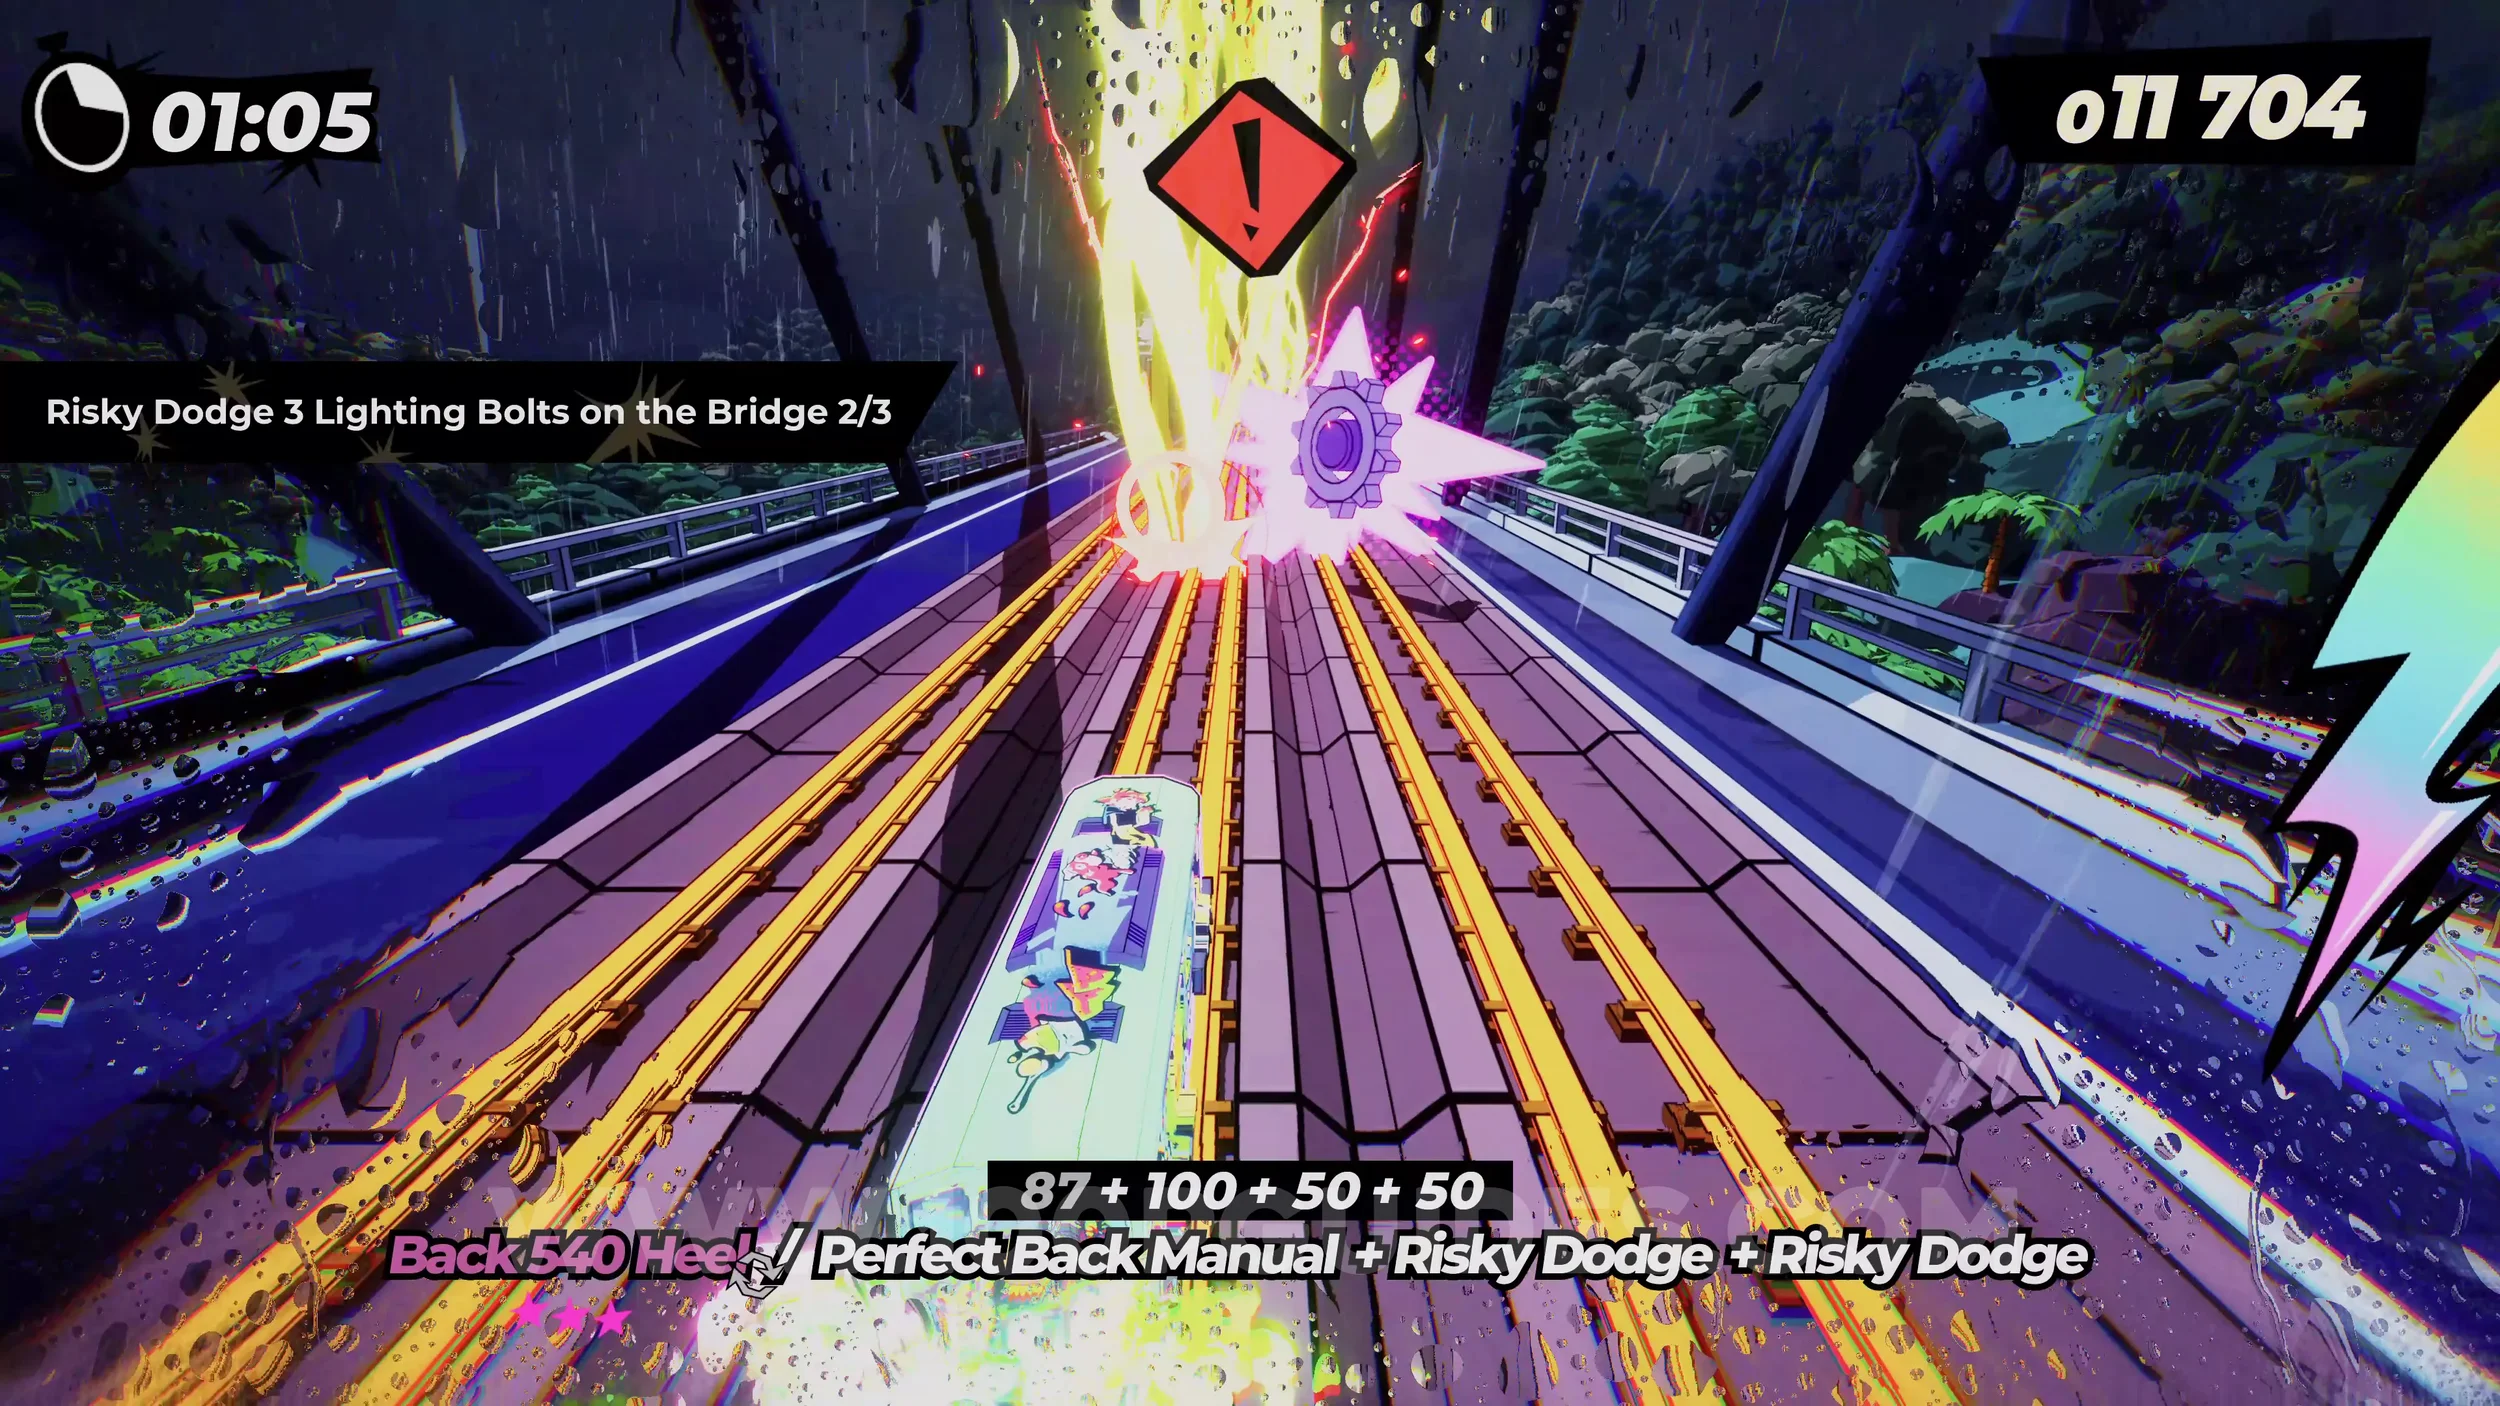
Spray Can (2/2). Just after the bridge with lightning, you will see a track switch banner on the left. Hit it to get the tracks to switch left. This will take you to the can.
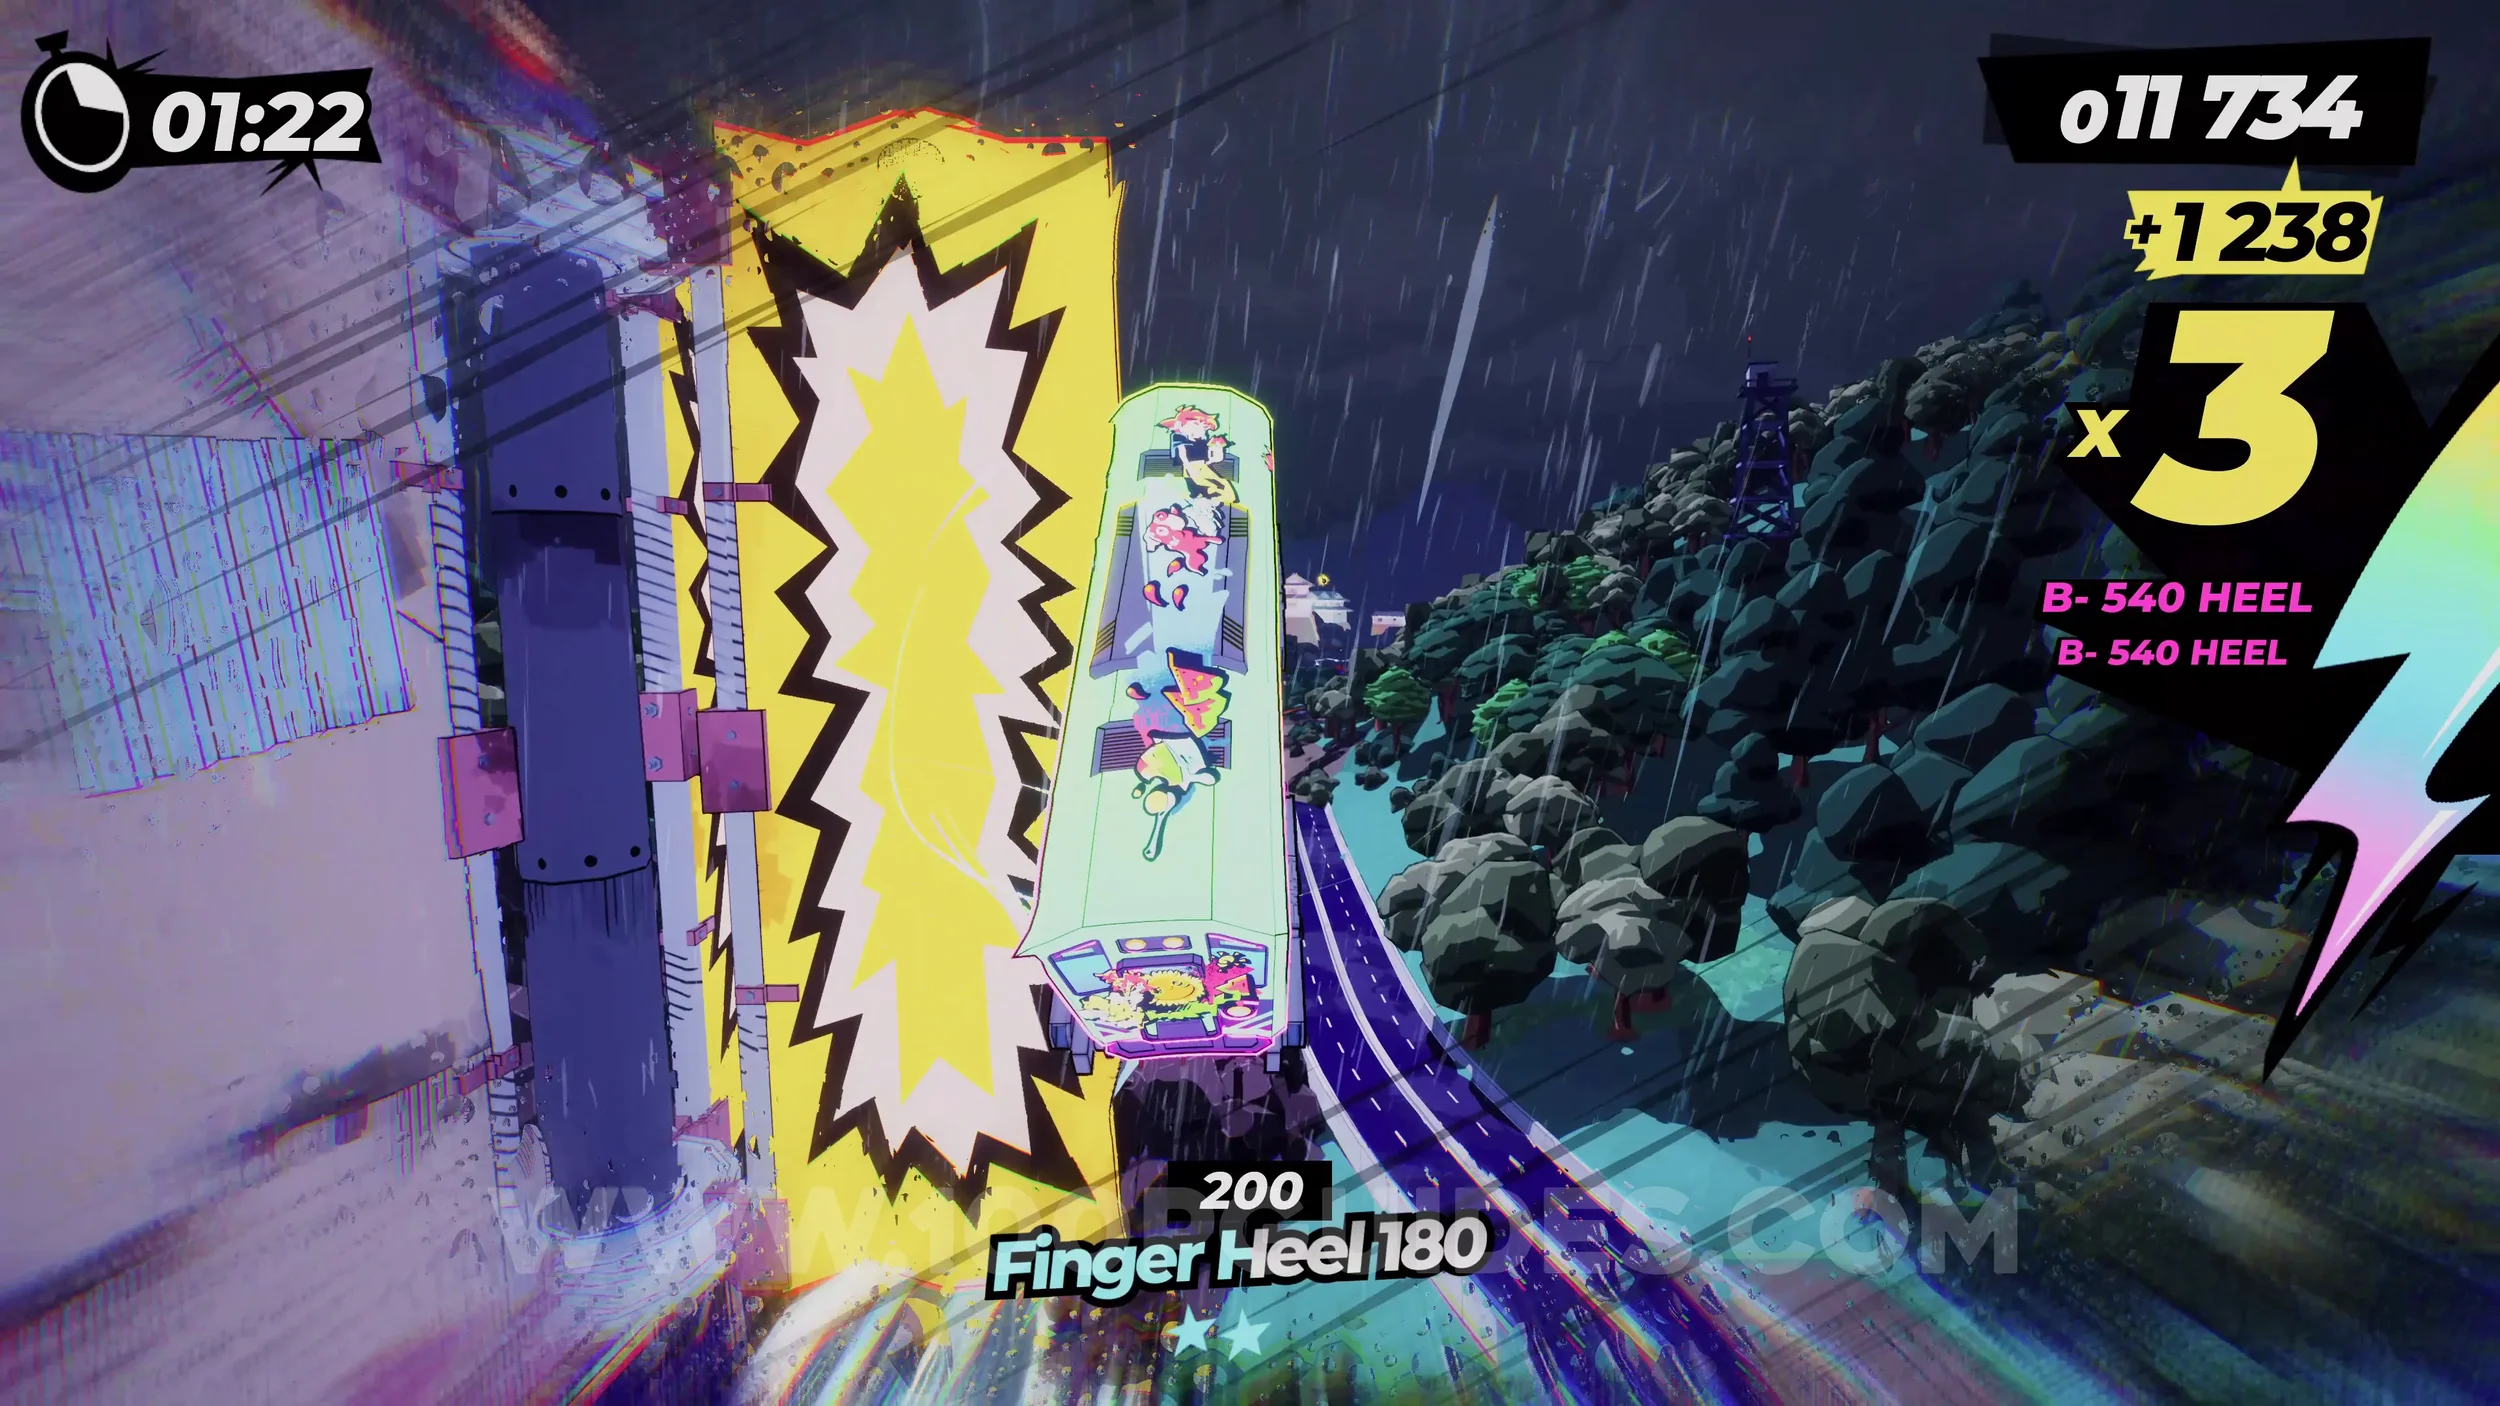
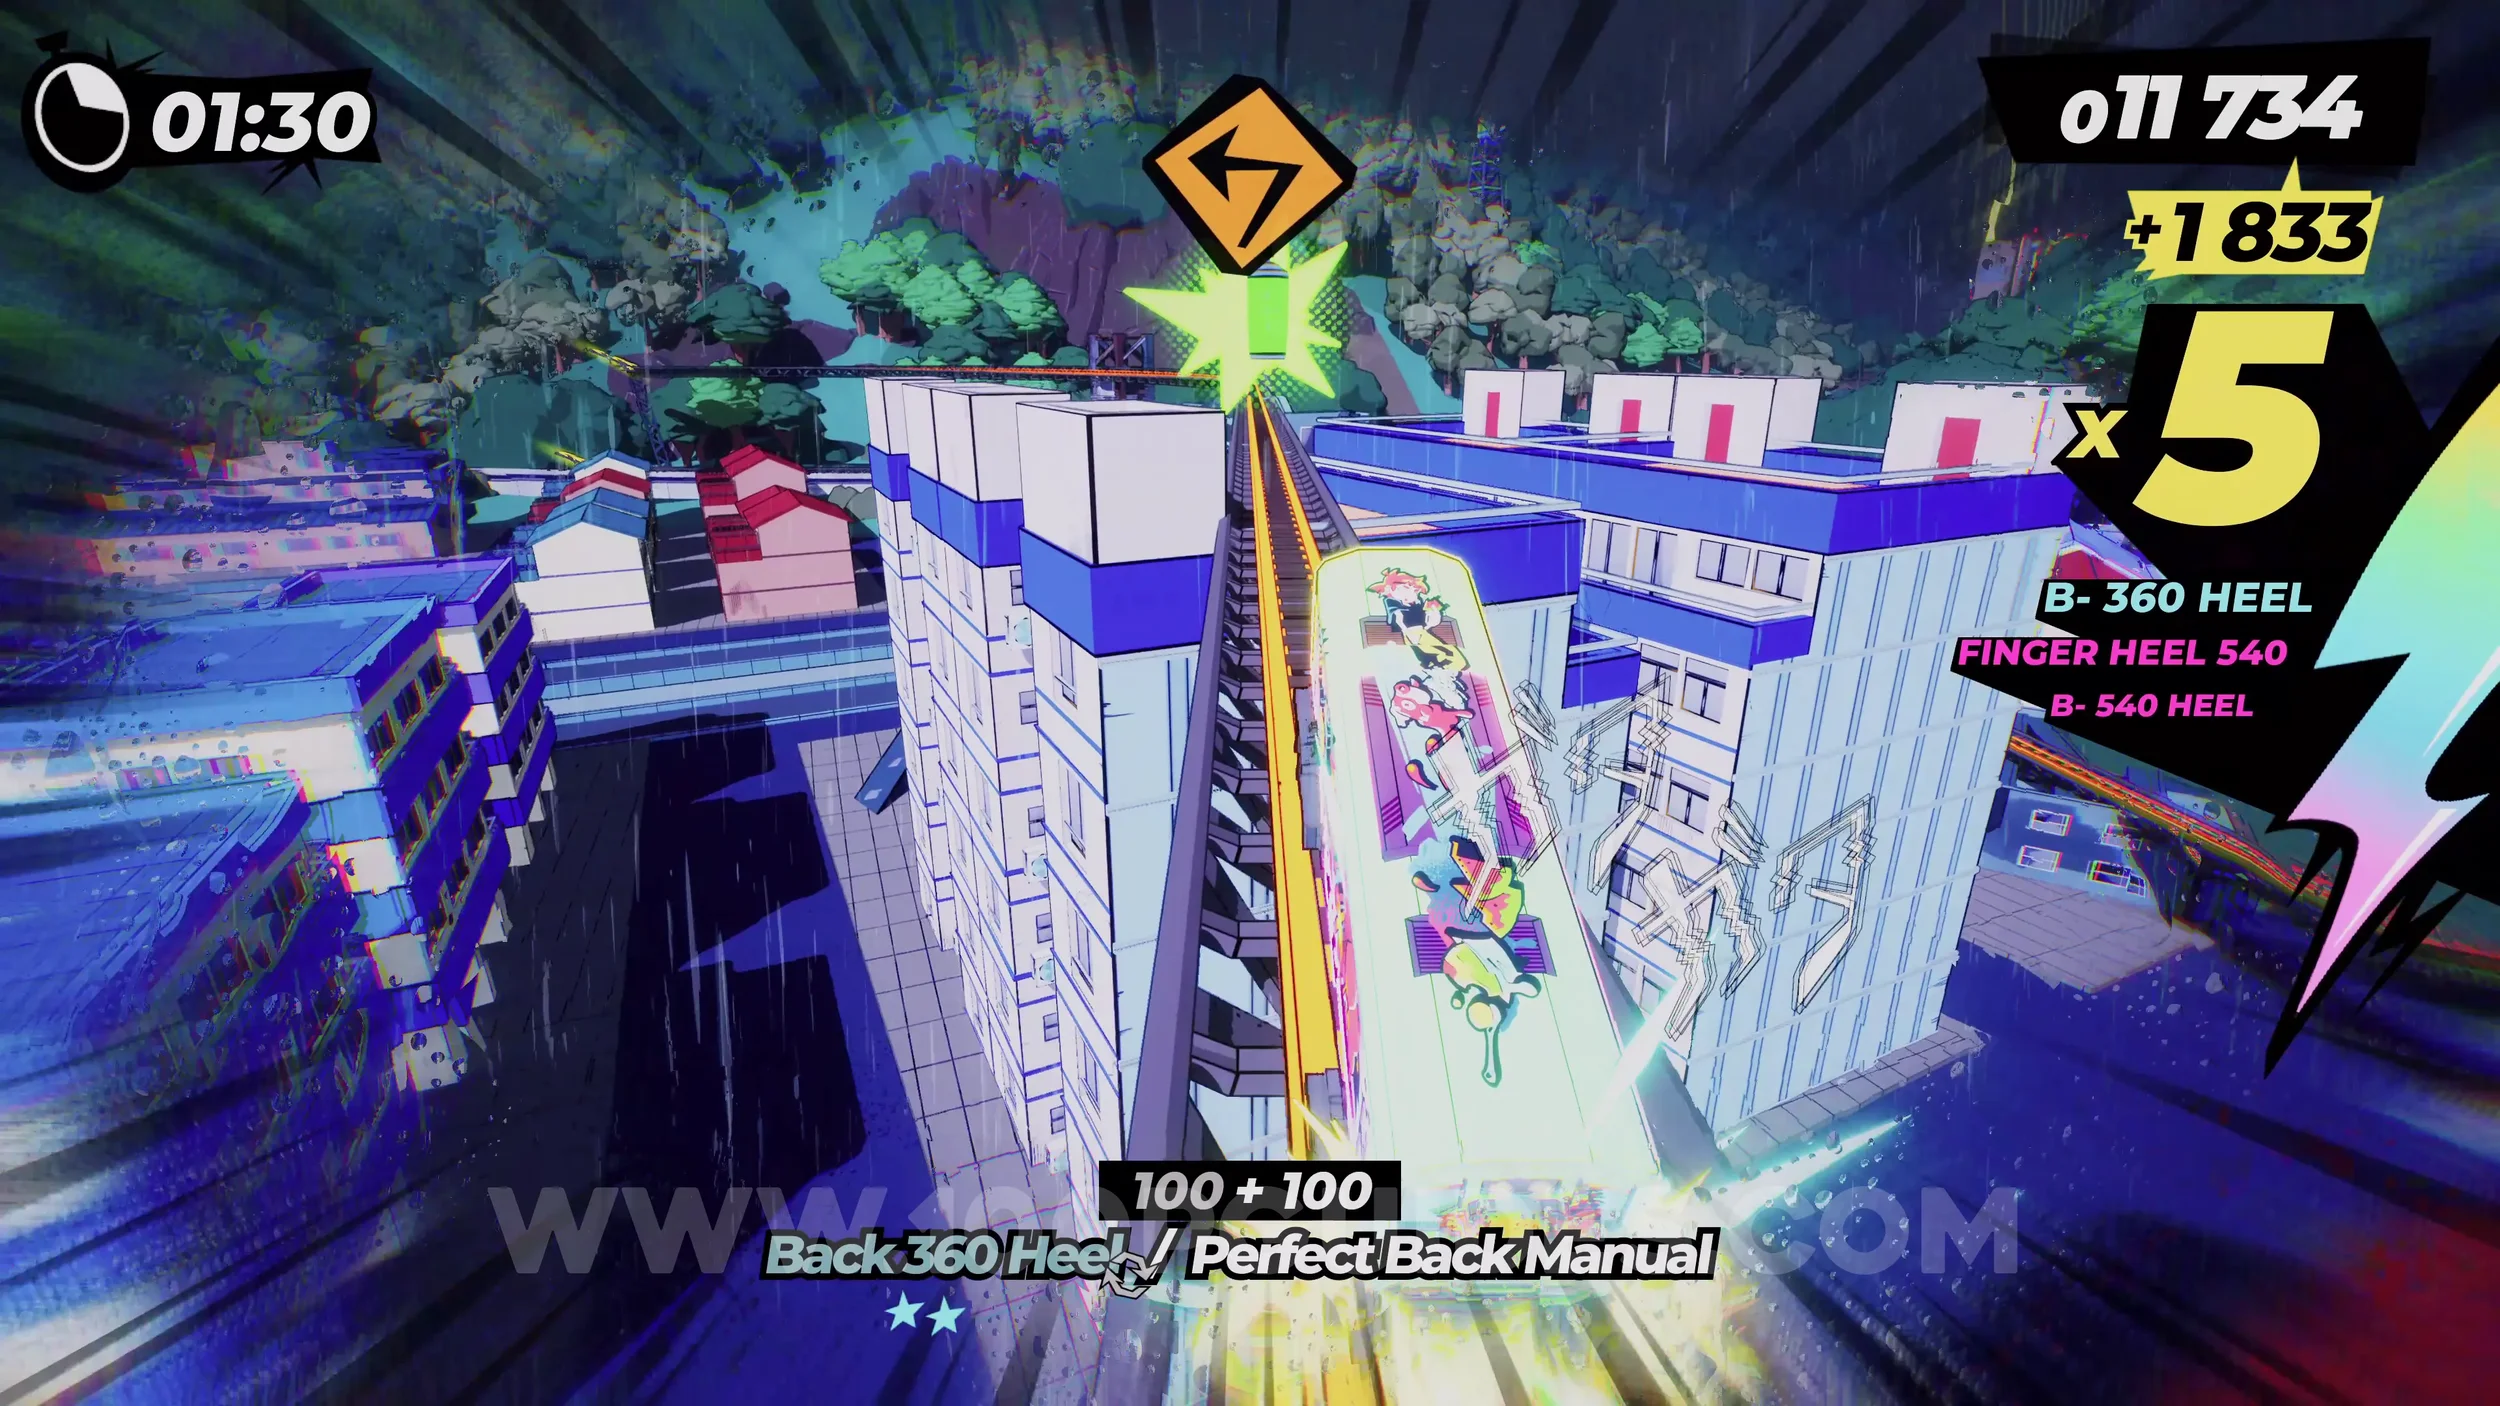
Film Roll (1/1) and Dare: Ride the Fallen Castle. After the previous can, you will fall back down to a straight track. If you have your special meter filled, you will see a rainbow track on your left where the yellow film roll sign is. Ride this all the way to the end to finish the dare and collect the film roll.
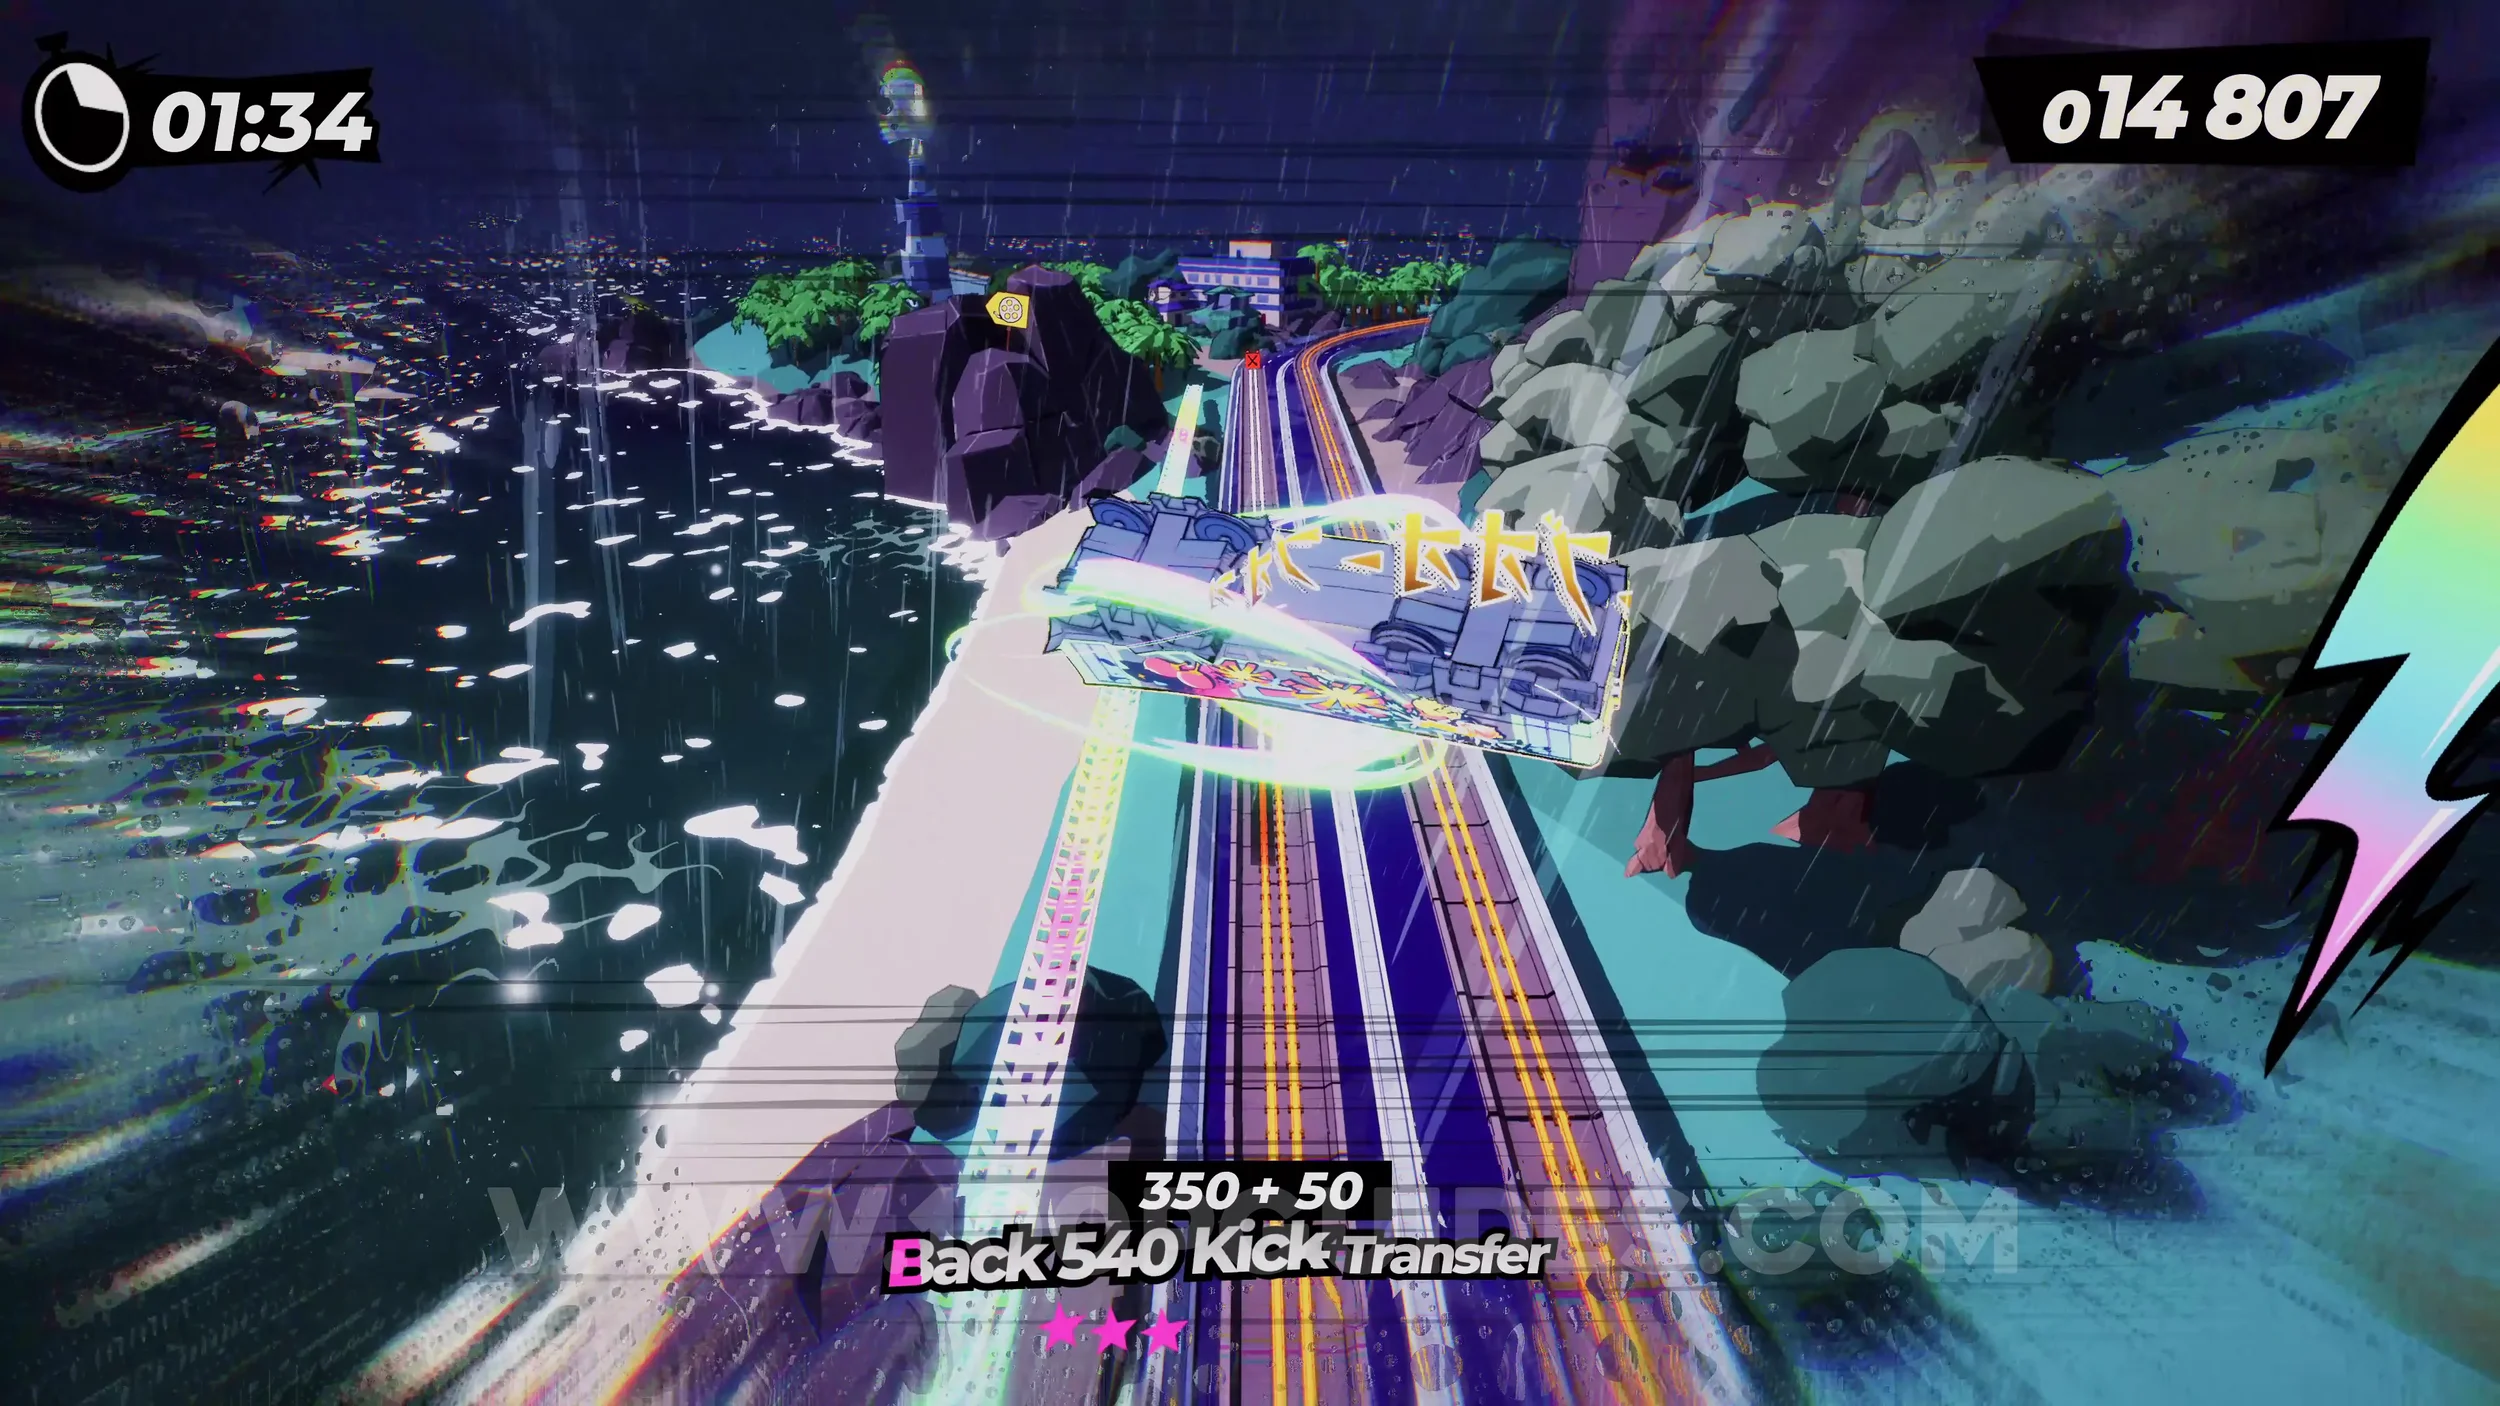
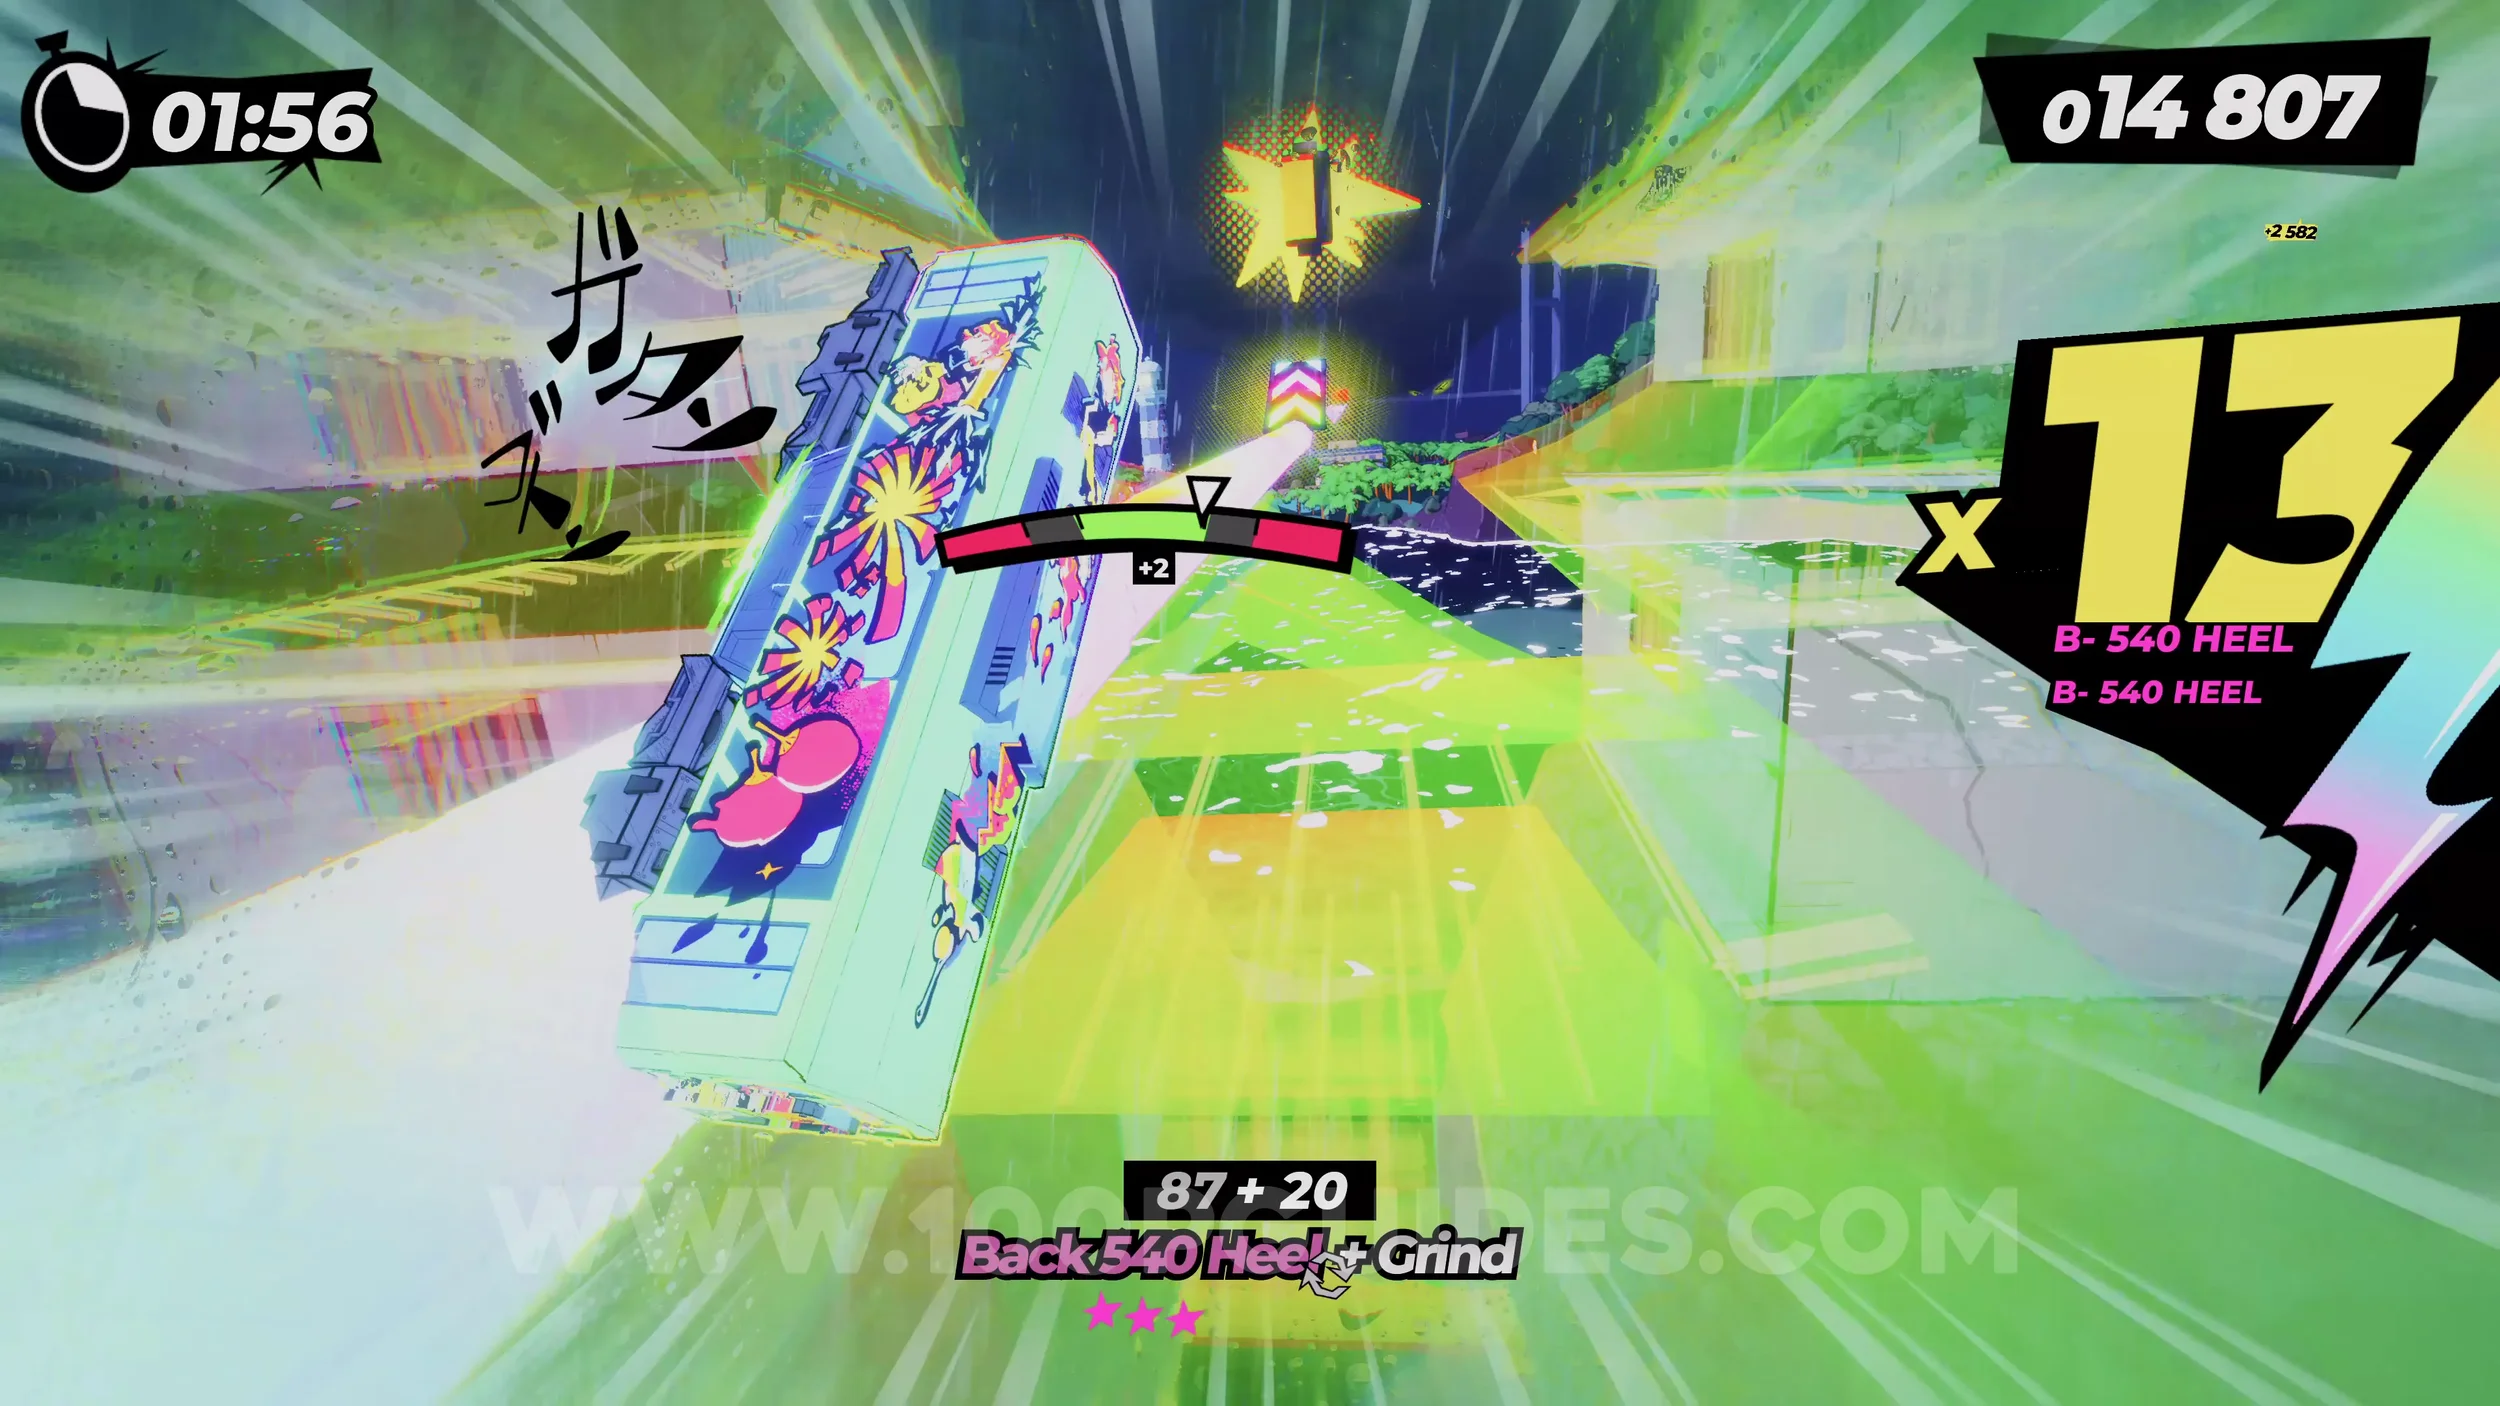
Dare: Rock The Boat. Continue through the level until you reach another long bridge. Halfway across, the bridge will get destroyed and you will fall down below and cross over a boat. As soon as you do, the horn sign will appear in the center of the screen. When it does, press R3.
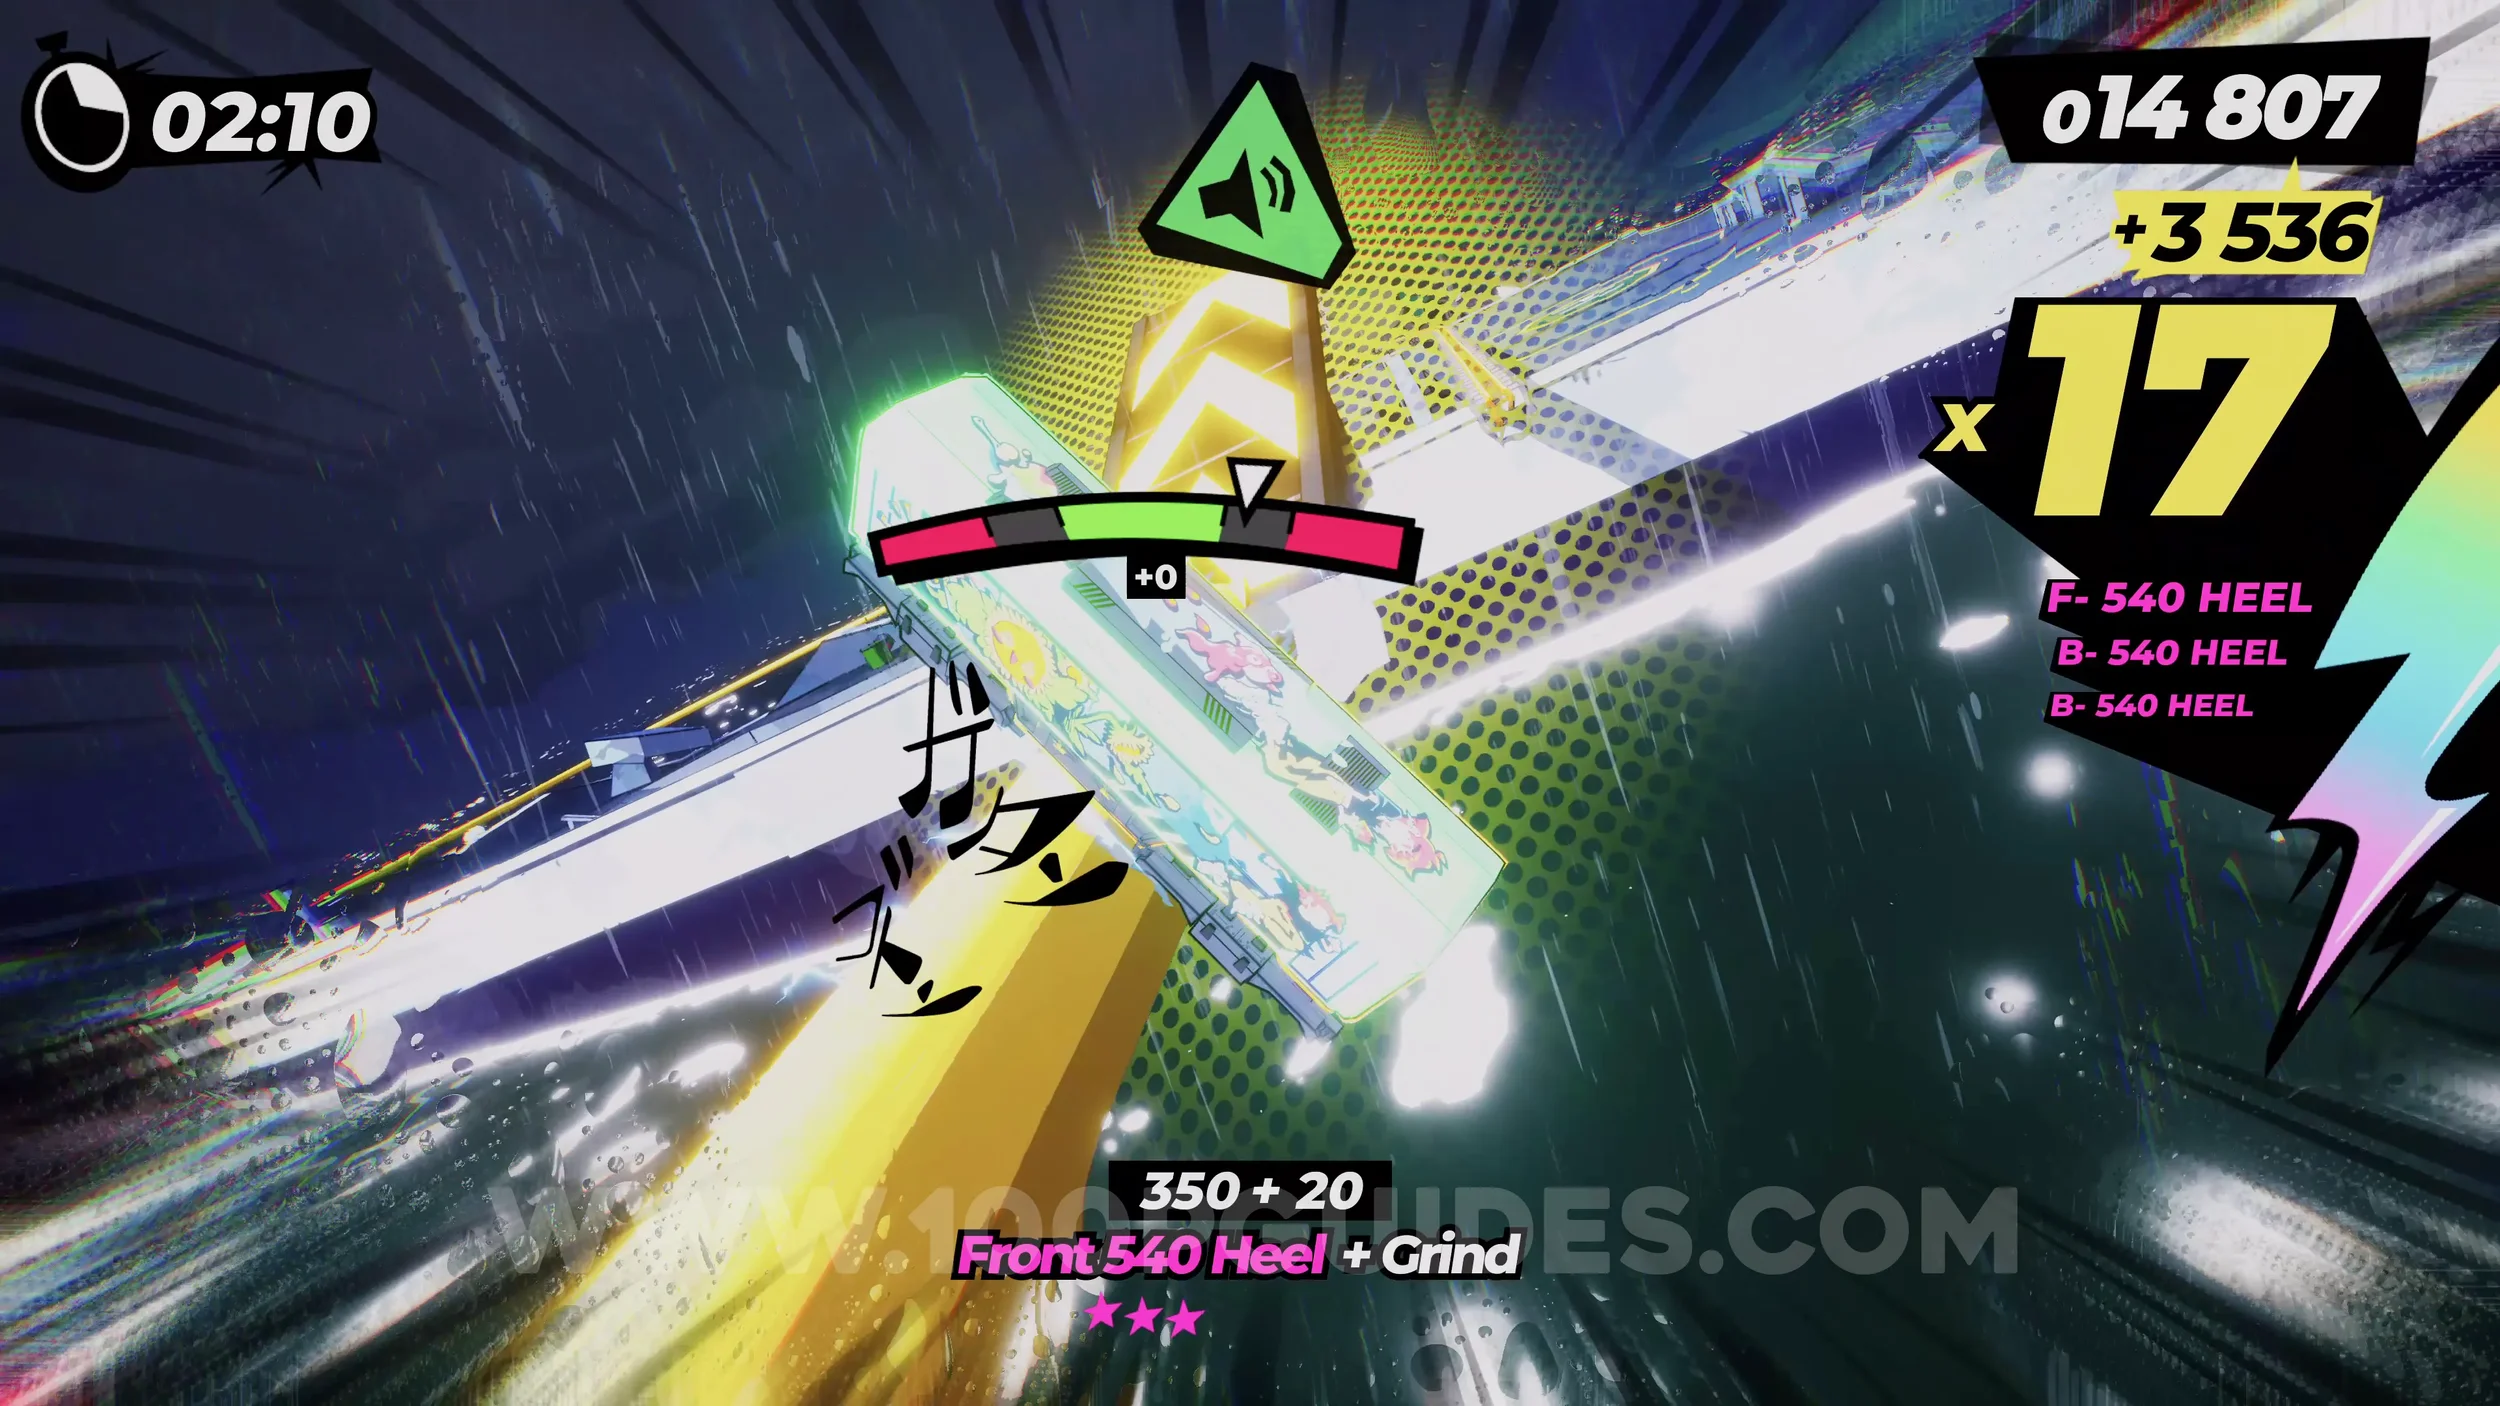
Dare: No Crash Finish. Self-explanatory. Finish the level without crashing.
3-1-2 Rock Around The Tunnel
Dare: Perform 3 Tunnel Loops. At the start of the level, you will learn how to do tunnel loops by pressing L2 + a direction. You will then go through two tunnels. Perform a total of three full loops around the tunnels.
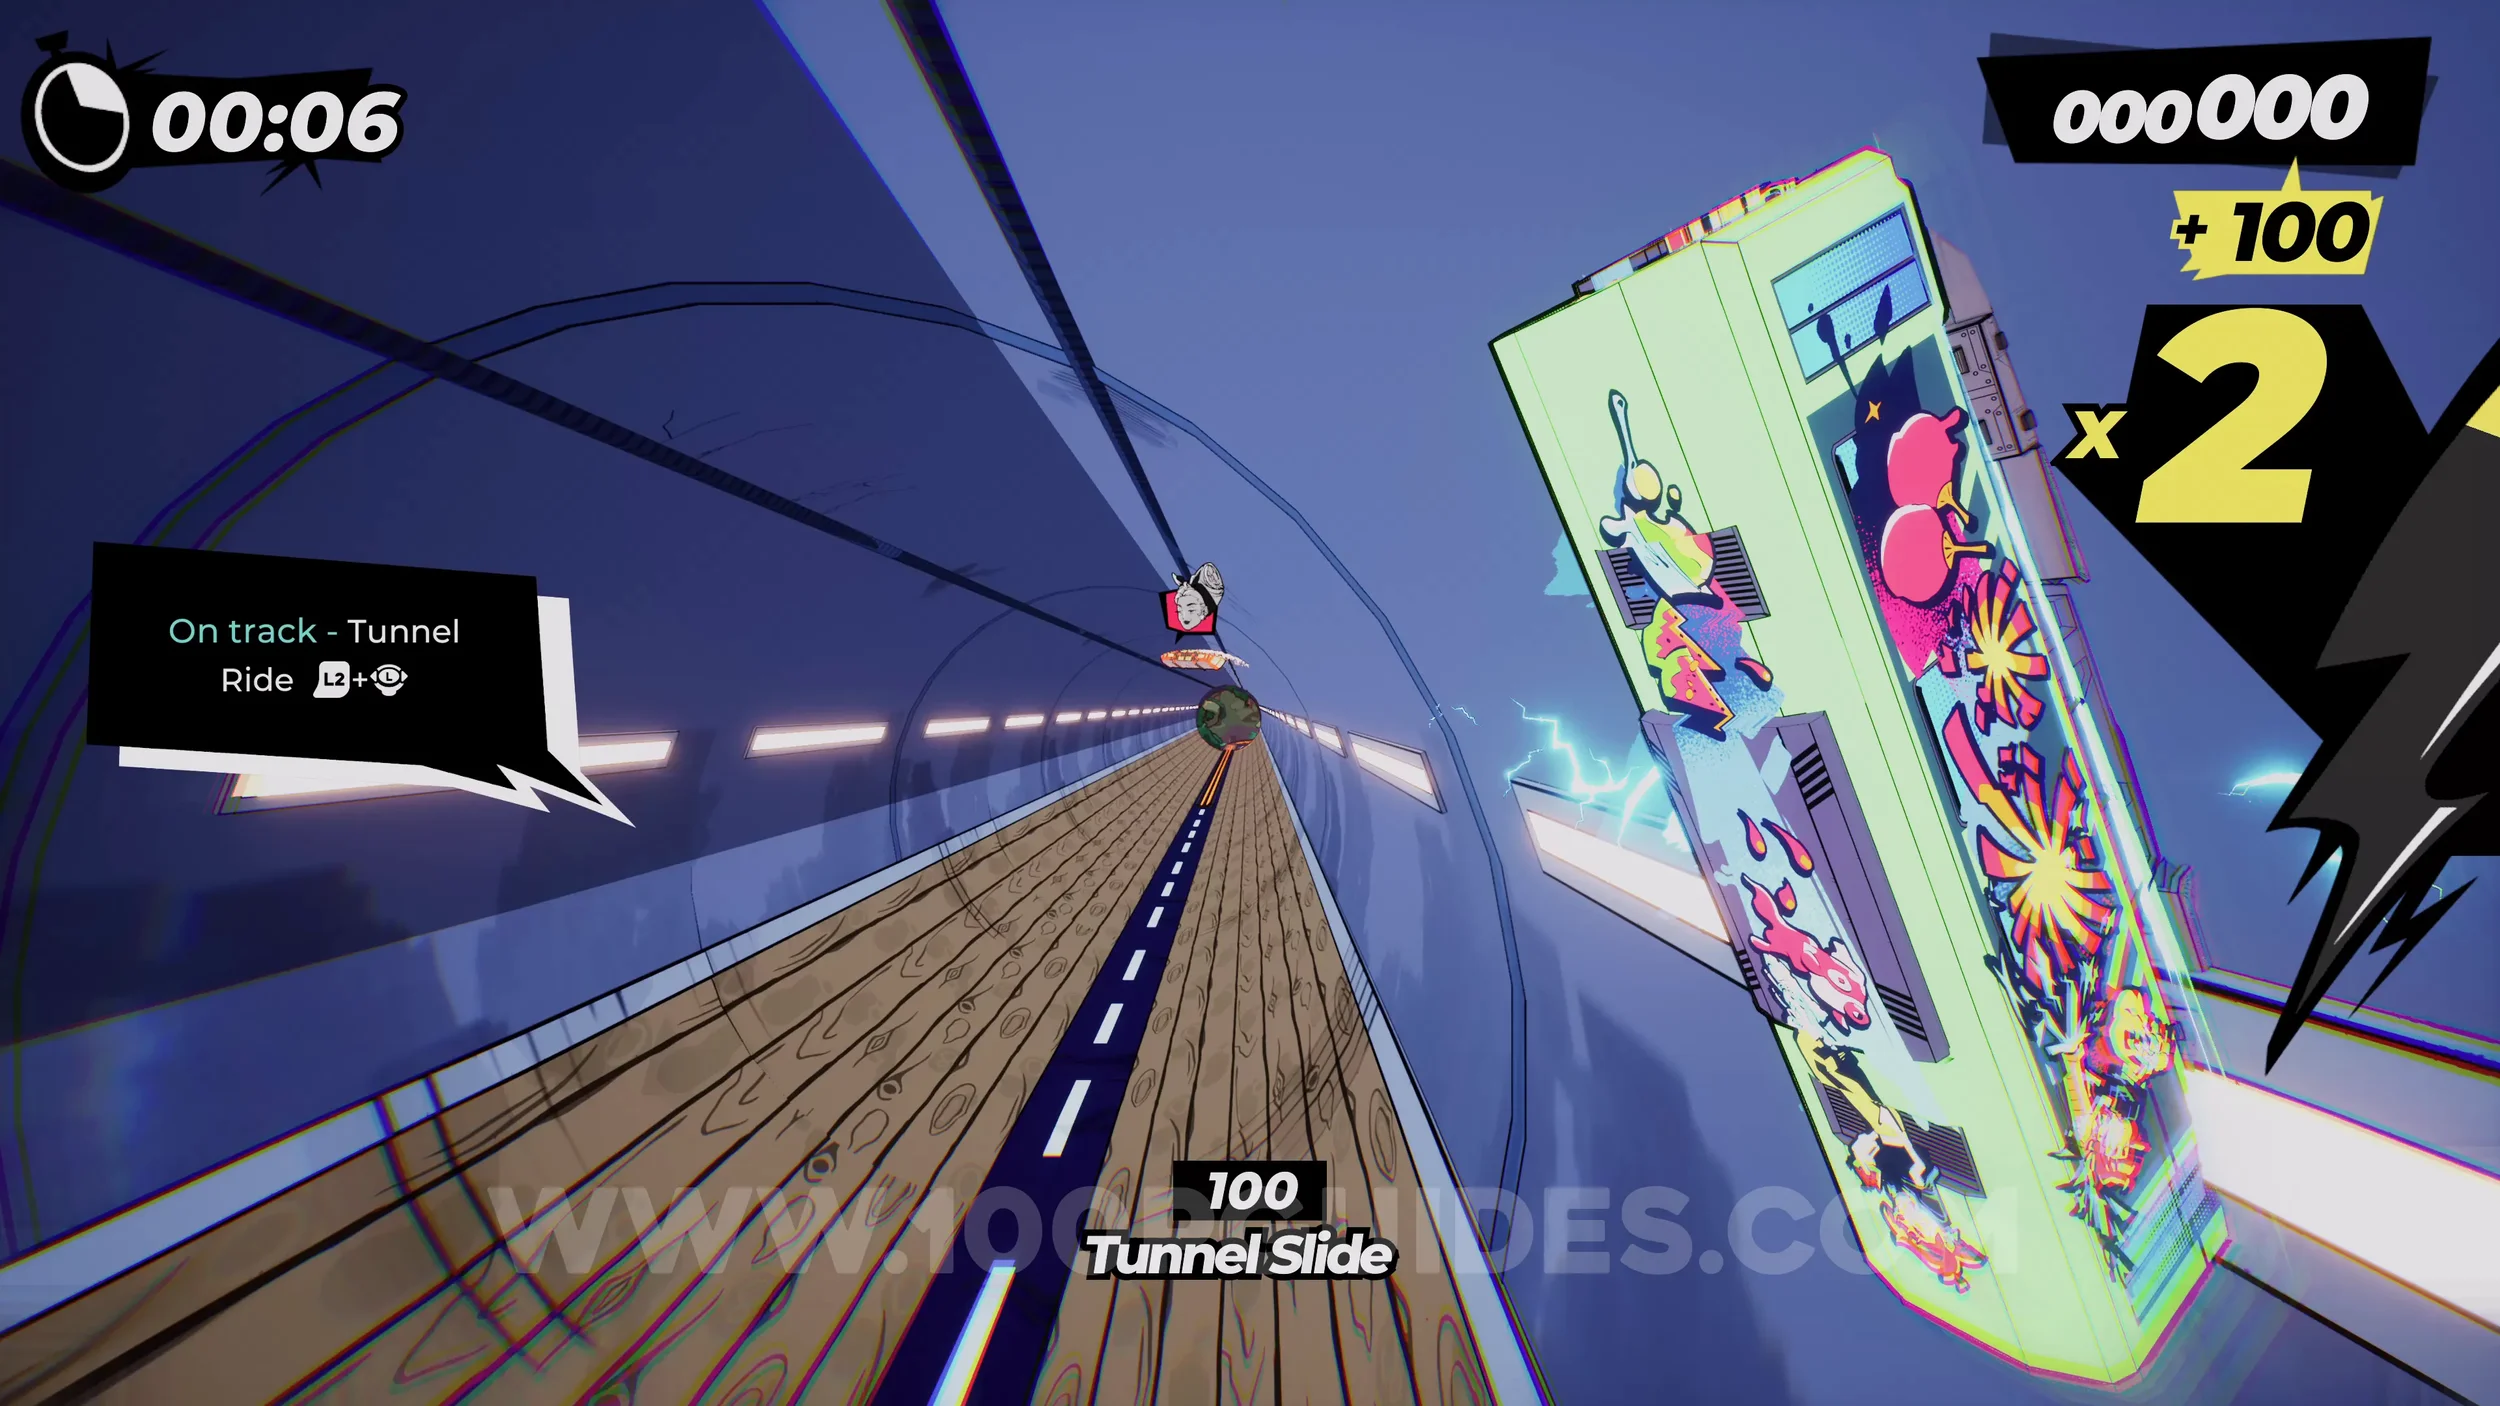
Spray Can (1/2). Found on the right side of the second tunnel.
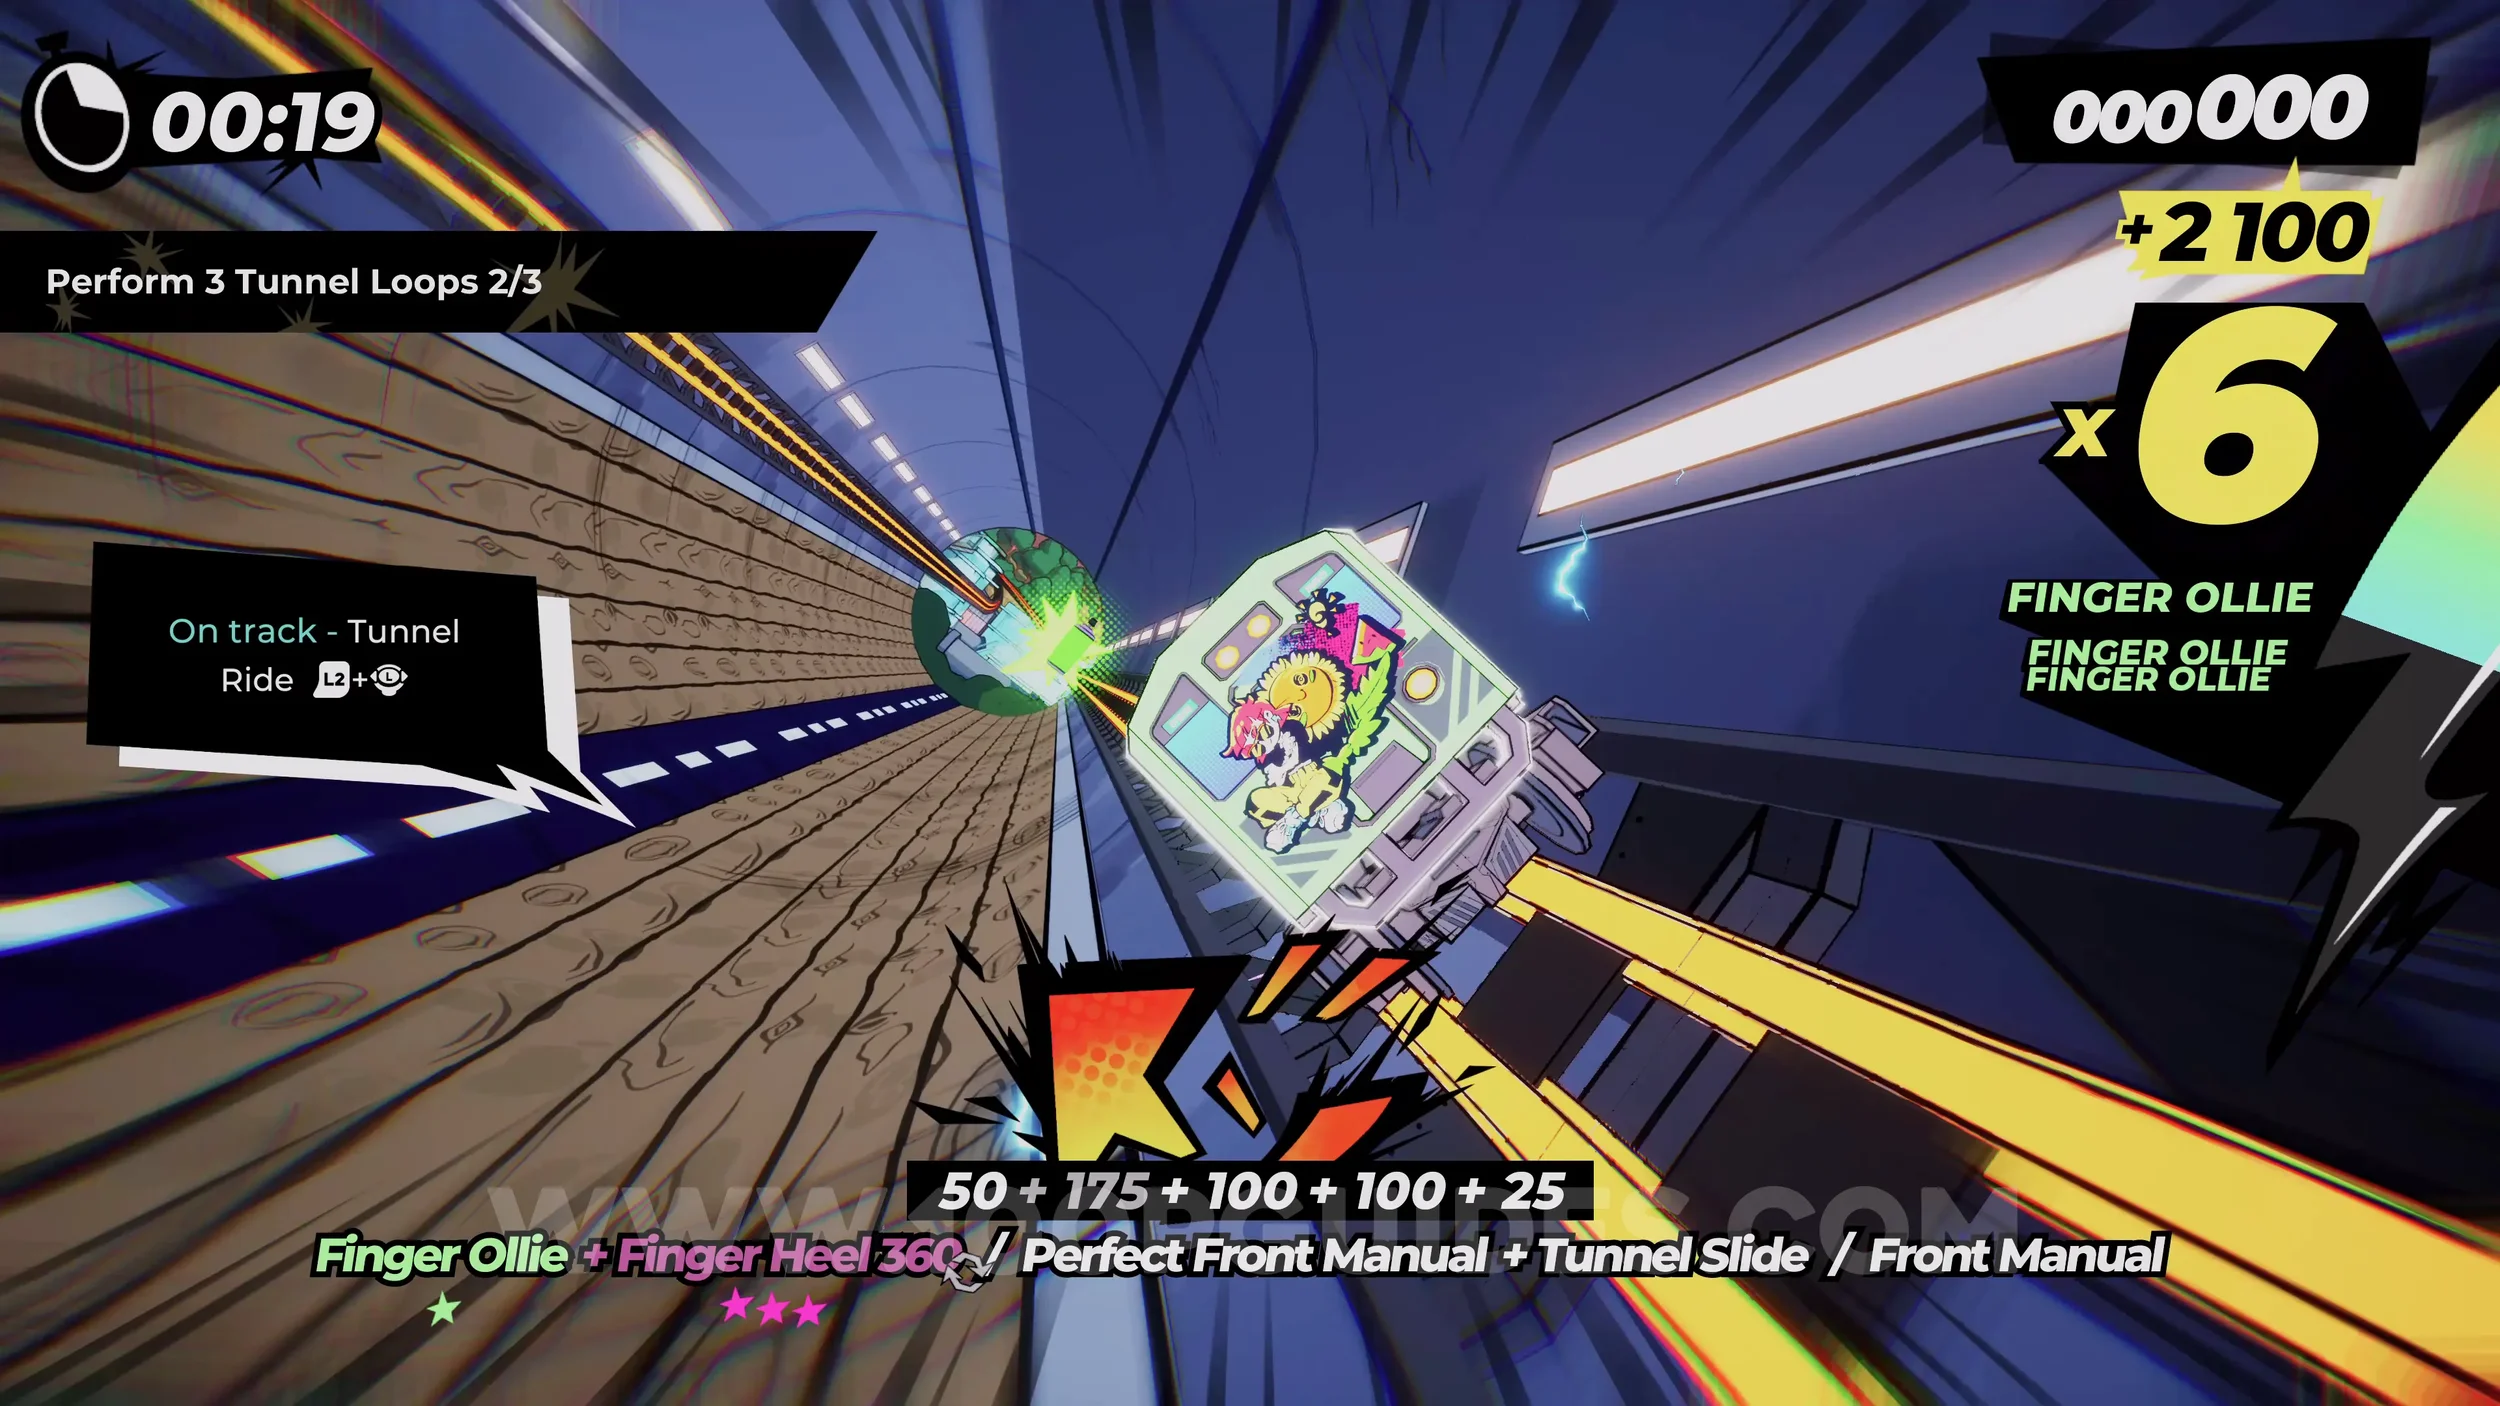
Dare: Activate the Door Switch With a Front 540 Heel. Soon after the spray can, you will perform a vert jump and hit a switch that opens the pipe door below you. Perform a Front 540 Heel (pause the game to see the button combo) while hitting the switch.
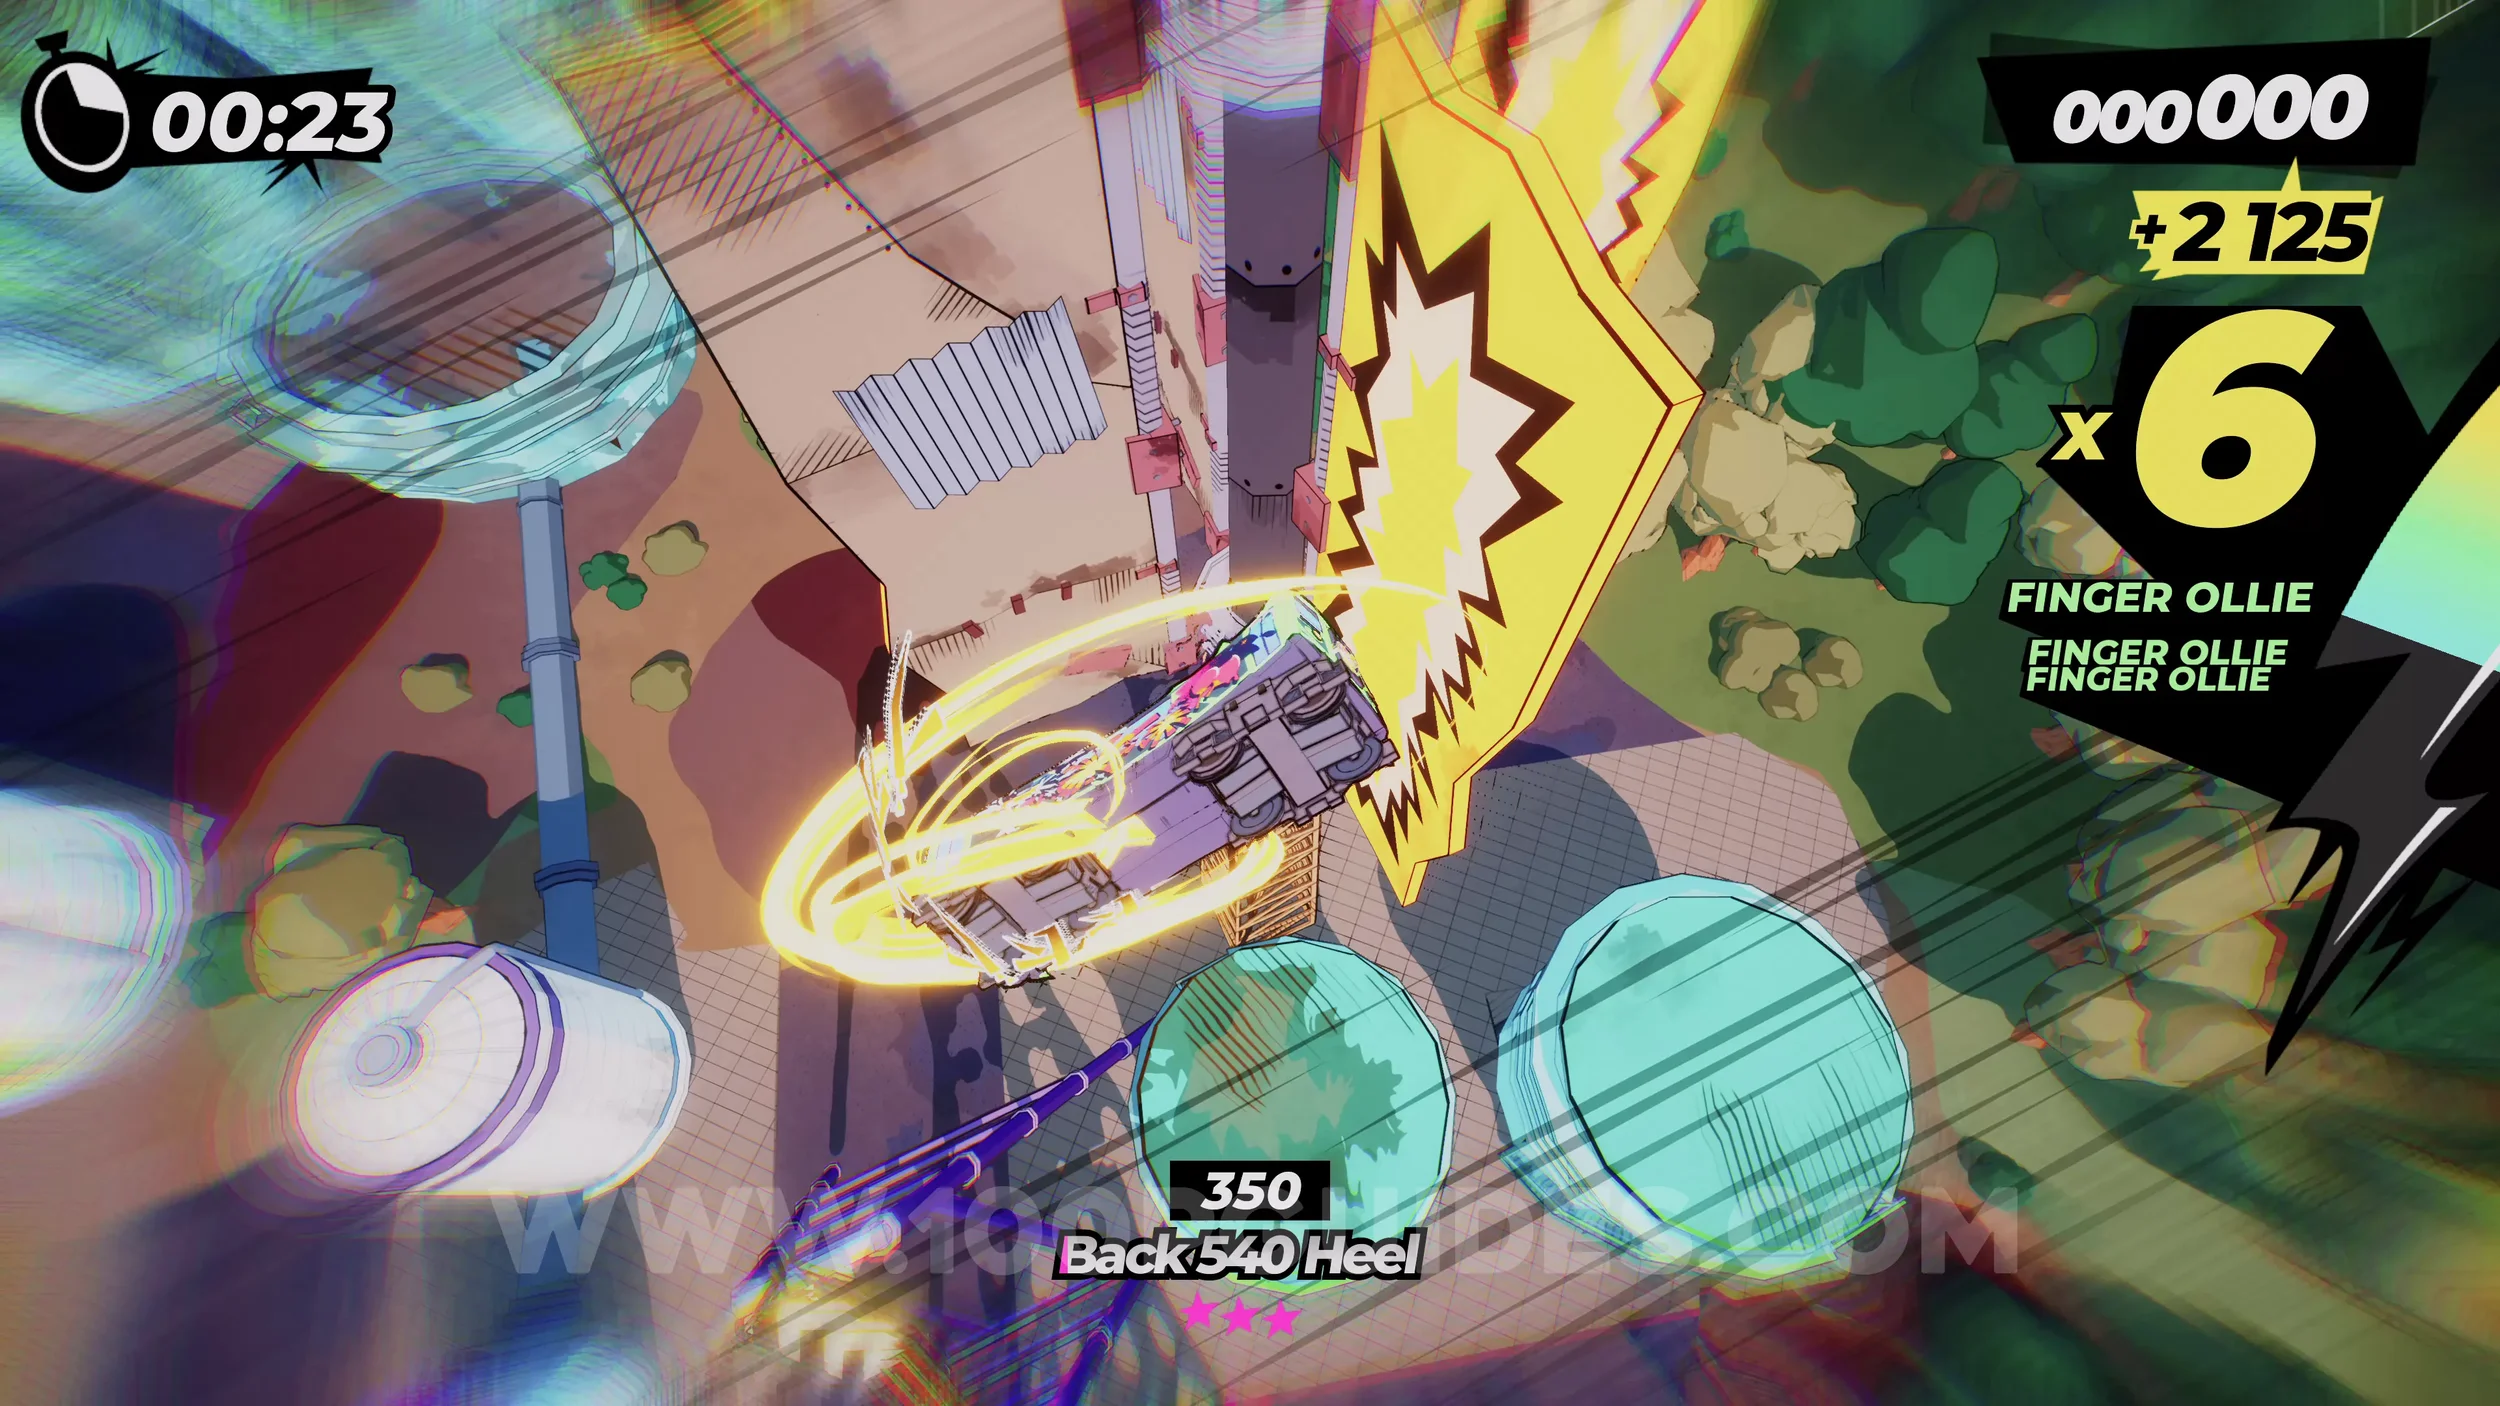
Gear (1/2). After you vert jump and hit the switch and fall into a large pipe that you can freely drive around, you will go around a corner inside and then see the gear on the side.
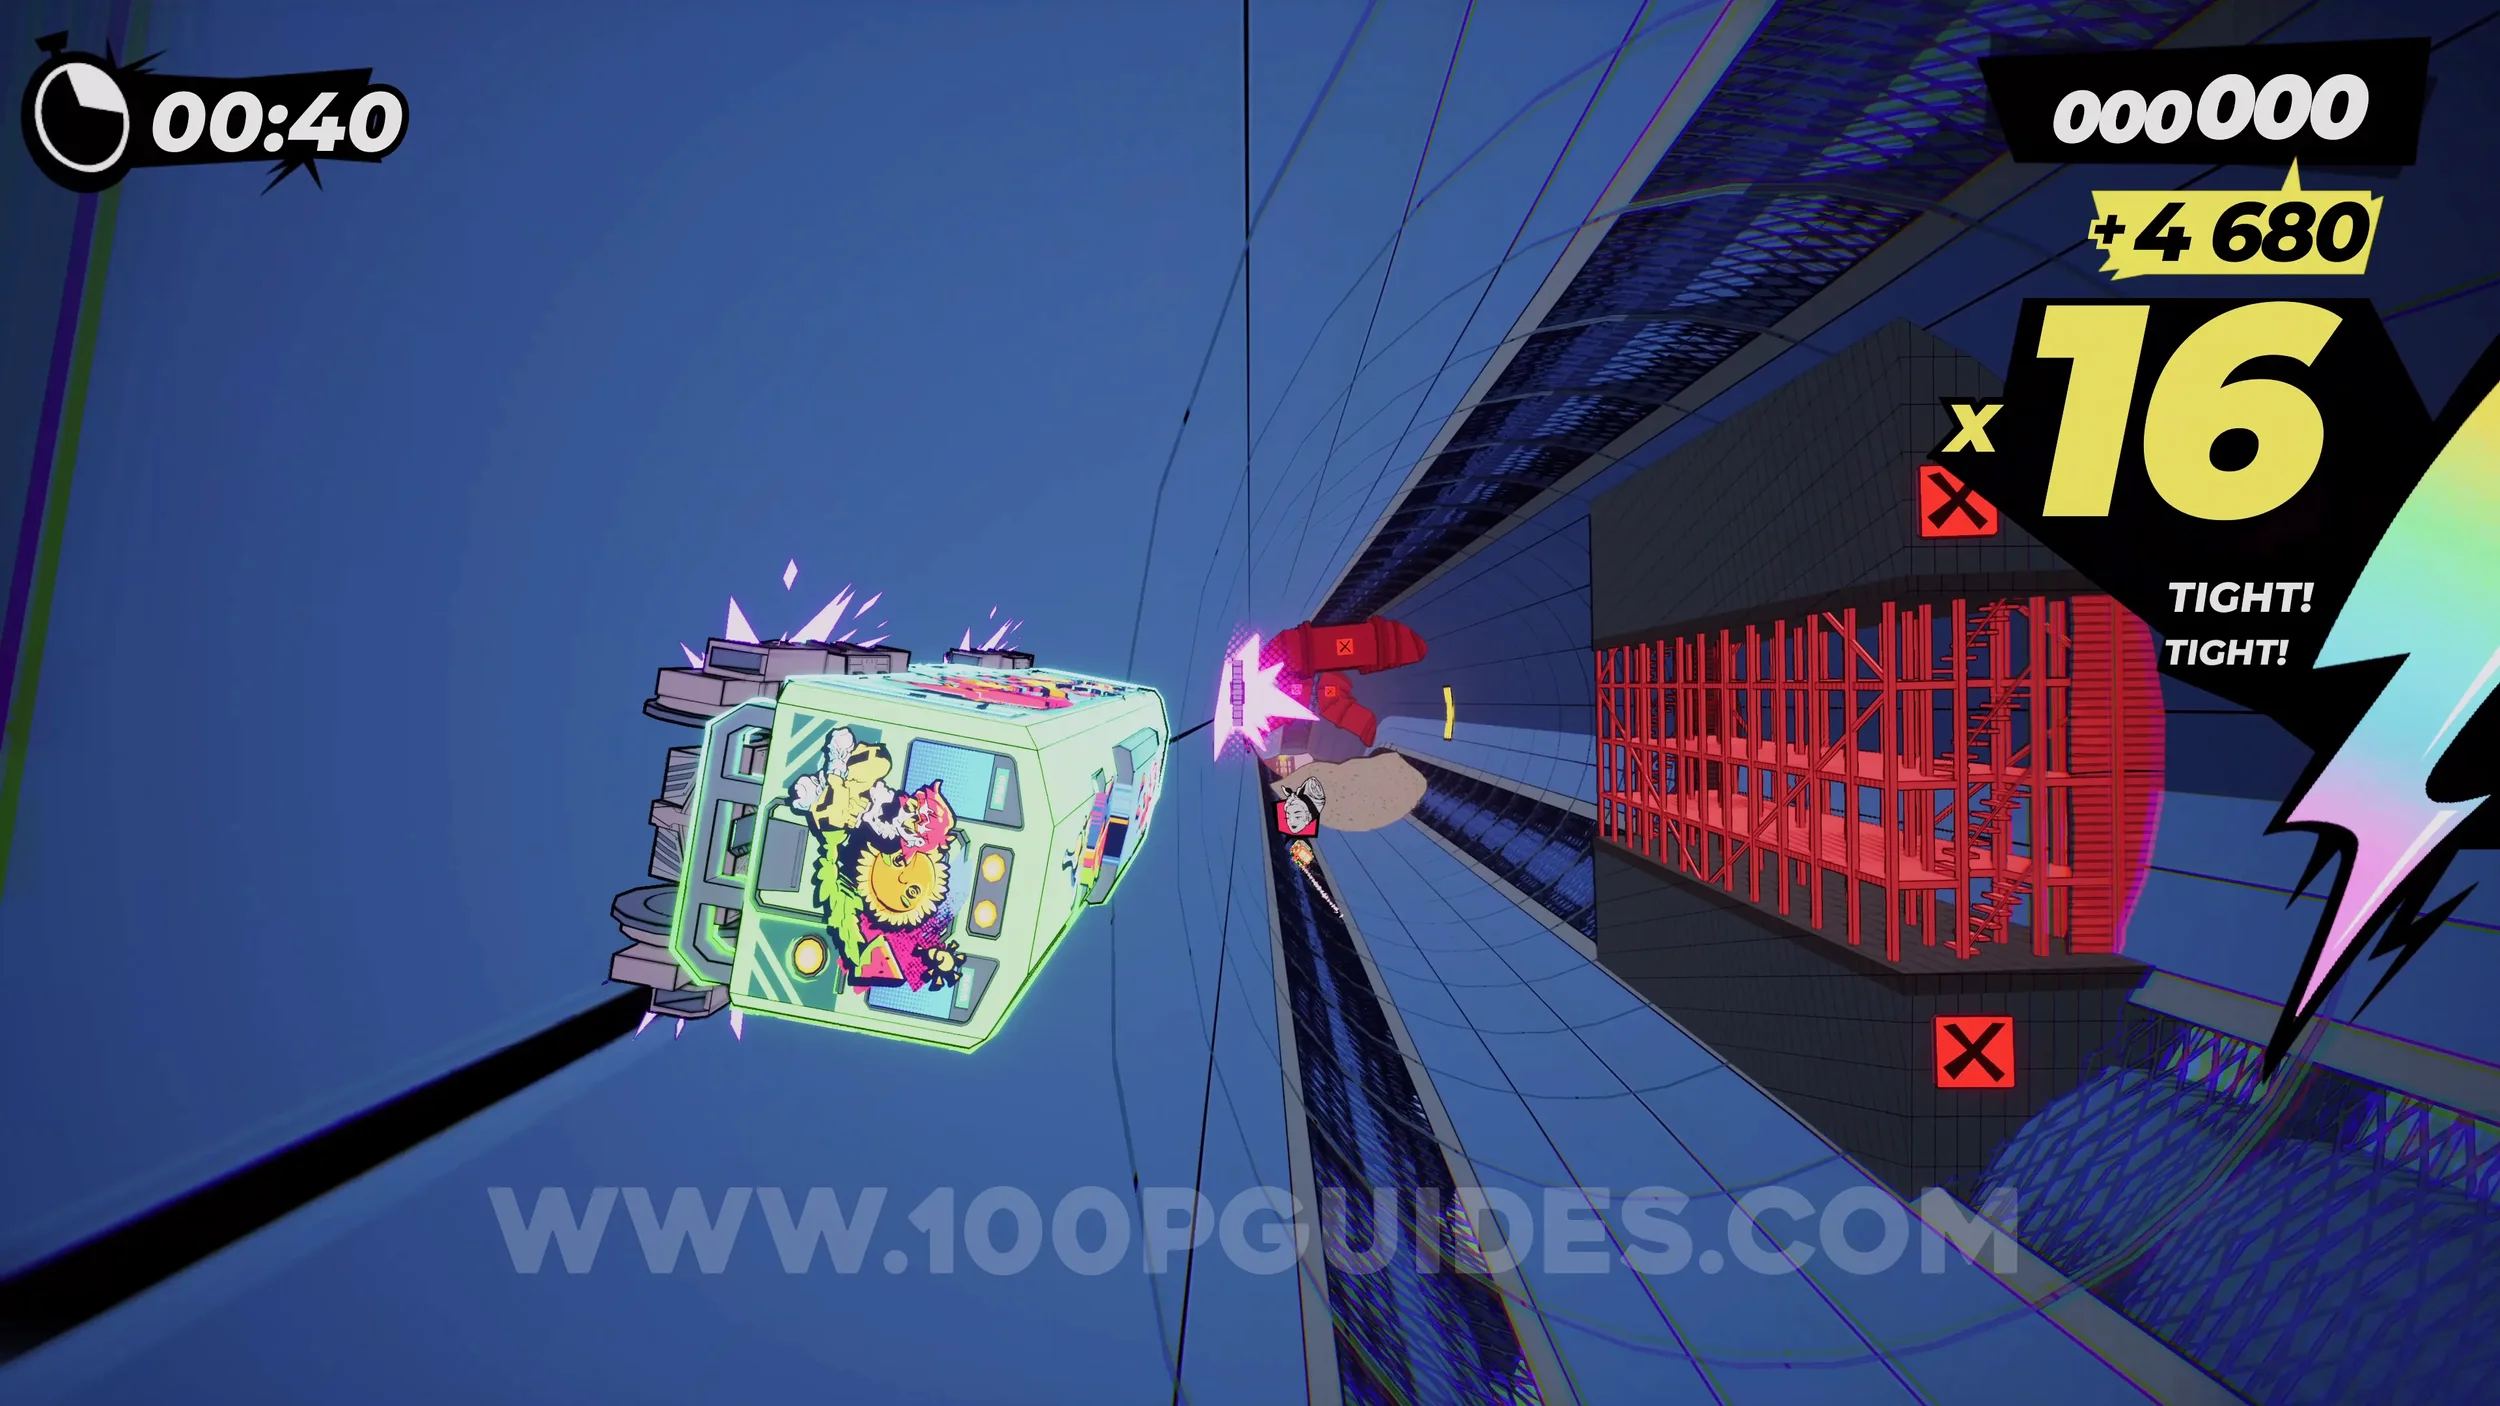
Film Roll (1/1) and Dare: Scare the Seagulls at the Docks. After you leave the large pipe, you will jump over a building. After that, watch out for a yellow sign with a film roll on it pointing you left. Here you will see a rainbow rail on your left if you have your special meter filled up. Jump to it and follow it to get the collectible. In the exact same place you collect the film roll you will see the horn sign appear in the middle of the screen. Press R3 to scare the seagulls.
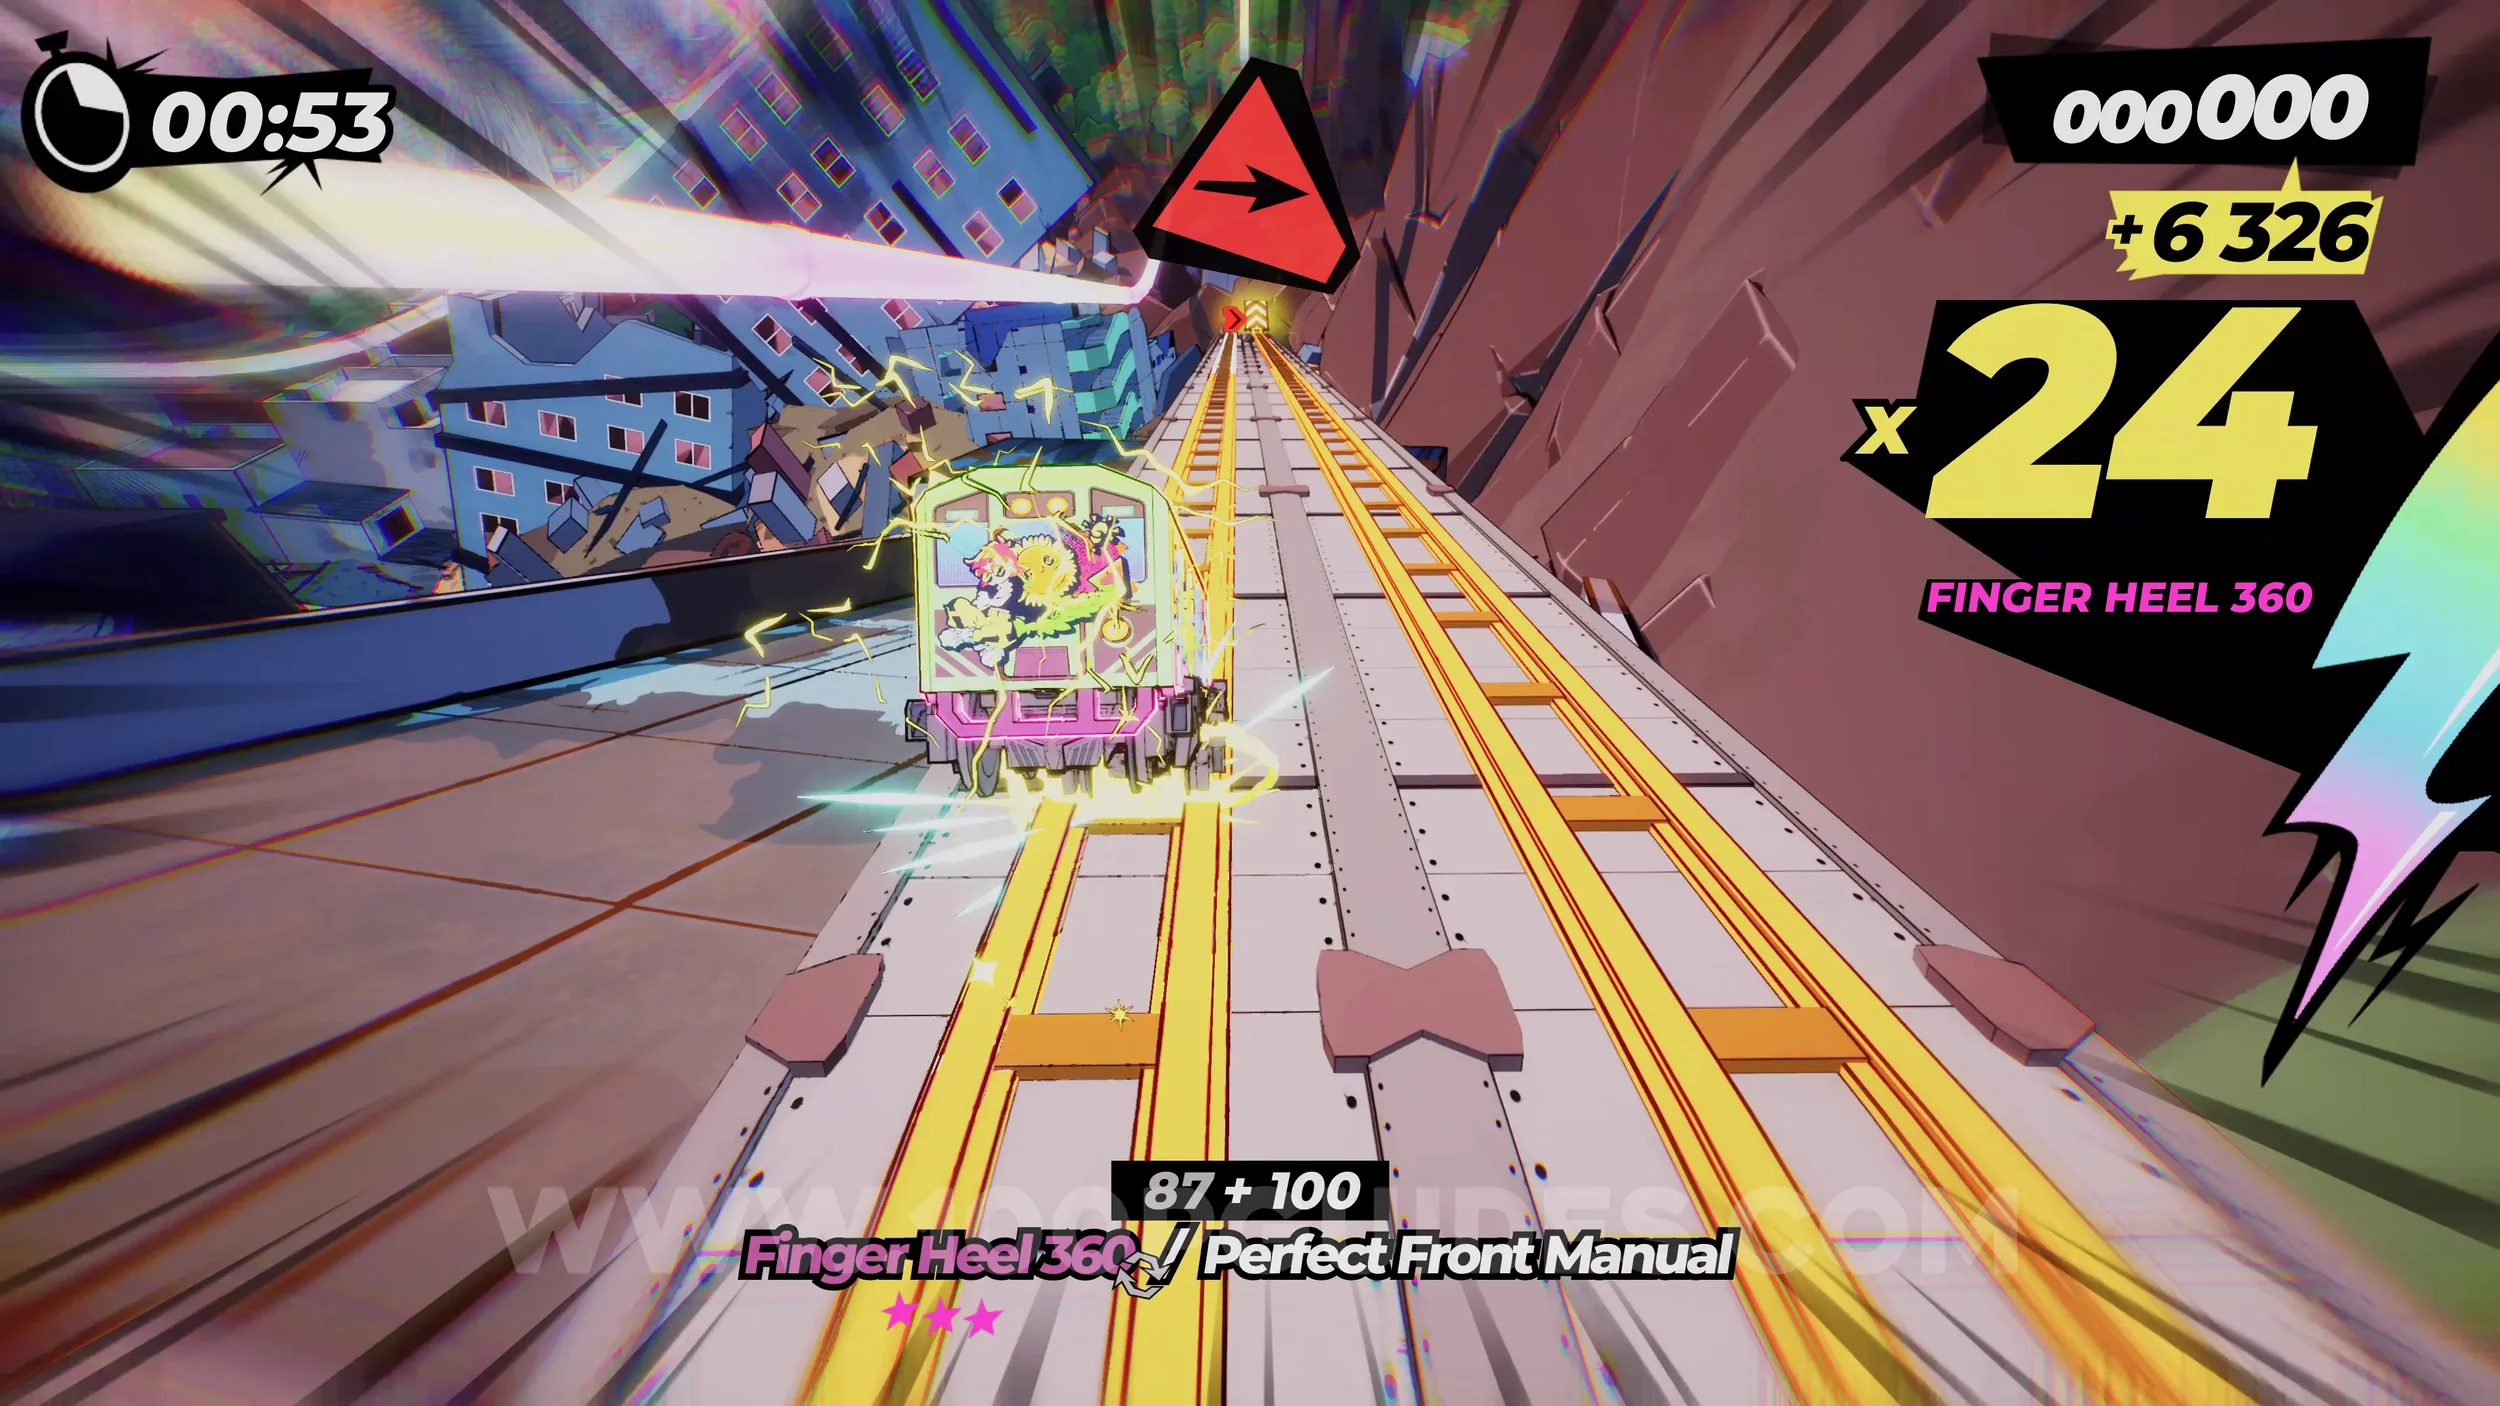
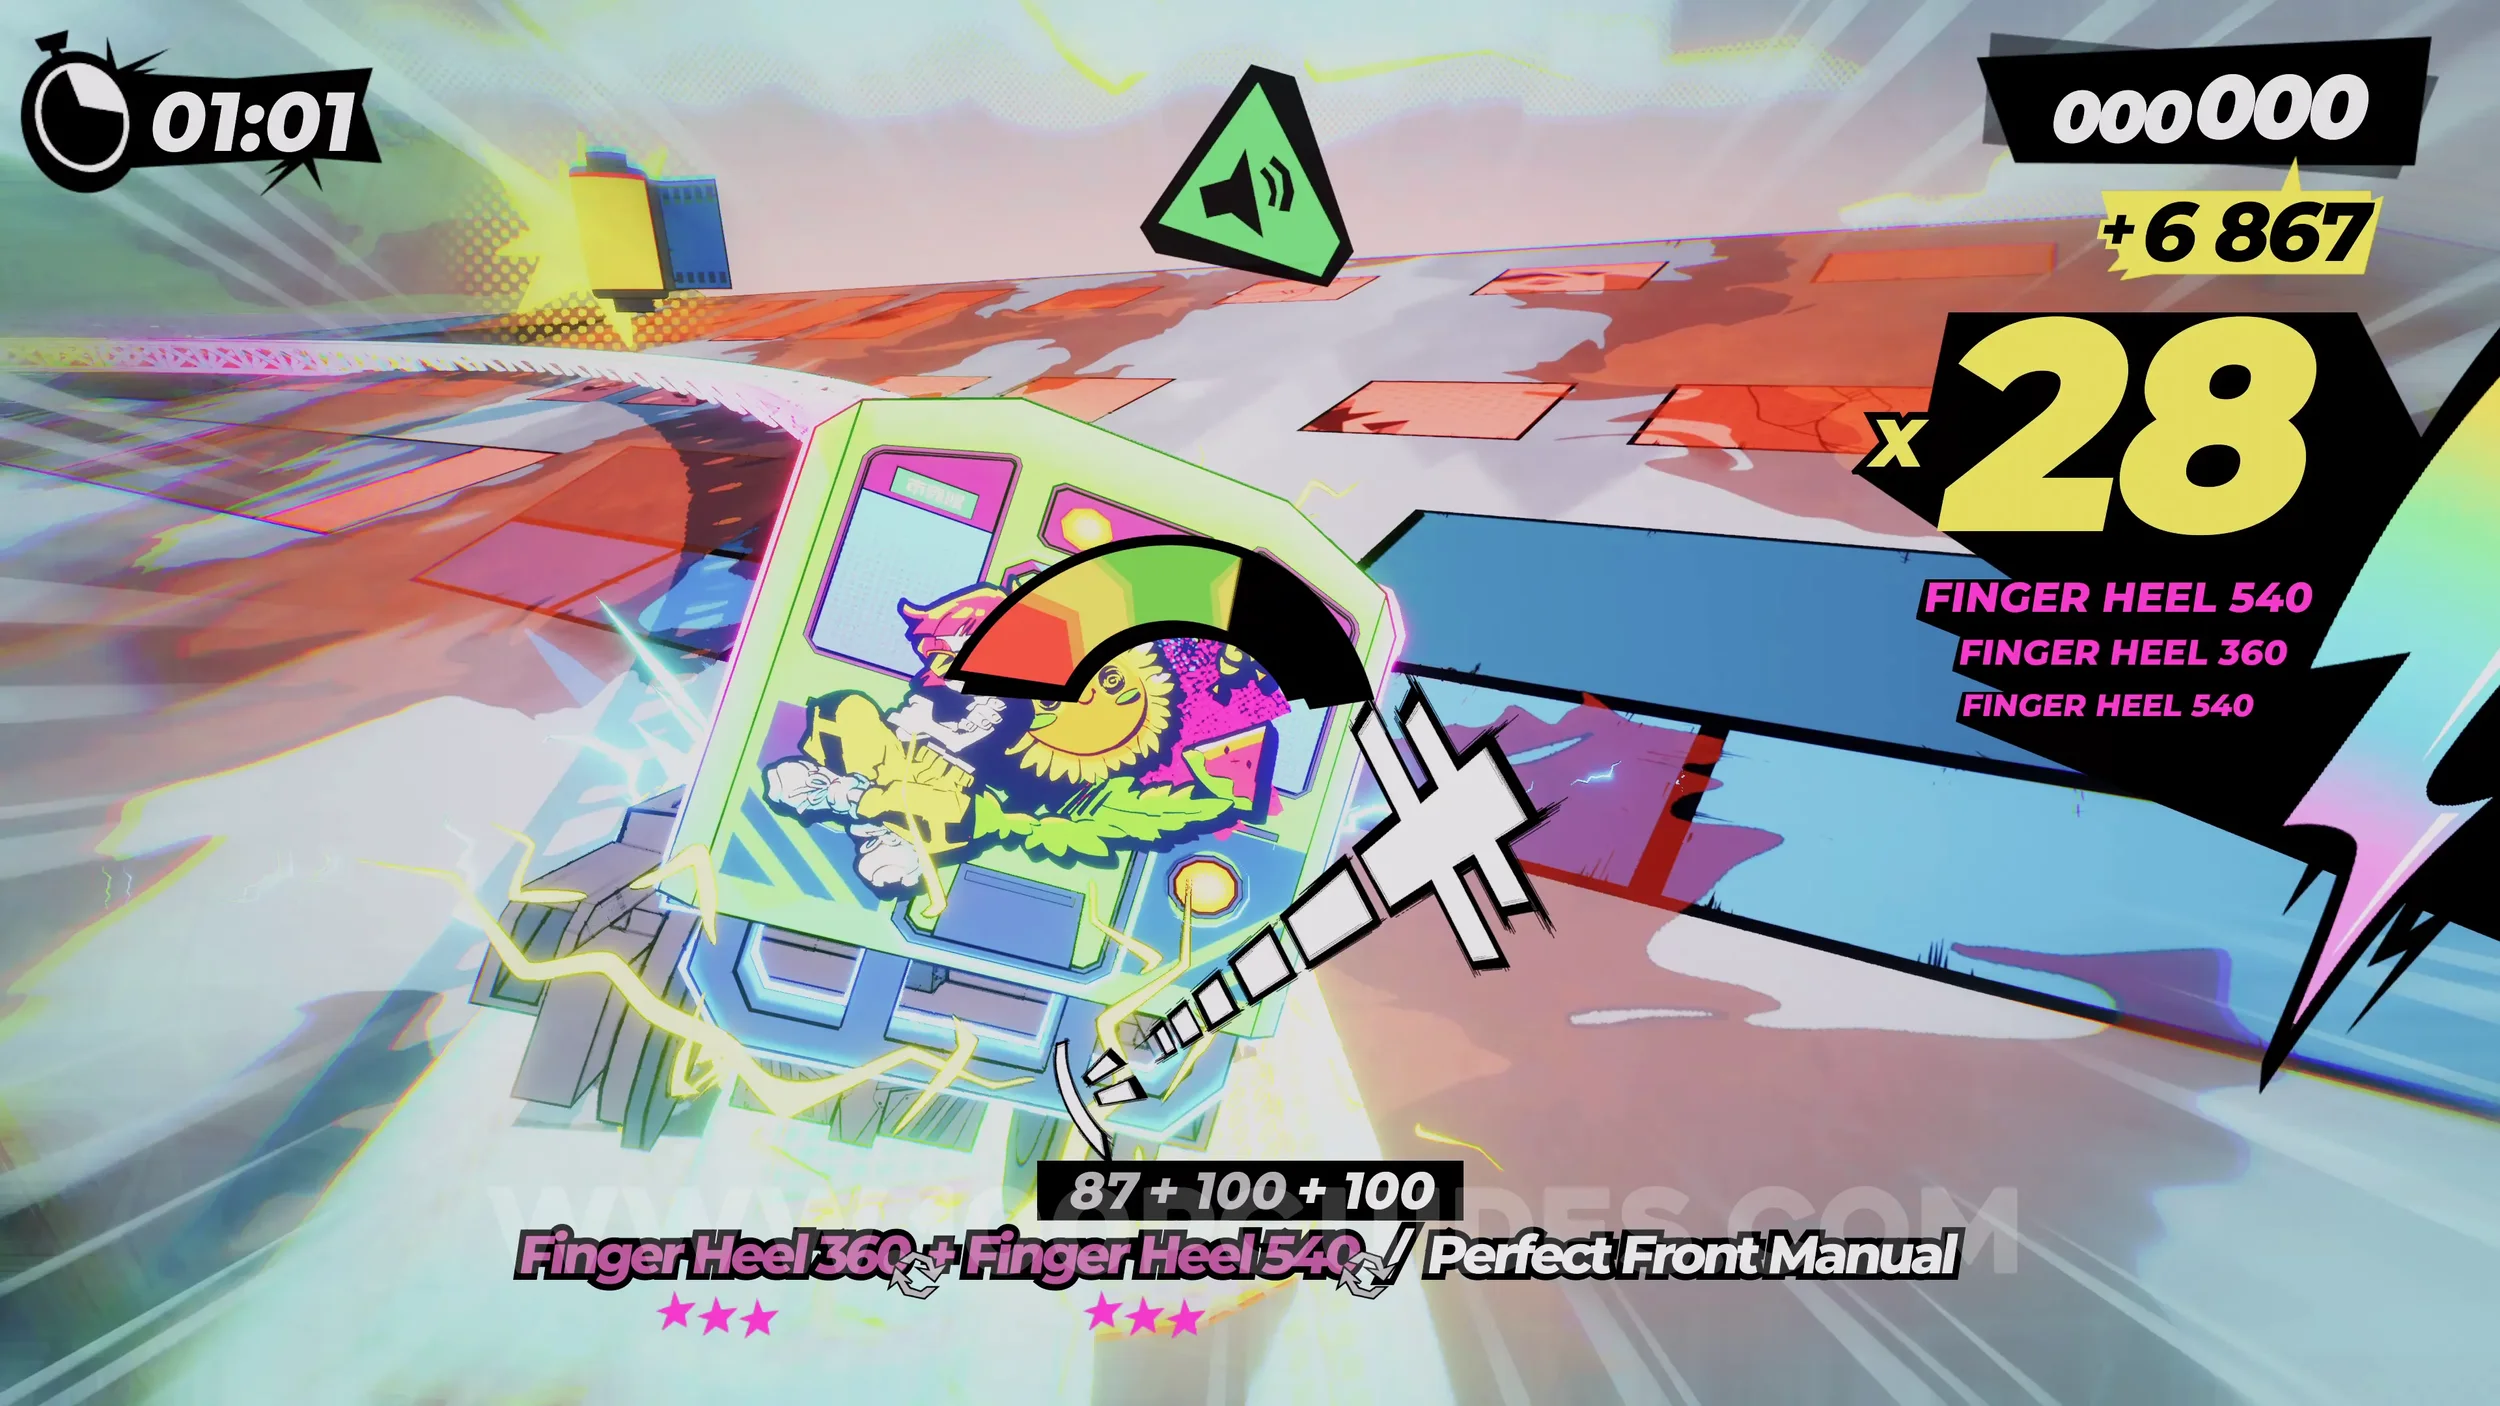
Gear (2/2). On the side of the massive pipe you go through, with poison gas coming out of the pipes.
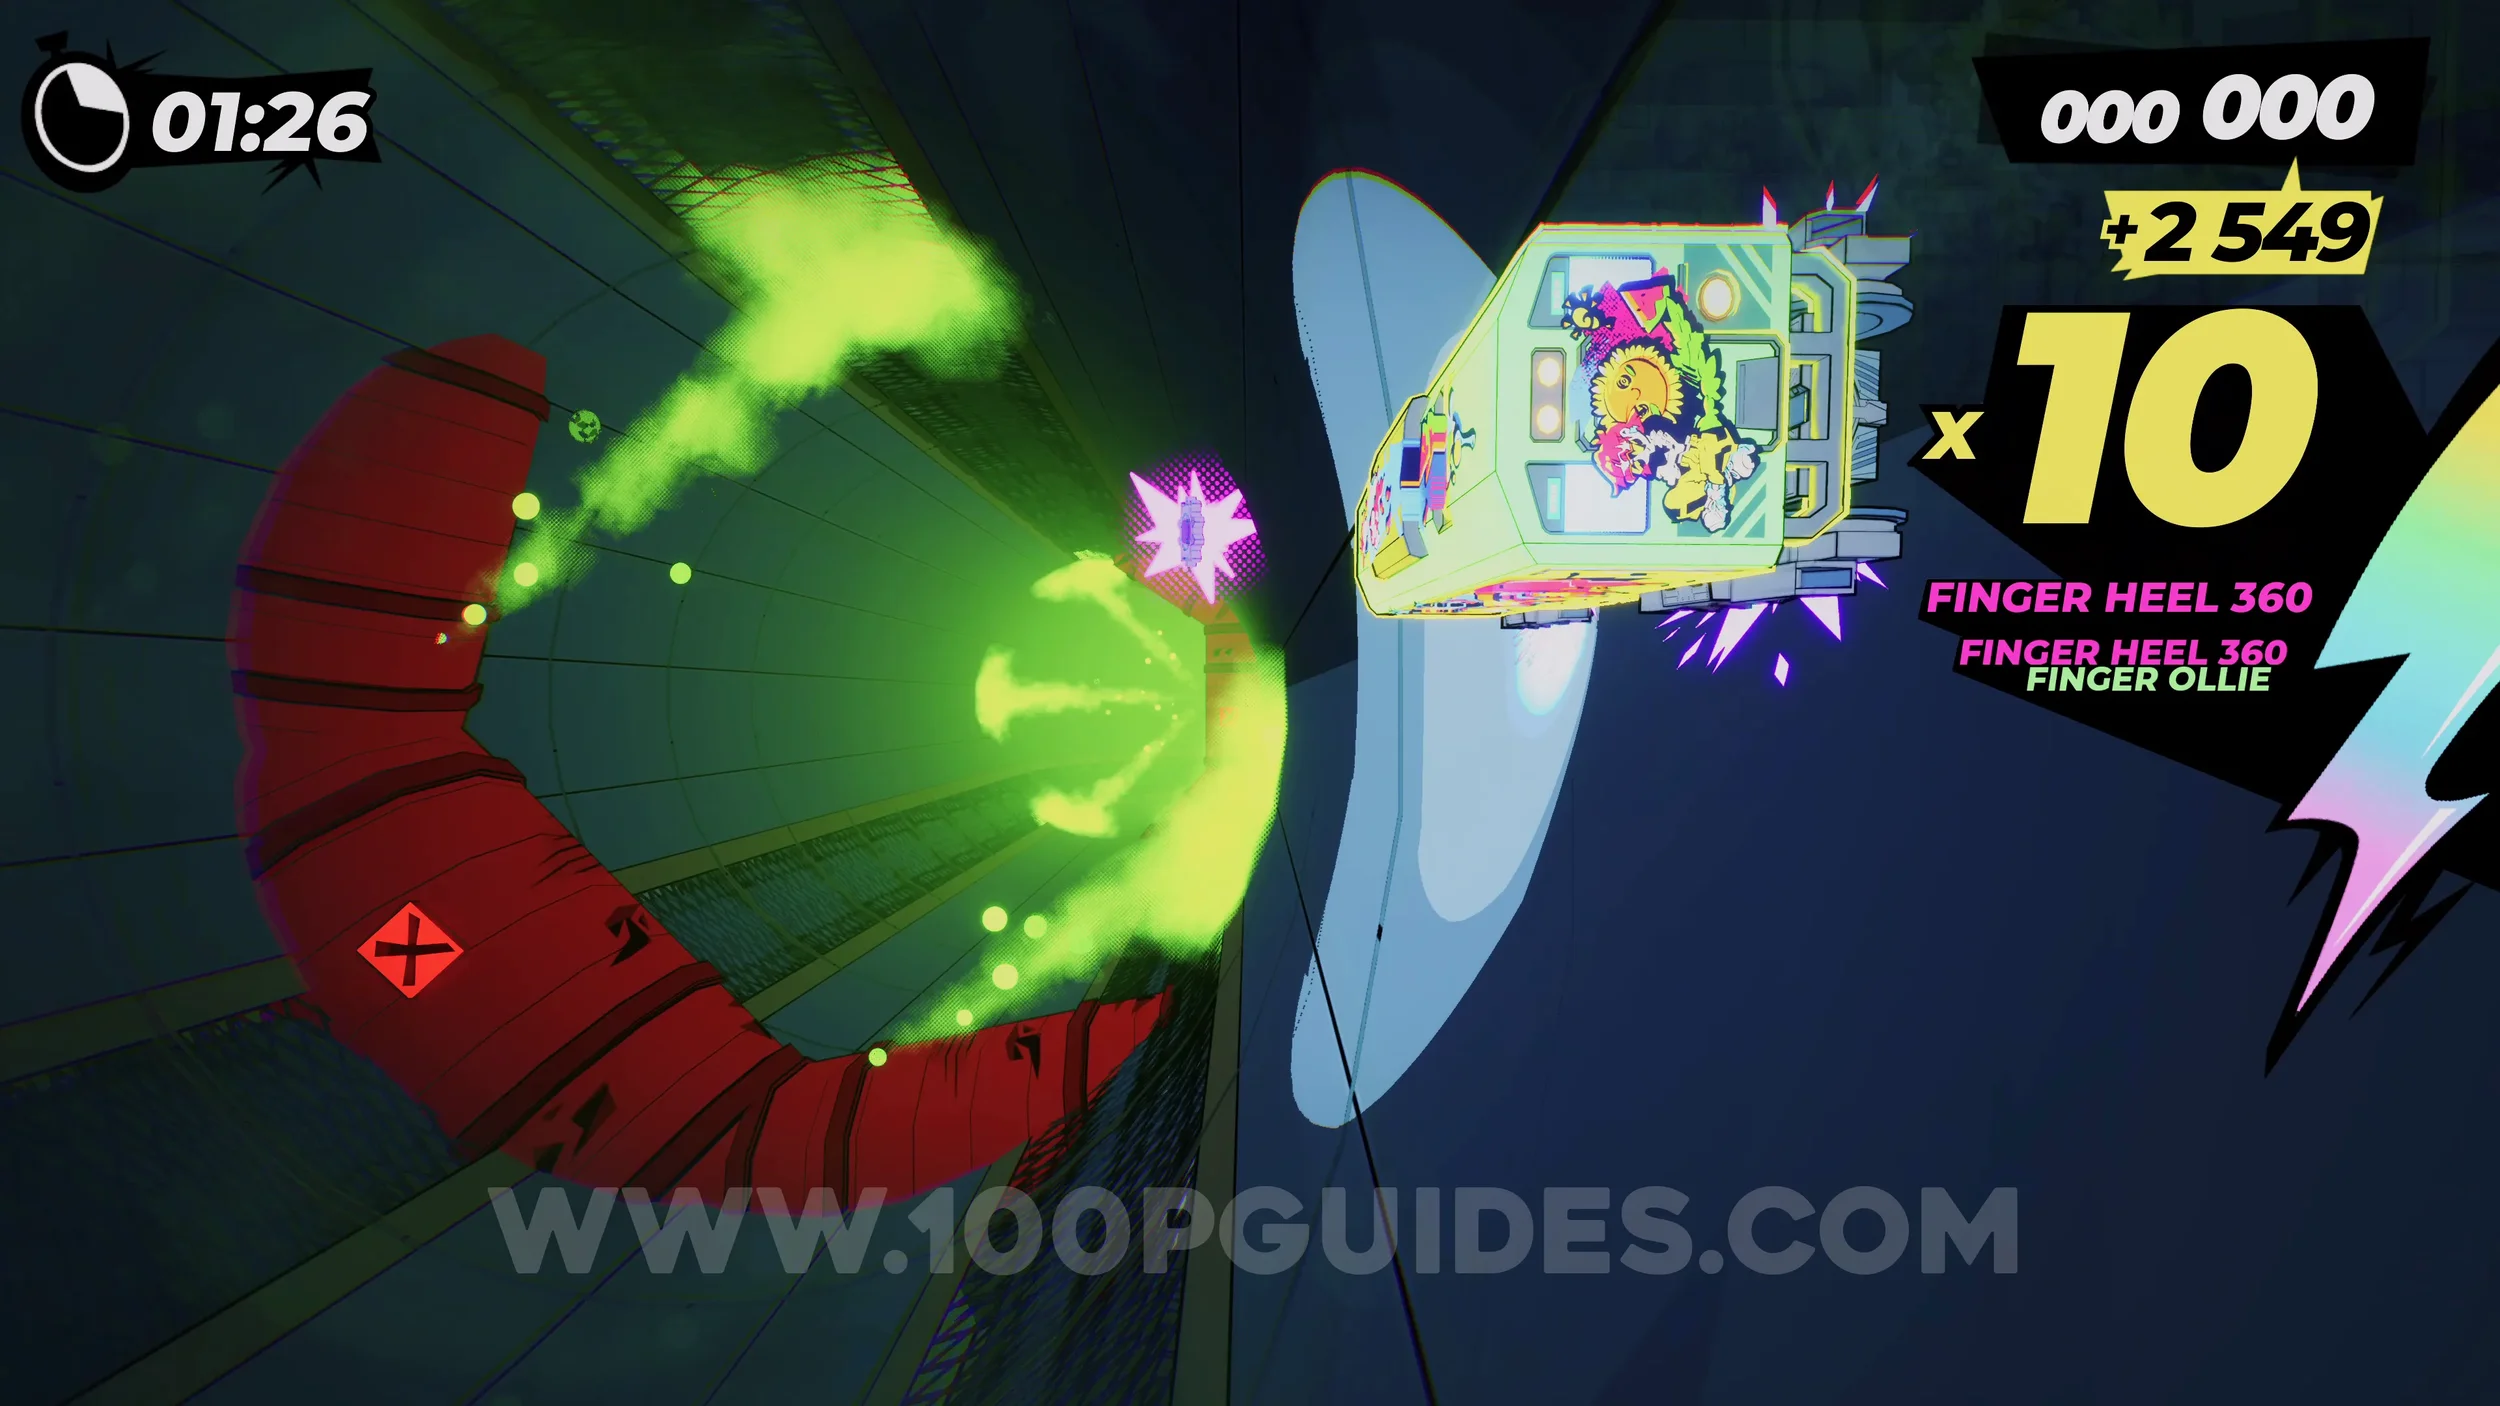
Spray Can (2/2) and Dare: Find the Onsen Exit. After you leave the massive pipe with poison gas, you will jump over a fallen building. As you jump, hold left to land on the left side track. This will take you to the spray can and the secret Onsen Exit.
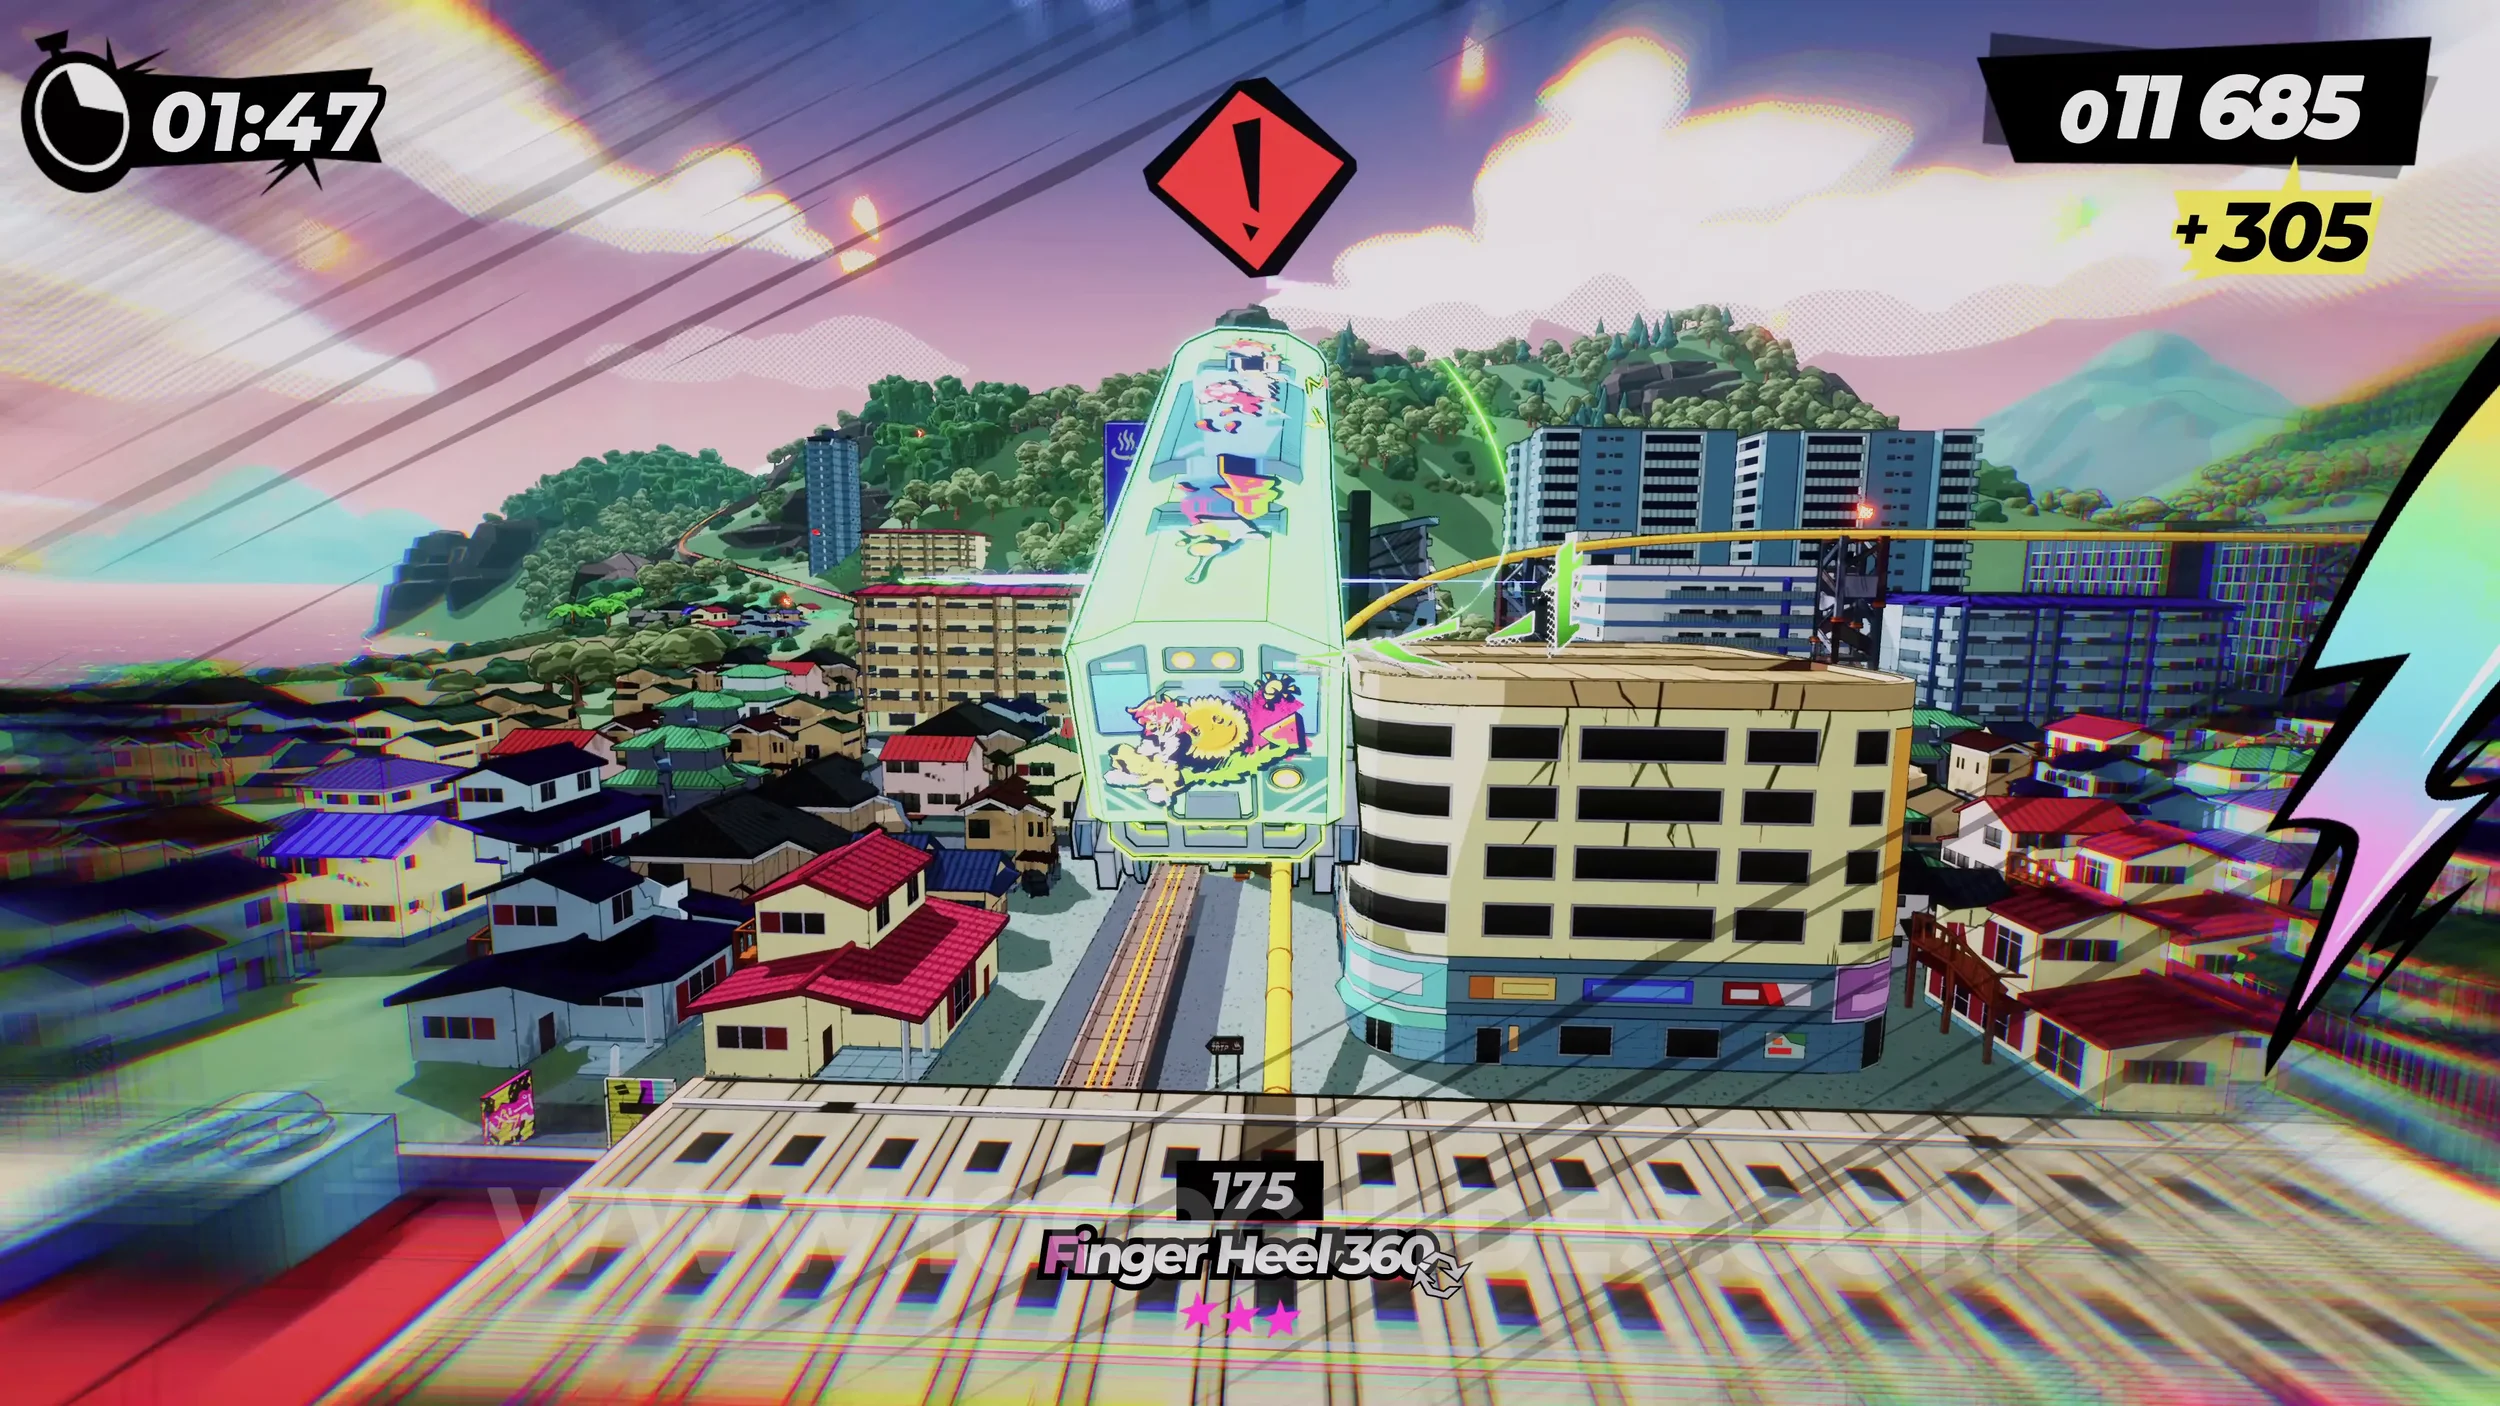
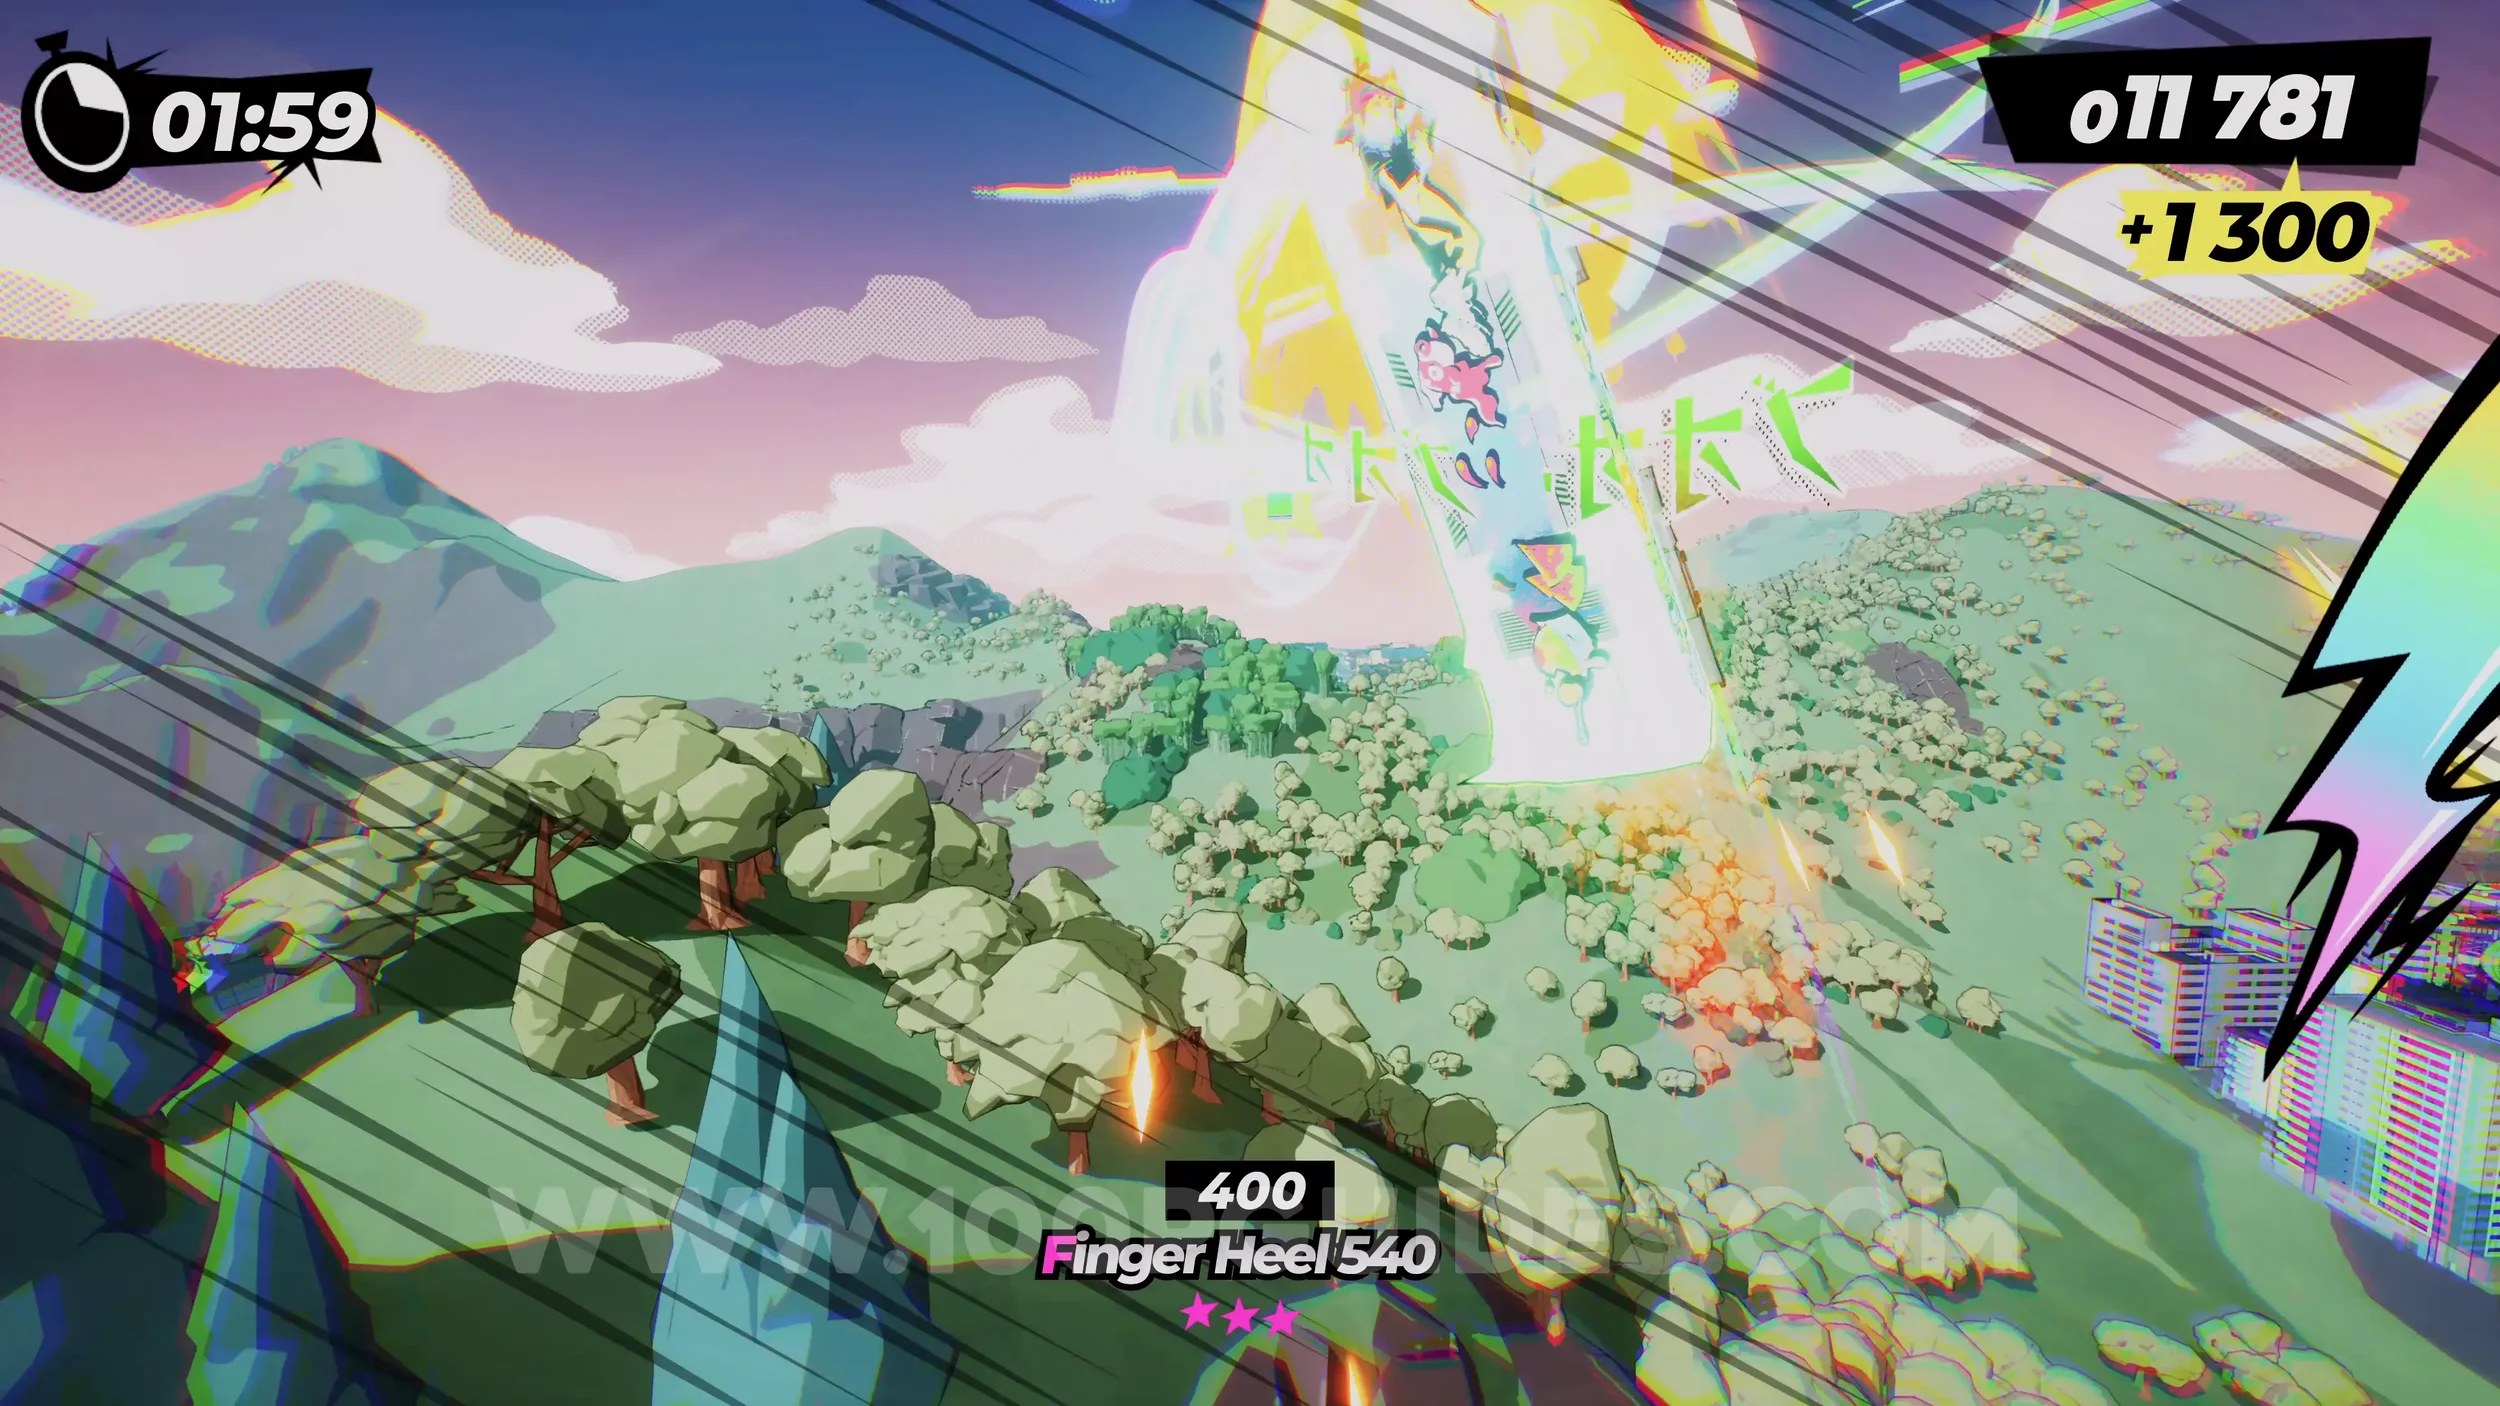
Dare: No Crash Finish. Self-explanatory. Finish the level without crashing.
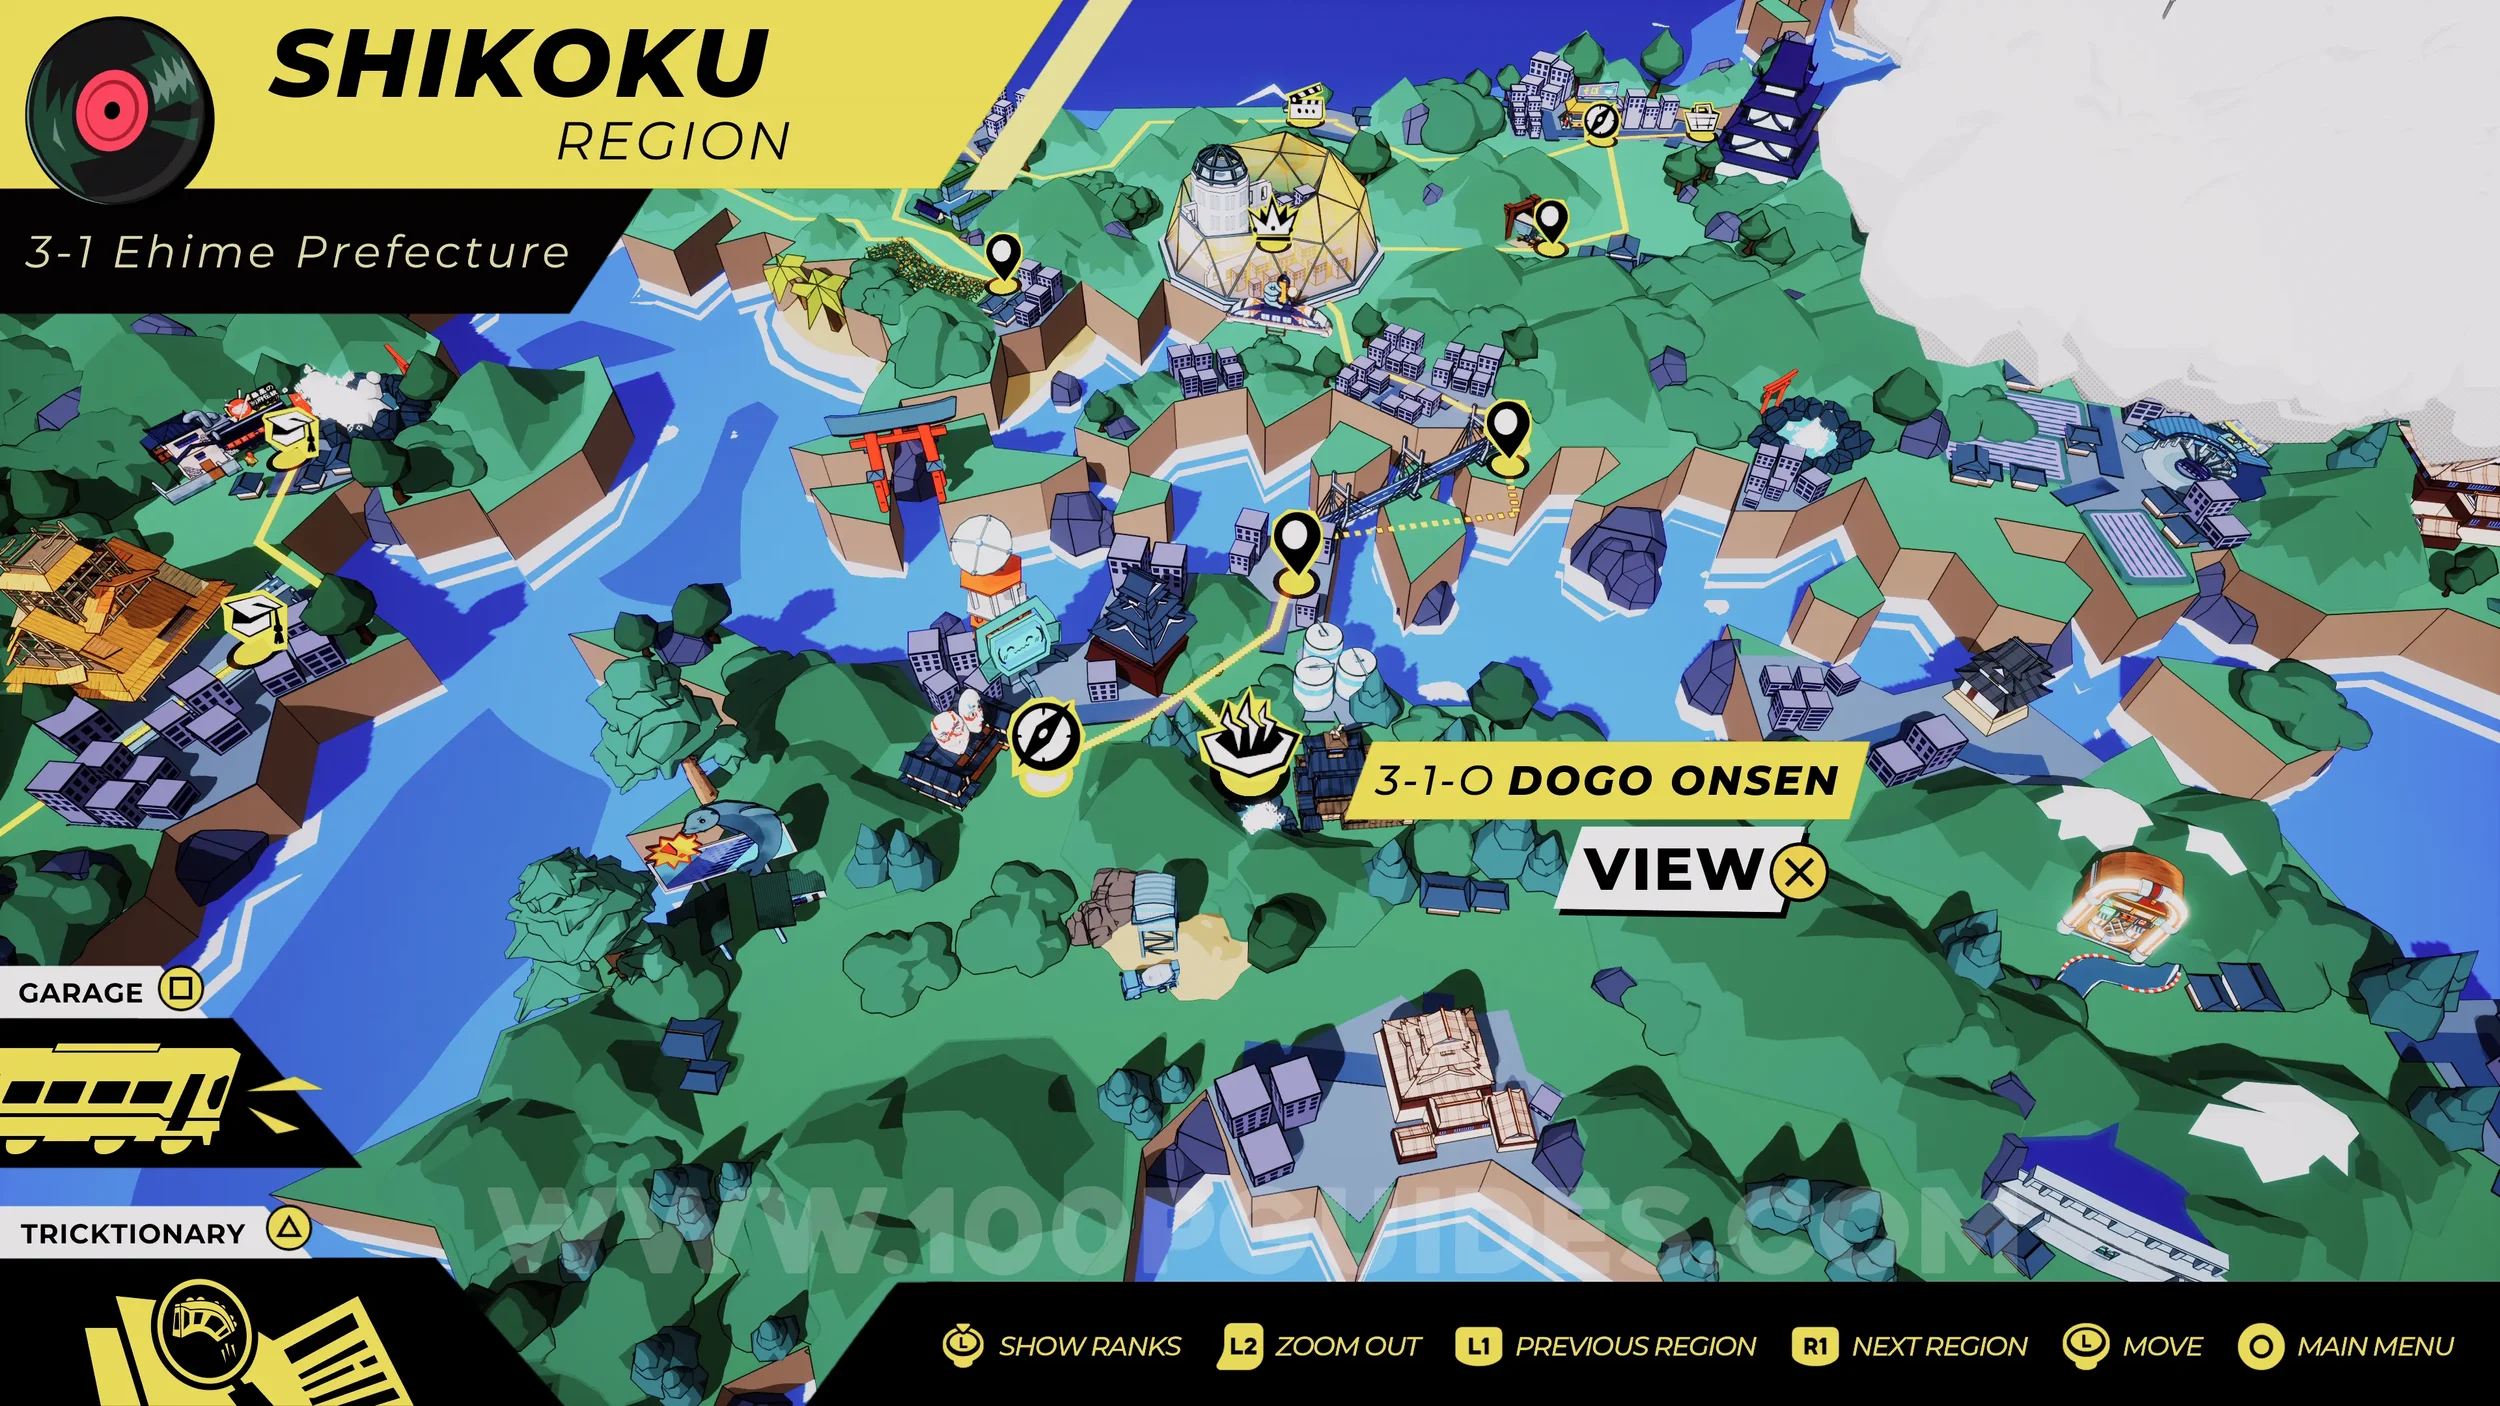
3-1-O Dogo Onsen
Onsen #2. This level will only unlock if you found the Onsen Exit at the end of level 3-1-2. Exhaust all the dialogue to collect the Onsen.
3-1-3 A Land of Castles
Dare: Drive Through all 3 Torii Gates (1/3). At the start, follow the blue sign by going left. You will soon drive through the first torii gate.
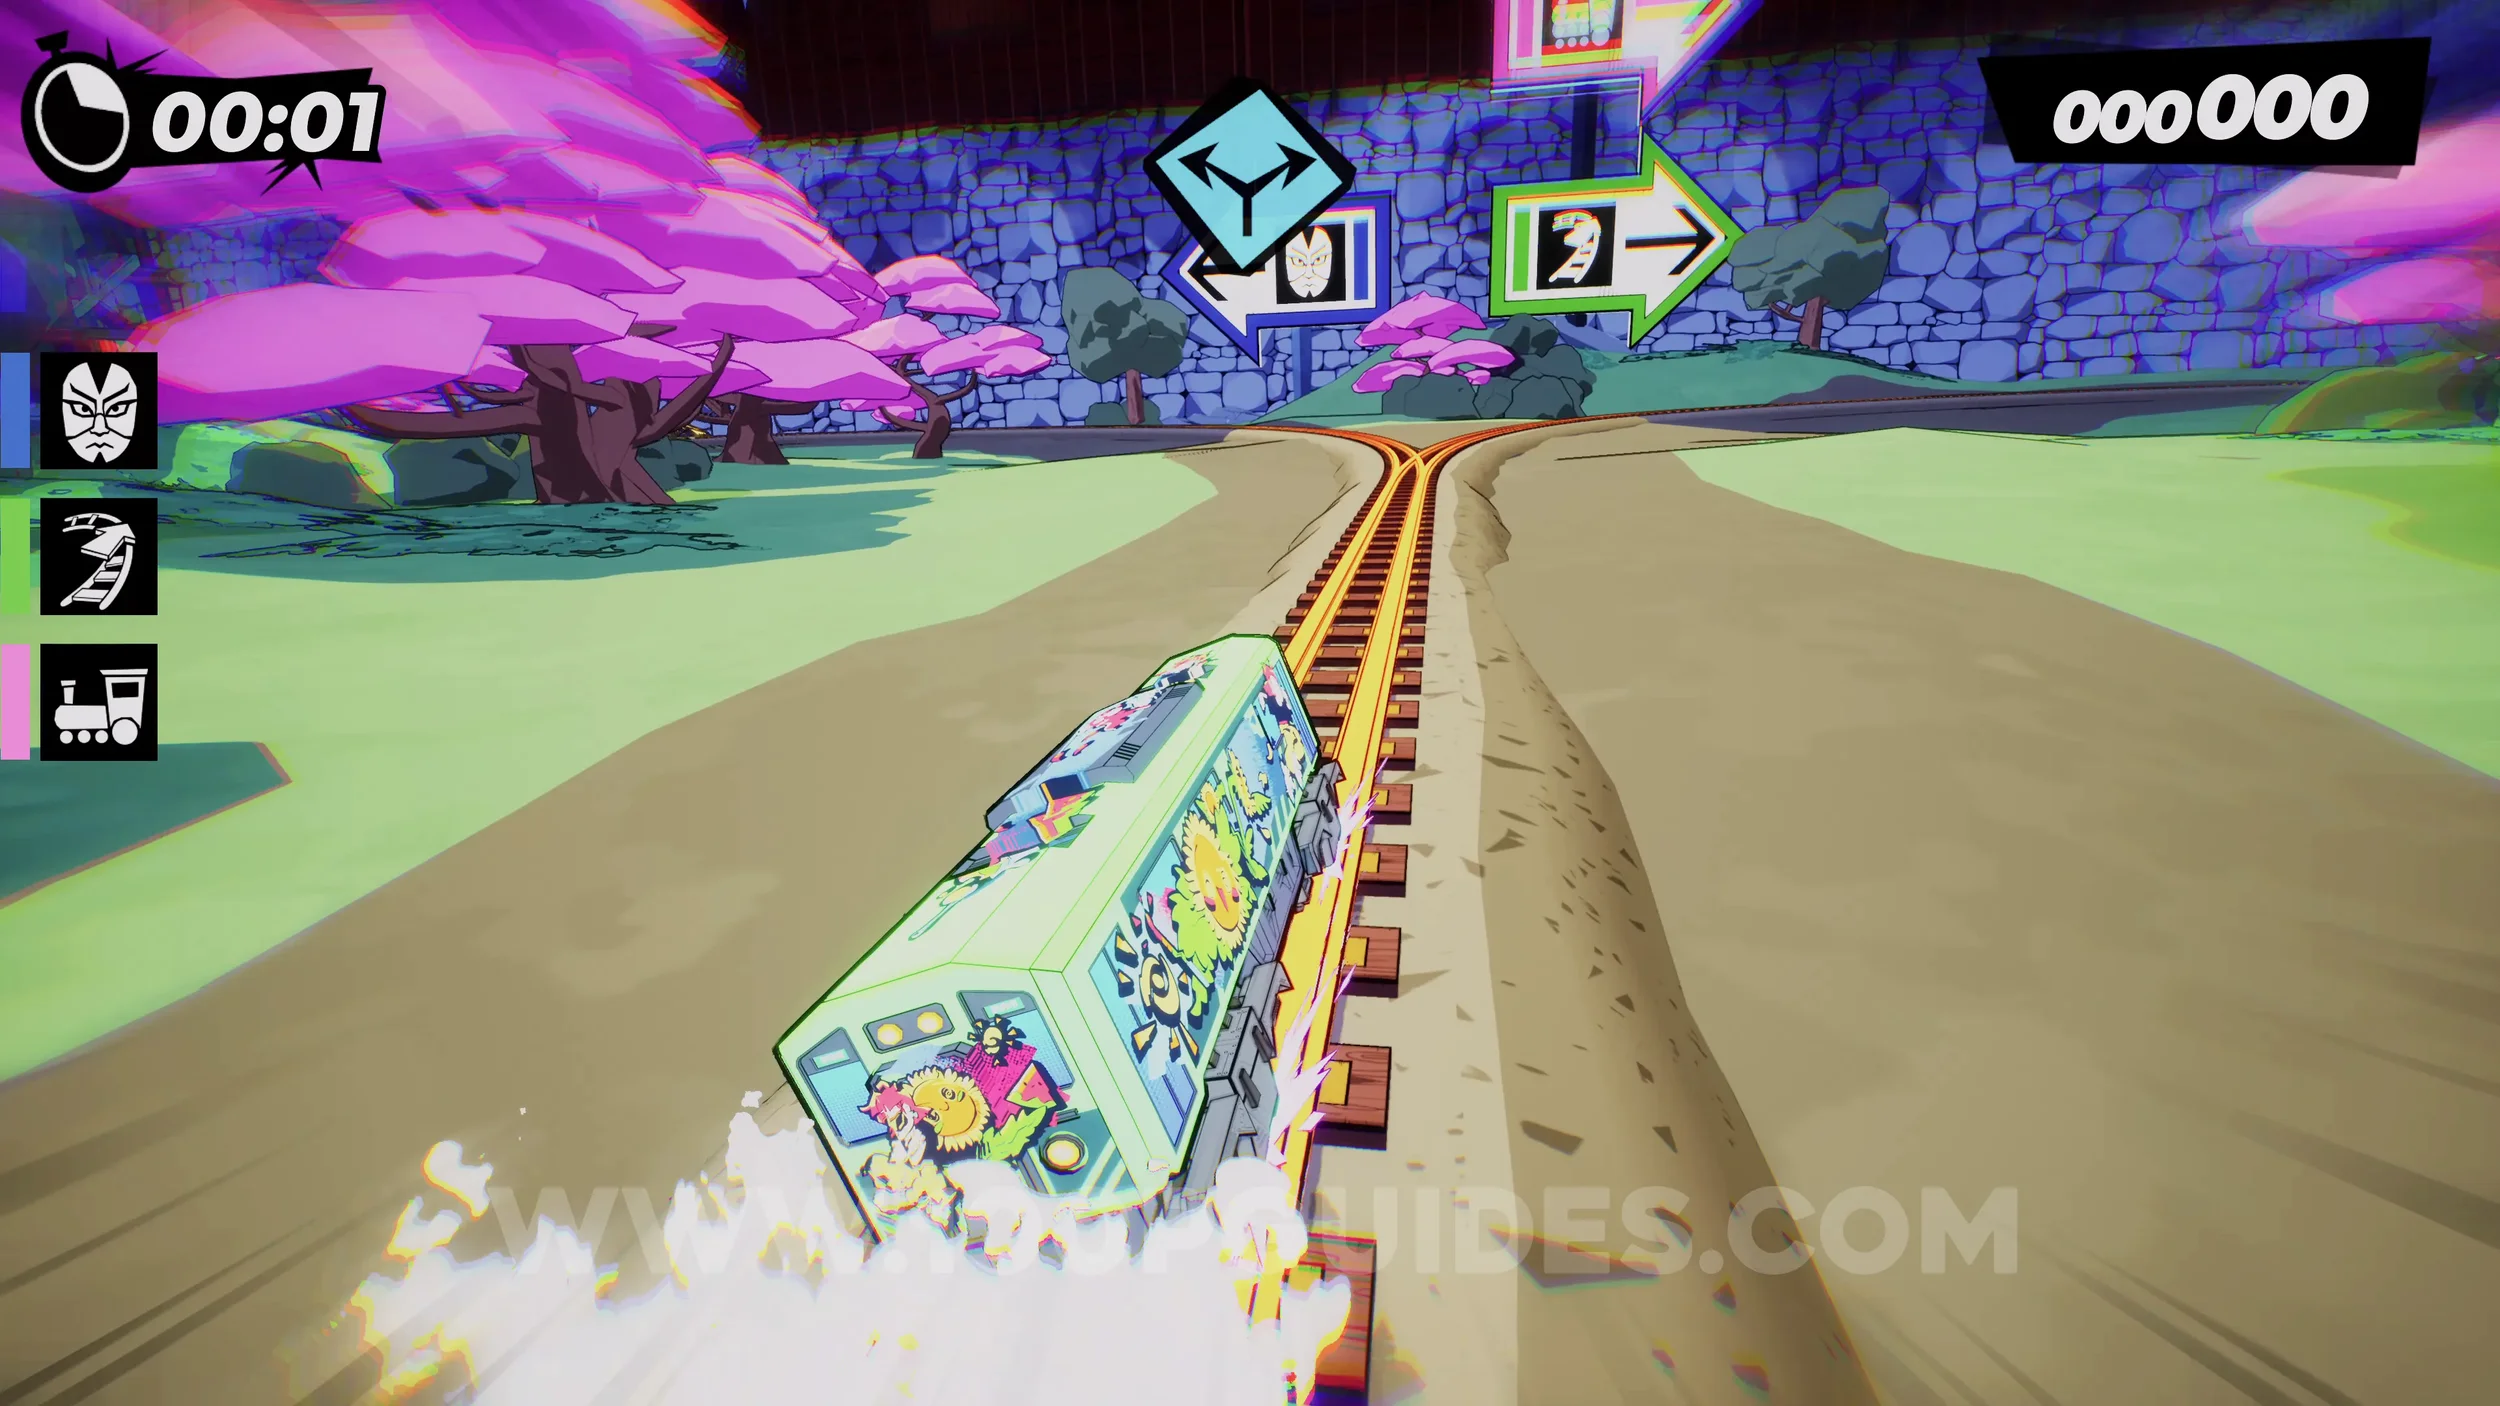
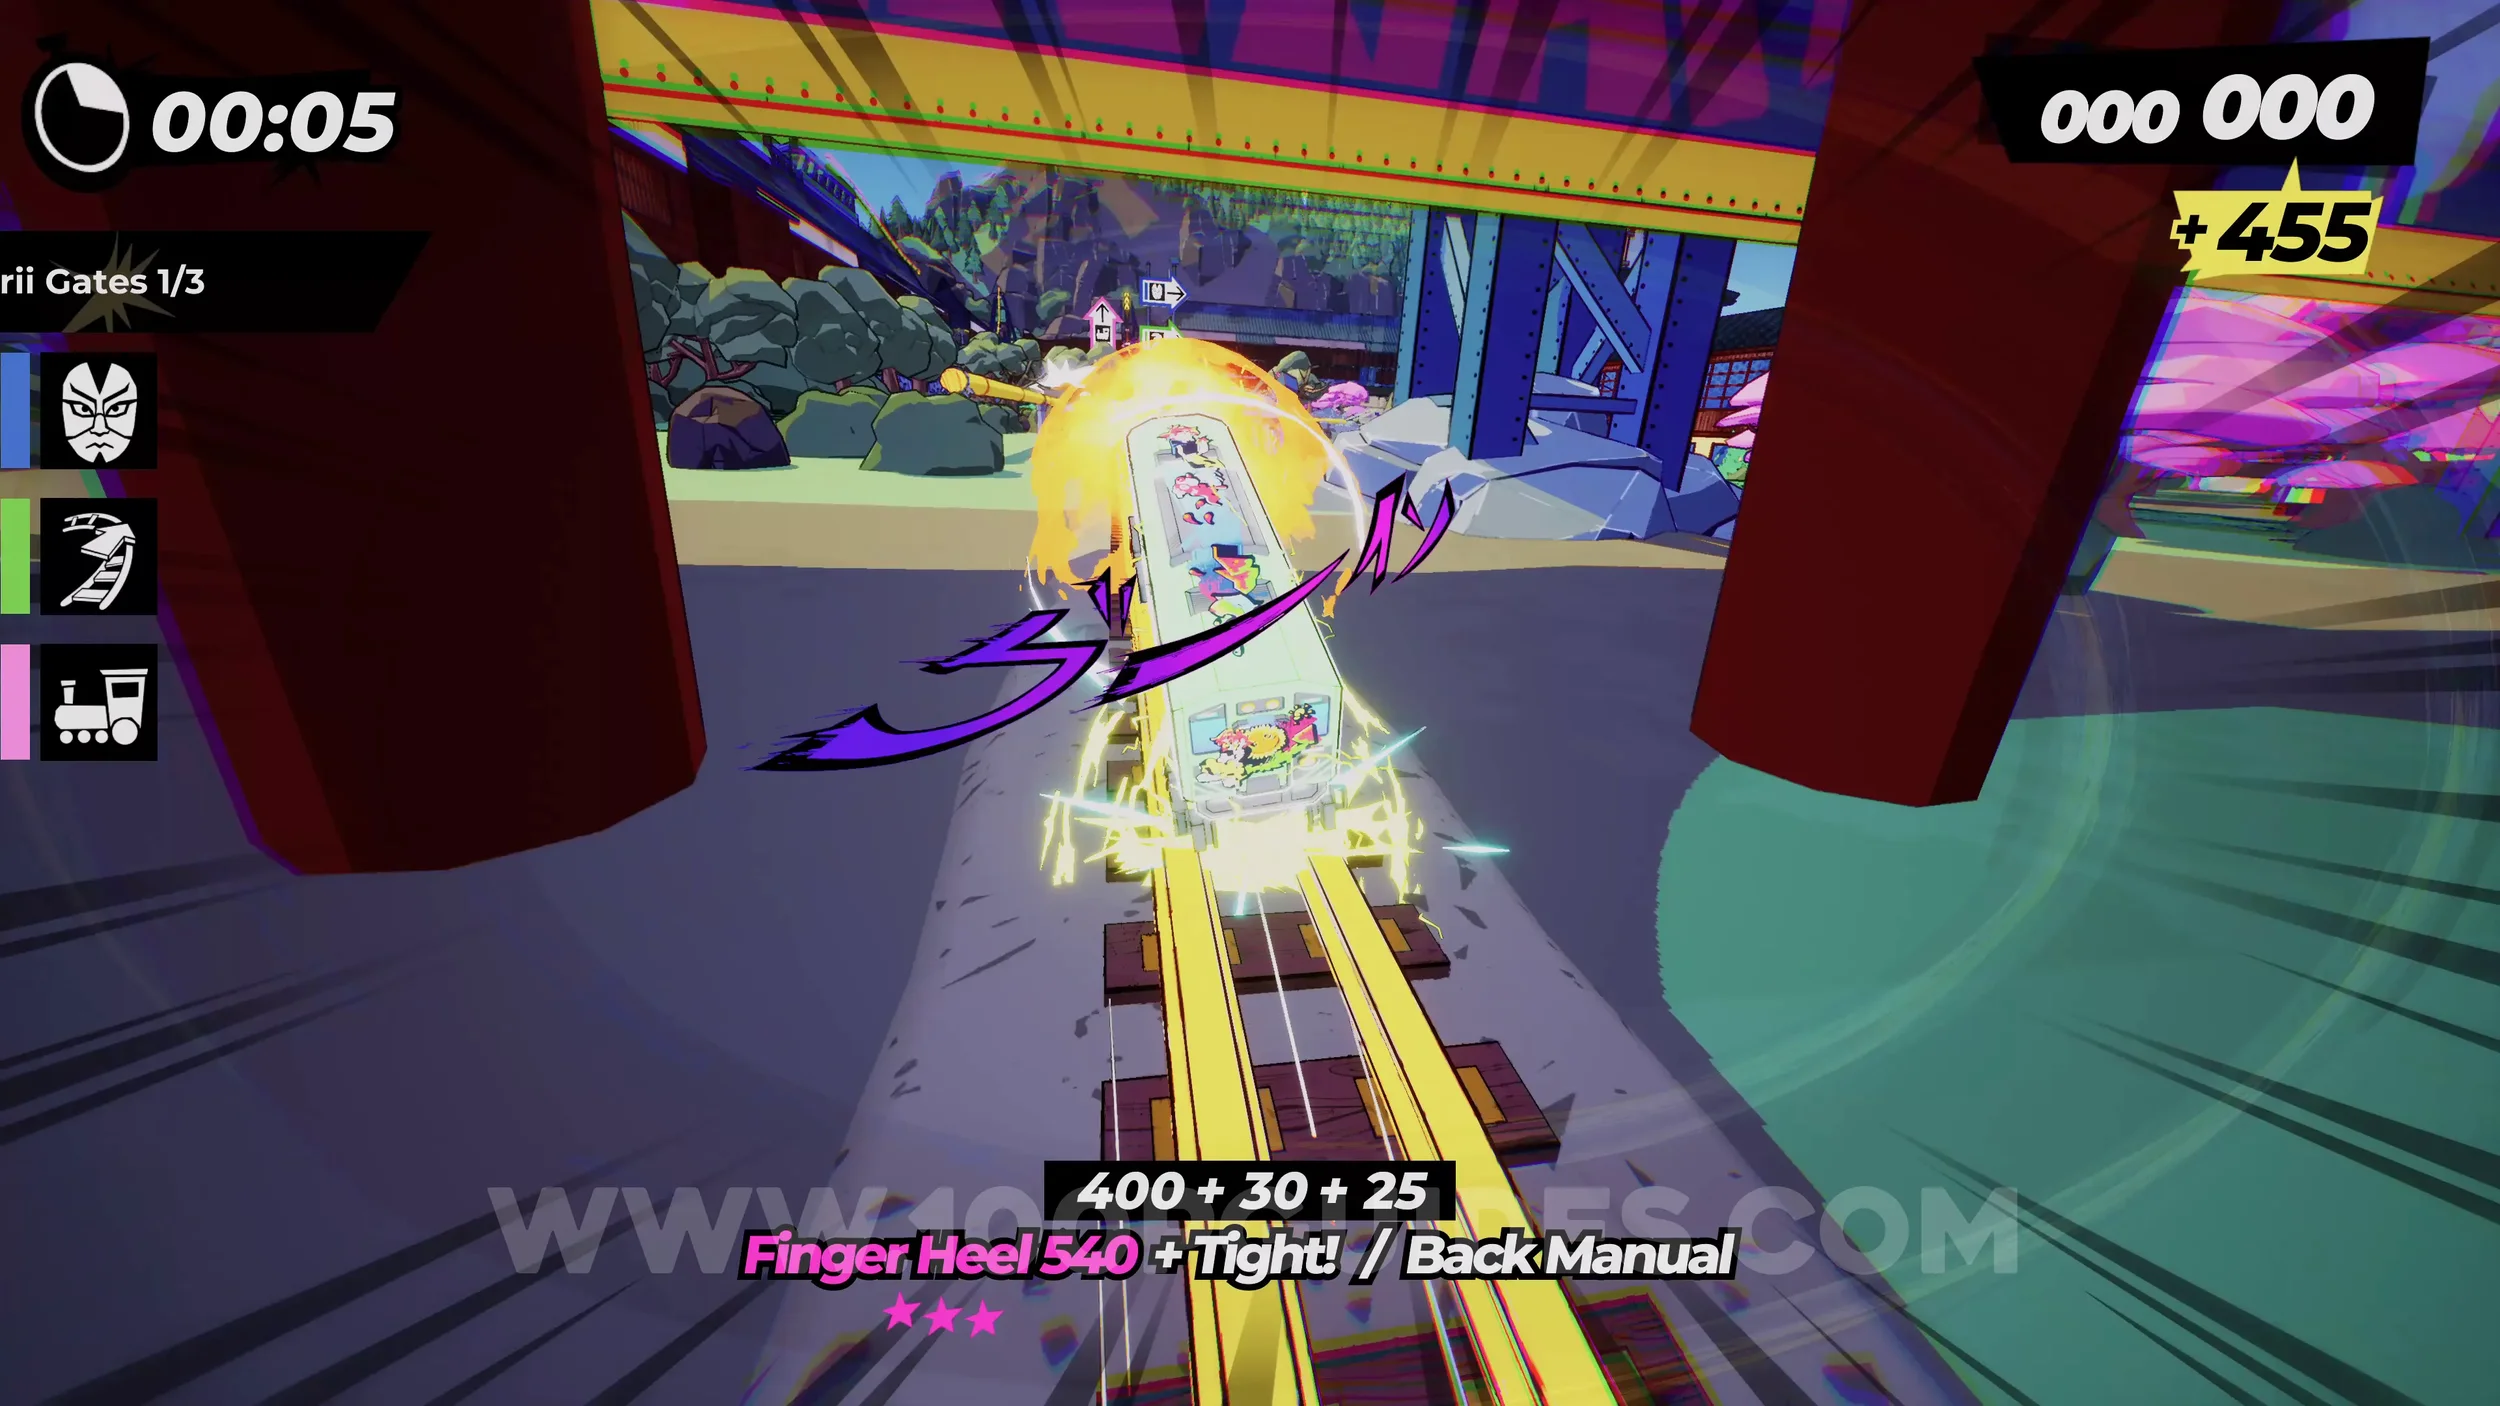
Dare: Collect 5 Boxes of Mandarins (1/5). As soon as you drive through the torii gate, jump to the rail on your left to get the box.
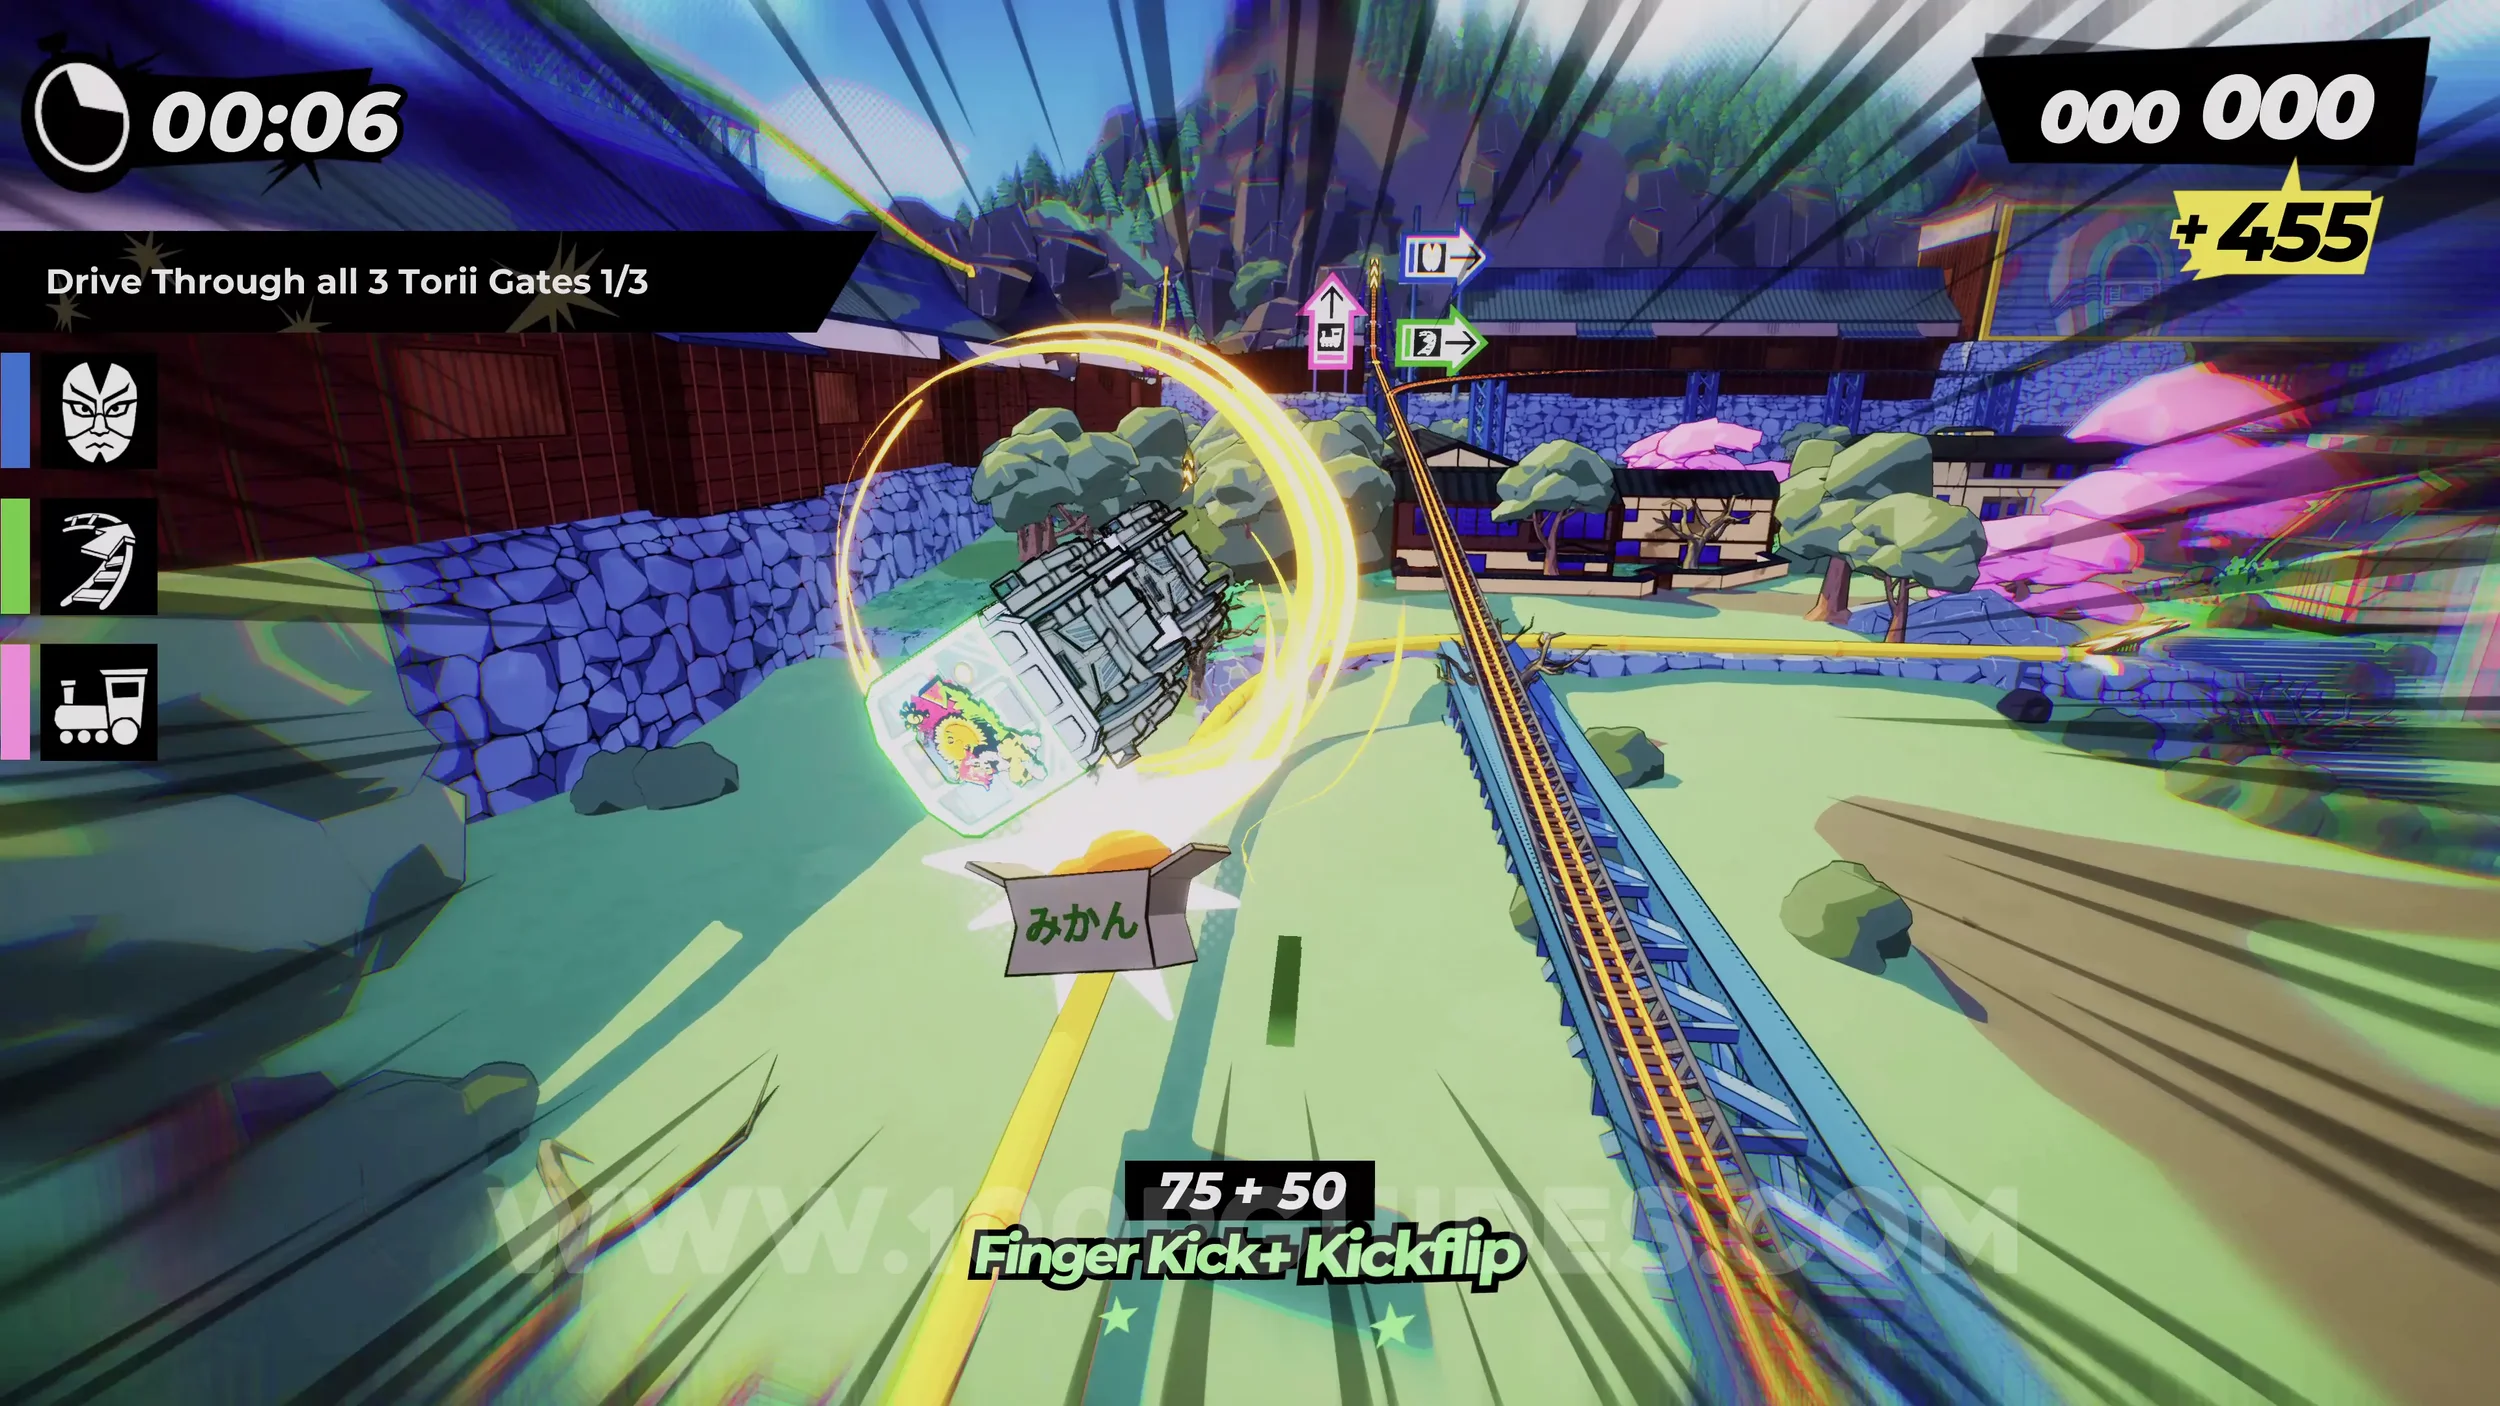
Dare: Collect 5 Boxes of Mandarins (2/5). After the previous box of mandarins, keep following the rail until you see the next box in plain sight on the rail as you go past the side of a castle.
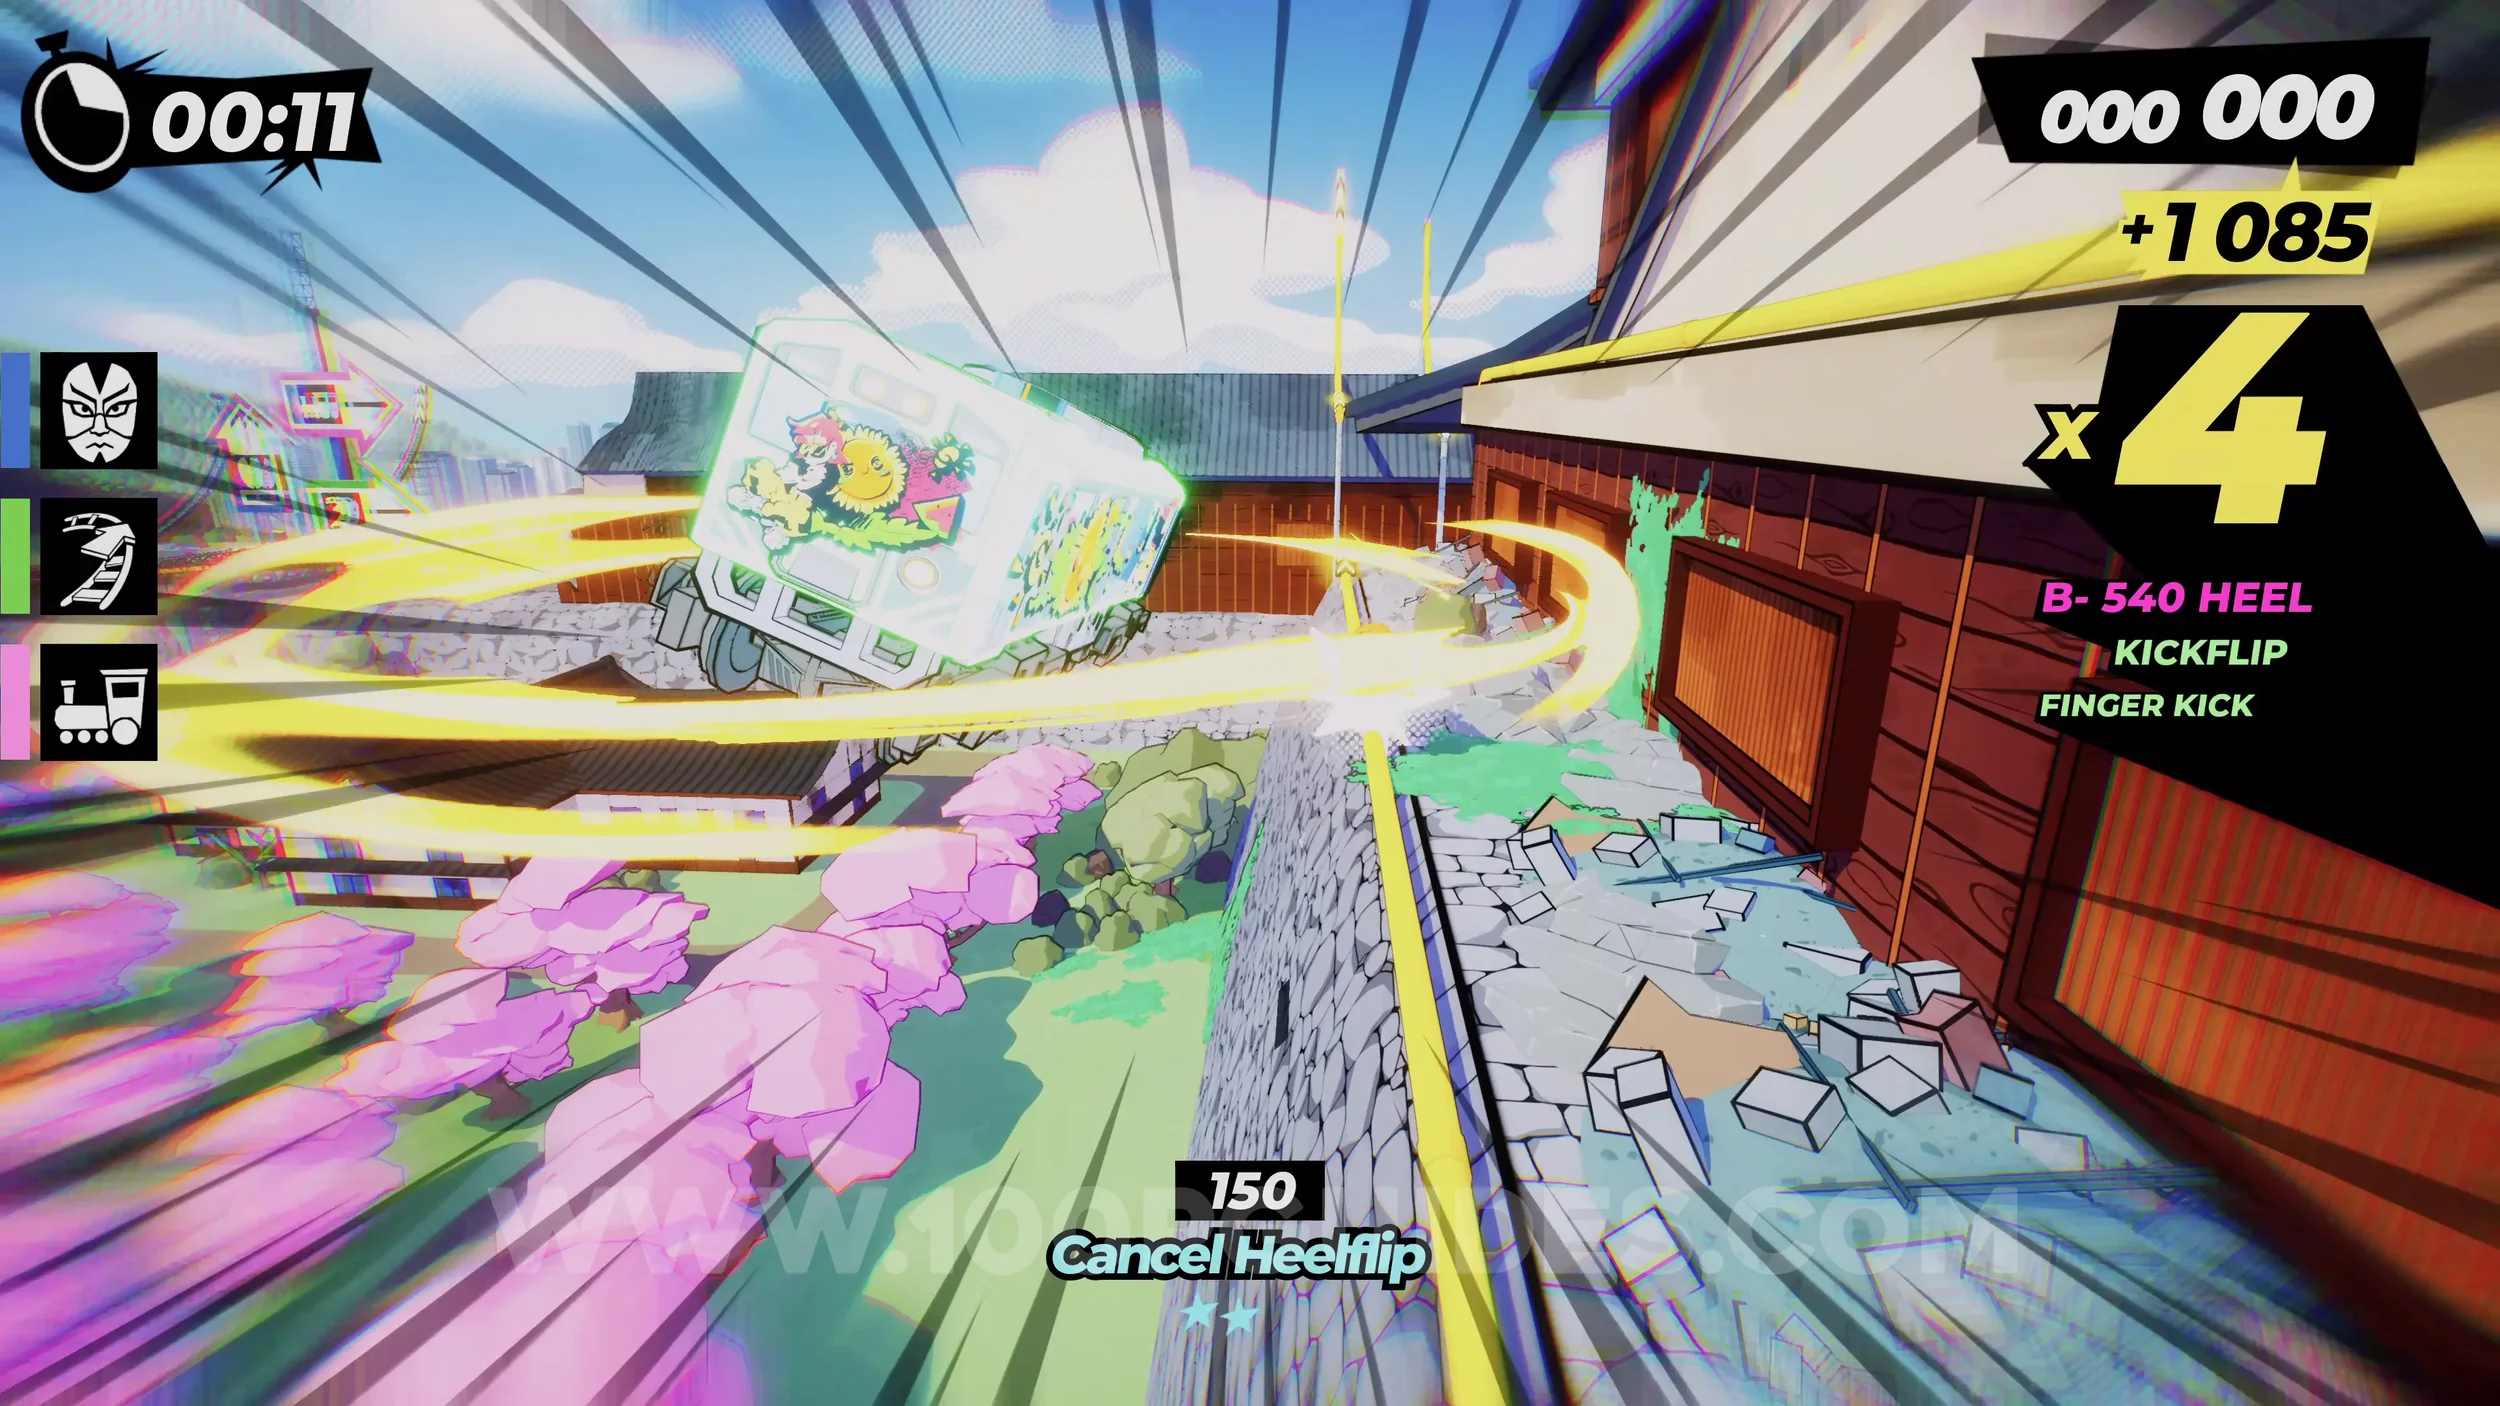
Dare: Collect 5 Boxes of Mandarins (3/5). Soon after the previous box, you will go through a castle. After this, you will jump over a wall and see the next box in plain sight in front of you.
Dare: Drive Through all 3 Torii Gates (2/3). After the previous collectible, follow the tracks to circle back around to the start where the three main signs are. This time, go right and then go straight, following the blue and pink signs, to go through the torii gate.
Dare: Drive Through all 3 Torii Gates (3/3). Continue and you will go through a tunnel and see the three signs at the end again. Keep right and follow the blue sign. You will then go through another tunnel where the torii gate is.
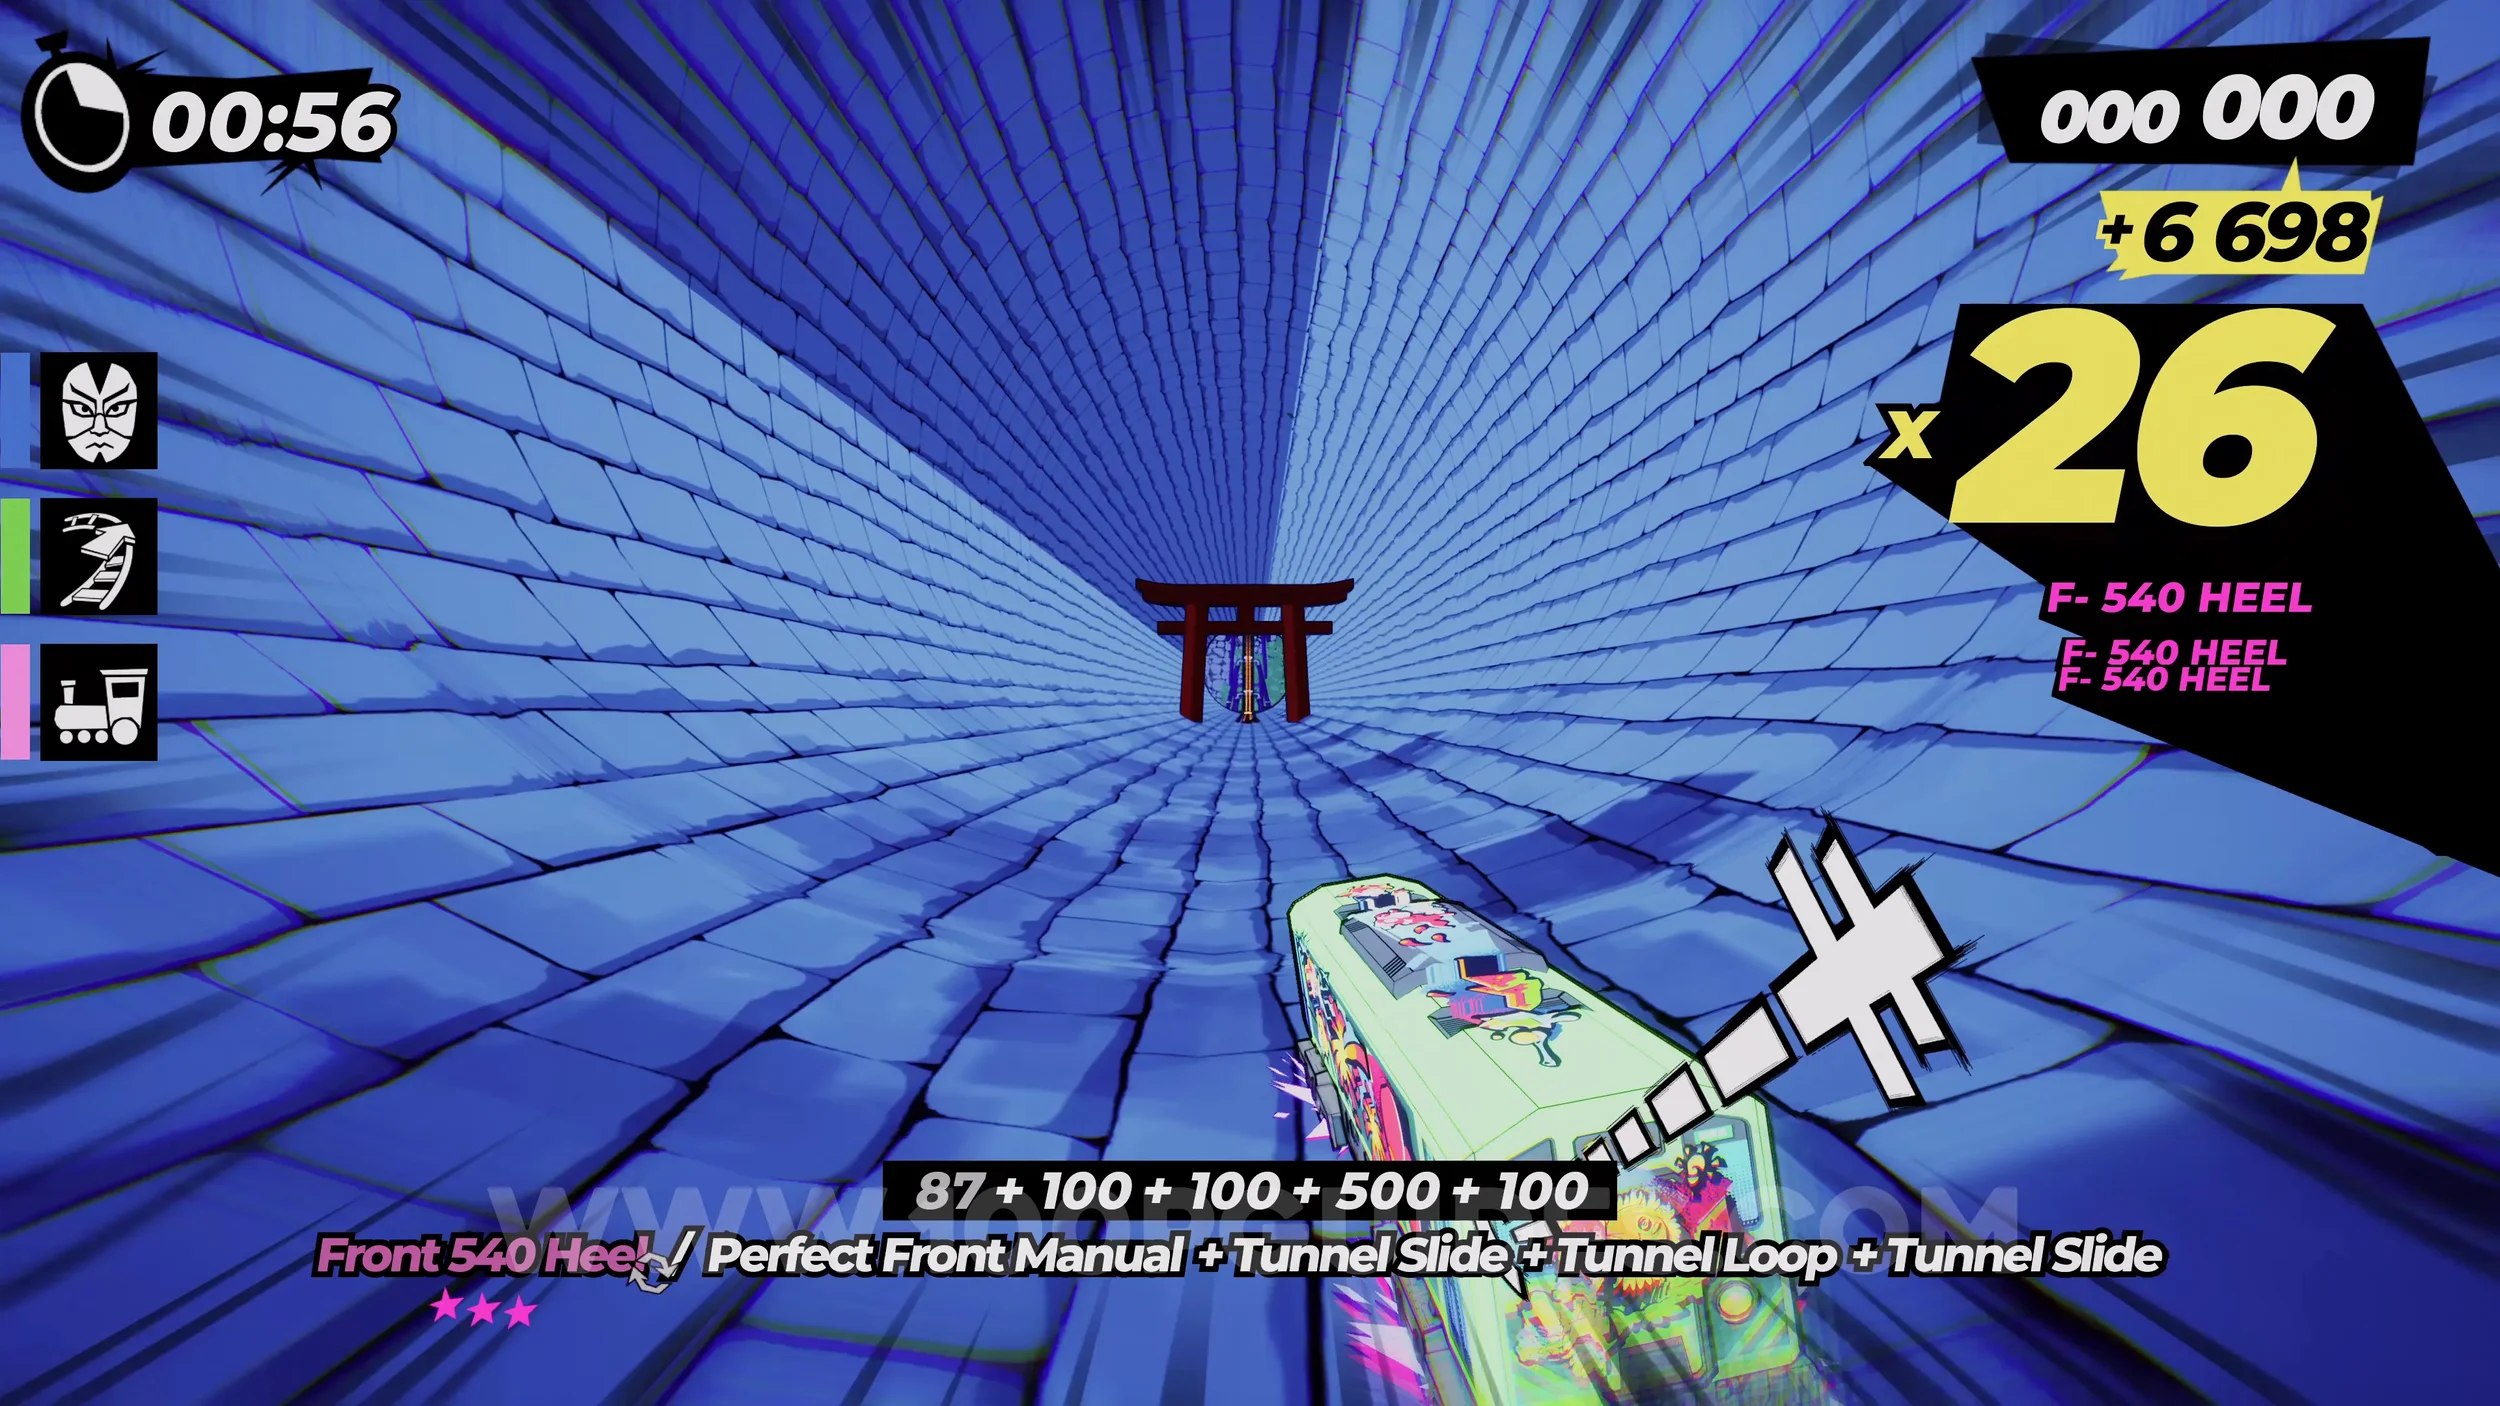
Dare: Collect 5 Boxes of Mandarins (4/5). Soon after the previous collectible, you will see another three signs. Here, jump to the wallride on the left to collect the box of mandarins, then stay on it and don’t hit the switch to continue left.
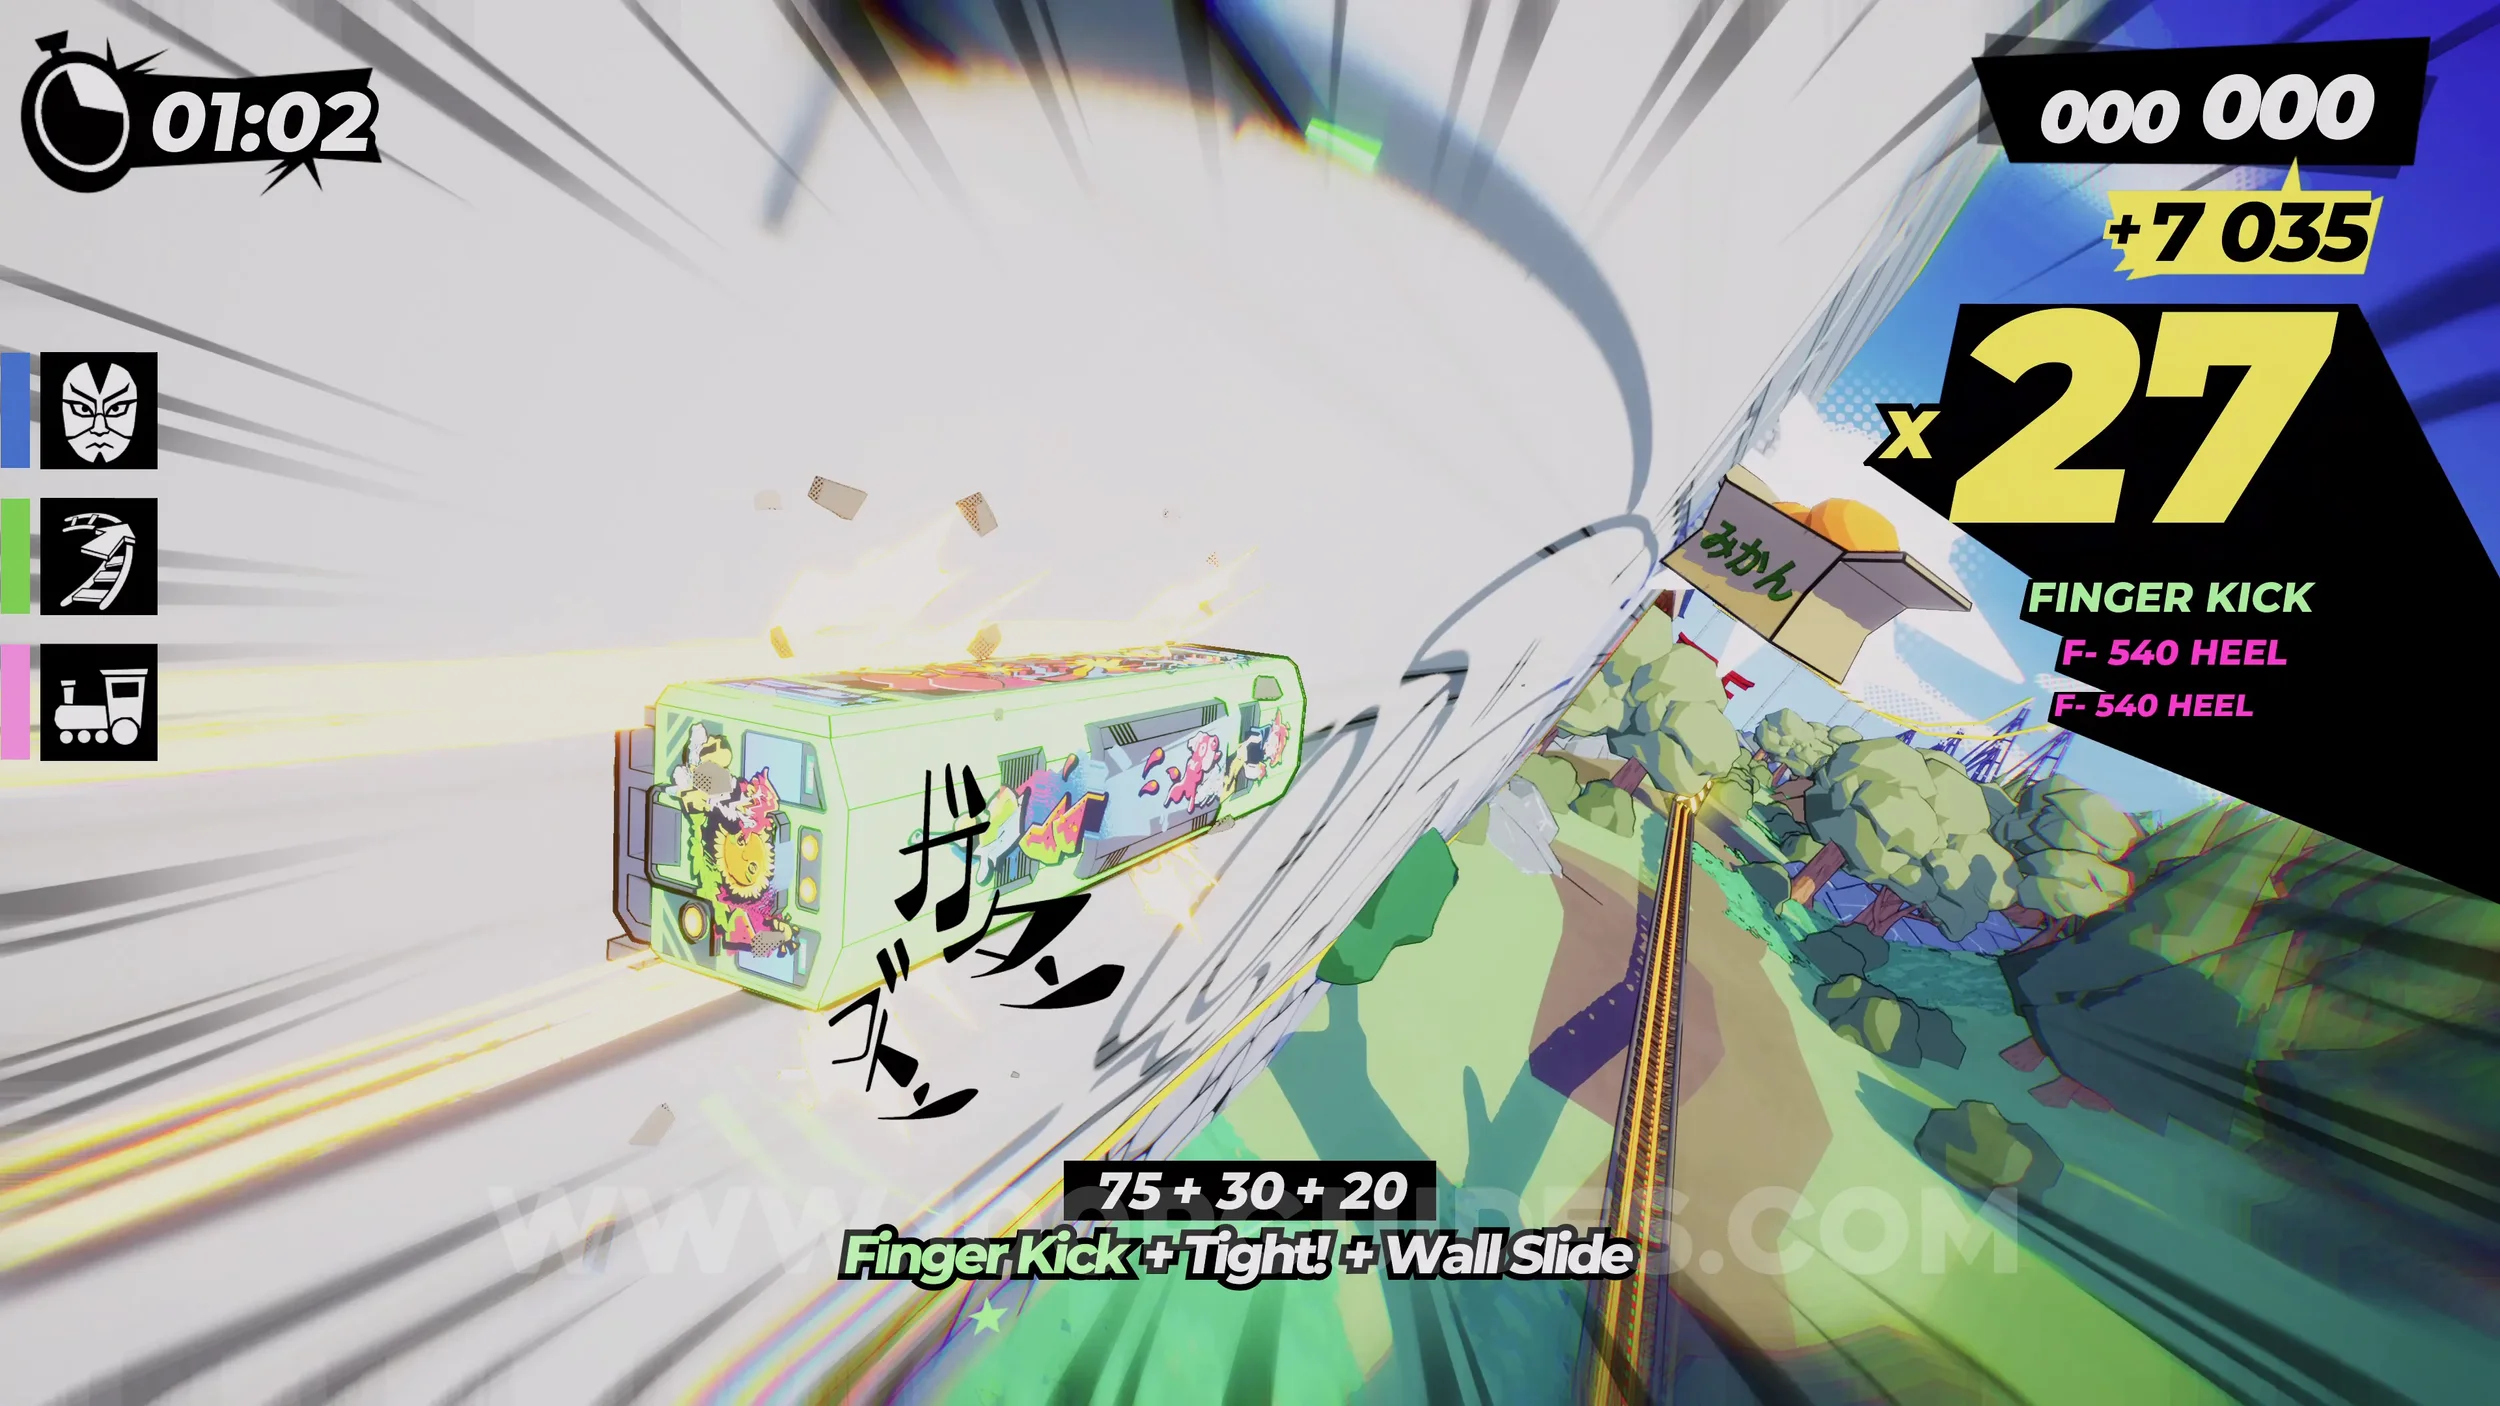
Dare: Chain 5 Tricks in a Single Jump. After the previous collectible, do not hit the switch that changes the track direction, so you can keep following the blue signs. Eventually, you will jump down to a town below. This jump is a great place to finish the dare.
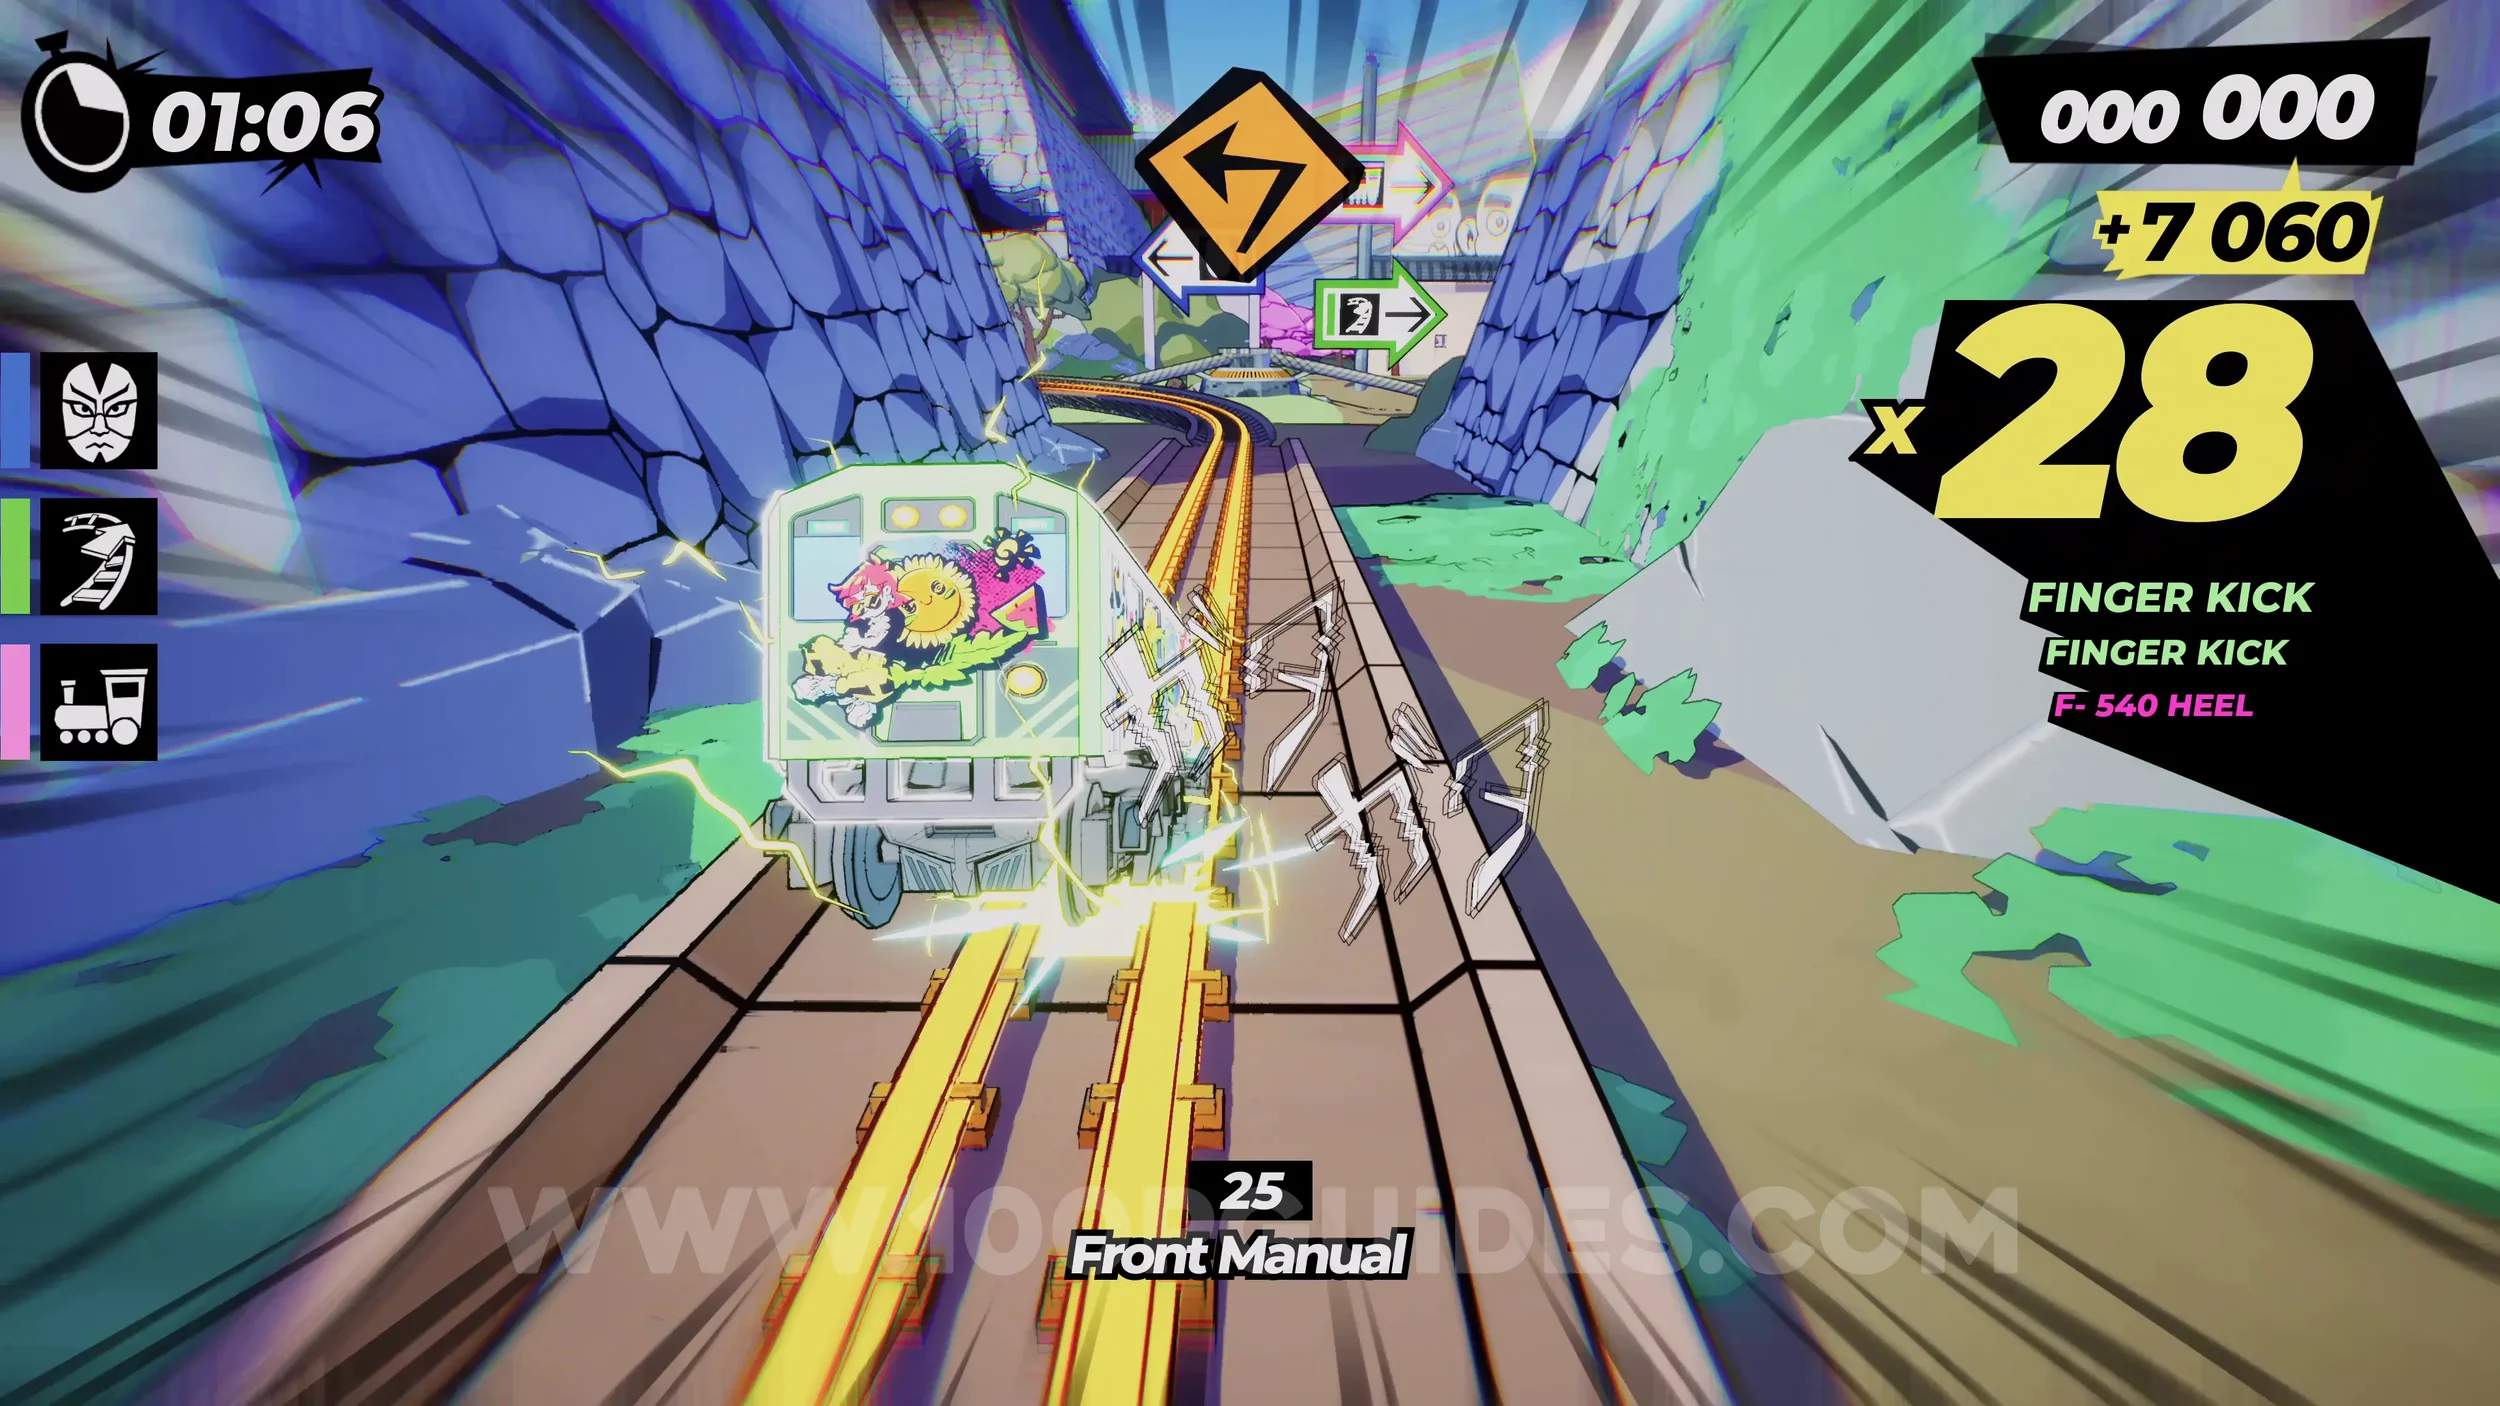
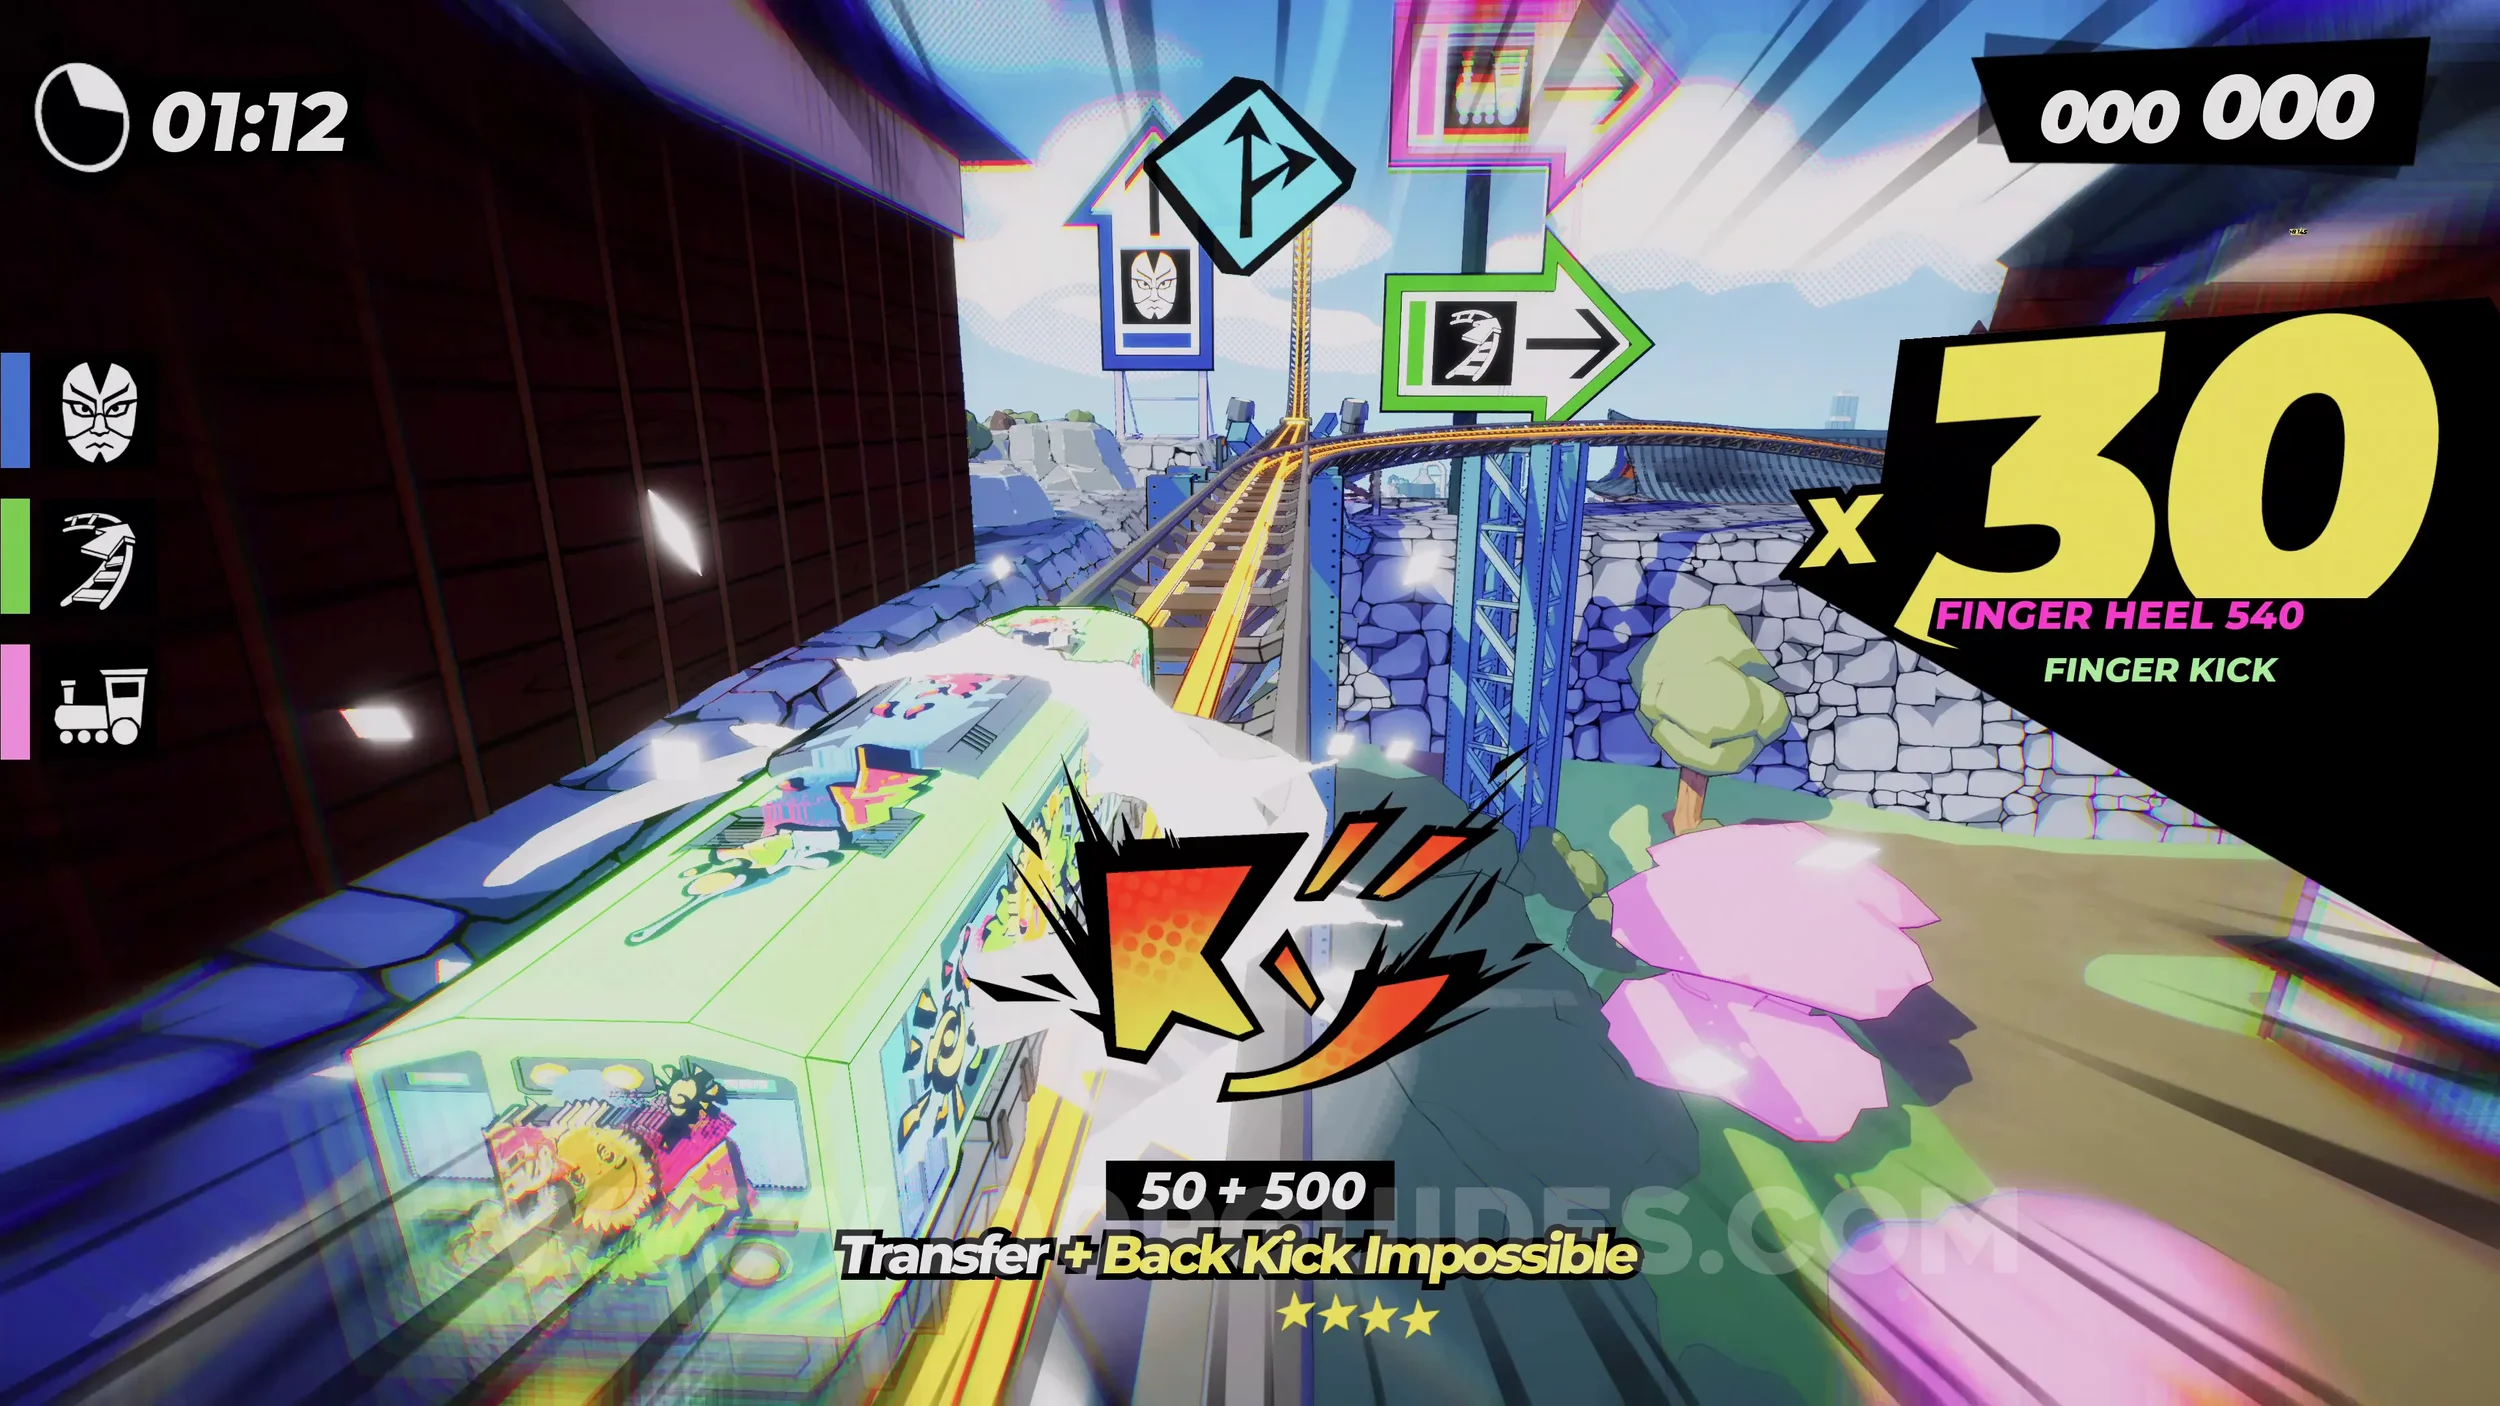
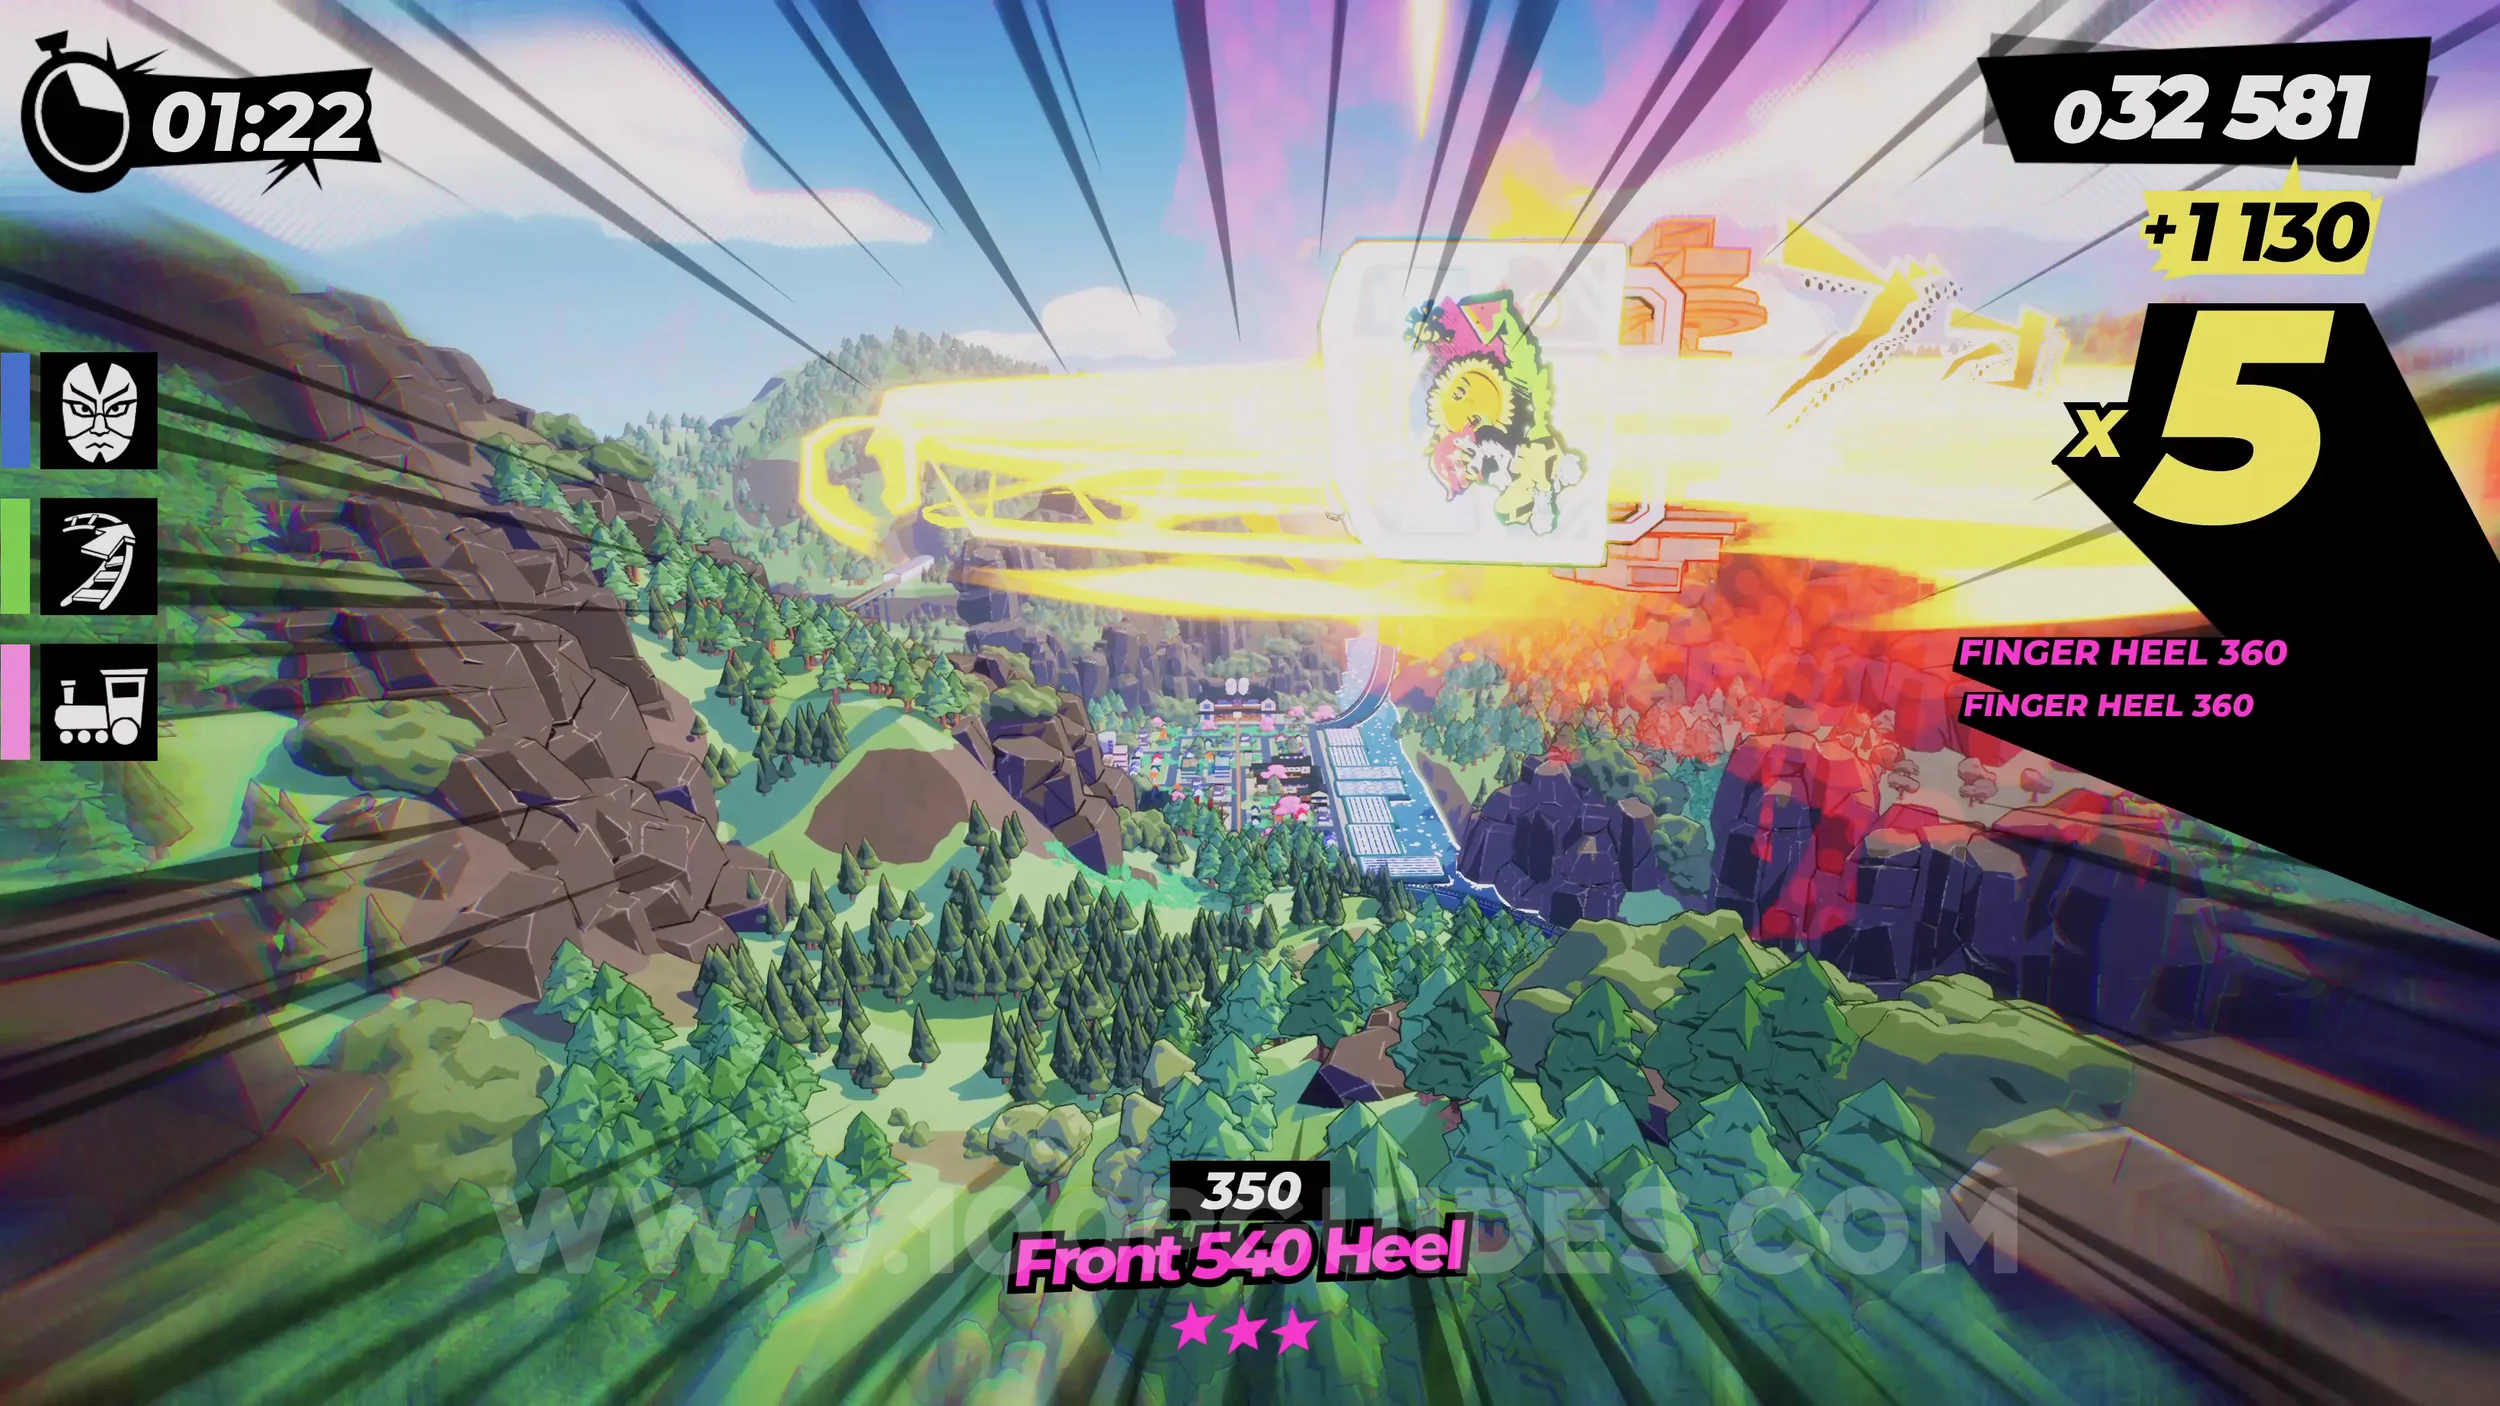
Dare: Hype up the Kabuki Performance. Keep following this path until you blast through a theatre performance. Here, press R3 to use your horn and finish the dare.
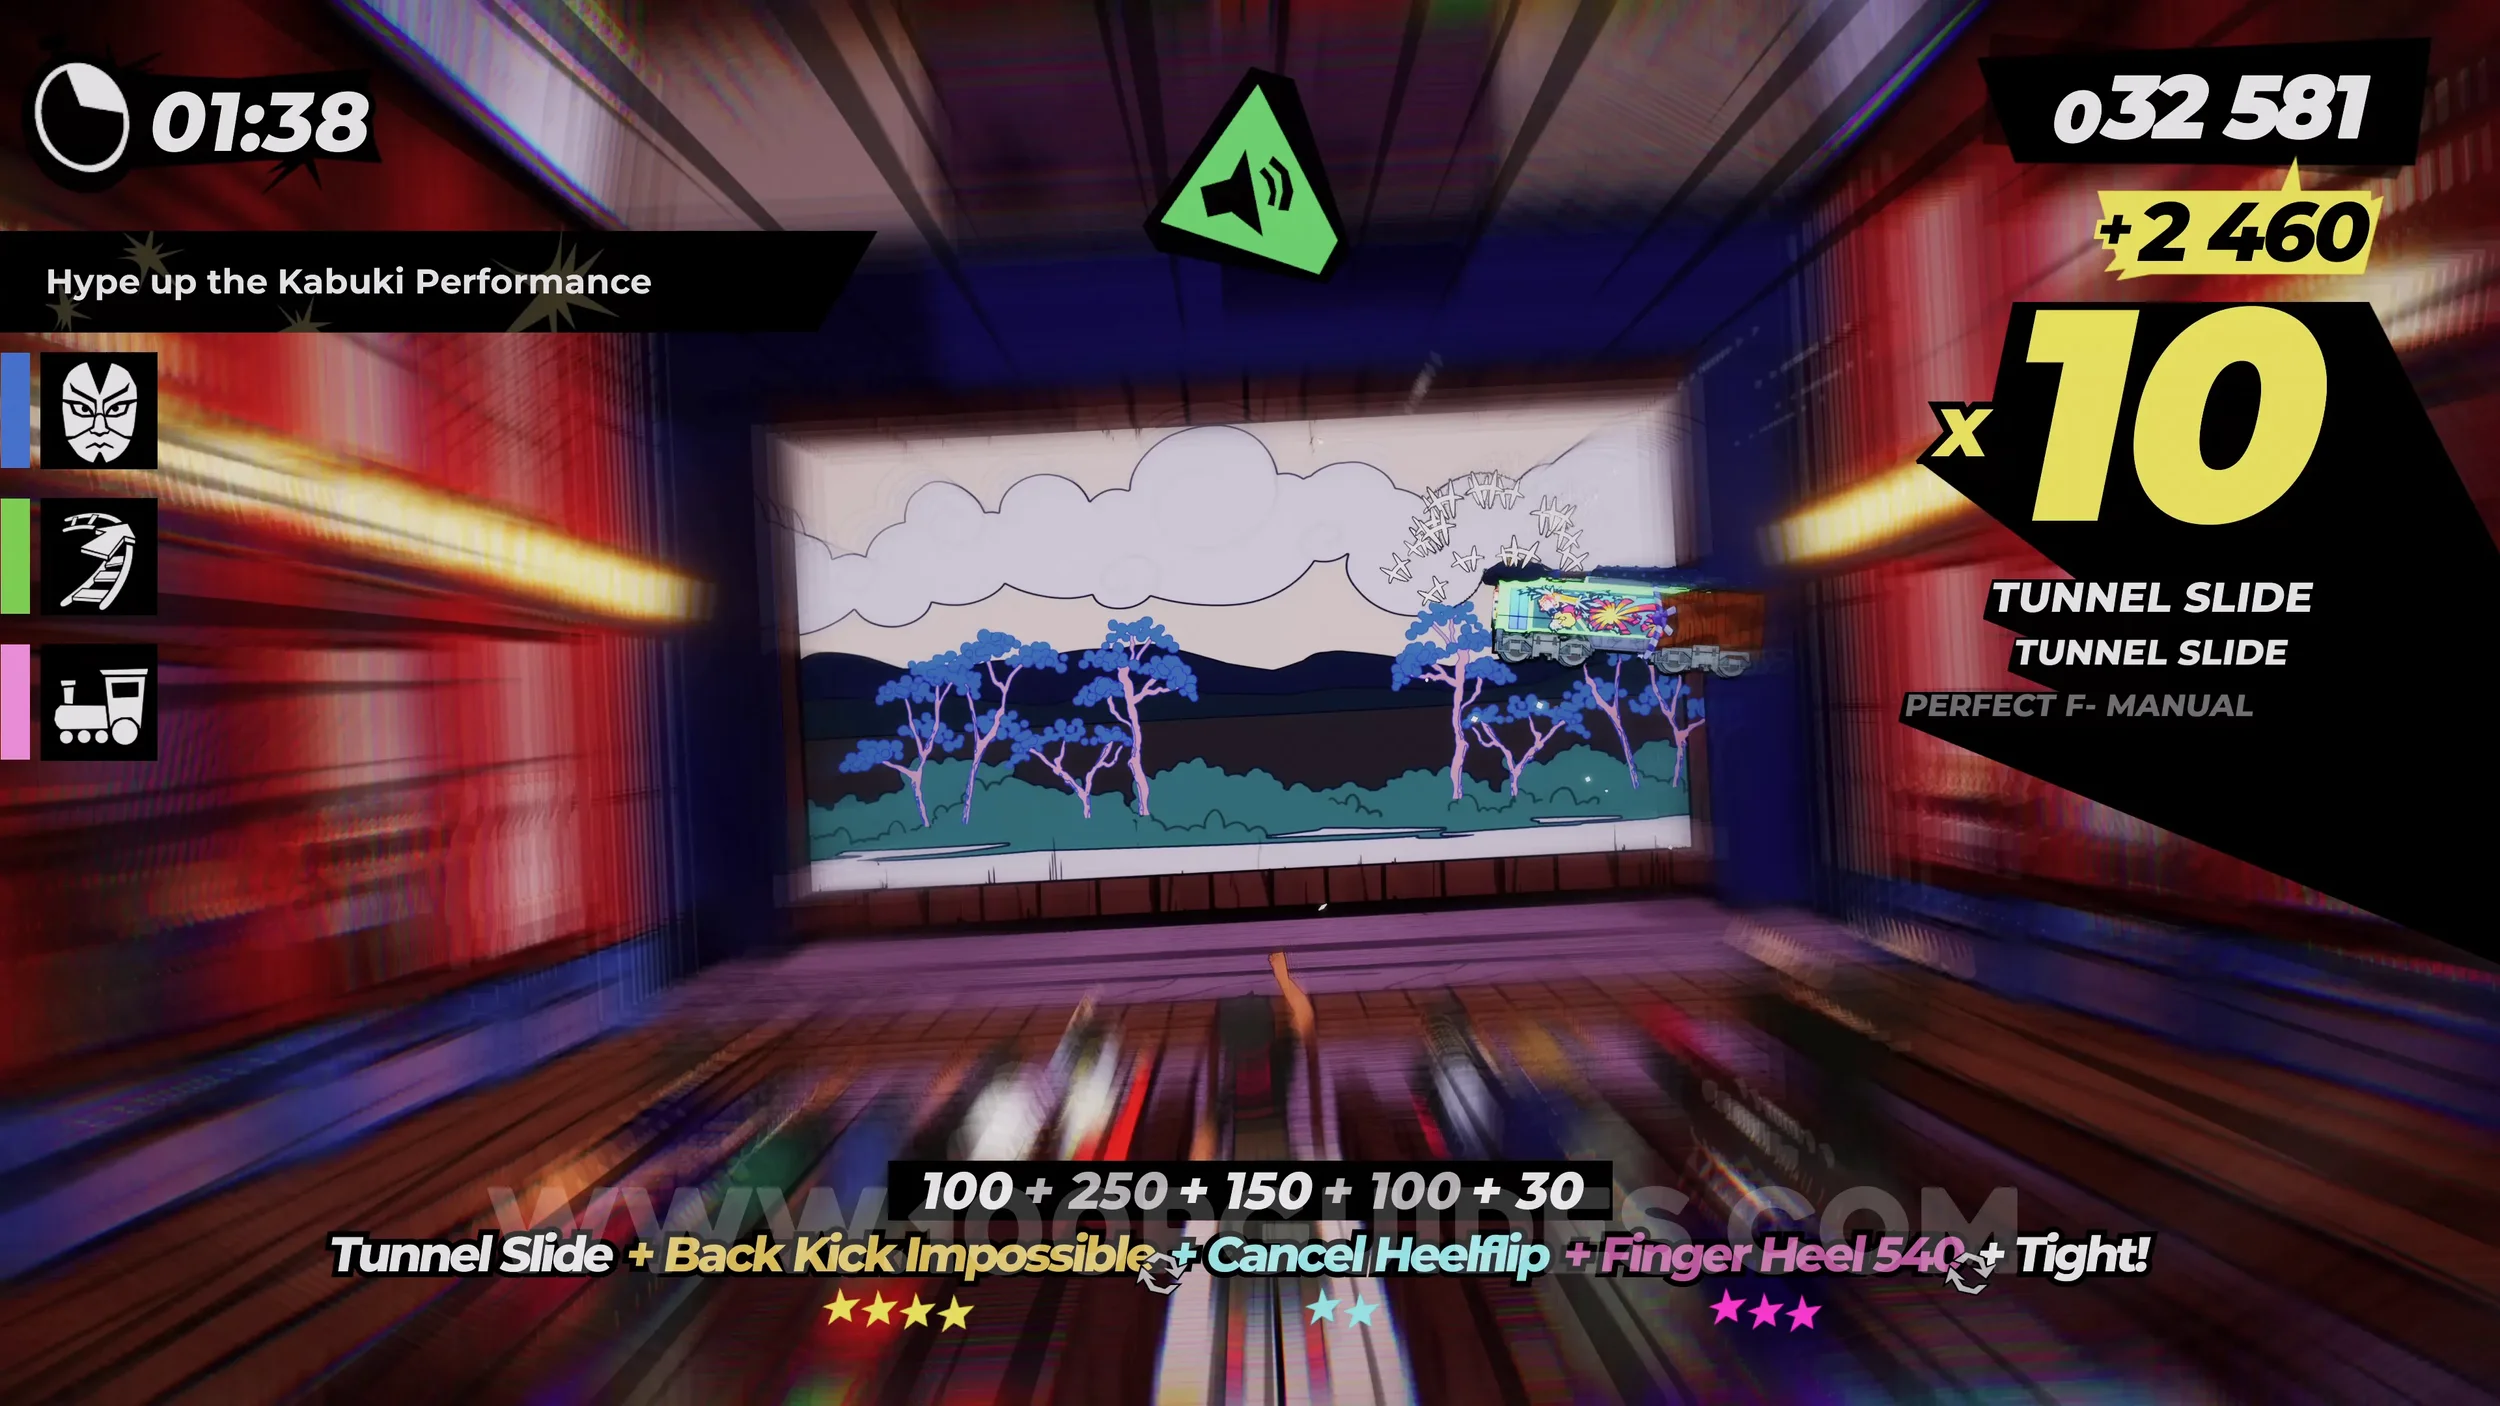
Gear (1/3). After the first performance stage, you will continue through another tunnel. The gear will be on the right side of this tunnel.
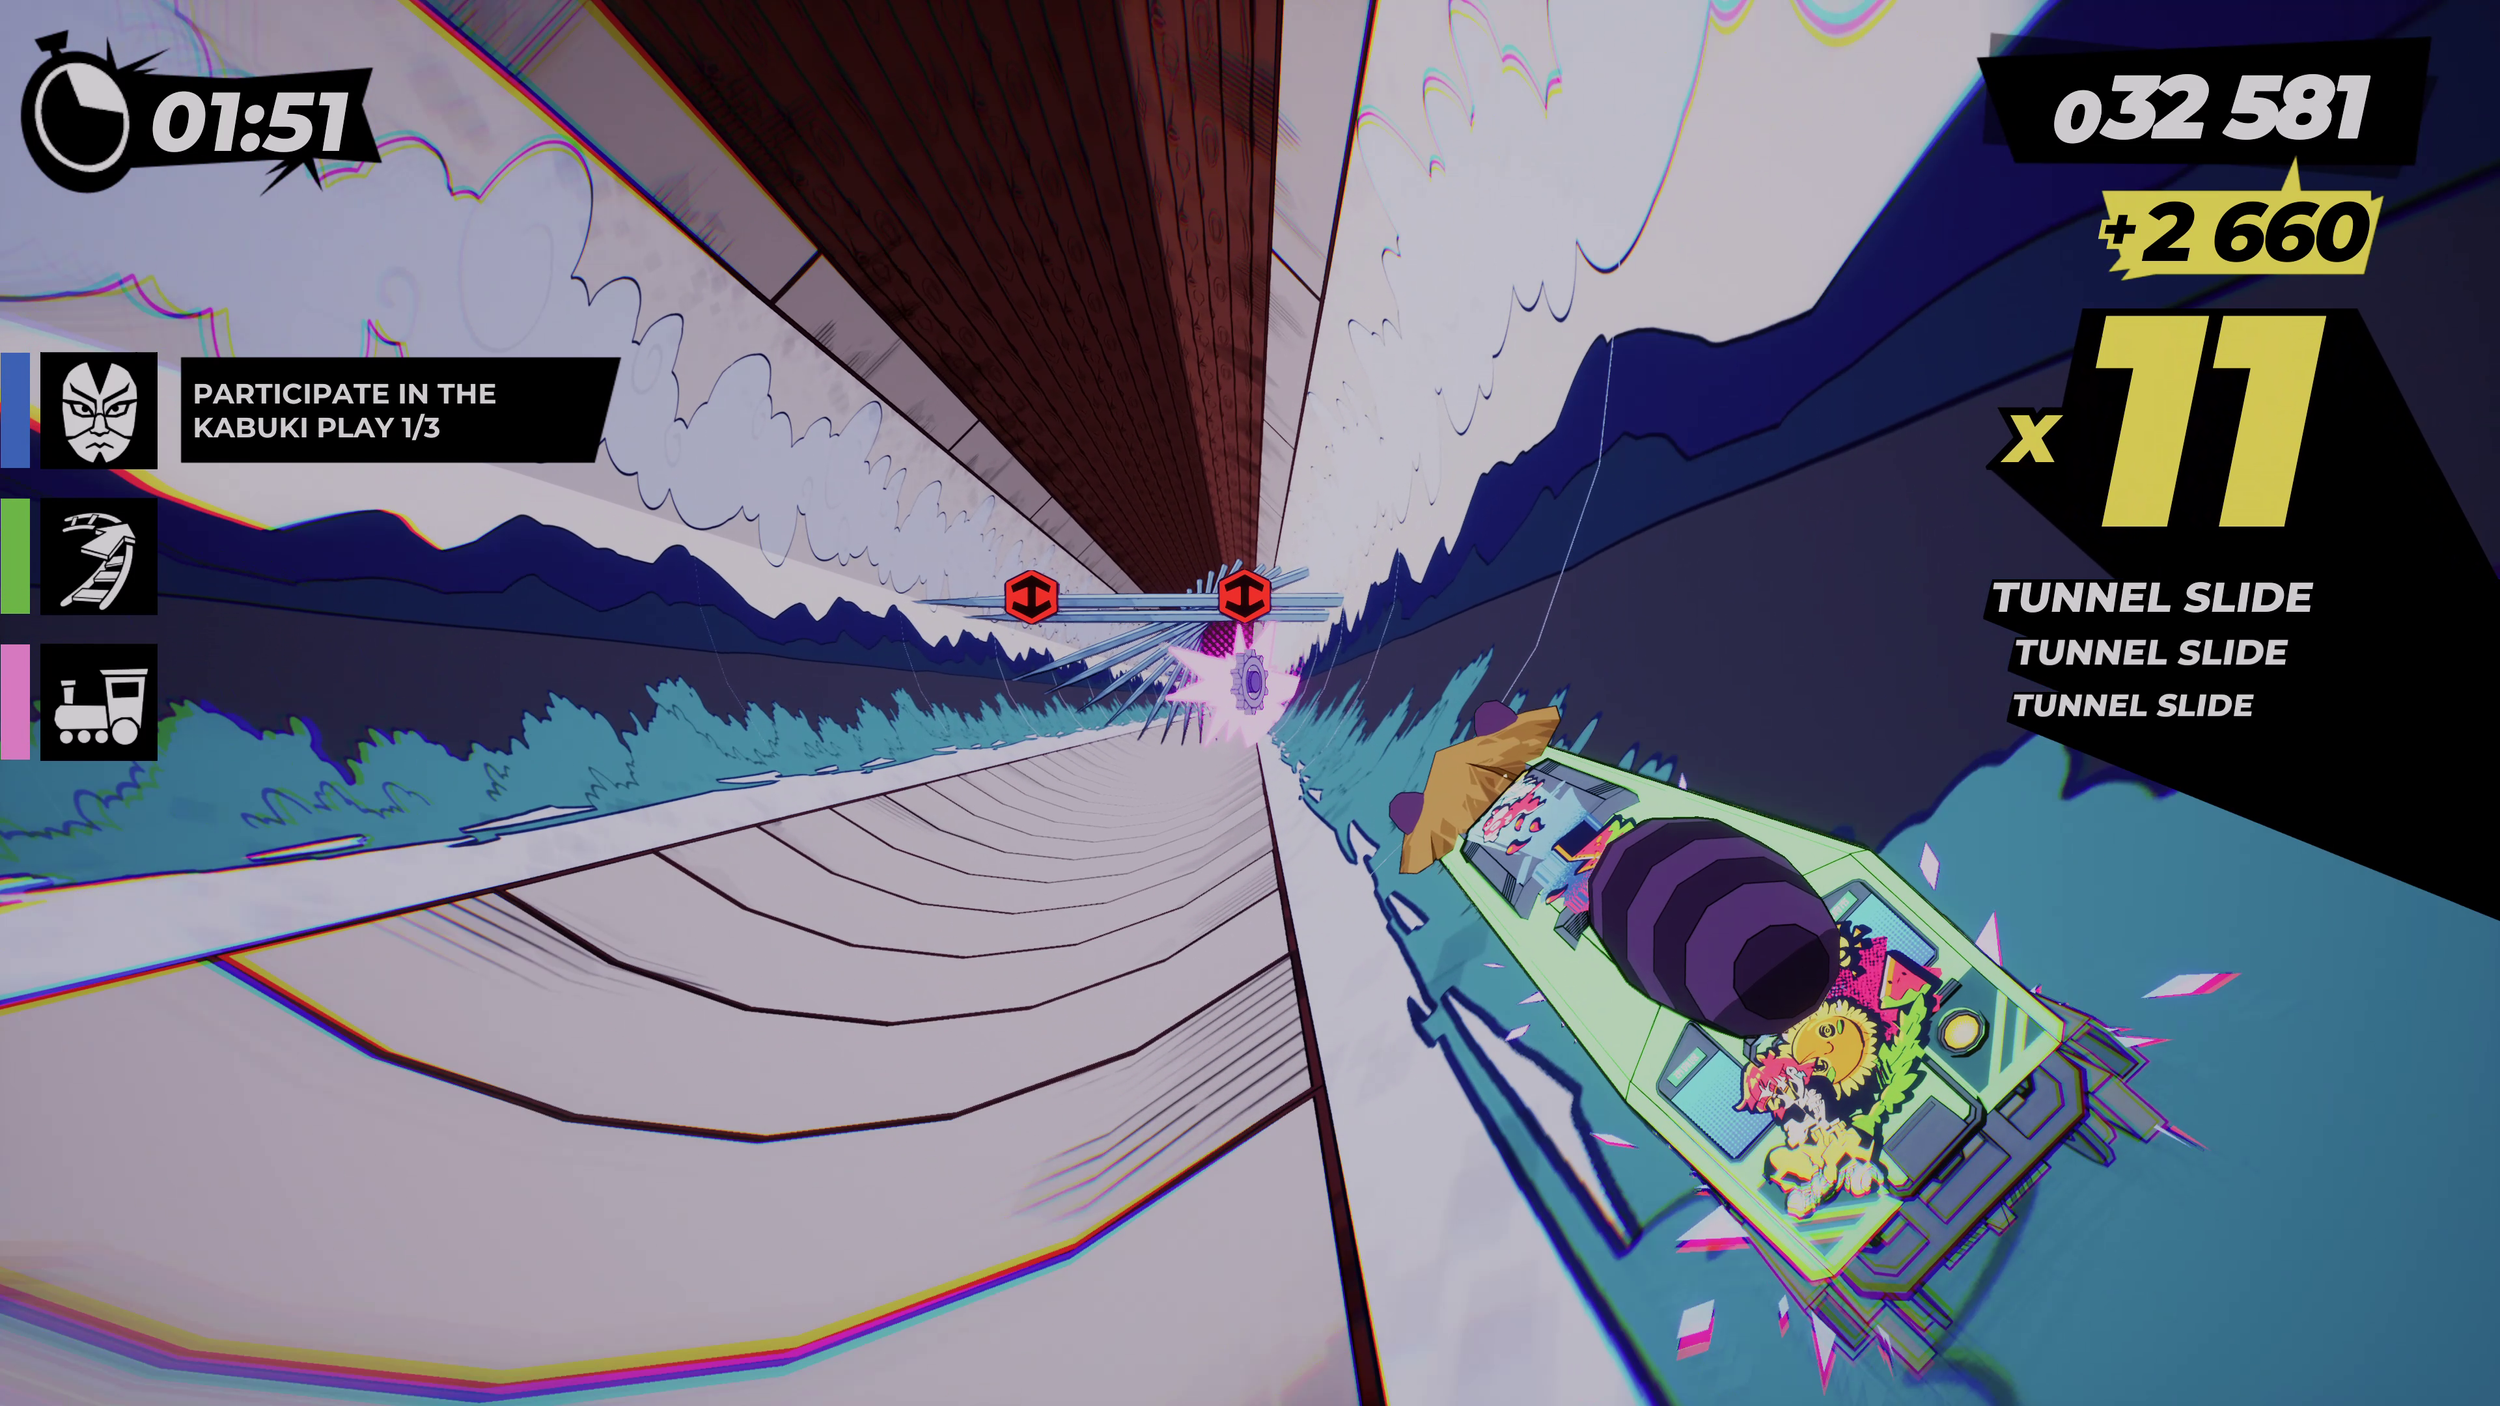
Gear (2/3). After the three theatres, you will eventually circle all the way back to the start. Here, go right and then left. After the first passengers, go straight, not left, and you will then soon see the gear on the right side.
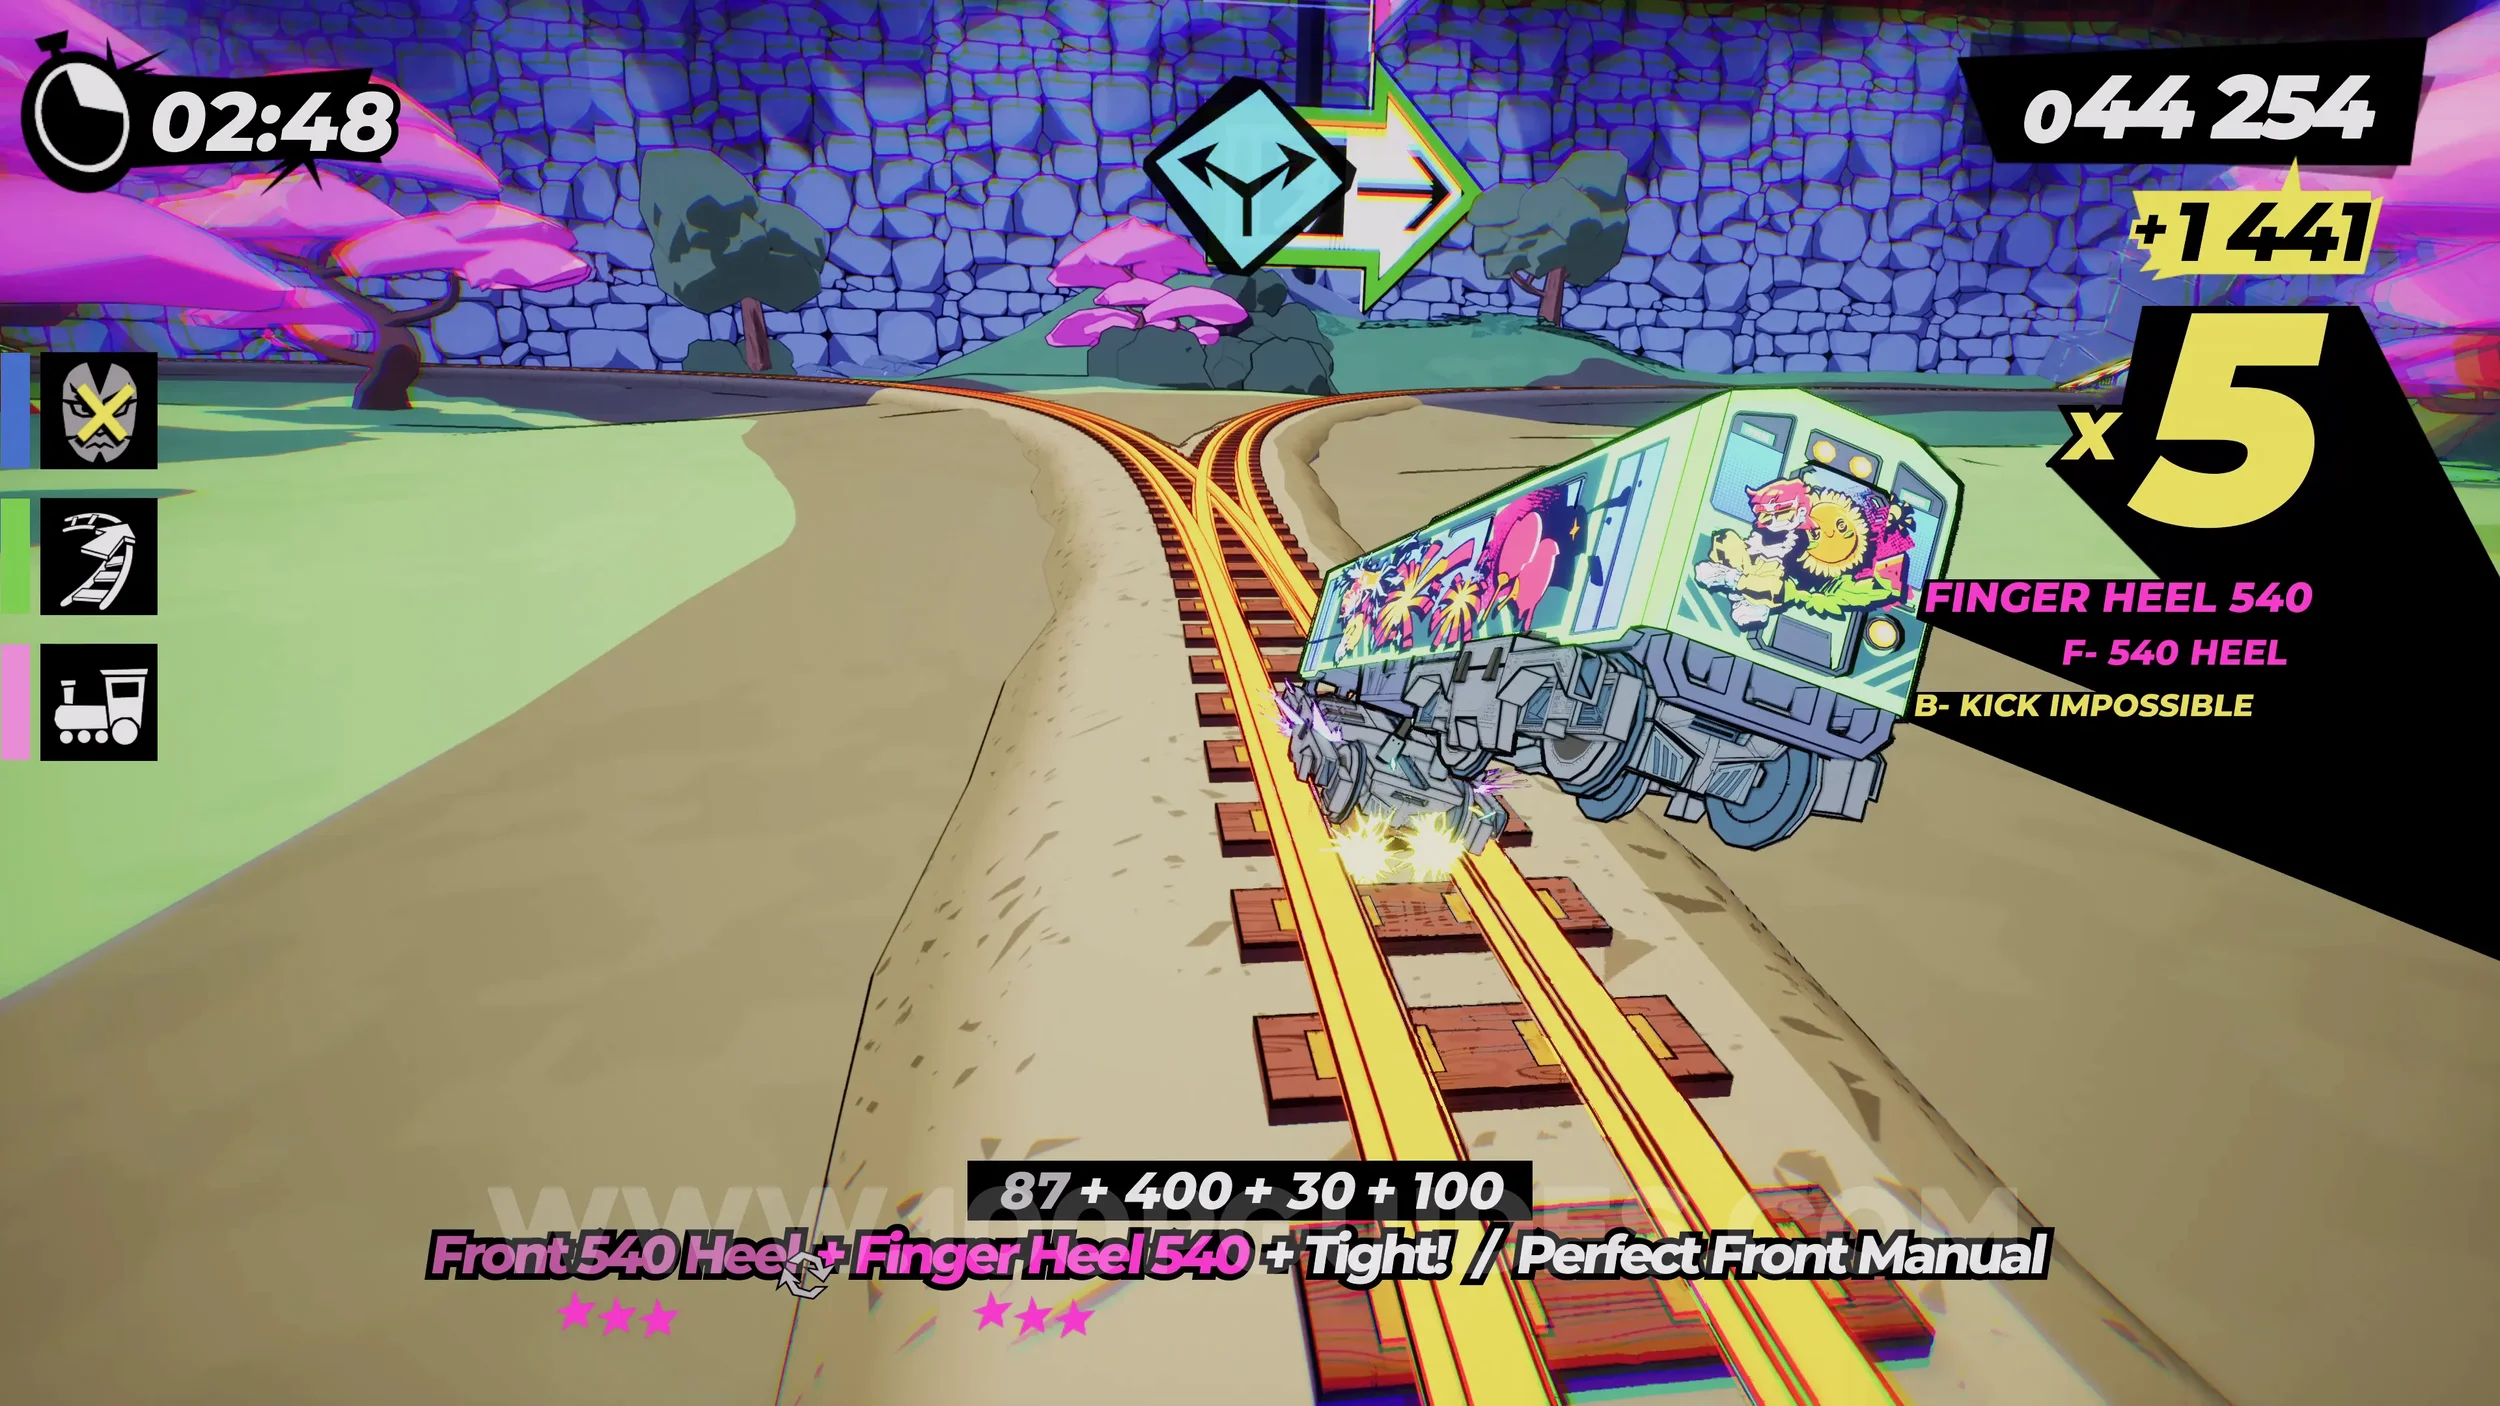
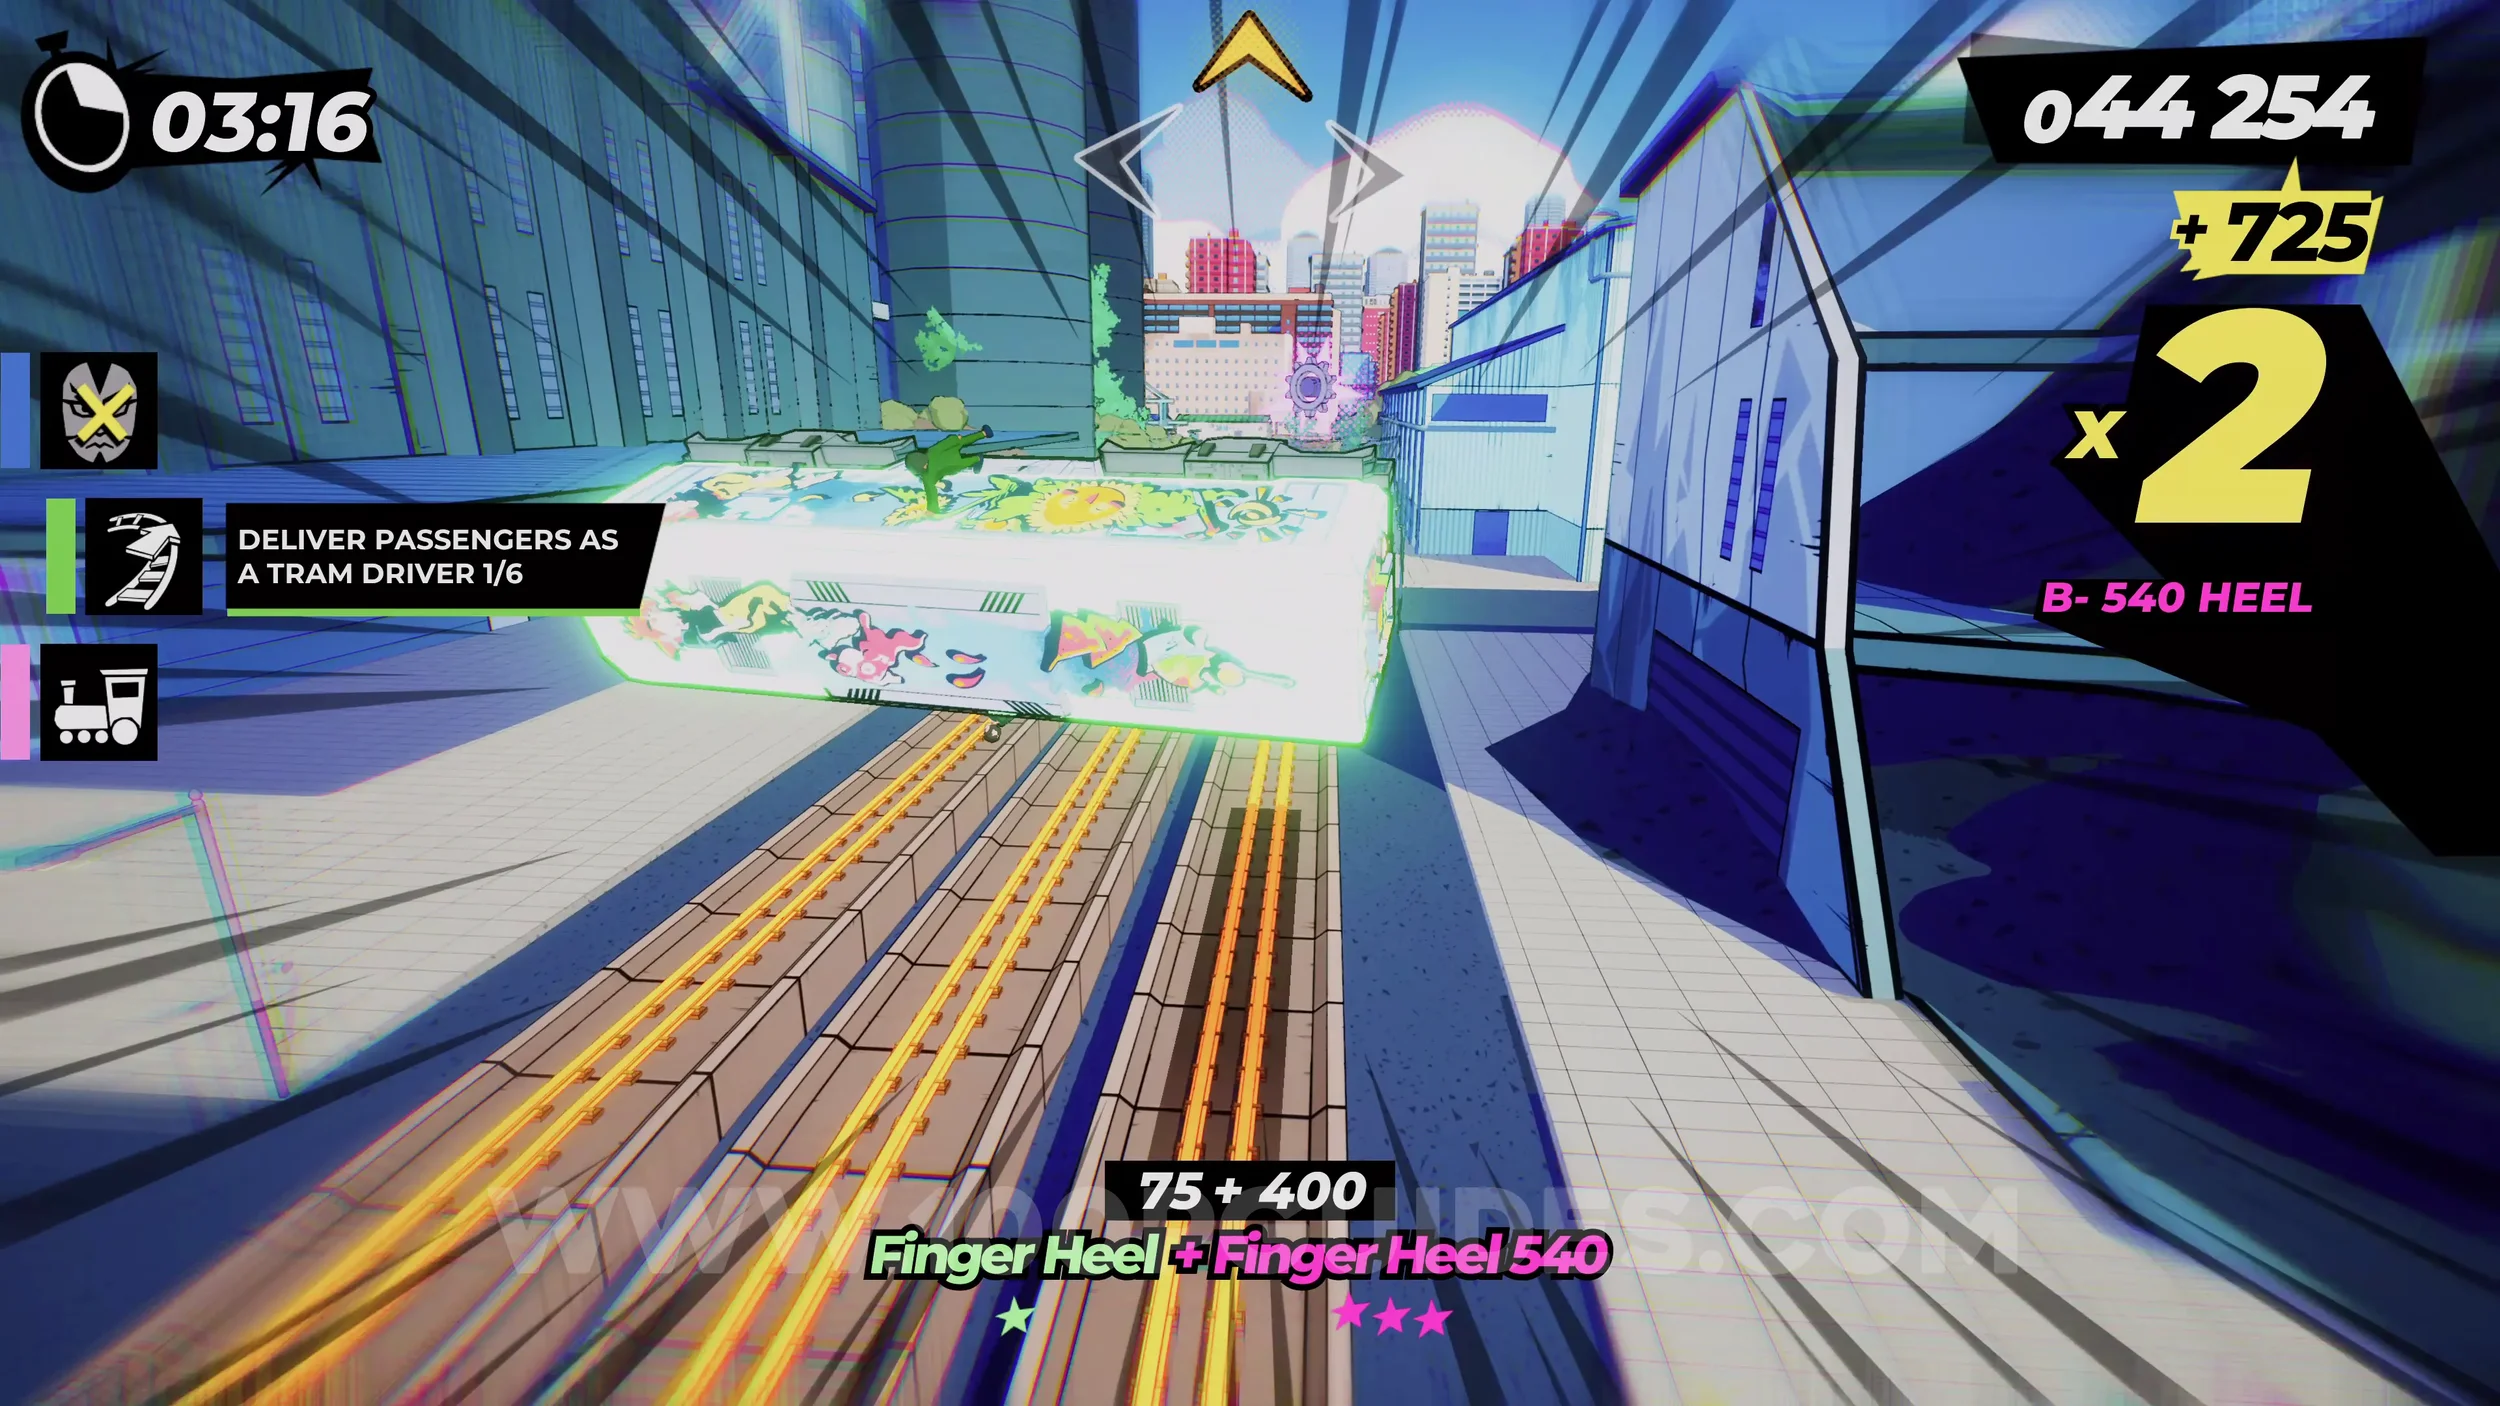
Spray Can (1/1). After the gear, keep following the yellow arrow at the top of the screen until you drop the second passenger off. After that, keep following the yellow arrow. This will take you to the third load of passengers. After this, you will jump up to a half pipe where you will find the spray can on the right side.
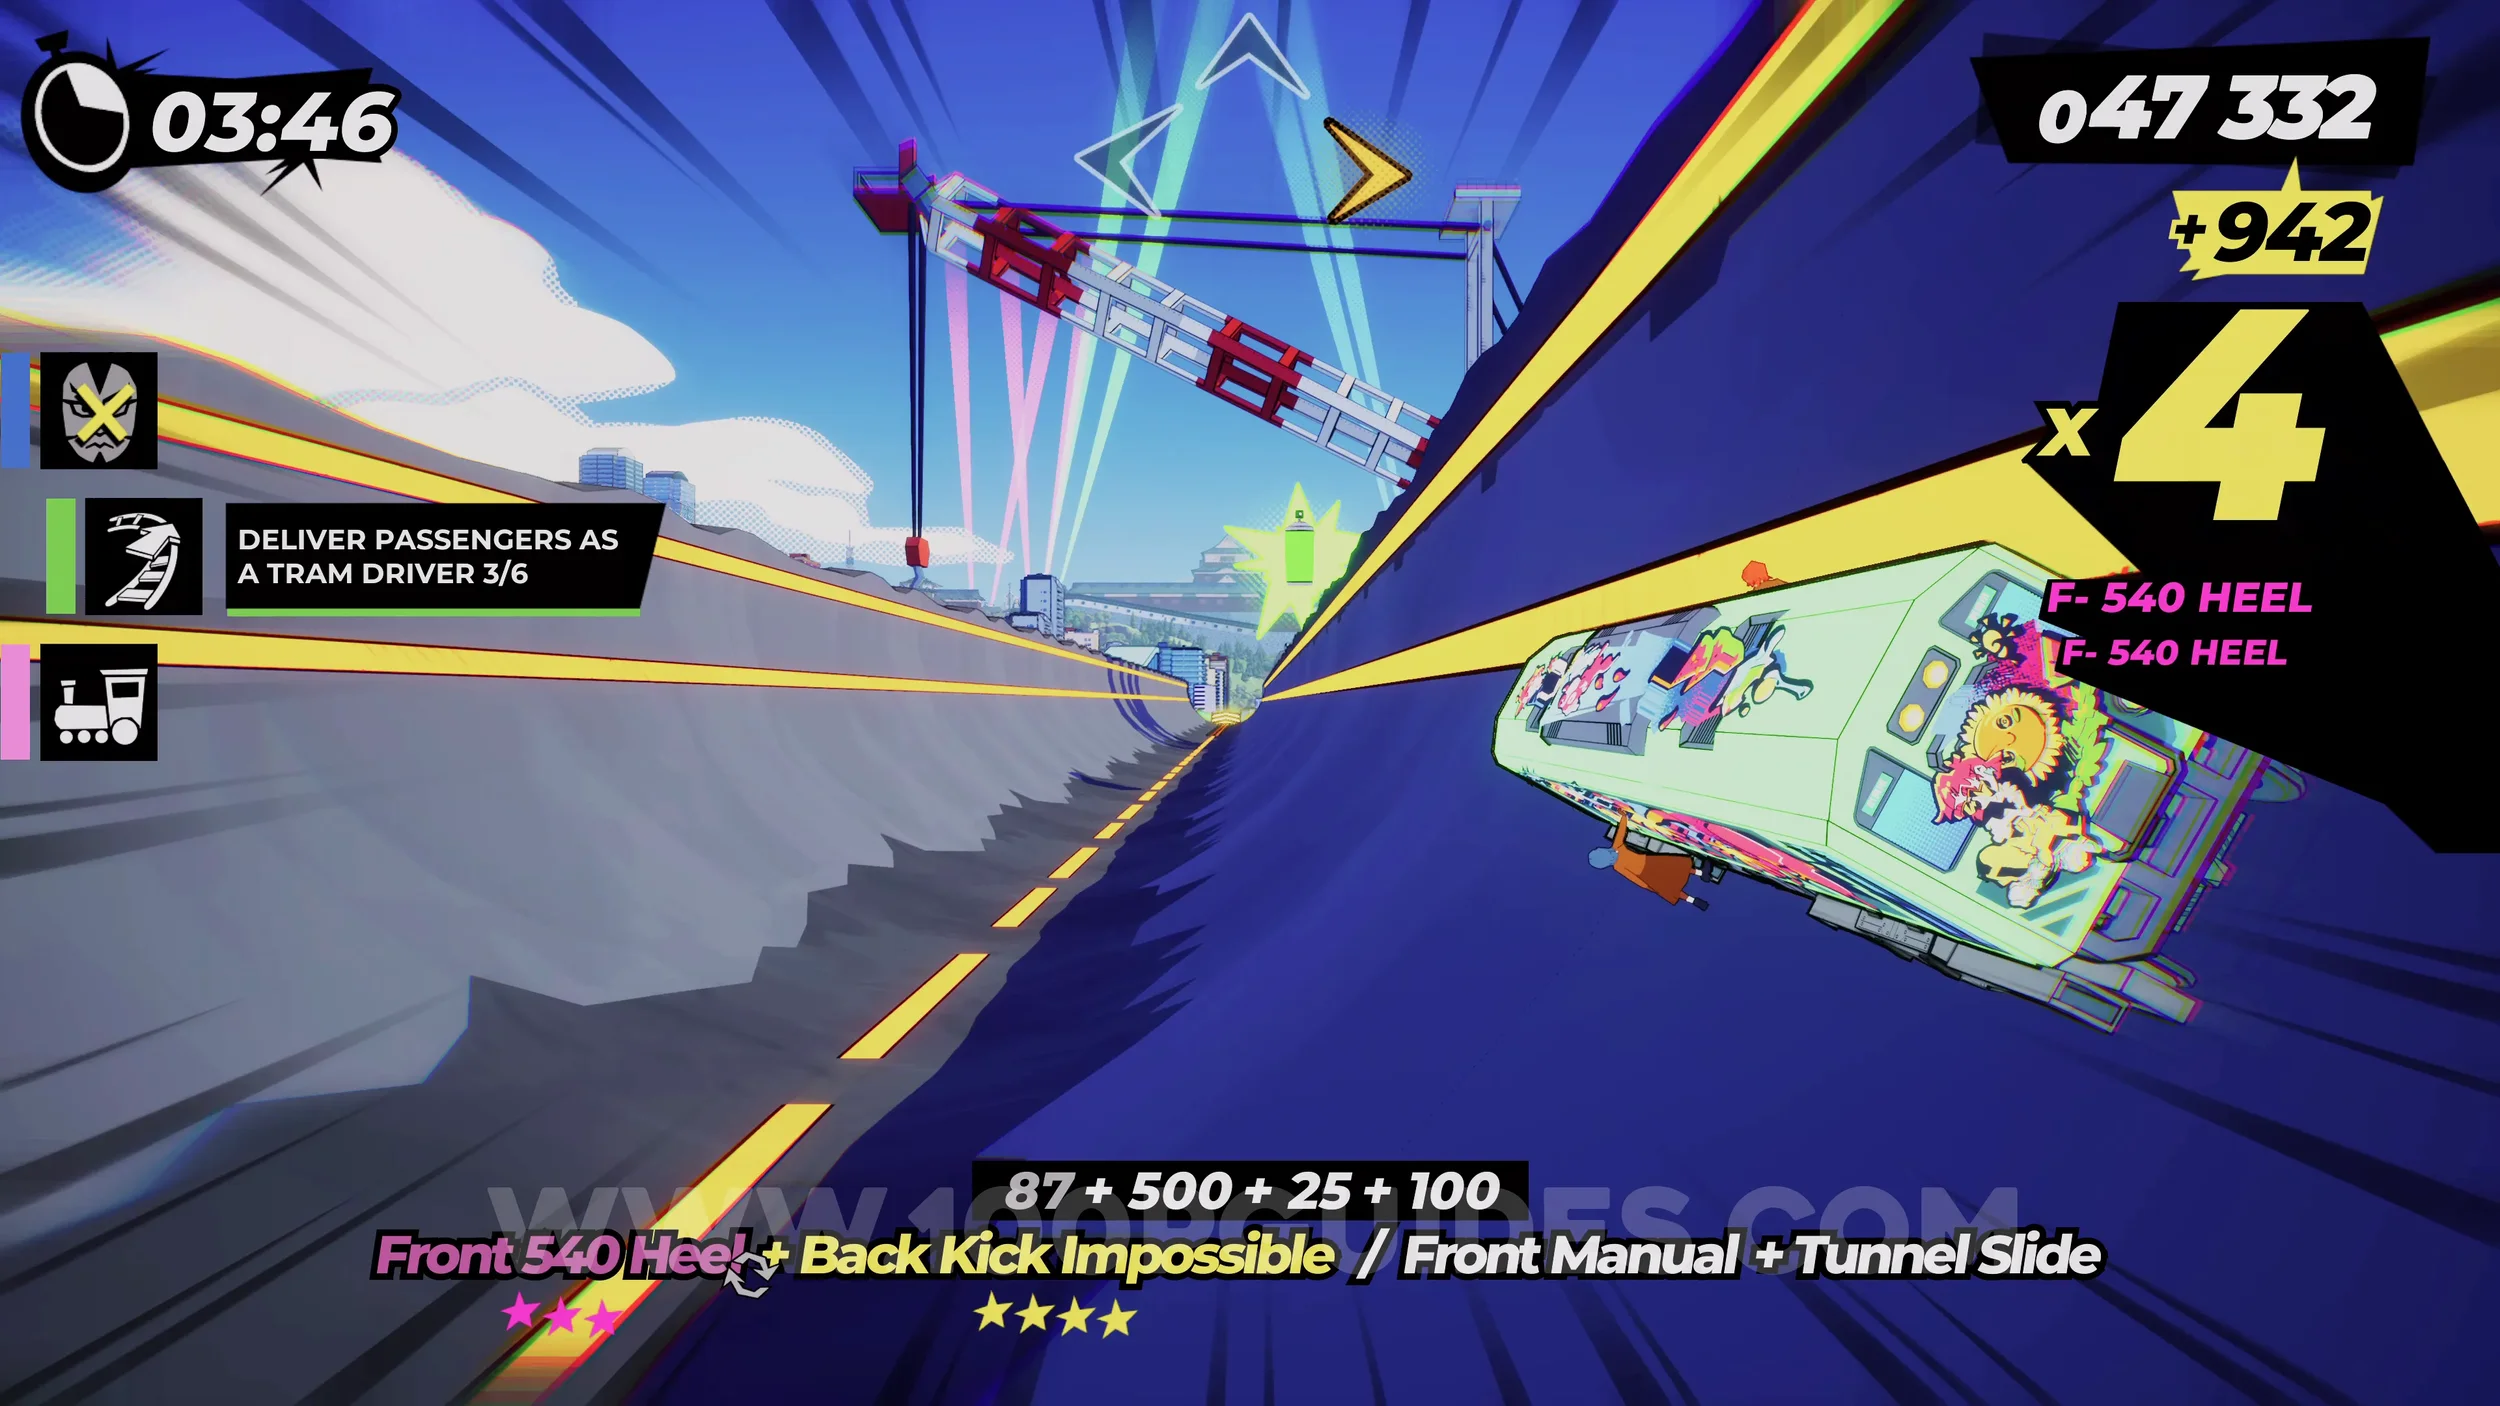
Dare: Collect 5 Boxes of Mandarins (5/5). After delivering all six passengers, you will eventually circle all the way back to the start of the level where the three signs were. Here, go left and then DON’T follow the pink sign and go right. You will eventually go through a tunnel with a wall in the middle. The box can be found to the right of this wall.
Gear (3/3). After the previous box, you will circle back to the start once more. This time, go right where the three main signs were at the start. Then follow the pink signs until you jump to another town. As soon as you land, look out for the gear on your right.
Dare: Reach a x10 Combo While Chasing the Botchan Ressha. After picking up the previous gear, you will be chasing another train. Get a x10 combo while you do this.
Film Roll (1/1). During the chase, you will get to an upper section where the tracks split. Here, stick to the right side to get the film roll.
3-1-F Shikoku Fanzine H.Q.
(EN)Zine #3. Fill the comic book up with the film rolls to get the (EN)Zine. You will not be able to do this on your first visit, since some of the required film rolls are collected in later levels. Come back after collecting every film in the chapter.
3-2-1 Welcome To The Jungle
Spray Can (1/2). From the start of the level, follow any track. You will eventually have to hit a switch to get the tracks to continue straight. After that, you will have to air stomp to avoid hitting the seal billboard. After that, you will jump over a red sign. As soon as you do, quickly air stomp down through the glass as soon as you can to land where the spray can is. If you leave the air stomp too long, you will miss it.
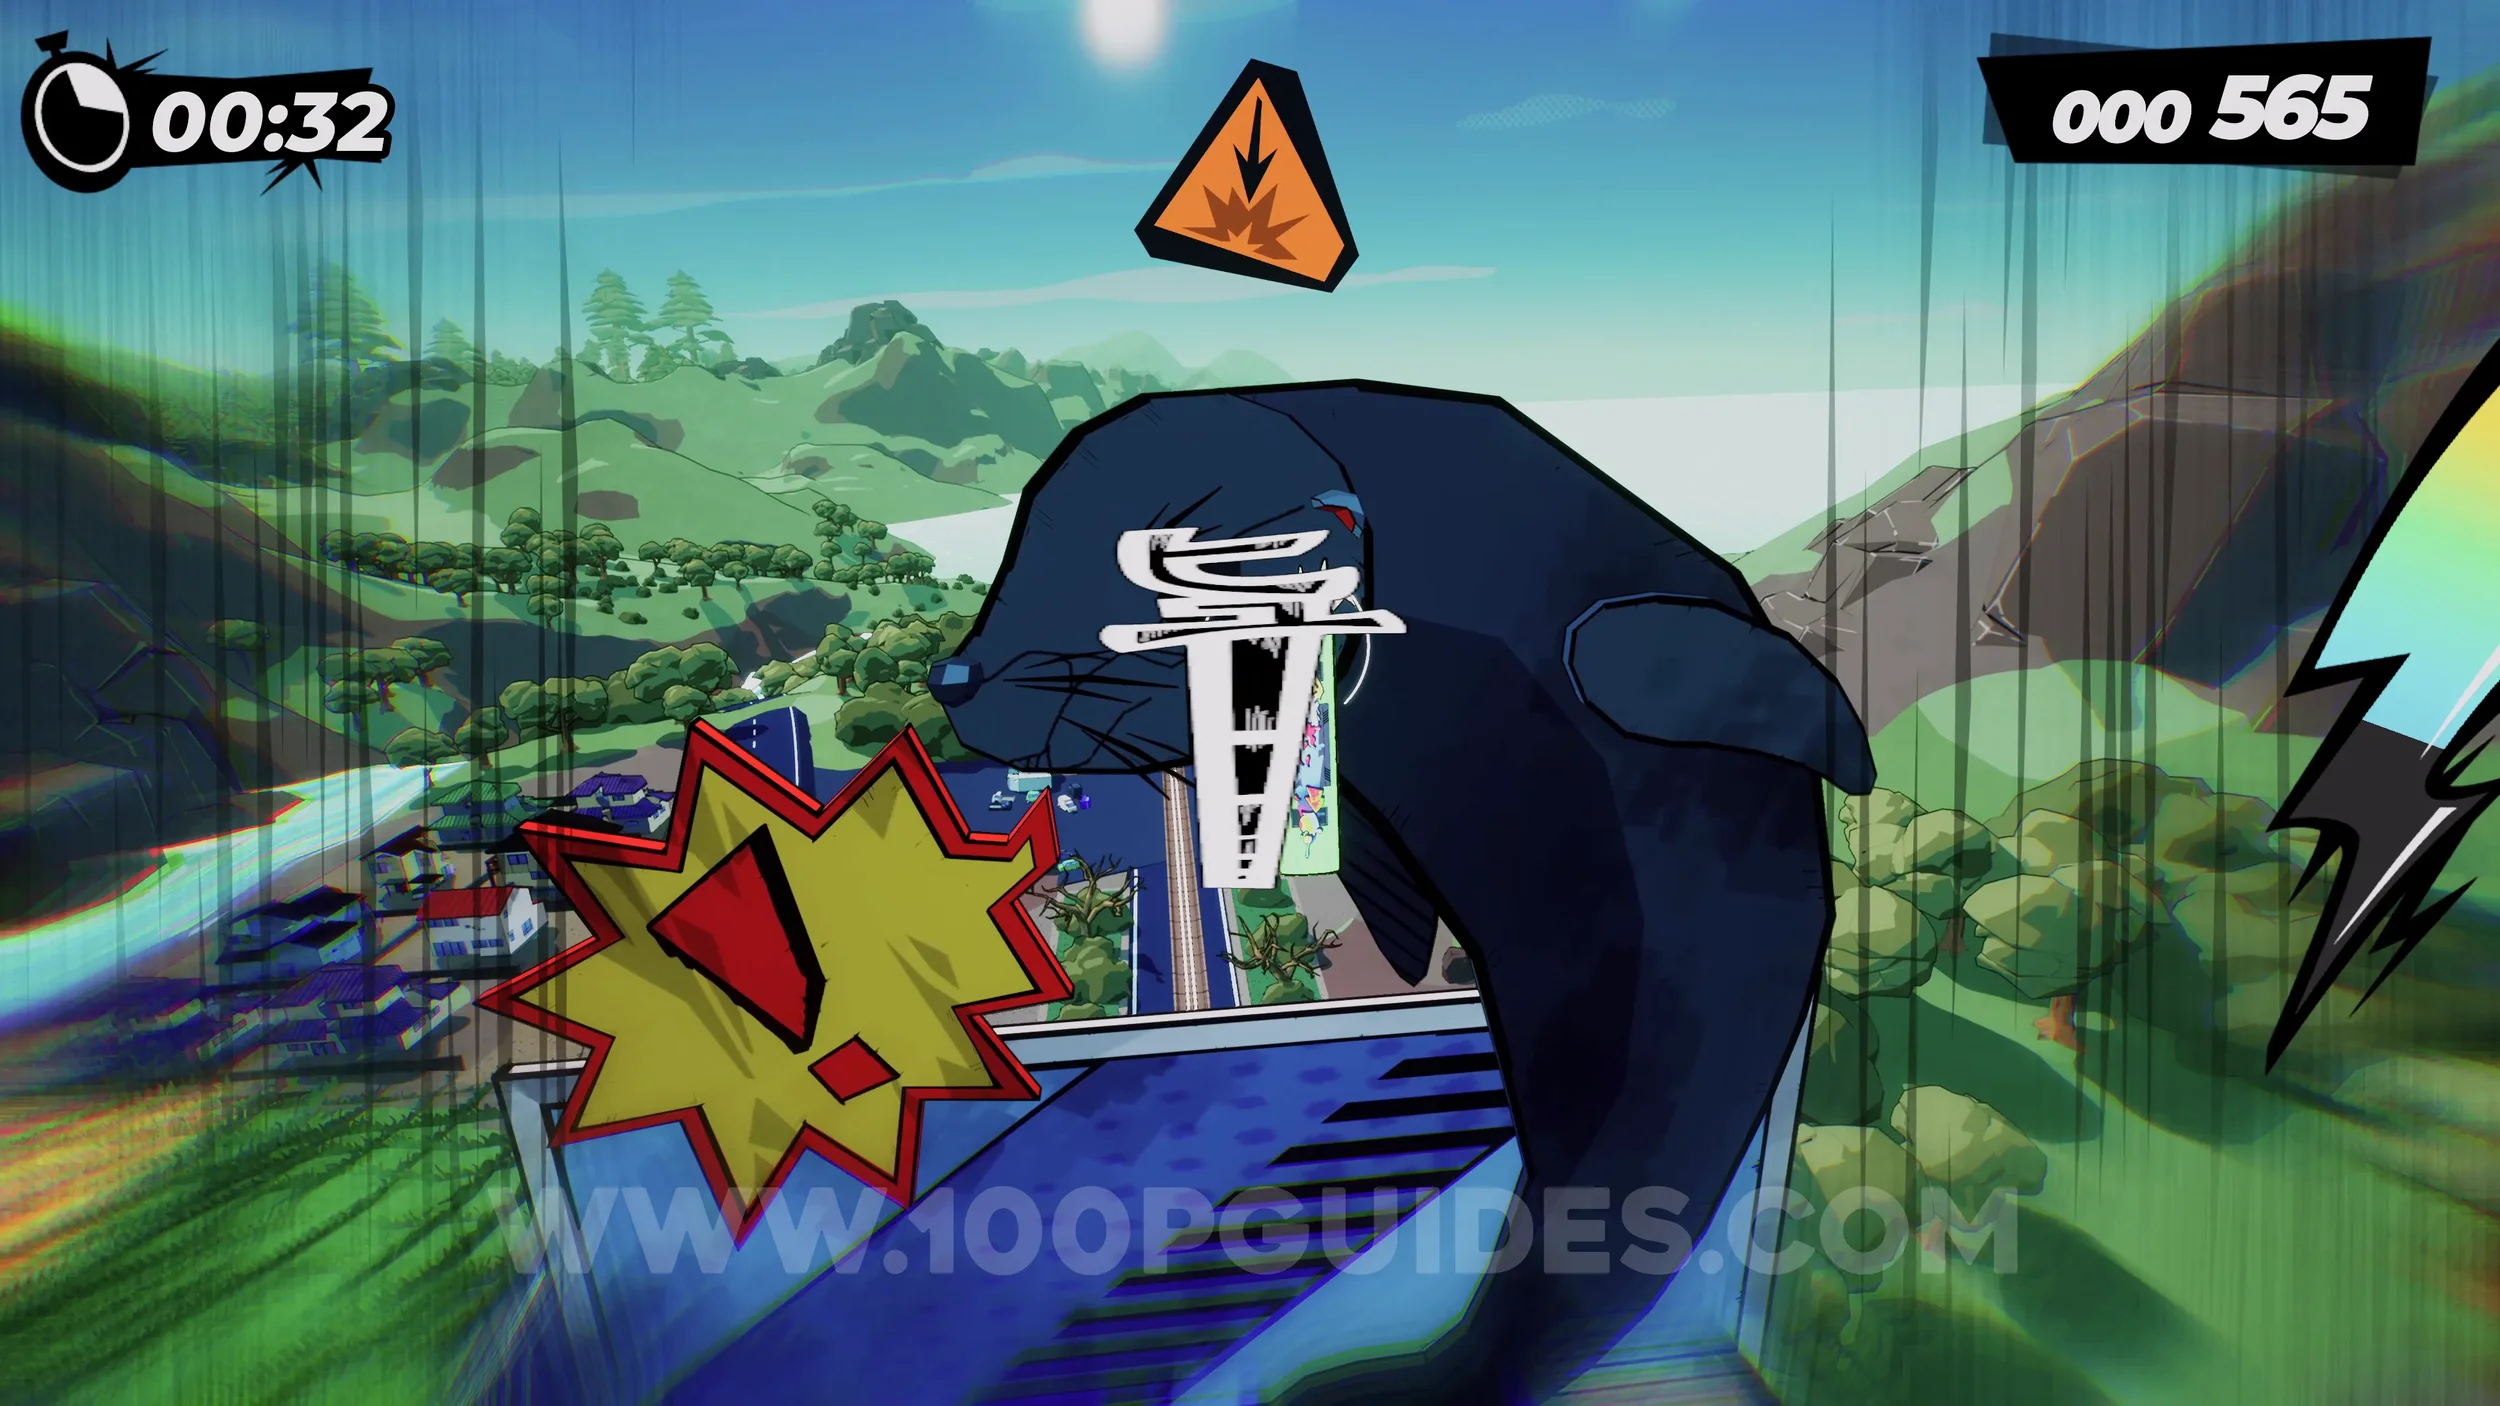
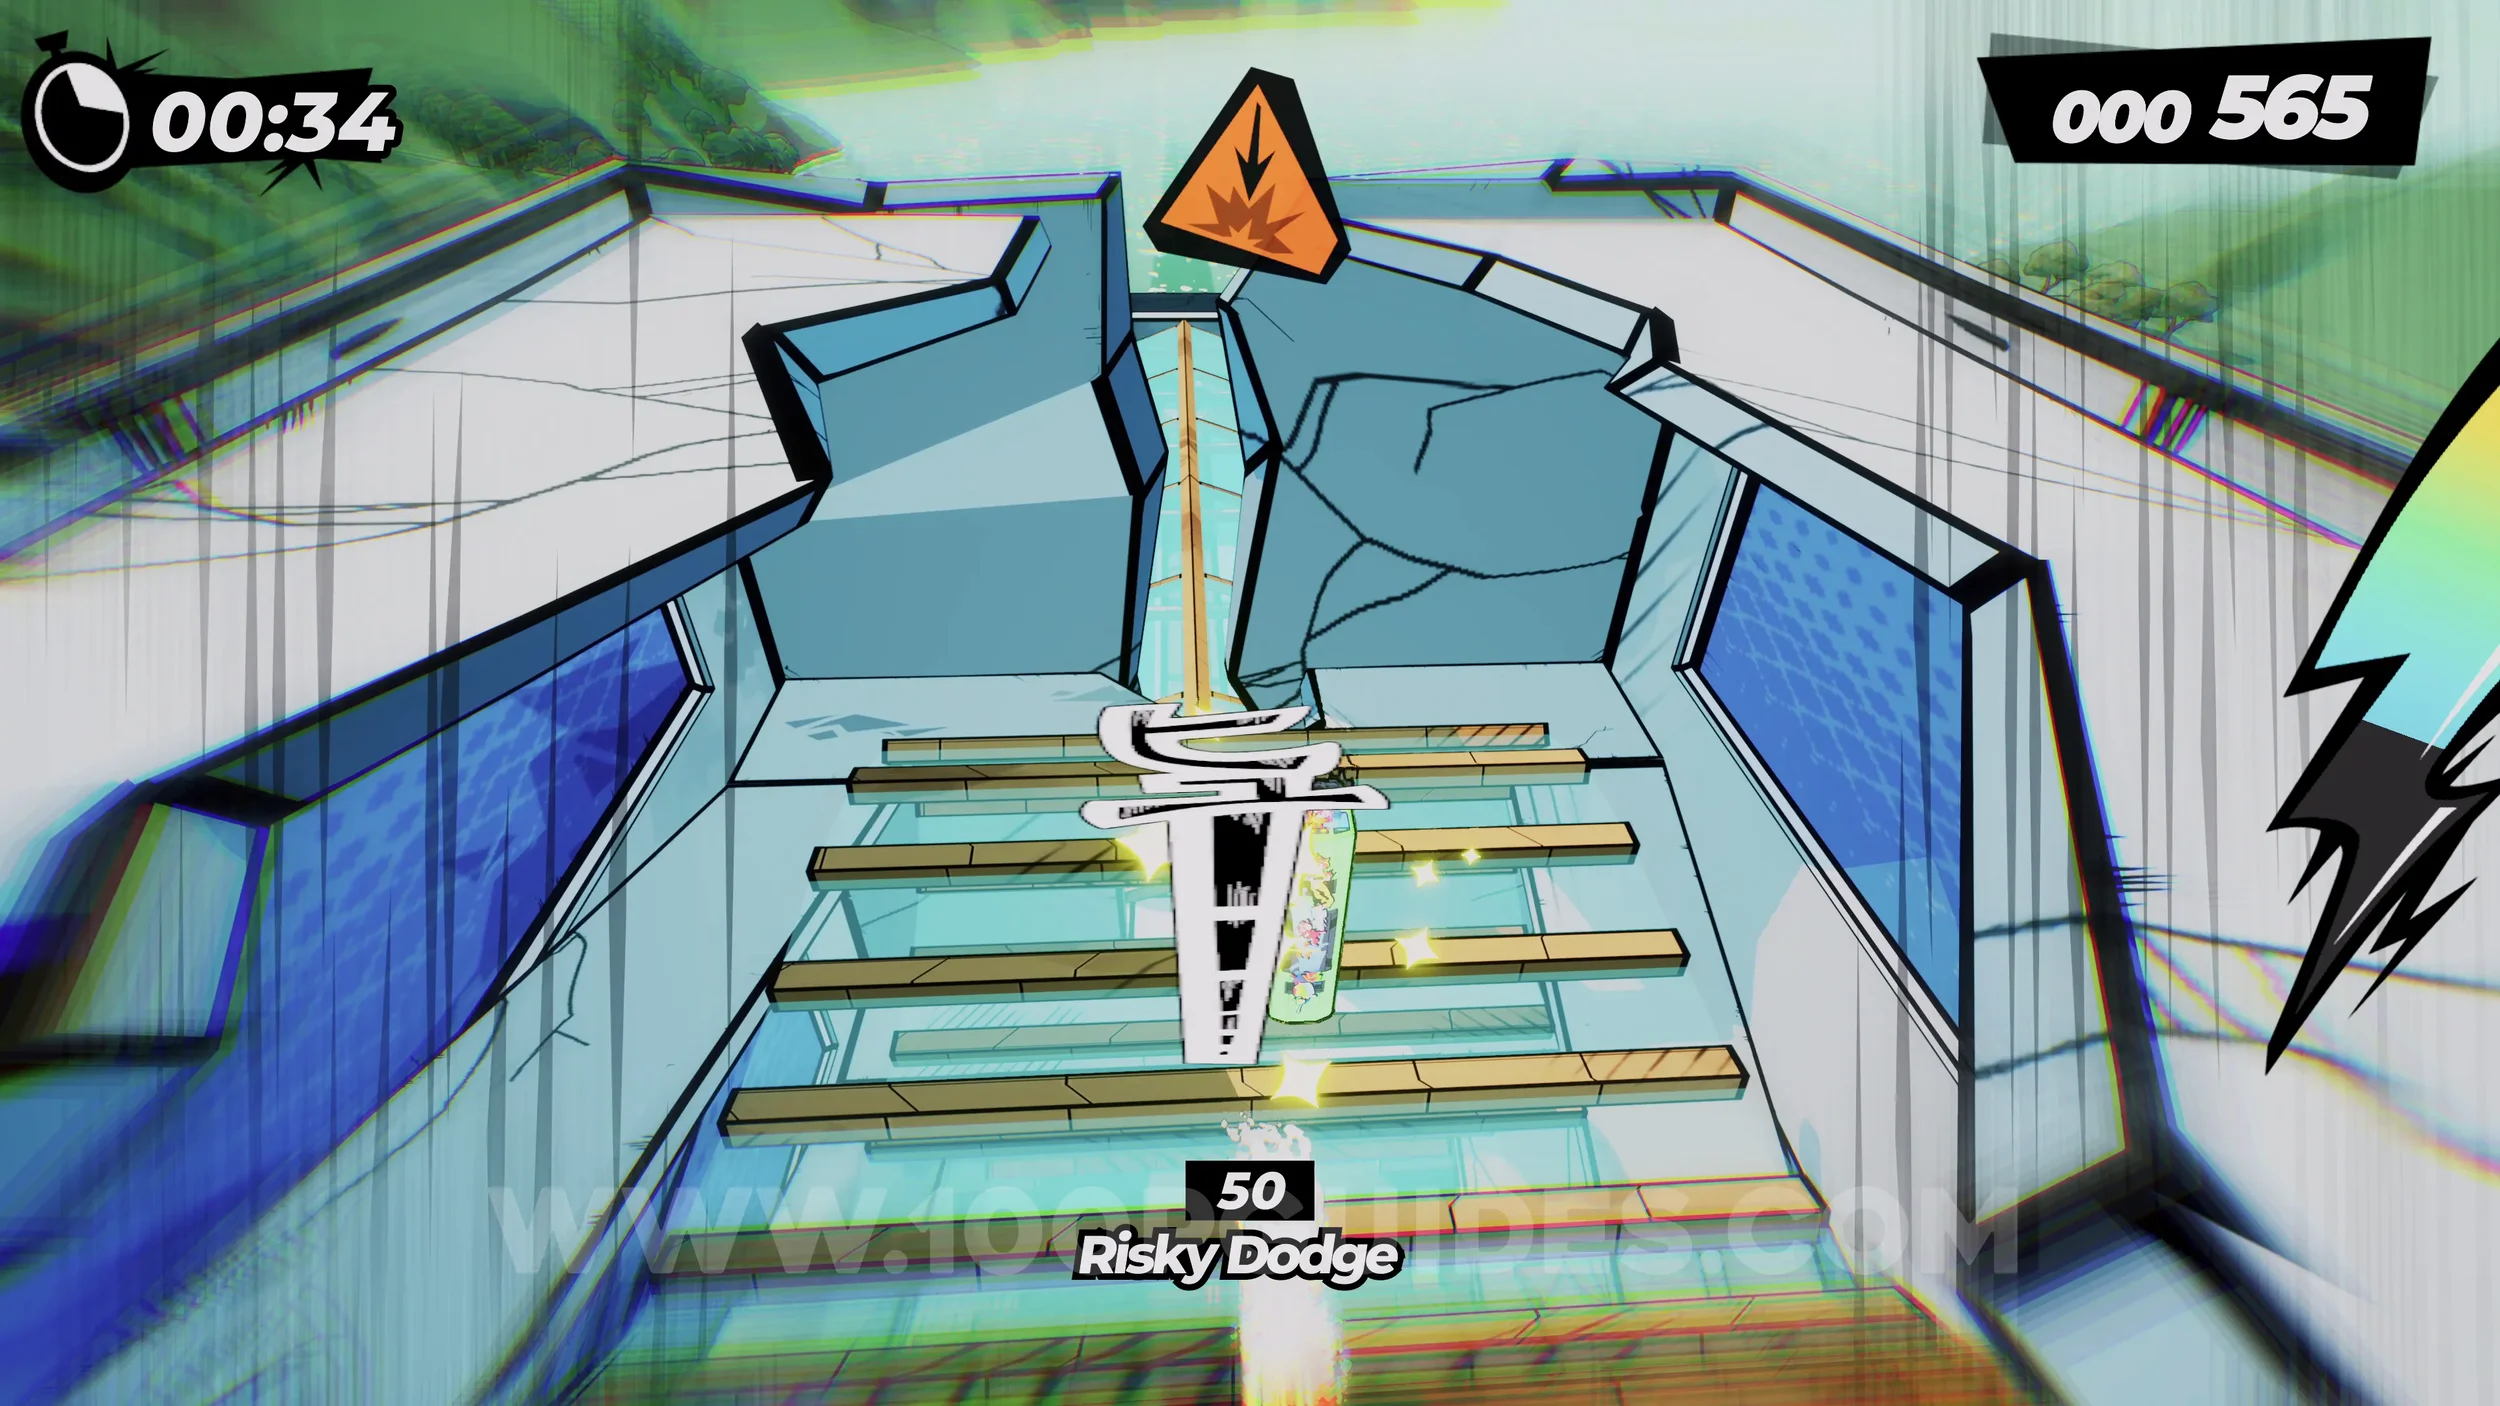
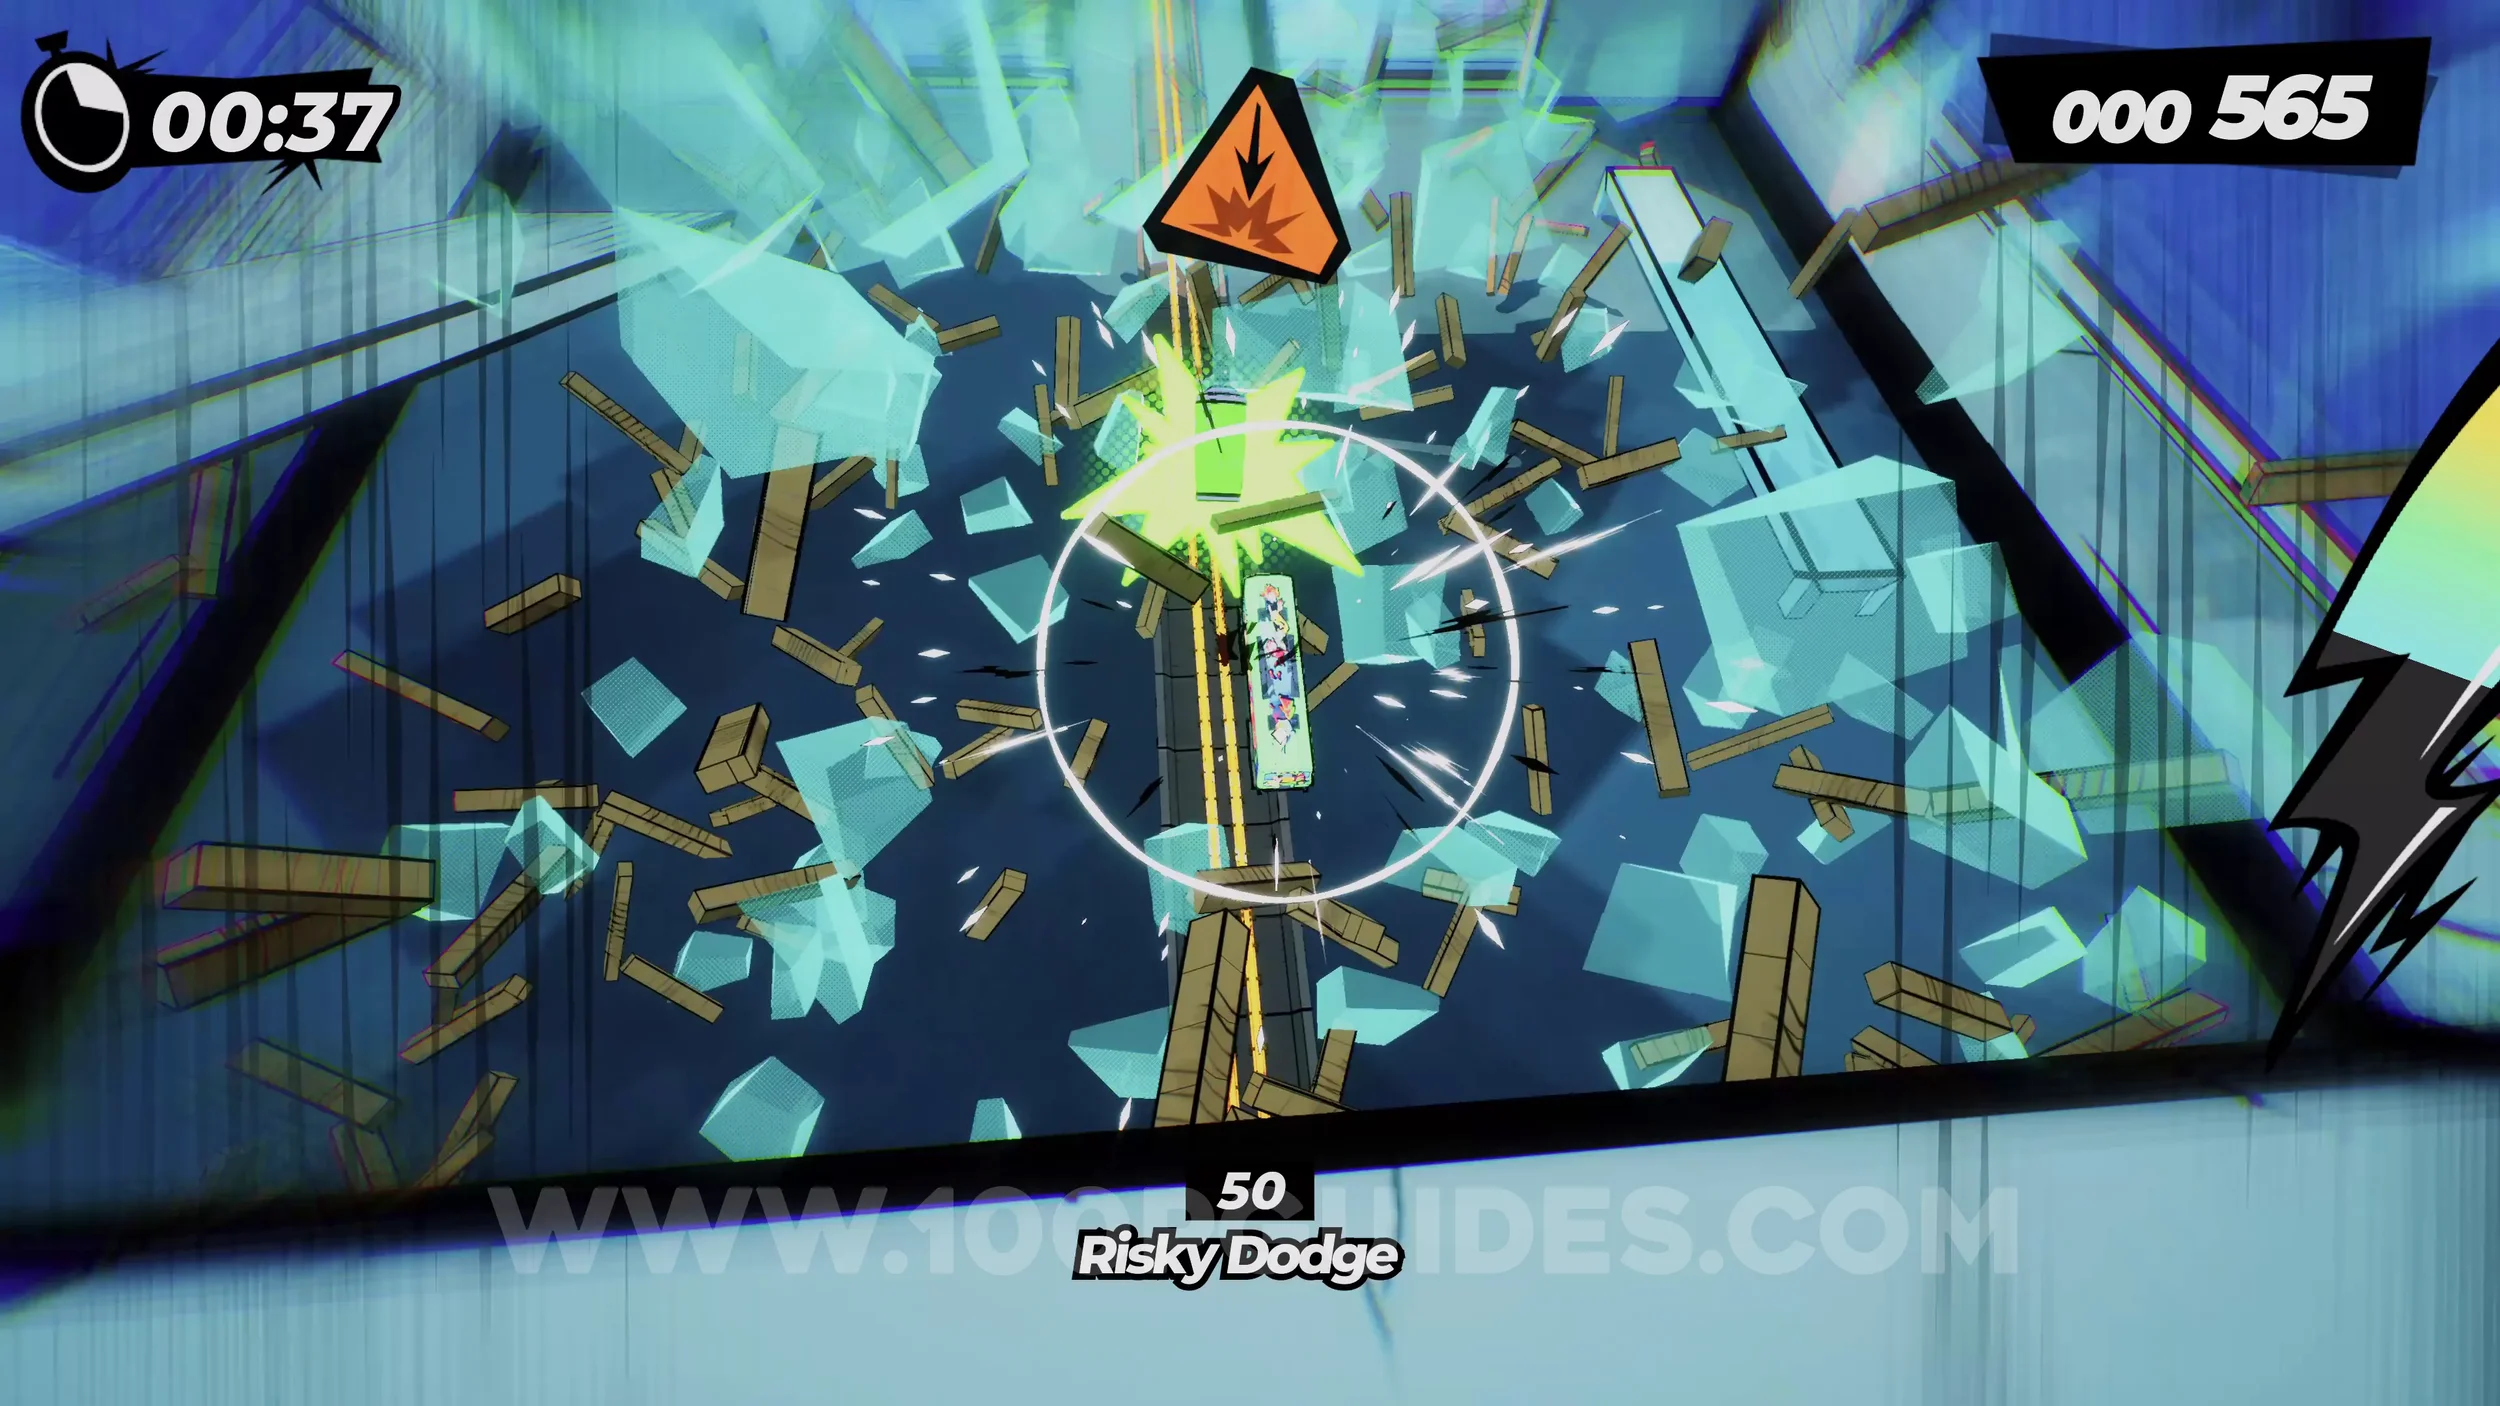
Dare: Scare the Fish in the Aquarium. Immediately after the previous collectible, you will enter an aquarium tunnel. Here, press R3 to use your horn.
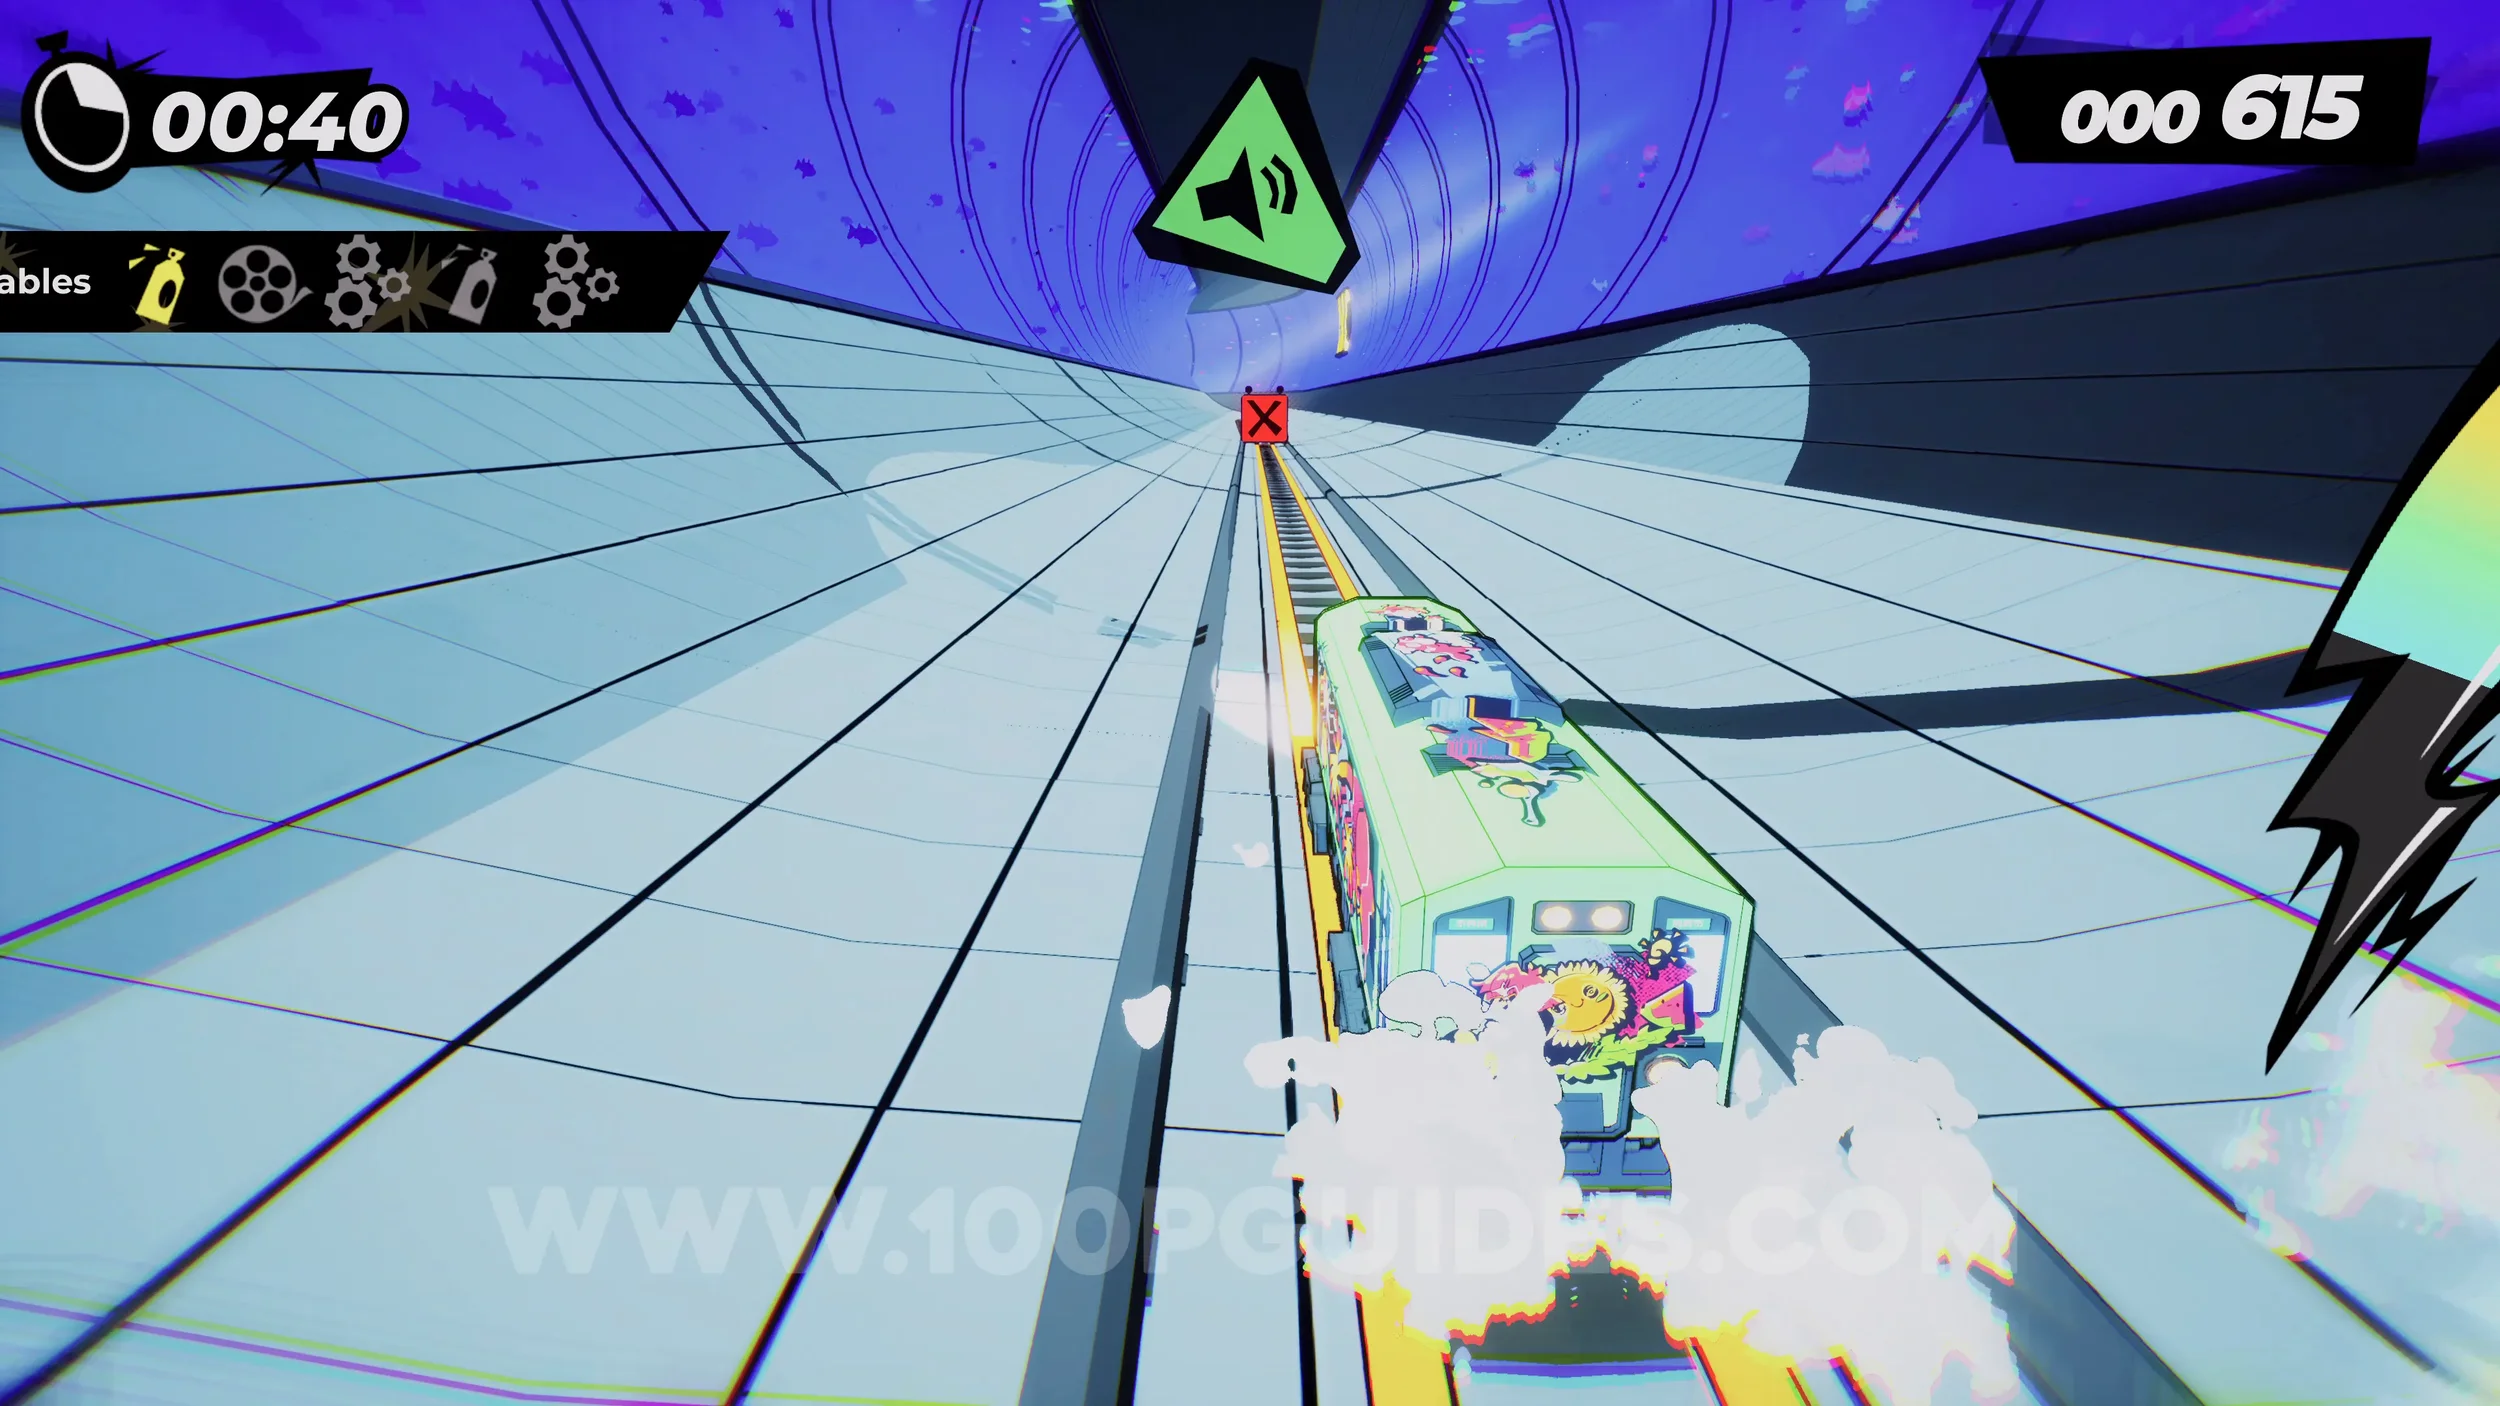
Dare: Perform 5 Grind Tricks While Grinding the Branches. After leaving the aquarium, you will go through a forest. During the section with the grind rails, use the right analog stick to perform any five tricks.
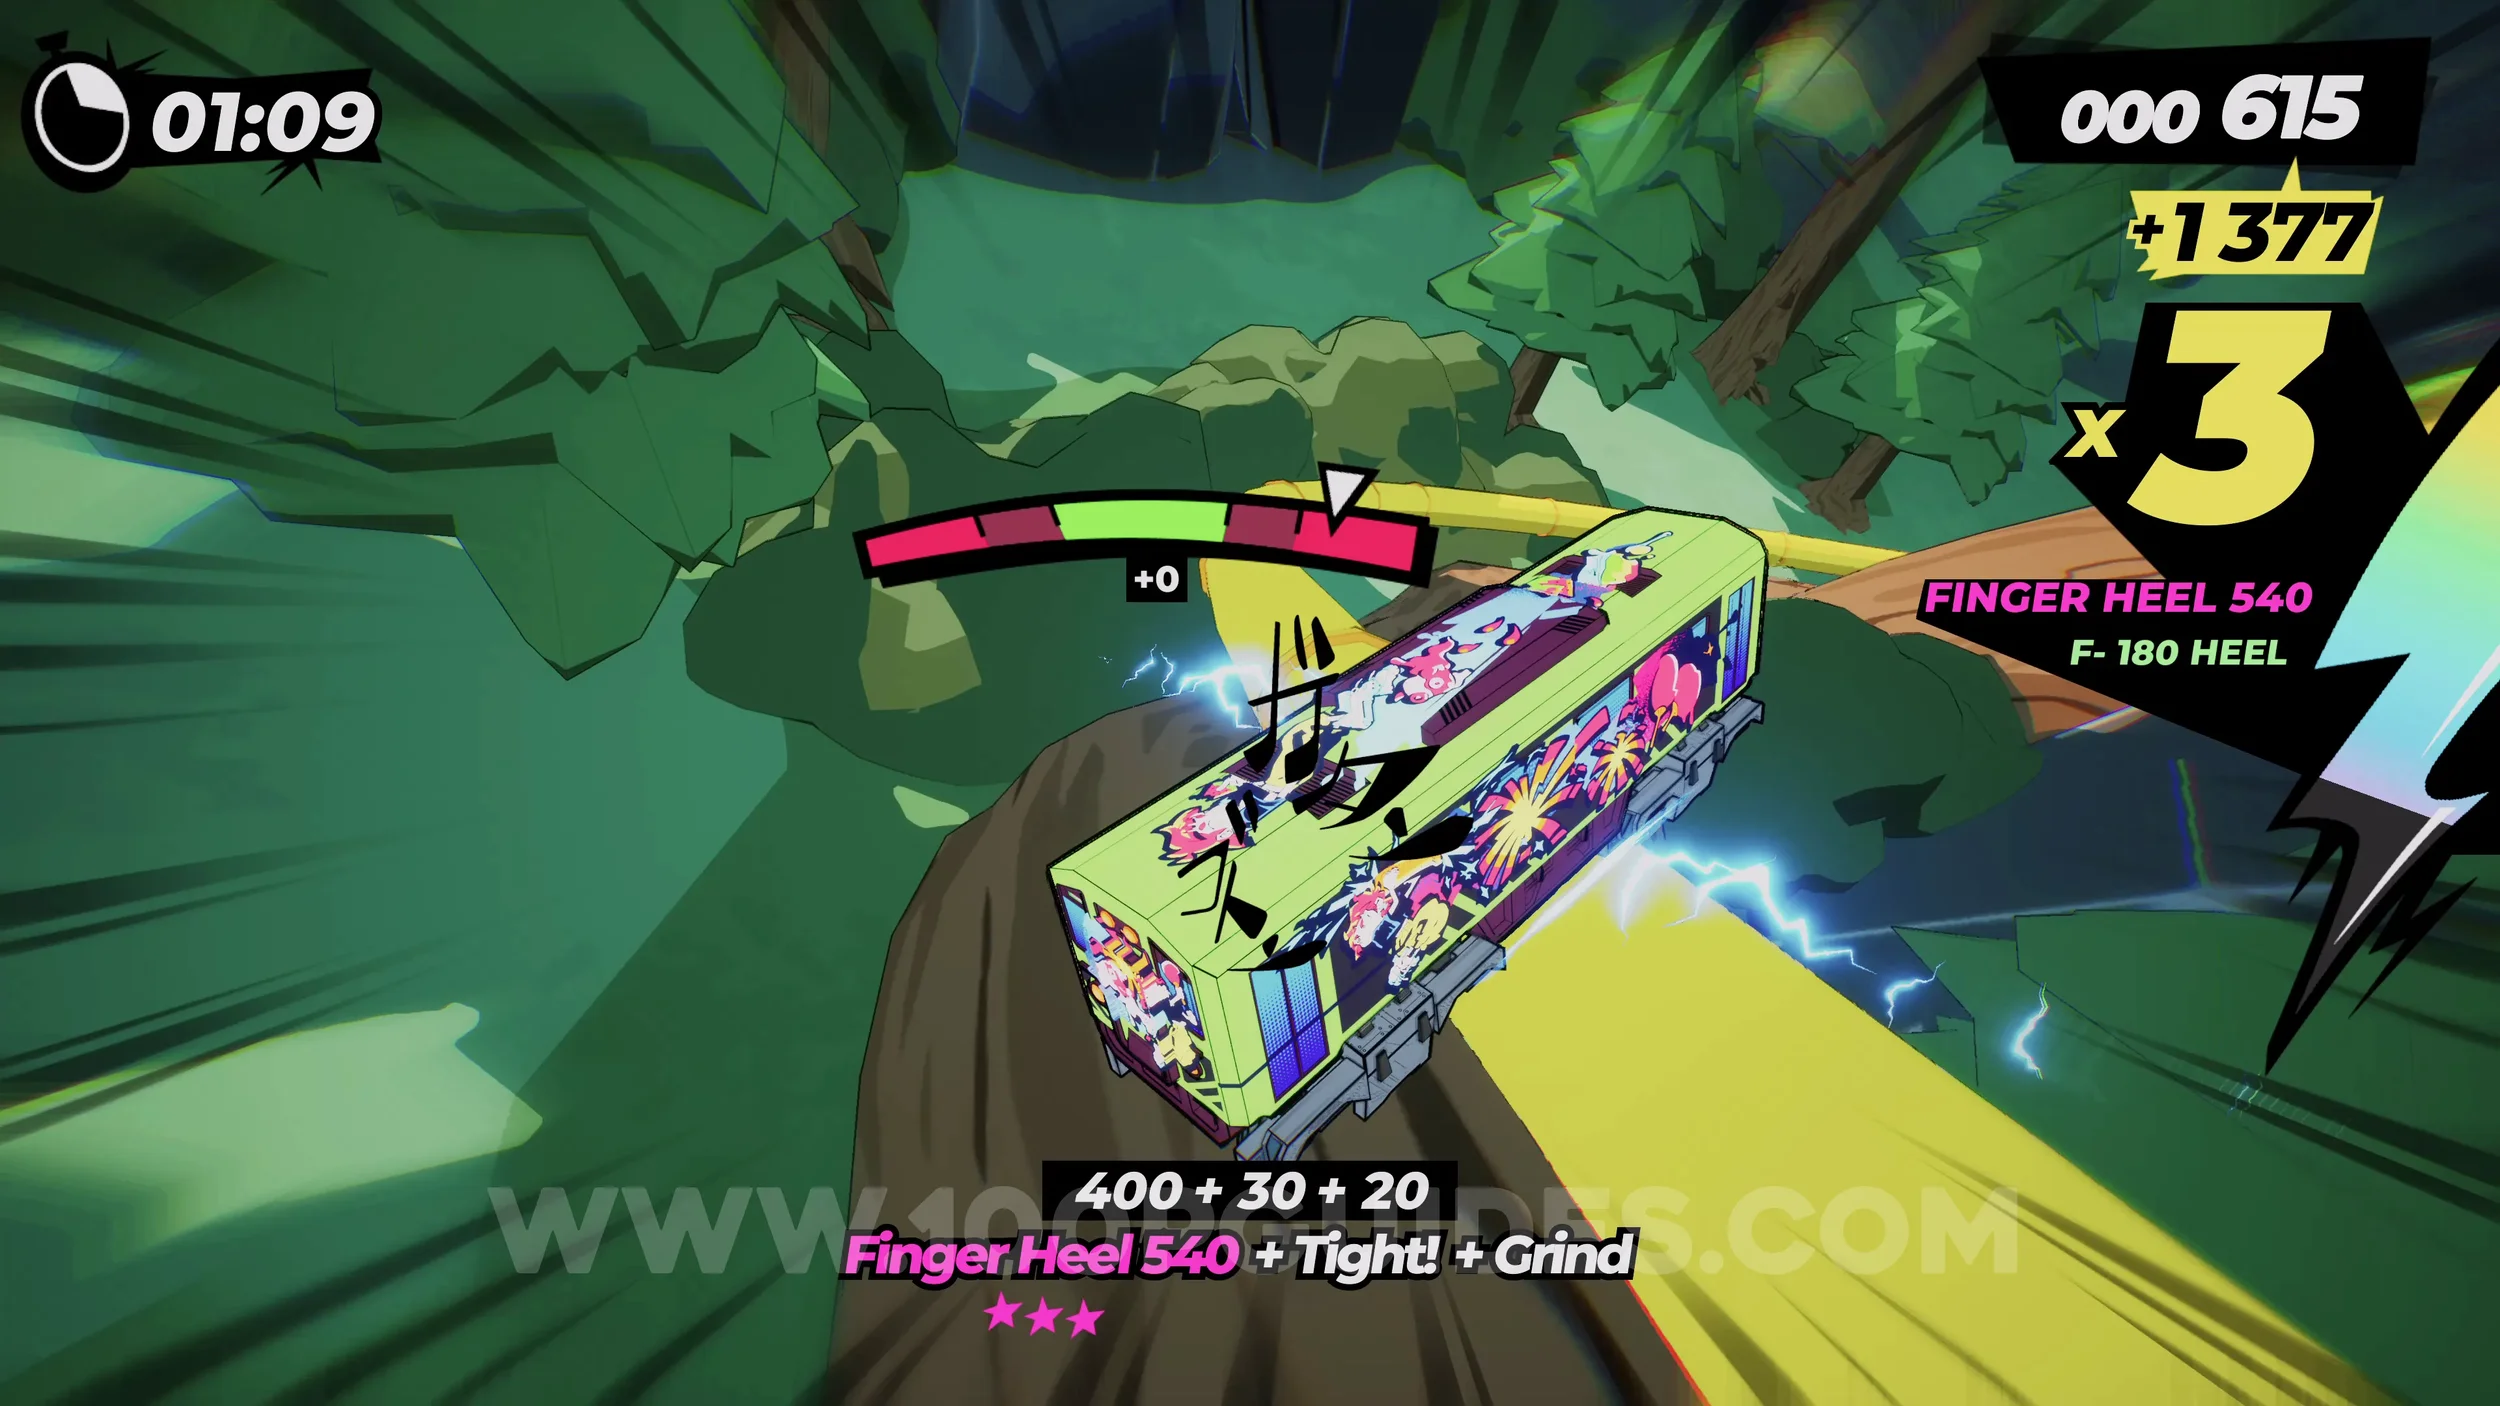
Film Roll (1/1). After the grind rail section in the forest, you will wallride a wall on your right. Quickly get to the upper part of this wall to collect the film roll.
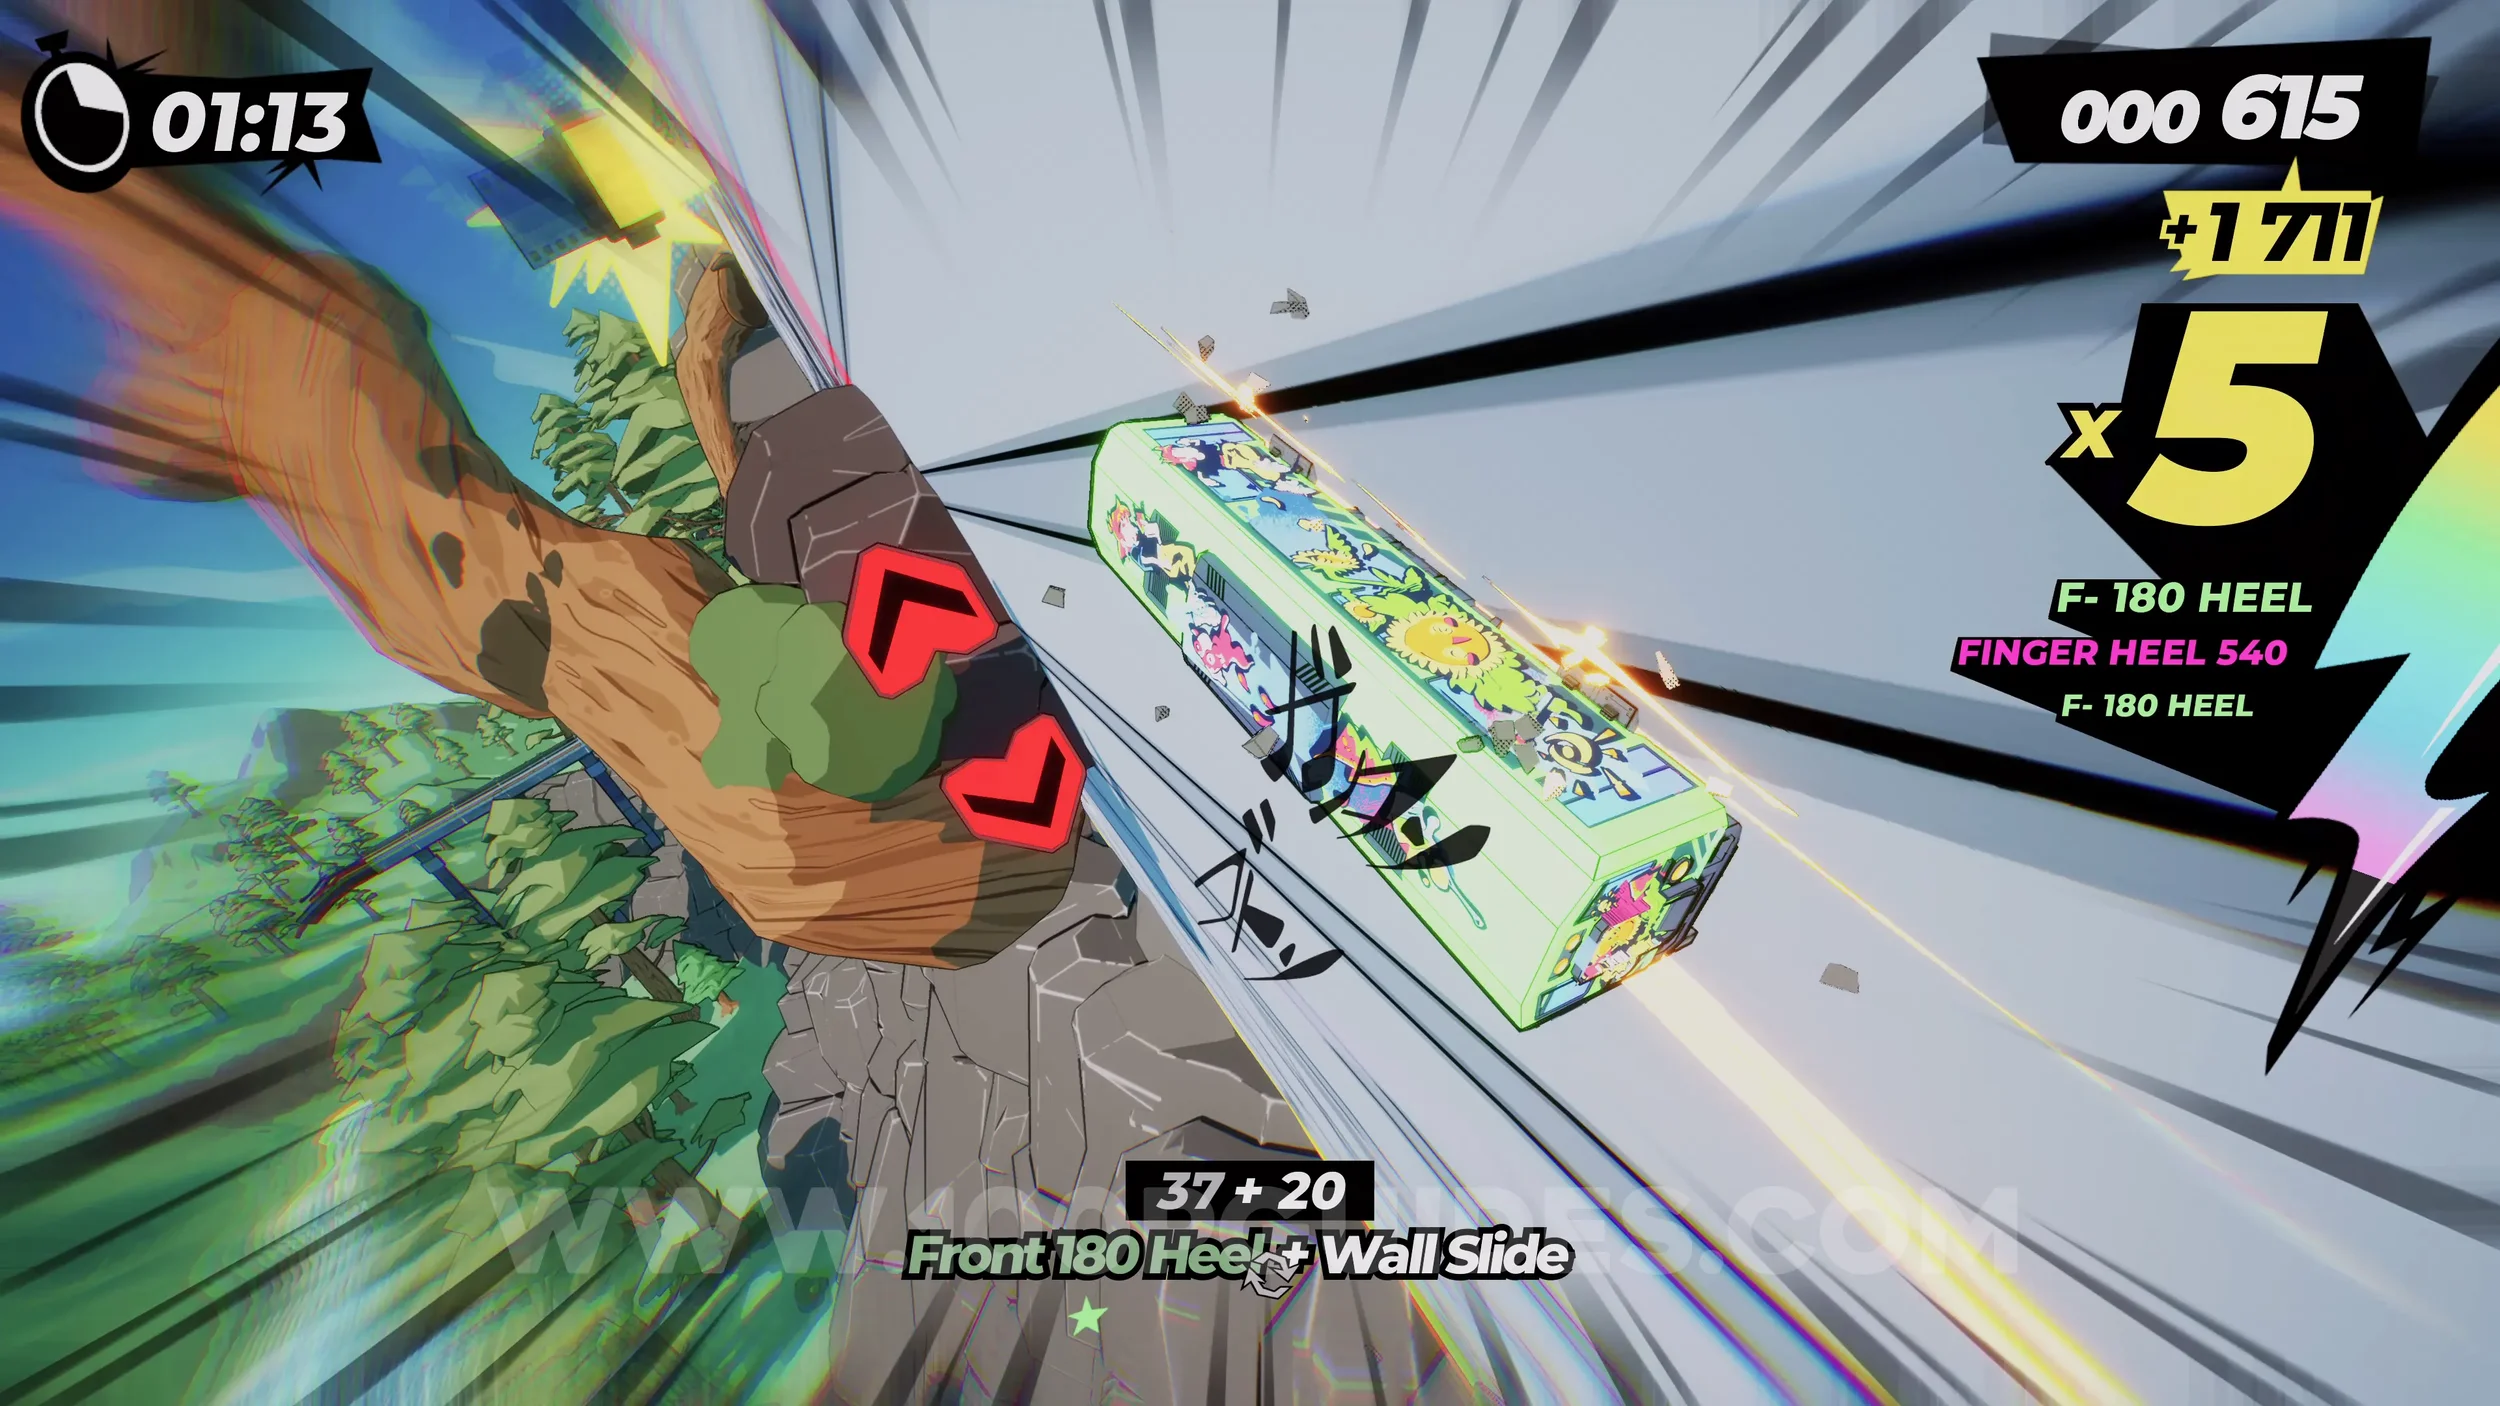
Gear (1/2). After going through a tree trunk you can move freely around inside, you will get to another tree section. Here, stick to the right side to collect the gear.
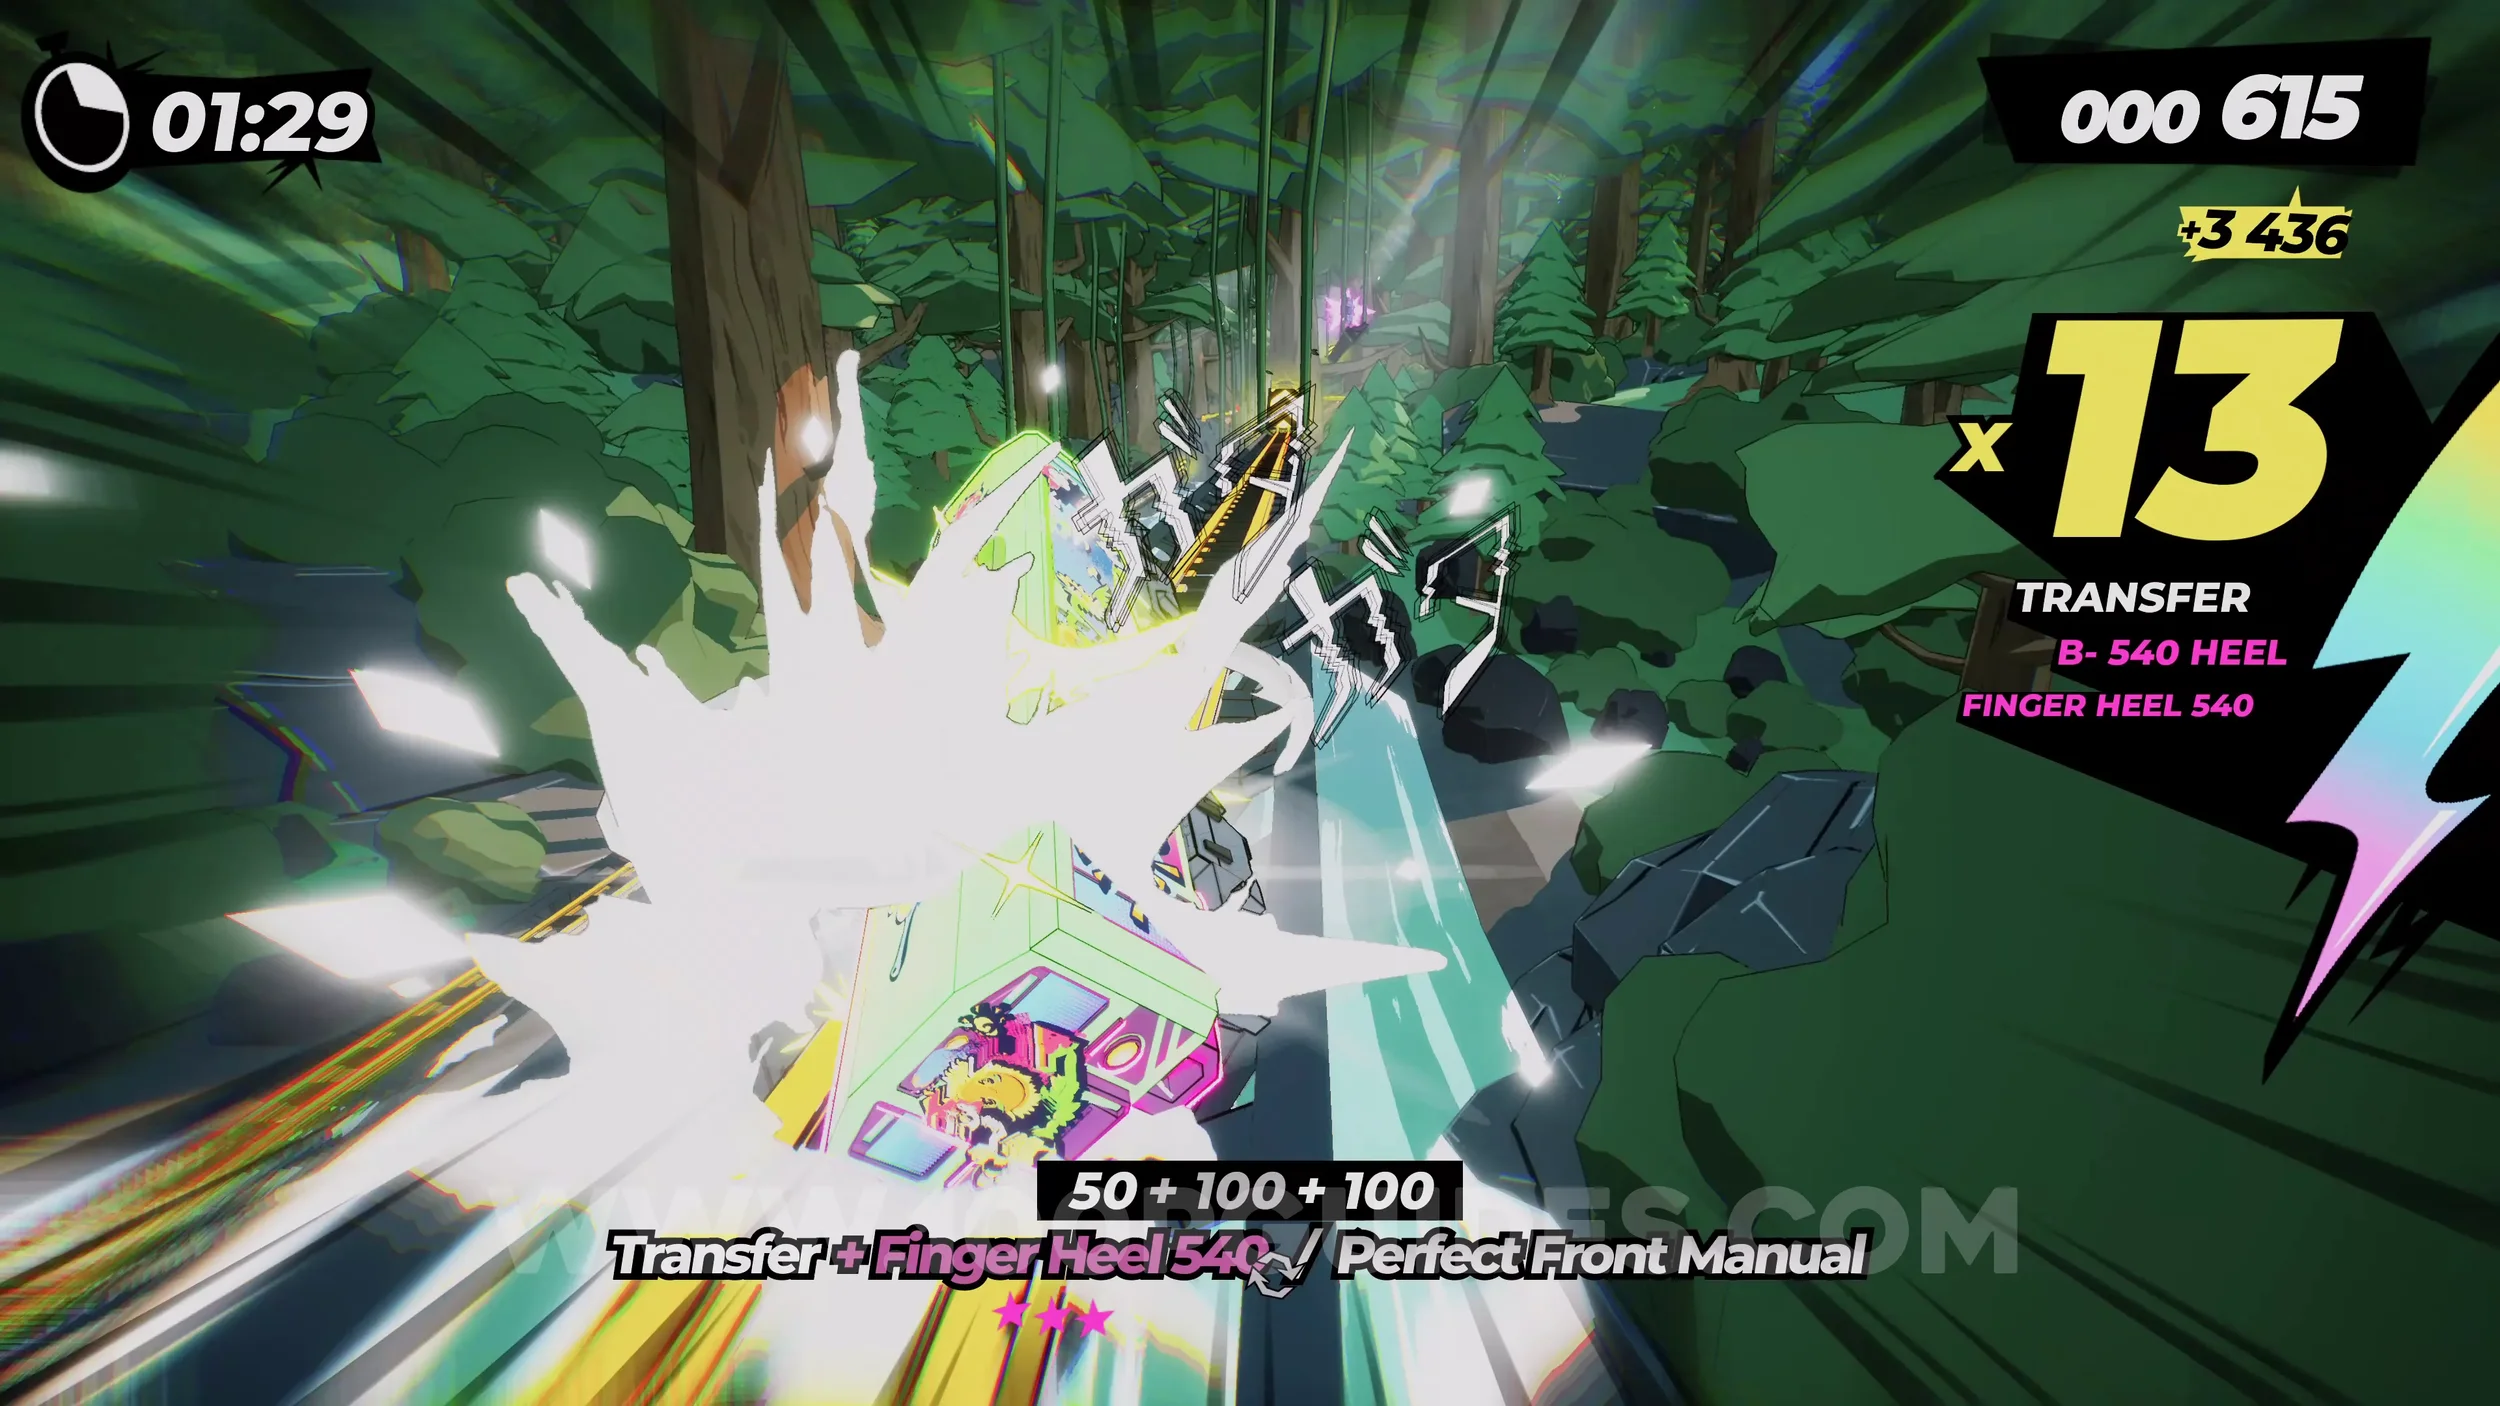
Dare: Chain 3 Wallride Transfers. Just after the previous gear, you will get to a section with two ridable walls, one on each side. Wait until they get close to each other, then keep pressing R2 to jump from one to another three times.
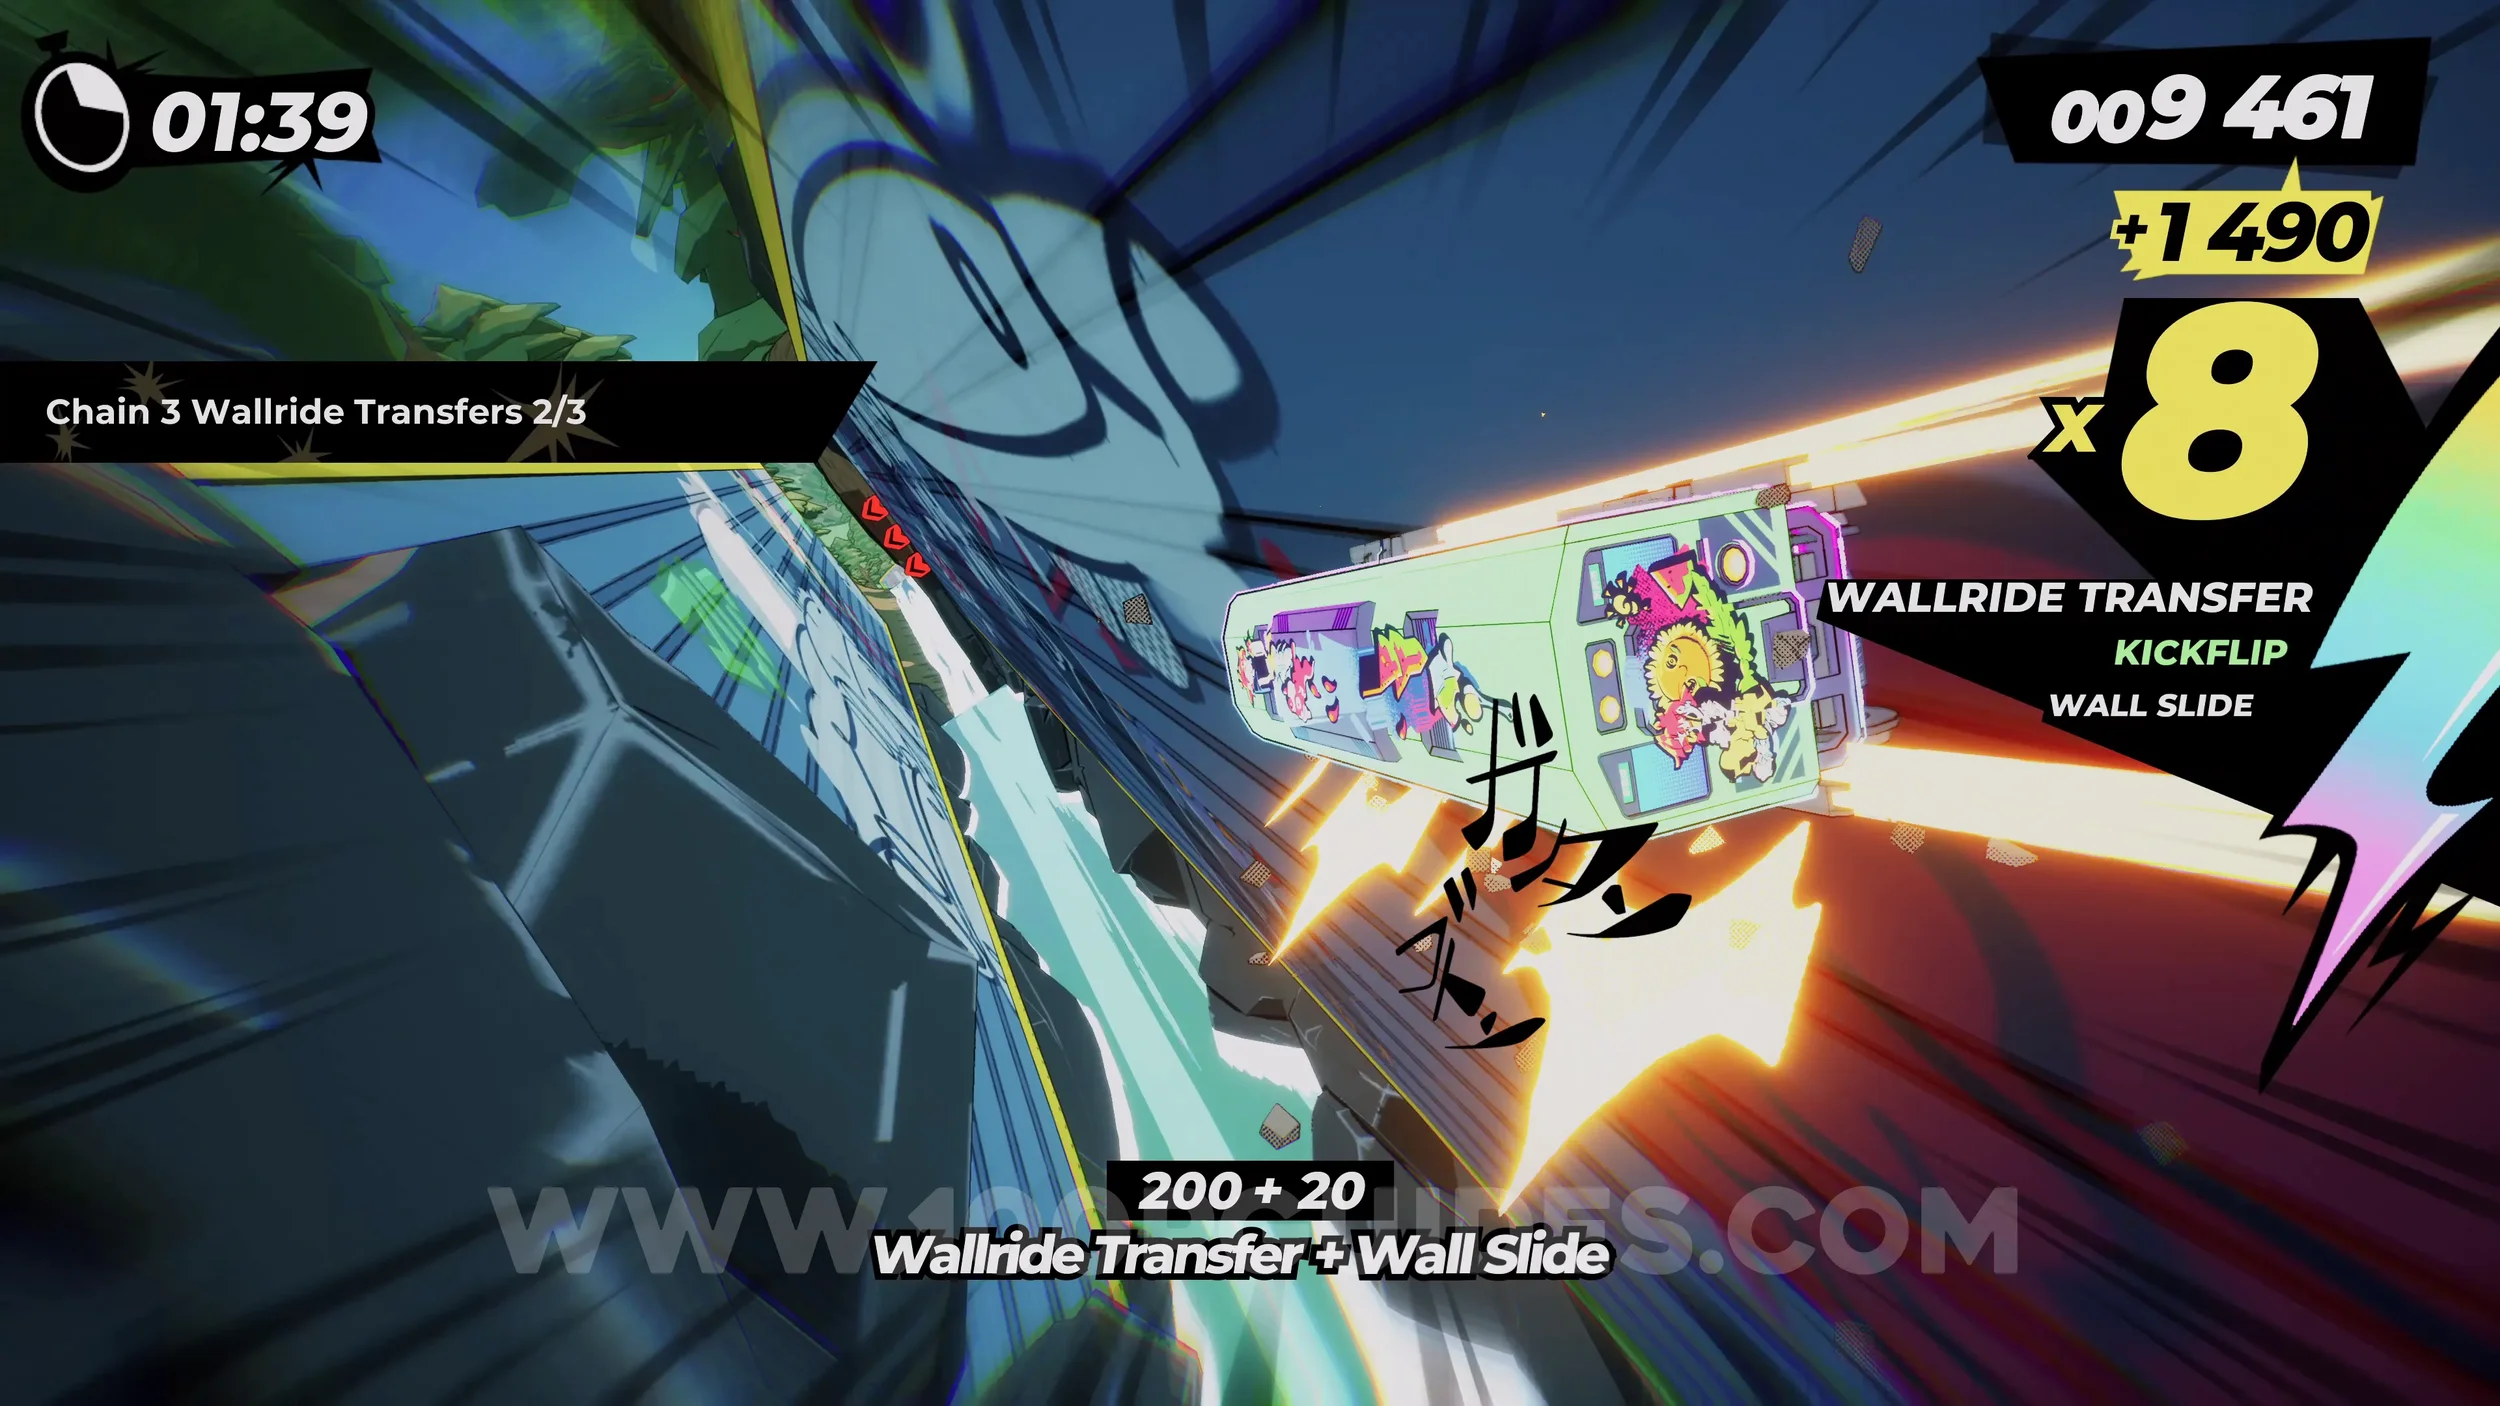
Spray Can (2/2). Just after the previous dare, you will ride a stream of water down a half-pipe-shaped trunk. At the start of this section, stick right to get the can.
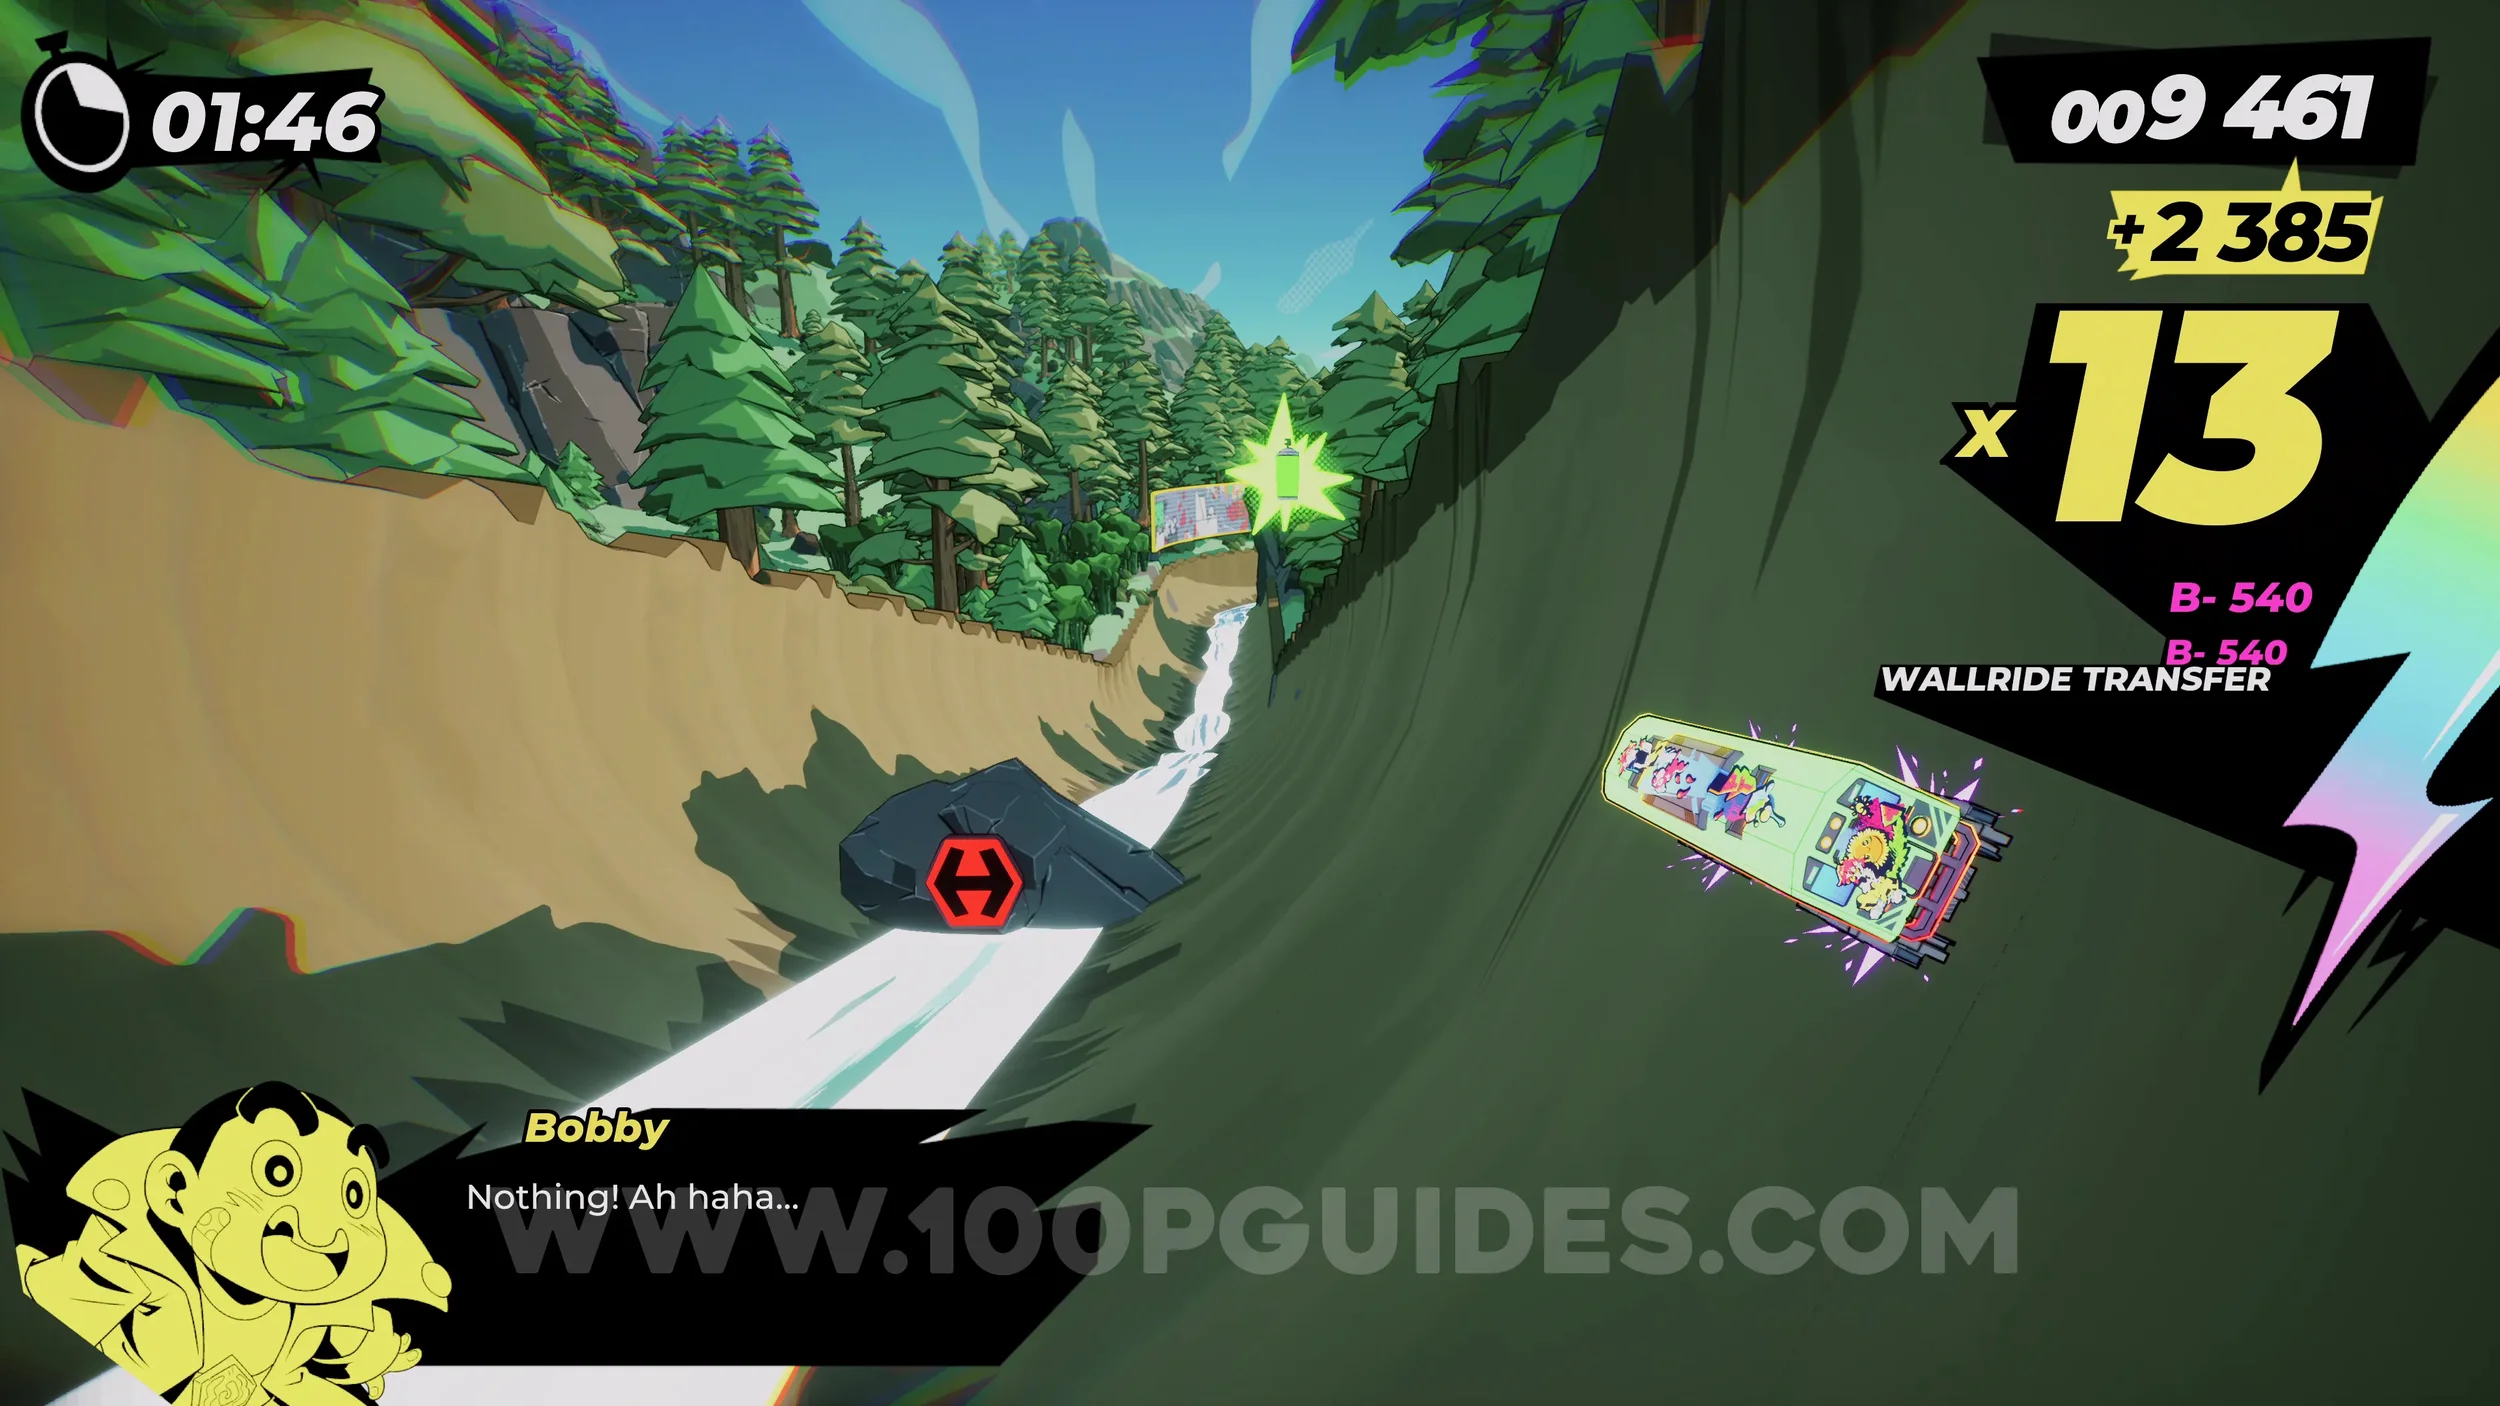
Dare: Perform 3 Aerial Tricks On the Stream Halfpipe. During the section with the water slide, keep going up the sides as if it were a half pipe and perform three tricks in the air.
Gear (2/2). During the water slide section, look out for a rainbow grind rail on the left side, only if you have the special meter filled up. Jump to it and follow it to get the gear.
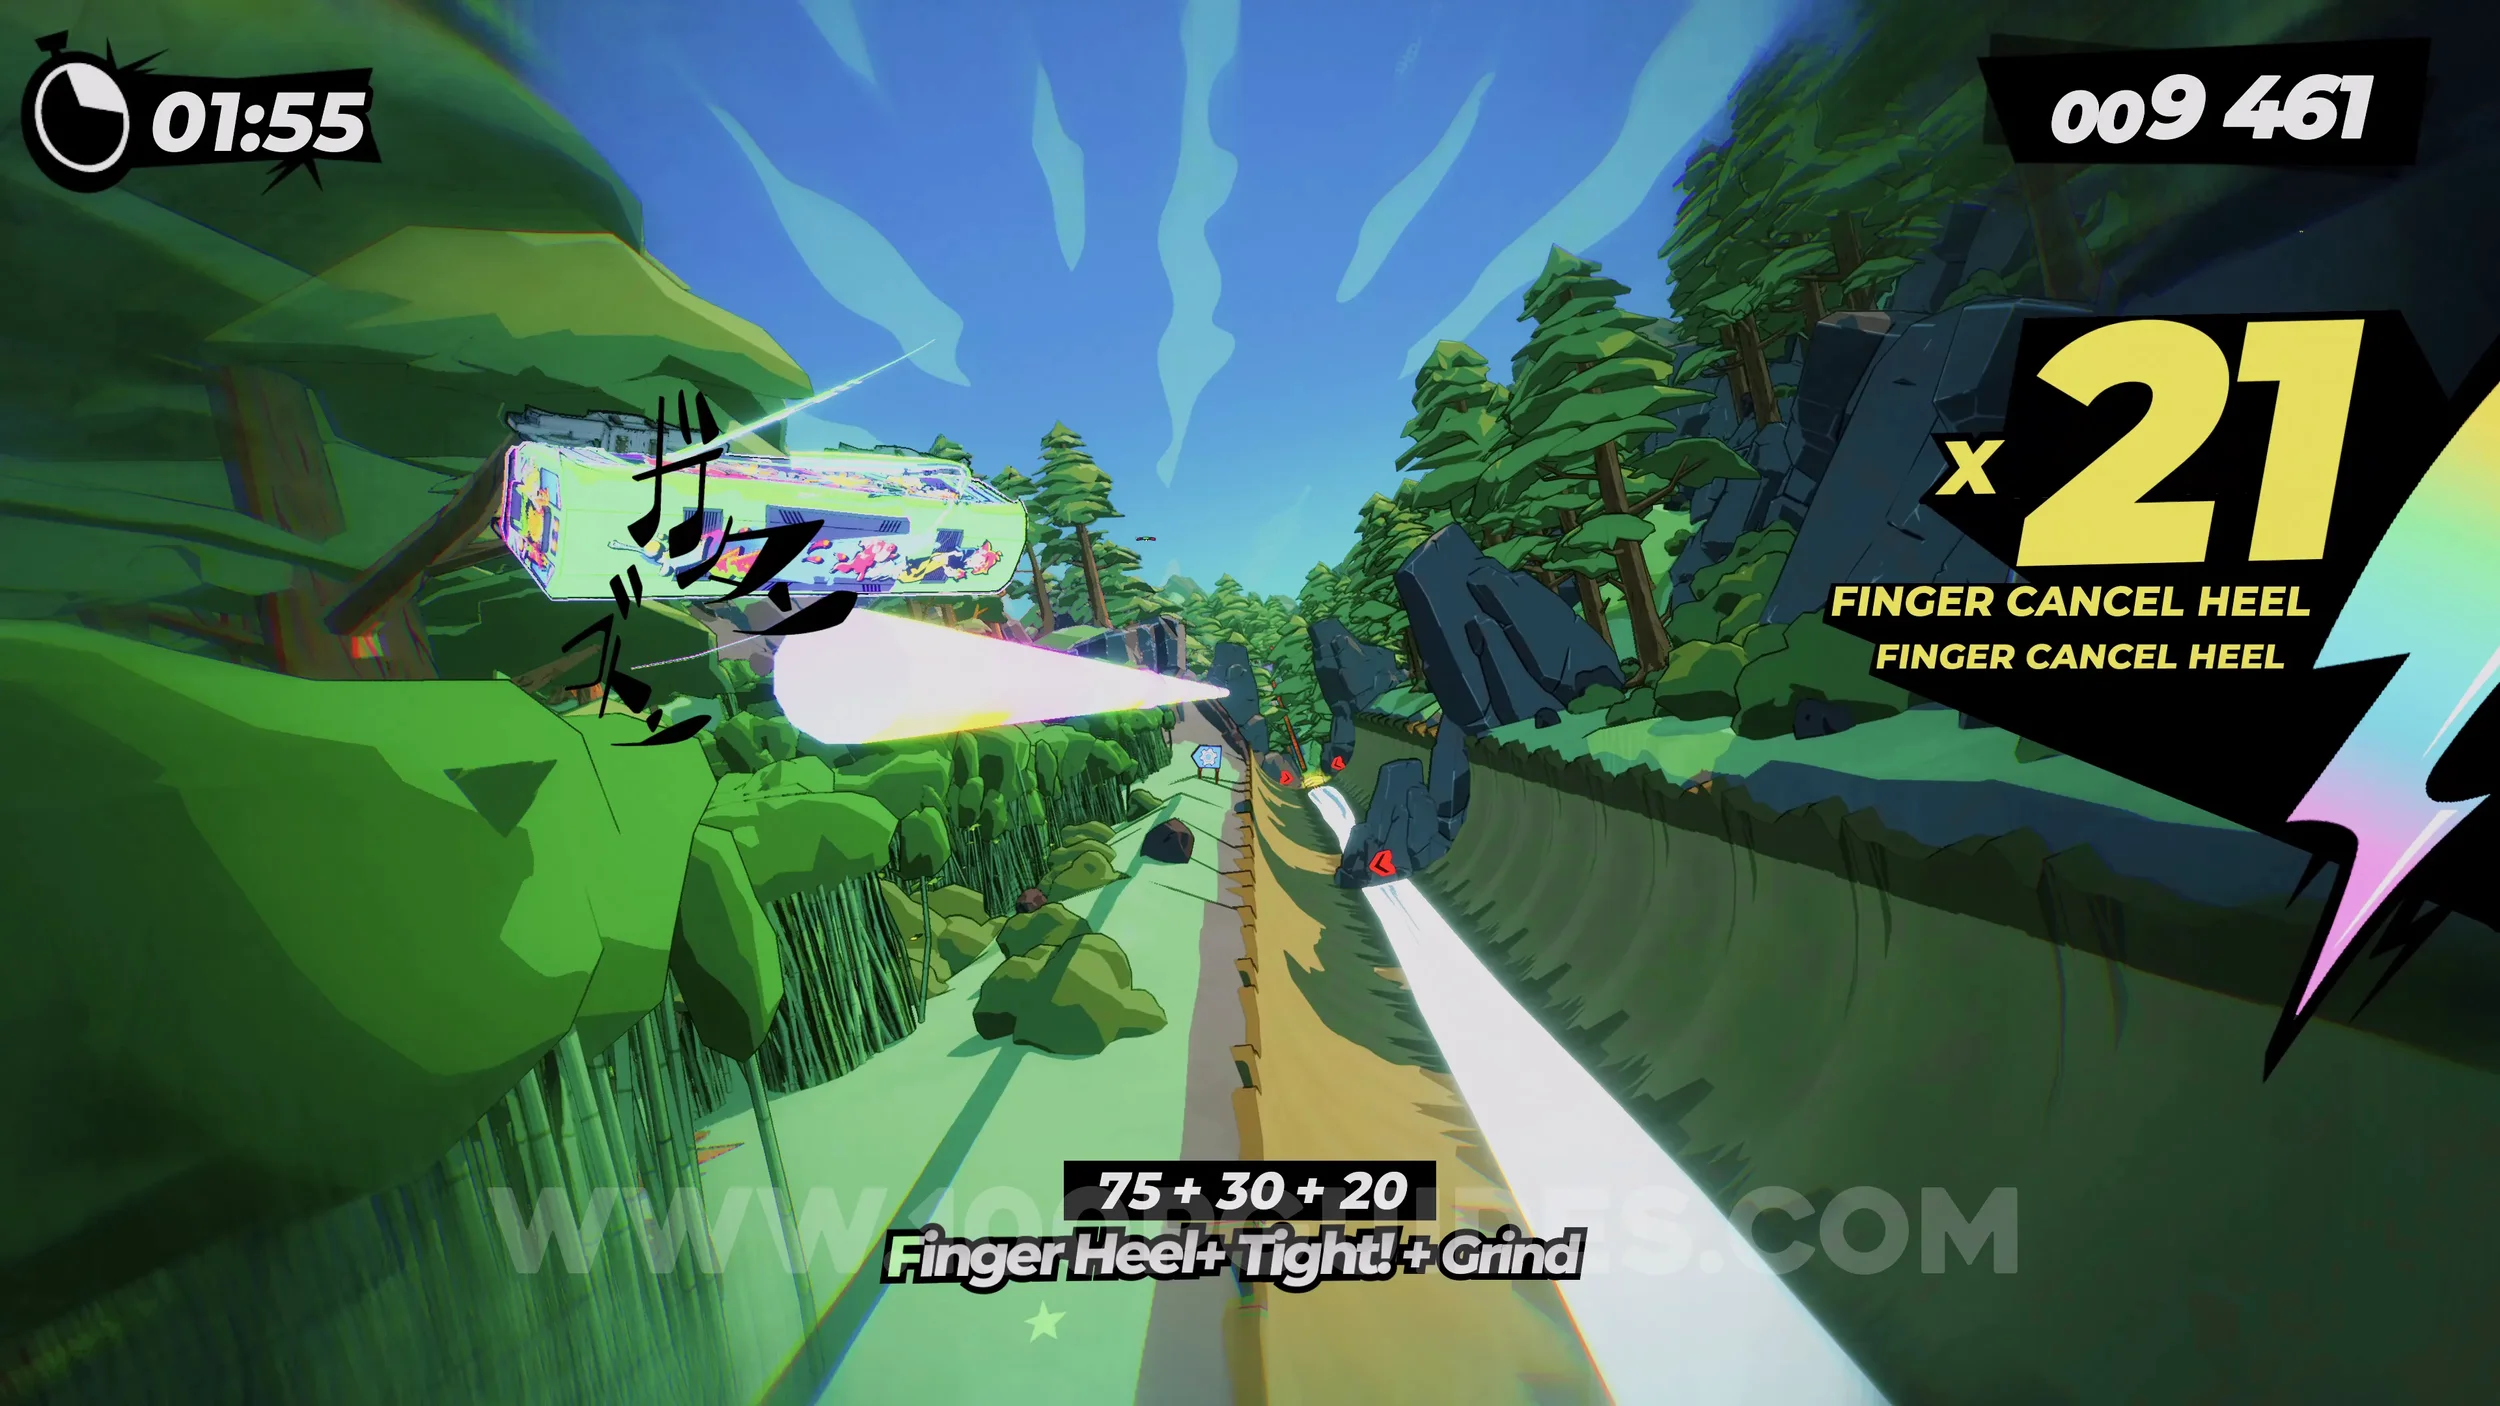
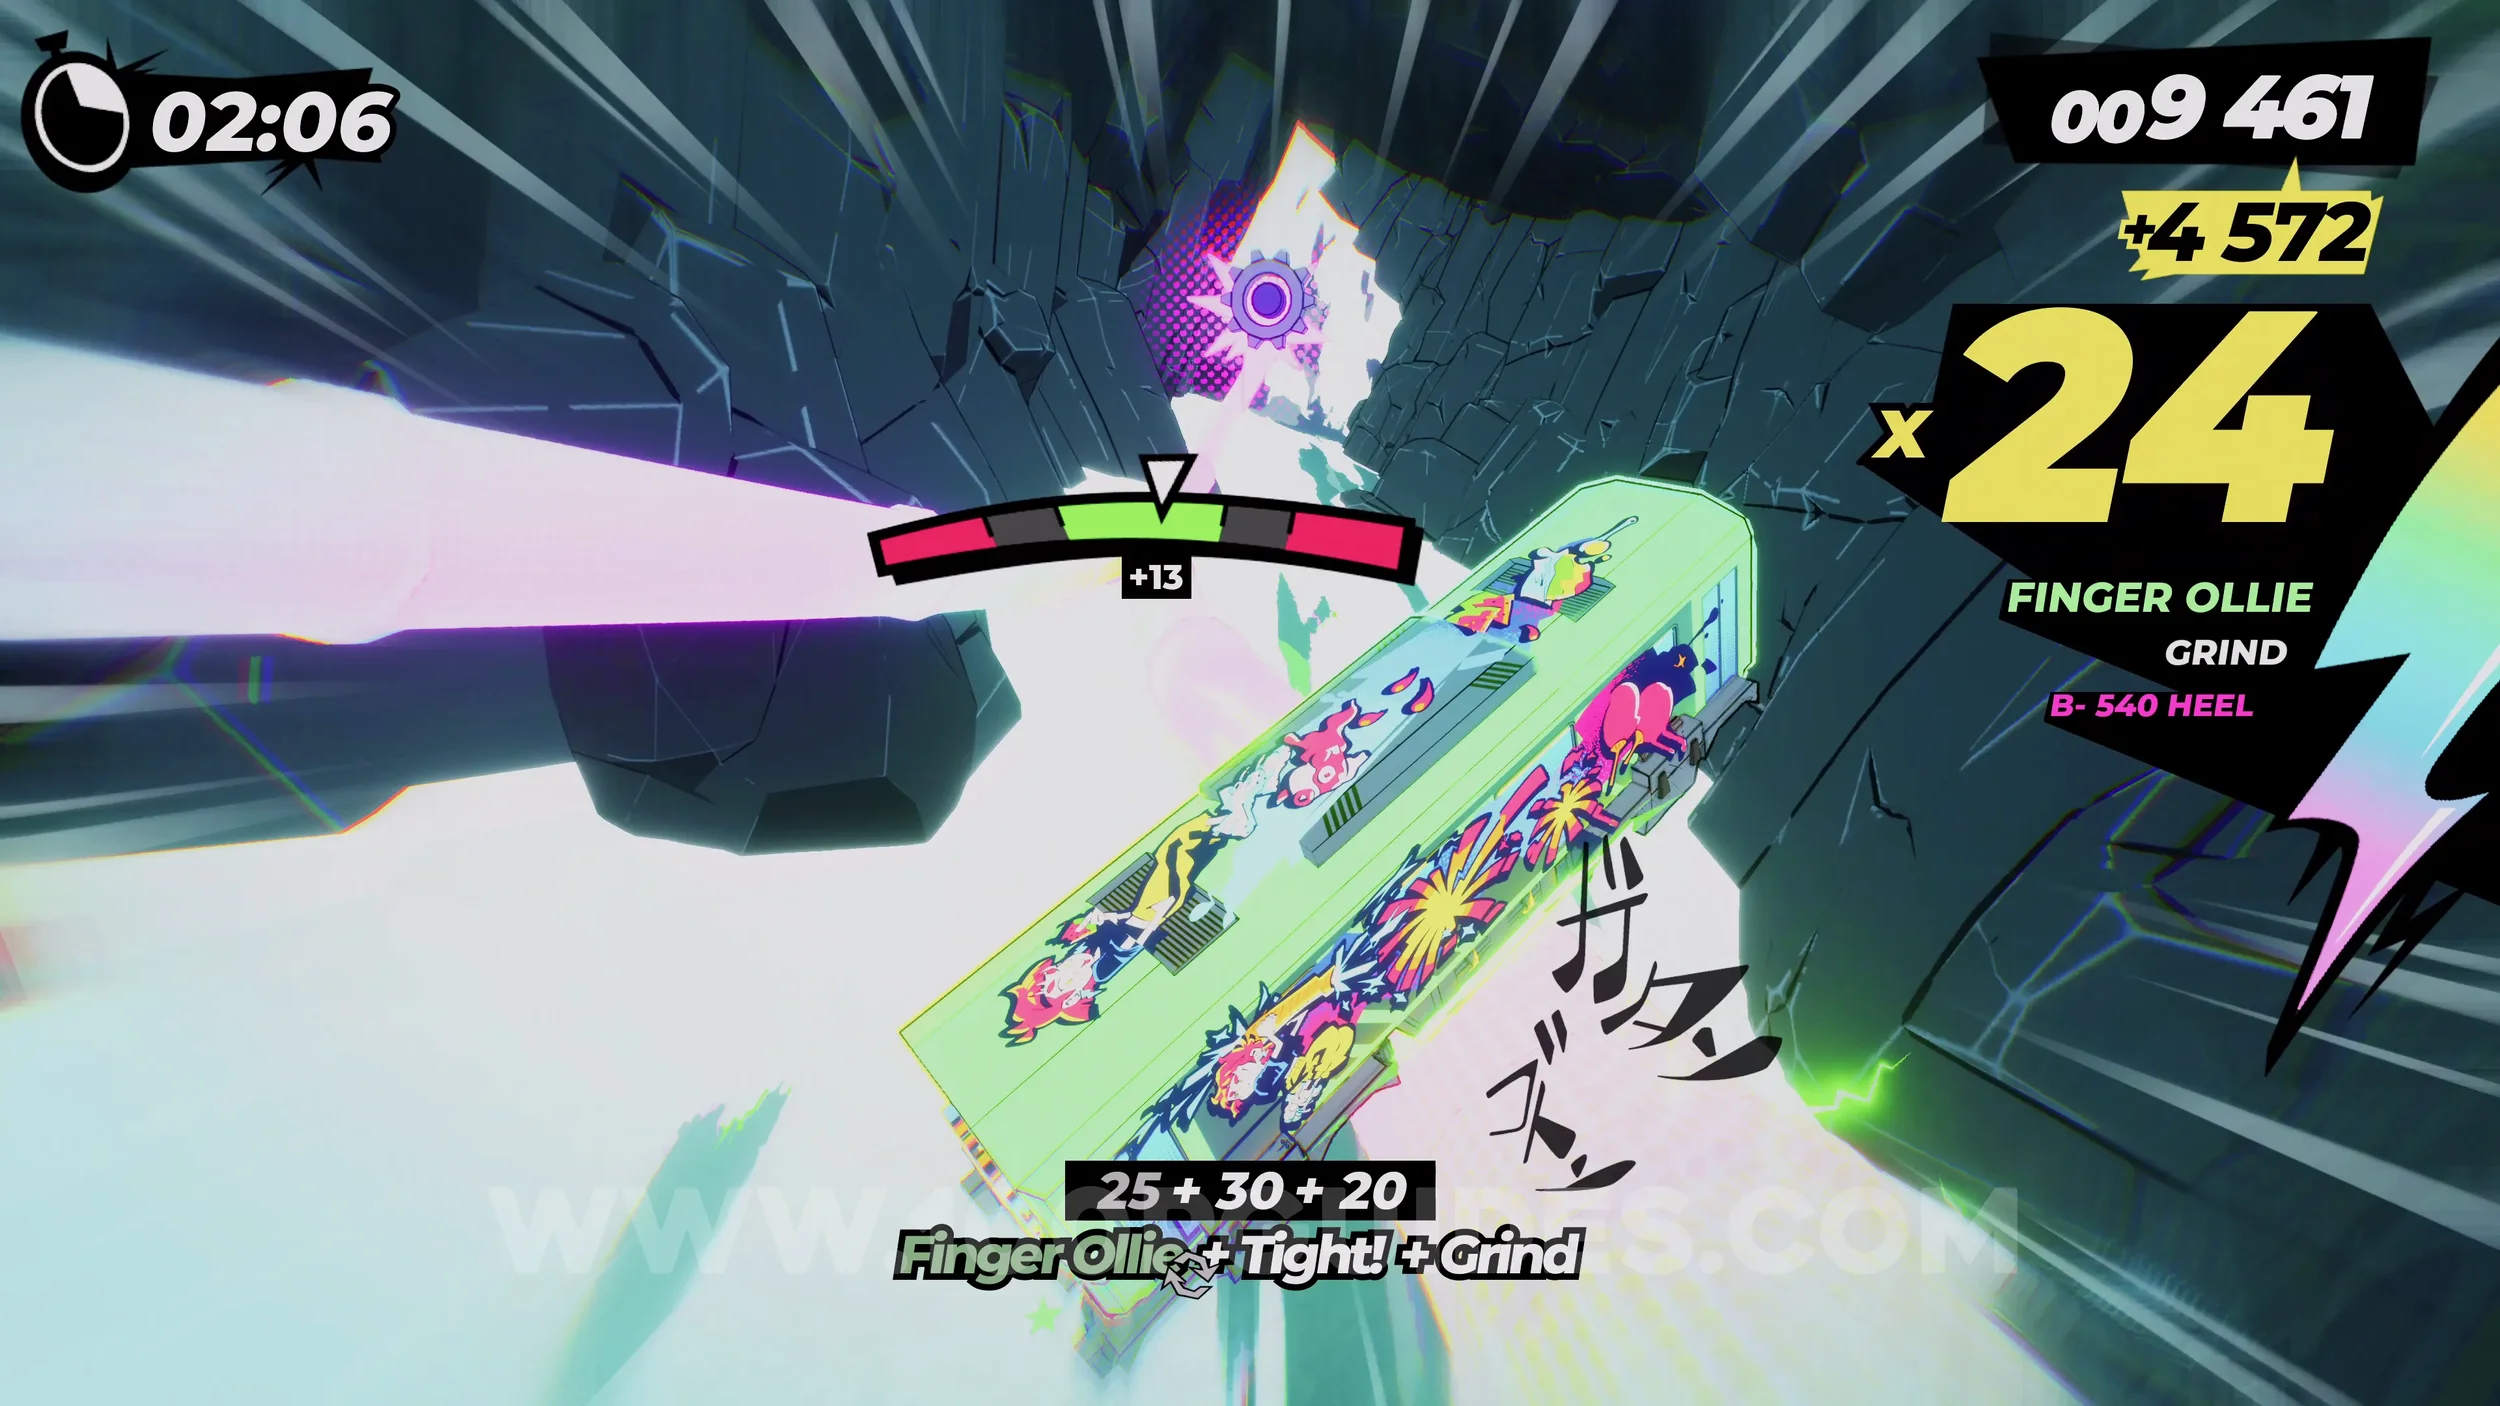
Dare: No Crash Finish. Self-explanatory. Finish the level without crashing.
3-2-2 Shin’s Testgrounds
Dare: Collect 3 Toolboxes (1/3). At the start, go straight and ride the right-hand wall to get to the higher track where the first toolbox is.
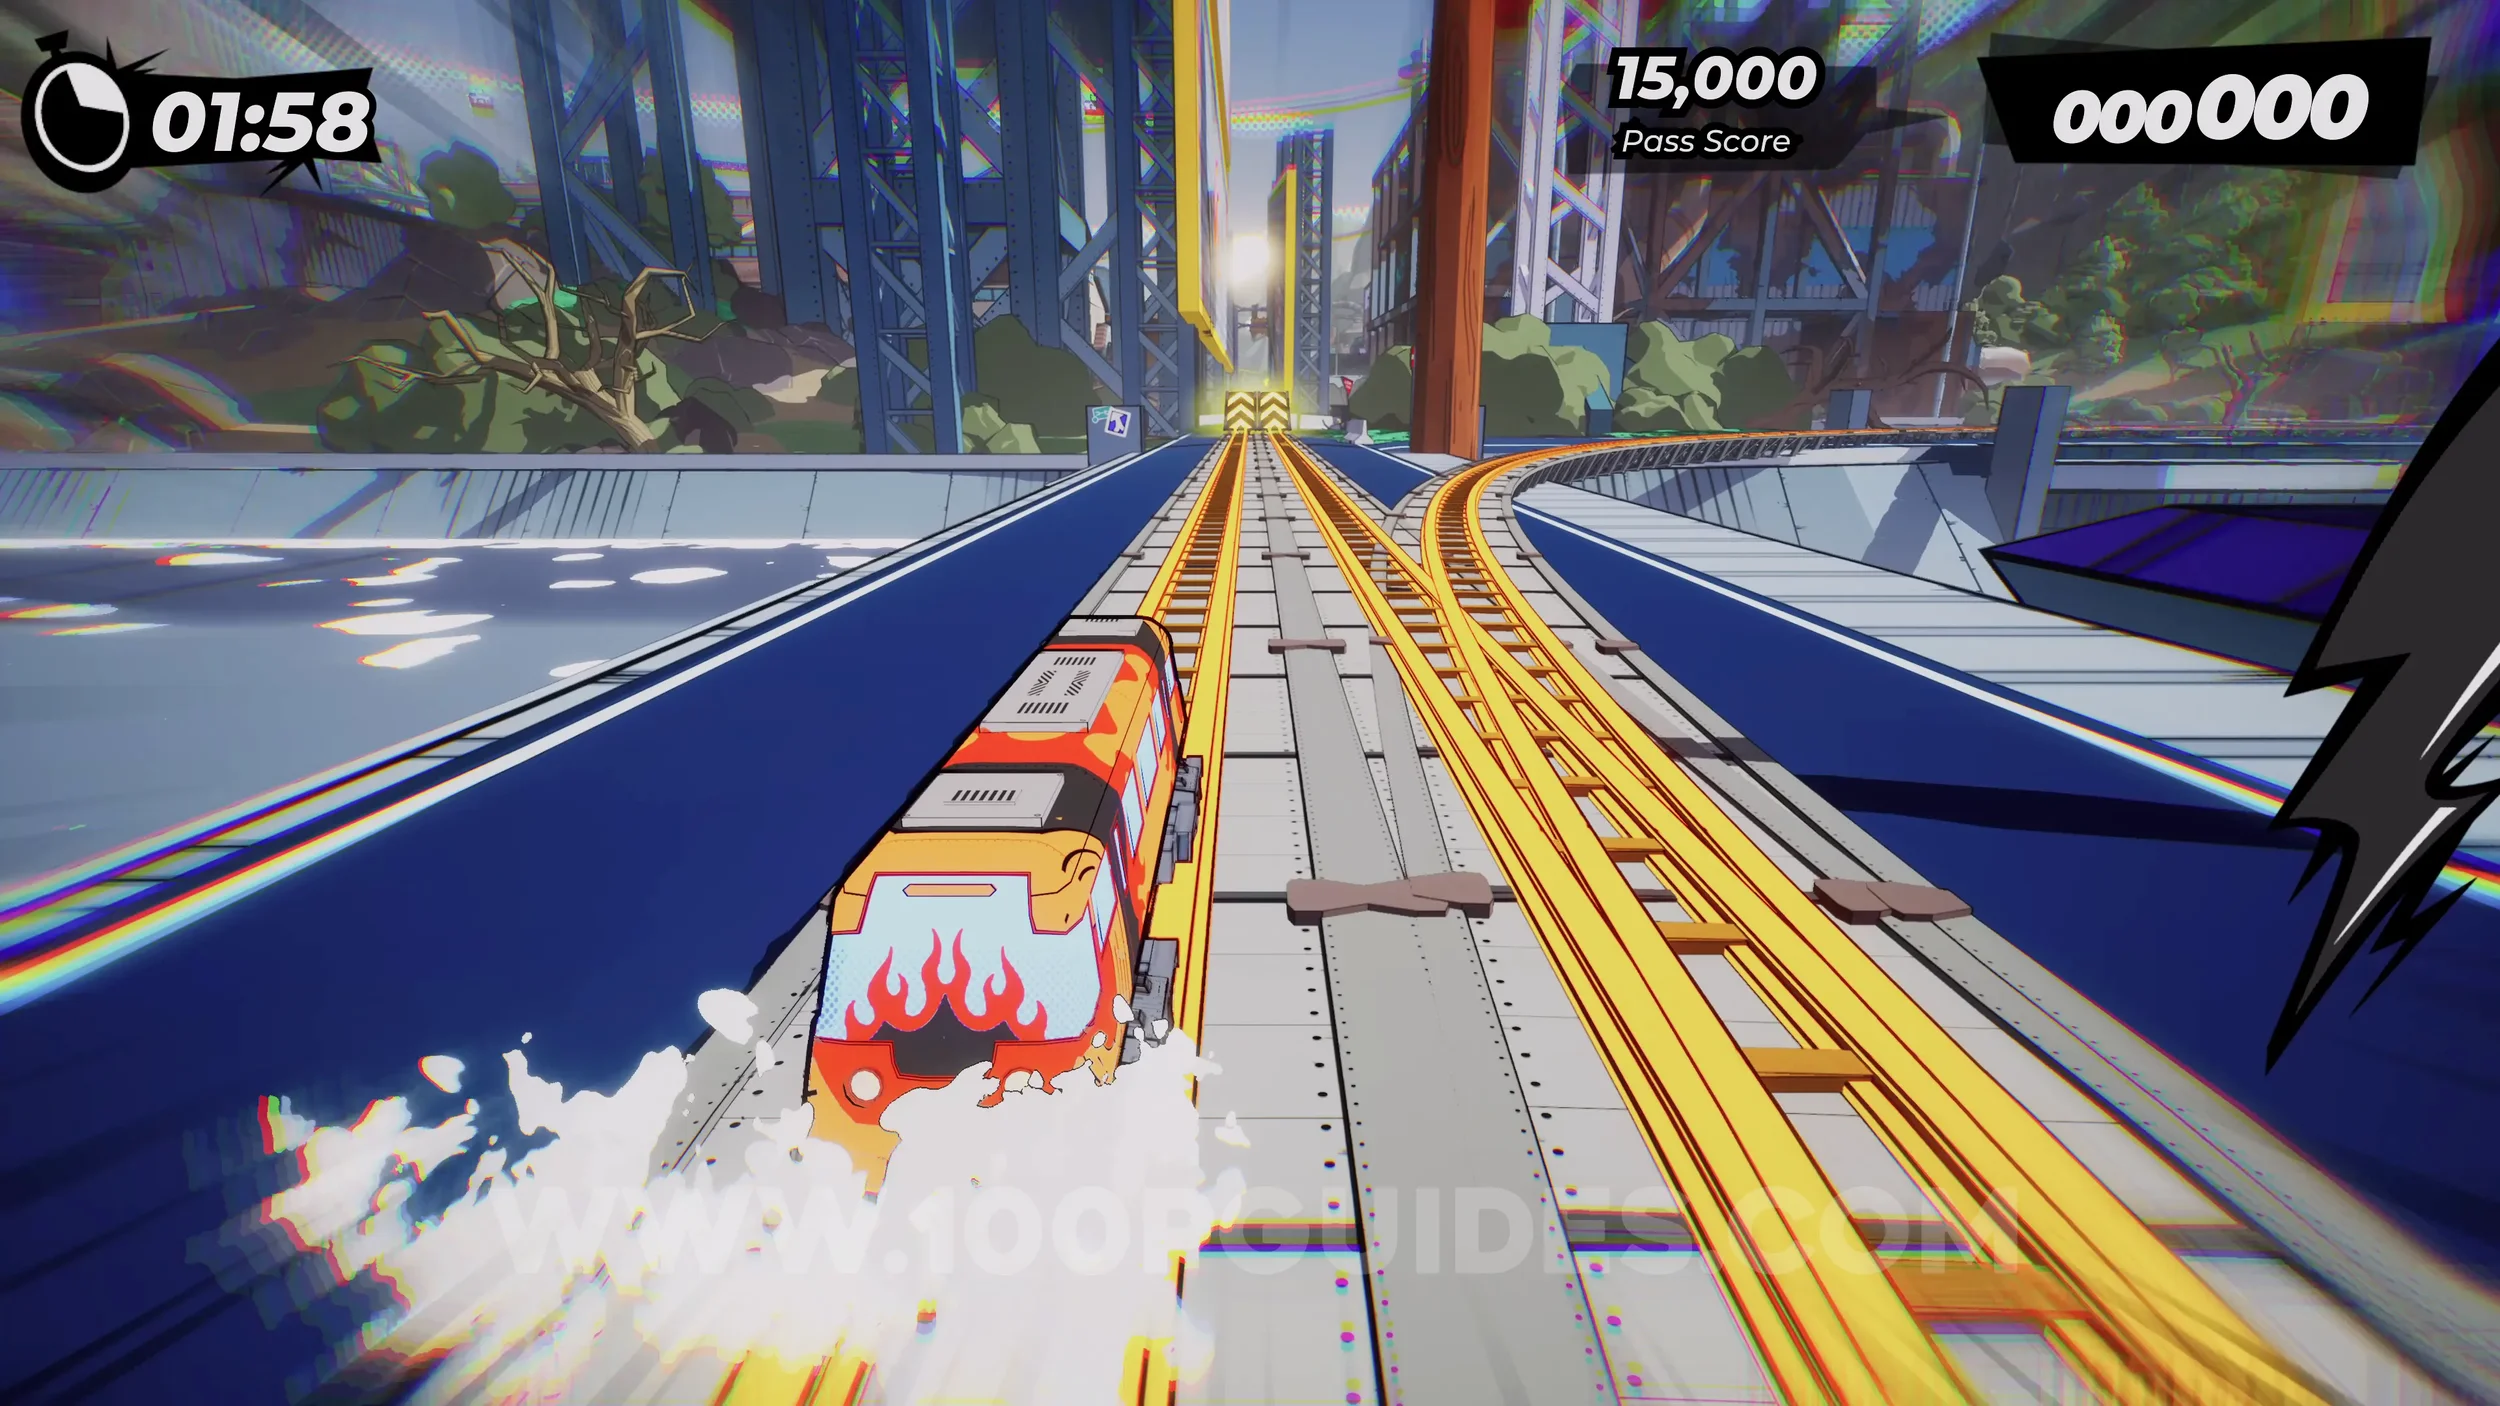
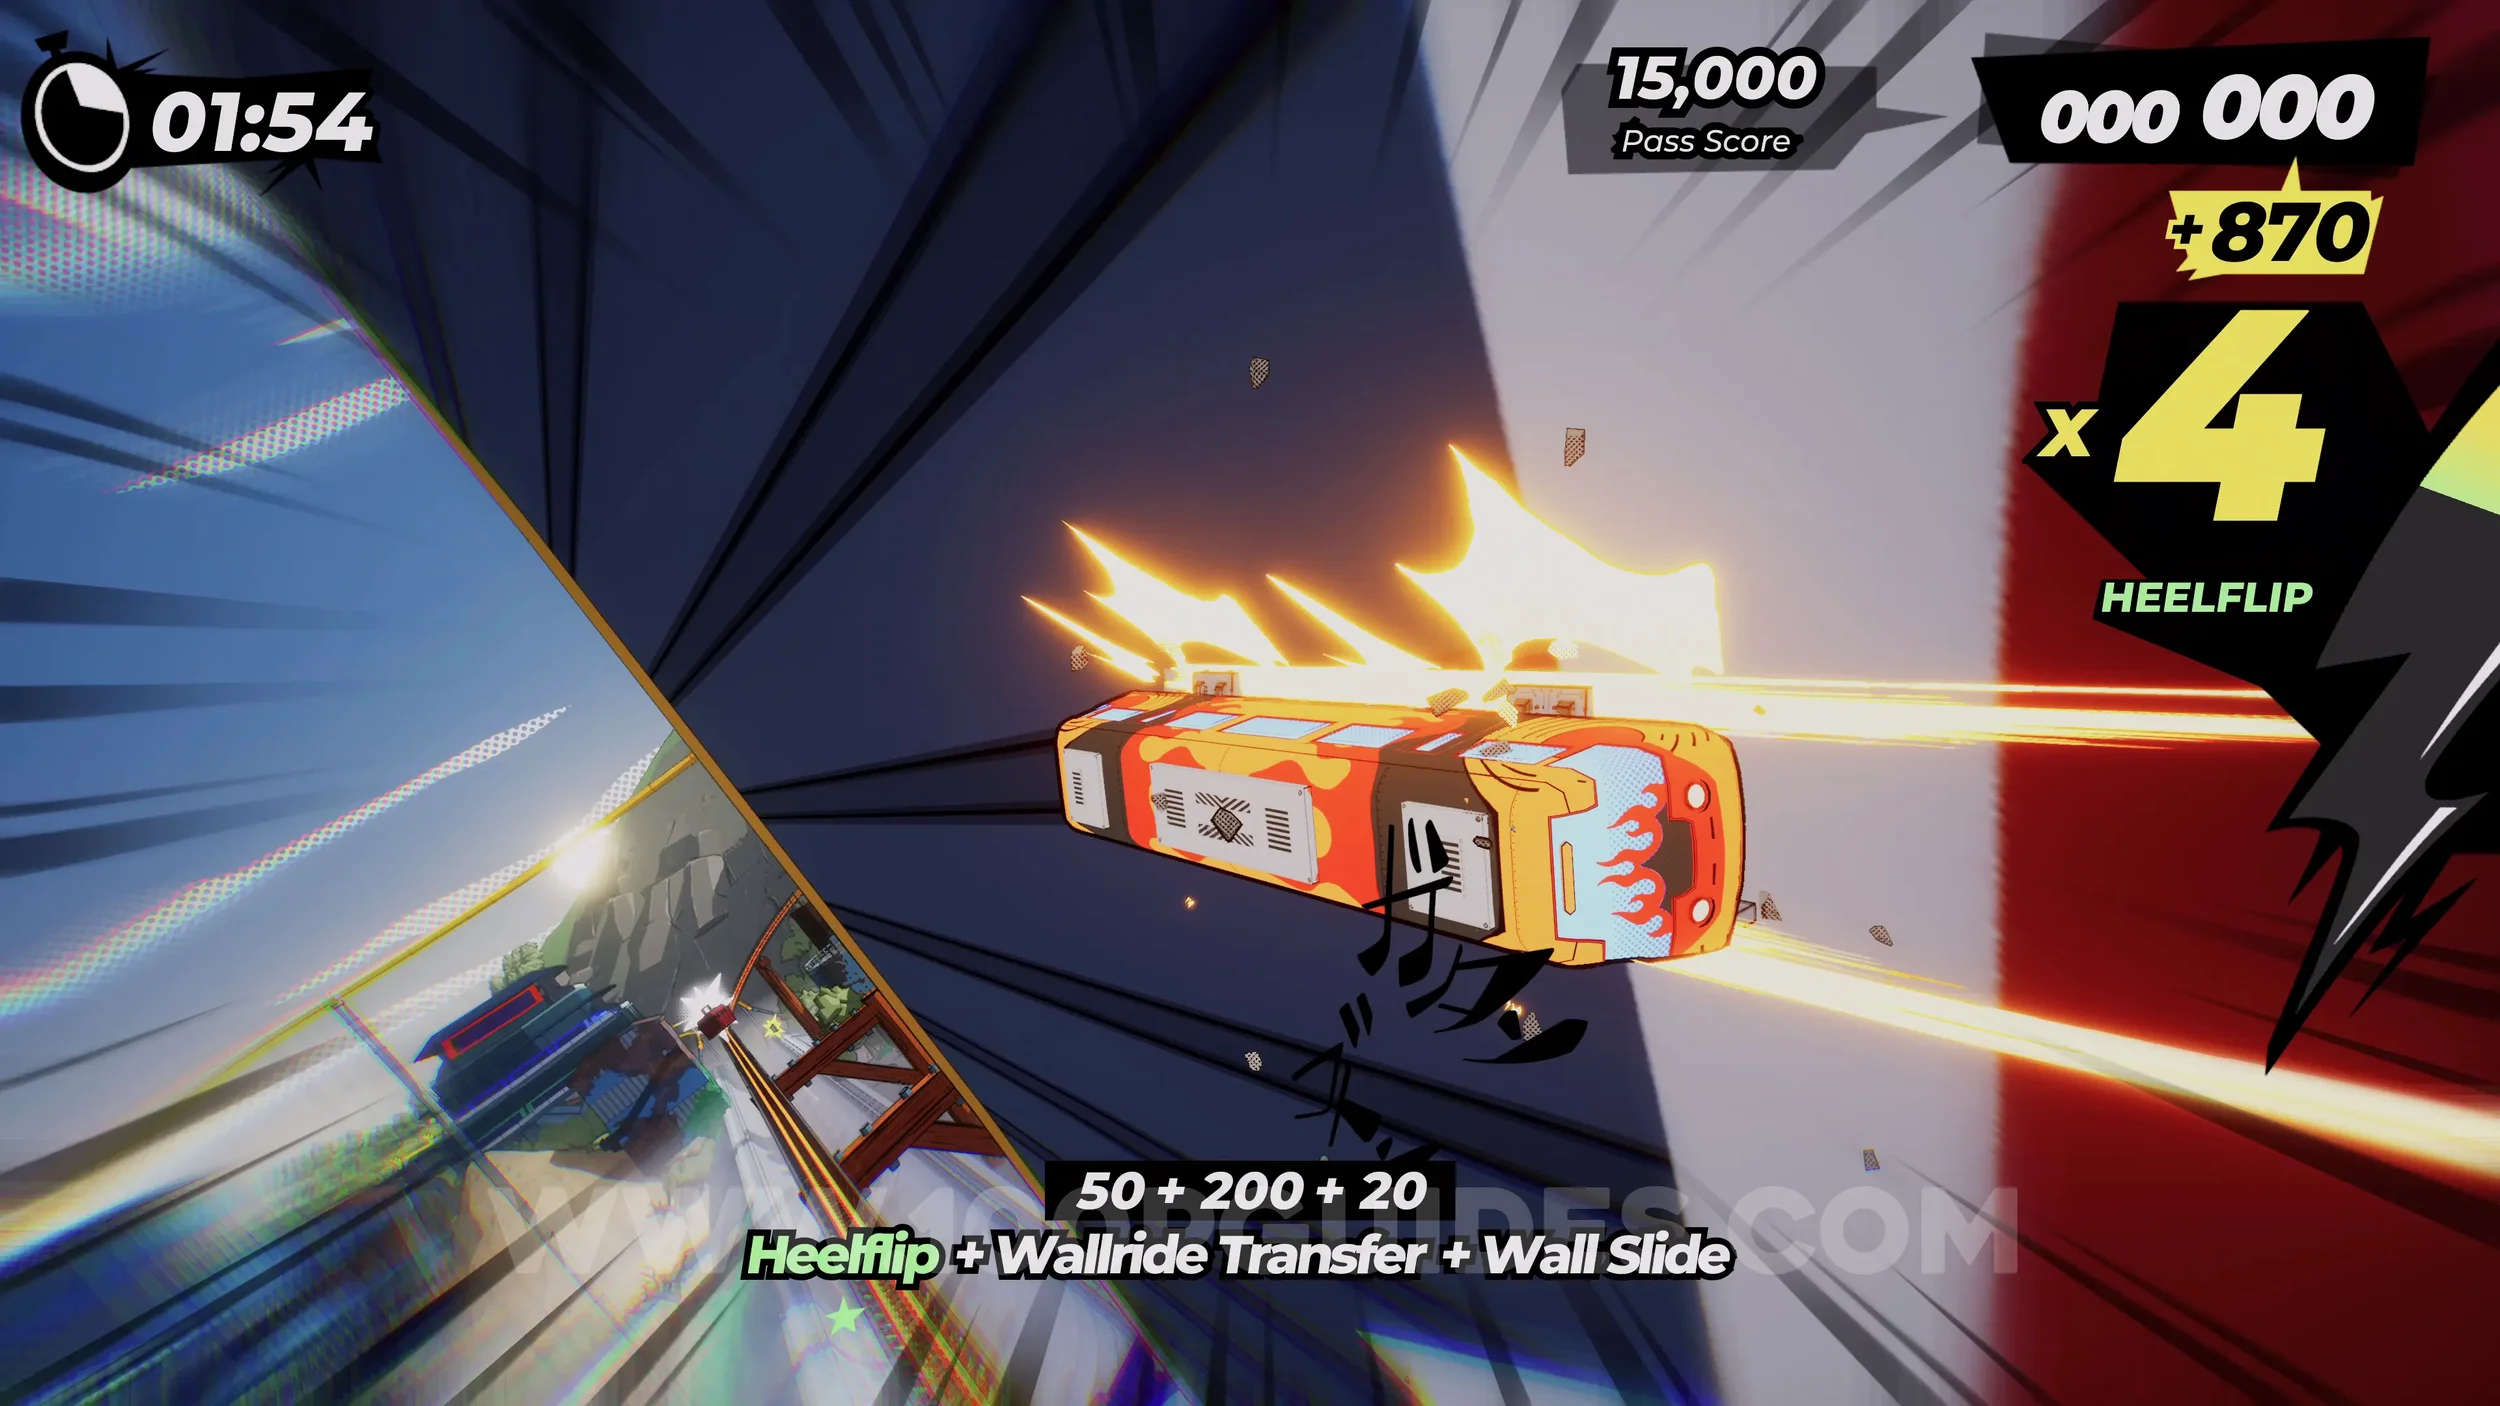
Film Roll (1/1). As soon as you pick up the previous toolbox, jump to continue straight and land in the half pipe below where the film roll can be found on the right side.
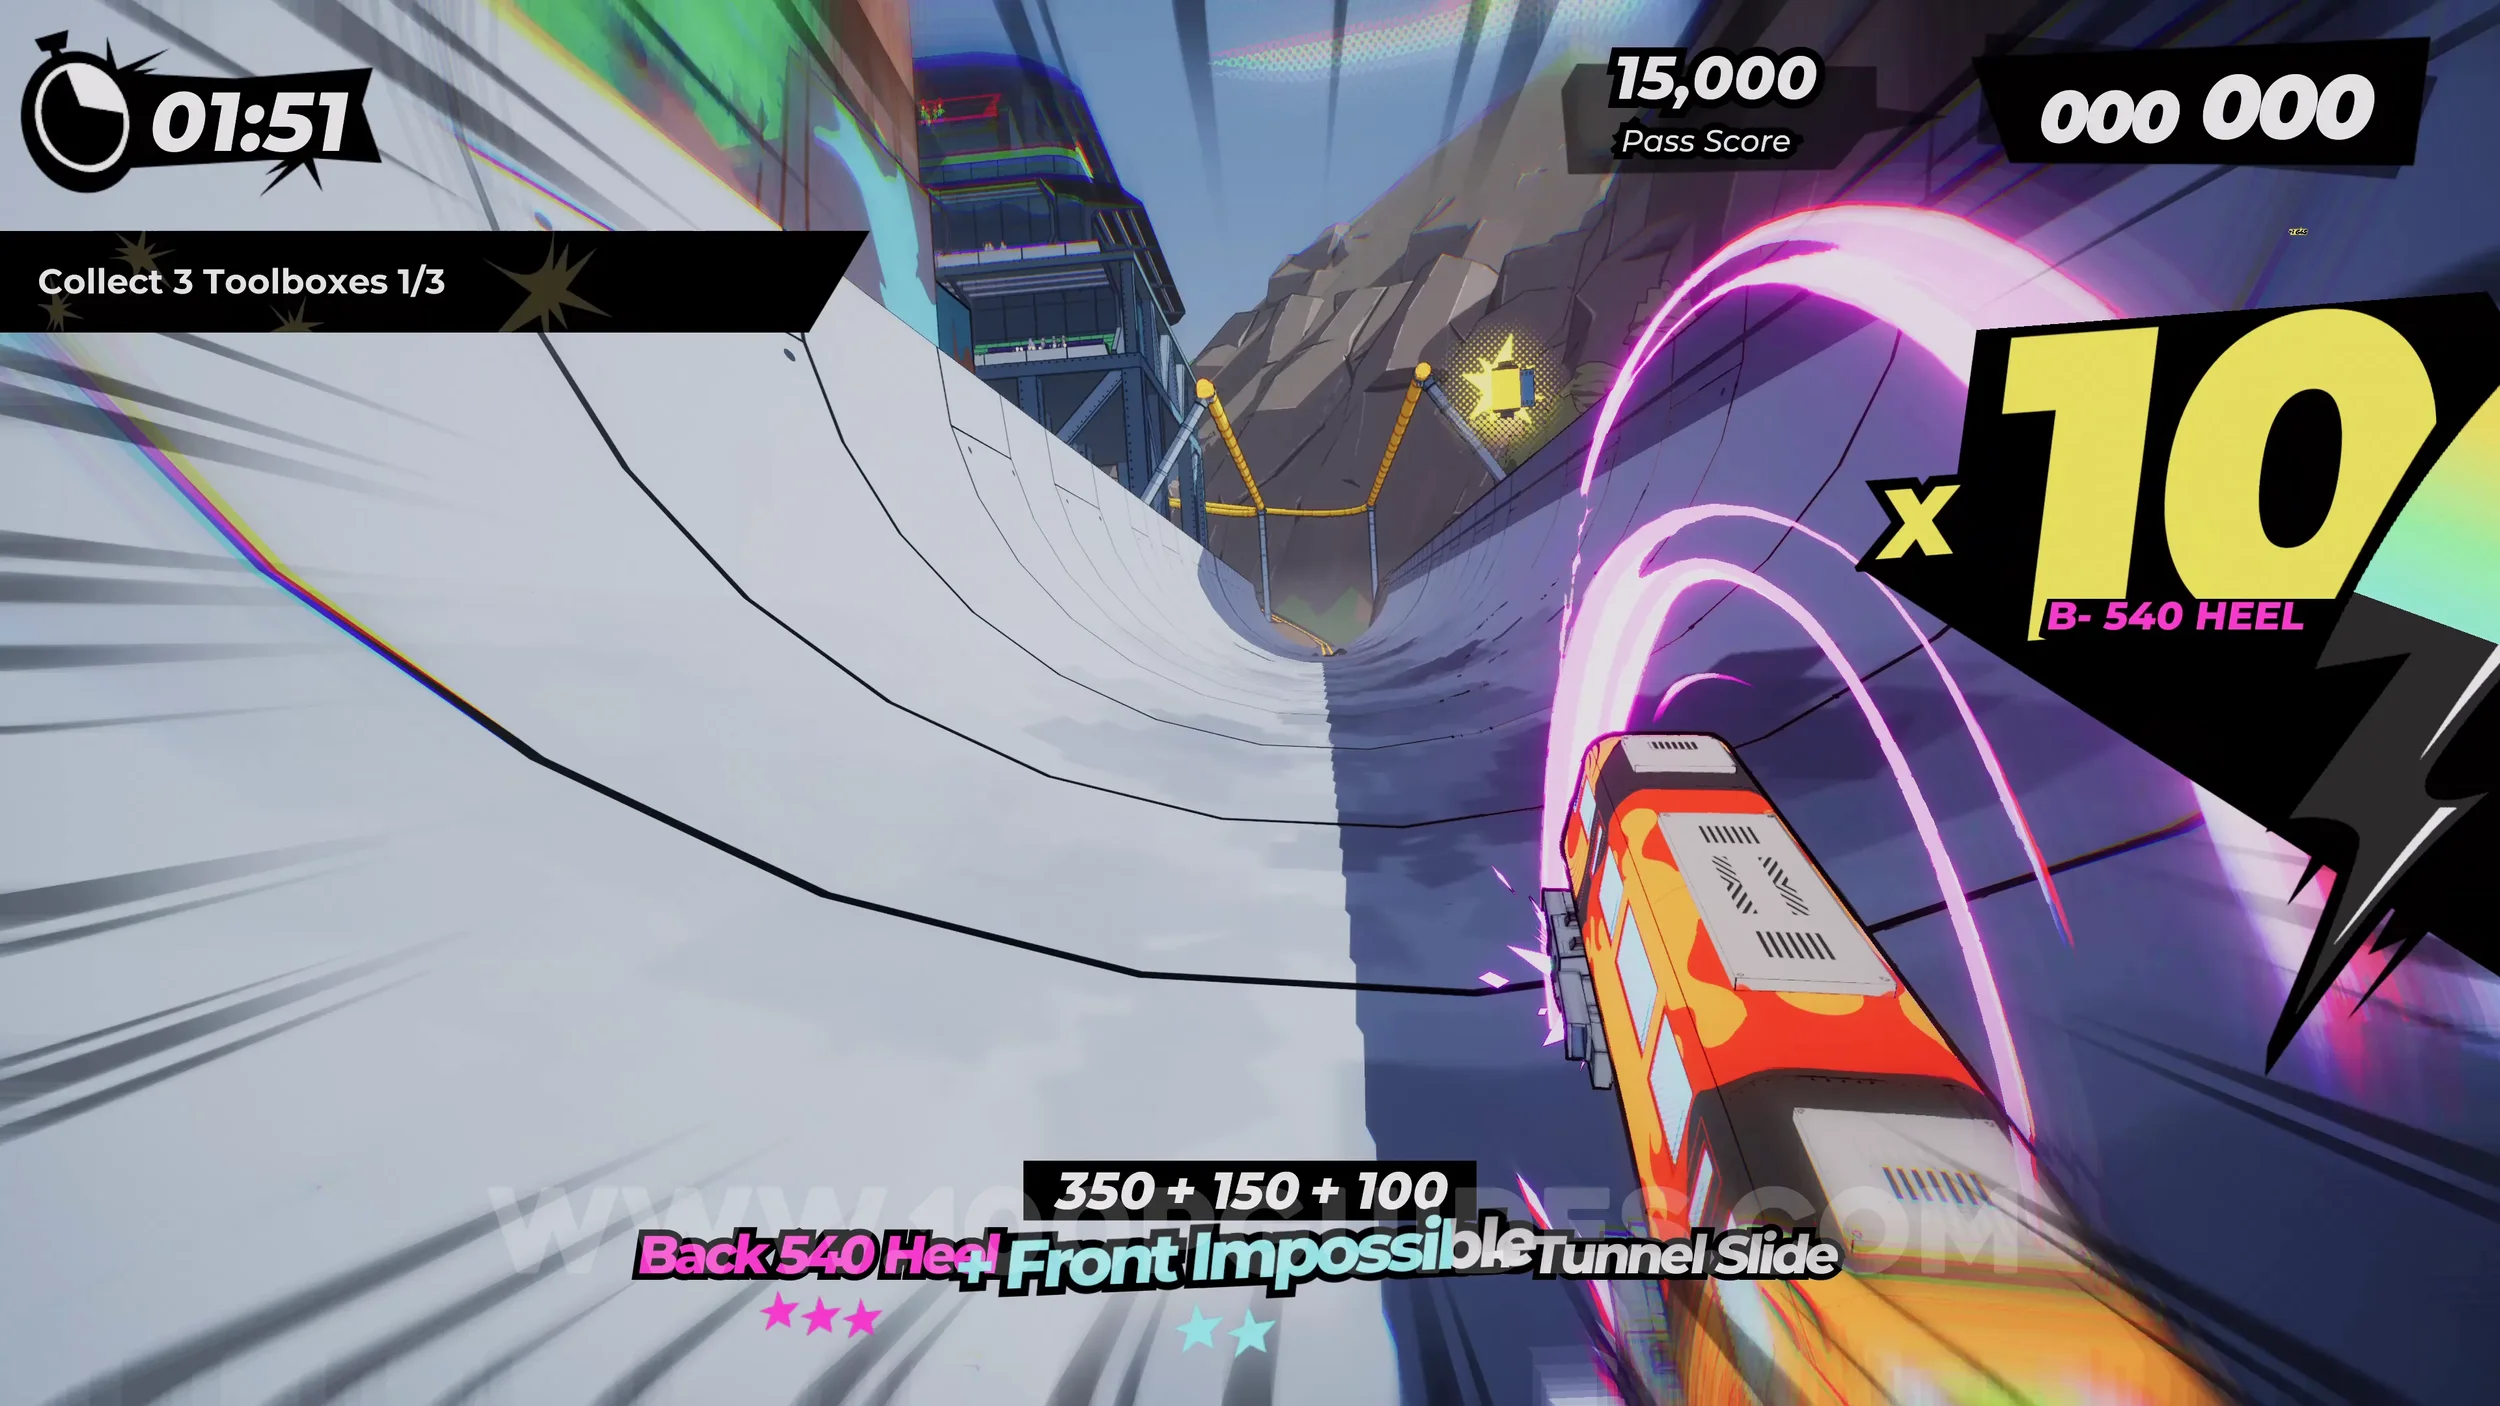
Dare: Grind Both Sides of the Tunnel Halfpipe (1/2). At the end of the halfpipe, where the film roll was, jump up and grind one of the rails on either side.
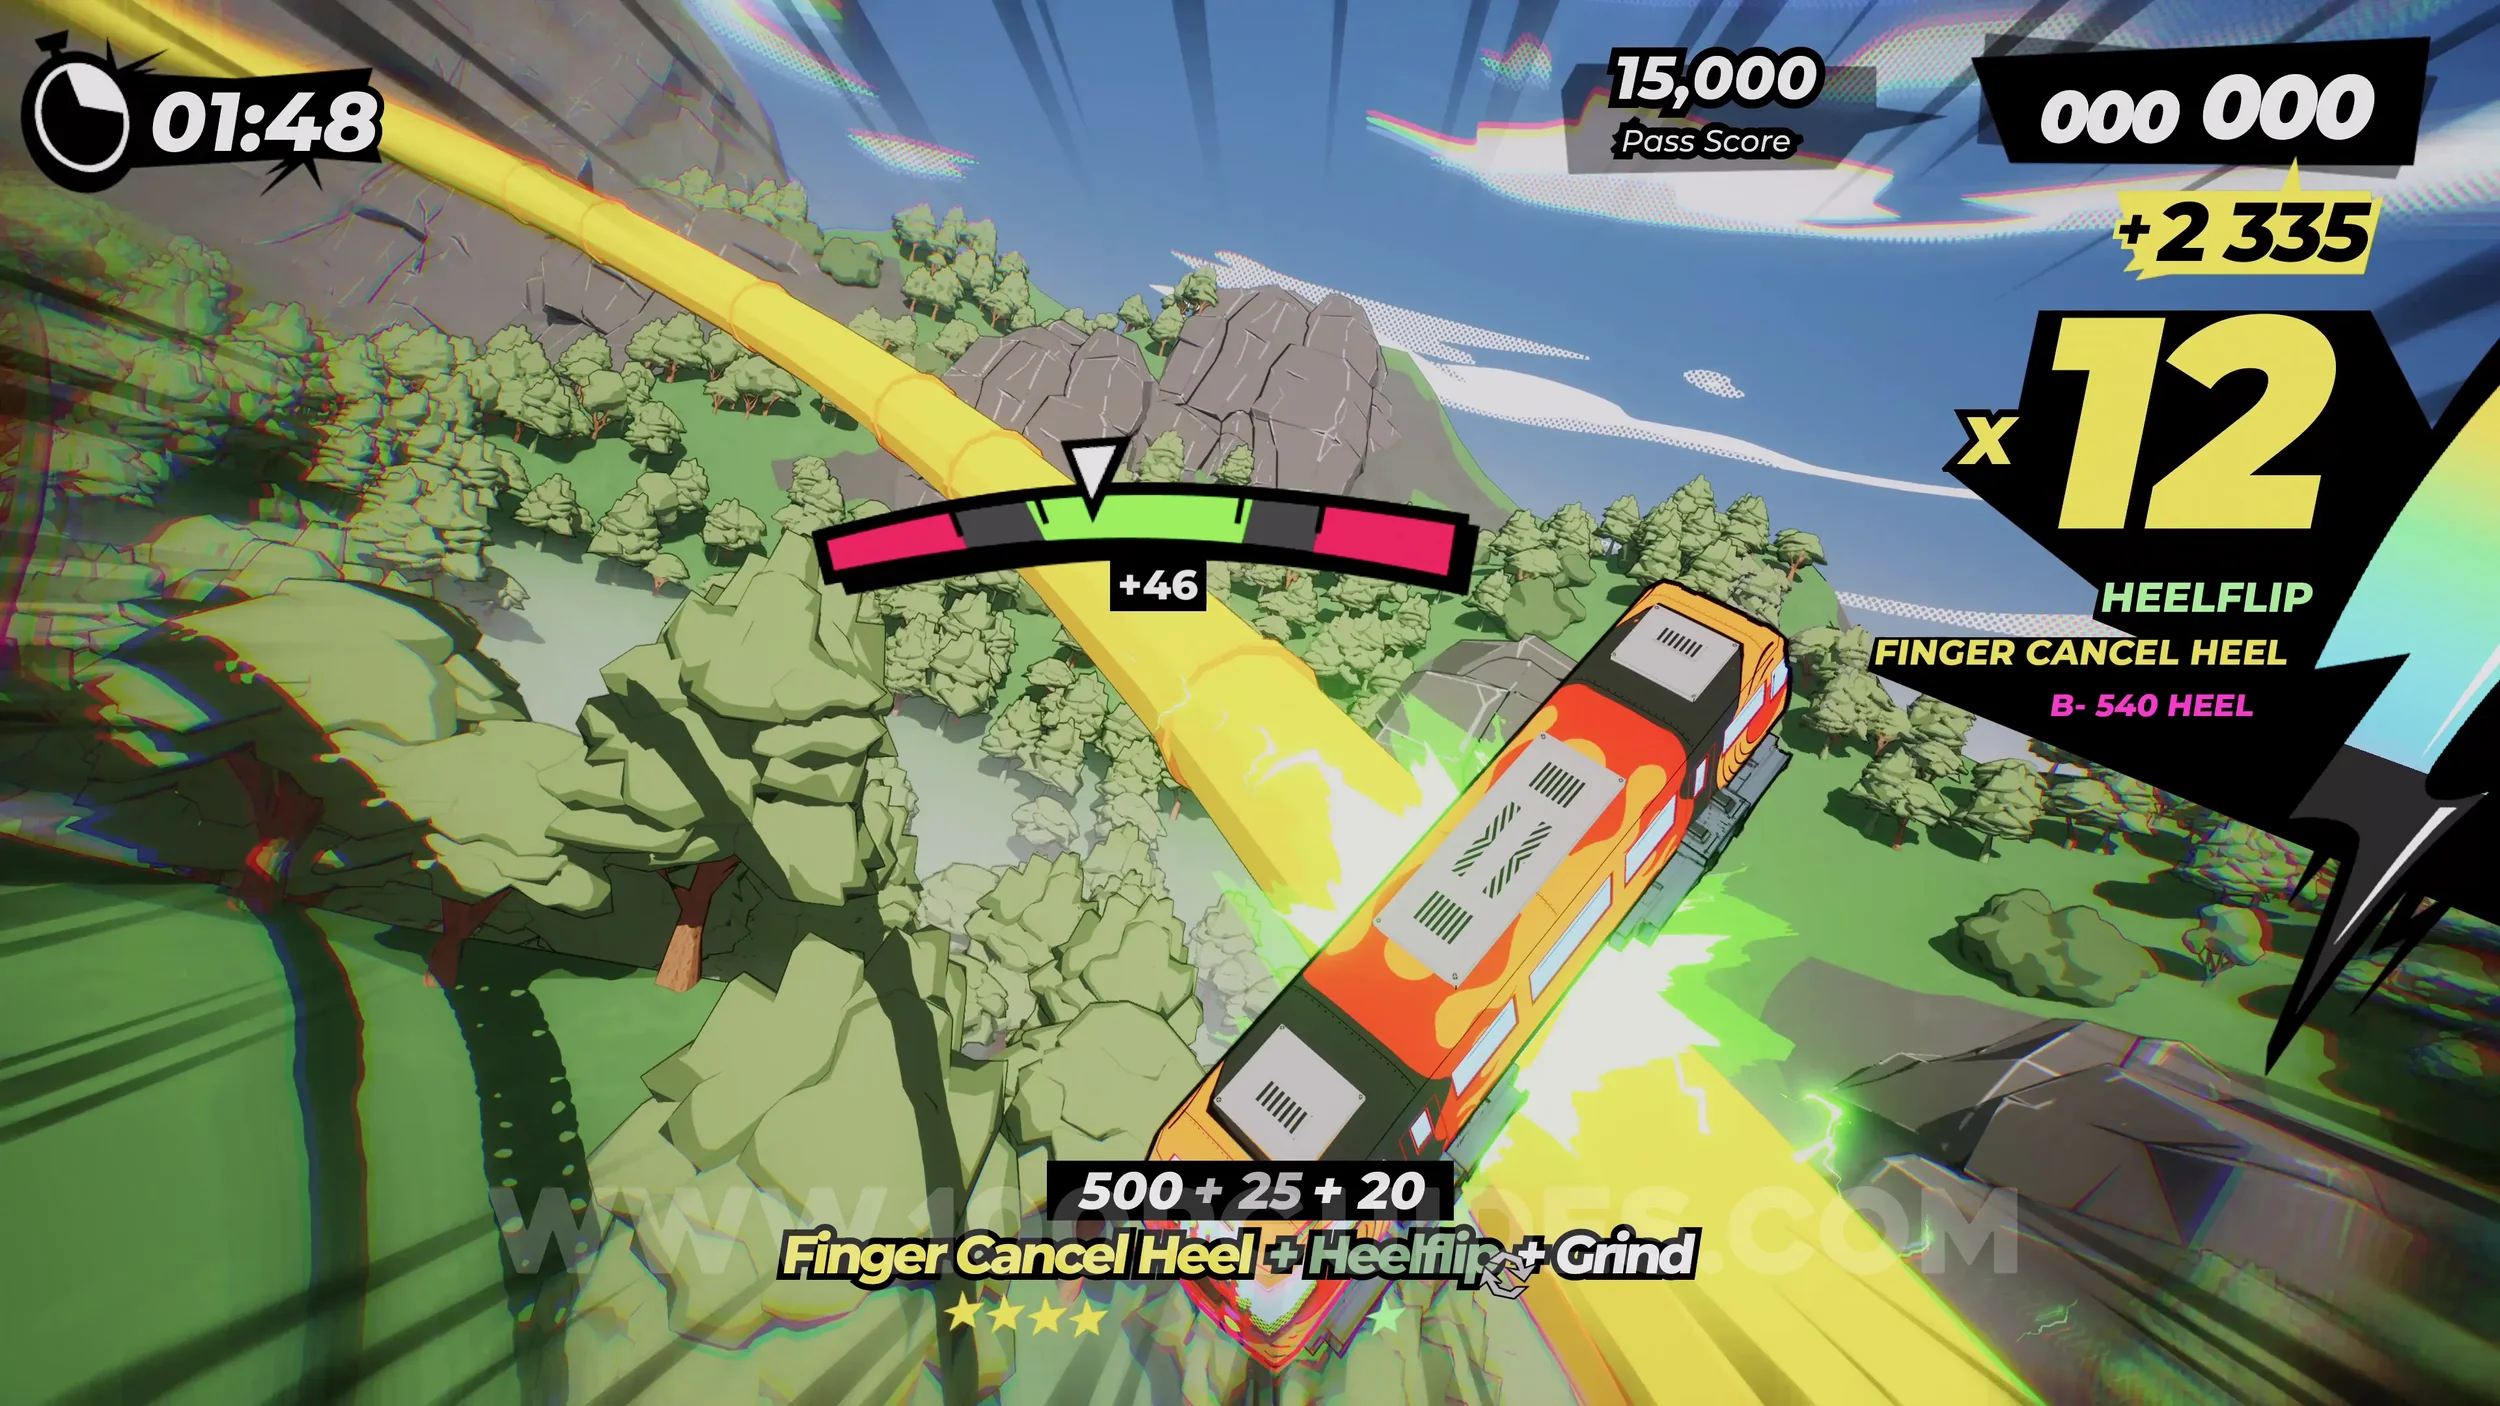
Dare: Collect 3 Toolboxes (2/3). After grinding the rail out of the half pipe, you will do two jumps on the next straight. After that, you will see a grind rail on the left and a track on the right. This time, stick left and follow the rail to pick up a toolbox.
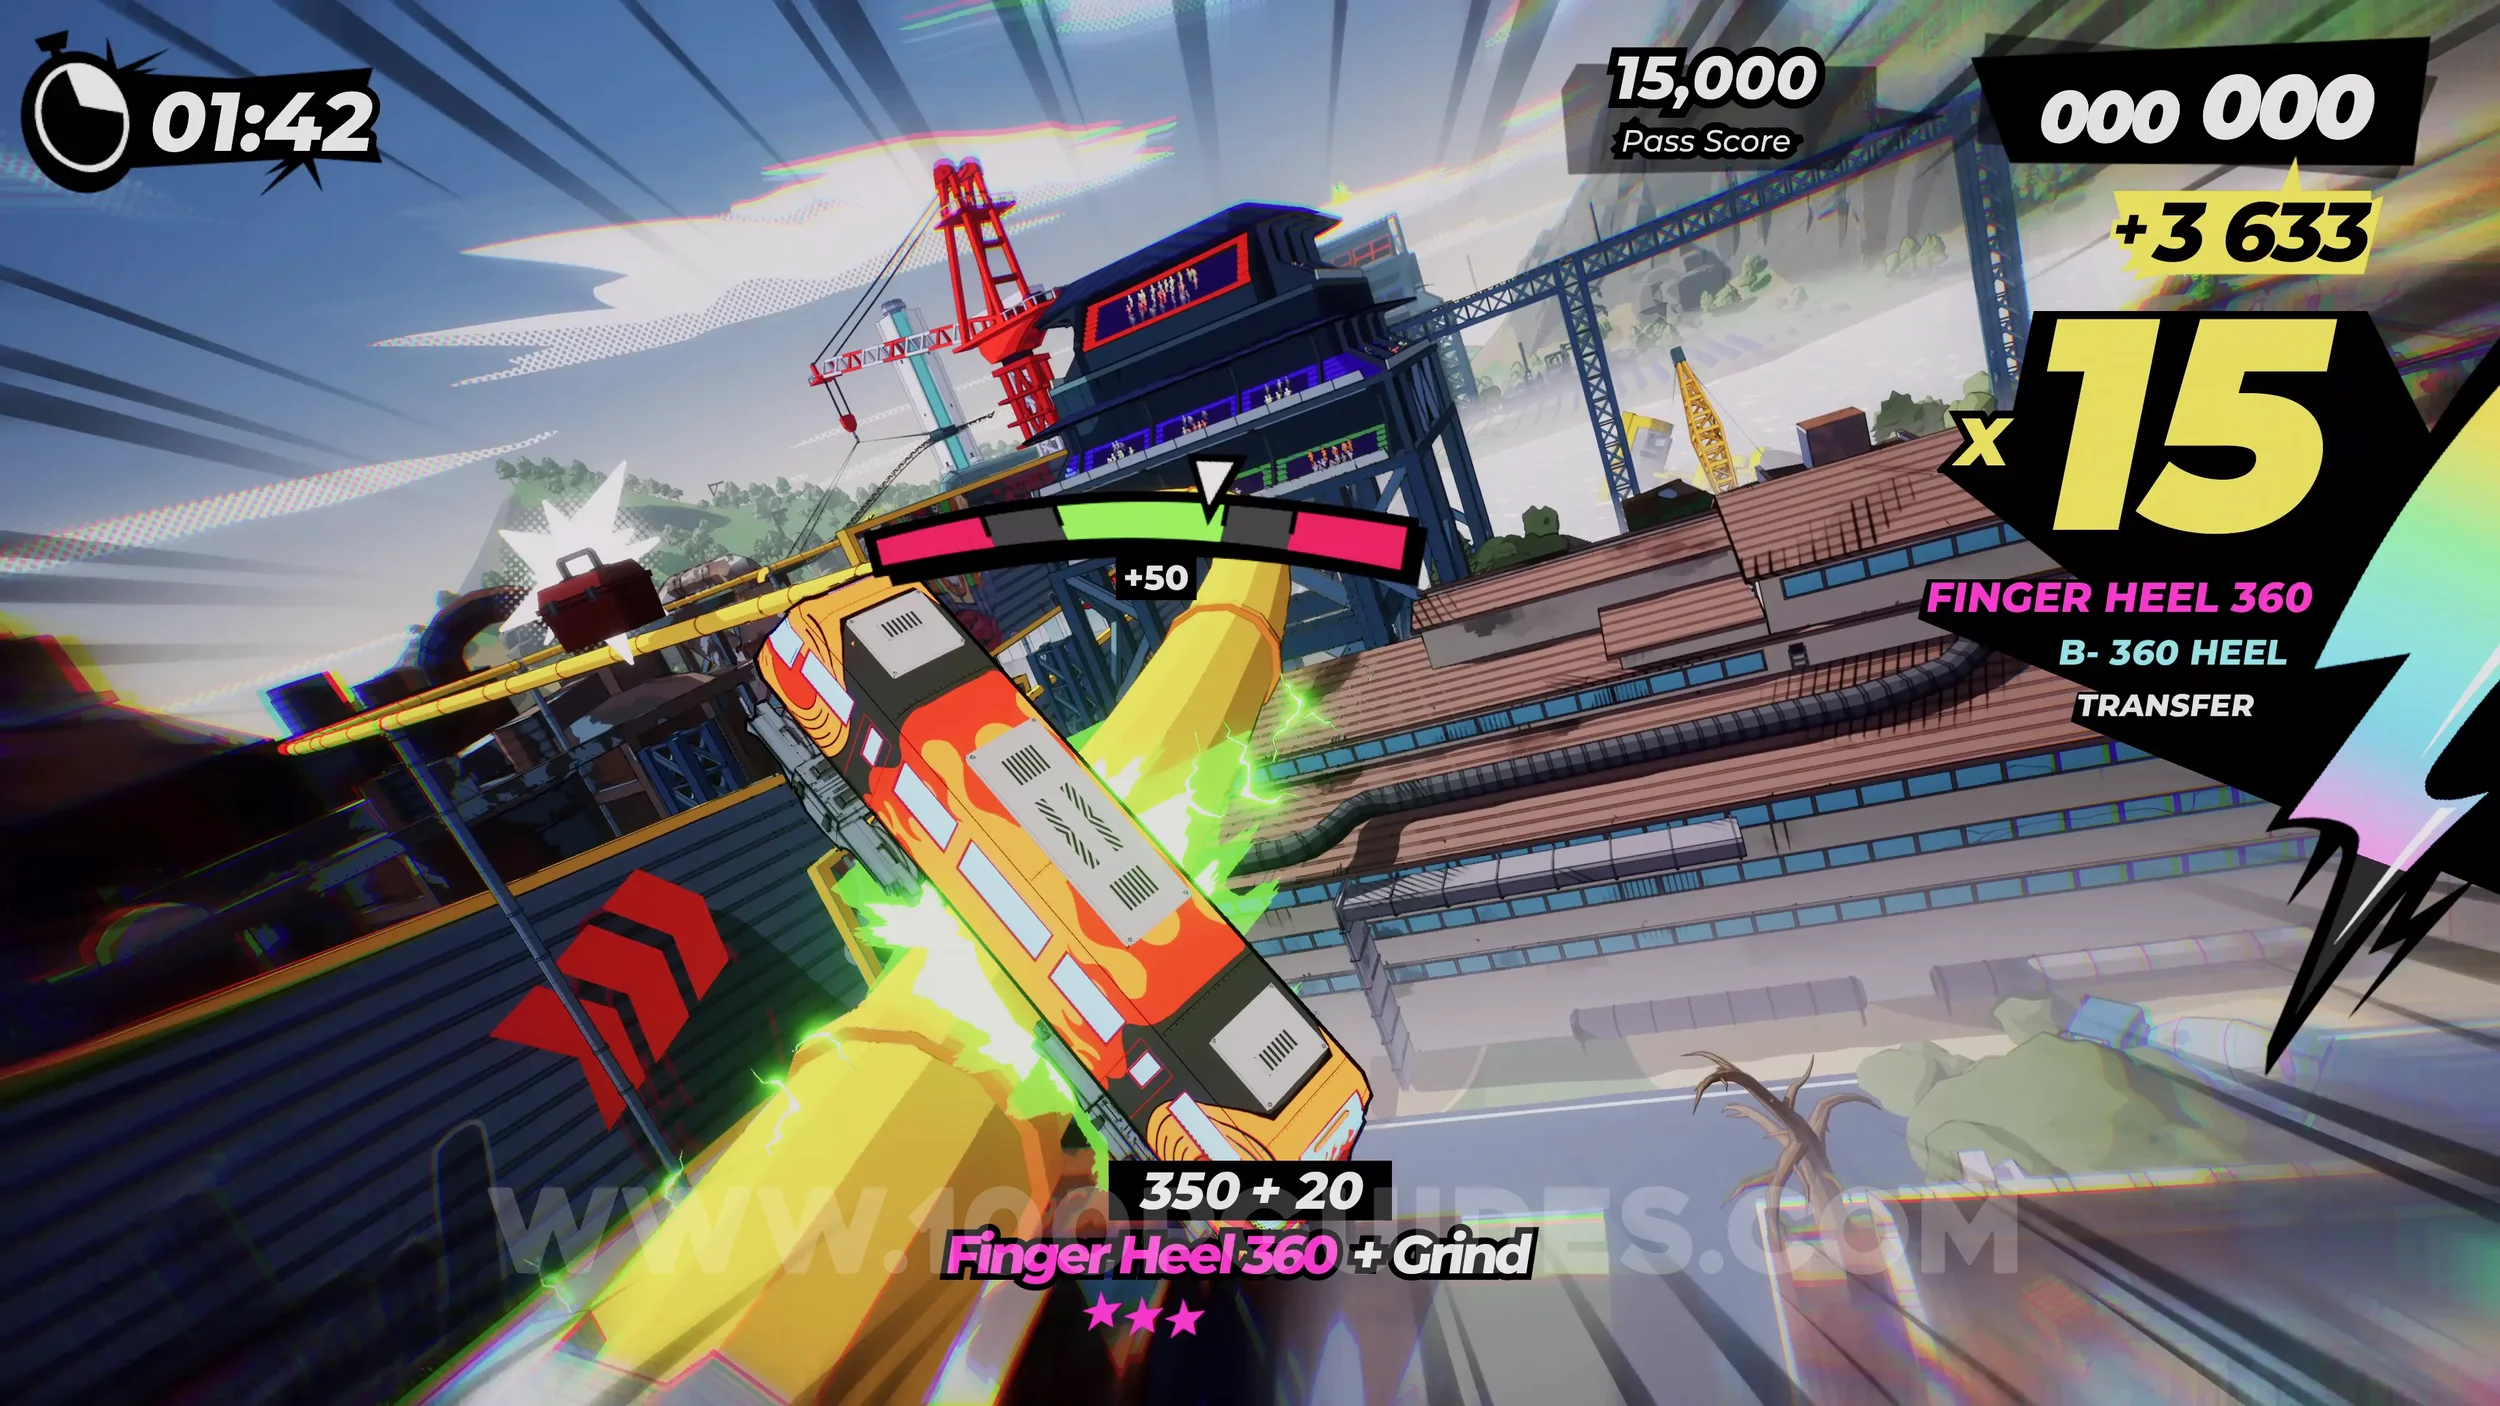
Gear (1/2). Almost immediately after the toolbox, you will go around a corner and see the gear on the rail to the right.
Dare: Grind Both Sides of the Tunnel Halfpipe (2/2). After the previous gear, follow the tracks and eventually you will circle back to the start. This time, continue straight without using the wallrides to return to the half pipe where the film roll was. This time, grind the other side rail at the end of the half pipe.
Dare: Collect 3 Toolboxes (3/3). Just like last time, after the grind rail leaves the halfpipe, you will return to the area where the path splits into a rail going left and the track going right. This time, follow the track right to collect another toolbox.
Dare: Loop the Rainbow Tunnel. After the previous toolbox, you will perform a large jump. If you have the special meter filled up, you will see a rainbow track on your right. Take this track and you will go through a rainbow tunnel. Do a full loop inside it to finish the dare.
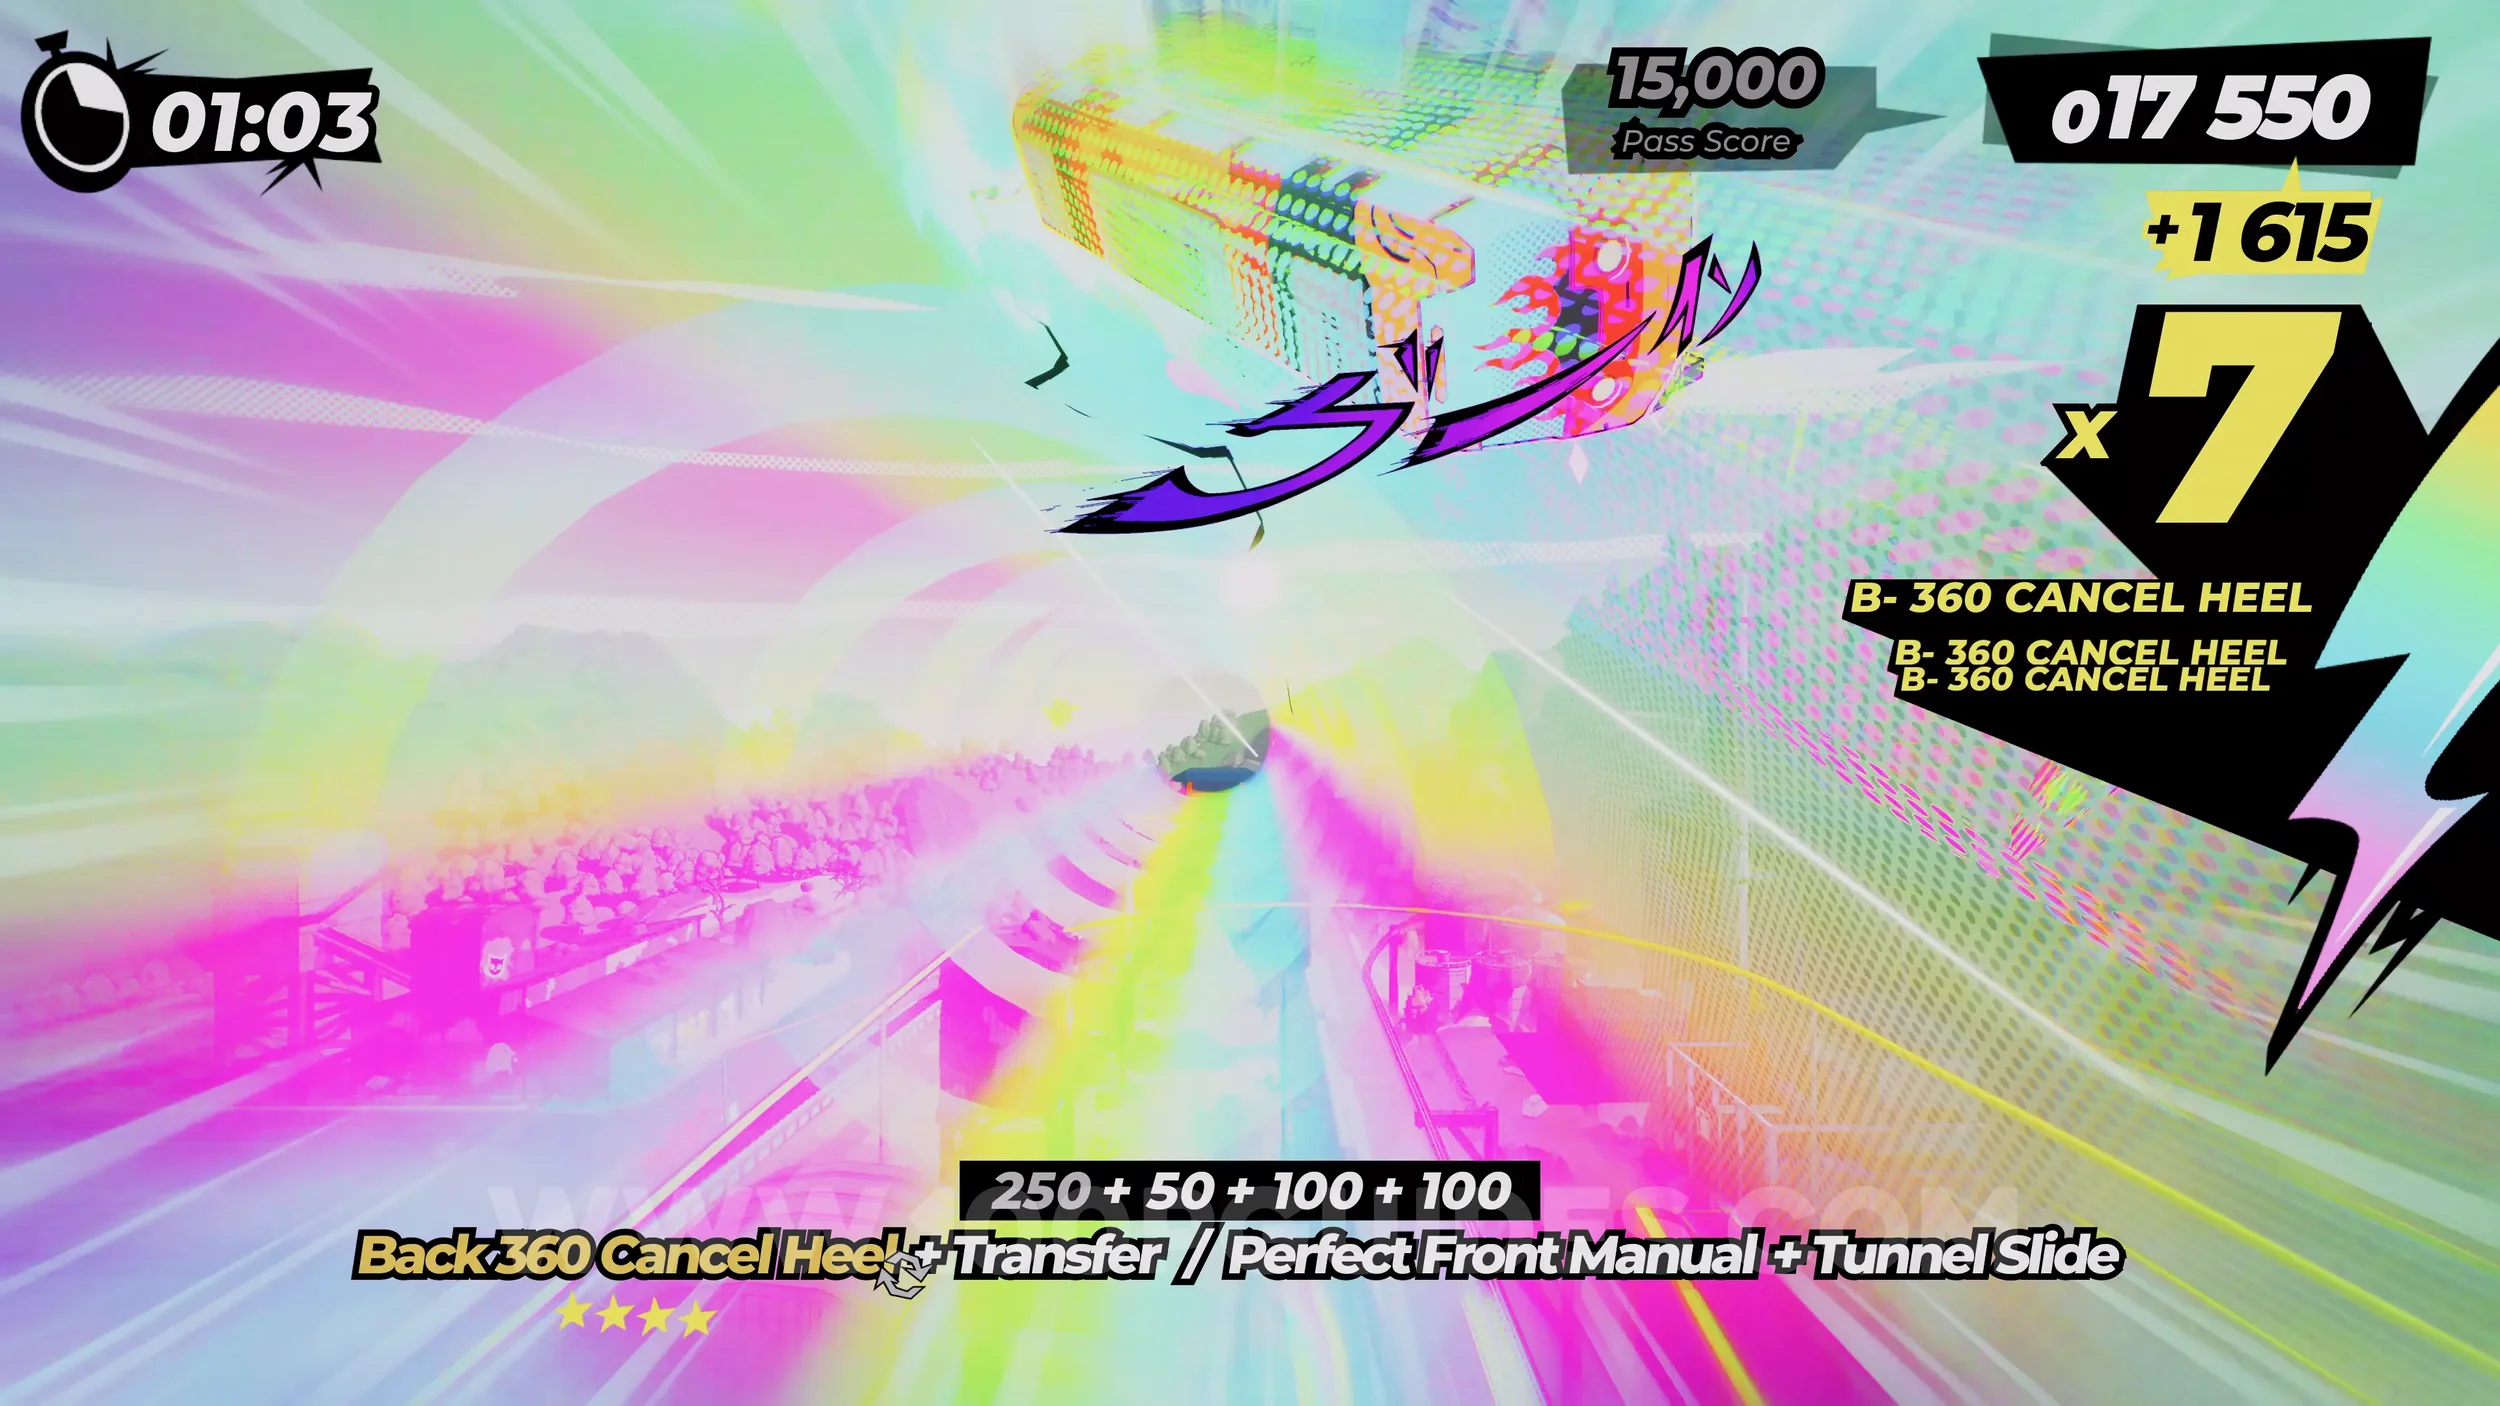
Spray Can (1/2). Immediately after the rainbow tunnel.
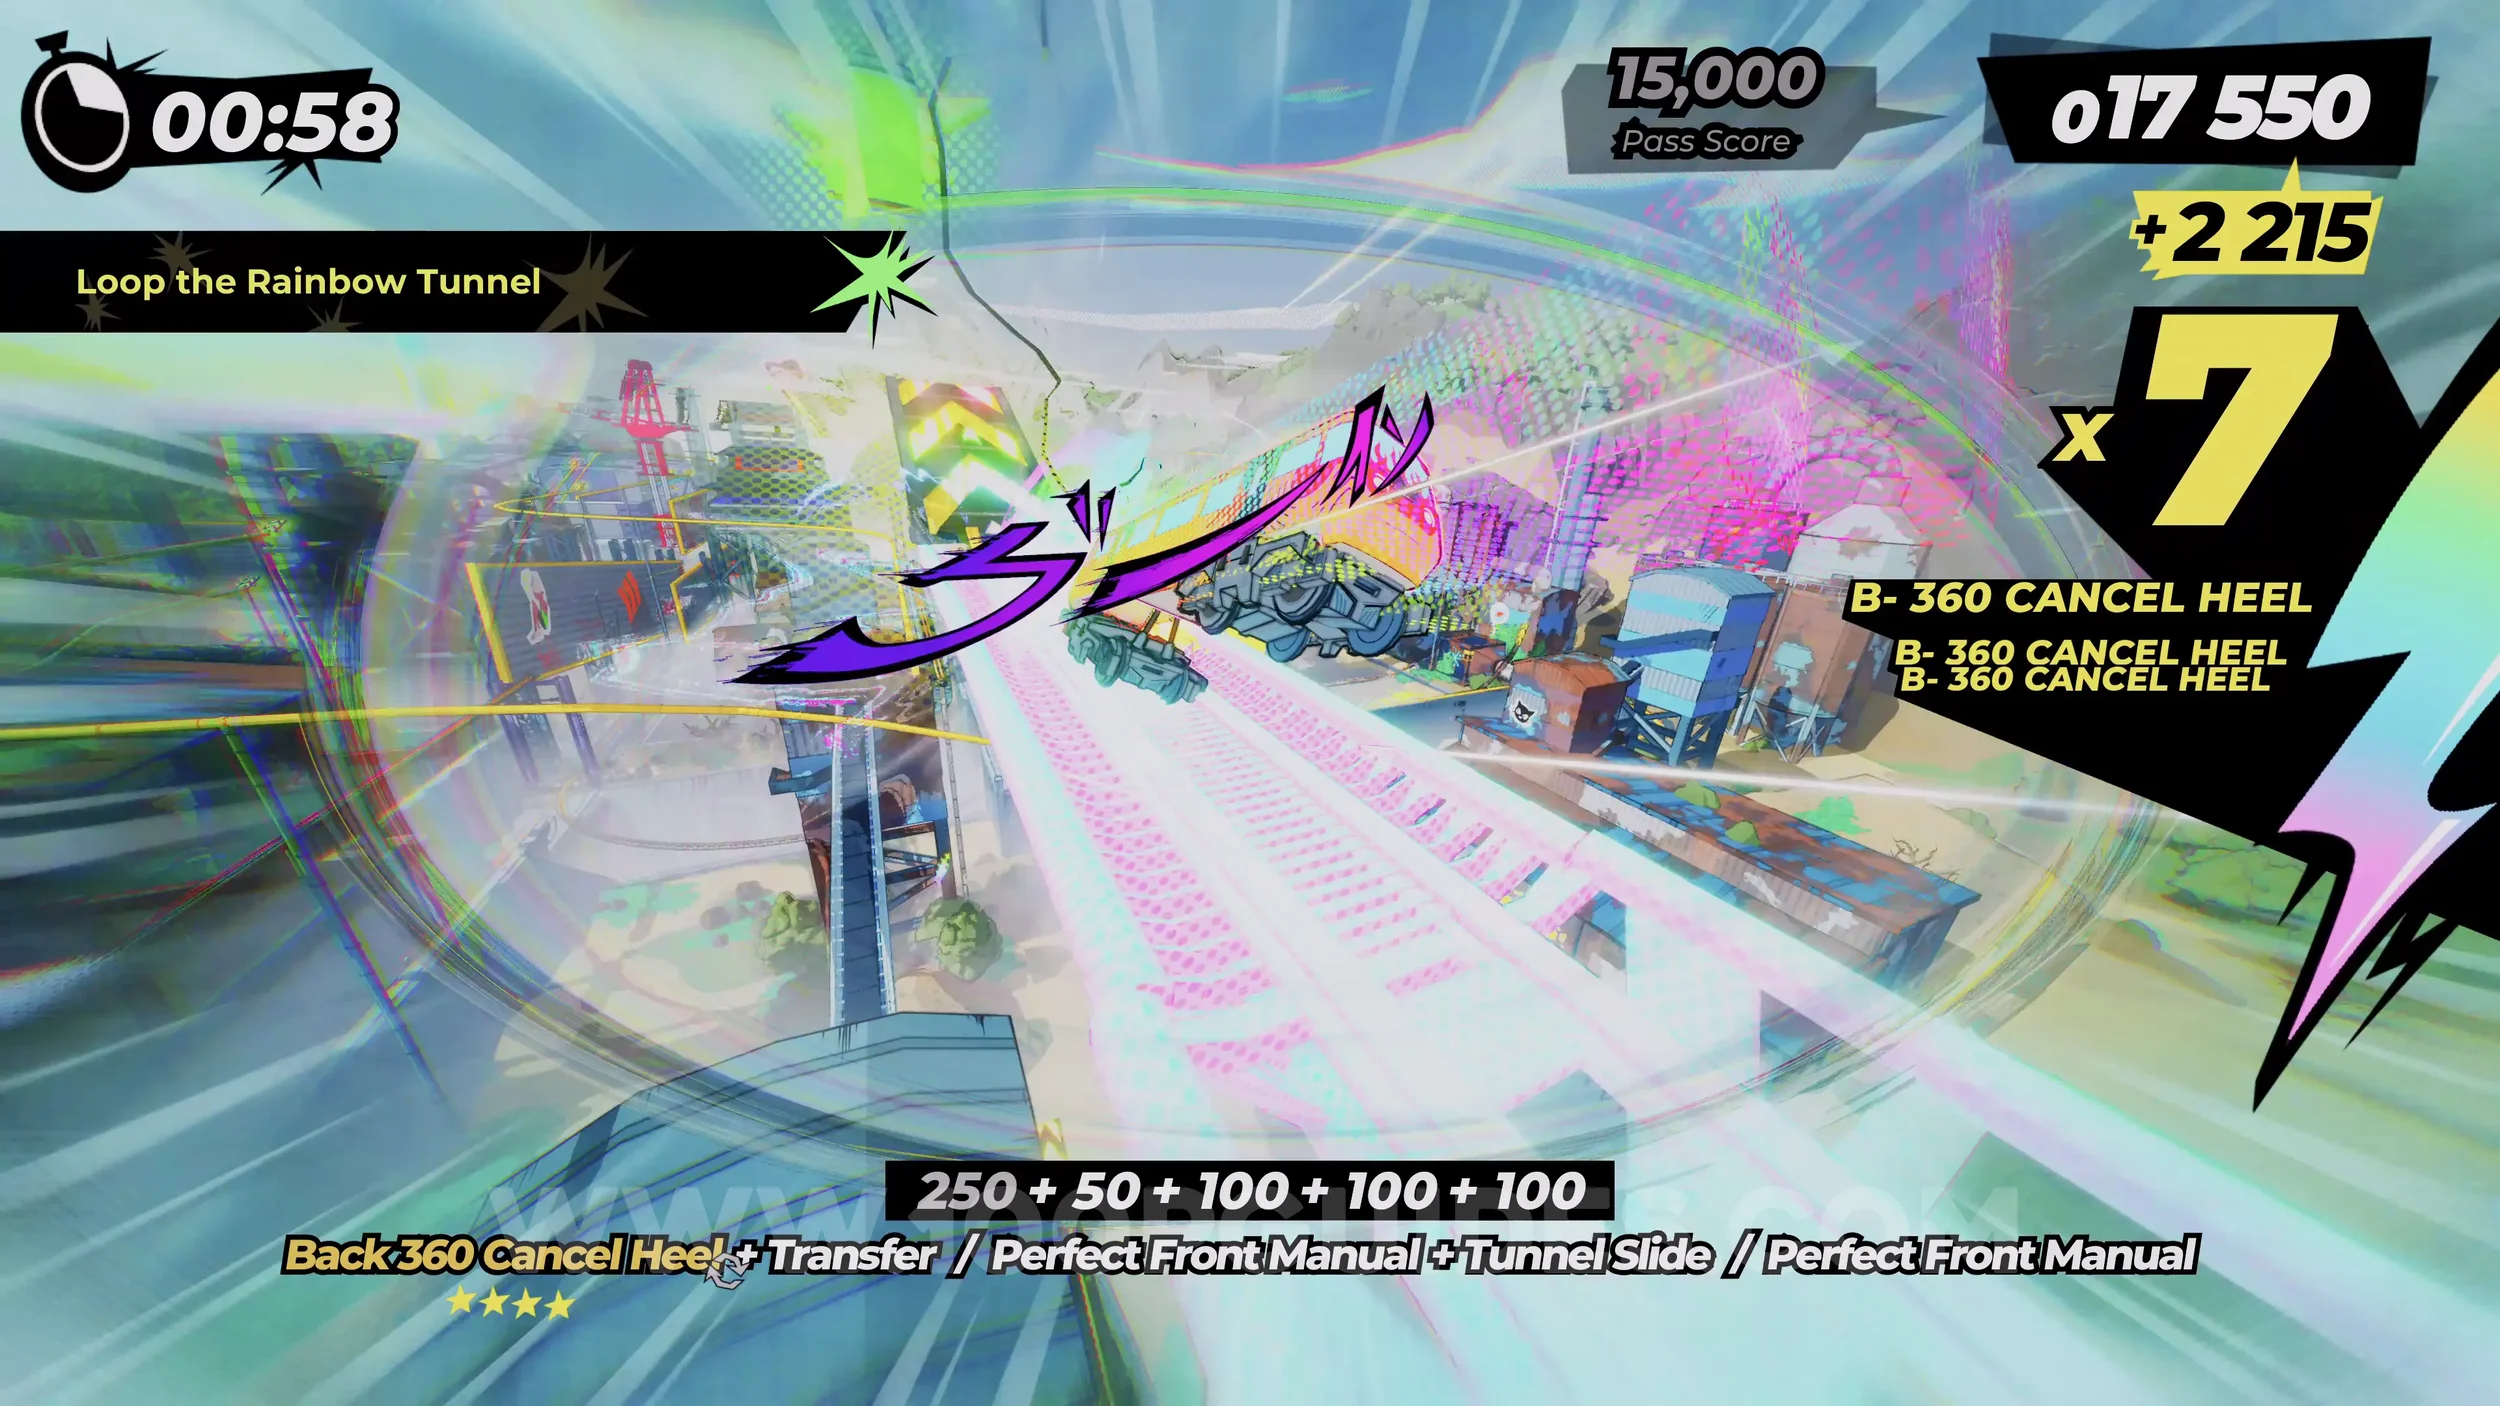
Gear (2/2) and Dare: Finger Kick 540 on a Vert Ramp. After you land from the previous can, stick to the rail on the left like you did before to circle back around to the start. Here, follow the track right, following the blue gear sign. On the next straight, stay on the tracks at the bottom. This will take you to a vert ramp where you will get the gear and is a good spot to complete the dare.
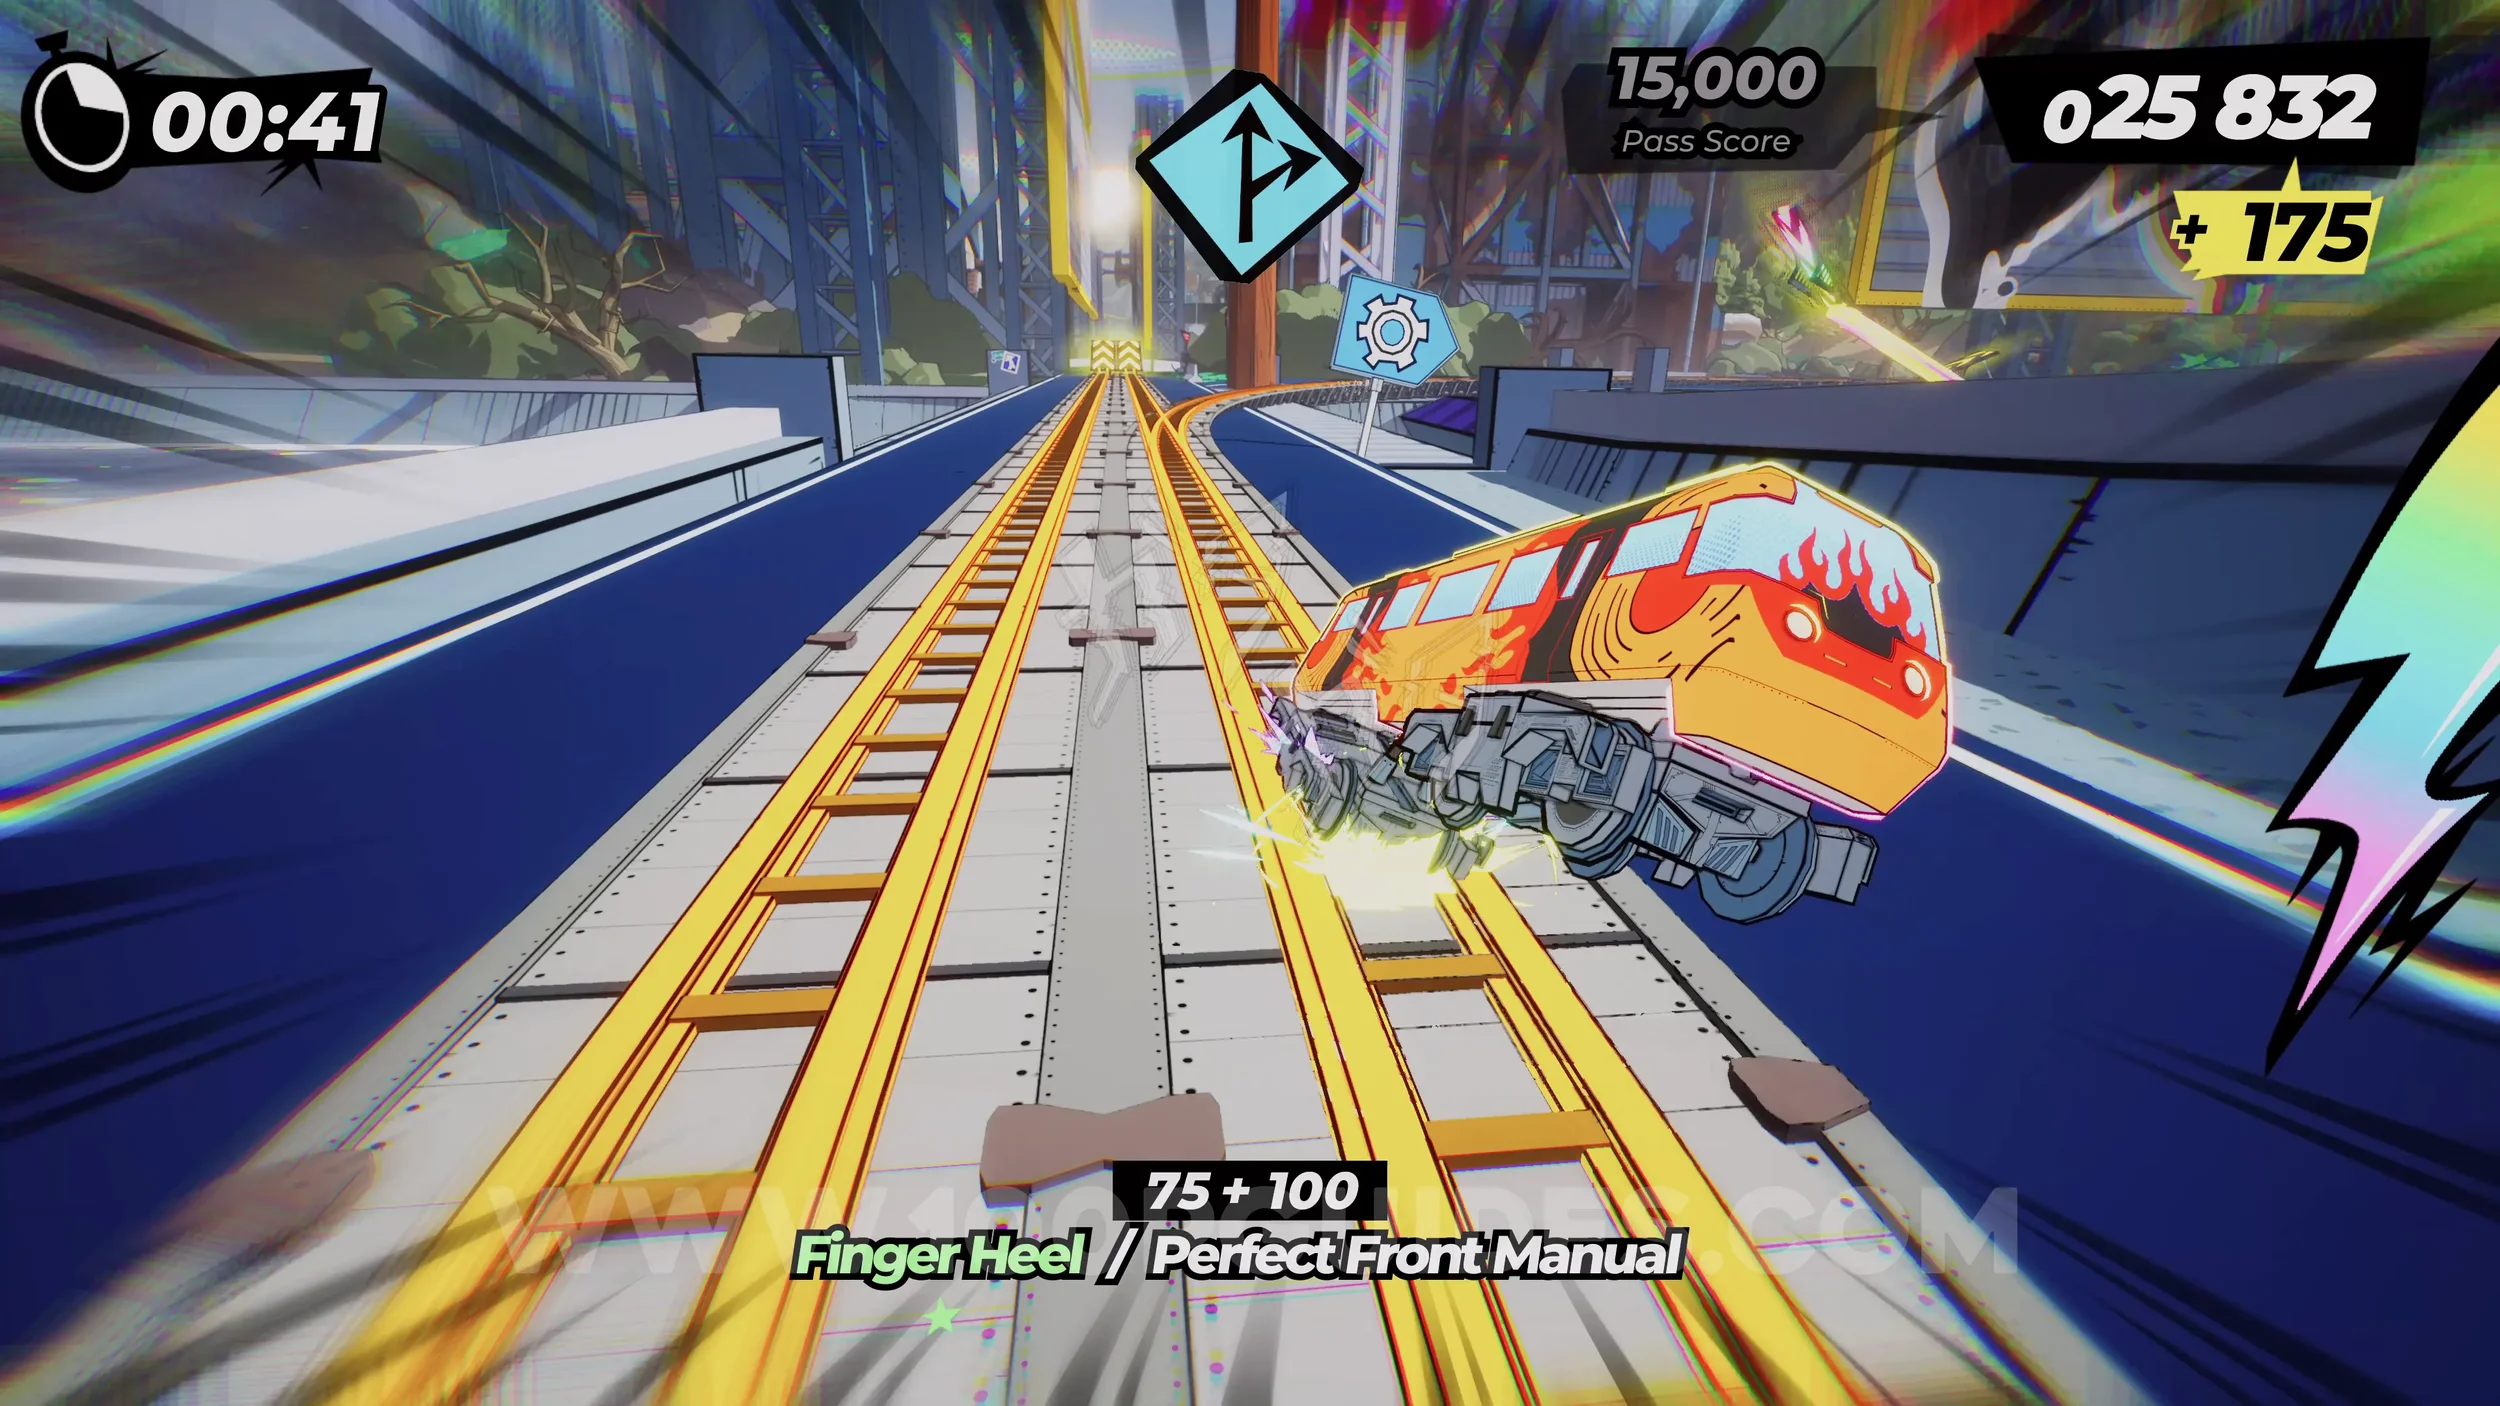
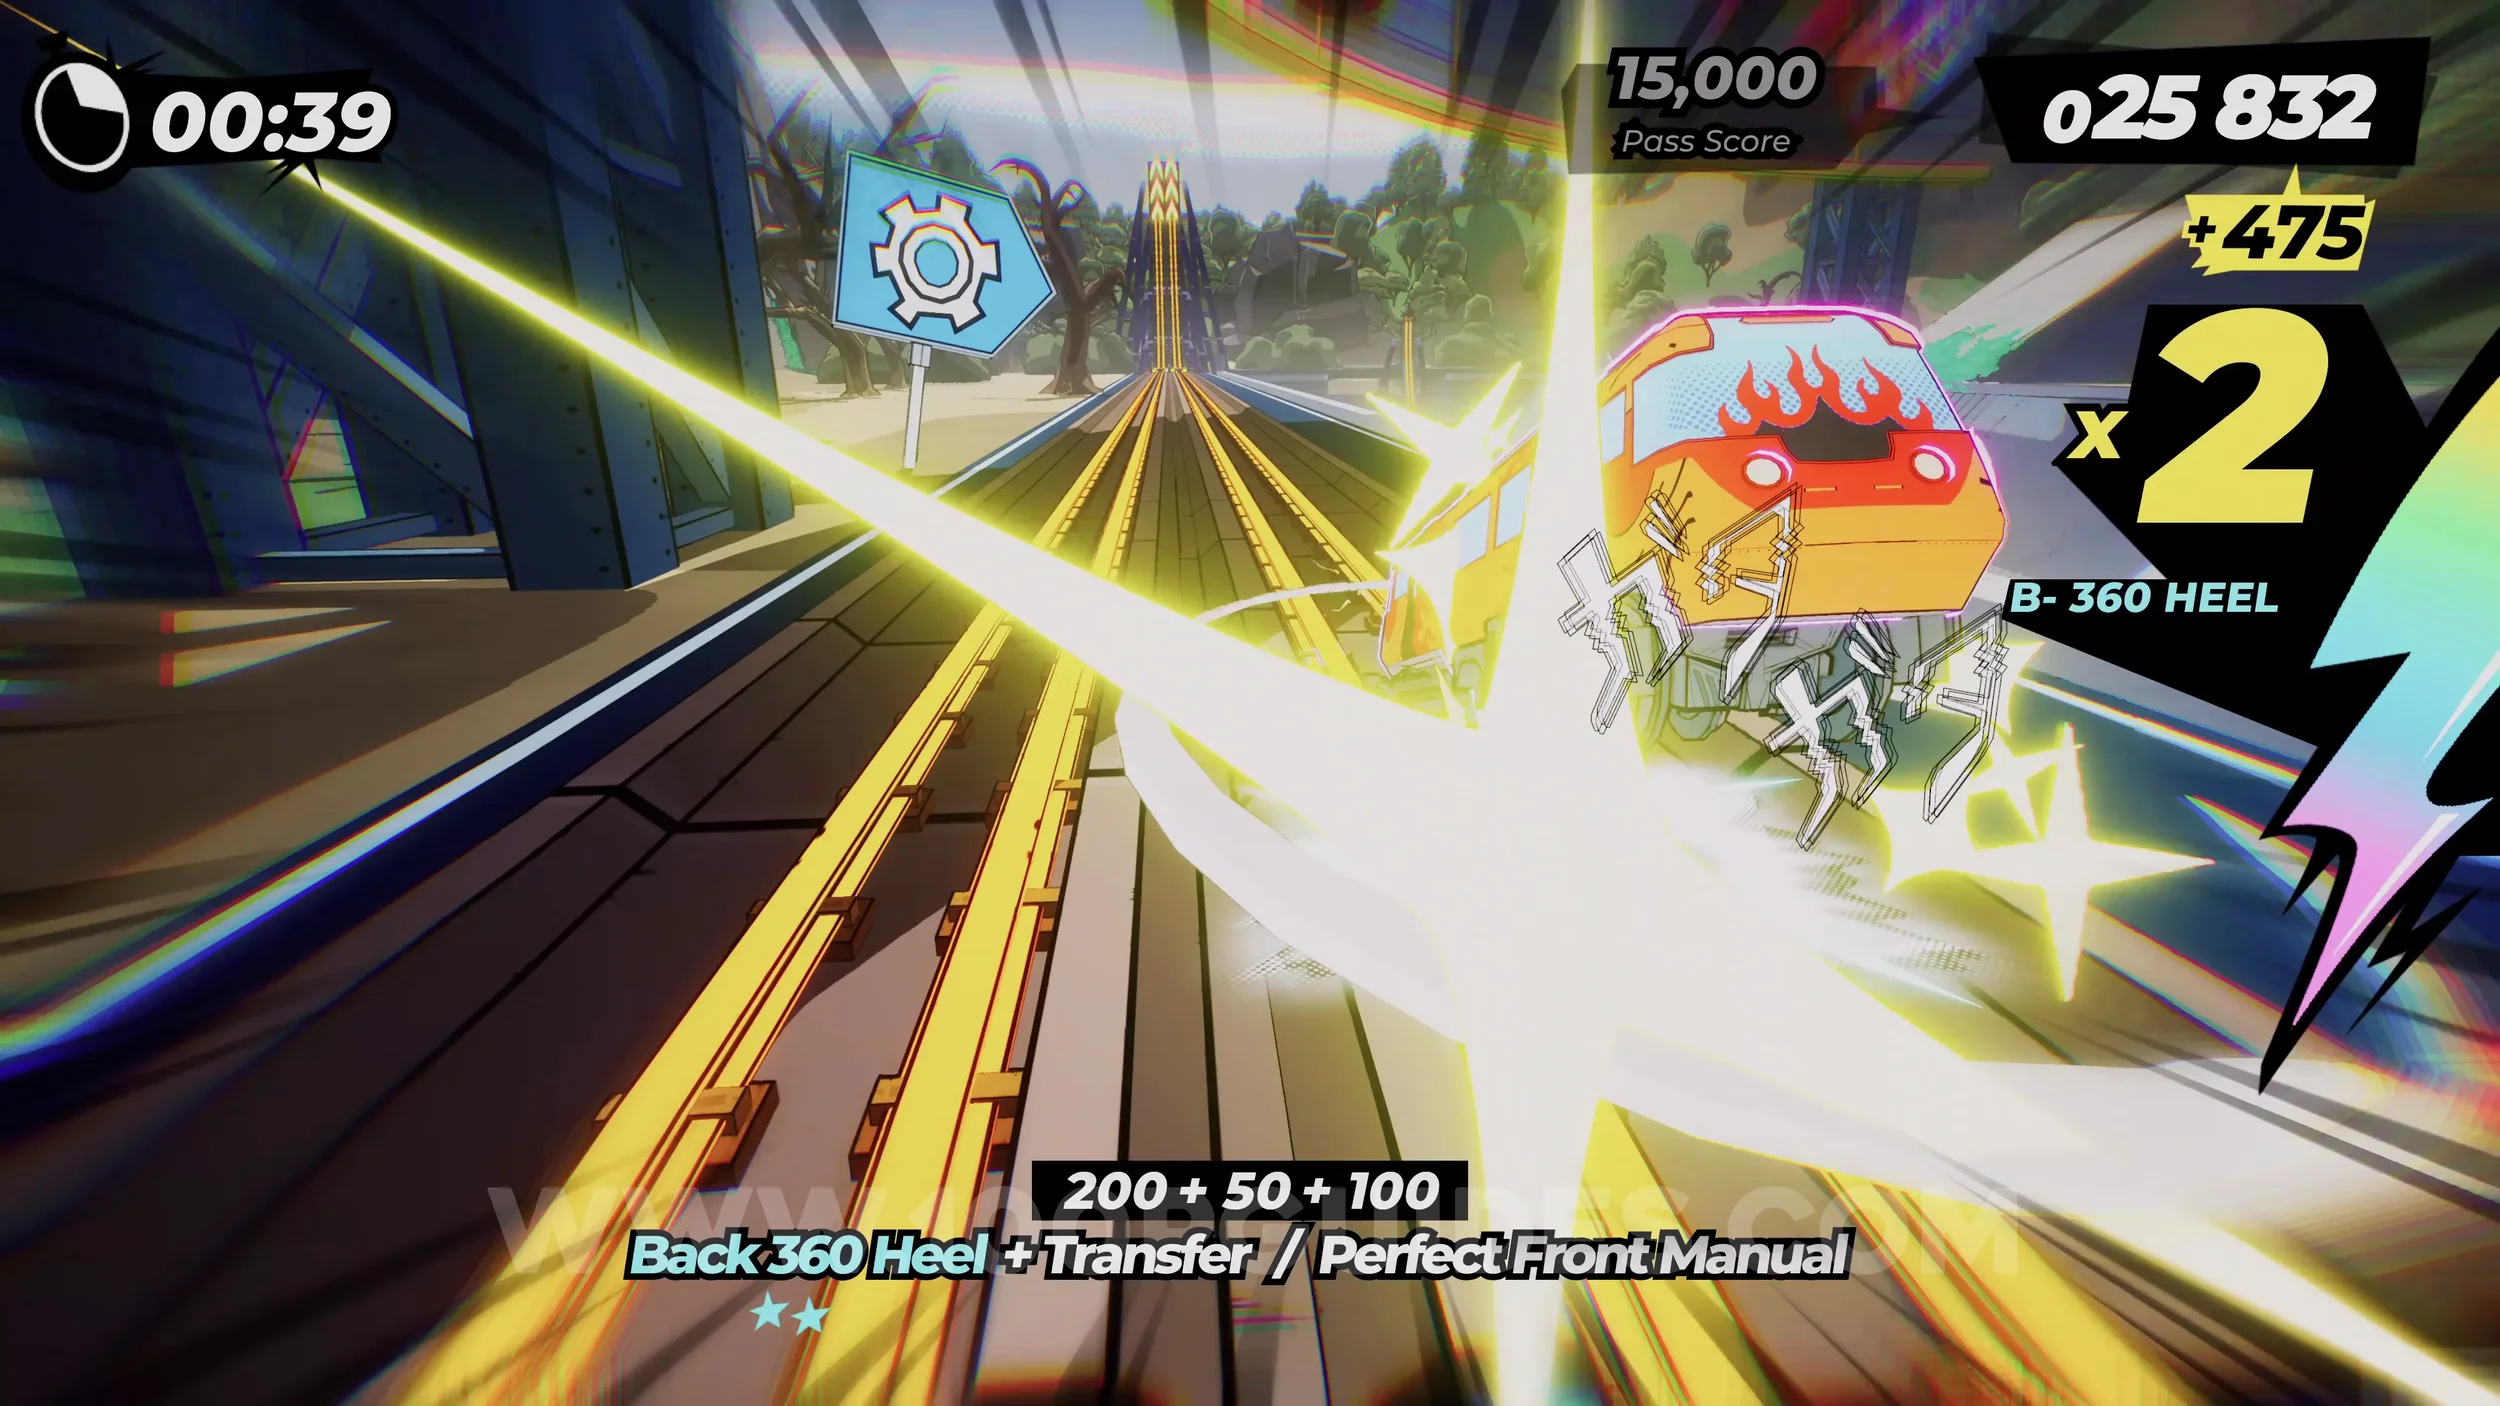
Spray Can (2/2). Continue on the tracks and you will eventually circle back around to the start. Go right again, but this time wallride the wall on your left. Then stick to the rail on the left and follow the spray can sign. At the end of the next straight of the rail, where the second green sign is, you will see a rainbow rail in front of you. Jump to it and follow it to get the spray can.
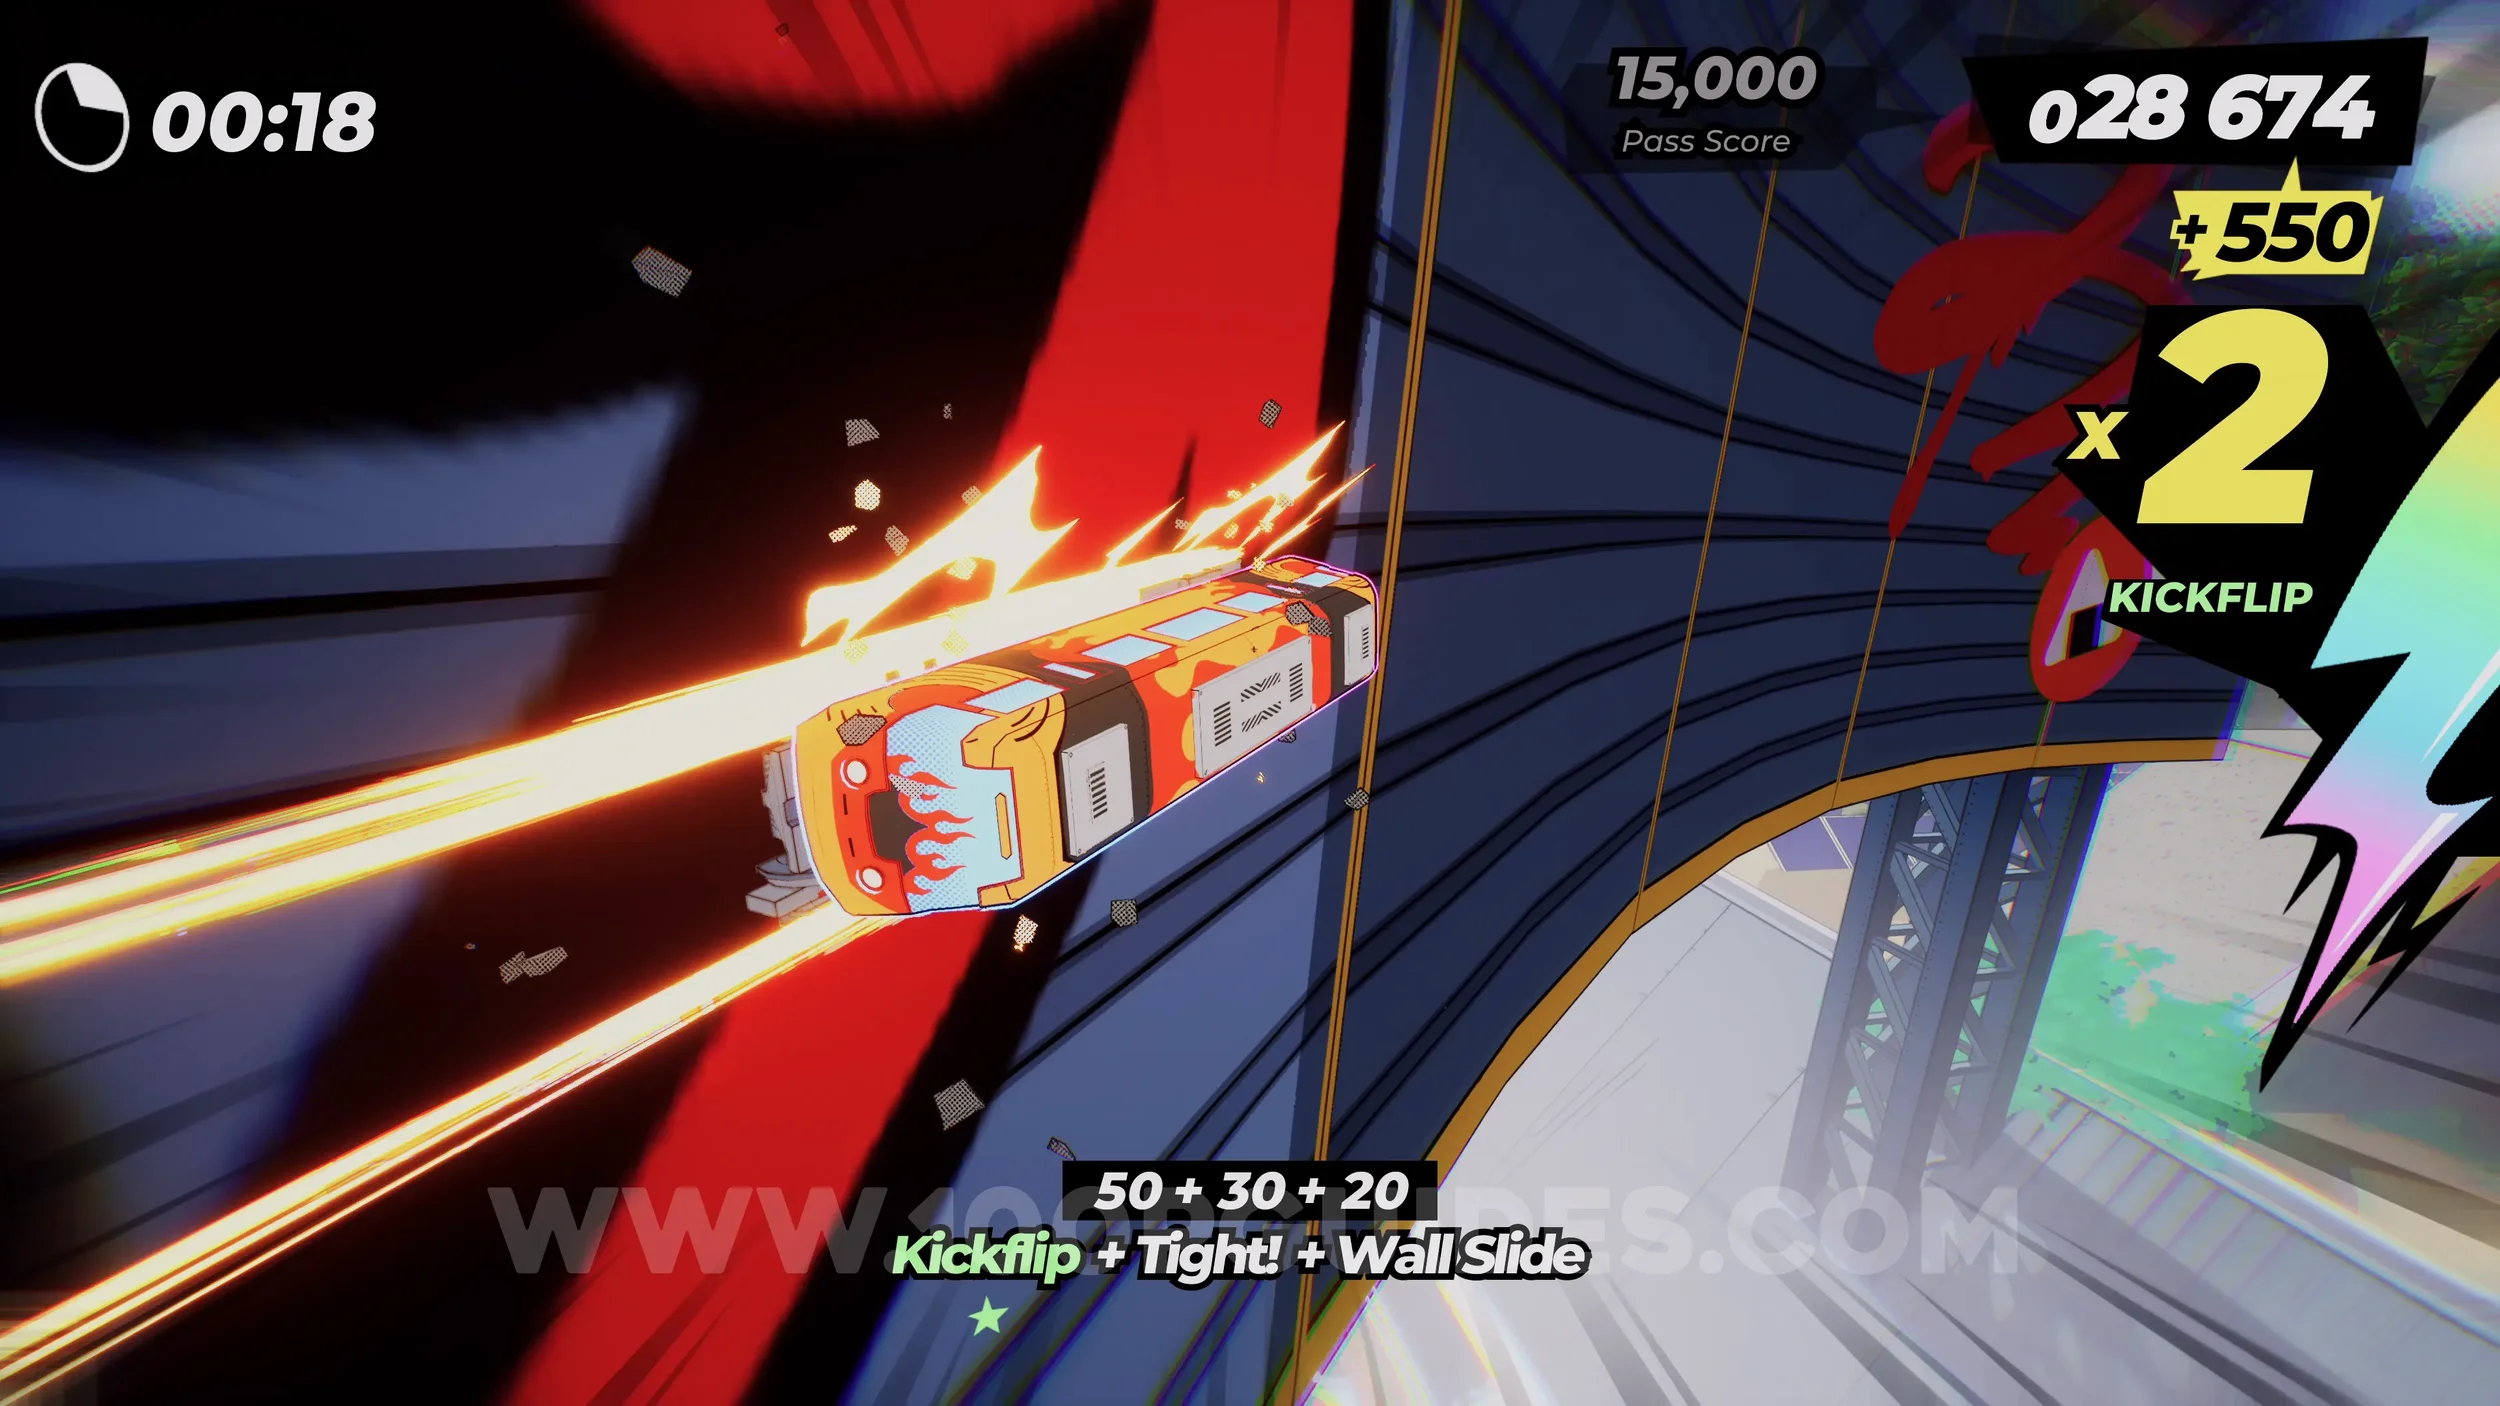
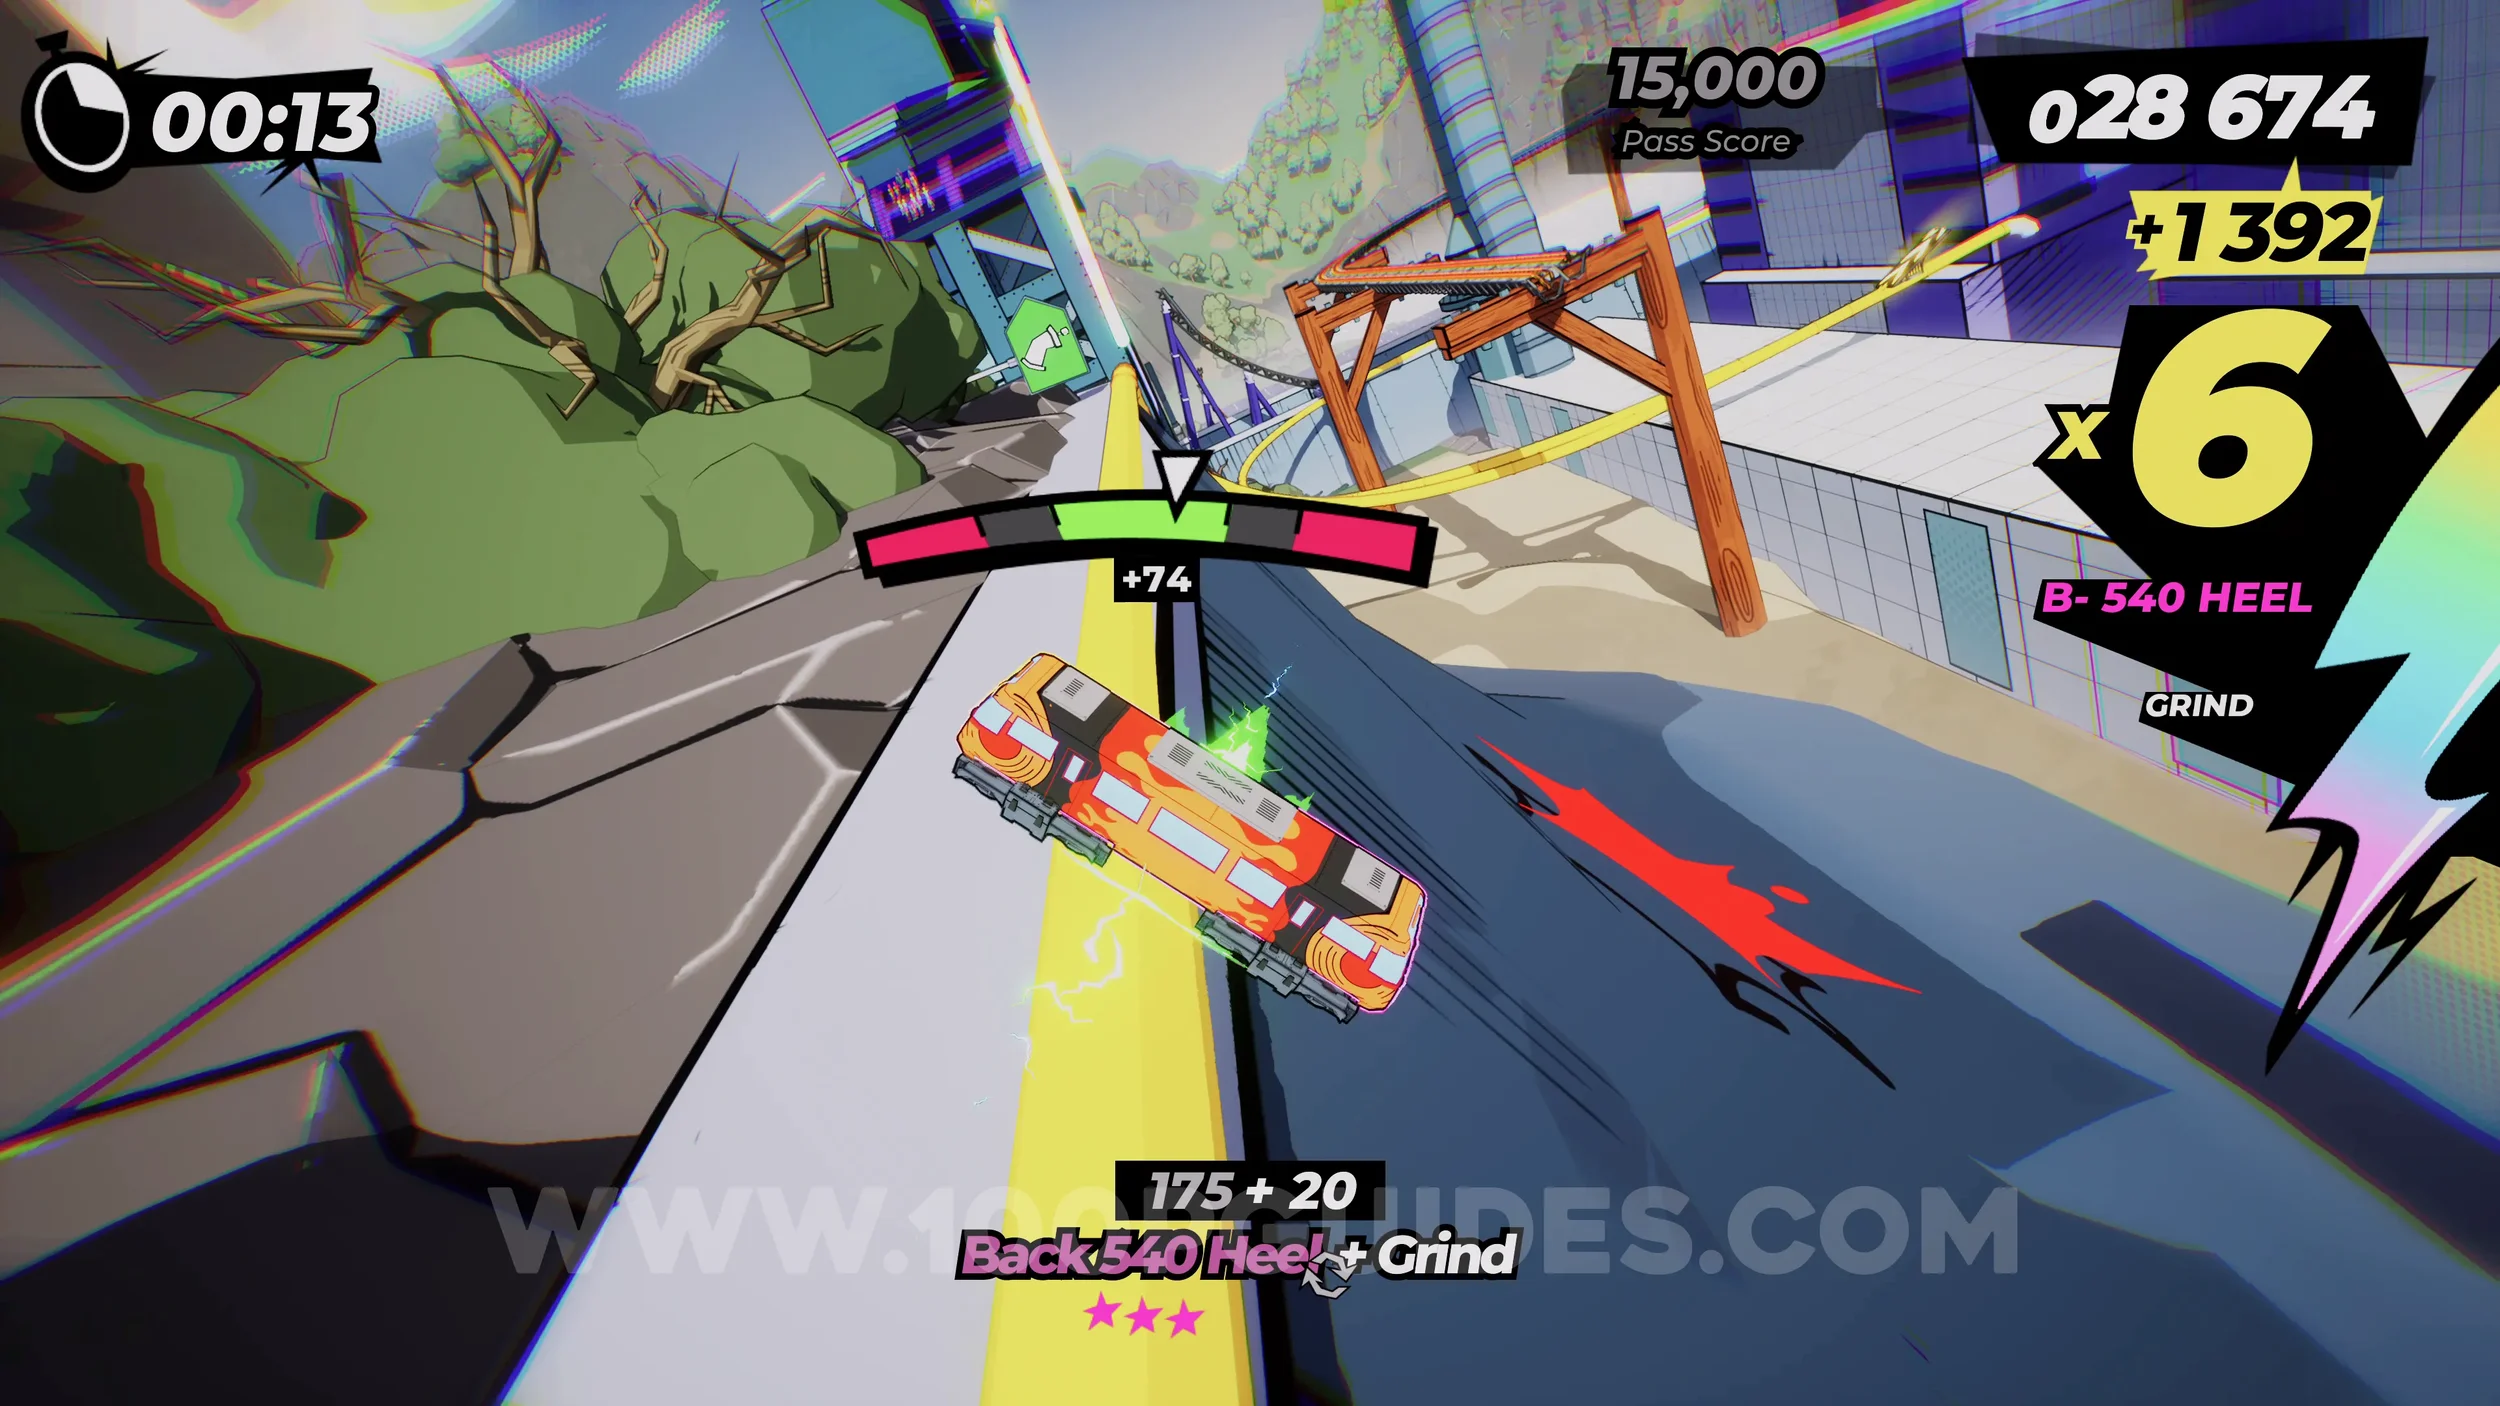
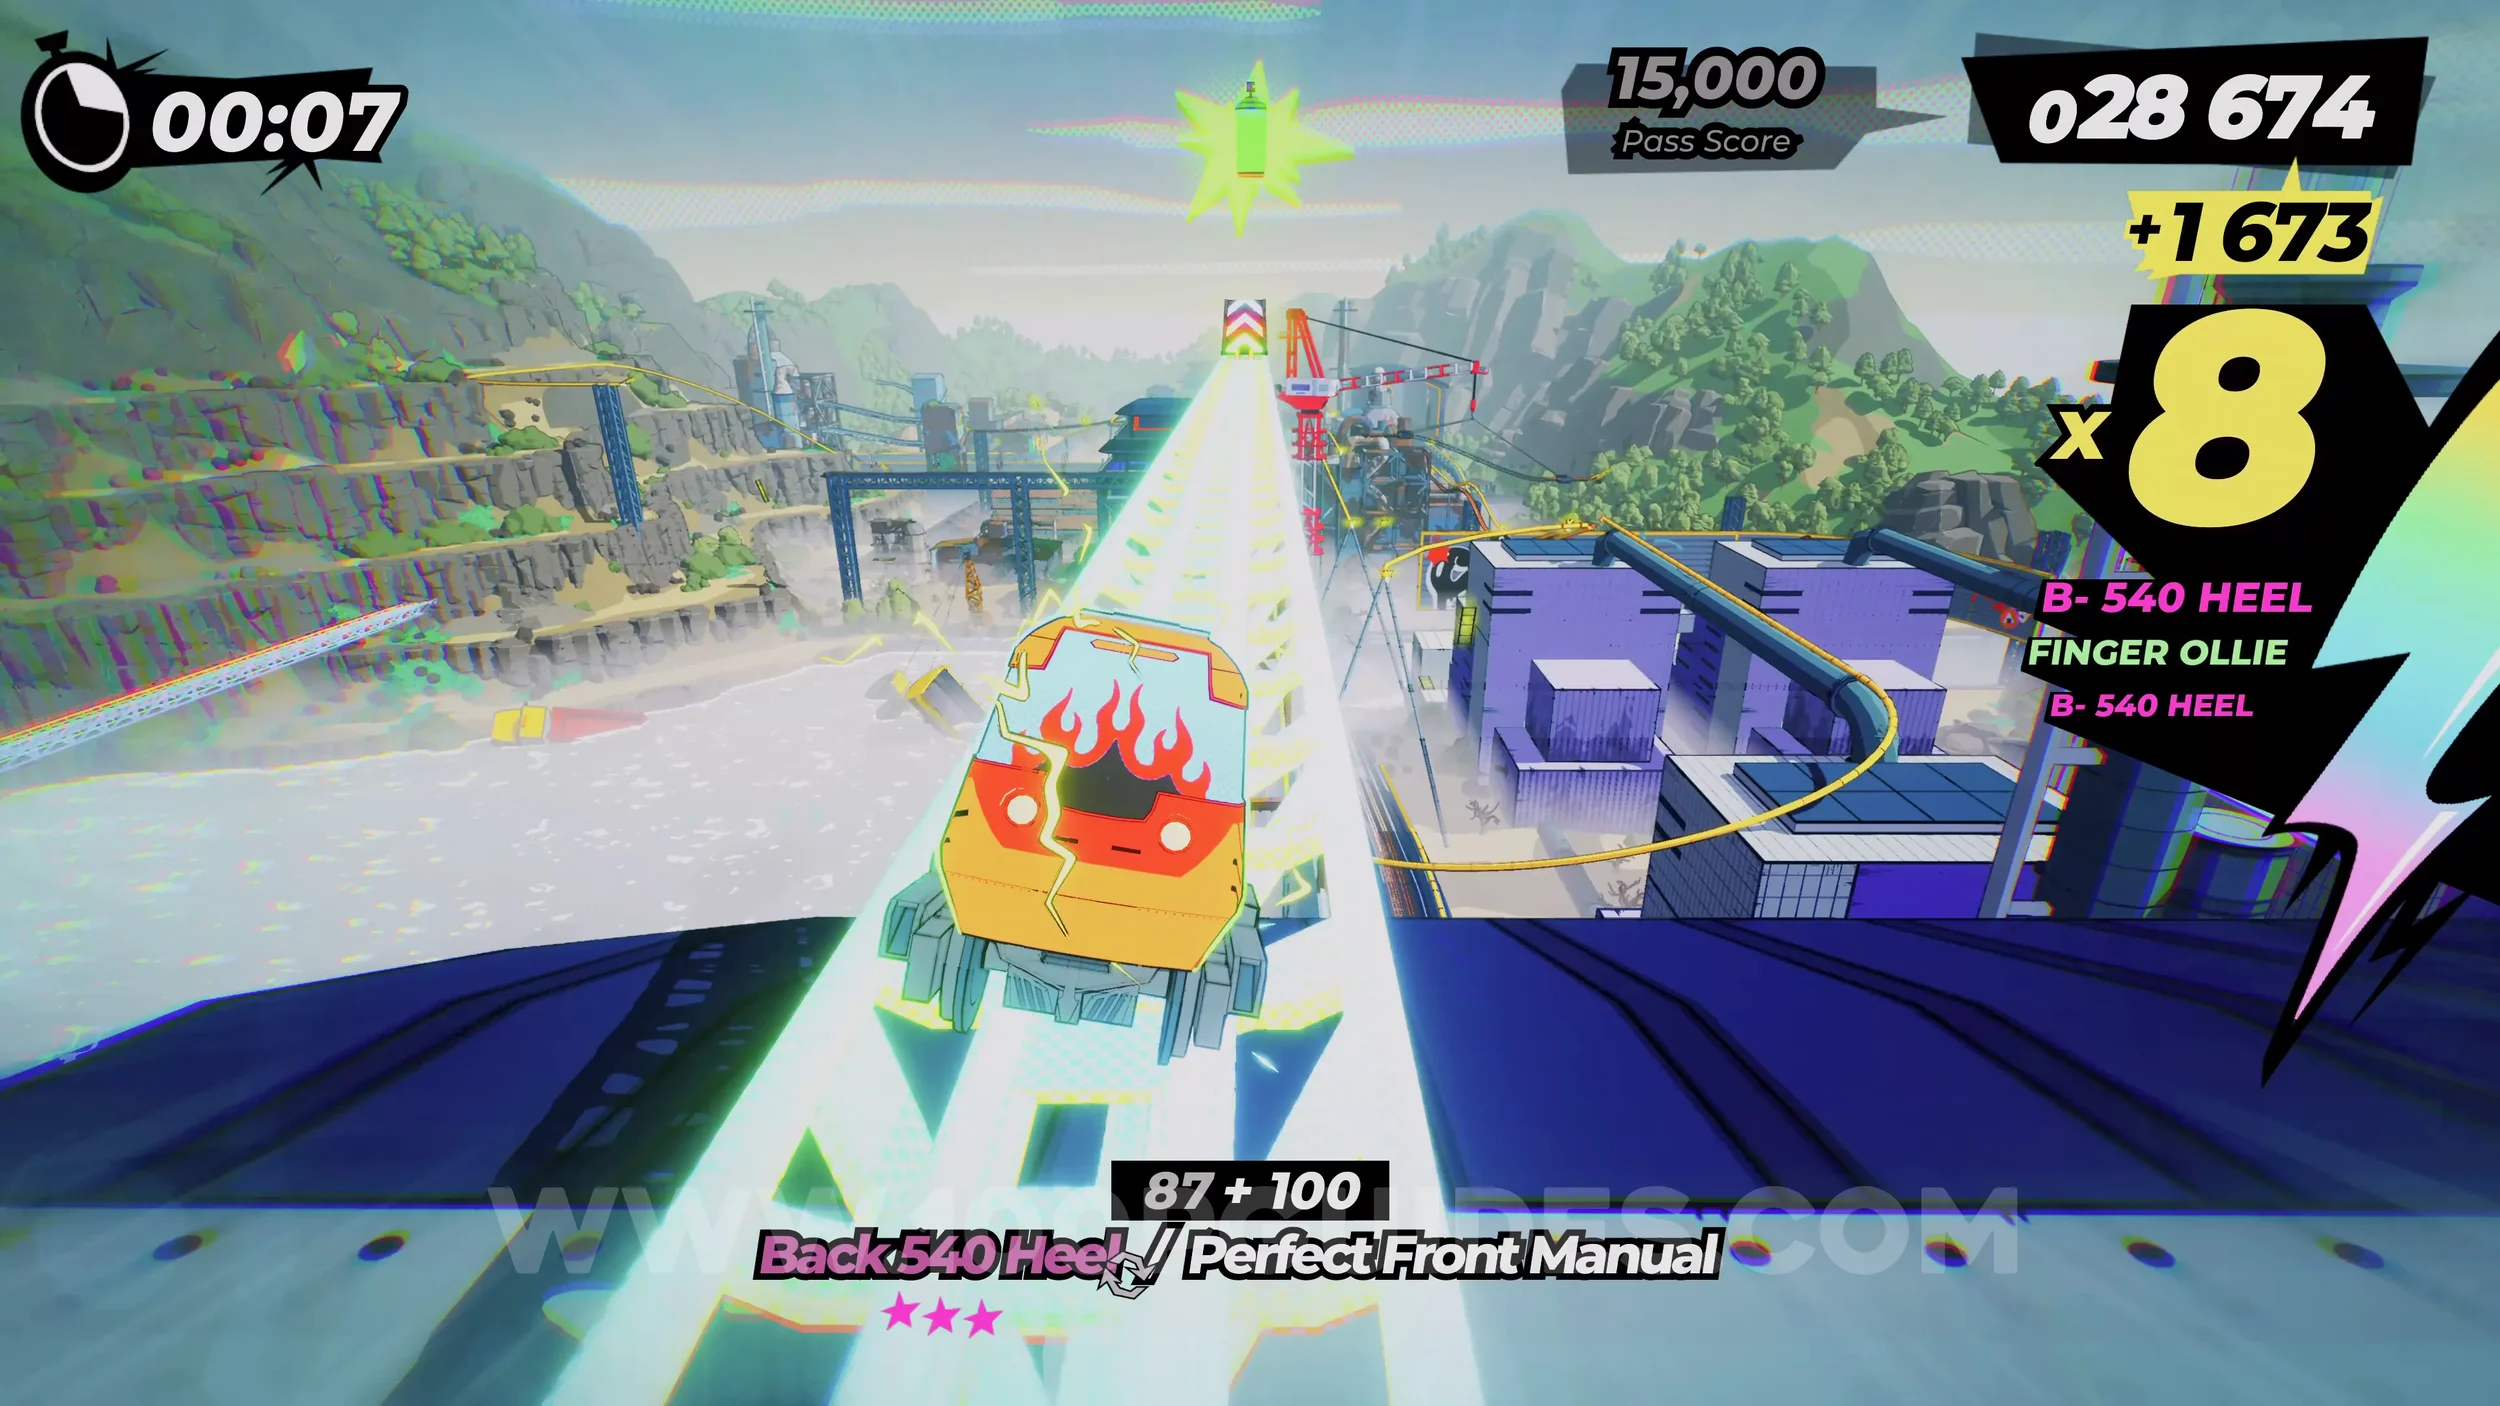
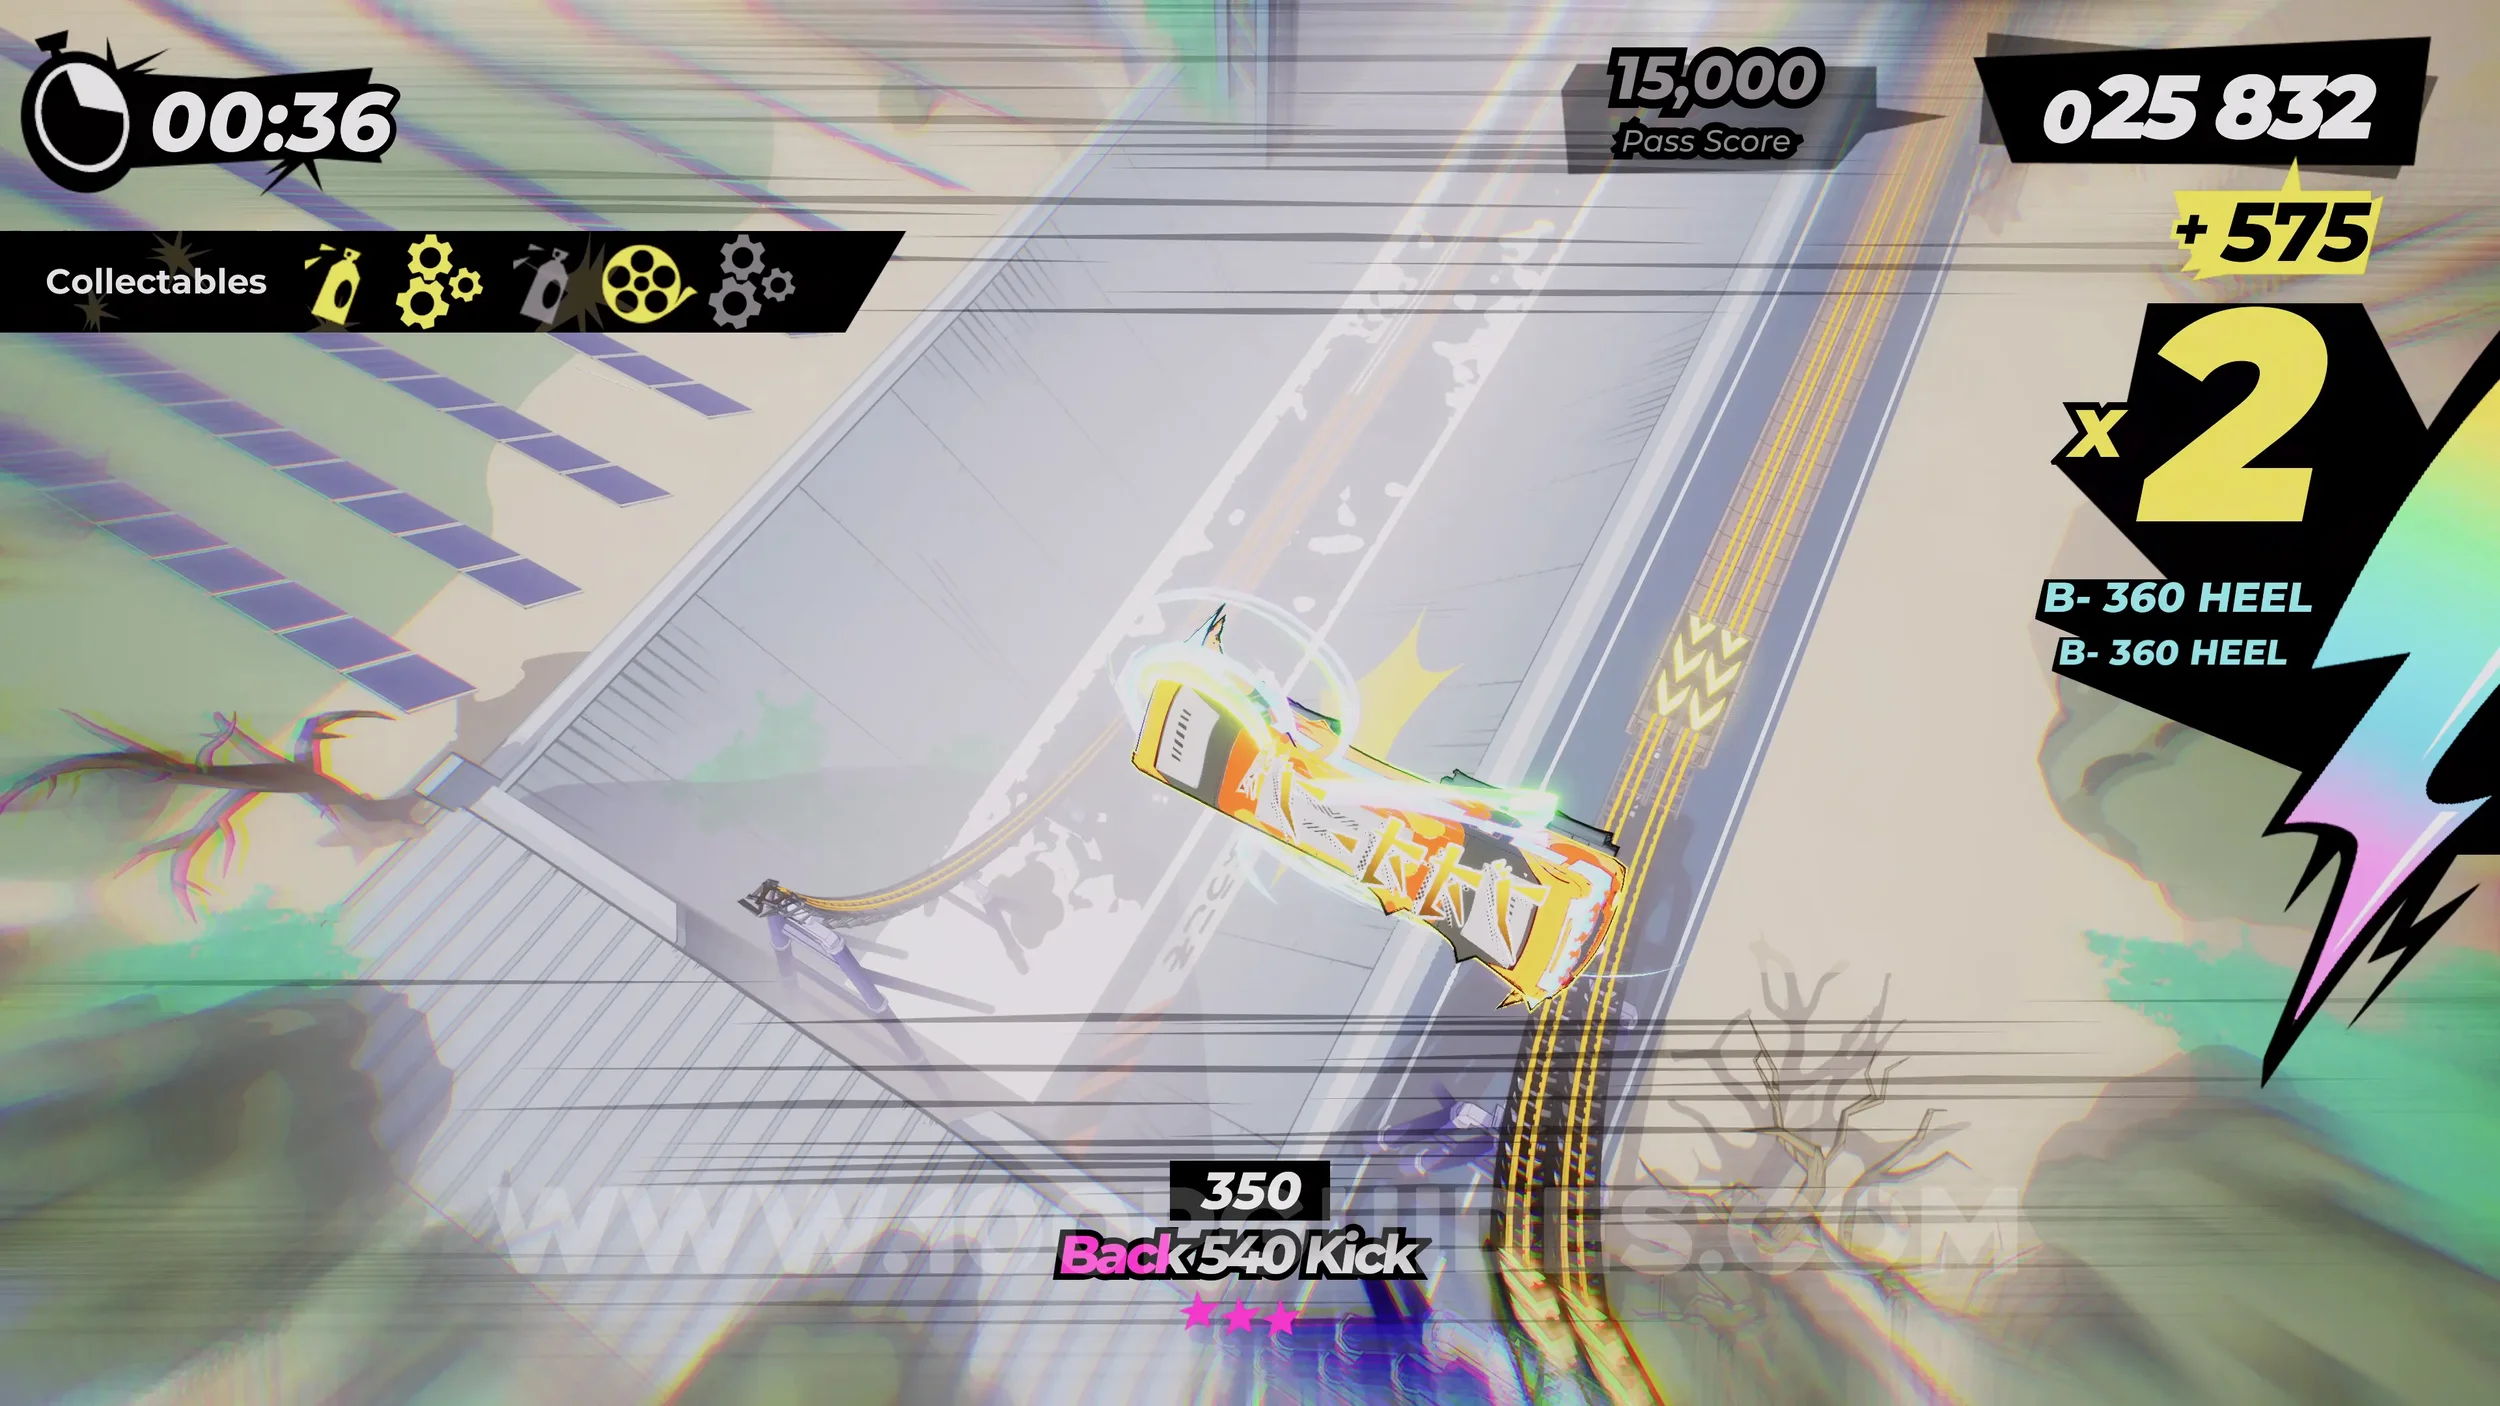
Dare: Pull a 20 Trick Combo. Self-explanatory. Obtain a 20 trick combo by chaining tricks with manuals and grinds.
3-2-C Kochi Castle
This is a shop level. Here you will be able to spend your spray cans on more stickers needed to work towards the Full Set trophy. In this shop you will also be able to purchase your first five trains with the gears you have collected, to work towards the True Densha Collector trophy.
3-3-1 Cursed Track
Spray Can (1/1). On the platform to the right after the first corner.
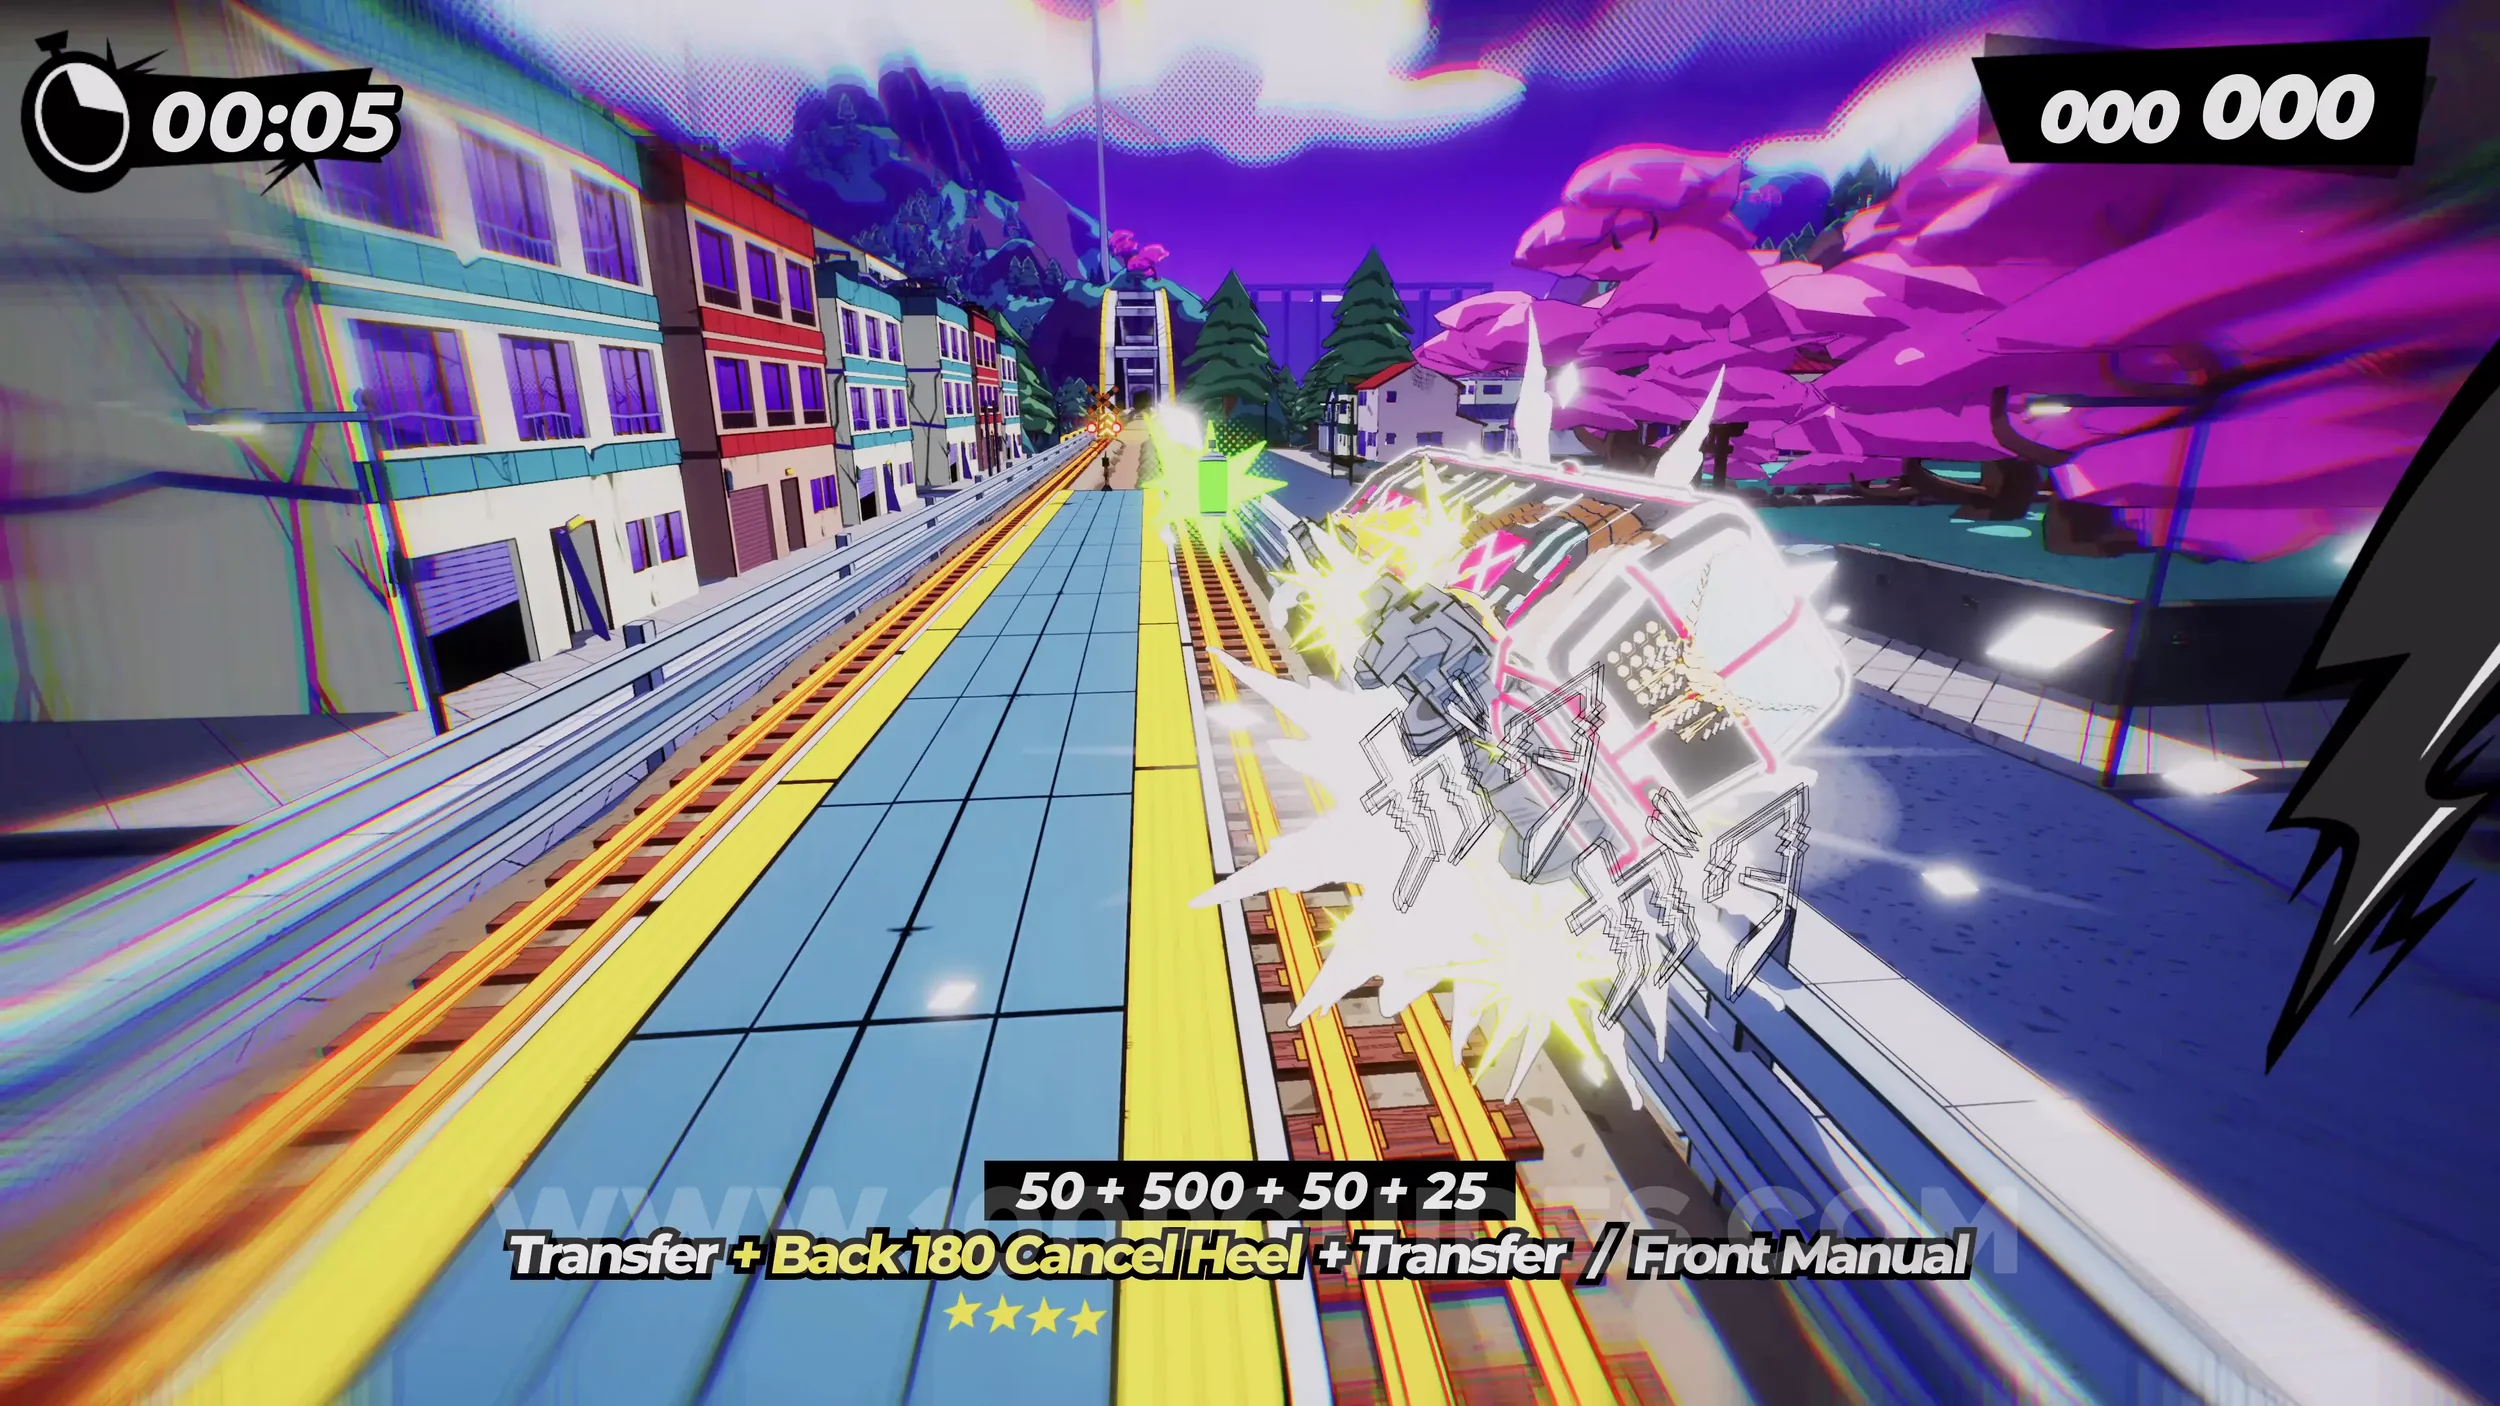
Dare: Trick on the Phantom Wallride. When going through the dark forest with the ghost in front of you, you will get to a large see-through wallride. Just use the right analog stick on it to perform a trick.
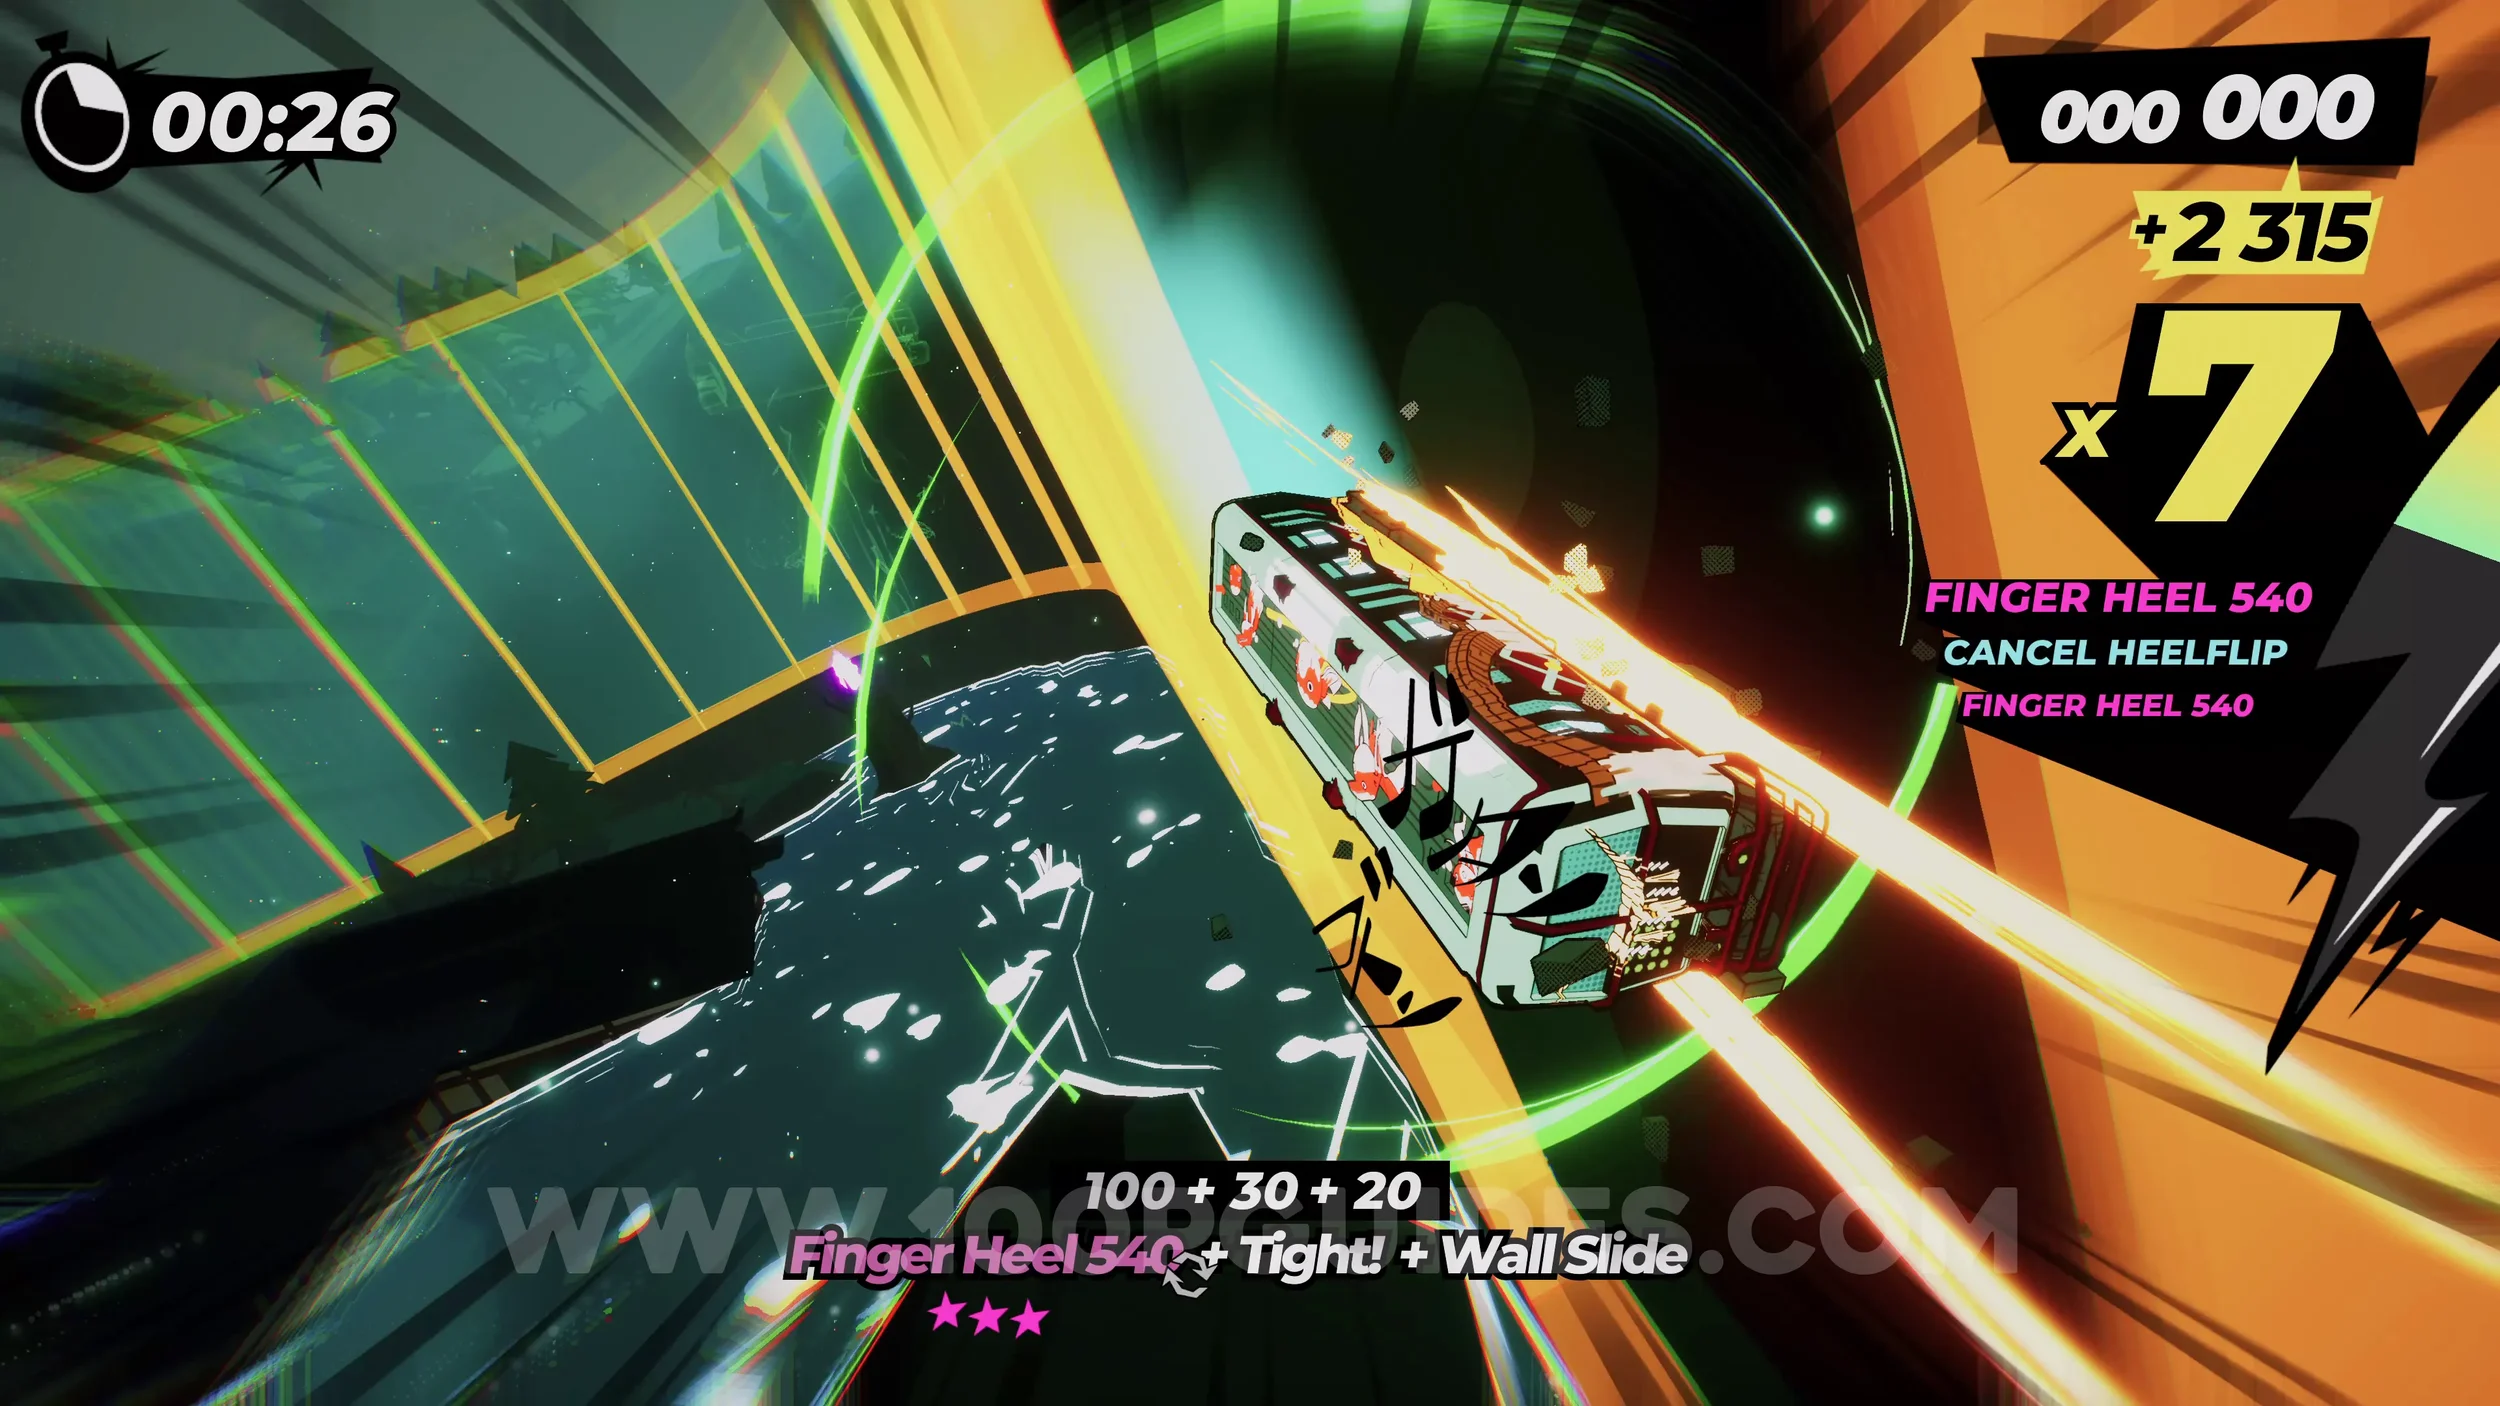
Gear (1/3). Follow the track until it goes through a little pond of water. After this, you will get to a straight with multiple tracks. Jump to the one on the left to get the gear.
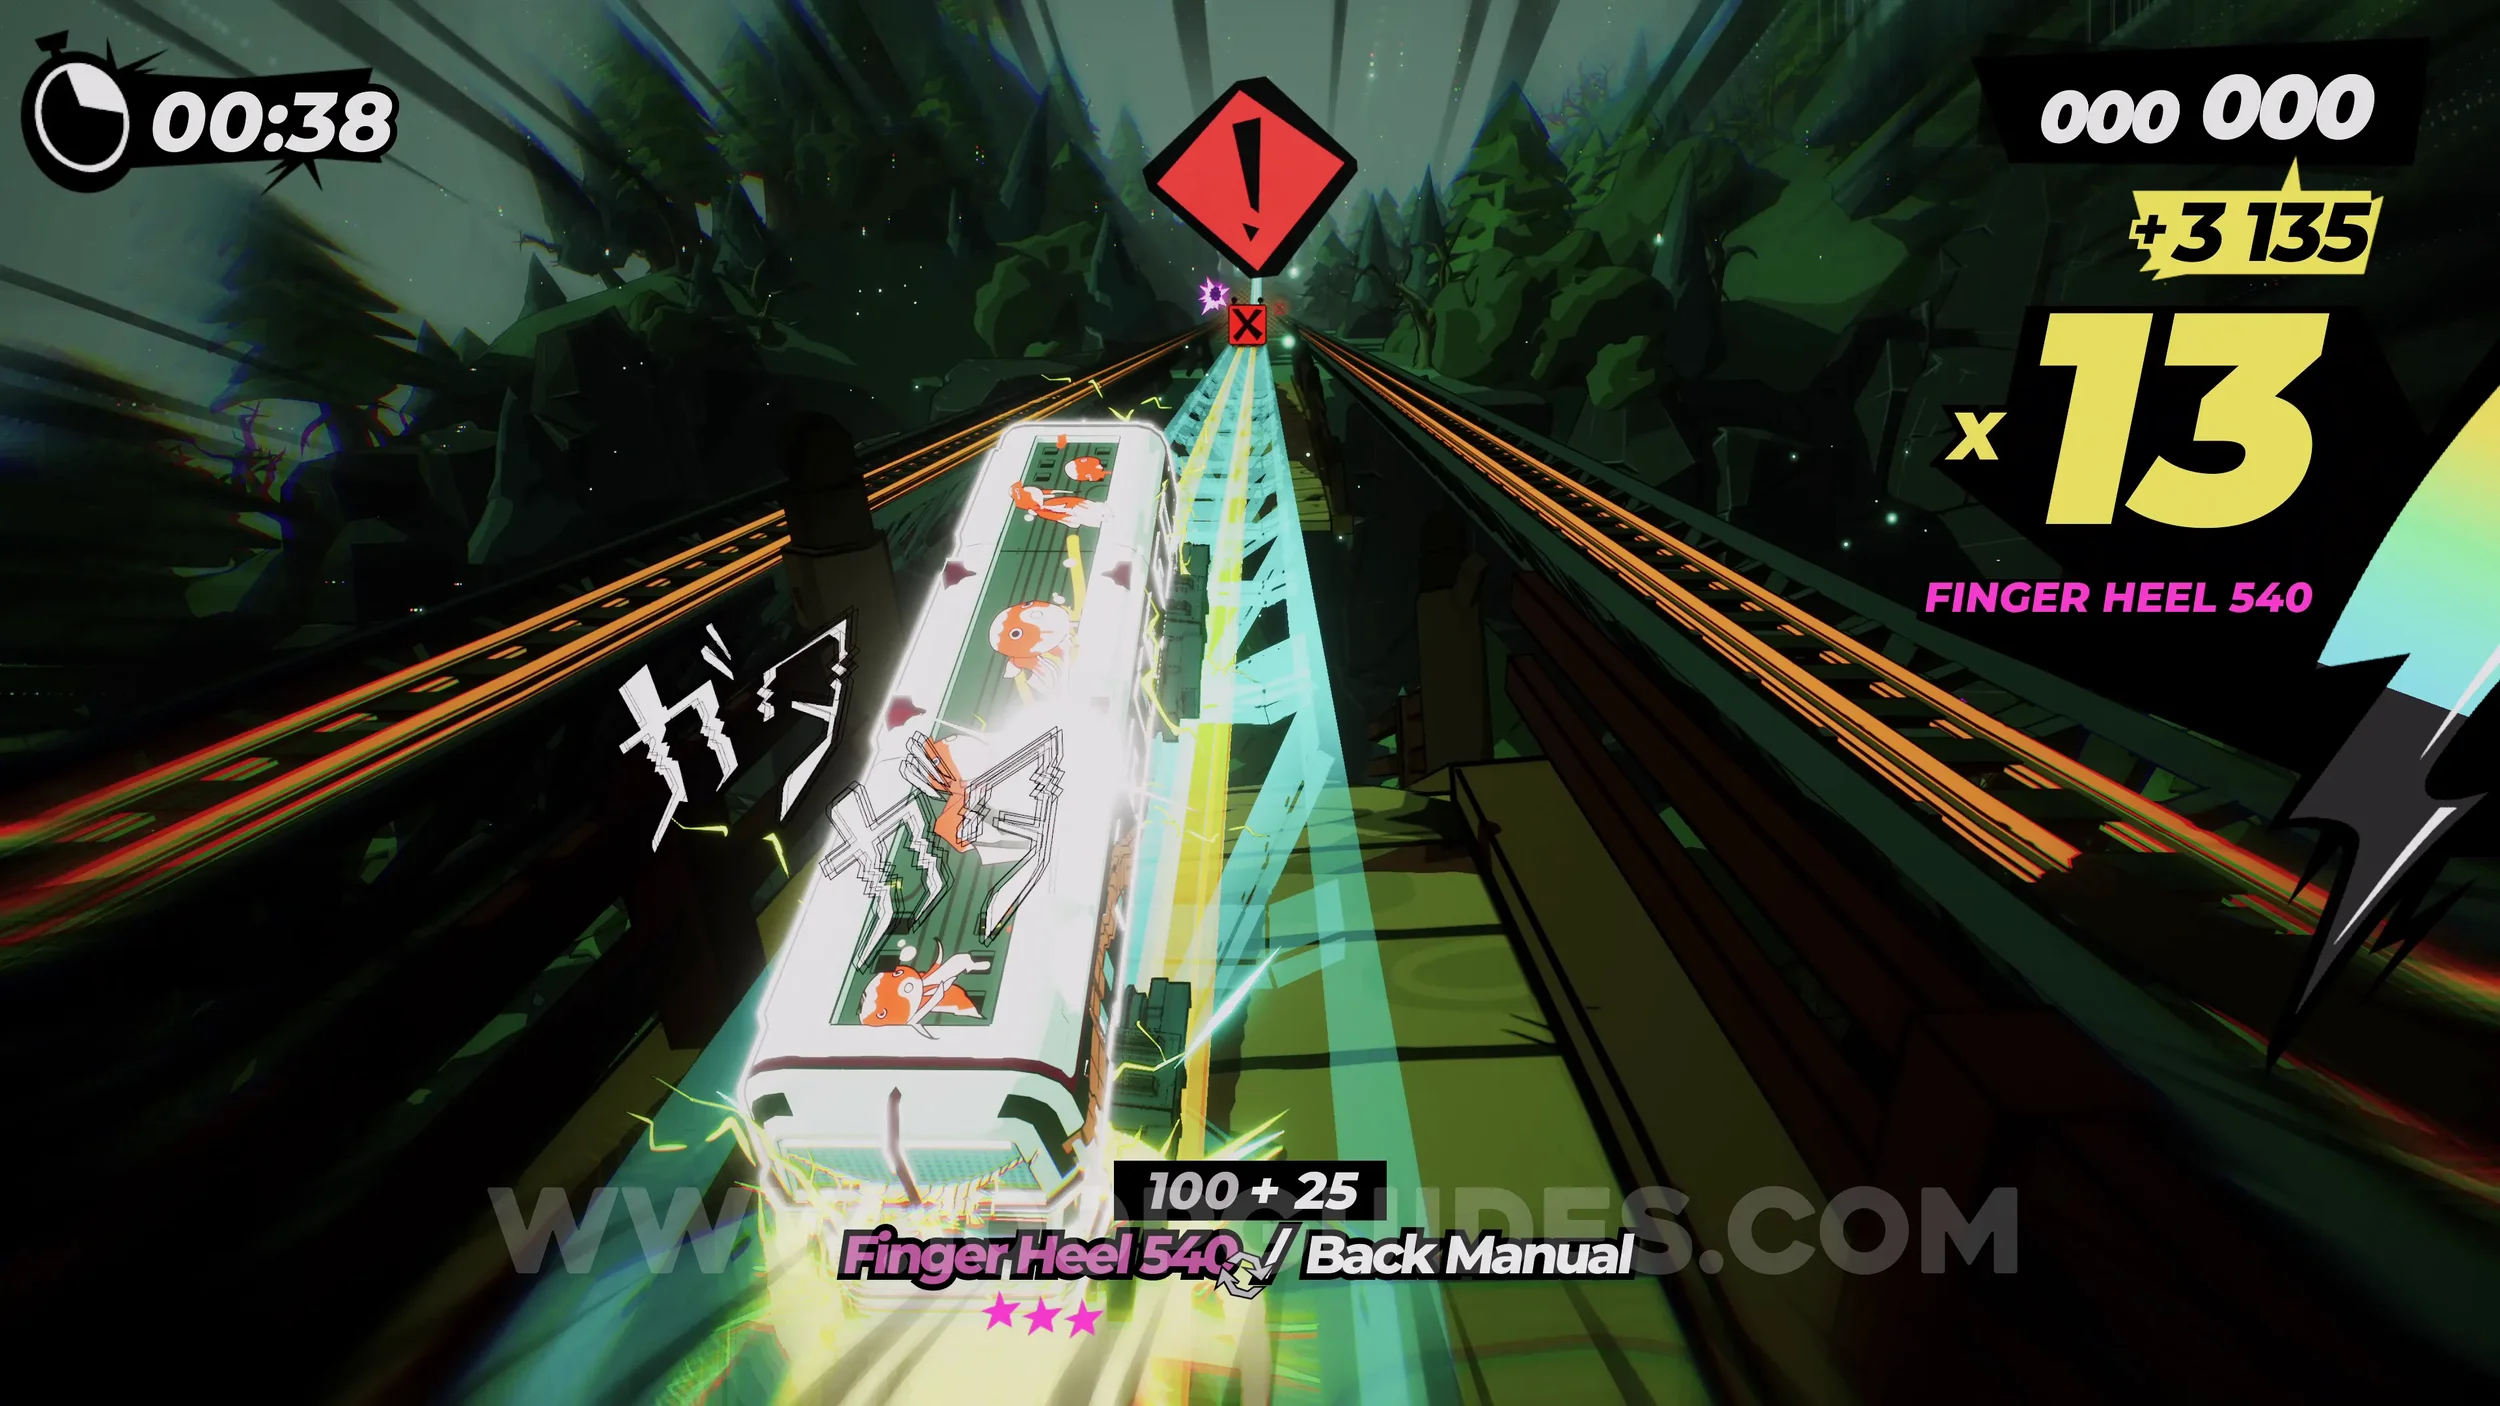
Dare: Chain 3 Intermediate (or Higher) Tricks at the Torii Jump. At the end of the straight where the previous gear was, you will perform a large jump. During this jump, perform three intermediate or higher tricks. You can see the list of intermediate tricks in the Tricktionary in the pause menu.
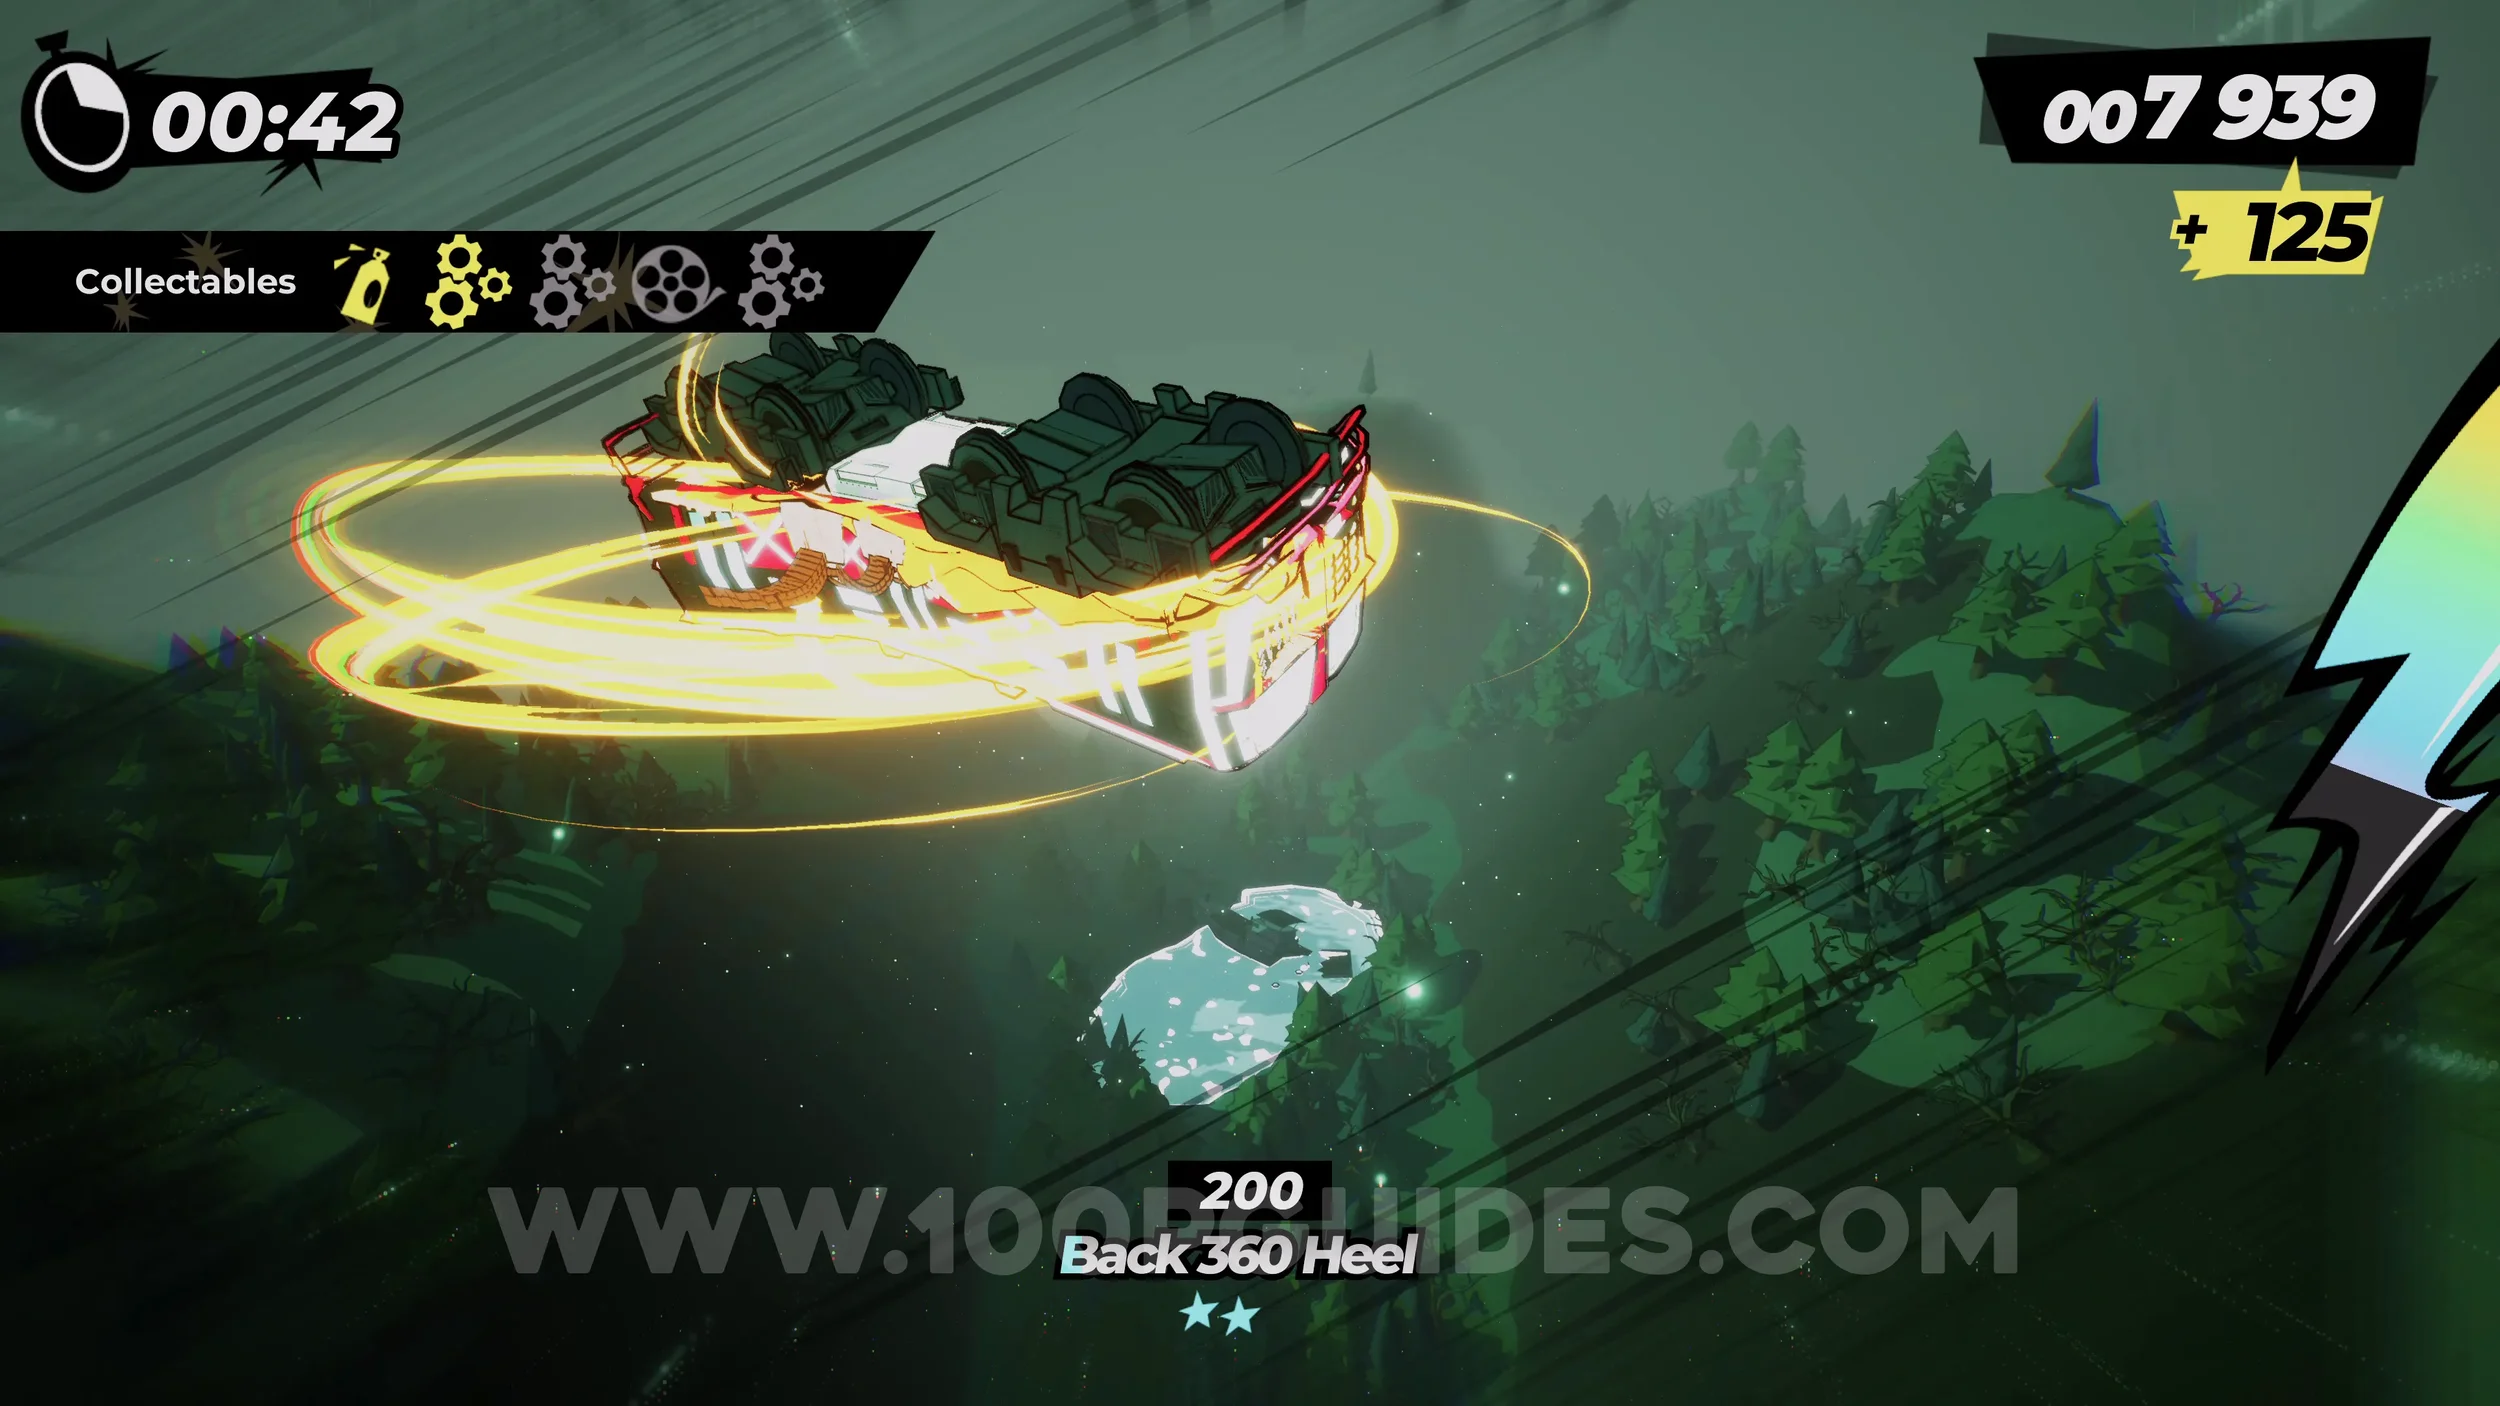
Gear (2/3). After the large jump, you will enter a tunnel you can loop around. The gear will be on the left side.
Dare: Trick in the Rainbow Tunnel Halfpipe. After the tunnel where the previous gear was, you will reach an area with water and black enemies. You will eventually get to a boat with a yellow sign with a film roll on it. Here, if you have the special bar filled, you will see a rainbow rail on the left. Jump to it to get to the rainbow halfpipe where you must perform one trick.
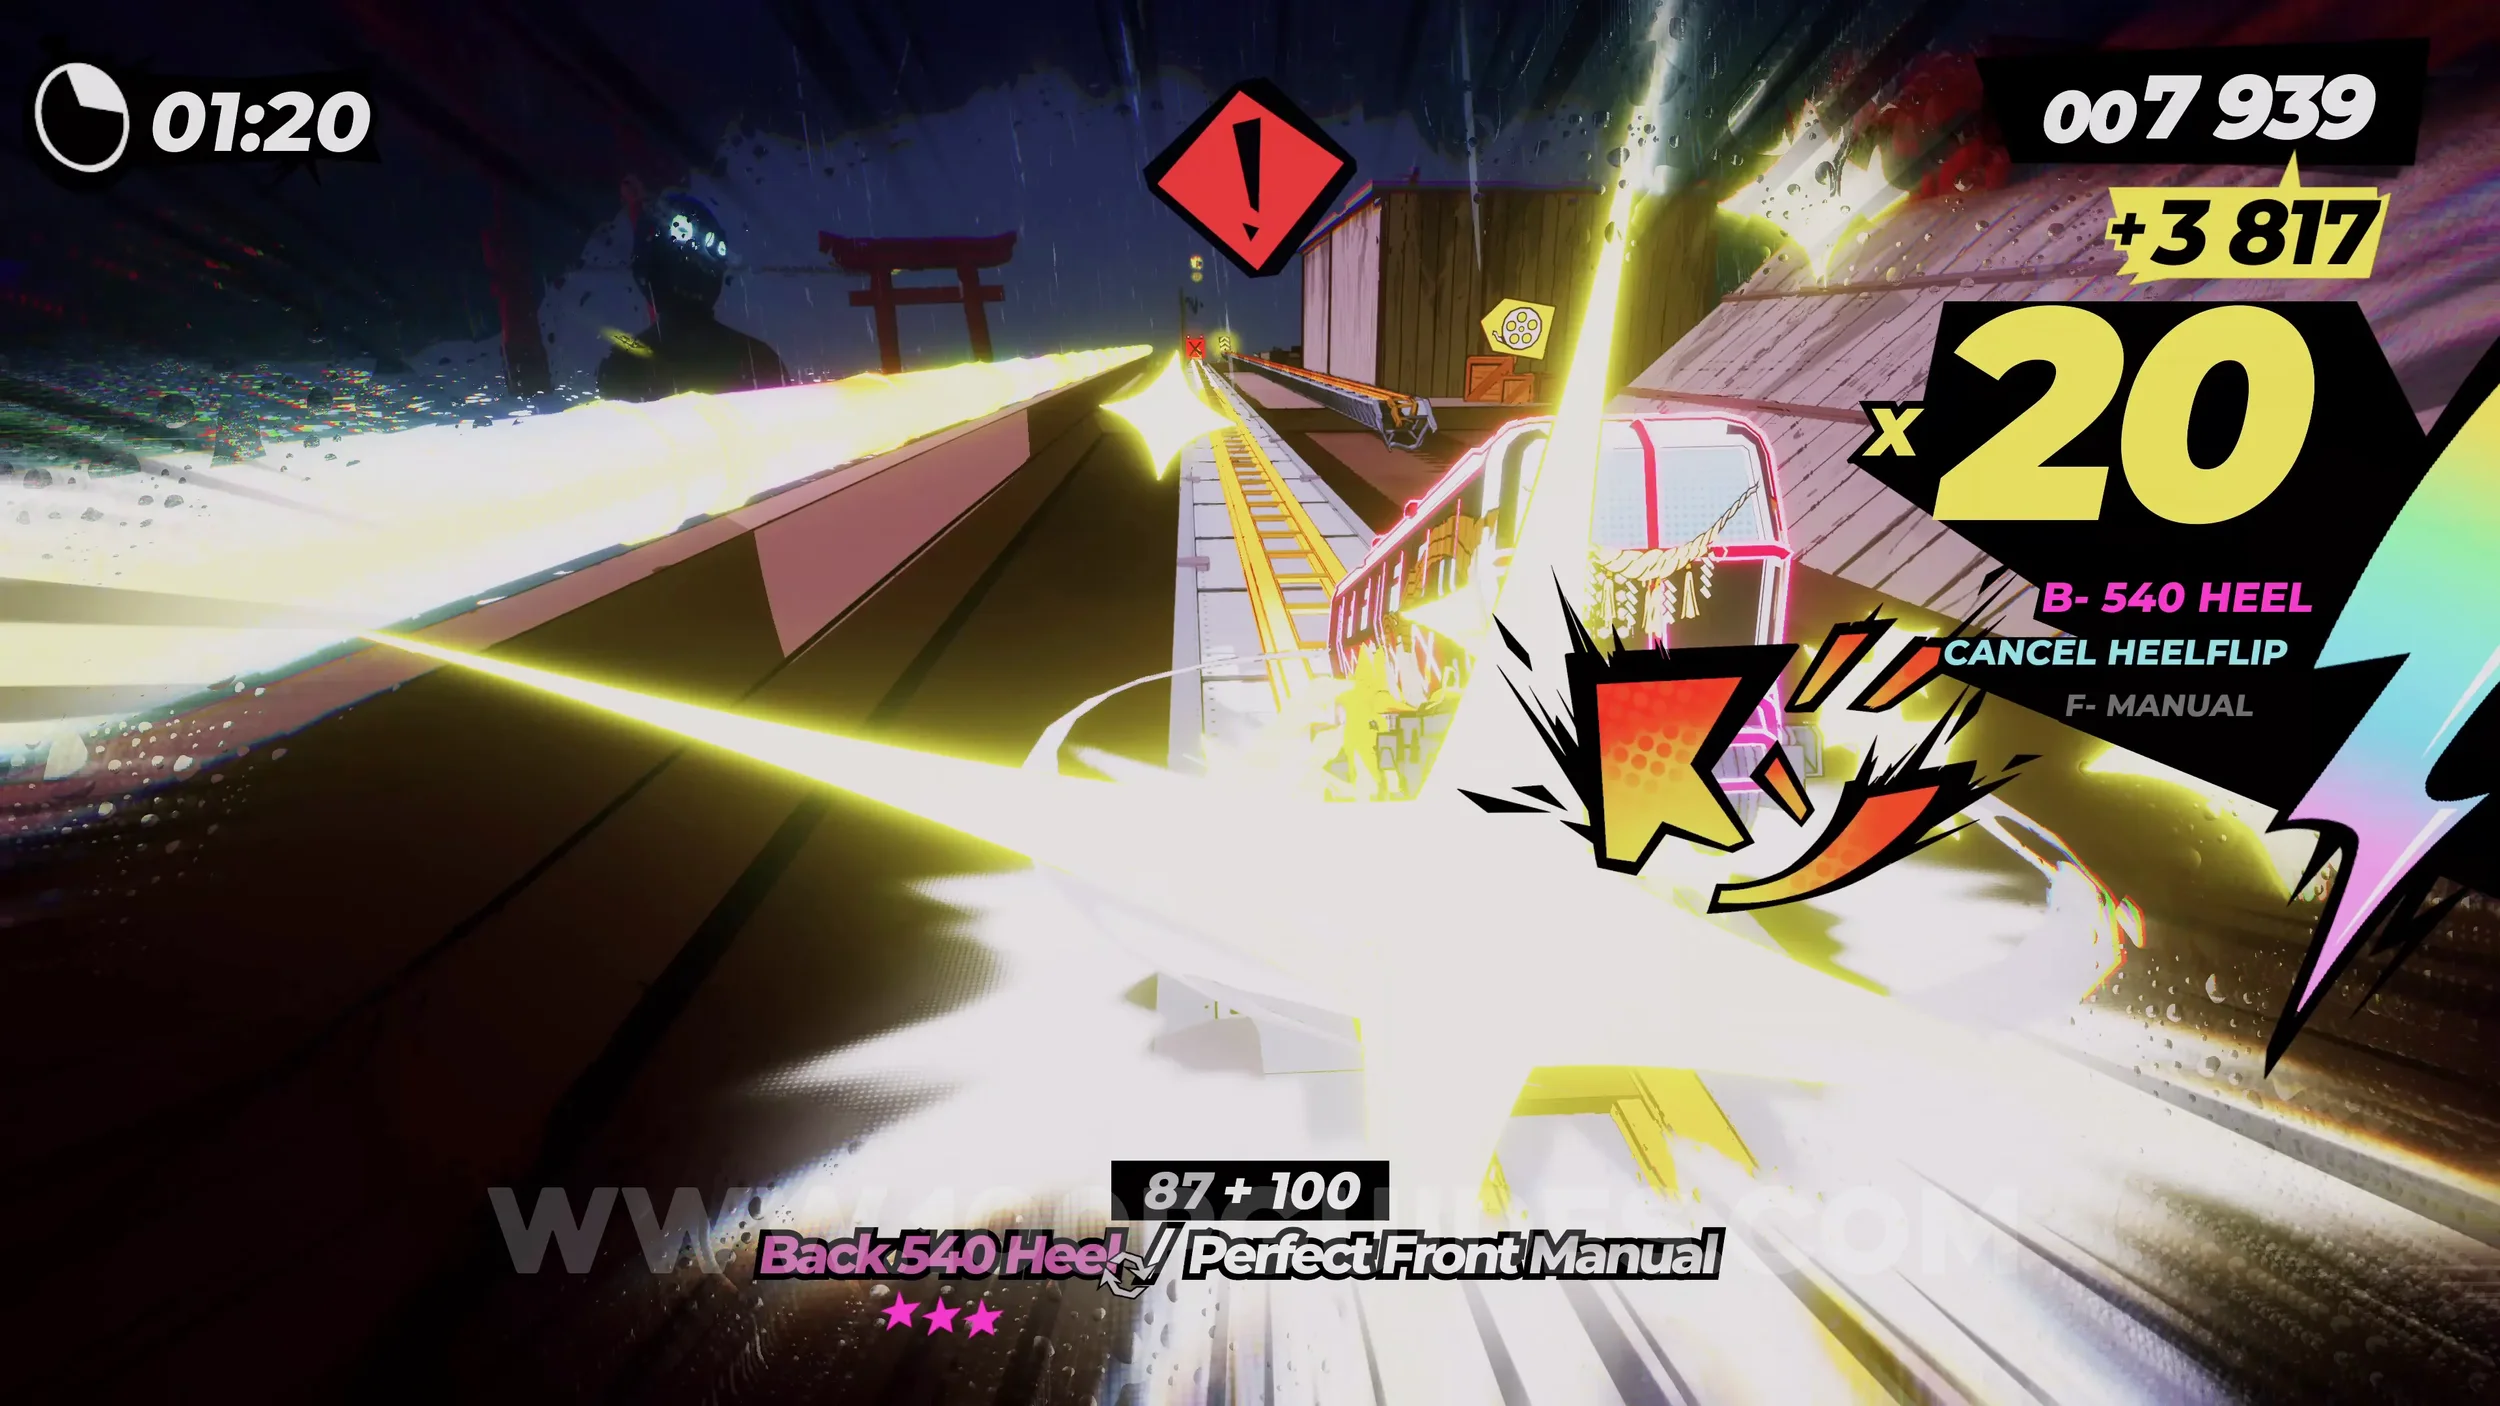
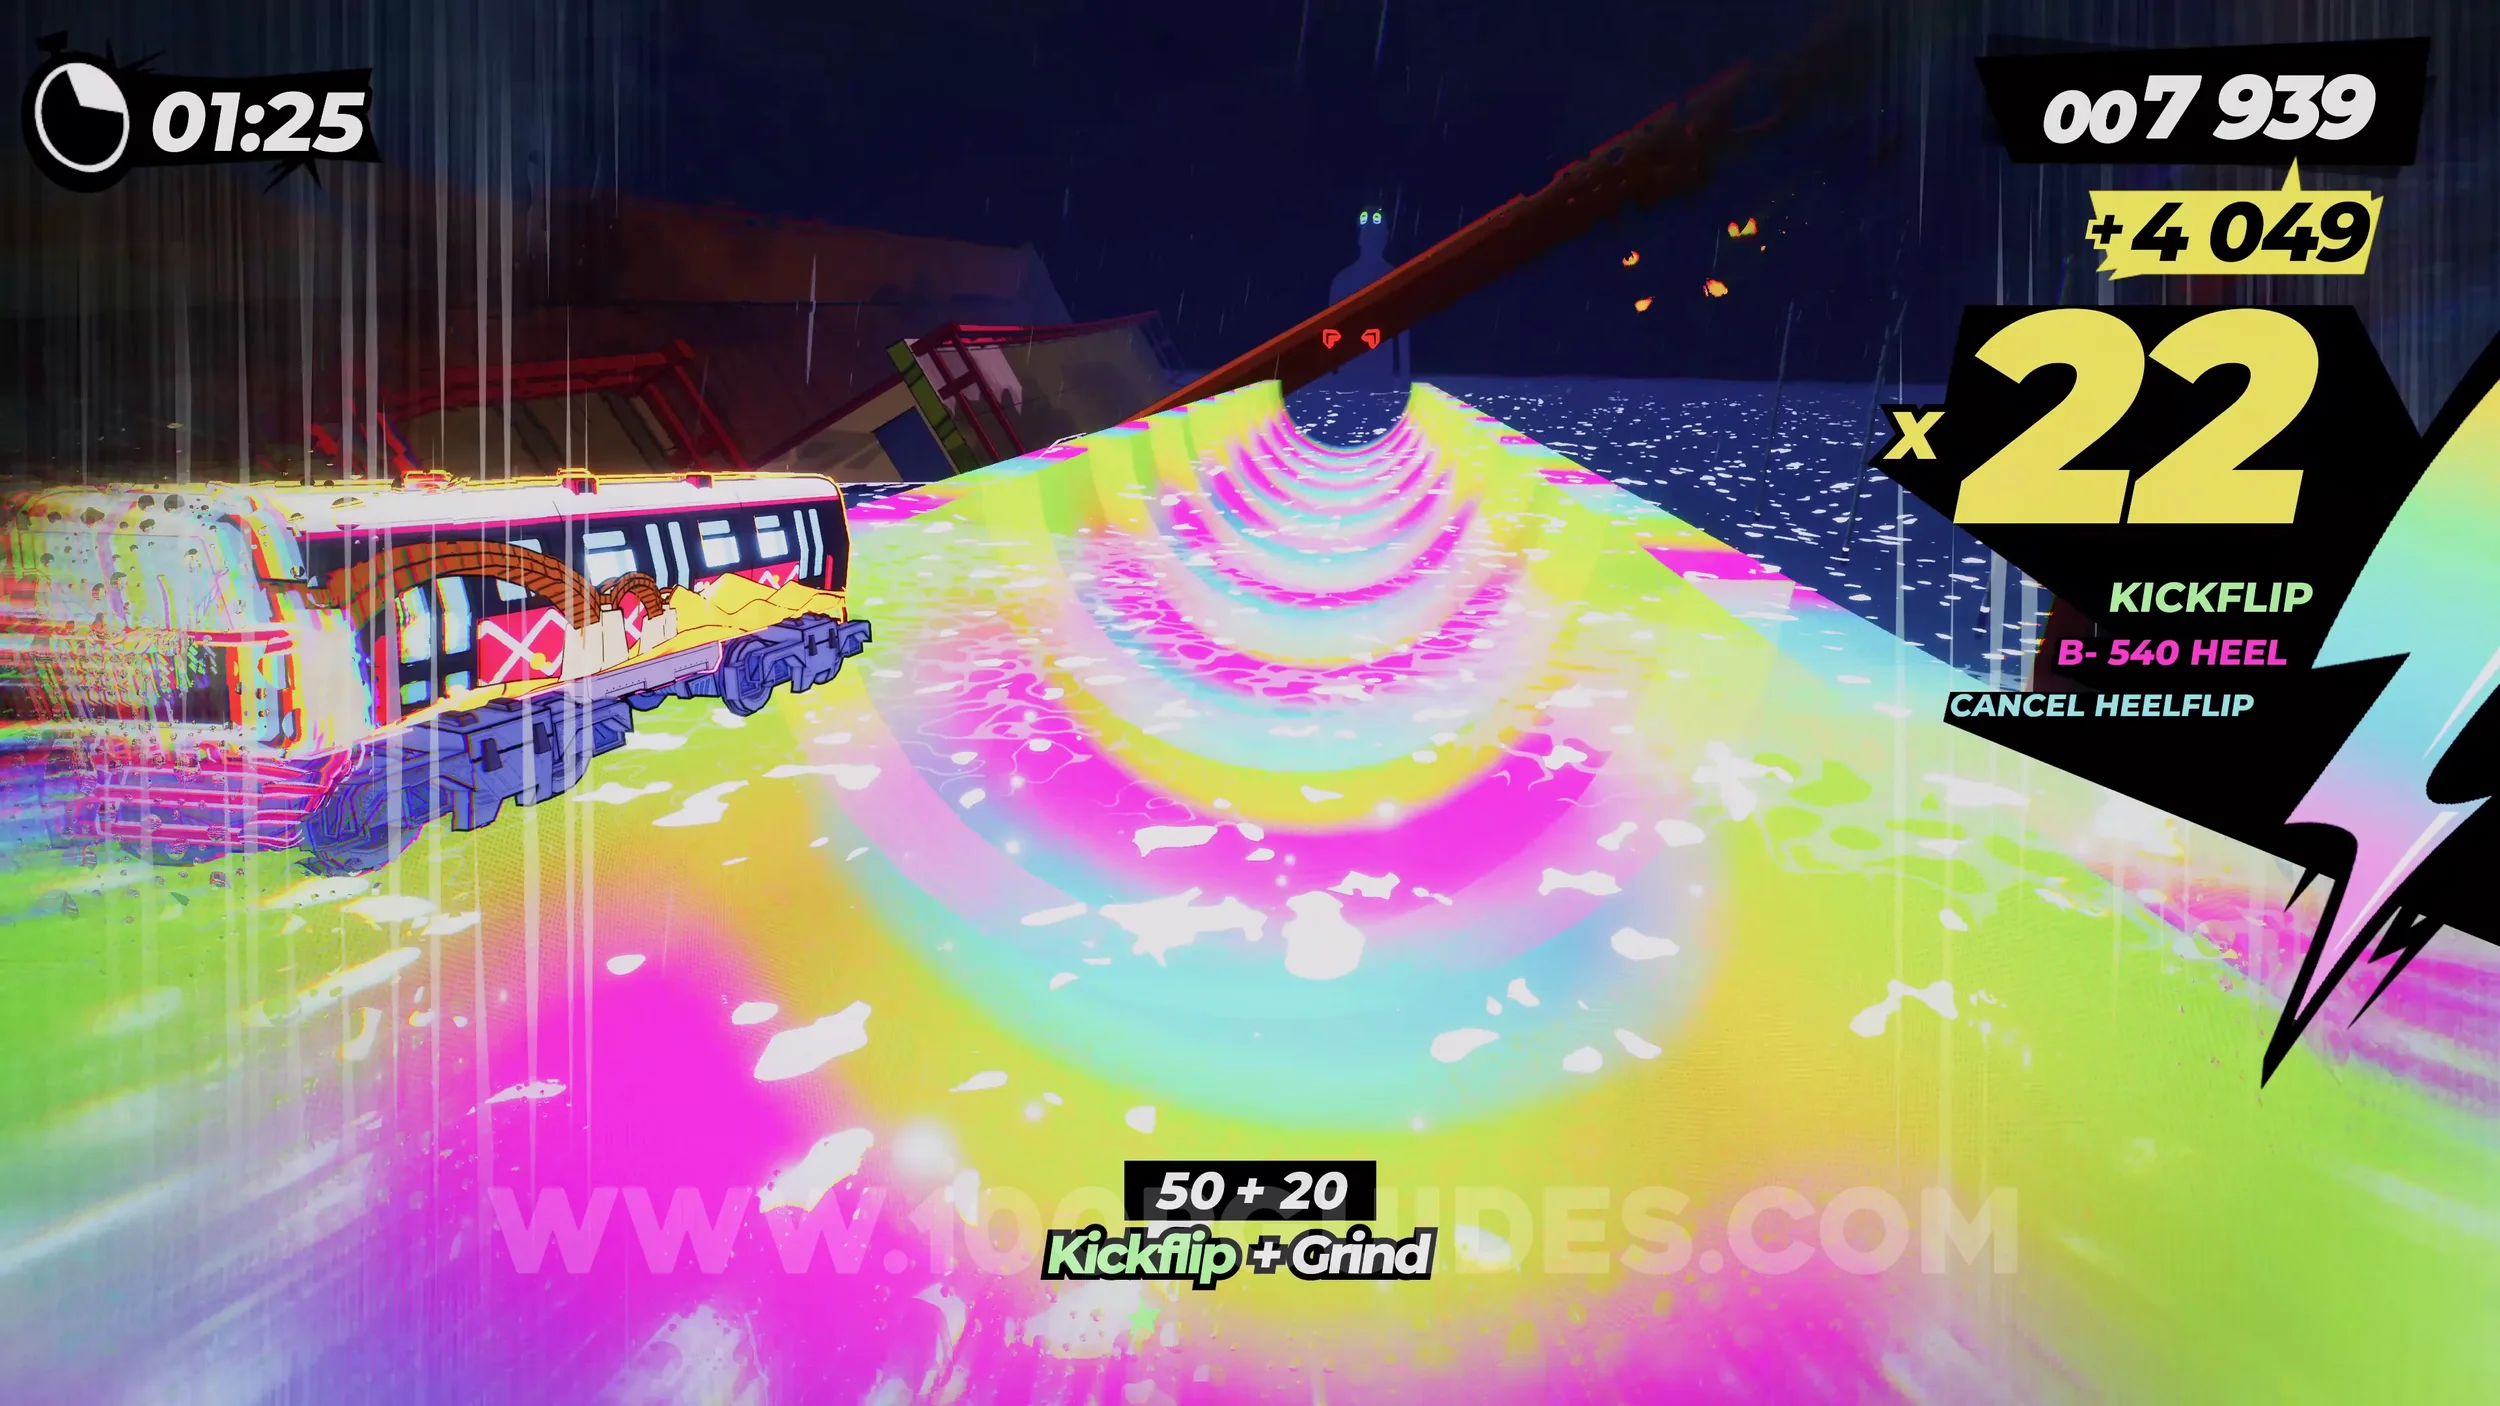
Film Roll (1/1). After the previously mentioned rainbow half pipe, continue on the rainbow tracks to get to the film roll.
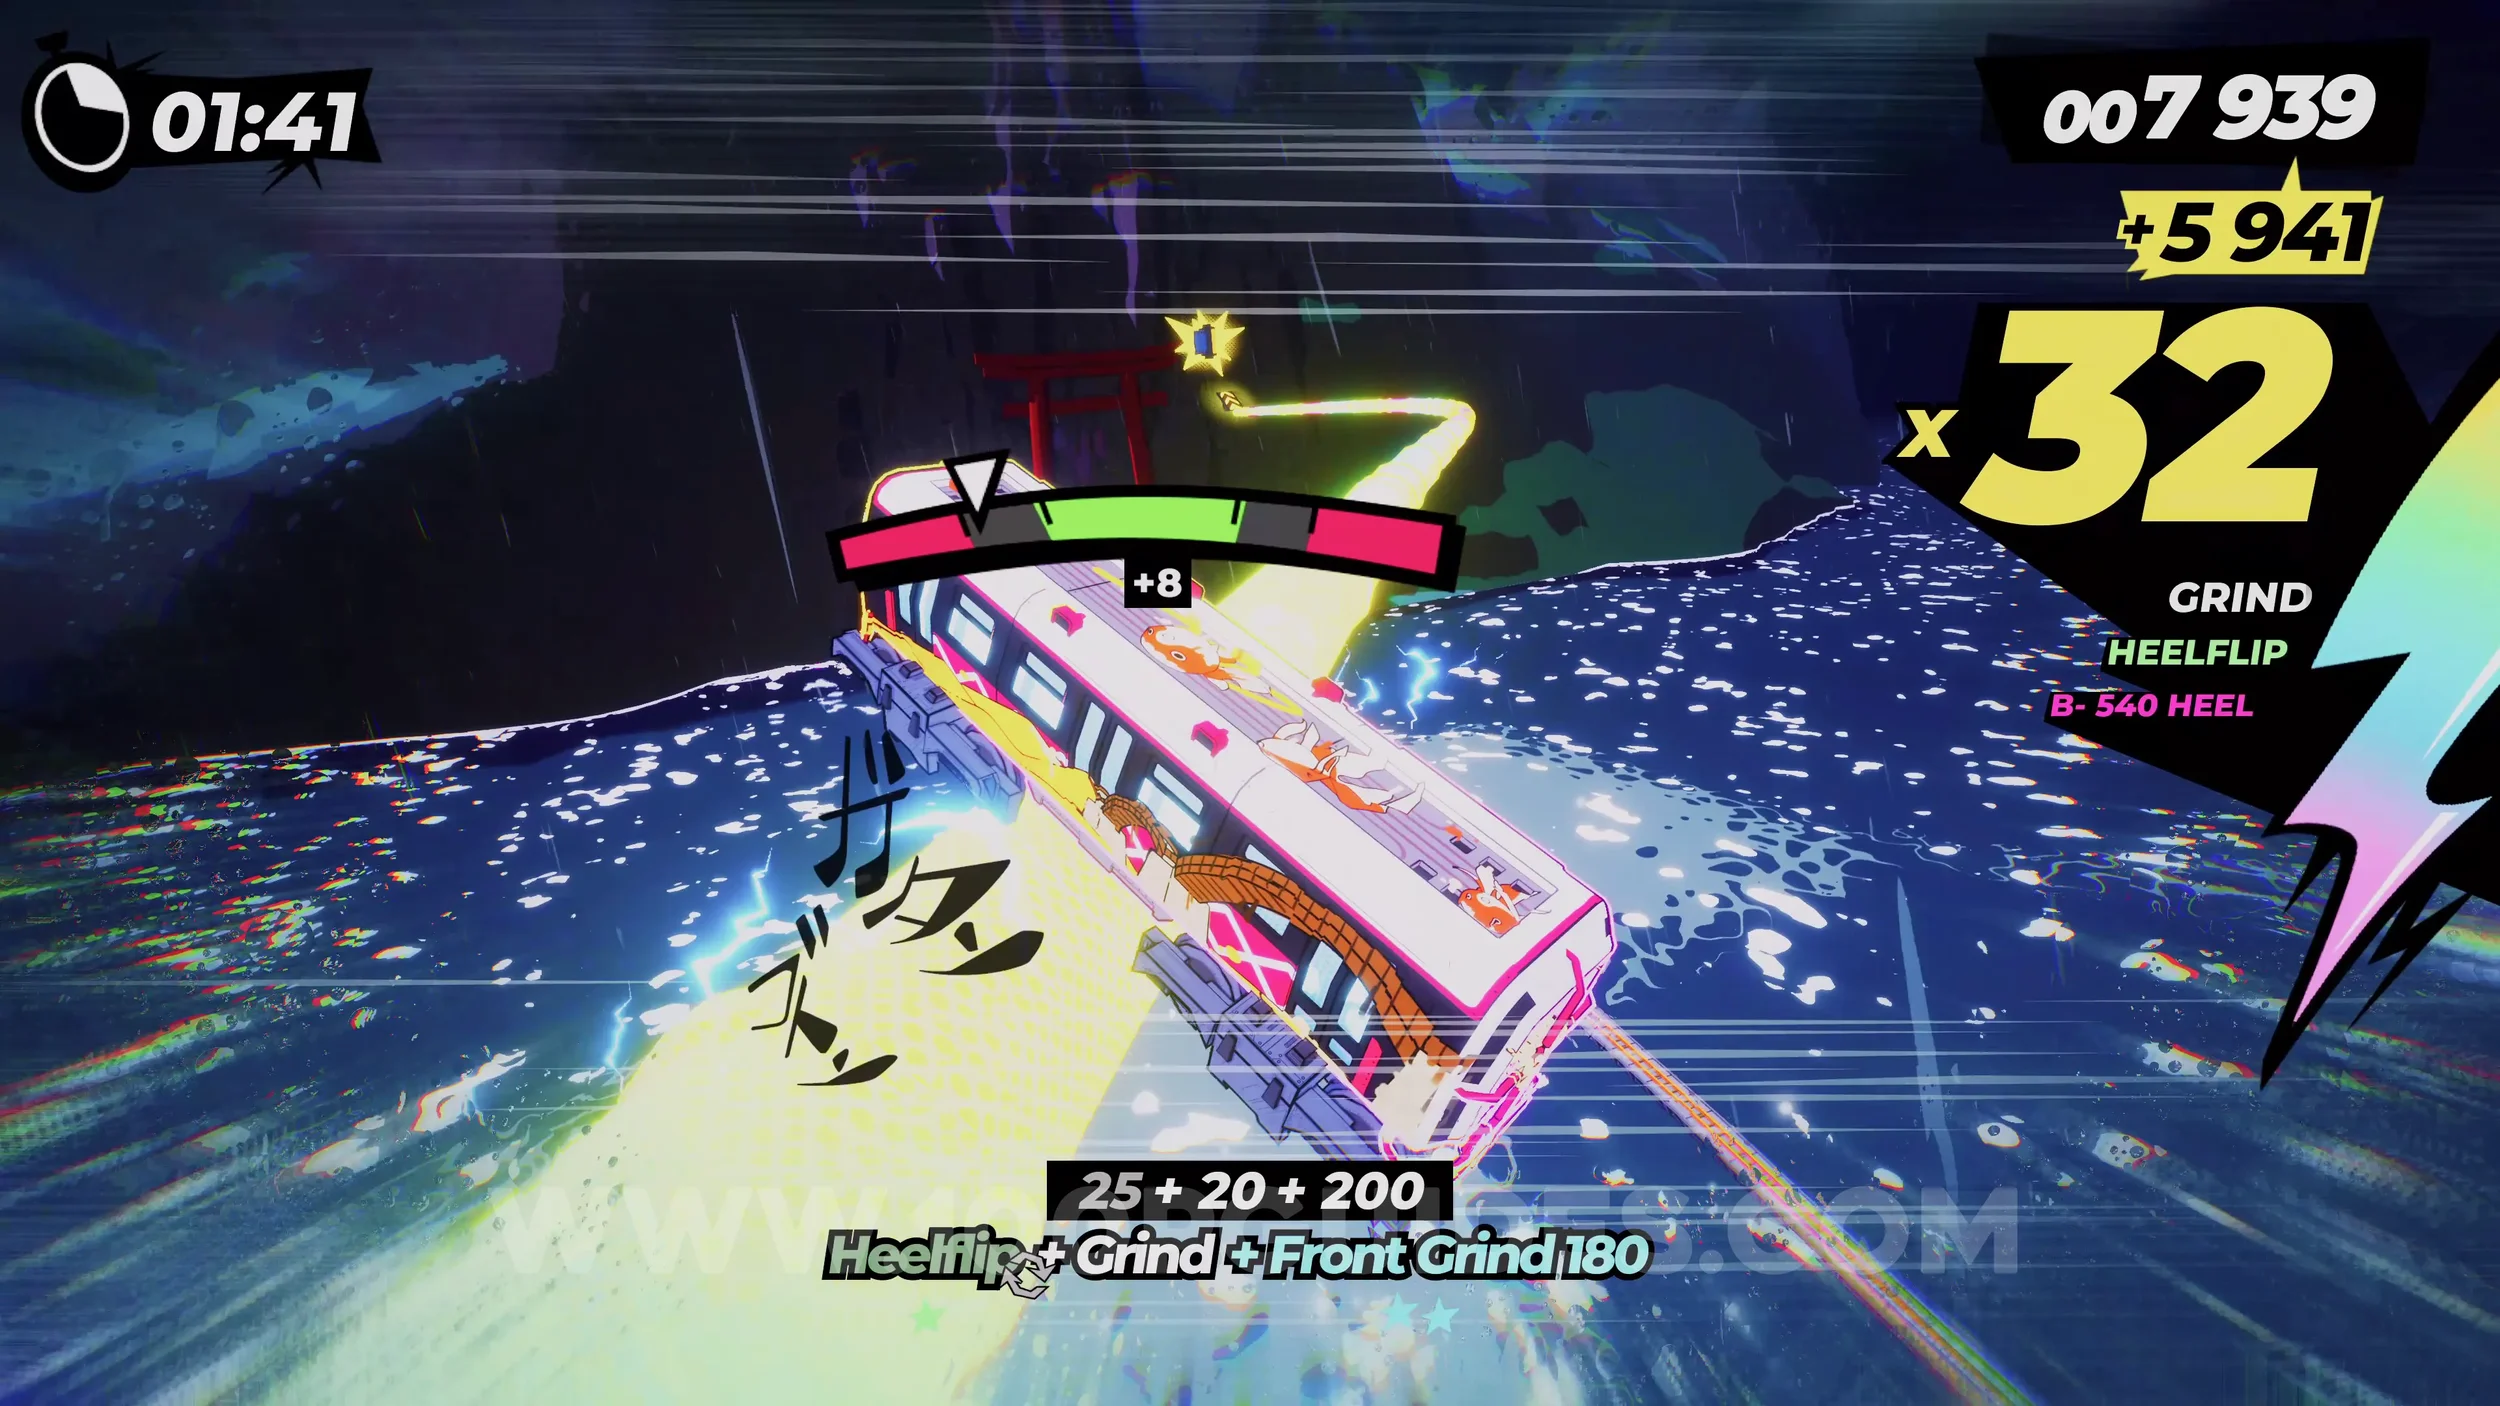
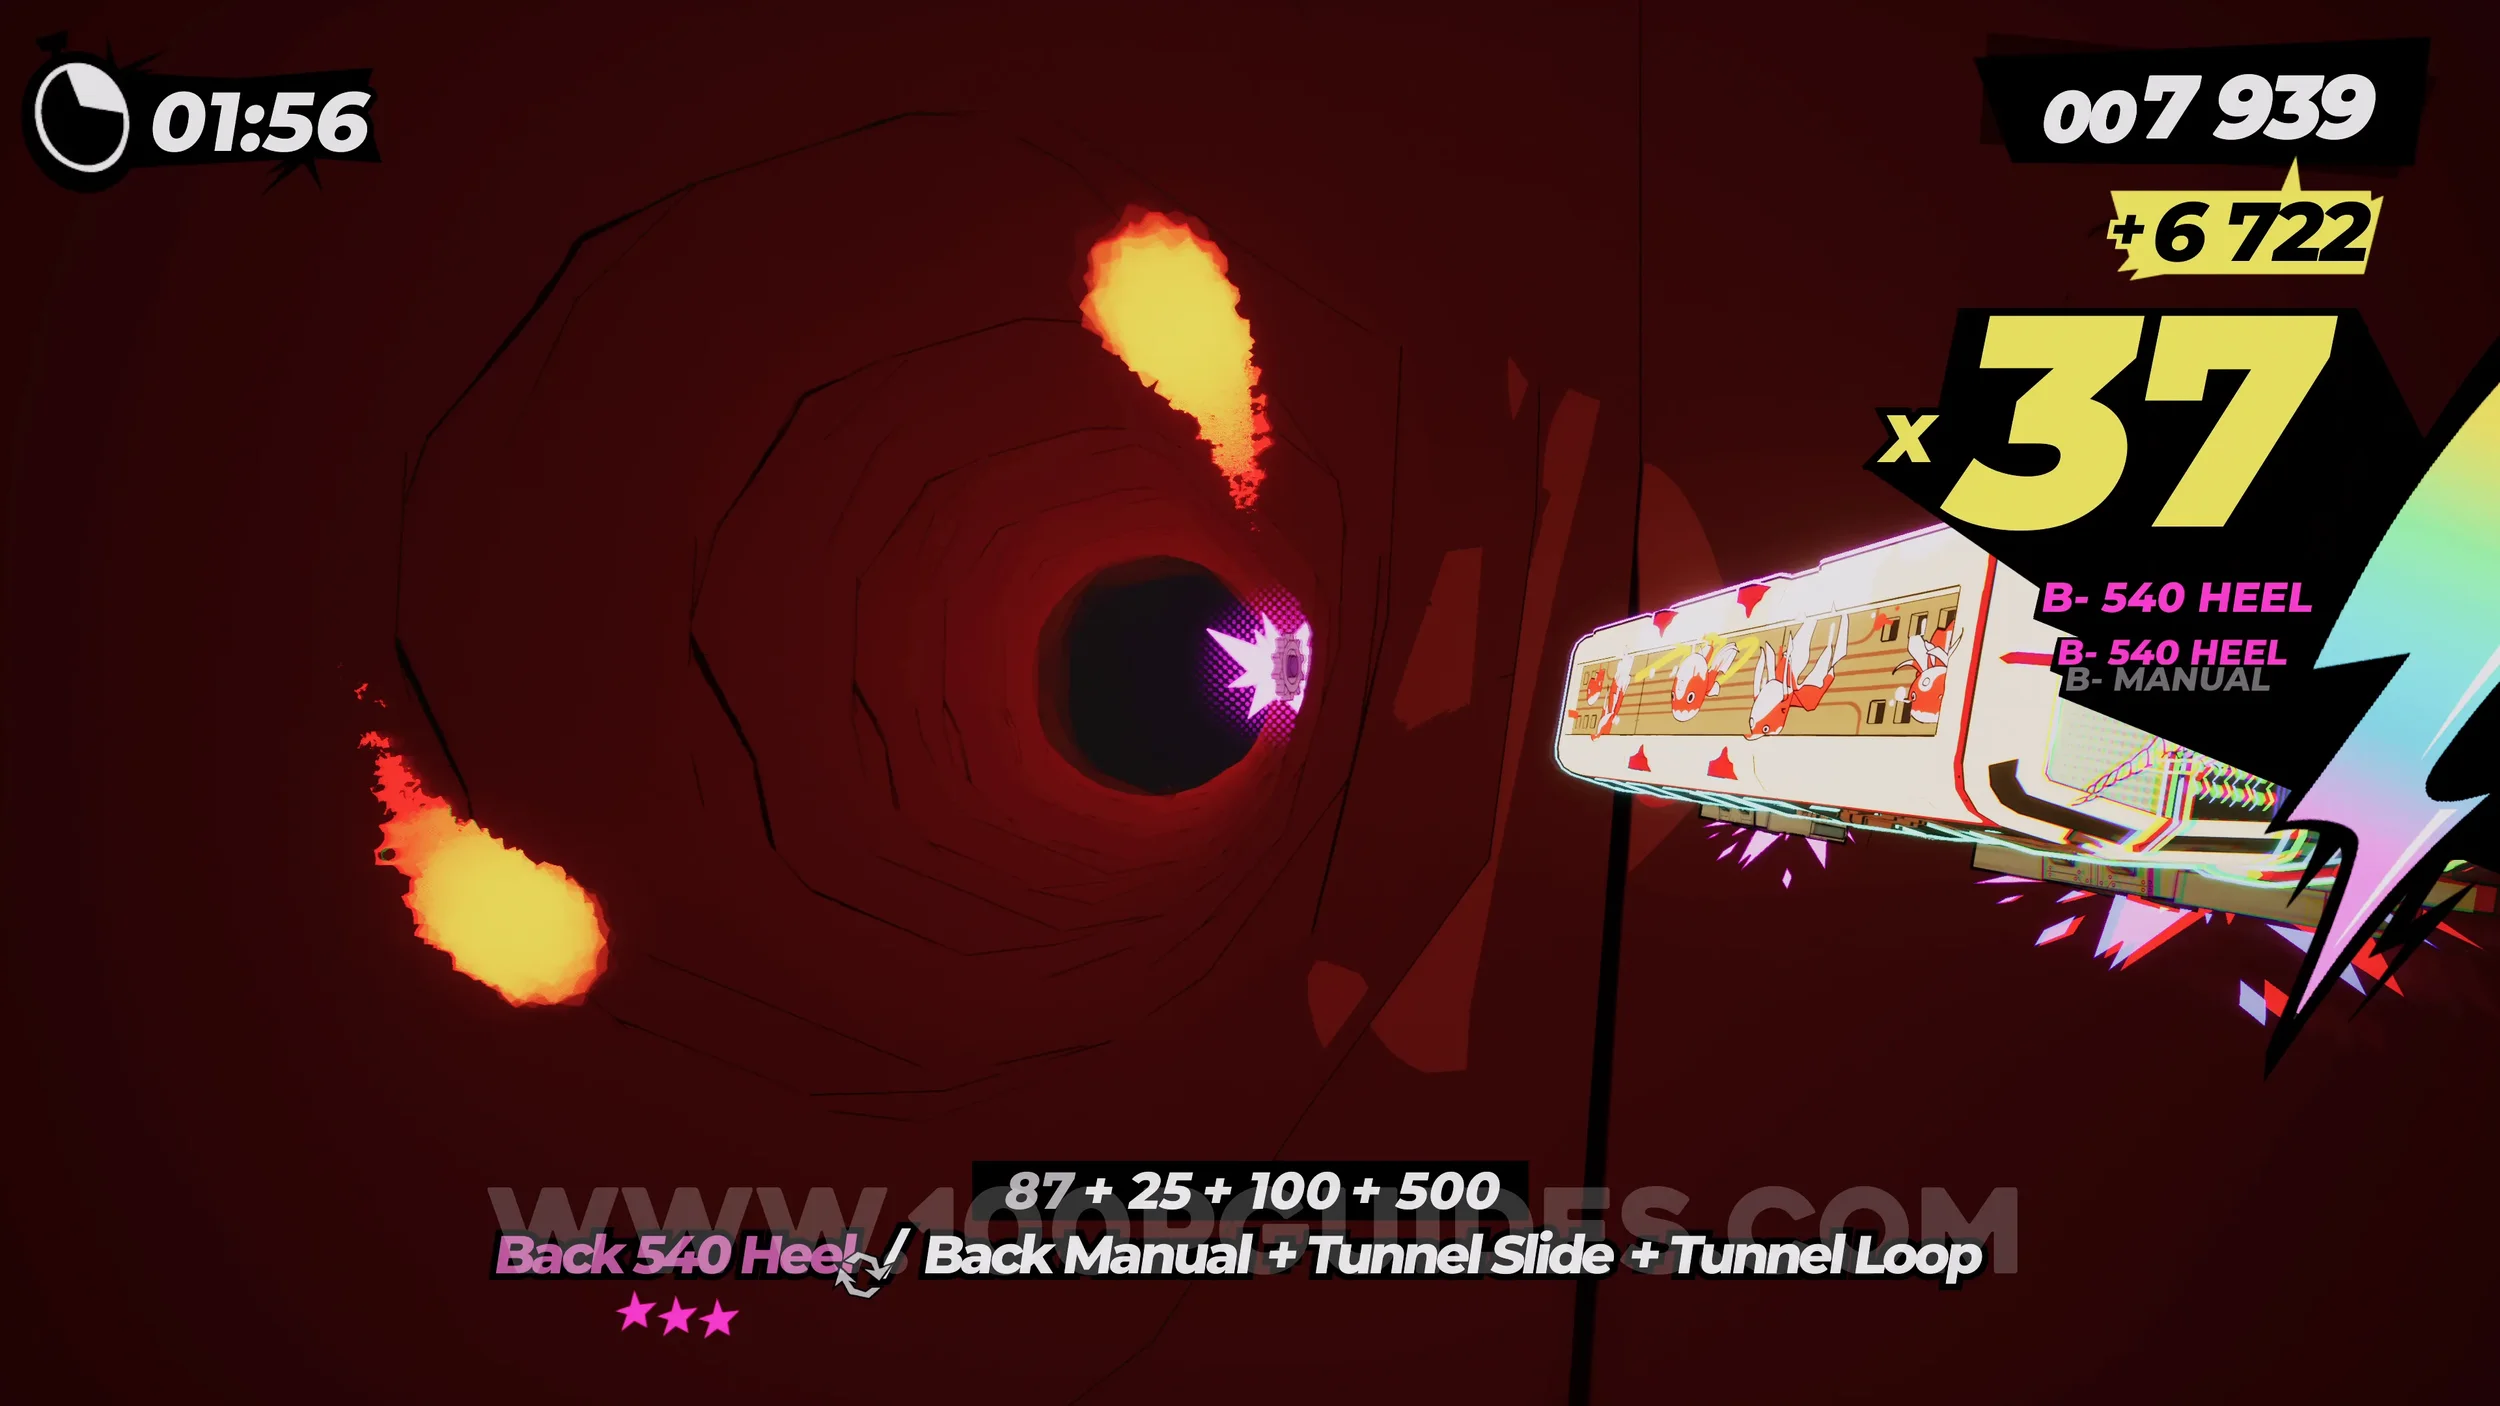
Dare: Loop the Fiery Tunnel. Just after the film roll, you will enter a red tunnel with fireballs moving around it. In this tunnel, do a full loop.
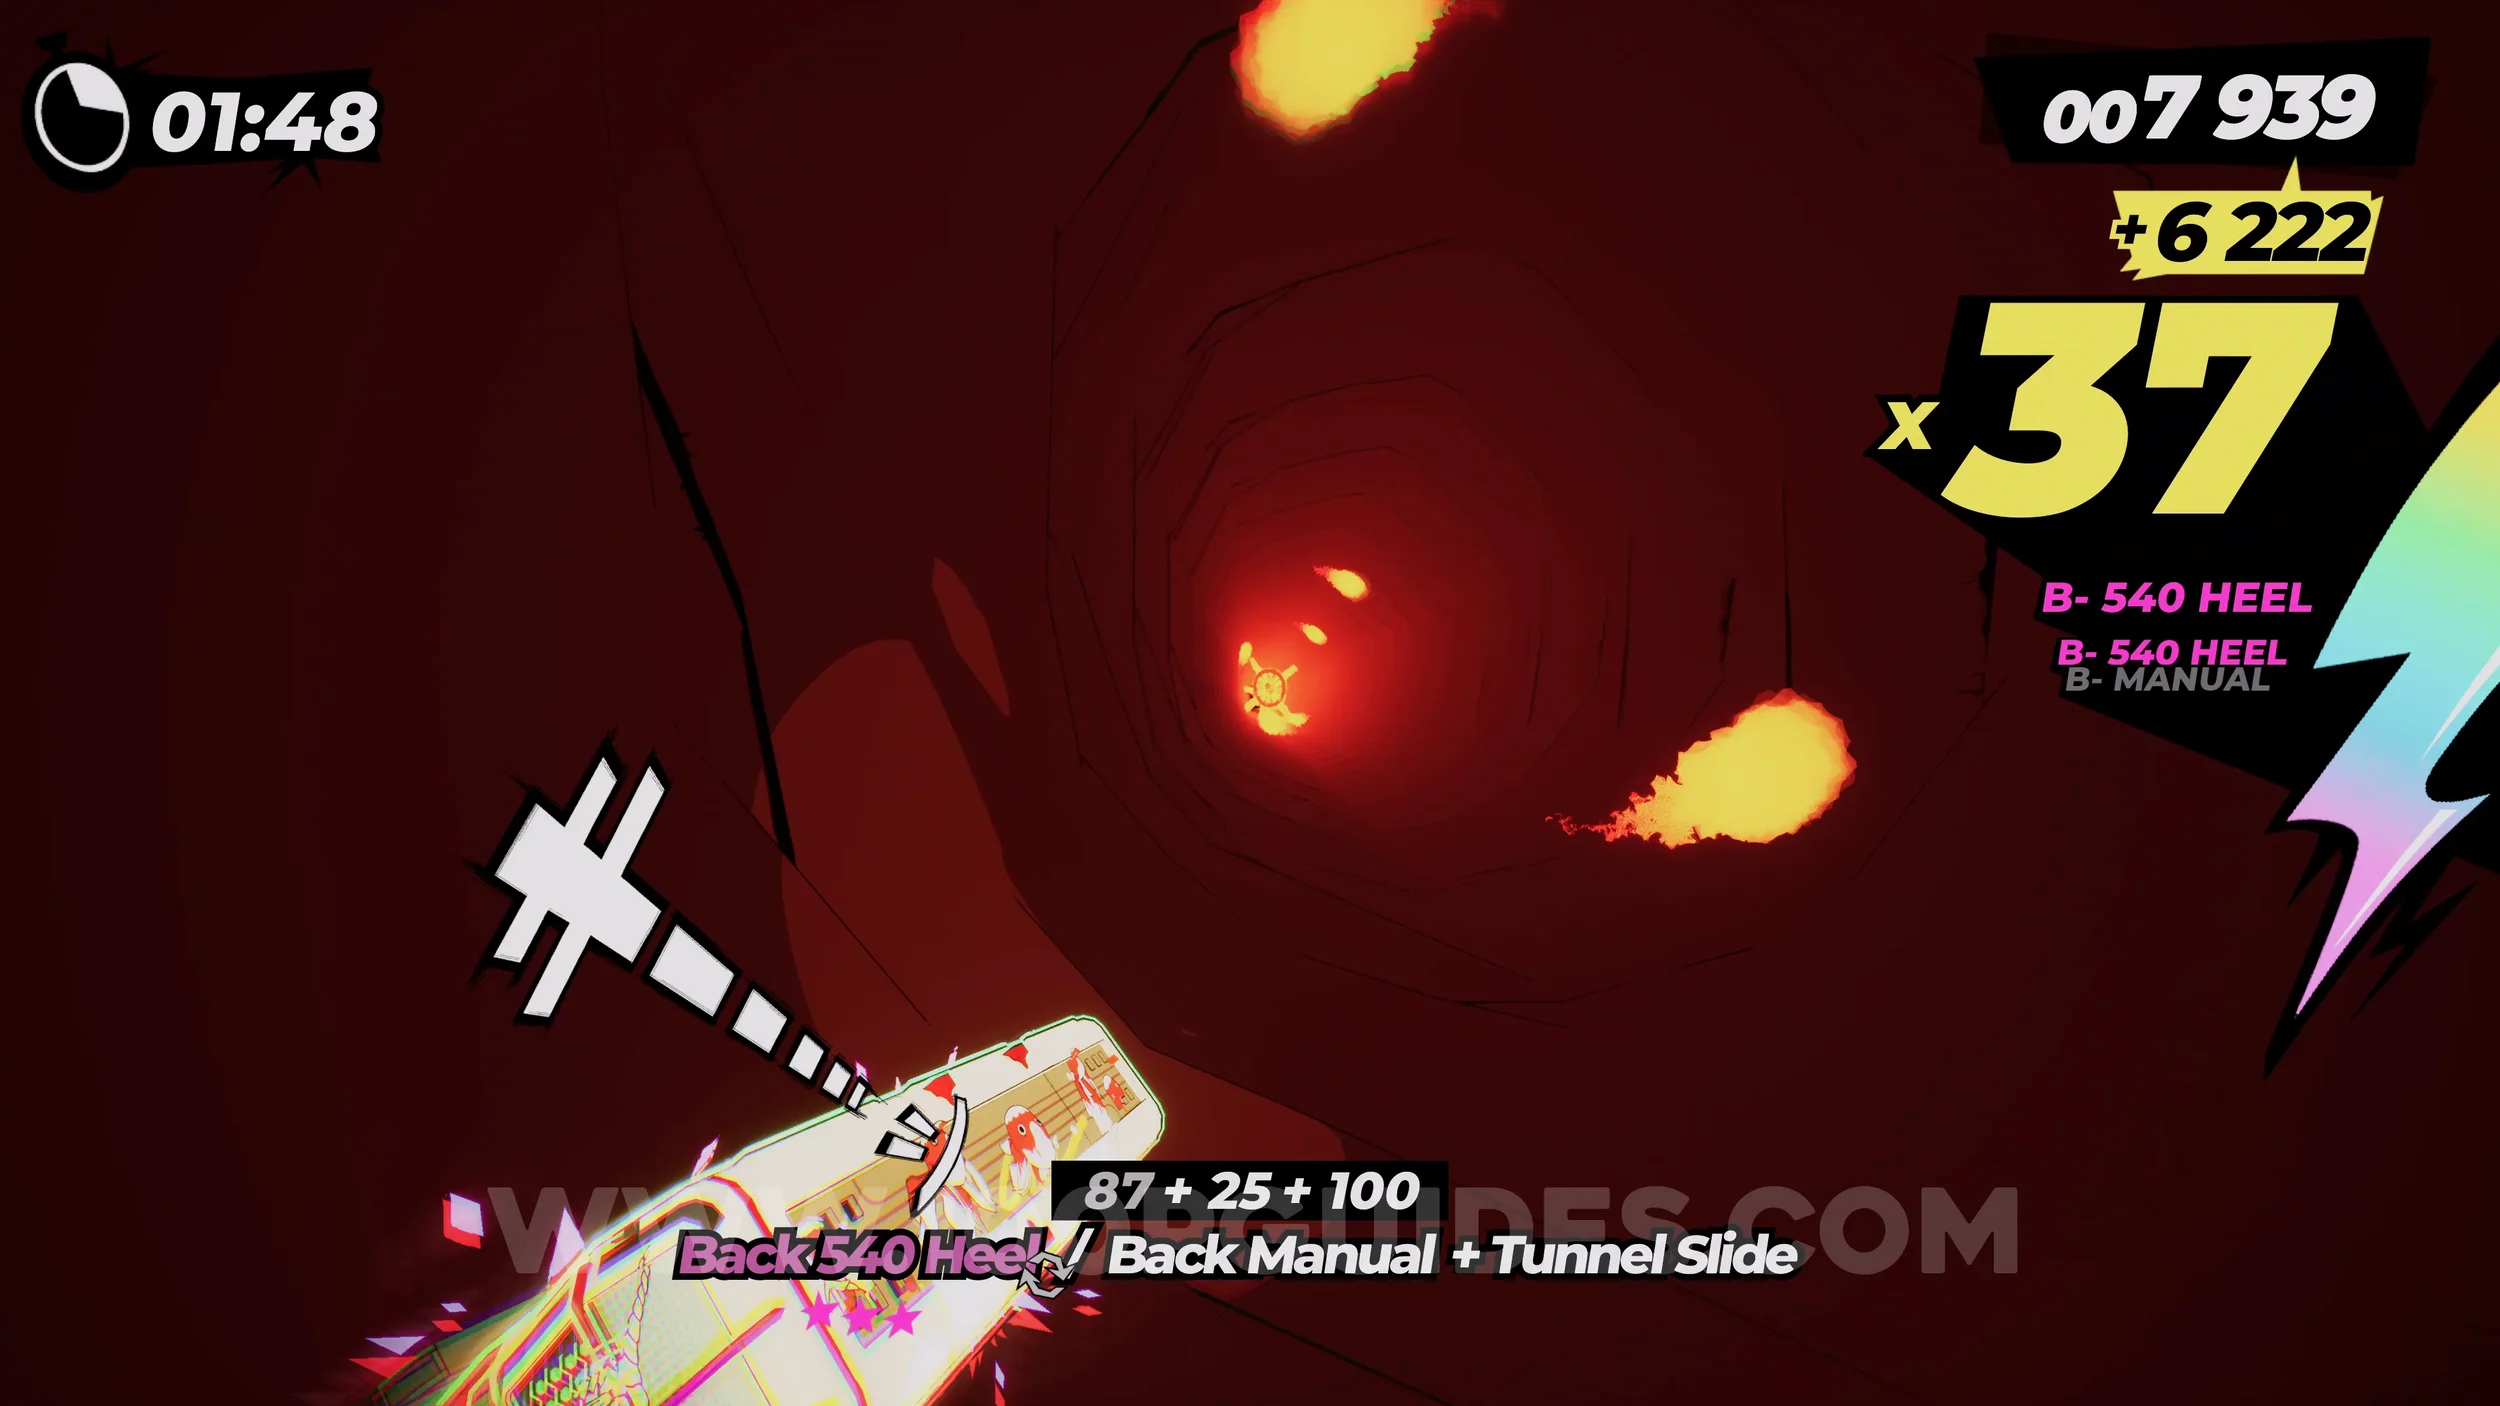
Gear (3/3). Also in the fiery tunnel on the right side wall.
Dare: No Crash Finish. Self-explanatory. Finish the level without crashing.
3-3-S The Hills Have Yokai
No collectibles in this level.
3-3-R Rolling Circuit
Spray Can (1/2). At the start, stick to the right to follow the track down past the spray can sign. You will see the can in plain sight.
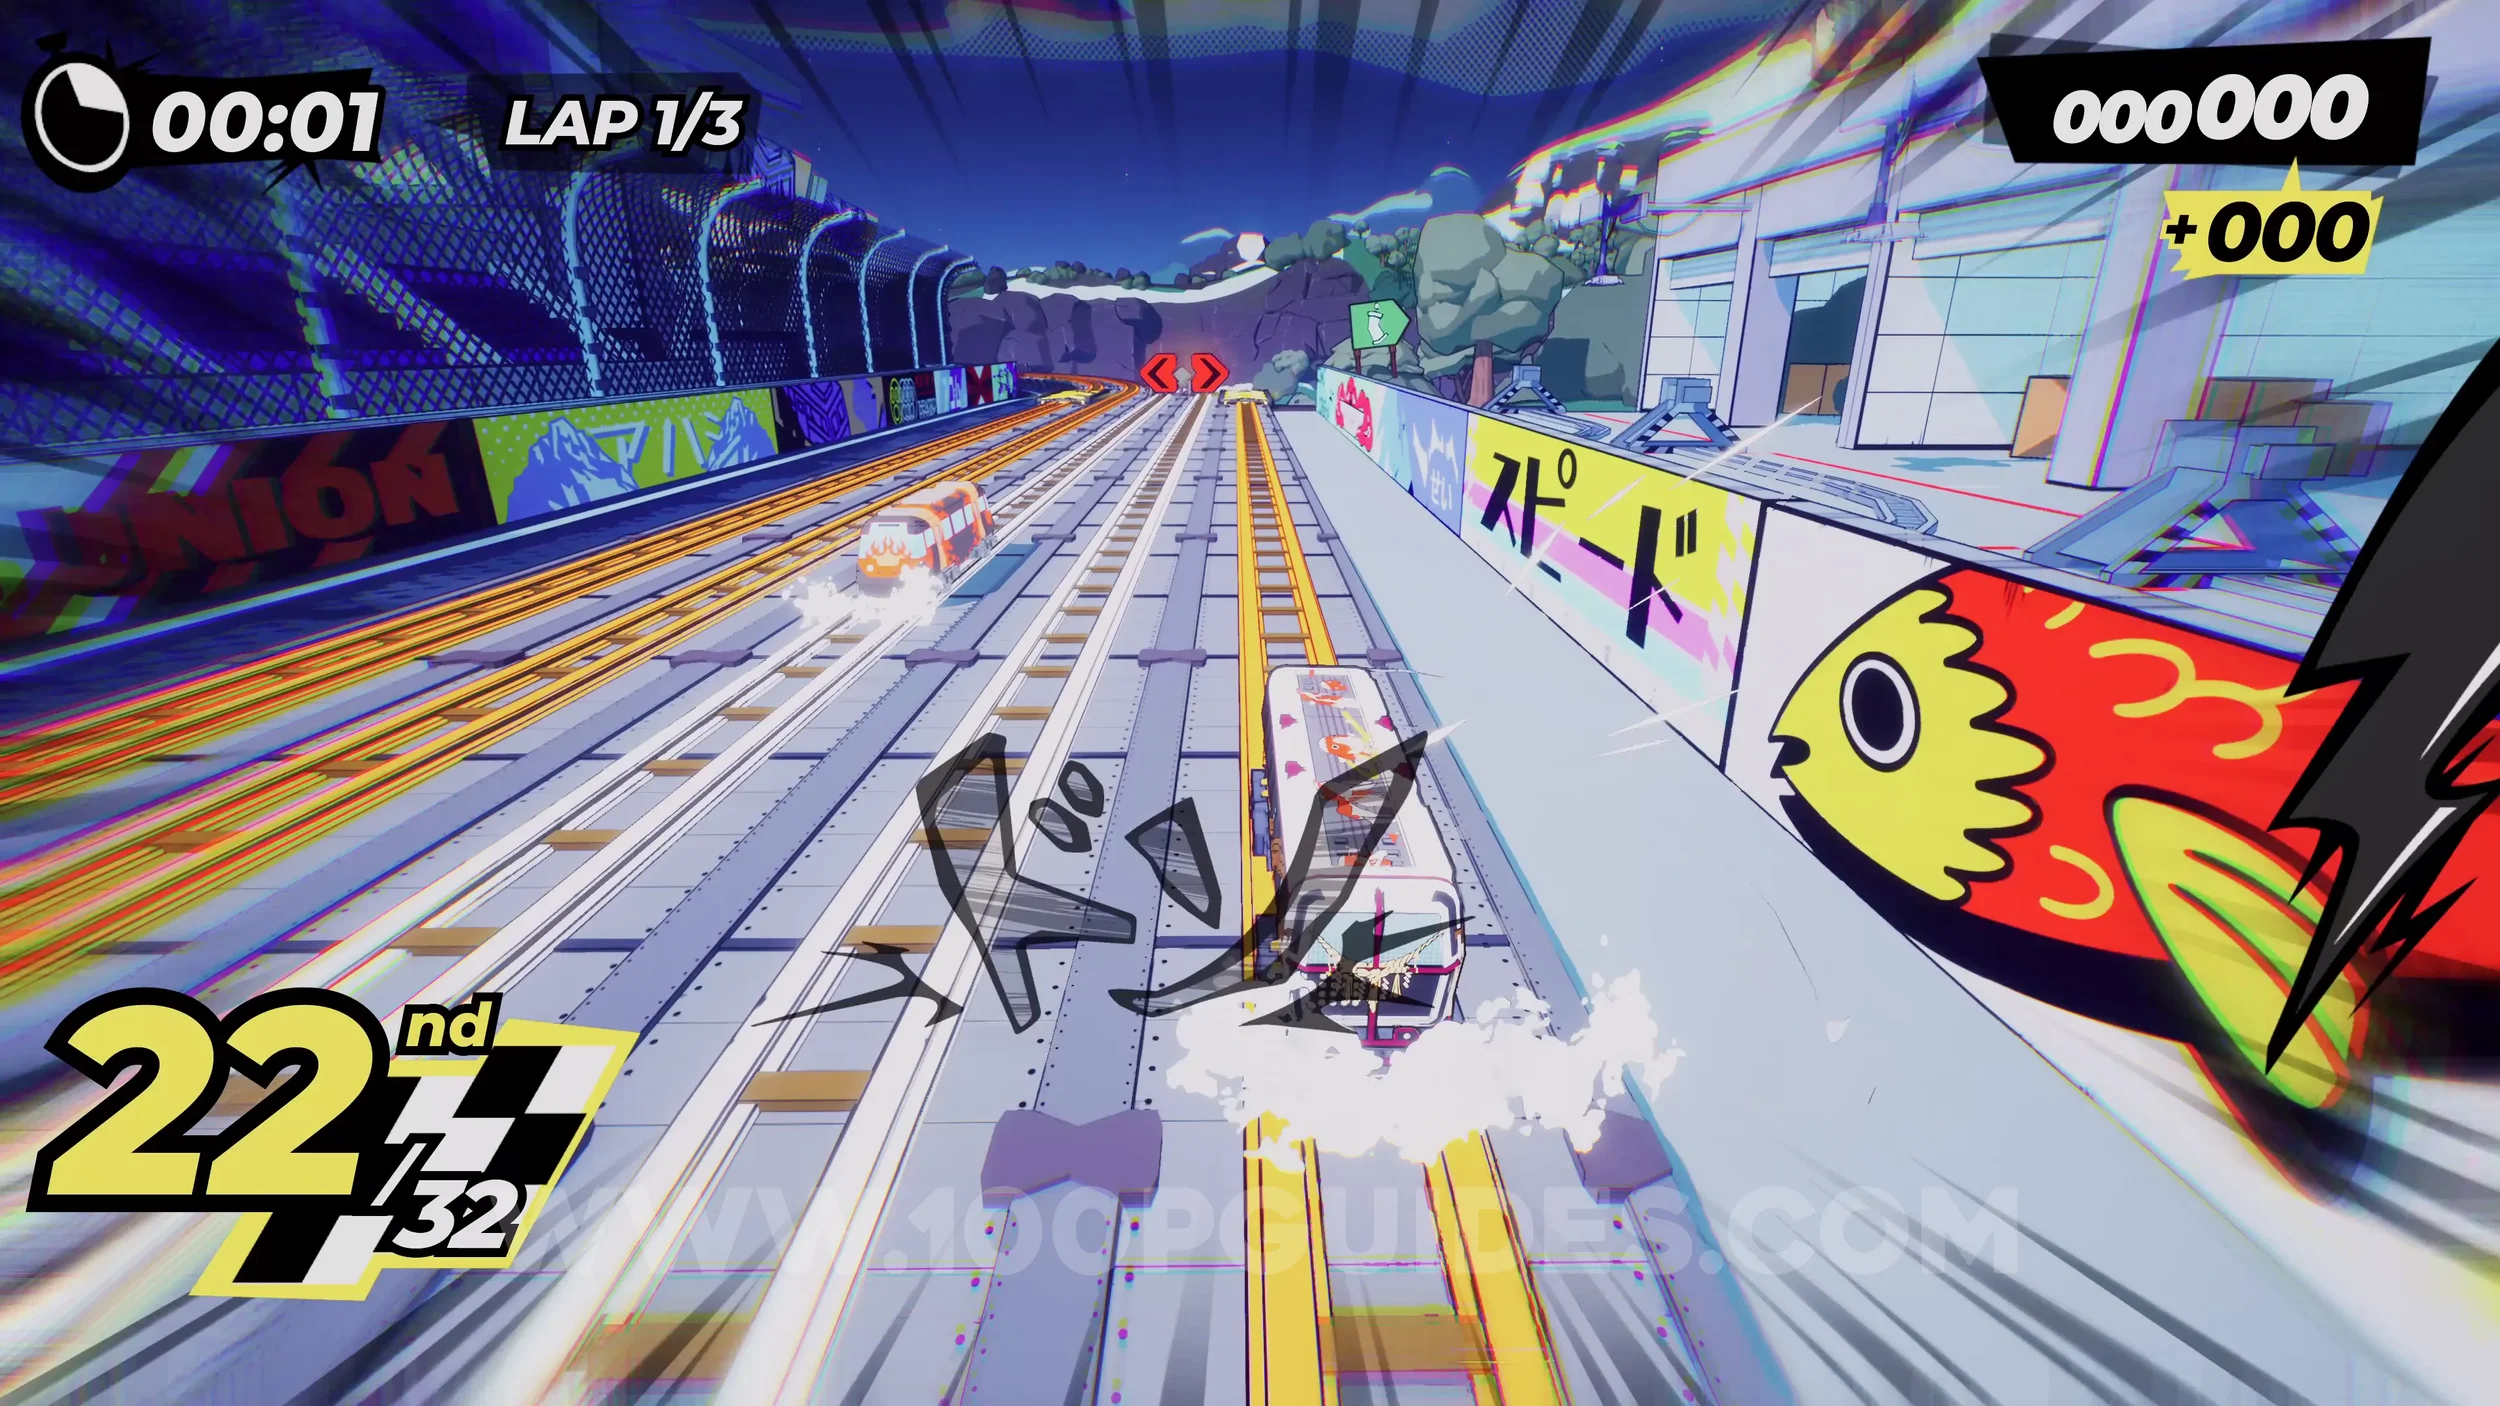
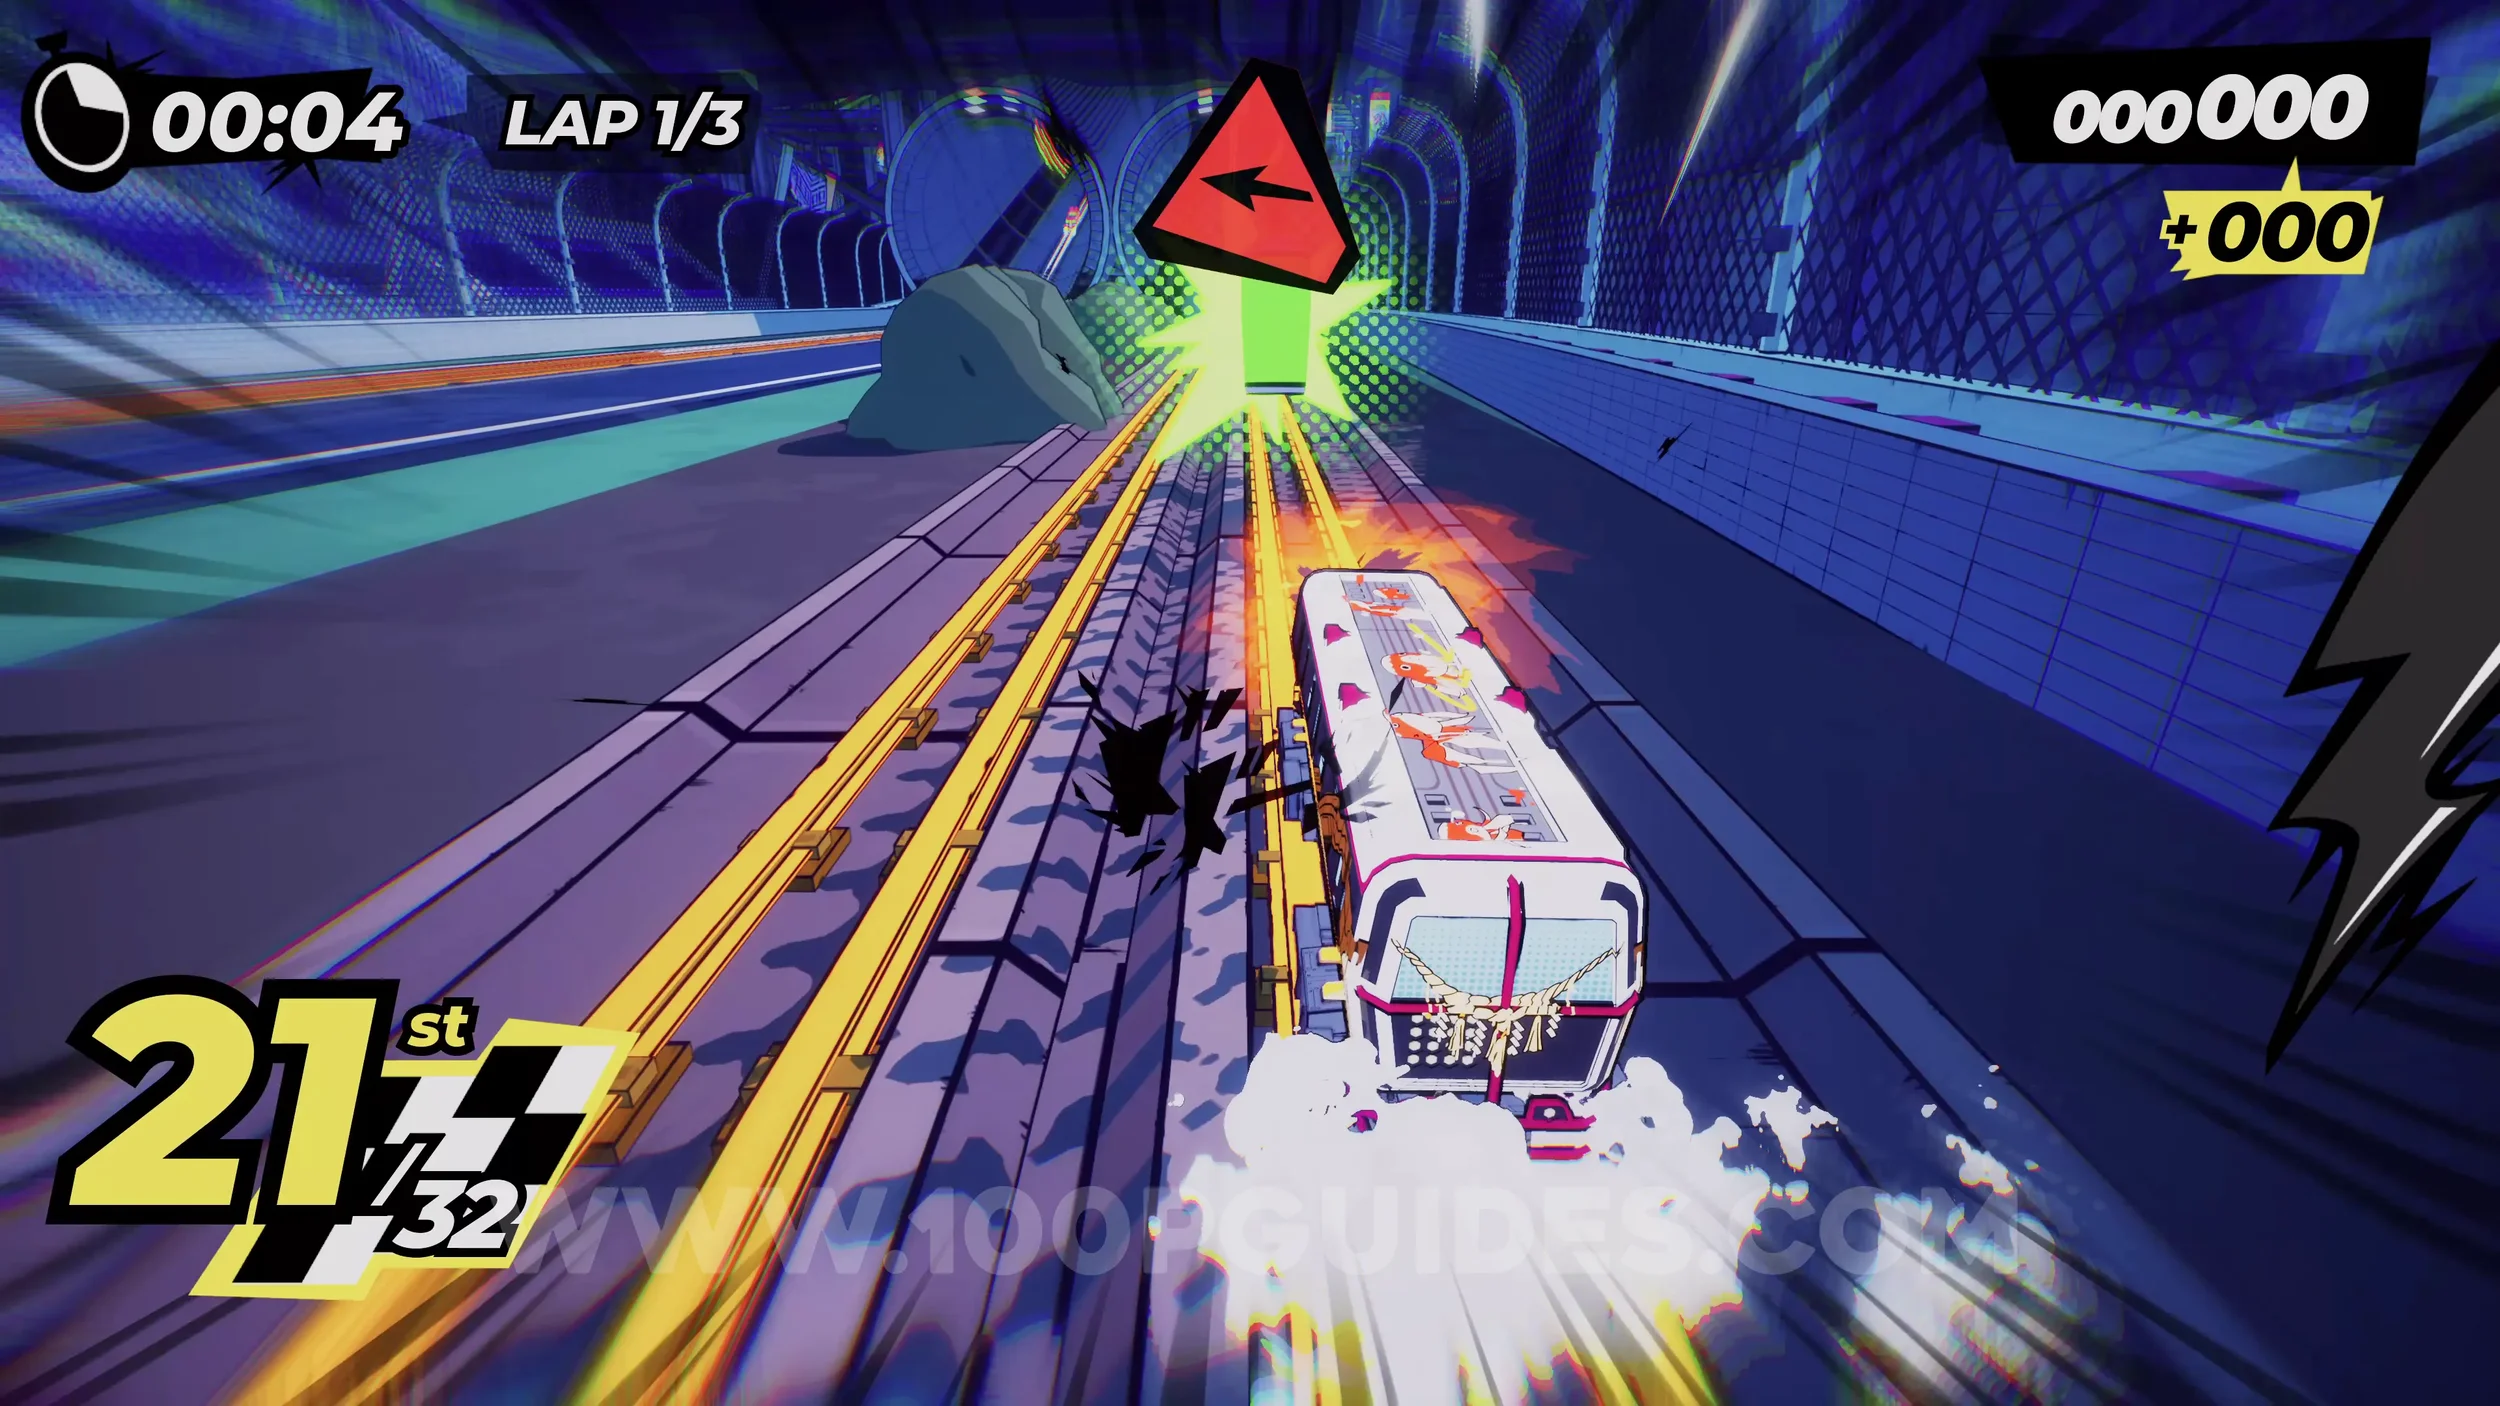
Dare: Hit all the Boosters in the Tunnels (1-2/4). After the spray can you will go through a tunnel. Hit the two boosters inside.
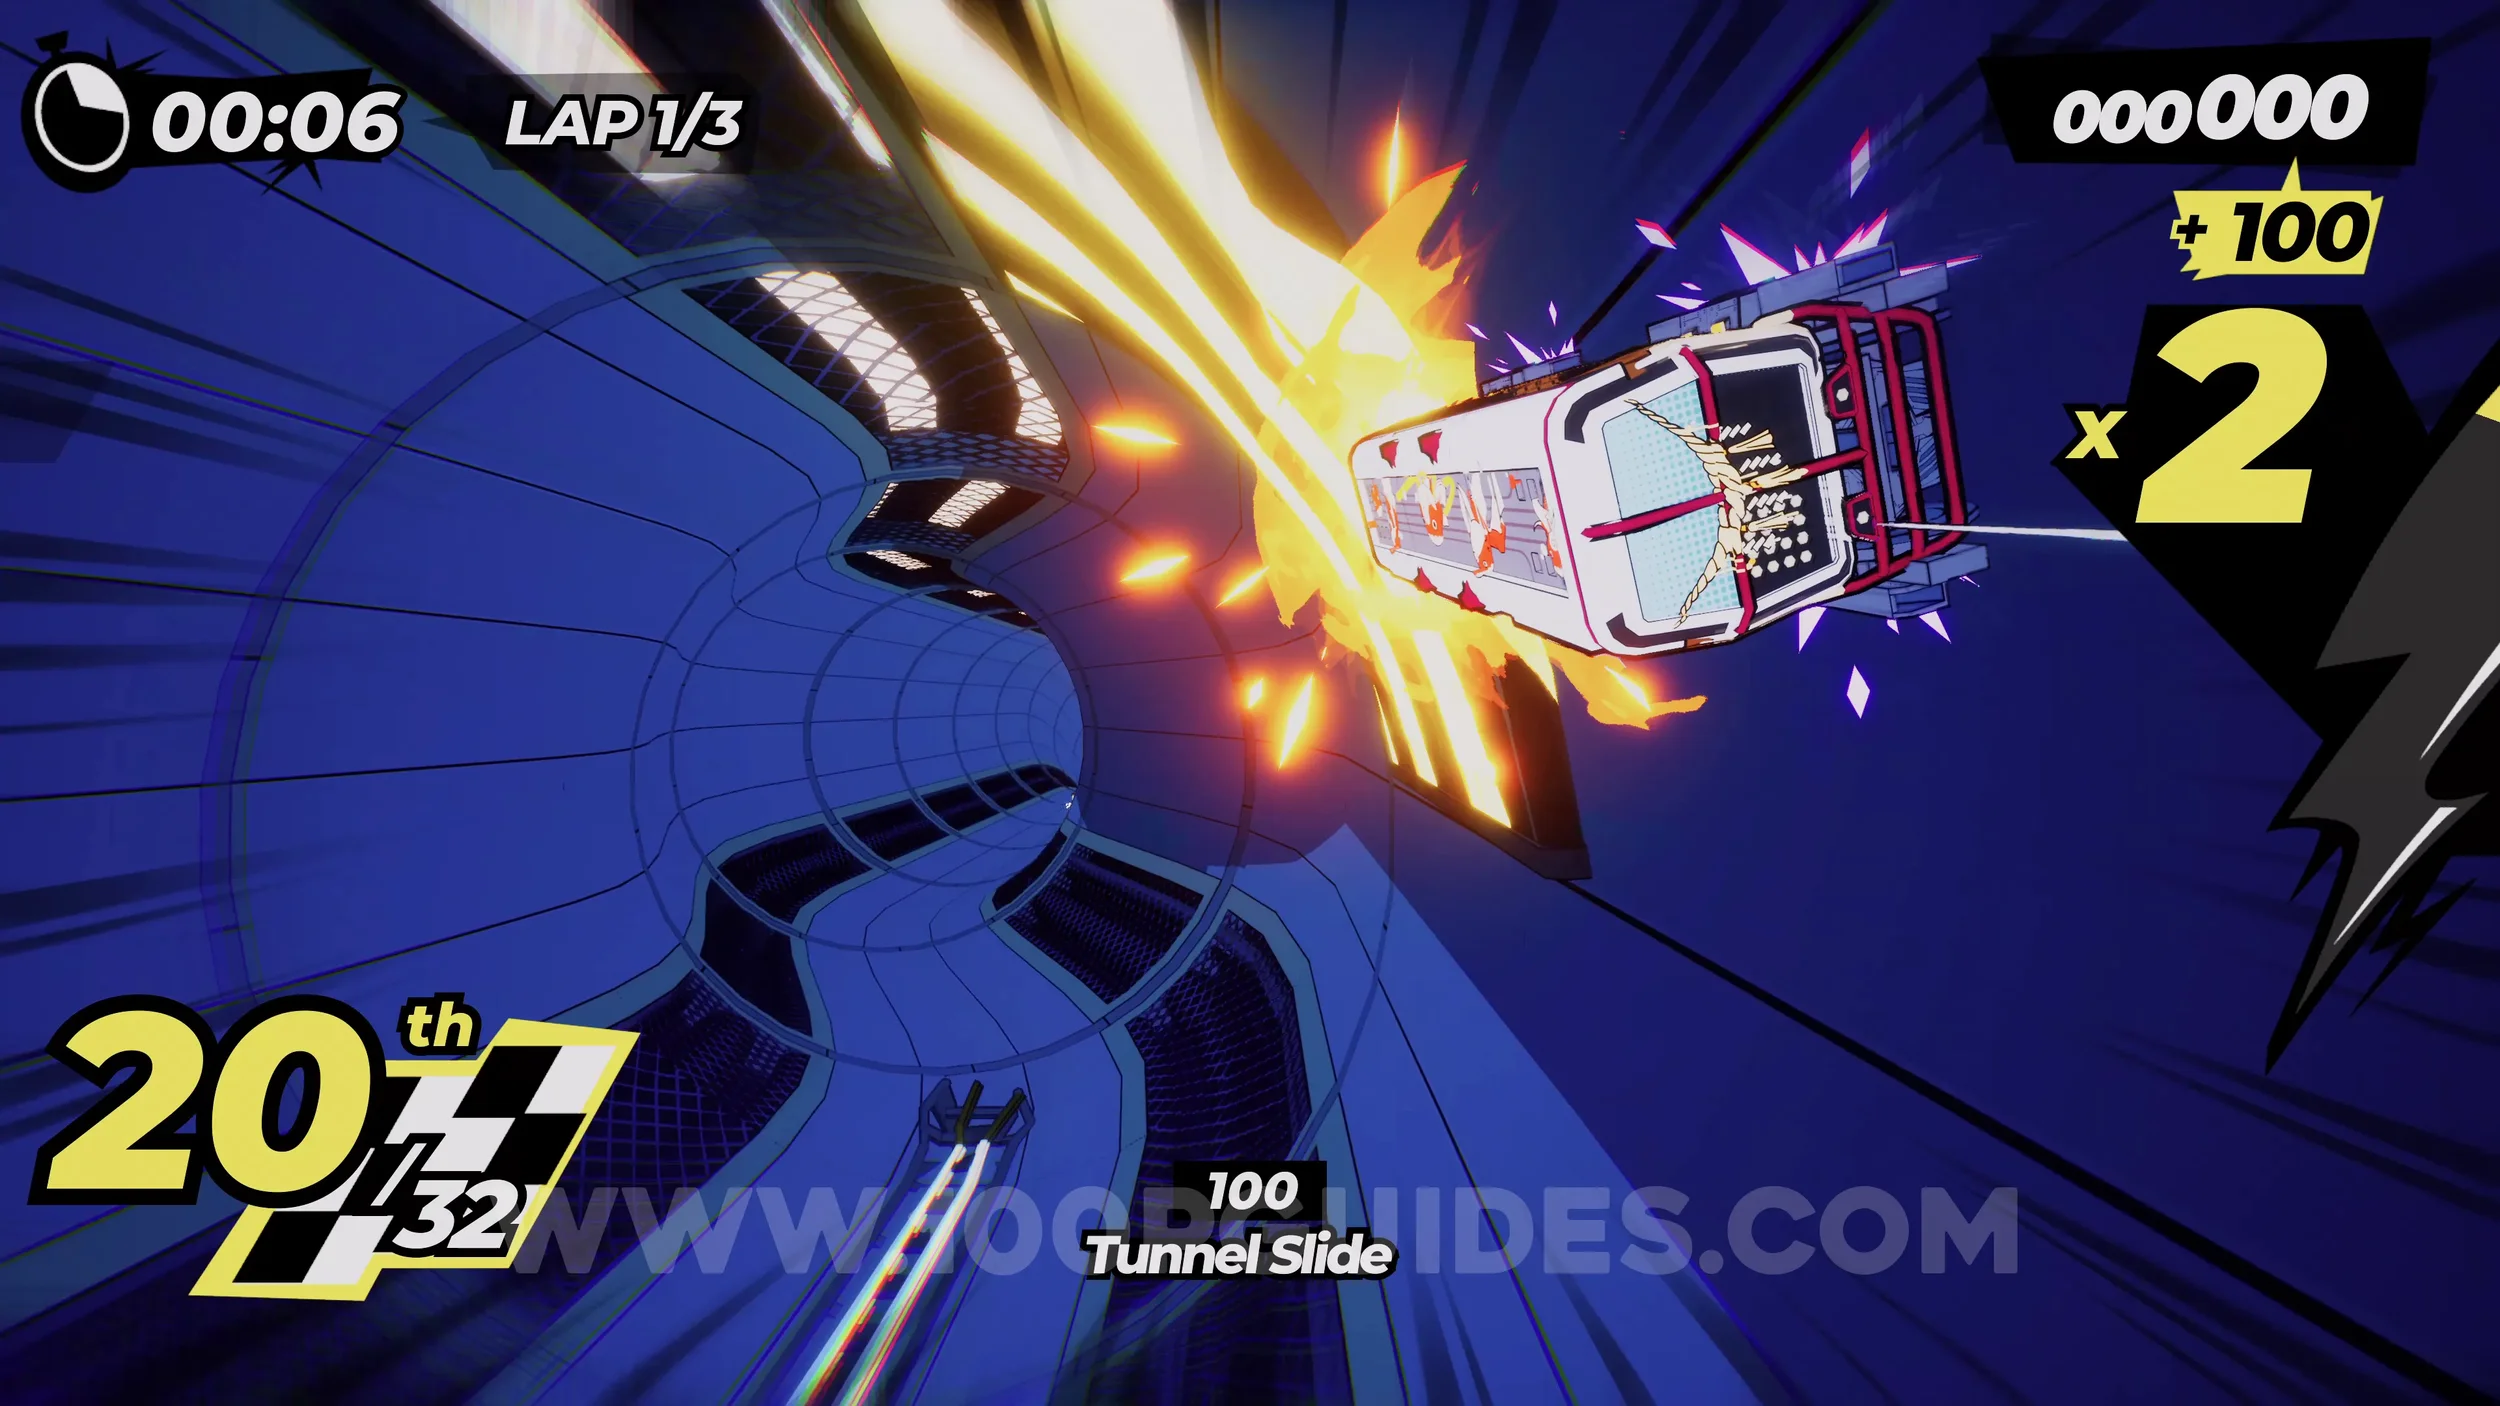
Dare: Collect 3 Vinyl Records (1/3). Continue until you go over a giant spinning record. The vinyl record is on top of it.
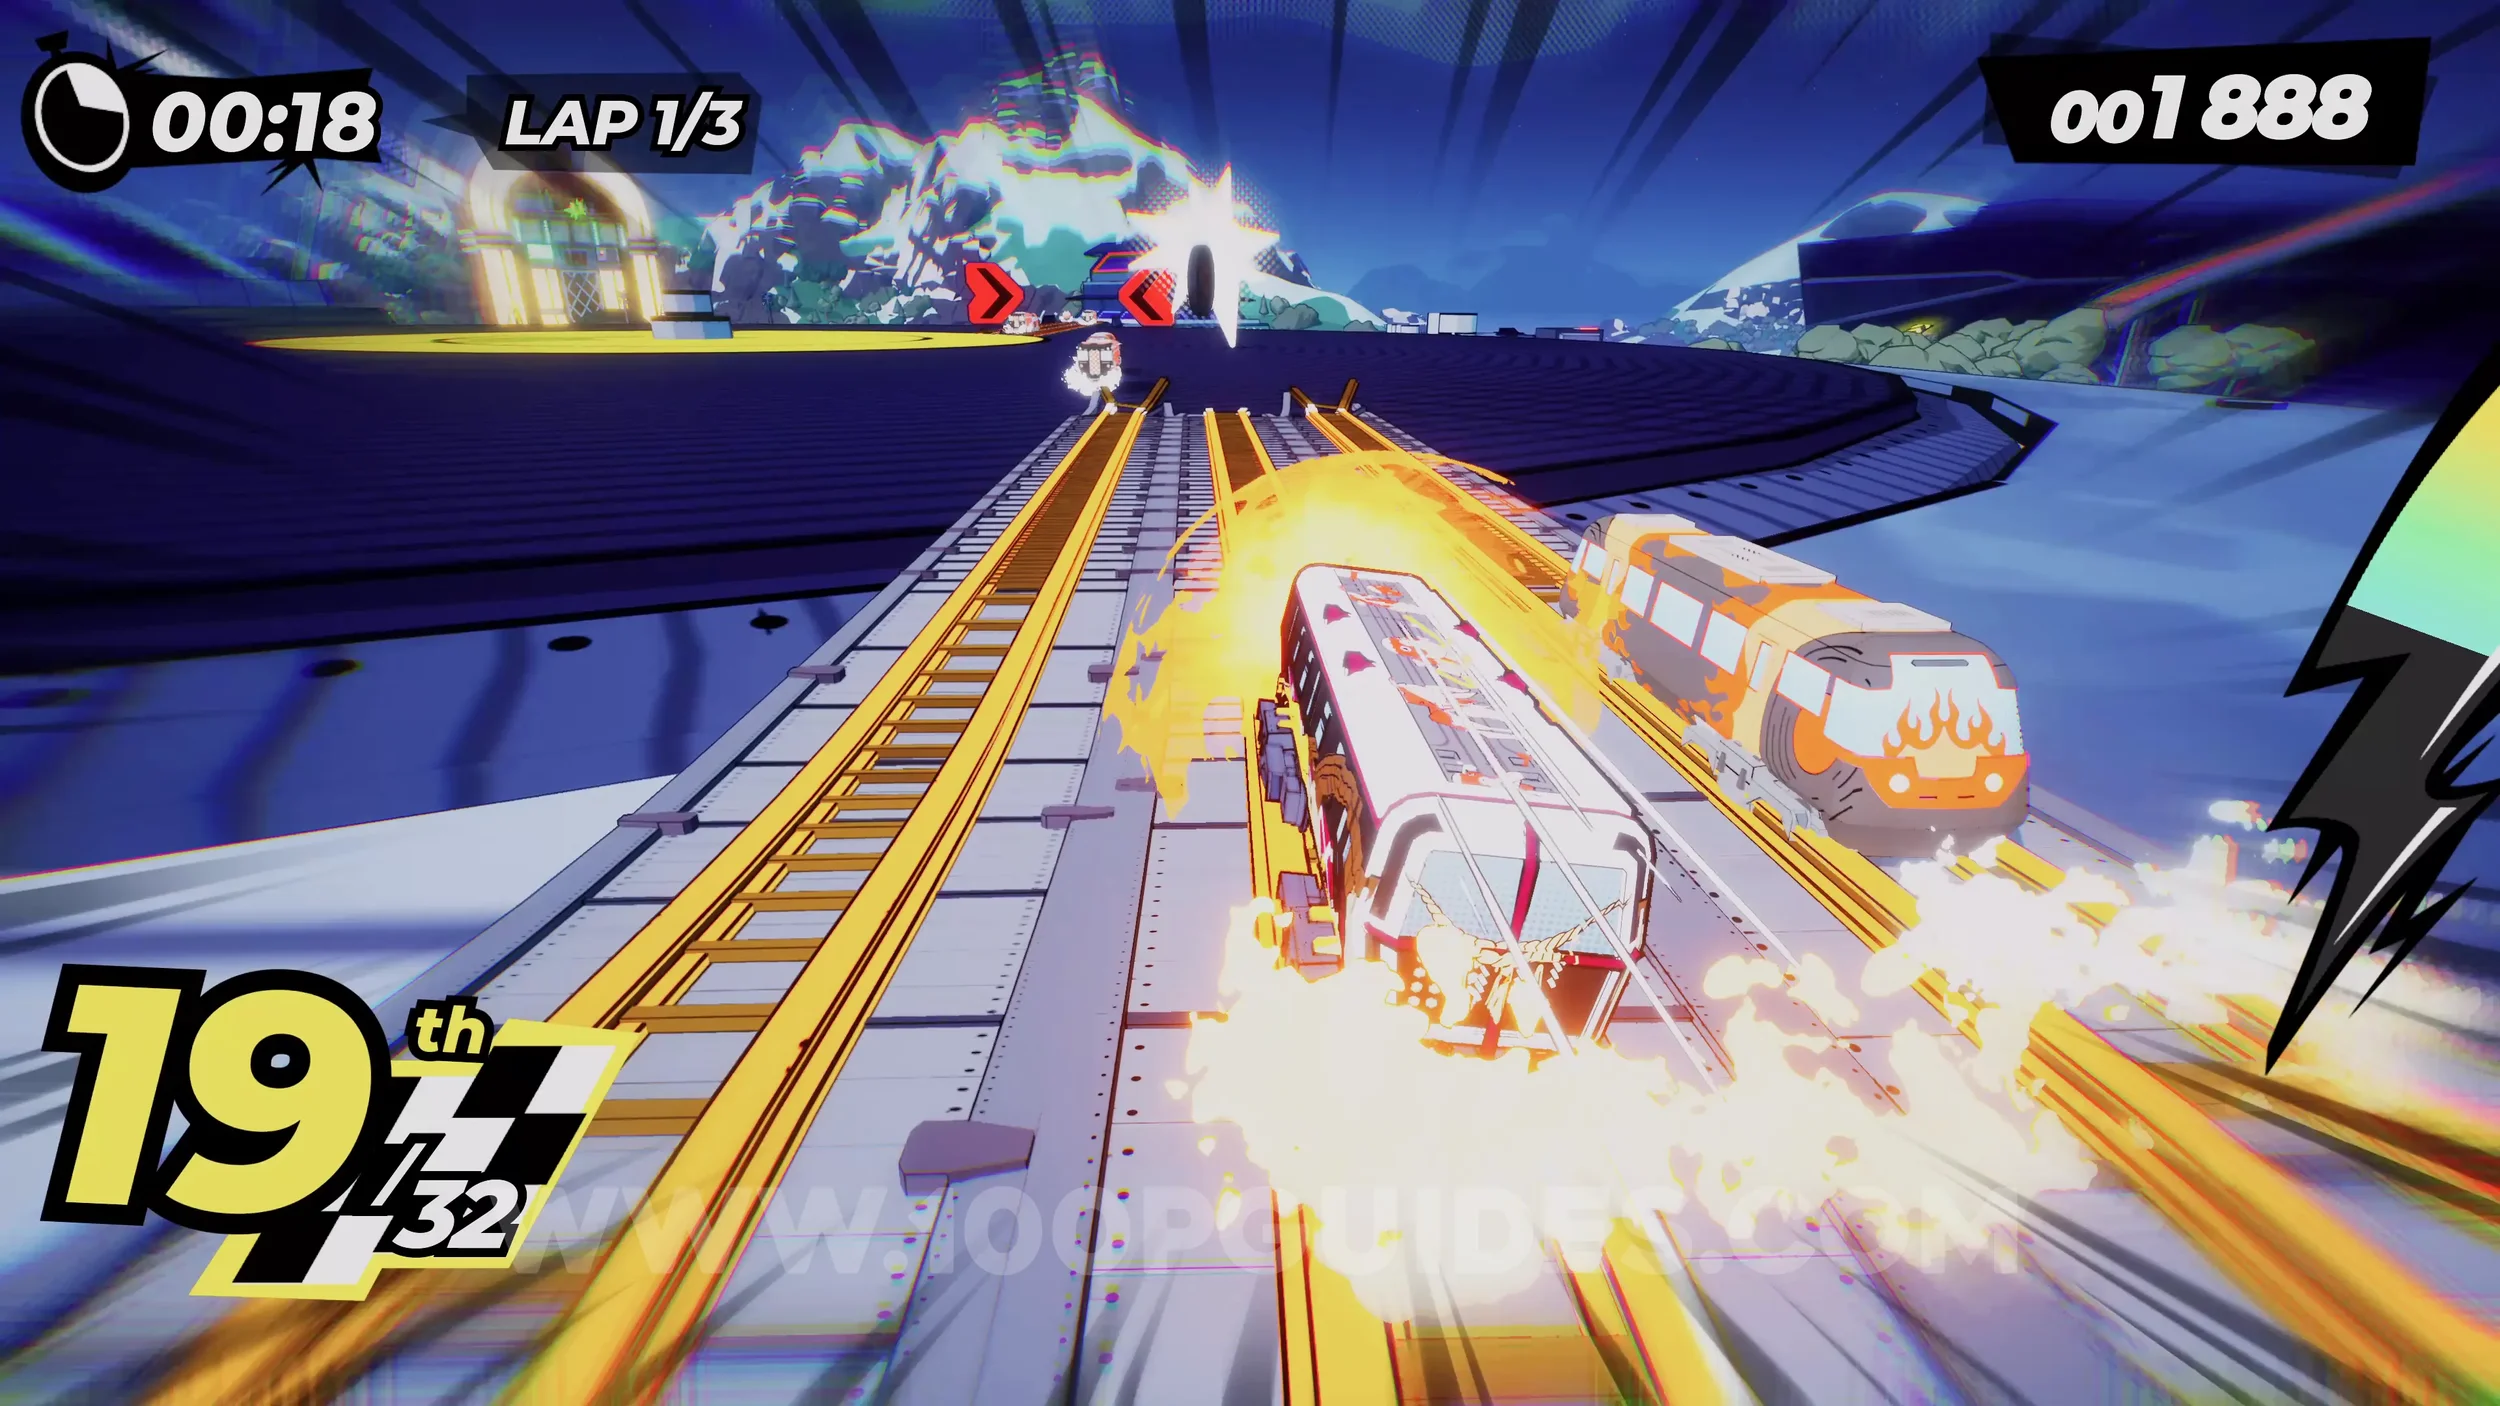
Dare: Collect 3 Vinyl Records (2/3). Almost immediately after the previous collectible, you will cross over another record with a vinyl on it.
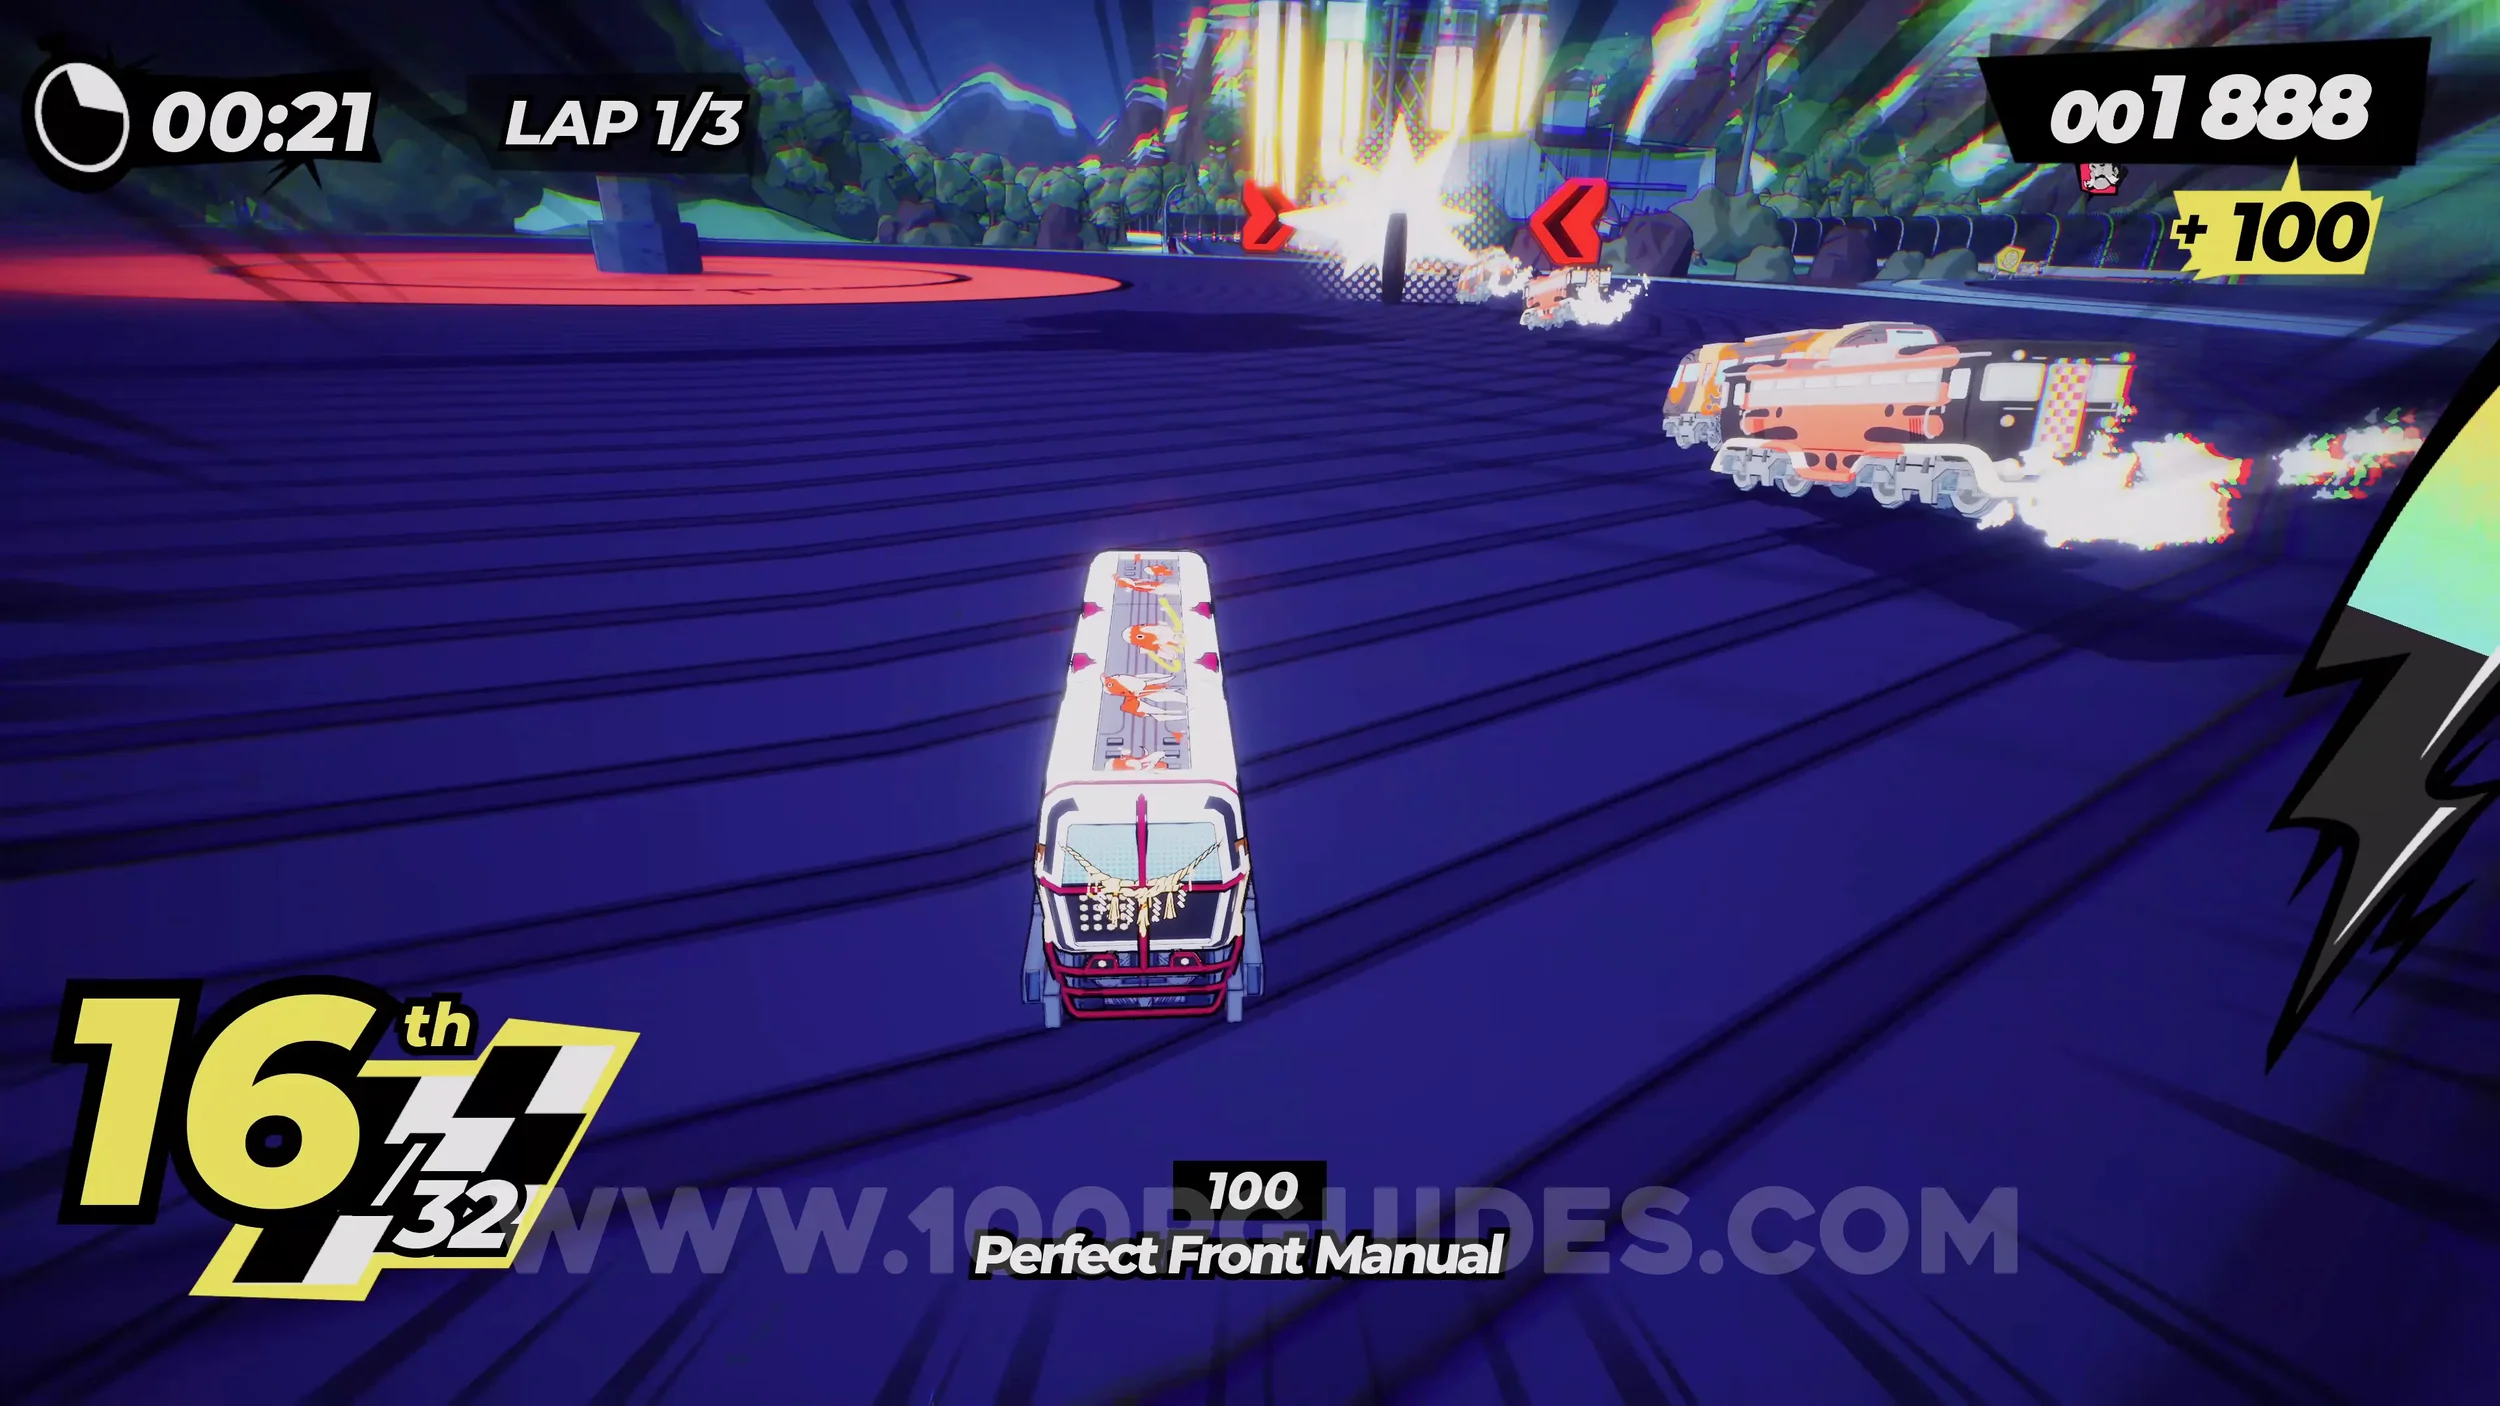
Dare: Grind the Jukebox and Spray Can (2/2). After the second giant disc, jump to the yellow grind rail on the right to go over the jukebox and collect the spray can.
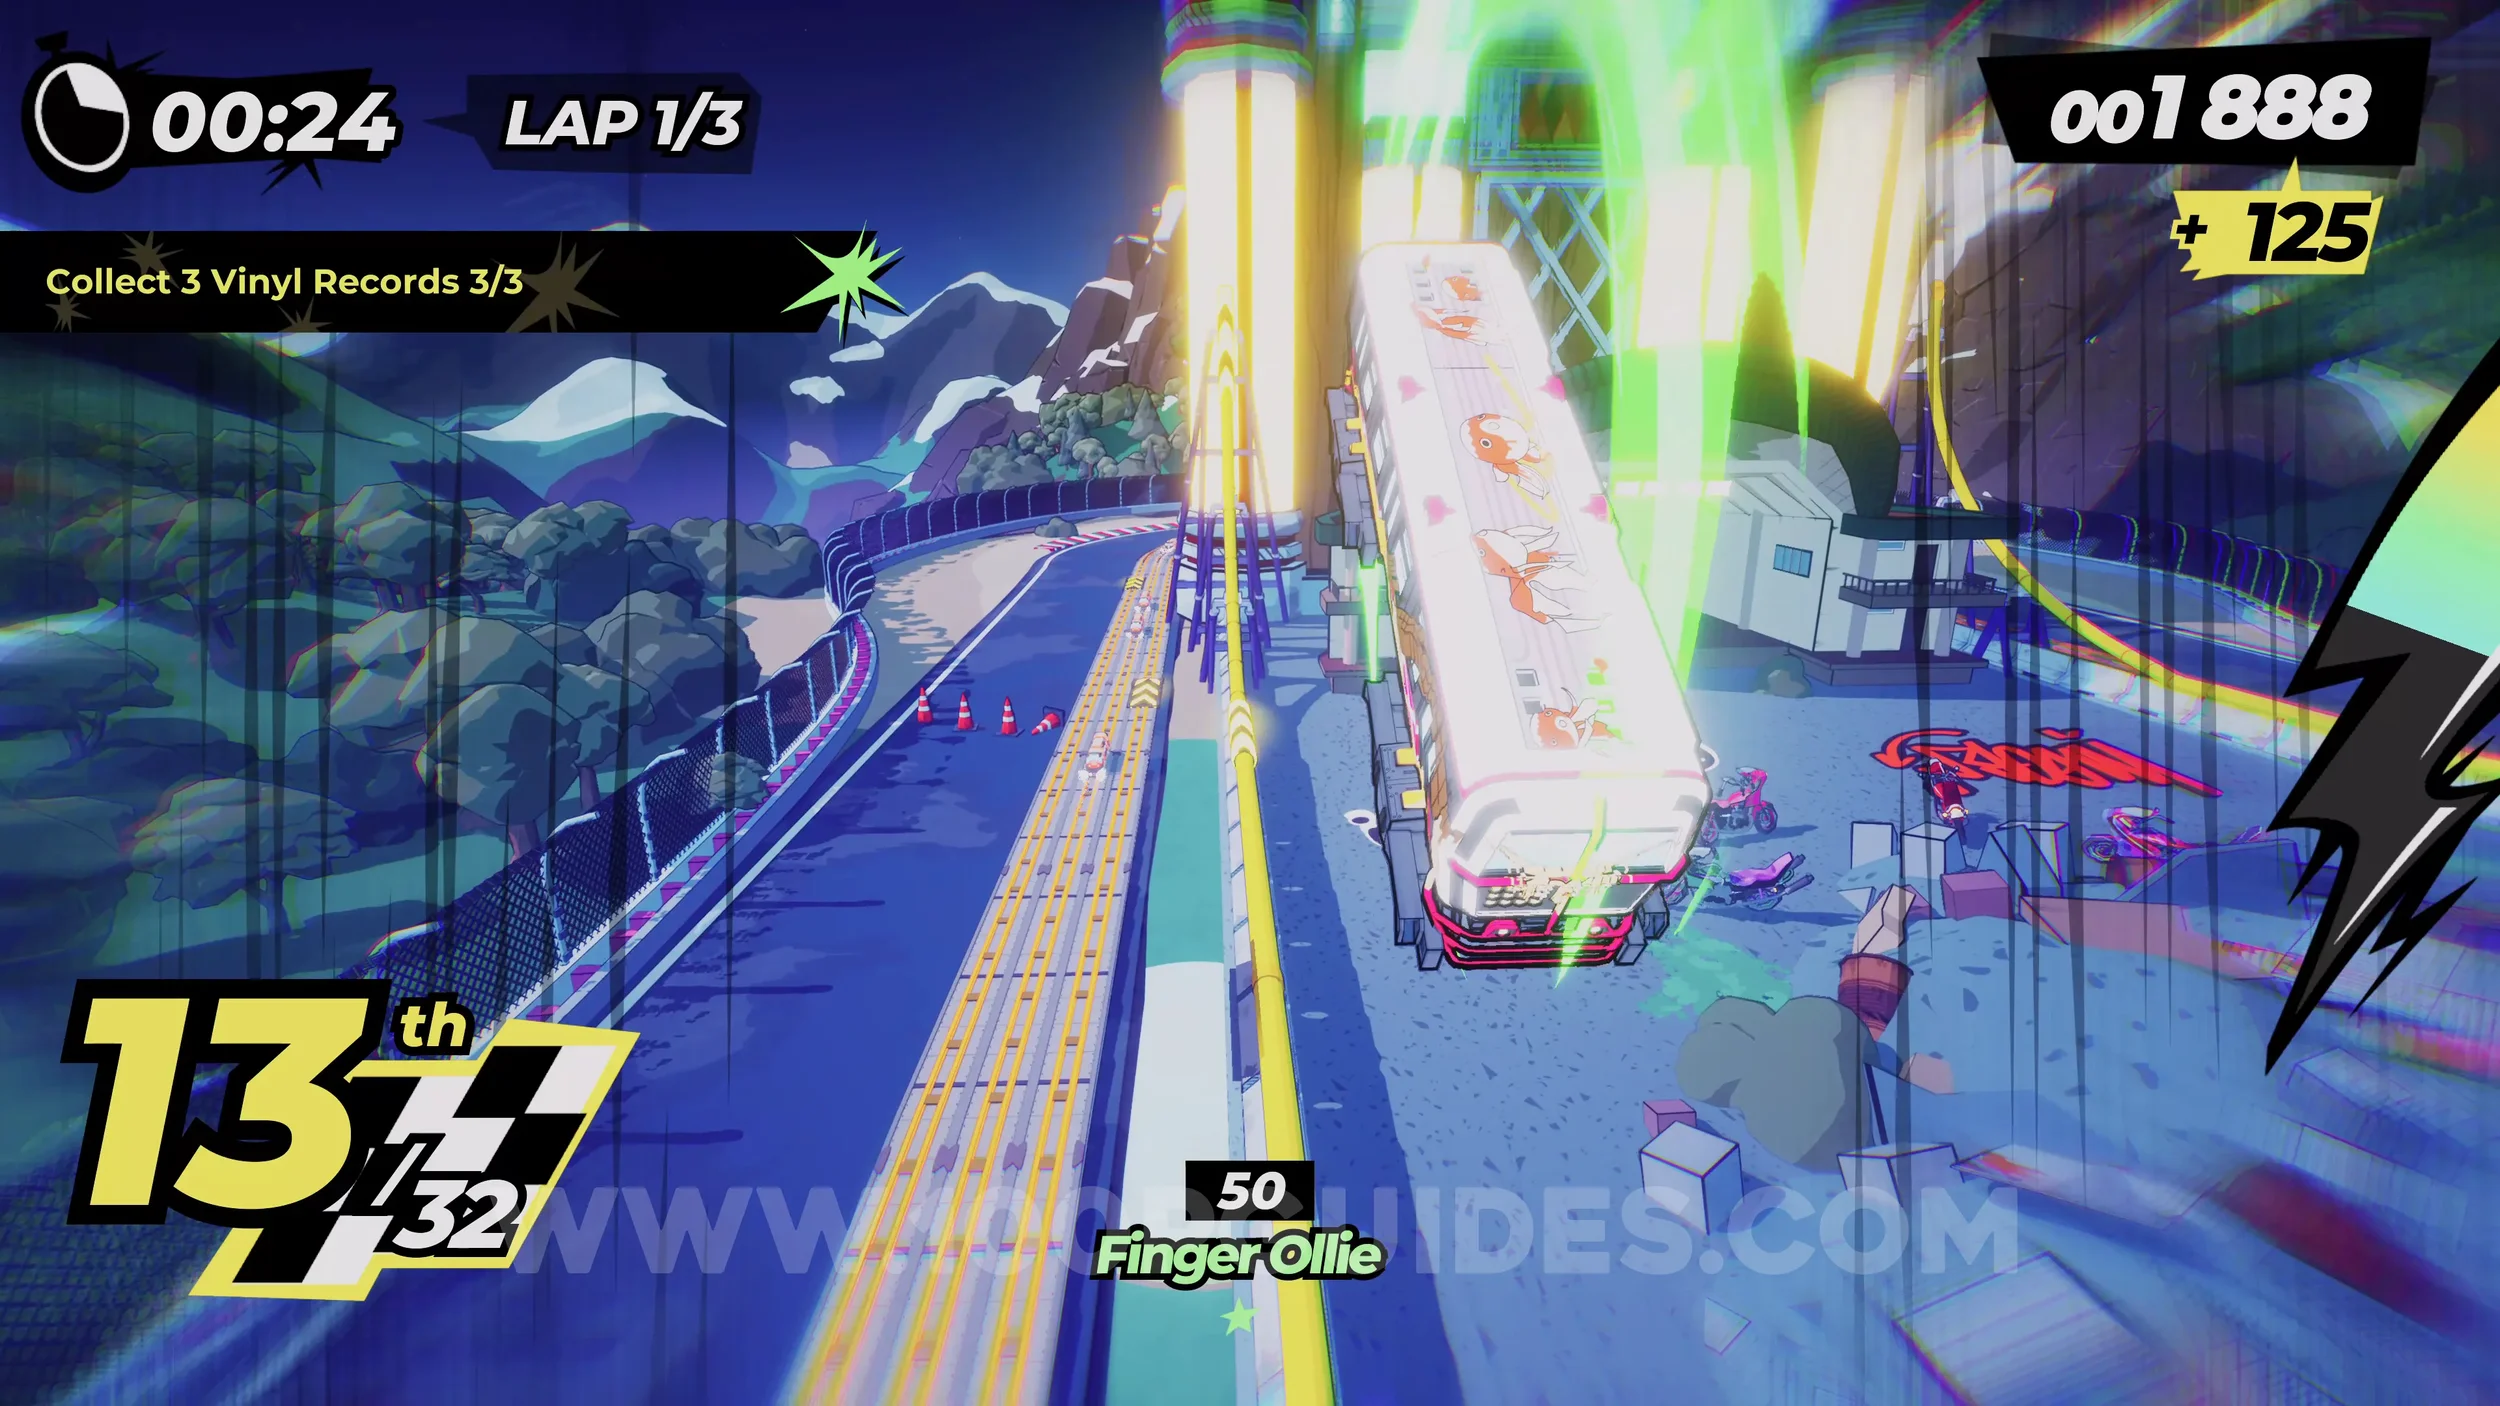
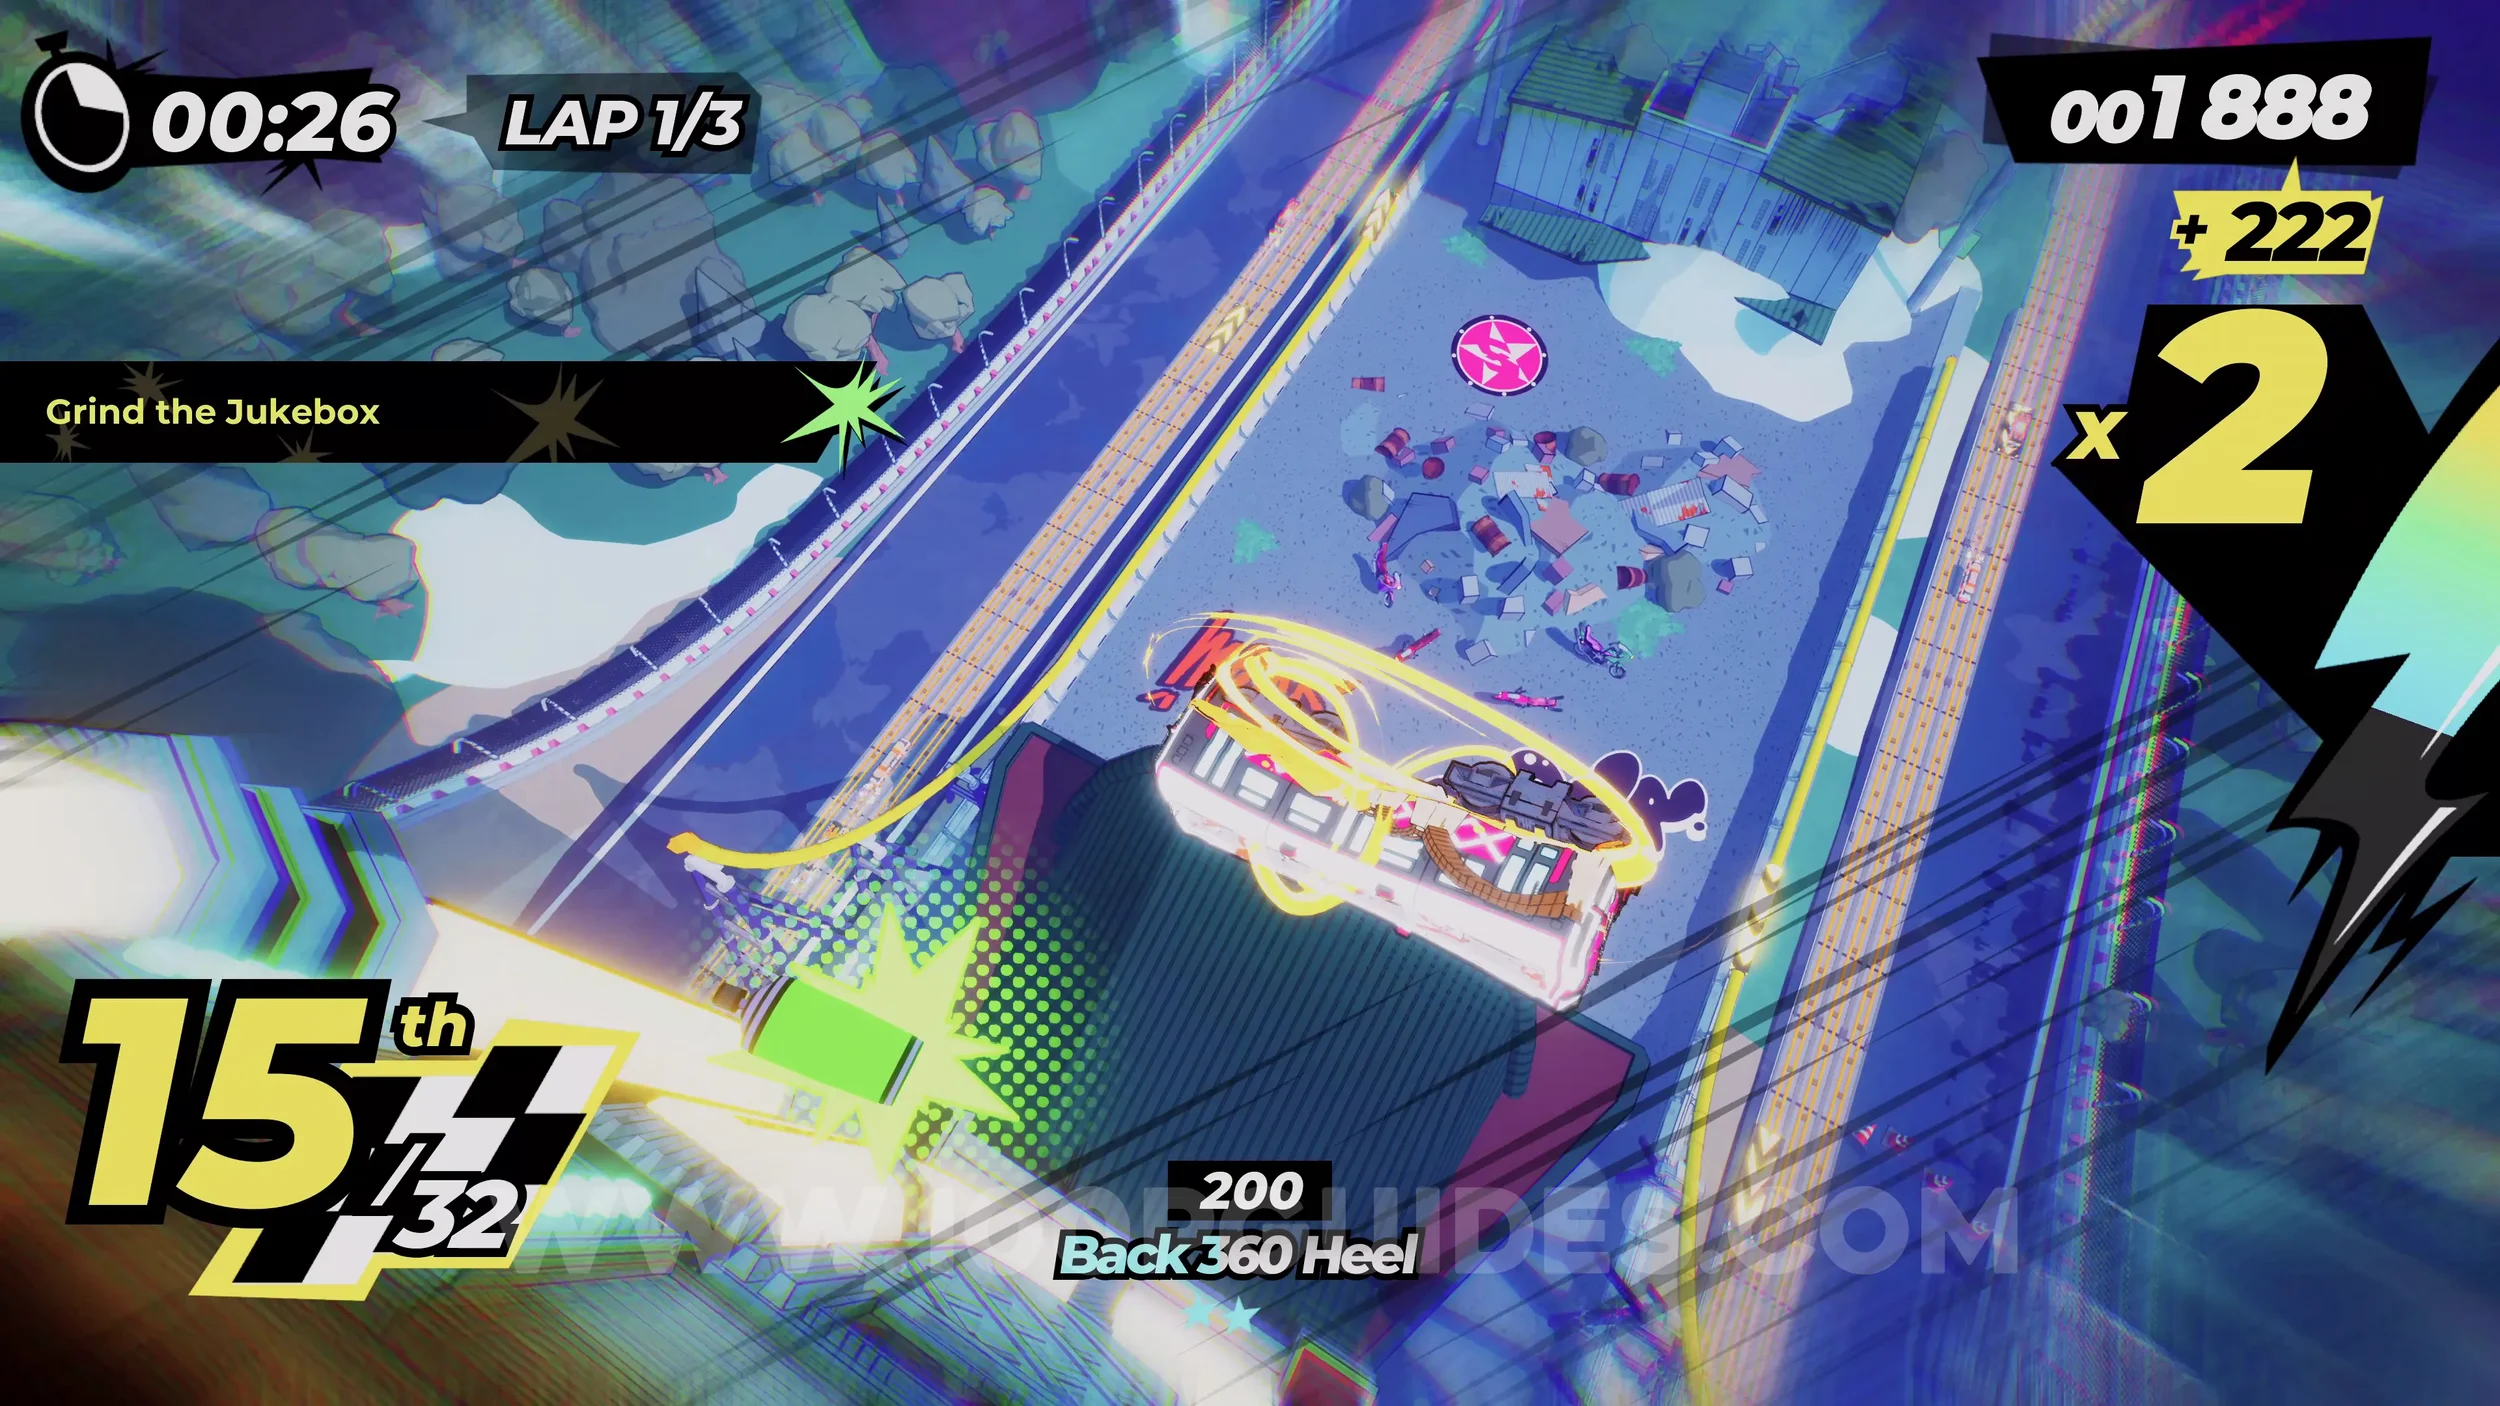
Dare: Collect 3 Vinyl Records (3/3). As soon as you land on the other side of the jukebox, you will cross over a third record with a vinyl on it.
Gear (1/2). On the right side of the track, just before the Start/Finish line.
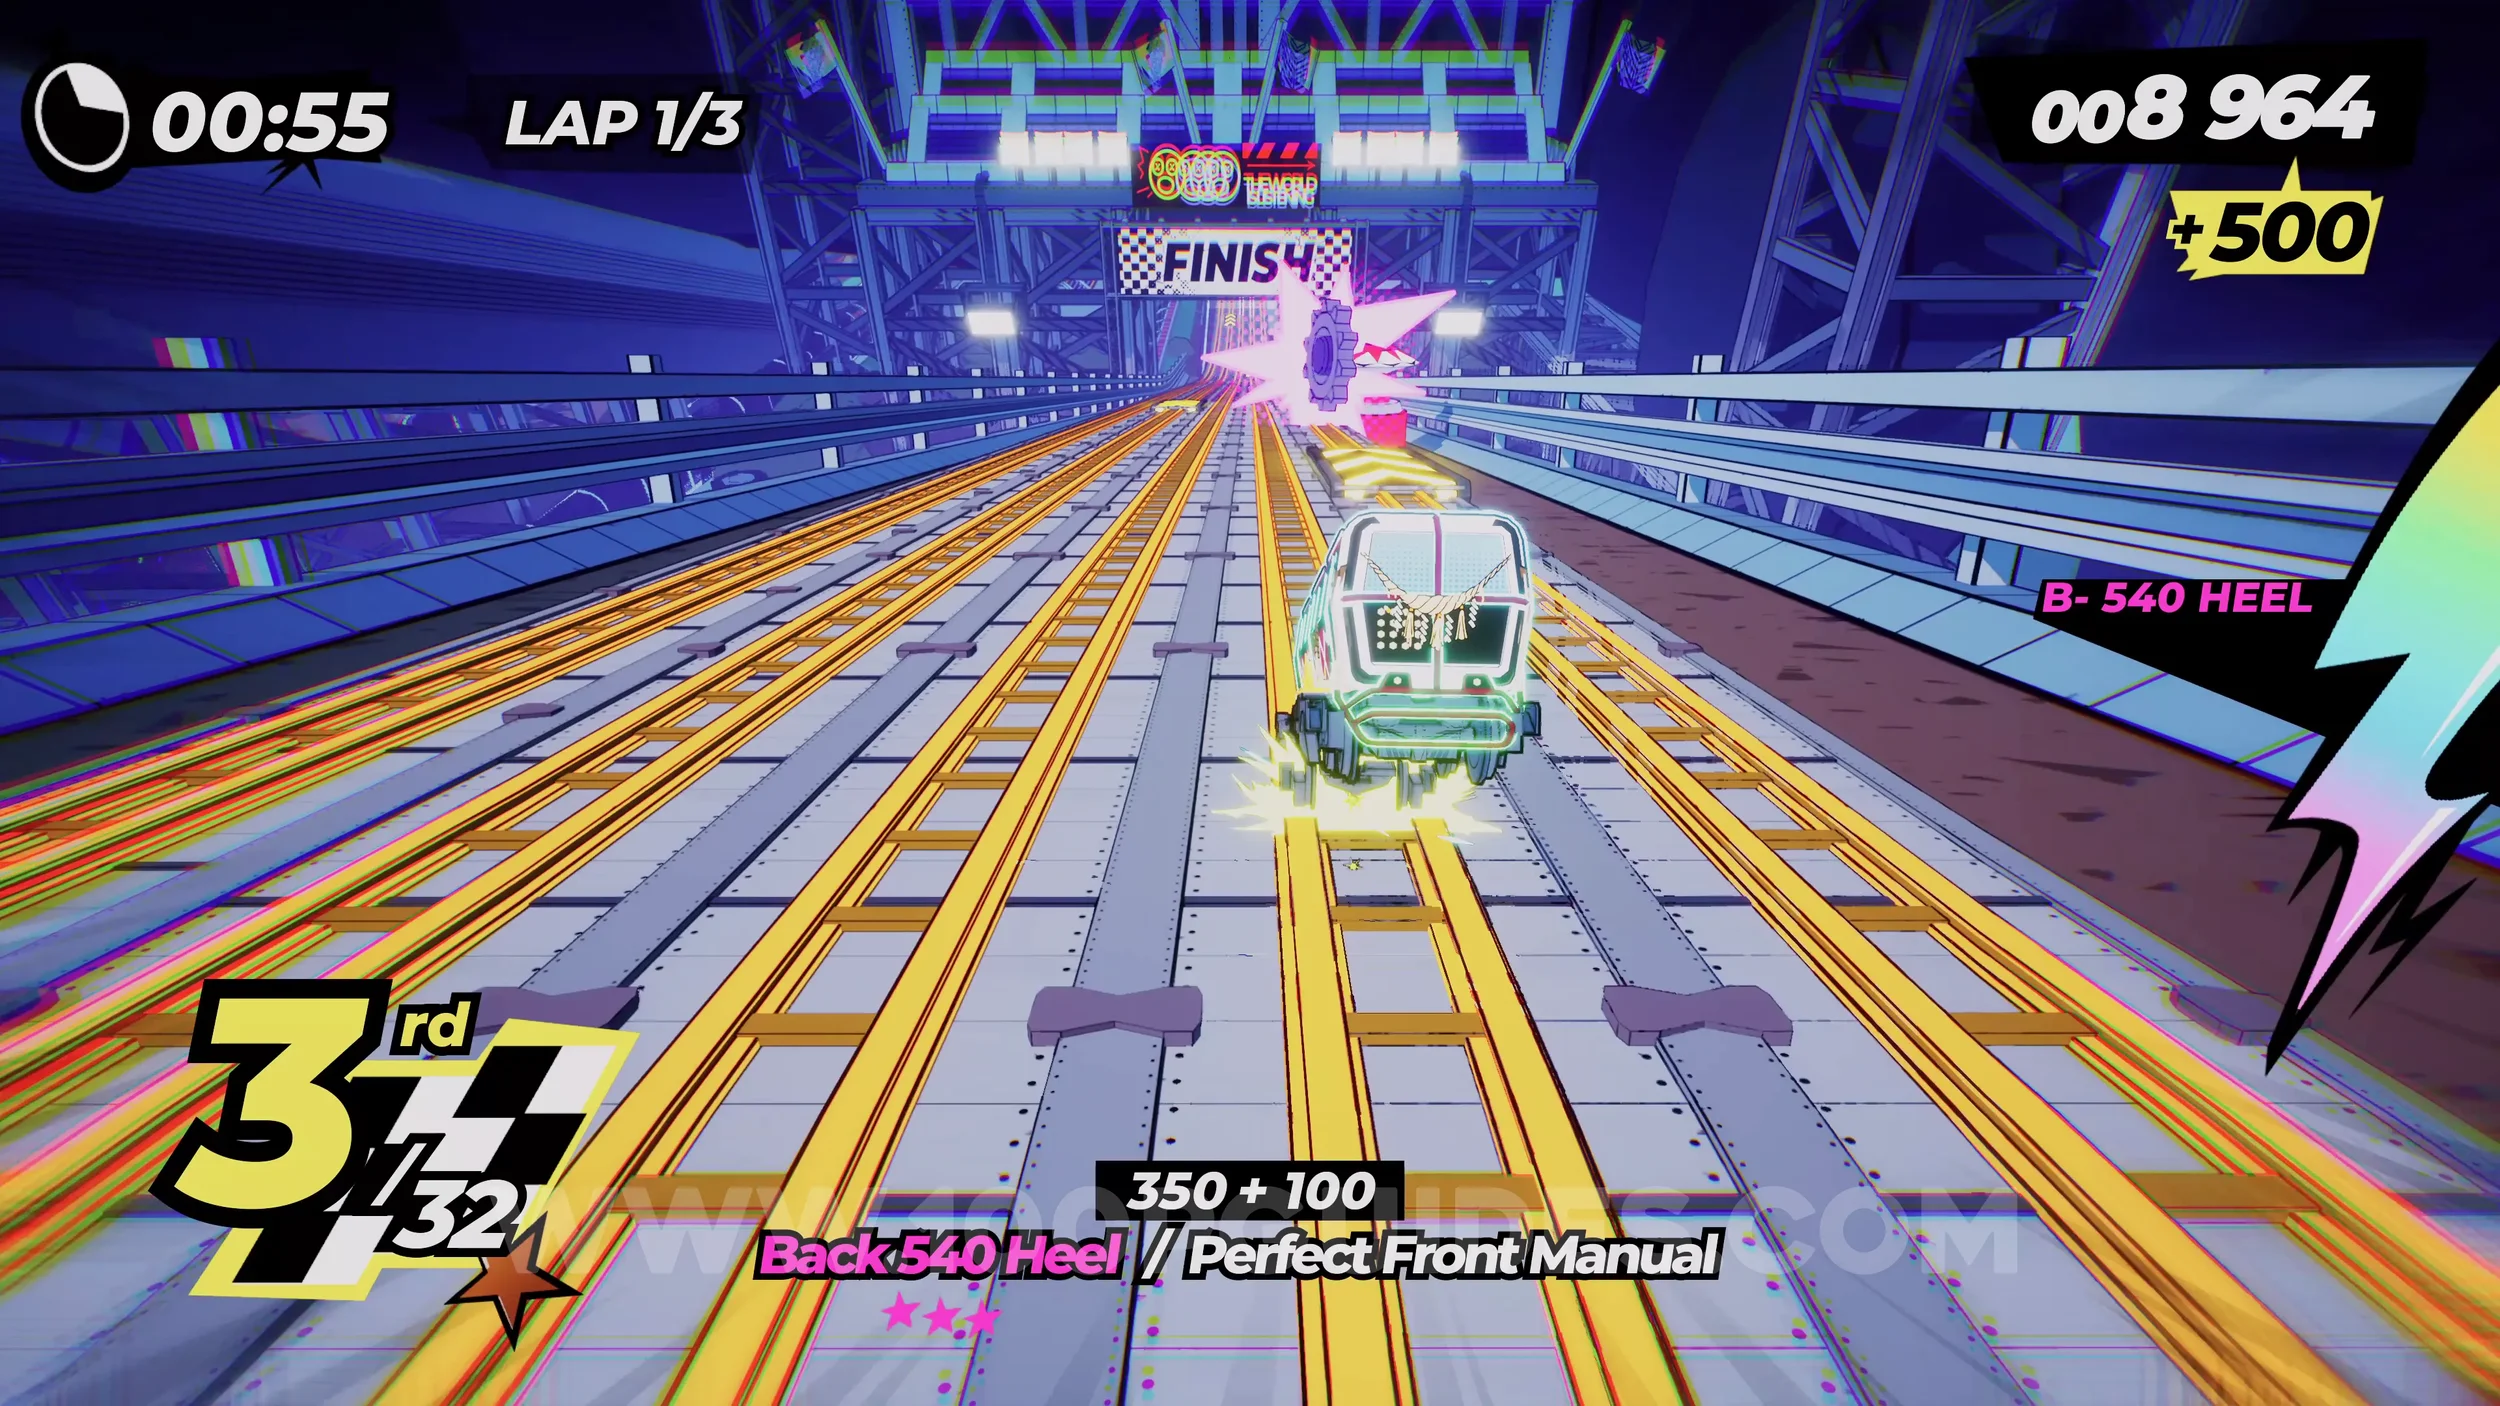
Dare: Hit all the Boosters in the Tunnels (3-4/4). At the start of the second lap, stick left and then go through the tunnel. Inside, hit the two boosters.
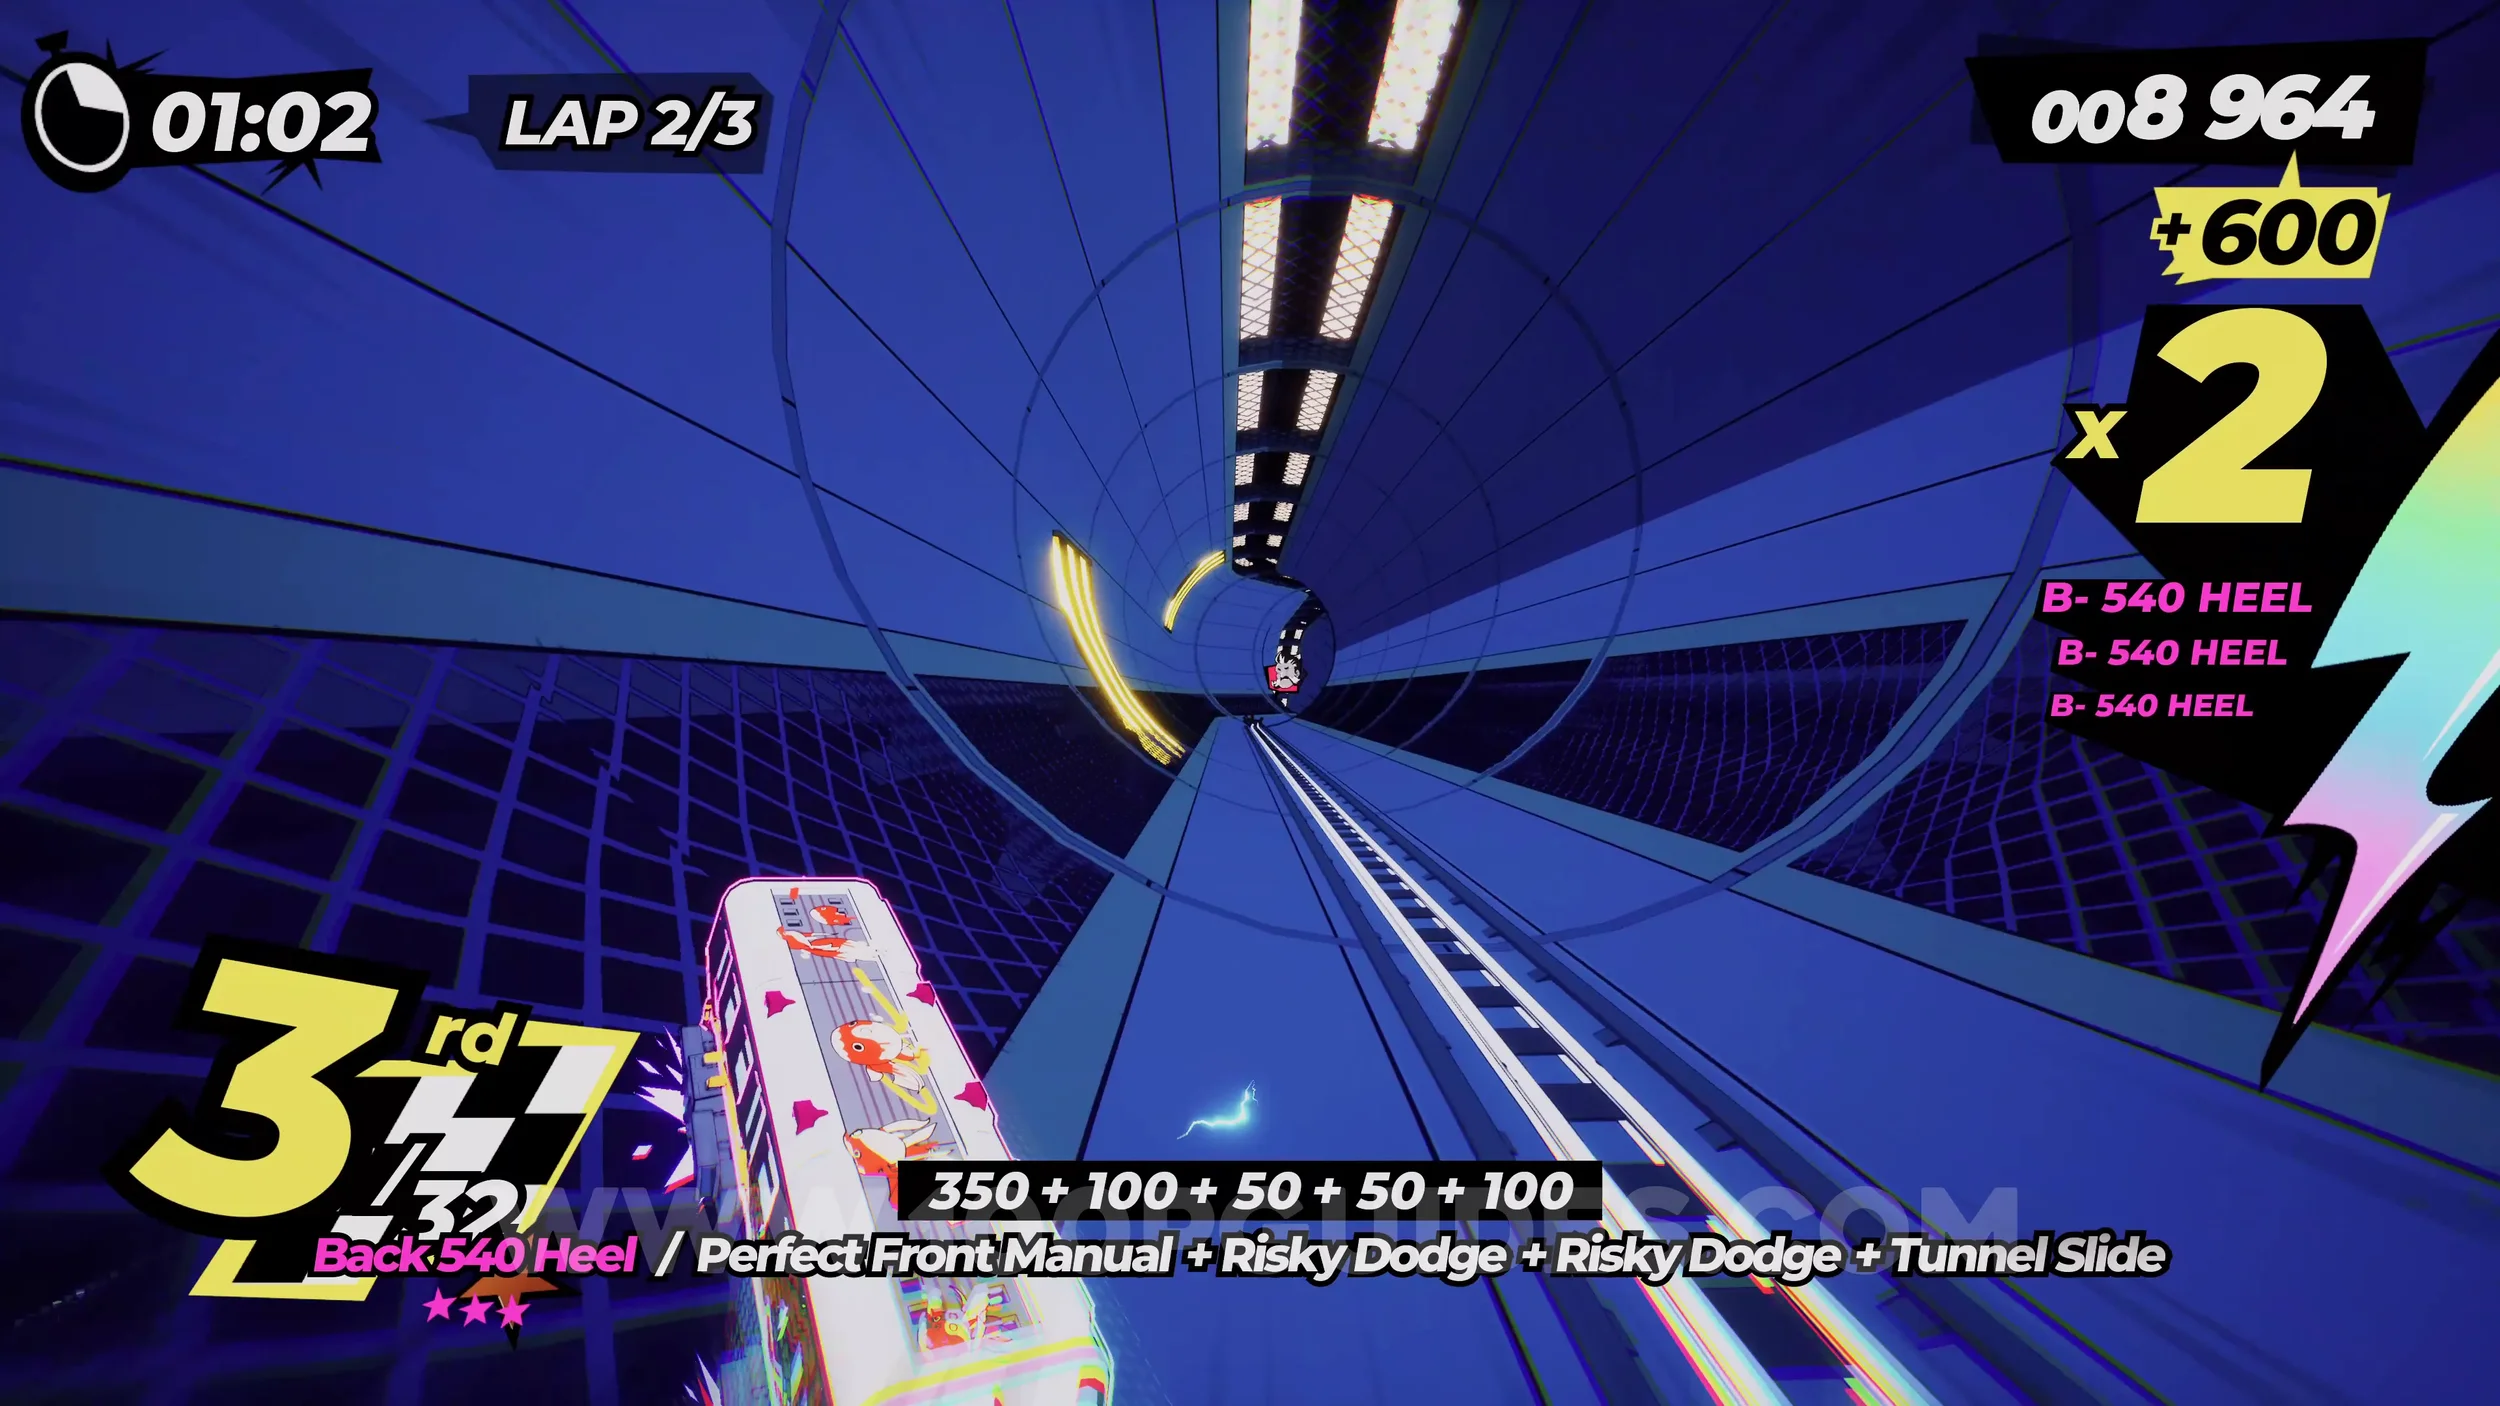
Gear (2/2). As soon as you exit the tunnel, jump up to the grind rail on your right. If you have your special meter filled, this will take you to a rainbow rail where the gear is found at the end.
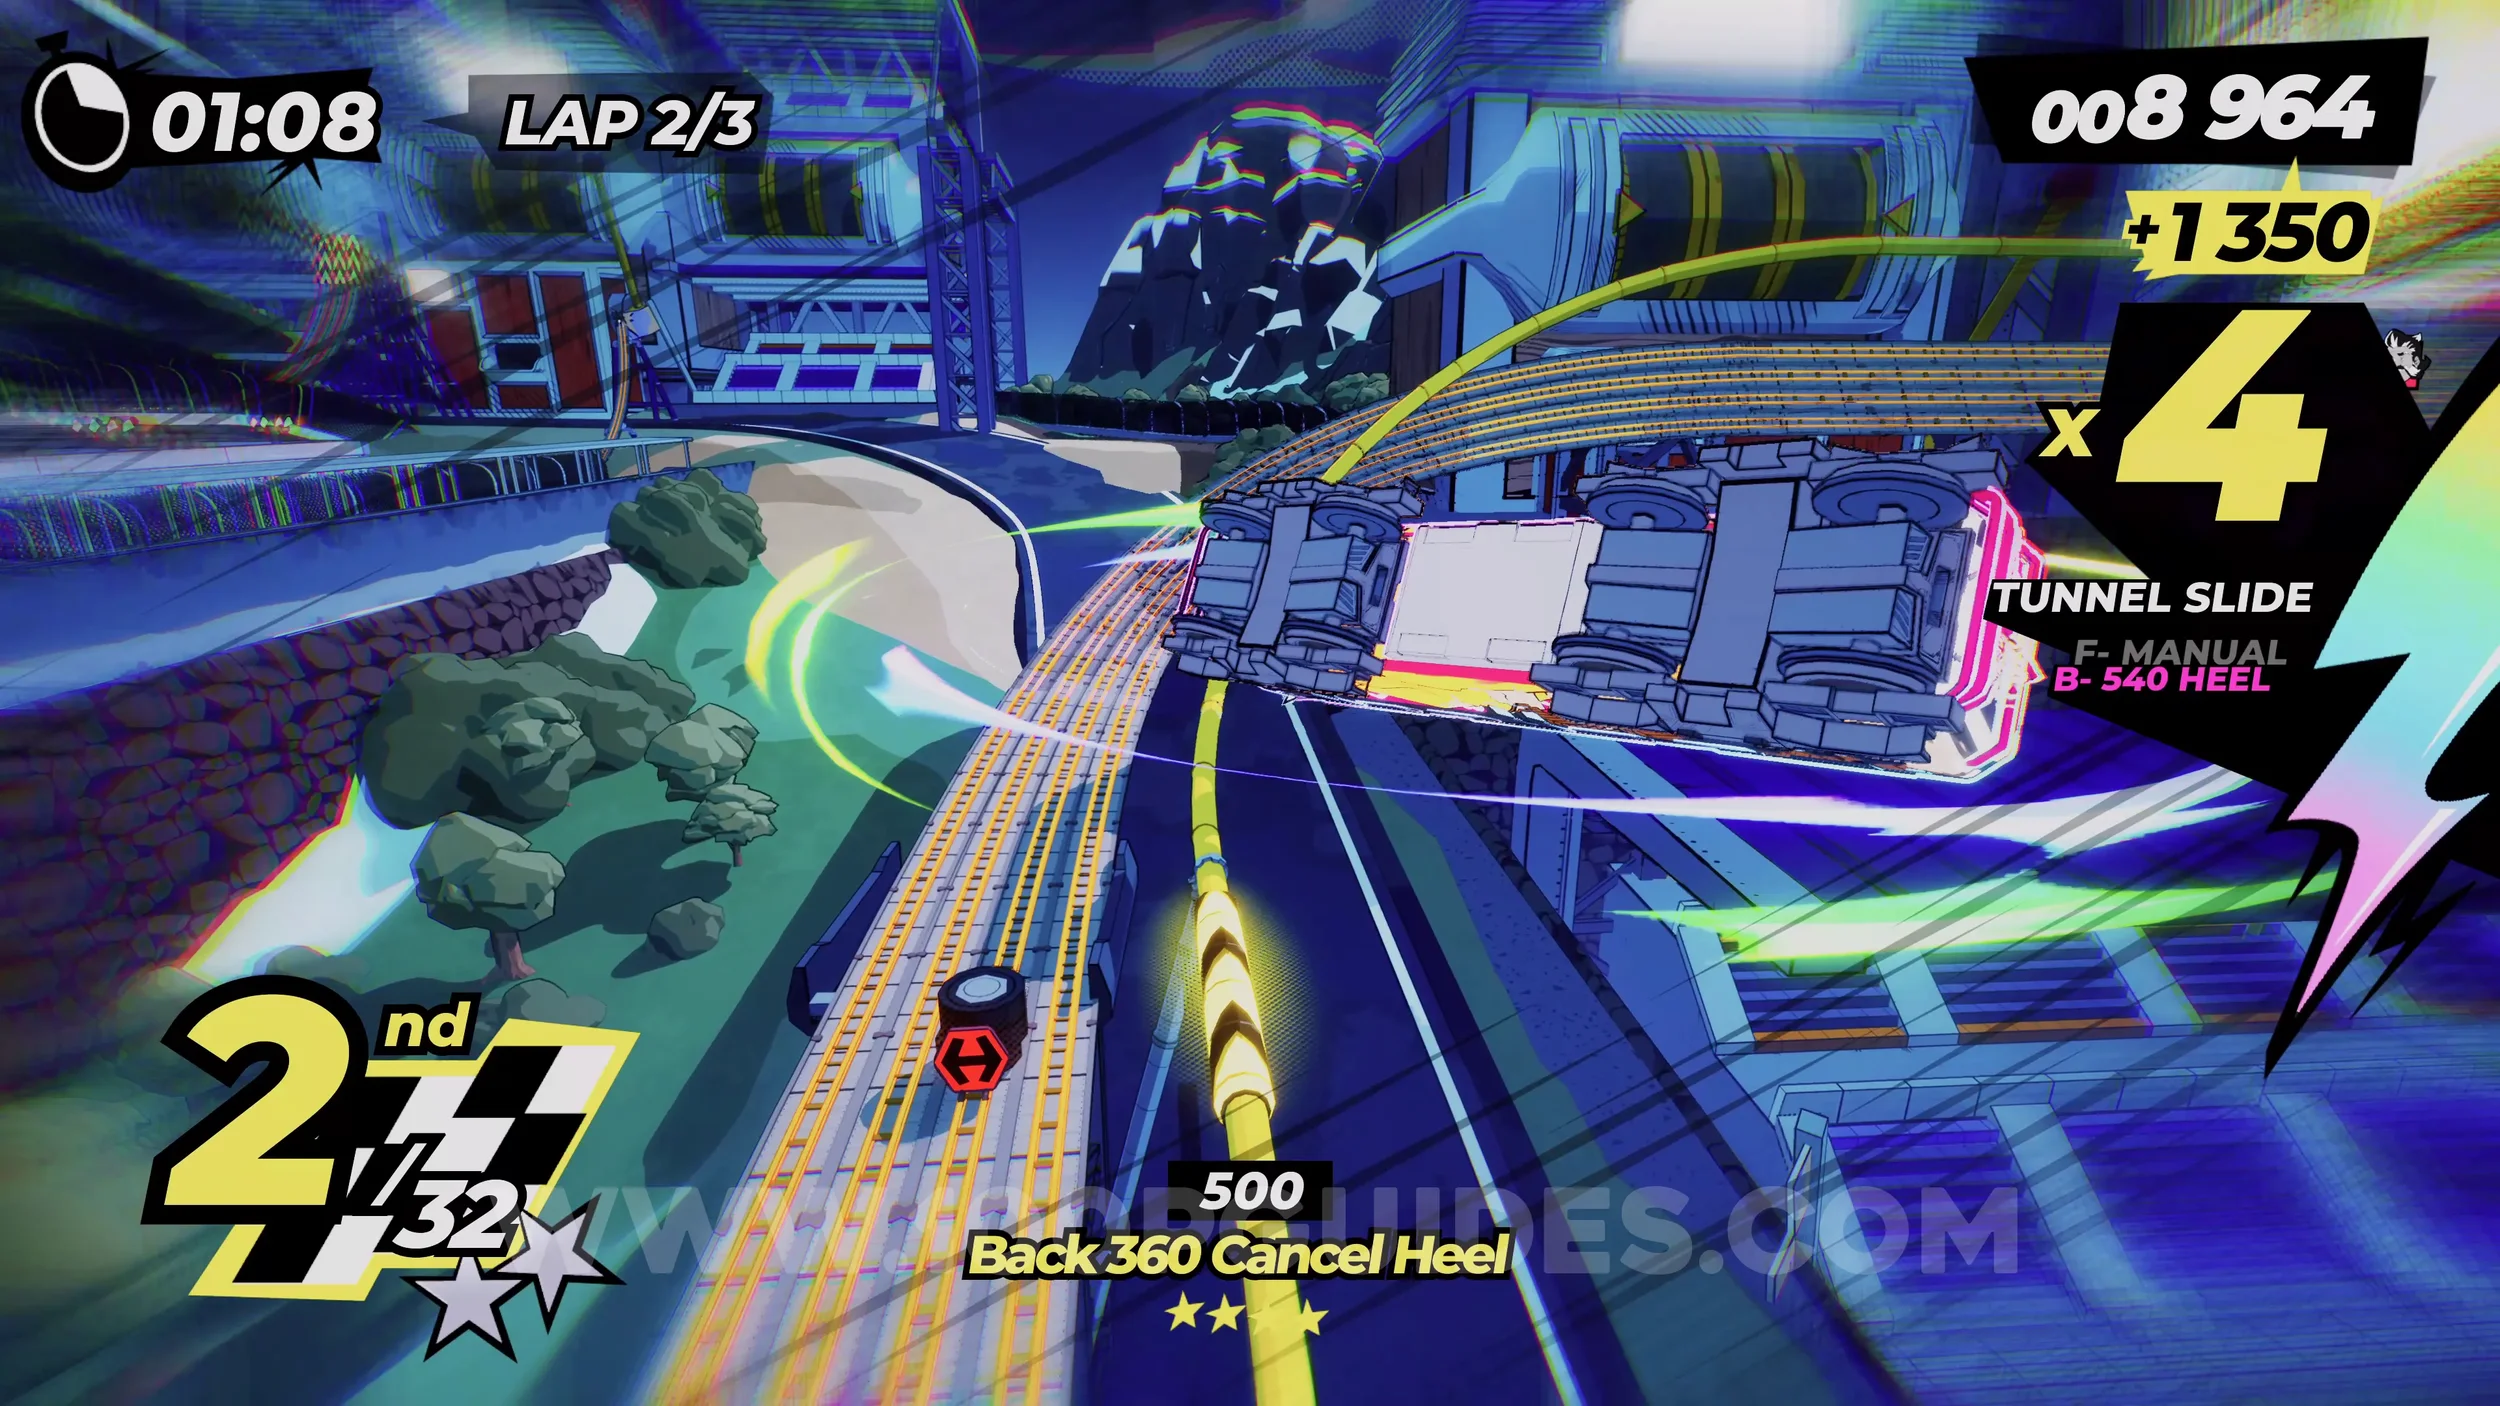
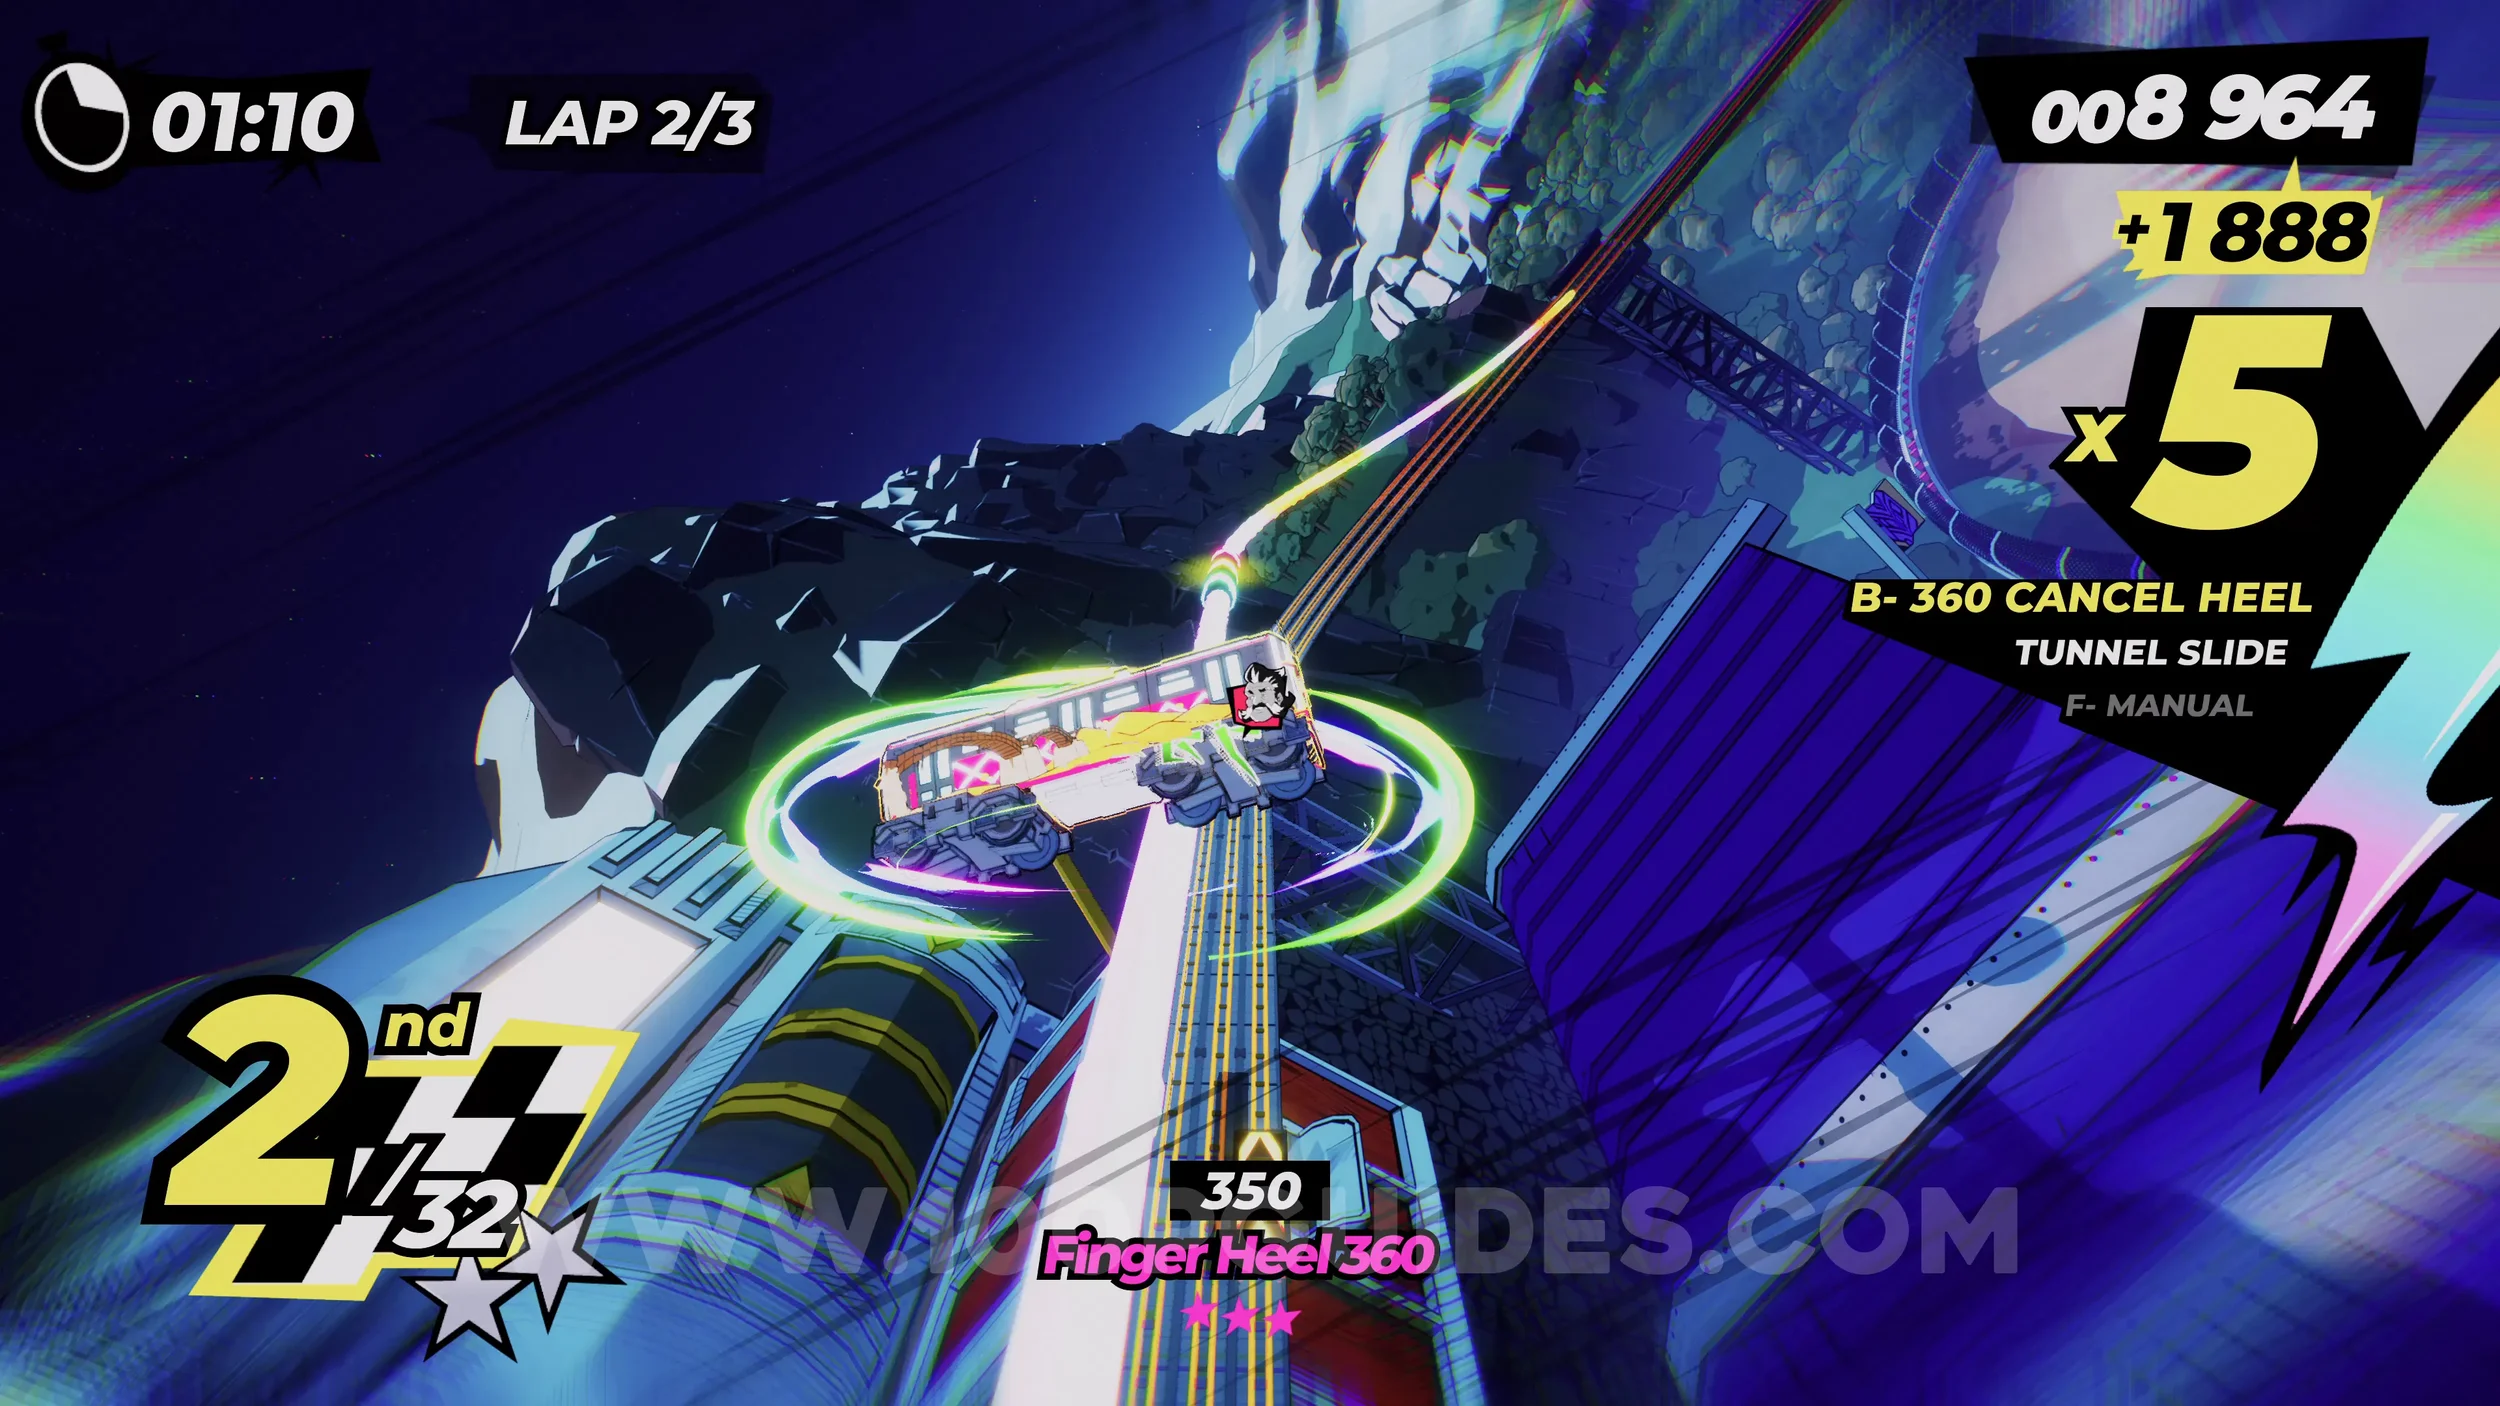
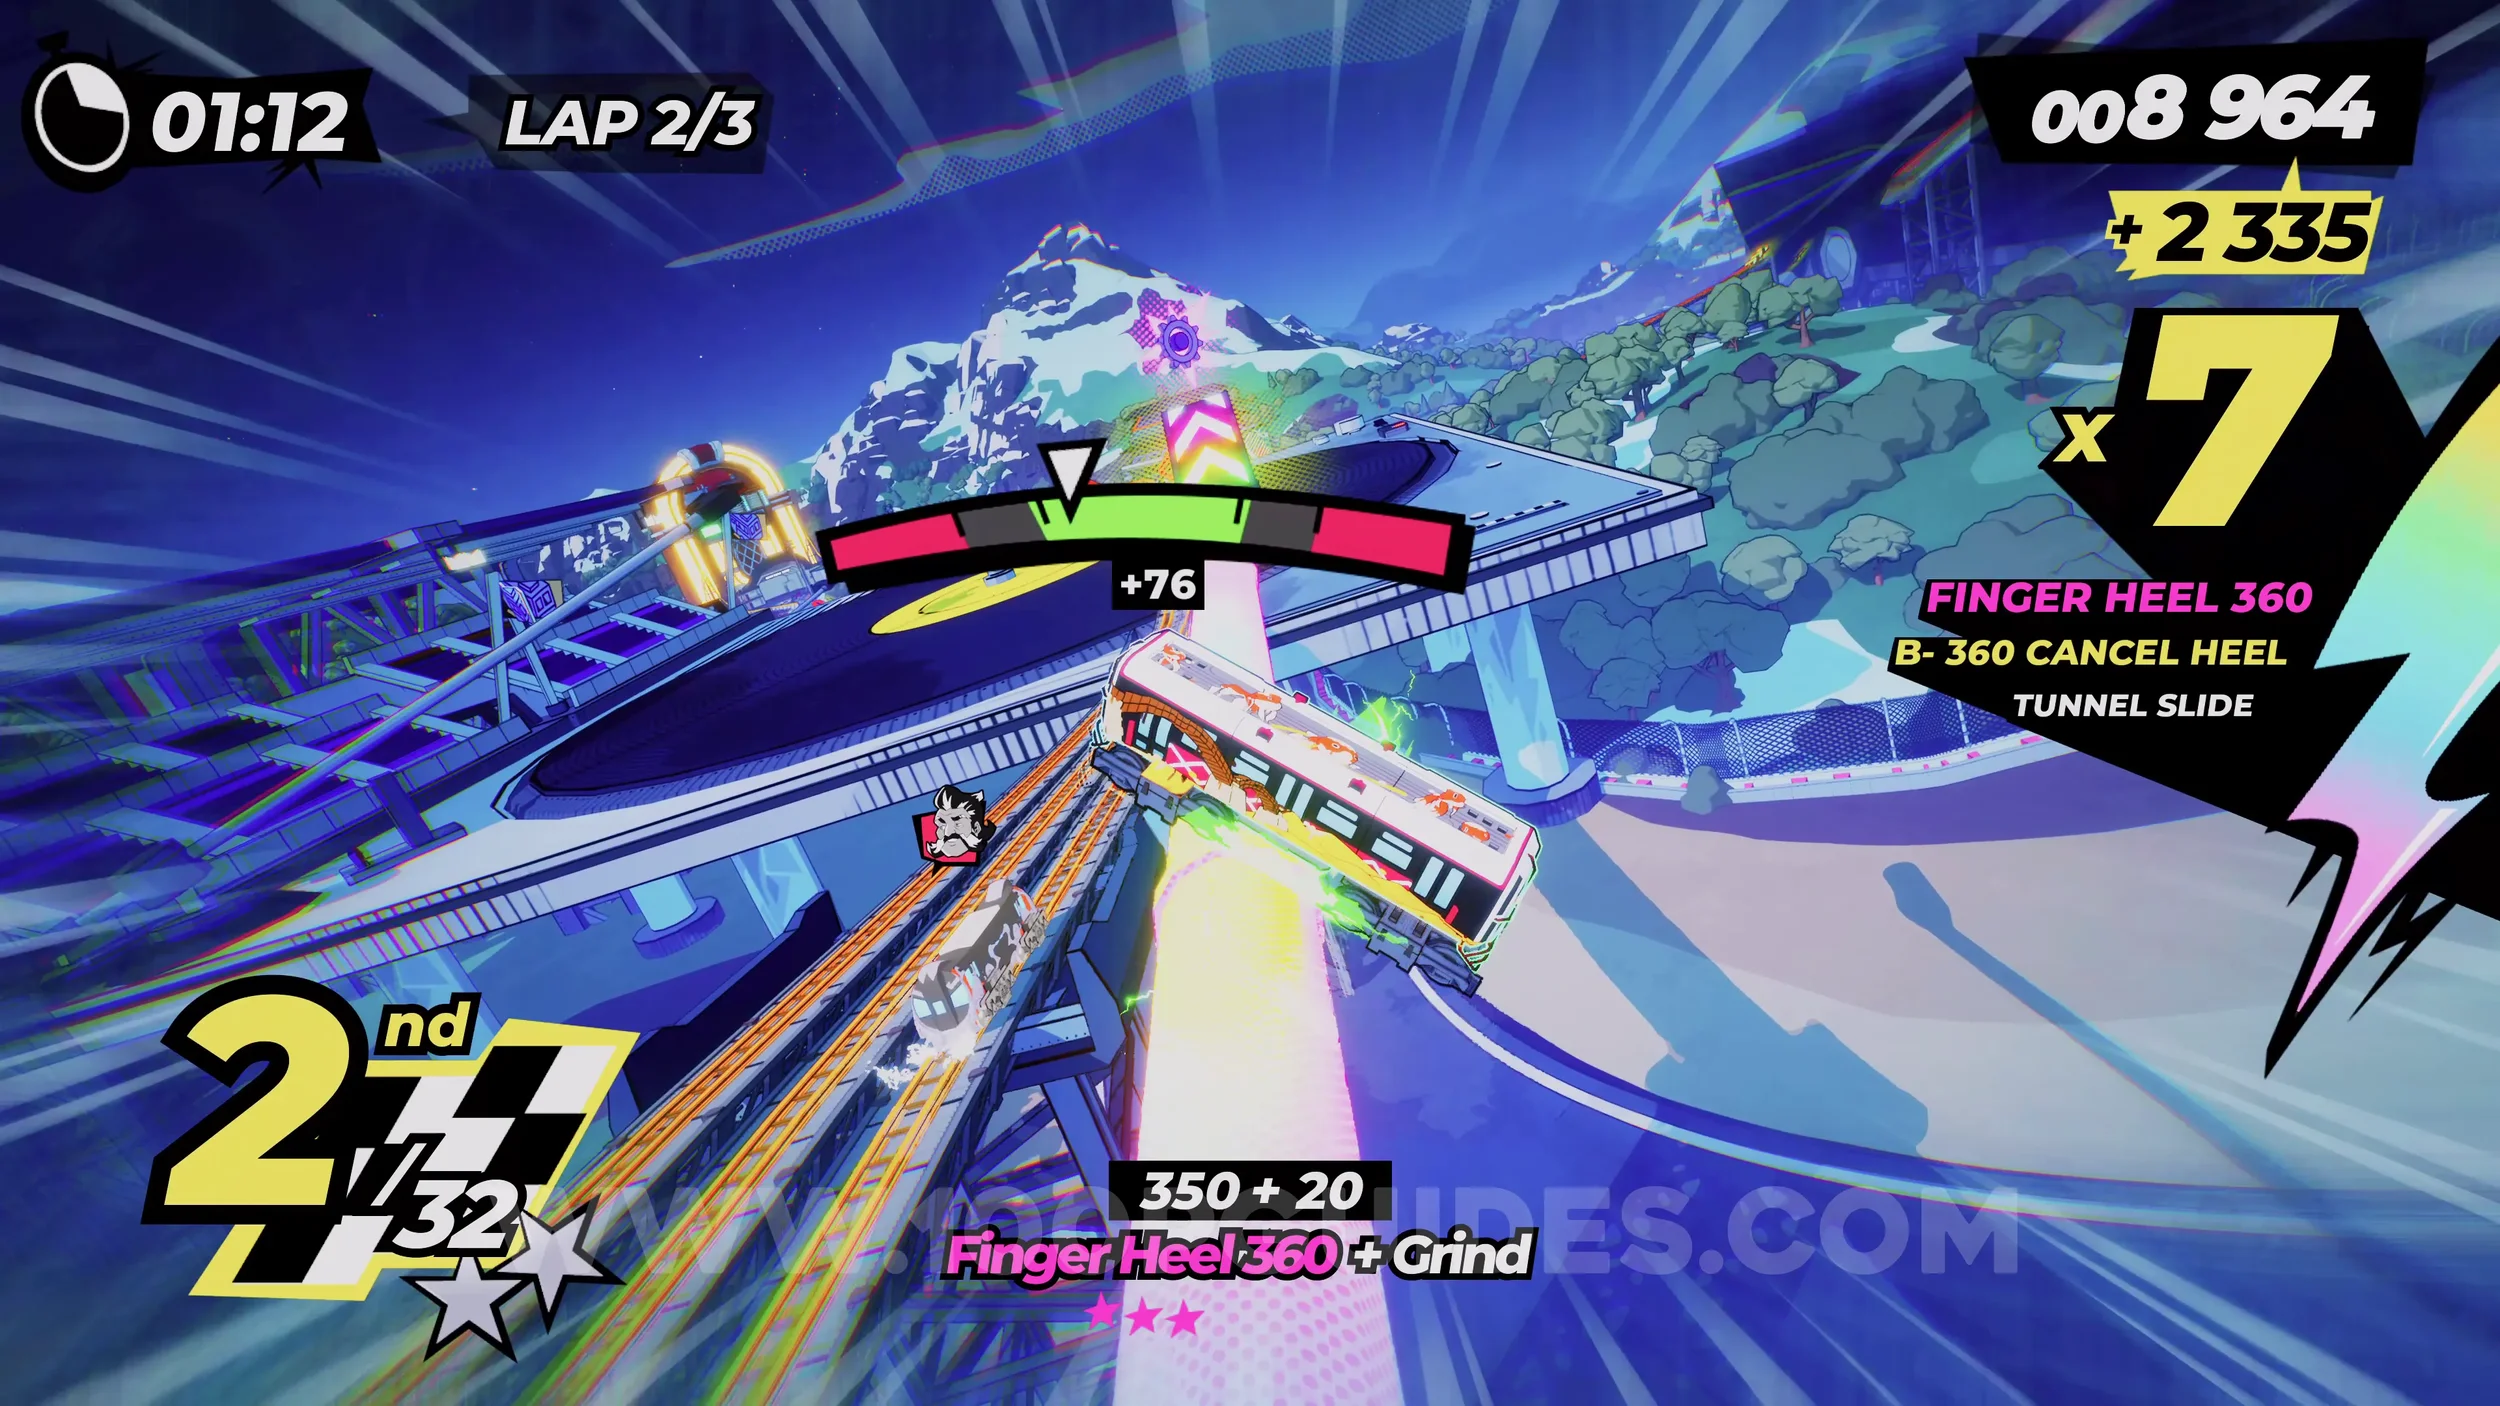
Film Roll (1/1). Once you get to the third giant disc again, if you have your special meter filled, you will see rainbow tracks on your right. Follow them to get the film roll.
Dare: Get a Lap Time Under 60s. Self-explanatory. Finish a lap in under 60 seconds.
Dare: Finish in 1st Place. Self-explanatory. Finish the race in 1st.
3-4-B Rockabilly Moving Castle
Spray Can (1/1). On the right side rail at the start of the level.
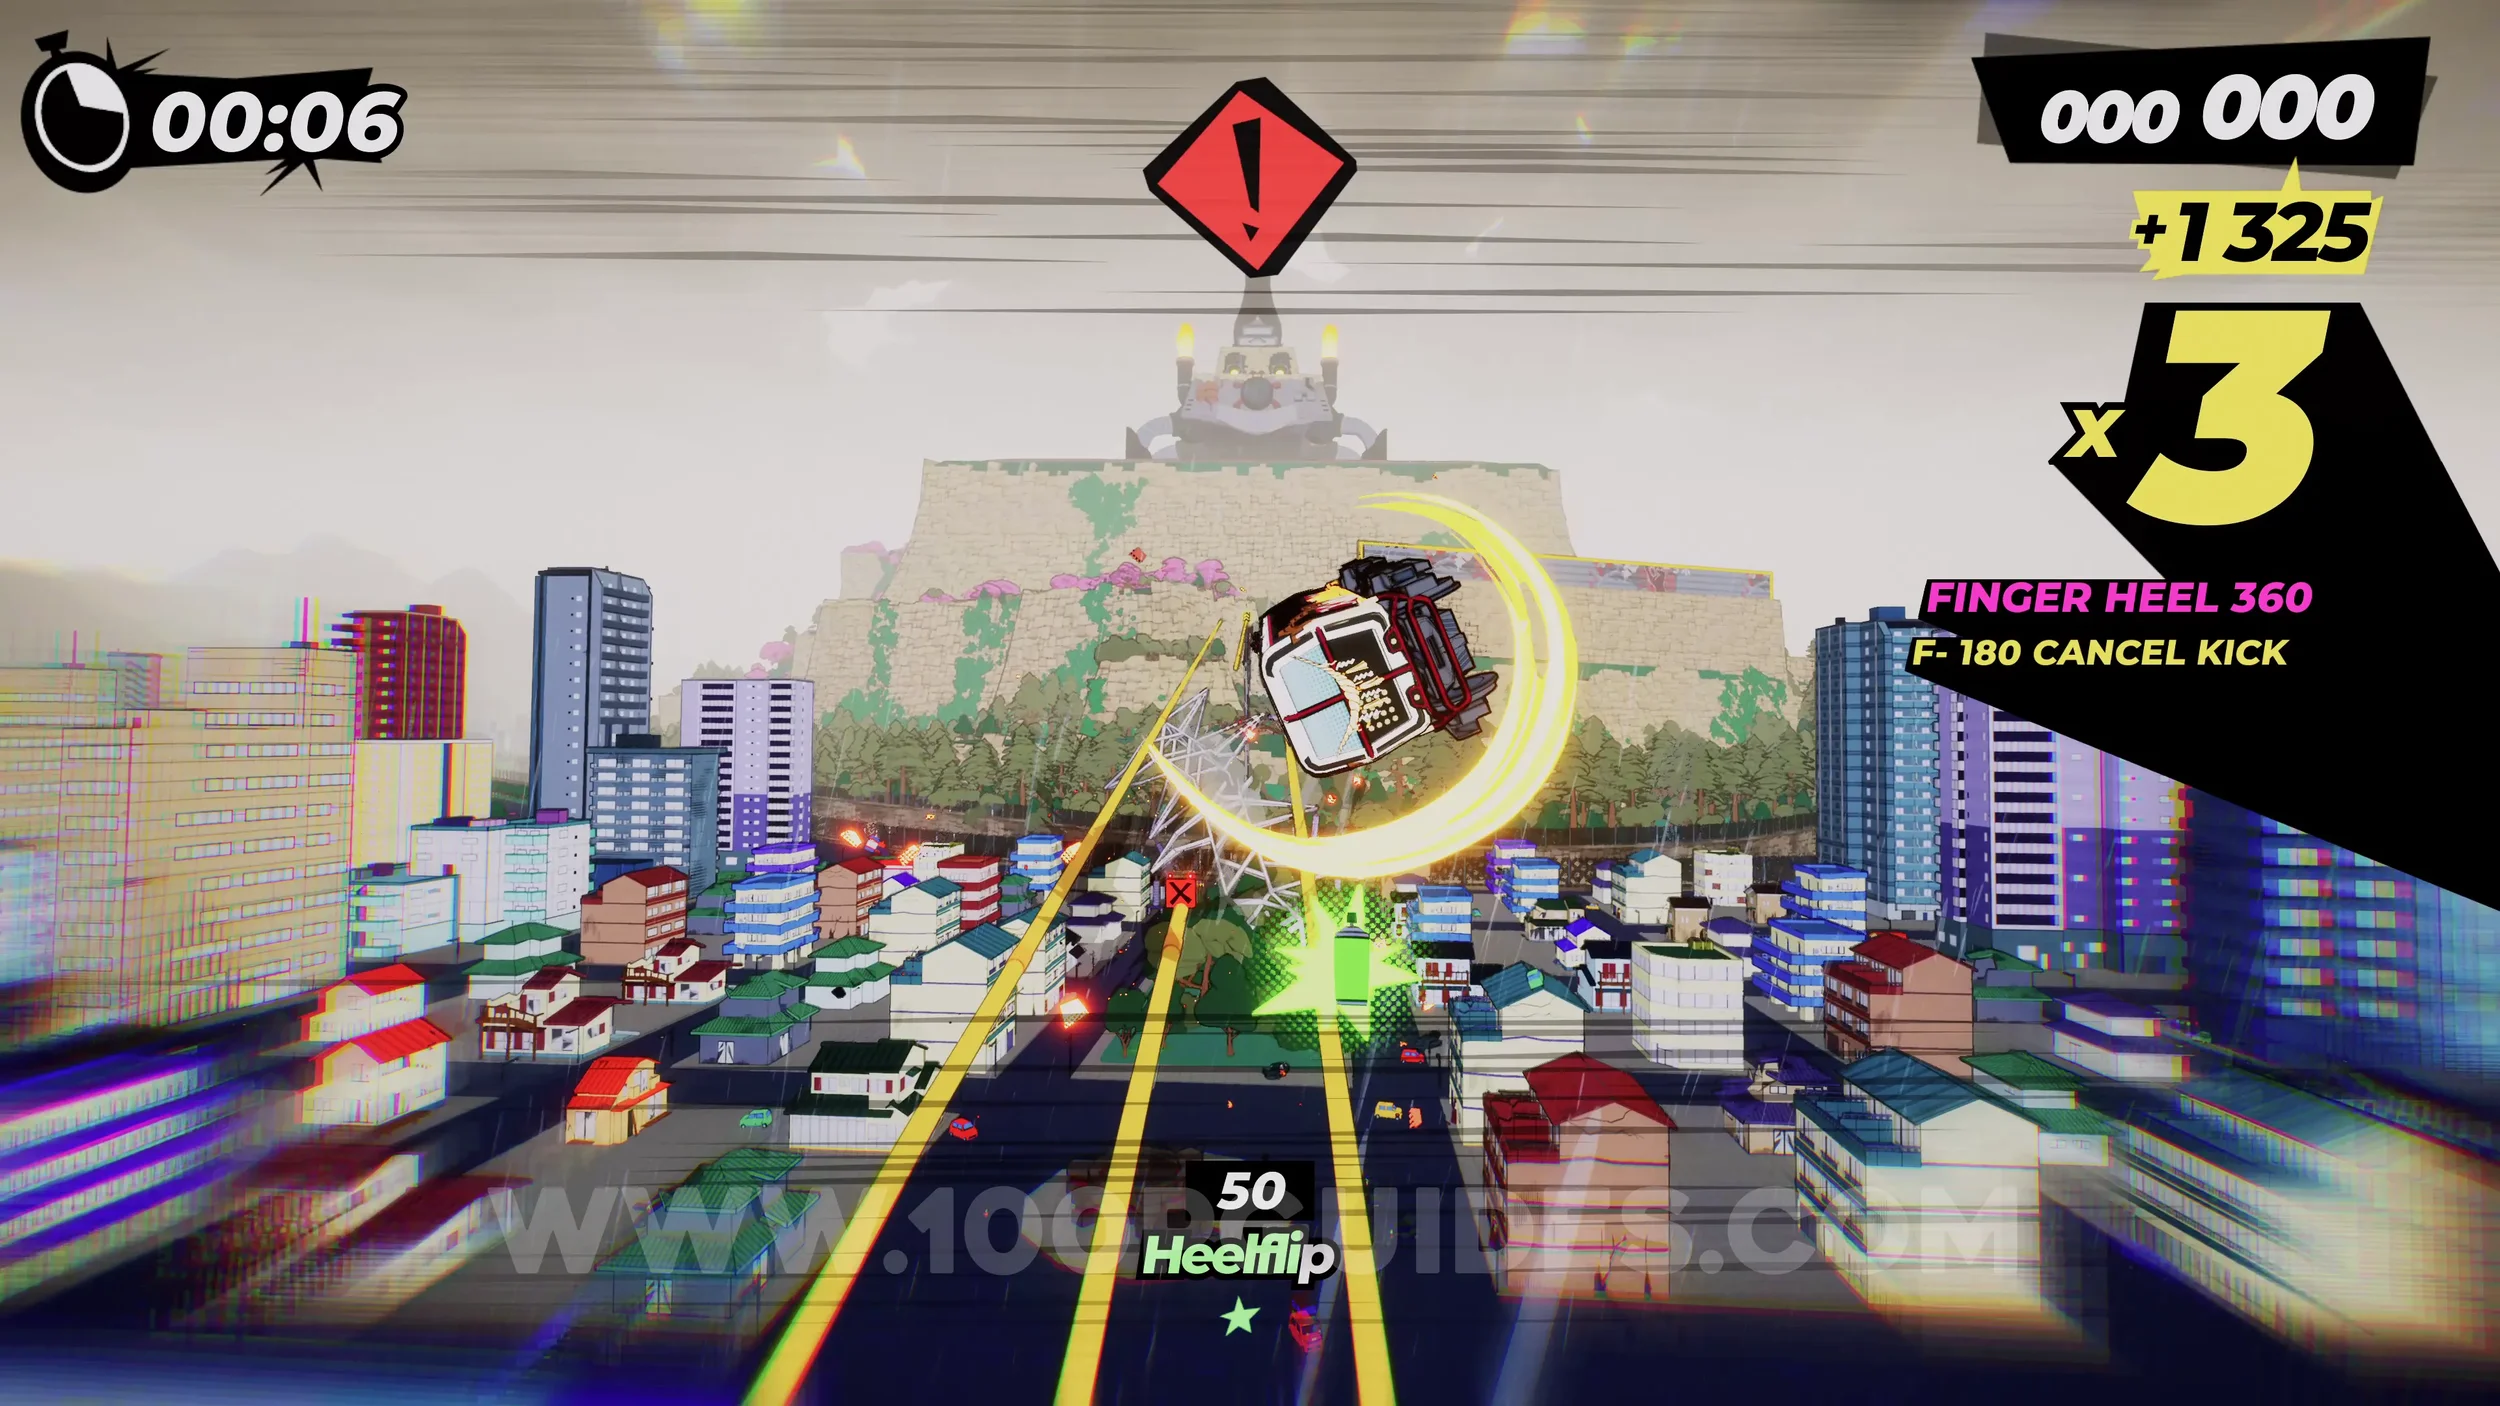
Film Roll (1/1). After dodging the massive 8 balls while wallriding, you will get to a wide slope with five tracks on it leading up to the boss. The film roll will be on the left side track.
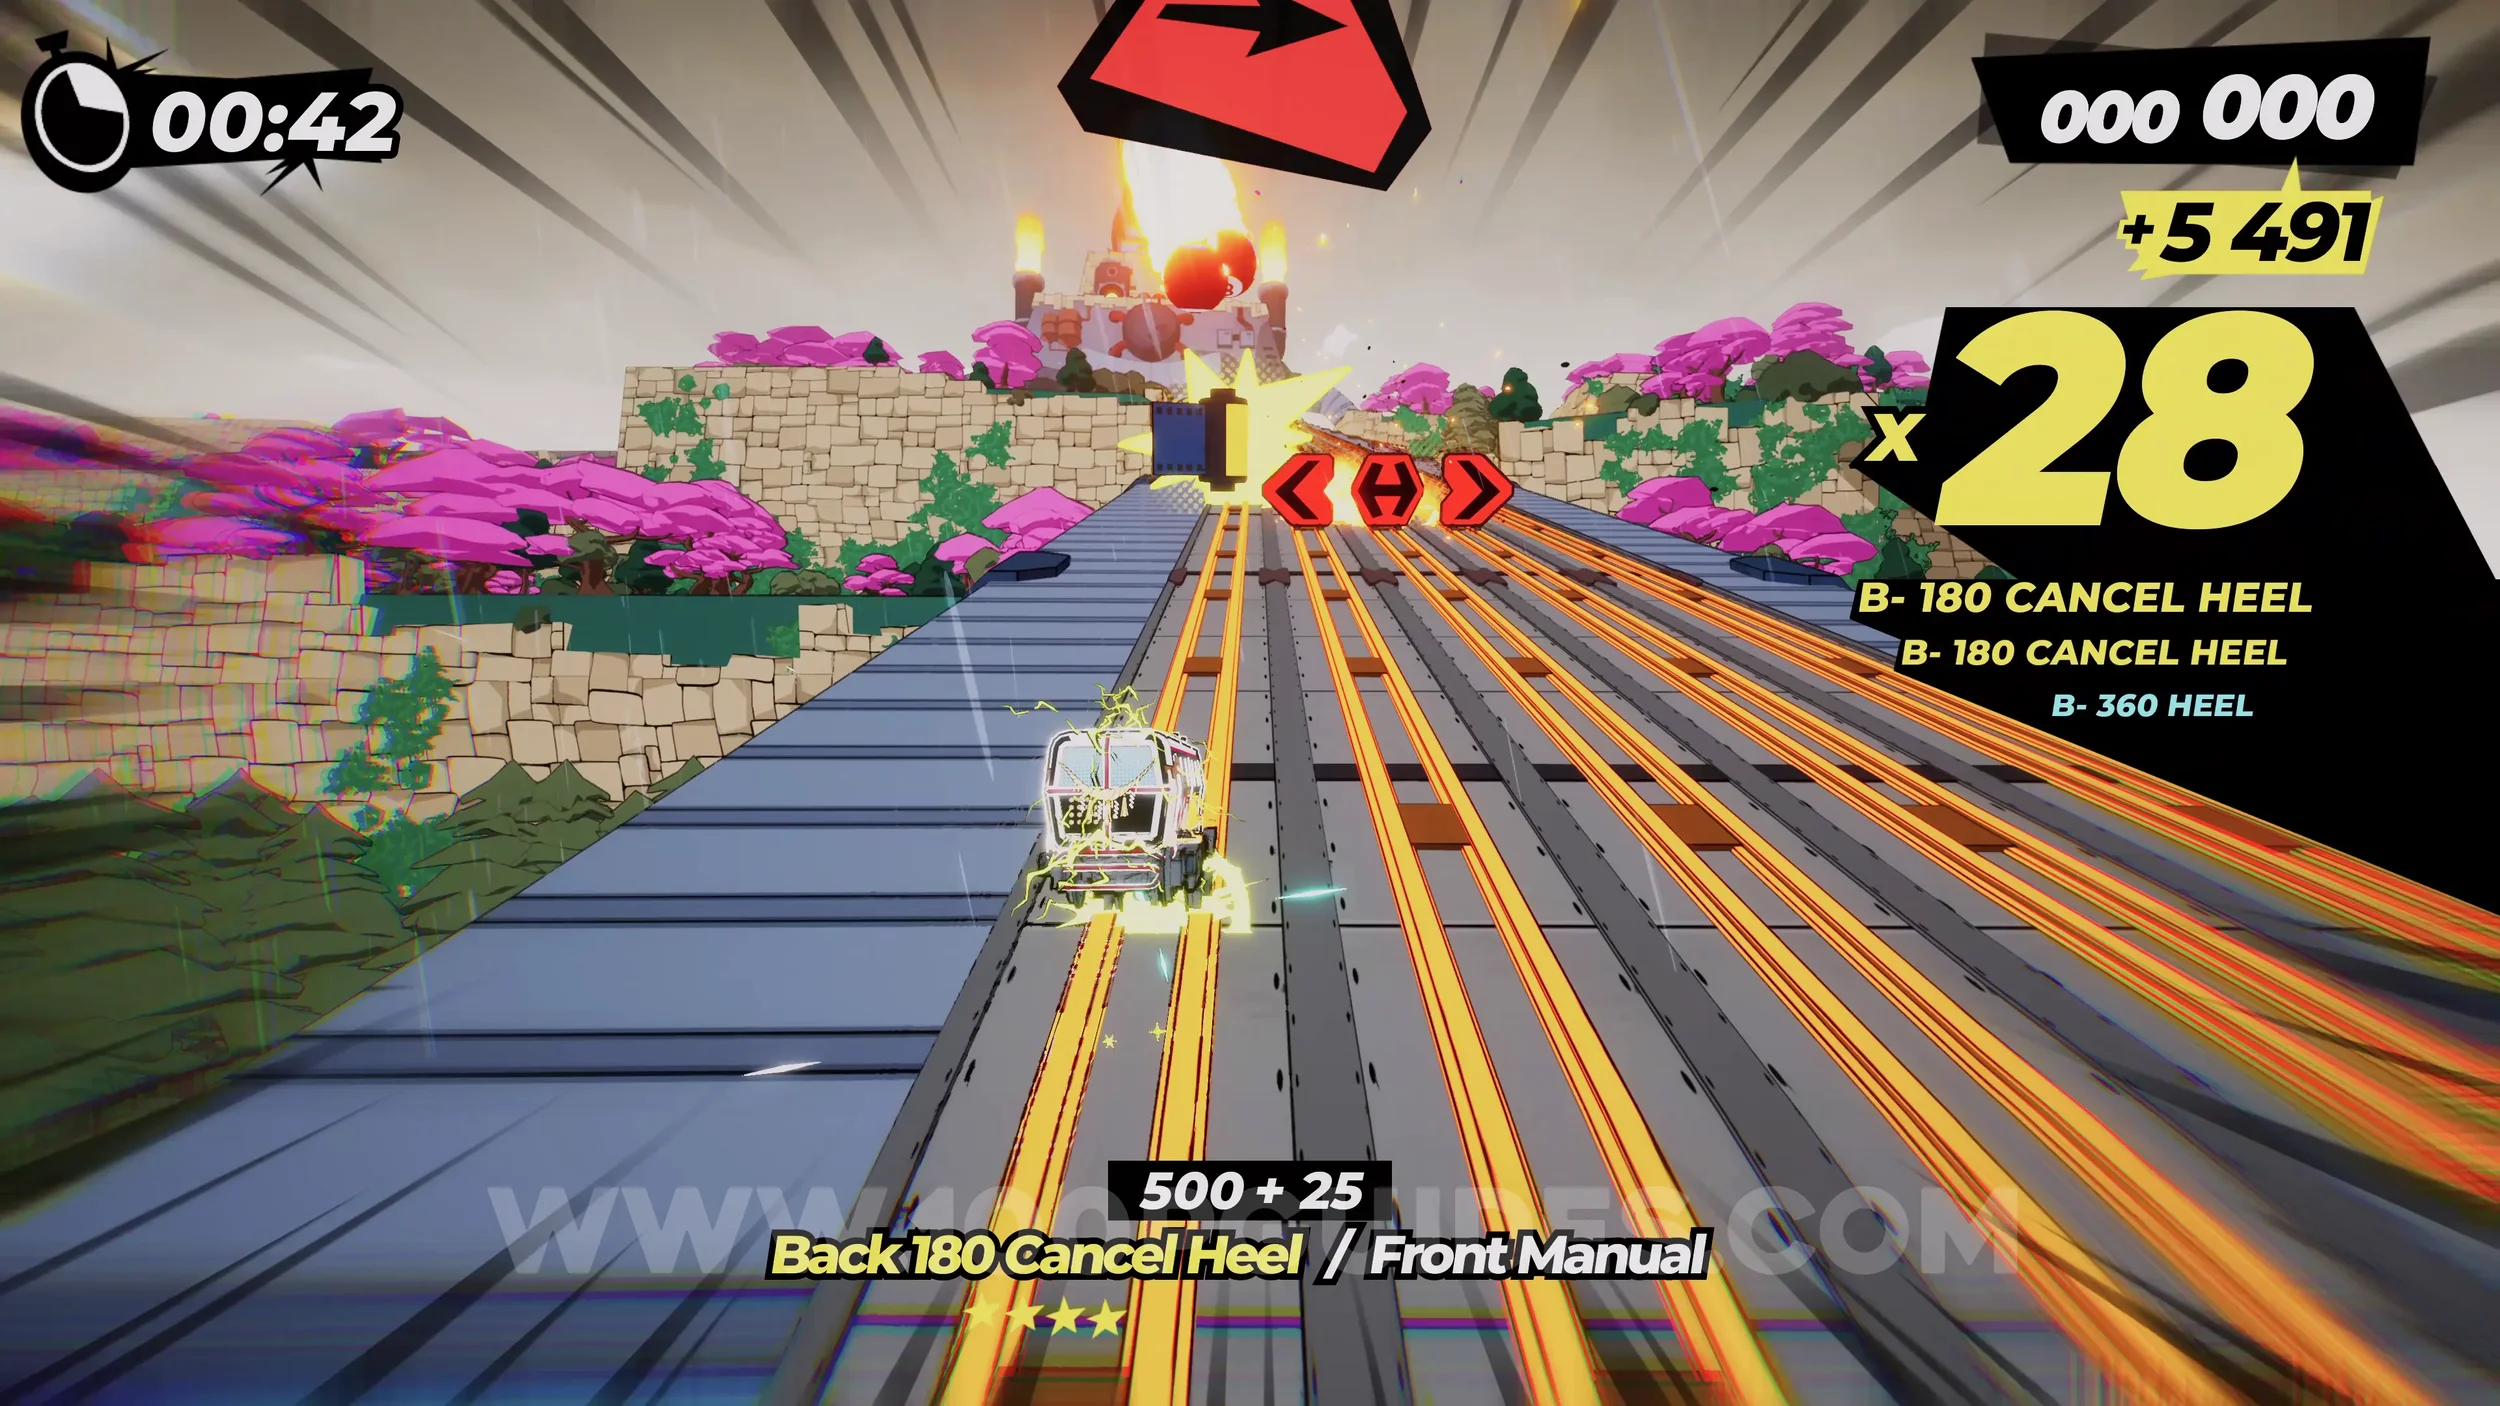
Dare: Risky Dodge the Slam Attack 5 Times. At the top of the slope, you will face the boss. He will start by using slam attacks that blast out rings of fire. Dodge five of these attacks at the last possible moment.
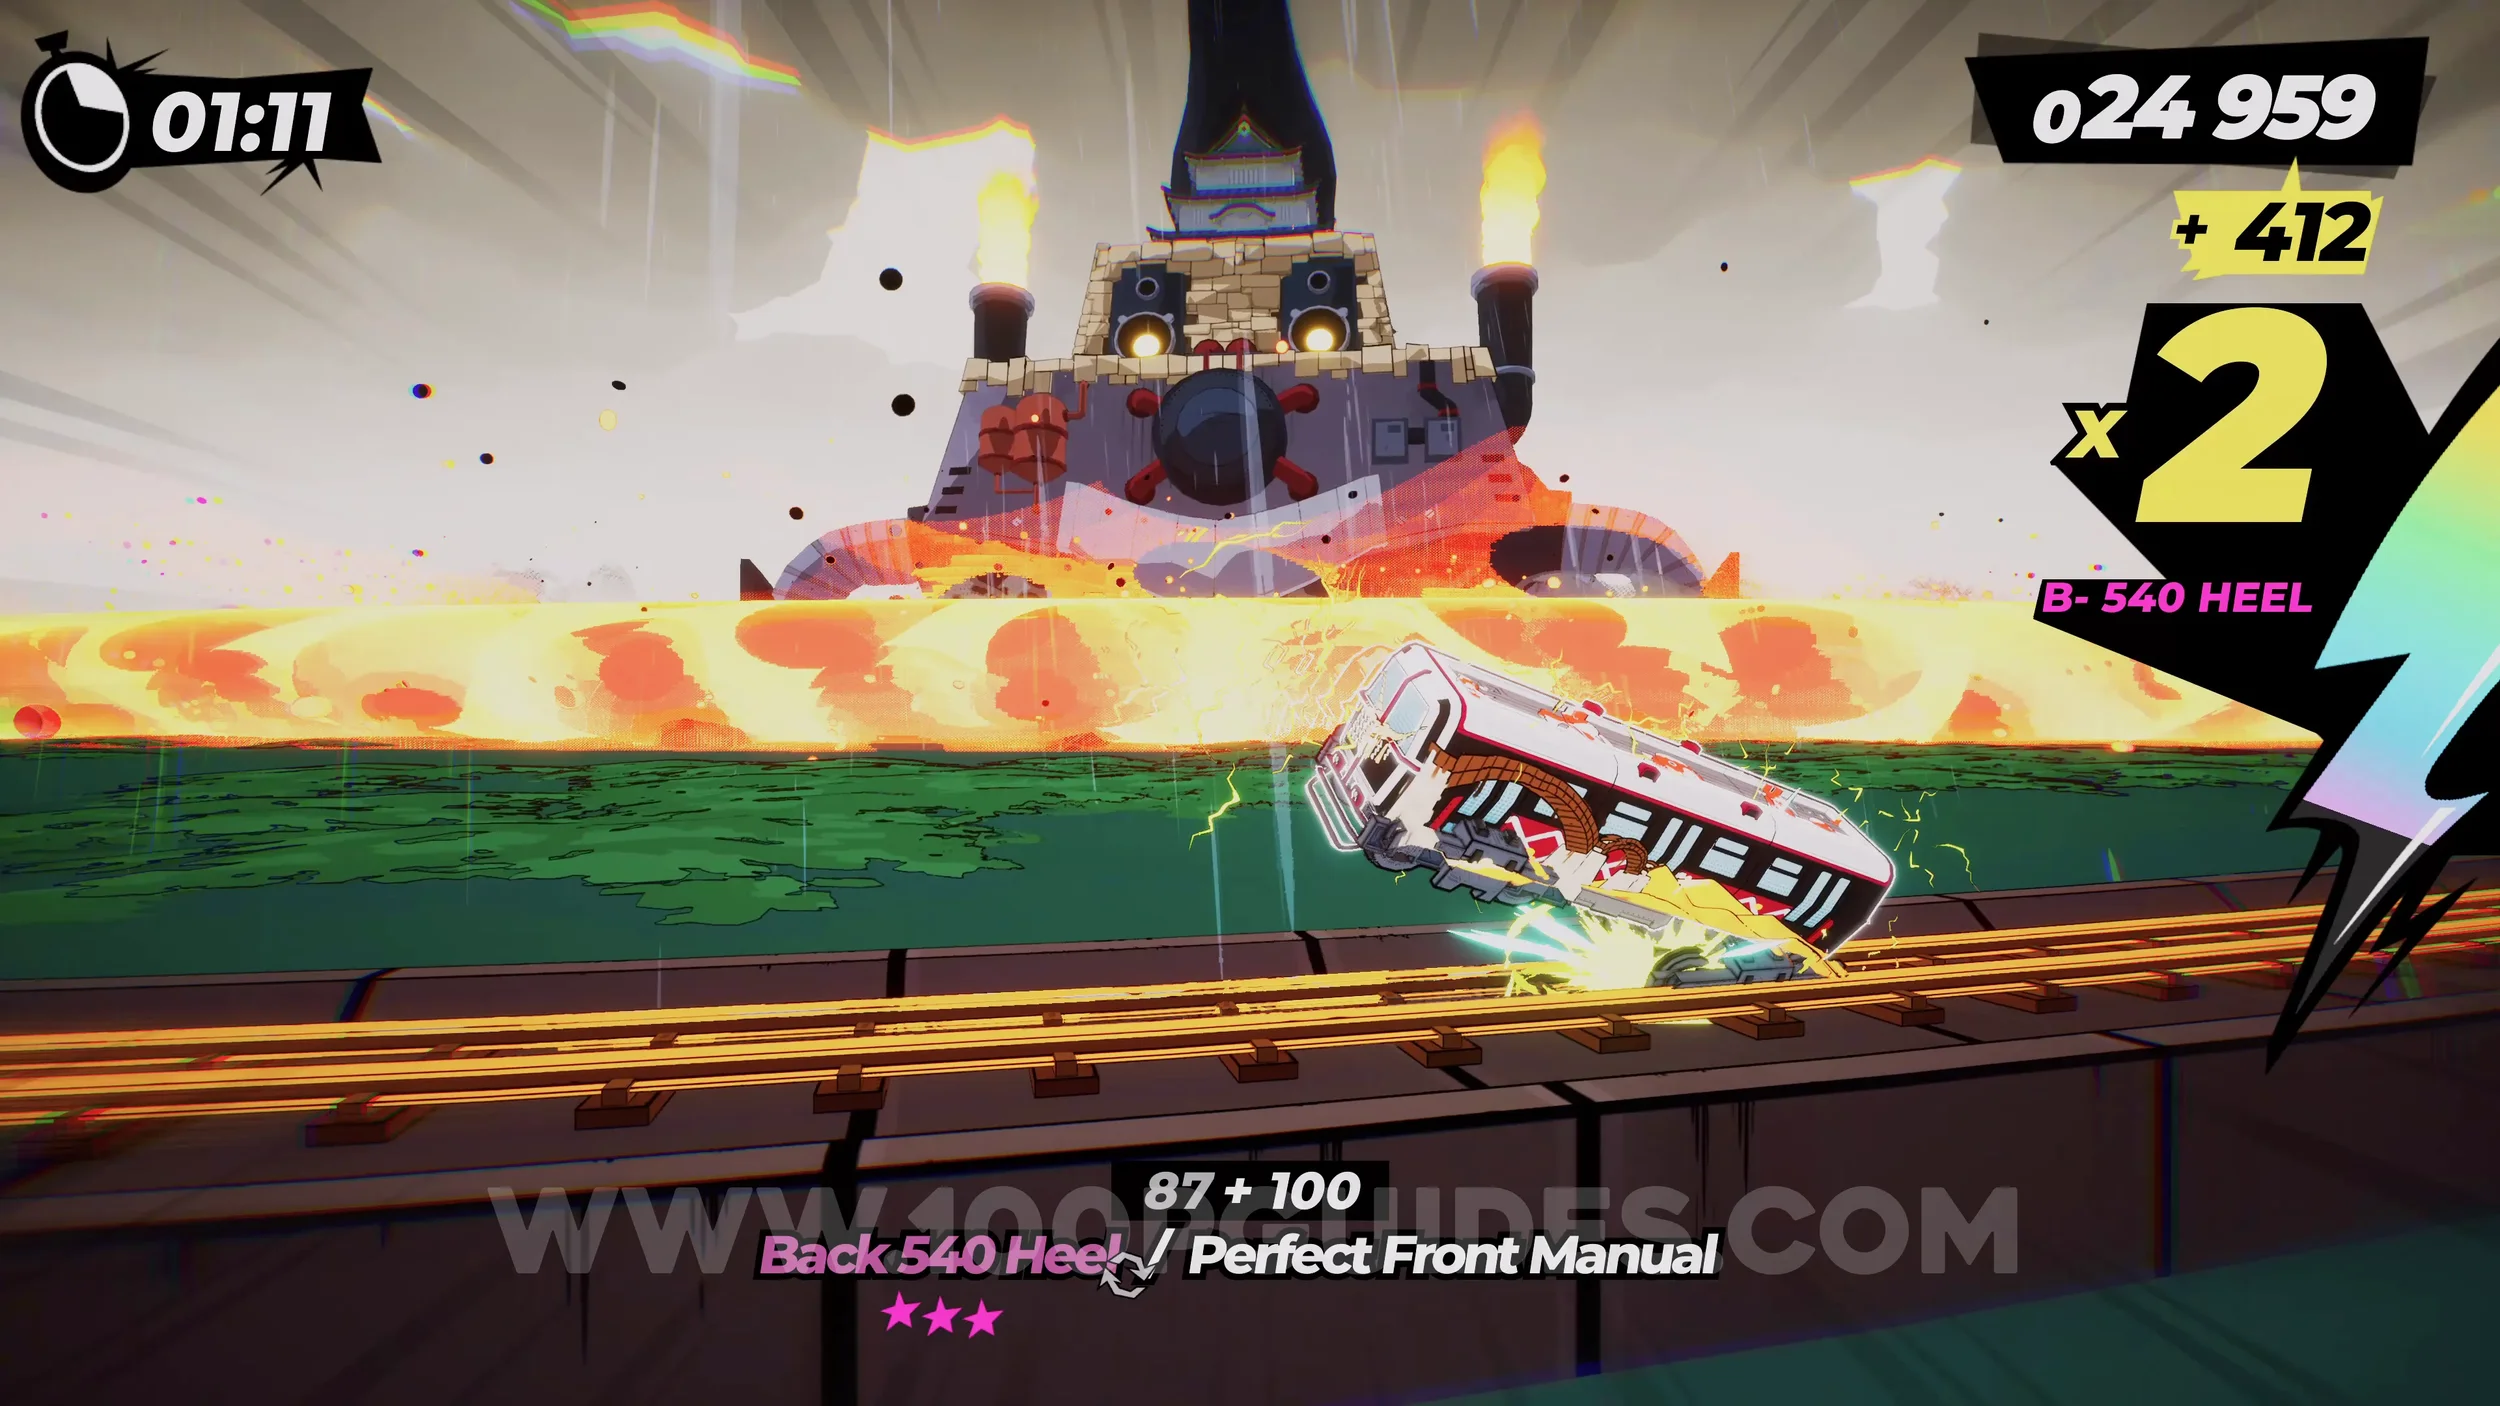
Dare: Speed Up 3 Big Fans Inside The Rocker (1-2/3). After charging your special bar, you will follow the rails into the boss's cannon. Inside, you will cross over the top of two fans. When doing this, press R3 to blow your horn.
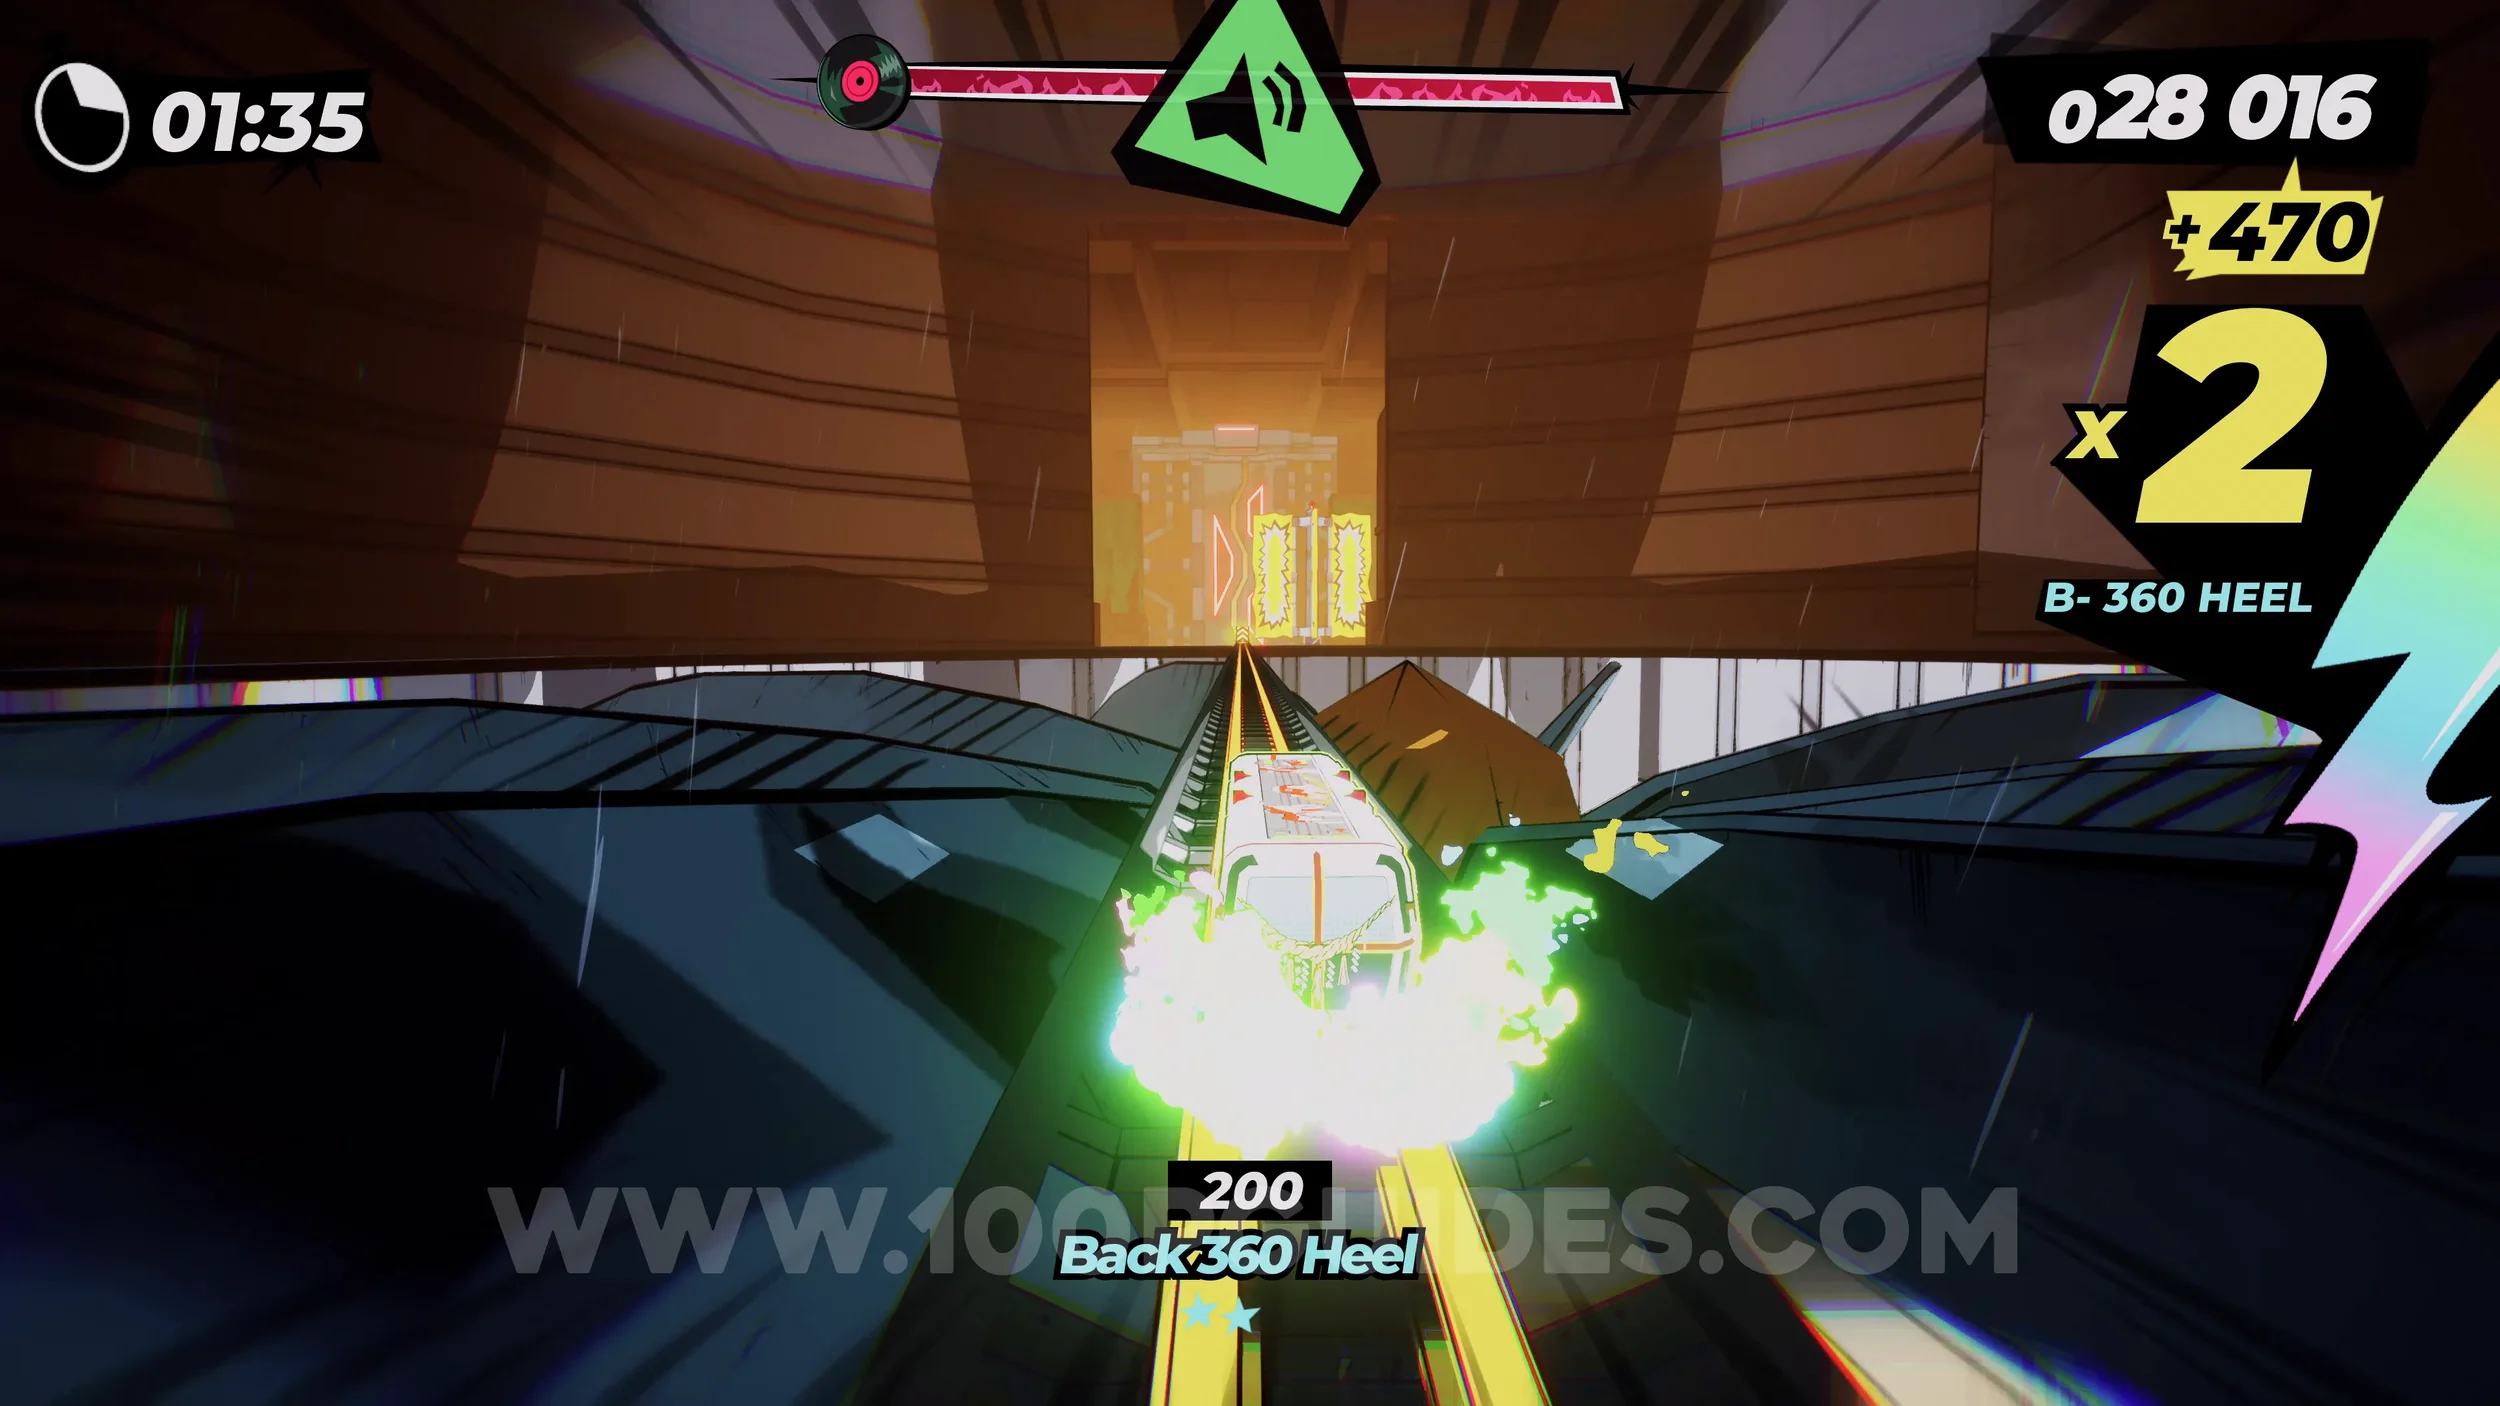
Gear (1/1). After the second large fan inside the boss, you will reach a section with presses trying to crush you from above. In this section, stick to the right to get the gear.
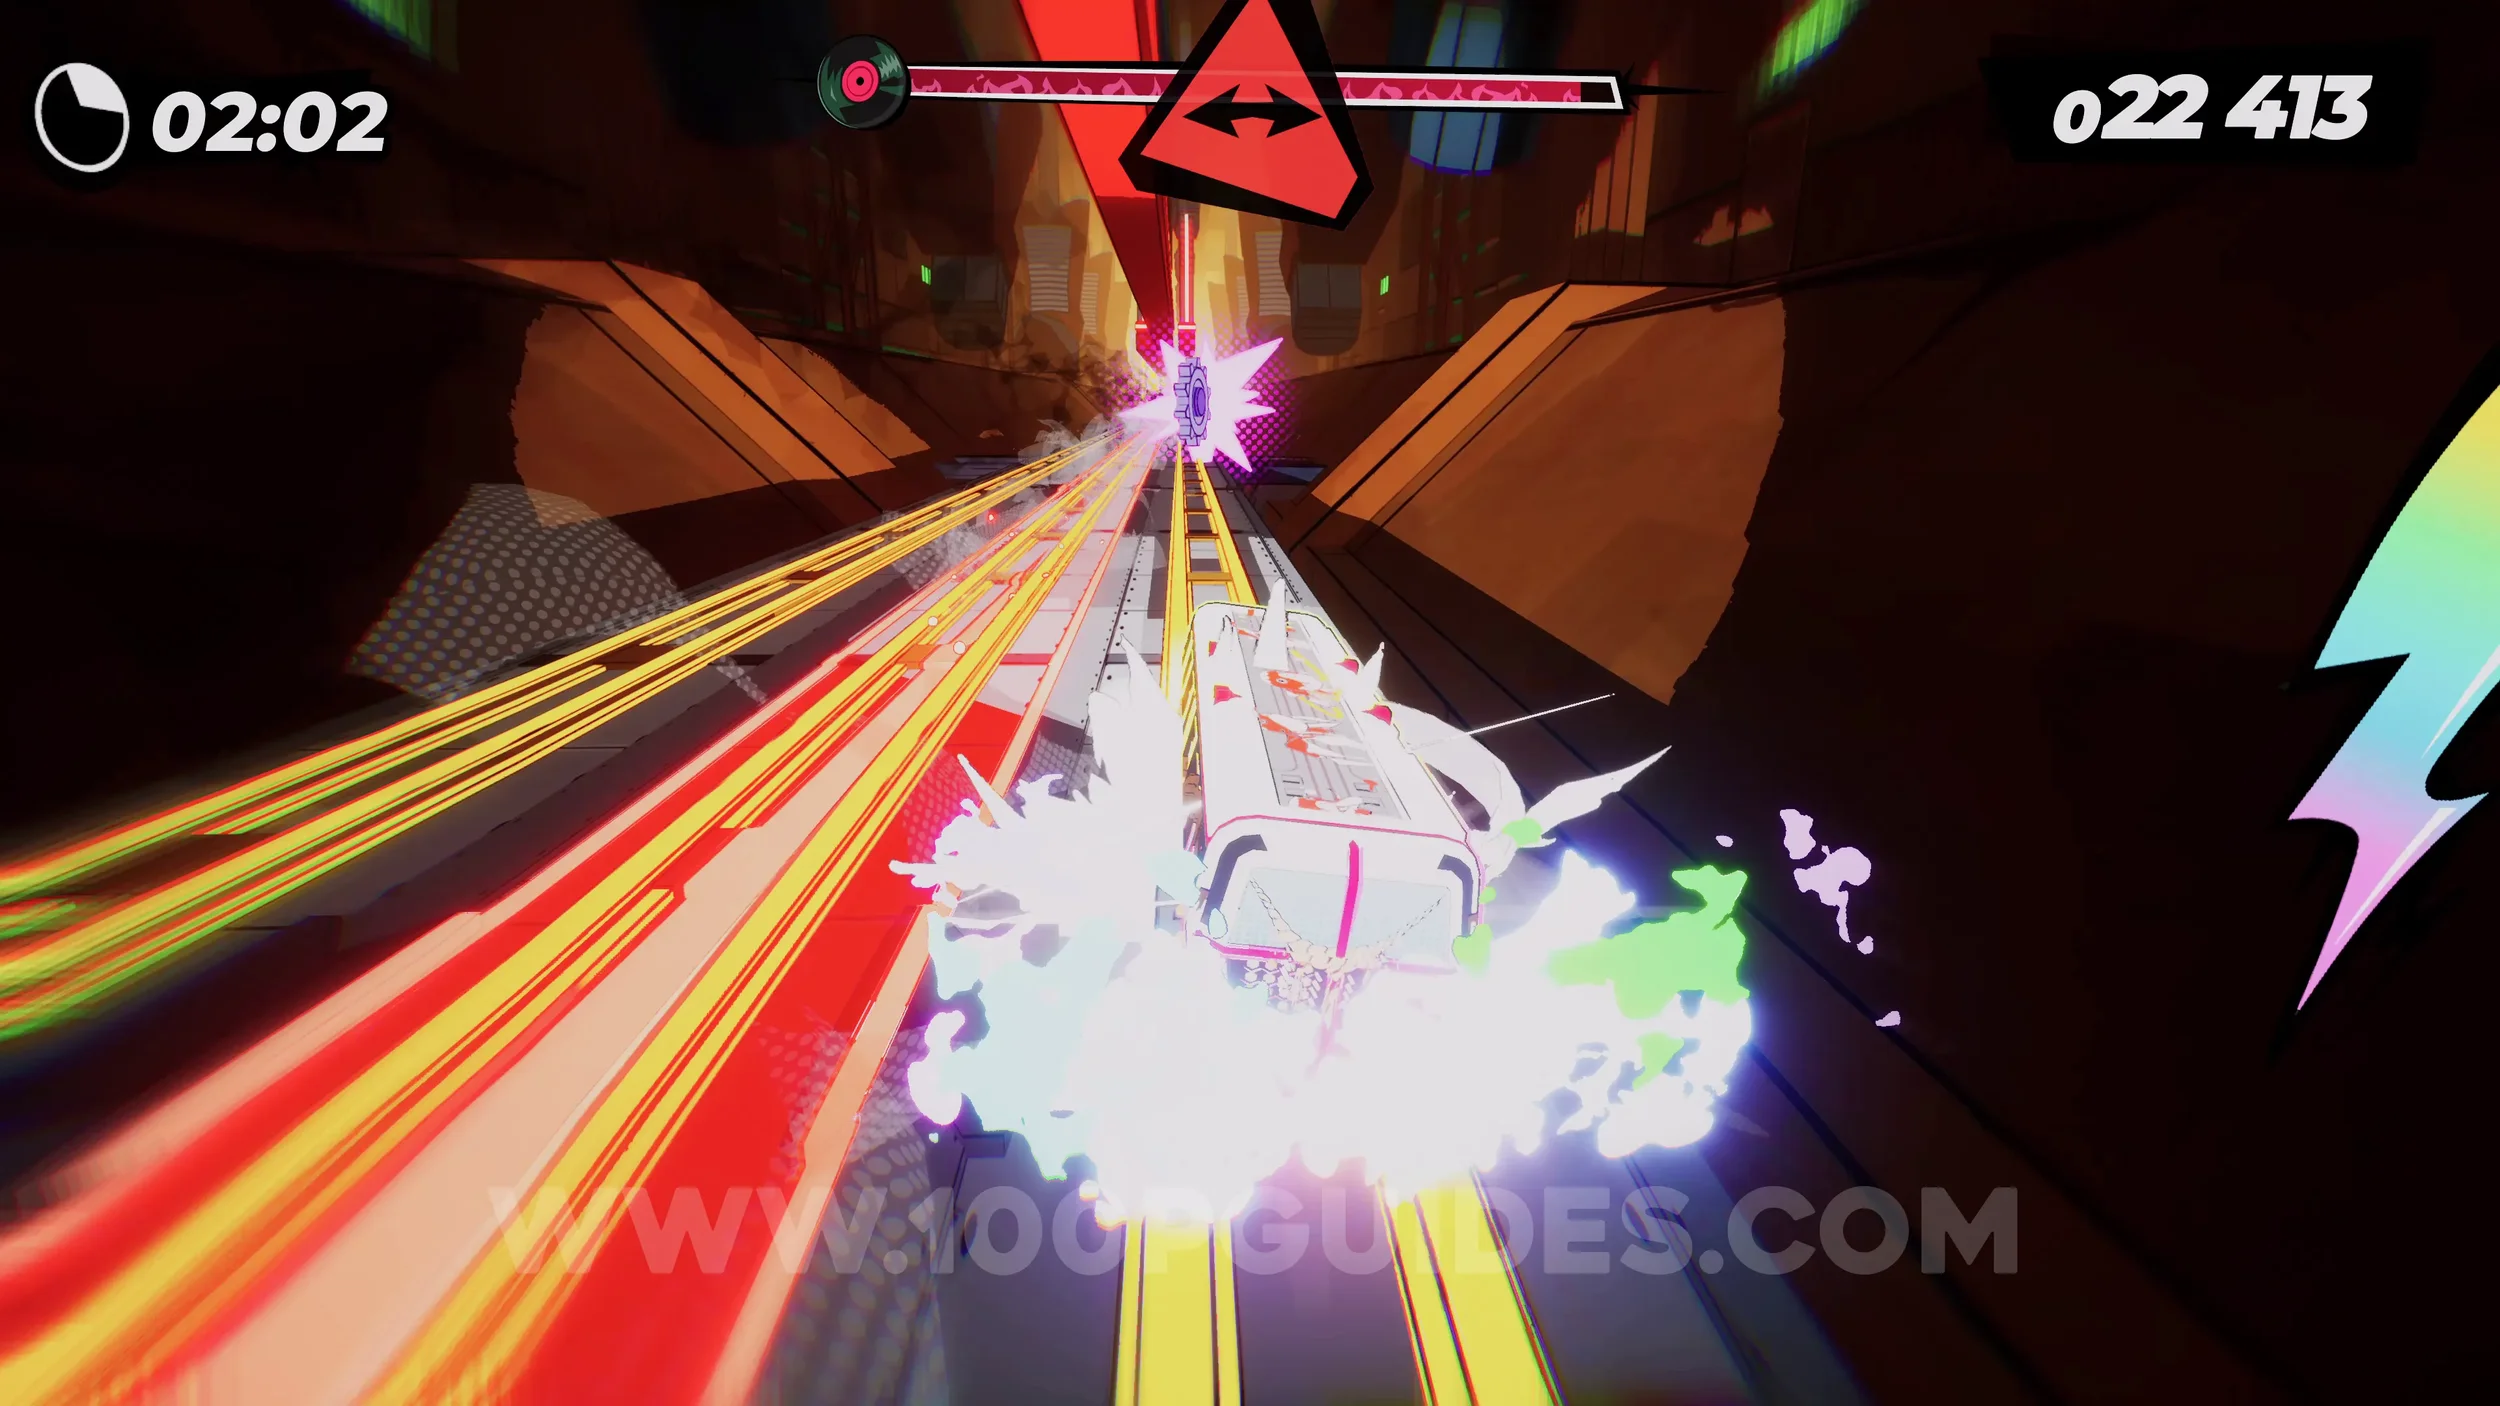
Dare: Perform a Tunnel Loop Inside The Rocker. After the previous collectible, you will hit a switch to open the door to a tunnel. Inside the tunnel, just go around it to do a full loop.
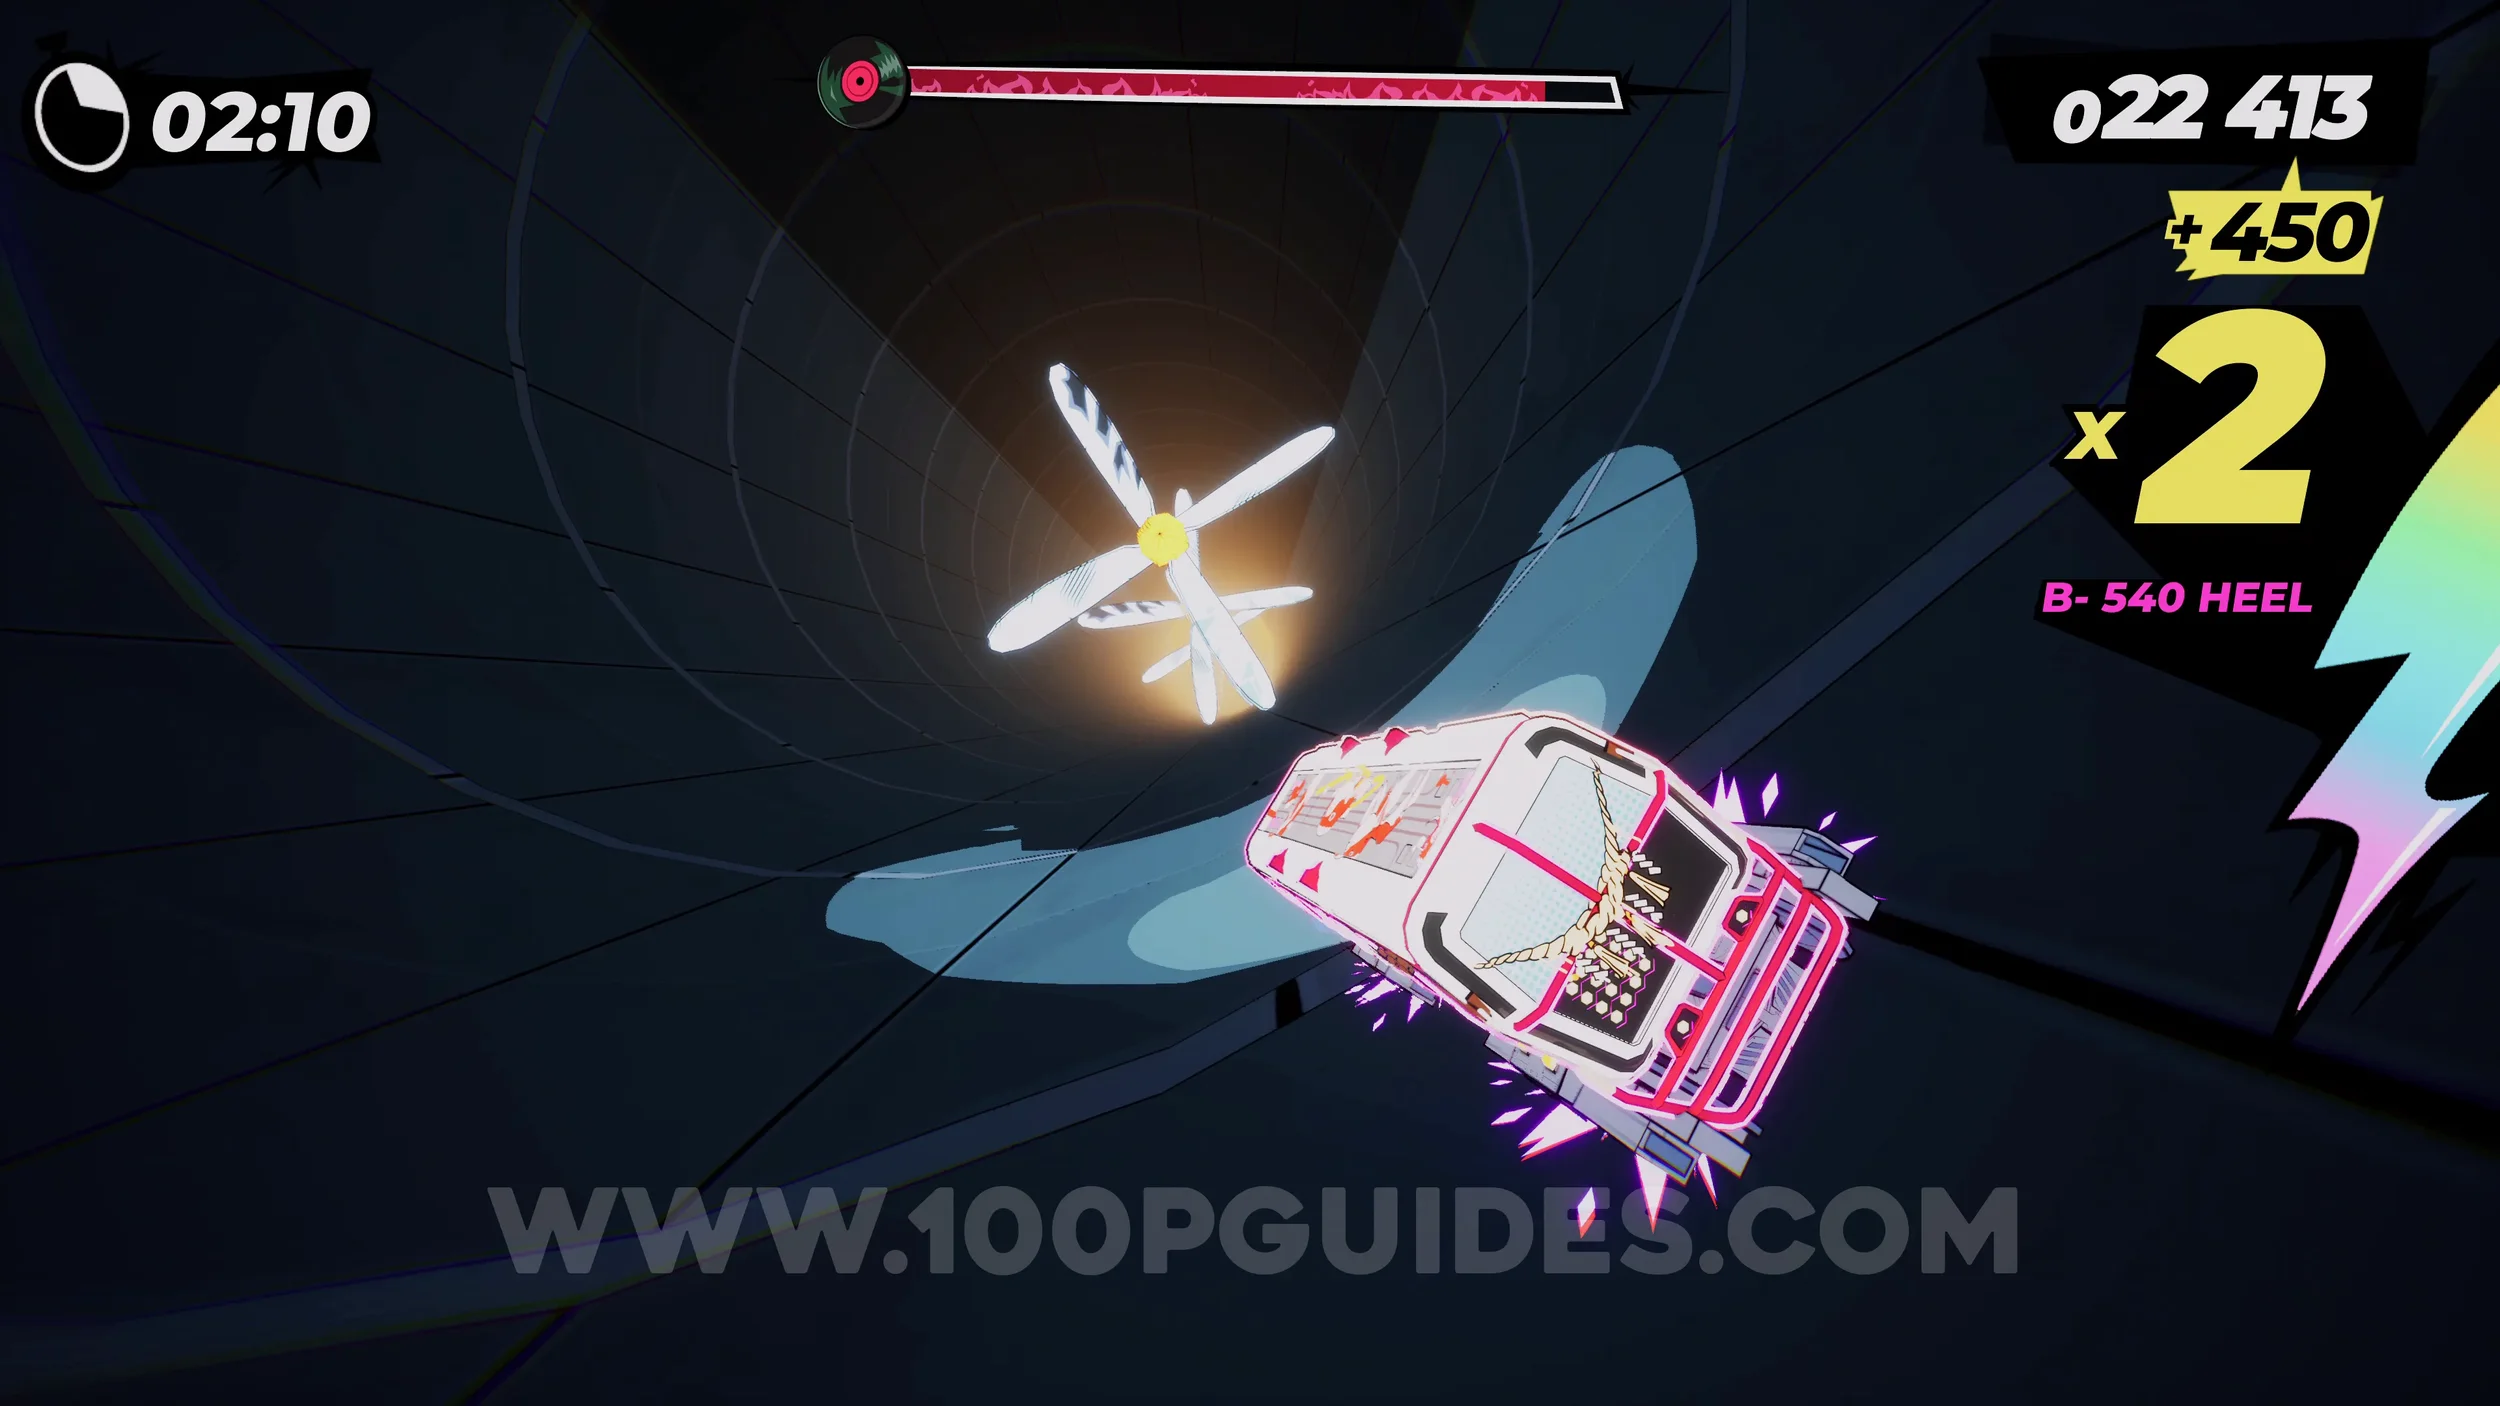
Dare: Speed Up 3 Big Fans Inside The Rocker (3/3). Soon after leaving the tunnel, you will go over a vert jump and head down a vertical wall towards a third giant fan. Press R3 to blow your horn just before you reach it.
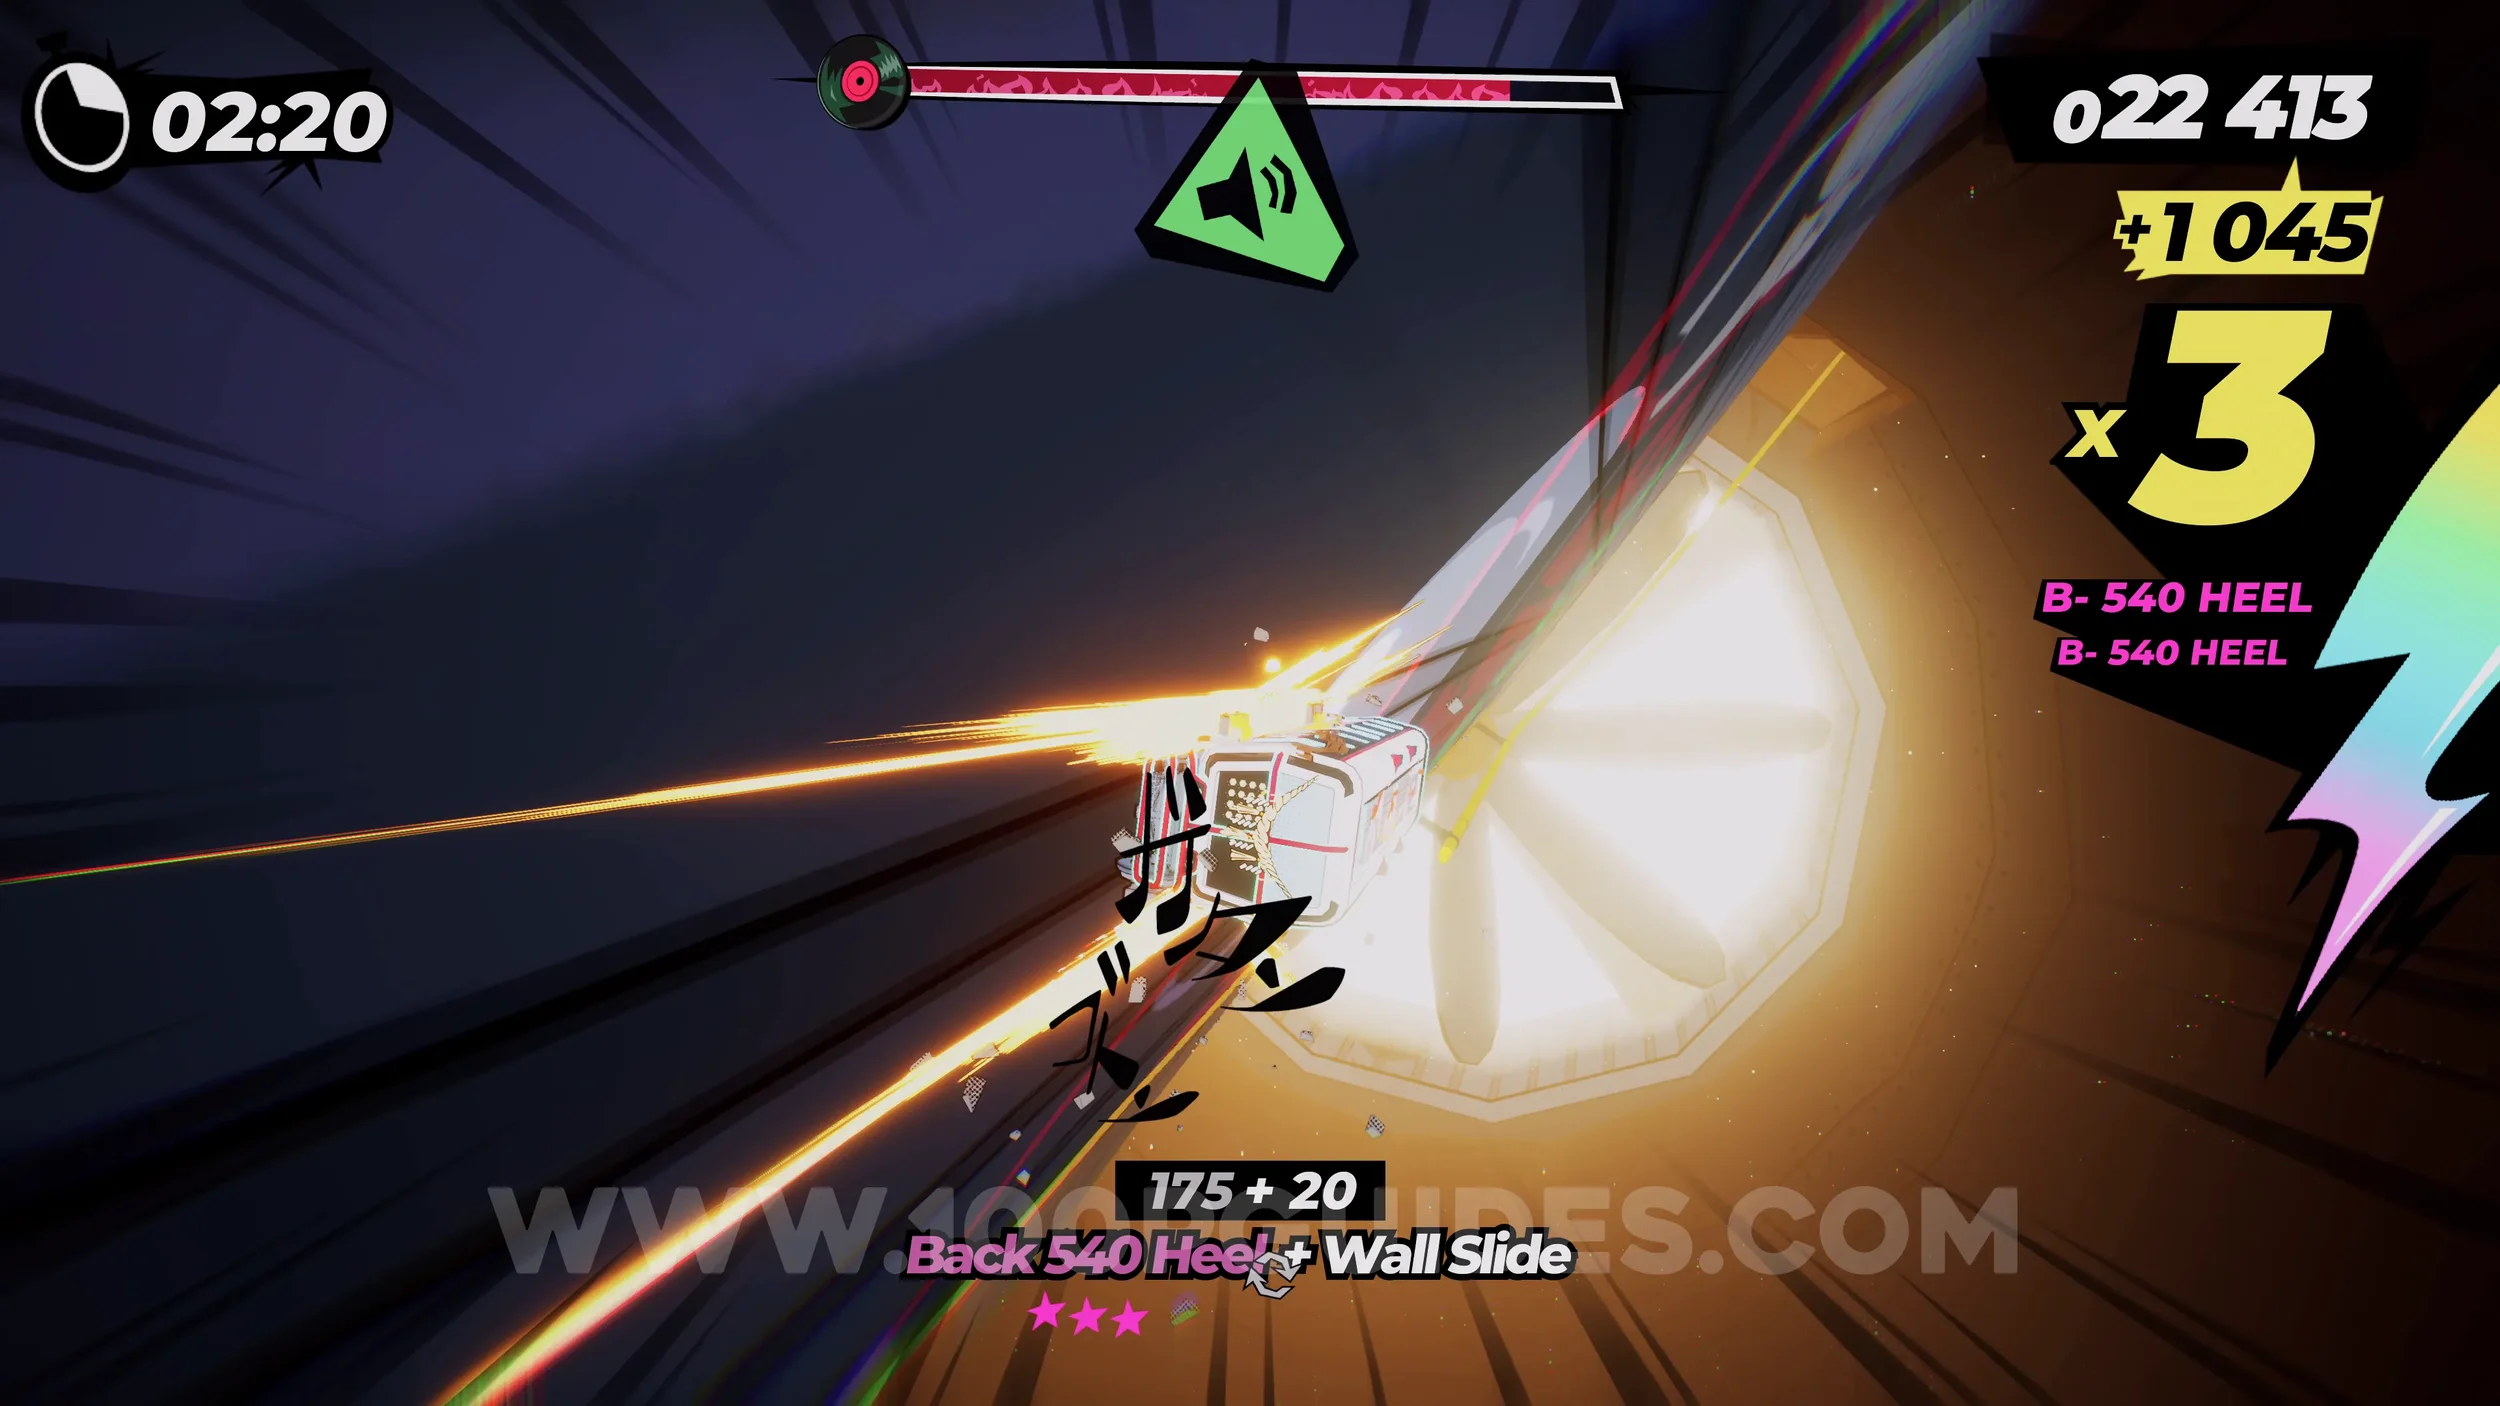
Dare: Perform 10 Aerial Tricks on the Moat Halfpipe. Once you get back outside, you will be in a long half pipe with water in it. Just do 10 tricks off the side of it.
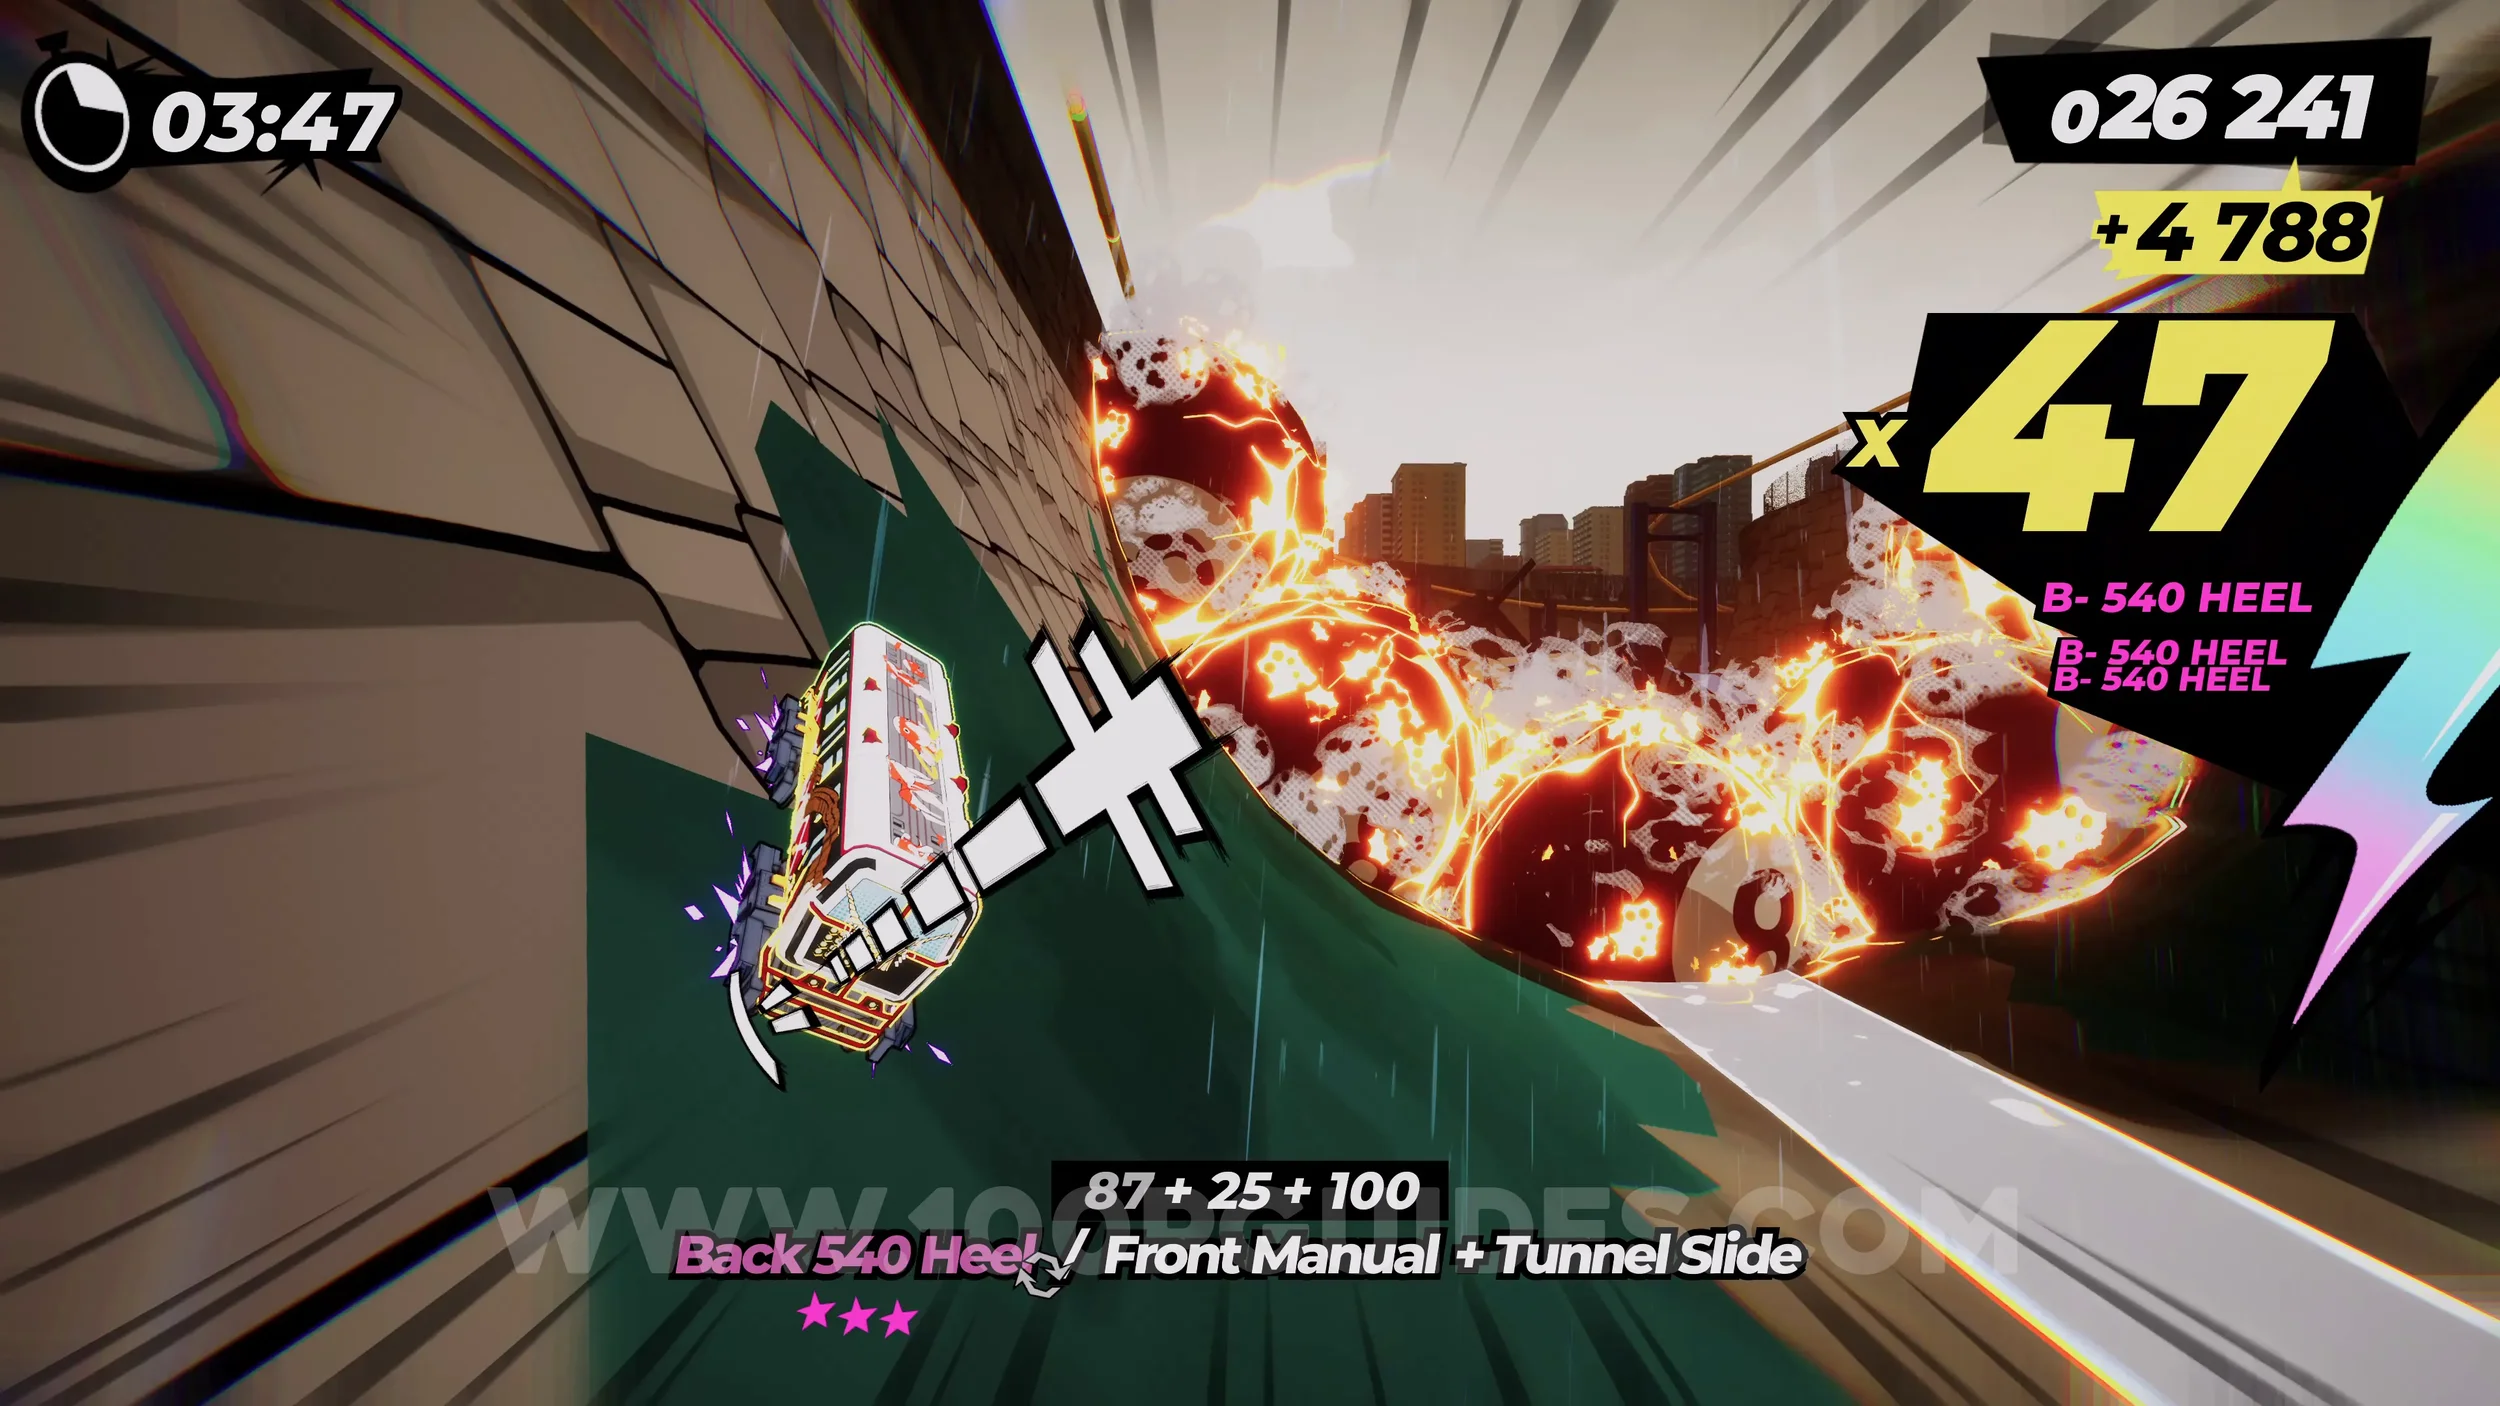
Dare: No Crash Boss Defeat. Self-explanatory. Get to the end of the level without crashing.
CHAPTER 4
4-1-1 Splash Wave
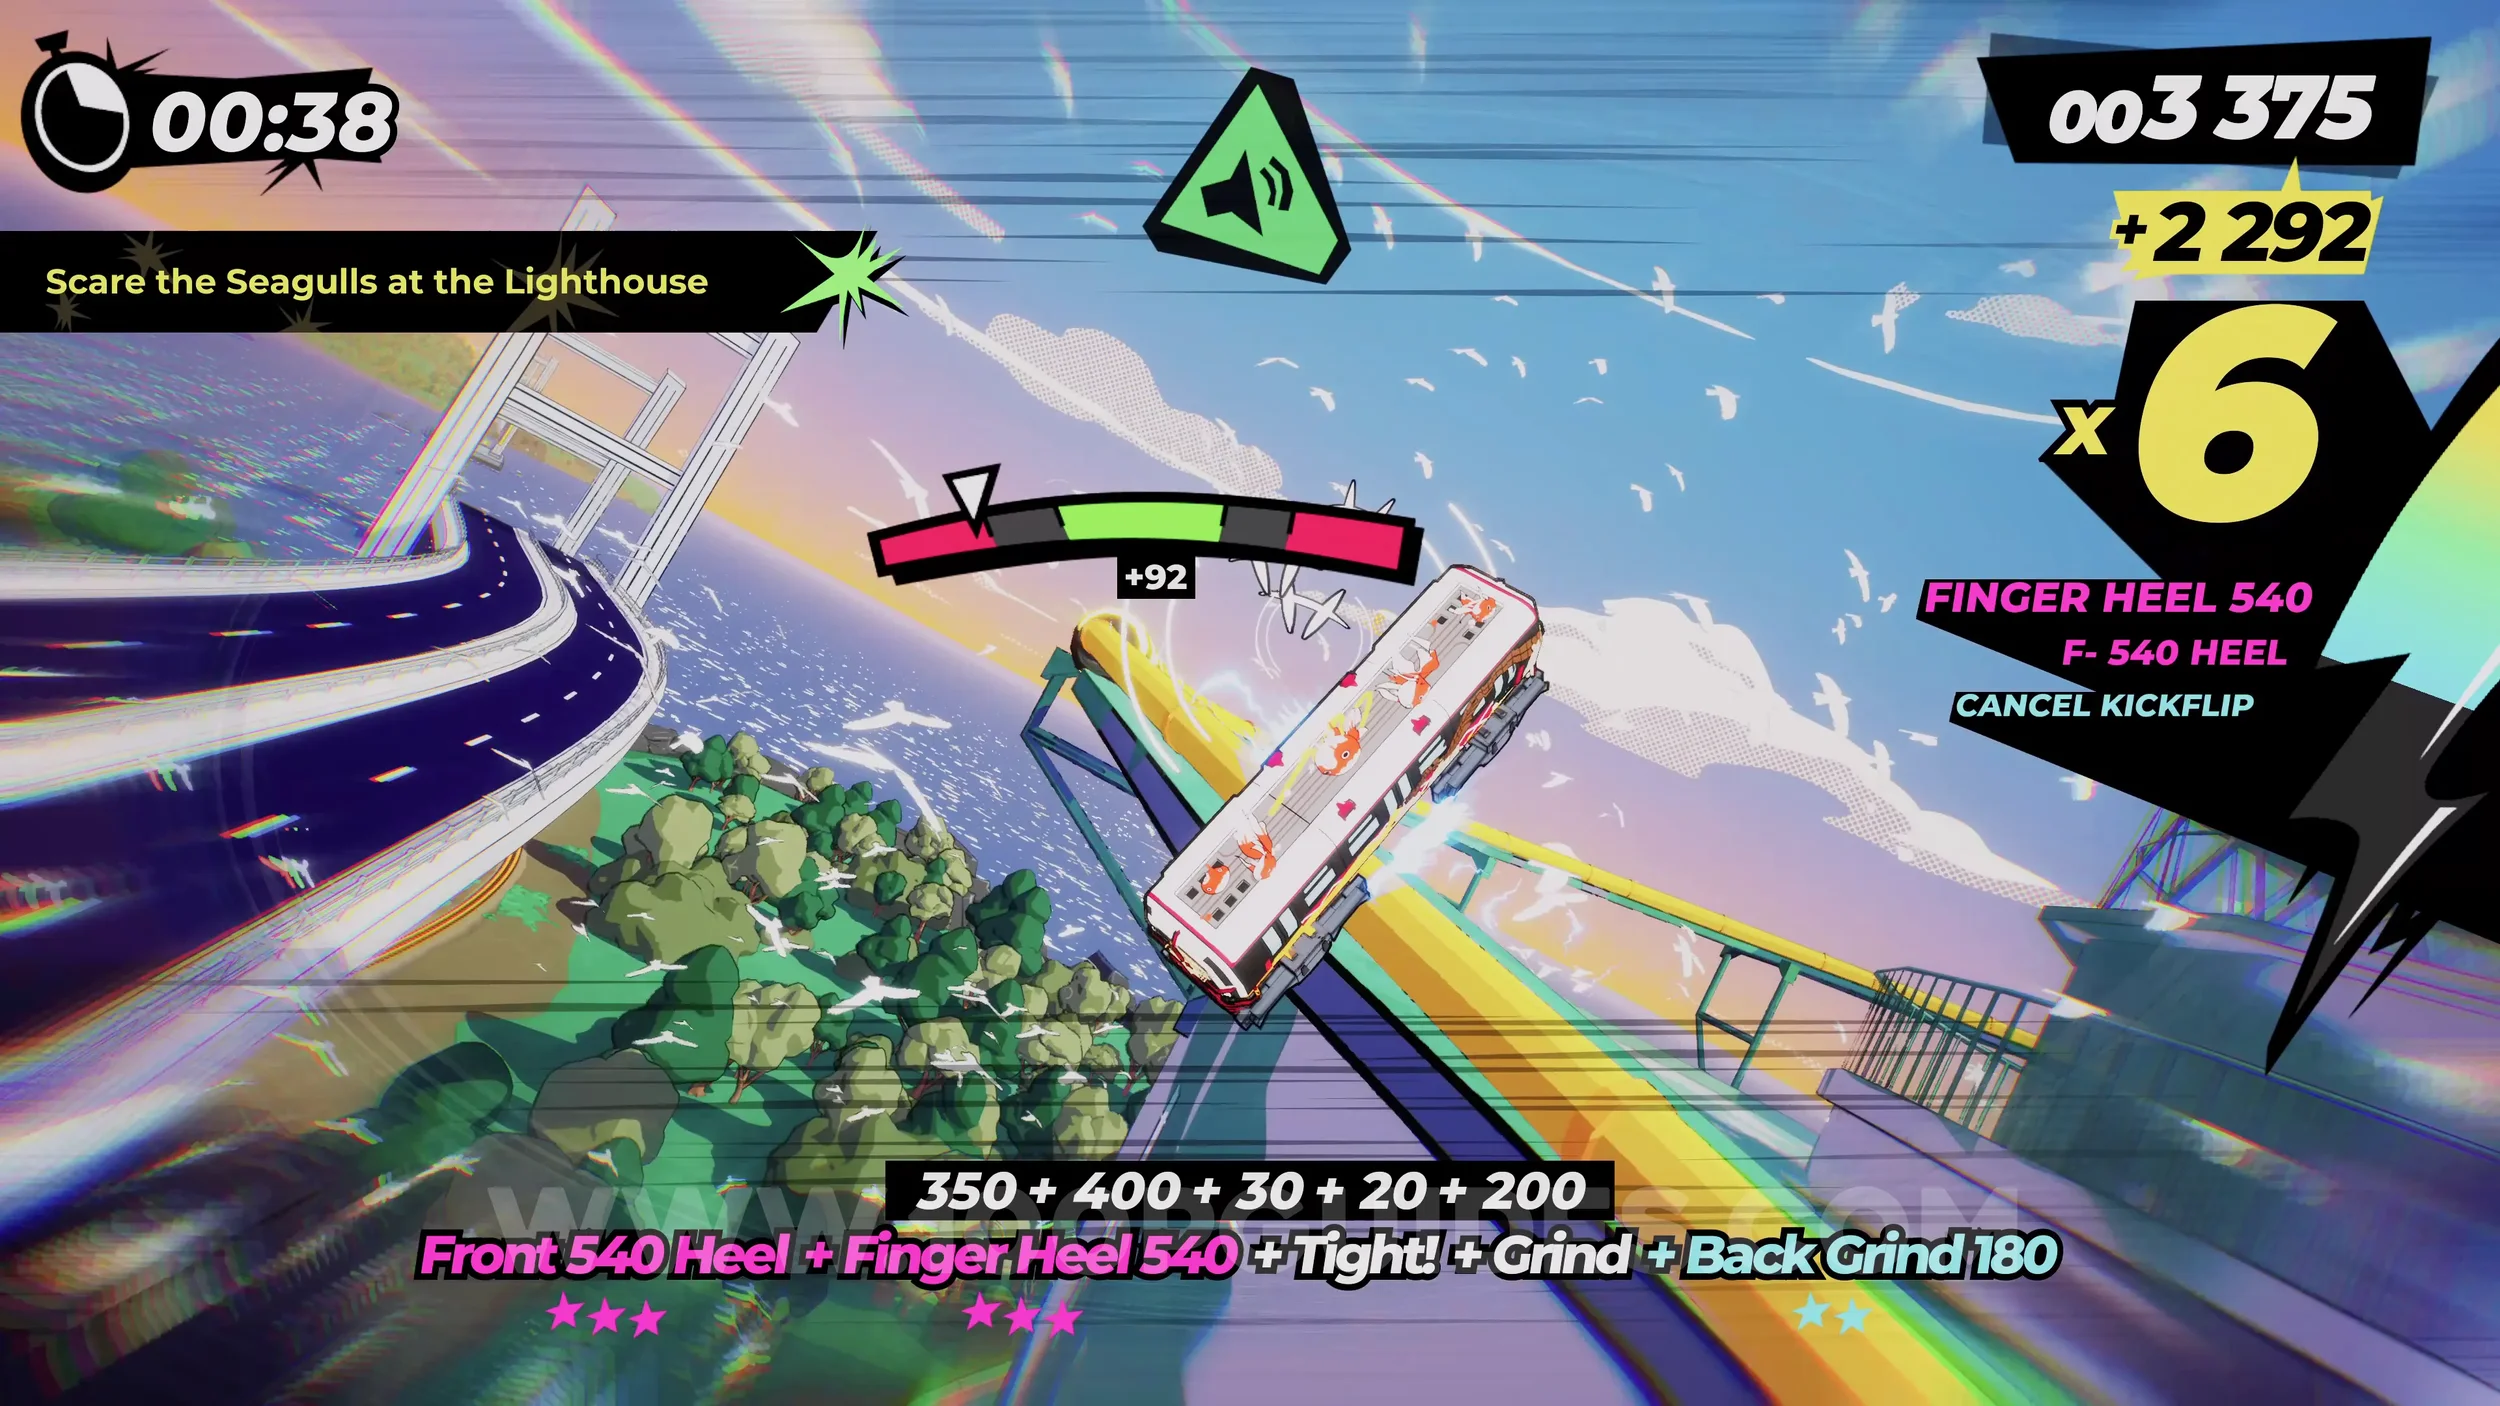
Dare: Scare the Seagulls at the Lighthouse. After the first two underwater sections, you will go over a vert jump. After this, you will grind around the back of a lighthouse. When doing this, press R3 to use your horn.
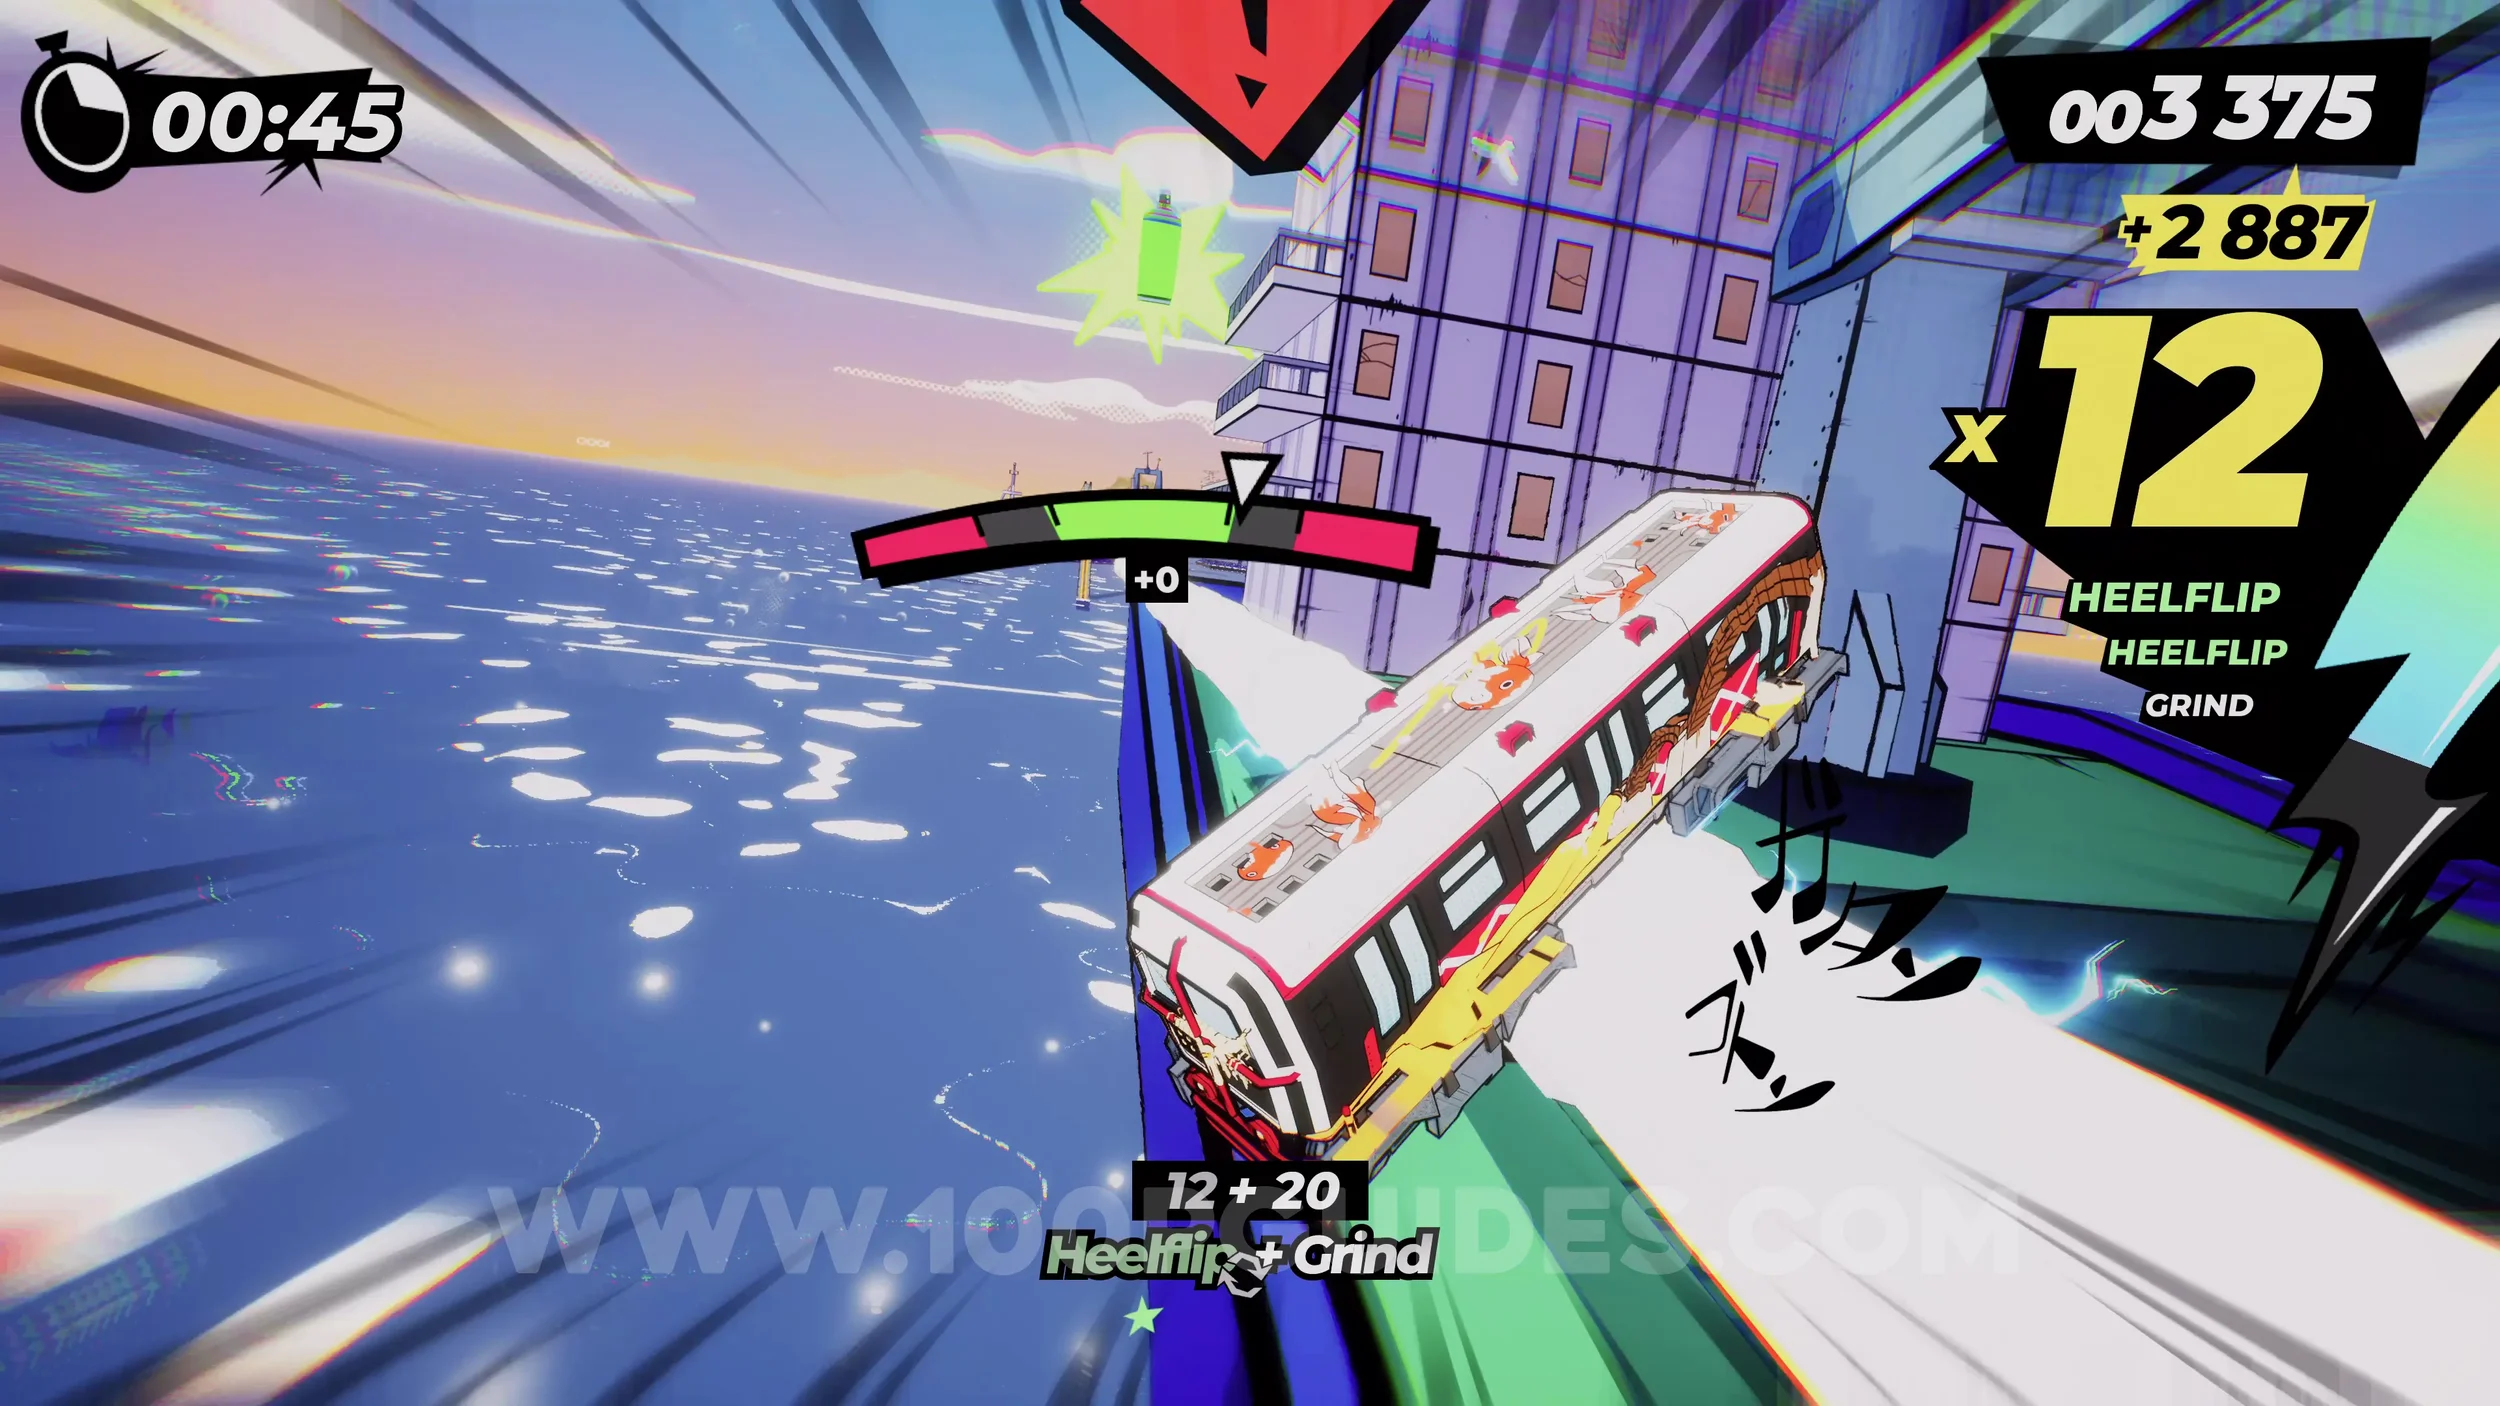
Spray Can (1/2). Soon after the lighthouse, you will grind on the side of a large ship. Jump to reach the can.
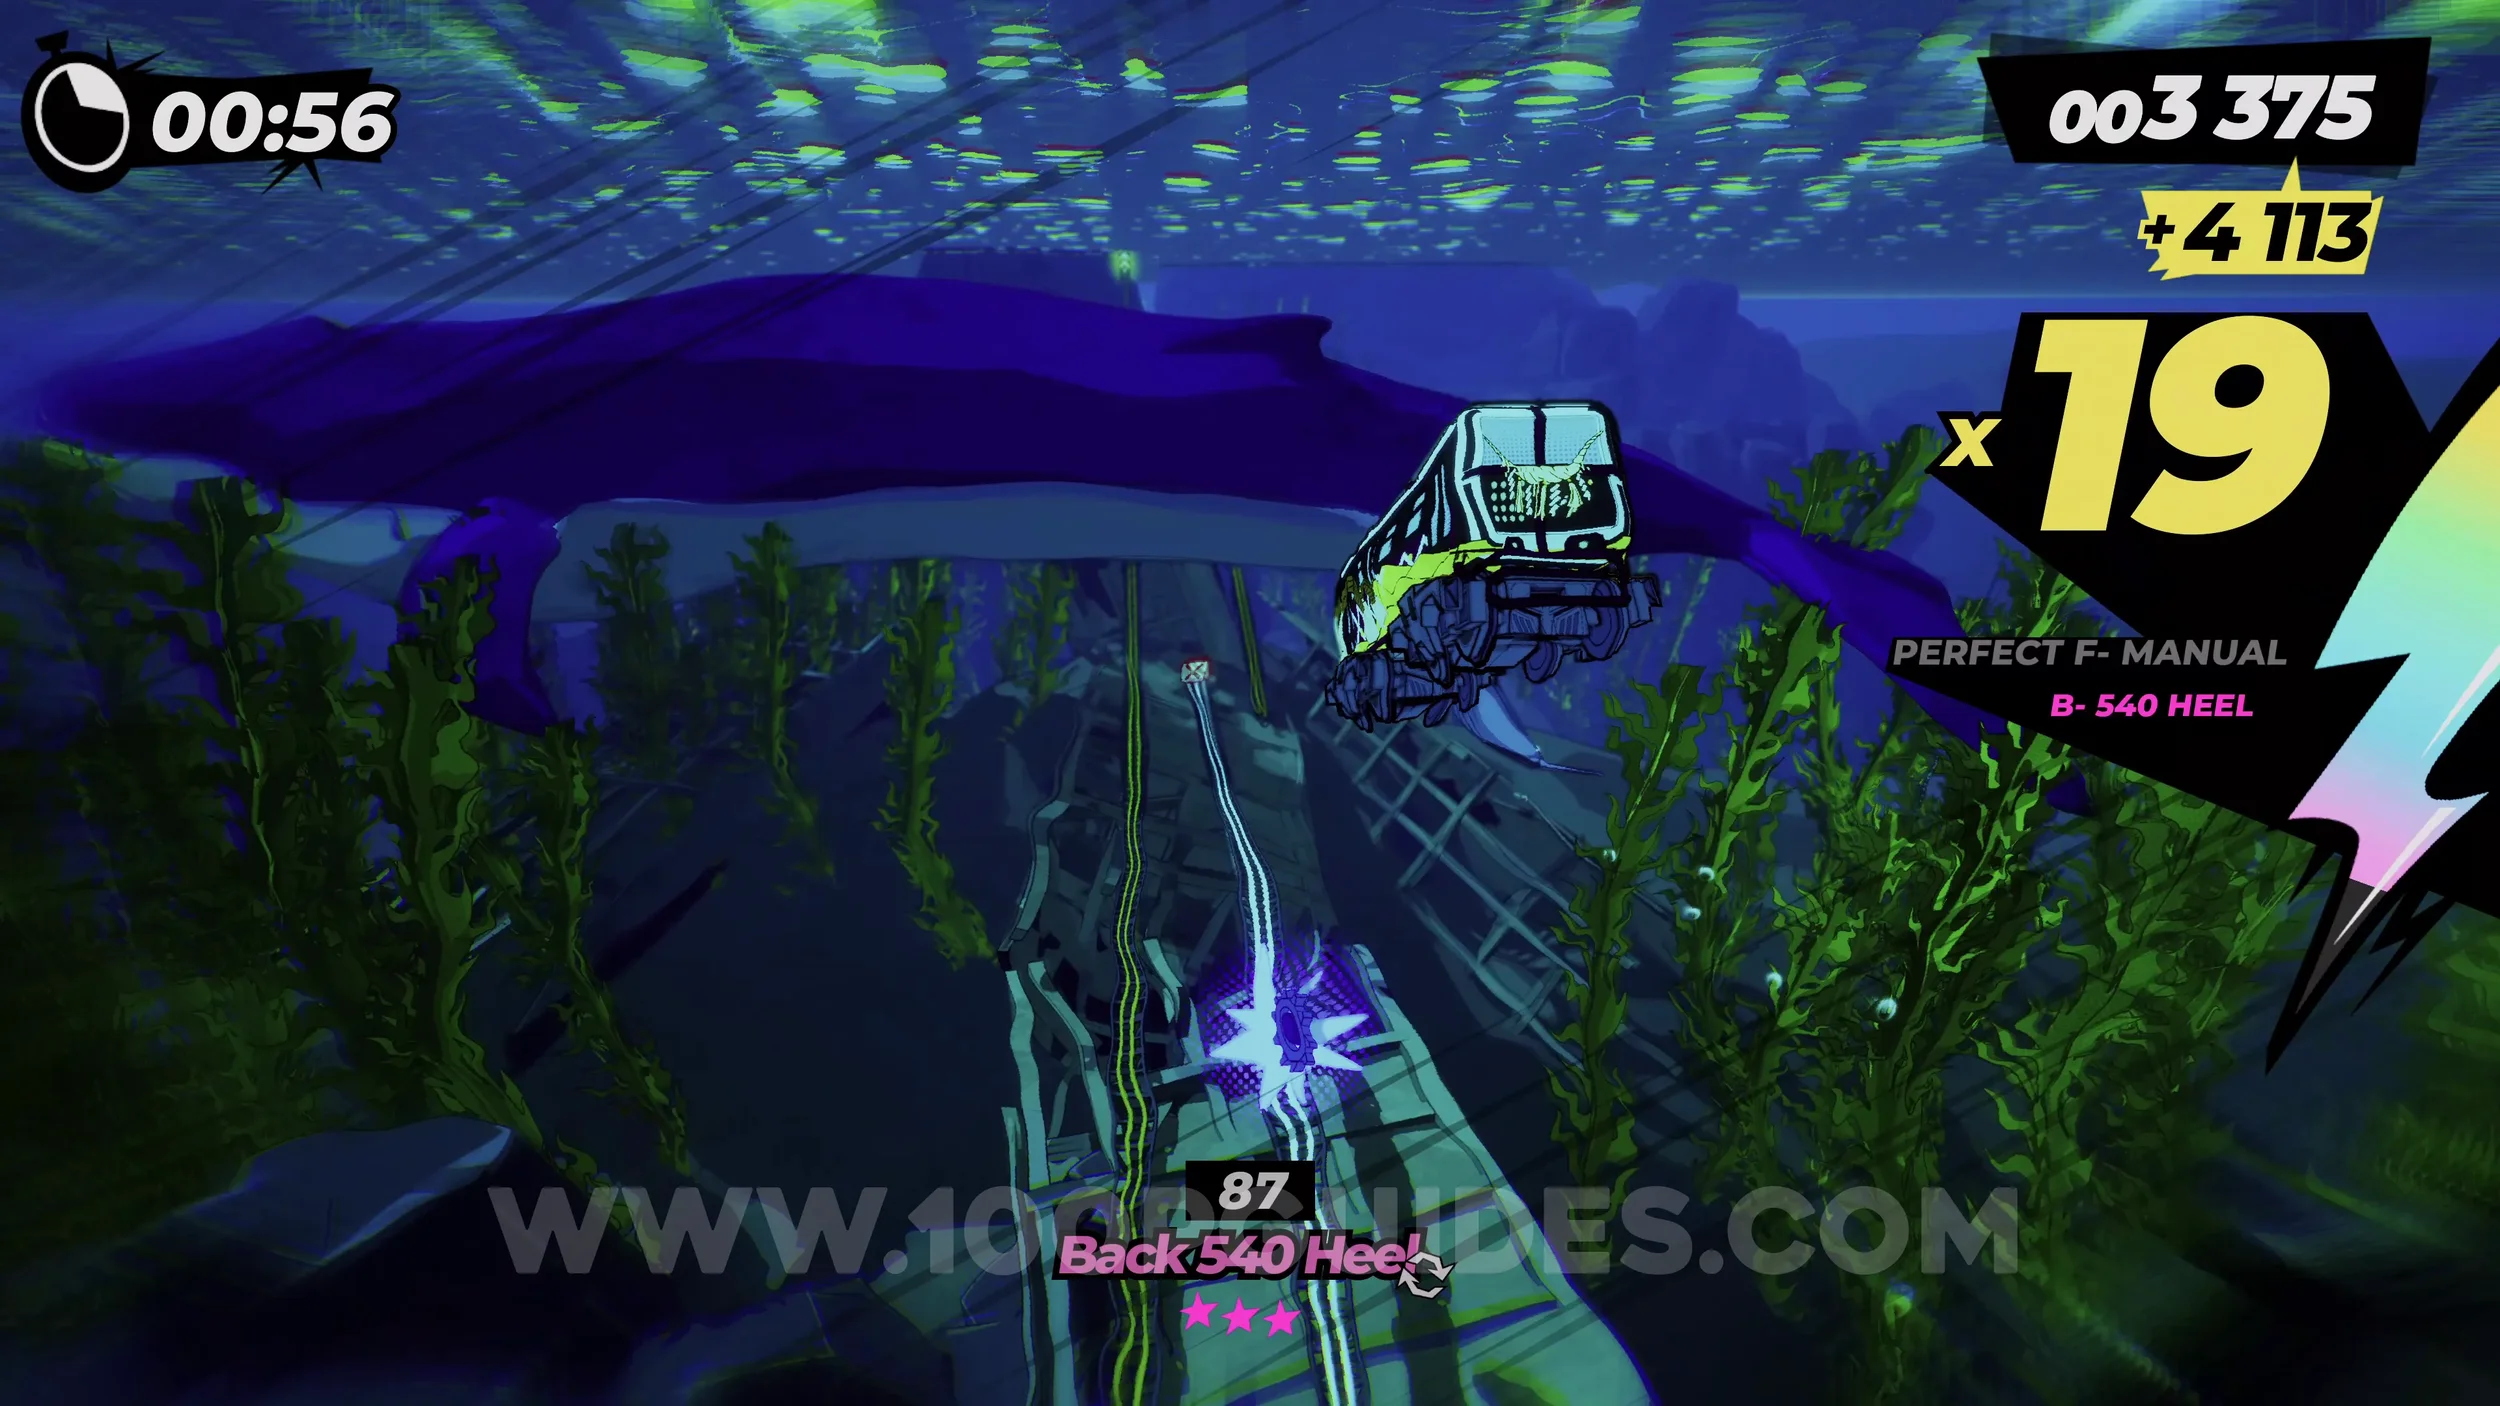
Gear (1/2). In plain sight during the next underwater section.
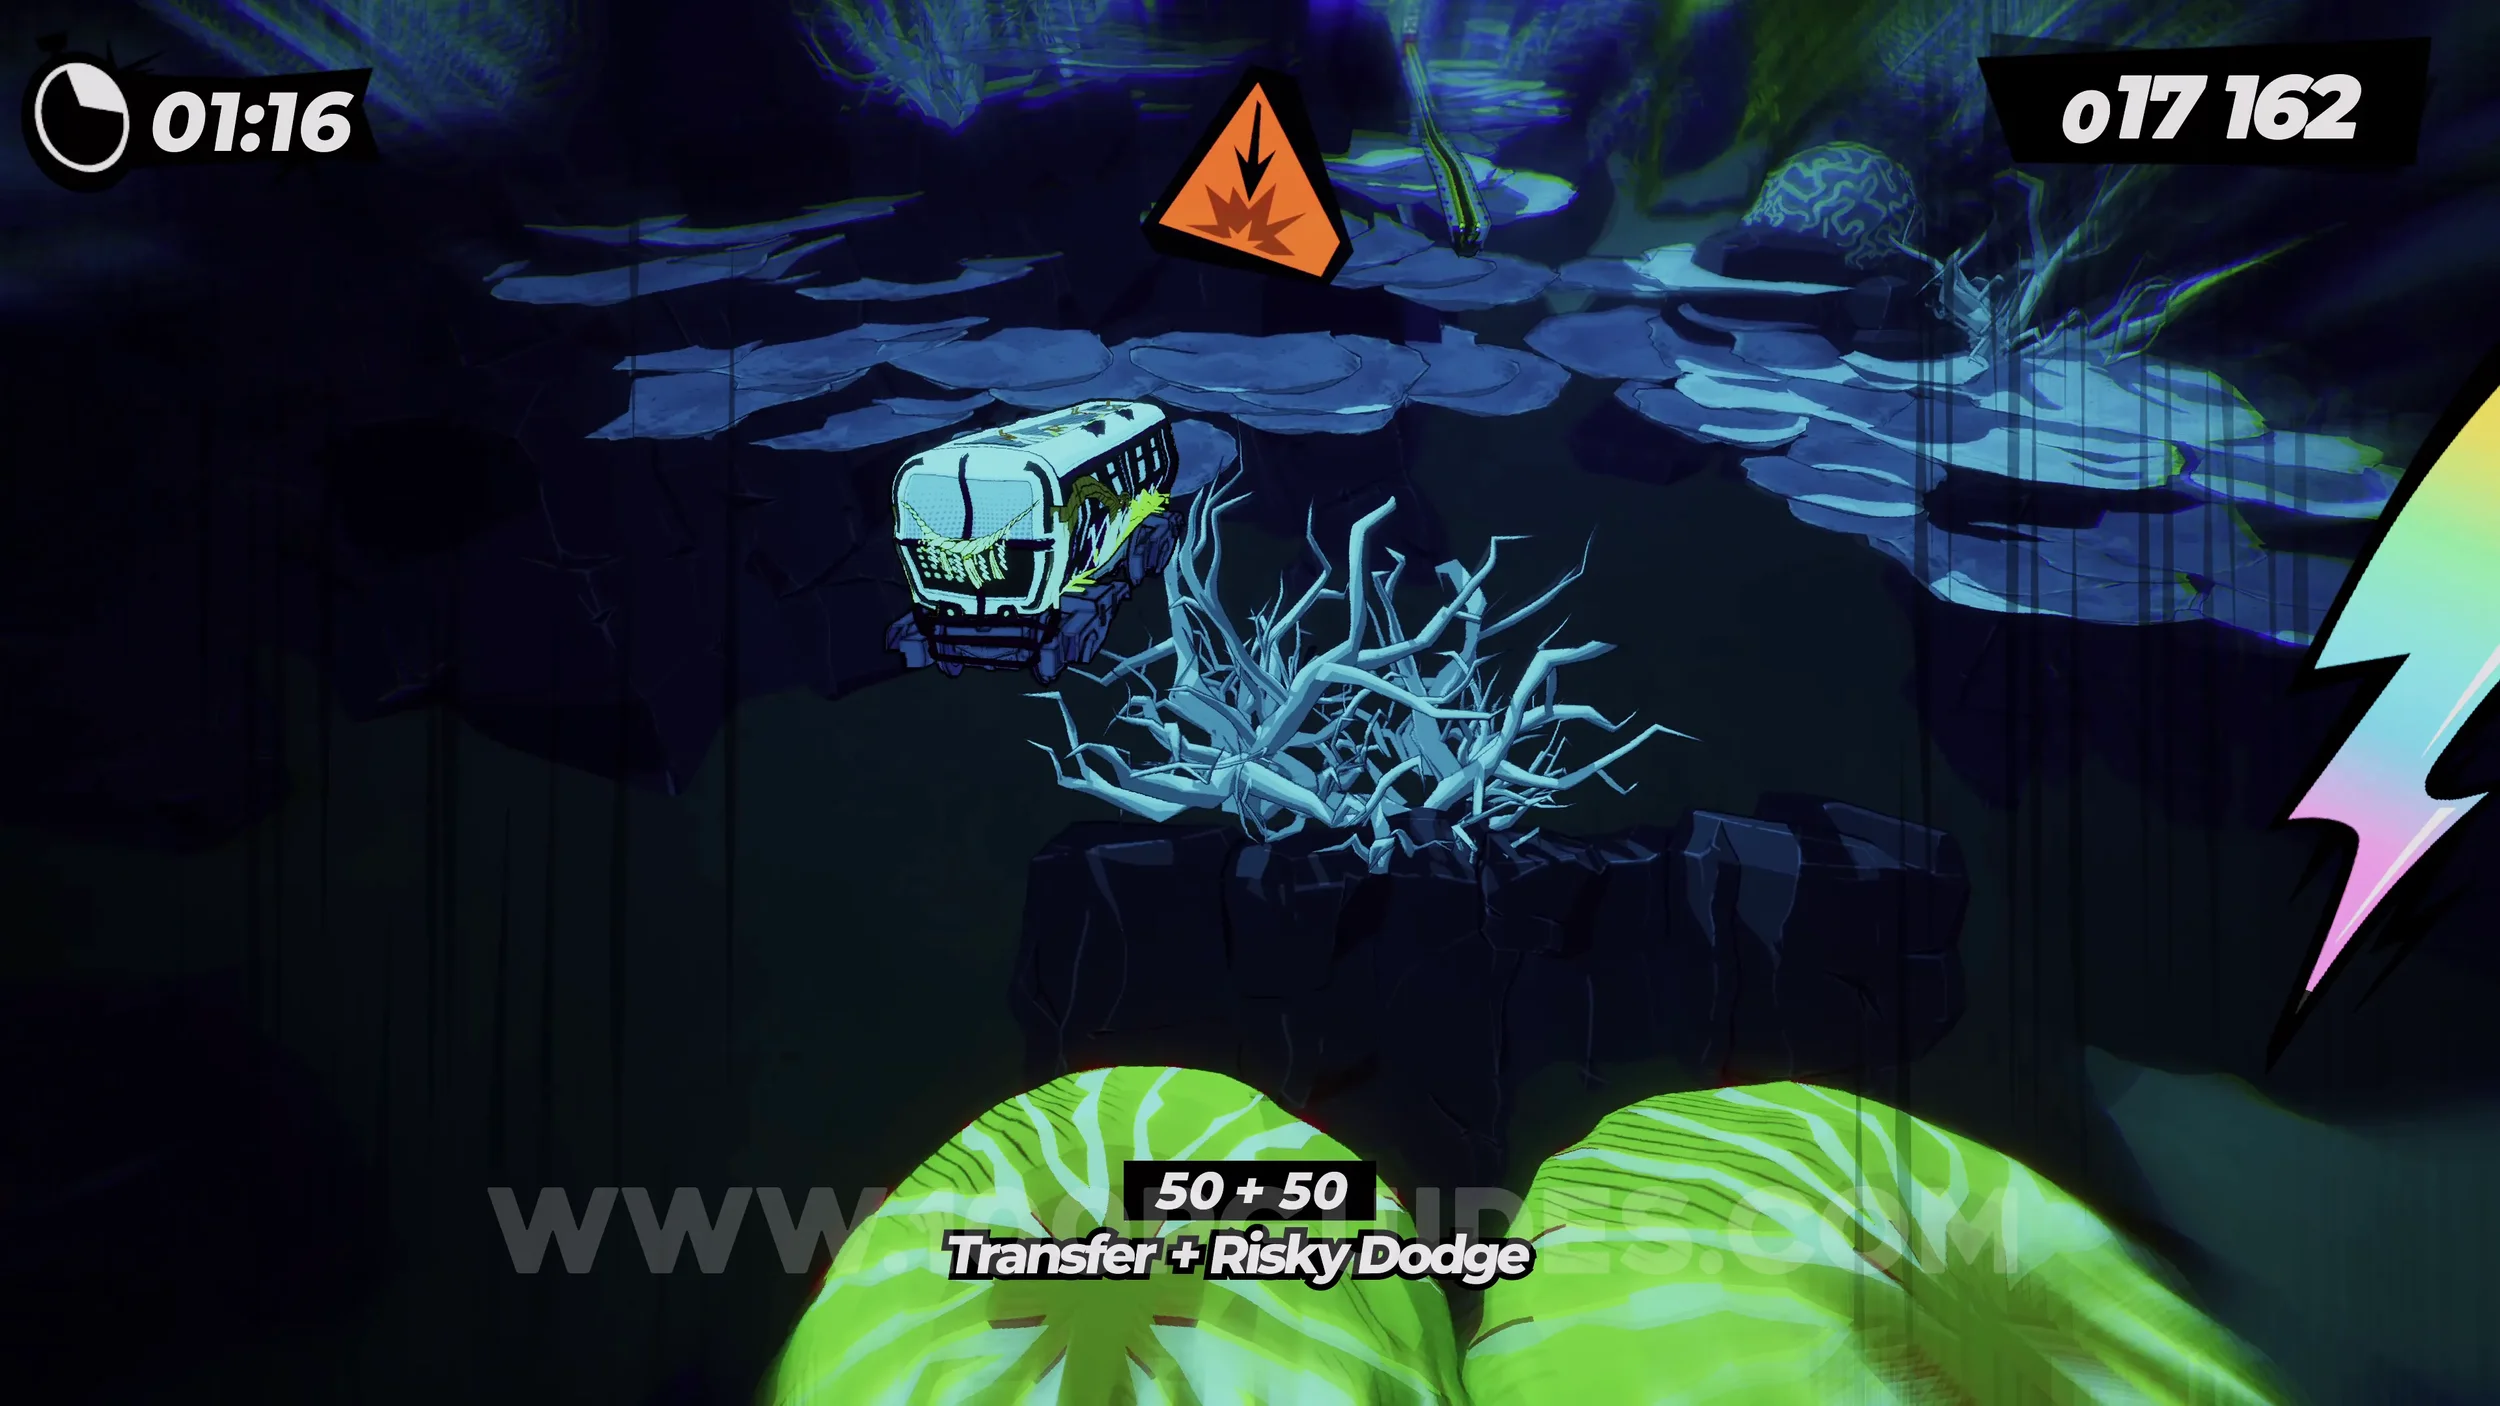
Film Roll (1/1). In the next underwater section, you will bounce off a jellyfish and then have to air stomp to bounce off another jellyfish. After the second bounce, ride the short track and then at the end, air stomp as soon as you can to drop down to the collectible in time.
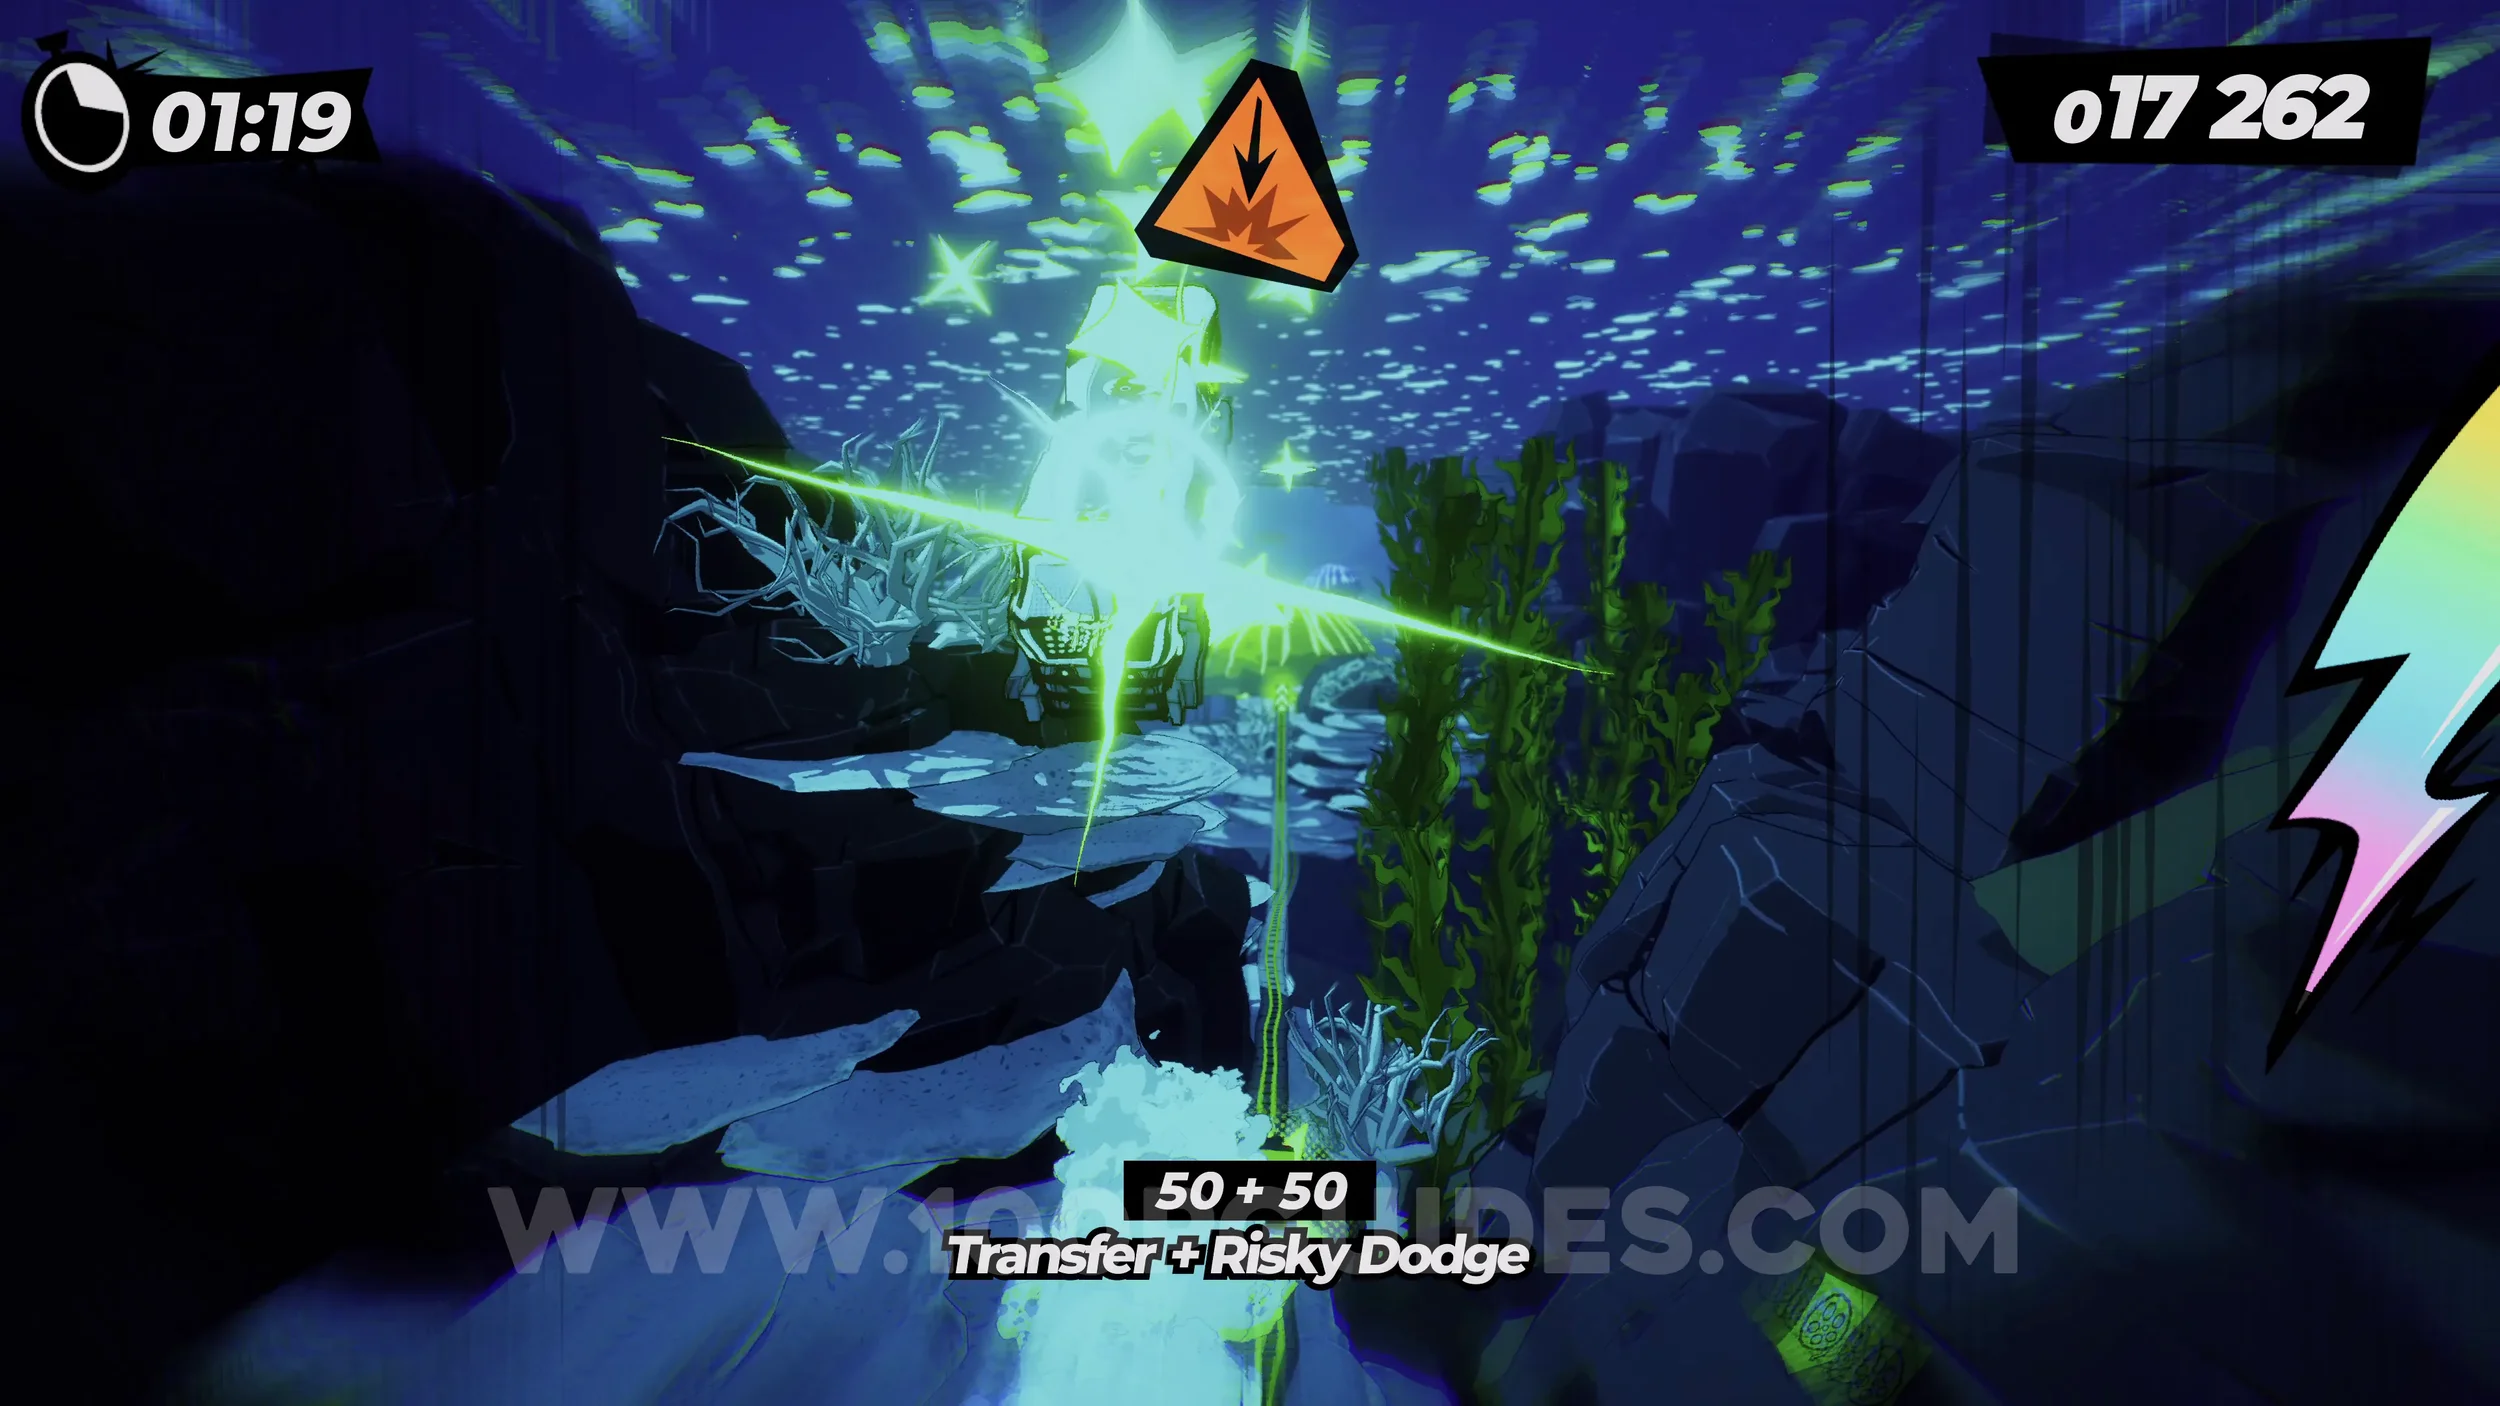
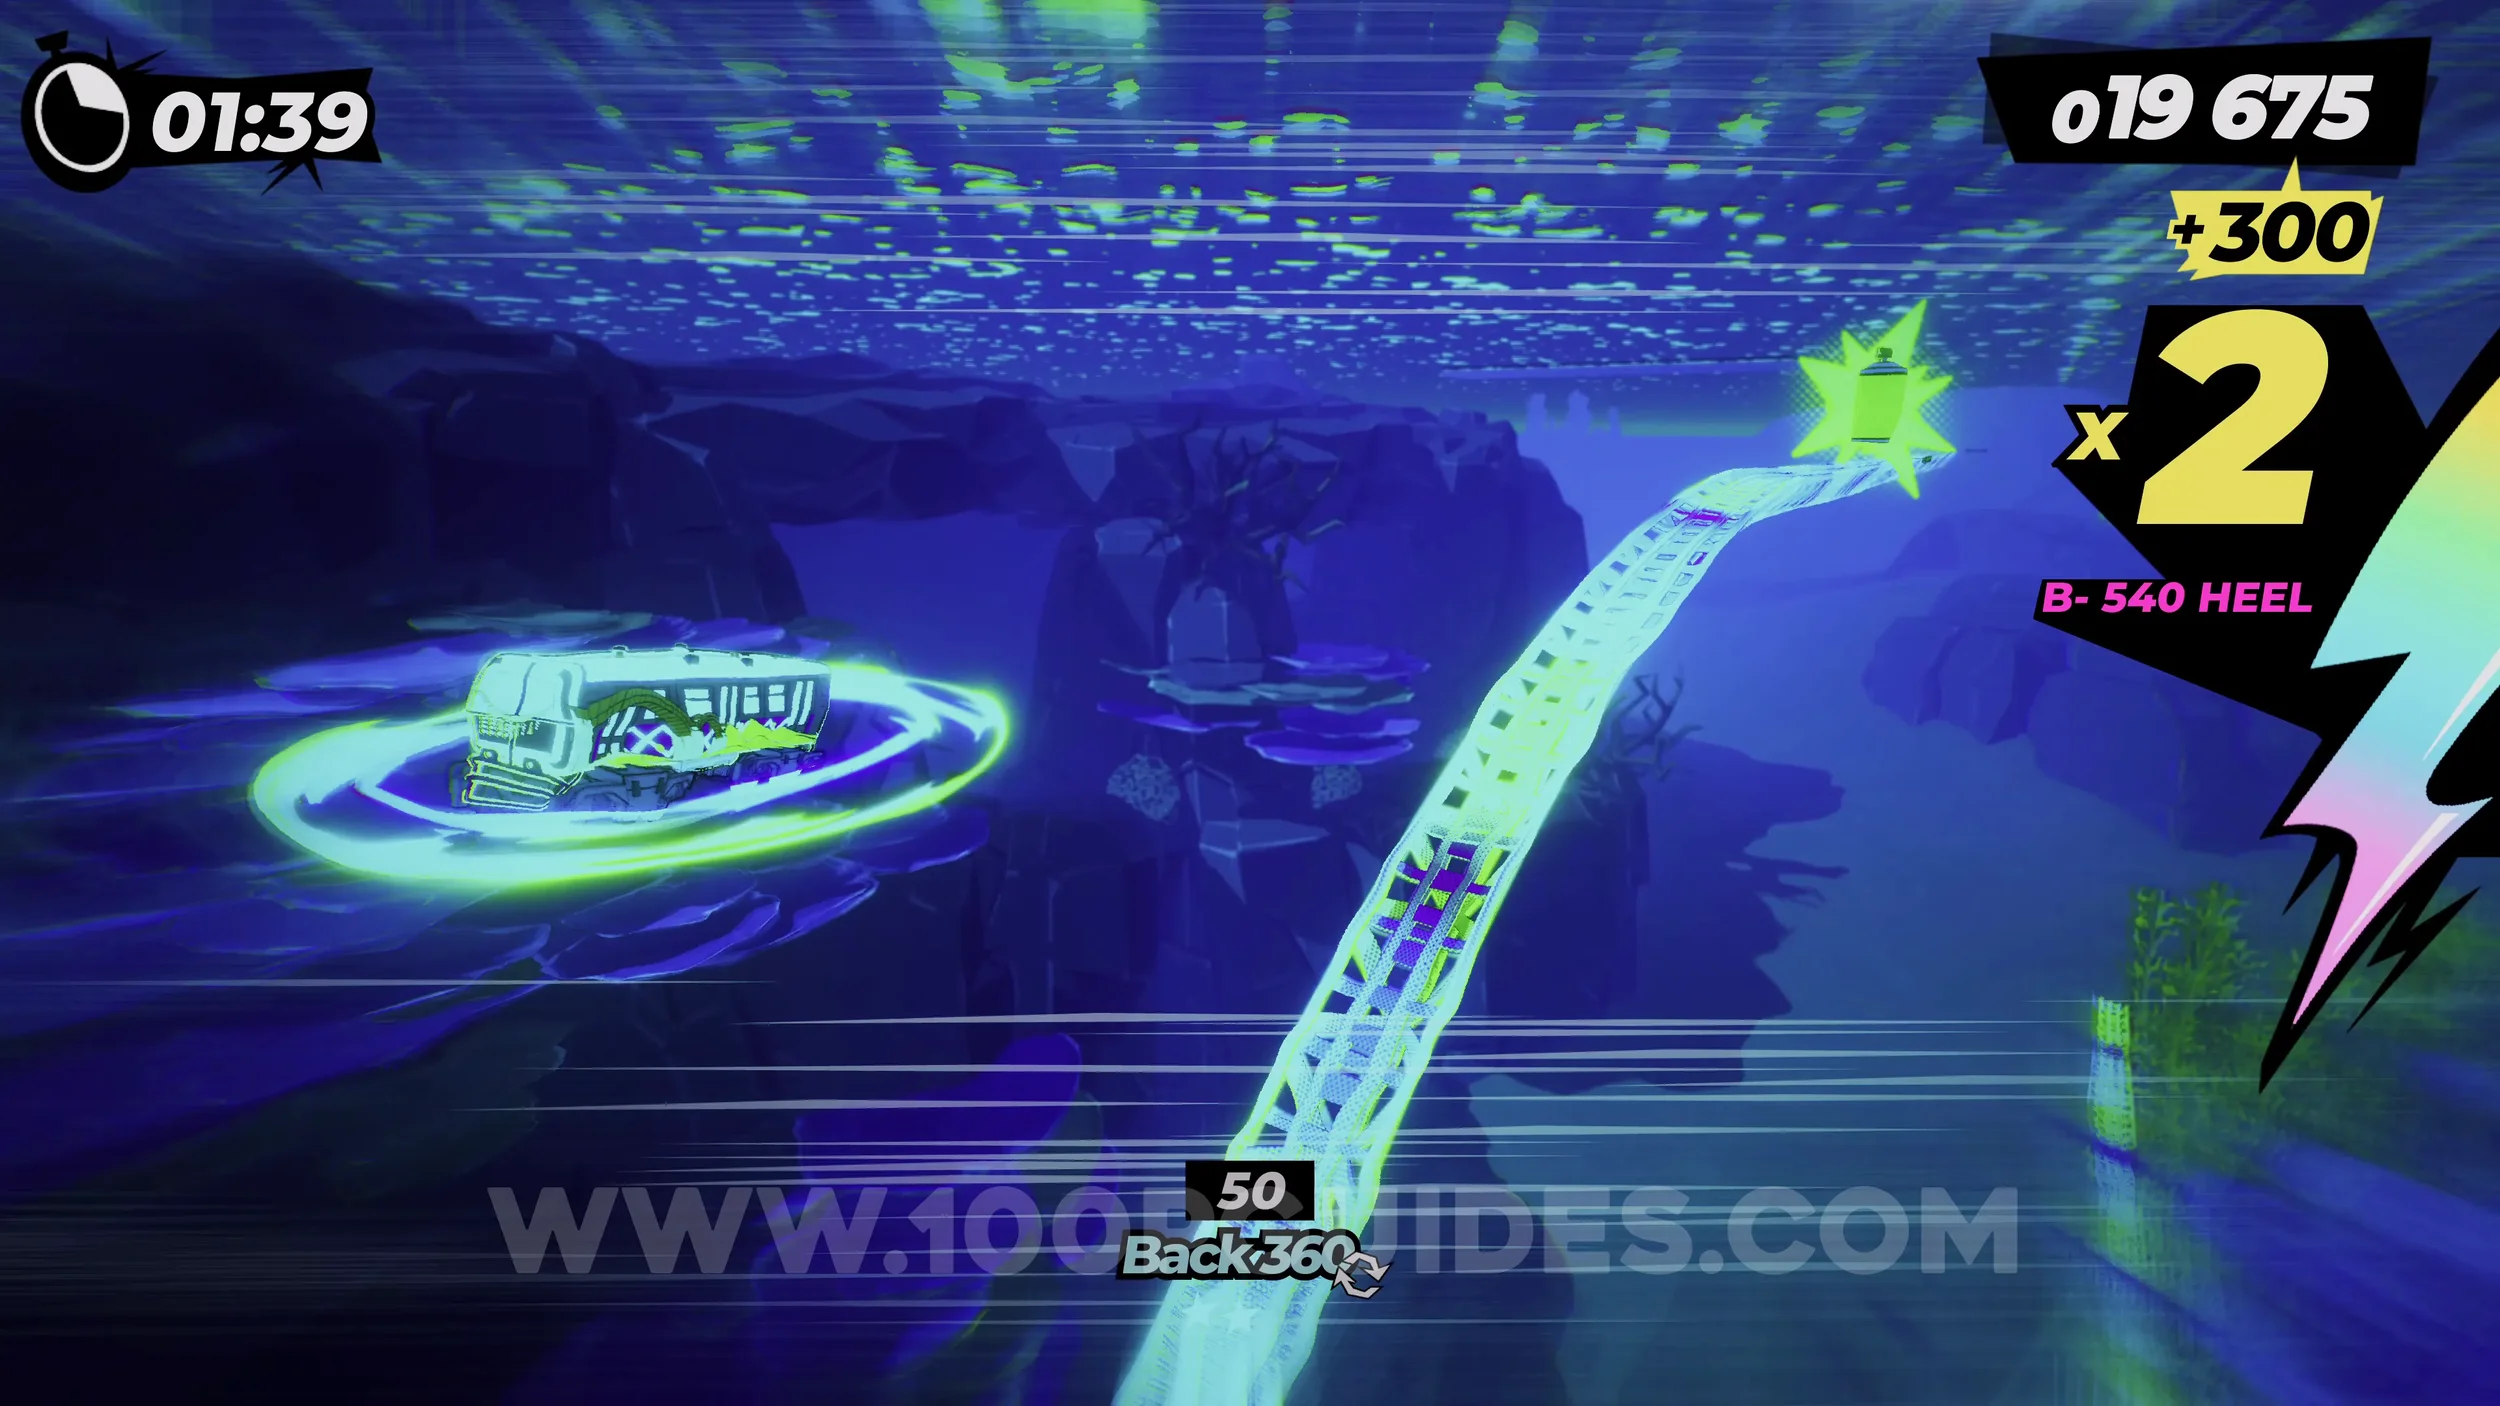
Spray Can (2/2). Soon after the previous collectible, you will see a sign on your left with a spray can on it telling you to go left. If you have your special meter filled up, you will see a rainbow track on your left. Jump to it and follow it to the spray can. Just watch out for the large fish.
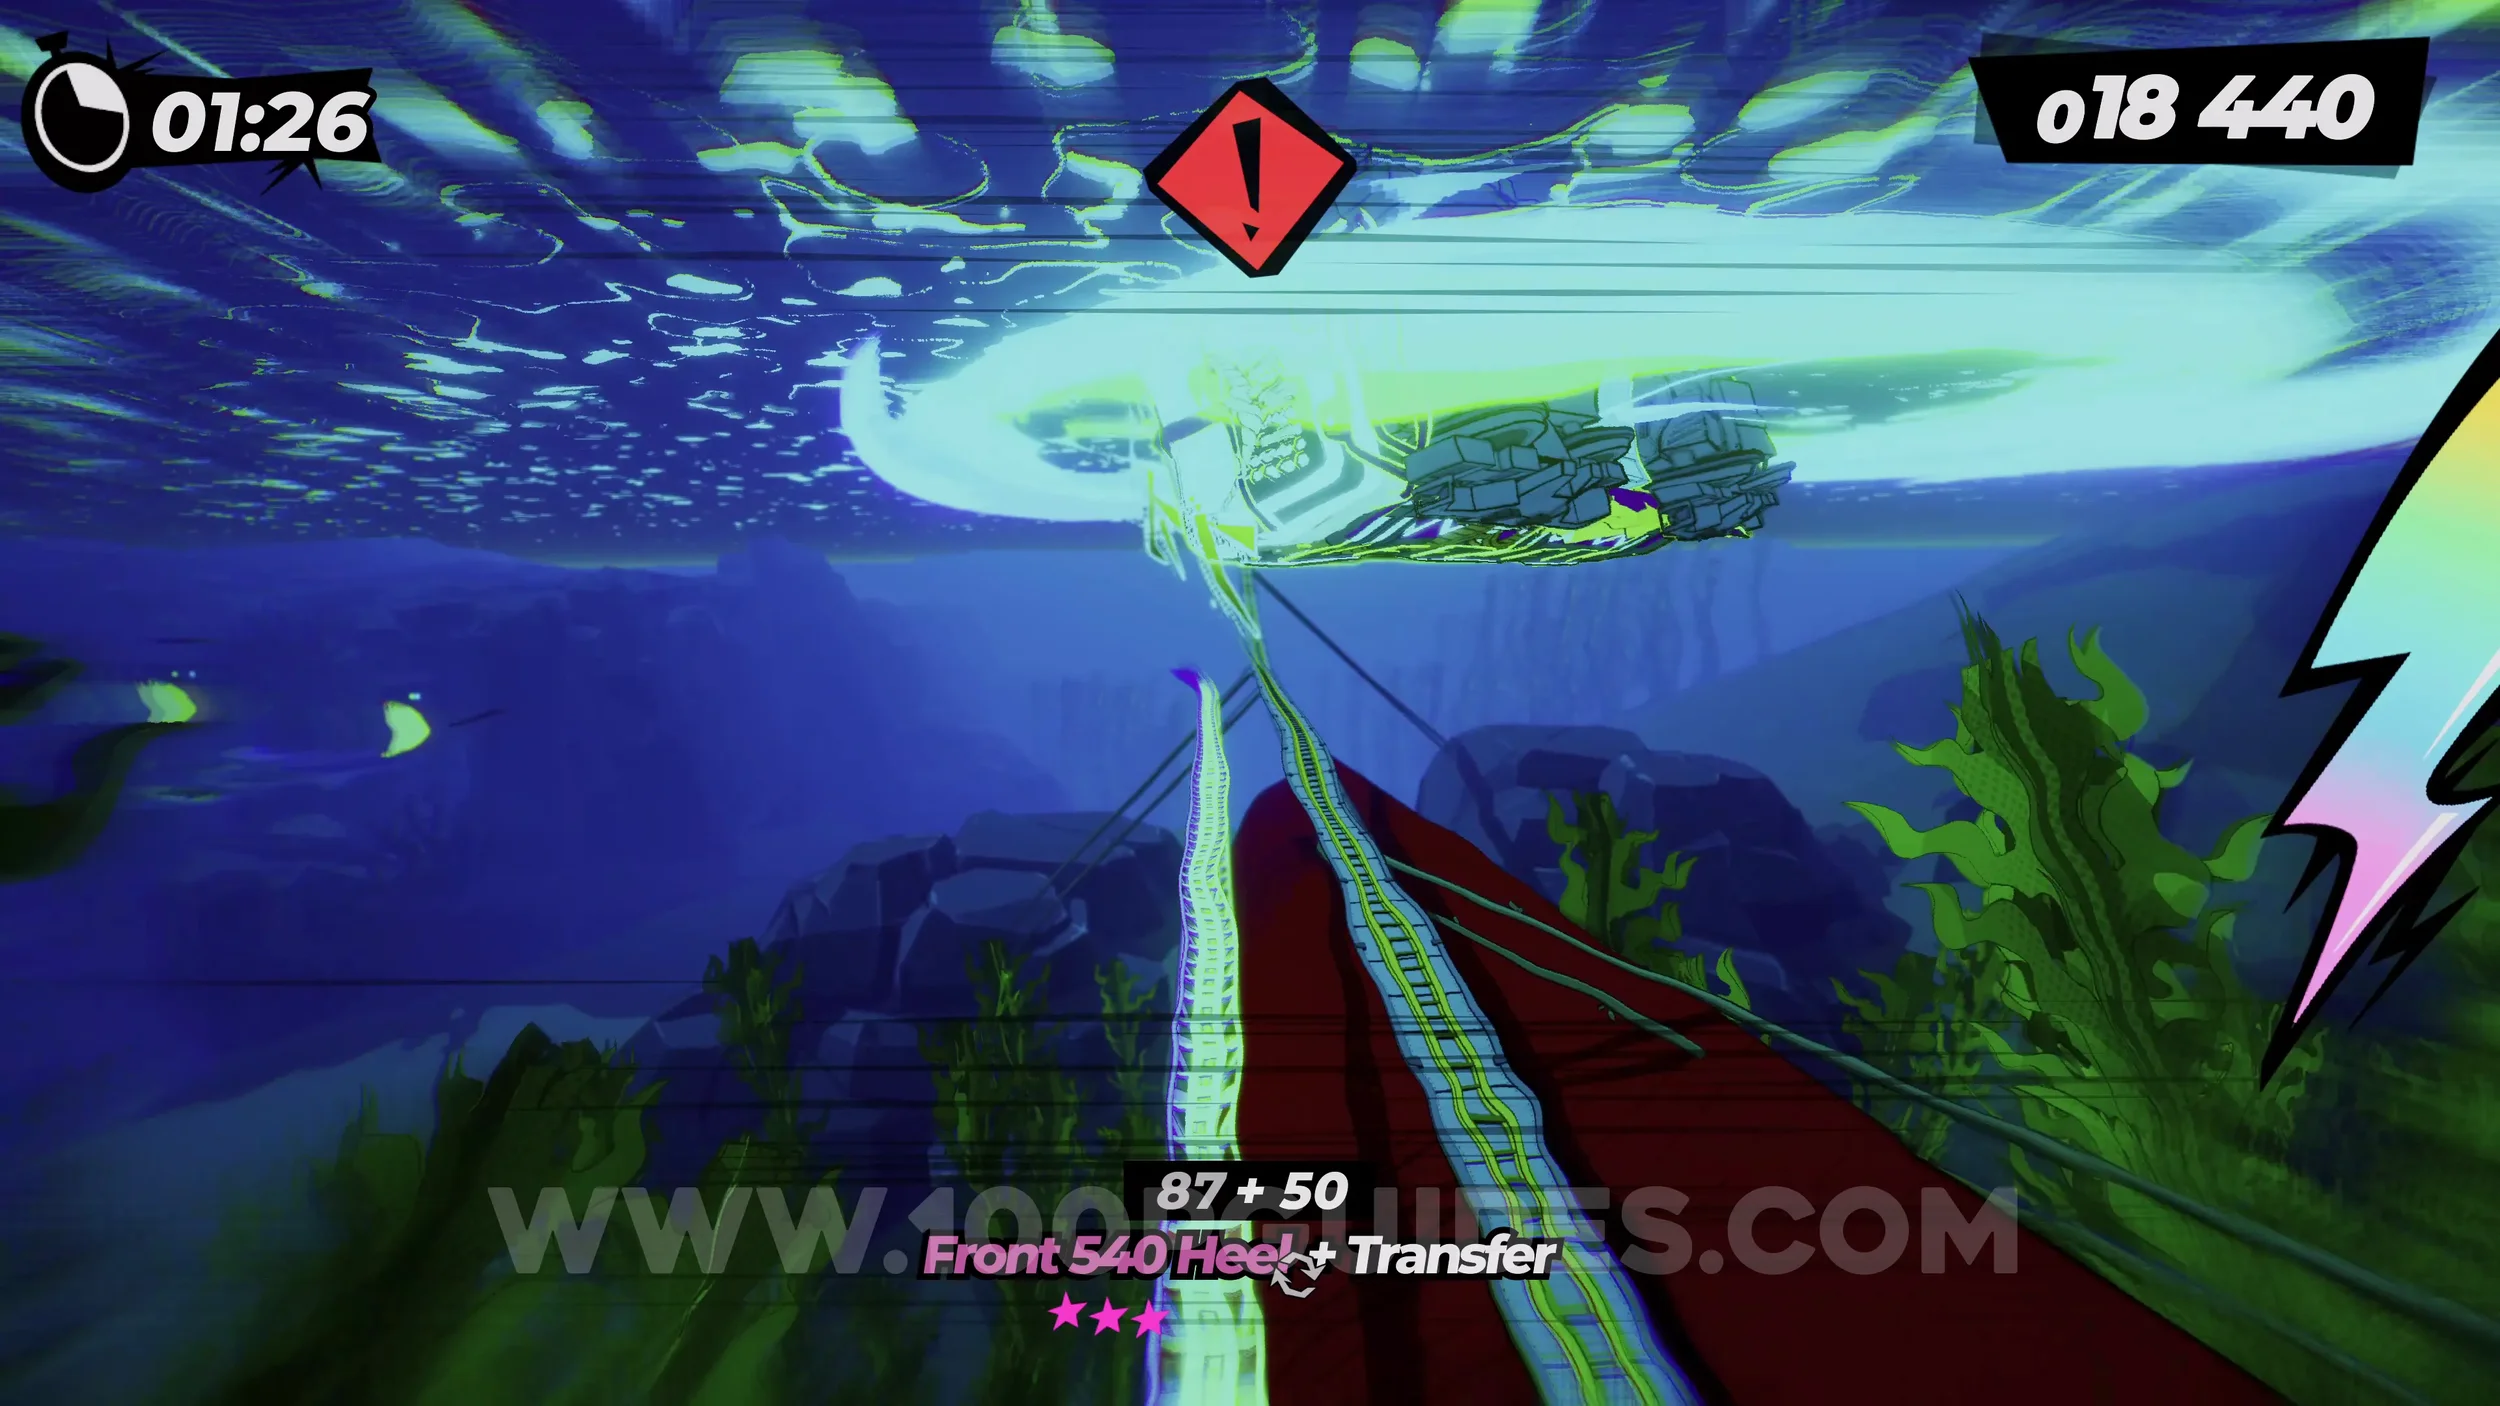
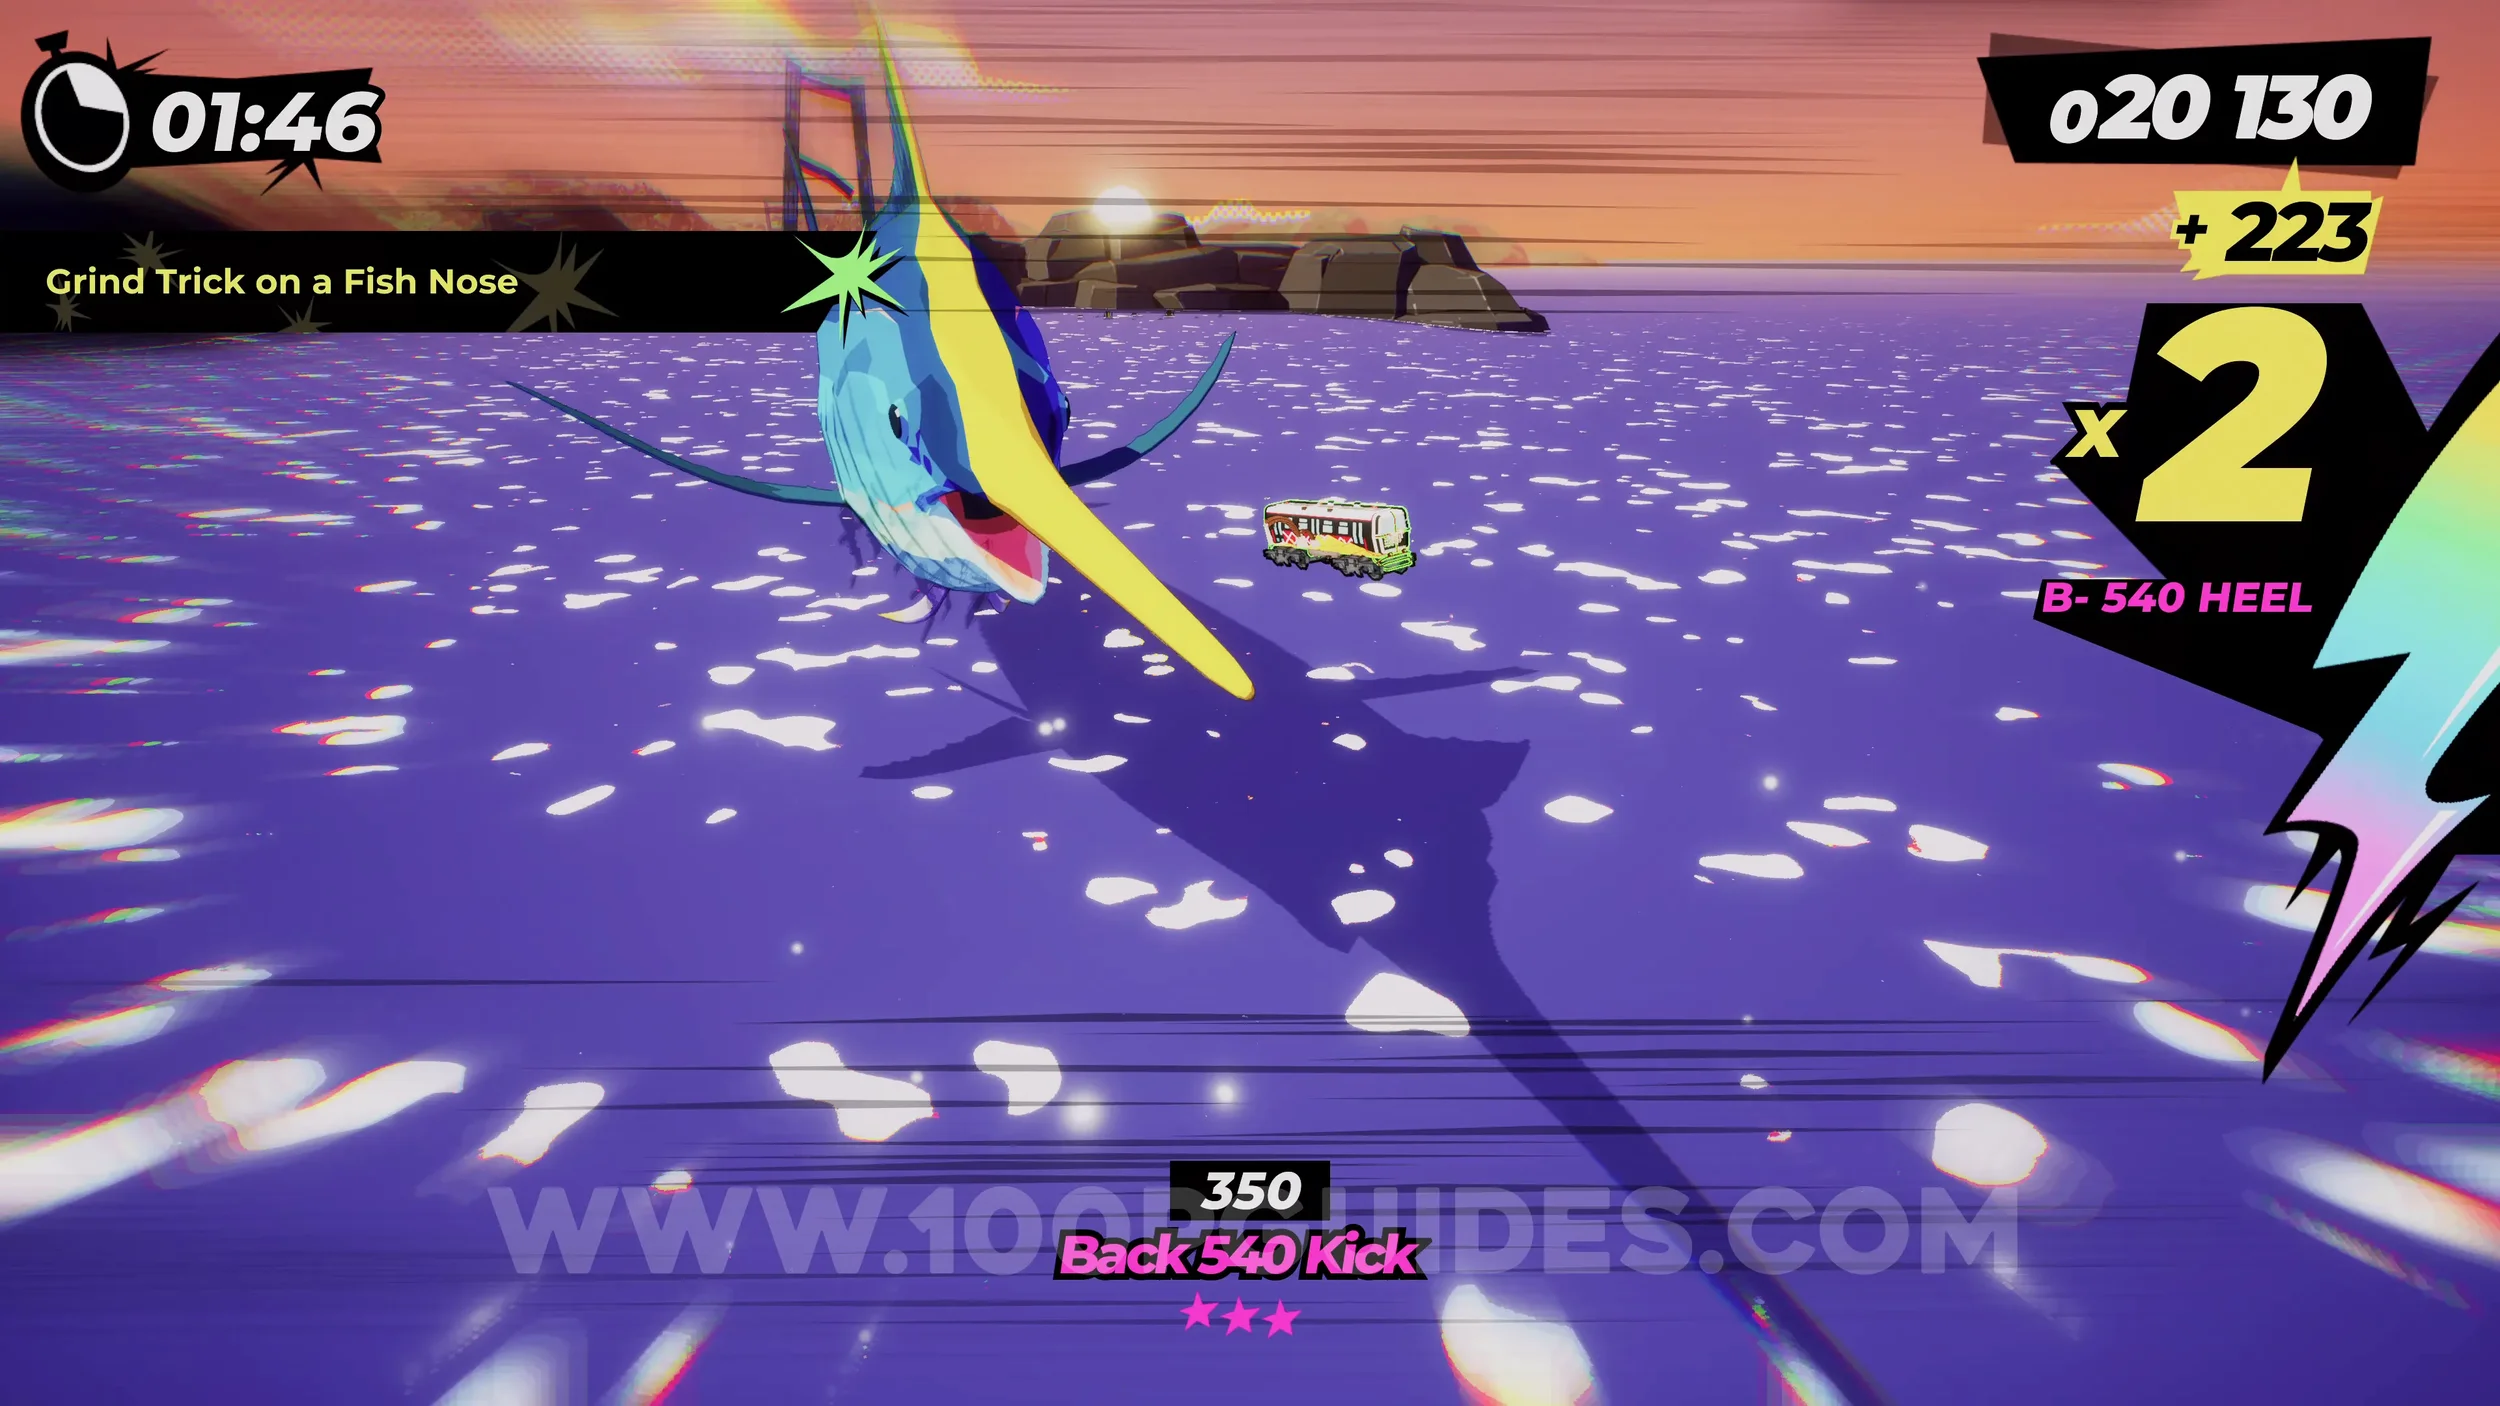
Dare: Grind Trick on a Fish Nose. You will soon get to a section with swordfish jumping out of the water. Land on one to grind it. During the grind, do any trick with the right analog stick.
Dare: Smash 5 Vases. During the section where you get caught by a shark and control it, you will see vases. Just swim through five of them.
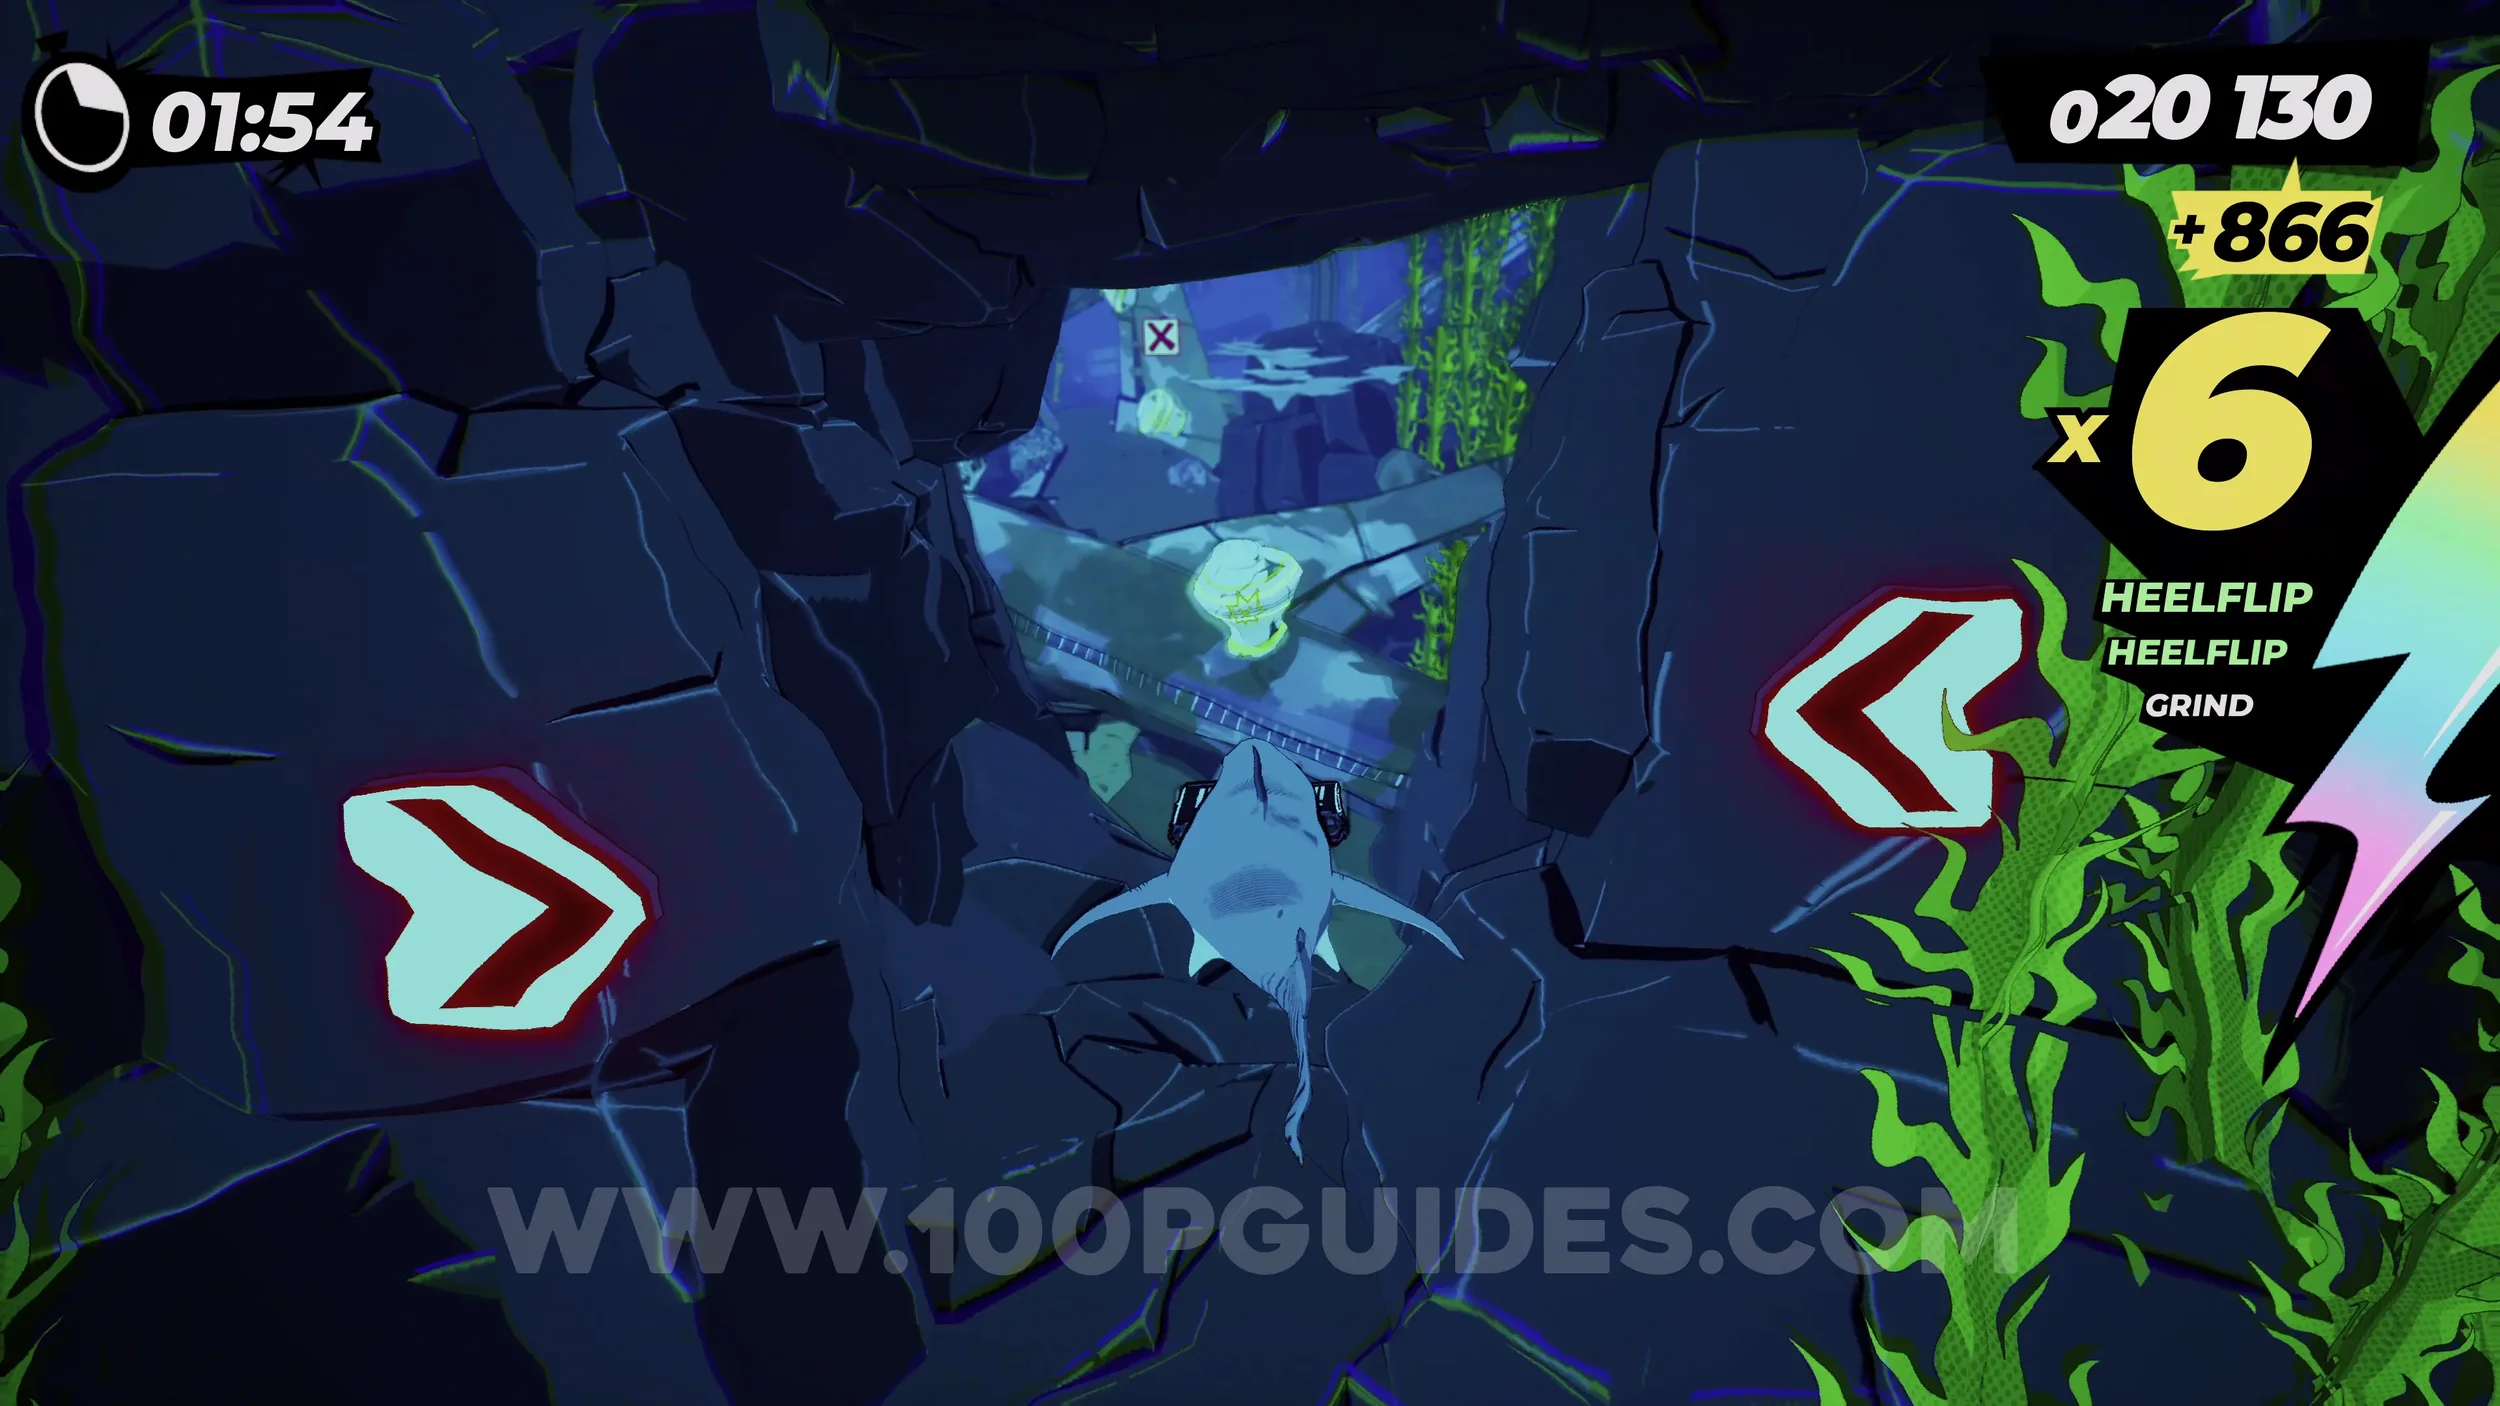
Gear (2/2) and Dare: Find the Onsen Exit. After the first five or six vases during the shark section, make sure you stick left and do not hit the metal bars, which will take you to the normal exit. You will then see the gear in plain sight next to the large mines. This path will also take you to the Onsen Exit.
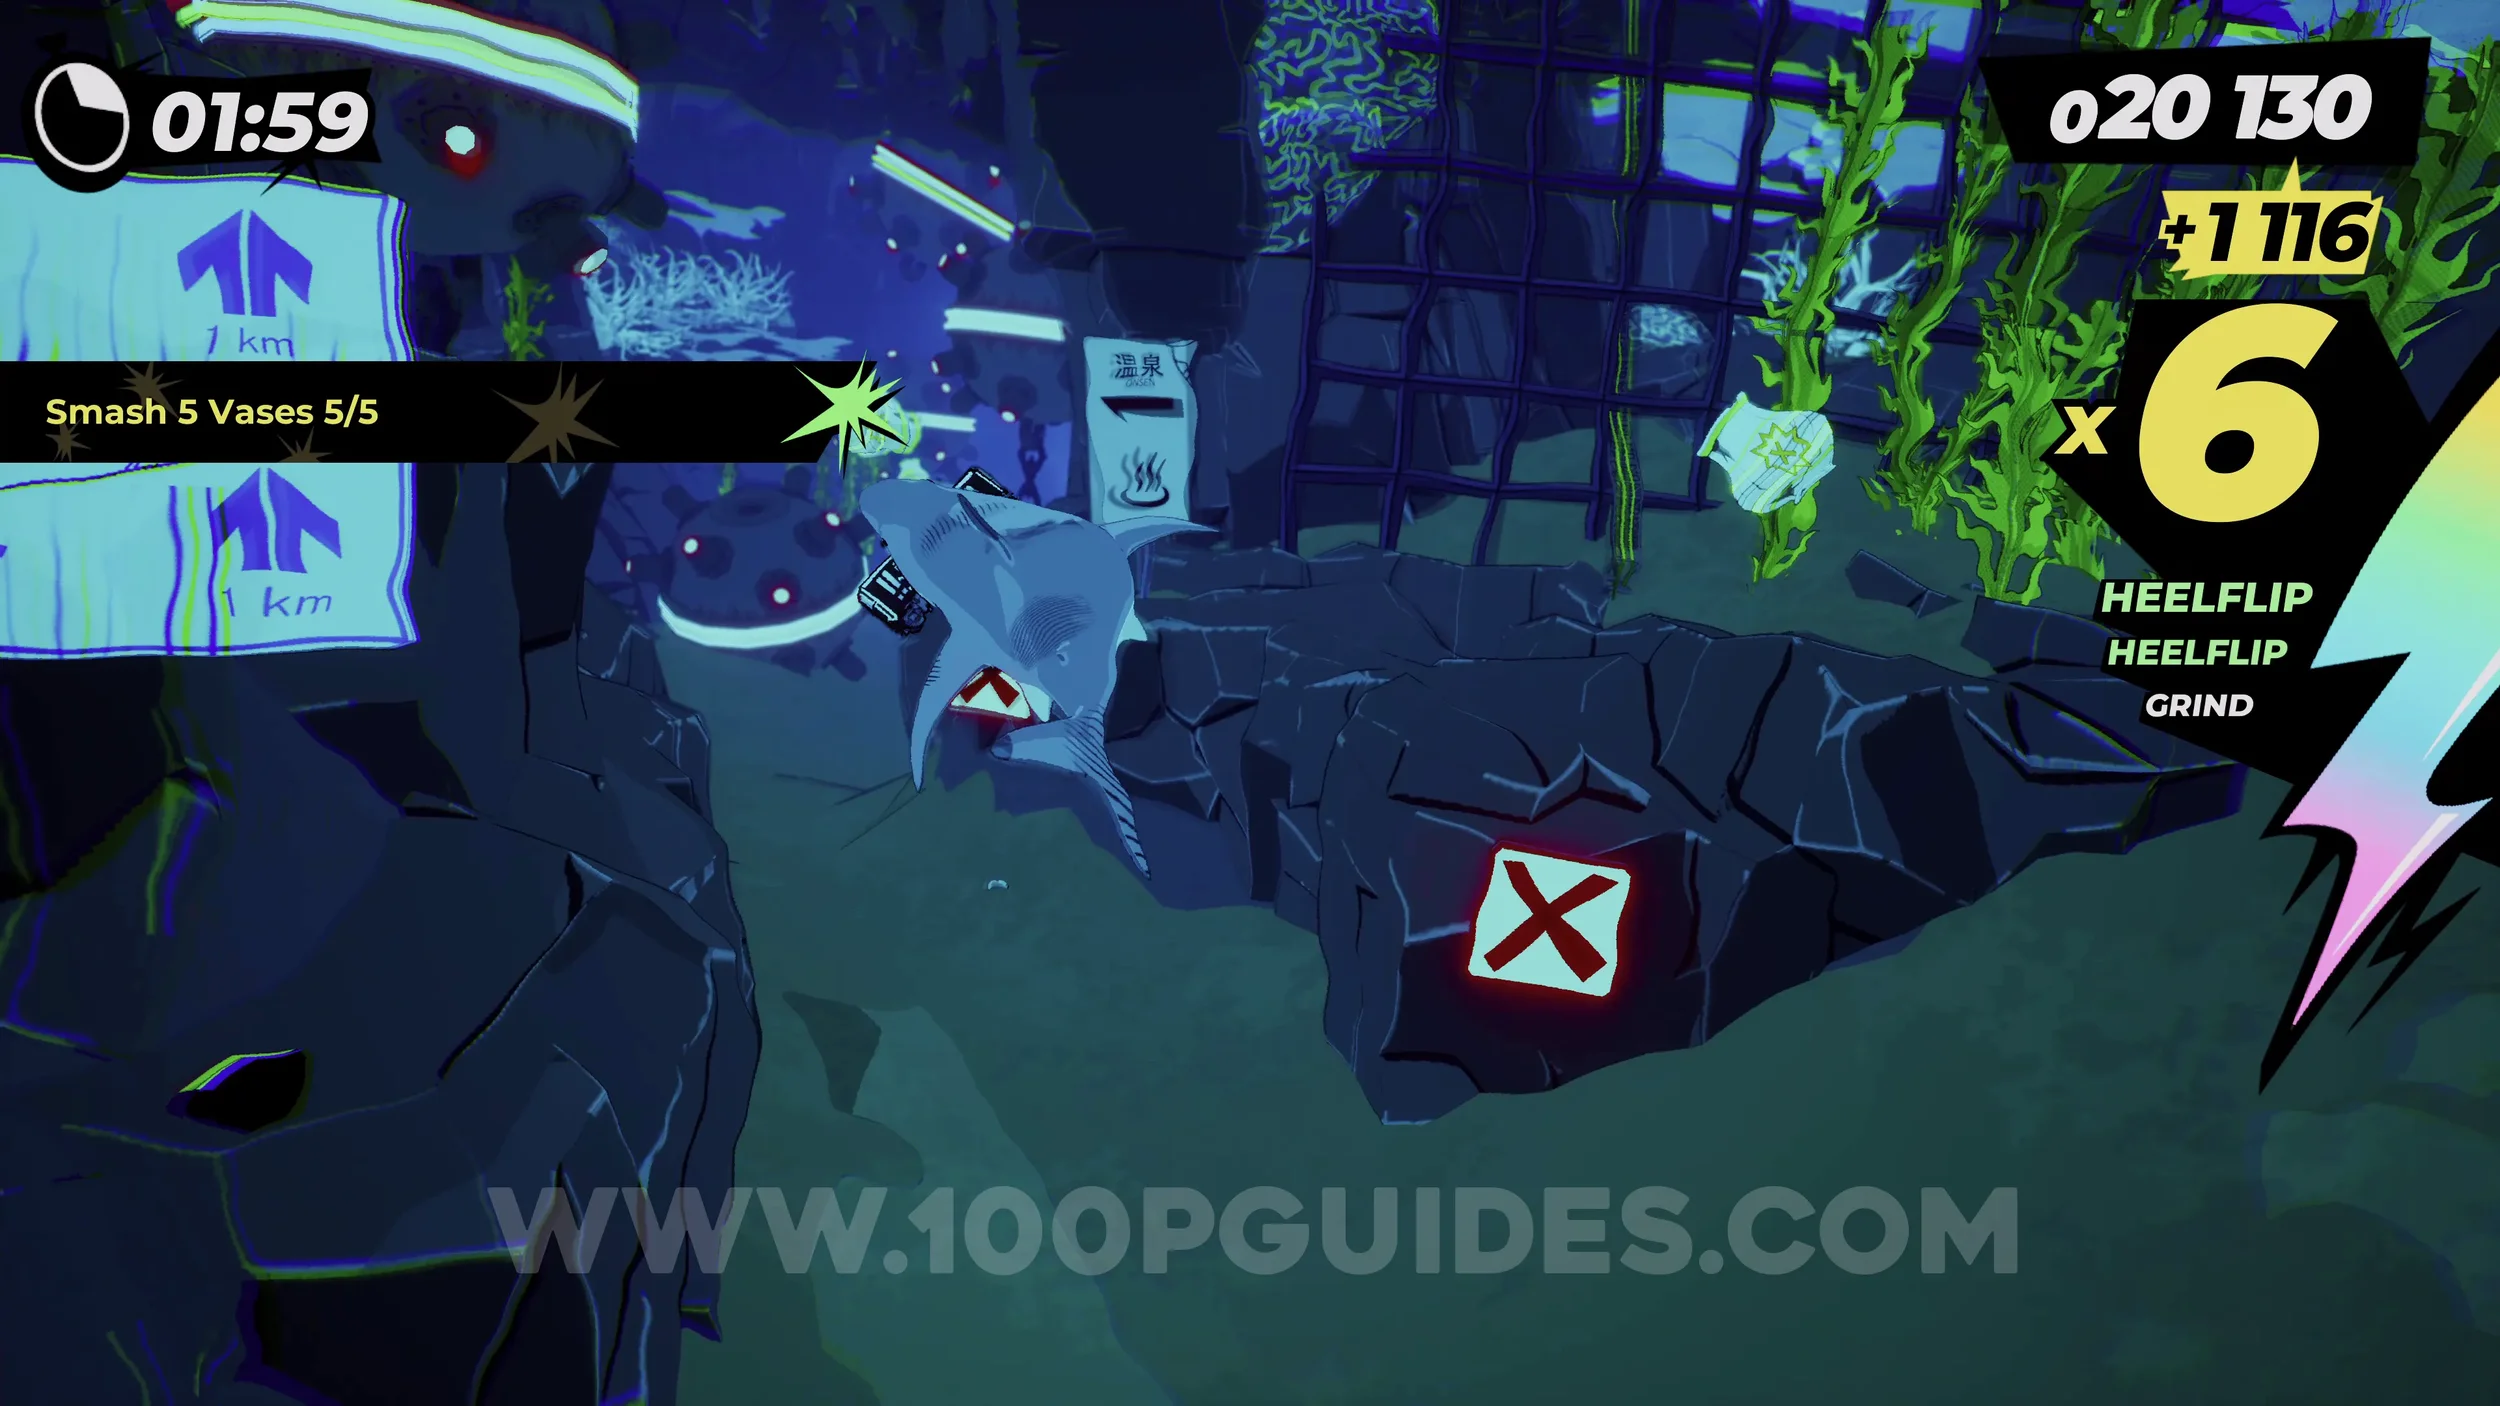
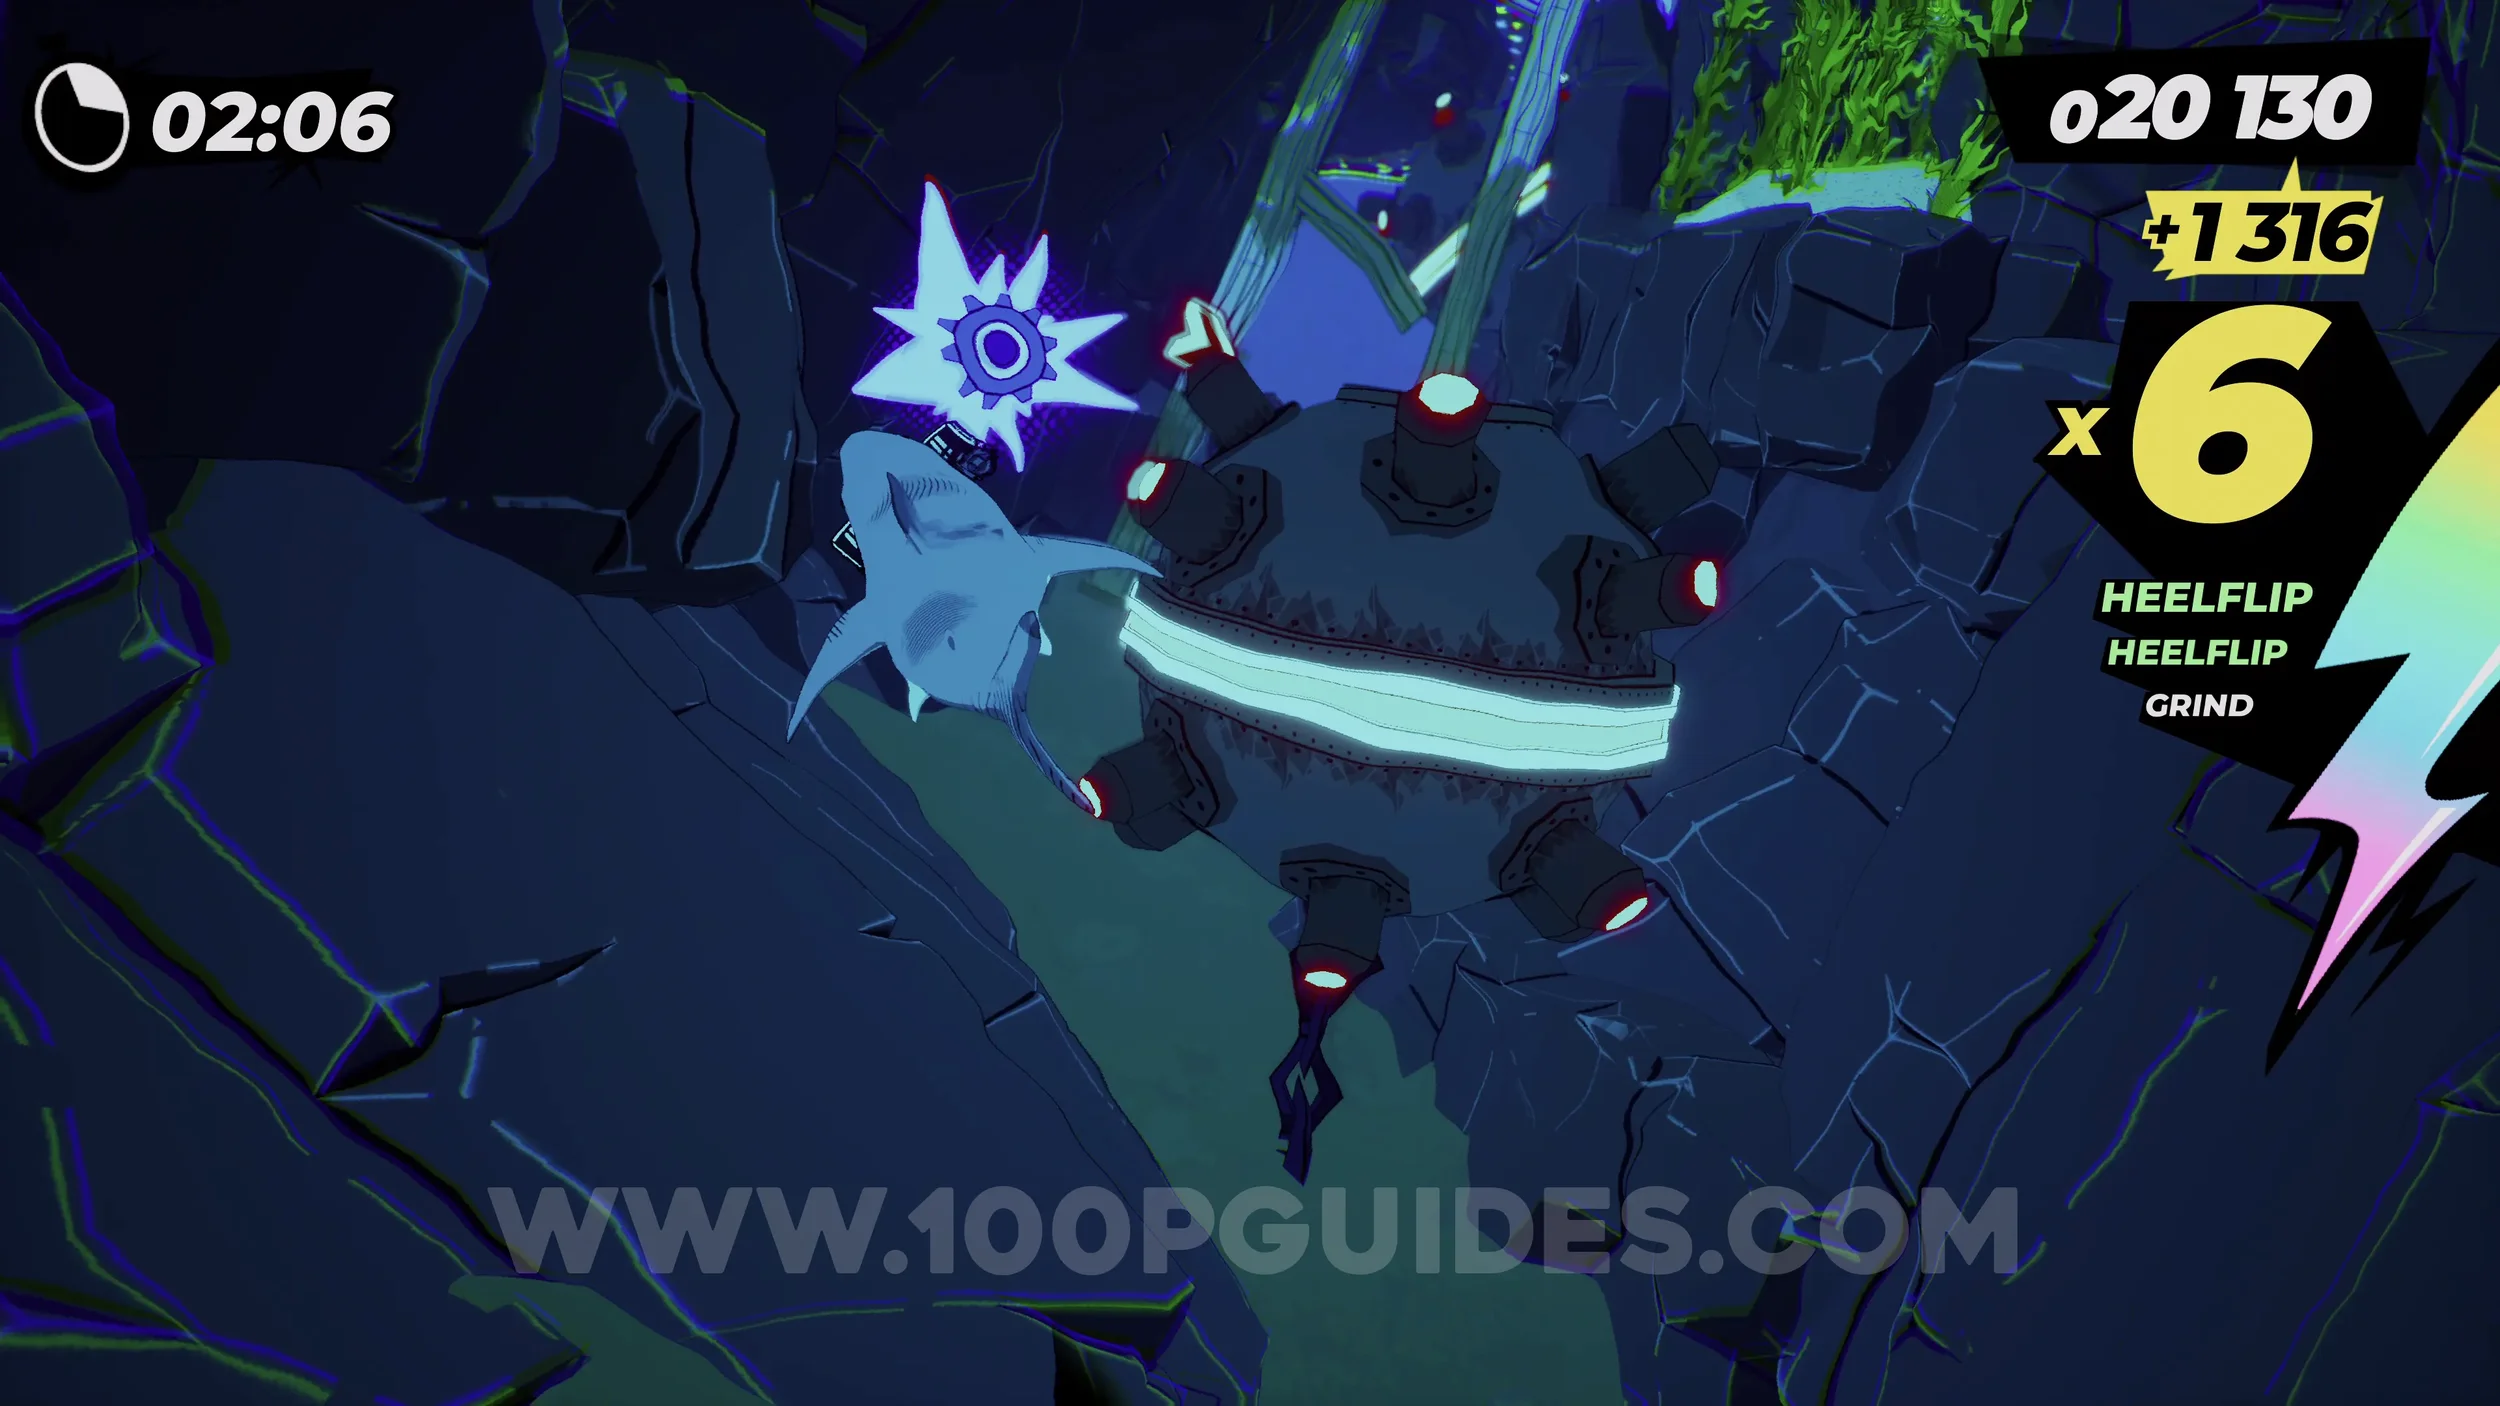
Dare: No Crash Finish. Self-explanatory. Get to the end of the level without crashing.
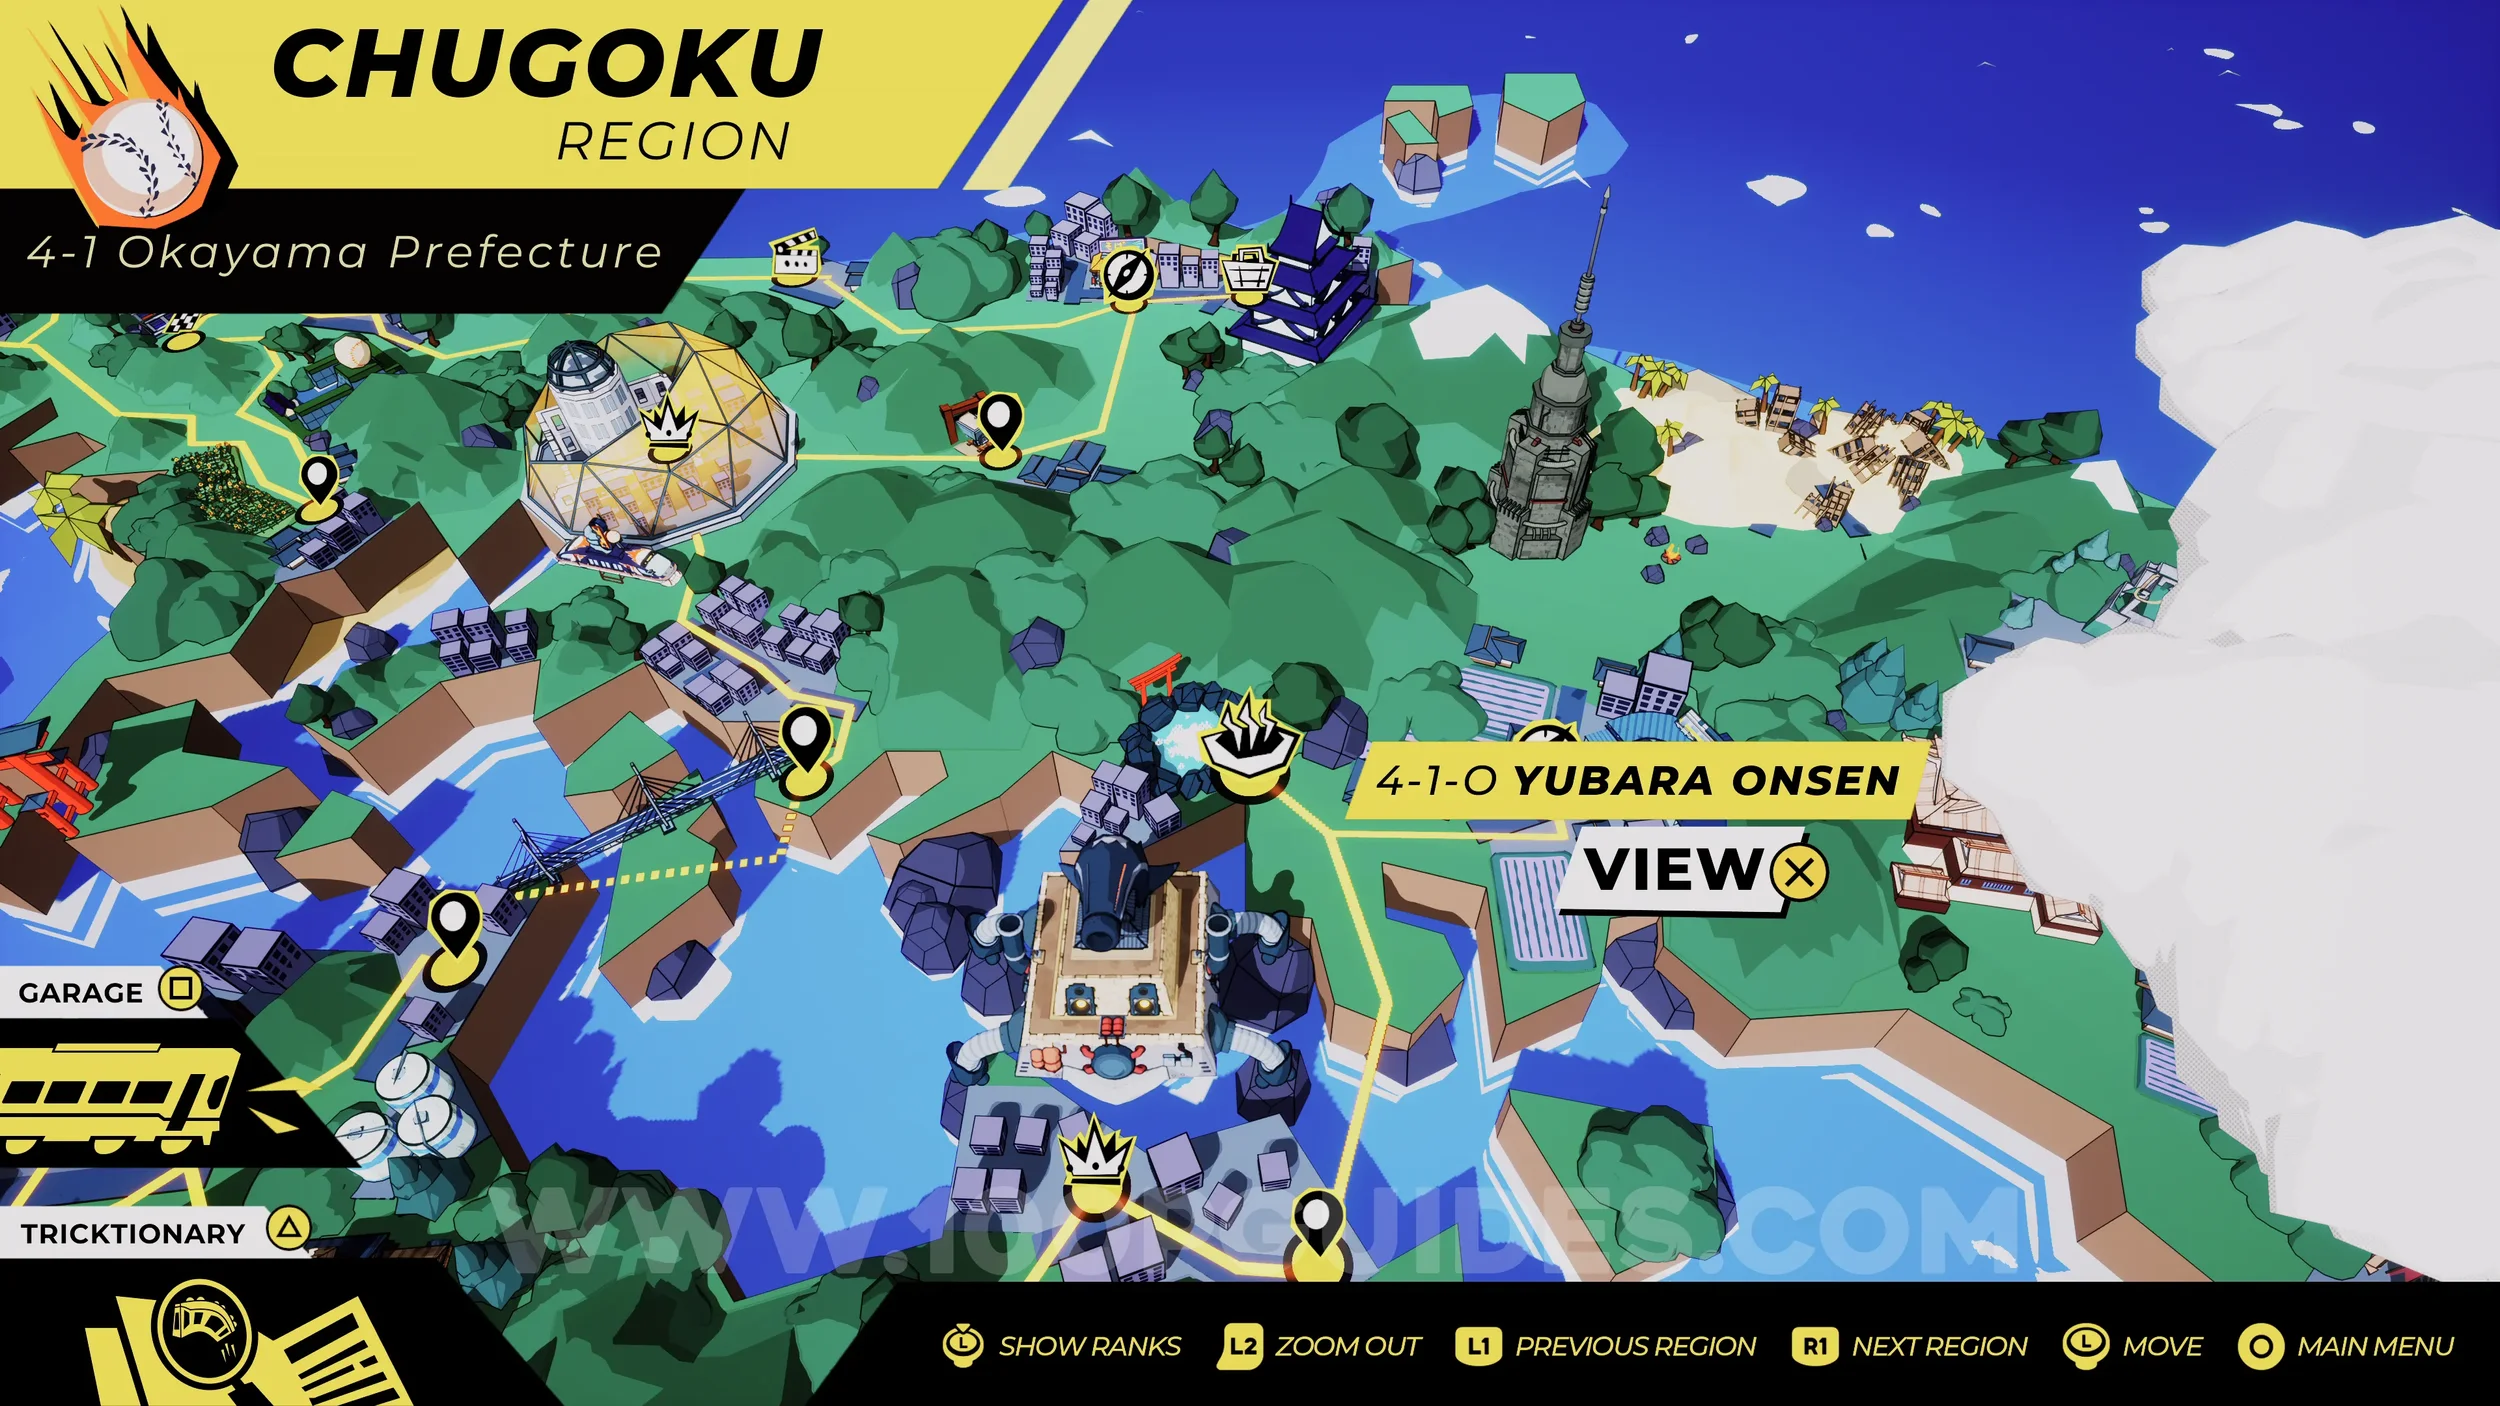
4-1-O Yubara Onsen
Onsen #3. This level will only be available if you found the Onsen Exit in level 4-1-1. Exhaust the dialogue and leave.
4-1-2 Less Talk. More Denshattack.
Dare: Collect 5 White Peaches (1/5). From the start, head straight towards the first fork in the tracks where the signs are. First, head right and then go straight by sticking to the right again. This will take you to the first peach.
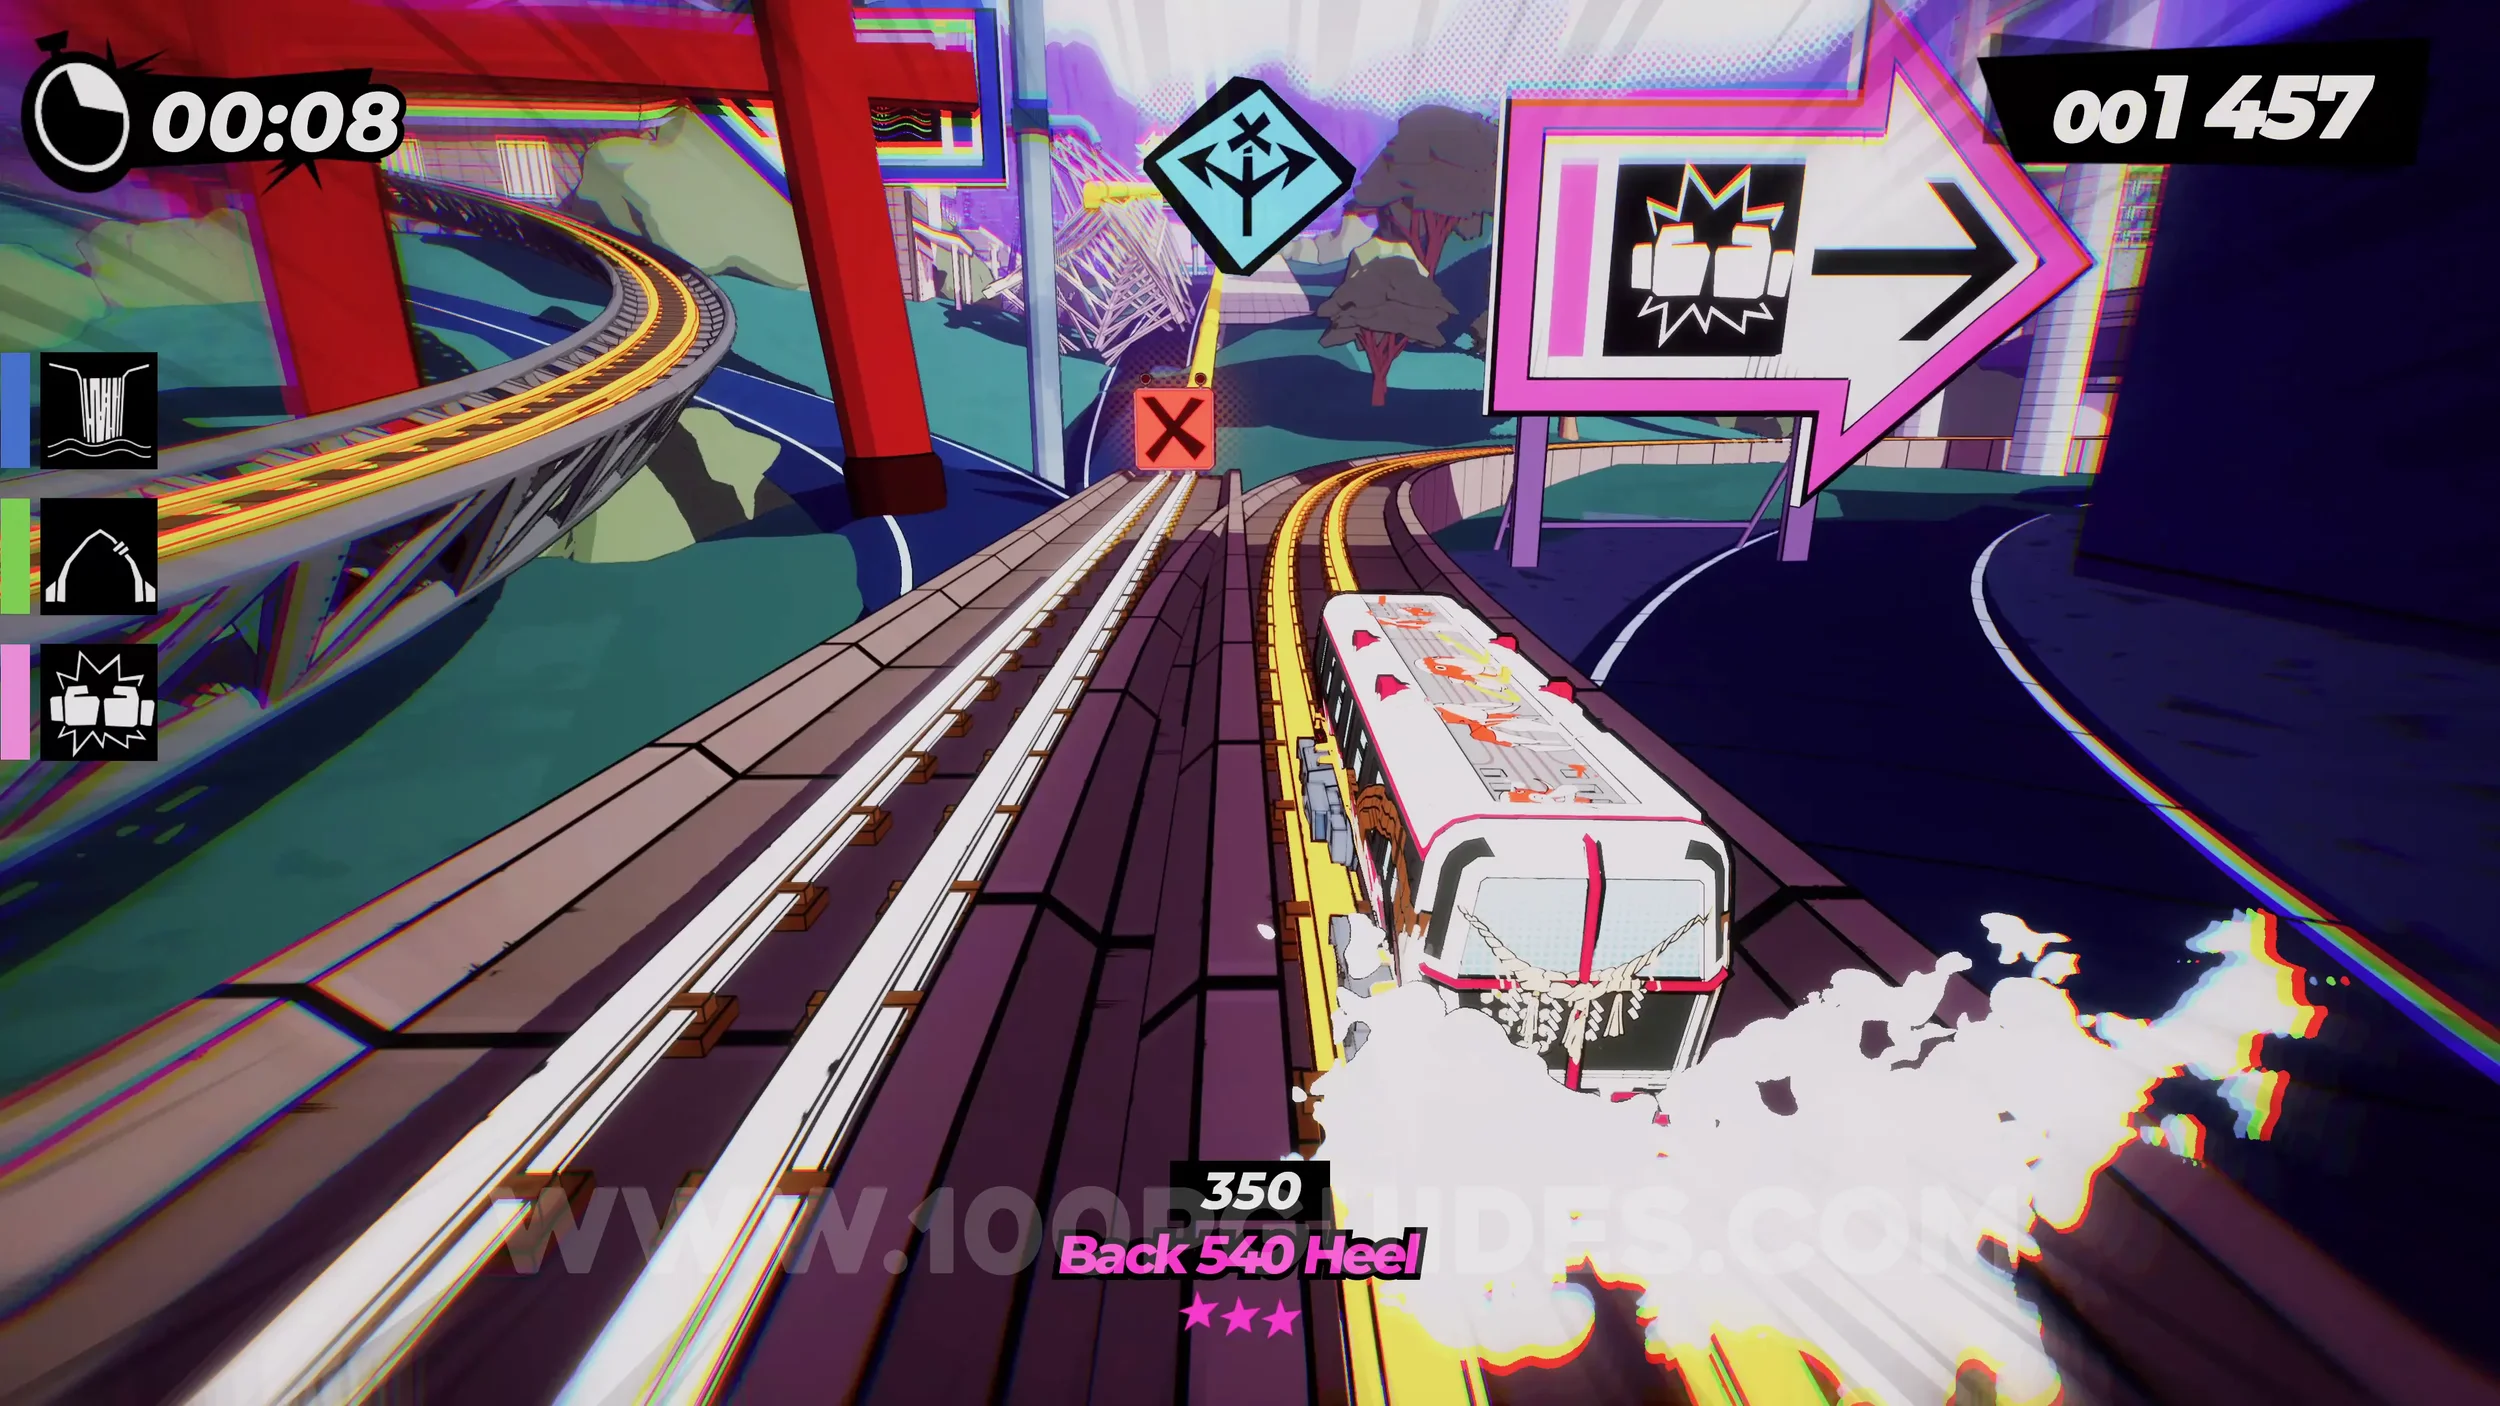
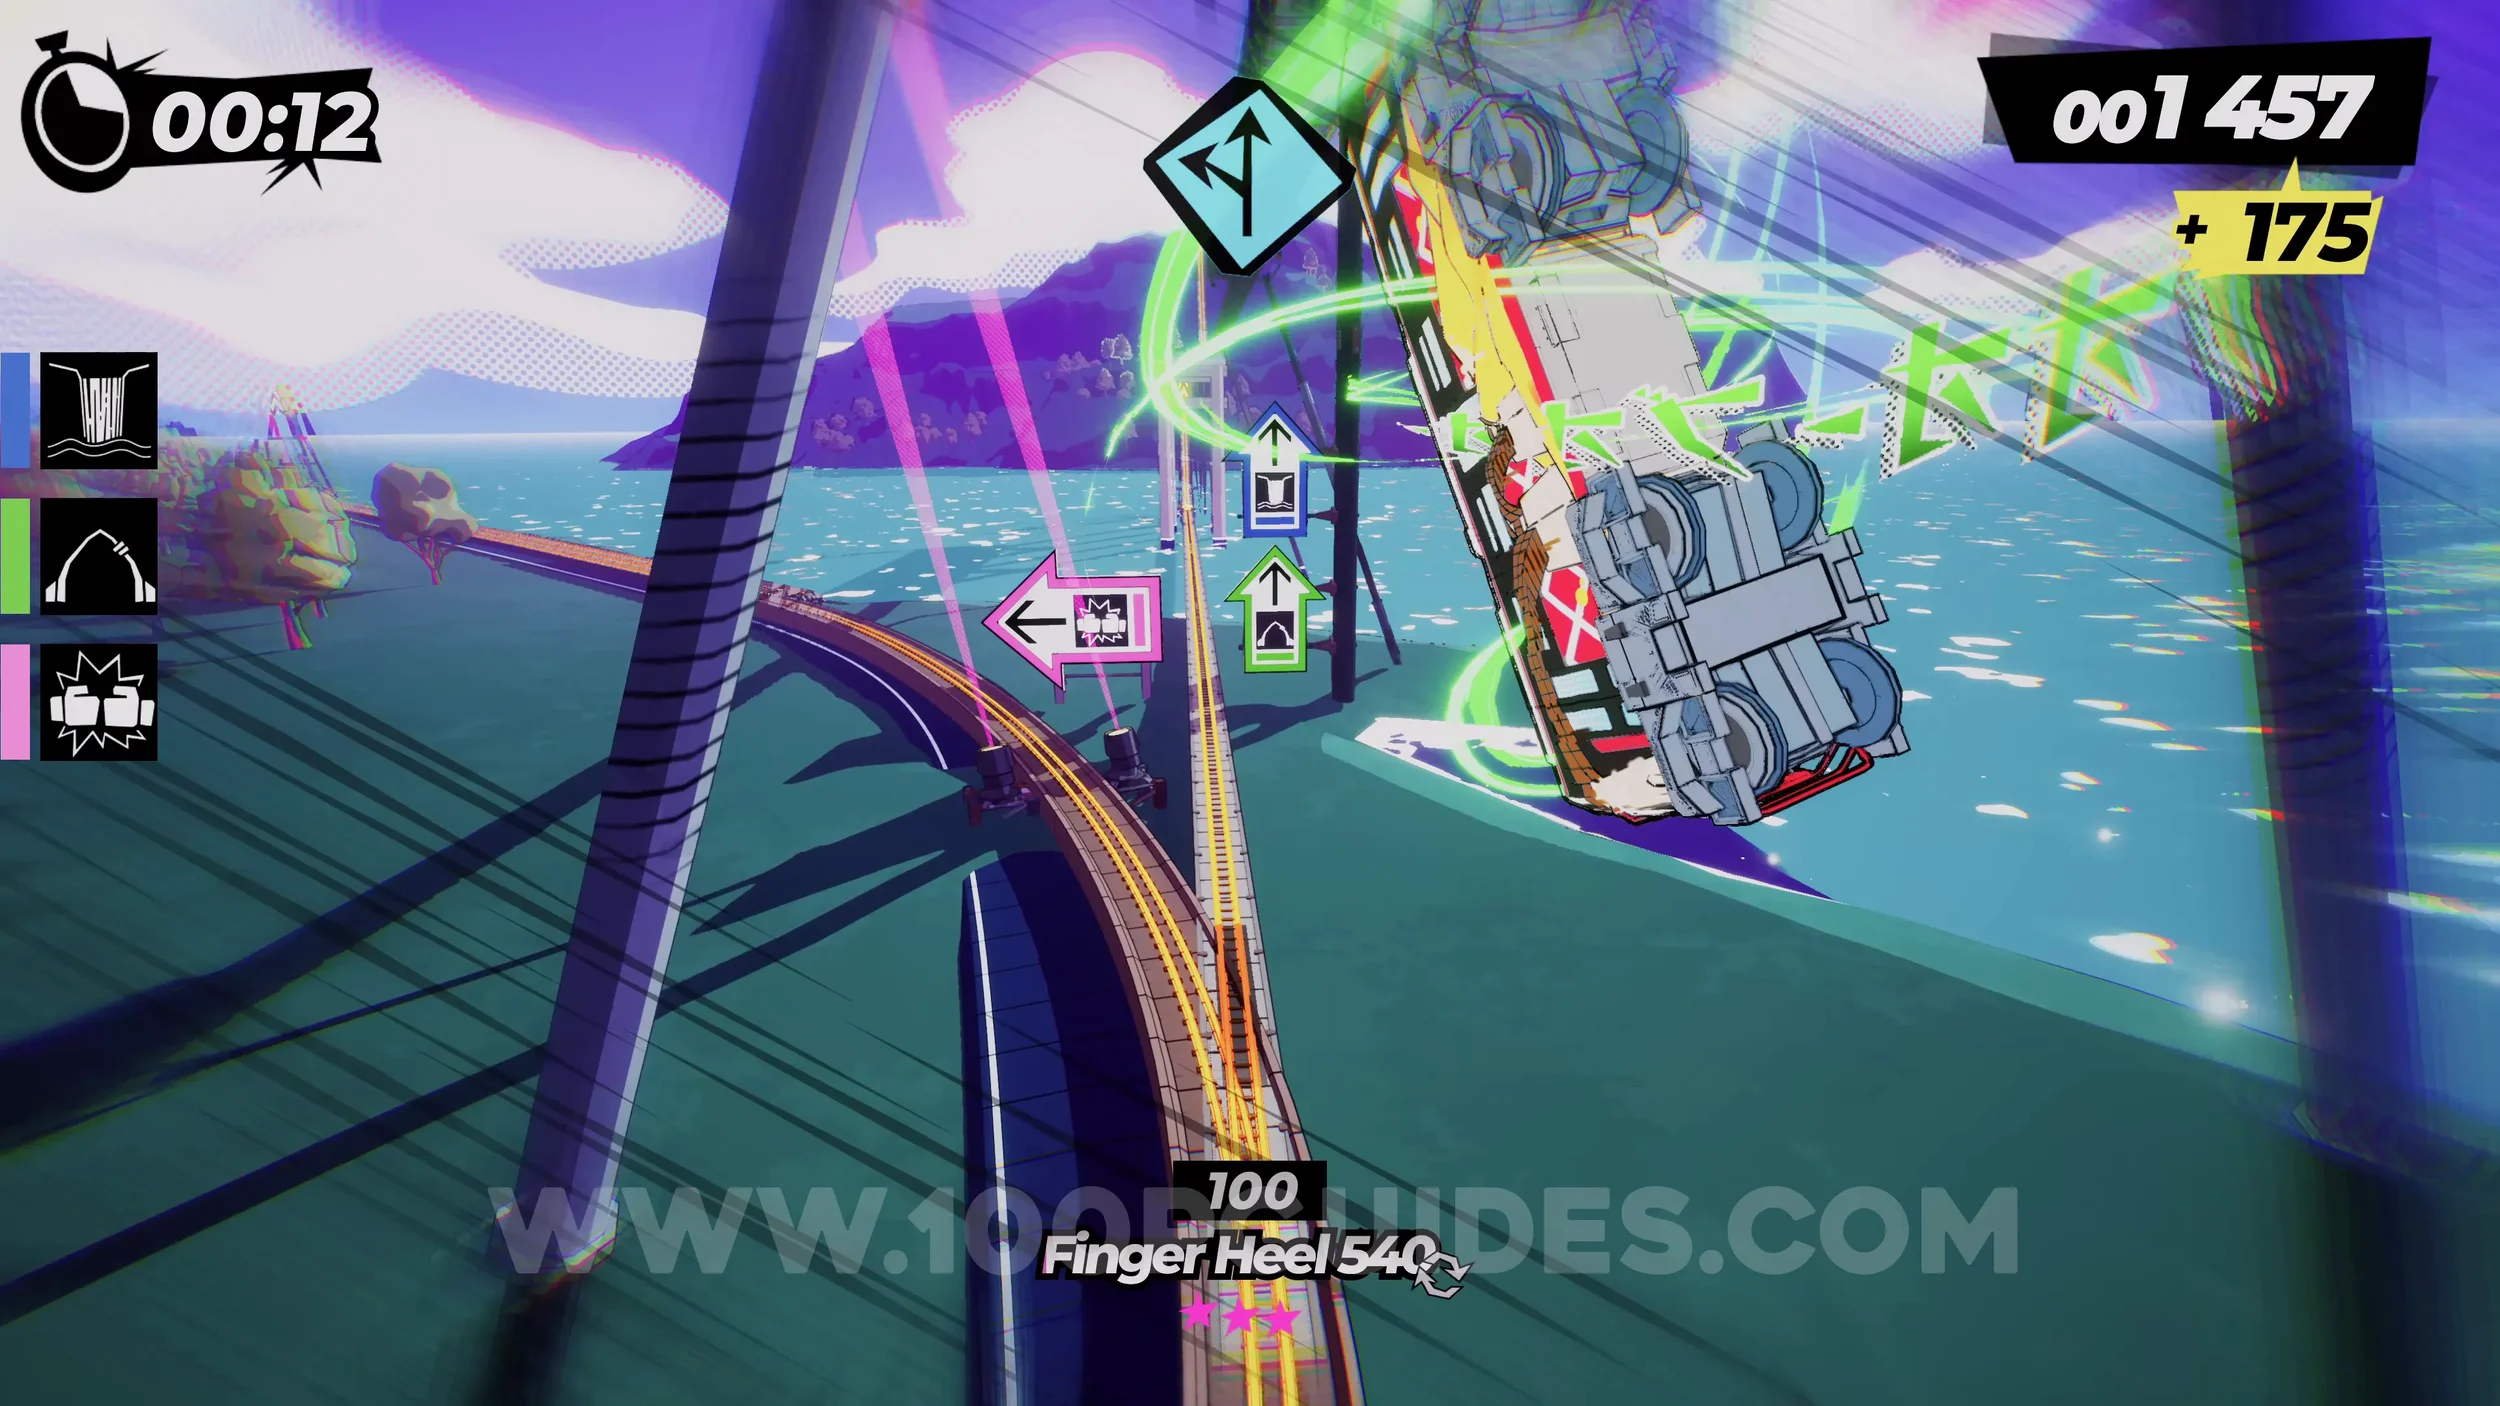
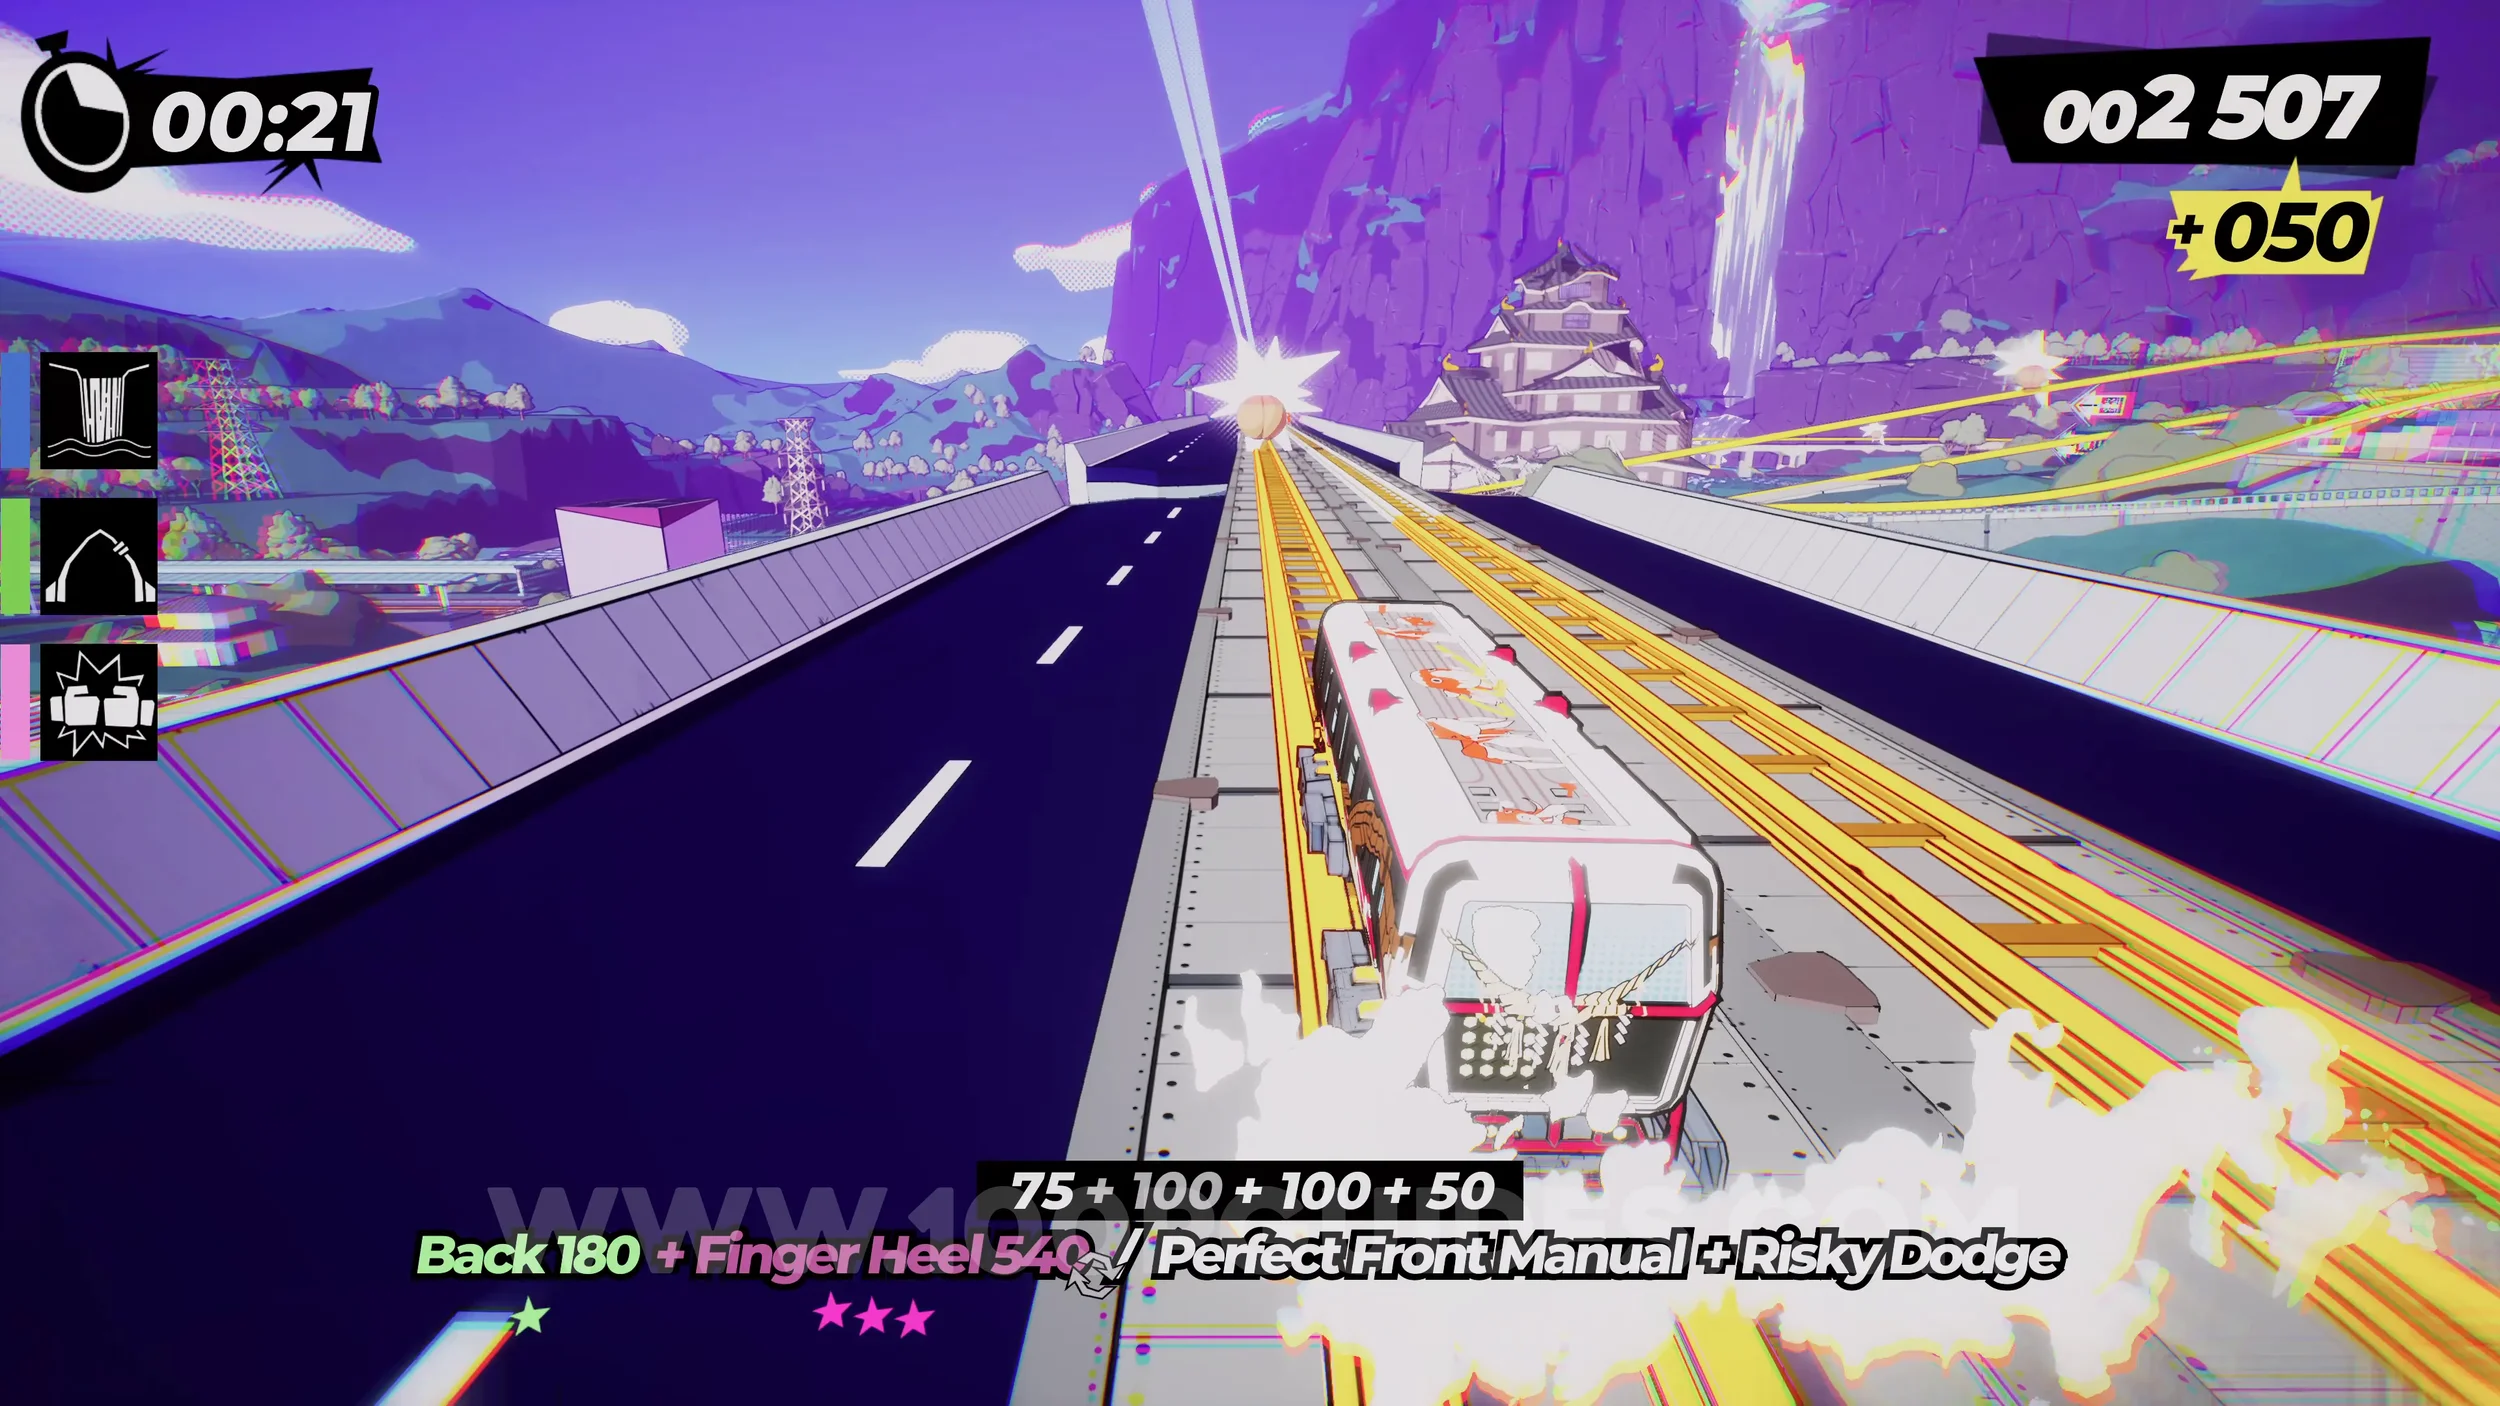
Dare: Drive Through all 3 Torii Gates (1/3). After the first peach, stick right to go around the corner on the tracks. This will take you through the torii gate.
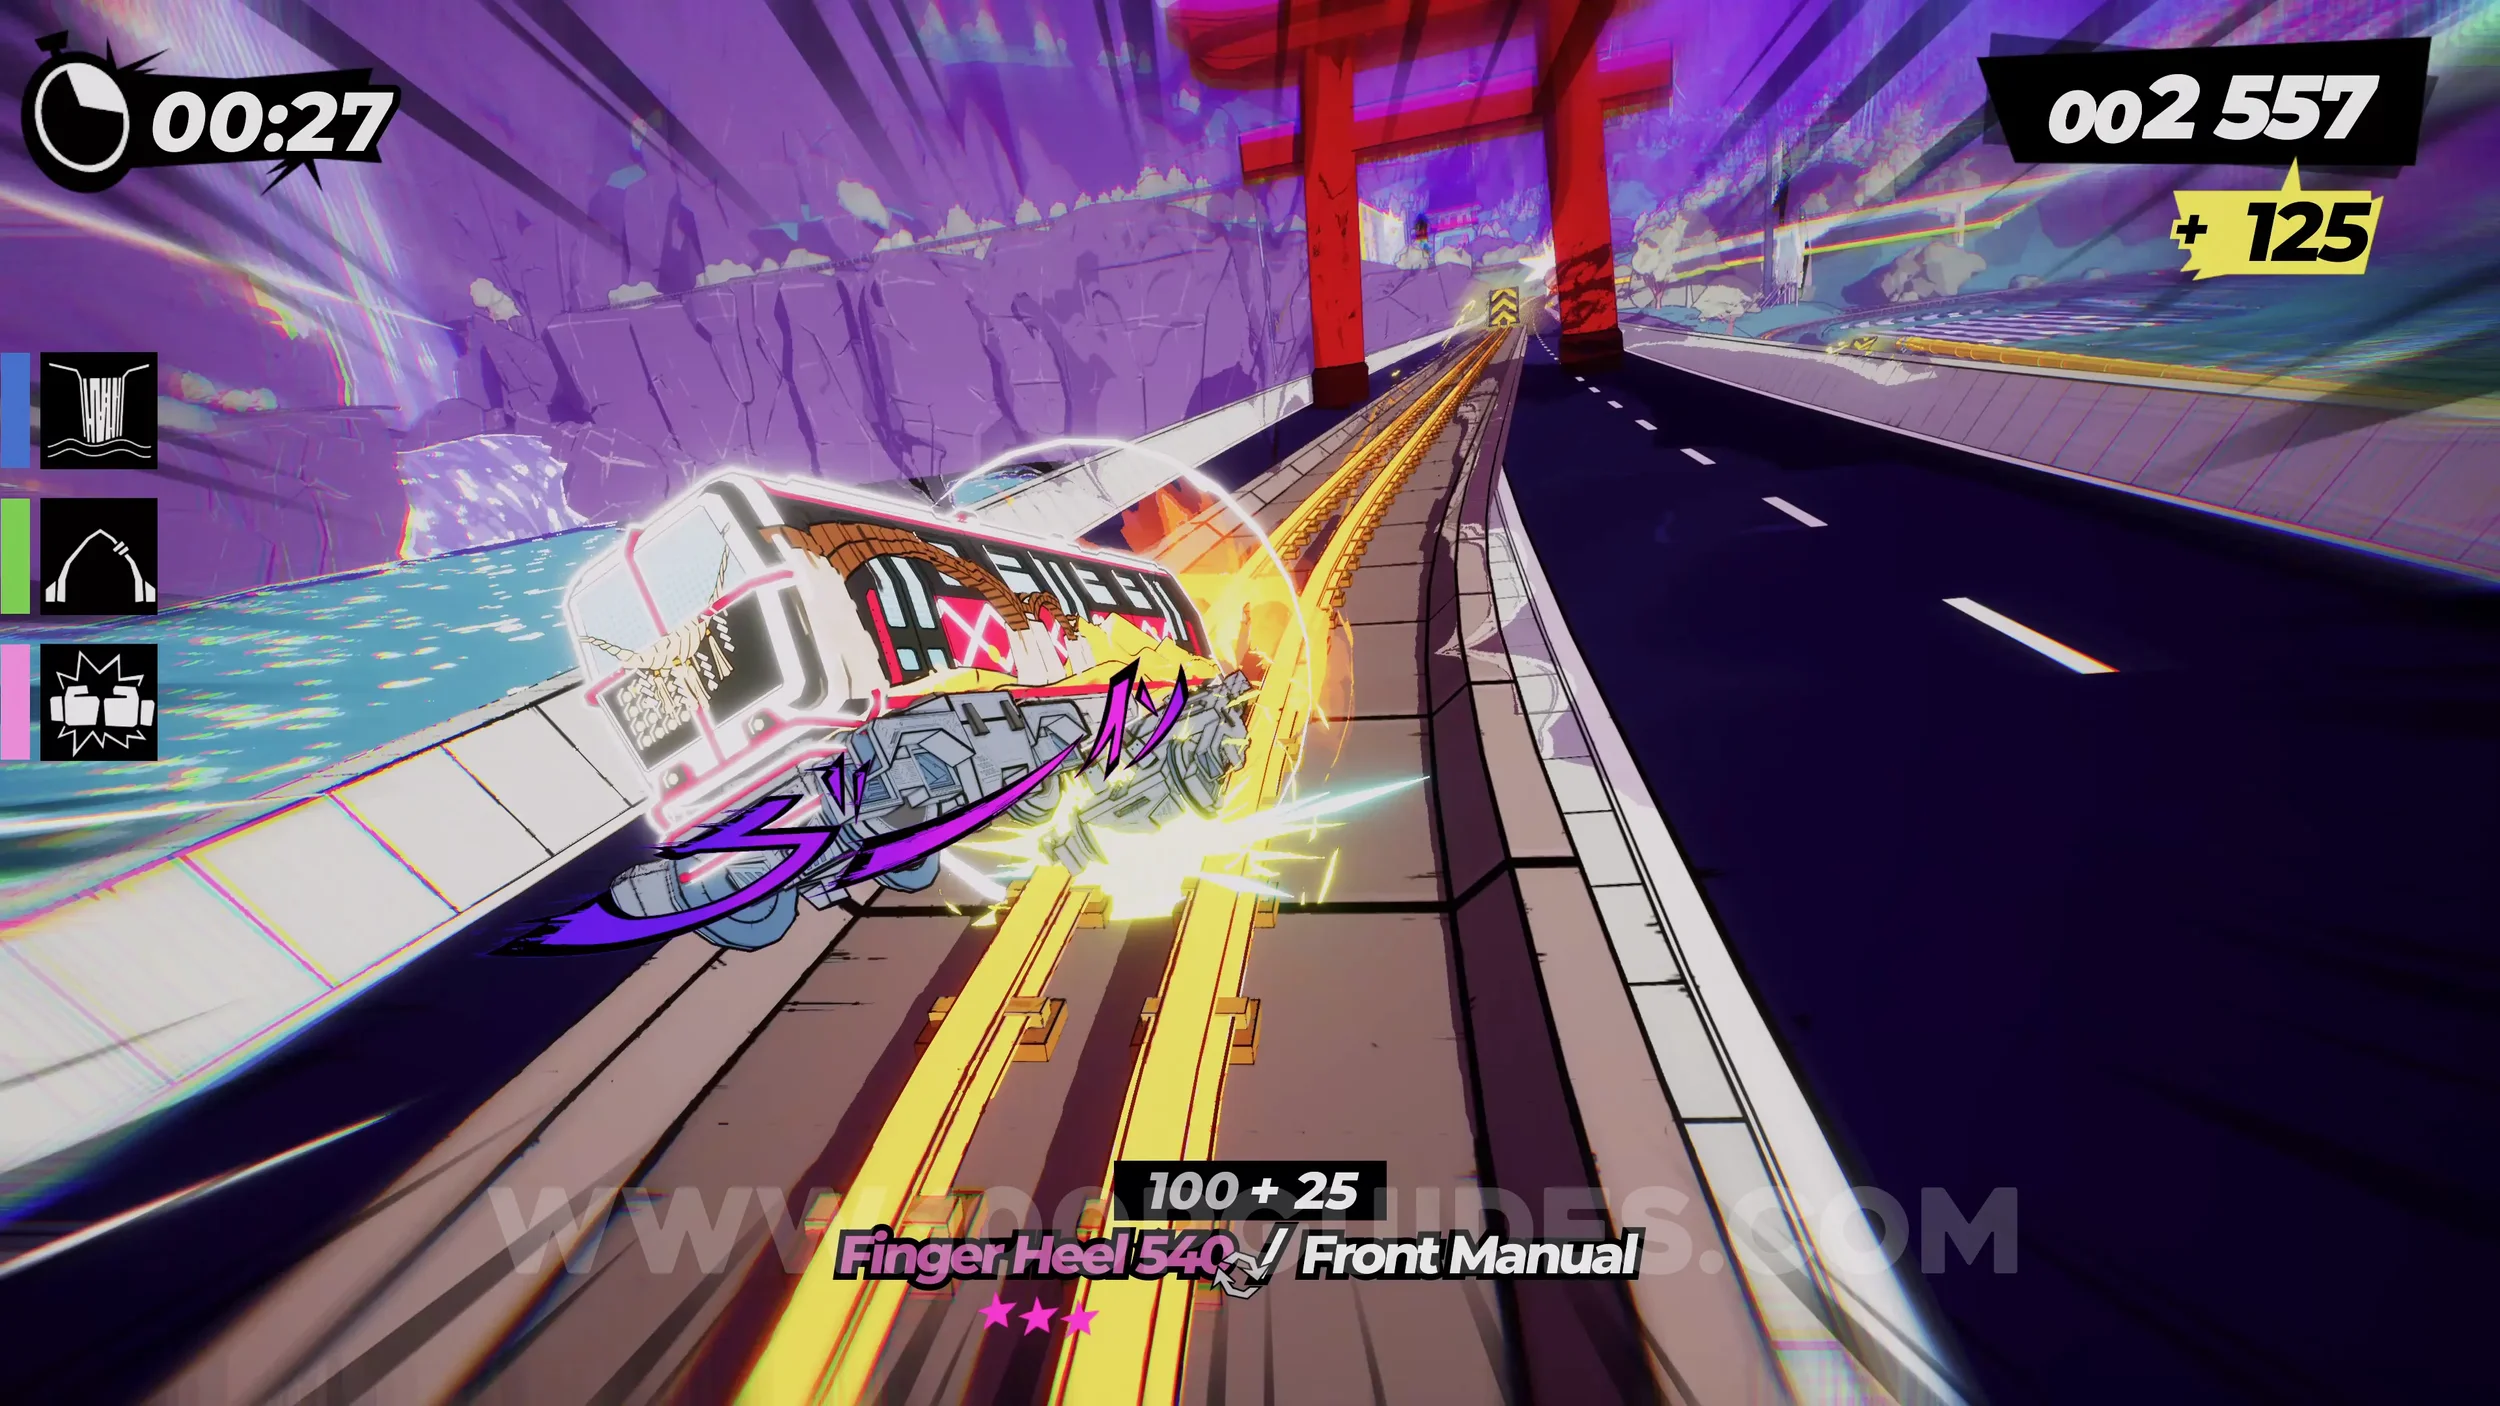
Dare: Collect 5 White Peaches (2/5). Immediately after the torii gate, land on the rail to the right where the peach is.
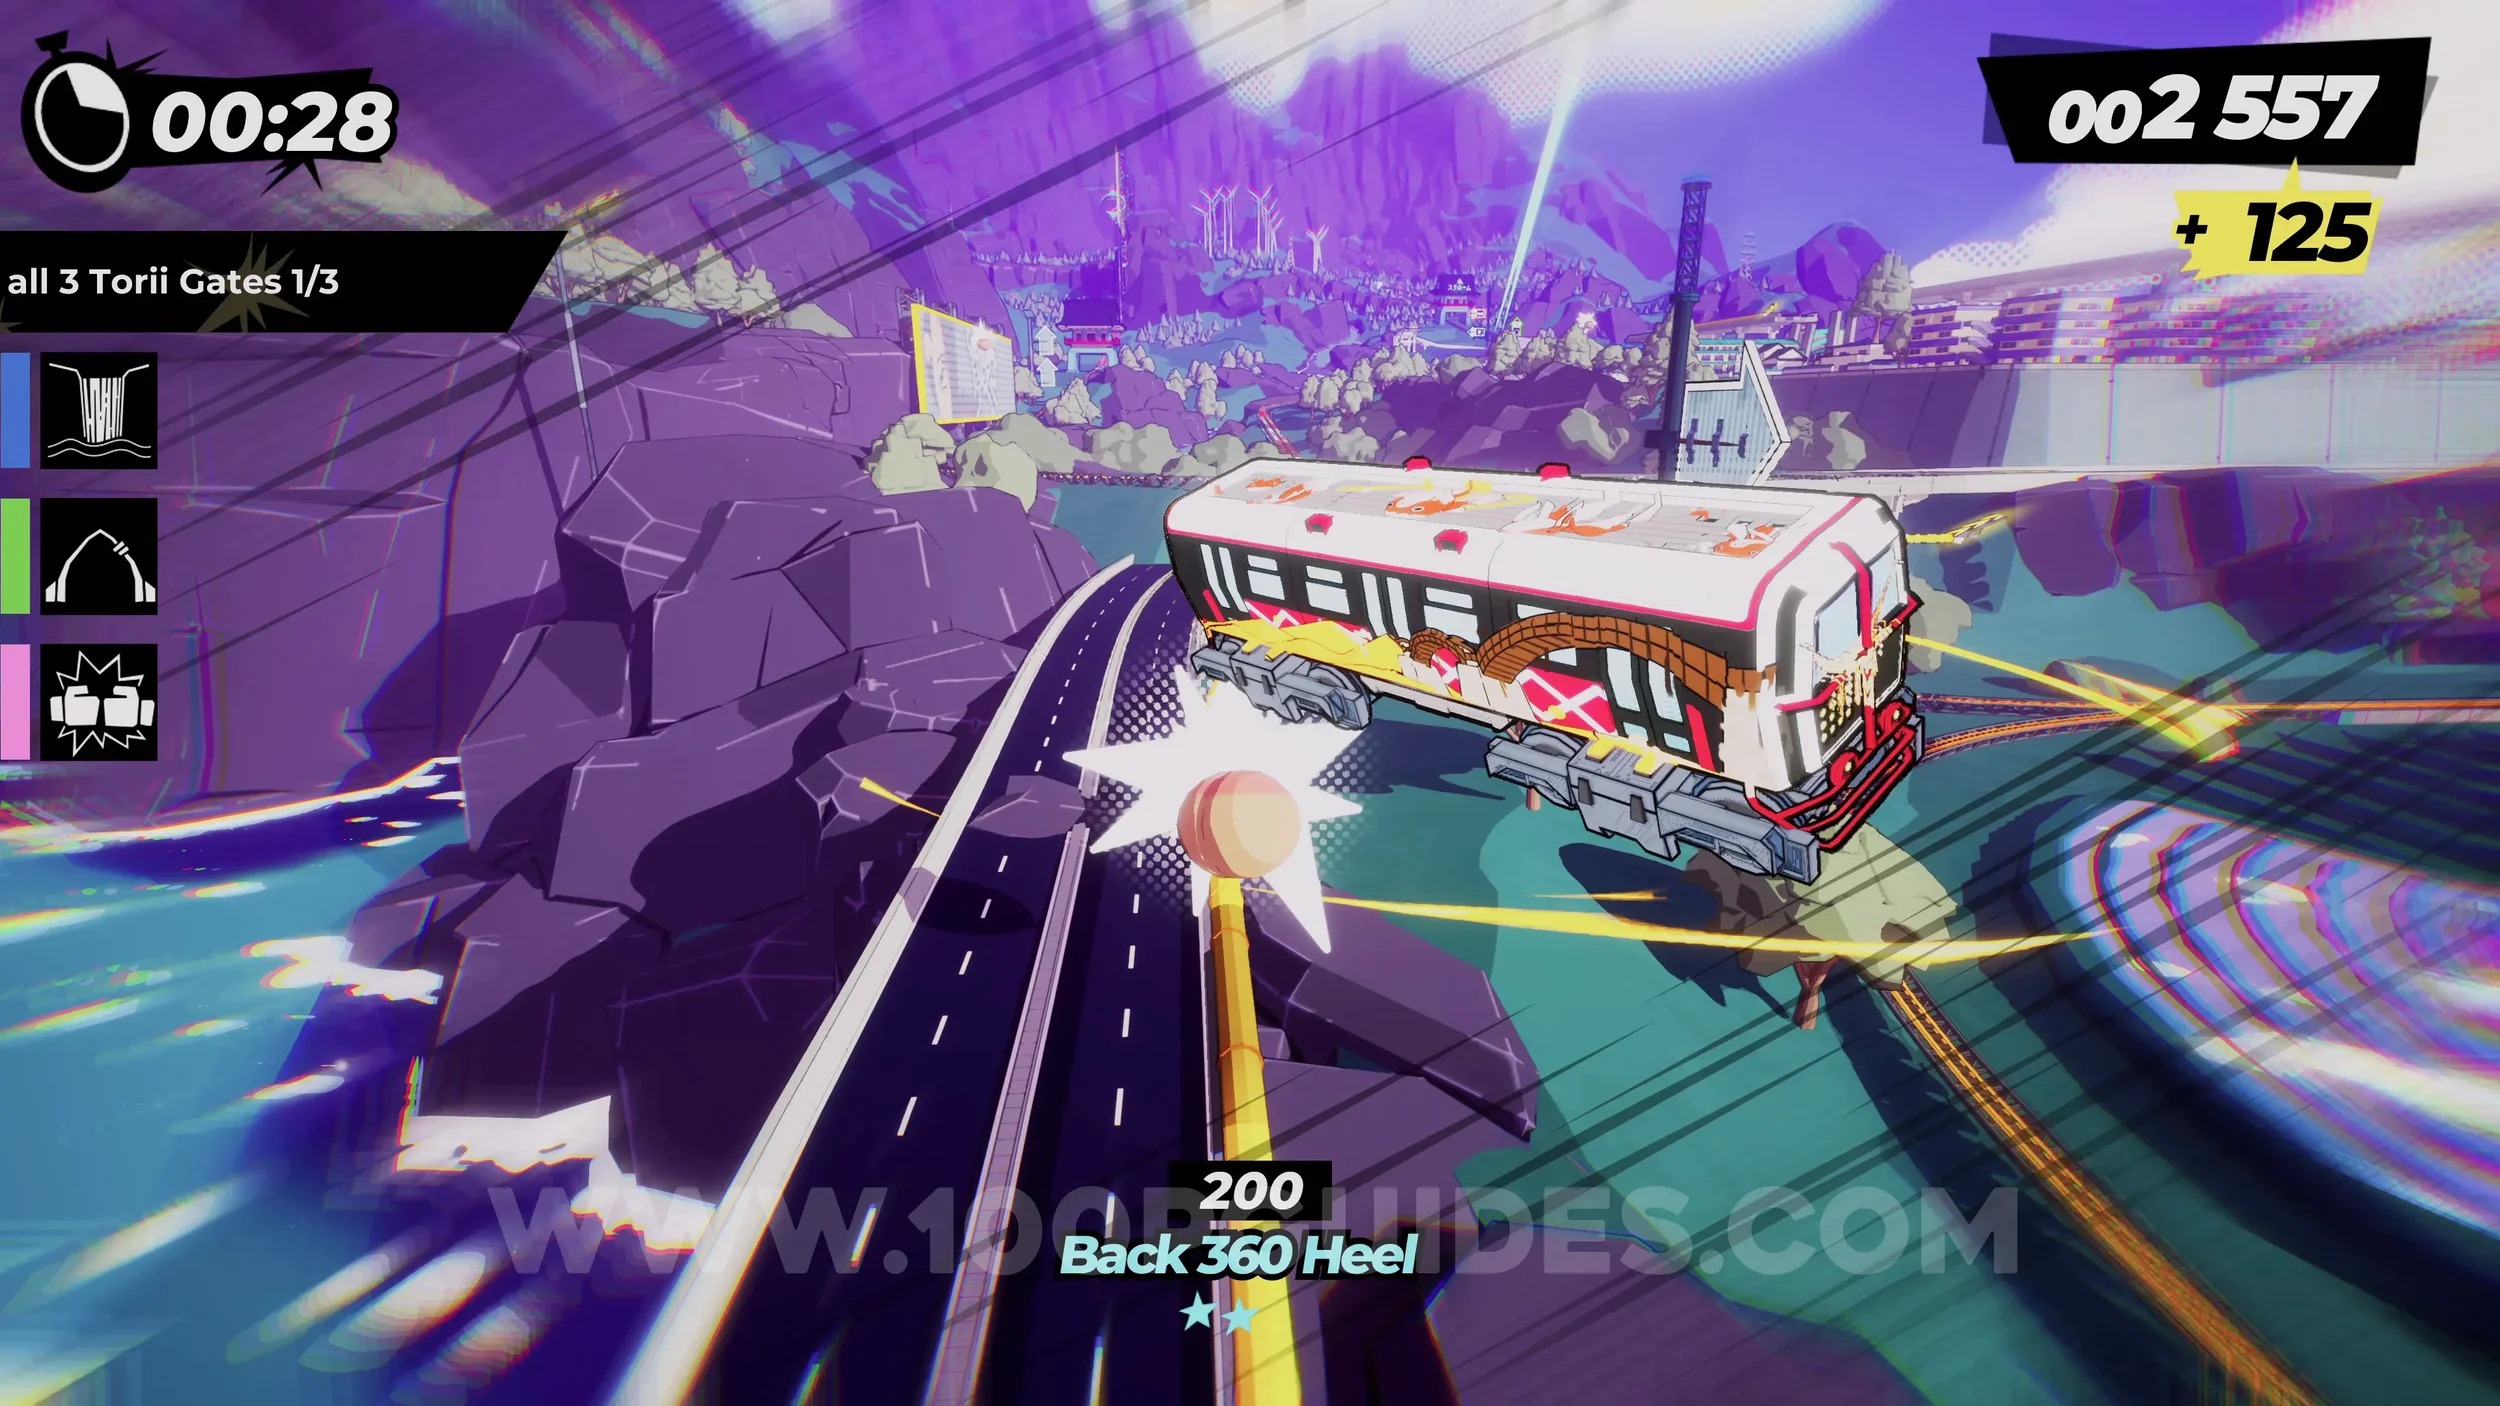
Dare: Drive Through all 3 Torii Gates (2/3). As soon as you get to the end of the yellow rail that you landed on to get the previous peach, jump left to go through the torii gate.
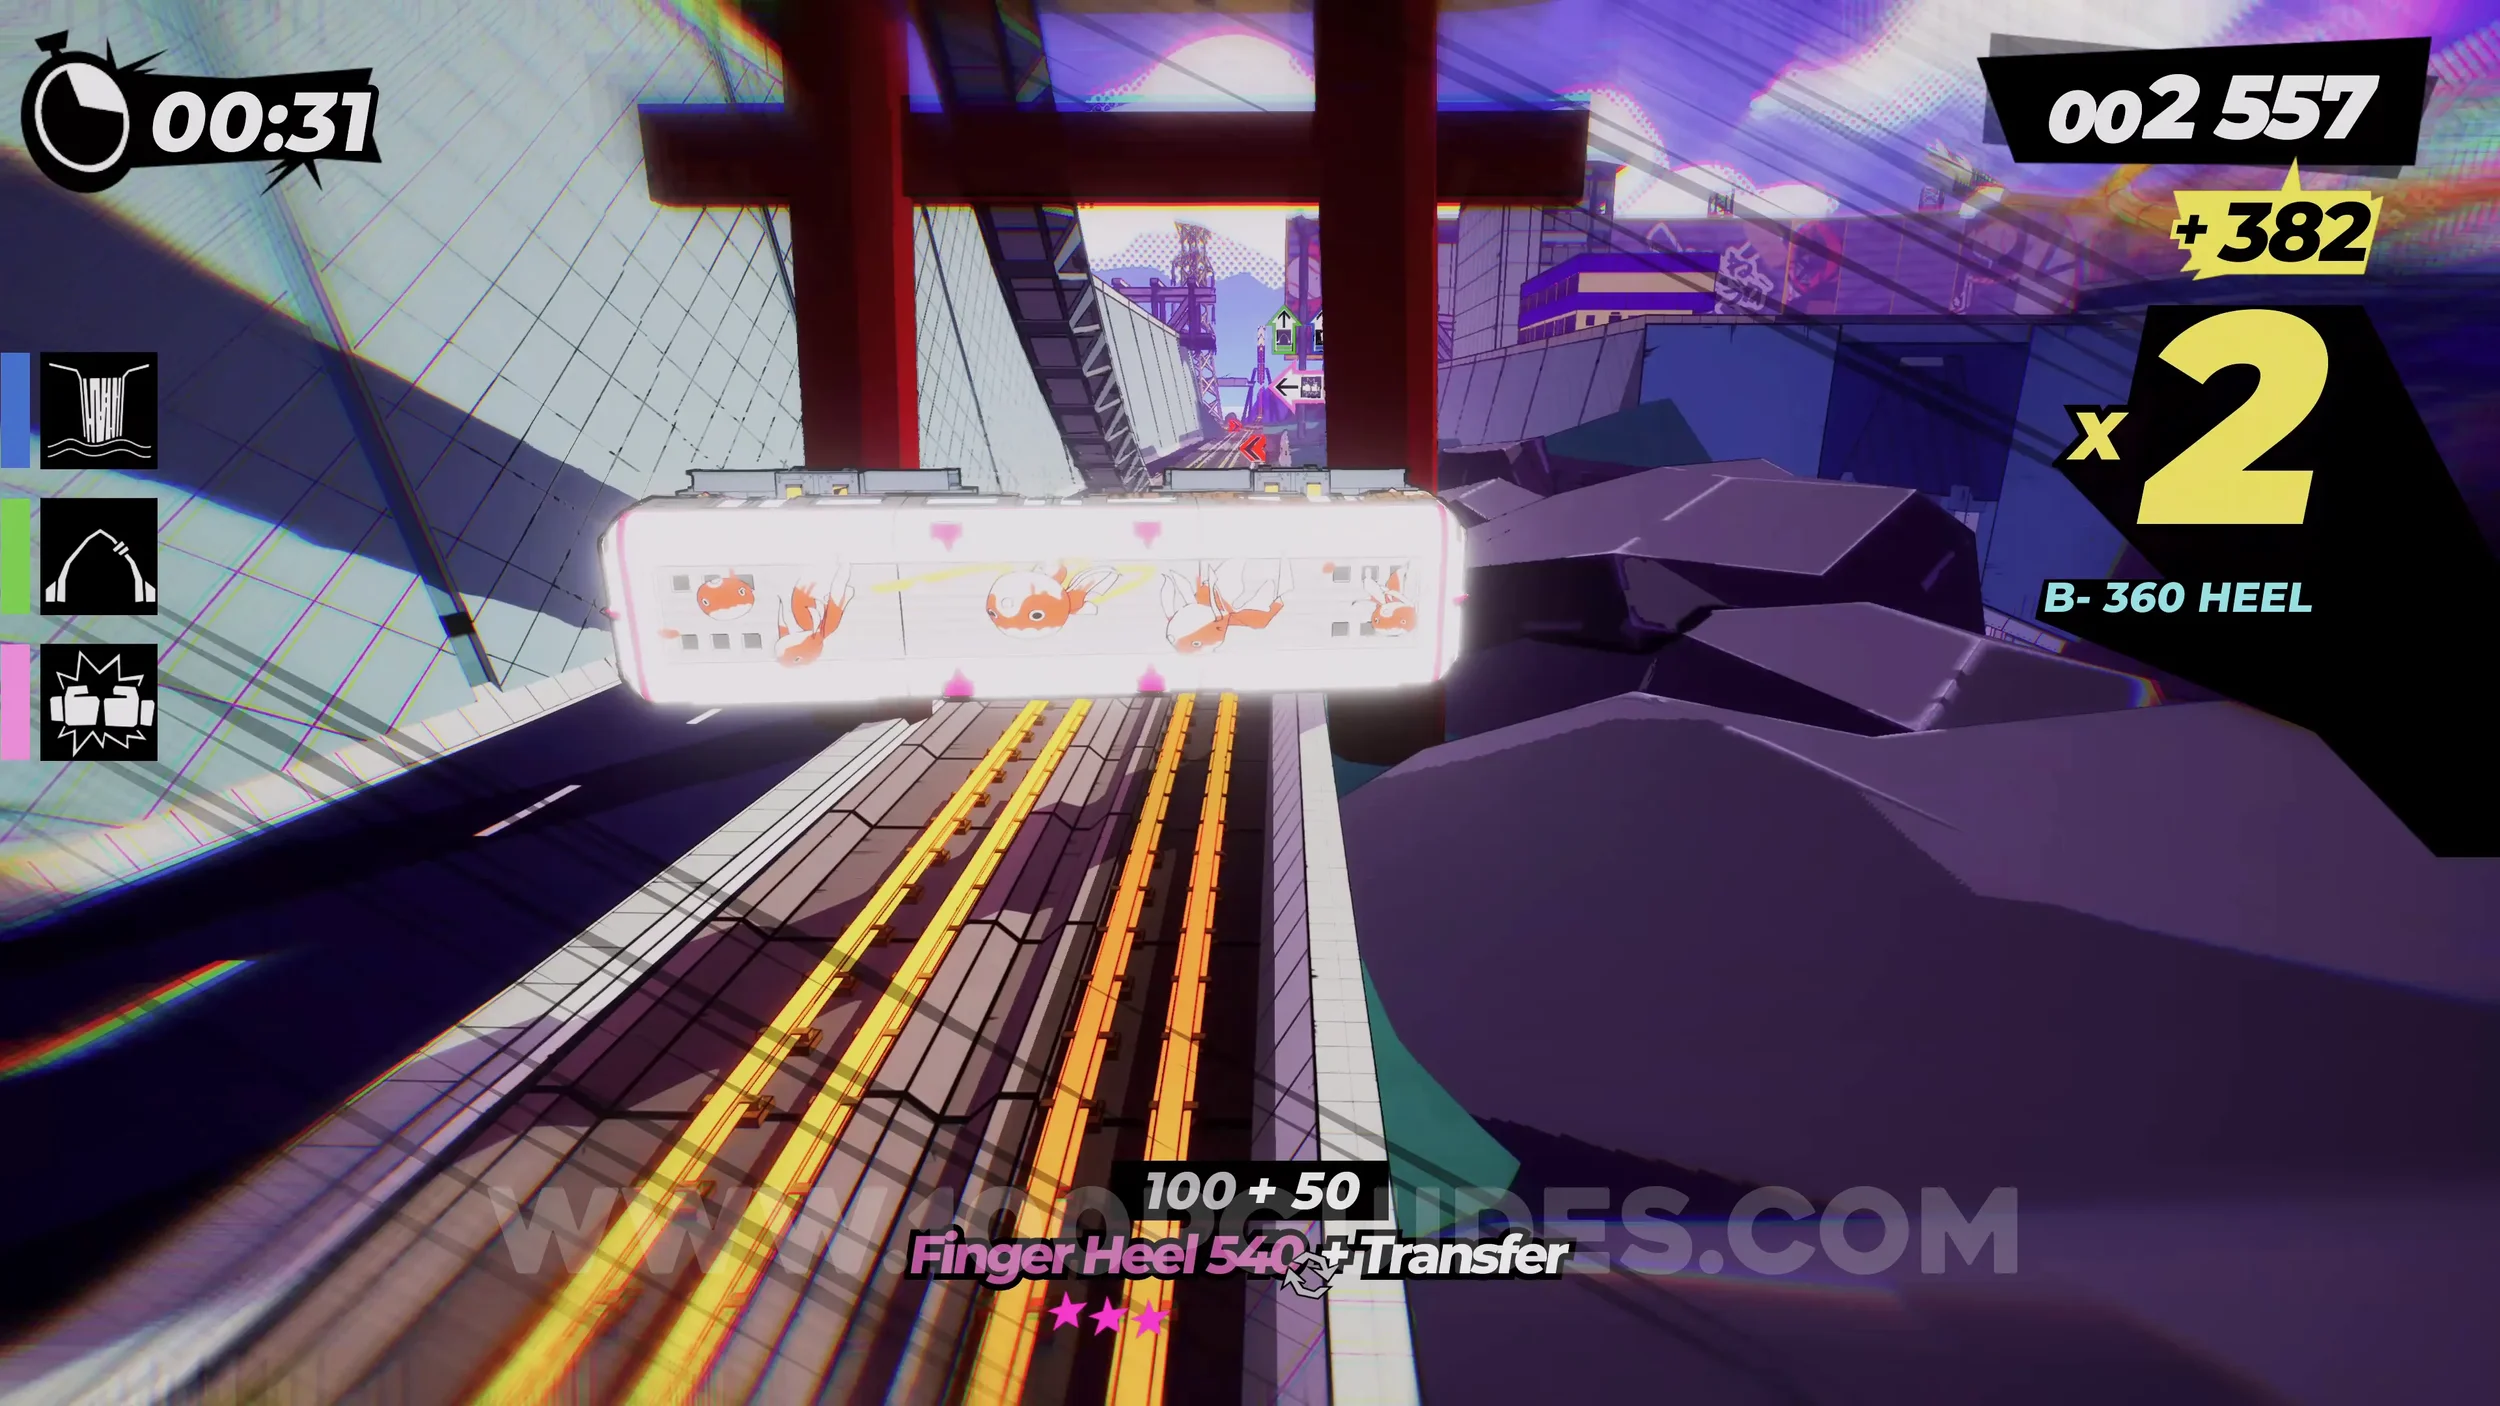
Dare: Score 5000 Points During the Slalom Run. After the Torii gate, stick to the right to continue straight. You will then get to another fork with all three main signs. Take the right path and follow the green sign. Then follow the green sign again by going straight. This will start the Slalom main objective. During this section, get 5000 points.
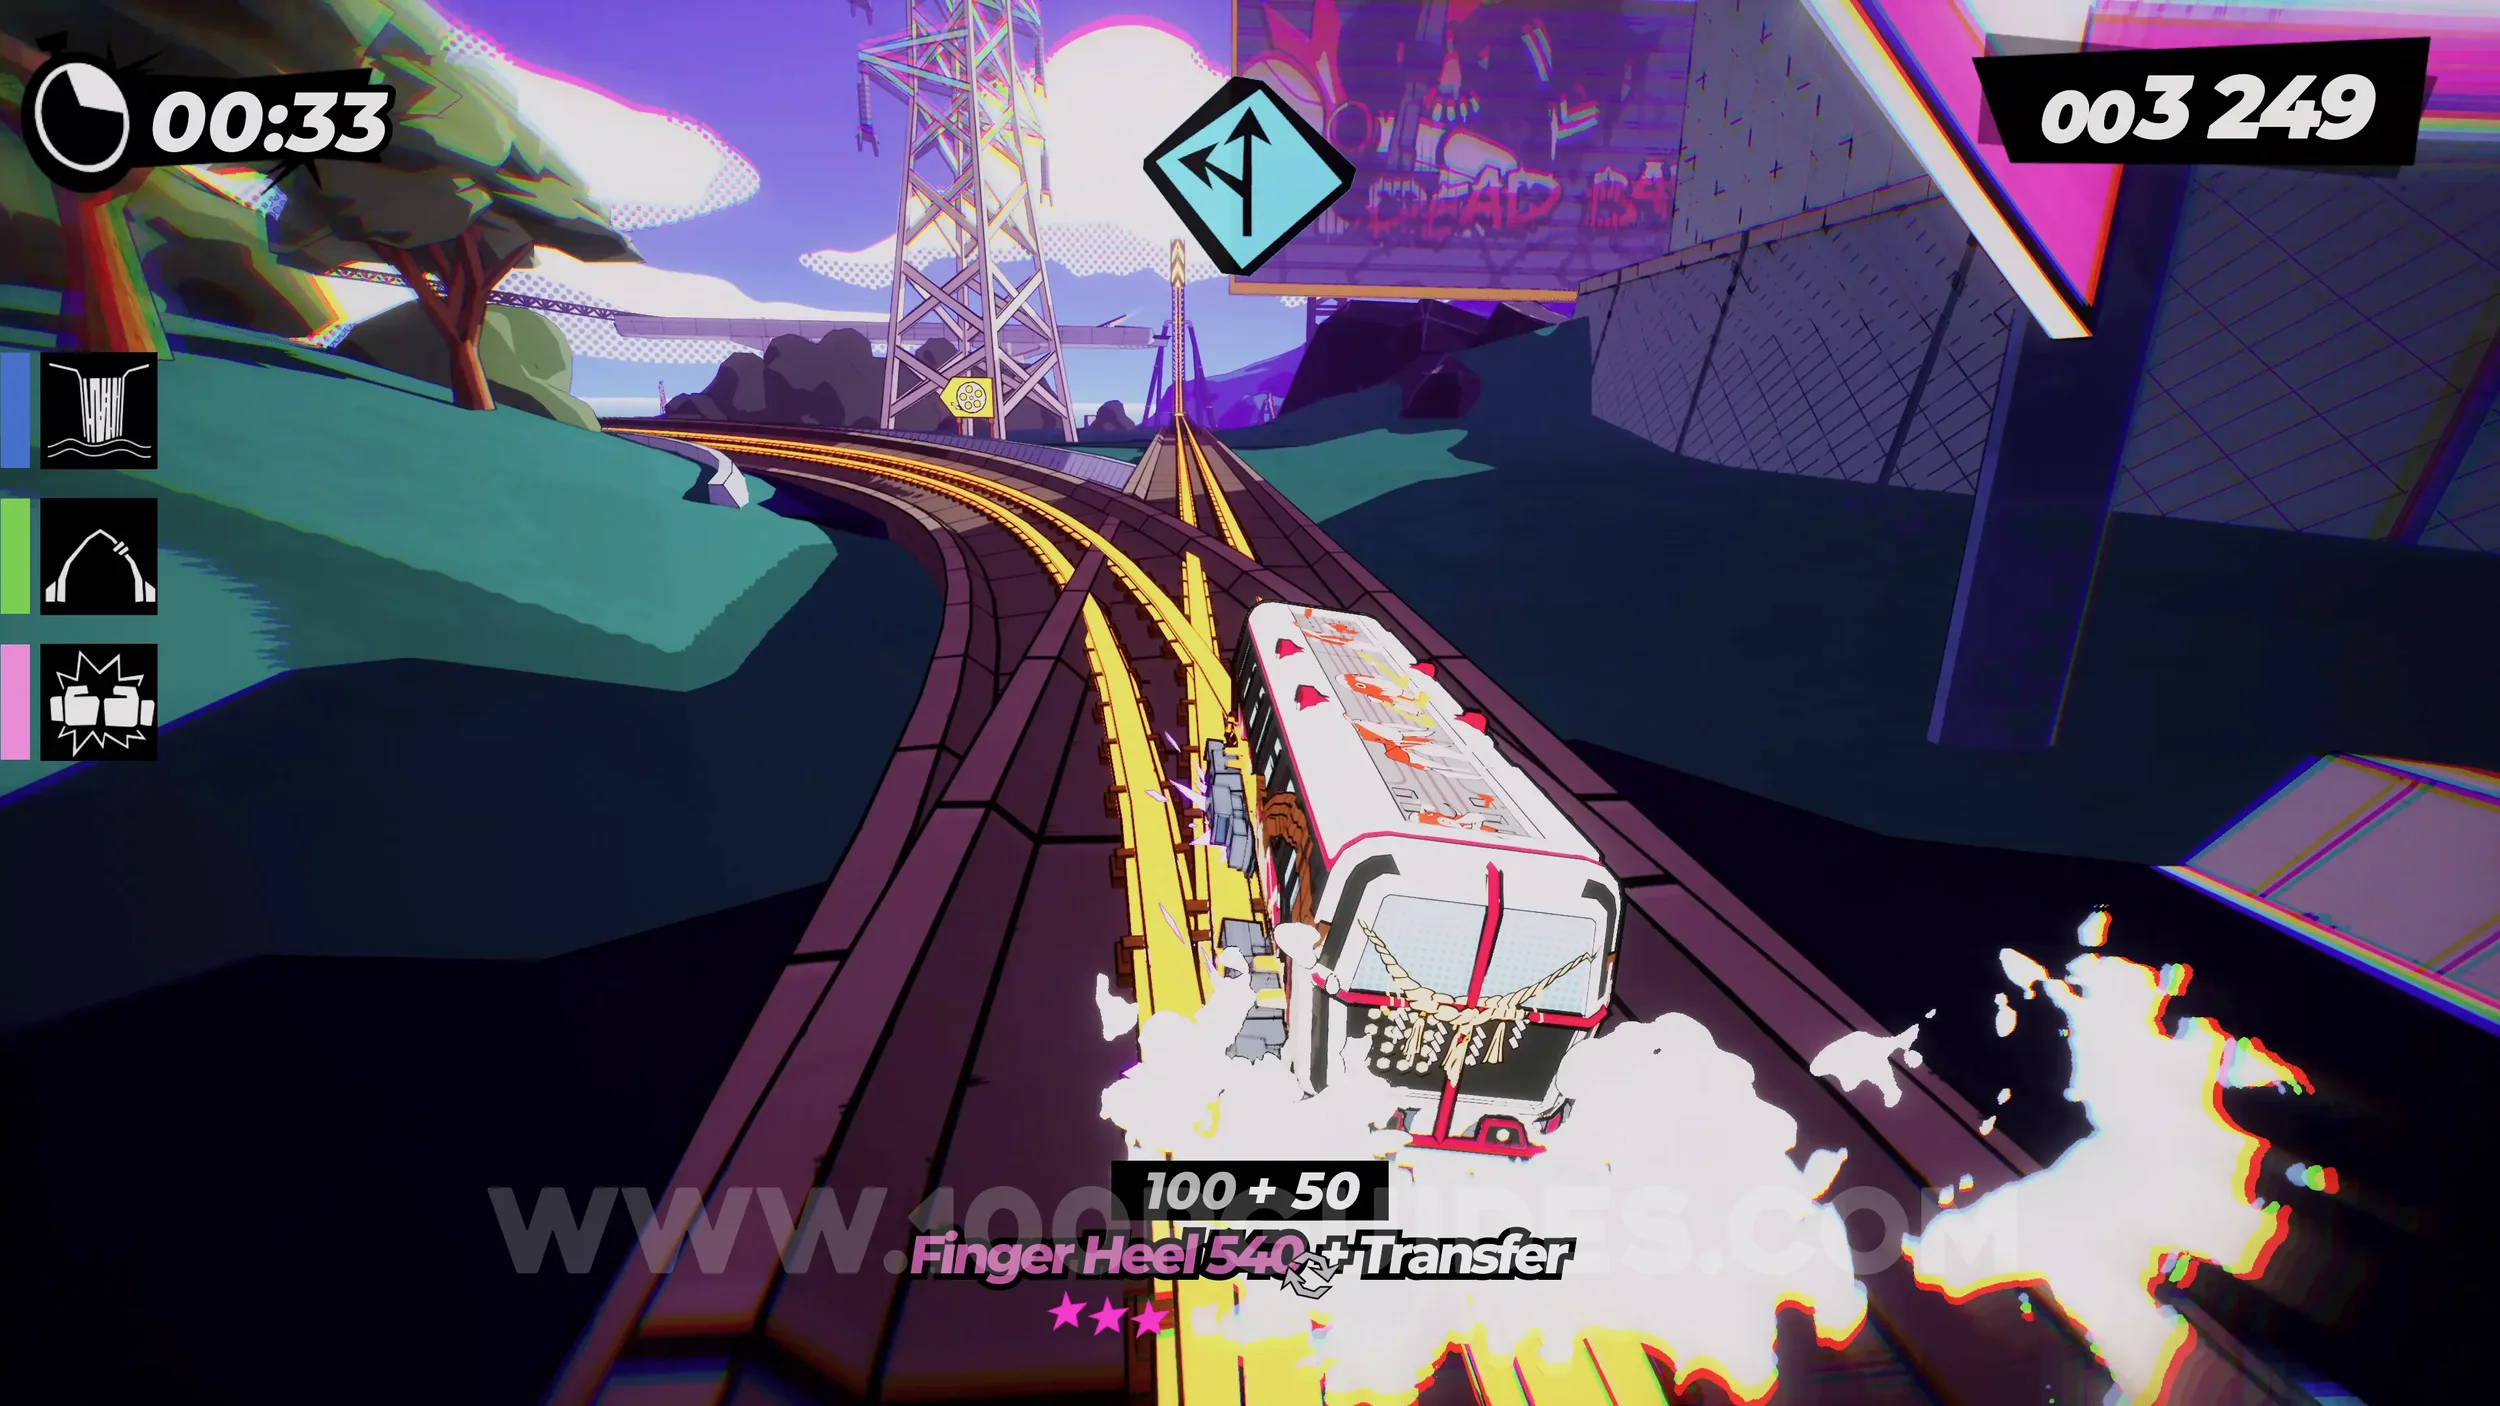
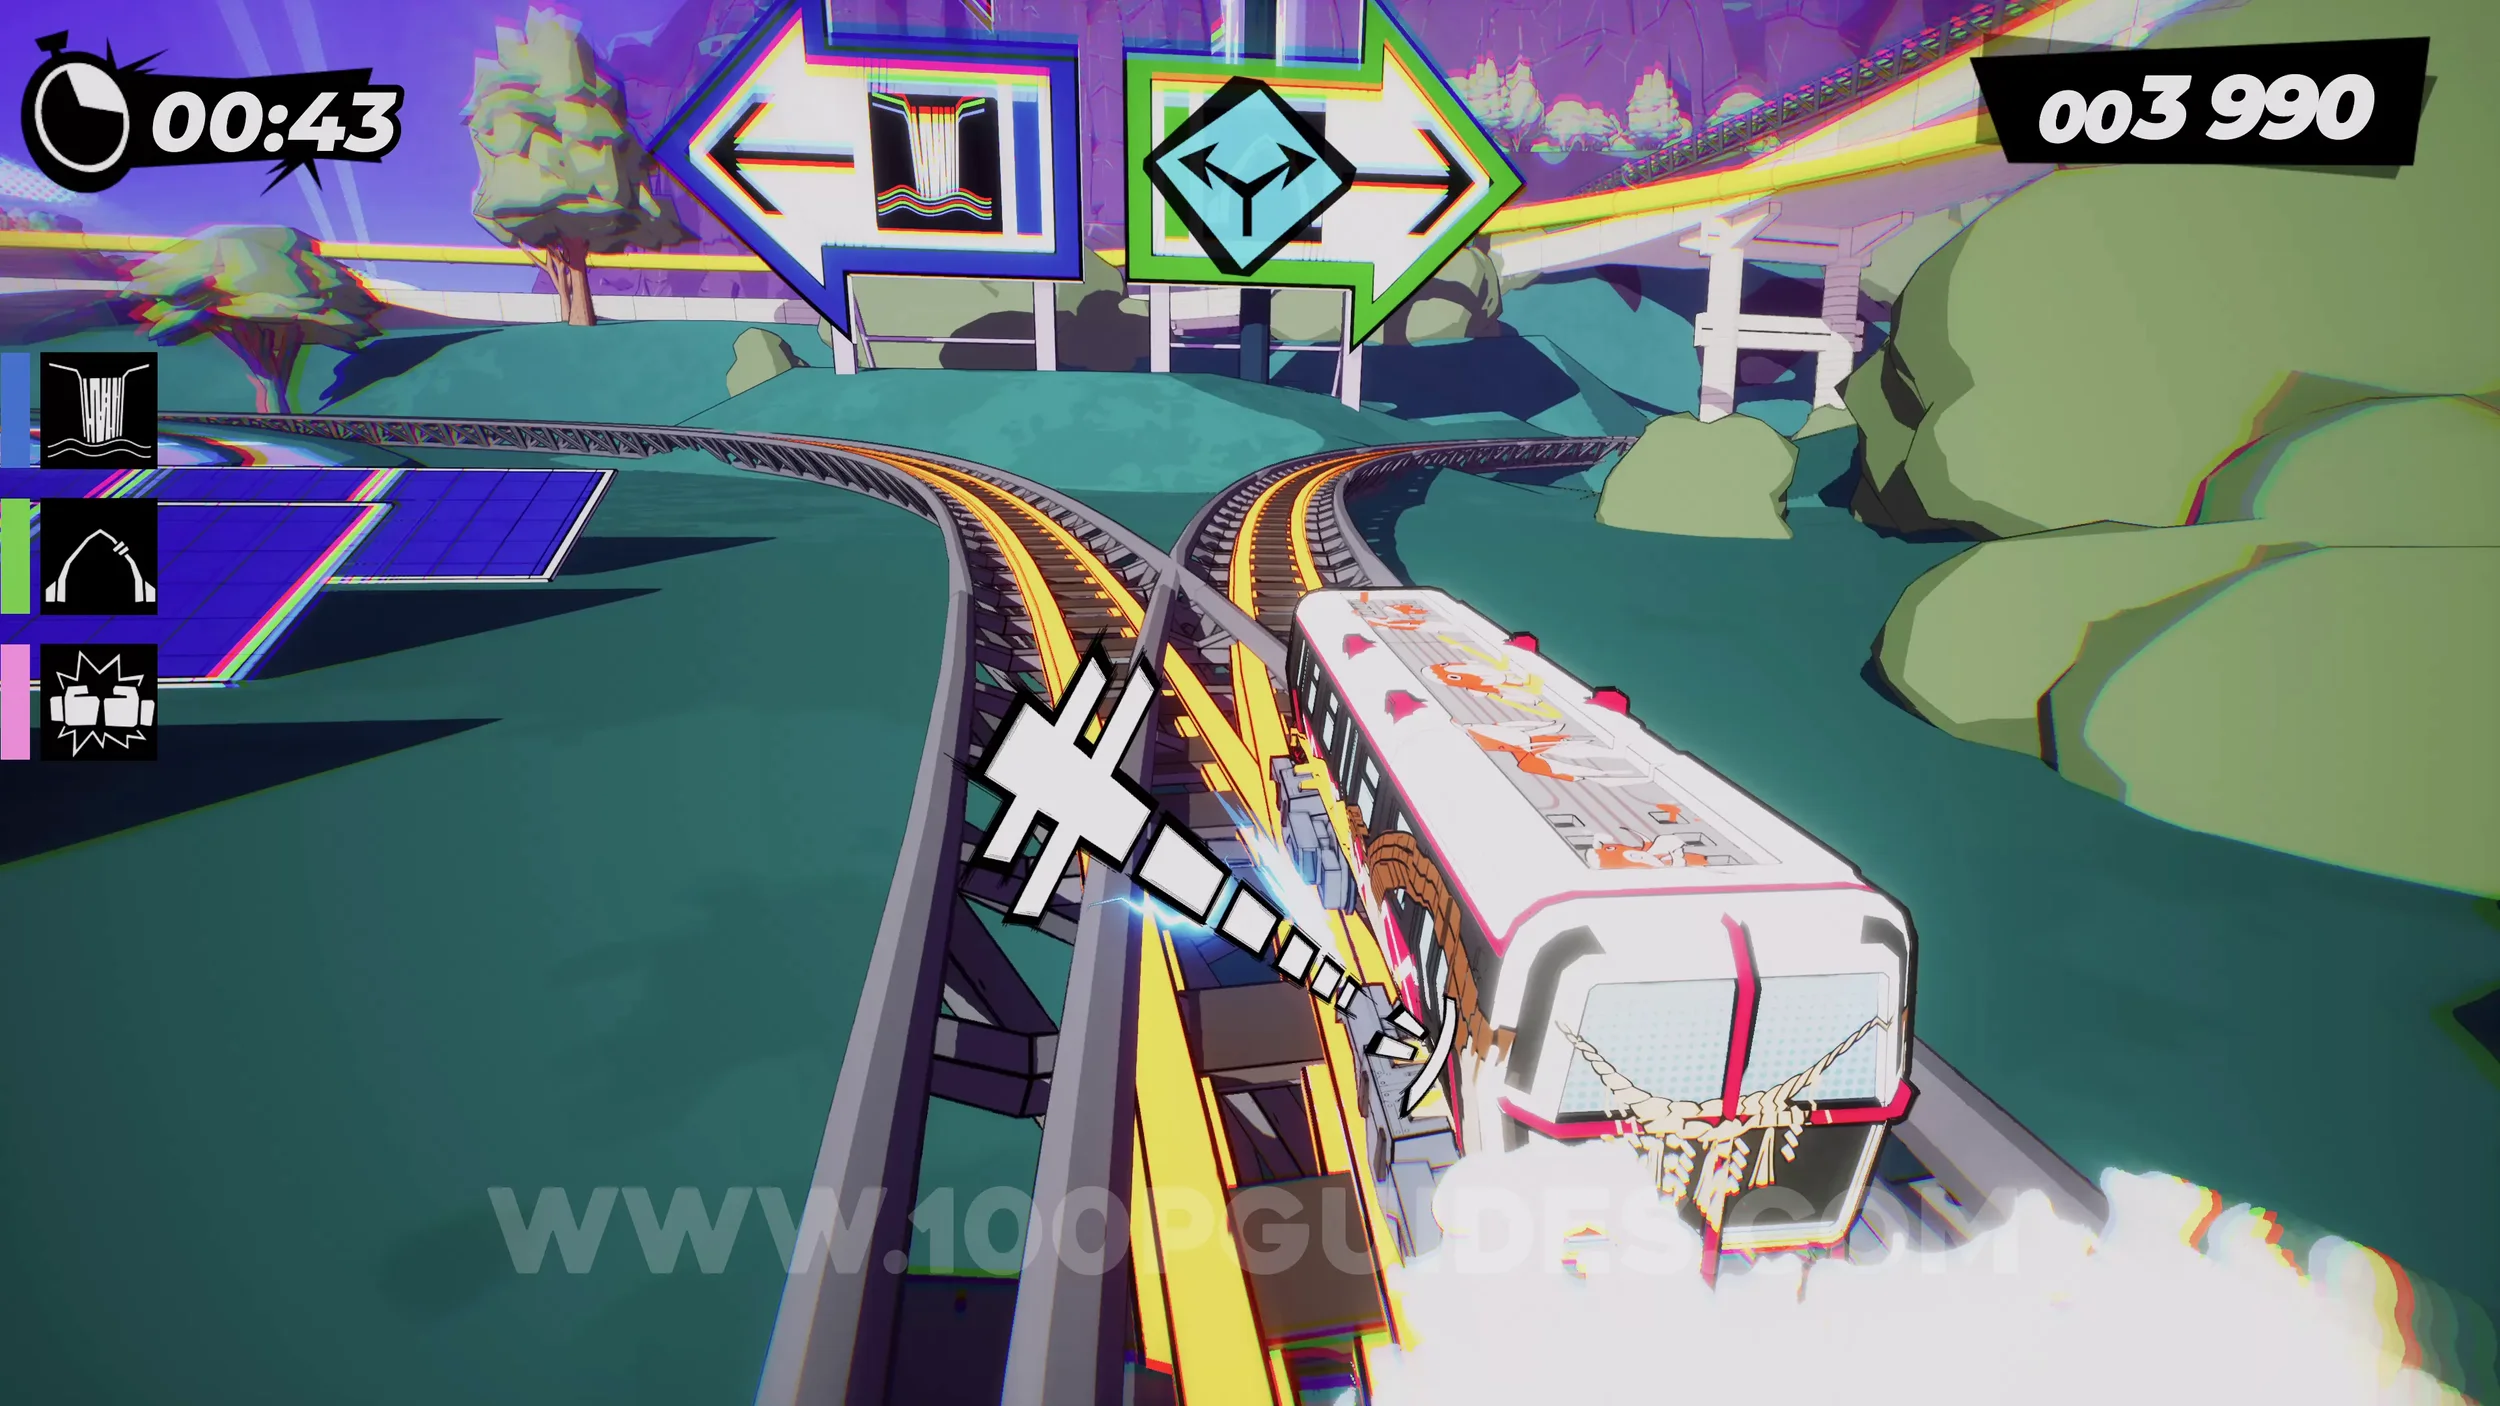
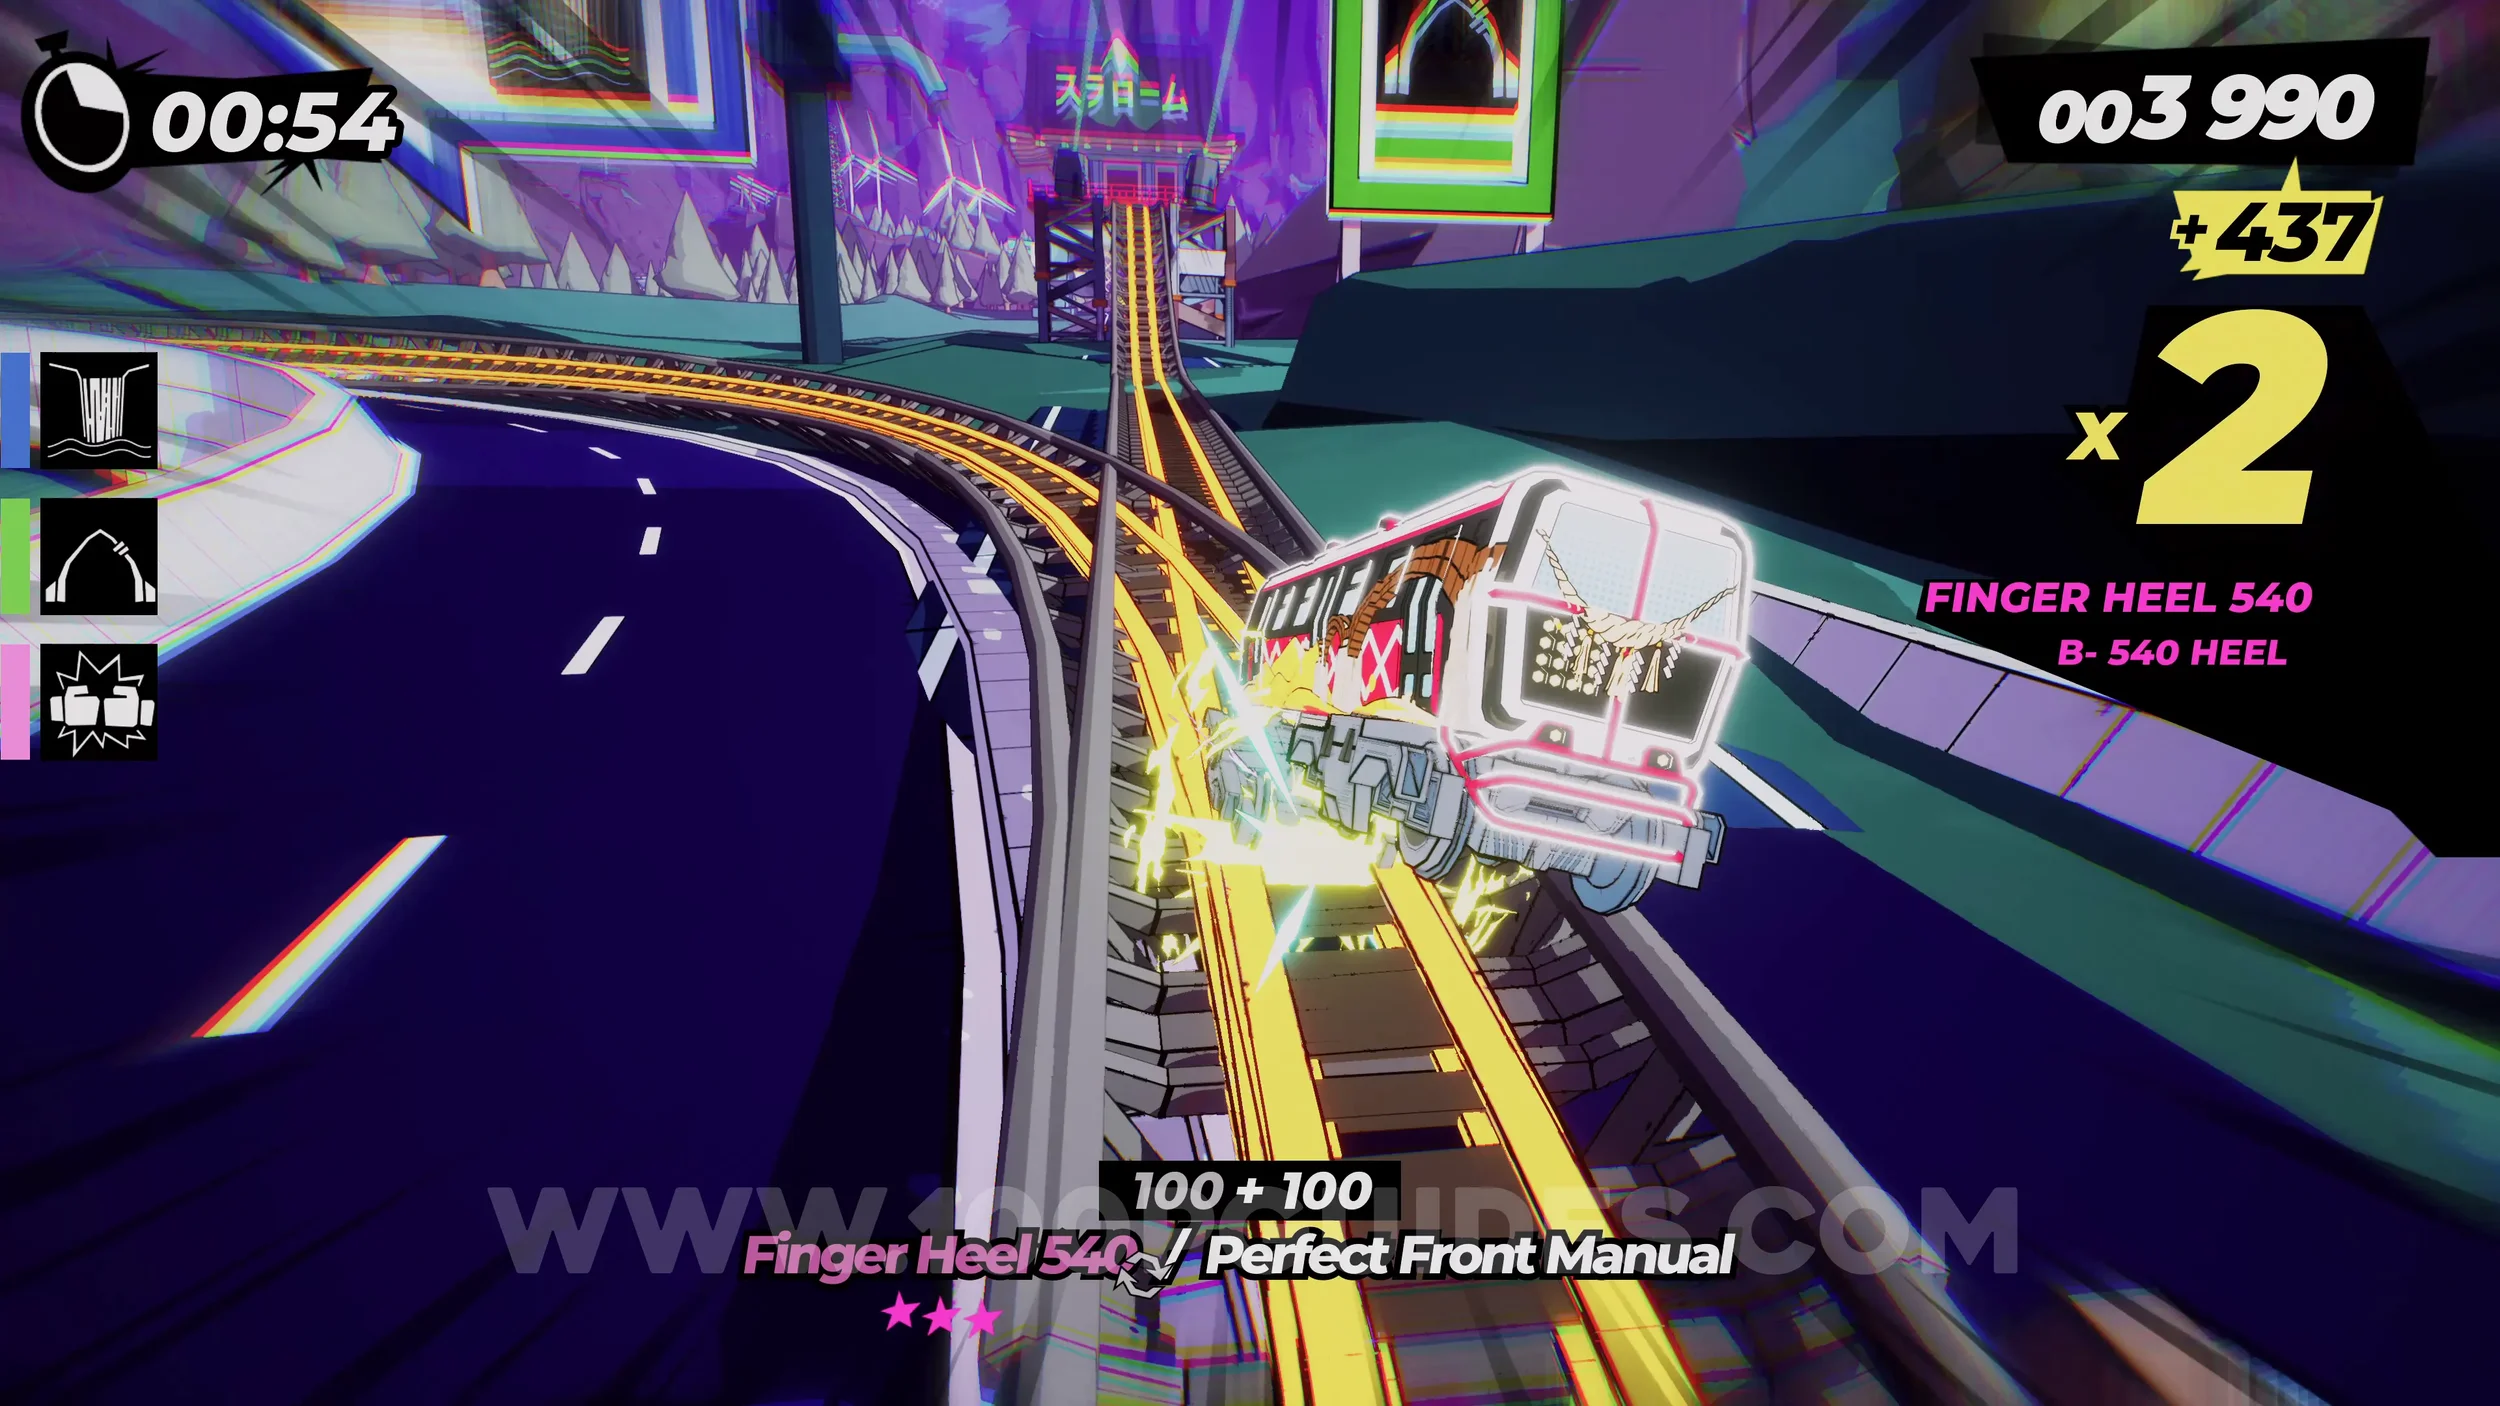
Spray Can (1/1). Close to the start of the Slalom course, you will enter a cave. In this cave, you will see the can on your left.
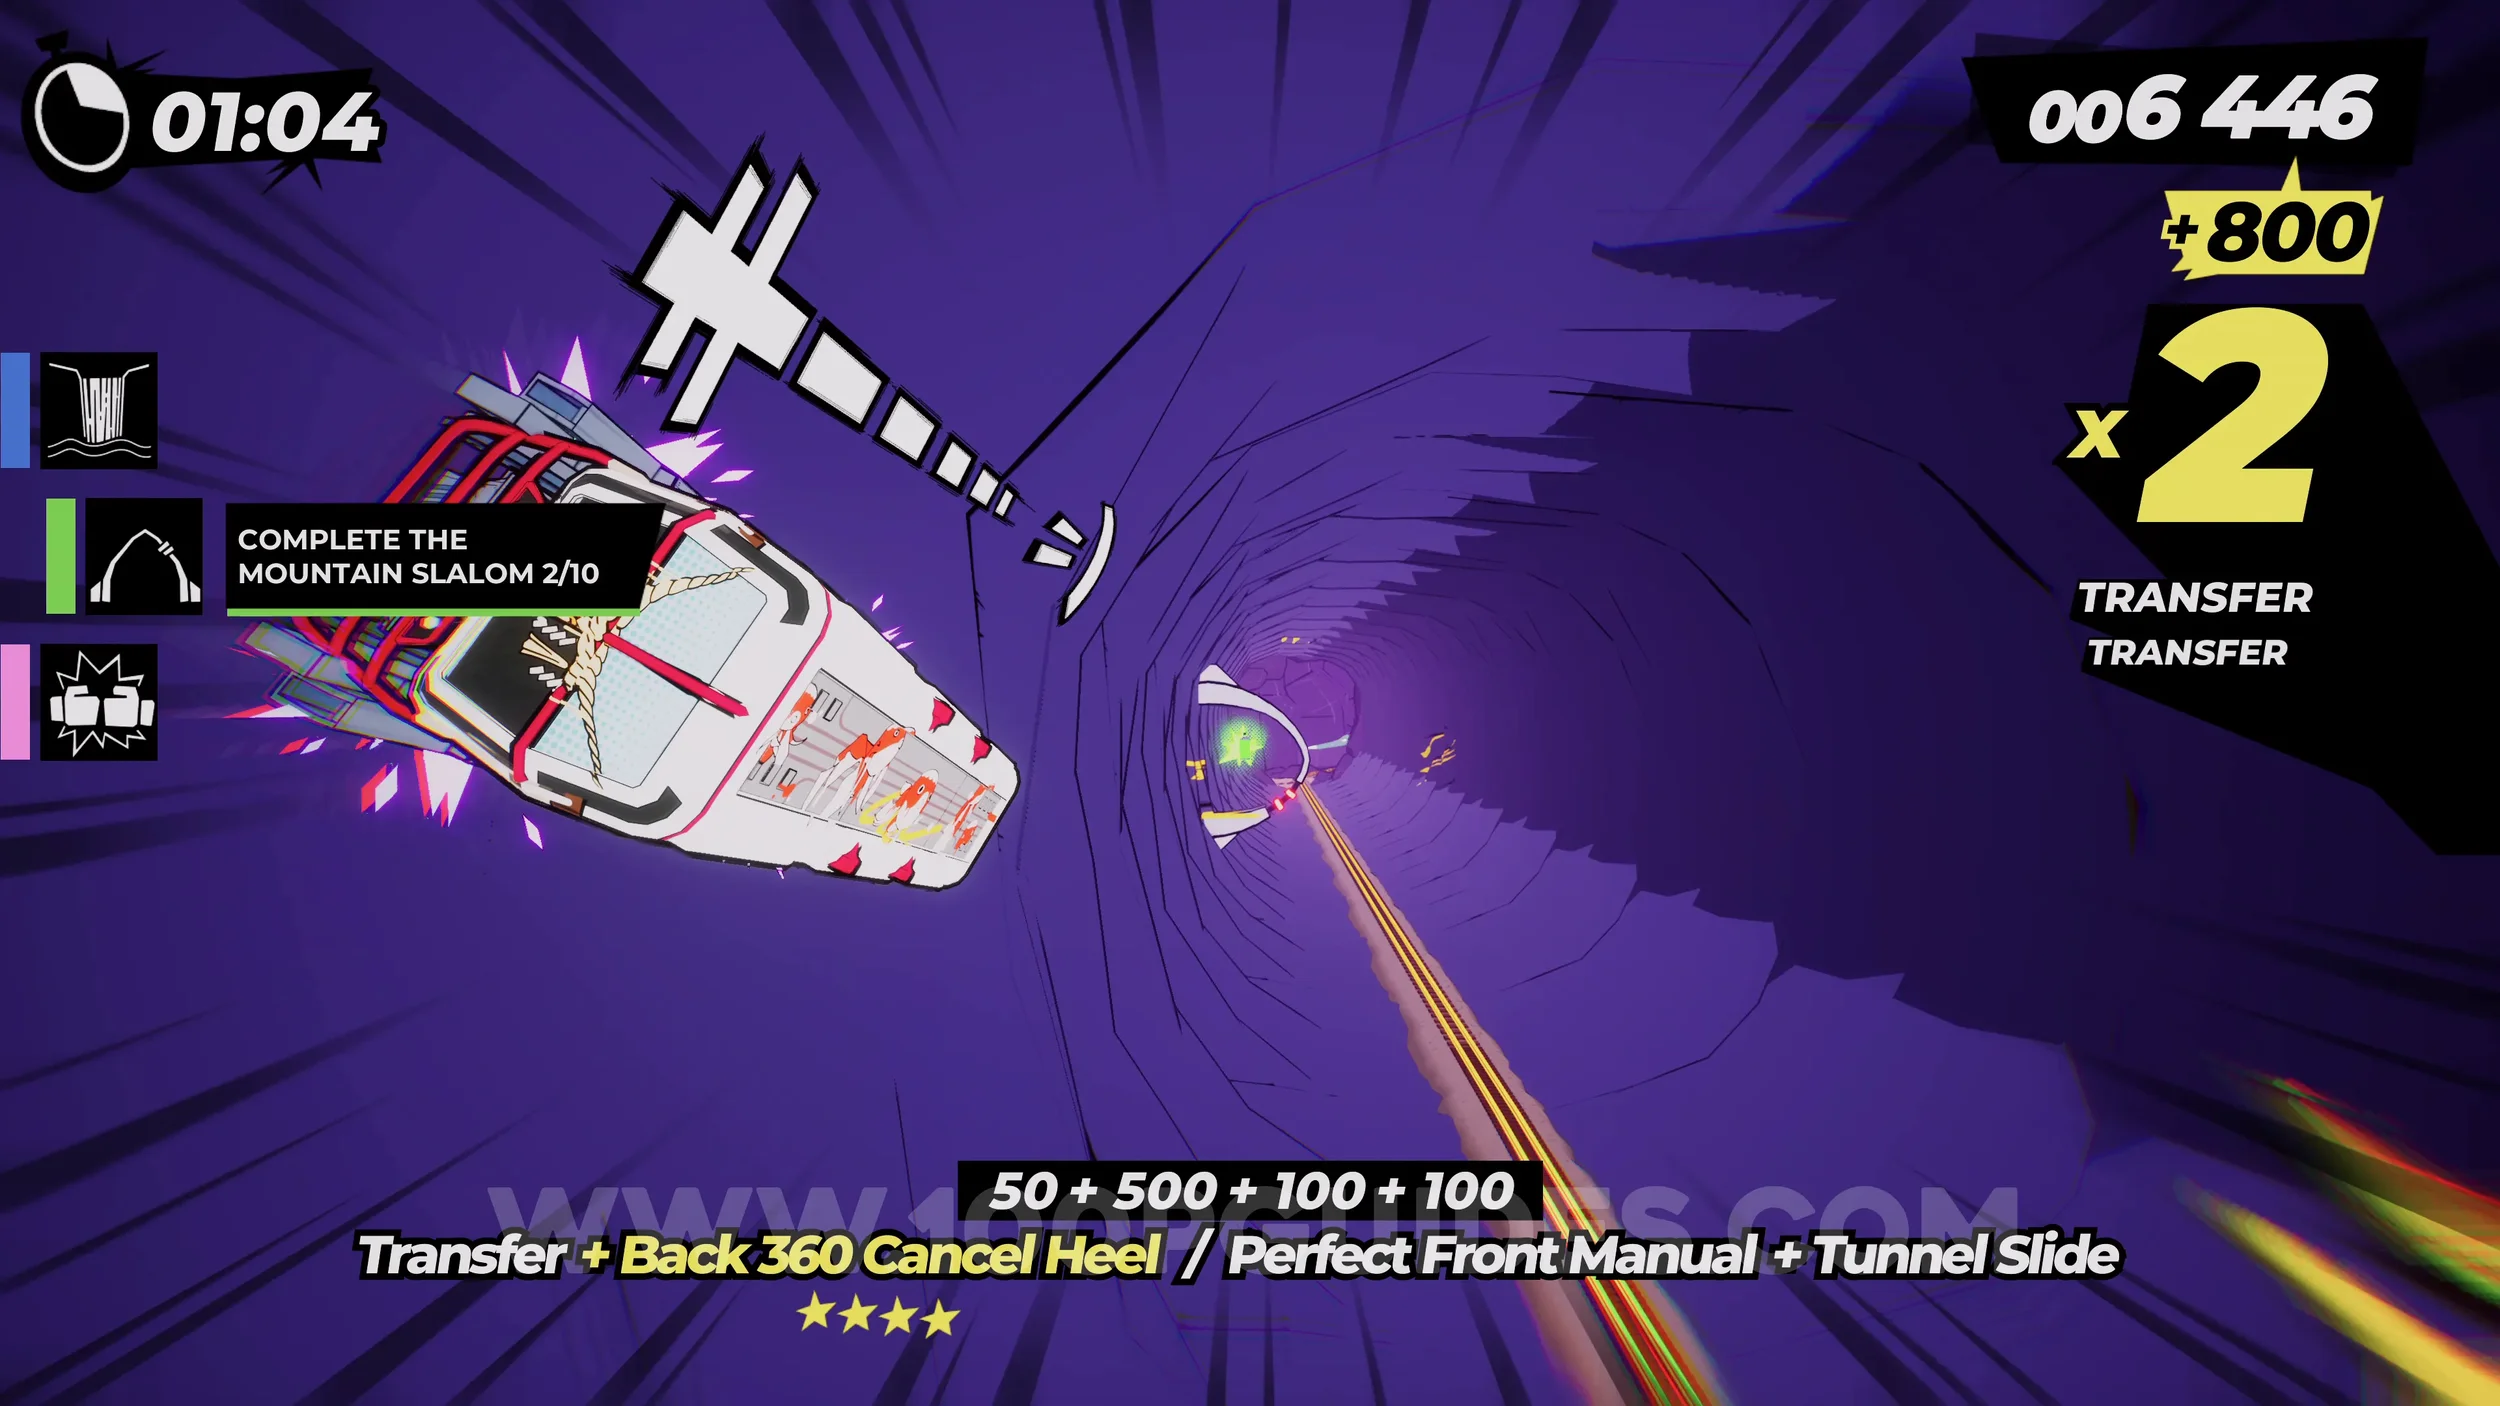
Gear (1/3). During the Slalom course, you will go through a rocky halfpipe section. You will see the gear in plain sight as you leave the first halfpipe.
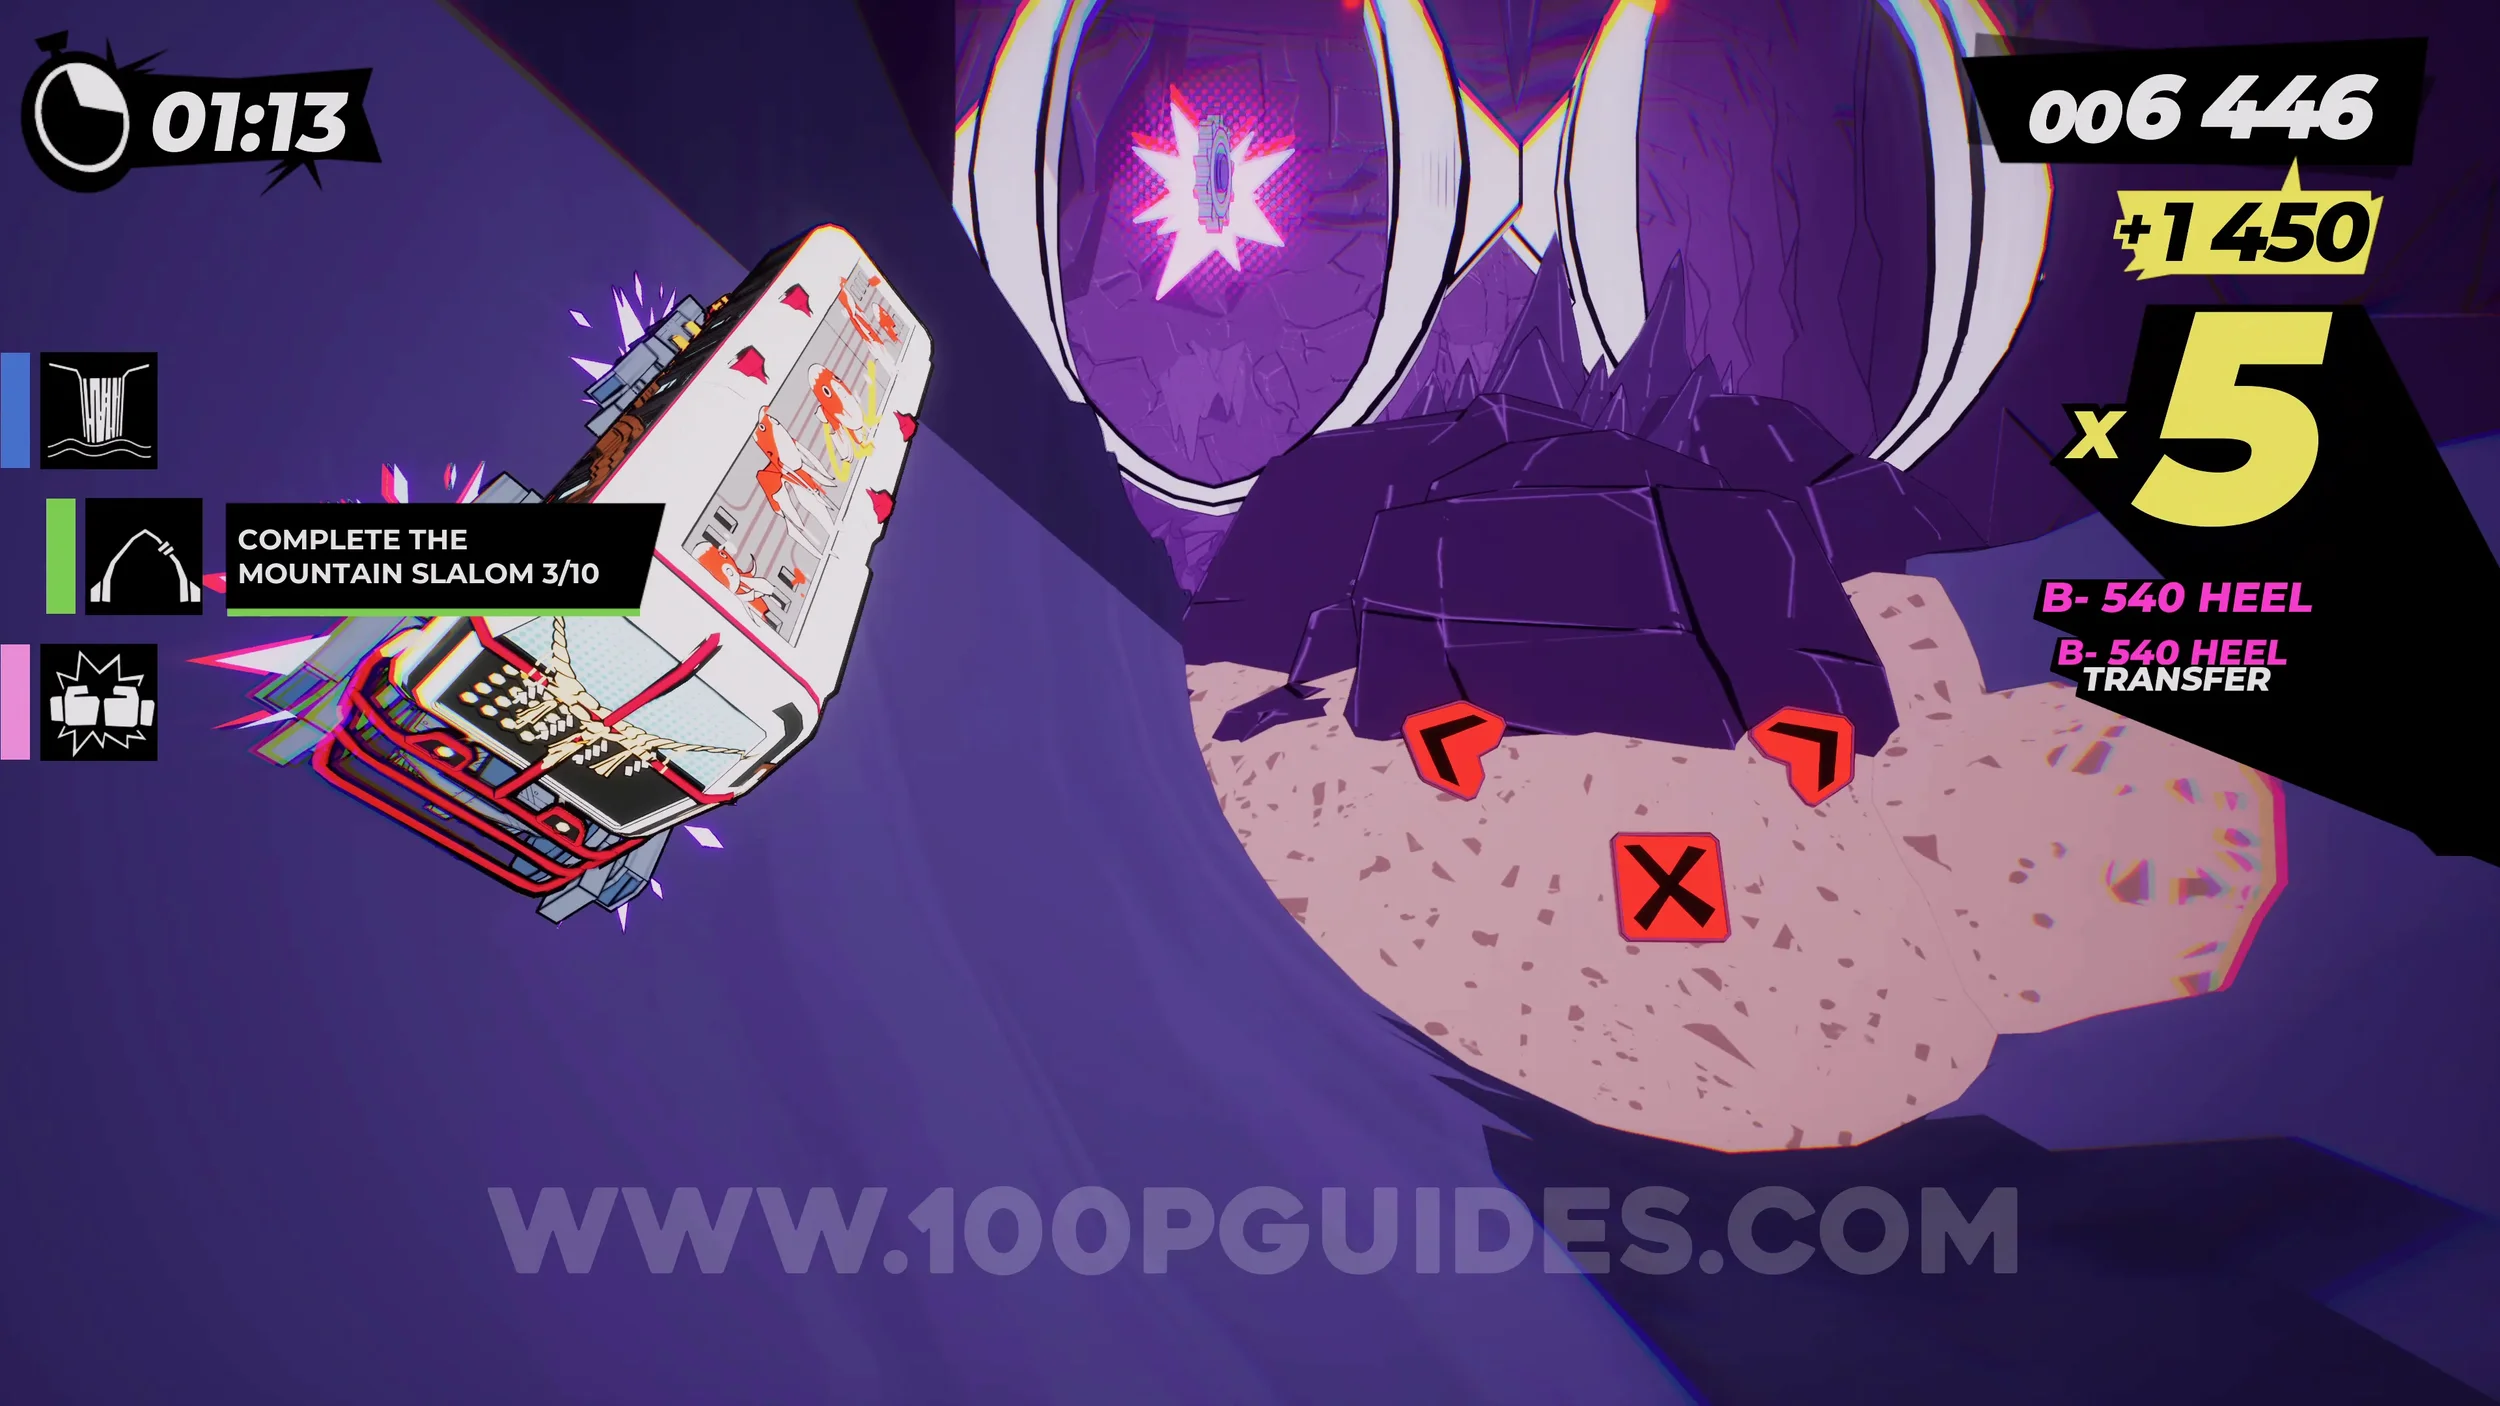
Dare: Collect 5 White Peaches (3/5). After the Slalom course, you will go under a temple and then see the peach on a wall you can wallride on your right.
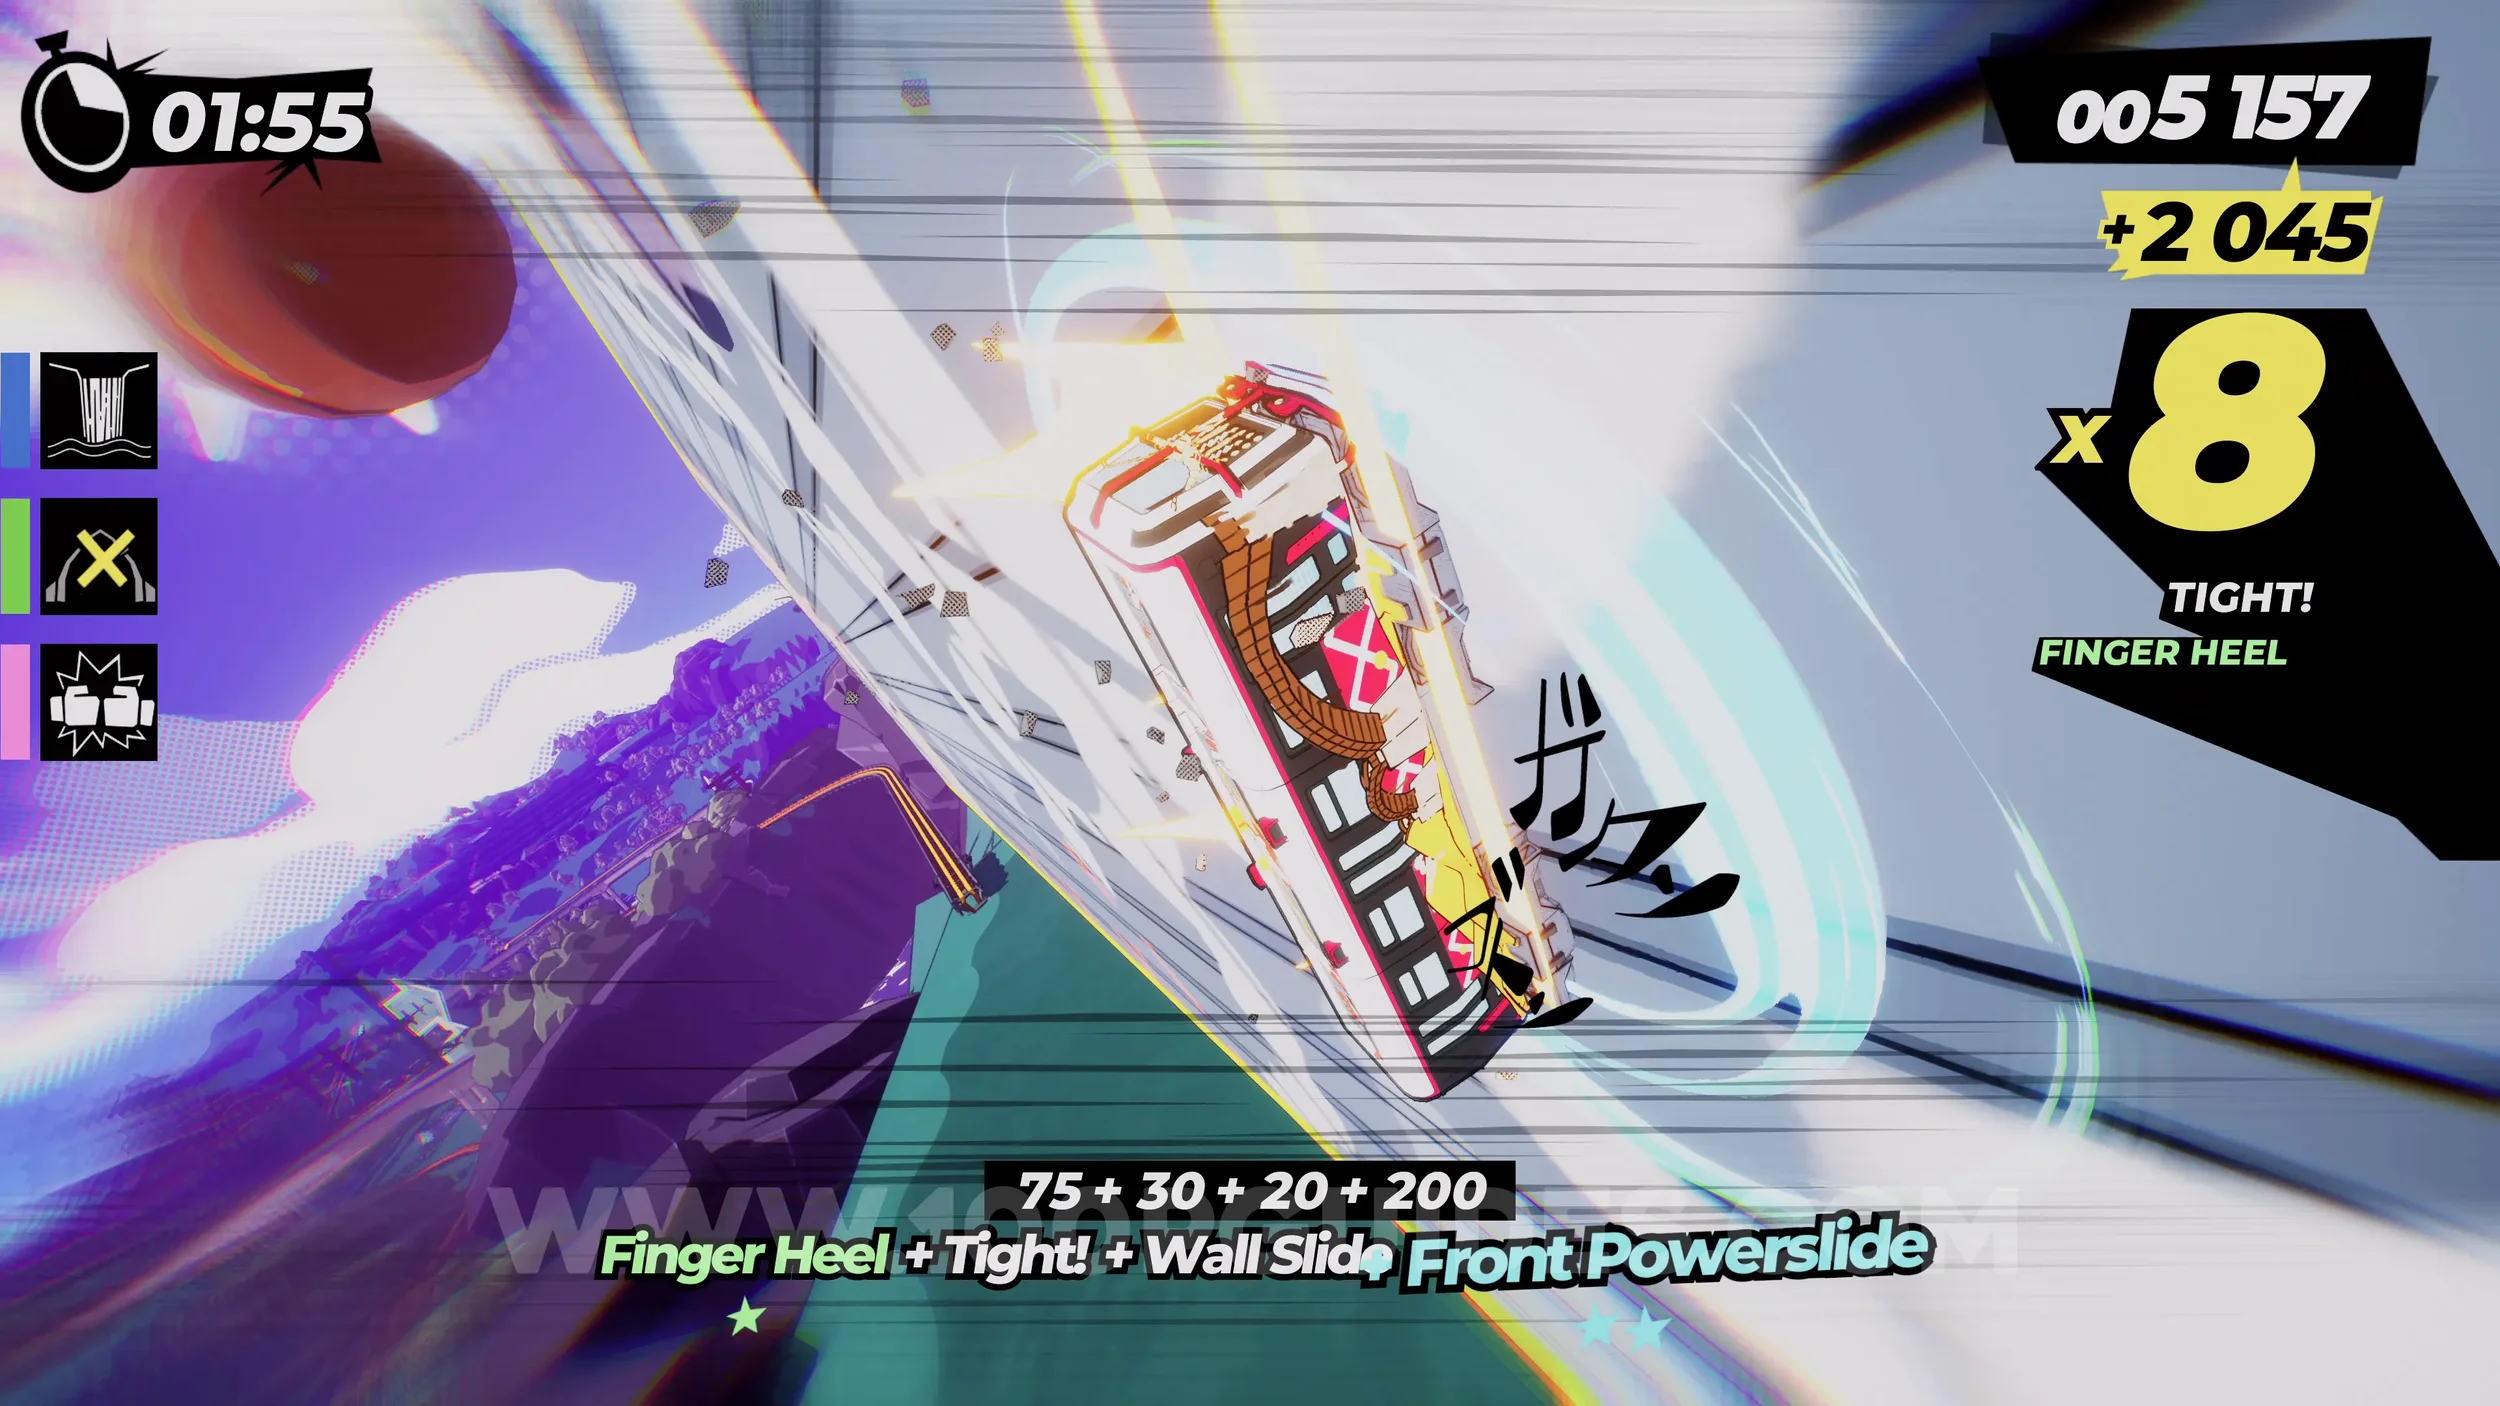
Film Roll (1/1). Continue until you circle back around to the second torii gate. This time, stick to the left and follow the pink sign. You will soon get to a wallride where the film roll is found.
Gear (2/3). After the film roll, you will return to the start of the level where the second fork is. This time, stick left and follow the pink sign. This will start the second main objective where you have to crash into the other trains. After the first vert jump, stick left to take the upper path where you will find the gear.
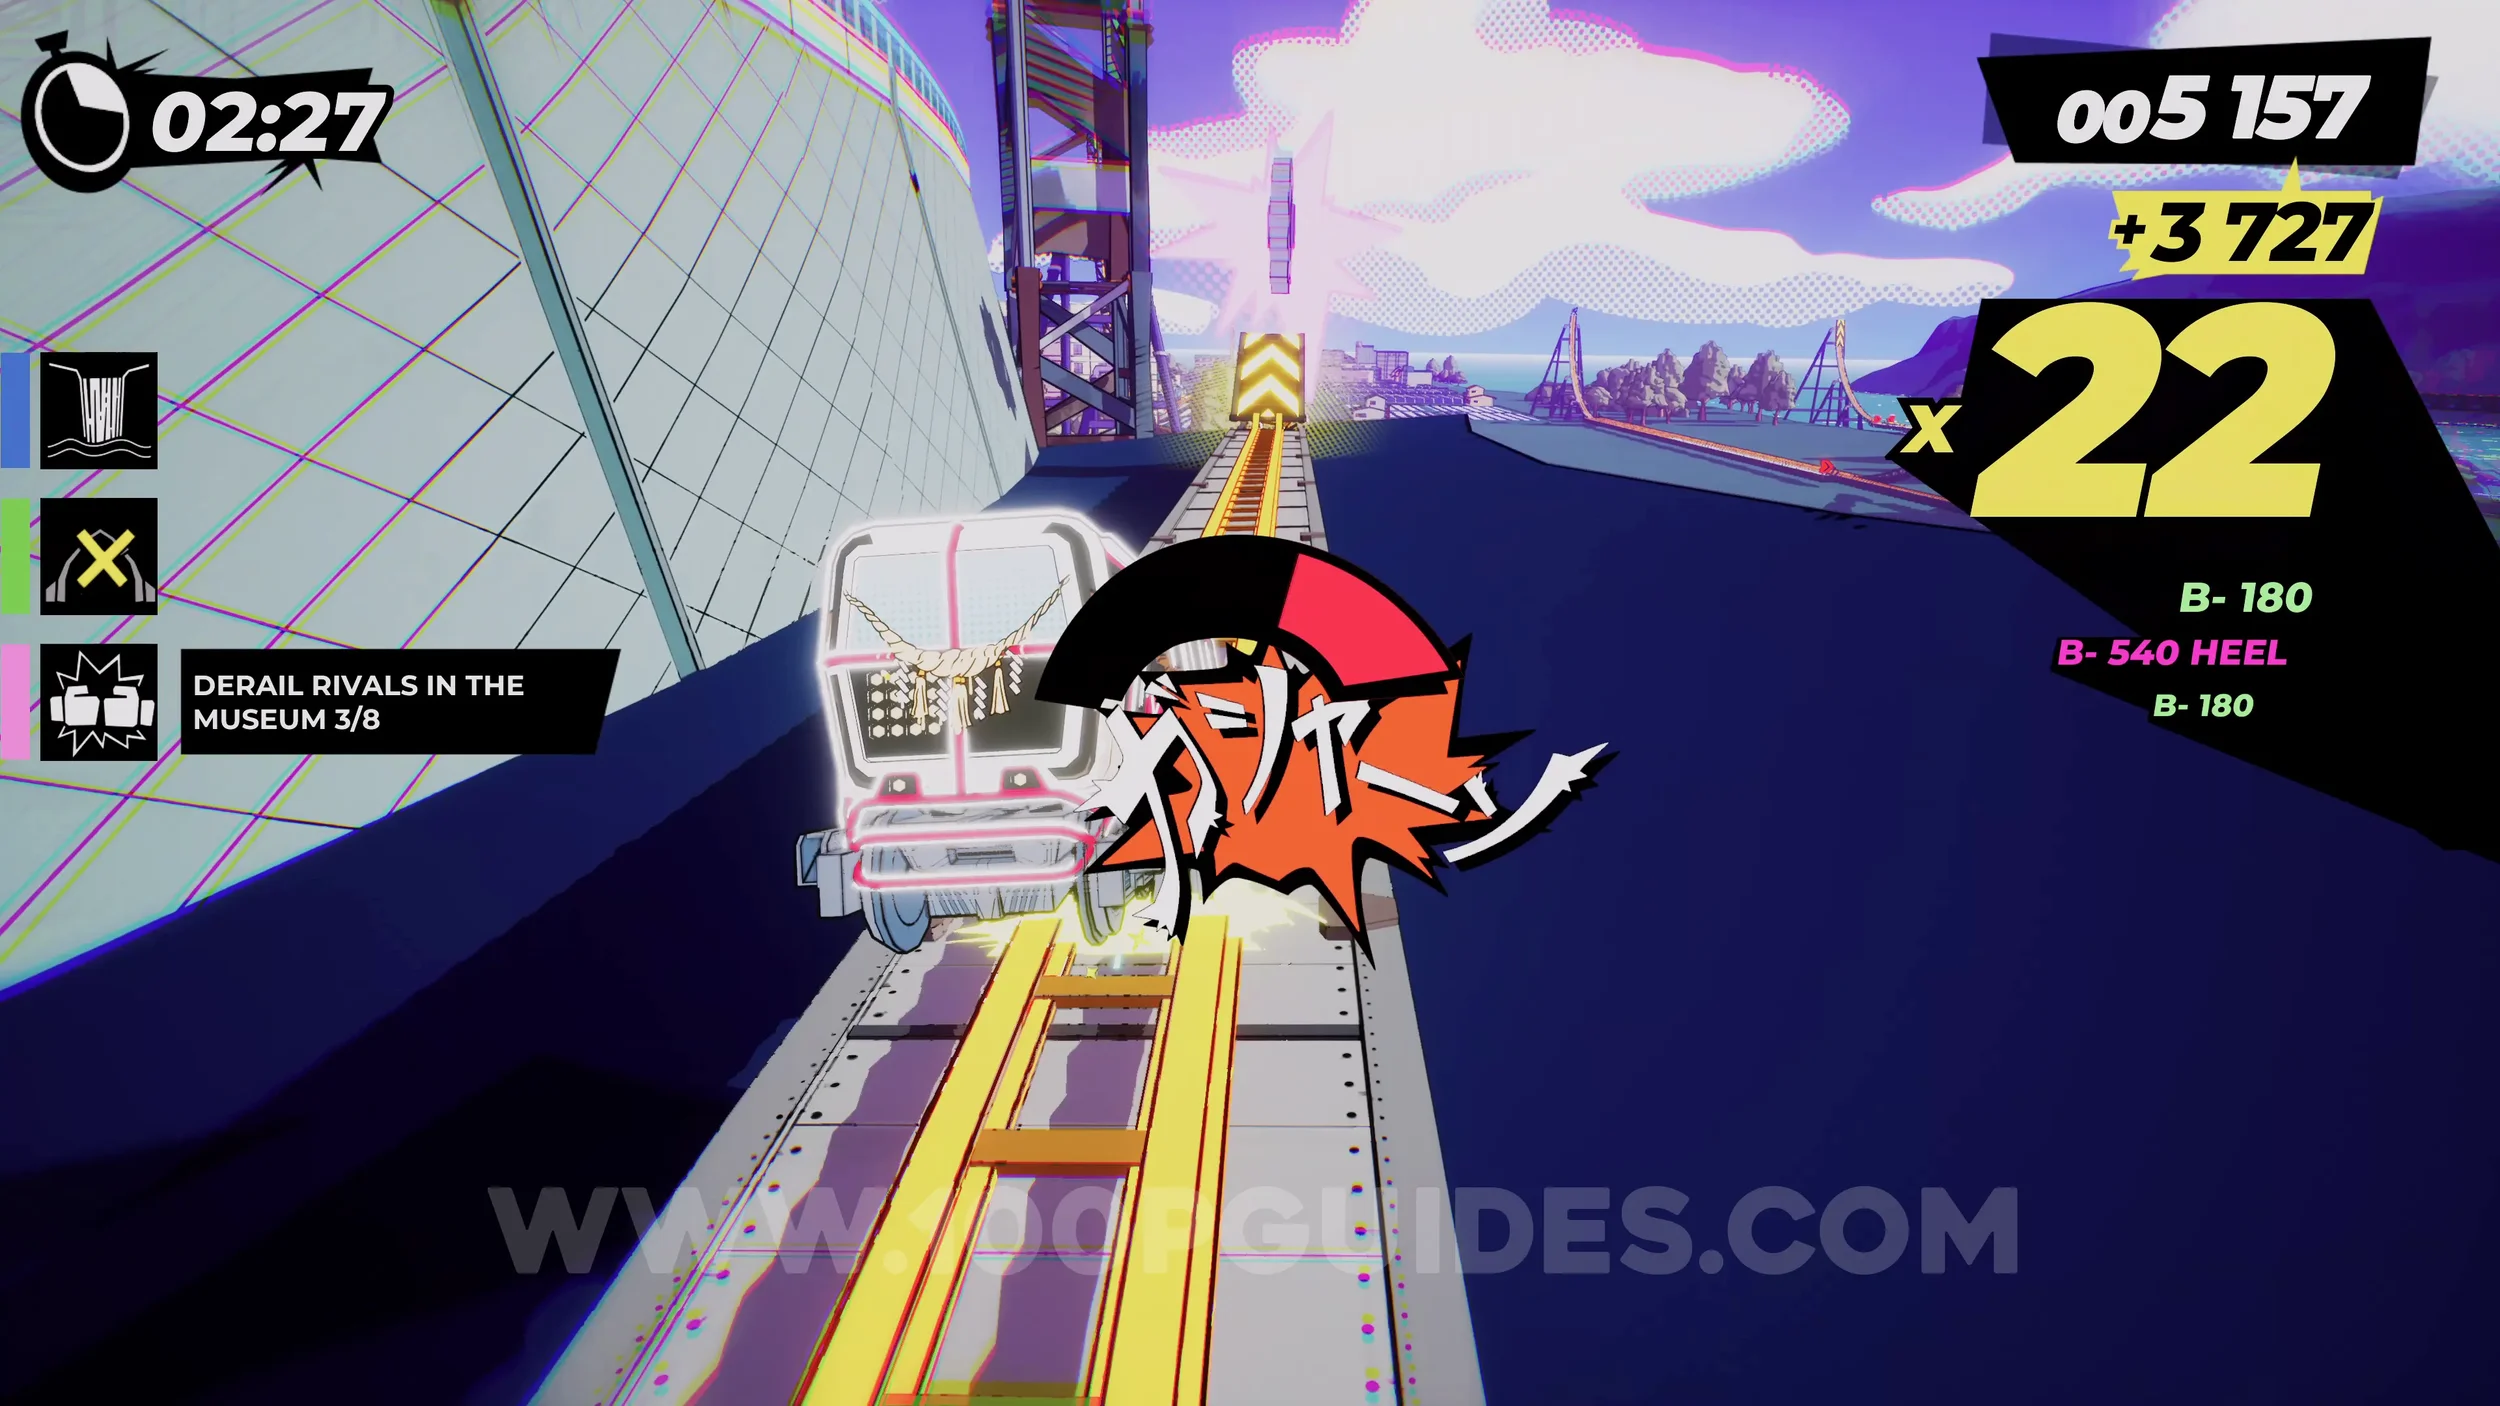
Gear (3/3). After the previous gear, continue on this path, and you will see this gear in plain sight as you cross a small bridge.
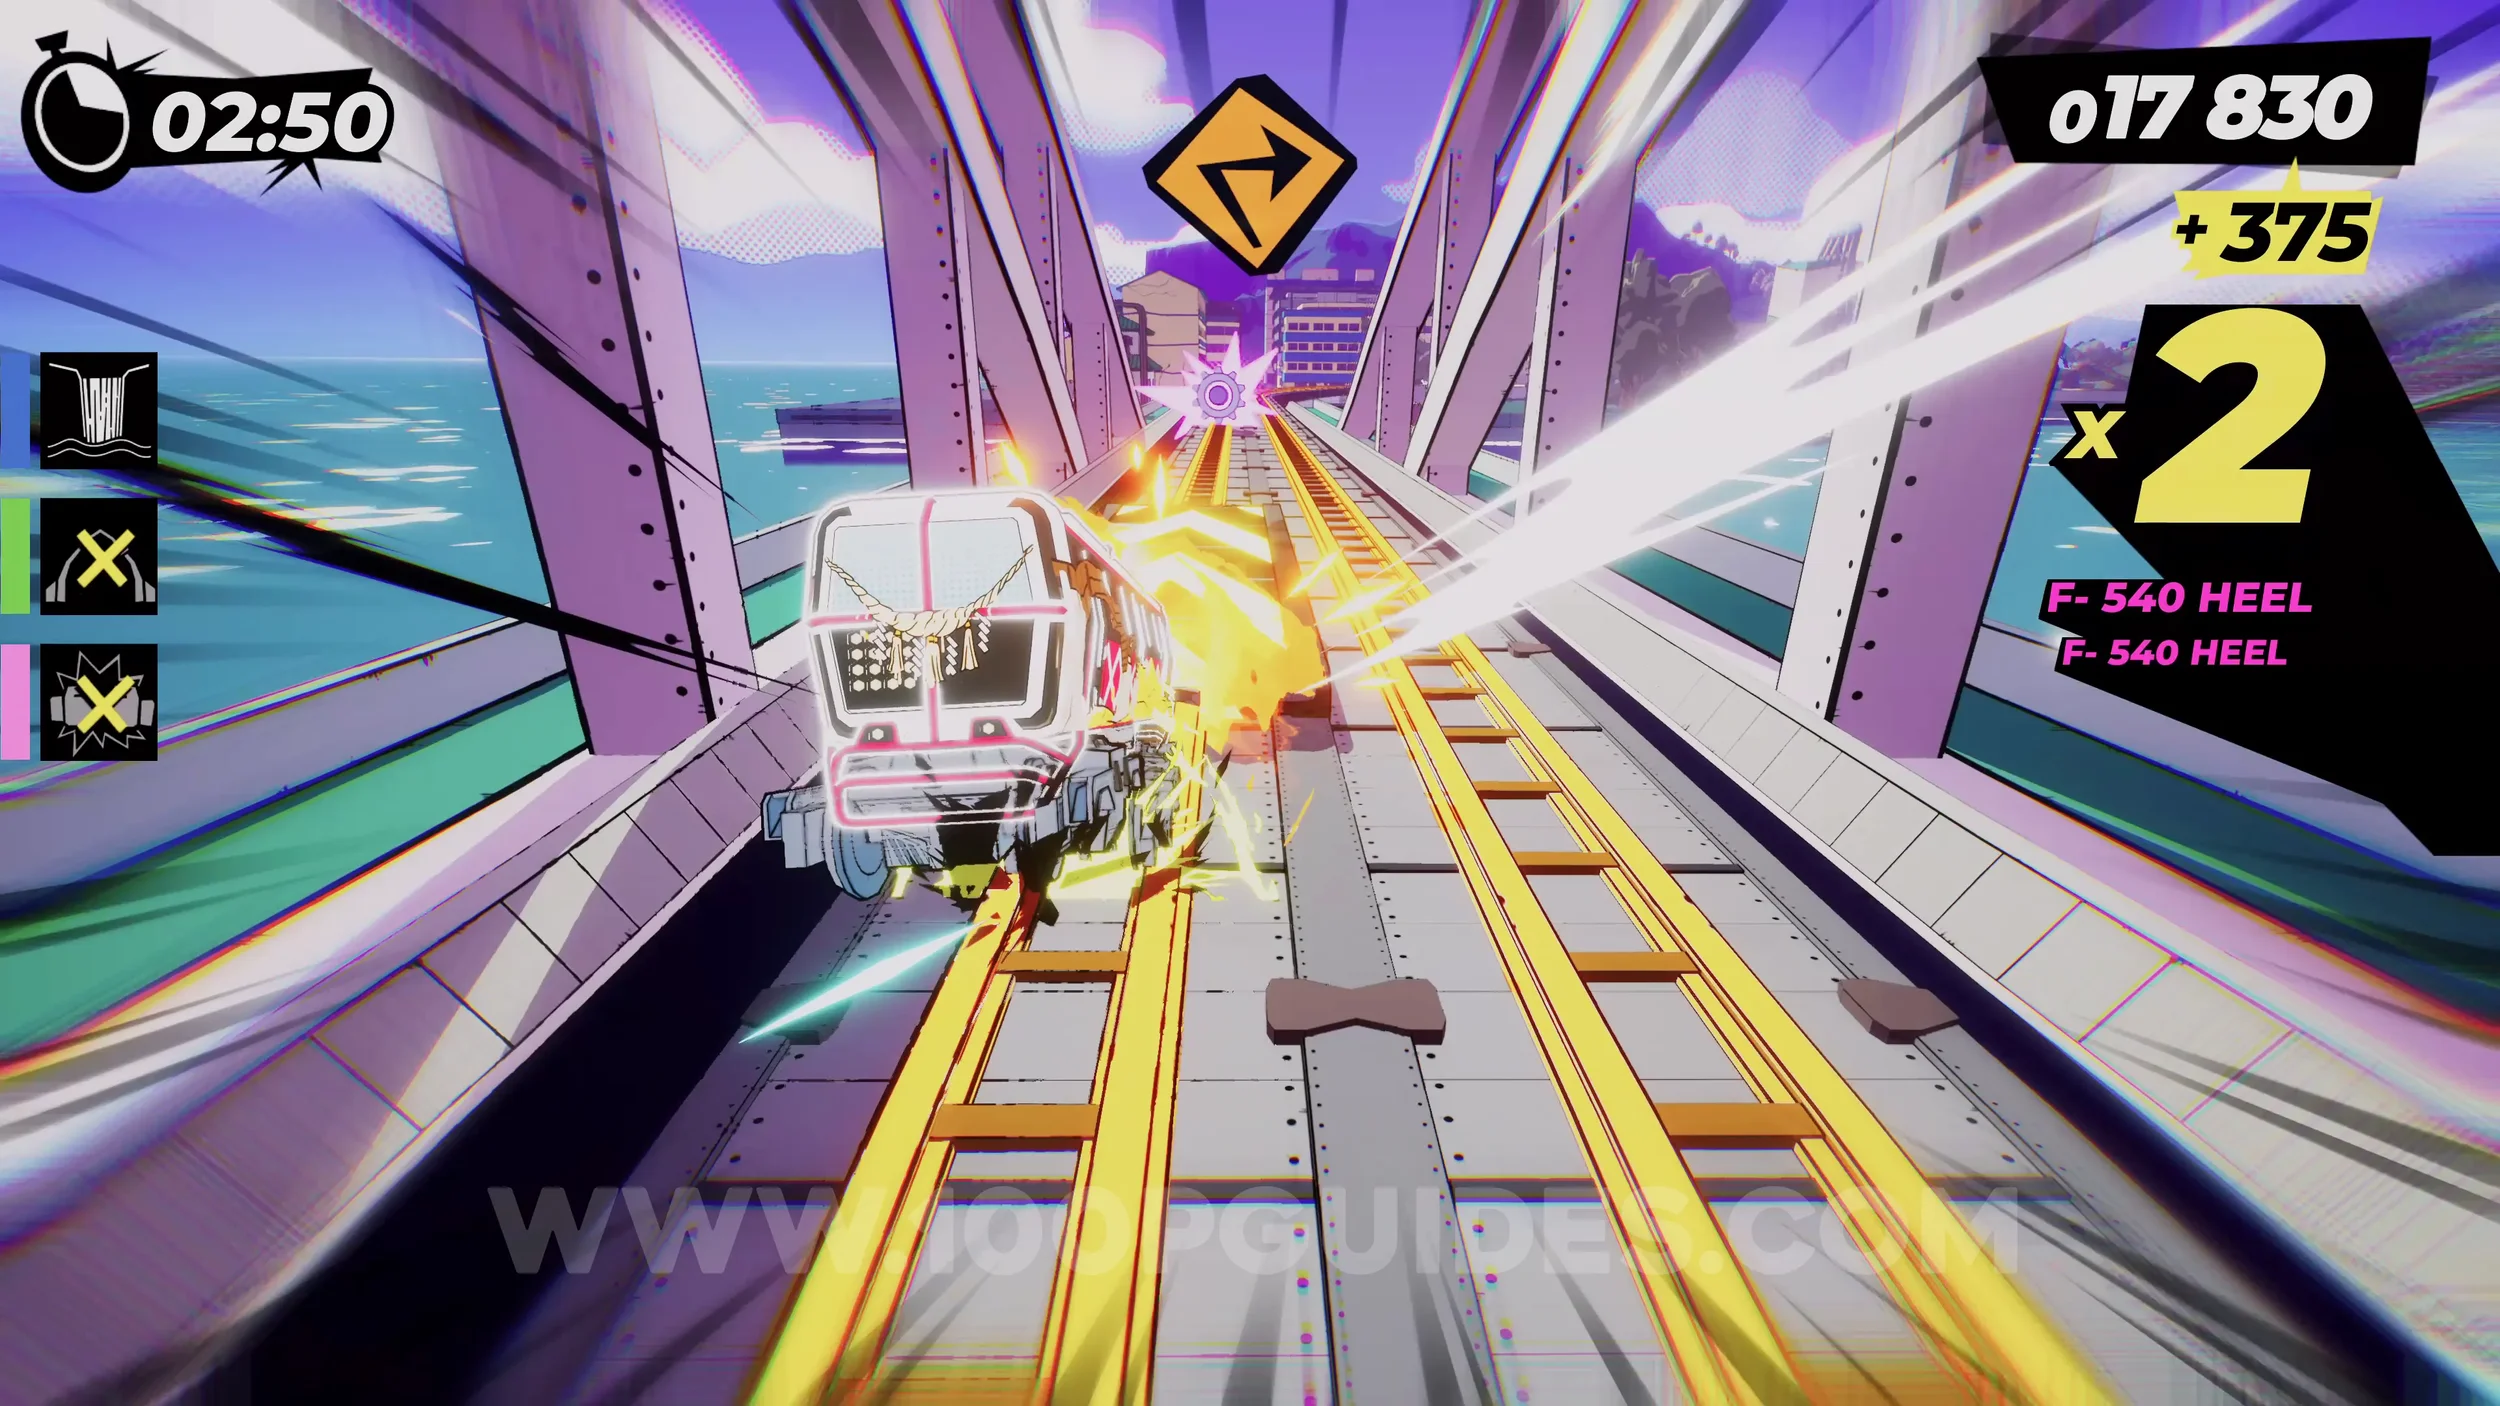
Dare: Collect 5 White Peaches (4/5). After the second main objective, you will eventually circle back around to where the second torii gate is. Here, continue straight and then at the next fork, take the left path. Then continue straight by sticking left to take the vert jump into a tube. At the end, you will see the peach on the wall to your left.
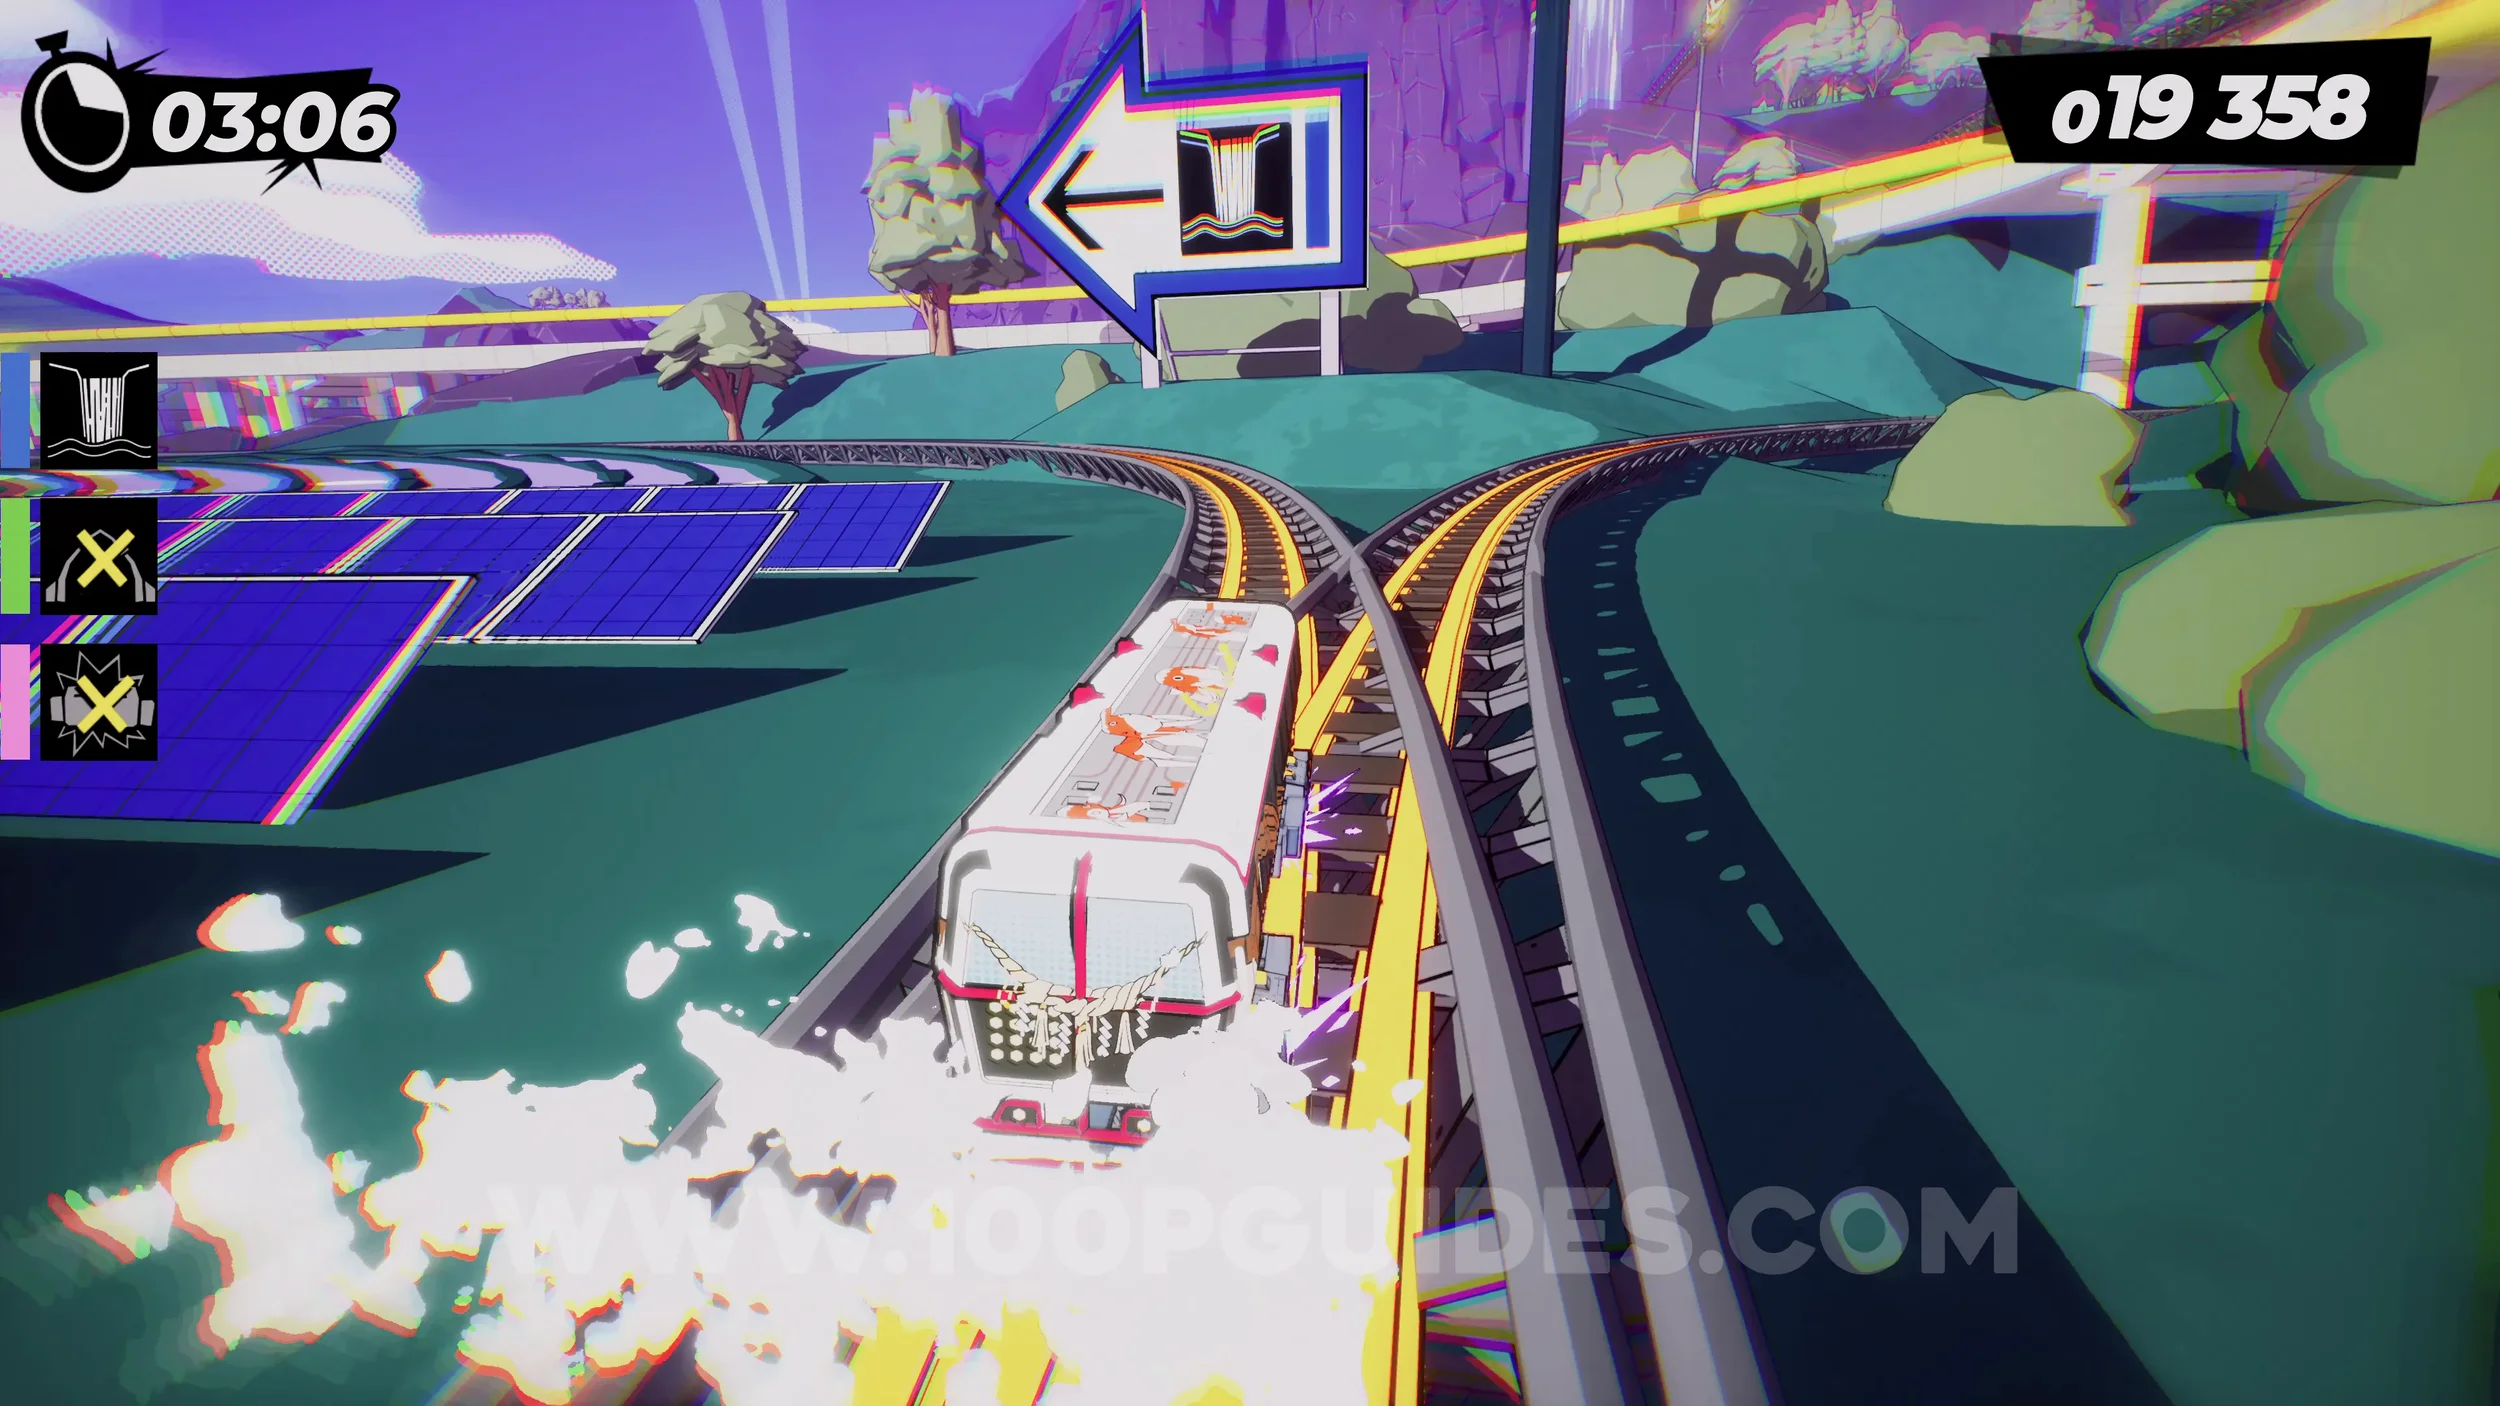
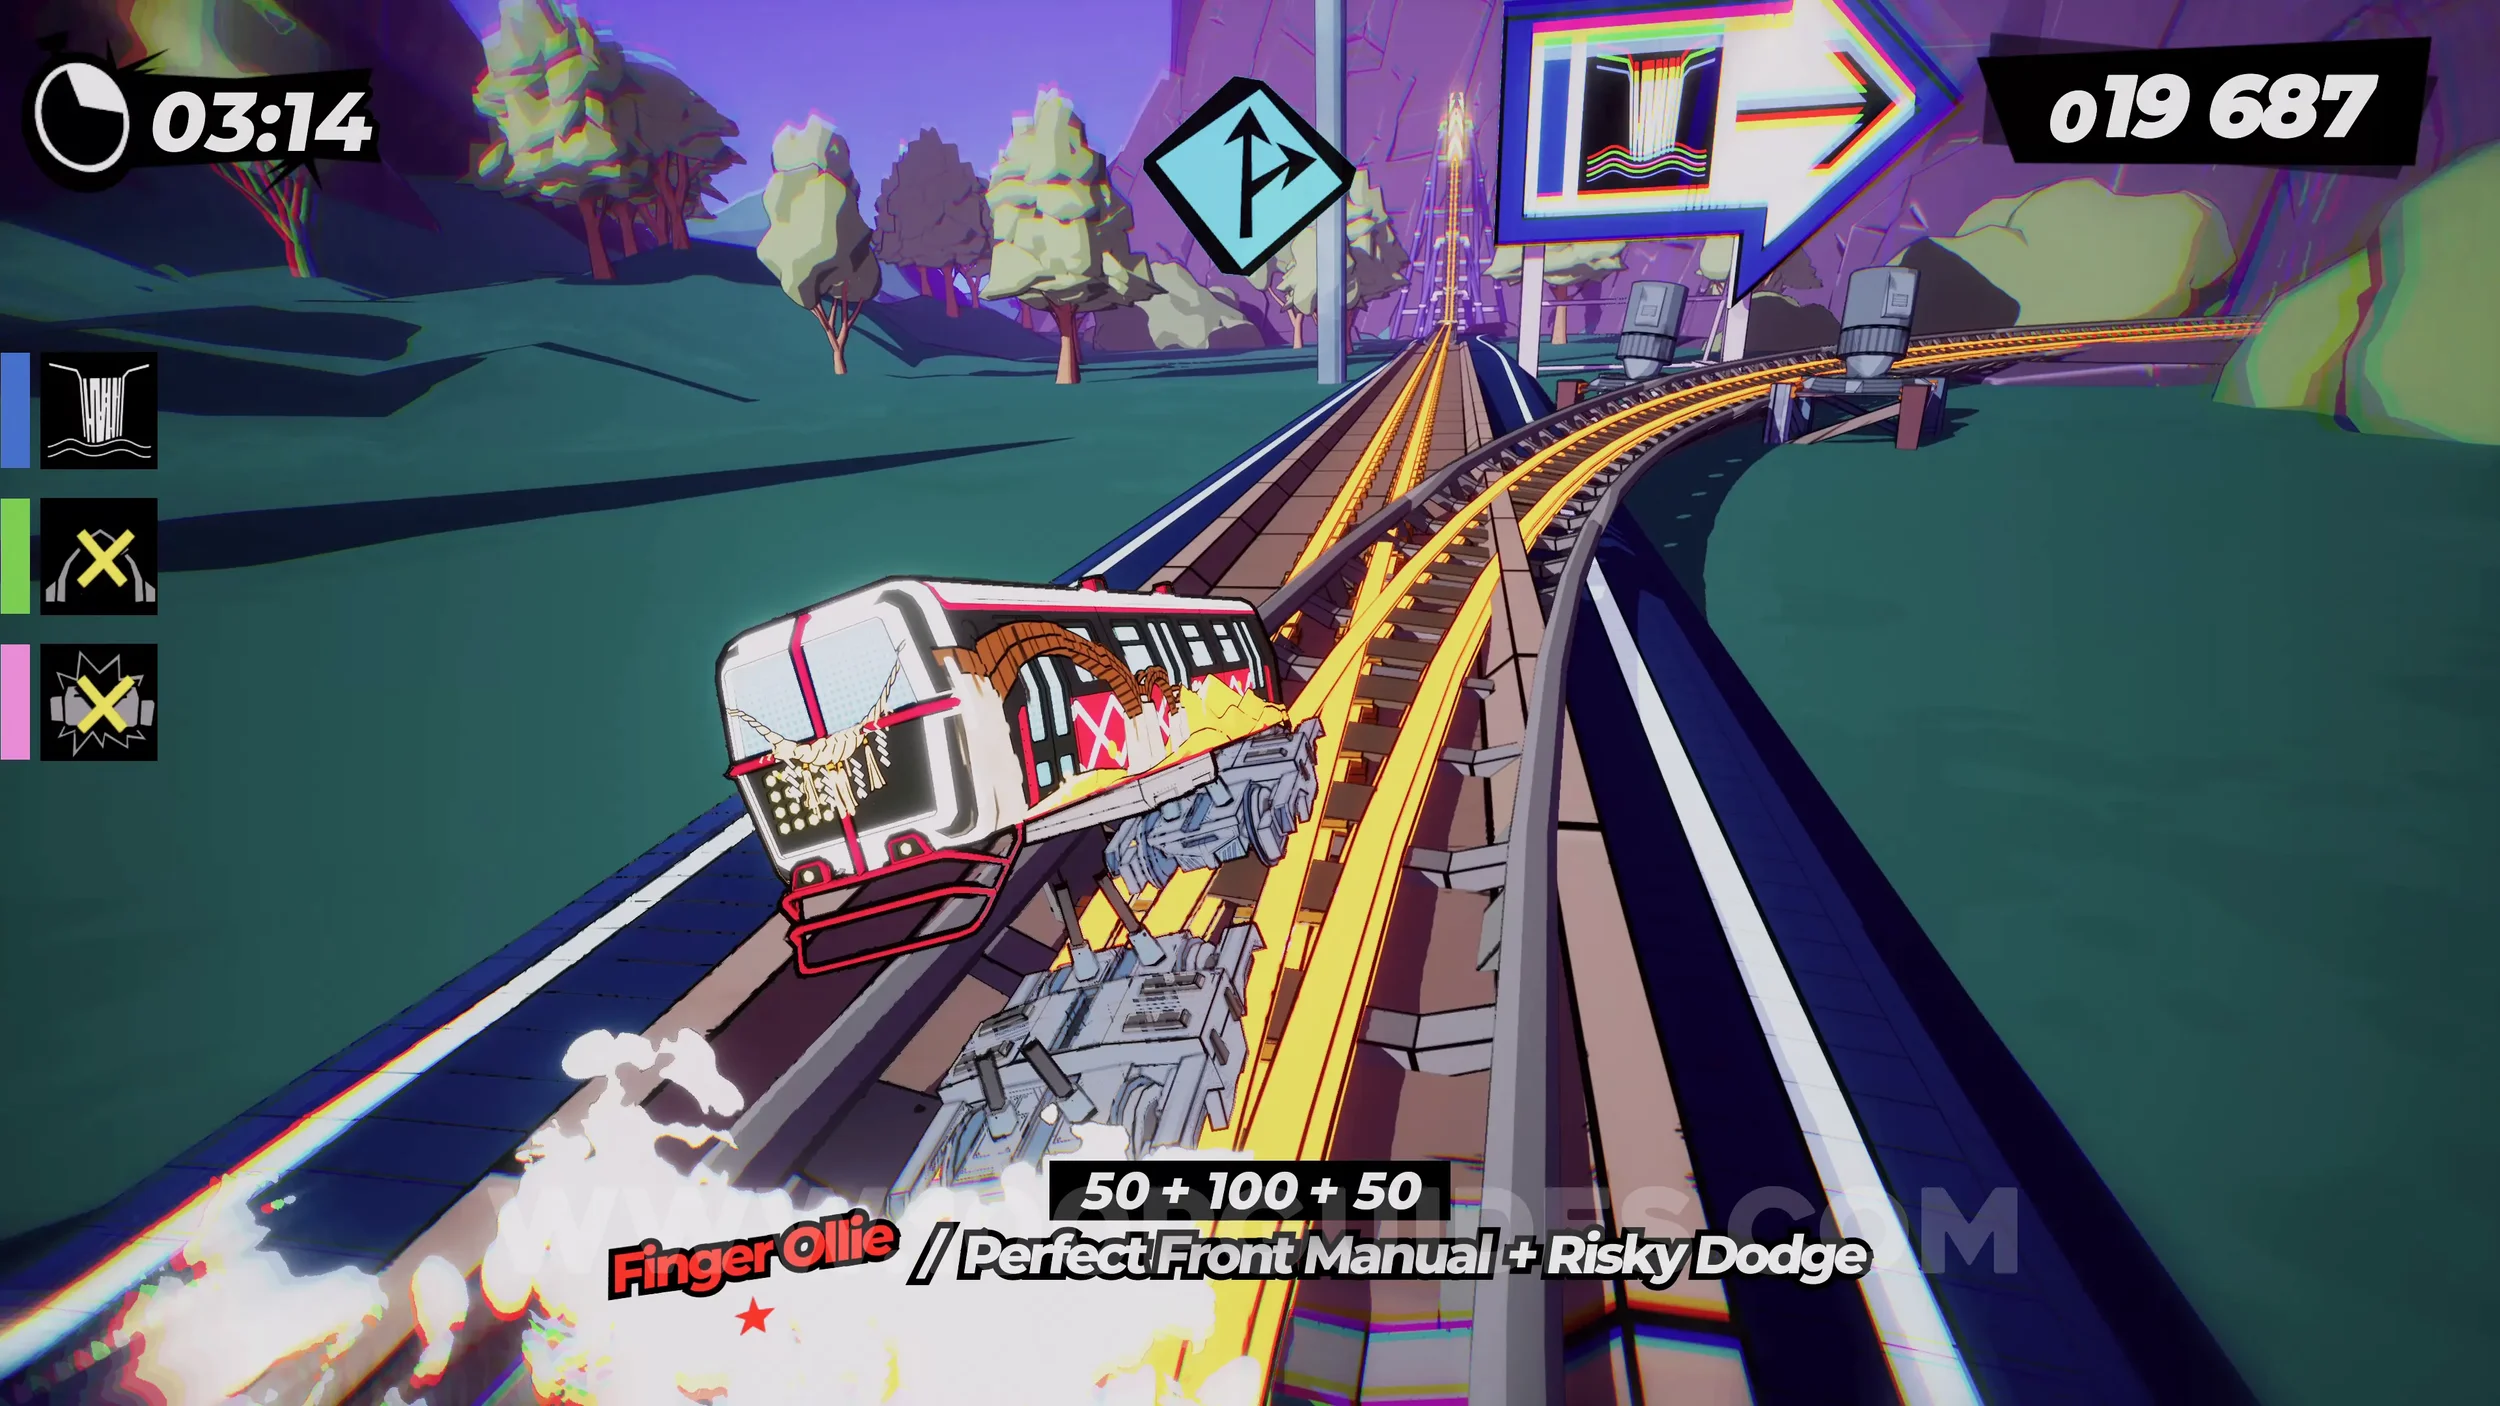
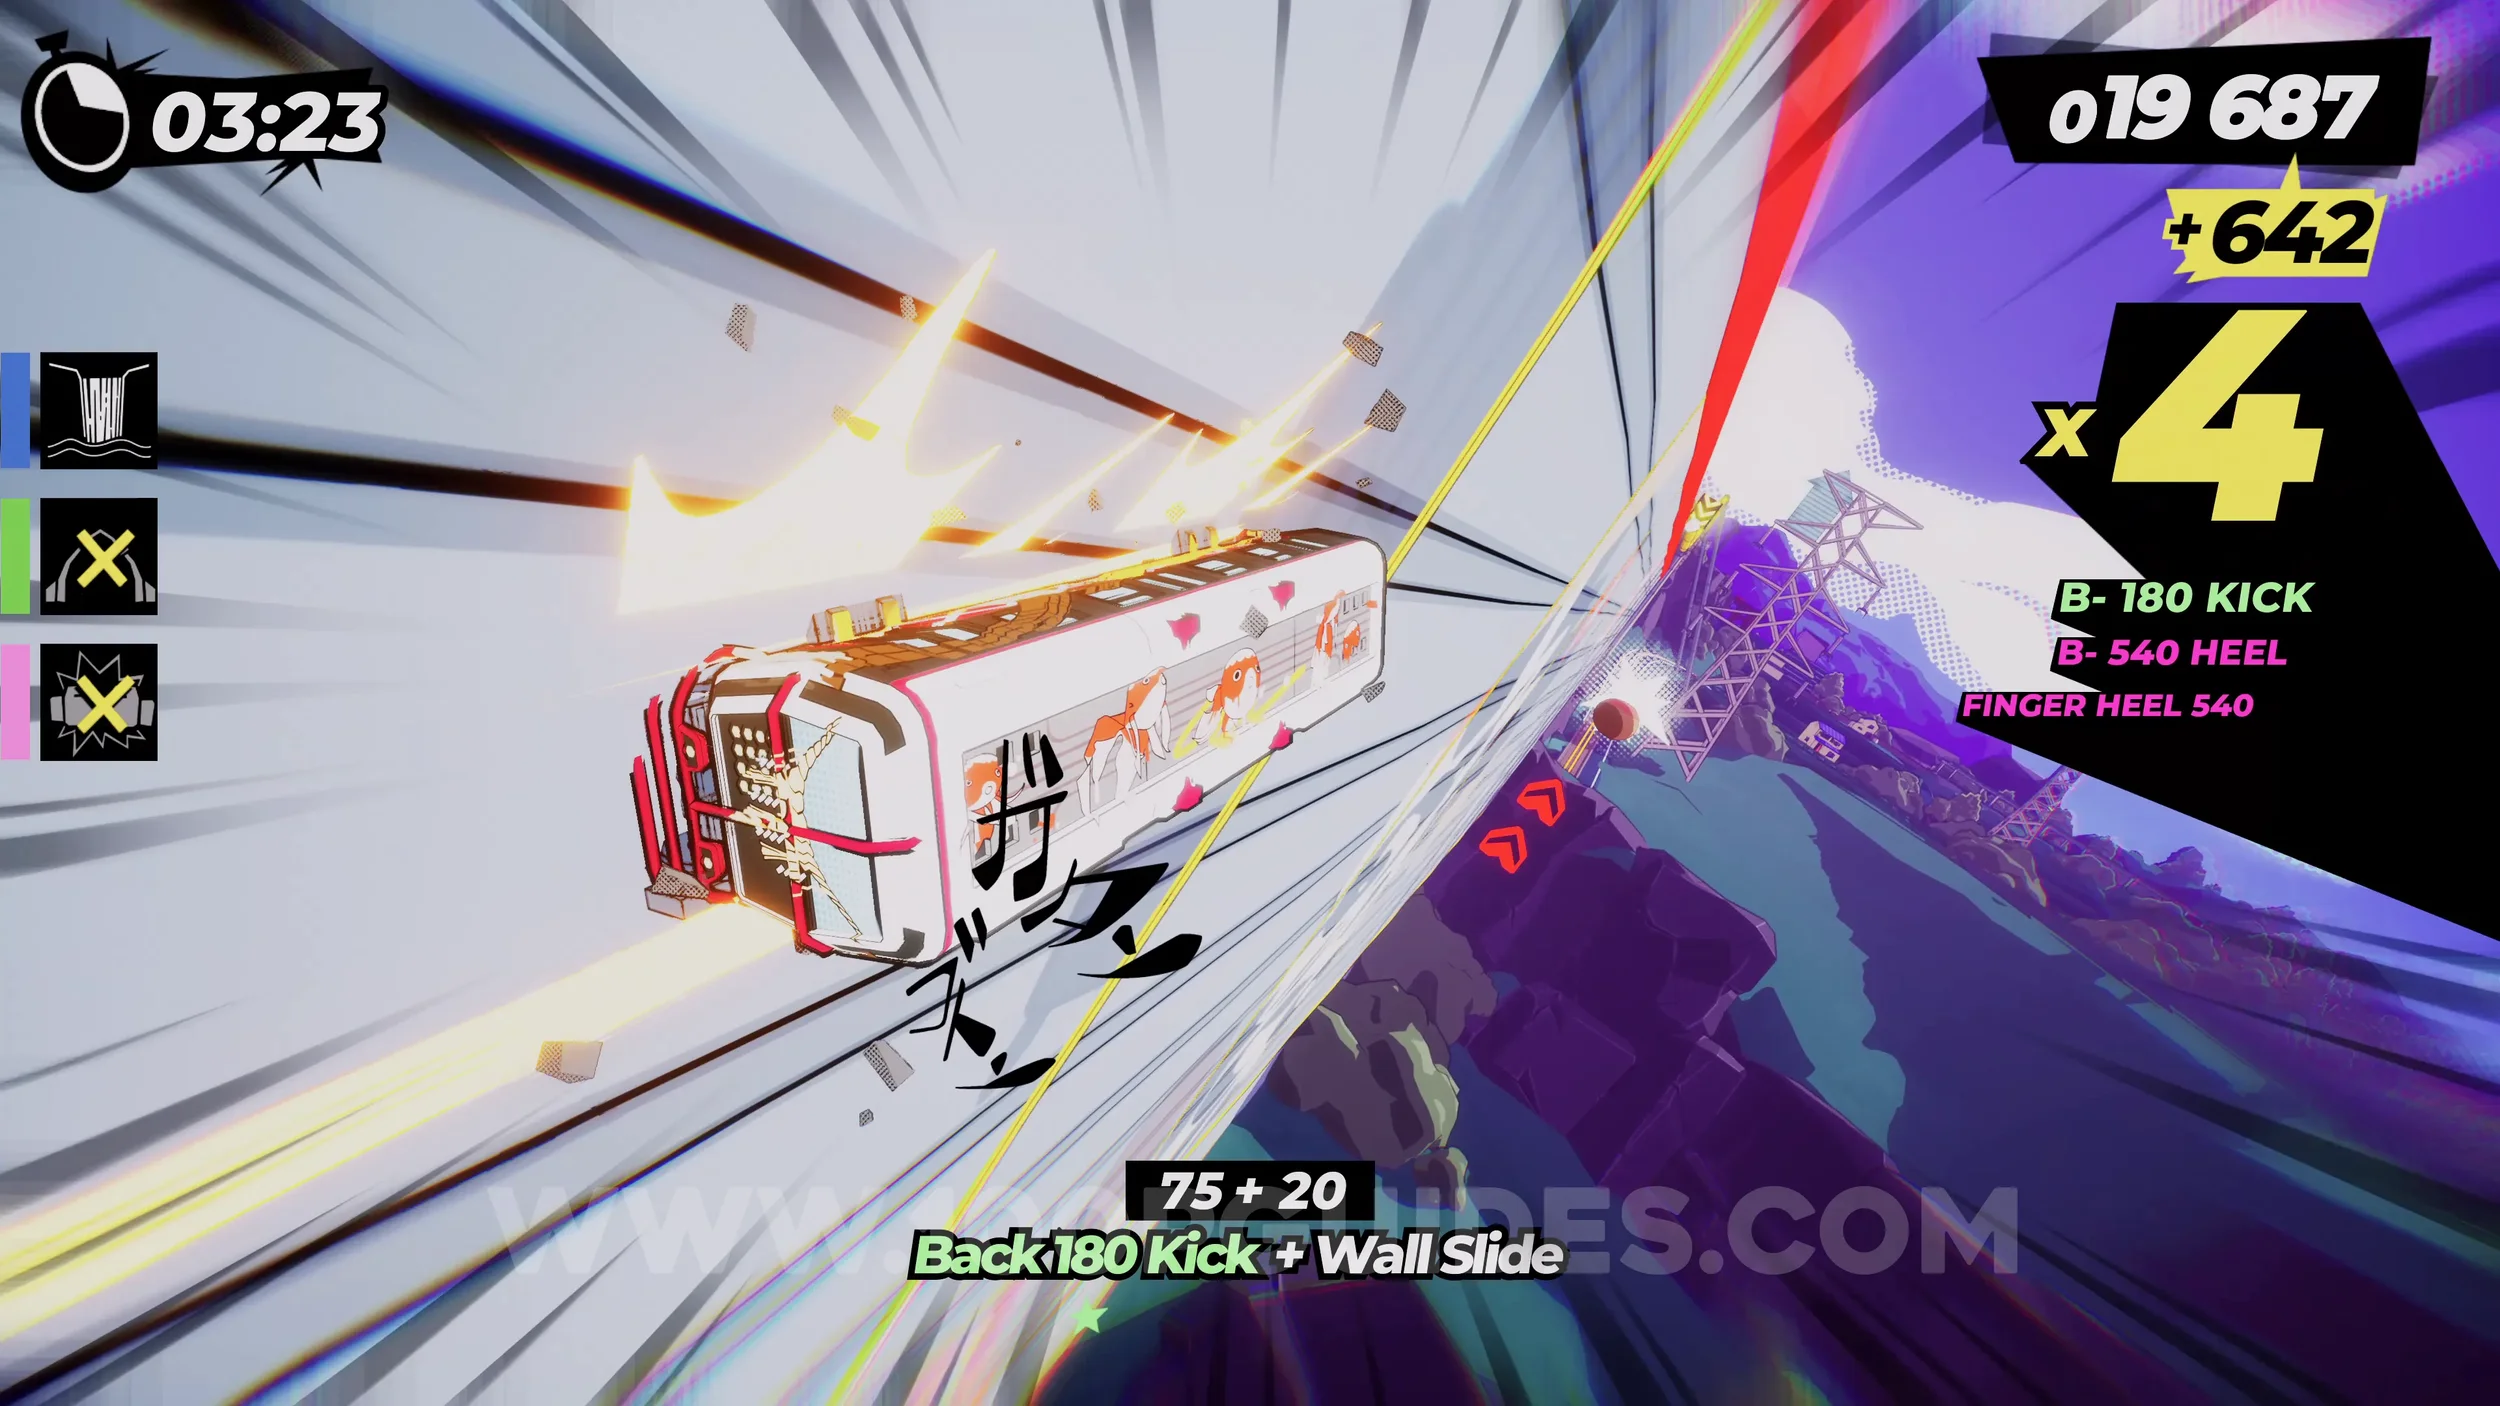
Dare: Drive Through all 3 Torii Gates (3/3). You will go through it after the previous collectible.
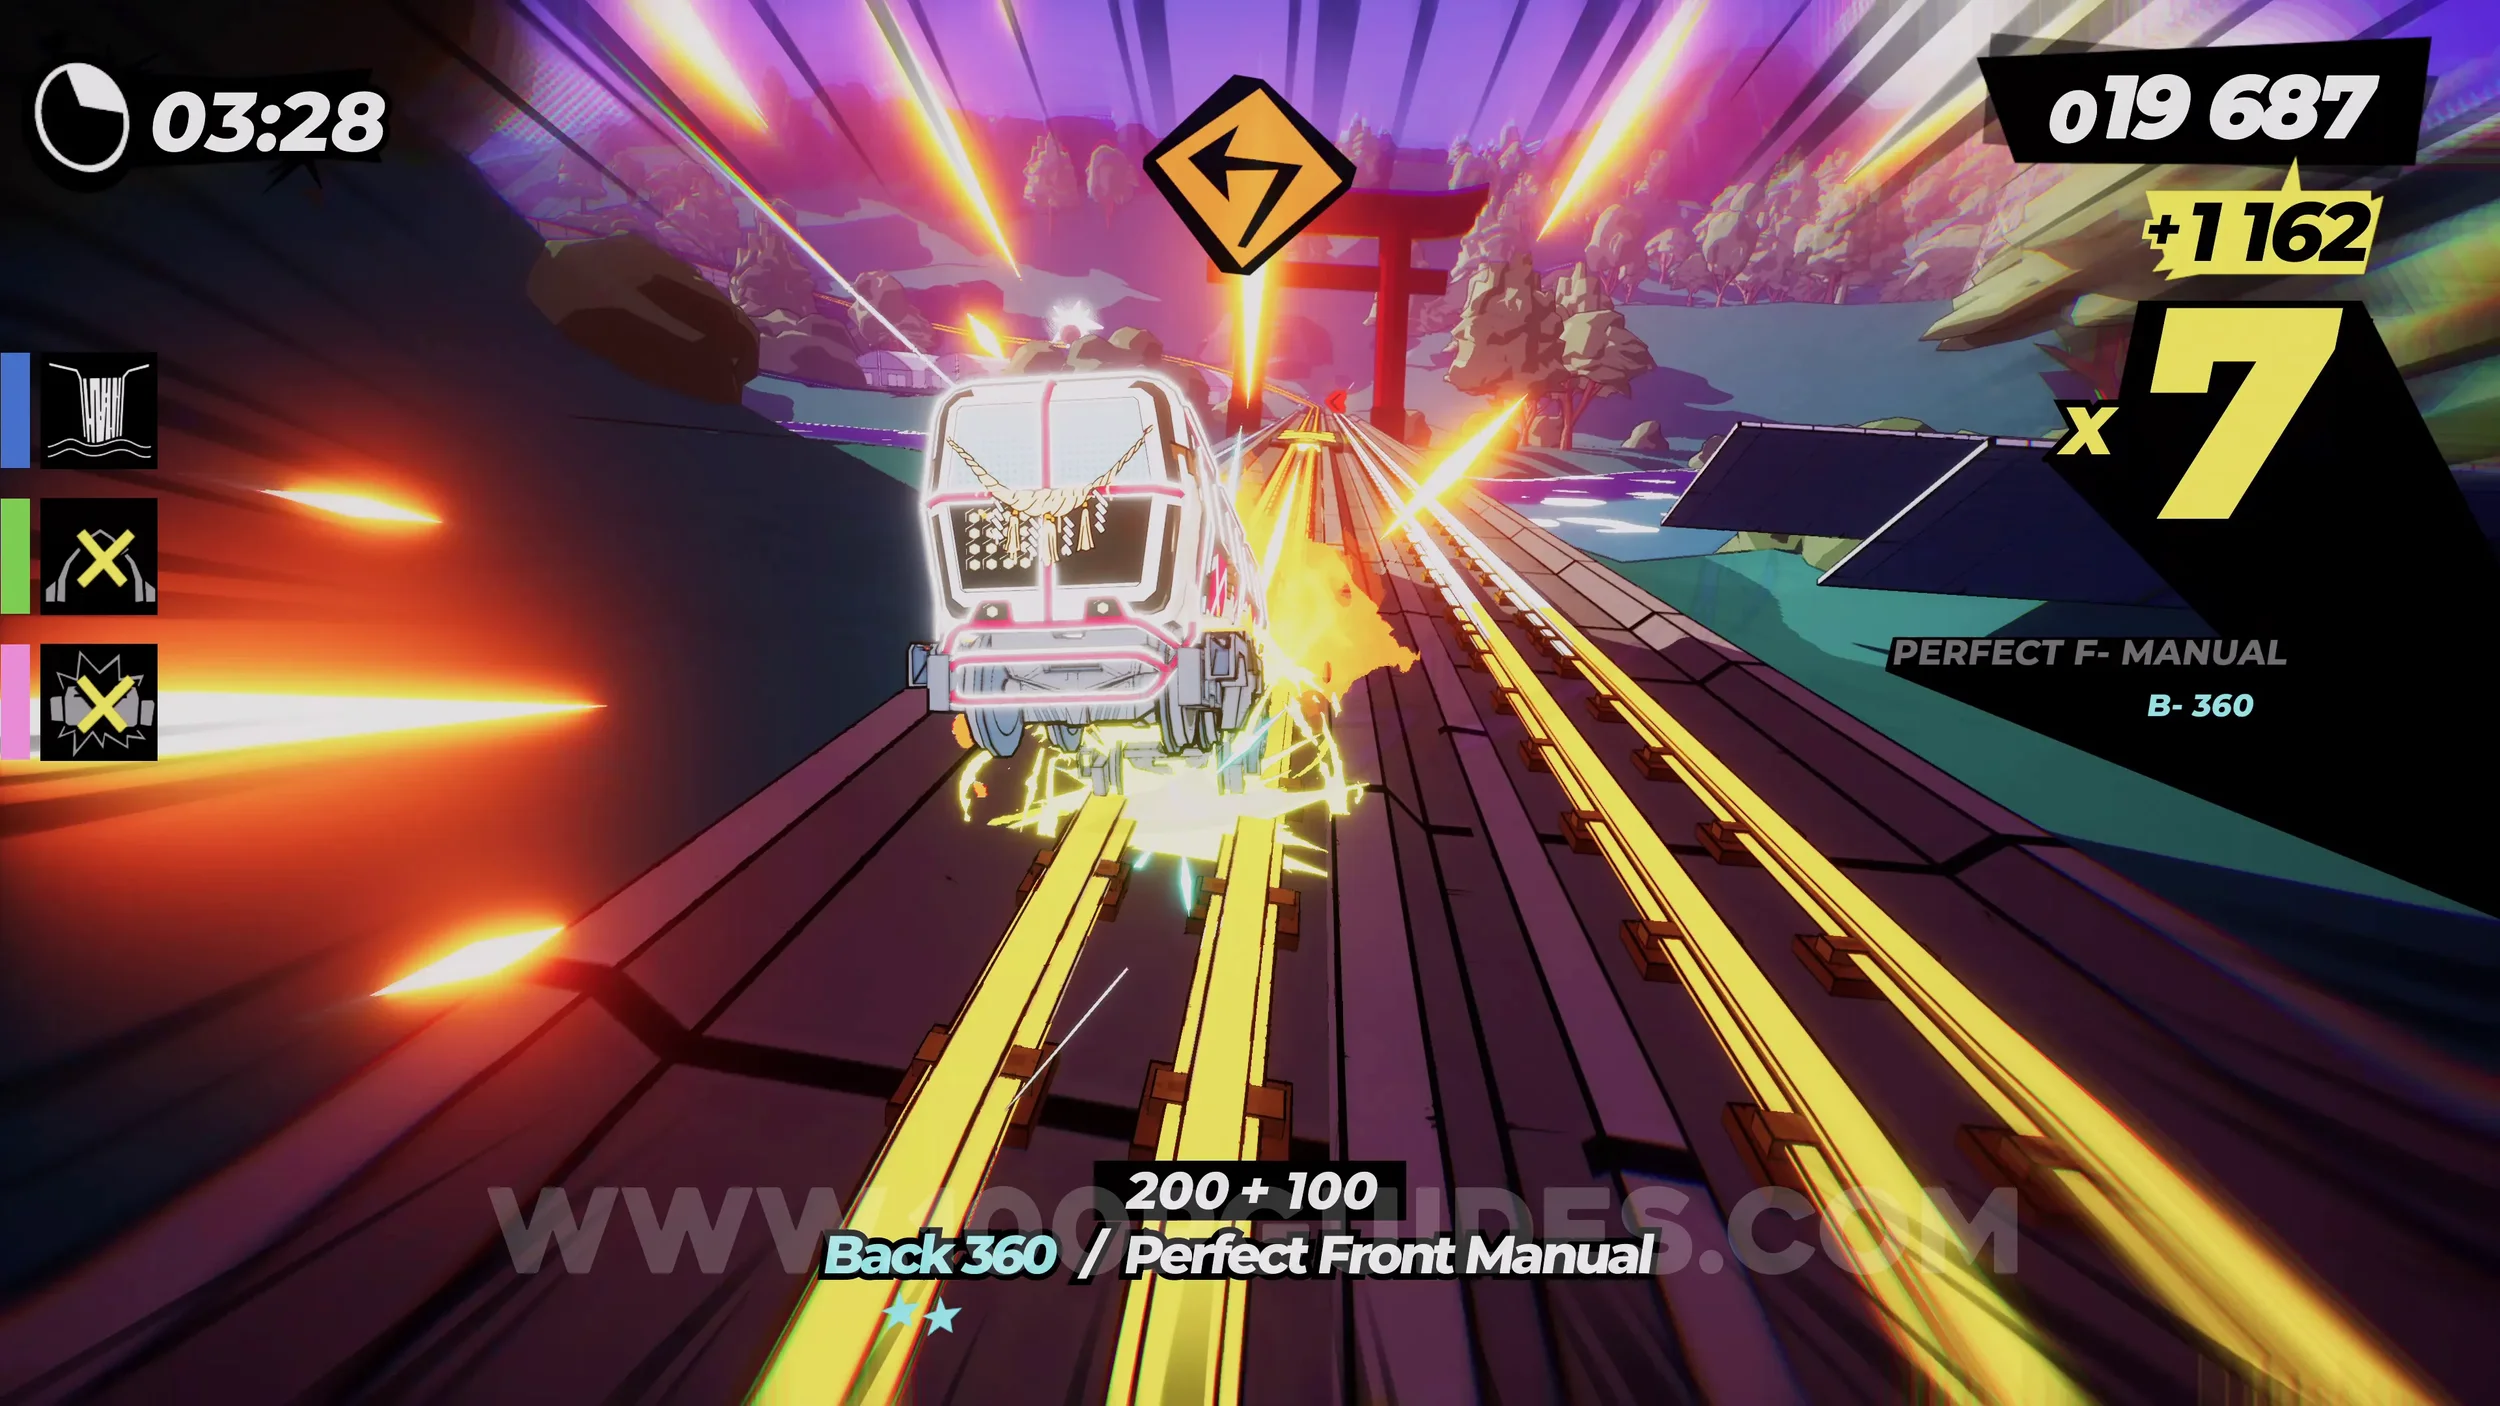
Dare: Collect 5 White Peaches (5/5). In plain sight after the torii gate.
Dare: Perform 5 Grind Tricks Behind The Waterfall. After the previous collectible, you will eventually circle back to the start. At the first fork, take the left path to quickly get back to the area with the second torii gate. Here, go straight and then simply follow the blue signs to get to the area behind the waterfall. Here you will grind a yellow rail. Use the right analog stick to perform any five tricks.
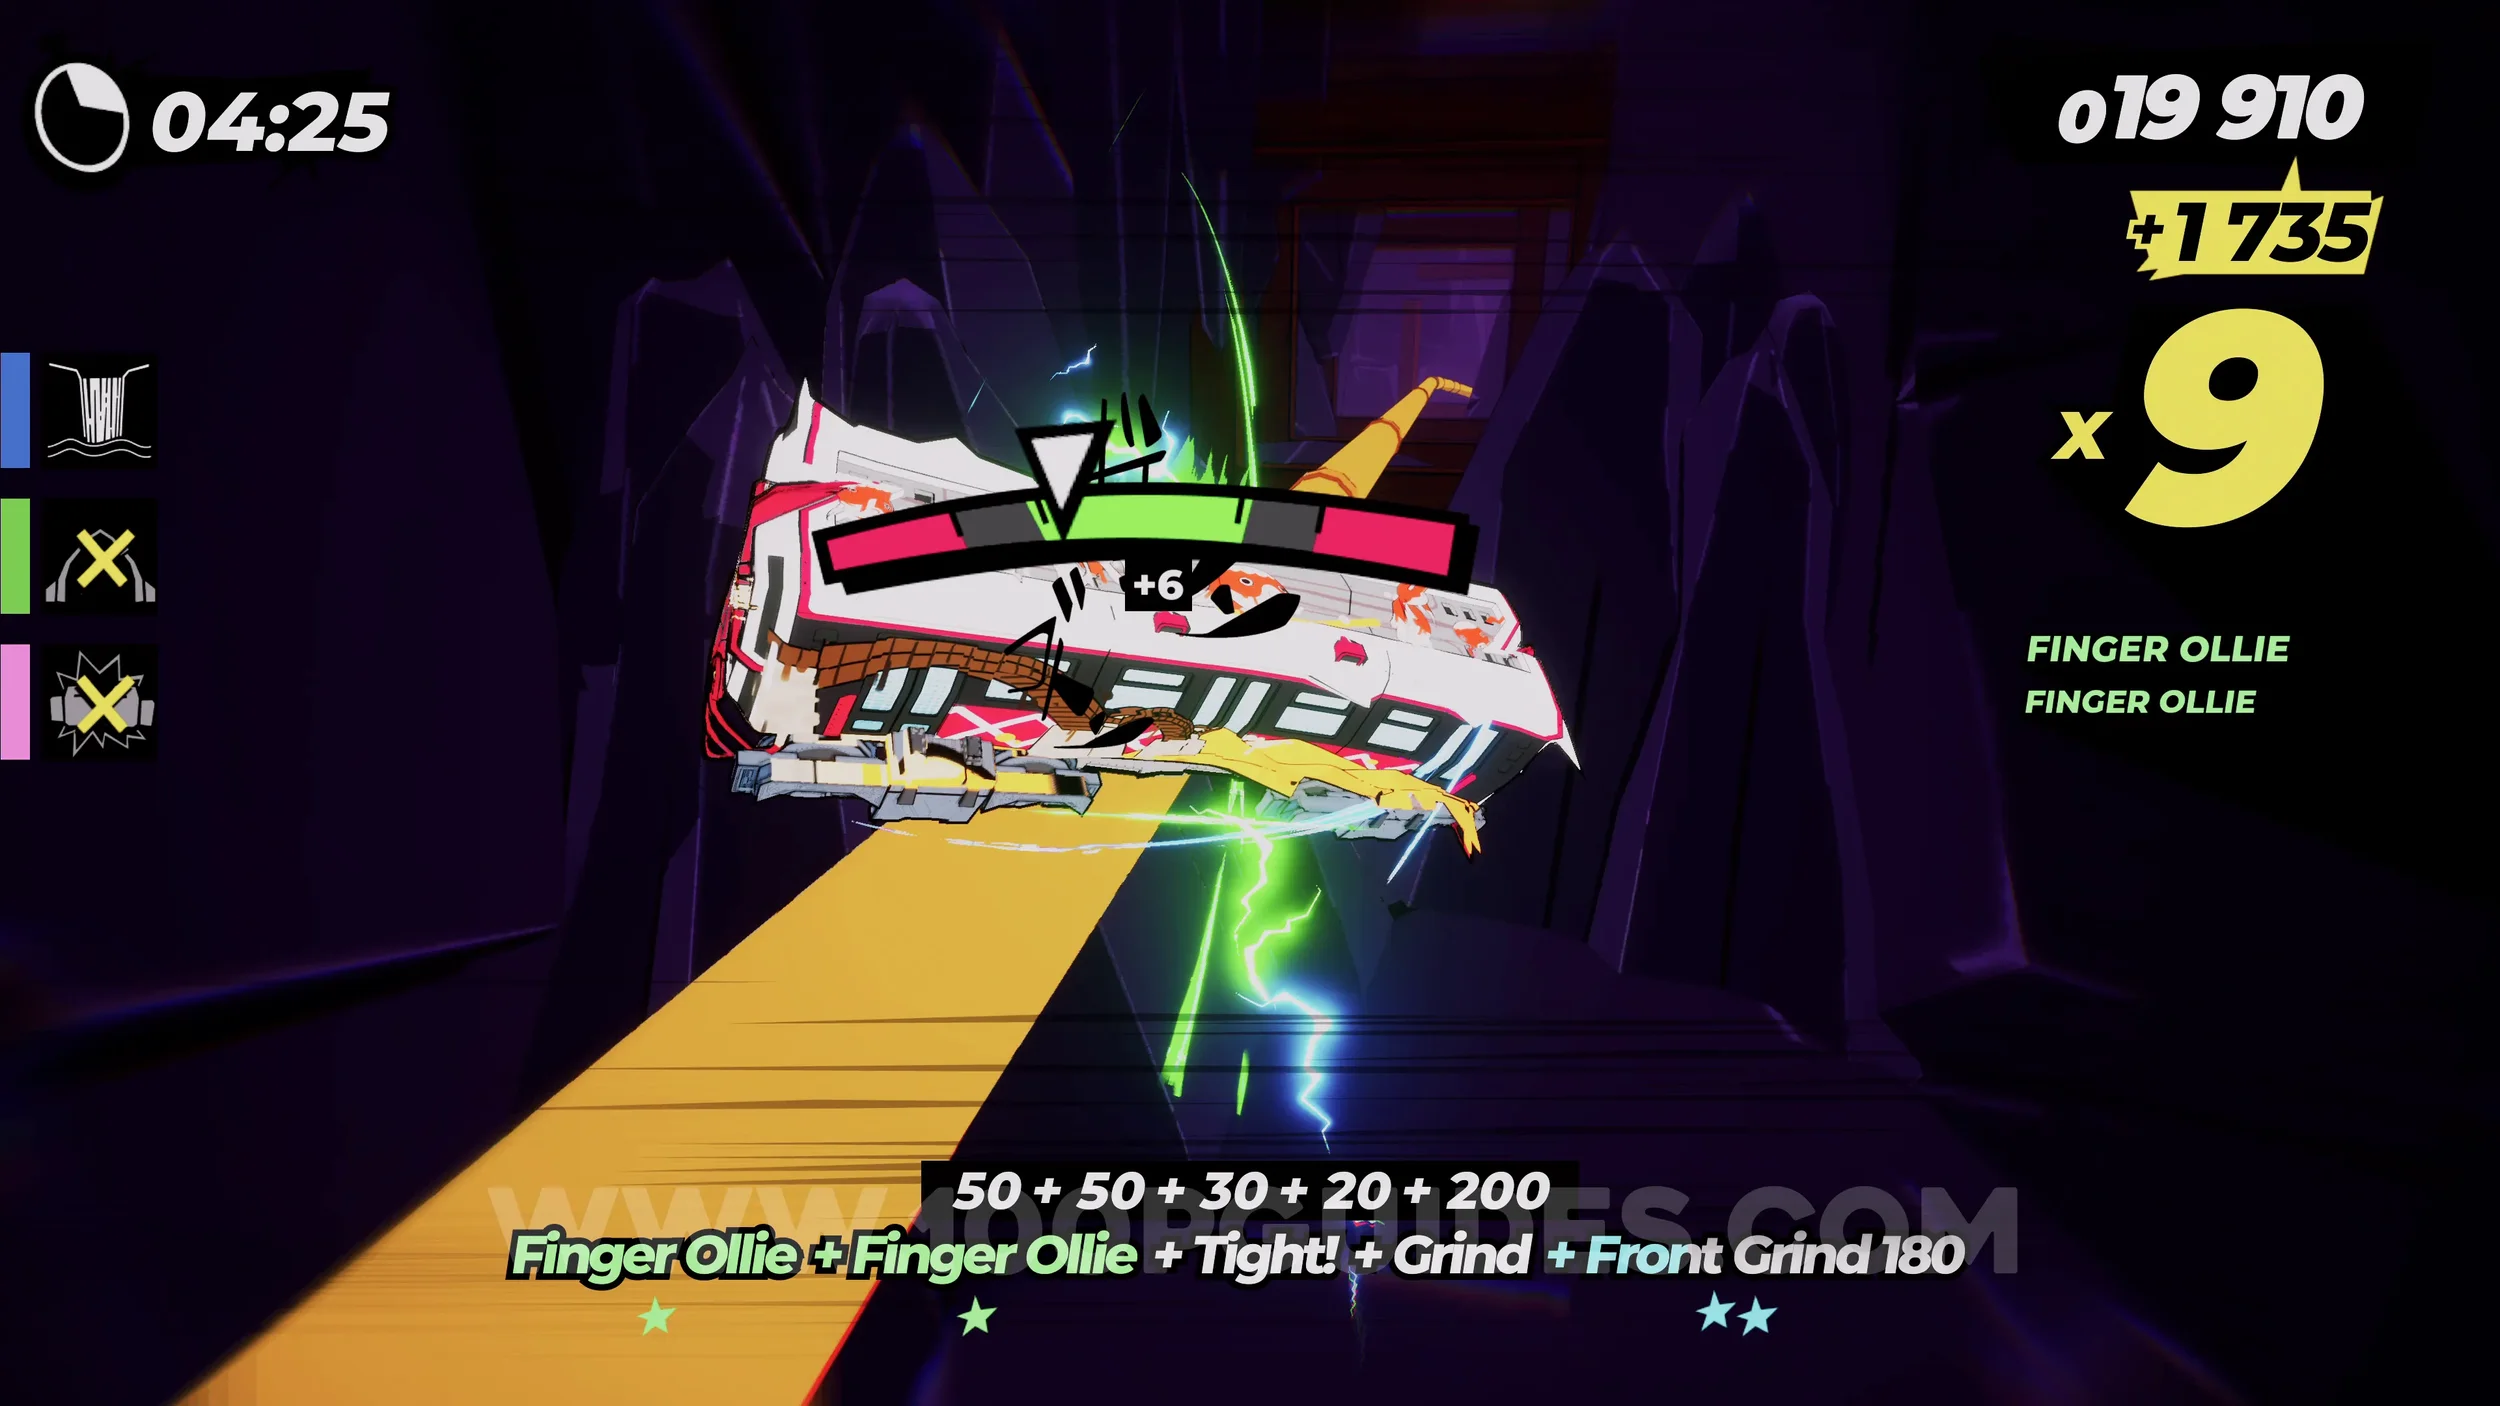
Dare: Pull a 20 Trick Combo. Self-explanatory.
4-1-3 The Tower Of Endurance
Spray Can (1/3). At the end of the first straight, on the wall to the left.
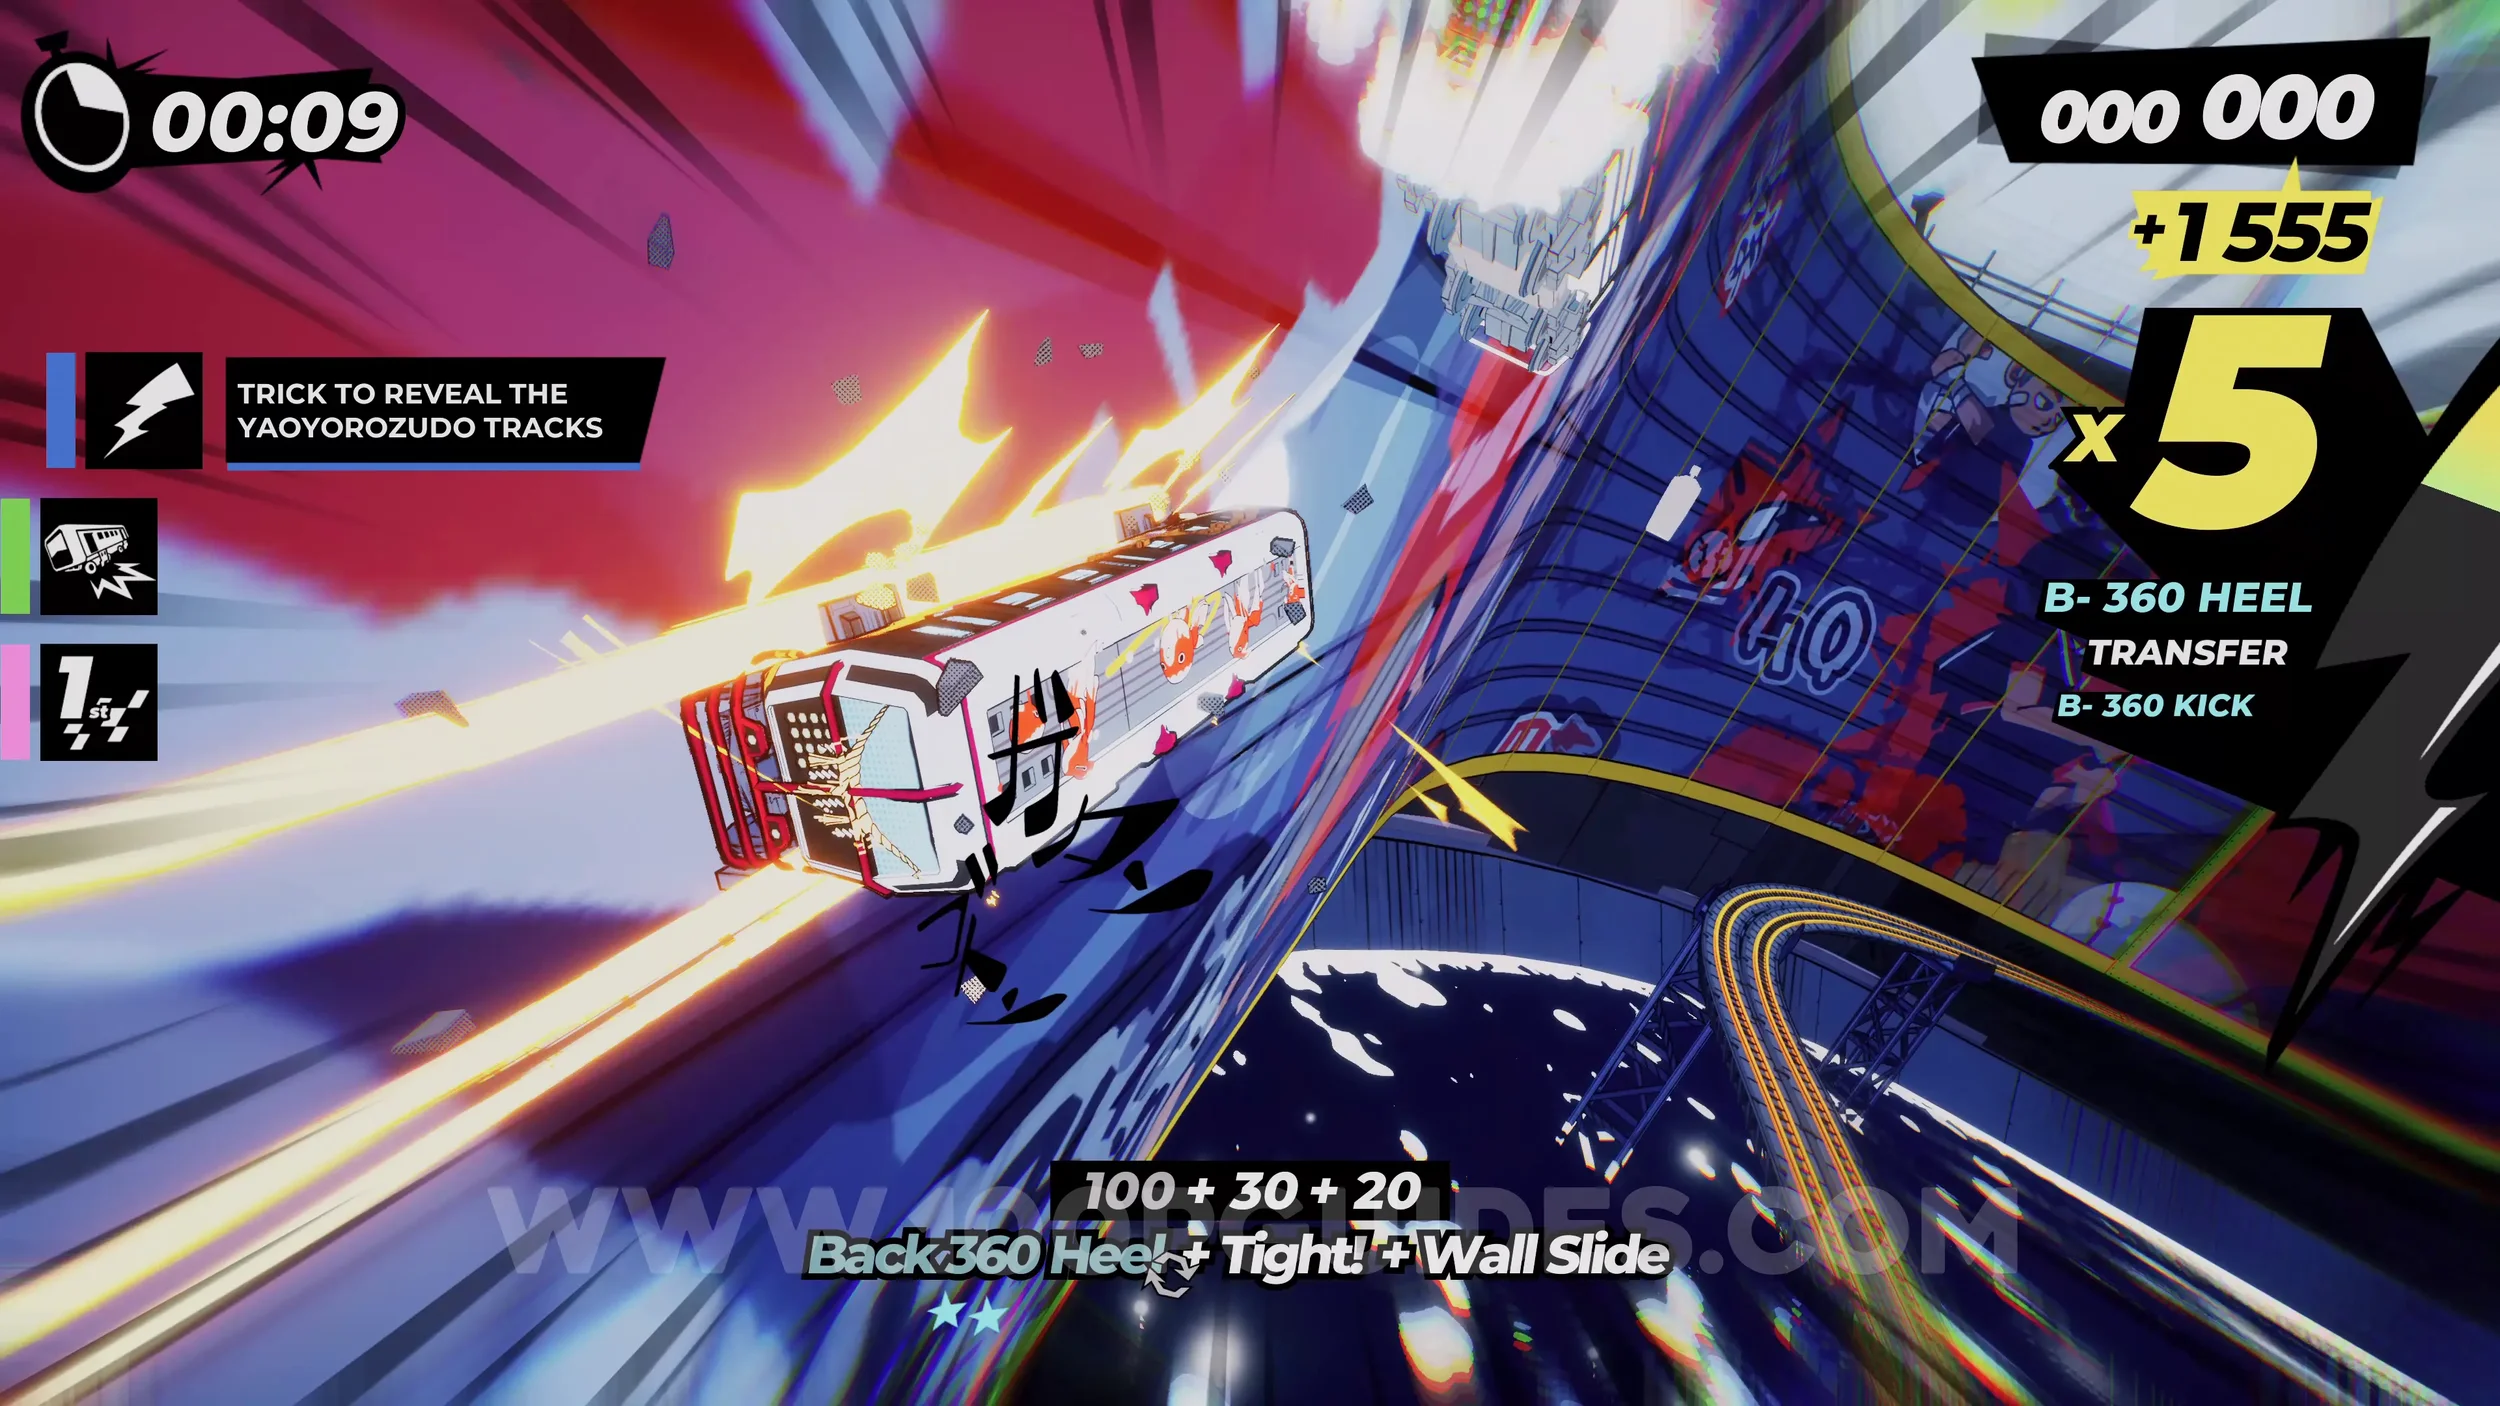
Spray Can (2/3). Soon after the first can, you will go through a half pipe and then around a corner, then up a small slope. At the top, jump onto the rail straight ahead to get to the can.
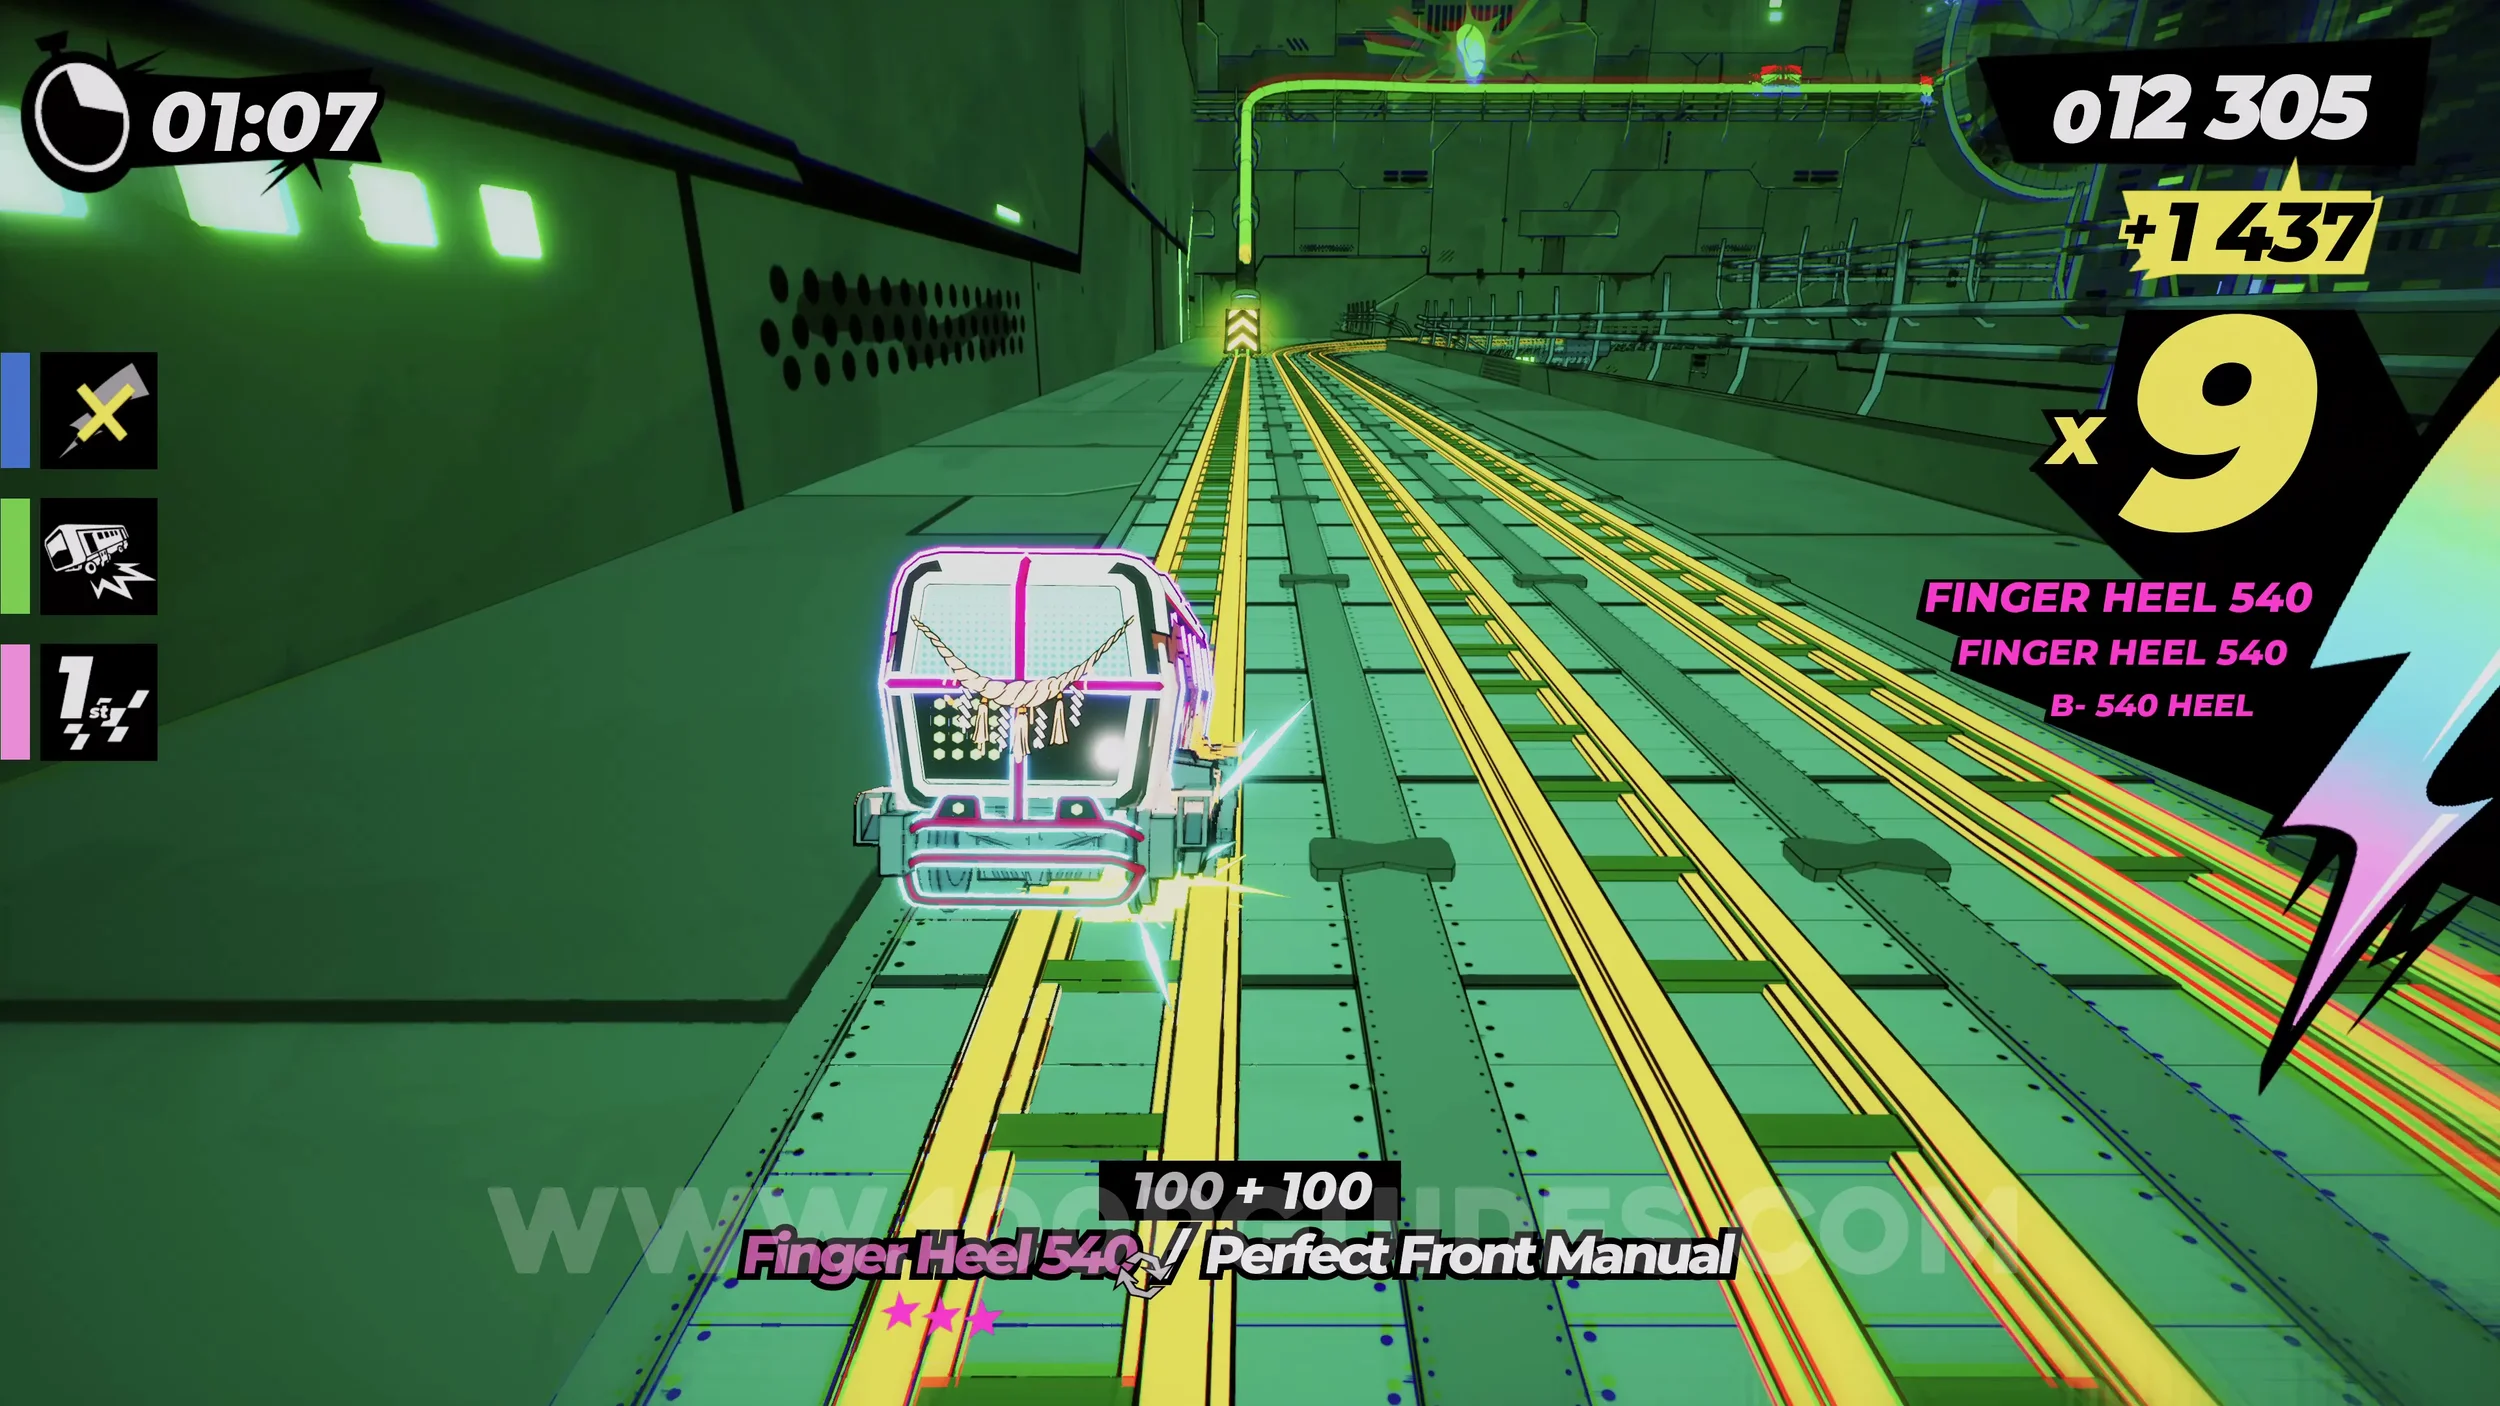
Dare: Fill the Energy Bar Before Completing a 1st Floor Lap. Self-explanatory. Fill the energy bar before doing a full lap of the first floor. You will eventually have to fill it anyway to ride the rainbow rail up to the second floor.
Gear (1/1). In plain sight above you once you get to the tunnel on the second floor.
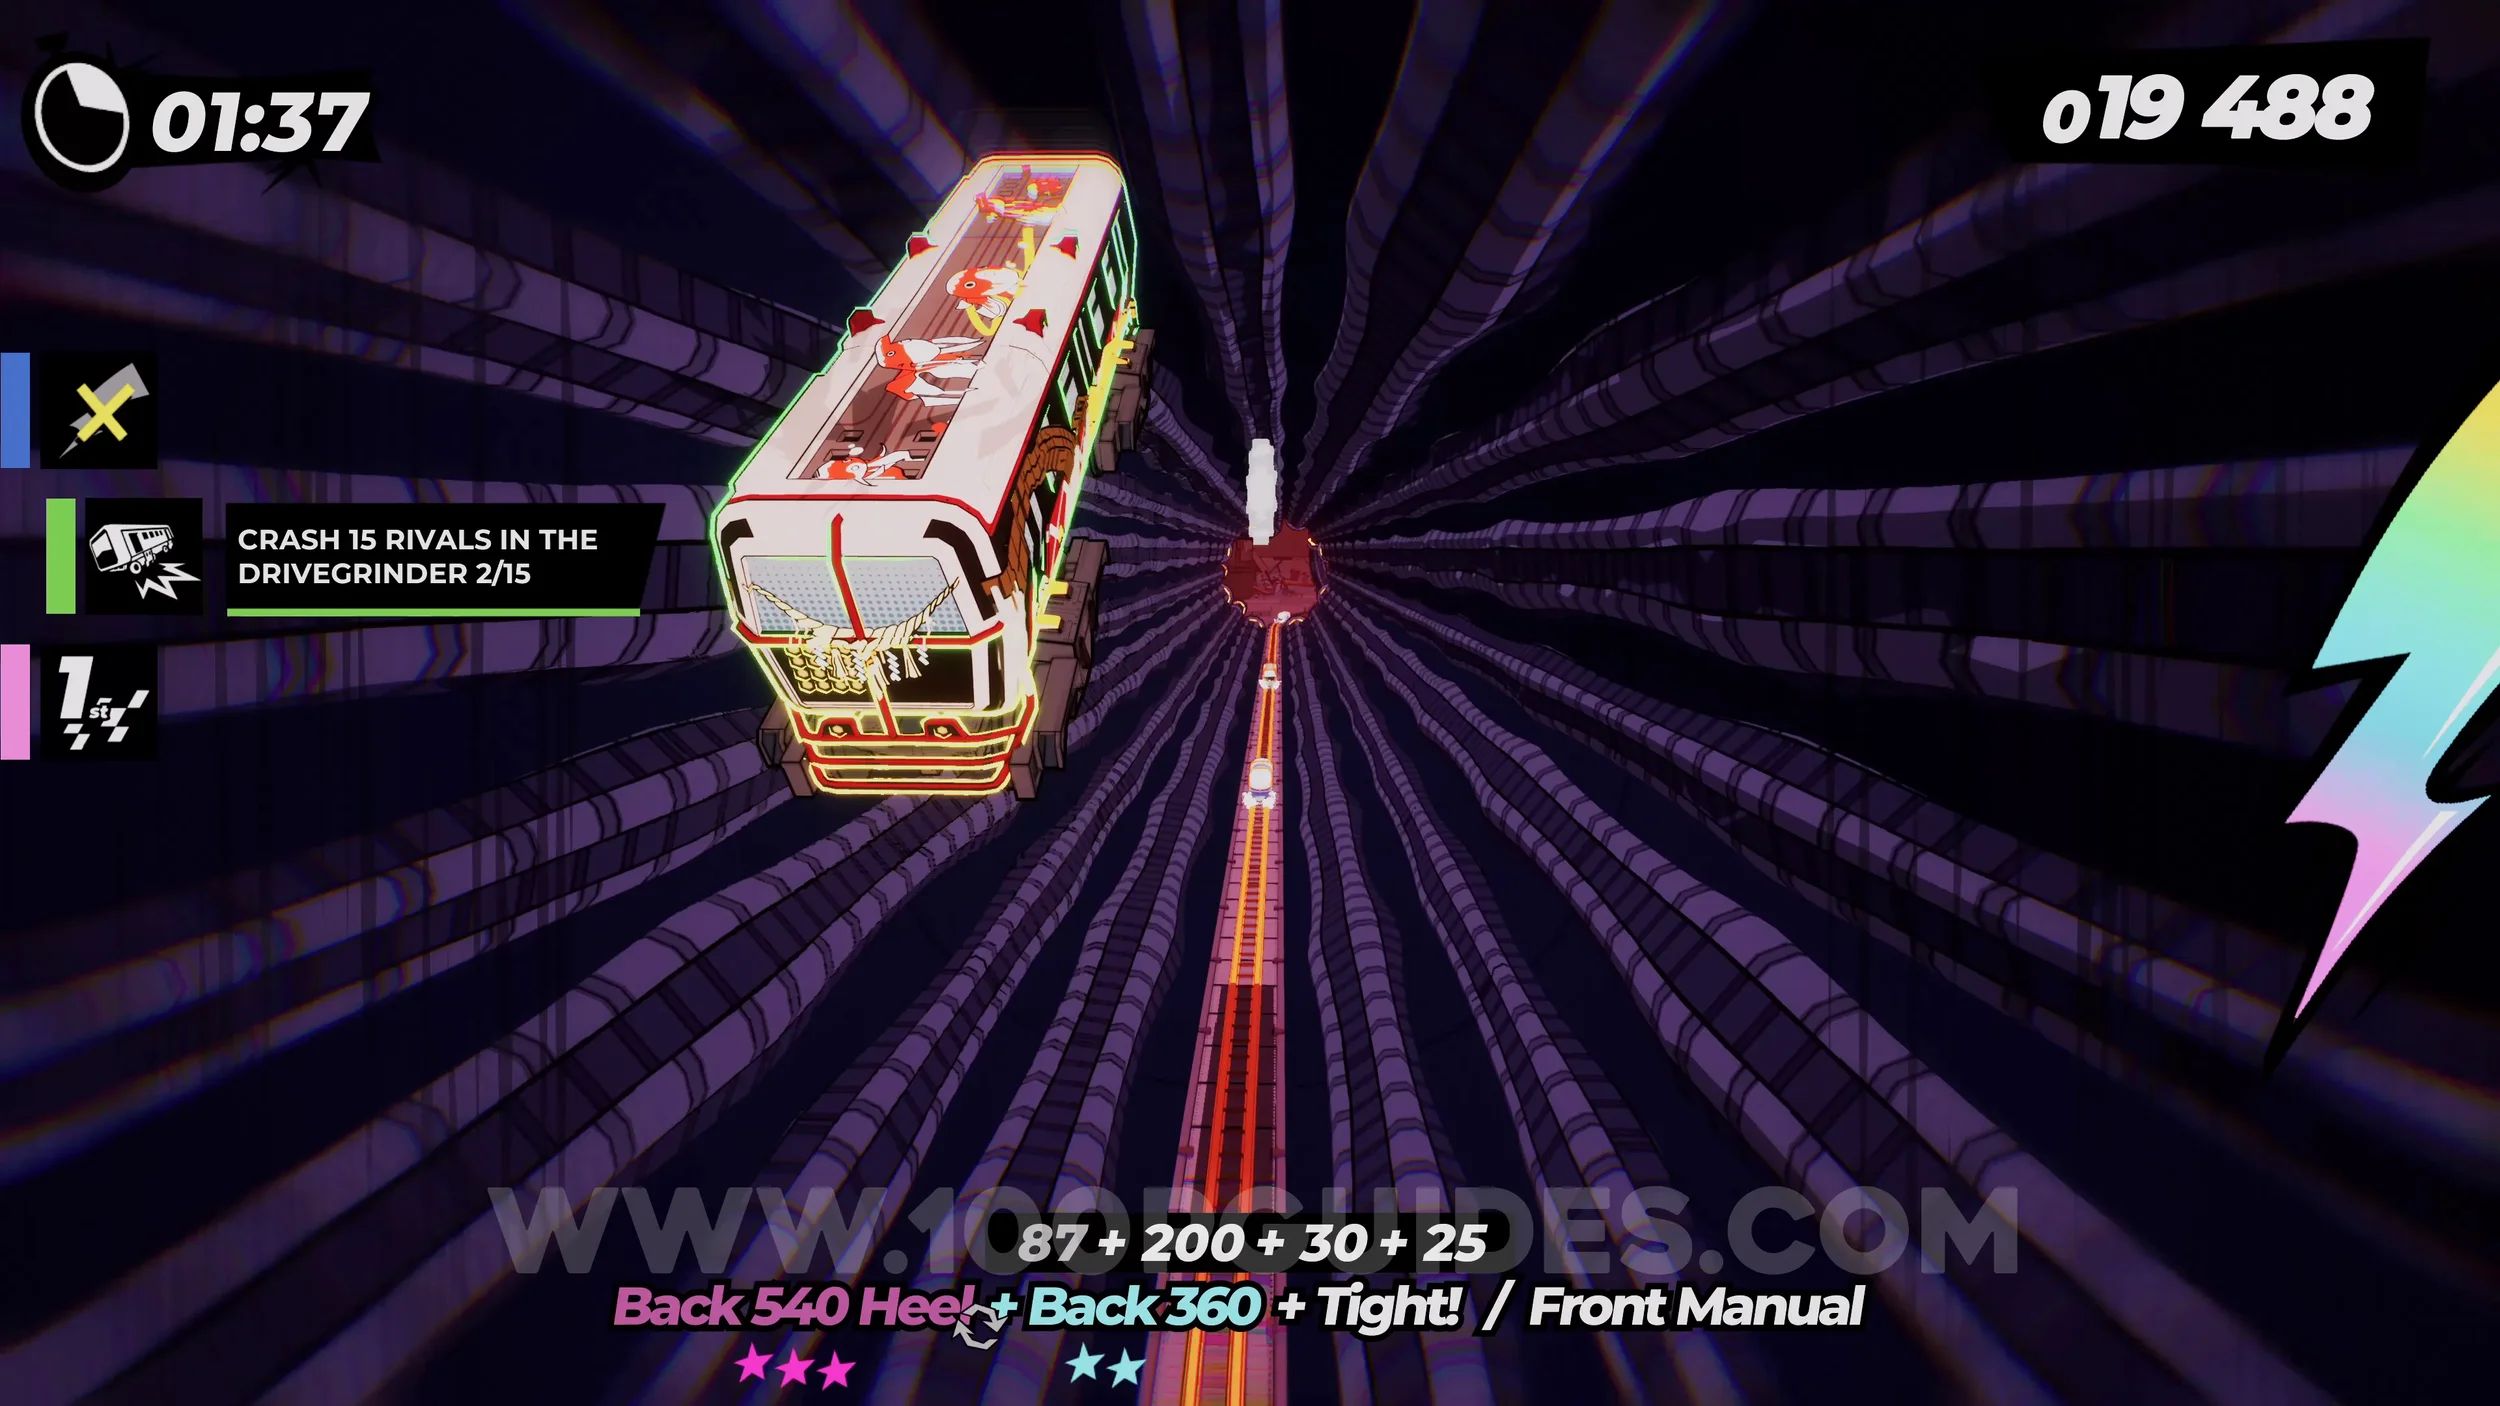
Spray Can (3/3). Soon after the previous collectible, you will get to a straight with seven tracks, with the ones on the sides being at a slight angle. Stick to the right here to get the can.
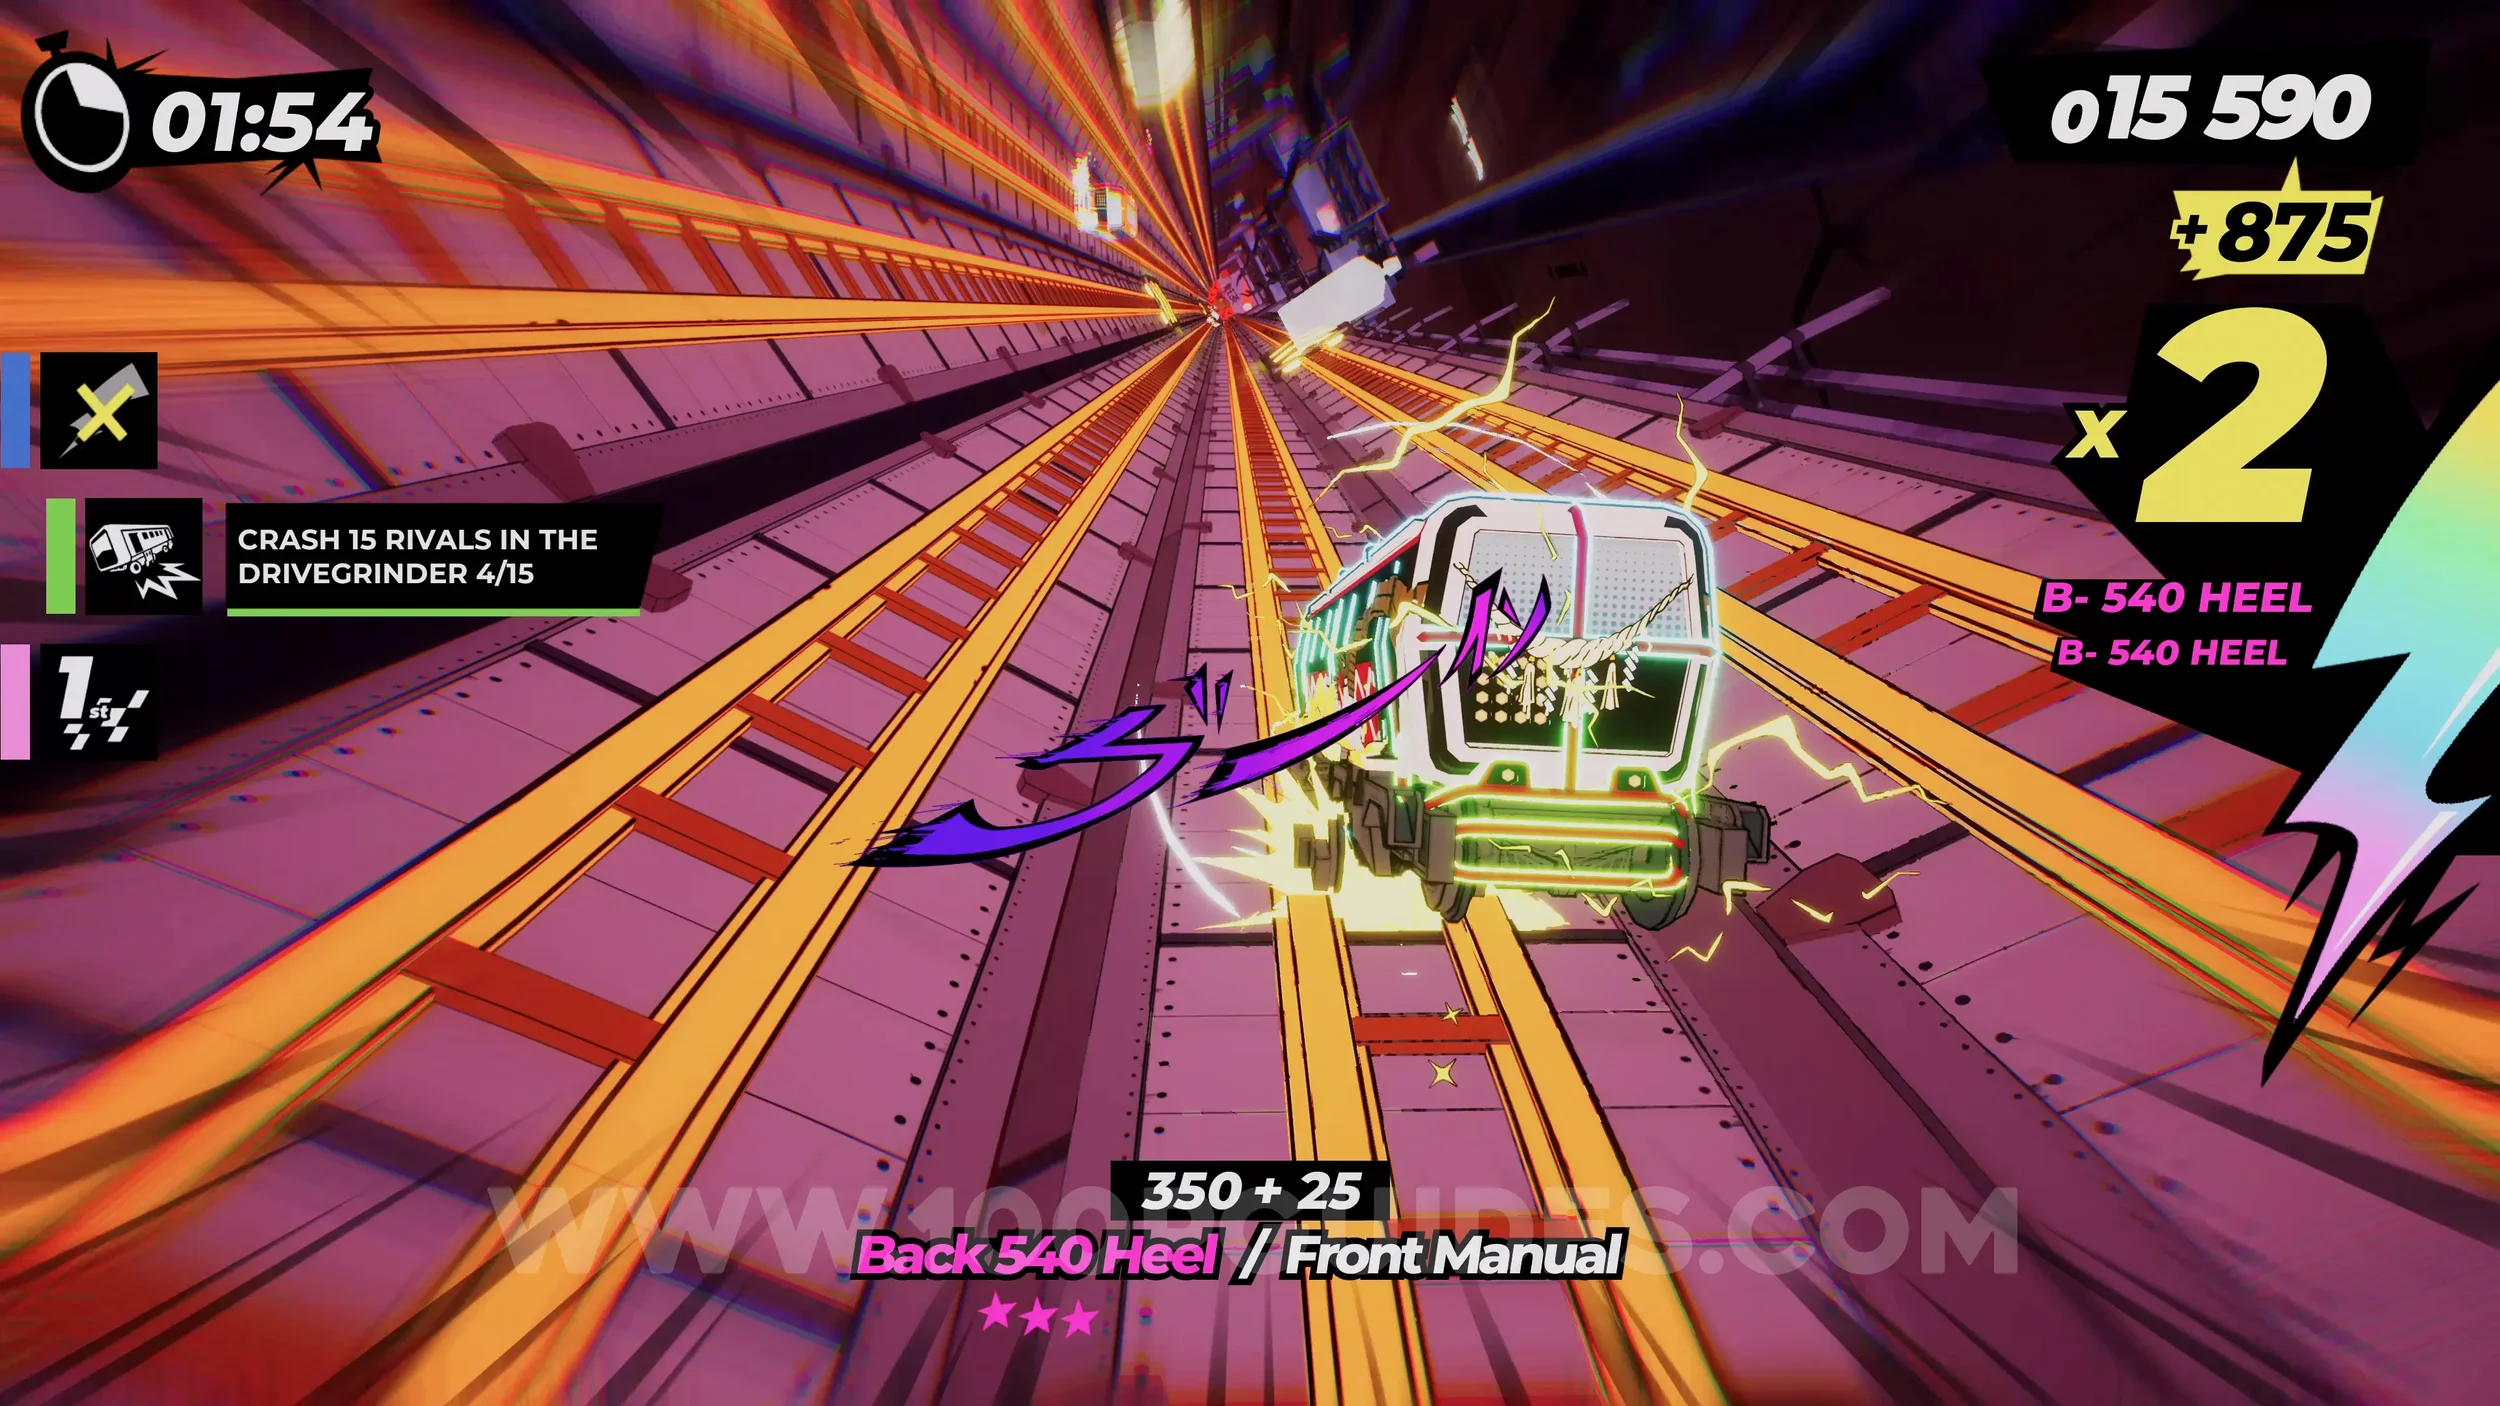
Film Roll (1/1). Found on the third floor. You will see it in plain sight on the straight after going through the tunnel section.
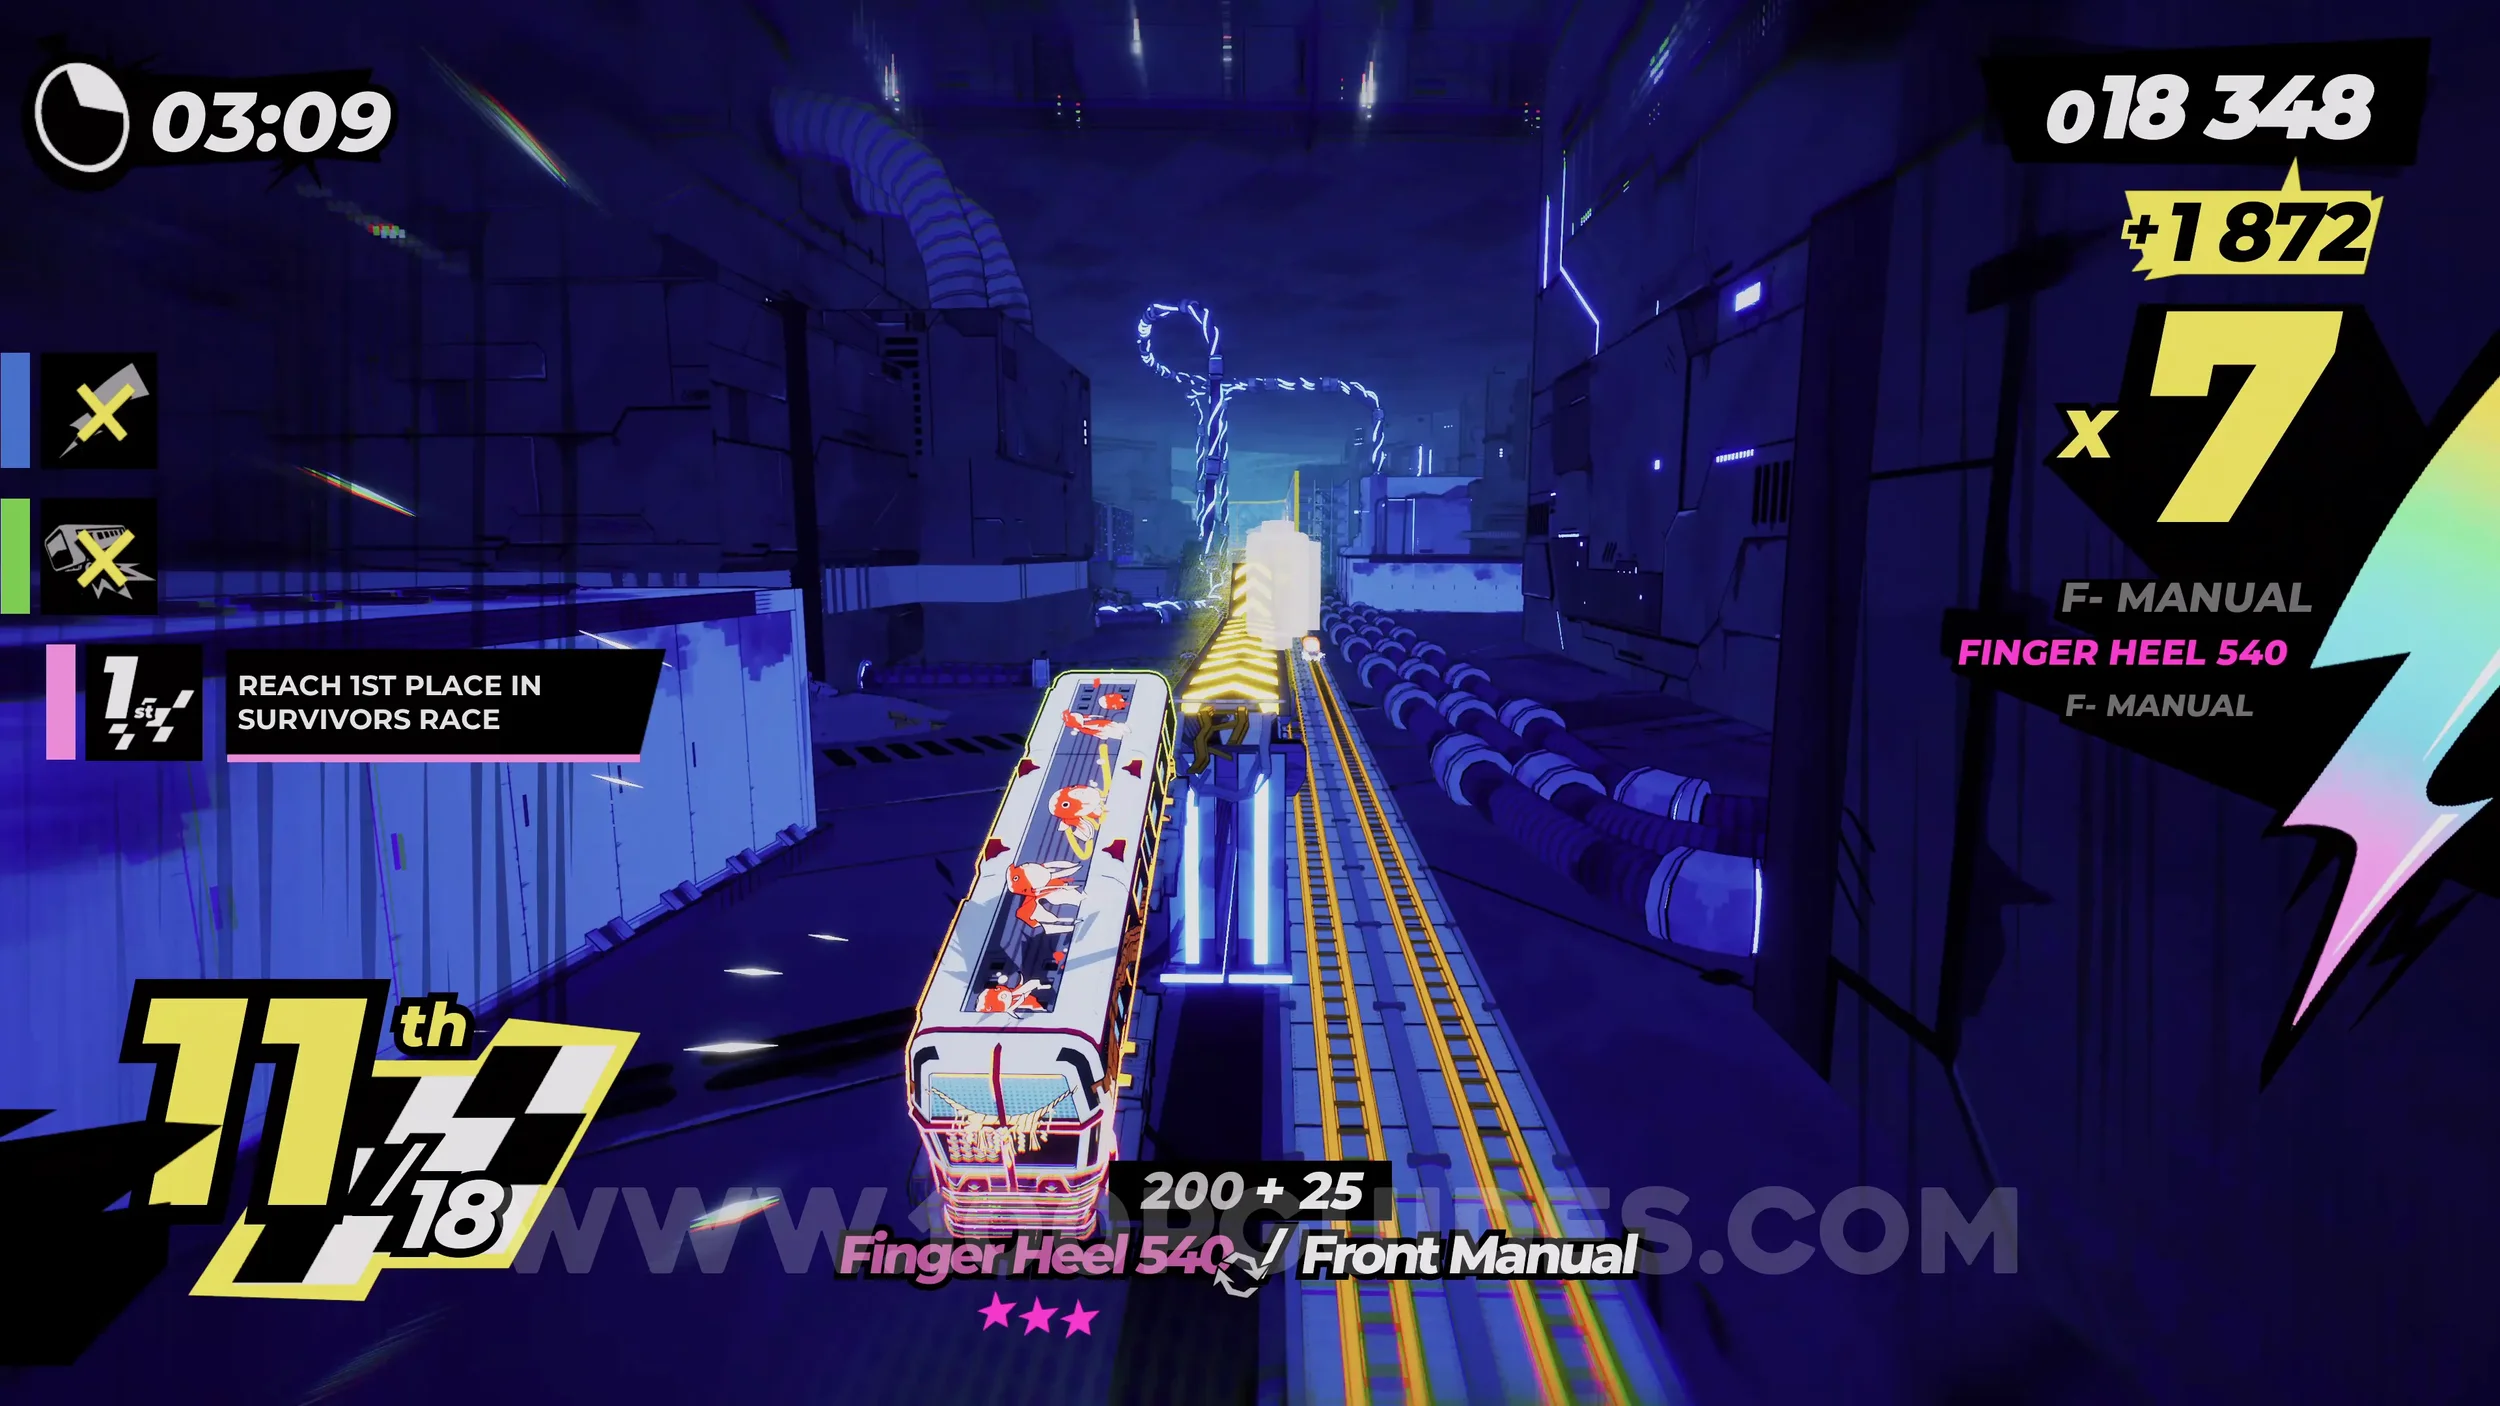
Dare: Reach 1st Place in Under 1:00 on the 3rd Floor. Self-explanatory.
Dare: Derail 25 Rivals in Total. Self-explanatory. Hit 25 rivals in total.
Dare: Score Over 250 Points on a Single Grind. Self-explanatory. You can easily do this on any of the rainbow rails between floors.
Dare: No Crash Finish. Self-explanatory. Reach the end of the level without crashing.
4-1-S Heartwarming Ramen
No collectibles in this level.
4-2-B Grand Slam
Dare: Hit a Baseball With a Hardcore Trick. At the start of the level, you will have to return baseballs just like with the boss at the end of chapter 2. Do this with any hardcore trick. You can check the list of tricks in the Tricktionary in the pause menu.
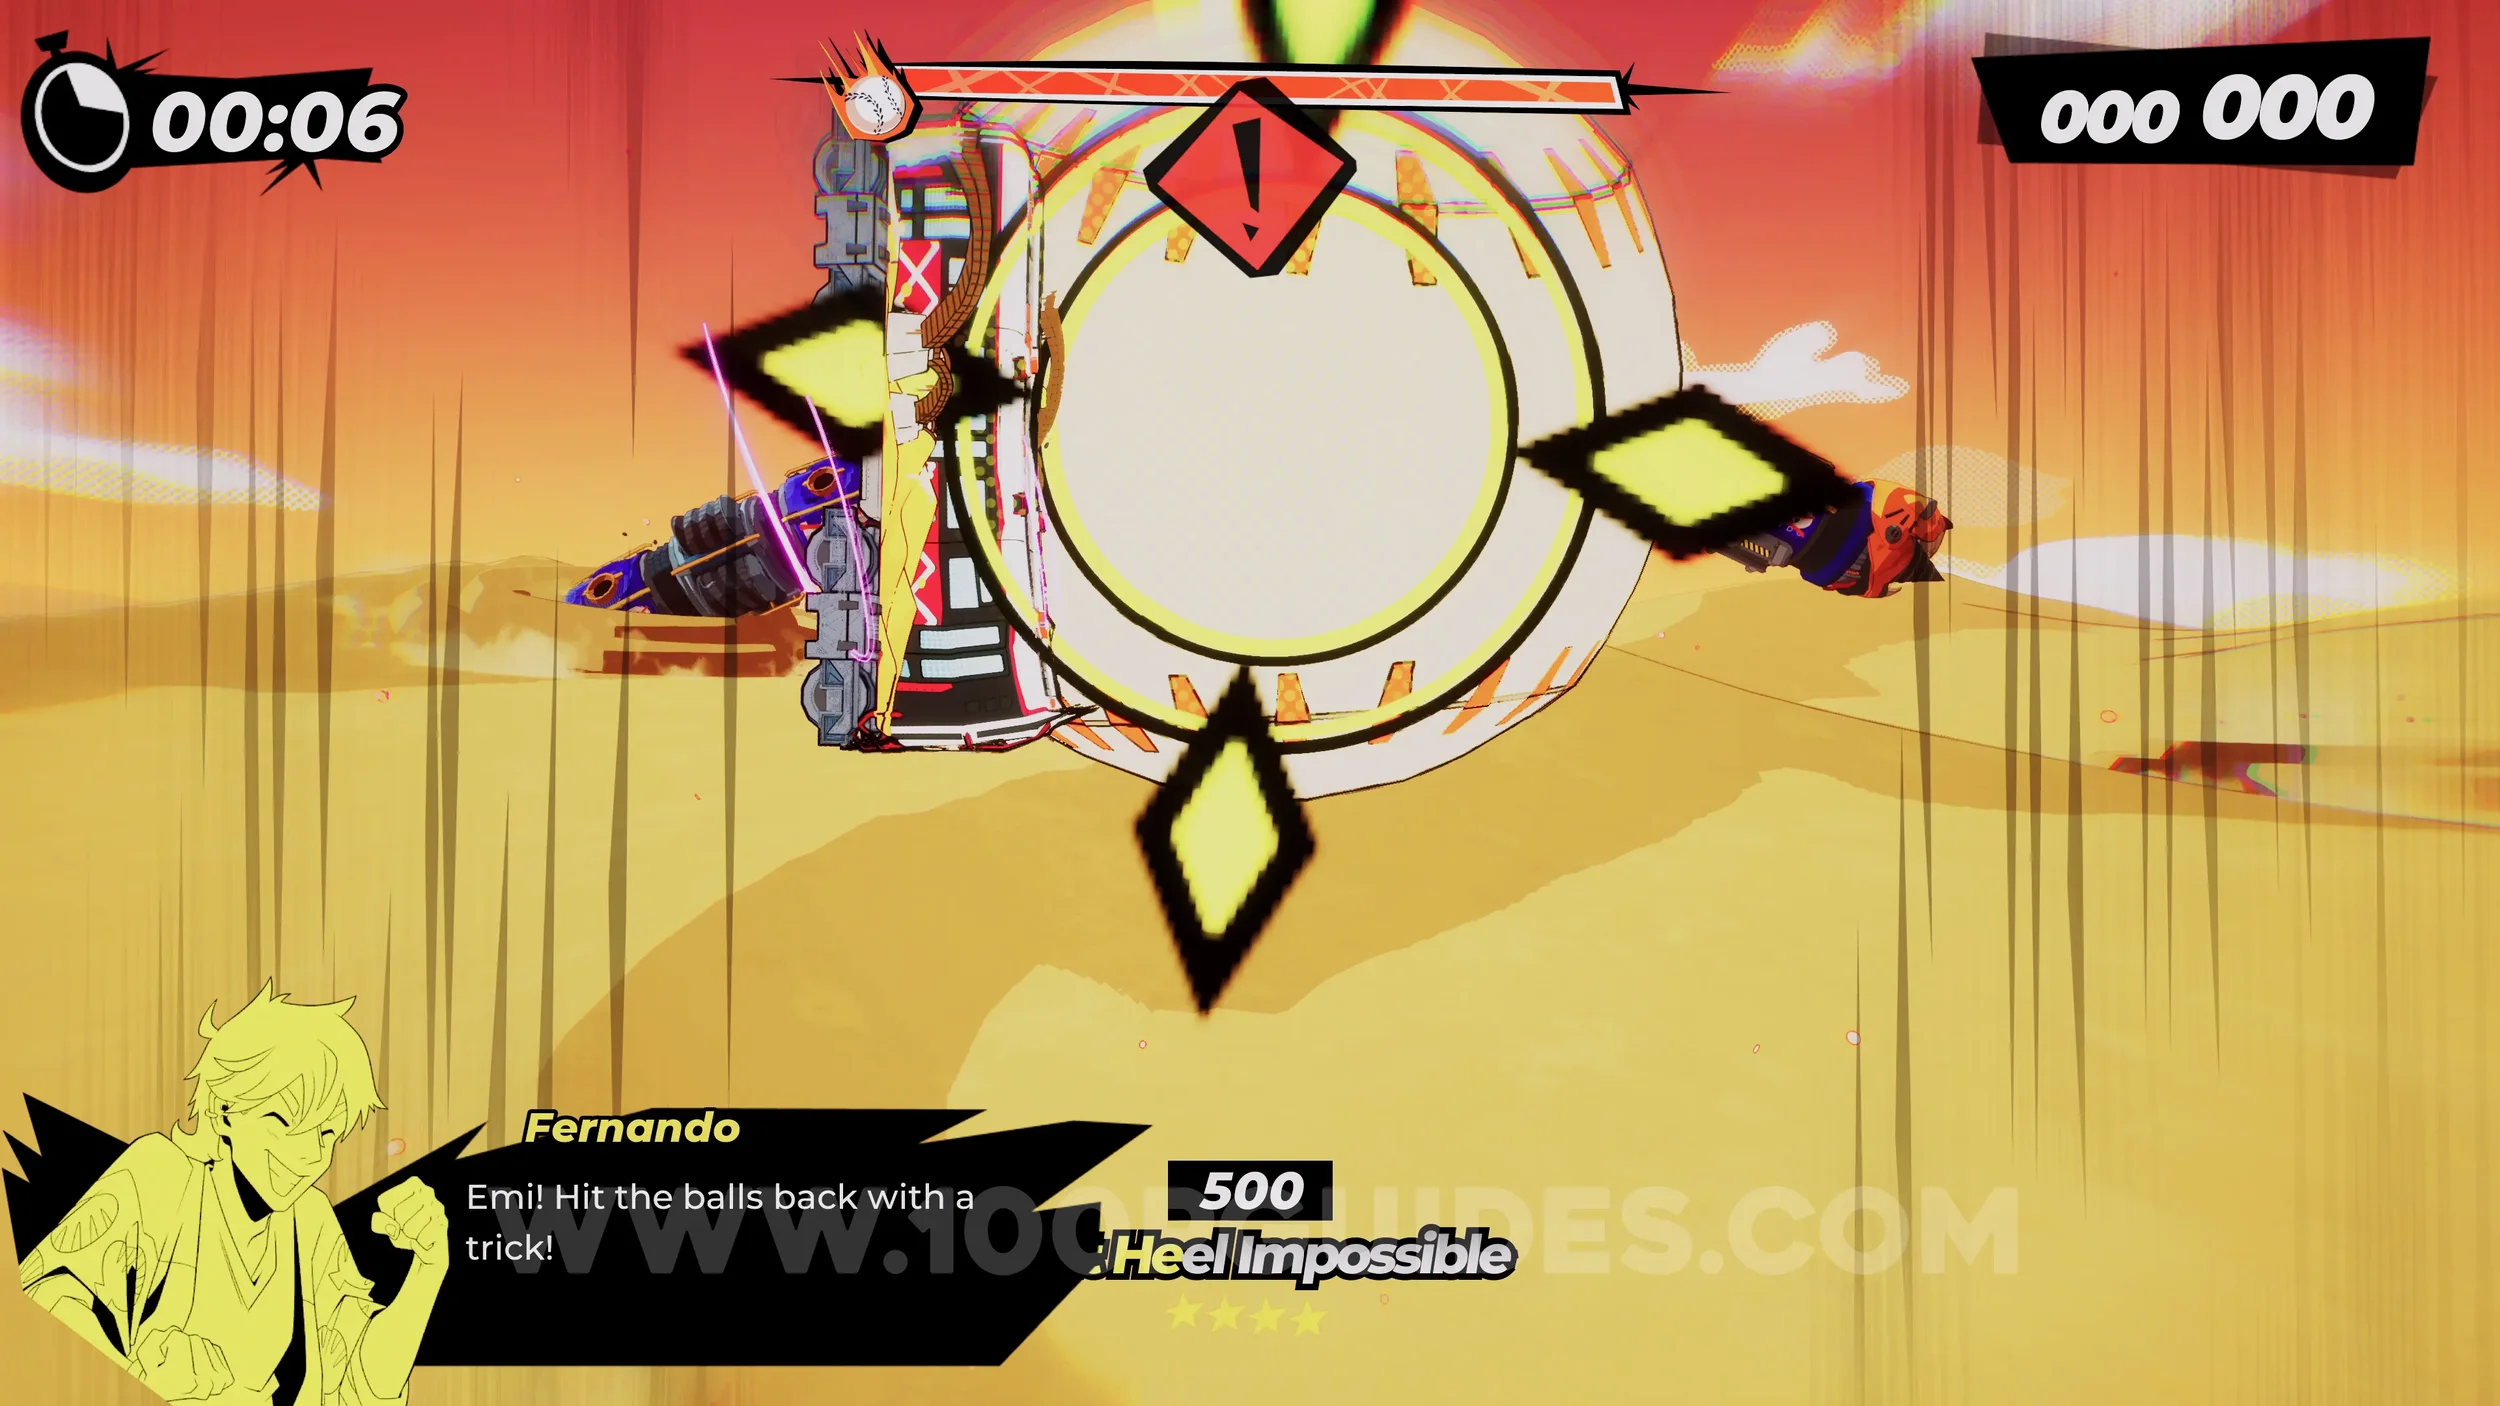
Dare: Risky Dodge the Sandworm’s Lunge. After deflecting the first few baseballs, the camera will change and you will have to jump over the sandworm a few times. Just jump at the very last second to get a Risky Dodge.
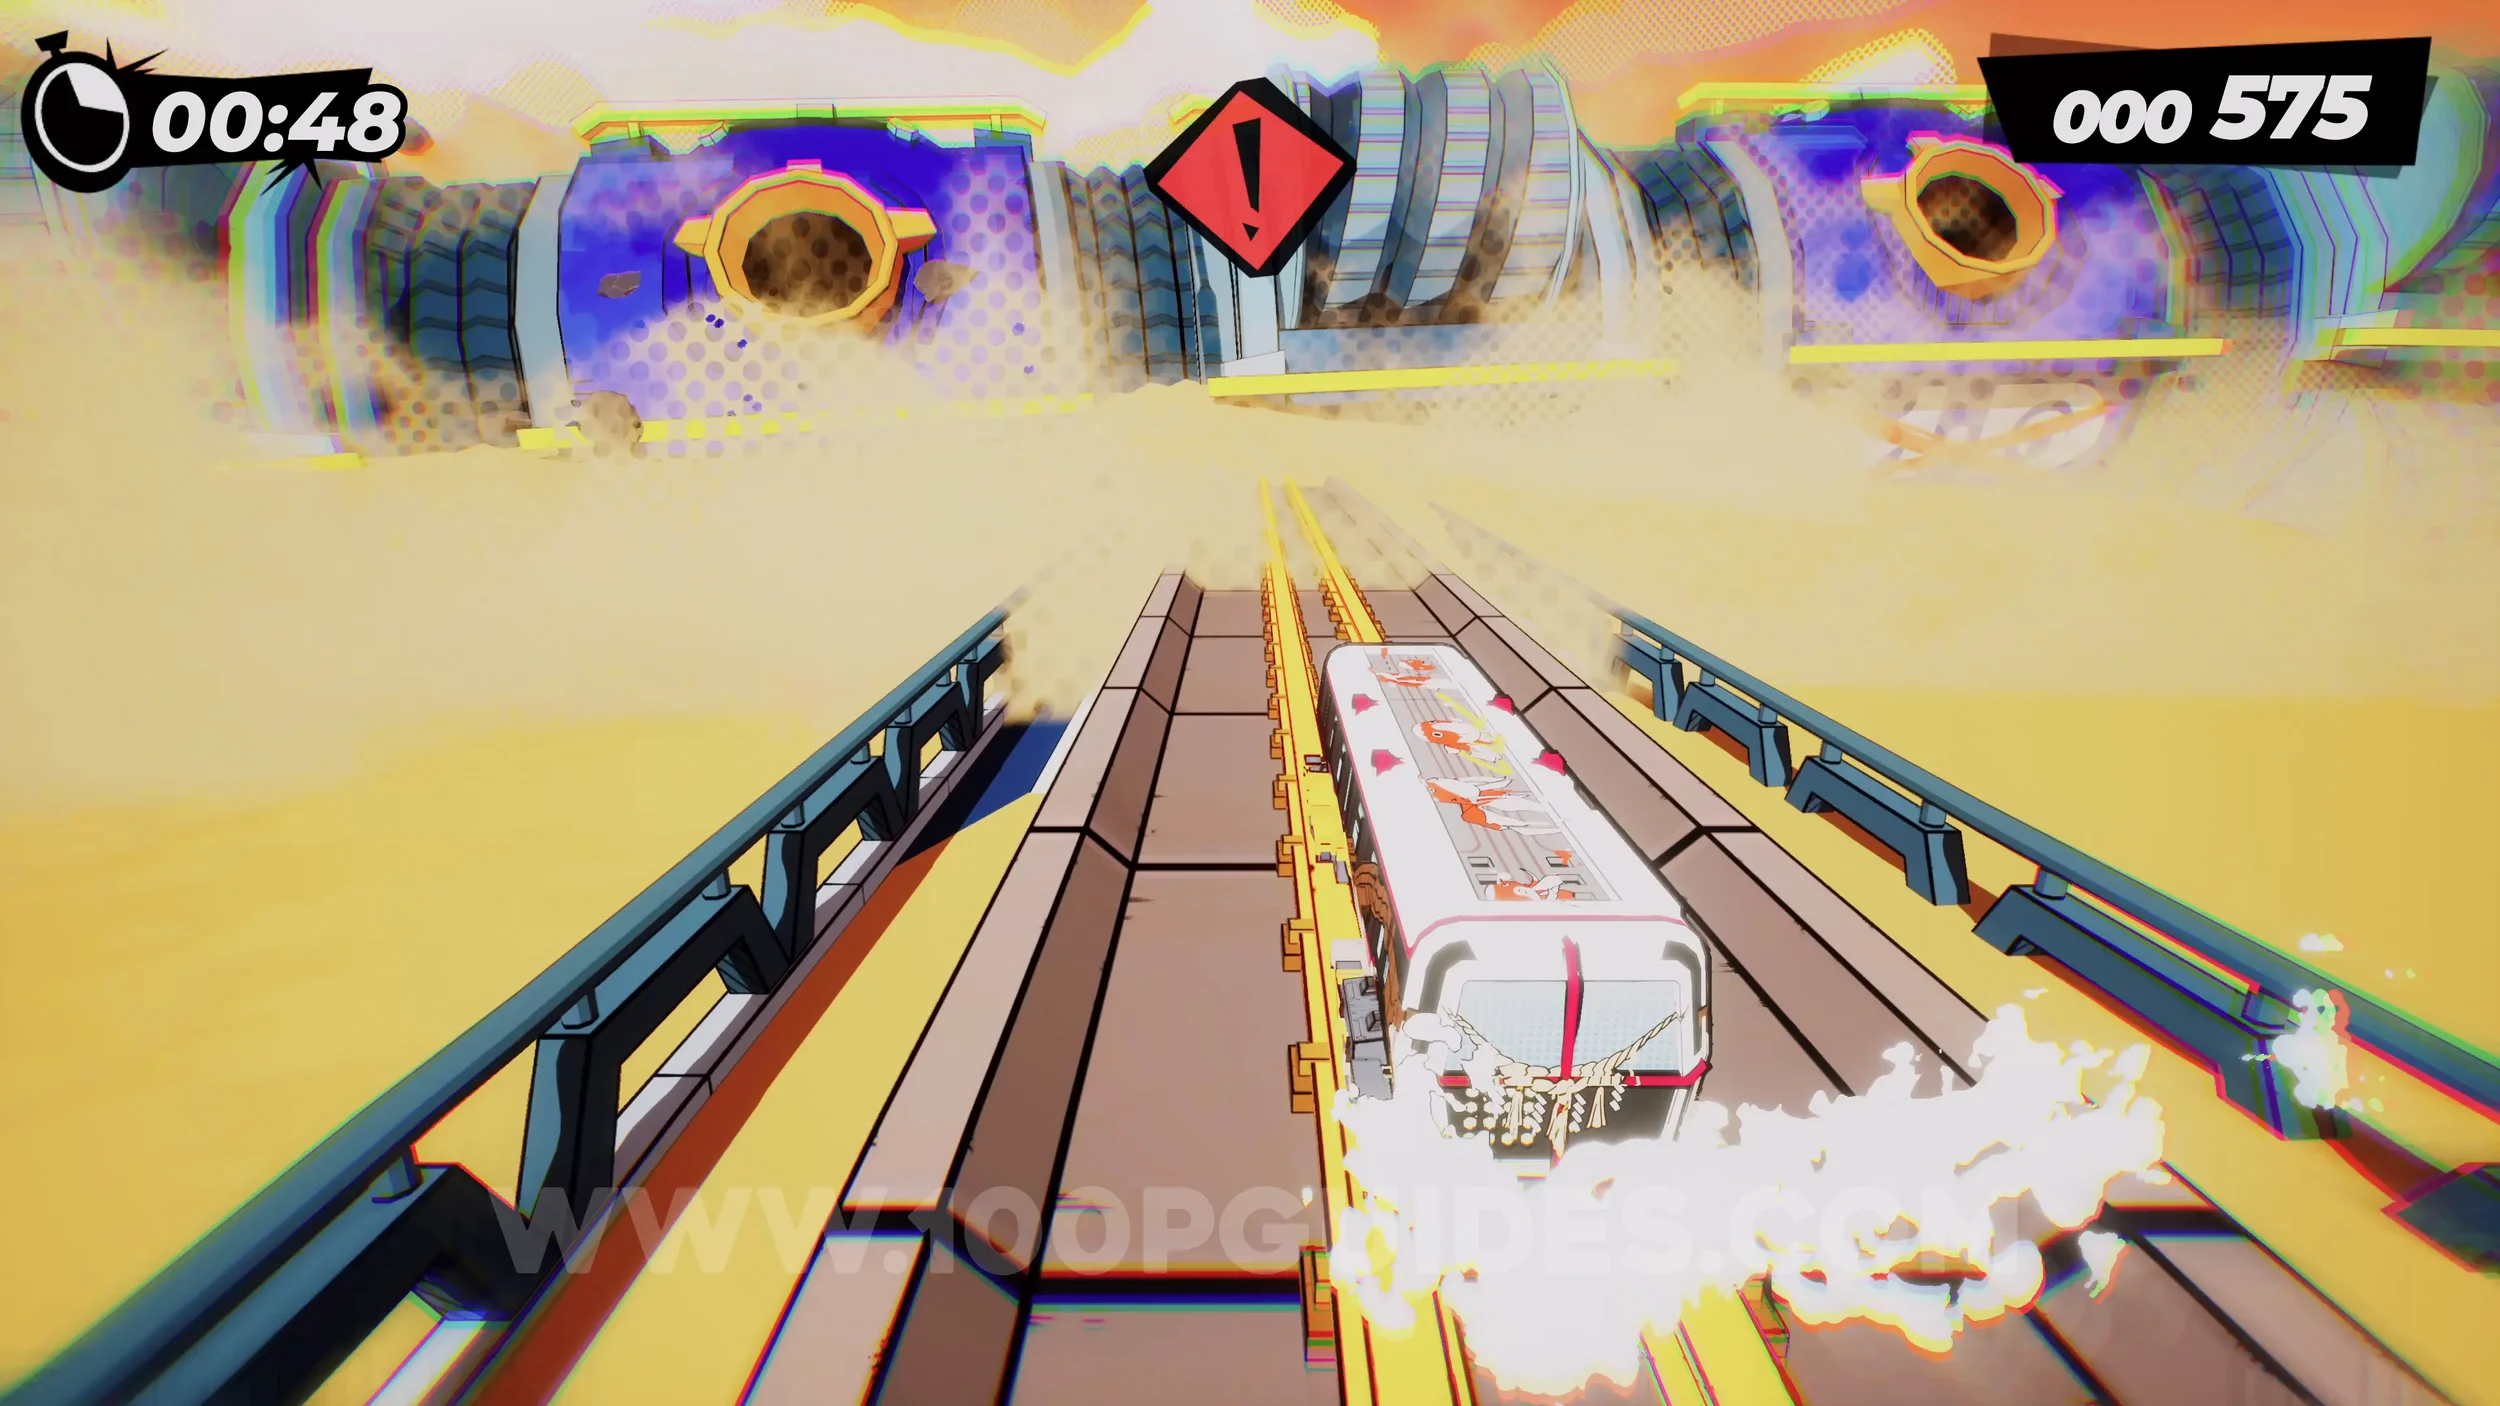
Gear (1/2). After deflecting the second load of baseballs, you will go through a destroyed city. You will eventually get to a section where you have to chain together multiple wallrides by jumping from one wall to another. The gear will be on one of the left side walls in plain sight.
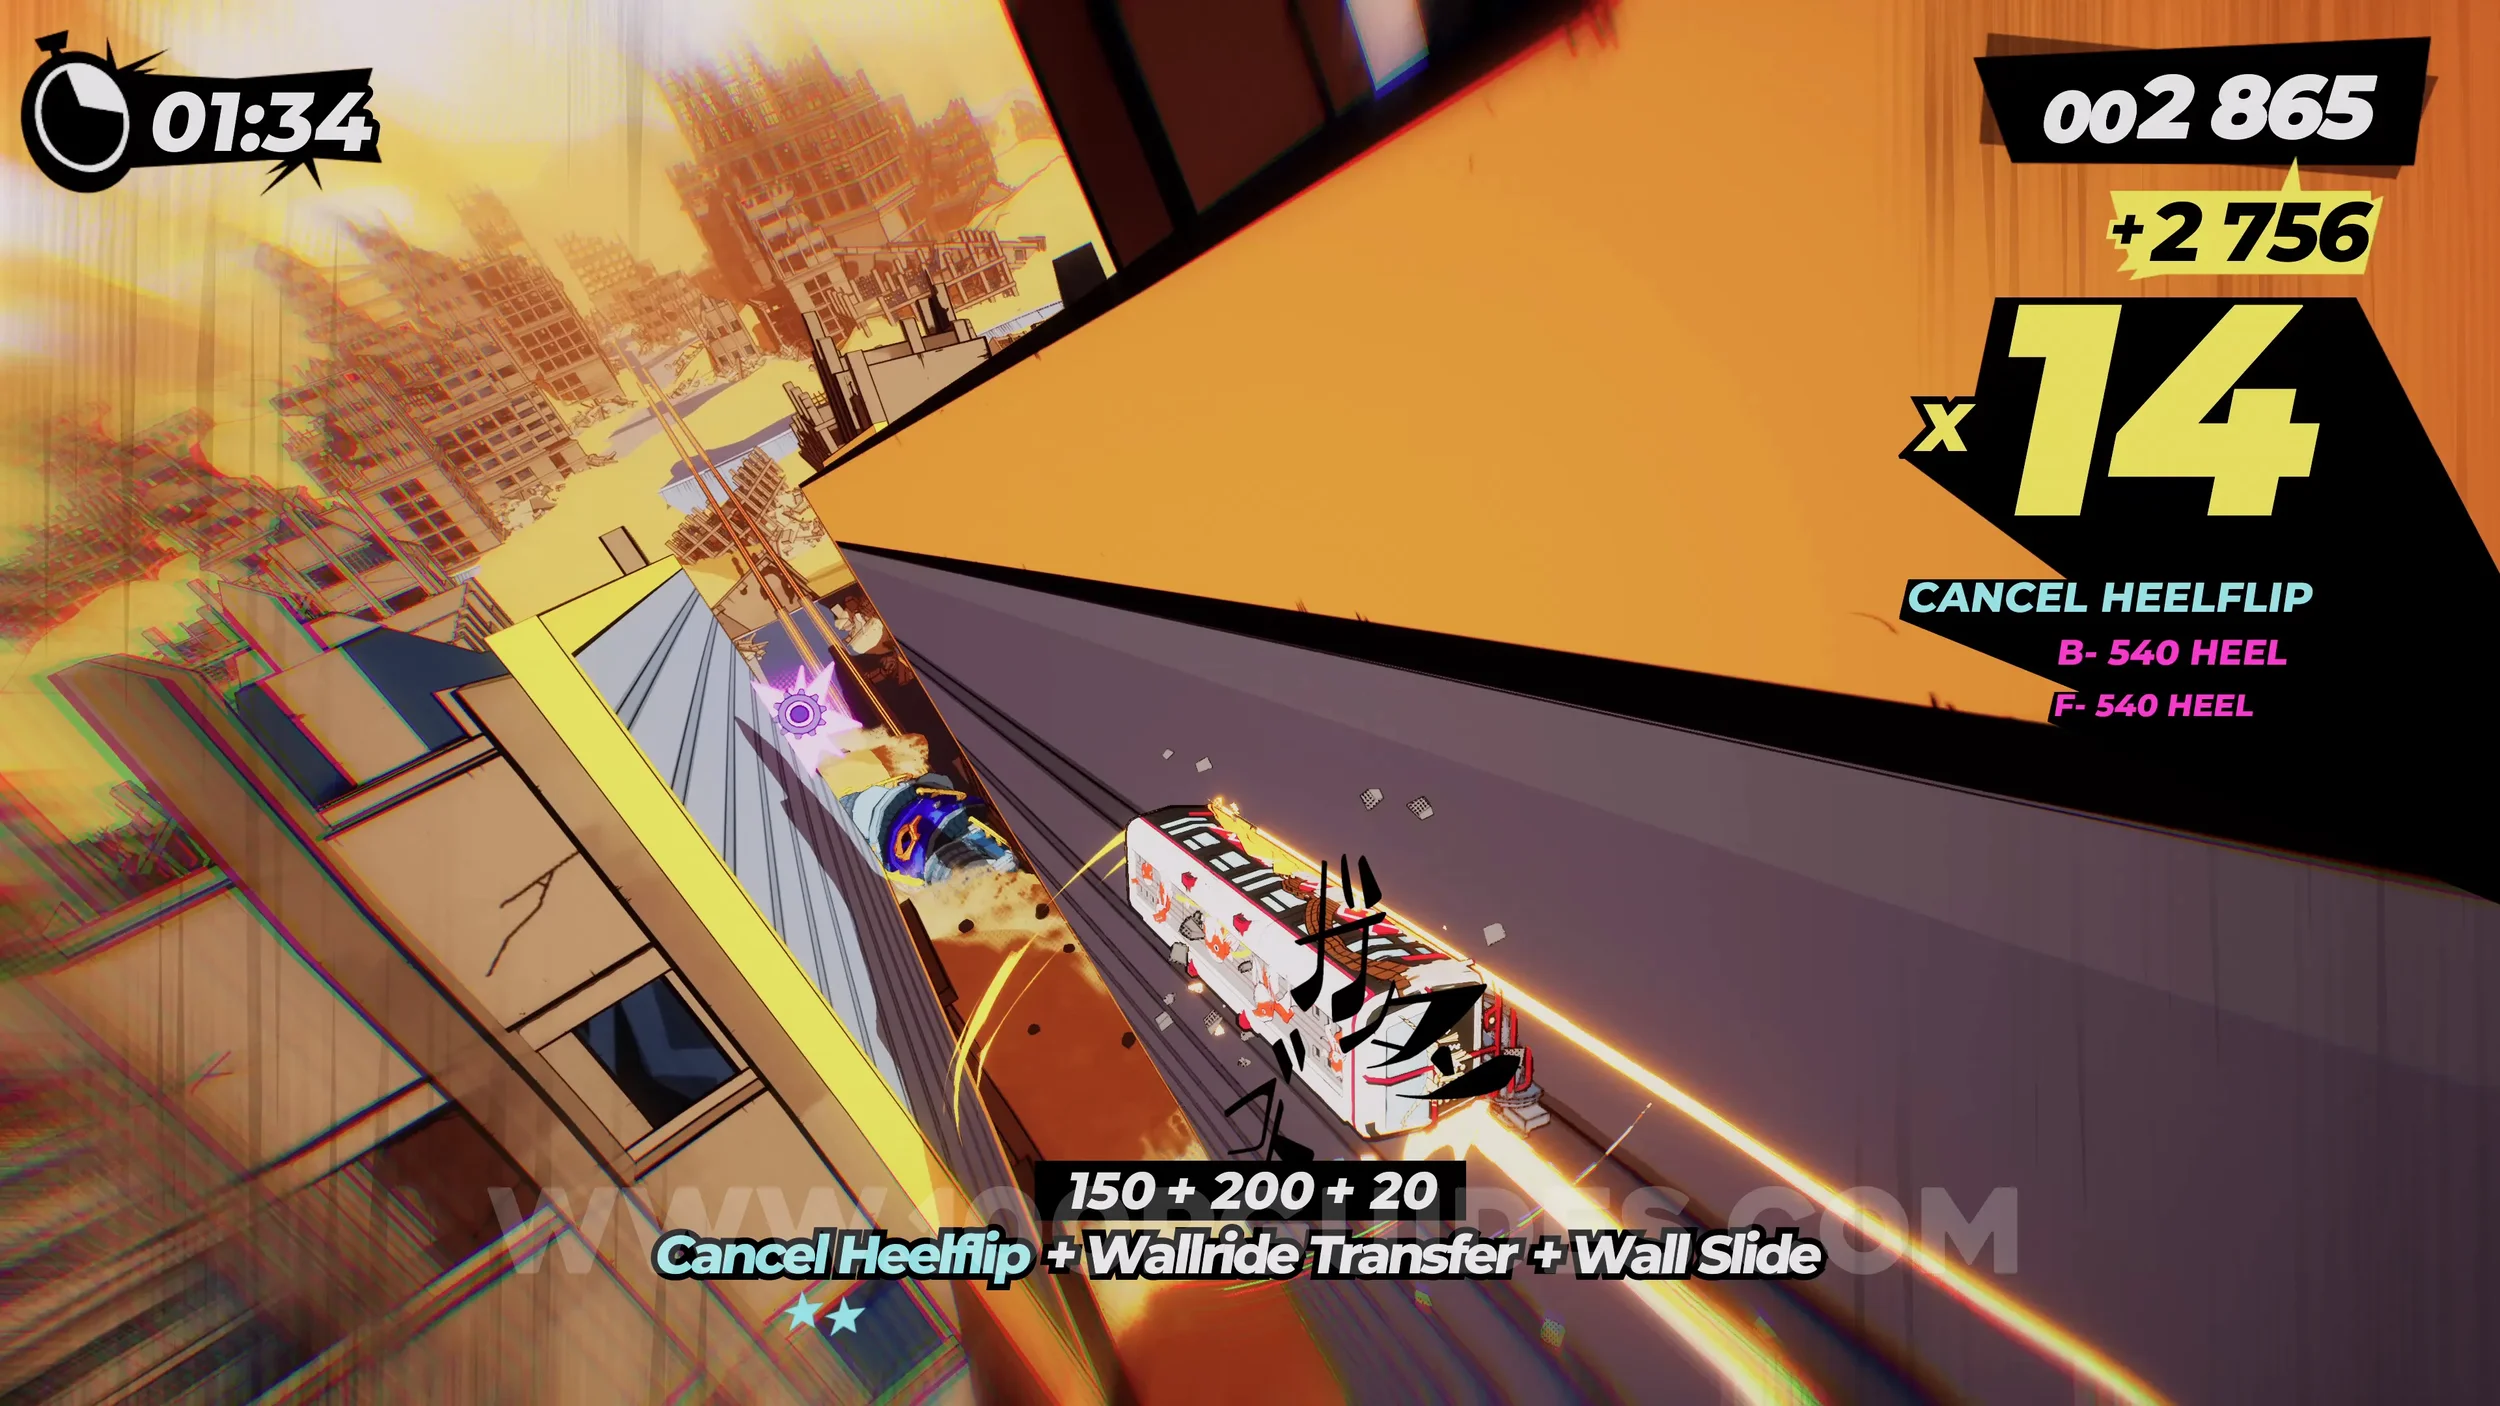
Gear (2/2). Continue through the level and eventually you will have to use an air stomp to move out of the way of the boss. After that, you will wallride around a long corner and then see the gear above a structure on the next straight.
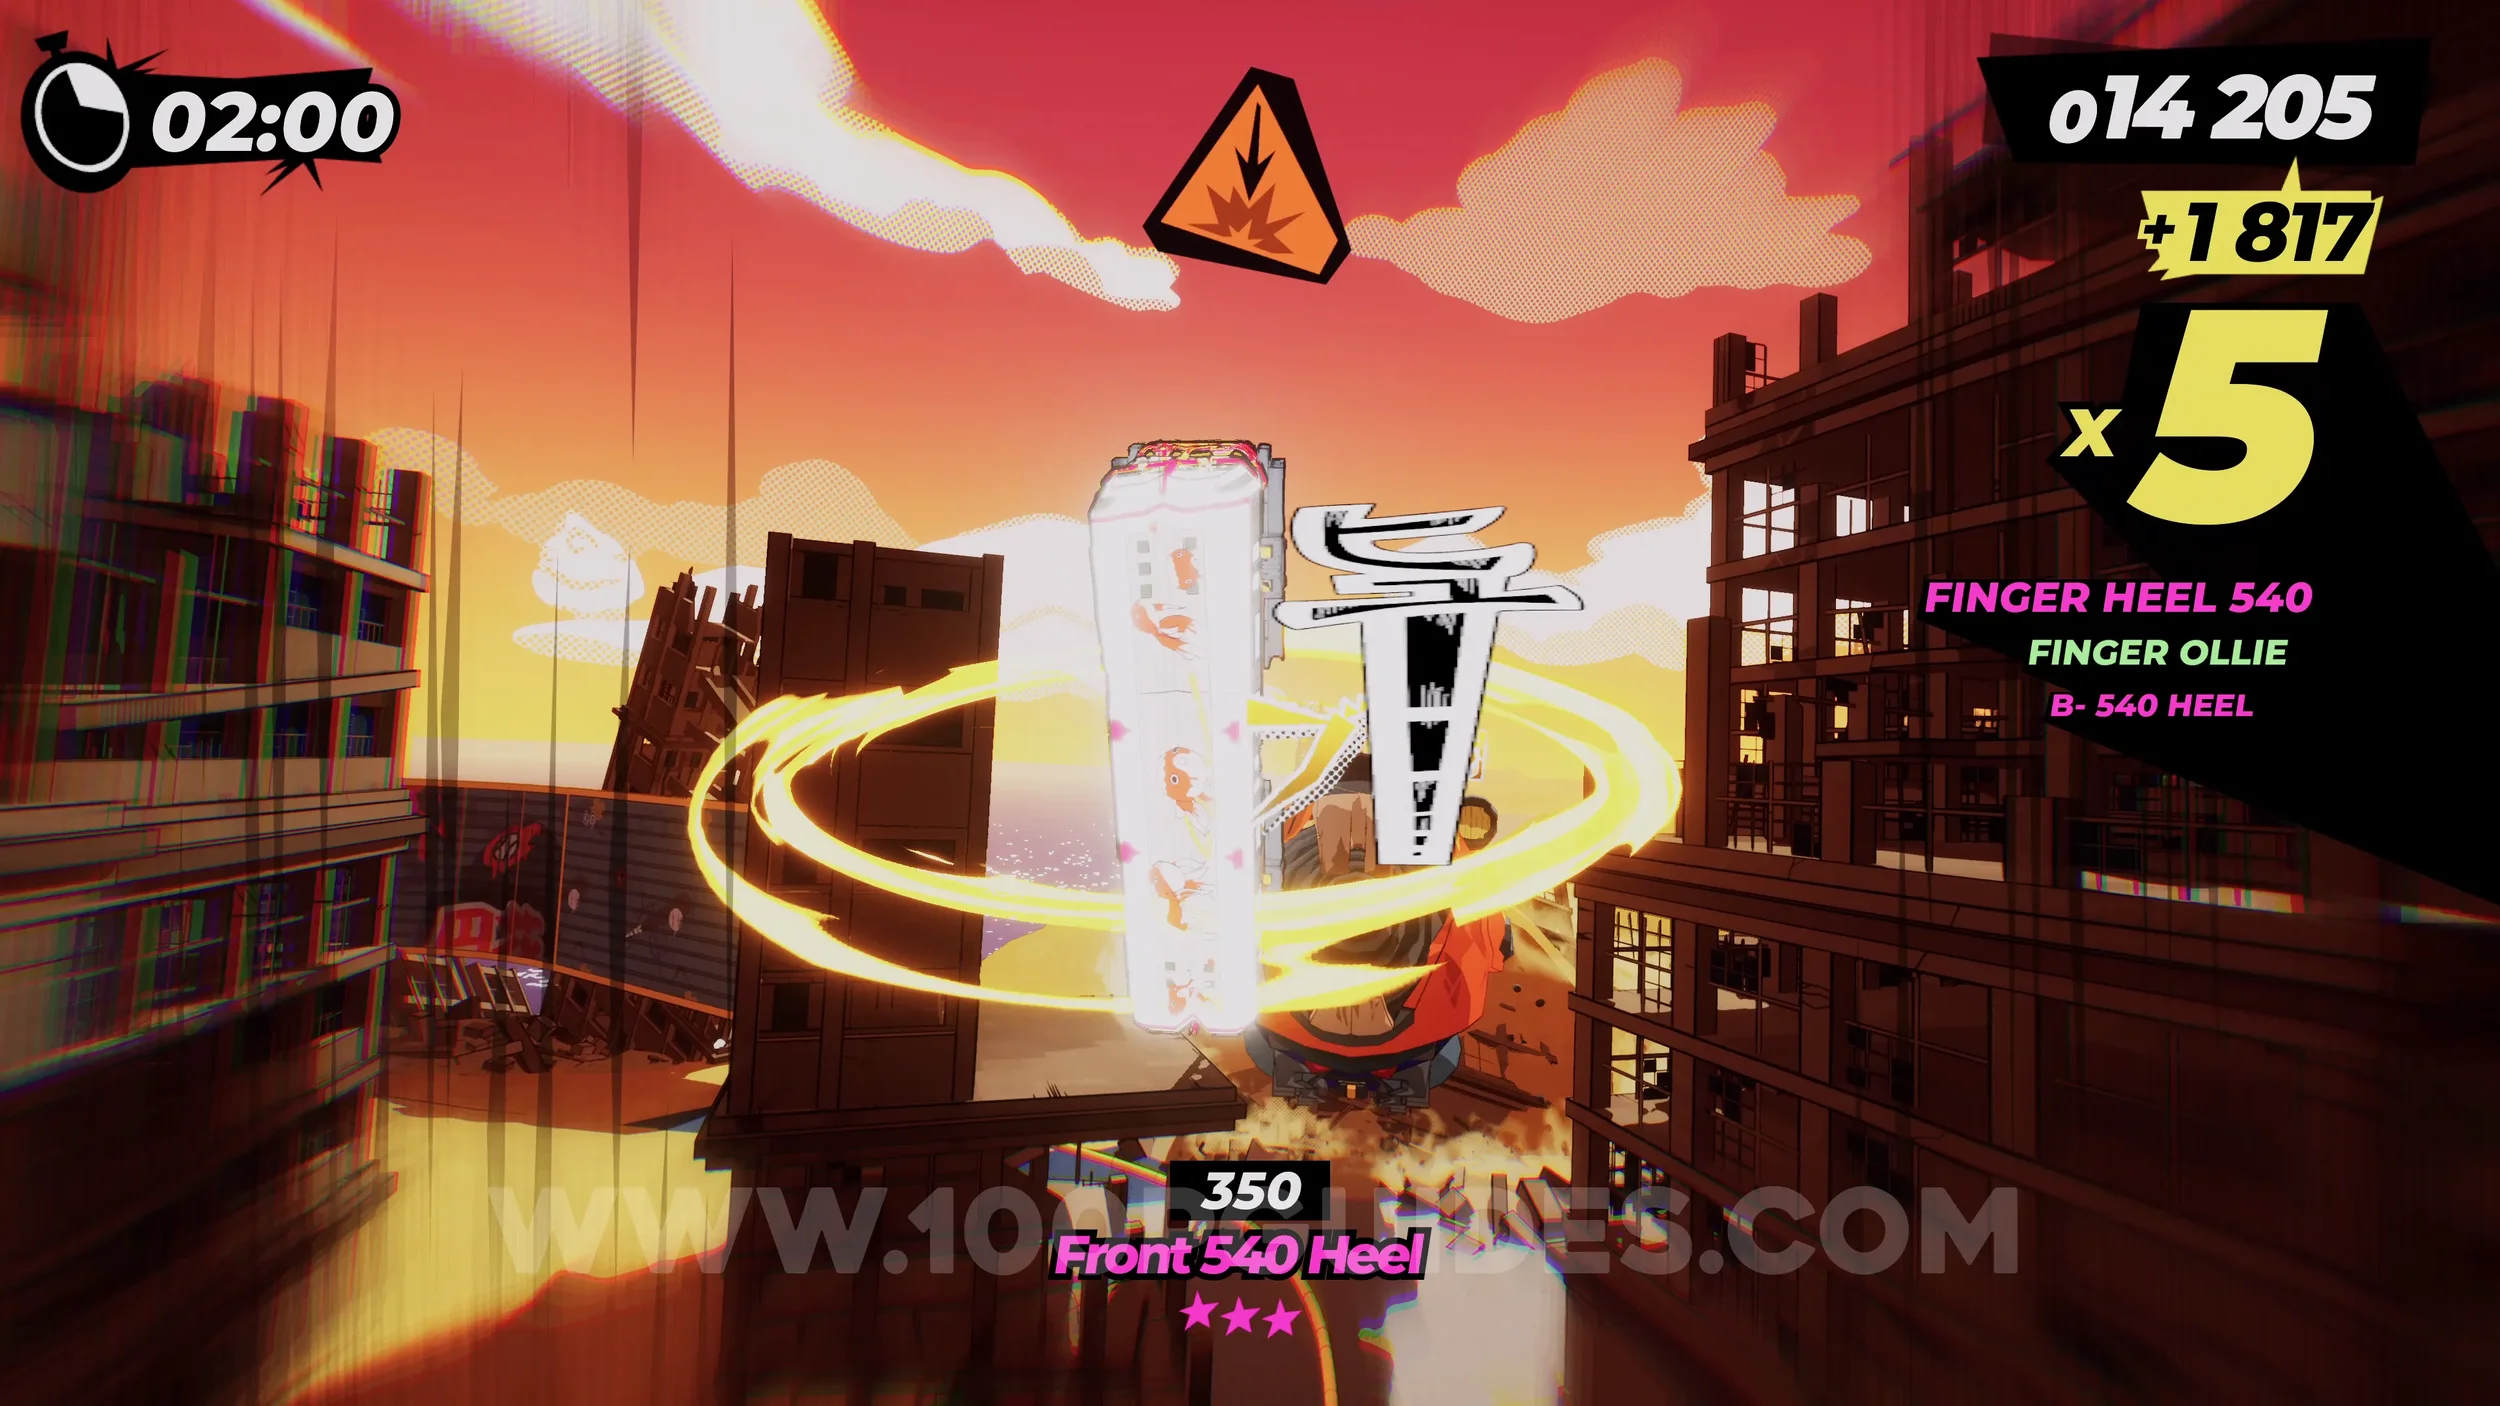
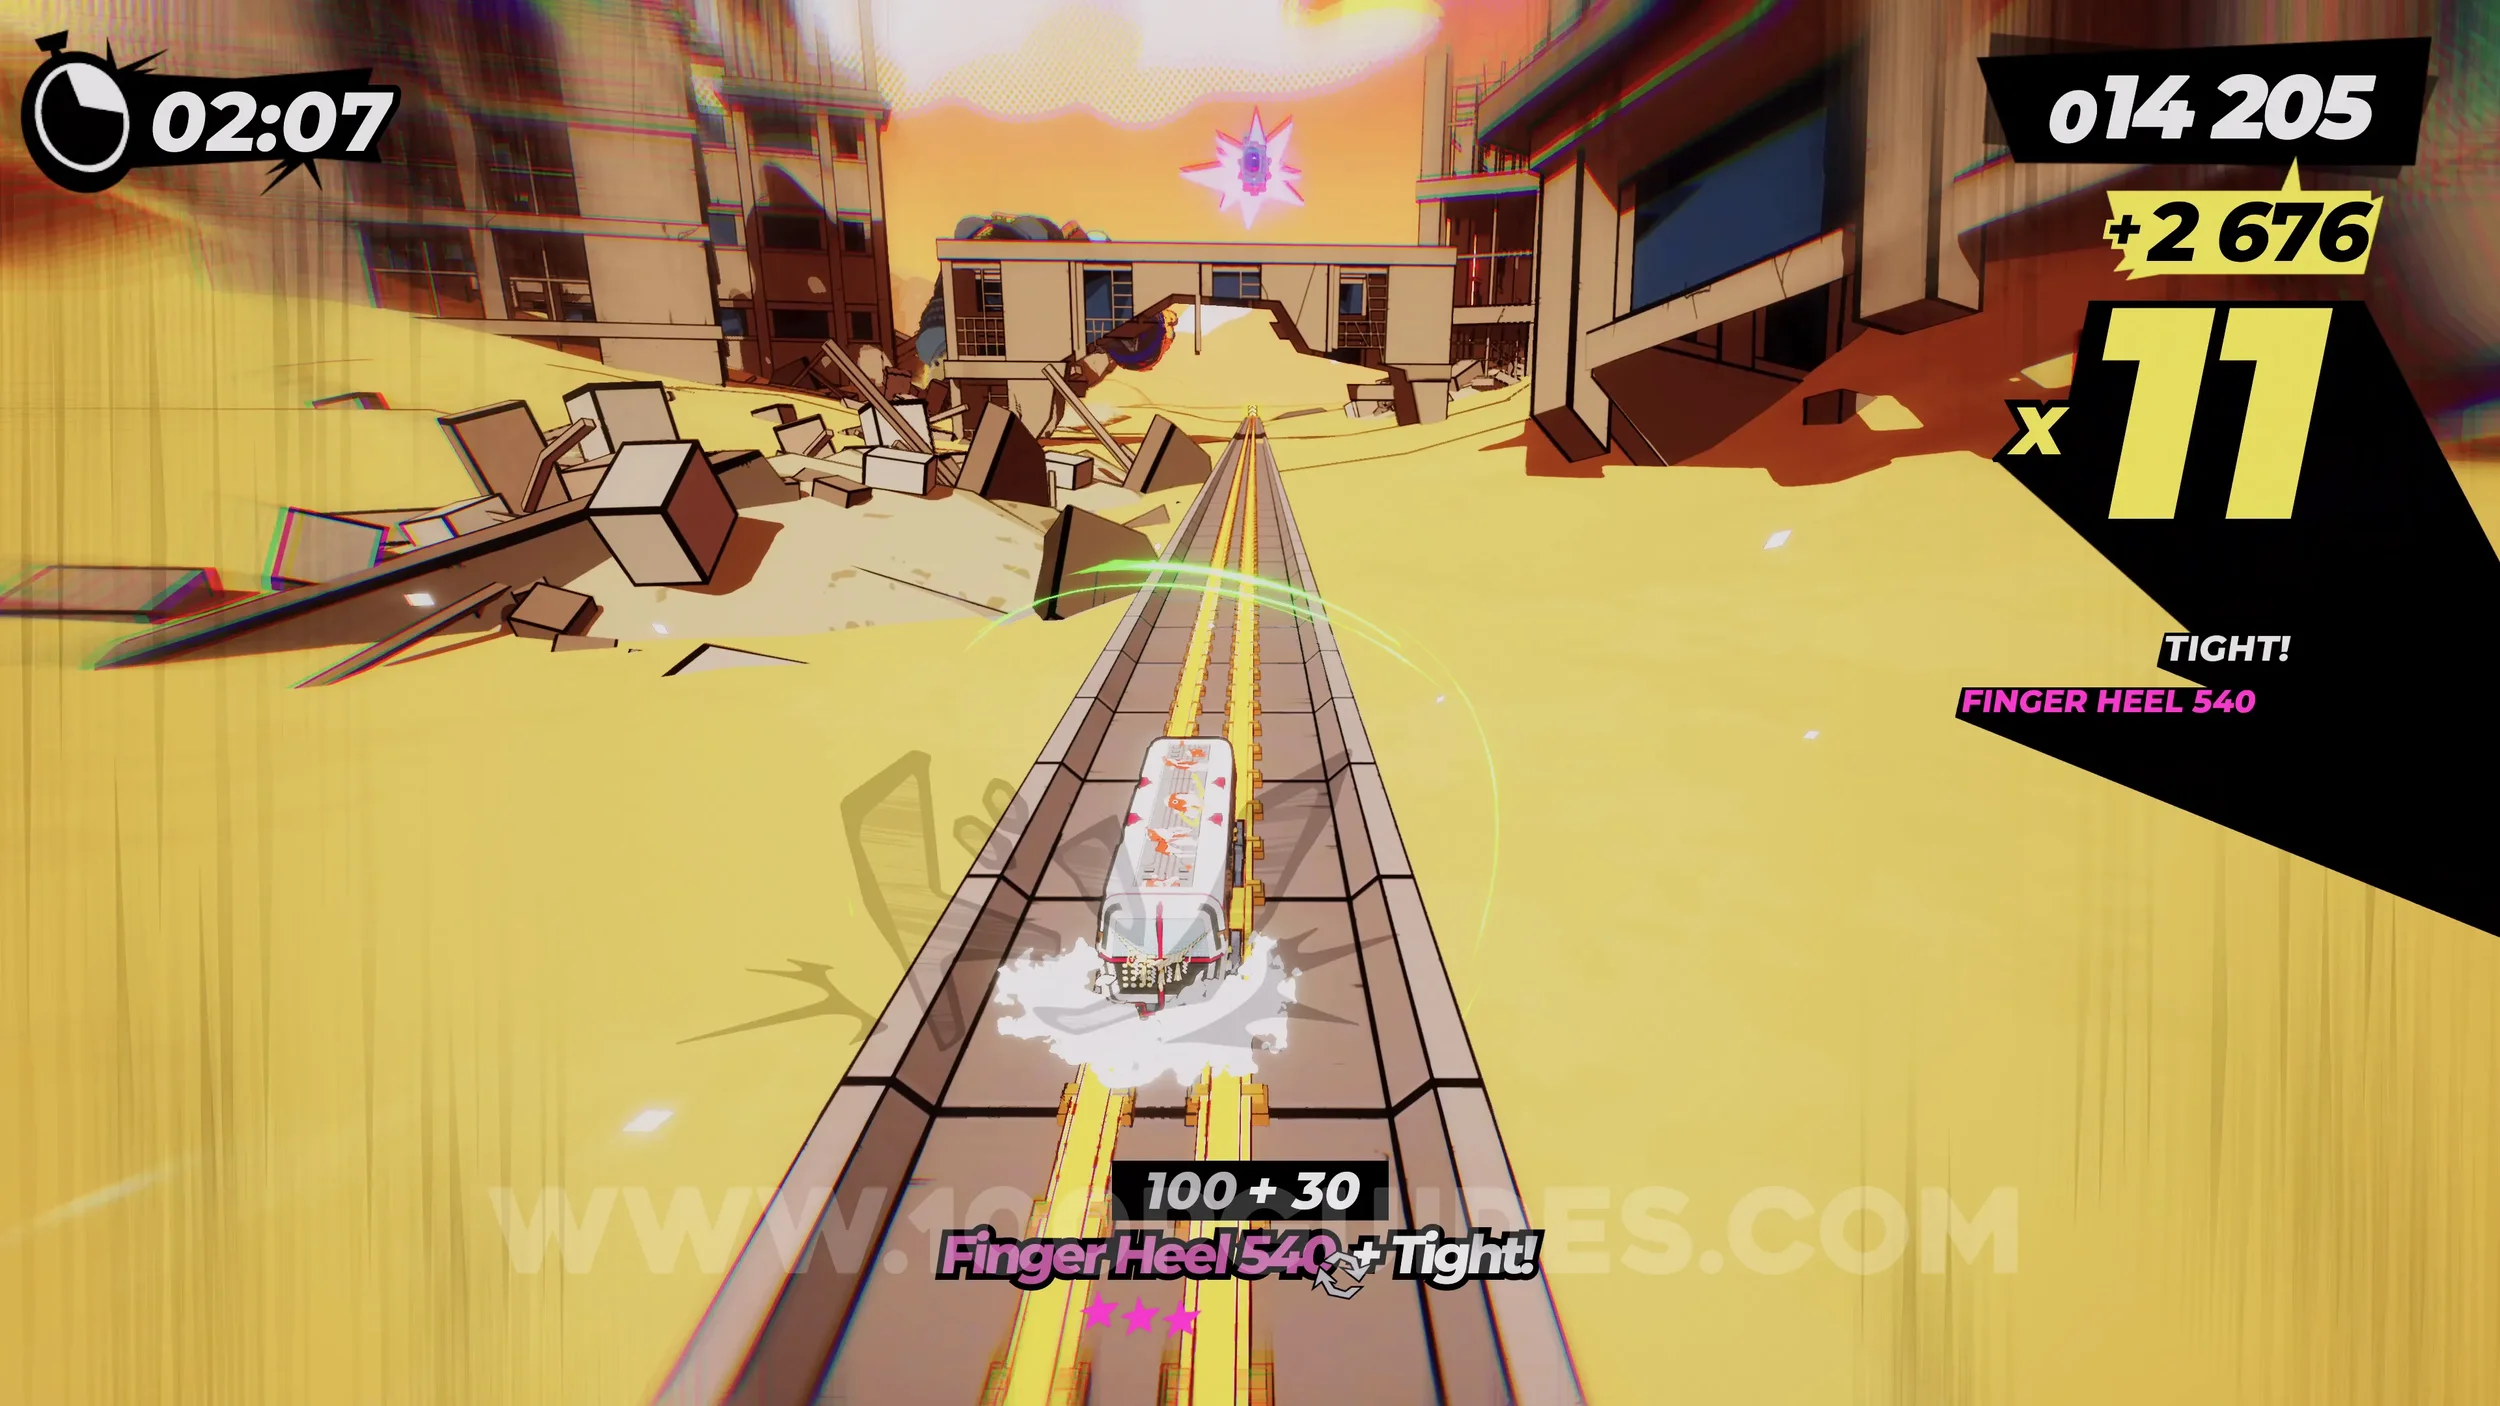
Film Roll (1/1). After the encounter with the boss in the tunnel, you will come out to a half pipe where you can keep going back and forth with the boss. The film is on the side of this halfpipe.
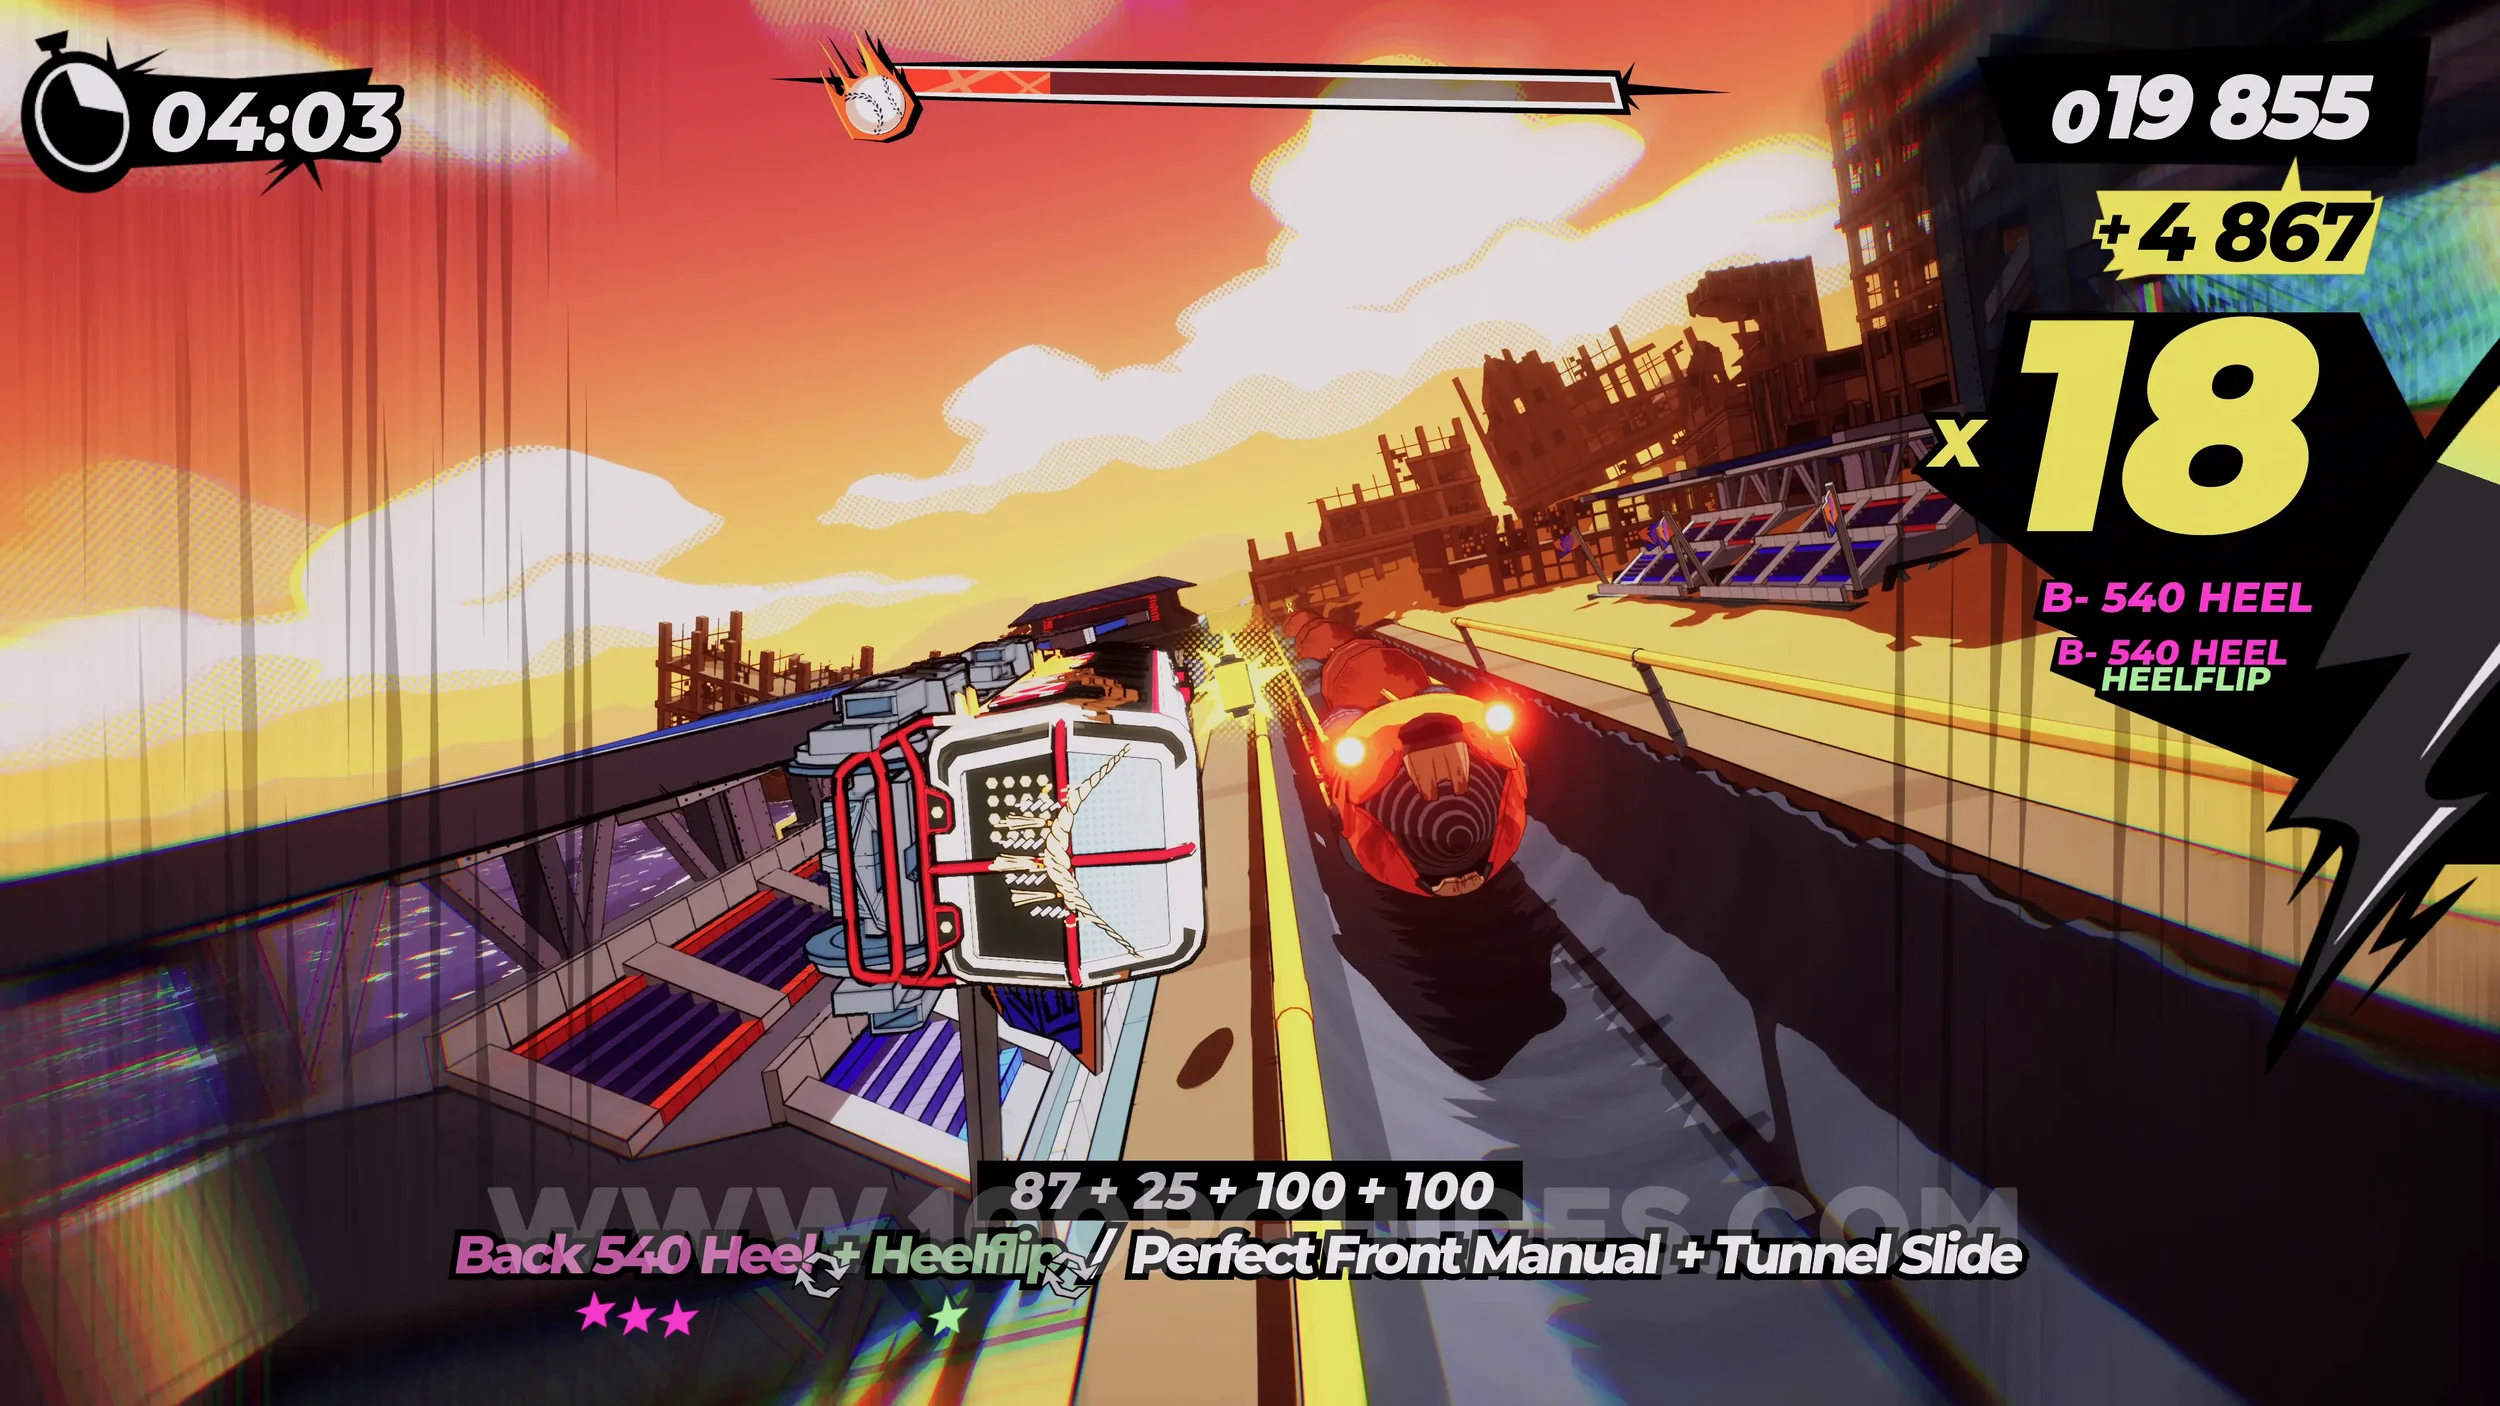
Dare: Grind Both Sides of the Worm During the Joust. In the same area as the film roll, you will go back and forth with the boss. Use the rails on the sides of the half pipe to jump to the rails on the boss. Grind on both sides to finish the dare.
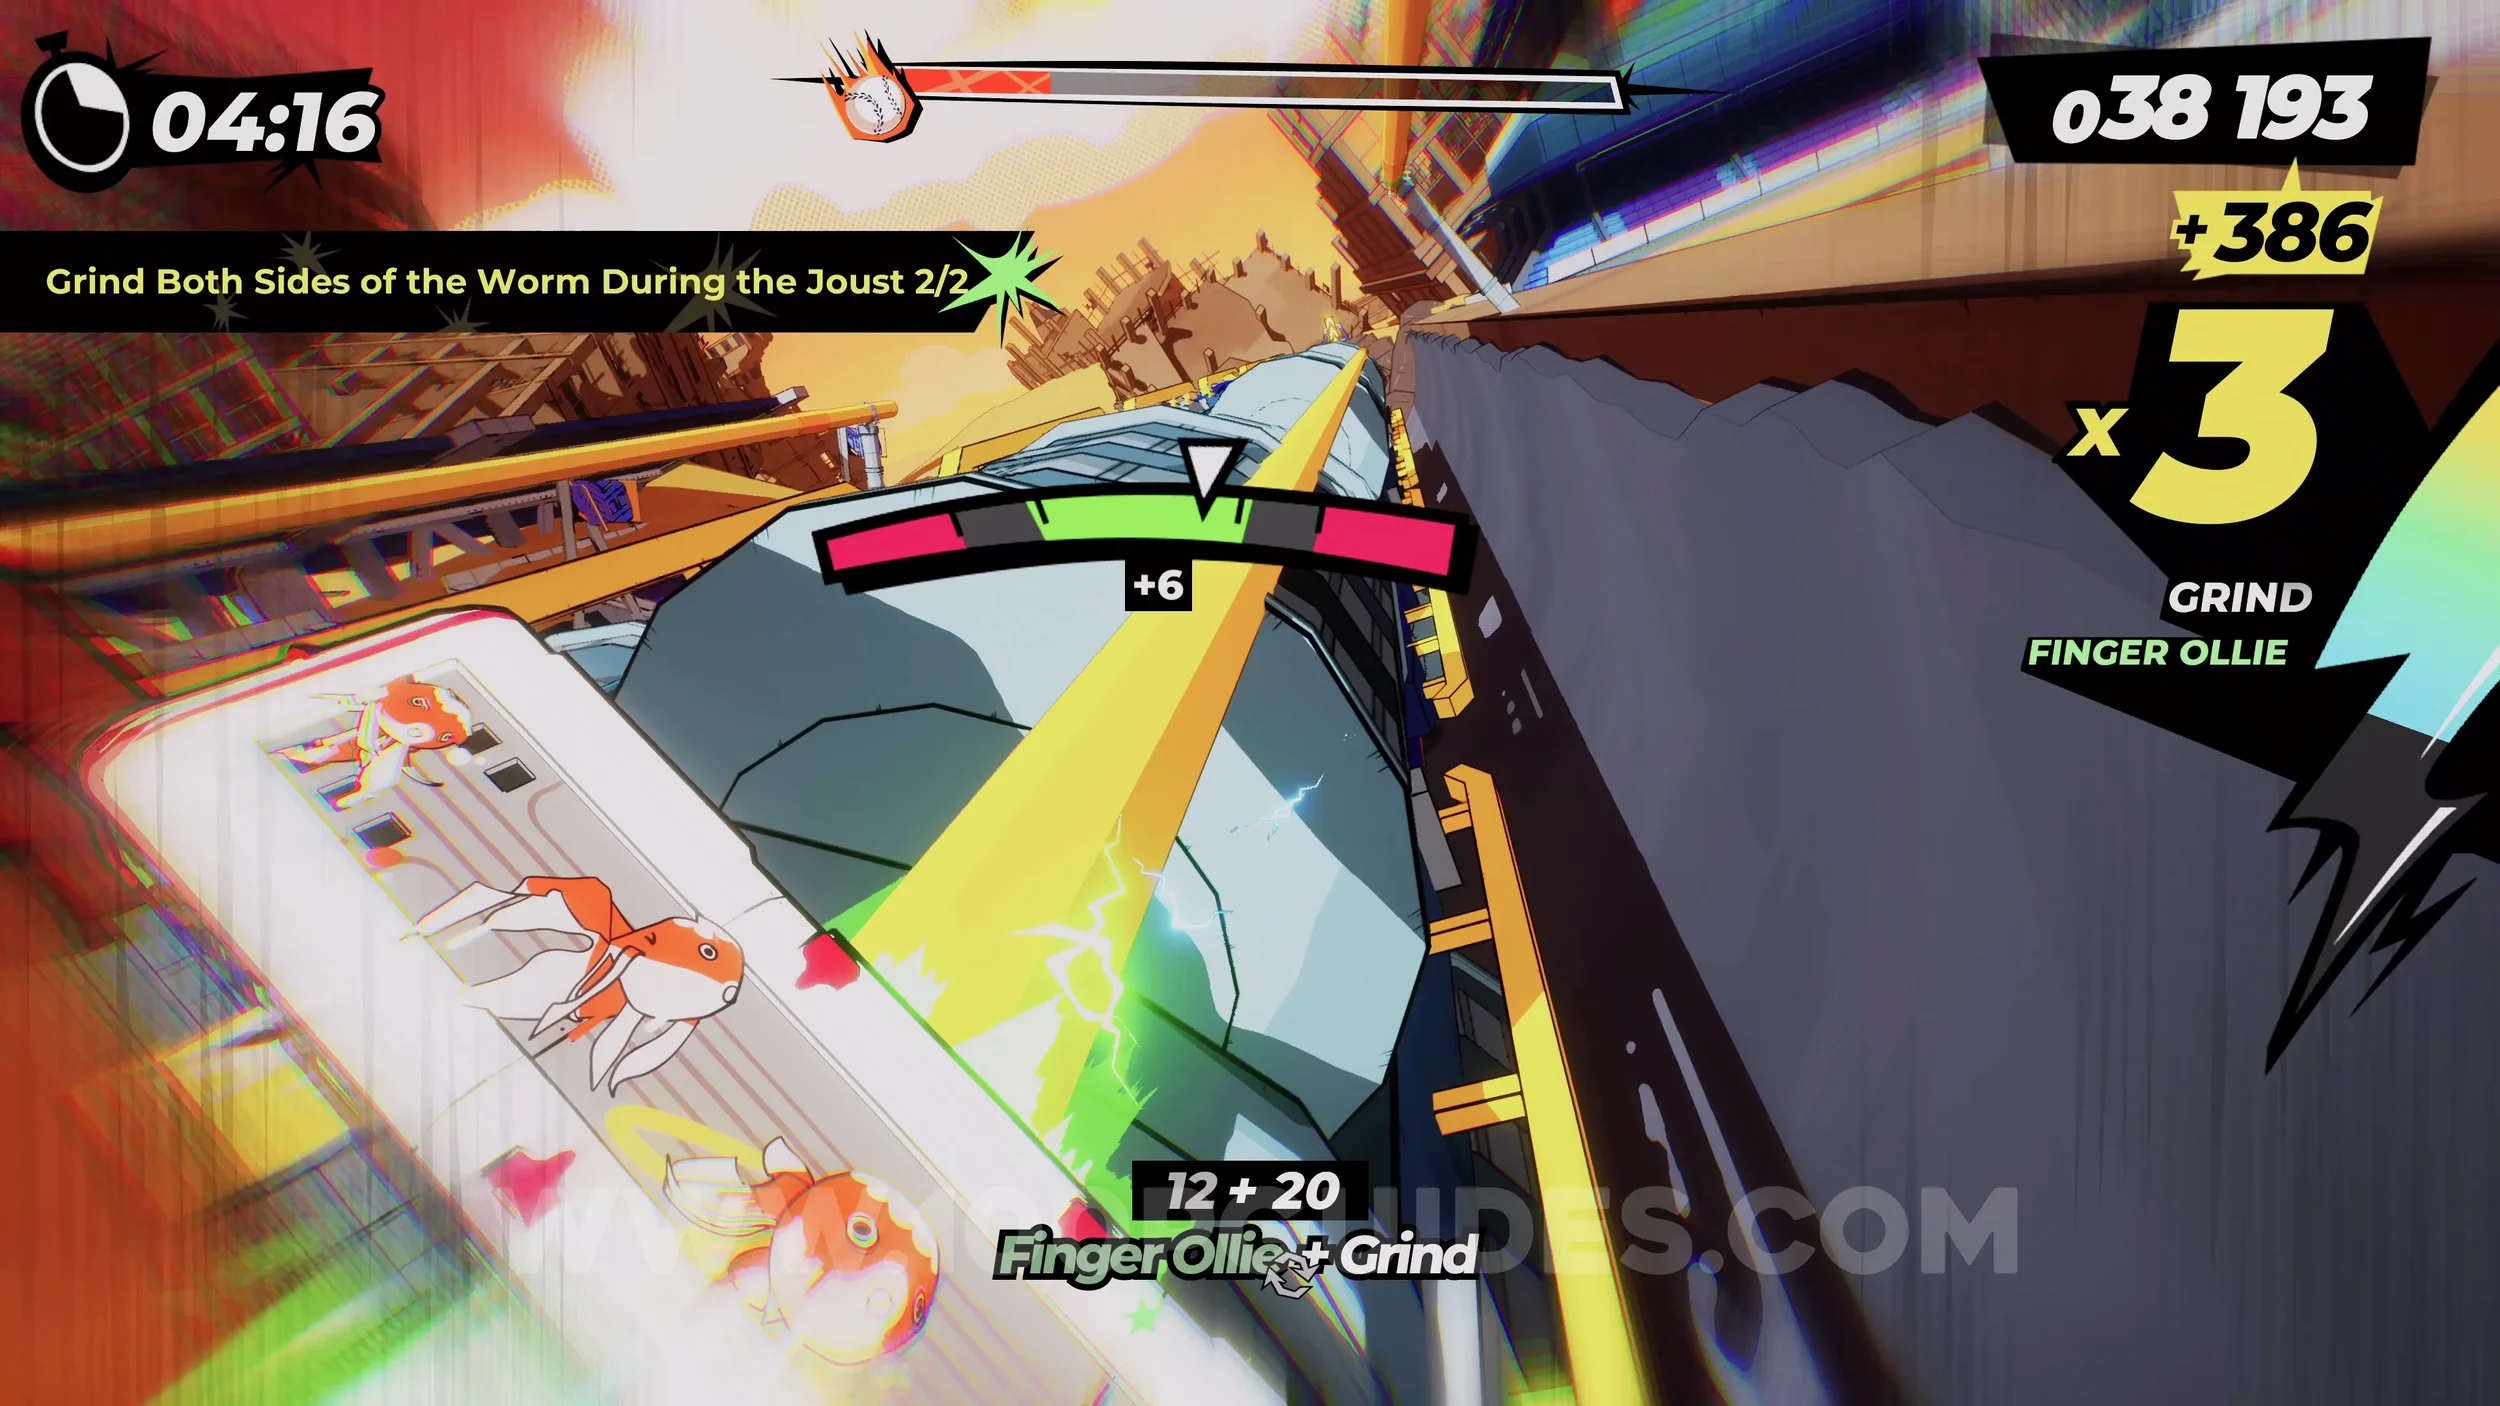
Dare: Perform 5 Wallride Tricks. Self-explanatory. Just perform any five tricks with the right analog stick while wallriding any wall throughout the level.
Dare: No Crash Boss Defeat. Self-explanatory. Finish the level without crashing.
CHAPTER 5
5-1-1 A Castle In The Sky
Dare: Perform 5 Risky Dodges While Riding the Monorail (1-3/5). Close to the start of the level, you will hang from a monorail. During this section, dodge the billboards at the very last moment.
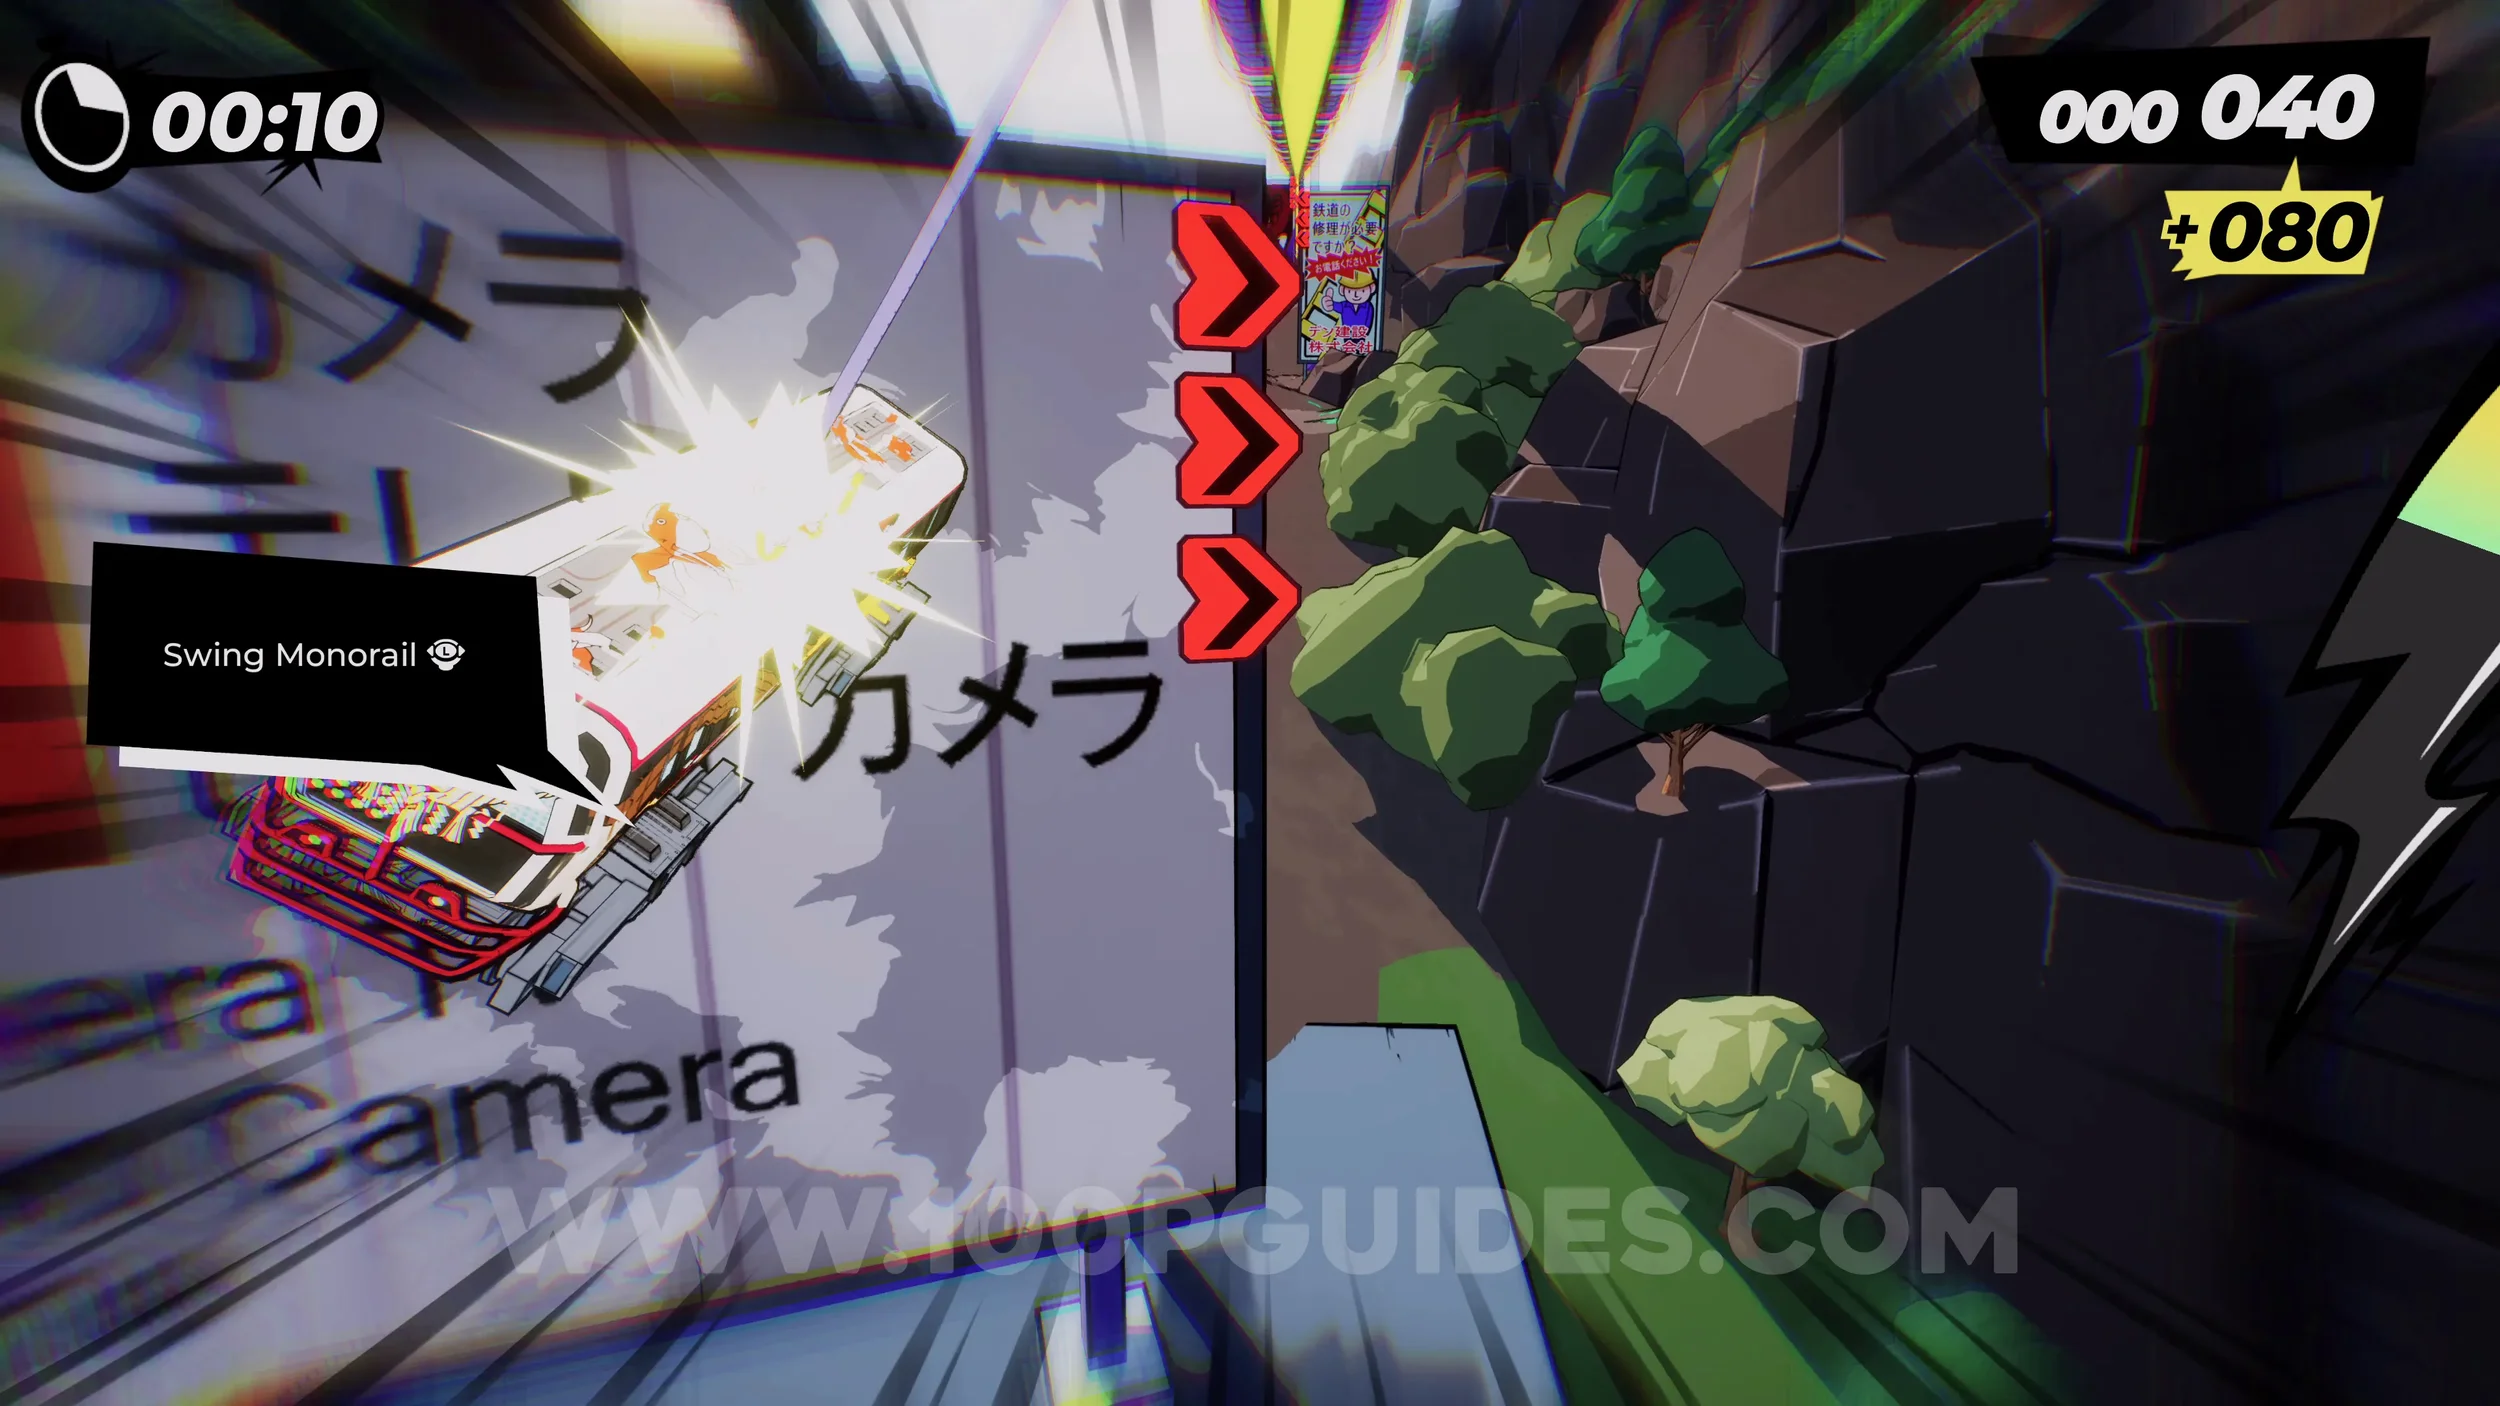
Gear (1/3). After letting go of the first monorail, you will go under an electric pylon and then wallride a wall on your right. The gear is on this wall.
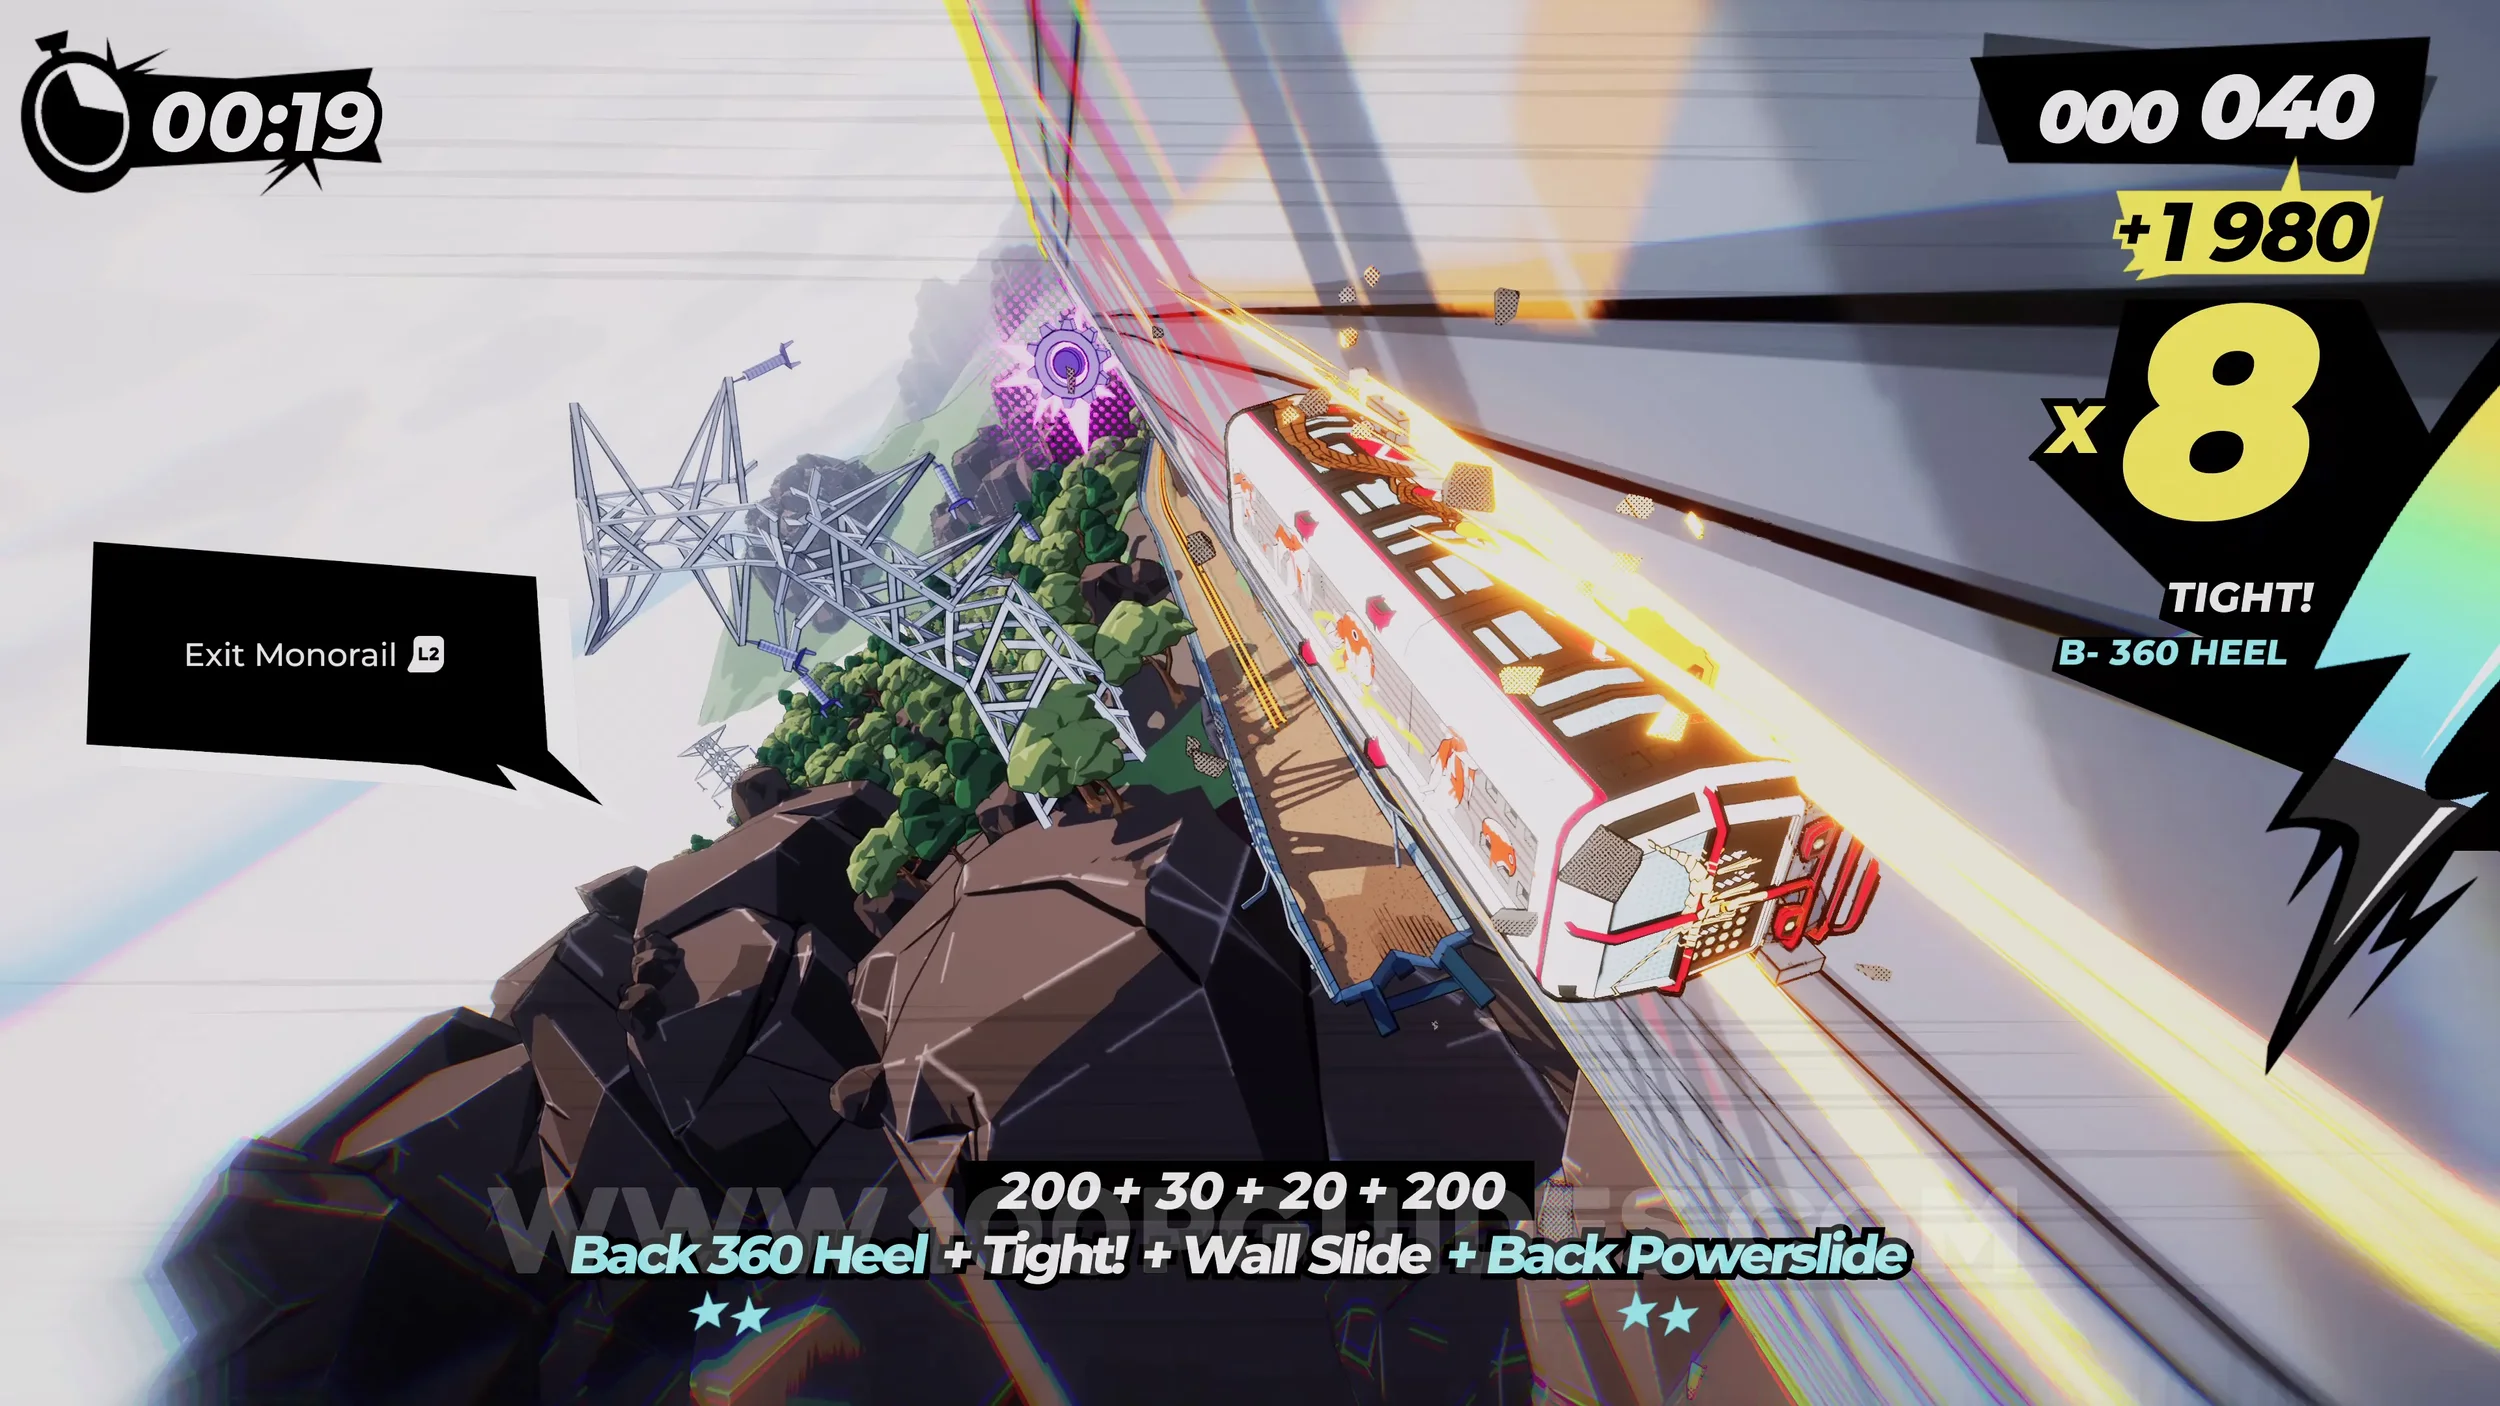
Dare: Loop the Tunnel. After letting go of the second monorail, jump over the arrow sign to continue straight into the tunnel. Inside, do a full loop around it.
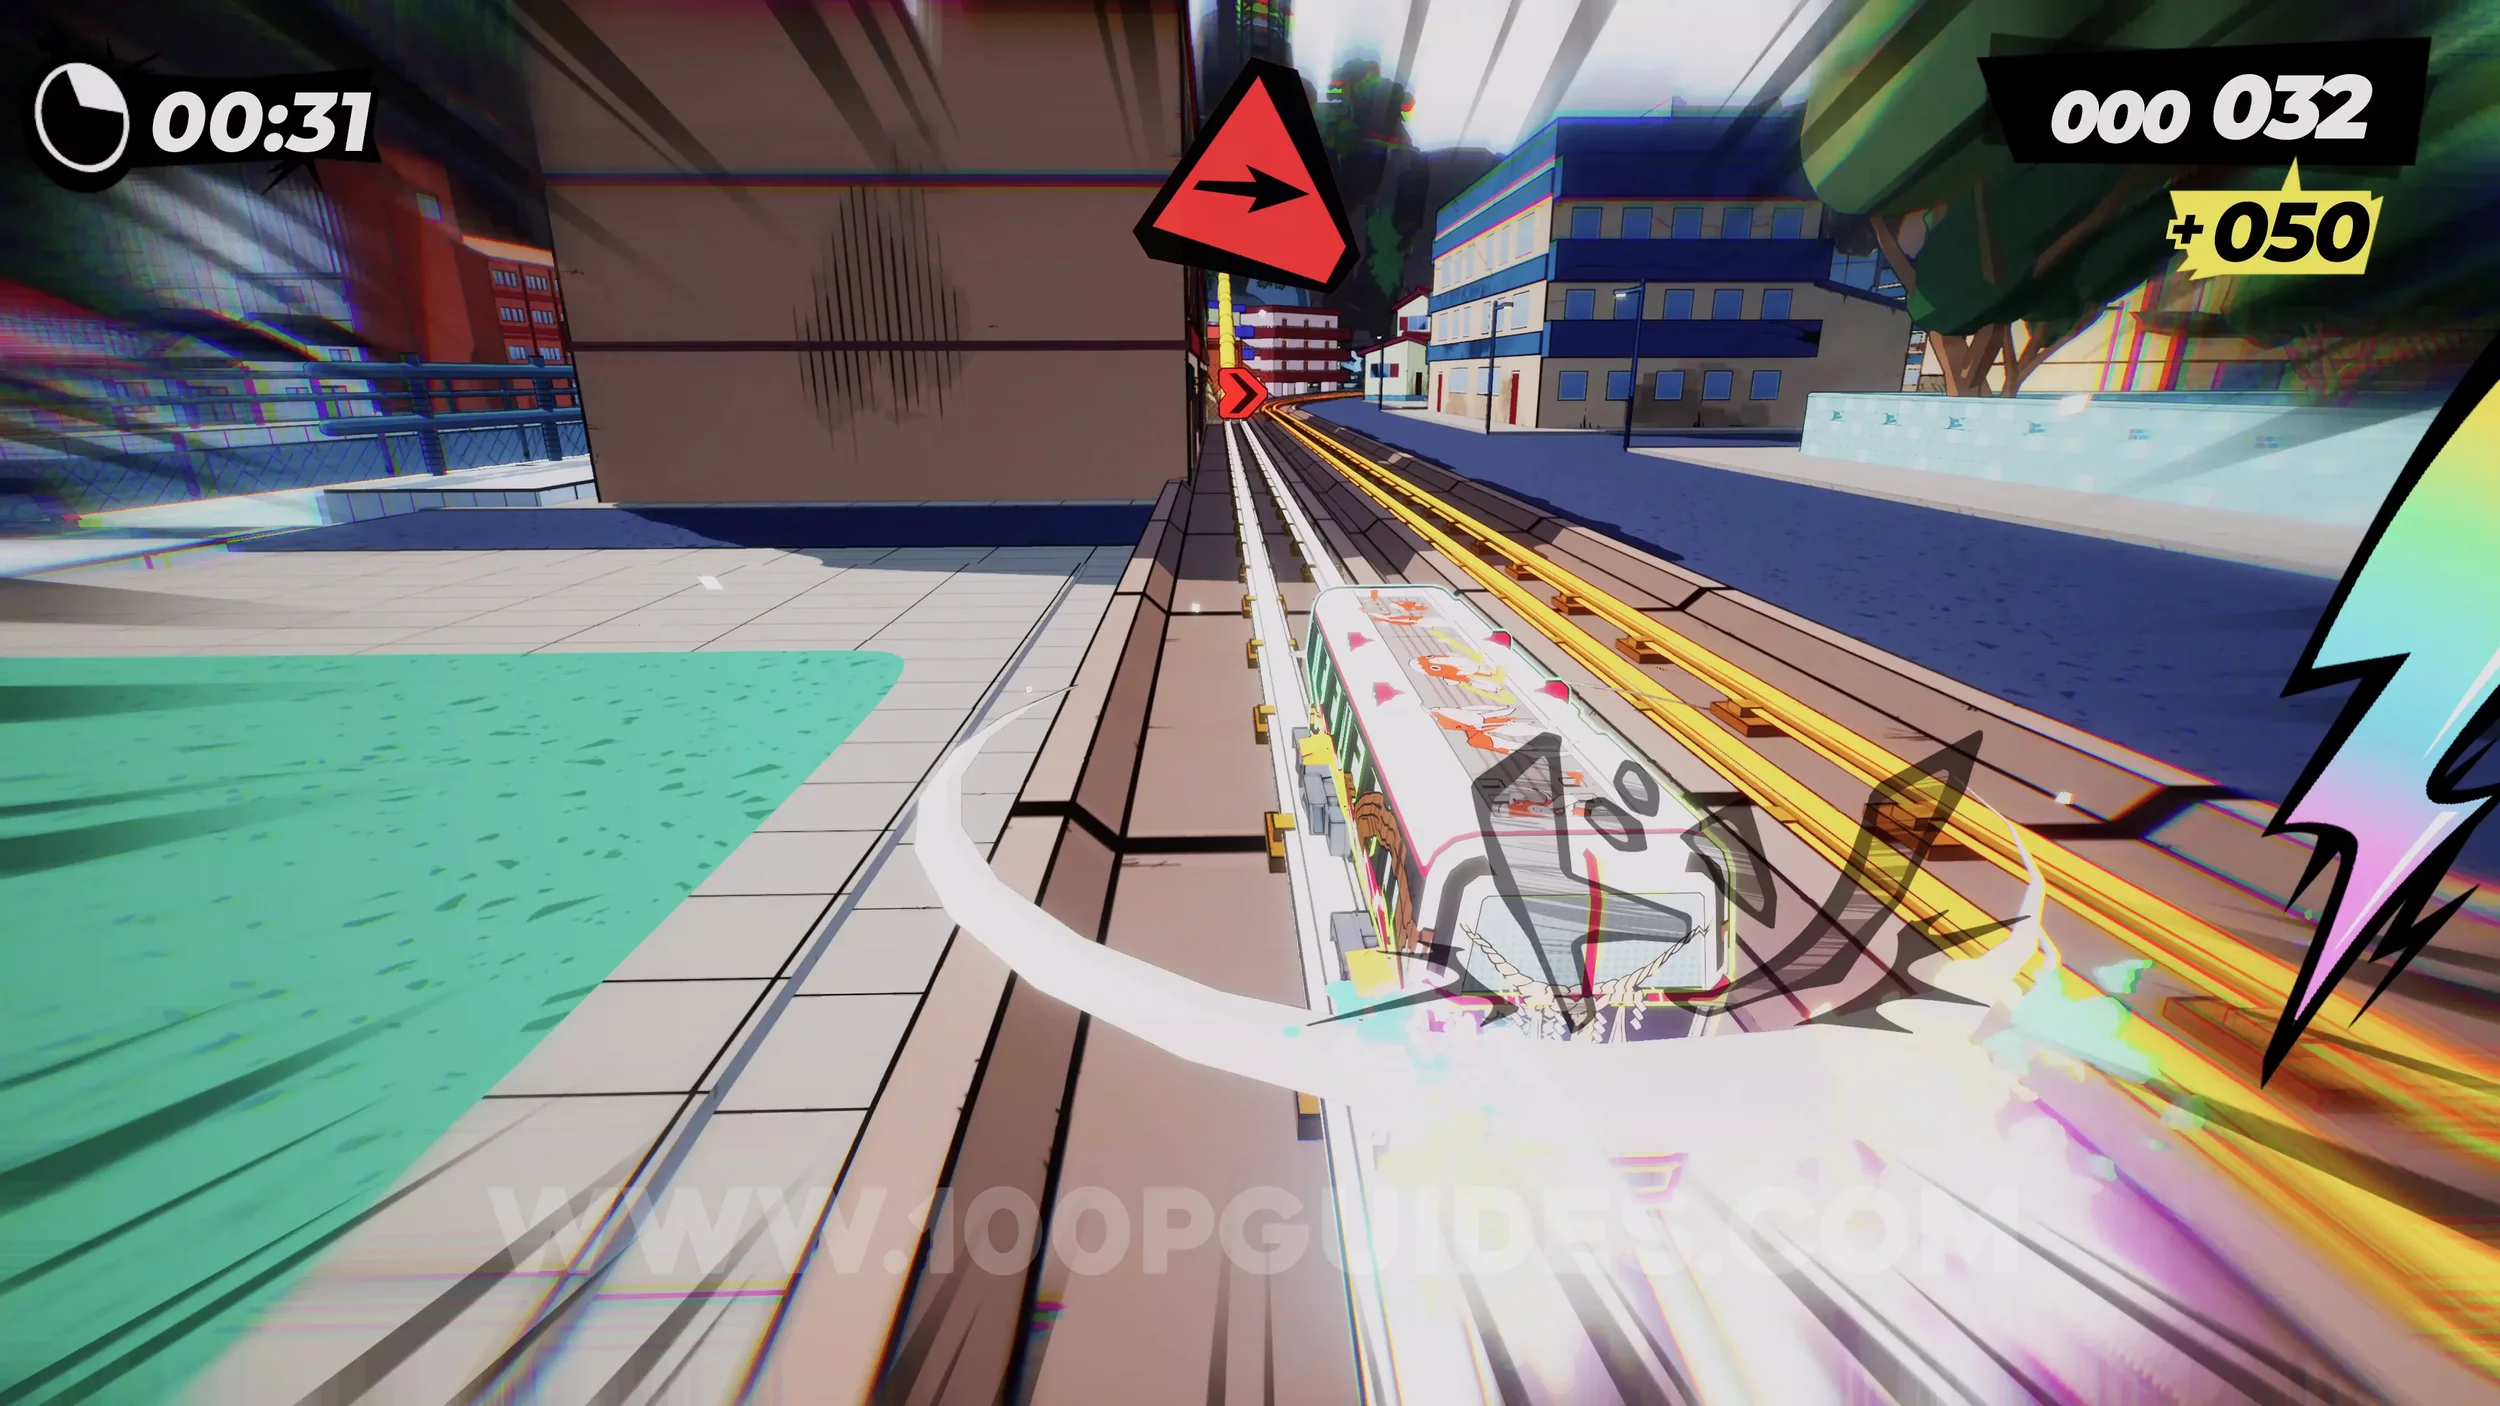
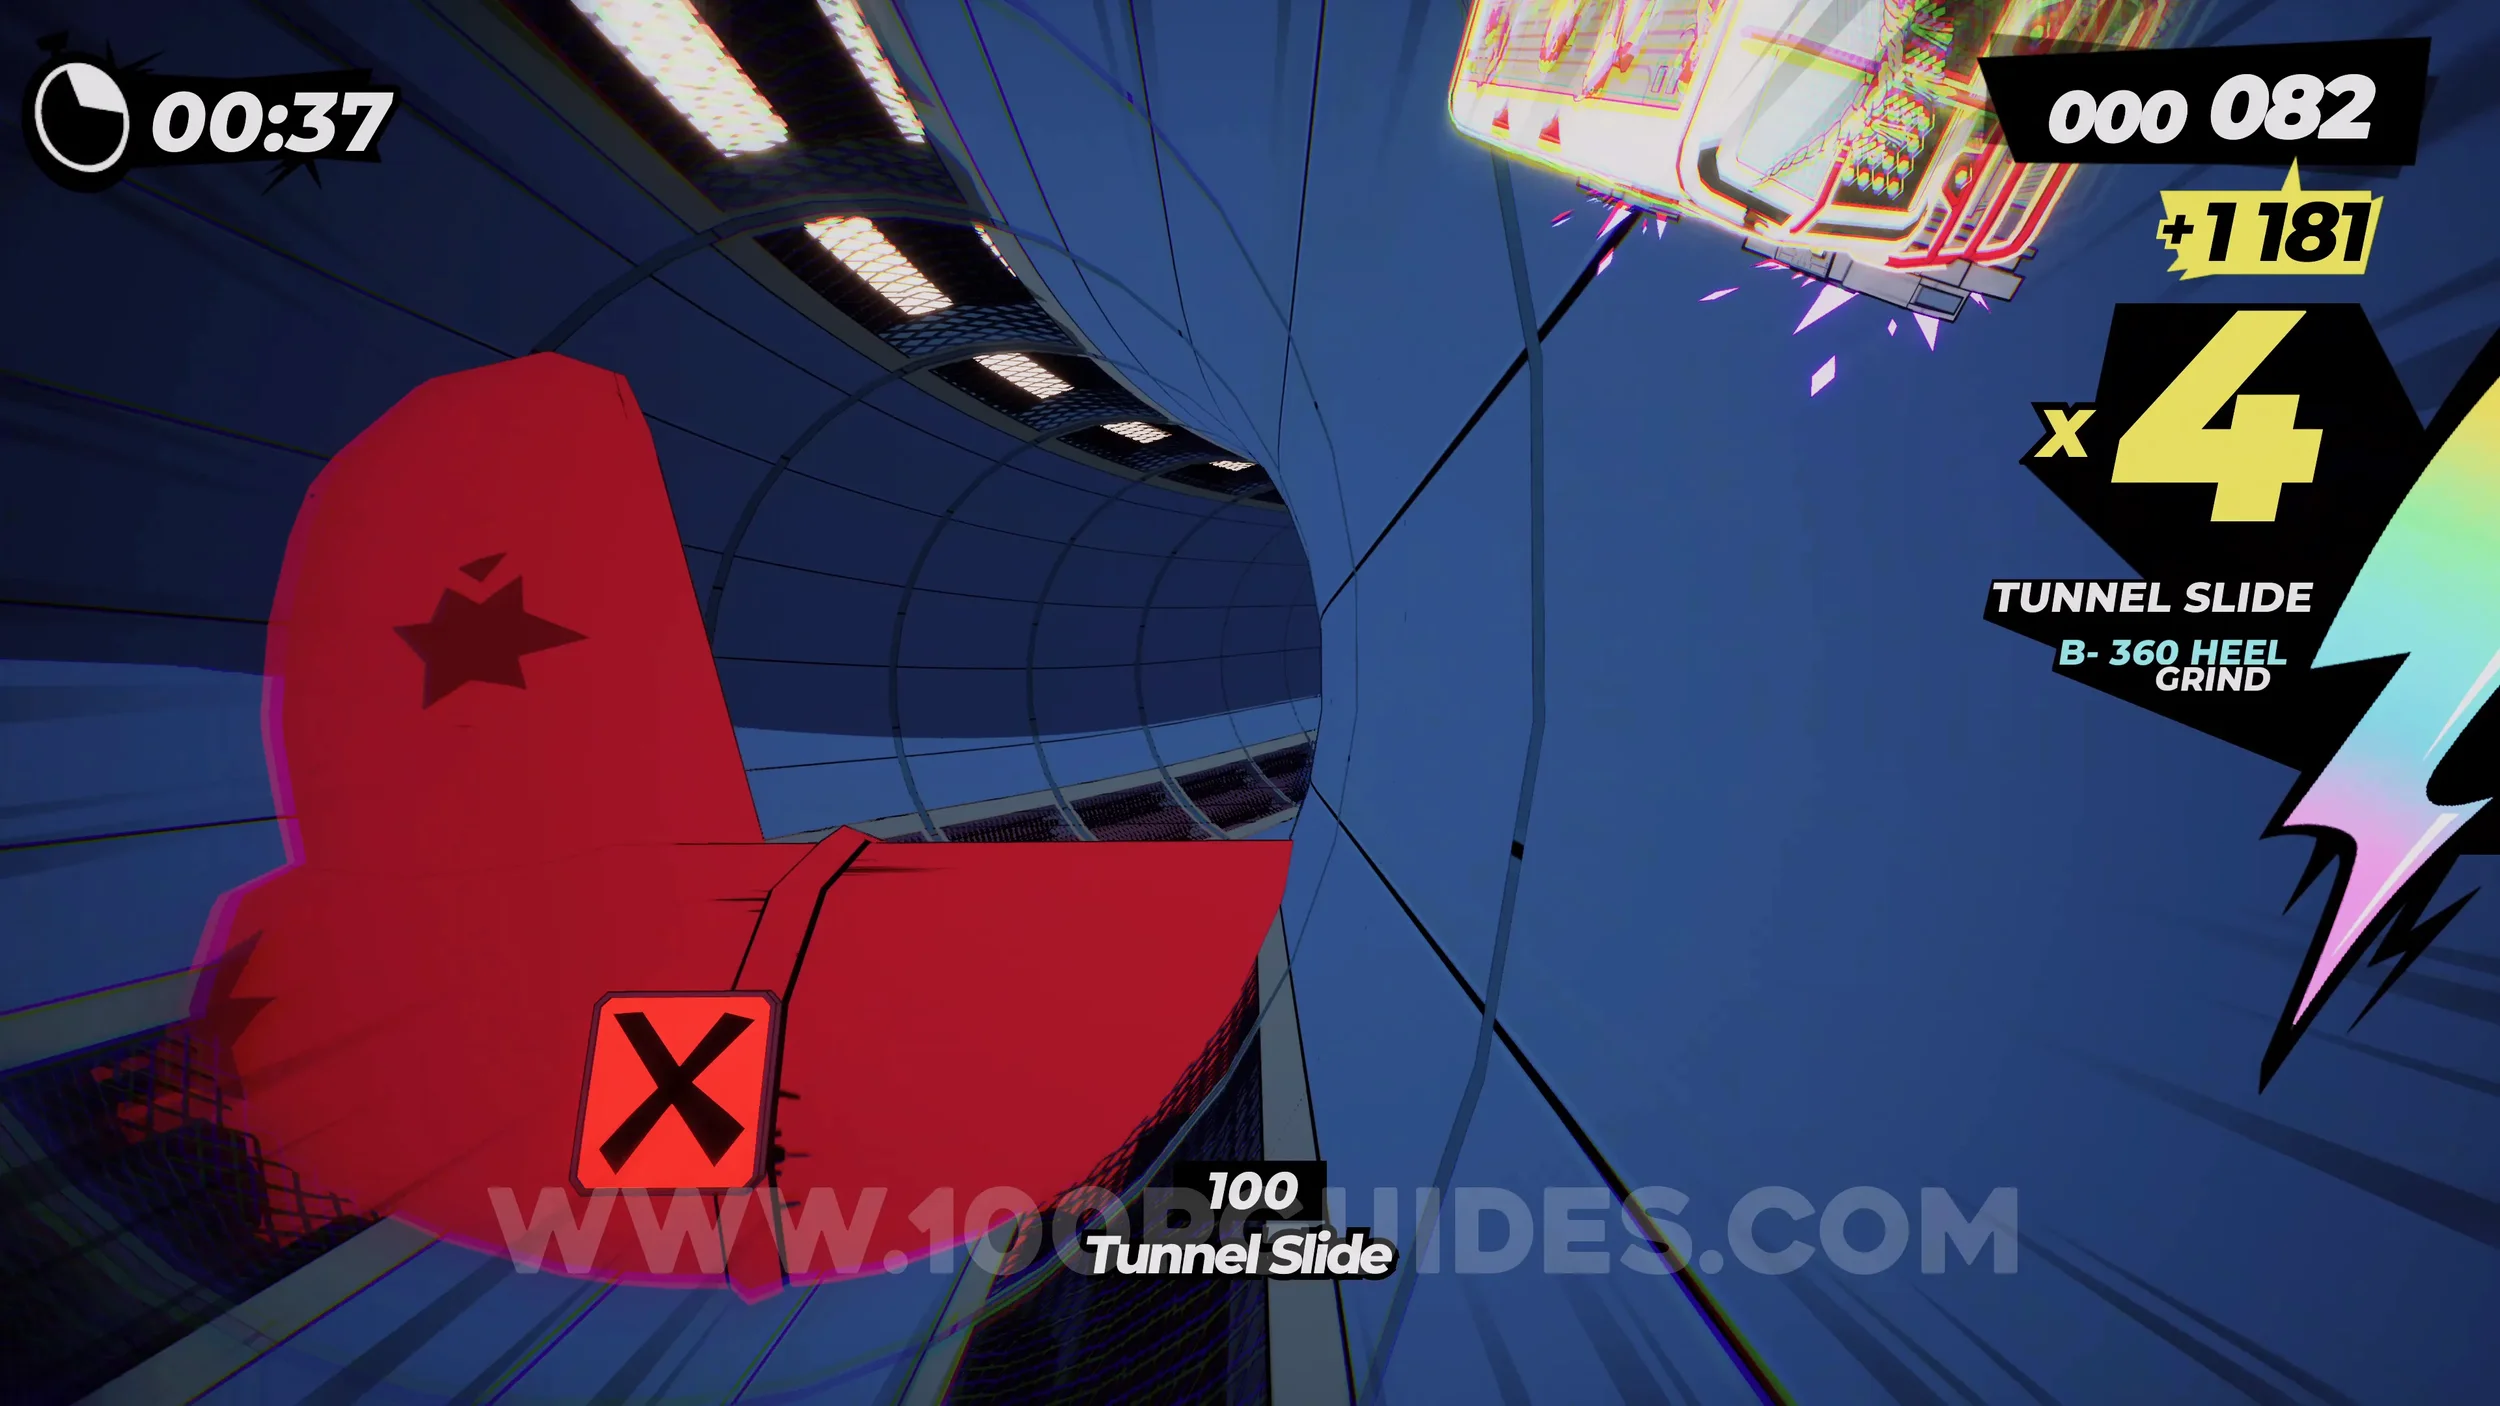
Gear (2/3). After leaving the tunnel, you will soon ride the monorail down to a body of water. Here, swing left to reach the gear on the side.
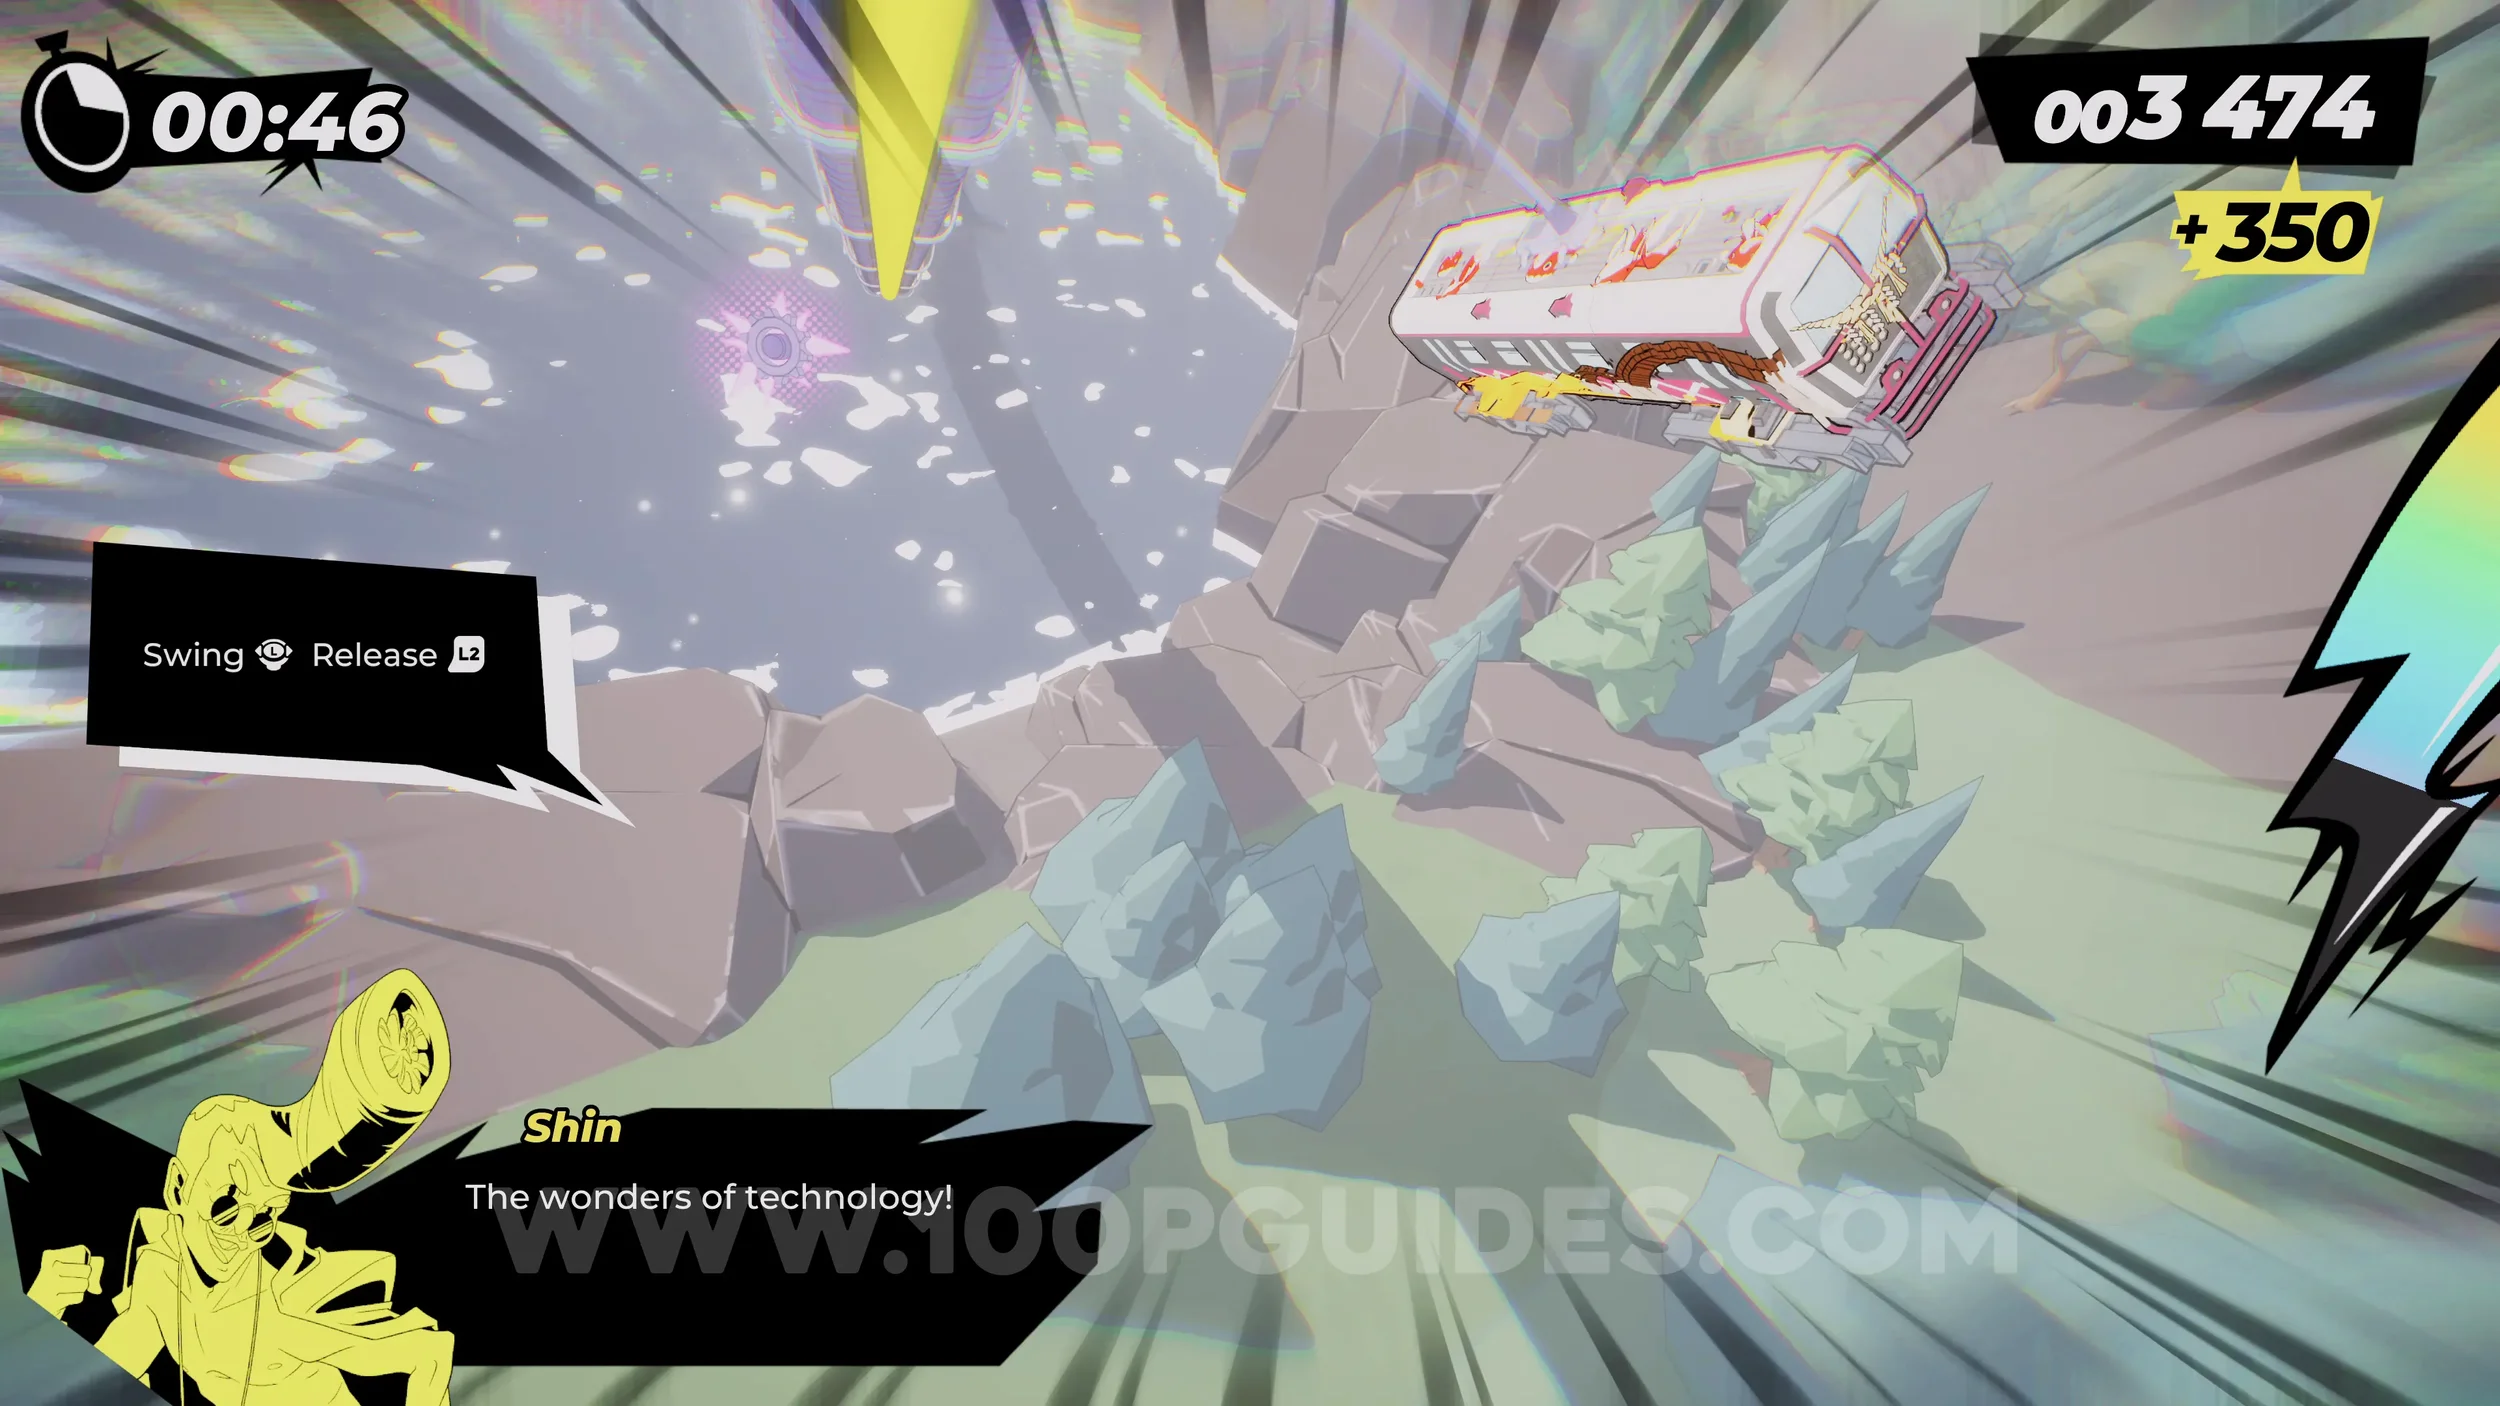
Spray Can (1/1). After the body of water, swing to the monorail on the right and then onto the ridable wall where the spray can is.
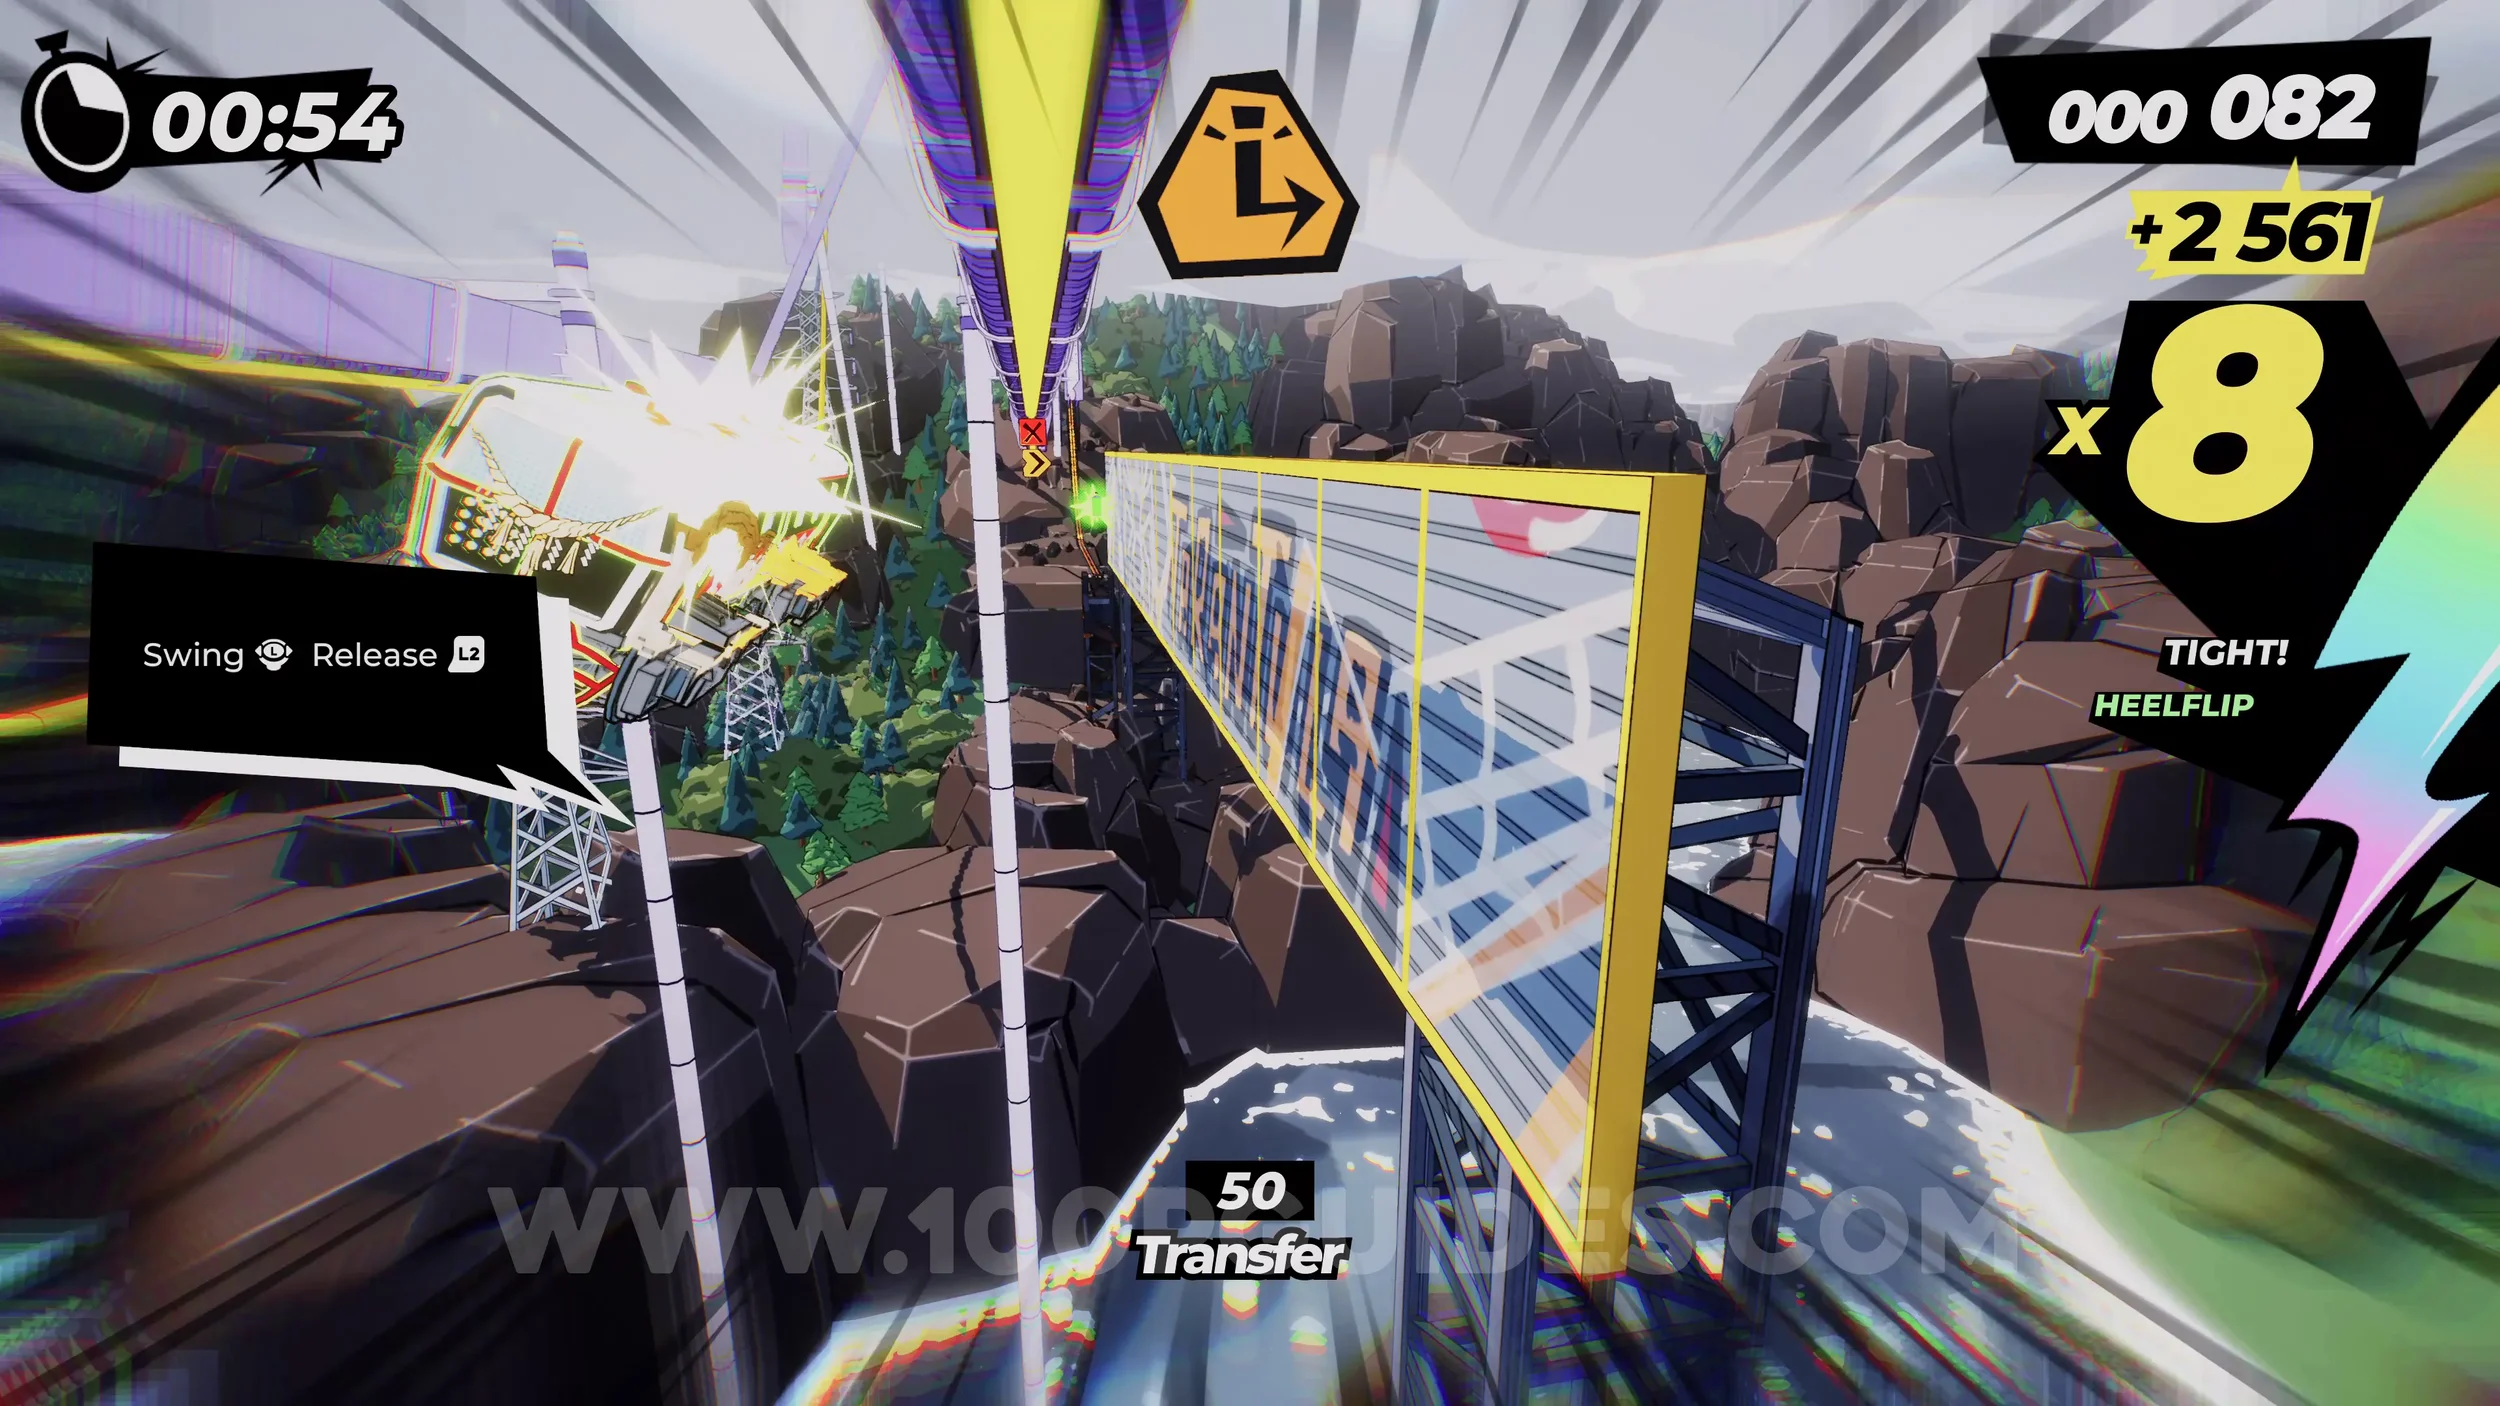
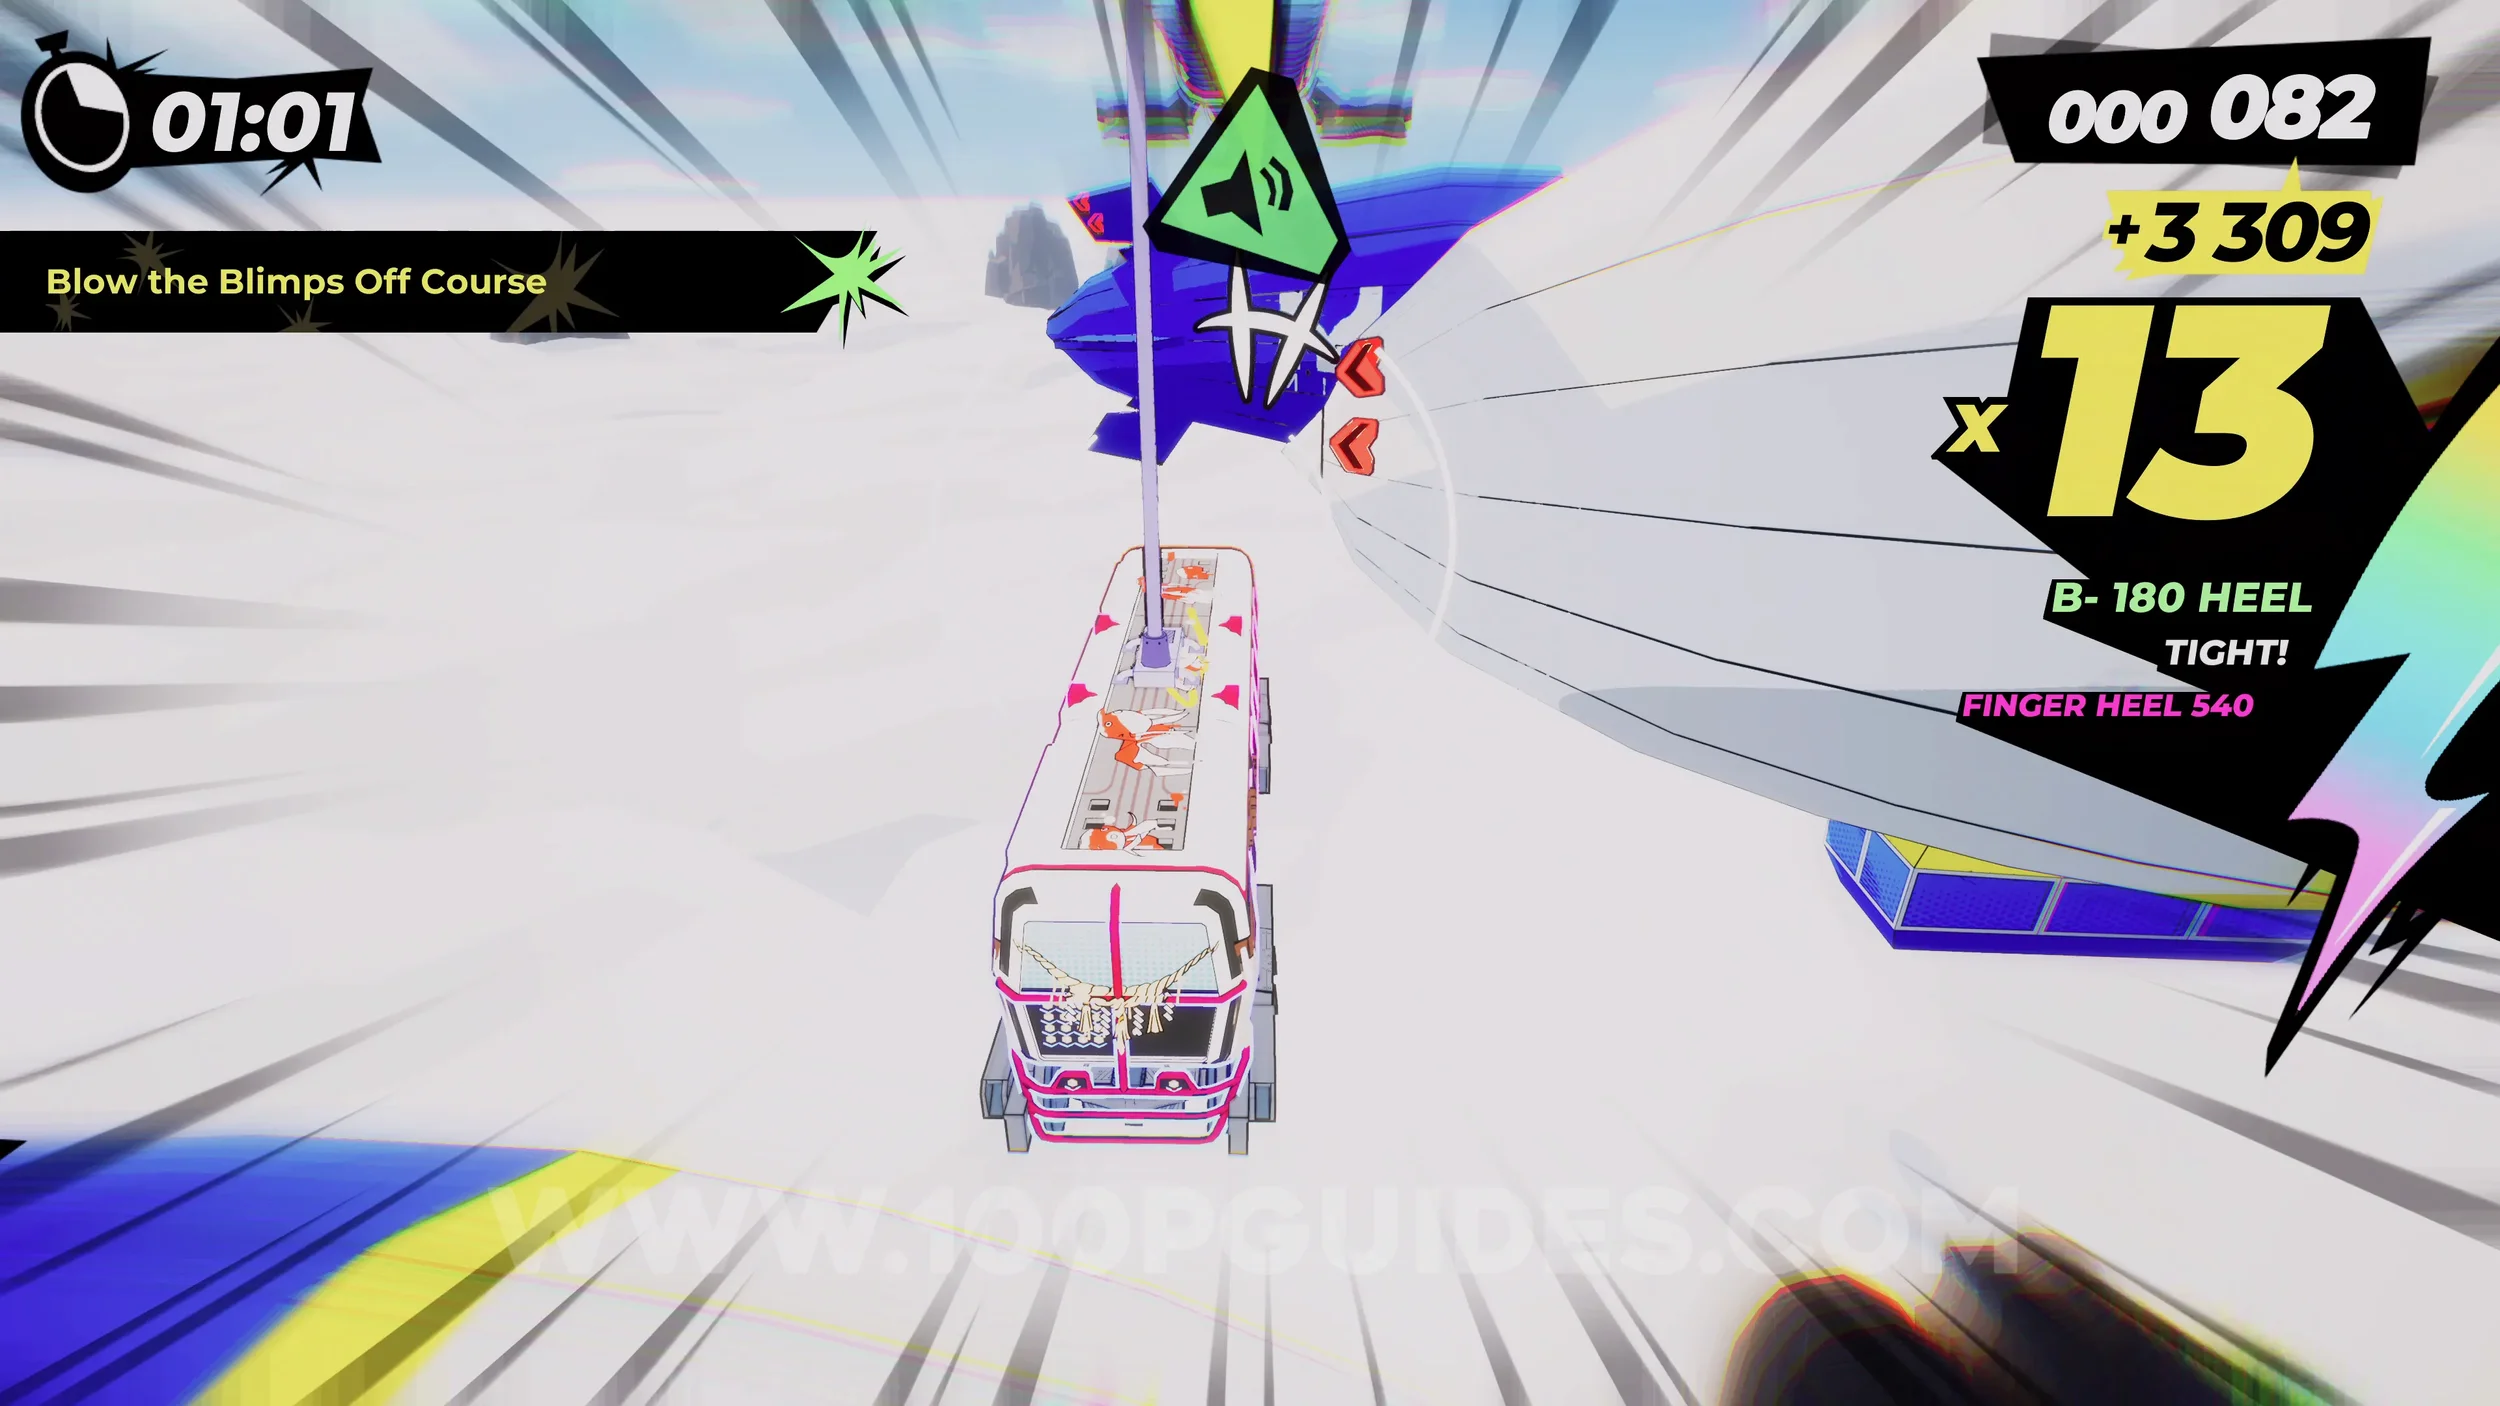
Dare: Blow the Blimps Off Course and Dare: Perform 5 Risky Dodges While Riding the Monorail (4-5/5). After the previous collectible, you will ride a monorail over some blimps that you have to dodge. When going by them, press R3 to use your horn. Make sure you get risky dodges to finish the other dare.
Film Roll (1/1), Gear (3/3) and Dare: Find the Onsen Exit. After the blimps, you will reach a section with a monorail that goes over a bridge with rails on the sides. Here, jump to the right and look for a sign with a film roll on it pointing that way. If you have your special bar filled, a rainbow rail will appear off to that side. Swing onto it and follow the rainbow rails to collect all three things.
Dare: No Crash Finish. Self-explanatory. Finish the level without crashing.
5-1-O Kinosaki Onsen
Onsen #4. This level will only be available if you found the Onsen Exit in level 5-1-1. Exhaust the dialogue and leave.
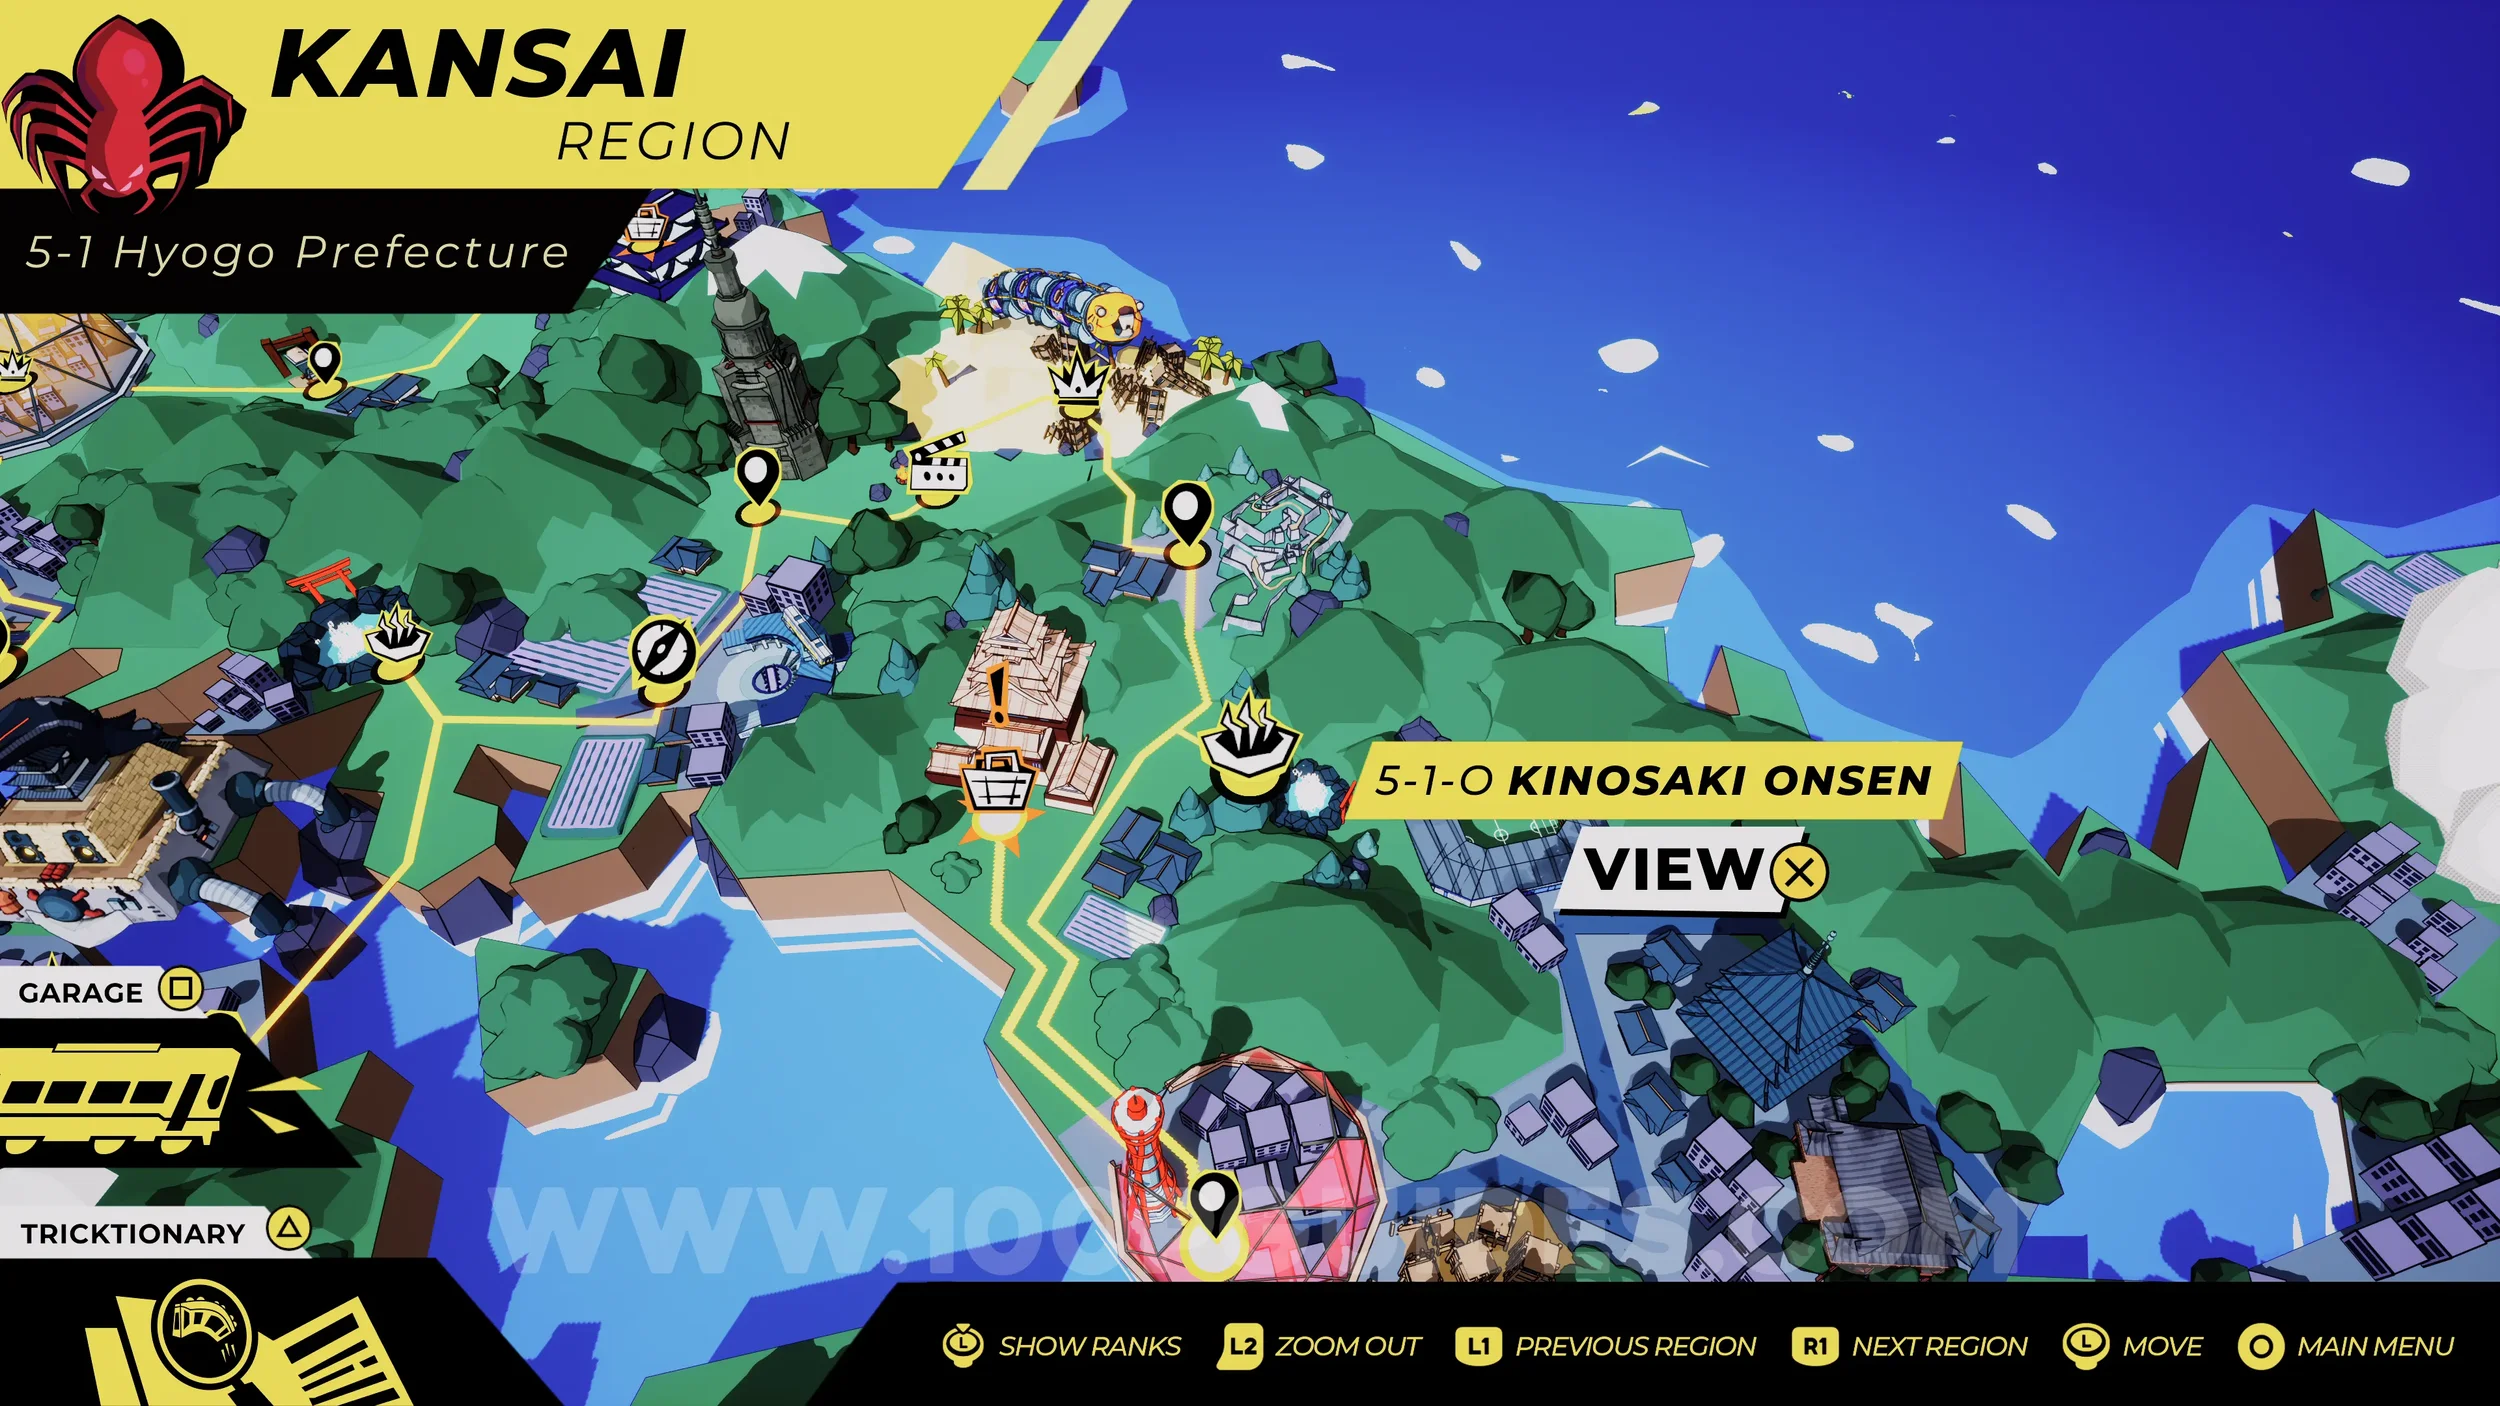
5-1-C Himeji Castle
This is a shop level. Here you will be able to spend your spray cans on more stickers needed to work towards the Full Set trophy. In this shop you will also be able to purchase another 5 trains with the gears you have collected, to work towards the True Densha Collector trophy.
5-1-2 Into Tarantula Territory
Spray Can (1/2). After the first vert jump, you will land in a pipe. Stick to the right side to get the can.
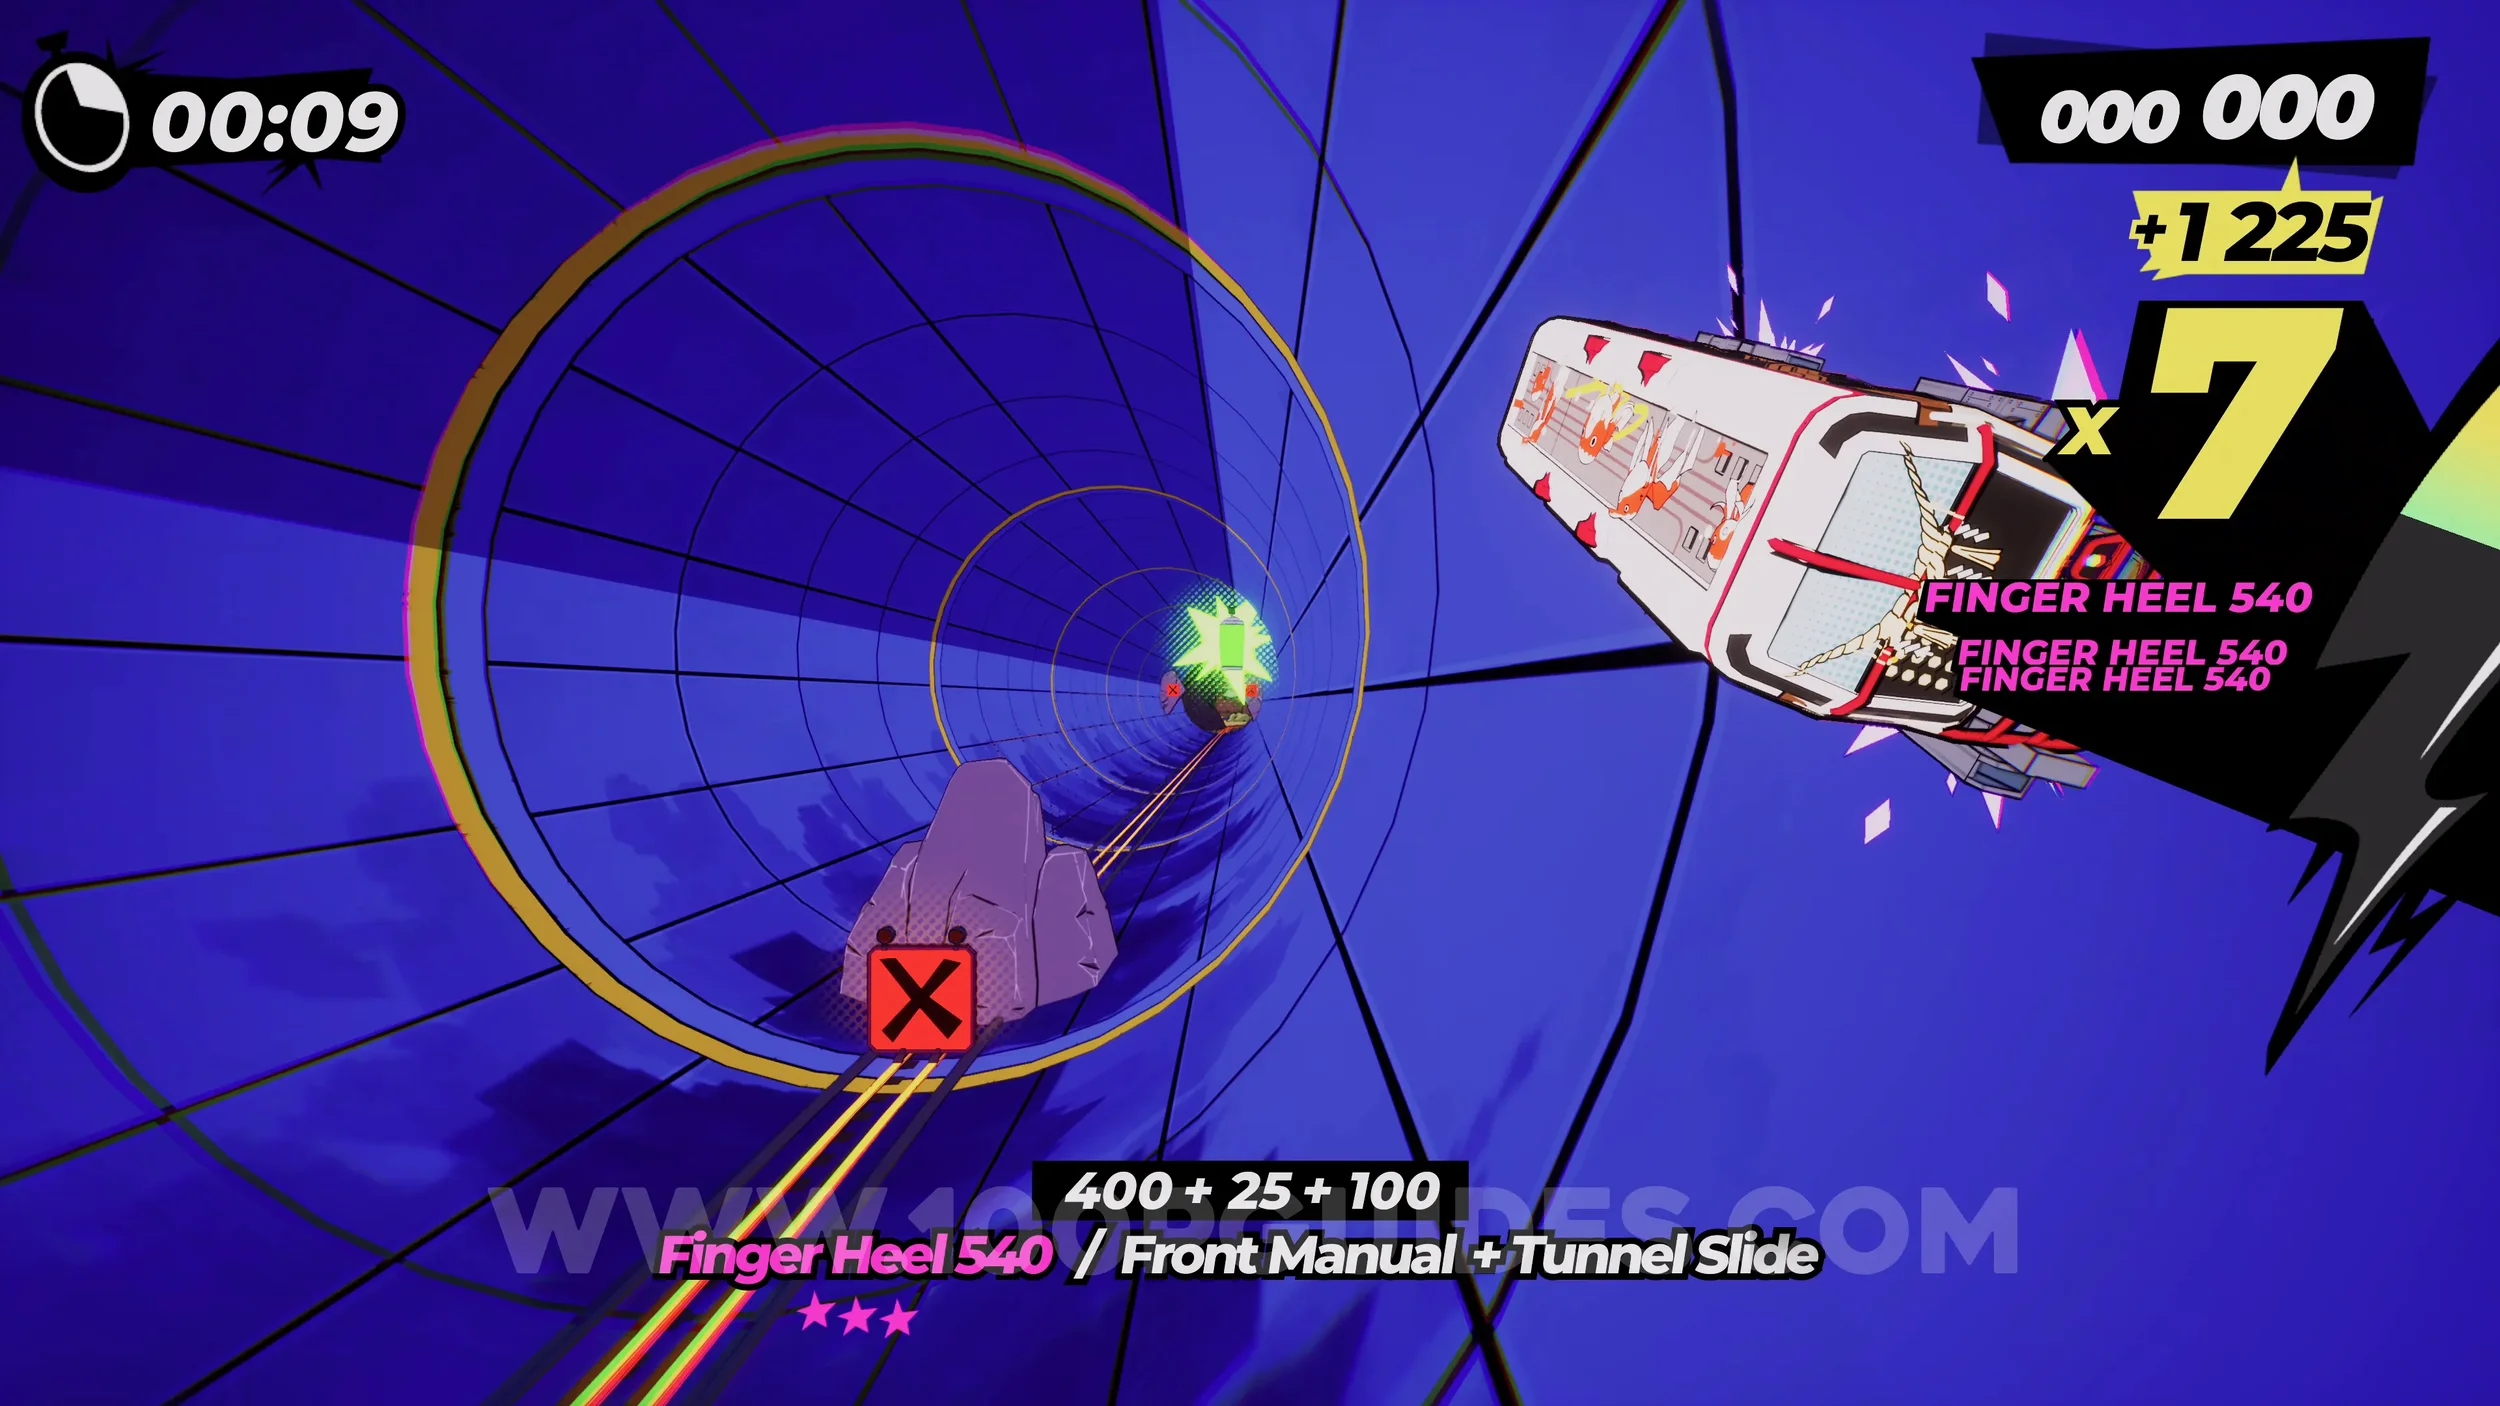
Spray Can (2/2). After going through a building, you will ride a monorail. Here, jump to the right side to get the can.
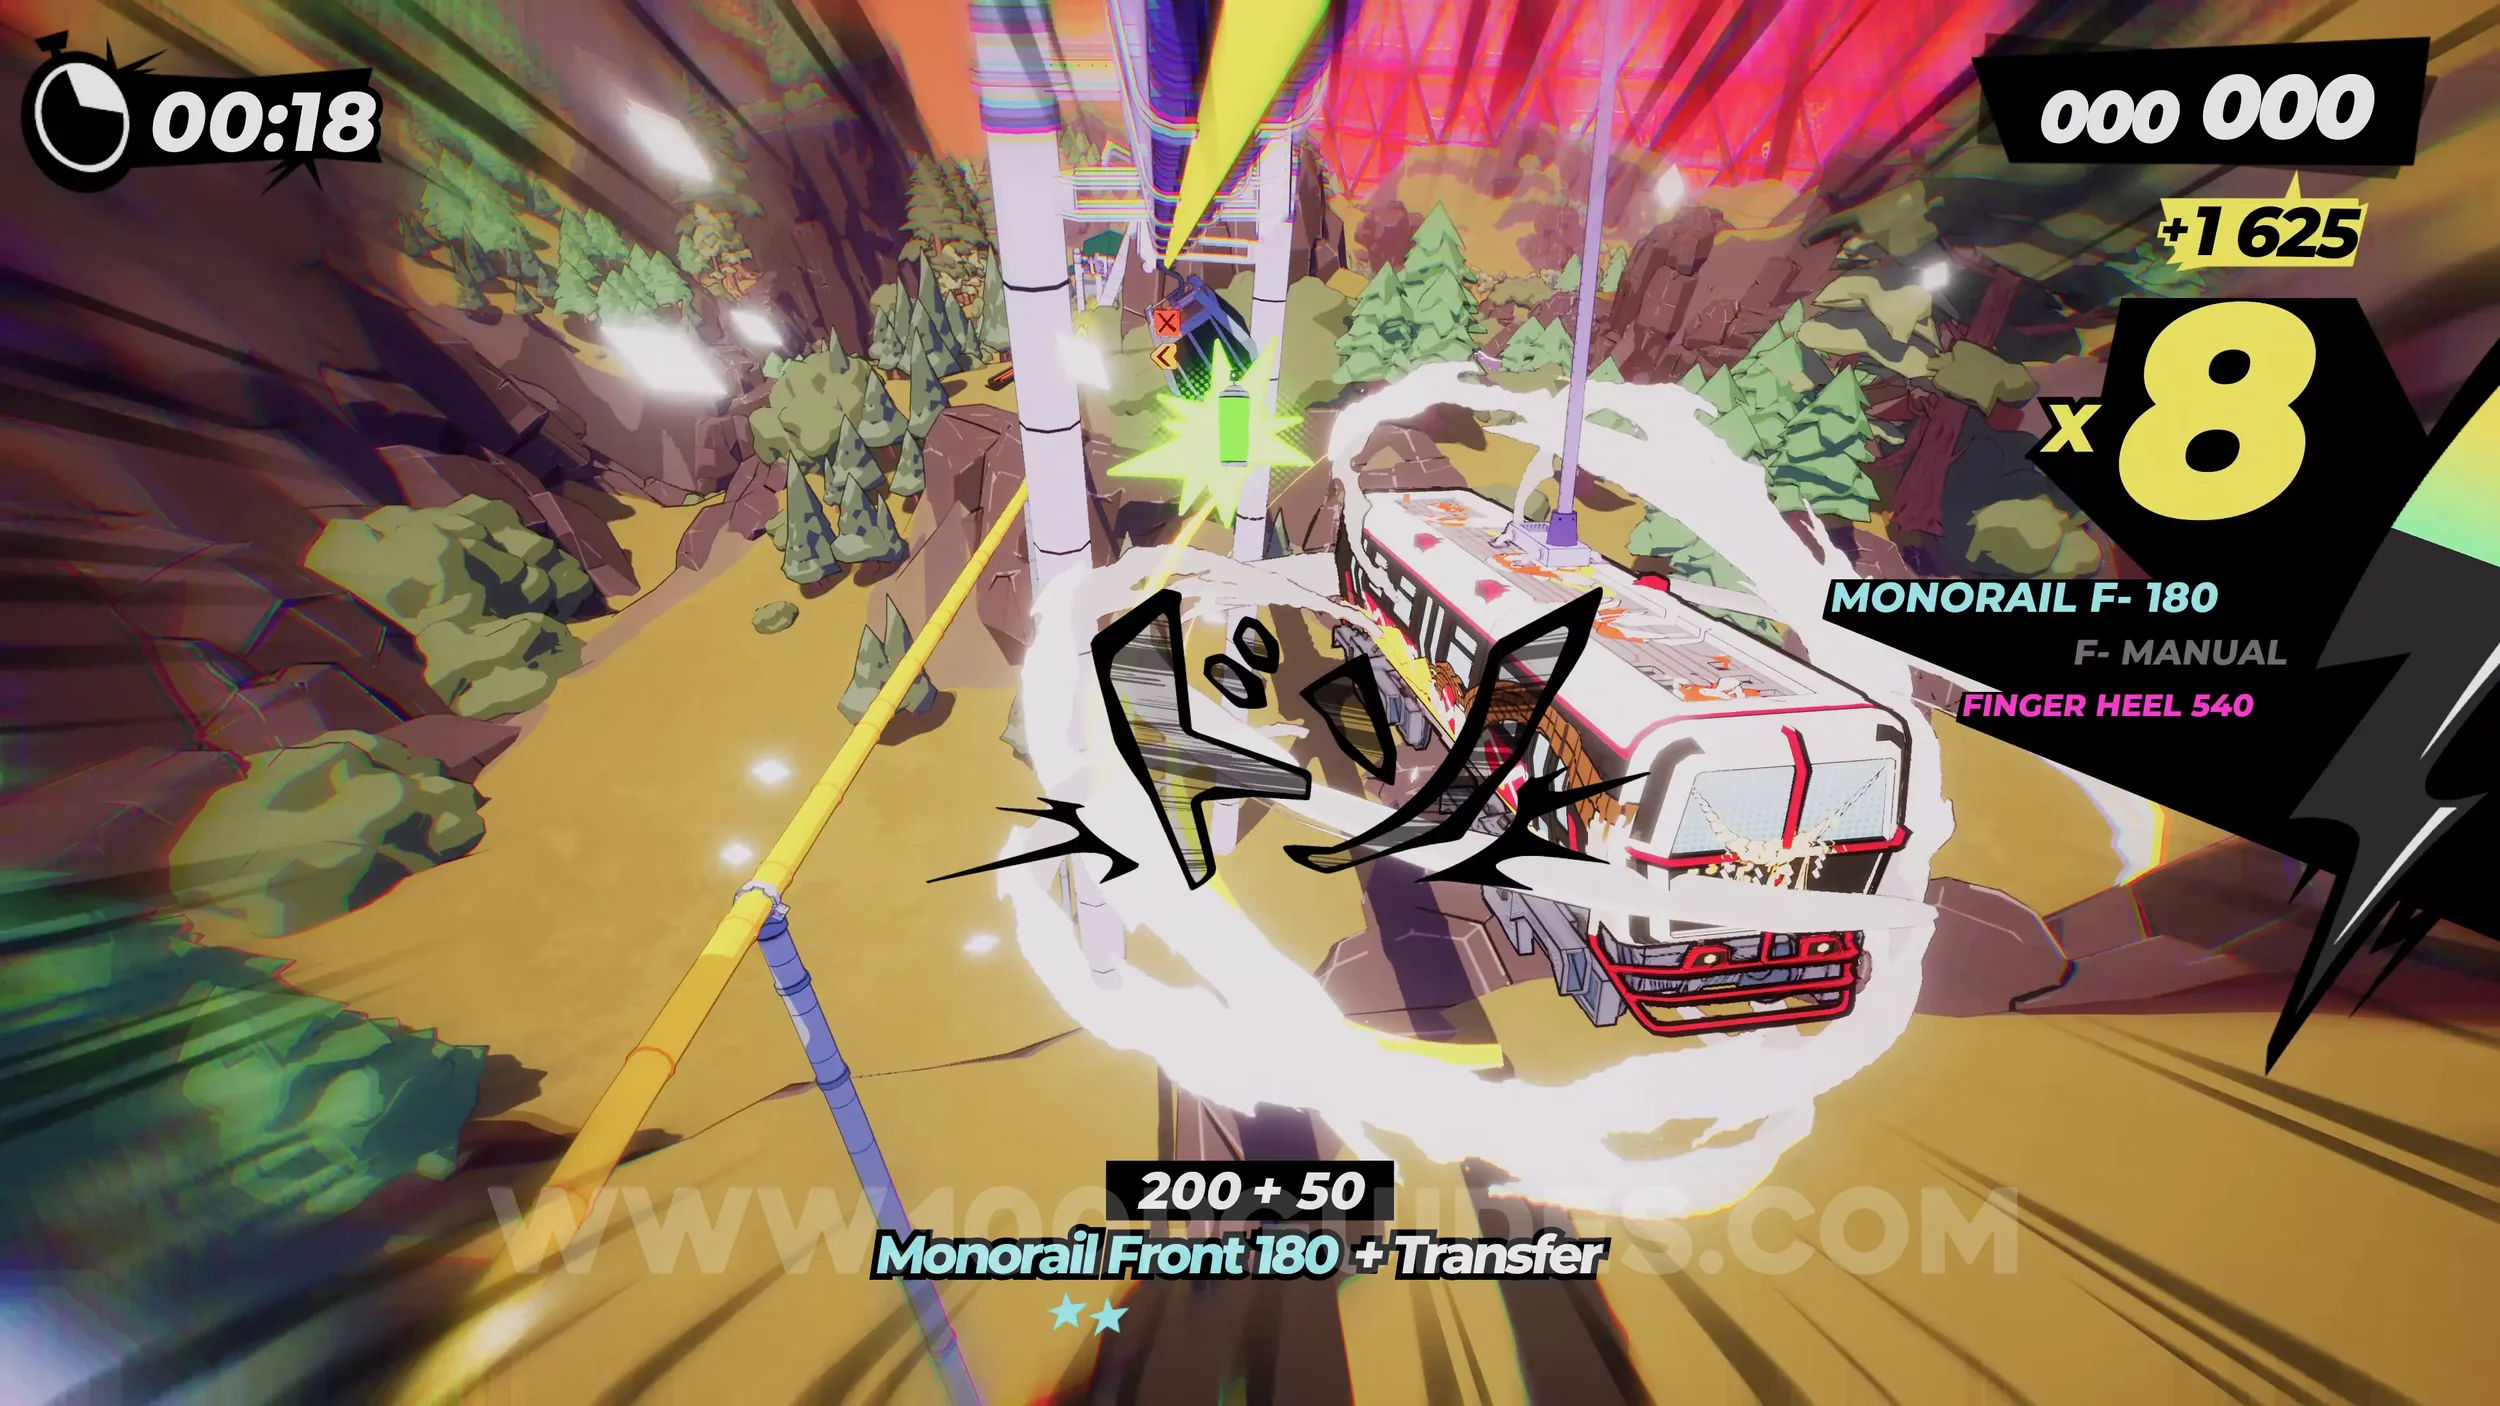
Gear (1/2). Continue until you go through a village with water going through the middle. Here, watch out for a blue sign telling you there is a gear to the right. Jump up to the right and then up to the wallride to get the gear.
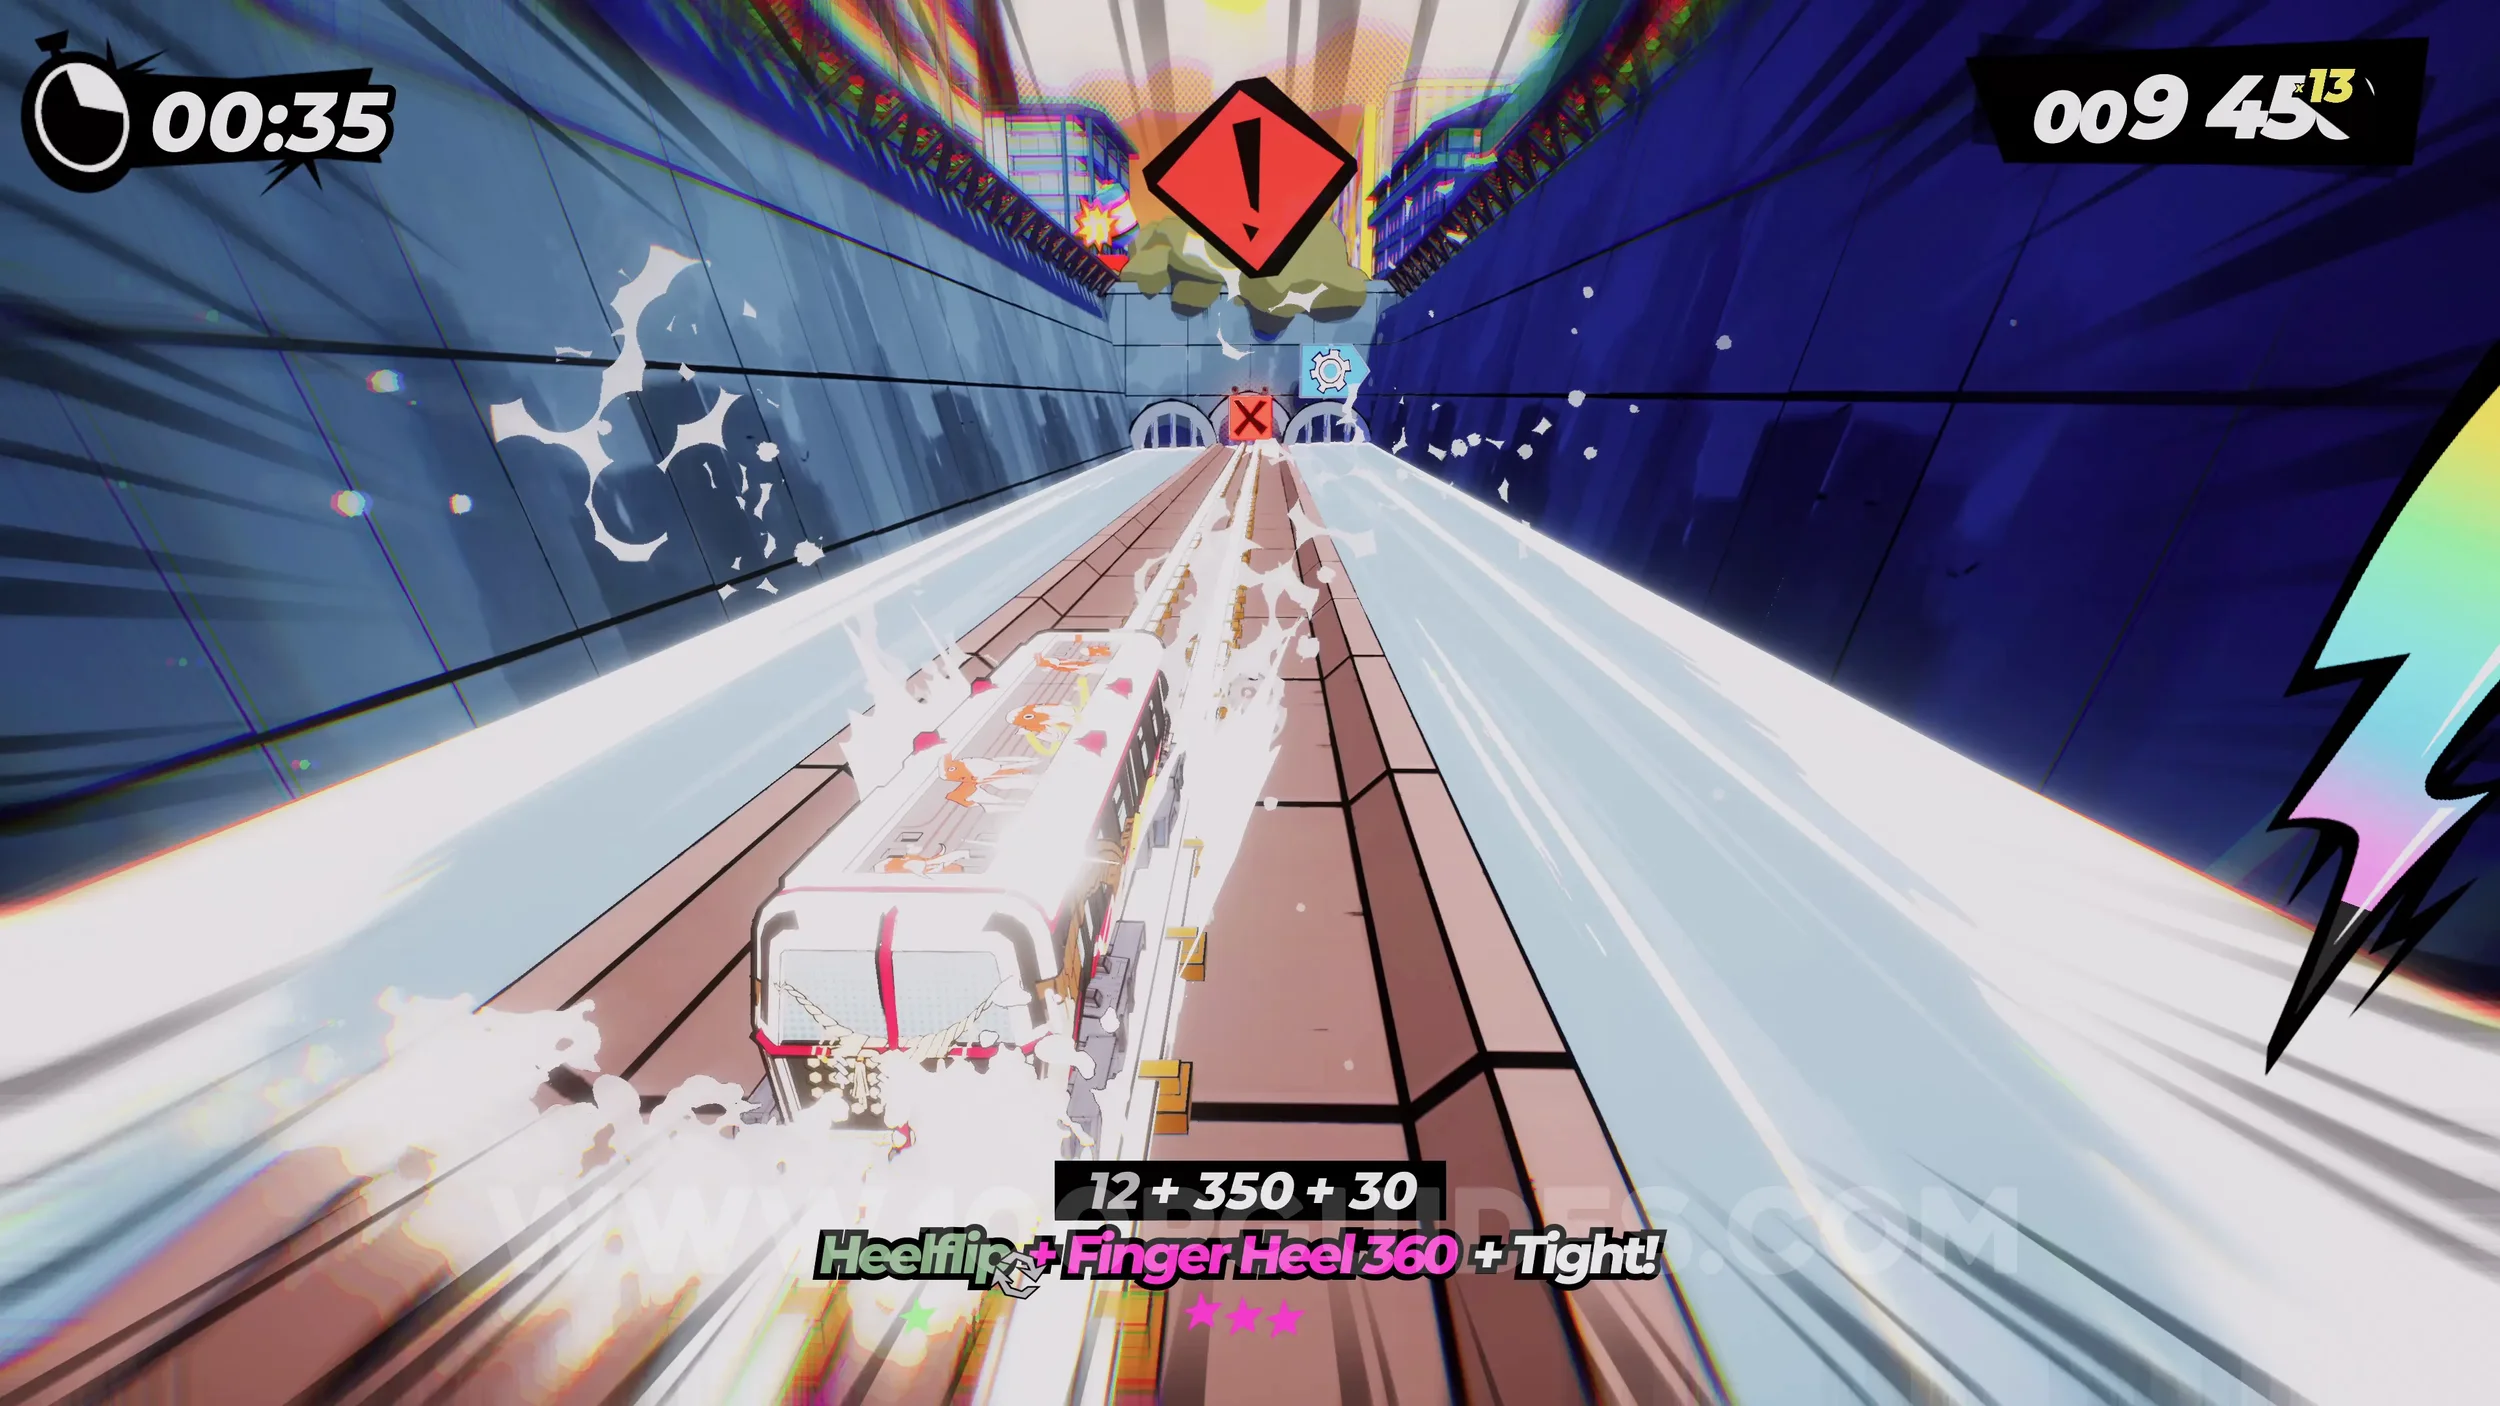
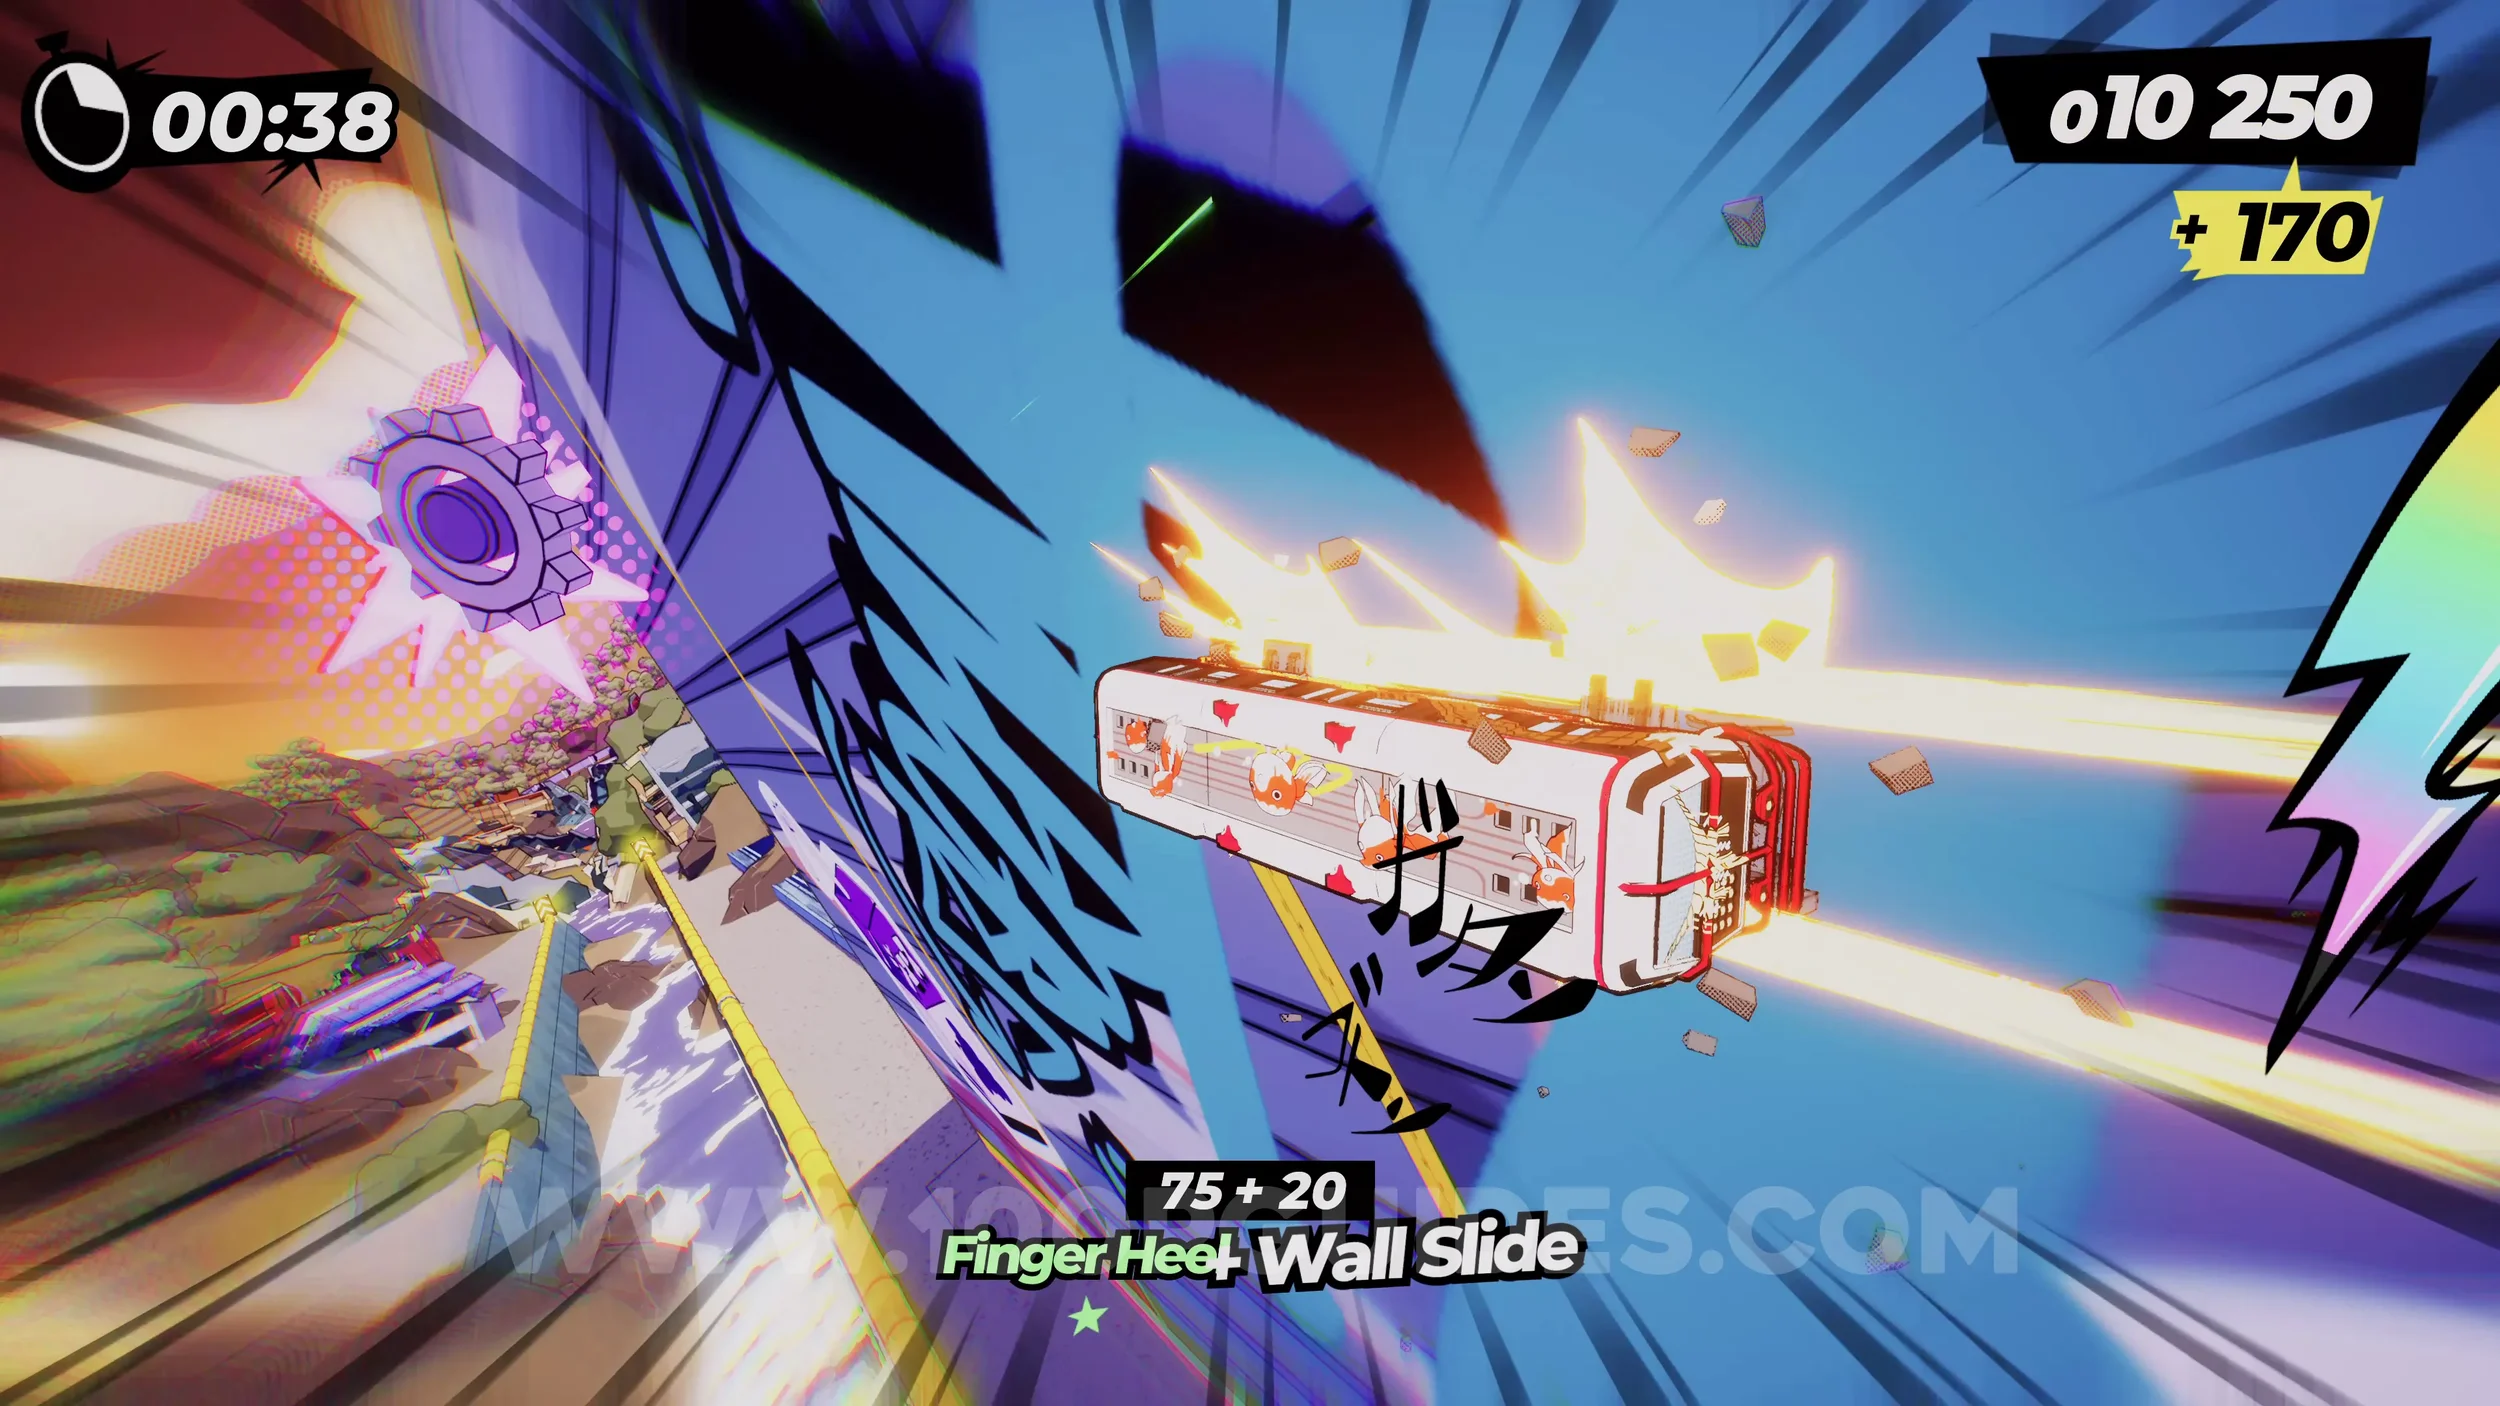
Gear (2/2). Once you get to the large city, you will see a sign telling you there is a gear on your left. Just after this sign, hit the track switch banner on your left to get the tracks to change direction. Now just follow them to get to the gear.
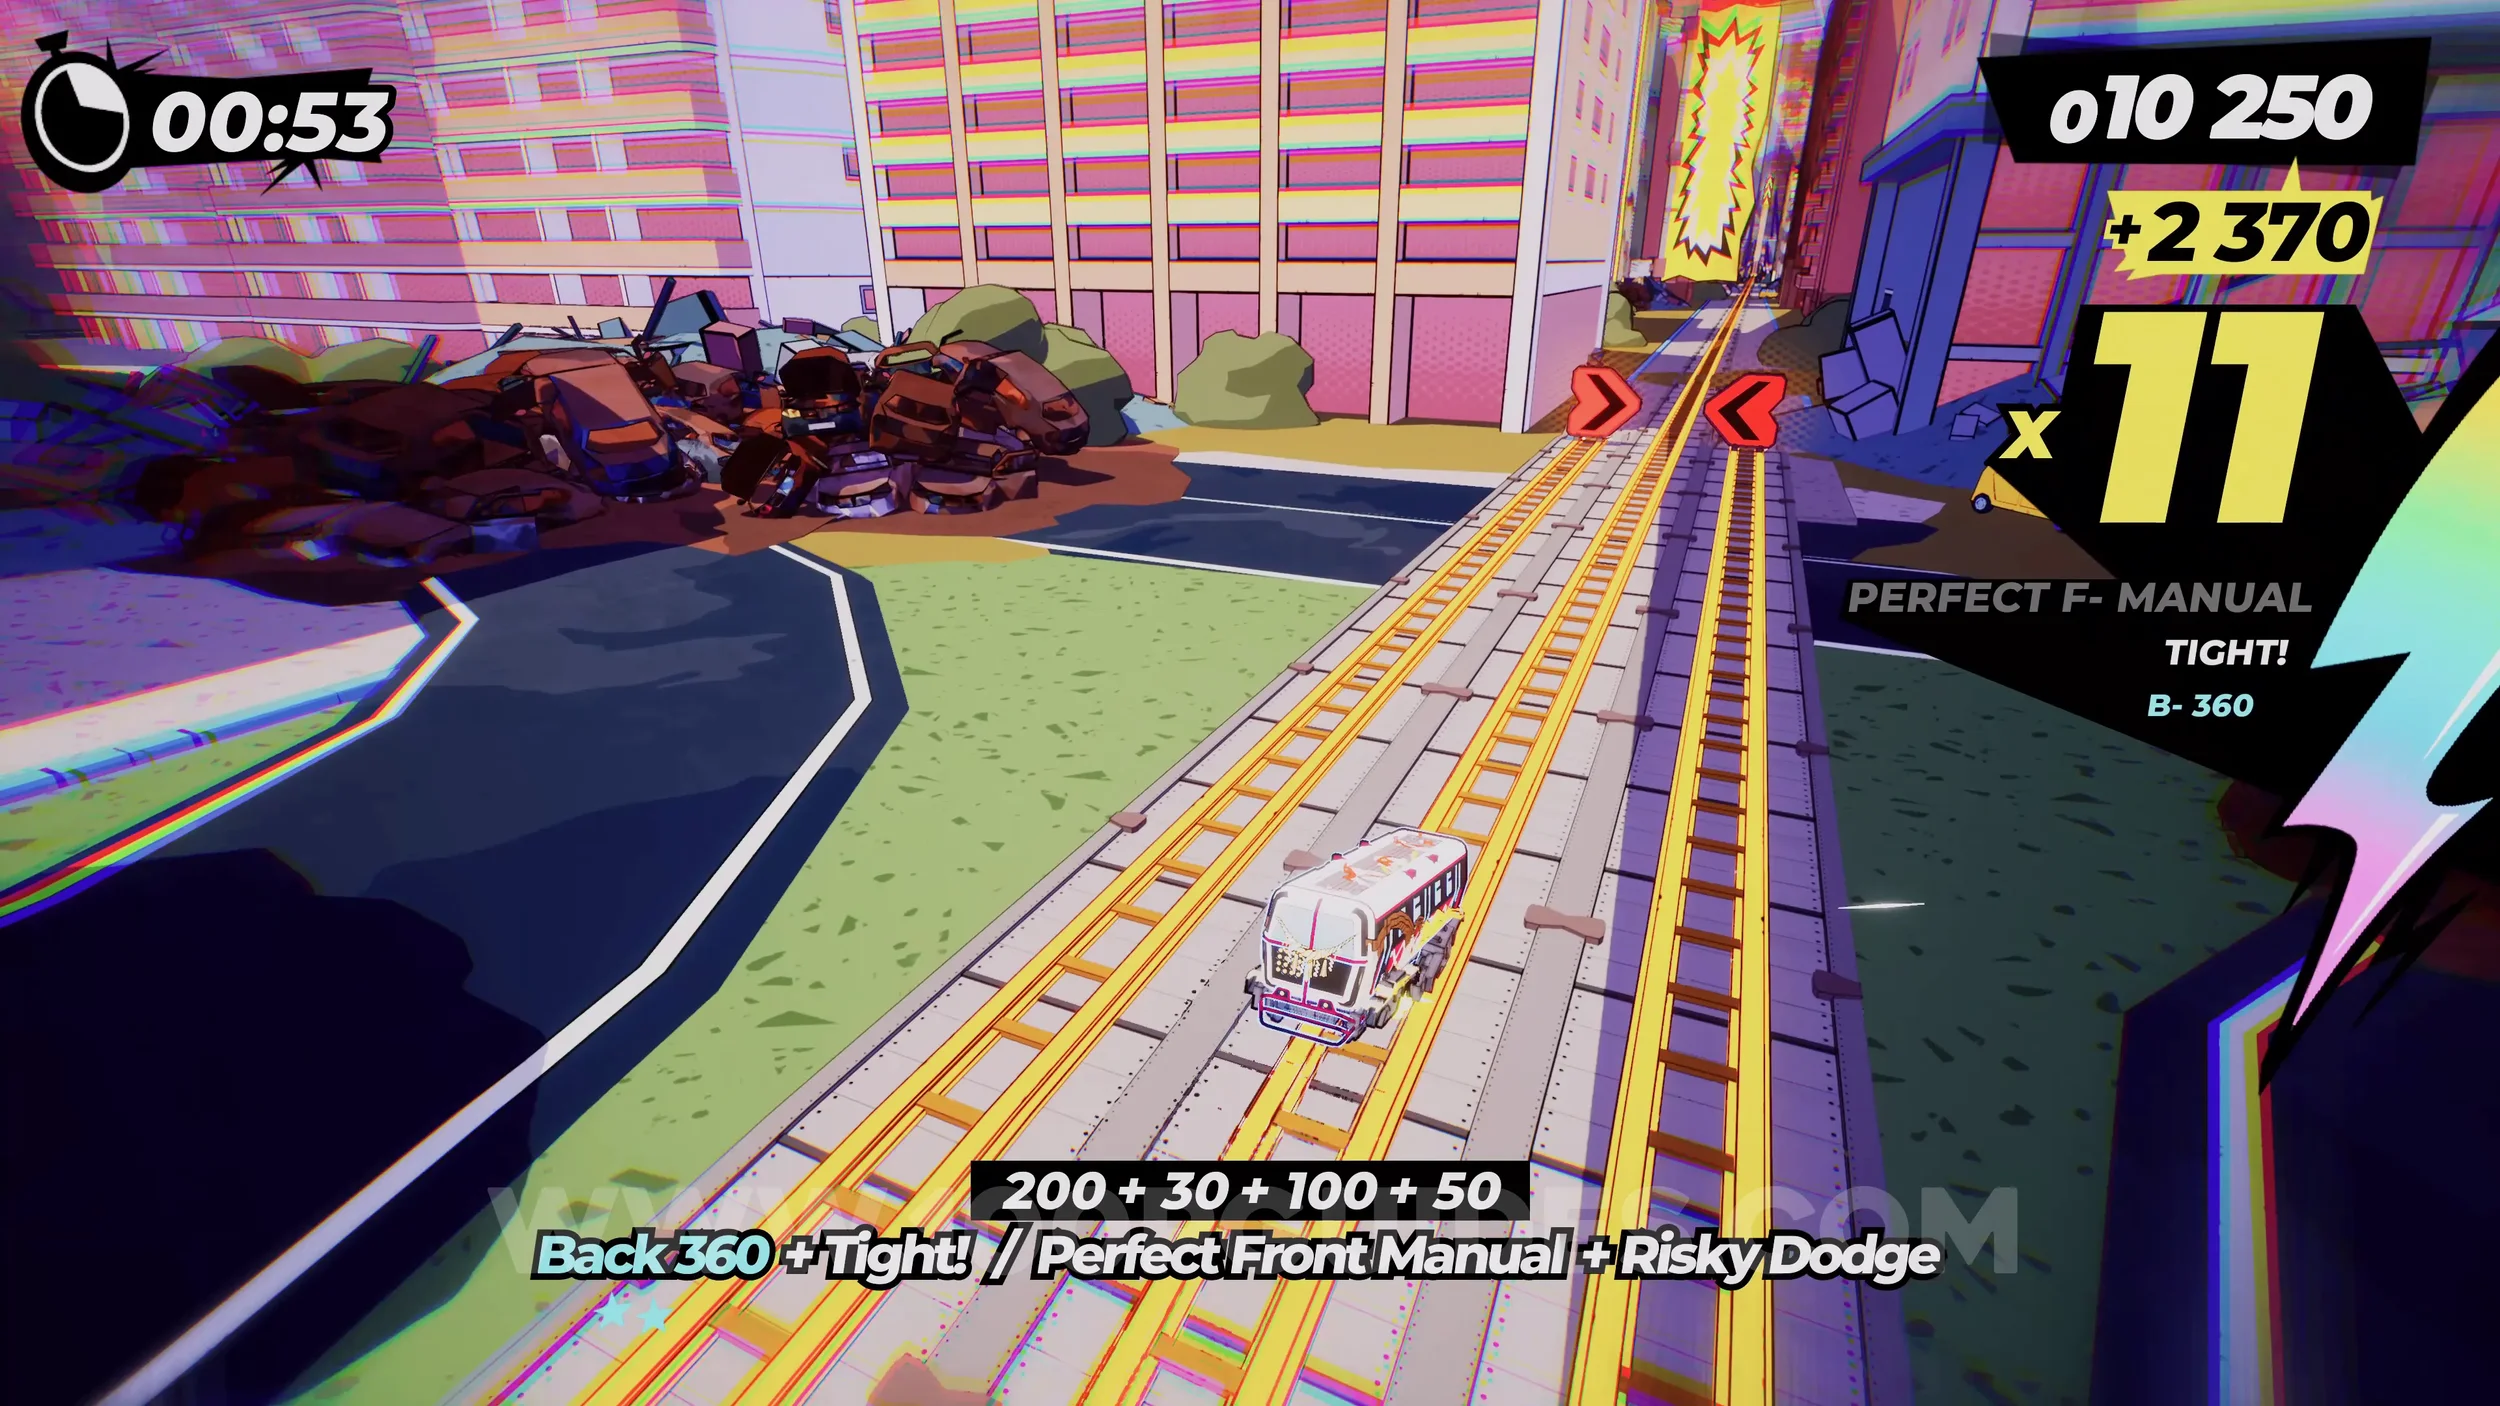
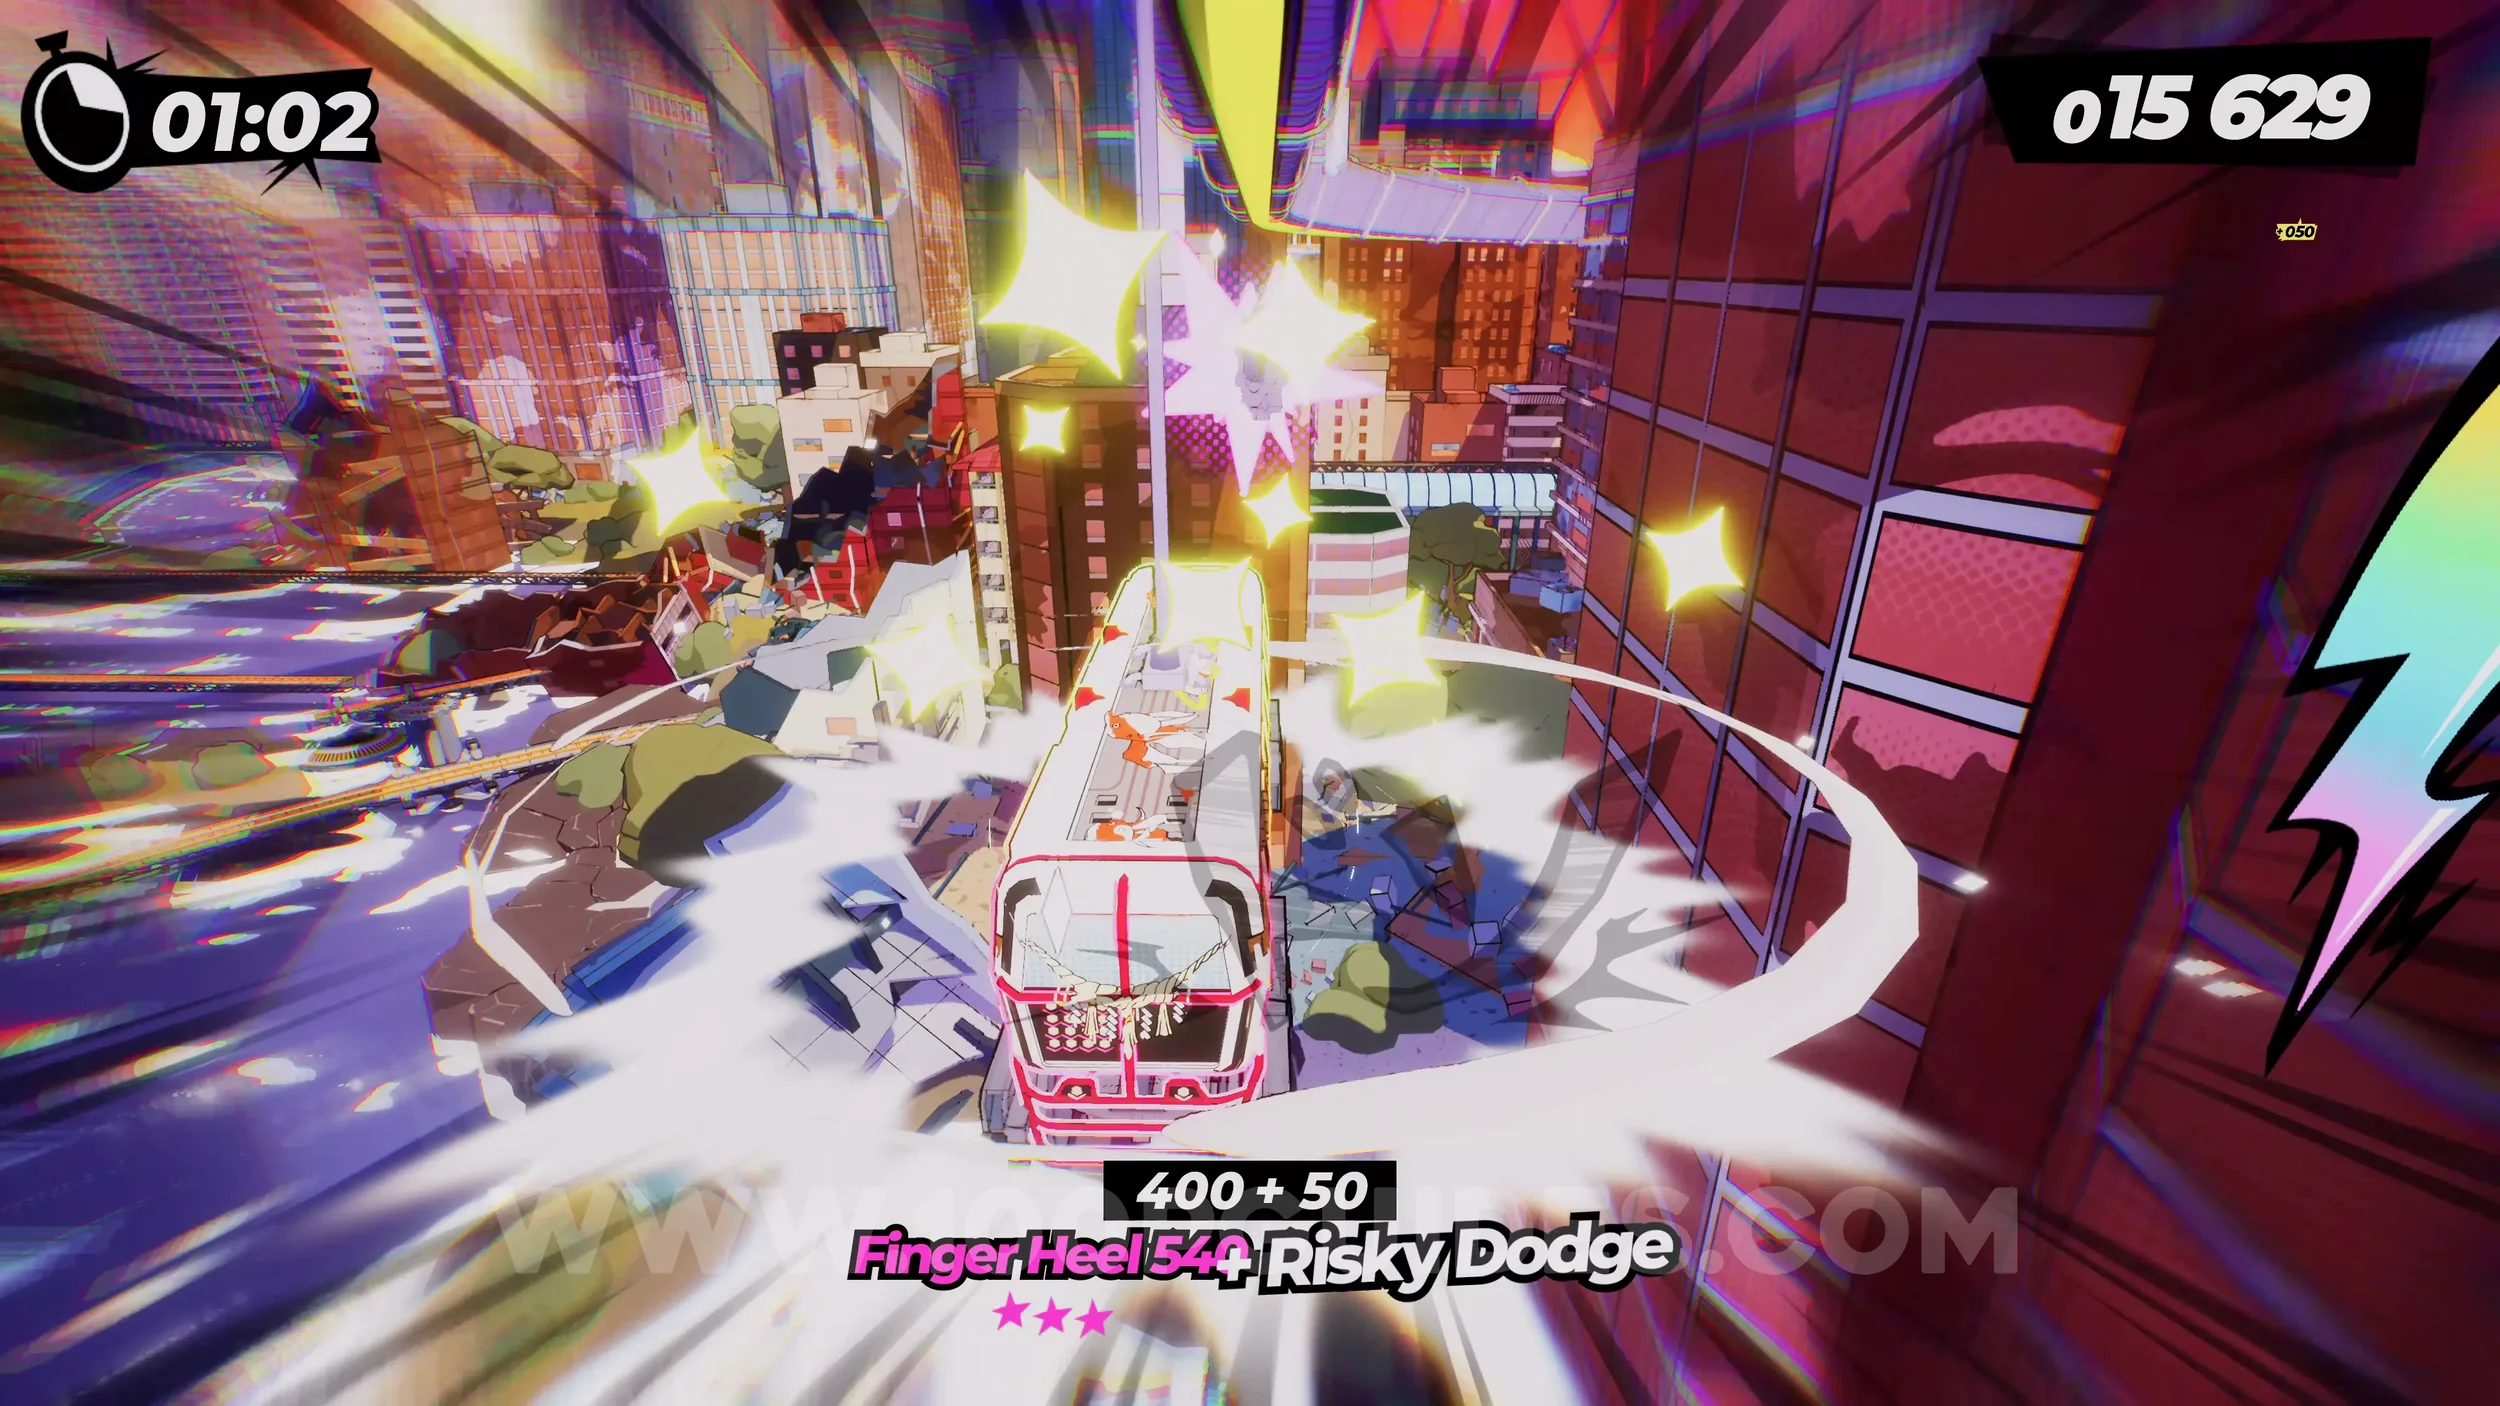
Film Roll (1/1). Follow the path through the destroyed city until you see this film roll on a large wall you can wallride on your right, immediately after a left side wallride.
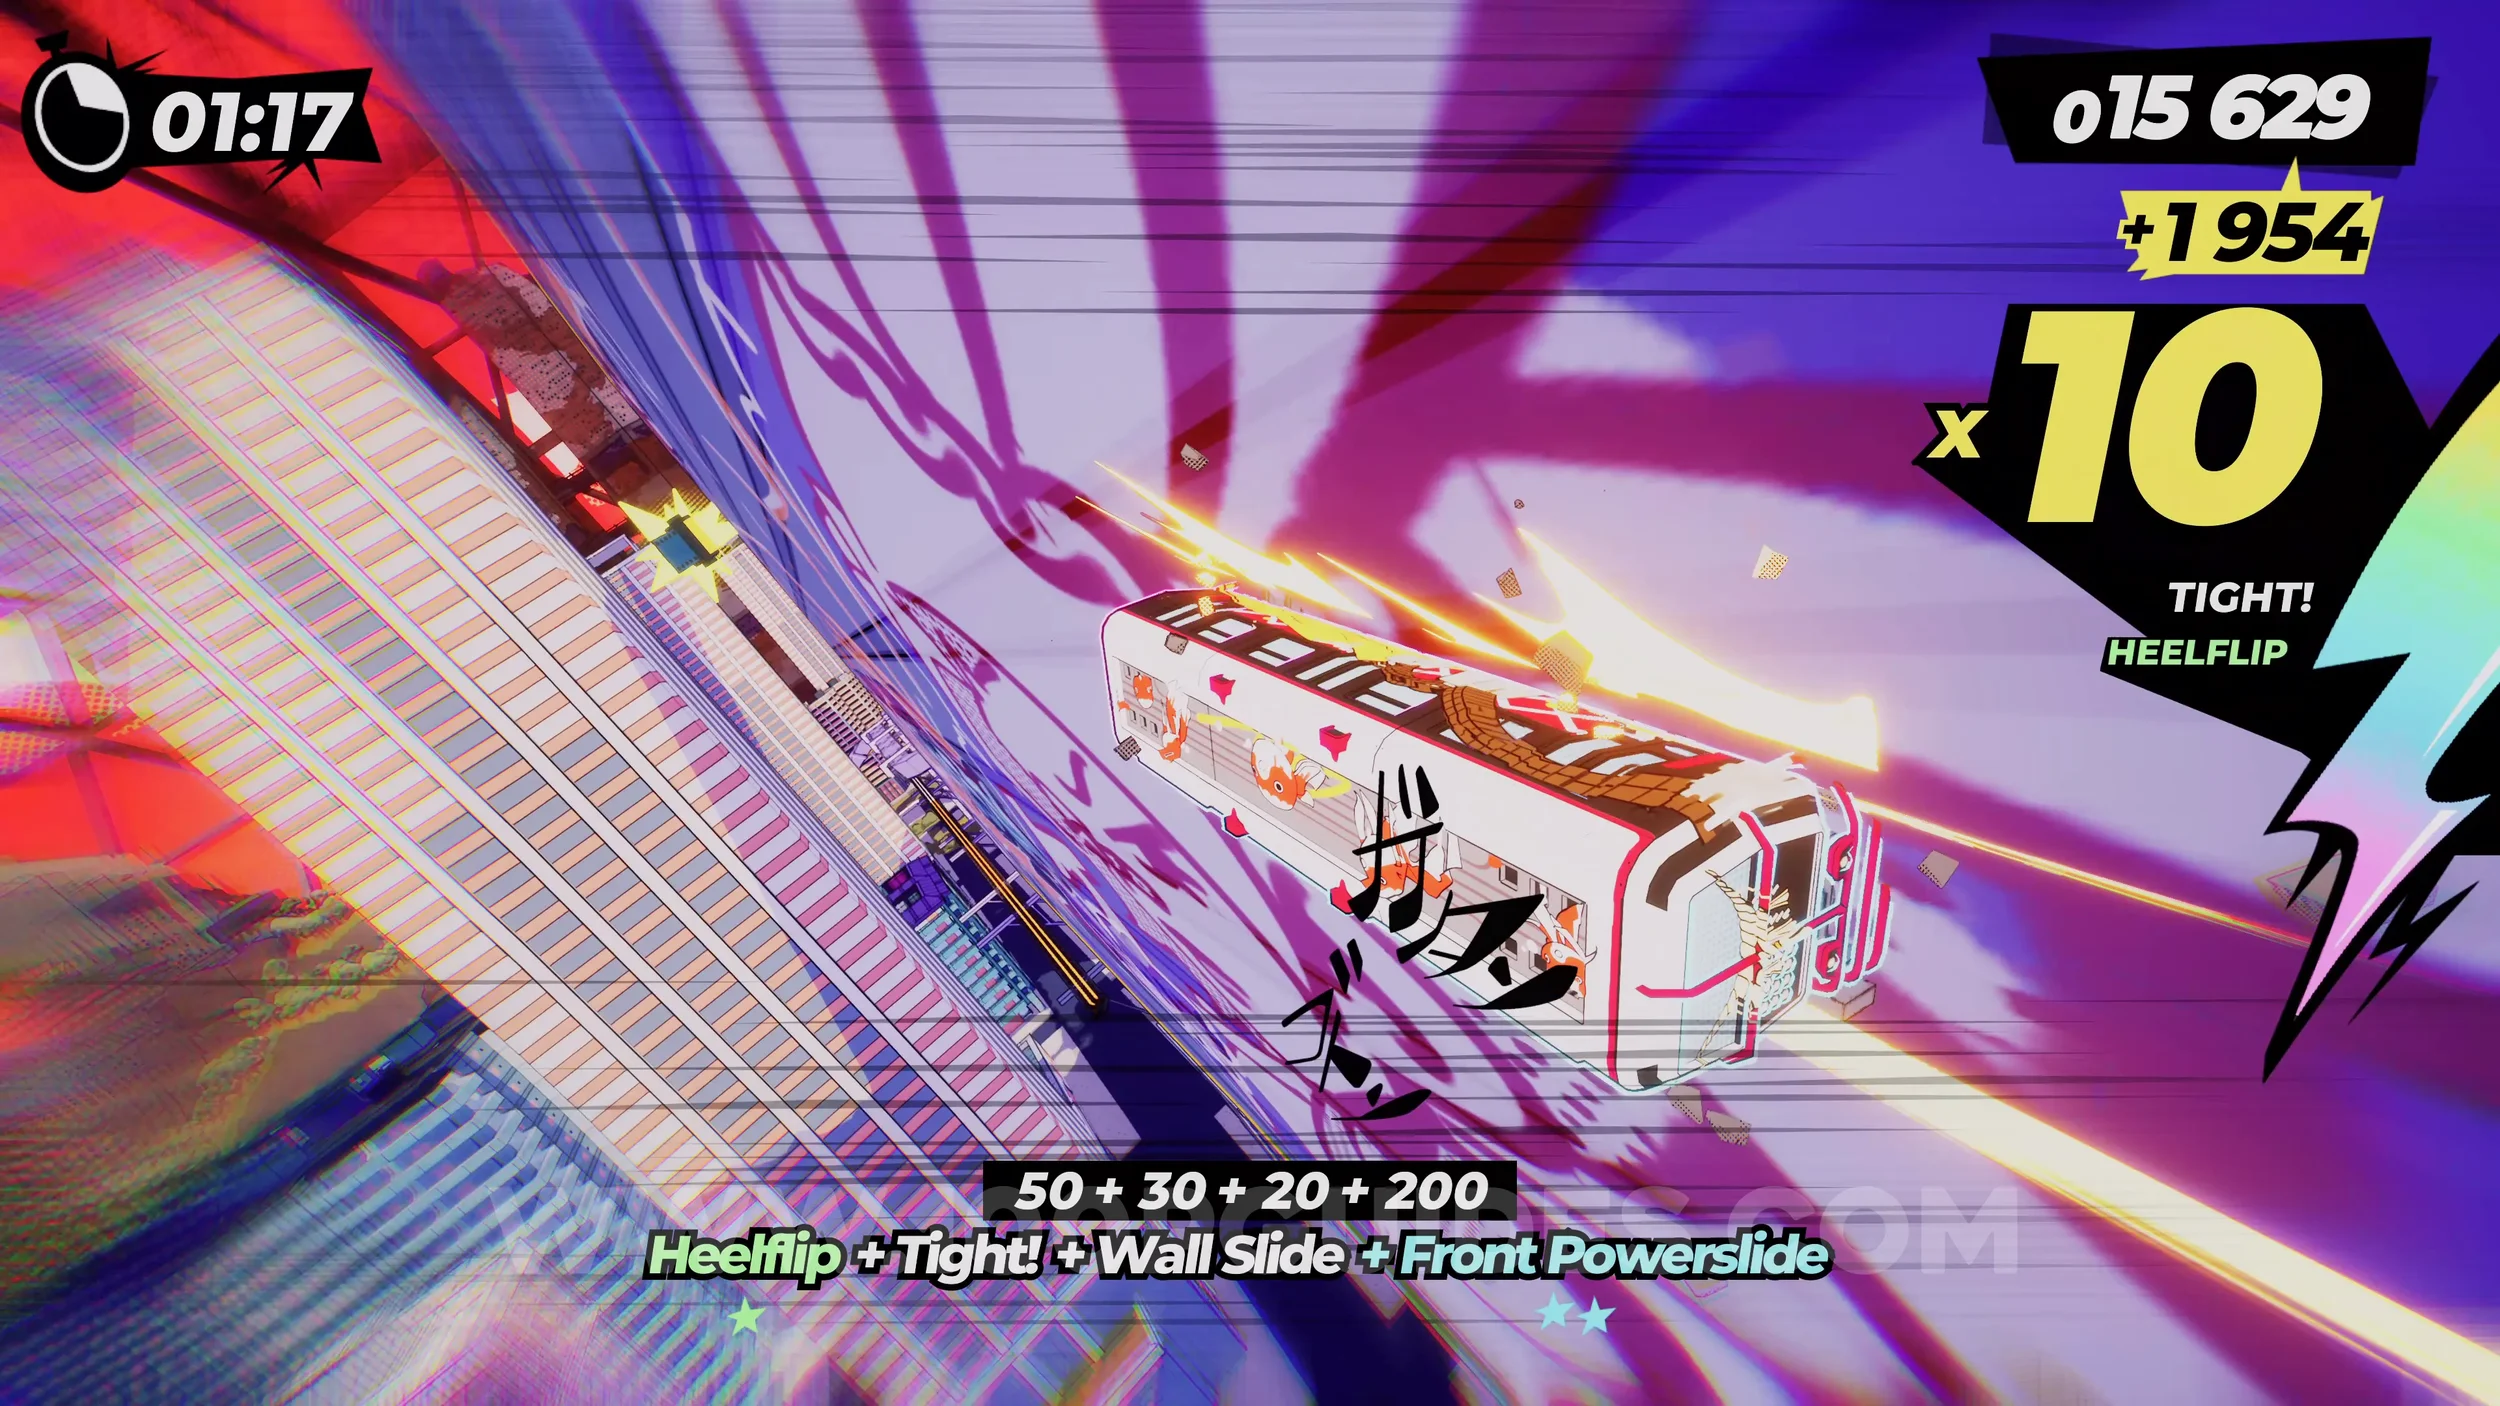
Dare: Join in With the Fireworks. Soon after the previous collectible, you will see another track switcher. To reach it, use the wallride on your left. Activate it and the tracks will take you above the stadium. When going over it, press R3 to use your horn.
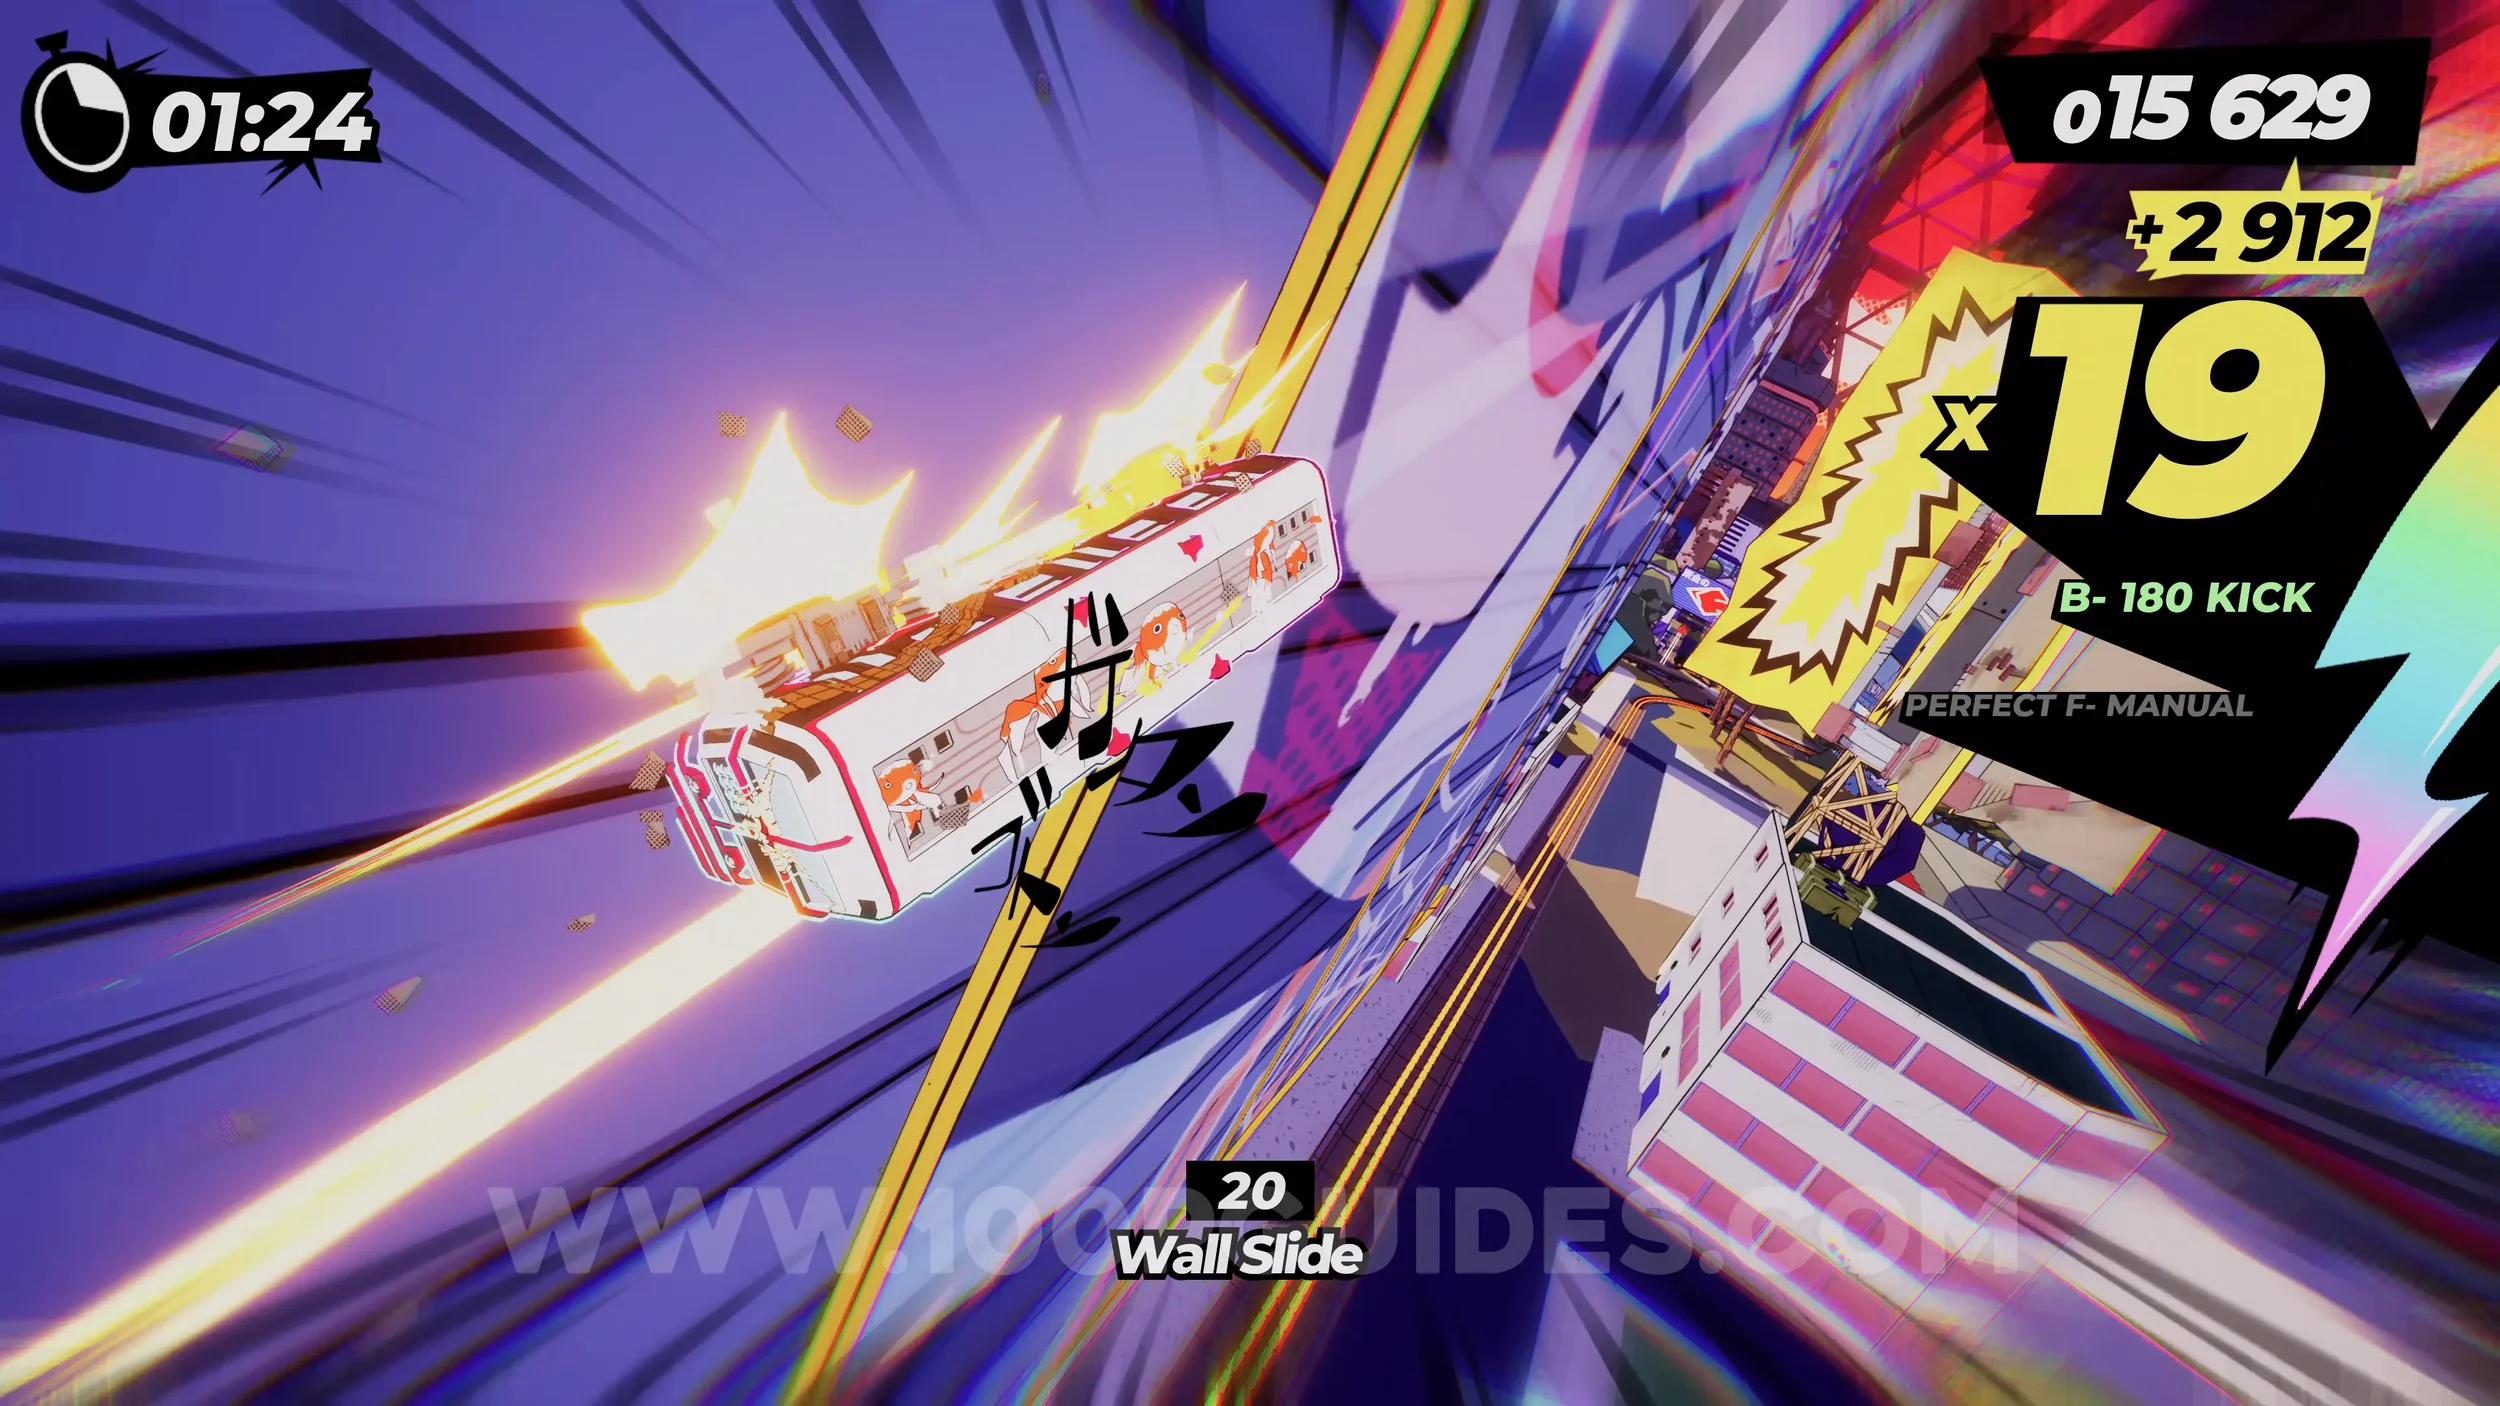
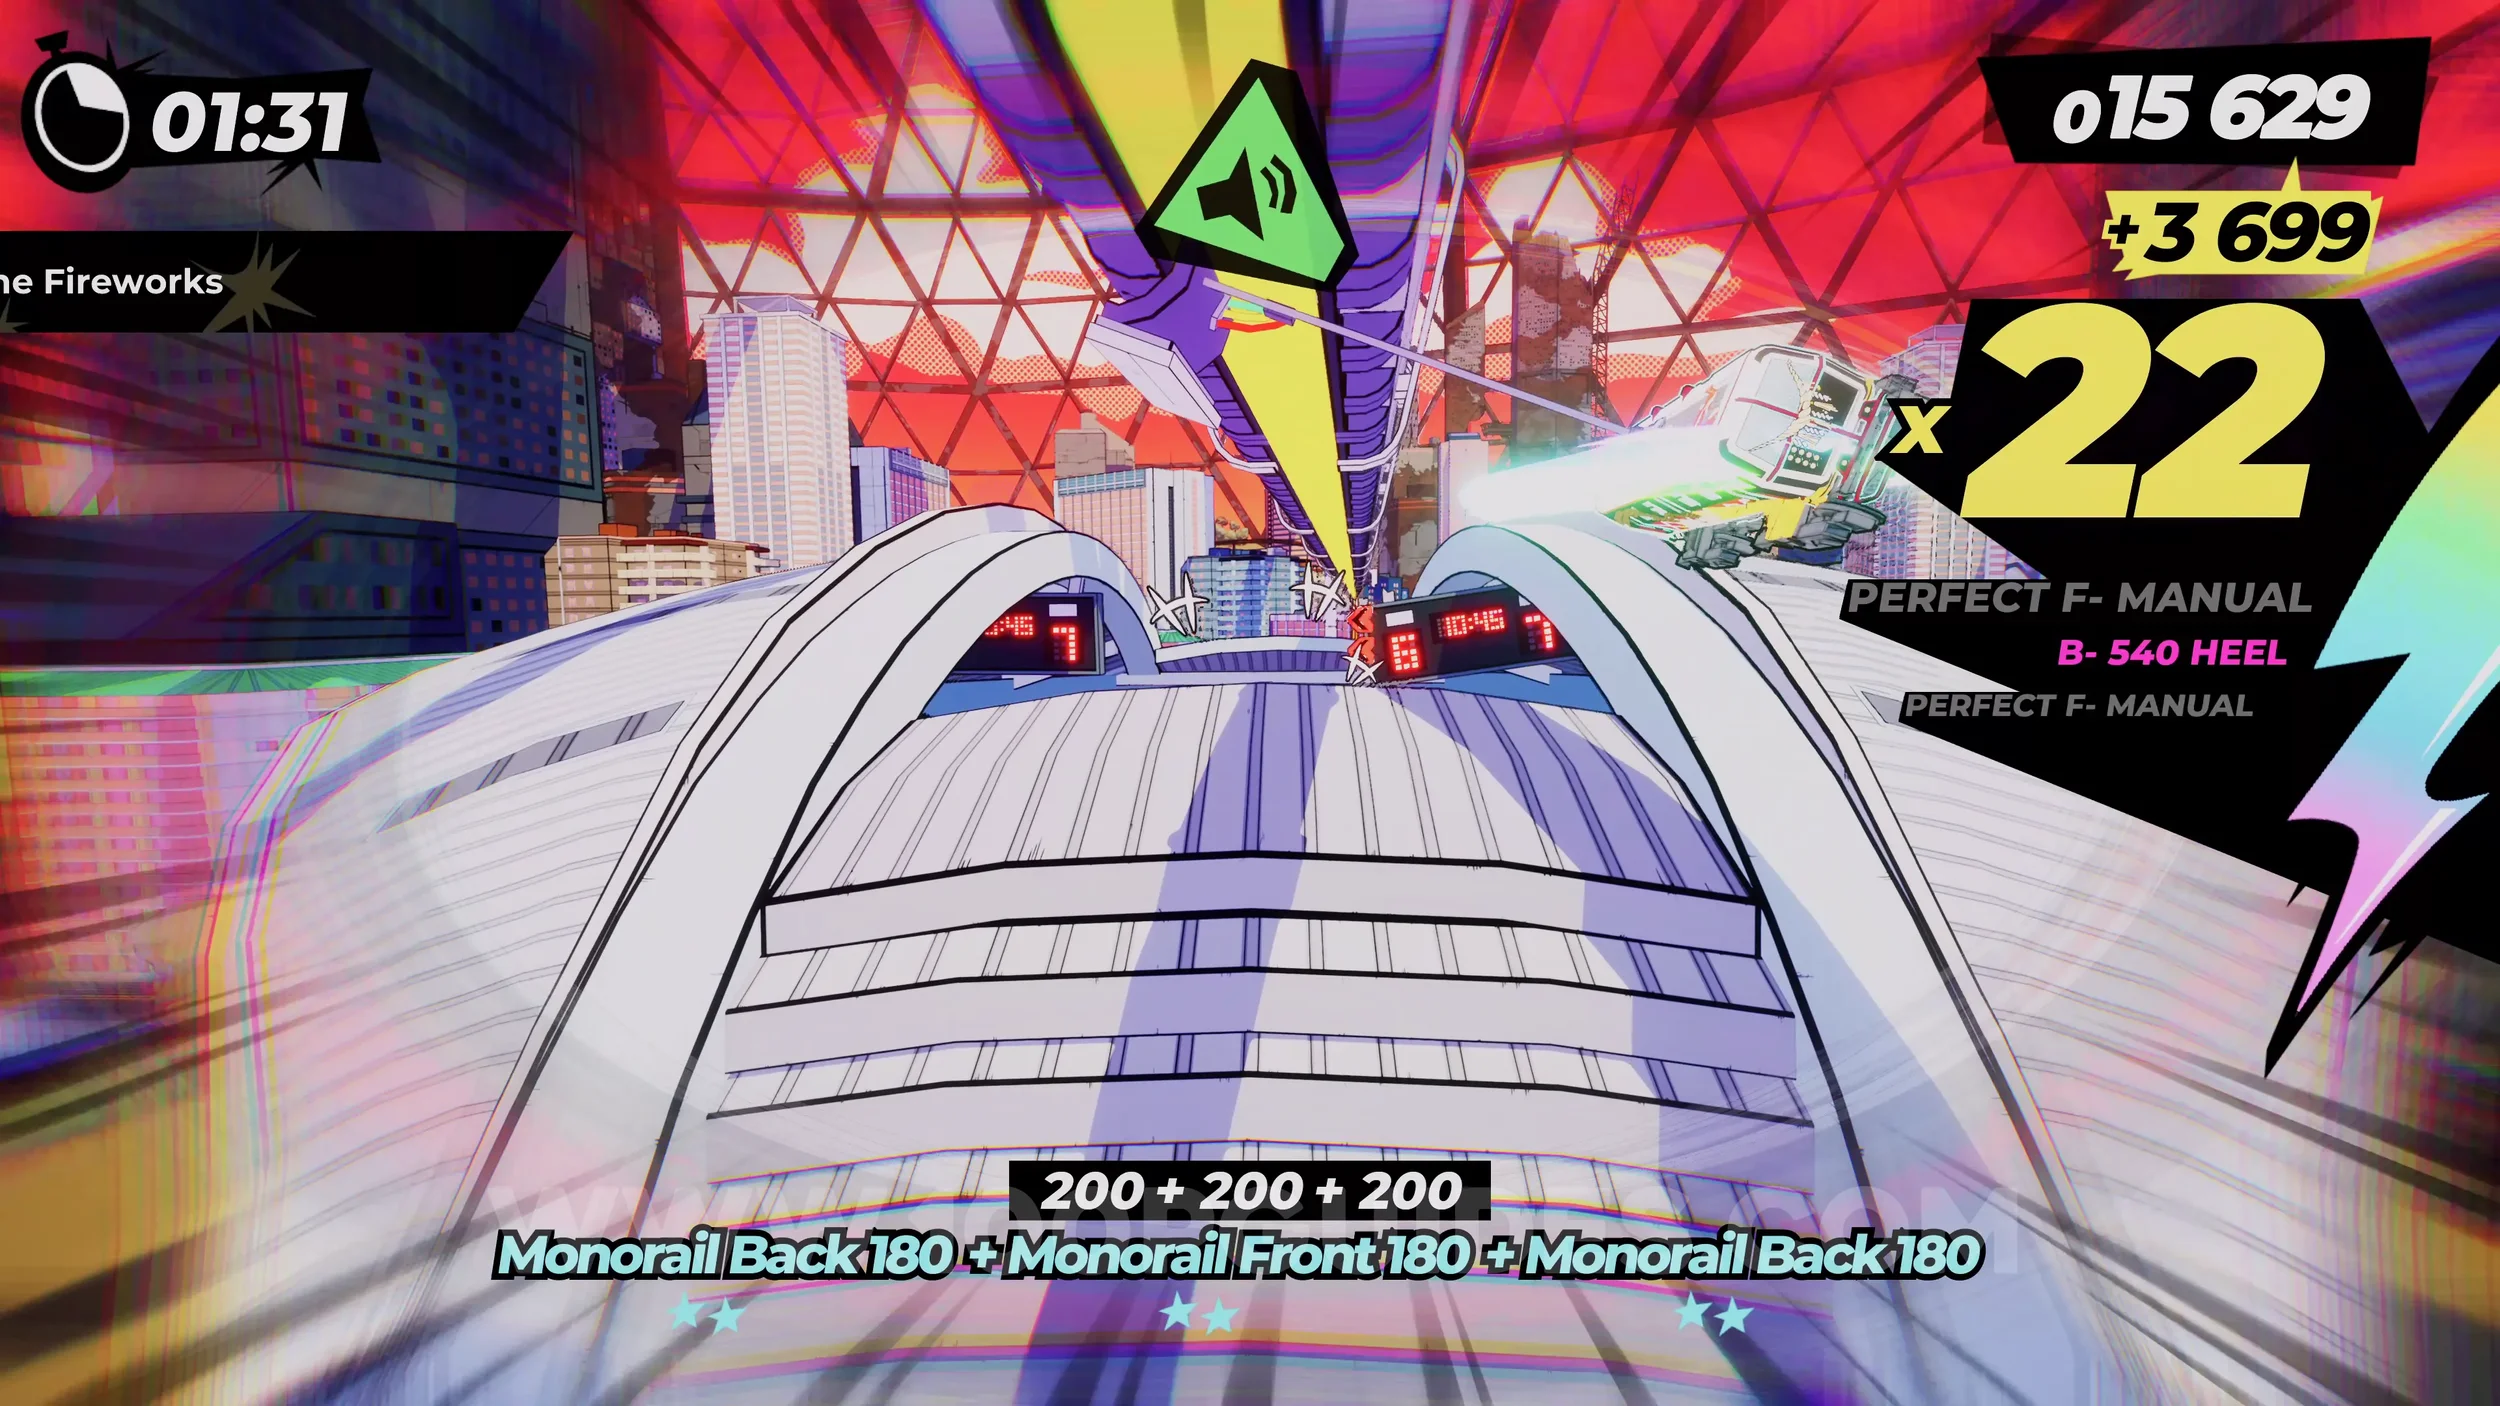
Dare: Evade the Falling Building. If you took the path above the stadium to get the previous dare, you will take an alternative route through the rest of the level. After crossing some broken bridges, you will get to a section with loads of ships. Here, if you have your special meter filled, you will see a rainbow rail on your right. Follow it to see a large building come down. You will dodge it automatically as long as you do not brake.
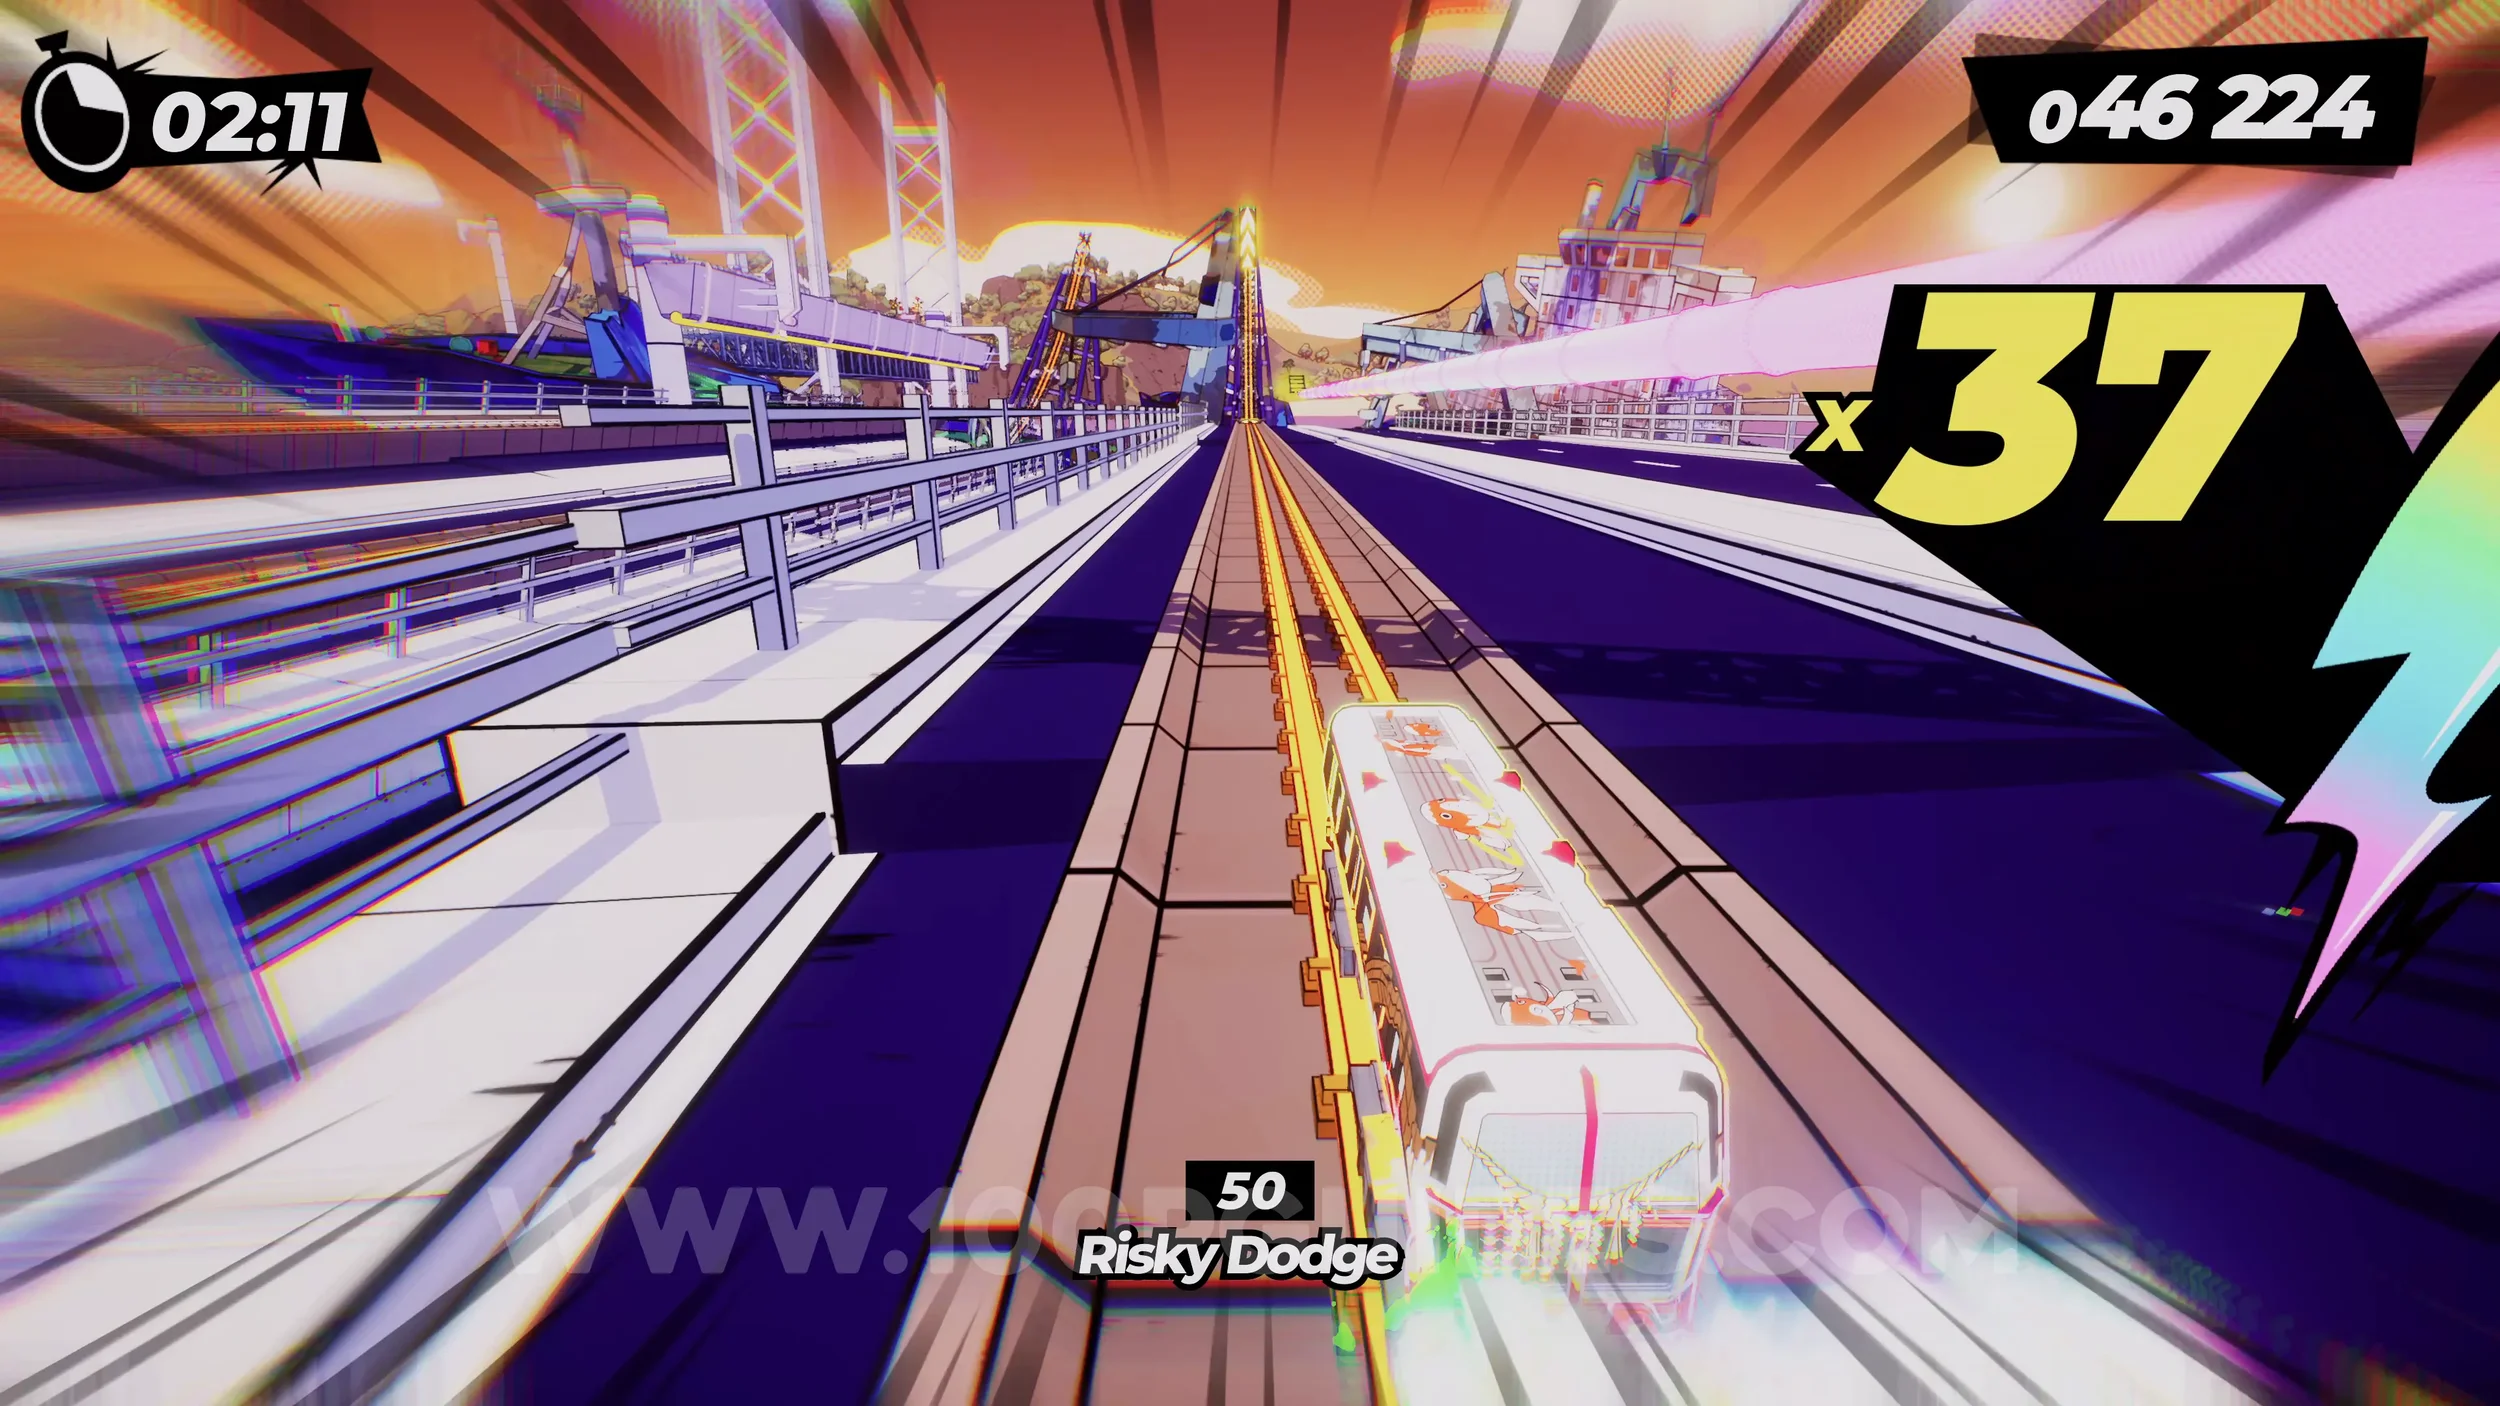
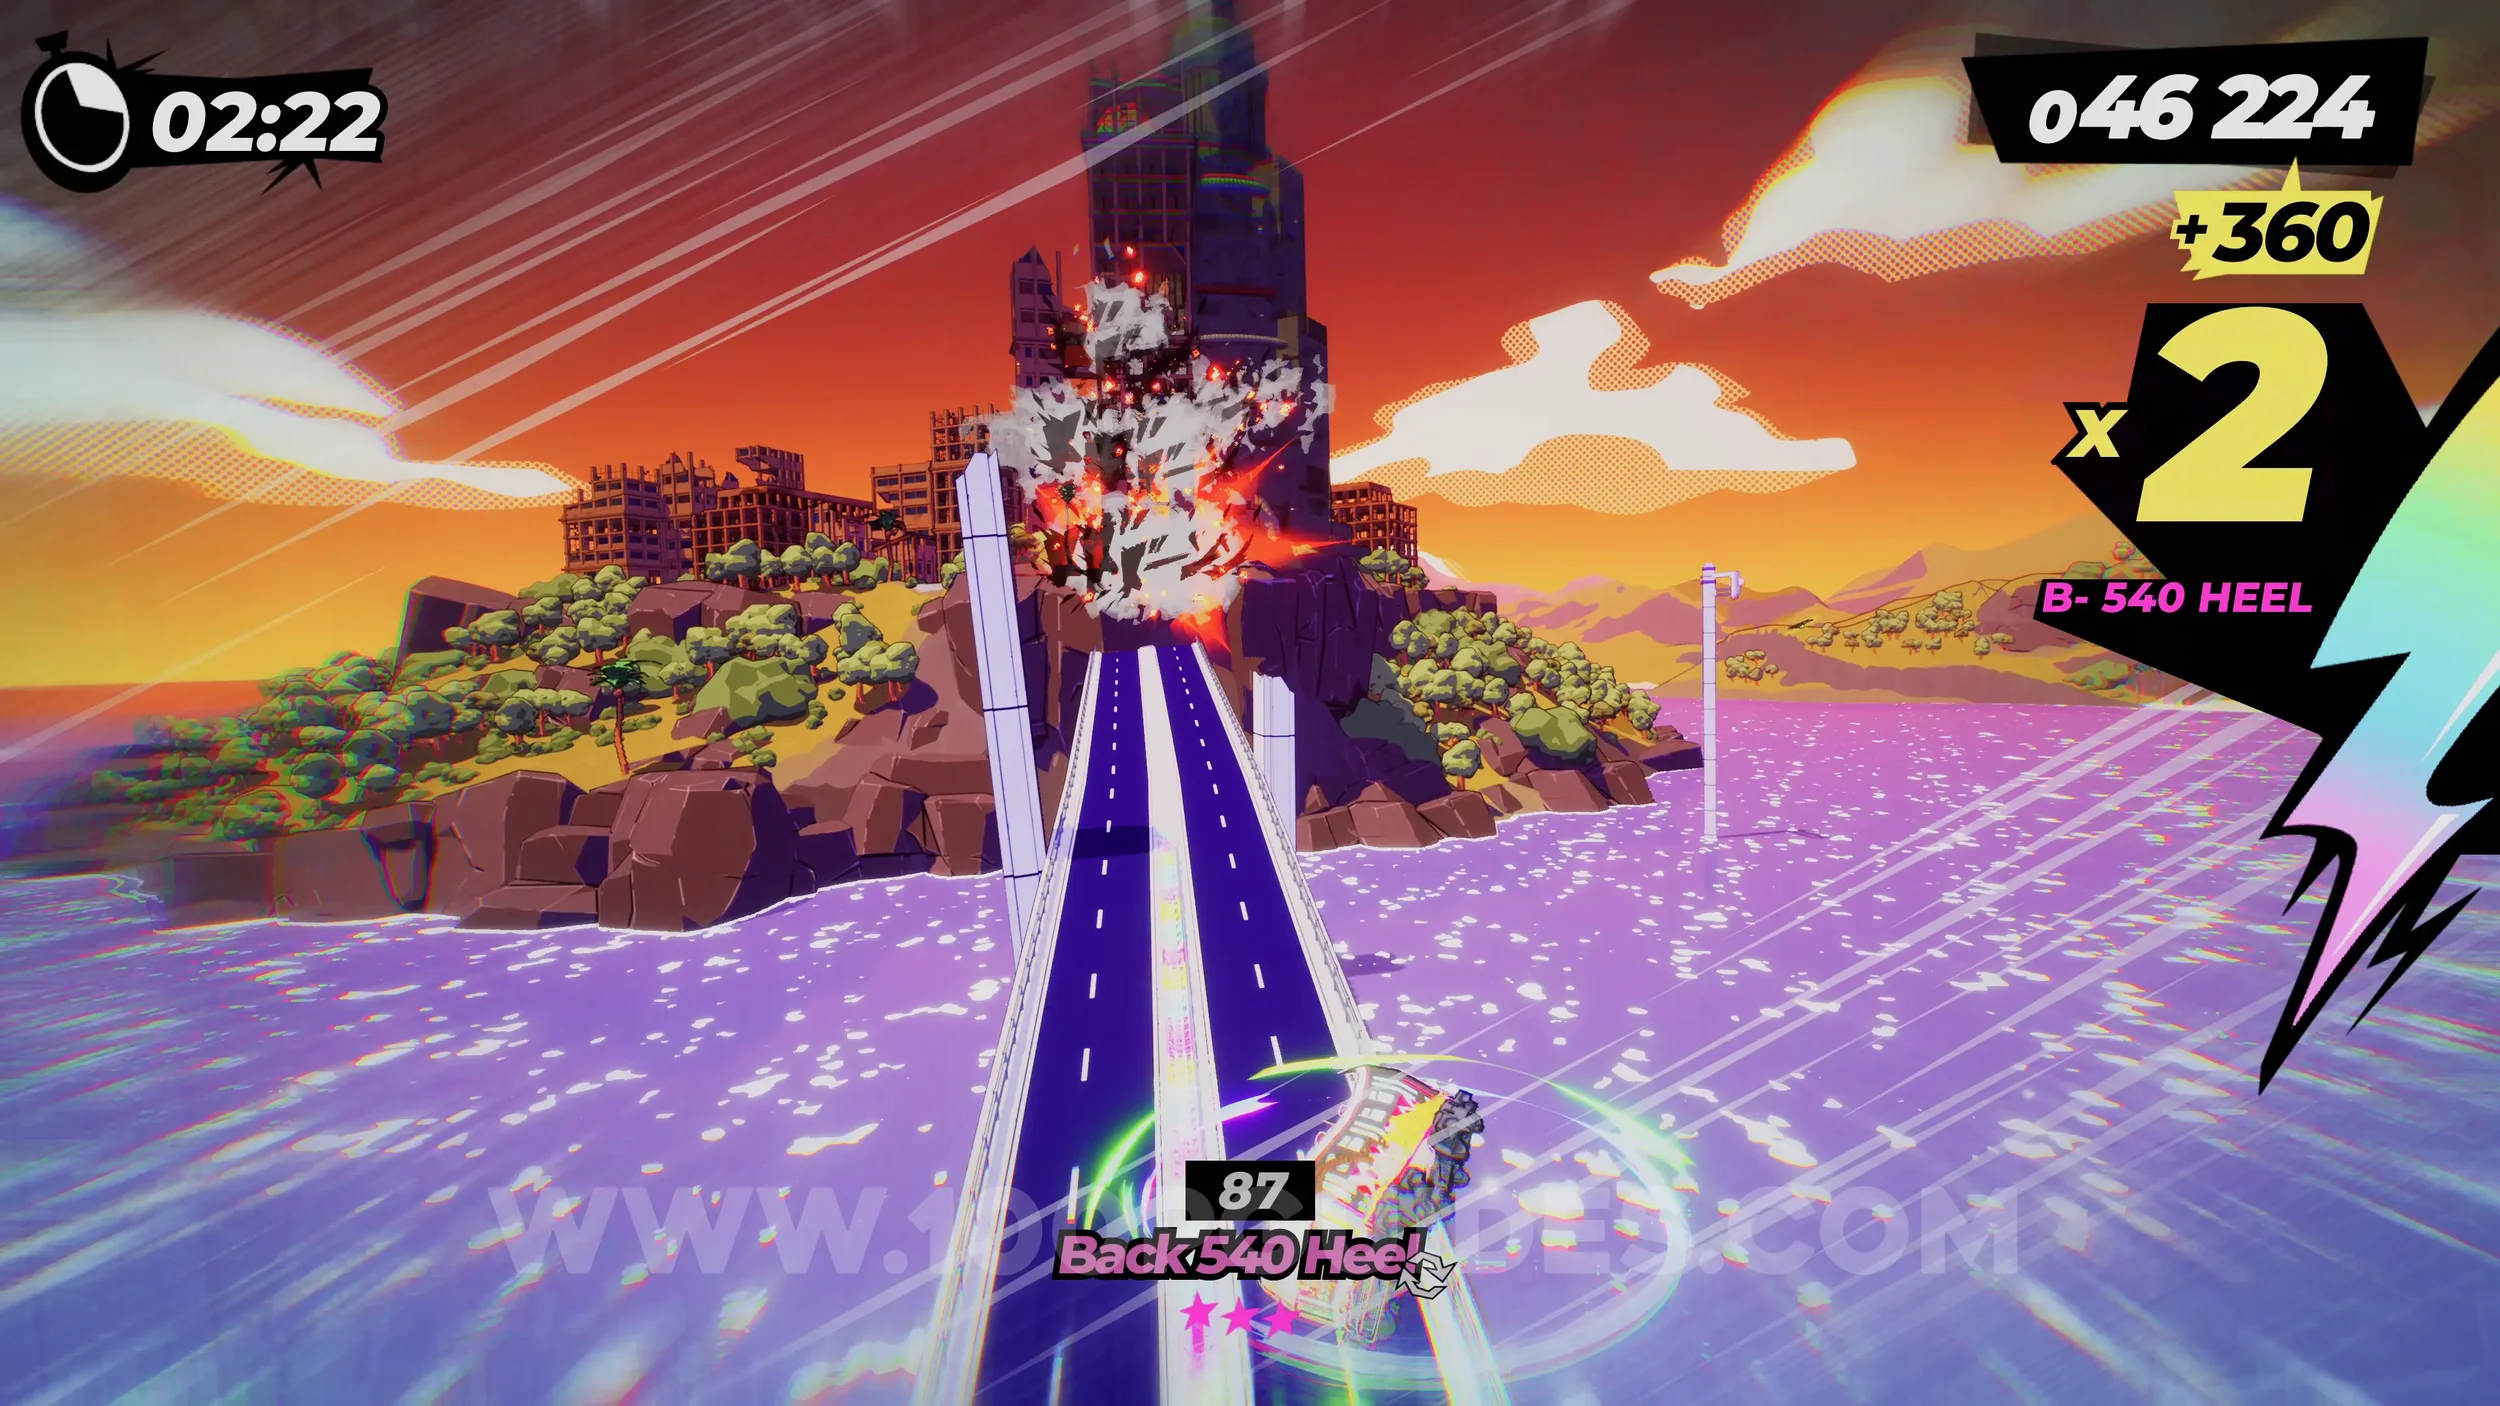
Dare: Find the Secret Exit. If you took the path above the stadium, you will eventually reach the secret exit.
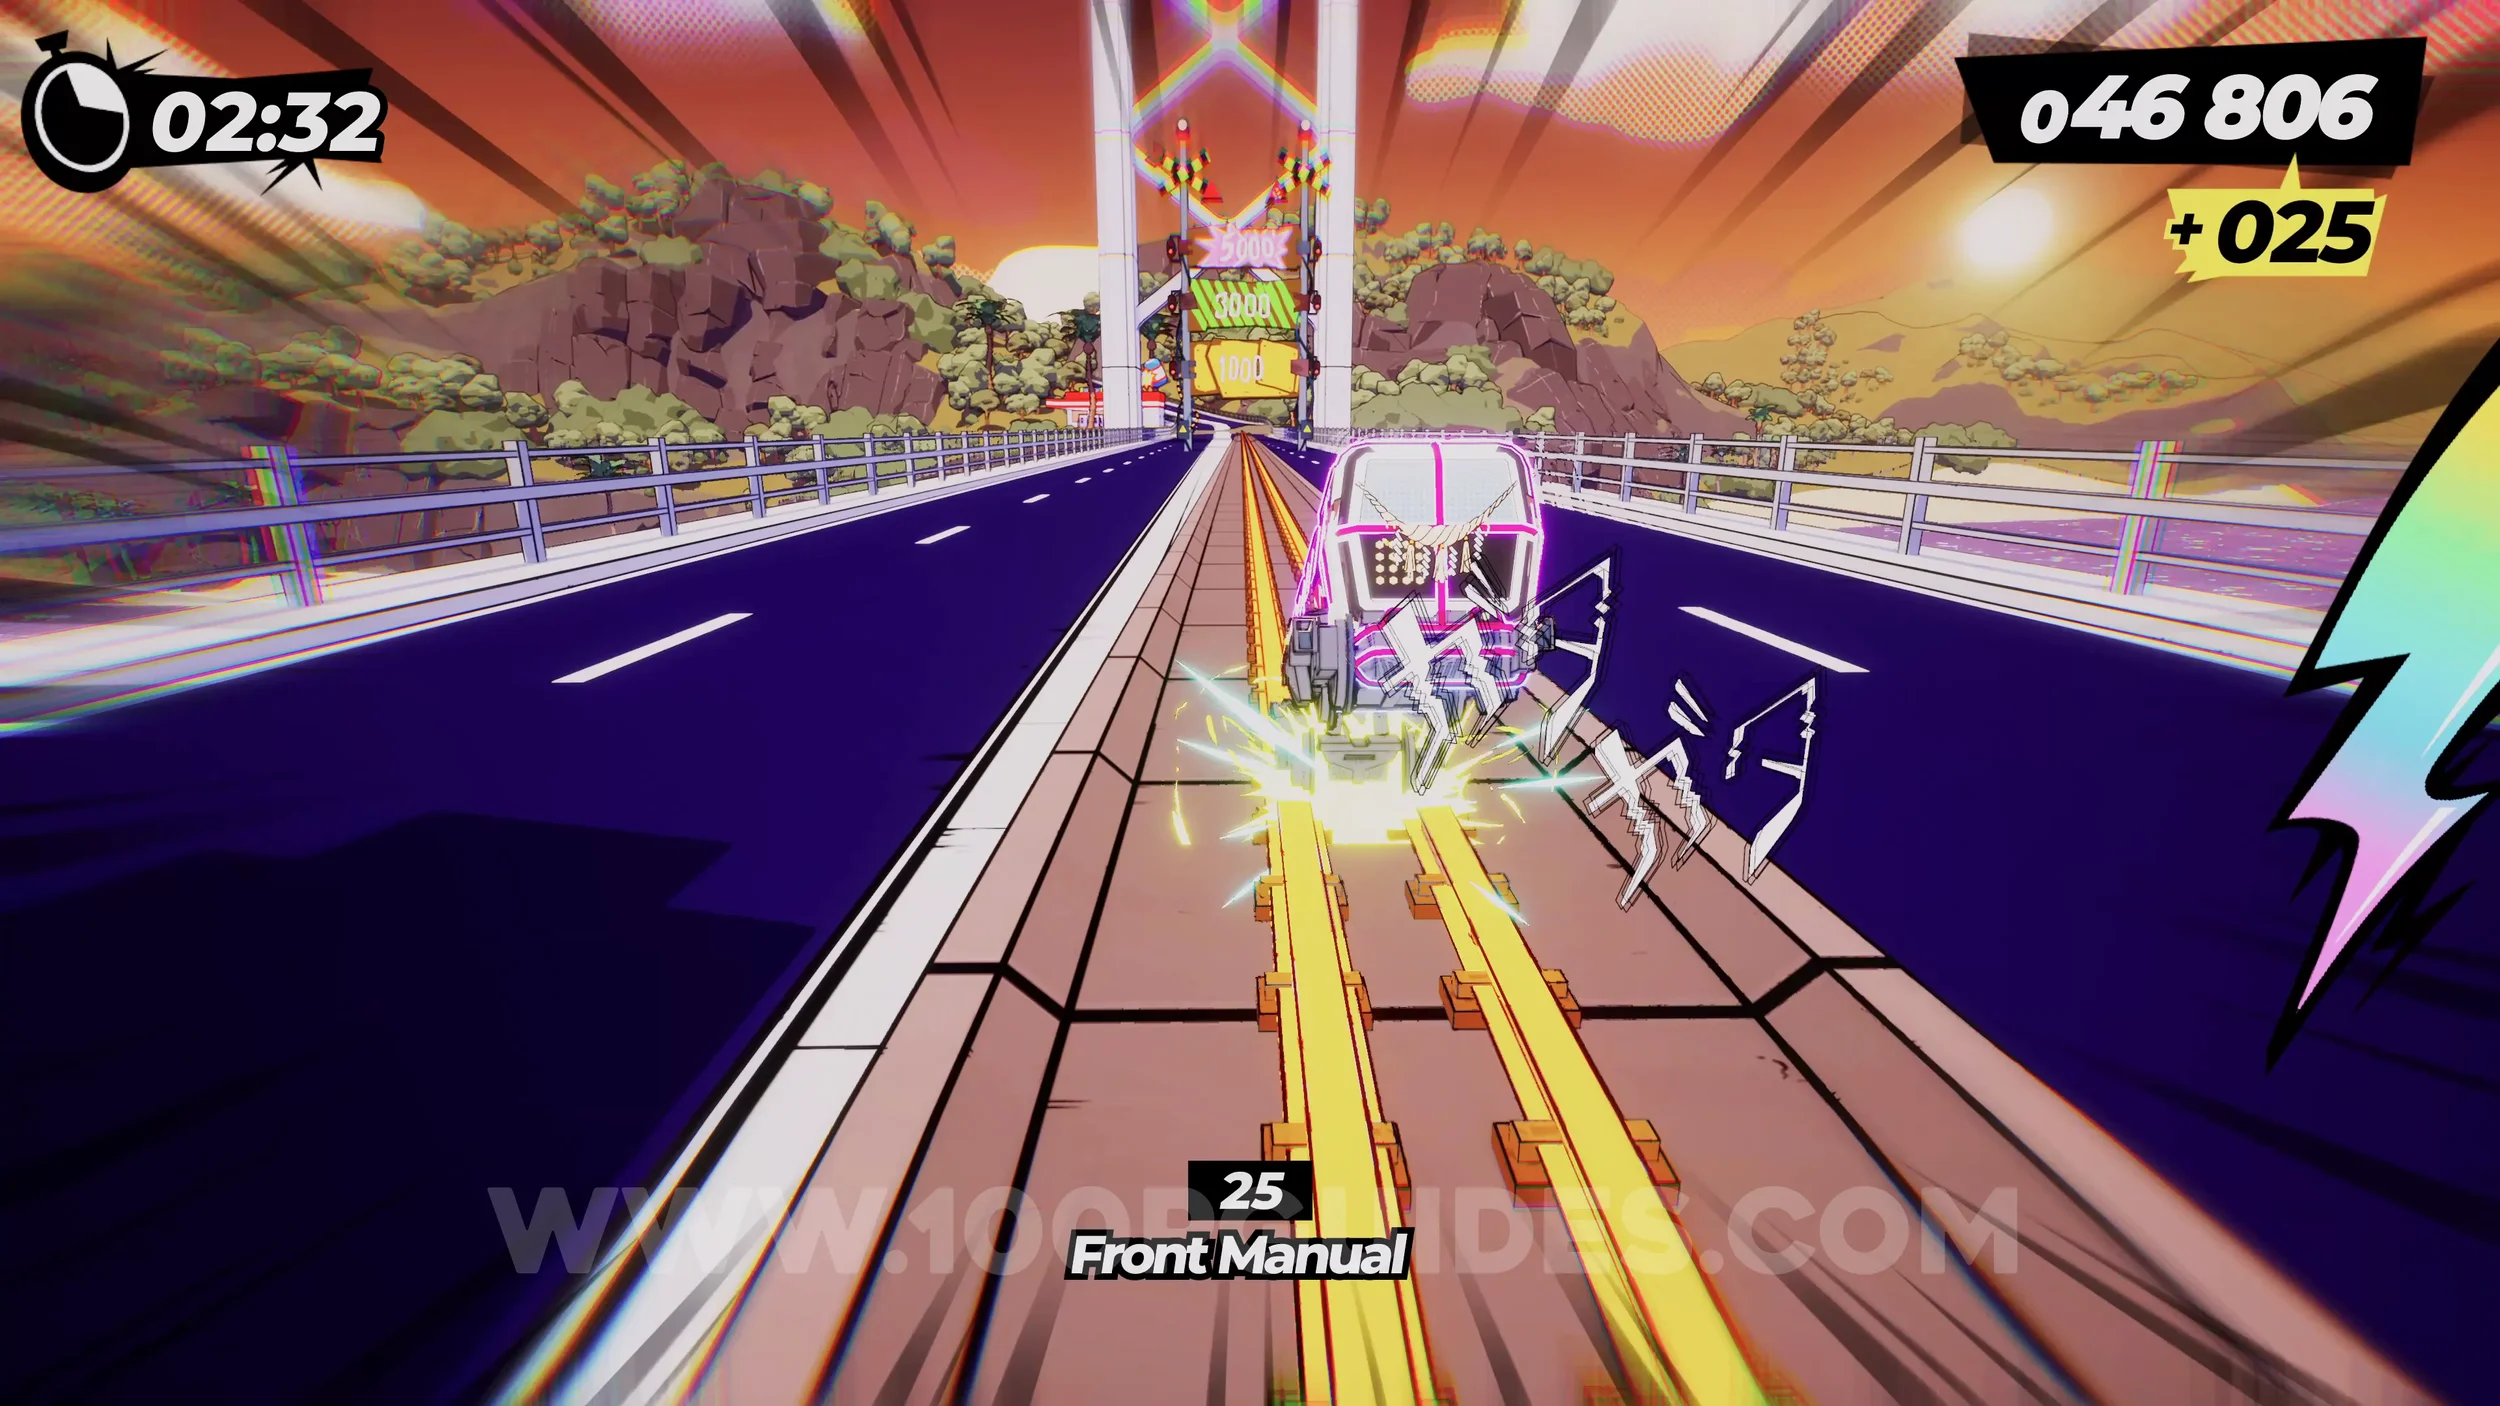
Dare: Score 3000 Points from Monorail Tricks. Self-explanatory. Get 3000 or more points with monorail tricks. While riding a monorail, swing to the sides and use the right analog stick to do tricks.
Dare: No Crash Finish. Self-explanatory. Finish the level without crashing.
5-2-1 Mountains Ablaze
Dare: Collect 5 Cups of Tea (1/5). From the start, head forward until you see the signs at the main crossroad. Here, continue straight to see the cup of tea above you.
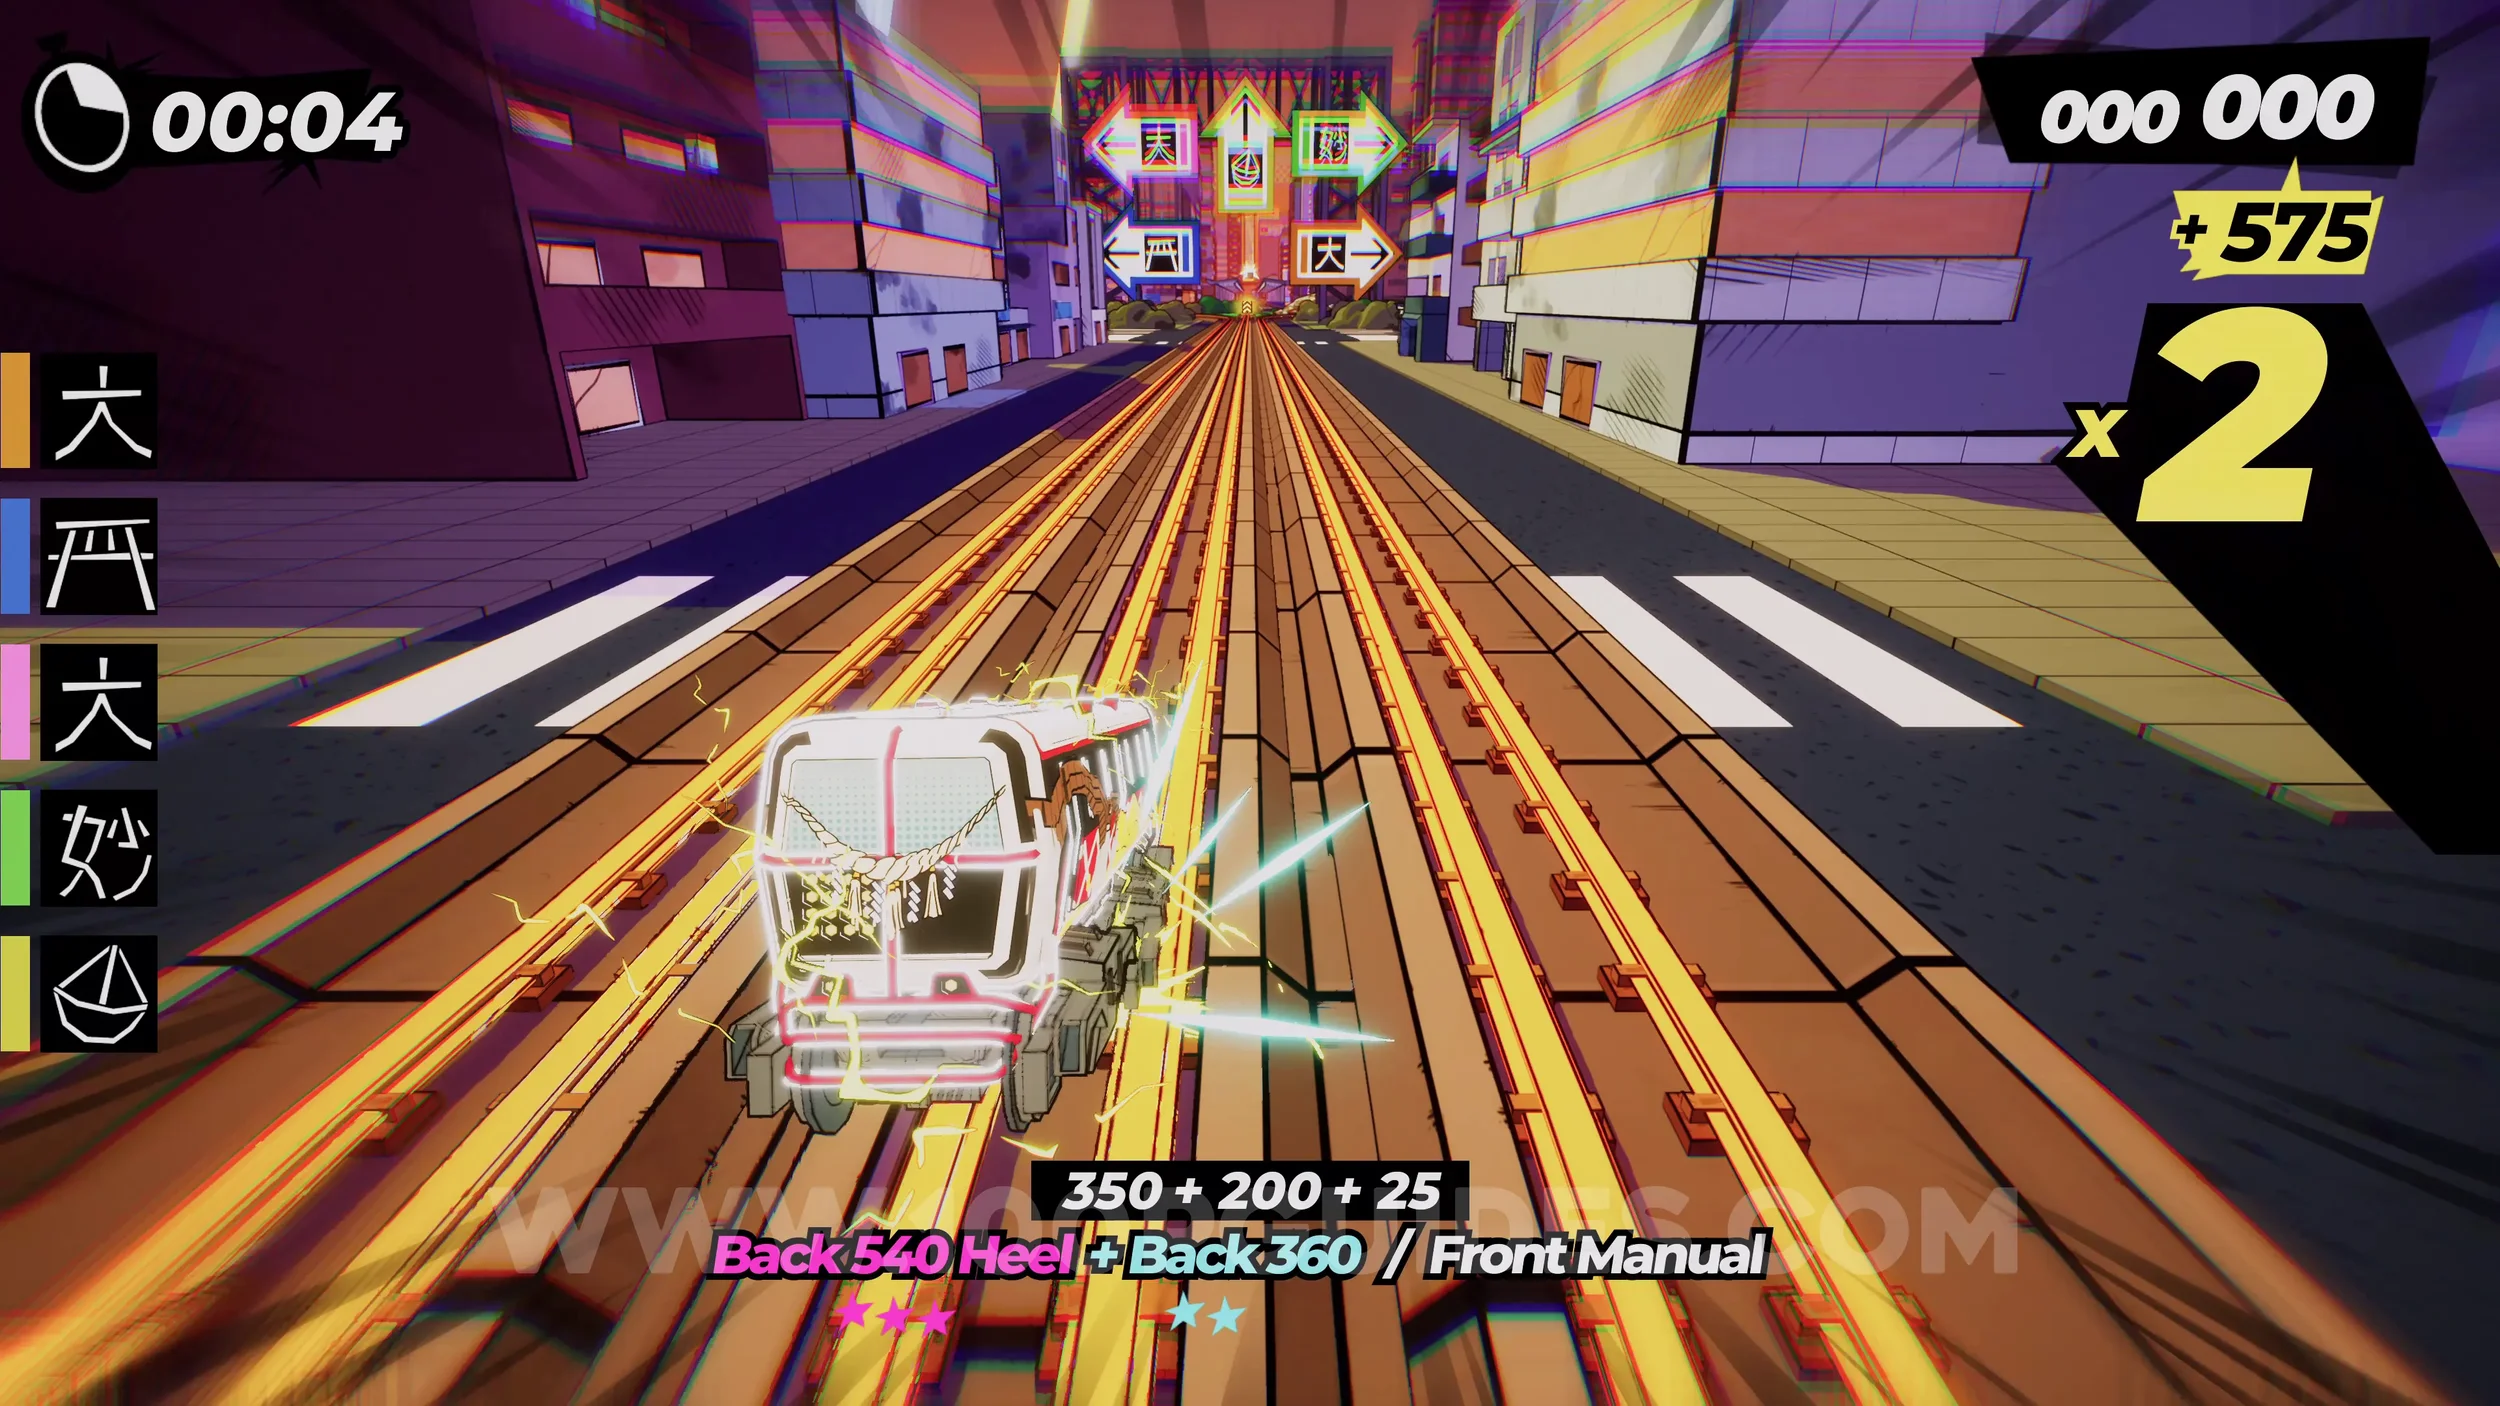
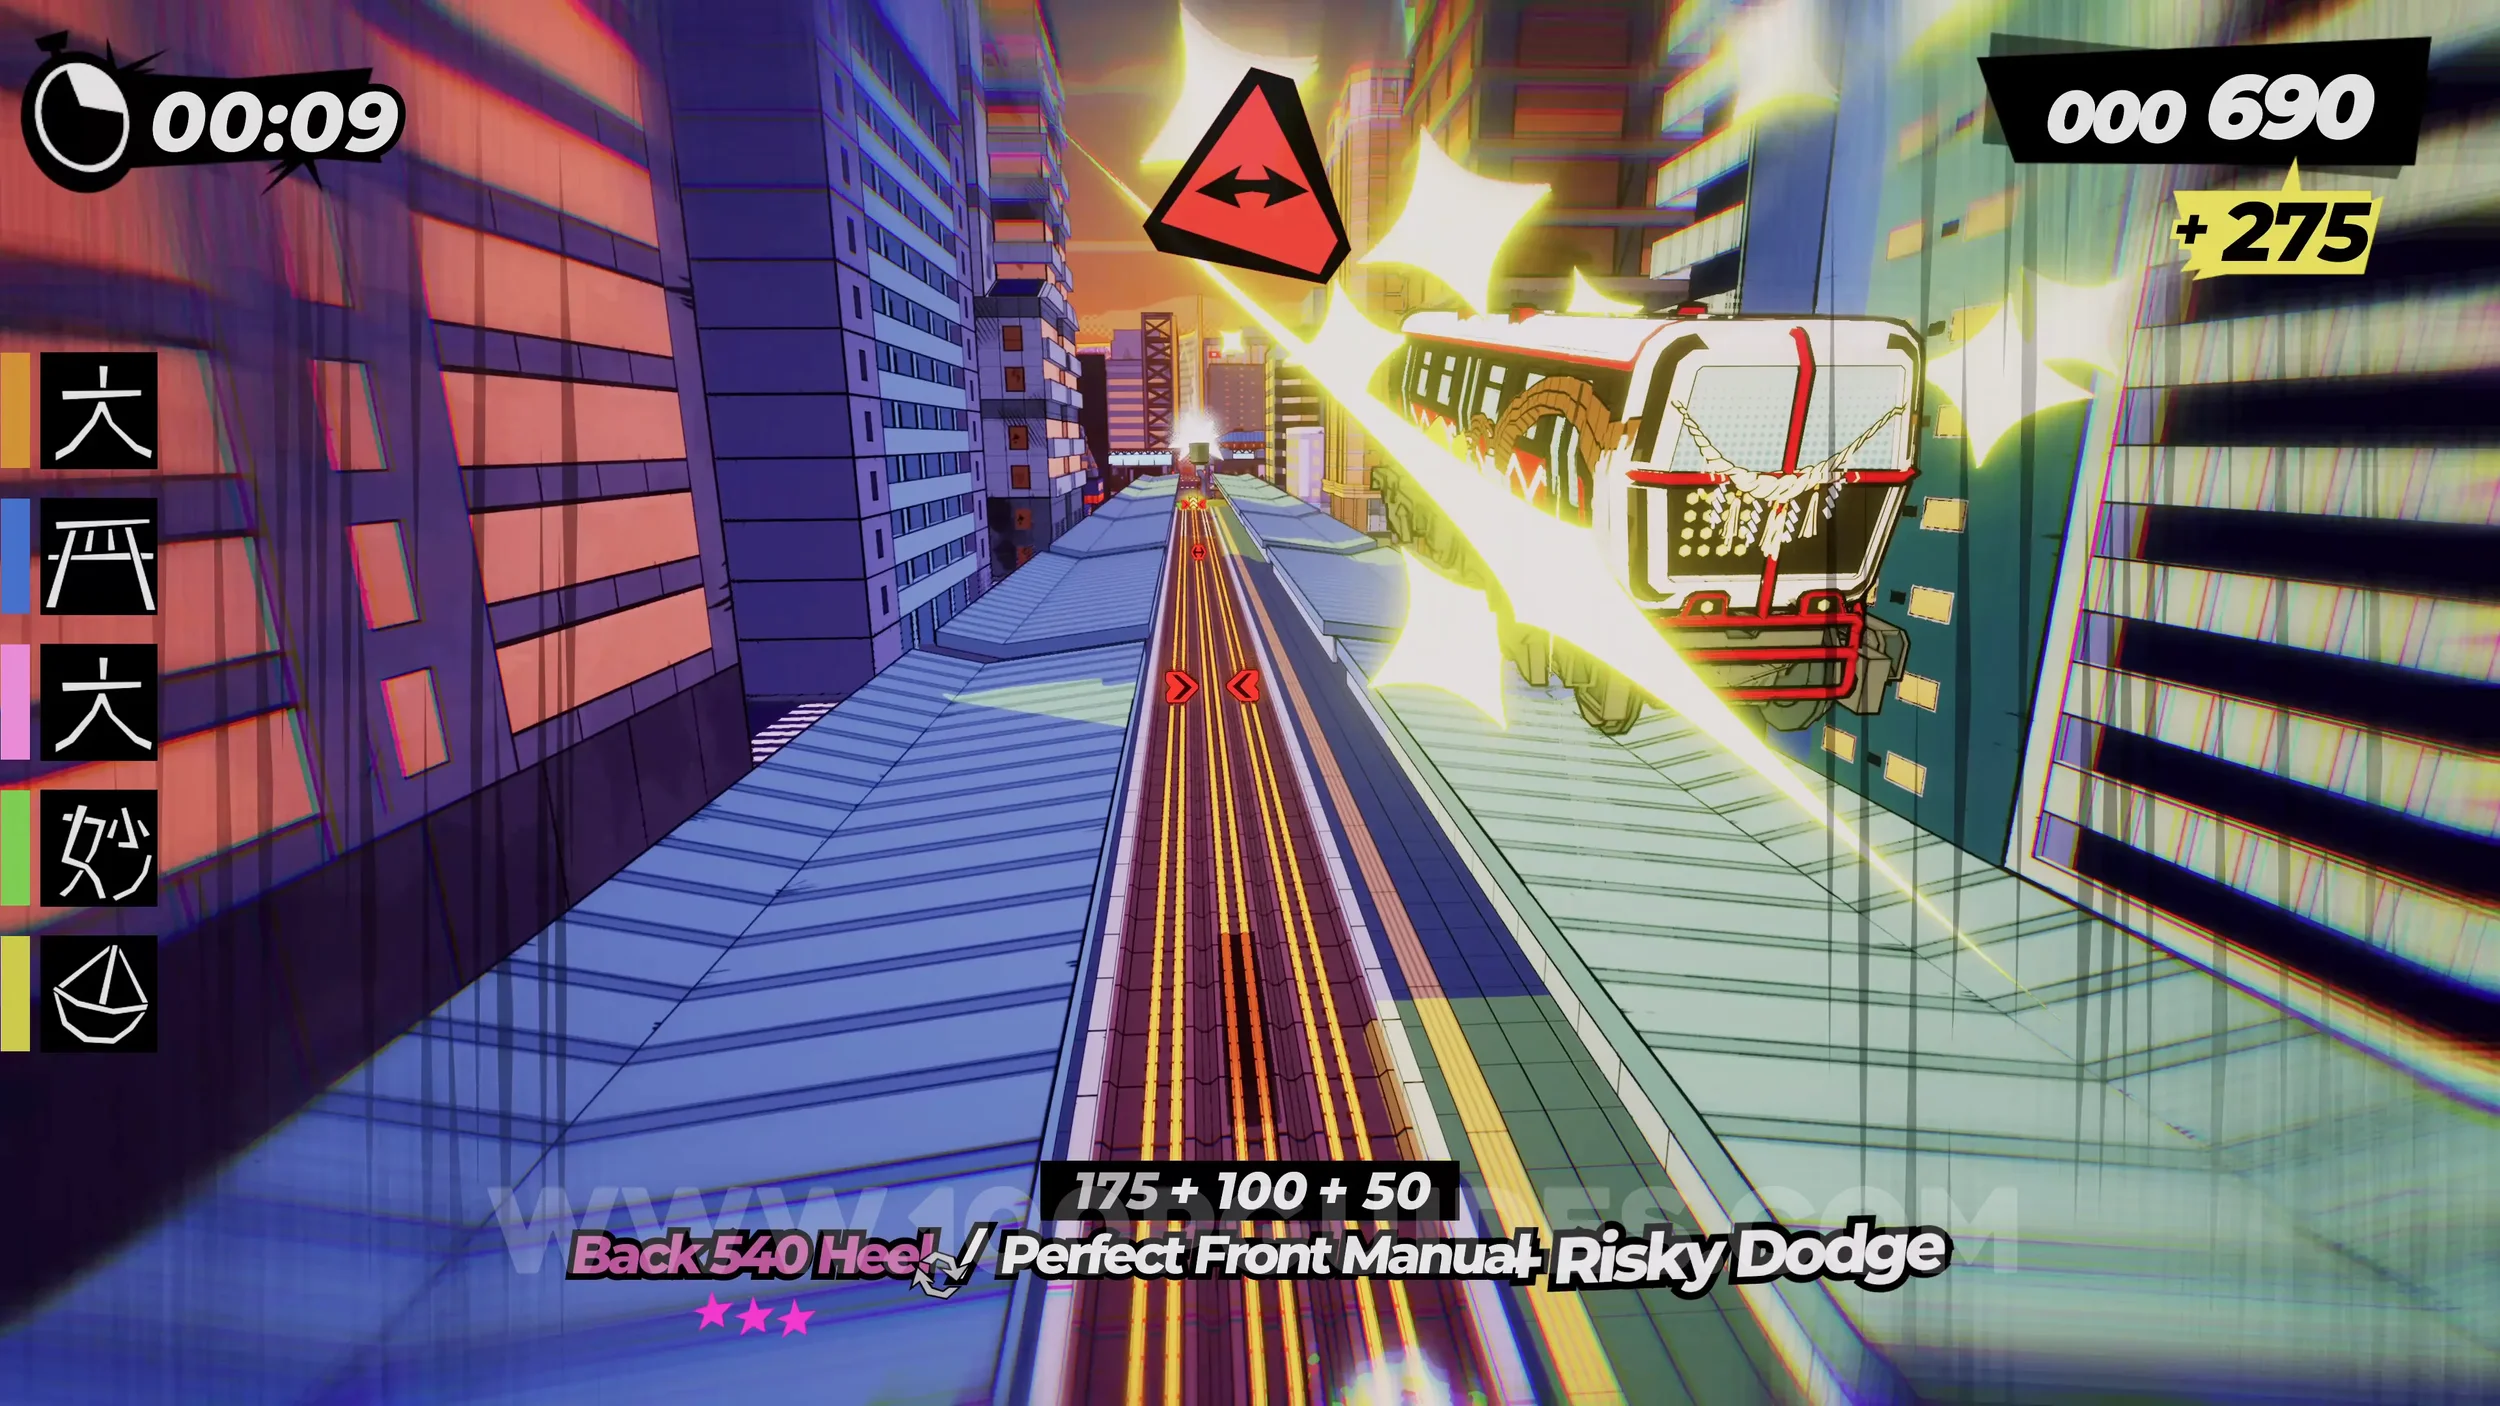
Dare: Collect 5 Cups of Tea (2/5). Continue straight after the previous cup and eventually you will find this one after landing a vert jump.
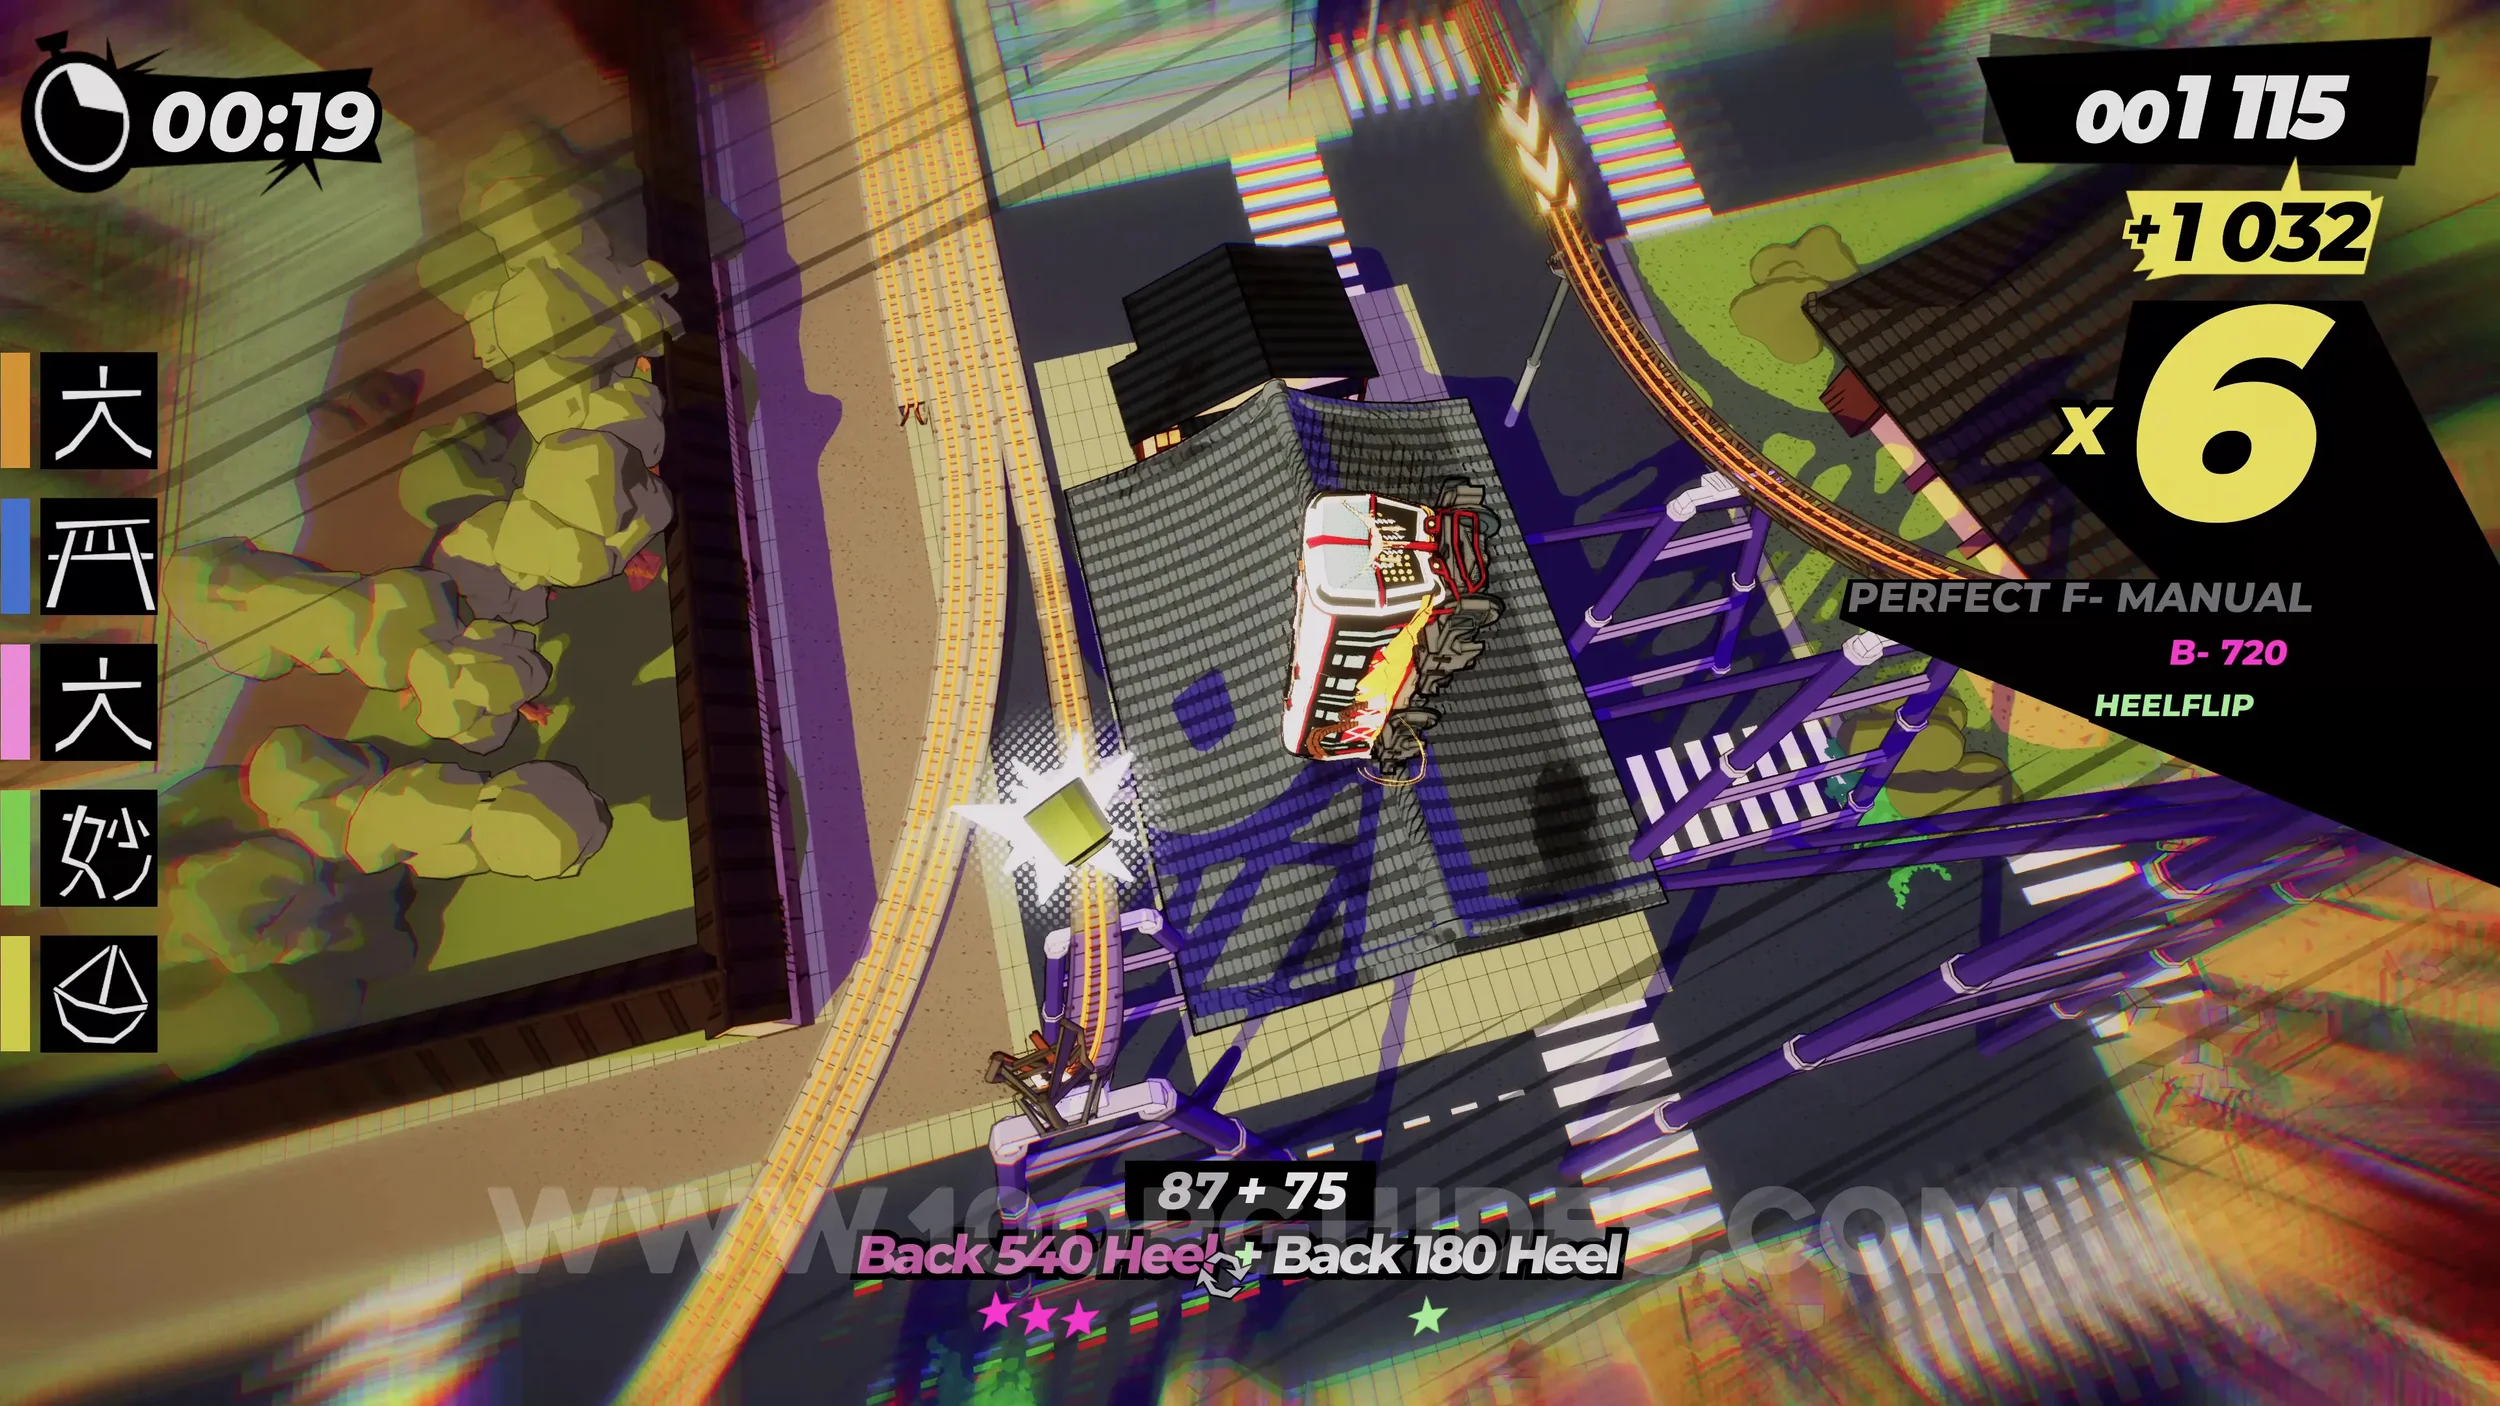
Dare: Collect 5 Cups of Tea (3/5) and Dare: Hit 5 Boosters in the Metro Tunnels. After the previous cup, follow the green sign by heading straight down into the underground. You will see the cup on the left side of the tunnel. Make sure you also use 5 boosters in this tunnel for the other dare.
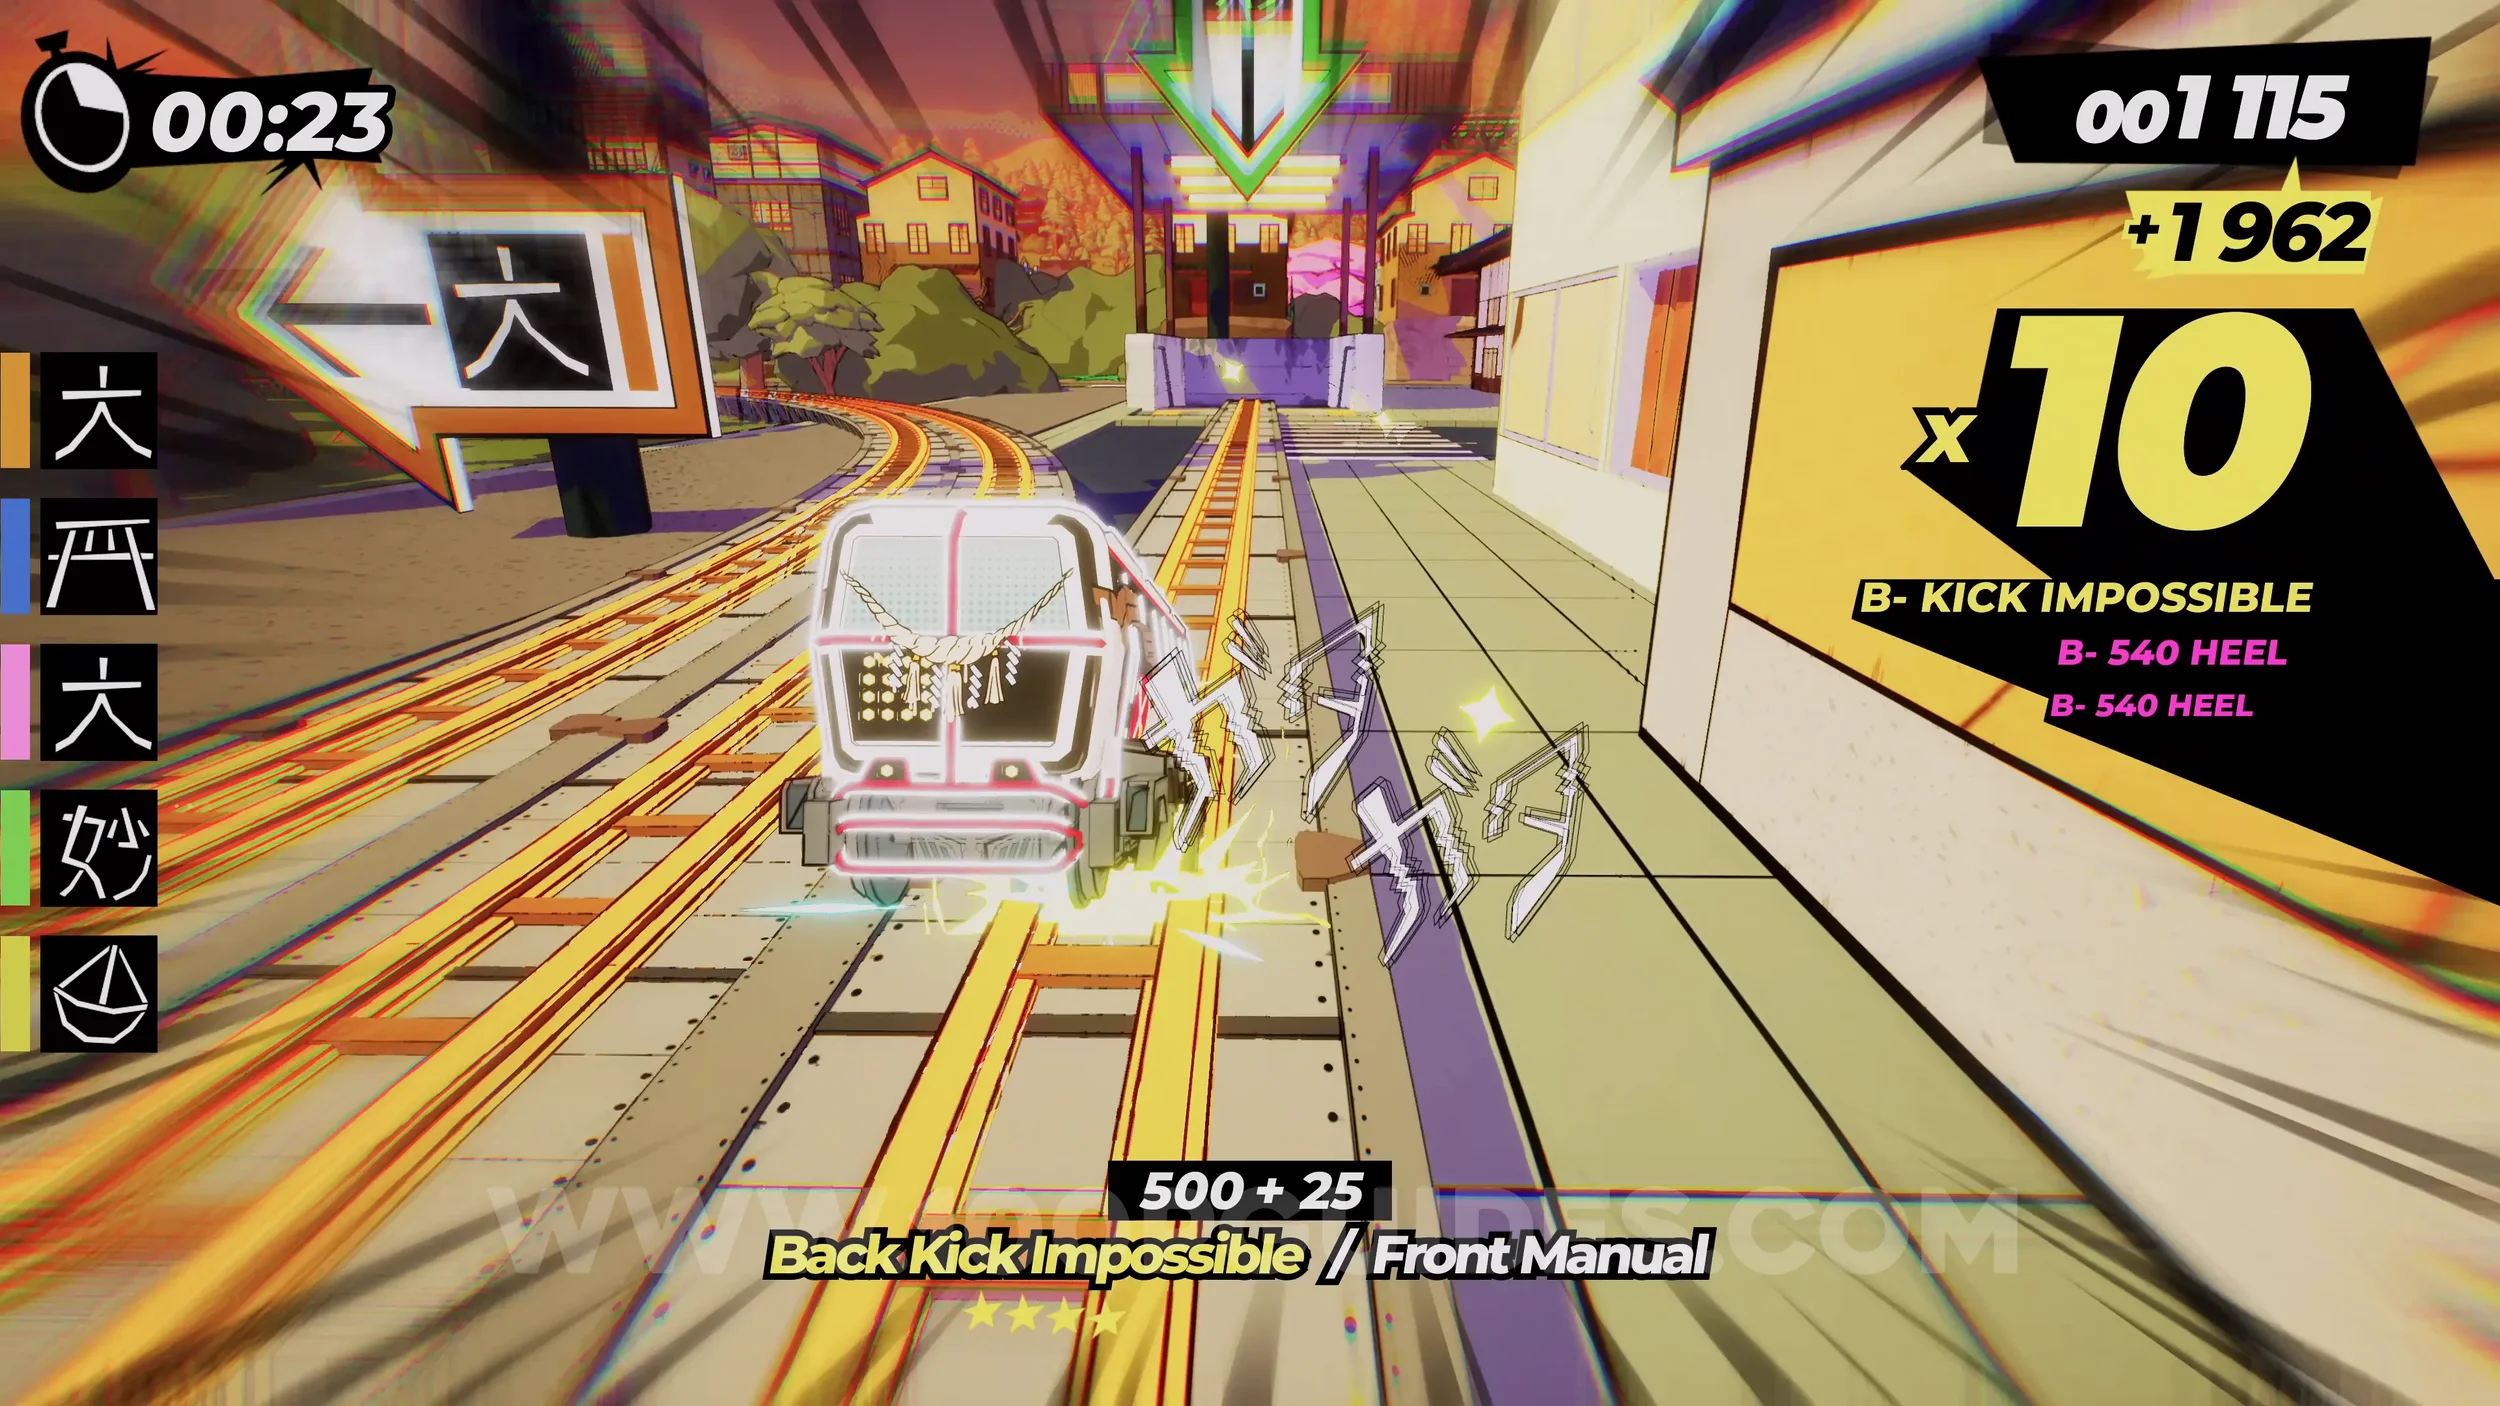
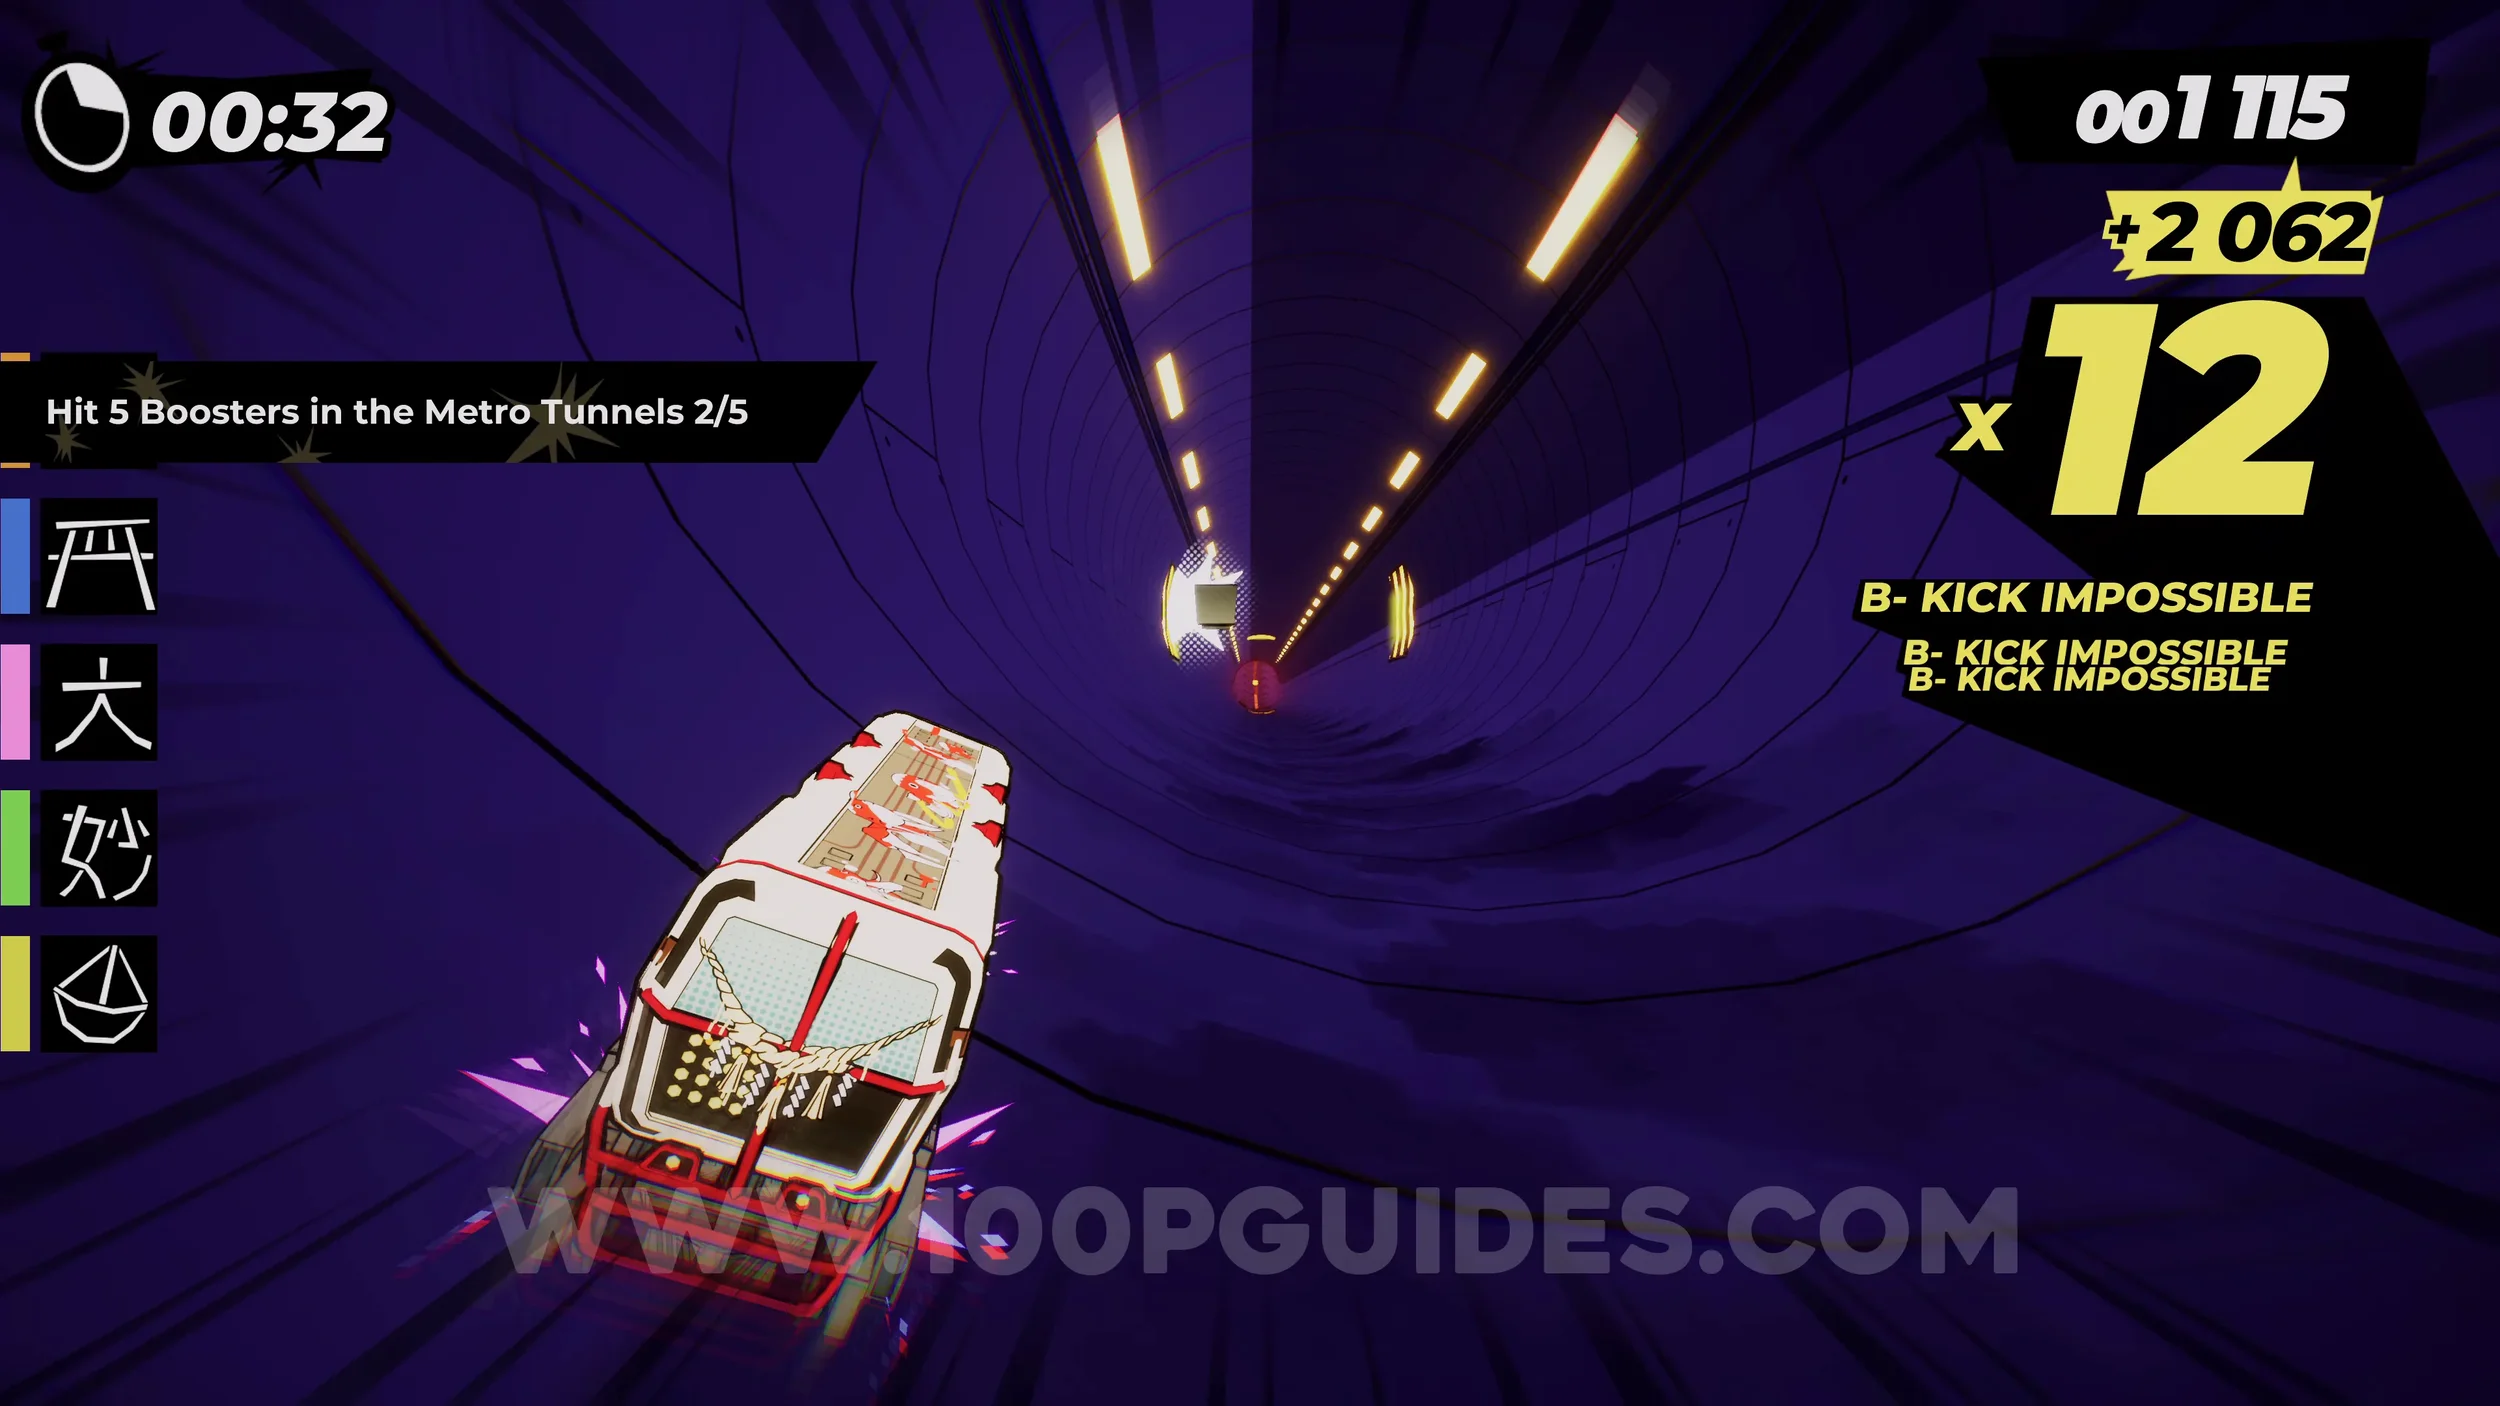
Dare: Collect 5 Cups of Tea (4/5). After the tunnel, you will circle back around to the start. This time, go right and then at the next set of signs, head right again. This will take you to a vert jump where you will find the cup.
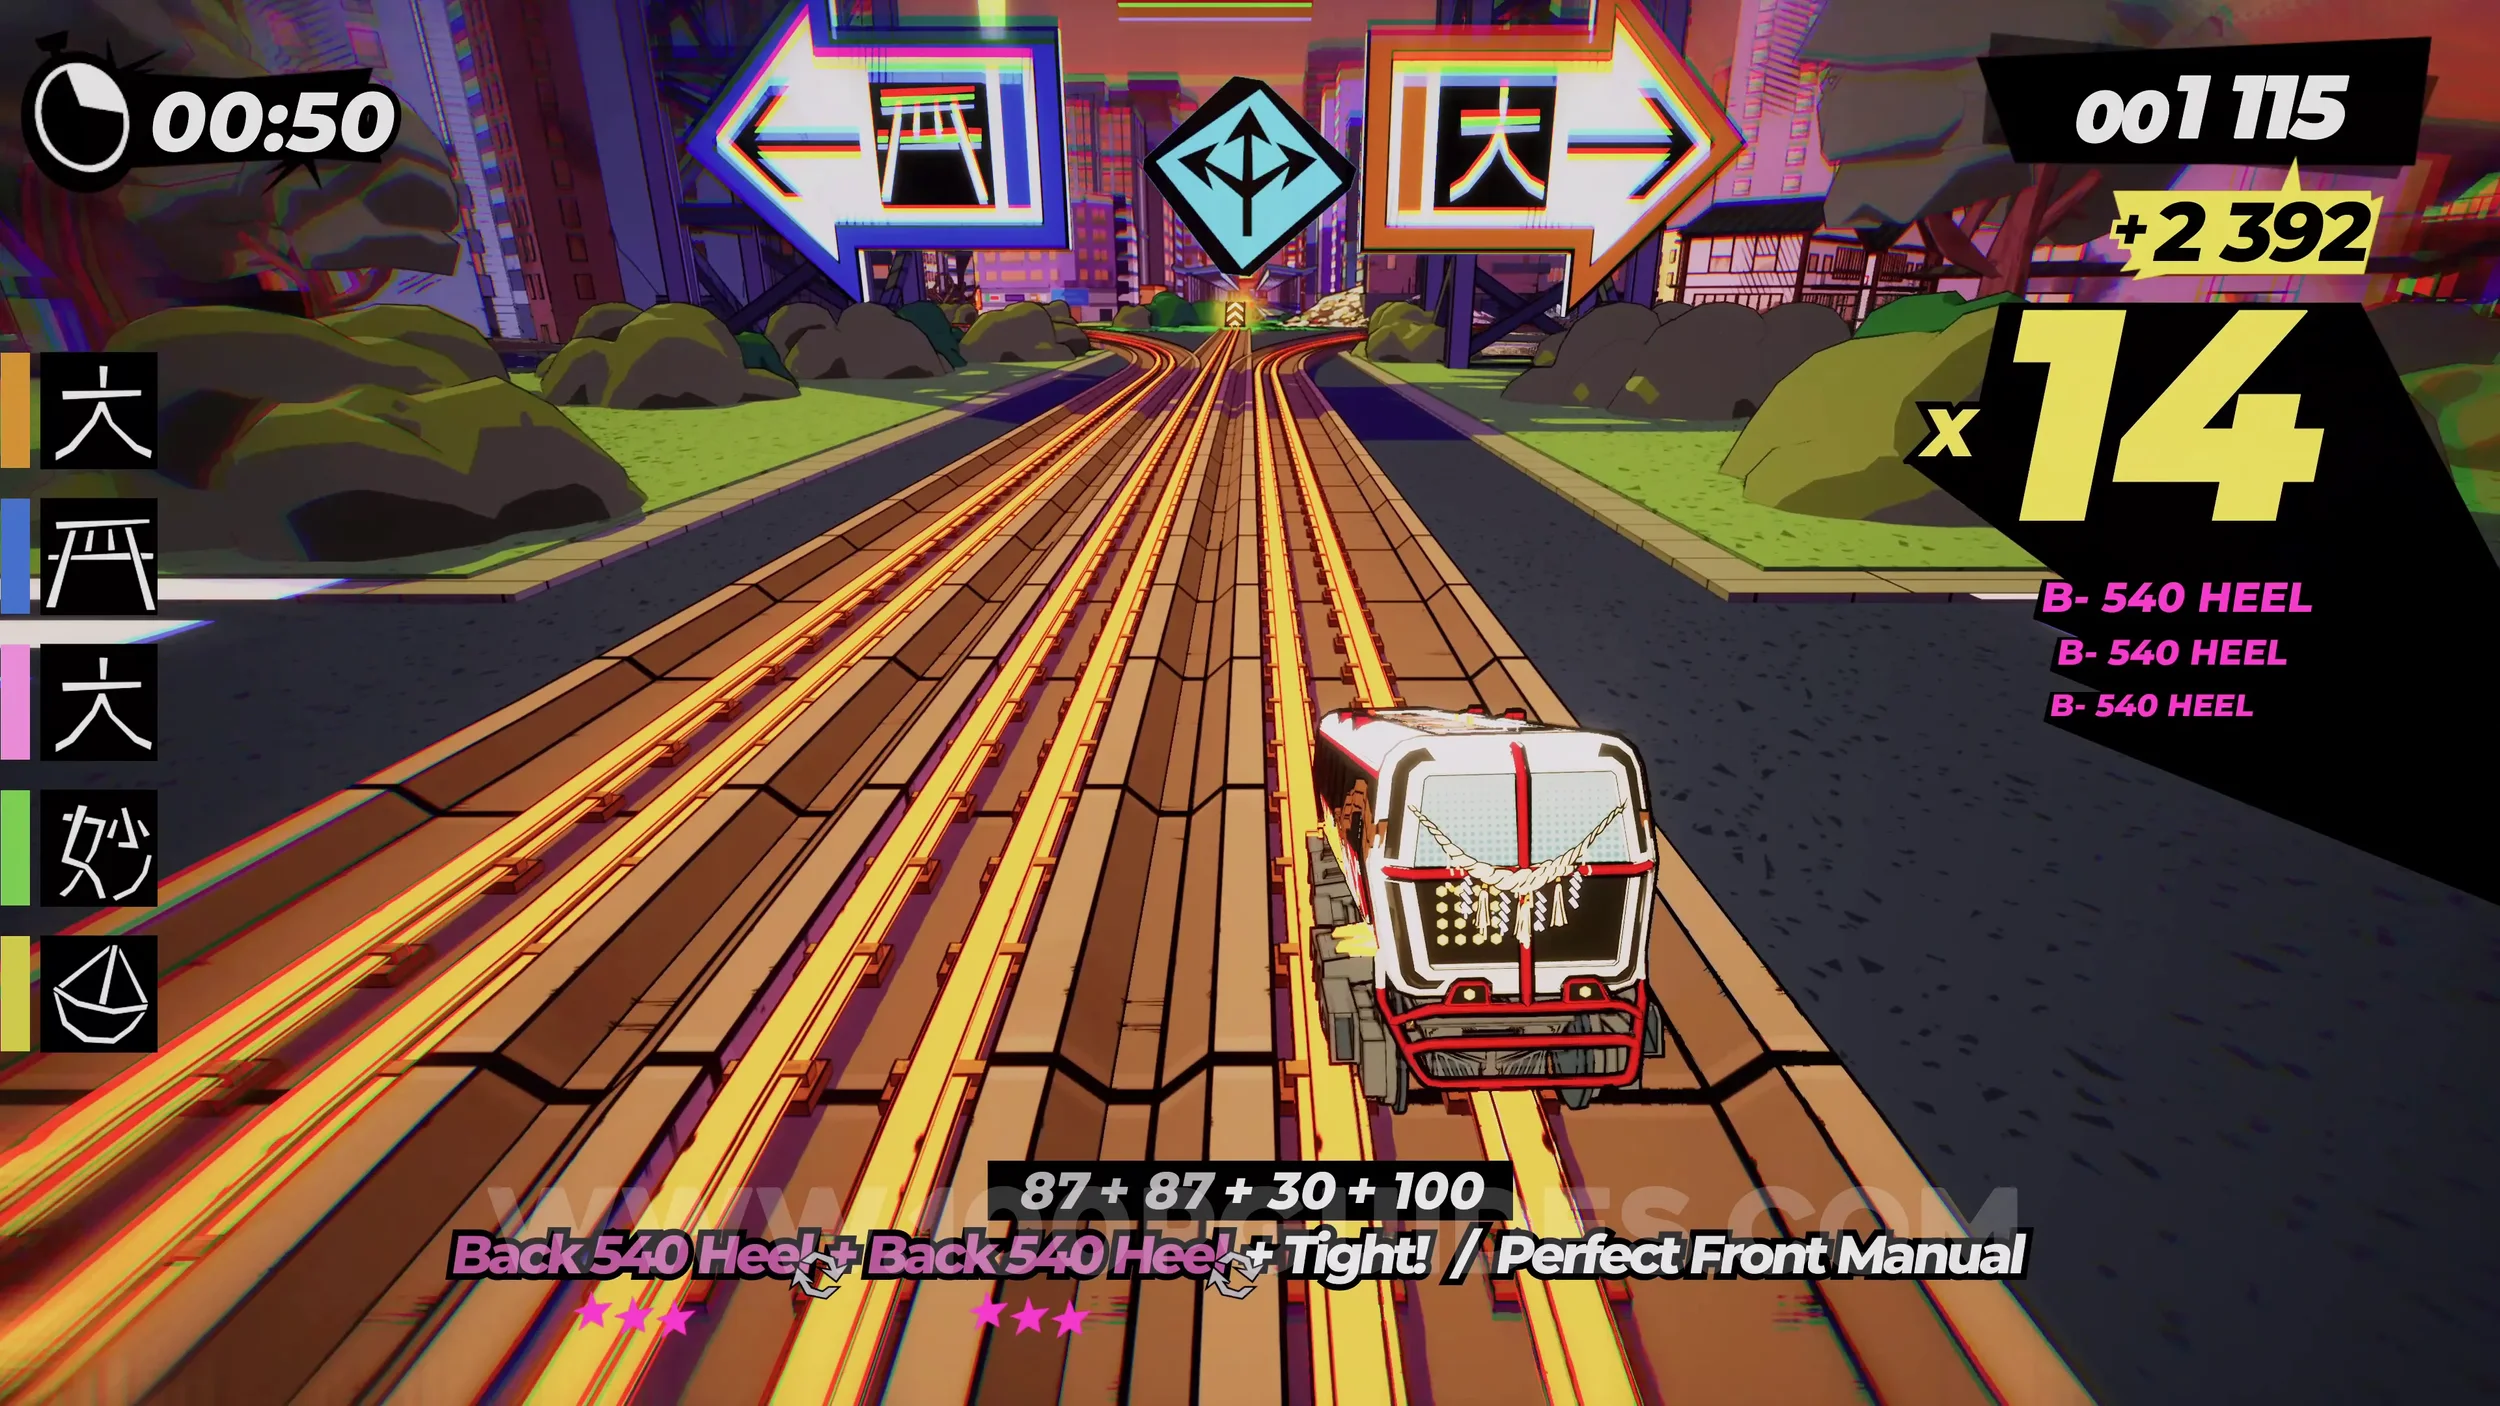
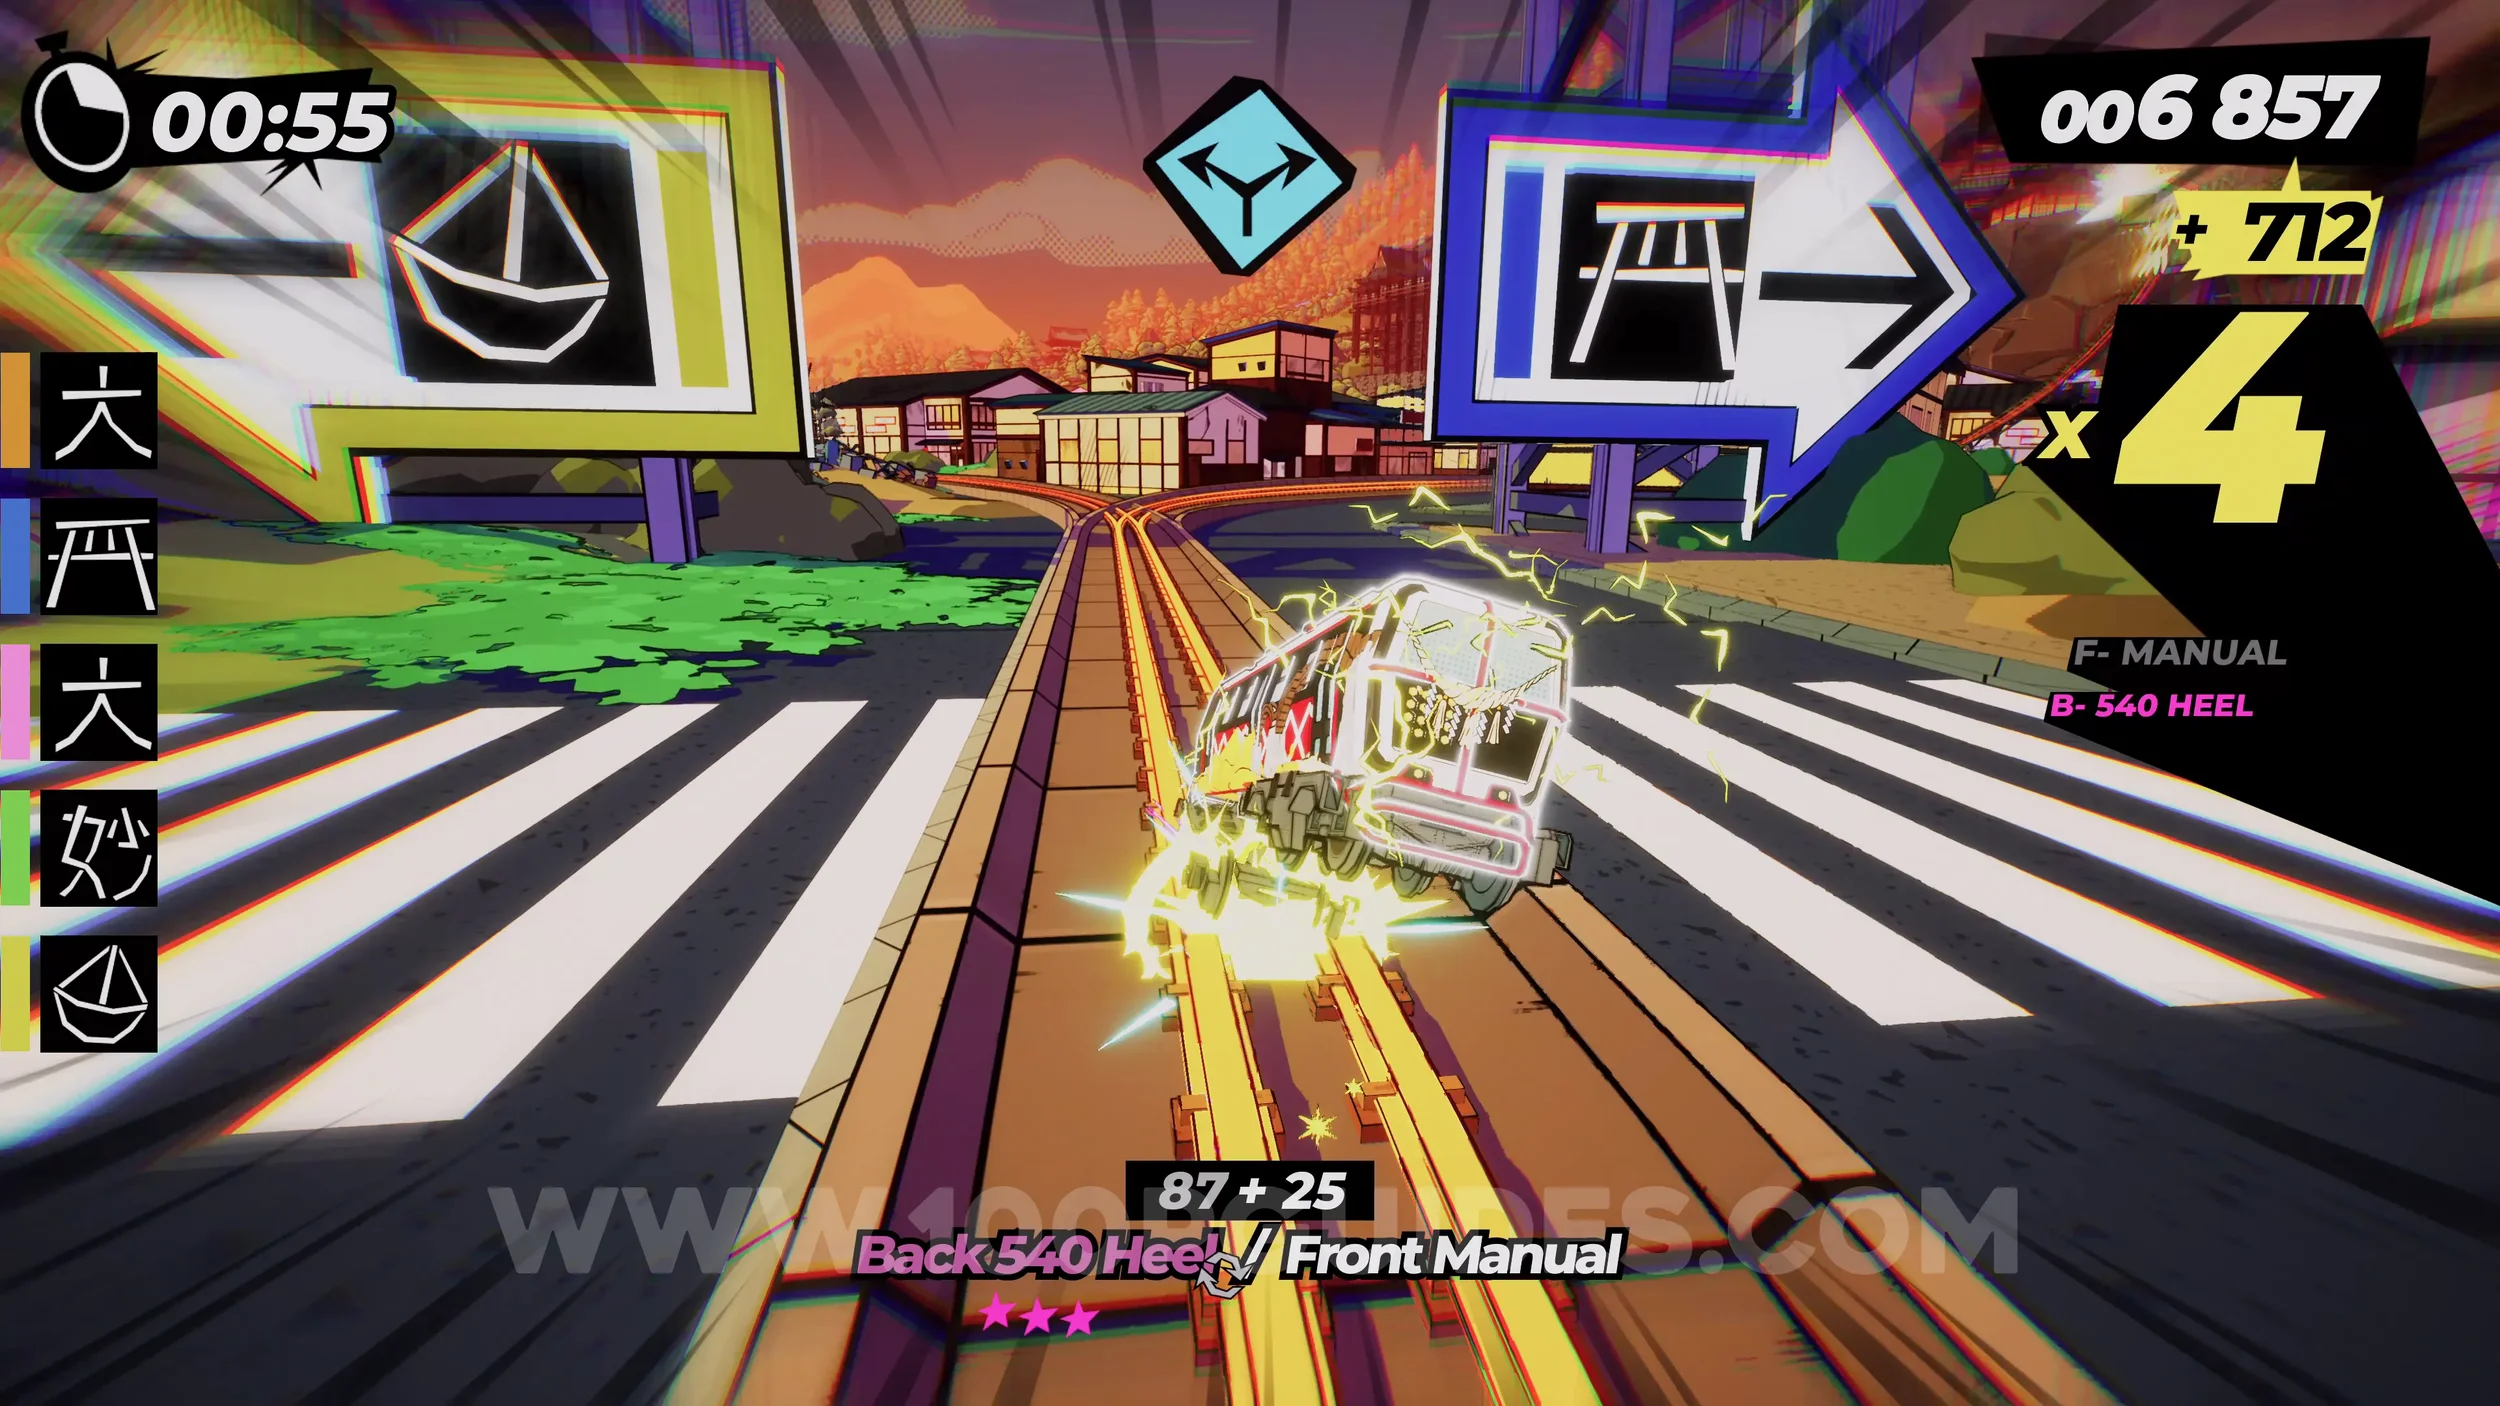
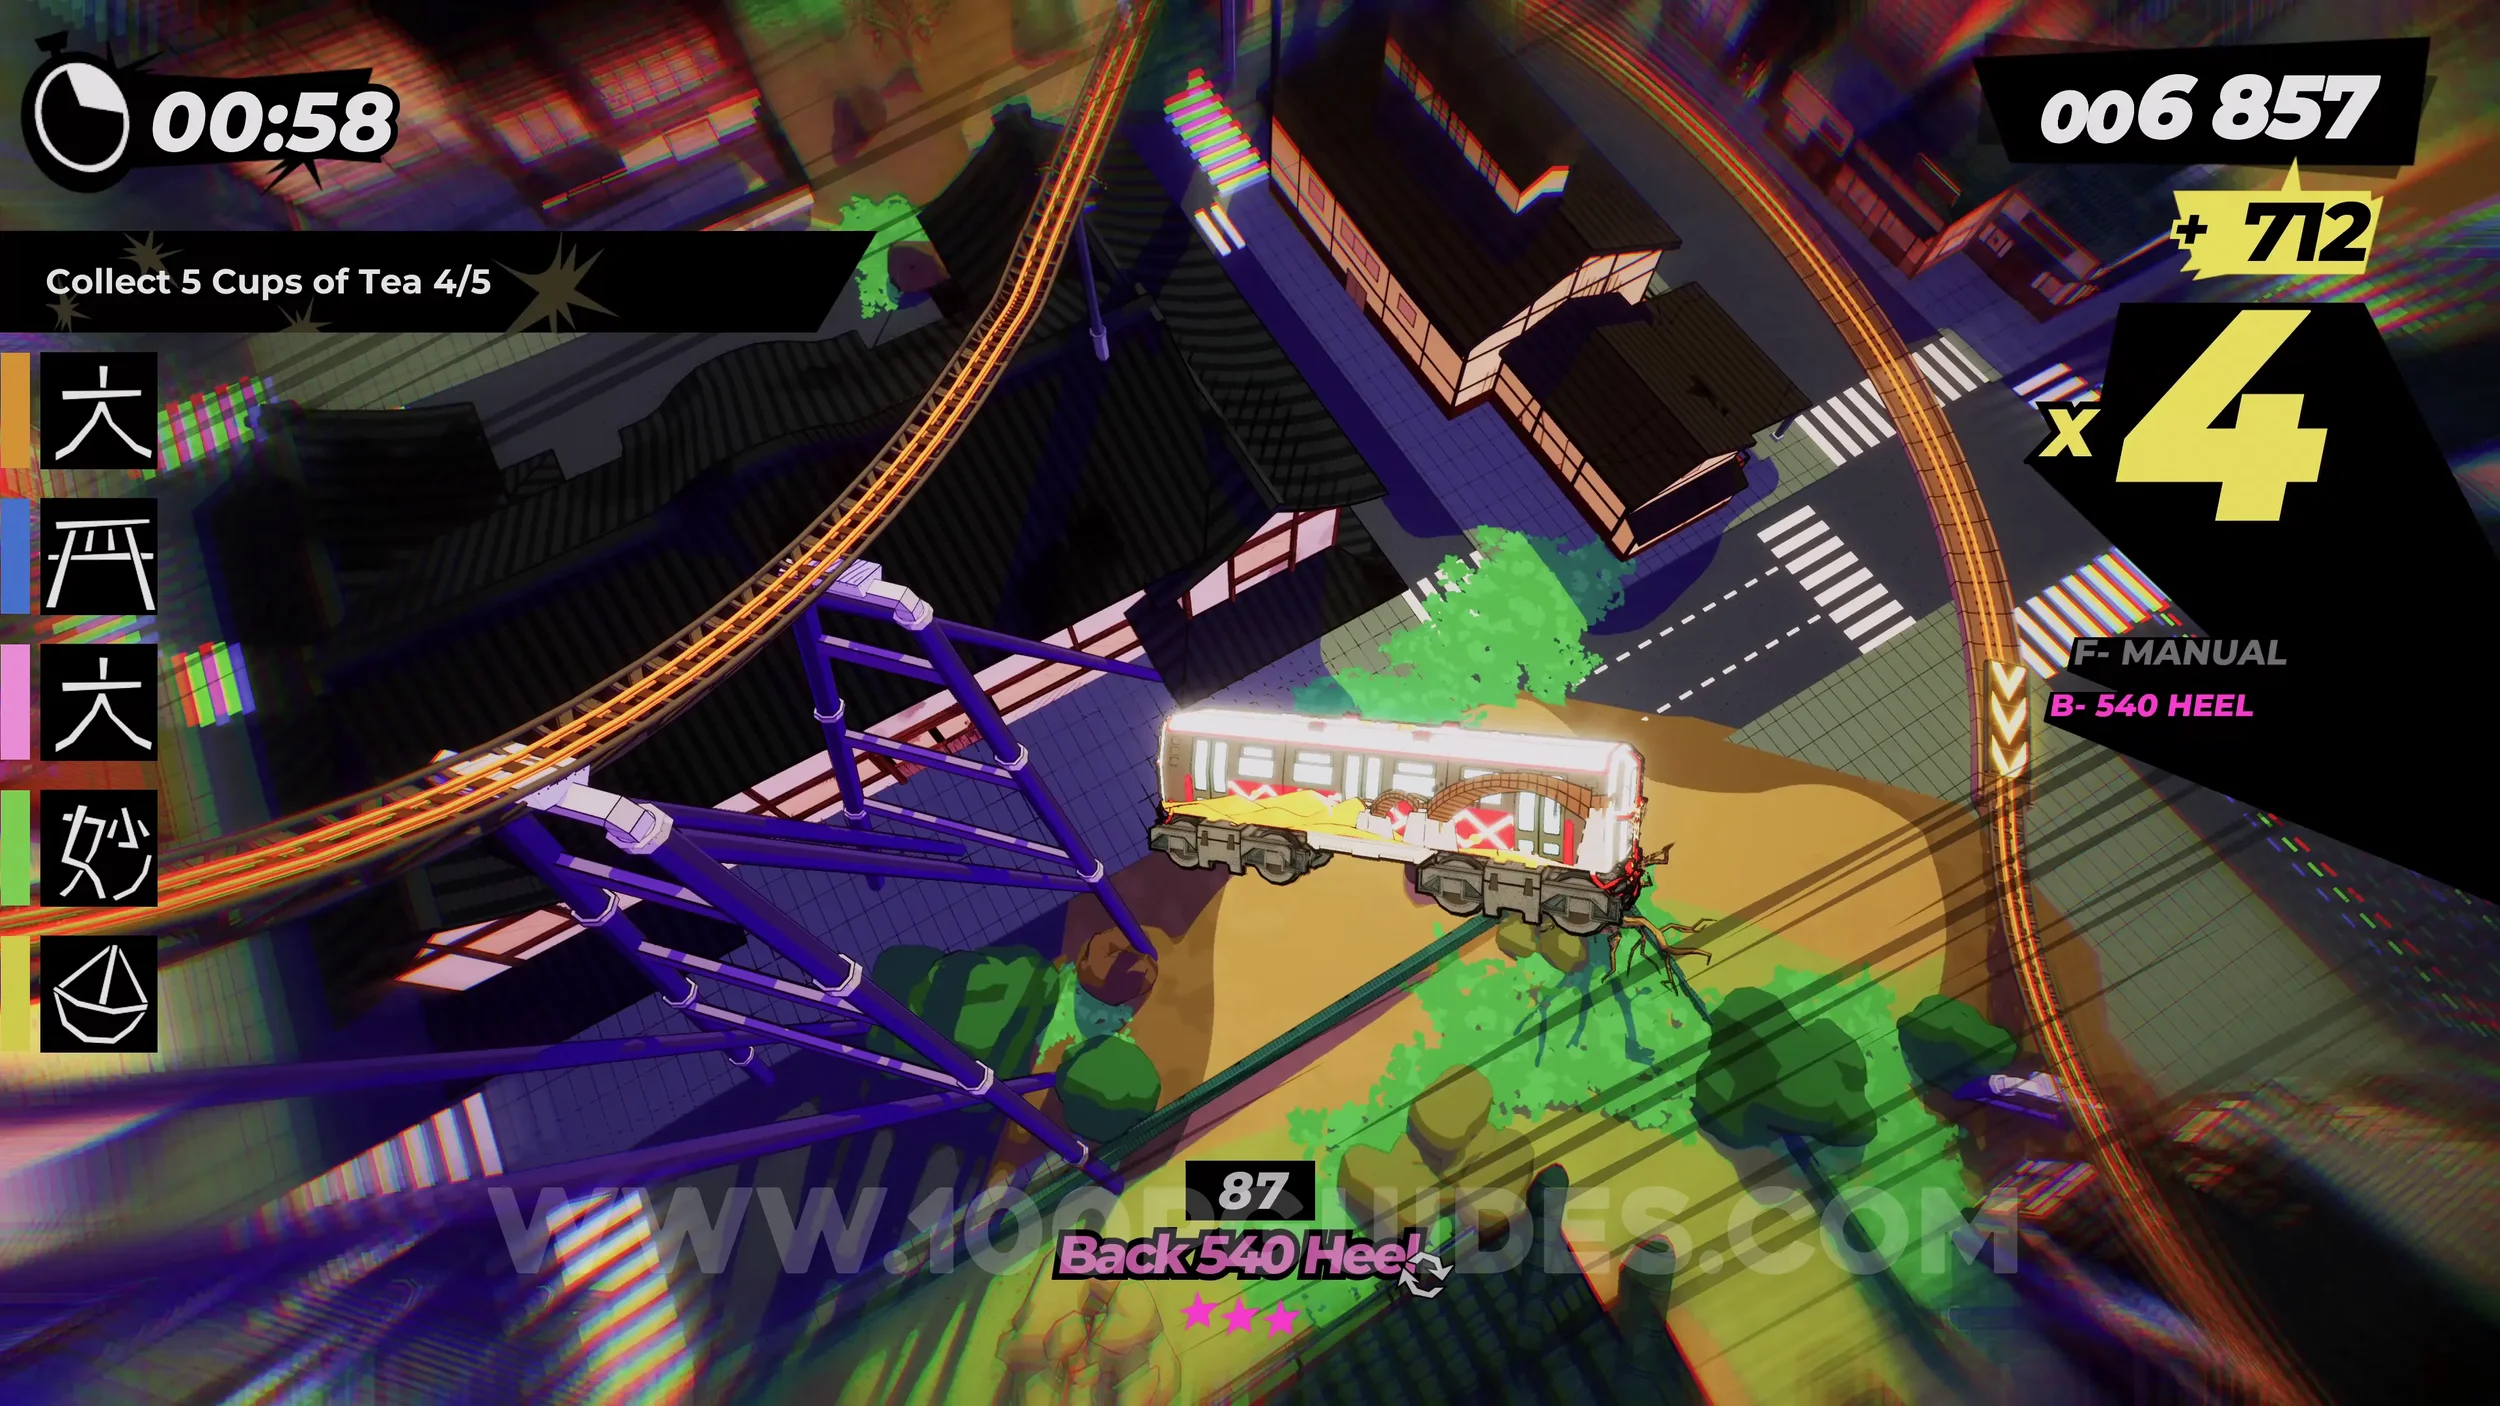
Dare: Land an Air Stomp After Detaching From a Monorail. Soon after the previous cup, you will see more signs. Go right, and you will attach to a monorail. When leaving the monorail, press L2+R2 to land with an air stomp.
Dare: Collect 5 Cups of Tea (5/5) and Dare: Exit the River With a x10 Combo. Once you reach the area where you are on tracks over a river, stick to the rails on the right, then air stomp before you hit the bridge to get the final cup. Make sure you leave the river with a x10 combo.
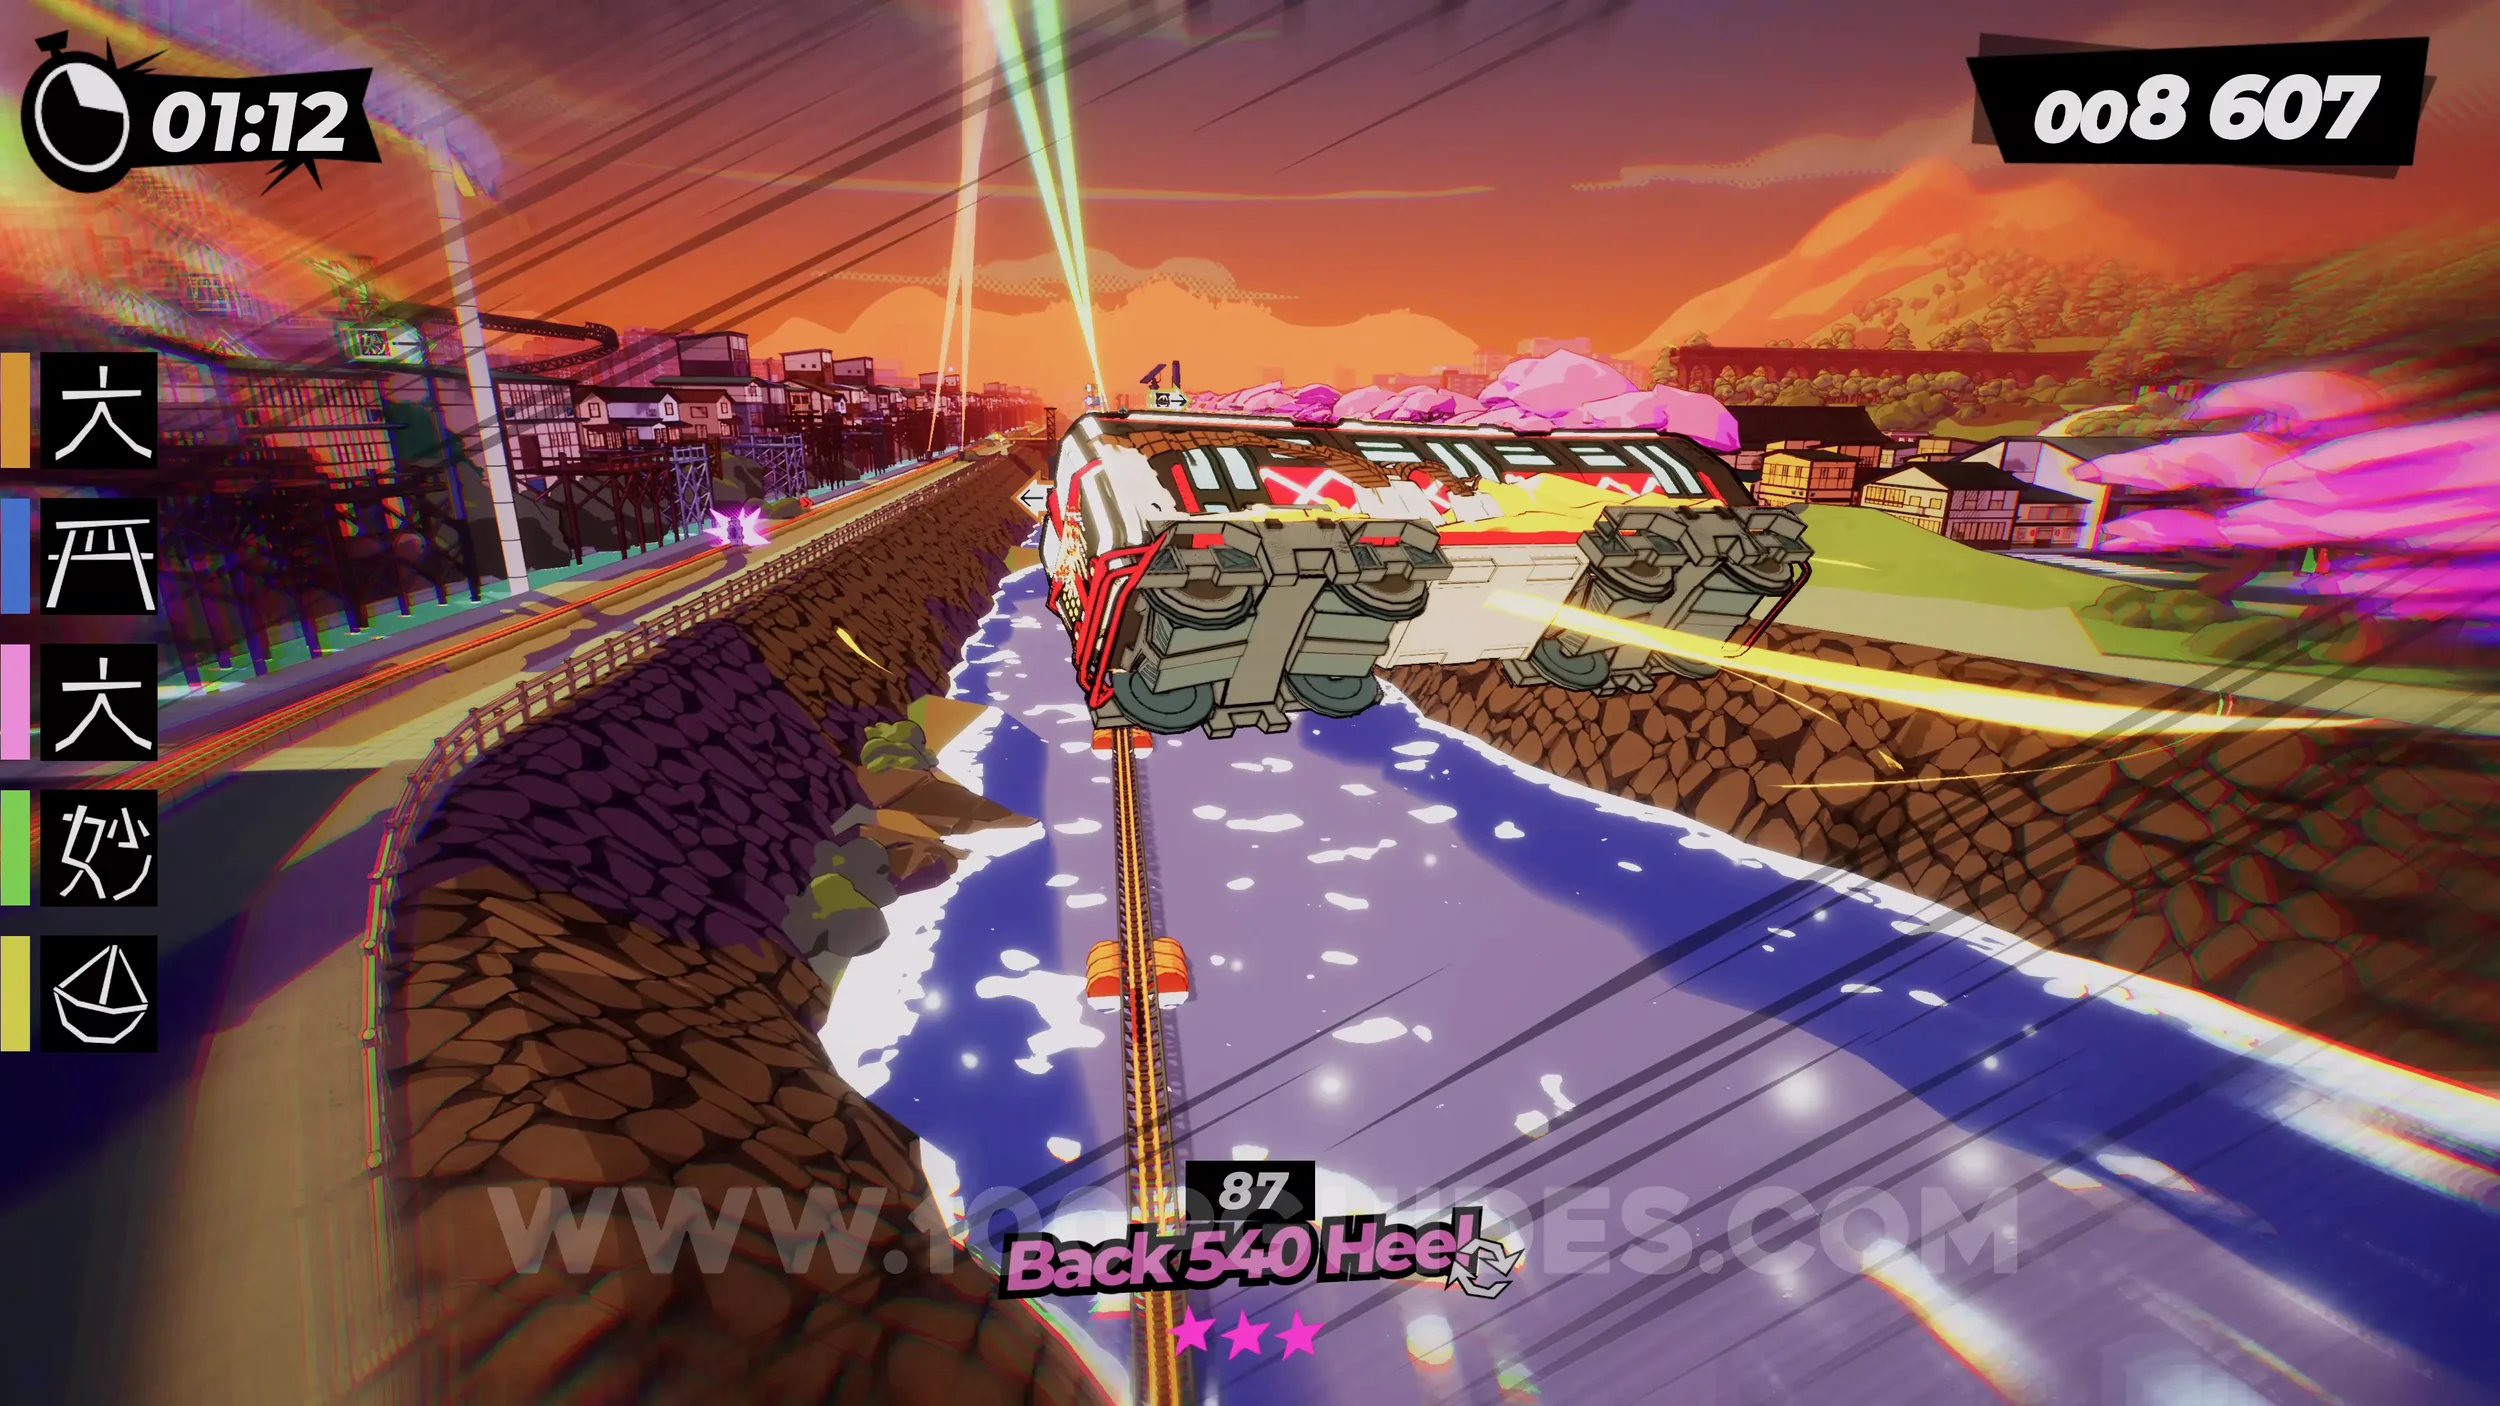
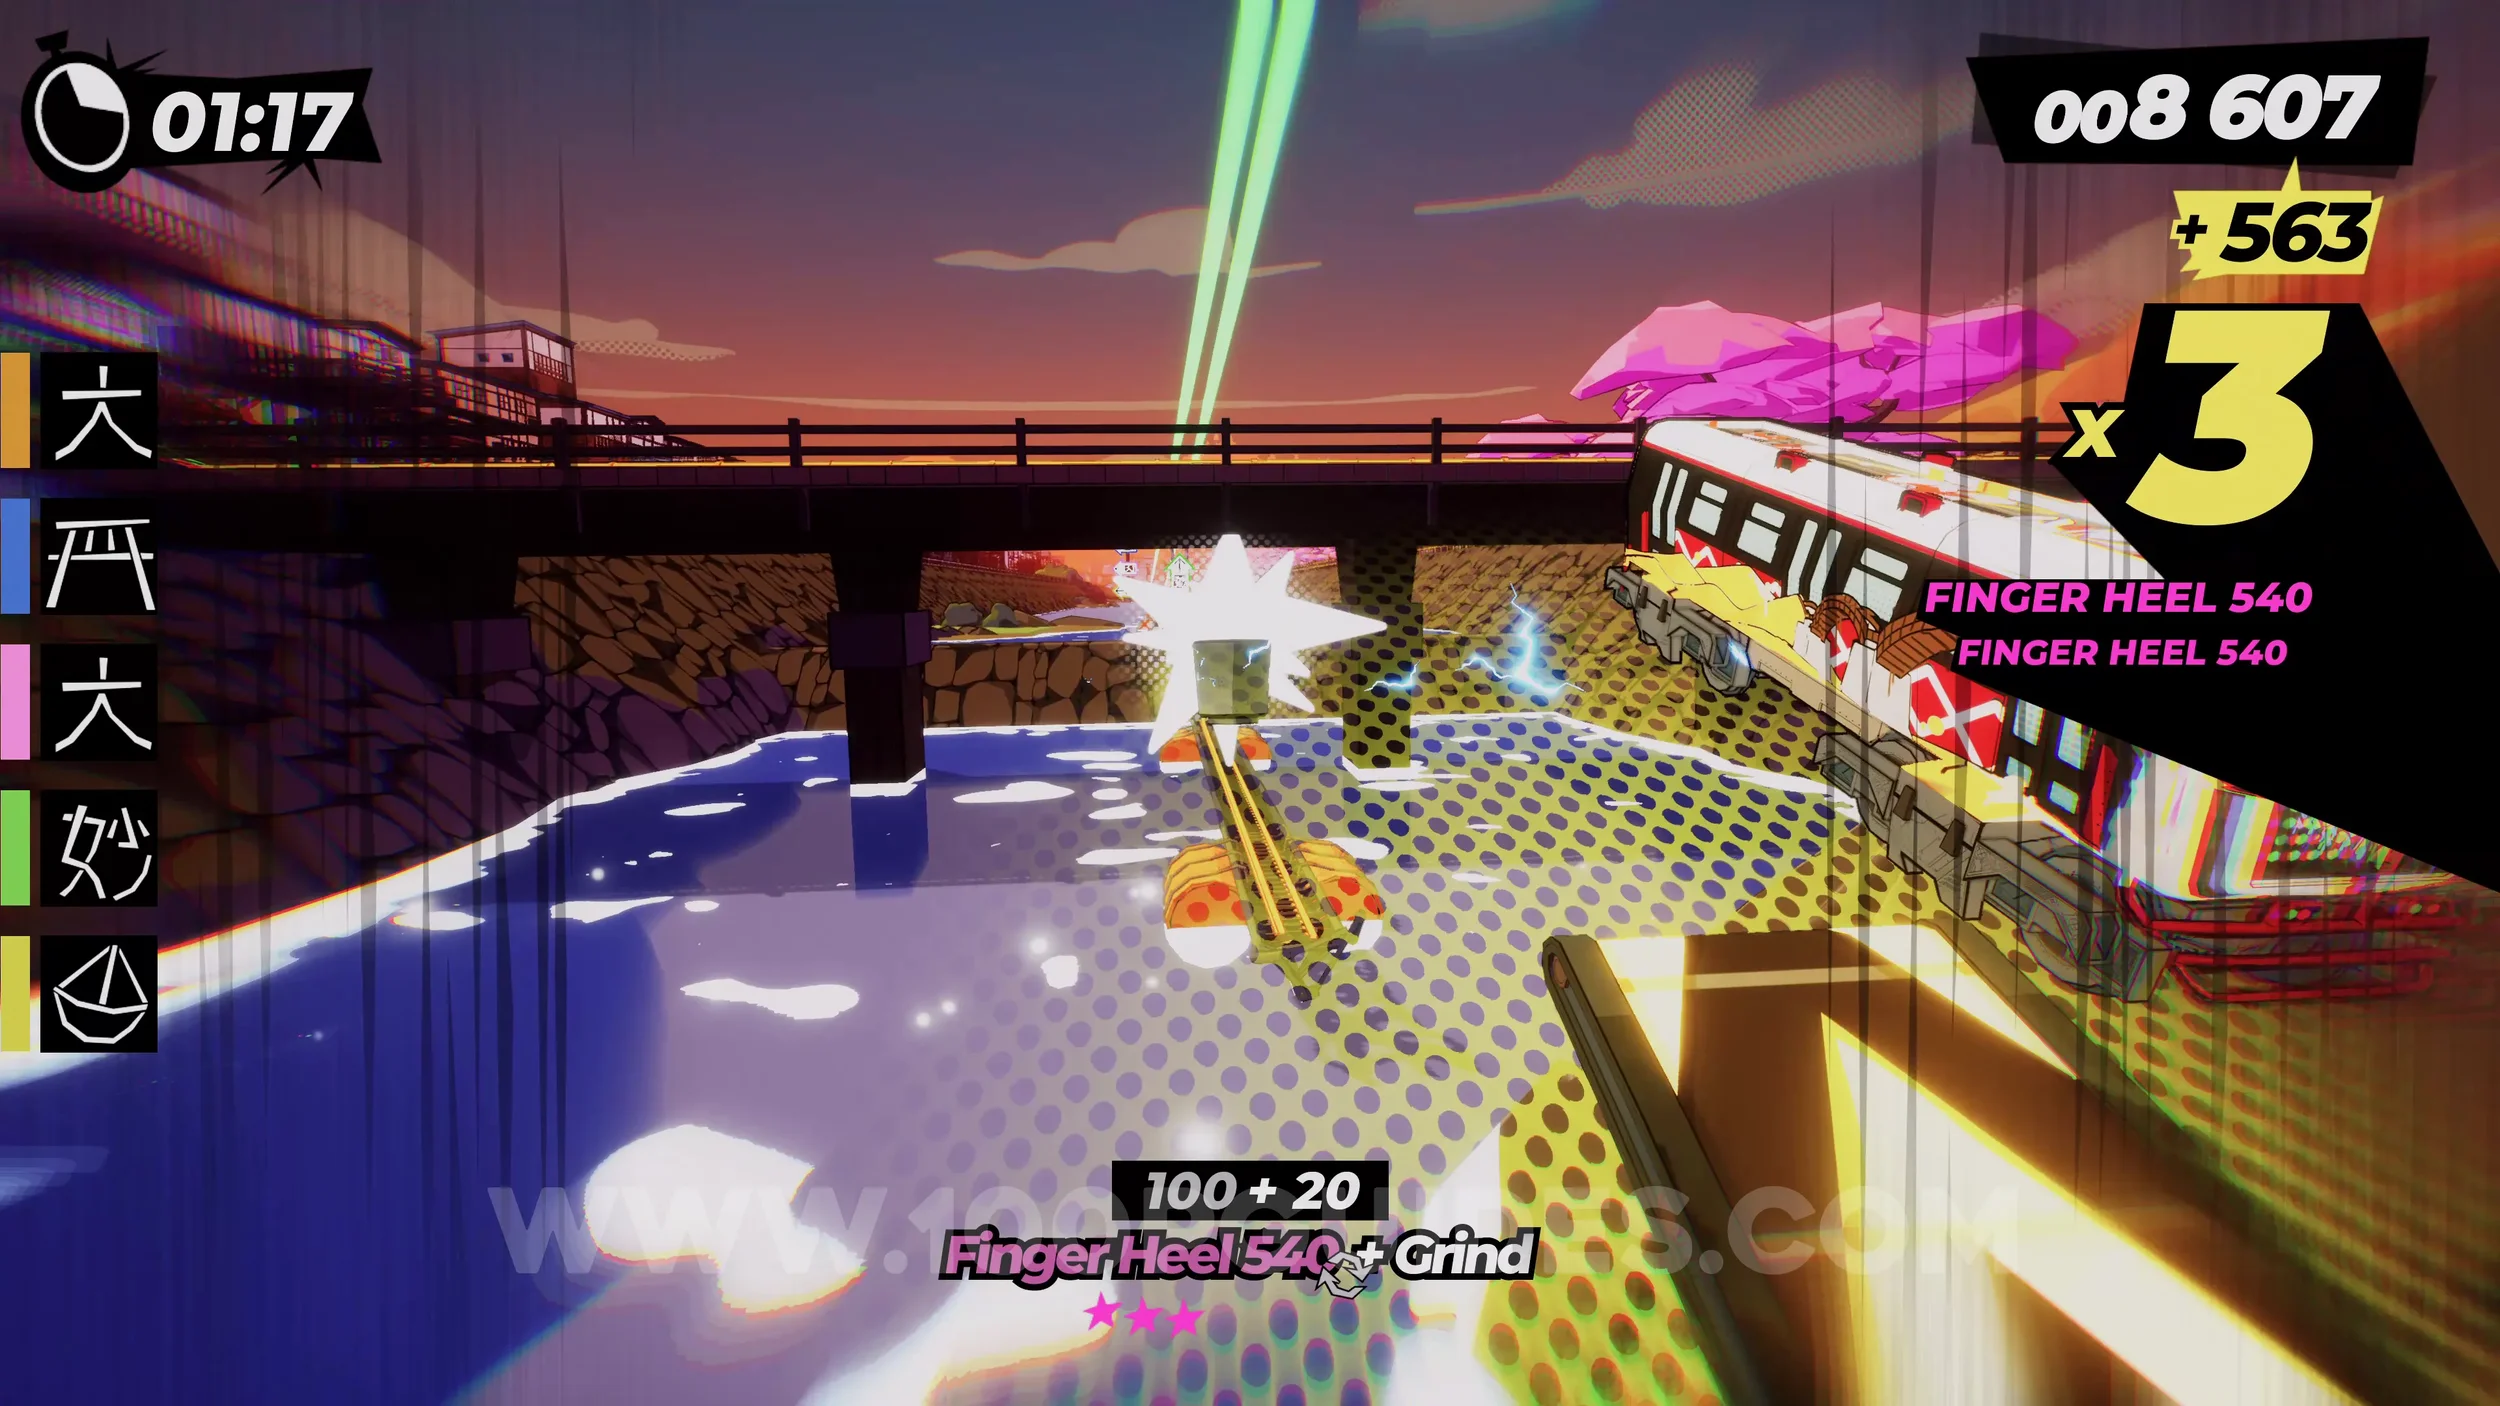
Gear (1/3). Continue on the tracks above water. Then at the end, stick right and follow the green sign. Once you get to the monorail, swing right to get the gear.
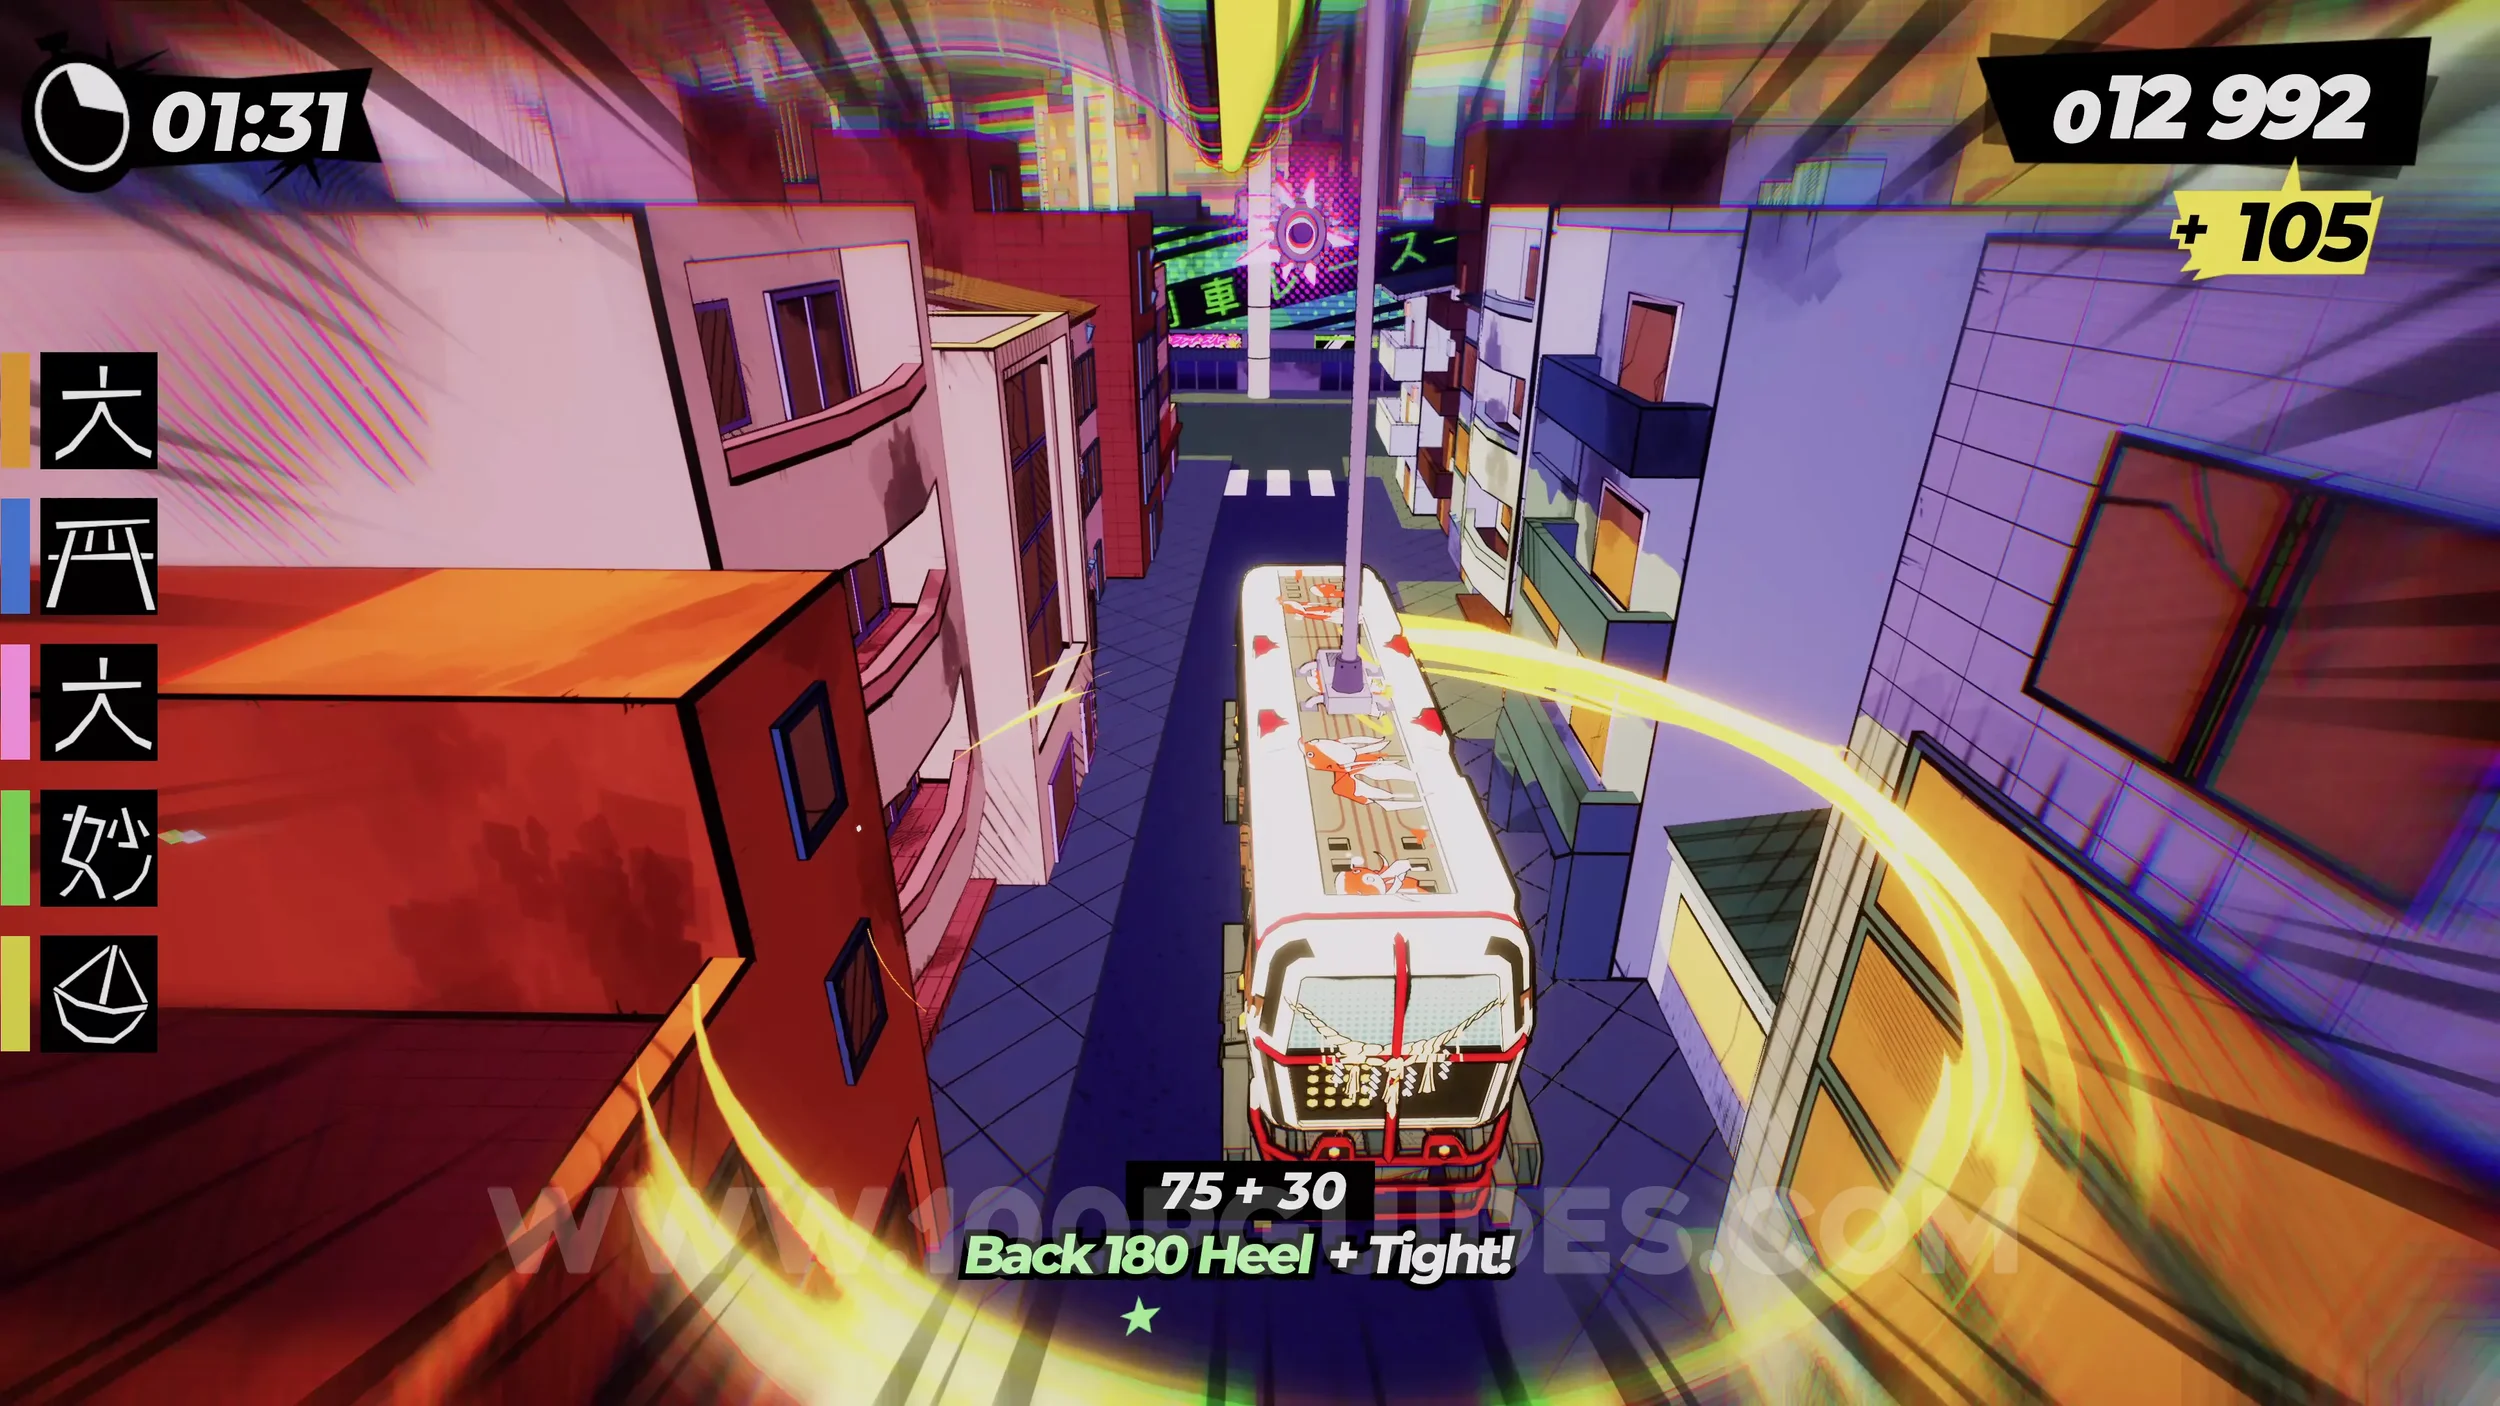
Gear (2/3). Continue on this path and you will eventually get to a dirt half pipe. The gear will be on the left side of it.
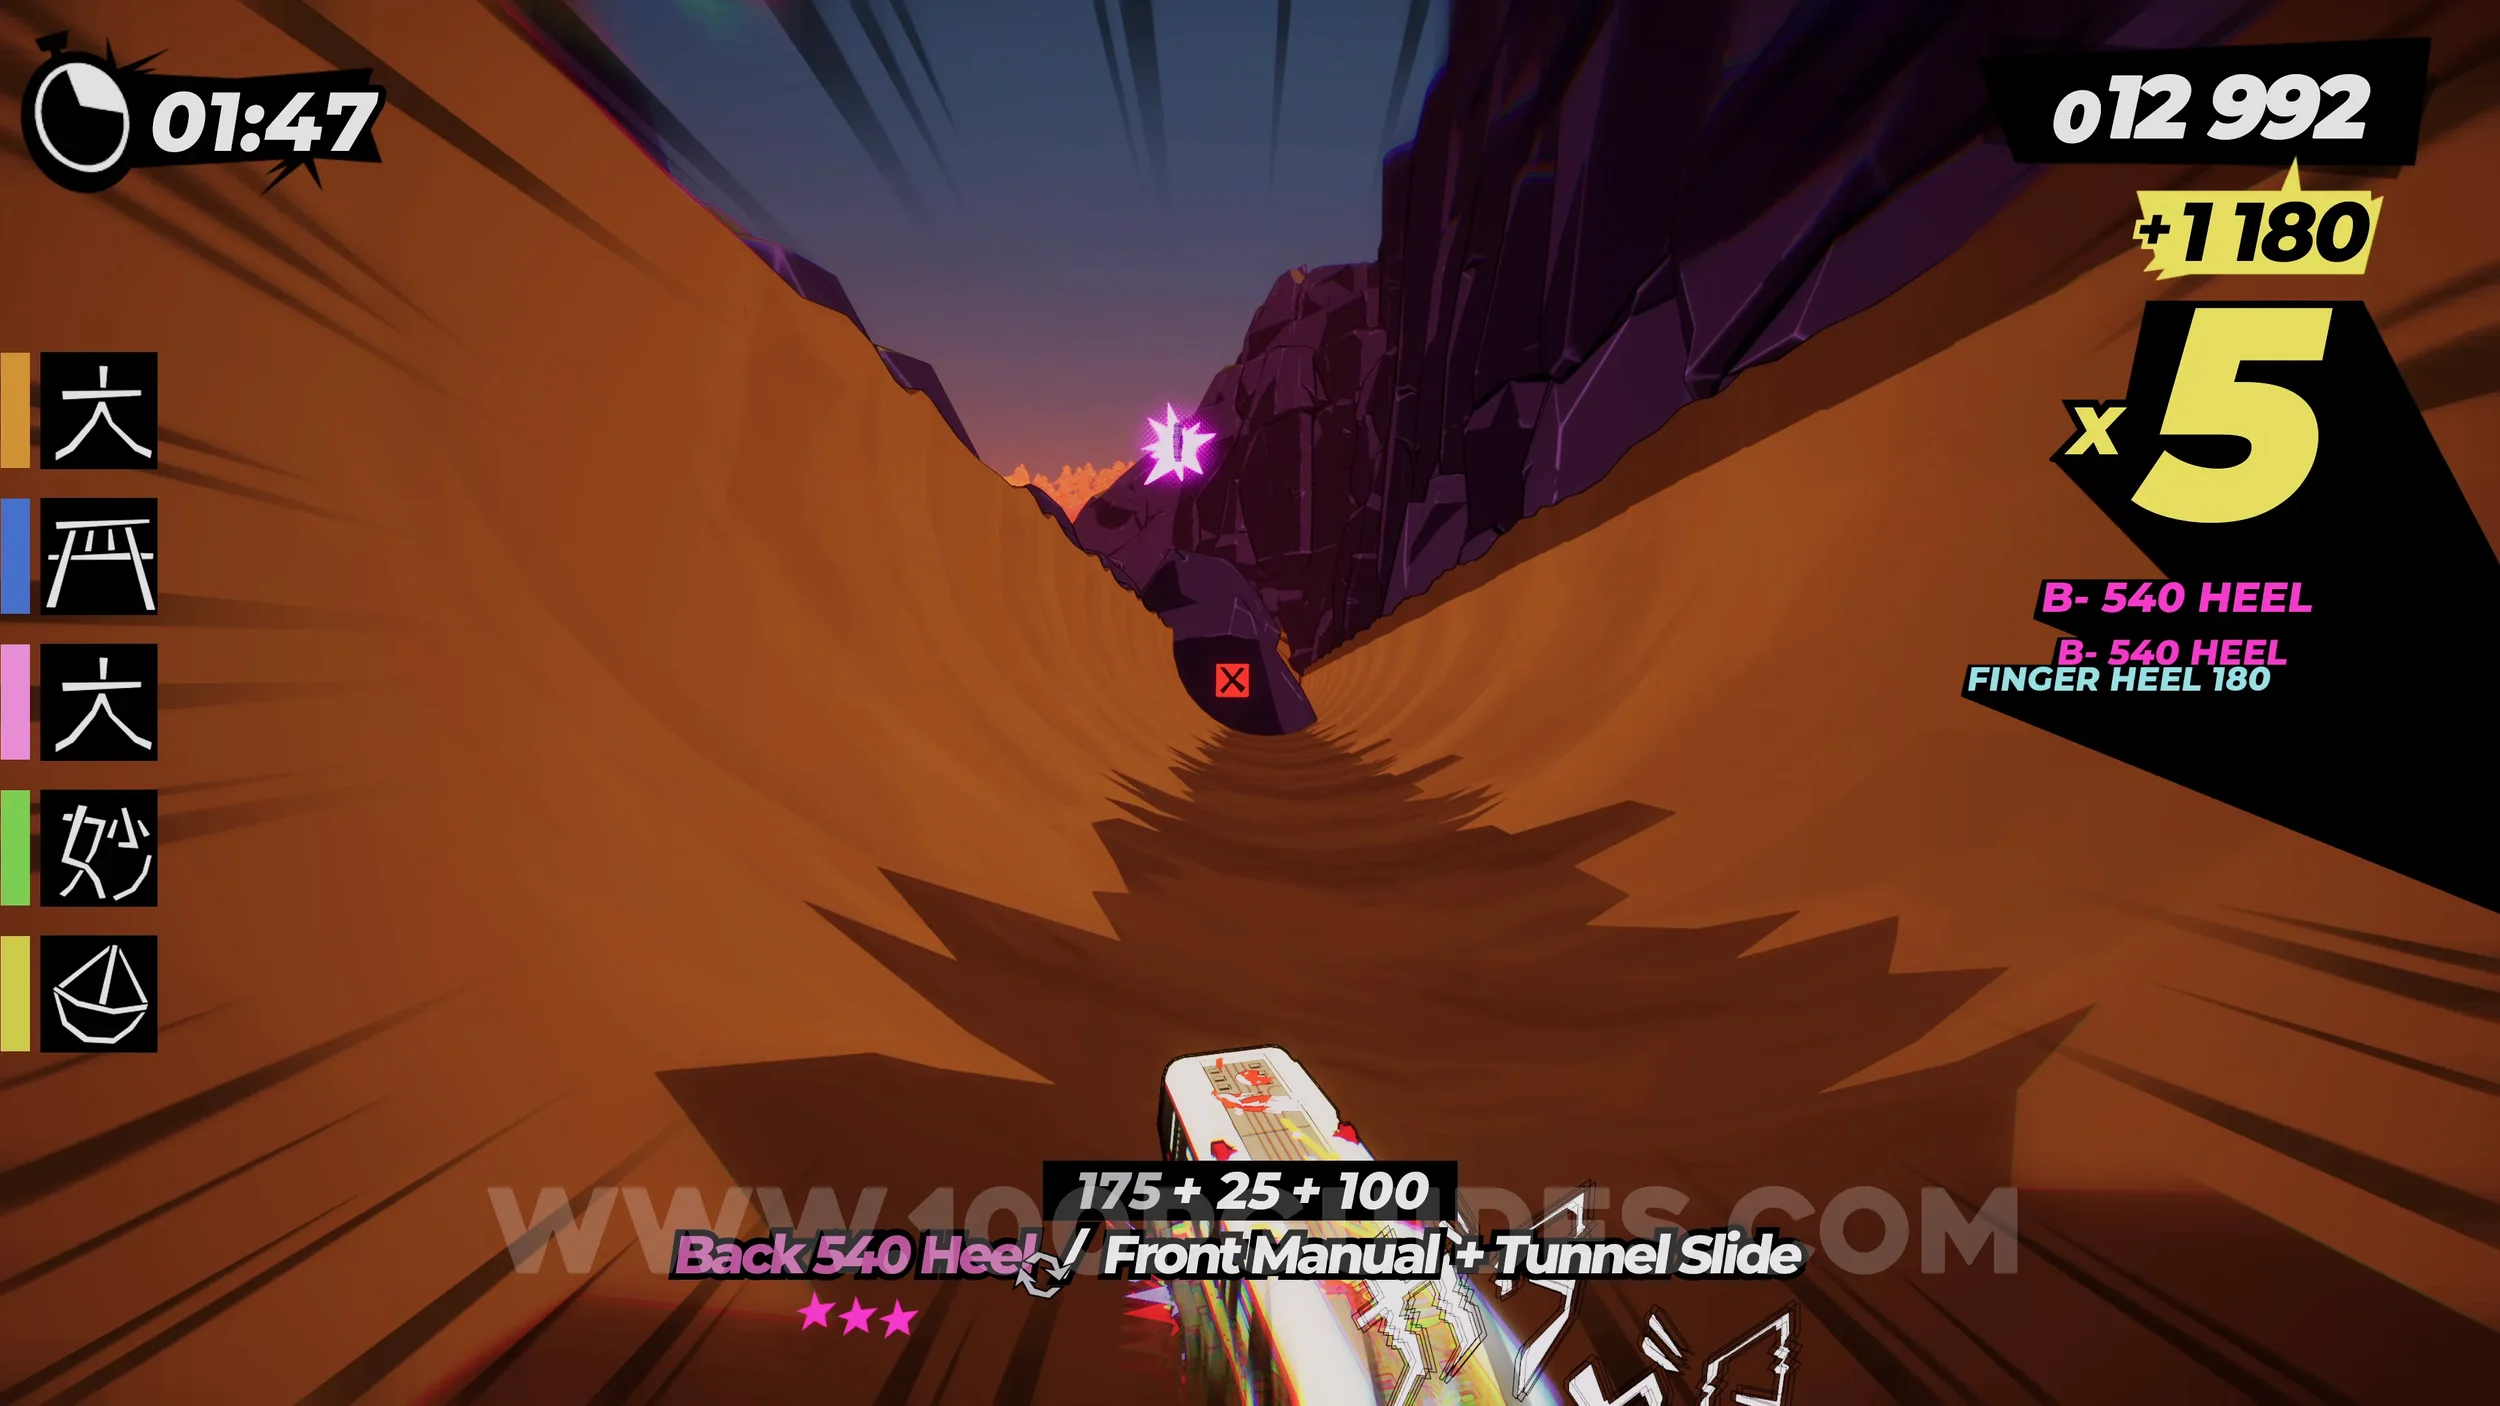
Gear (3/3). After finishing the main objective in the area where the previous collectibles were, you will return to the city. At the first signs, go left, then left again at the second signs, then right and right again, following the brown signs. This will take you to the gear.
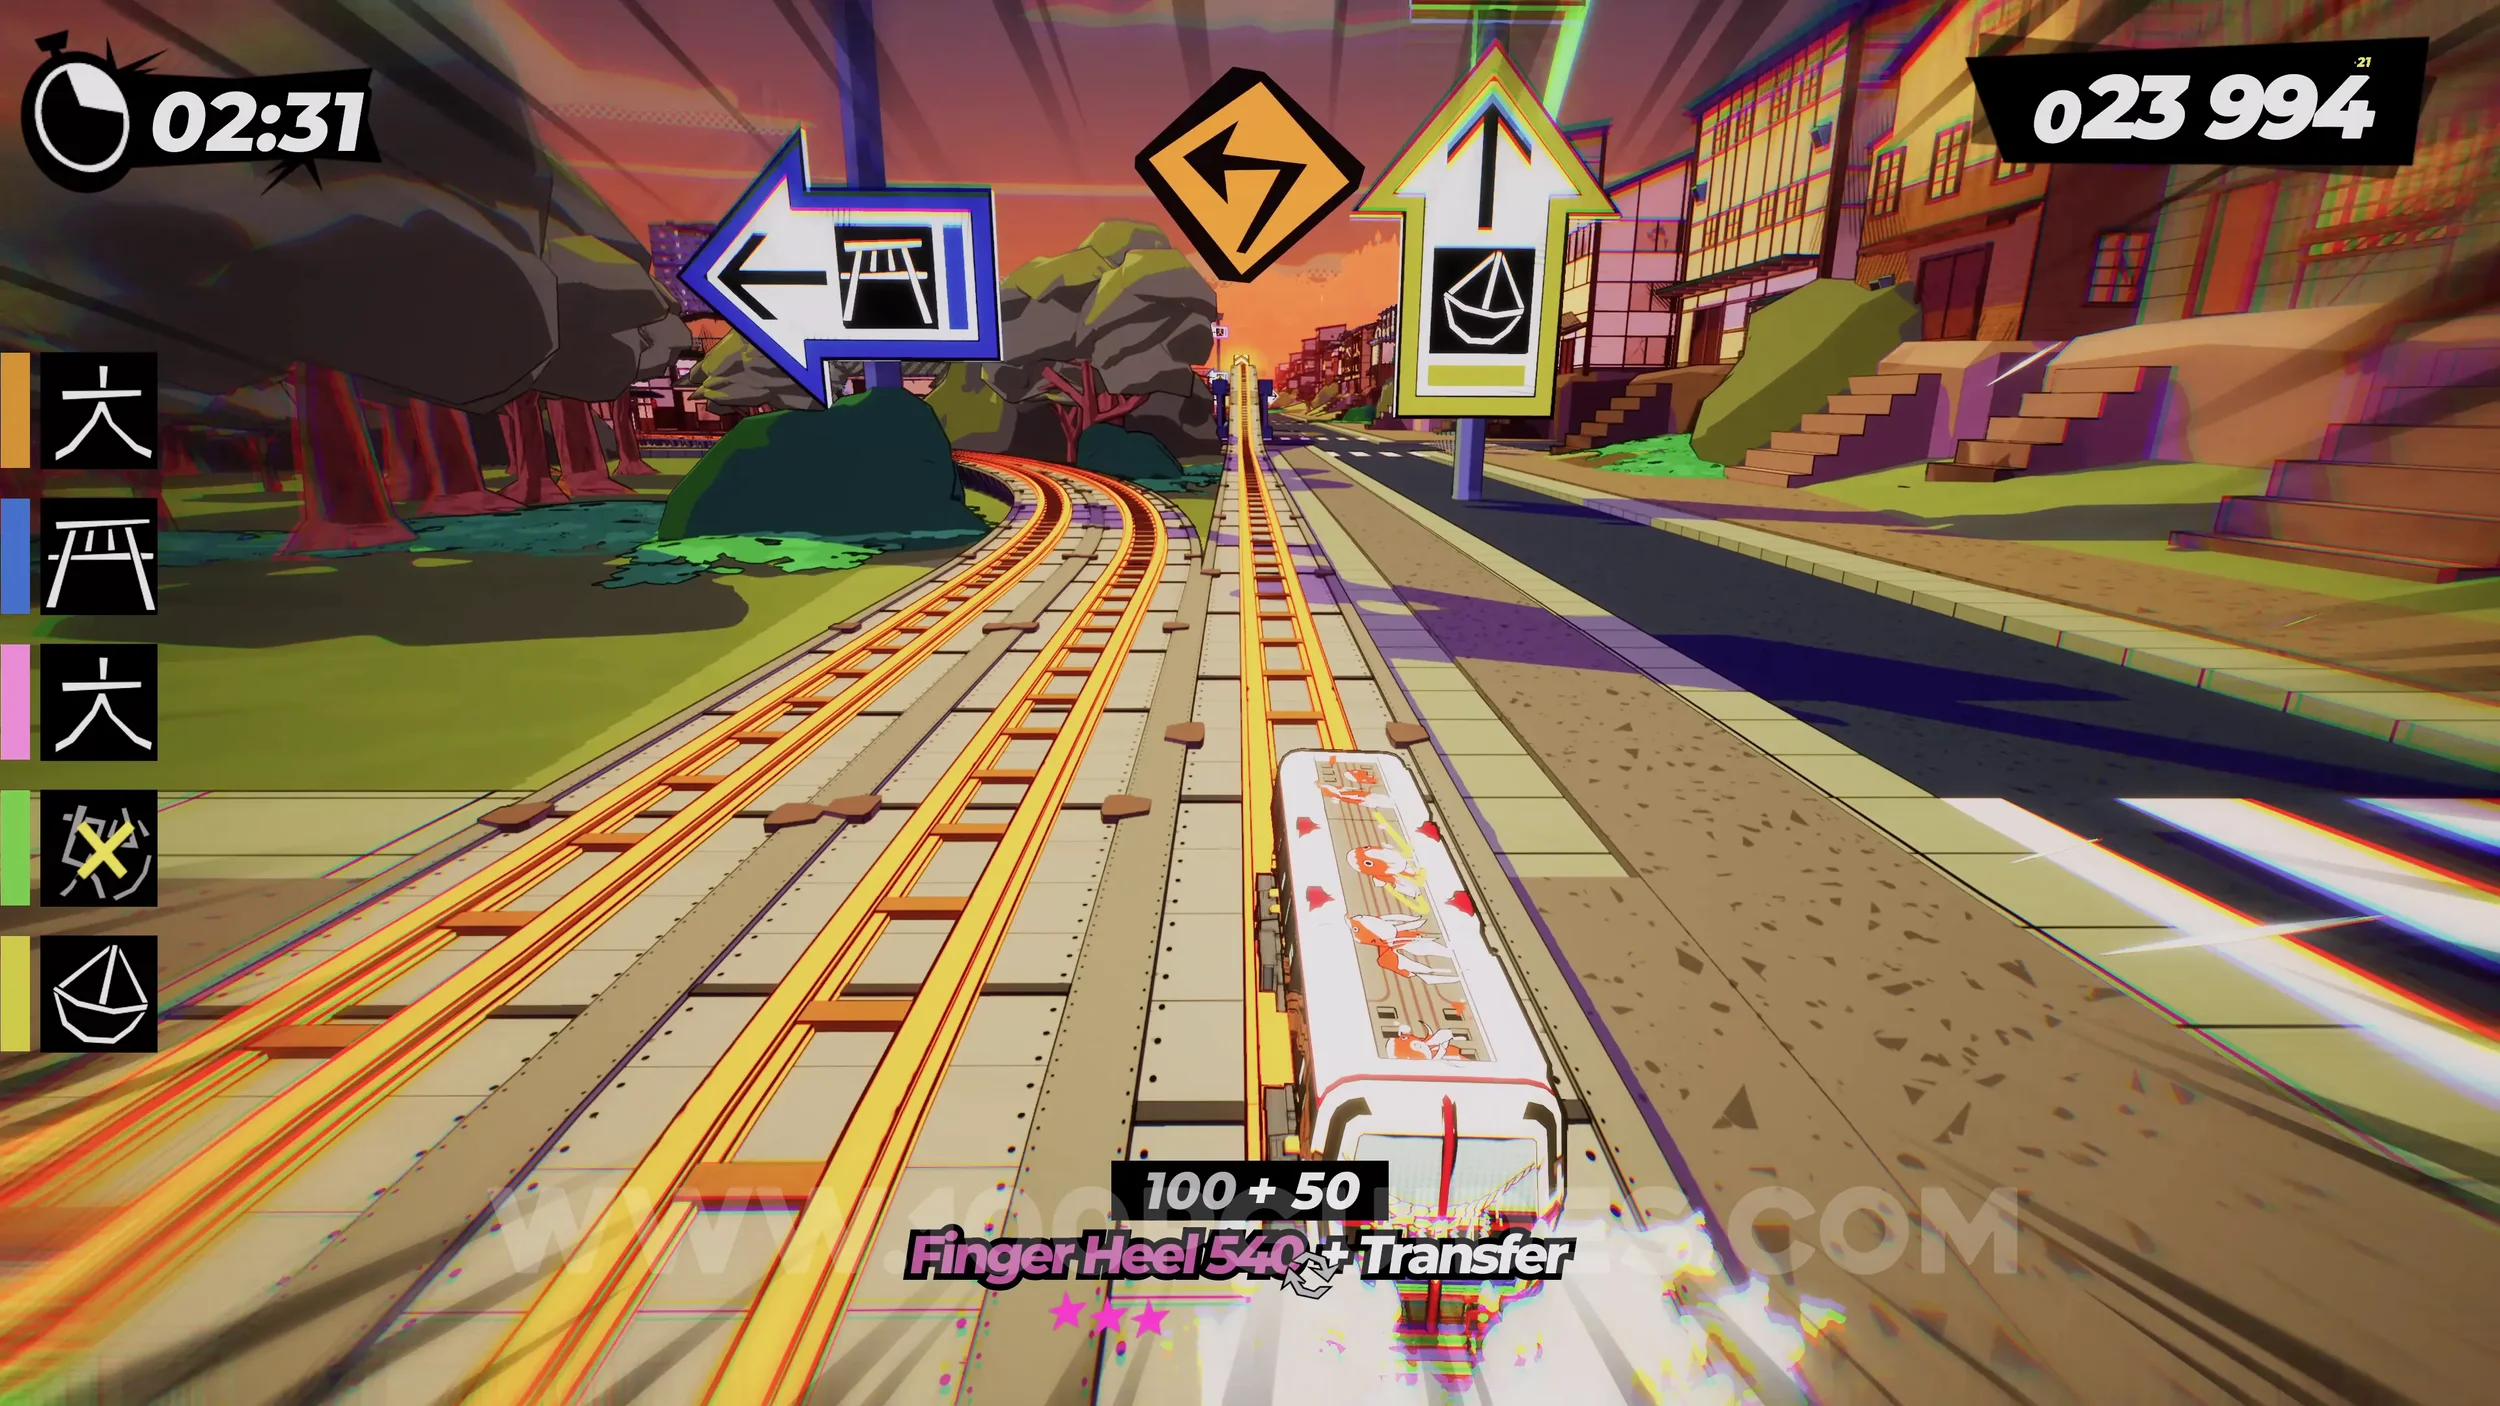
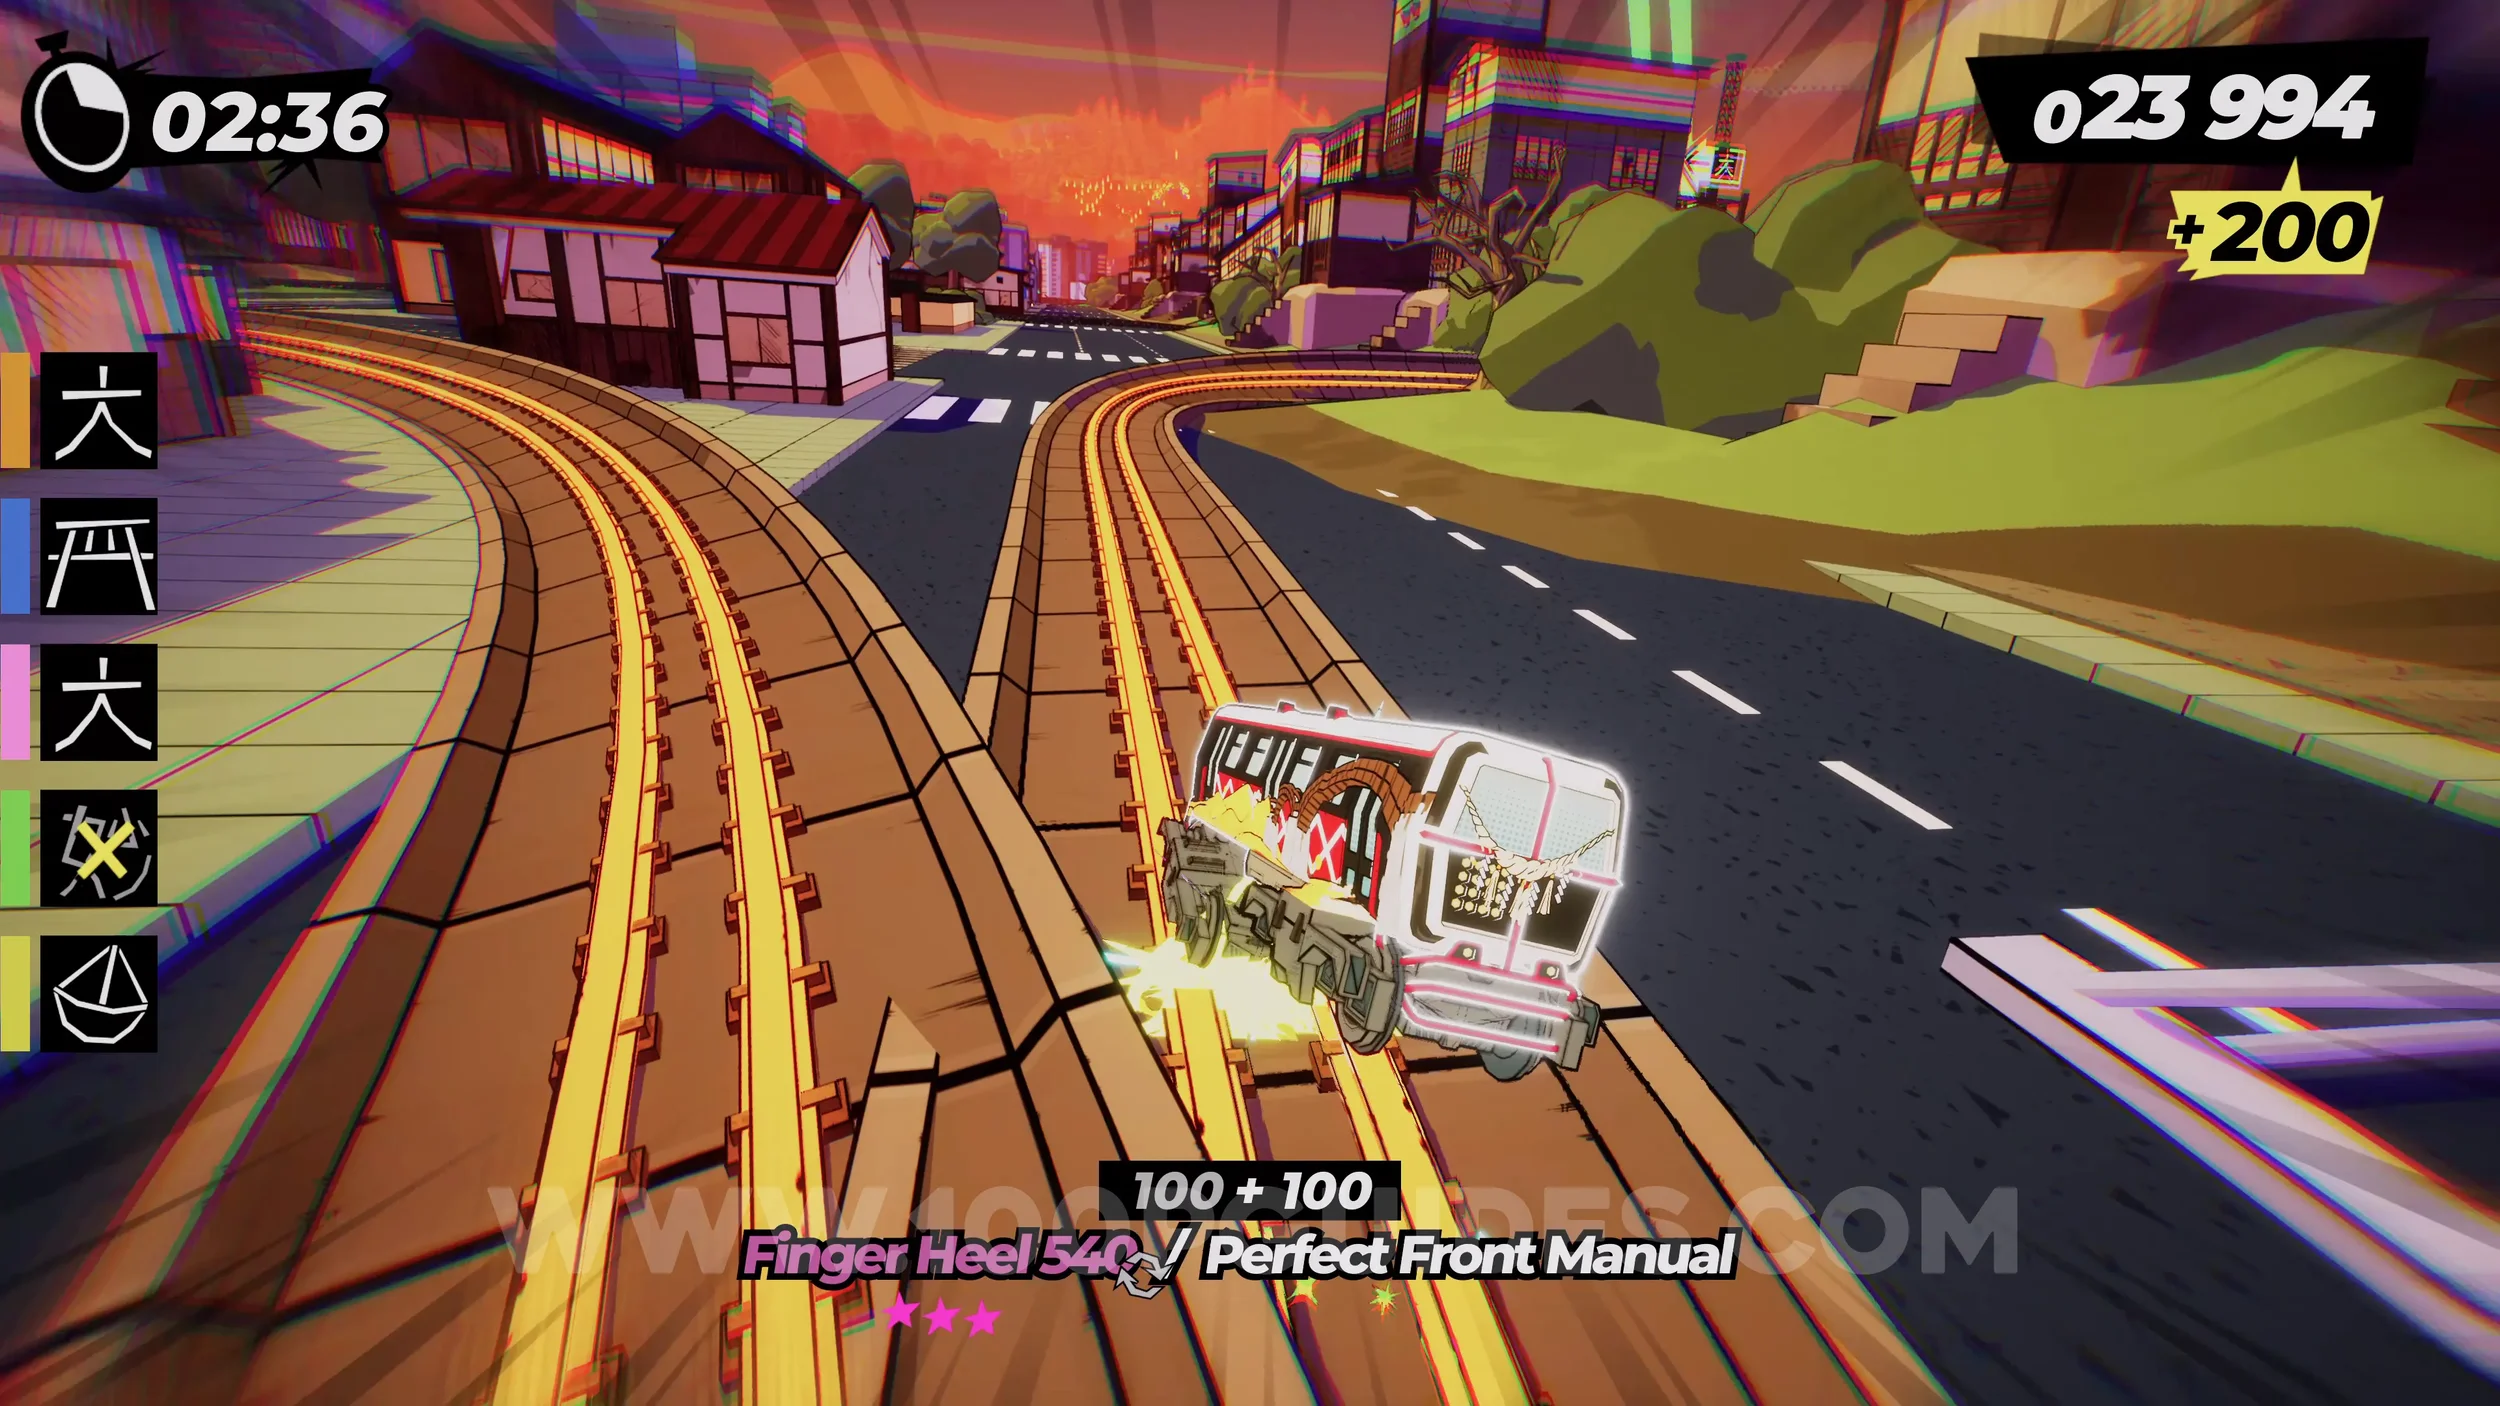
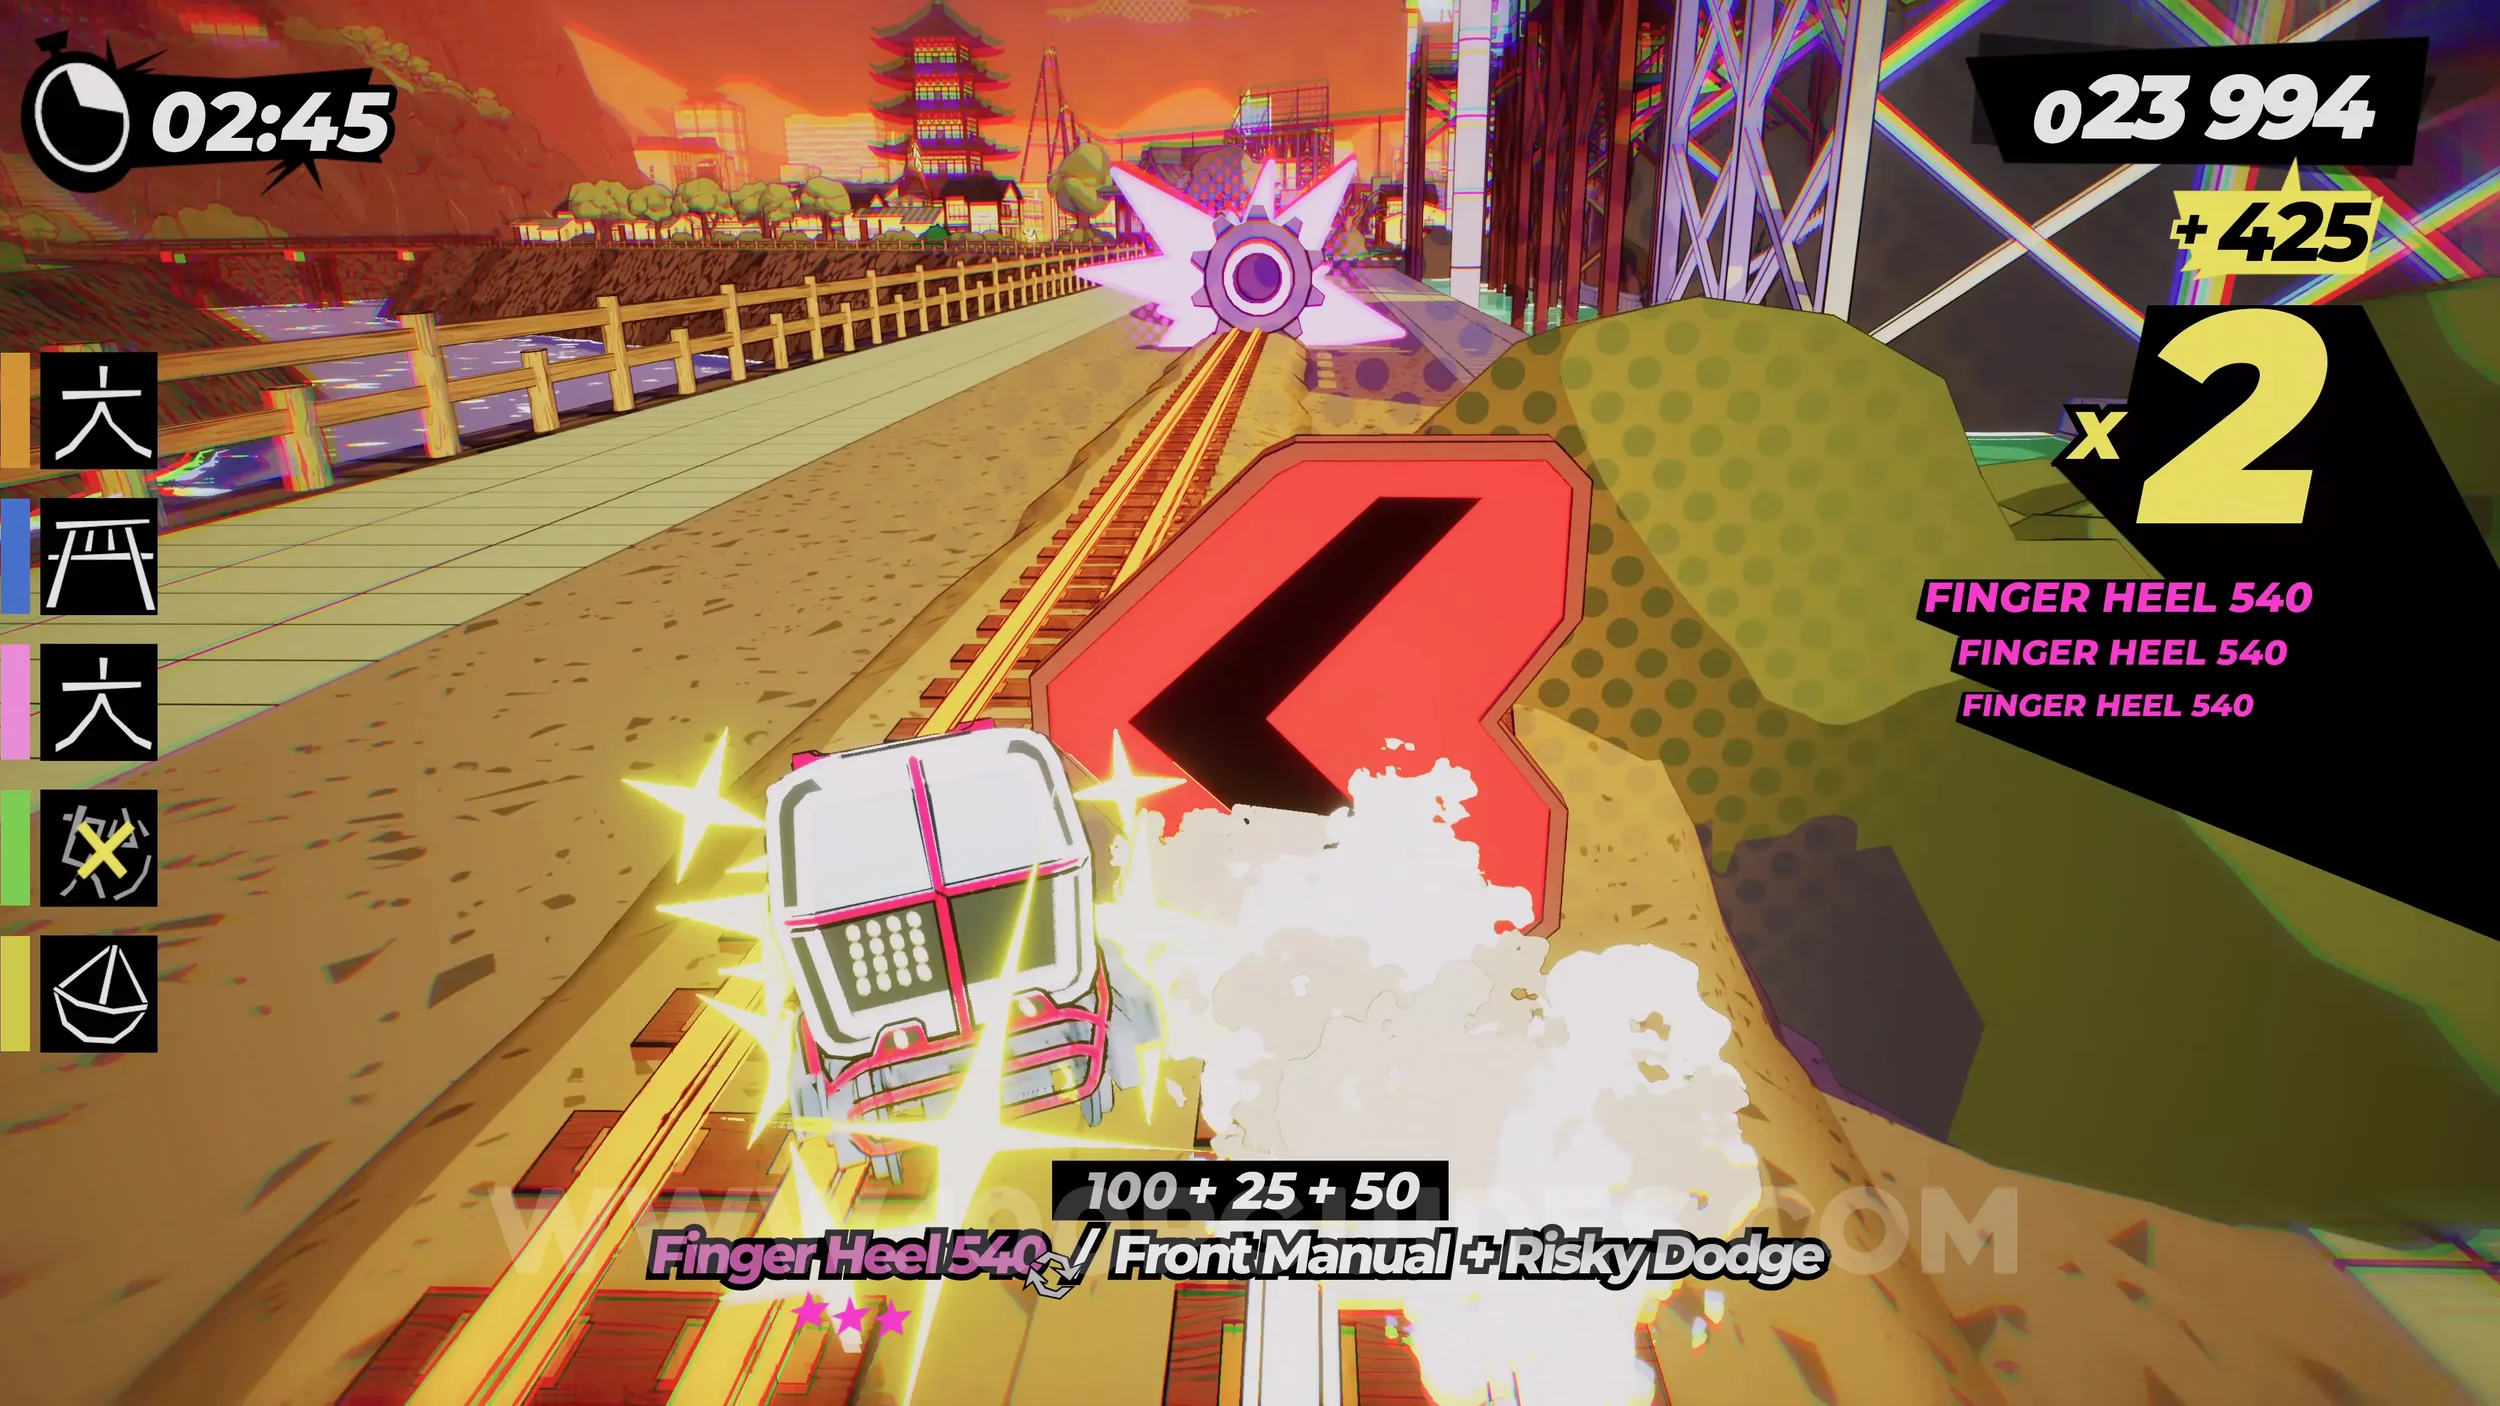
Dare: Startle the Bears in the Bamboo Forest. After finishing the brown main objective, you will once again return to the city. This time, follow the blue signs, right and then left. You will then eventually light the fires on the mountain for the main objective. As soon as you do this, the horn sign will appear in the center of the screen. When it does, press R3.
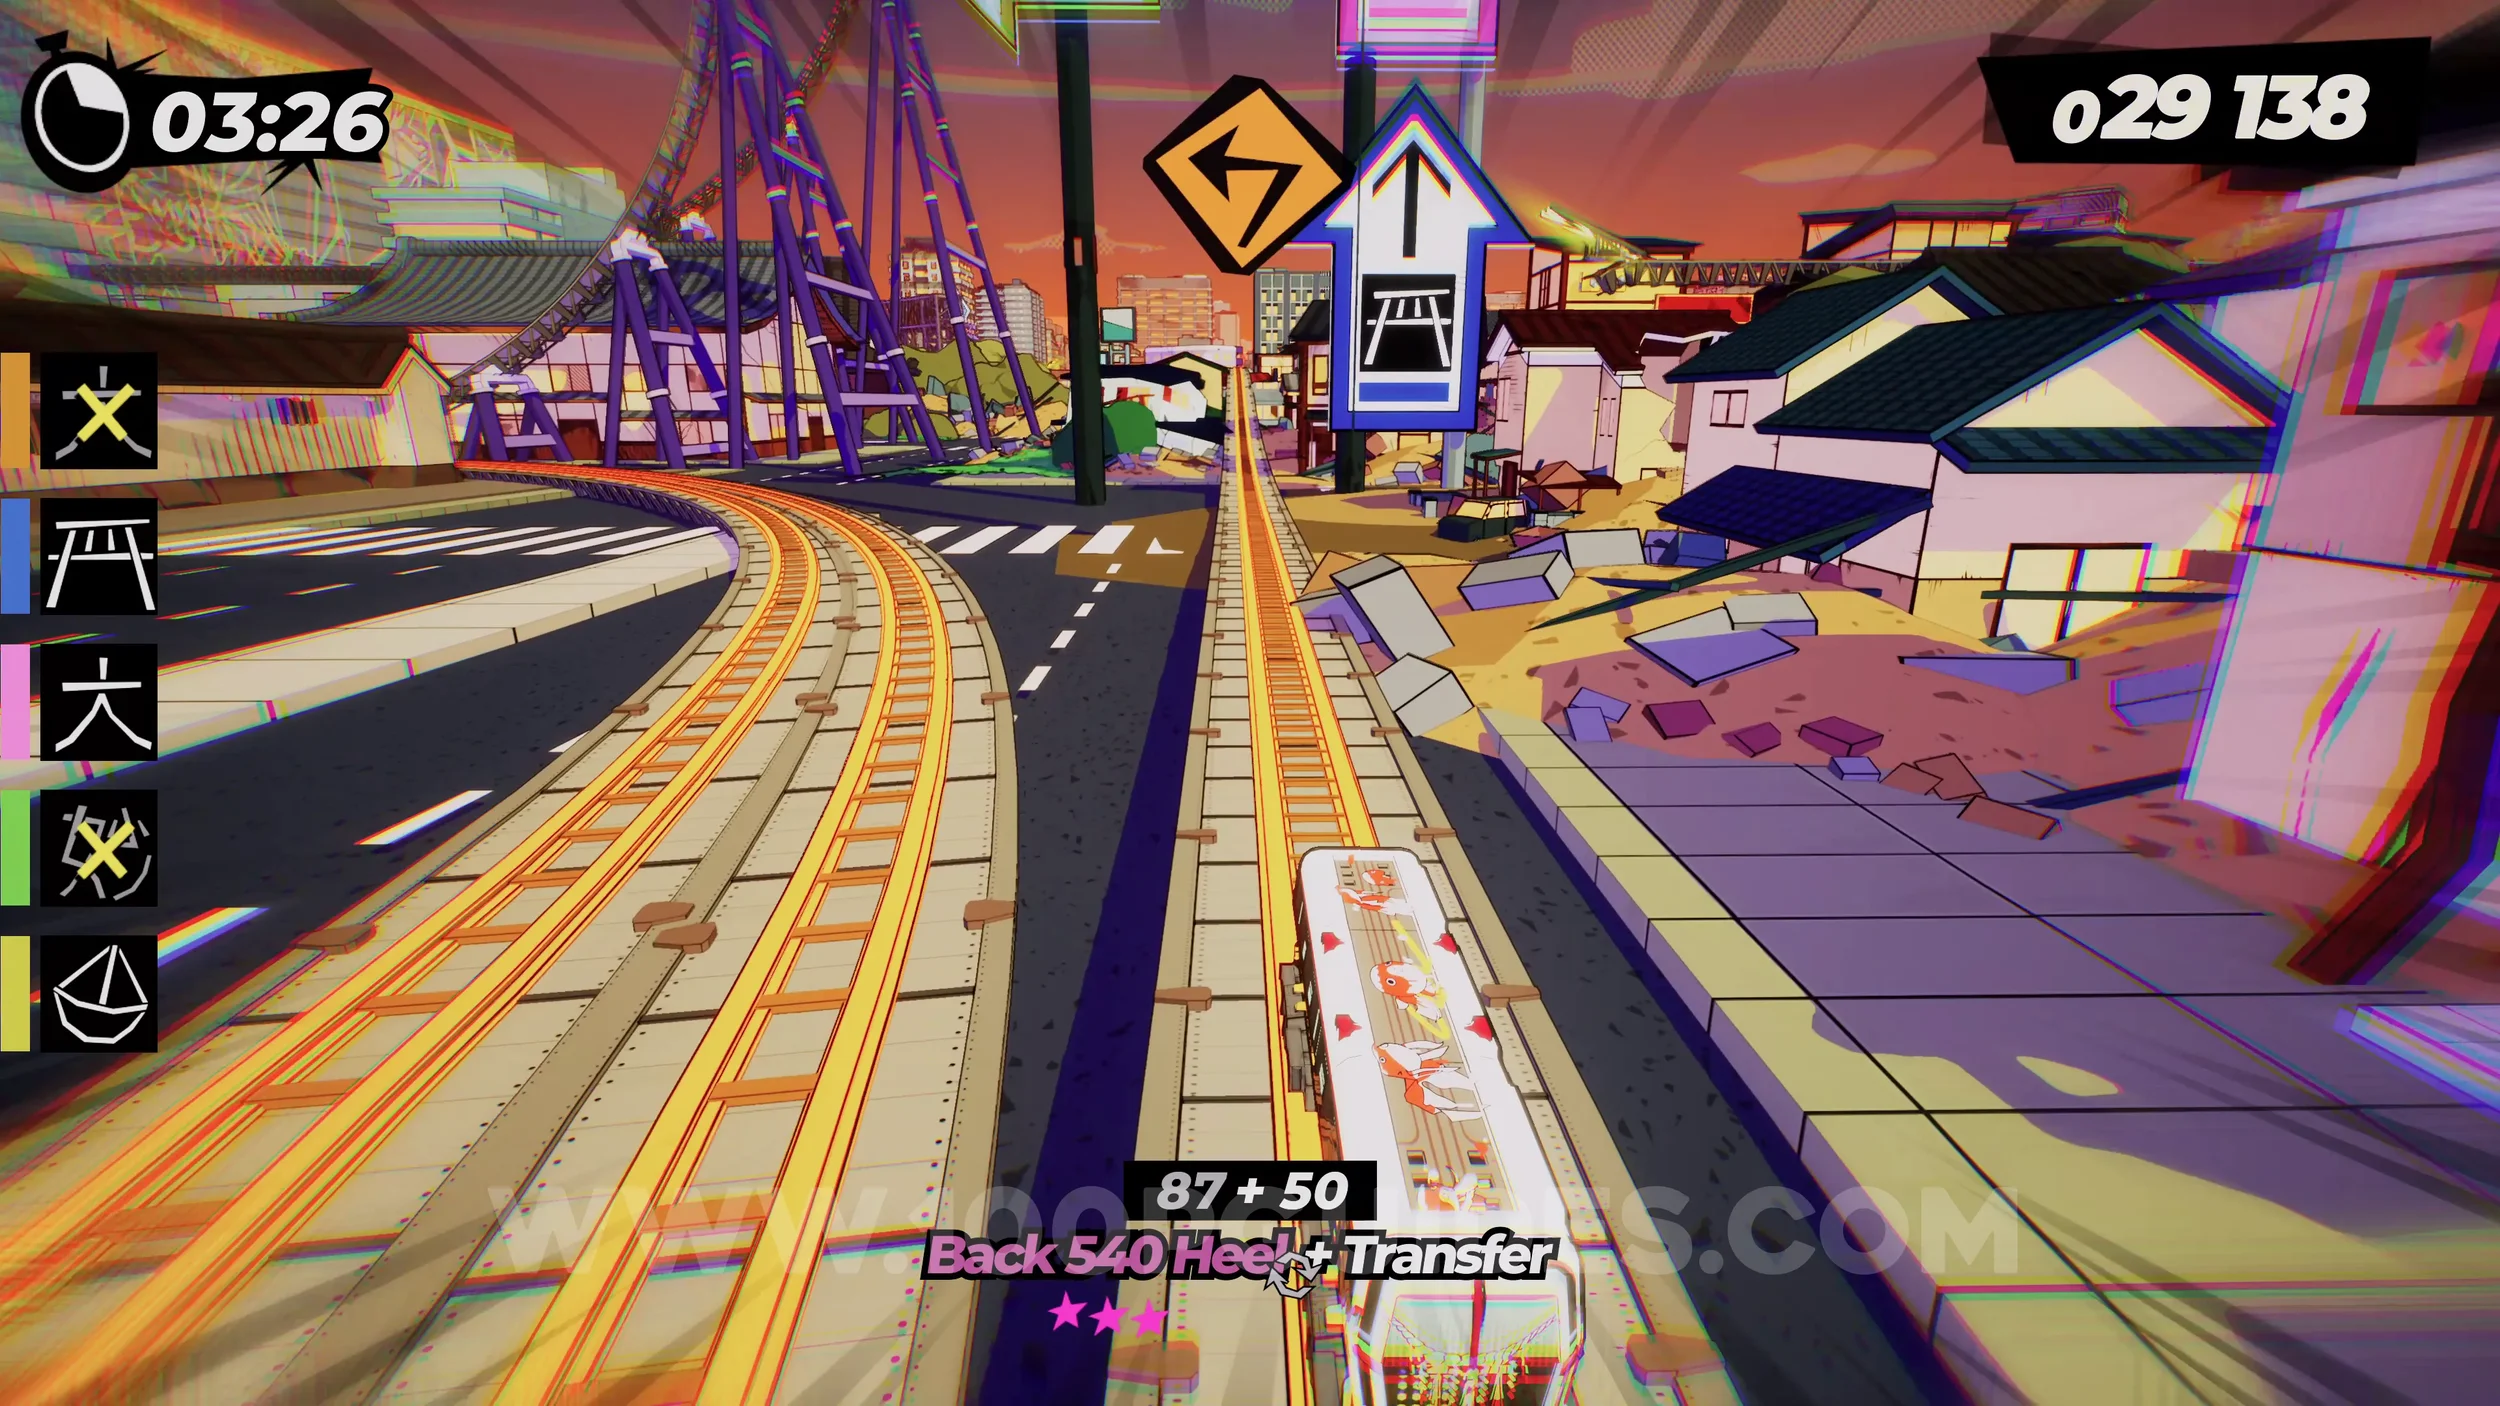
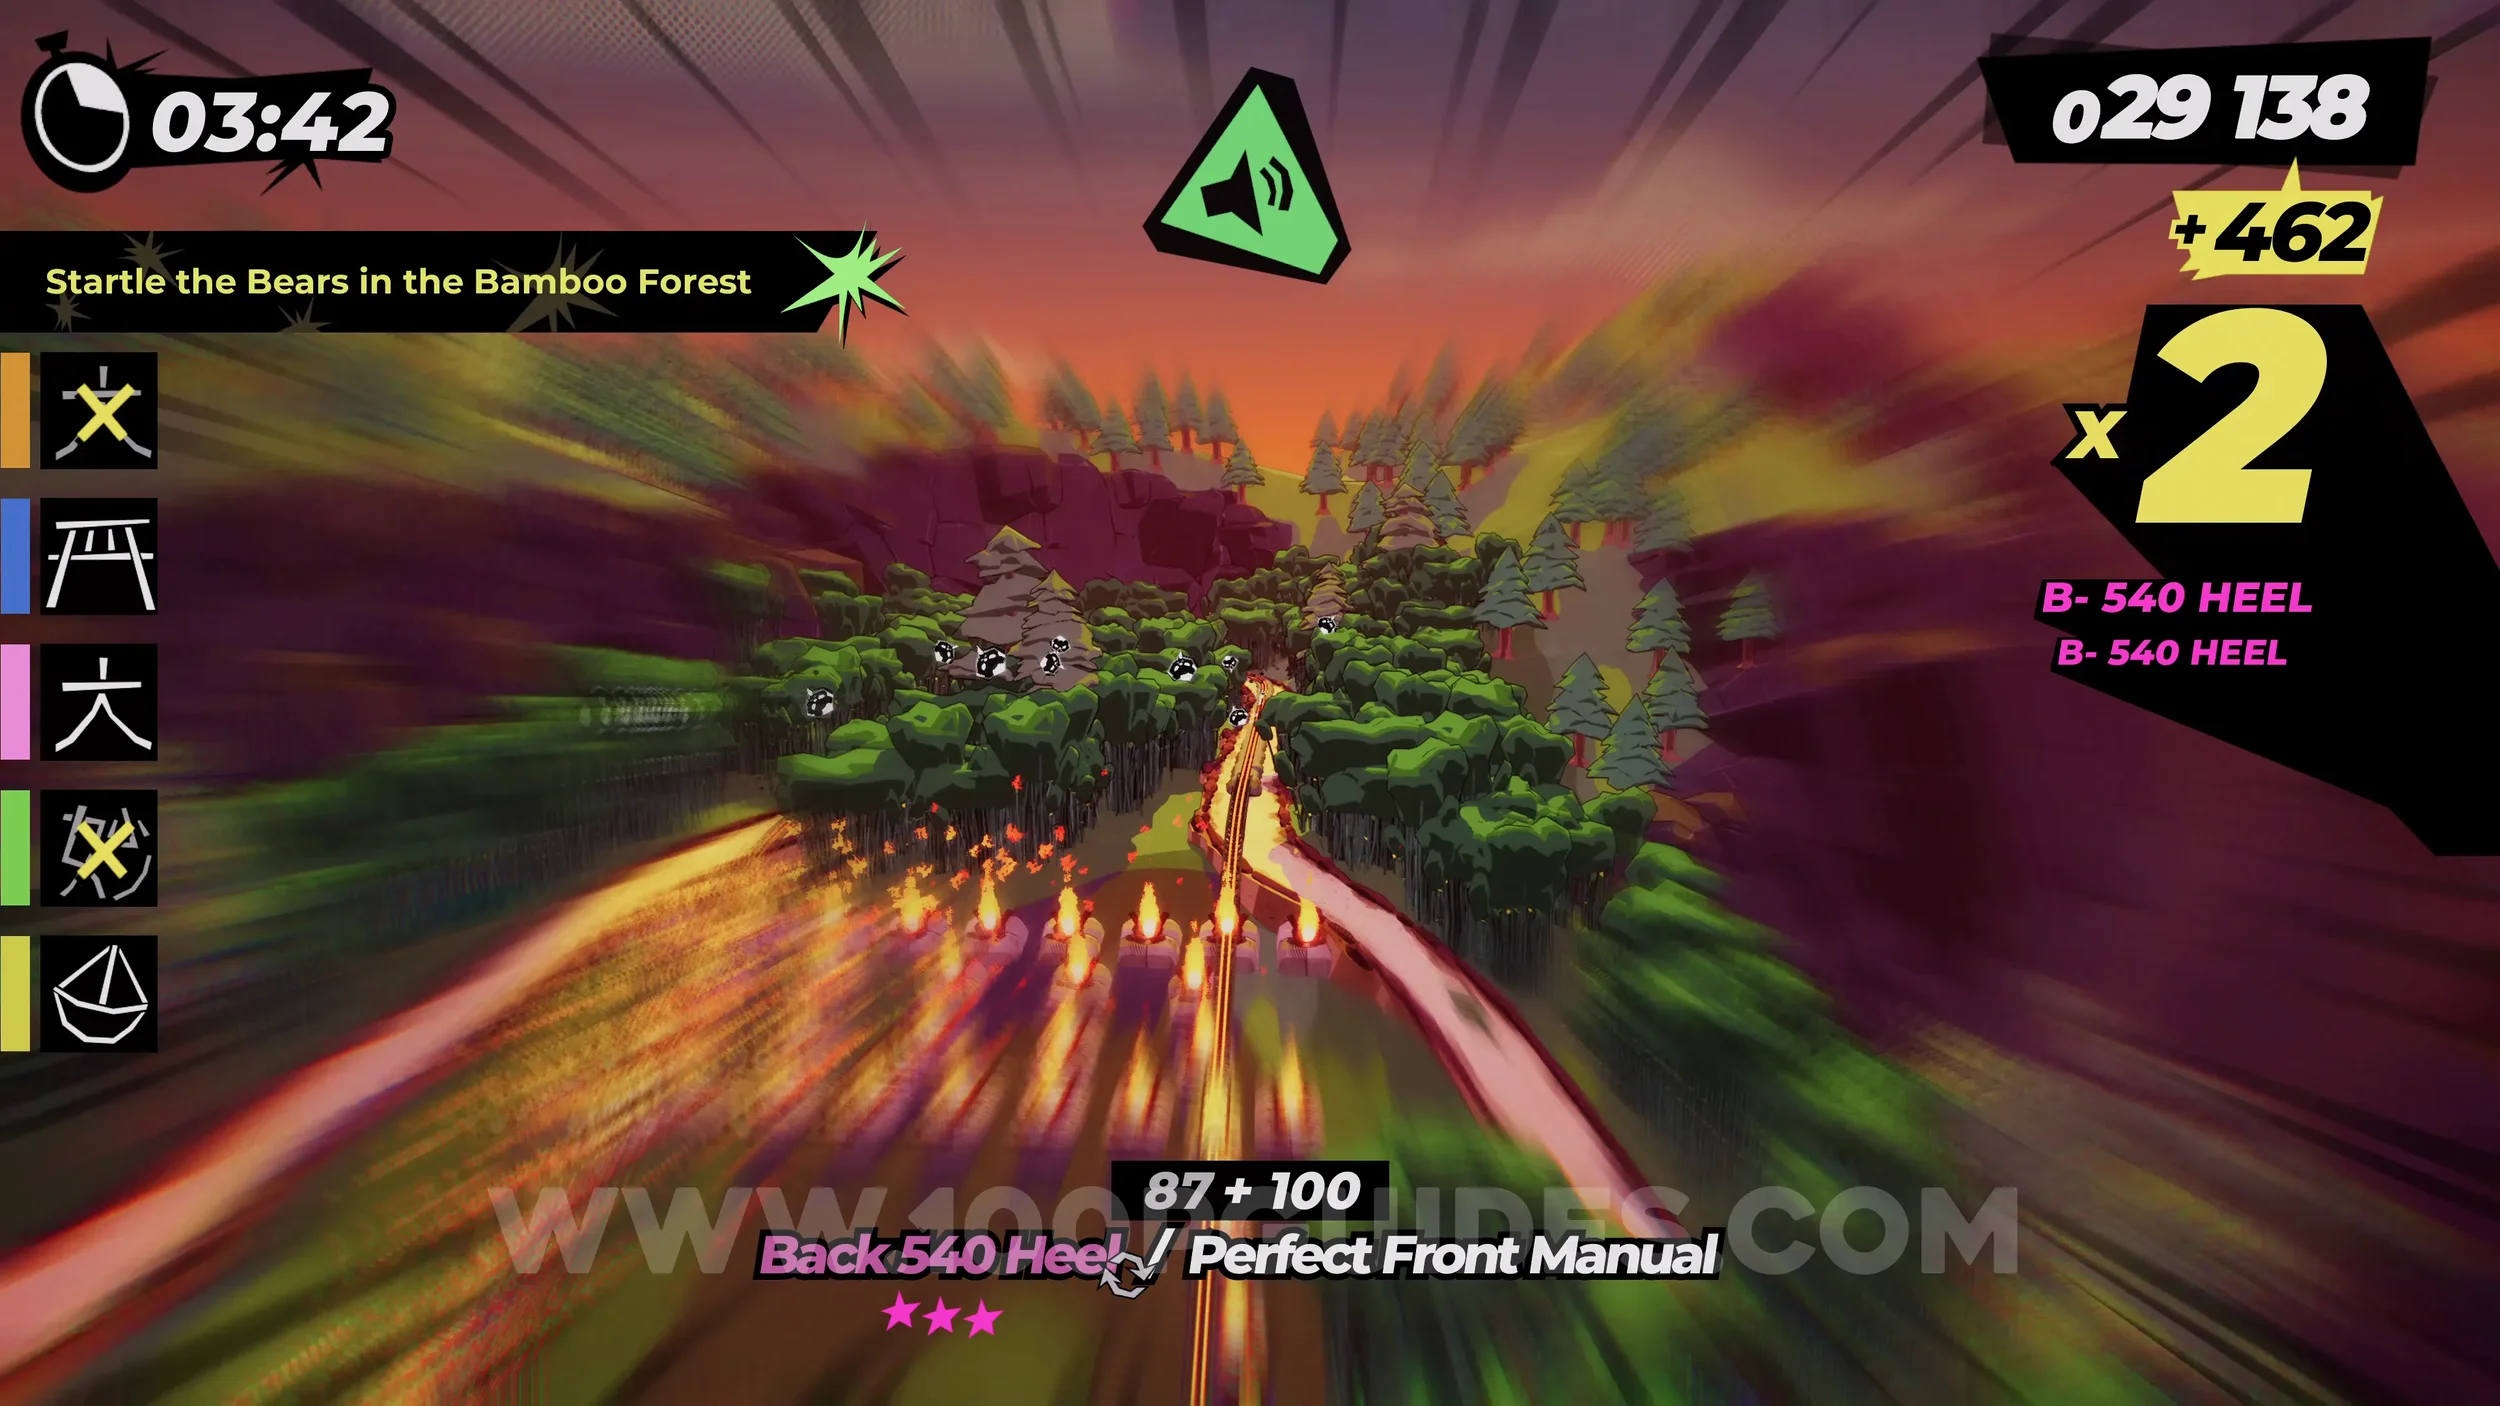
Spray Can (1/1). As you return to the city after the blue main objective, you will go through another tunnel with more boosters if you need them for the dare. You will also see the spray can in plain sight.
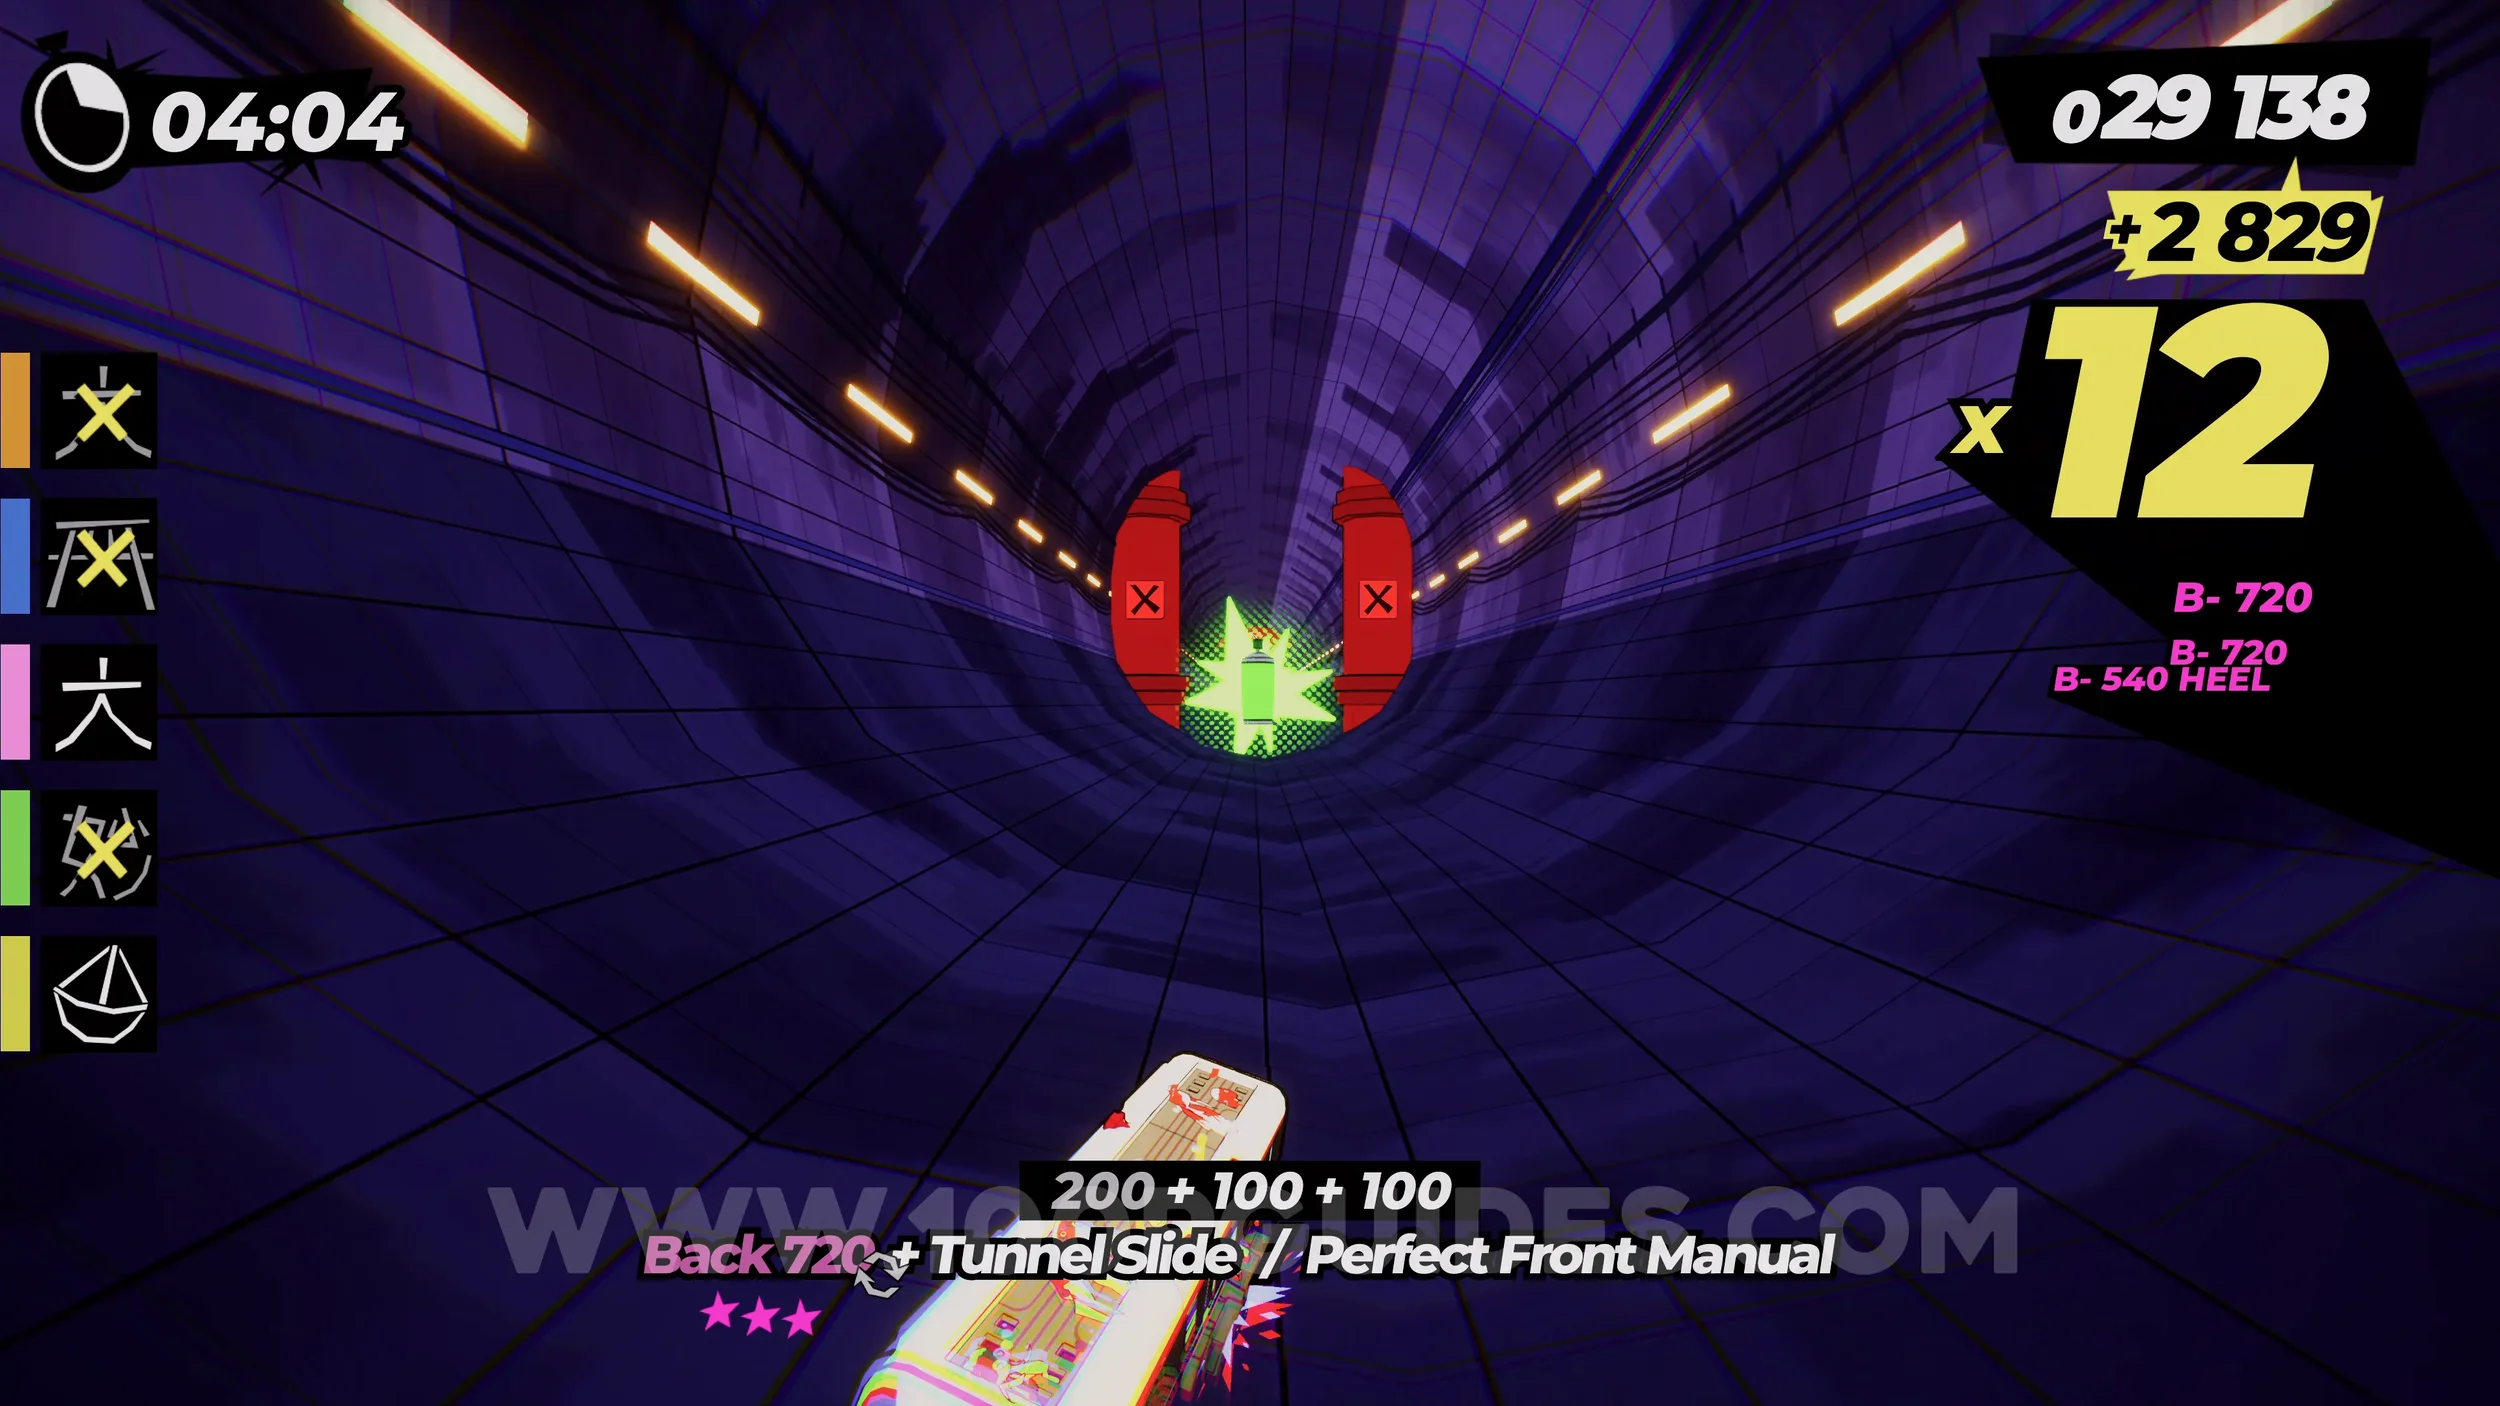
Film Roll (1/1). Once you return to the main crossing in the city, this time follow the pink signs to get to the main objective. Just after lighting the fires on the mountain, you will see the film roll.
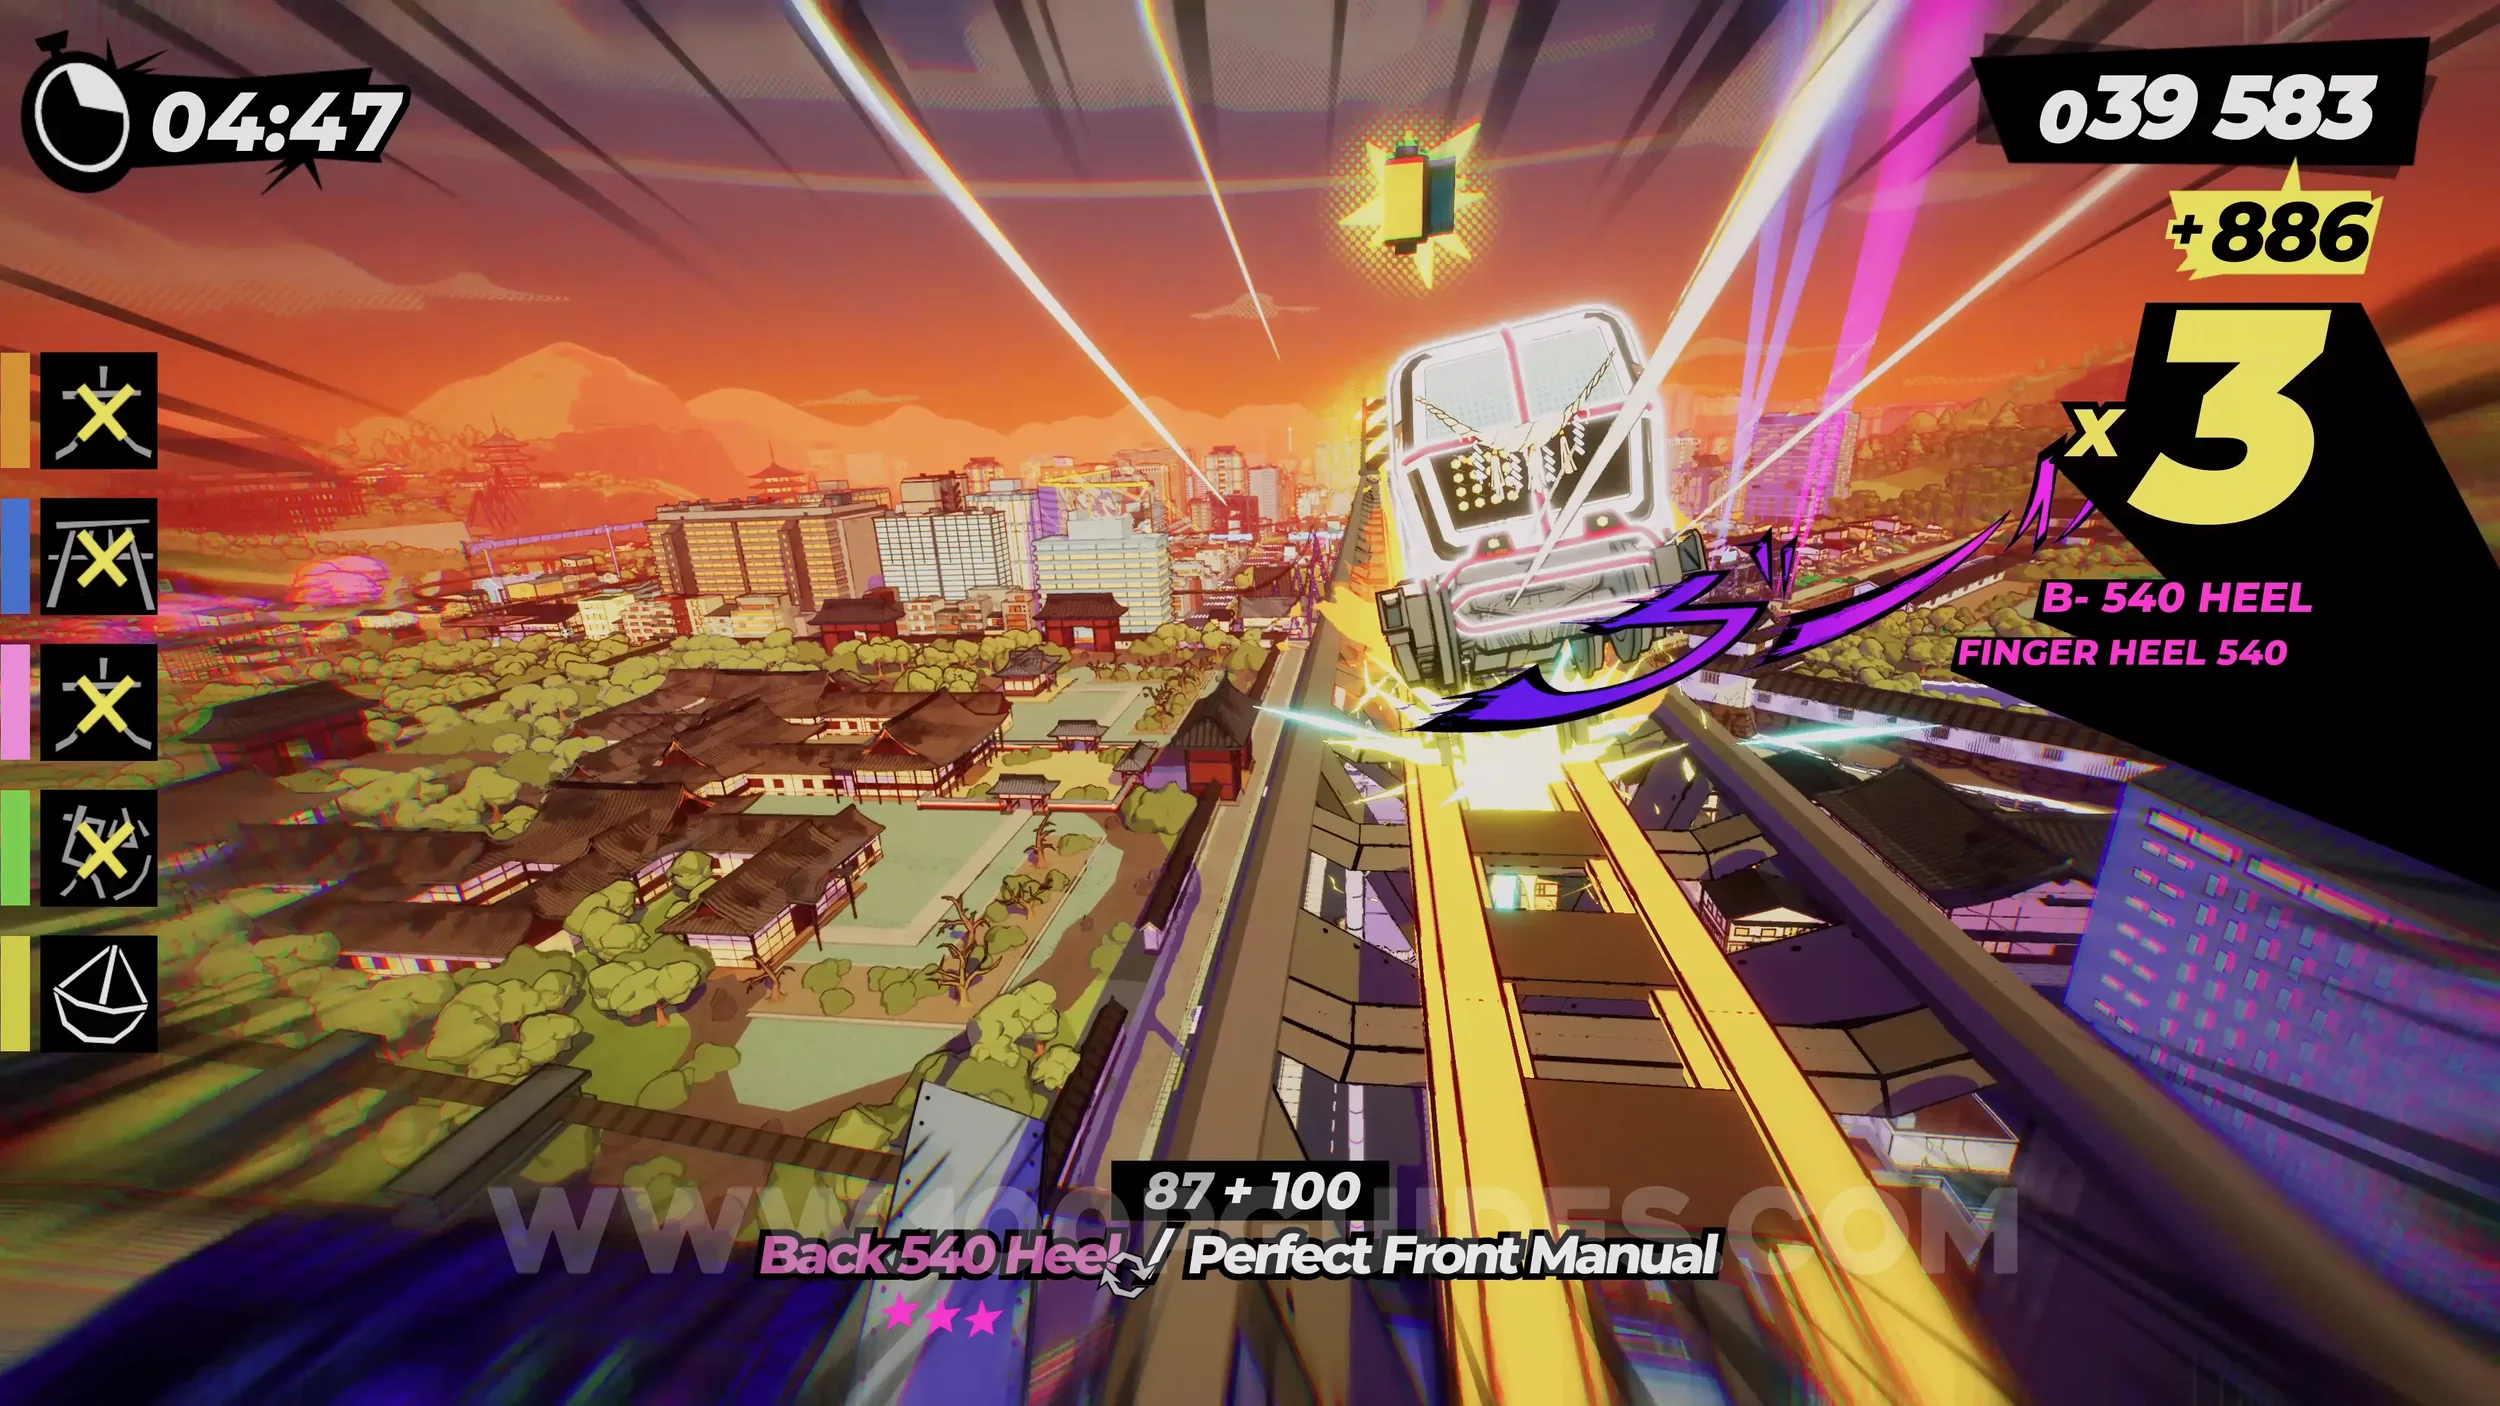
5-2-2 Ready To Rumble
Spray Can (1/2). From the start, go forward and into the half pipe. Continue straight through the tunnel and you will eventually get to a wallride with the spray can on it.
Dare: Cheer for the Stadium Crowd. After the previous spray can, stick to the left wallride and fall onto the rail. Then continue and take the vert jump in front of you. After landing, jump to the rail on your right. This will take you through the top part of the stadium. As soon as the horn sign appears in the center of the screen, press R3.
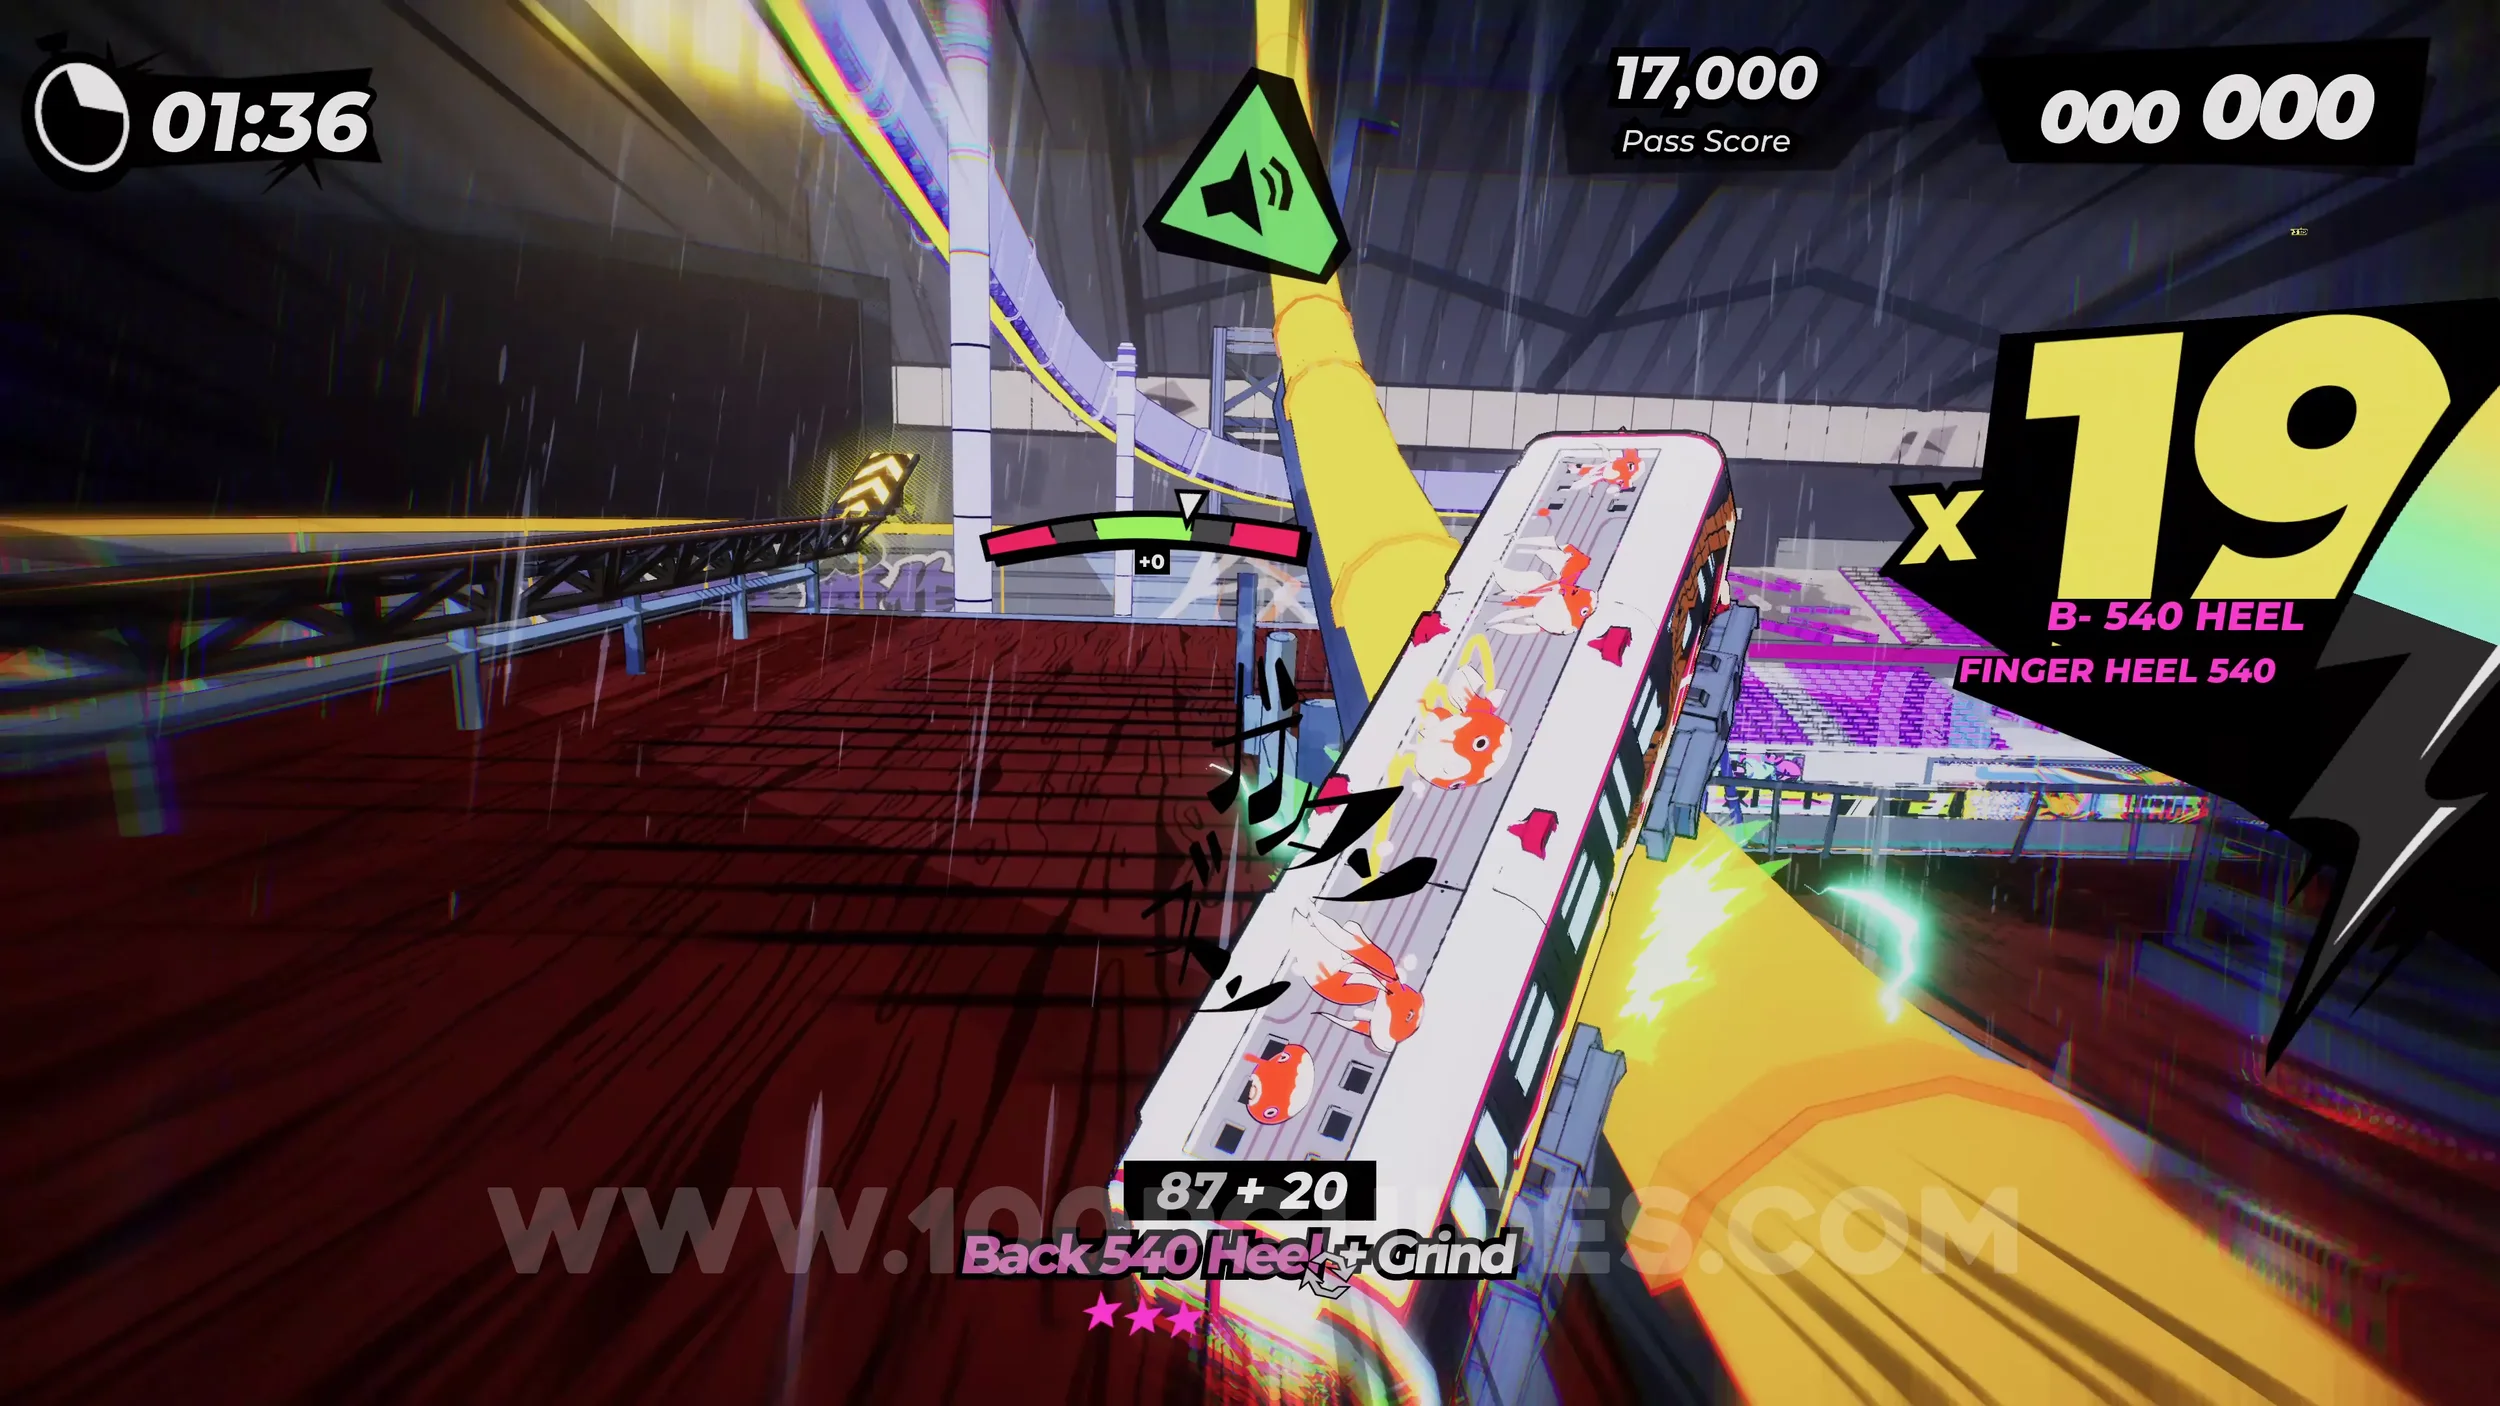
Dare: Collect 3 Footballs (1/3). In the upper part of the stadium, stick right and take the vert jump. You will collect the ball as soon as you land.
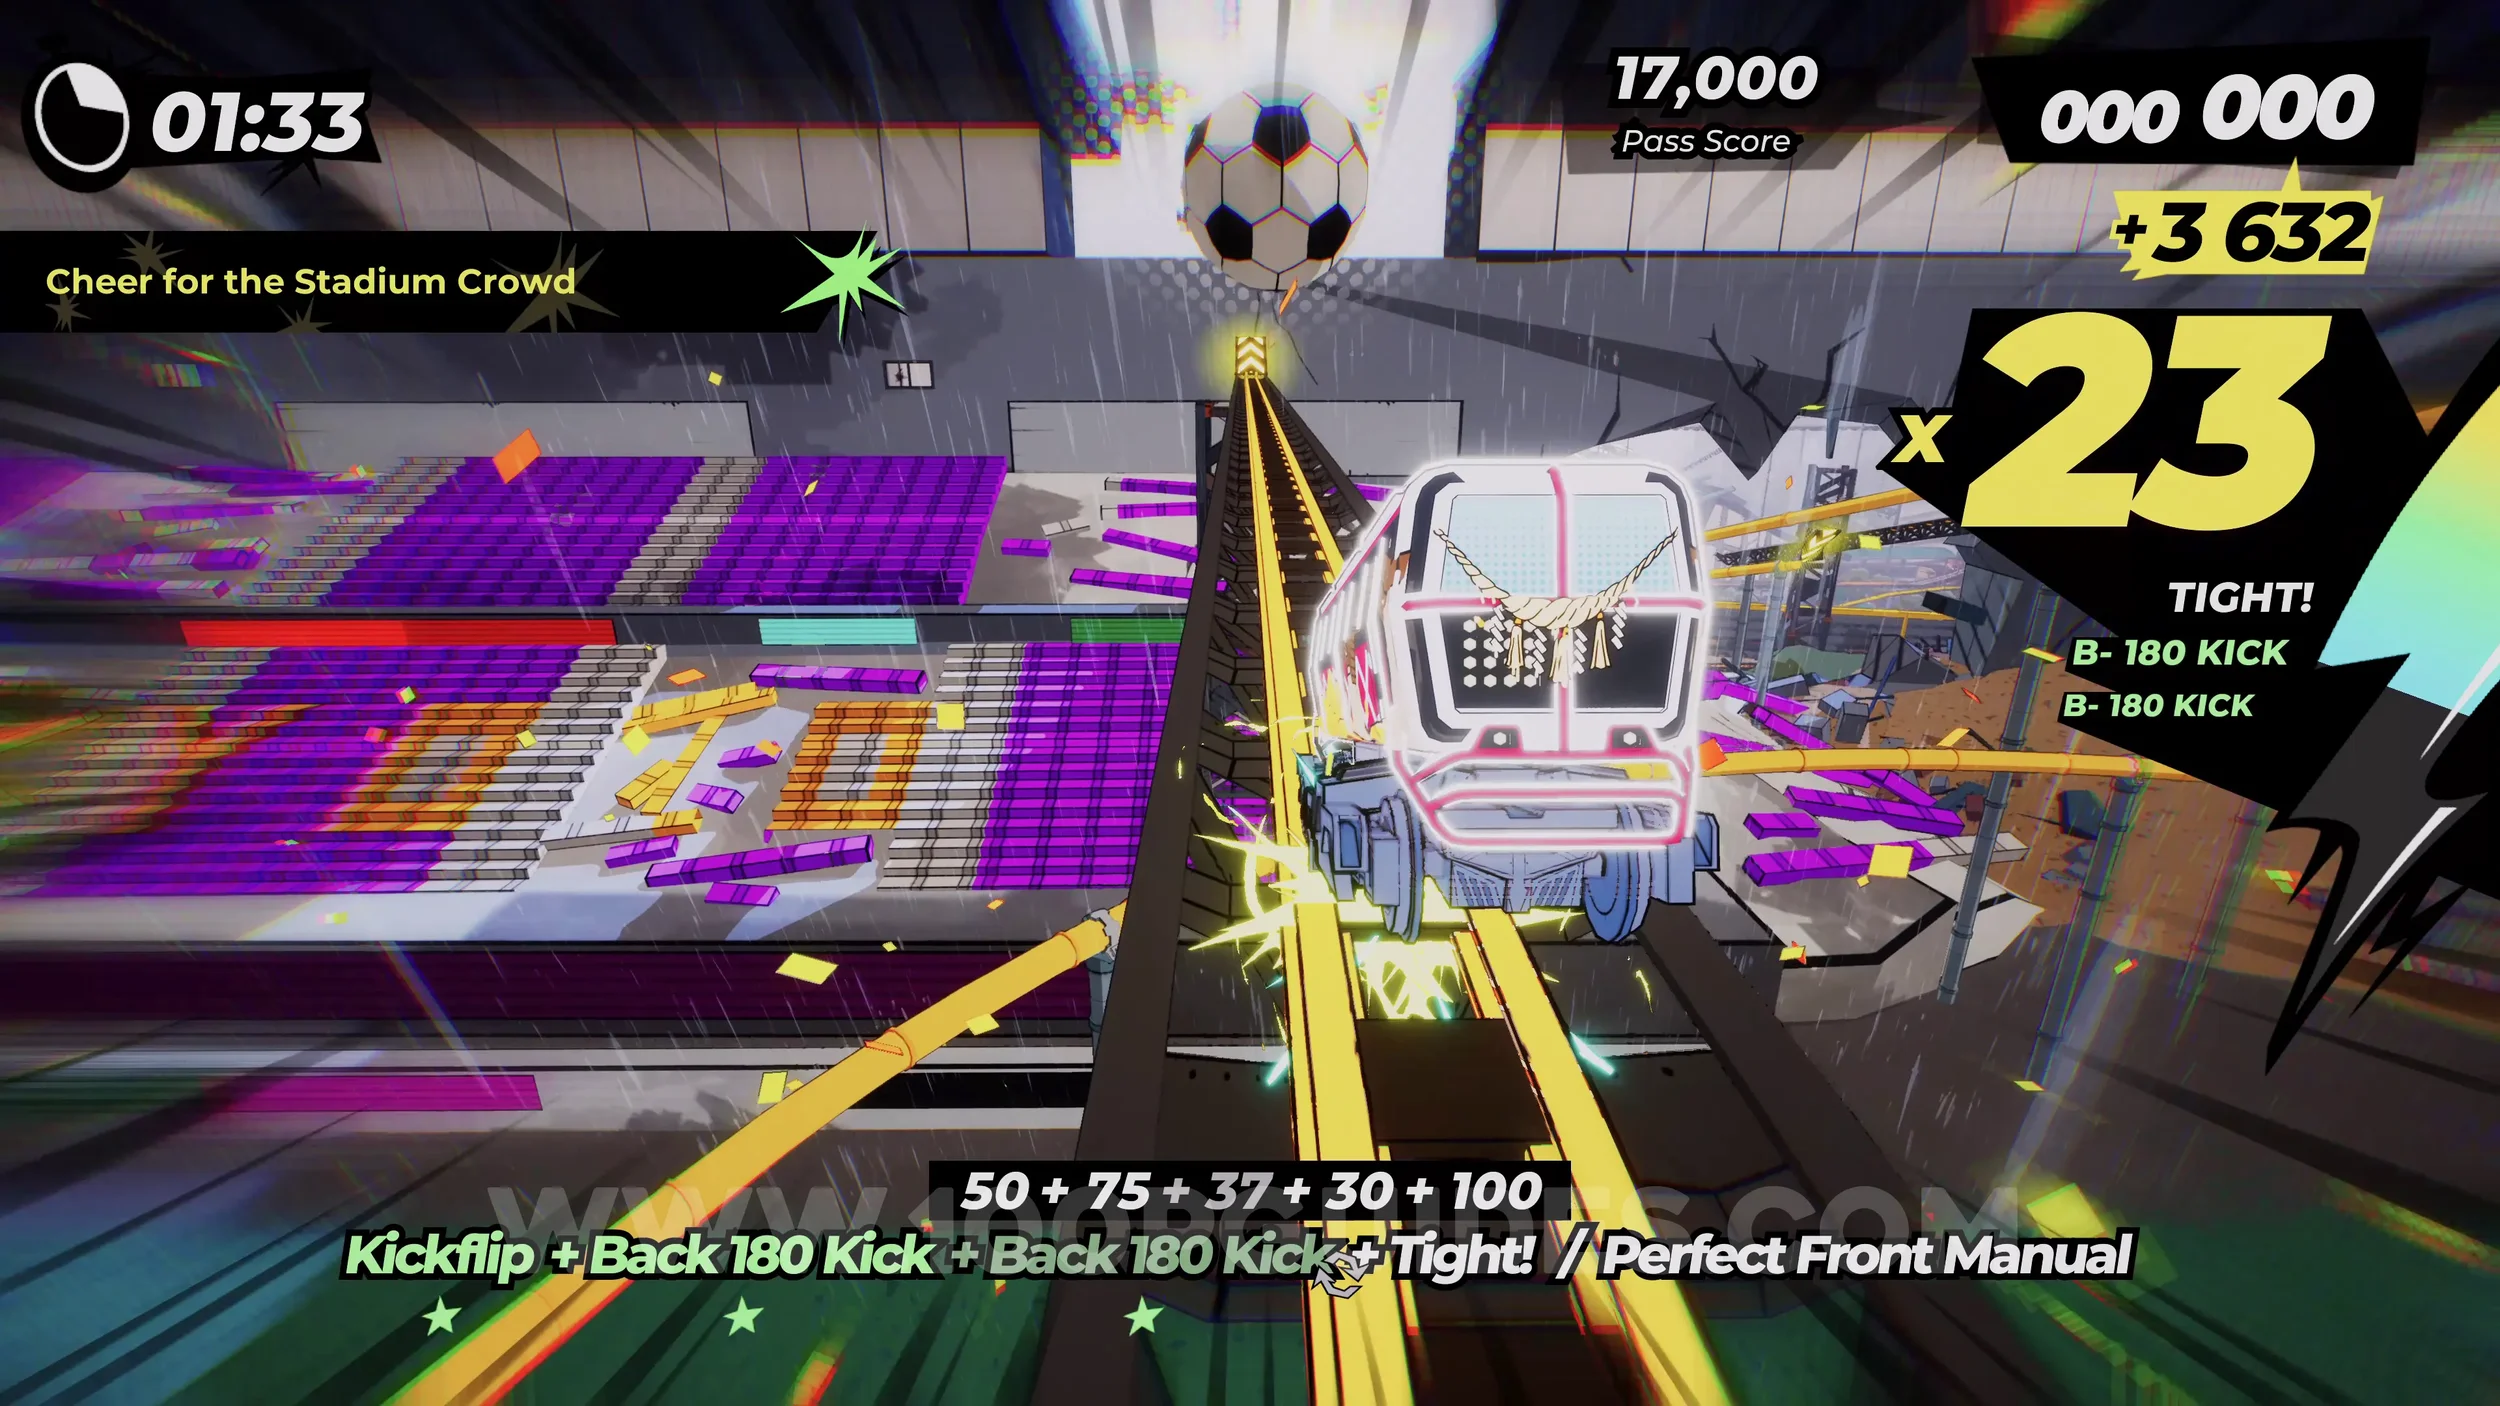
Spray Can (2/2). After the previous ball, you will hang from a monorail where the spray can is found.
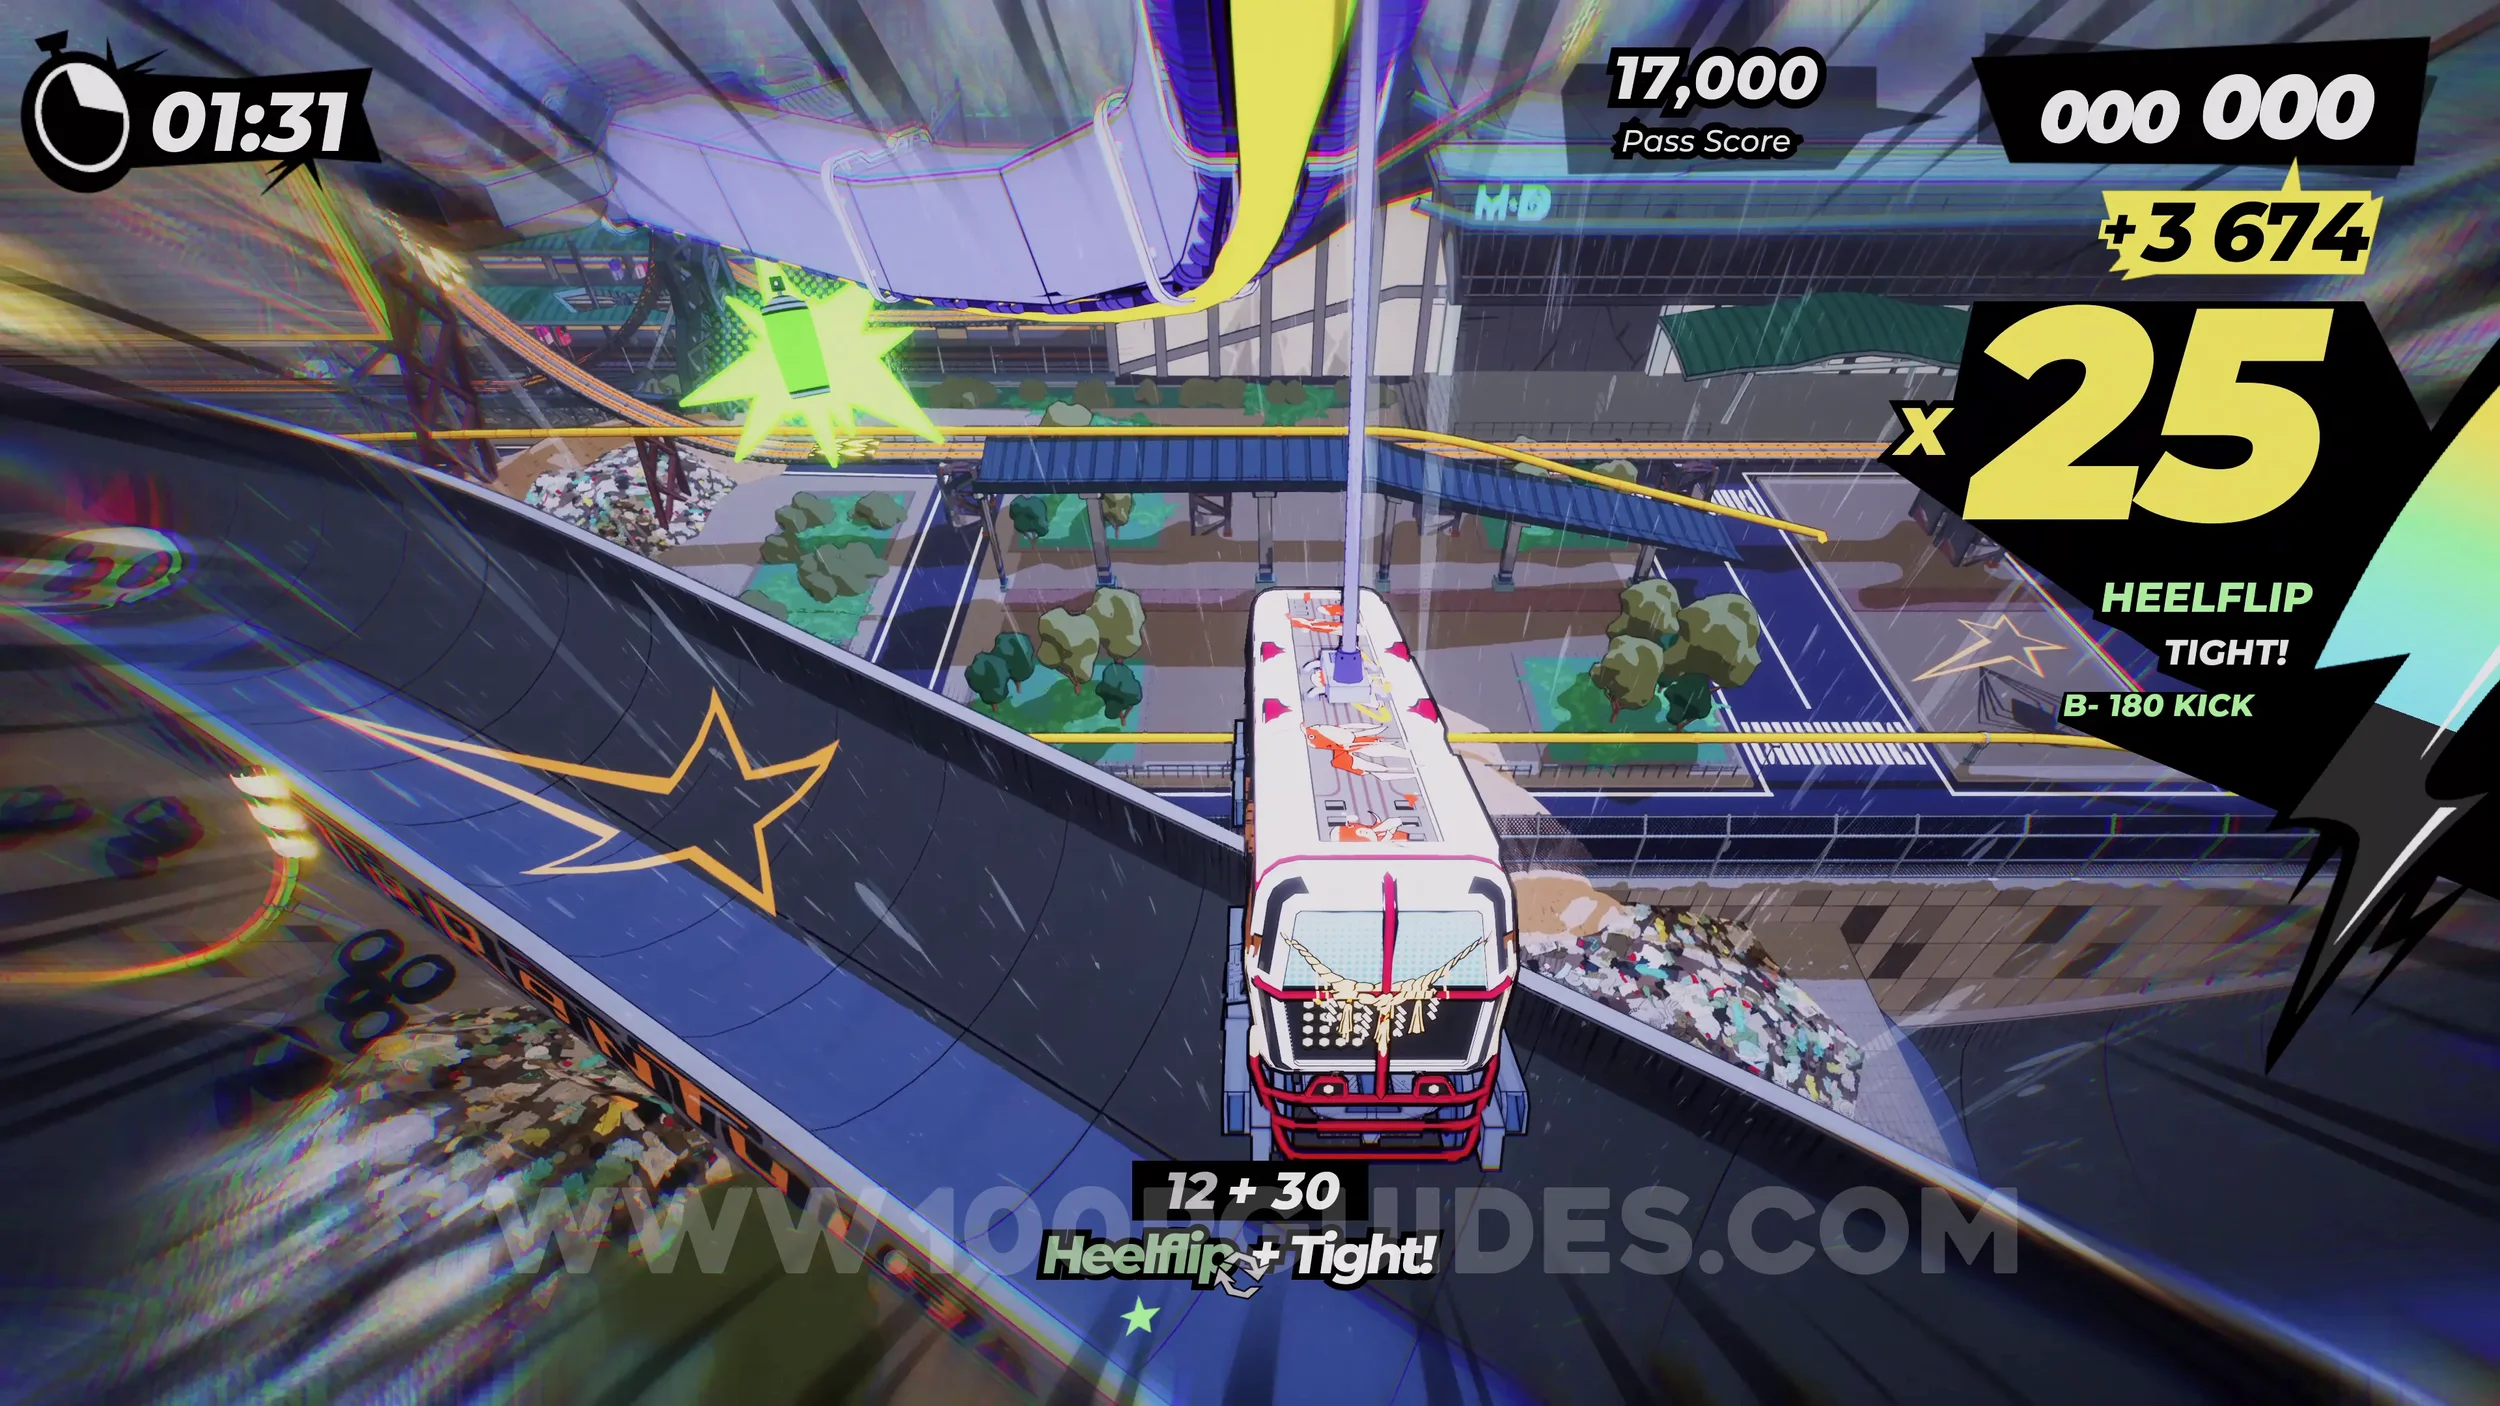
Dare: Collect 3 Footballs (2/3). After landing from the monorail, you will be in a half pipe. Go to the end and use the ramp to land on a rail with a ball at the end.
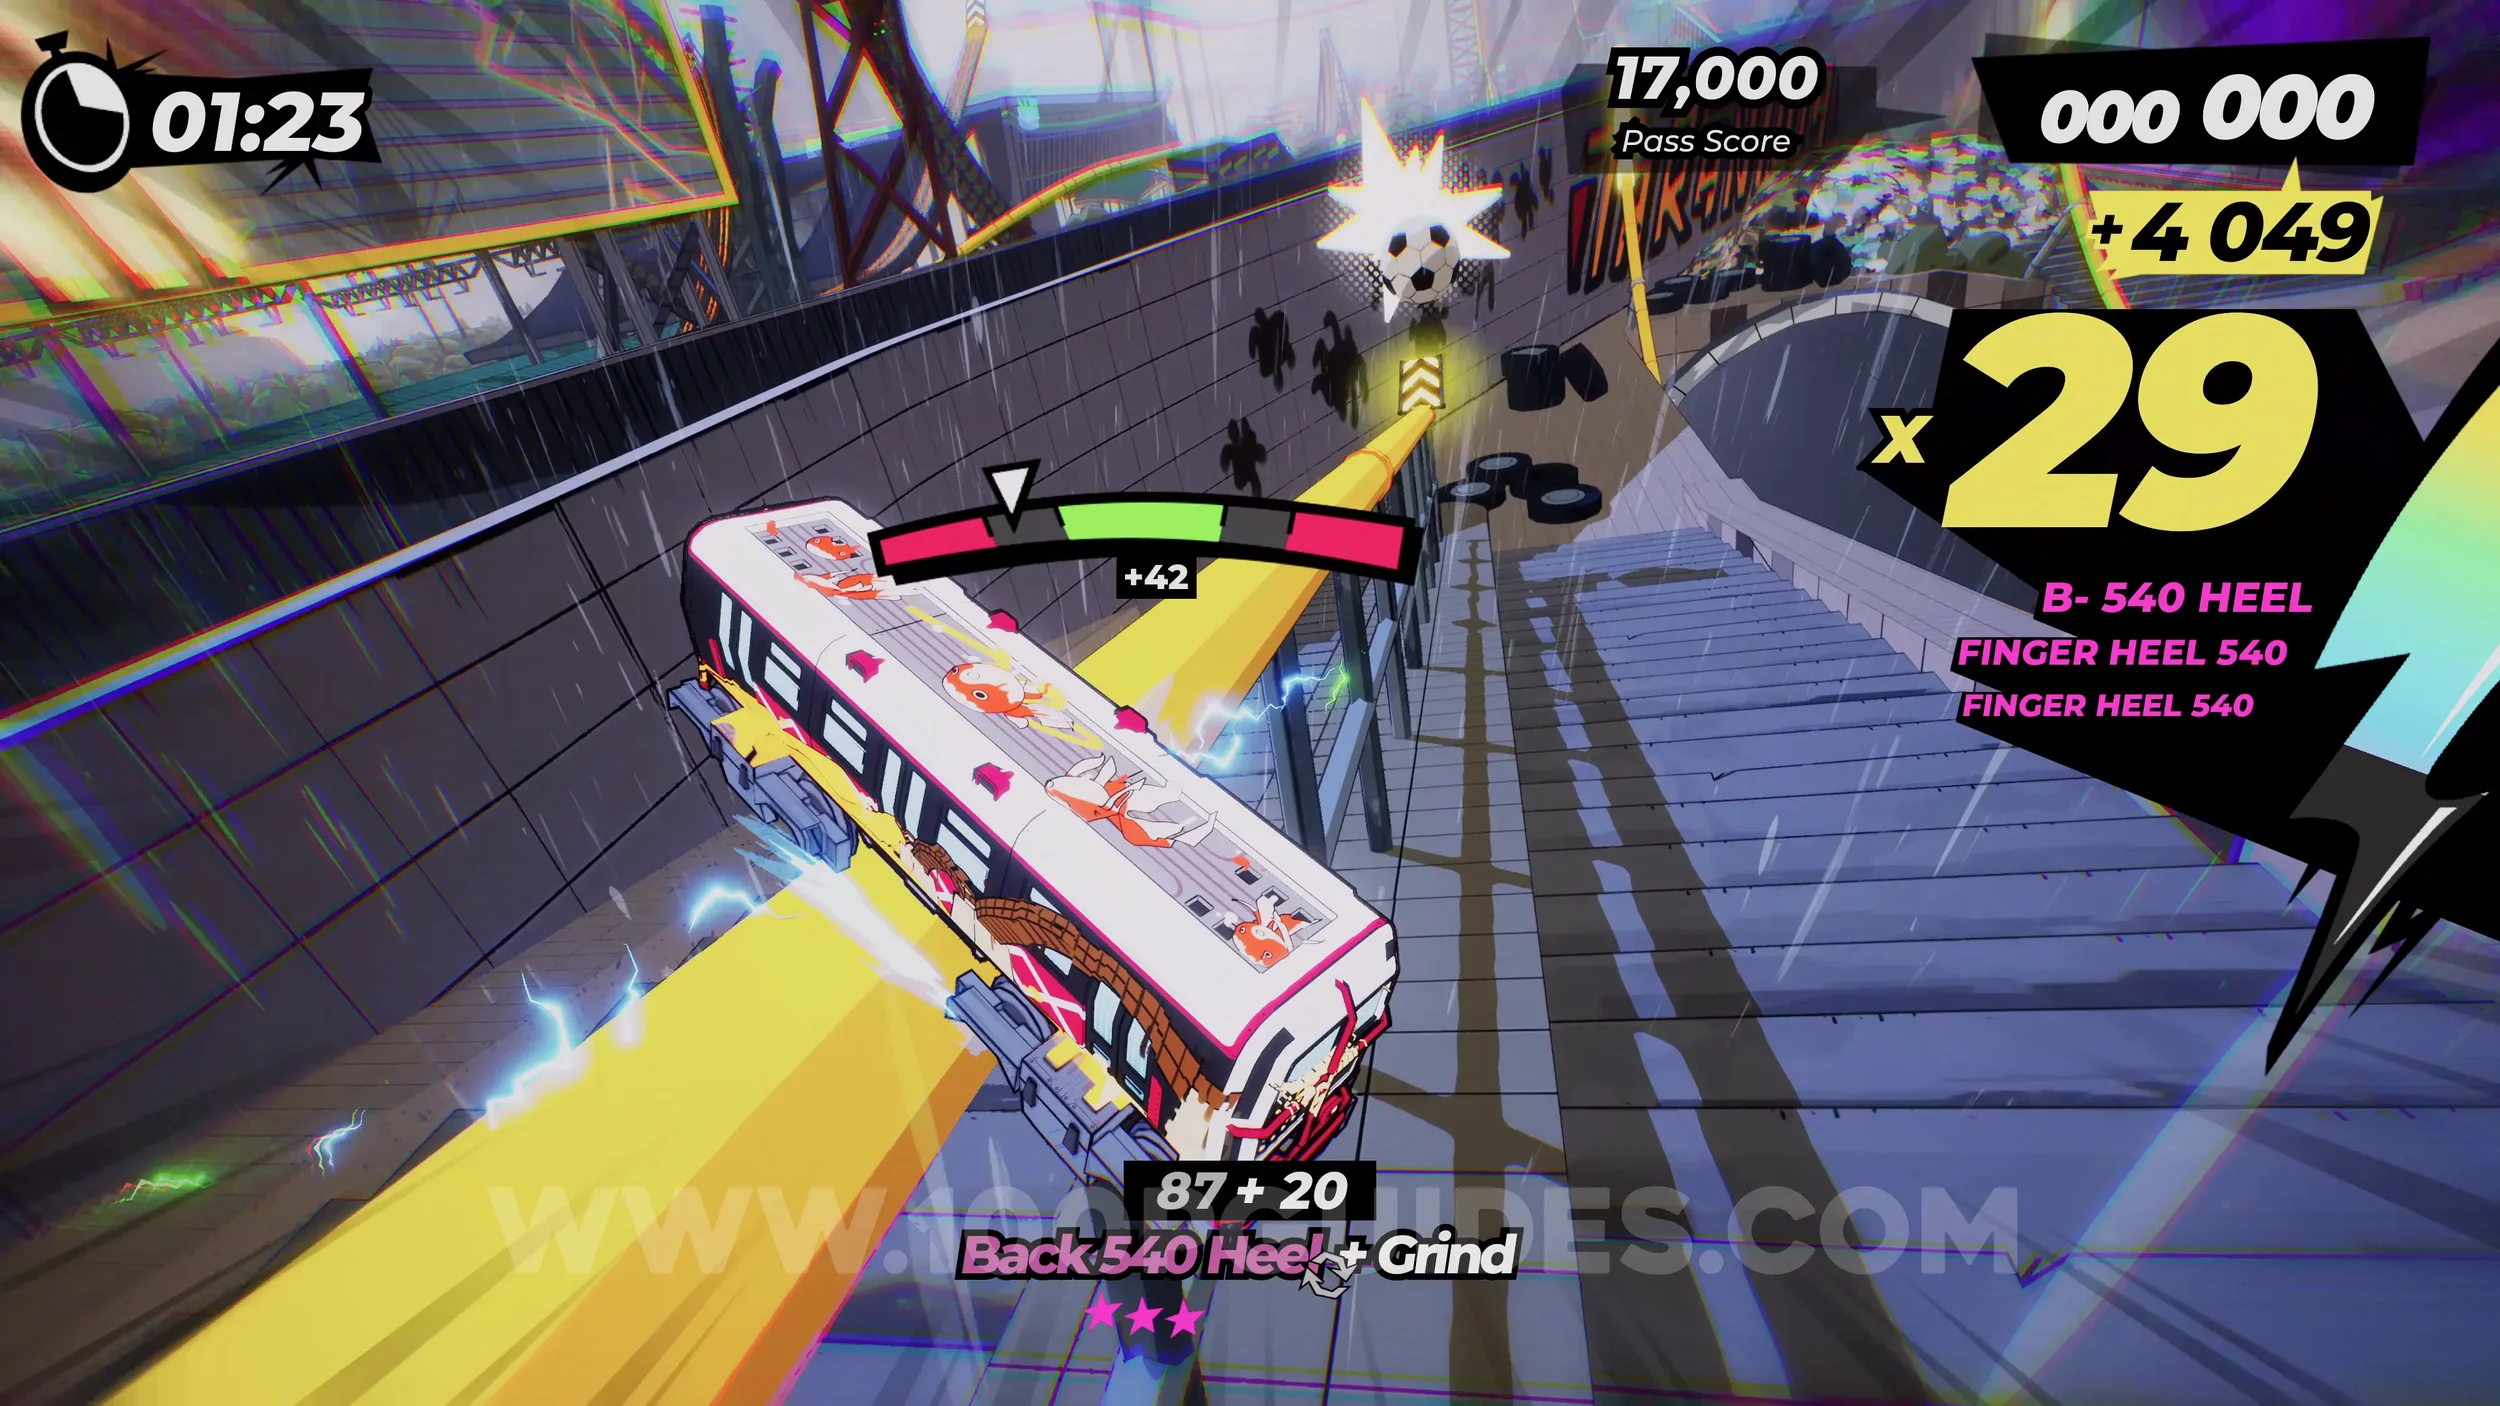
Film Roll (1/1). After the next vert jump, stay on the tracks and take the rail to the film roll.
Dare: Collect 3 Footballs (3/3). After the film roll, continue on this path until you ride one of three yellow grind rails that all then become one. After that, you will ride a short monorail around a corner. As soon as you land, hop over to the double tracks on your left below that take you to the wallride that goes around the corner. The ball will be on this wallride.
Gear (1/2). After the previous ball, you will go through the stadium. Once you come out the other side, look out for rainbow tracks on your left (you must have the special bar filled). Use them to get to the gear.
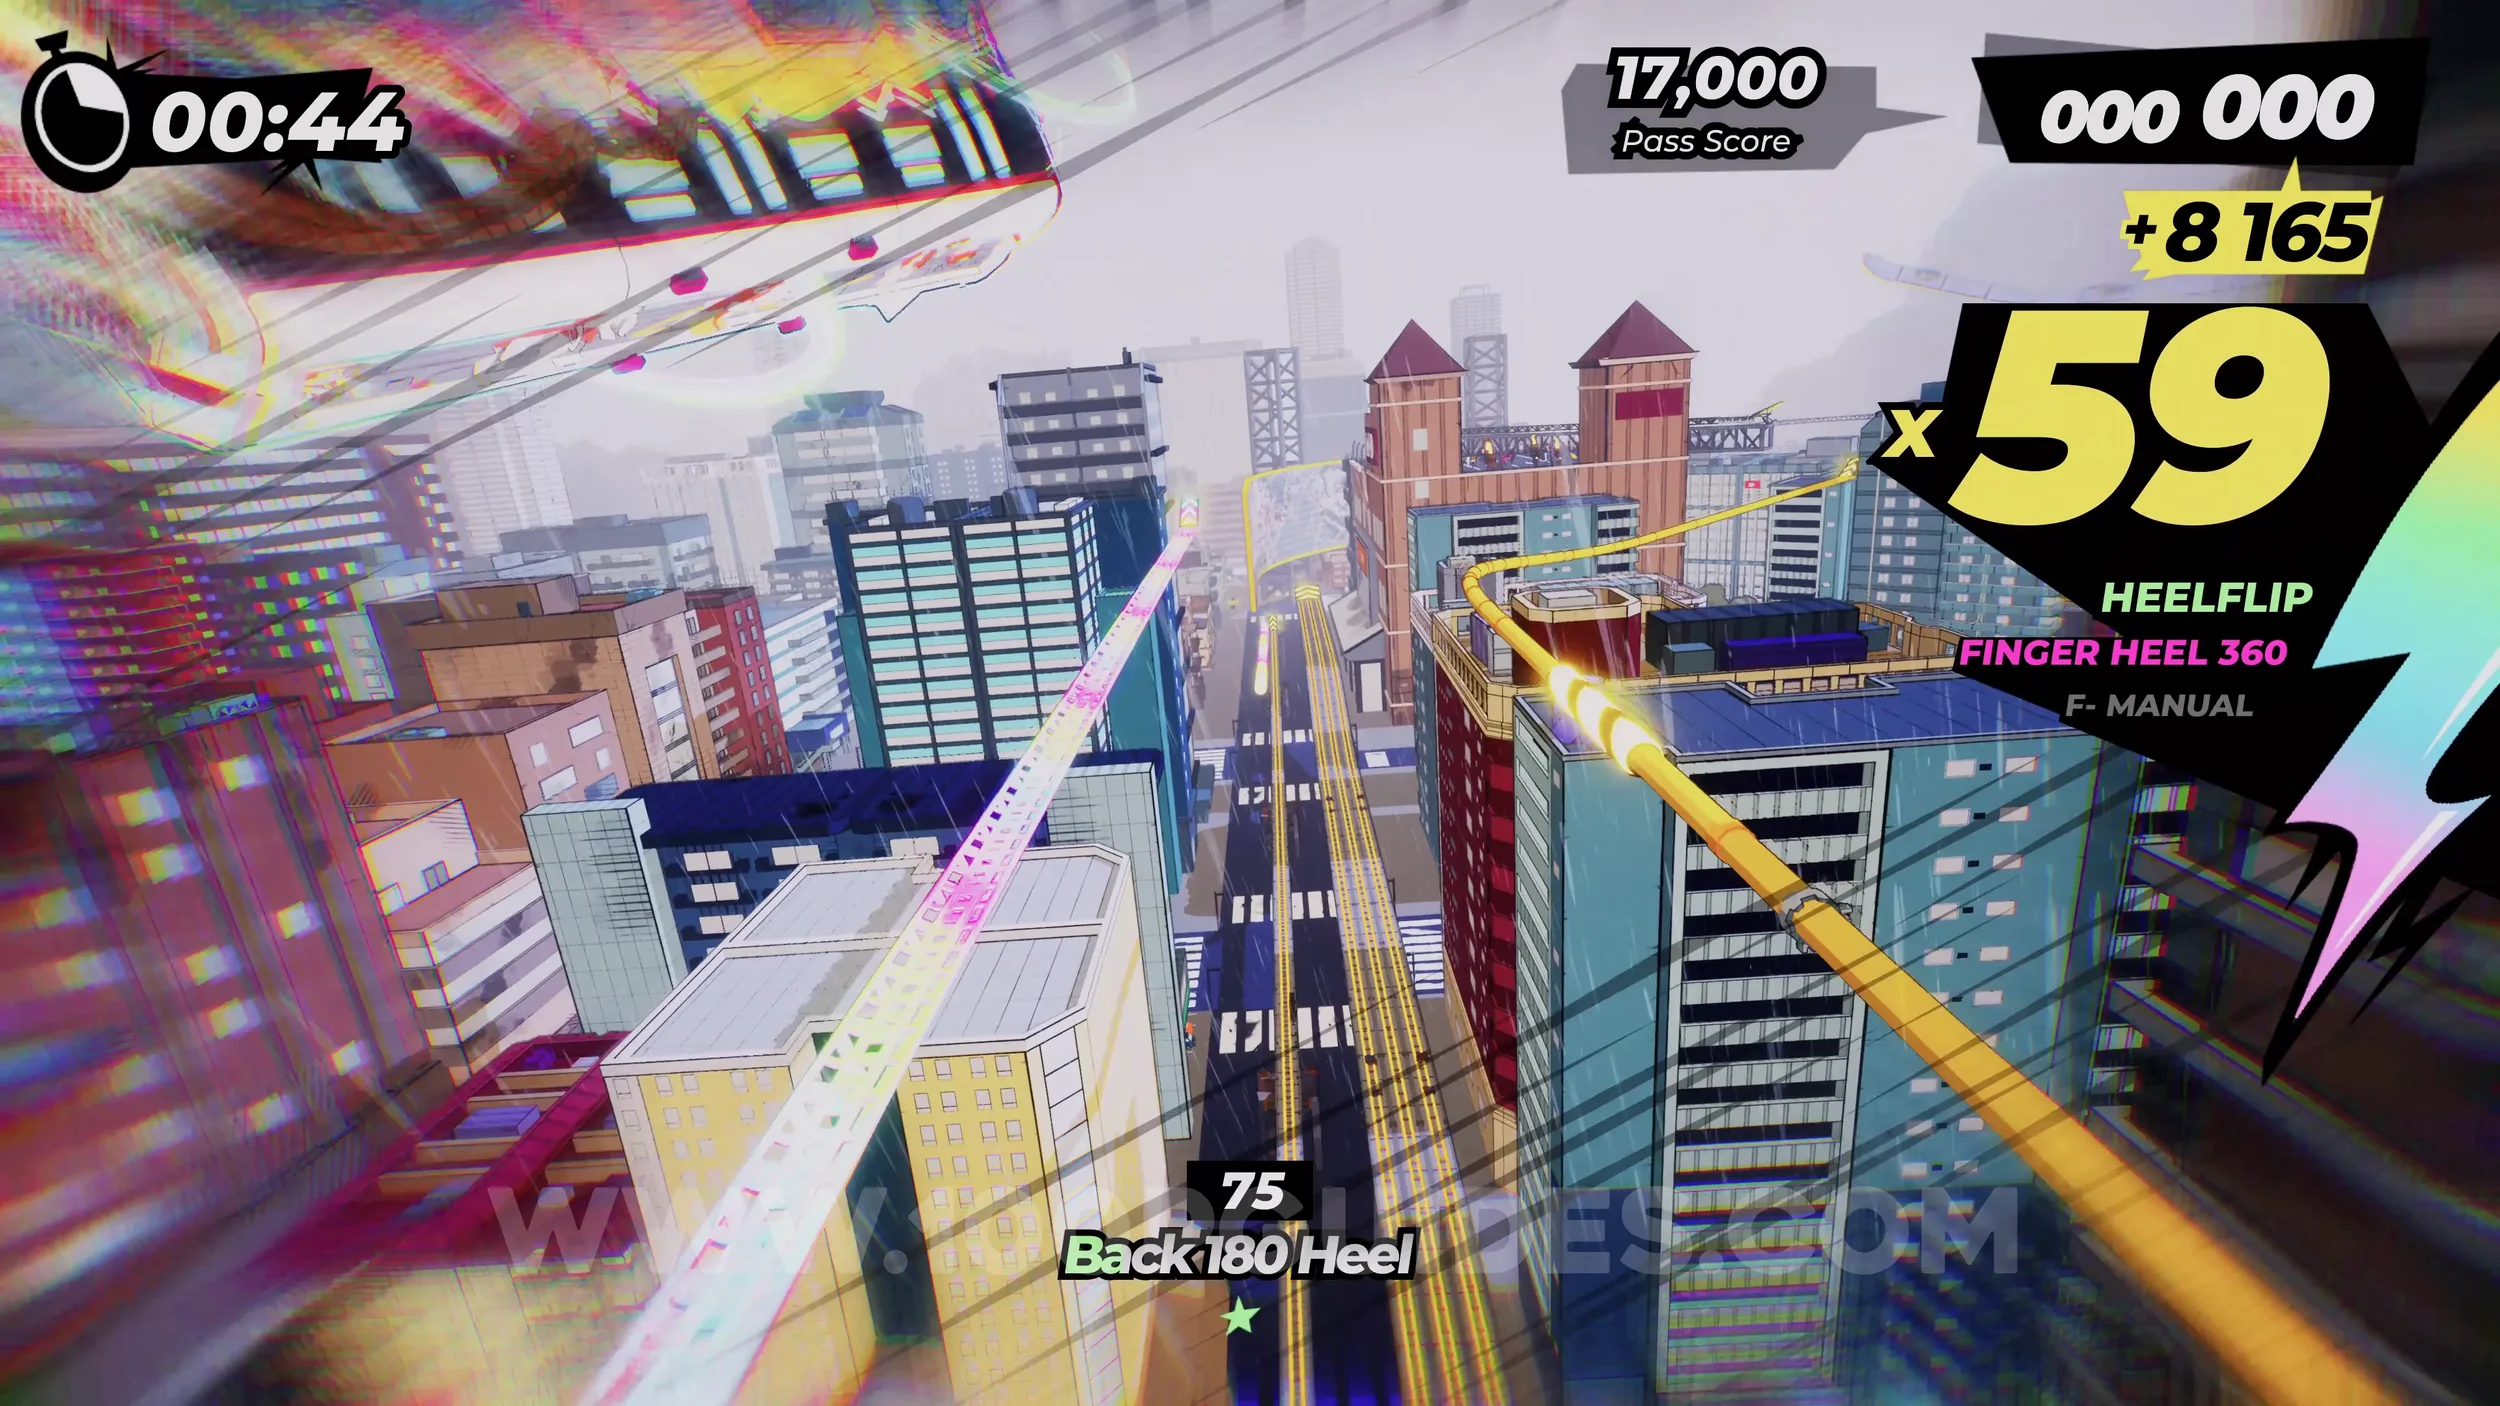
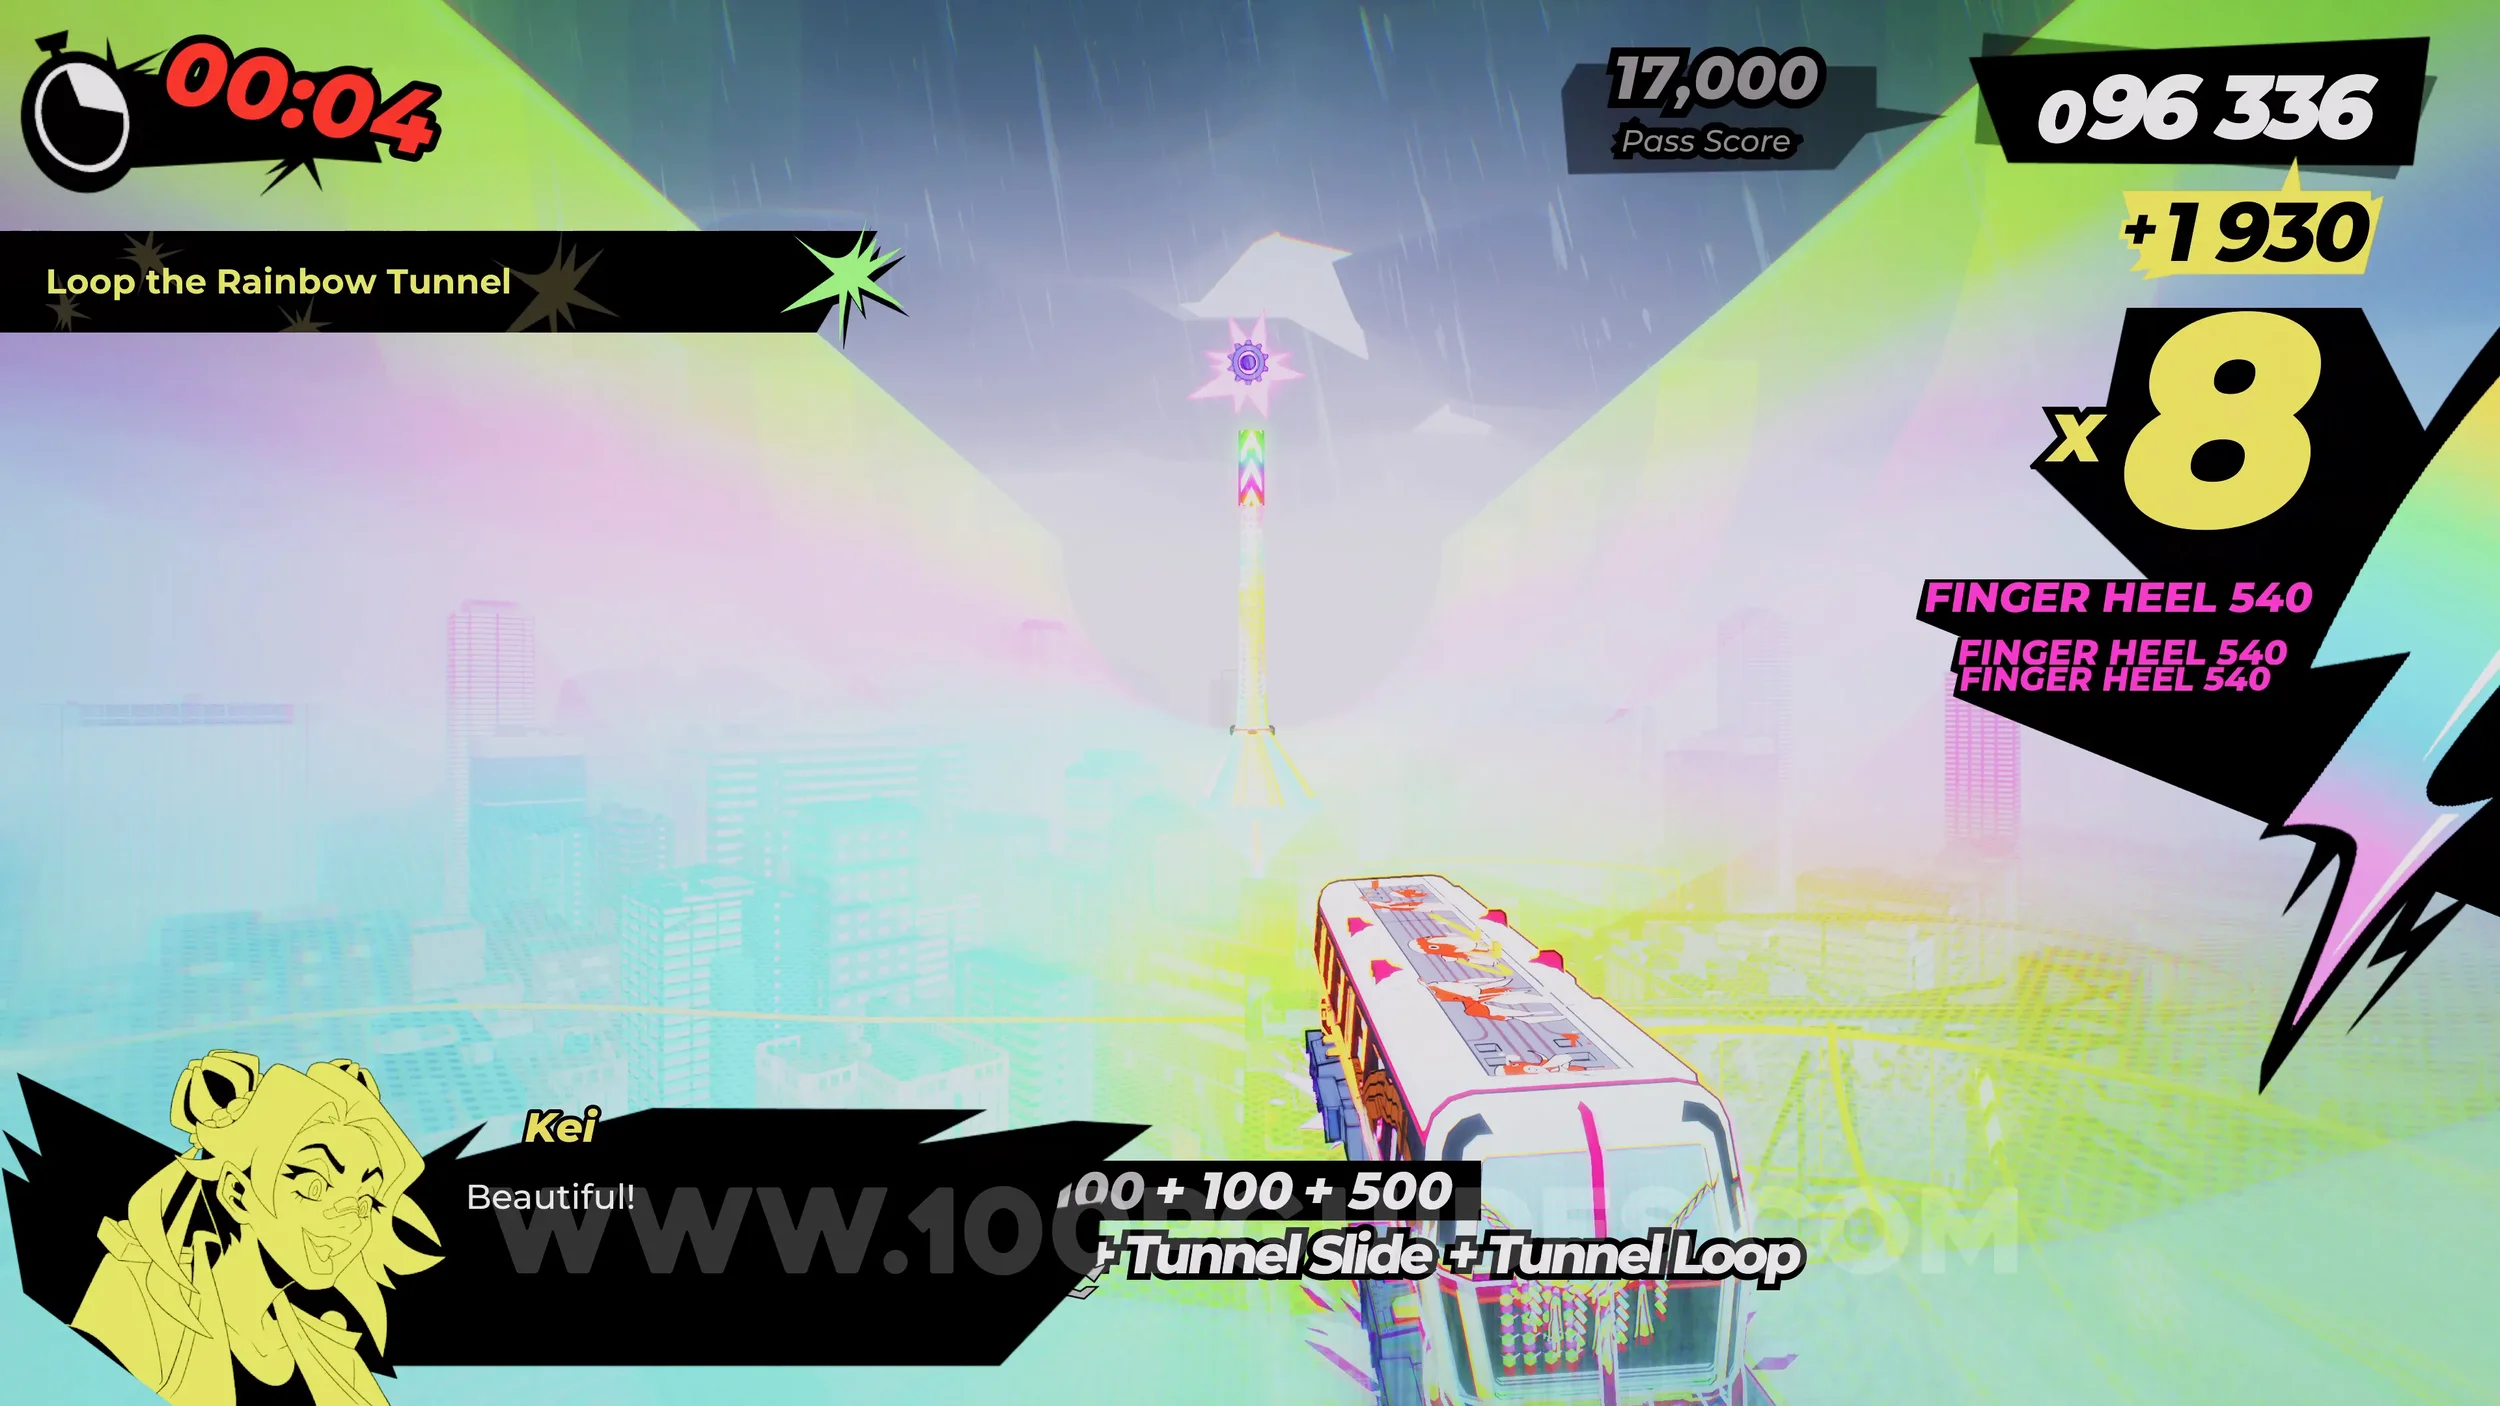
Dare: Loop the Rainbow Tunnel. From the previous gear, continue and you will end up on the same monorail after the three yellow grind rails like last time. This time, once you drop off the monorail, stick to the right and ride the yellow rail. This will take you back to the area just after where you collected the first spray can. As soon as you land, jump to the wallride on your left and then ride the rail to the triple tracks with the vert jump at the end. After landing the vert jump, look for a rainbow rail on your left. Ride it to get to the rainbow tunnel where you must loop around it once.
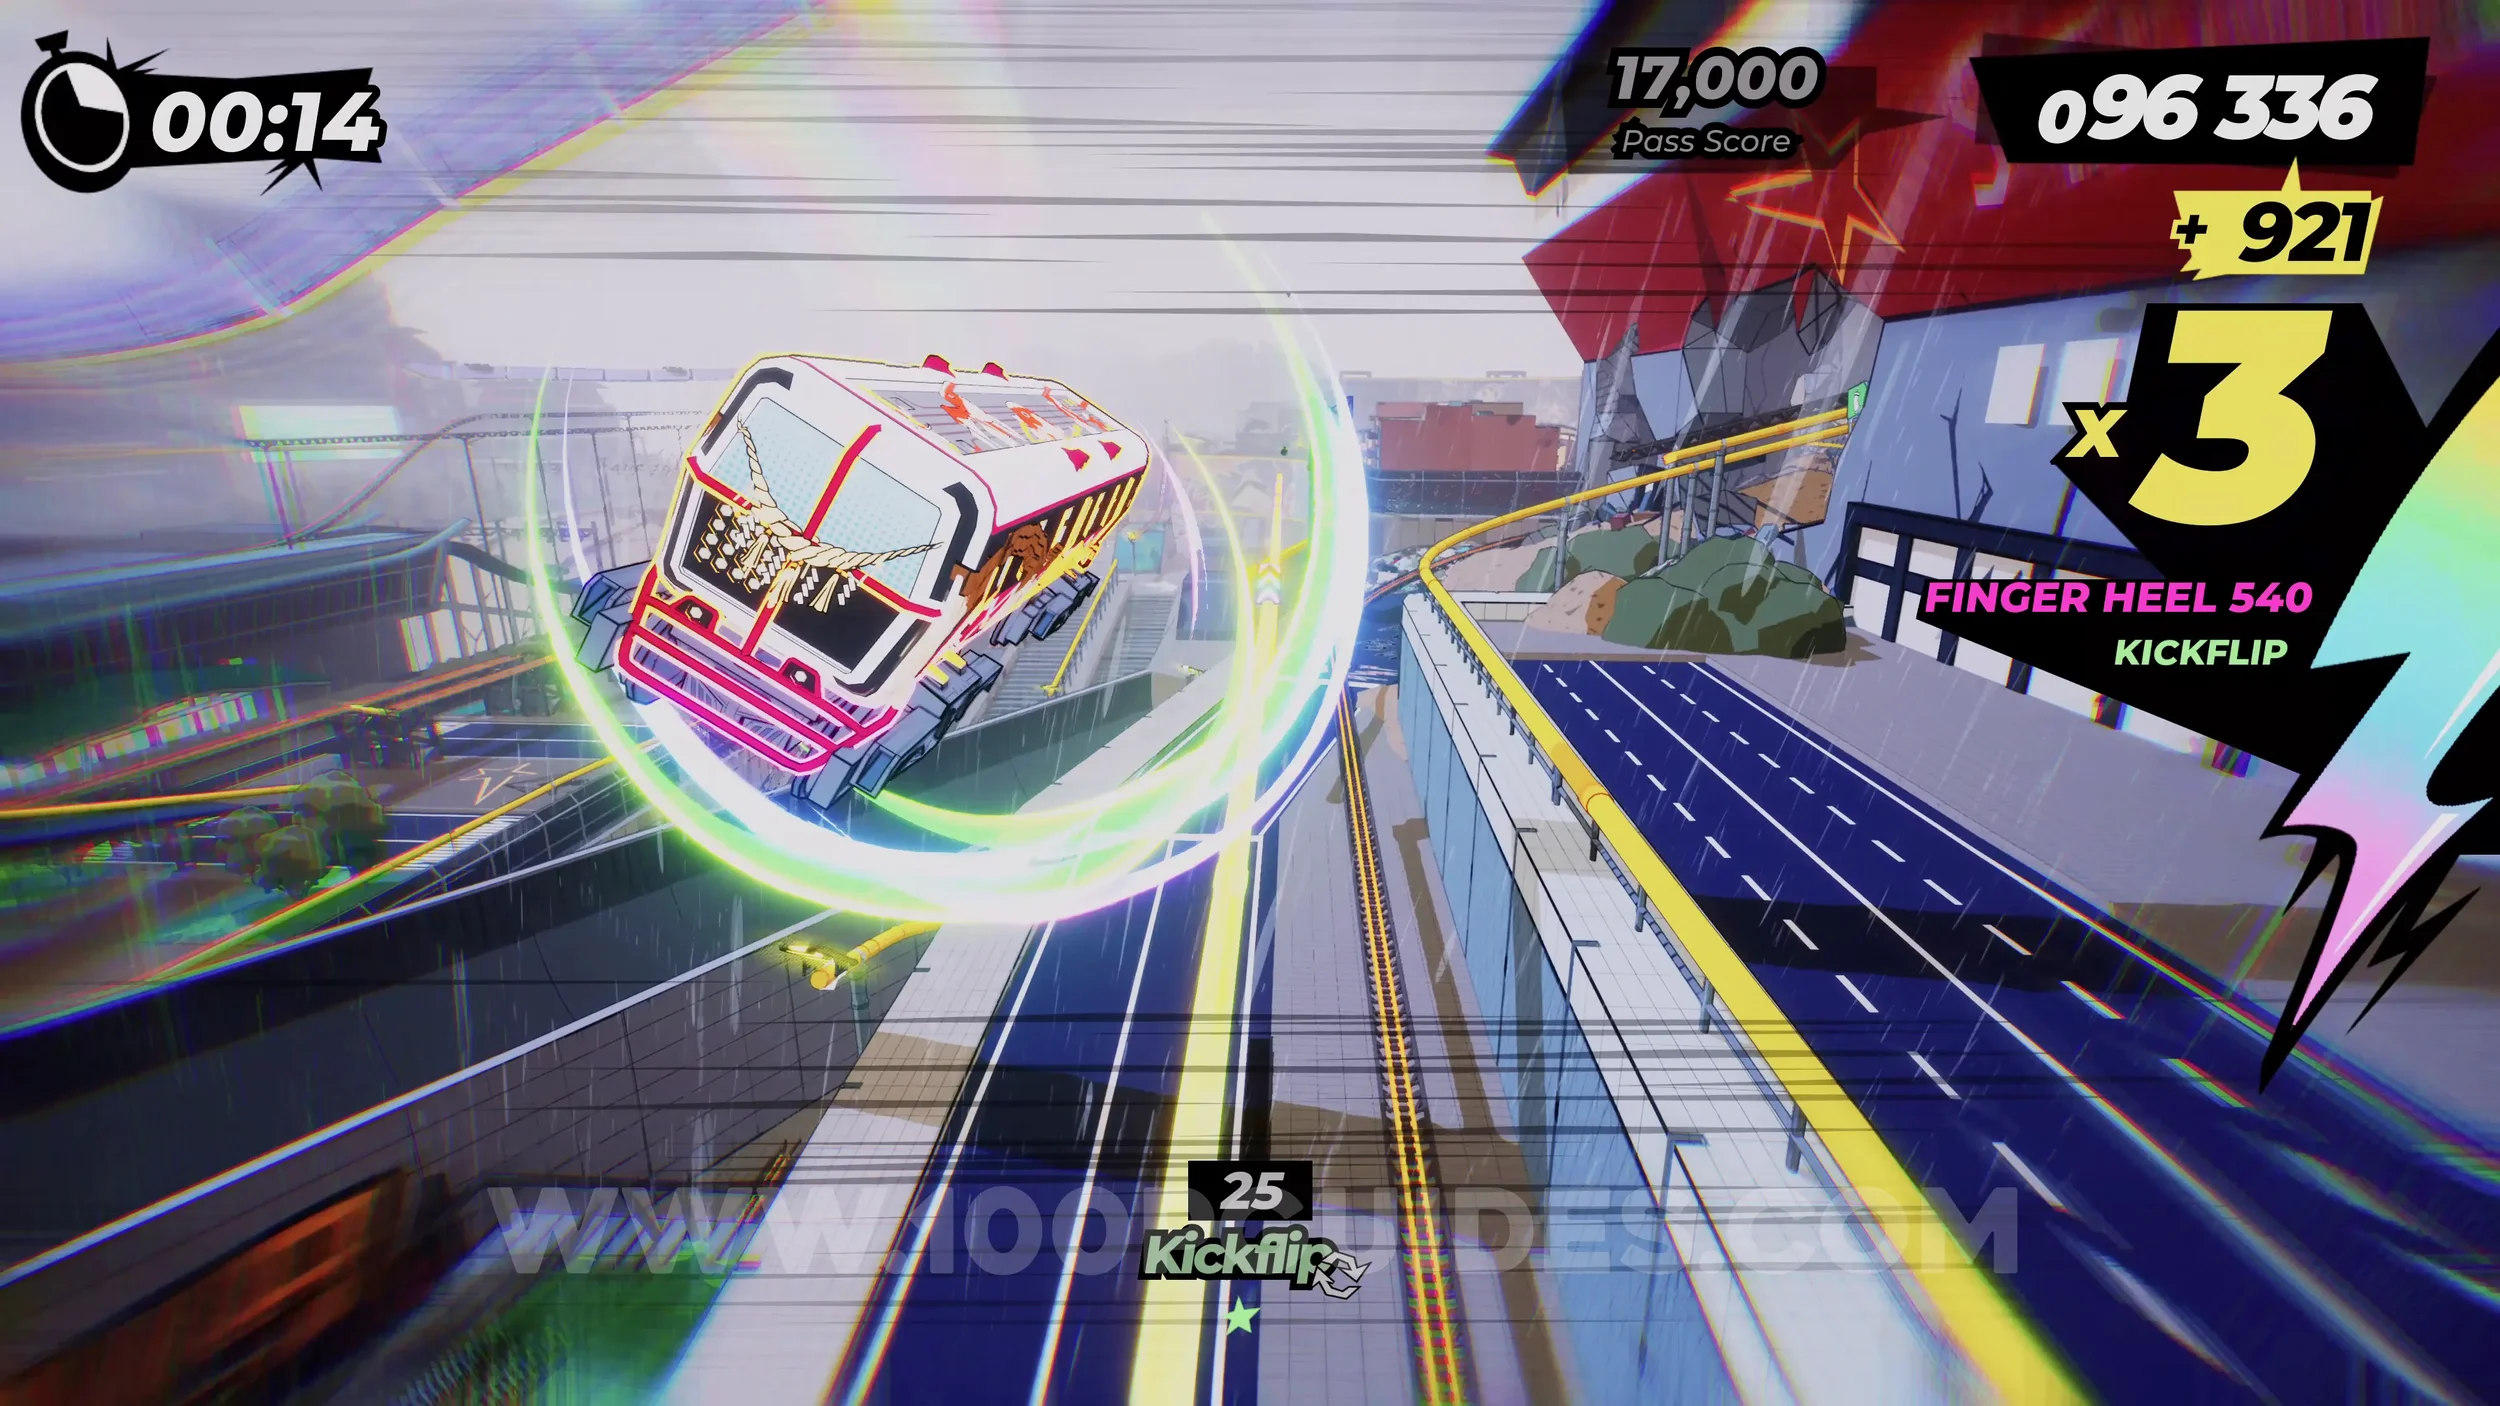
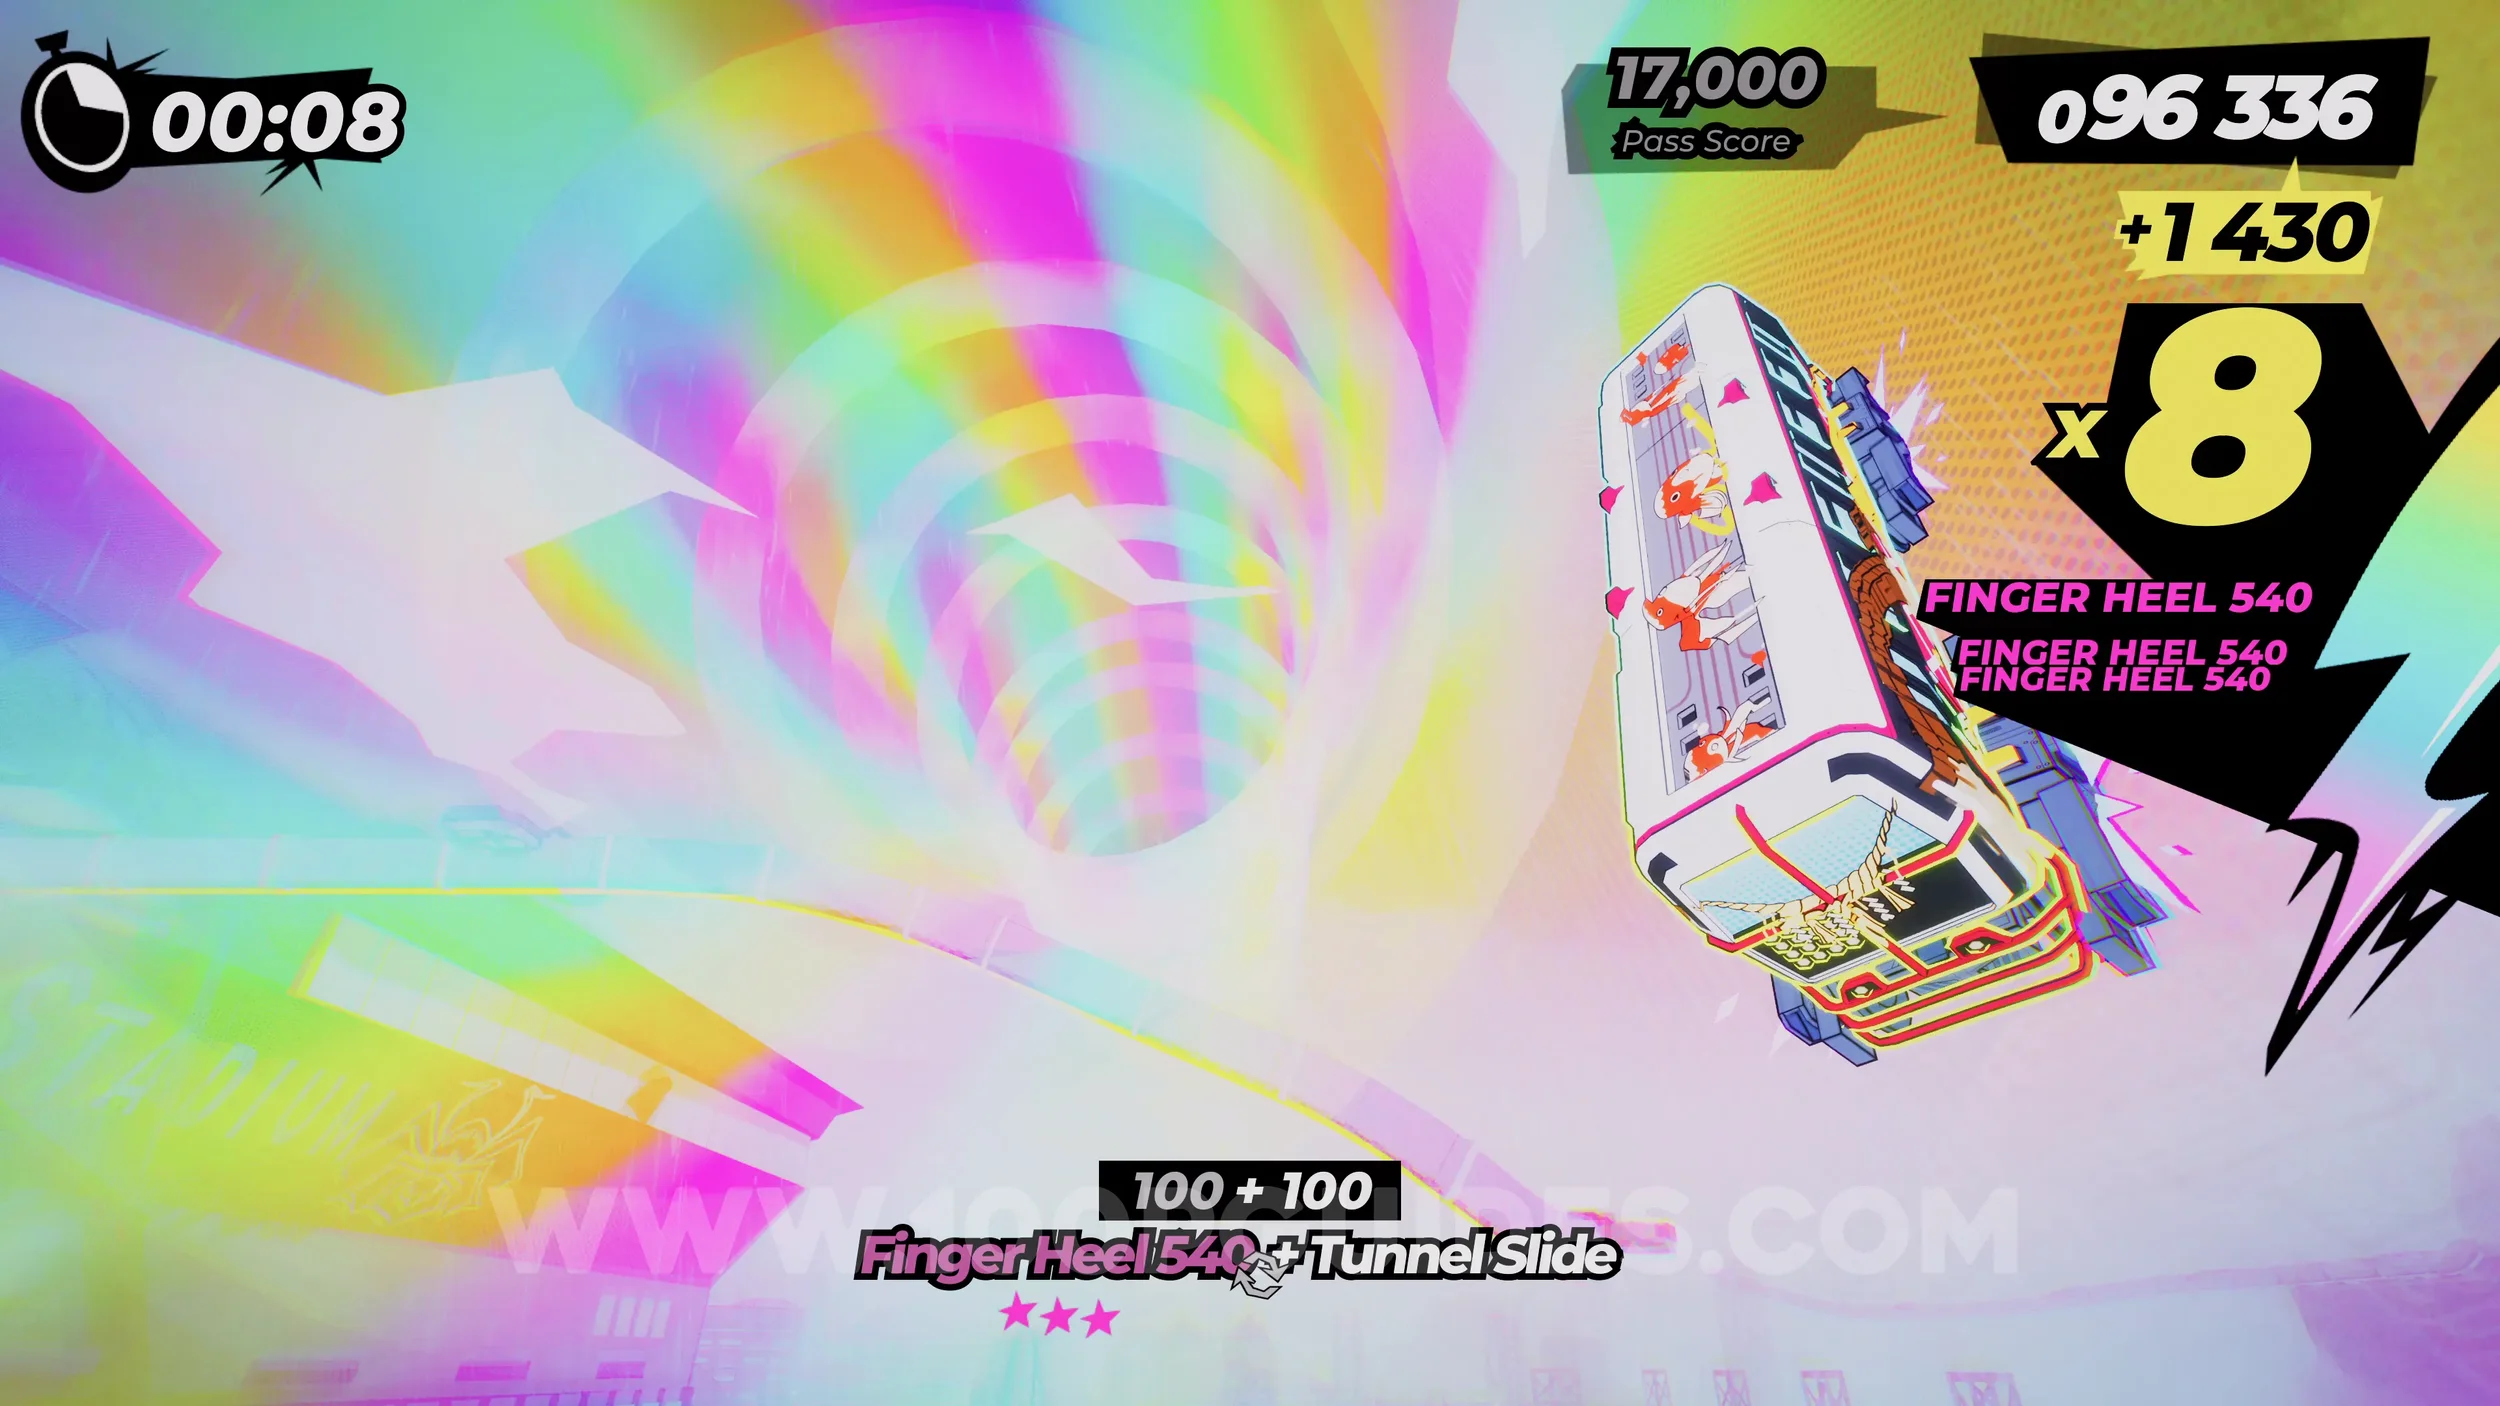
Gear (2/2). At the end of the Rainbow Tunnel.
Dare: Pull a 30 Trick Combo. Self-explanatory.
Dare: Score 3000 Points From Wallride Tricks. Self-explanatory. Use the right analog stick to perform tricks while wallriding.
5-3-1 A Legend In The Making
Dare: Trick While Grinding on Each Train. Close to the start, you will grind on the side of two trains. Just do any trick with the right analog stick while you ride each one.
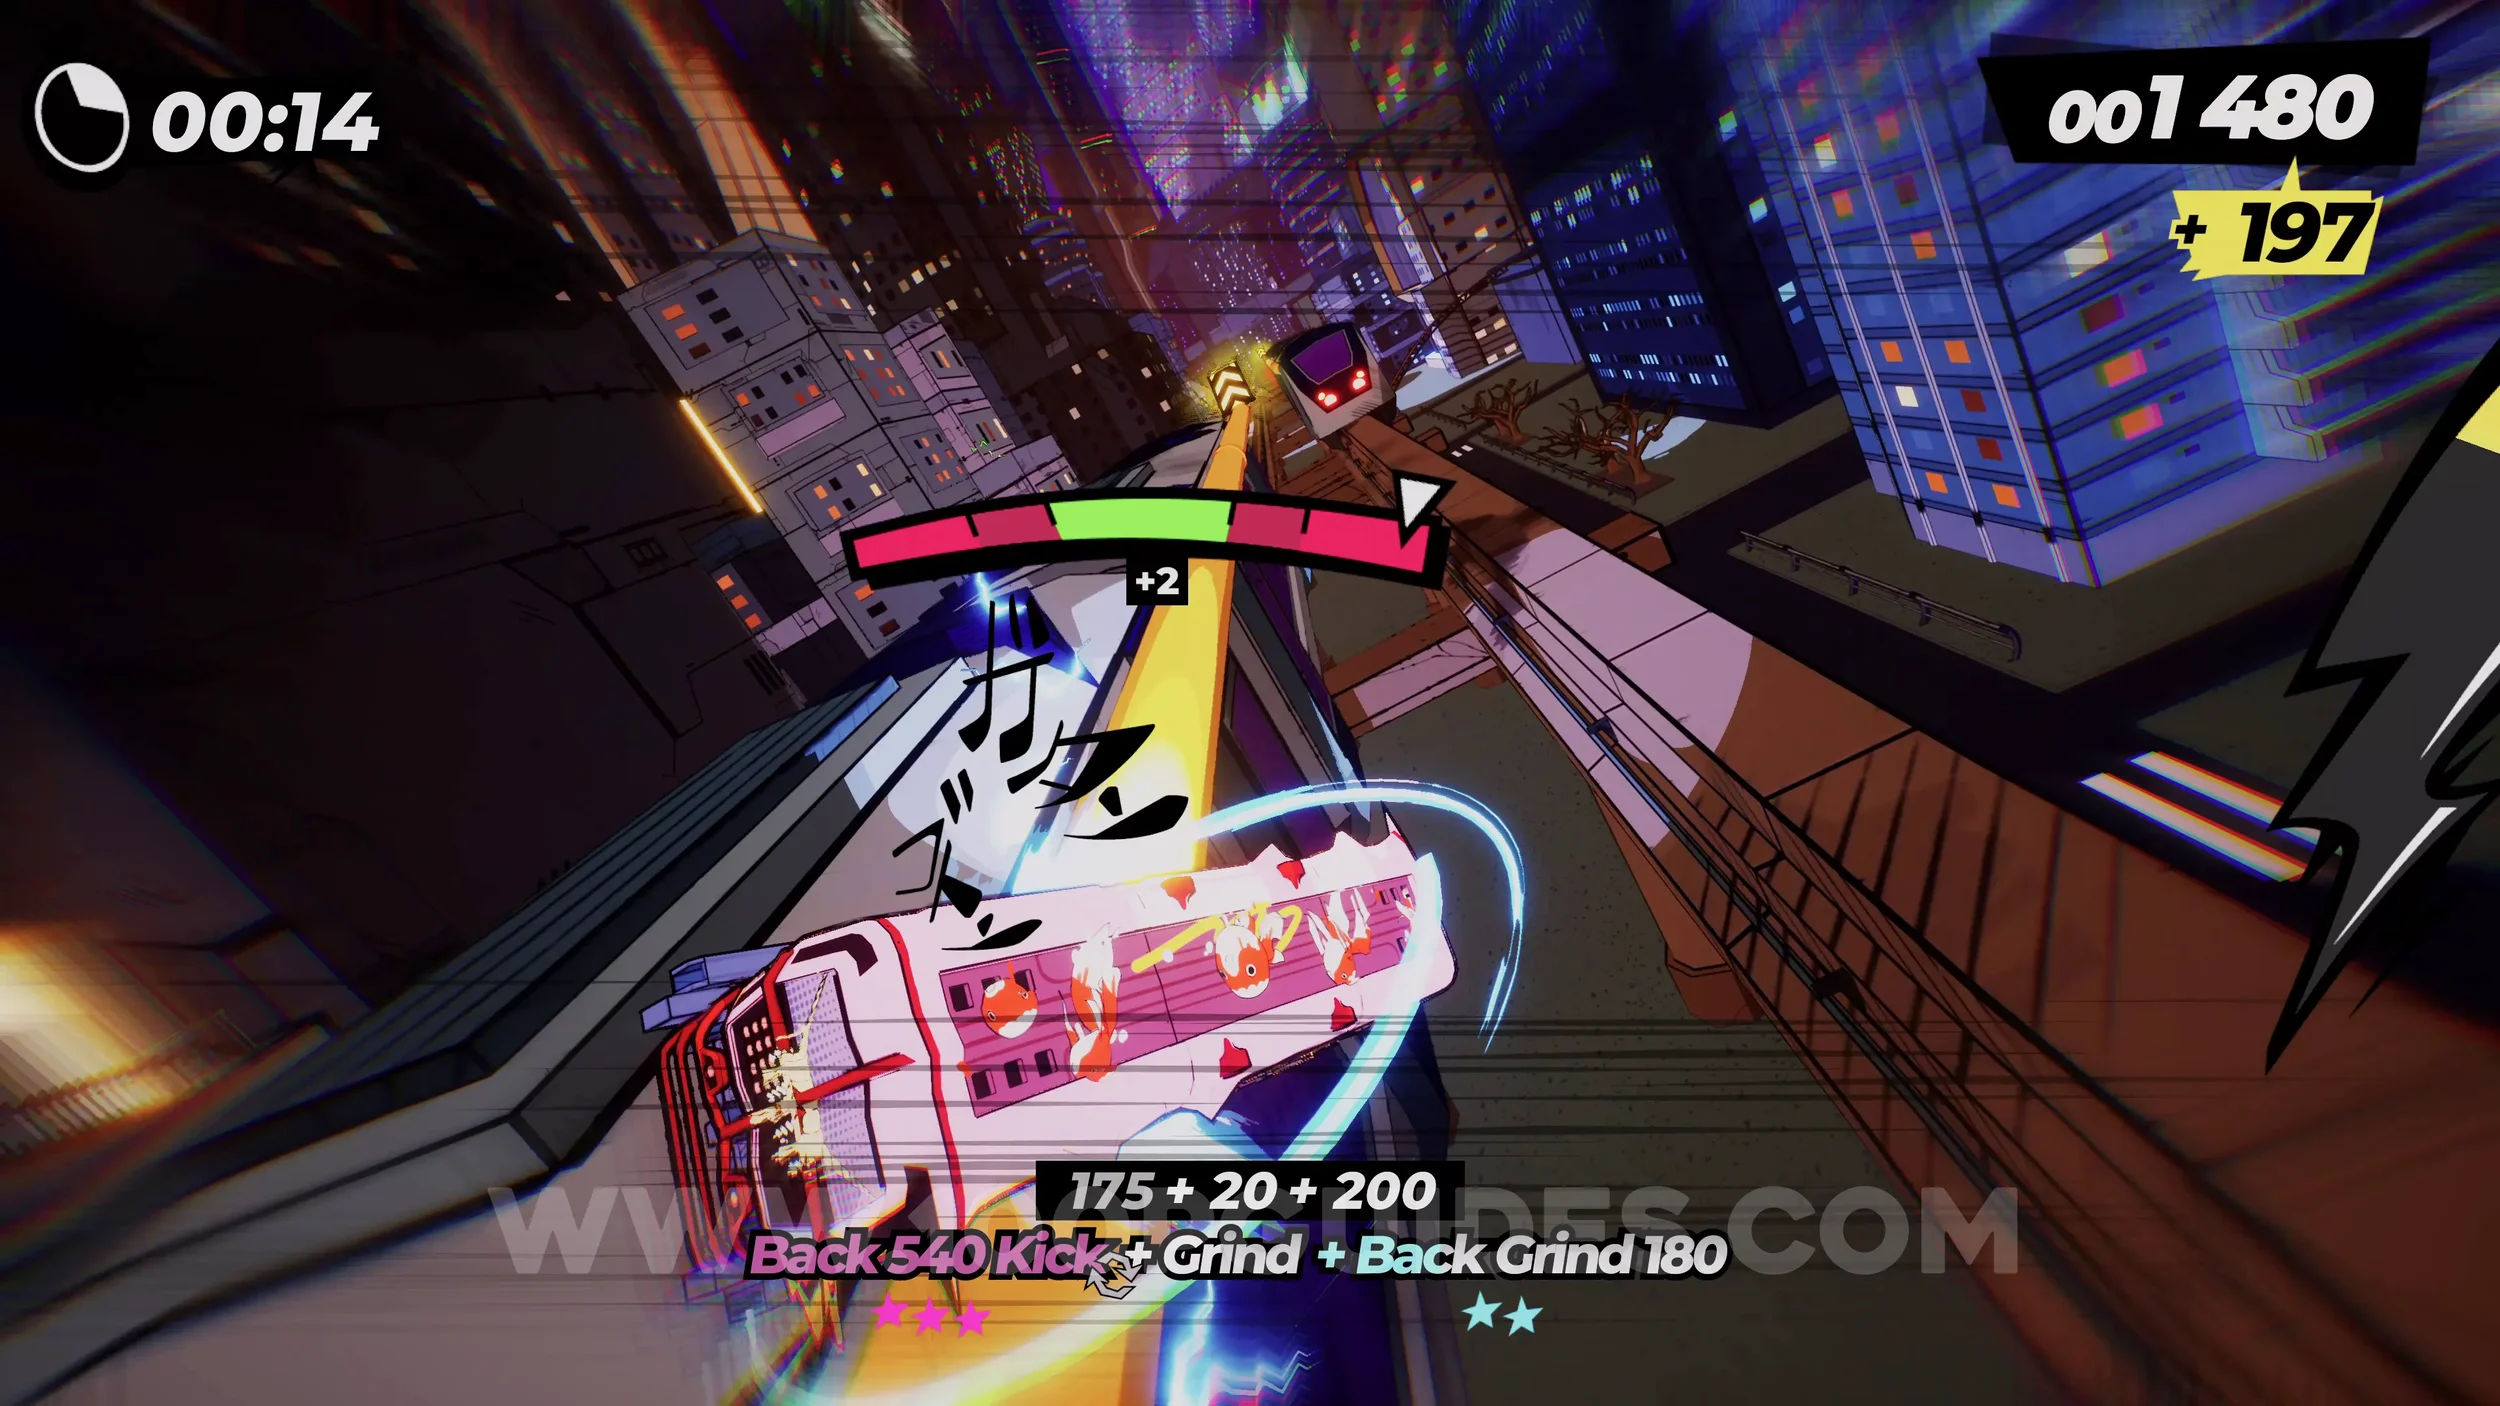
Gear (1/3). Just after the two trains you grind on, you will go through a tunnel. In this tunnel, you will see the gear on your right.
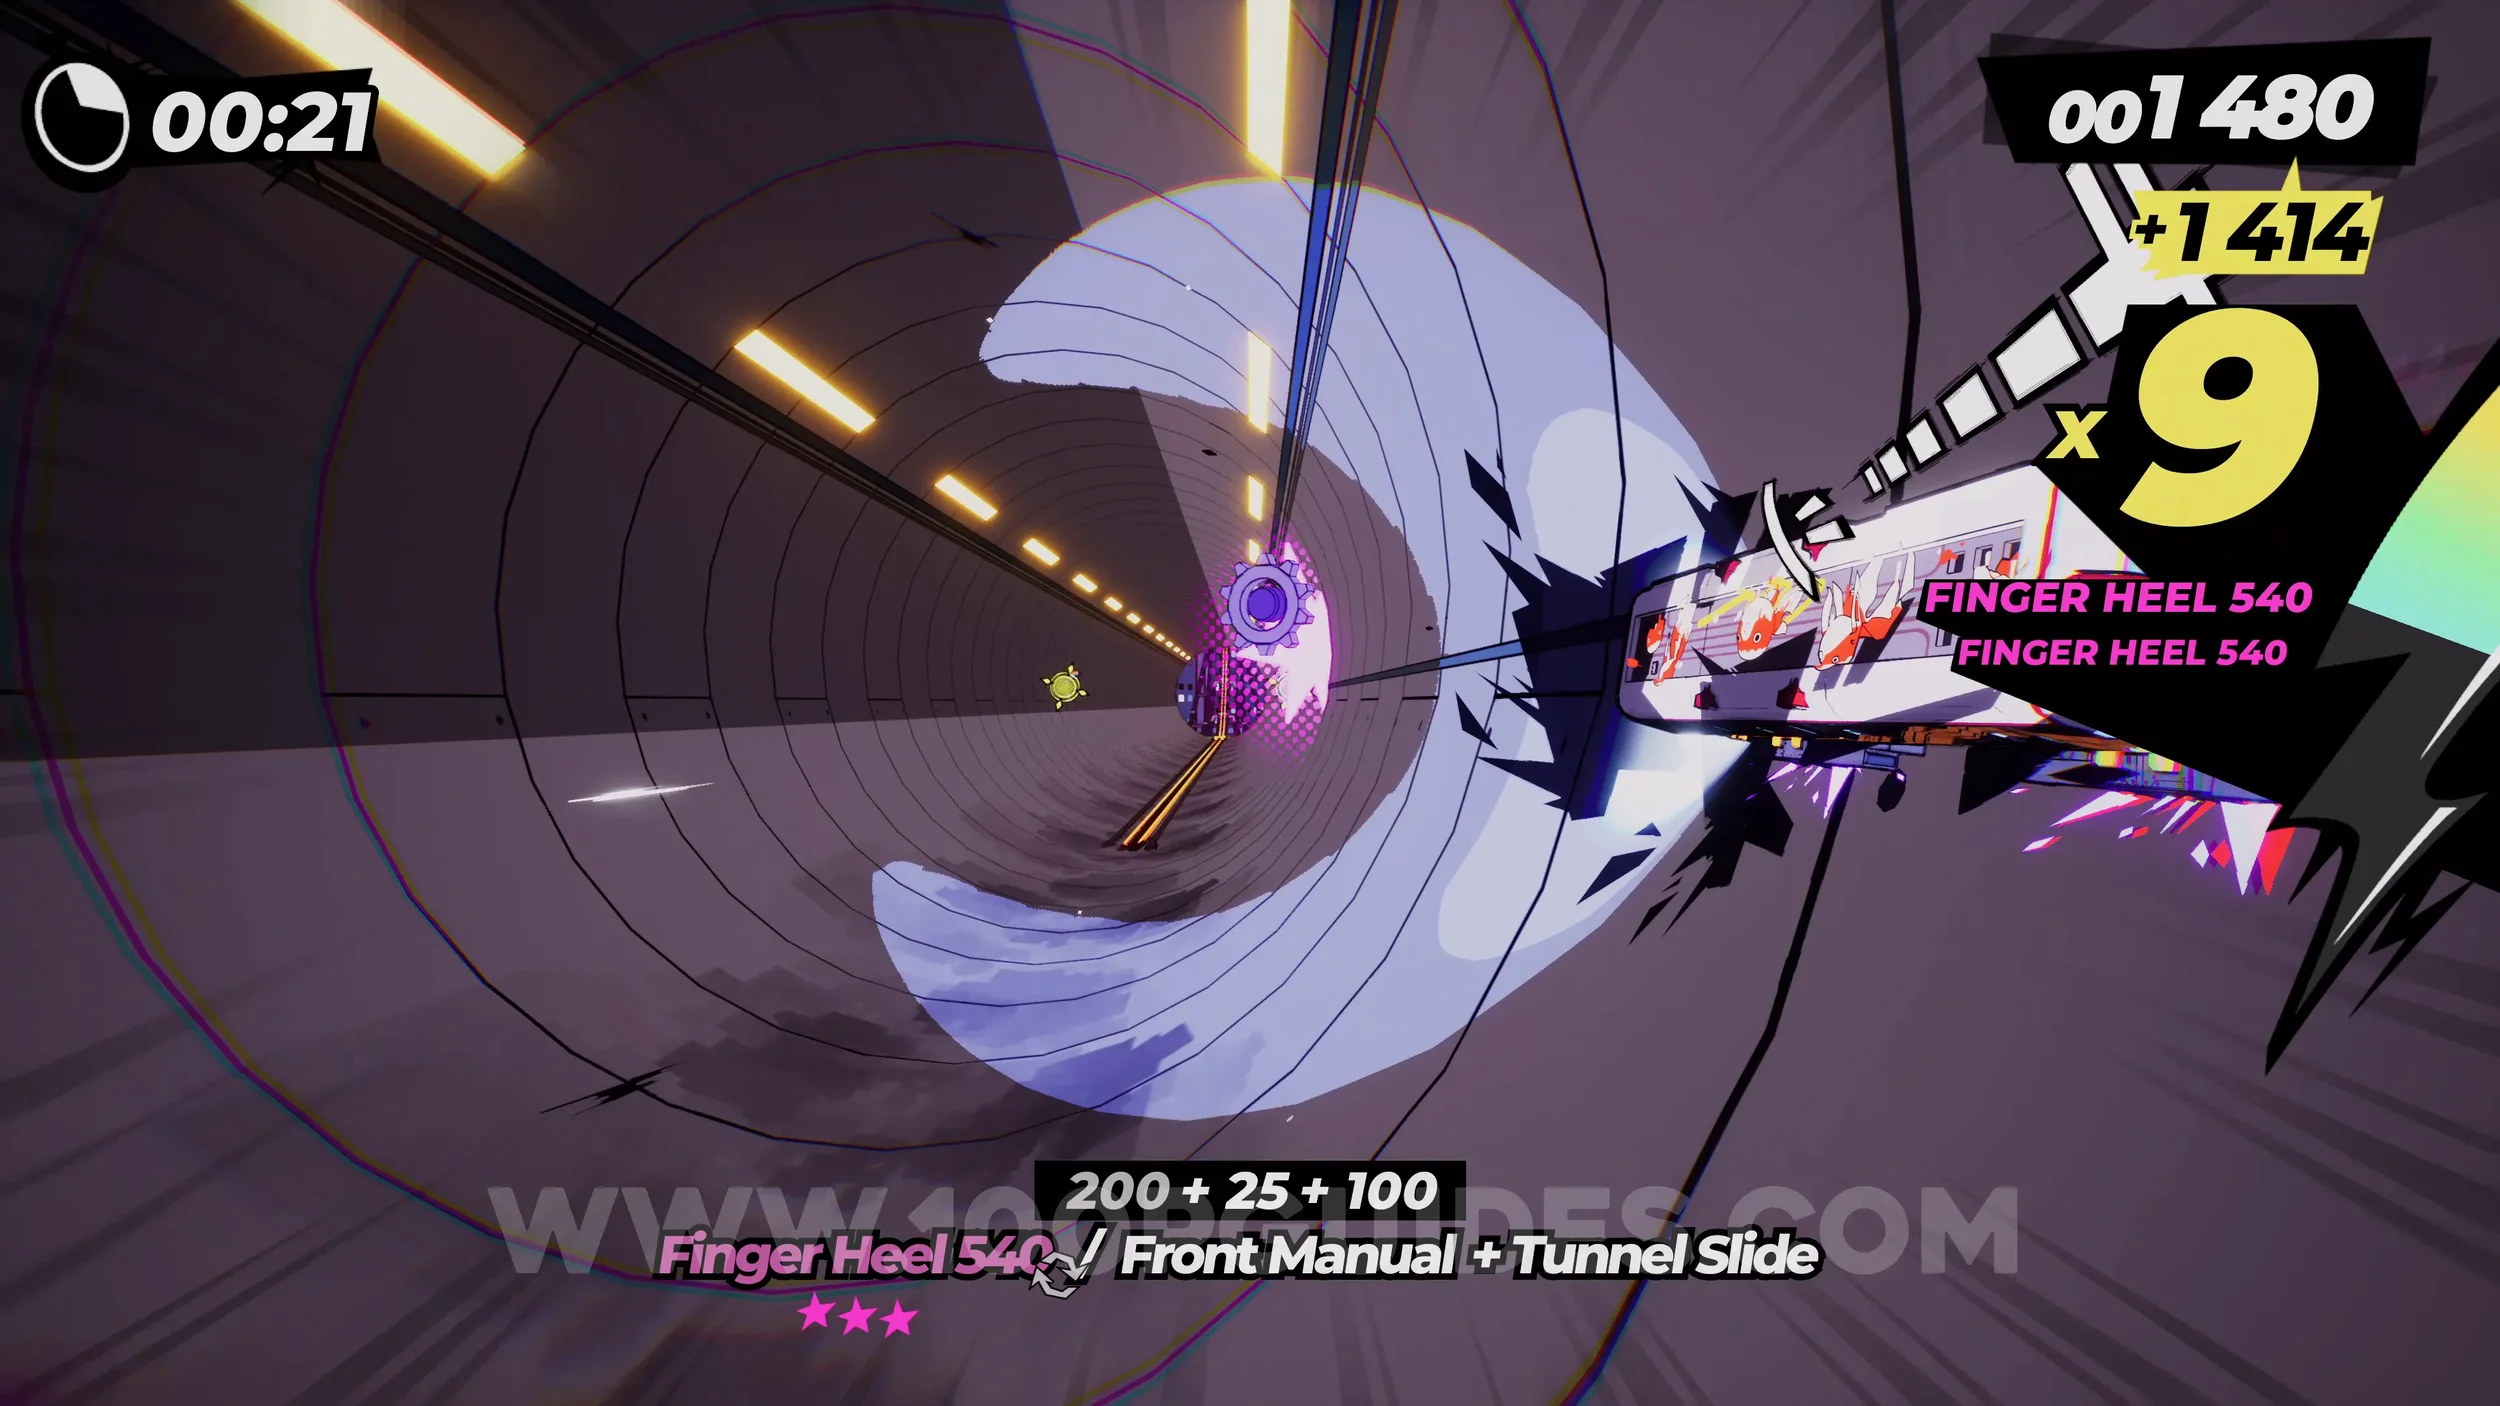
Dare: Air Stomp on 5 Spiderwebs. In the next section and throughout the level, you will see yellow spiderwebs that you can bounce on. Air stomp five of them with R2+L2.
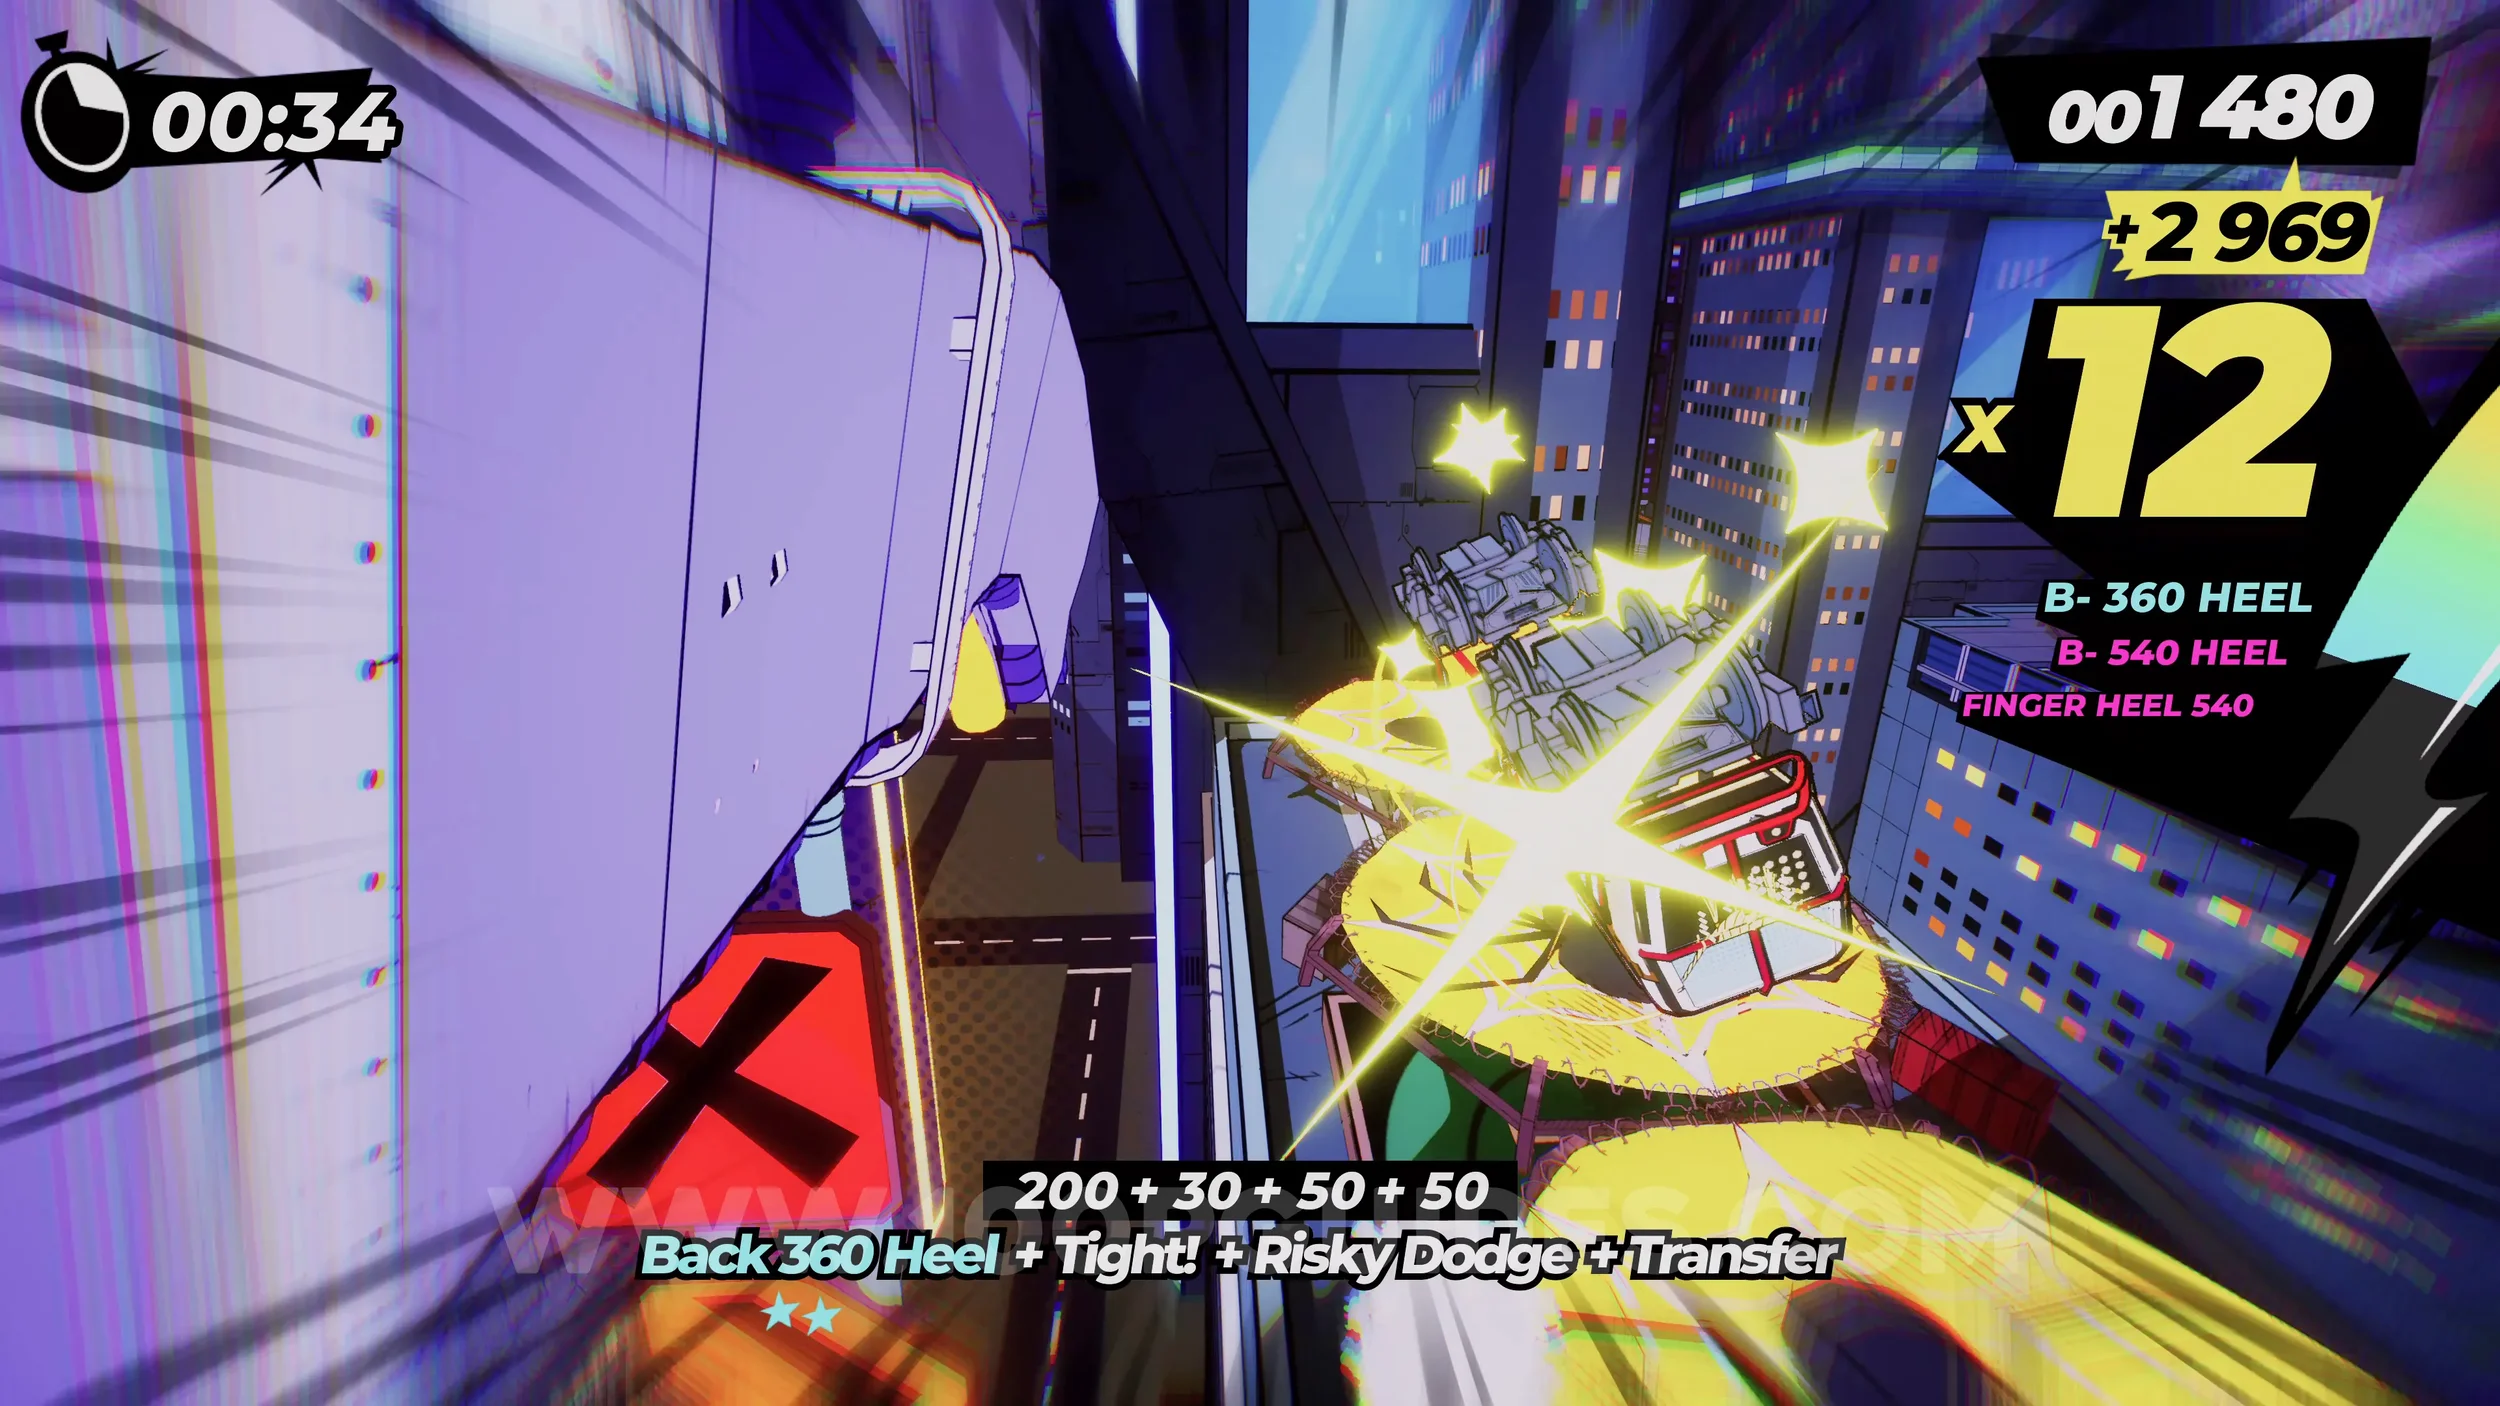
Gear (2/3). During the section where the ferris wheel is chasing you, you will be in a halfpipe. Look for the gear on the right side.
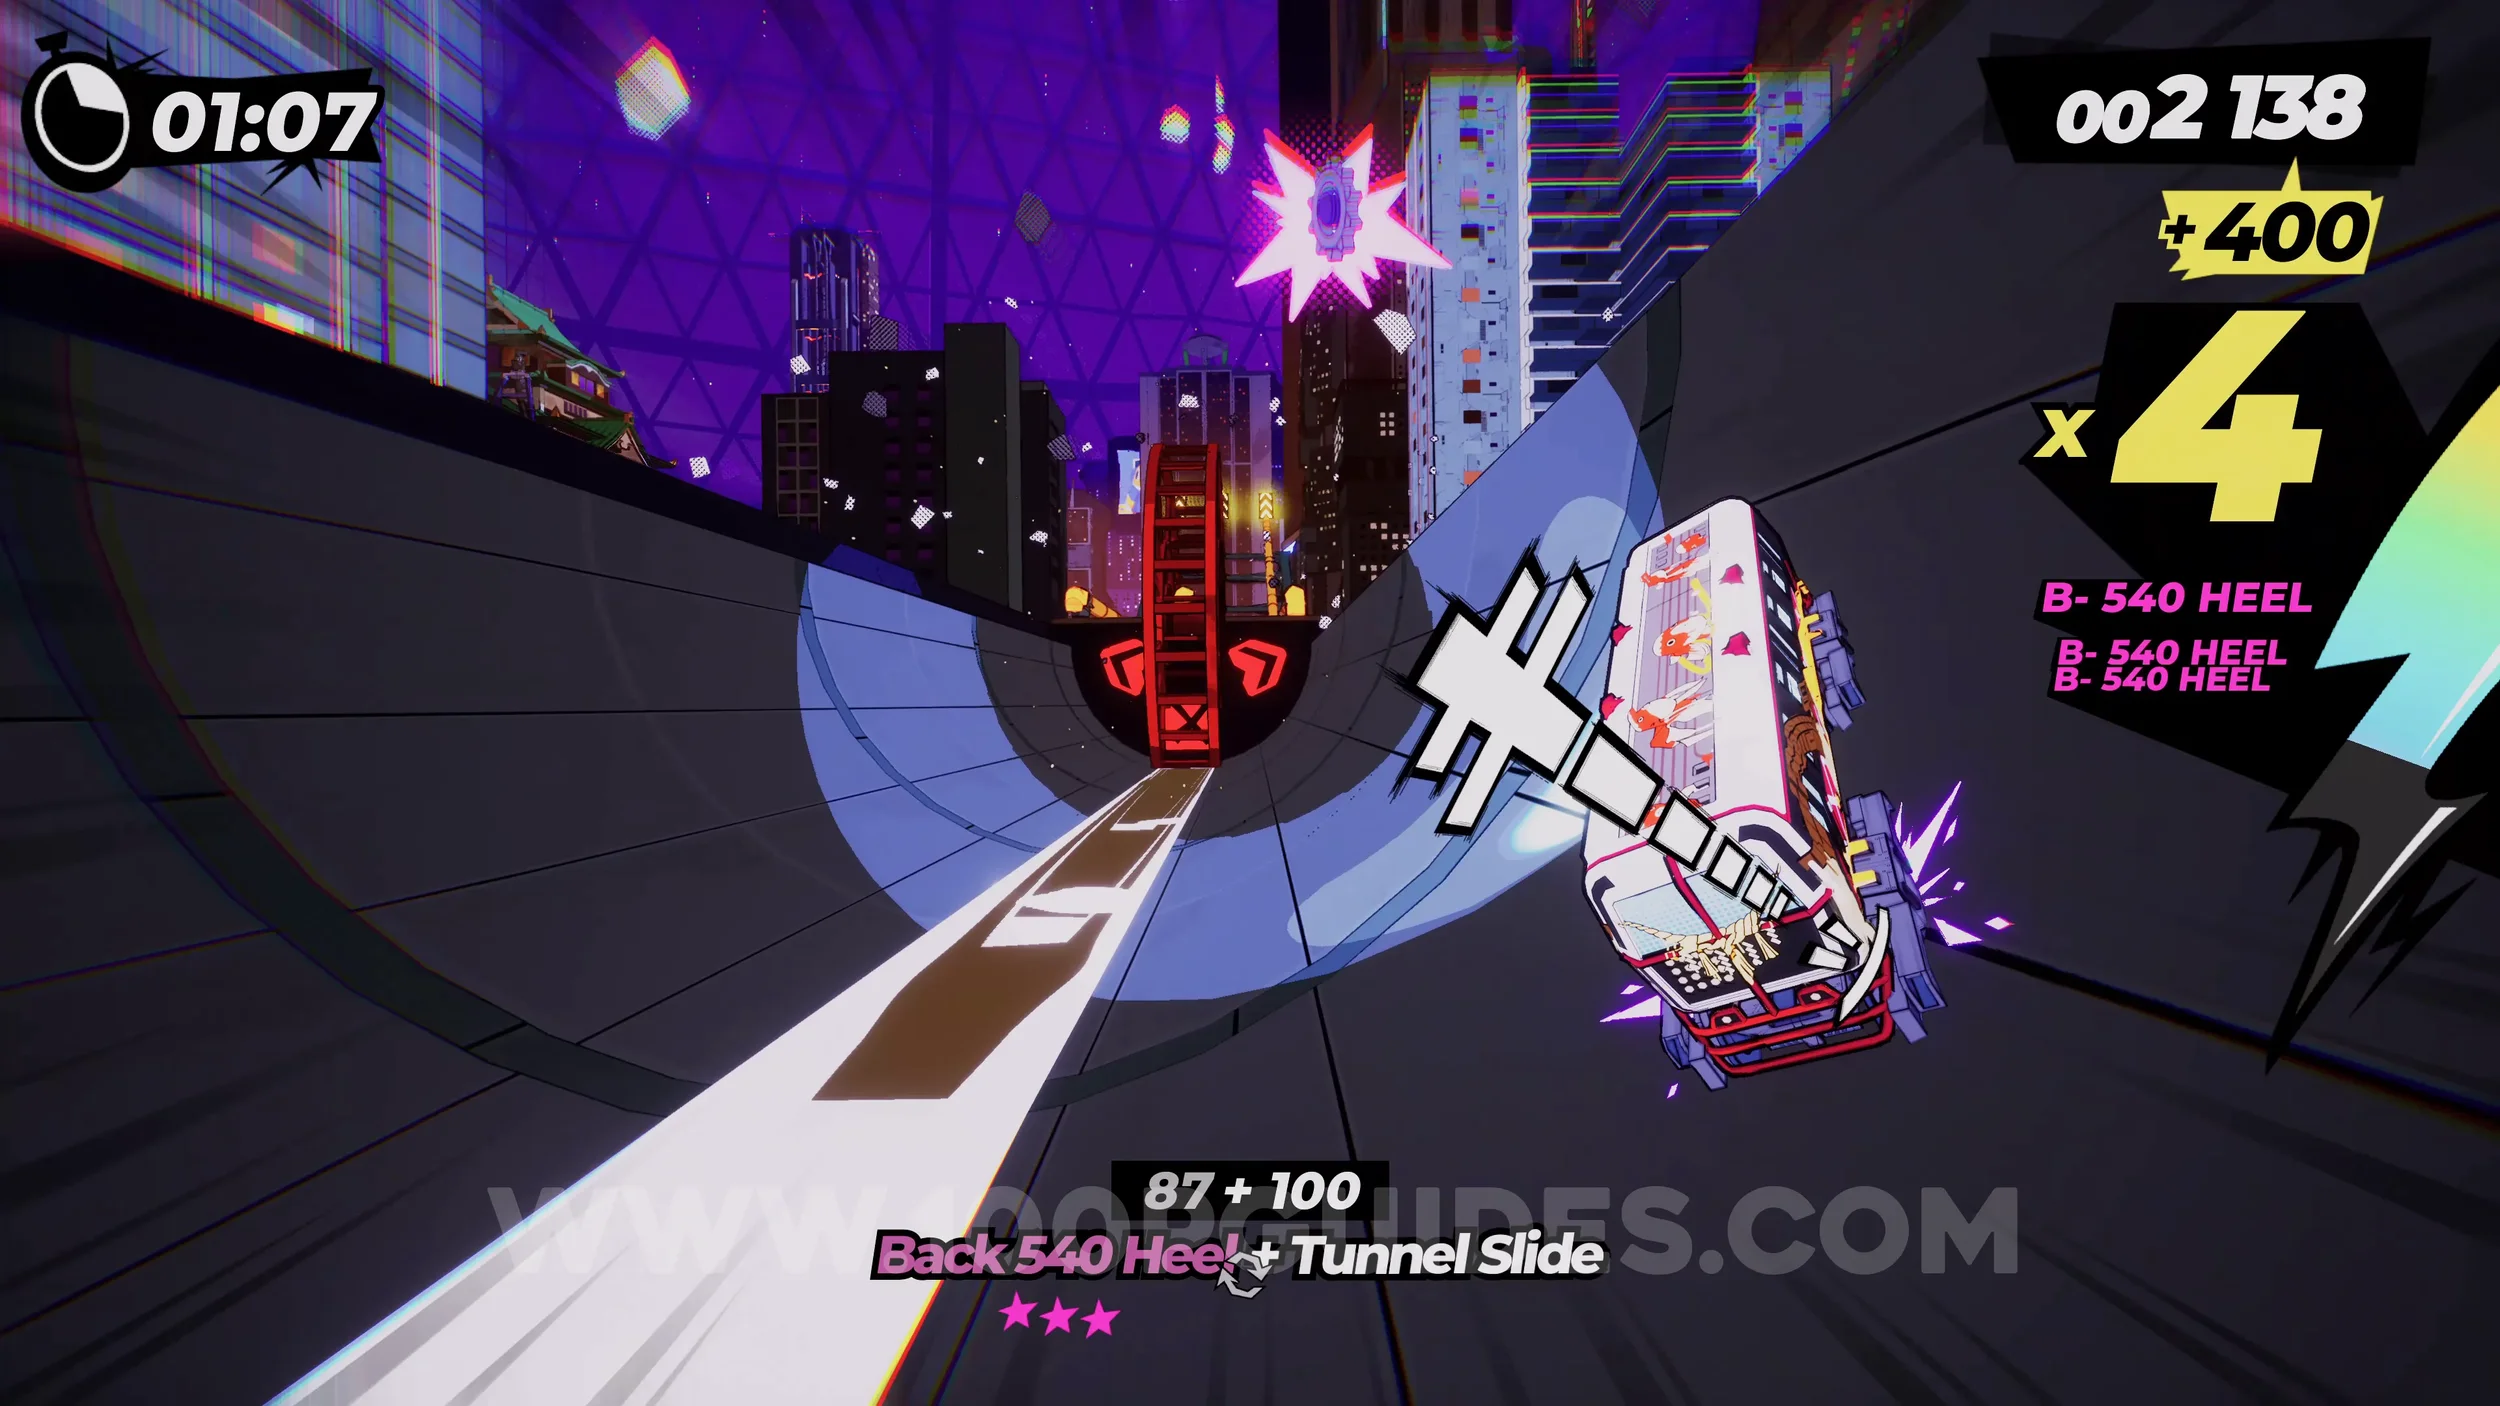
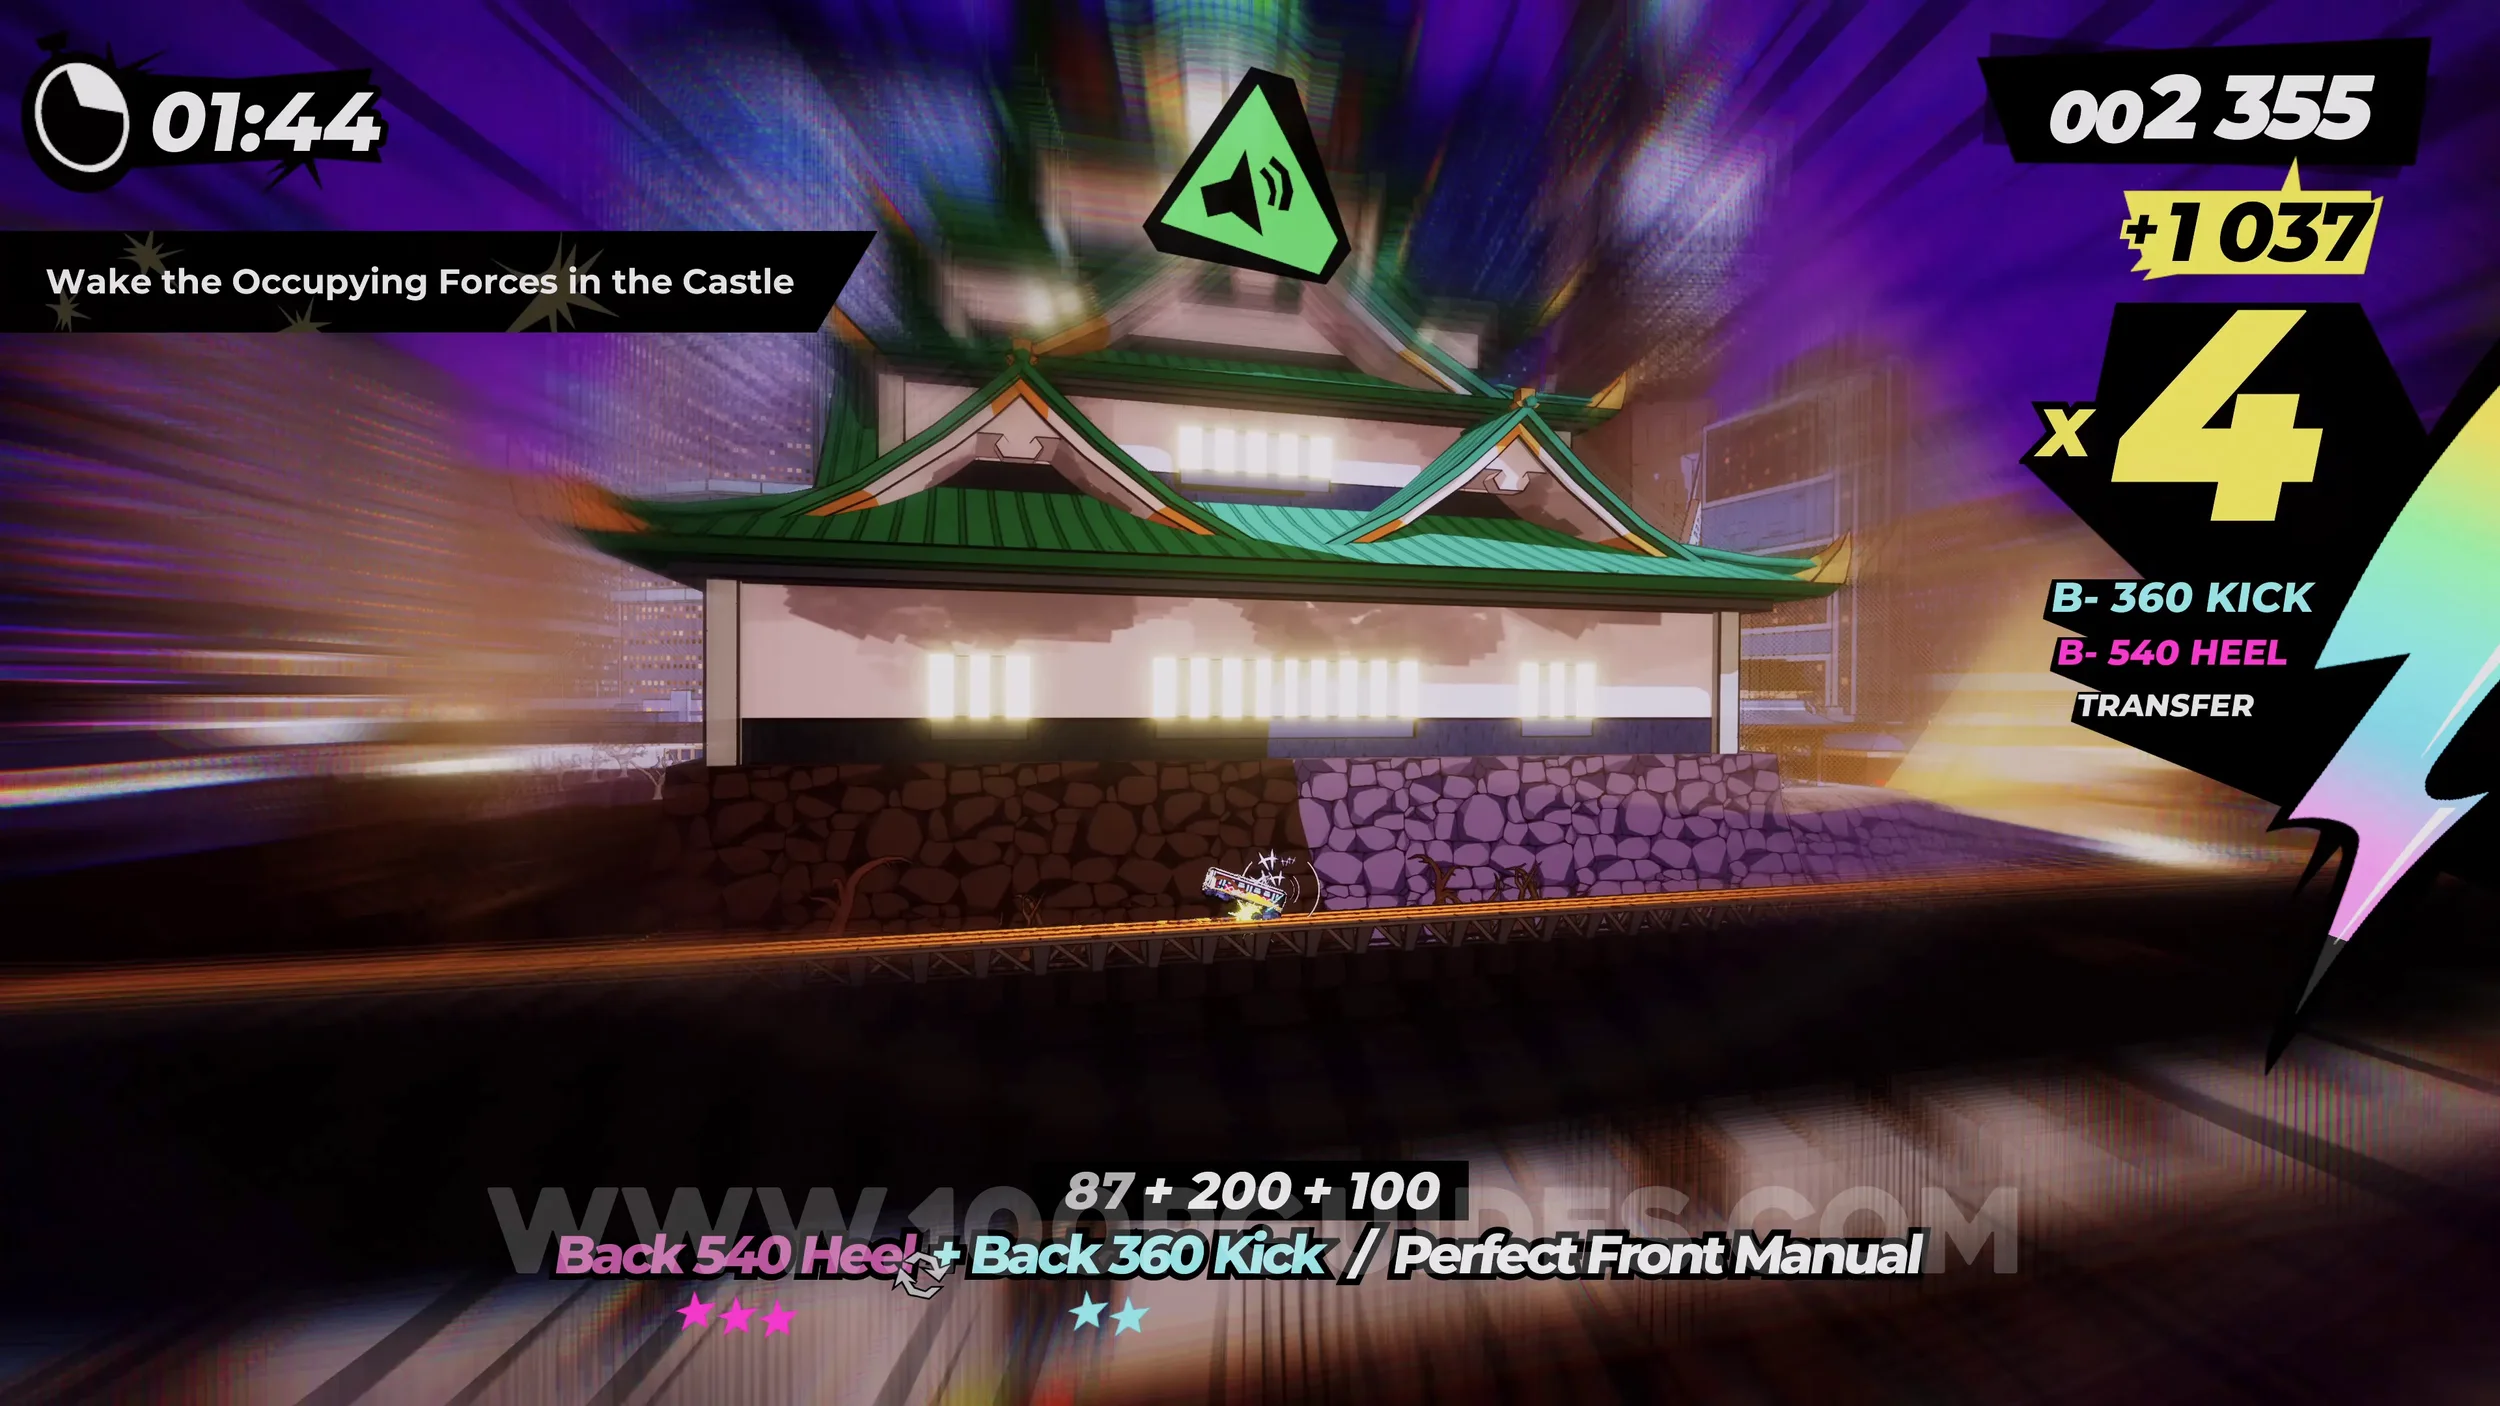
Dare: Wake the Occupying Forces in the Castle. After going underwater in the moat, you will use a vert jump to exit the water. As soon as you land, the camera will change to a side view as you go past a castle. Watch out for the horn sign in the center of the screen. Press R3 once it does.
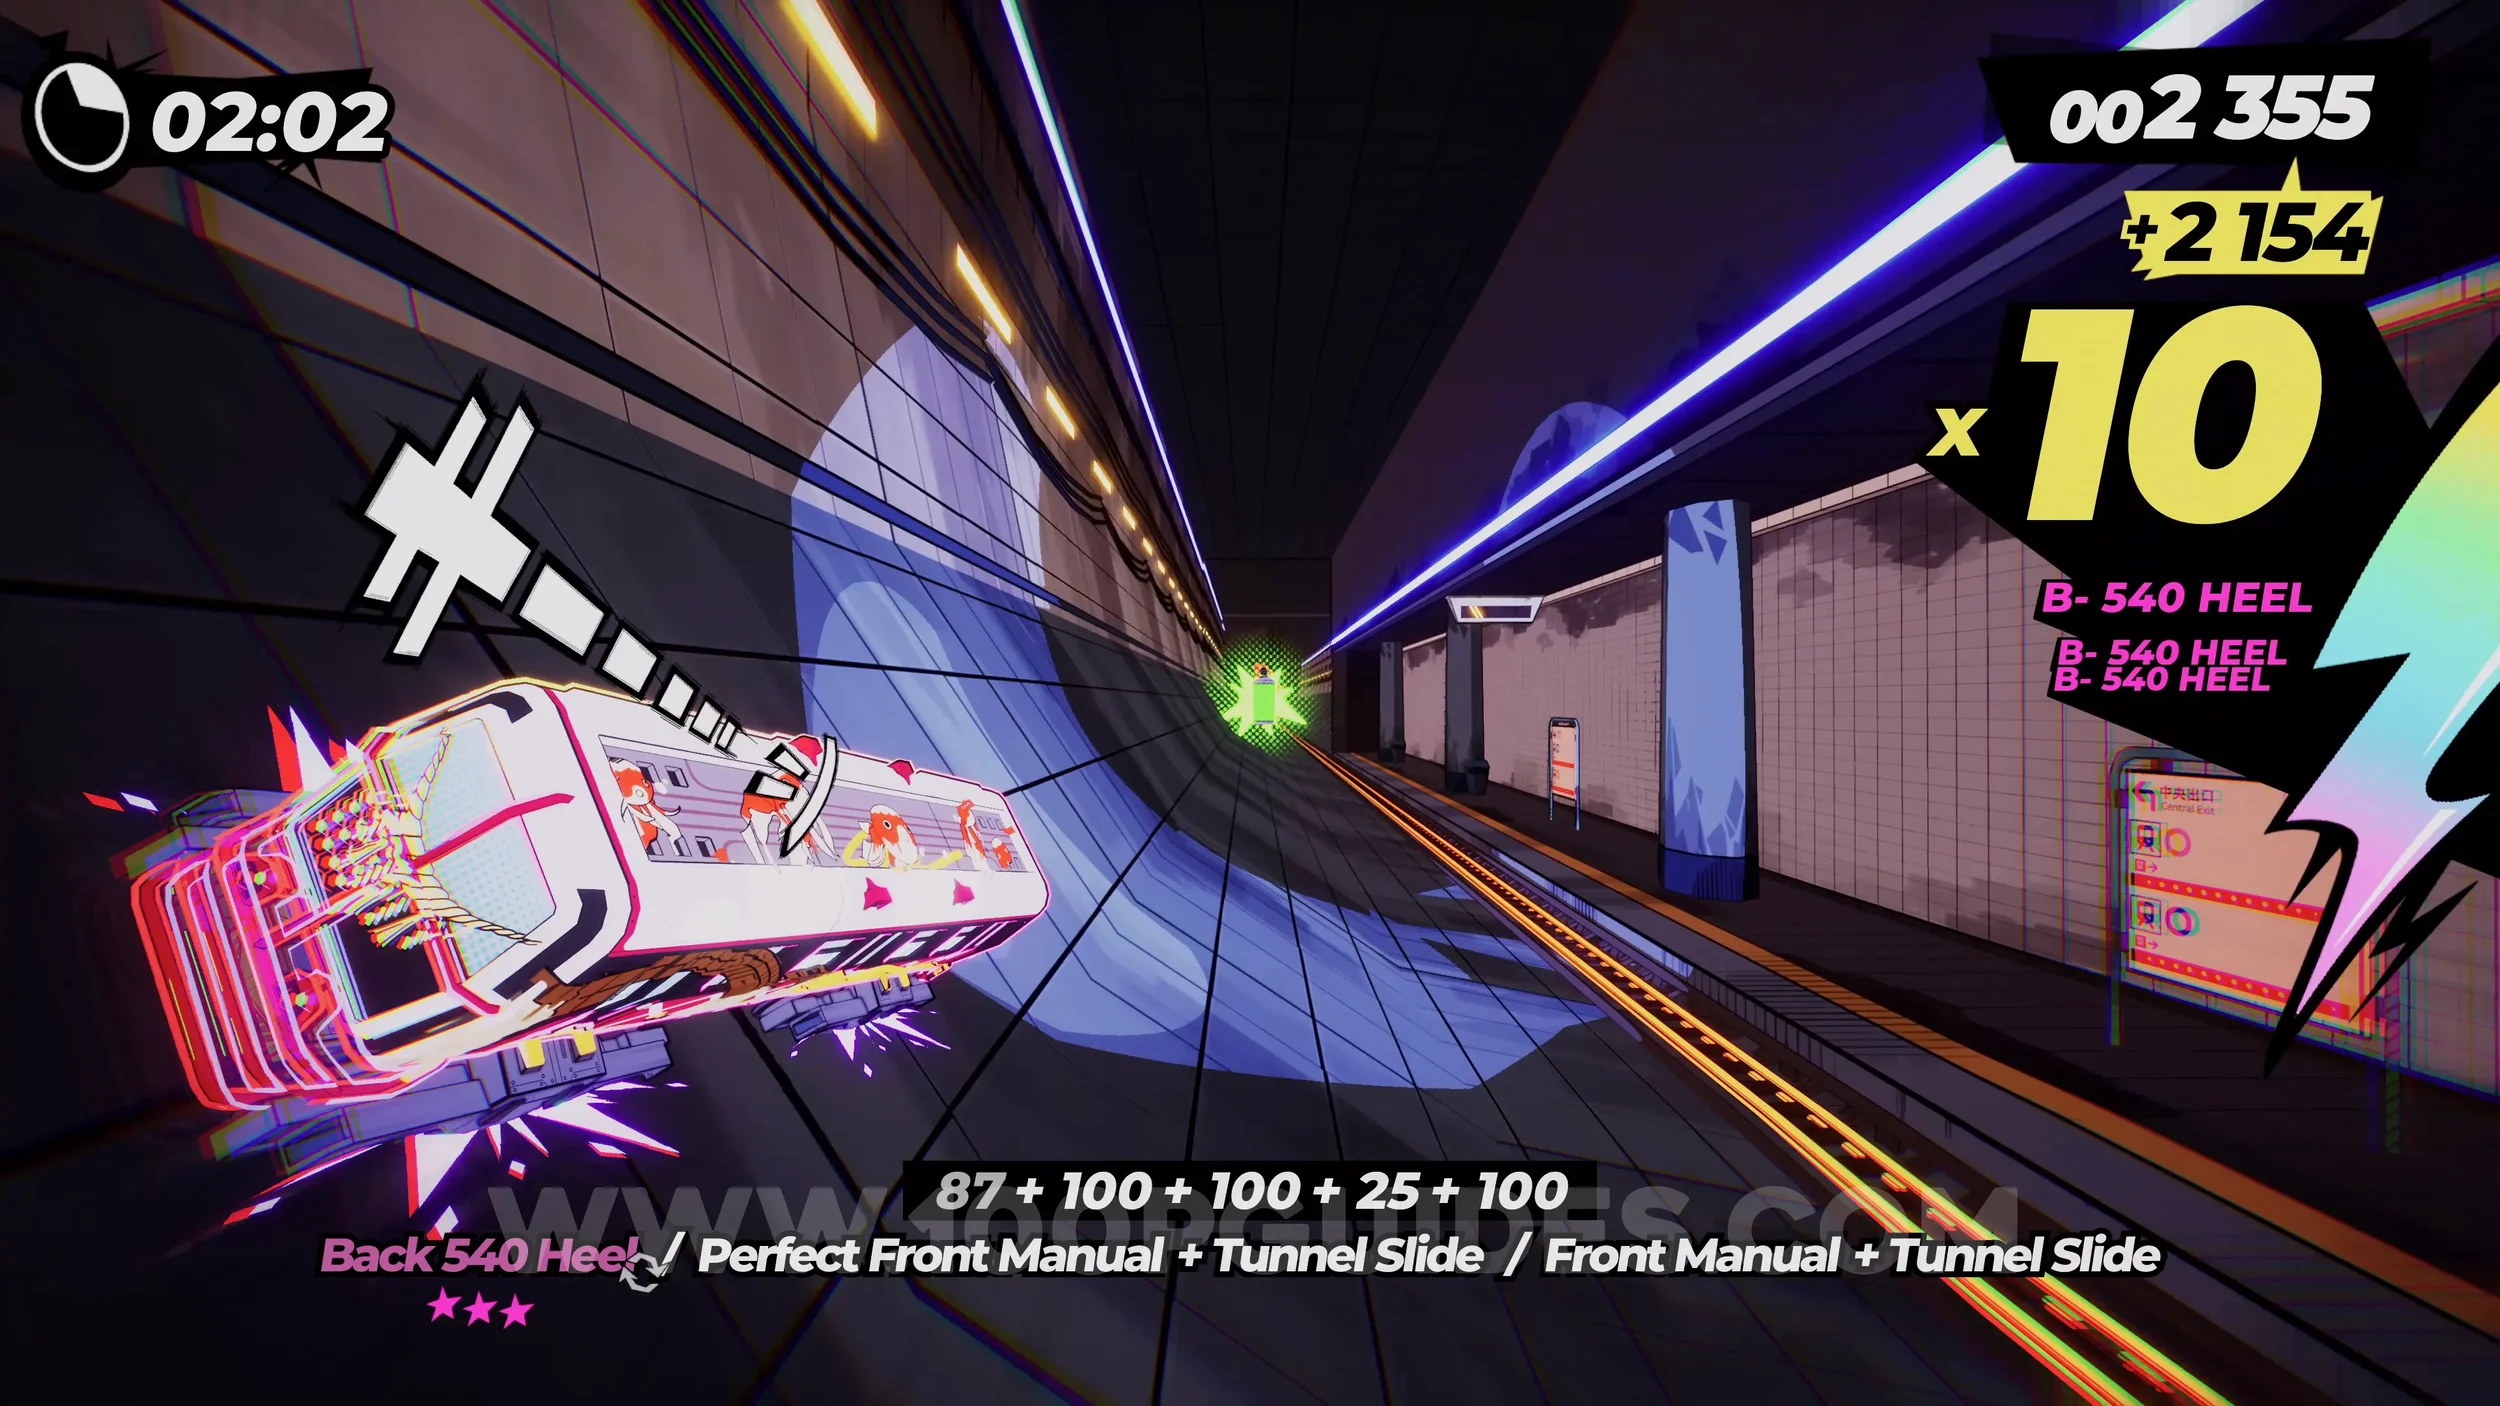
Spray Can (1/1). In the underground area where you have to dodge the oncoming trains, you will see it on your left after the first train.
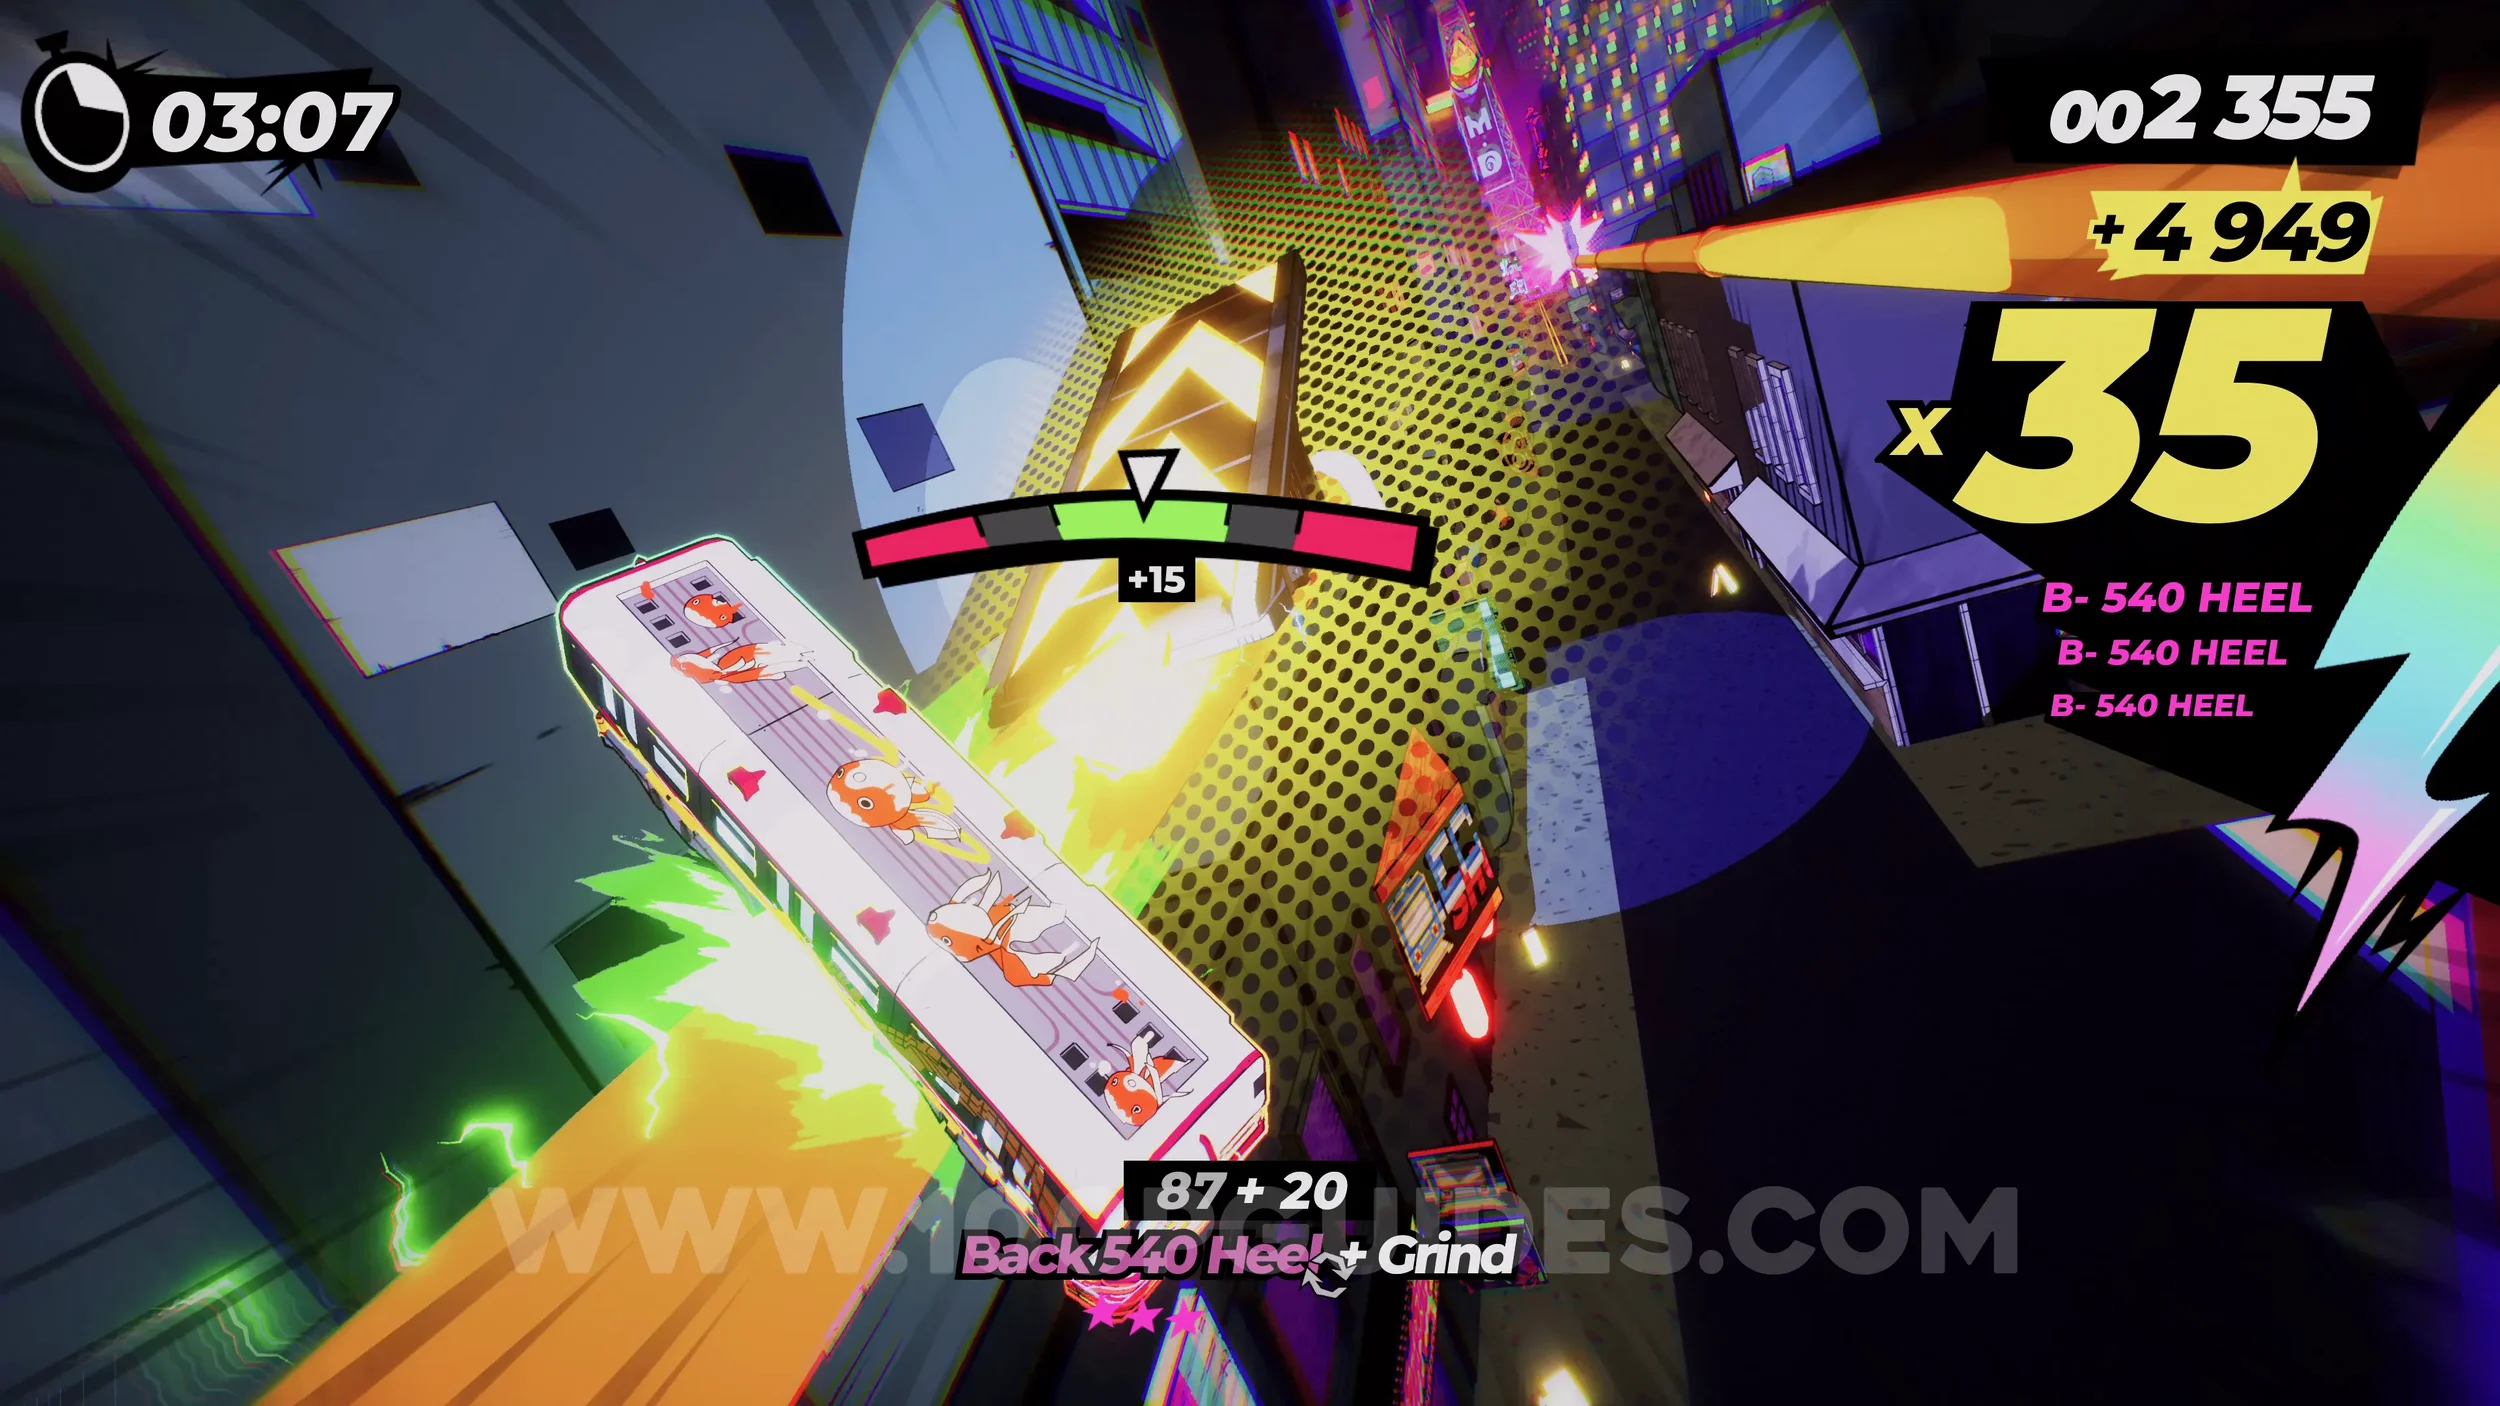
Gear (3/3). Soon after the spider webs in the water, you will see it in plain sight as you ride the yellow rails.
Film Roll (1/1). Just after the previous gear, you will see a rainbow track on your right side if you have your special bar filled up. Follow it to get to the film roll.
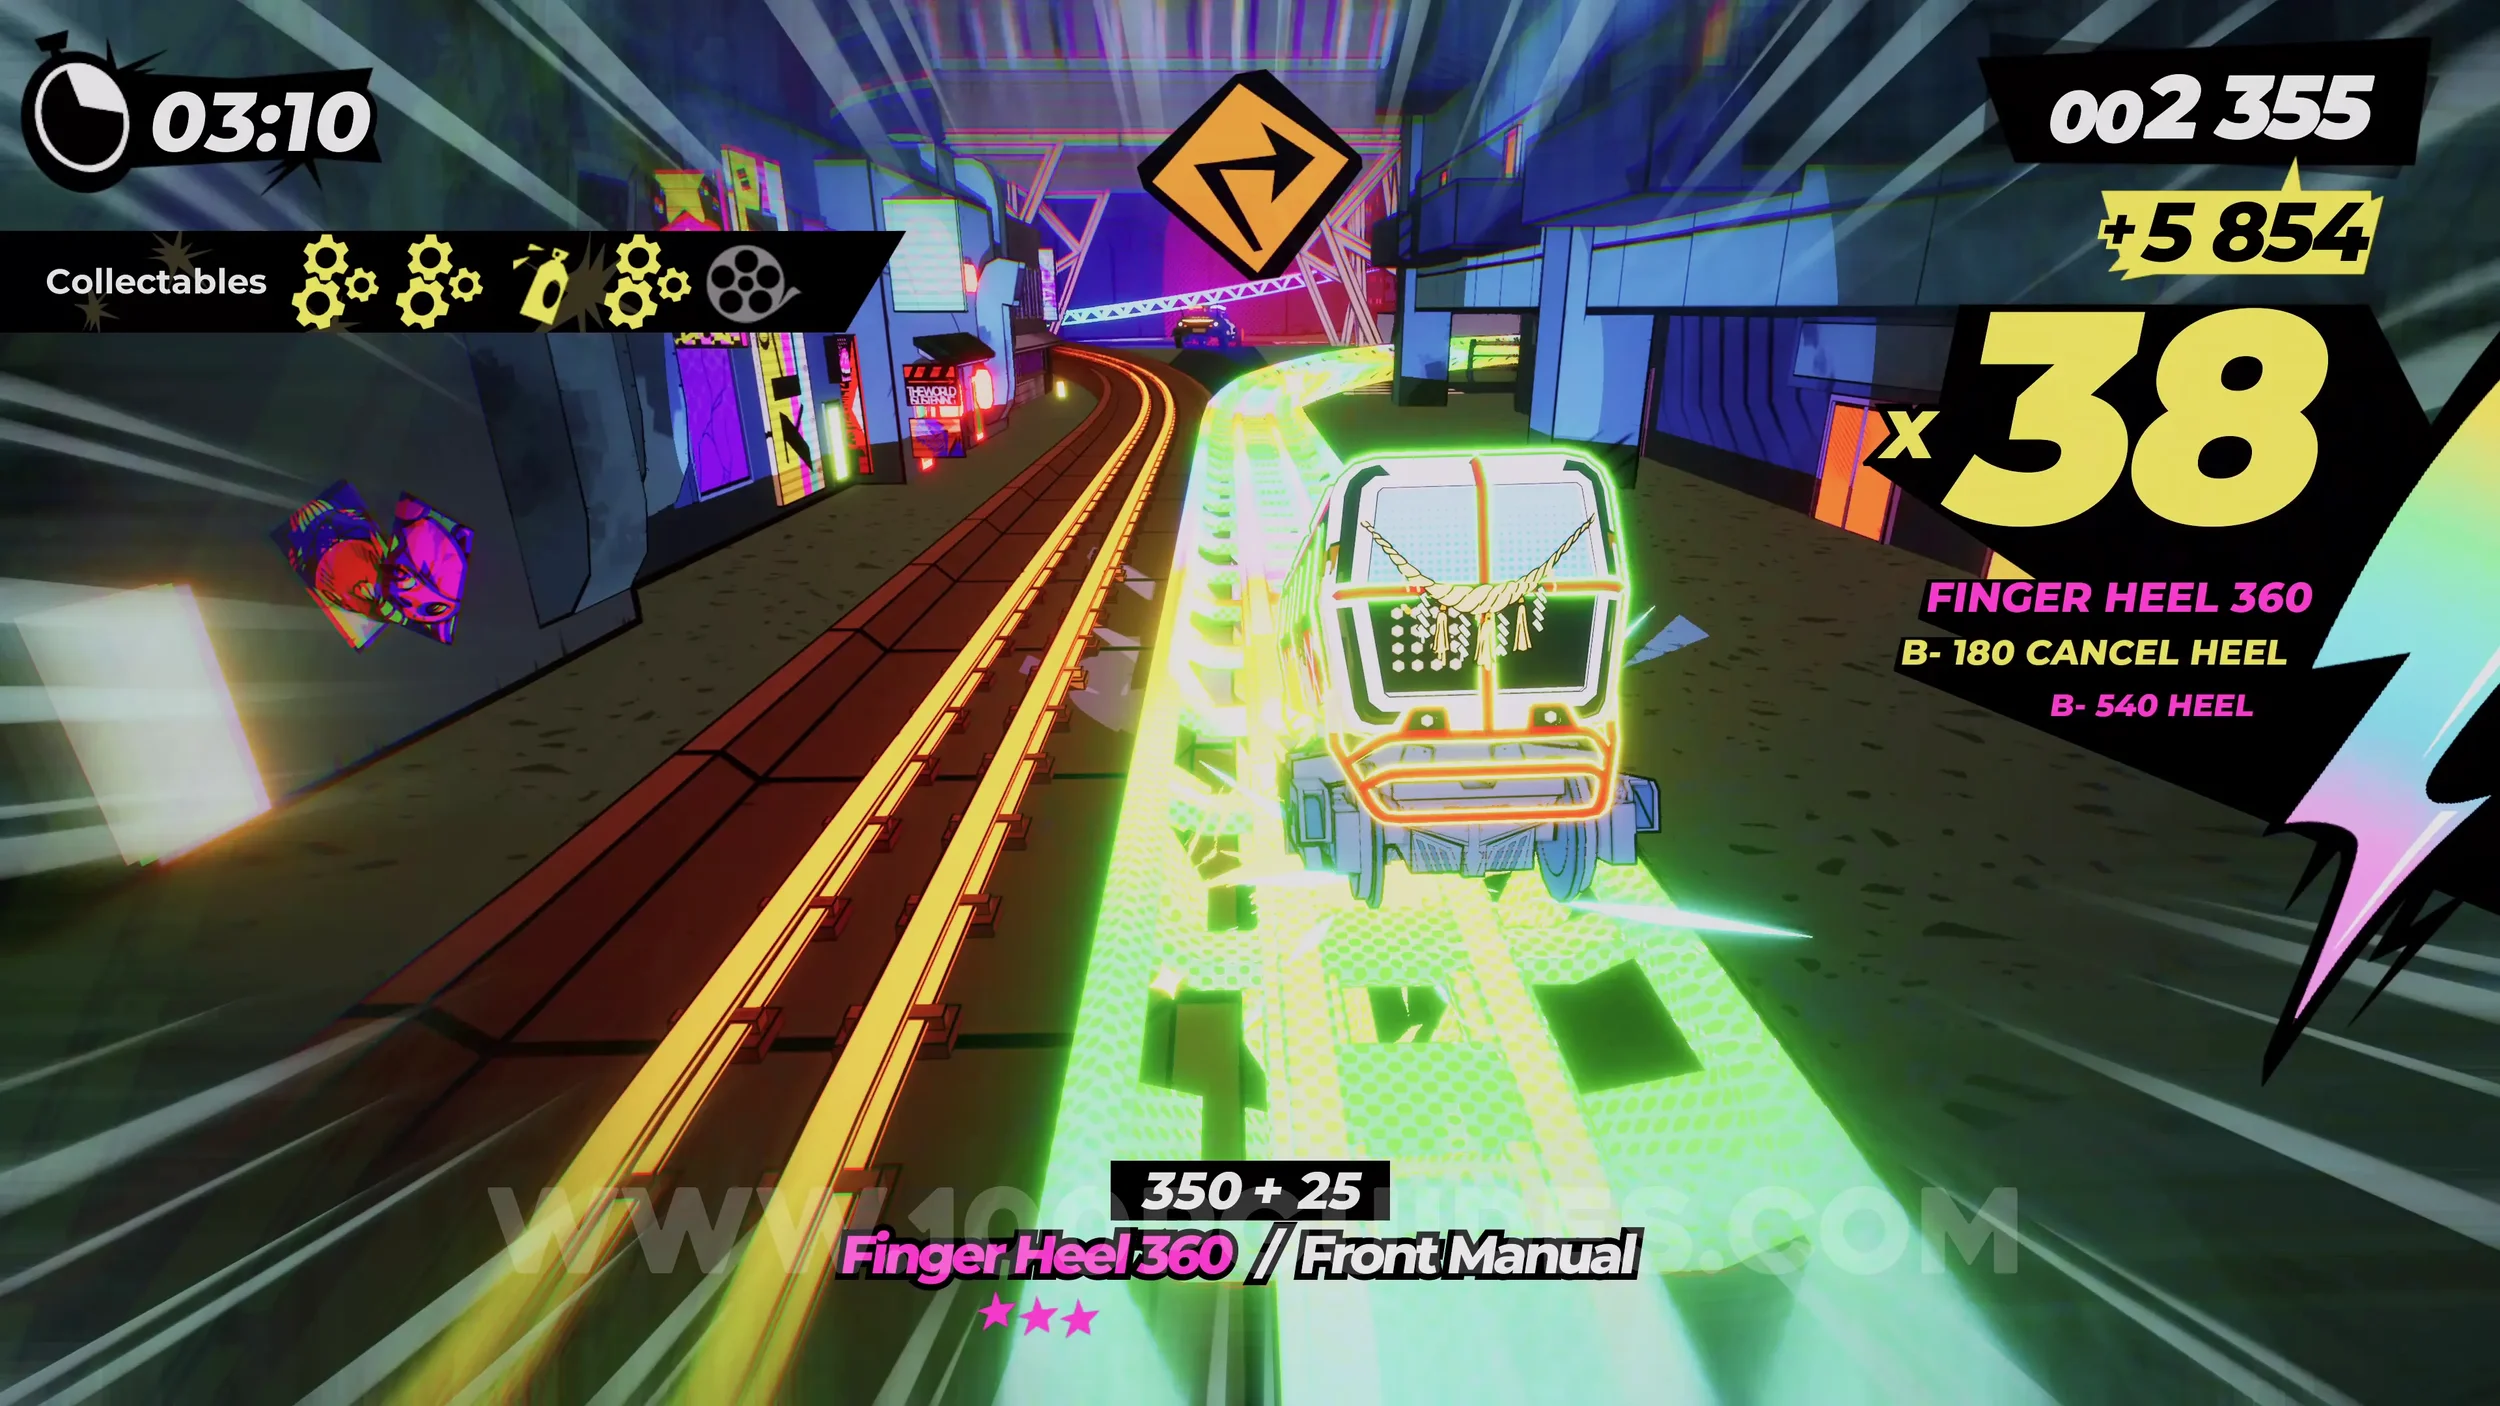
Dare: Chain 5 Tricks on the Haru Skyscraper Descent. Close to the end of the level, you will chase some enemies up a tall tower and then descend back down in the air. While falling, perform five tricks.
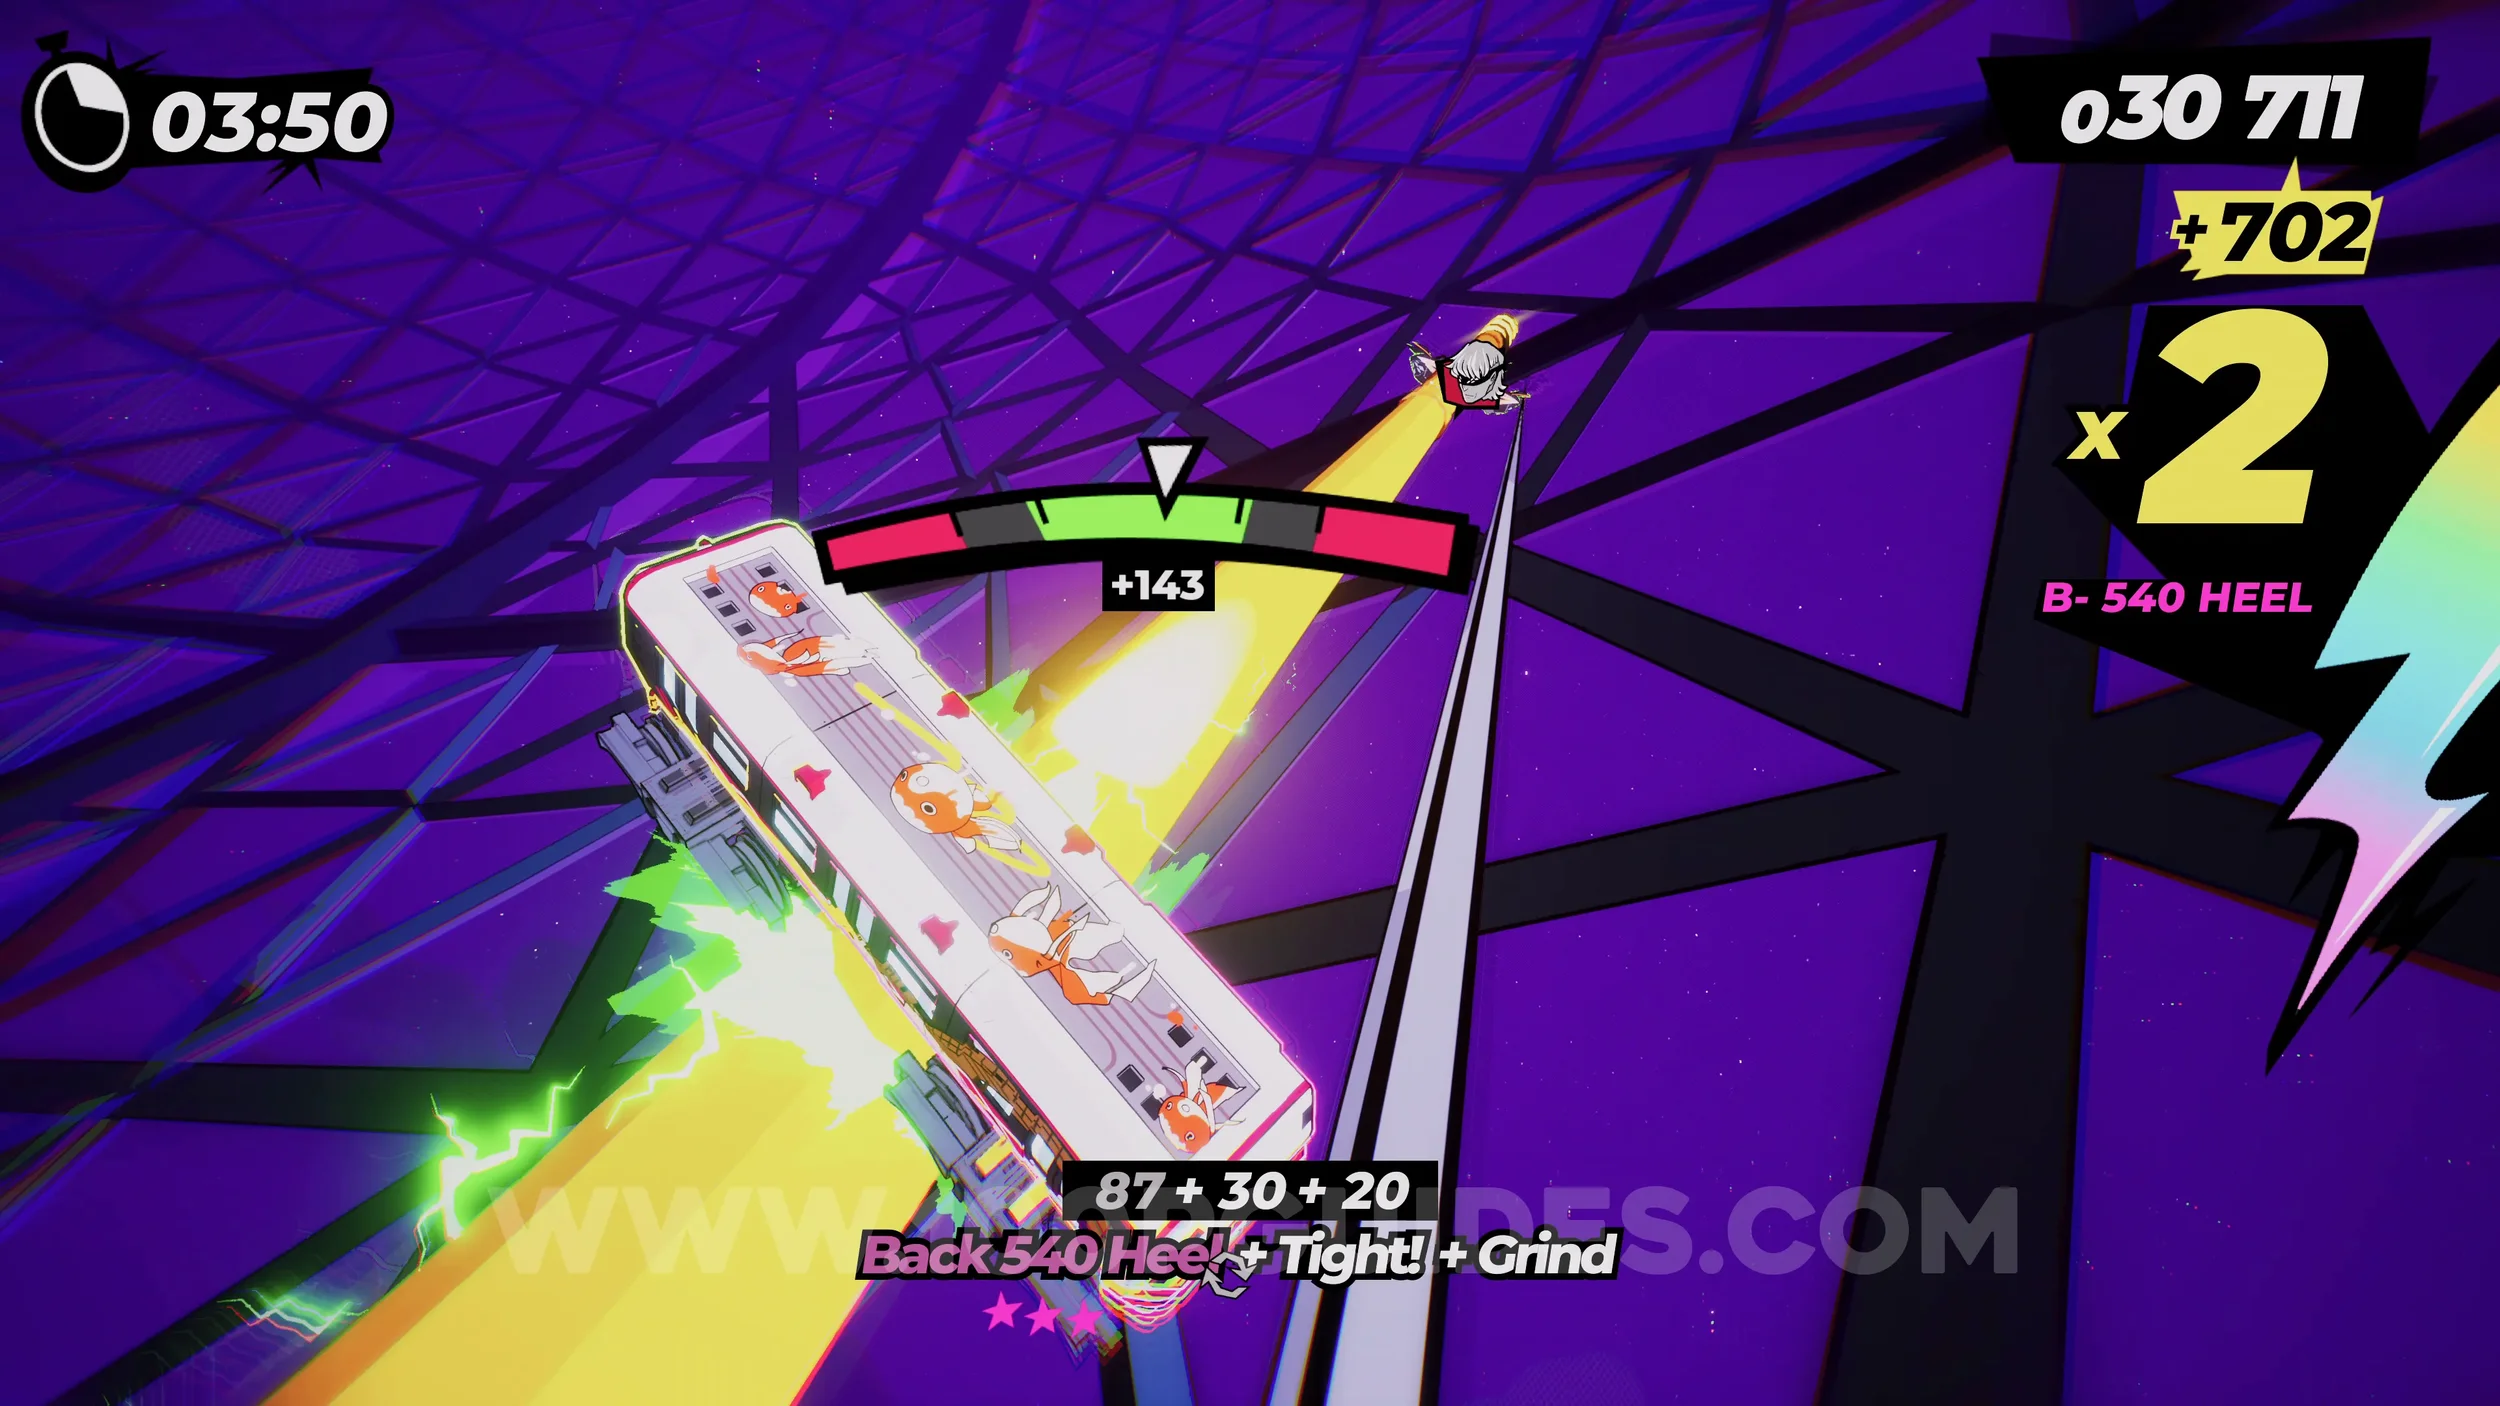
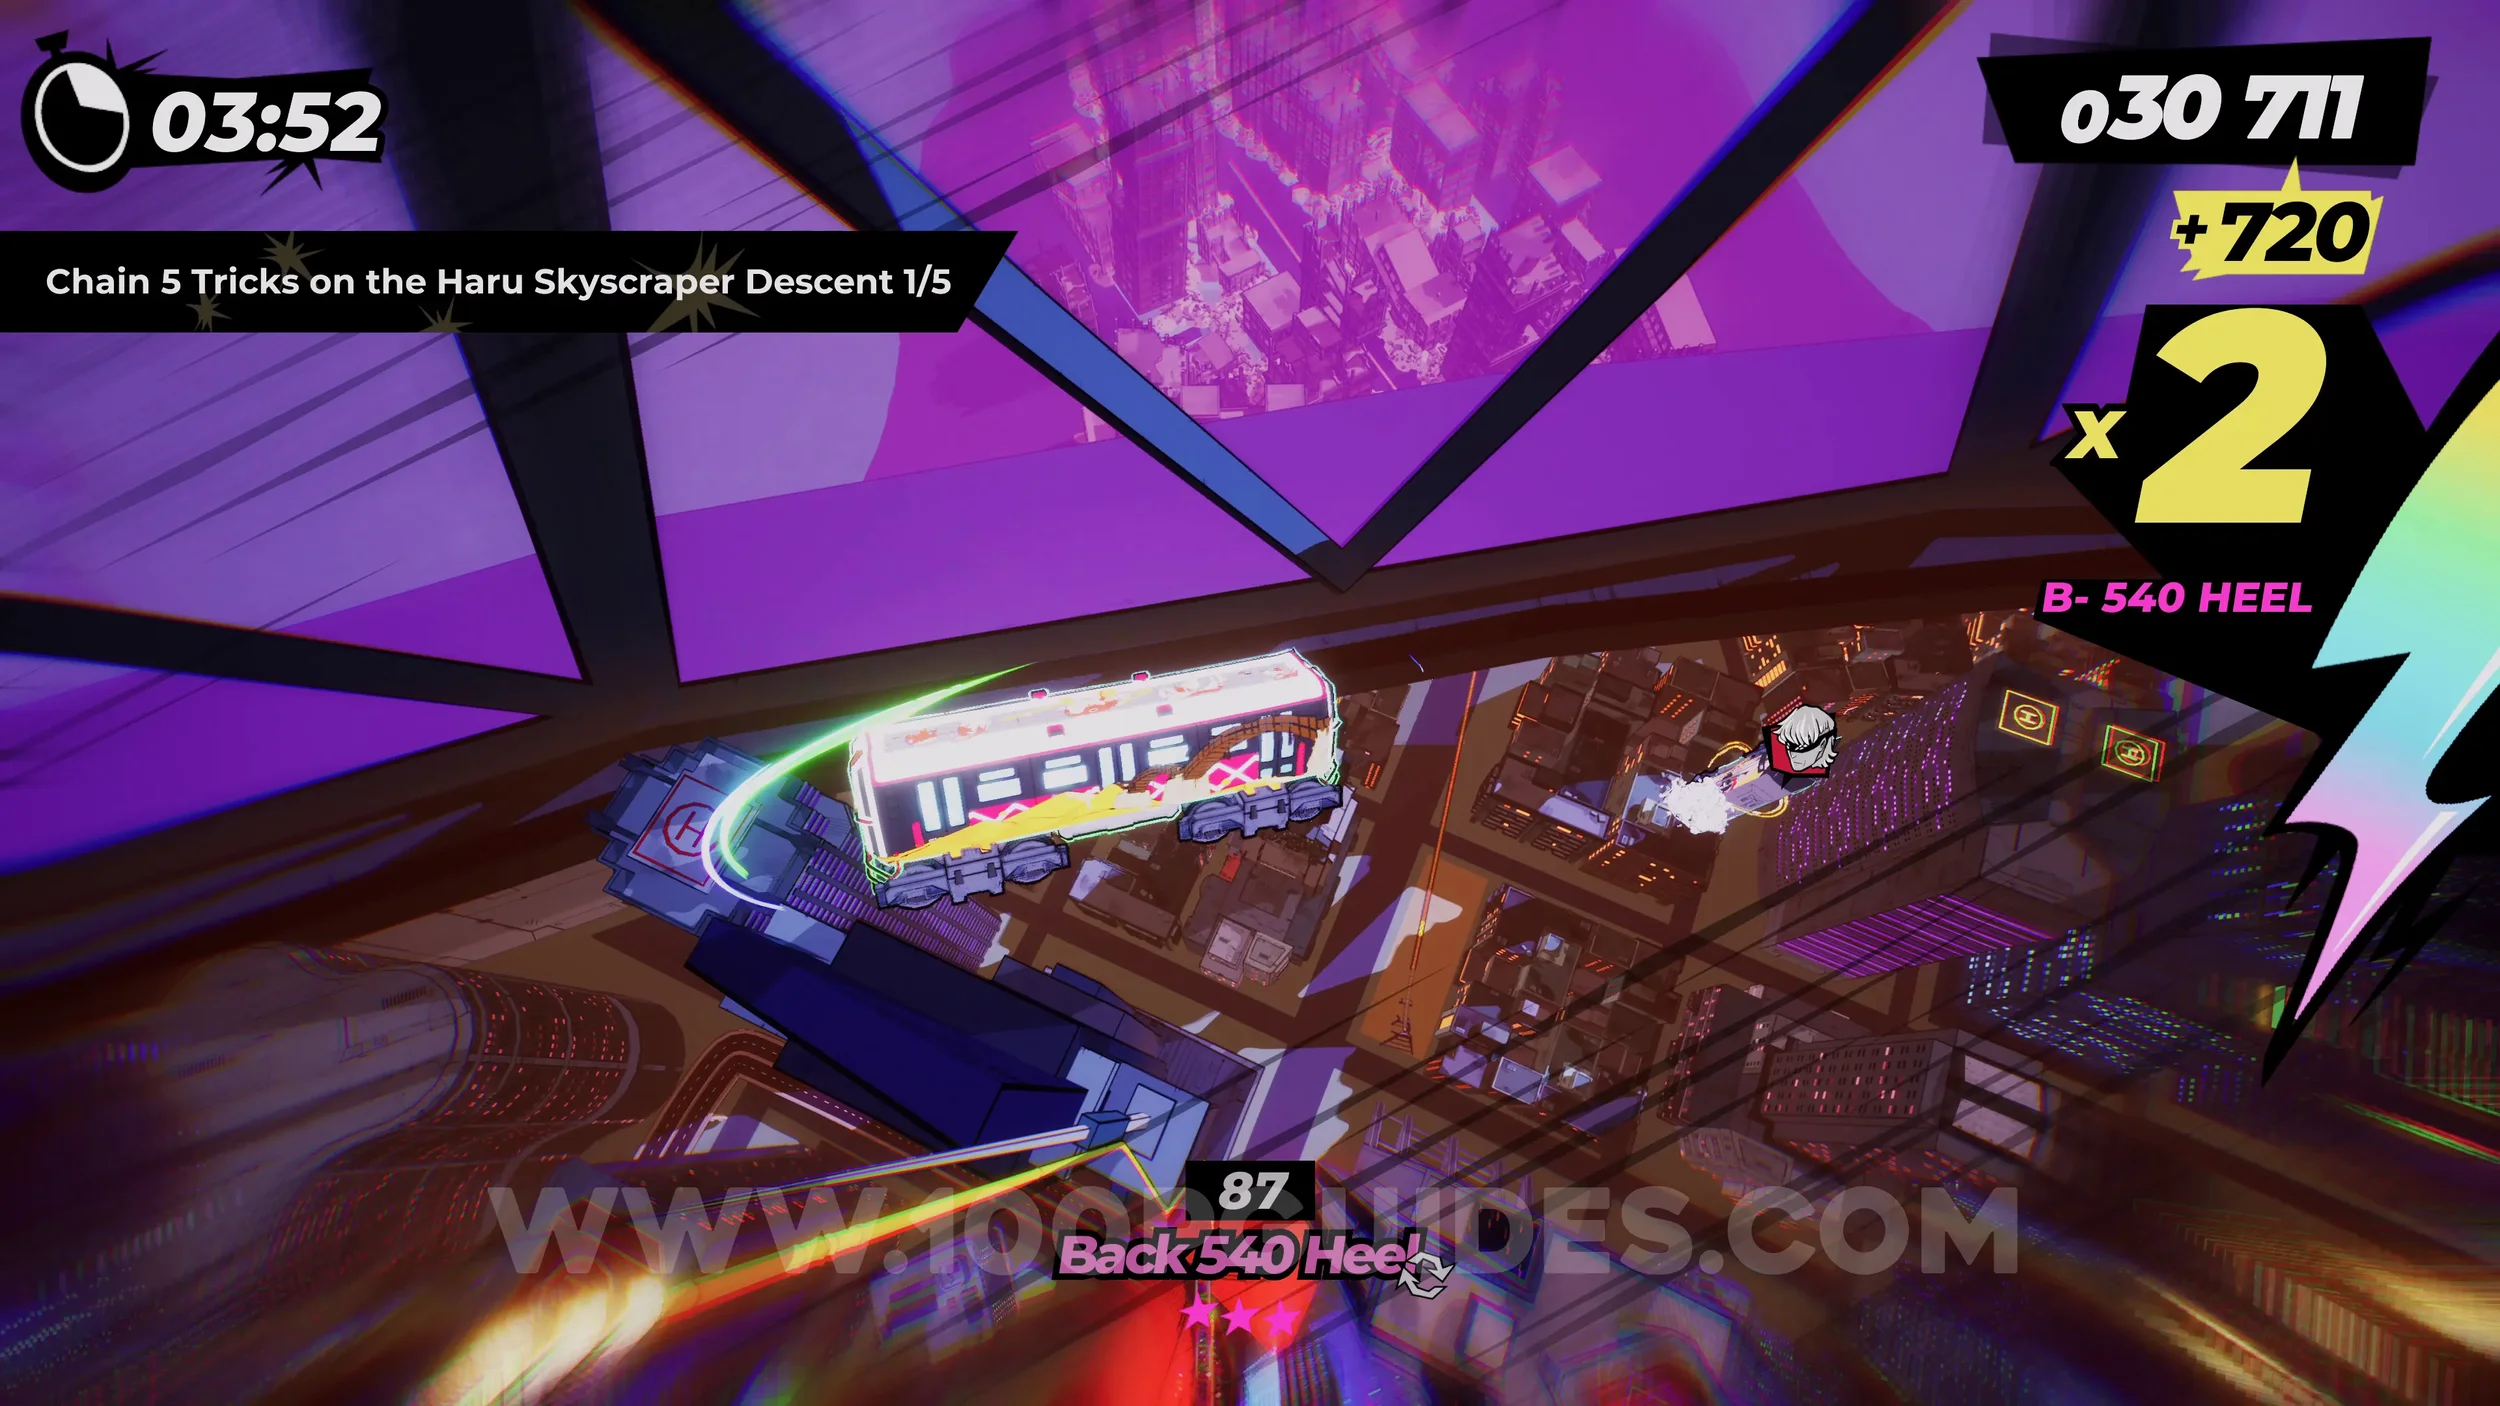
Dare: No Crash Finish. Self-explanatory. Get to the end of the level without crashing.
5-3-F Kansai Fanzine H.Q.
(EN)Zine #4. Fill the comic book up with the film rolls to get the (EN)Zine. You will not be able to do this on your first visit, since some of the required film rolls are collected in later levels. Come back after collecting every film in the chapter.
5-4-1 Winds of Hope
Dare: Activate a Yukaze with an Intermediate Trick, Dare: Activate a Yukaze with an Advanced Trick and Dare: Activate a Yukaze with a Hardcore Trick. Through the level, you will see green circles of wind. You activate these by doing tricks. You will have to activate at least one with an intermediate trick, an Advanced Trick and a hardcore trick. You can check the trick list in the Tricktionary in the pause menu.
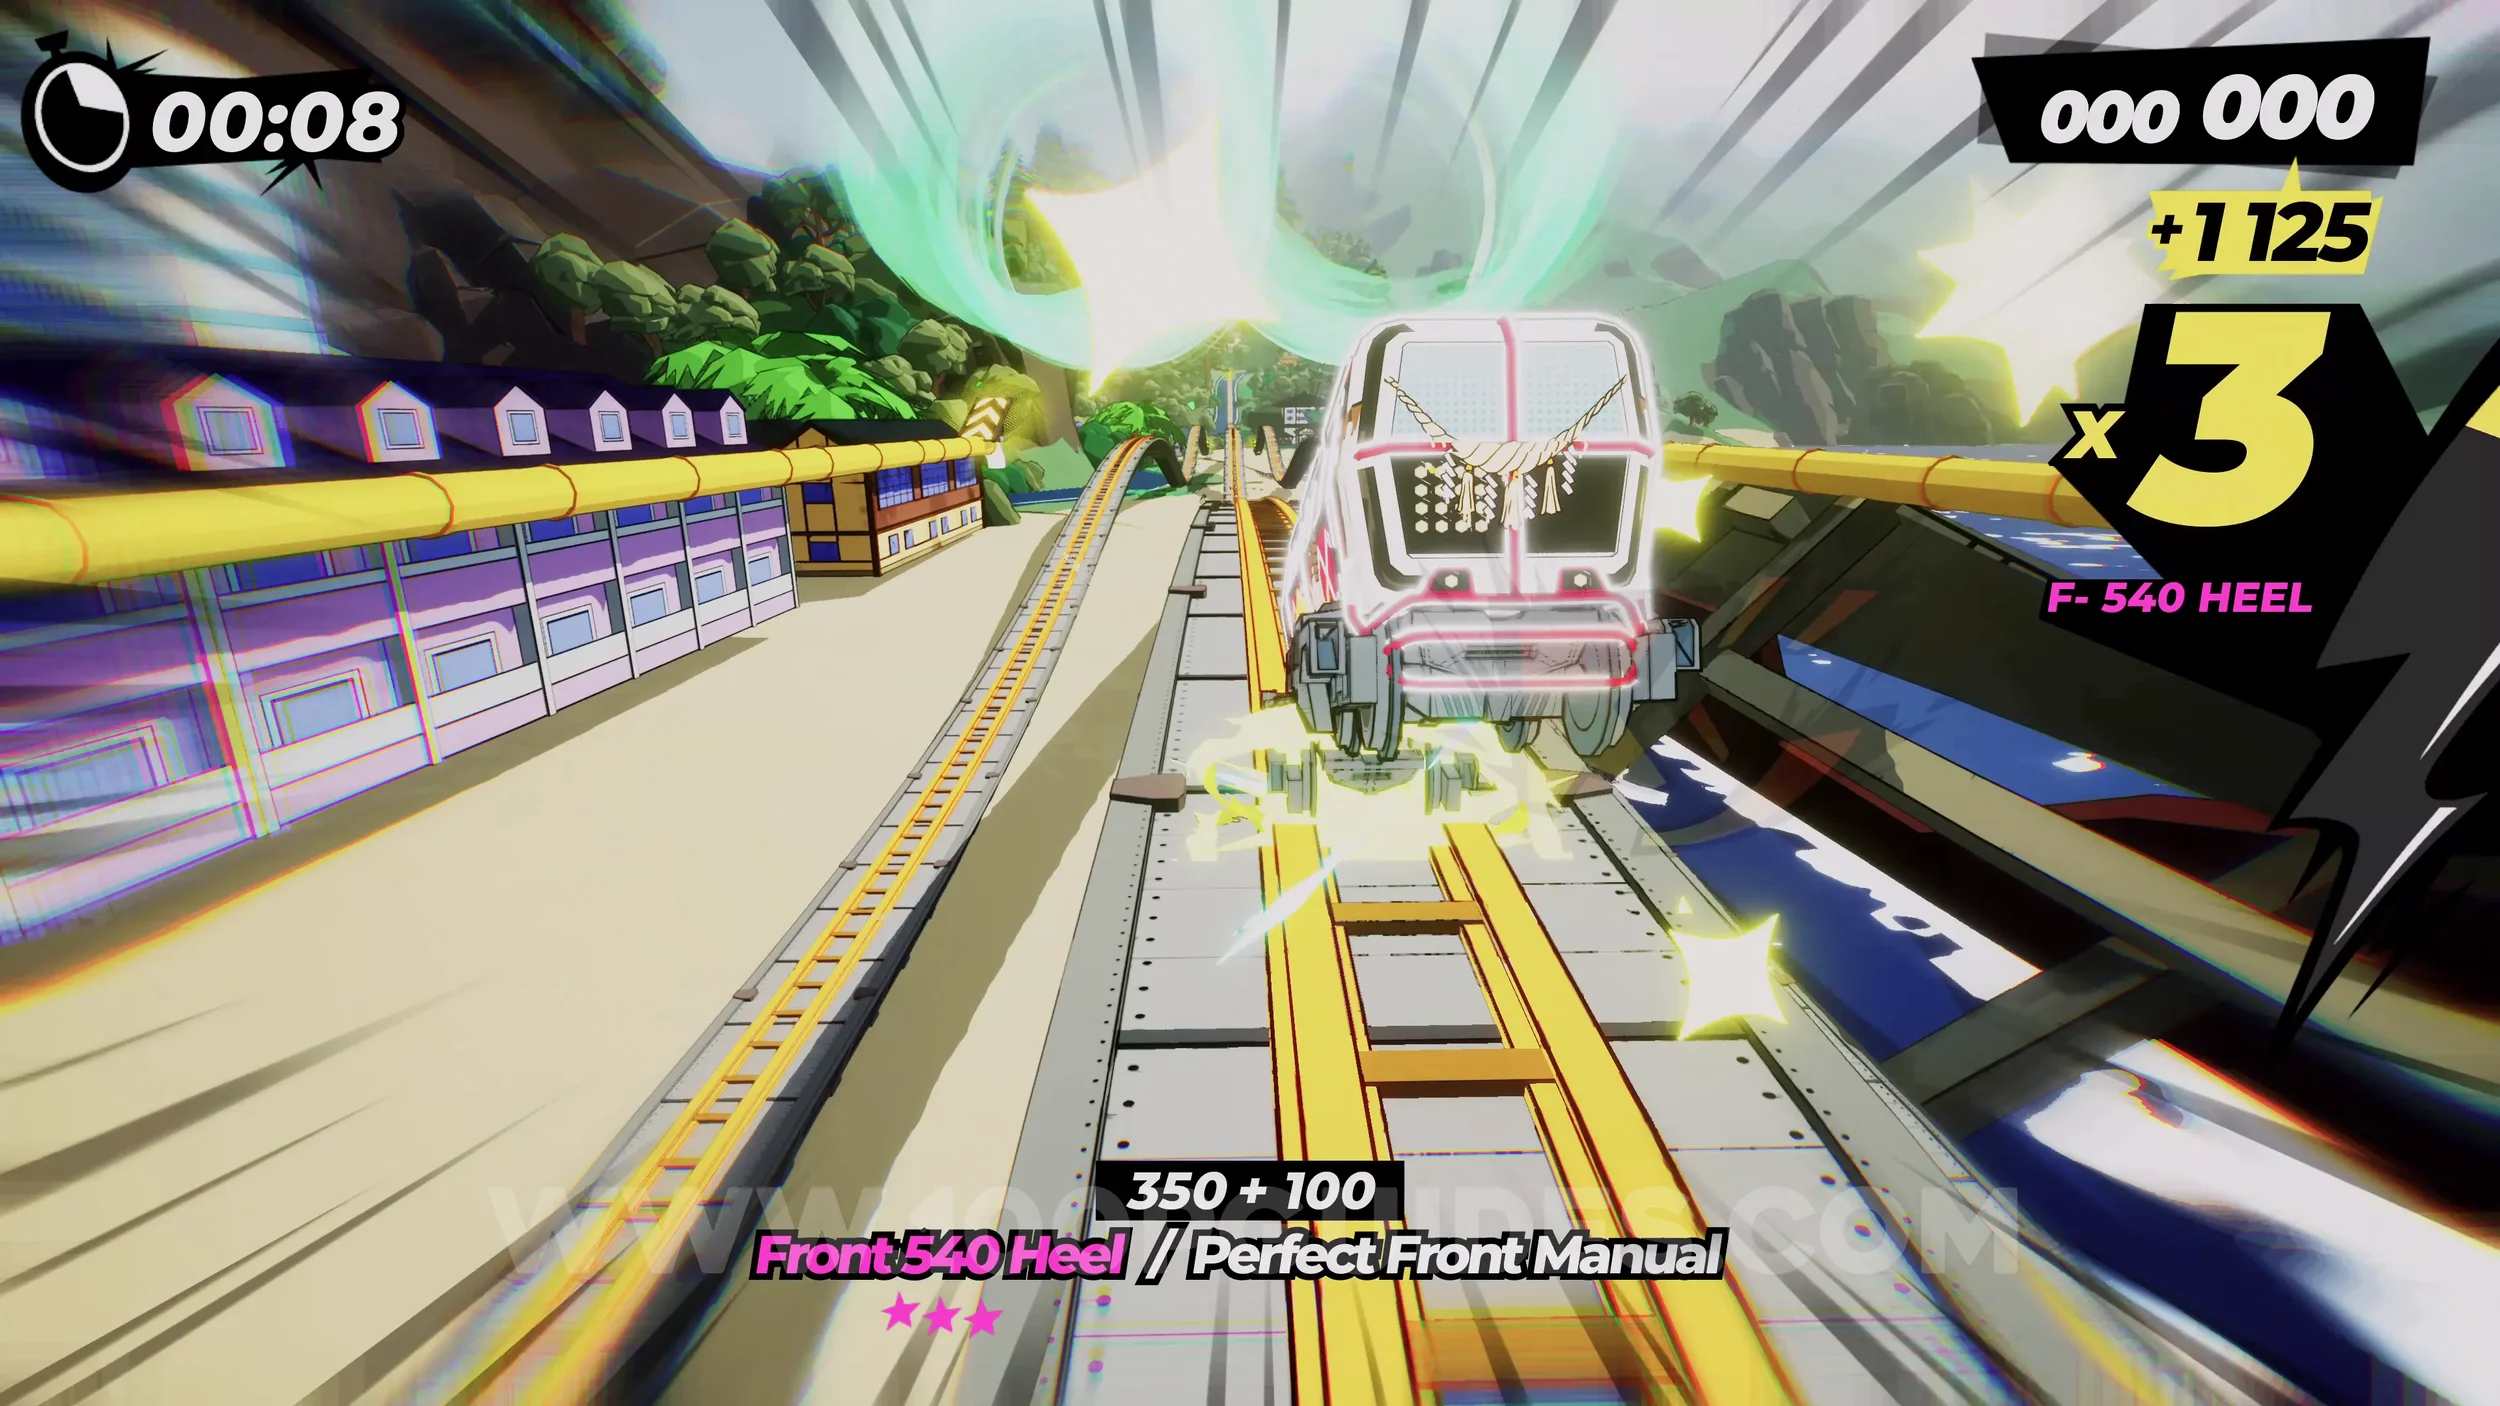
Gear (1/3). Once you get to the forest, you will see a blue gear sign below a Yukaze (wind circle). Do not do a trick and instead perform an air stomp to go down to the gear.
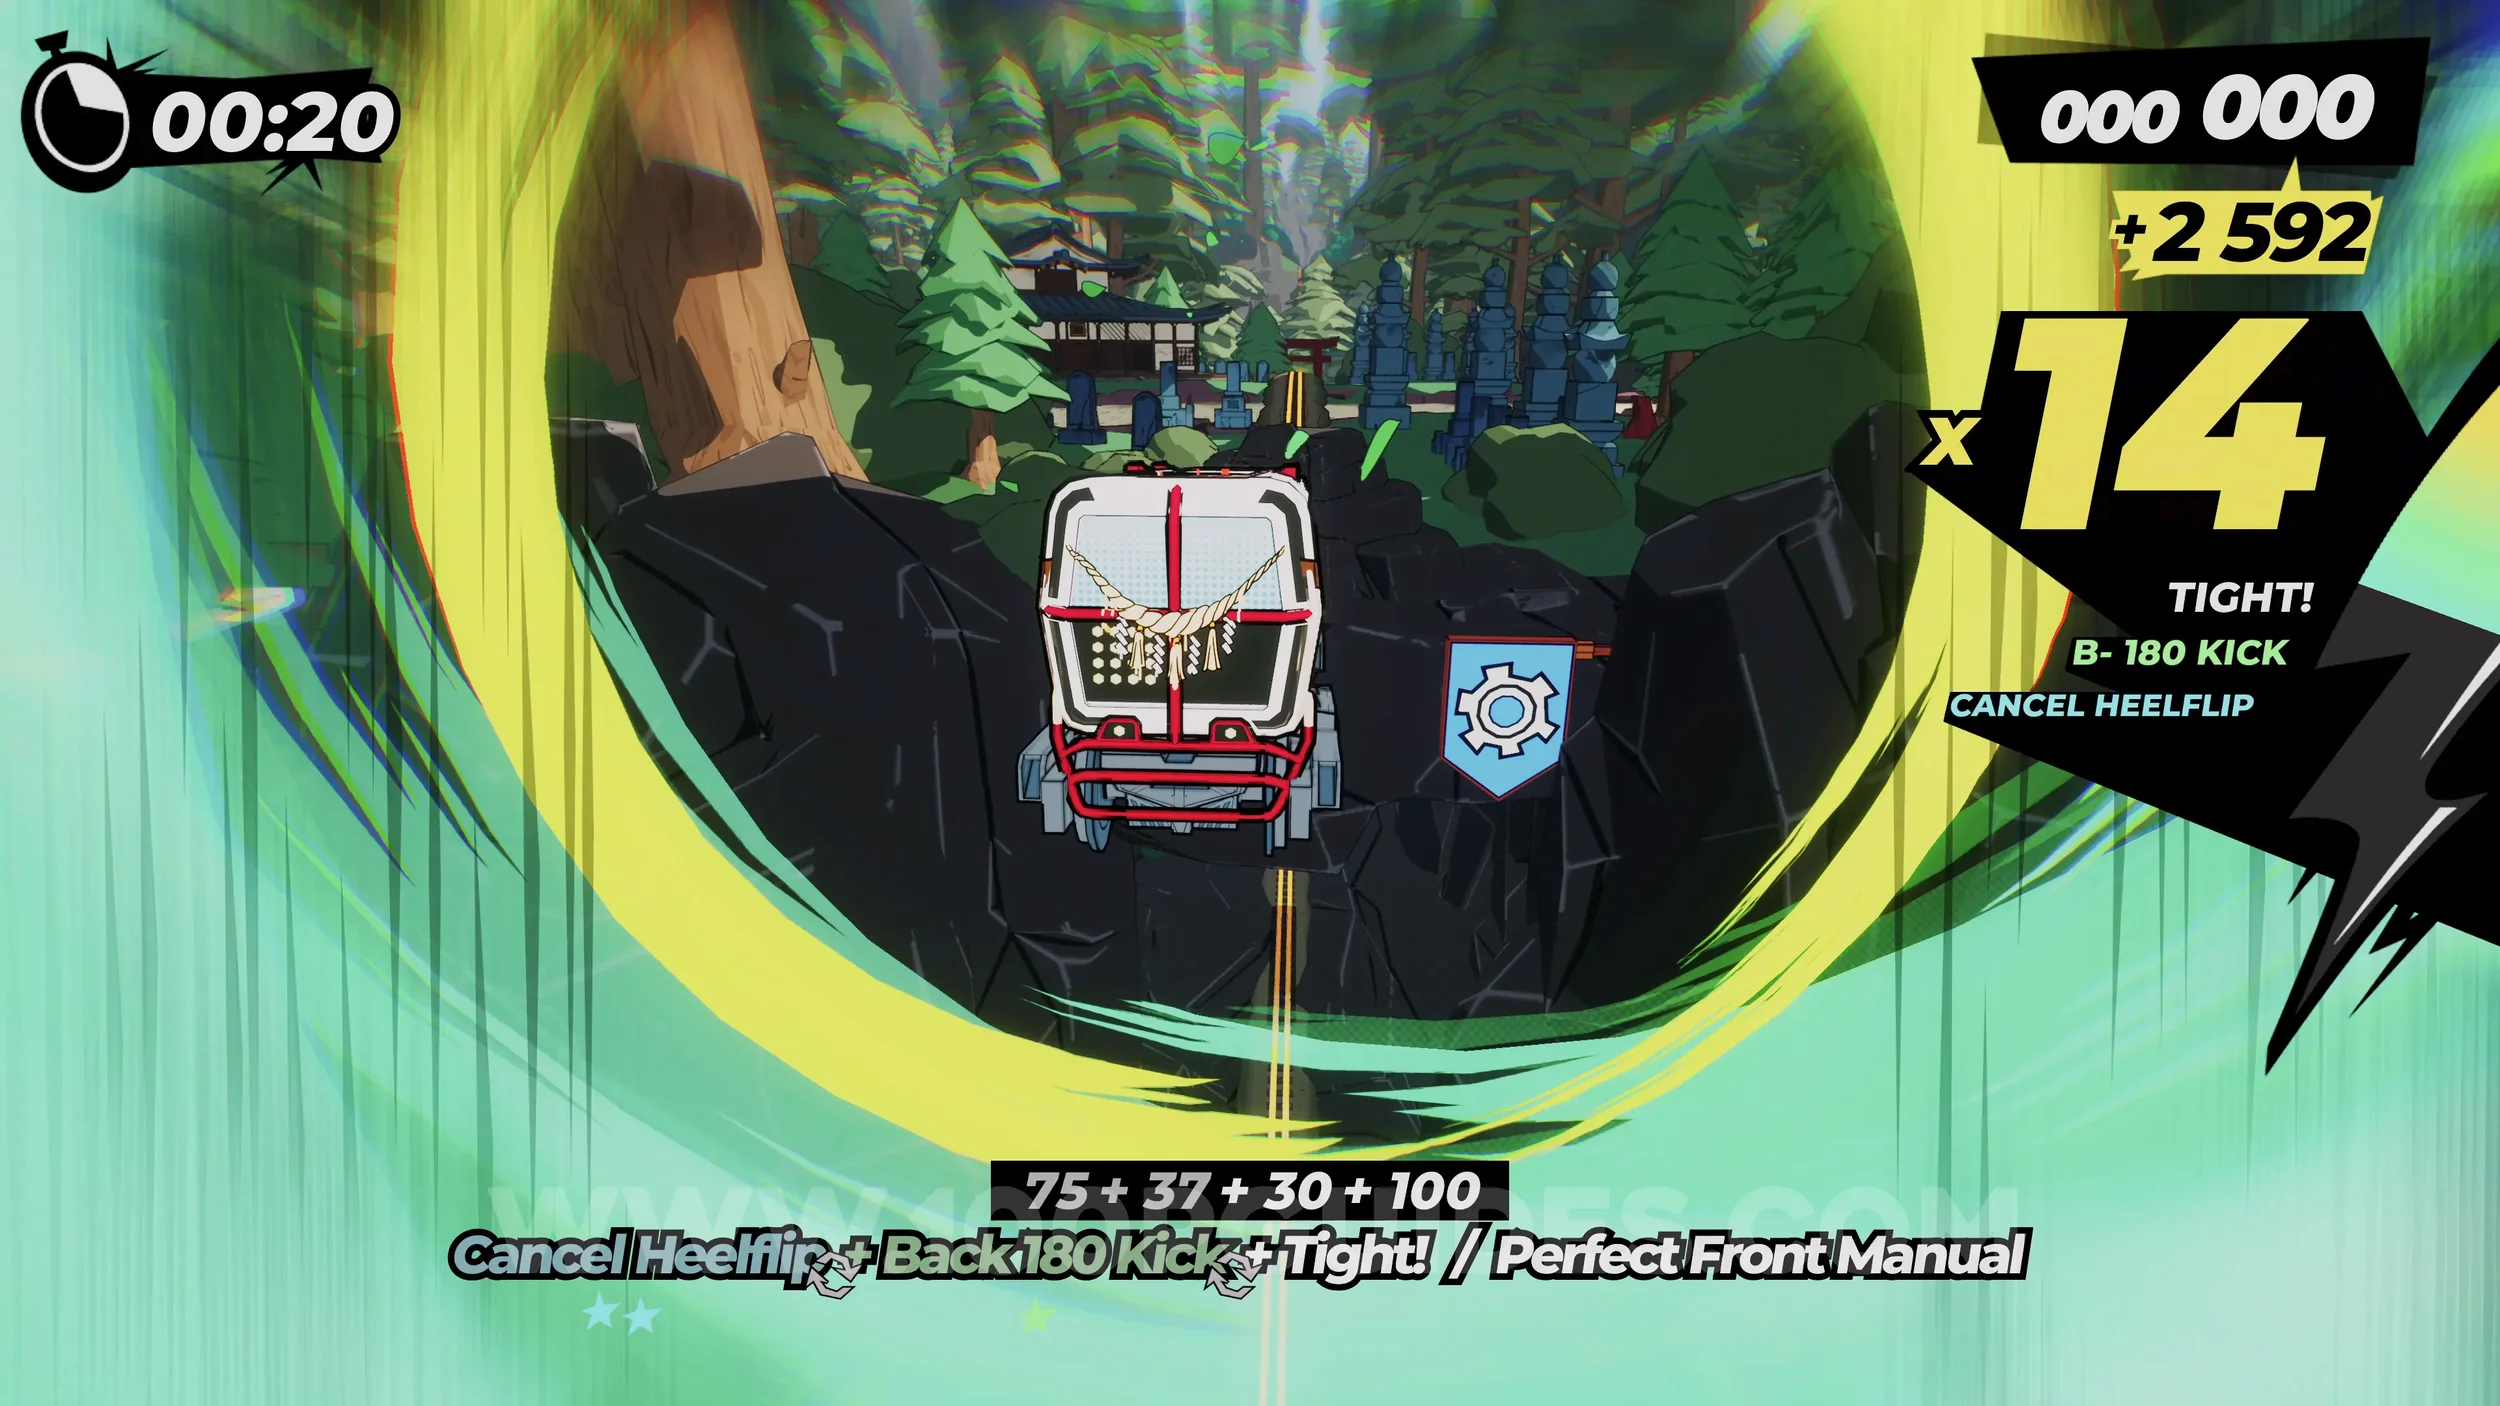
Film Roll (1/1). Soon after the gear, you will go around a right-side corner and then see a wallride on your left. The film roll will be on this wall.
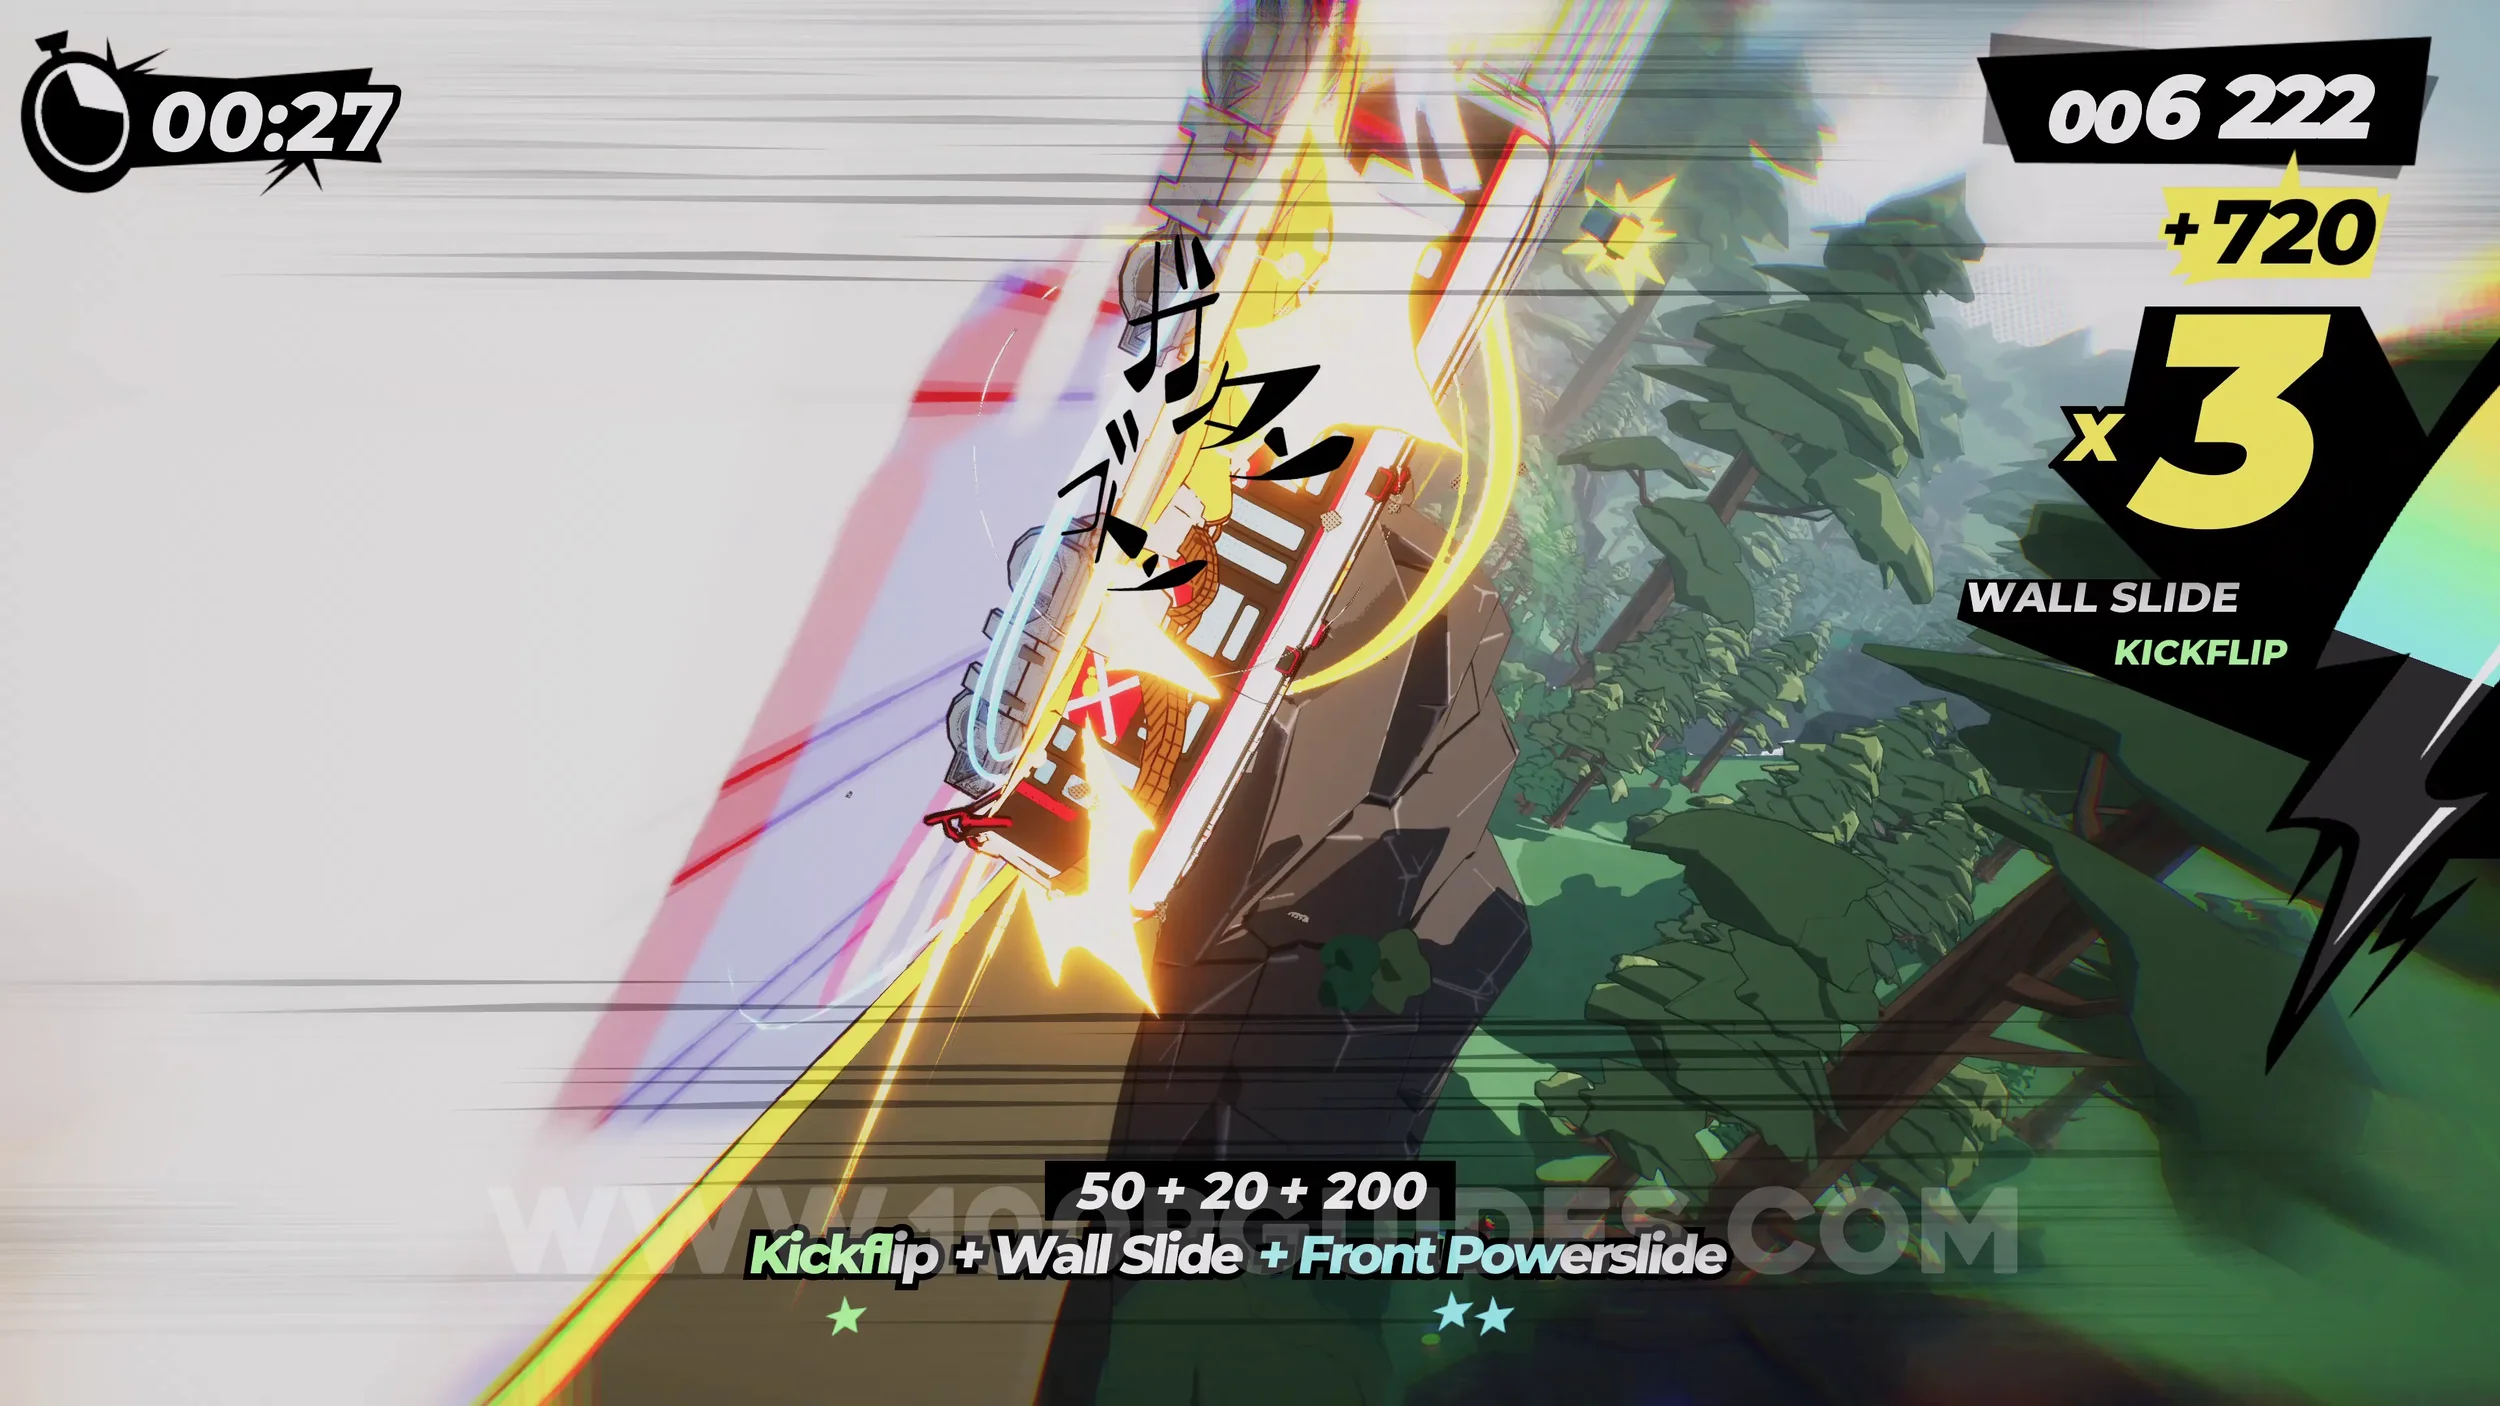
Gear (2/3). After the forest, you will jump over a temple and land in a cave. The gear will be in plain sight in this cave.
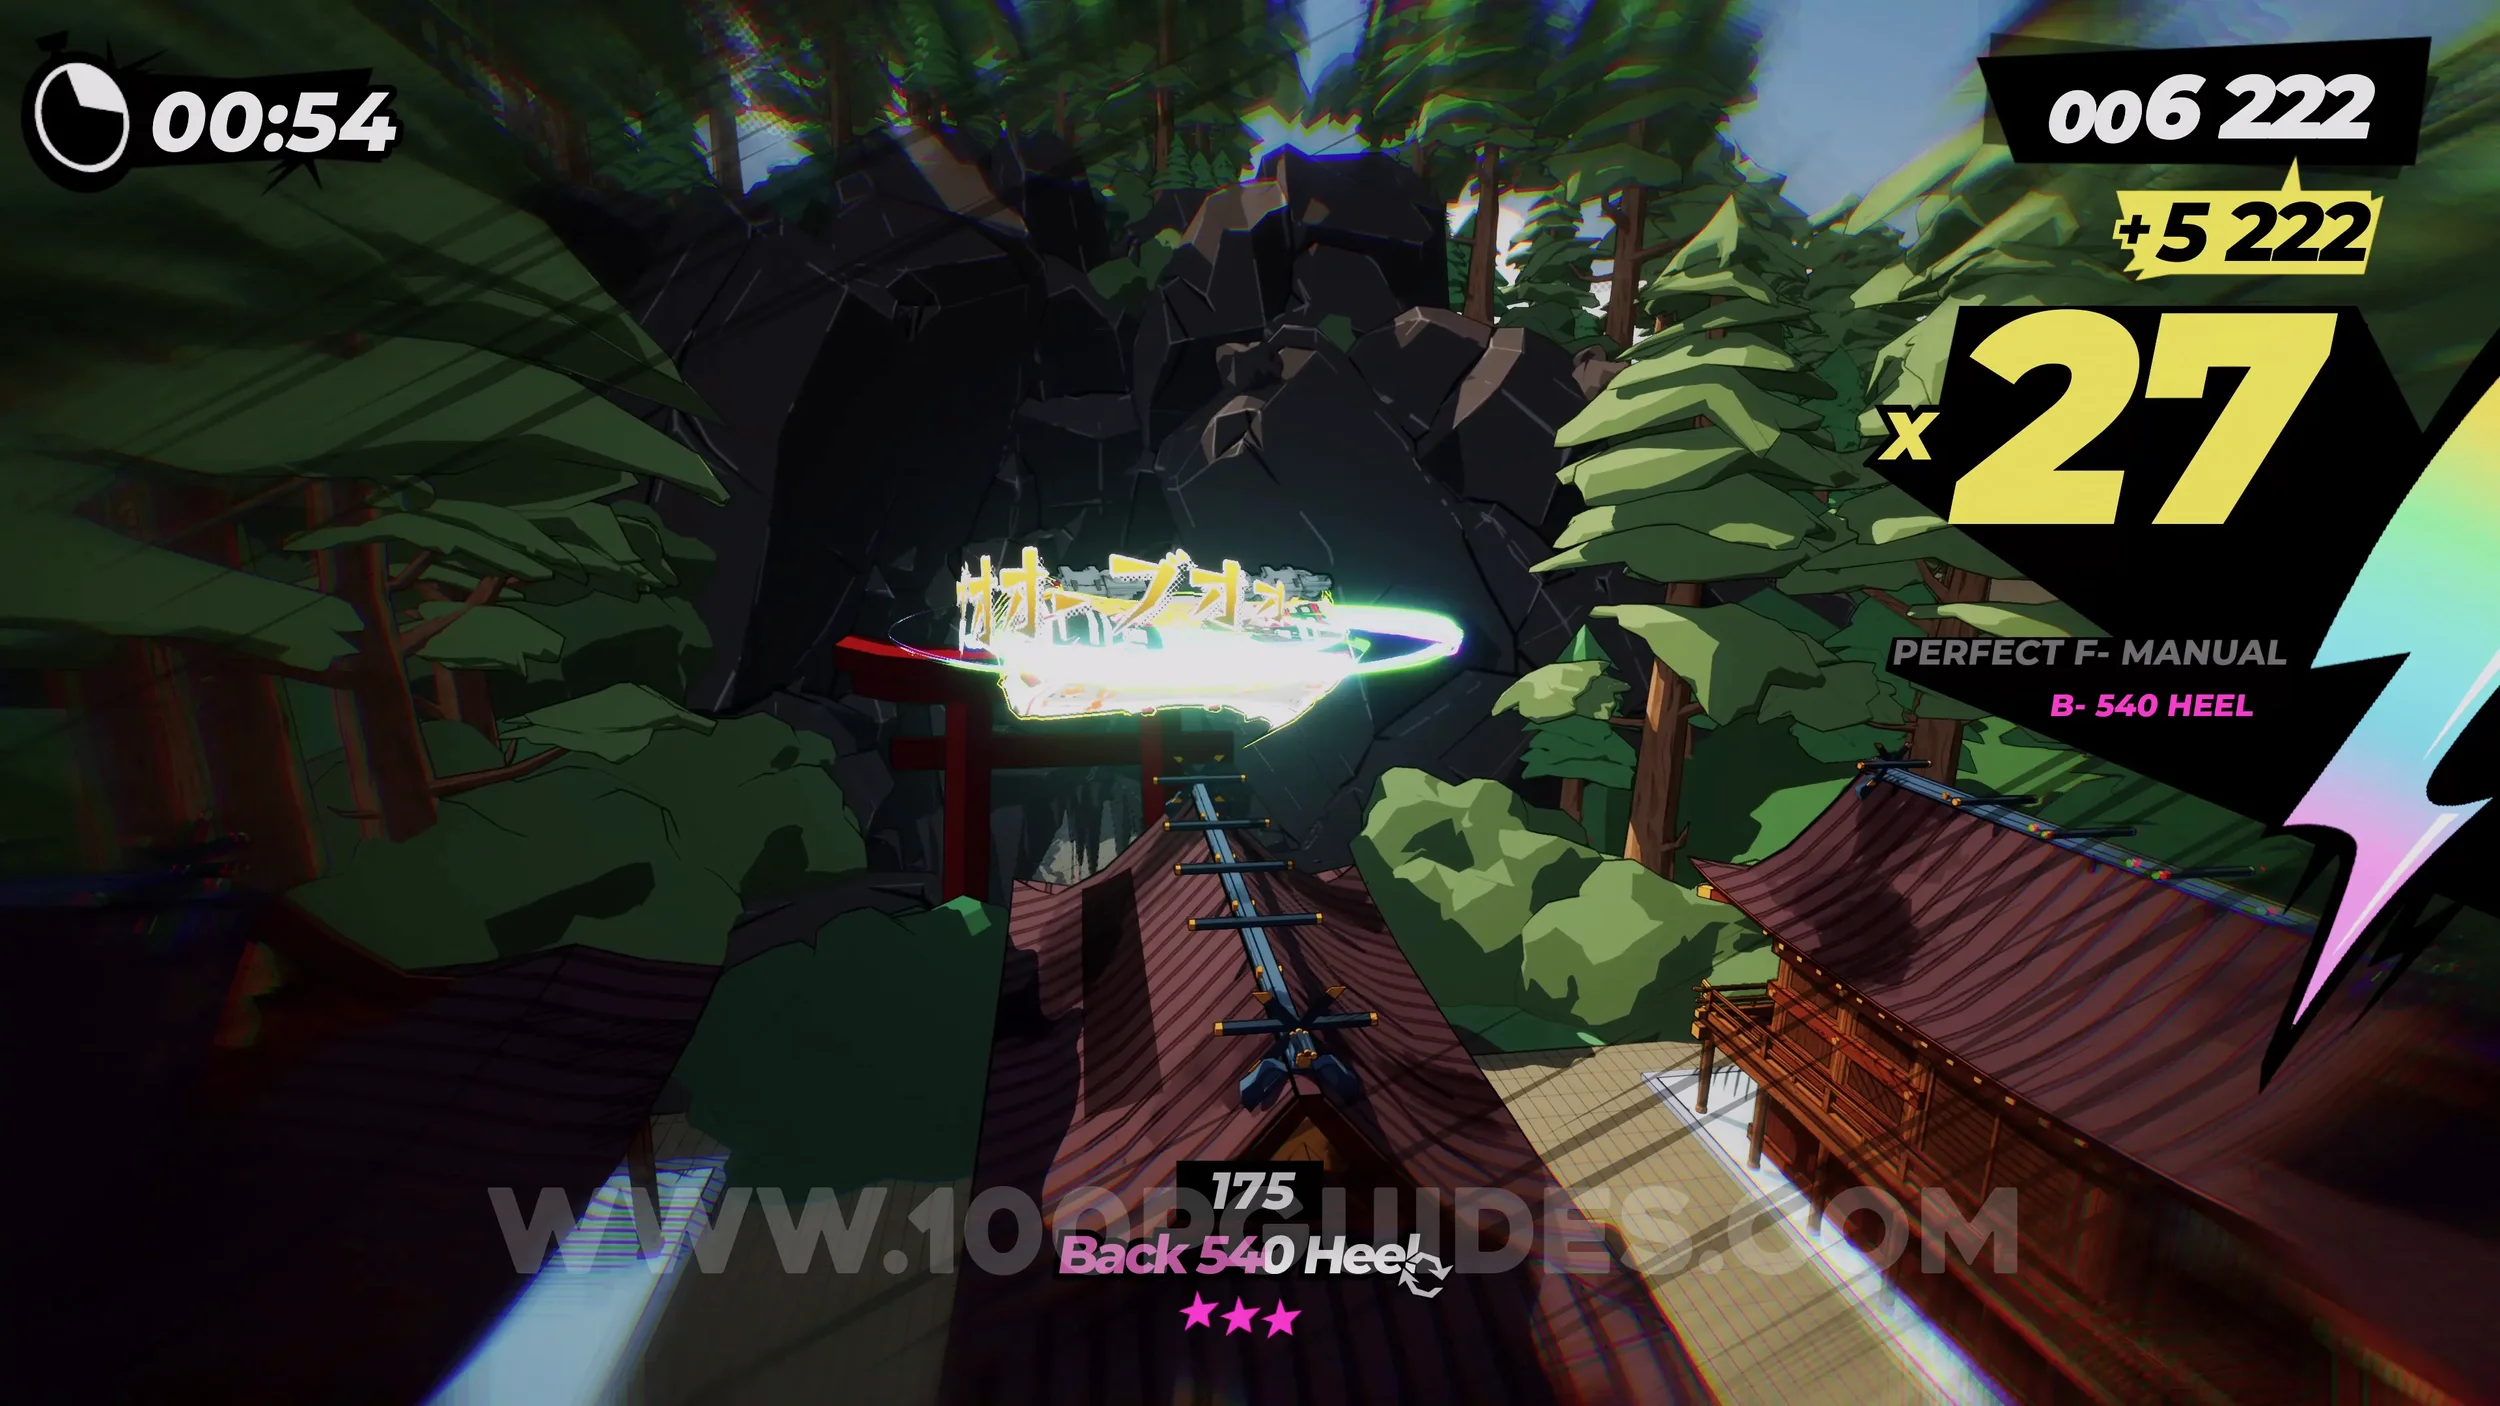
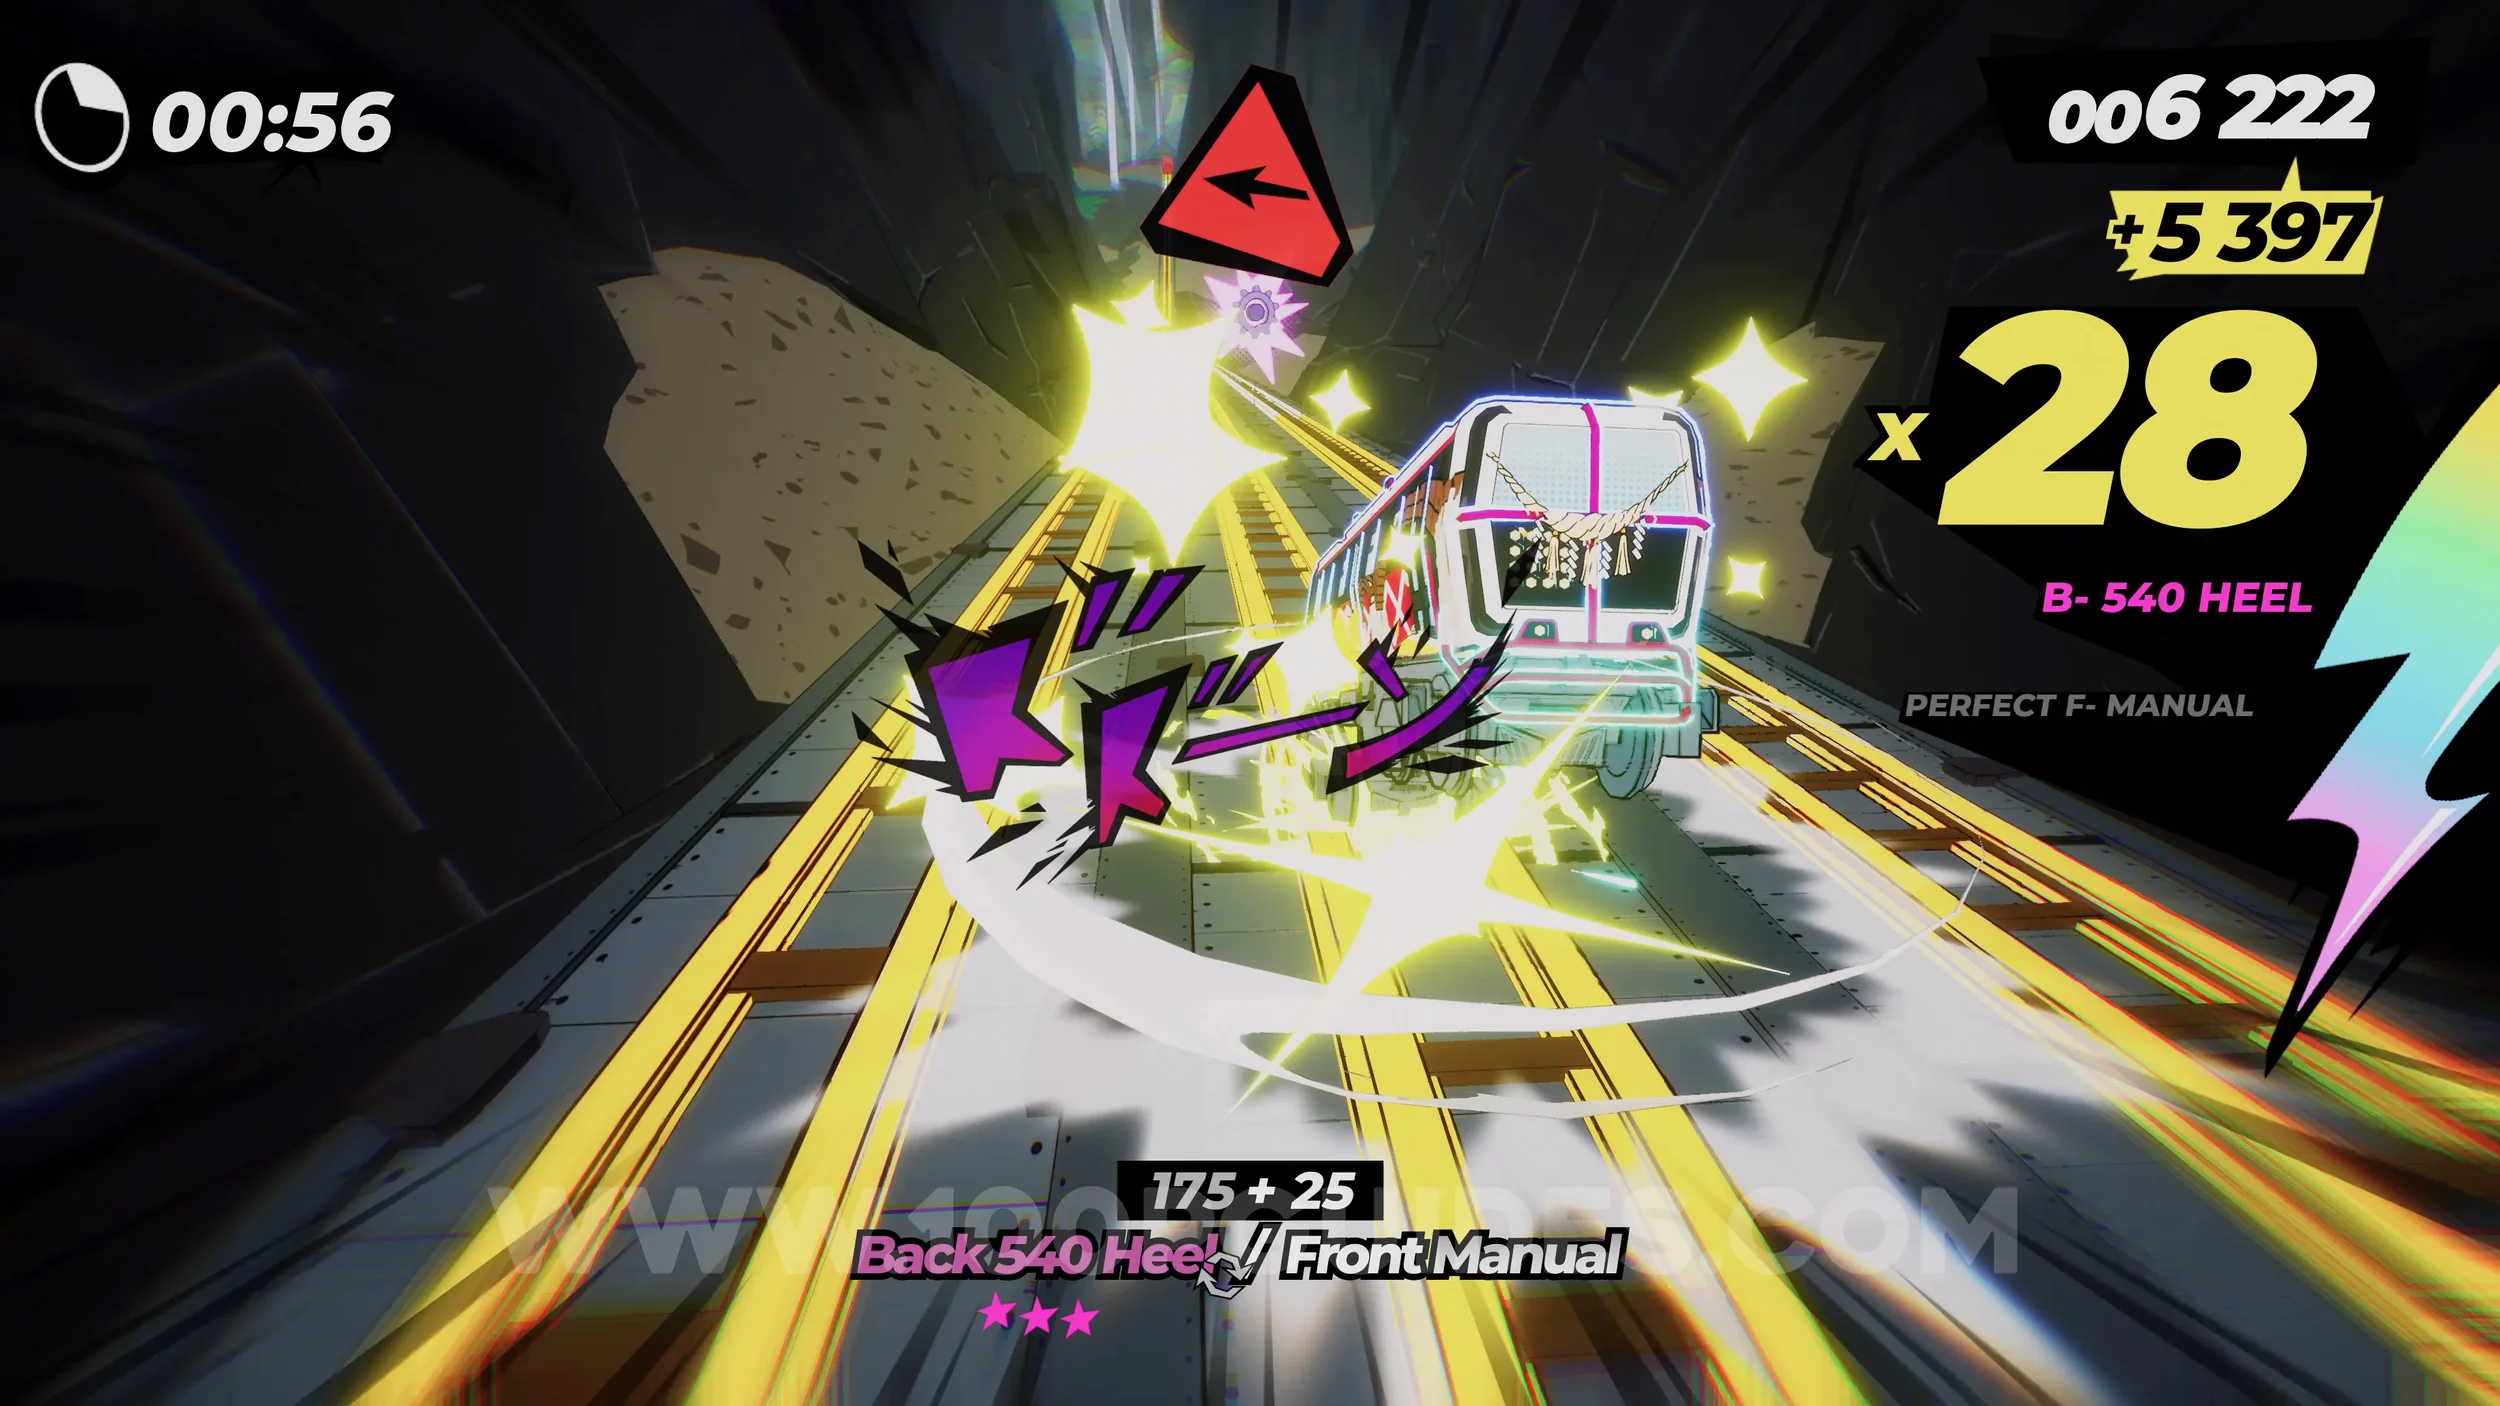
Dare: Scare The Crows at the Pagoda and Spray Can (1/1). After leaving the cave, you will ride a monorail. As soon as you get off it, look for a rainbow track on your left next to a spray can sign (you will need the special meter filled up). As soon as you get on the rainbow tracks, you will circle around a pagoda. Press R3 to use your horn. After that, you will get the spray can before going through a waterfall.
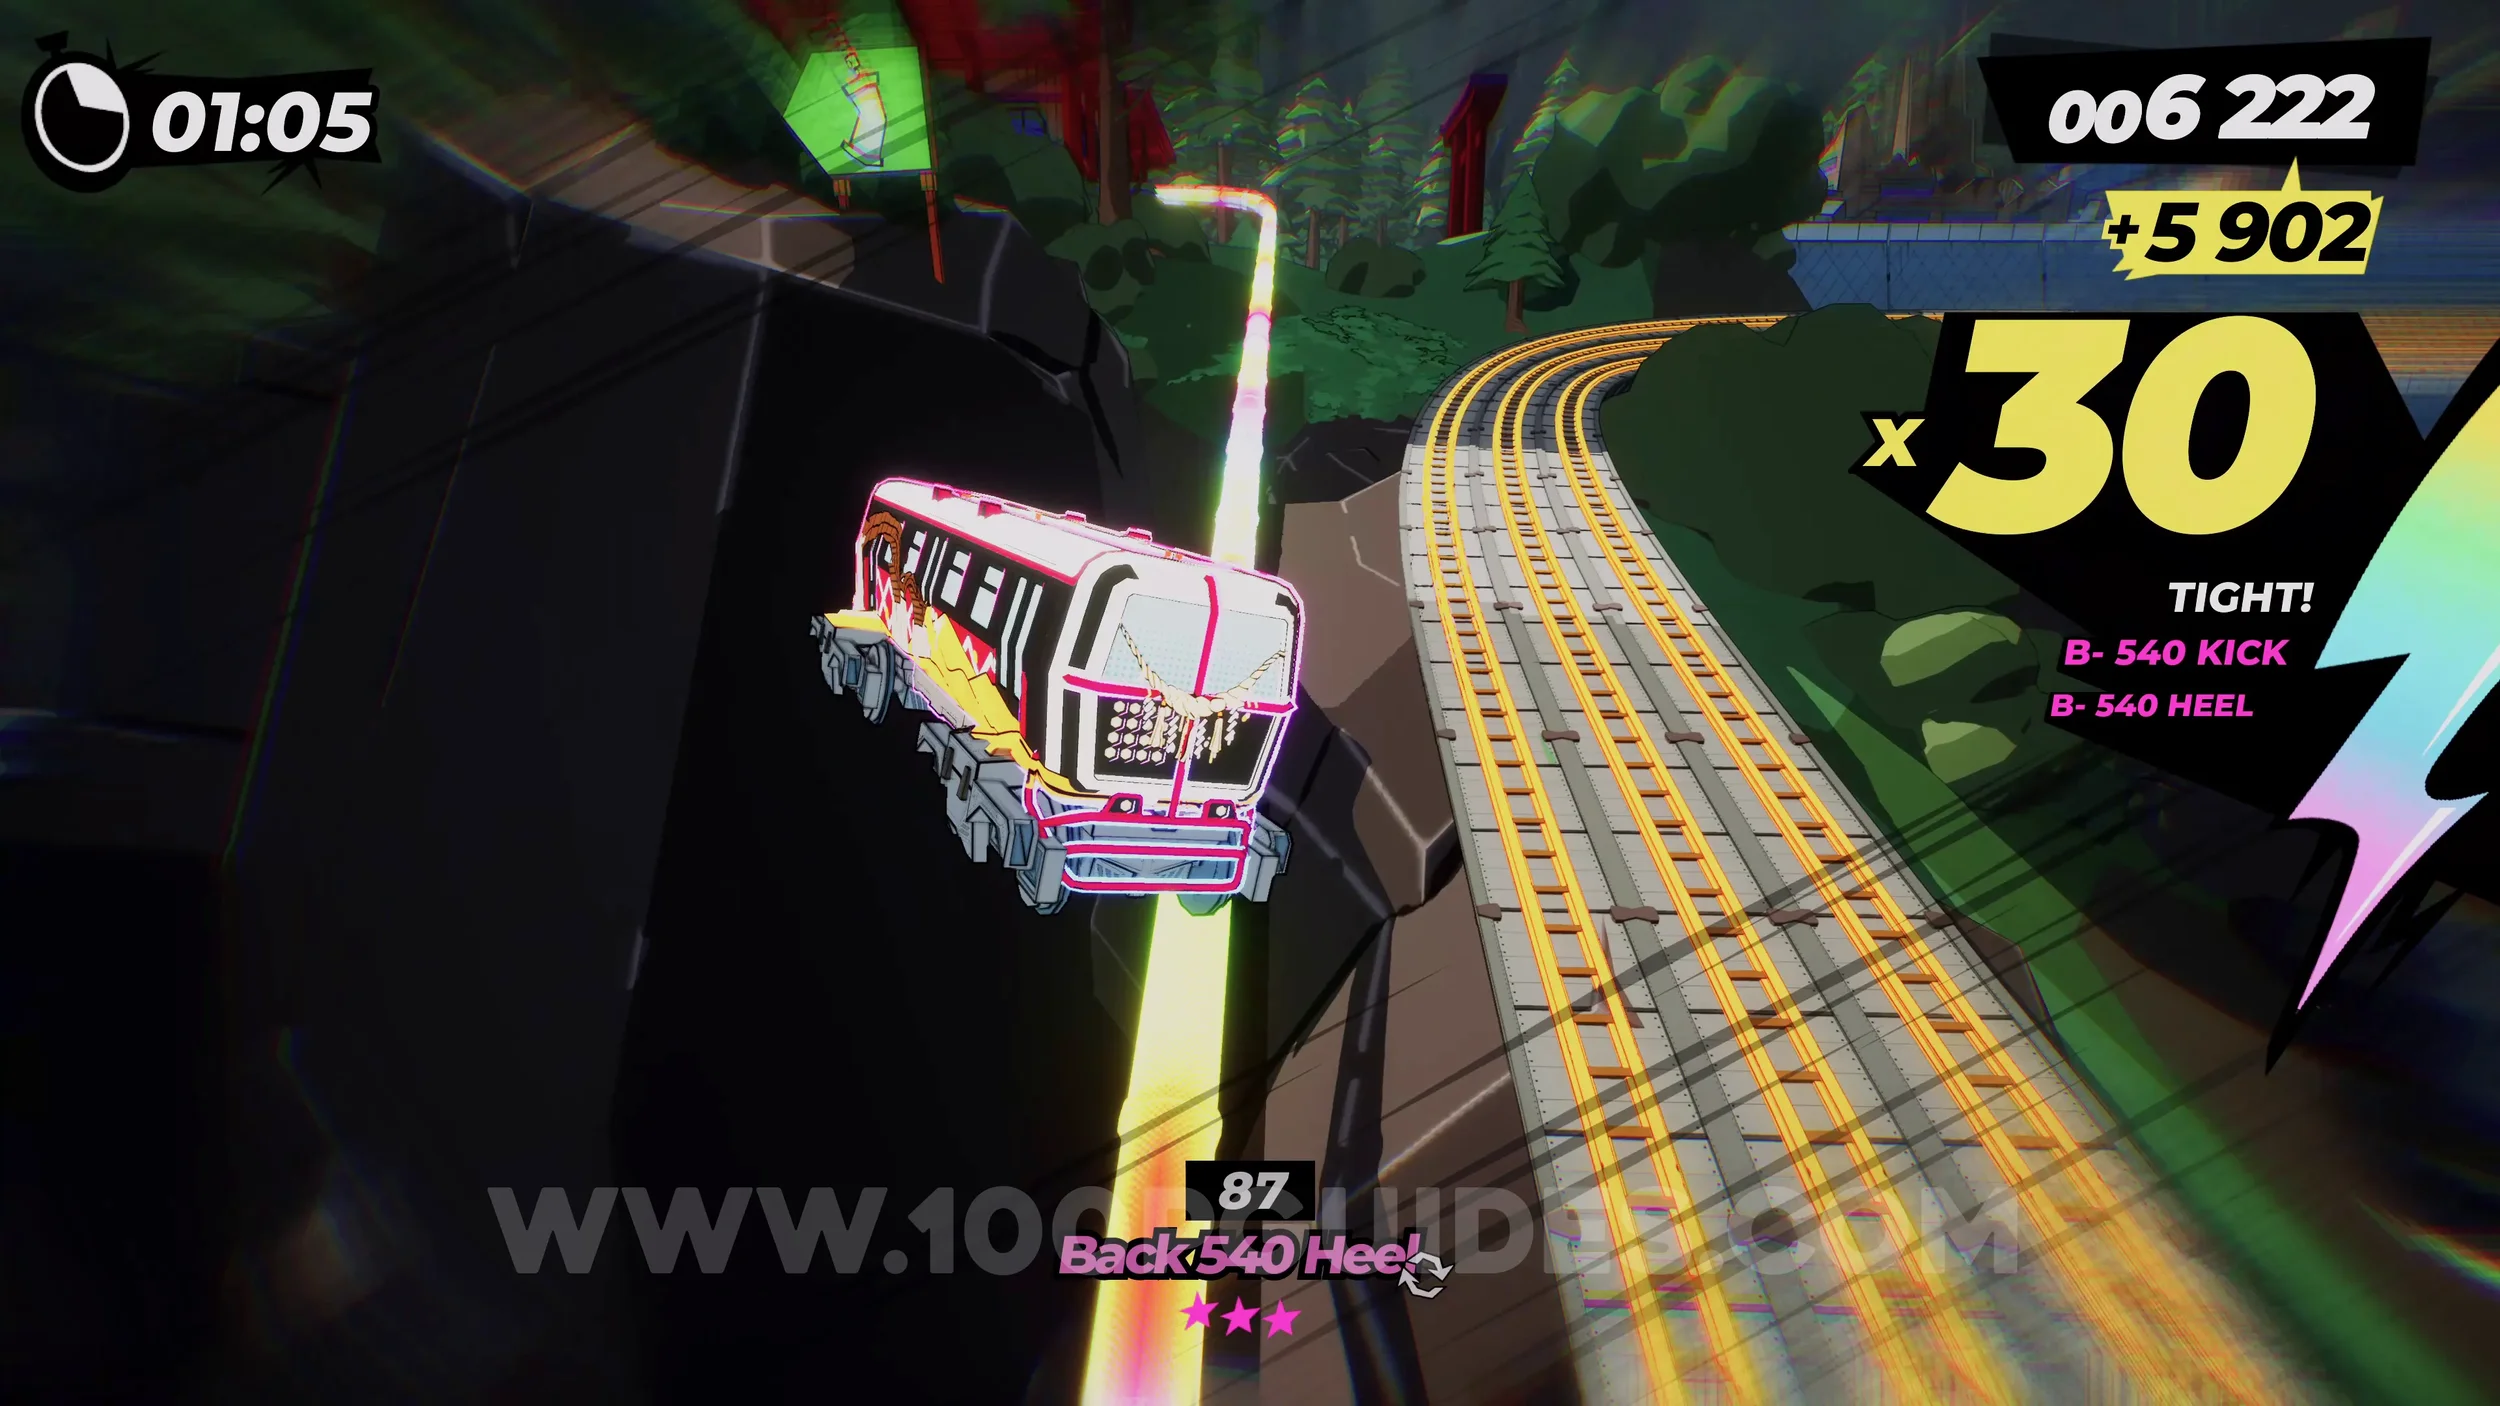
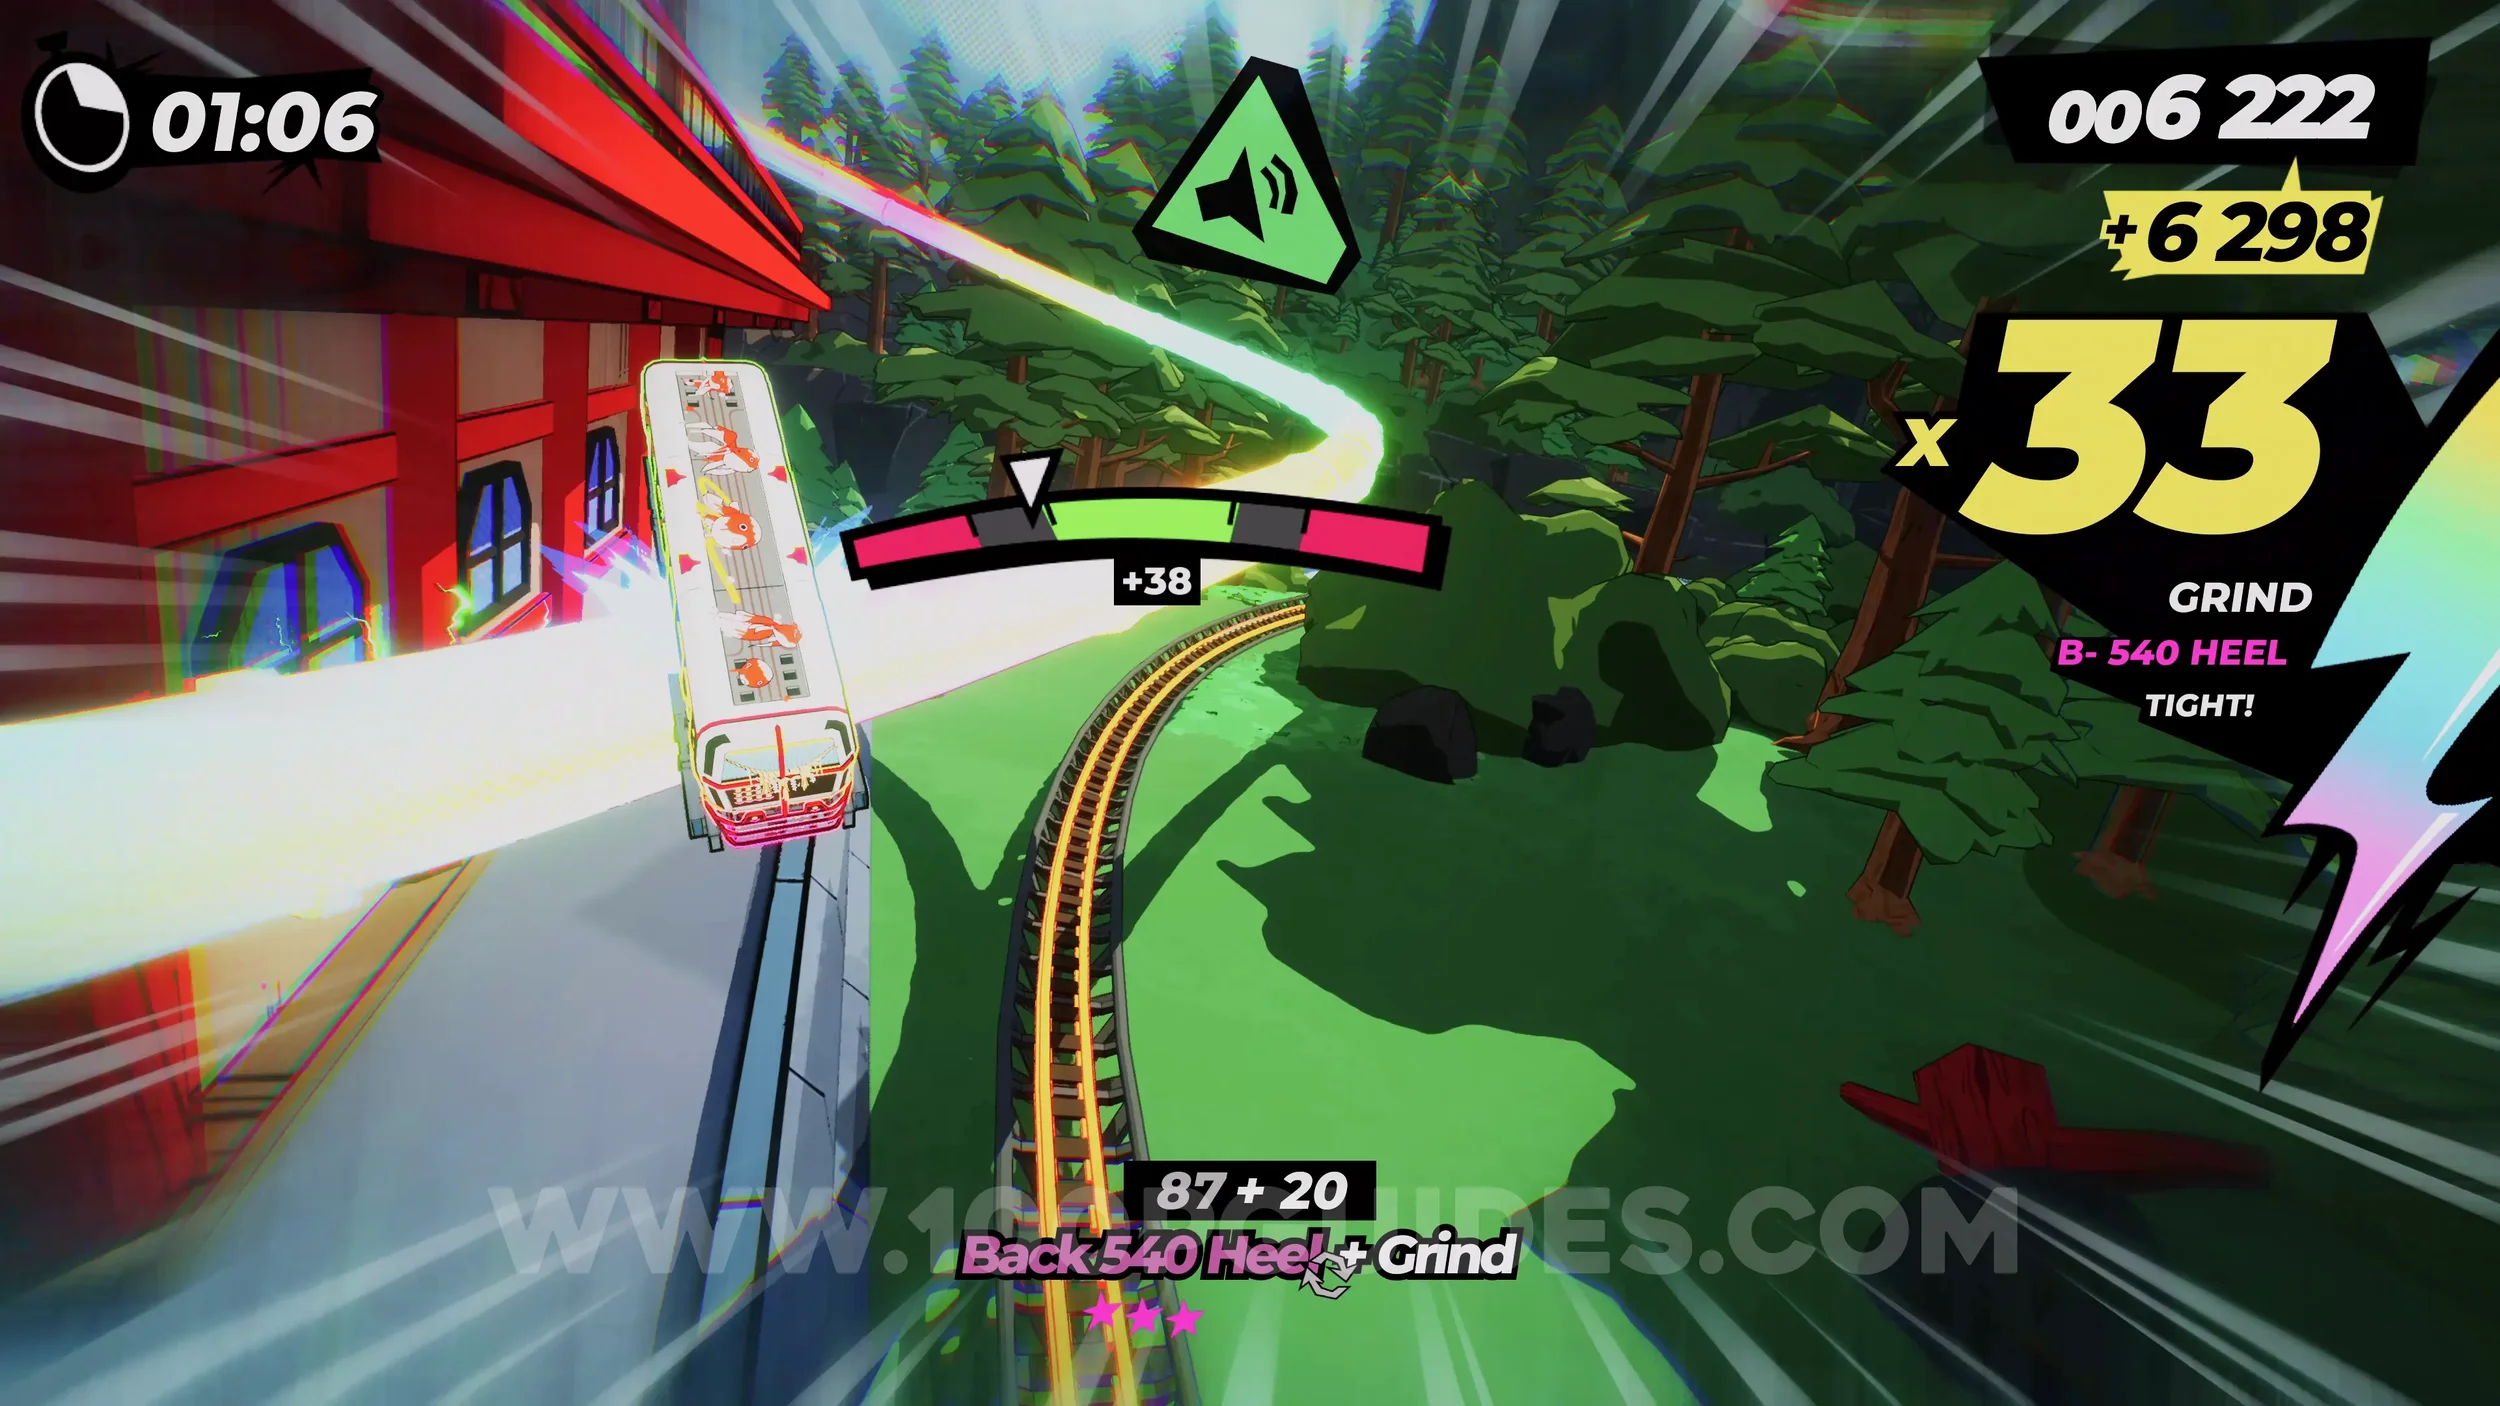
Gear (3/3). After climbing a mountain by using spiderwebs, you will descend to the city again. Here, watch out for a spiderweb below you with a gear on it as soon as you take a jump. Perform an air stomp to go down and get the gear.
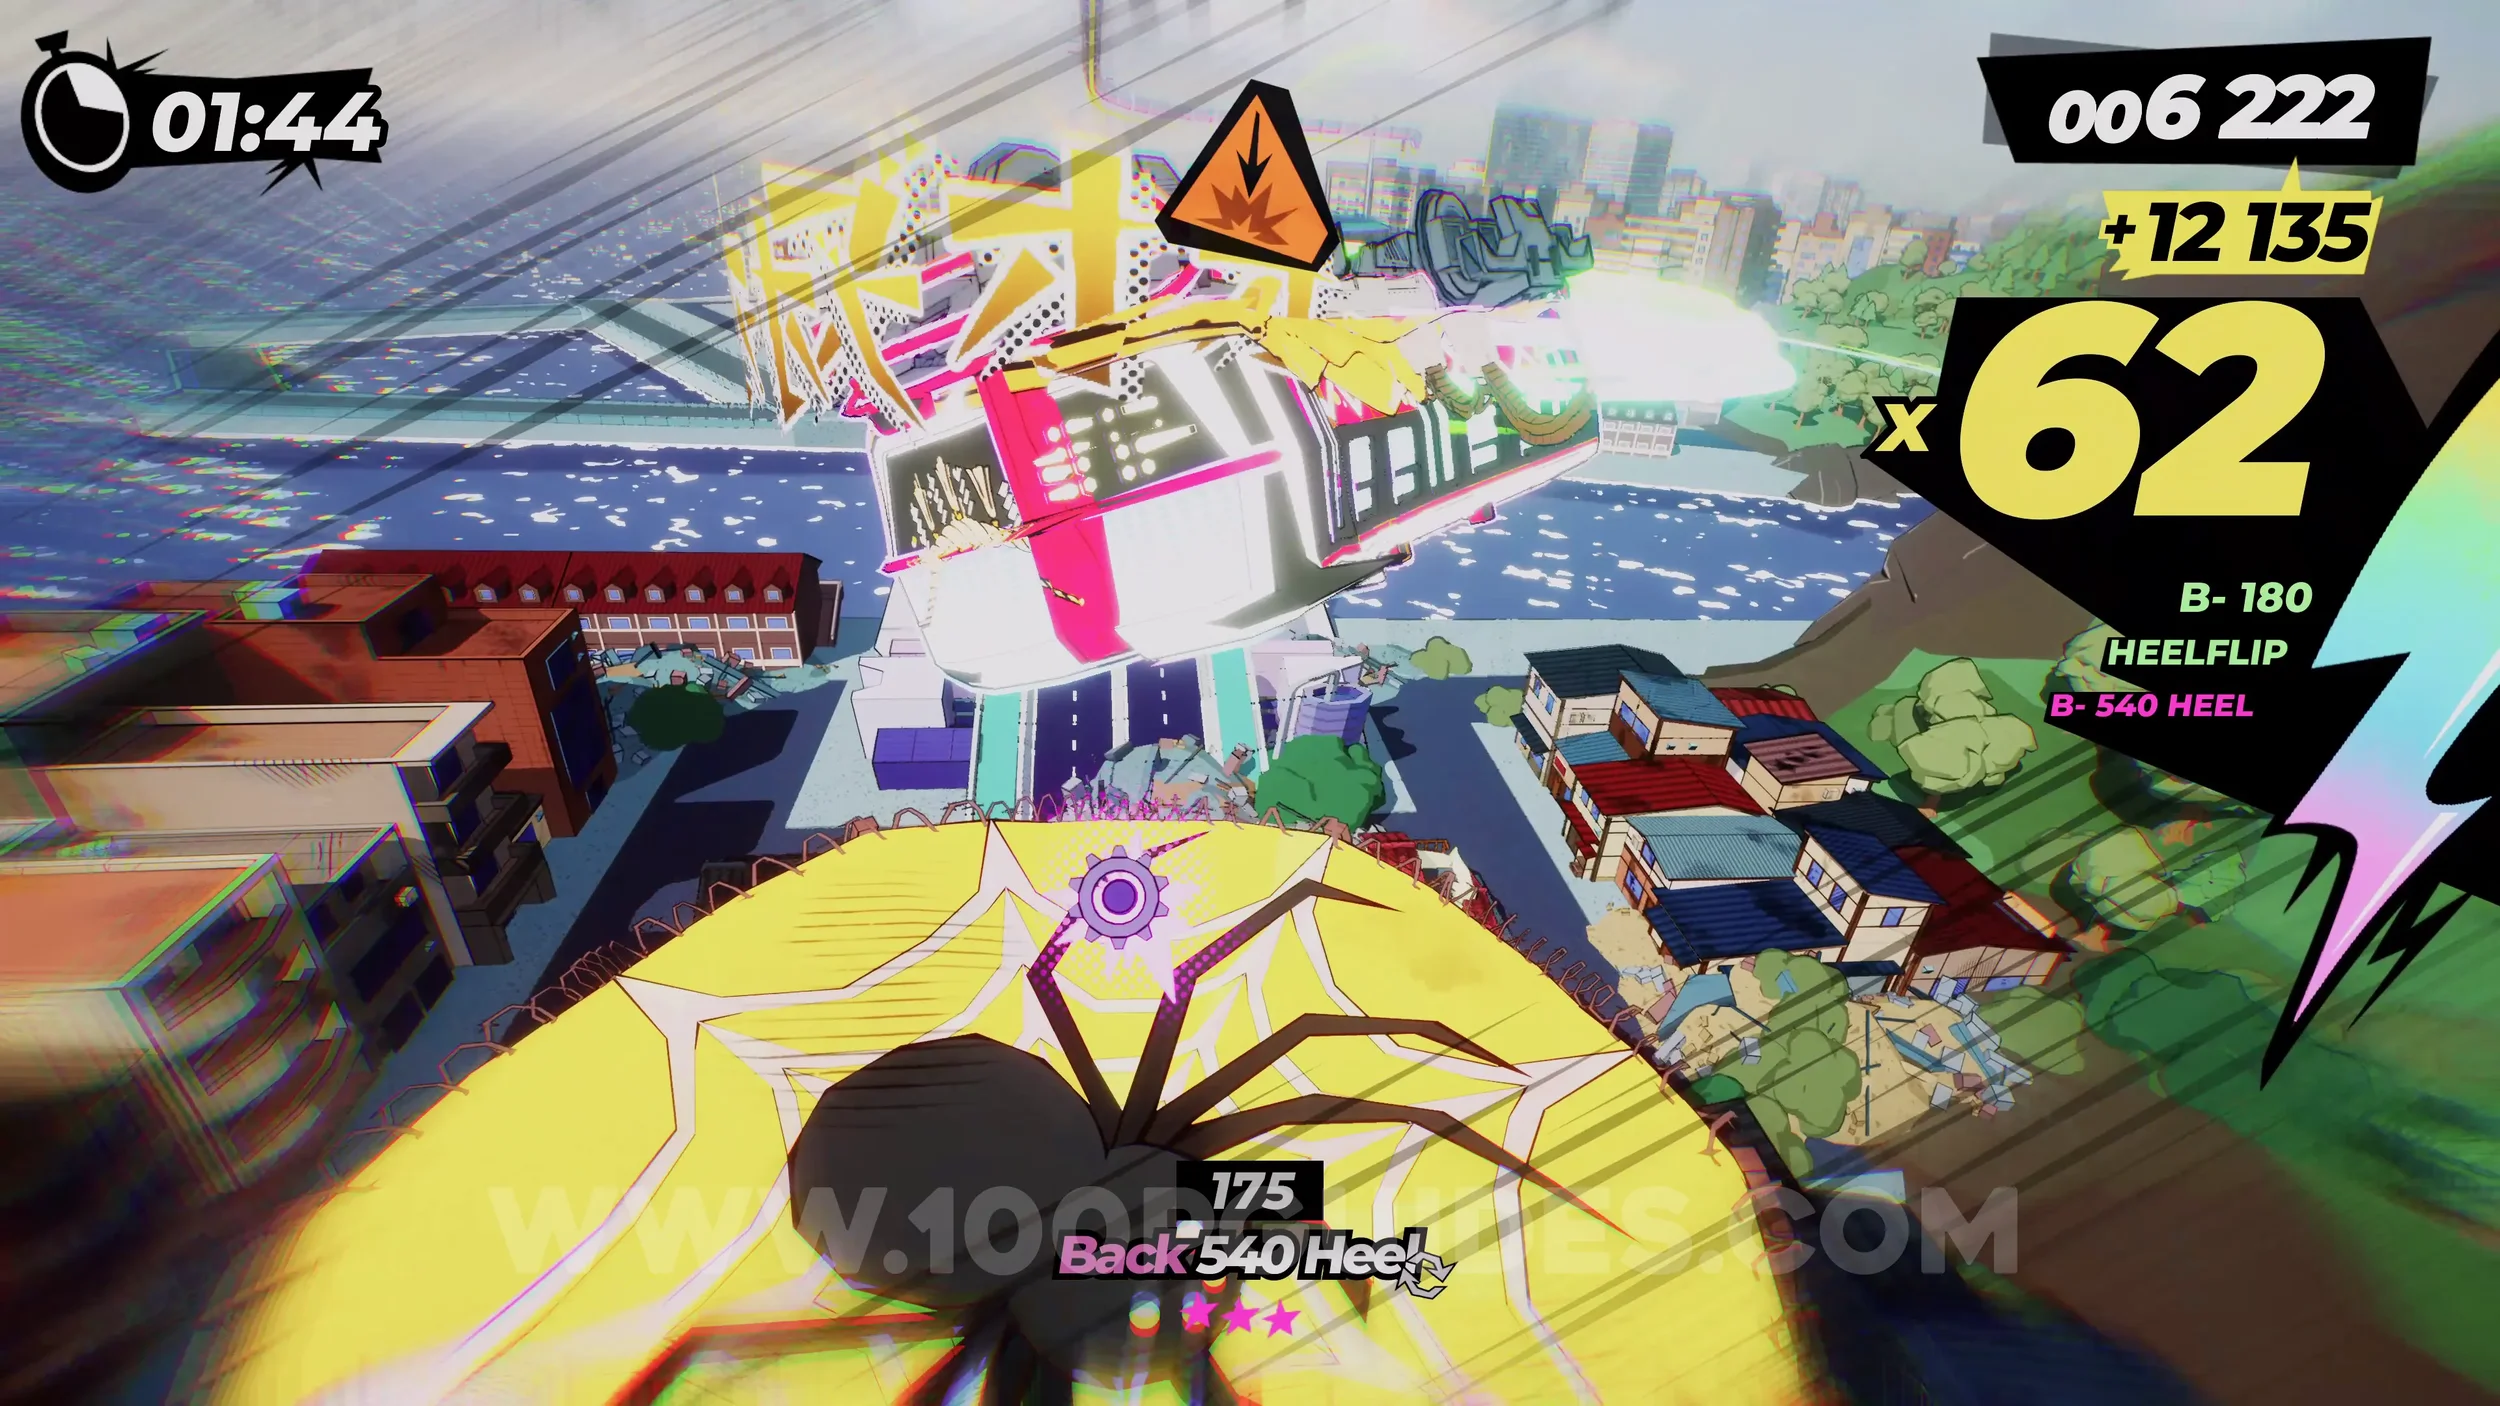
Dare: No Crash Finish. Self-explanatory. Finish the level without crashing.
5-5-1 The Phantom Wind Pilgrimage
Dare: Smash 5 Crates (1-2/5). After the second corner, you will jump onto three tracks. First, stick right and then left to smash the crates.
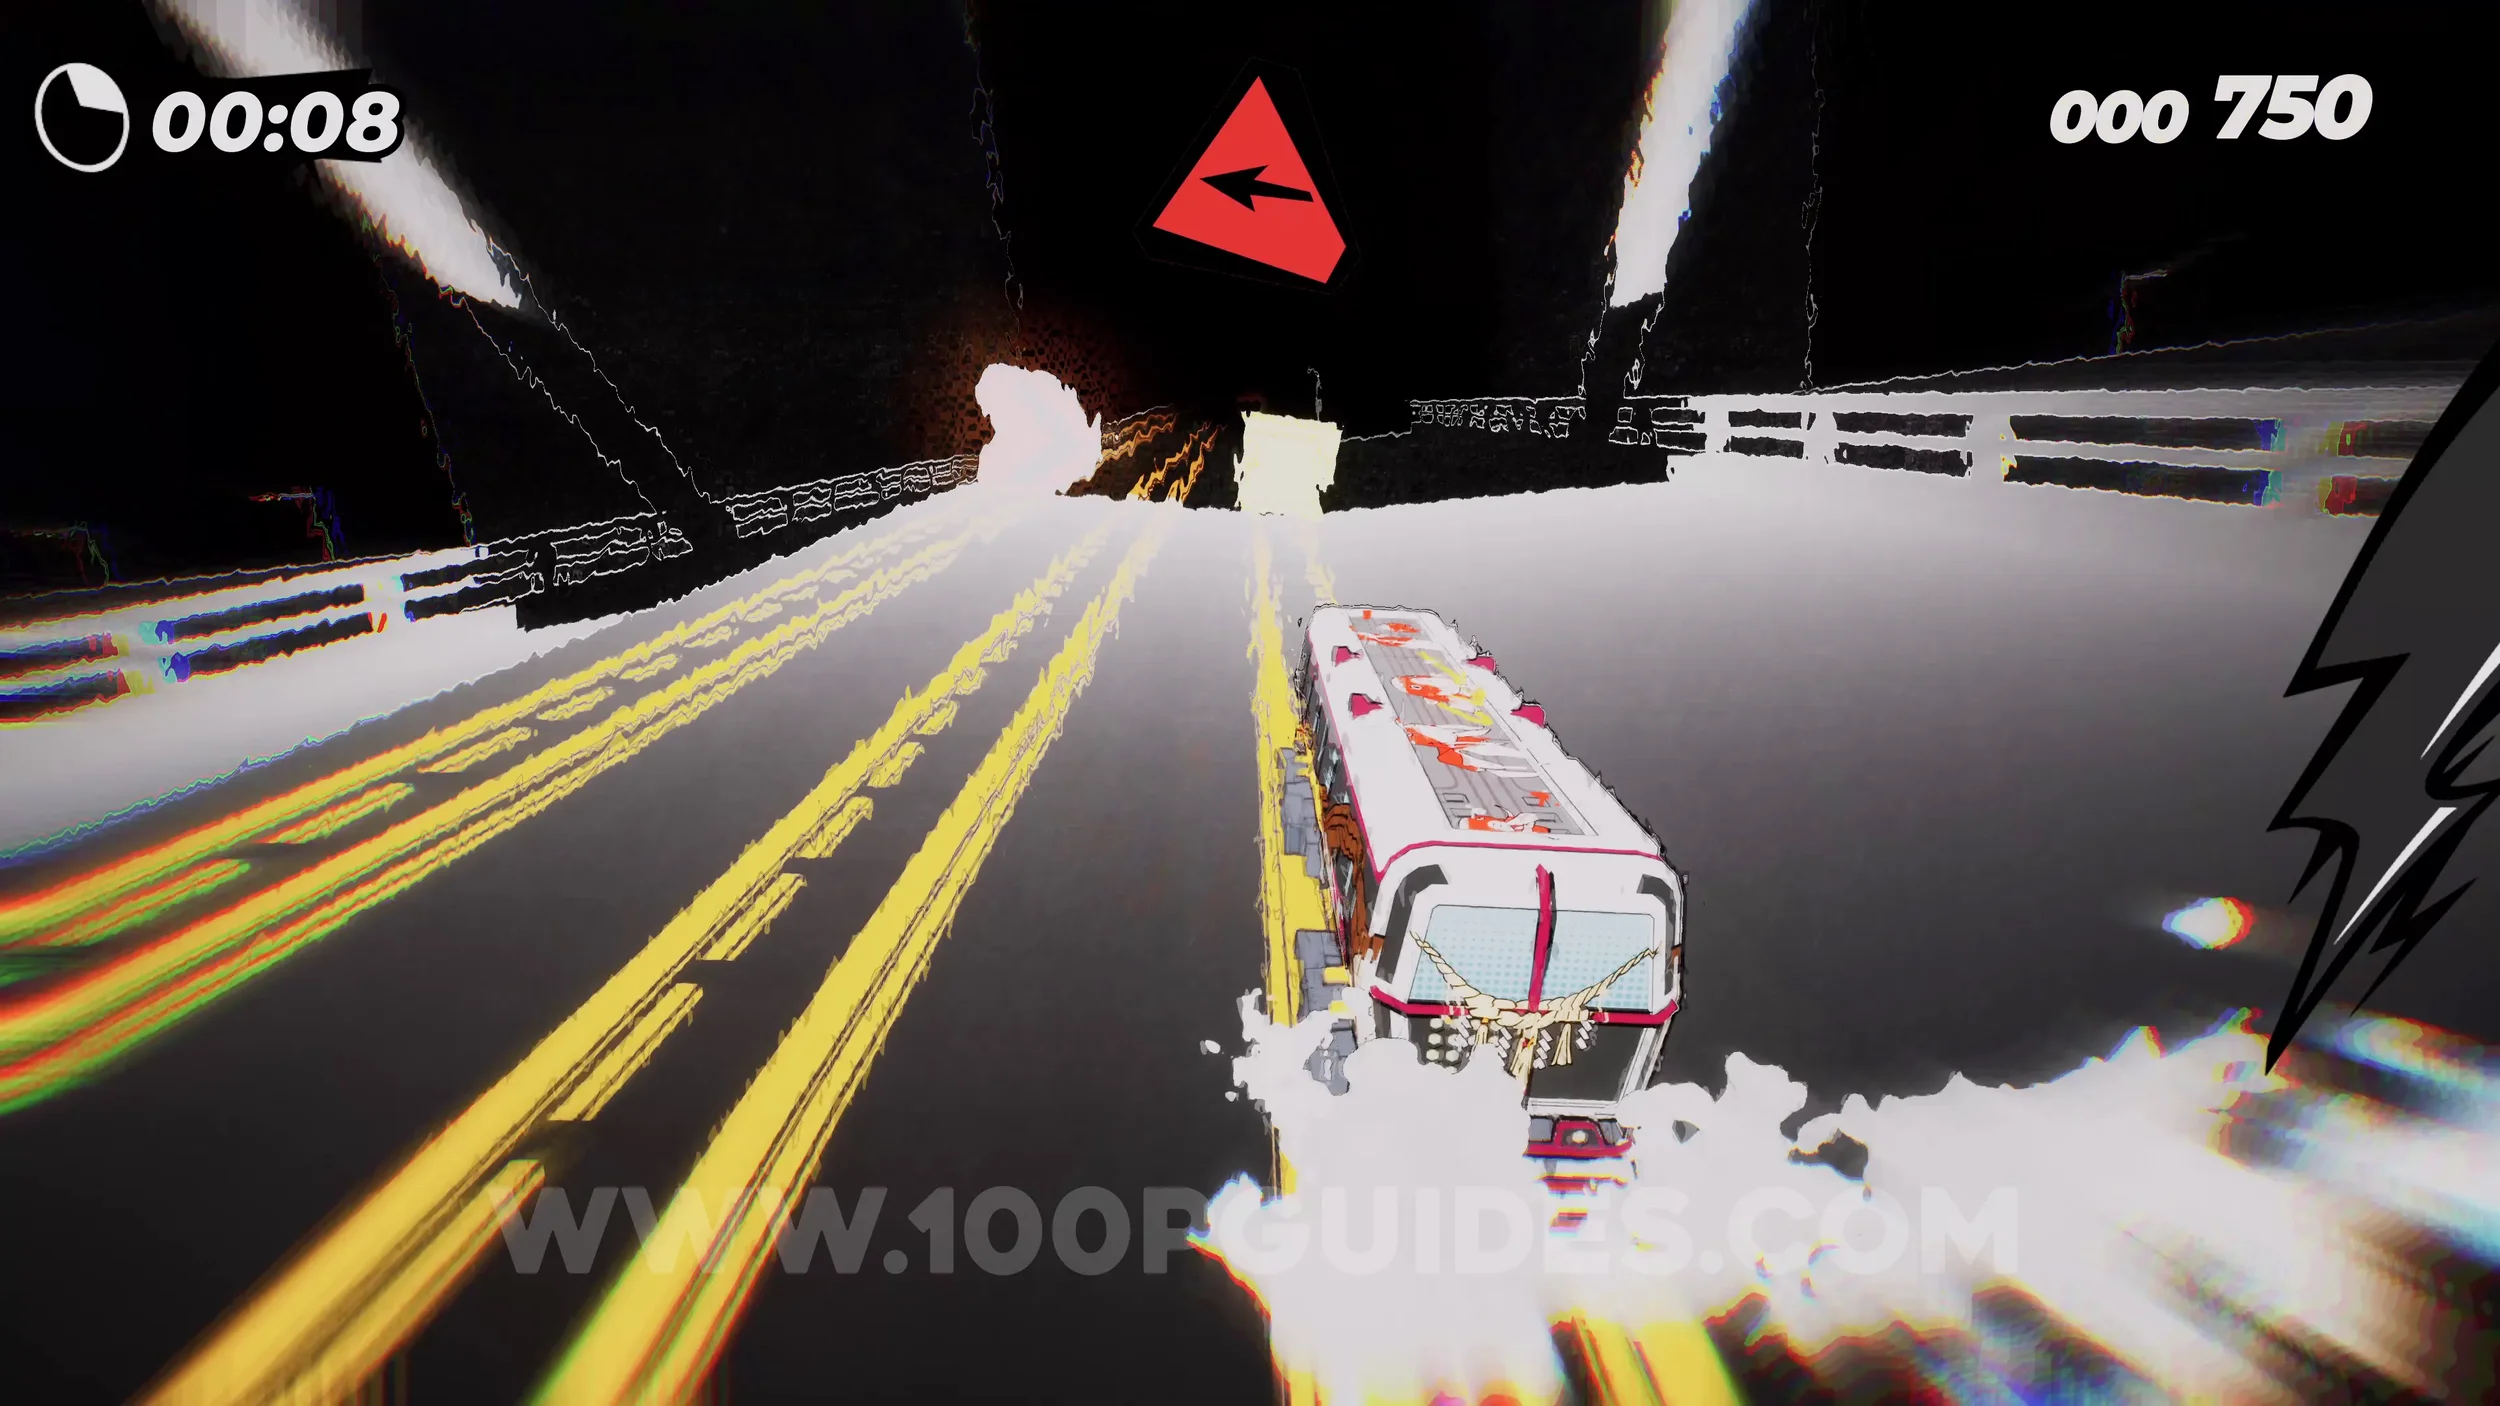
Film Roll (1/1) and Dare: Smash 5 Crates (3/5). Continue until you go underwater. Here, look out for another track on your right. As soon as you see it, jump to it. On this track you will smash a crate and get the film roll.
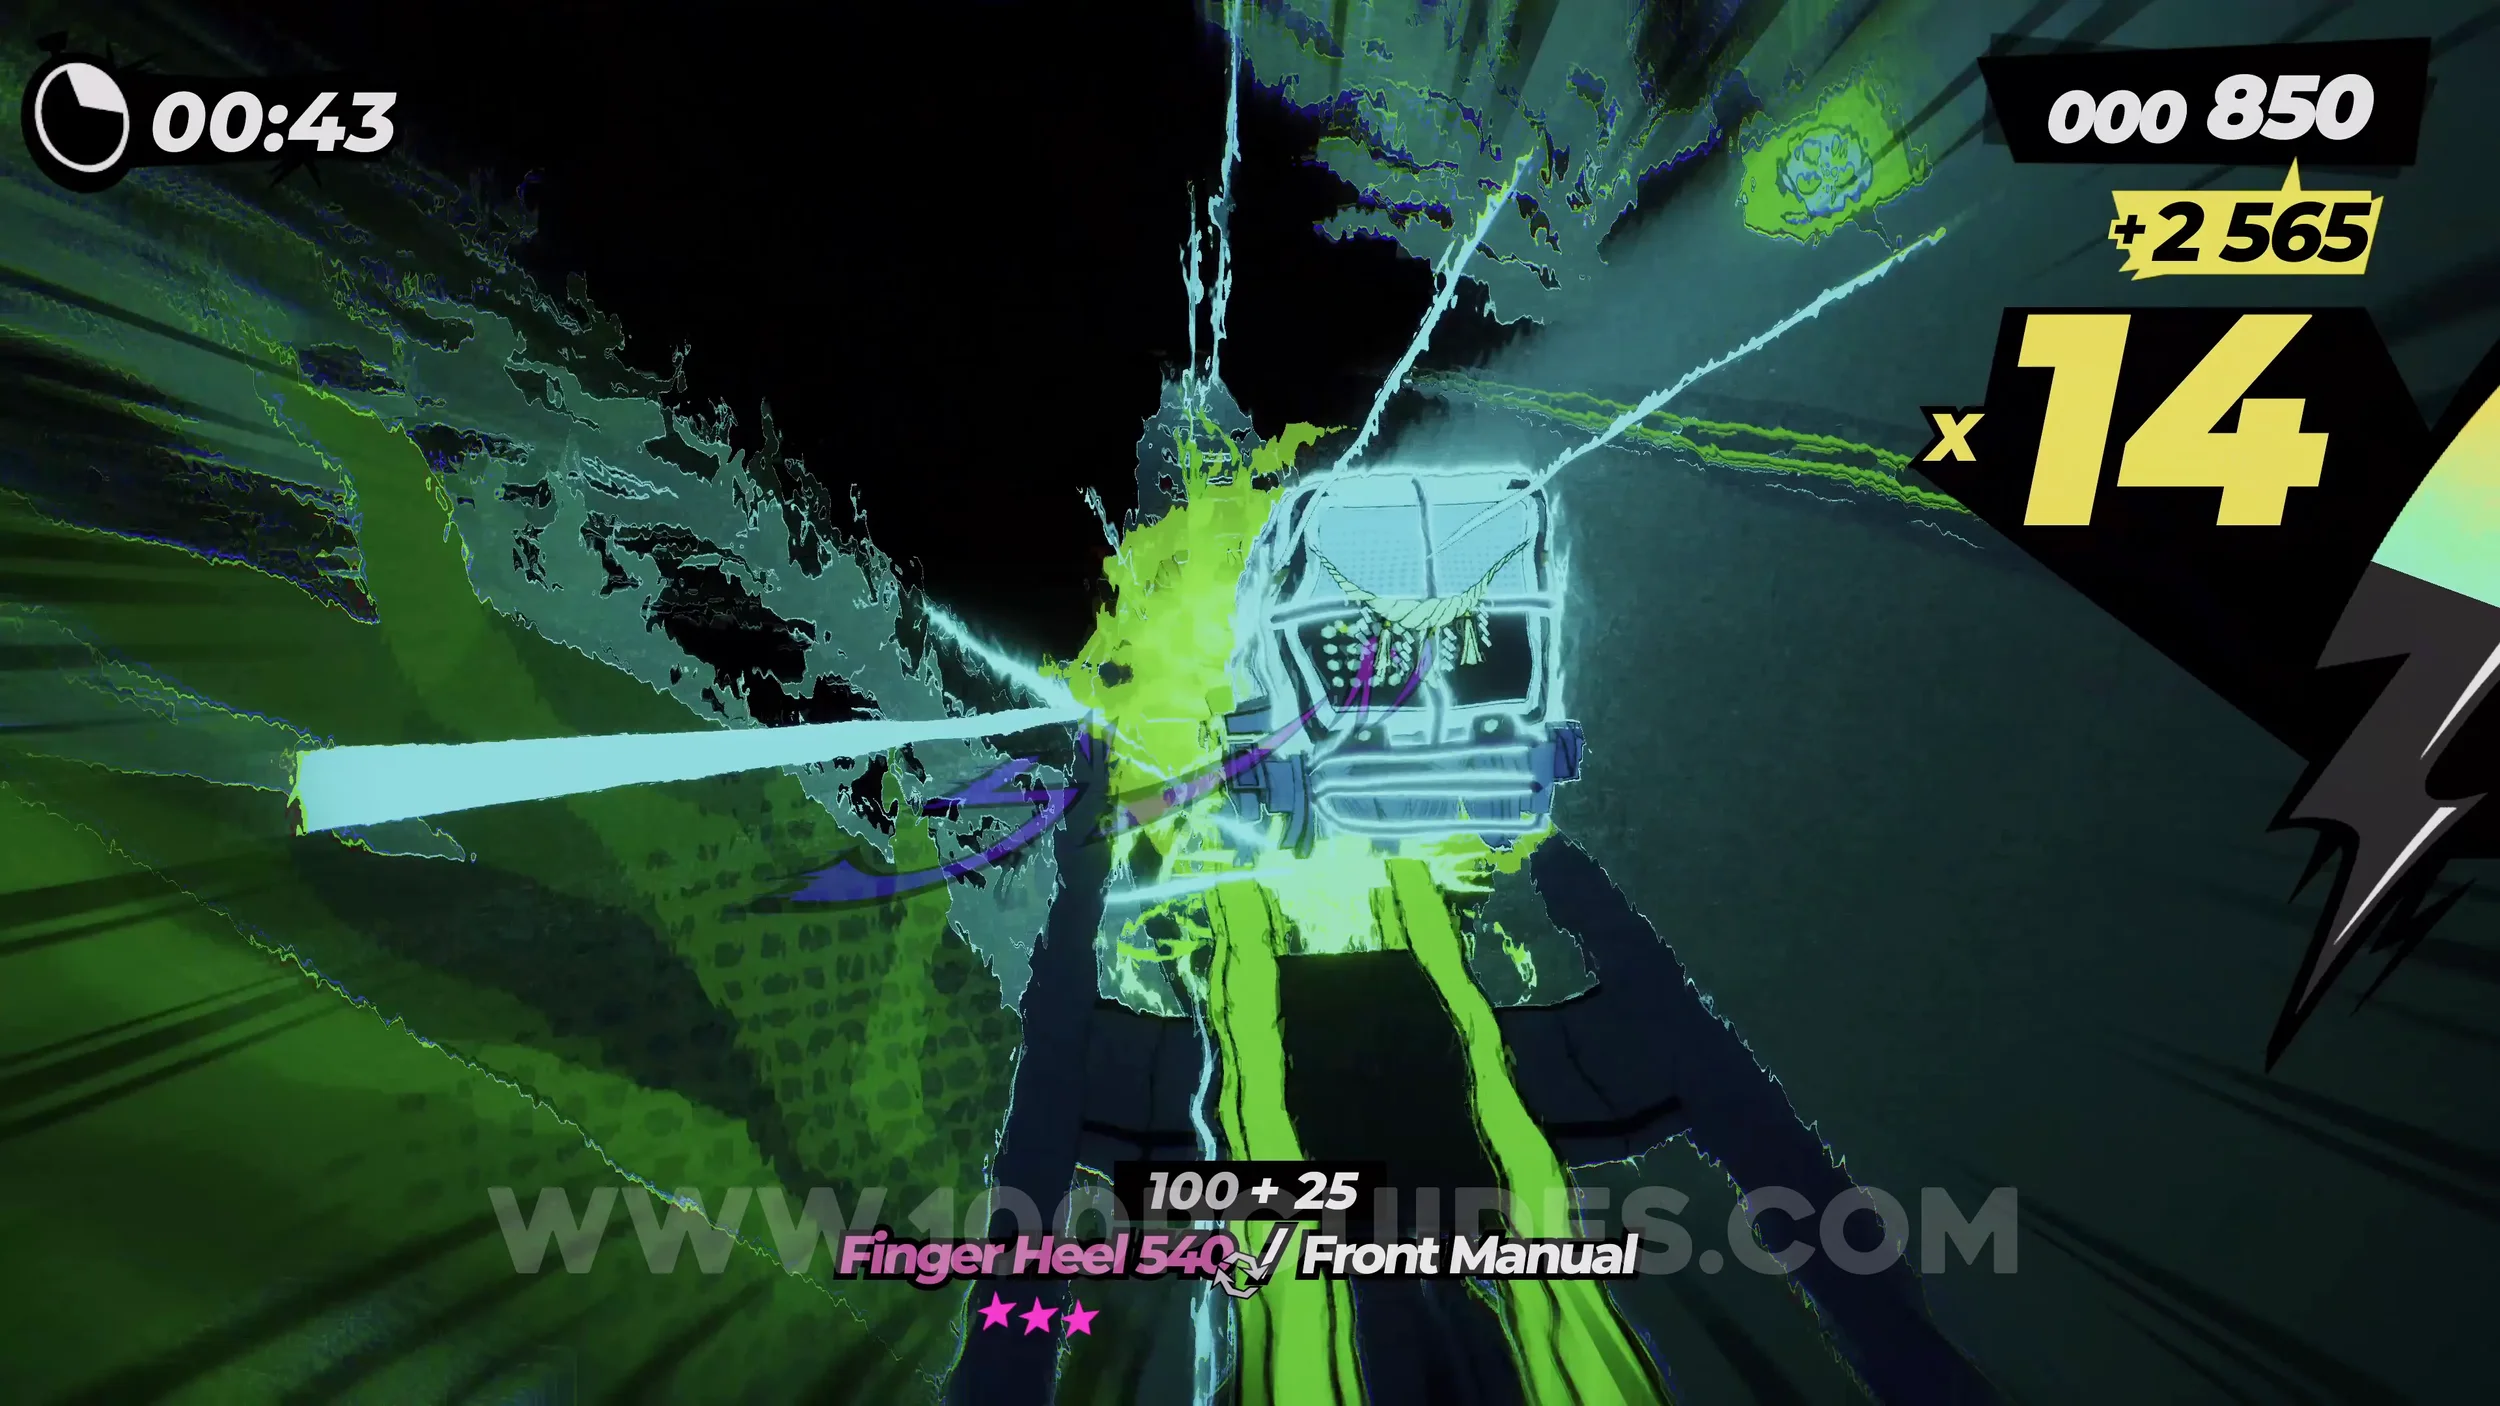
Gear (1/2). Keep advancing through the dark level until you see three walls on your right. Wallride them to find the collectible on the second wall.
Dare: Smash 5 Crates (4/5). After the walls, you will land on three tracks. As soon as you do, stick to the right to smash the box.
Spray Can (1/2). After the crate, you will take a jump and see a track switch banner. Make sure you activate it by doing a trick. This will get the tracks to go left, where you will get the can.
Dare: Smash 5 Crates (5/5). After the spray can, you will enter a tunnel. In this tunnel, you will have multiple extra crates to smash to finish the dare.
Dare: Chain 10 Tricks in a Single Jump. After you leave the tunnel, you will finally be out of the dark and in the air. During this long airtime is the best time to get this dare done.
Gear (2/2). On your left during the long airtime after the tunnel.
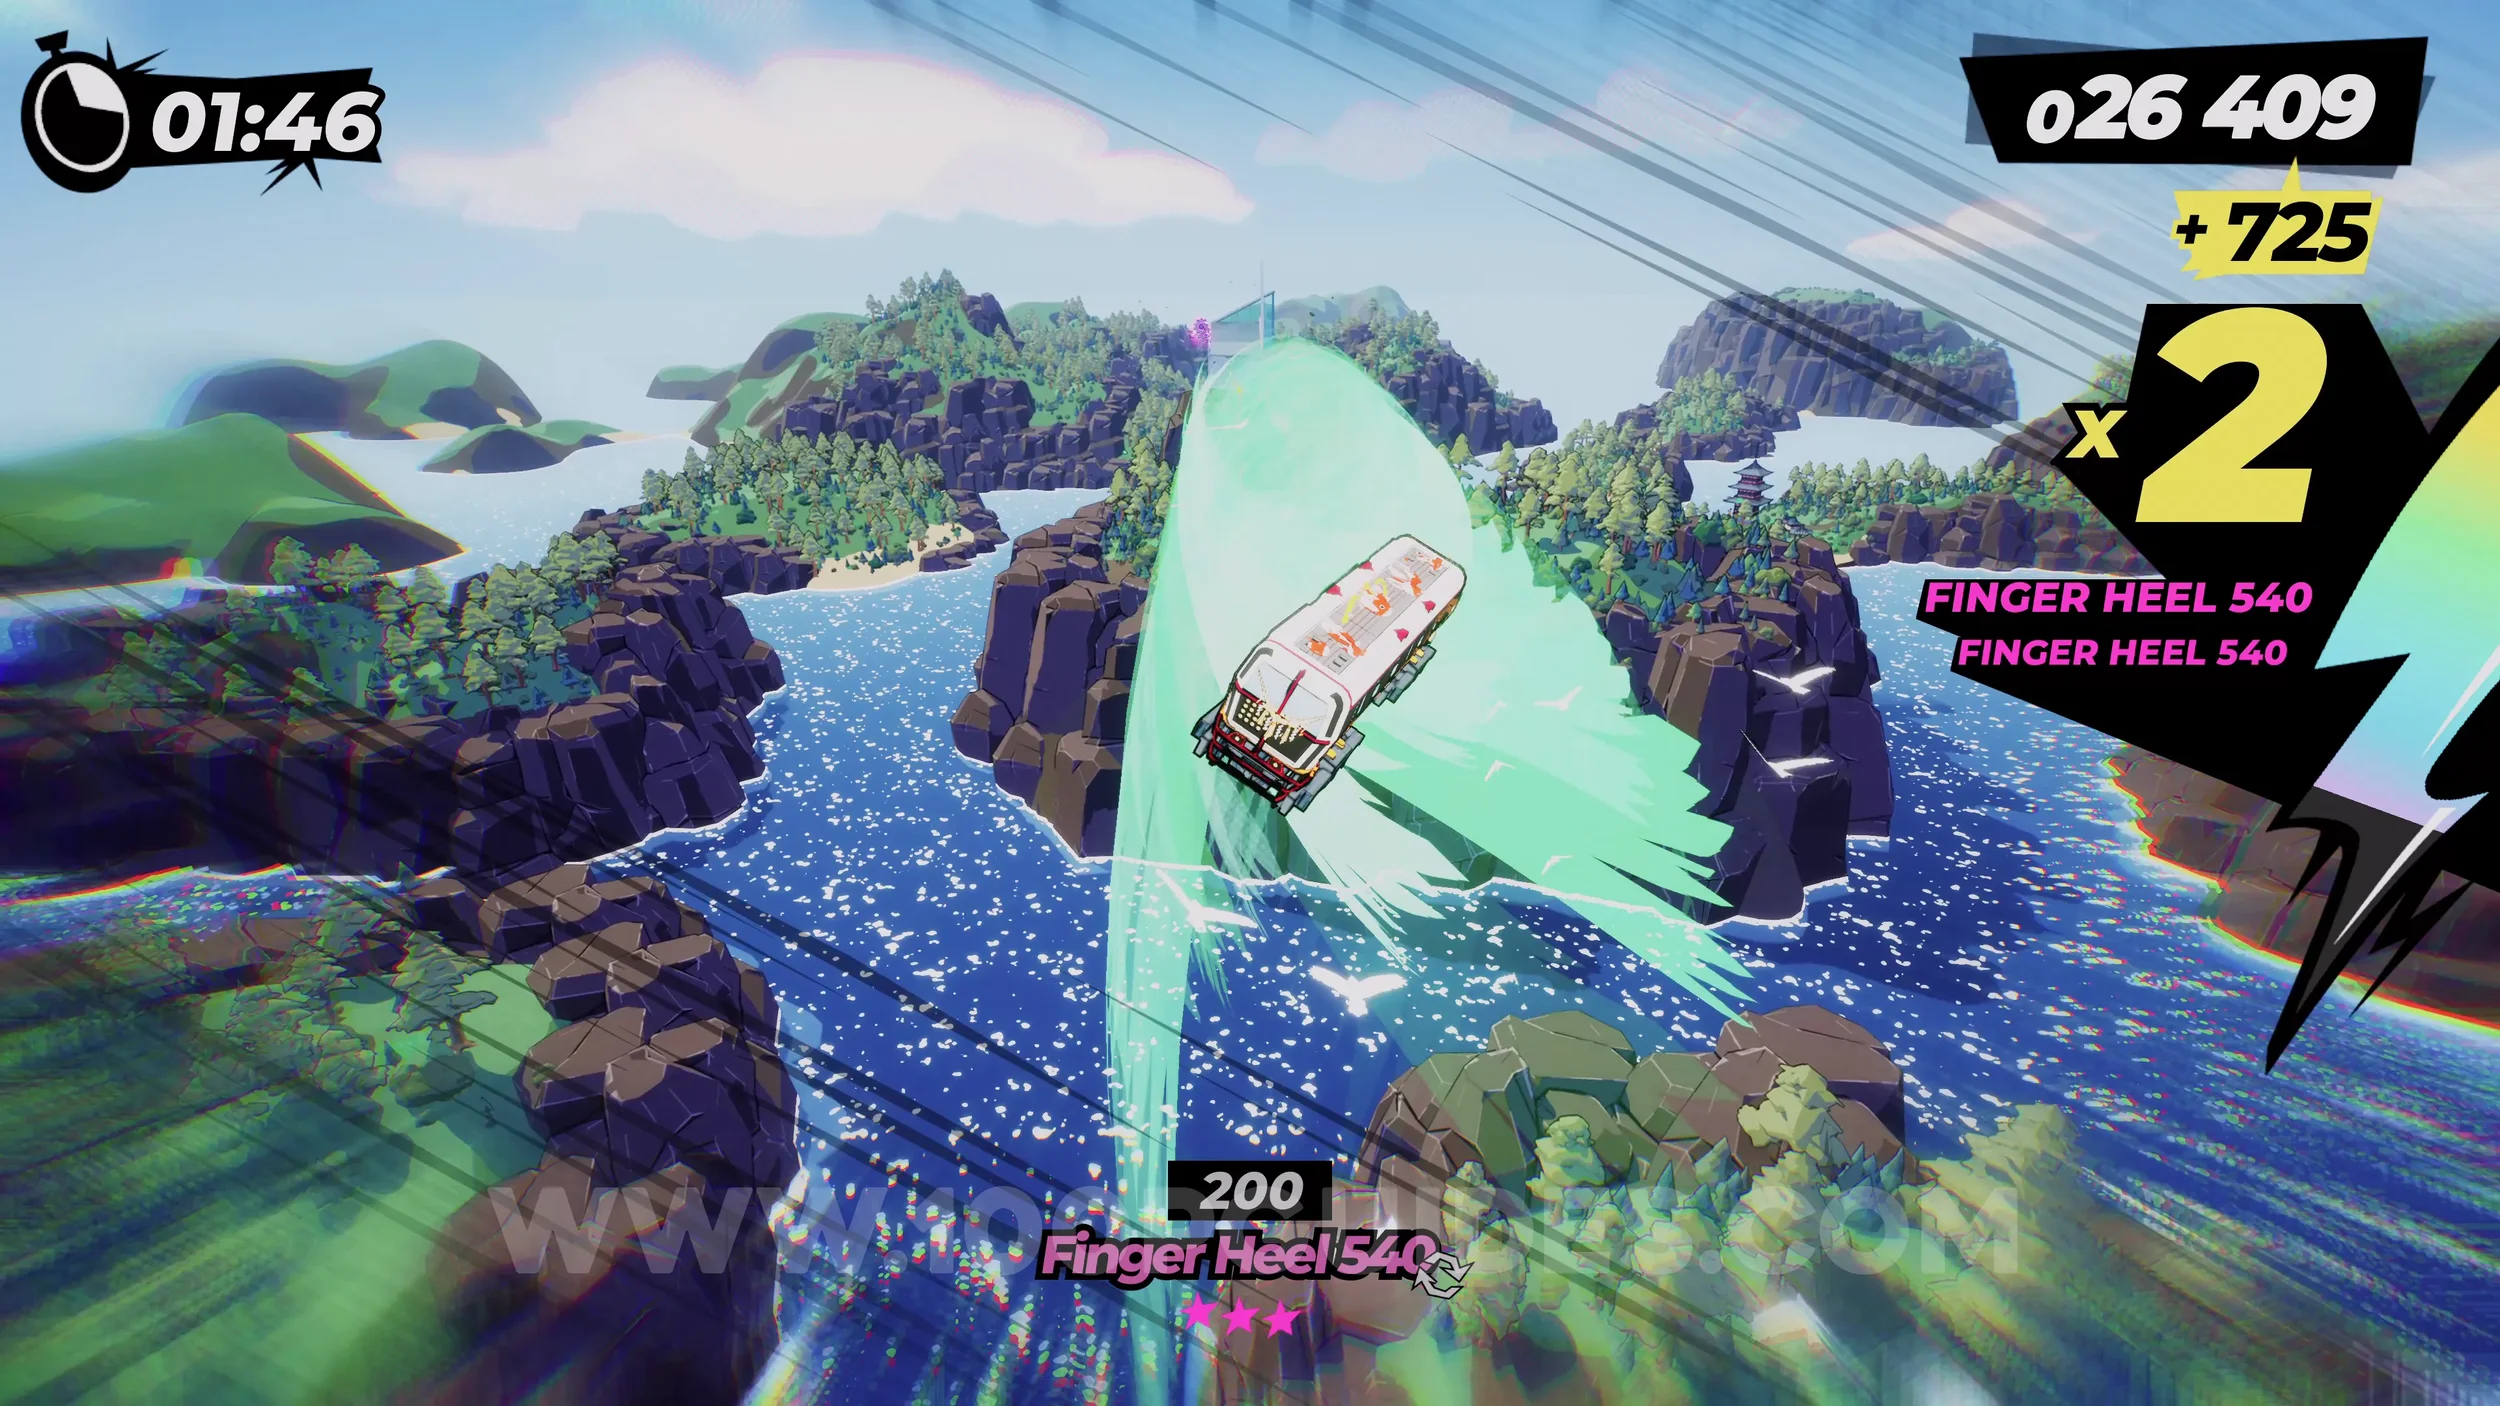
Spray Can (2/2). After the long airtime section, you will smash through some glass to go through a building and enter a second building. As soon as you enter the second one, stick left and use the rainbow rail (must have special bar filled). Follow it to get the spray can.
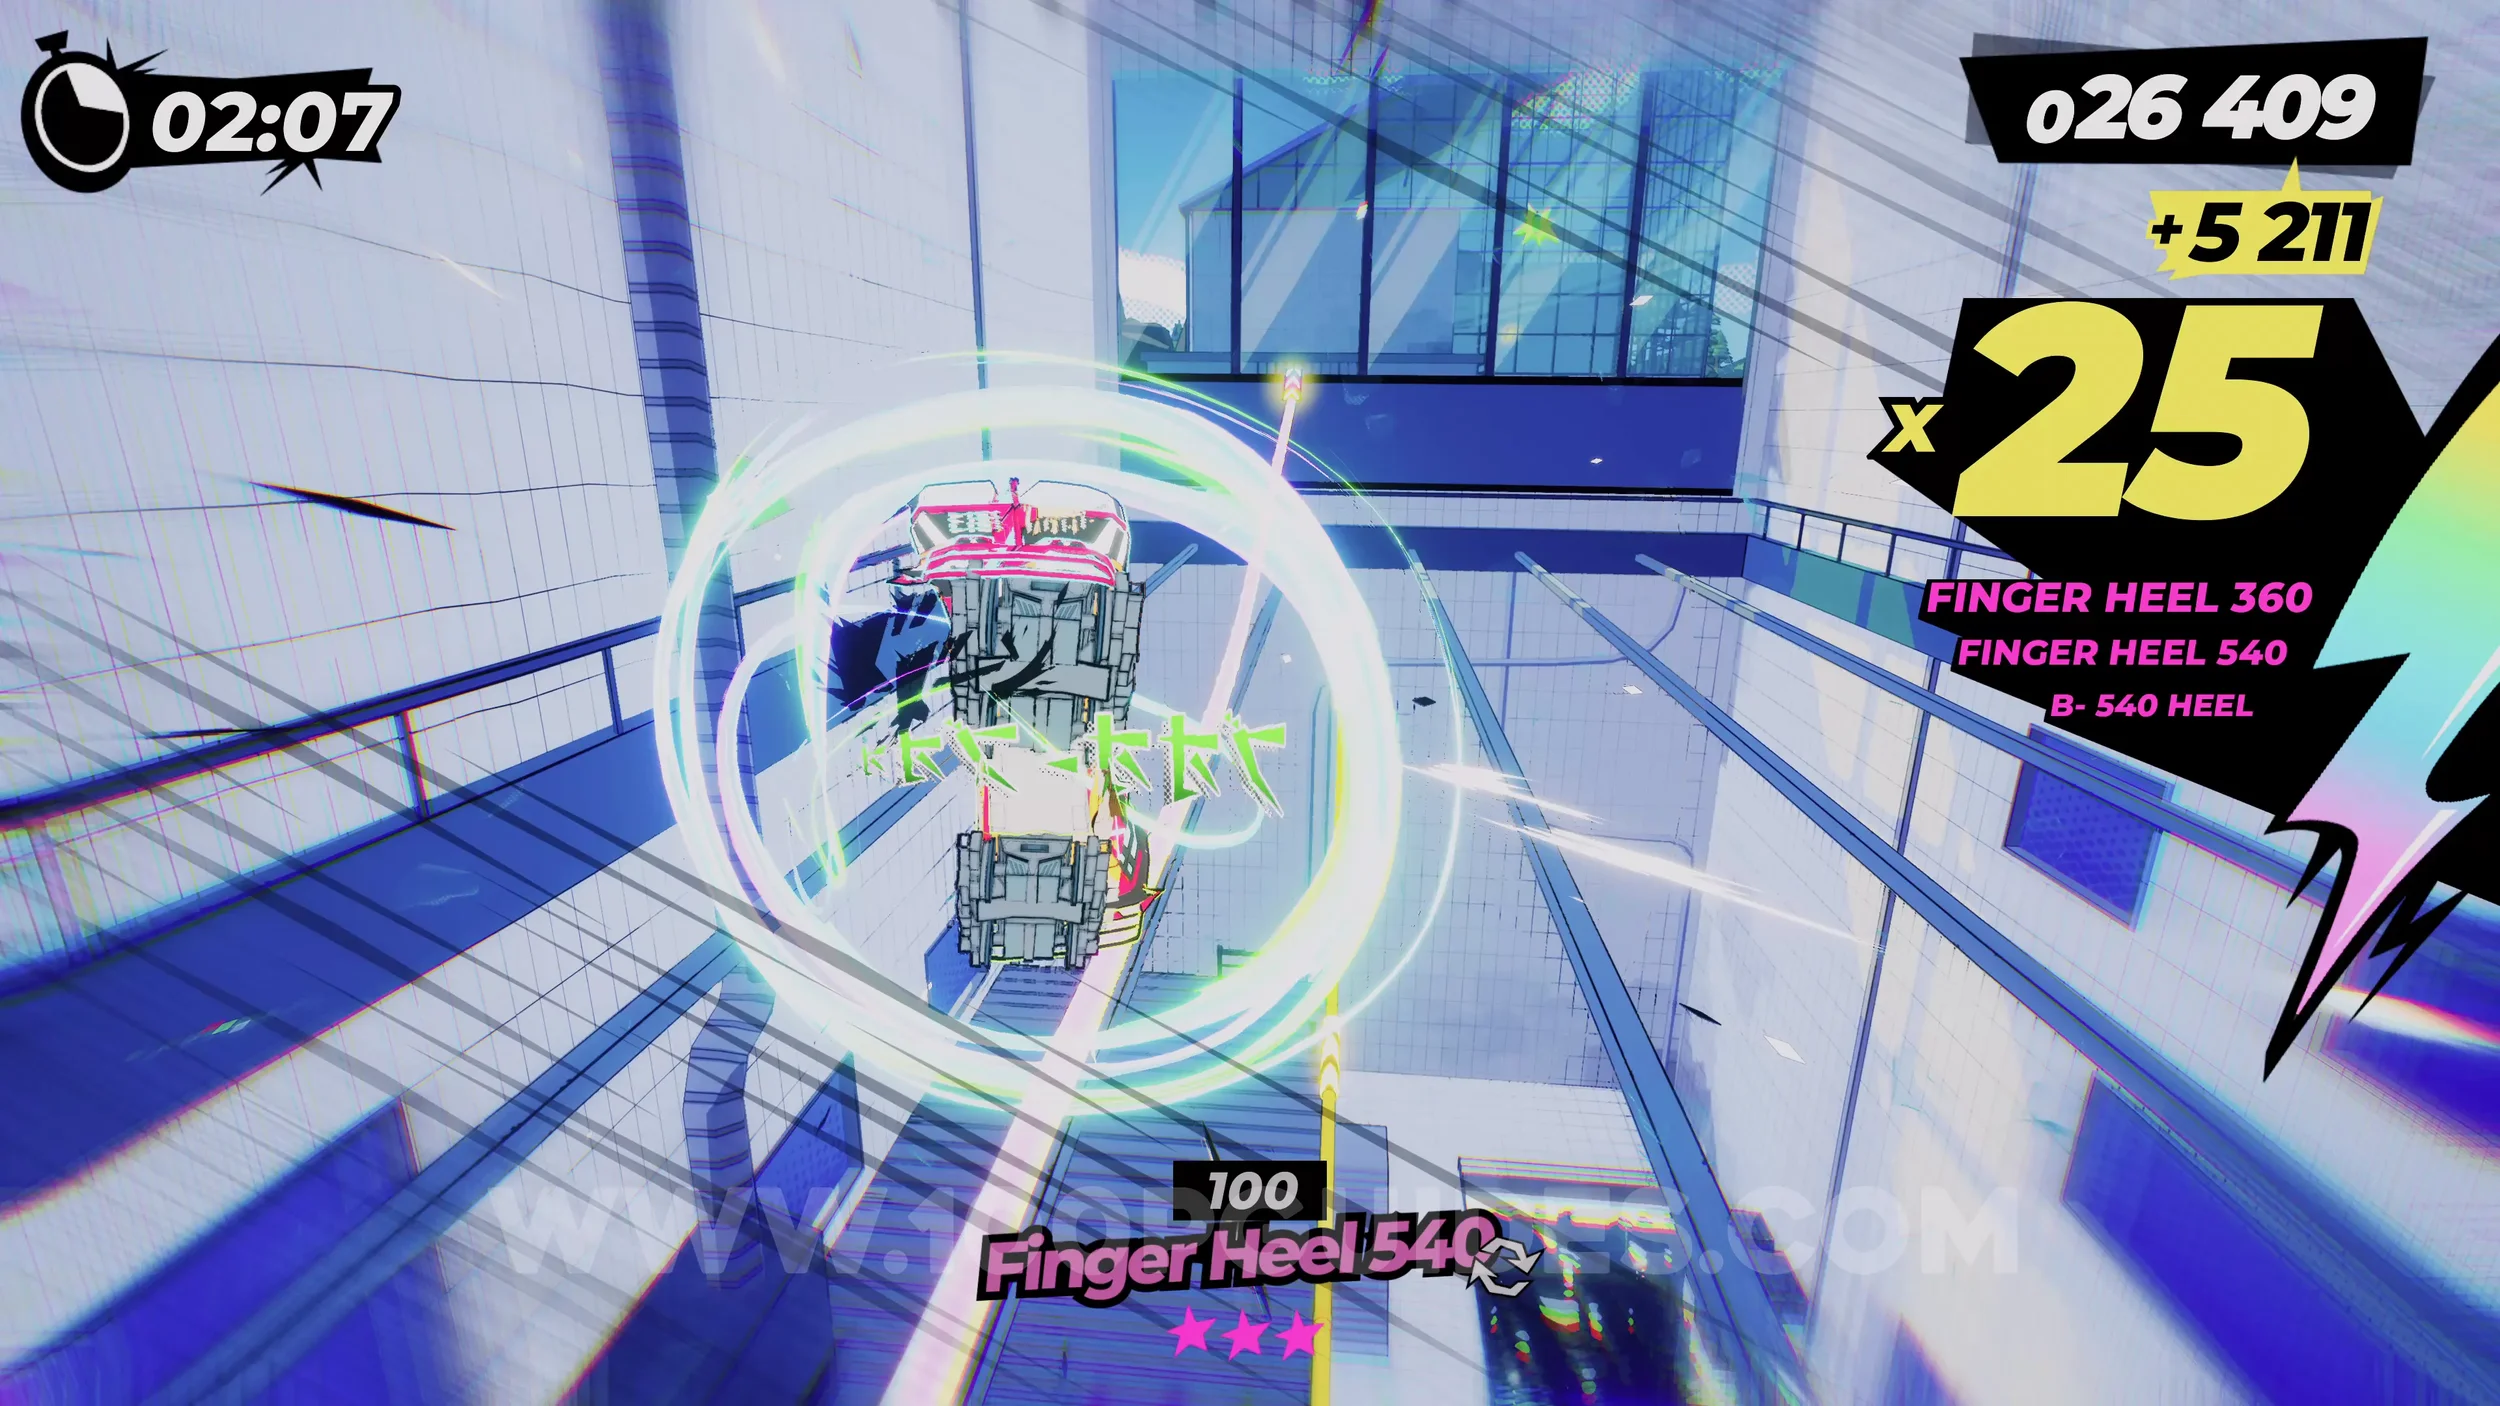
Dare: Make the Oysters Reveal their Pearls. After the previous can, you will land in the water. As soon as you do, look out for the horn sign in the center of the screen and press R3.
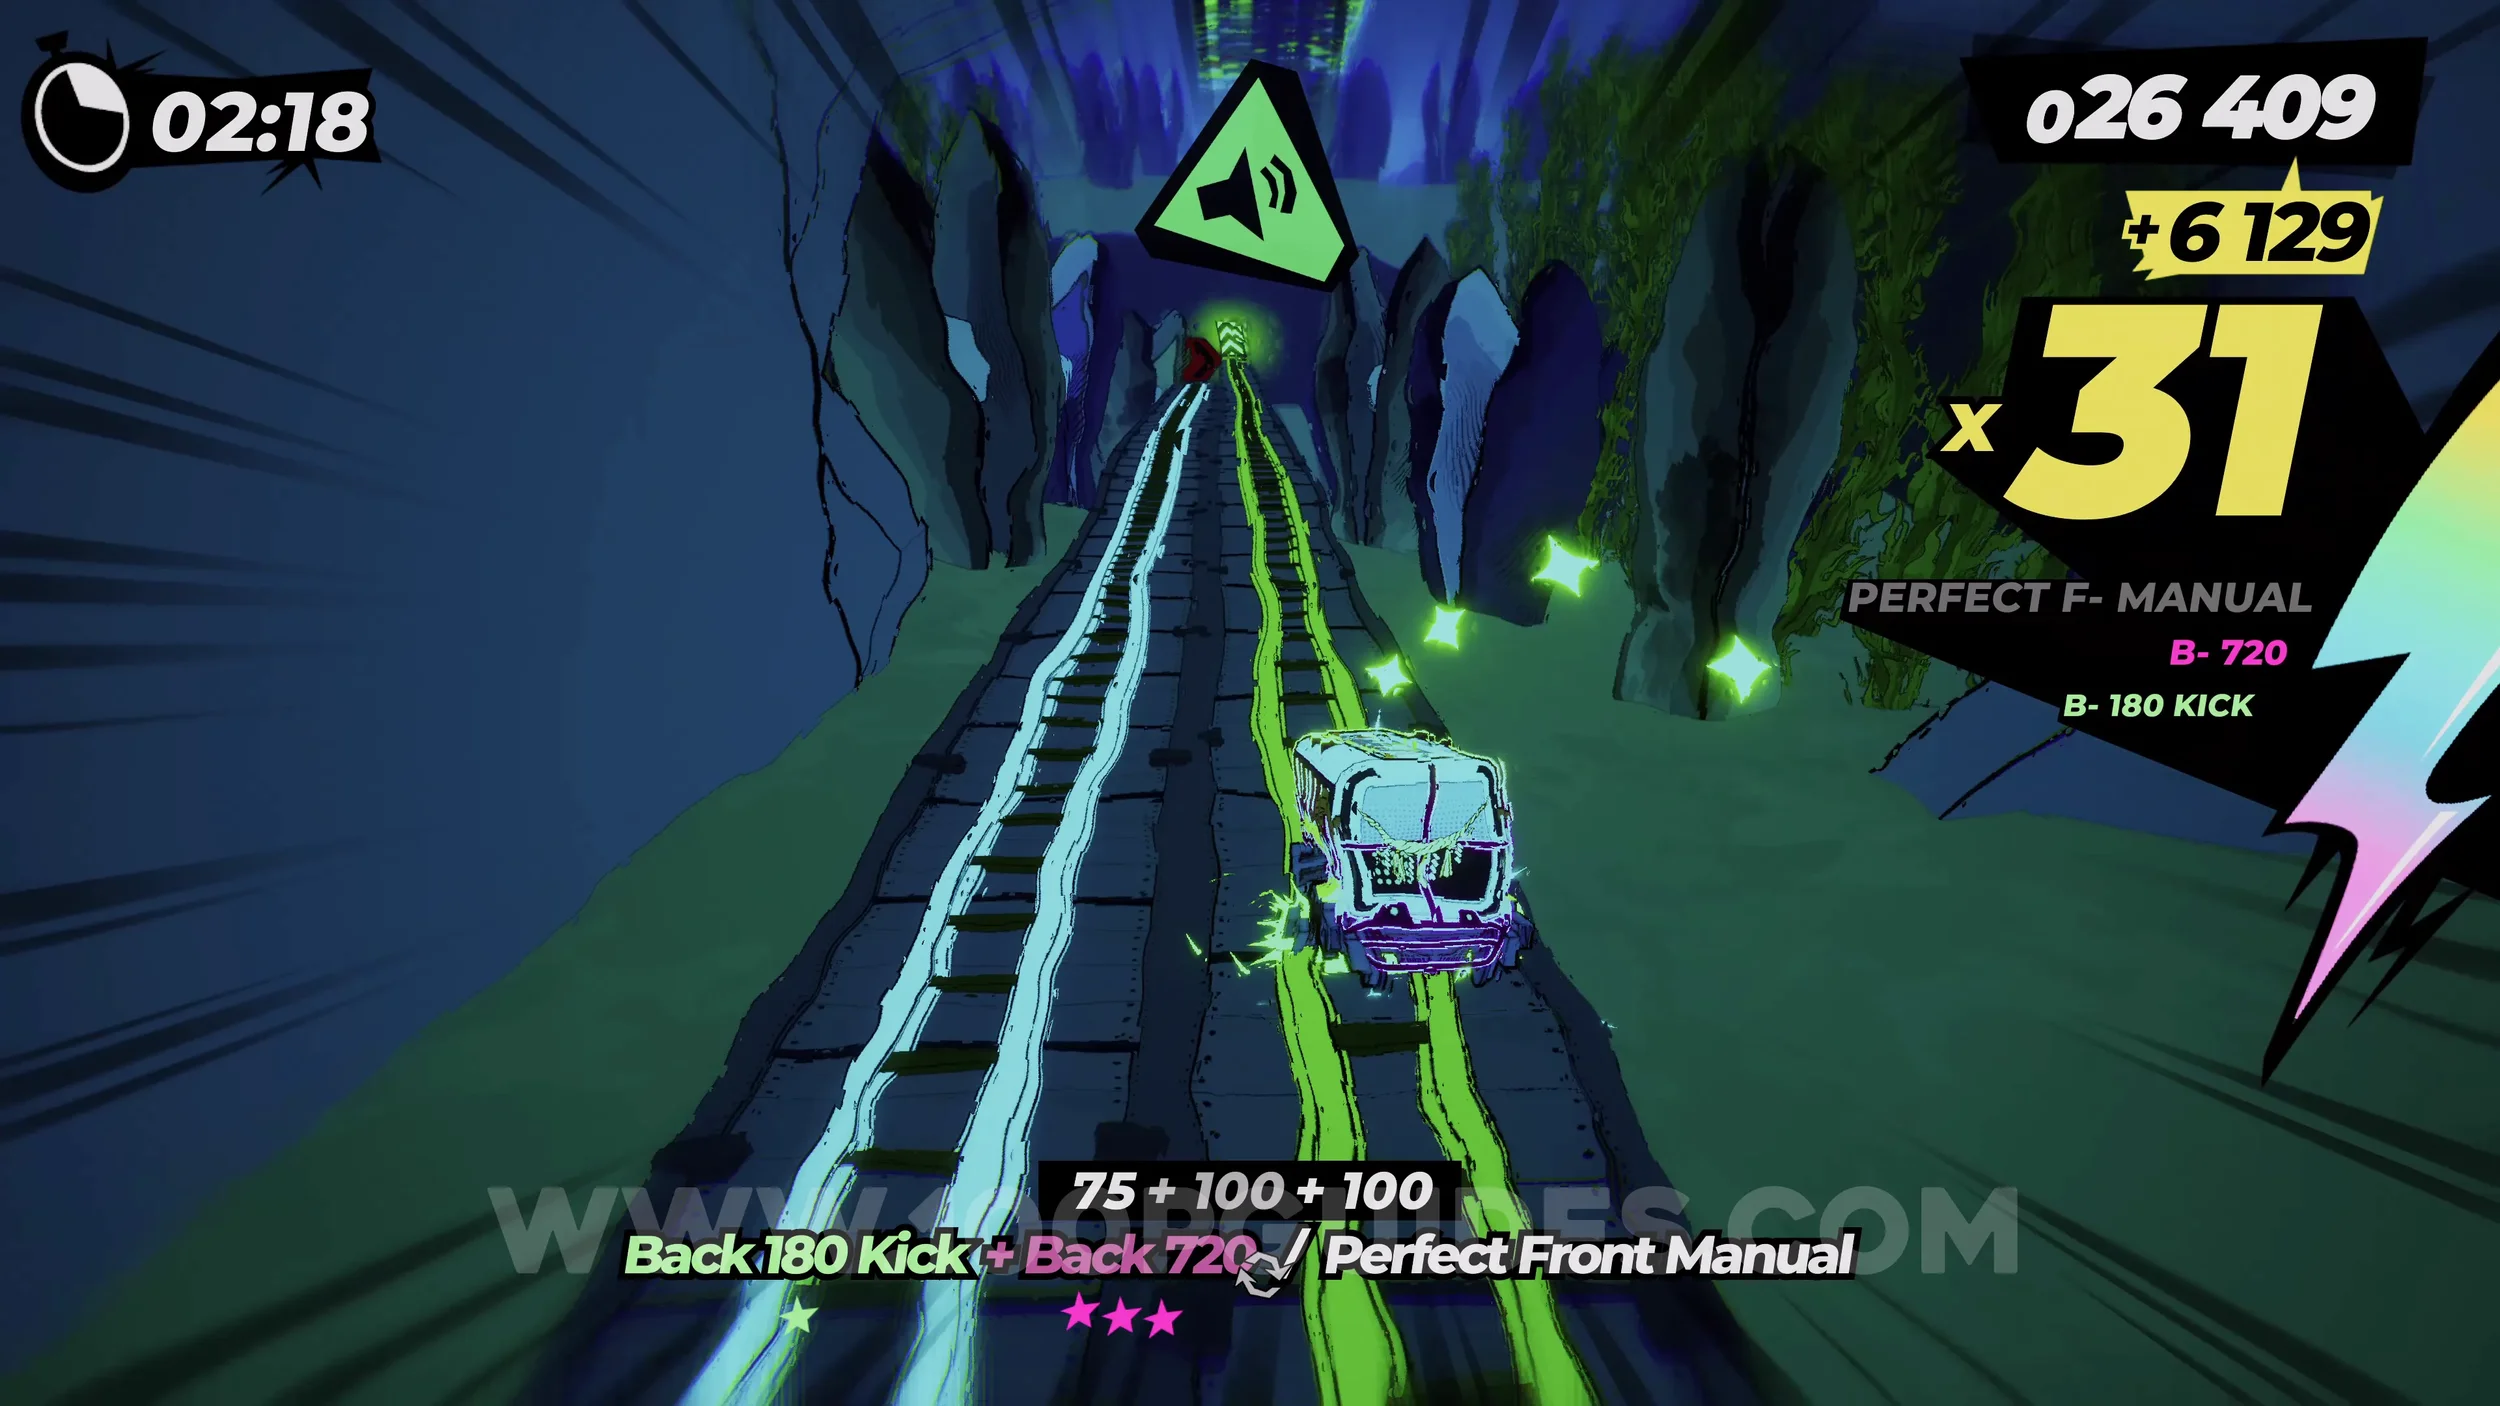
Dare: Achieve 3 Perfect Yukaze. During the level, you will use a LOT of Yukaze (the wind circles). Just do three tricks at the perfect time when activating them.
Dare: No Crash Finish. Self-explanatory. Finish the level without crashing.
5-5-R Tarantula Racing Course
Dare: Collect 3 Checkered Flags (1/3). On the first straight above the red arrows.
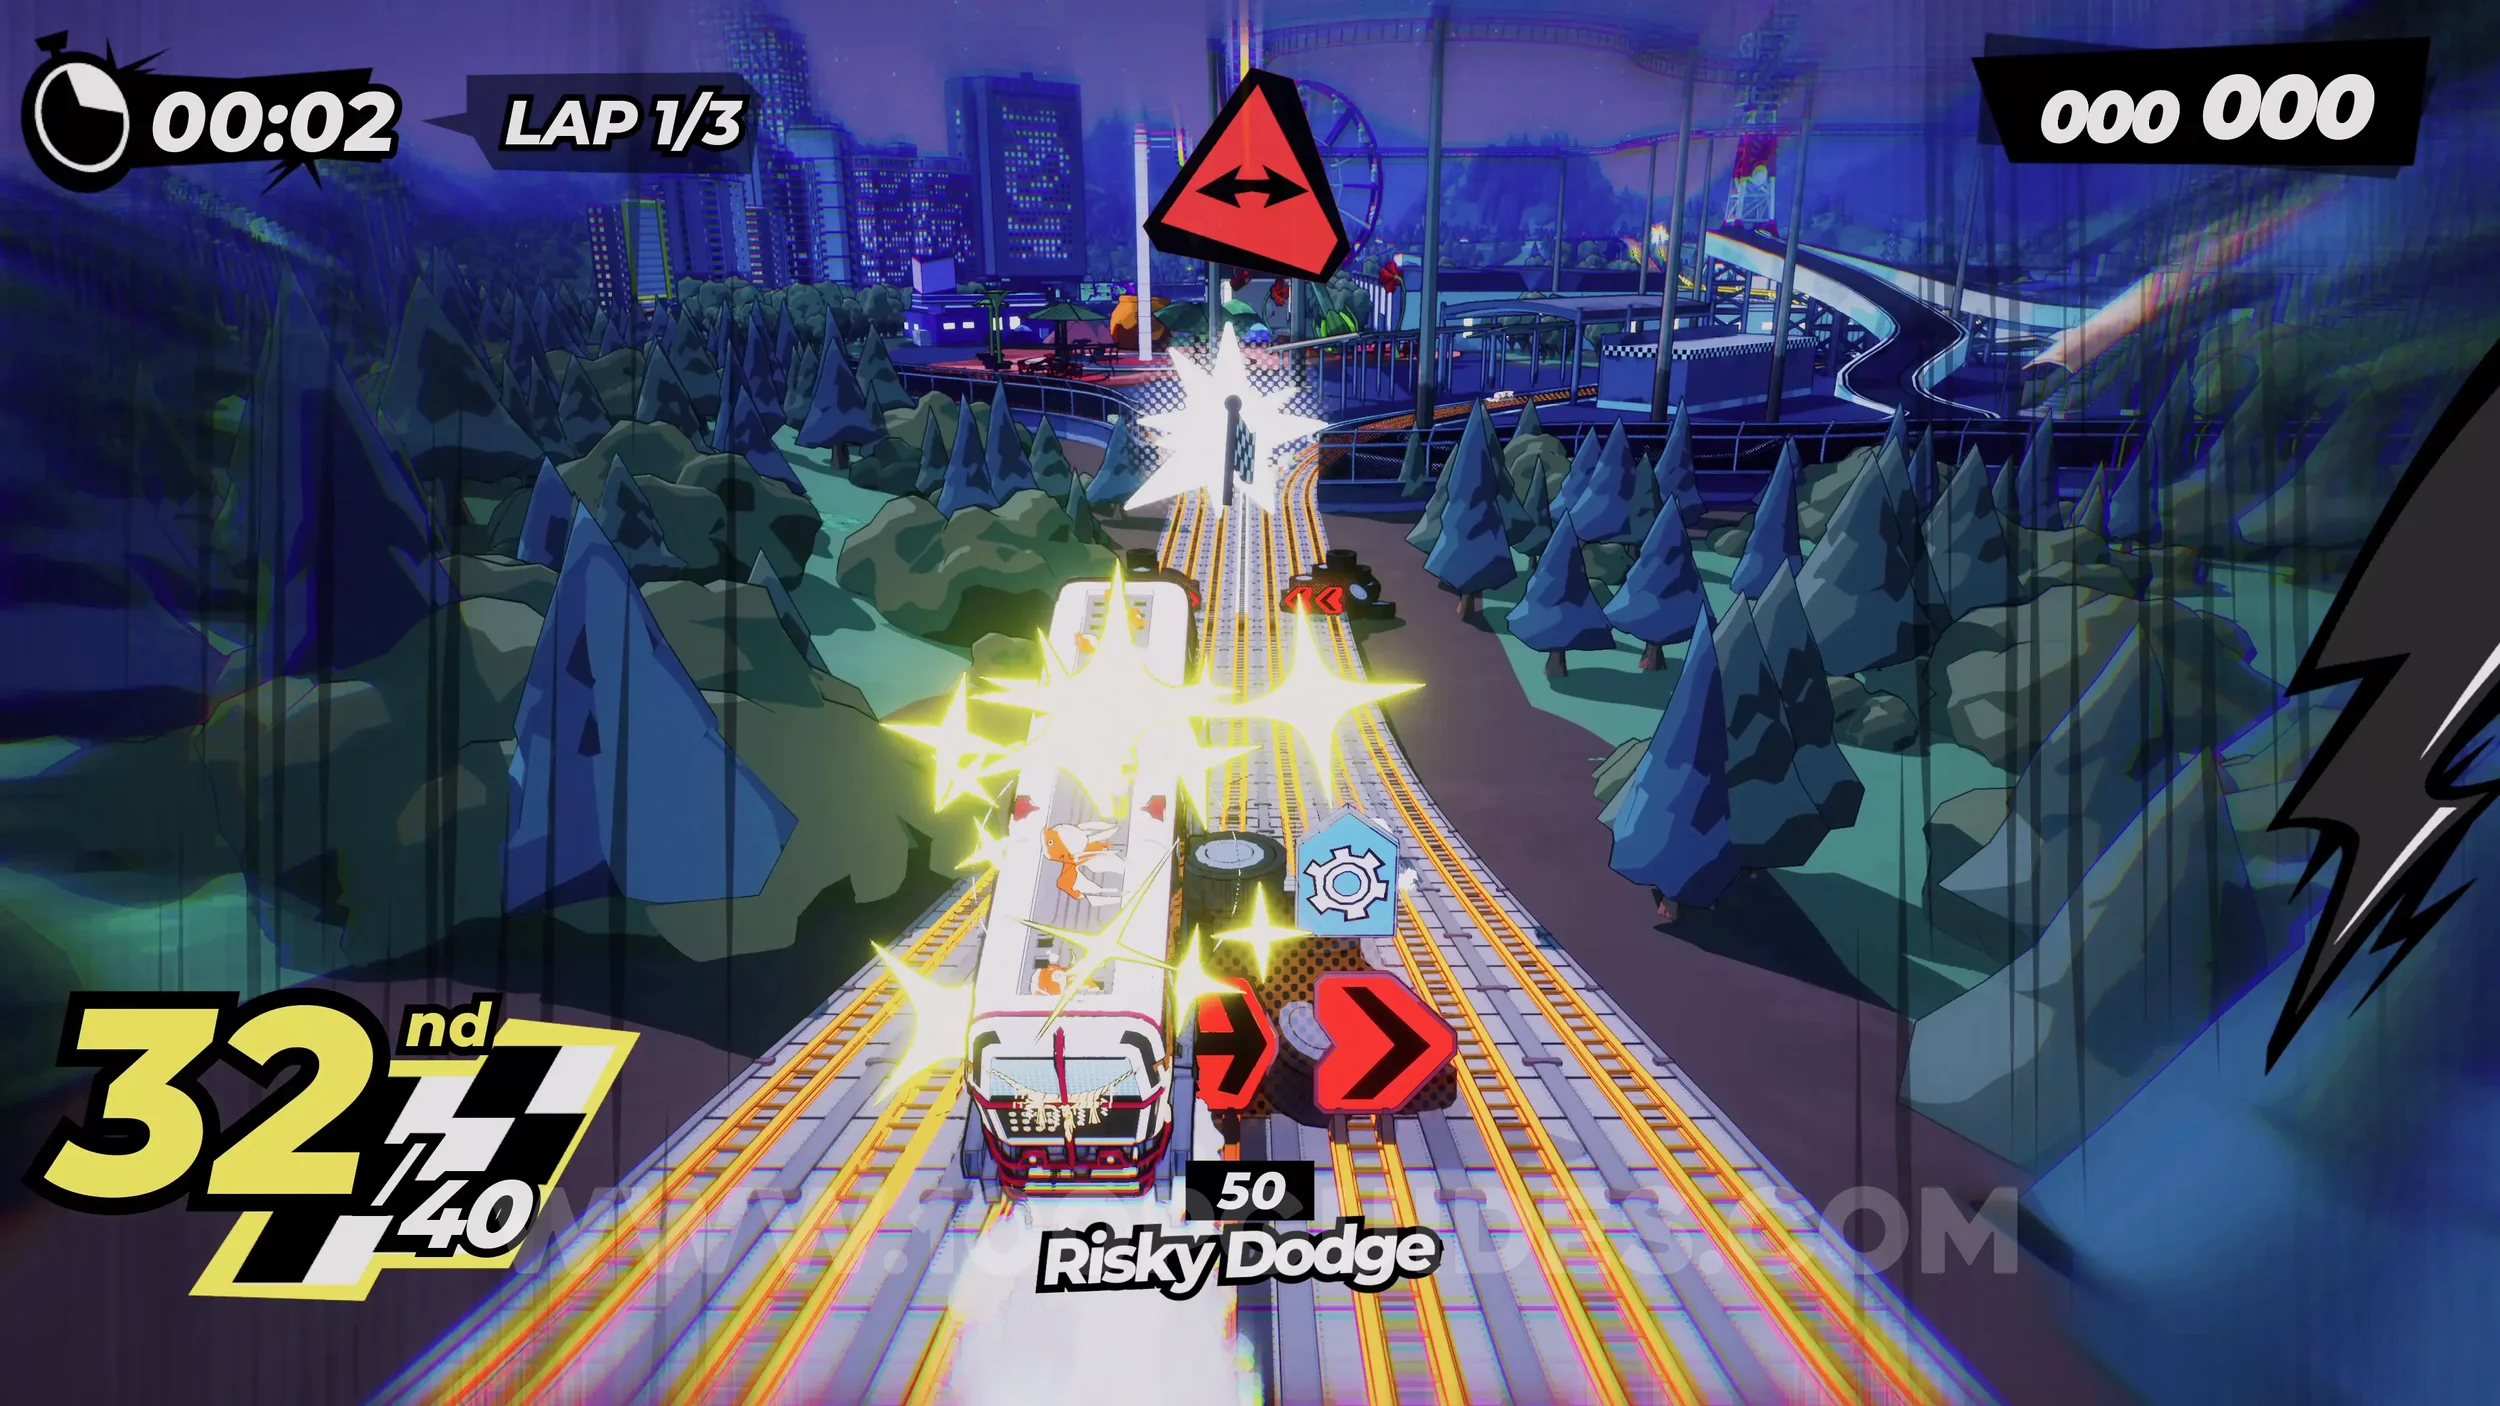
Dare: Collect 3 Checkered Flags (2/3). Take the left path at the start and then ride the left side wall to get the flag.
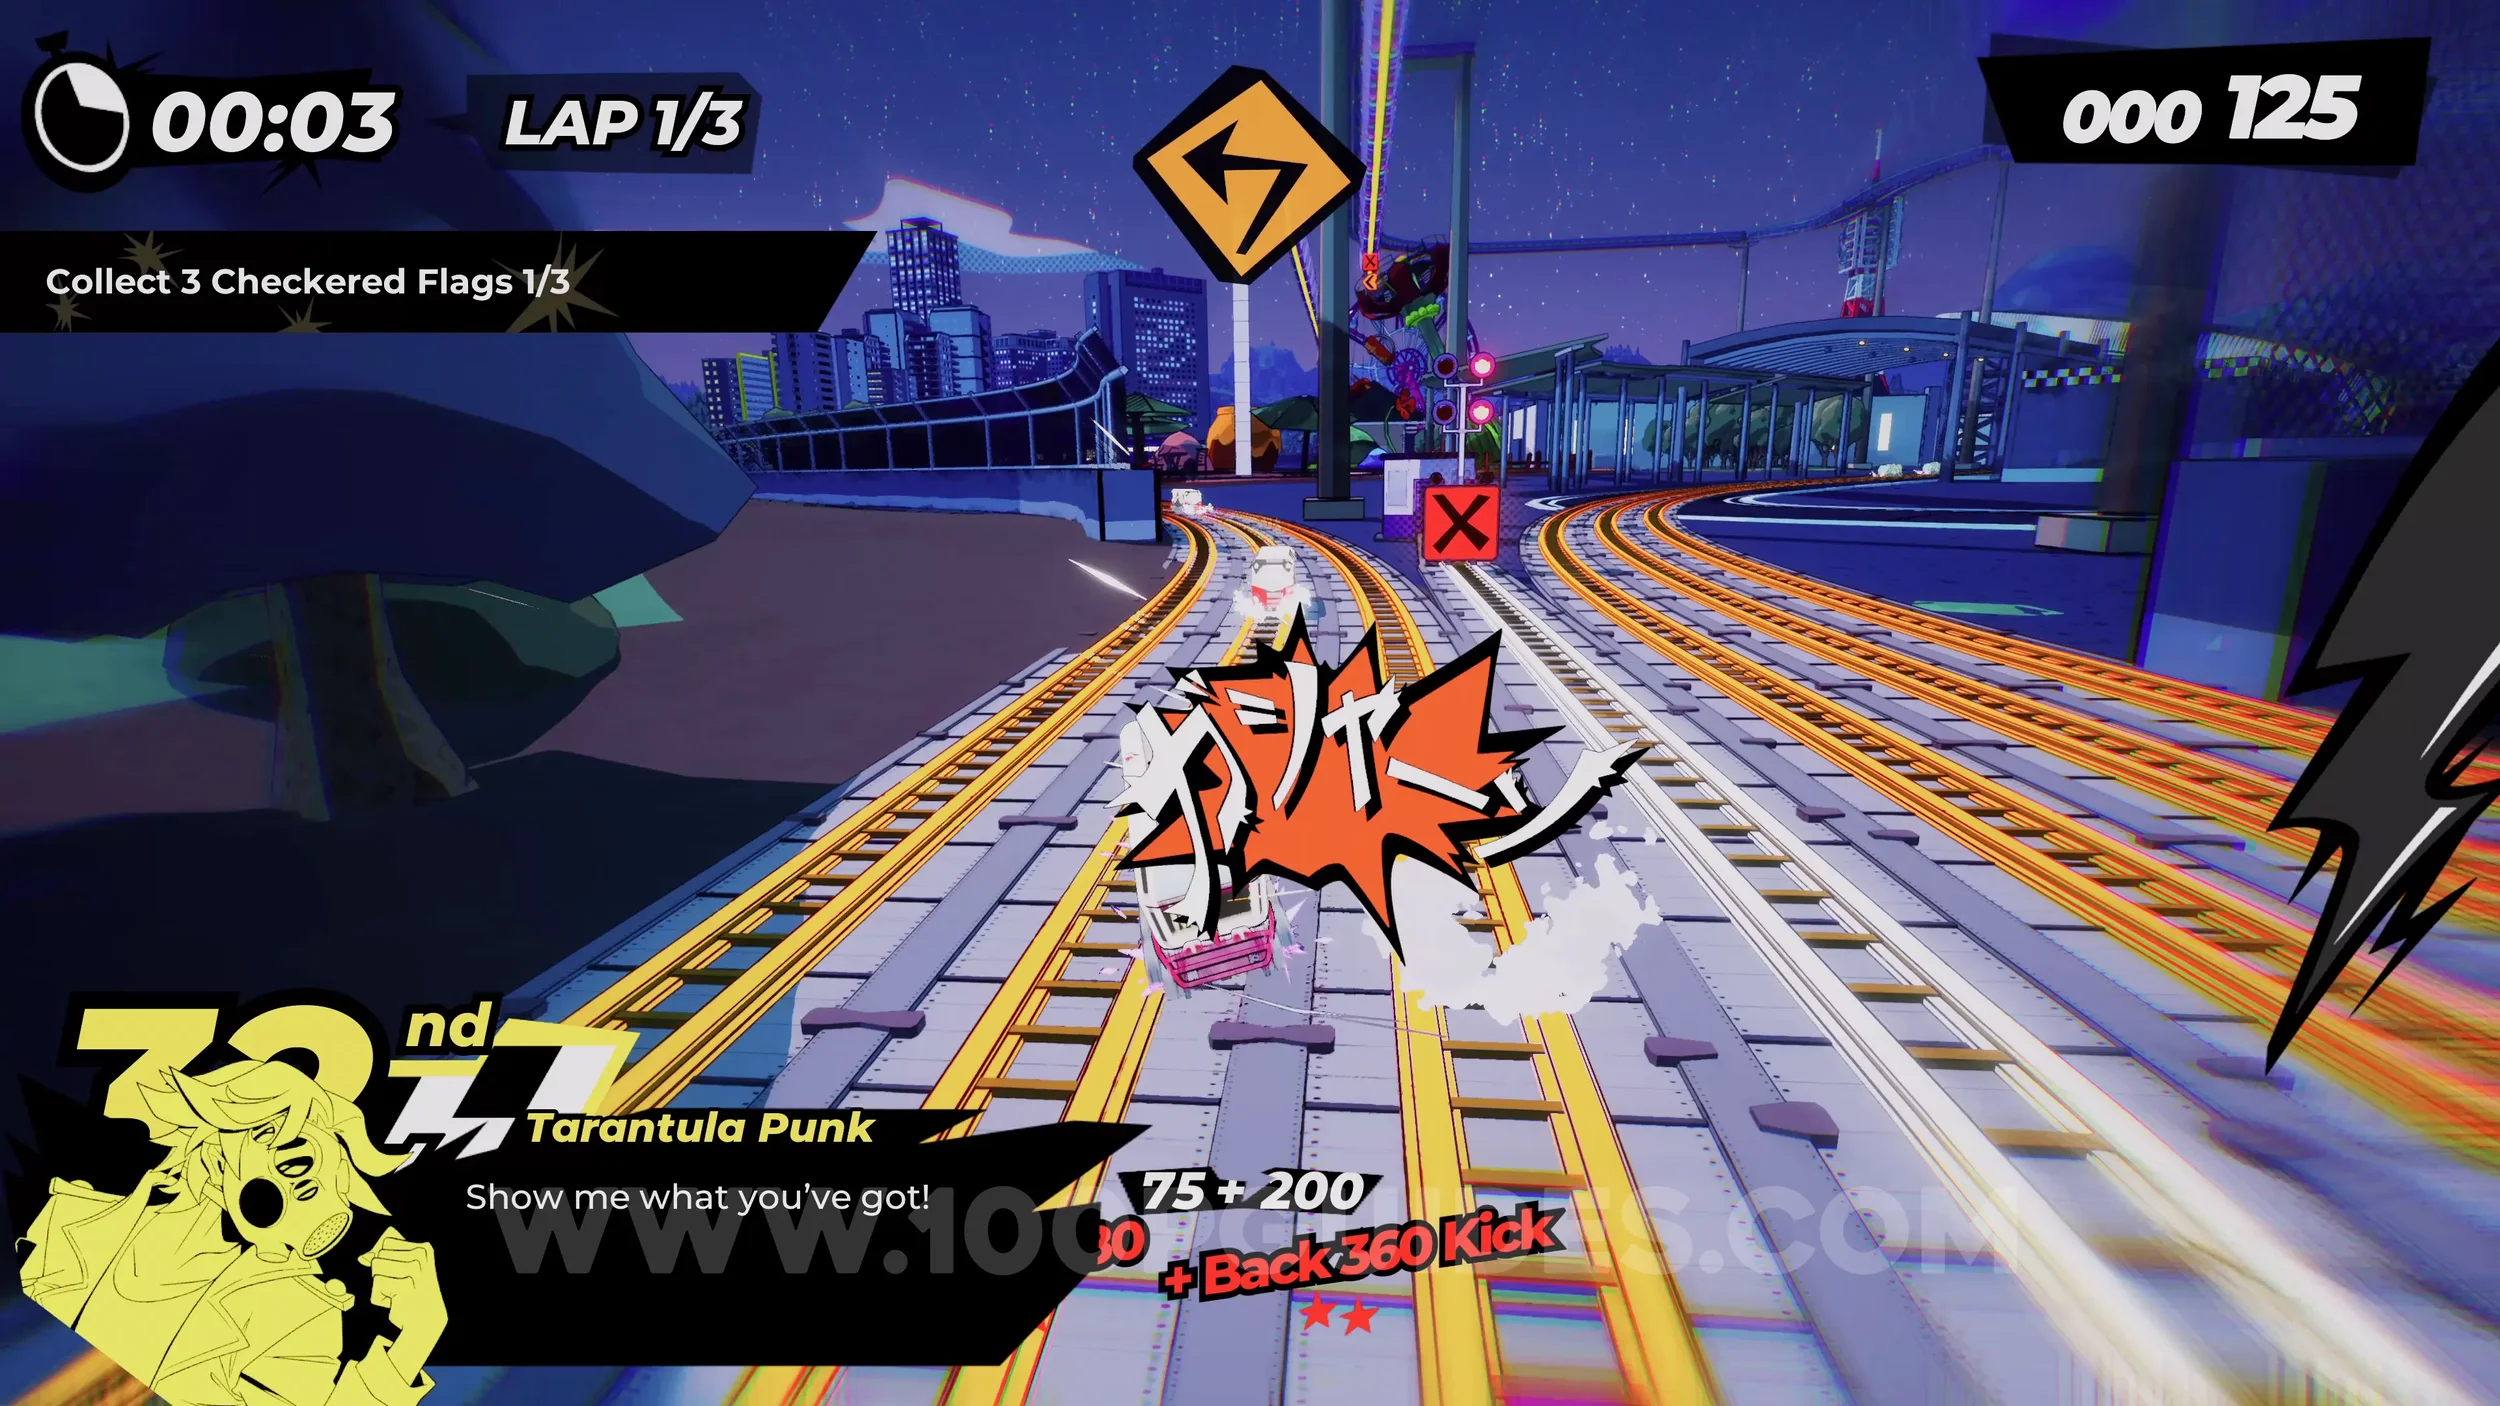
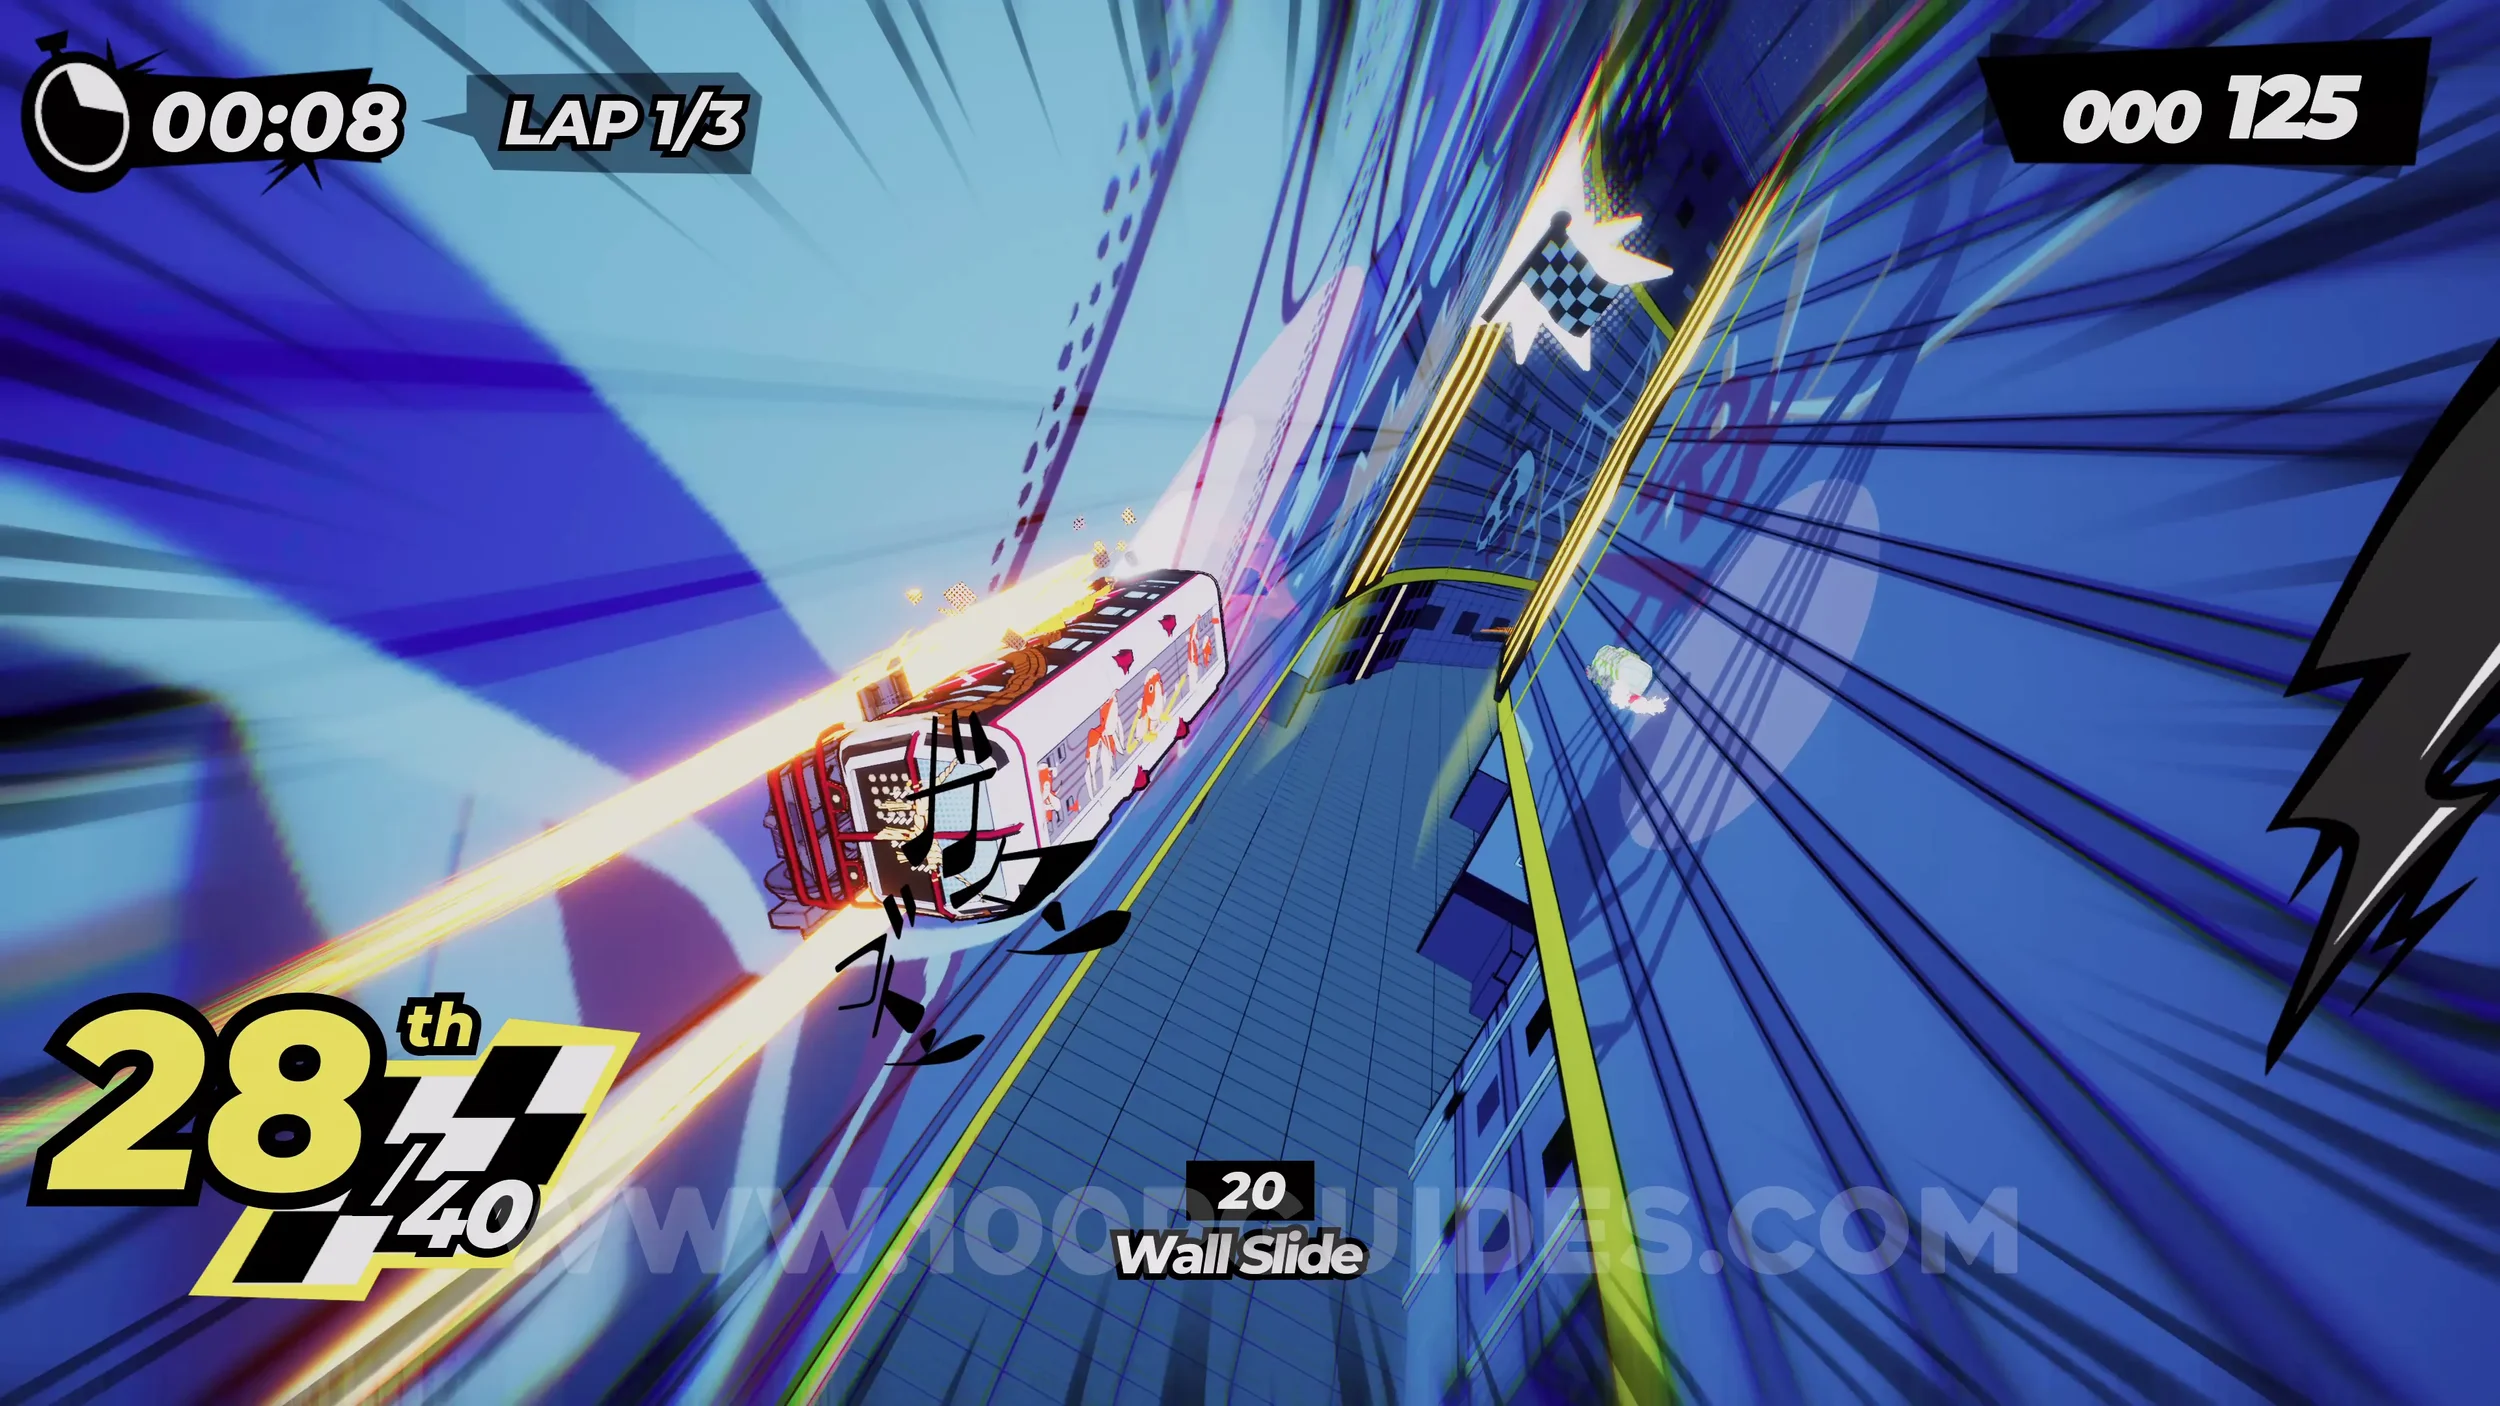
Spray Can (1/1). After the previous checkered flag, continue around the corner to the left. You'll come across a spiderweb with a spray can floating above it. Jump toward it and air stomp down to collect the spray can.
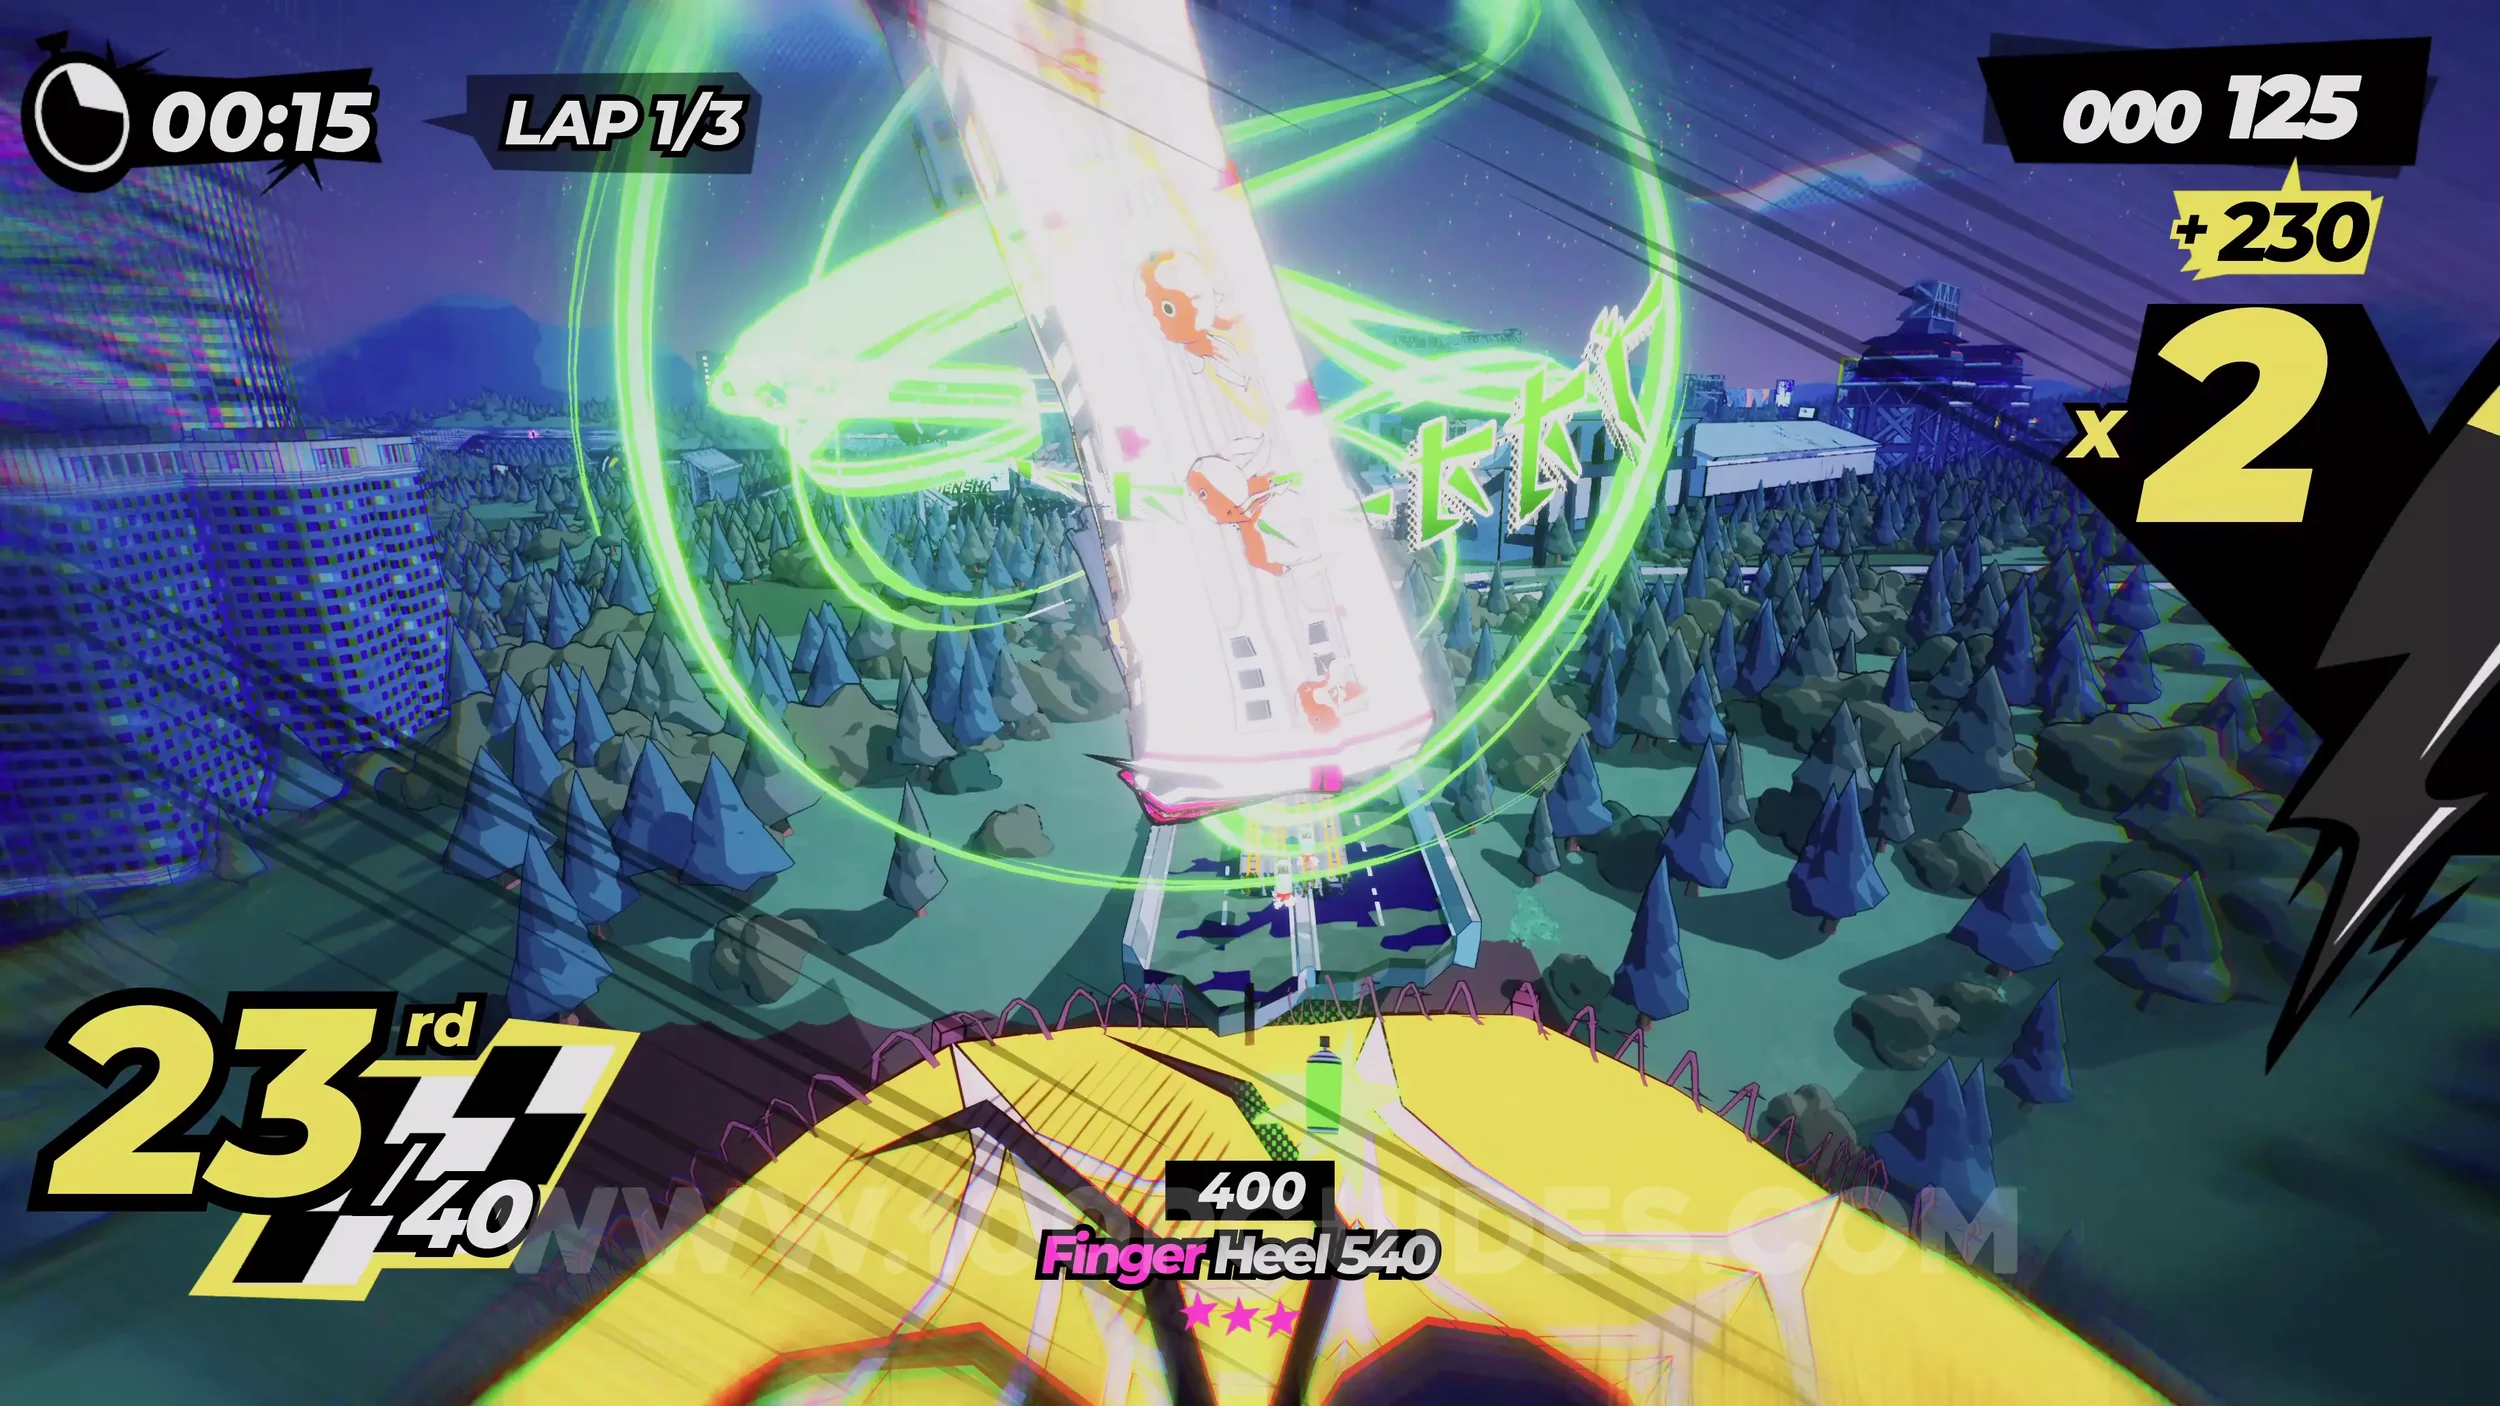
Gear (1/3). On the next straight, use the ramp next to the gear sign to launch yourself toward the Yukaze, then continue on to the gear.
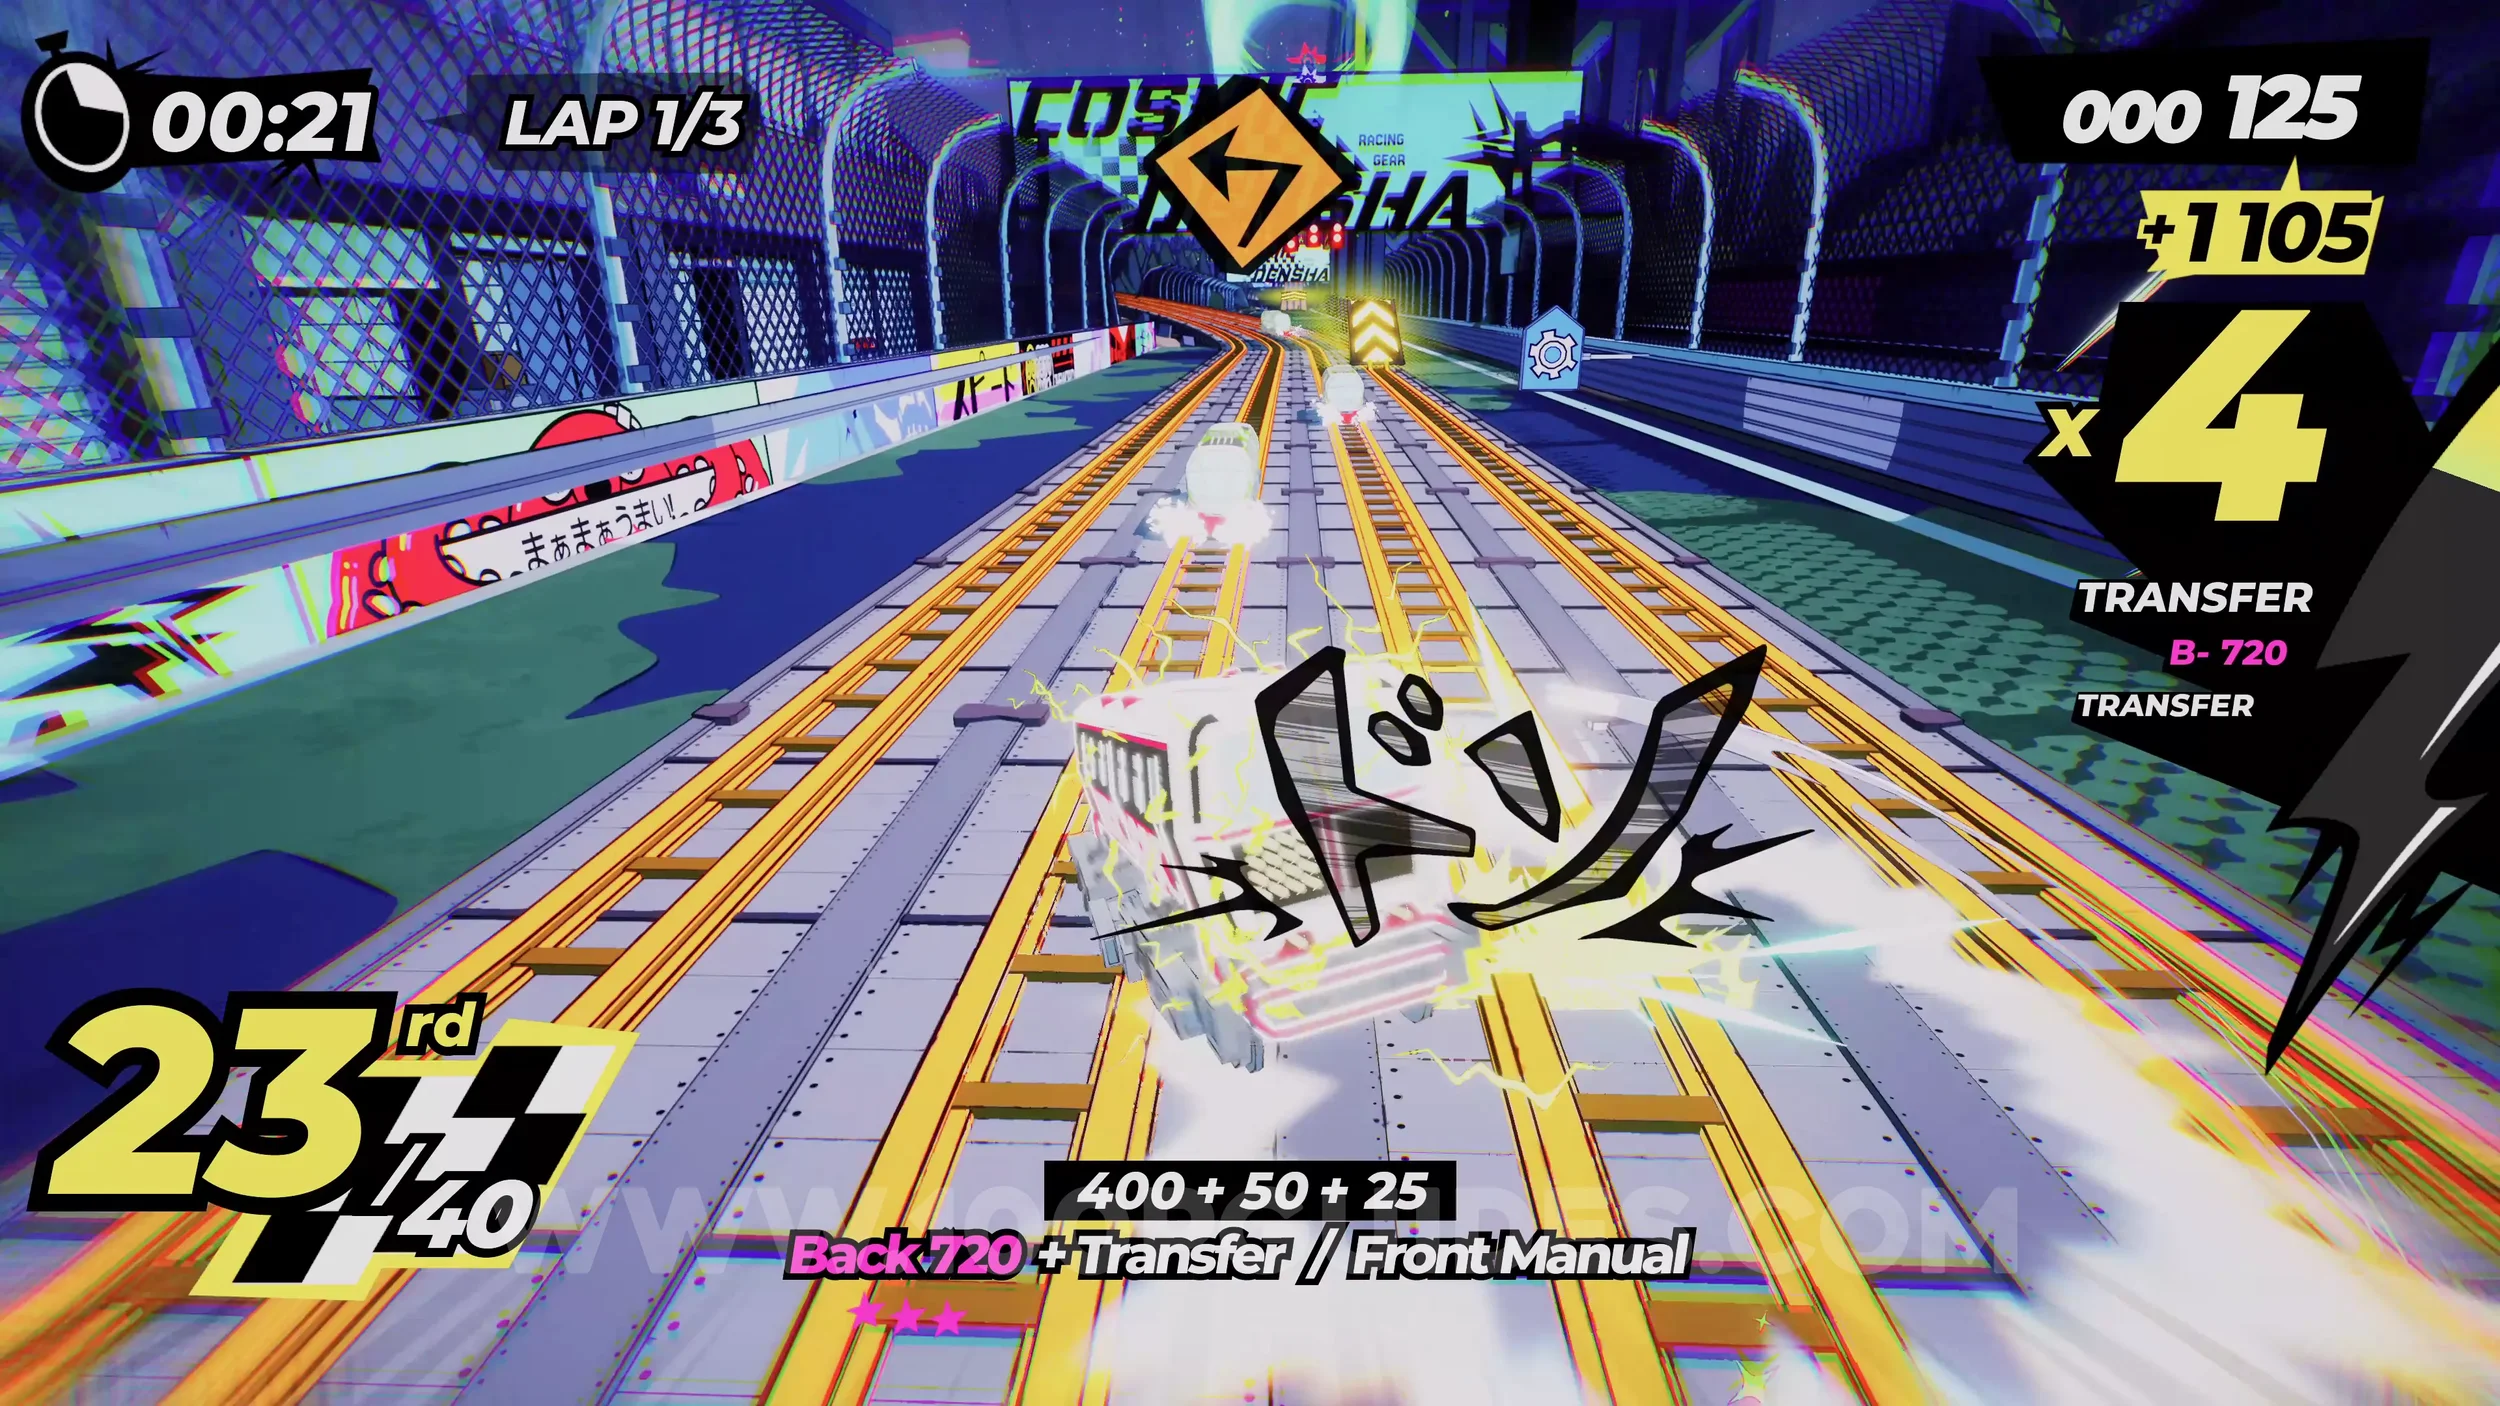
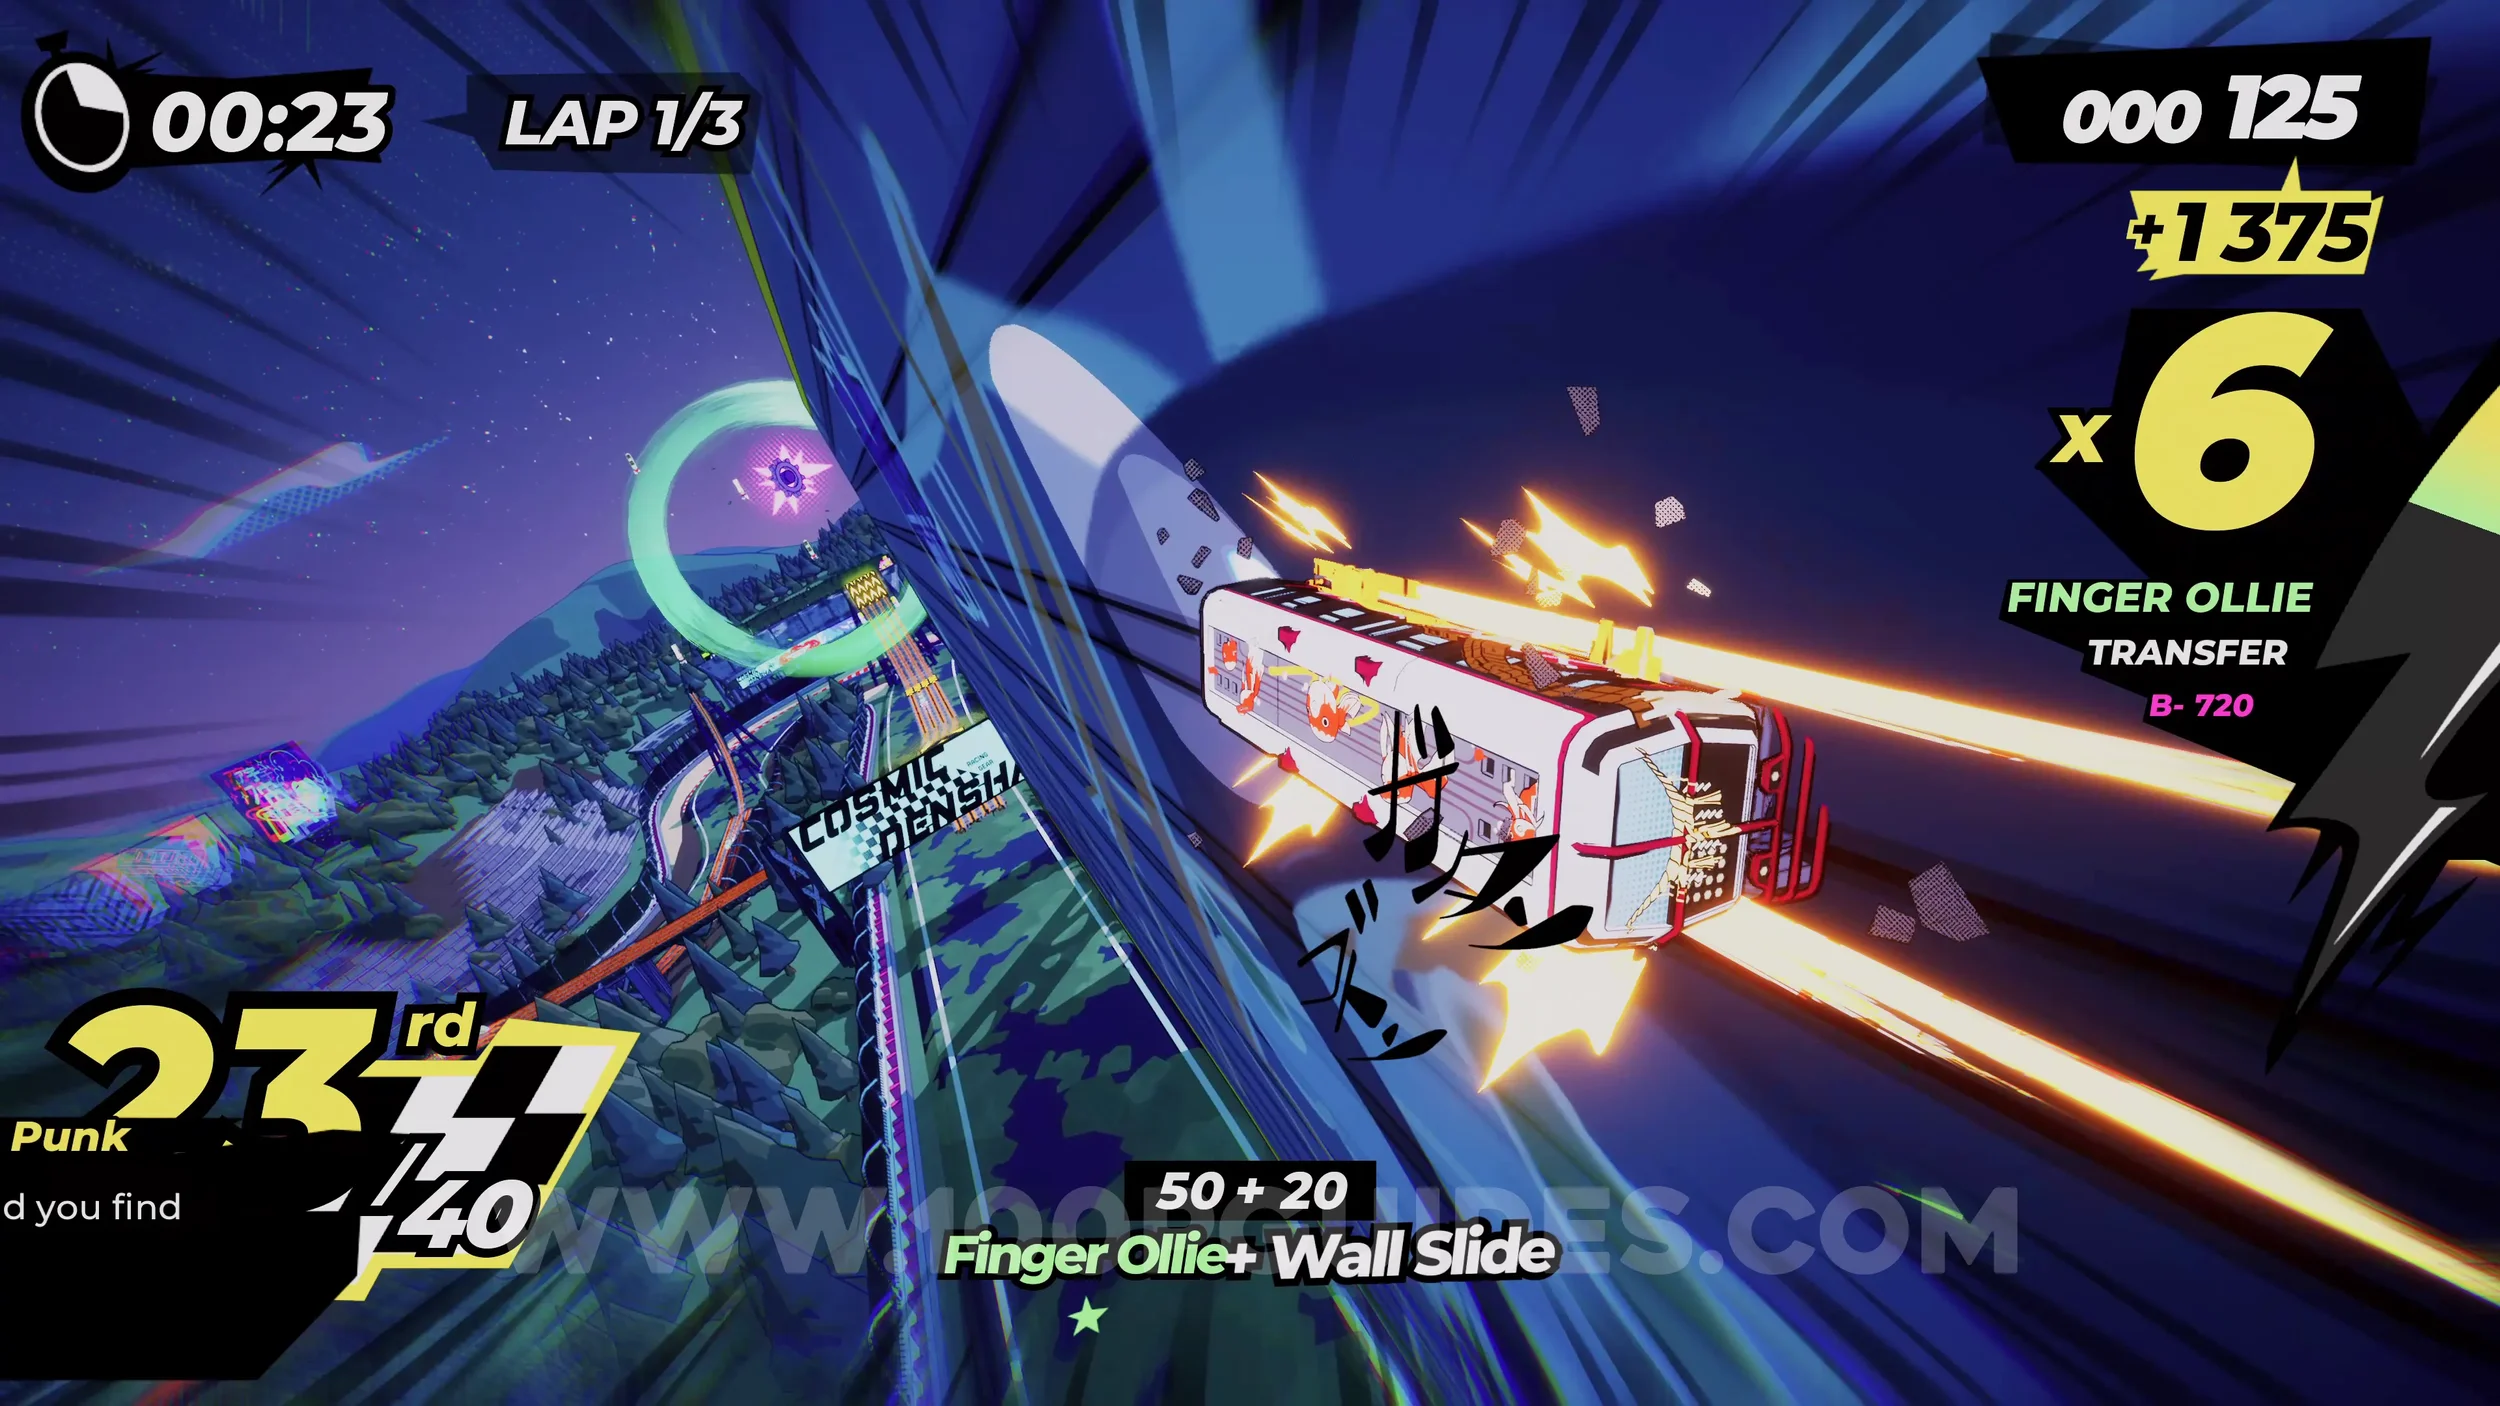
Gear (2/3). Continue through the level without using any rainbow tracks or rails. Eventually, you'll spot this gear sitting above a bridge on a straight, in plain sight.
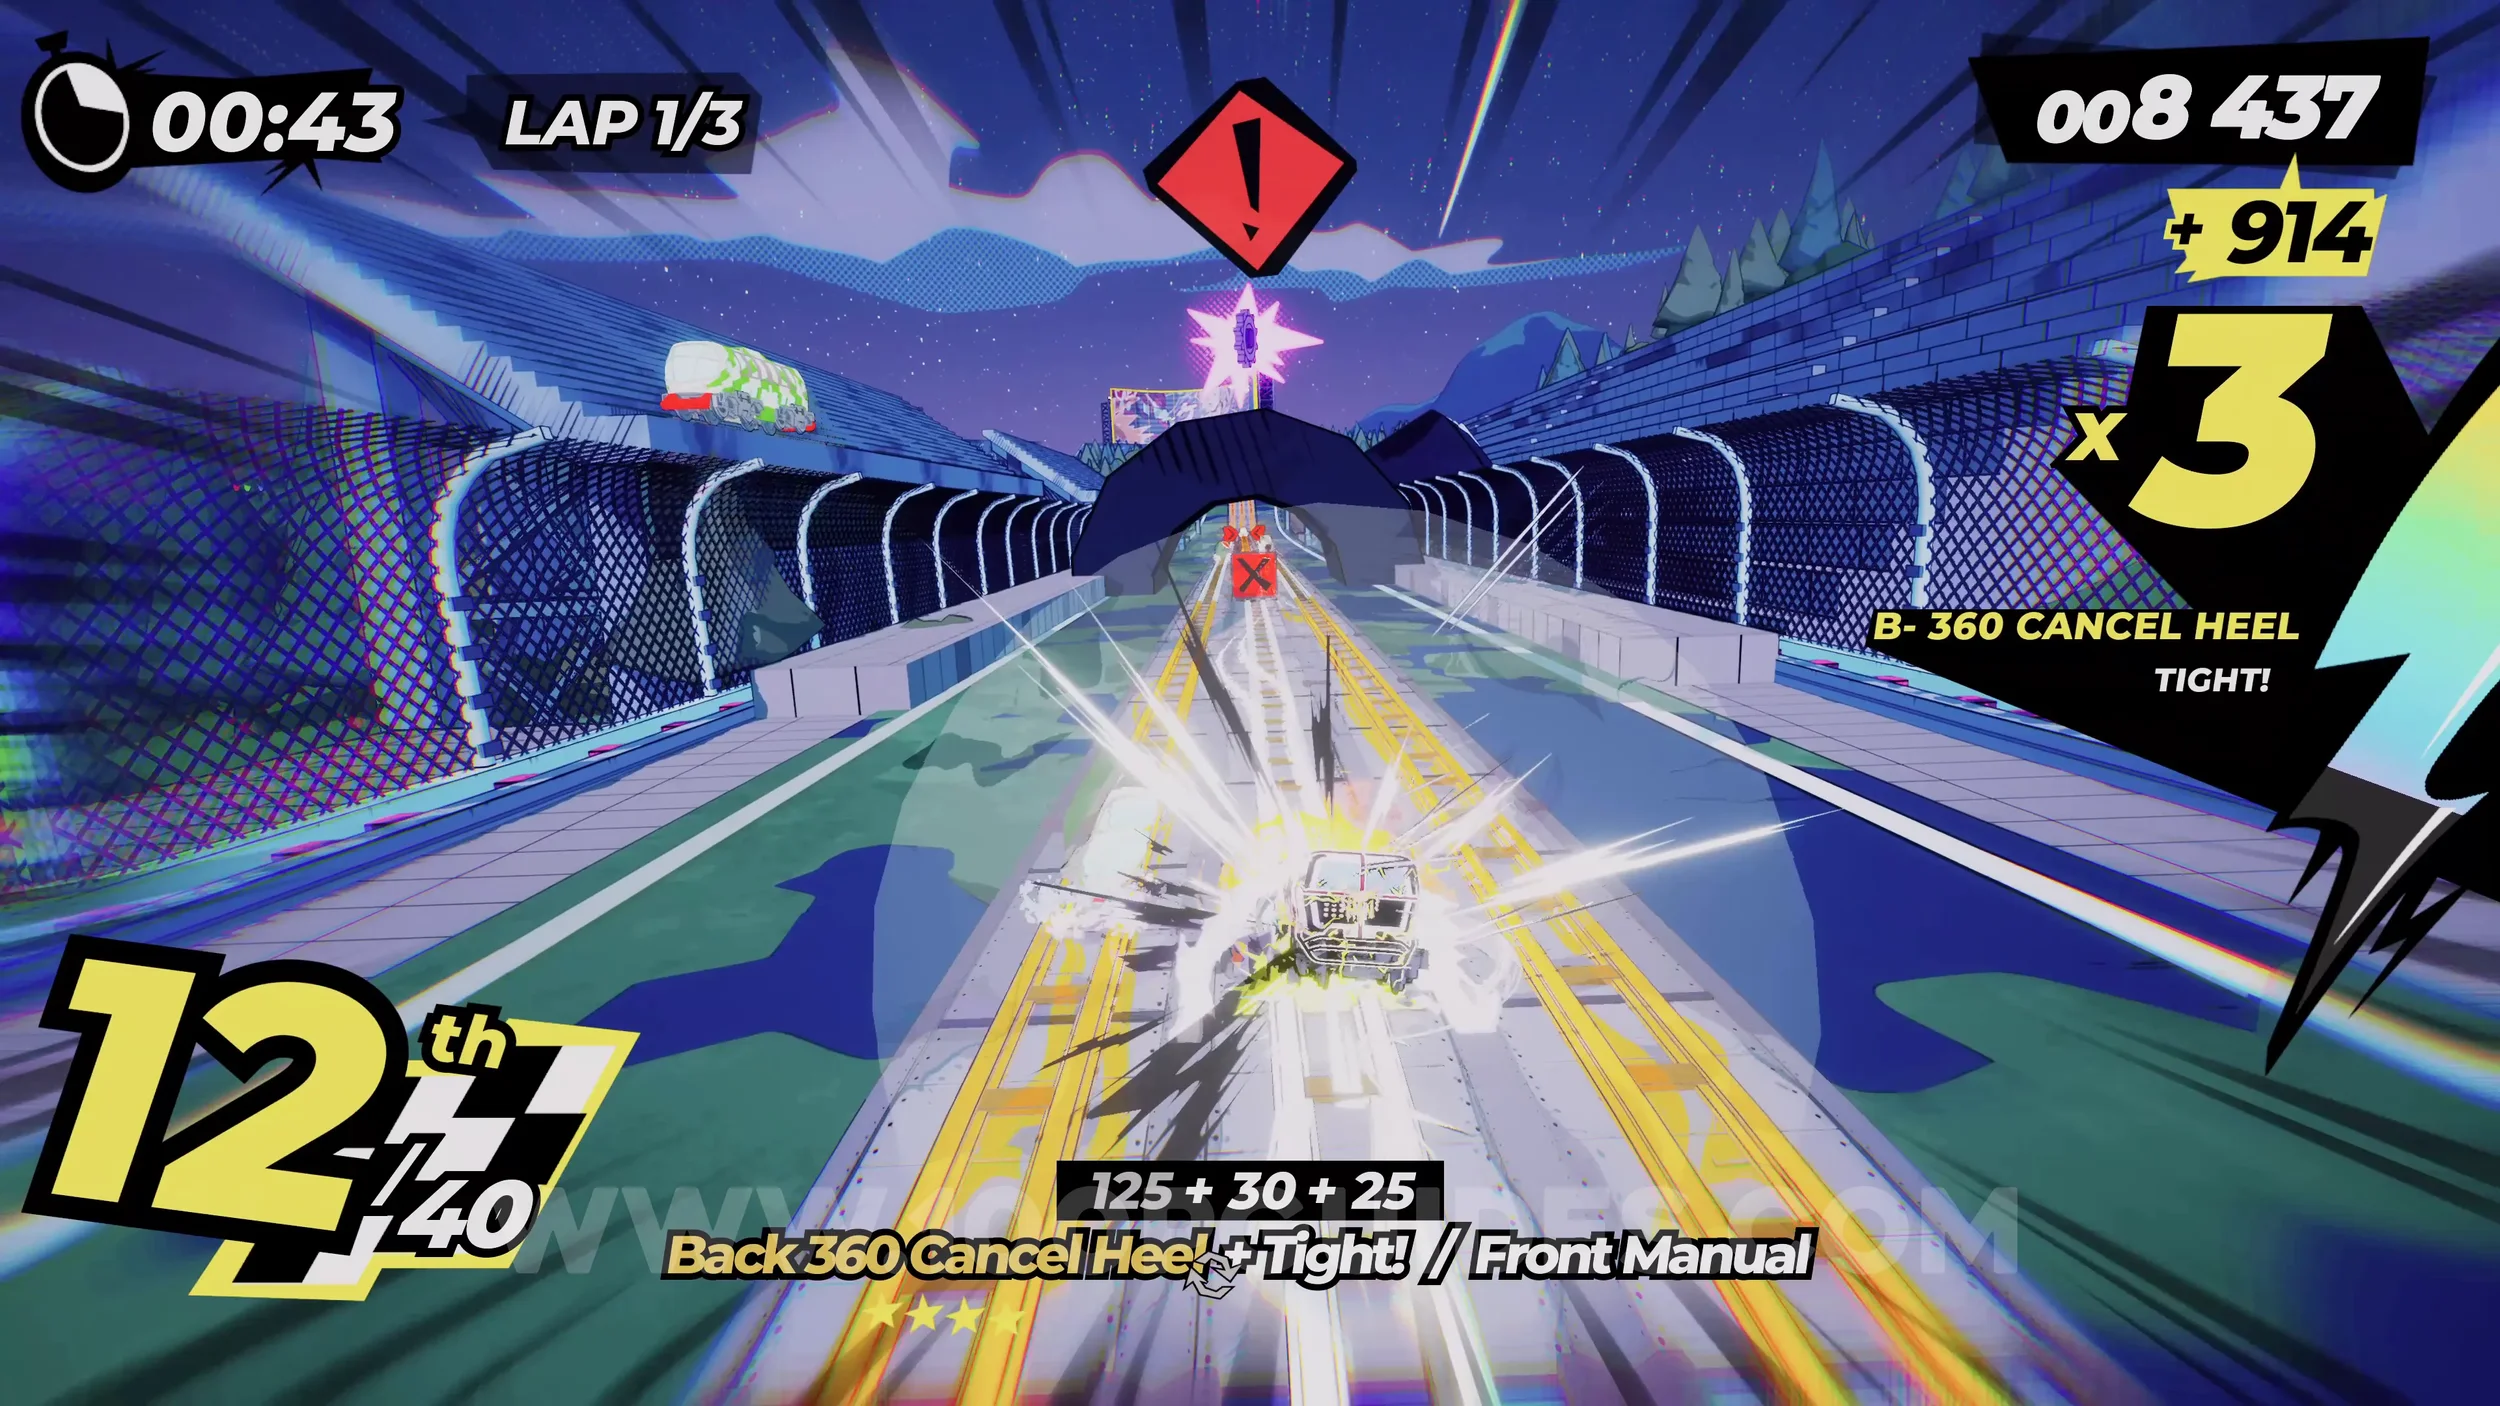
Dare: Collect 3 Checkered Flags (3/3). On the wallride directly after the previous gear, you'll find the next collectible.
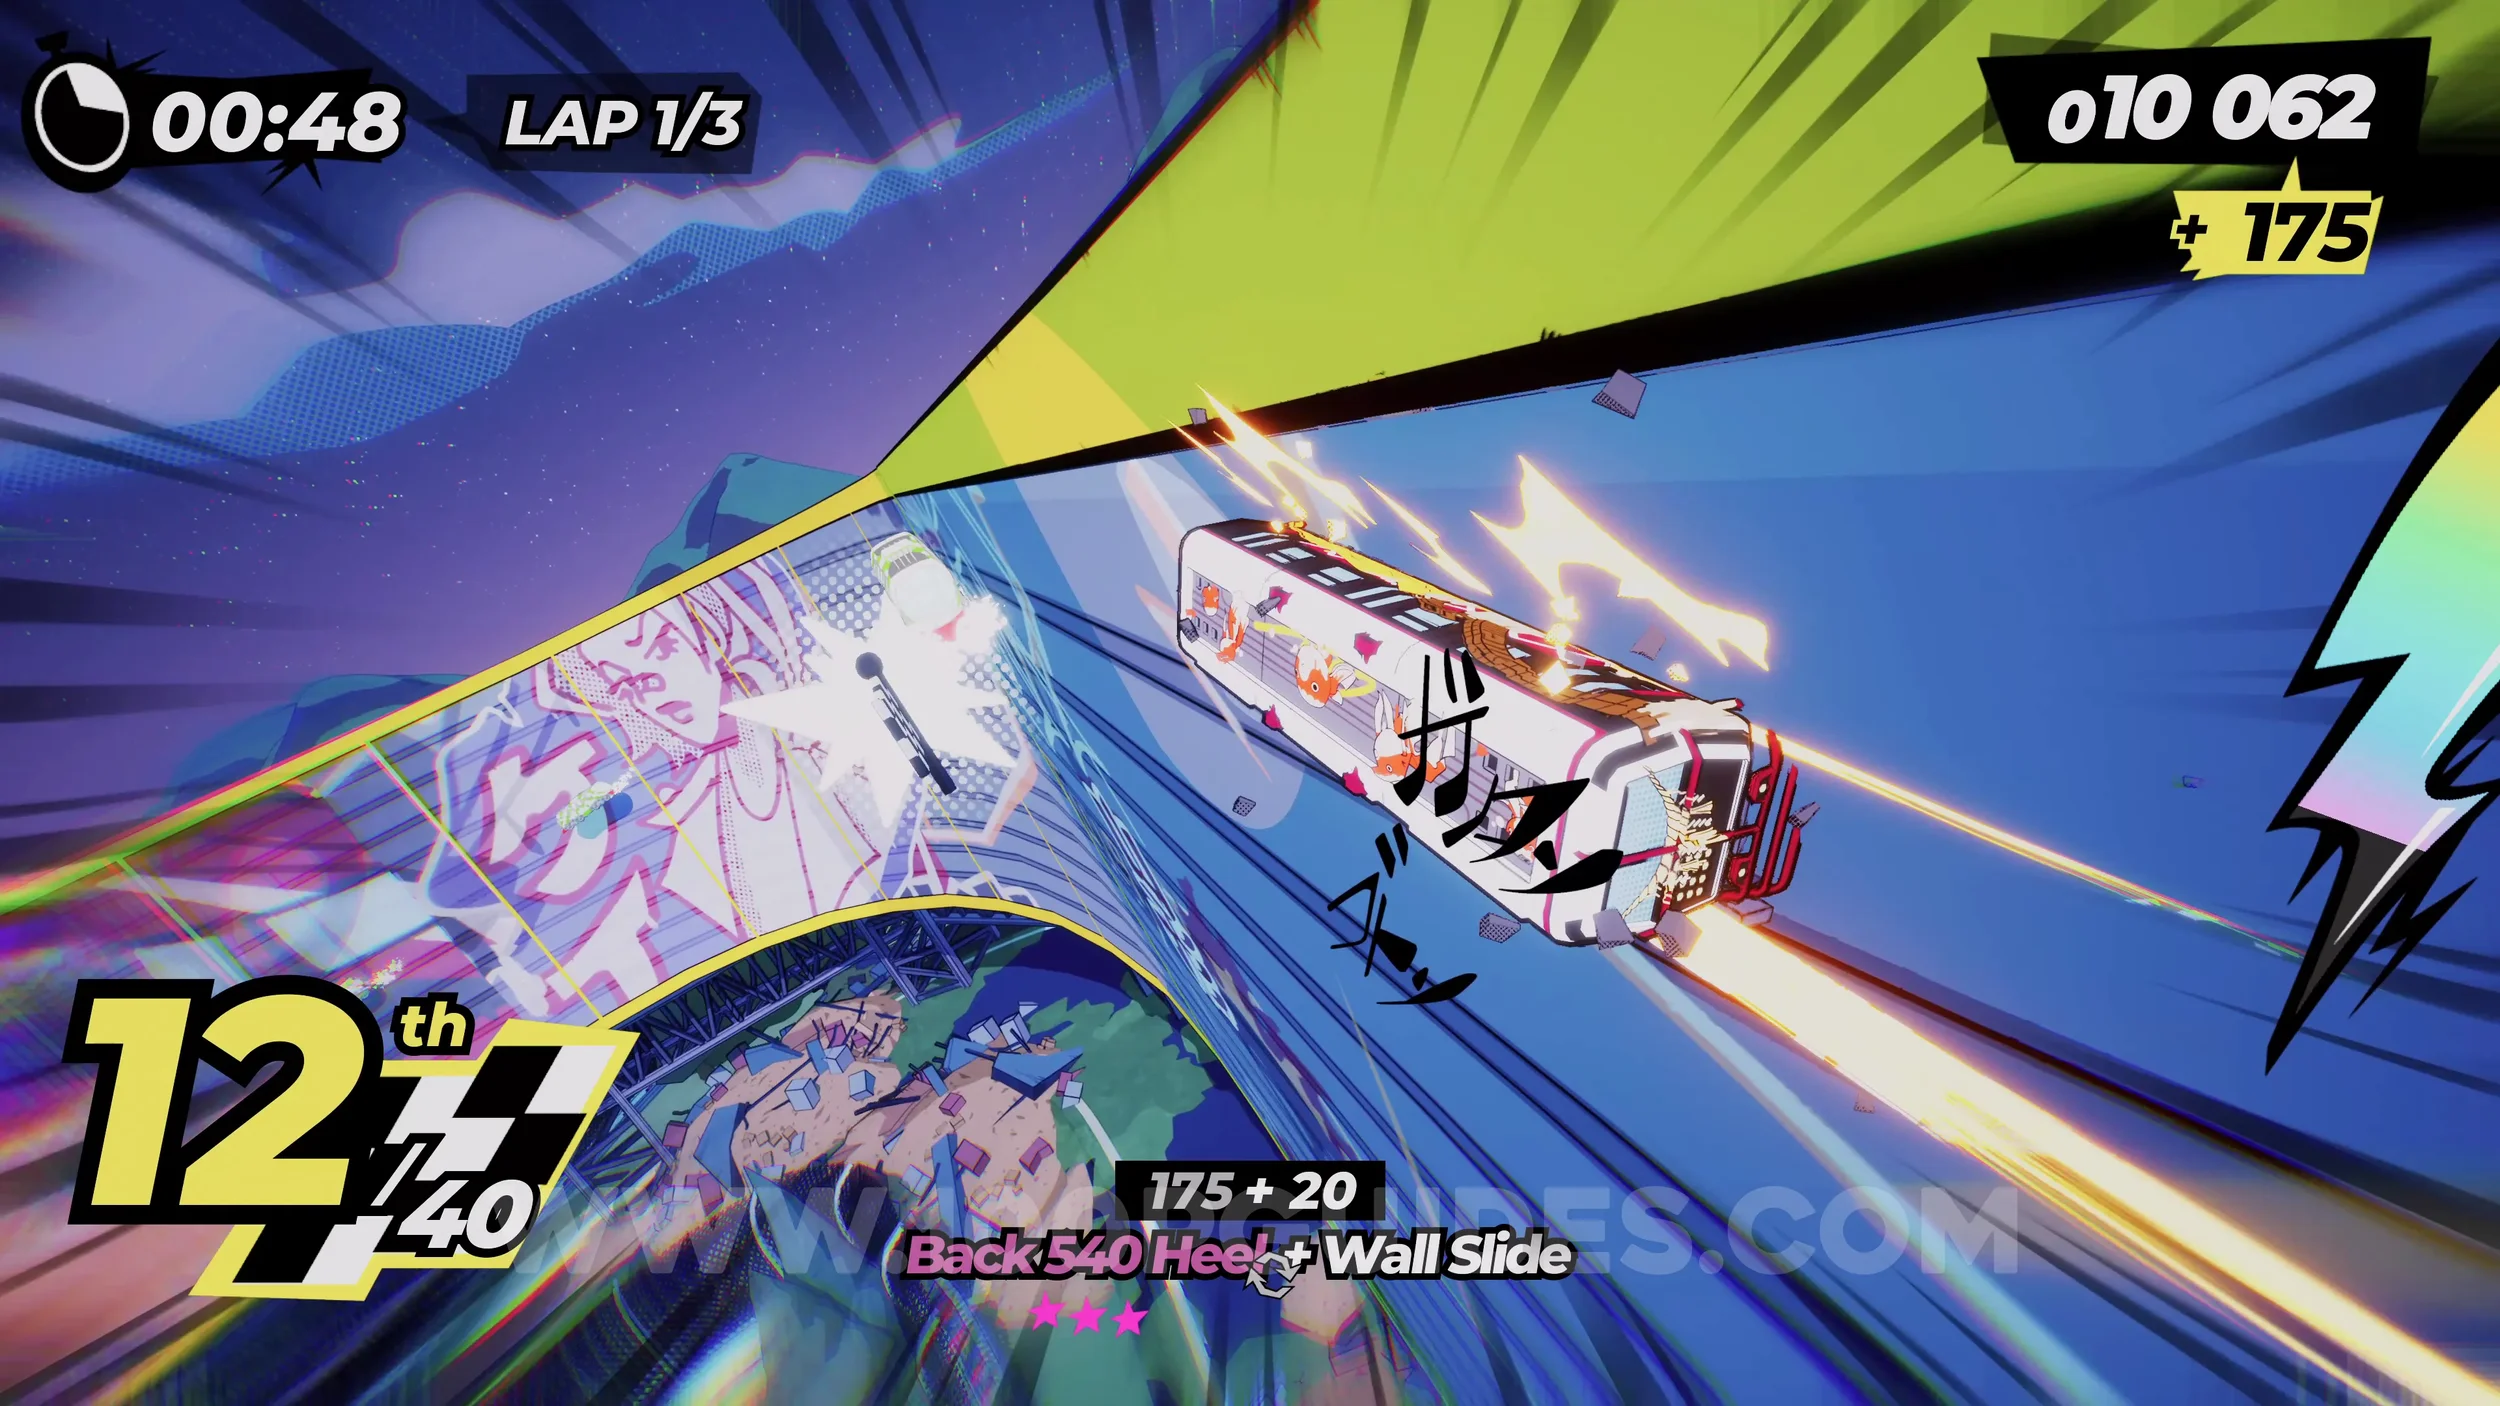
Dare: Make People Scream on the Theme Park Rides. At the start of the second lap (or third, if you need more time to fill up your special bar), jump straight ahead at the first split in the tracks and use the rainbow Yukaze. After the first two monorails, look out for the horn sign in the middle of the screen and press R3.
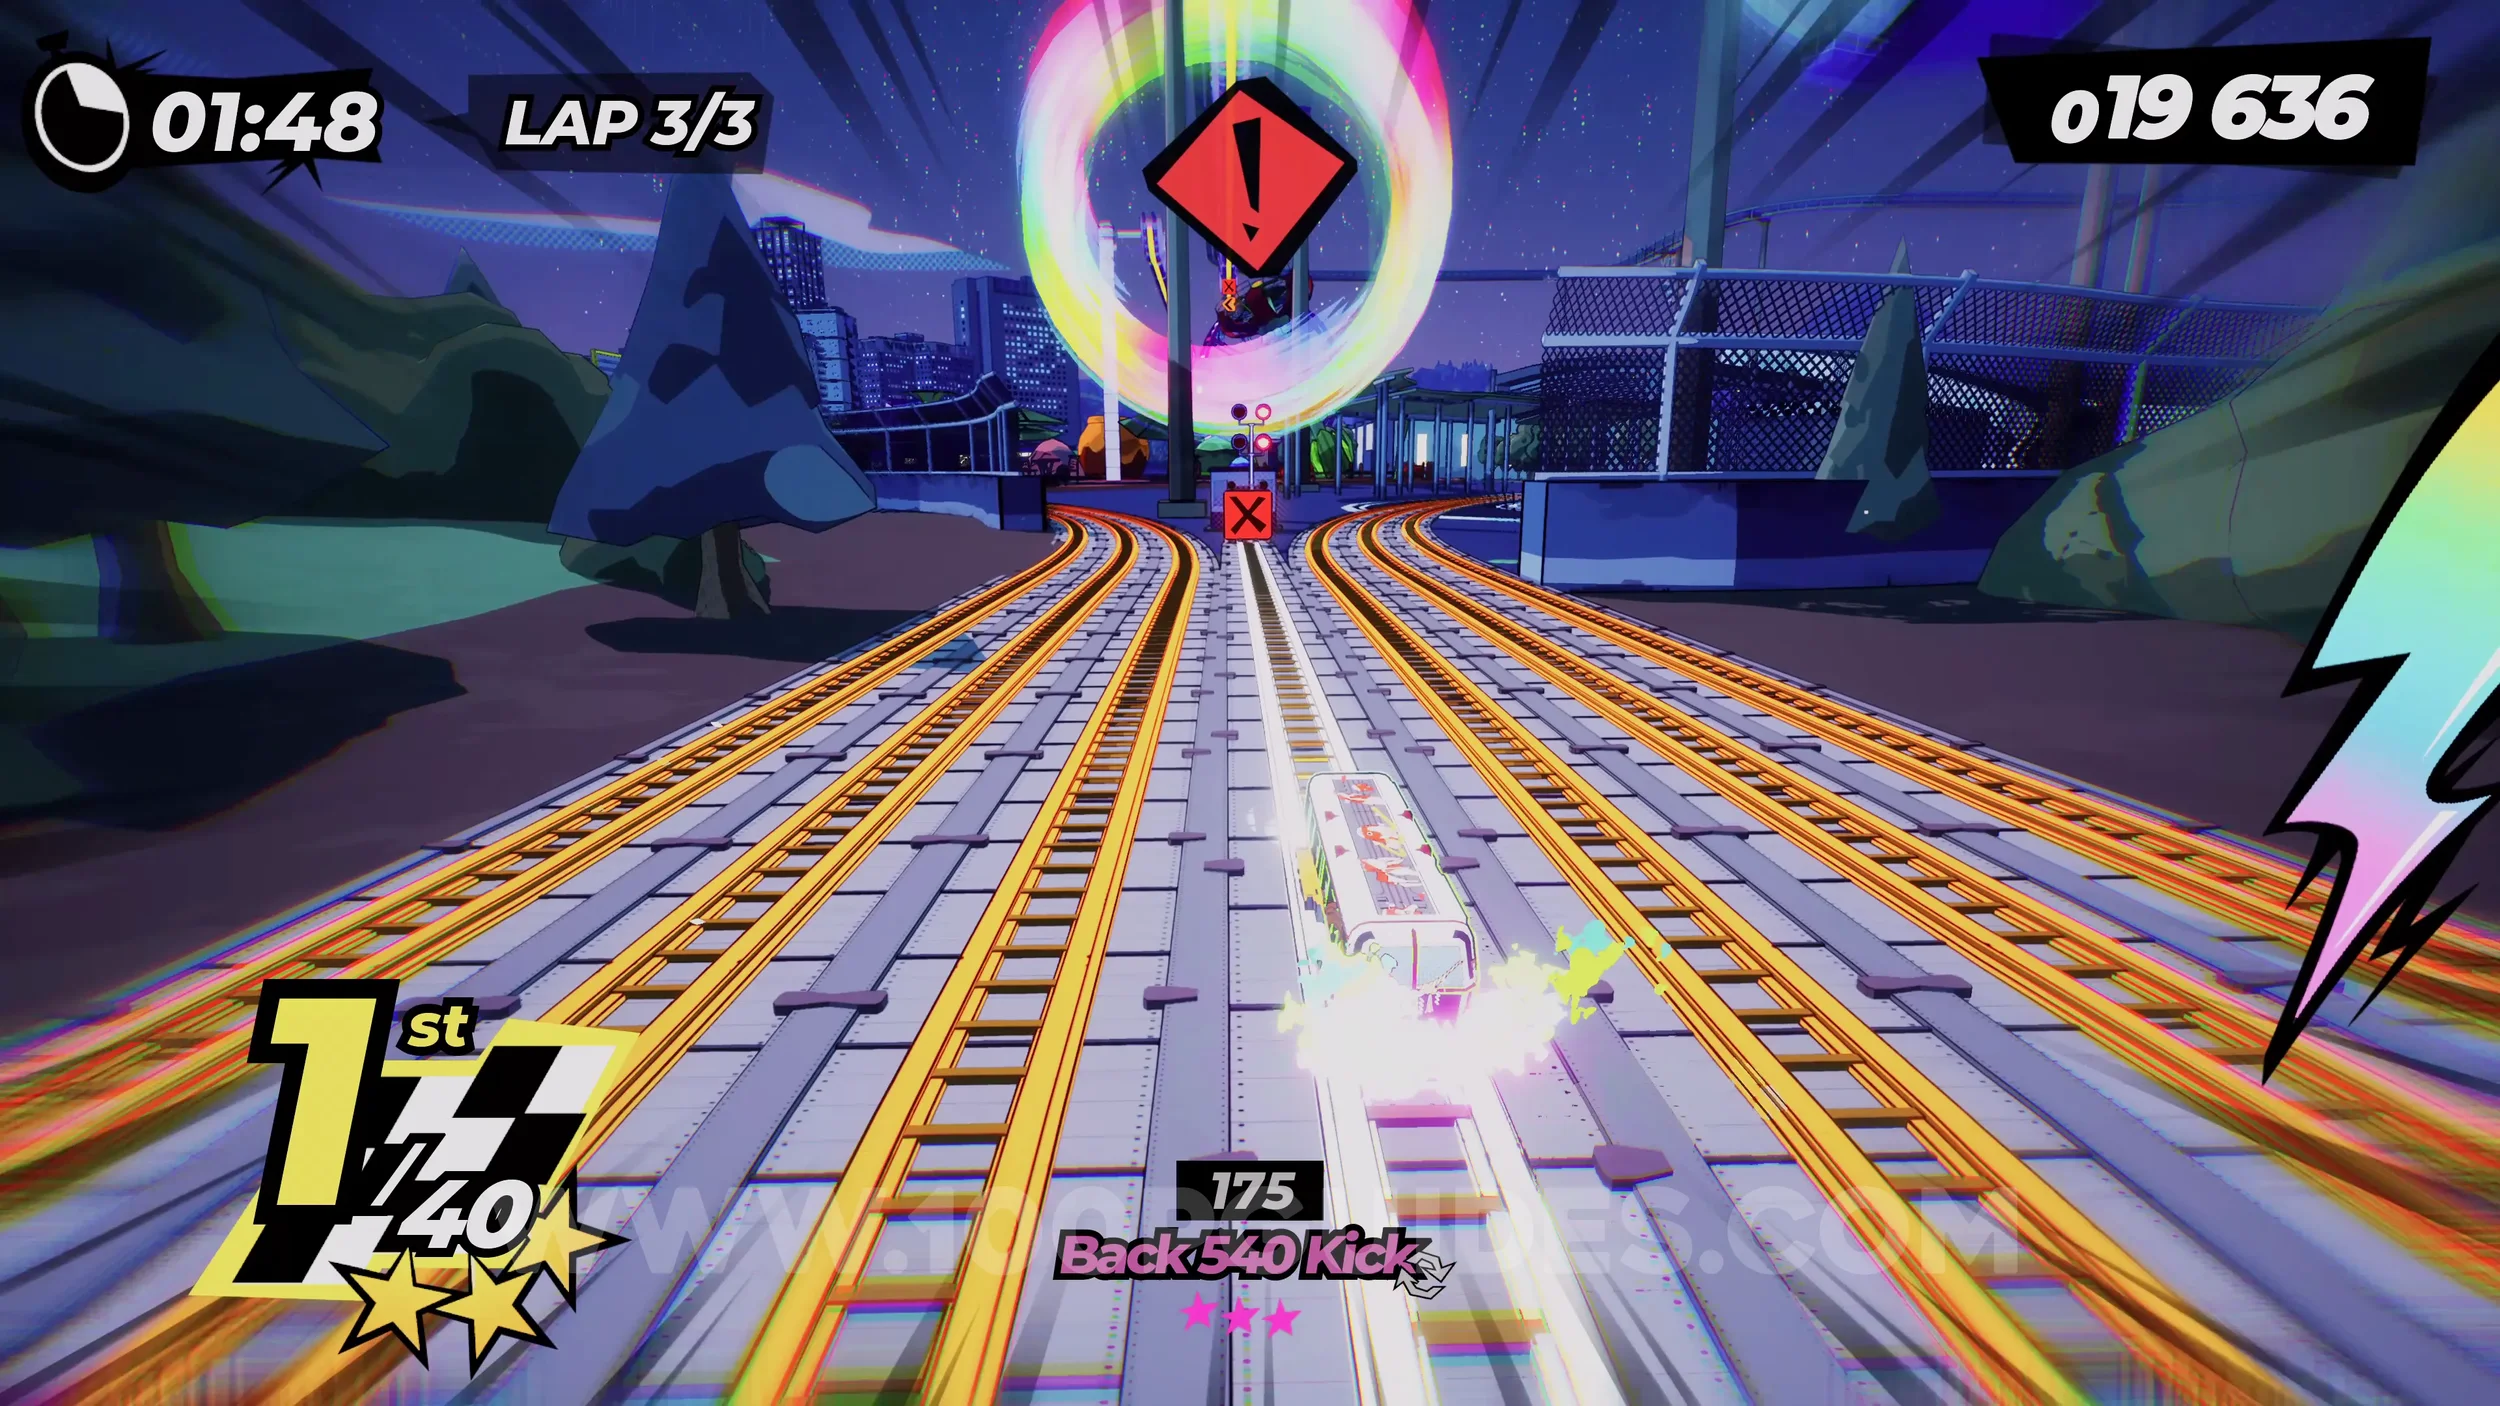
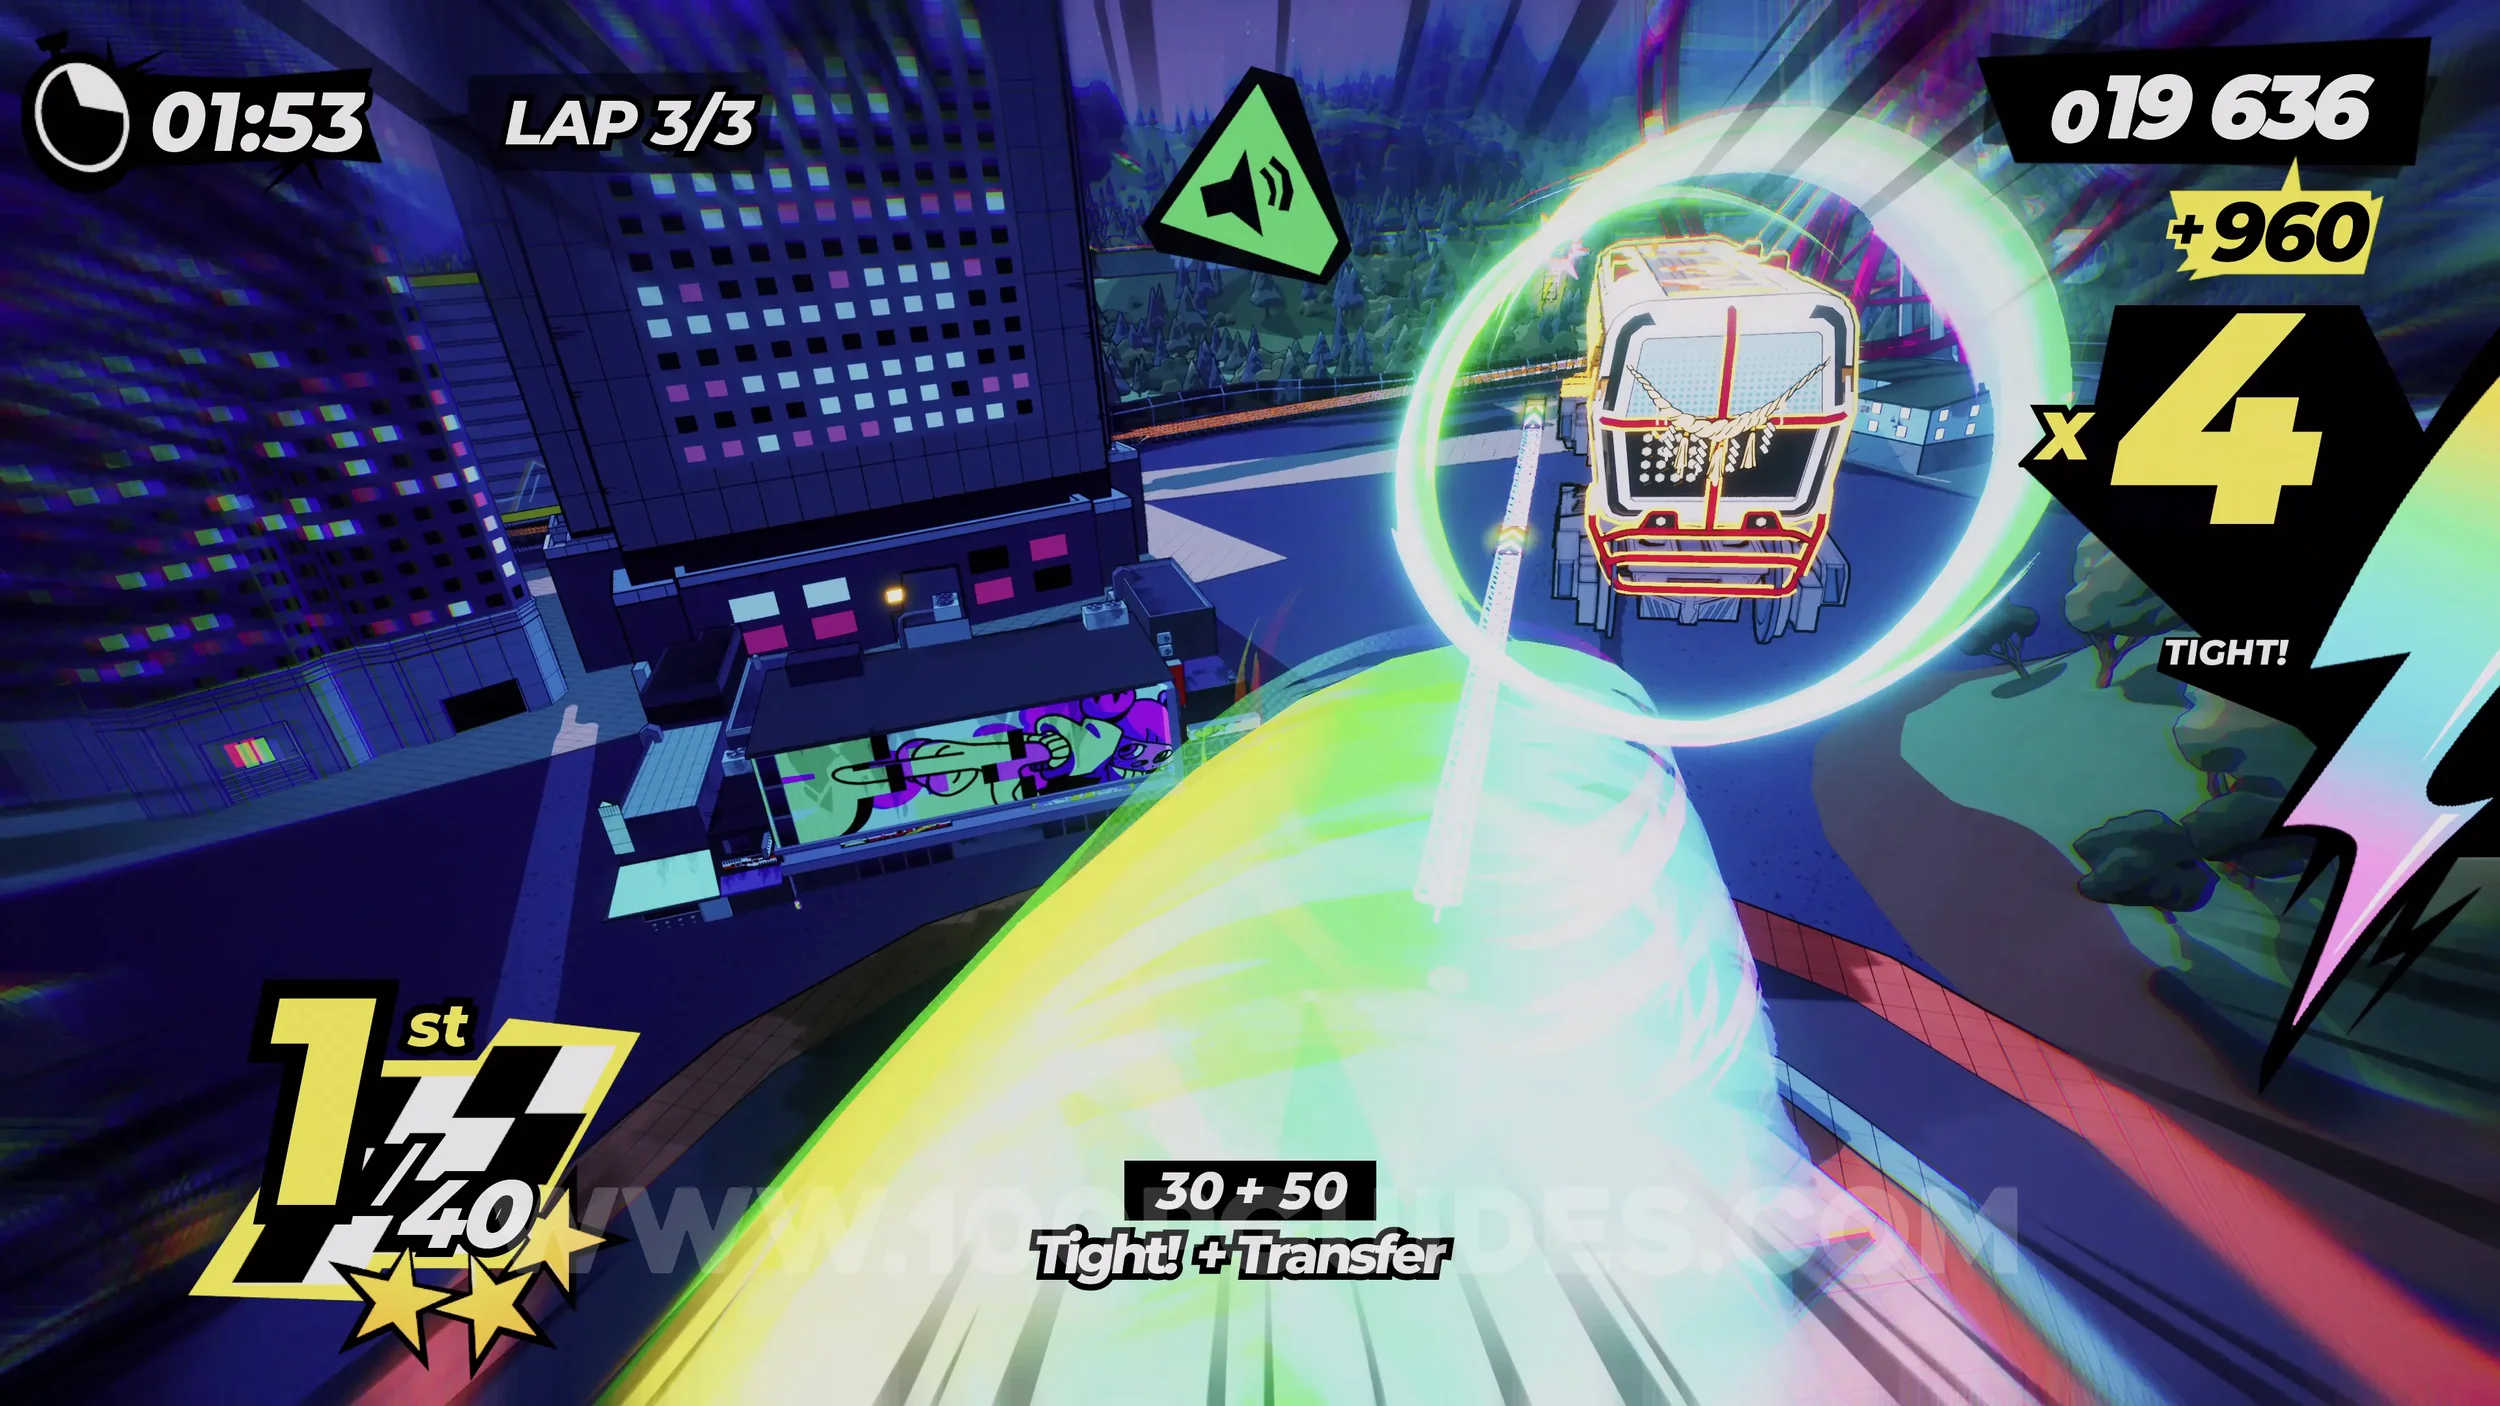
Gear (3/3). You will get it straight after the previous dare.
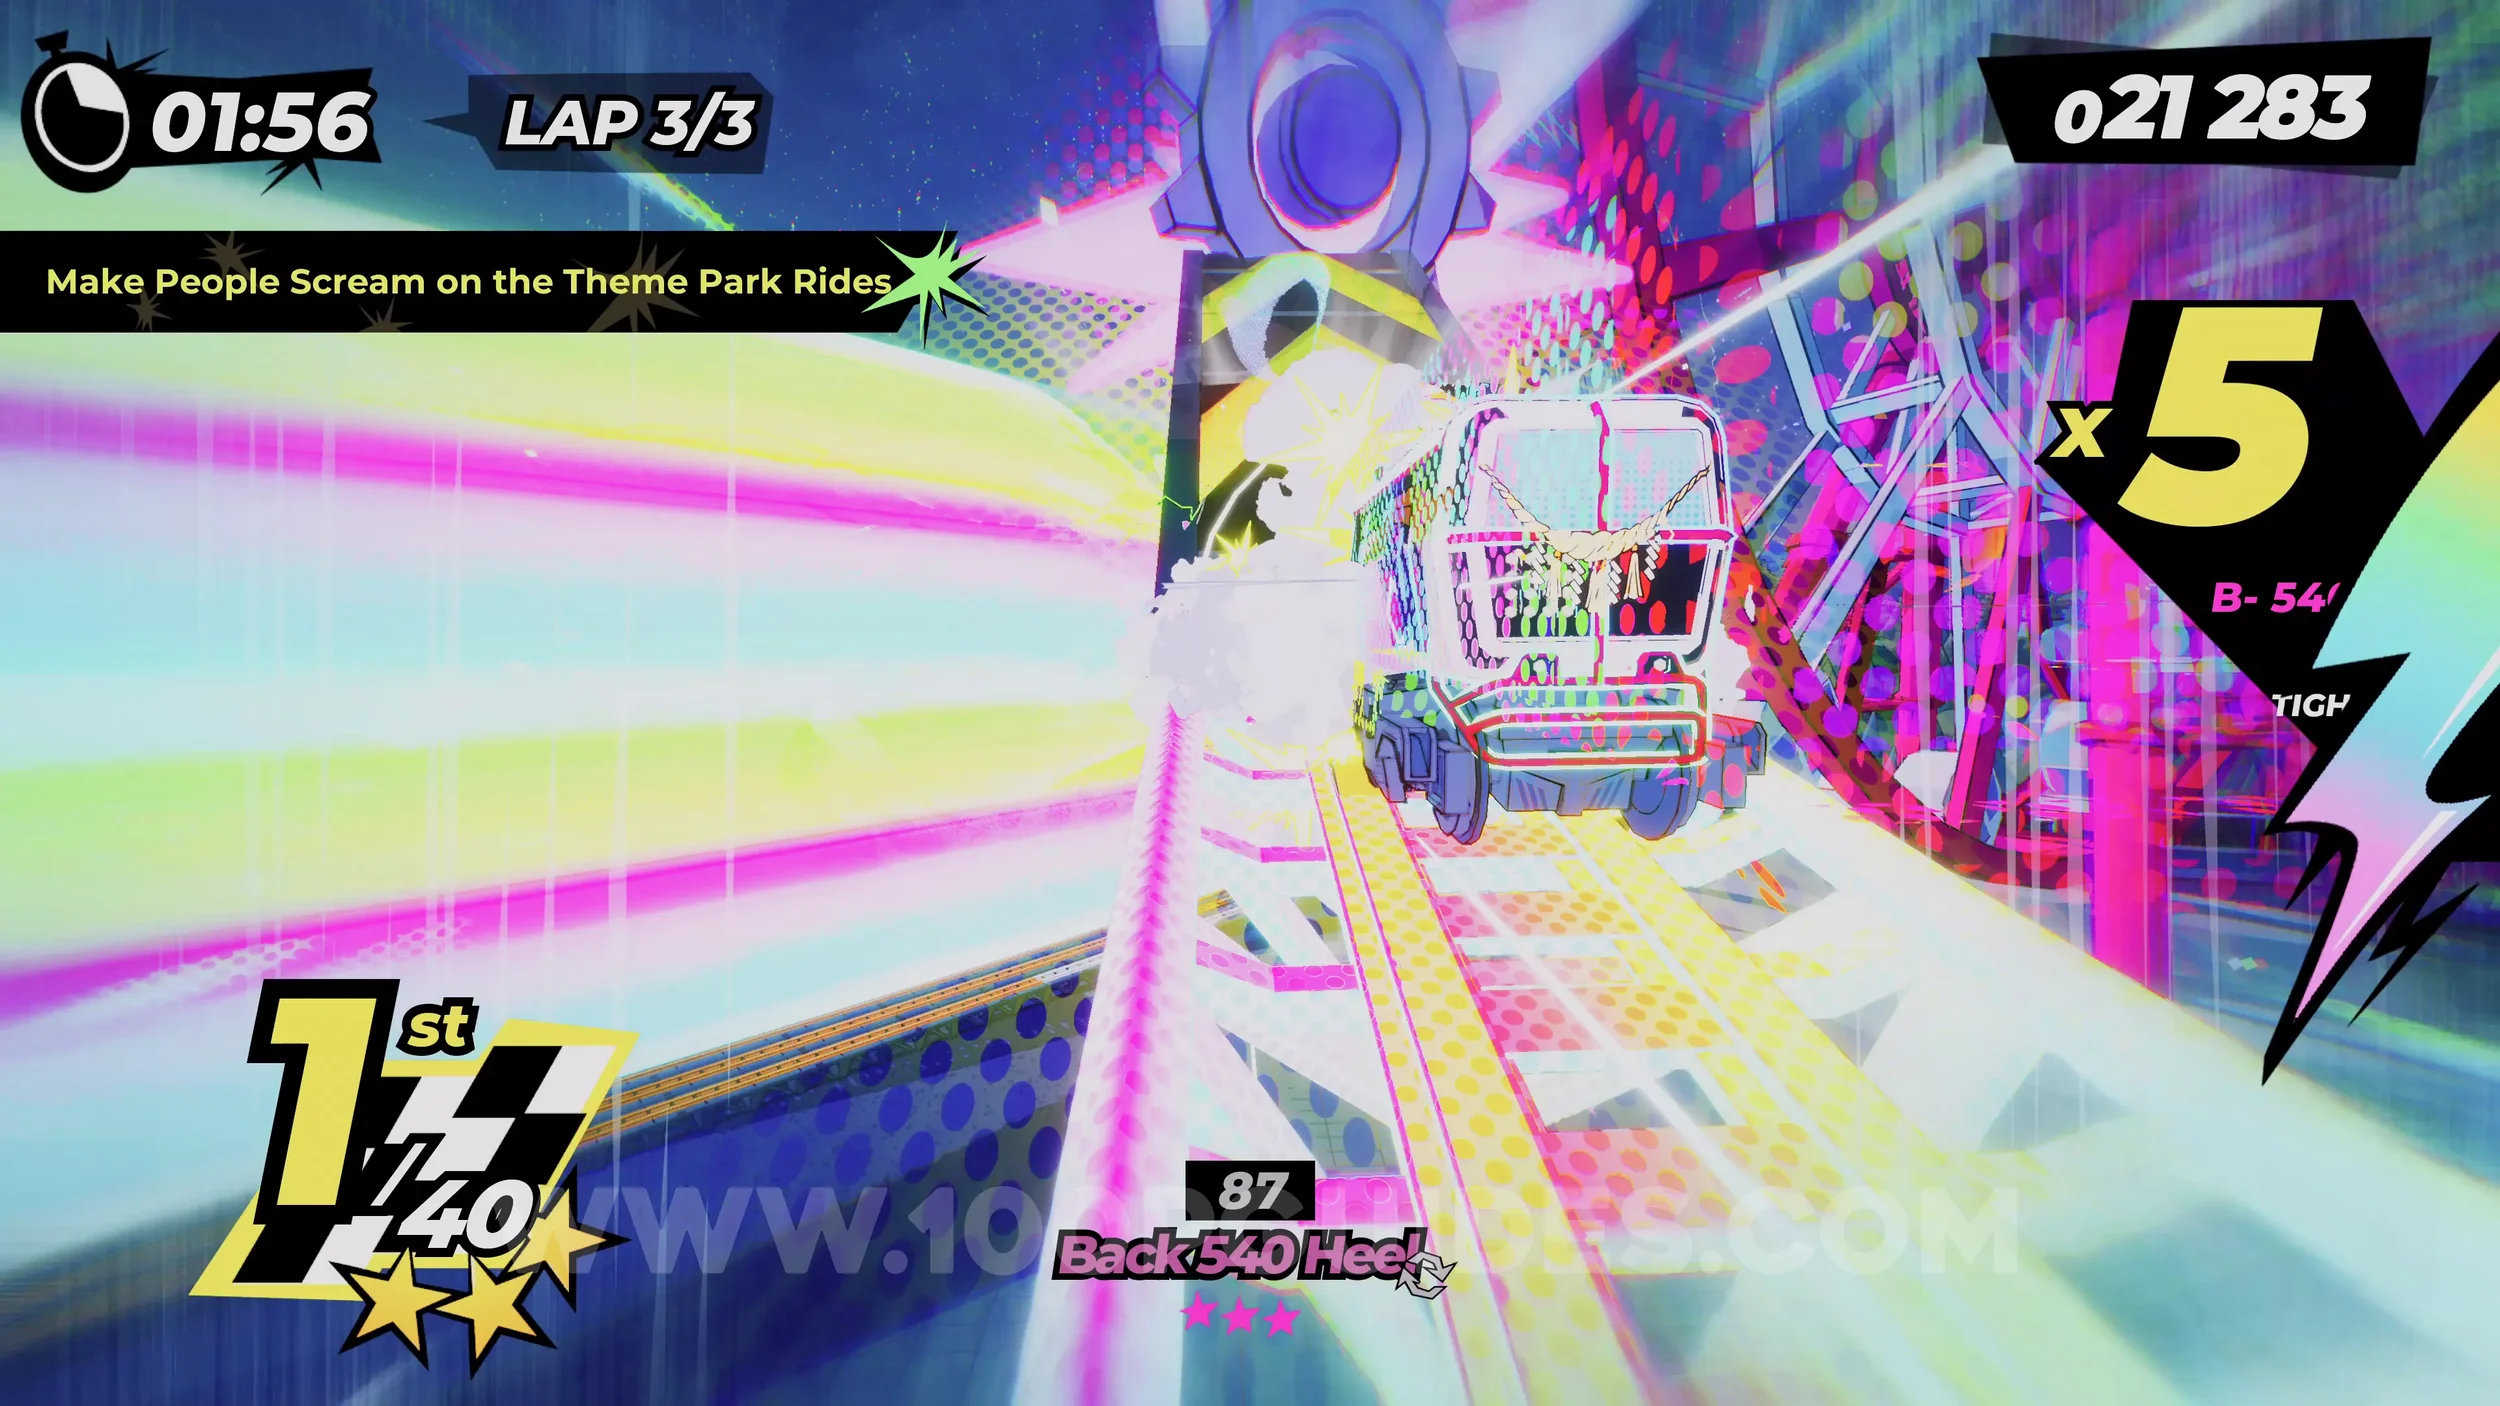
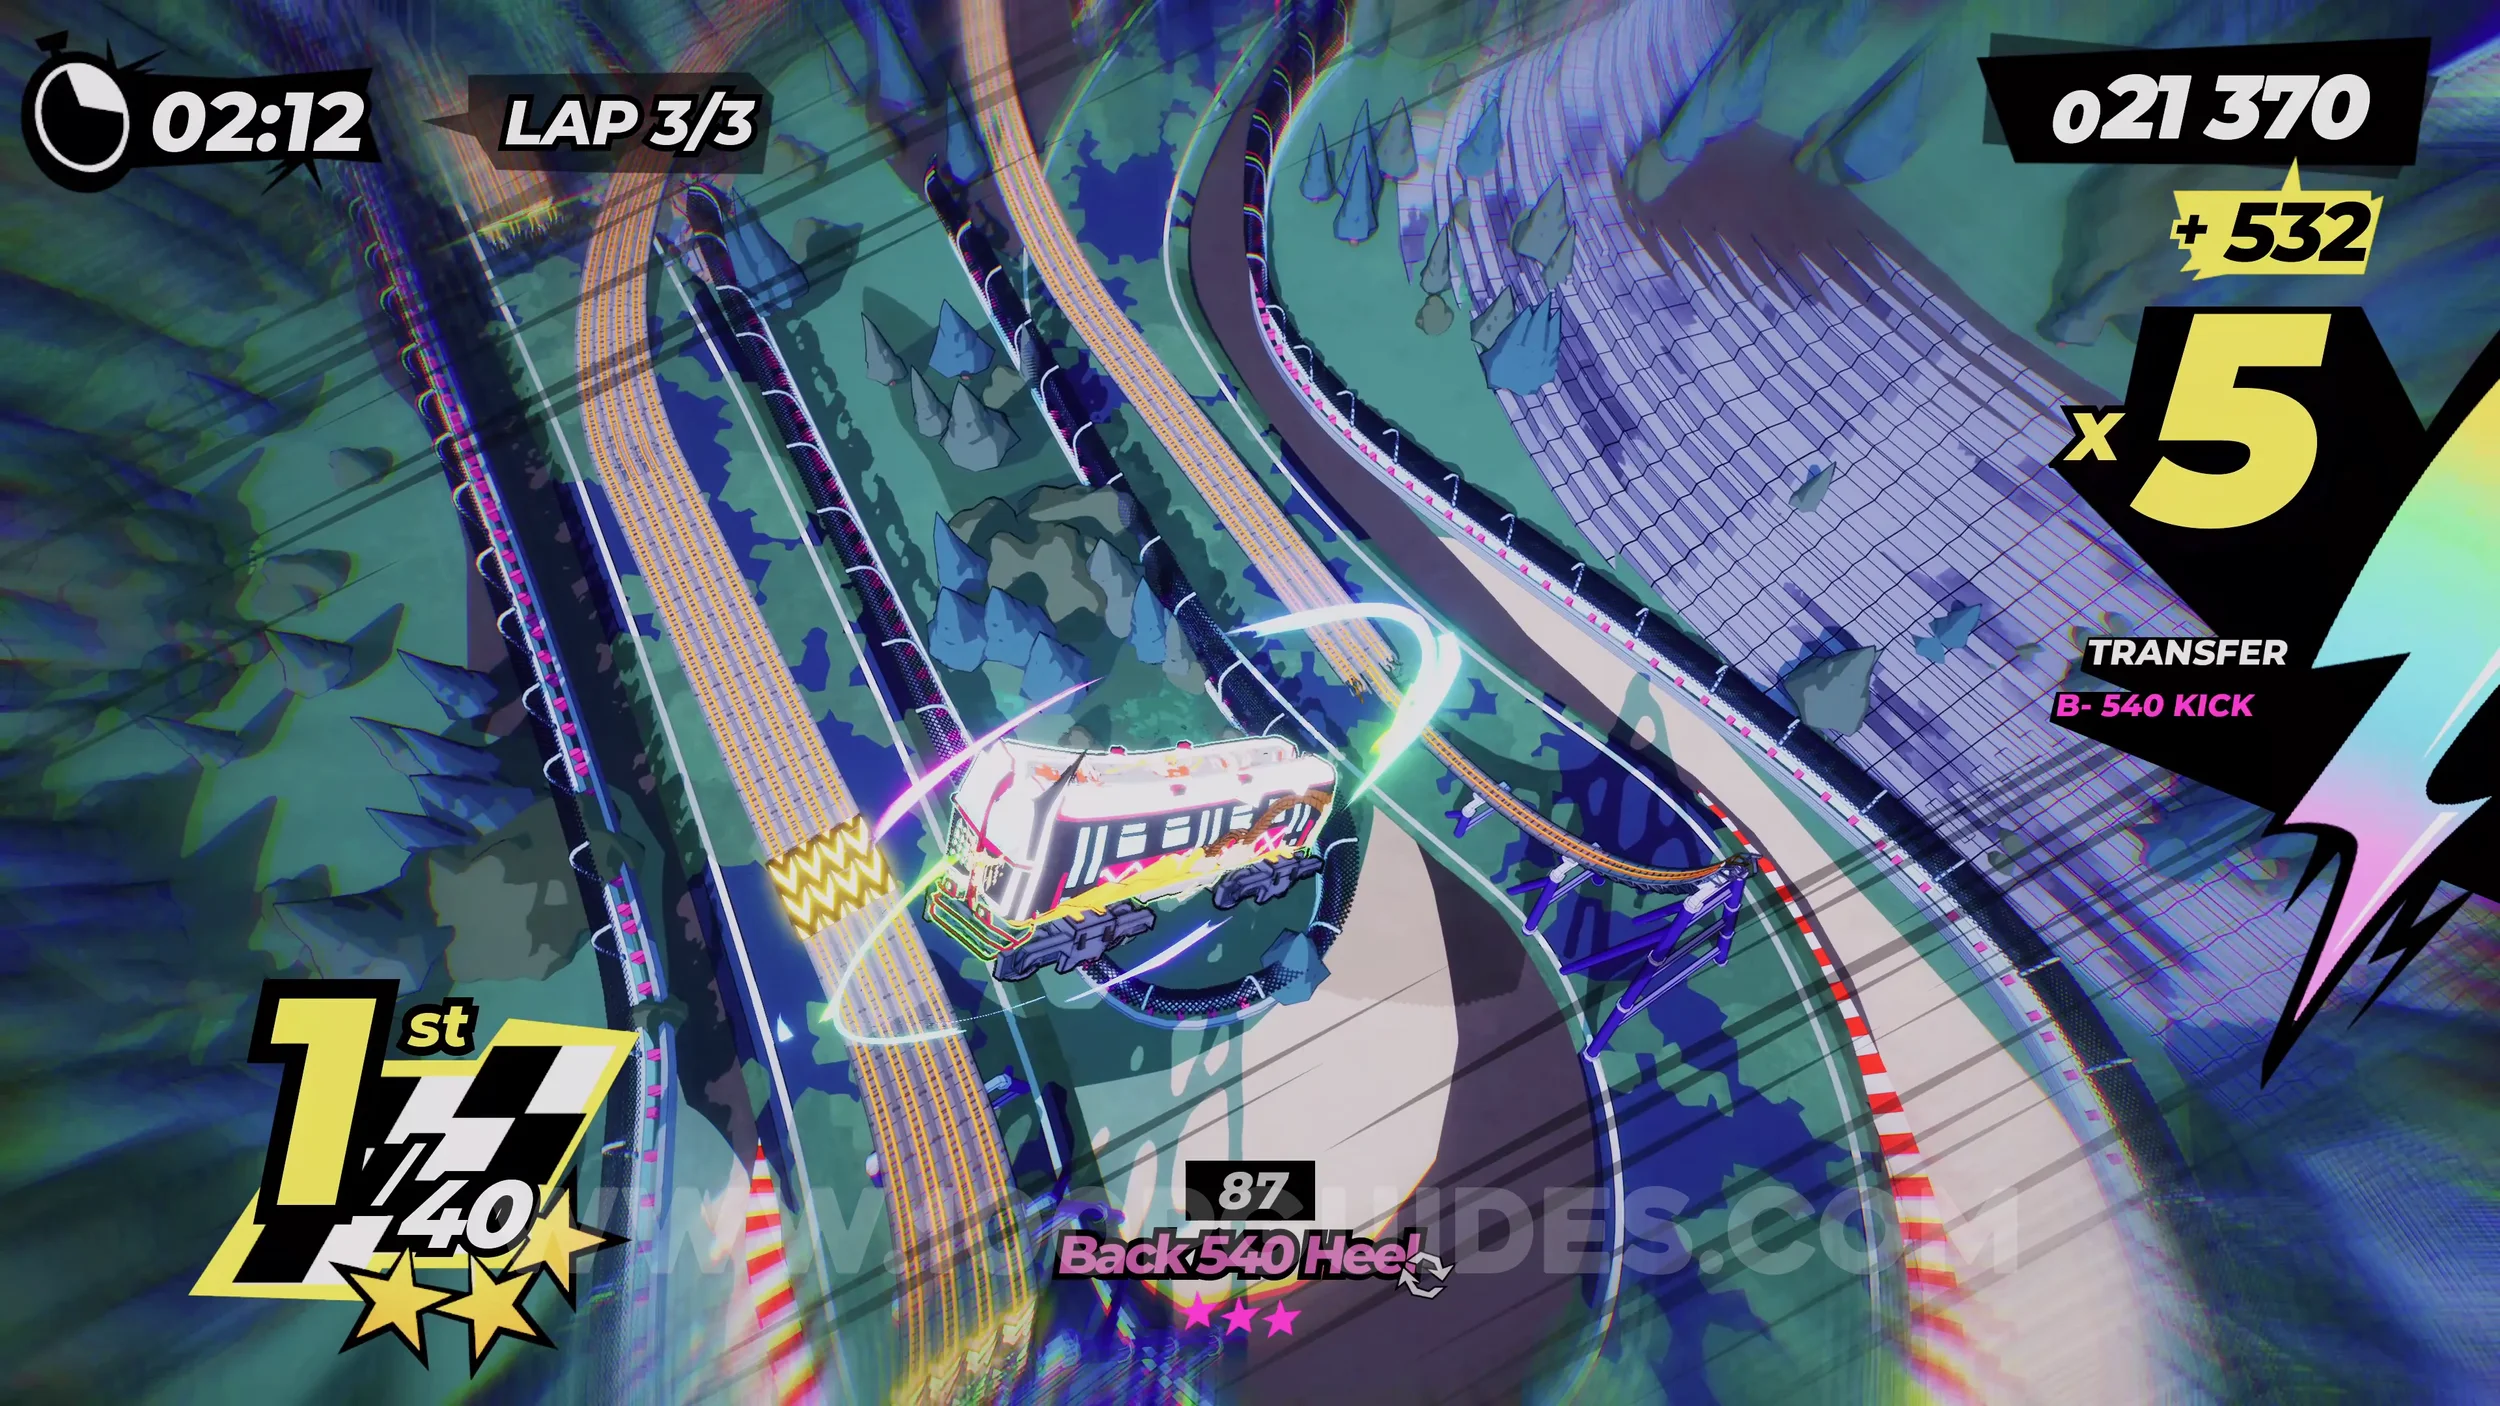
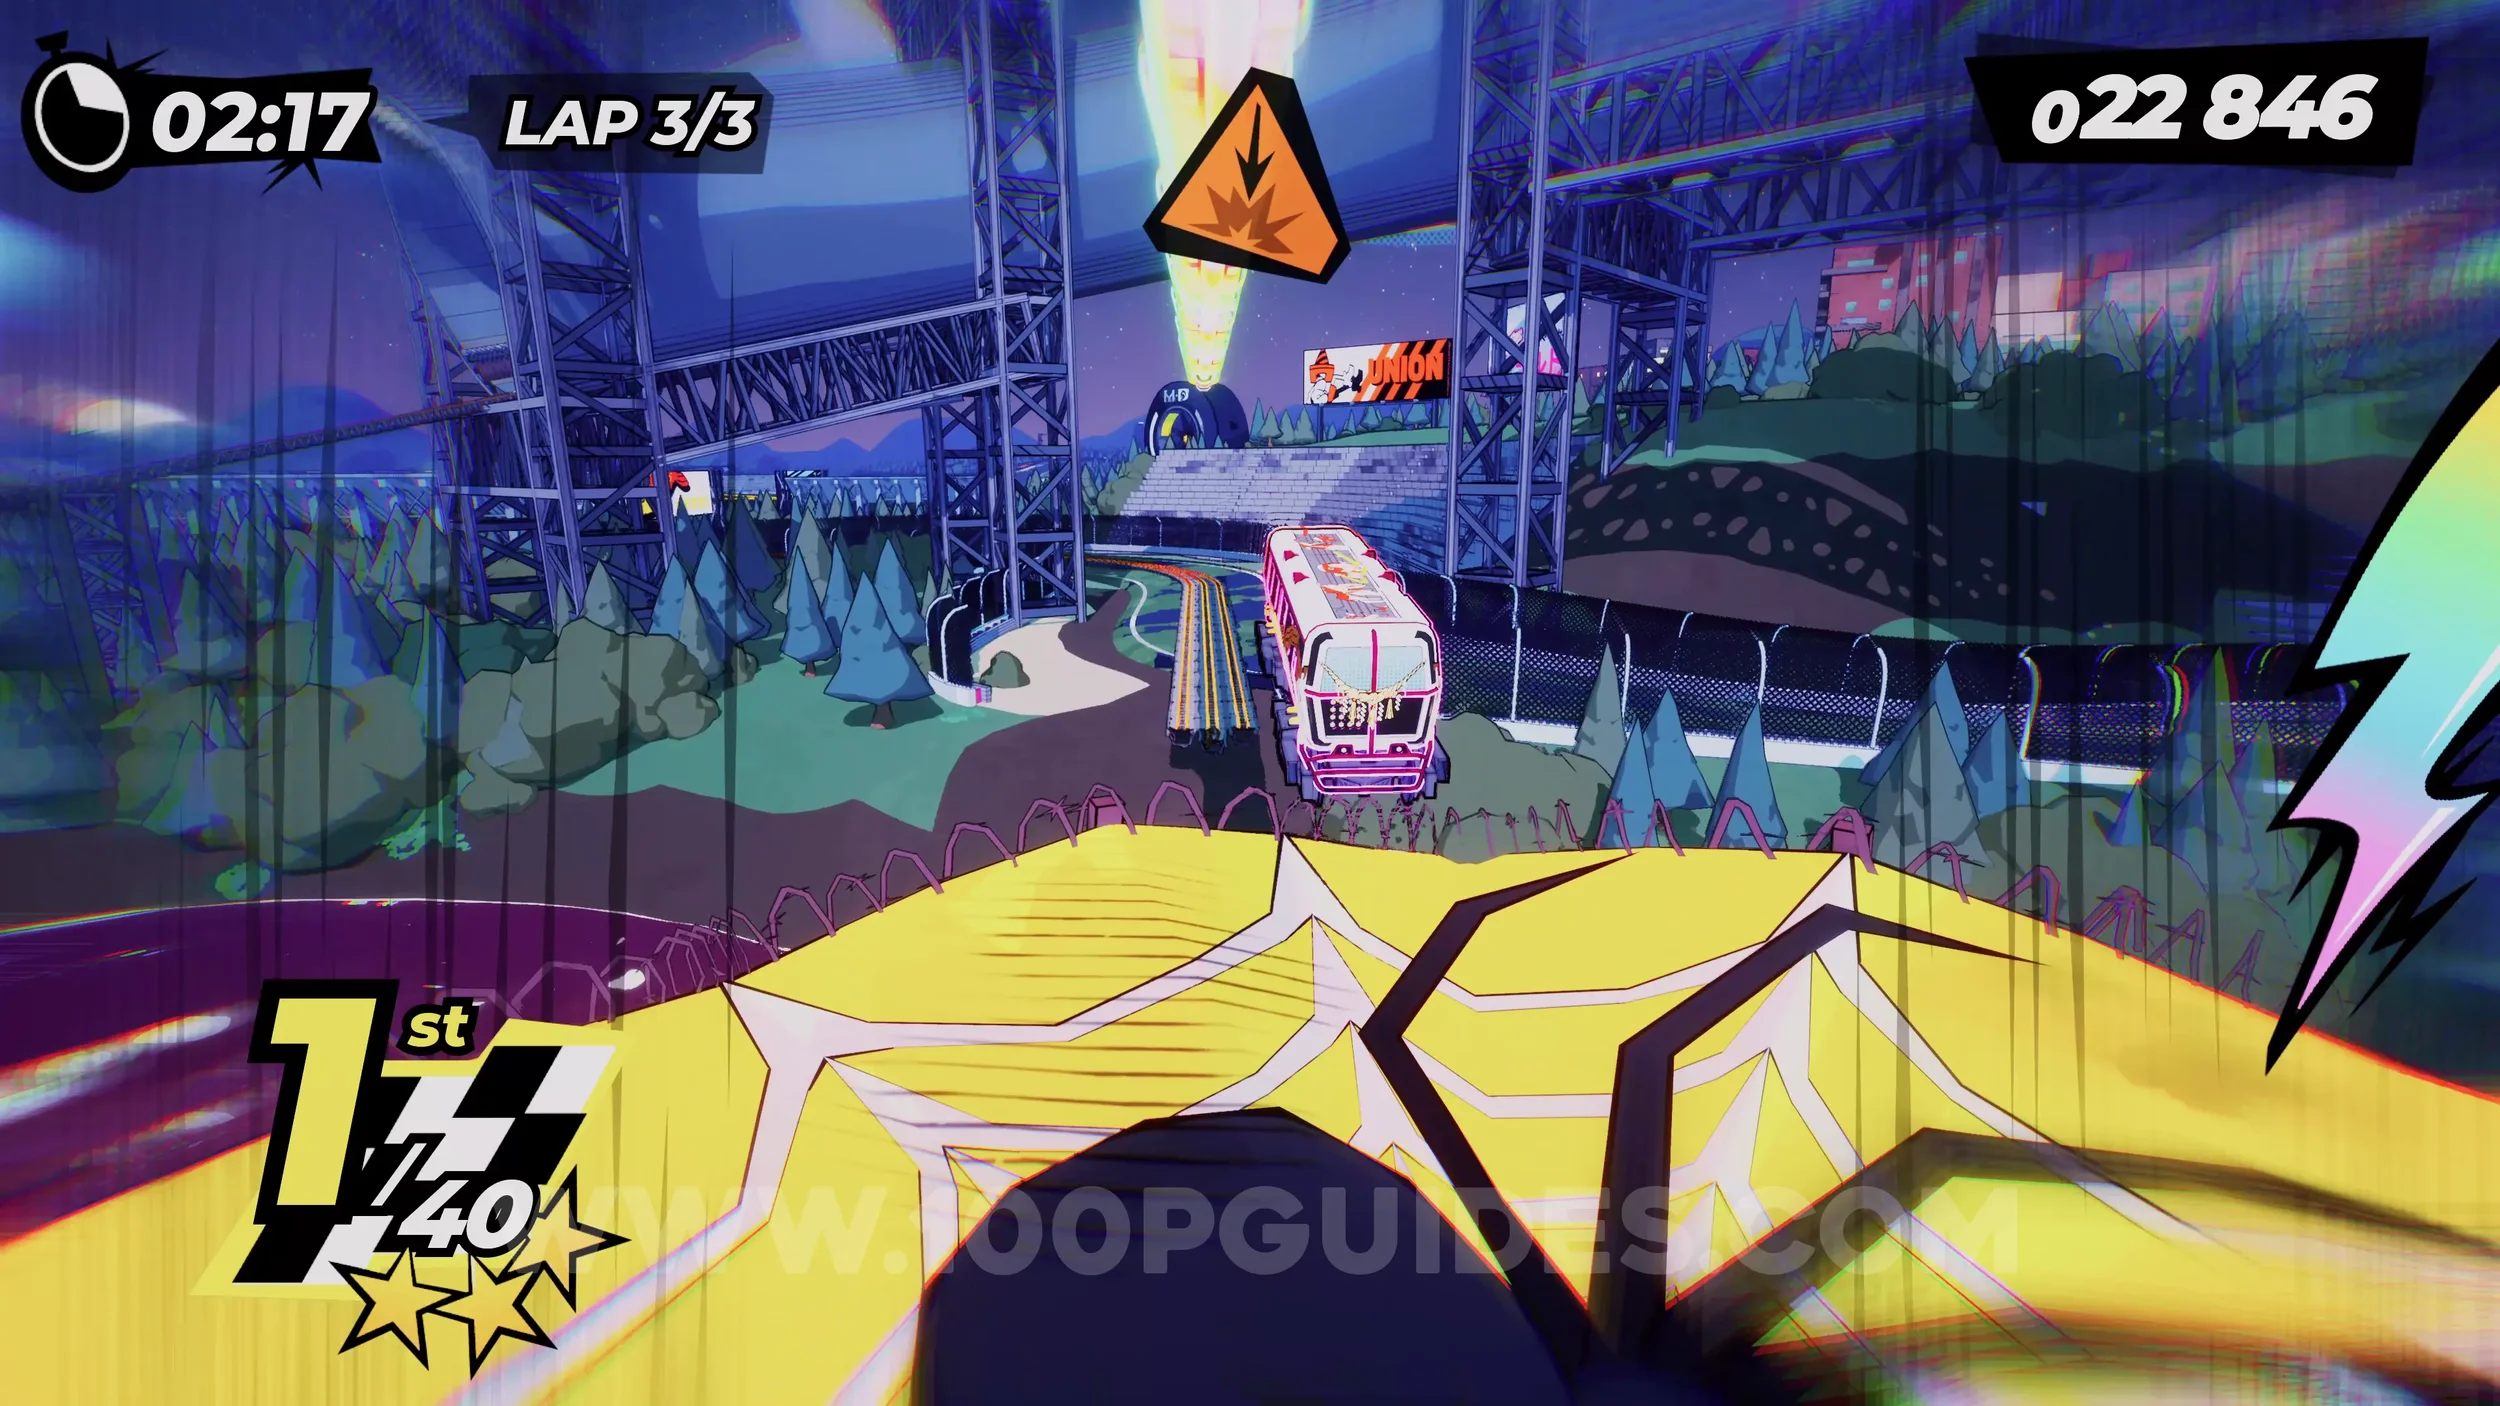
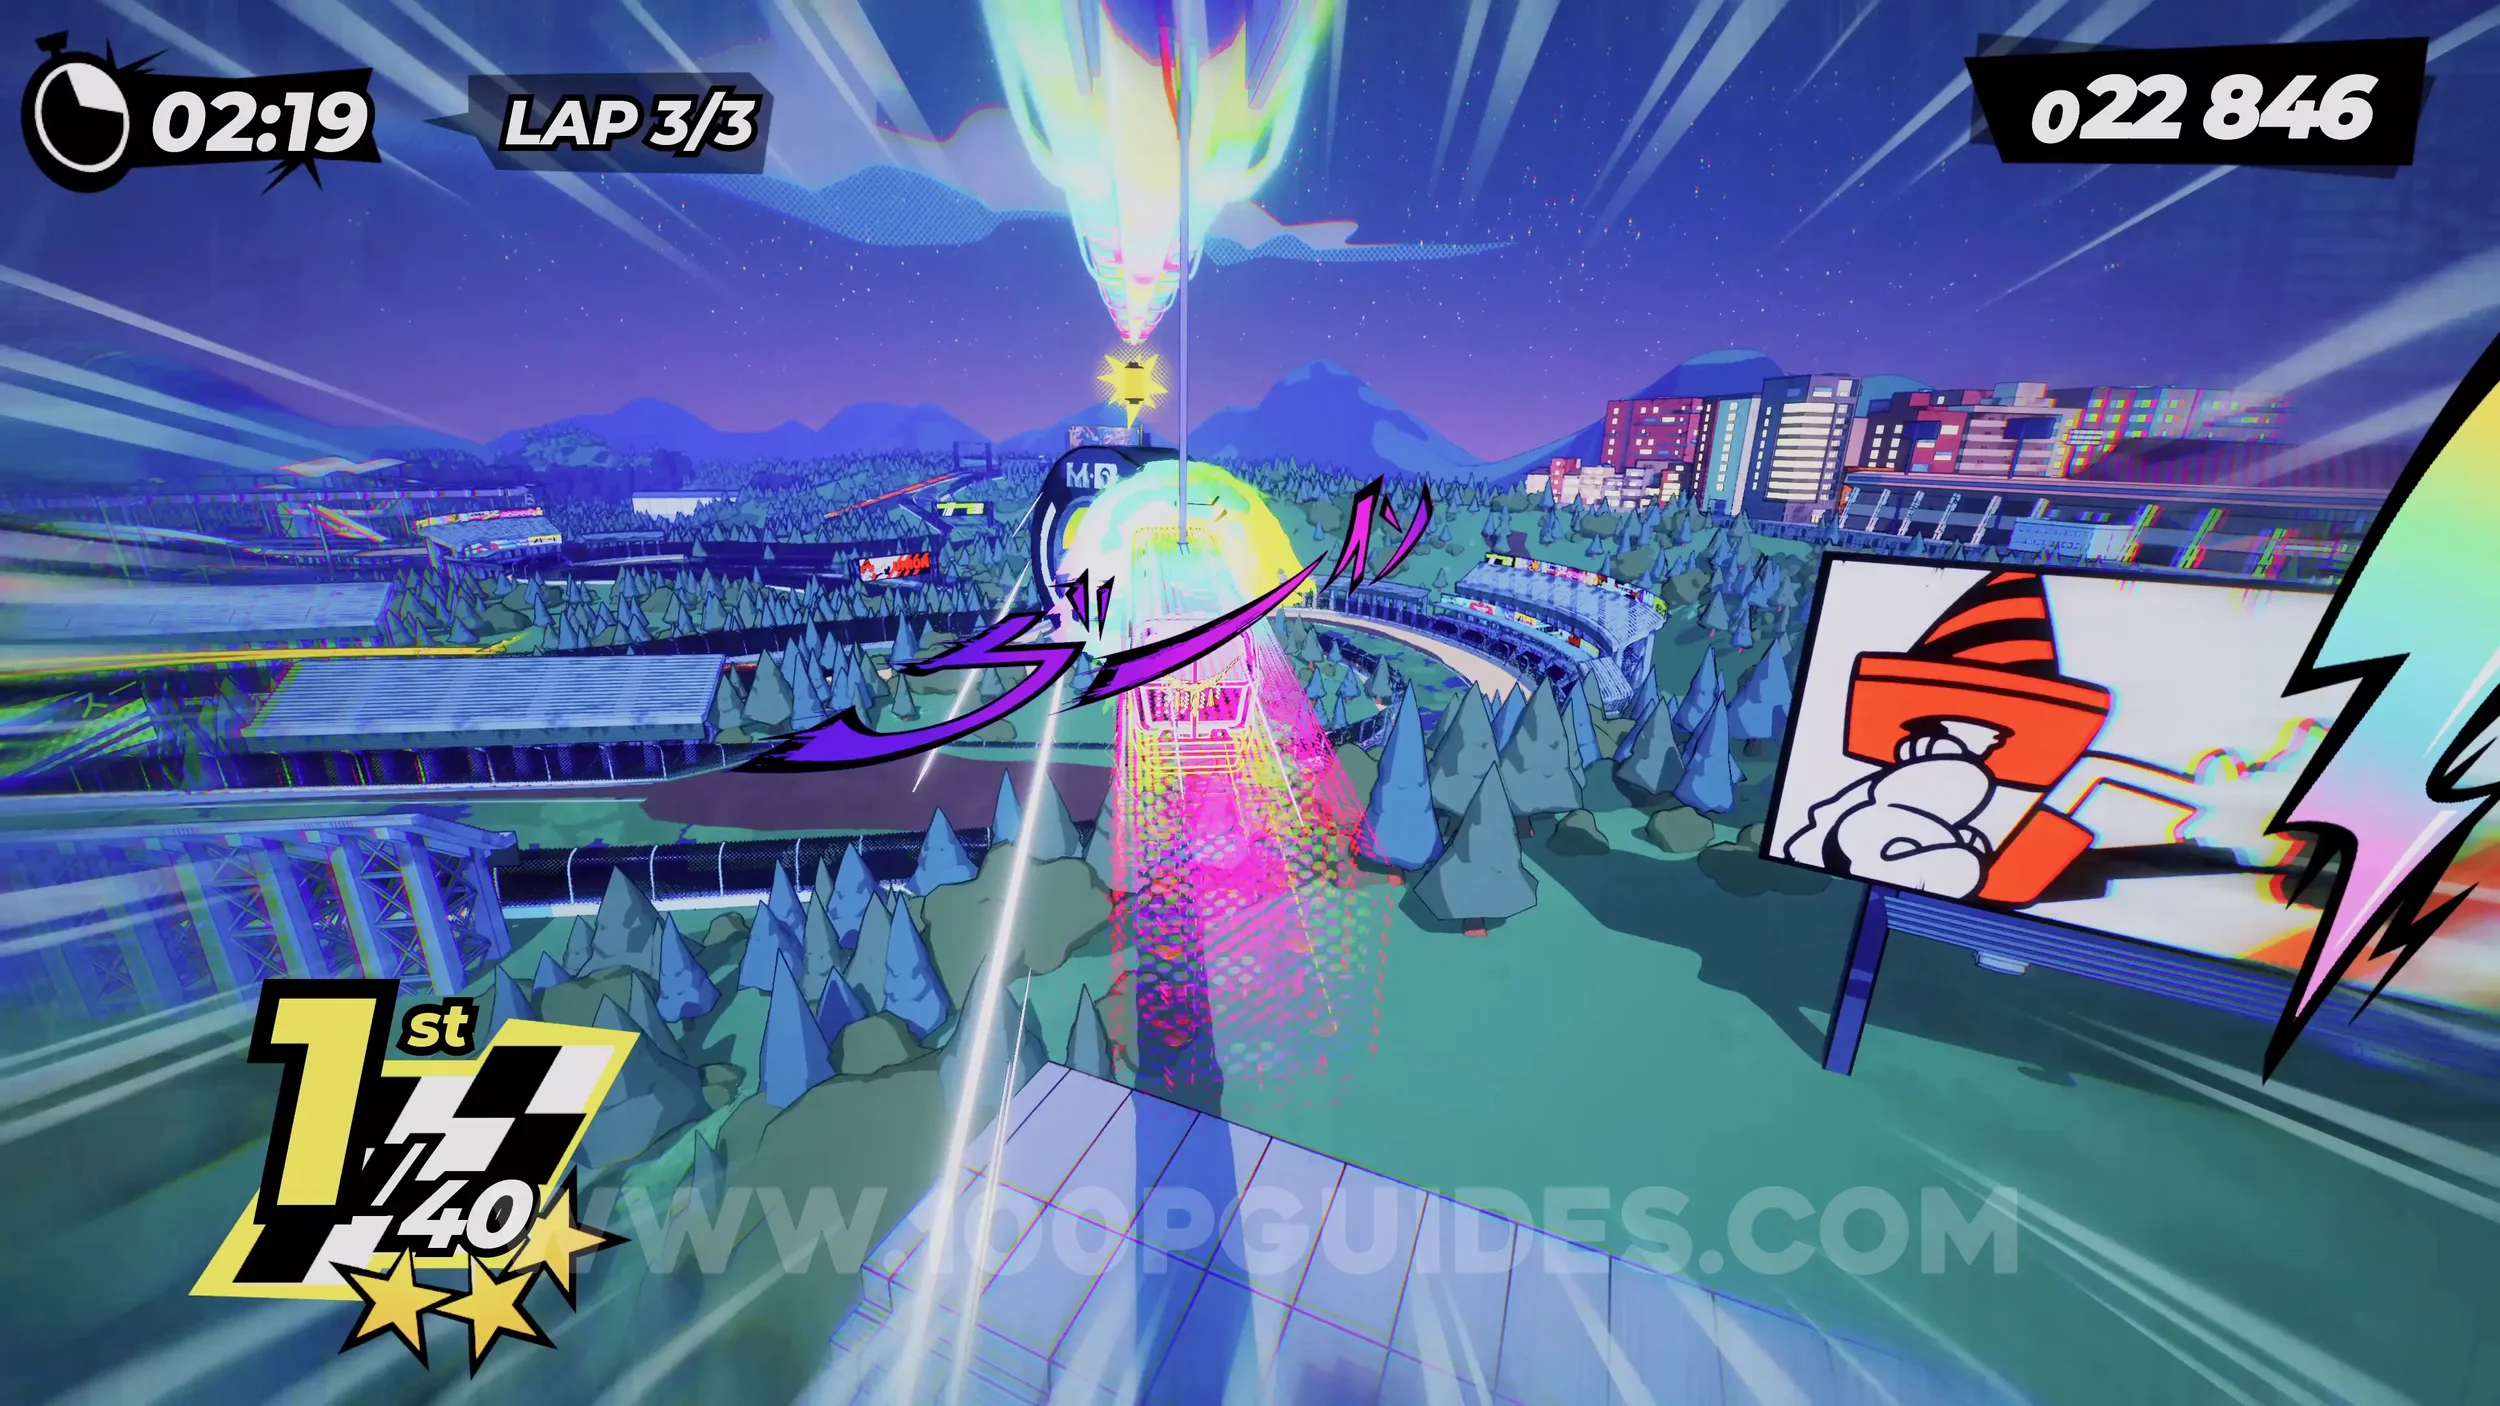
Film Roll (1/1). Continue through the lap until you hit the big vert jump. Just after this, you'll jump over a spiderweb with a rainbow monorail above it (if your special bar is full). As you jump over the spiderweb, use an air stomp to bounce off it and up onto the monorail, where you'll grab the film roll.
Dare: Finish in 1st Place. Self-explanatory. Finish the race in 1st.
Dare: Get a Lap Time Under 50s. Self-explanatory. Finish a lap in 50s or less.
Dare: Perform 5 Risky Dodges on One Lap Without Crashing. Self-explanatory. Just dodge rivals and obstacles at the last moment five times during a single lap.
5-6-1 Nara is For The People
Dare: Perform 3 Tricks off the Halfpipe without Being Seen. Play through the first section of the level, dodging the spotlights, until you reach a large halfpipe. Here, perform three tricks off the sides without getting spotted by the spotlights.
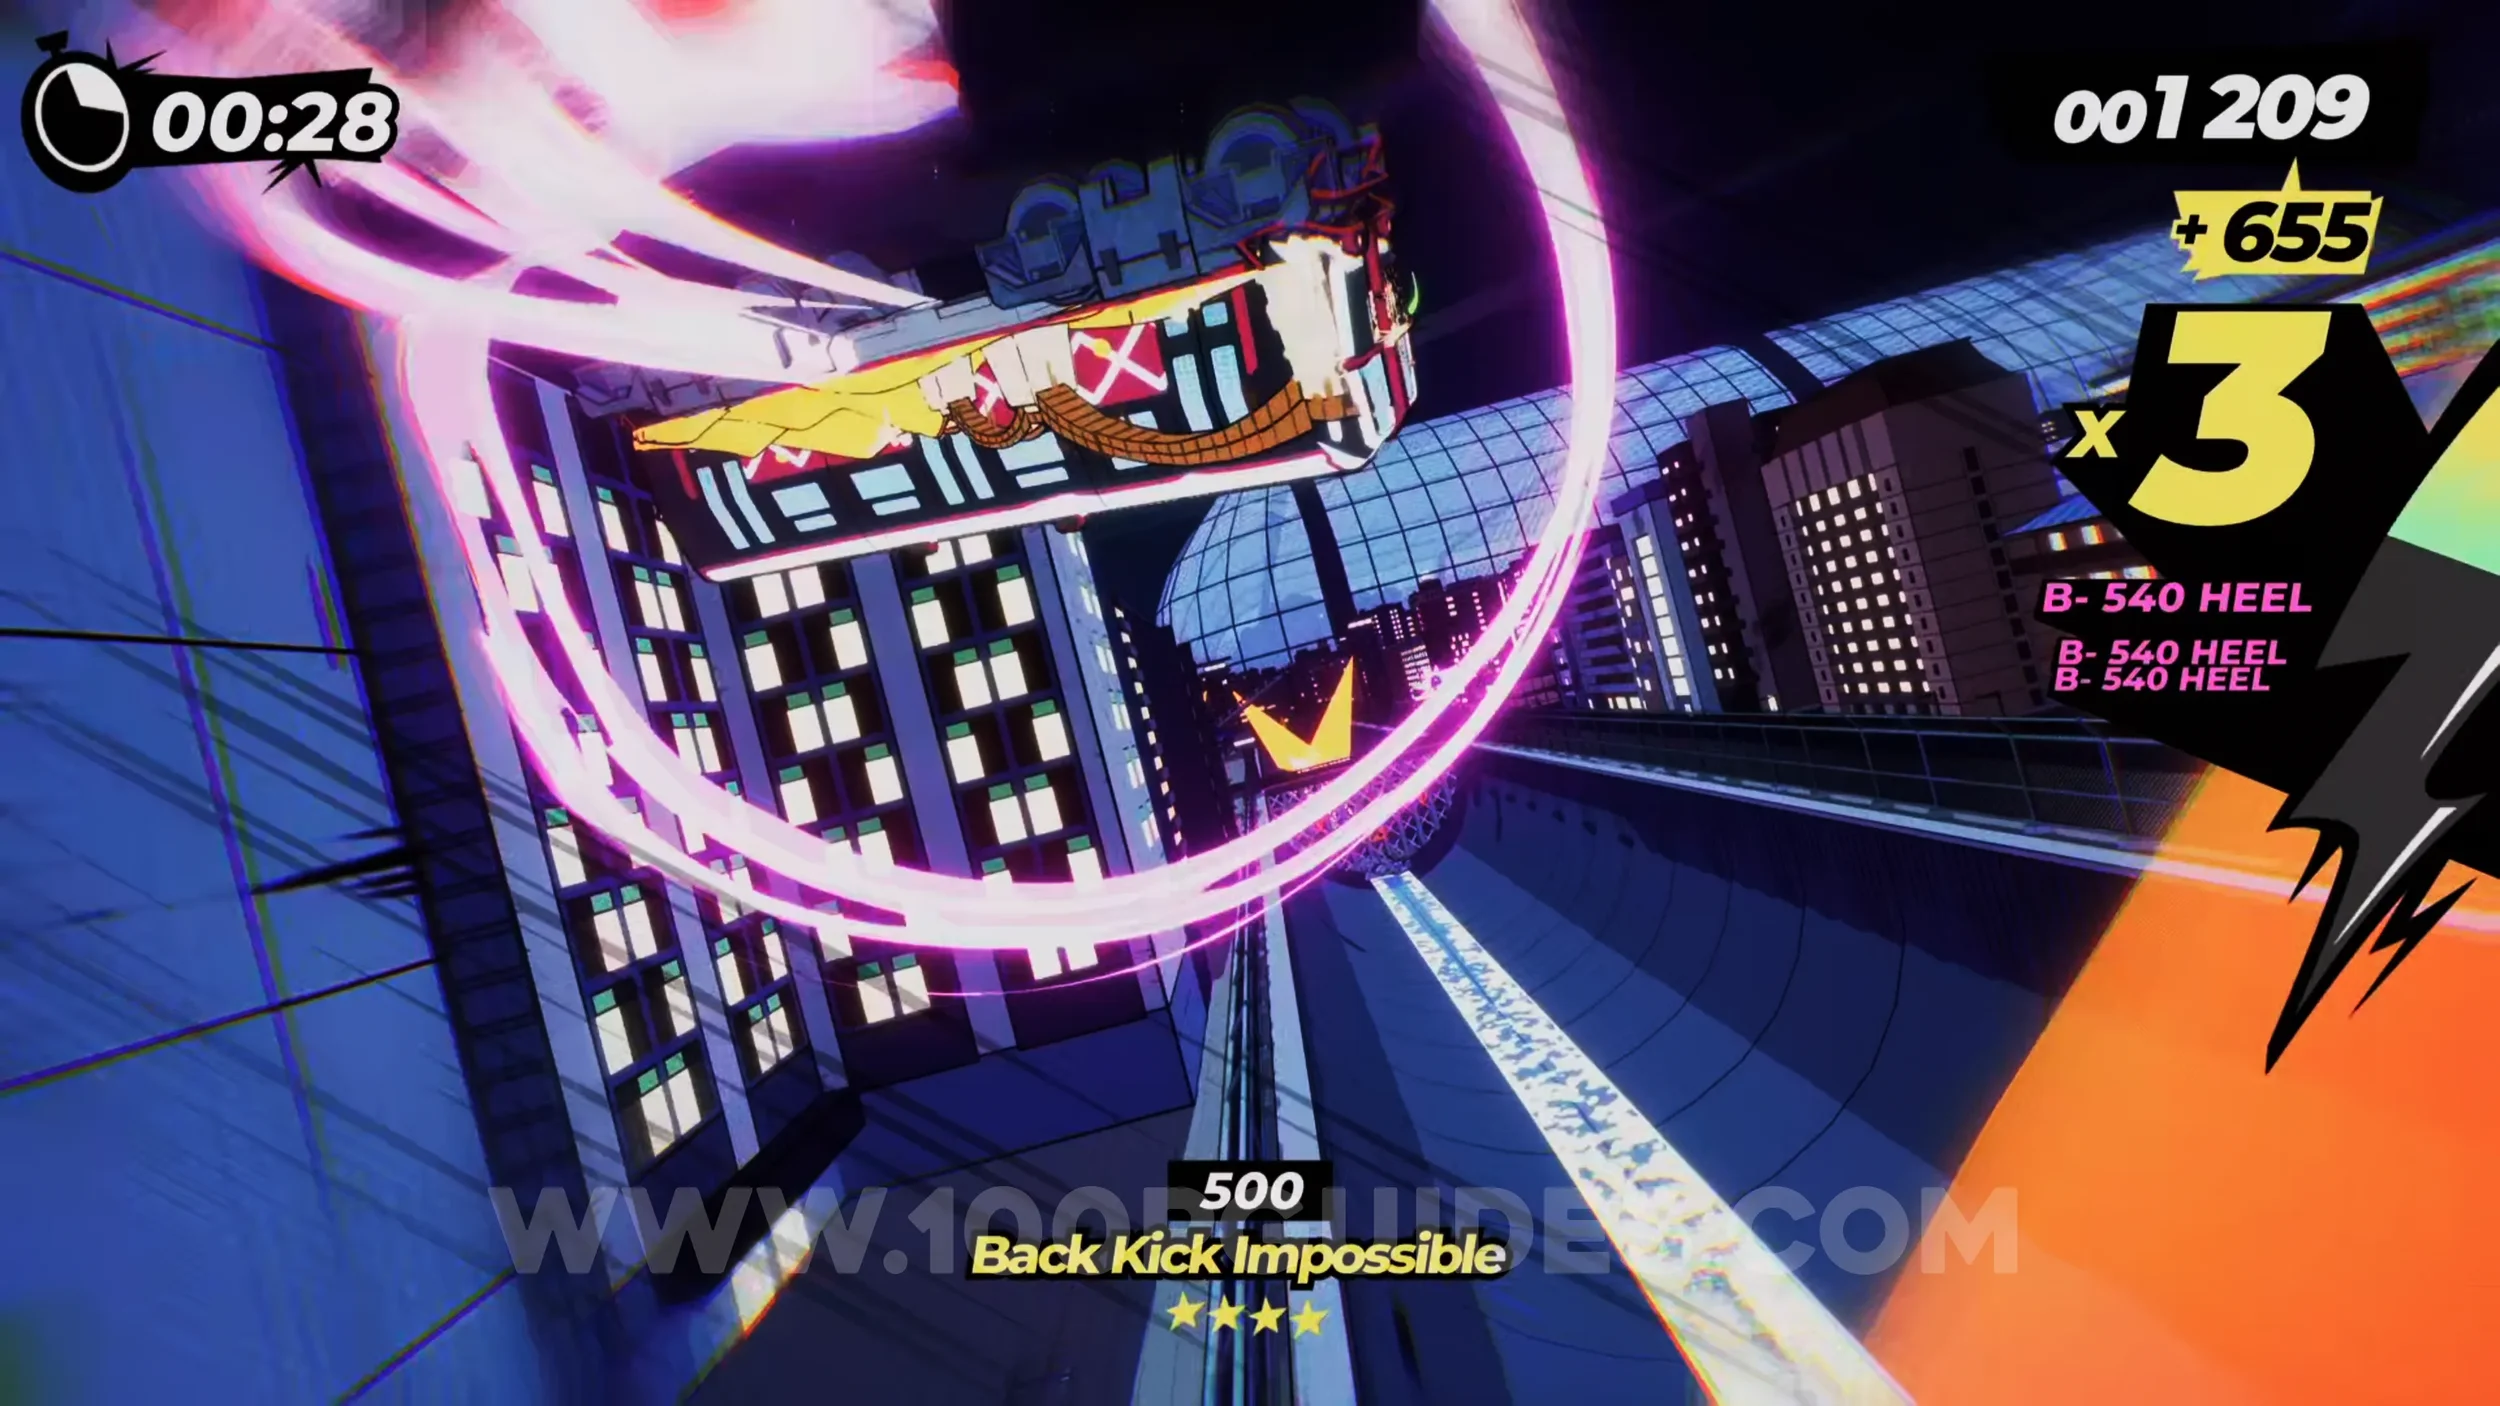
Gear (1/2). On the right side of the halfpipe.
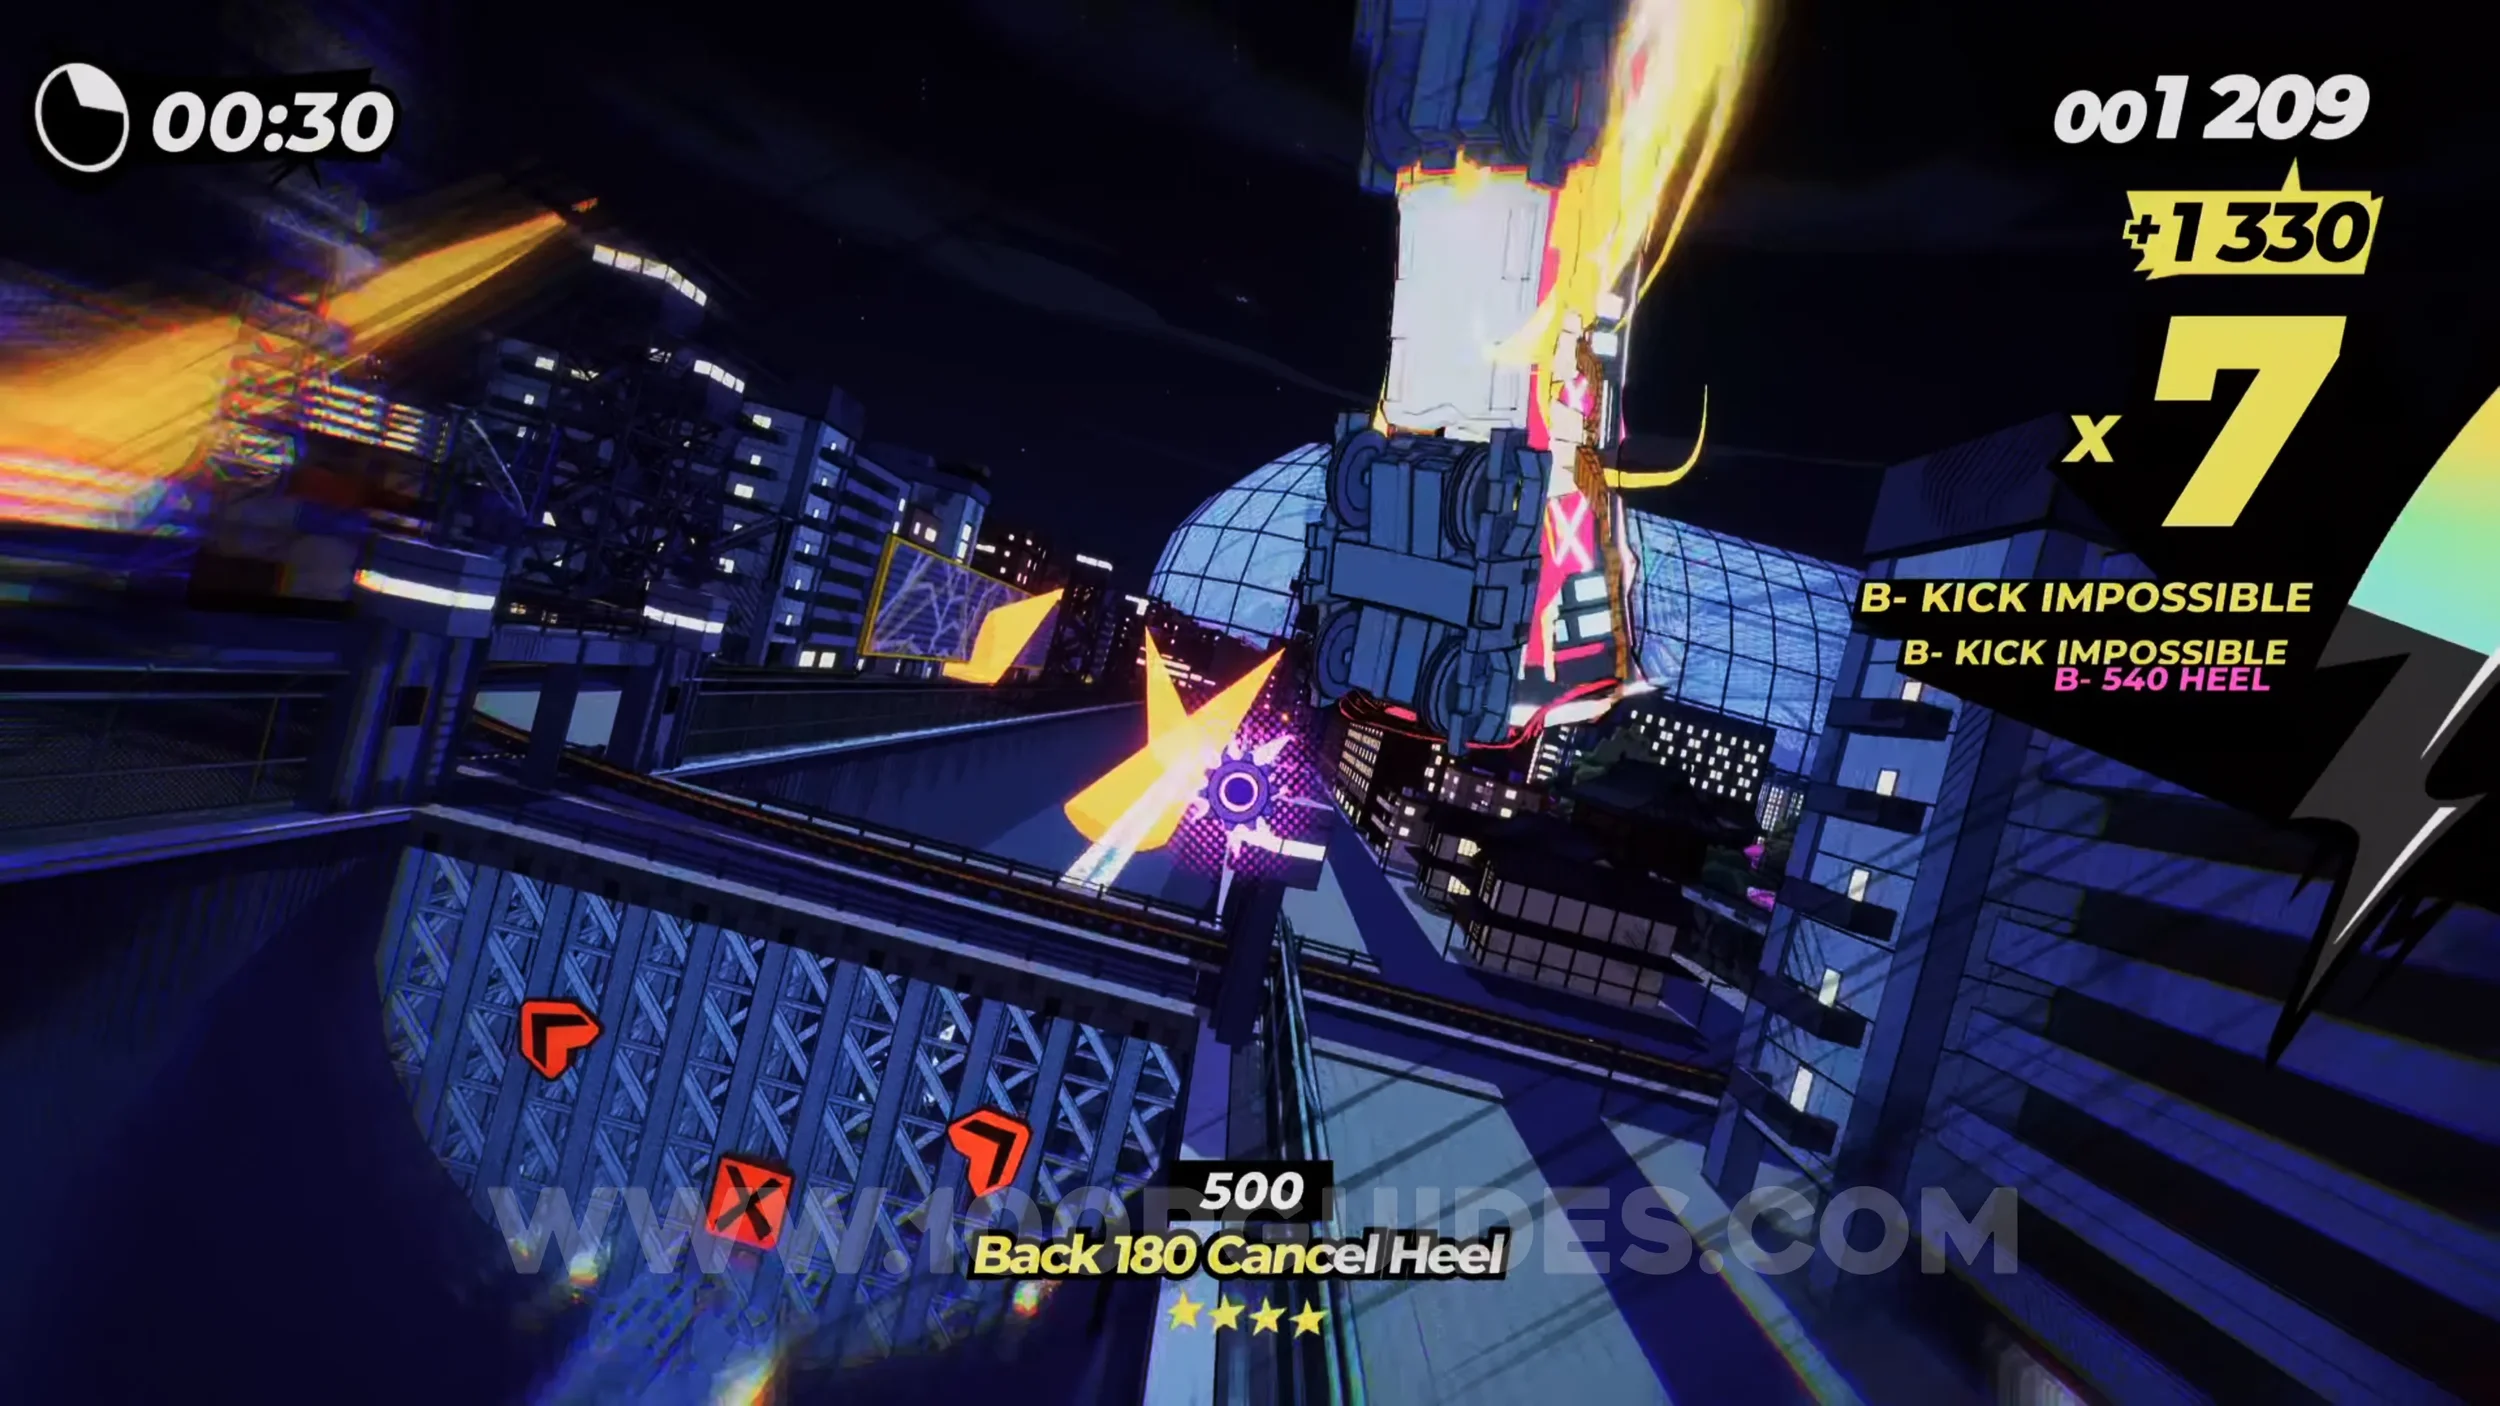
Spray Can (1/2). Continue through the level a little more, and you'll eventually see a spray can sign pointing to the right just before the tracks split. Follow the track to the right and use the Yukaze to reach the spray can.
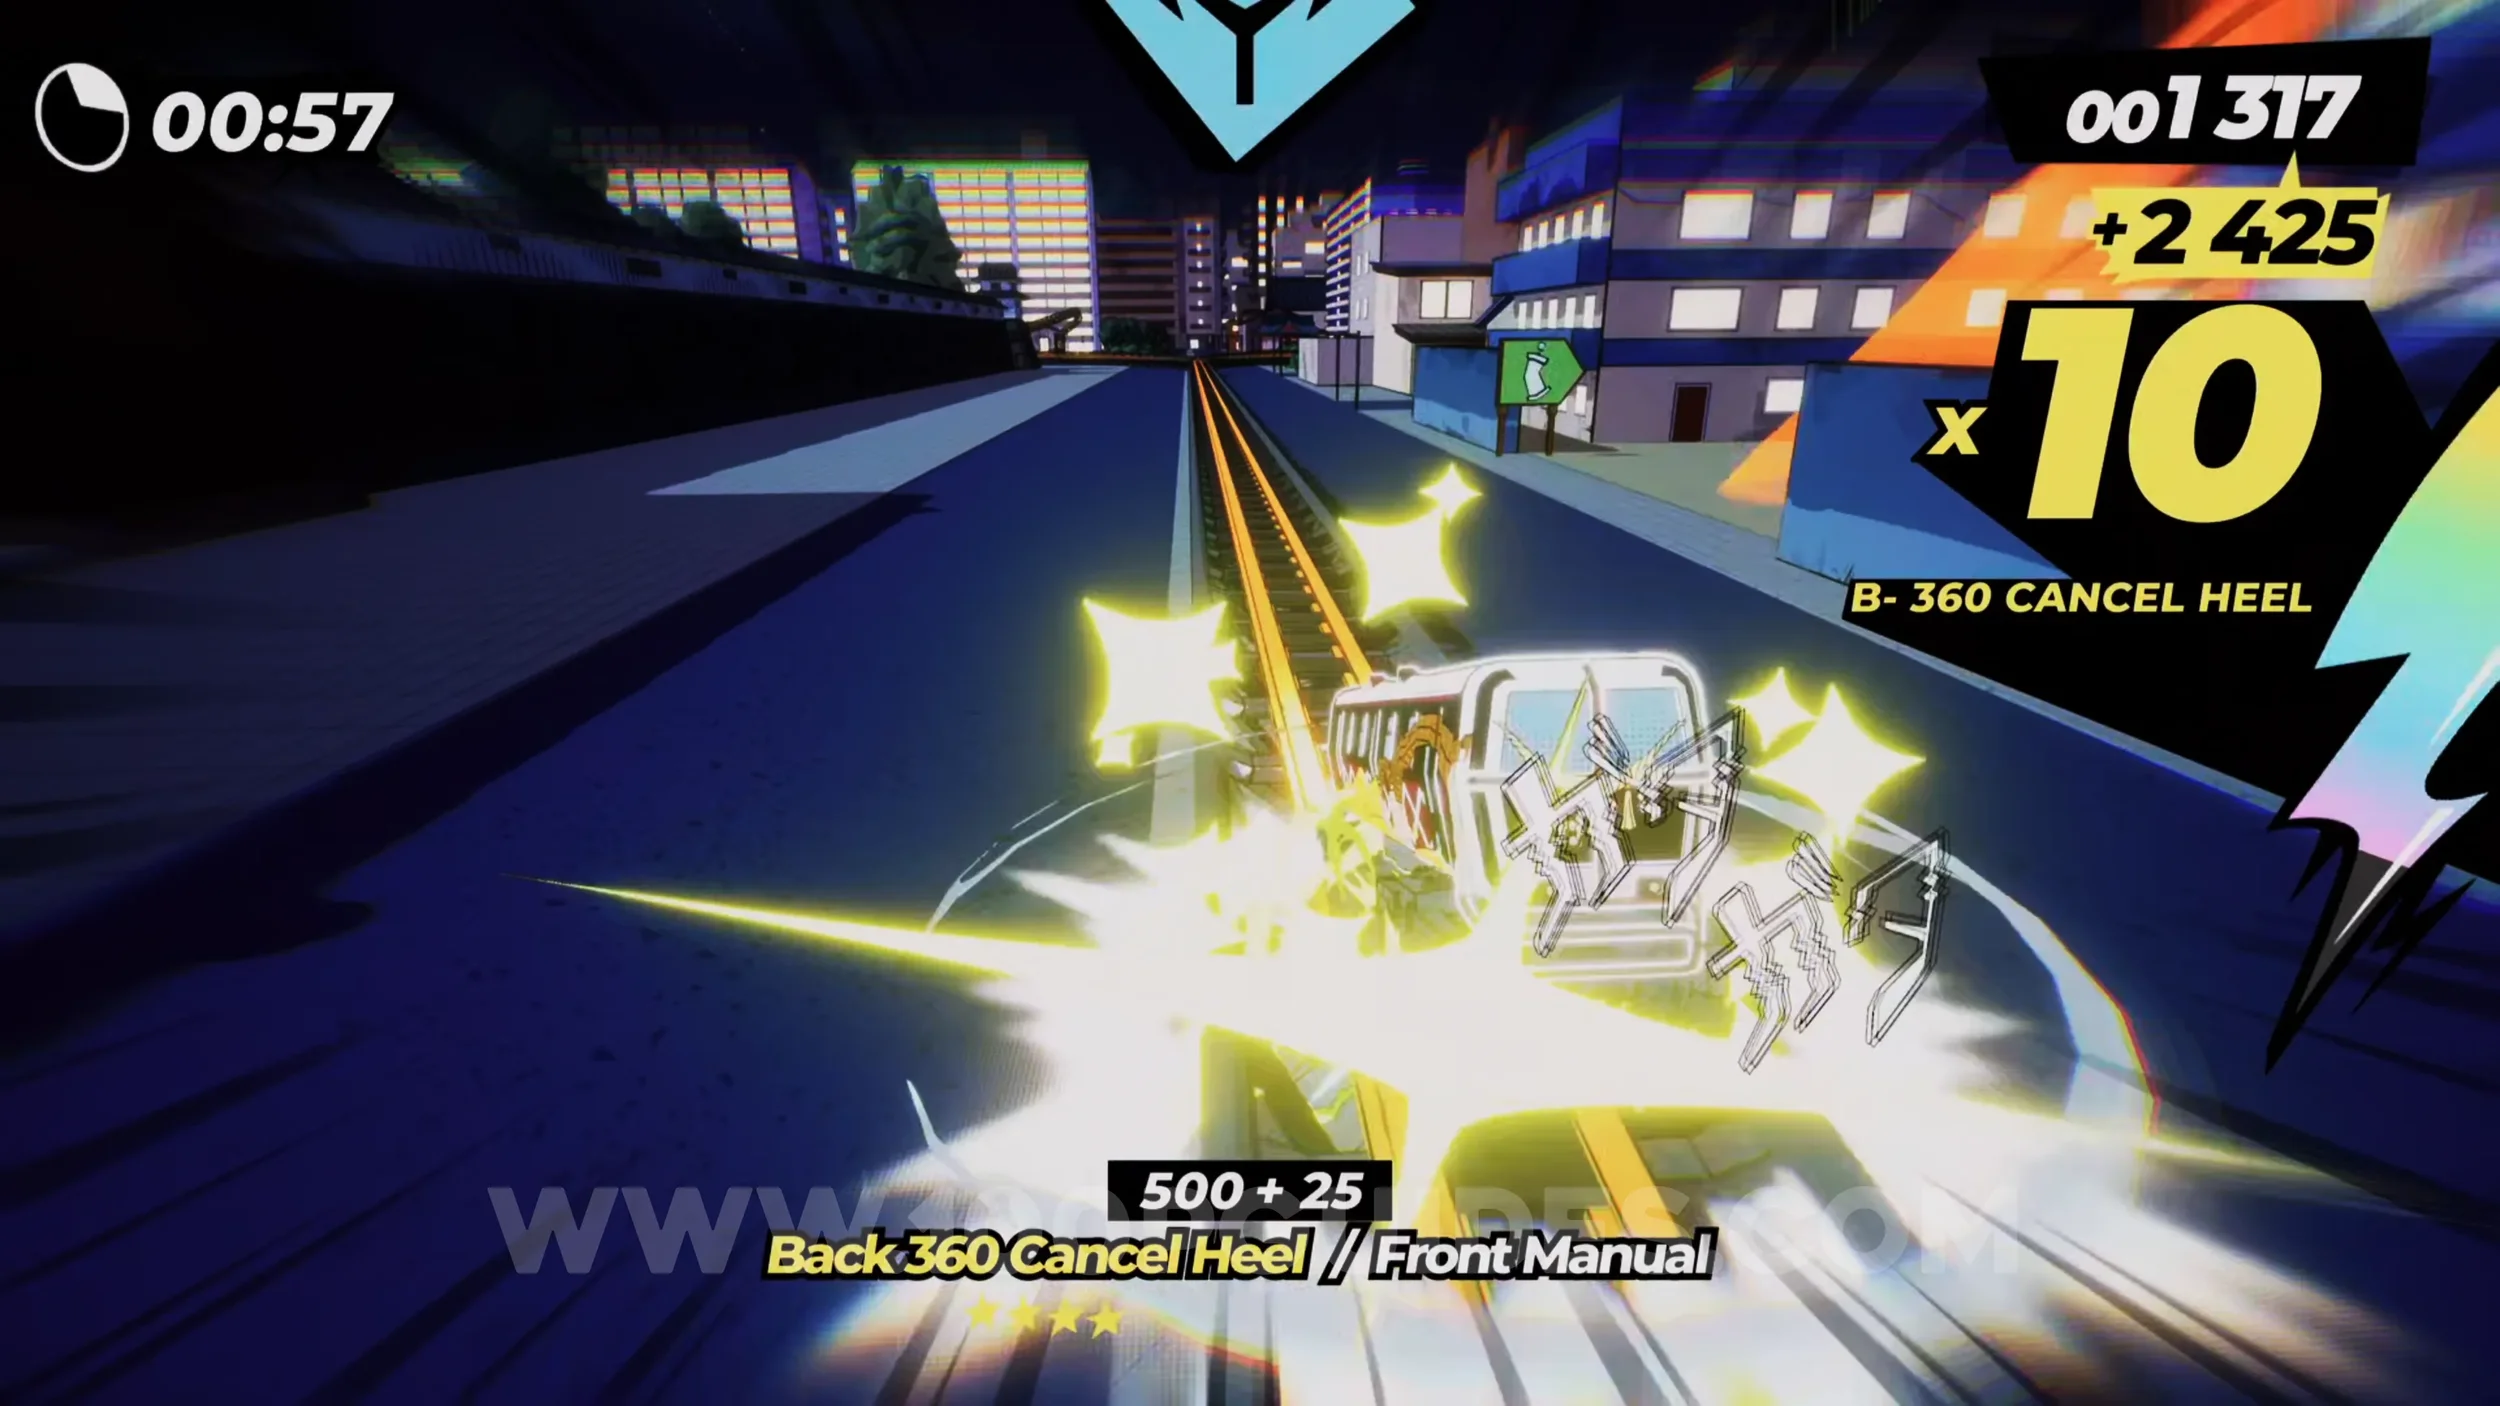
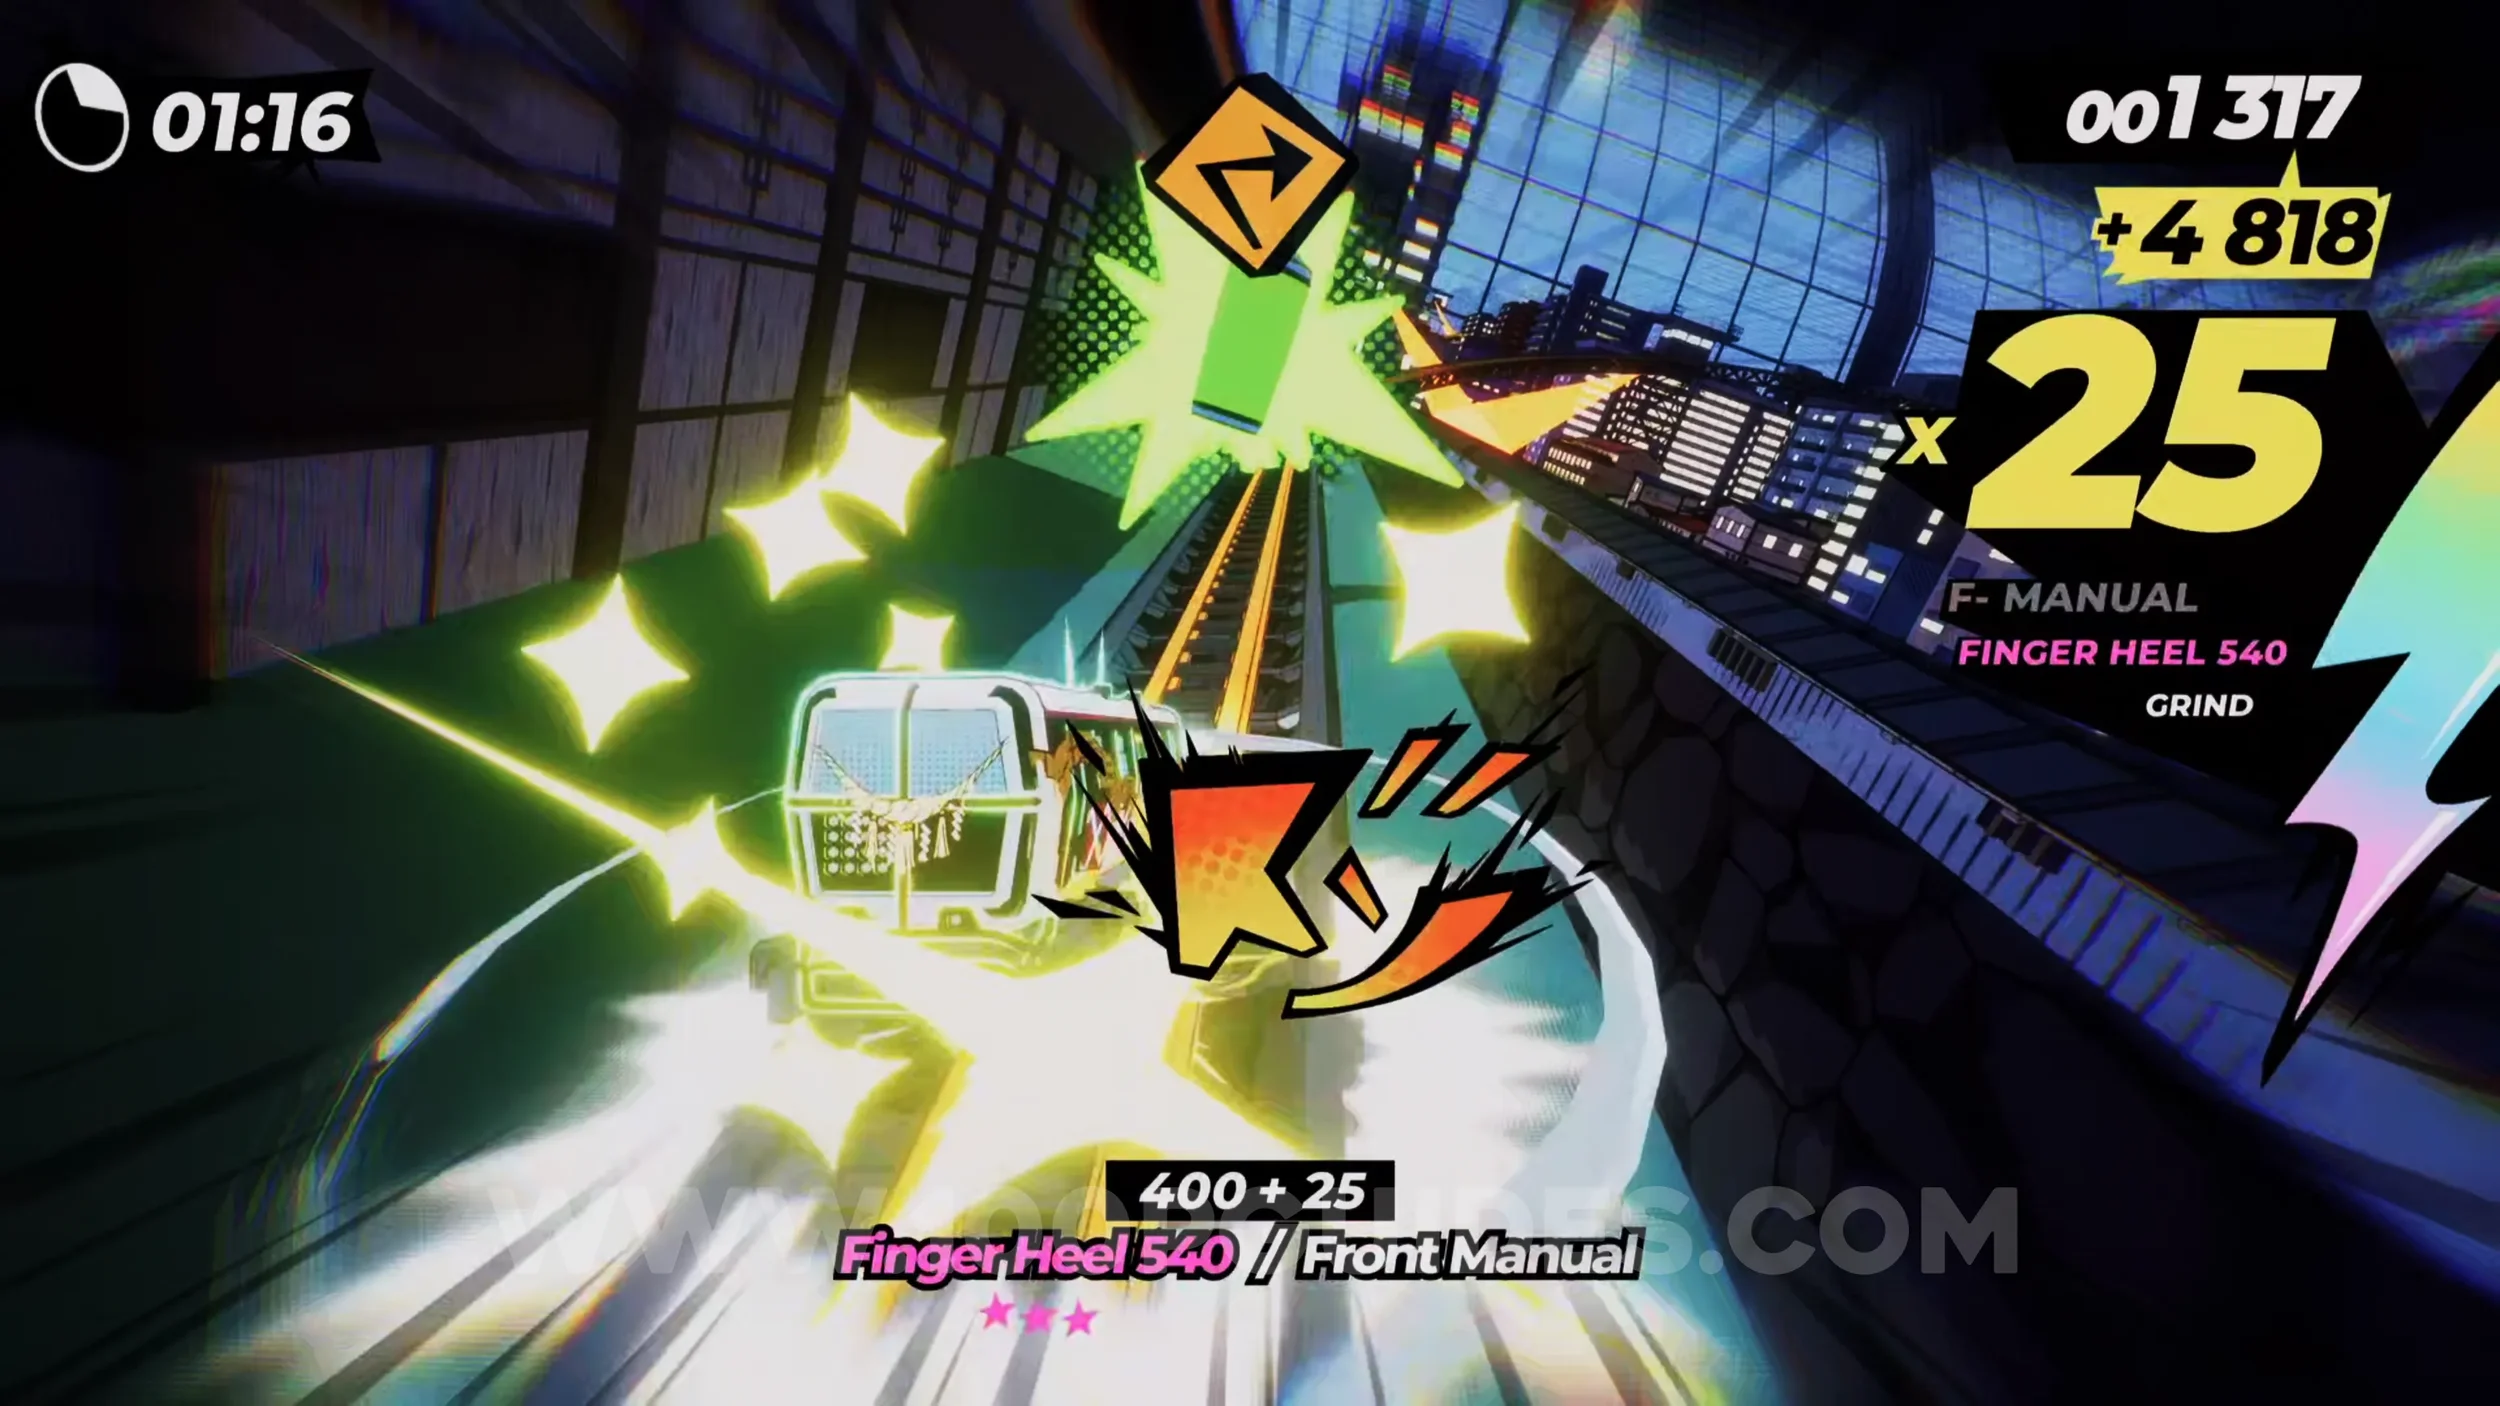
Spray Can (2/2). Soon after the previous spray can, you'll use some Yukaze to jump over a few spotlights. Then you'll grind along some rails on the rooftops, where you'll spot the spray can in plain sight between the rails.
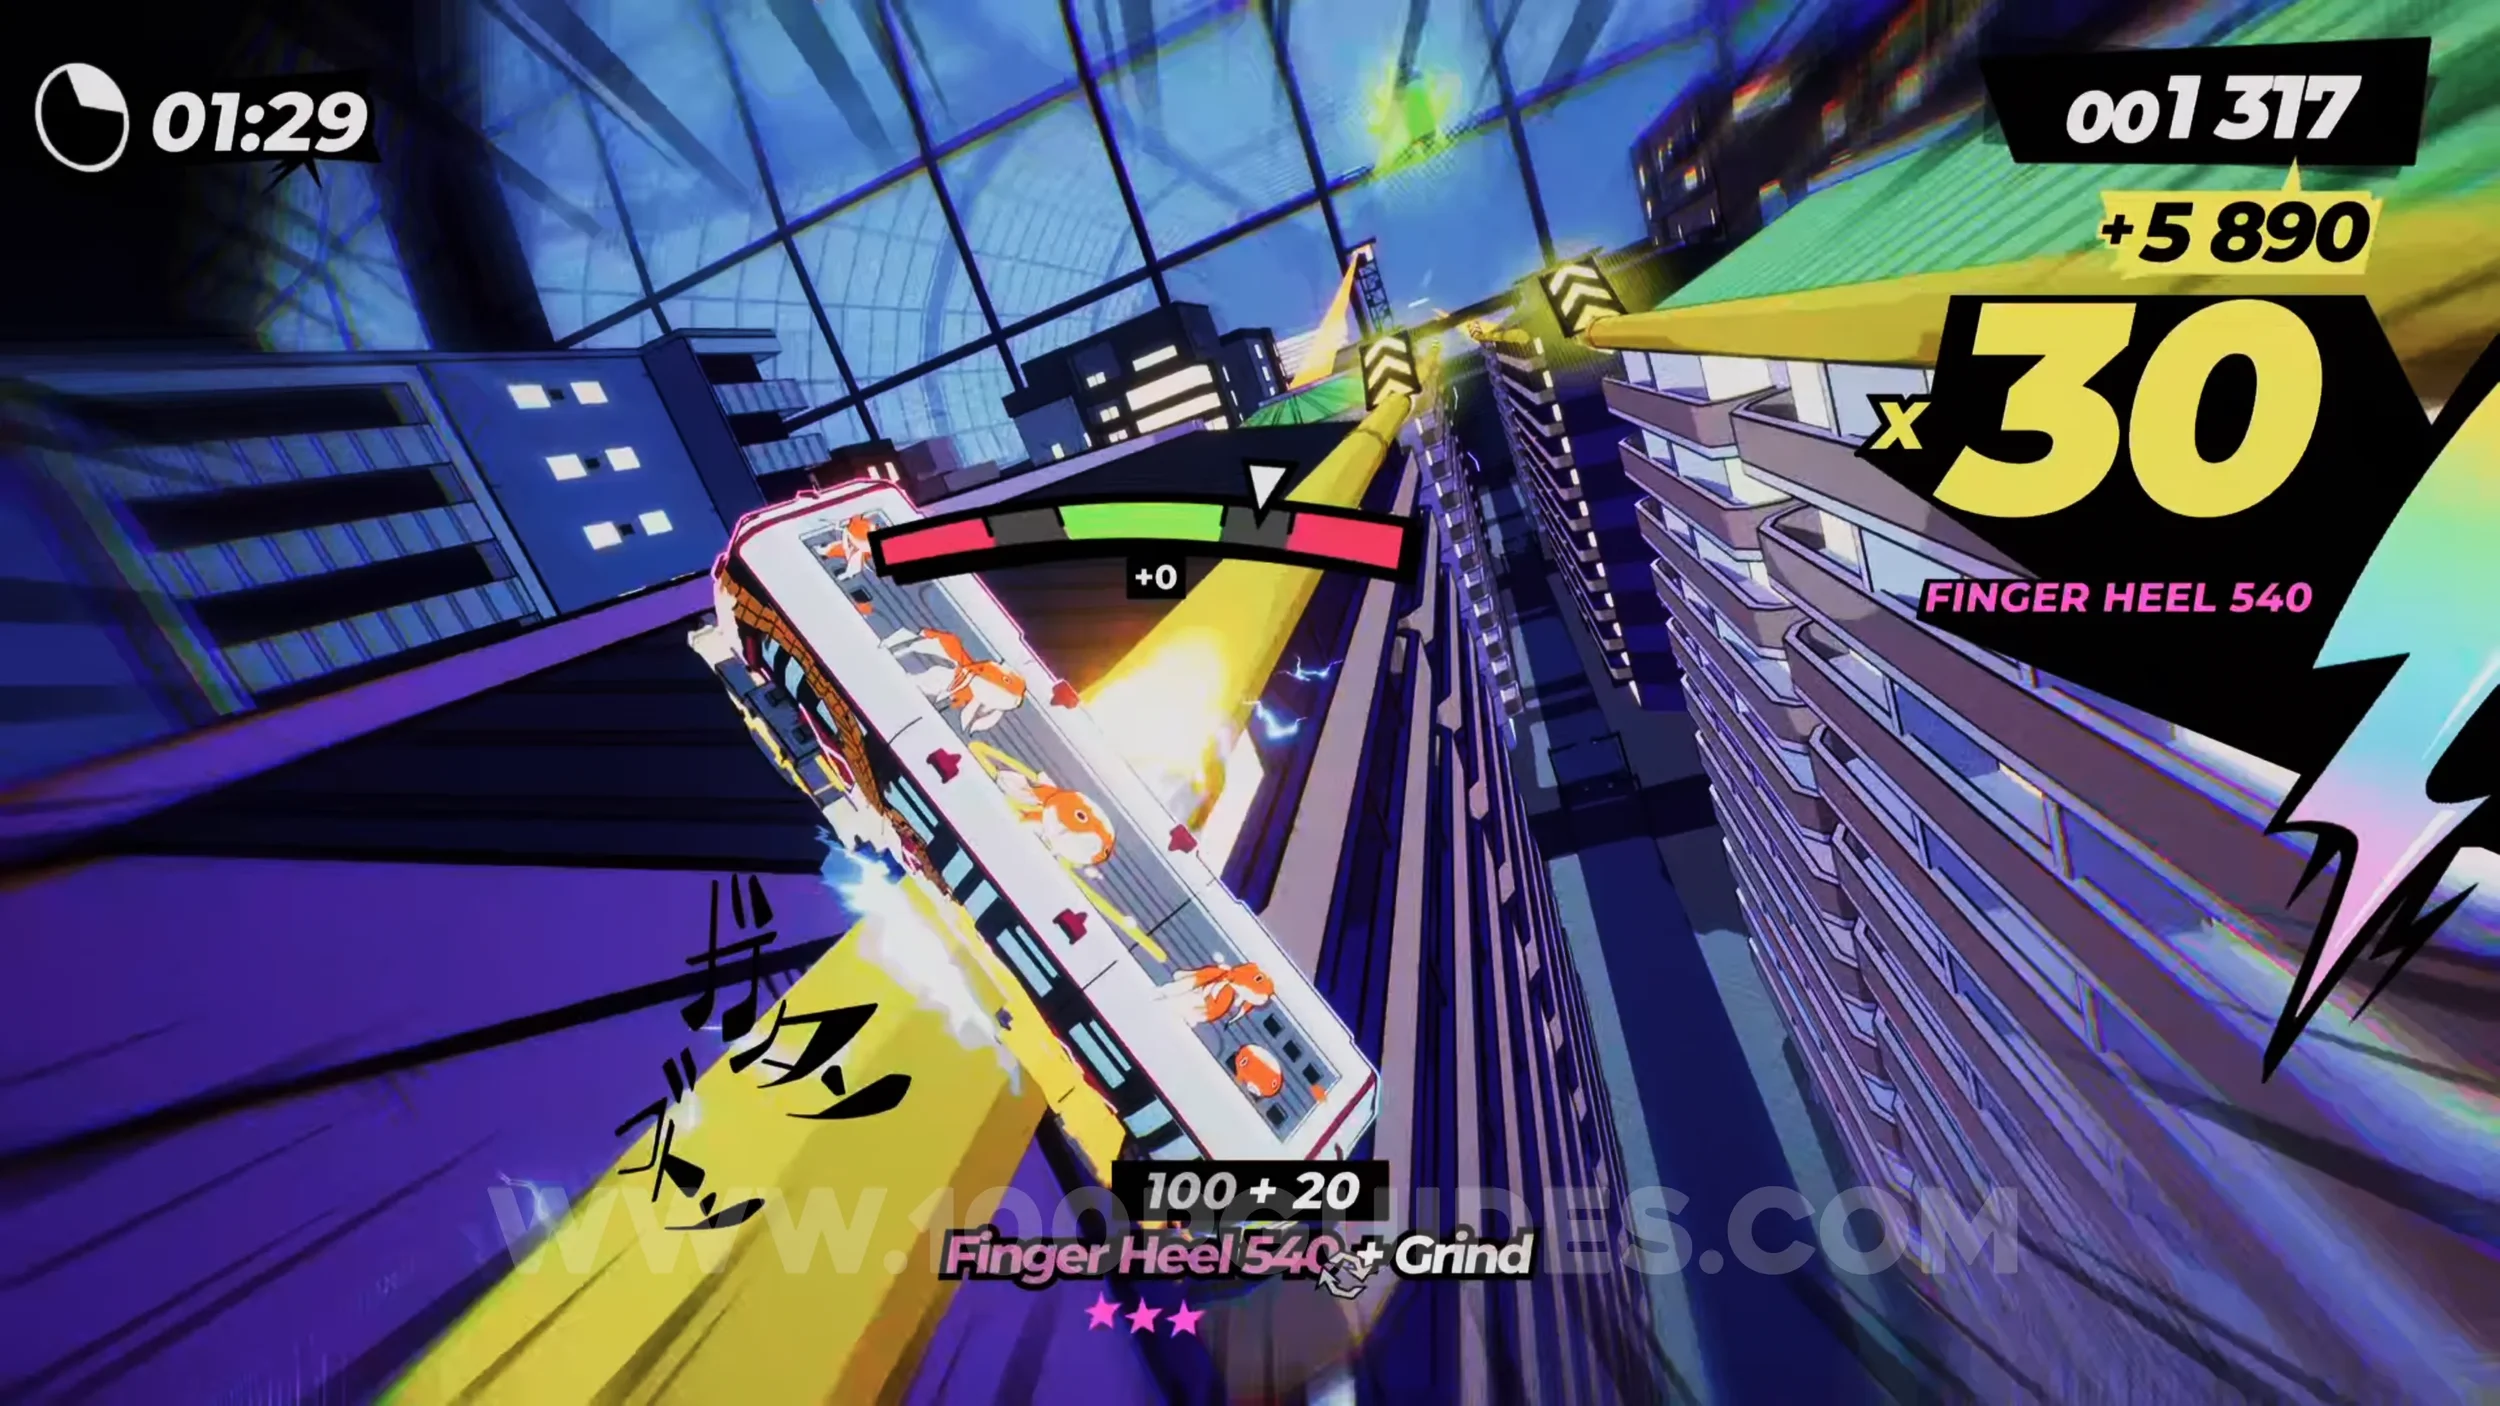
Dare: Destroy 10 Security Spotlights (1-5/10). After the previous collectible, you'll soon pass through a tunnel with spotlights on the sides. Just hit the base of the spotlights to destroy them.
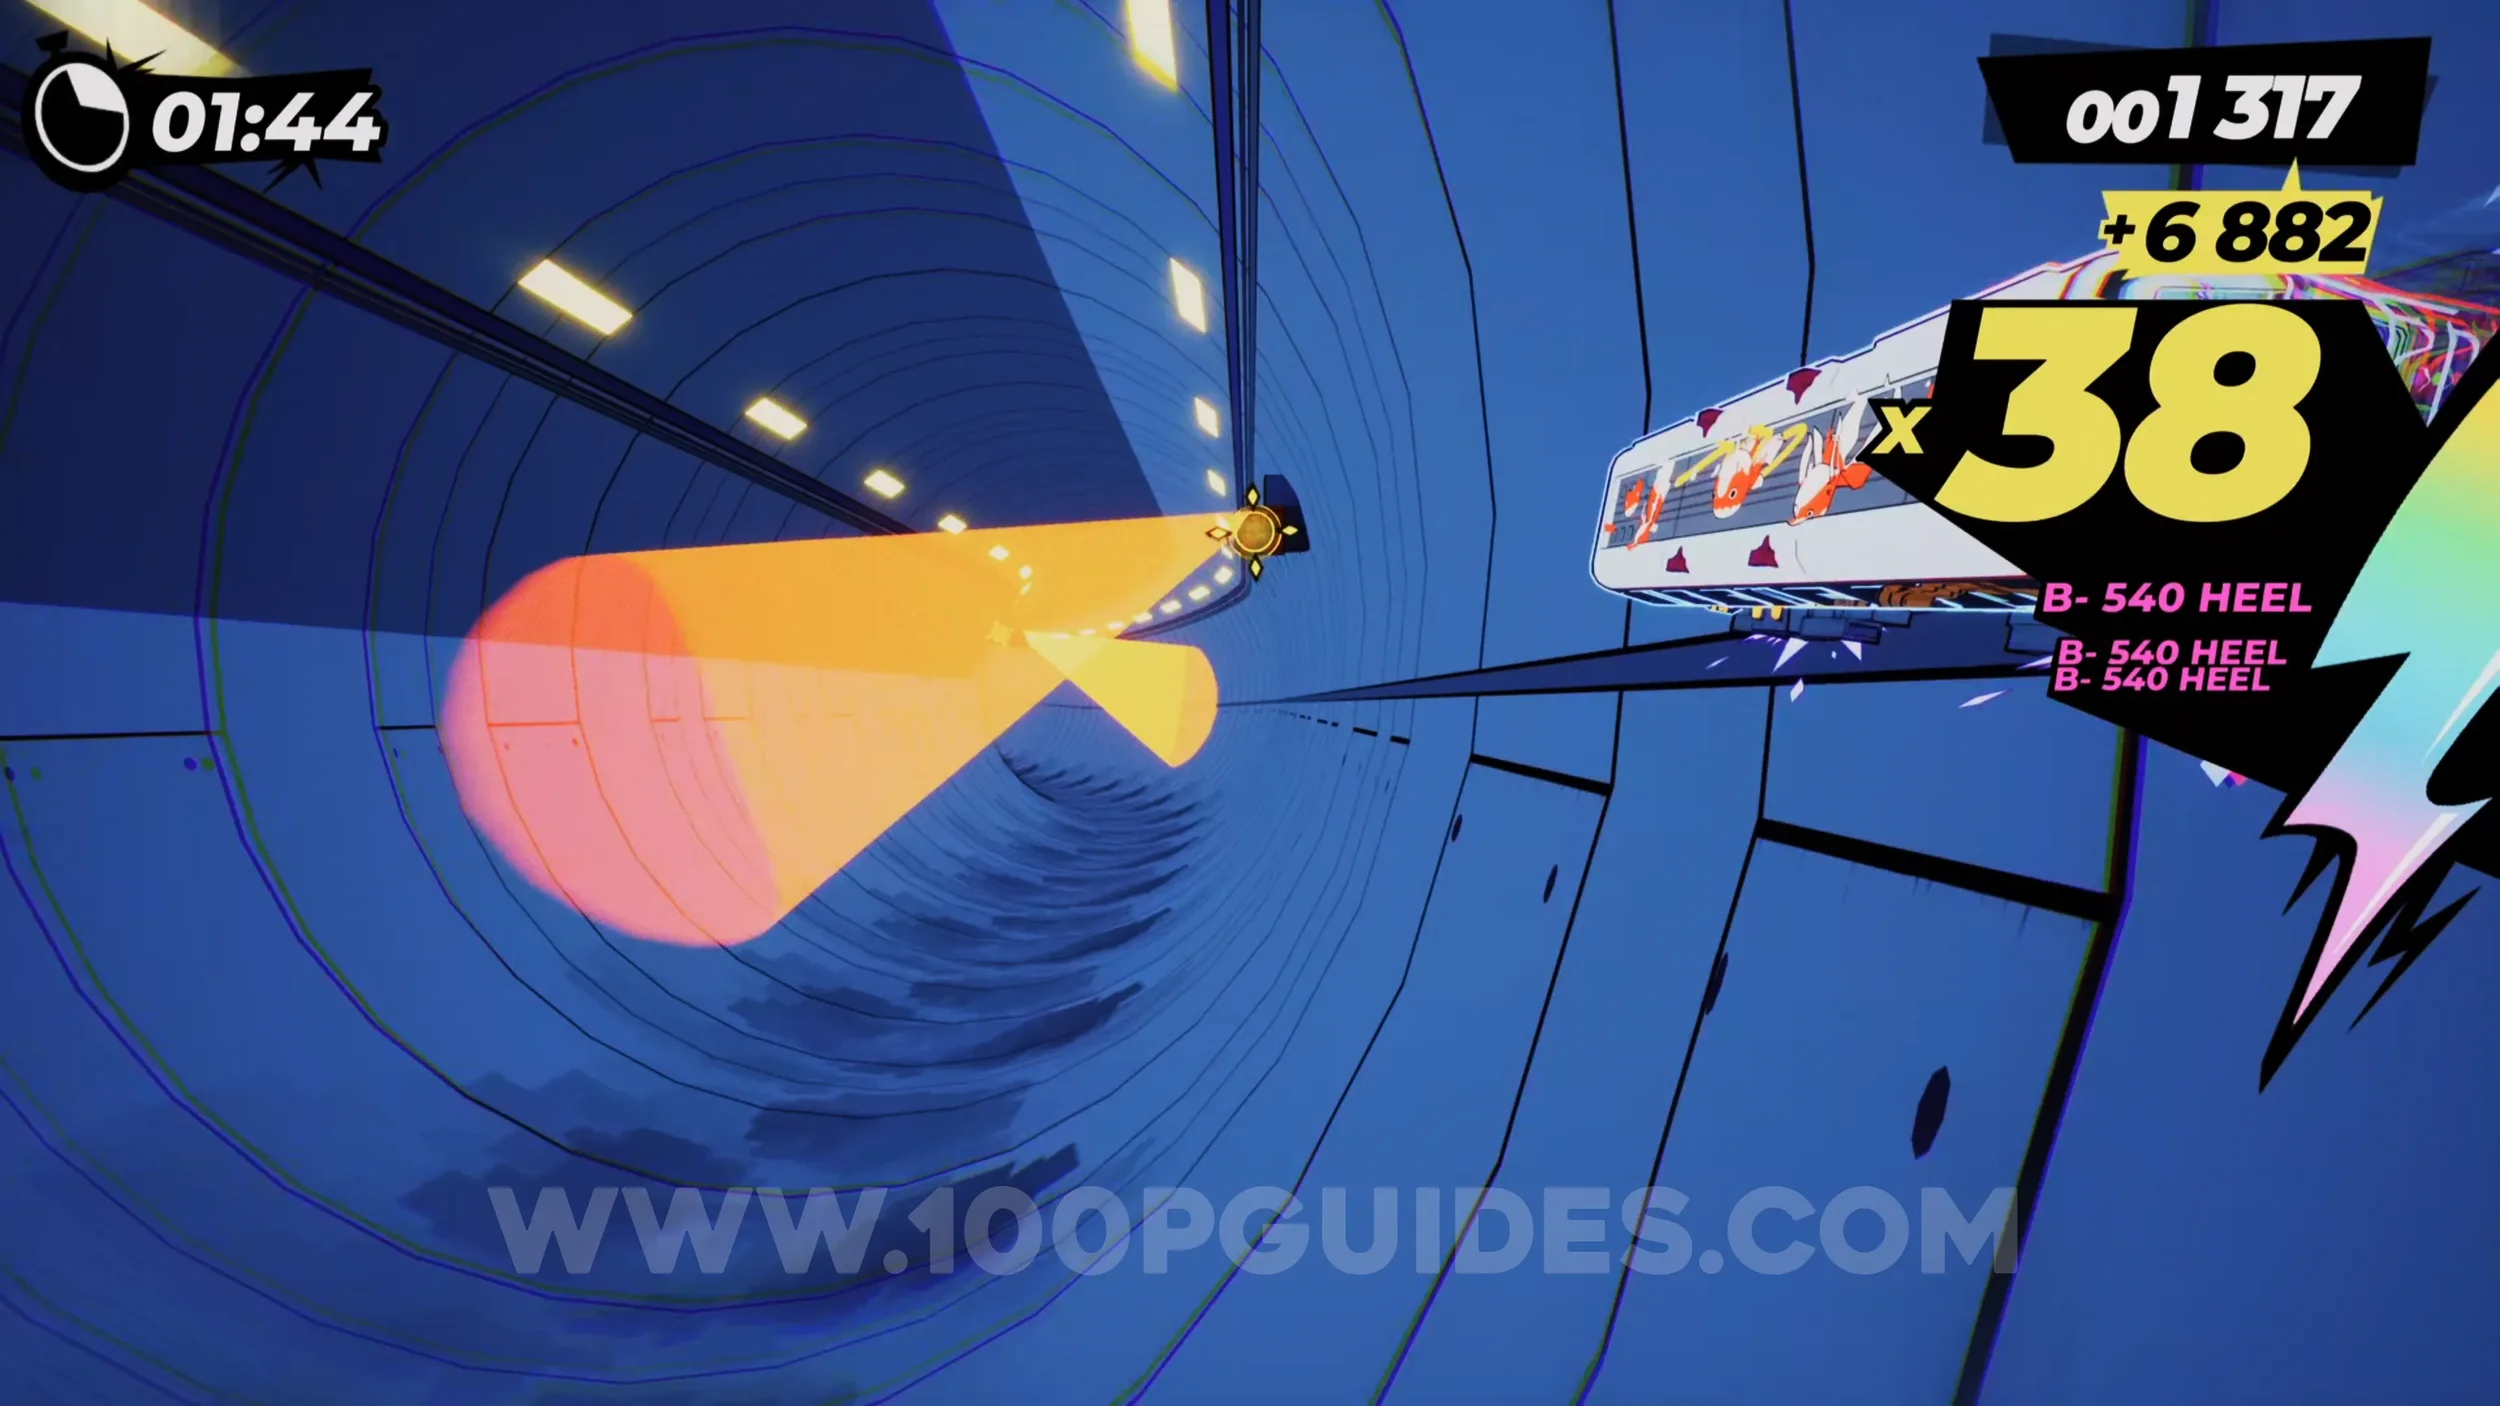
Gear (2/2). In plain sight, just before you leave the tunnel with the spotlights.
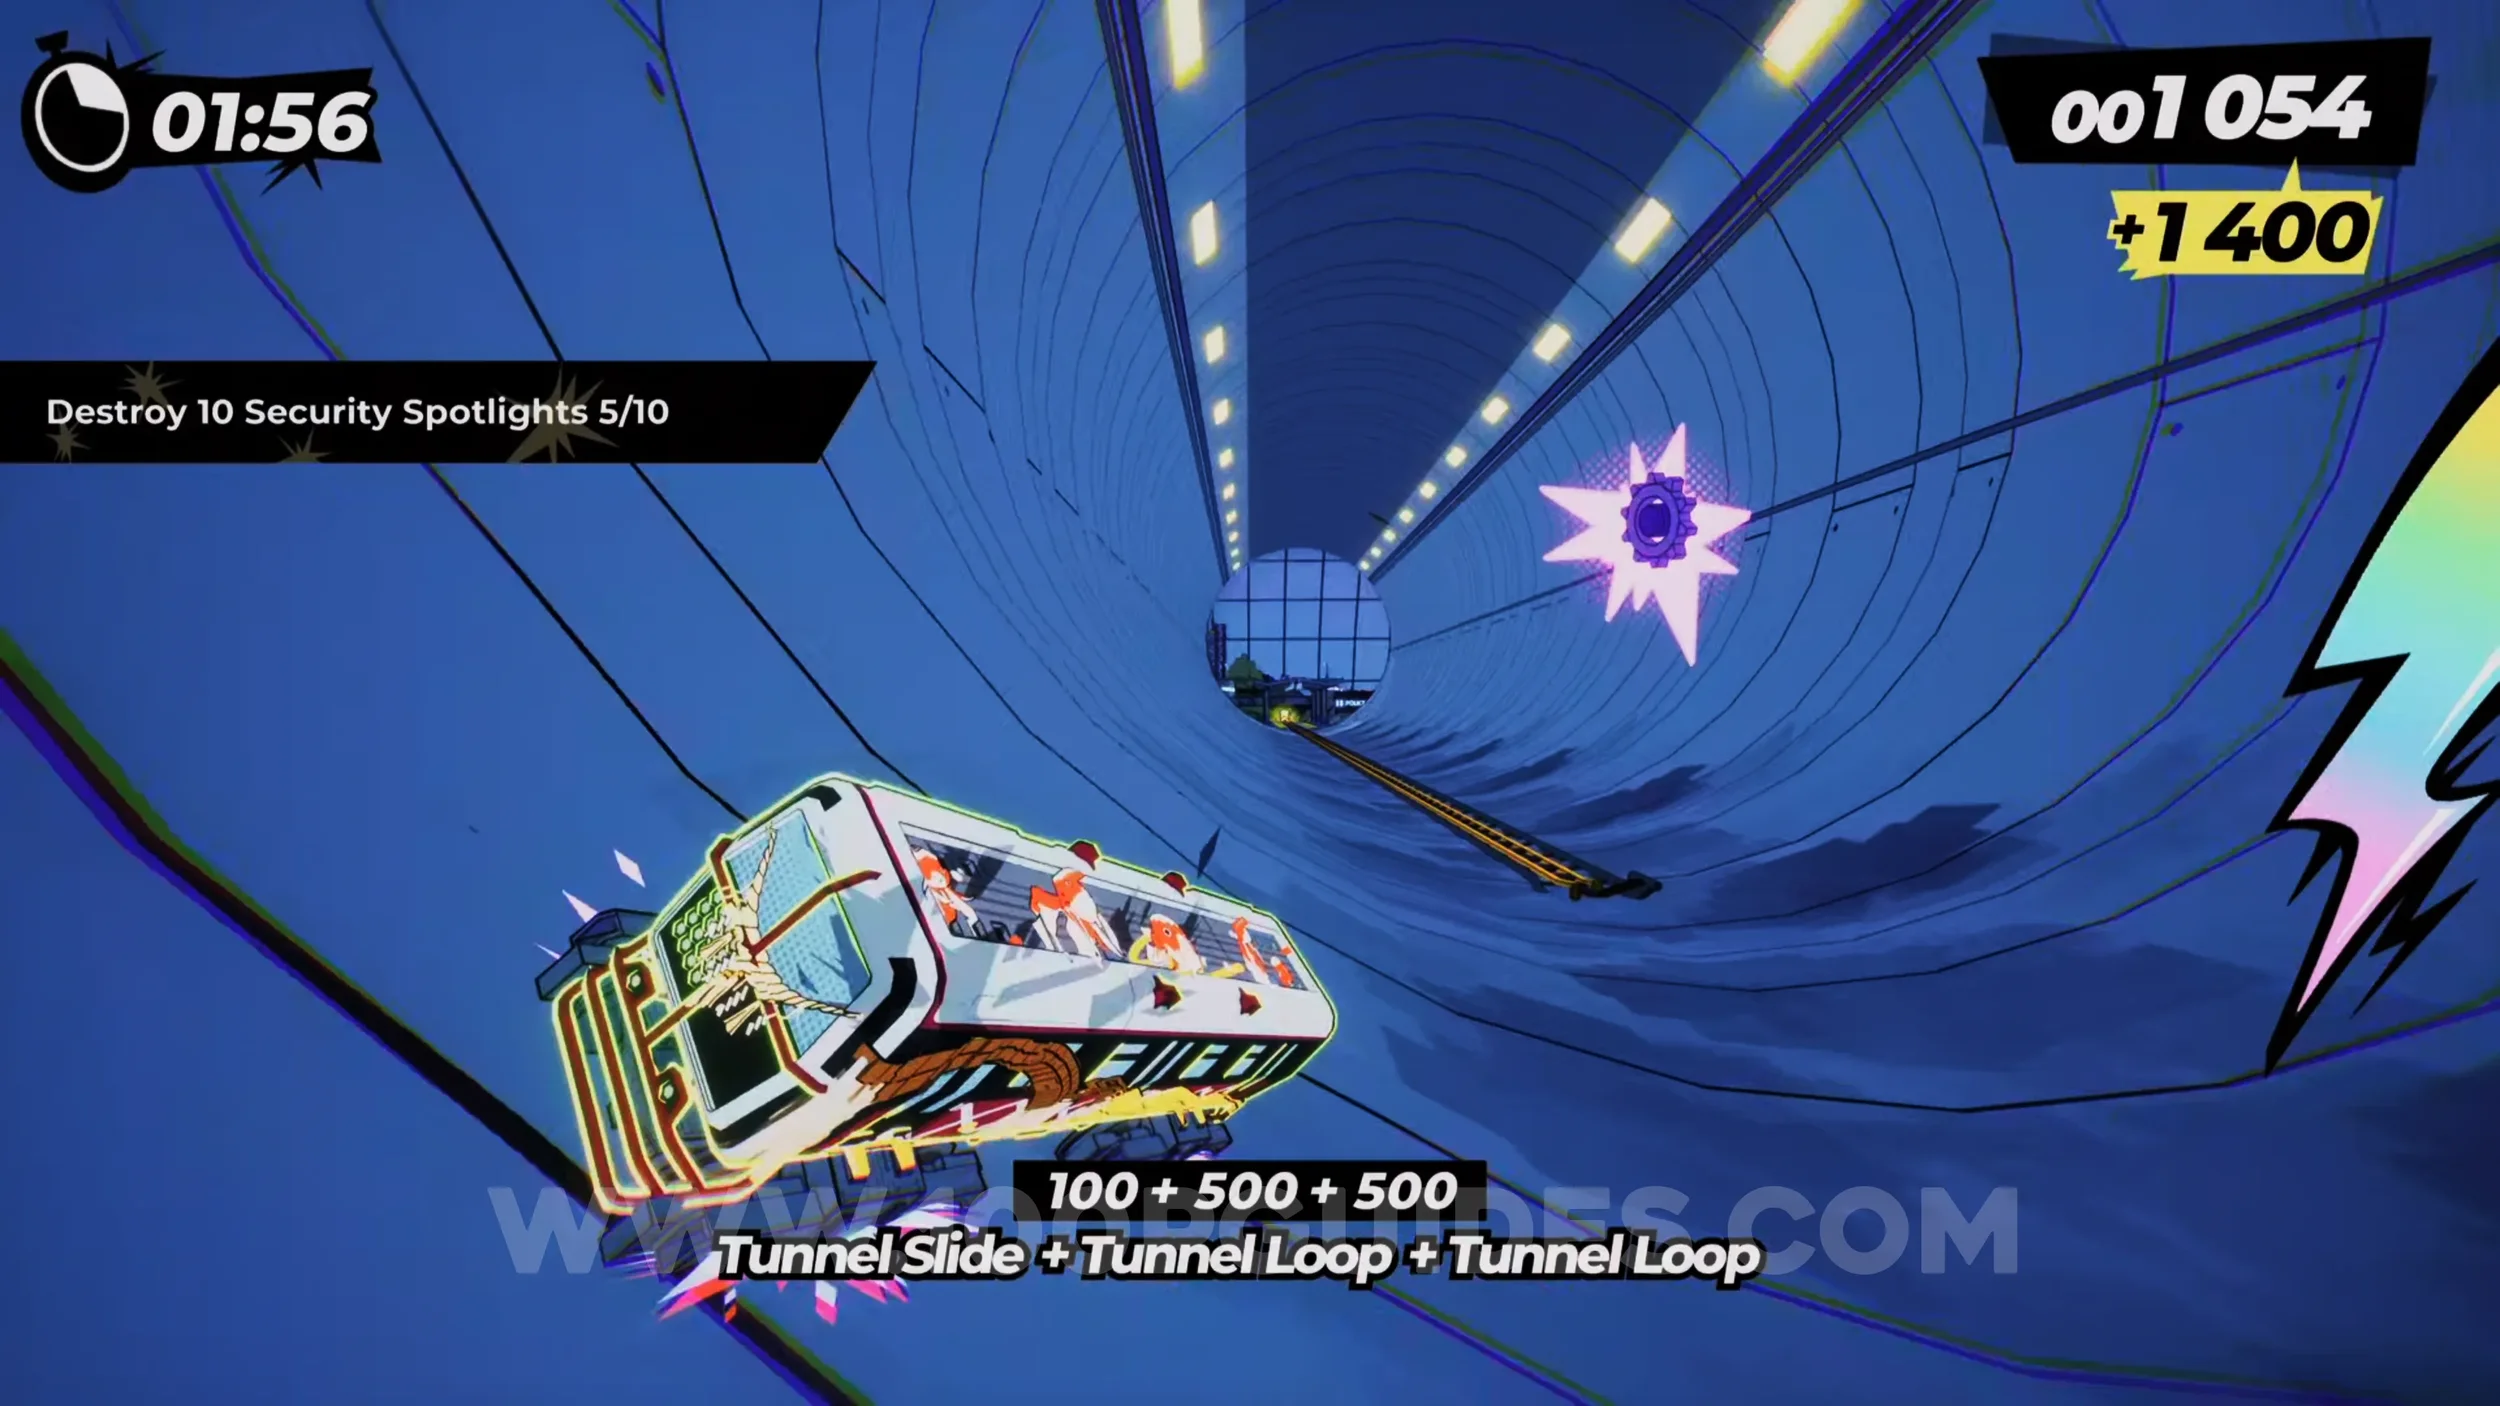
Dare: Destroy 10 Security Spotlights (6-10/10). During the next section you'll be able to destroy way more than the required five remaining spotlights. You'll find a few as you ride the monorail through the building, then another four or five along a grind rail that are hard to miss.
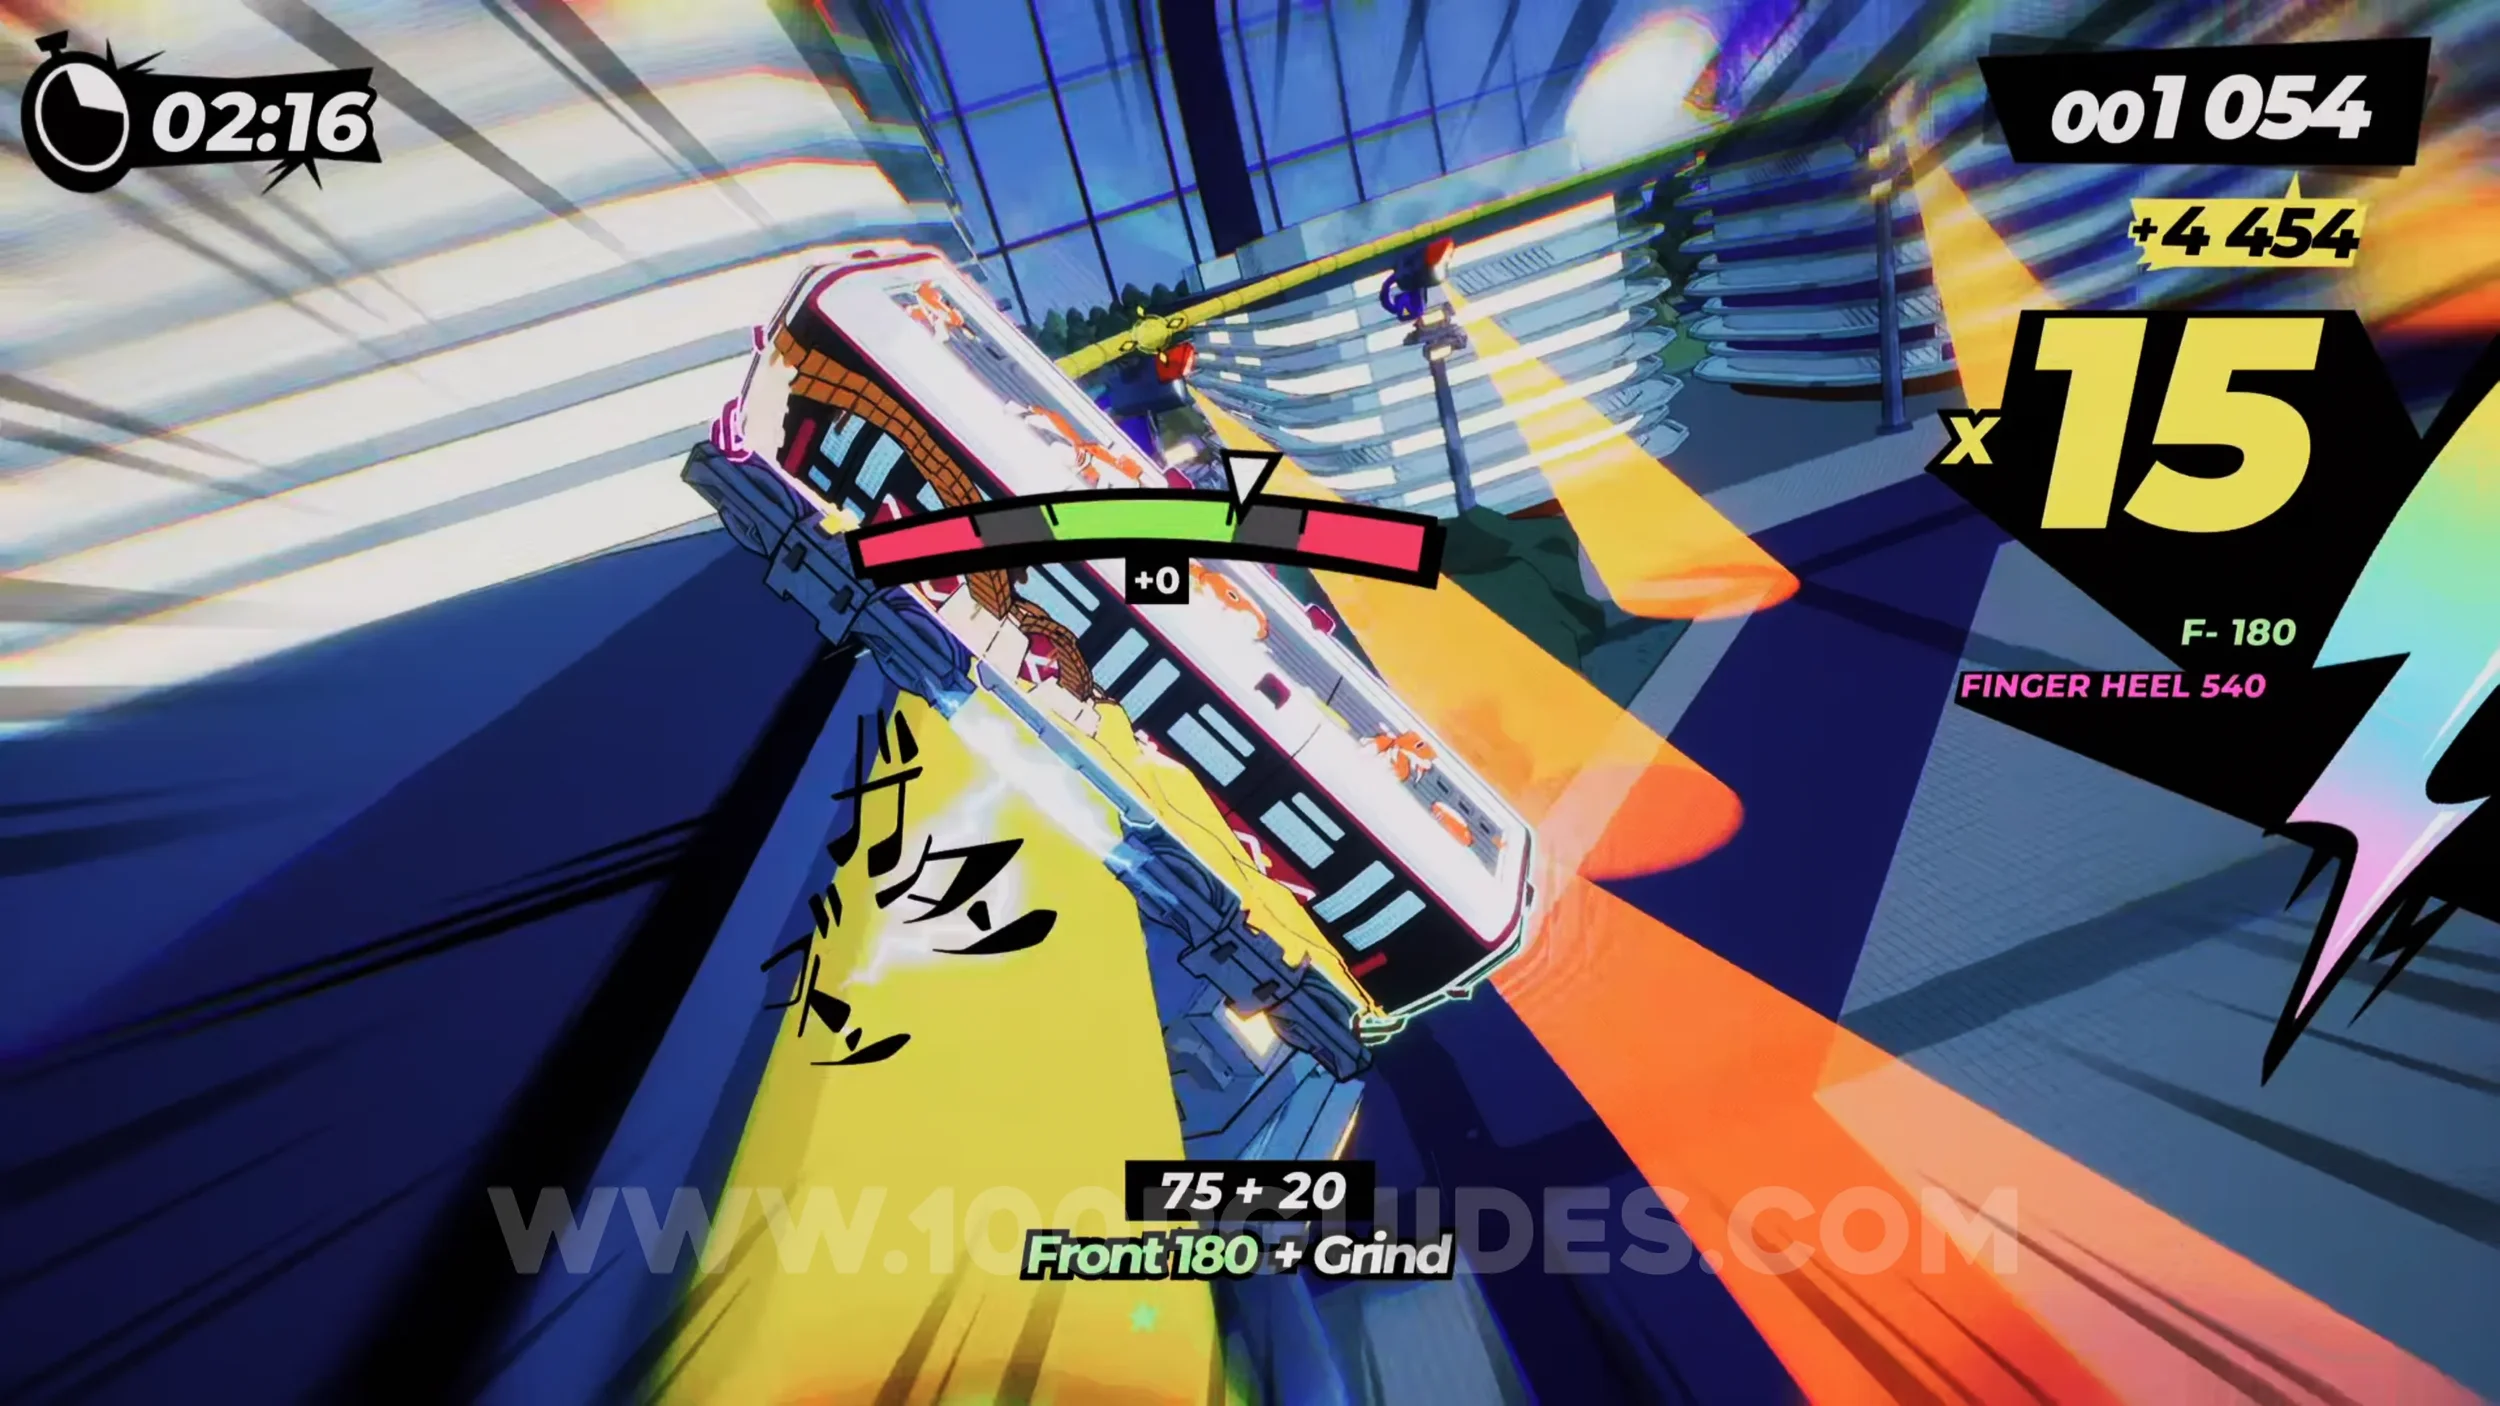
Film Roll (1/1). After you have to air stomp to avoid the stack of barrels, look out for rainbow tracks on your right. Take them and use the Yukaze to reach the film roll.
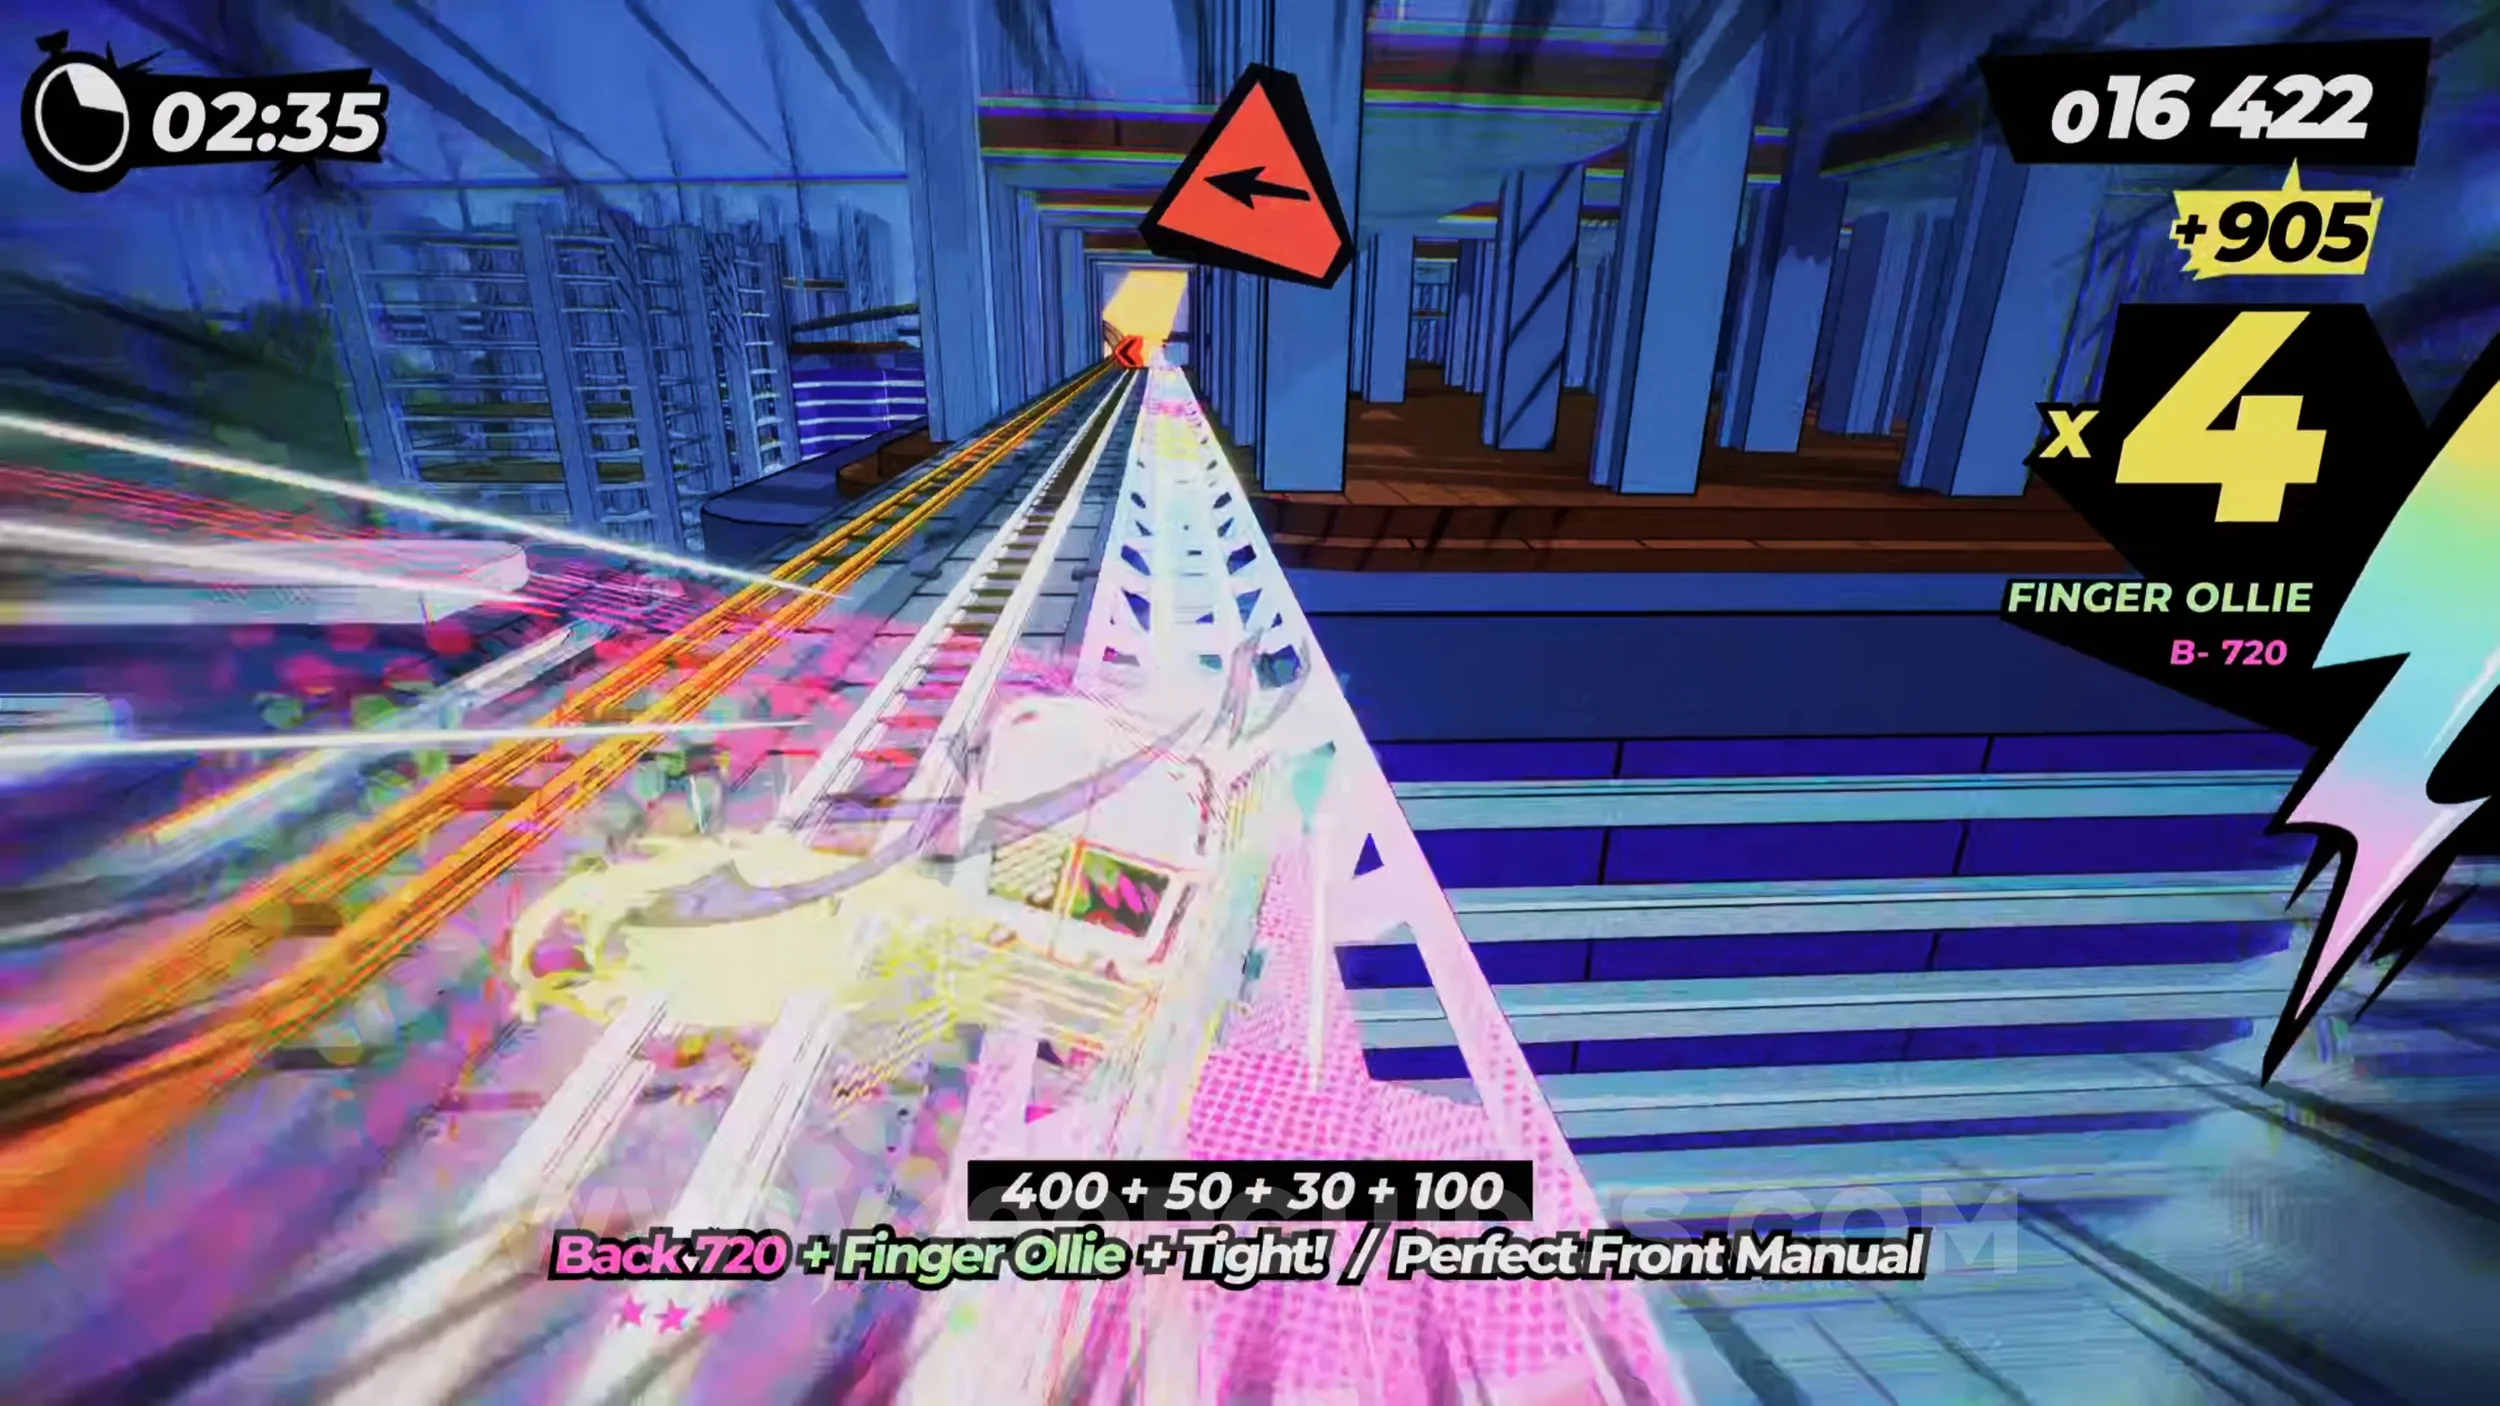
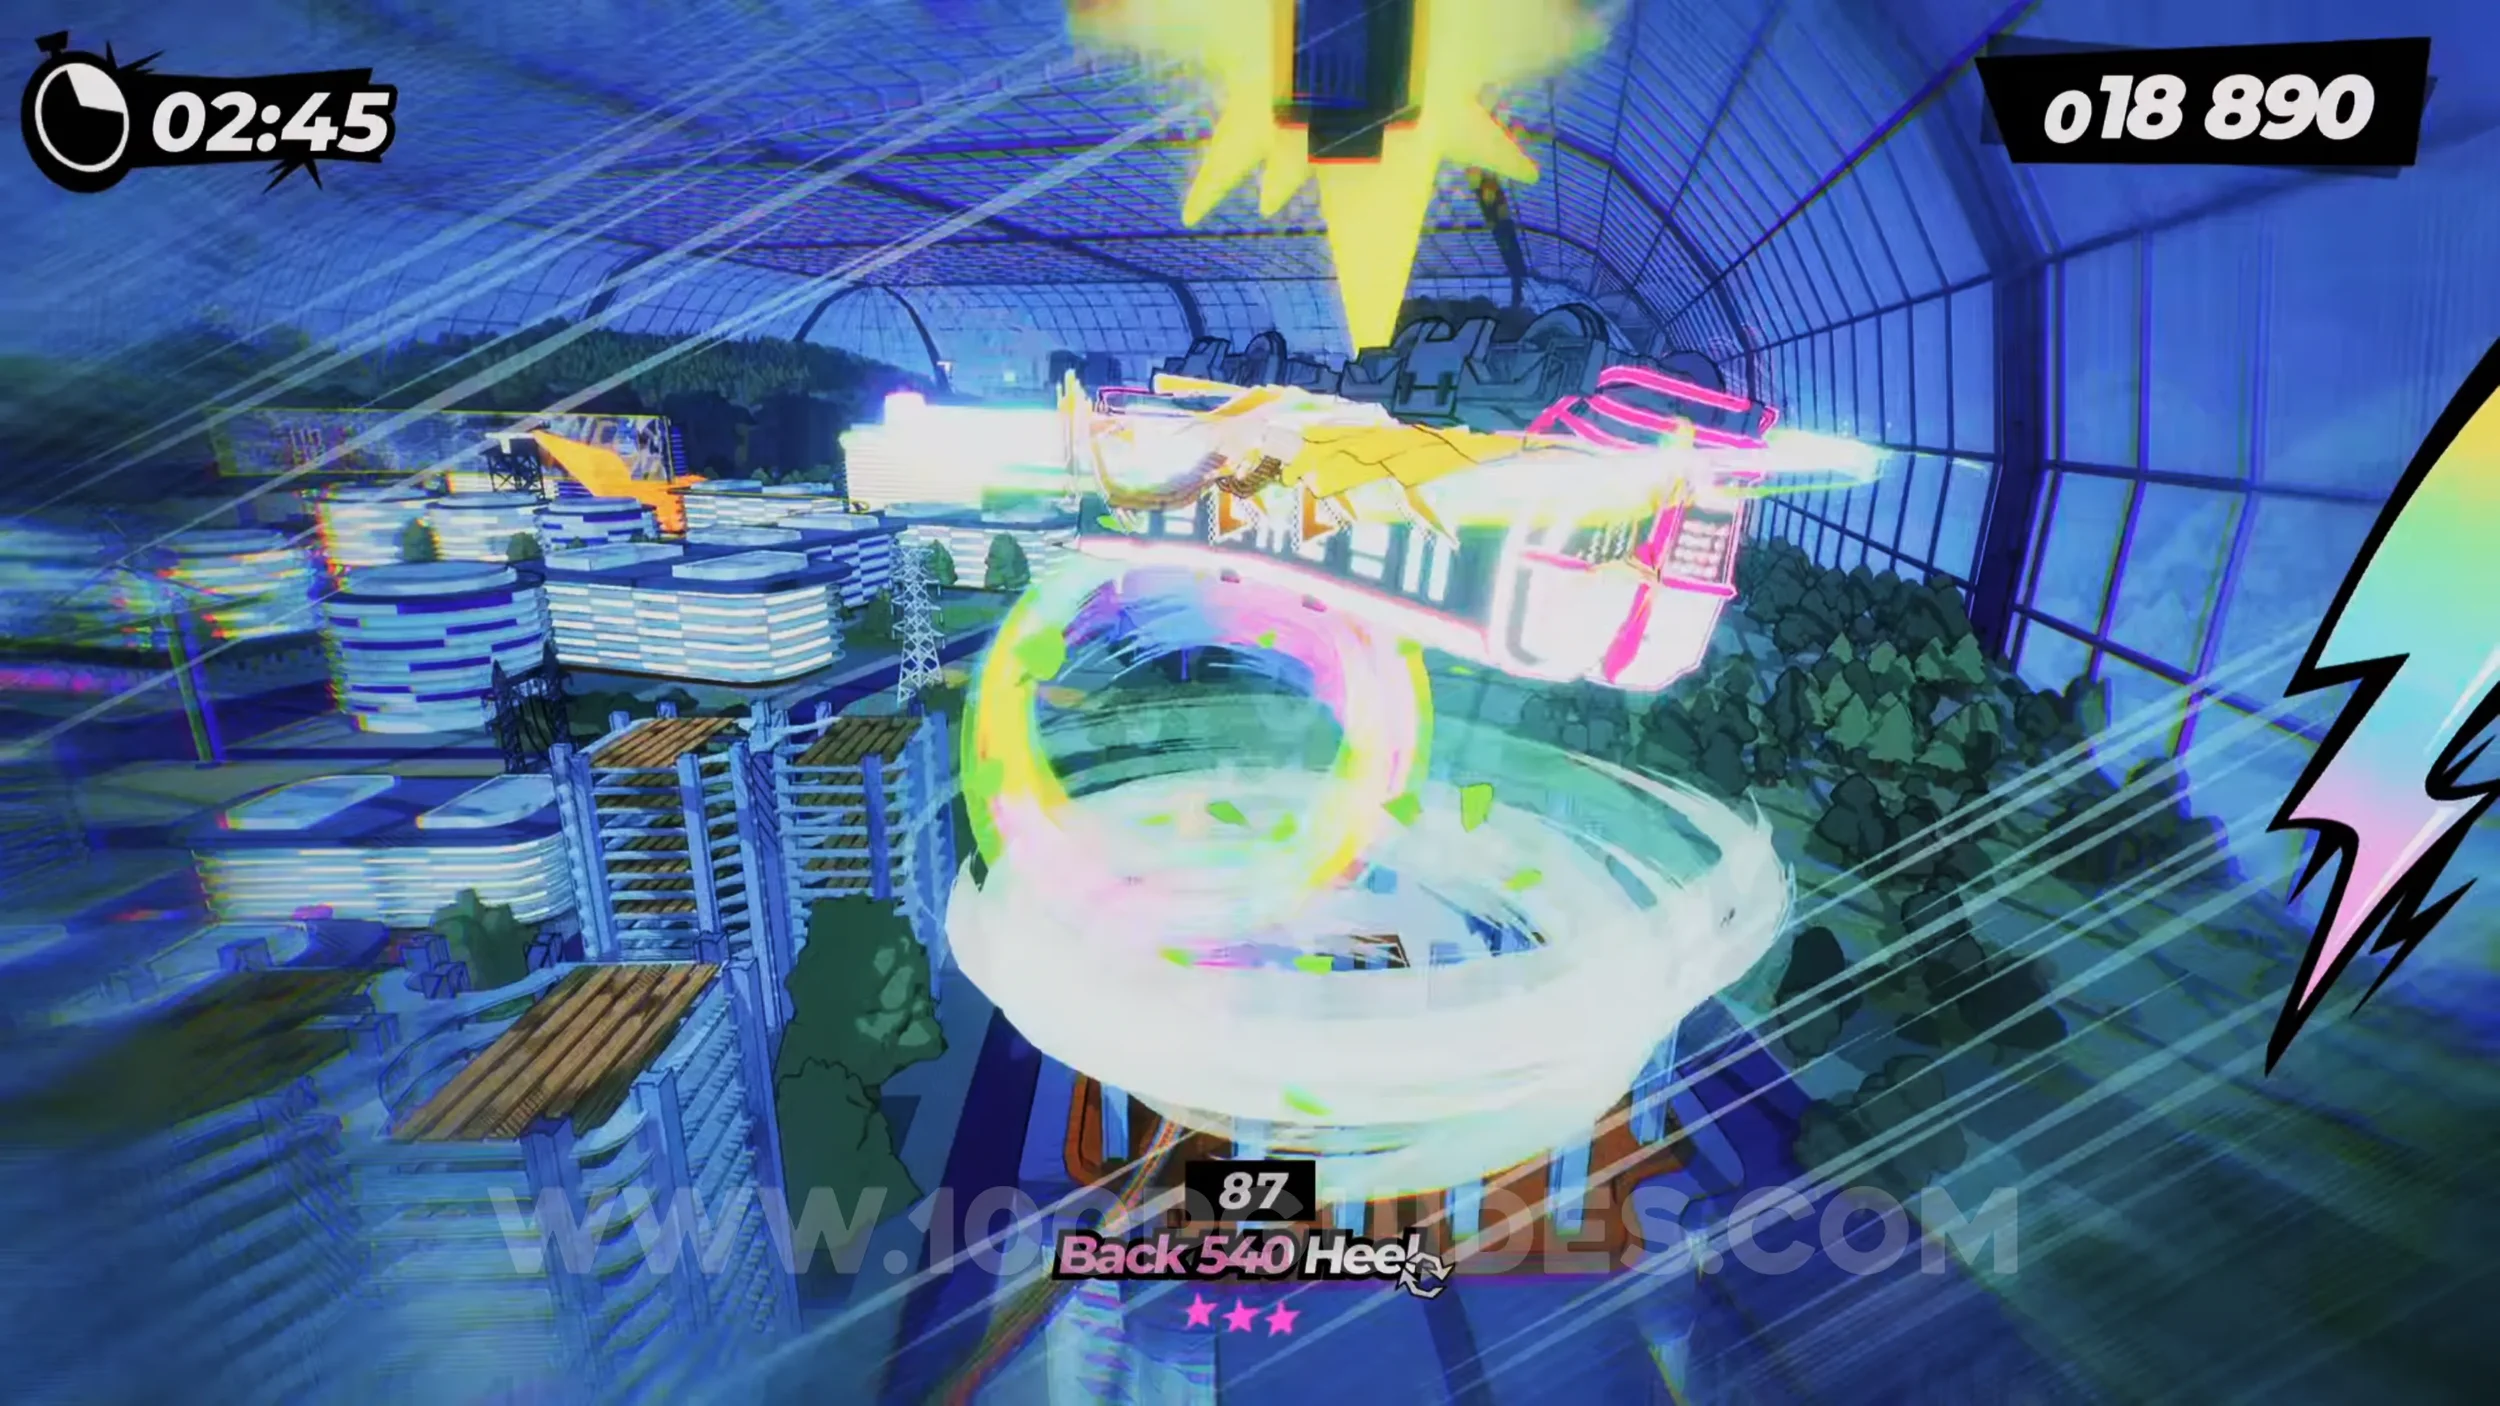
Dare: Score 3000 Points by Chaining Tricks on the Blimp. Immediately after the film roll, you'll ride a blimp. Just score points by doing tricks during the bounces.
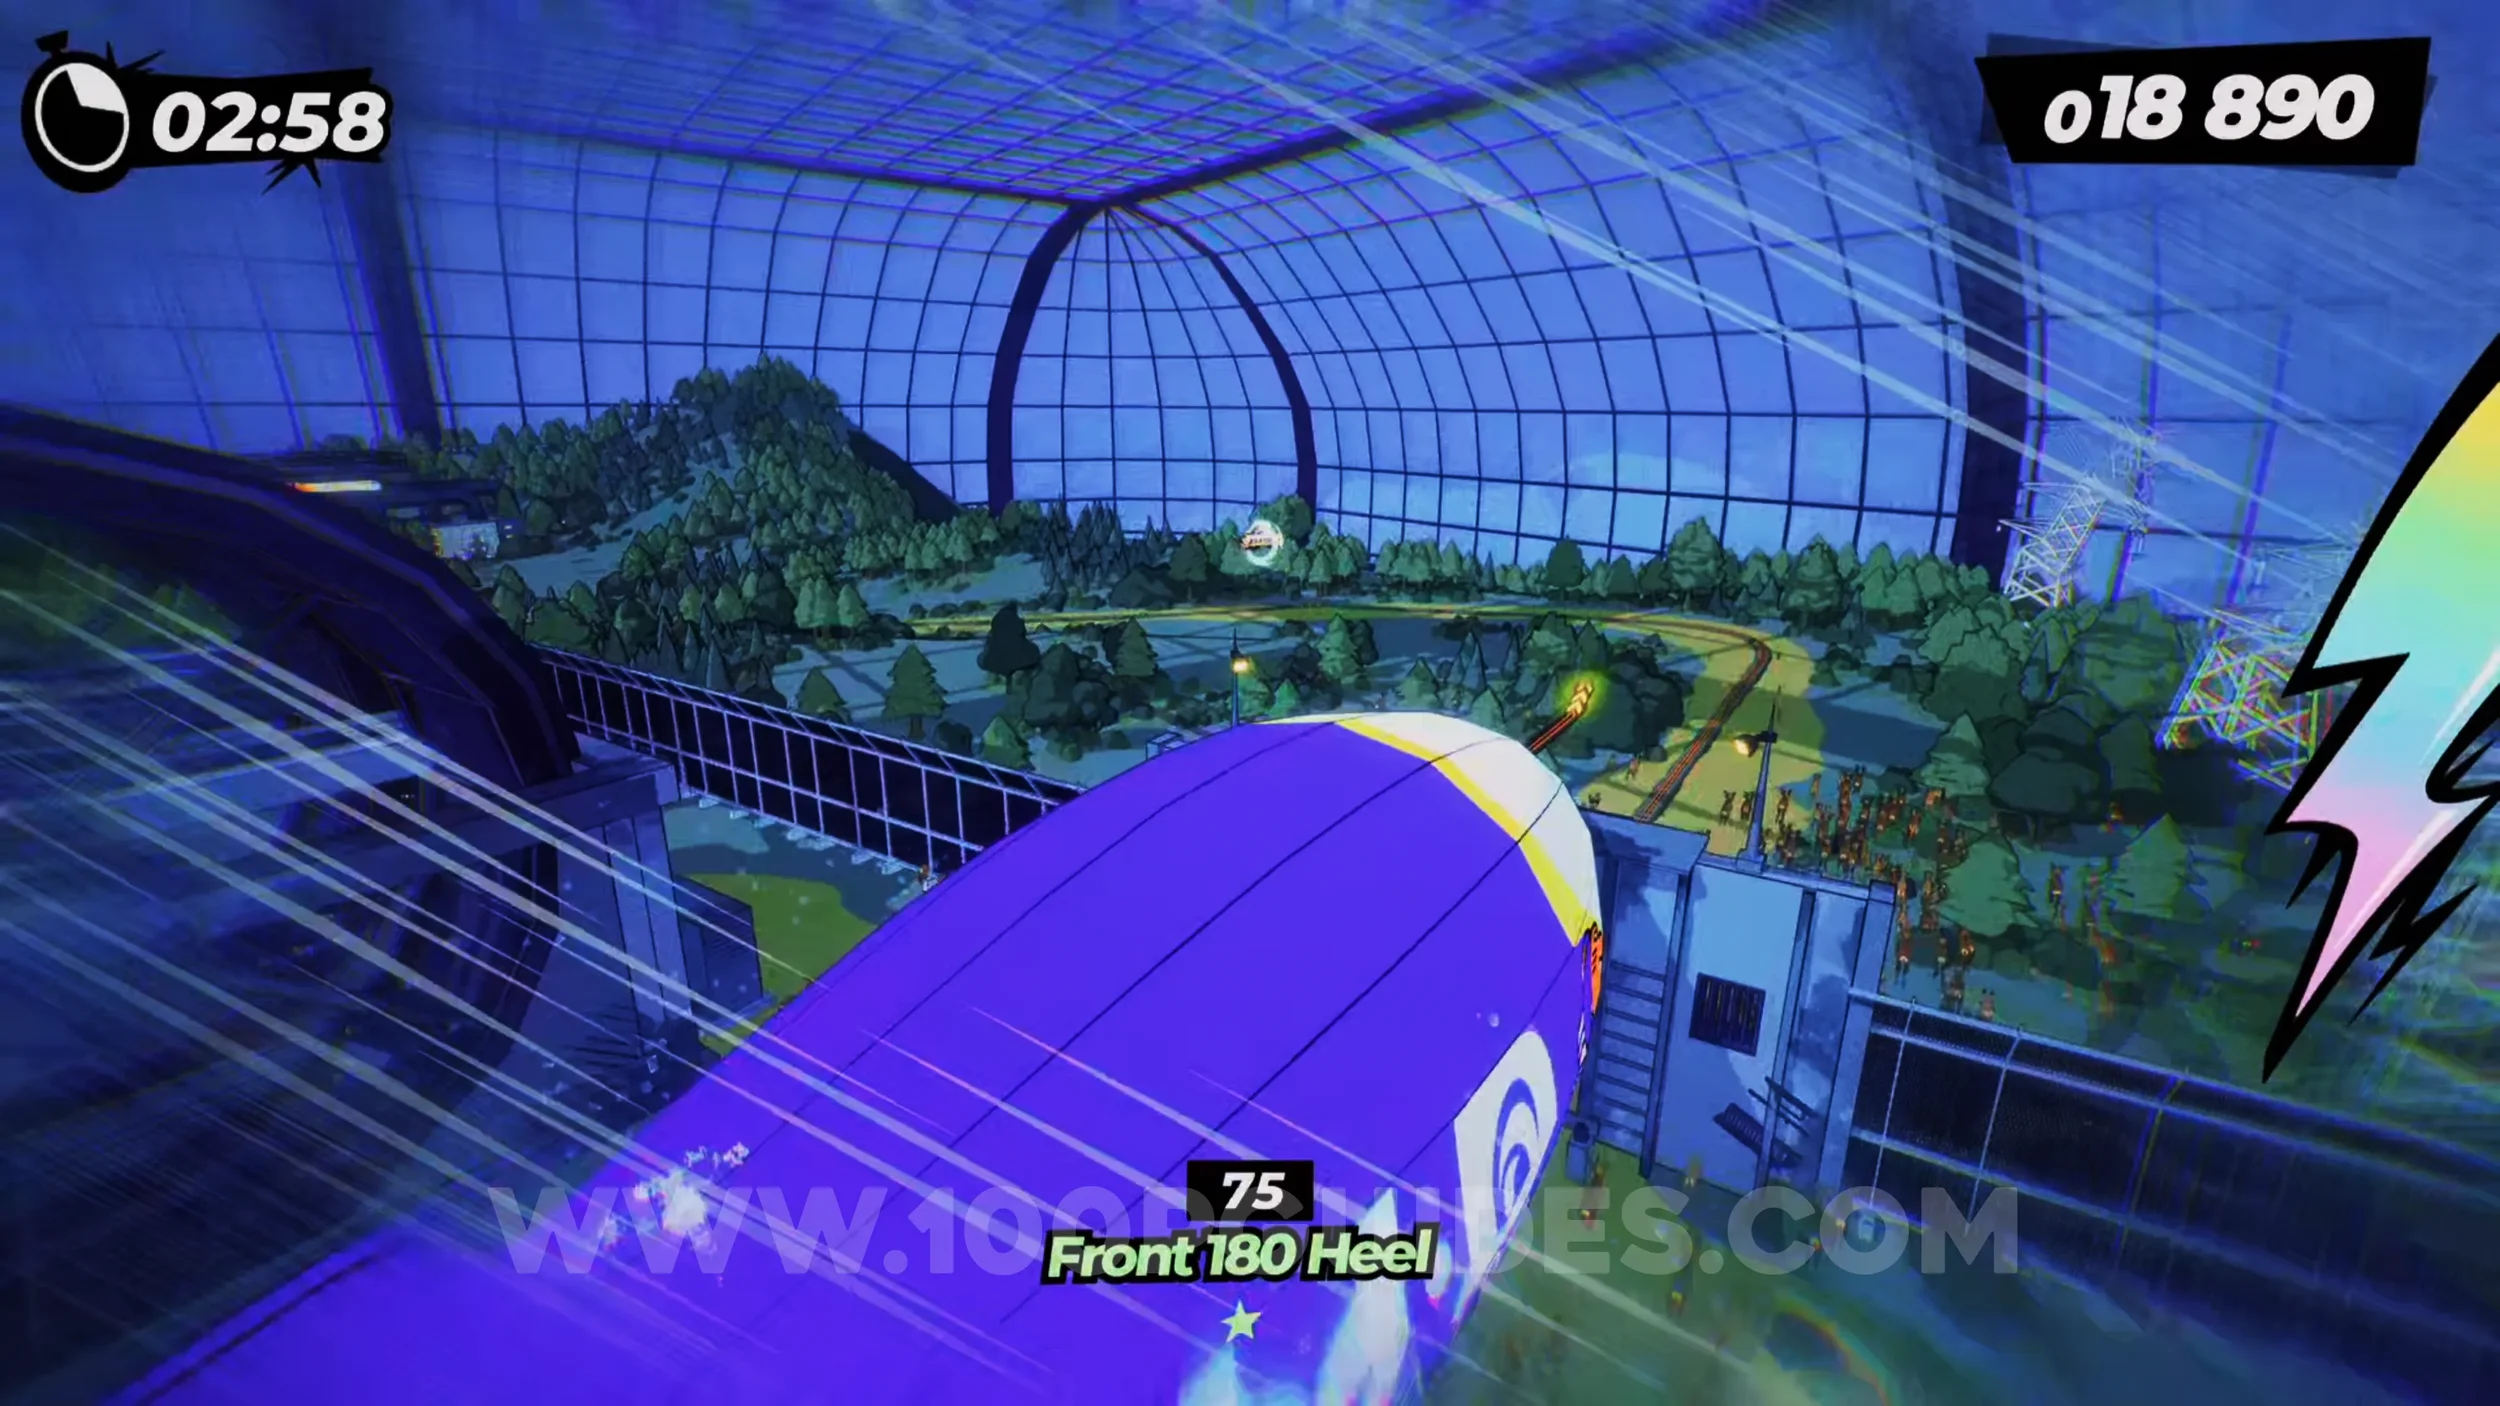
Dare: Score 5000 Points From Monorail Tricks. Self-explanatory. Score 5000 or more points while riding the monorails throughout the level. Swing, then use the right analog stick to do tricks.
Dare: No Crash Finish. Self-explanatory. Finish the level without crashing.
5-6-S No Fun For The Fallen
No collectibles in this level.
5-7-B 100 Train Battle!
Dare: Derail 30 Rival Trains Within 1:00. Self-explanatory. Derail 30 of the 100 trains within the first minute.
Dare: Derail 5 Armoured Trains. During the first section of the level, you'll have to derail 100 trains. Some of them will have red armor on their front but not on top. Destroy five of these trains by using an air stomp.
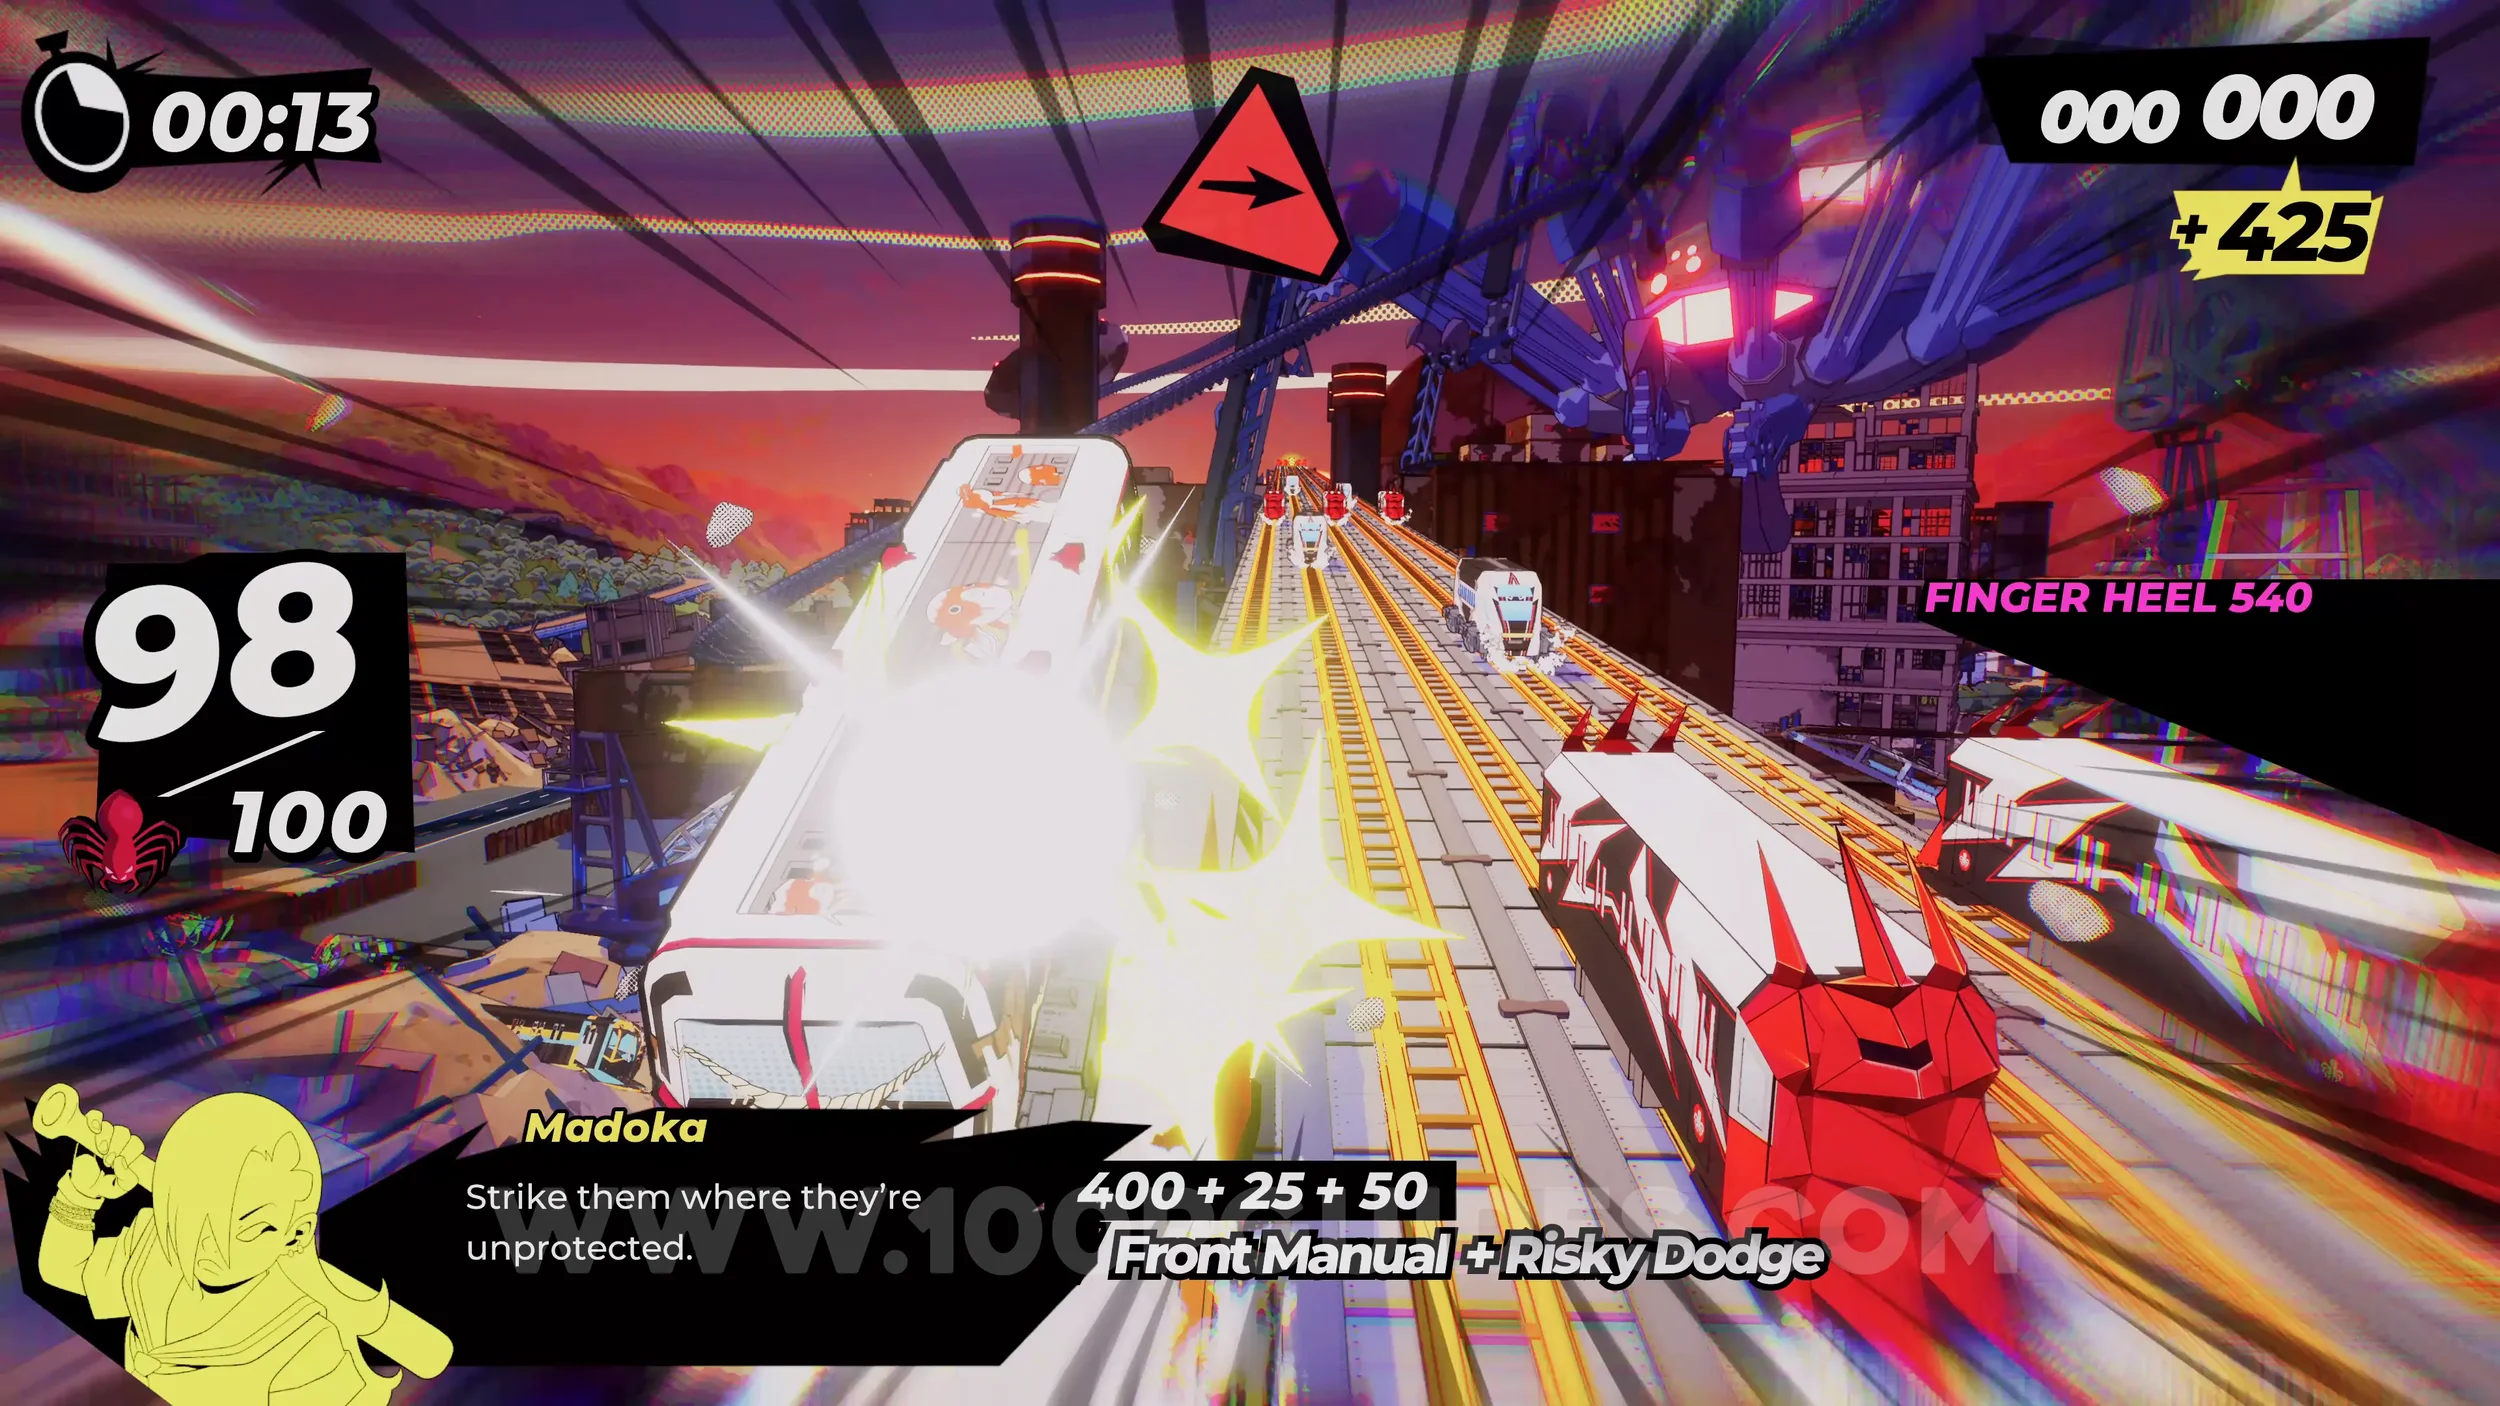
Spray Can (1/1). You will see it in plain sight as you go through a Yukaze during the first phase. Hard to miss.
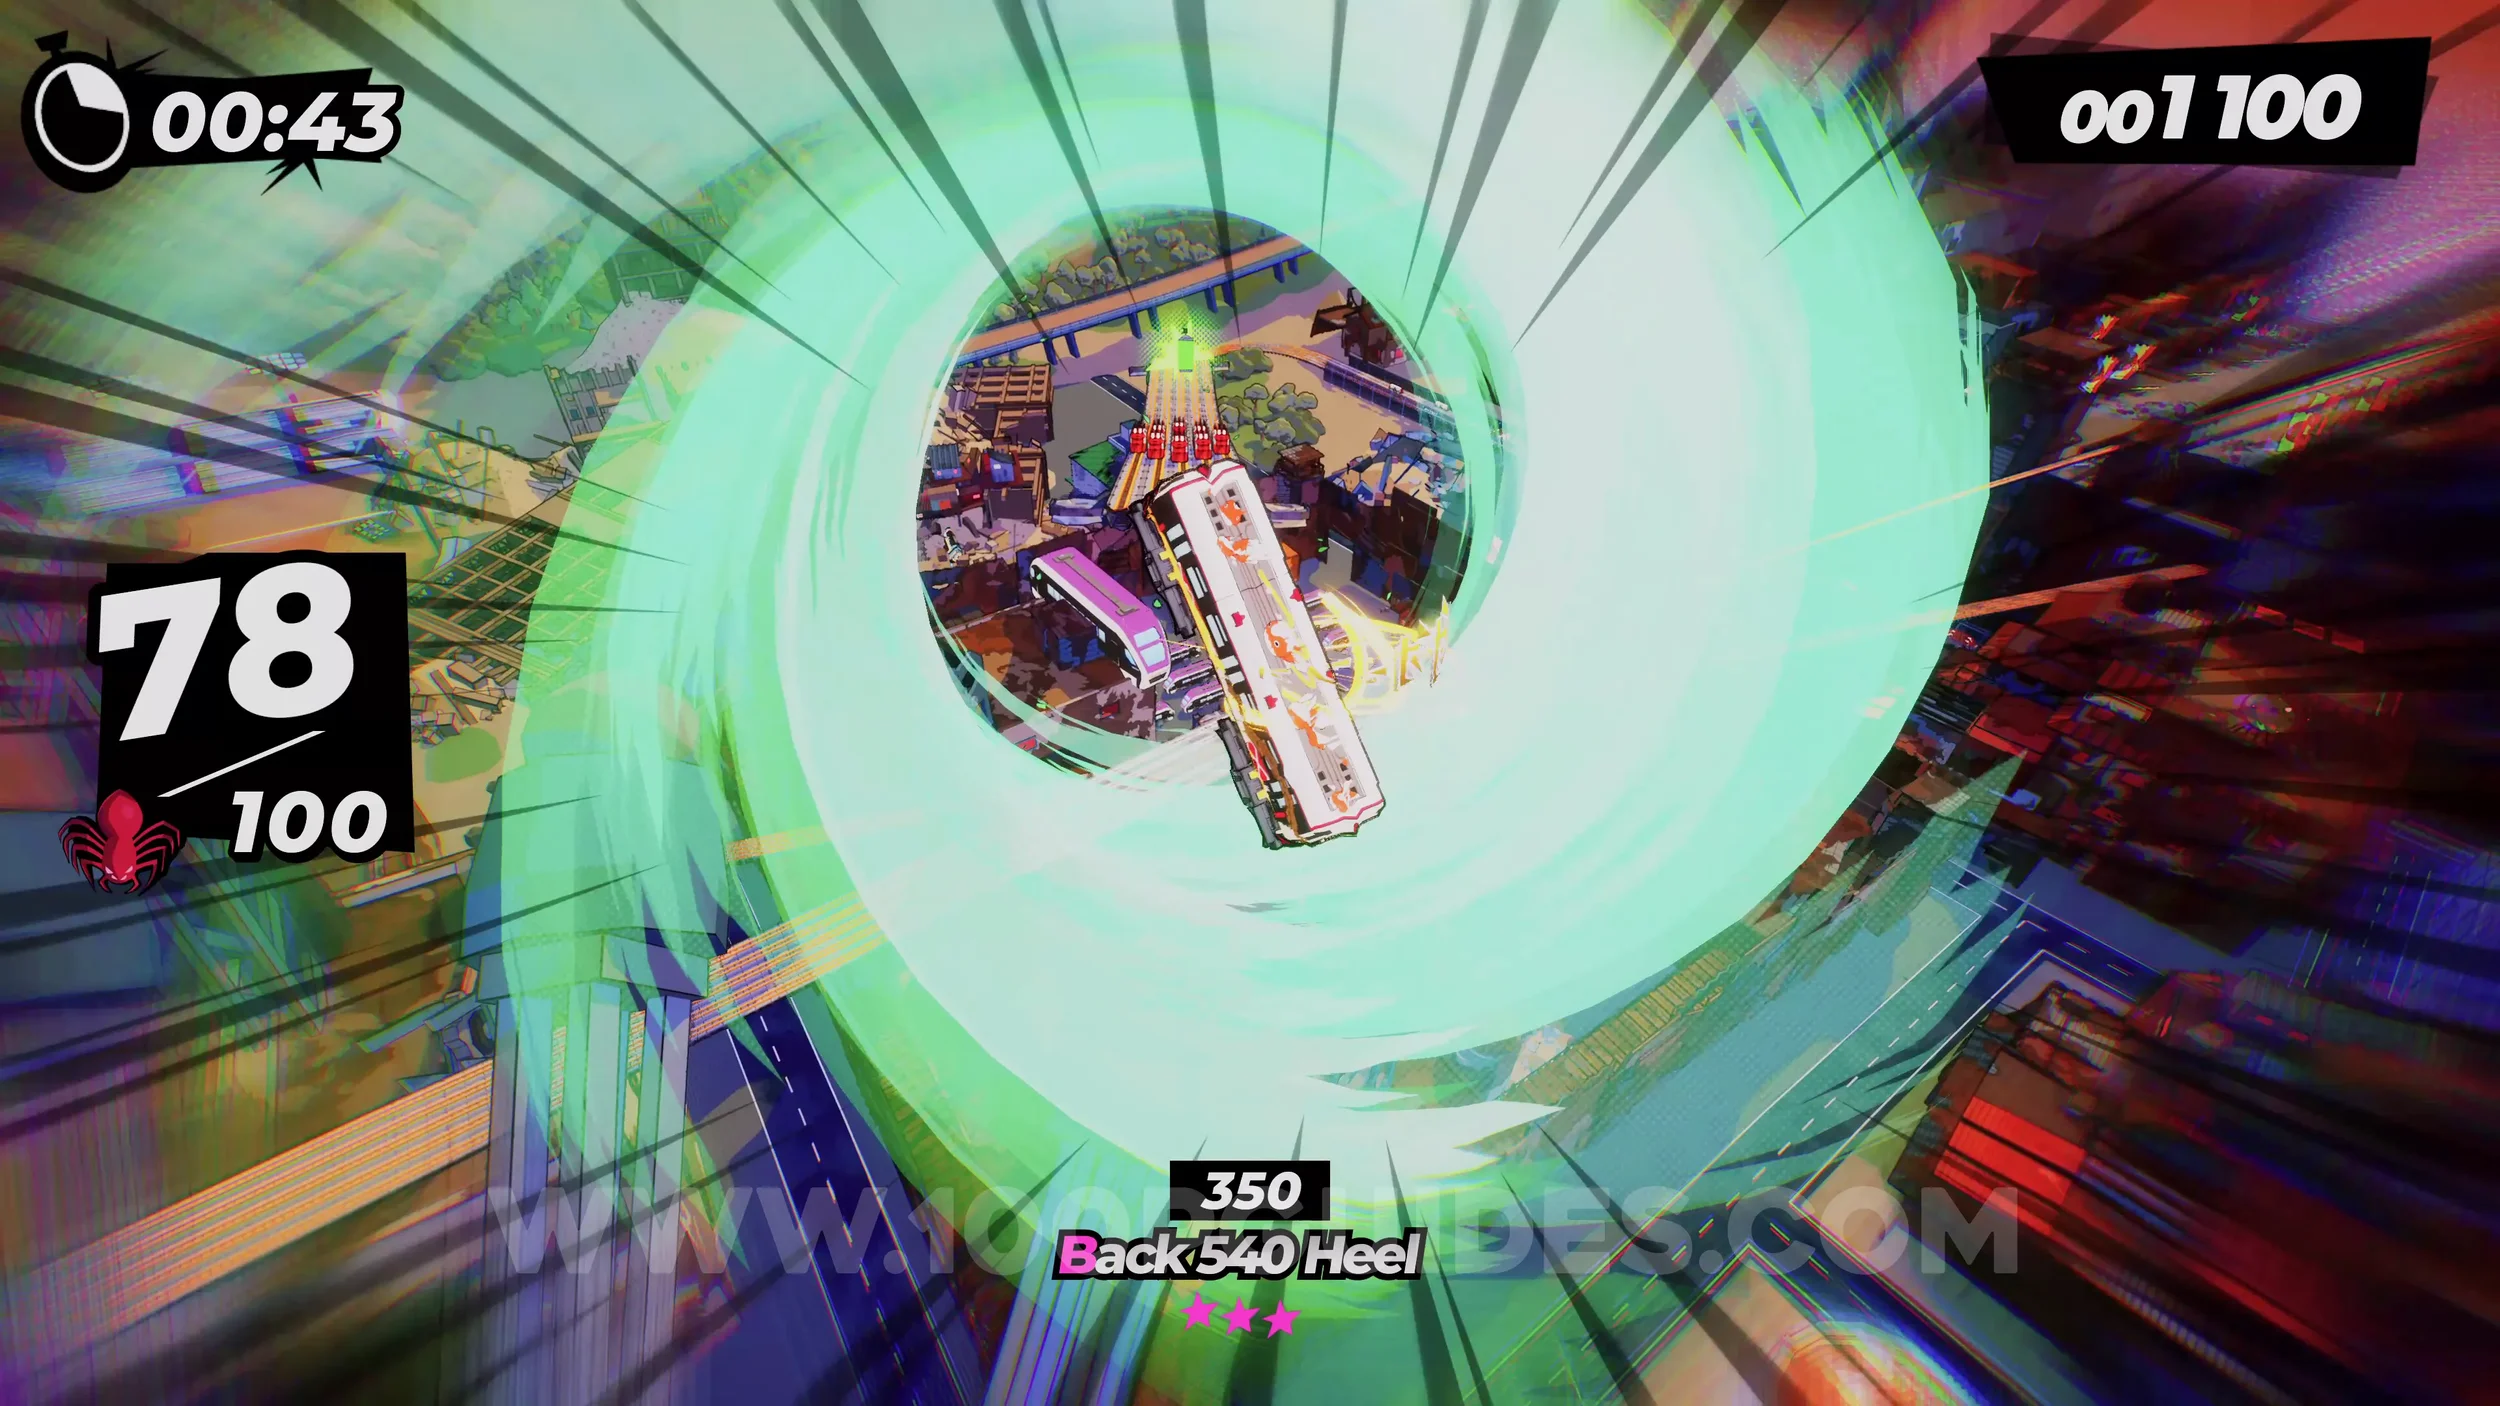
Dare: Risky Dodge 3 Molotov Fires. After the short cutscene where the boss throws you up into the air, the second phase begins. Here, the enemy fires fireballs at the track, leaving fire behind. Jump over them at the very last second three times.
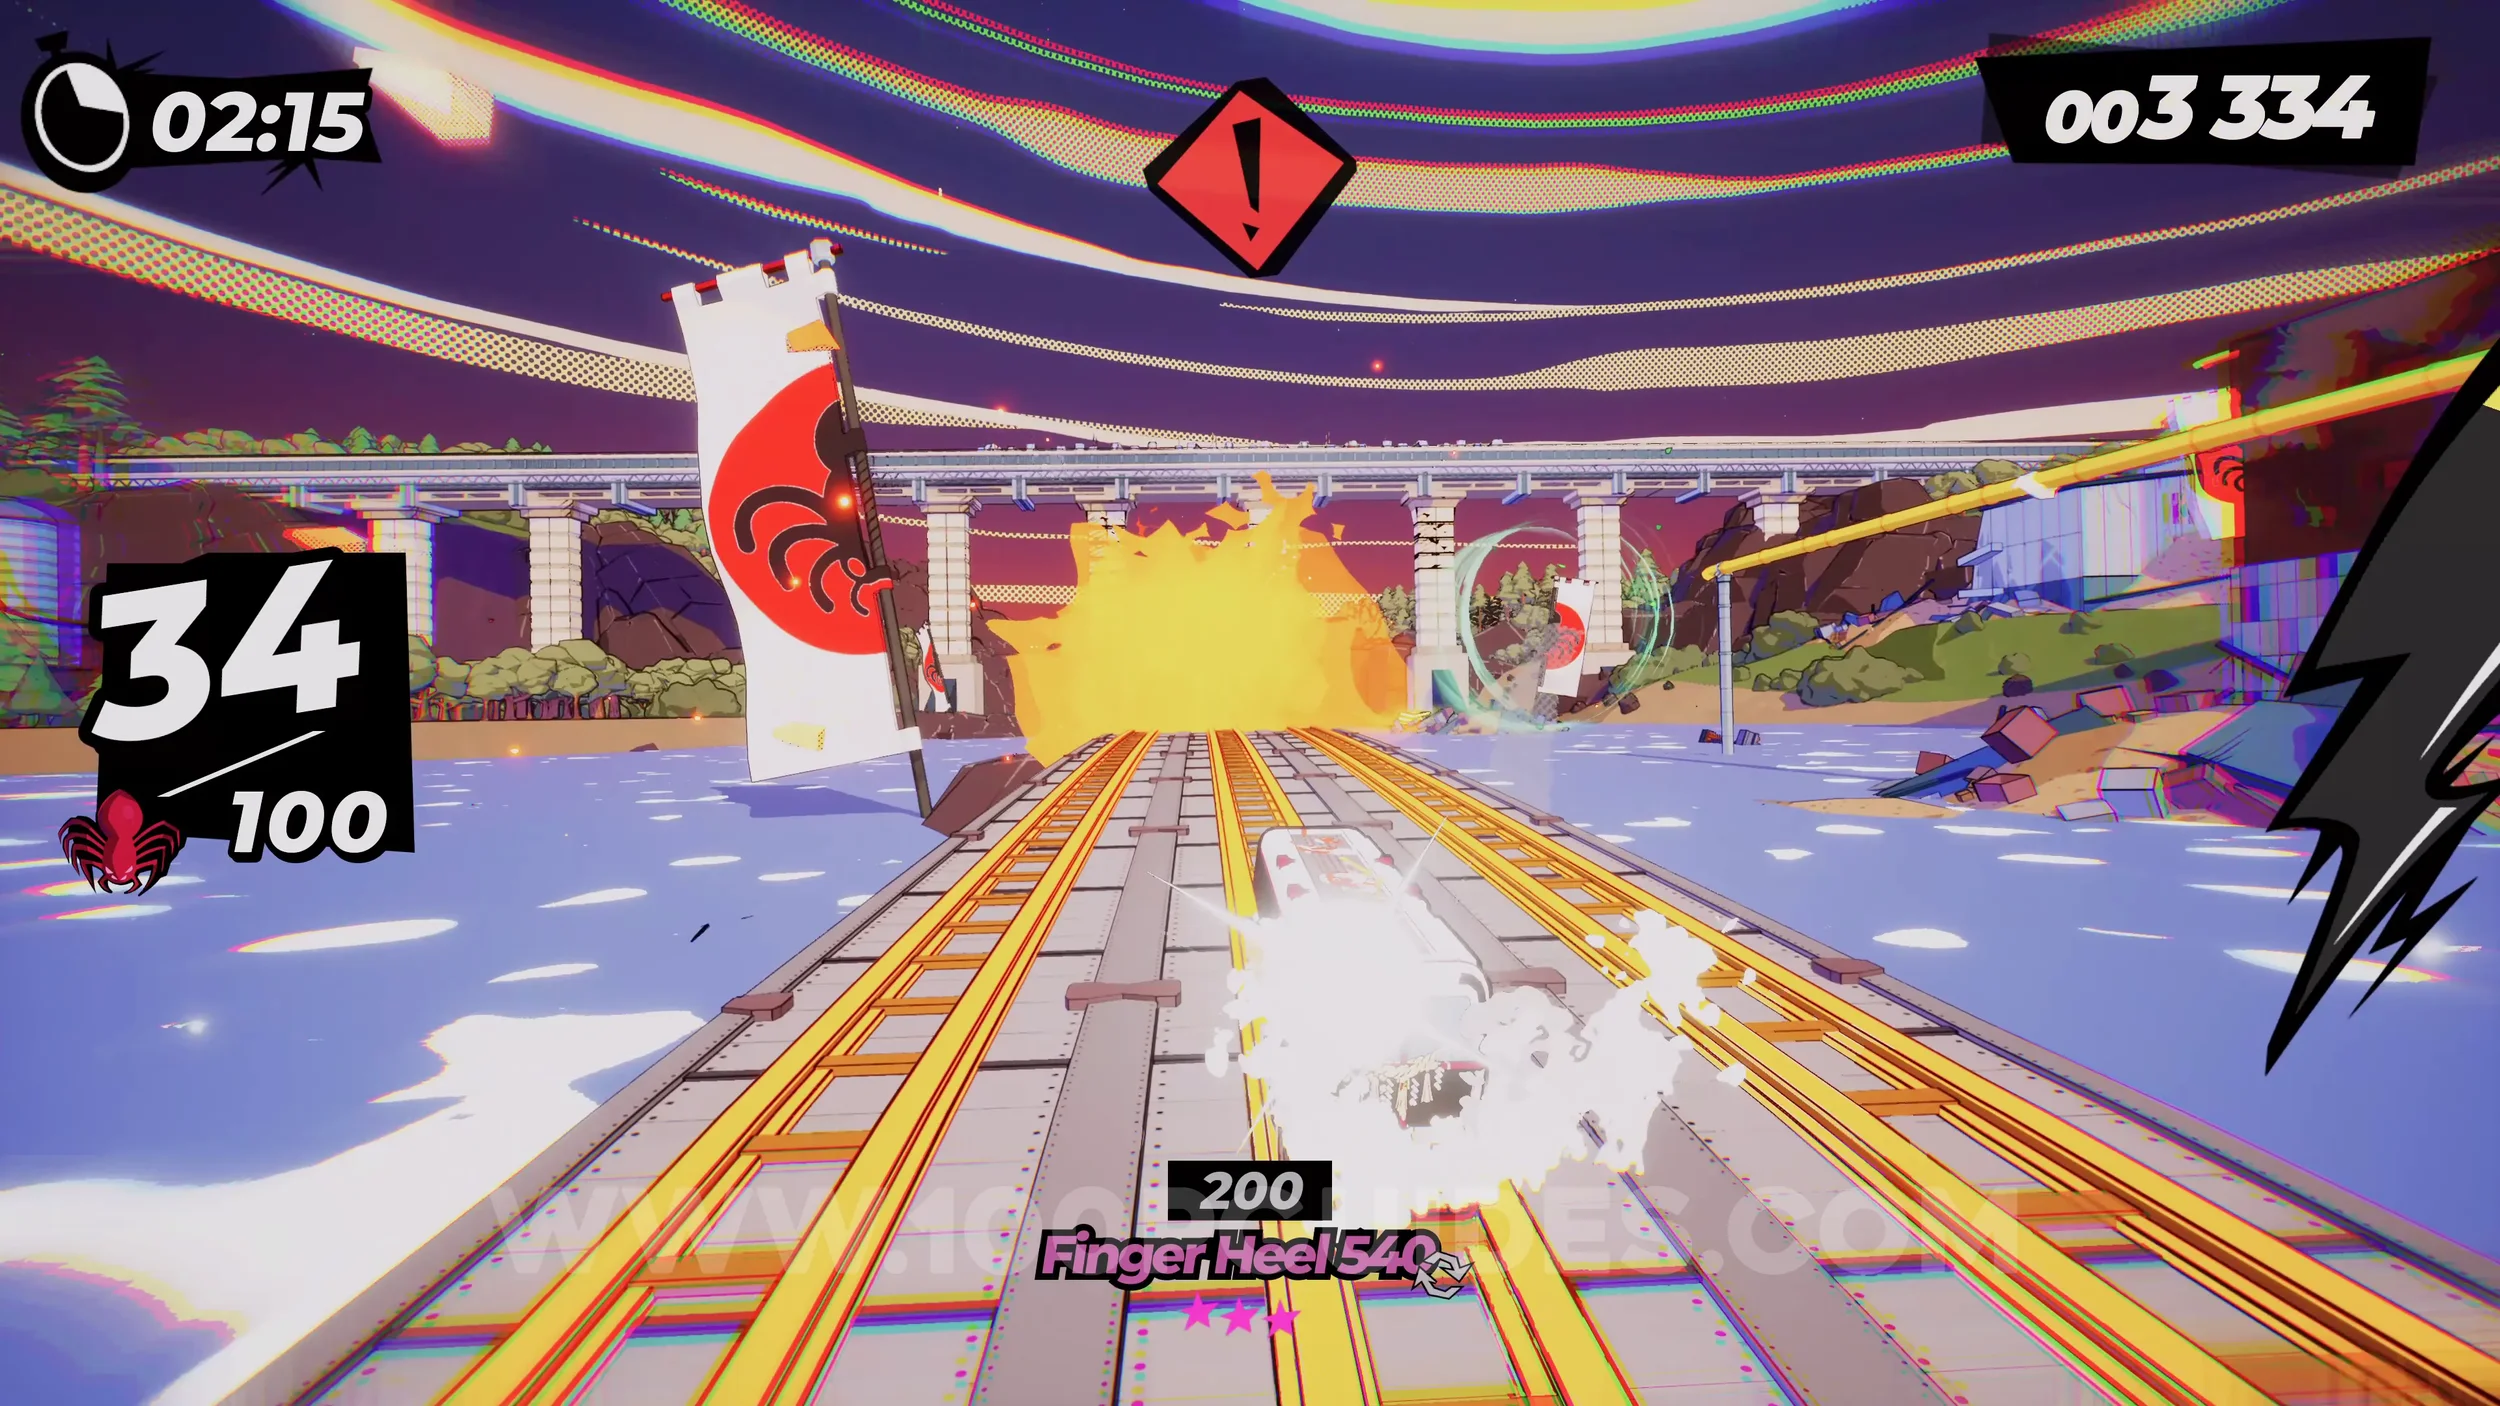
Gear (1/1). After using the first vert jump during the second phase, you'll see the gear on your right on the next straight.
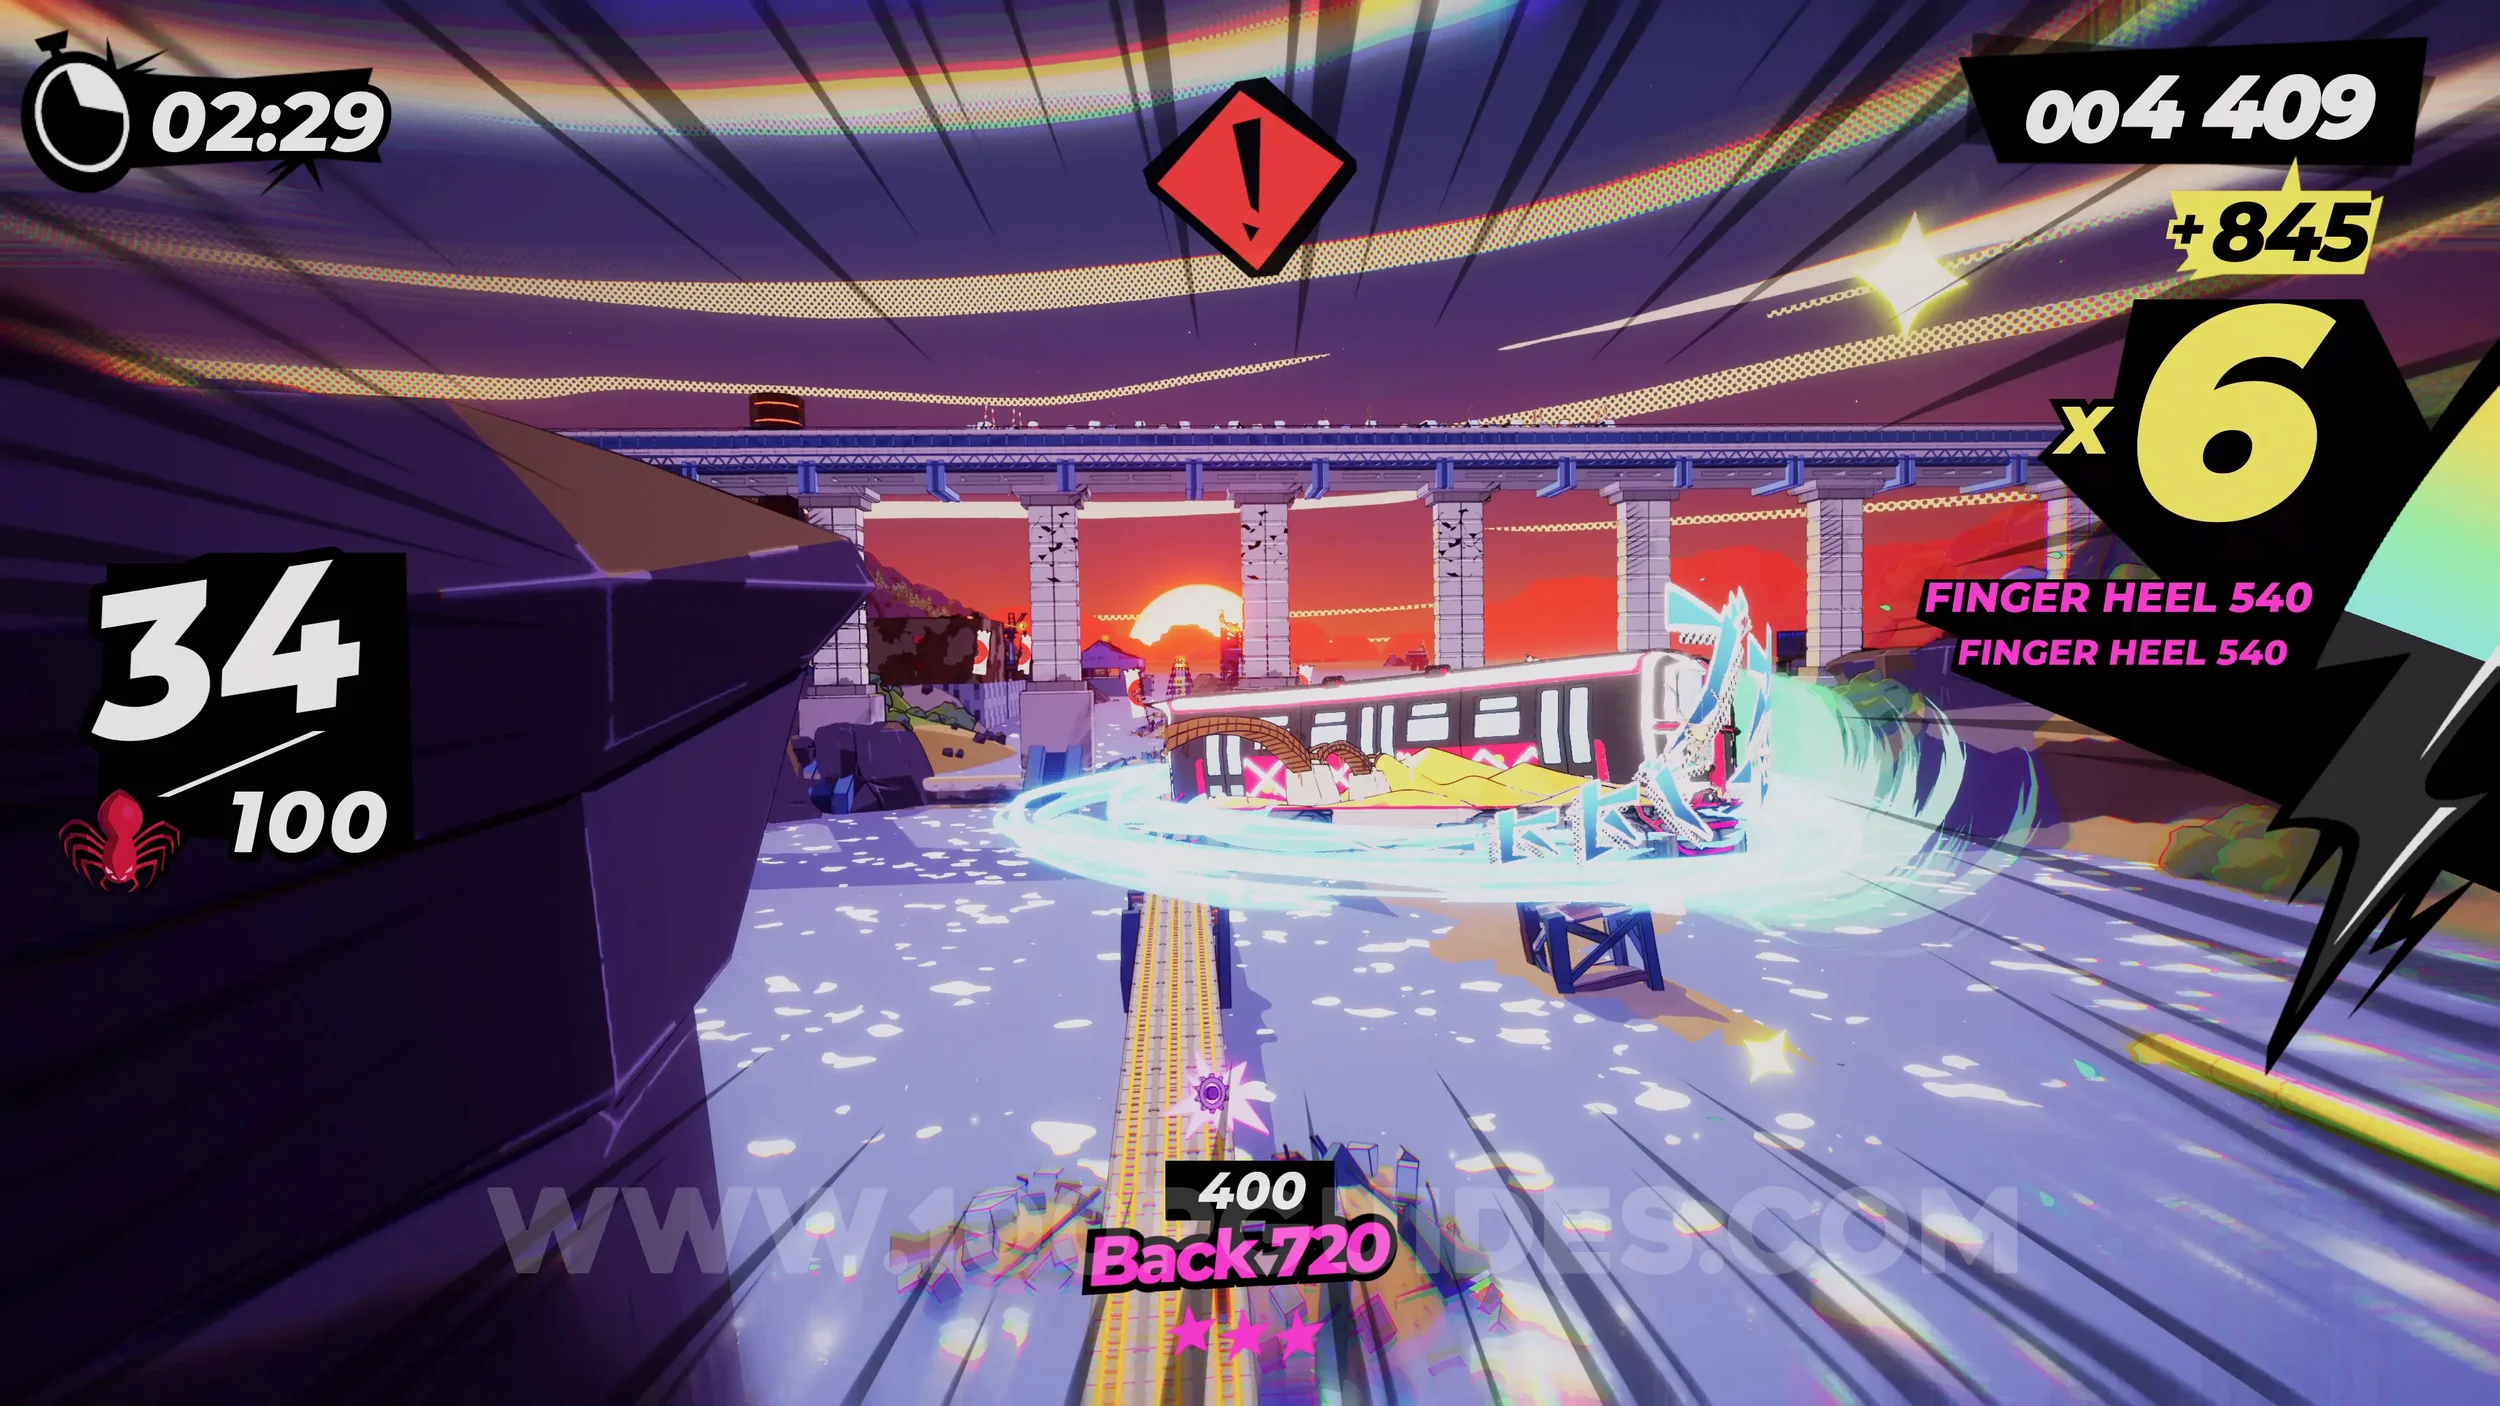
Dare: Trick Through Yamagata’s Ring Attack 5 Times. After riding the rainbow rails and destroying the bridge, you'll move into the third phase of the boss. Here, the boss launches spiderweb-looking attacks at you that you have to jump through the middle of. Do a trick five times while doing so.
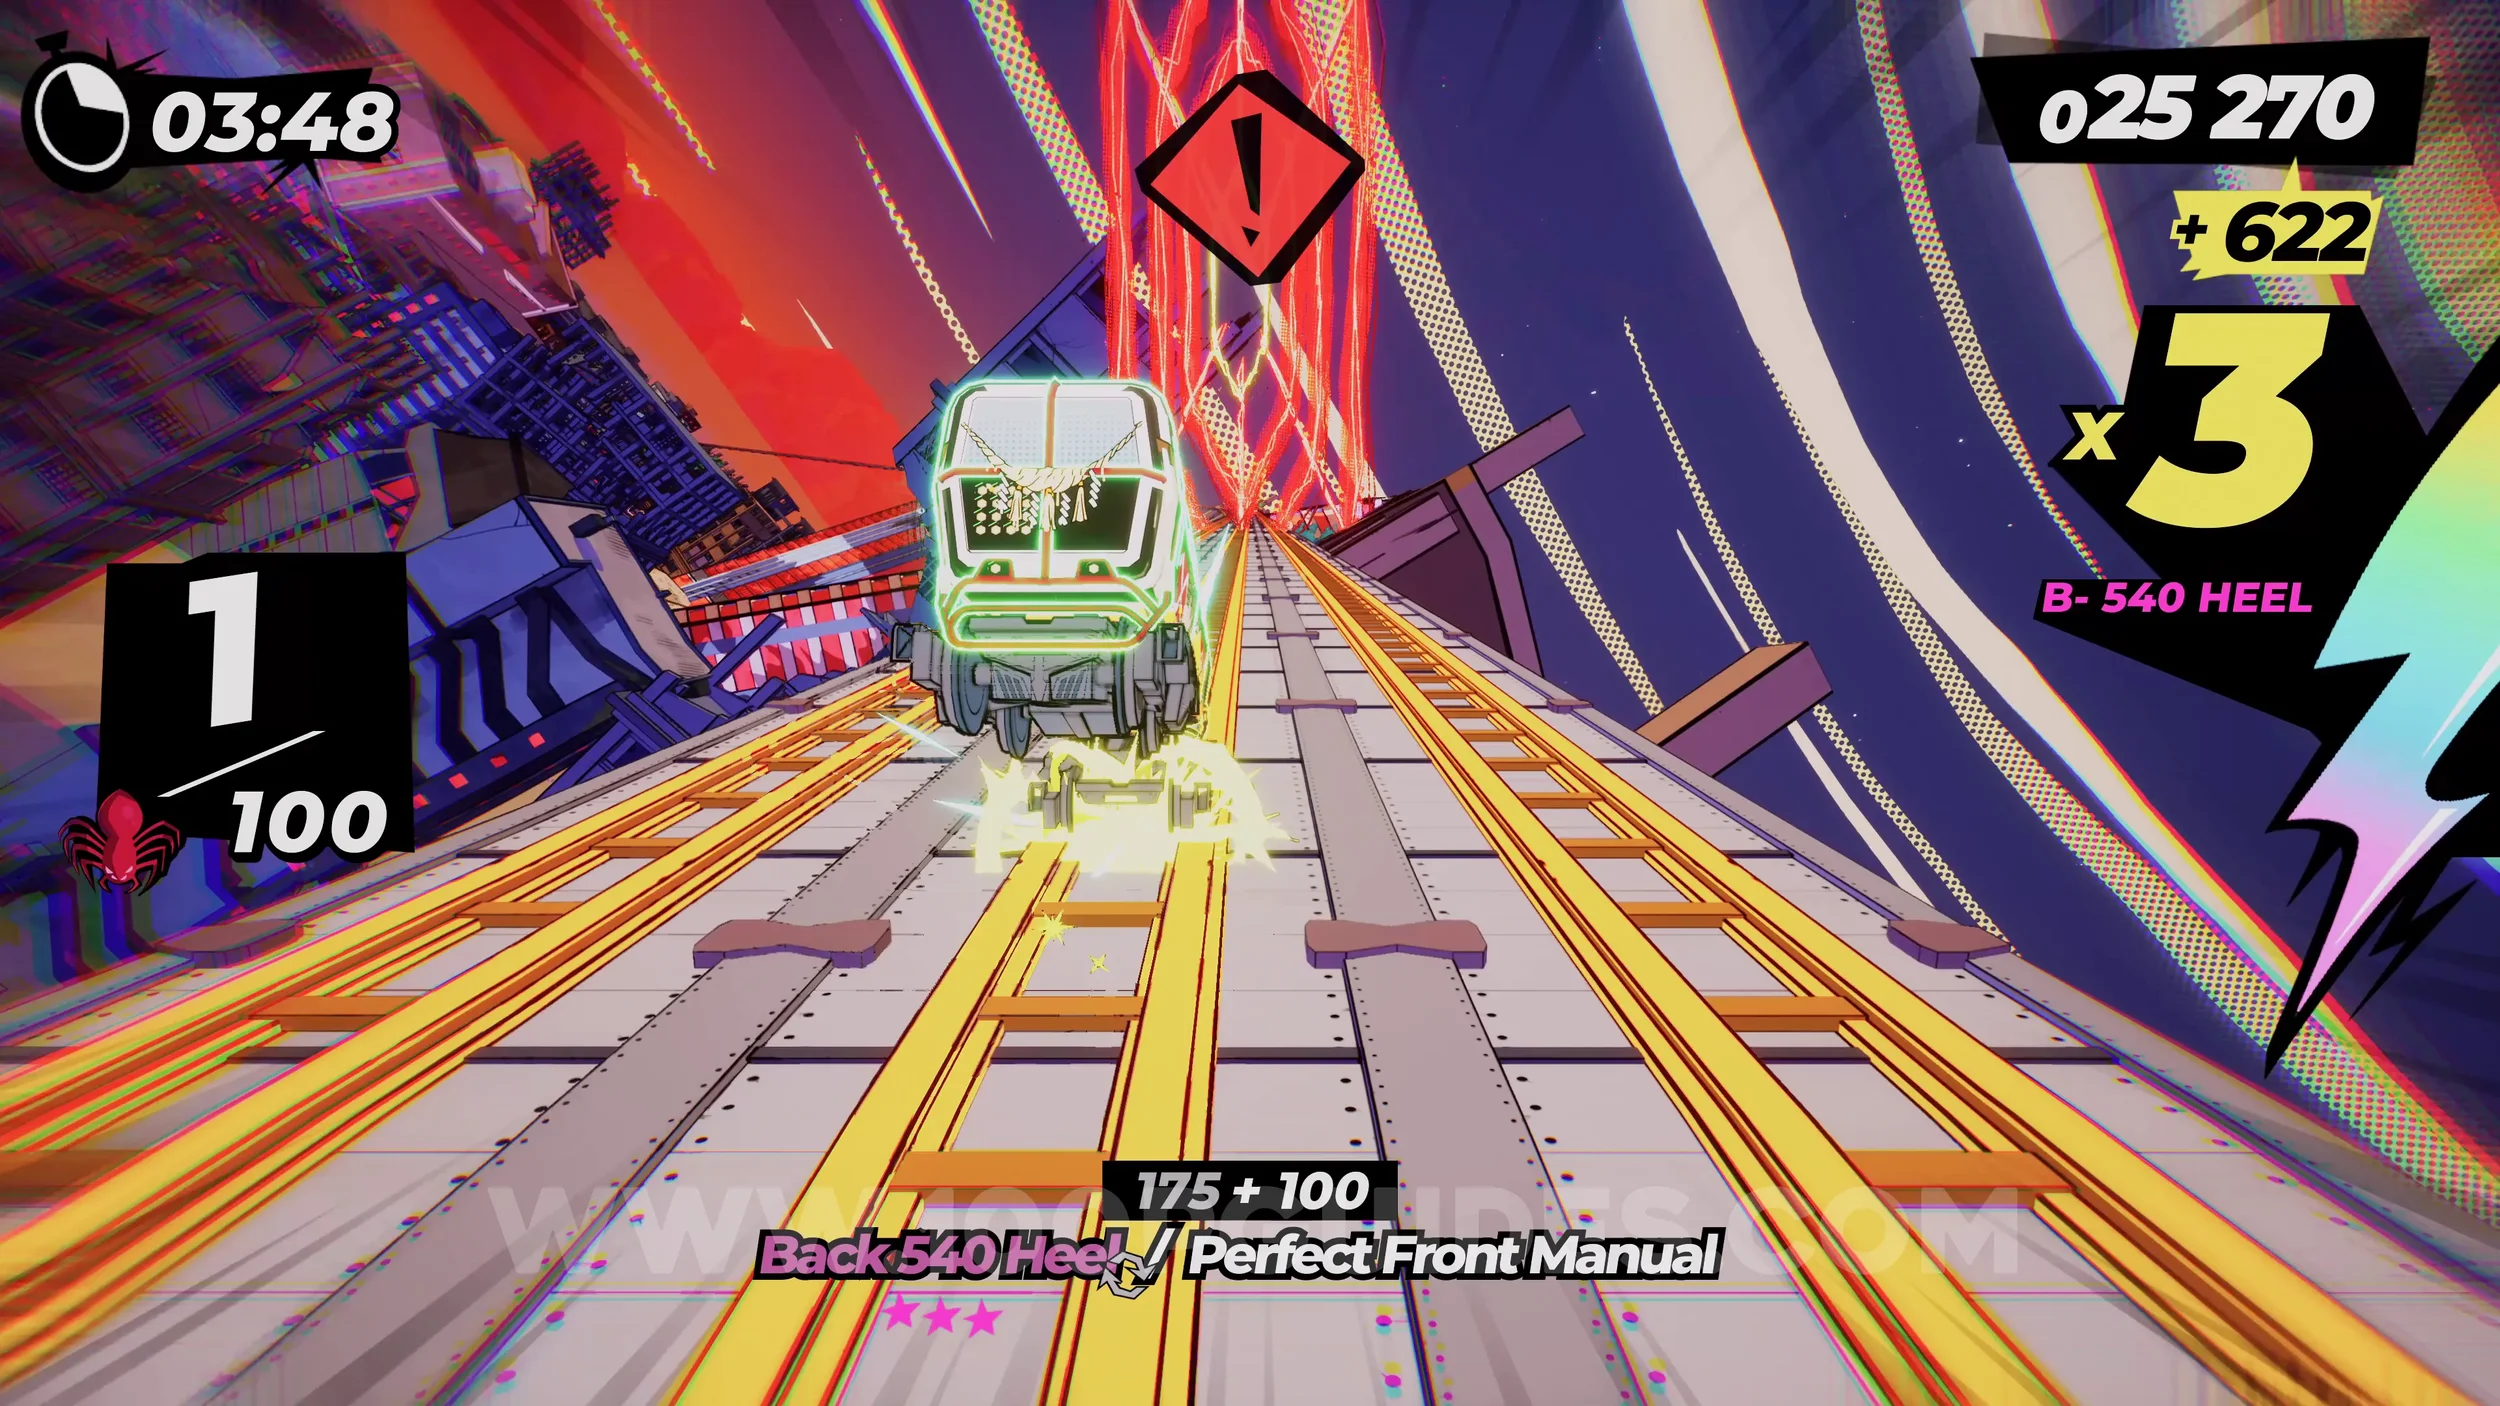
Film Roll (1/1). During the third phase, you'll reach a point where you go through a tunnel and have to dodge the boss's drifts. Here, you'll see the film roll in plain sight on the left side of the tunnel.
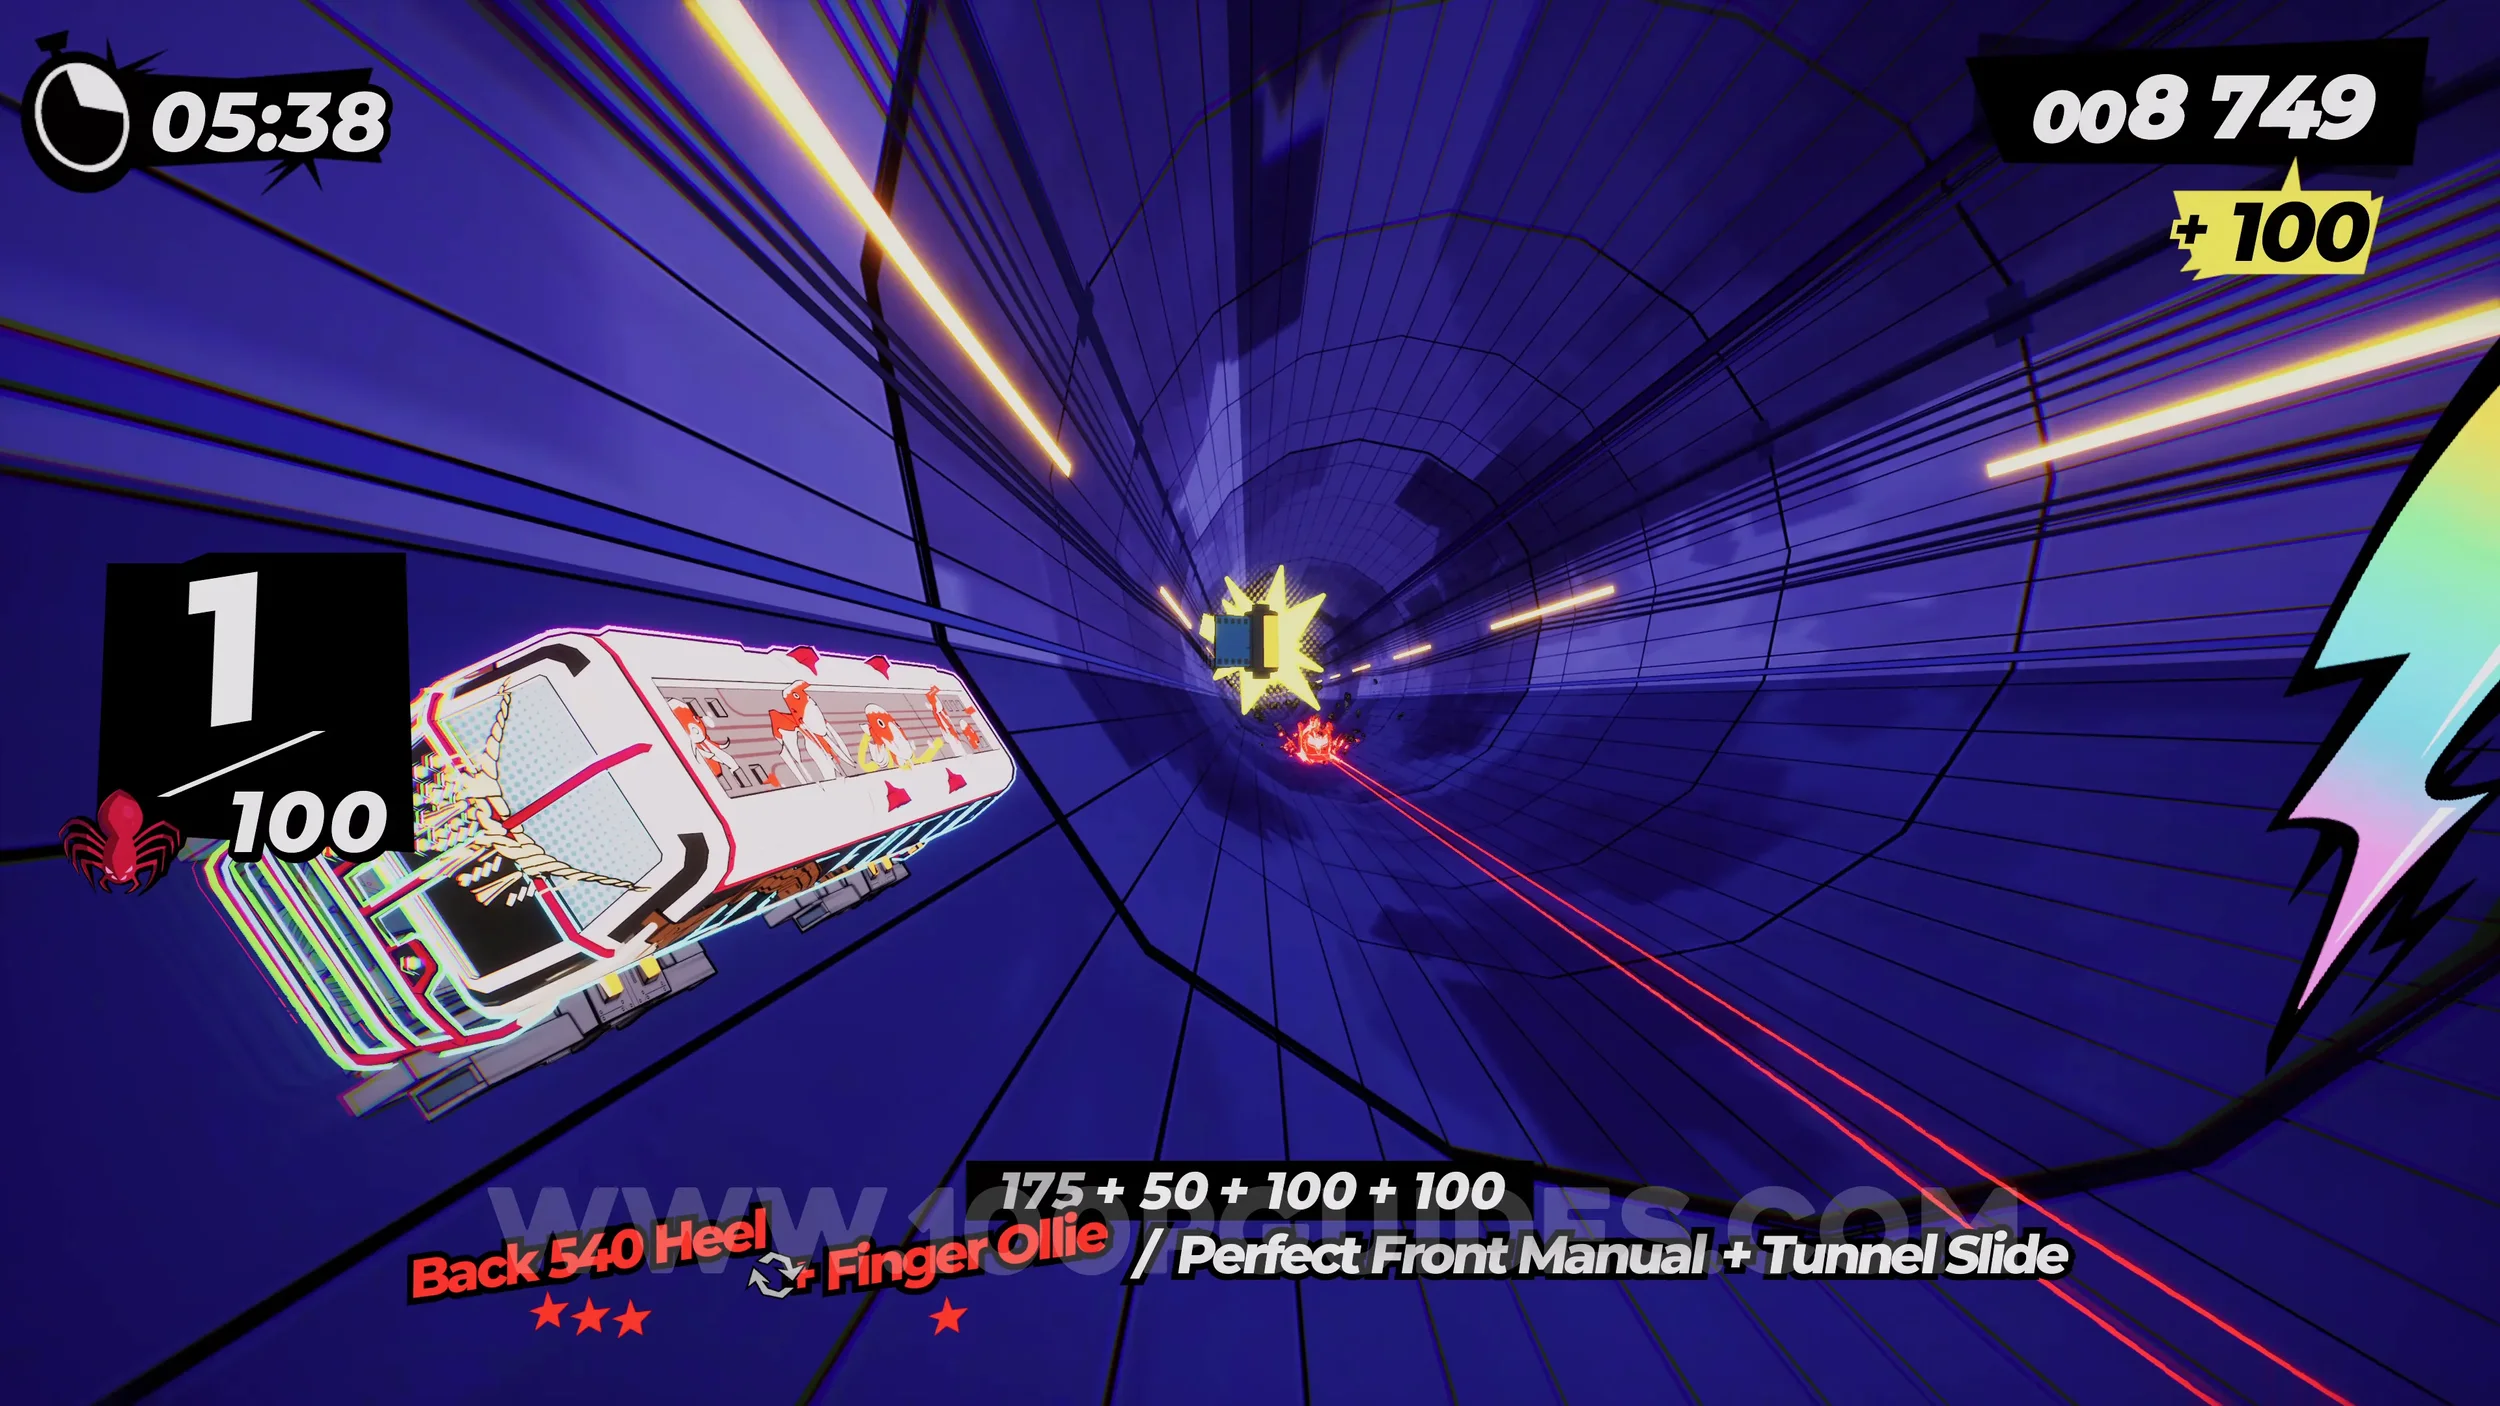
Dare: No Crash Boss Defeat. Self-explanatory. Defeat the boss without crashing.
Chapter 6
6-1-1 Riot Academy
Spray Can (1/2). At the first split in the tracks, take the left track to find the spray can on the next wallride.
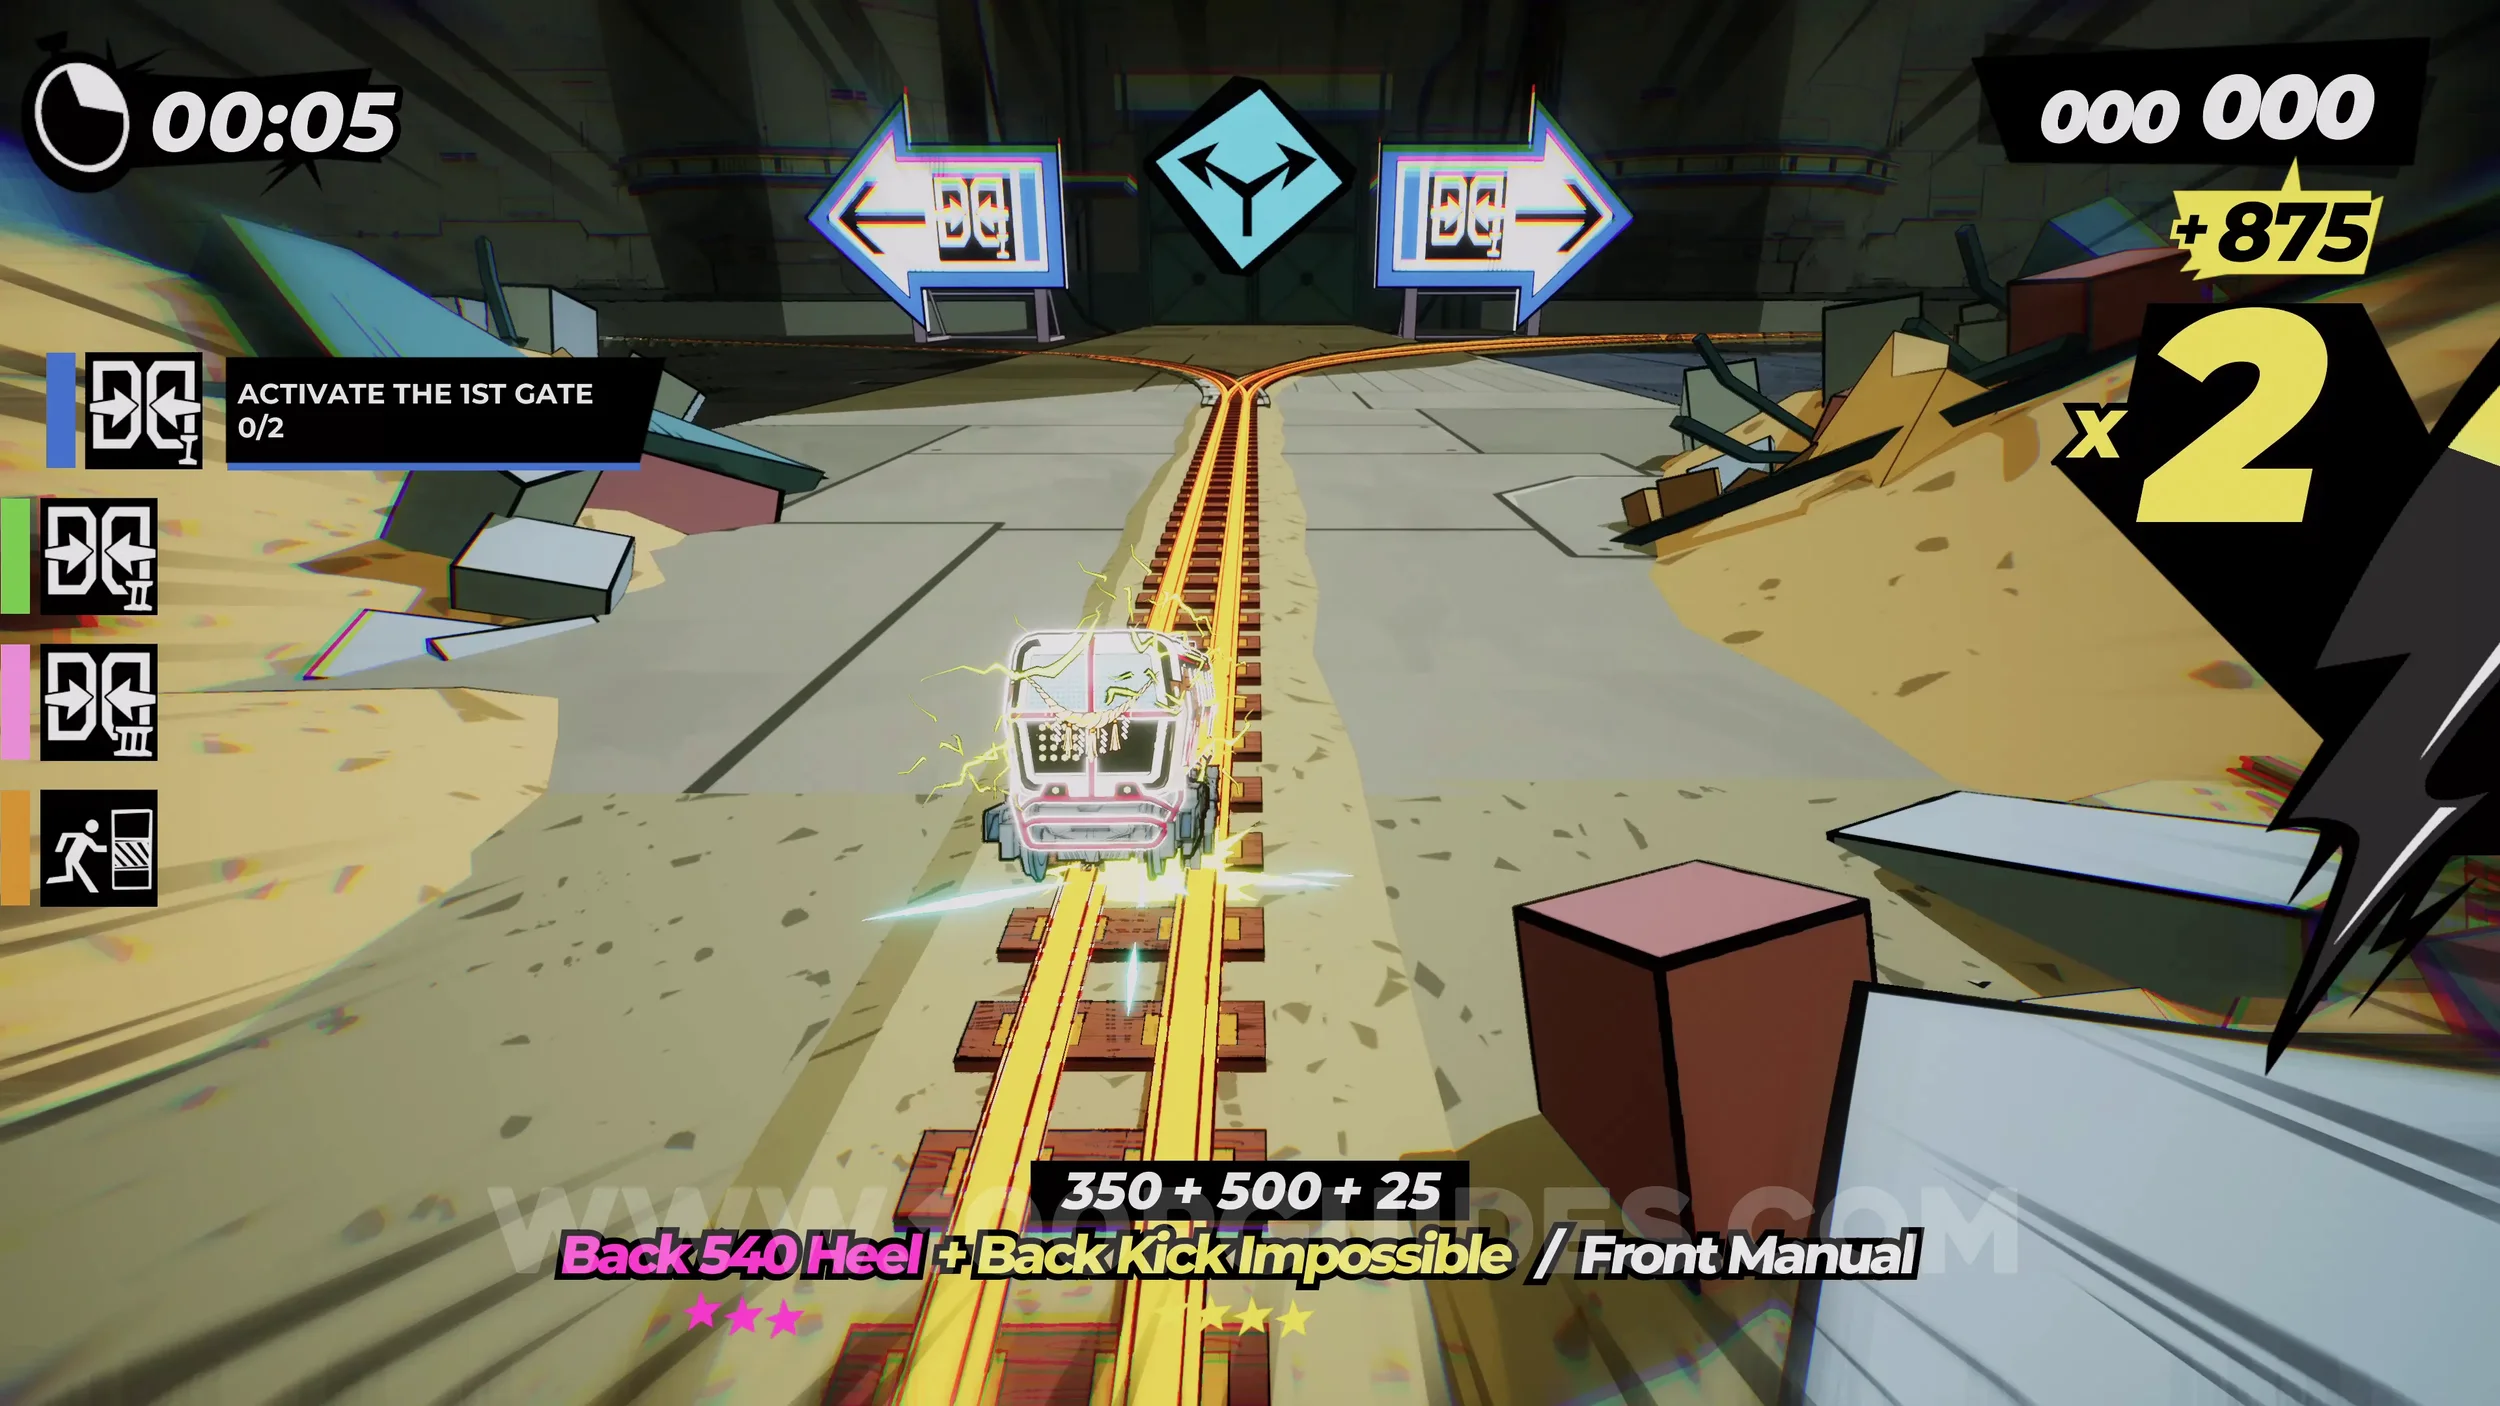
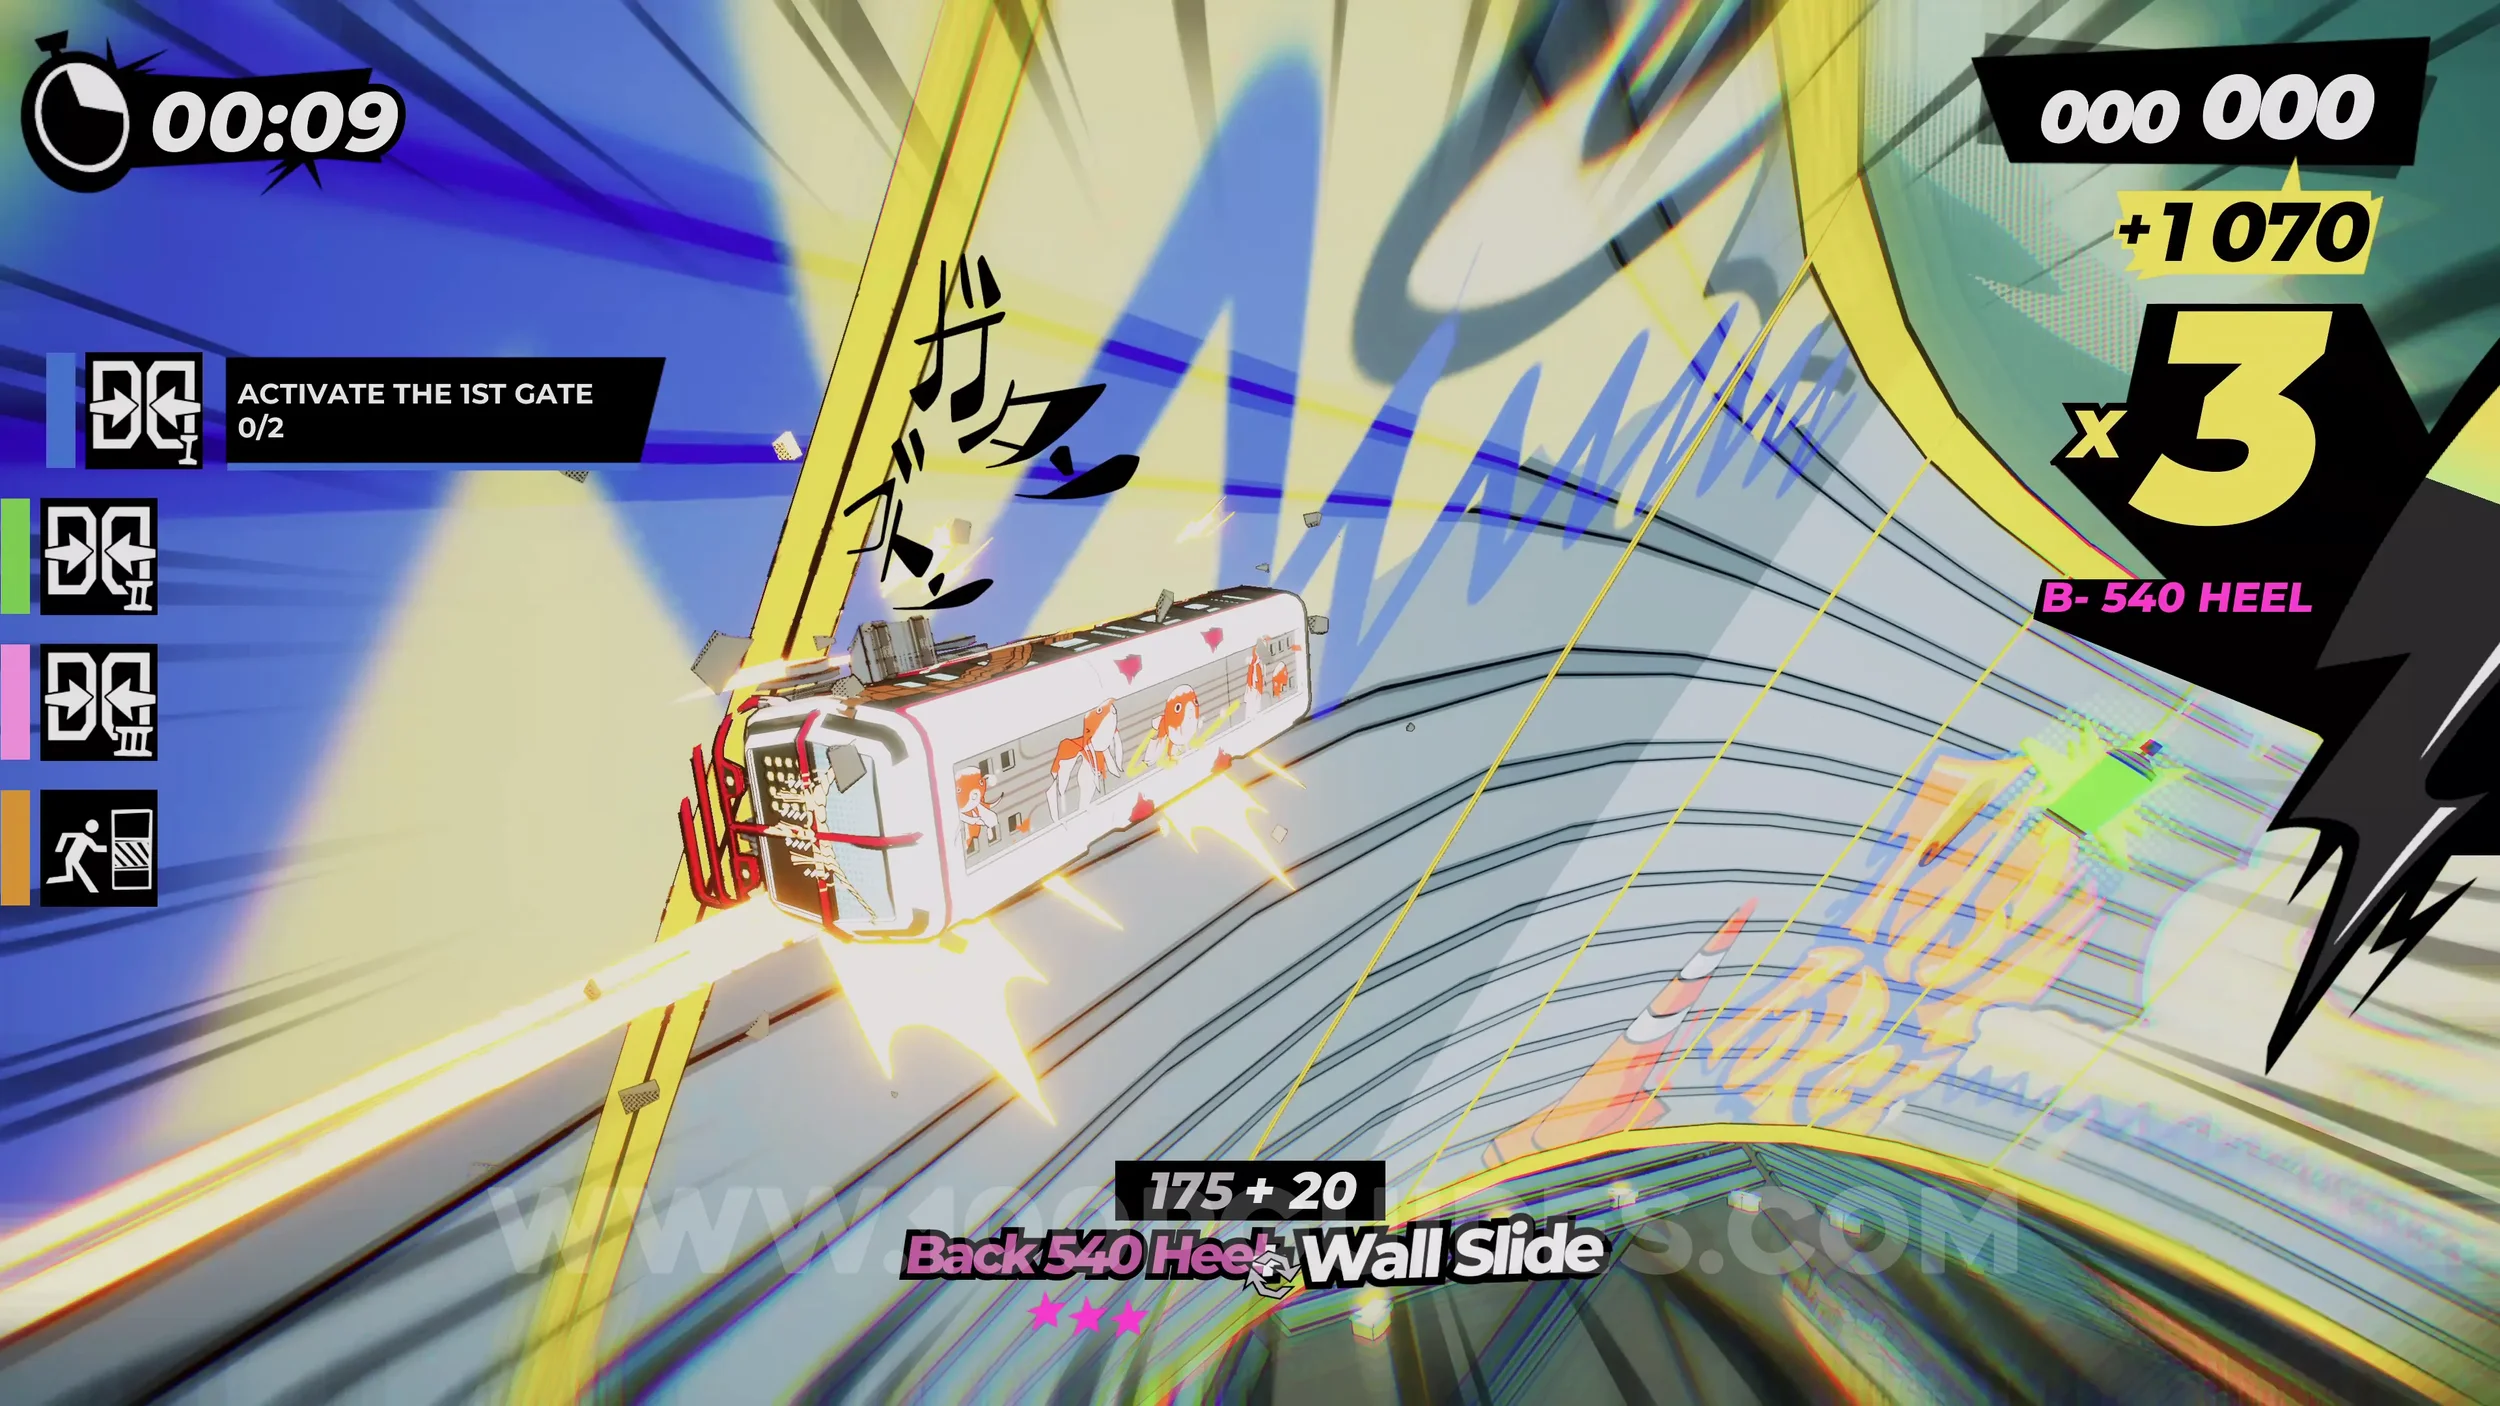
Dare: Have at Least a x20 Combo at the First Gate. Self-explanatory. Rack up a x20 trick chain before the first gate.
Gear (1/2). Once you reach the two green signs pointing you to the second gate switches, jump up to the rail on the left. Then continue until you reach a halfpipe. Follow it to find the gear on the left side.
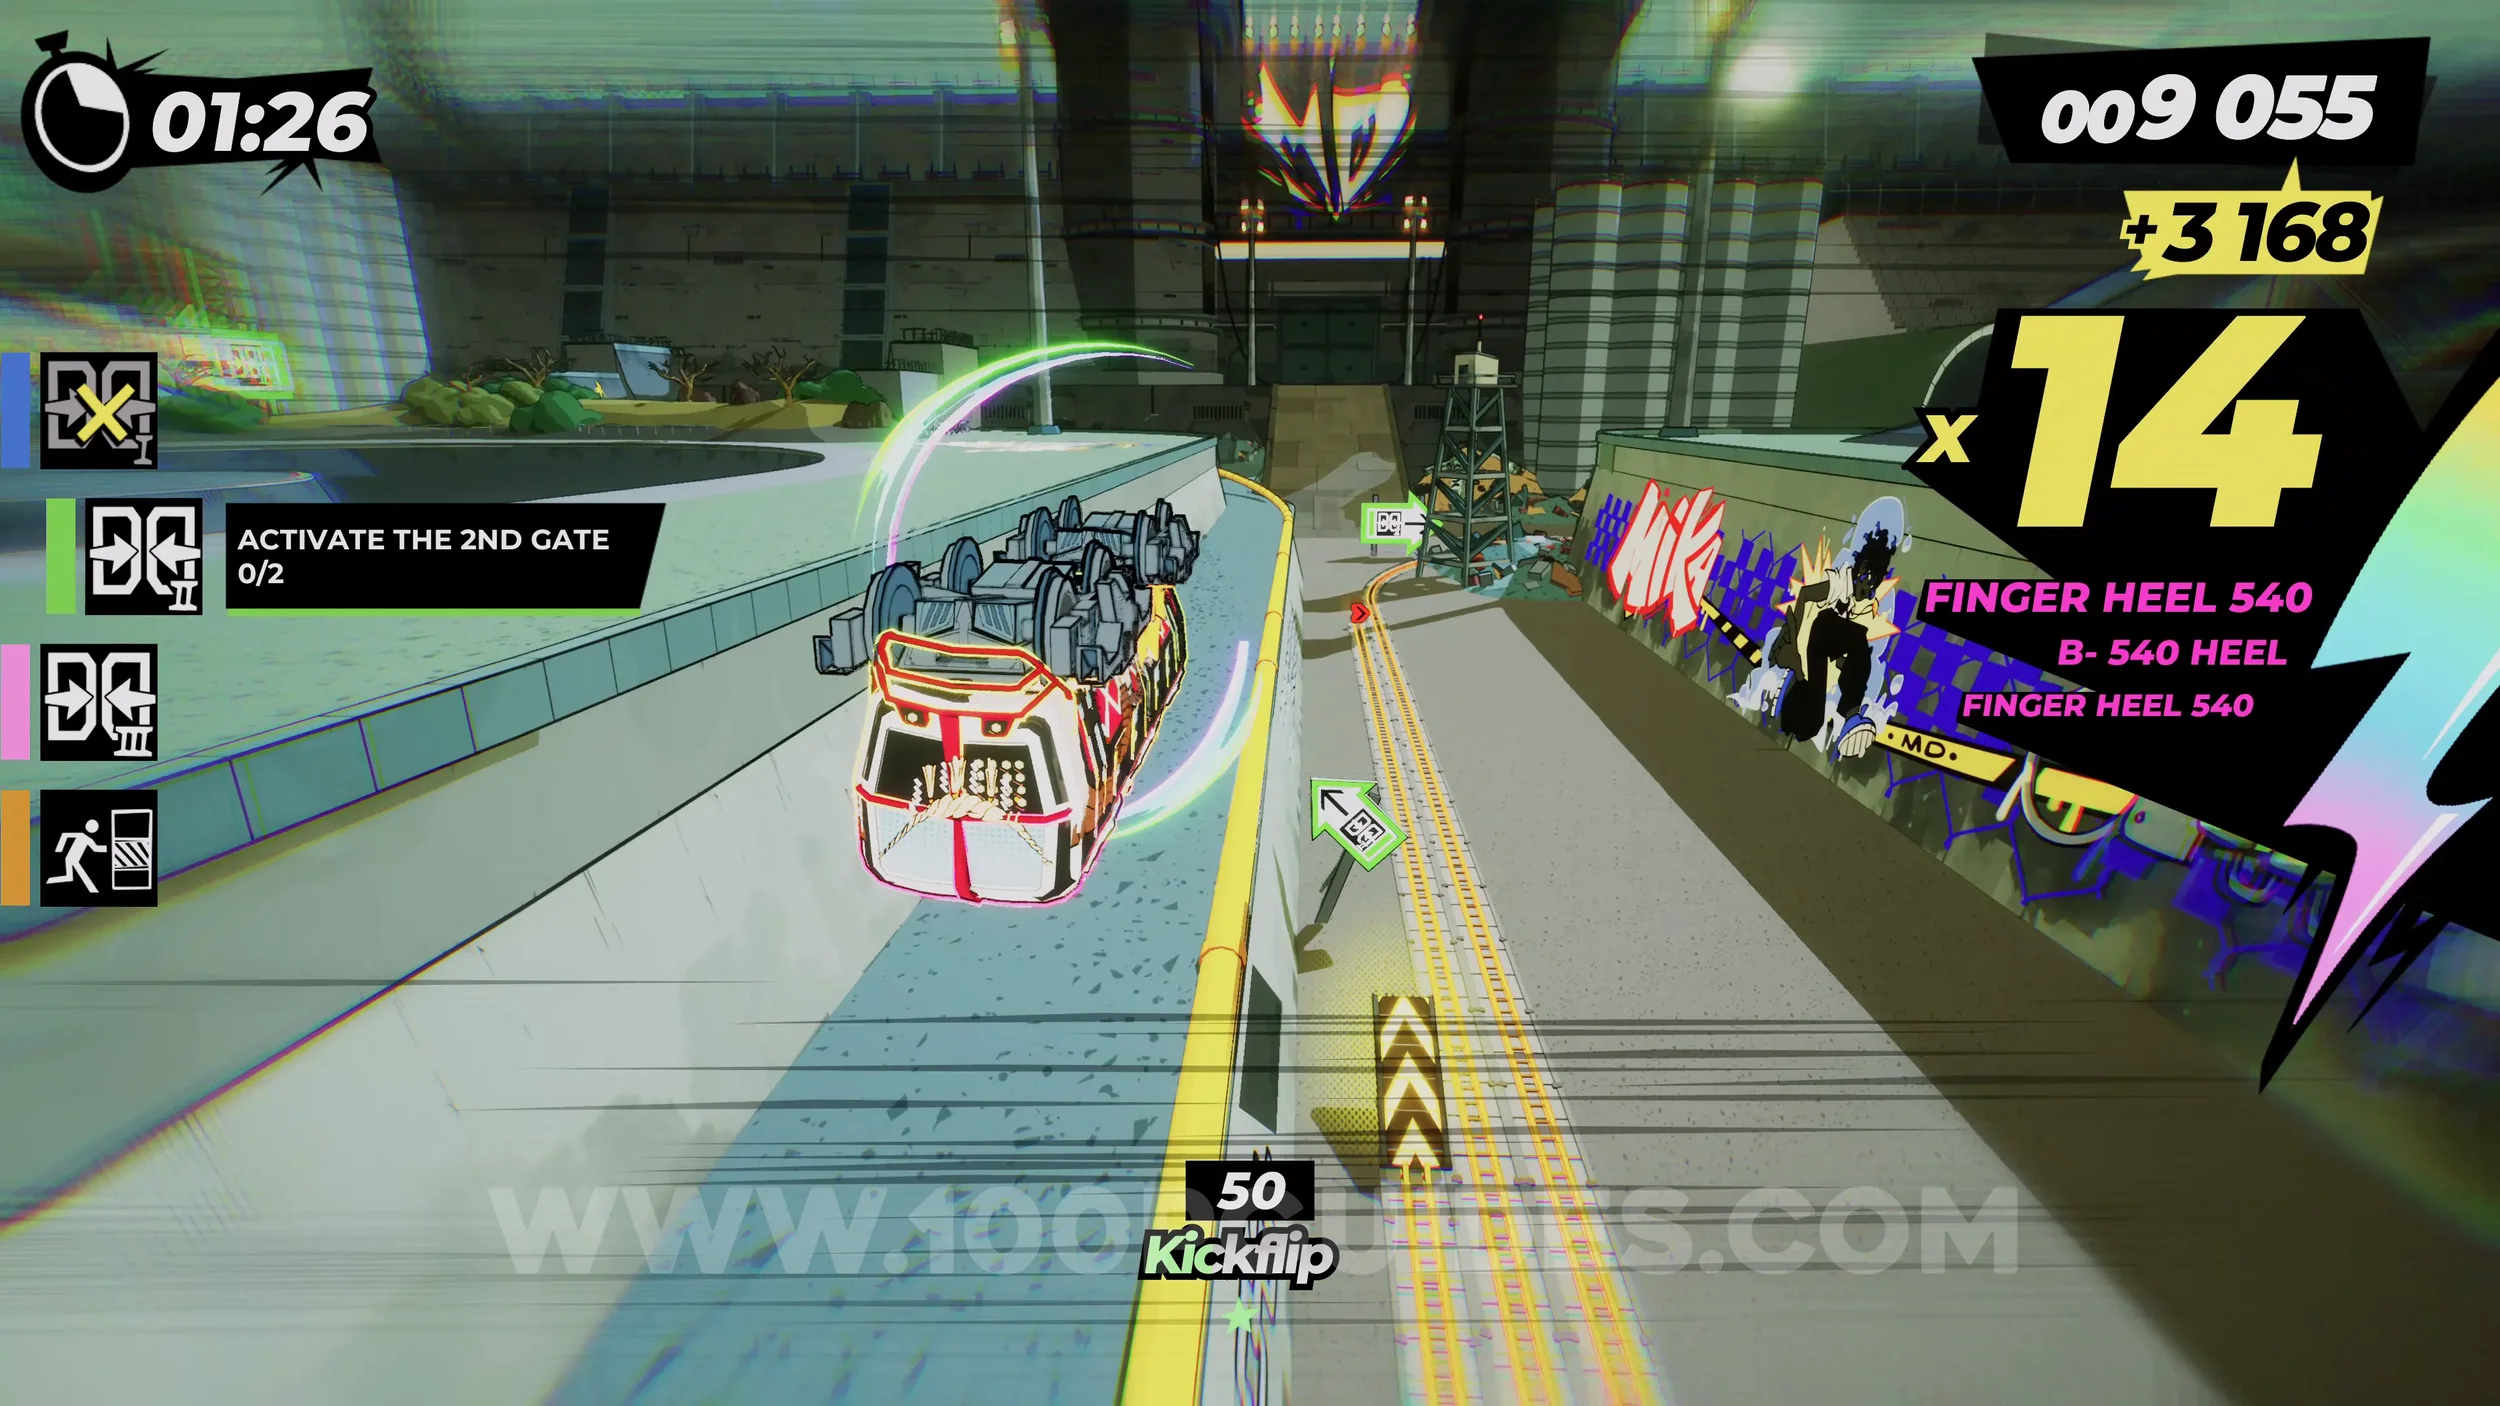
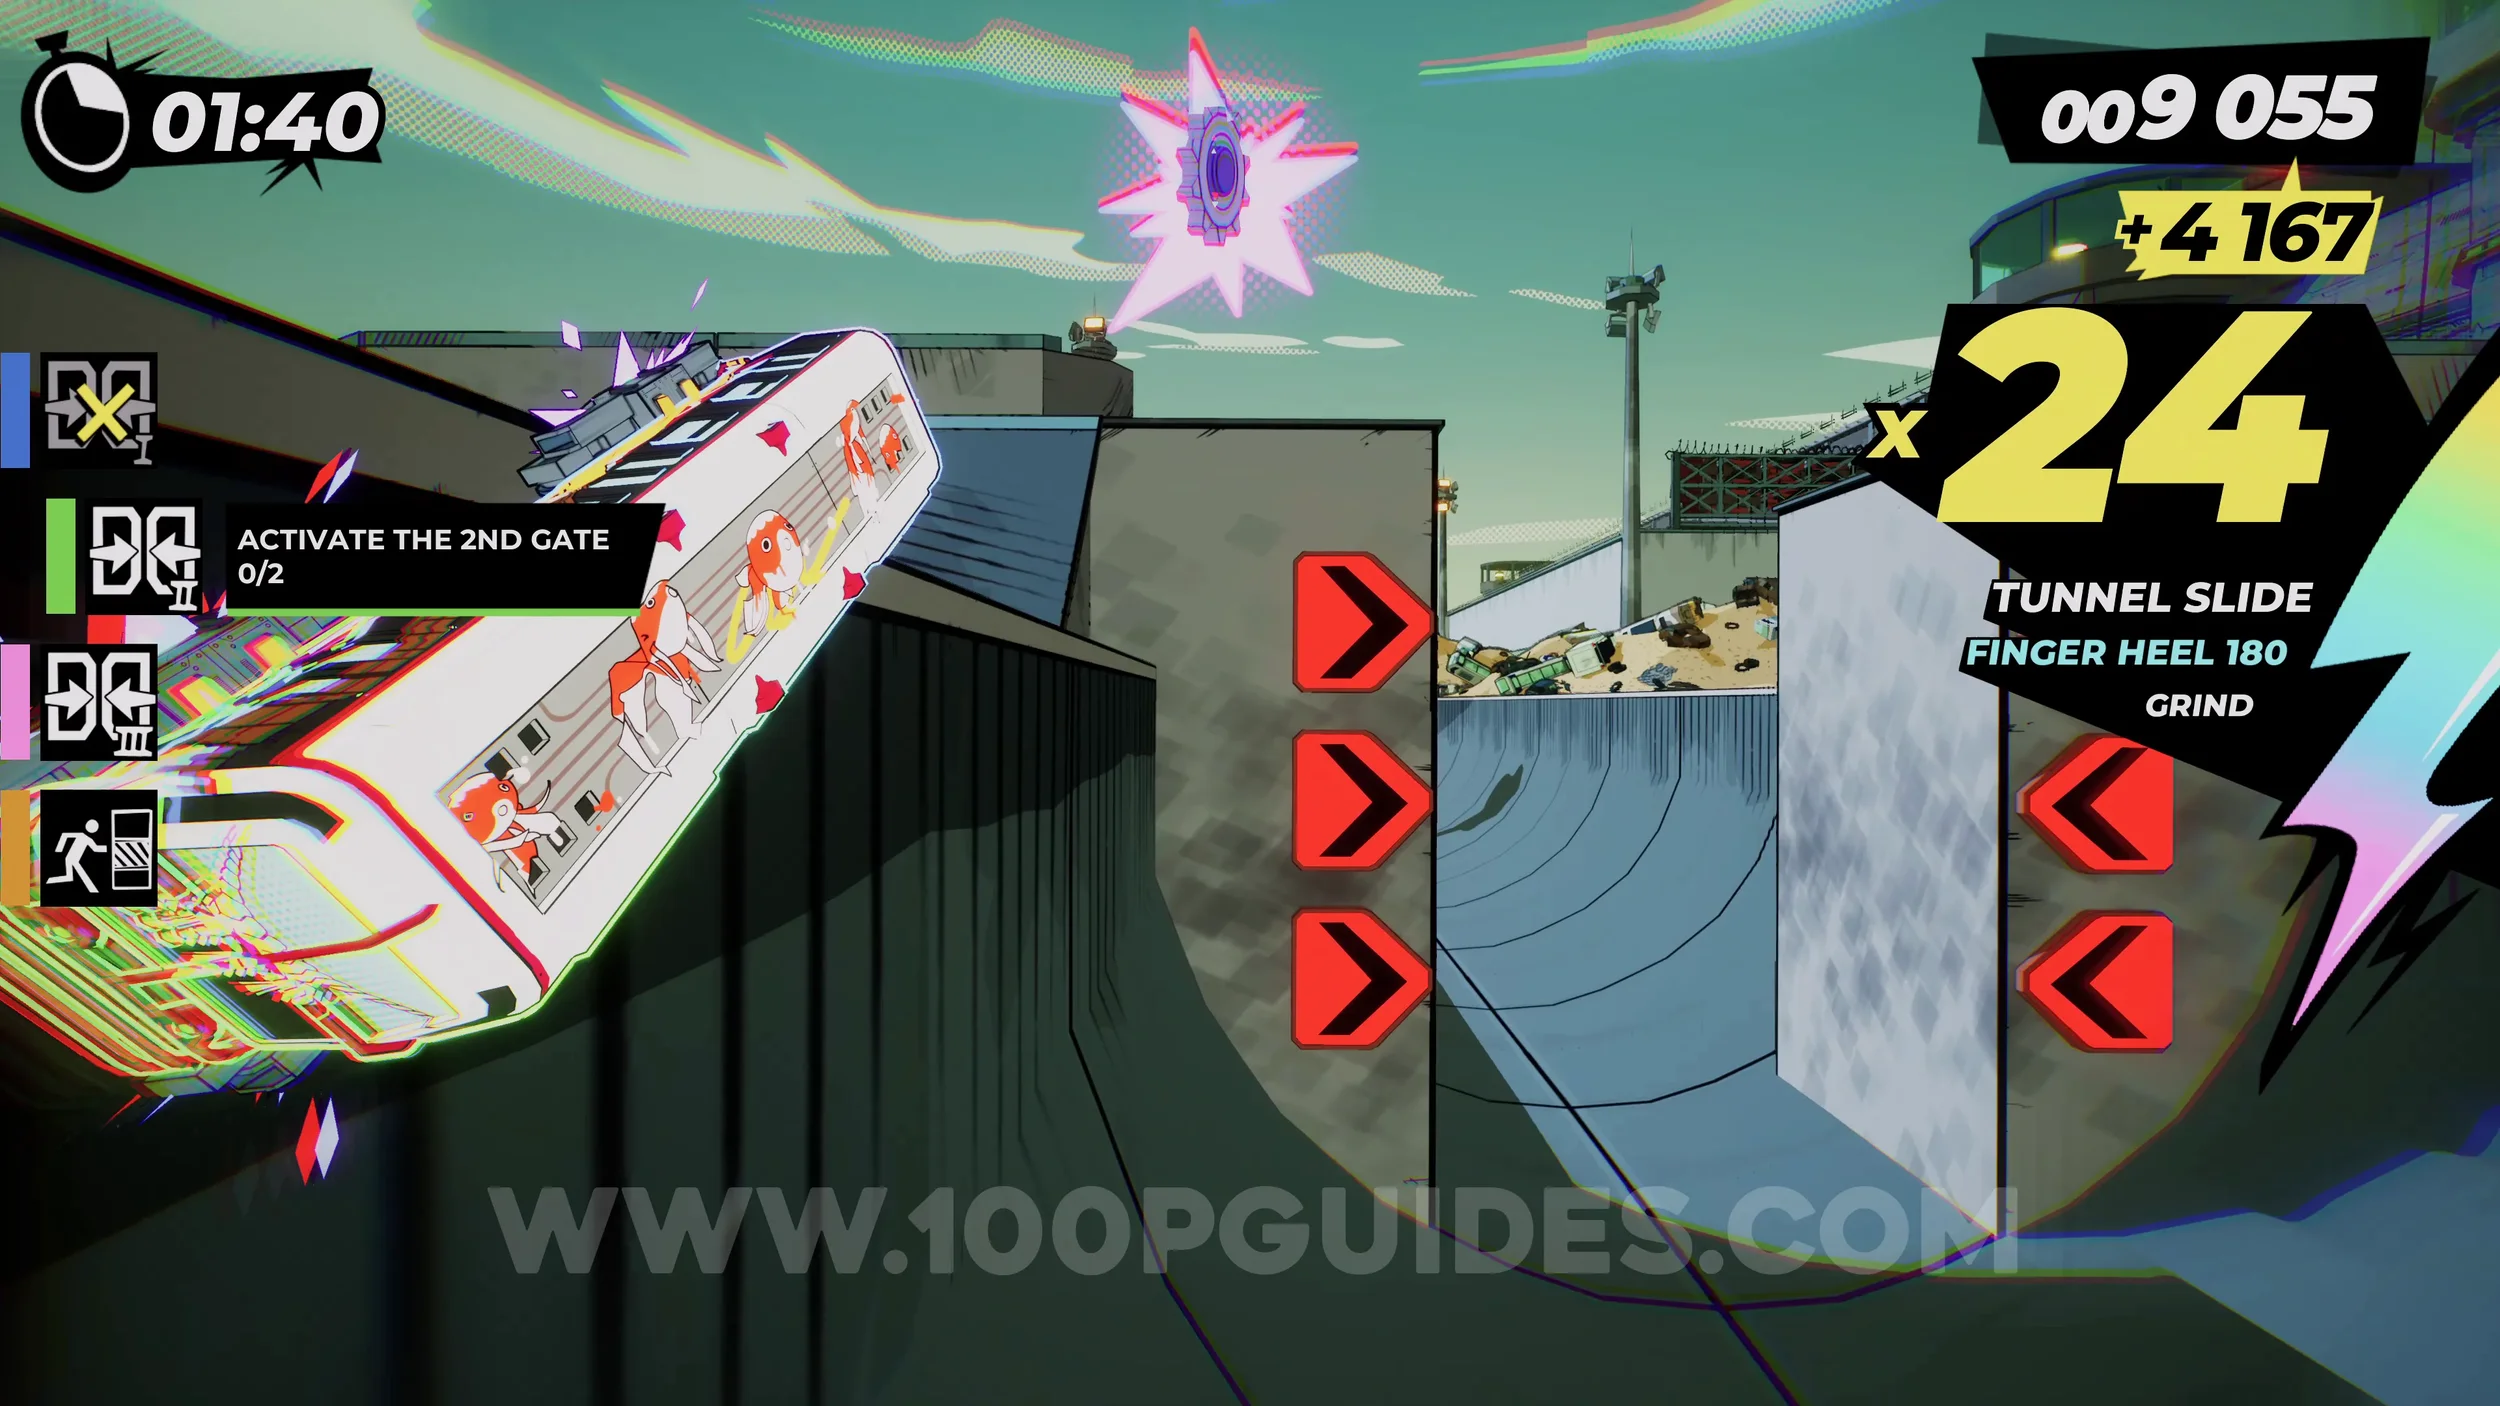
Gear (2/2). Once you circle back around to the area with the green signs, this time keep right to find the gear on the left side of the tunnel you go into.
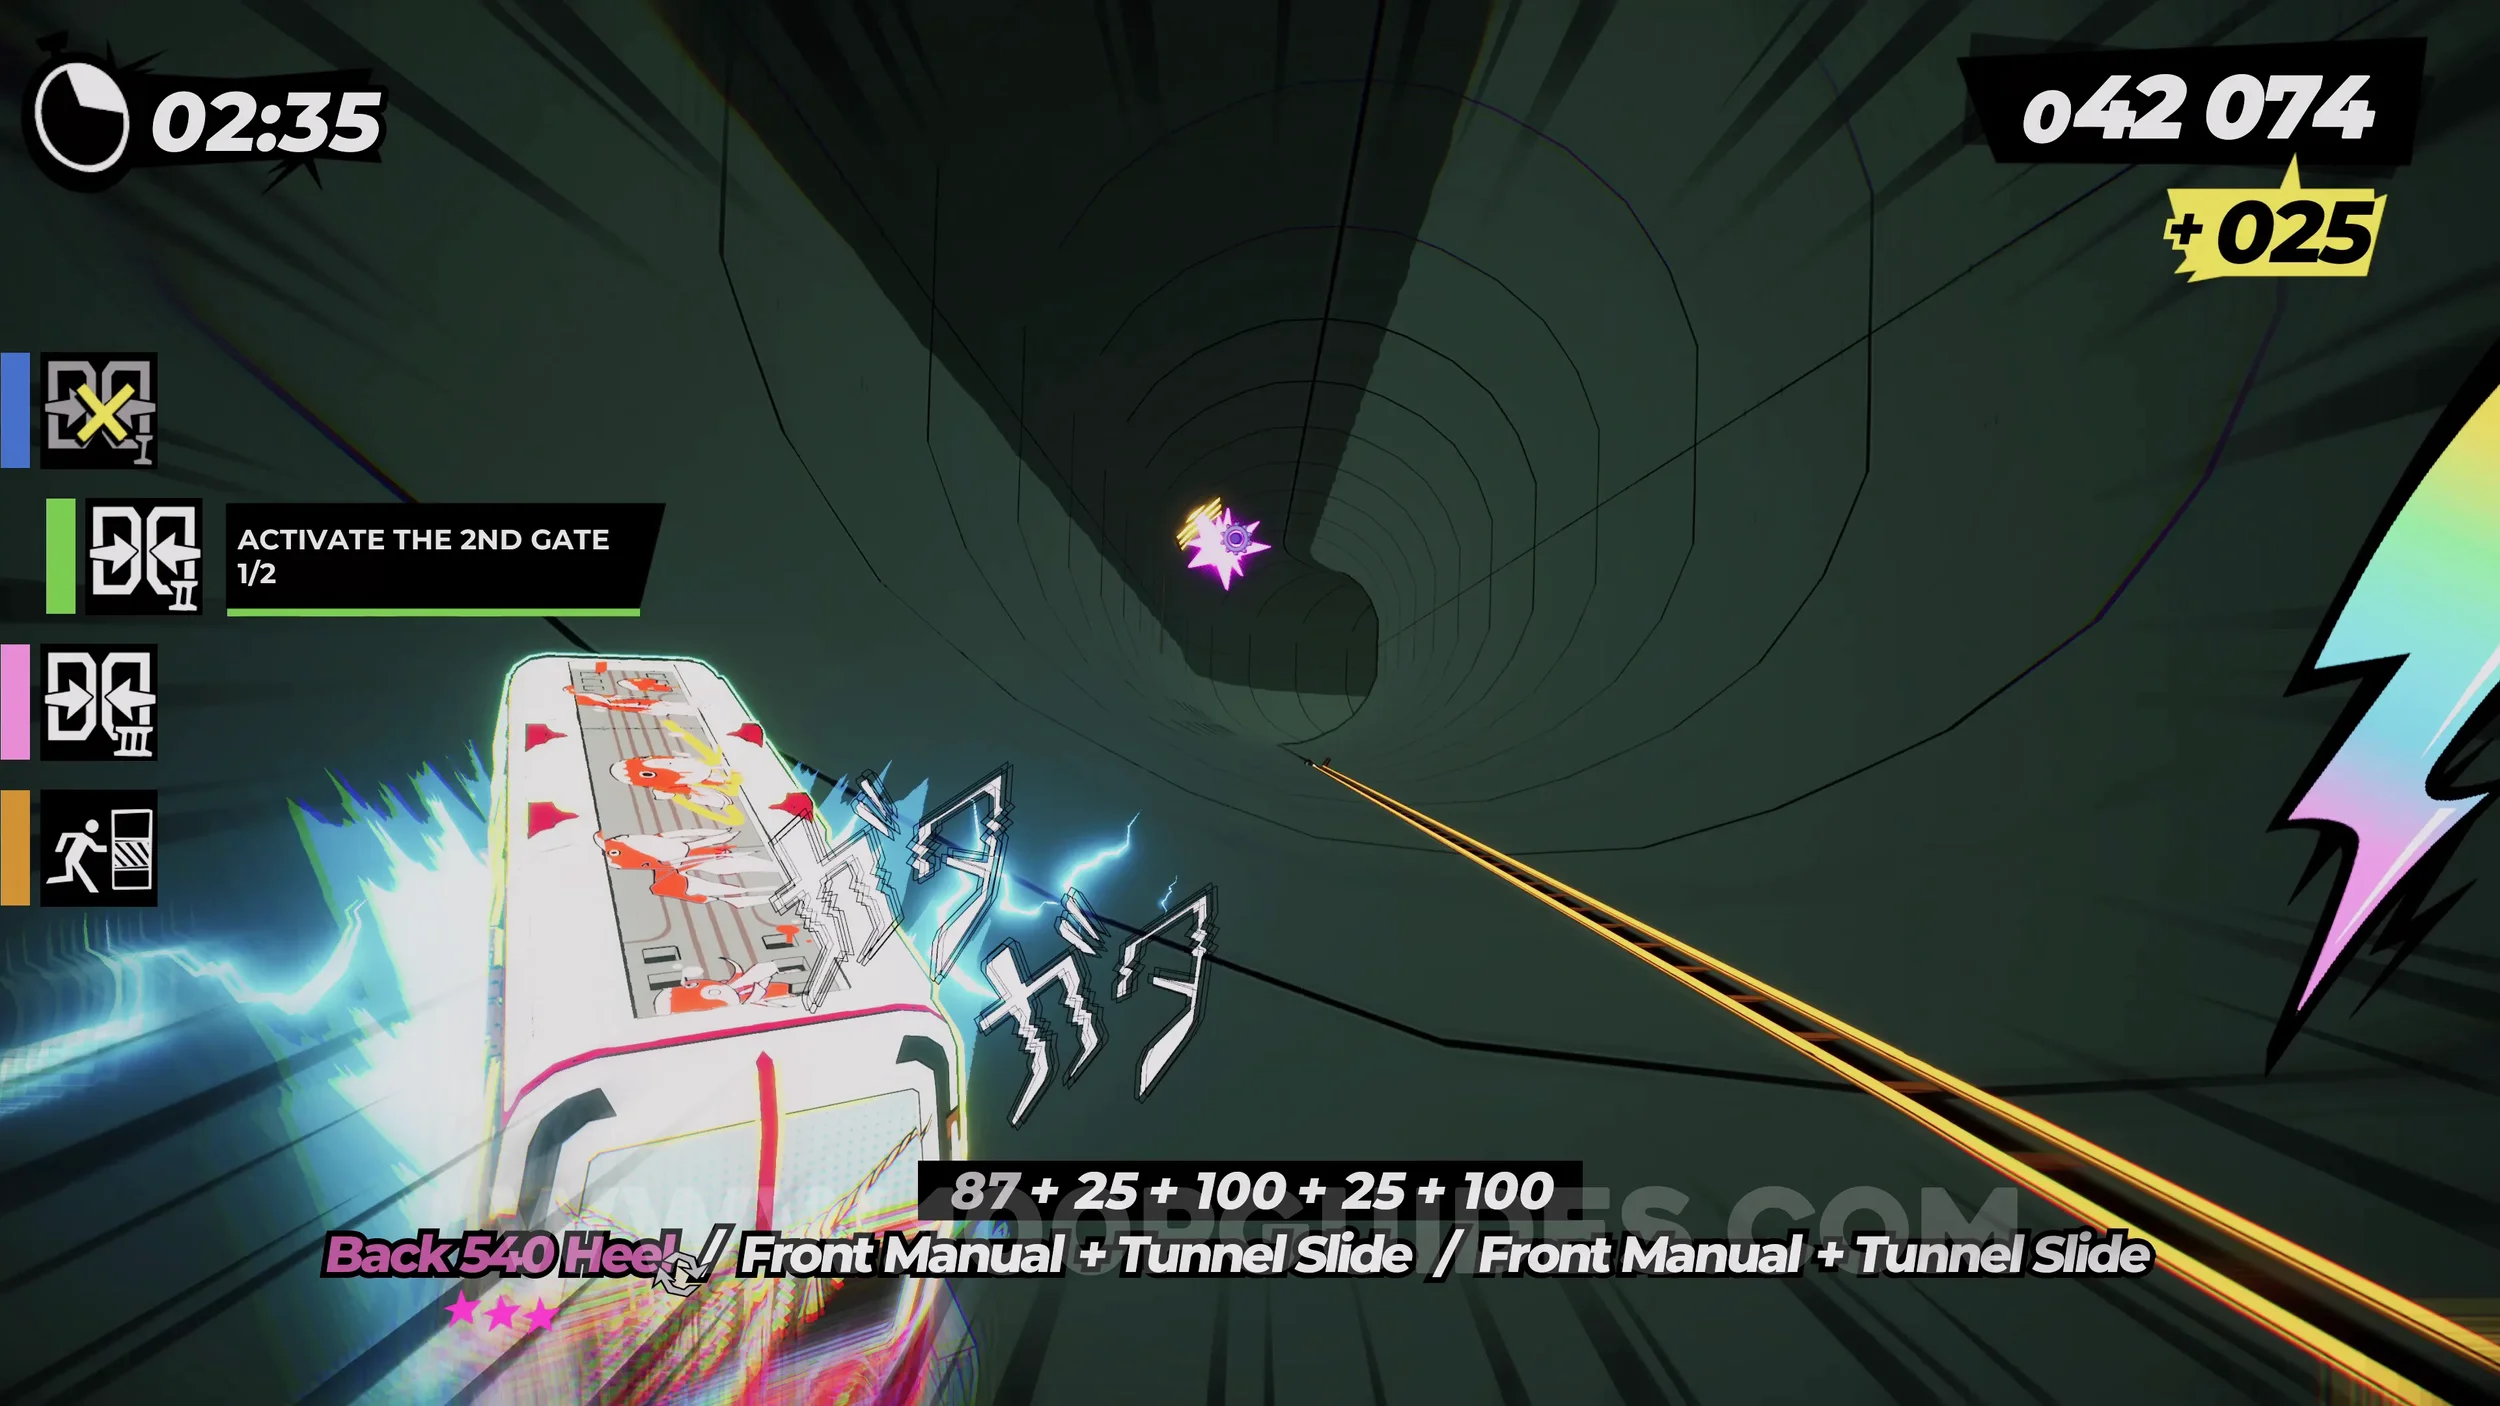
Dare: Enter the Second Gate in Under 03:00. Self-explanatory. Go through the second gate after activating the two green switches in under three minutes.
Film Roll (1/1). Once you go through the second gate and reach the pink signs pointing to the next switches, stick to the right and you'll pick up the film roll on the next monorail.
Dare: Rain Shattered Glass All Over the Molty Statue. After activating the two pink switches, you'll go down a straight with a massive statue of Molty the Mole in front of you. Just as you approach it, you'll see the horn sign appear in the middle of the screen. Press R3 to shatter the glass.
Spray Can (2/2). After going over the Molty statue, you'll go over a jump and see the spray can below you. Air stomp to make sure you get down to it in time.
Dare: Perform 10 Risky Dodges During the Trench Run. Soon after the previous collectible, you'll enter a tunnel where you have to dodge trains coming toward you. Dodge ten of them at the very last moment.
Dare: No Crash Finish. Self-explanatory. Finish the level without crashing.
6-1-C Marouka Castle
This is another shop level. More trains and stickers will become available.
6-2-1 Beware The Dog
Gear (1/3). After the first Yukaze, you'll see a blue sign pointing left to a gear. Jump to the rail on your left and you'll soon see the gear.
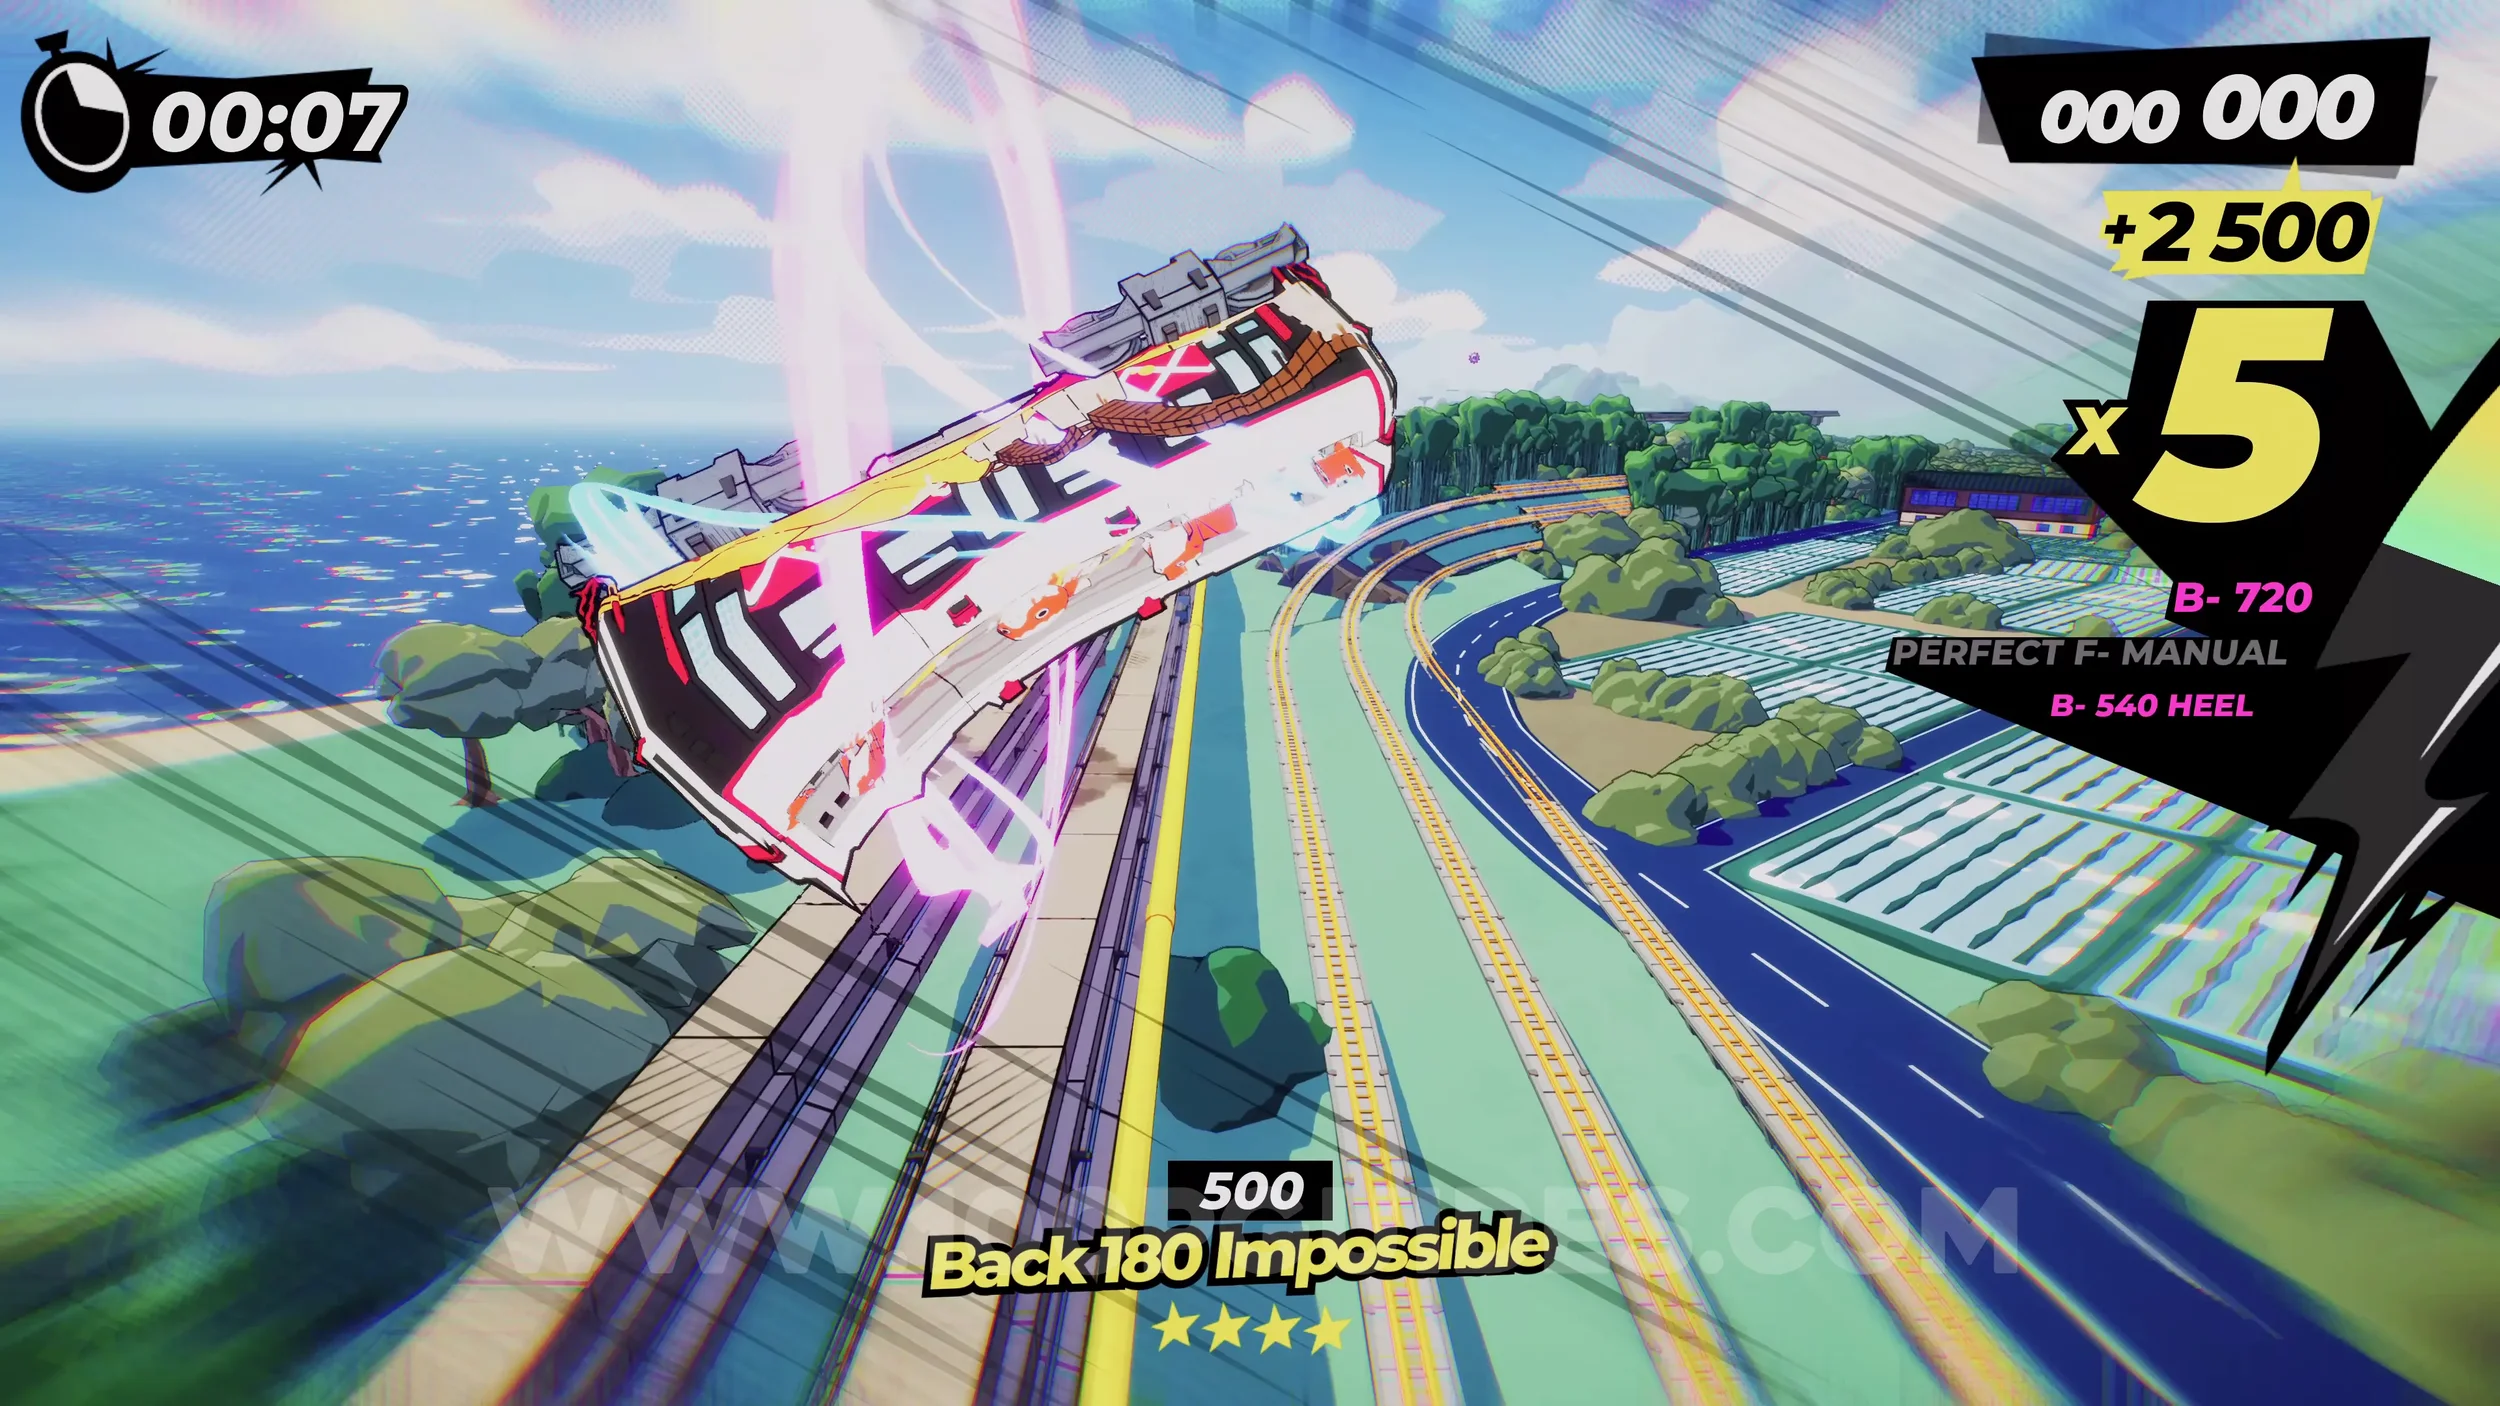
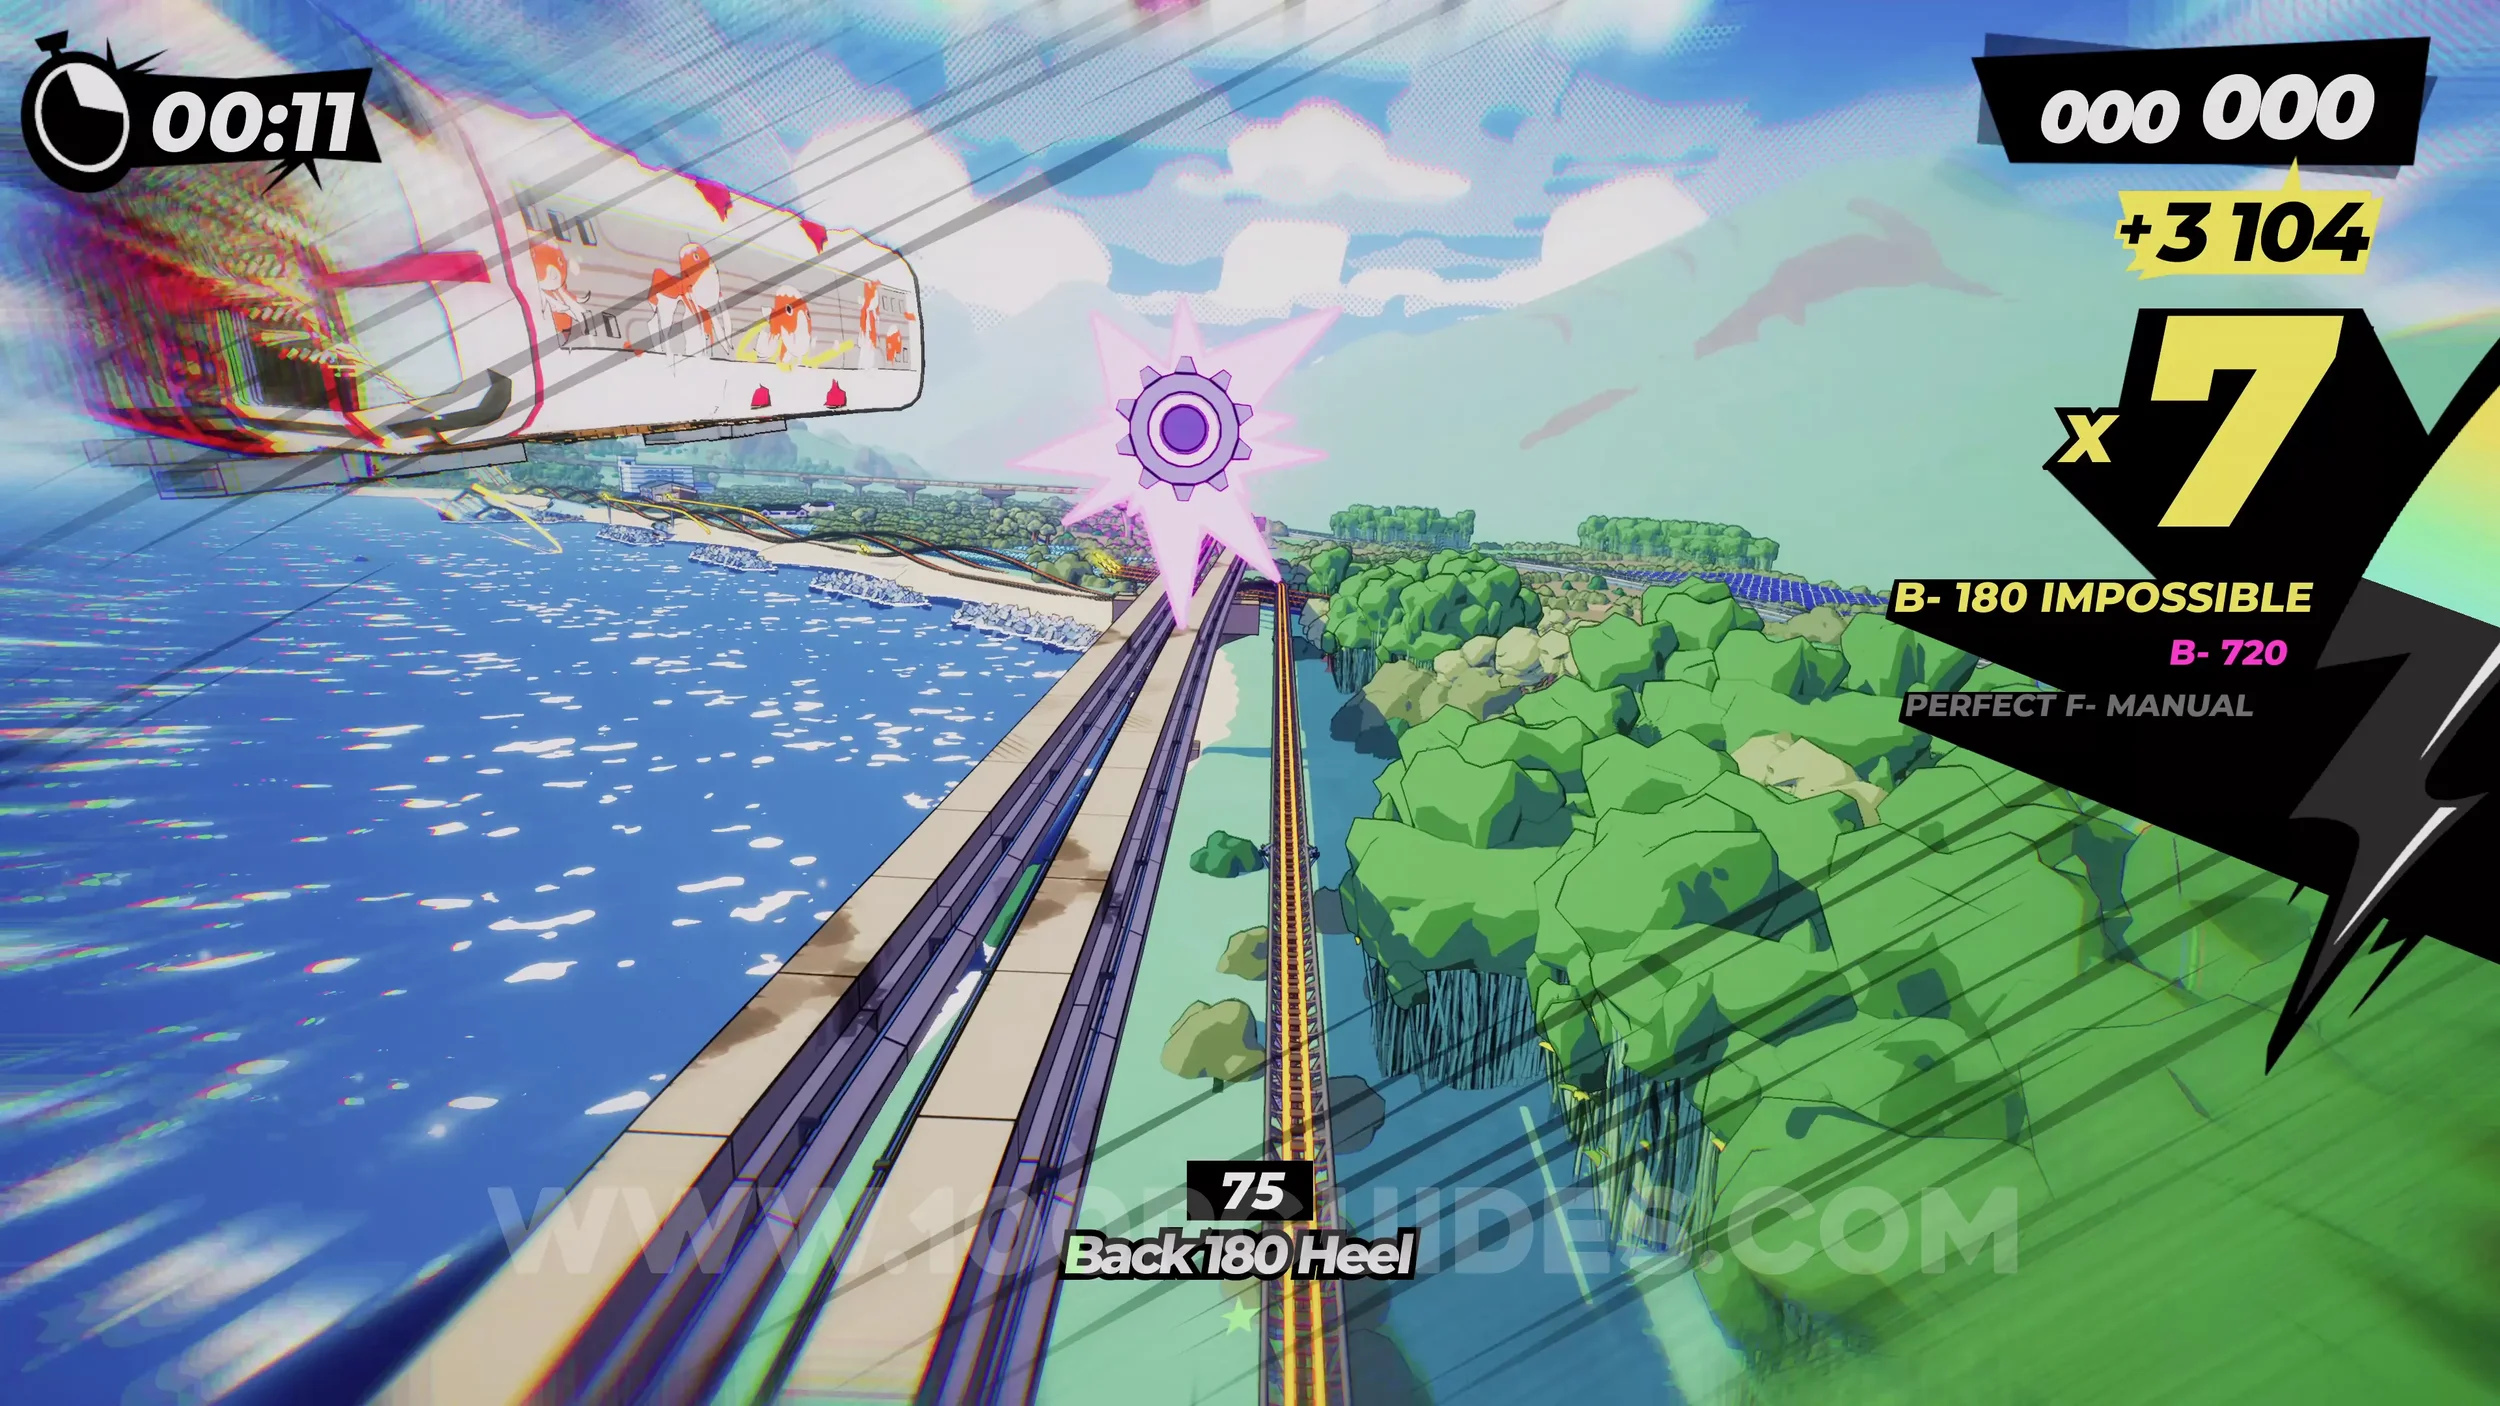
Spray Can (1/1). Continue on this path past a few more Yukaze, and soon you'll have to go through two red arrow signs by sticking to the middle. Here, you'll pick up the spray can.
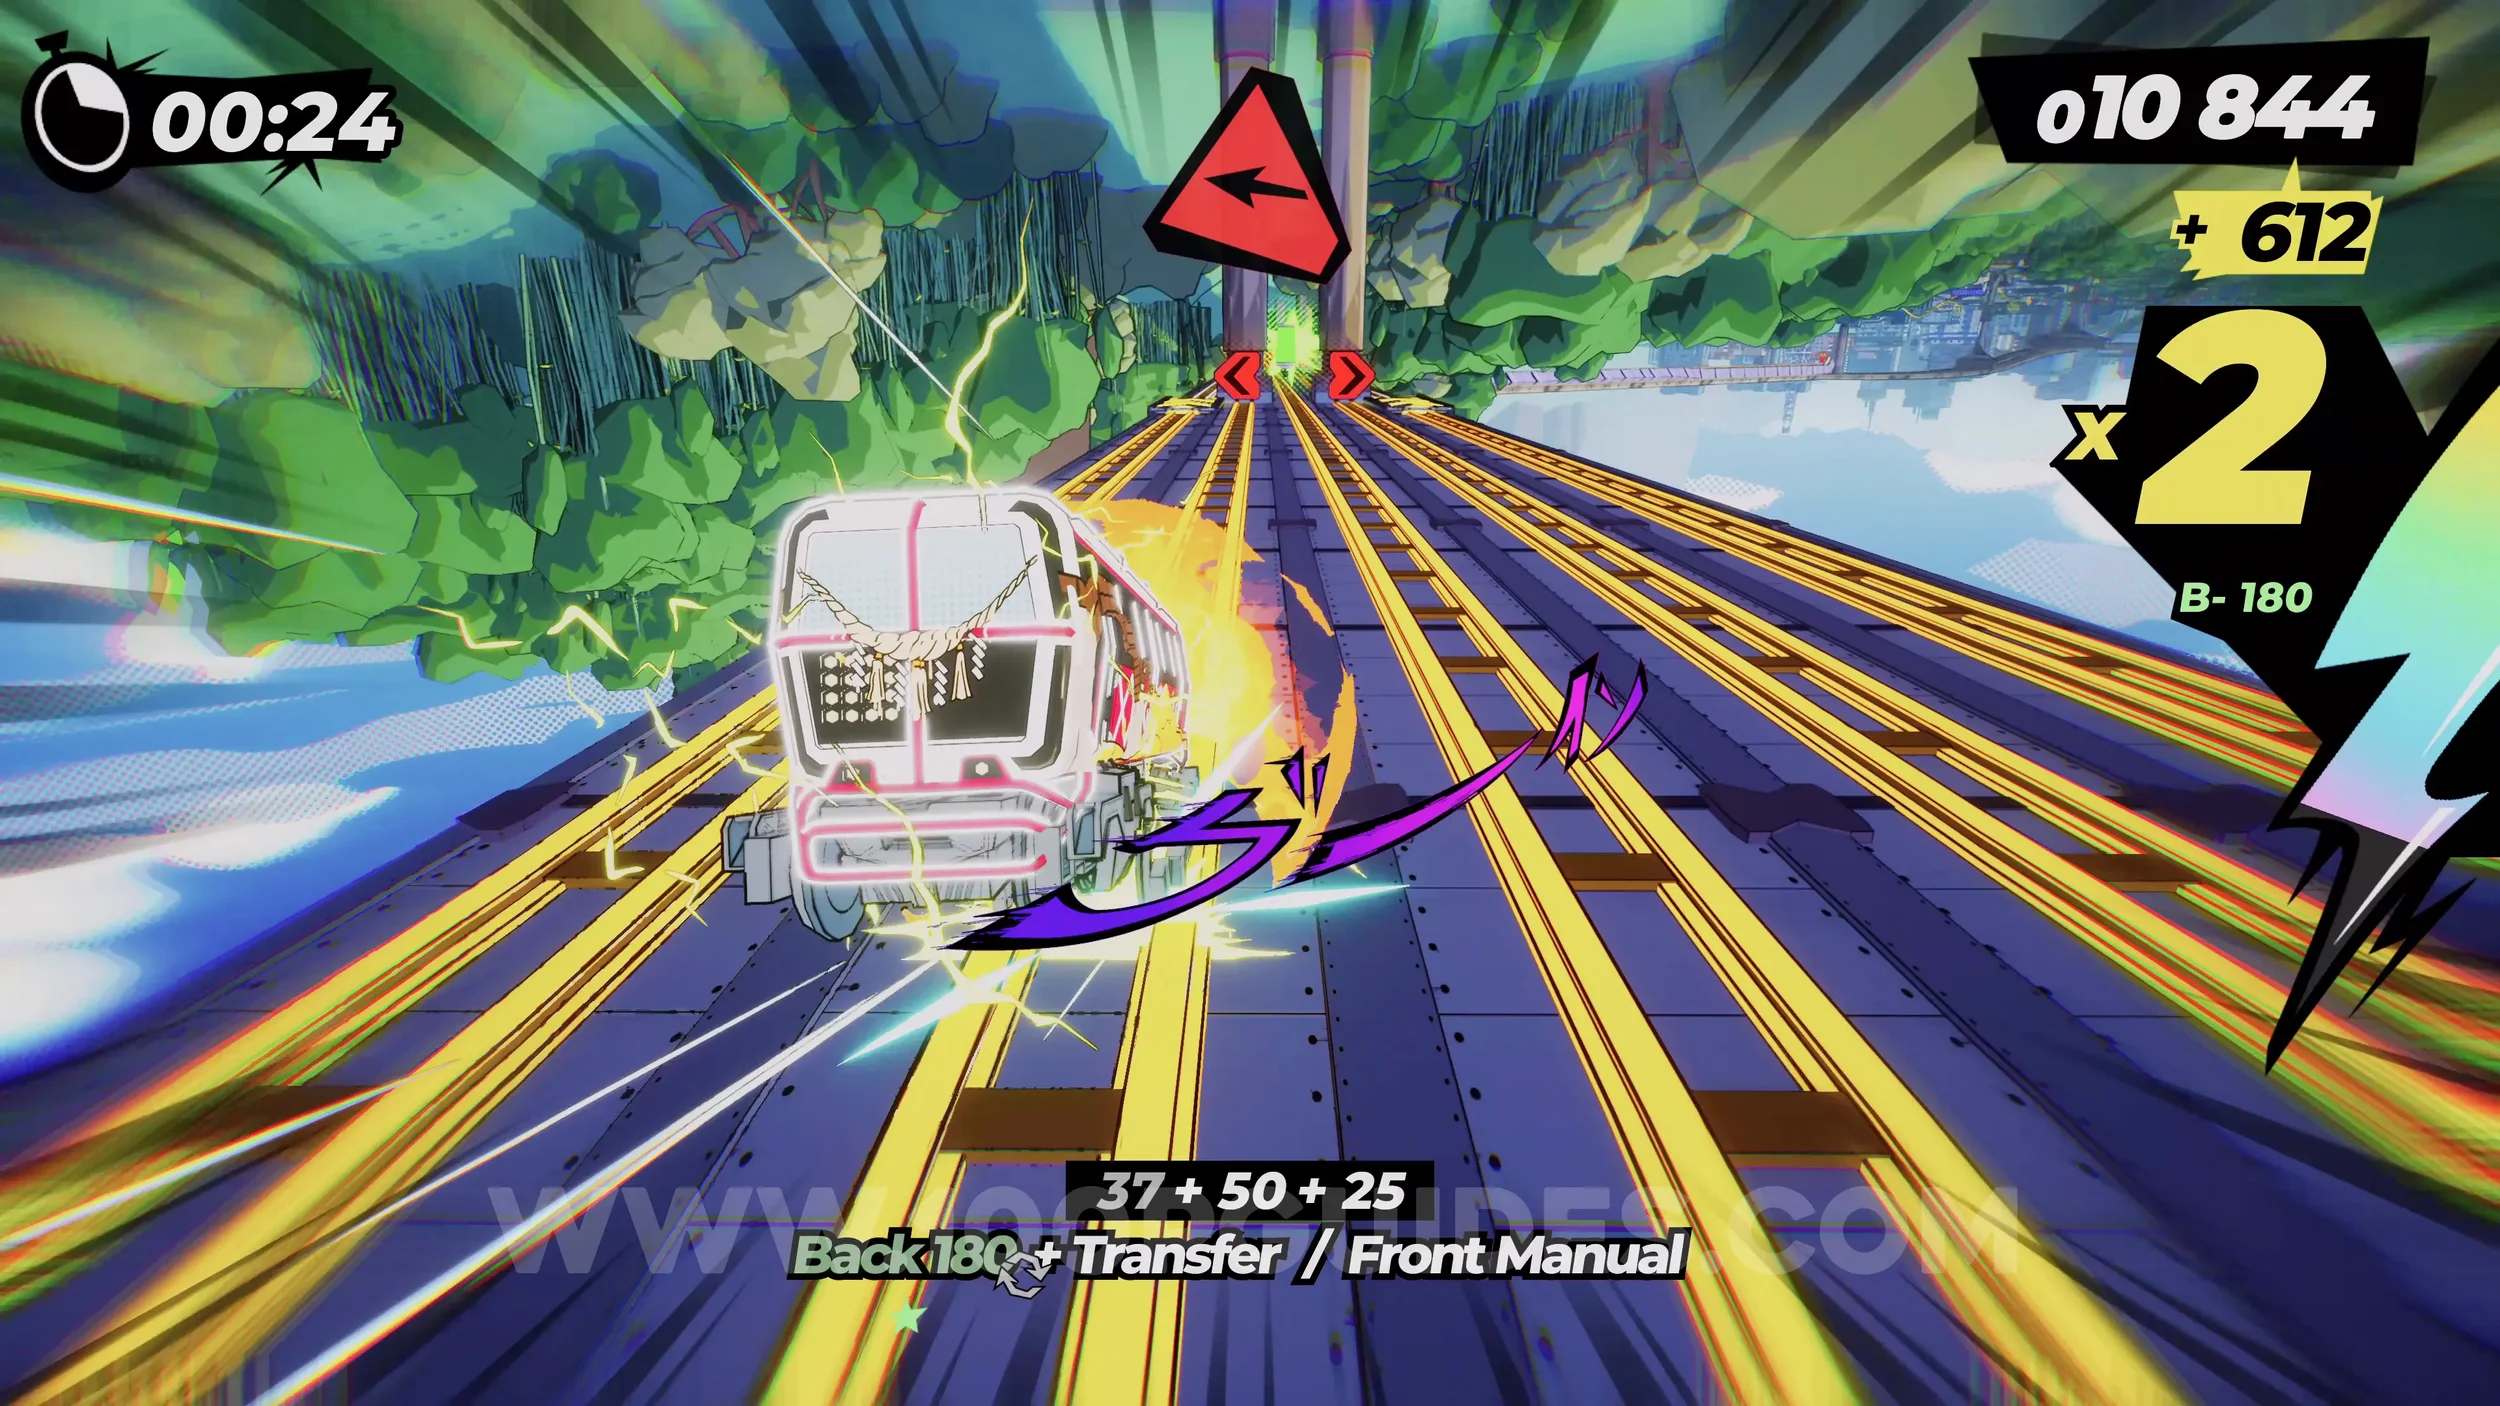
Gear (2/3). As you approach the city, you'll see two Yukaze (one on each side). Use either one to reach the next Yukaze with a rainbow monorail above it (you must have your special bar filled up). This will take you to the gear.
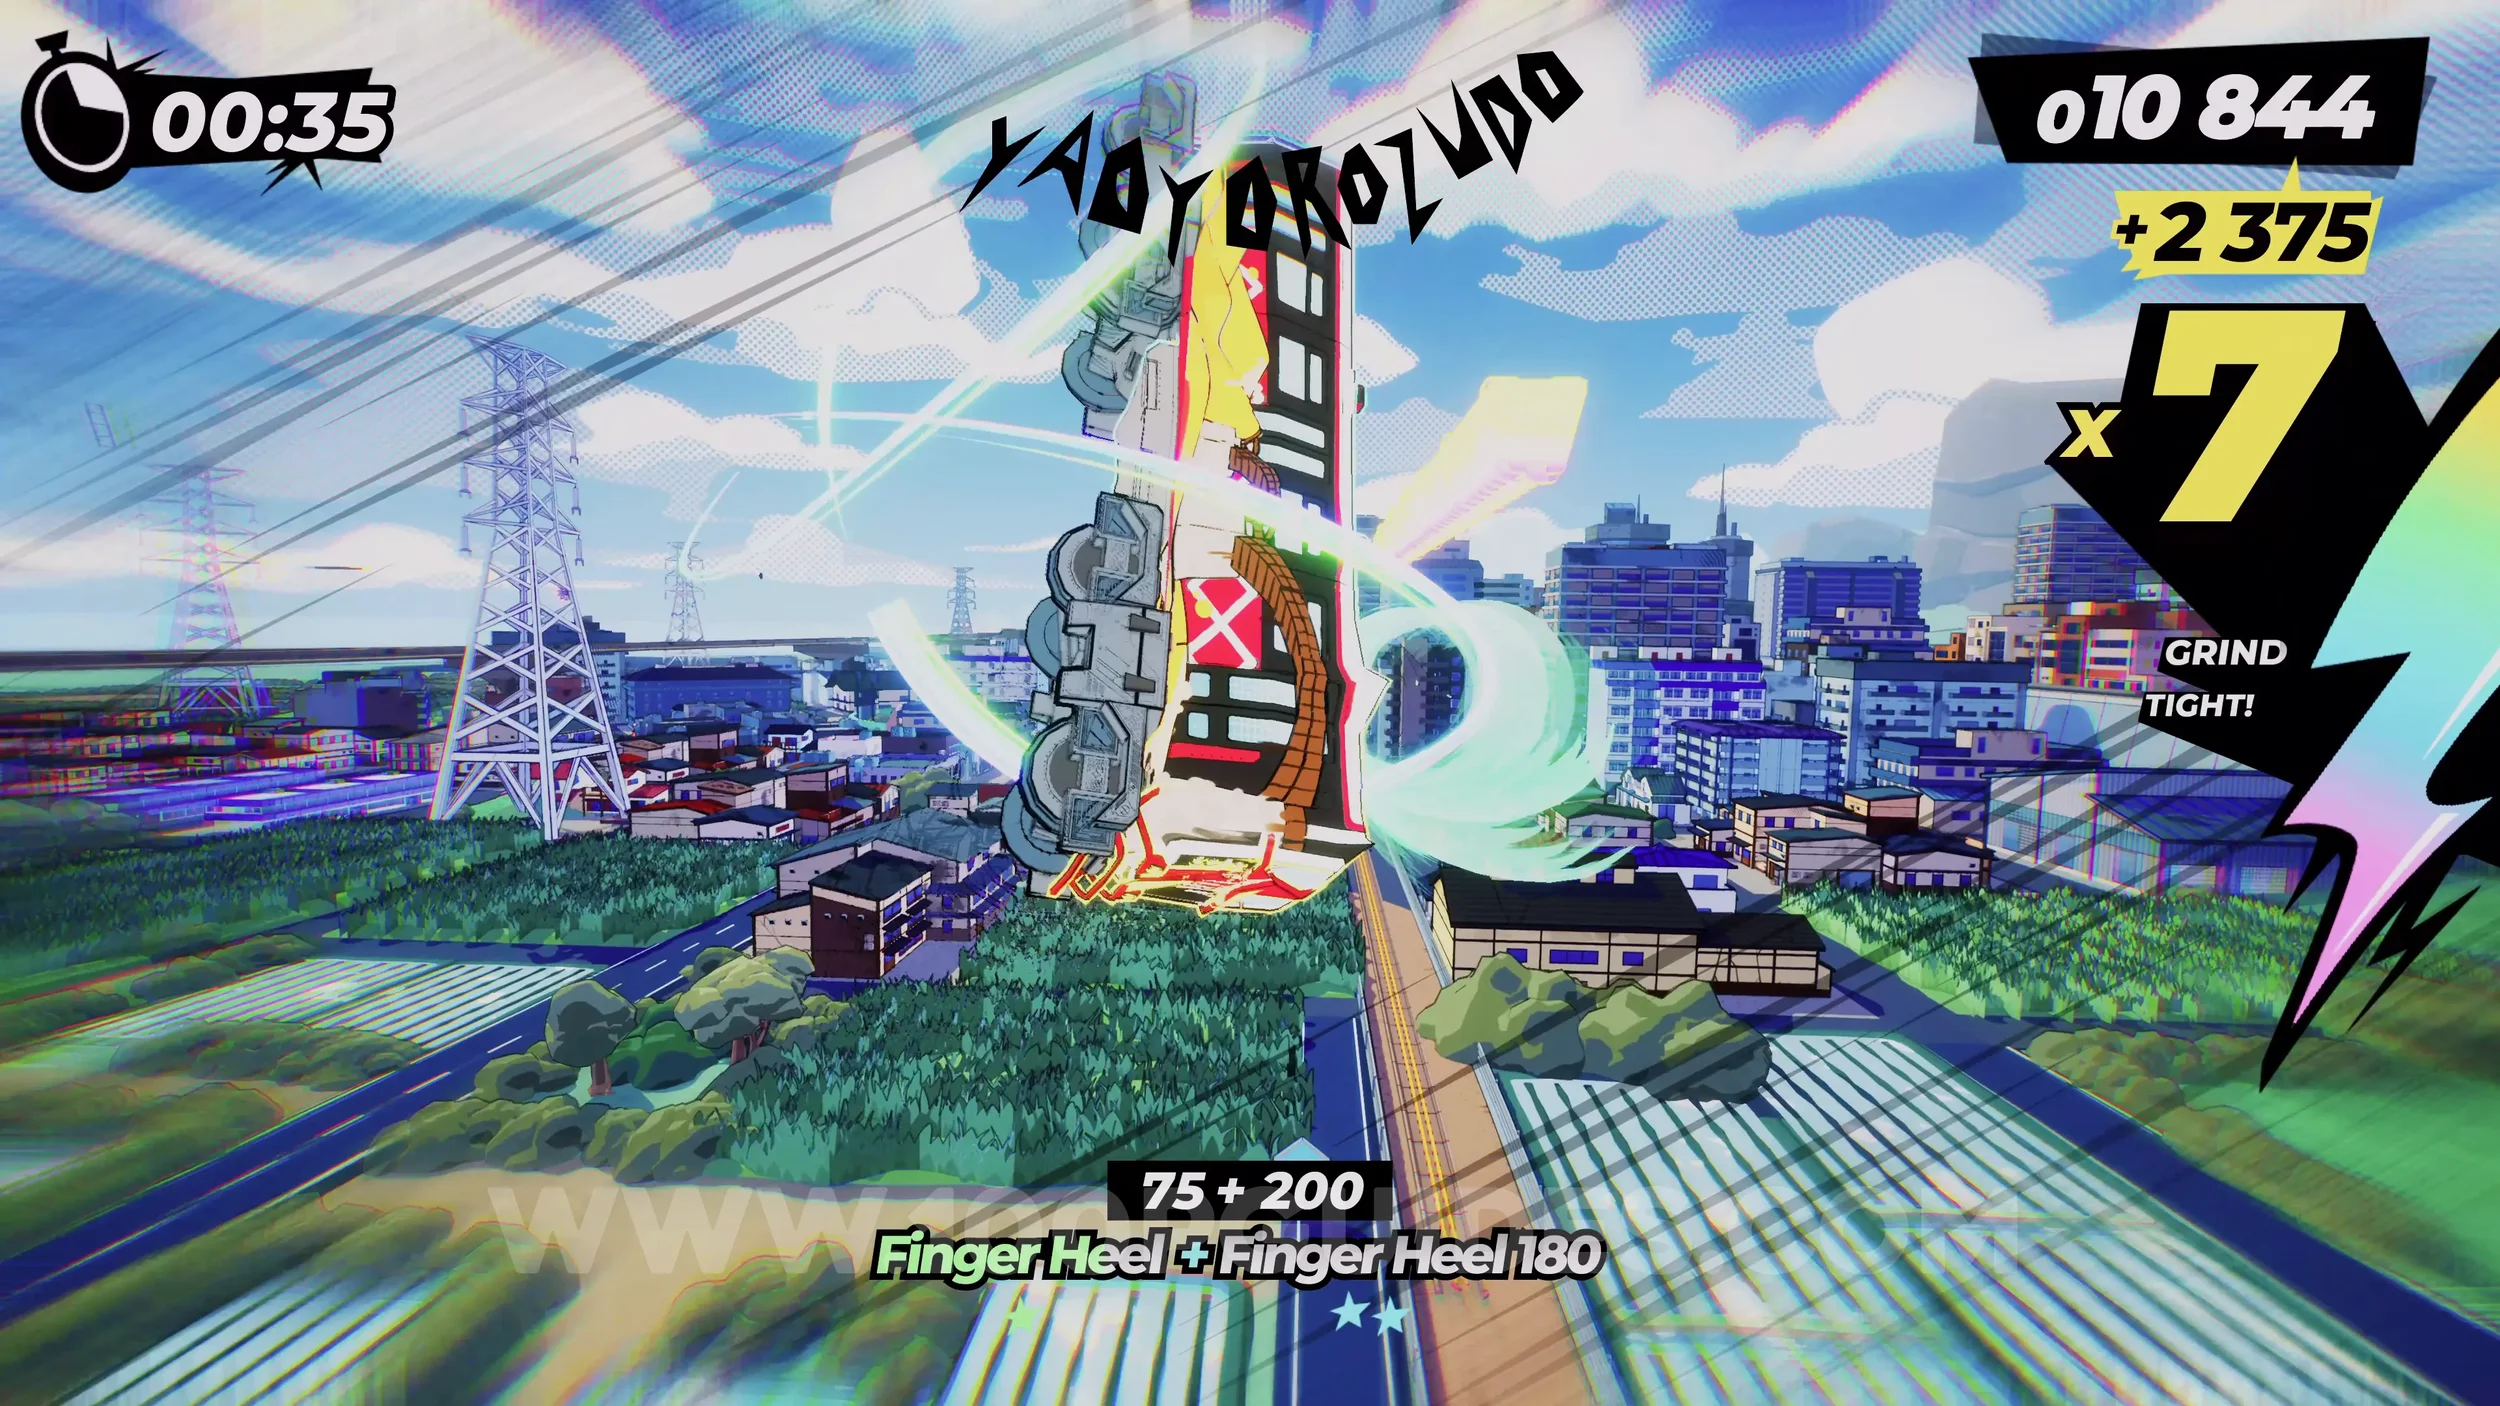
Dare: Risky Dodge 5 Drones Missiles. Continue through the level until you reach the part where the camera changes and a train chases you. This train will start firing missiles at you. Dodge five of them at the last moment.
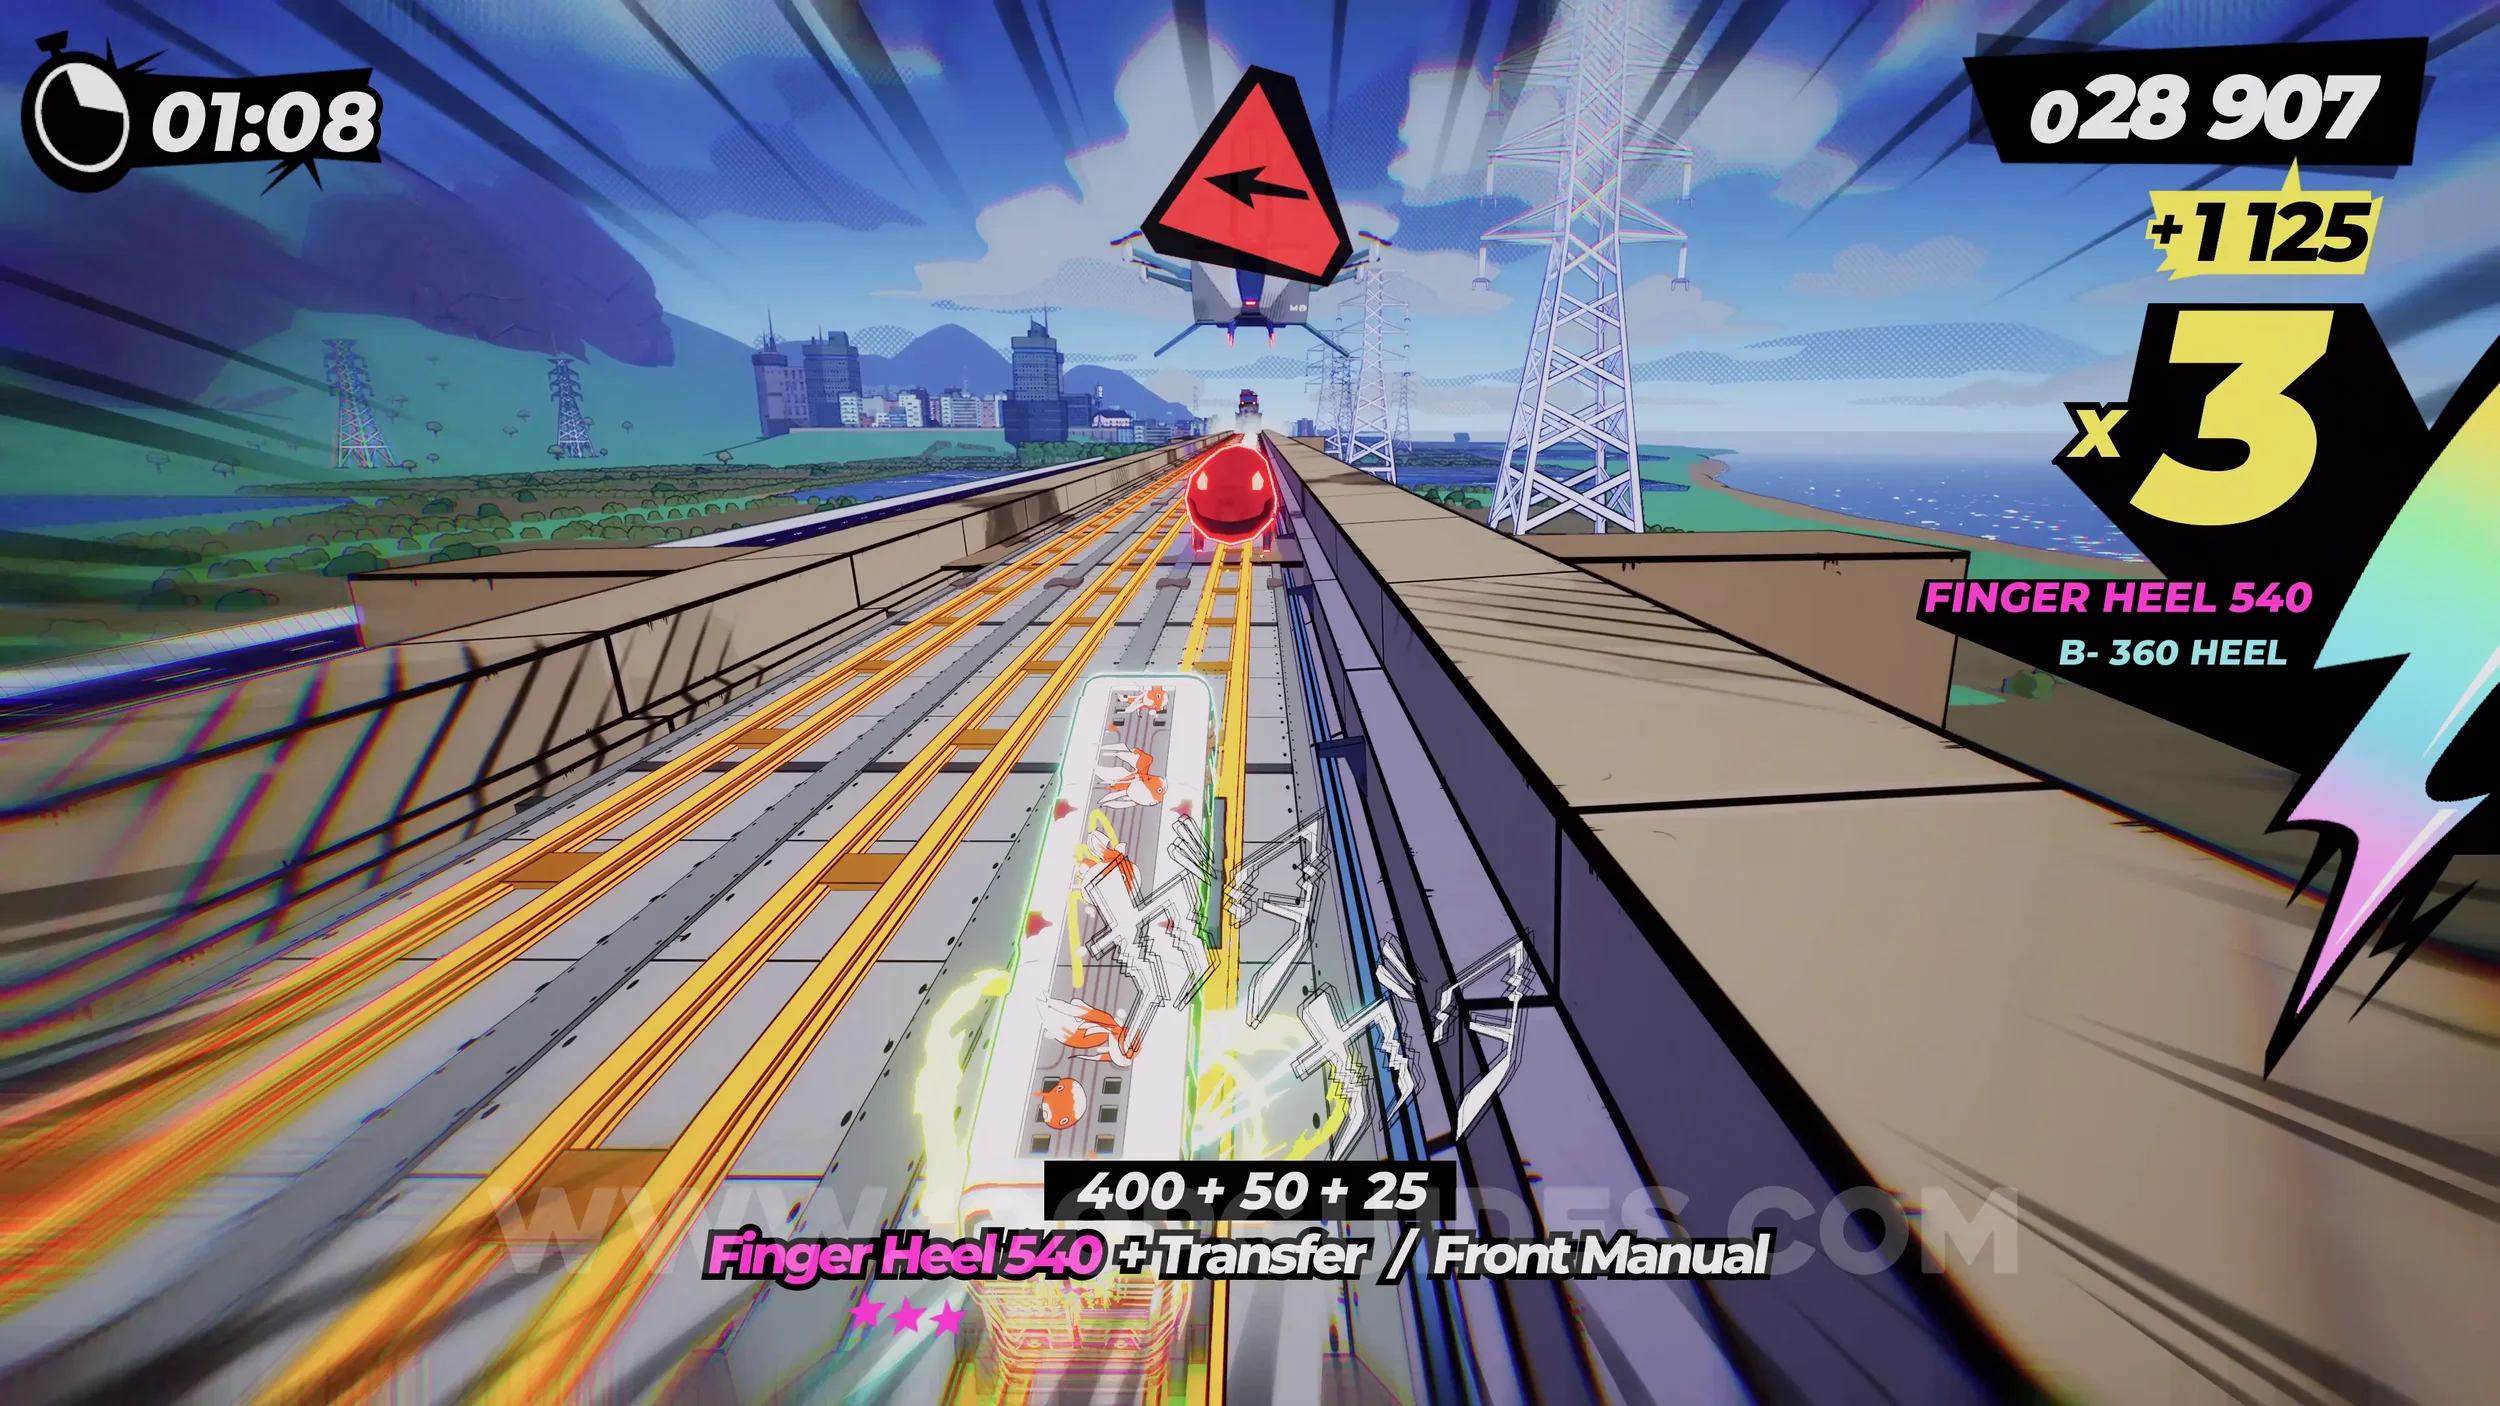
Dare: Trick During the Narrow Wallride. Immediately after the chase scene with the missiles, you'll ride a long wall. At a certain point on this wall, the path gets narrow. Use the analog stick to perform any tricks as you go through the narrow section.
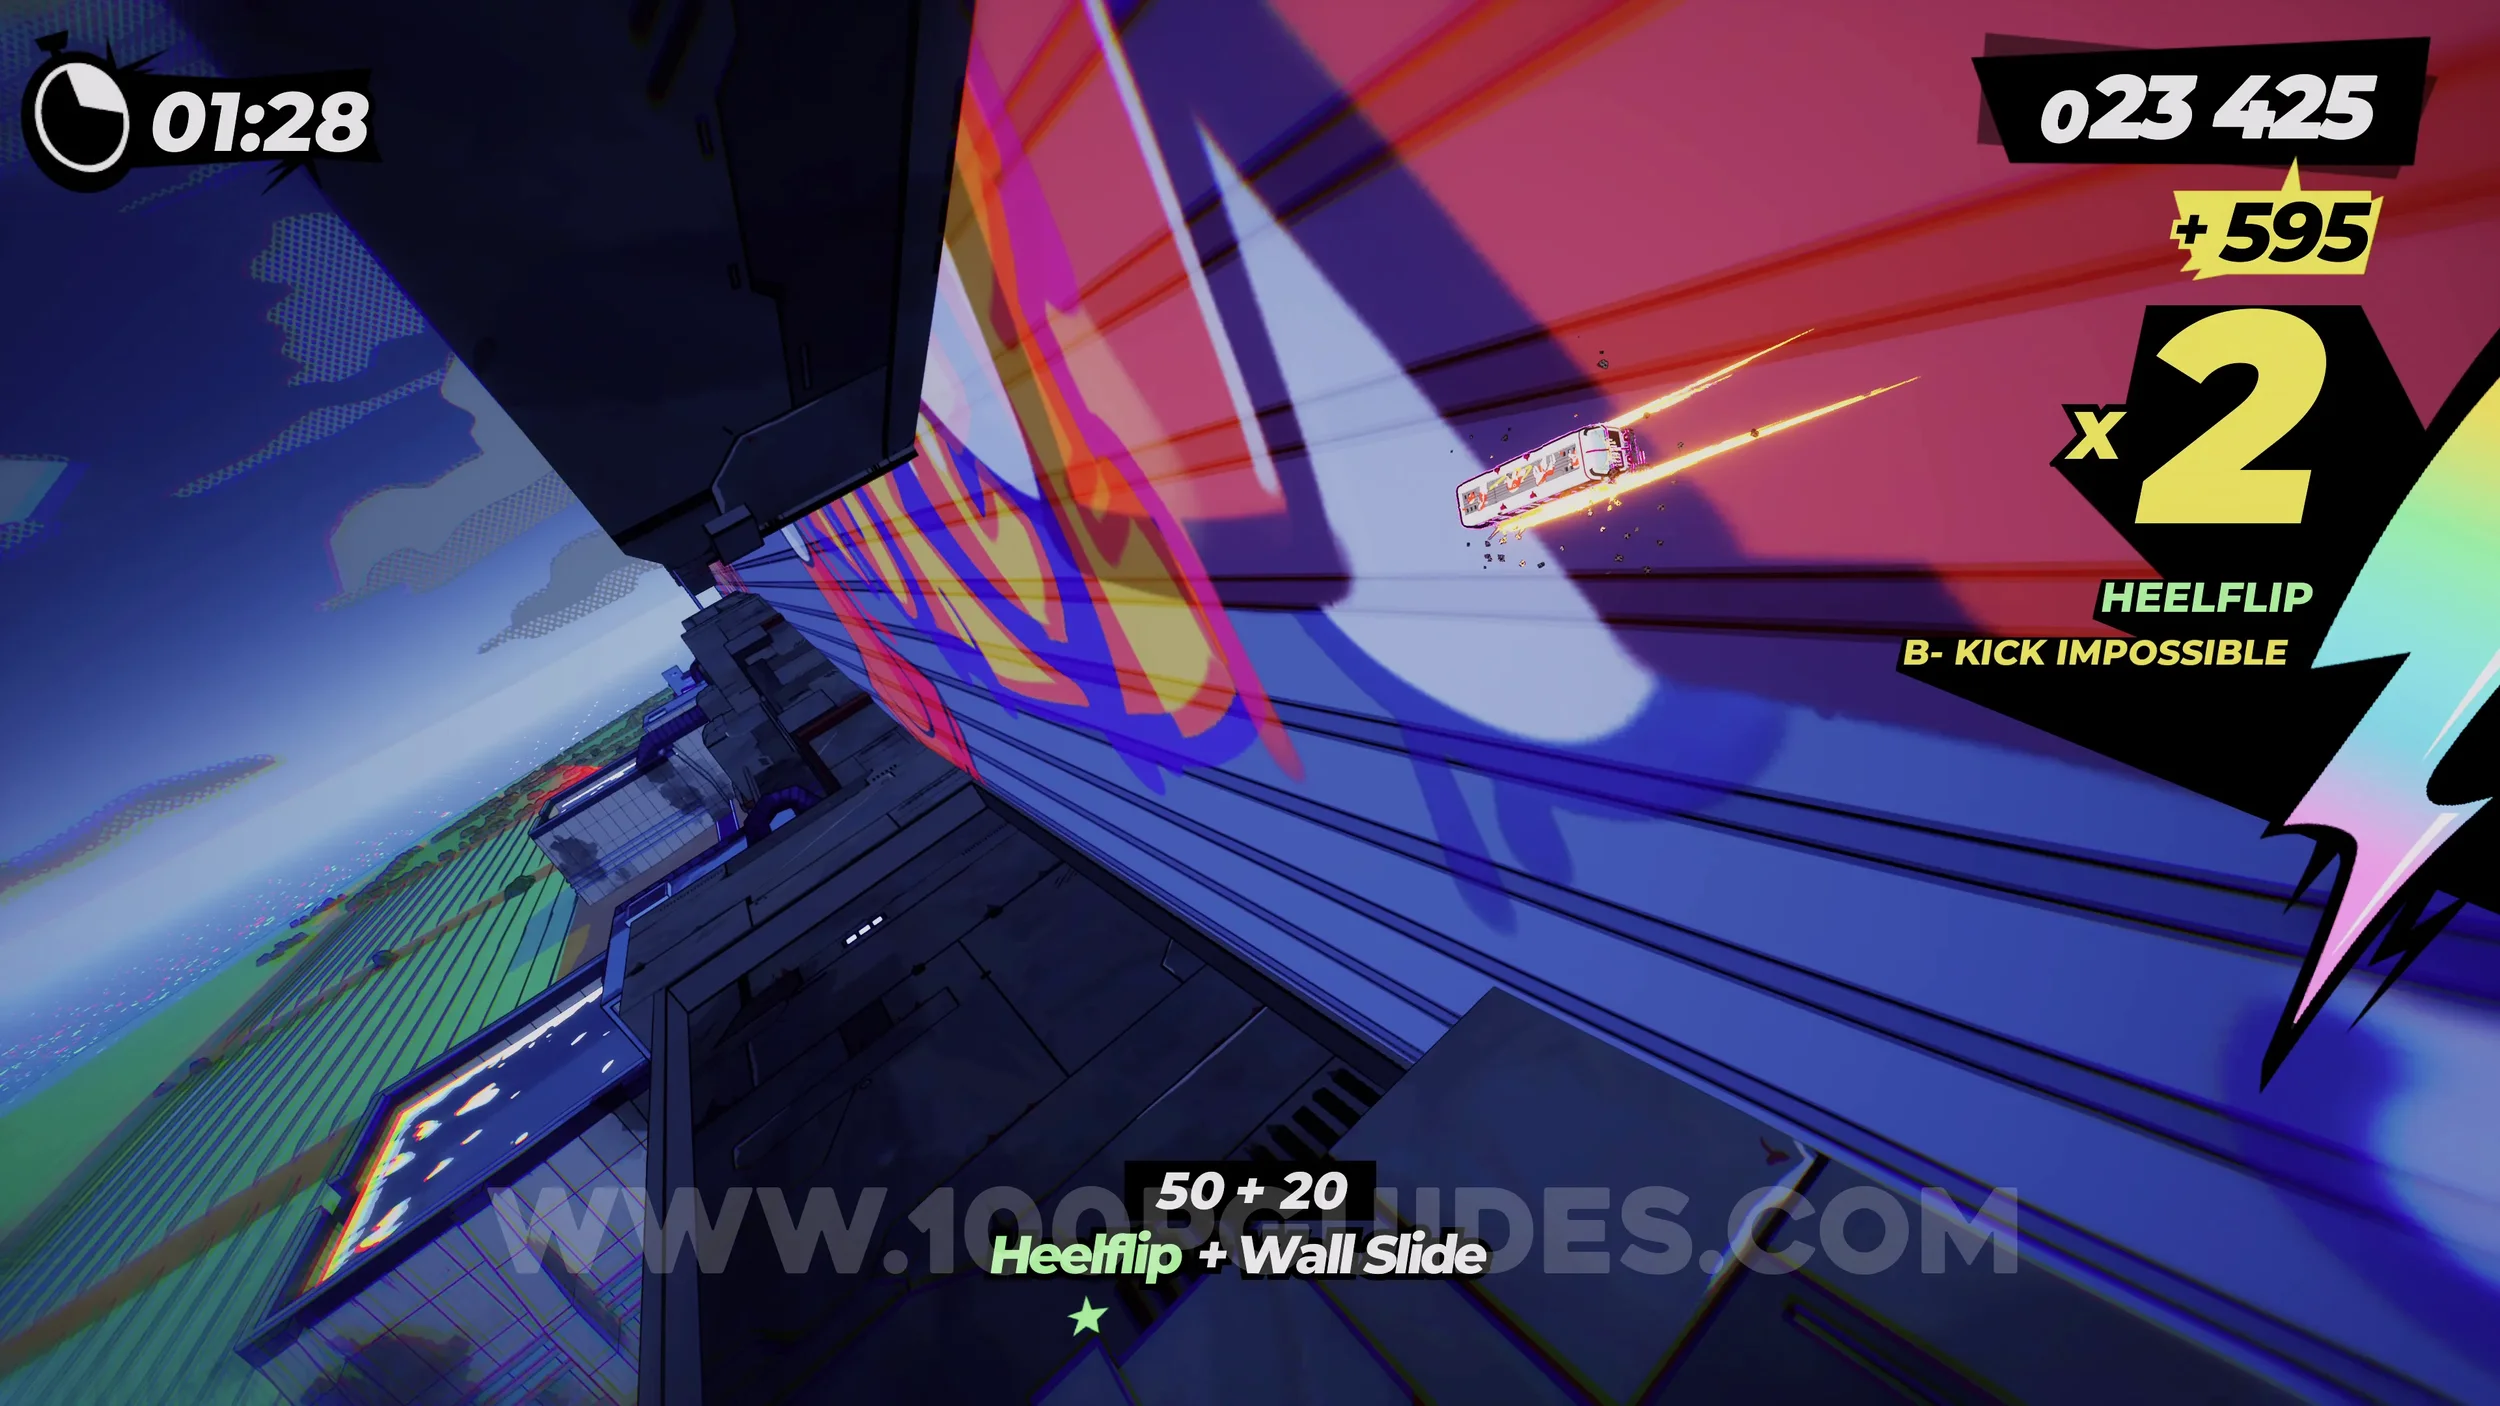
Gear (3/3). In the middle of the tracks in plain sight soon after the wallride.
Dare: Perform a Hardcore Trick on a Vert Transfer on the City. In the city you'll reach a section where you have to dodge more police trains. Here, you'll use a vert jump off a triple track. Perform any hardcore trick during this jump. You can see the list of hardcore tricks in the Tricktionary in the pause menu.
Film Roll (1/1). Found on the wallride on your left as soon as you land the previous vert jump.
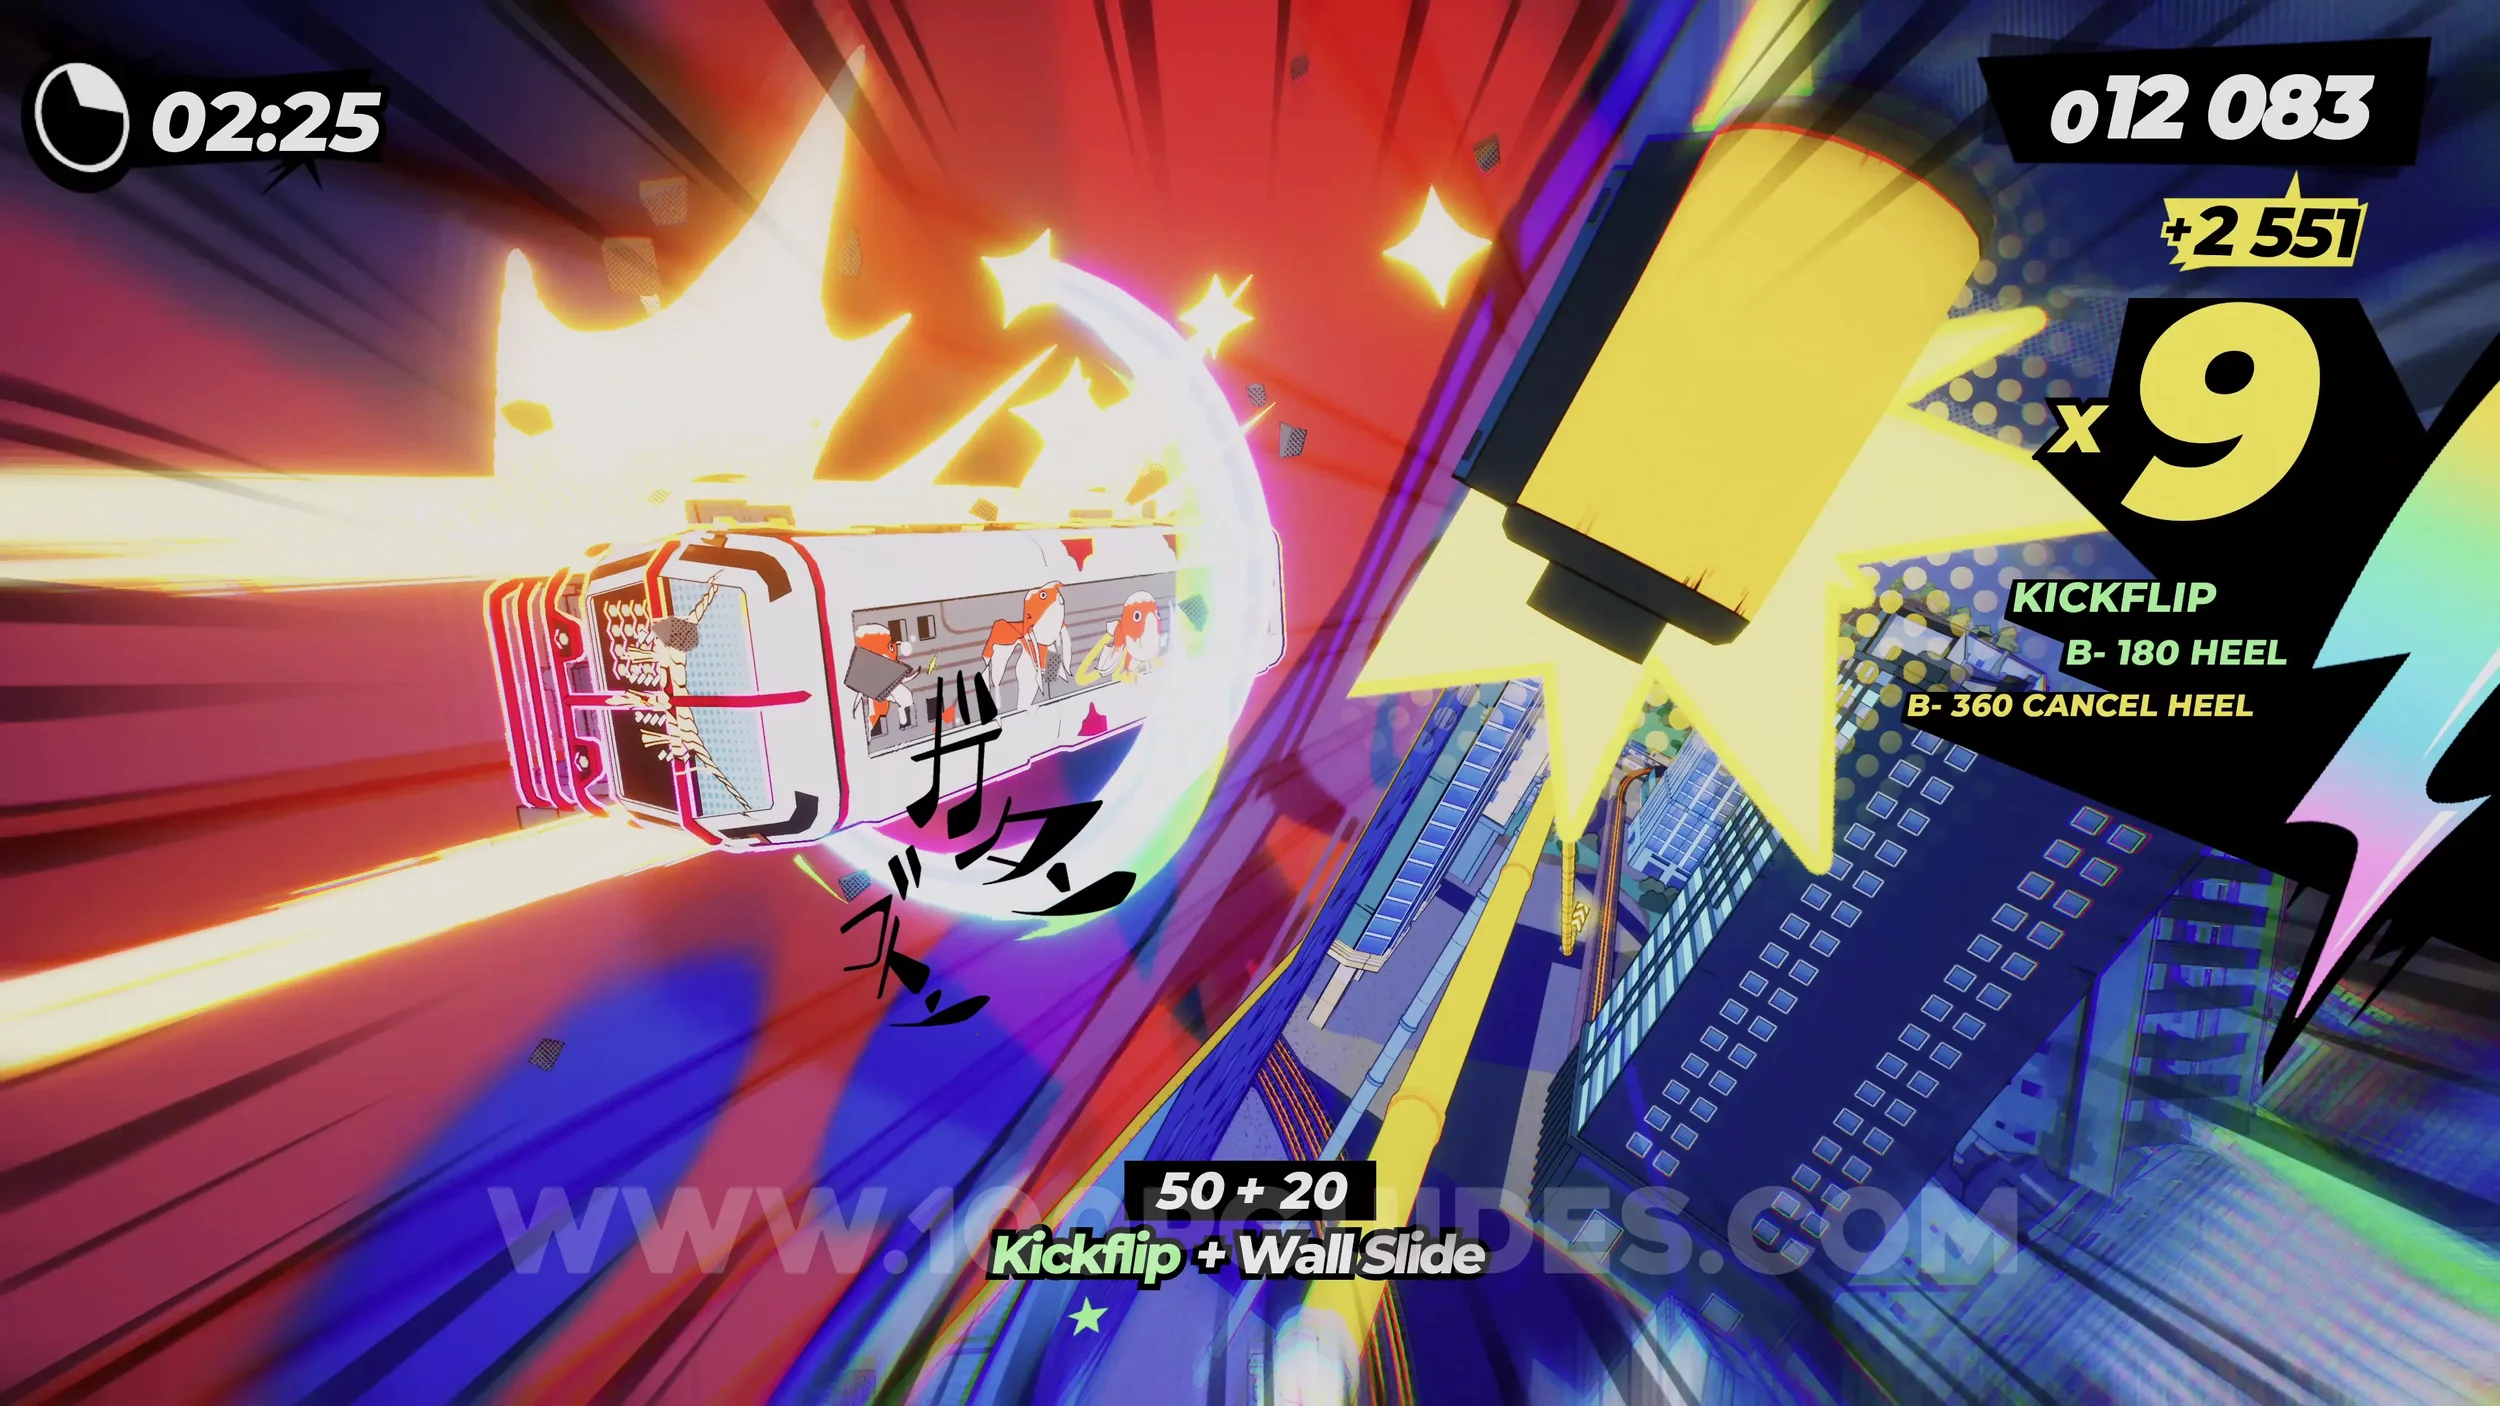
Dare: Activate 3 Yukaze with Advanced Tricks. Self-explanatory. Activate three Yukaze (wind currents) by doing advanced tricks. You can find the list of advanced tricks in the Tricktionary in the pause menu.
Dare: No Crash Finish. Self-explanatory. Finish the level without crashing.
6-3-1 A Long And Winding Road
Gear (1/3). At the end of the halfpipe, just before the water section.
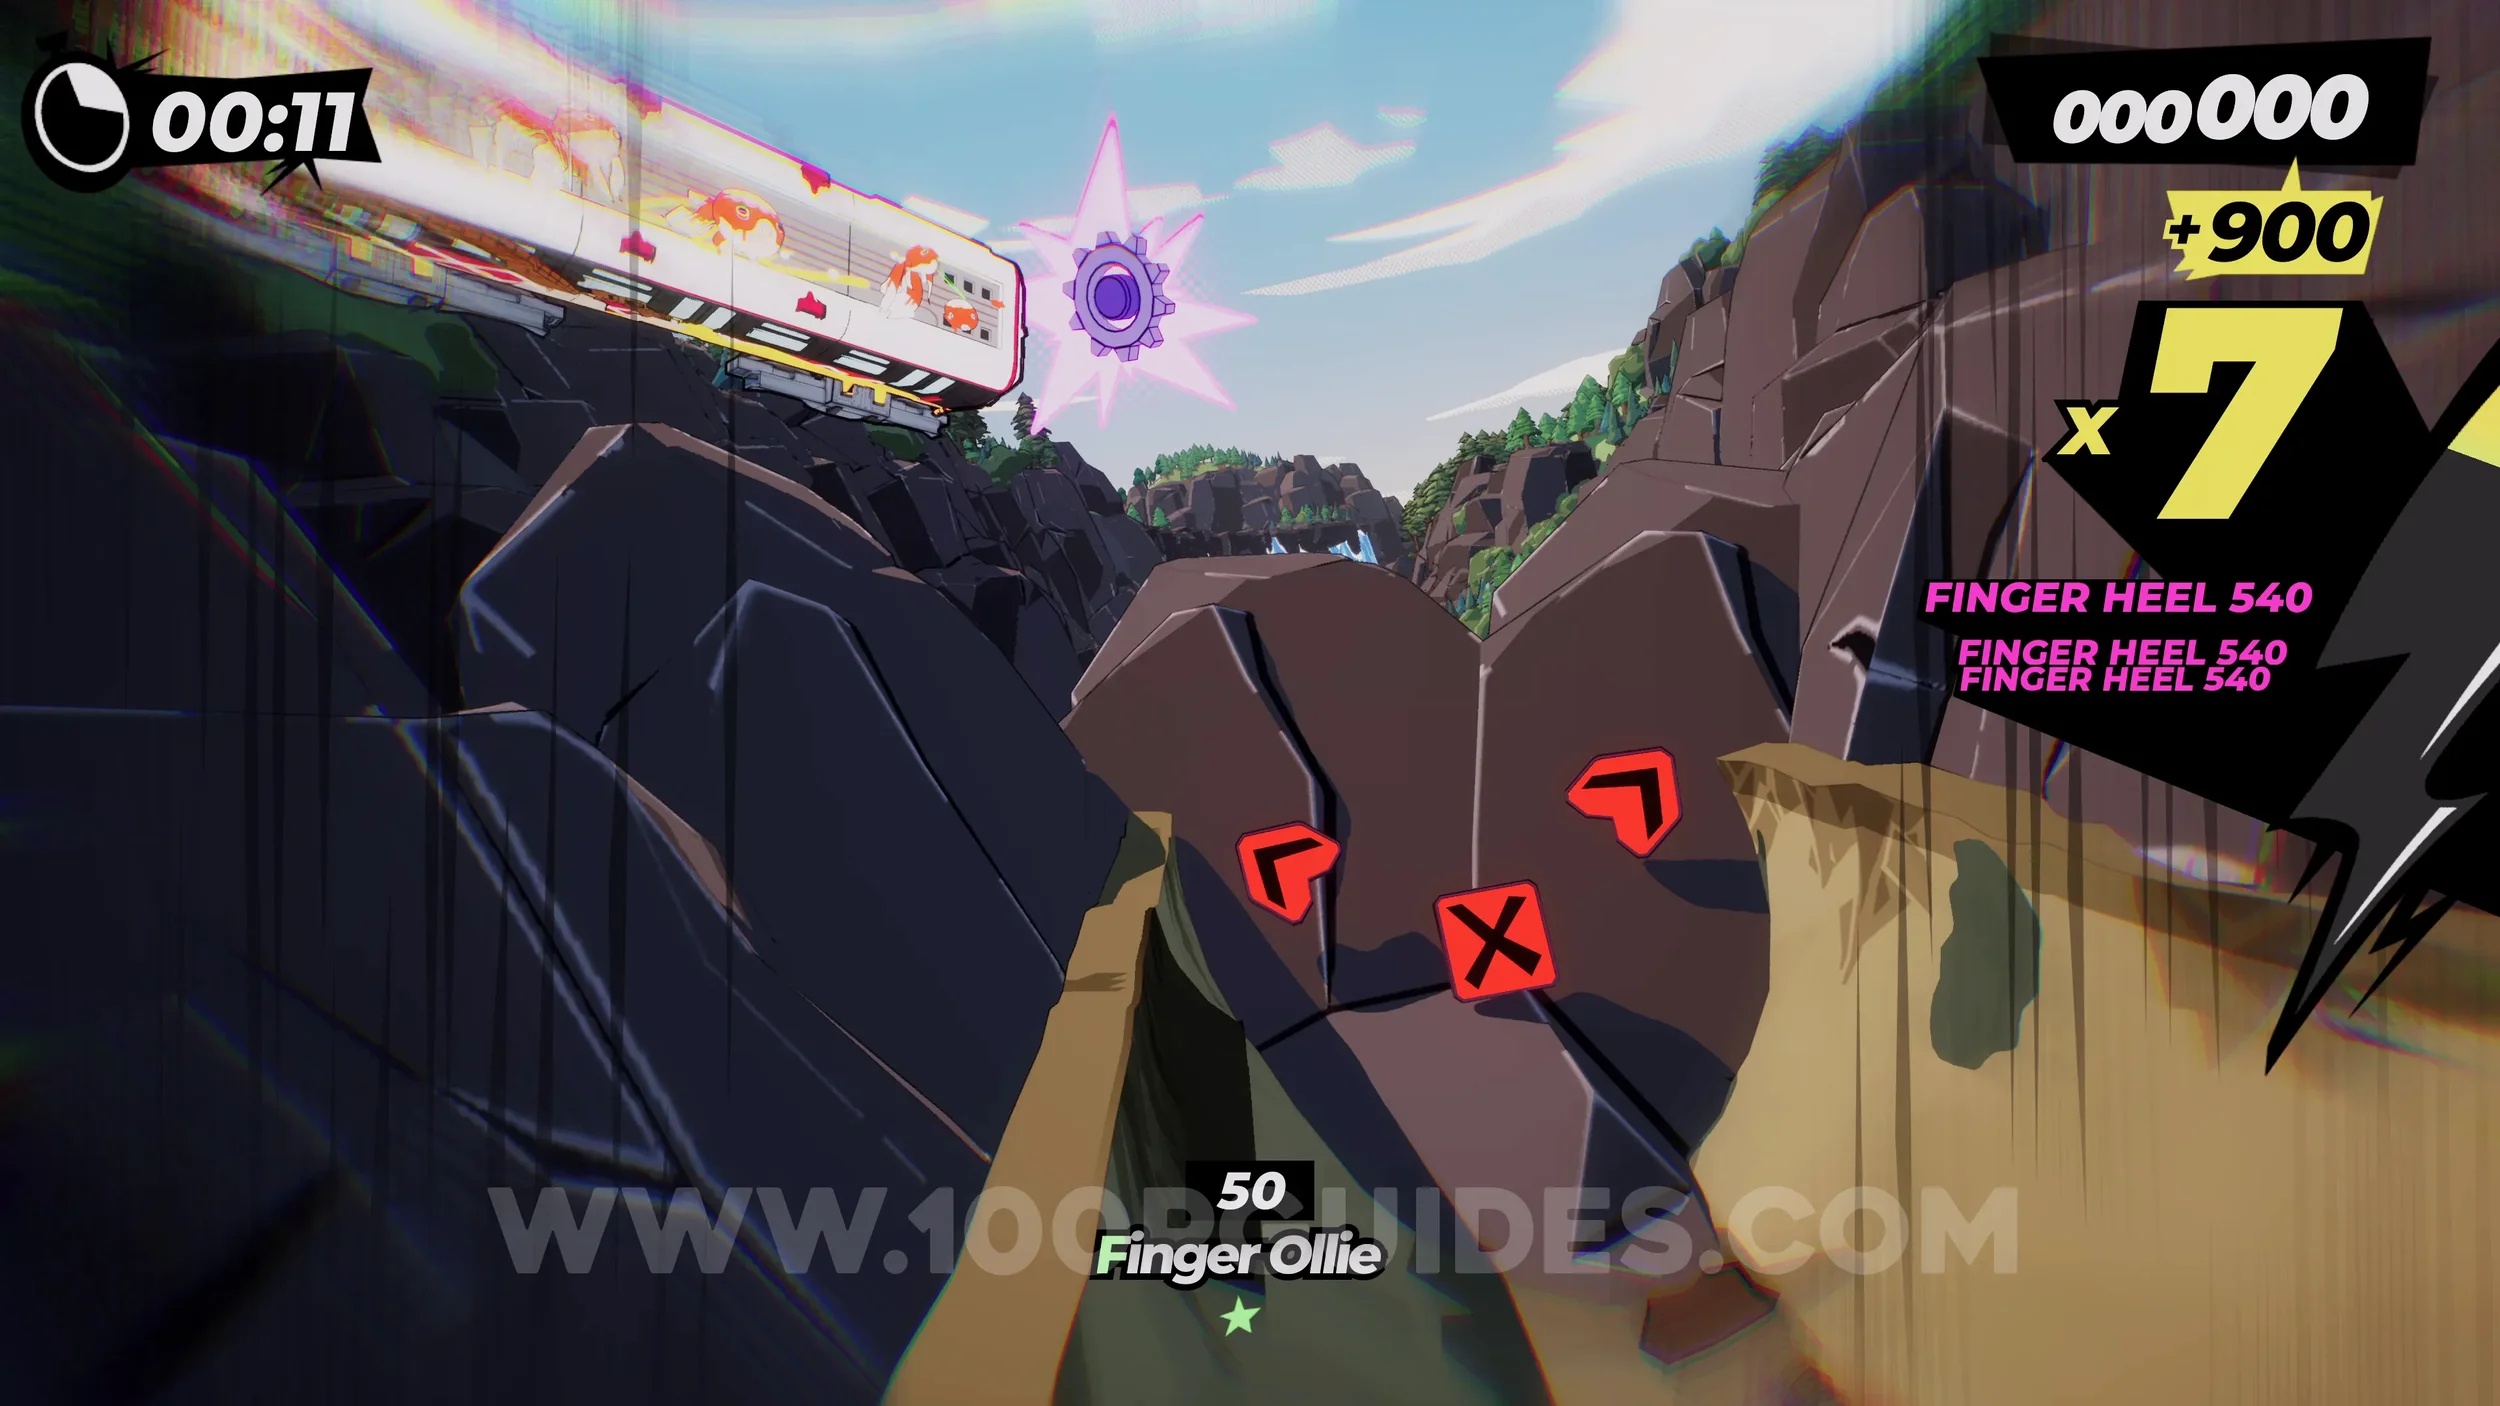
Film Roll (1/1). After jumping over a small dam, you'll see a yellow sign with a film roll on it pointing right. Follow it to get the film roll.
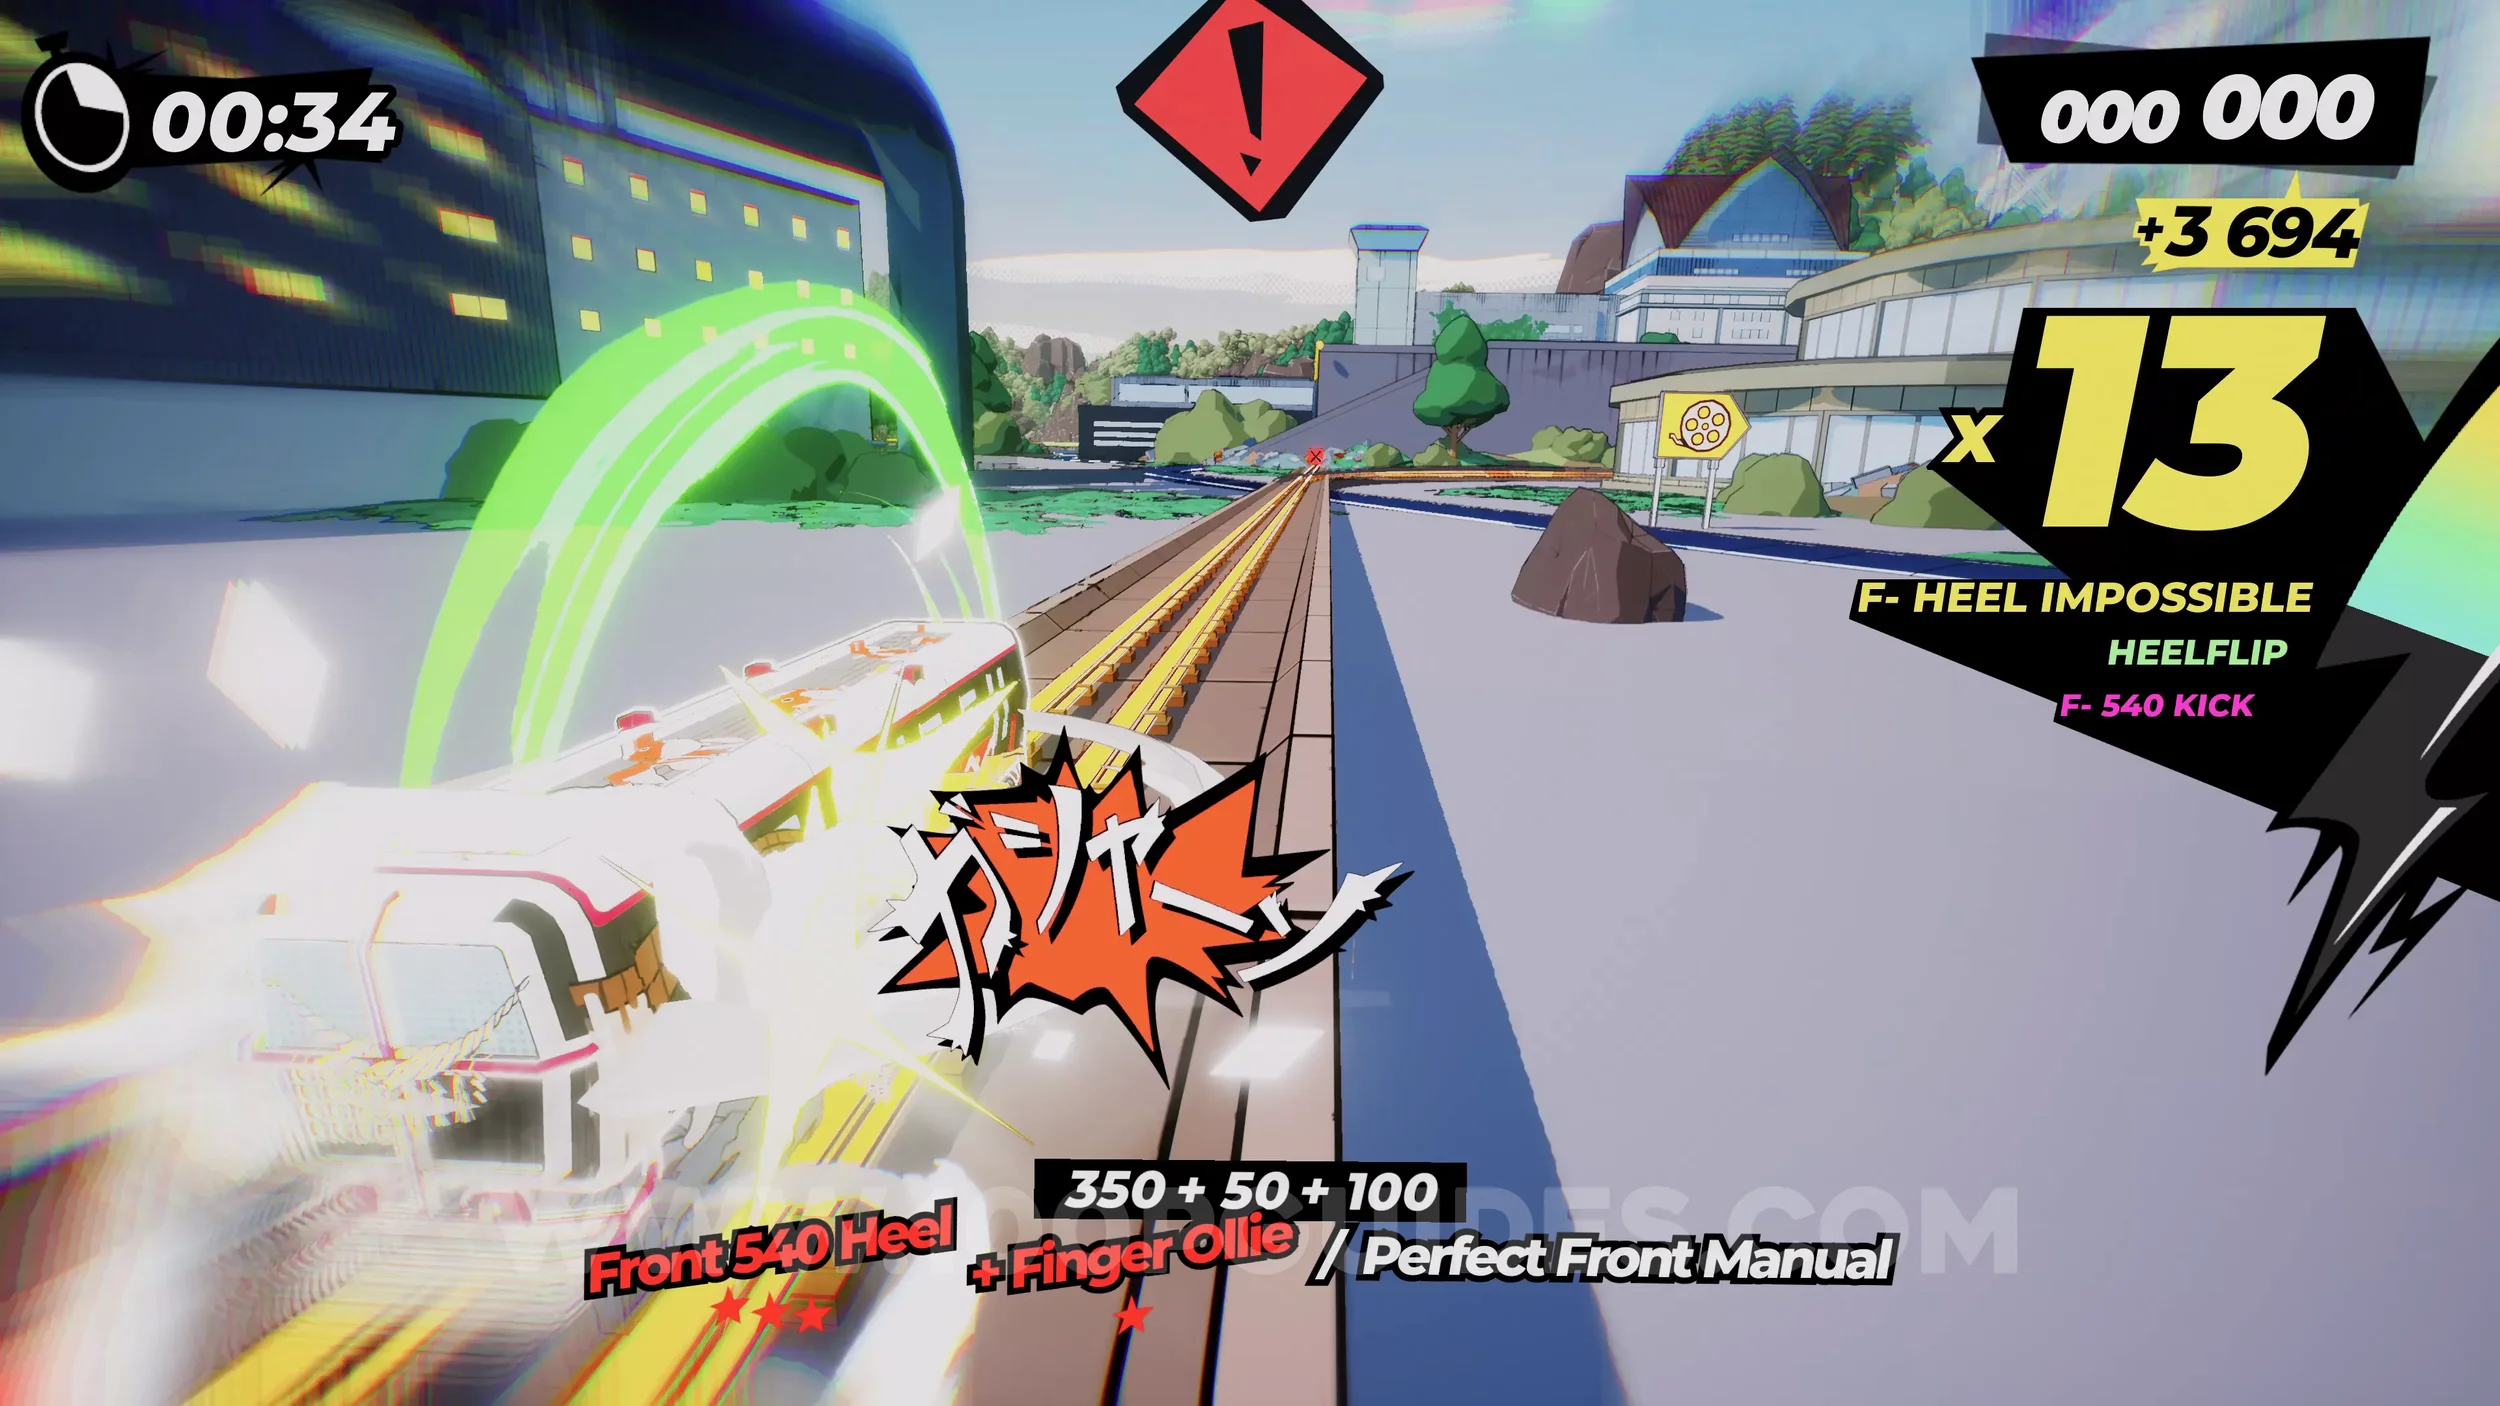
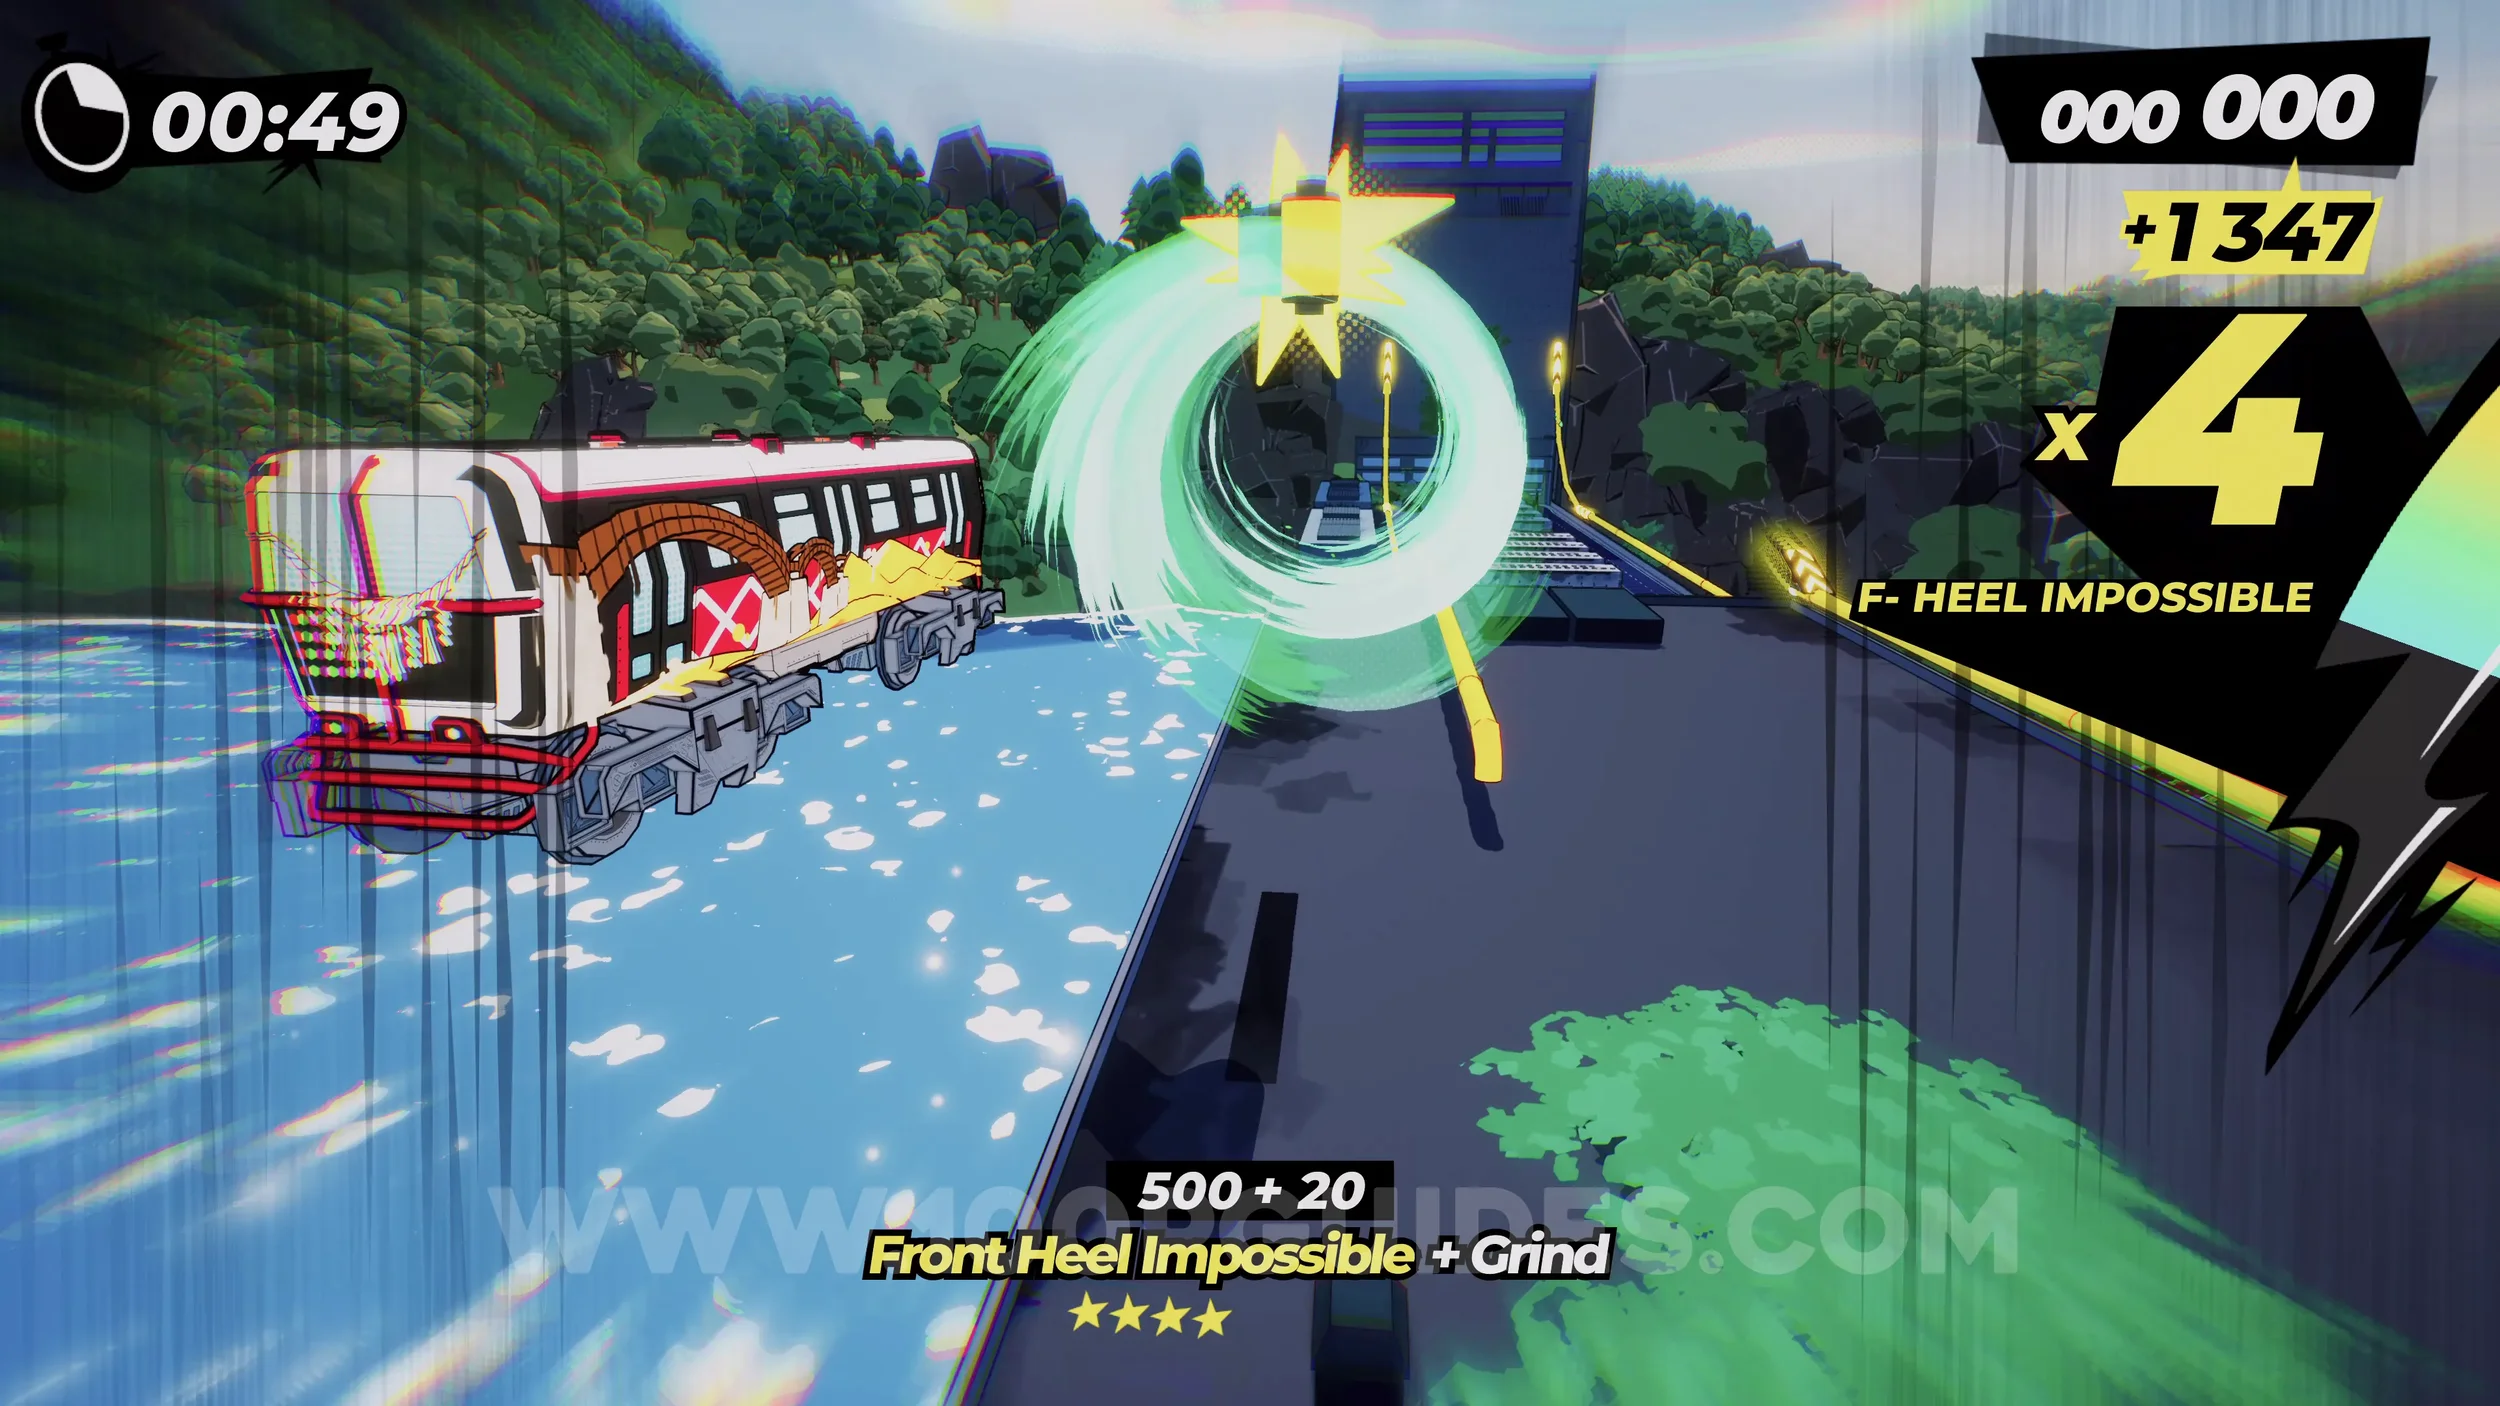
Gear (2/3). Continue through the level until you reach a halfpipe with water in it. Here, look out for the gear on the rideable wall on the right side.
Spray Can (1/1). After dodging a billboard with an air stomp, you'll reach a section with three monorails and some Yukaze. Stick to the right side monorail when possible to get the spray can.
Dare: Scare the Birds at Shirakawa-go. Soon after the previous collectible, you'll cross atop some roofs. After that, look out for the horn sign in the middle of the screen and press R3.
Gear (3/3). At the end of the next bridge, you'll see a blue sign with a gear on it on the left side. If you have your special bar filled up, you'll see a rainbow track continuing straight. Use it to get to the gear.
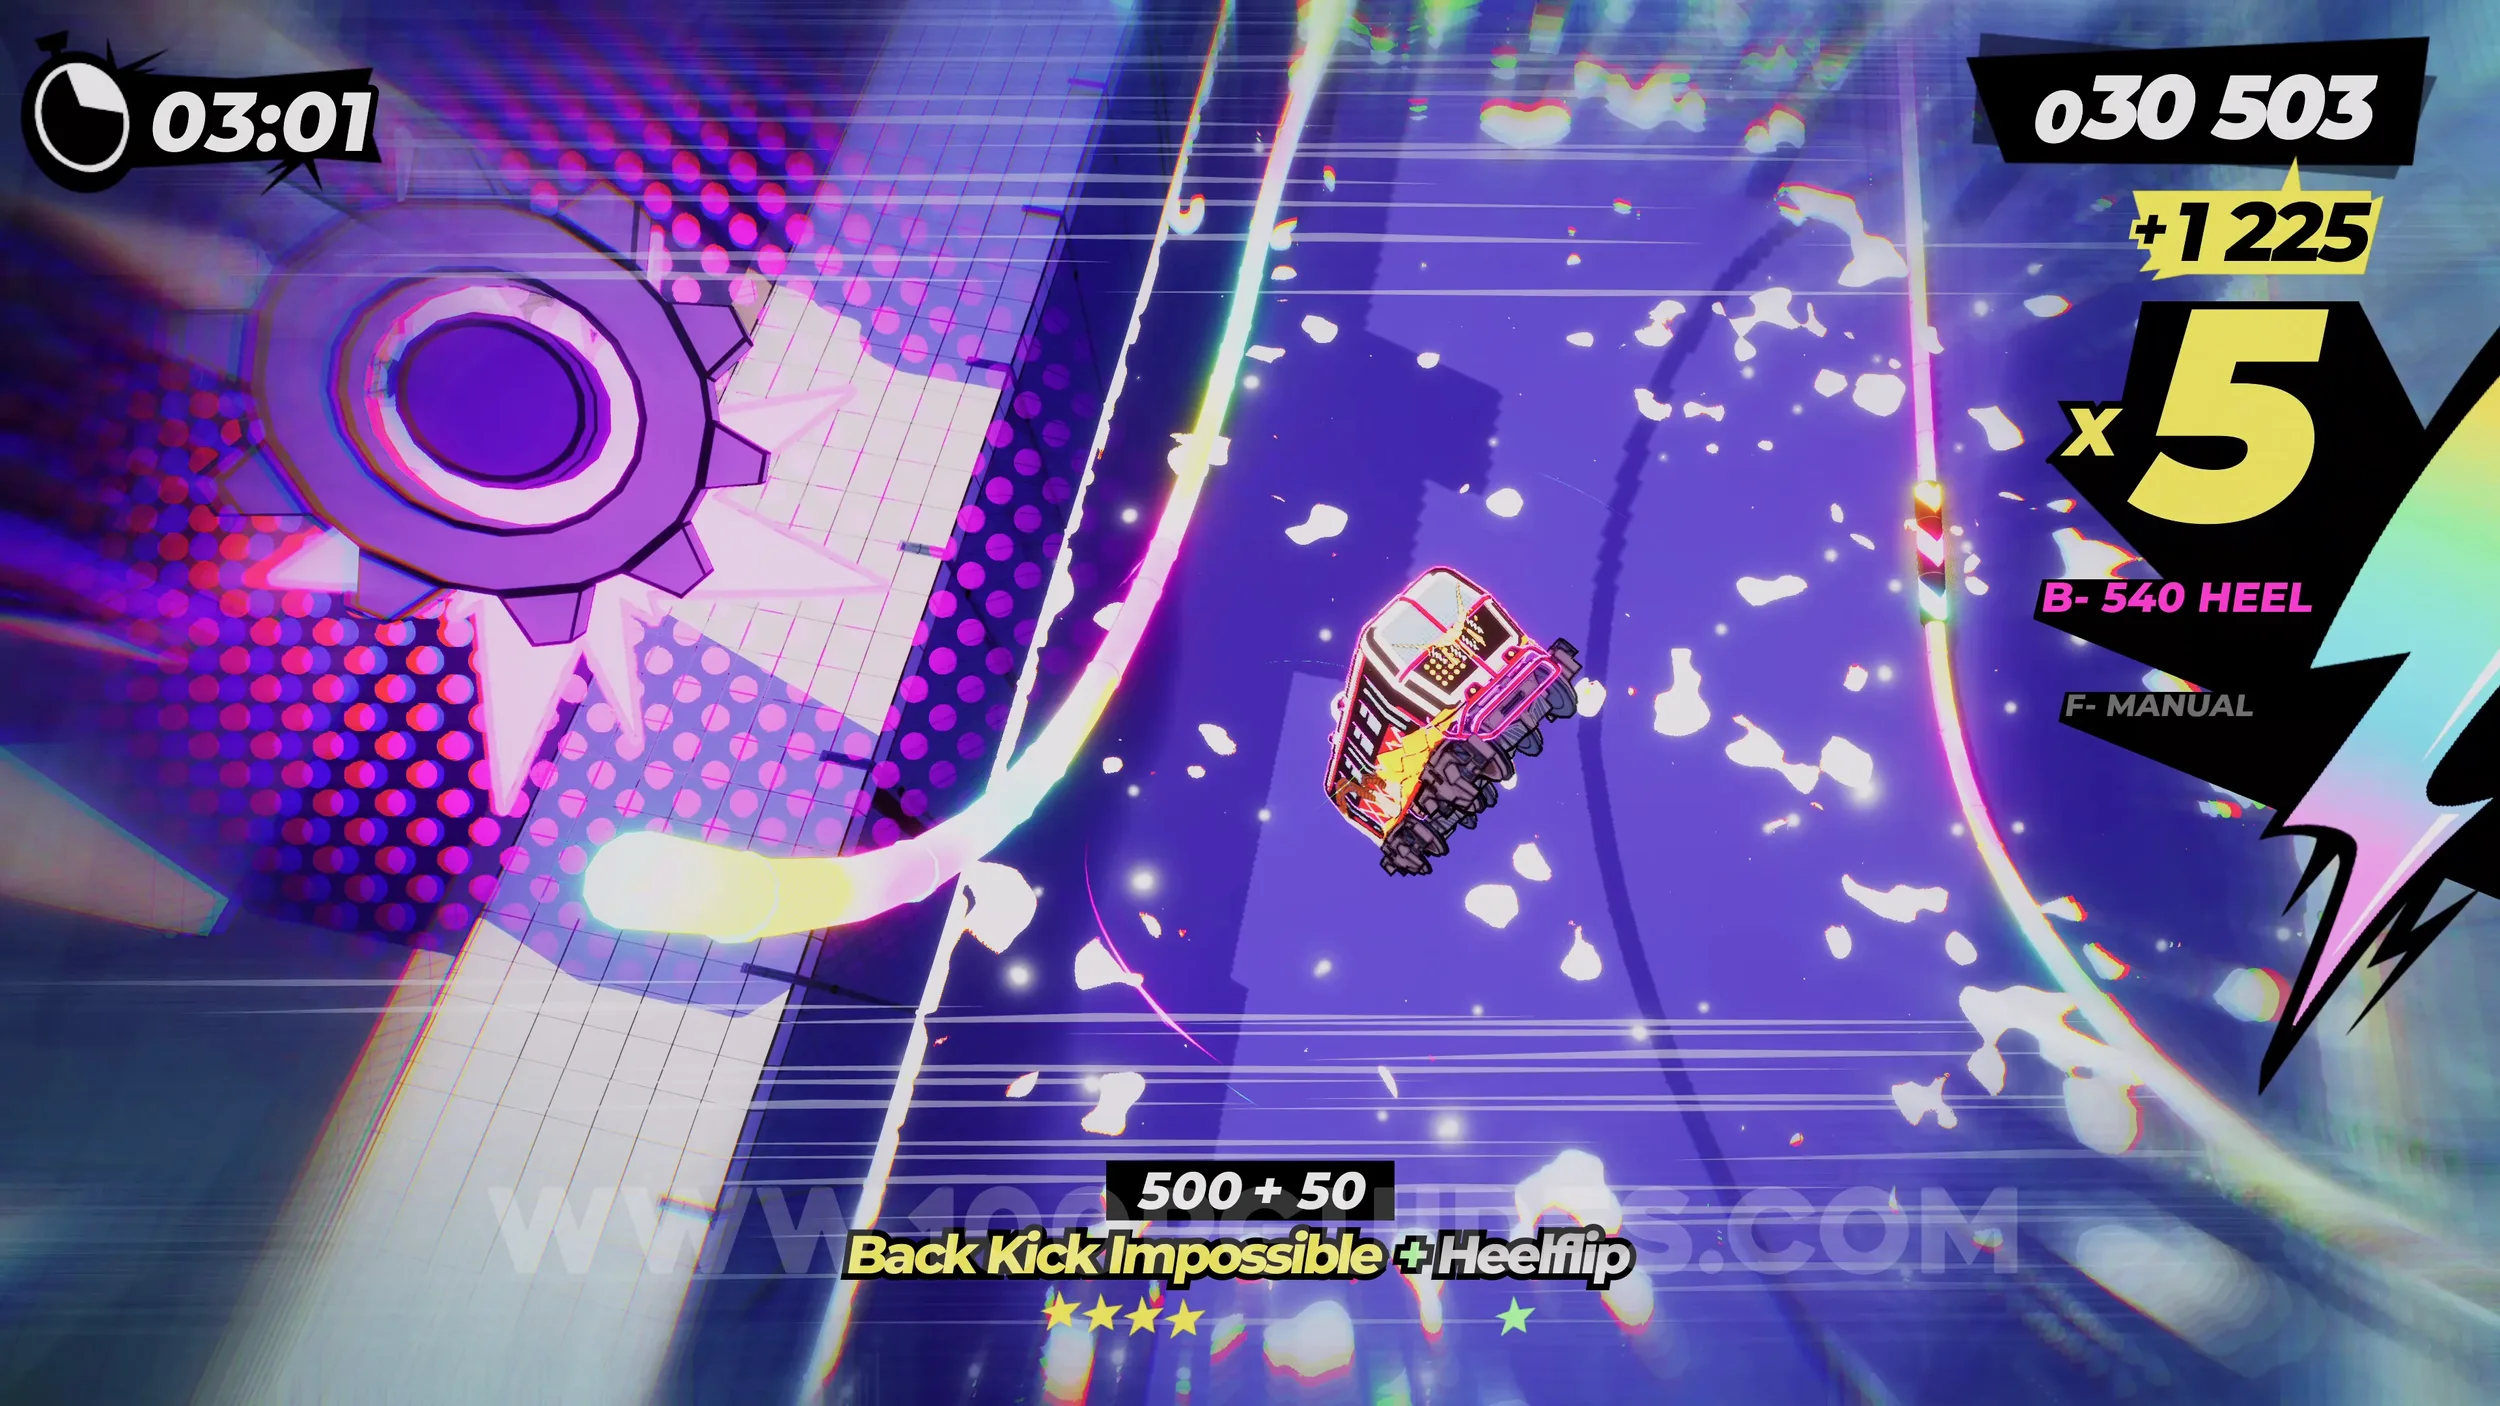
Dare: Perform a Perfect Yukaze with an Advanced Trick. Self-explanatory. Activate a Yukaze (wind current) at the perfect moment with any advanced trick.
Dare: Perform 30 Non-Aerial Tricks. Simply perform 30 tricks on wallrides, monorails or grinds.
Dare: Spend under 00:40 Riding Tracks. Self-explanatory.
Dare: No Crash Finish. Self-explanatory. Do not crash during the level.
6-3-2 It’s all About the Money
Film Roll (1/1). After the first wallride, jump to continue forward to where the film roll sign is pointing to get it.
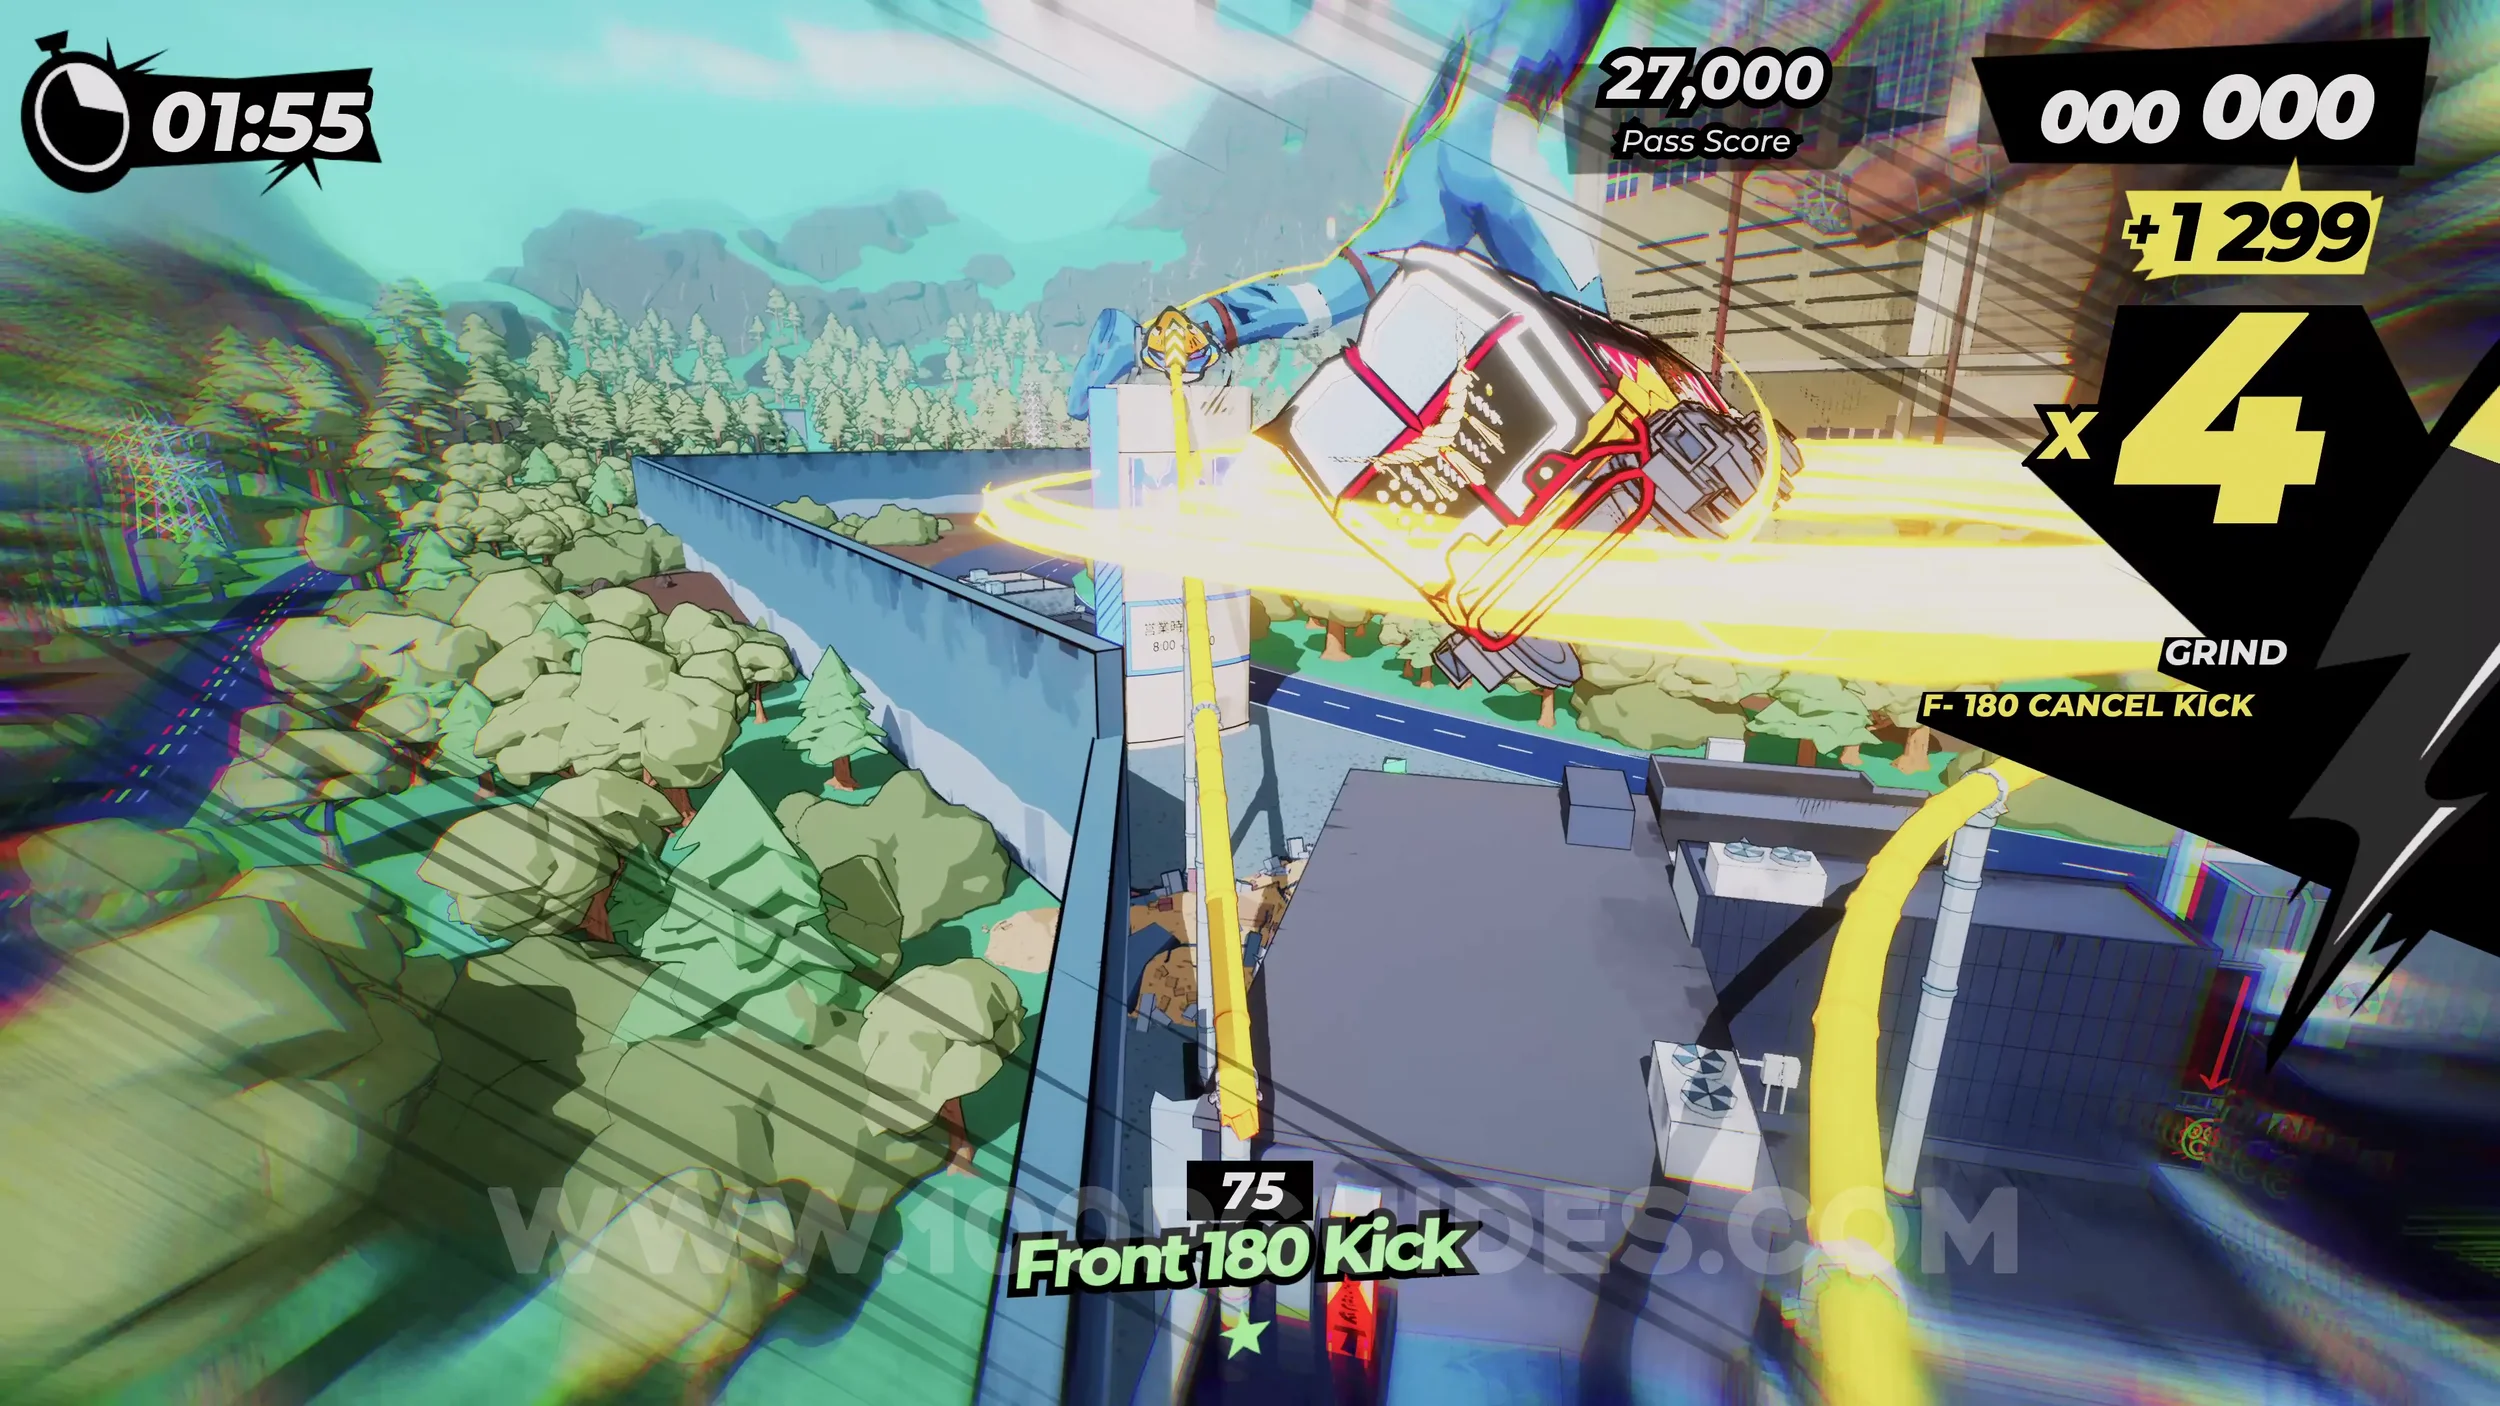
Spray Can (1/2). After the previous collectible, you'll smash through some glass into a building. Once inside, use the wallride on the left and activate the Yukaze to jump up behind the wallride.
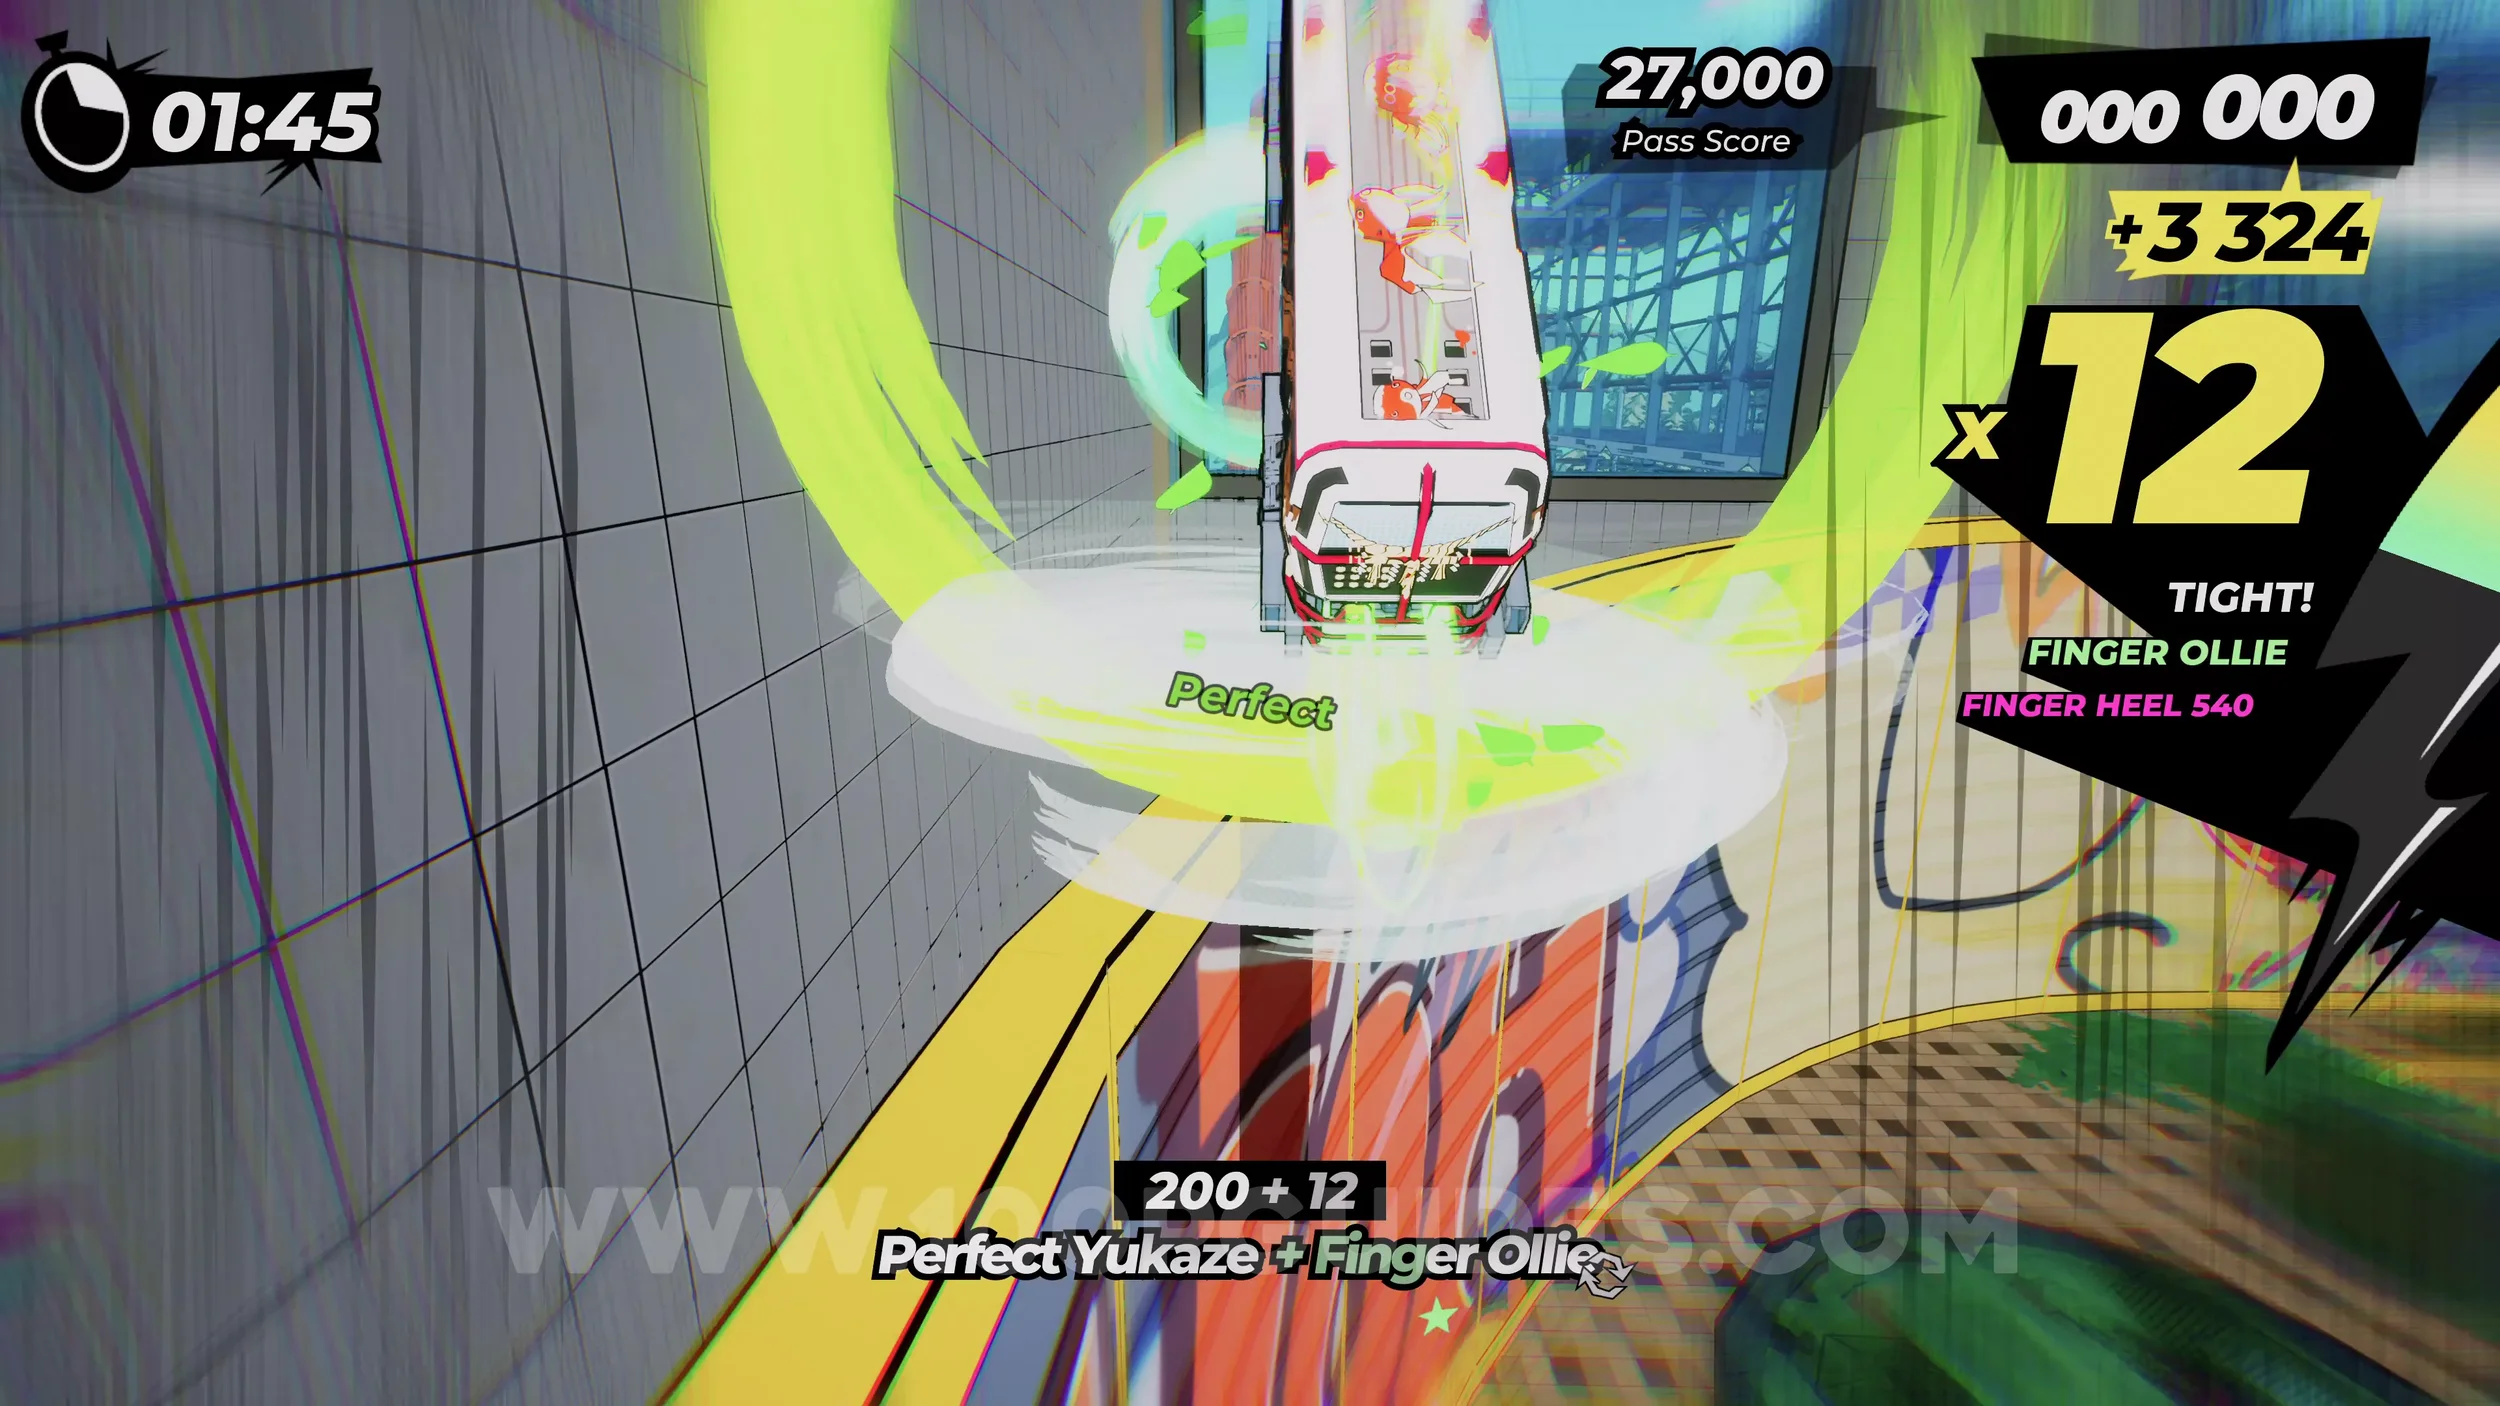
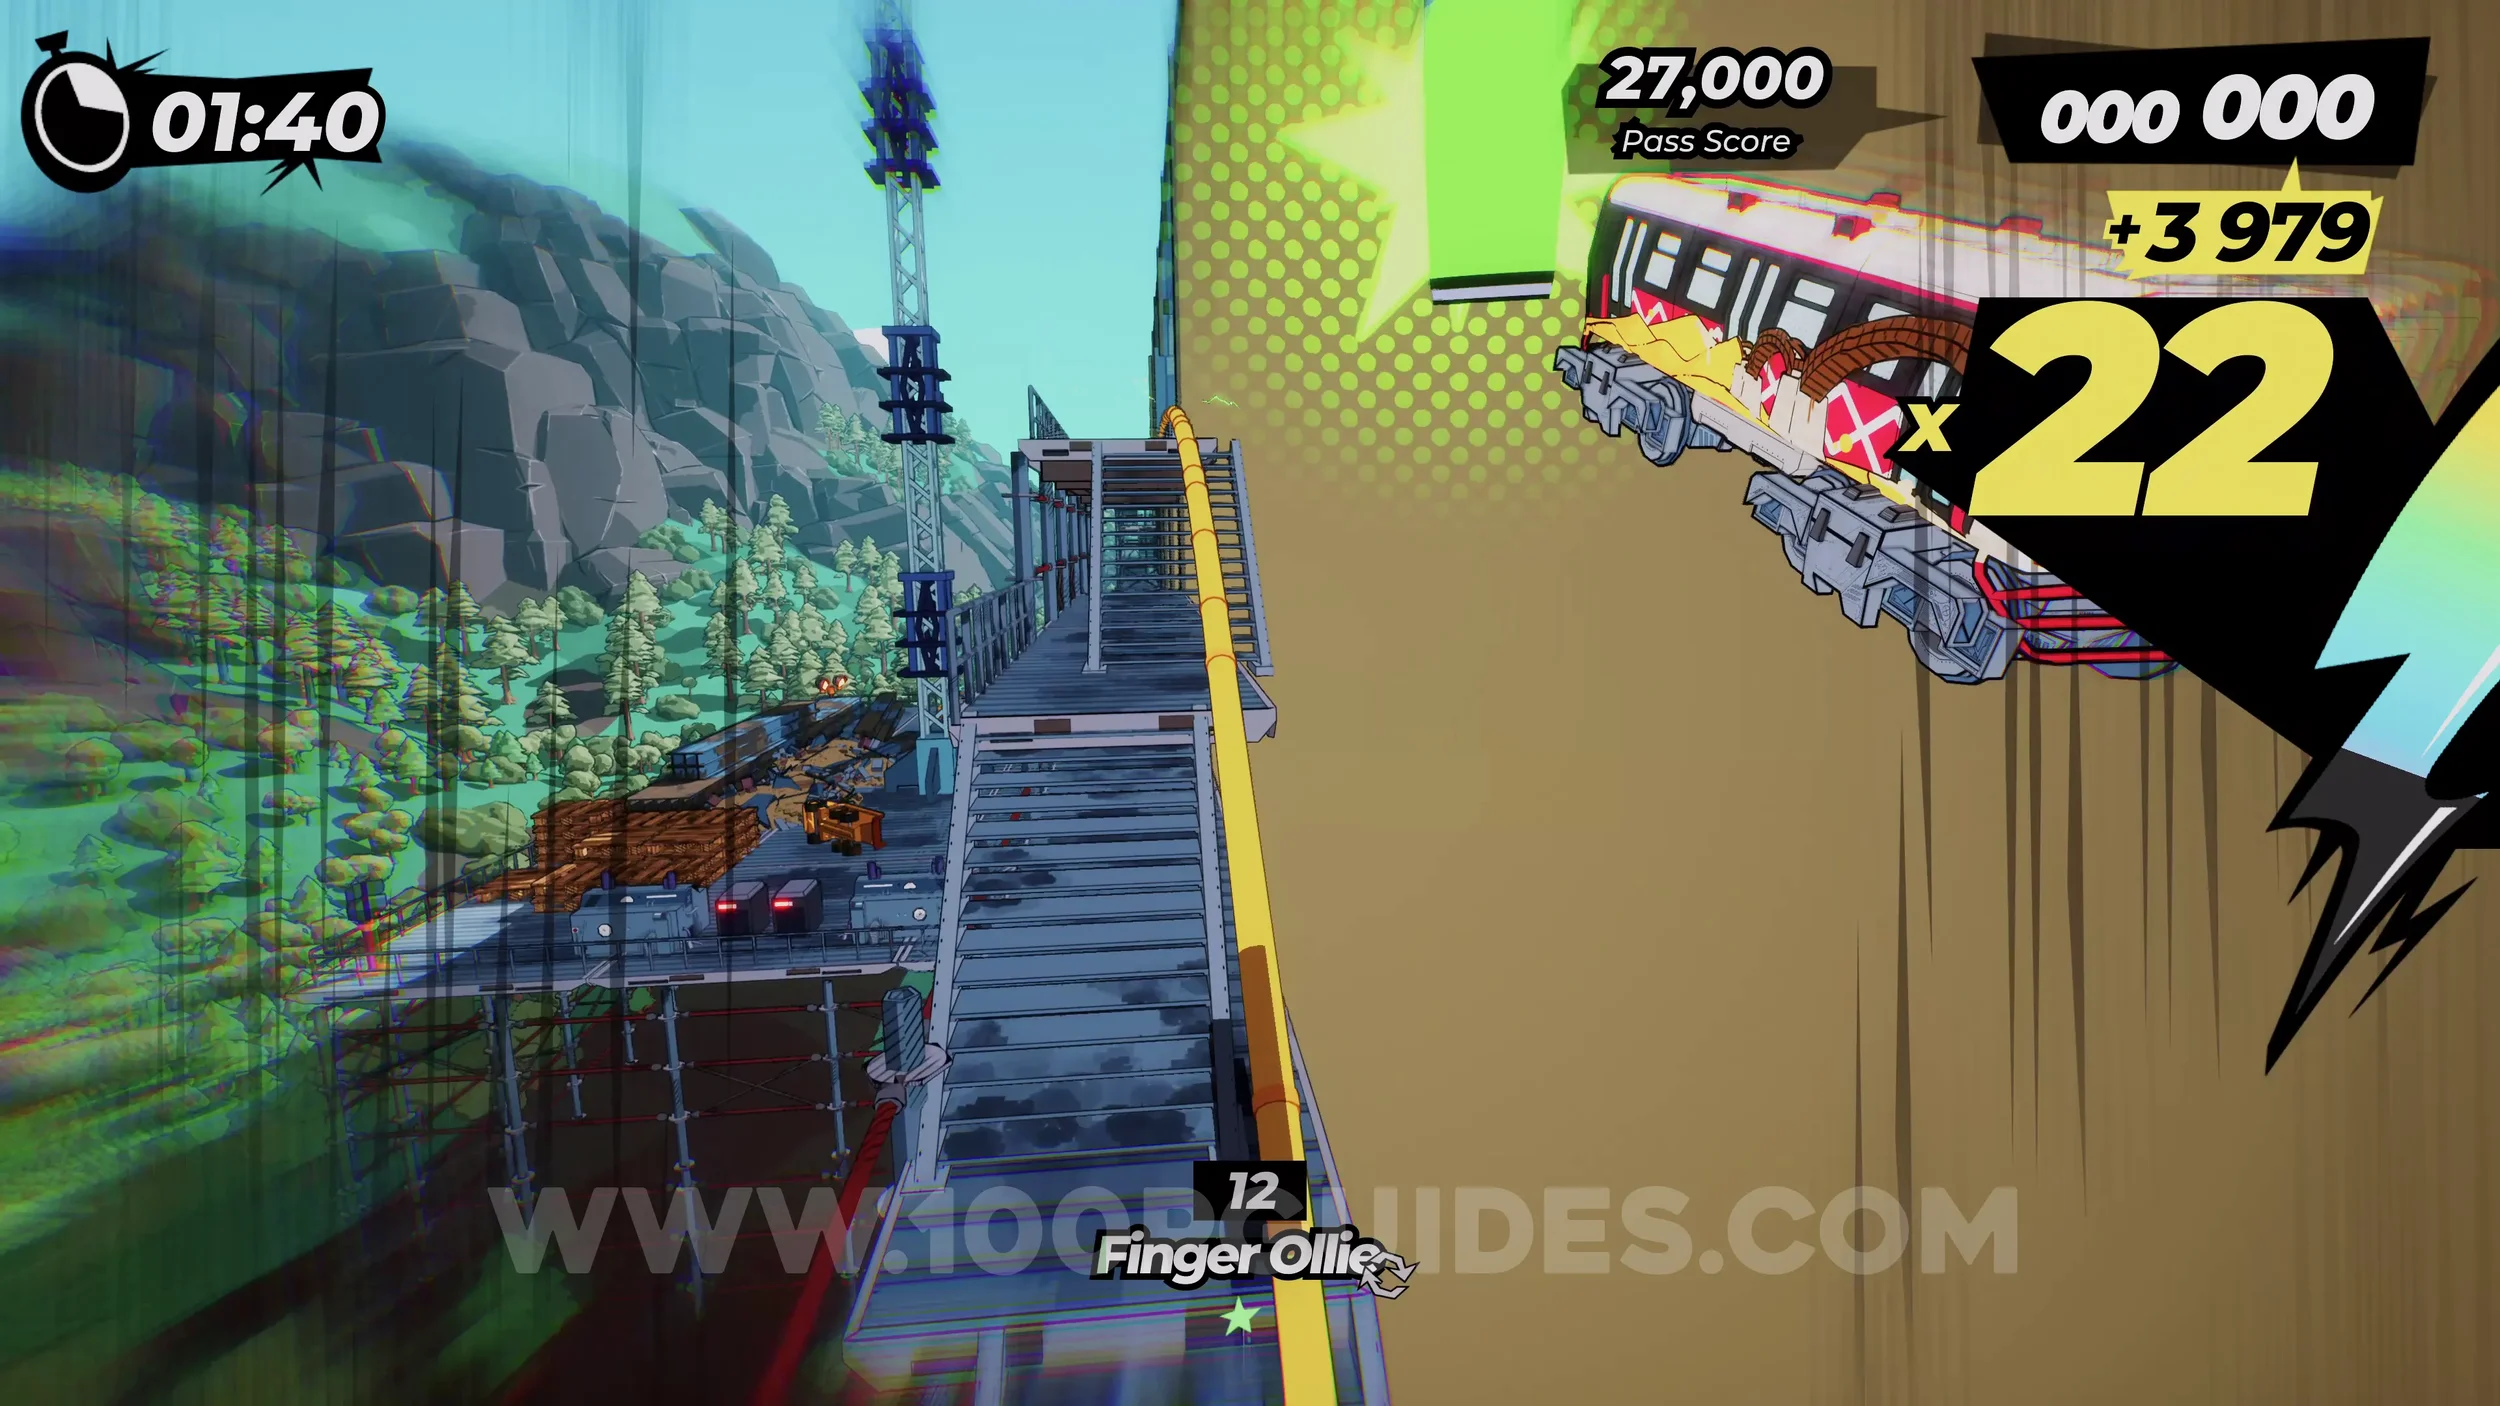
Gear (1/2). After the spray can, look for a glass window you can smash through on your right. Follow the rail on the other side to get the gear on the wallride.
Dare: Do a Front Cancel Kick Impossible Over the Fountain. After the previous gear, you'll drop down onto the yellow rail that goes down to the right toward the fountain. While jumping the fountain, perform the hardcore trick. You can check the button combo in the pause menu.
Dare: Collect 3 Action Figures (1/3). Immediately after you land the jump over the fountain.
Dare: Grind Trick on the Digger’s Bucket. After the previous collectible, you'll go past the cinema. Just after it, stick to the left track, and on the next straight, you'll see a digger with its bucket up. Grind on it.
Spray Can (2/2). Immediately after the digger.
Dare: Collect 3 Action Figures (2/3). After the spray can, stick to the right-side track to do the vert jump to the right, which will circle you back around to the very start. This time, just before you wallride the "coming soon" billboard, air stomp down to the action figure.
Dare: Collect 3 Action Figures (3/3). Continue through the building again and past the cinema. Again, stick to the left side track, and as soon as you're outside, change to the left track to take the vert jump. You'll collect the action figure once you land on the other side.
Gear (2/2). Immediately after the previous figure, jump to the rainbow tracks on your right (you must have the special bar filled up). Then follow this path until you see the yellow tunnel in front of you. Go down it to find the gear inside.
Dare: Turn On the Cinema Screen. After the previous gear, you'll circle back around to the cinema again. Just past the cinema, switch to the middle track (the one that goes right). Then, at the top of the stairs, you'll jump onto a monorail. As soon as you do, drop off it with an air stomp to get to the rail below. This will take you through the cinema, where the horn sign will appear in the middle of the screen. Press R3.
Dare: Pull a 40 Trick Combo. Self-explanatory.
6-4-1 Breakout Brigade
Dare: Collect 5 Kinshachi Figures (1/5). At the first set of signs where the tracks split, jump to continue forward. Then, at the next signs, jump again to continue straight to collect the figure.
Dare: Collect 5 Kinshachi Figures (2/5). After the previous figure, you'll go over two jumps. During the second jump, you'll see a figure below you. Air stomp down to it.
Dare: Collect 5 Kinshachi Figures (3/5). After the previous figure, you'll land on a straight. Here, jump up to the rail on your right, and you'll see the next figure on the wallride.
Dare: Air Stomp on 5 Bouncepads. After the previous figure, you'll circle back around to the start. Go straight again at the first set of signs, then left at the next set of signs. Keep straight and follow the pink sign. After the monorail, and throughout the next section, you'll see jump pads. Air stomp on five of them to finish the dare.
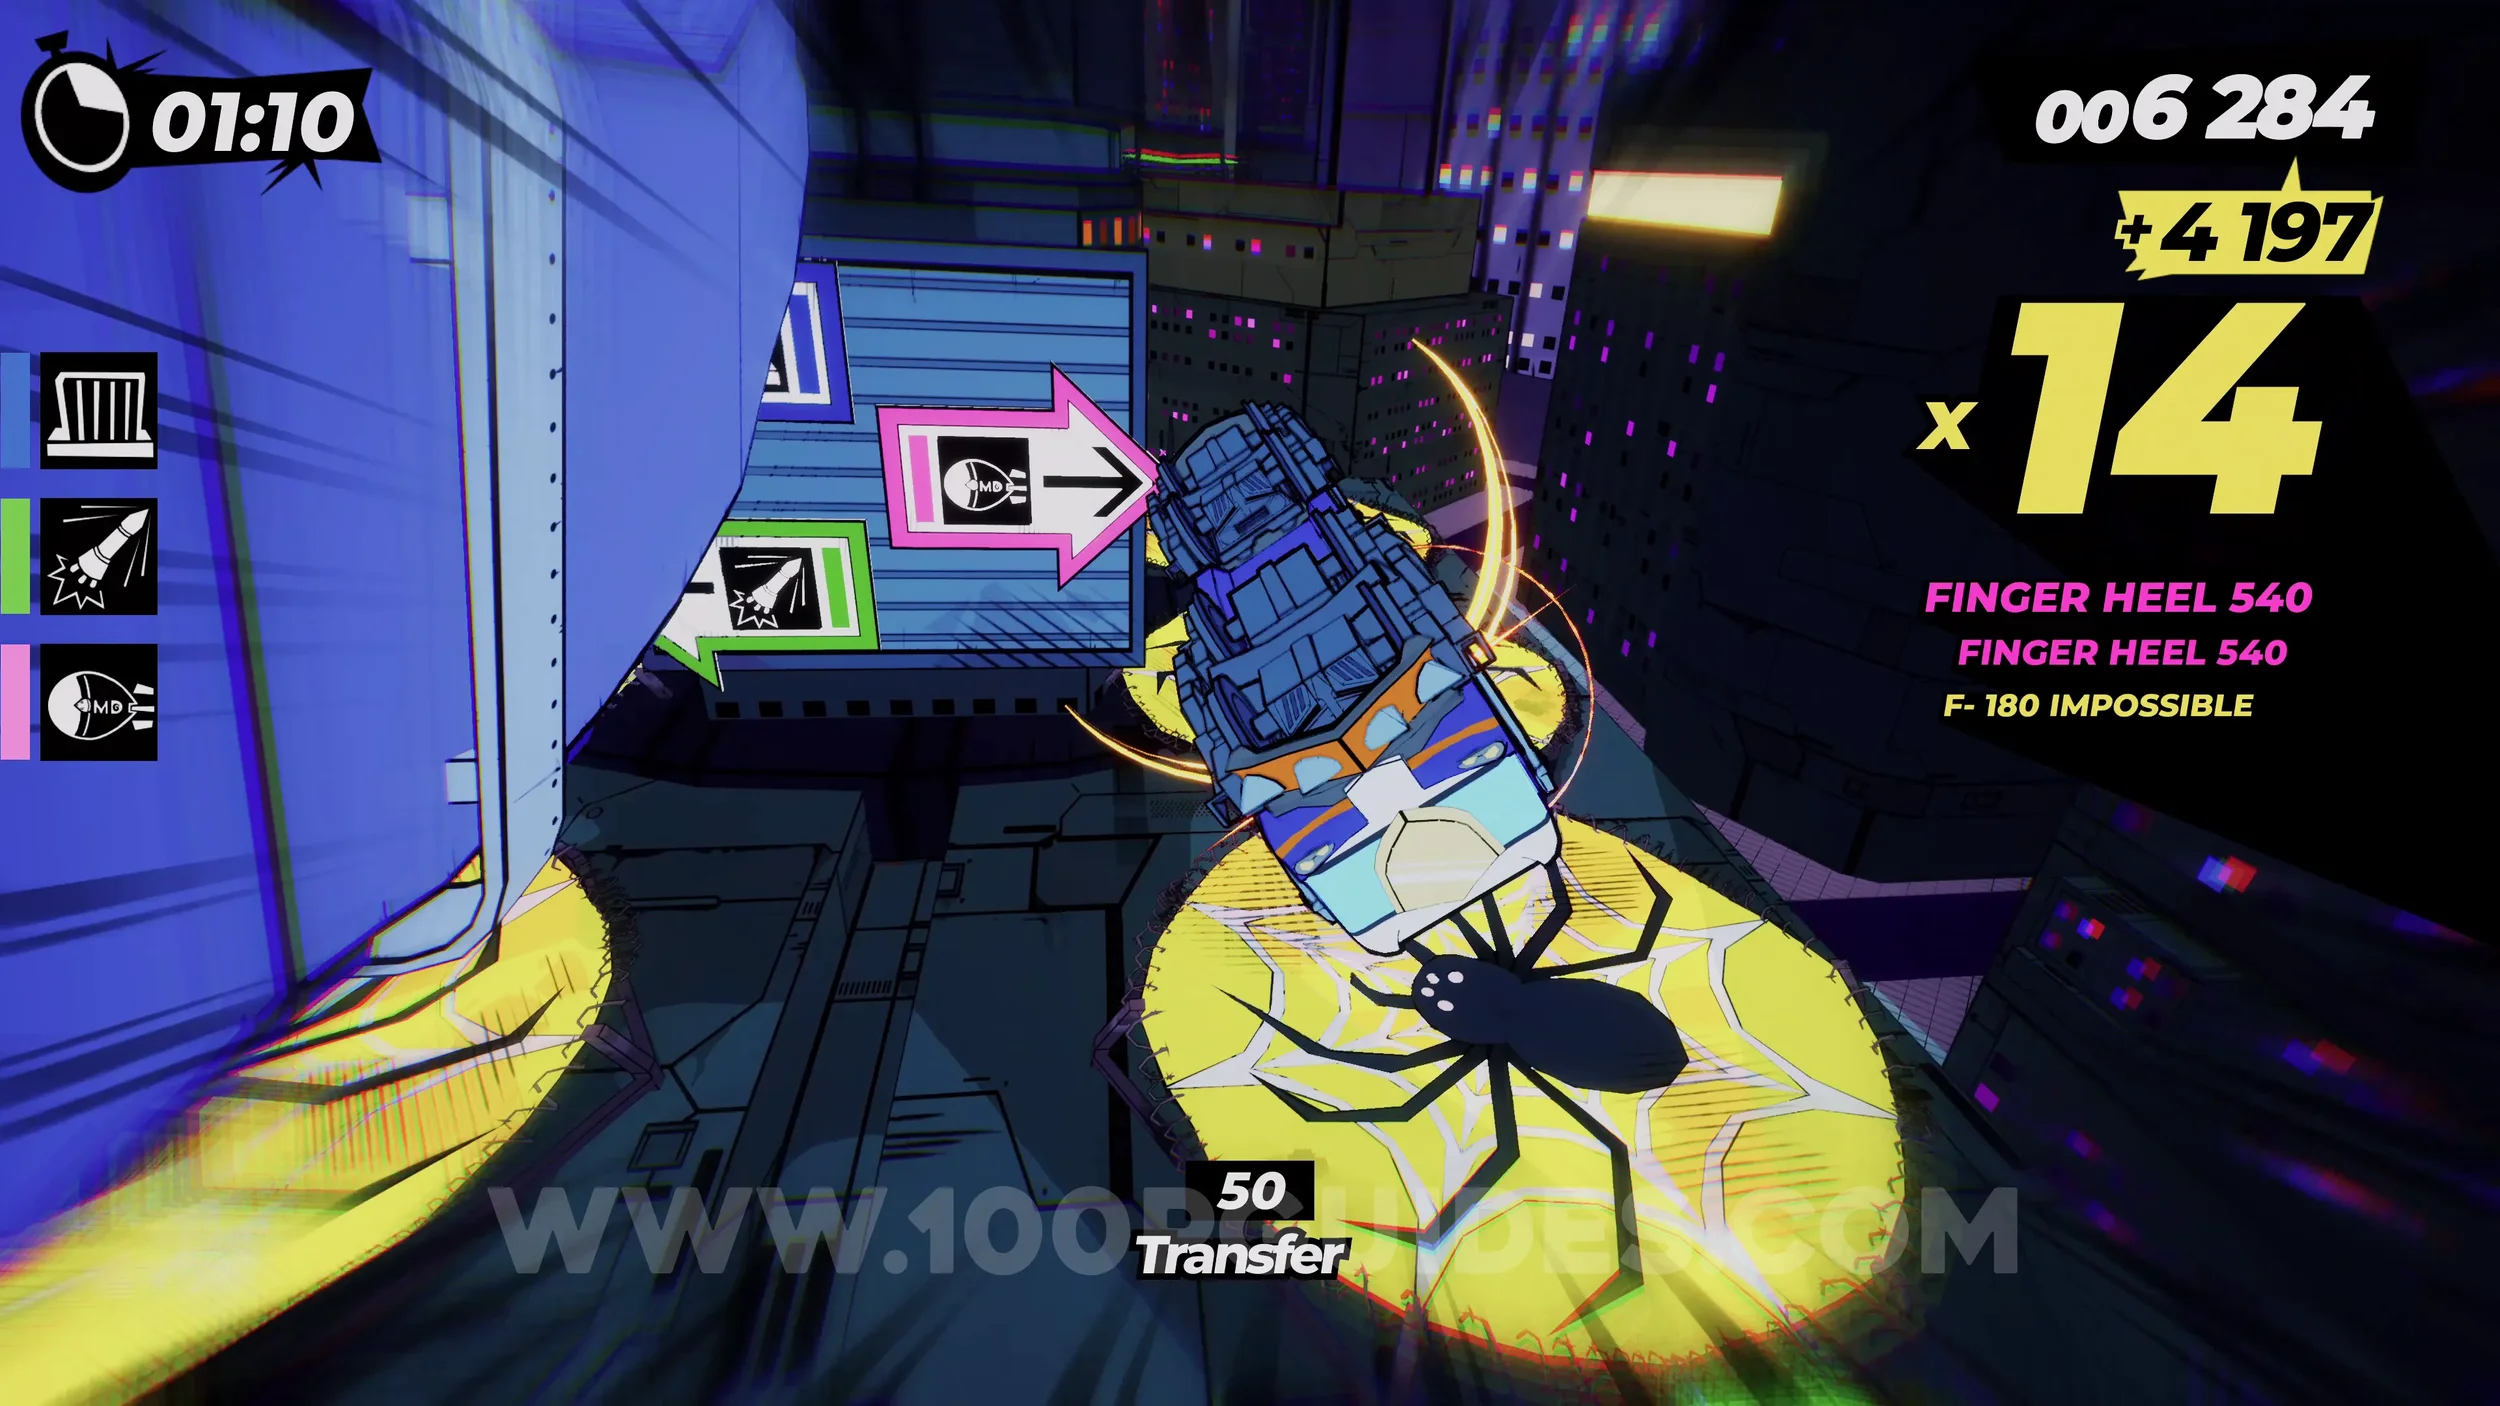
Spray Can (1/2). After the first few bounce pads, you'll see two Yukaze next to each other. The spray can will be in the left one.
Film Roll (1/1) and Dare: Chain 5 Tricks in a Single Jump. Soon after the spray can, you'll cut a rope hanging from a blimp (main objective). The film roll will be on the right side once you land. This section is also really good to get the chain of 5 tricks in the air thanks to the Yukaze.
Dare: Collect 5 Kinshachi Figures (4/5). After circling back to the start again, take the right path (green sign), then stick right again to continue straight. This will take you through the tunnel where the figure is found.
Dare: Smash 4 Liquid Cubes. Once you circle back around to the start, go right again and then left (follow the green signs). Once you reach the ball you jump over, air stomp it to start riding the rocket. Here, smash four of the green cubes.
Spray Can (2/2). In plain sight during the rocket ride.
Dare: Collect 5 Kinshachi Figures (5/5). Once you circle back to the start, follow the blue sign left and then stick right to get the figure on the wallride in front of you.
Gear (1/2). Circle back around to the start, and this time follow the blue sign by going left and then left again. You'll eventually get to an underwater area where you'll see the gear in plain sight.
Dare: Loop One of the Fan Tunnels. Soon after the previous collectible, you'll go through a tunnel with fans. Just loop around it once.
Gear (2/2). On the left side of the fan tunnel.
6-4-F Chubu Fanzine H.Q.
(EN)Zine #5. Fill the comic book up with the film rolls to get the (EN)Zine. You will not be able to do this on your first visit, since some of the required film rolls are collected in later levels. Come back after collecting every film in the chapter.
6-5-R Forbidden Speedway
Dare: Collect 3 Smuggler Caches (1/3). At the first split in the tracks, take the right path, and you'll see the cache in plain sight.
Dare: Collect 3 Smuggler Caches (2/3). Soon after the previous cache smash through the glass with an air stomp to get the collectible.
Dare: Collect 3 Smuggler Caches (3/3) and Dare: Use Both Tunnel Entrances (1/2). Soon after the previous cache, you'll get to two large tunnels. Take the right one first and collect the cache inside.
Film Roll (1/1). After coming out the other side of the sewers area, you'll see the film roll in plain sight above a Yukaze.
Spray Can (1/1). Once you get back around to the start/finish line and begin the second lap, this time take the left path at the start. You'll soon see the spray can above a Yukaze you can use to reach it.
Gear (1/3) and Dare: Use Both Tunnel Entrances (2/2). Once you circle back around to the tunnels, this time go through the left one. The gear will be inside.
Gear (2/3). Once you reach the final lap, you should have your special bar filled up. At the start of the lap, go straight ahead at the first split and jump to the rainbow rail. This will take you to the gear.
Gear (3/3). On the final lap, you'll come out of the sewers automatically on a different path. As soon as you do, you'll see the gear above a windmill in front of you.
Dare: Finish in 1st Place. Self-explanatory. Finish the Race in 1st.
Dare: Get a Lap Time Under 65s. Self-explanatory. Finish a lap in under 65 seconds.
Dare: Derail 10 Rivals. Self-explanatory. Hit 10 other trains.
6-6-1 The Fuji Escape
Spray Can (1/2). On the left side of the first tunnel you go through.
Dare: Chain 3 Tricks While Jumping into the Cave. Soon after the previous can, you'll use your horn to open some barriers and then jump into the cave. During this jump, do three tricks.
Gear (1/2). After dodging the first two trains in the cave, stick to the middle tracks, and you'll find the gear on the next wallride.
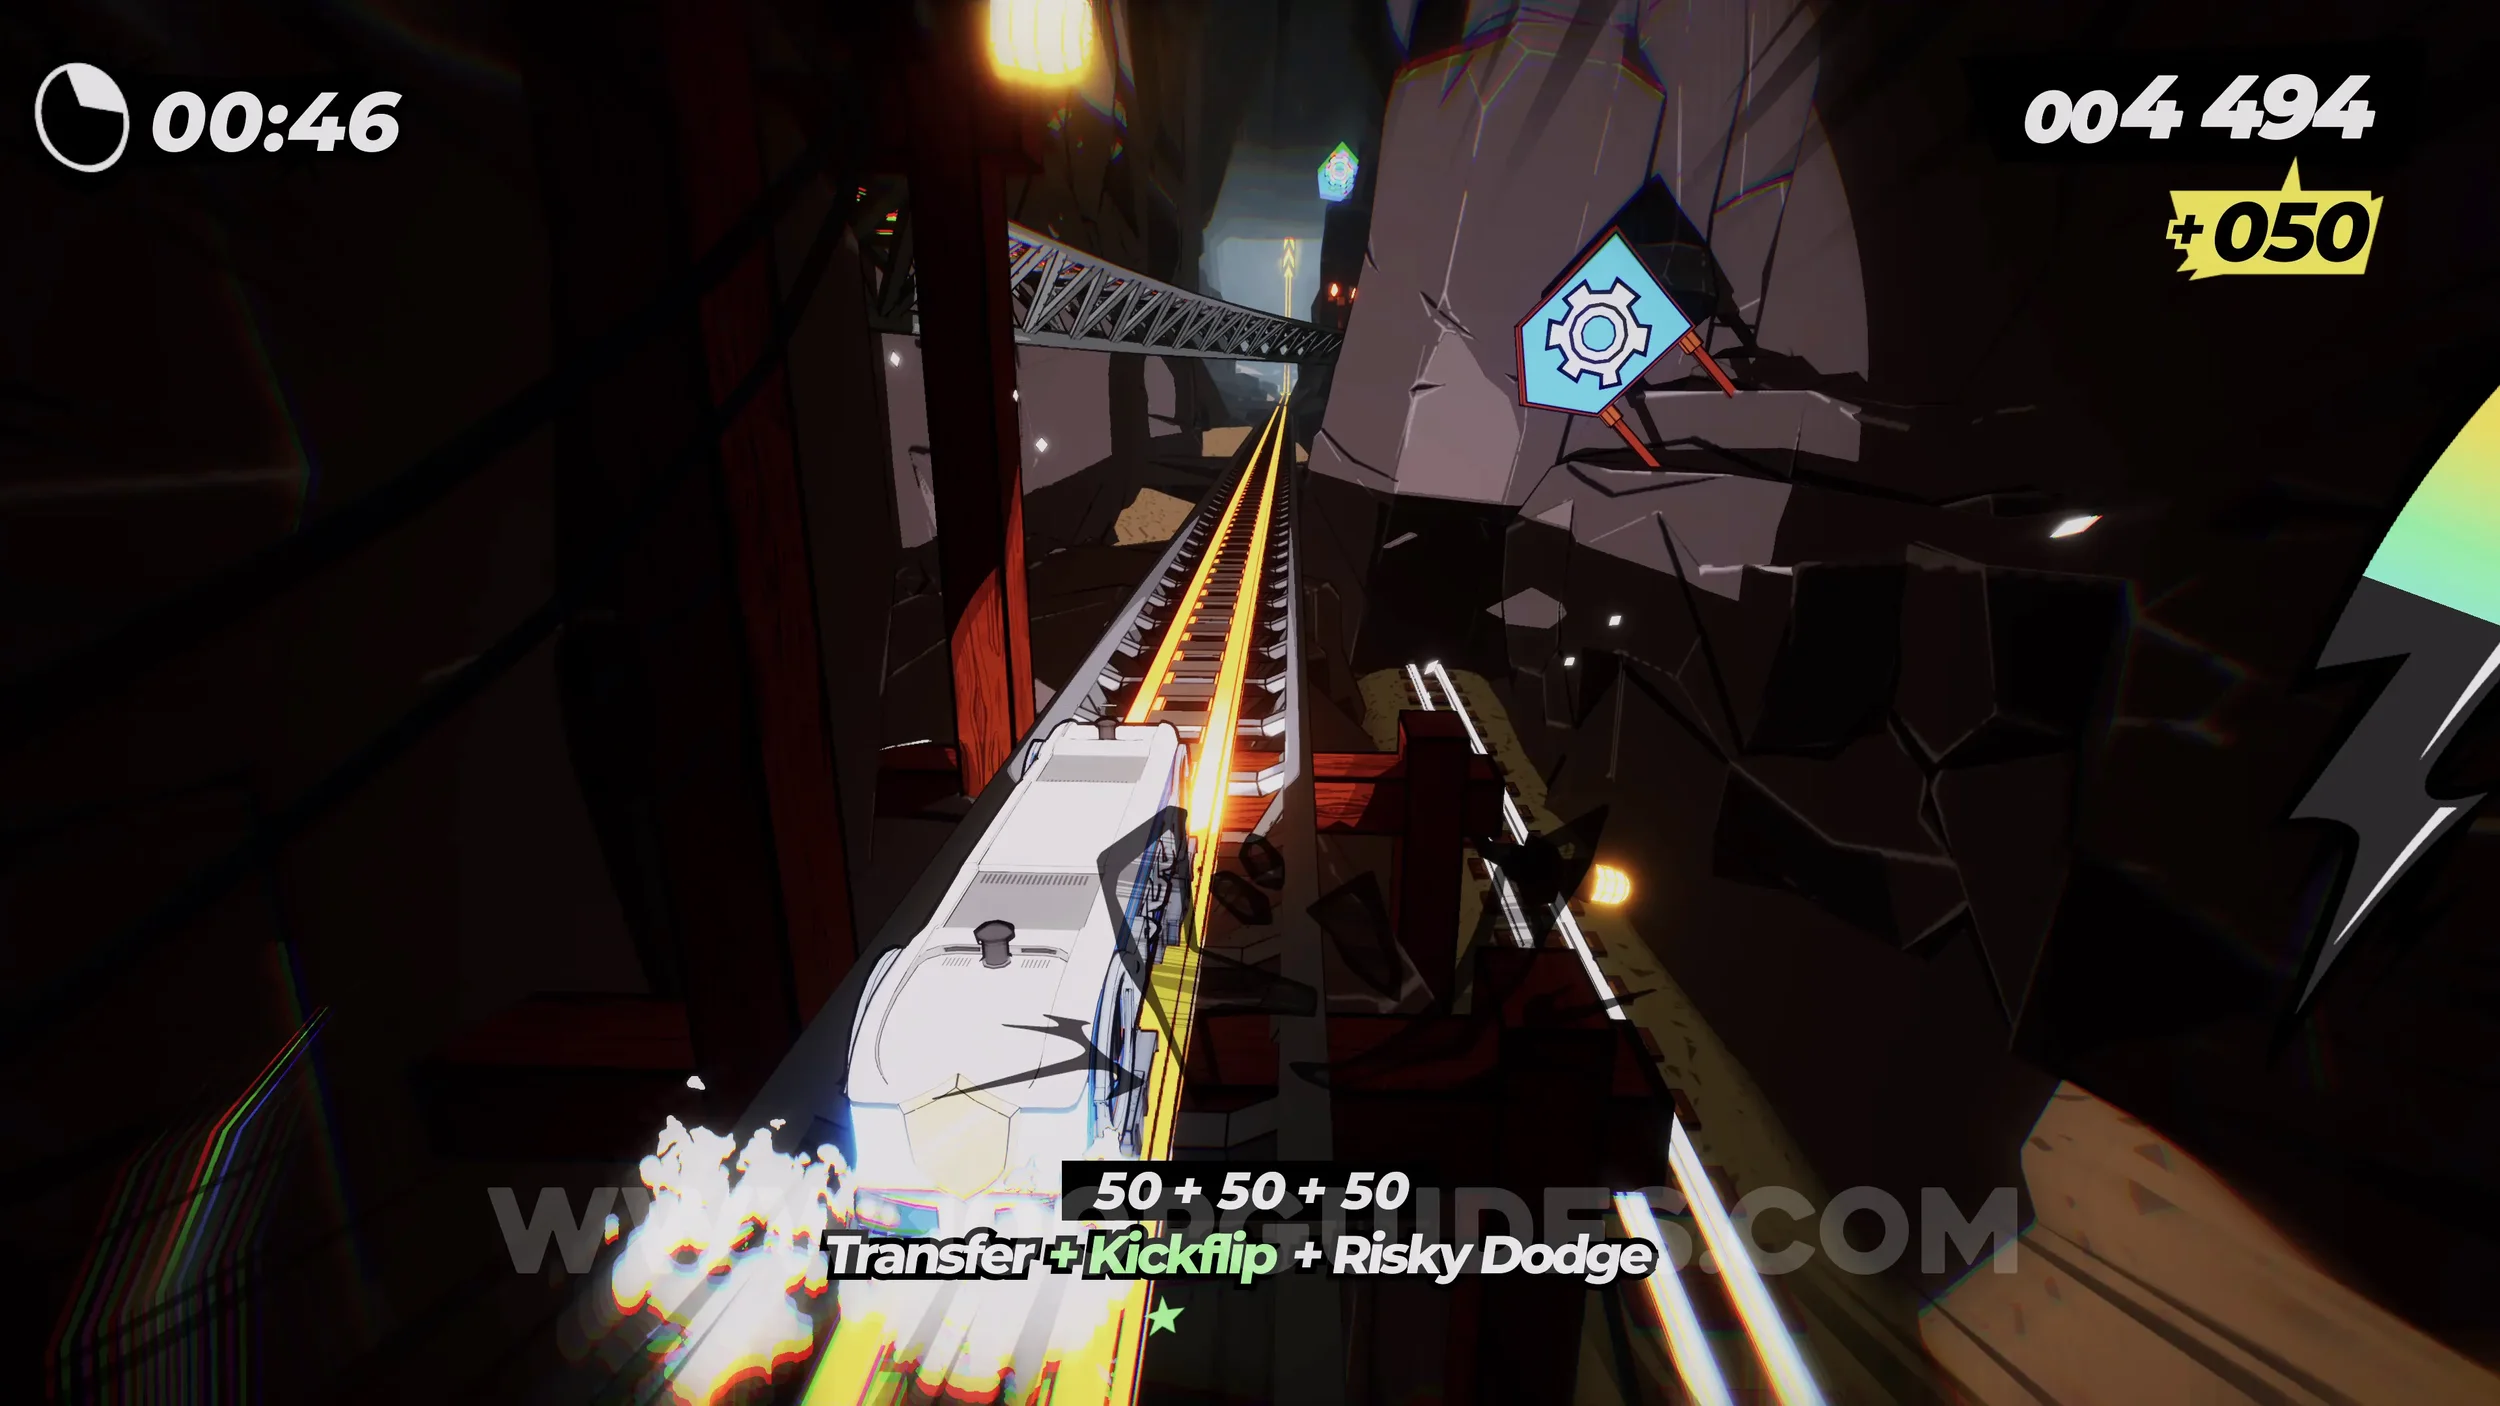
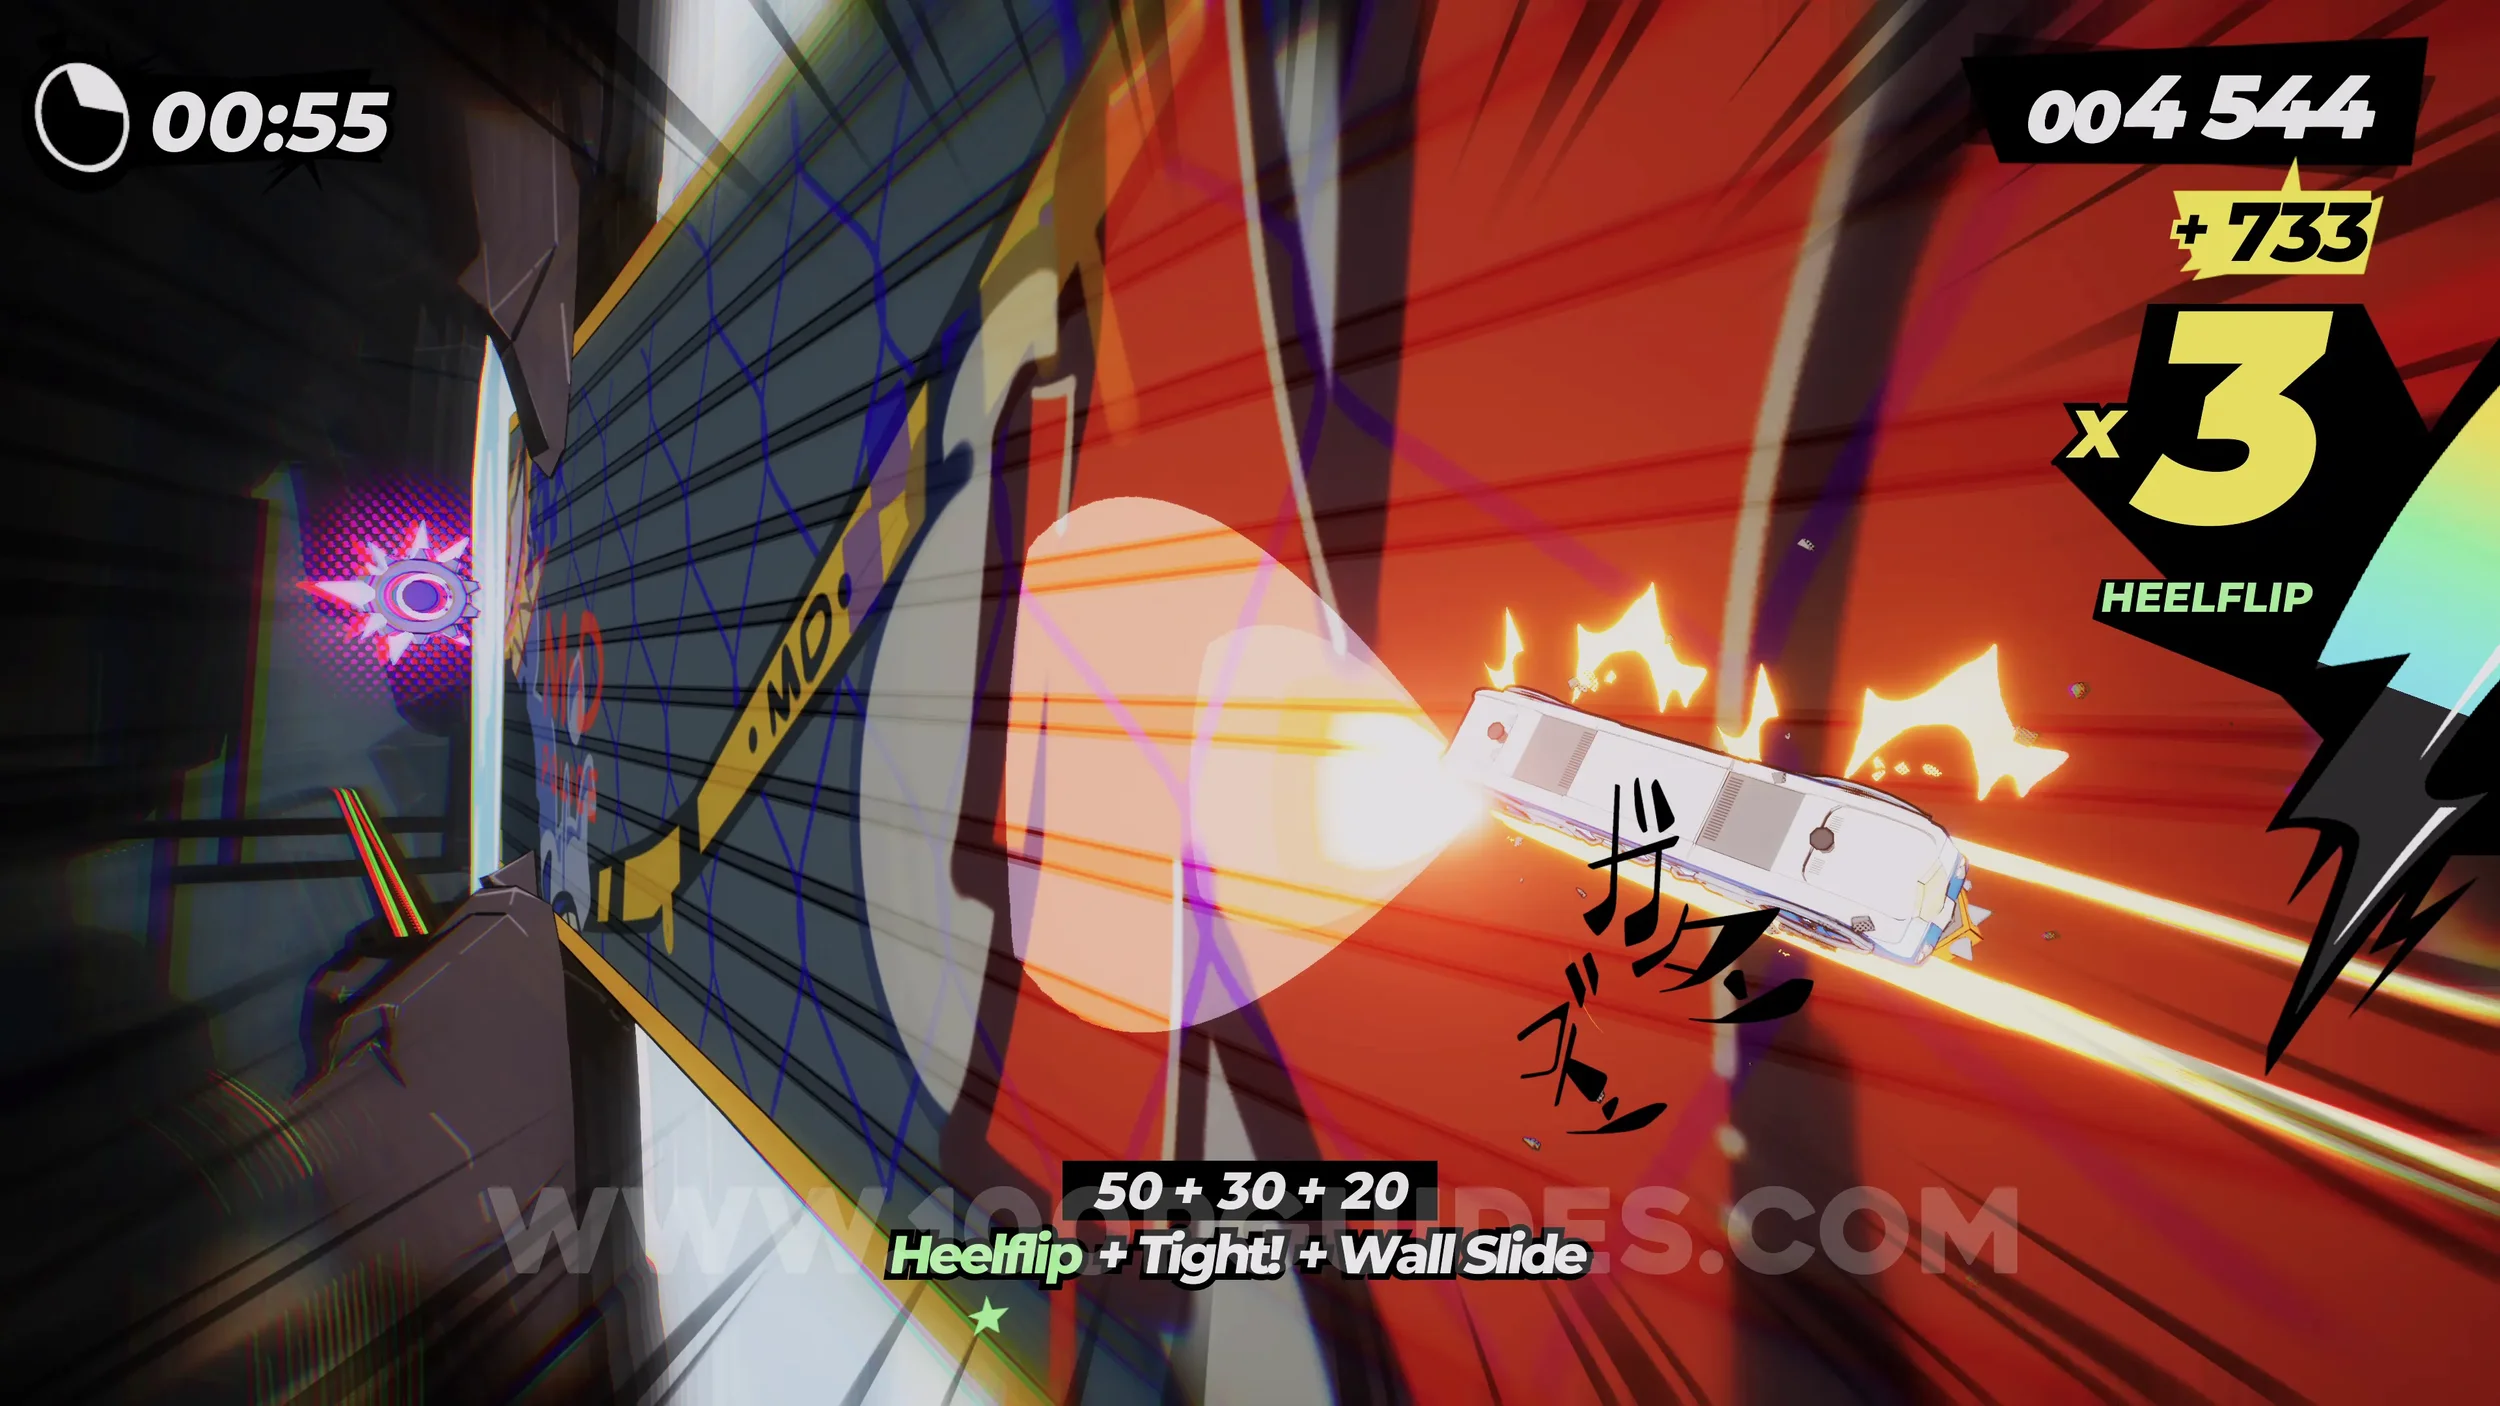
Dare: Smash 5 Gemstones. In the next tunnel you go through you will see purple stones. Smash 5 of them.
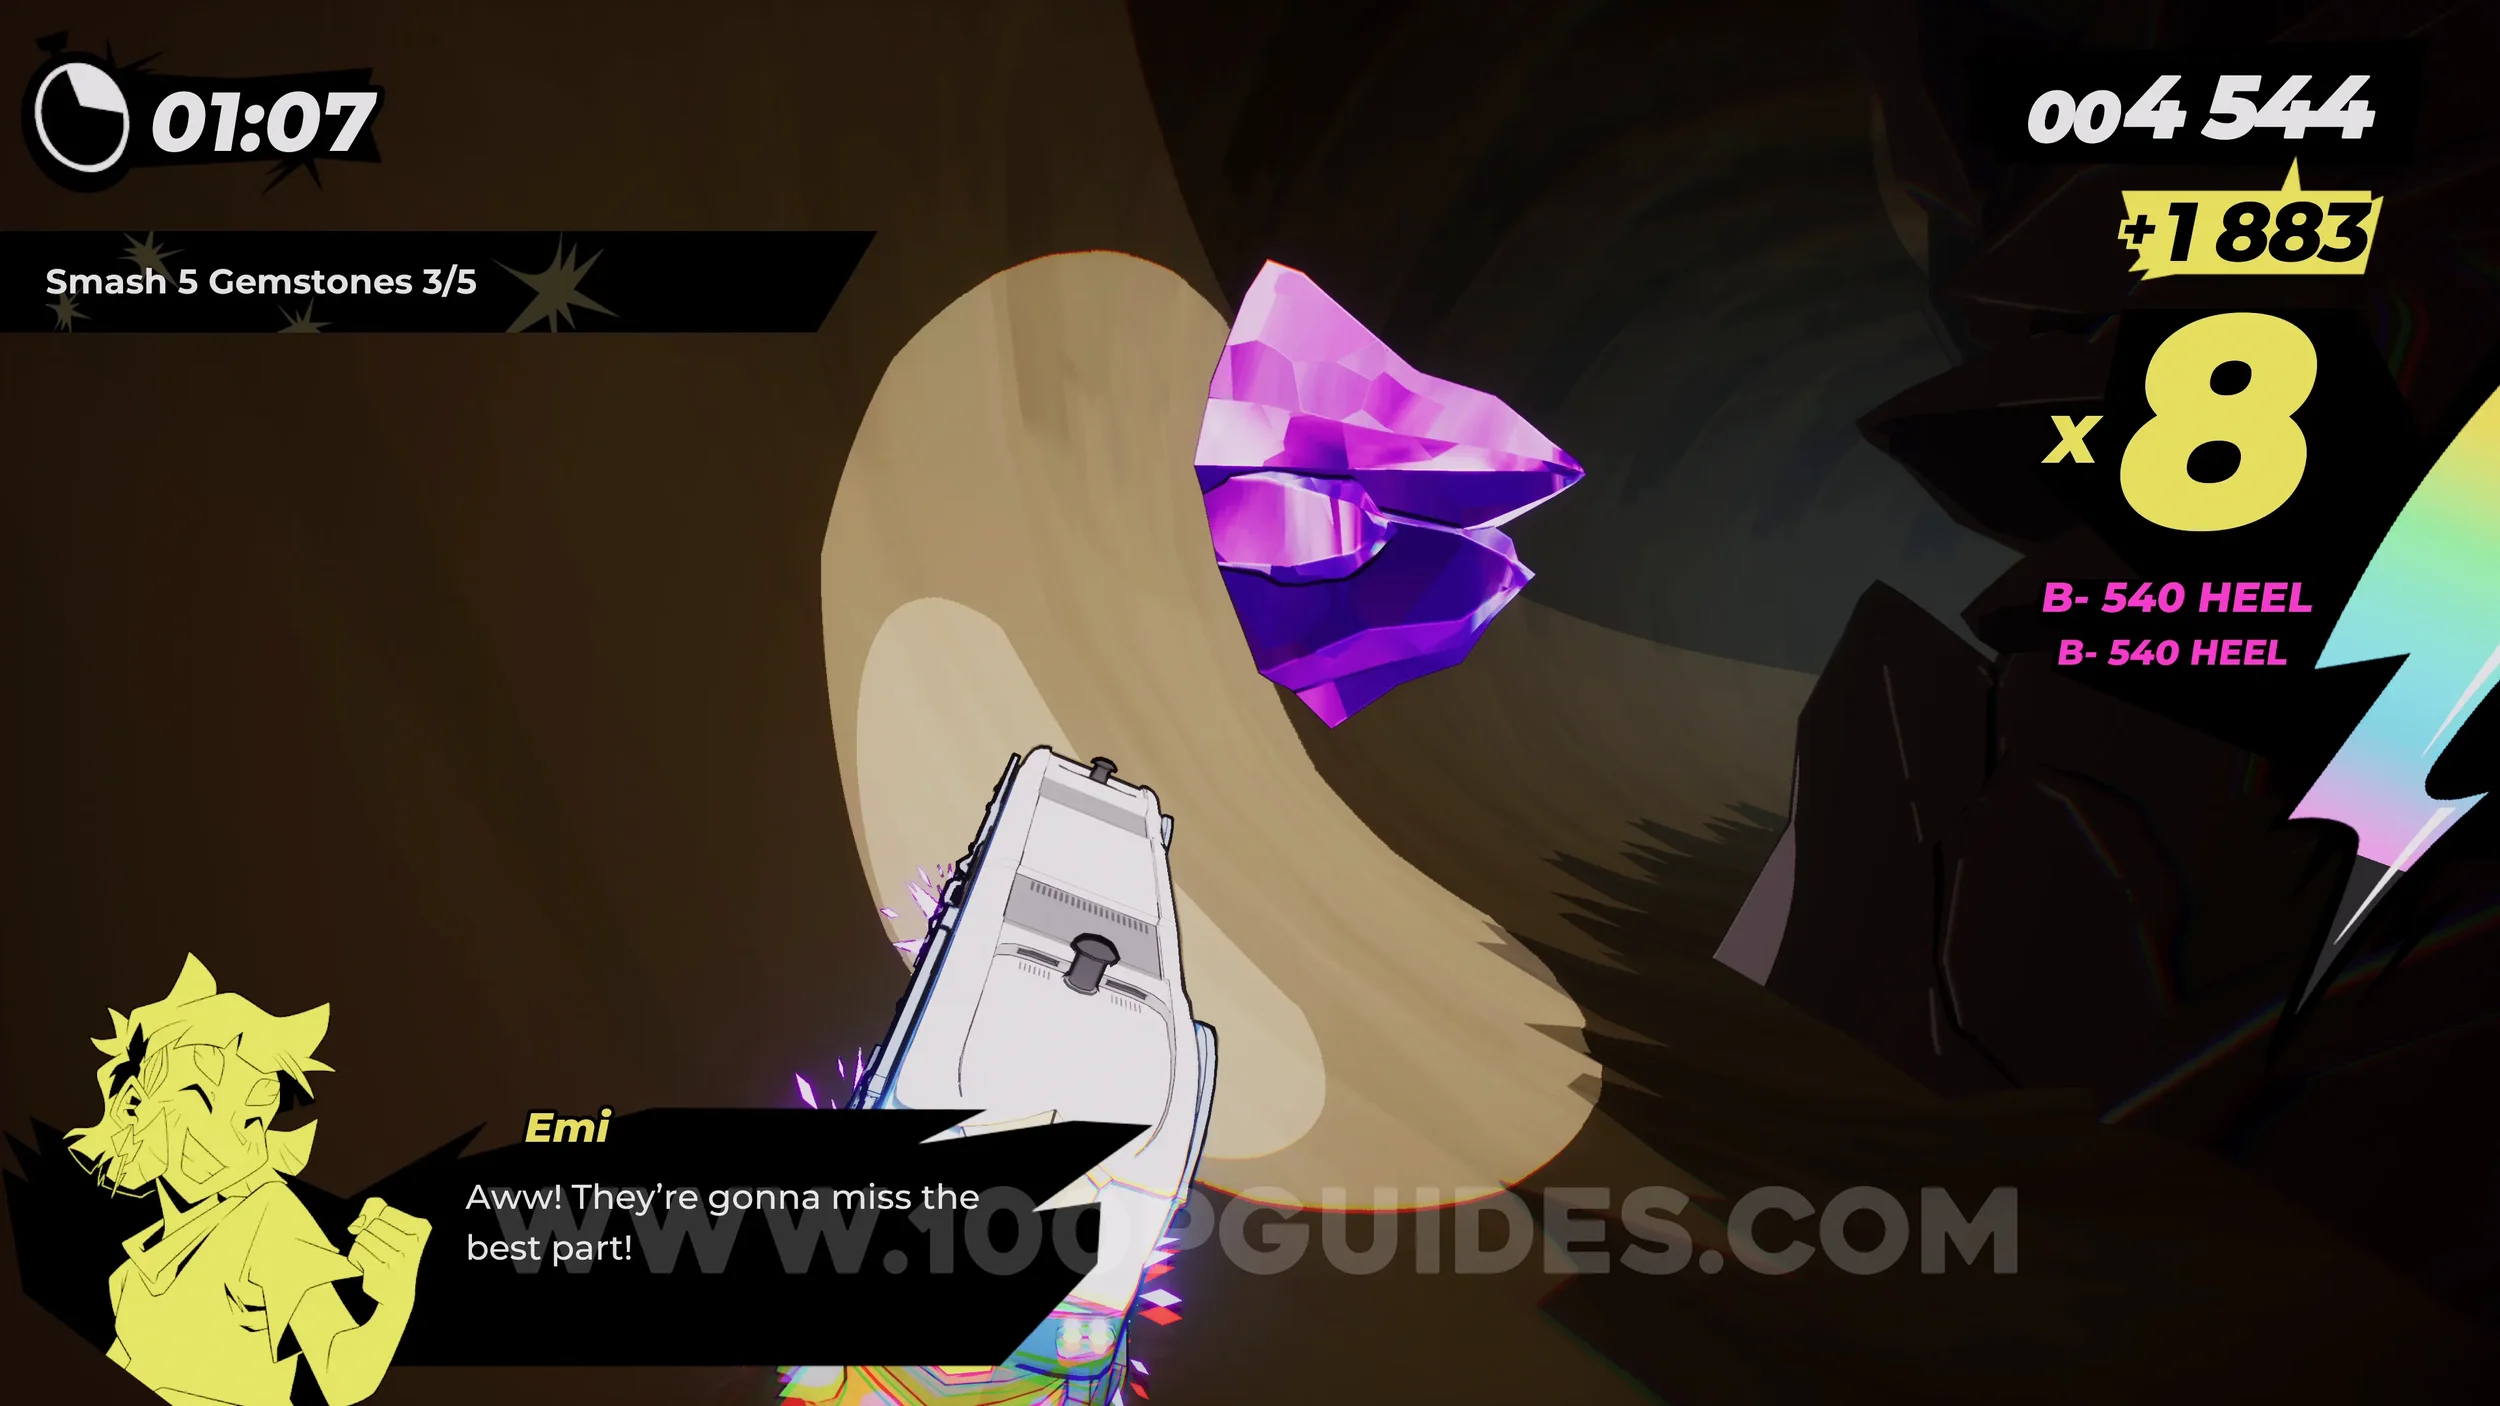
Dare: Trick Over 5 Lava Waves. Once you reach the lava cave, you'll see waves of lava coming toward you that you have to jump over. Do tricks while doing this five times.
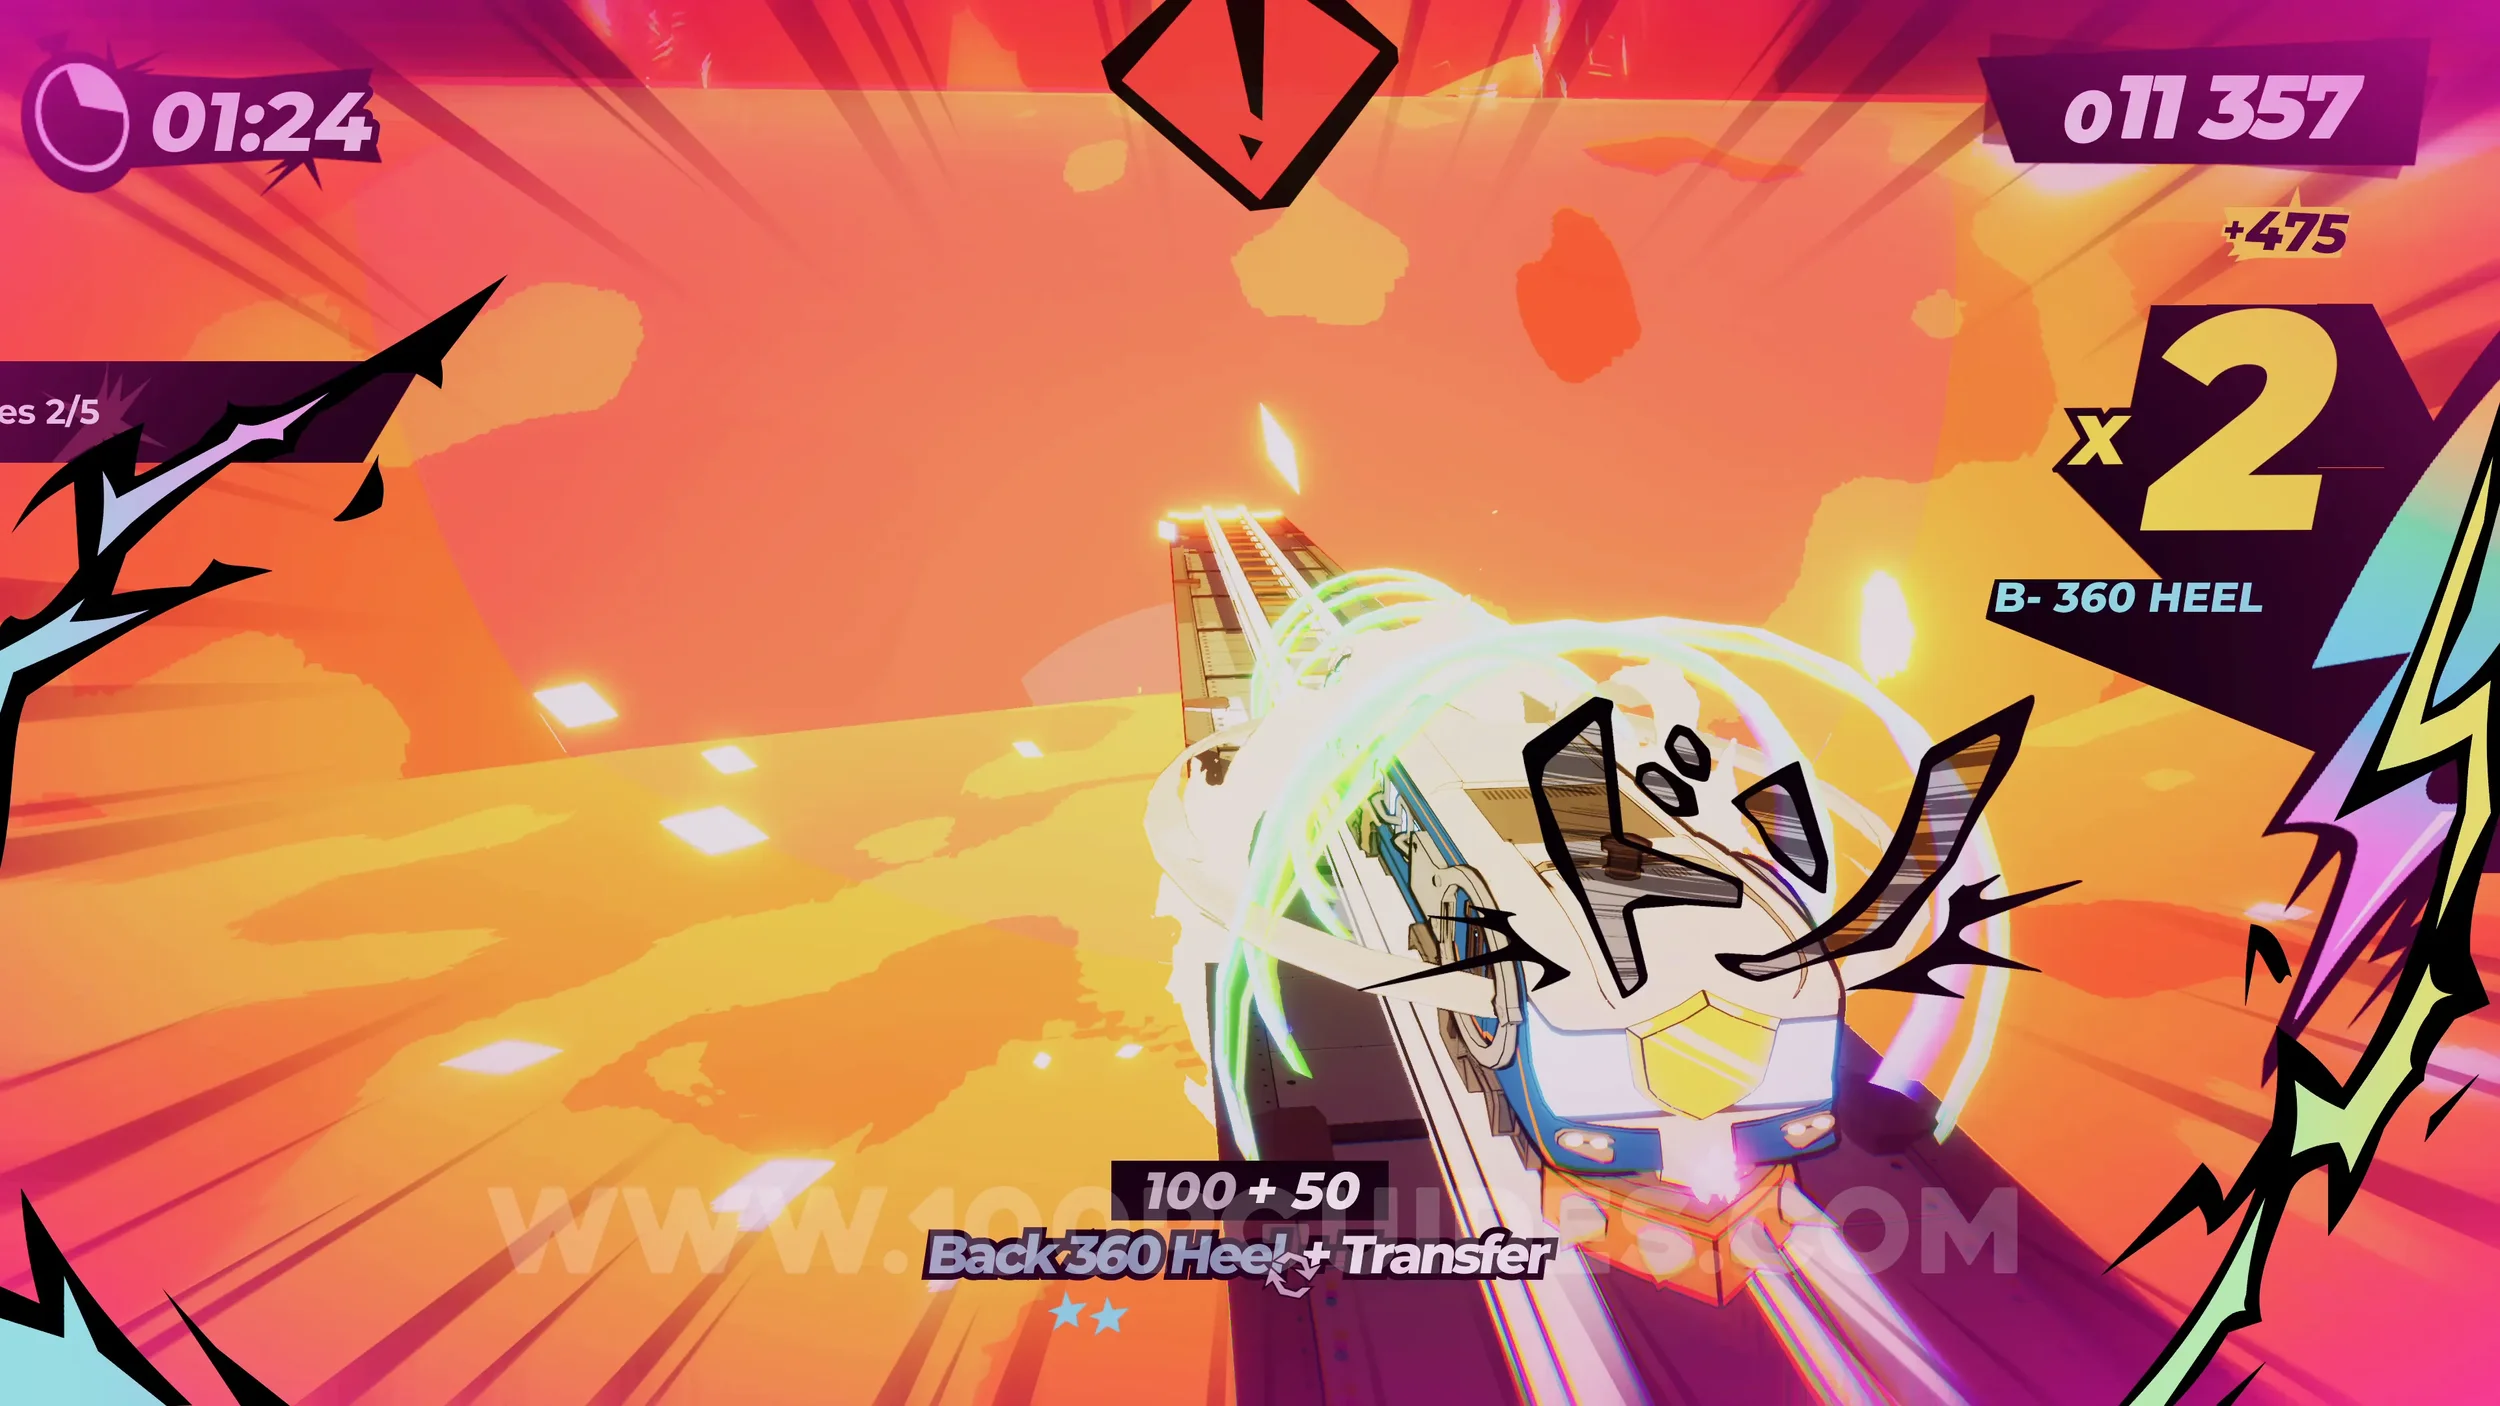
Spray Can (2/2). After the lava section, you'll enter a tunnel with loads of tracks. The spray can can be found on the right side of this tunnel.
Dare: Drift on the Ice. Once you reach the ice section, turn with the left analog stick and press L2.
Gear (2/2). During one of the jumps in the ice section, you'll see the air stomp icon appear in the middle of the screen as you go over a hole. Air stomp to get the collectible.
Film Roll (1/1). Soon after exiting the ice cave, you'll enter a city. Close to the start of this area, you'll see a rainbow track on your right if you have your special bar filled up. Take it, and eventually you'll get to the film roll.
Dare: No Crash Finish. Self-explanatory. Finish the level without crashing.
6-7-1 Forgotten Snowfields
Dare: Flatten 10 Snowmen. Close to the start of the level, you'll start seeing snowmen. Throughout this section, hit ten of them.
Gear (1/3). Just after you start seeing snowmen you will go over a jump. As soon as you land, stick to the right to see the gear.
Spray Can (1/1). Just after the previous gear, you'll see a sign pointing right to a spray can. Stick right of this rock, ride the wallride, and then use the jump in the middle. Once you're in the air, perform an air stomp to break the ice and go underwater, where you'll get the collectible.
Gear (2/3). Once you get to the city area, you'll see three paths. Stick to the leftmost path to find the gear as you smash through some glass.
Dare: Disrupt the Hidden Data Centre. After smashing through a few glass windows, continue sticking to the left, and eventually you'll see a rainbow rail if you have your special bar filled up. This will take you to the data center. As you enter it, you'll see the horn sign in the middle of the screen. Press R3.
Film Roll (1/1). Found on your way out the other side of the data centre.
Gear (3/3). After finishing the level, start another run. Then, once you reach the jump after the first few snowmen, go to the rail on the far left and keep to the left to eventually find the gear.
Dare: Find the Onsen Exit. On your second run, once you reach the city, stick to the far right at all times. This will eventually take you to the Onsen exit.
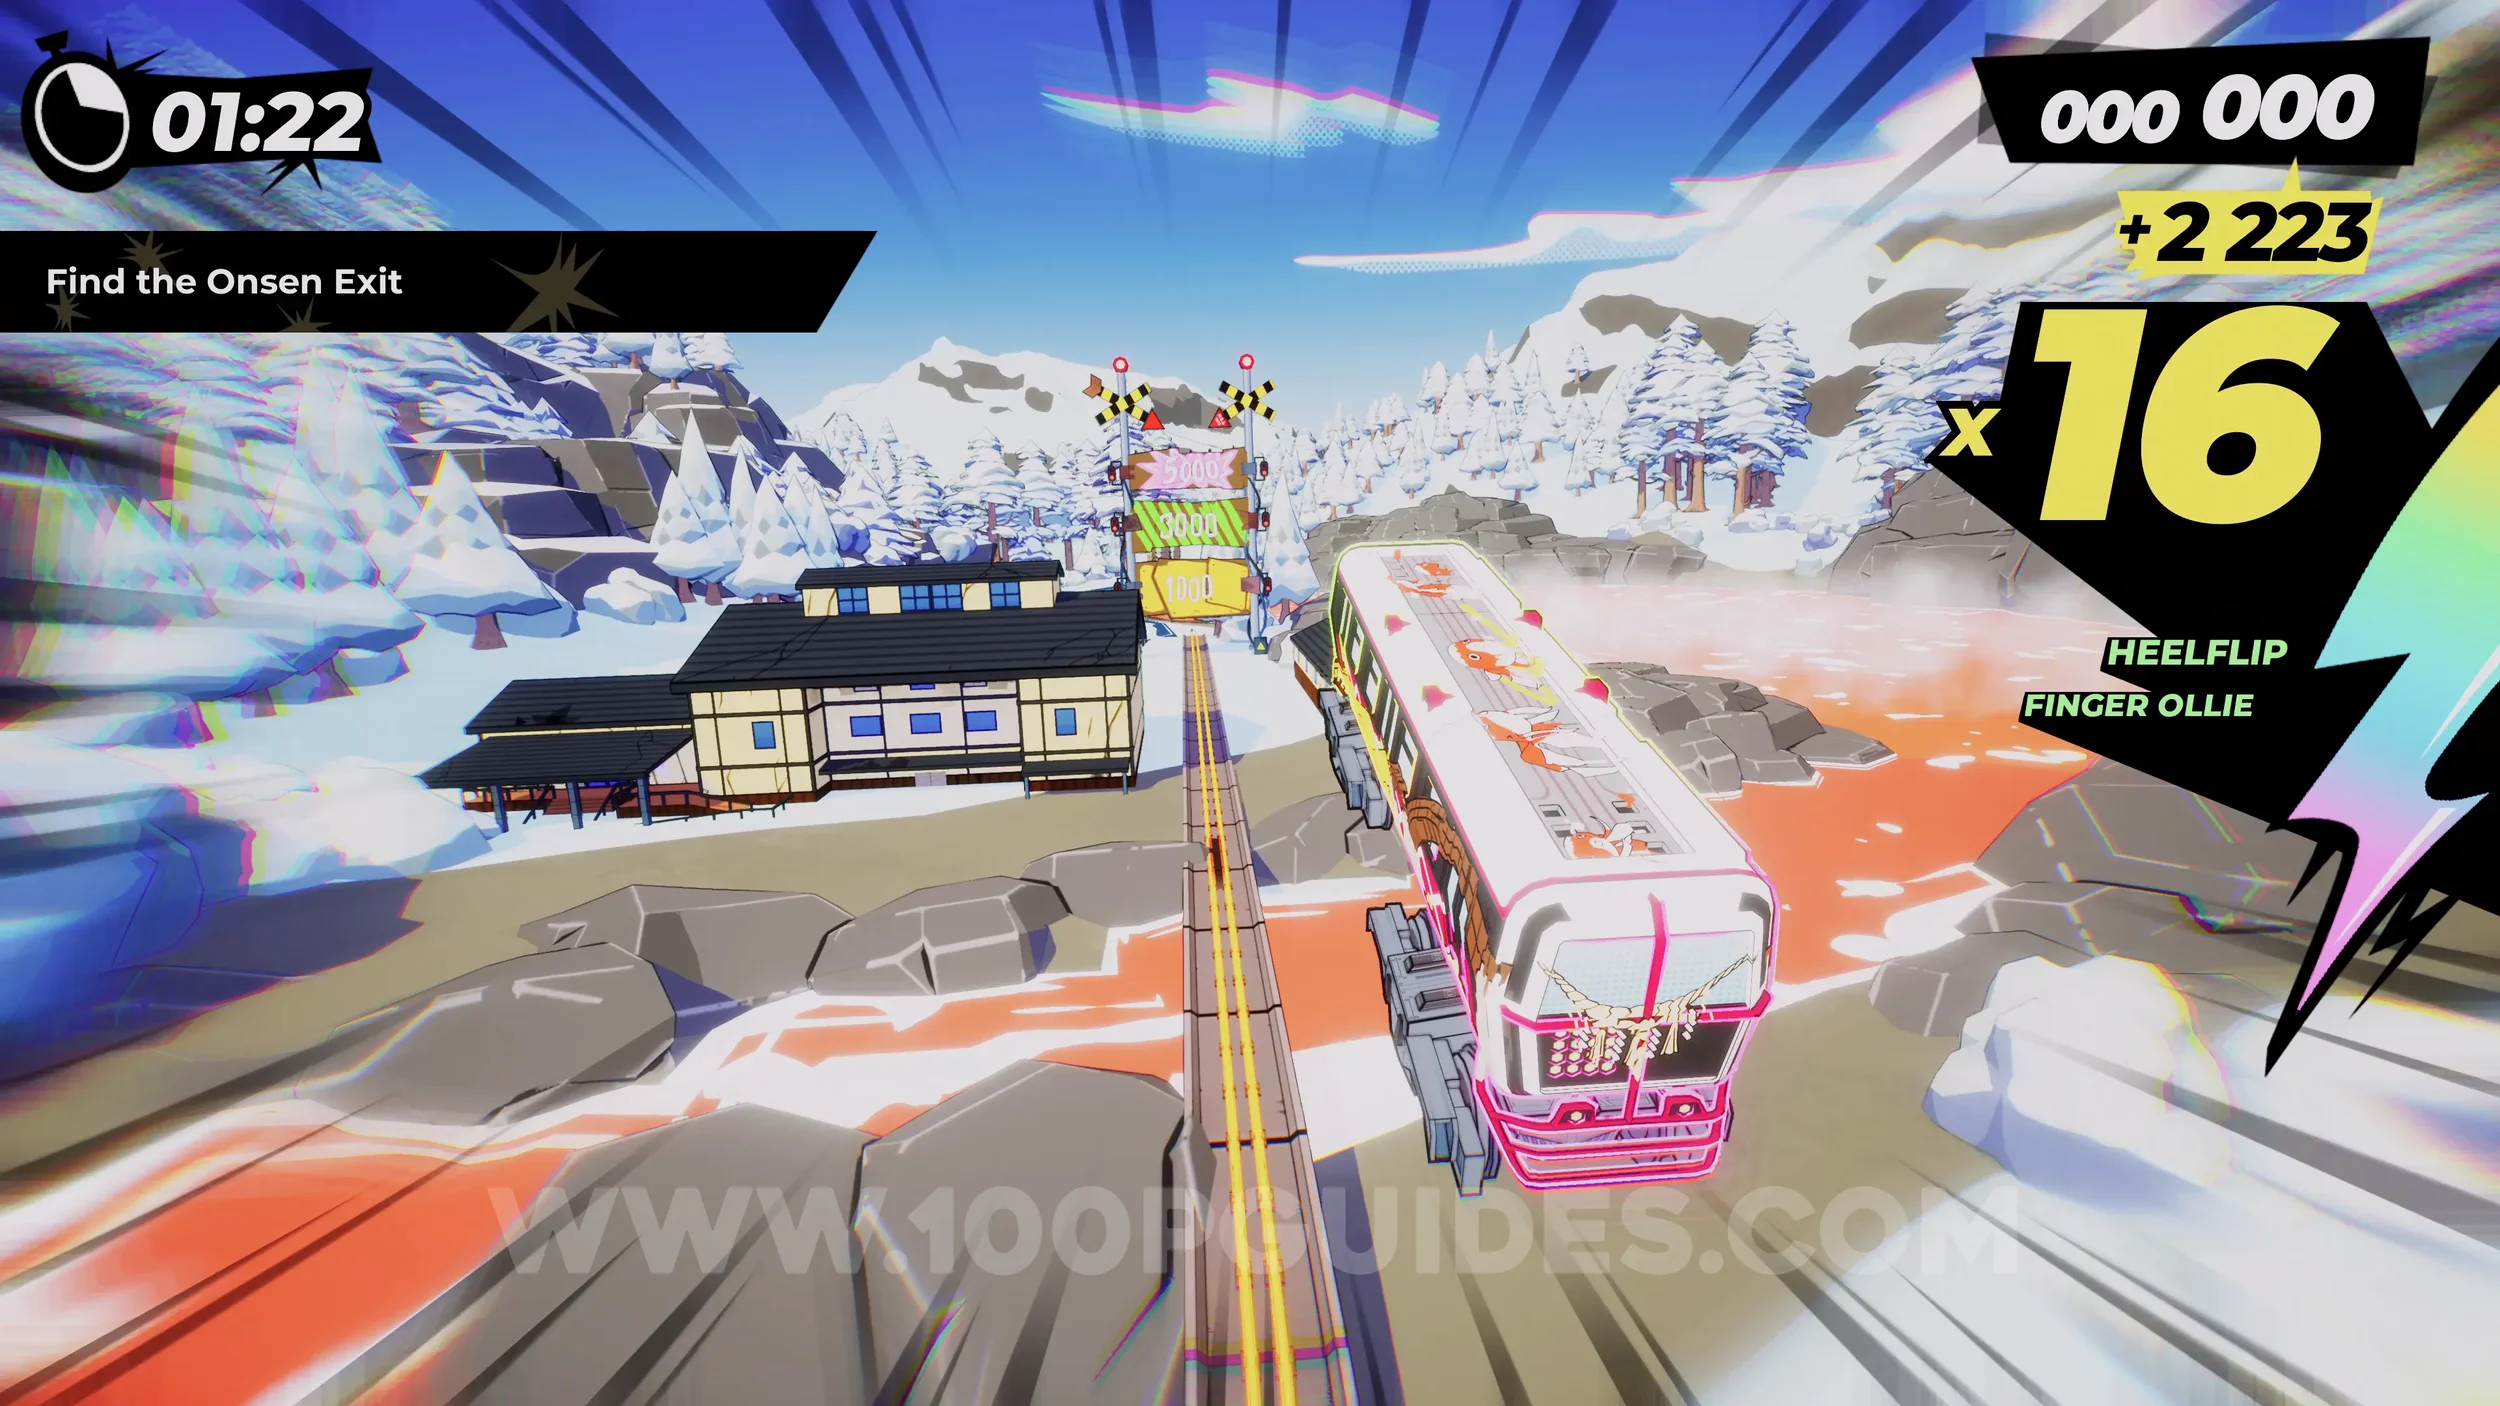
Dare: Perform 20 Slide Tricks. Just use the right analog stick at any point you are on snow 20 times.
Dare: No Crash Finish. Self-explanatory. Finish the level without crashing.
6-8-C Matsumoto Castle
Shop level. A few new Trains and Stickers available to purchase.
6-7-O Yamanouchi Onsen
Onsen #5. This level will only unlock if you found the Onsen Exit at the end of level 6-7-1. Exhaust all the dialogue to collect the Onsen.
6-8-1 Alpine Adventure
Gear (1/3). Stick left just after the first two wallrides.
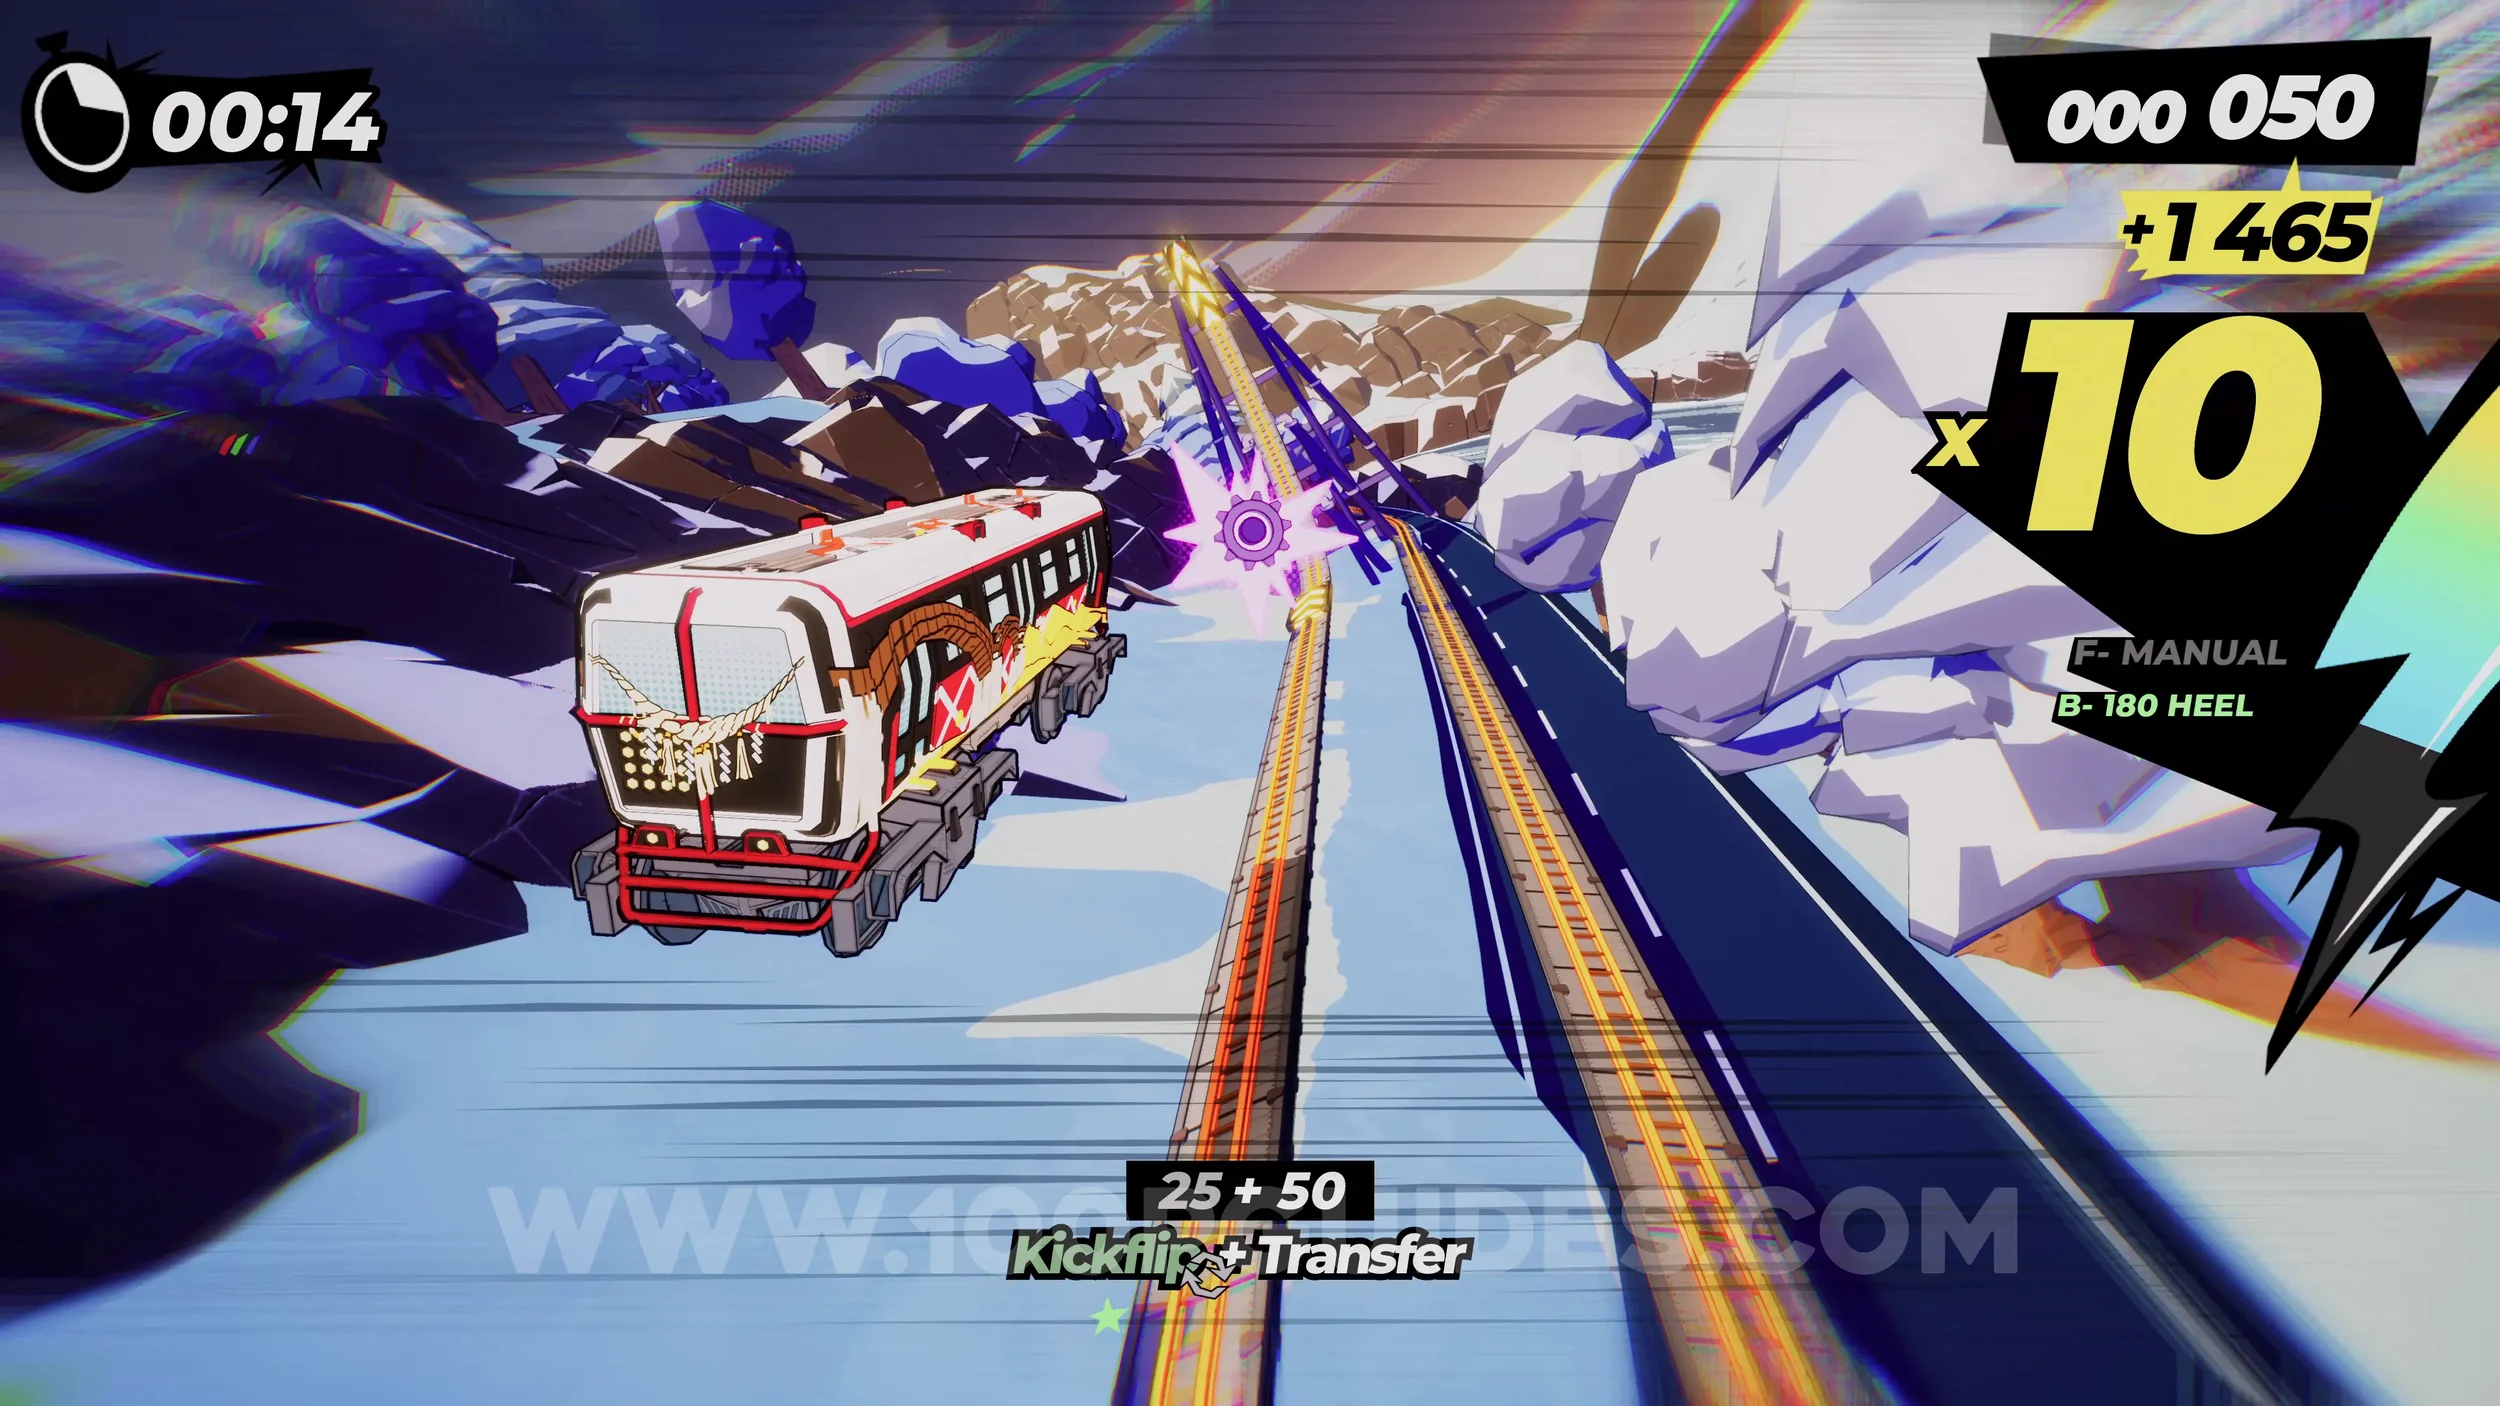
Dare: Perform 3 Advanced Tricks on Vert Ramps (1/3). The first vert ramp will be immediately after the gear. Just perform any advanced trick.
Dare: Perform 3 Advanced Tricks on Vert Ramps (2/3). Soon after the first vert ramp. Just perform any advanced trick.
Dare: Perform 3 Advanced Tricks on Vert Ramps (3/3). At the end of the icy open area. Just perform any advanced trick.
Spray Can (1/1). After the previous vert ramp, you'll wallride and enter a tunnel with ice crystals. Stick to the left to see the spray can.
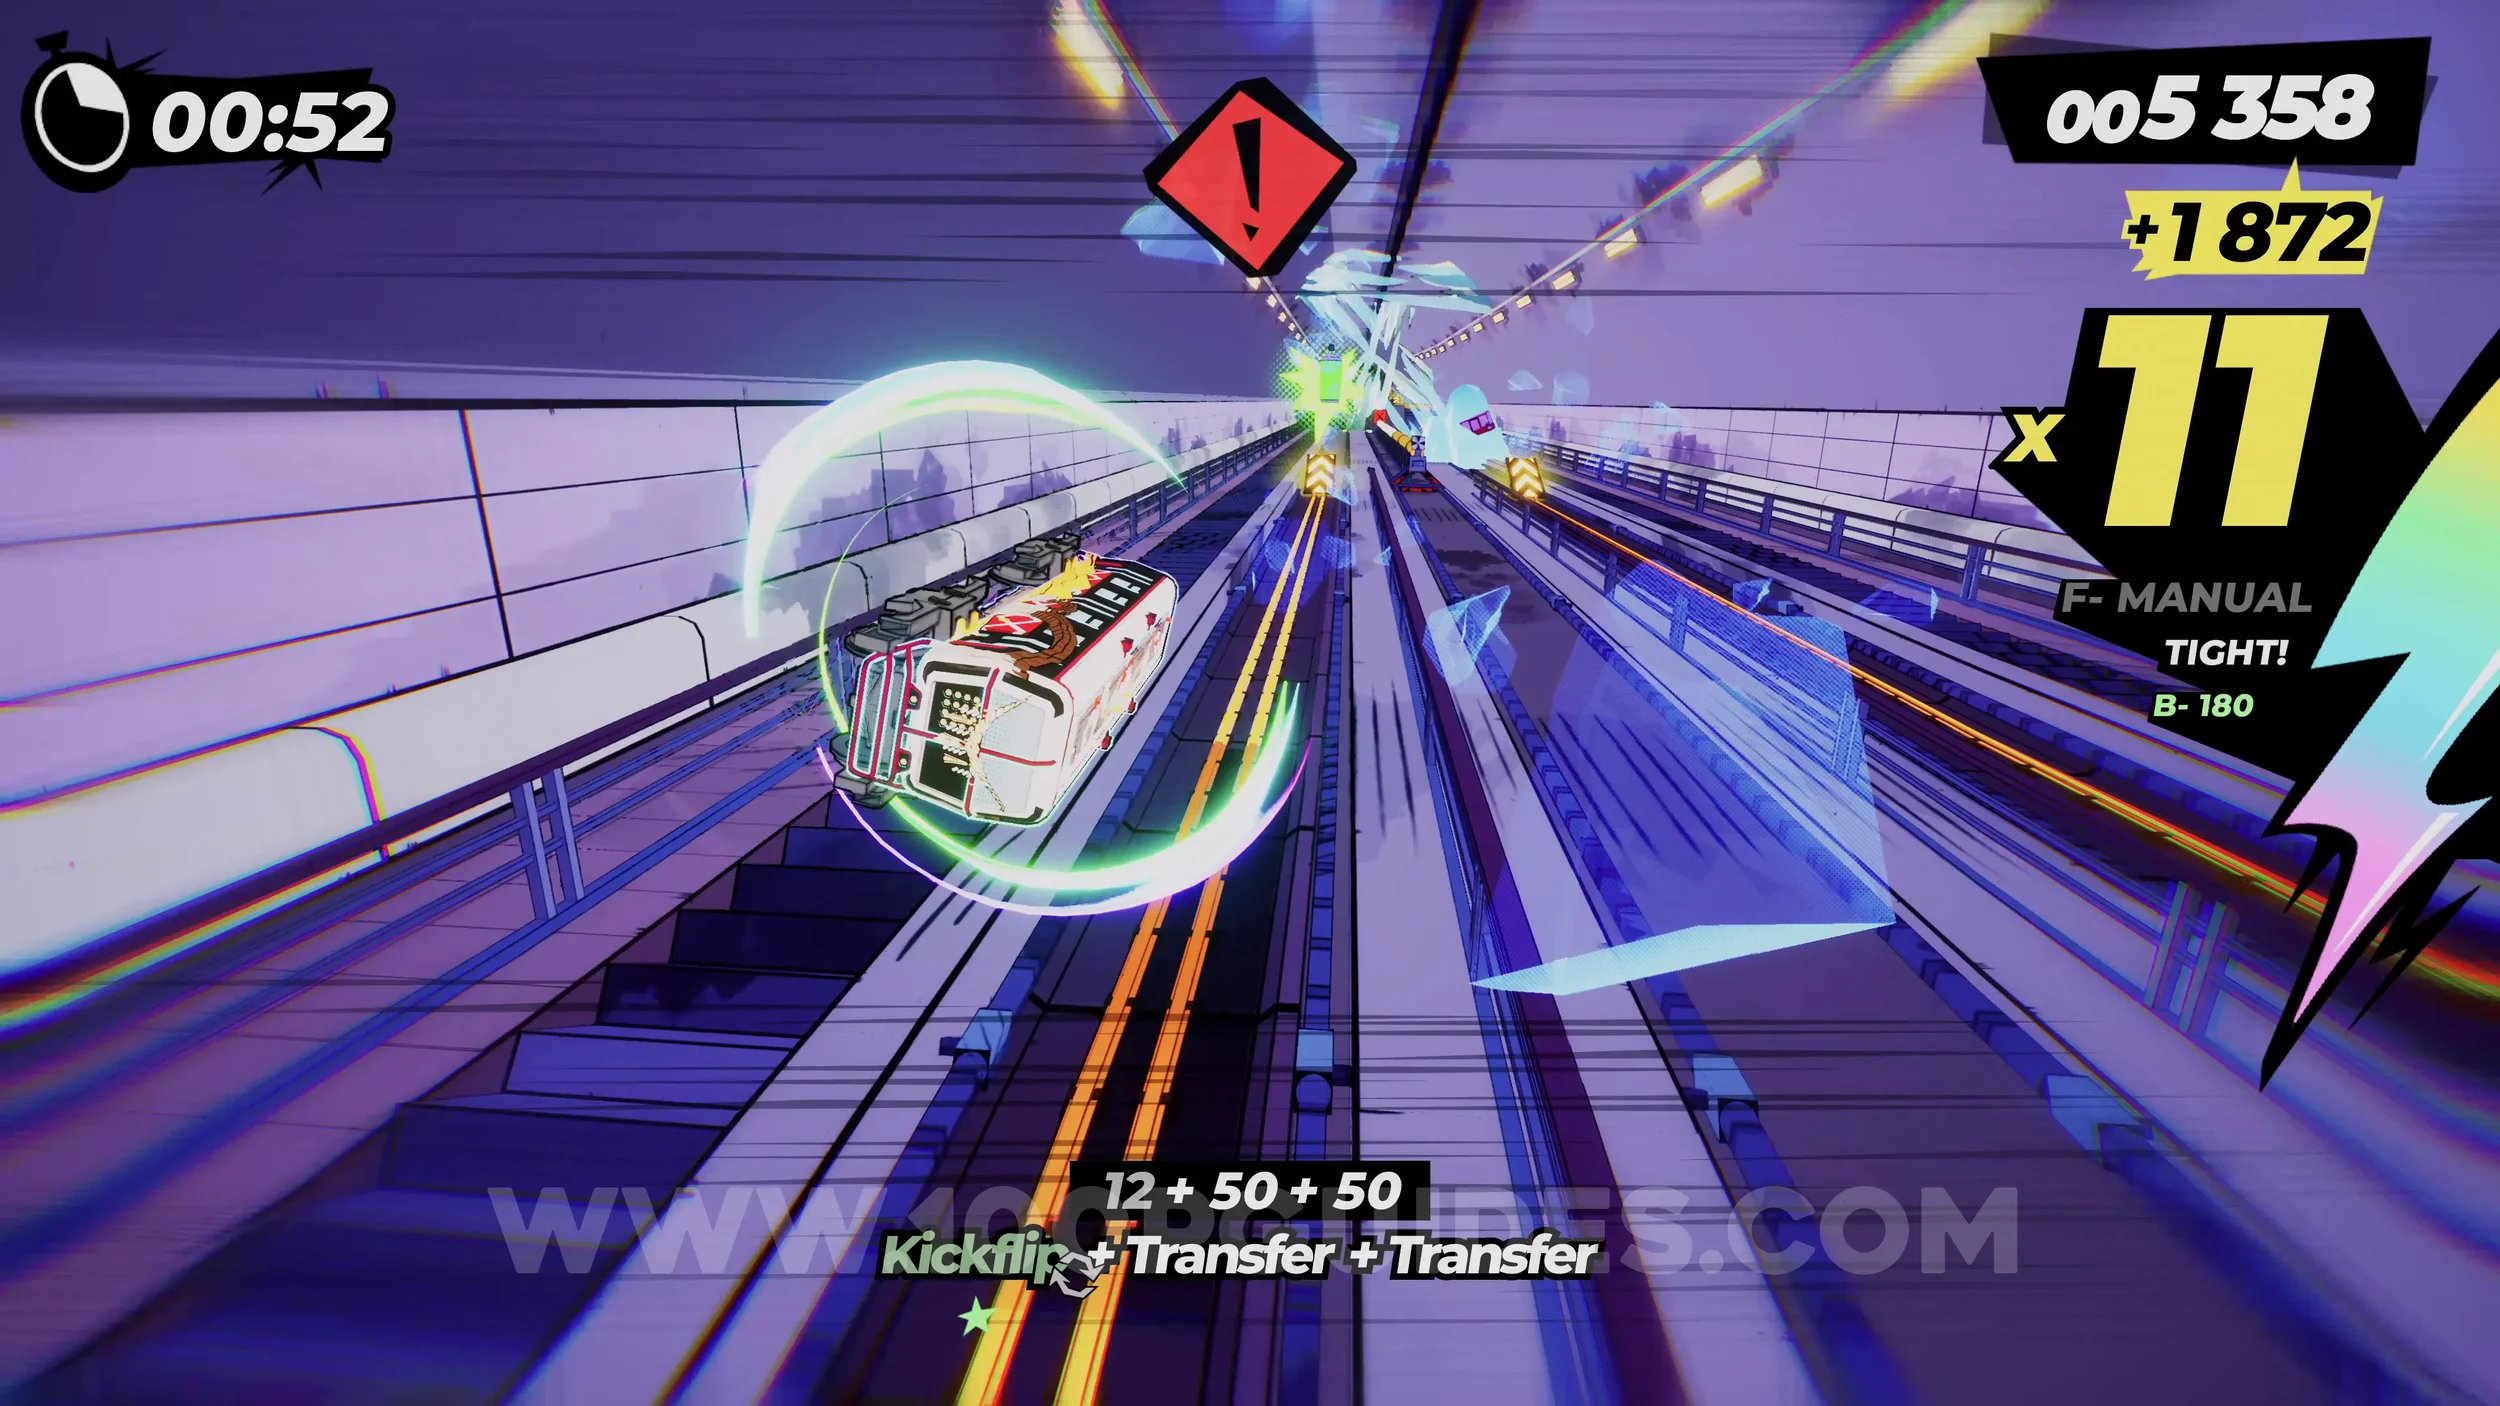
Film Roll (1/1) and Dare: Reach for the Summit. After leaving the ice crystal cave, you'll get to an area with multiple monorails. Stick to the left side to find some rainbow tracks (you must have the special bar filled). Follow them to get the film roll, and at the same time you'll see the horn sign appear in the middle of the screen. When it does, press R3.
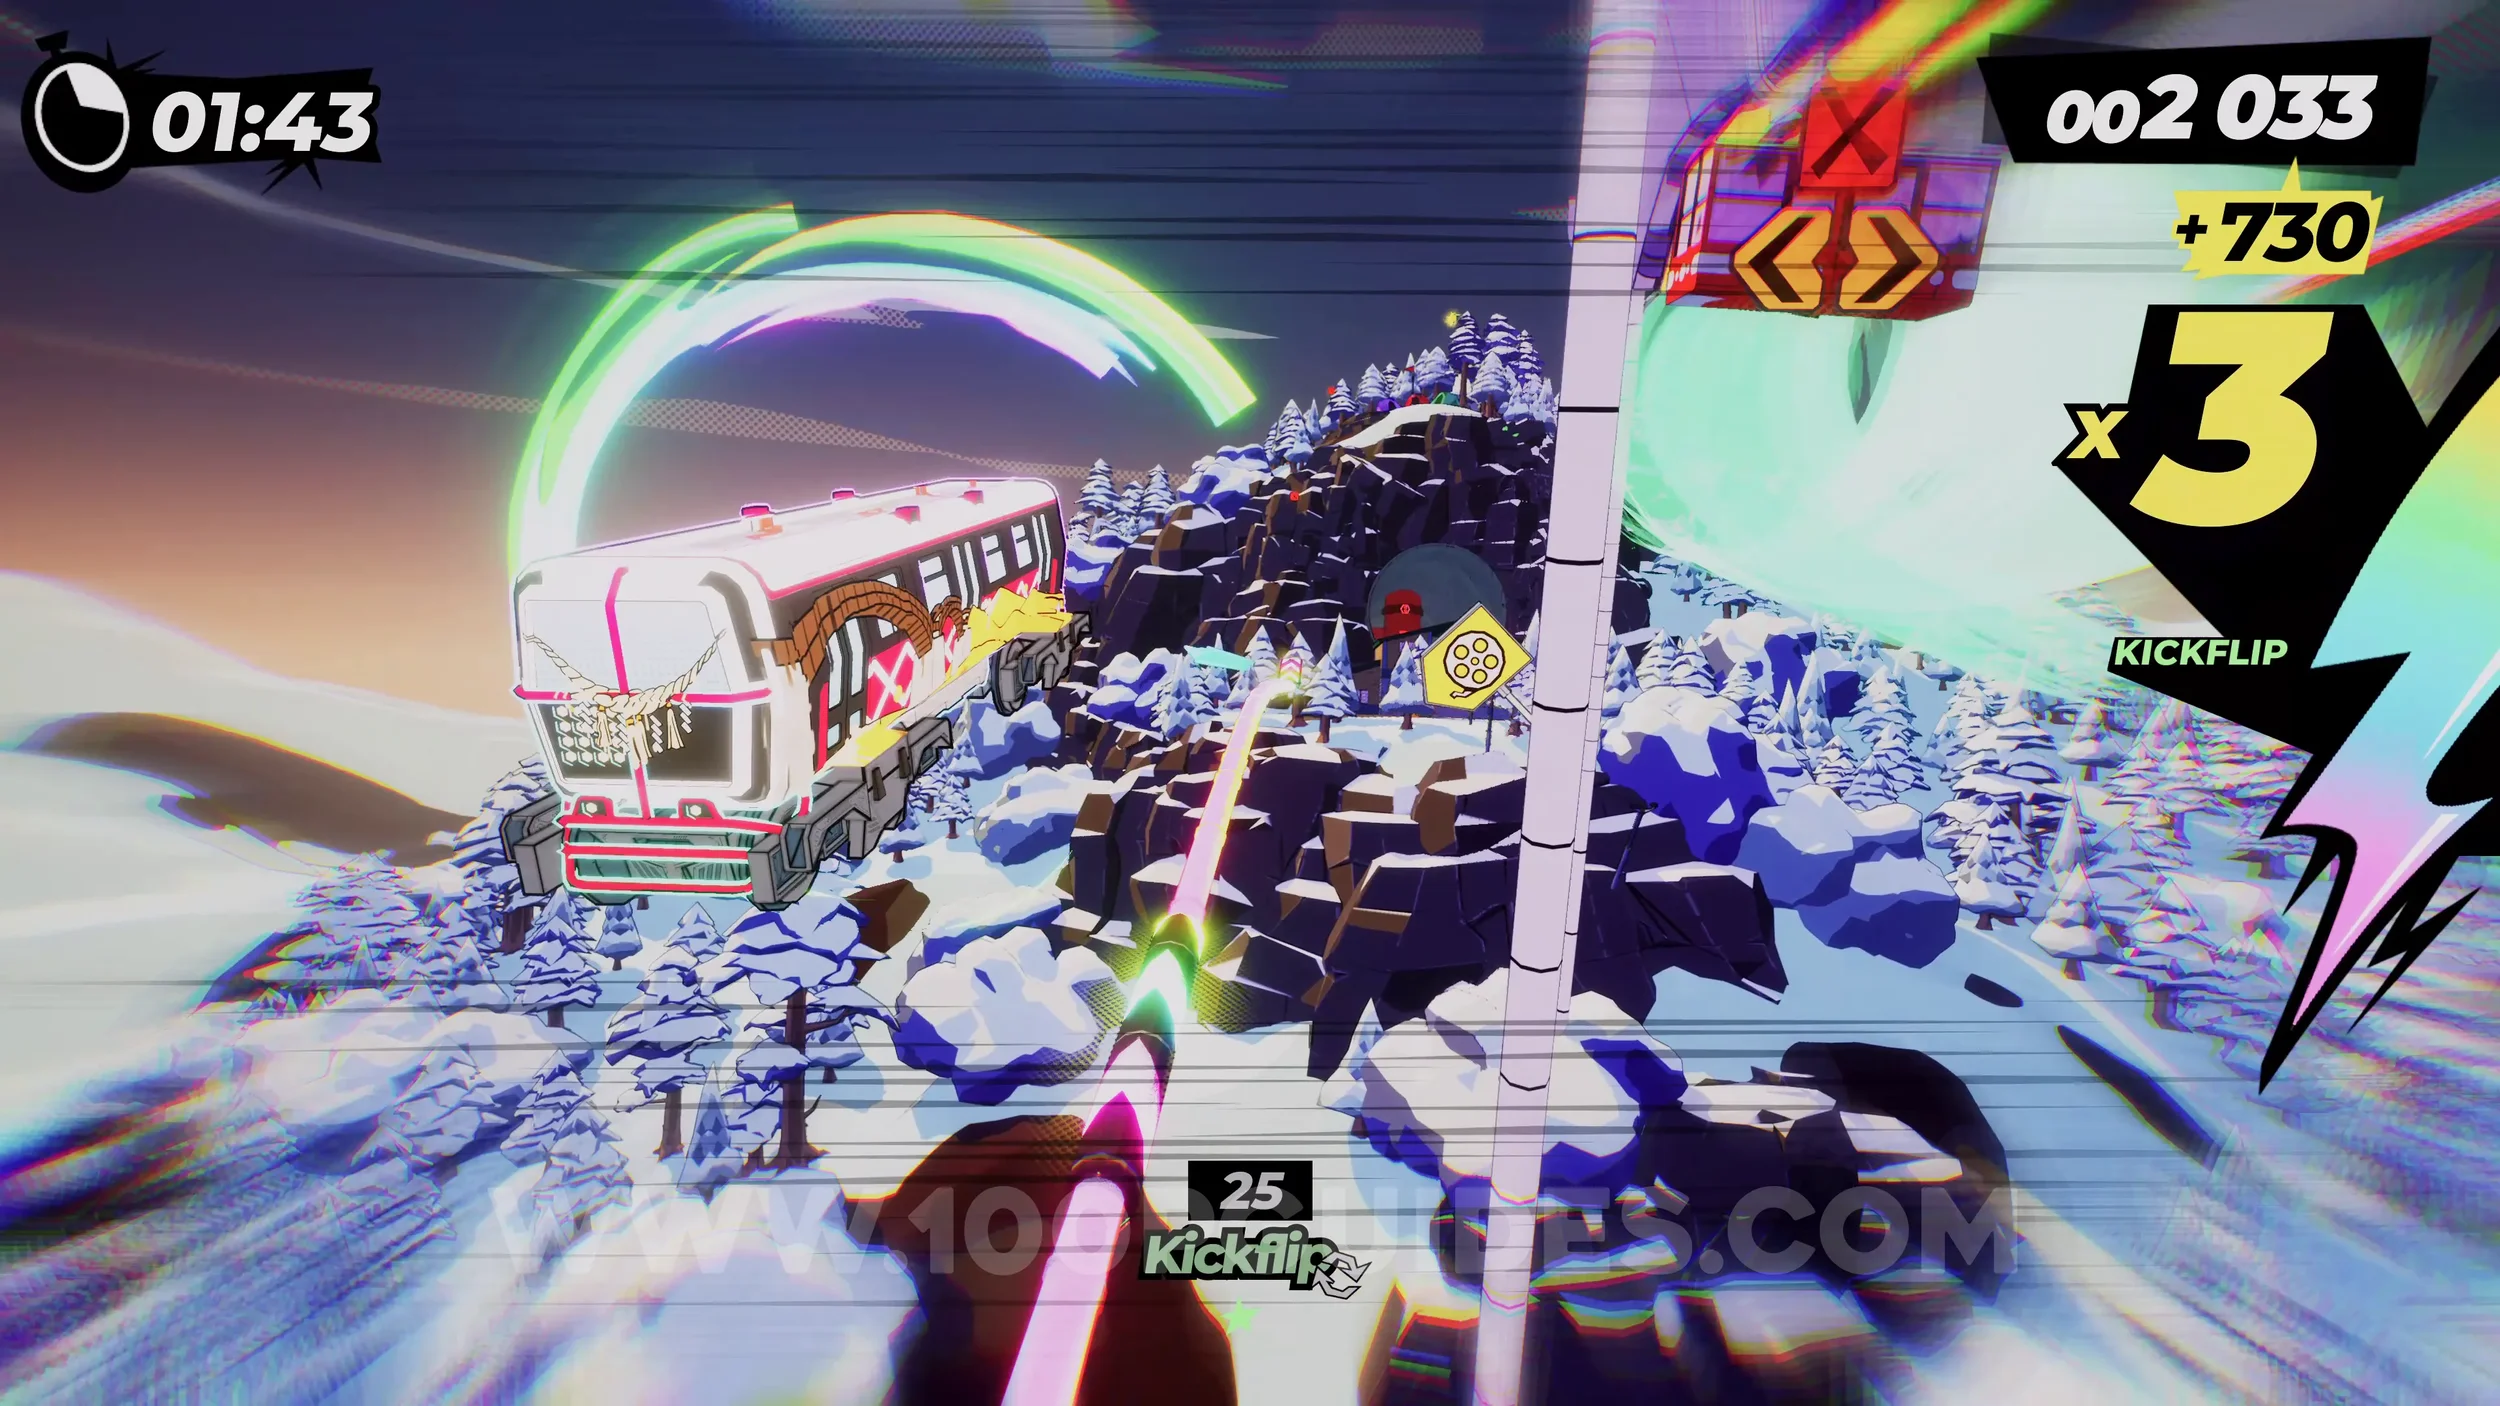
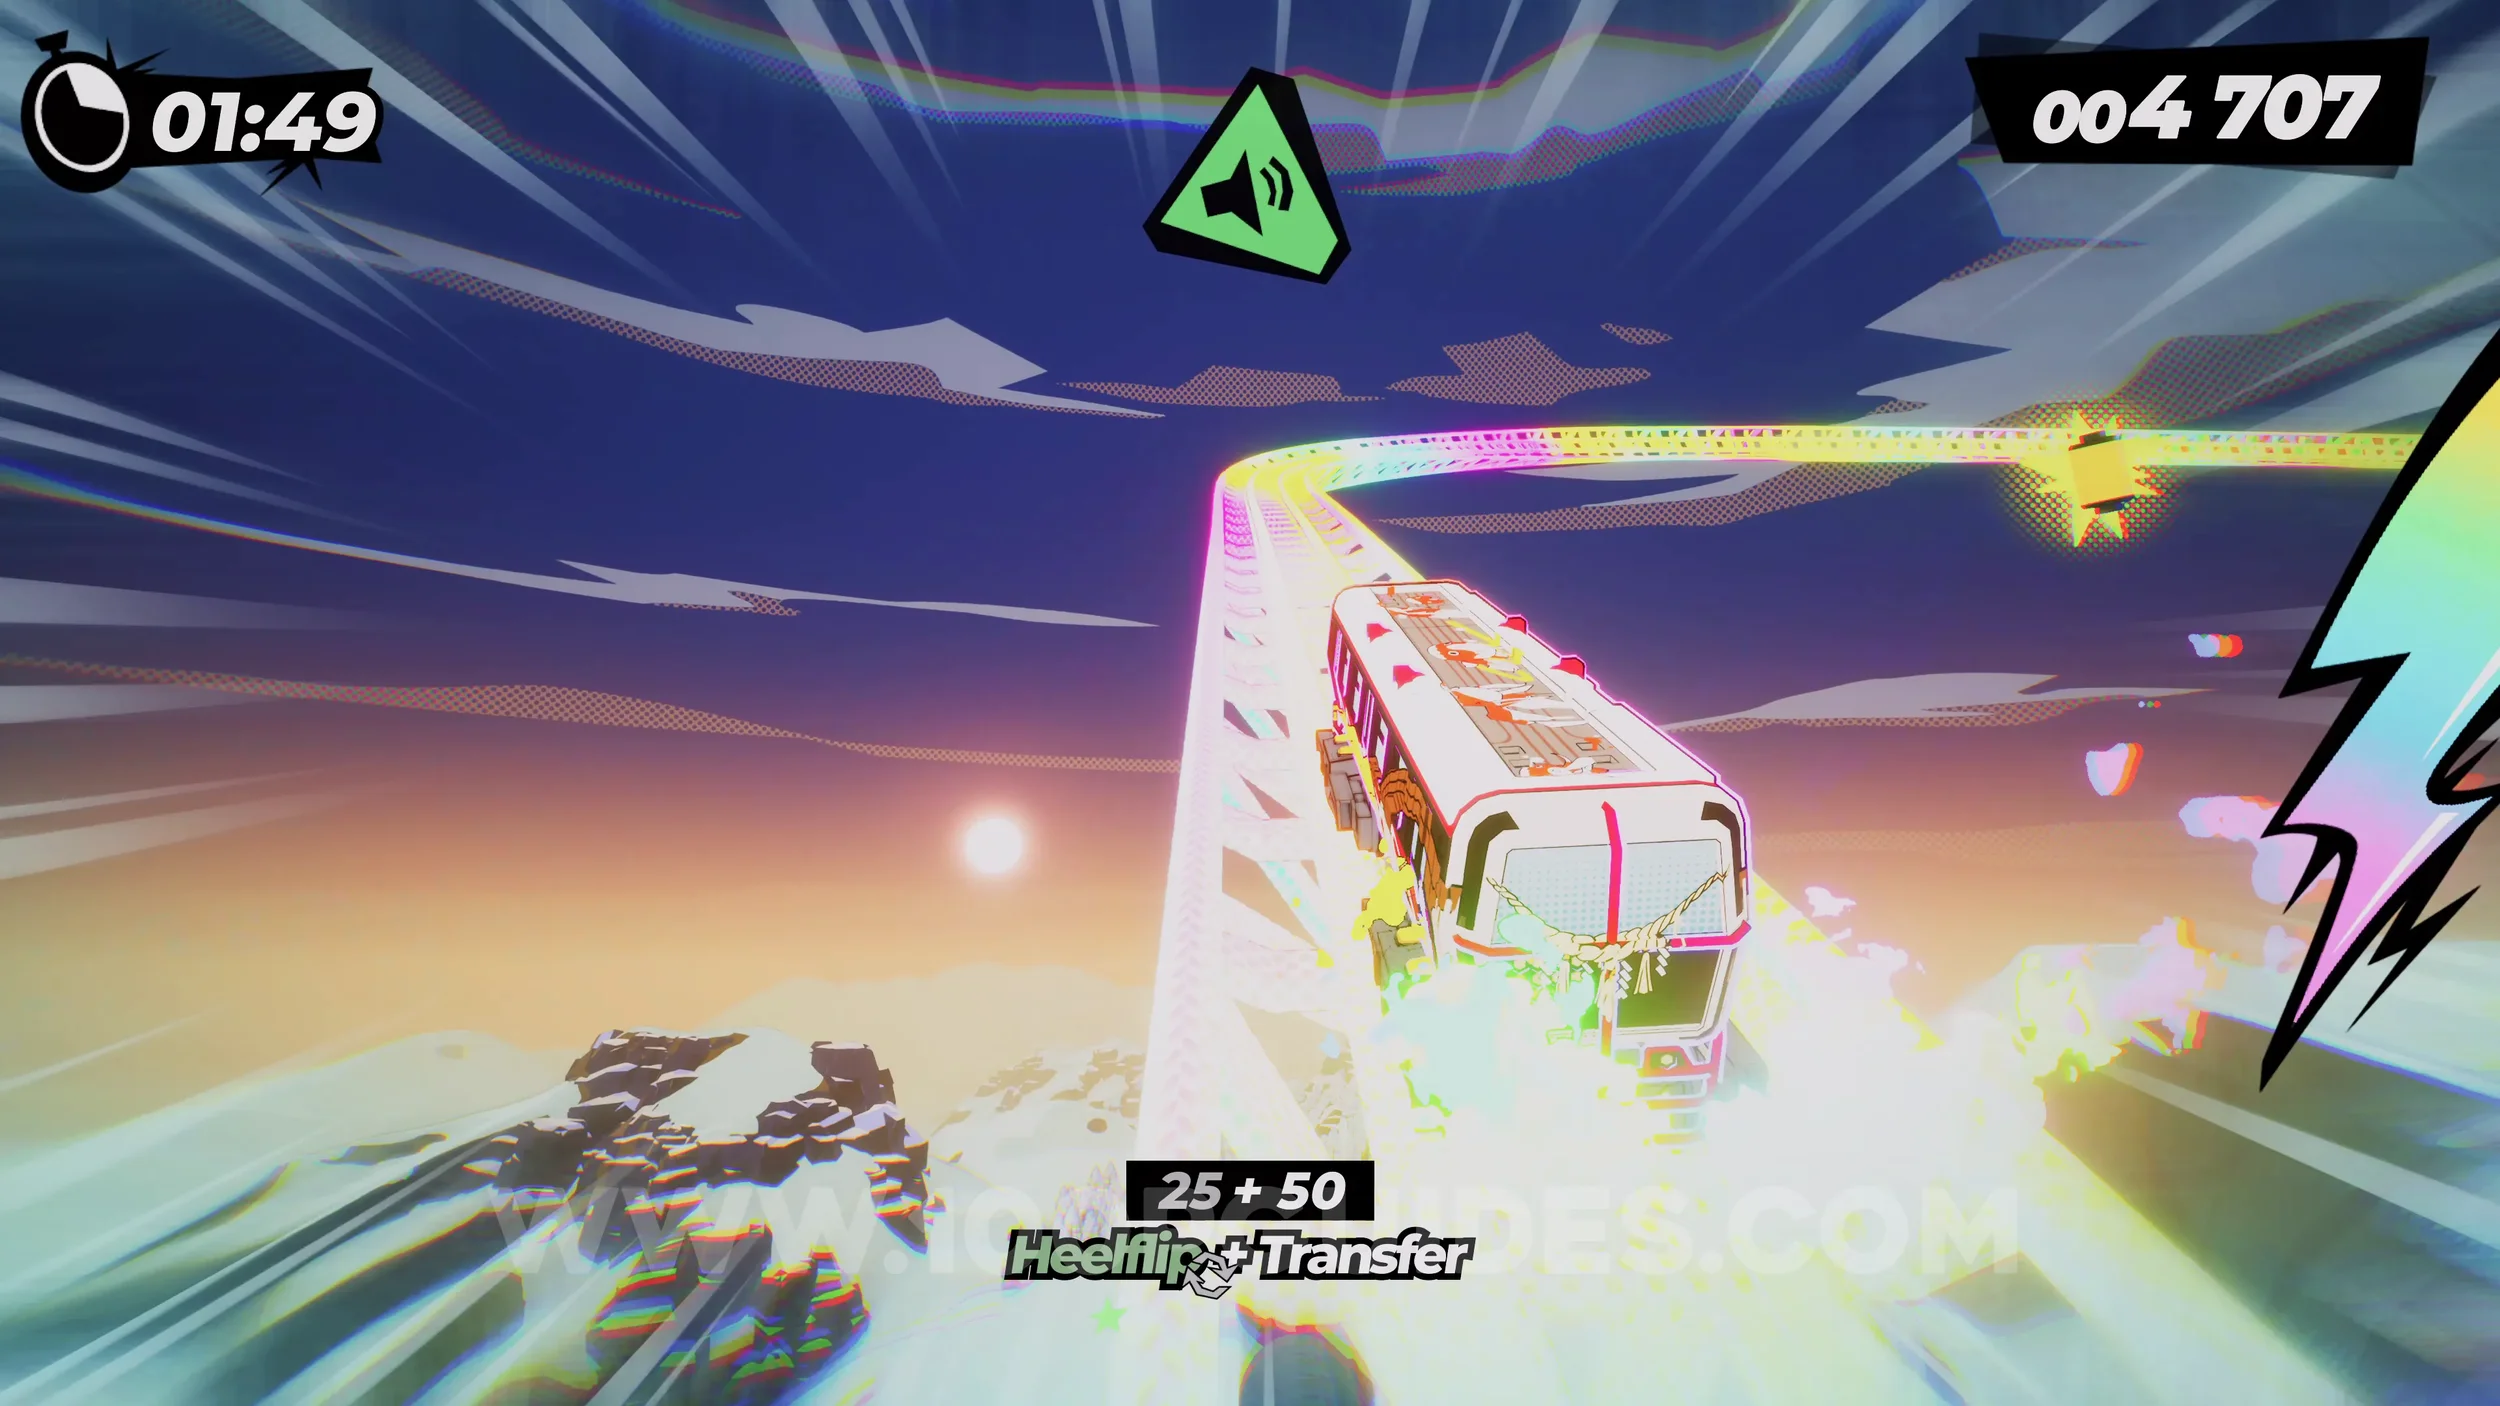
Gear (2/3). In plain sight in the next tunnel.
Dare: Perform 3 Wallride Tricks on the Snow Corridor Walls and Gear (3/3). After leaving the tunnel, you'll get to an area with tall snow walls on either side. In this section, wallride the metal walls and perform any three tricks. The gear can be found on the second wallride.
Dare: Hit Every Booster During the Chase. At the end of the level, you'll be chased by a bulldozer. Just hit all ten boosters on the final straight and corner.
Dare: No Crash Finish. Self-explanatory. Get to the end of the level without crashing.
6-9-B The Wretchhound
Spray Can (1/1). Once you take control of the flying drone and start smashing through the glass windows, keep a look out for the spray can on the left side.
Dare: Destroy 7 Police Drones While Riding the Drone. During the section where you have to do tricks with the drone to launch missiles at the doors, you'll see enemy drones. Launch missiles at seven of them to destroy them.
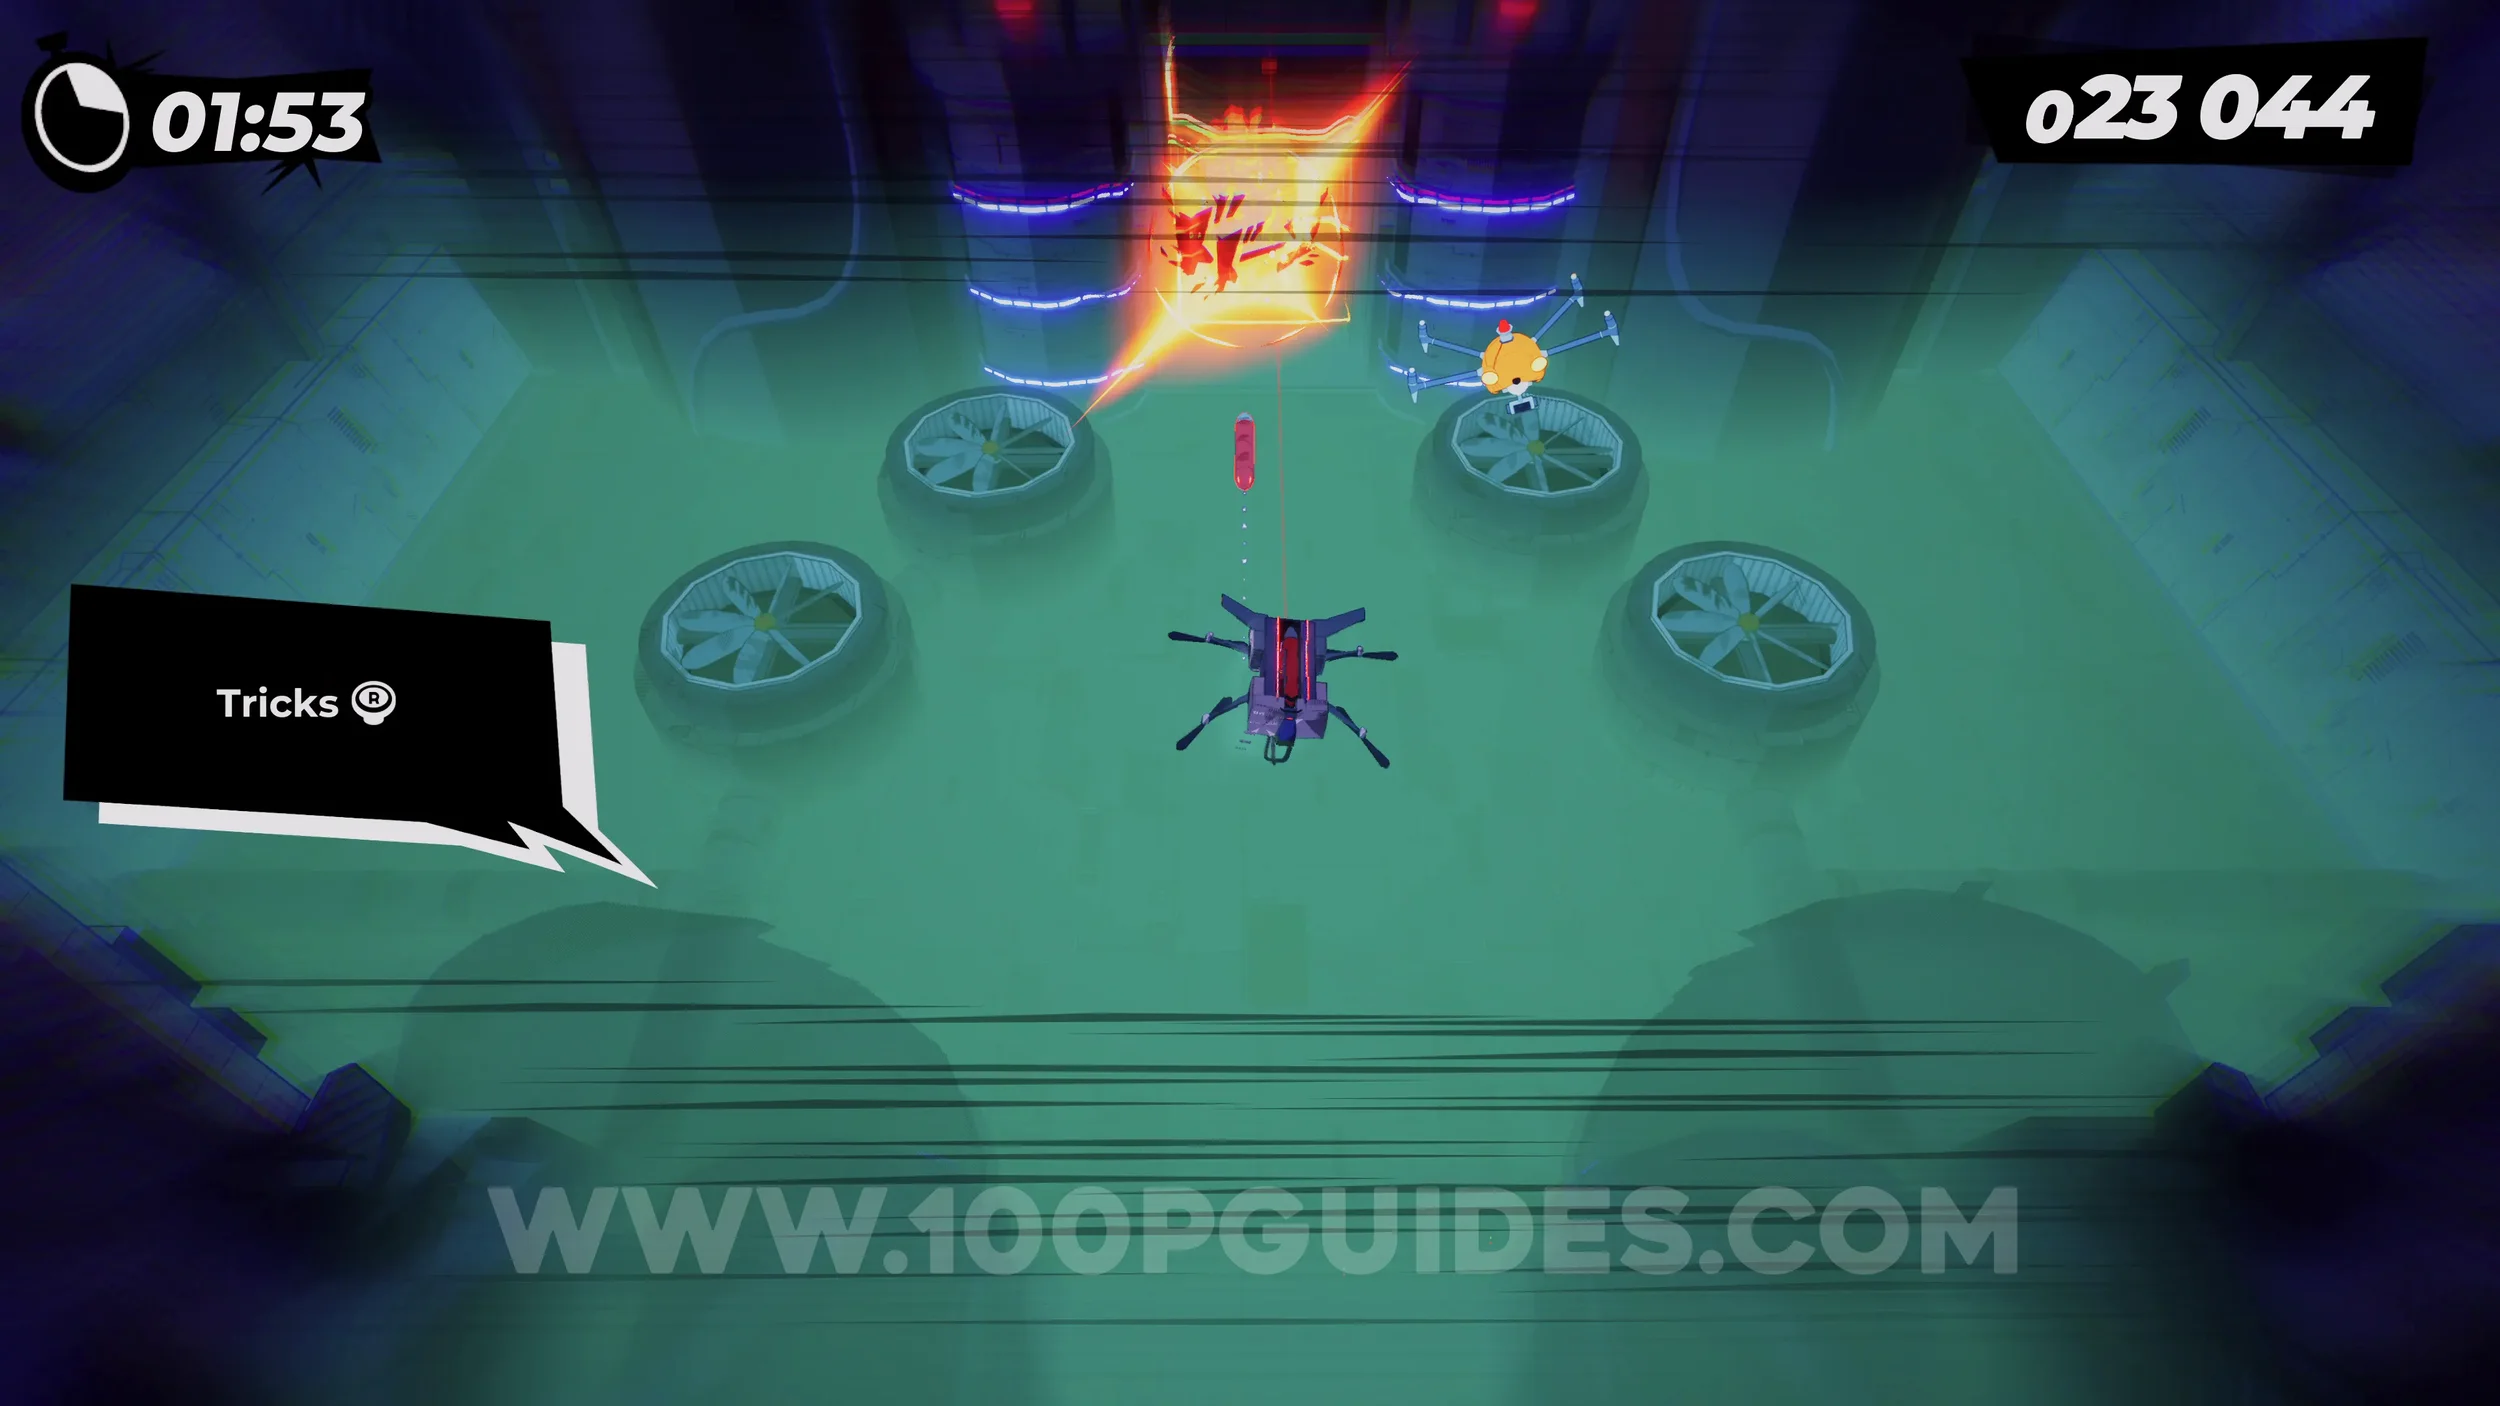
Gear (1/1). It'll be in plain sight on one of the jumps a good way into the section with the blue floor where you have to hit the accelerators.
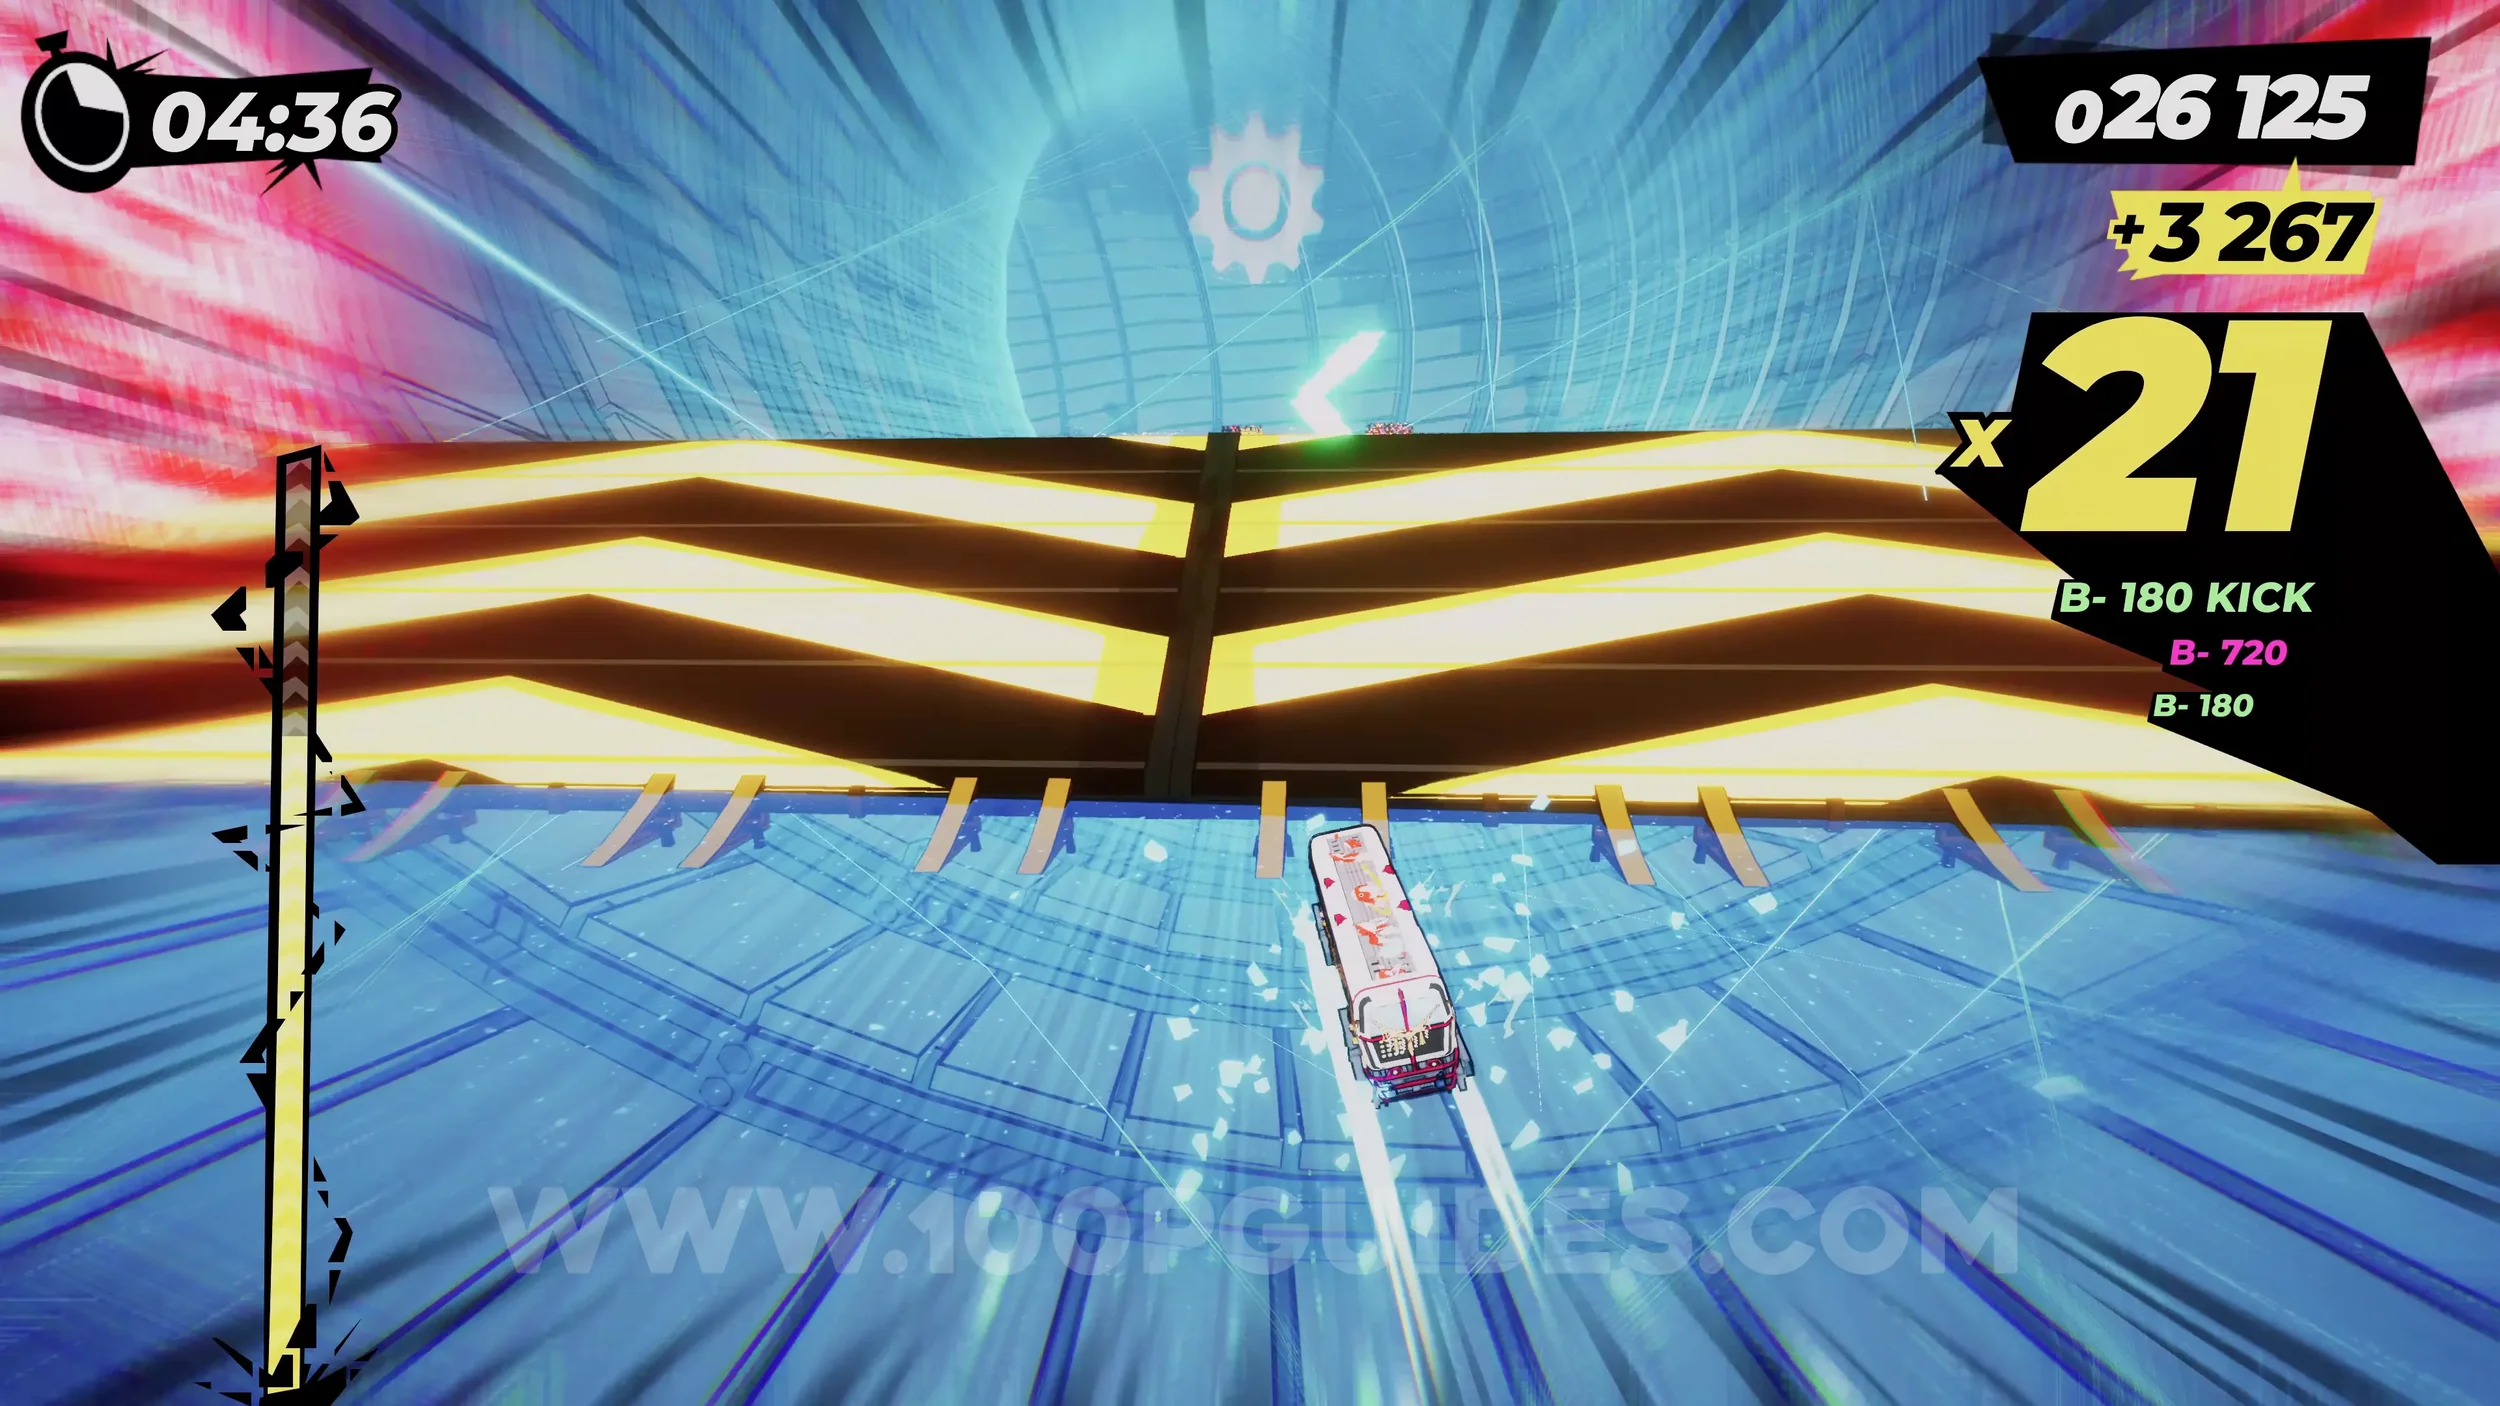
Dare: Charge Up the Particle Accelerator in Under 01:20. Self-explanatory. Spend no more than 1:20 in the particle accelerator.
Dare: Risky Dodge 5 of Brian’s Fire Attacks. Once you leave the particle accelerator, the boss will start sending towers of fire at you. Dodge five of them at the last moment.
Dare: Chomp on 20 Task Force Cars. Once you take the jaws from the boss, drive through 20 task force cars.
Film Roll (1/1). During the section where you have the jaws and are driving through the cop cars, stick to the right side to see the film roll.
Dare: No Crash Boss Defeat. Self-explanatory. Defeat the boss without crashing.
CHAPTER 7
7-1-1 Lie Low, Drift Hard!
Gear (1/3). Once you reach the three signs in the city where the track splits into three, take the left path (blue sign). Then, just after you deliver the tofu, stick right to find the gear.
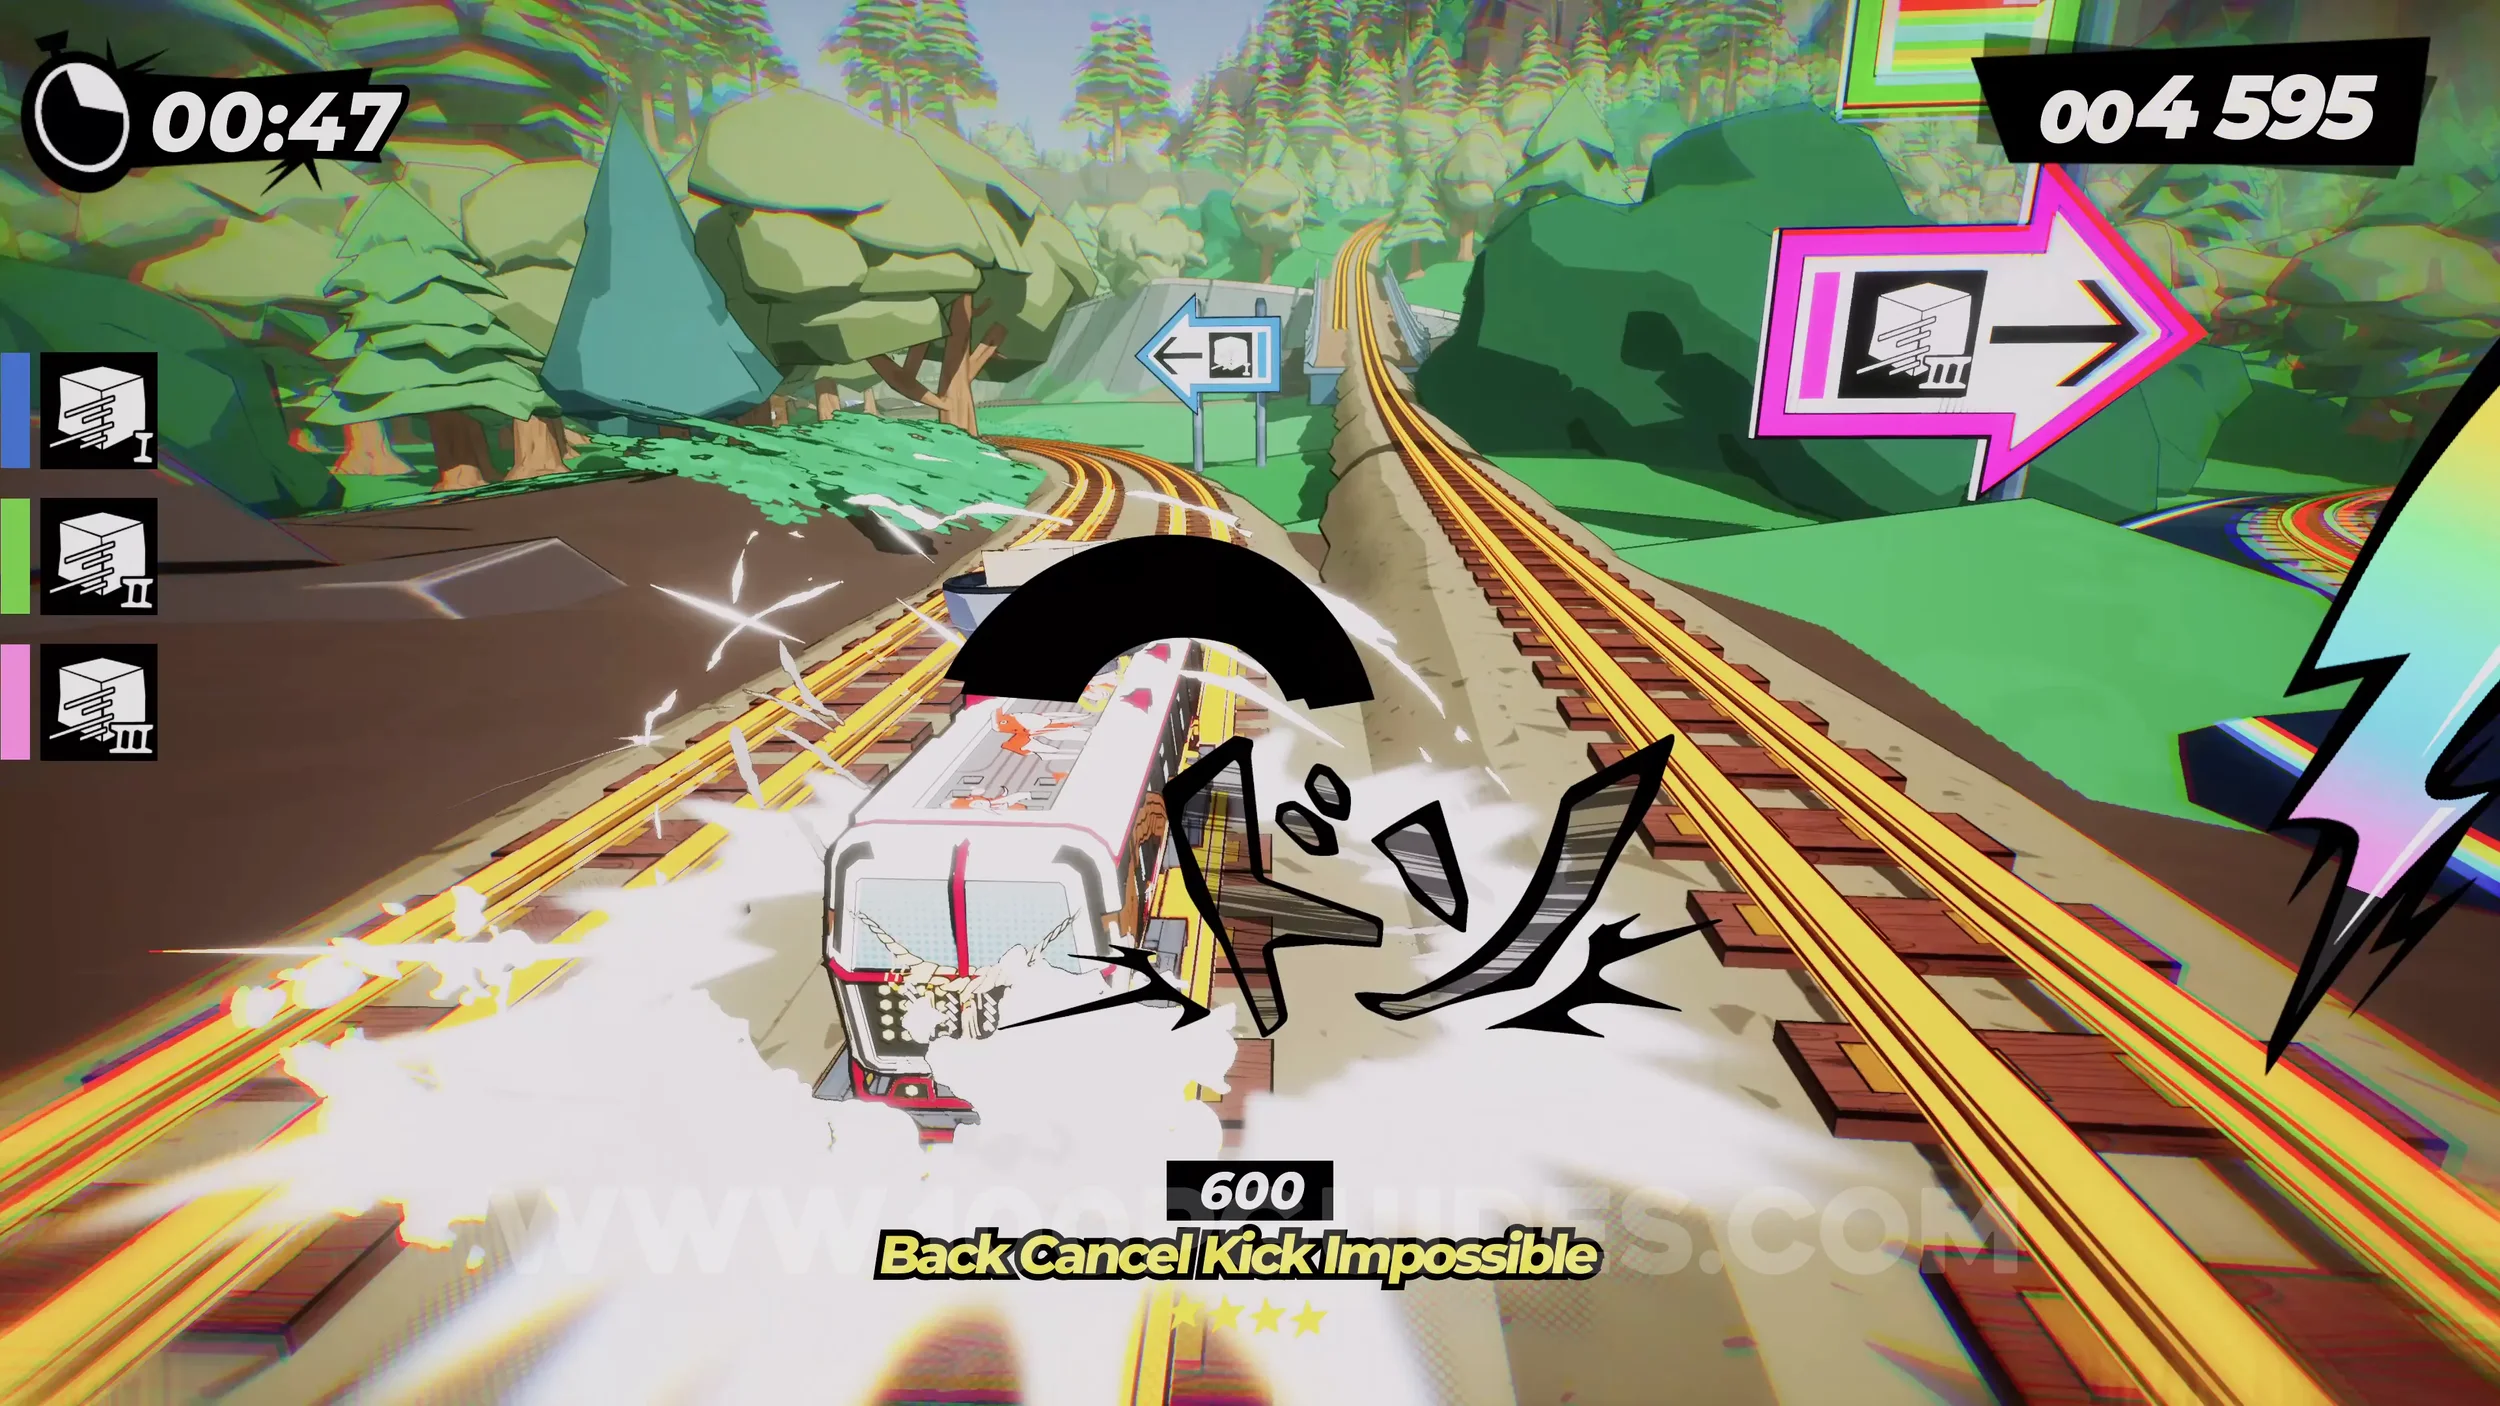
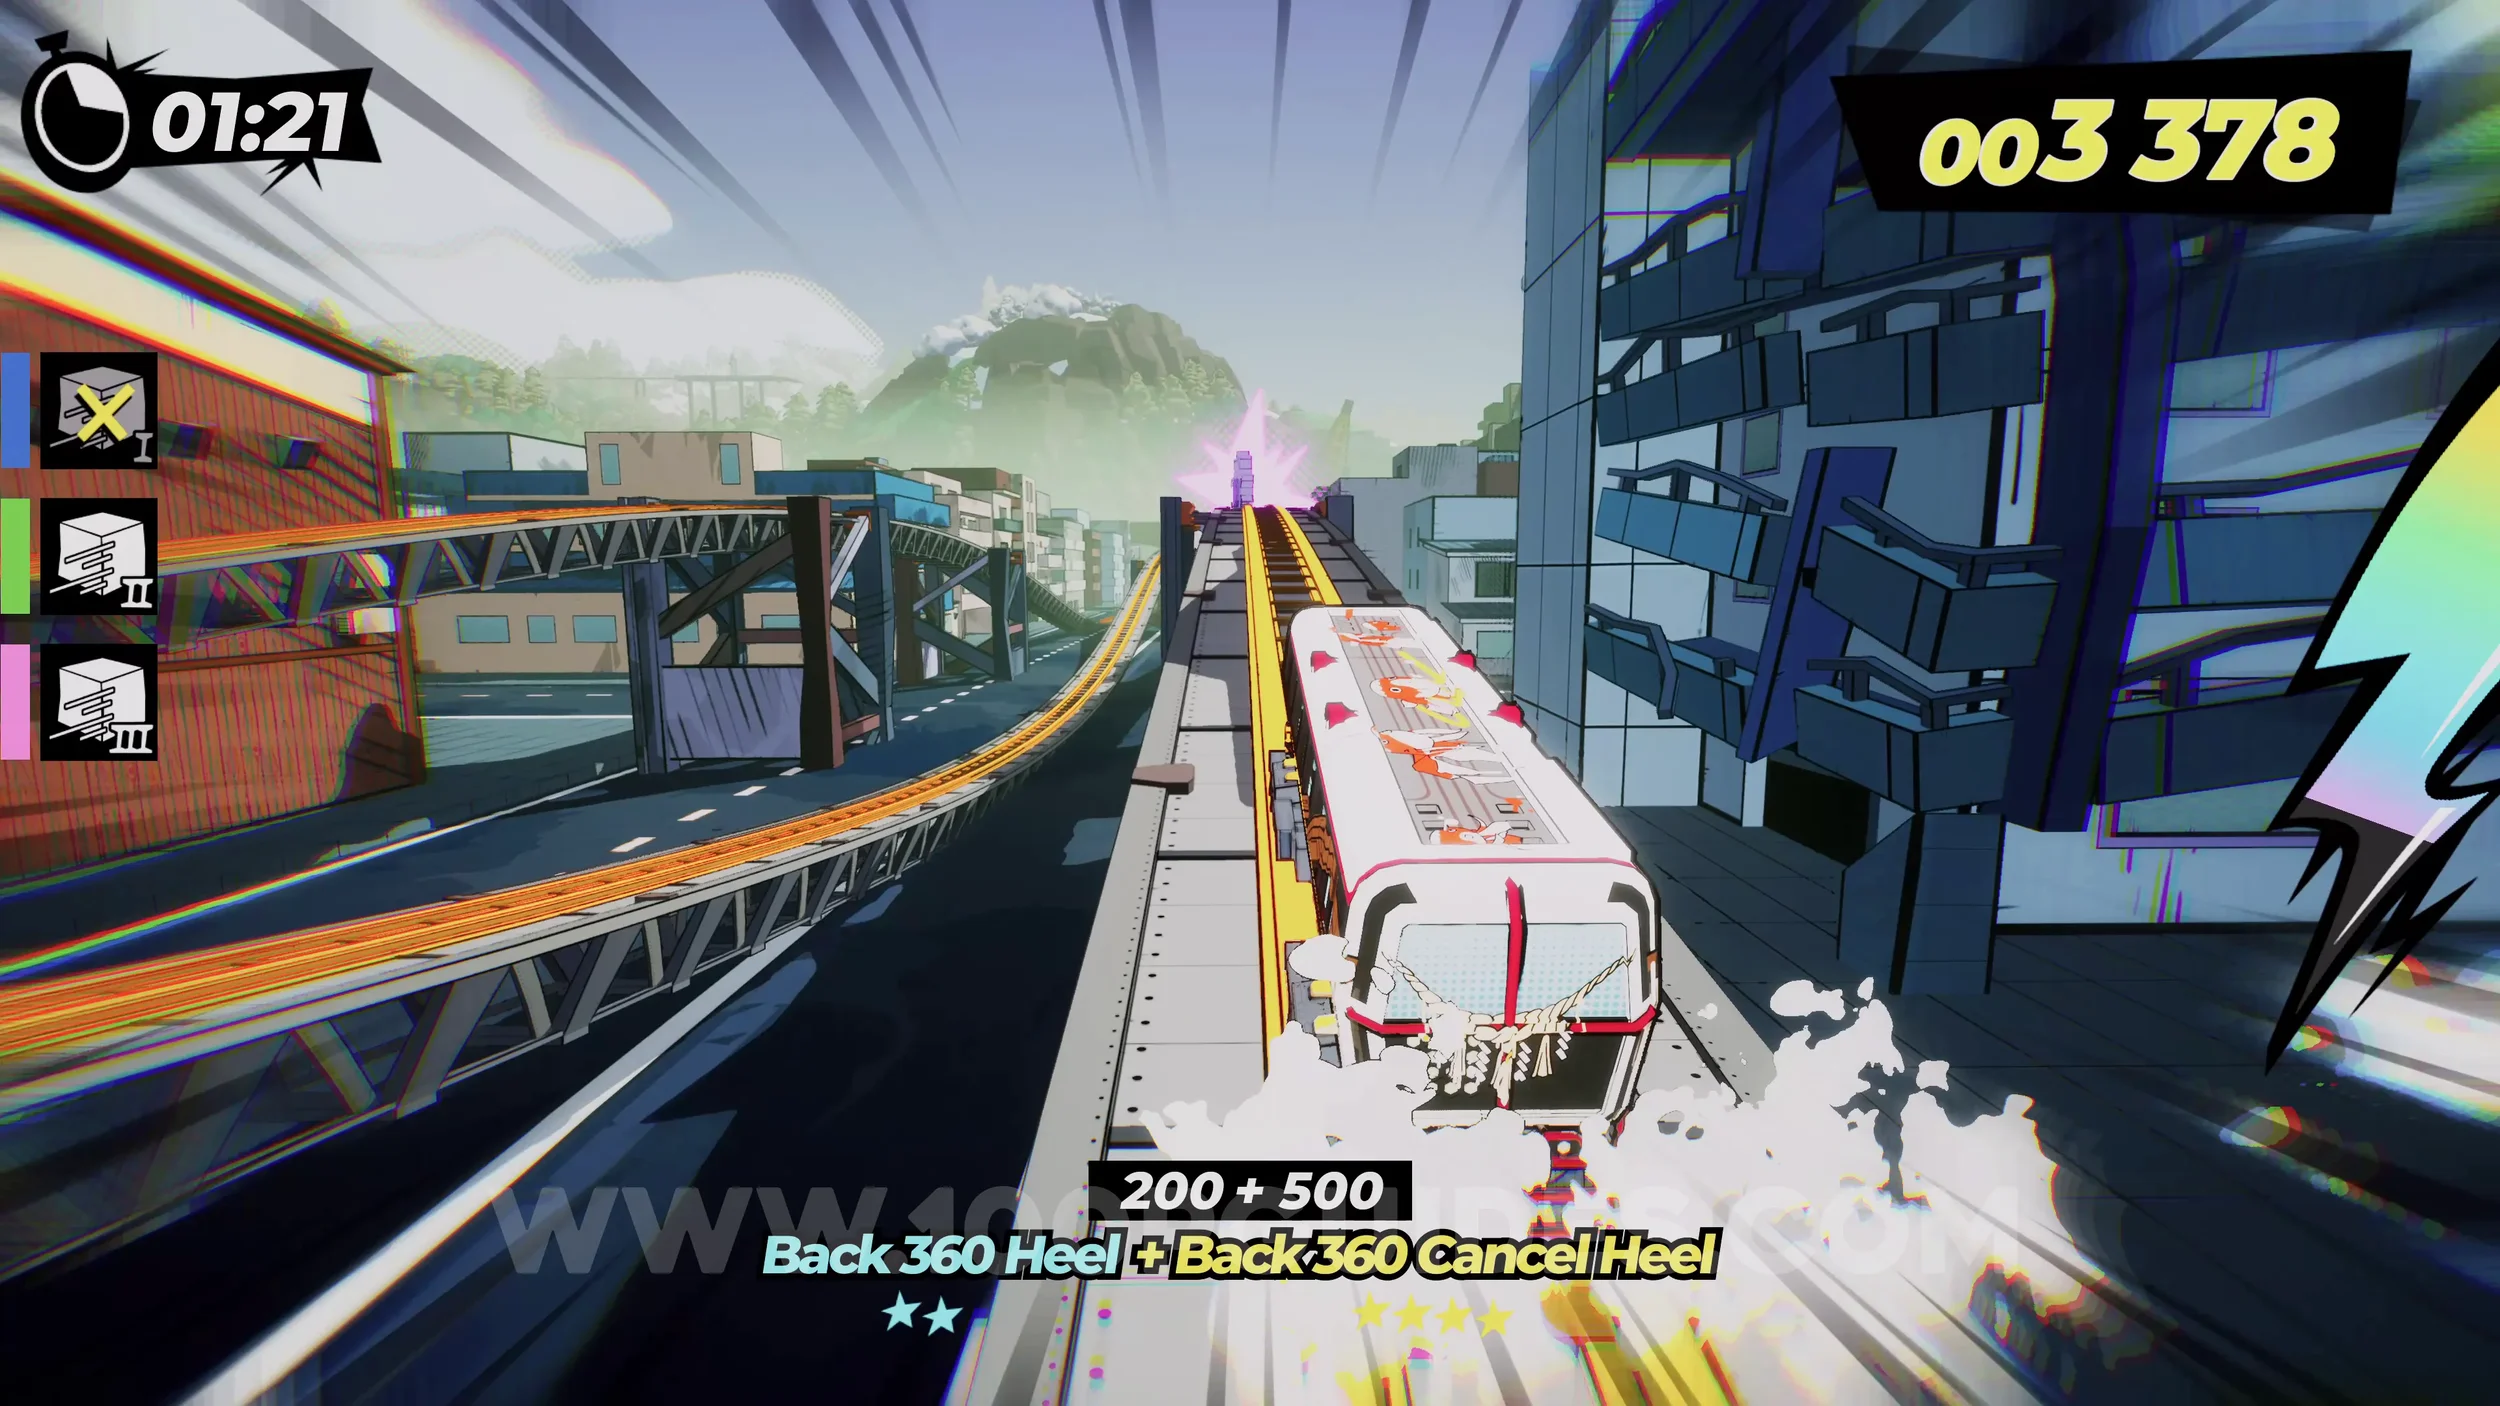
Gear (2/3). Once you circle back around to the main split in the tracks where the signs are, follow the right path (pink sign). Then, just after delivering the tofu, you'll go through a tunnel. The gear is on the right side inside the tunnel.
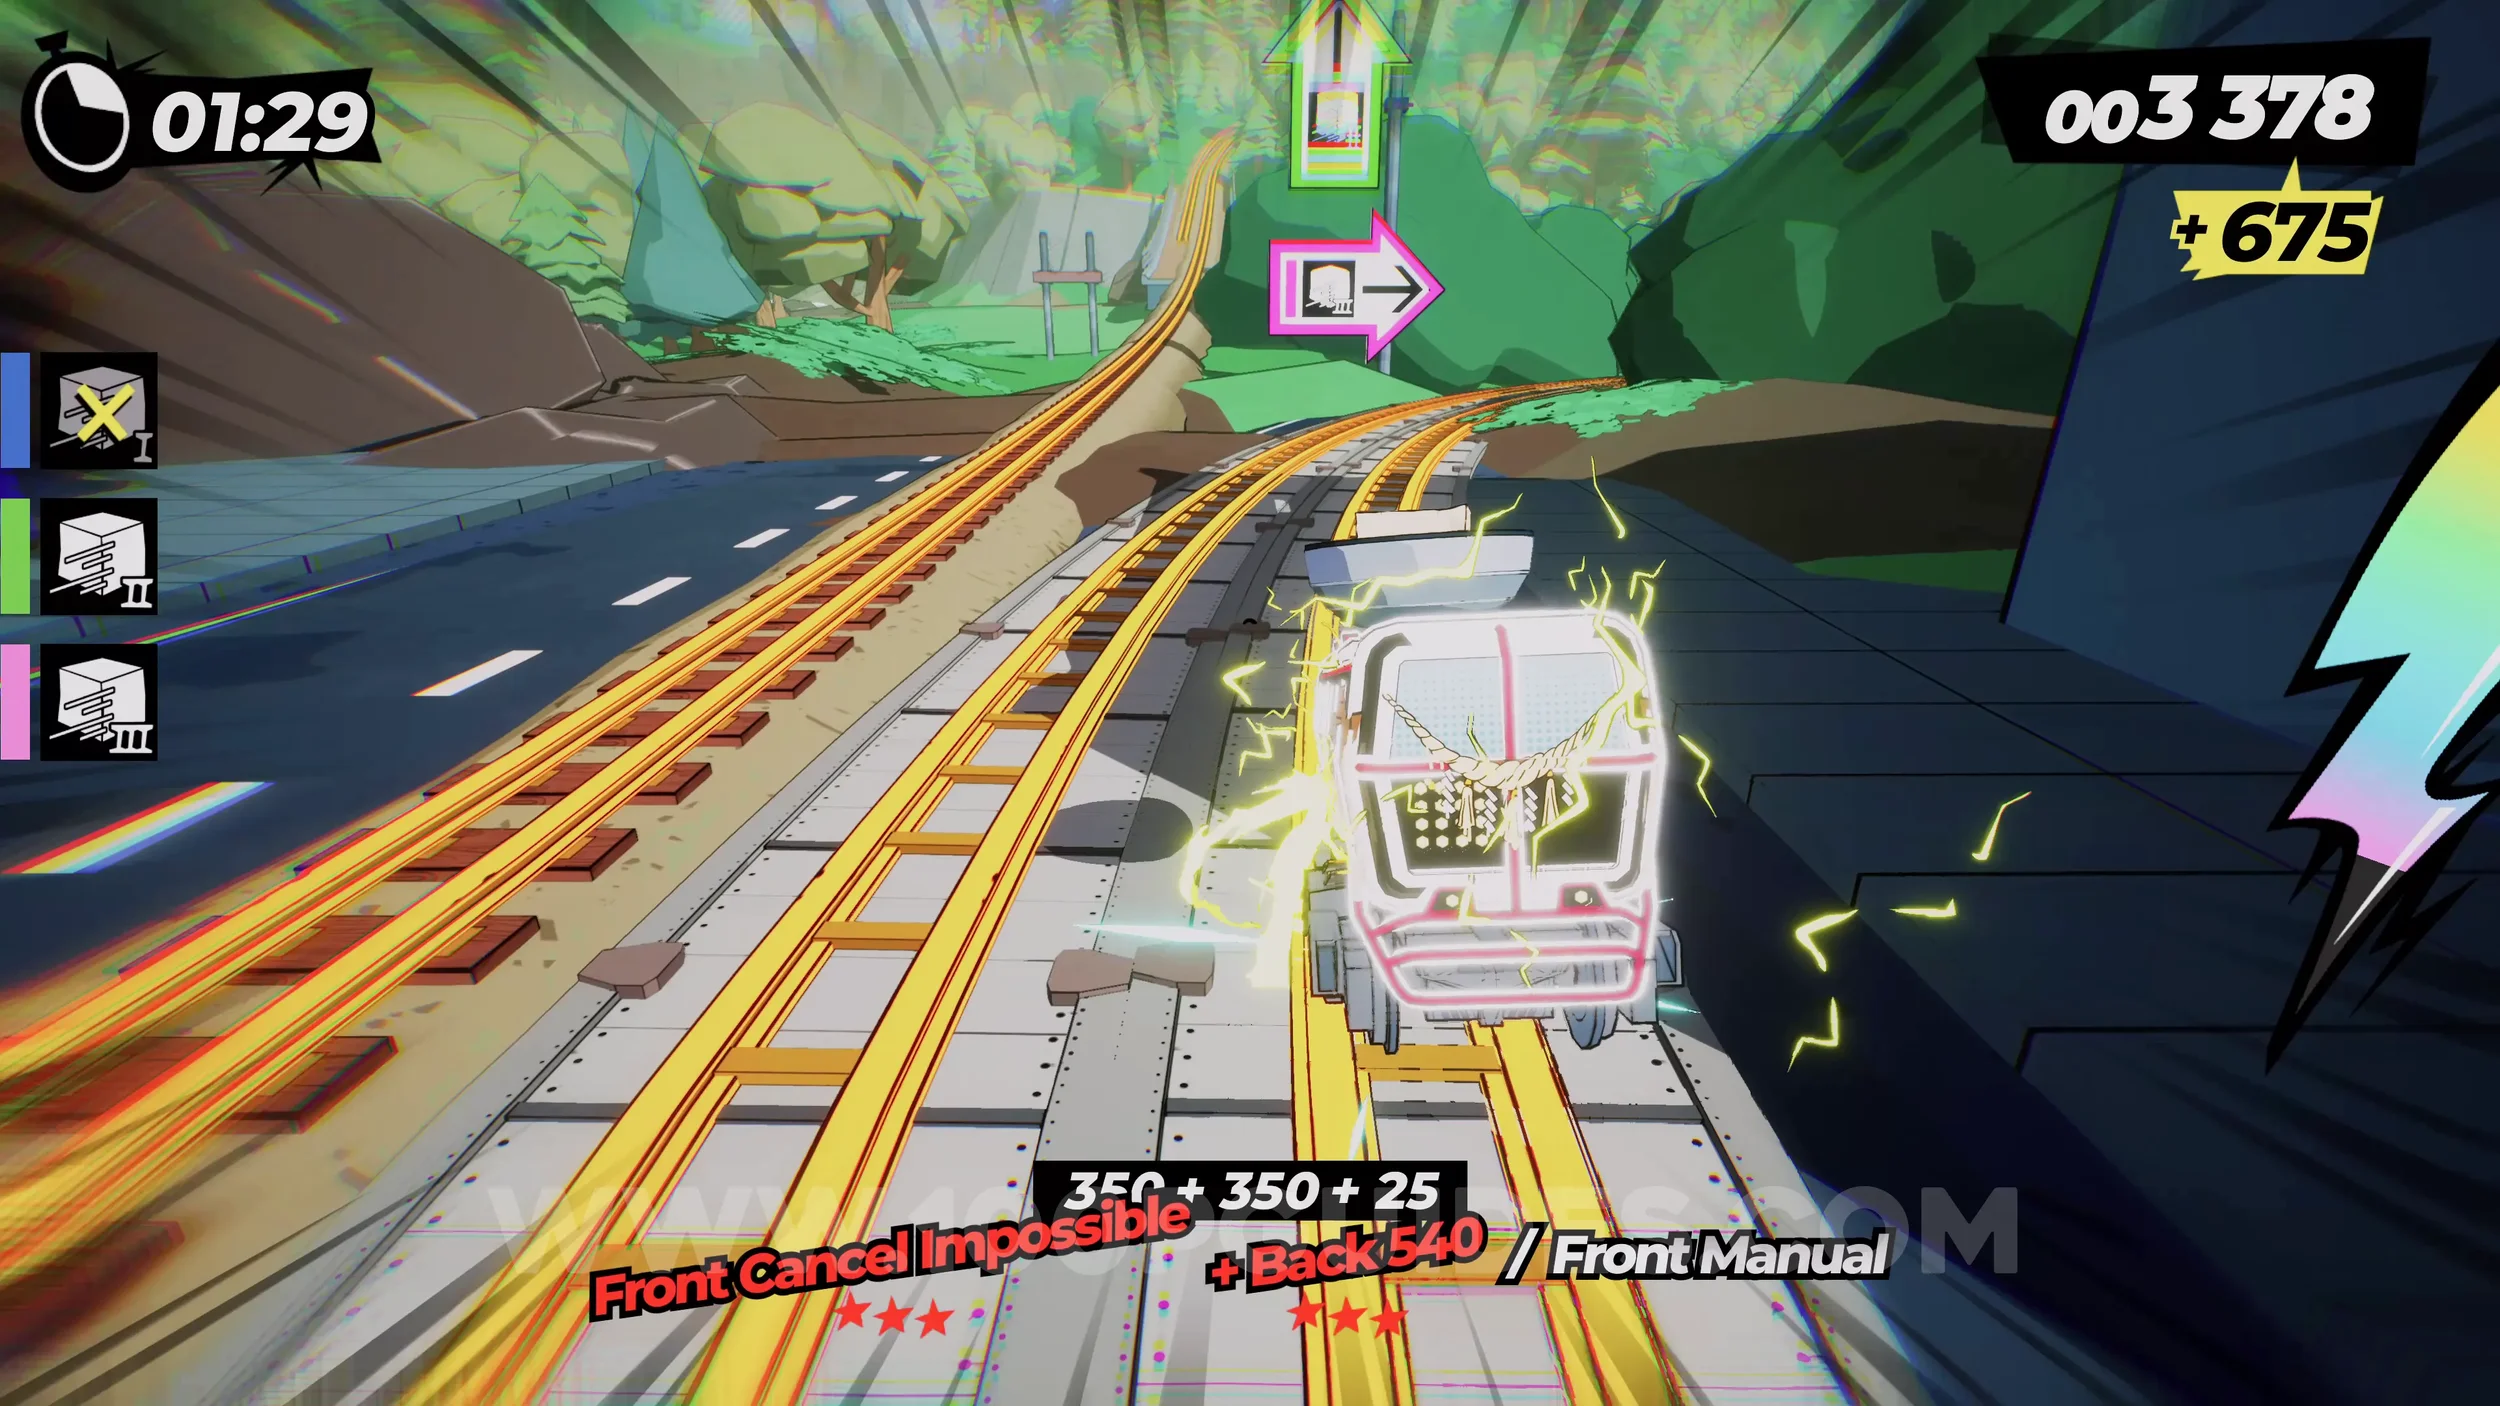
Film Roll (1/1) and Dare: Check Both Paths After the Icy Mountain (1/2). After exiting the tunnel where the previous collectible was, stick to the left of the rock in the middle of the icy area (follow the yellow film roll sign).
Spray Can (1/1). Immediately after the film roll, trick into the track switcher to get the crane to swing around with the spray can.
Dare: Perform 4 Risky Dodges on Monorails (1-2/4). After circling back around to the main split, take the final path (green sign). After delivering the tofu, you'll use a monorail. Dodge the two red arrow boards at the last second.
Dare: Check Both Paths After the Icy Mountain (2/2). After the monorail, you'll return to the icy part again. This time, stick to the right of the rock.
Dare: Perform 4 Risky Dodges on Monorails (3-4/4) and Dare: Take a Quick Swim. After delivering all three tofus, you'll go through a cave. In this cave, look for a gear sign on the left. If you have your special bar filled up, you'll see a rainbow rail on the left. Take it to find another monorail with two red arrow boards you can risky dodge. This path will also take you underwater for the other dare.
Gear (3/3). Just past the water where you get the previous dare.
Dare: Open 10 Gates by Double Drifting. 9/10 of these are automatic. However if you take the rainbow path for the previous collectibles you will have to replay the level and go through the gate in the cave, instead of taking the rainbow rail.
Dare: No Crash Finish. Self-explanatory. Finish the level without crashing.
7-2-1 Meet And Greet
Dare: Smash 10 Molty Halt Signs. Throughout the level, you'll see small cutouts of Molty the Mole on the tracks. Just hit ten of them. There are way more than ten available.
Spray Can (1/2). In plain sight as you go through the first tunnel.
Spray Can (2/2). Once you reach the area with water, stick to the left path, and eventually you'll see the spray can on a roof.
Gear (1/2). Continue through the level and you'll reach a mountain area. Here, you'll go over a jump and see orange water below. Make sure you air stomp to land fast enough to get the gear.
Dare: Ring the Bell at Time Bell Tower. After dodging the massive rock that falls onto the tracks, you'll return to the city. Here, if you have a full special bar, you'll see a rainbow track on your left. Take it, and eventually you'll jump over the bell tower and the horn sign will appear in the middle of the screen. Press R3 at this time.
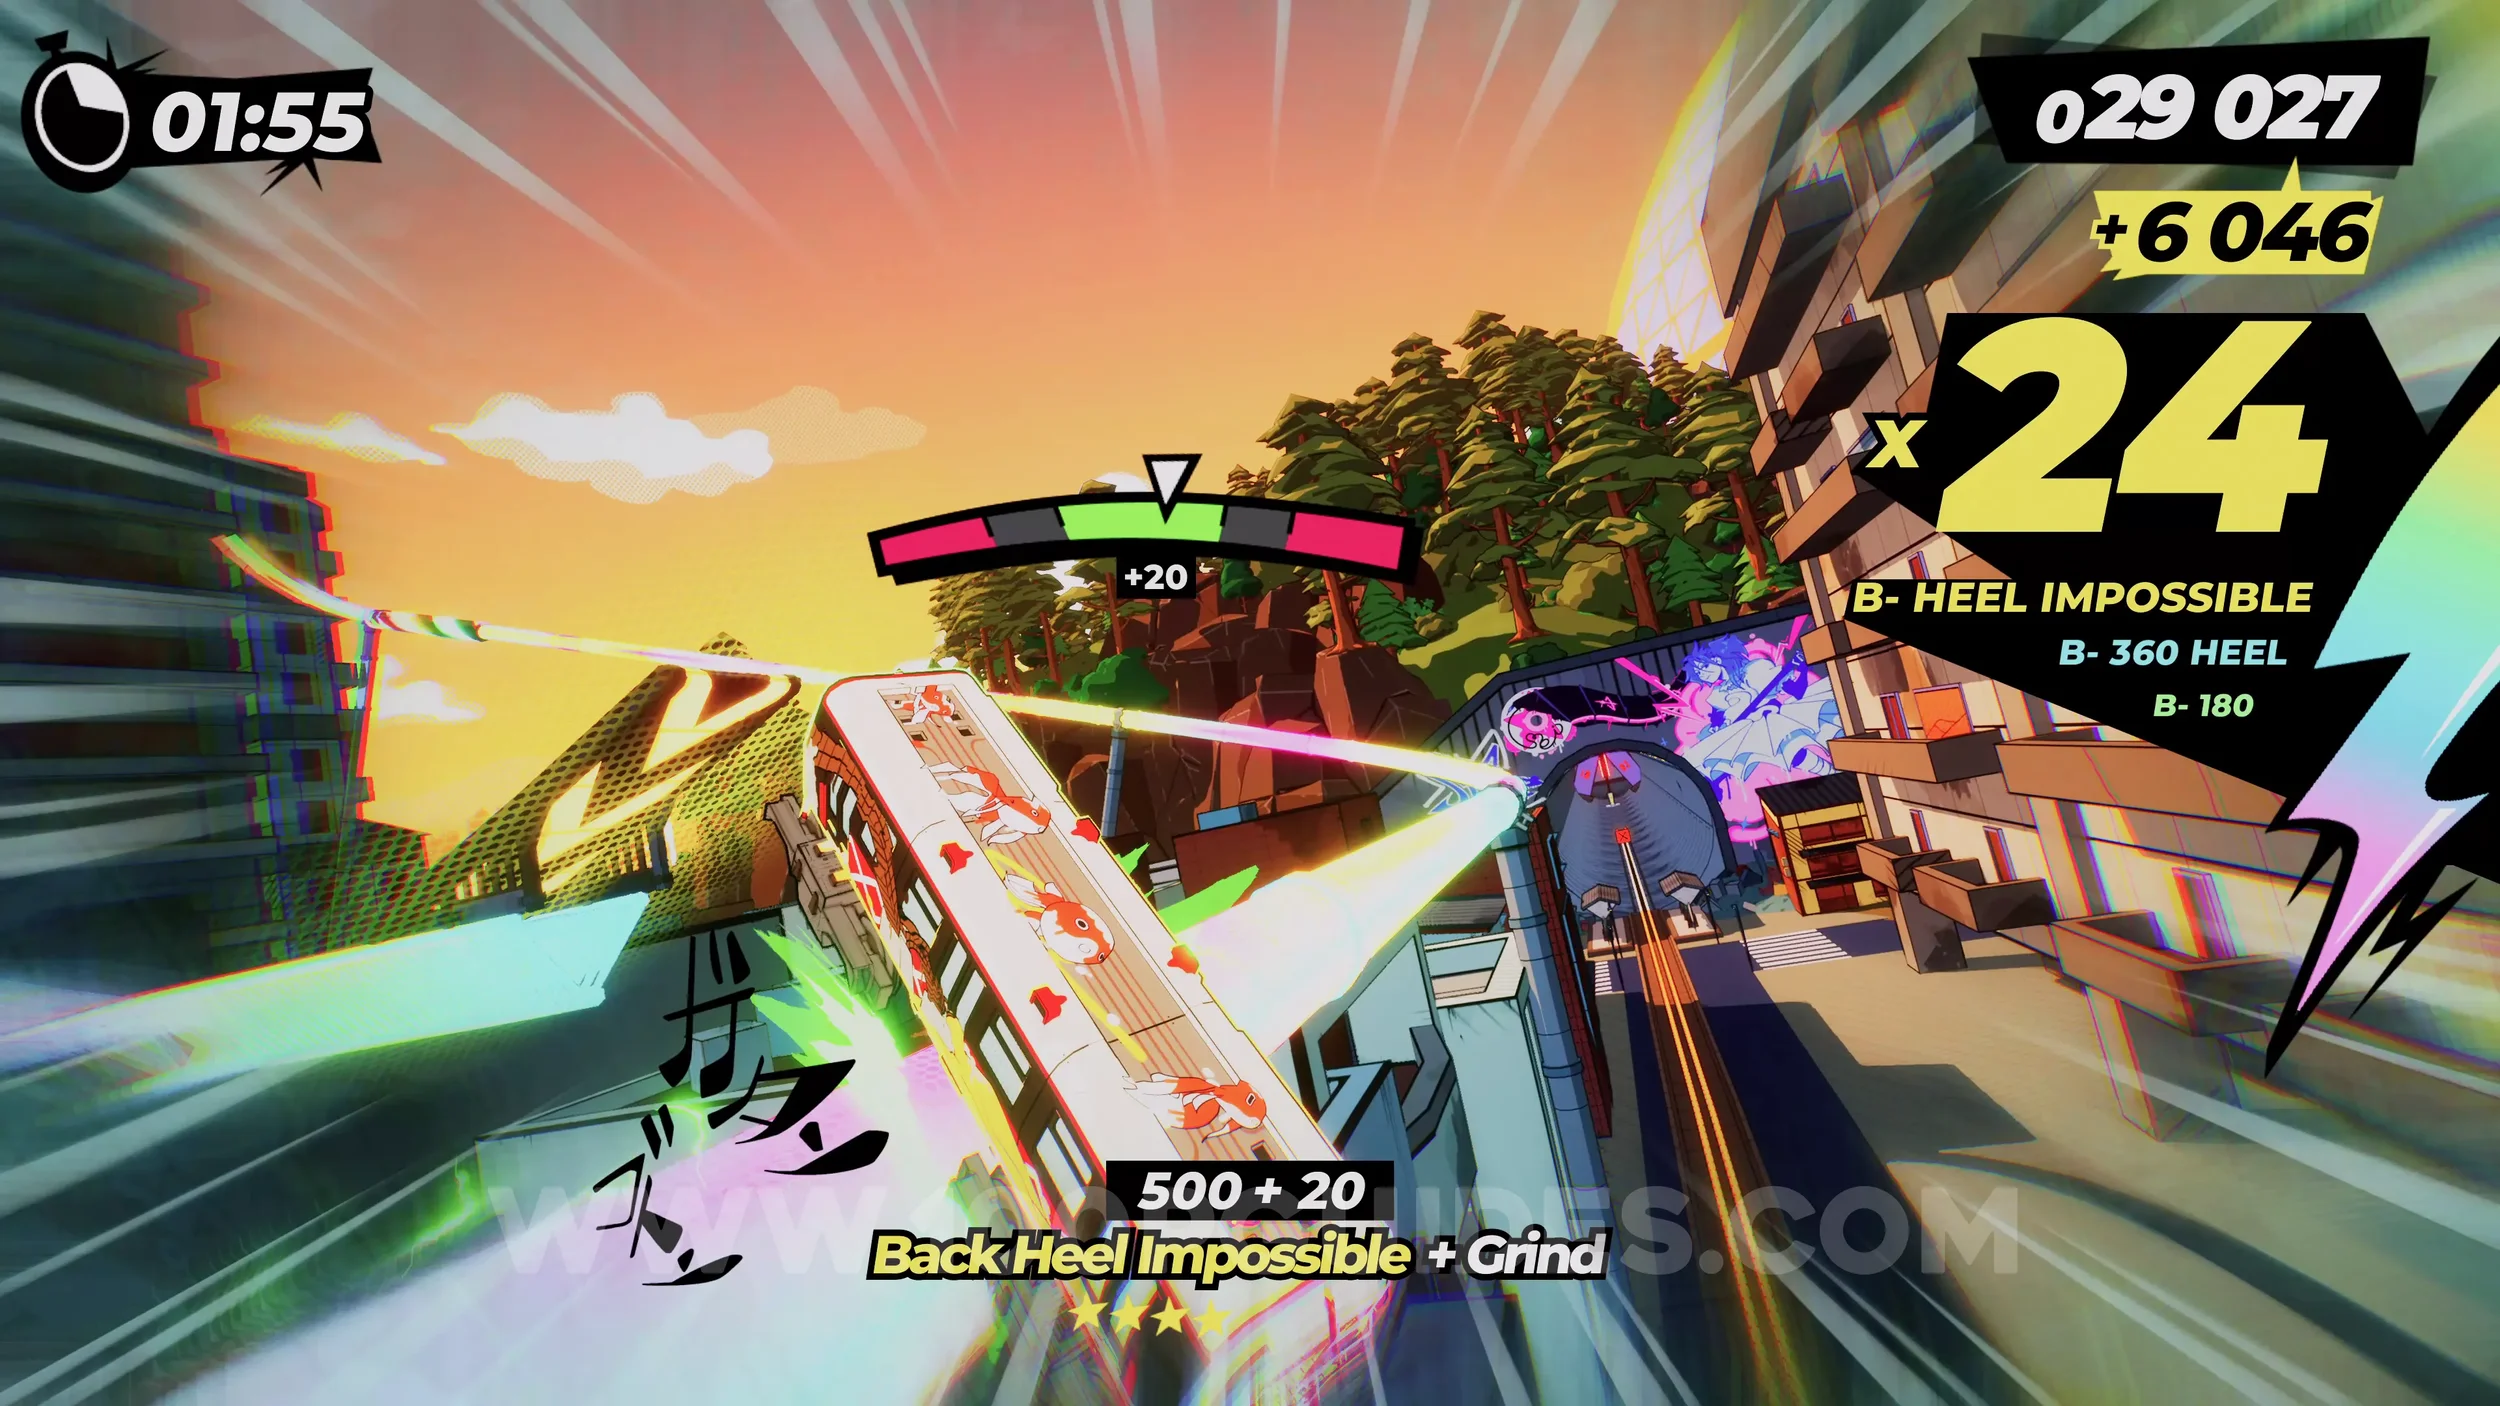
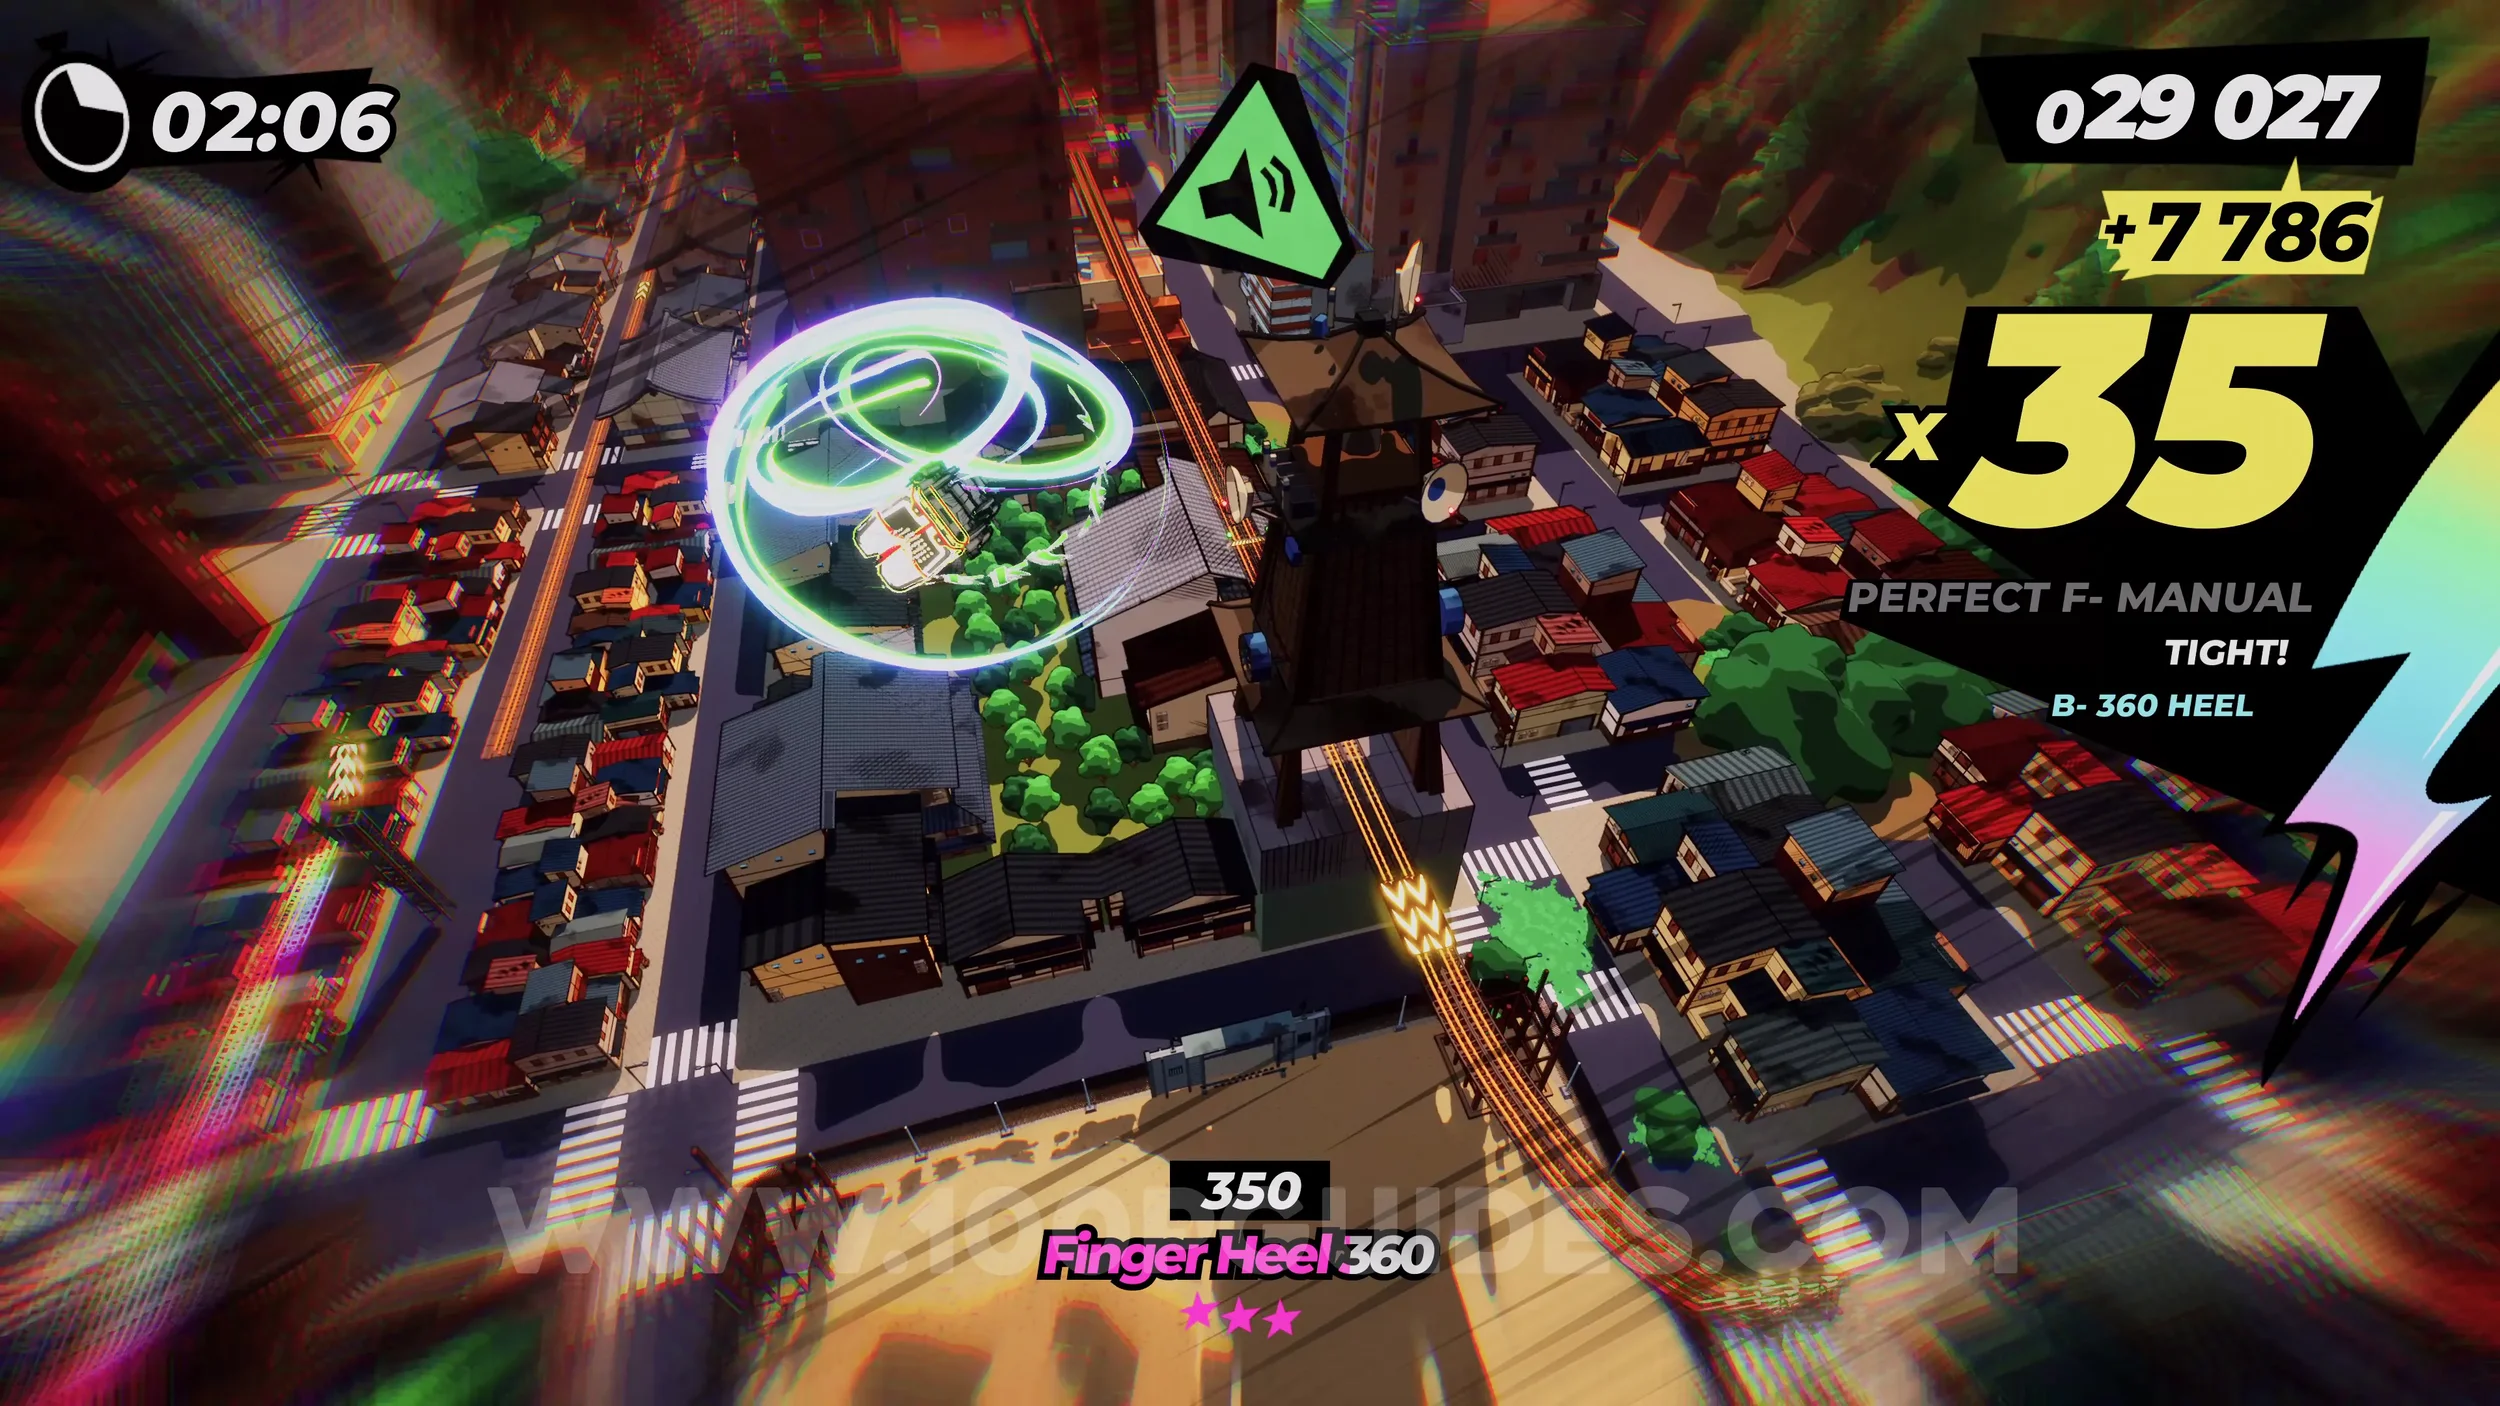
Dare: Activate a Rail Switcher with a Front 180 Impossible. Continue through the level, and you'll go through a tunnel. As you come out the other side, you'll see a track switcher. Hit it with the correct trick (you can see the button combo by pausing the game). If you don't get it this time, there will be more opportunities.
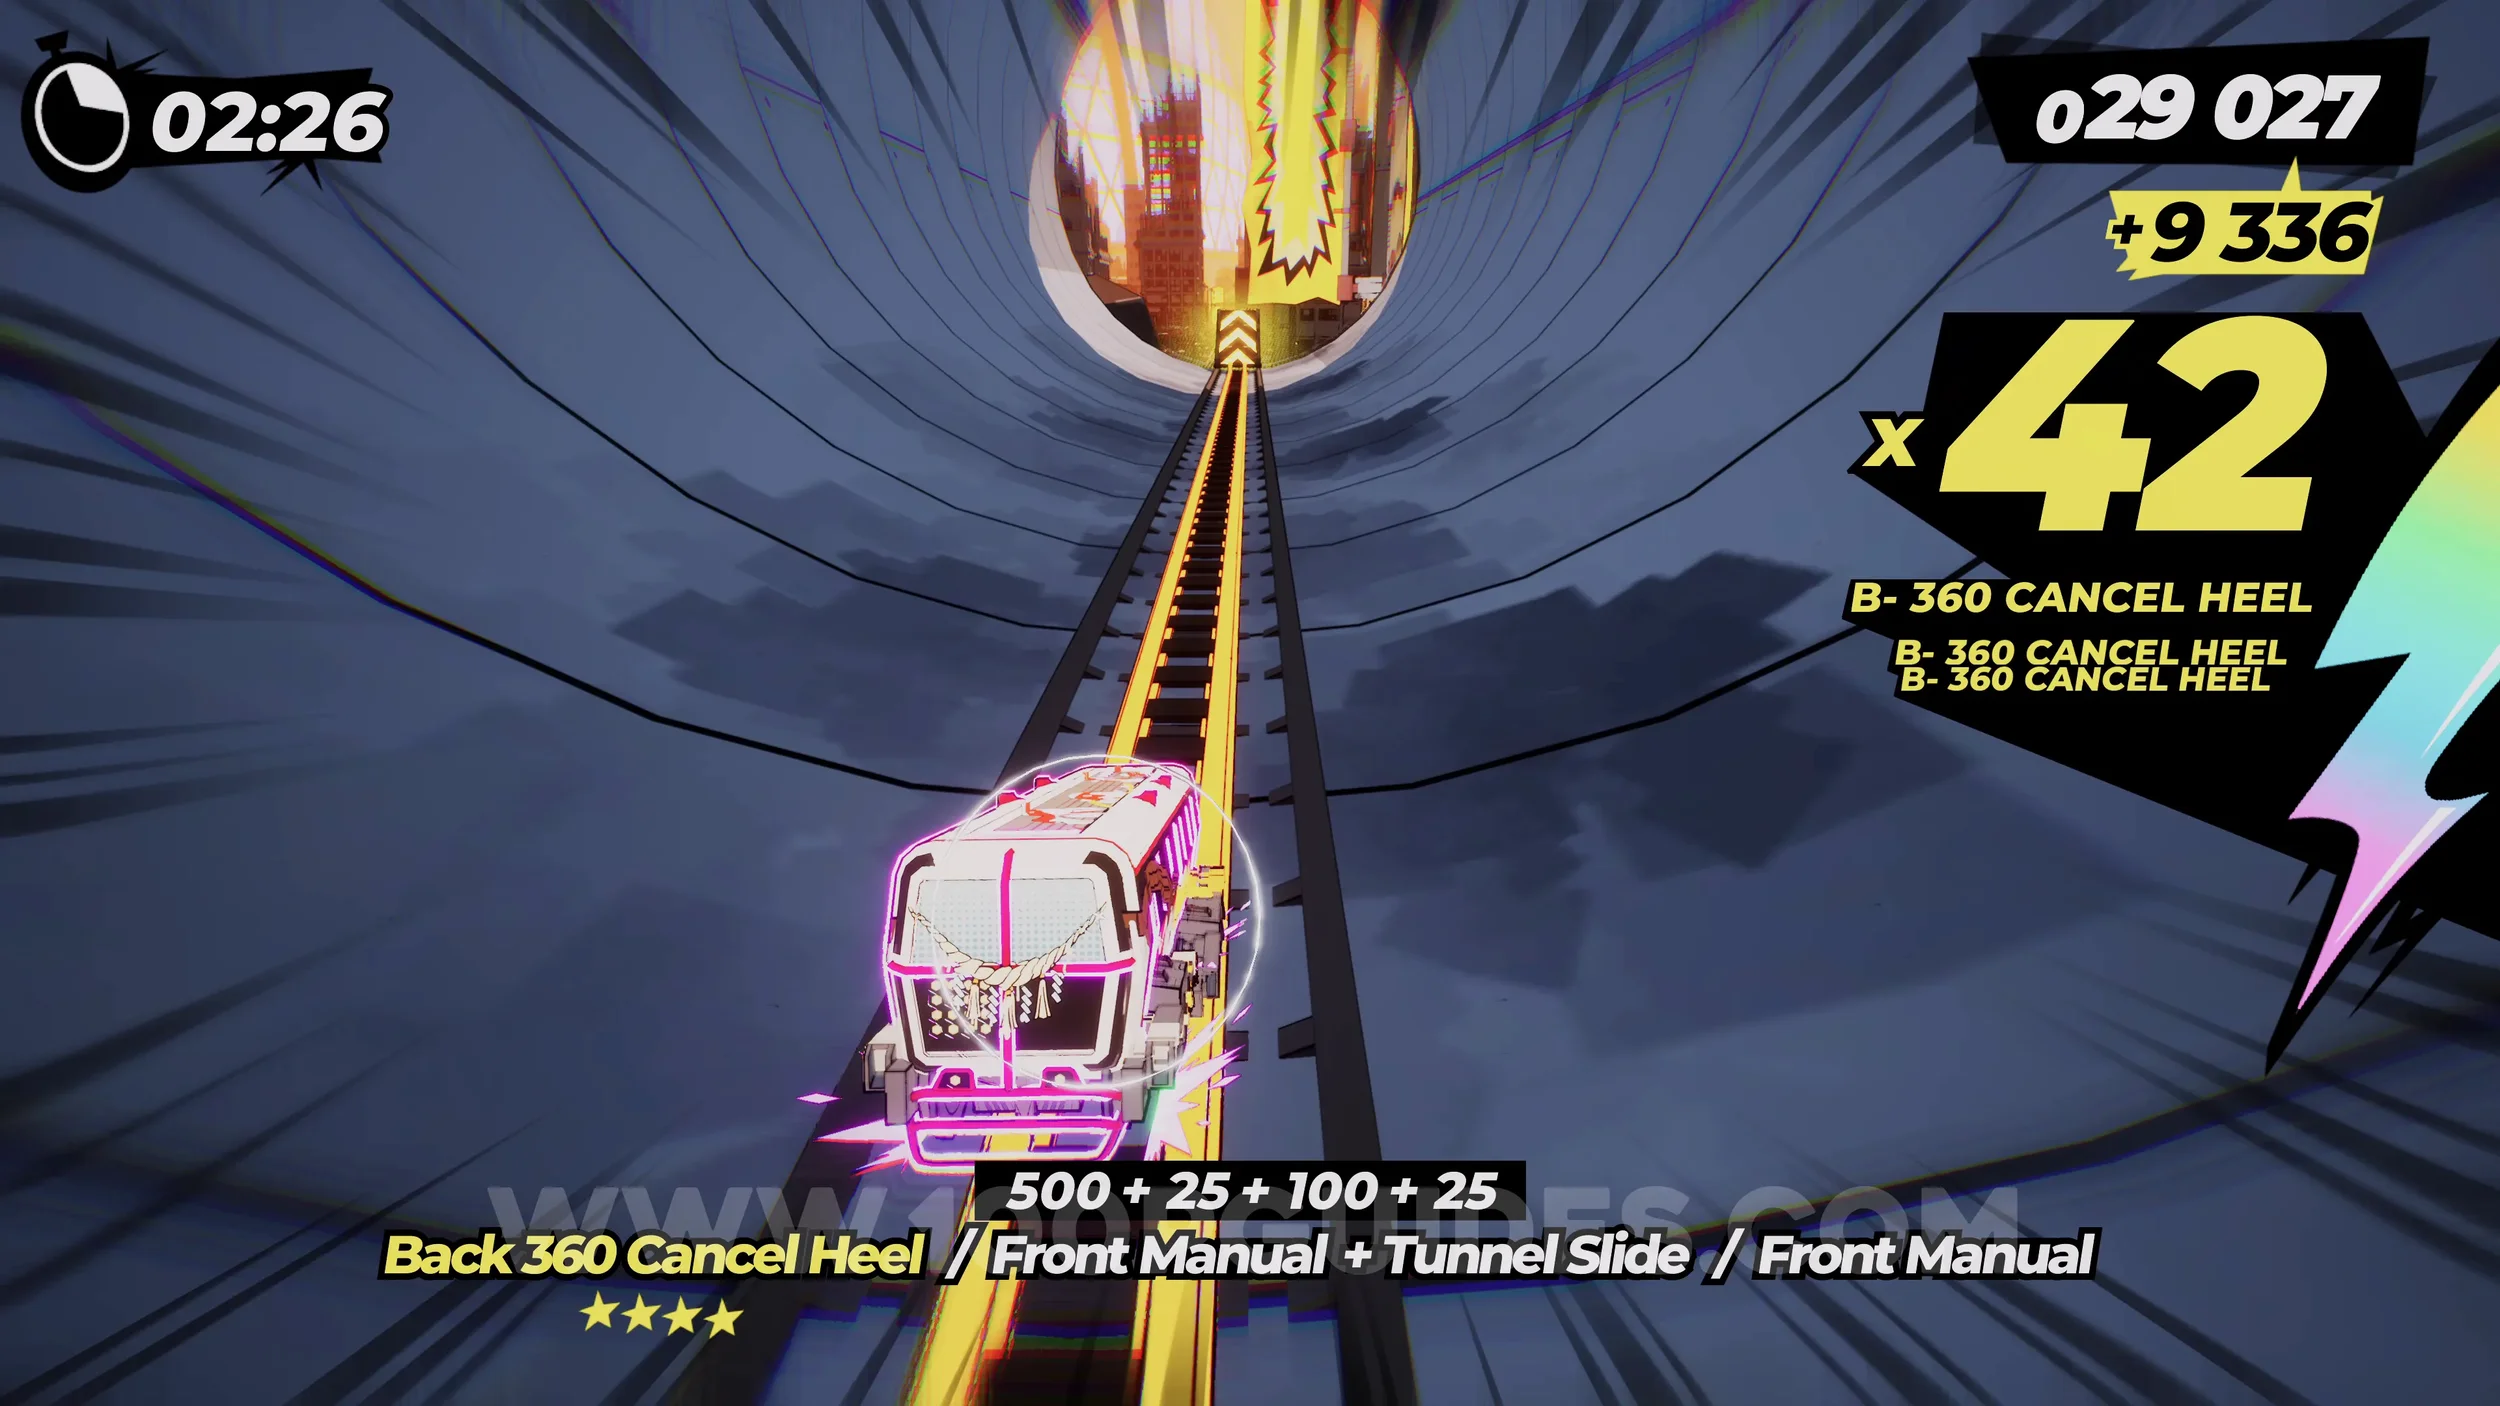
Gear (2/2). Just after the first track switcher, you'll see another one. Activate it to get the crane to swing around the collectible.
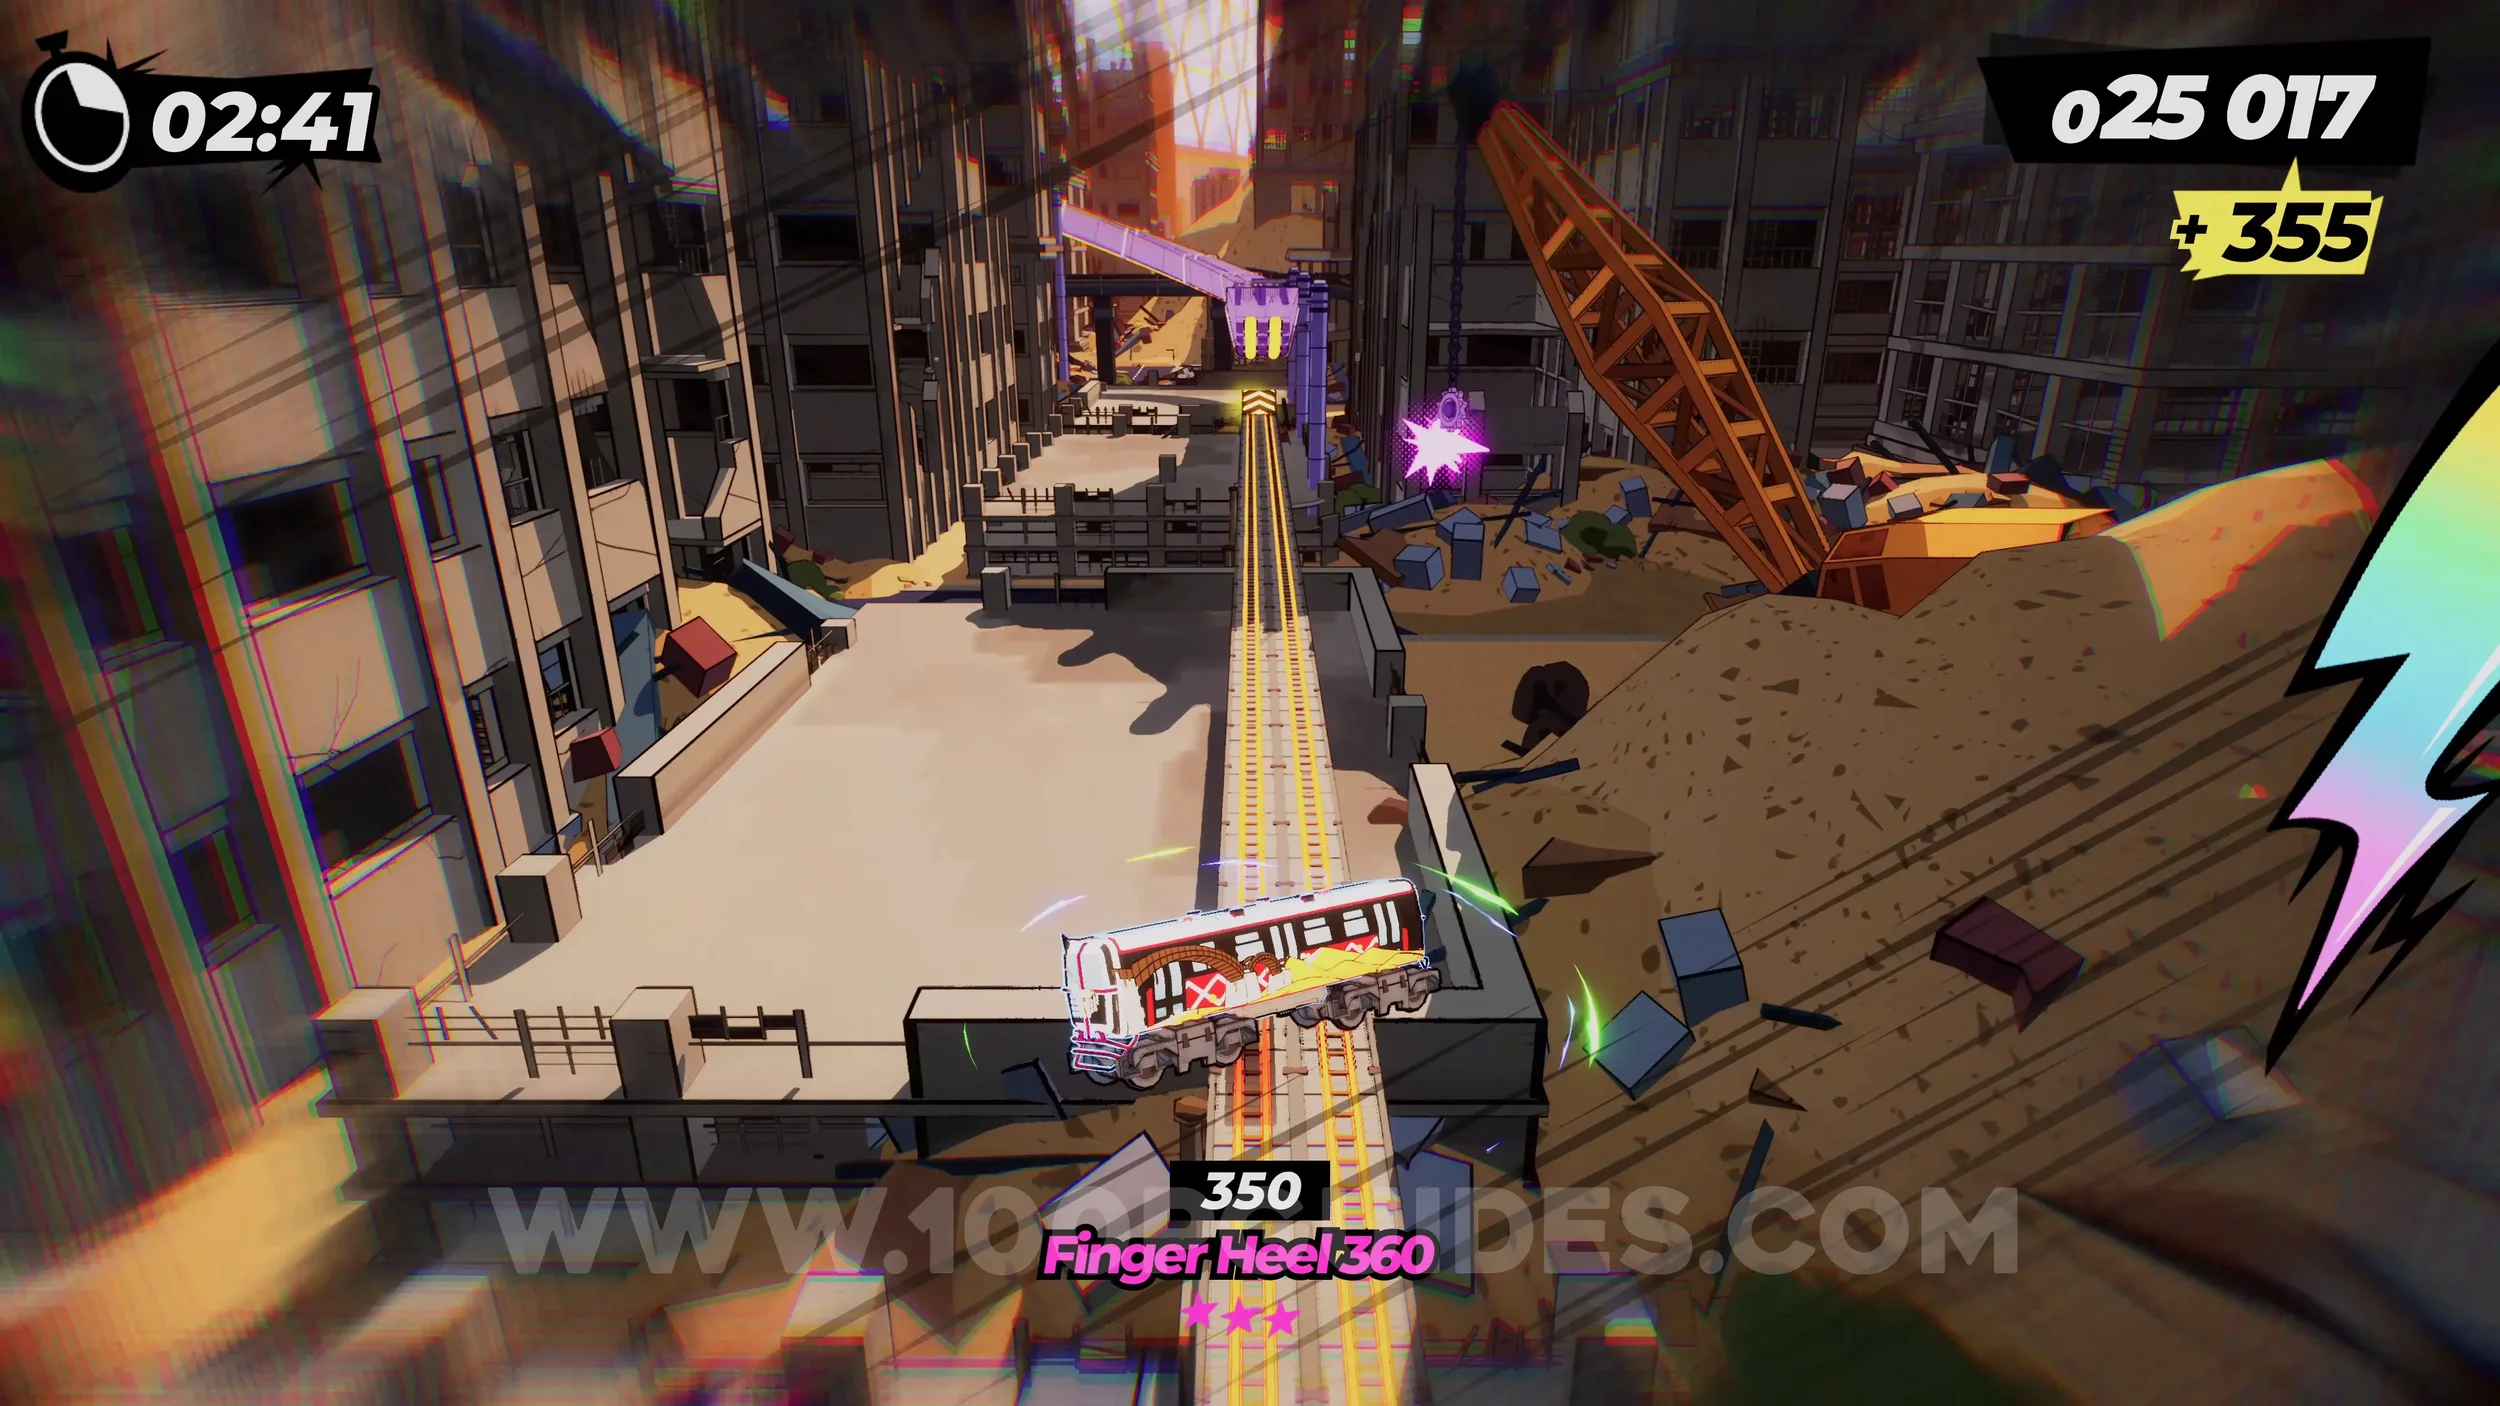
Dare: Perform 5 Slide Tricks in the Fallen Buildings. Soon after the previous collectible, you'll go down the side of a building mostly made of glass windows. While doing this, use the right analog stick to perform any five tricks.
Film Roll (1/1). On the second glass building.
Dare: No Crash Finish. Self-explanatory. Get to the end of the level without crashing.
7-2-F Kanto Fanzine H.Q.
(EN)Zine #6. Fill the comic book up with the film rolls to get the (EN)Zine. You will not be able to do this on your first visit, since some of the required film rolls are collected in later levels. Come back after collecting every film in the chapter.
7-3-1 The Yamanote Dare
Dare: Collect 5 Toy Capsules (1/5). At the first set of signs, head left, then left again at the next signs. Then, on the next straight, jump up to the left rail to perform the vert jump. After that, you'll collect the toy.
Dare: Collect 5 Toy Capsules (2-3/5). After the previous toy, you'll circle back around to the straight where you jumped to the rail on the left. This time, continue straight and go around the corner. Then, on the next straight, jump up to the left side rail and take the jump. Once you're up high, jump to the rail on your right to continue around the rooftops. This path will take you to the next two toys.
Dare: Set off the Shibuya Scramble. After the previous toys, you'll circle back around to the rail that you jumped on for the previous collectibles. This time, stick to the track on the left that splits away to the left, then do the same on the next straight. Soon after that, you'll jump over the Shibuya Crossing and see the horn sign on your screen. Press R3 to finish the dare.
Film Roll (1/1). After the previous dare, you'll reach the area where you have to complete the orange main objective. Just before the third statue, you'll collect the film roll.
Spray Can (1/1). After finishing the orange main quest, you'll go through a tunnel. The spray can will be inside in plain sight.
Gear (1/3). After the previous can, follow the yellow signs until you reach the main objective. During this objective you'll have to press two switches (just follow the path and you'll eventually get to both). On your way to the right side switch, you'll see the gear as you climb the tall towers.
Gear (2/3). In plain sight after finishing the yellow main objective.
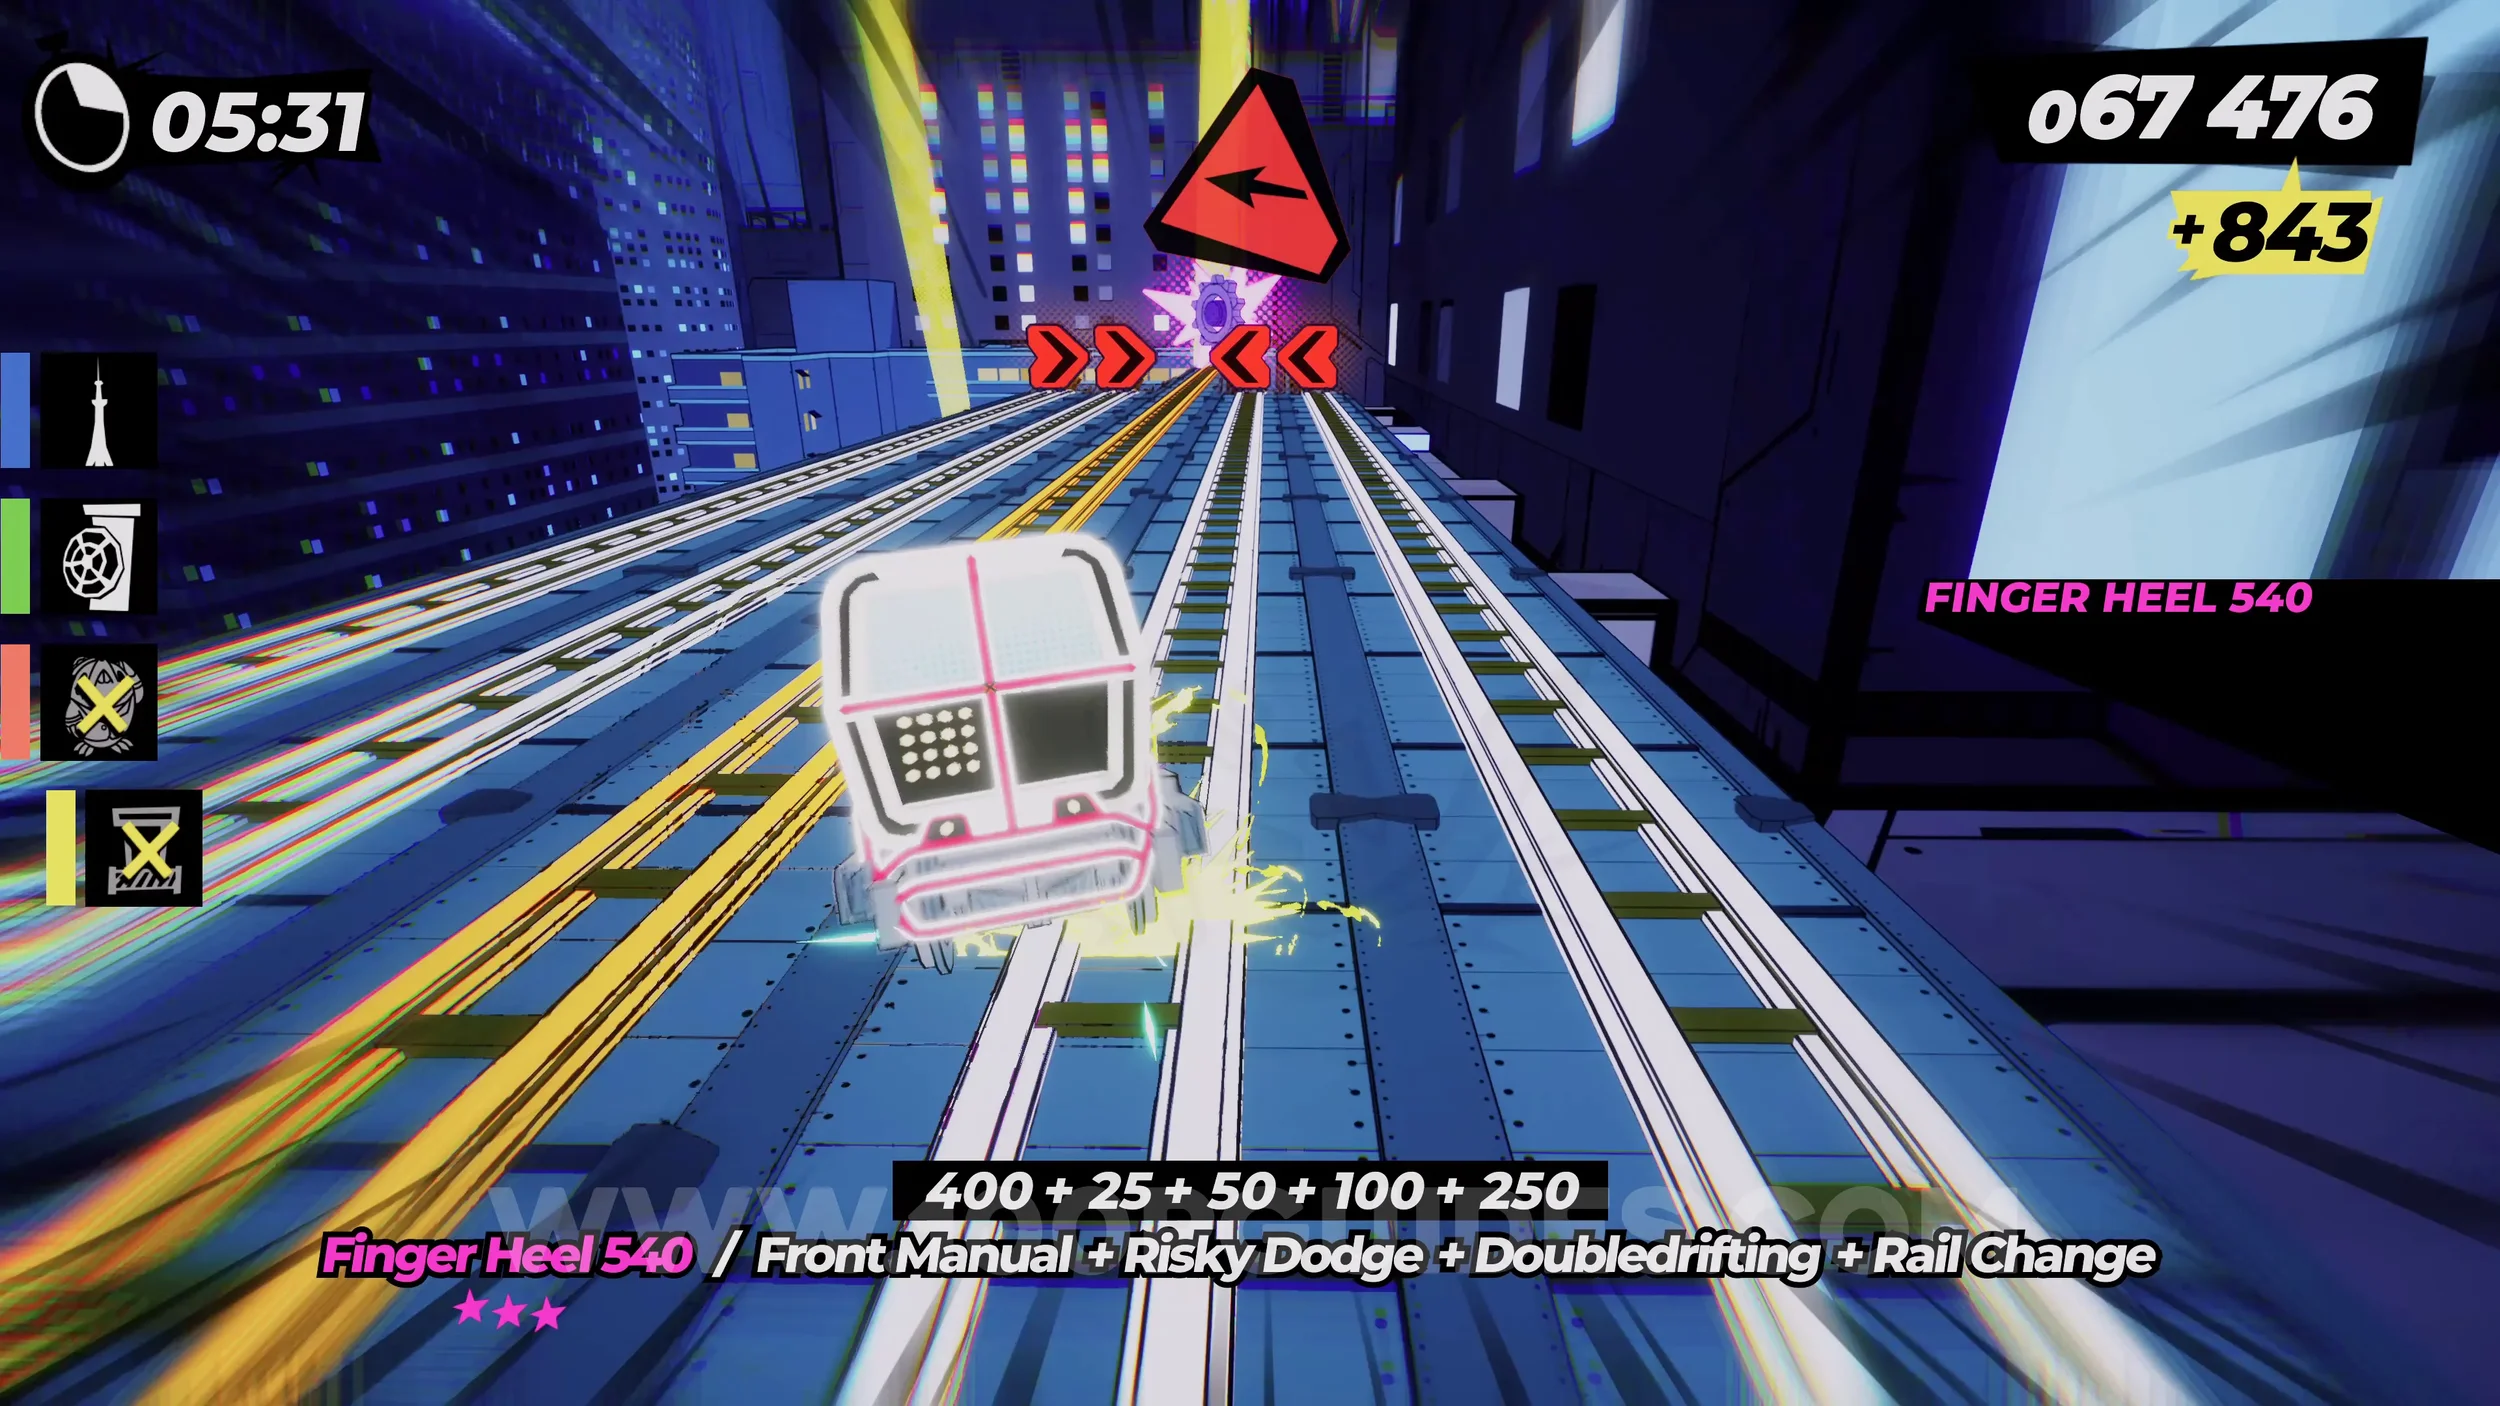
Gear (3/3). Next, keep following the green signs. Once you follow it around a track to the left and the green main objective starts, stick to the right rail to get the gear.
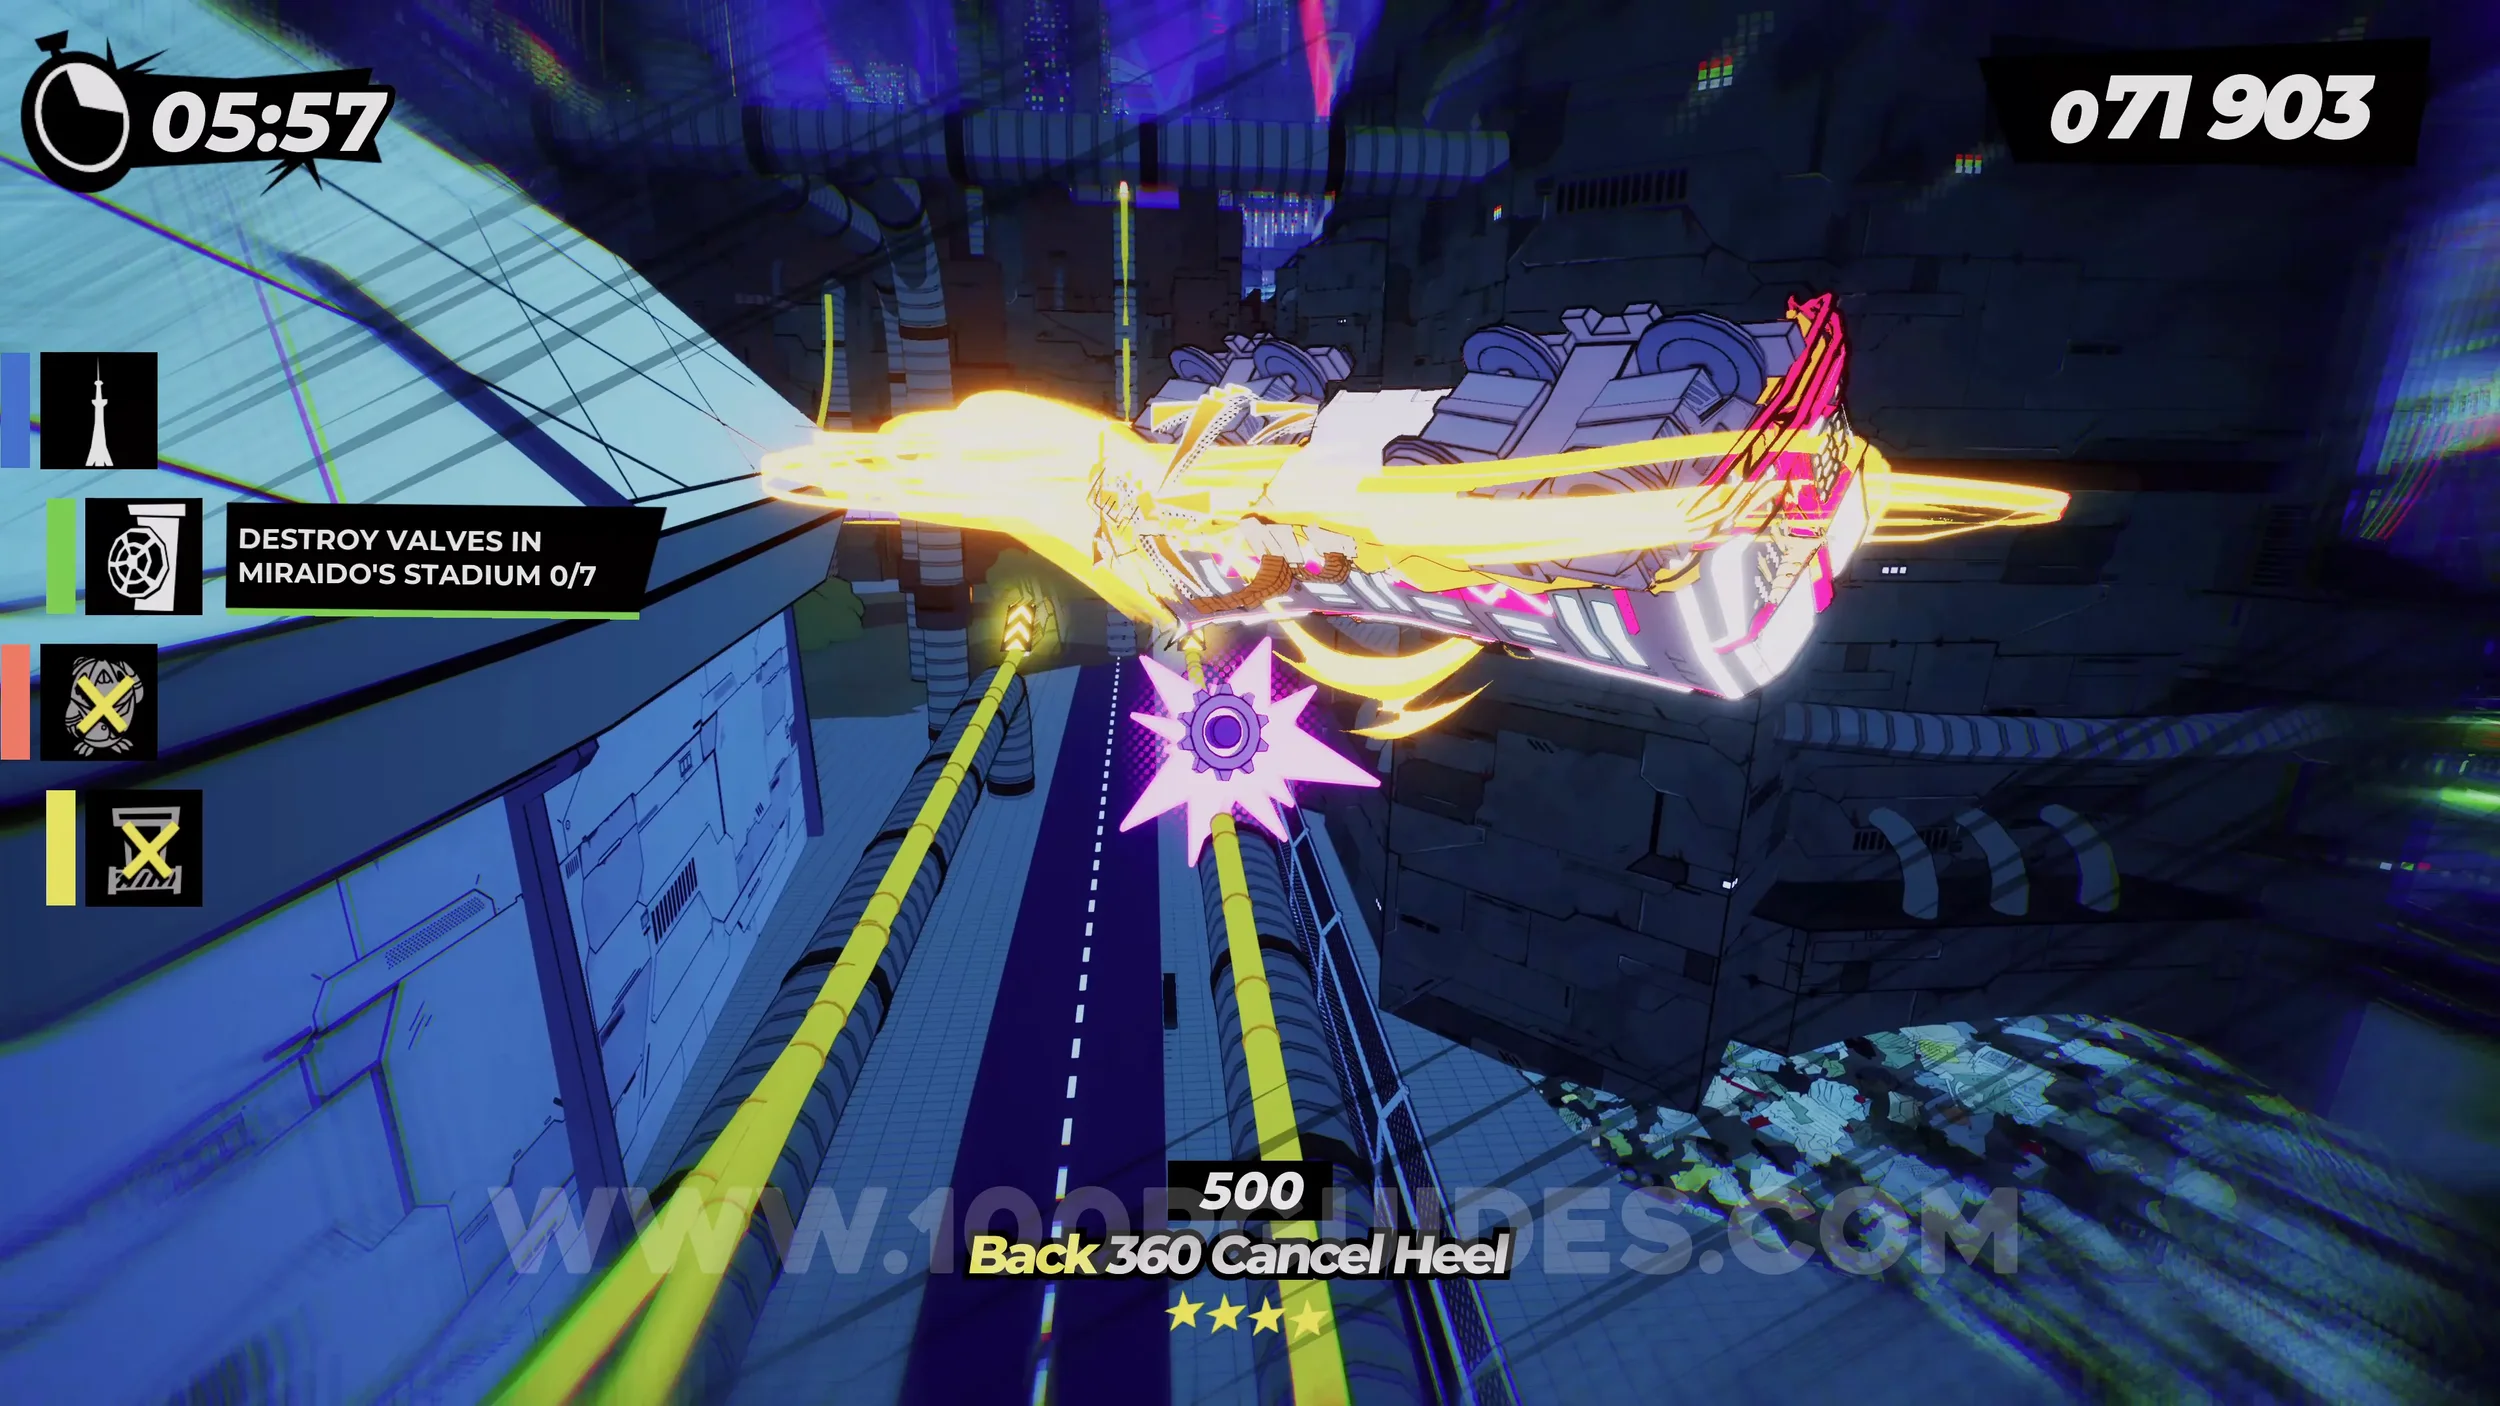
Dare: Collect 5 Toy Capsules (4/5). After finishing the green main objective, follow the blue signs until you reach a lone track that goes left. Take it, then jump up to the rail on the right (to continue following the blue sign). This path will take you to the top of the red tower, where the toy can be found.
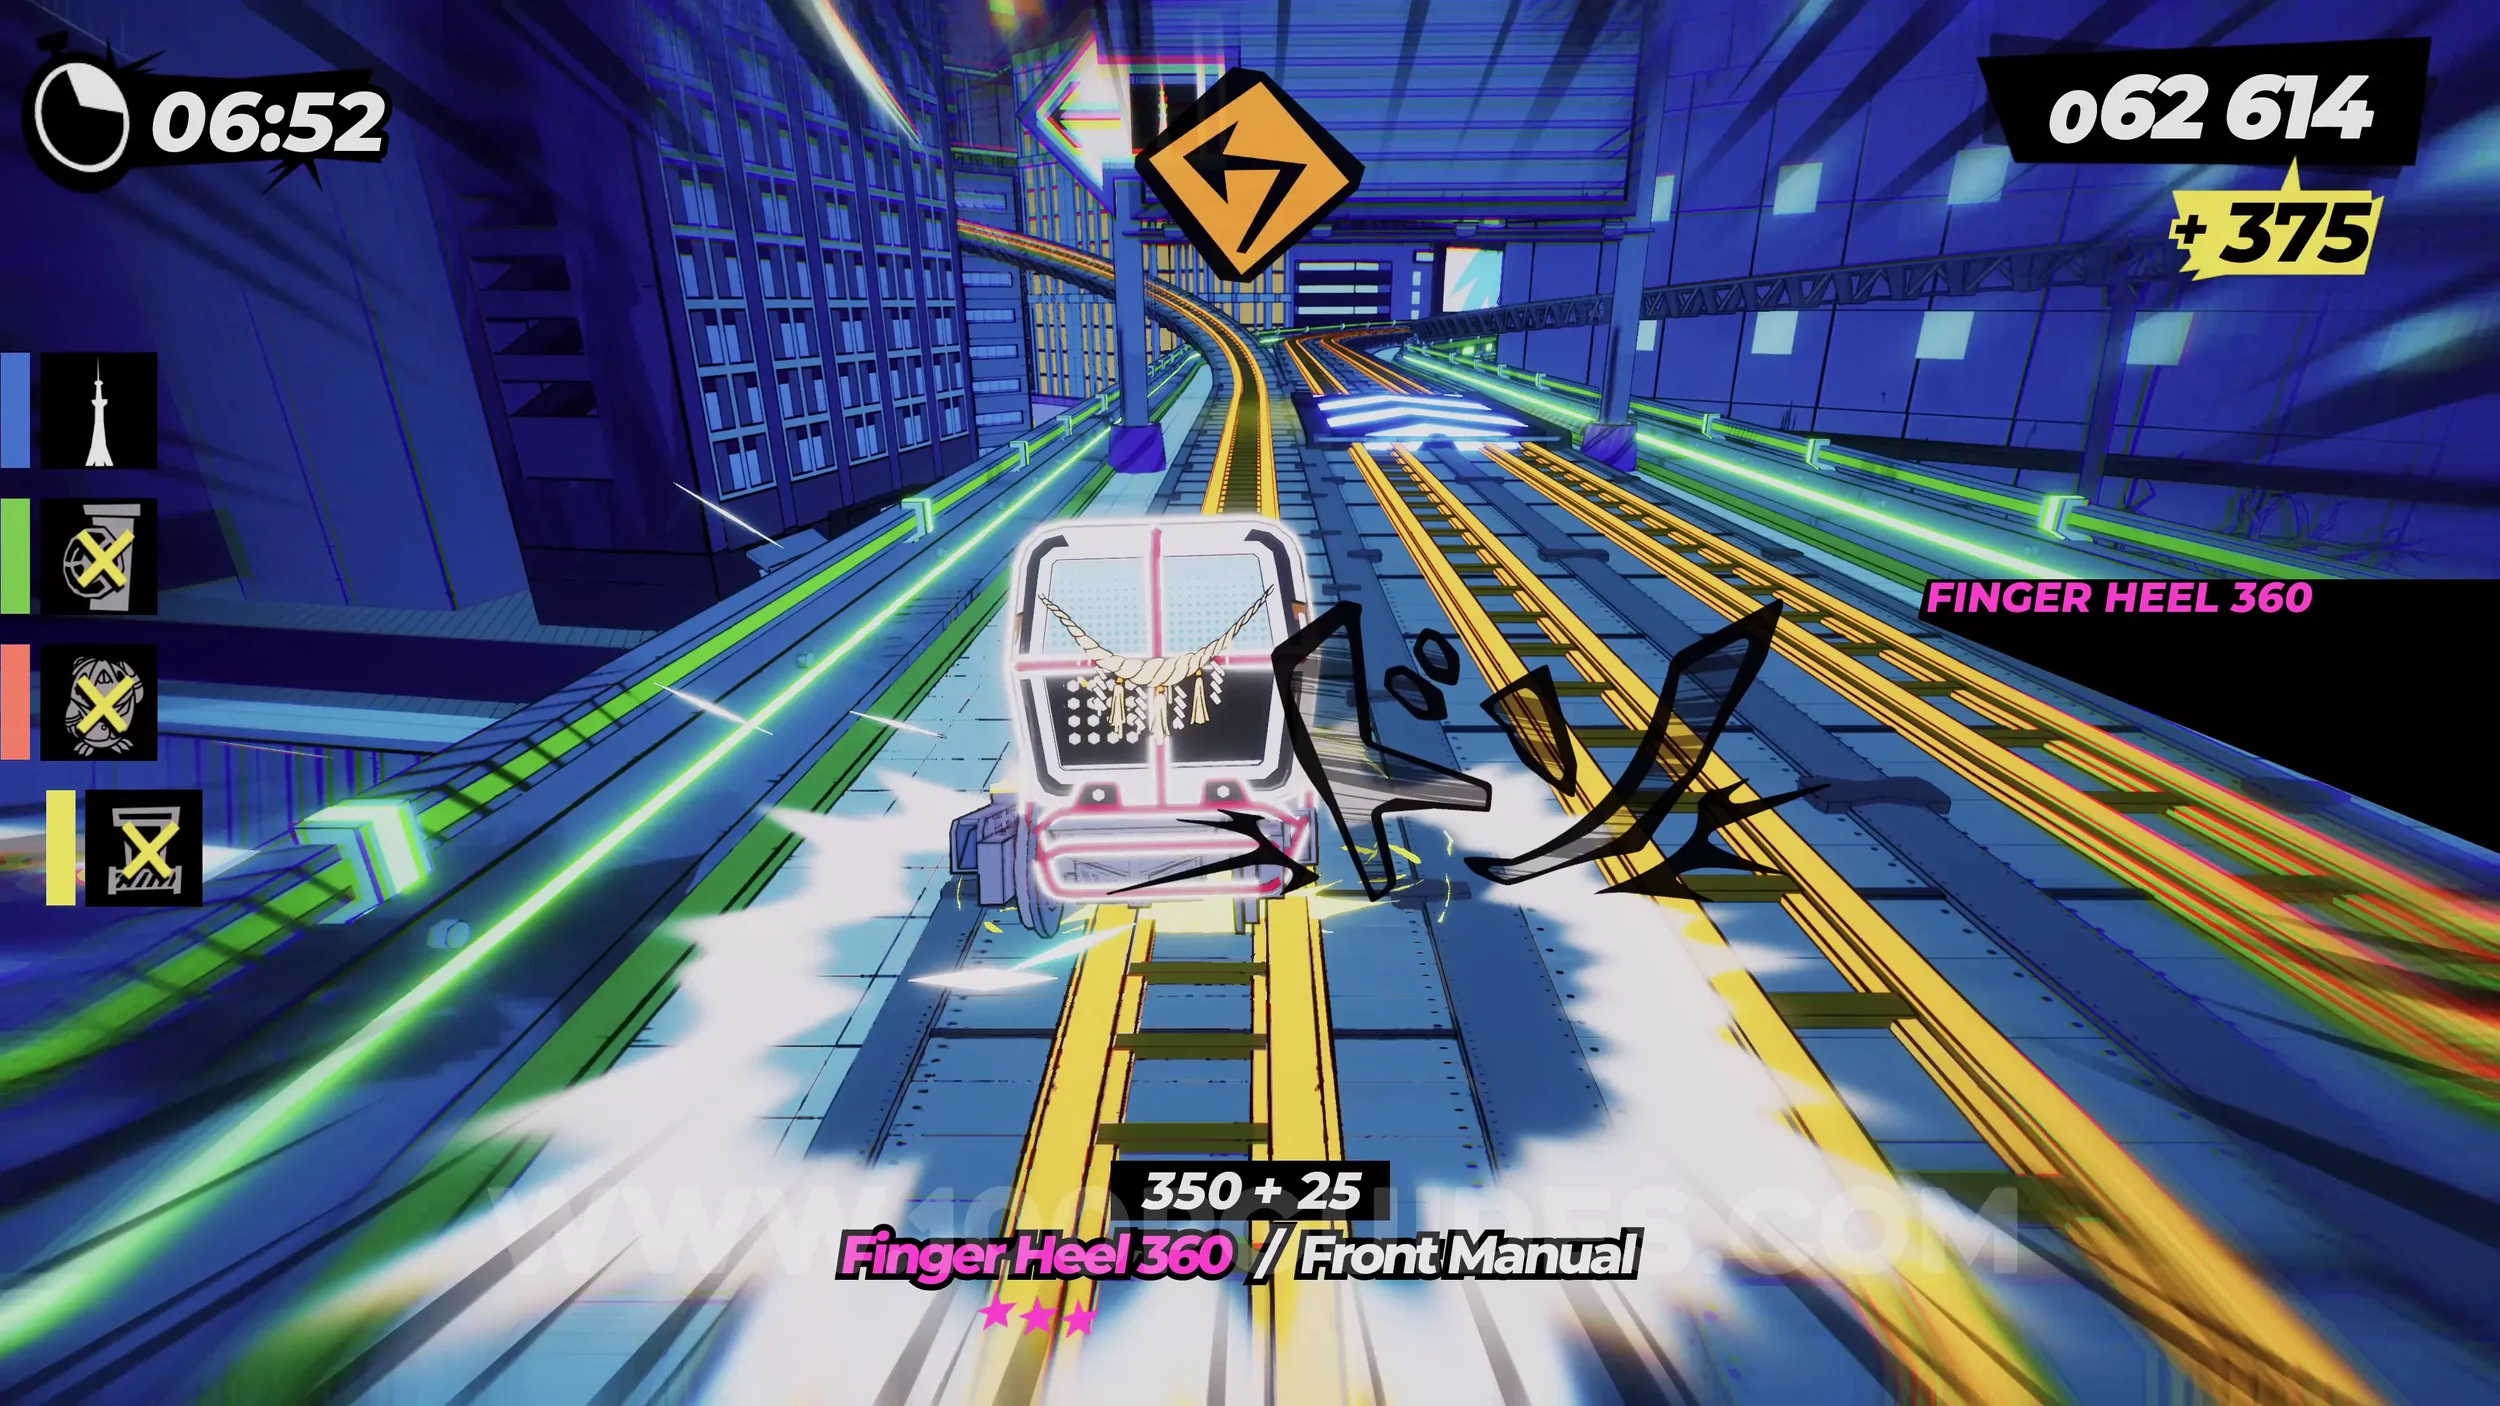
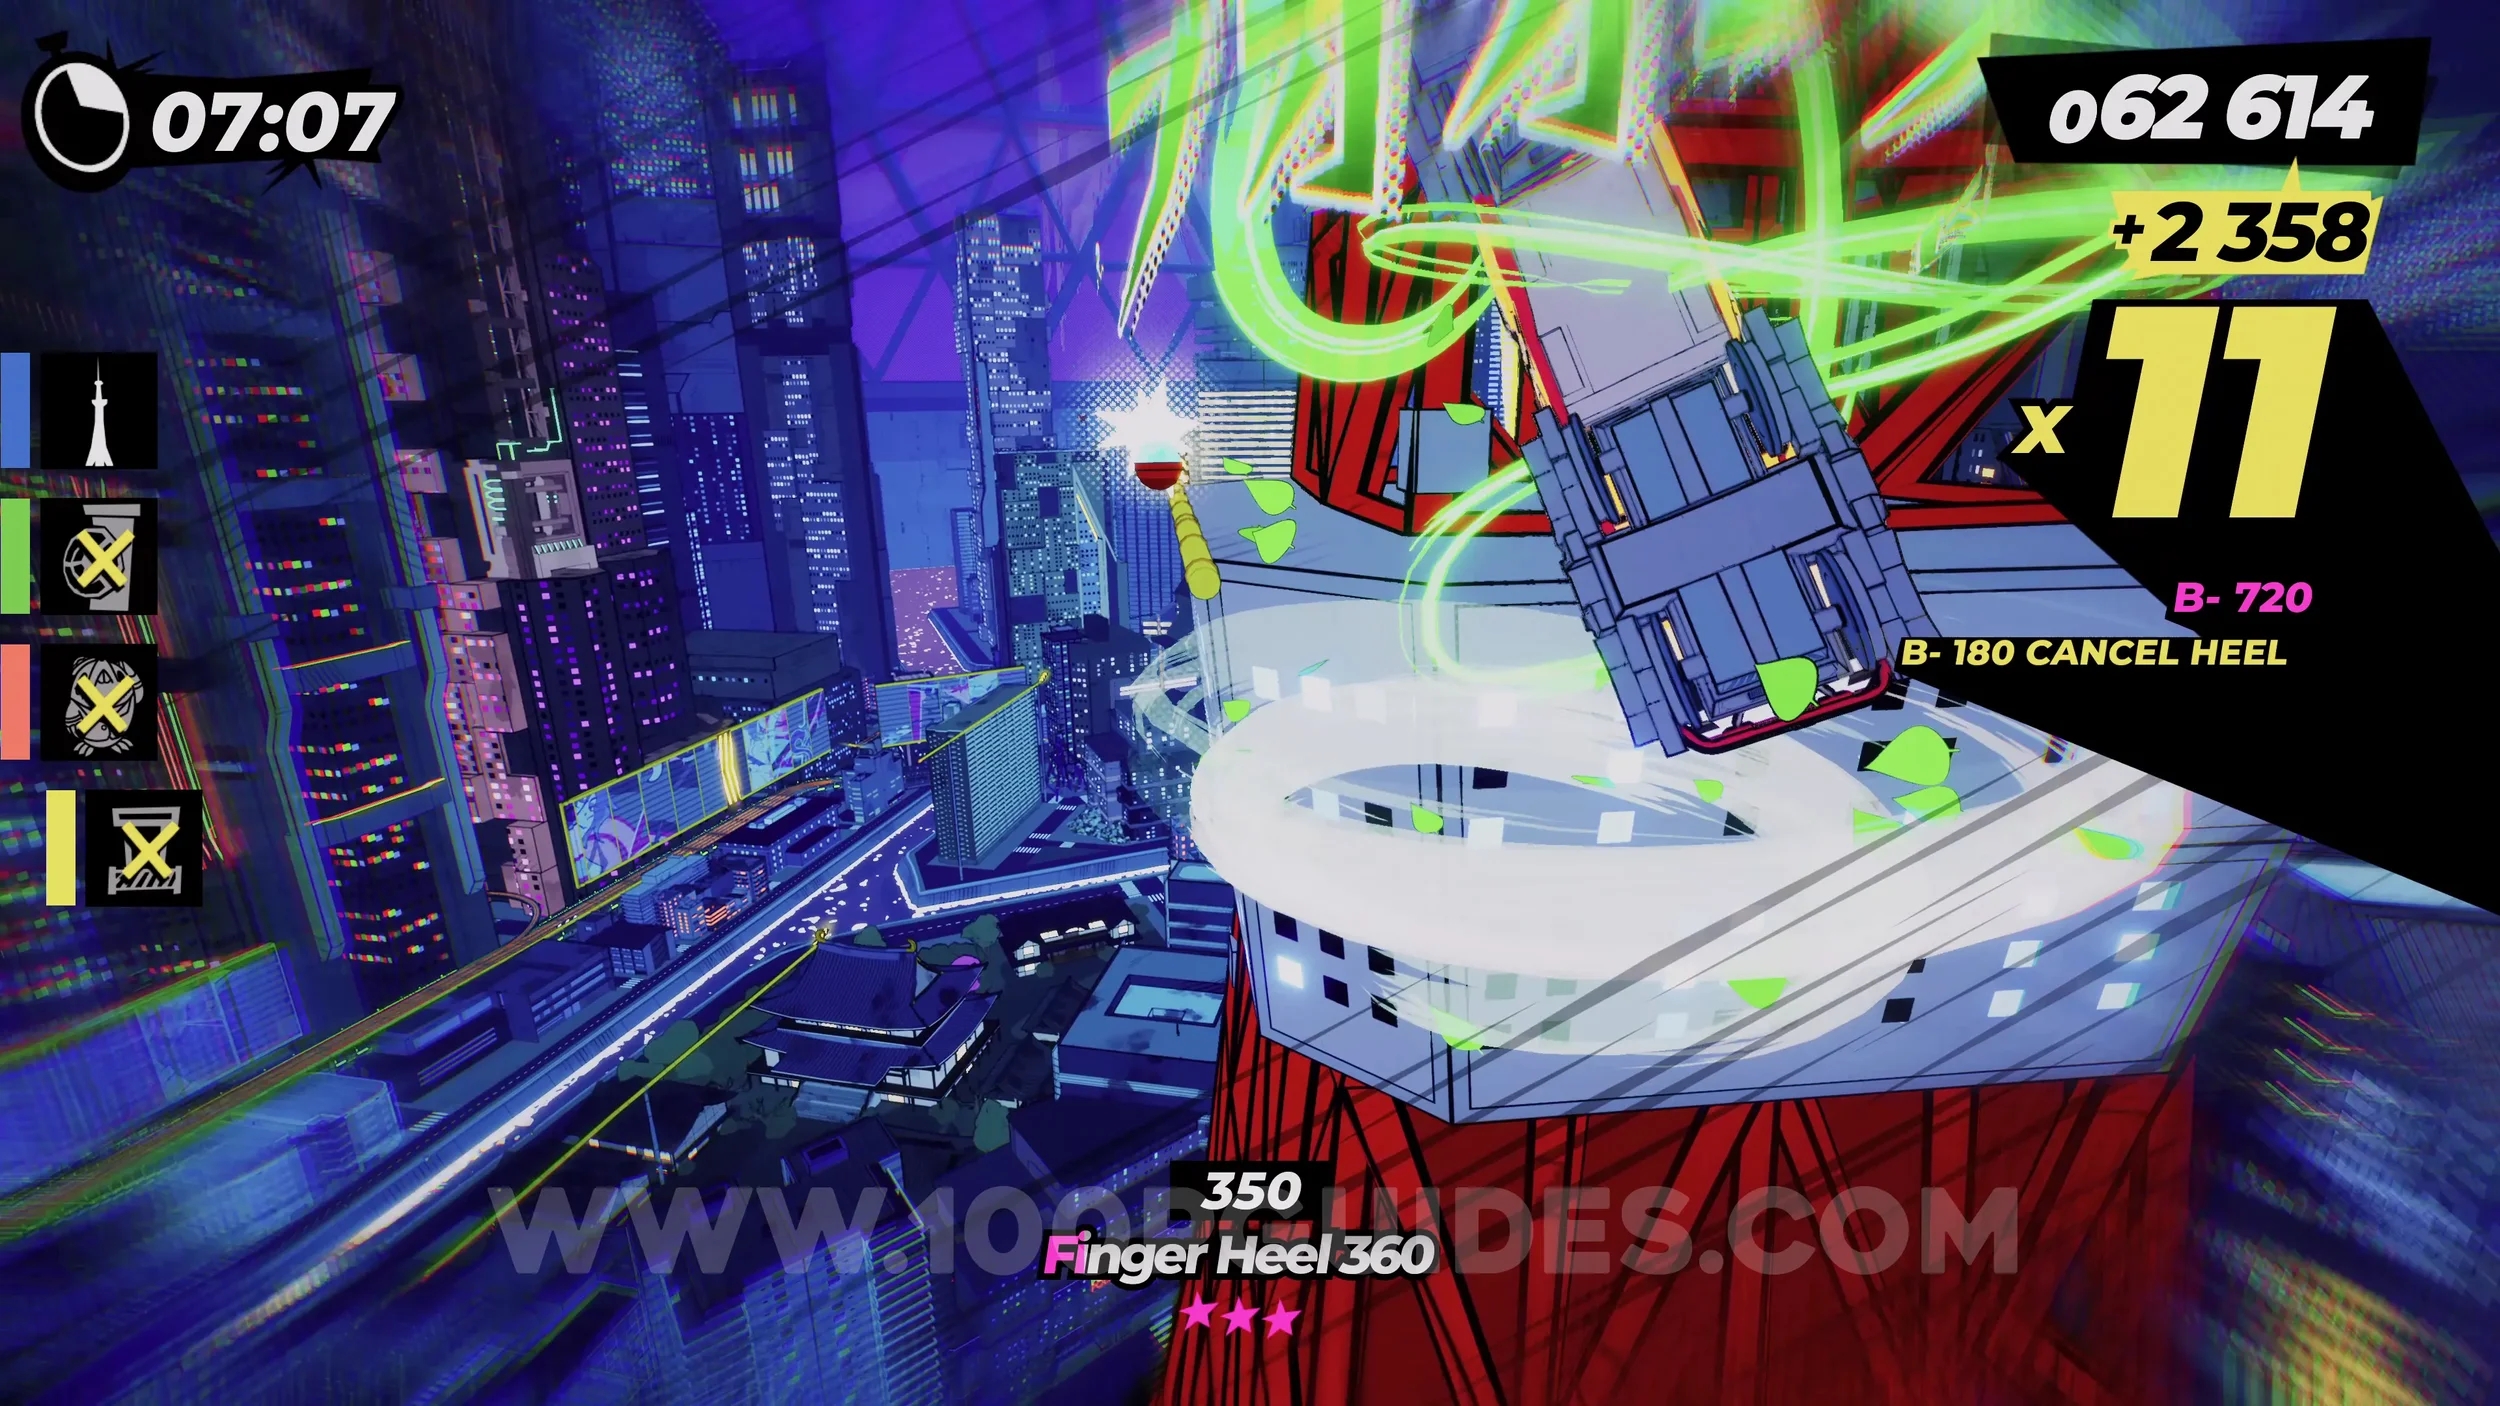
Dare: Collect 5 Toy Capsules (5/5). After the previous toy, stop following the blue sign and just stick to the main multi track path until you eventually circle back around to the blue sign that leads you to the lone track on the left you took to get to the previous toy. Take it again, but this time jump to the rail on your left after this corner to perform the vert jump and get the toy.
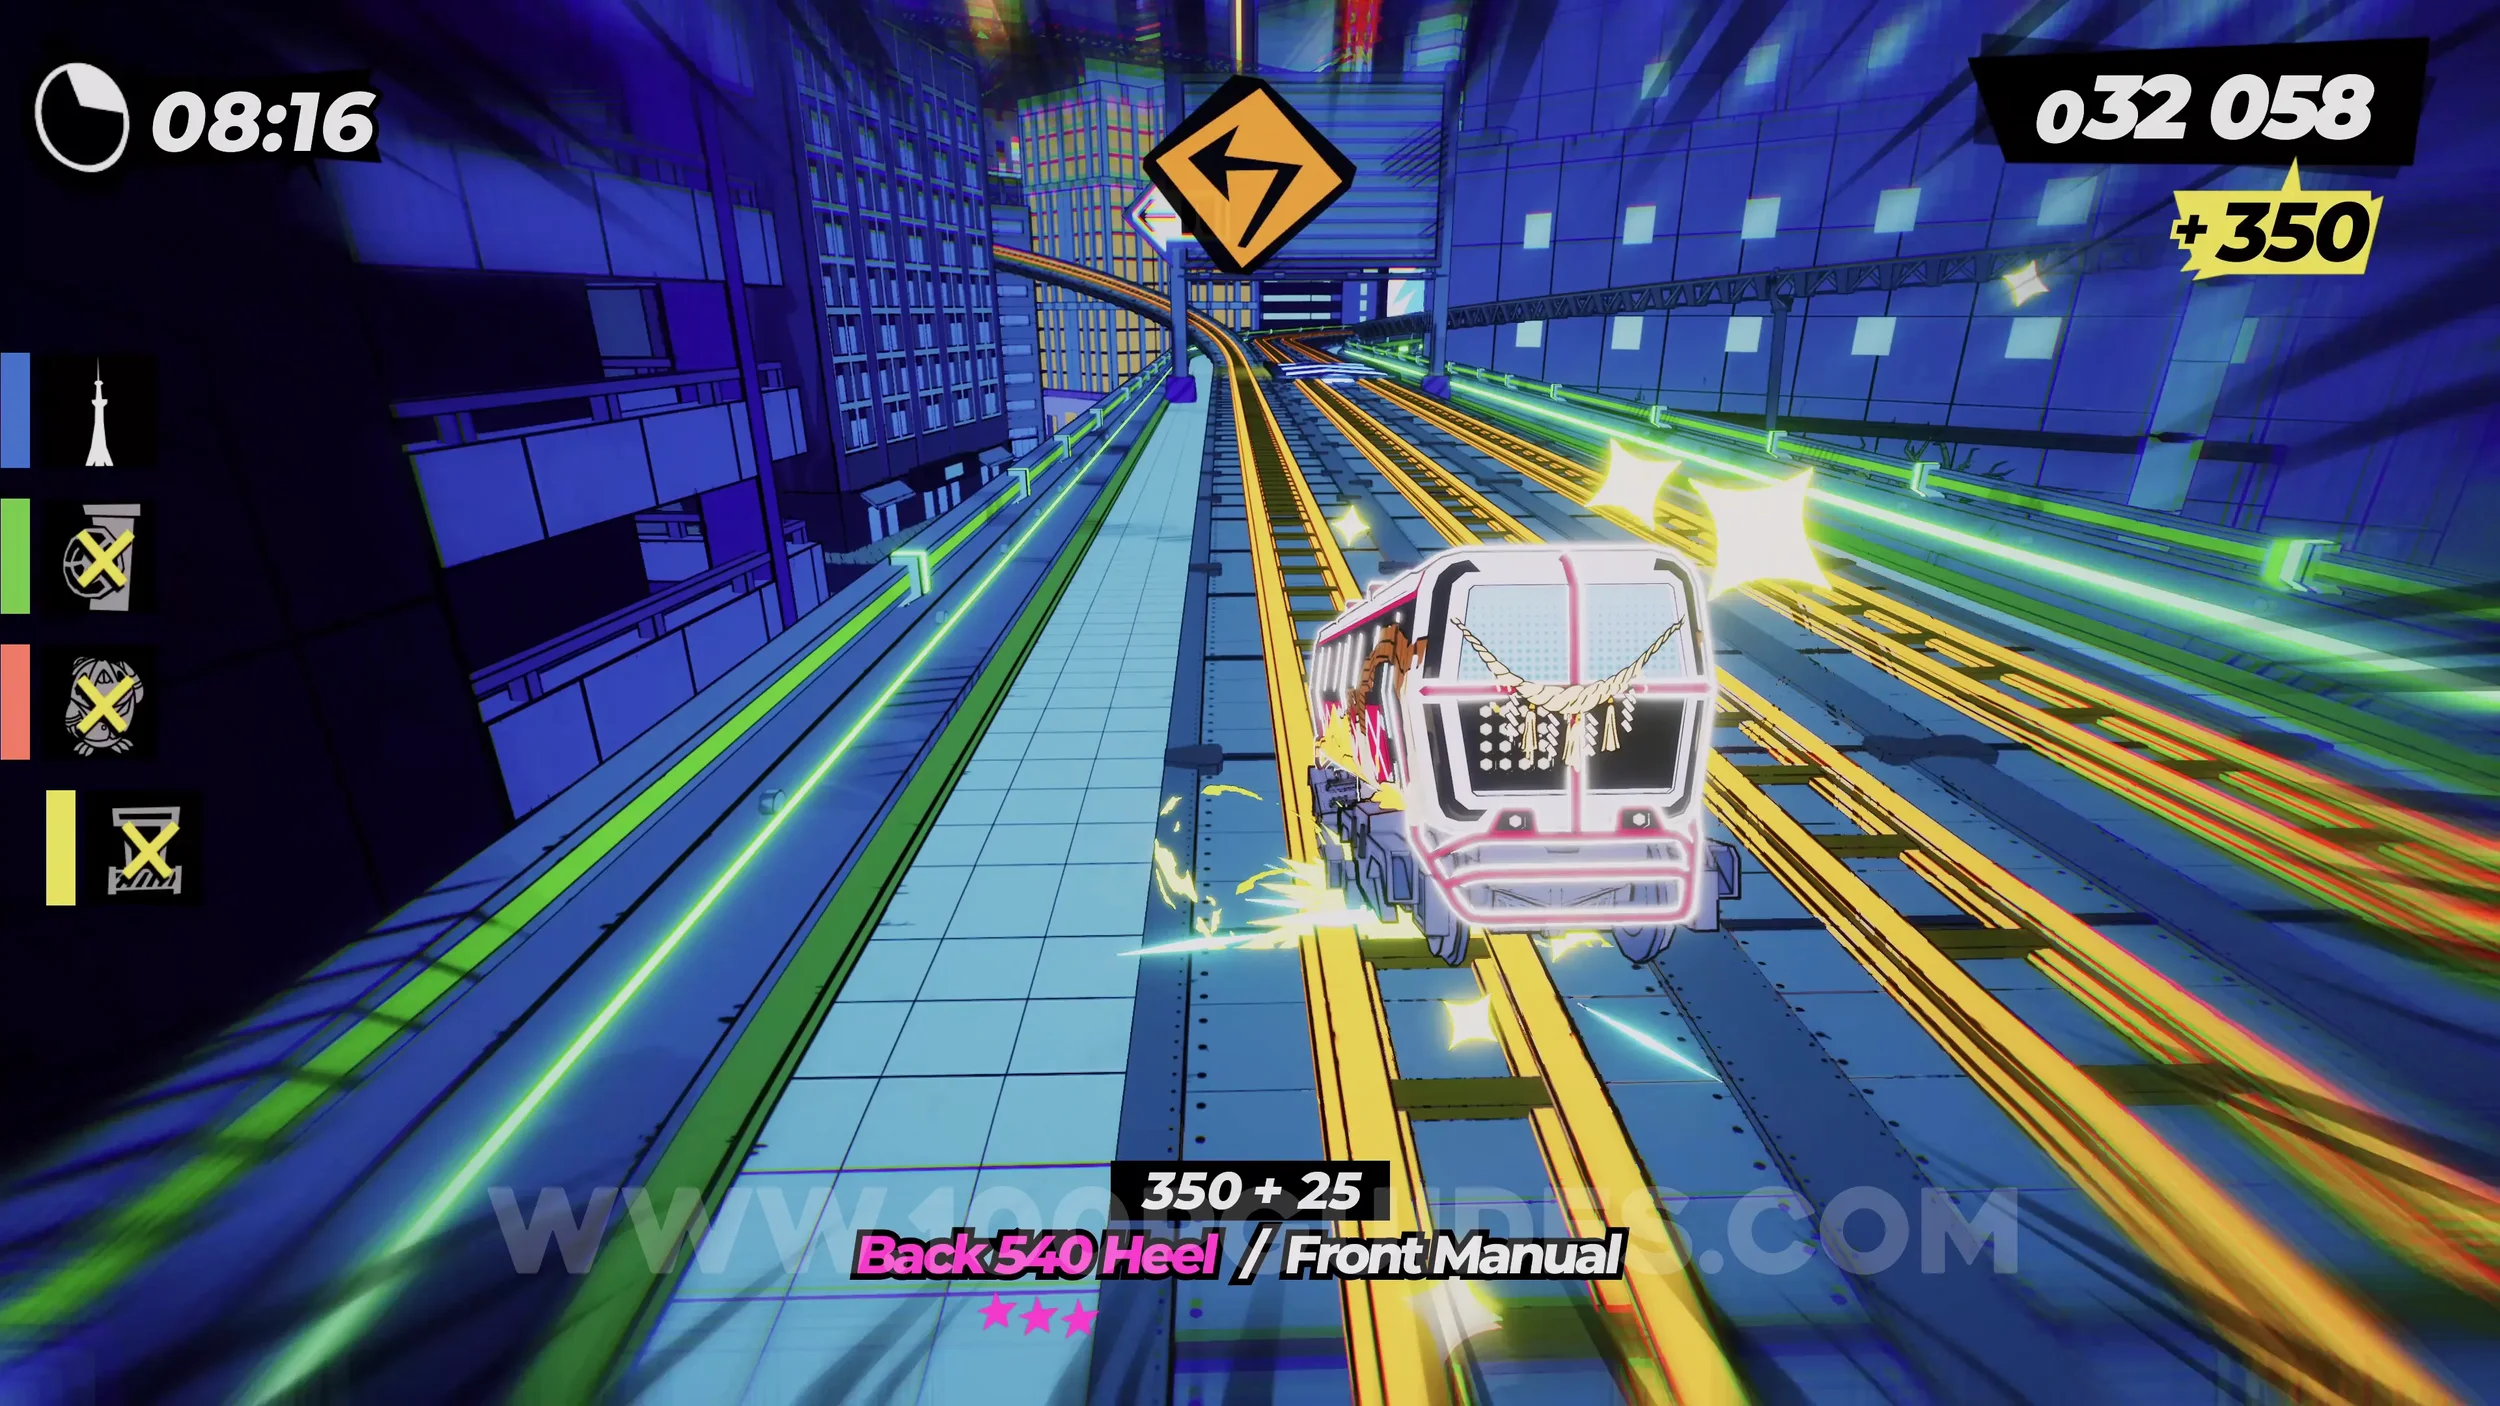
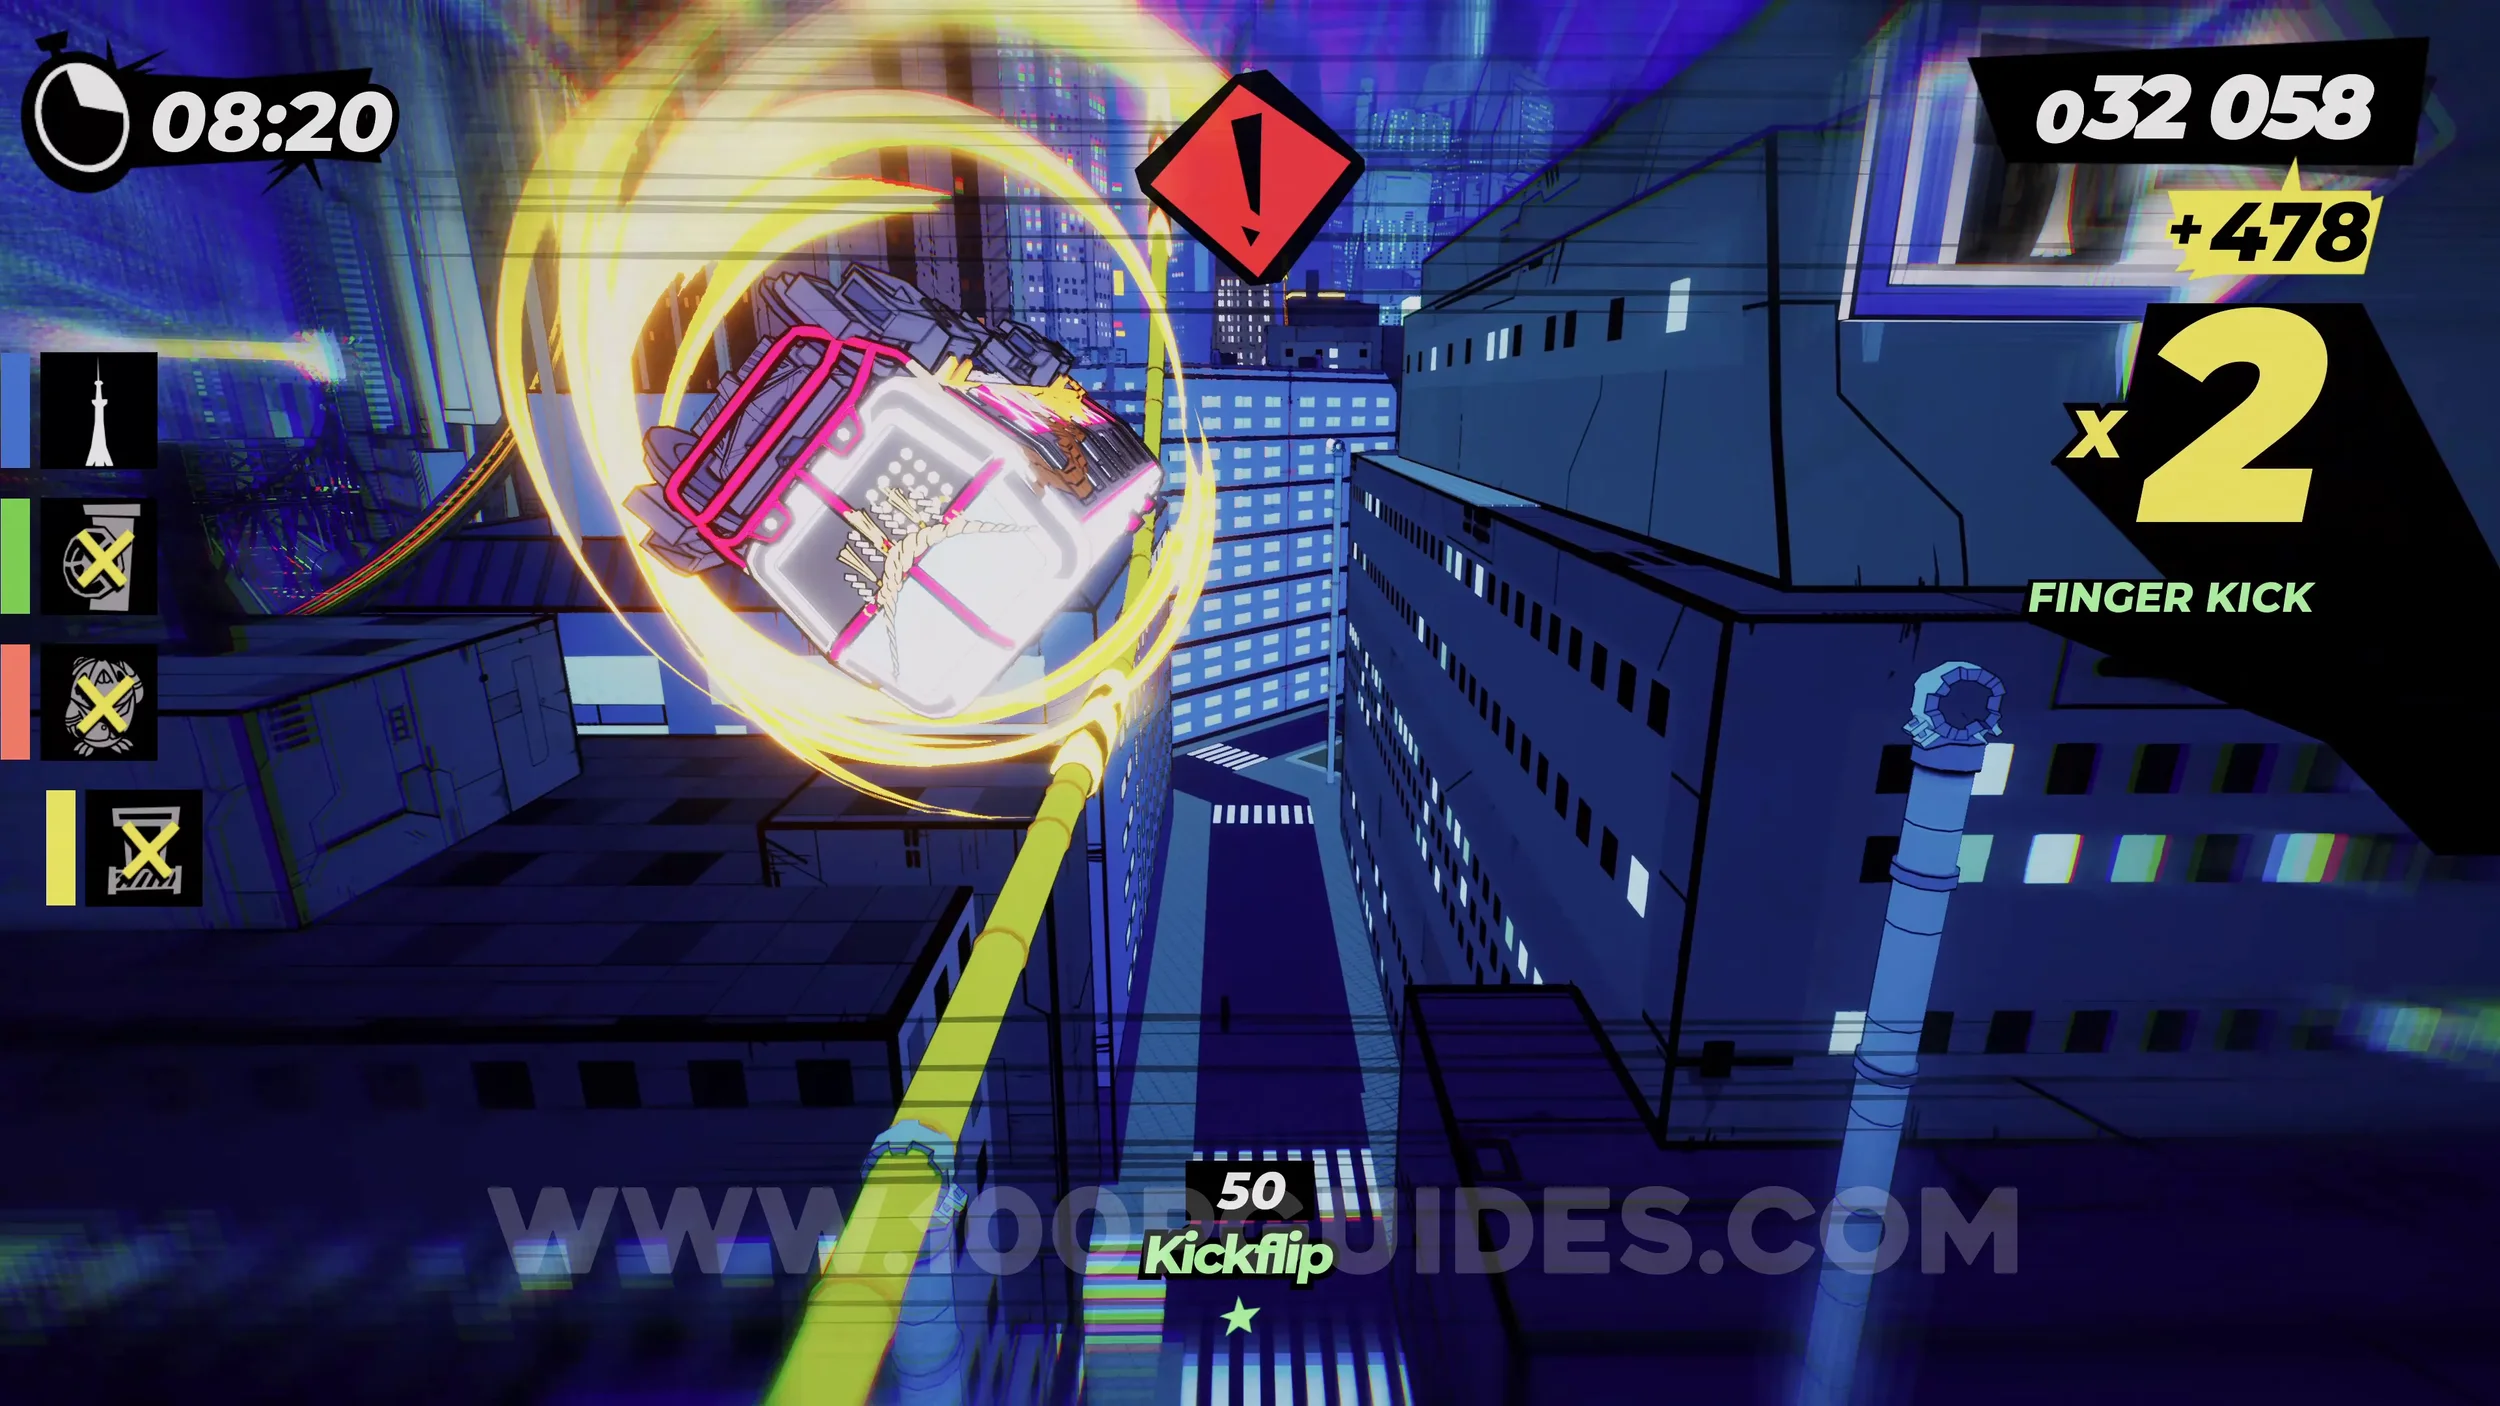
Dare: Chain 10 Tricks after Jumping Off the Sky Needle. Follow the blue signs to the blue main objective, and you'll jump off the top of a very tall building. Just chain together ten tricks in the air as you fall. If you're having trouble, you can use the Shikoku Jet Rod train, which has a faster trick speed.
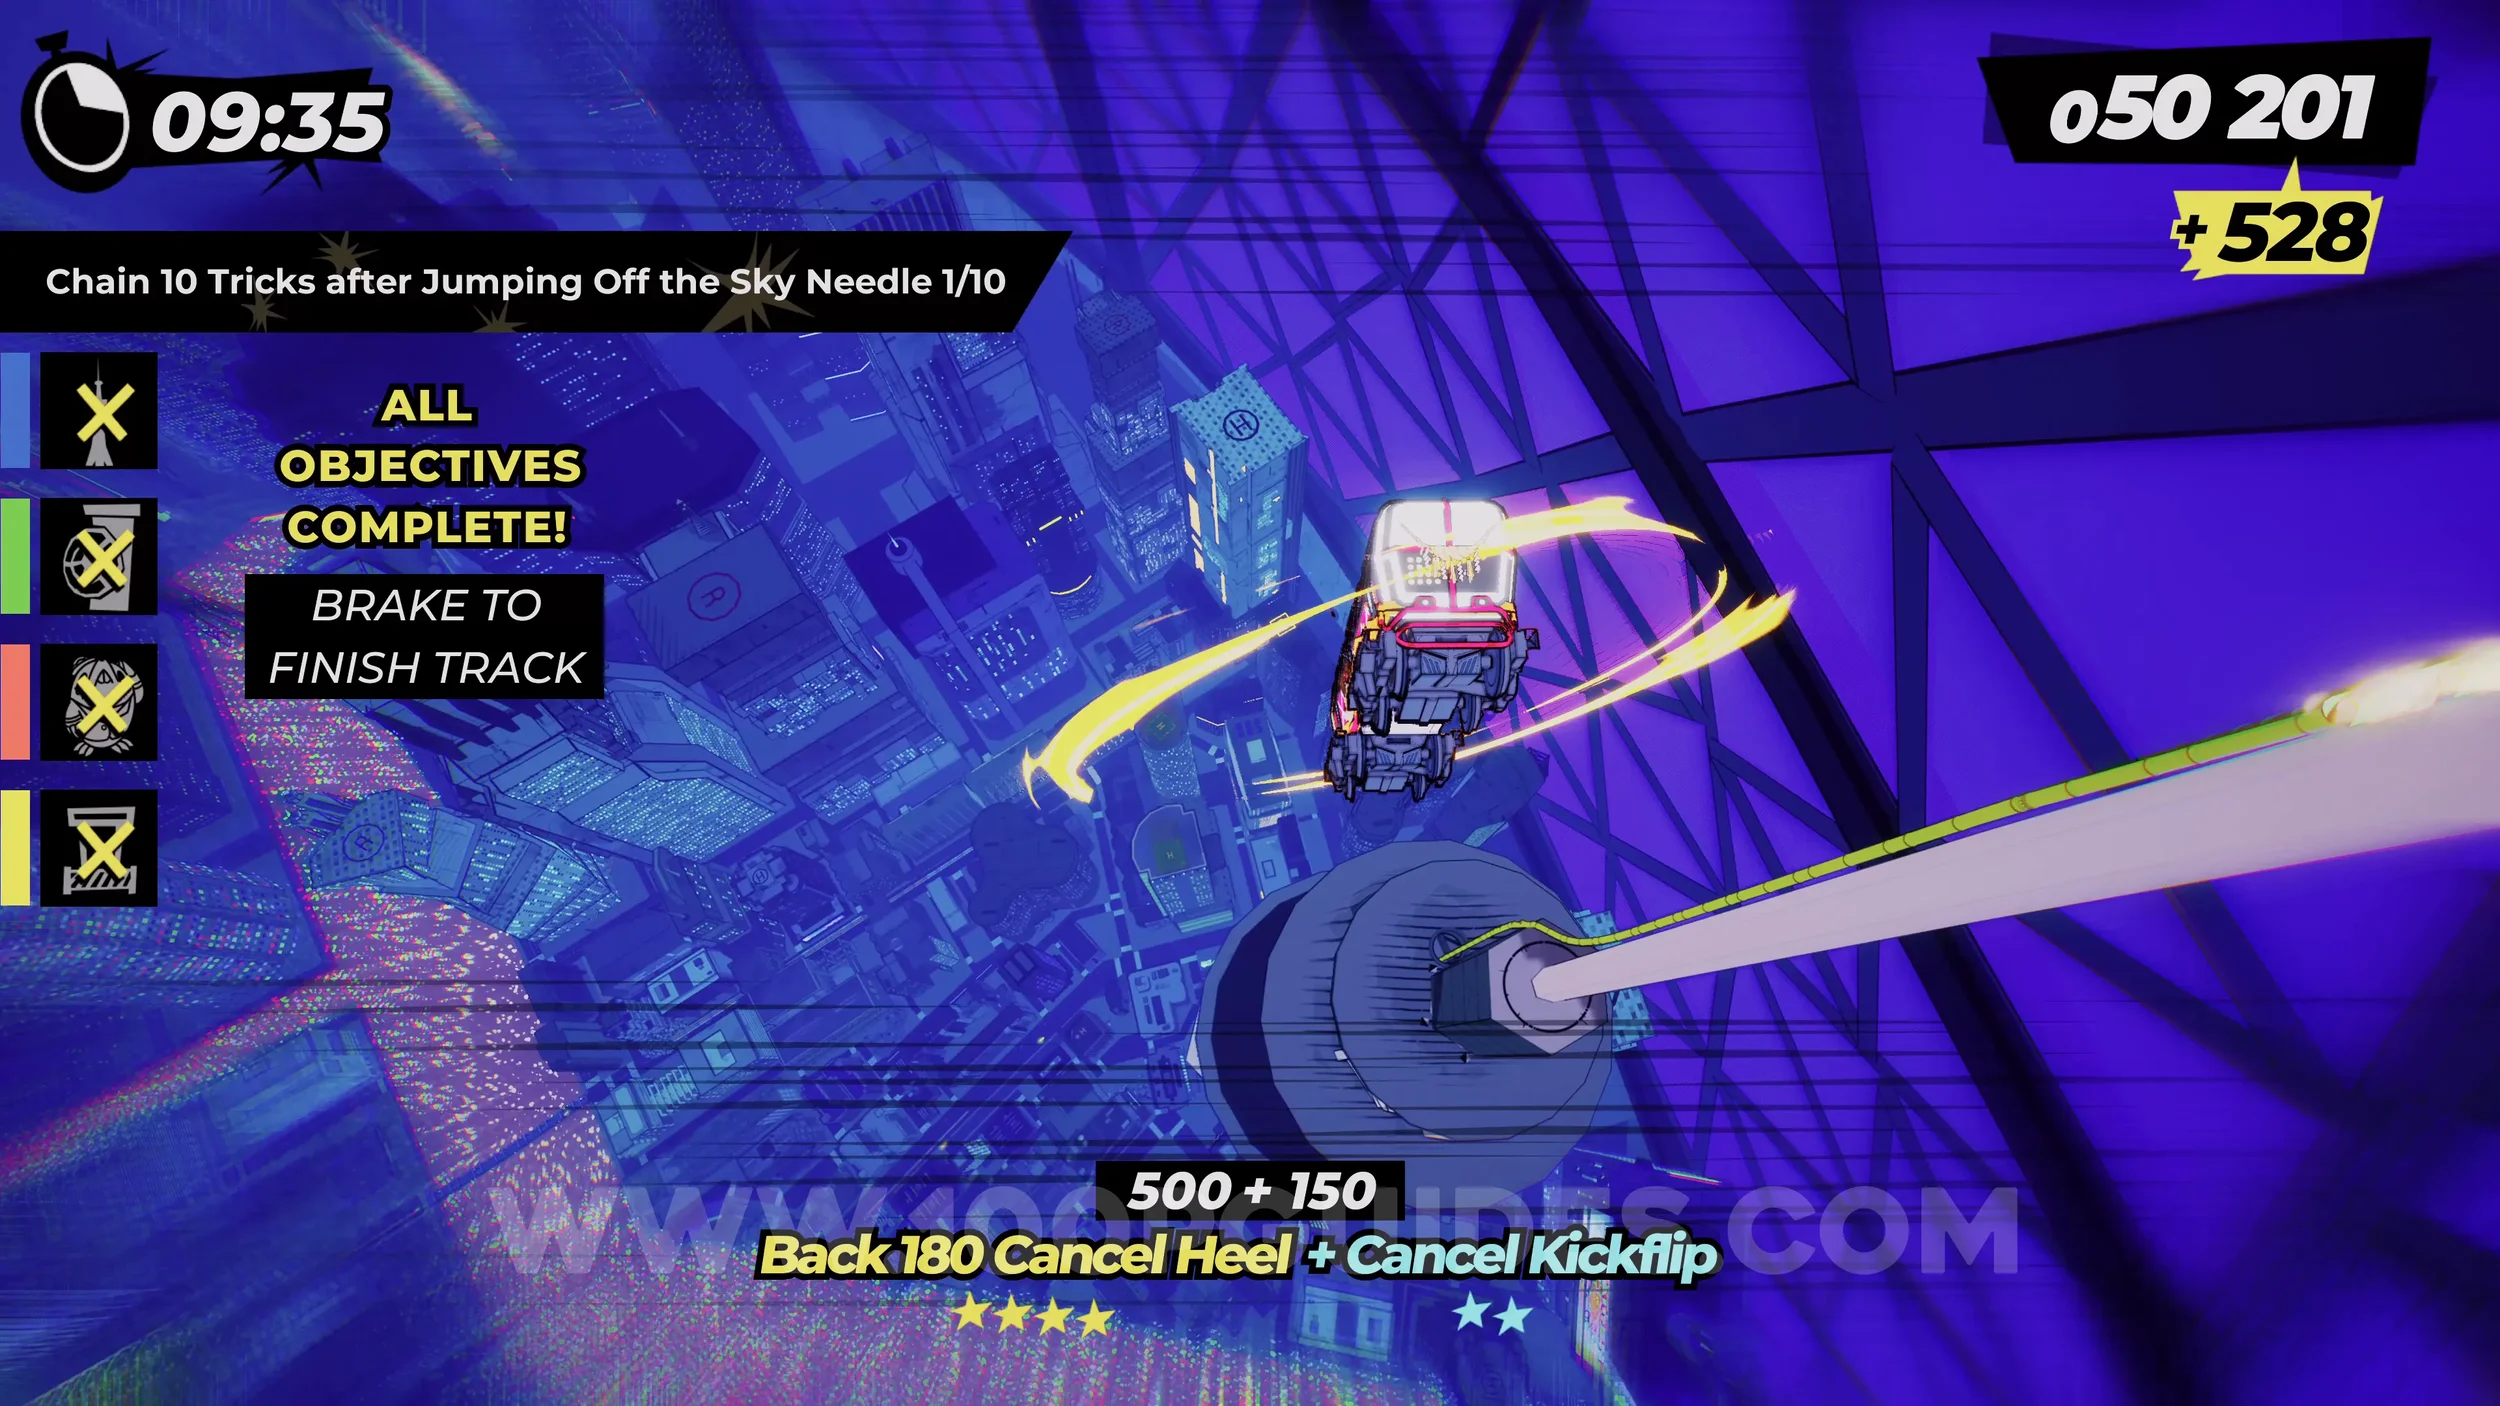
Dare: Perform 15 Risky Dodges. Self-explanatory.
Dare: Perform 3 Perfect Drifts while Double Drifting. While on the main multi track, double drift (L2 plus a direction on the left stick), then go around a corner and enter a drift by pressing L2 and letting go in the green area.
7-3-2 Kaiju Attack!
Film Roll (1/1). At the start, stick to the right to get the film roll after the first vert jump.
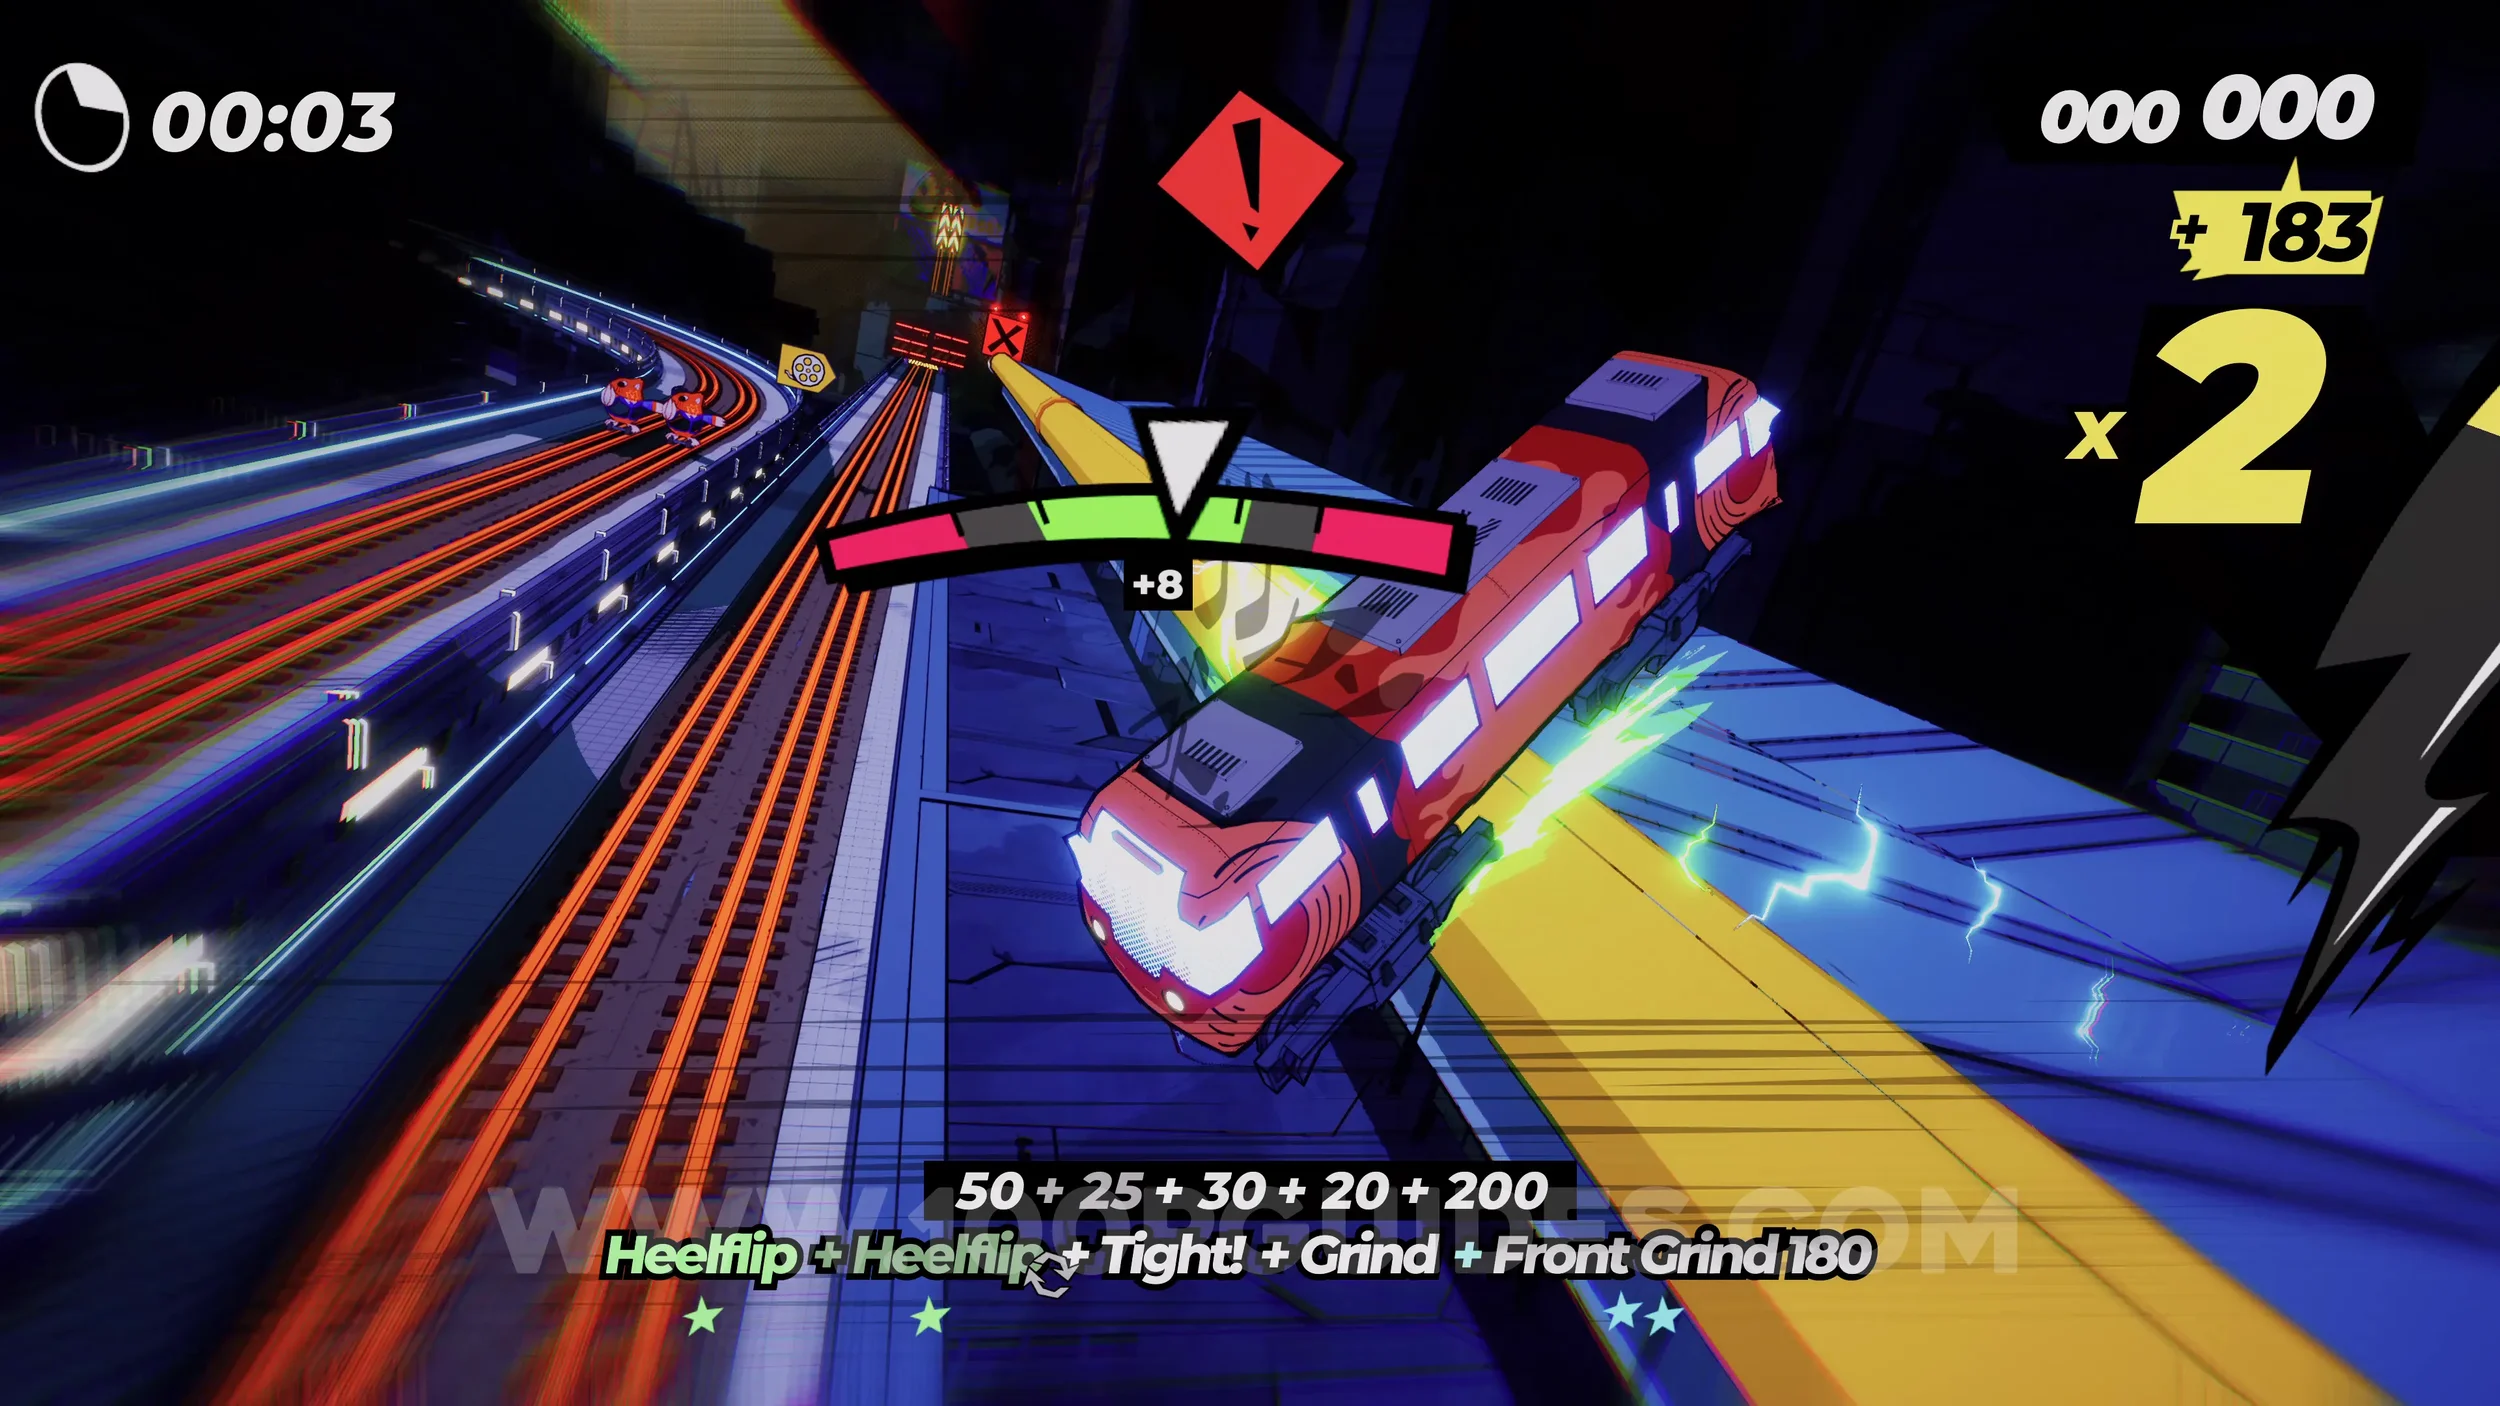
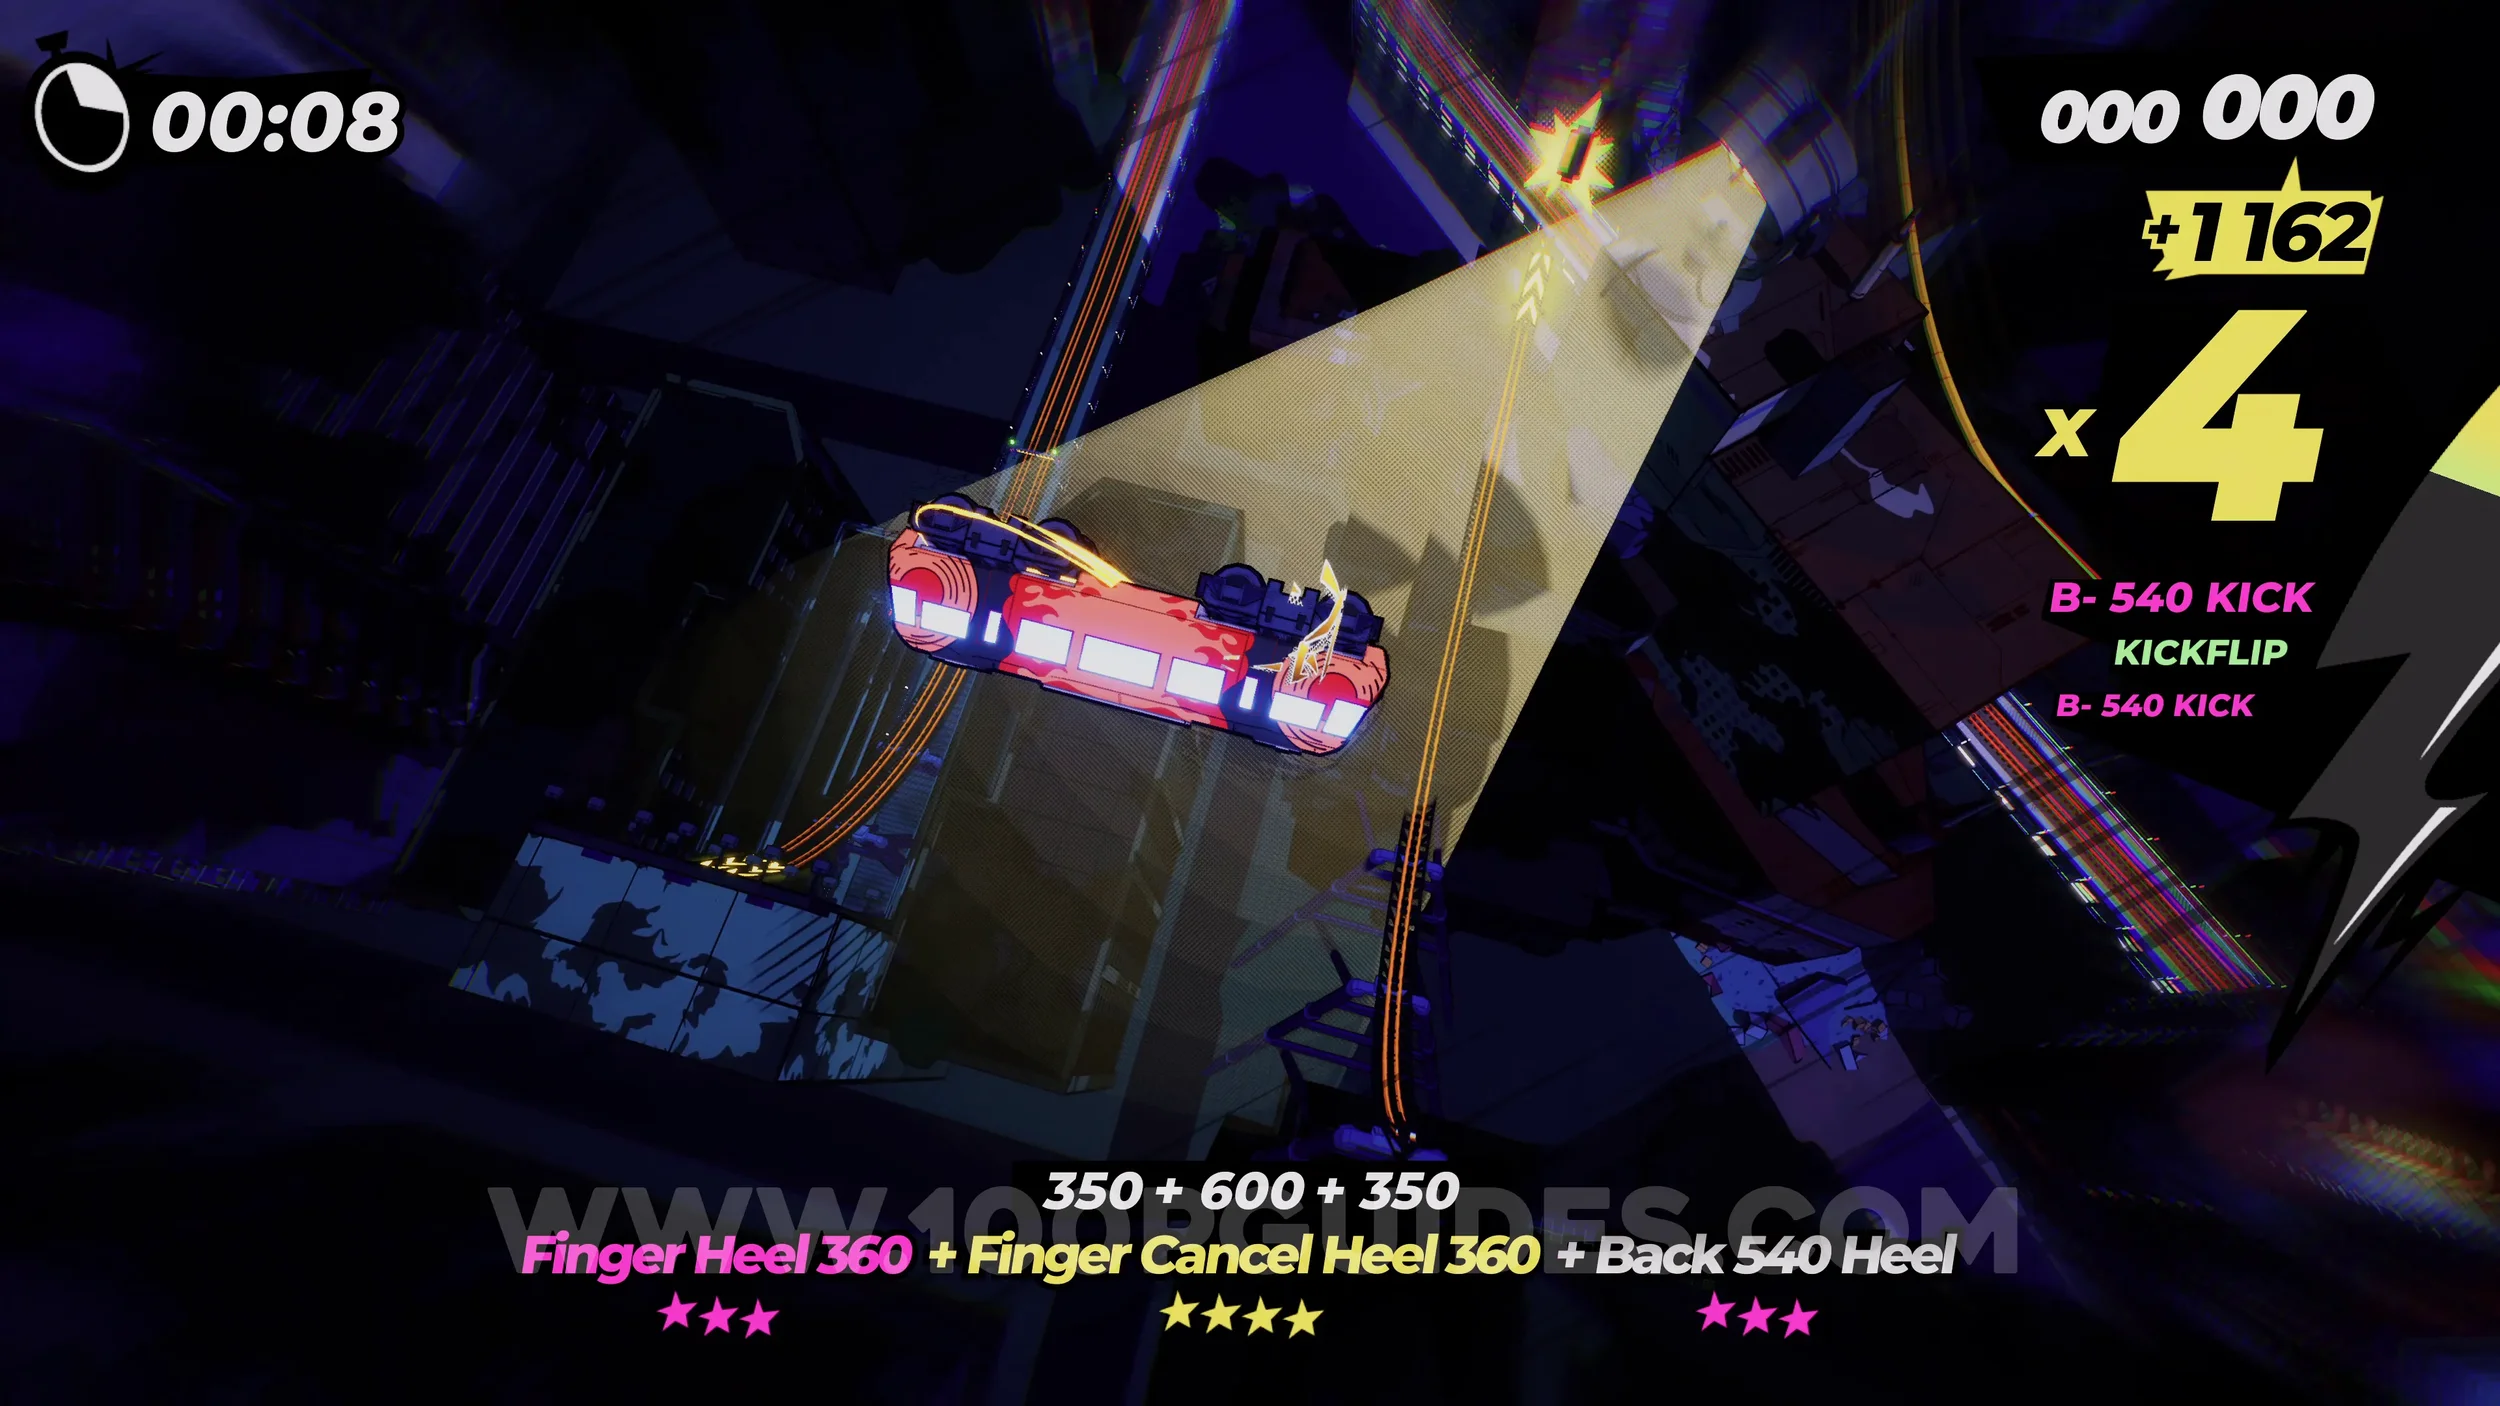
Spray Can (1/1). In plain sight just after you leave the bridge.
Dare: Perform 5 Tricks While Riding the Ball. Continue through the level until you reach a section where you're riding a massive ball. While doing so, jump and perform five tricks.
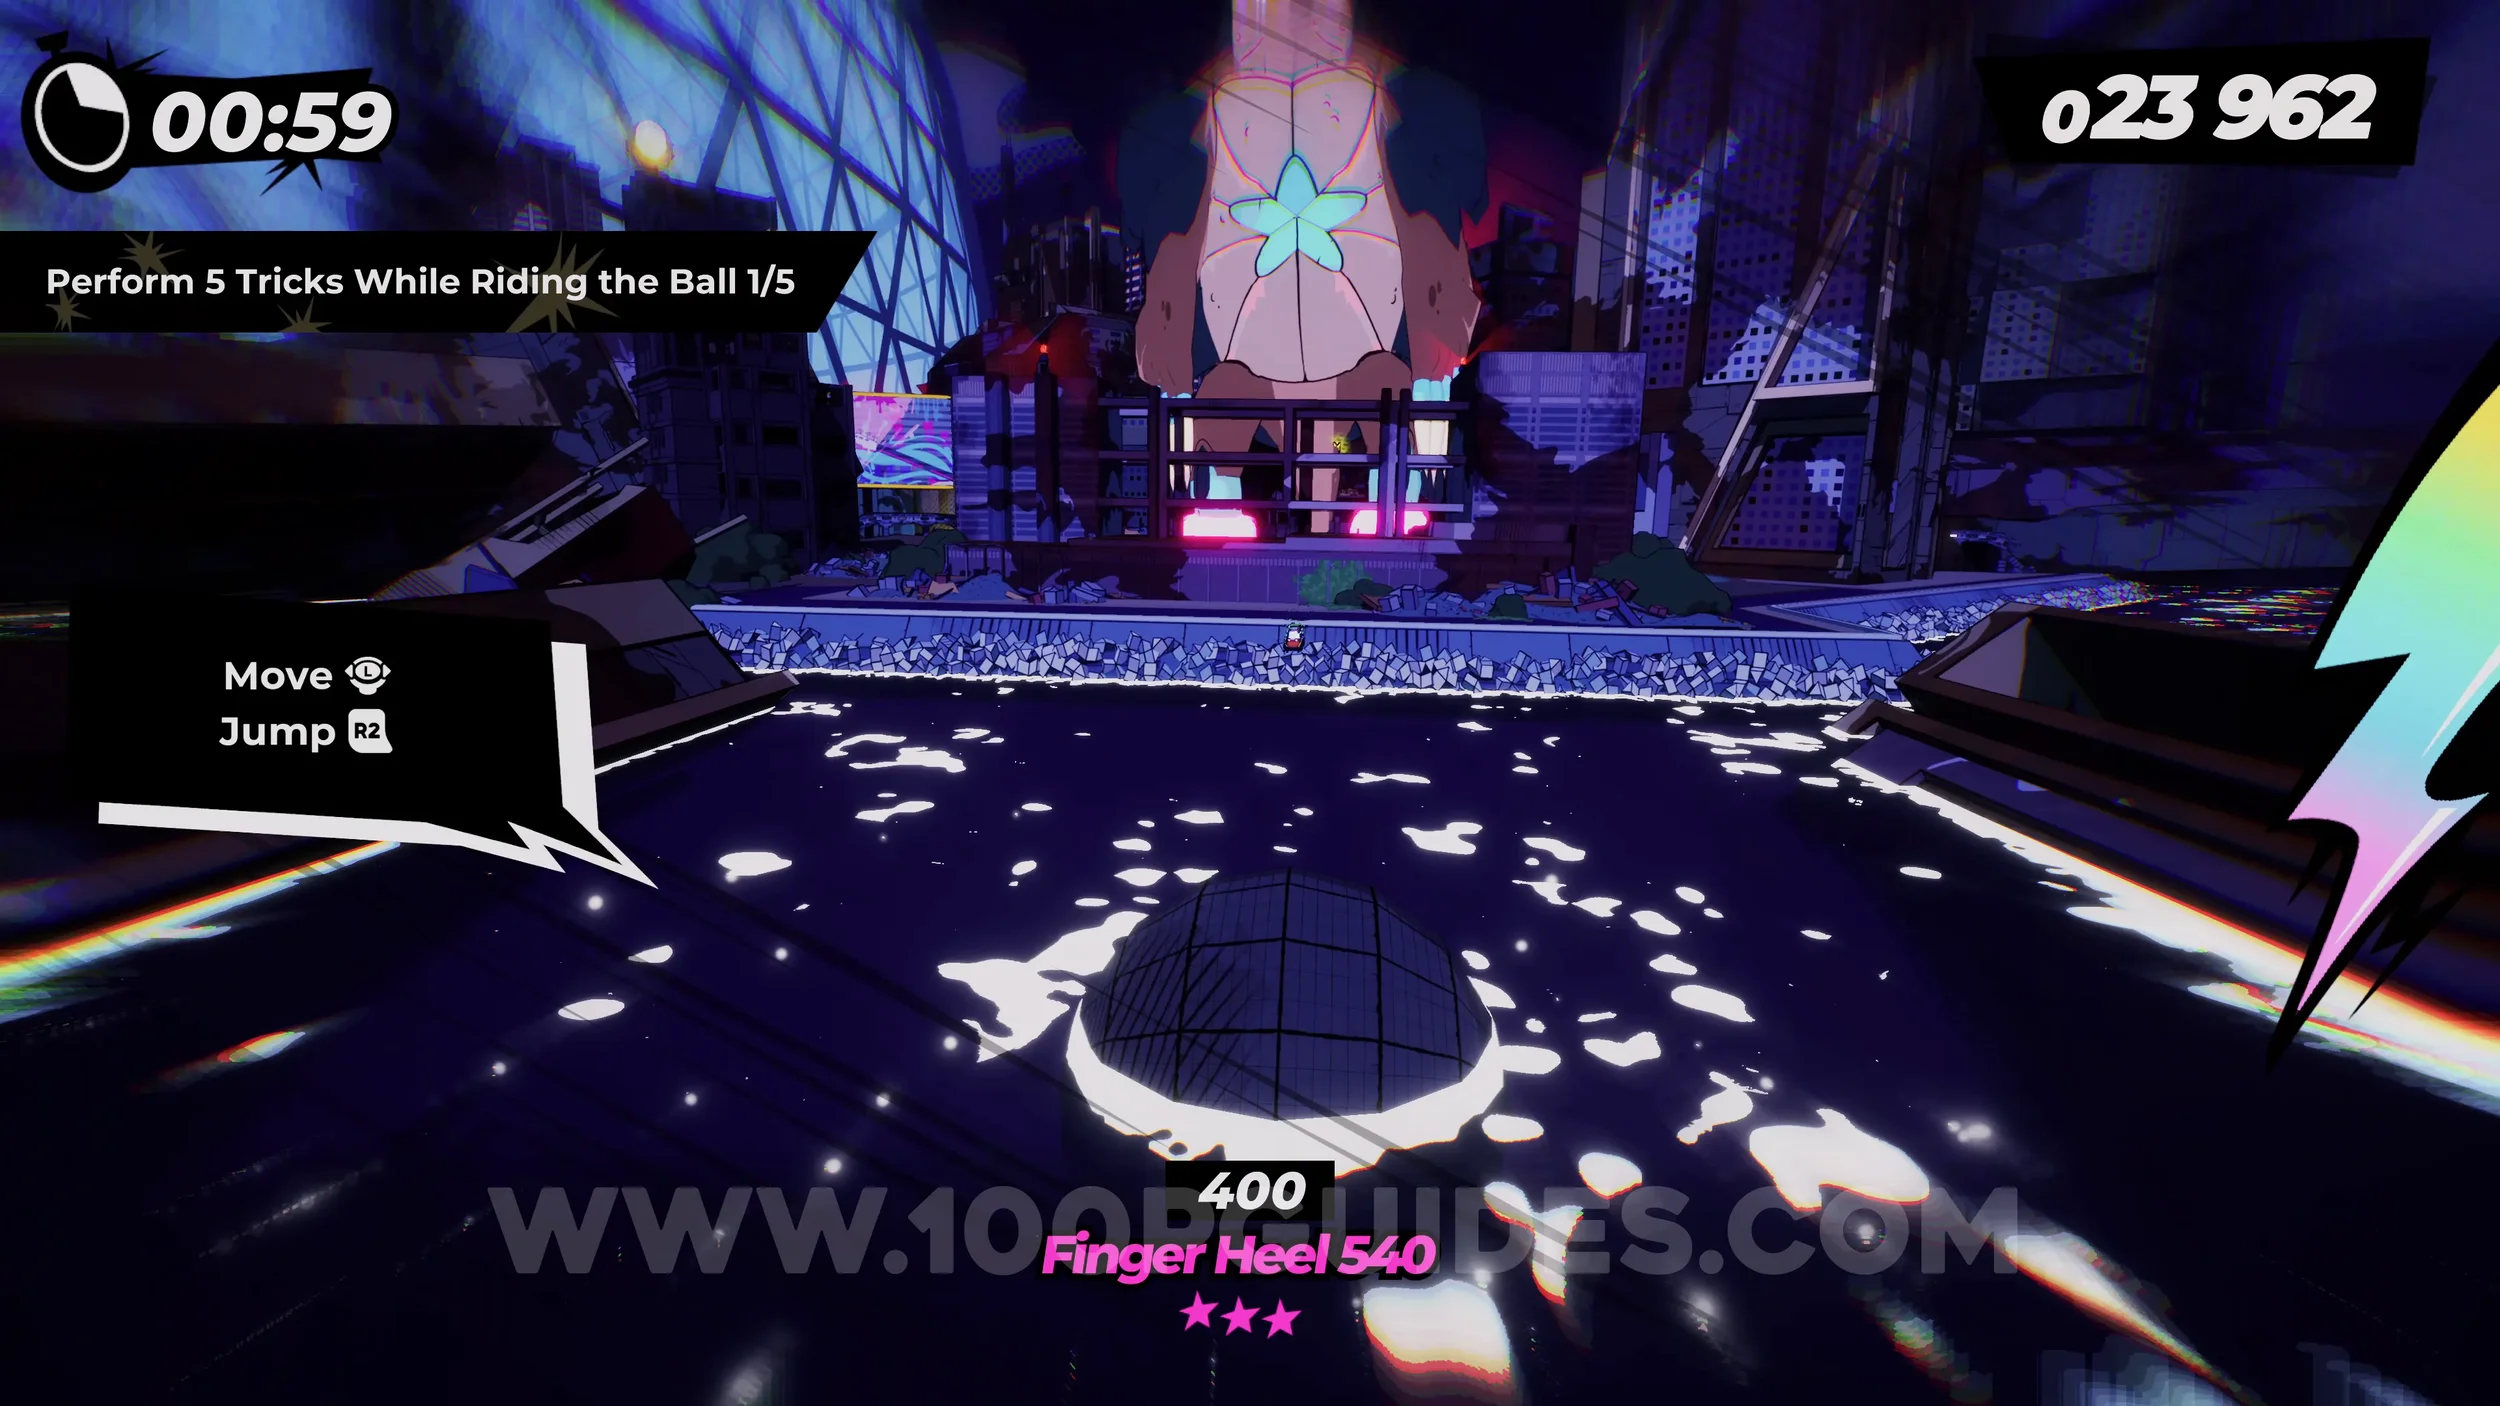
Dare: Risky Dodge Morzilla at the Airport. After leaving the ball, you'll go through an airport. Here, the massive monster will try to attack you with her tail and foot. Dodge one of the attacks at the last second.
Dare: Enter the Airport Building With Over x15 Combo. Self-explanatory. After dodging the monster outside the airport, you'll smash through some glass and enter the airport building. Have a x15 combo by this point.
Gear (1/3). After leaving the airport and riding a monorail around a corner to the right, you'll see a rainbow track to your right (only if your special bar is filled). Ride it to reach a halfpipe, where you'll find the gear.
Dare: Taunt Morzilla to her Face. At the end of the halfpipe, you'll ride a rainbow vert jump right in front of the monster's face. Here, press the R3 button to blow your horn.
Gear (2/3). In plain sight after the previous dare.
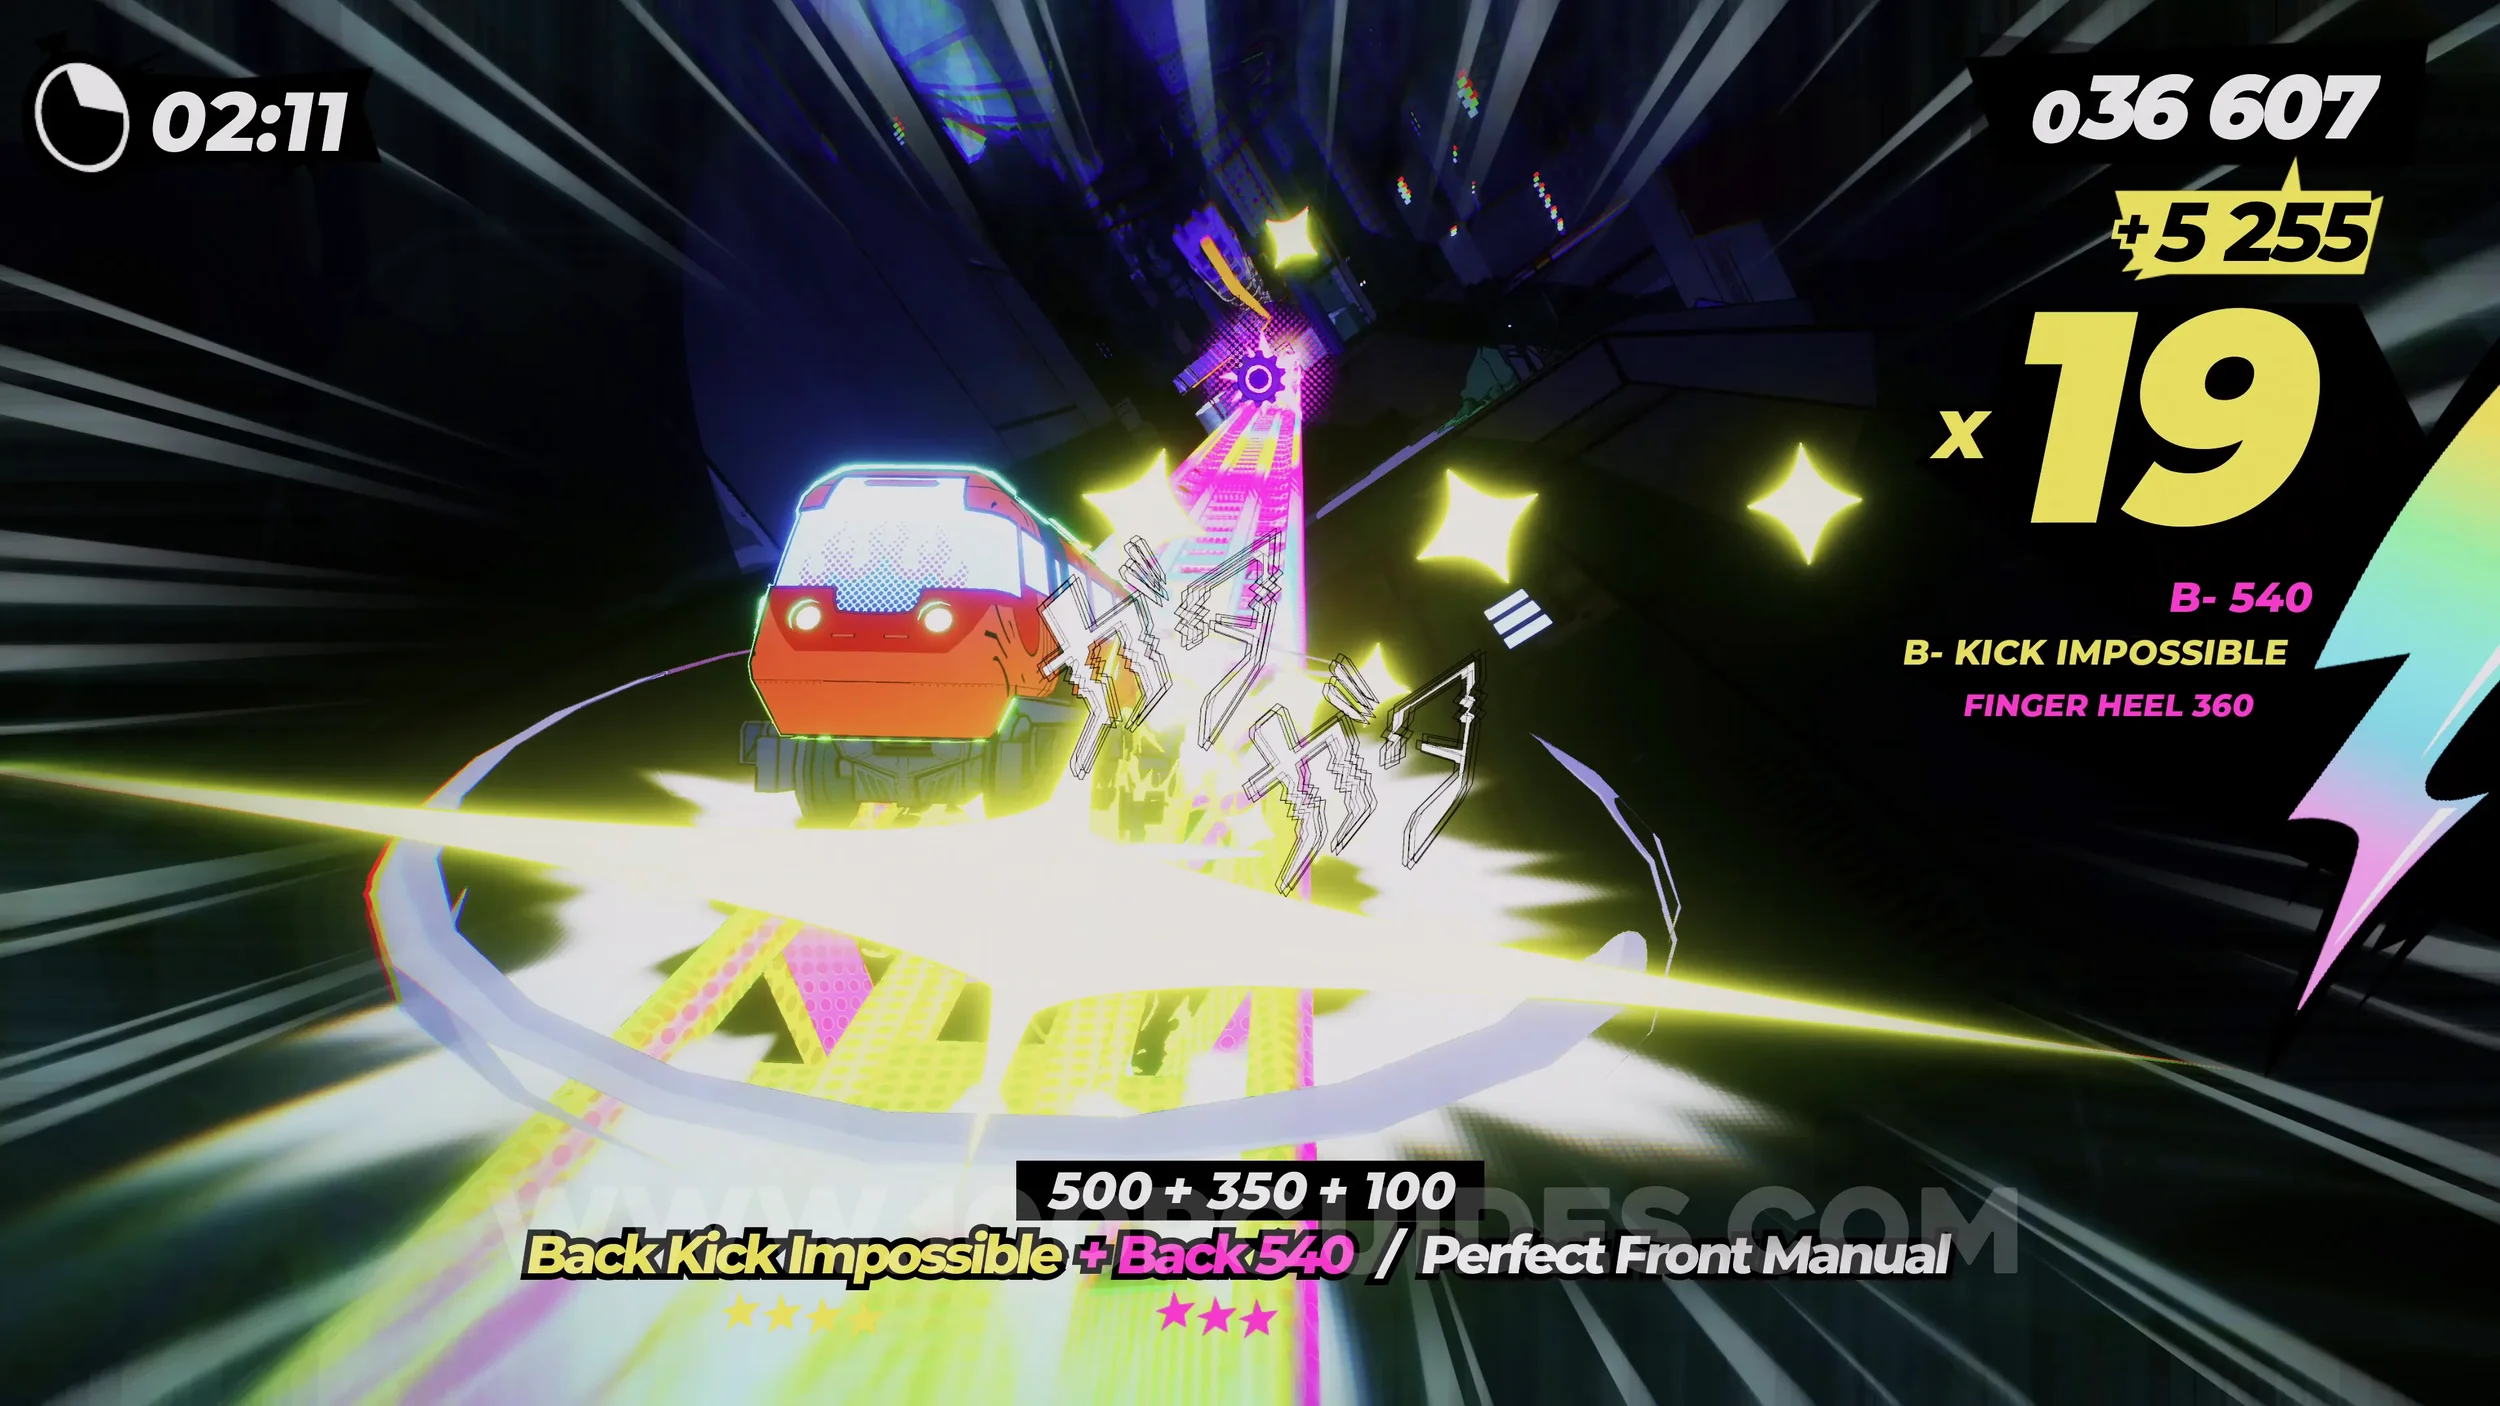
Gear (3/3). Continue through the level until a building falls onto the tracks in front of you. You'll see a blue sign pointing you down to a gear. As you jump over the building, perform an air stomp through the glass windows to get the gear.
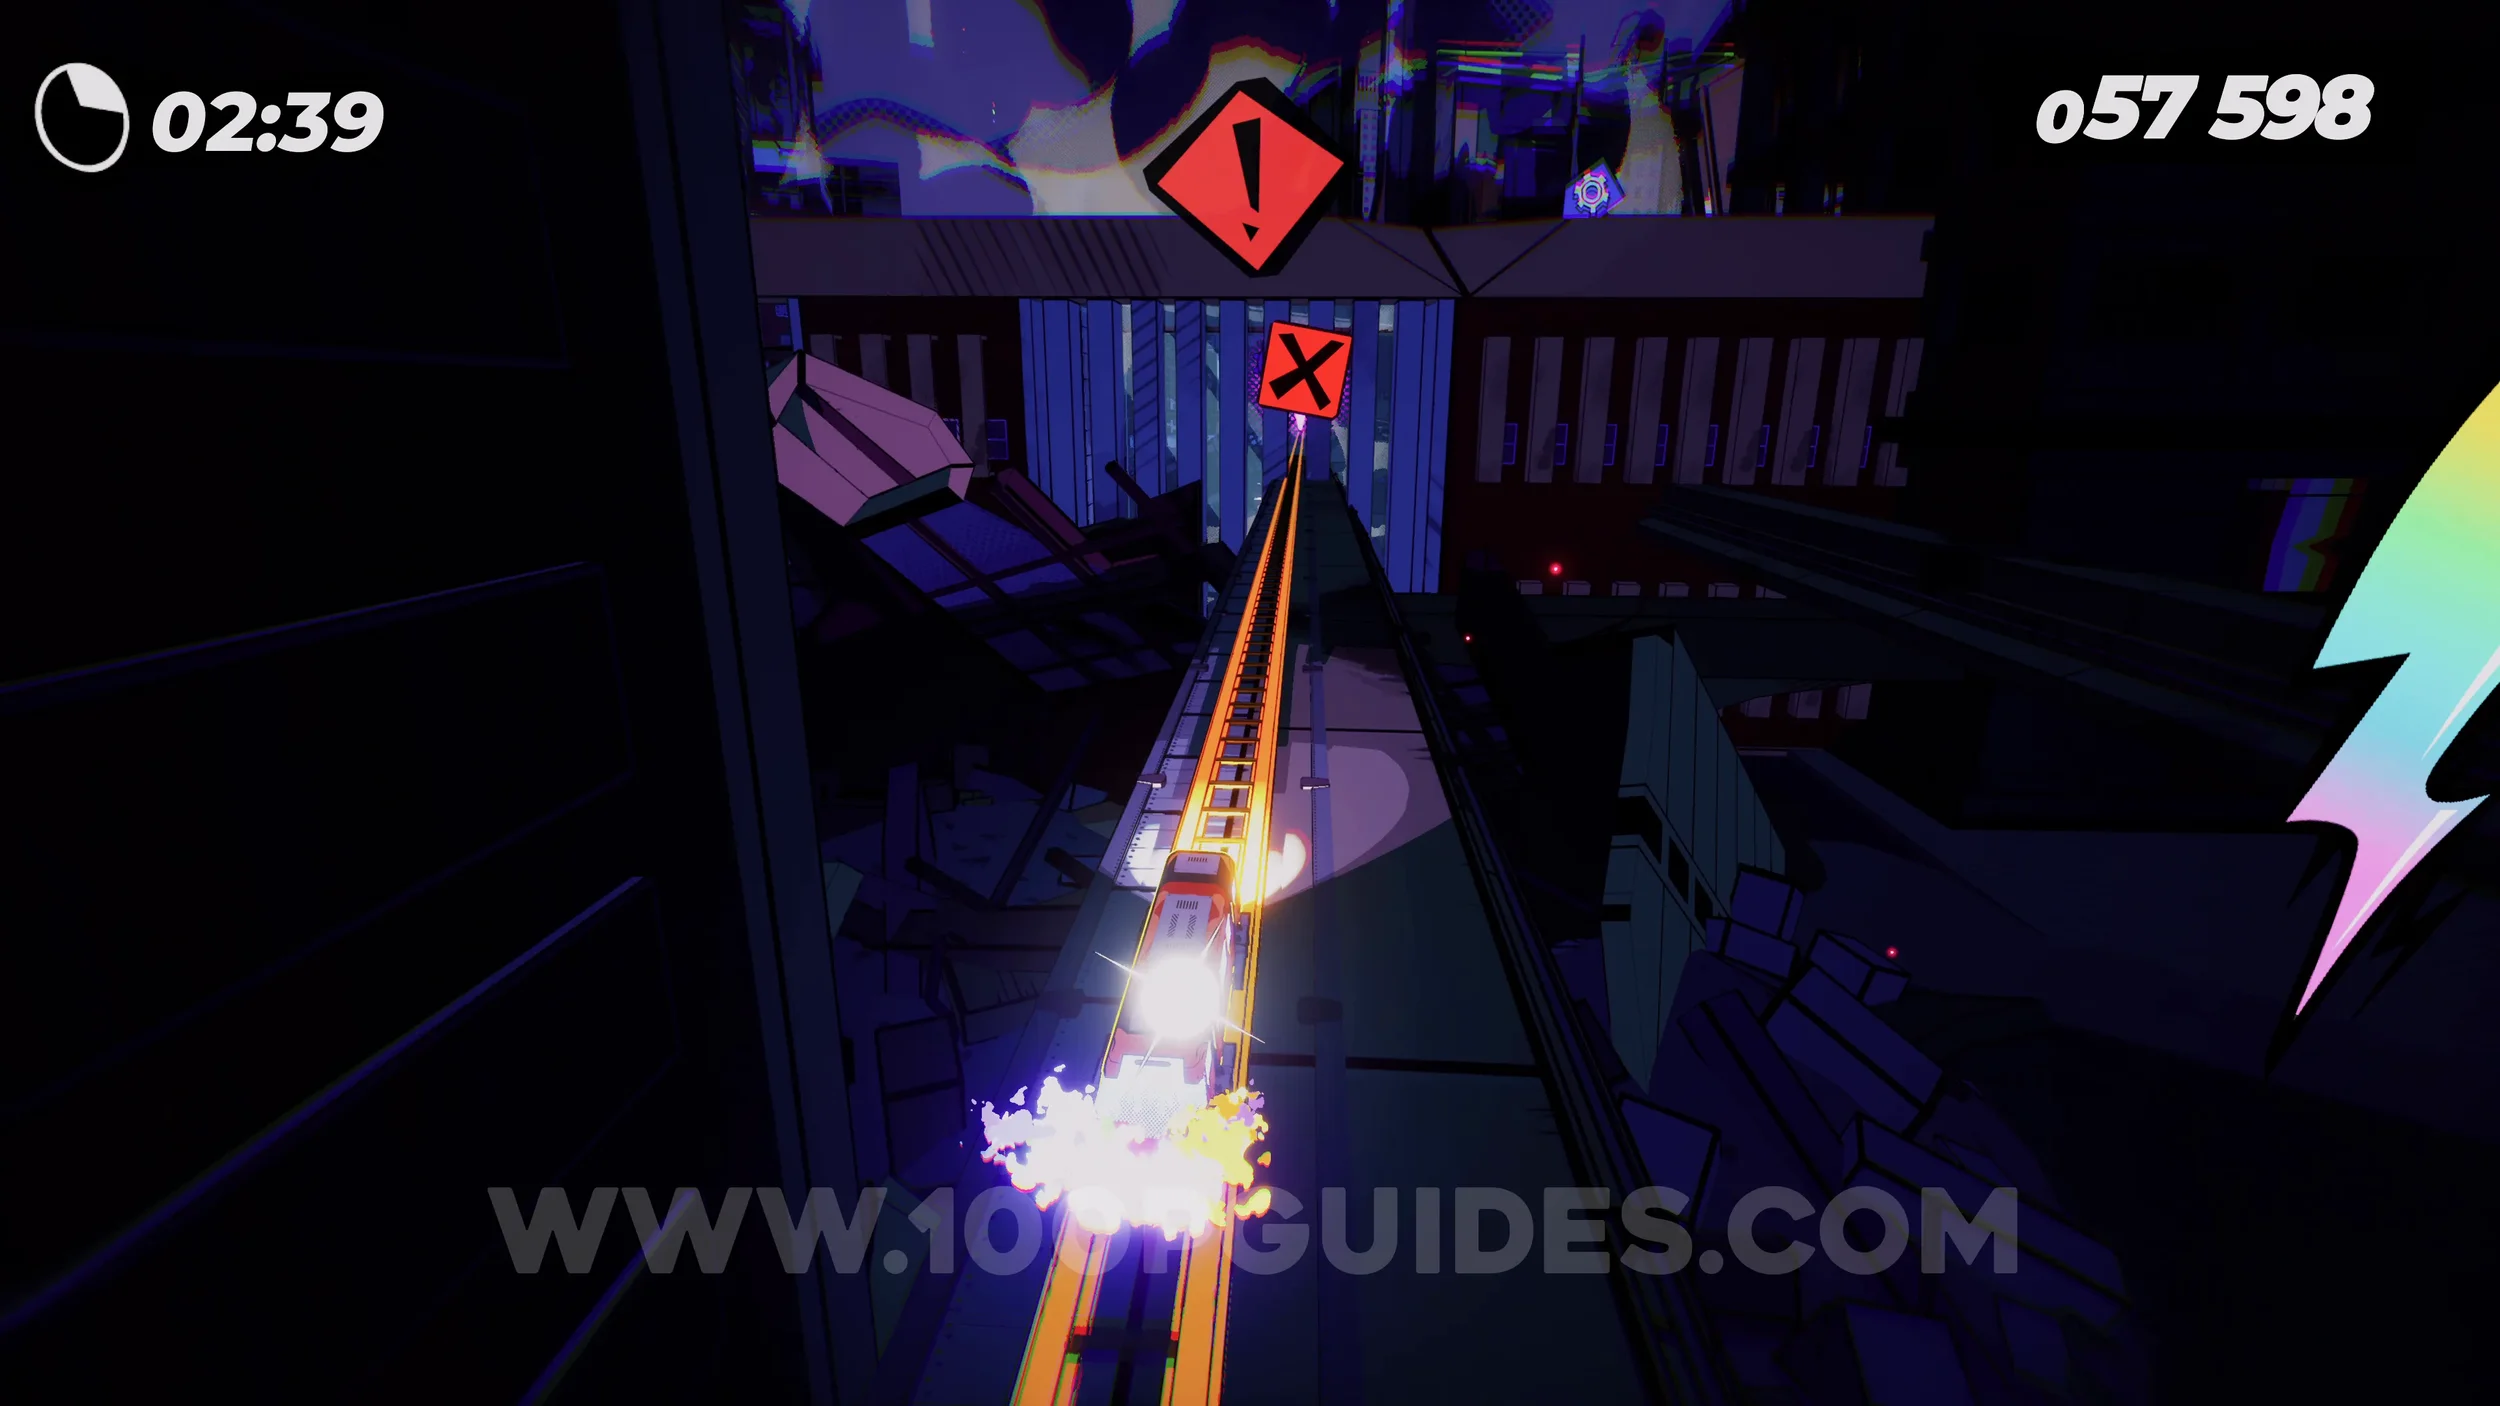
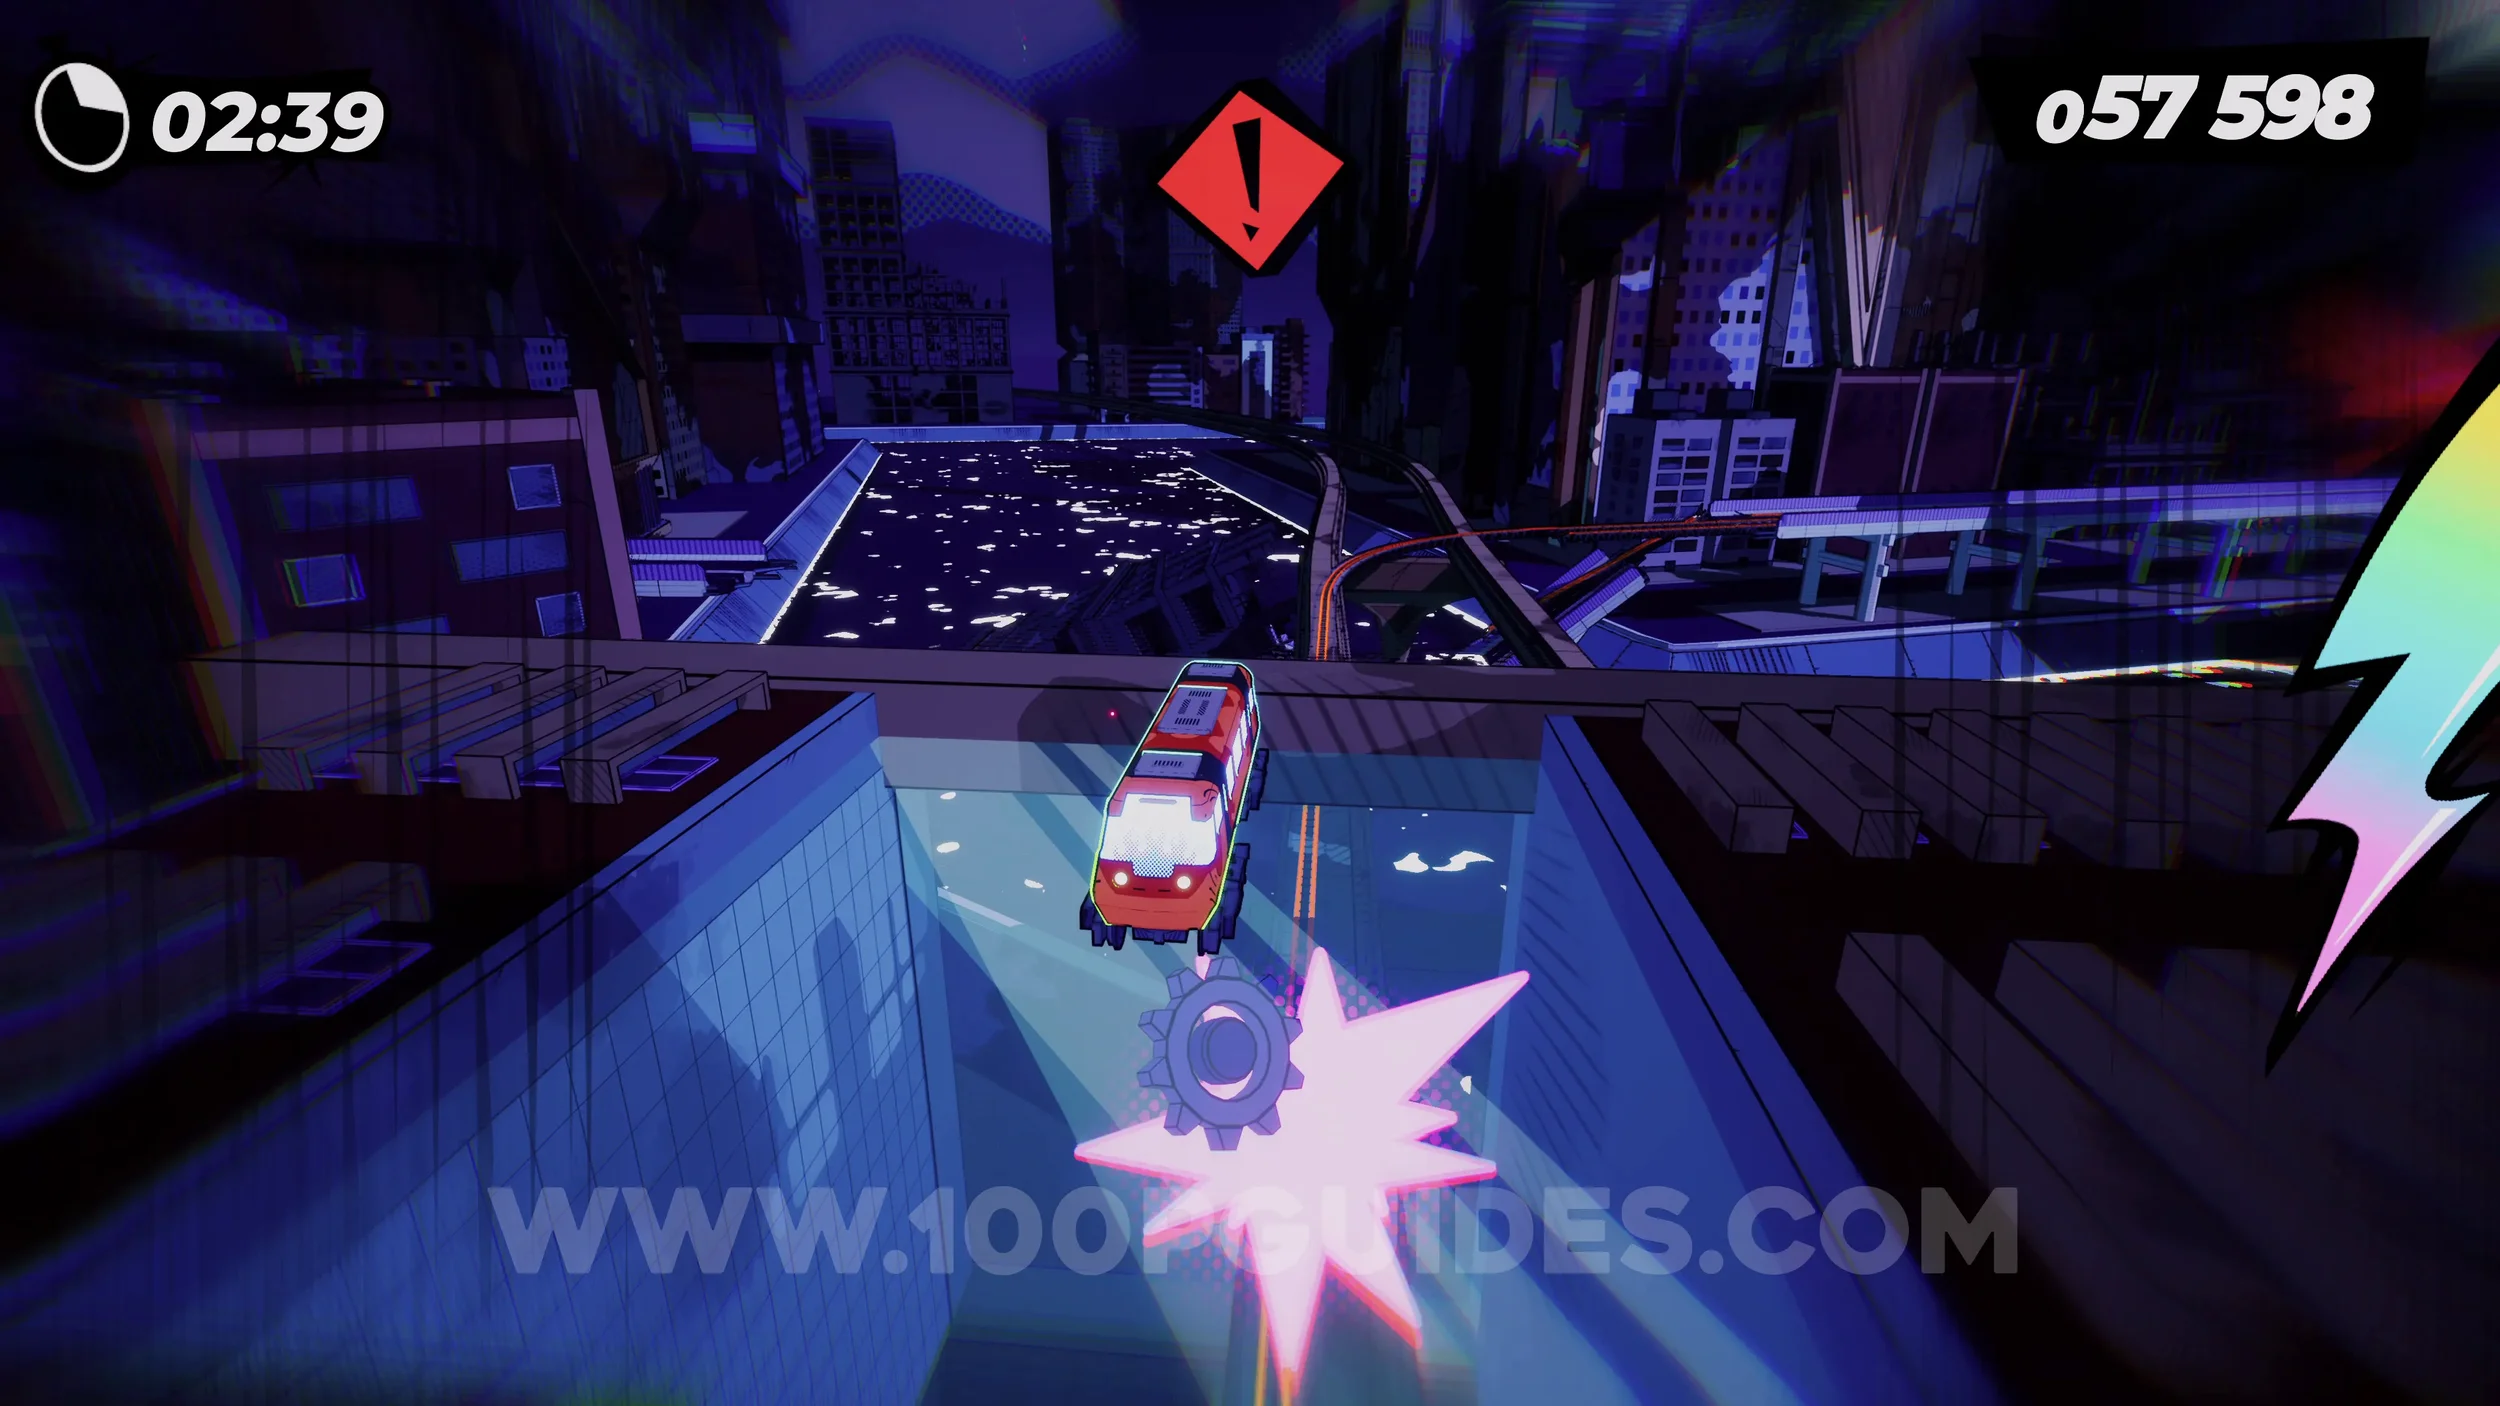
Dare: No Crash Finish. Self-explanatory. Get to the end of the level without crashing.
7-4-1 The Dream Will Not Die!
Spray Can (1/2). Under the gate just after the first wallride at the start of the level.
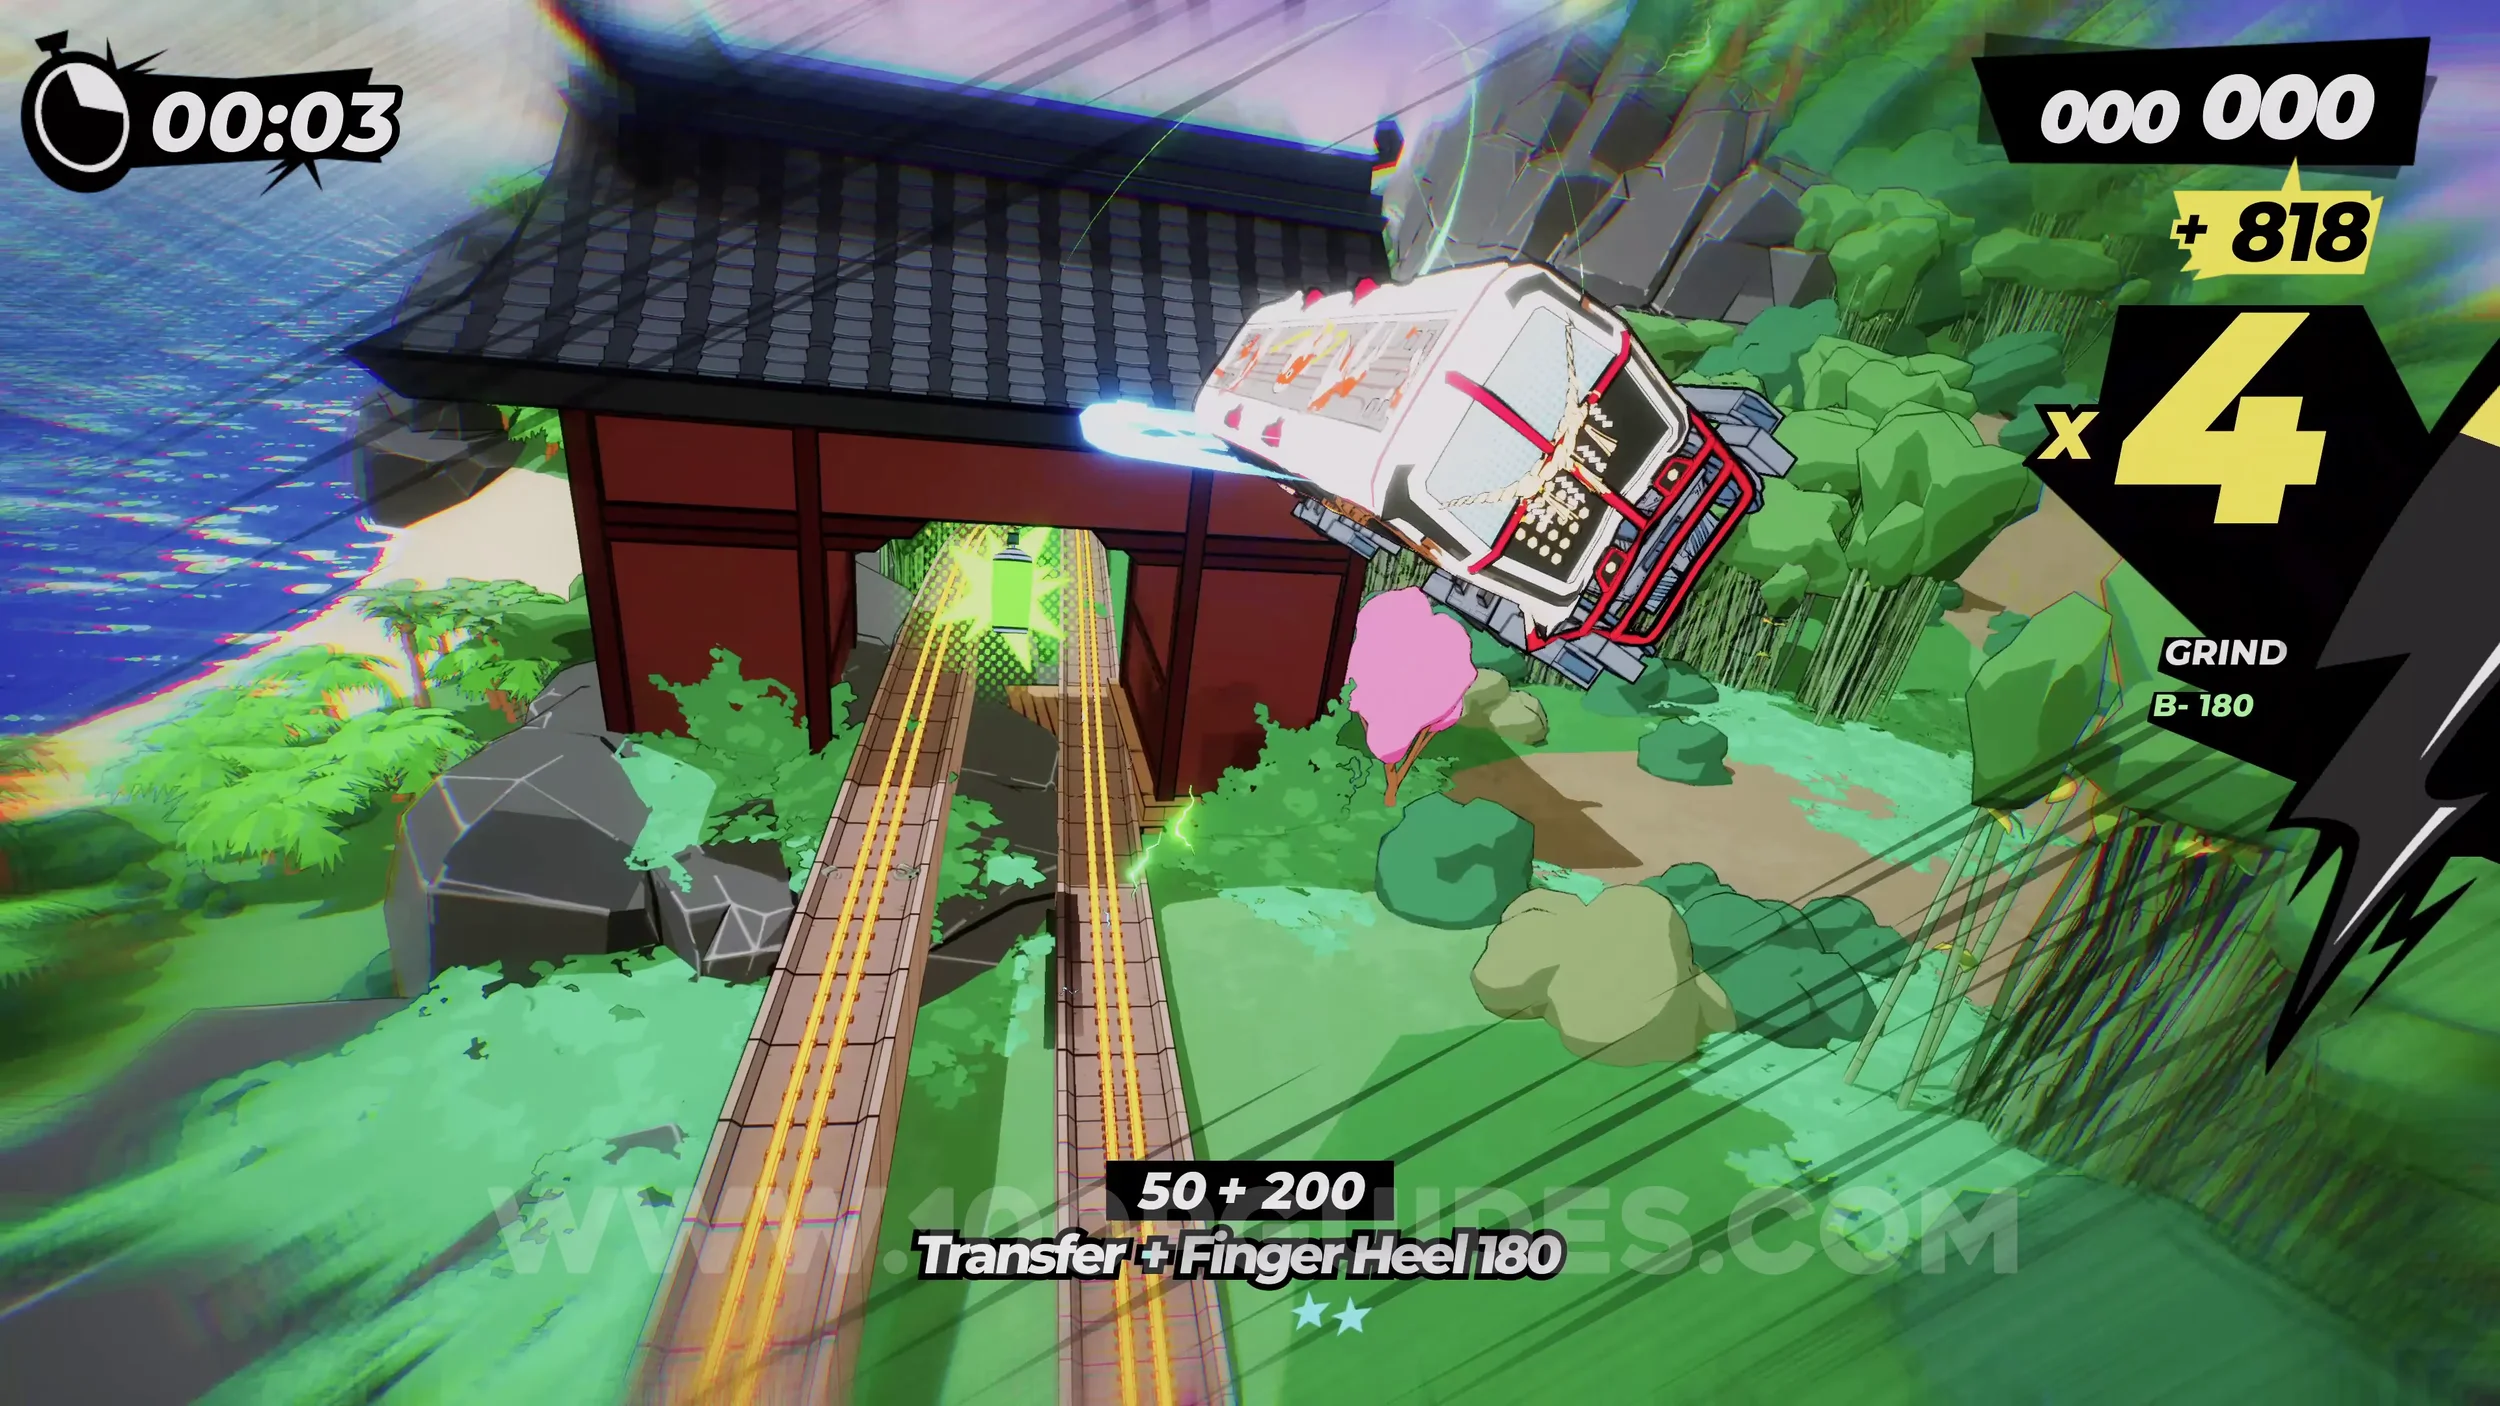
Dare: Scare the Enoden Bicycle Bro. After another two billboards on your right that you can wallride, you'll see a sign pointing you left toward a gear. Follow it, then follow the next sign left. After that, a boy will approach you on your left on a bike, and the horn sign will appear in the middle of the screen. Press R3.
Gear (1/2). Obtained as you go over the next vert jump after the bike boy.
Gear (2/2). Continue through the level until you reach the port area where you grind a boat. Here, you'll see the gear in a Yukaze.
Film Roll (1/1). After the port area, you'll go up a hill and through a tunnel. Once you come out the other side, look out for a yellow sign pointing you left toward the film roll. Follow the rainbow path to get it (must have full special).
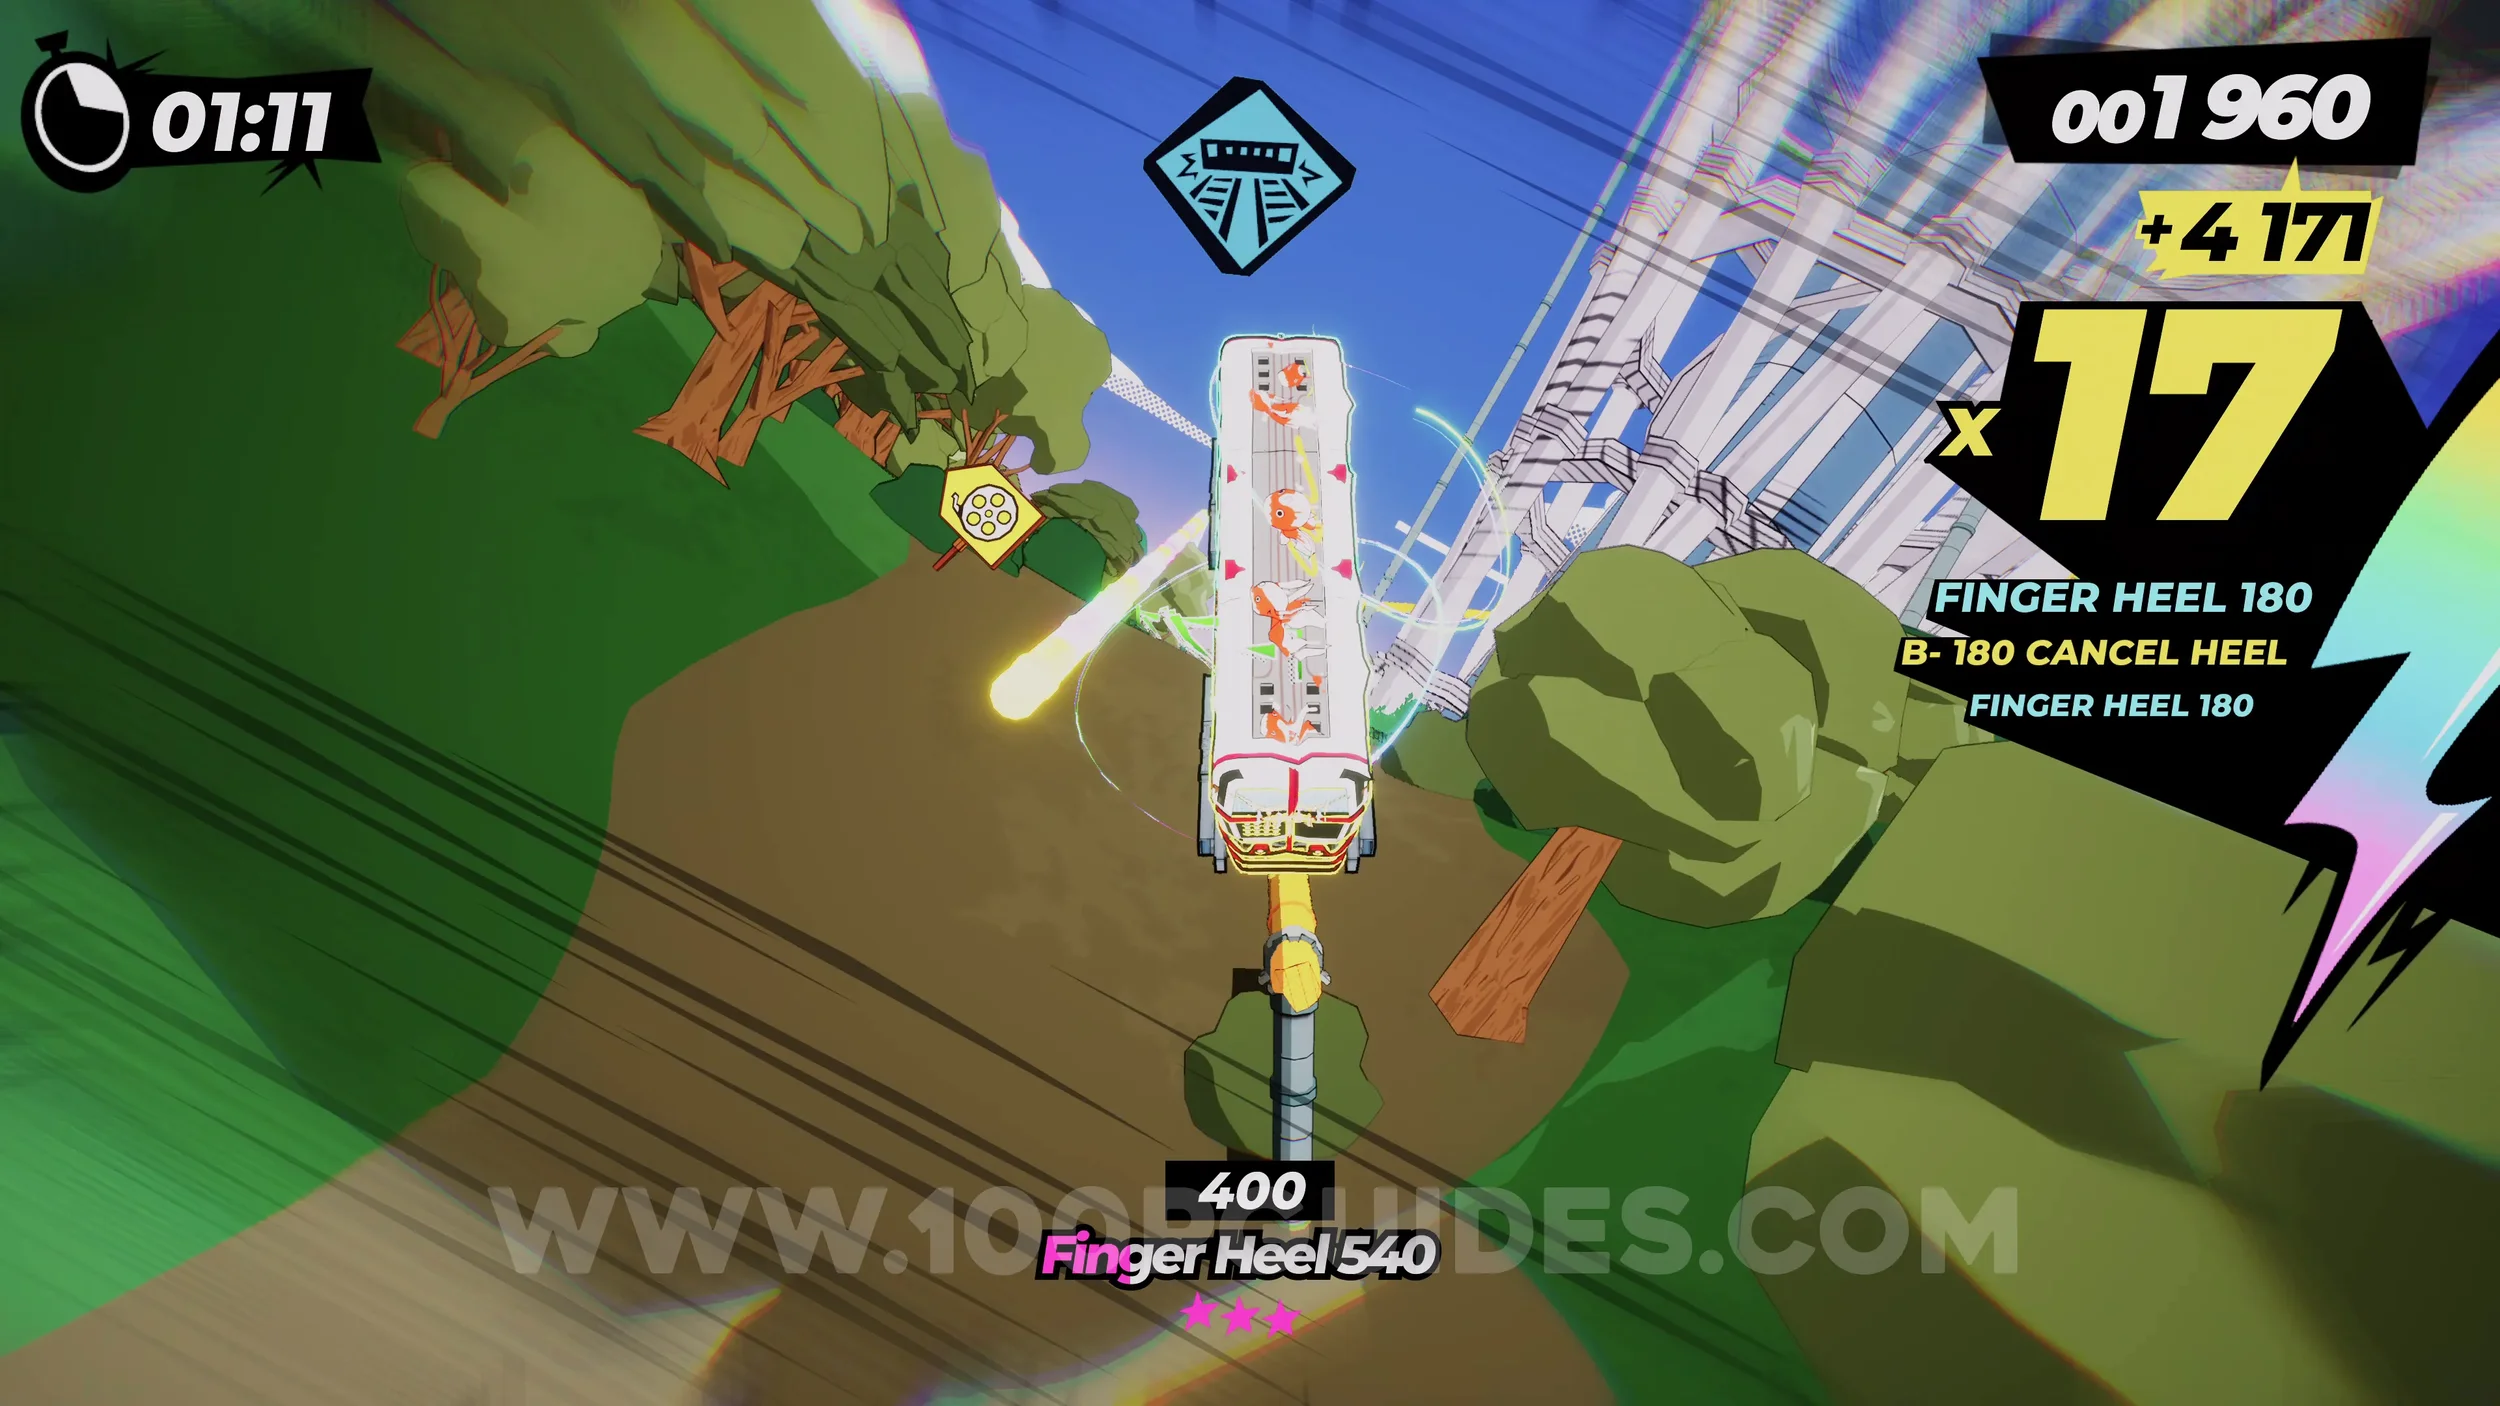
Dare: Perform 10 Tricks on the Monorails. Continue through the level and you'll reach a section with halfpipes and monorails on each side. Use these to perform ten tricks.
Spray Can (2/2). During the halfpipe section with monorails. Stick to the right side to find the spray can.
Dare: Find the Onsen Exit. After the spray can, you'll enter a building. As soon as you do, stick to the left (you'll see a white flag with the onsen icon on it). Then, after this, jump to the rainbow track on the left and follow it to the end.
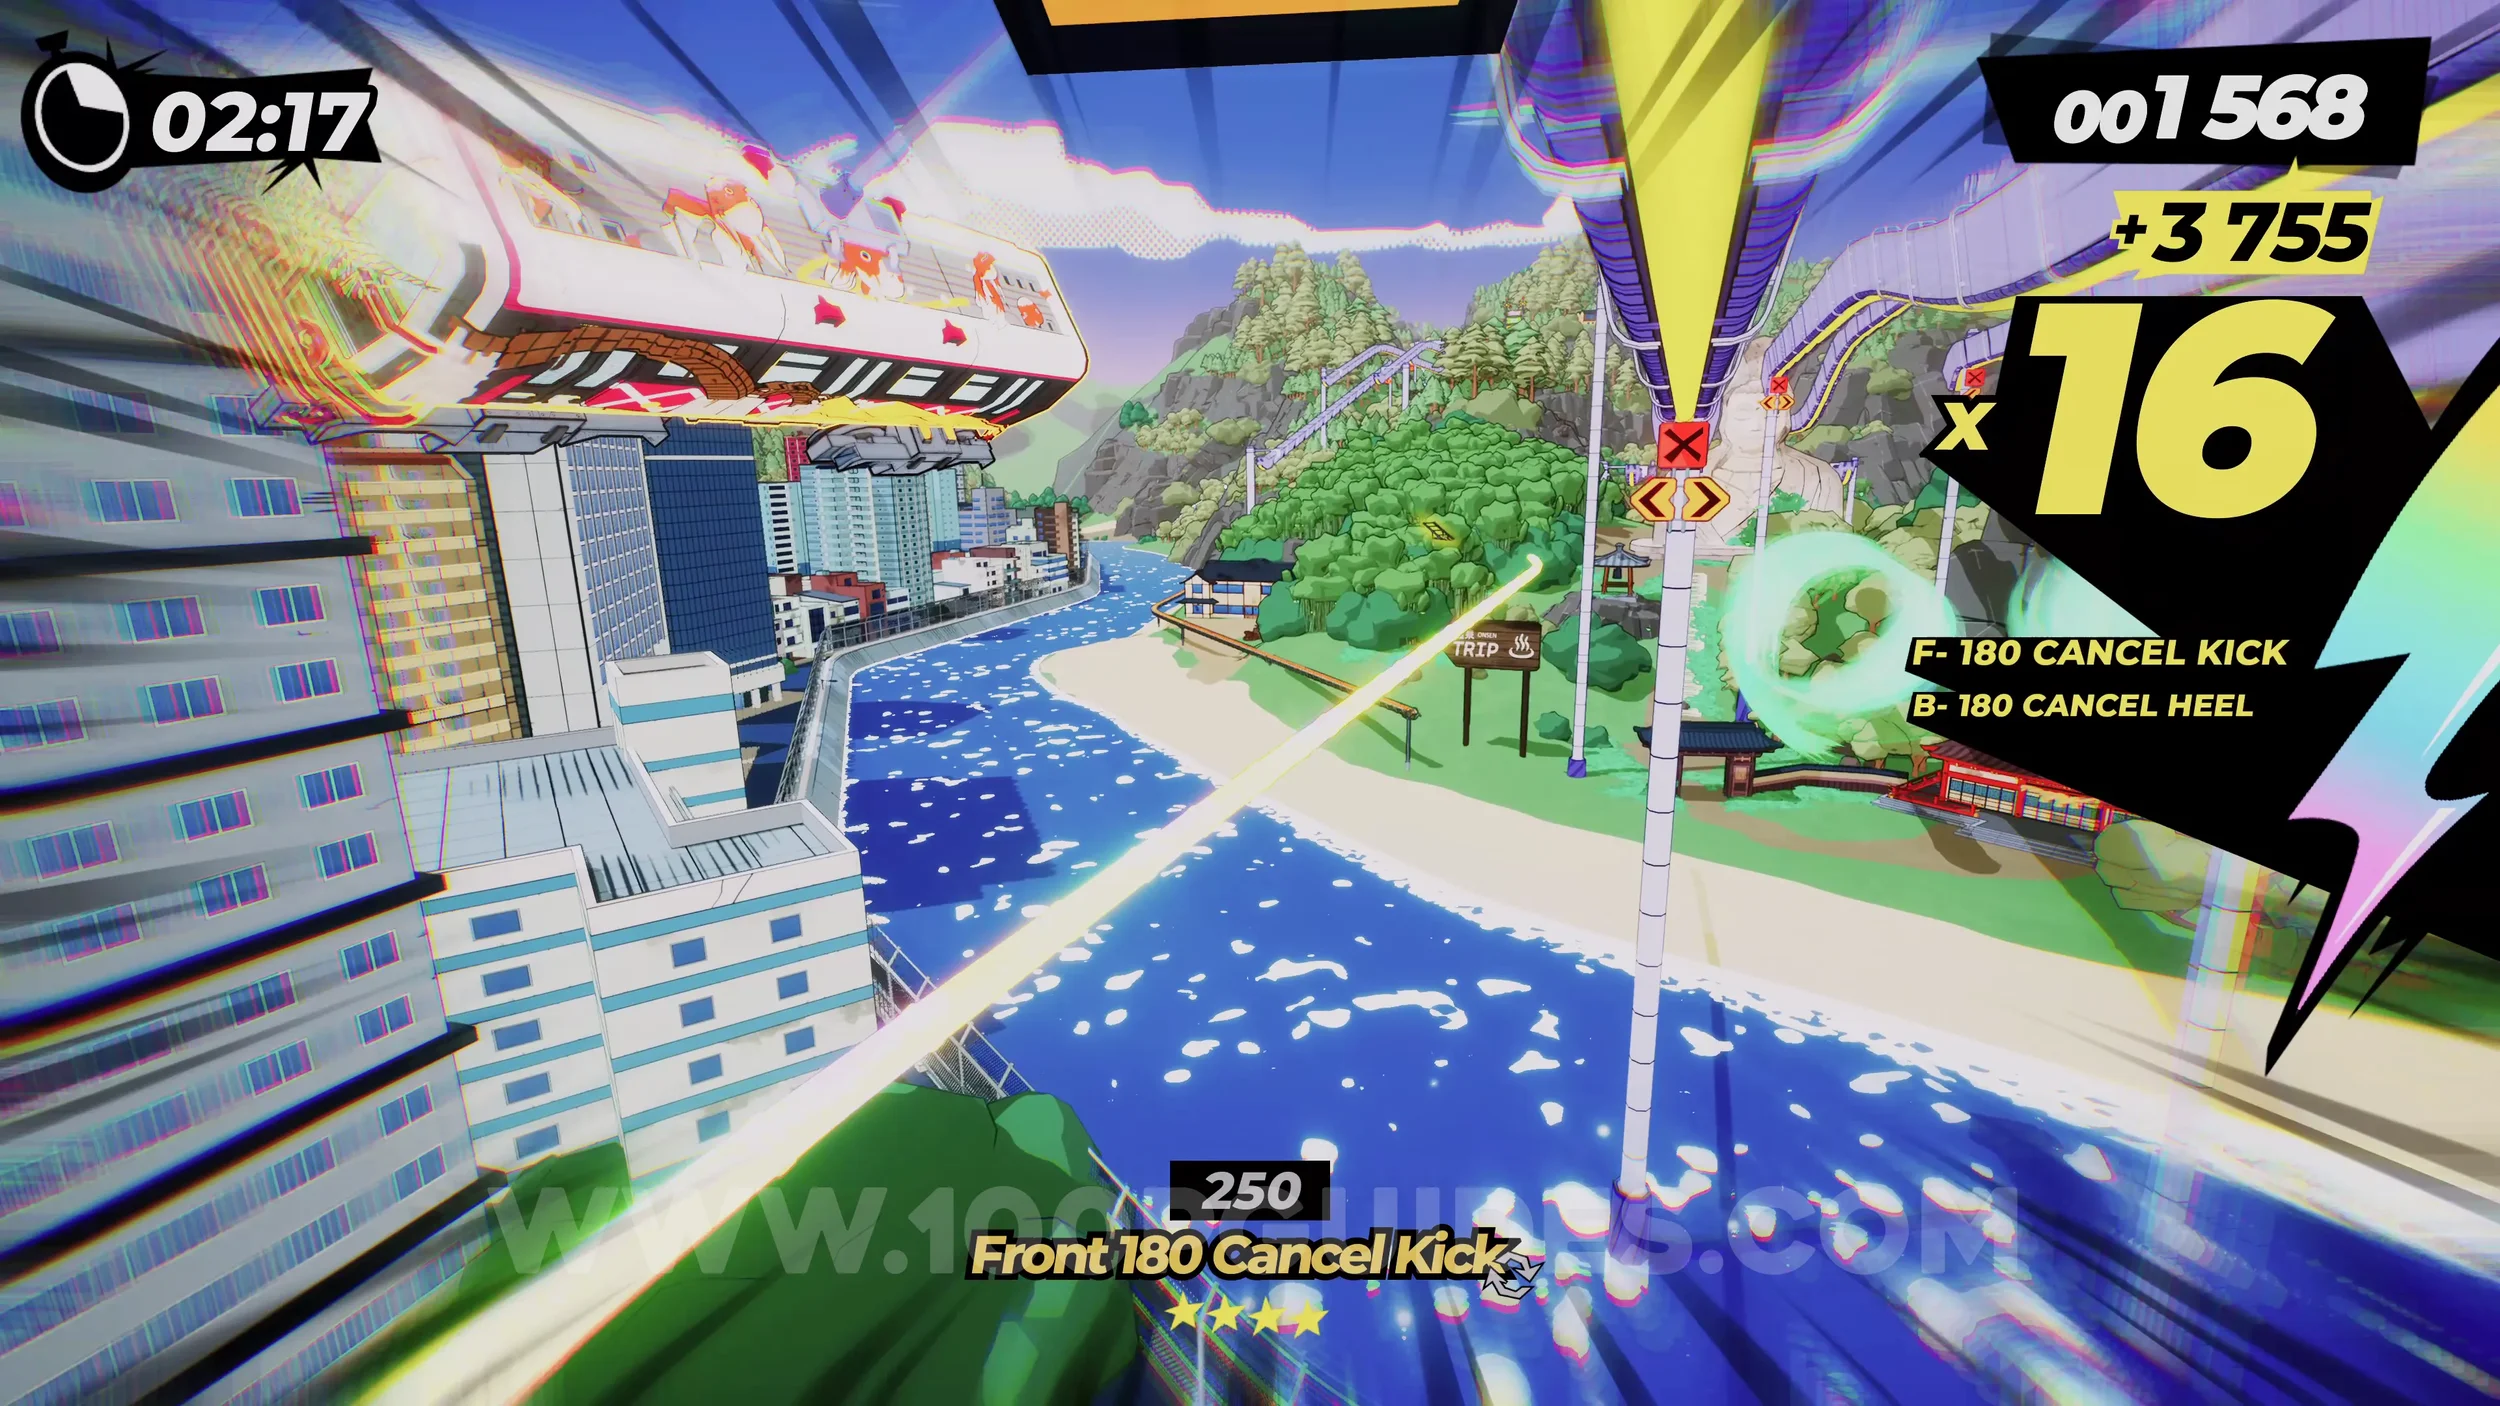
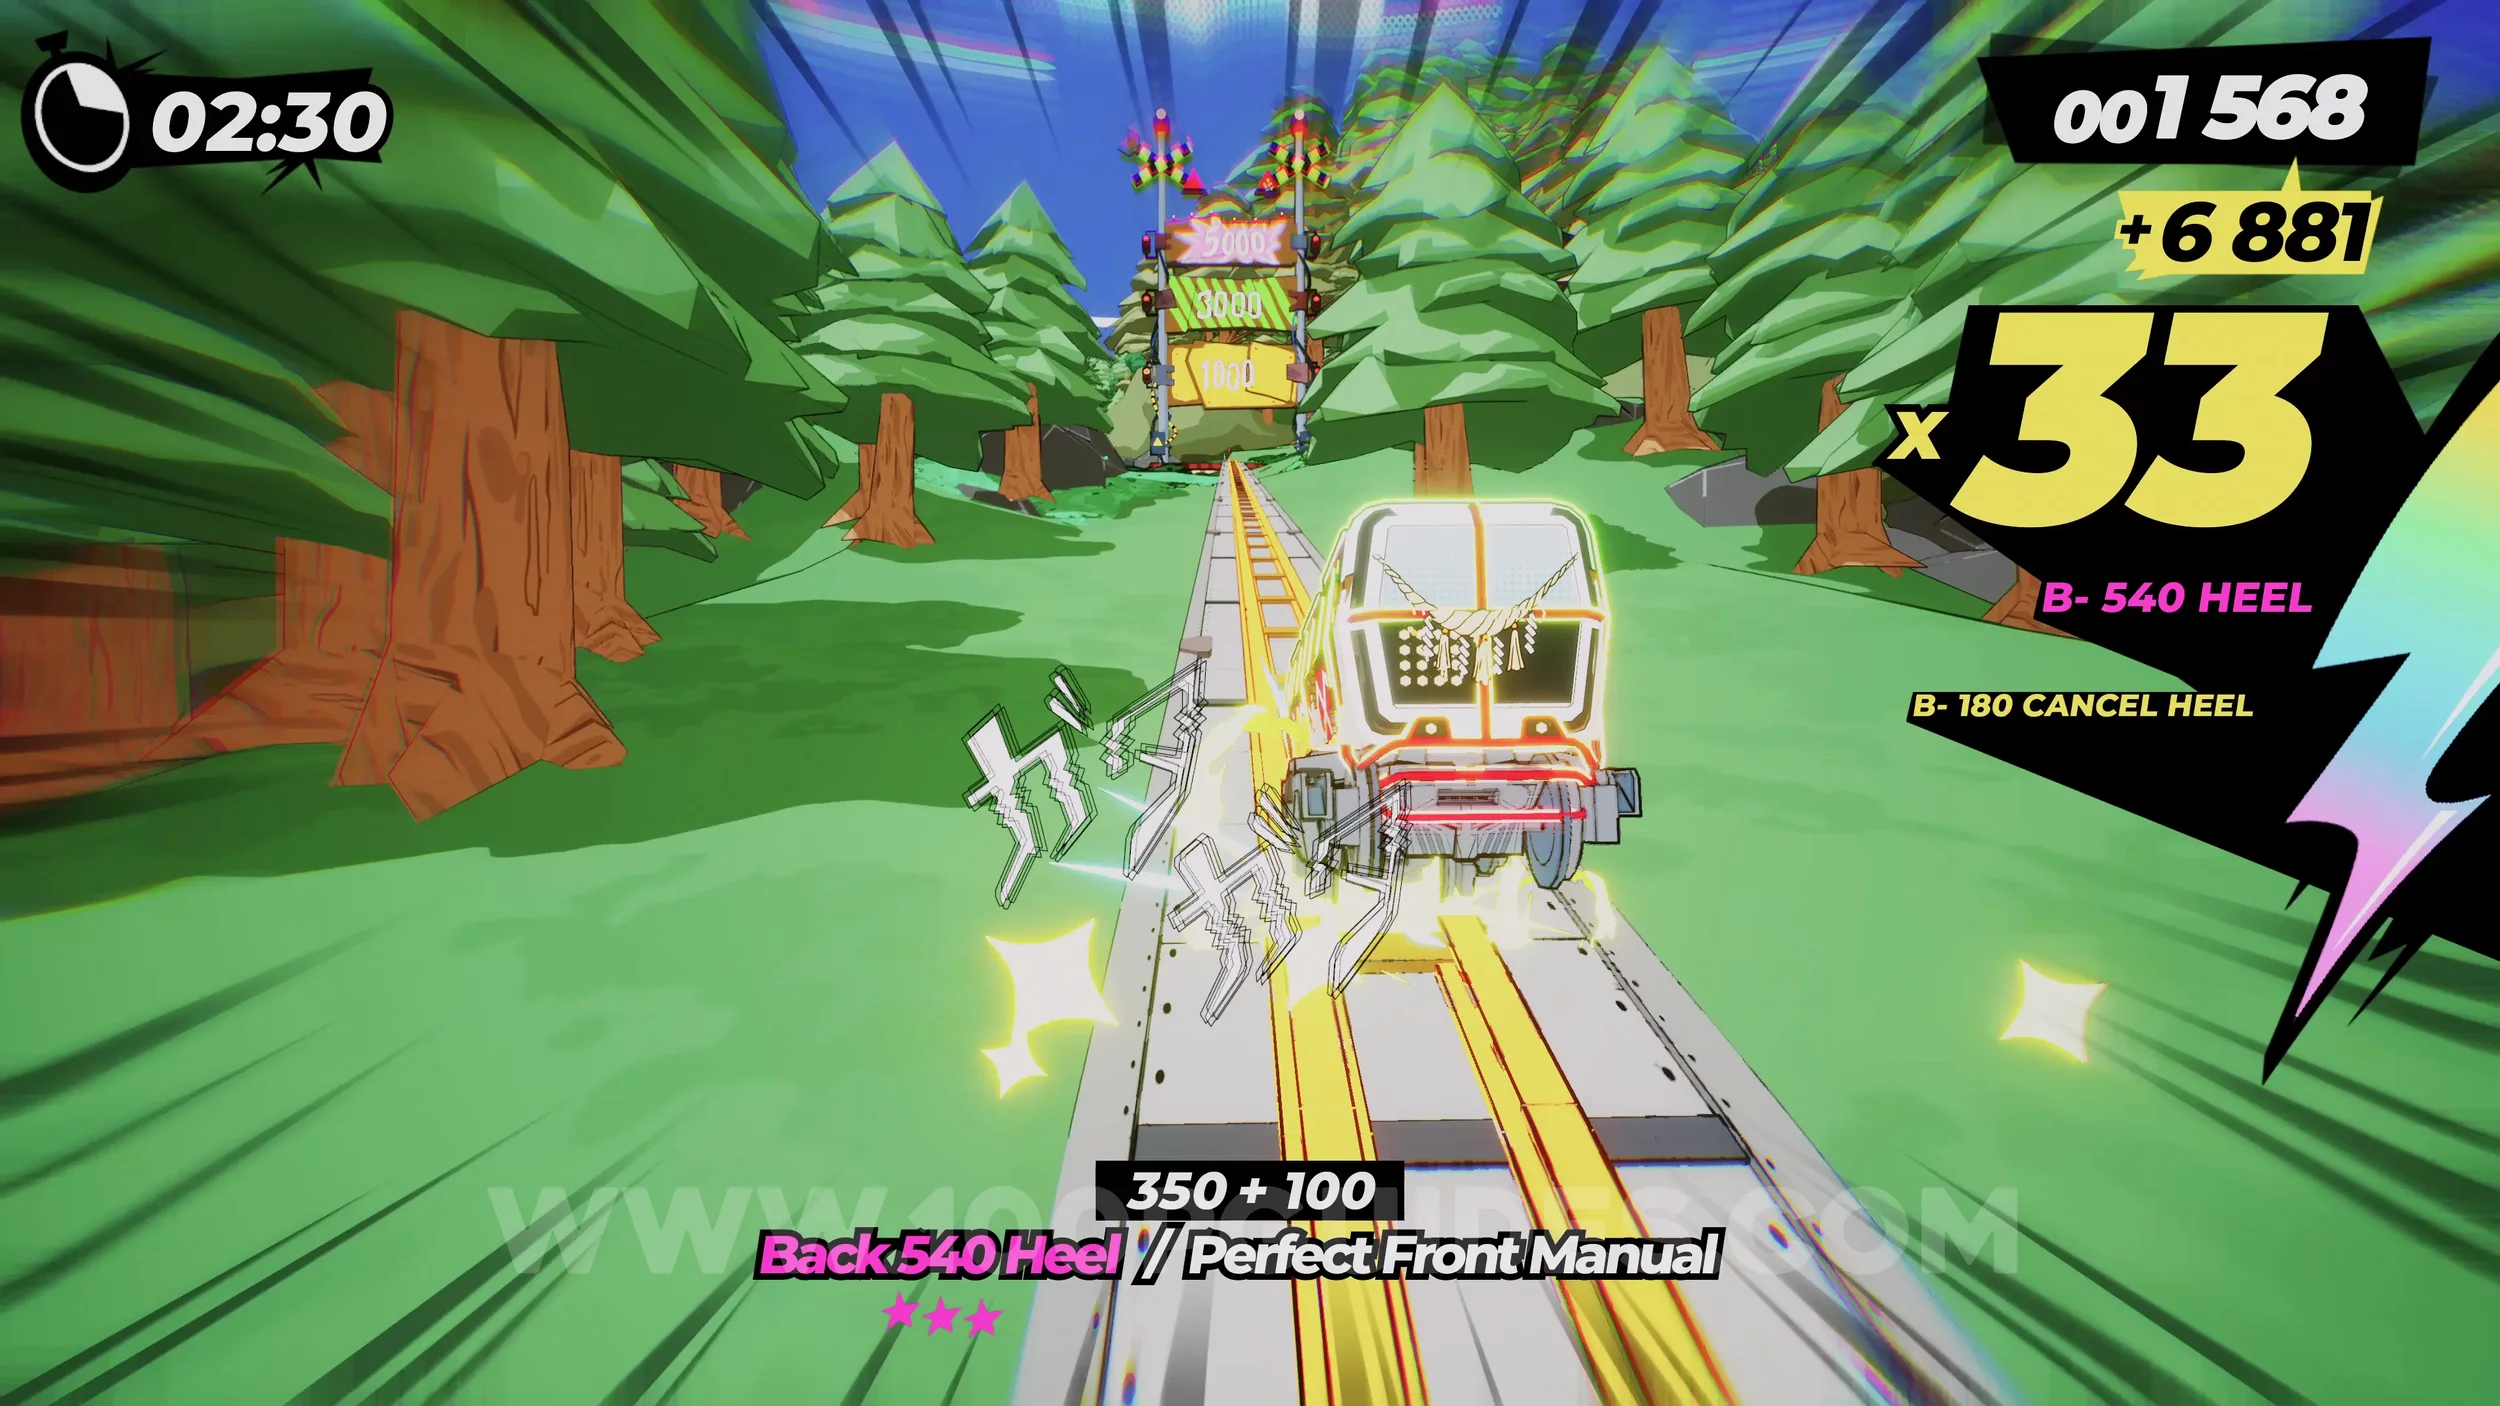
Dare: Perform 5 Tricks While Wallriding. Self-explanatory.
Dare: No Crash Finish. Self-explanatory. Finish the level without crashing.
7-4-O Hakone Onsen
Onsen #6. This level will only be available if you found the Onsen Exit in level 7-4-1. Exhaust the dialogue and leave.
7-4-2 Who’s Afraid Of Monsters?
Dare: Collect 5 Cup Noodles (1/5). At the very start, jump over to the track on the right that separates away. This will take you through a tunnel with the cup noodle.
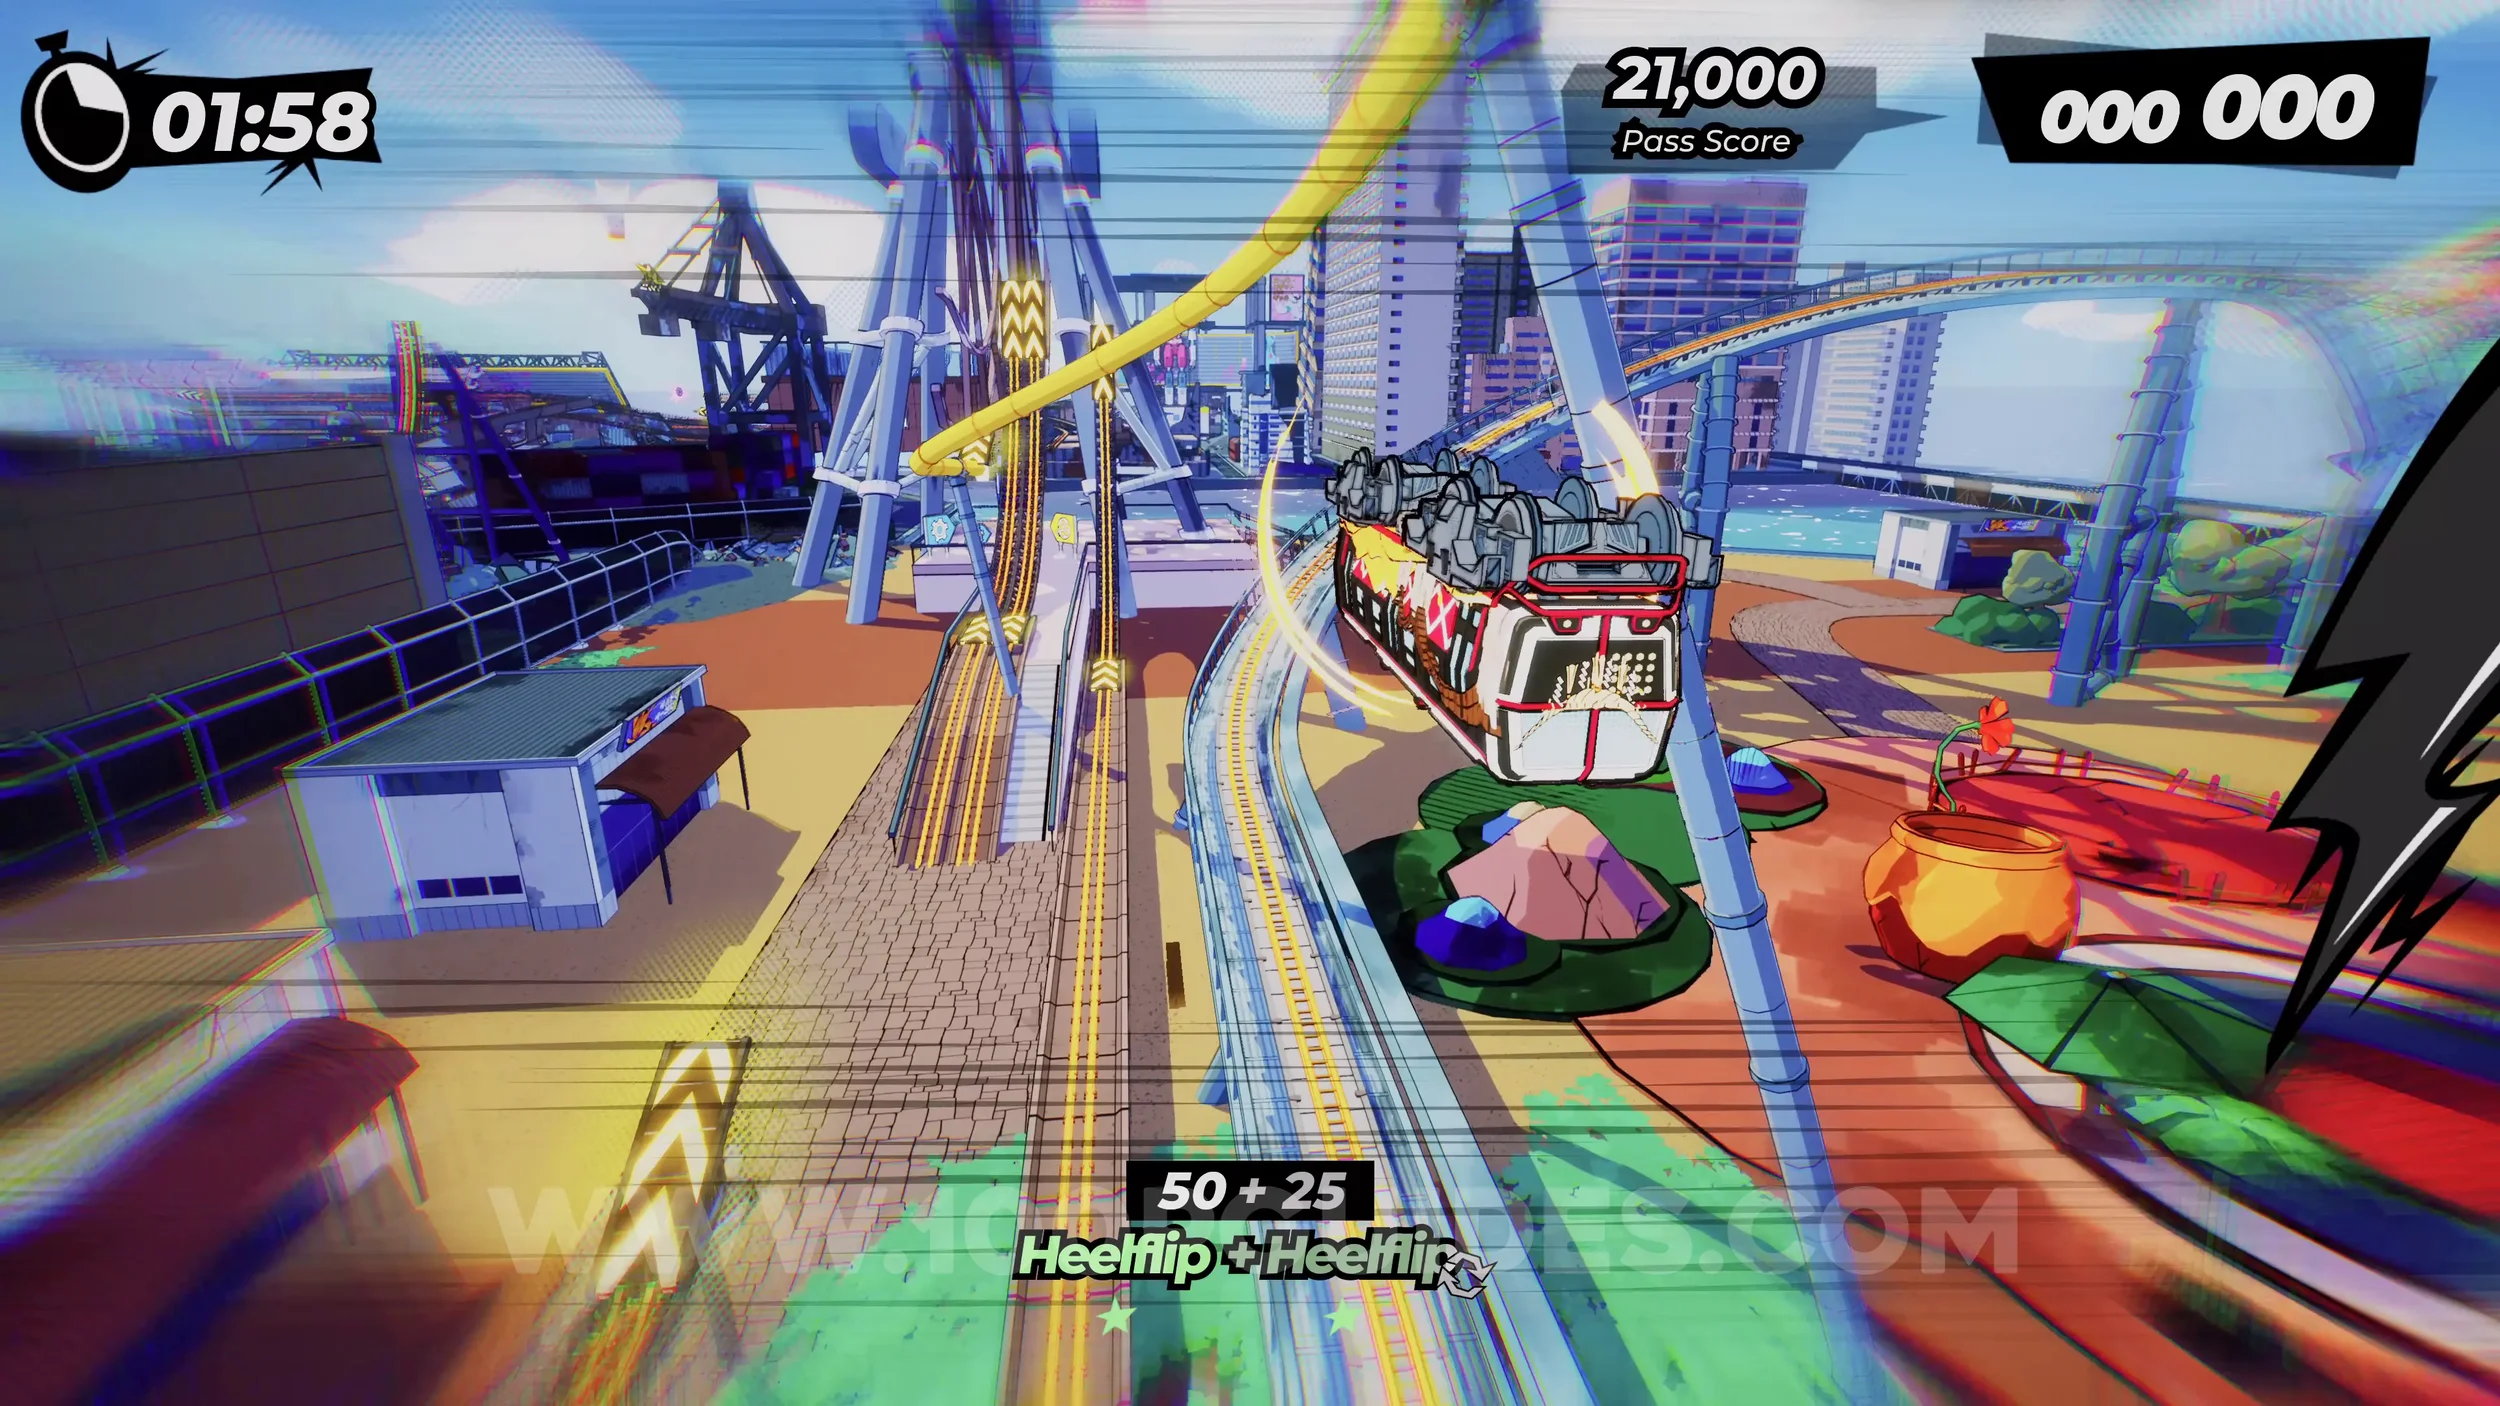
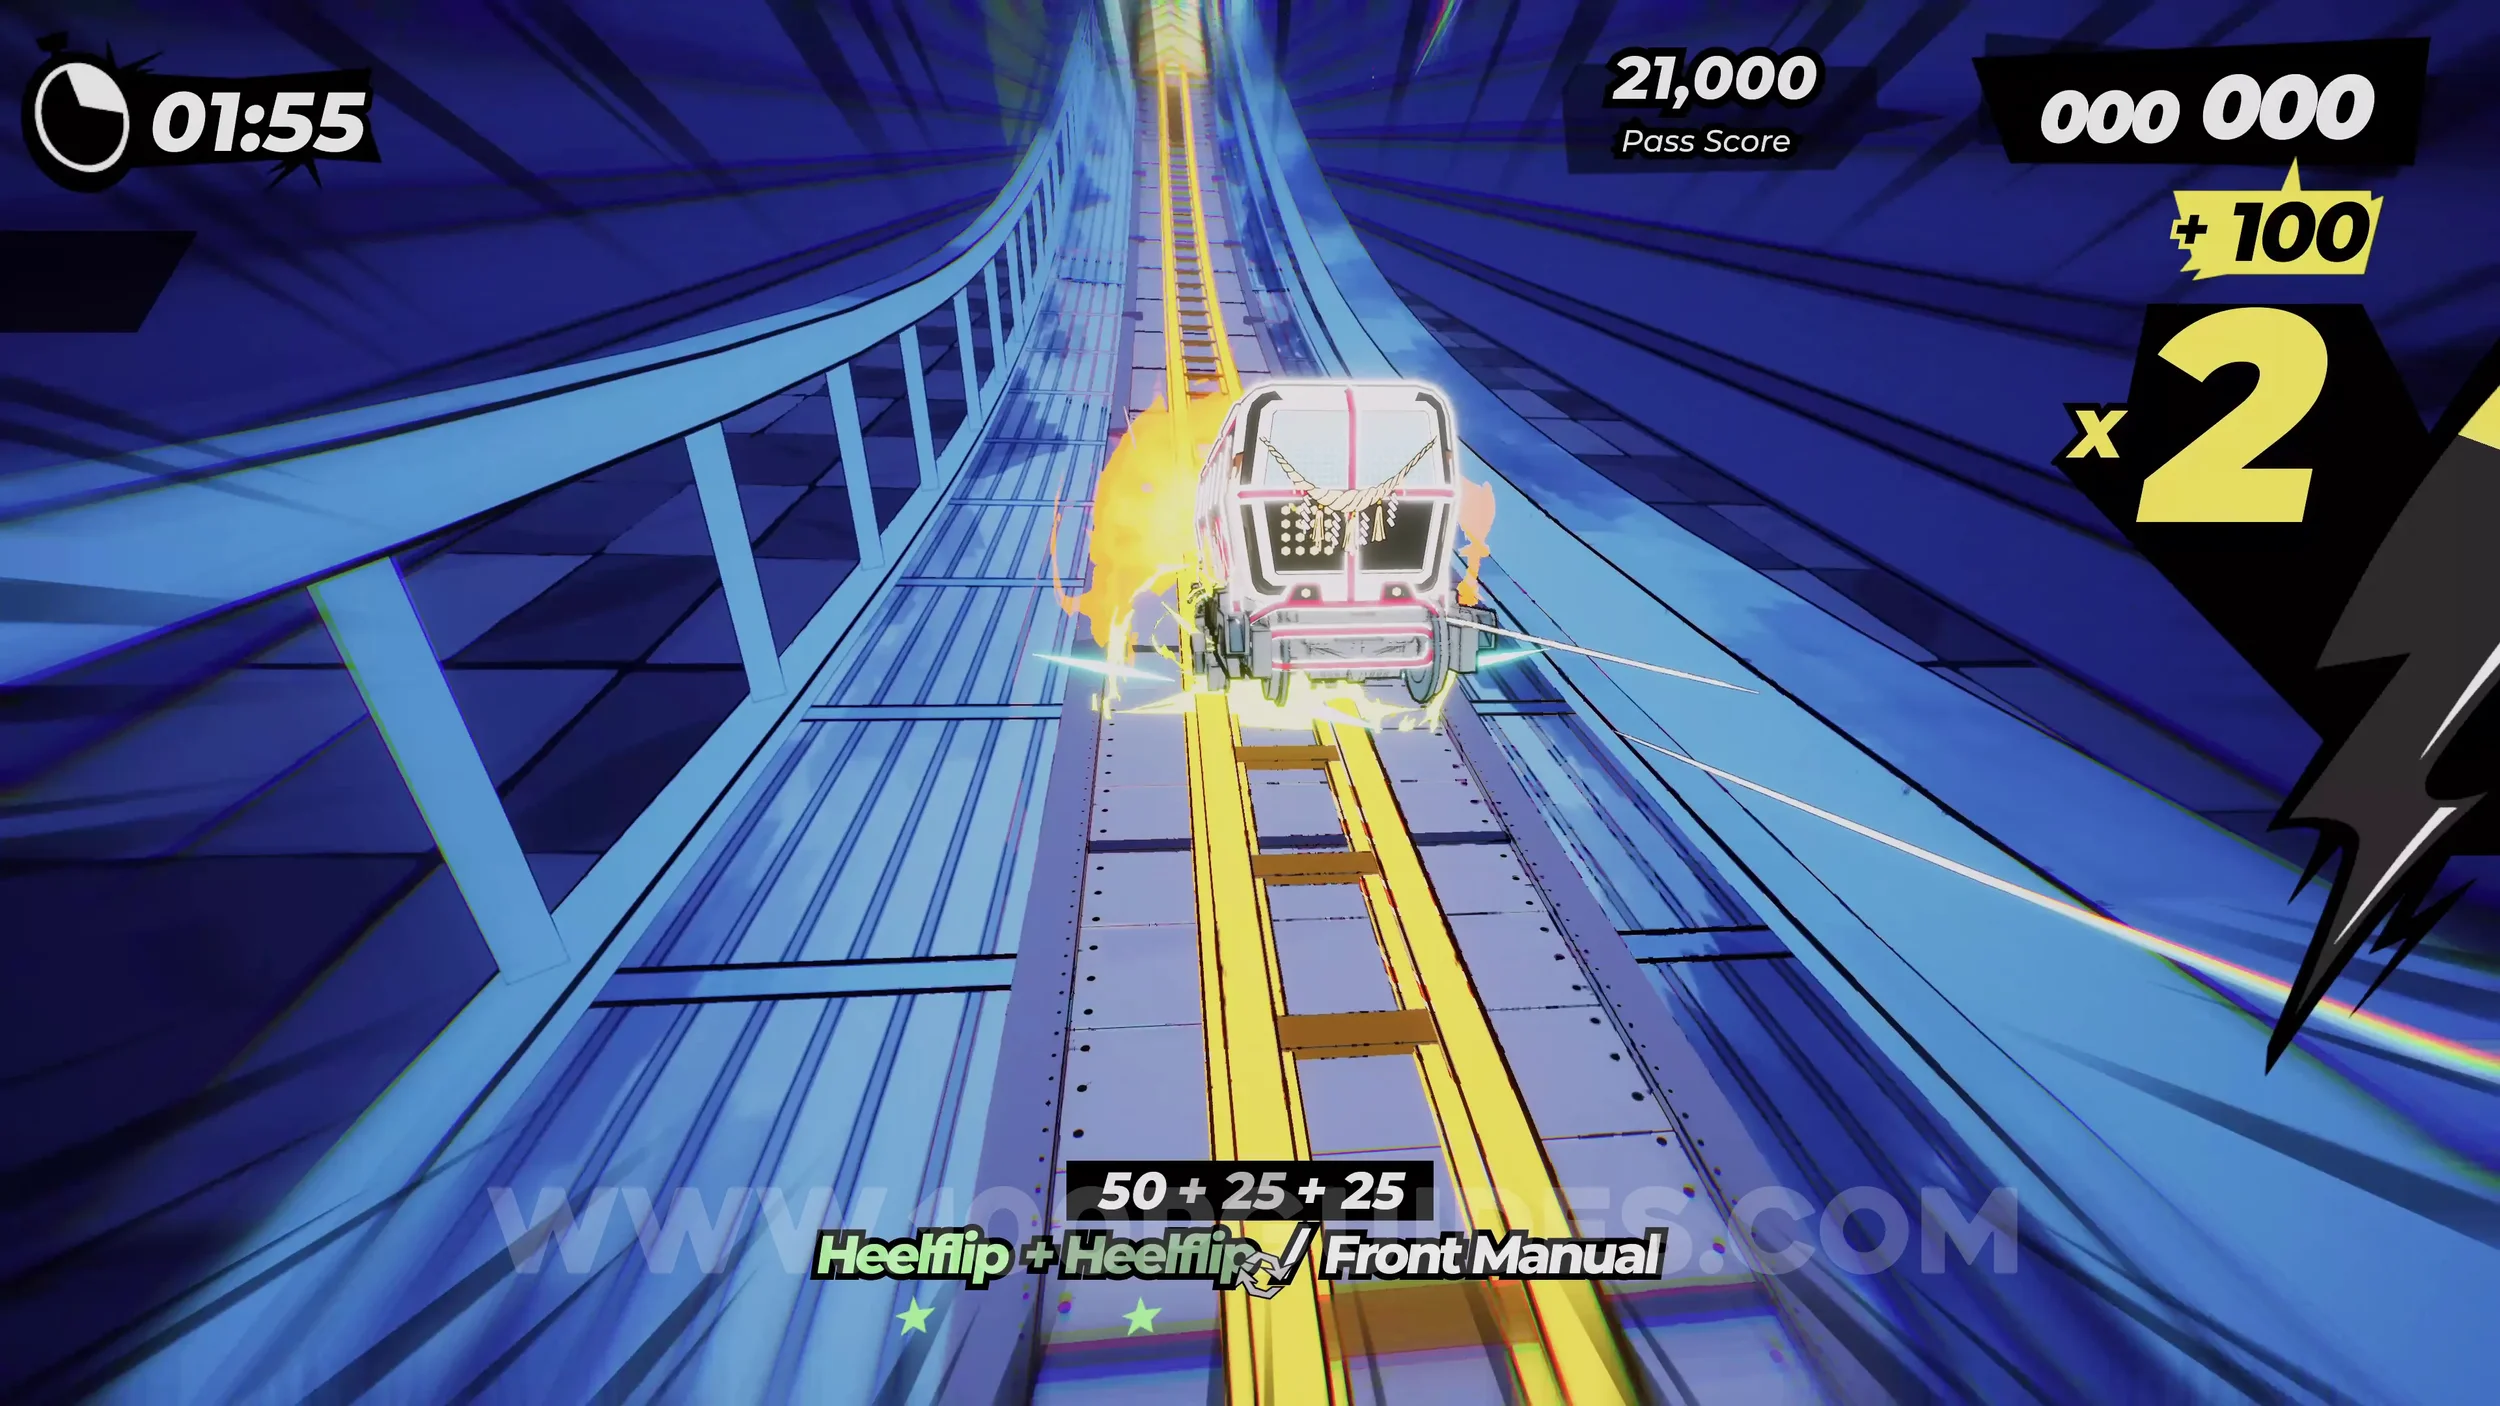
Dare: Collect 5 Cup Noodles (2/5). Once you come out the other side of the tunnel, stick to the left side and take the vert jump. Then, after going through two rideable walls, you'll get the cup noodle.
Dare: Collect 5 Cup Noodles (3/5). After the previous cup noodle, you'll go through a dome shaped structure. On the other side, ride the middle yellow rail. You'll then see the cup noodle on the rightmost track.
Dare: Make Panzeta Destroy the Zeppelin. You'll now circle back to the straight after the tunnel where you got the first cup noodle, and you should have your special bar filled by now. This time, stick to the right side and follow the track that looks like it's going to end in the water, with a rideable wall on the other side. Just as you're getting to the end, the zeppelin will fall in front of you, allowing you to cross.
Spray Can (1/1) and Gear (1/3). After bouncing off the zeppelin, ride the walls without falling down, and you'll collect both collectibles.
Dare: Make Panzeta Destroy the Skyscraper. Soon after the previous collectibles, you'll go under the dome structure again. Once you come out the other side, stick to the right side track, and the building will get destroyed.
Dare: Collect 5 Cup Noodles (4/5). On the wallride immediately after the building falls.
Gear (2/3). After the previous noodle, look out for a rainbow rail on the left. Follow it until you see the gear on your right.
Dare: Collect 5 Cup Noodles (5/5). On the tracks after the previous gear as you circle back to the start. Hard to miss.
Dare: Lure Panzeta to Destroy the Ferris Wheel. Once you get back to the start again, jump to the destroyed ferris wheel on the left side to finish the dare.
Gear (3/3). After the ferris wheel, stick to the two tracks going left to find the gear.
Film Roll (1/1). After the gear, take the monorails on the right, and then after the wallride, look for the track on the right with the film sign. Follow it to get the film roll.
Dare: Pull a 50 Trick Combo. Self-explanatory.
7-5-1 Showstopper
Spray Can (1/3). At the start, stick to the left and take the vert ramp. Then continue down this path until you see the spray can in the middle of the tracks, just as you dodge an obstacle with an air stomp.
Gear (1/1). After the next wallride, you'll see some wrecking balls swinging over the track. The last crane will be swinging the gear on the end of the rope instead of a wrecking ball.
Spray Can (2/3). Soon after the previous collectible, you'll see the spray can below you after a rail. Air stomp down to it.
Dare: Perform a Tunnel Loop Underwater. Continue down the path after the spray can, and you'll soon go through an underwater tunnel. Here, do a full loop around it.
Dare: Perform a Perfect Yukaze over Morzilla's Face. After the tunnel, you'll cross a long bridge that gets destroyed by Morzilla, and you'll be underwater again. After that, you'll jump over her face with a Yukaze. Activate it at the perfect time by waiting for the yellow circle.
Film Roll (1/1). After jumping over Morzilla's head later in the level, you'll see the film roll in front of you. You'll need to ride the rainbow track that appears in front of you if you have the special bar filled.
Spray Can (3/3). Once the robot saves you from Morzilla and you air stomp her head, continue a little further and you'll see a green sign pointing you right to a spray can as you go from a monorail to a Yukaze. Go to the right and smash through the glass to get it.
Dare: Risky Dodge Morzilla's Head on a Monorail. After the previous collectible, you'll ride a monorail, and Morzilla's head will block your path. Dodge by swinging right at the very last second.
Dare: Honk Morzilla Goodbye on the Last Vert Ramp. Soon after the previous dare, you'll jump over Morzilla's tail and then go over a vert jump. Press the R3 button to honk during this jump.
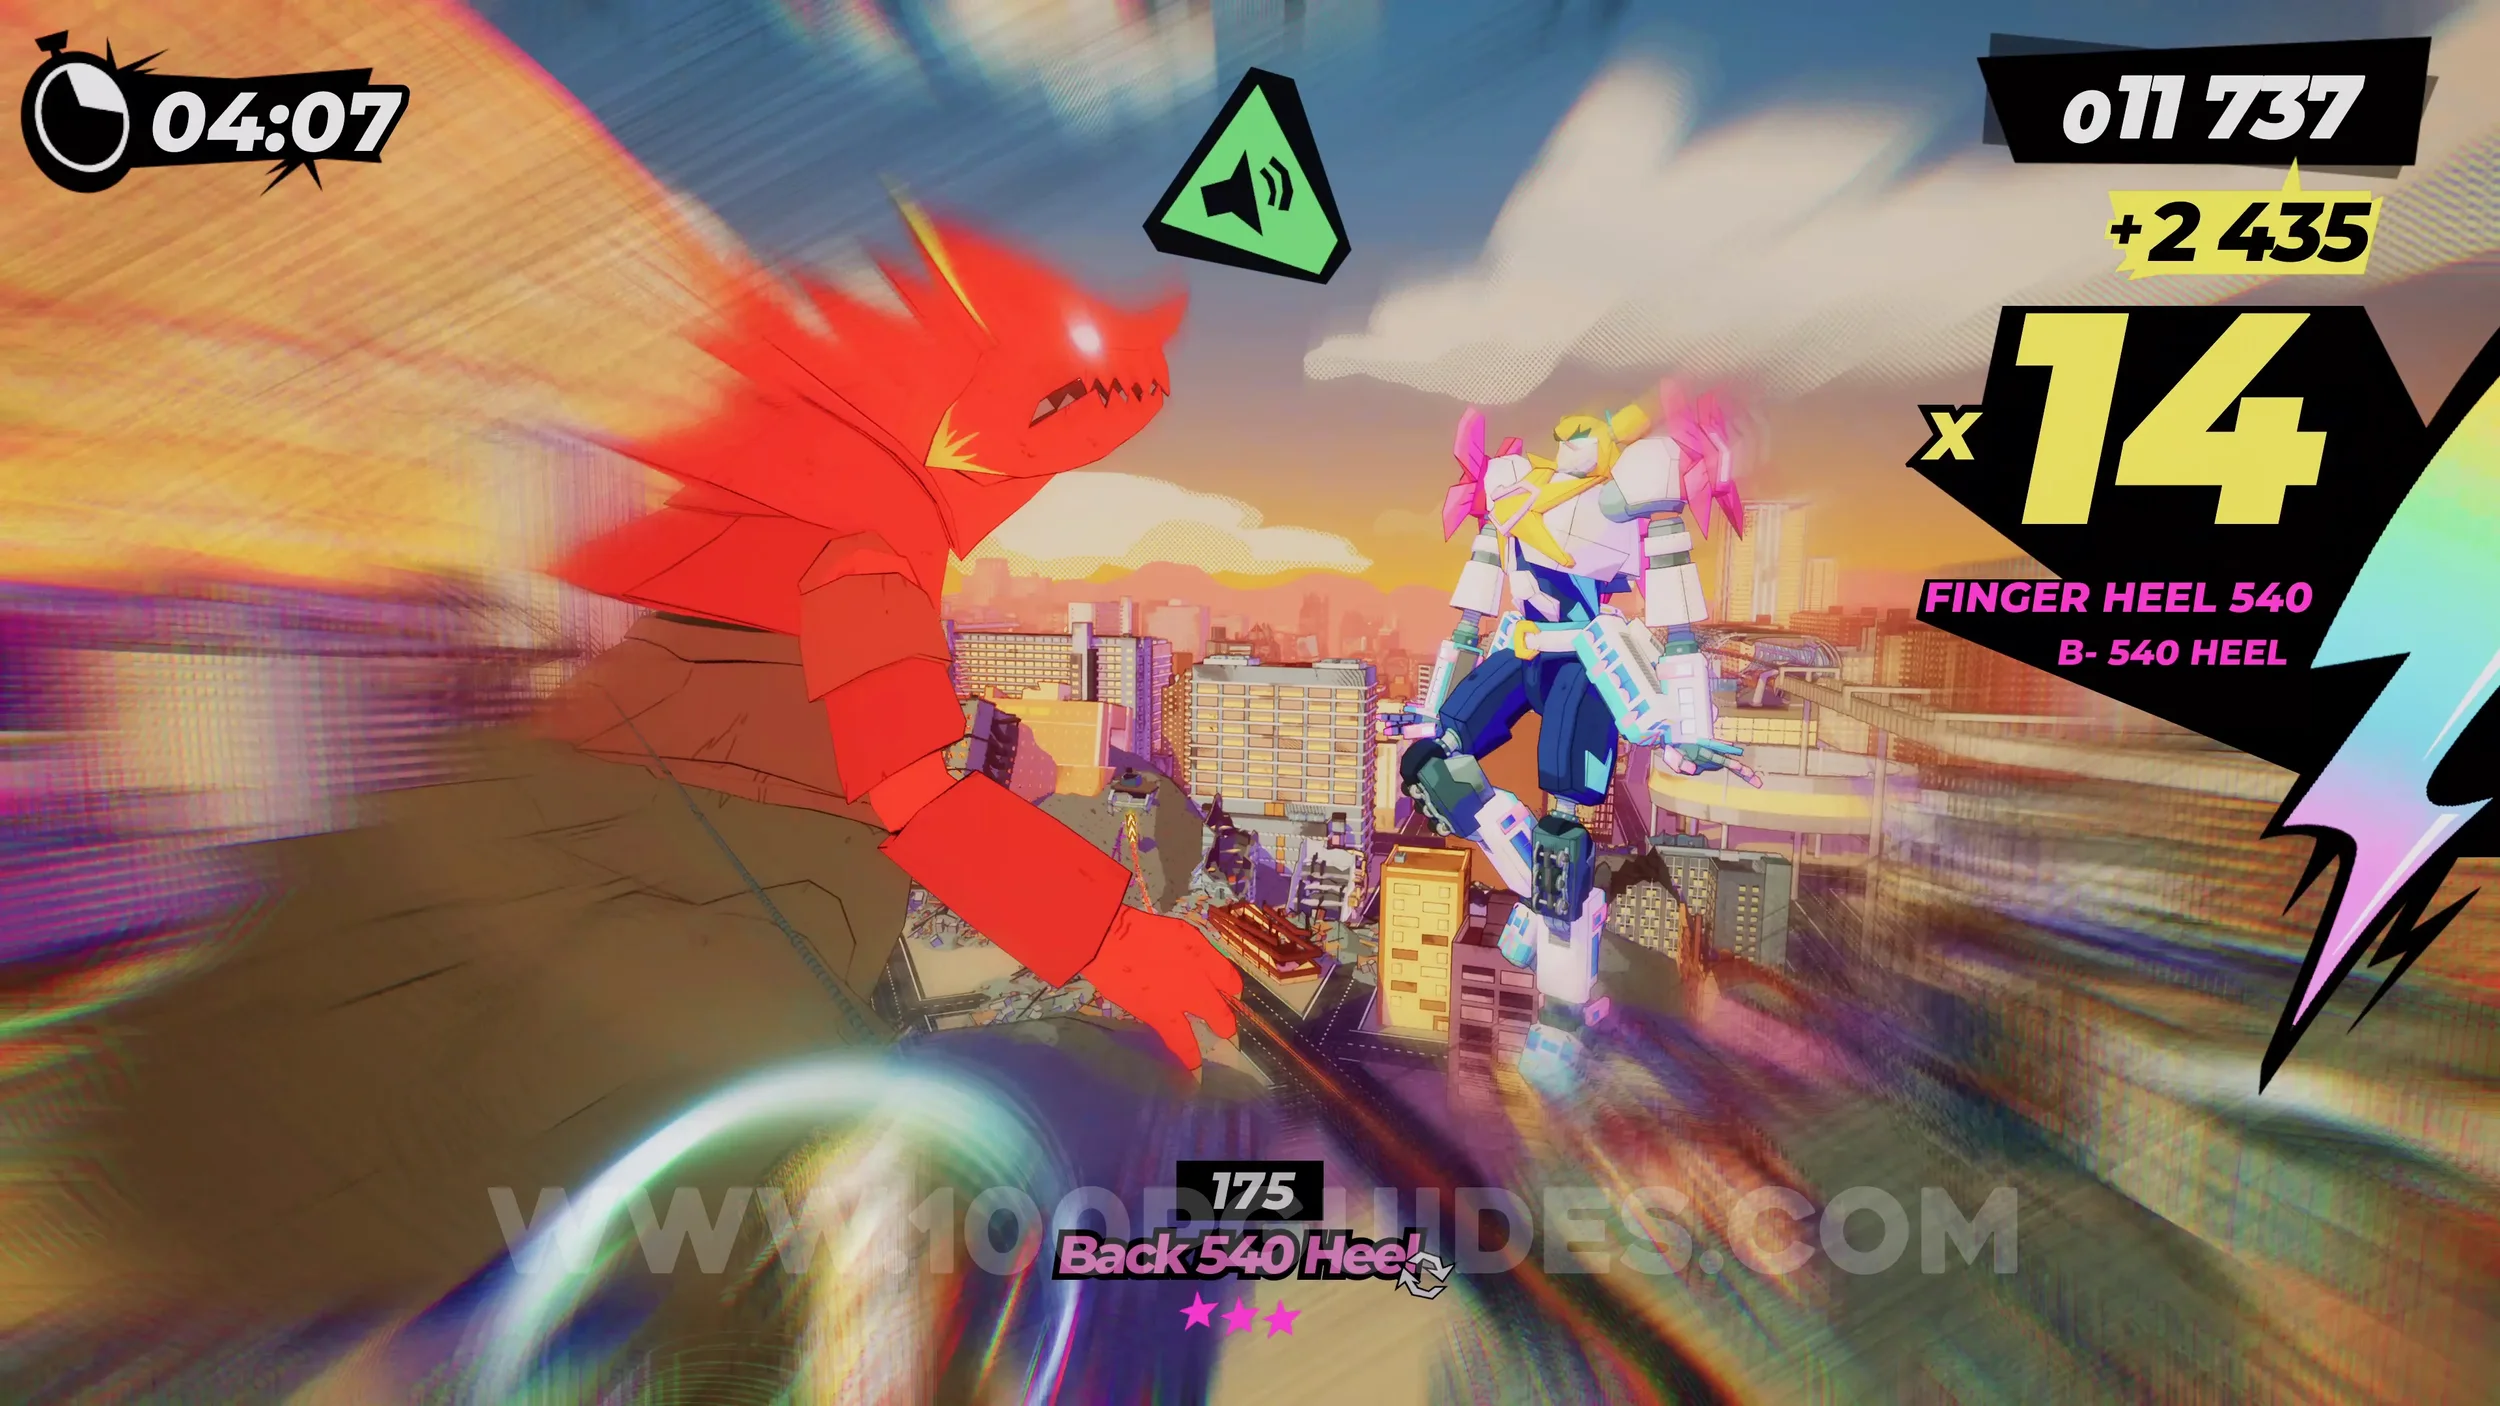
Dare: No Crash Finish. Self-explanatory. Get to the end of the level without crashing.
7-5-C Odawara Castle
This is a shop level. New Trains and Stickers will be available to purchase.
7-6-R Gothic Race Ring
For this race I recommend using the Forest DX Train. You'll need to get your special bar filled up very quickly if you want to get everything in one run. If not, you can just collect everything over multiple runs.
Dare: Collect 3 Coffins (1/3). On the rail on the left of the track after the first corner.
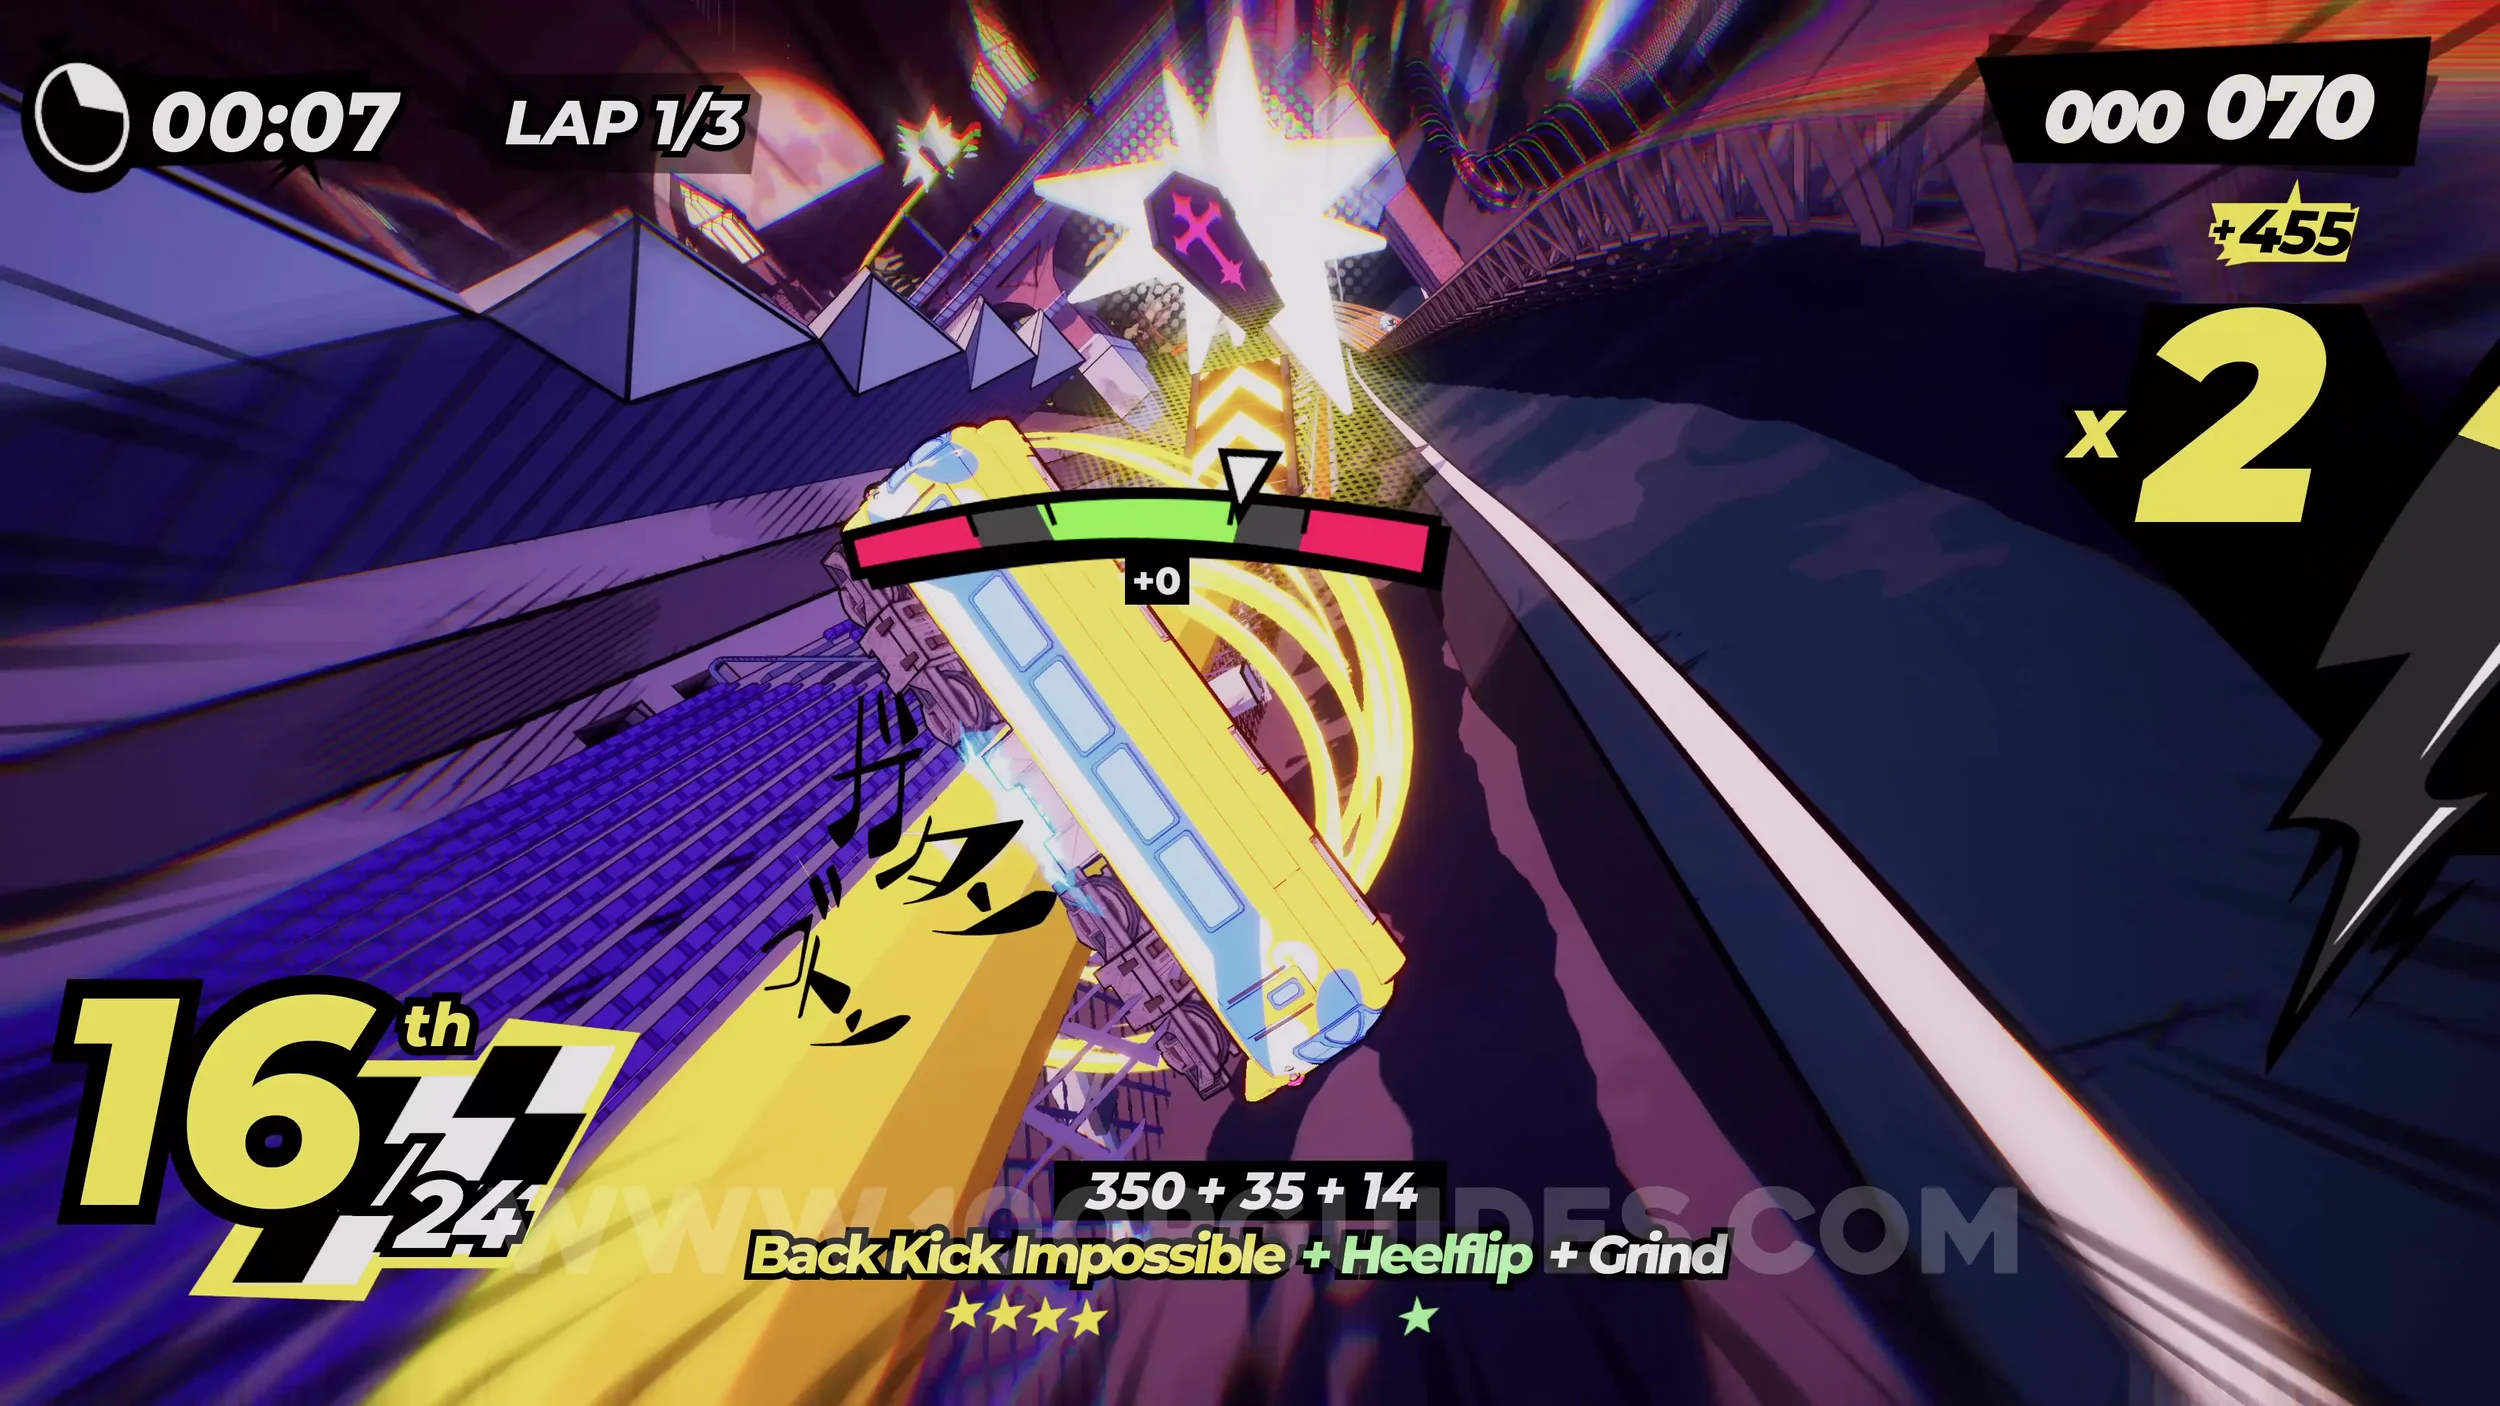
Dare: Collect 3 Coffins (2/3). Once you enter the castle, you'll go through a halfpipe. At the end of the halfpipe, take the rail on the right to collect the coffin.
Gear (1/2). After the previous coffin, you'll hang onto a monorail. If you have your special bar filled up, swing to the rainbow Yukaze on the left to reach the gear on the rideable wall.
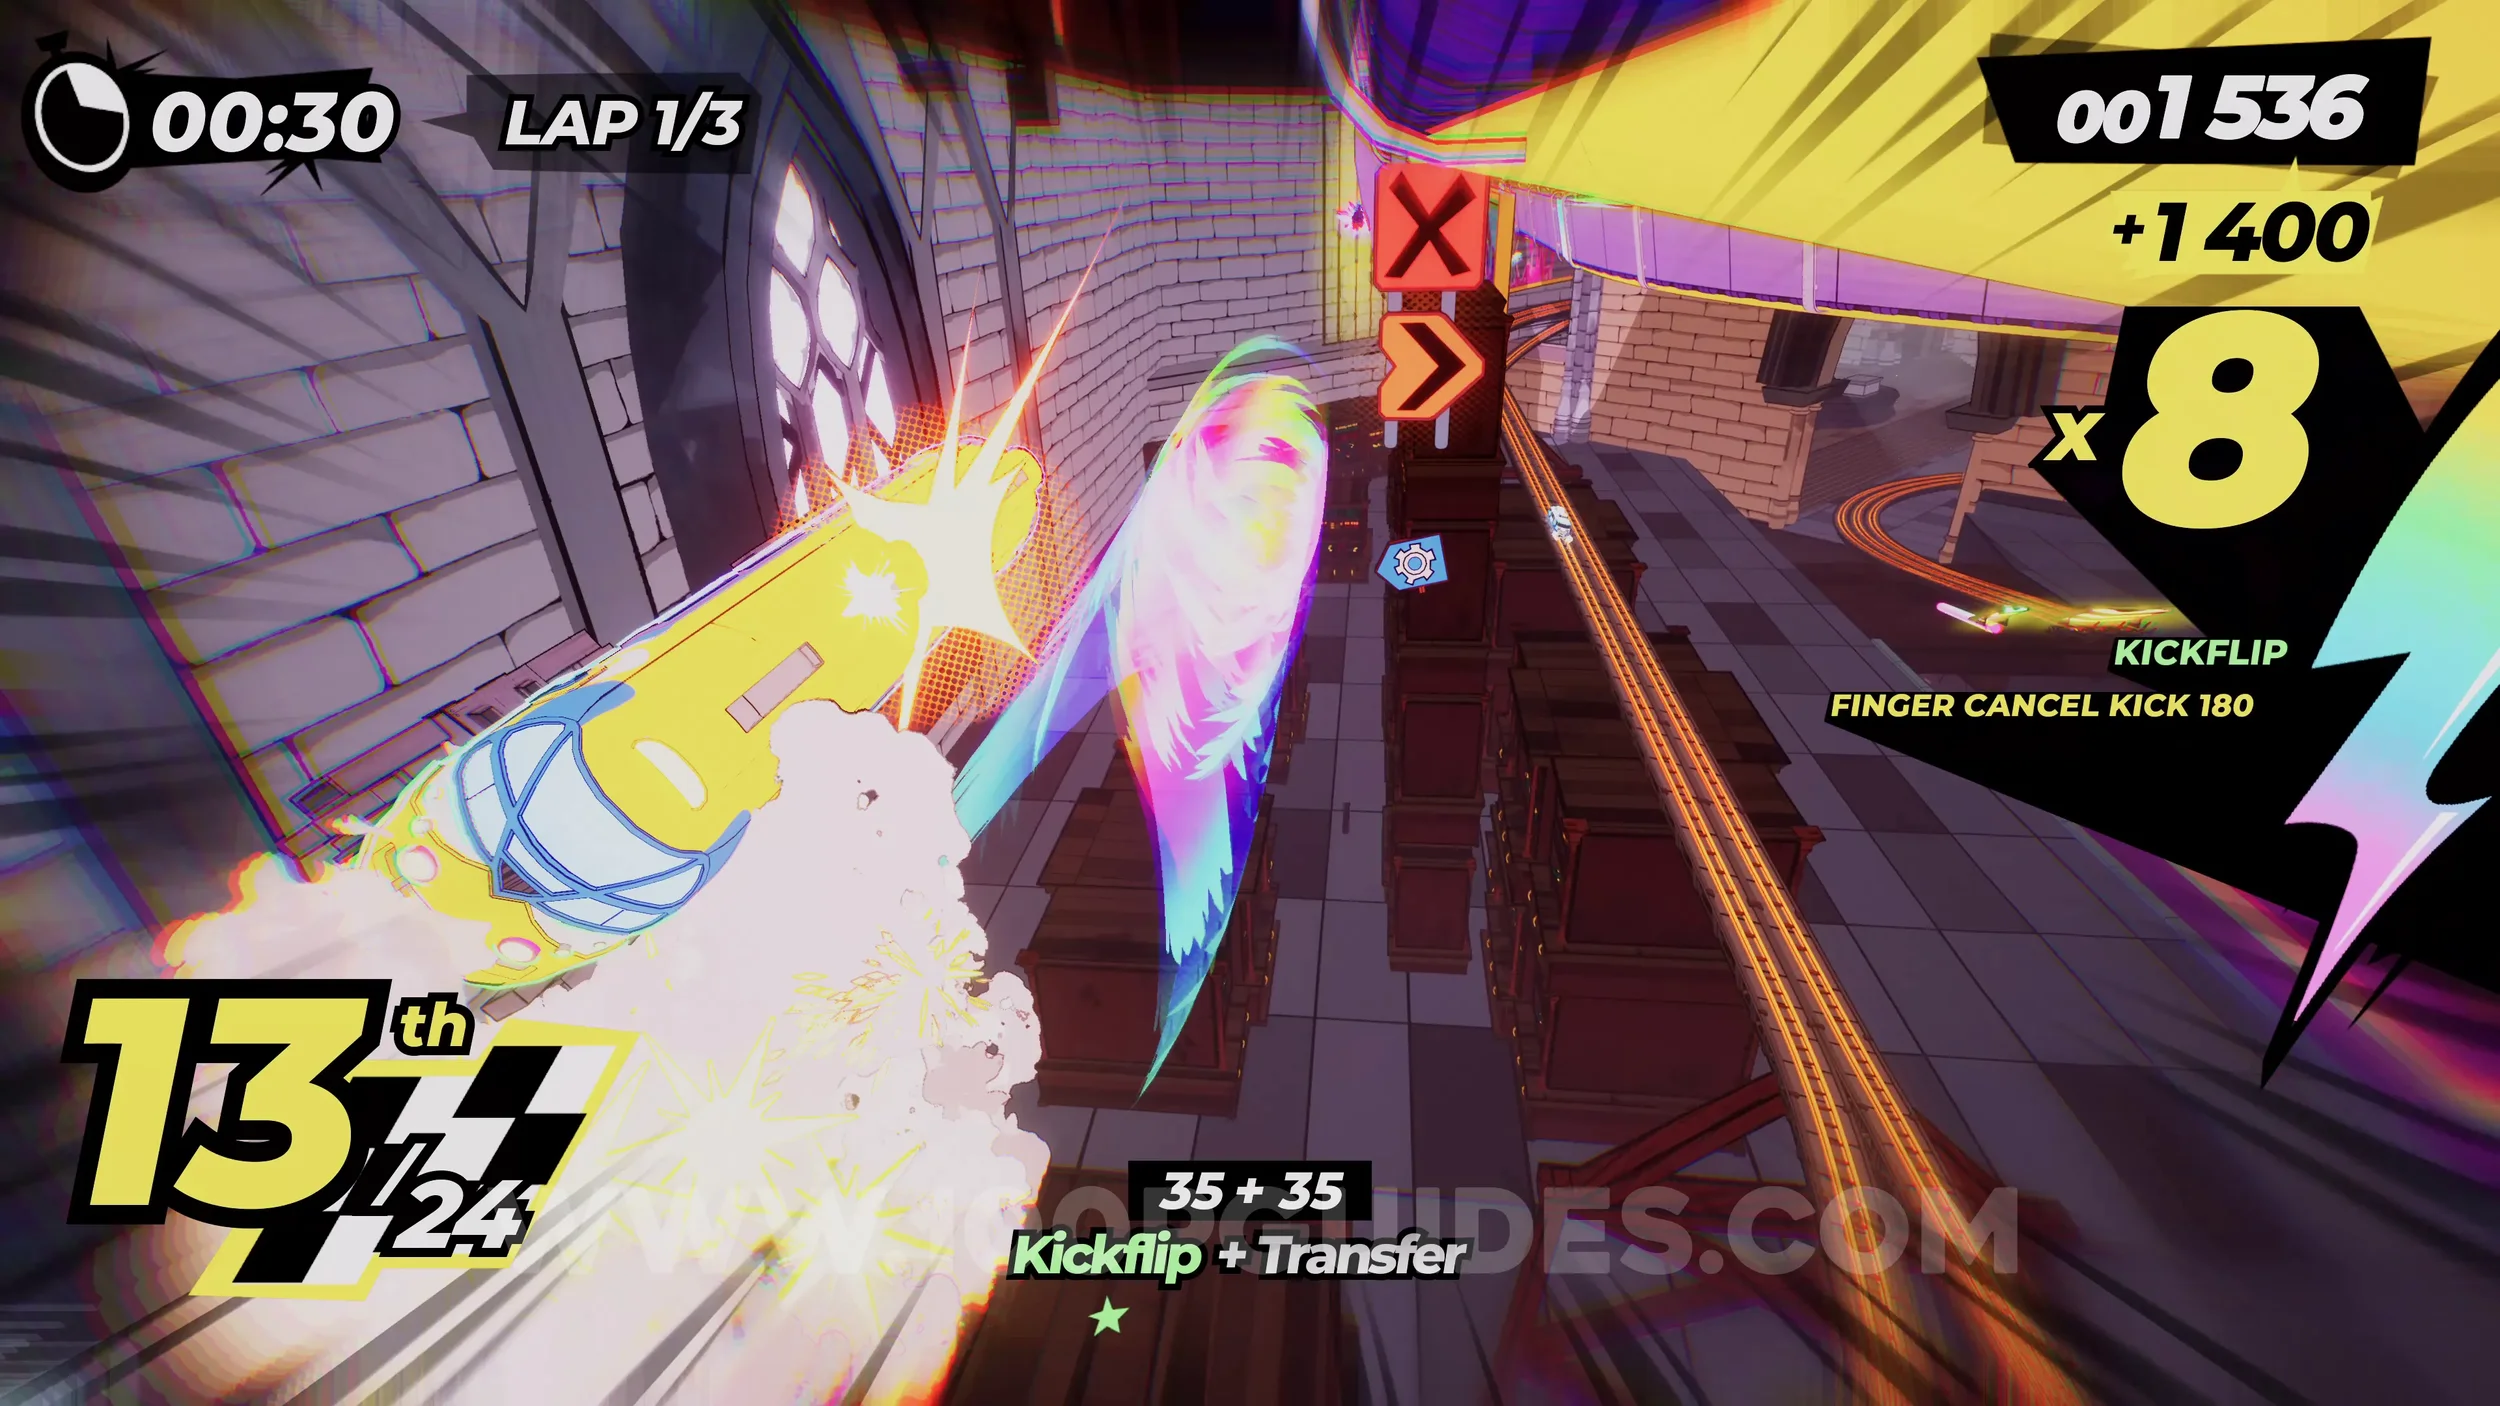
Dare: Collect 3 Coffins (3/3). After the gear, you'll see the coffin in plain sight as you go through the tunnel.
Dare: Break all 3 Castle Windows. After the tunnel, you'll see three narrow glass windows at the end of the track. Break one on each of the three laps.
Spray Can (1/2). As soon as you smash through the windows, use the rainbow Yukaze to reach the rainbow monorail above, where you'll collect the spray can.
Spray Can (2/2). Once you reach the halfpipe in the castle on your second lap, you'll be able to get the spray can by circling around the top of the rainbow tunnel.
Gear (2/2). This time, ride the rail on the left at the end of the halfpipe. Then, on the monorail, swing to the rainbow rail on the right to get the gear.
Film Roll (1/1). During the final lap, after the halfpipe, you'll go through a cave. Stick to the left to get the film roll.
Dare: Get a Lap Time Under 55s. Self-explanatory.
Dare: Derail 10 Rivals. Self-explanatory.
Dare: Finish in 1st Place. Self-explanatory.
7-7-B Rainbow Hero
Dare: Score 200 Double Drift Points in the Dark Forest. At the very start of the level, double drift on the double tracks as much as you can. You'll get 200 quickly. This dare does seem to be bugged, and I had to do this multiple times until it counted.
Spray Can (1/1). Progress through the level until you enter a cave with a green sign pointing you right to a spray can. Inside the cave, stick to the right path to find it.
Dare: Interrupt Sei with Your Own Instrument. Soon after the cave, the camera will change angle and you'll see Sei's projection in the background. Press the R3 button to use your horn.
Film Roll (1/1). After the previous dare, you'll go around a corner and have to jump over a building. As you do this, air stomp to break the glass below, where the film roll is.
Gear (1/1). After the previous collectible, you'll ride a monorail through a glass window into another building. Here, you'll see the gear on the left.
Dare: Reach the Stadium with Over x20 Combo. Self-explanatory. Reach the actual boss fight with a x20 combo or more.
Dare: Don't Miss More Than 5 Notes. The boss fight is basically a rhythm mini game. Don't miss more than five notes. This can be a little challenging, and you may have to retry multiple times. Remember to look out for the pink vertical notes on the sides and double drift through the notes that take up multiple tracks.
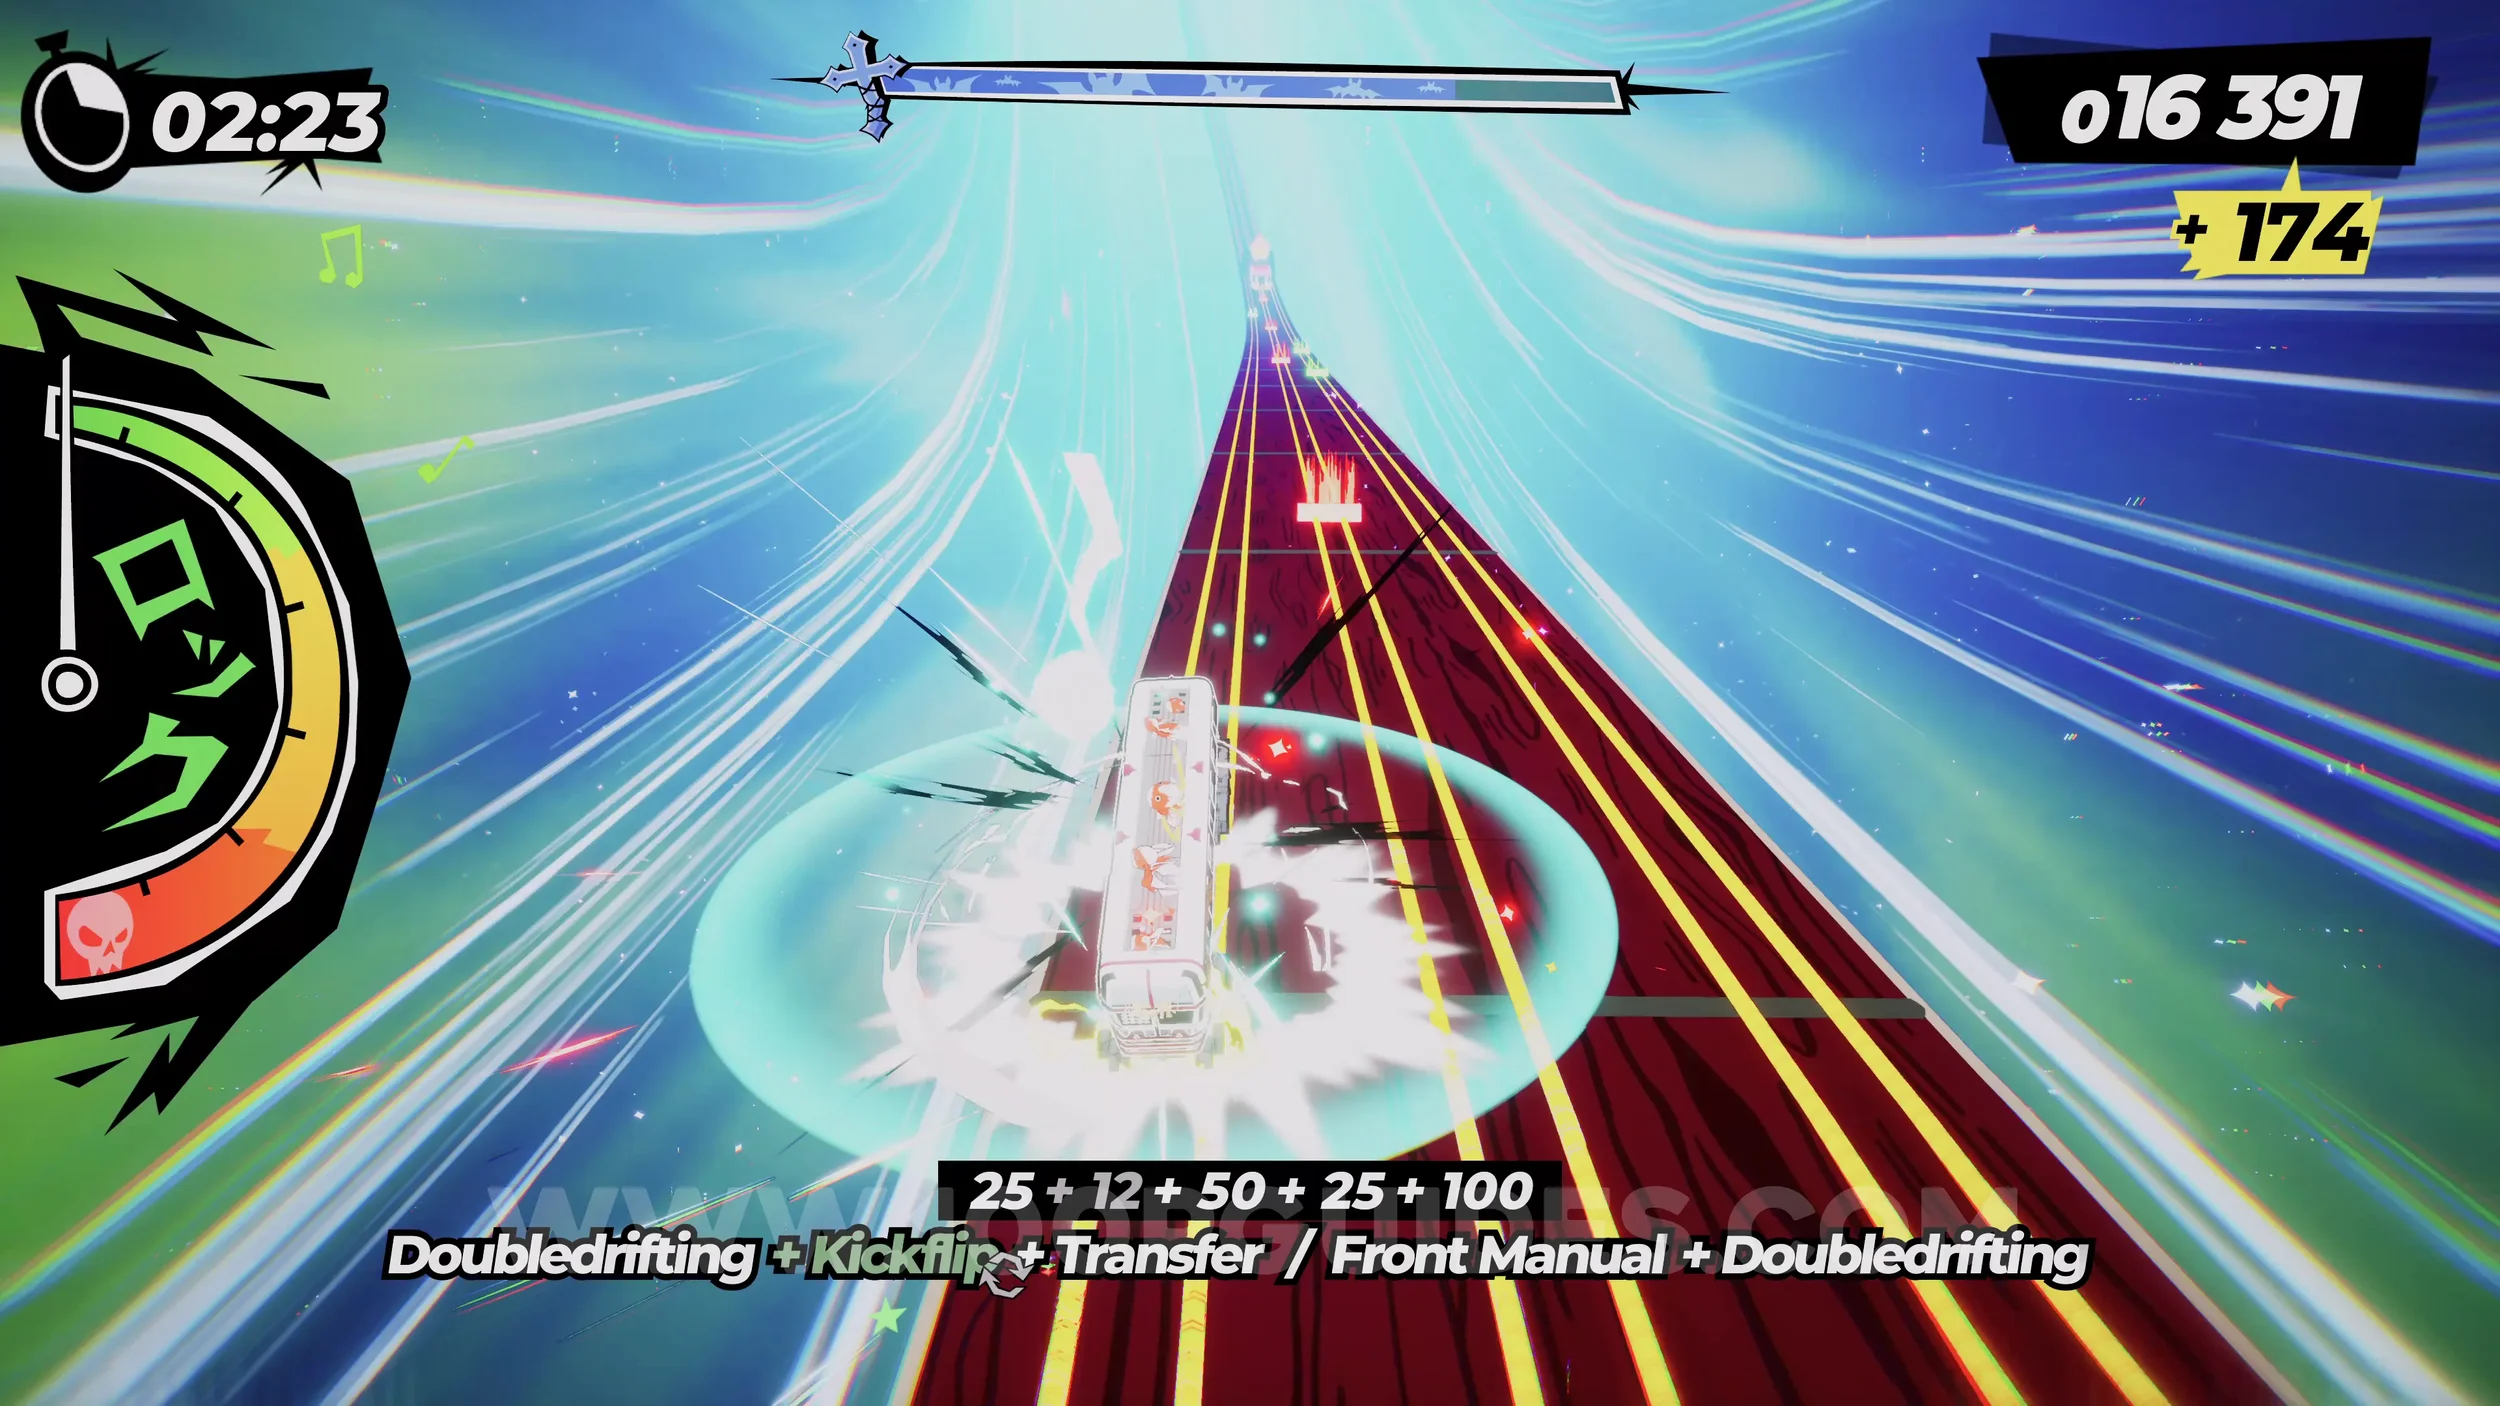
Dare: No Crash Boss Defeat. Self-explanatory. Get to the end of the level without crashing.
CHAPTER 8
8-1-1 Land Of The Loyal
Gear (1/2). After the first straight, the tracks will split. Take the right side track, and you'll soon find the gear.
Dare: Trick During Gravity Switches. Once you enter the tunnel, you'll get the tutorial about gravity switches. To perform one, press R2 twice. For the dare, press R2, perform any trick, and then press R2 again.
Dare: Double Drift on the Falling Bridge. After the tunnel, you'll cross a falling bridge. Just double drift at any point while going over it.
Spray Can (1/2). Continue through the level until you wallride and then jump to a gravity monorail, then go through a small temple. As you do this, drop down to the area below with an air stomp to get the spray can.
Gear (2/2). In plain sight after riding a monorail in the city. Jump up to the Yukaze to reach it.
Spray Can (2/2). After the previous collectible, you'll reach a straight with a green sign pointing up to a spray can. If you have the special meter filled, you'll see a rainbow track up above you that you can gravity switch to. Follow it to eventually get the spray can.
Film Roll (1/1). In plain sight in the middle of the icy area.
Dare: Risky Dodge in the Last Chain Climb. Immediately after the icy area, you'll grind up three chains. Dodge one of the red arrow boards at the last second.
Dare: No Crash Finish. Self-explanatory. Finish the level without crashing.
8-2-1 Tradition Above All
Dare: Collect 3 Tendo Shogi Pieces (1/3). As you reach the first signs while riding the gravity monorail, drop off to the track below and continue straight to get the collectible.
Gear (1/2). After the previous collectible, take the track that goes left (follow the pink sign). You'll eventually reach a halfpipe with the gear on the right.
Dare: Risky Dodge 3 Saws. After the previous gear, you'll reach an area where you ride a log and enter a sawmill. As you go through it, you'll have to dodge multiple saws. Dodge three of them at the last second.
Spray Can (1/2). In plain sight as you go through the sawmill.
Dare: Survive the Sawmill Without Crashing. Come out the other side of the sawmill without crashing.
Dare: Collect 3 Tendo Shogi Pieces (2/3). Once you circle back around to the start of the level, do the same as last time and get off the monorail to continue straight on the track below. This time, continue straight and follow the blue and green signs, where you'll get the collectible.
Dare: Collect 3 Tendo Shogi Pieces (3/3). After the previous collectible, stick to the left and follow the green sign. Follow this path, and once the track becomes three tracks, you'll see two rideable walls on your right. The collectible will be on the second one. Use the rail on the left if you're having trouble getting to it.
Gear (2/2). Now follow the green signs until you reach the part where you have to roll the snowball. As you roll it through the ice fields, you'll see the gear in plain sight.
Dare: Perform 3 Hardcore Tricks on the Snowball. After rolling the snowball, you'll ride it down the hill. While doing this, perform three hardcore tricks. You can see the list of tricks in the Tricktionary in the pause menu.
Film Roll (1/1). You'll see it as you ride the snowball. You can reach it by jumping to it.
Spray Can (2/2). Follow the green signs until you go through the greenhouse. At one point you'll go through a tunnel where you'll see the spray can in plain sight.
Dare: Activate 3 Sprinklers Around the Greenhouse. Hard to miss. As you go through the greenhouse, you'll see track switchers as you take some jumps. Just trick through them to activate the sprinklers.
8-2-F Tohoku Fanzine H.Q.
(EN)Zine #7. Fill the comic book up with the film rolls to get the (EN)Zine. You will not be able to do this on your first visit, since some of the required film rolls are collected in later levels. Come back after collecting every film in the chapter.
8-3-R Success Starland
Dare: Collect 9 Hanafuda Cards (1/9). You'll see it floating in the air after the first jump. You can reach it with a jump.
Dare: Cross Every Serpent Path (1/4). If you collected the previous card, you'll see a track going into the mouth of the dragon at the top of the next hill where the rideable wall is. Go through it.
Film Roll (1/1). After riding the first magnetic purple track on the ceiling, you'll ride some rails over water. Here, you'll see the film roll on the right.
Dare: Collect 9 Hanafuda Cards (2/9). Just after the previous collectible, stick to the right.
Spray Can (1/2). After the previous card, you'll ride another upside down magnetic track, and immediately after that, ride the wall on the right to get the spray can.
Dare: Collect 9 Hanafuda Cards (3/9). After the previous collectible, stick left and go up to the magnetic track above you. Stick right to go through the upside down halfpipe, where you'll see the card.
Dare: Collect 9 Hanafuda Cards (4/9). Just after the previous card, you'll take a vert jump and land on triple tracks. Stick to the right one to get the card.
Dare: Perform 10 Ice Slide Tricks on the Pachinko. Once you jump into the icy pachinko machine, use the right analog stick to perform ten tricks. They don't need to all be during the same lap.
Gear (1/2). On the left side in the icy pachinko machine.
Dare: Collect 9 Hanafuda Cards (5/9). Leave the ice pachinko area via the tracks on the left. Then you'll use a monorail and see two Yukaze. Use the one on the left to get up to another magnetic track, where you'll find a card.
Spray Can (2/2). Once you reach the second lap, after the first corner, use the jump to reach the upside down rainbow tracks (only if you have your special bar filled up). You'll see the spray can on it around the first corner.
Dare: Collect 9 Hanafuda Cards (6/9). On the left just after the water area with the rolling balls.
Dare: Cross Every Serpent Path (2/4). After the previous card, stay on the bottom tracks and go through the dragon's mouth.
Dare: Collect 9 Hanafuda Cards (7/9). Once you reach the halfpipes area again, you'll find it in the left side bottom one.
Dare: Collect 9 Hanafuda Cards (8/9). On the right side once you reach the icy pachinko area.
Dare: Collect 9 Hanafuda Cards (9/9). After leaving the pachinko ring again and reaching the two Yukaze, this time use the one on the right to get to the right side upside down track, where the card will be.
Dare: Cross Every Serpent Path (3/4). Once you start the last lap, do as you did on the second one and use the first jump to get up to the upside down rainbow tracks. Then continue on them and go through the dragon's mouth, which should now be open.
Gear (2/2). Once you reach the water area with the rolling balls, stick to the right side and look out for the rainbow track. Follow it to get the gear.
Dare: Cross Every Serpent Path (4/4). Once you leave the ice pachinko area for the last time, look out for a dragon with its mouth open on the right side. Go through it.
Dare: Get a Lap Time Under 60s. Self-explanatory.
Dare: Finish in 1st Place. Self-explanatory.
8-3-2 Protection Run
Dare: Smash 10 Collection Boxes. Throughout the level, you'll see money collection boxes. There are way more than ten, and they're hard to miss.
Gear (1/2). Play through the level until you use an upside down purple gravity track. The gear will be on the right side of it.
Spray Can (1/2). During the section with water, you'll ride an upside down purple gravity track. Then, once you return to the ground, the spray can will be on the rideable wall on your left.
Gear (2/2). In plain sight after the jump at the end of the water section.
Dare: Perform a Grind Trick While Being Chased by a Twin. After the previous collectible, the camera will change, and you'll be chased by one of the twins as you grind a rail. Just use the right analog stick to perform any trick.
Film Roll (1/1). Continue through the level until you return to the city. Here, you'll use multiple Yukaze to reach an upside down purple track. As soon as you reach the purple track, move to the rainbow track on your left (you'll need the energy bar filled up). Then follow this track to get the film roll.
Spray Can (2/2). In the next underground tunnel, where you have to dodge the blue vines.
Dare: Perform 1 Hardcore Trick With the Samurai Crest. After leaving the tunnel, you'll jump over a massive statue and ride a crest (horn looking thing). During this section, jump and perform any hardcore trick.
Dare: Perform Tricks While Gravity Switching 3 Times. Self-explanatory. Perform any three tricks while going up to or coming down from purple tracks.
Dare: No Crash Finish. Self-explanatory. Finish the level without crashing.
8-4-1 Open The Floodgates!
Spray Can (1/2). As soon as you start, jump to one of the left two tracks and follow this path until you grind and then wallride on the left side wall. After that, you'll go over a jump to the area below. As you do this jump, don't press any directions, so you fall onto the lowest track. Then, after the corner, jump to the rail on the left to collect the spray can.
Dare: Collect 5 Scrap Salvage (1/5) and Dare: Air Stomp on Both Tires (1/2). Almost immediately after the spray can, you'll see a Scrap Salvage above a tire. Collect it and air stomp on the tire.
Spray Can (2/2) and Dare: Air Stomp on Both Tires (2/2). Continue on this track, and you'll eventually jump over the other tire. Air stomp it, then go right to the spray can and follow the right side track.
Dare: Collect 5 Scrap Salvage (2/5). Follow the track on the right after the previous can, and you'll see the collectible up against a rideable wall on your left.
Dare: Chain 2 Hardcore Tricks on Vert Ramps. Immediately after the previous collectible, stick to the left, and you'll go over a vert jump. Perform two hardcore tricks while going over it.
Gear (1/2). After the vert jump, you'll jump over a small wall. On the other side, stick to the right side track to get the gear.
Film Roll (1/1). After the previous gear, you'll go through a halfpipe and then go over a vert jump. Then, after that, stick to the track on the right side. This will take you over a rail, and then you'll see the film roll on the rideable wall on your left.
Dare: Collect 5 Scrap Salvage (3/5). After the film roll, jump over the wall and stay on the right side track. This will take you back to the halfpipe and allow you to get the scrap on the left side rail.
Dare: Collect 5 Scrap Salvage (4/5). After leaving the halfpipe for the second time, repeat the path to the film roll again. This time, after you jump over the wall, stay on the middle track, and you'll then see the scrap before going up the slope to a vert jump.
Dare: Collect 5 Scrap Salvage (5/5). After the previous collectible, you'll go over the vert jump. Follow this path, and eventually you'll jump off the top of a building, where you'll collect the scrap.
Gear (2/2). After the jump where you get the previous collectible, land on the left side track (where you got a previous scrap on a wall) and take the left side vert jump. Then, when jumping over the wall, stick to the left side track. This will take you to another three track path. Stick to the right side track at all times. Then, eventually, after a vert jump, you'll grind a rail and see a rainbow rail in front of you. Take it to get the gear.
Dare: Pull a 60 Trick Combo. Self-explanatory.
Dare: Chain 5 Tricks in a Single Jump. Self-explanatory.
8-5-1 Frontal Assault
Spray Can (1/3). On the rideable wall on the left after going through the waterfall.
Dare: Double Drift Underwater. After coming out of the cave with the halfpipes, you'll go through a short underwater section. Once you reach the multi tracks, perform a double drift.
Gear (1/1). After leaving the water and jumping over a statue, you'll see a gear sign pointing left. Stick to the left track to find the gear.
Dare: Break 5 Boxes while Skating. Soon you'll reach a section where you ride a skateboard. Here, destroy five boxes. They're hanging on the sides of the halfpipes and in the middle of the path.
Film Roll (1/1). In the middle of the area close to the start of the skateboard section.
Spray Can (2/3). Soon after the skateboard section, you'll ride a short yellow rail, and then you'll see the spray can on your right.
Spray Can (3/3). Almost immediately after the previous can, you'll see a spray can sign and a rainbow monorail above you (must have the special bar filled). Follow the rainbow path to eventually reach the spray can.
Dare: Find the Onsen Exit. To find the exit, you'll have to play through the level again, since you can't get the last spray can and find the exit on the same run. Play through the level until you reach the rainbow monorail path (same one as where the final spray can was), but this time look out for a white flag with the onsen image on it to the left, where you can get off the rainbow track and jump to a normal track. Follow that track to reach the Onsen Exit.
Dare: Perform 5 Tricks While Wallriding. Self-explanatory.
Dare: No Crash Finish. Self-explanatory. Finish the level without crashing.
8-5-O Nyuto Onsen
Onsen #7. This level will only be available if you found the Onsen Exit in level 8-5-1. Exhaust the dialogue and leave.
8-5-C Hirosaki Castle
Shop level with new Trains and Stickers available to purchase.
8-6-B Nebuta Clash!
Dare: Play 10 Drums. Throughout the first section of the level, you'll jump over giant drums. Whenever you do so, air stomp down to bounce off them. They're all on the main path and hard to miss.
Spray Can (1/1). Once the tracks split at the start of the level, take the right path, and you'll reach the spray can.
Gear (1/1). Once the archer gets in front of you and you have to gravity switch between the tracks to dodge the arrows, time one of the switches to get the gear in the middle.
Dare: Risky Dodge 5 Mako Arrows. After the previous gear, the archer will start to shoot arrows into the tracks. Here, just before driving into the arrows, dodge them.
Dare: Beat the Twins in the Clouds in Under 1:50. Once you reach the double boss in the clouds, defeat them as soon as possible. You'll have to press up and down on the d-pad to change your charge between positive and negative. Just drive through the symbols with the same charge as you to damage the boss. Remember you can drive through more than one per attack.
Dare: Smash a Skeleton Hand with a Hardcore Trick. After the double boss, you'll fight another boss. Every now and then you'll have to jump through and smash a skeleton hand. Just do any hardcore trick while smashing one of these hands.
Film Roll (1/1). During the 2D section where you have to use the gravity tracks to stay in the air and dodge the ghost hands, almost as if you were playing Flappy Bird. The film roll is hard to miss.
Dare: No Crash Boss Defeat. Self-explanatory. Finish the level without crashing.
CHAPTER 9
9-1-1 The Last Frontier
Spray Can (1/2). At the very start, jump up to the rail on the left to continue straight. Follow this path, and you'll eventually get the spray can.
Gear (1/2). After going through the first underwater section, look out for the gear on the right side of the icy area.
Dare: Perform a Hardcore Trick Over a Wave. Continue through the level until you go through a small town. Here, the camera will move to your side, and you'll jump over a wave. Perform any hardcore trick over it.
Dare: Air Stomp on the Radioactive Medusas. During the waves section, you'll bounce on large yellow jellyfish in the water. Just air stomp one of them.
Film Roll (1/1). After riding some purple upside down gravity tracks where you have to dodge oncoming enemy trains, you'll go around a left hand corner and then see a yellow sign pointing left to a film roll. Here, drop down to the normal track below and then follow the rainbow track to the left (must have your special bar filled).
Dare: Risky Dodge 10 Lasers. Once you enter the large metallic building where you go under the massive mole statue, you'll have to dodge lasers. Just dodge ten of them at the last moment.
Gear (2/2). In plain sight in the laser tunnel where they spin around the inside of the tunnel.
Spray Can (2/2). In the next part of the laser tunnel, above the lasers making an X shape. Jump over them to get it.
Dare: Pull a 30 Trick Combo. Self-explanatory.
Dare: No Crash Finish. Self-explanatory. Get to the end of the level without crashing.
9-1-F Hokkaido Intel H.Q.
(EN)Zine #8. Fill the comic book up with the film rolls to get the (EN)Zine. You will not be able to do this on your first visit, since some of the required film rolls are collected in later levels. Come back after collecting every film in the chapter.
9-1-S 10 Second Advantage
No collectibles in this level.
9-1-B 10 Seconds To Revolution
Dare: Perform 3 Perfect Yukaze in Sendai's Dome. After leaving the first tunnel with boosters, you'll go through a few Yukaze. Make sure you hit at least three of them perfectly. Make sure you do it before getting to the second tunnel with boosters.
Spray Can (1/2). Soon after leaving the first tunnel with boosters and dodging some trucks, you'll reach a road where you have to grind on rails that are on top of lines of moving trucks. On this road, watch out for a moving wall on the right side that's rideable. The spray can will be on that wall.
Gear (1/2). In plain sight as you go through the second tunnel with the boosters you activate with your horn.
Dare: Grind Trick 3 Times on the Worm in Tokyo's Dome. After leaving the second tunnel, you'll ride the worm boss a few times. Quickly do three tricks with the right analog stick.
Spray Can (2/2). In the tunnel that you follow the worm boss through.
Dare: Wake Osaka After Being Launched. After going through the inside of the castle boss, you'll get blasted out the other side. While flying through the air, use your horn with the R3 button.
Gear (2/2). After getting launched out of the castle, you'll go through another tunnel with boosters. In this tunnel, look out for the gear on the right side just after riding a monorail.
Film Roll (1/1). Continue through the level until the robot launches you up to the sky and onto some buildings. The film roll will be on the left side building after the first building.
Dare: Pull a 20 Trick Combo Over the Clouds. Get a x20 combo in the section after the robot launches you up to the buildings in the clouds.
Dare: No Crash Boss Defeat. Self-explanatory. Get to the end of the level without crashing.
9-2-B To The Moon
Dare: Slide Trick 10 Times While in the Aurora. After launching into space, you'll land on a rainbow road. Use the right analog stick to slide trick ten times.
Gear (1/1). On the aurora (rainbow road), once the road starts to get wavy during the section with the lasers, stick right to find the final gear.
Spray Can (1/3). Once you get off the aurora and land on a track, gravity switch to the purple grind above you, where you'll pick up the spray can.
Dare: Hit the Satellite With a Hardcore Trick. Soon after the previous spray can, you'll jump and hit the side of a satellite. During this jump, perform any hardcore trick.
Spray Can (2/3). Immediately after the satellite jump, you'll enter an upside down halfpipe. At the end of the halfpipe, you'll see a spray can sign pointing right. Exit this halfpipe via the right side to land in another halfpipe with the spray can in it.
Film Roll (1/1). After wallriding the satellites, you'll go through a short tunnel where the final film roll can be found.
Spray Can (3/3). The final spray can of the game will be in plain sight in one of the yellow diamond shaped holes you can go through in the large blue barriers as you approach the moon.
Dare: Trick 5 Times While Smashing Moon Structures. After Sei comes to save the day, you'll enter a massive structure, and inside you'll smash through some structures. Perform hardcore tricks while destroying five of them.
Dare: No Crash Boss Defeat. Self-explanatory. Get to the end of the level without crashing.