Horizon Call Of The Mountain All Collectible Locations
In this guide you find all 111 Warning Beacons, the 6 legendary climbs, all 20 lore collectibles & all 7 Cairns. Collecting them all will get you the “Full Alert”, “Legendary Climber”, “Scholar” & “Master Cairn Builder” trophies.
No collectibles are missable. You can use the chapter select to replay levels after you have finished the game.
Index:
Brightdawn
Pilgrim’s Trail
Upper Slopes Of Brightdawn
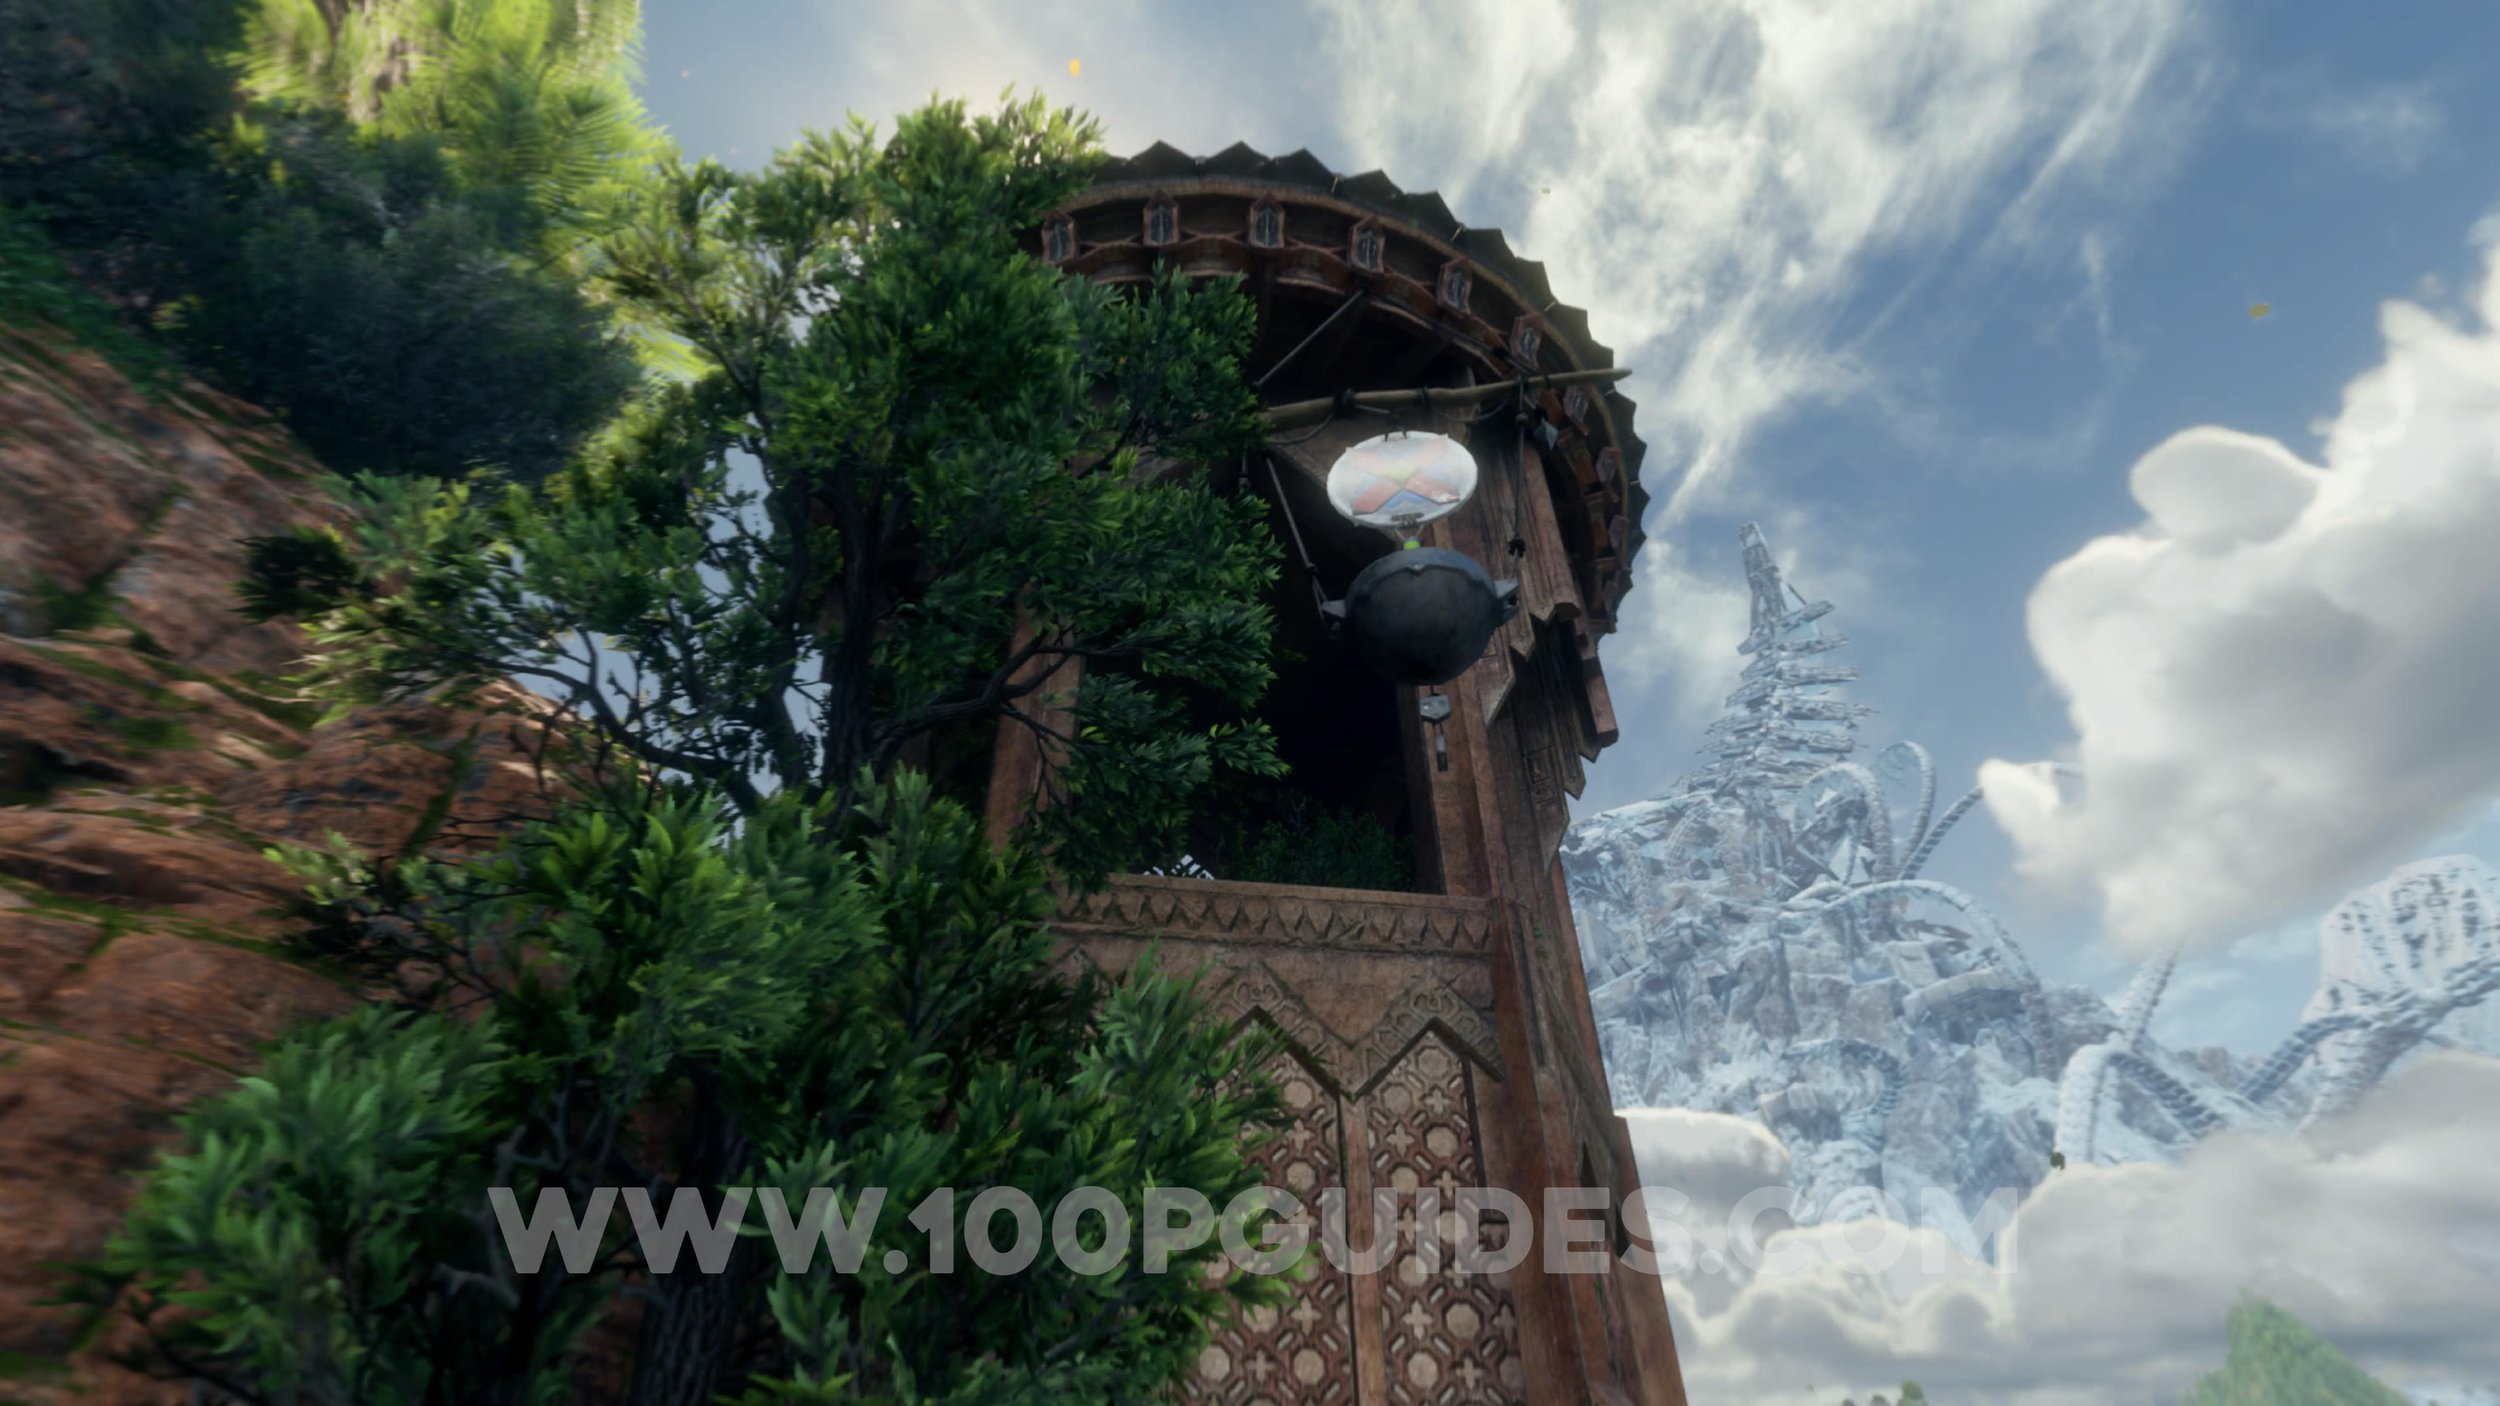
The Sunpear
Talonrach Ascent
Mother’s Tears
Elder’s Calling
Talonreach Tower
Devil’s Anger Ascent
Devil’s Anger
Eagle’s Fall
Day’s End
Dawn’s Grasp (HUB)
Brightdawn
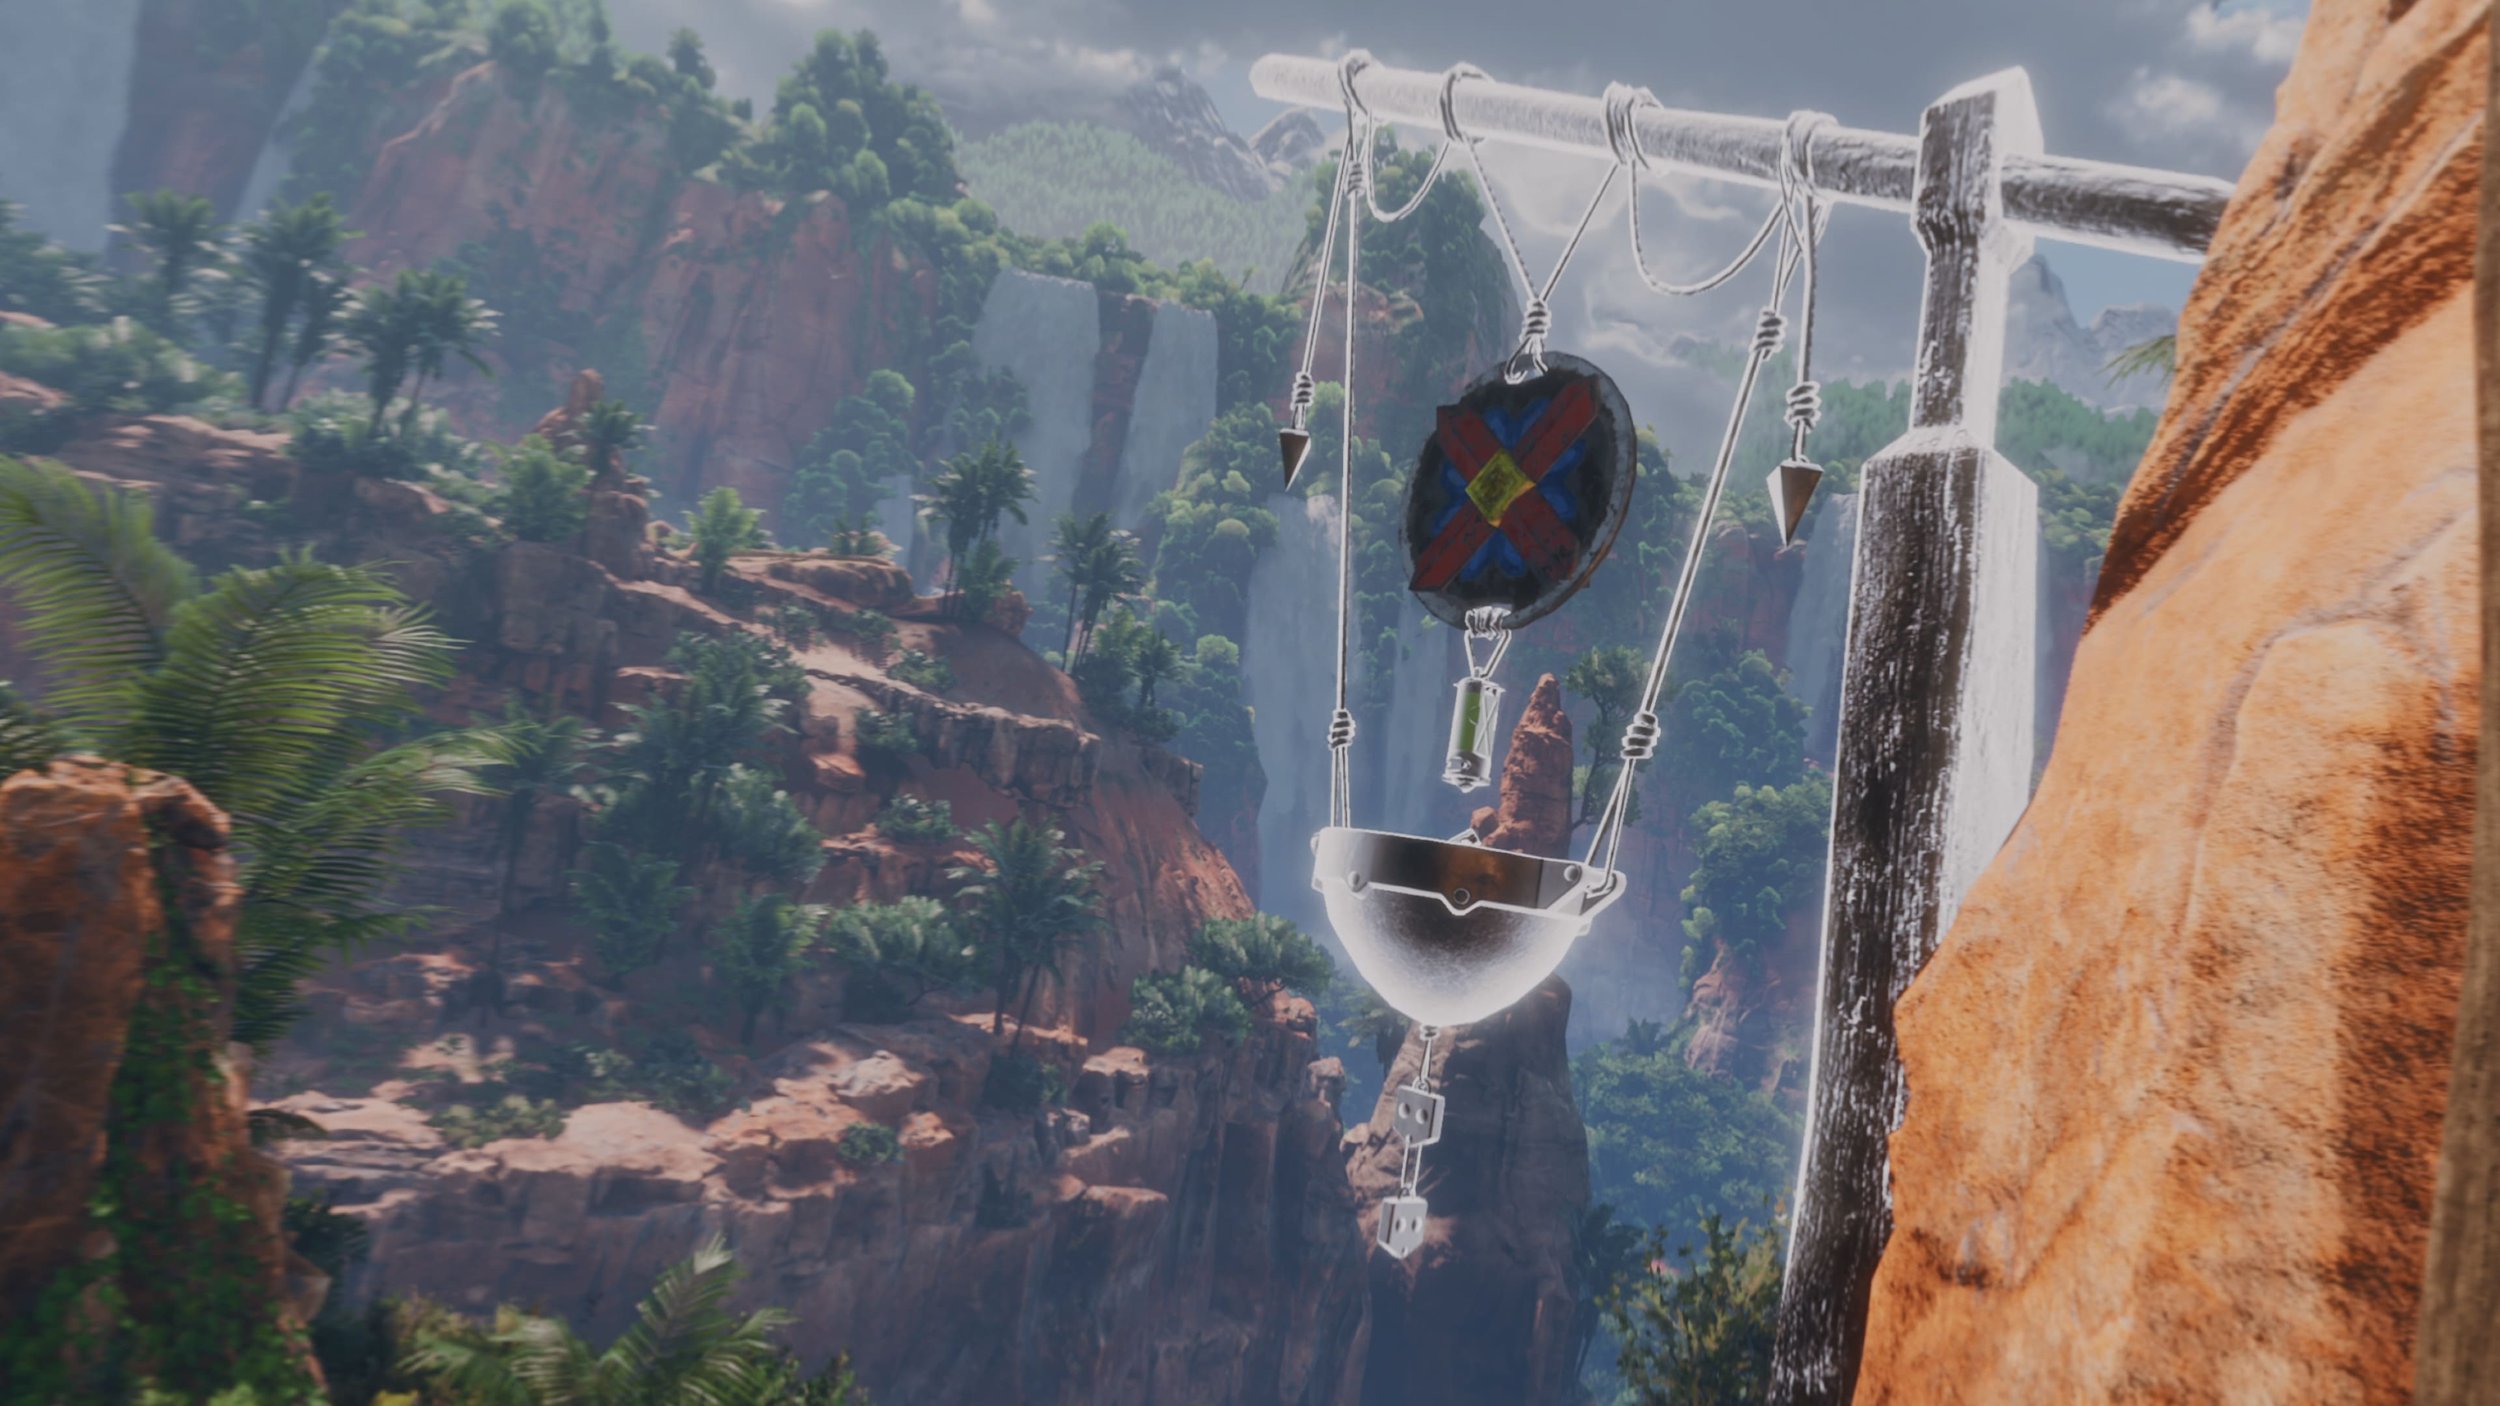
Warning Beacon #1. A soon as you get the bow you will have to hit this one as part of the story.
Warning Beacon #2. After getting the bow, walk a few steps forward and look left to find the beacon.
Warning Beacon #3. In the same area as you get the bow, look up to the right of the wooden building.
Warning Beacon #4. In the distance below the previous beacon.

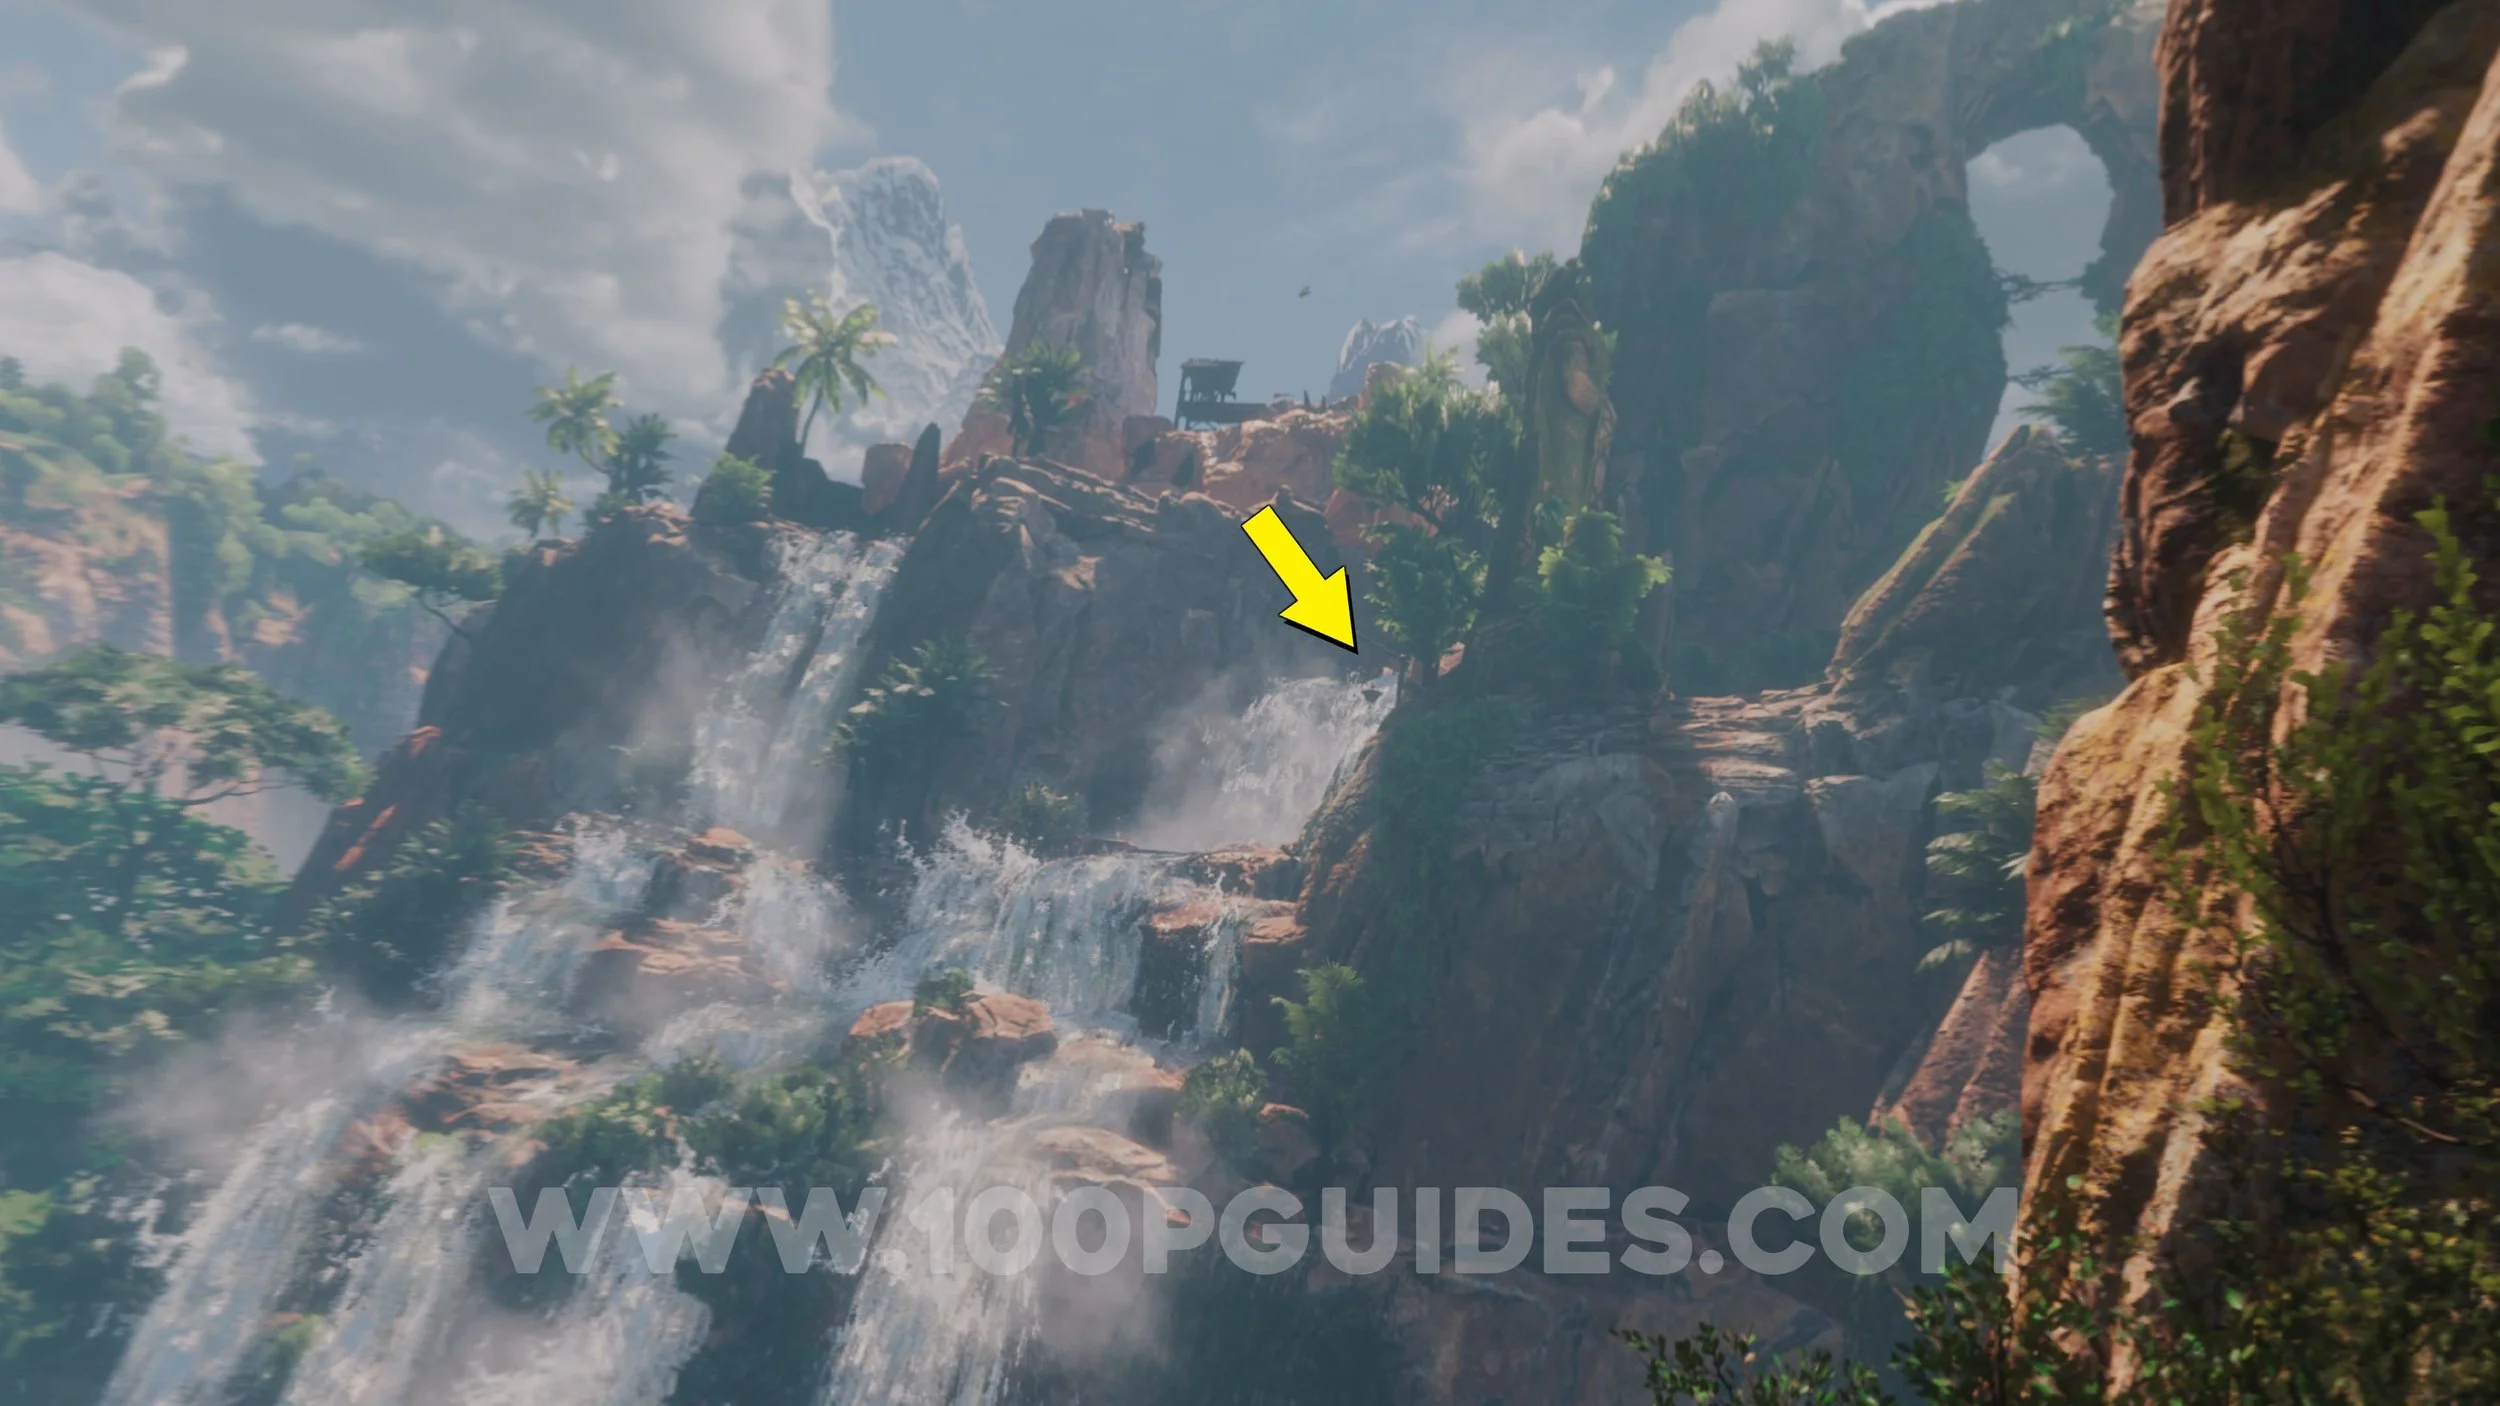
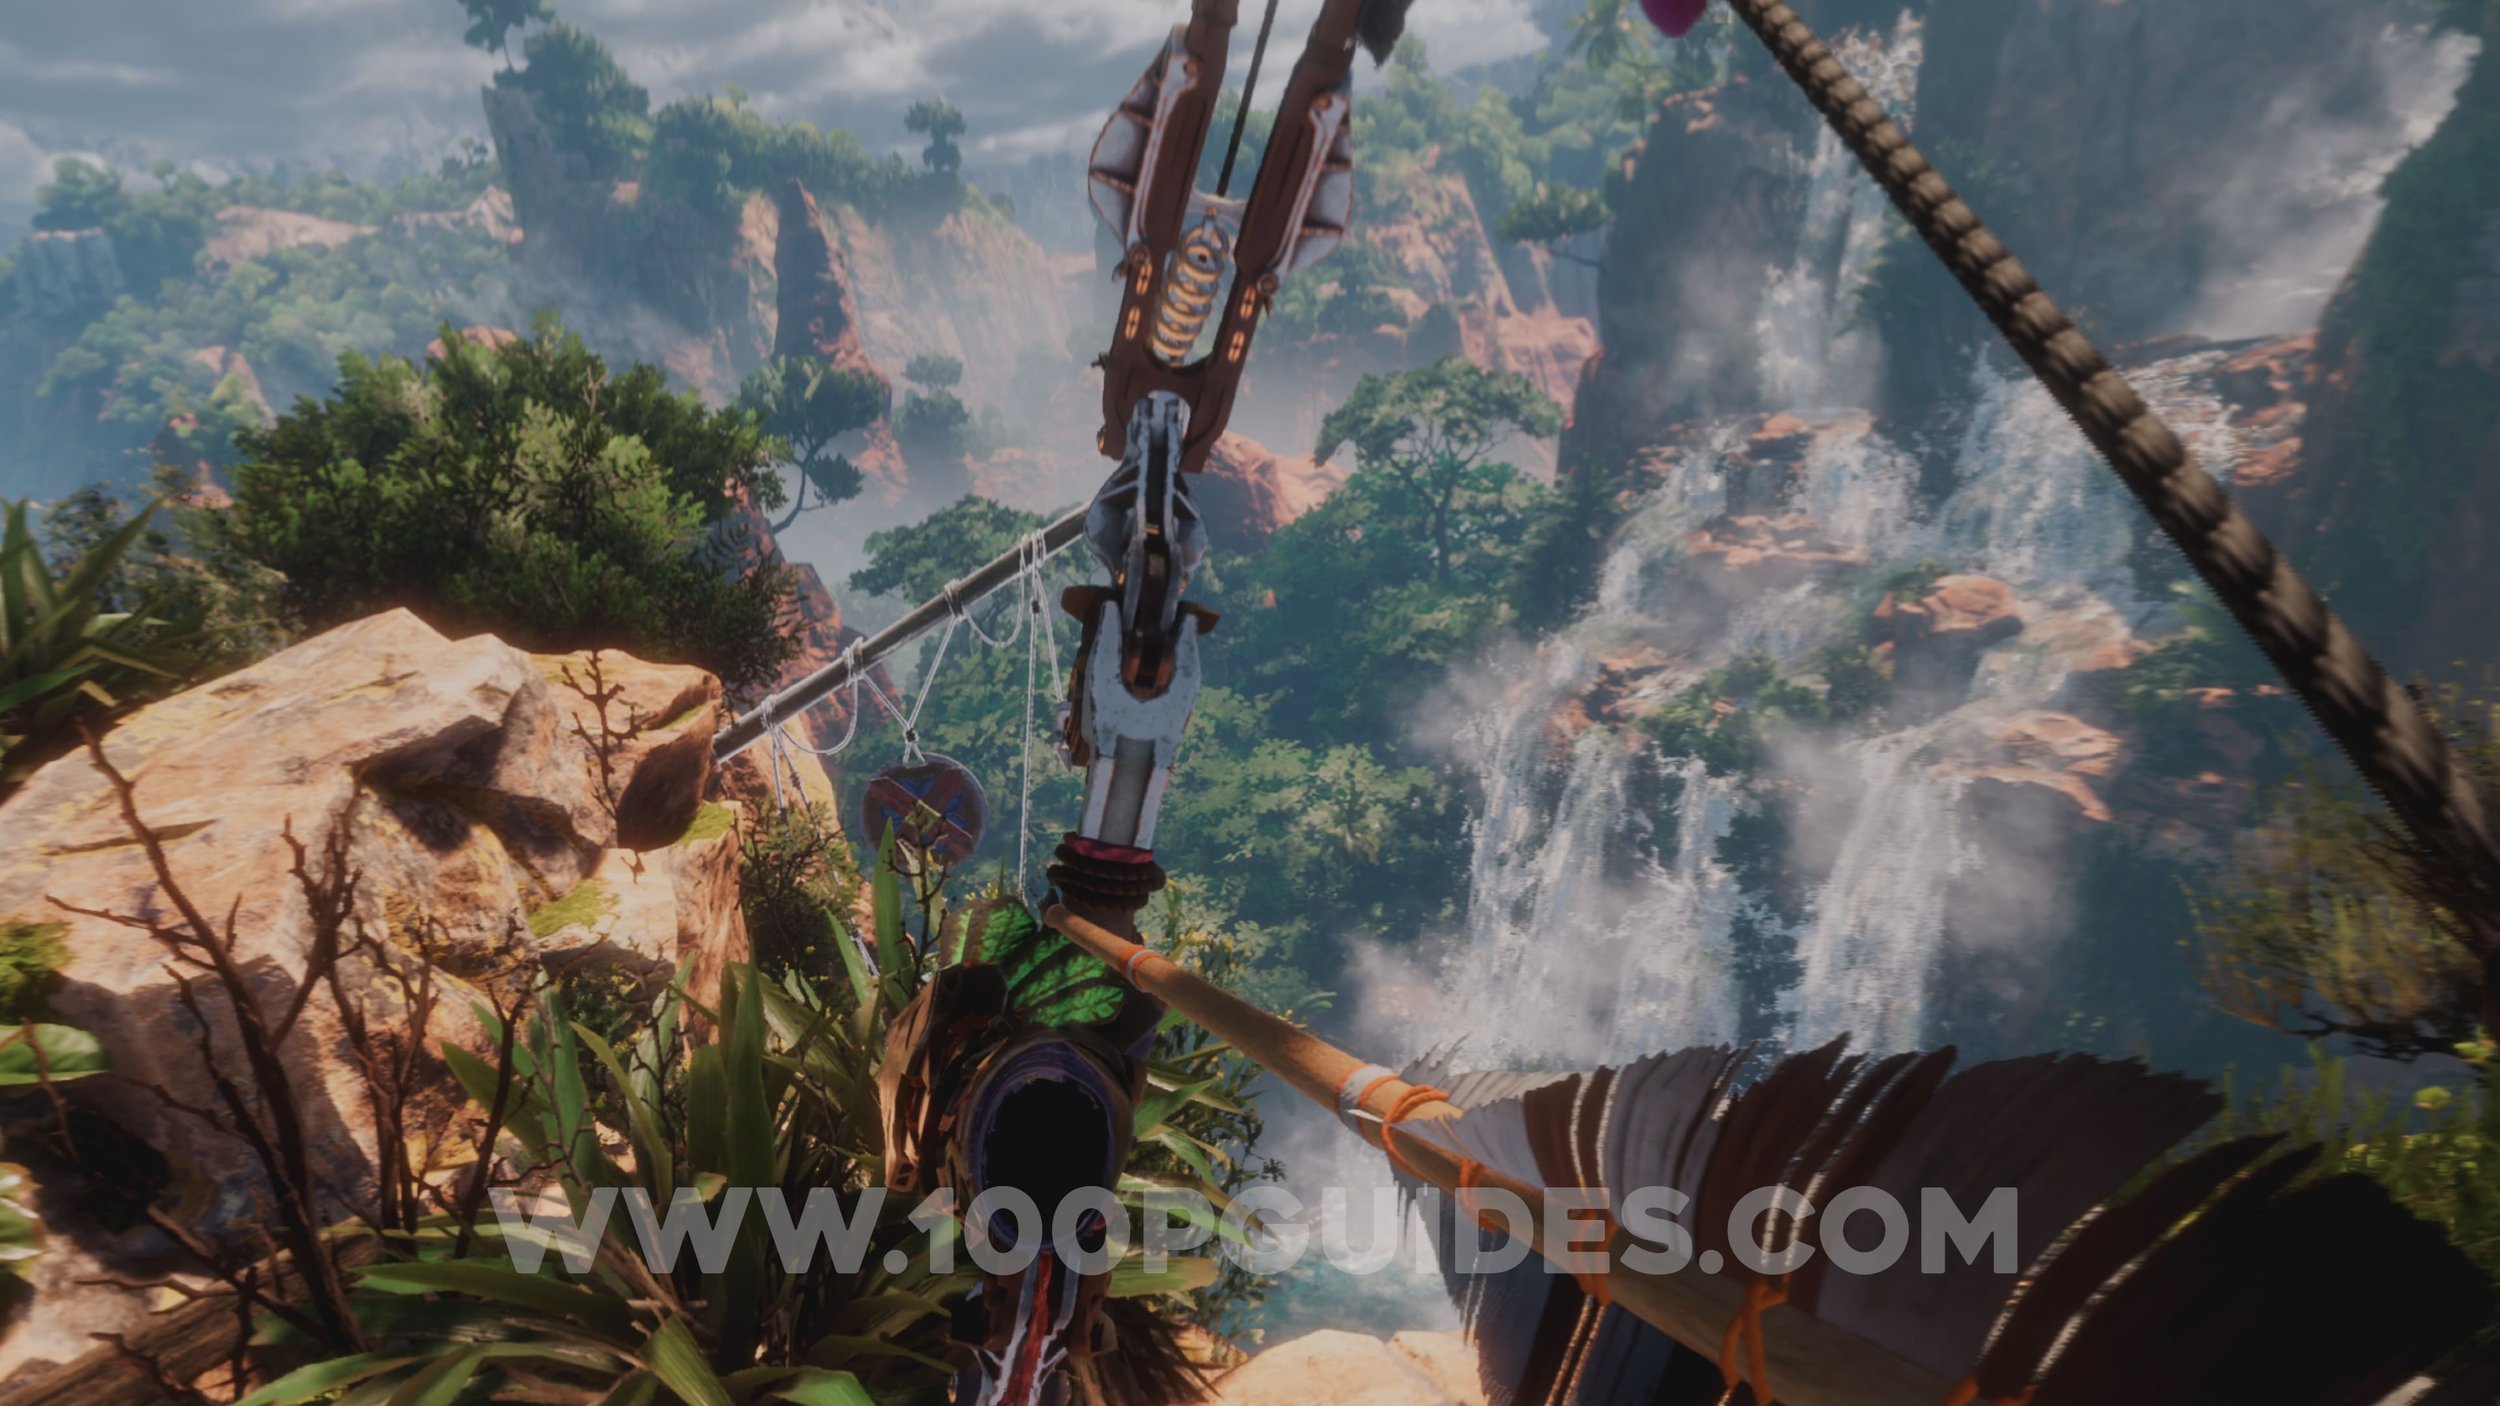
Warning Beacon #5. From the barrel that you get the bow off of, turn around and look right. You will see the beacon in the distance near the waterfalls.
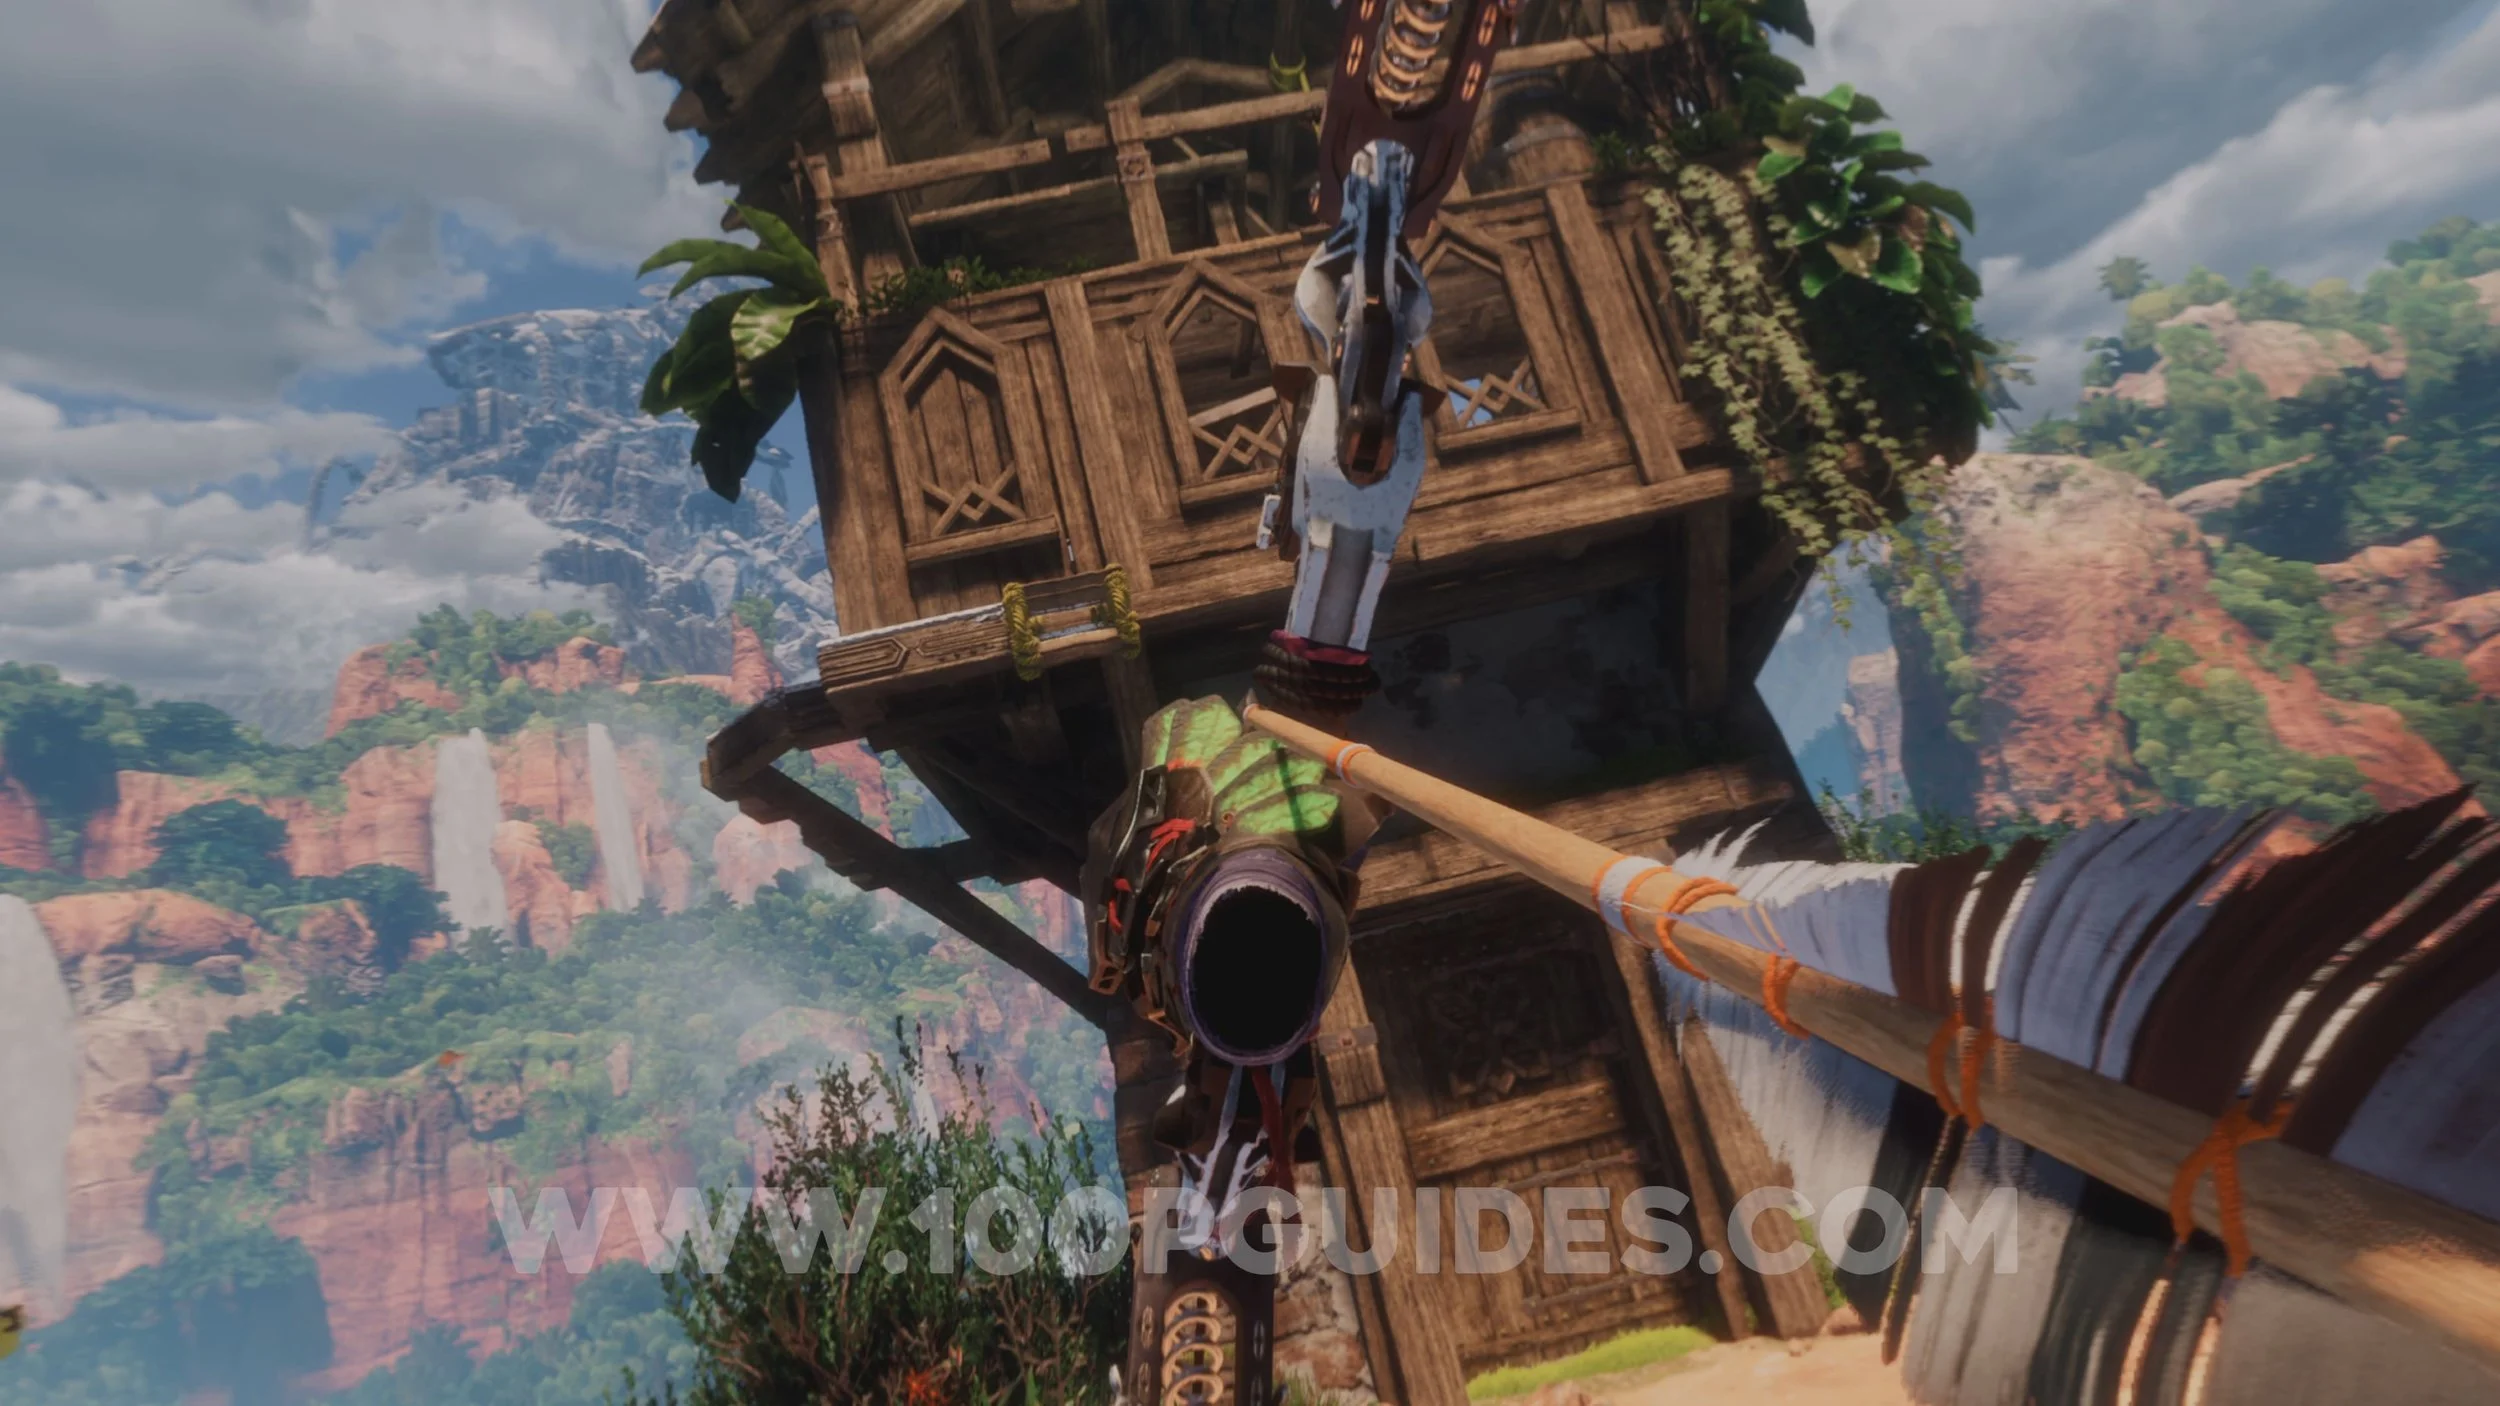
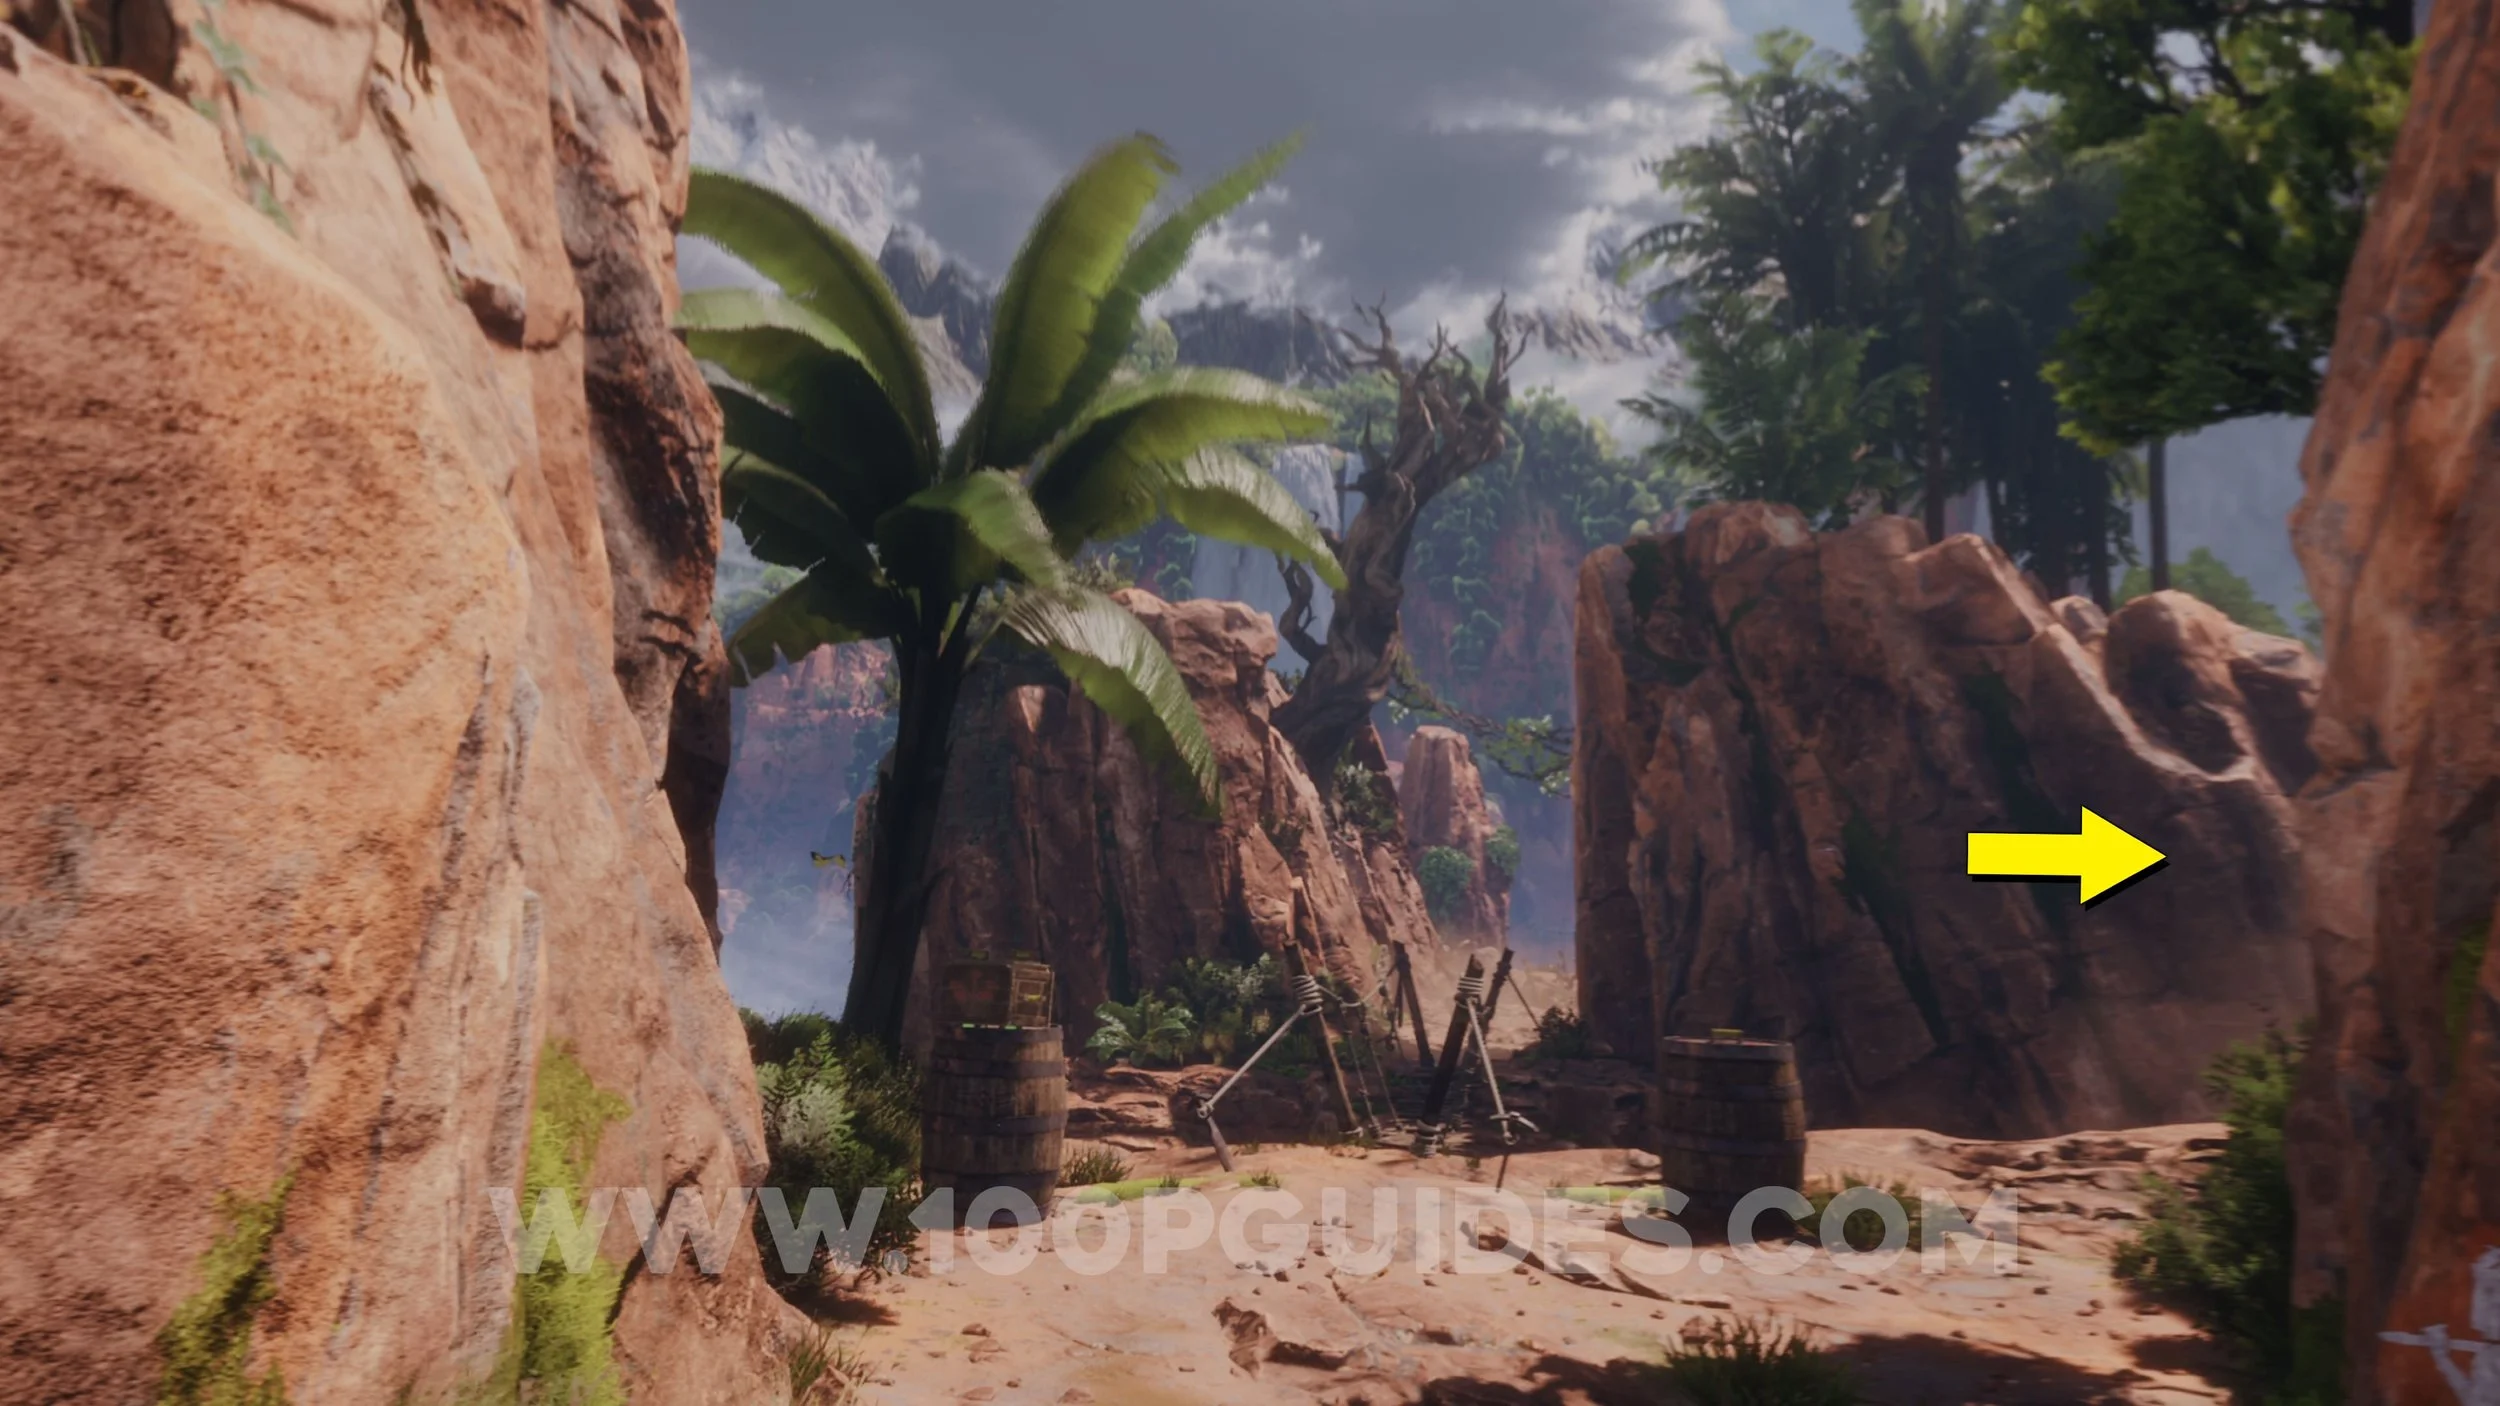
Warning Beacon #6. After you climb across the bottom of the rock arch after getting the bow, you will arrive at an area with a house to your right and a wooden building in front of you. Here look left to see the beacon.
Warning Beacon #7. To the right of the previous beacon.
Warning Beacon #8. Below the previous beacon.
Warning Beacon #9. In the same area as the previous collectibles. This one will be to the right of the wooden building with the gong on it.
Warning Beacon #10. Above the previous beacon.
Lore Collectible #1. In the same area as the previous collectibles. Shoot the ladder on the building to your right. This will allow you to climb to the top of the building where you will find the collectible.
Warning Beacon #11. After opening a door with a key, you will find this beacon above the main path.
Warning Beacon #12. To your left, above the arena where you fight the first enemy of the game.
Lore Collectible #2. Loot the watcher after defeating it (same area as the previous the collectible).
Pilgrim’s Trail
Warning Beacon #13. At the very start of the level, before you climb the first wall, look right to see the beacon.
Warning Beacon #14. Just after you climb up a cliff and see the Glinthawk for the first time, go through the wooden structure and look right to find the beacon.

Lore Collectible #3. After the previous collectible you will use a zipline. The collectible will be on the shrine to your right as soon as you get to the bottom.
Warning Beacon #15. On top of the left stone arch above where the path splits.
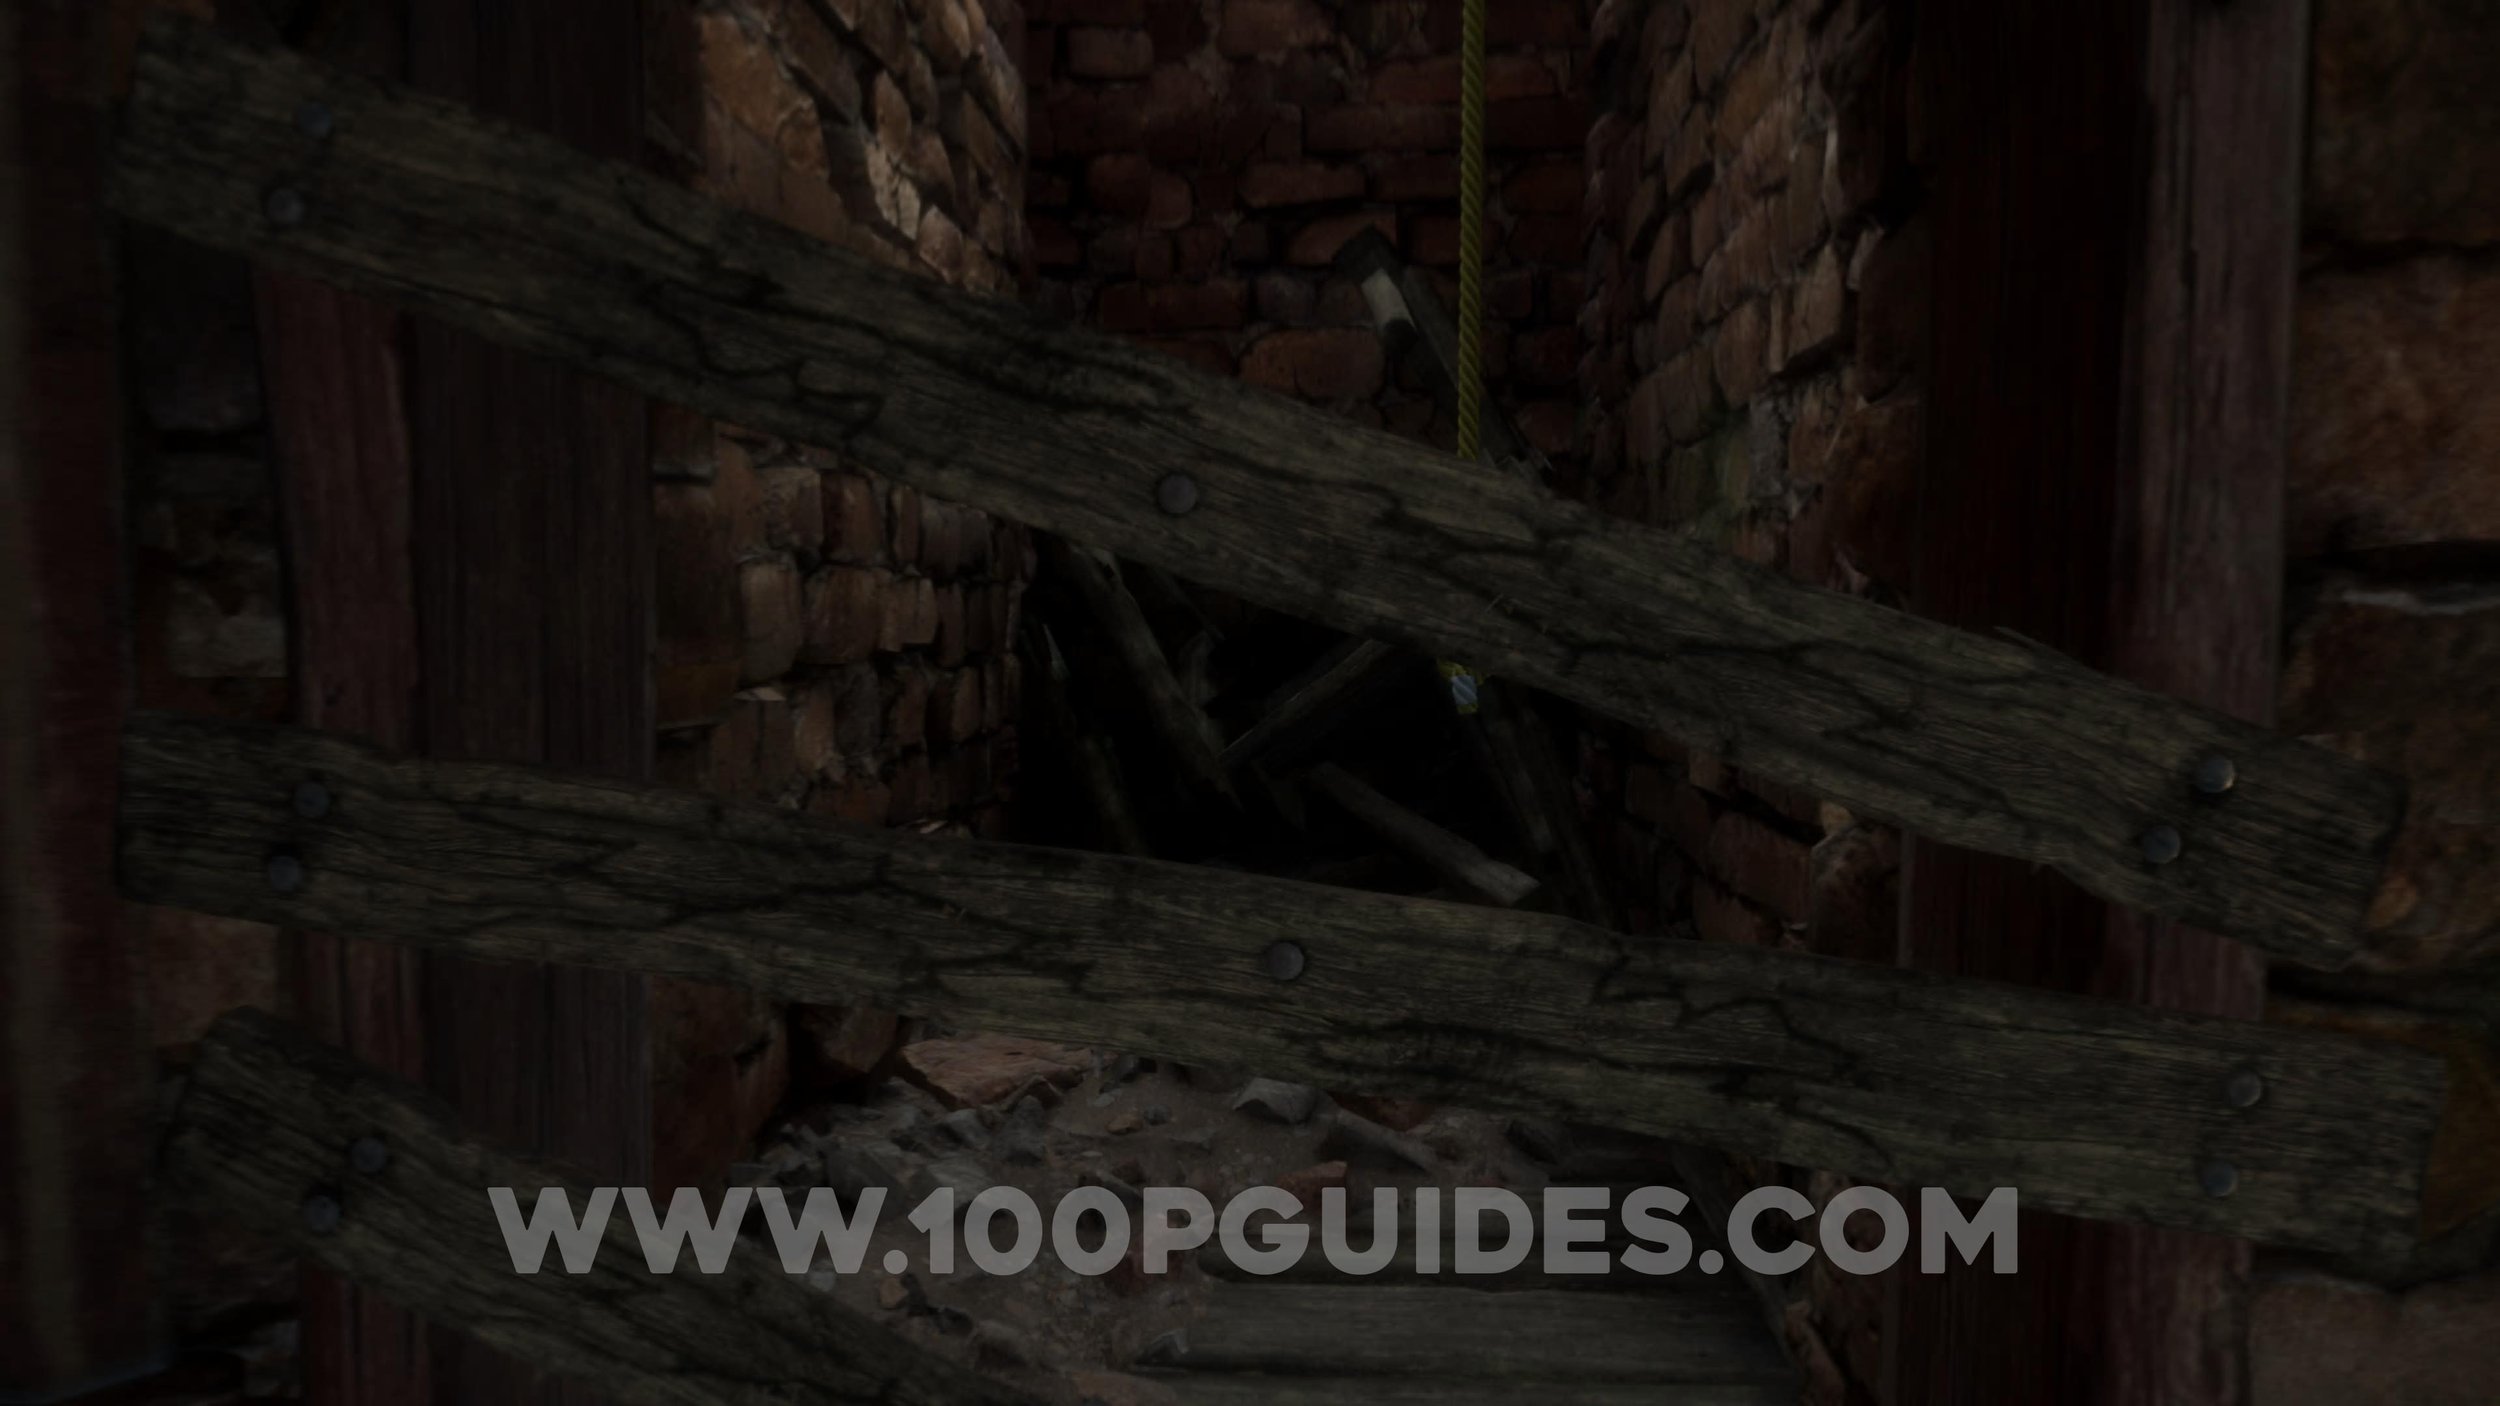
Warning Beacon #16. The path will split in to two. First we will take the right path (you will have to use chapter select after finishing the game to get the collectibles on the other path). The beacon can be found nder the second part of the broken wooden bridge before you go in to the cave.


Warning Beacon #17. After you first climb across some wood inside the cave, you will see the collectible to your right.
Warning Beacon #18. Just after the previous beacon you will use a zipline. On your way down you will see some Watchers. As soon as you get to the bottom of the rope, look behind you to see the beacon.


Warning Beacon #19. Continue through the cave until you get to a section with cages. The collectible will be to the right fo the path where the first cages are.
Lore Collectible #4. Inside one of the hanging cages in the same area as the previous collectible.
Warning Beacon #20. Soon after the previous collectibe you will get to a part where you encounter a lone Watcher in front of your. You can kill it by shooting the rope above it. The collectible can be found to the left of this enemy.


Legendary Climb #1. We are now returning to the start of this area / level where the path splits. This time, go left. Continue and you will automatically unlock a Legendary Climb once you get to the tents.


Warning Beacon #21. As soon as you get to the tents, turn around to find the beacon.
Warning Beacon #22. Just past the tents, look out for a path you can take through the tree on your left. Go down the rope to finde the collectible.


Warning Beacon #23. Continue on the main path until you get to a rope bridge. The collectible can be found to your right just before the rope bridge.
Lore Collectible #5. On the small pillar just after you fight the Glinthawks.
Lore Collectible #6. After the fight with the Glinthawks, you will find a dead one on the right side of the next area (same area as the chest is found). Loot the corpse to get the lore collectible.
Warning Beacon #24. After looting the Glinthawk for the lore collectible, you will have to go down a zipline. After you do that, turn around to find the collectible.
Warning Beacon #25. Just after another zipline you will have to shoot 2 strings off a drawbridge. Just before the drawbridge, go around the rock on the left to find the beacon below you.


Warning Beacon #26. Up the river where the 2 paths meet again.
Warning Beacon #27. While standing in the same place as you did for the previous one, turn around and look for the beacon just above the drawbridge.
Upper Slopes Of Brightdawn
Warning Beacon #28. Near the start of the level you will see a scrapper come out of a cave. Go through that cave and look left as you come out the other side to find the beacon.


Warning Beacon #29. To the right of the previous collectible.
Cairn #1. In the same area as the previous collectible.
Warning Beacon #30. After going back through the cave you will have to do some climbing. At the end of the climbing section, look left to find the beacon on top of the rock arch.
Warning Beacon #31. Continue through the level until you climb through a cave. After you come out the other side, look down to your right to find the beacon.


Warning Beacon #32. To the right of the previous collectible, under the bridge that you was on that gets destroyed by the scrappers.
Lore Collectible #7. Loot the scrapper after the fight (story objective).
Warning Beacon #33. In the area where you fight he scrappers.
Legendary Climb #2. Start by climbing up the planks of wood to the left of the previous beacon. Climb all the way to the top of the massive statue to finish the legenday climb.


Lore Collectible #8. On top of the statue where you finish the legendary climb.
The Sunspear
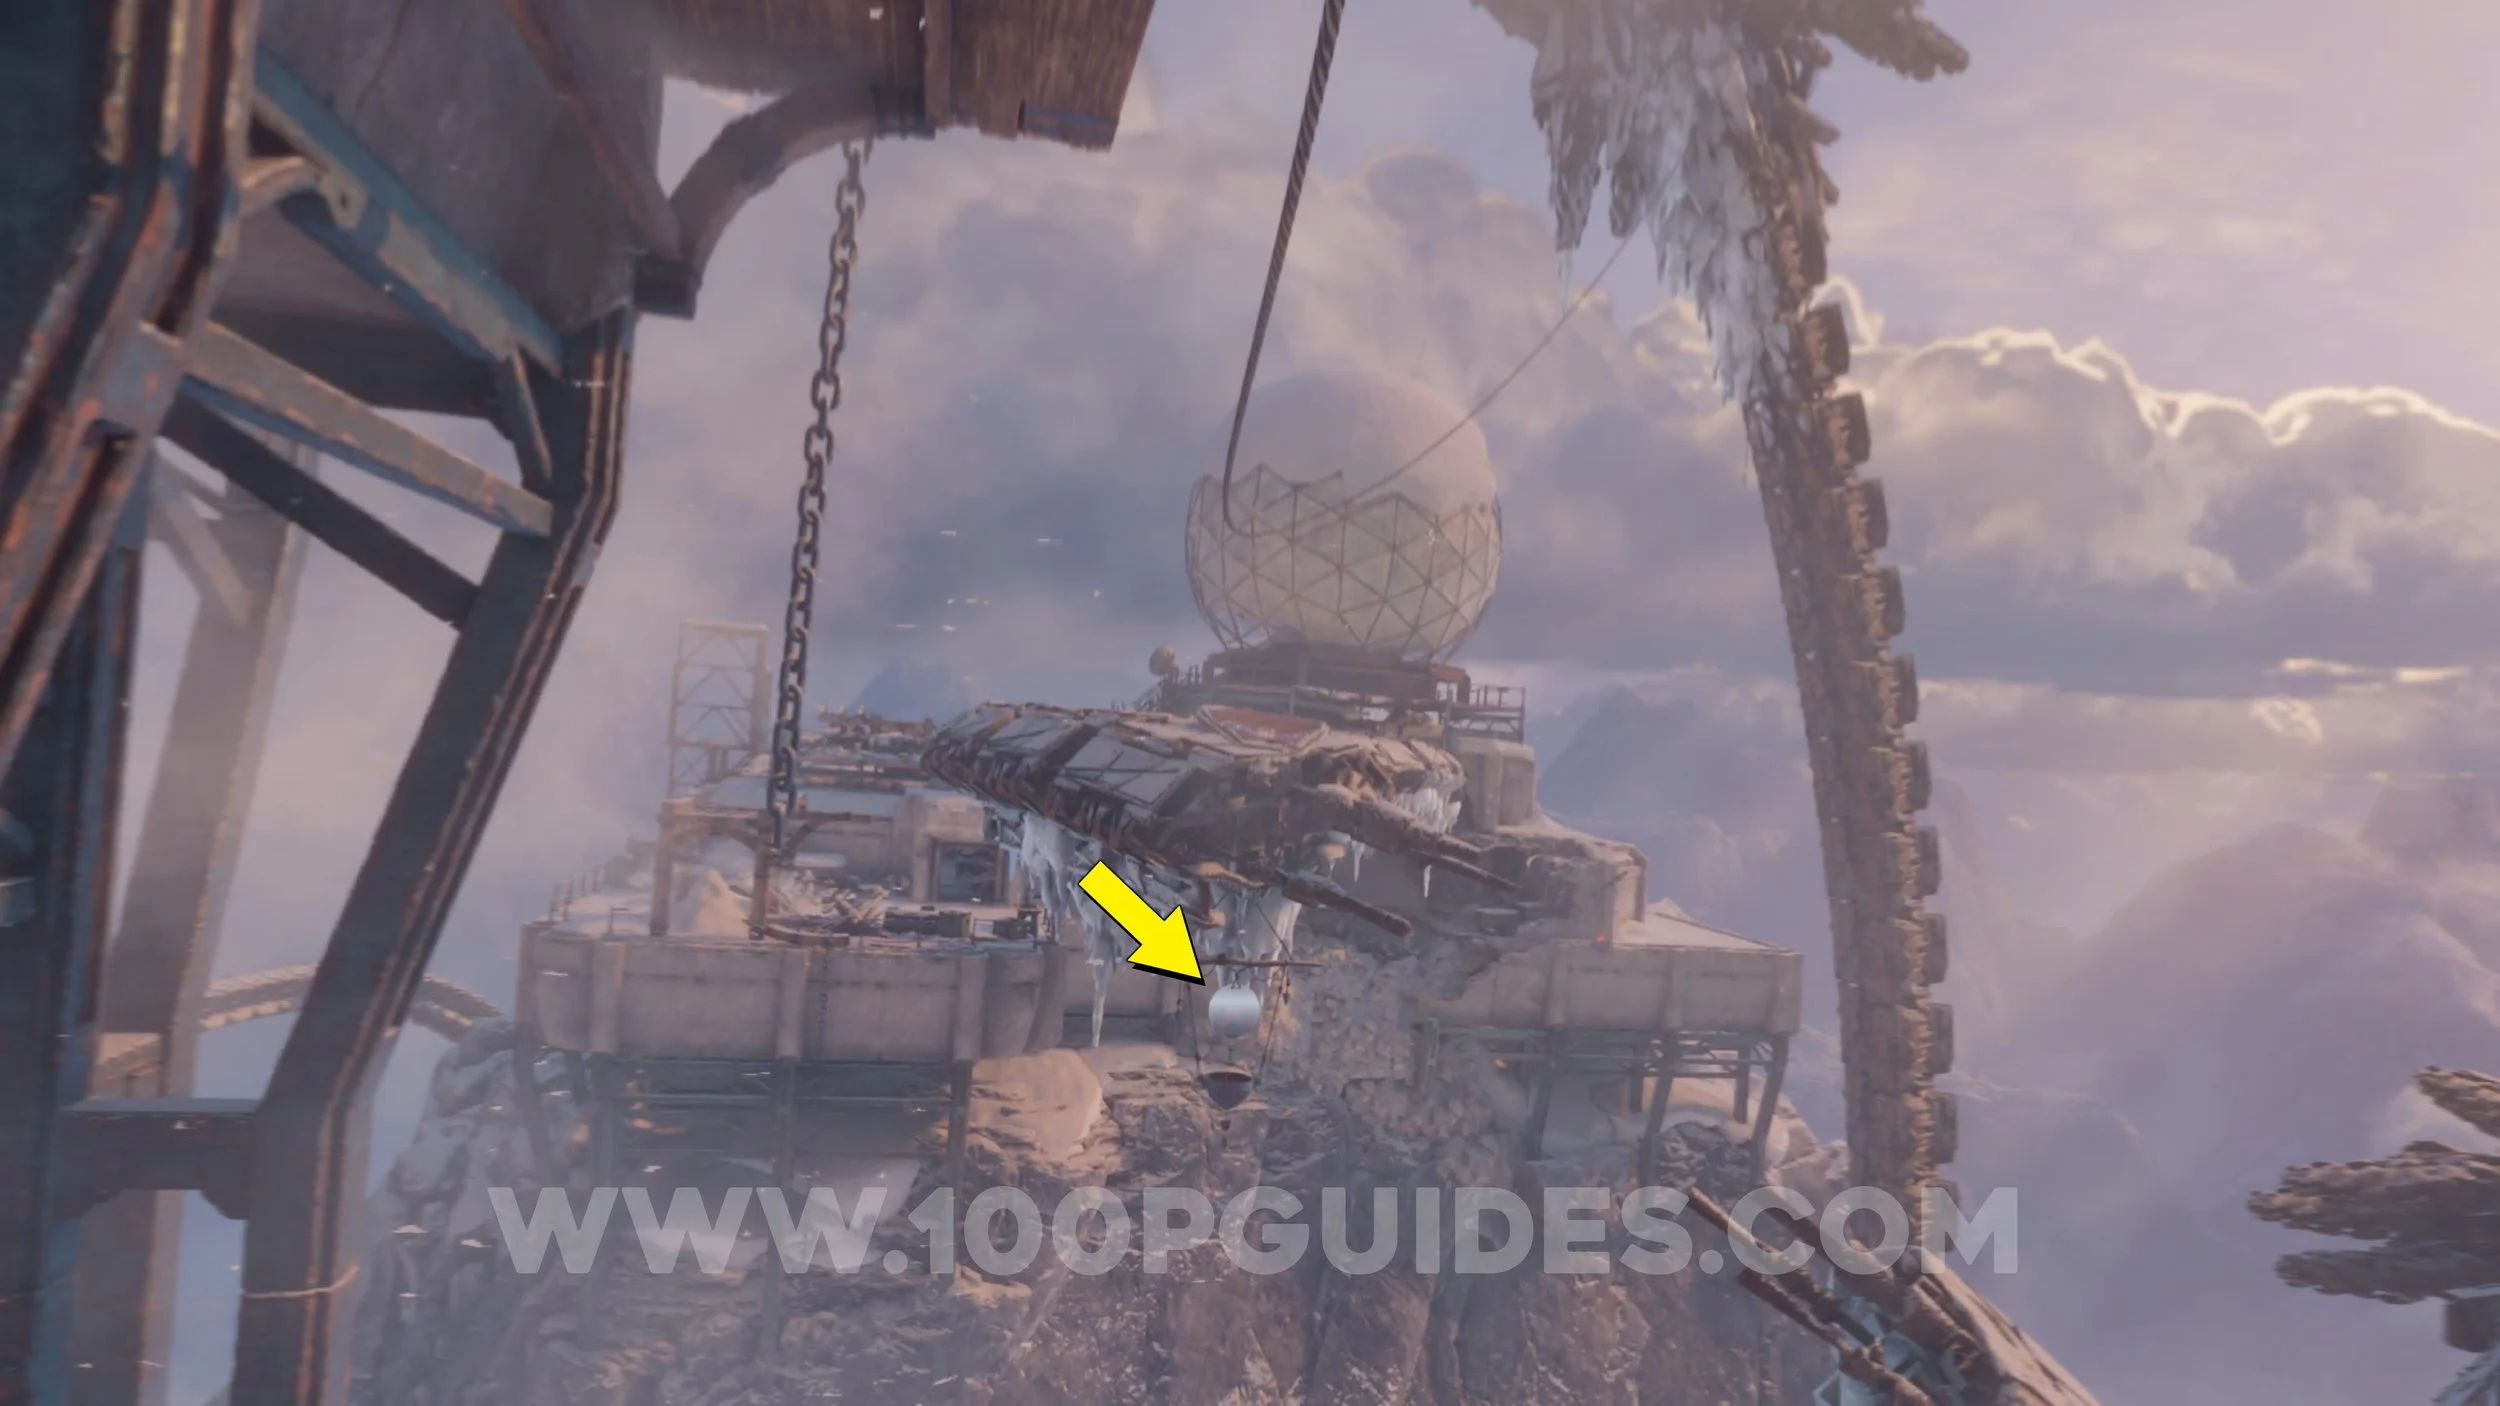
Warning Beacon #34. As soon as you use the lift that you fix with the scrapper part you will find the beacon below you.
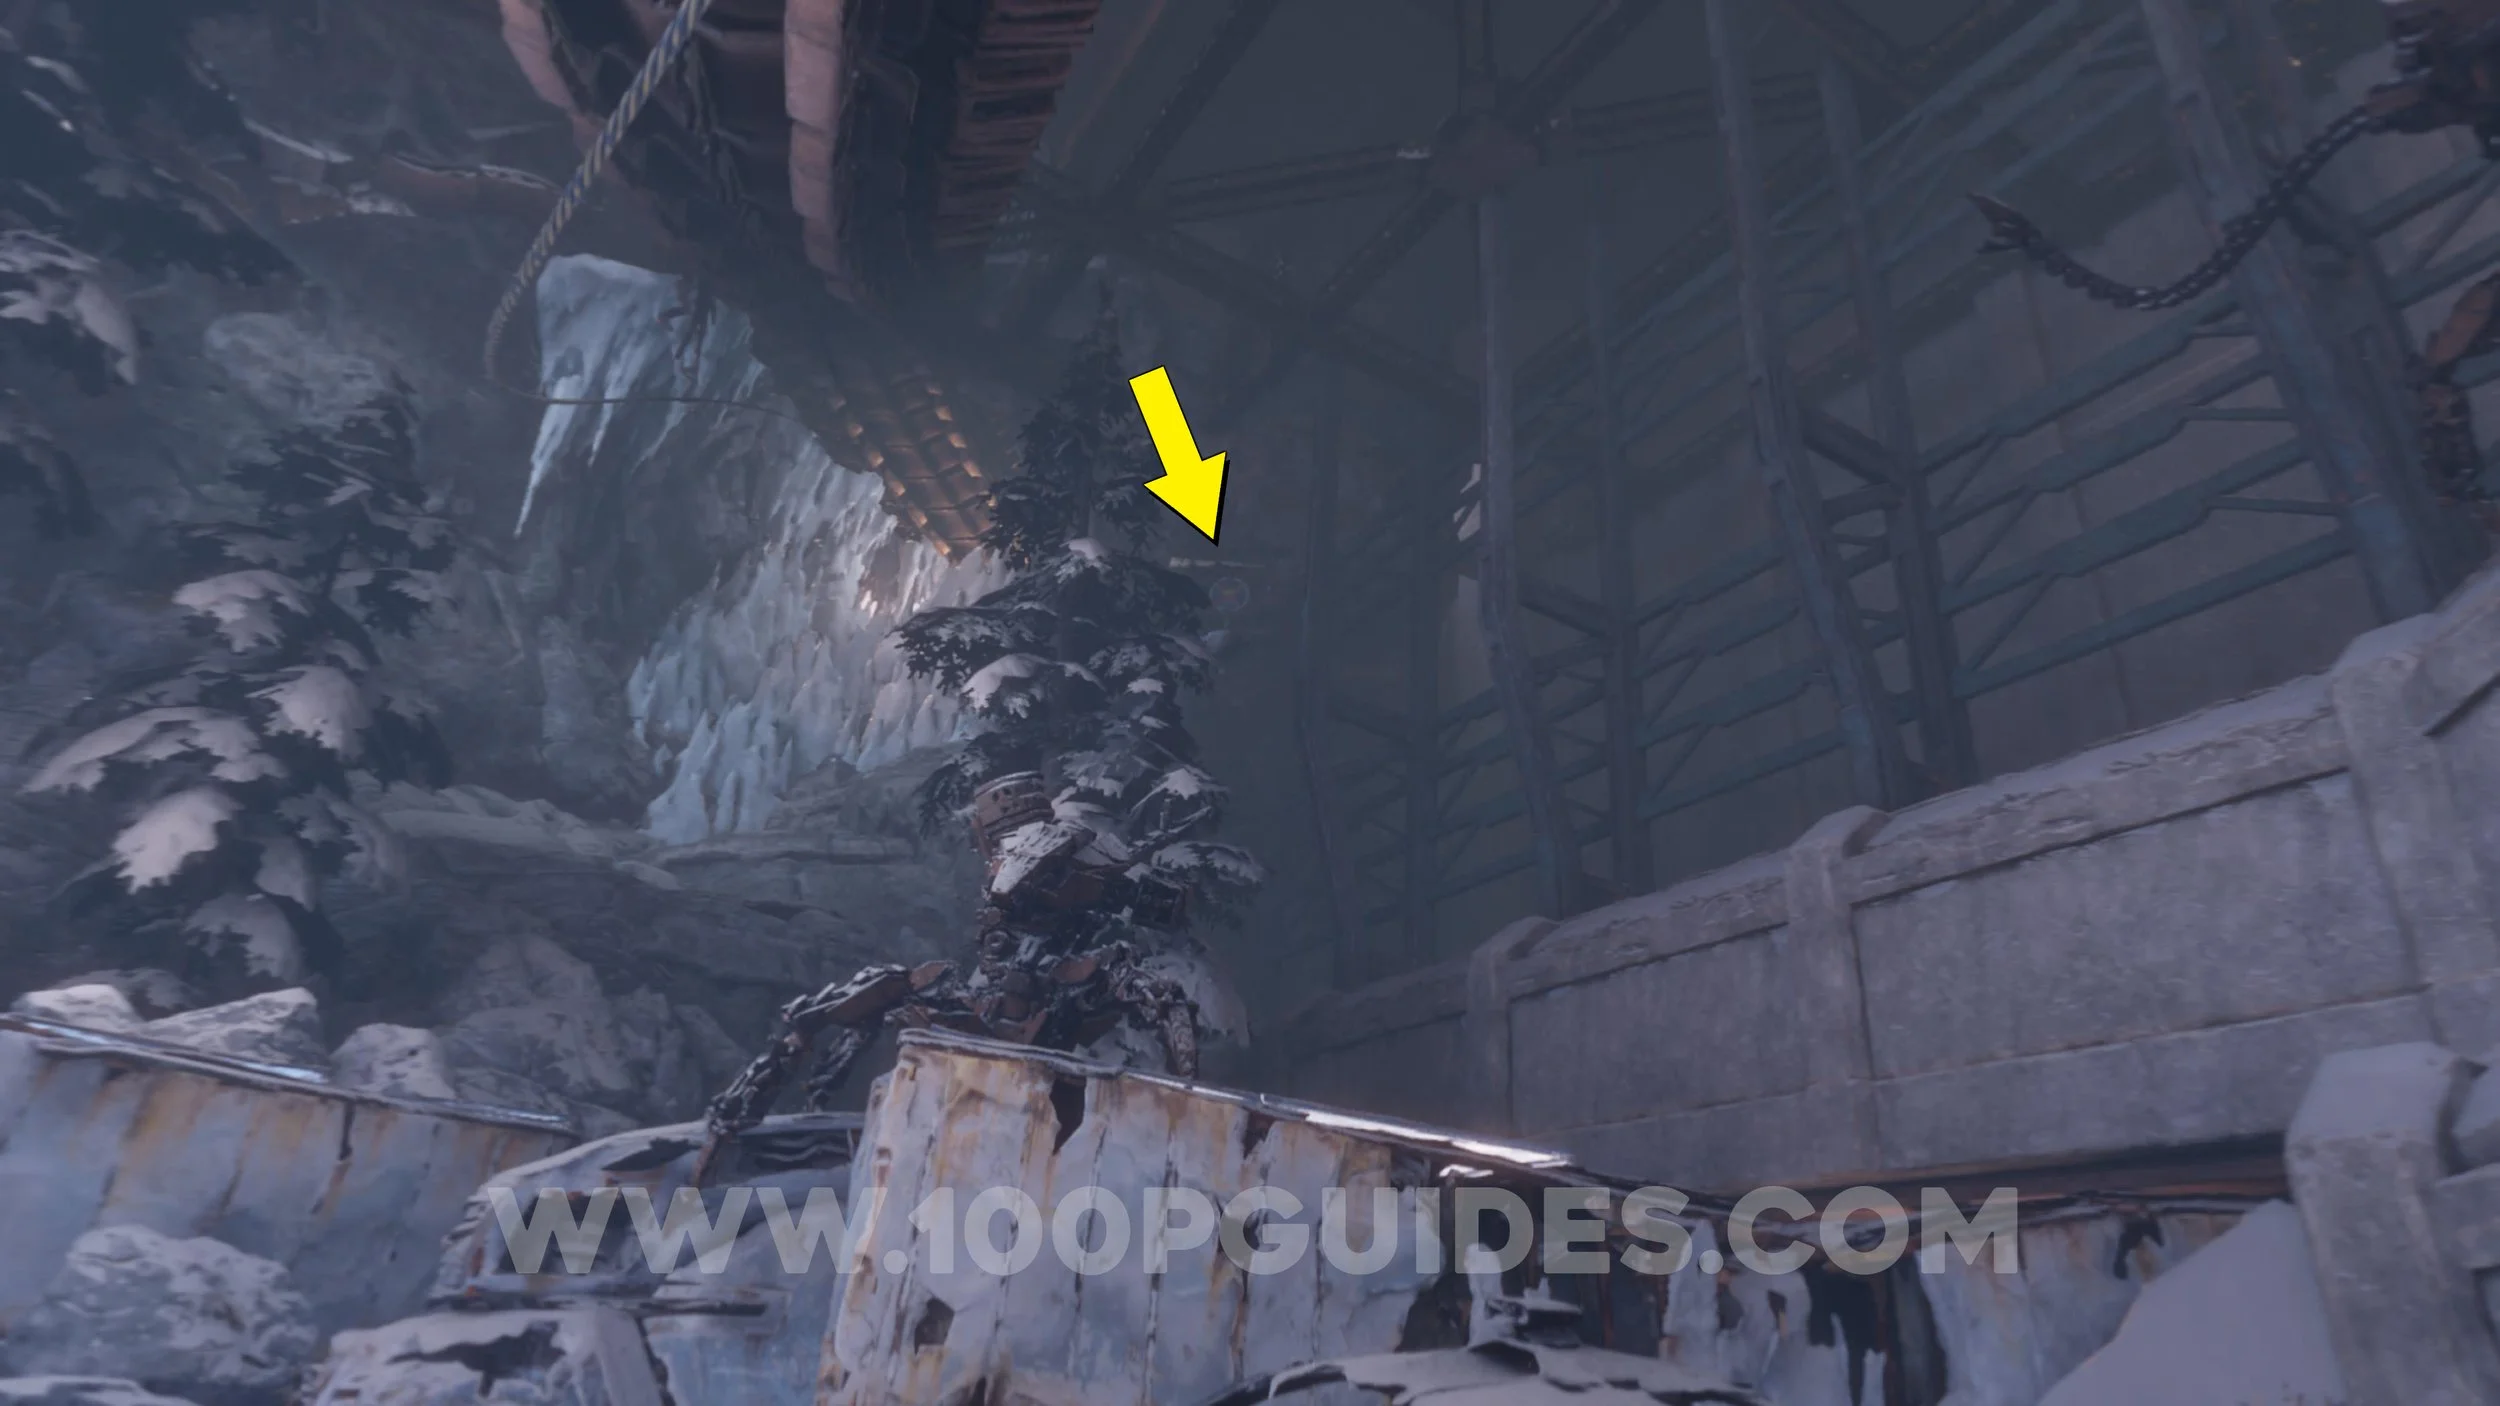
Warning Beacon #35. After using the rope to zipline down from the start, look righ to find the beacon.
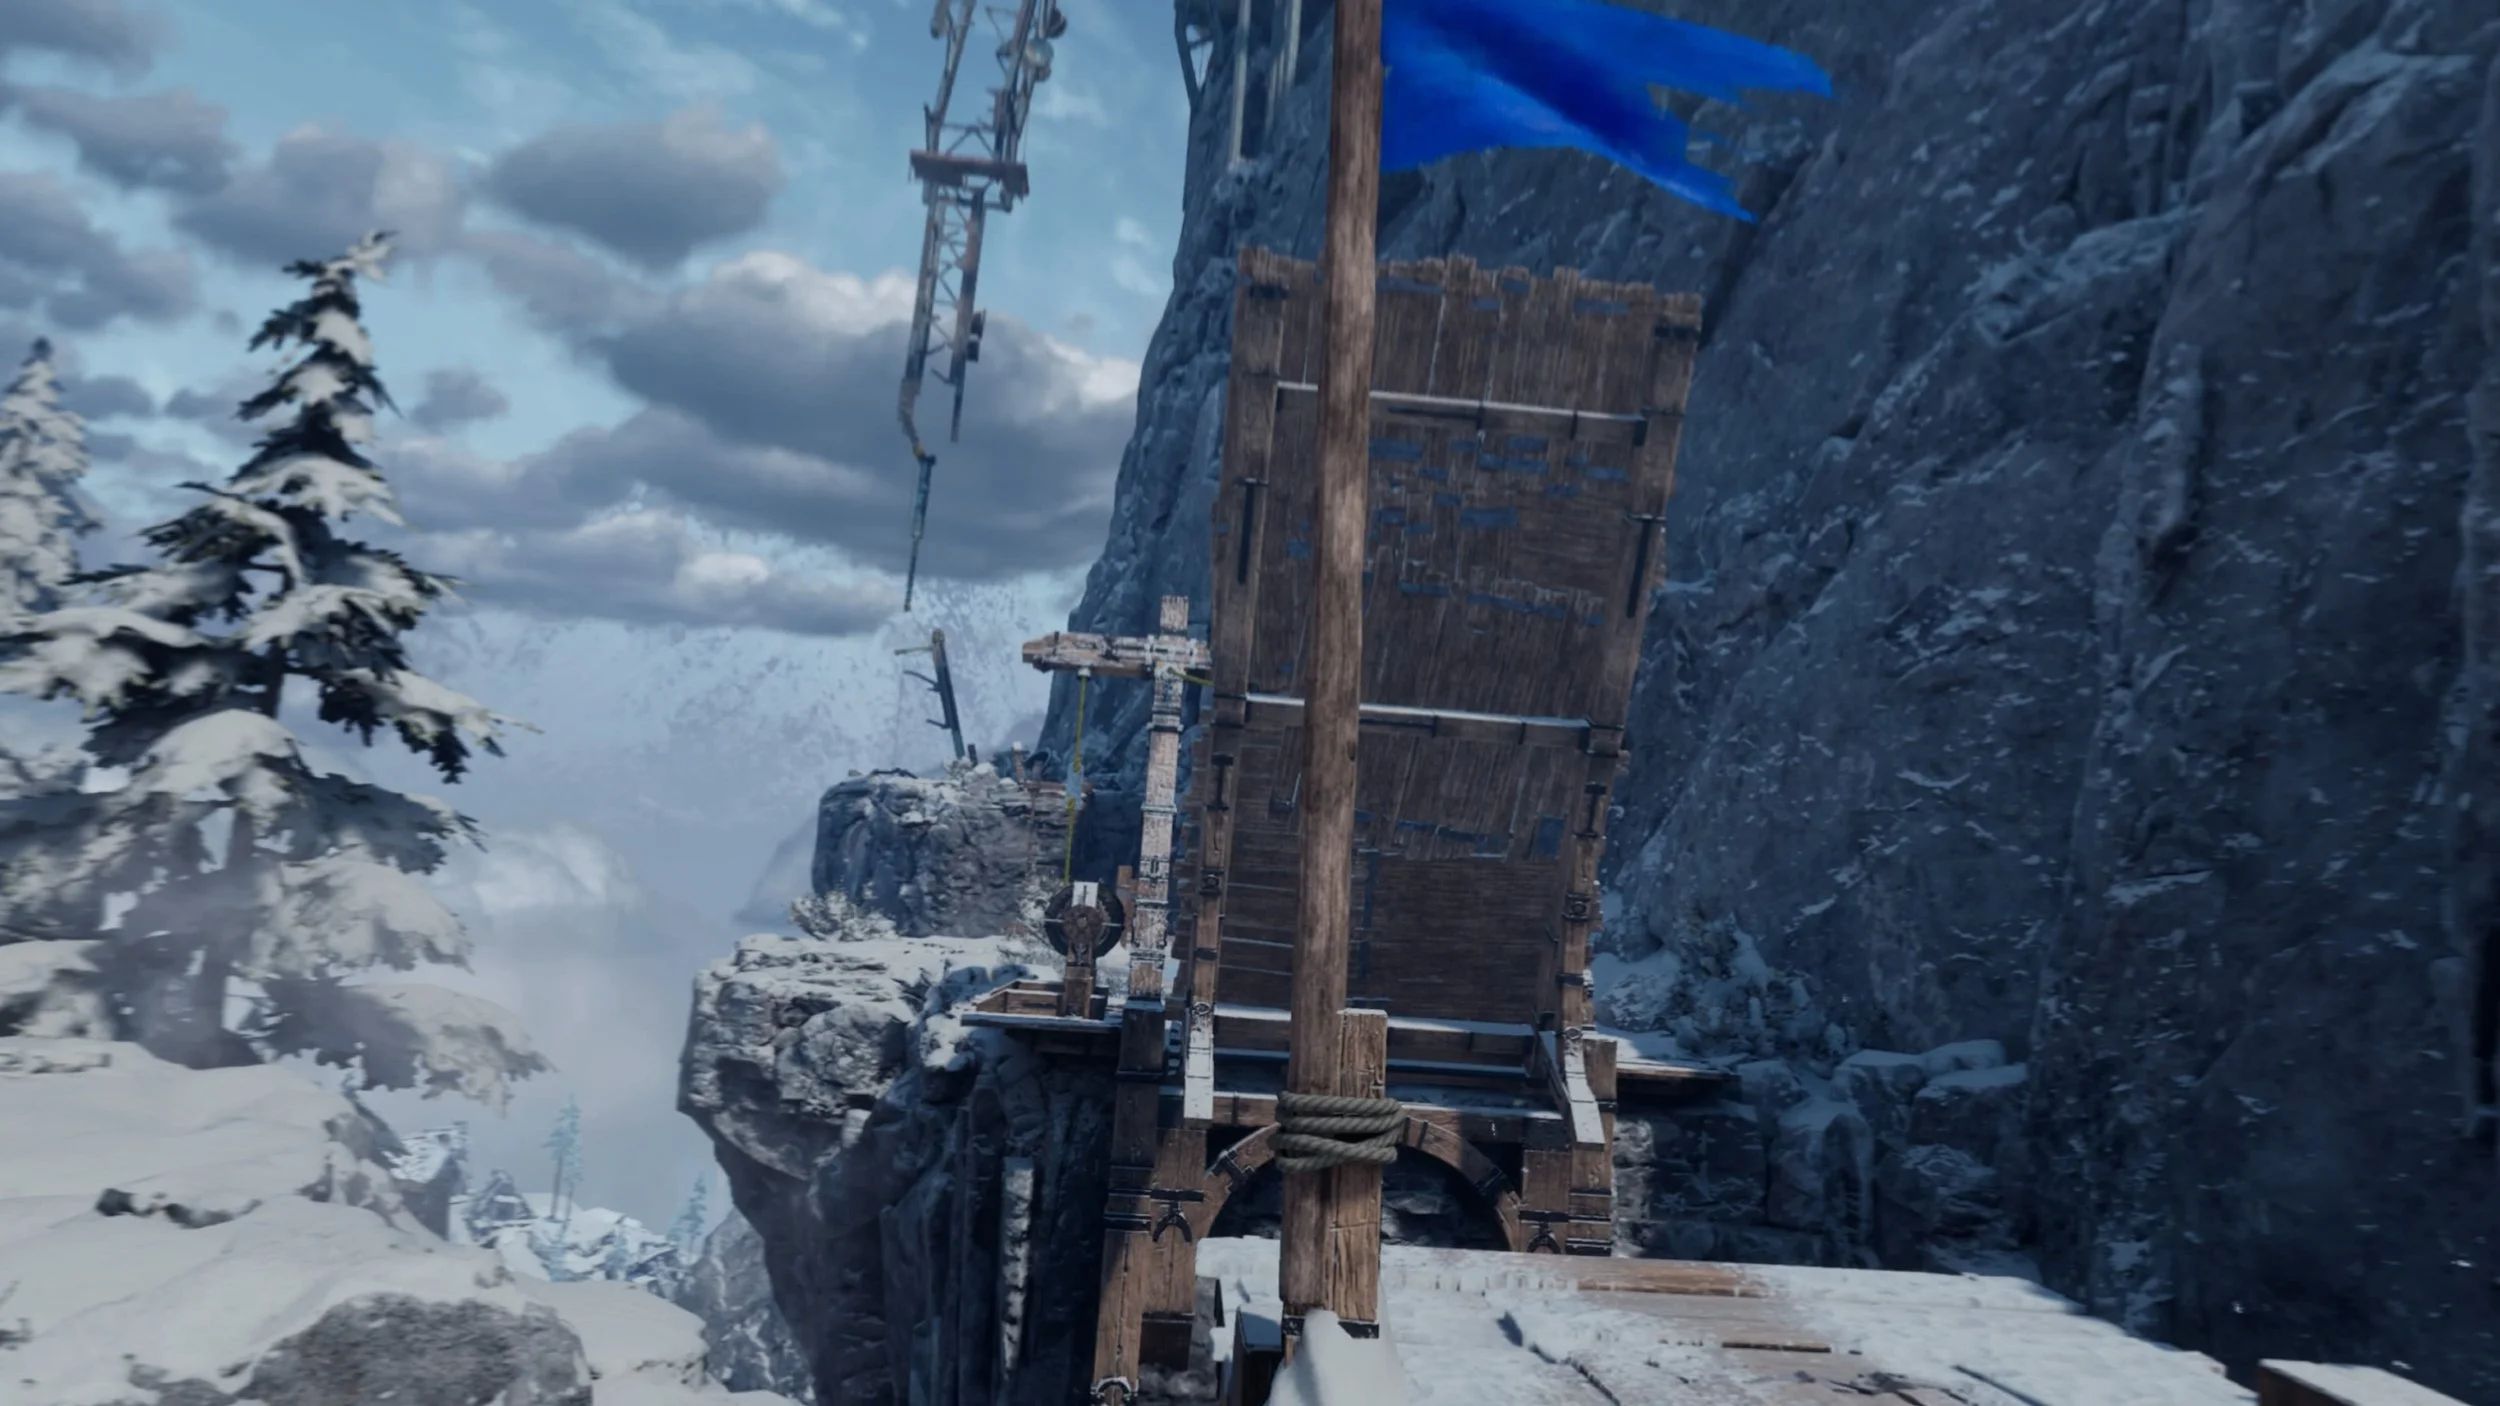
Warning Beacon #36. To your right where you have to turn the wheel to lower the drawbridge.
Warning Beacon #37. After crossing the drawbridge you will enter a building. Here go around to the back of the lift to find some planks of wood that you can break. On the other side, climb the rope and get off on the right side. Here look through the window to find the beacon.

Warning Beacon #38. After the lift gets stuck. Look around to see the beacon.
Warning Beacon #39. After climbing around the mountain to get off the stuck lift, you will come to a fork in the path. Take the left path at the painting on the wall to go around a building. On the other side look back up to the building to find the beacon.

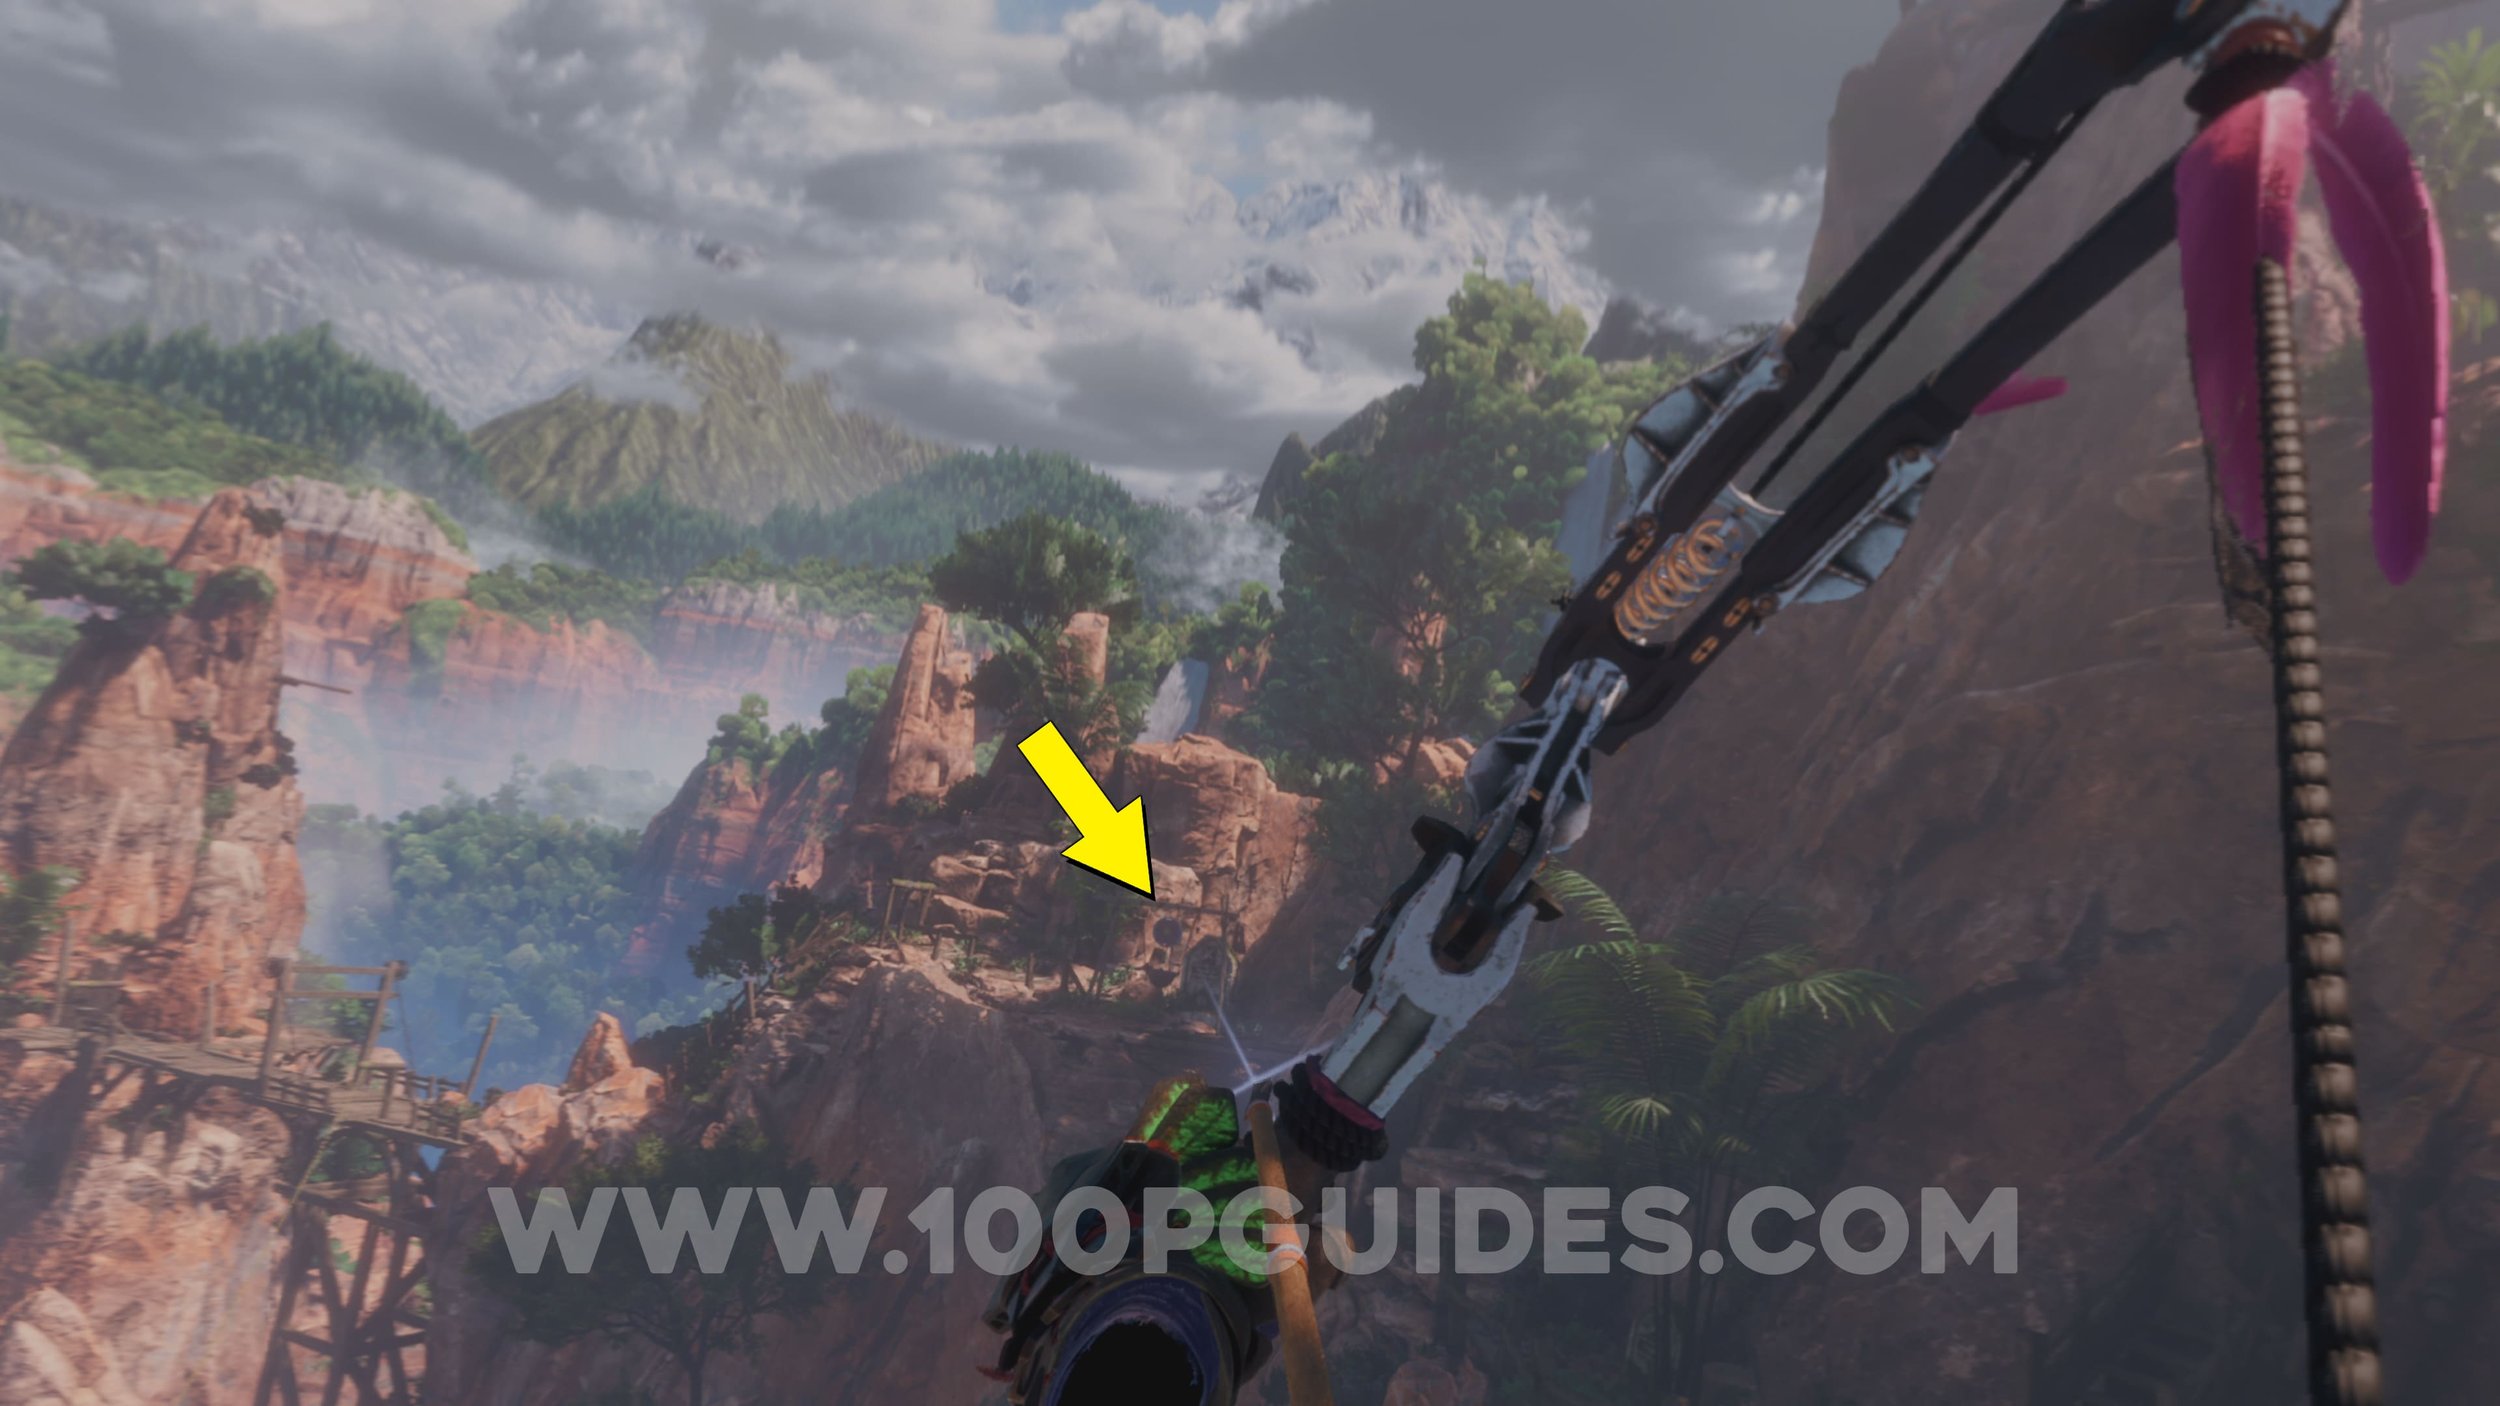
Warning Beacon #40. On your right after using the grappling hook for the first time.
Cairn #2. After a long climb up the mountain, you will go through a cave. Inside, take the right path to find the cairn outside.


Warning Beacon #41. To the left of the cairn.
Warning Beacon #42. After fighting some glinthawks, you will find the beacon below you to your left.
Warning Beacon #43. Soon after the previous collectible, you will start climbing up the final part of the mountain. You will then go through a samll cave. As soon as you come out the other side of the cave, you will find the beacon below you.
Legendary Climb #3. Unlocked automatically once you reach the top of the mountain.
Talonreach Ascent
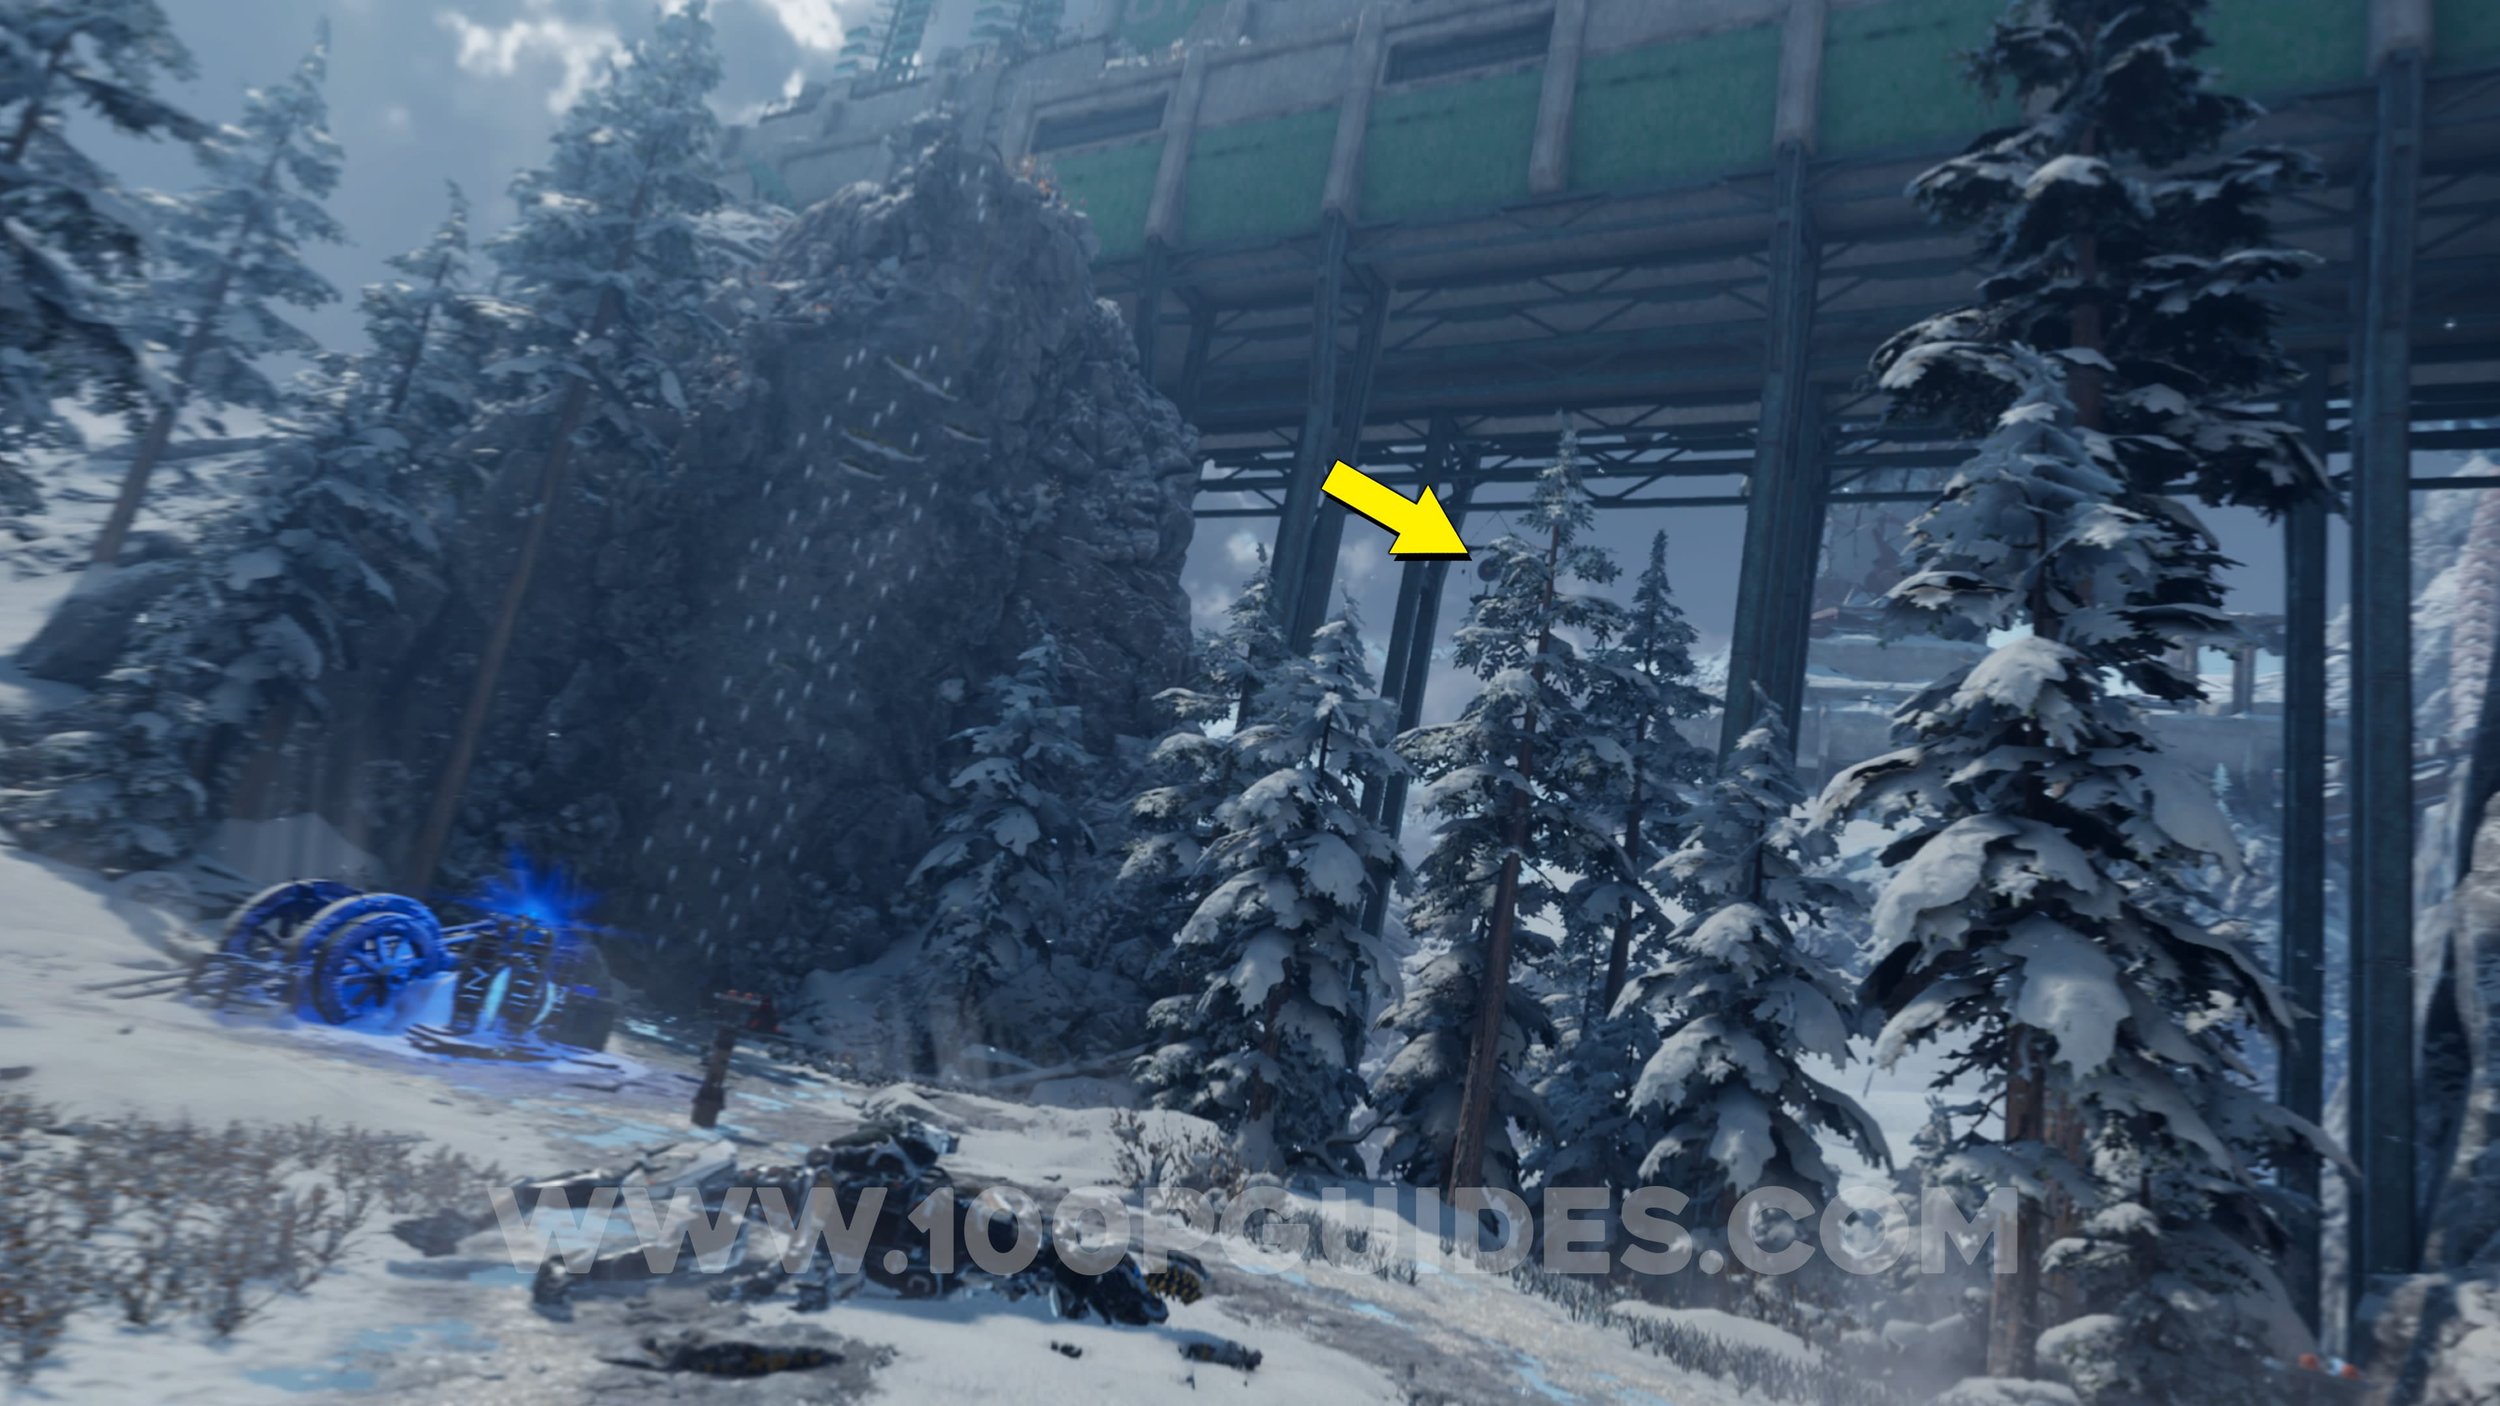
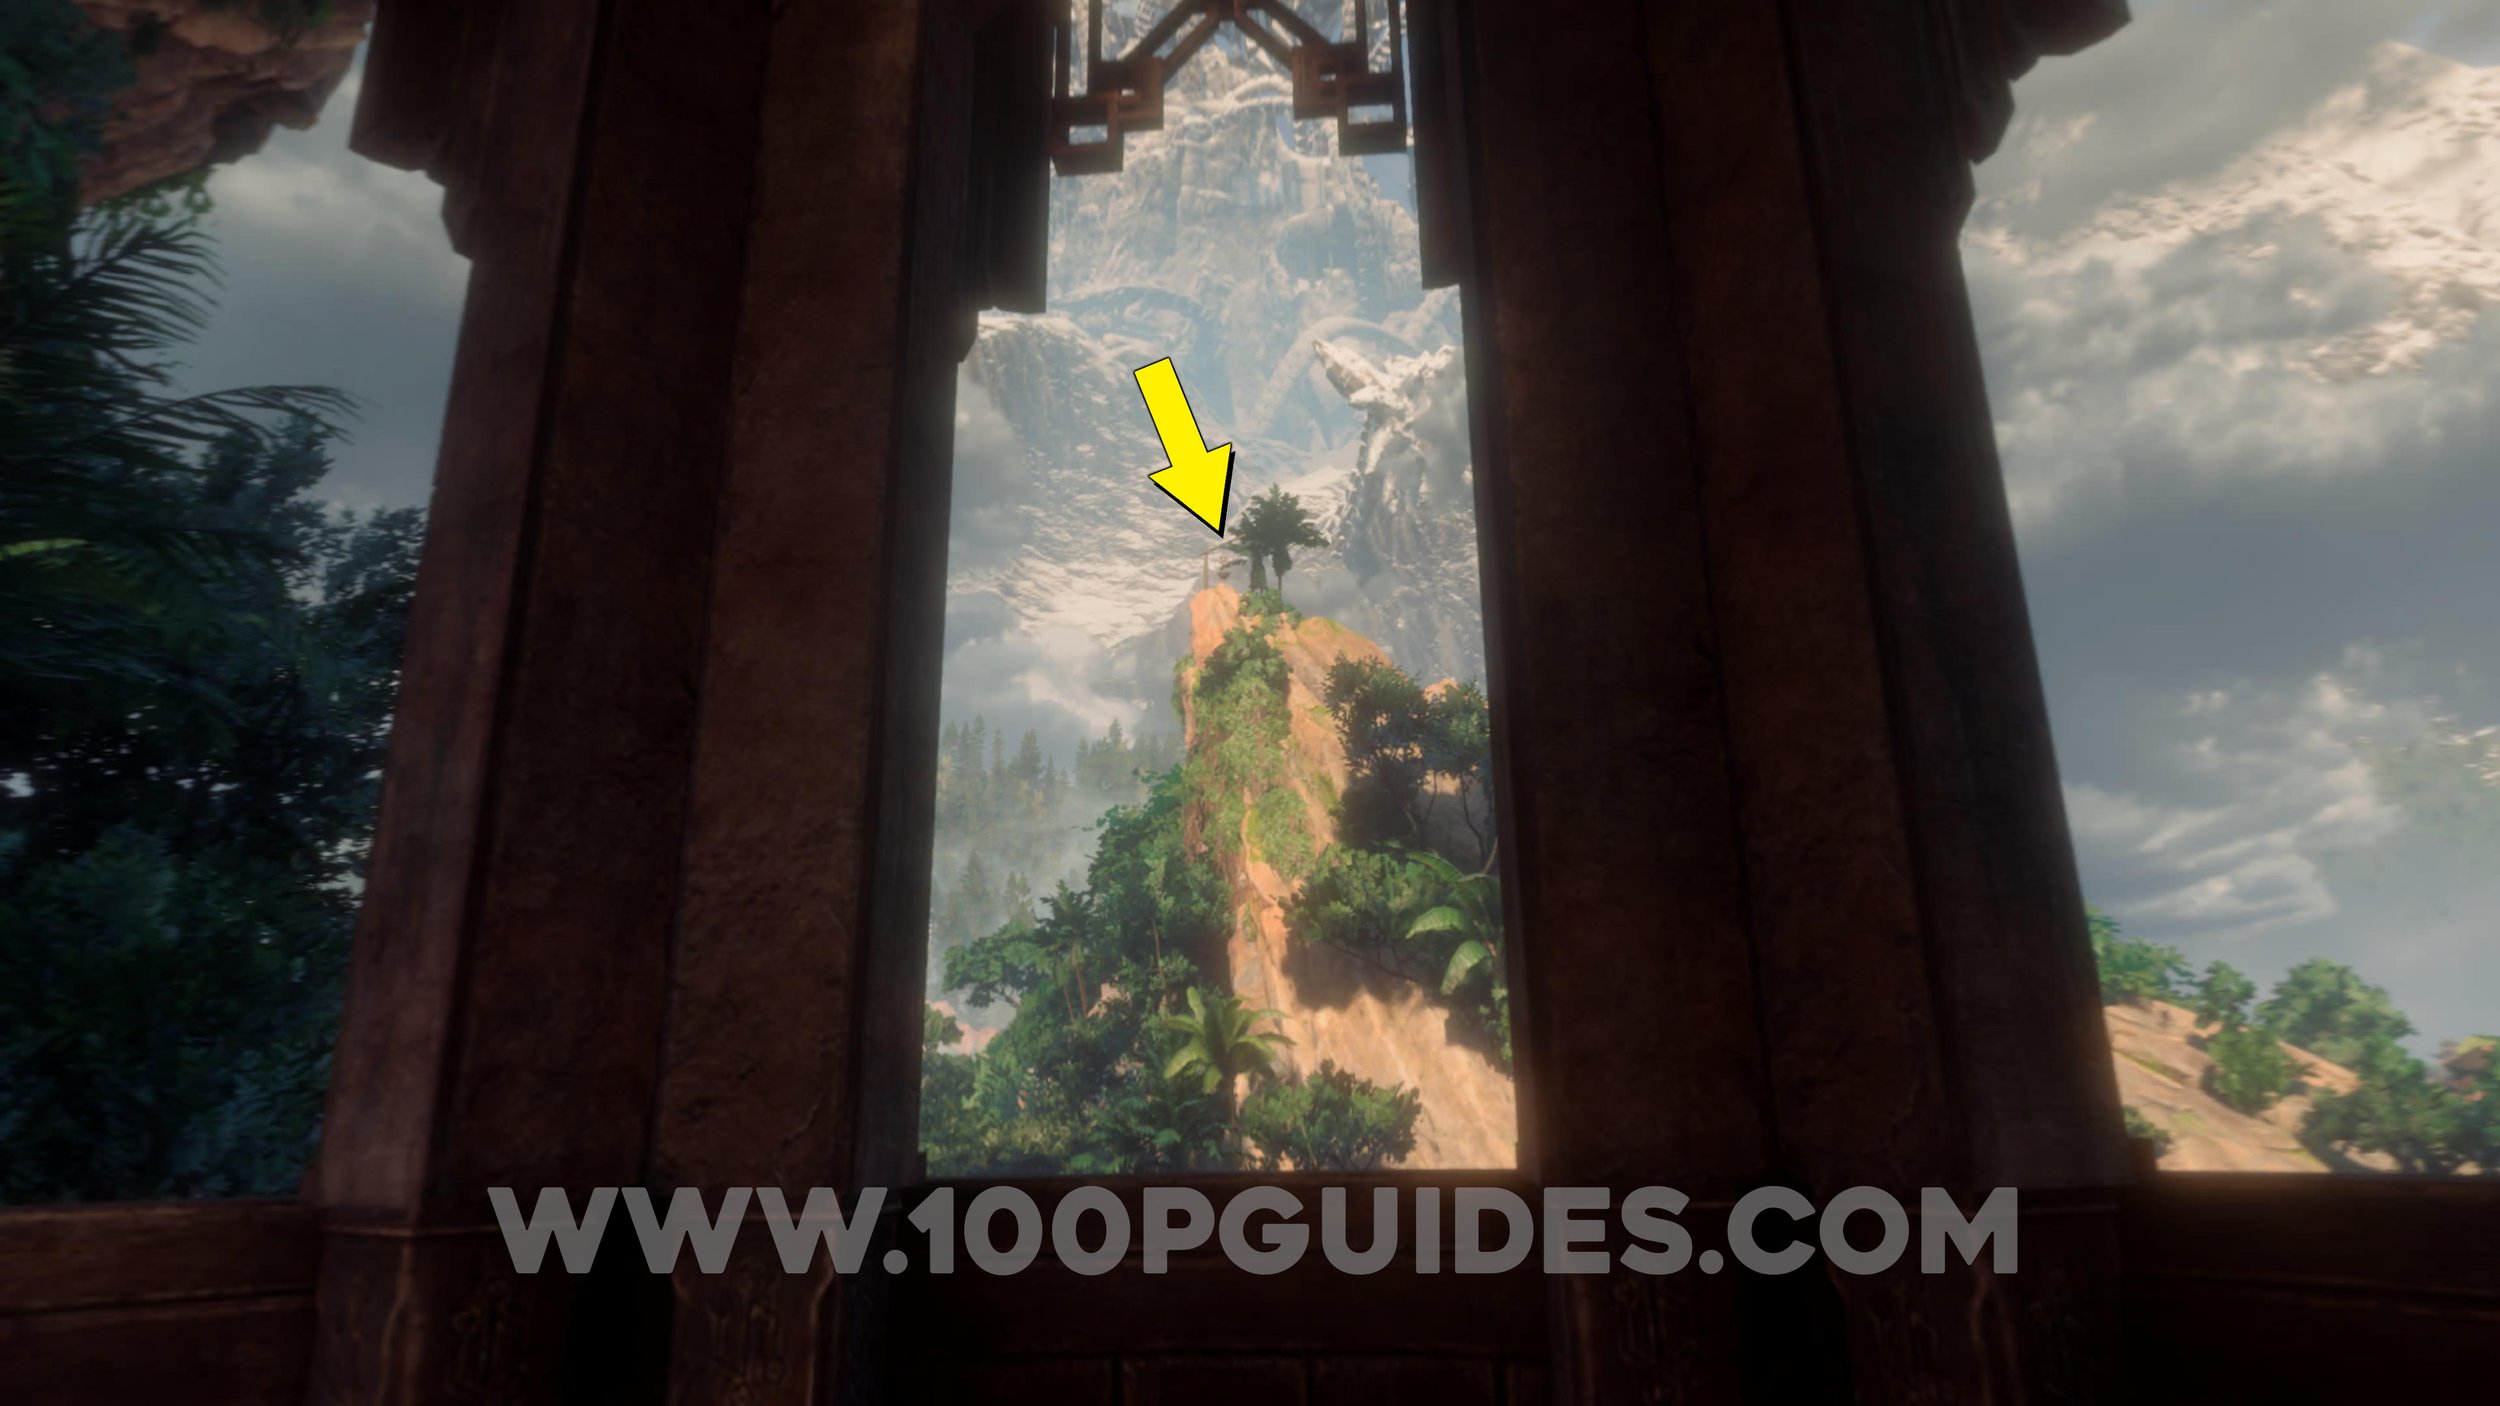
Warning Beacon #44. Close to the start of the level you will see the first grappling point. The beacon is high above it.
Warning Beacon #45. In plain sight to your right soon after the previous beacon (in the area where you have to jump to the yellow rope hanging from a crane).
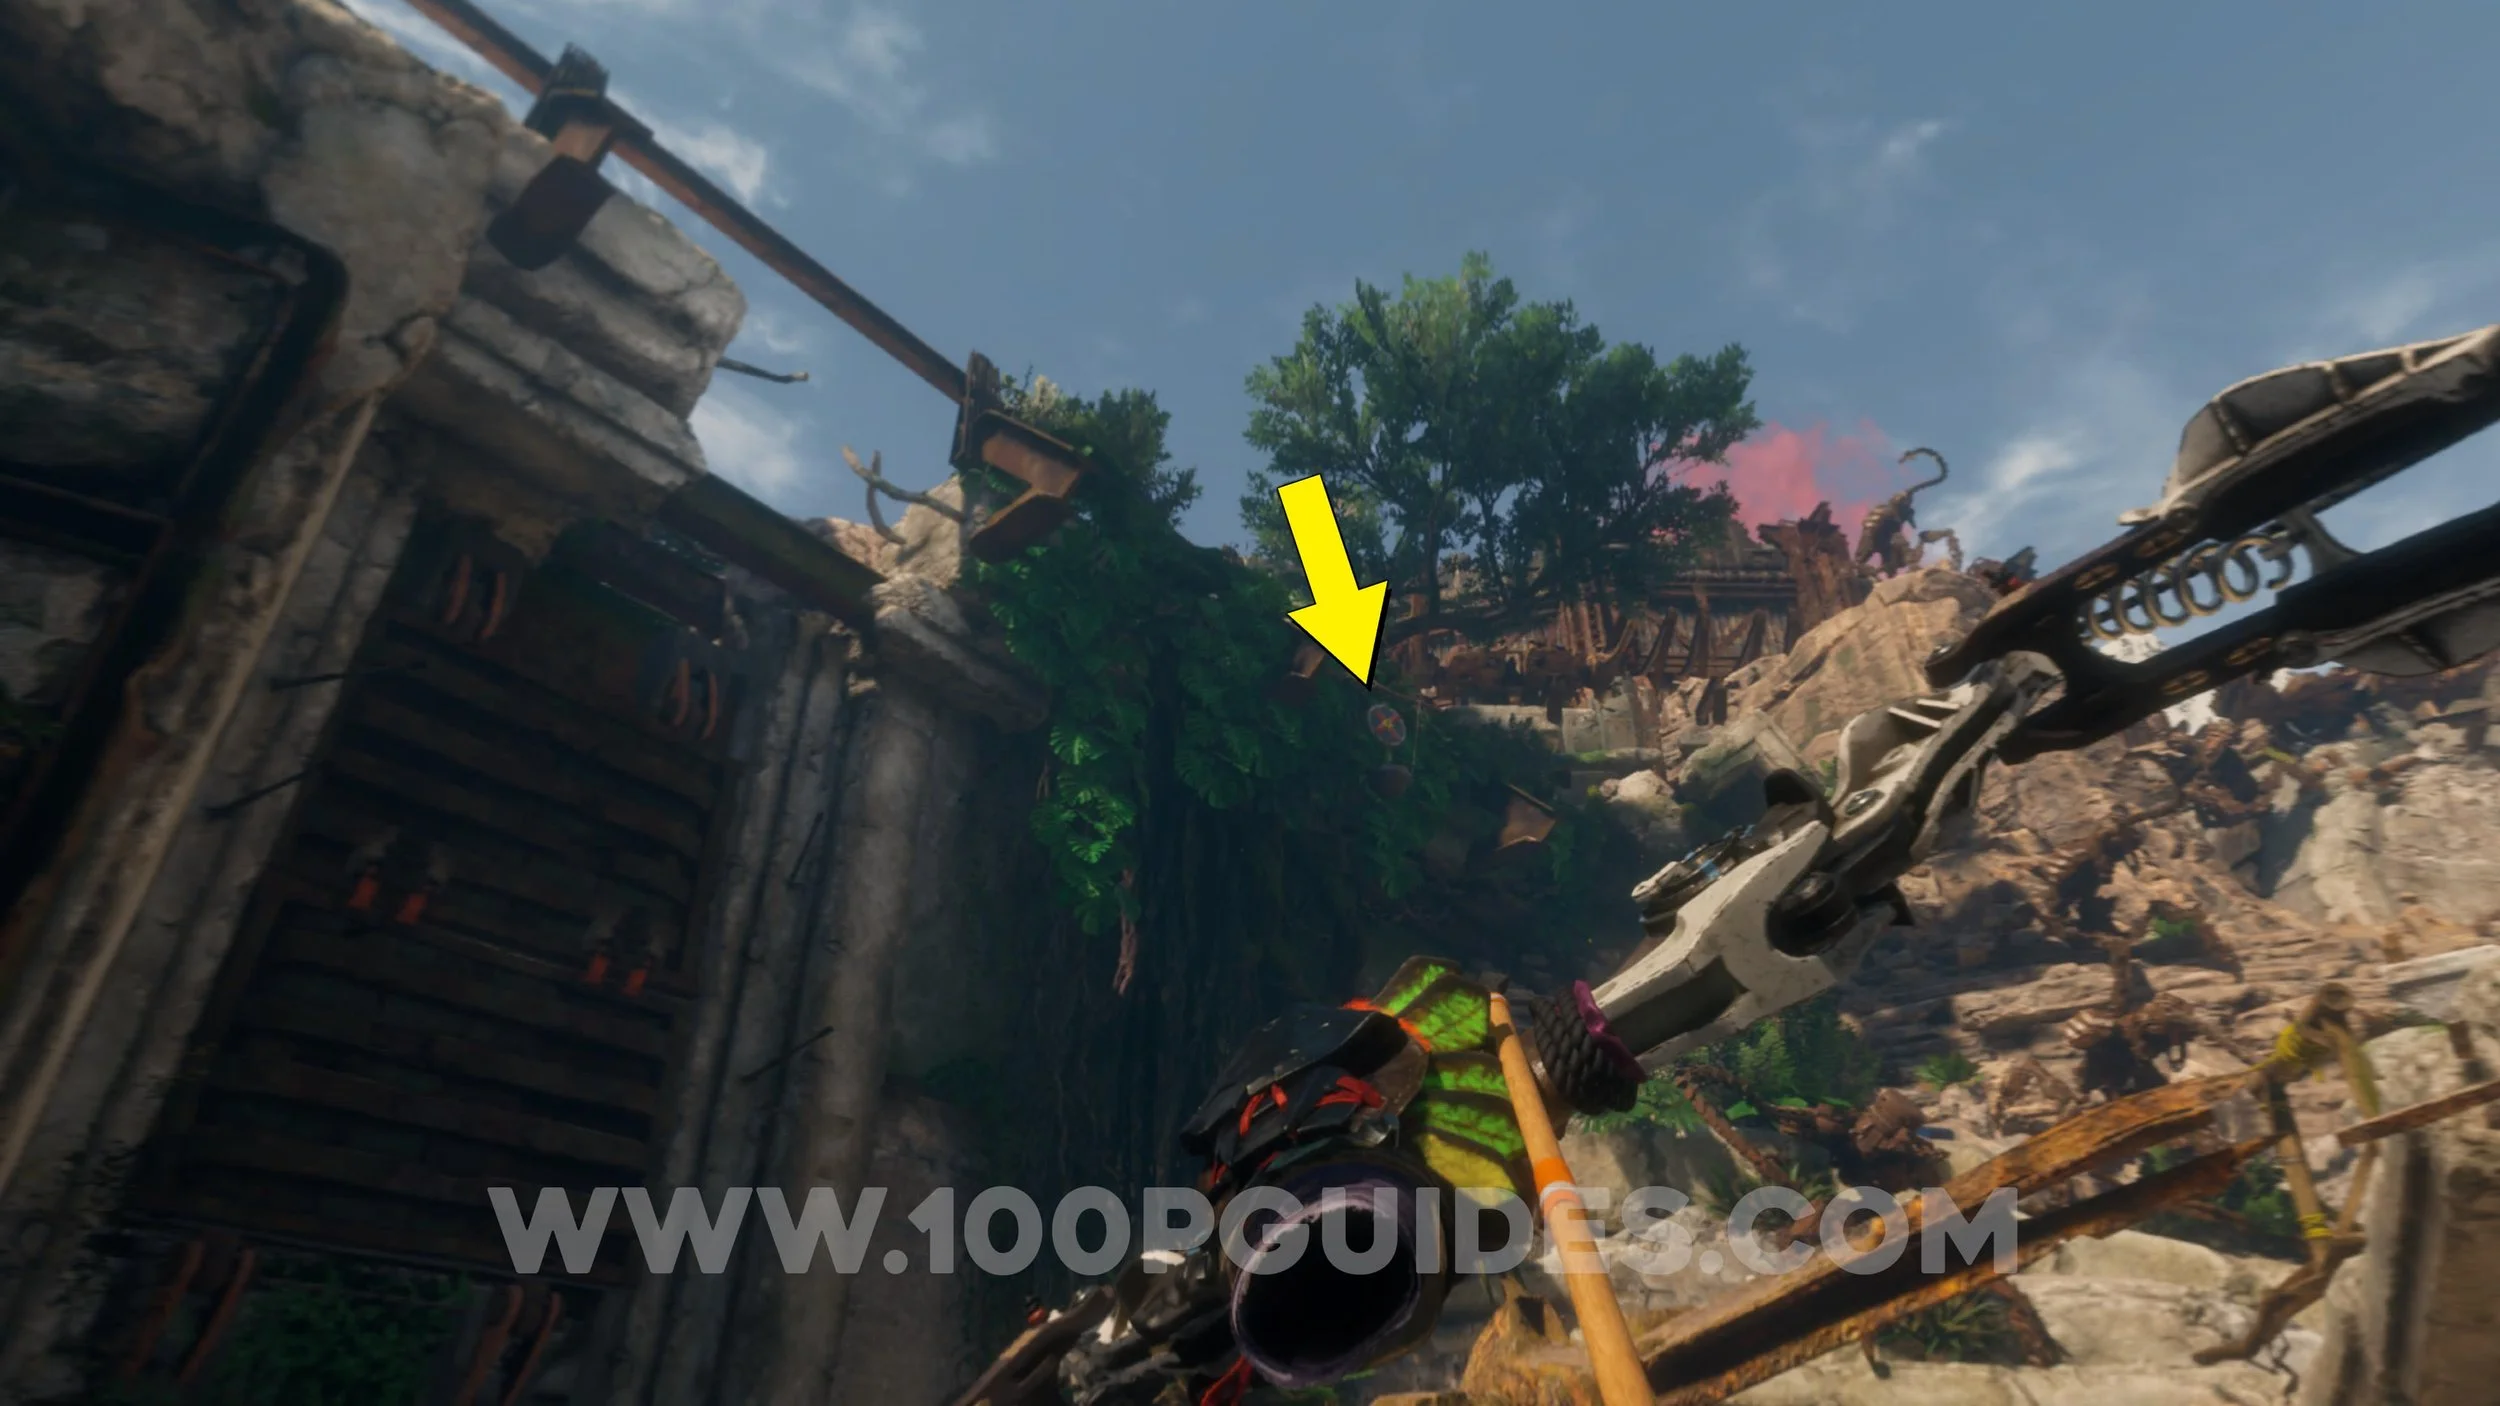
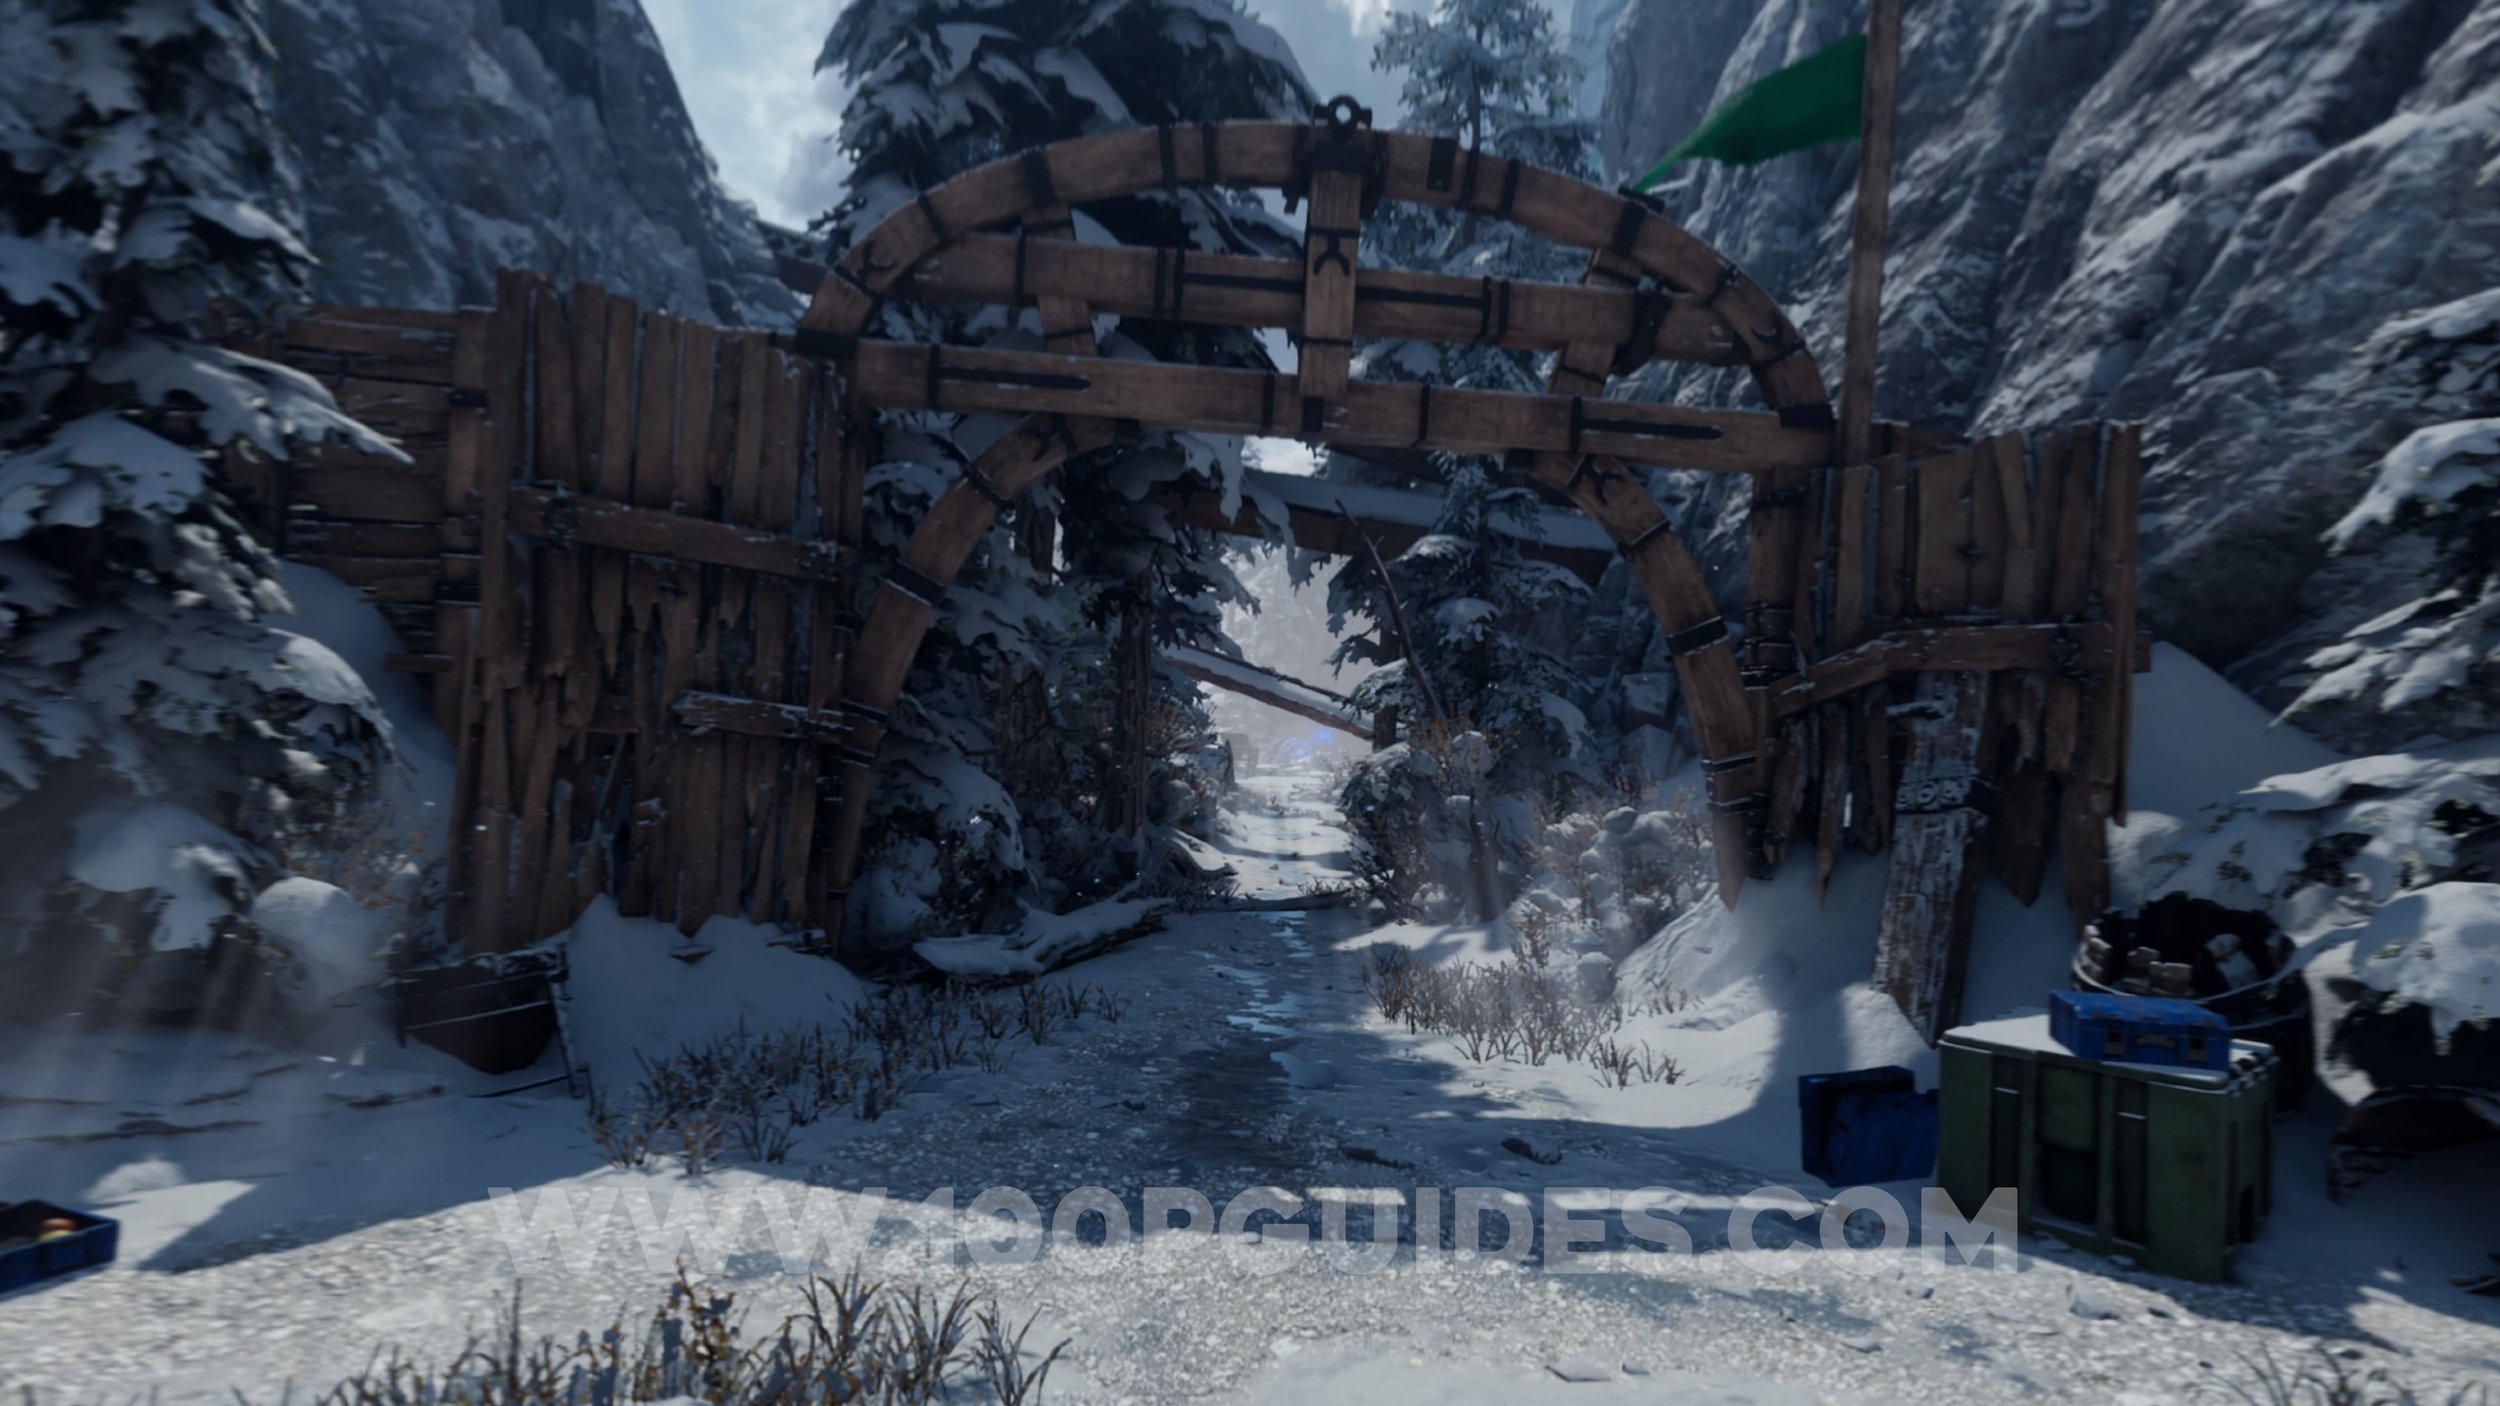
Warning Beacon #46. On the right of the big metal door you have to open with the ballista.
Warning Beacon #47. As soon as you enter the warehouse behind the big metal door you open with the ballista, look straigh ahead to find the beacon.
Warning Beacon #48. In front of you as soon as you leave the warehouse where the Thunderjaw attacks you.
Warning Beacon #49. After using the wooden mechanism with a chain to open a door, look to your right.
Warning Beacon #50. After going through a door where you have to interact with the wooden mechanism and use a stick as a brake, look up to find the beacon.
Warning Beacon #51. To your right just after you get rid of the Thunderjaw by shooting some canisters.
Lore Collectible #9. In the orange box below the previous collectible.
Warning Beacon #52. Soon after the previous beacon you will see some crows to your right. The beacon is above a pile of corruptors.
Warning Beacon #53. After you start climbing up the tower you will see some hanging corruptors (you will have to climb up them soon). Here look left to find the beacon.


Legendary Climb #4. Obtained automatically once you get to the top of the tower.
Warning Beacon #54. On the side of a tower where you fight the Thunderjaw.
Mother’s Tears
Warning Beacon #55. In the tower at the very start of the level (you can also ge this one from the area with the first watchers).
Lore Collectible #10. Inside the house to the left of the area where you encounter the first watchers.
Warning Beacon #56. To your left in the area whrre the first wooden mechanism is found.

Warning Beacon #57. On your left just after the section where you have to hide from the watchers as you climb around below them.
Warning Beacon #58. Near a hut on your left after climbing up the next part of the mountain.
Warning Beacon #59. After fighting the group of watchers, a chest will appear. The beacon can be found behind the house in front of the chest.


Warning Beacon #60. After the previous beacon, you will climb up a mountain. At the top you will have to find a handle for the wooden mechanism. The beacon can be found on the mountain behind it.
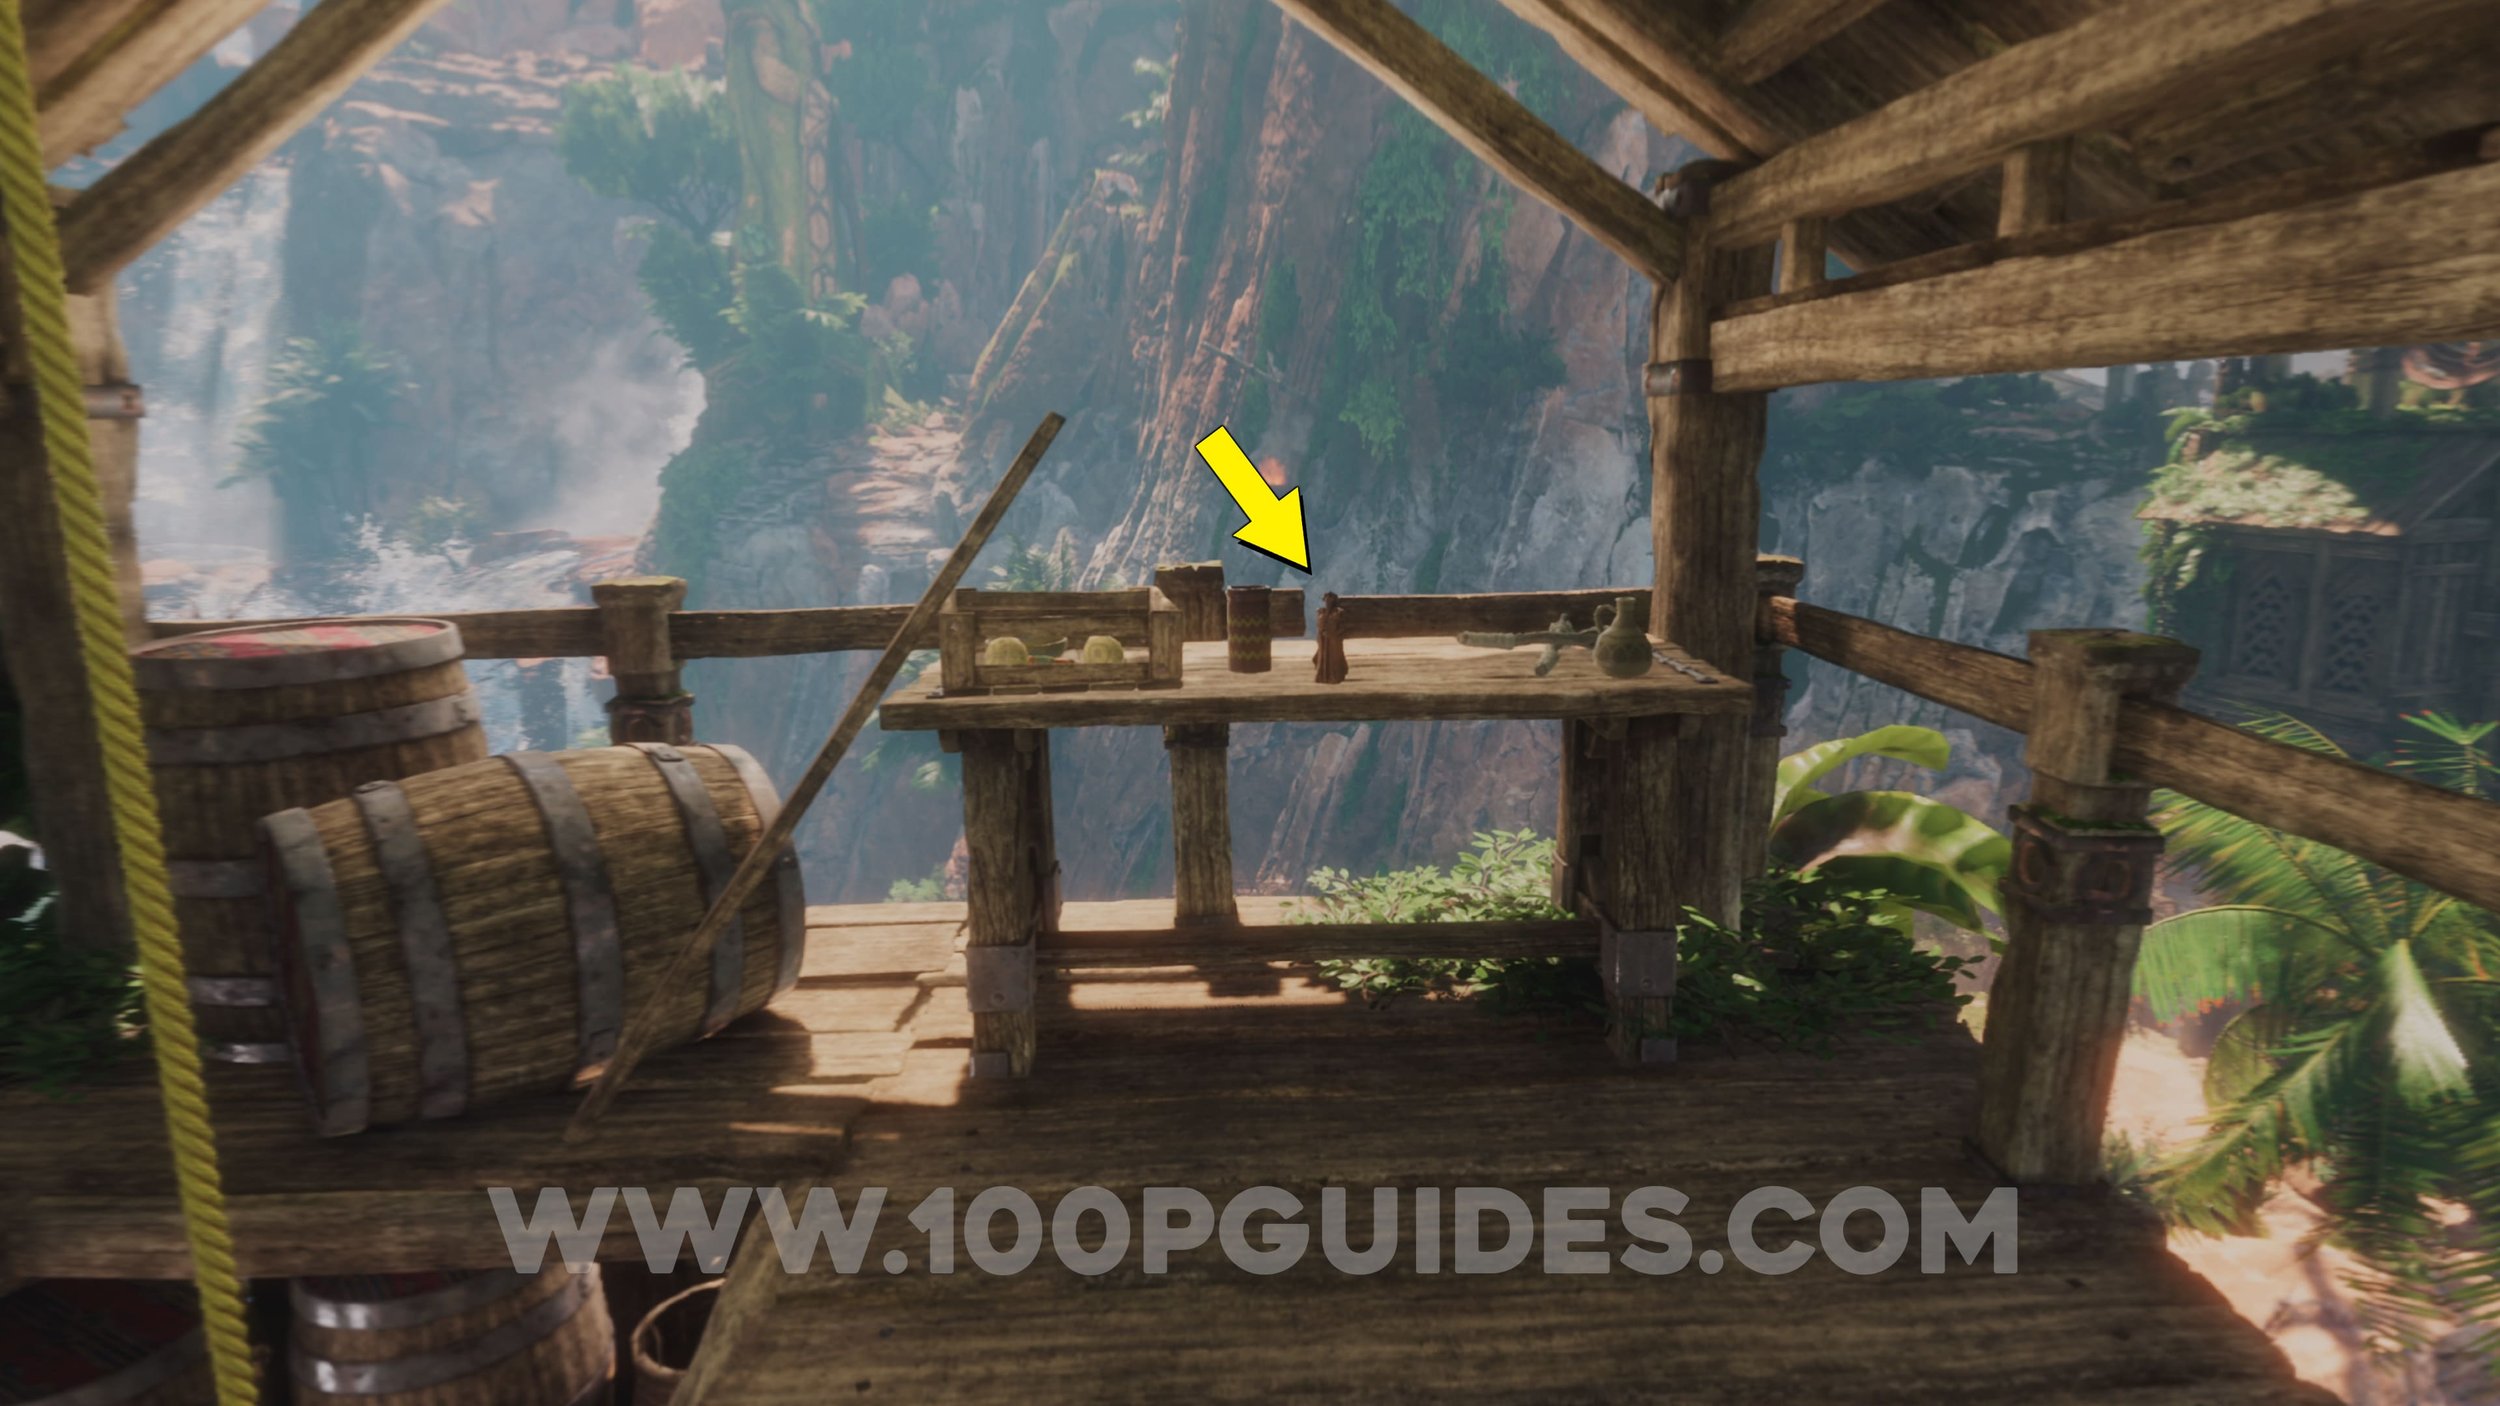
Lore Collectible #11. In a small bowl on the table in the cave with the tents.
Lore Collectible #12. After climbing out of the cave where the previous collectible was, you will now be in a lodge. Go around to your right to find the lore collectible in another bowl on a table.


Warning Beacon #61. Look out the window on your left as soon as you climb in to the lodge (you can also get this from the next area).
Lore Collectible #13. As soon as you leave the lodge, look right to find the collectible on the table inside a box.
Warning Beacon #62. Under a tower high above the arena where you fight the bellowback.
Warning Beacon #63. Down to your left after getting out of the cage.
Cairn #3. On your right just after you see your brother for the first time.


Warning Beacon #64. To your left in the same area as the cairn.
Elder’s Calling
Warning Beacon #65. After defeating the Shell-Walker, you will be able to take multiple paths. First go left and cross the drawbridge. The, before jumping across the broken bridge, look down to your left to find the beacon.


Legendary Climb #5. From the previous collectible, continue climbing the metal structure. Once you get to the top you will get the legendary climb.

Warning Beacon #66. Continue climbing until you see a zipline to your right. Here look up to find the beacon.
Warning Beacon #67. From the previous beacon continue climbing all the way up to the top of the helipad. Here use the long zipline across to the other side of the valley. In this area you will find another chipboard (story objective). From where you pick up the board, climb up the ice using your picks. Once you reach the first platform, turn around to find the beacon.


Cairn #4. On the same platform you used to shoot the previous beacon.
Warning Beacon #68. From the previous cairn, continue climbing up to the next platform. Here, look left to find the beacon.
Cairn #5. After getting to the top of the path after the previous collectible. Use the 2 ziplines that go down to get to the next cairn.


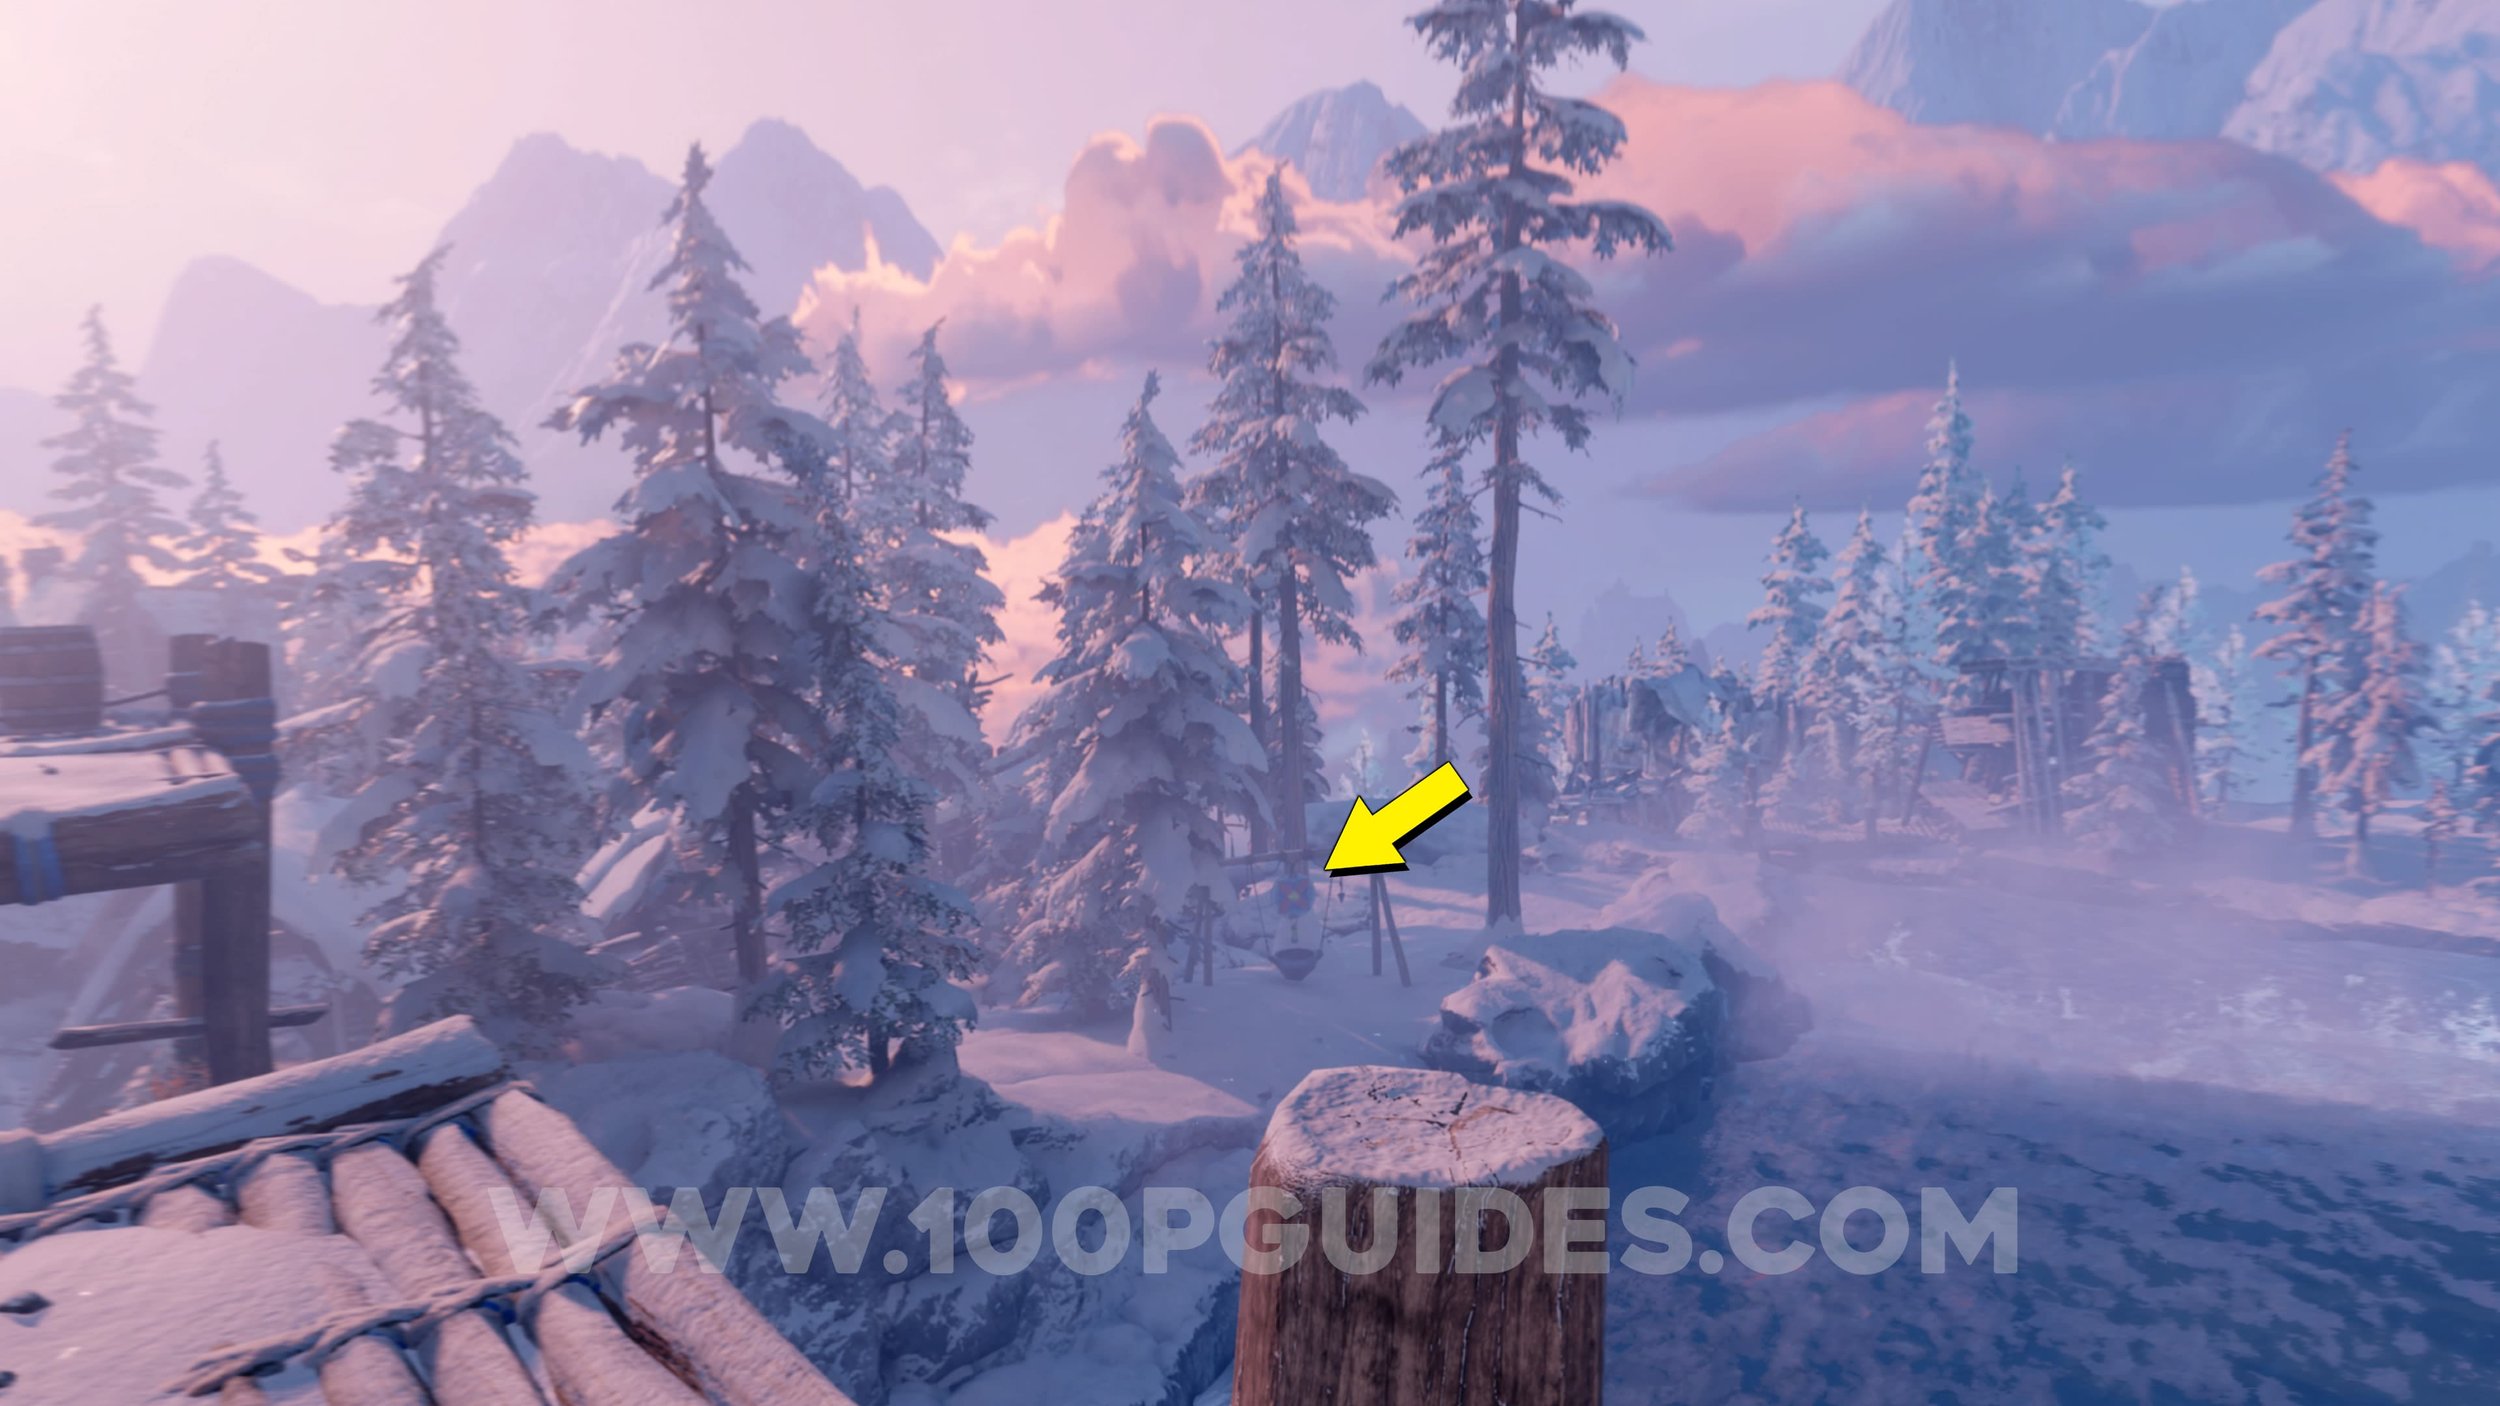
Warning Beacon #69. From the cairn, turn around to see the beacon on the mountain in front of you.
Lore Collectible #14. From the previous collectible, ride the lift down to the start of the level. Now open the big wooden door on the right to enter a cave. Inside, walk past the first set of planks of wood to the right to find some more planks. Break them to get to the area with a tent and the Lore Collectible.


Warning Beacon #70. Exit the cave and return to the area with multiple paths. This time go down the path to the left of the entrance of the cave. After defeating the enemies look up to your right to find the beacon.
Warning Beacon #71. Once again, return to the central area with multiple paths. This time go past the tent where you will find a beacon.
Warning Beacon #72. Past the previous beacon you will have to fight a Frost Bellowback. The beacon is above the arena.
Talonreach Tower
Warning Beacon #73 & #74. At he start of the level you will climb in to a big warehouse. The first 2 beacons can be found on thr right side as soon as you enter.
Warning Beacon #75. After exiting the warehouse you will climb a rusty machine. As soon as you stop climbing, turn around to find the beacon.

Warning Beacon #76. In the area where you fight the first group of enemies.
Lore Collectible #15. After defeating the enemies, enter the building in front of you. As soon as you enter you will find the collectible to your right.
Warning Beacon #77. After the group of enemies, you will climb the inside of a tower. At the top look through the hole behind the barrel with items on it to find the beacon.
Warning Beacon #78. After the previous collectible, you will come out to a rusty balcony. The beacon can be seen in plain sight.
Warning Beacon #79. At the end of the level. At the top of the tower where you get the component for the main objective.
Devil’s Anger Ascent
Warning Beacon #80. As soon as you come out the other side of the first building, look left to see the beacon.
Warning Beacon #81. After crossing the huge metal arm turn around to find it under the arm that you just crossed.
Warning Beacon #82. Soon after the previous collectible, you will have to break through some ice with your picks. Just before you do that, look to your left to find the beacon.
Warning Beacon #83. After crossing another huge arm from the machine on top of the mountain, look up to the building on your left.
Warning Beacon #84. On top of the building where the previous beacon was. You can see it after climbing up on to the next arm.
Legenday Climb #6. Unlocked automatically soon after the previous beacon. This should be you final climb to get the “Legendary Climber” trophy.
Cairn #6. To the right of the area where you got the “Legendary Climber” trophy.


Warning Beacon #85. From the cairn, turn around to find the beacon on top of the machine.
Warning Beacon #86. After you encounter the Stormbird for the first time, you will have to run from an electric shock. While doing this, turn around to see the beacon.
Warning Beacon #87. After the 2nd encounter with the stormbird you will break through some ice and get to a stone with some apples on it. Here, look to your left to find the beacon.
Warning Beacon #88. As soon as you leave the cave after the previous beacon, look to your right.
Devil’s Anger
Warning Beacon #89. At the start of the level, after using your new tool to get to the platform above. Look to your left to find the collectible.
Warning Beacon #90. Just after you use climb across some machines & use your rope to get down, turn around to find the beacon.
Warning Beacon #91. After descending down a long cable, turn around to see the beacon.
Lore Collectible #16. In plain sight in the next building next to a monitor.
Warning Beacon #92. In the area where you fight the Thunderjaw.
Warning Beacon #93. In the area where the Tallneck is found.
Eagle’s Fall
Warning Beacon #94. To your left at the start of the level.
Warning Beacon #95. At the start of the level, as soon as you climb in to the building with the first ballista. Look through the window to your right.
Warning Beacon #96. After using the ballista to destroy the door, you will climb up to an area with towers. Go to the tower in front of you to find the beacon on the mountain in the distance.

Warning Beacon #97. In plain sight to the right of the previous tower.
Warning Beacon #98. After the tower section you will go around a cliff on some wooden planks. Here you will see the beacon on a large rock formation to your right.
Warning Beacon #99. To the left of the previous beacon.
Warning Beacon #100. After the previous beacon you will use a zipline to get down to an area with a ballista. As soon as you land, look up to your ledt to find the beacon.
Warning Beacon #101. In the same area as the previous collectible. To the left of the building where the door that you have to destroy is found.
Lore Collectible #17. To the right inside the building after destroying the door.
Warning Beacon #102. Can be seen from the tower that you climb once you reach the pass (DO NOT GRAB THE ZIPLINE, IF YOU DO, YOU WILL NOT BE ABLE TO RETURN).
Warning Beacon #103. From the same tower as the previous beacon, look to the right.
Day’s End
Cairn #7. At the very start of the level, turn around and grapple across to the final cairn.


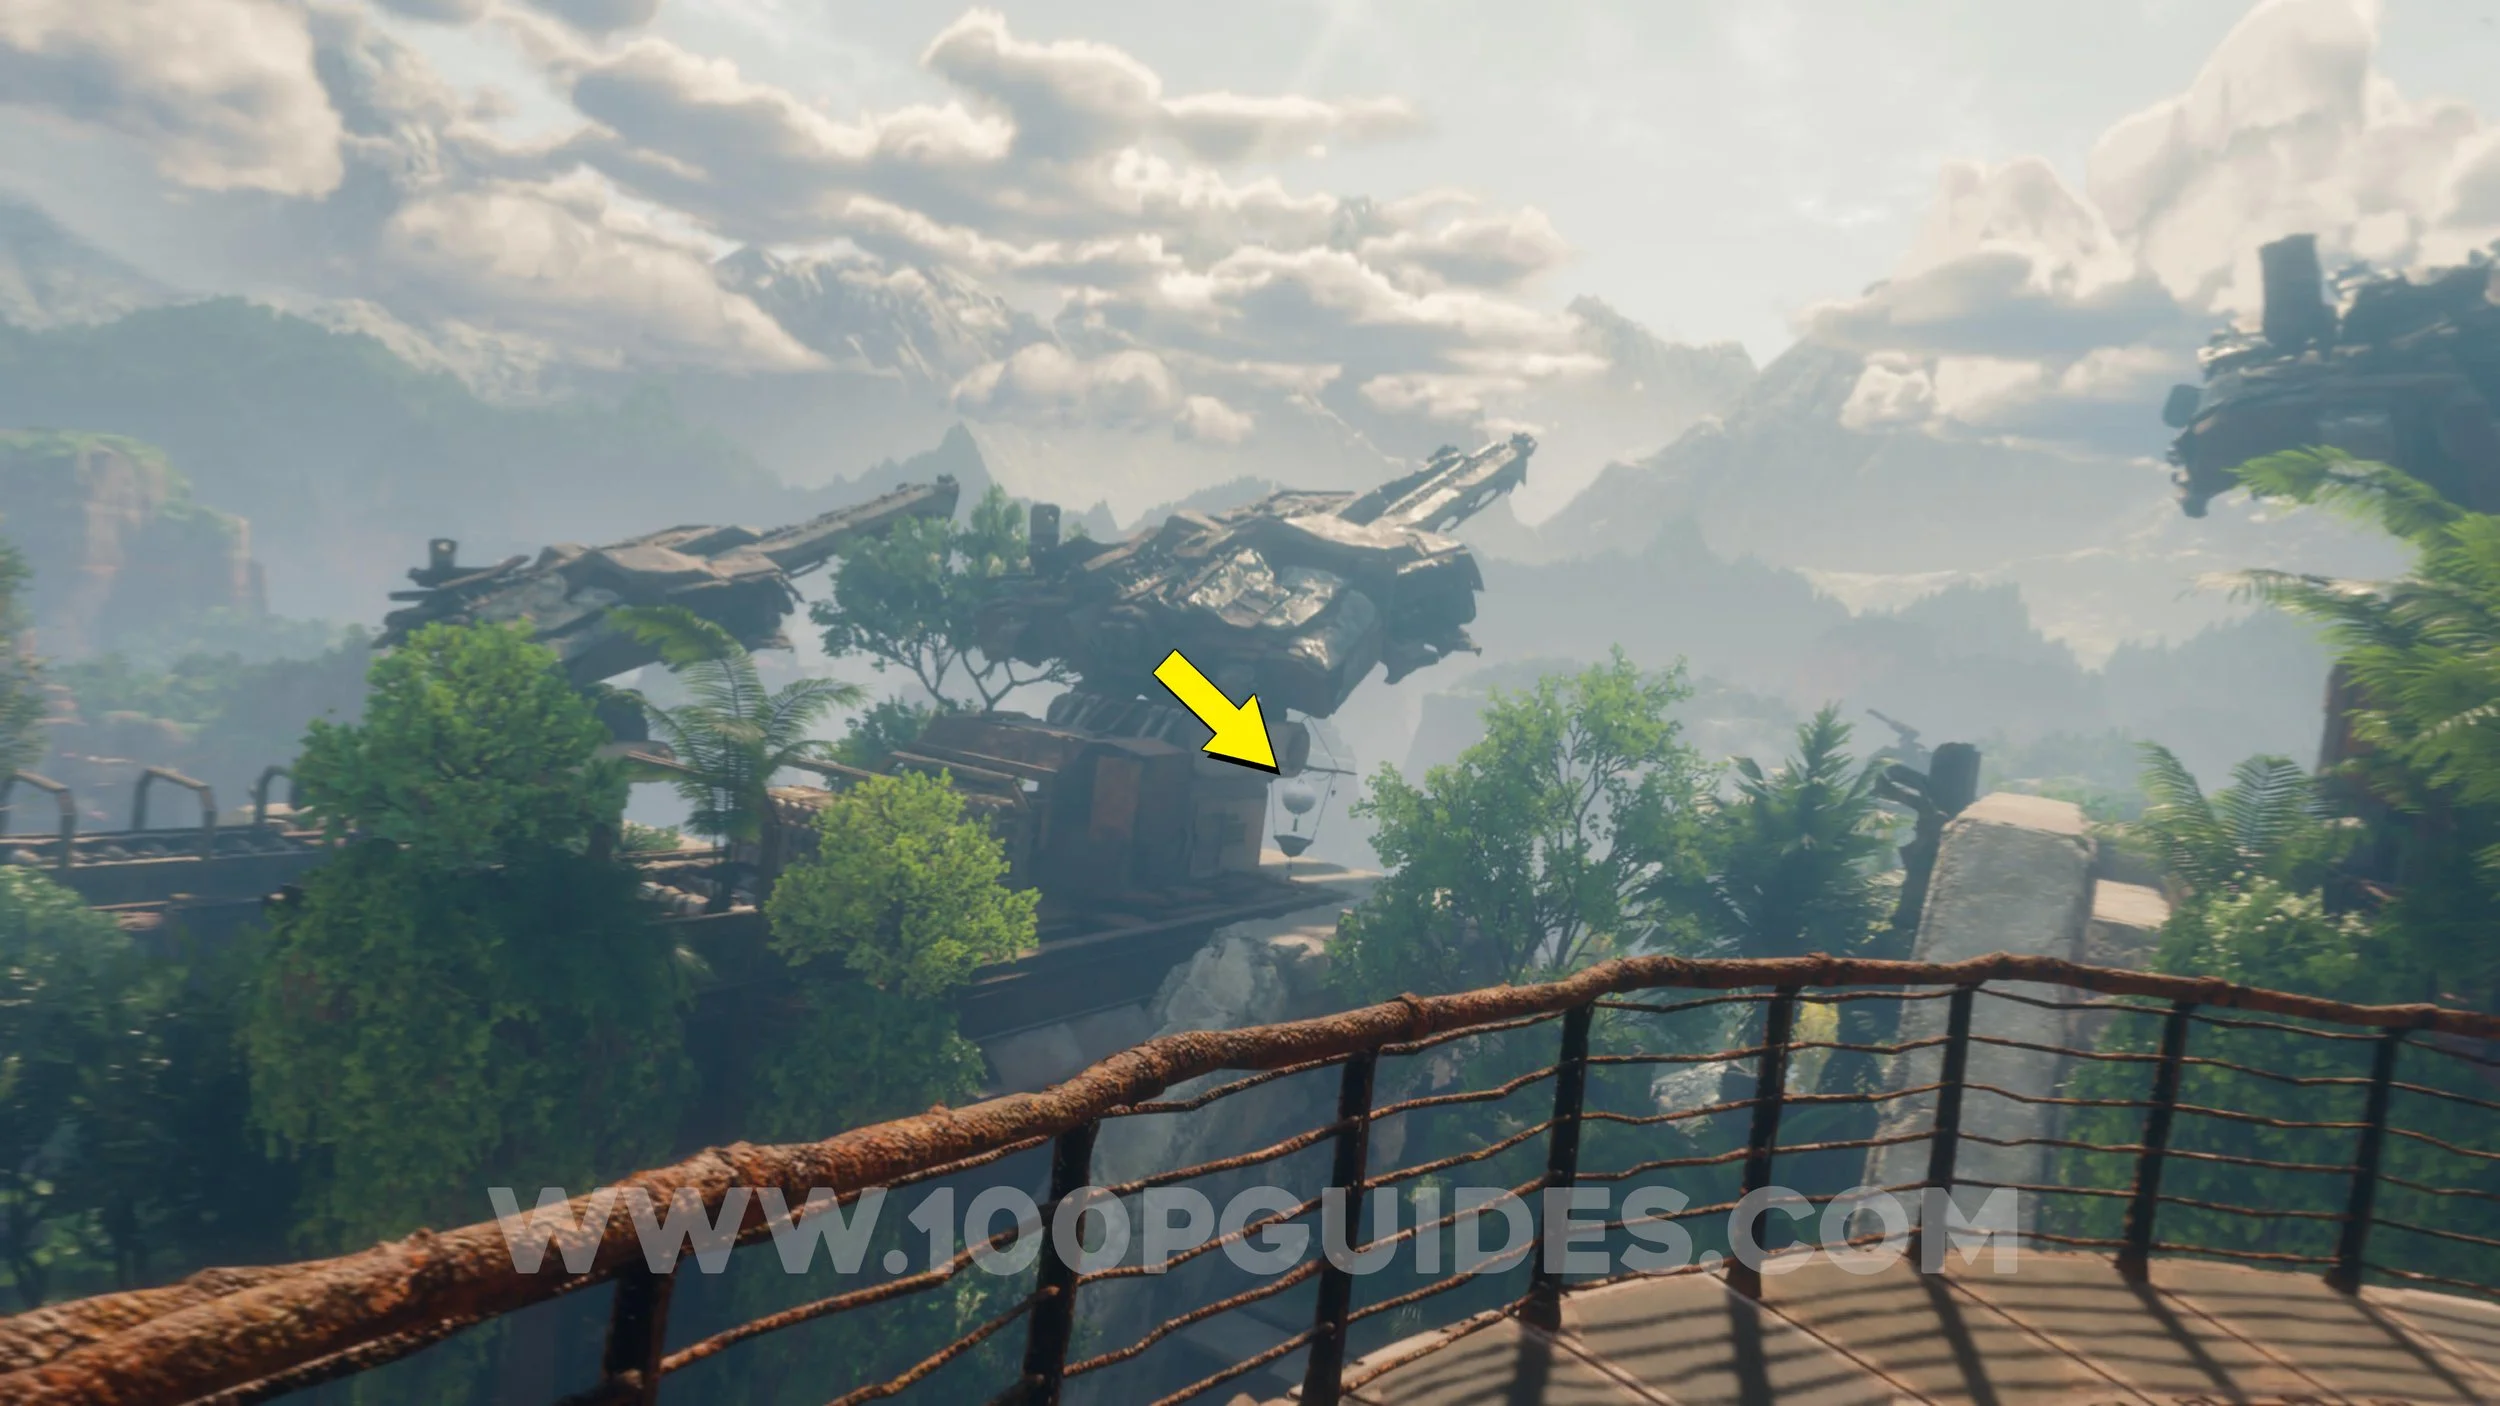
Warning Beacon #104. As soon as you climb up to the ruins sections (you will be standing on a tallneck’s head), look up to your right.
Warning Beacon #105. On top of the main entrance to the ruins.
Warning Beacon #106. Just after the watchers trigger a trap, look down to your right to find the beacon under the bridge.
Warning Beacon #107. After climbing up a cliff where you first have to clear some traps, look under the bridge leading up to the ruins.
Lore Collectible #18. Continue until you have to grapple across and use your picks to hang to the wall. Here climb in to the small hole to find the collectible.
Warning Beacon #108. As soon as you enter the main area in the ruins, look up to see the beacon.
Warning Beacon #109. After climbing up the first section inside the ruins, you will see it straight in front of you (you will be just under the cage).
Warning Beacon #110. Inside the ruins you will get to a part where you have to jump to a hanging cage. The beacon will be to your left.
Lore Collectible #19. After getting attacked by a Bellowback, you will have to climb up a part of the tower above where you started. At the top, take the right path to find the collectible in the last door dow the hall.


Warning Beacon #111. In the arena where you fight the Fireclaw.
Dawn’s Grasp (HUB)
Lore Collectible #20. Use the lift in the HUB area to go down to the Challenge Hub. Here, go right to find the chest containing the final collectible at the end.


