Planet of Lana 2 100% Walkthrough
This 100% step-by-step walkthrough will guide you through Planet of Lana 2 from start to finish, covering every puzzle, all secrets, and every trophy/achievement.
Planet of Lana 2’s 100% completion is very straightforward. Simply progress through the story while collecting all 10 Secrets and petting Mui in every section of the game, and this walkthrough will guide you to each one step by step. Nothing is permanently missable thanks to the chapter select feature, so any cleanup can be done quickly if needed. Follow the guide from start to finish, and you will achieve full 100% completion while unlocking every trophy and achievement along the way.
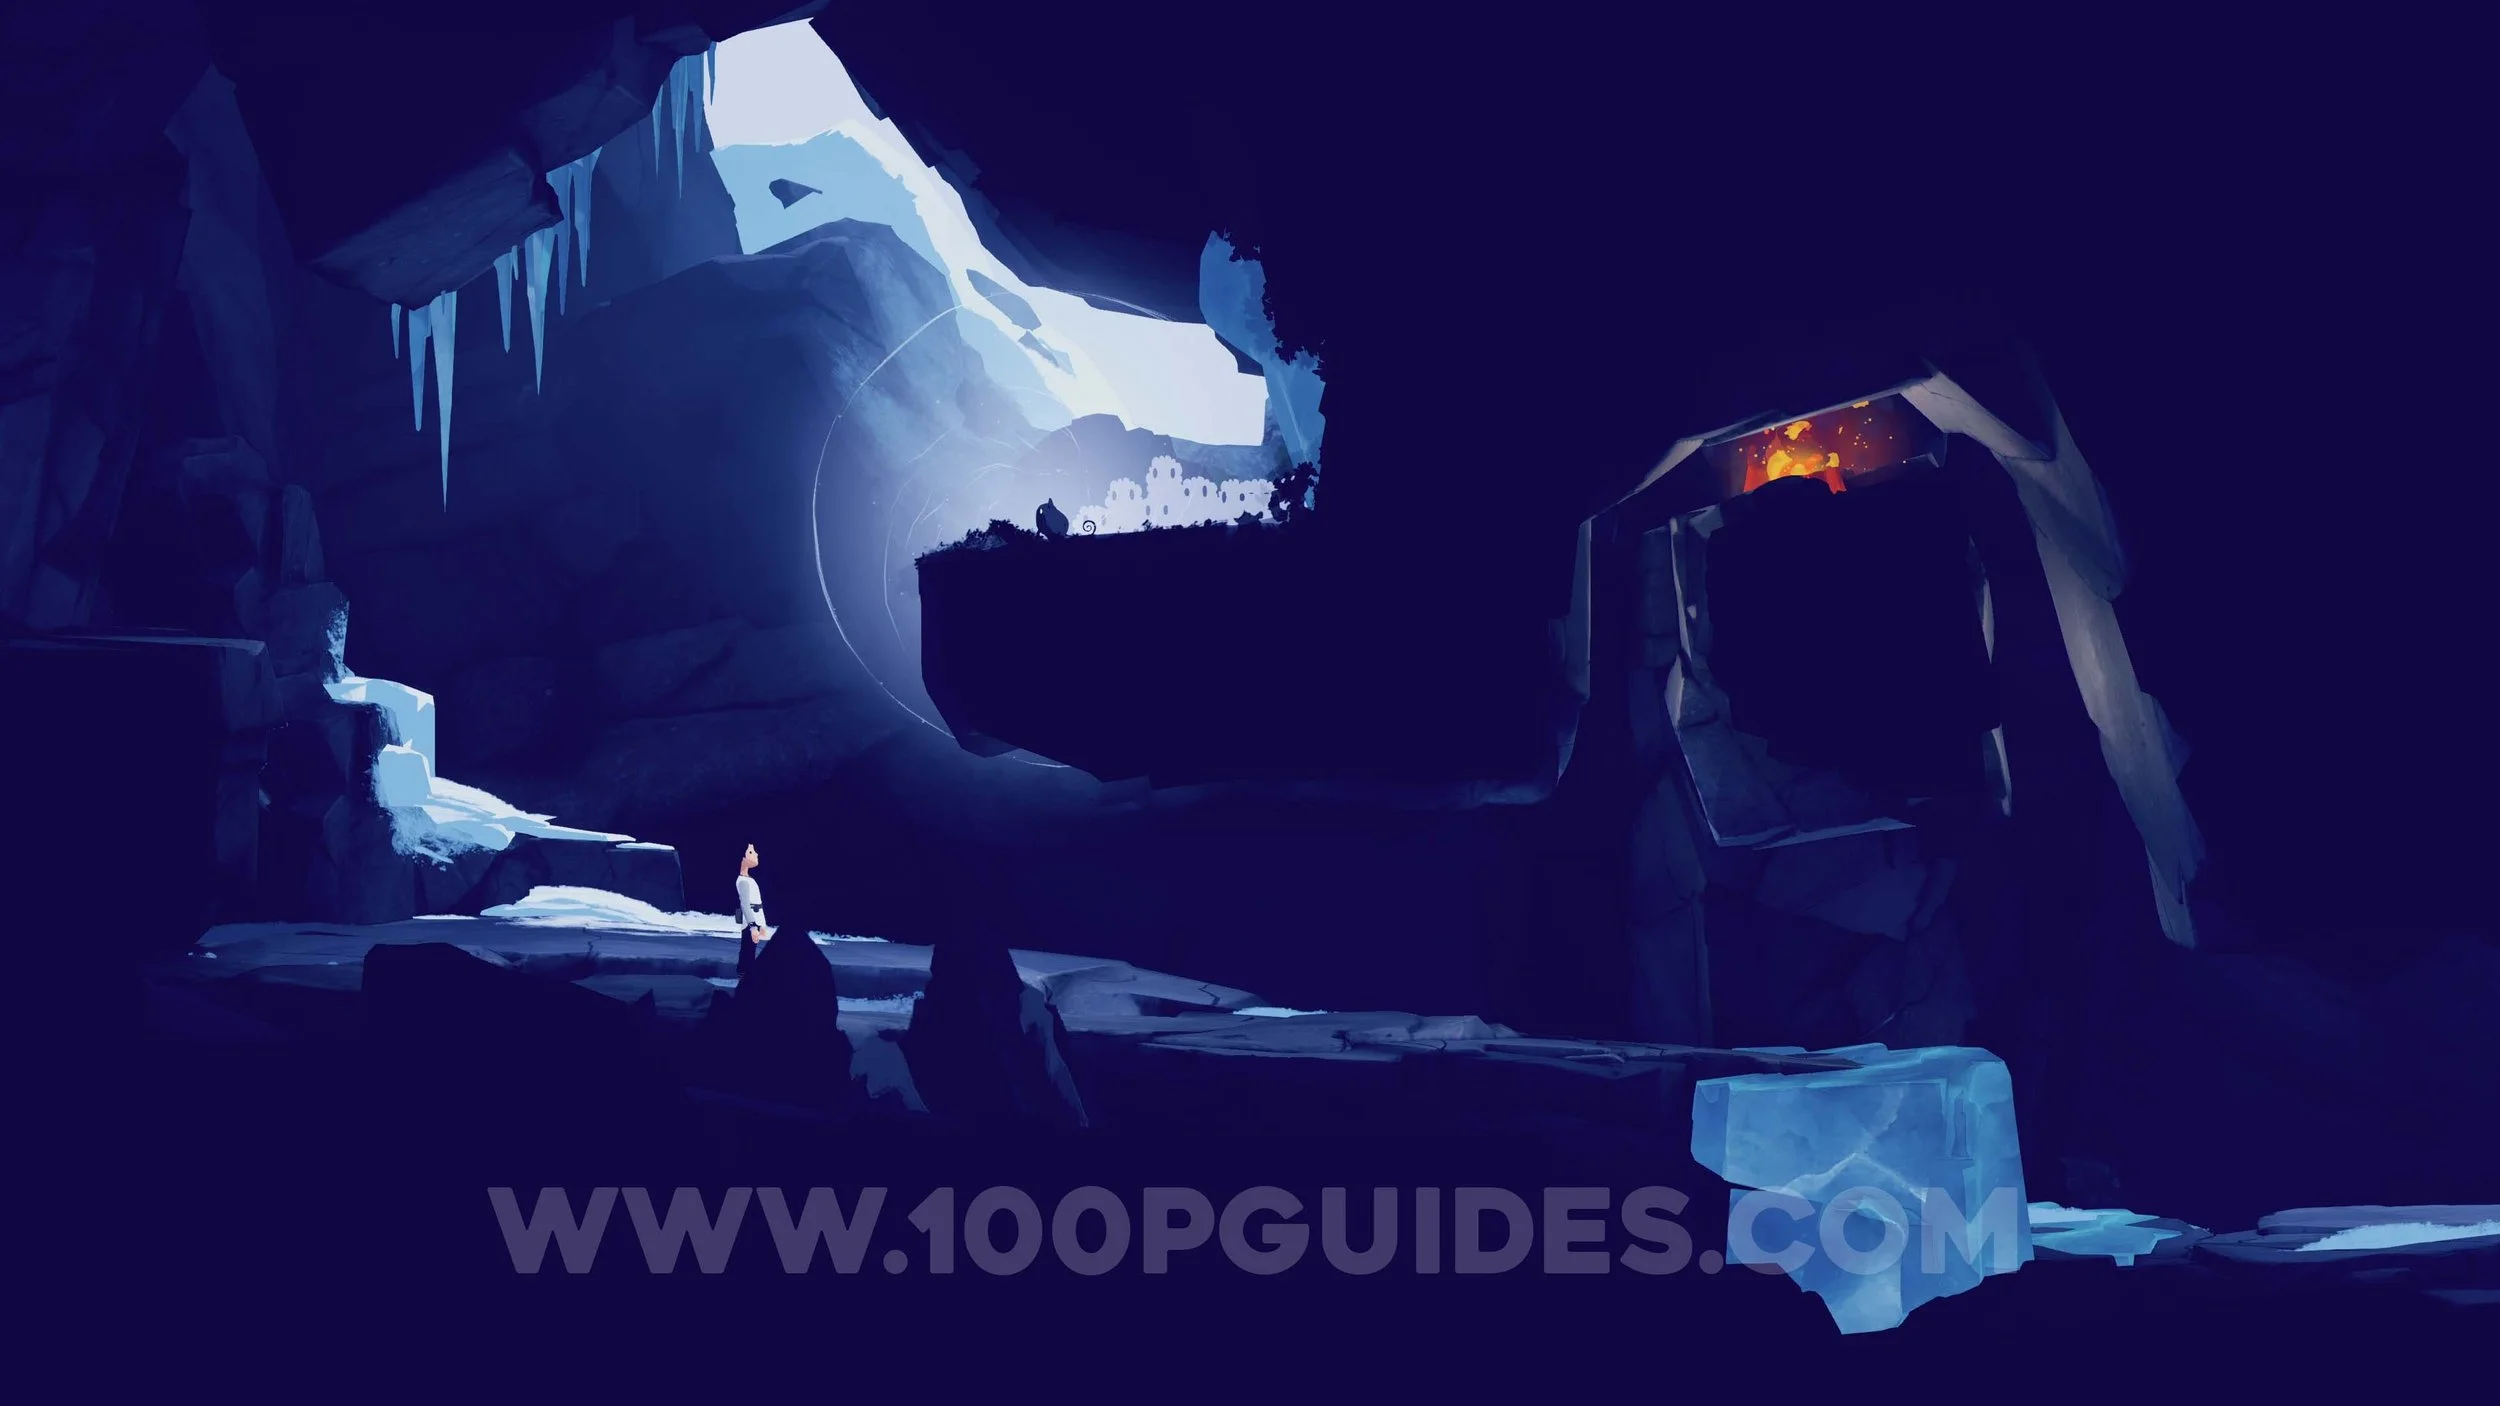
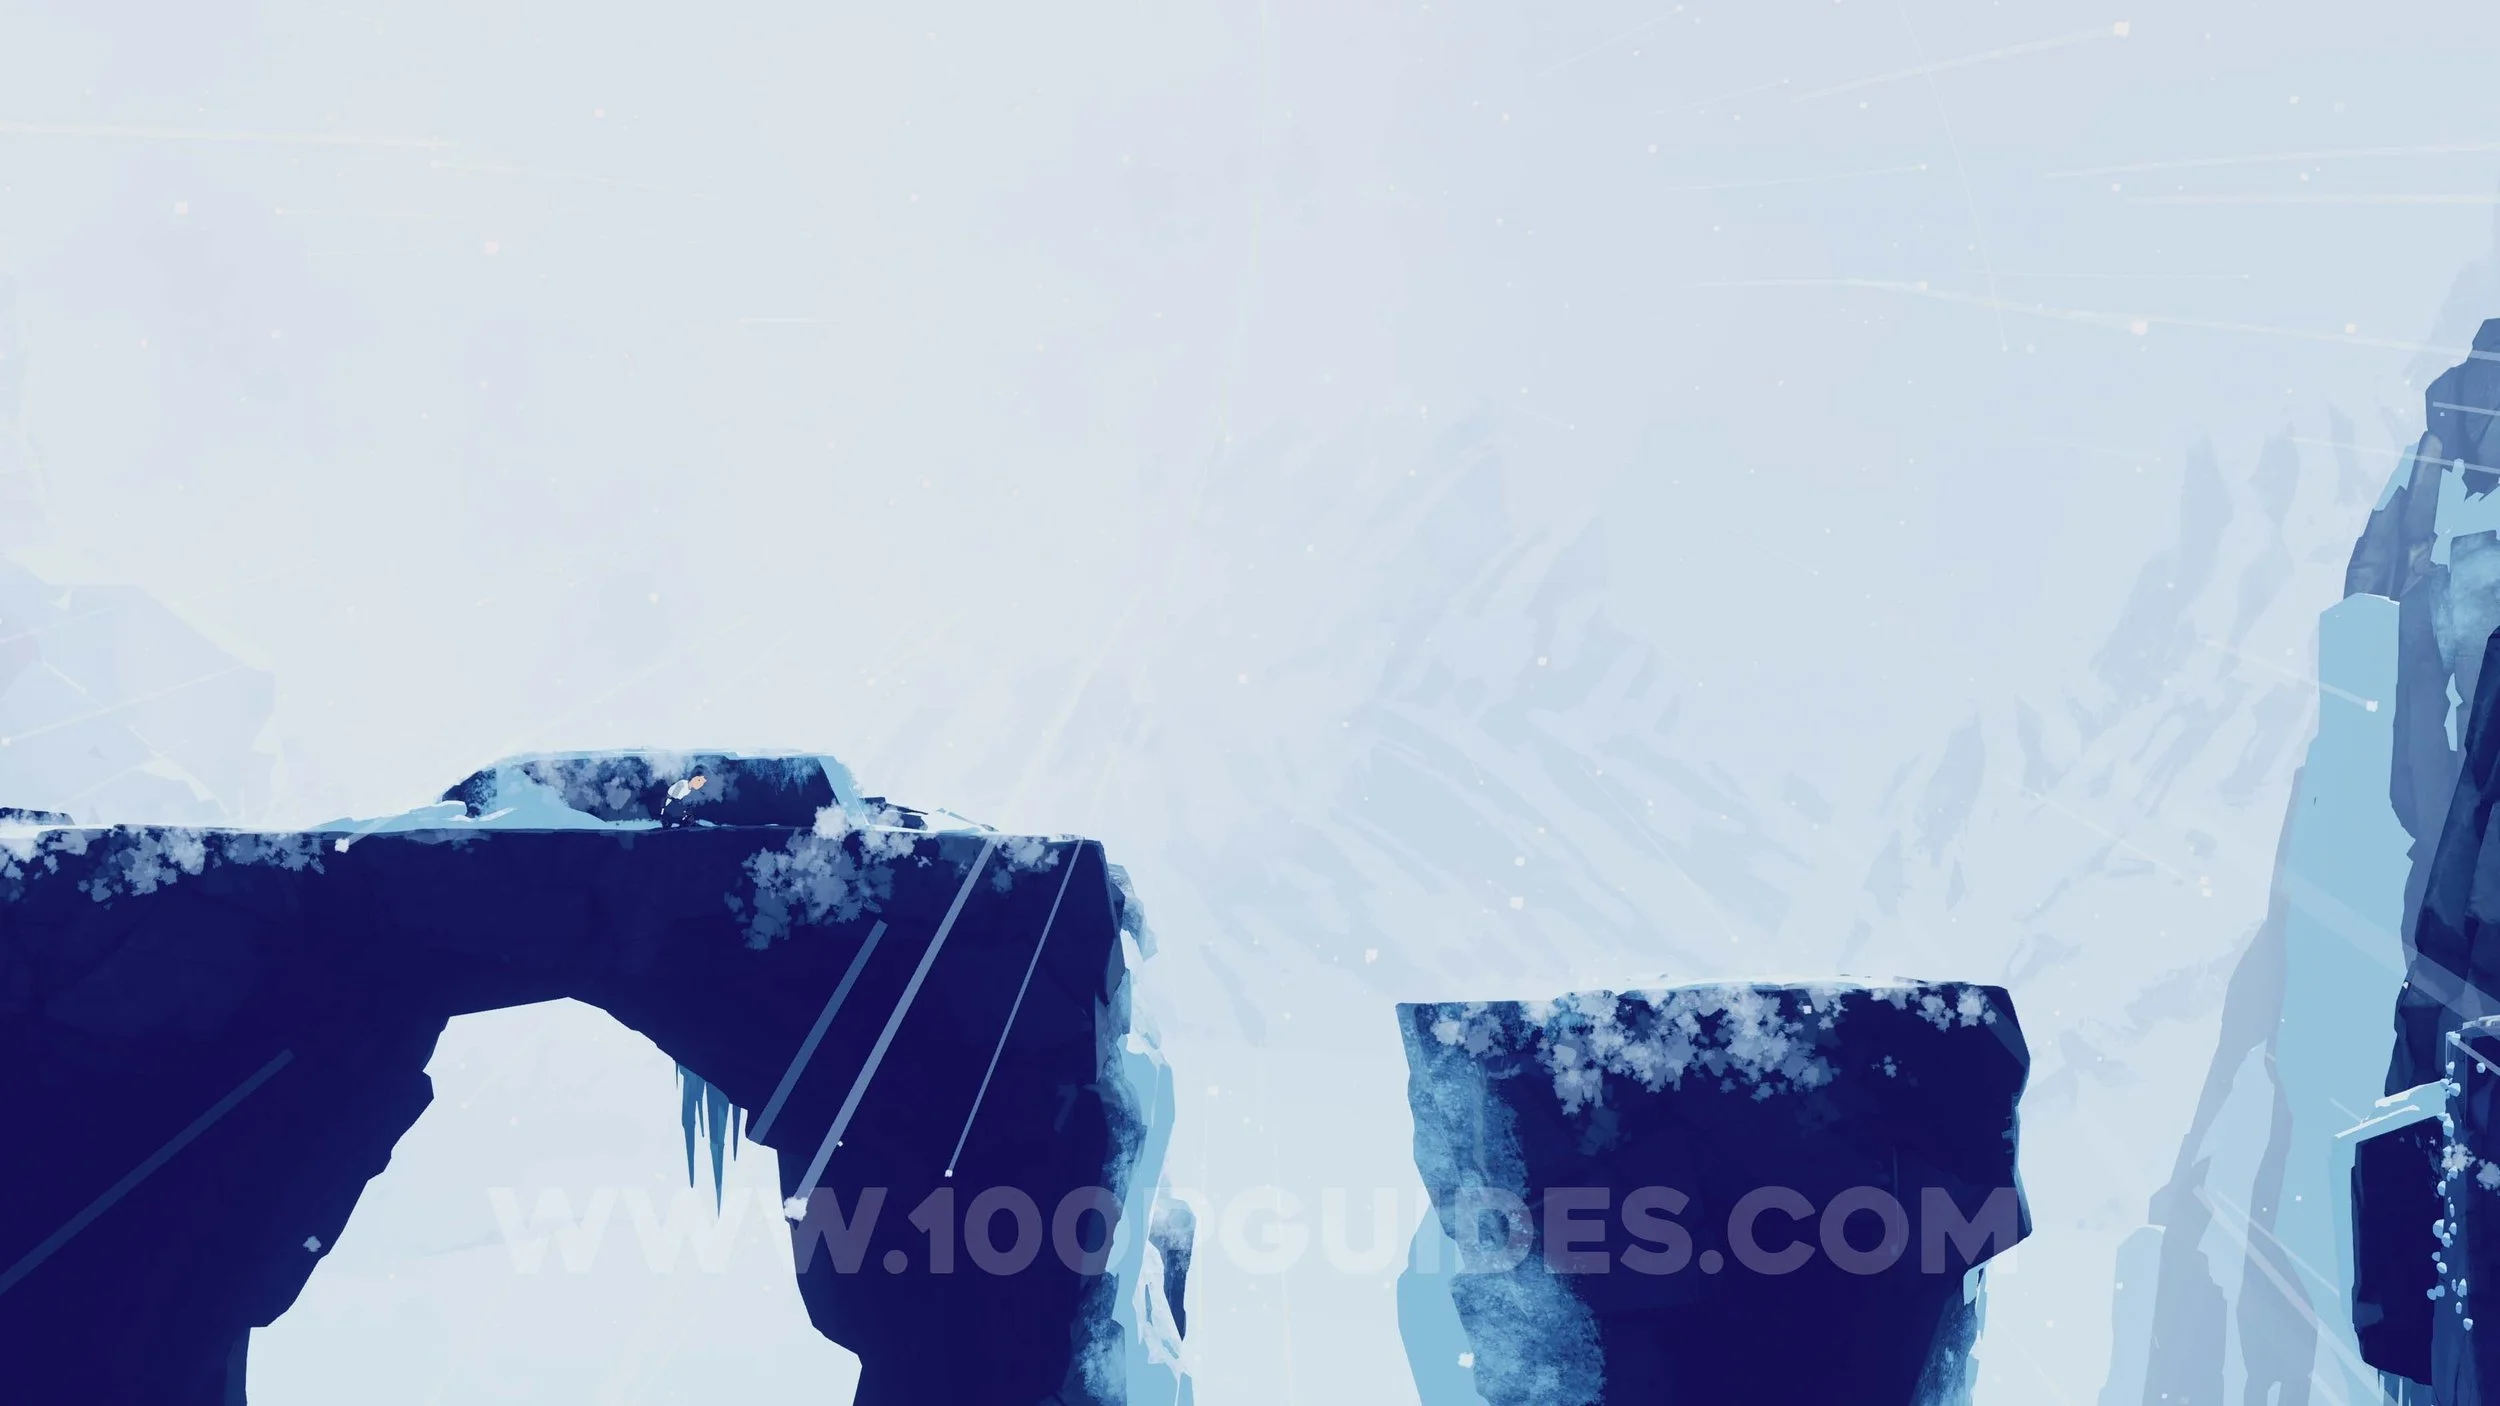
Chapter 1 - Secrets
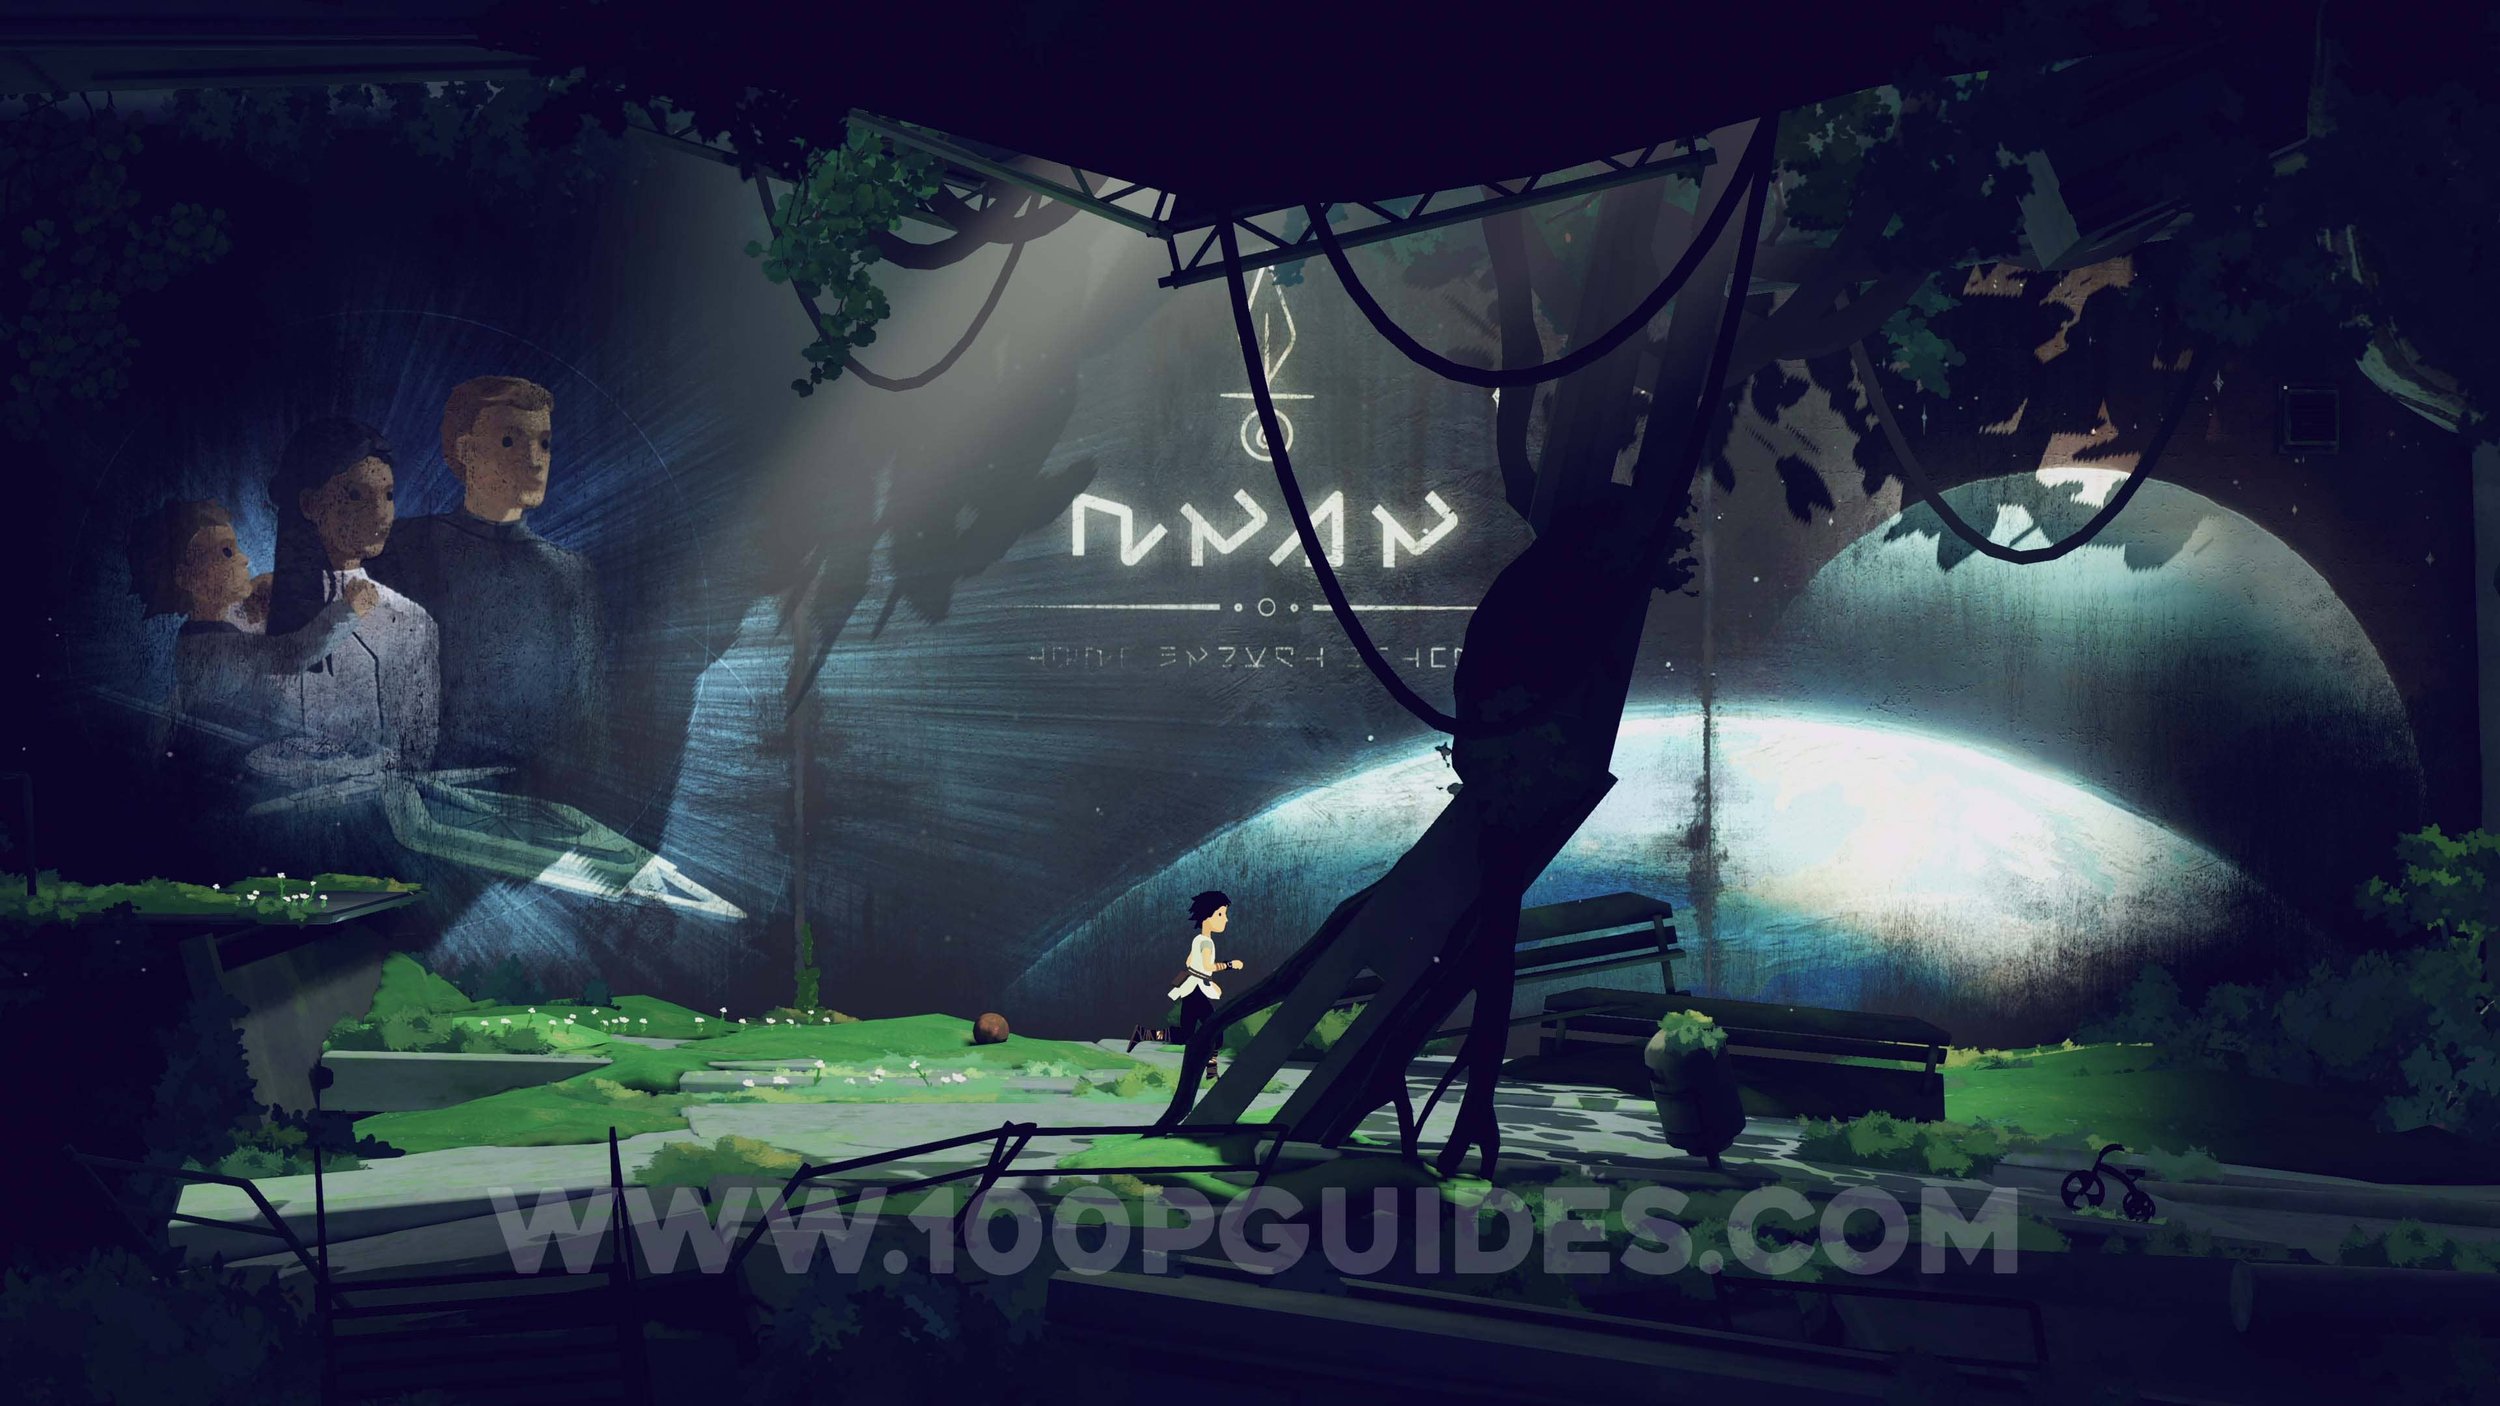
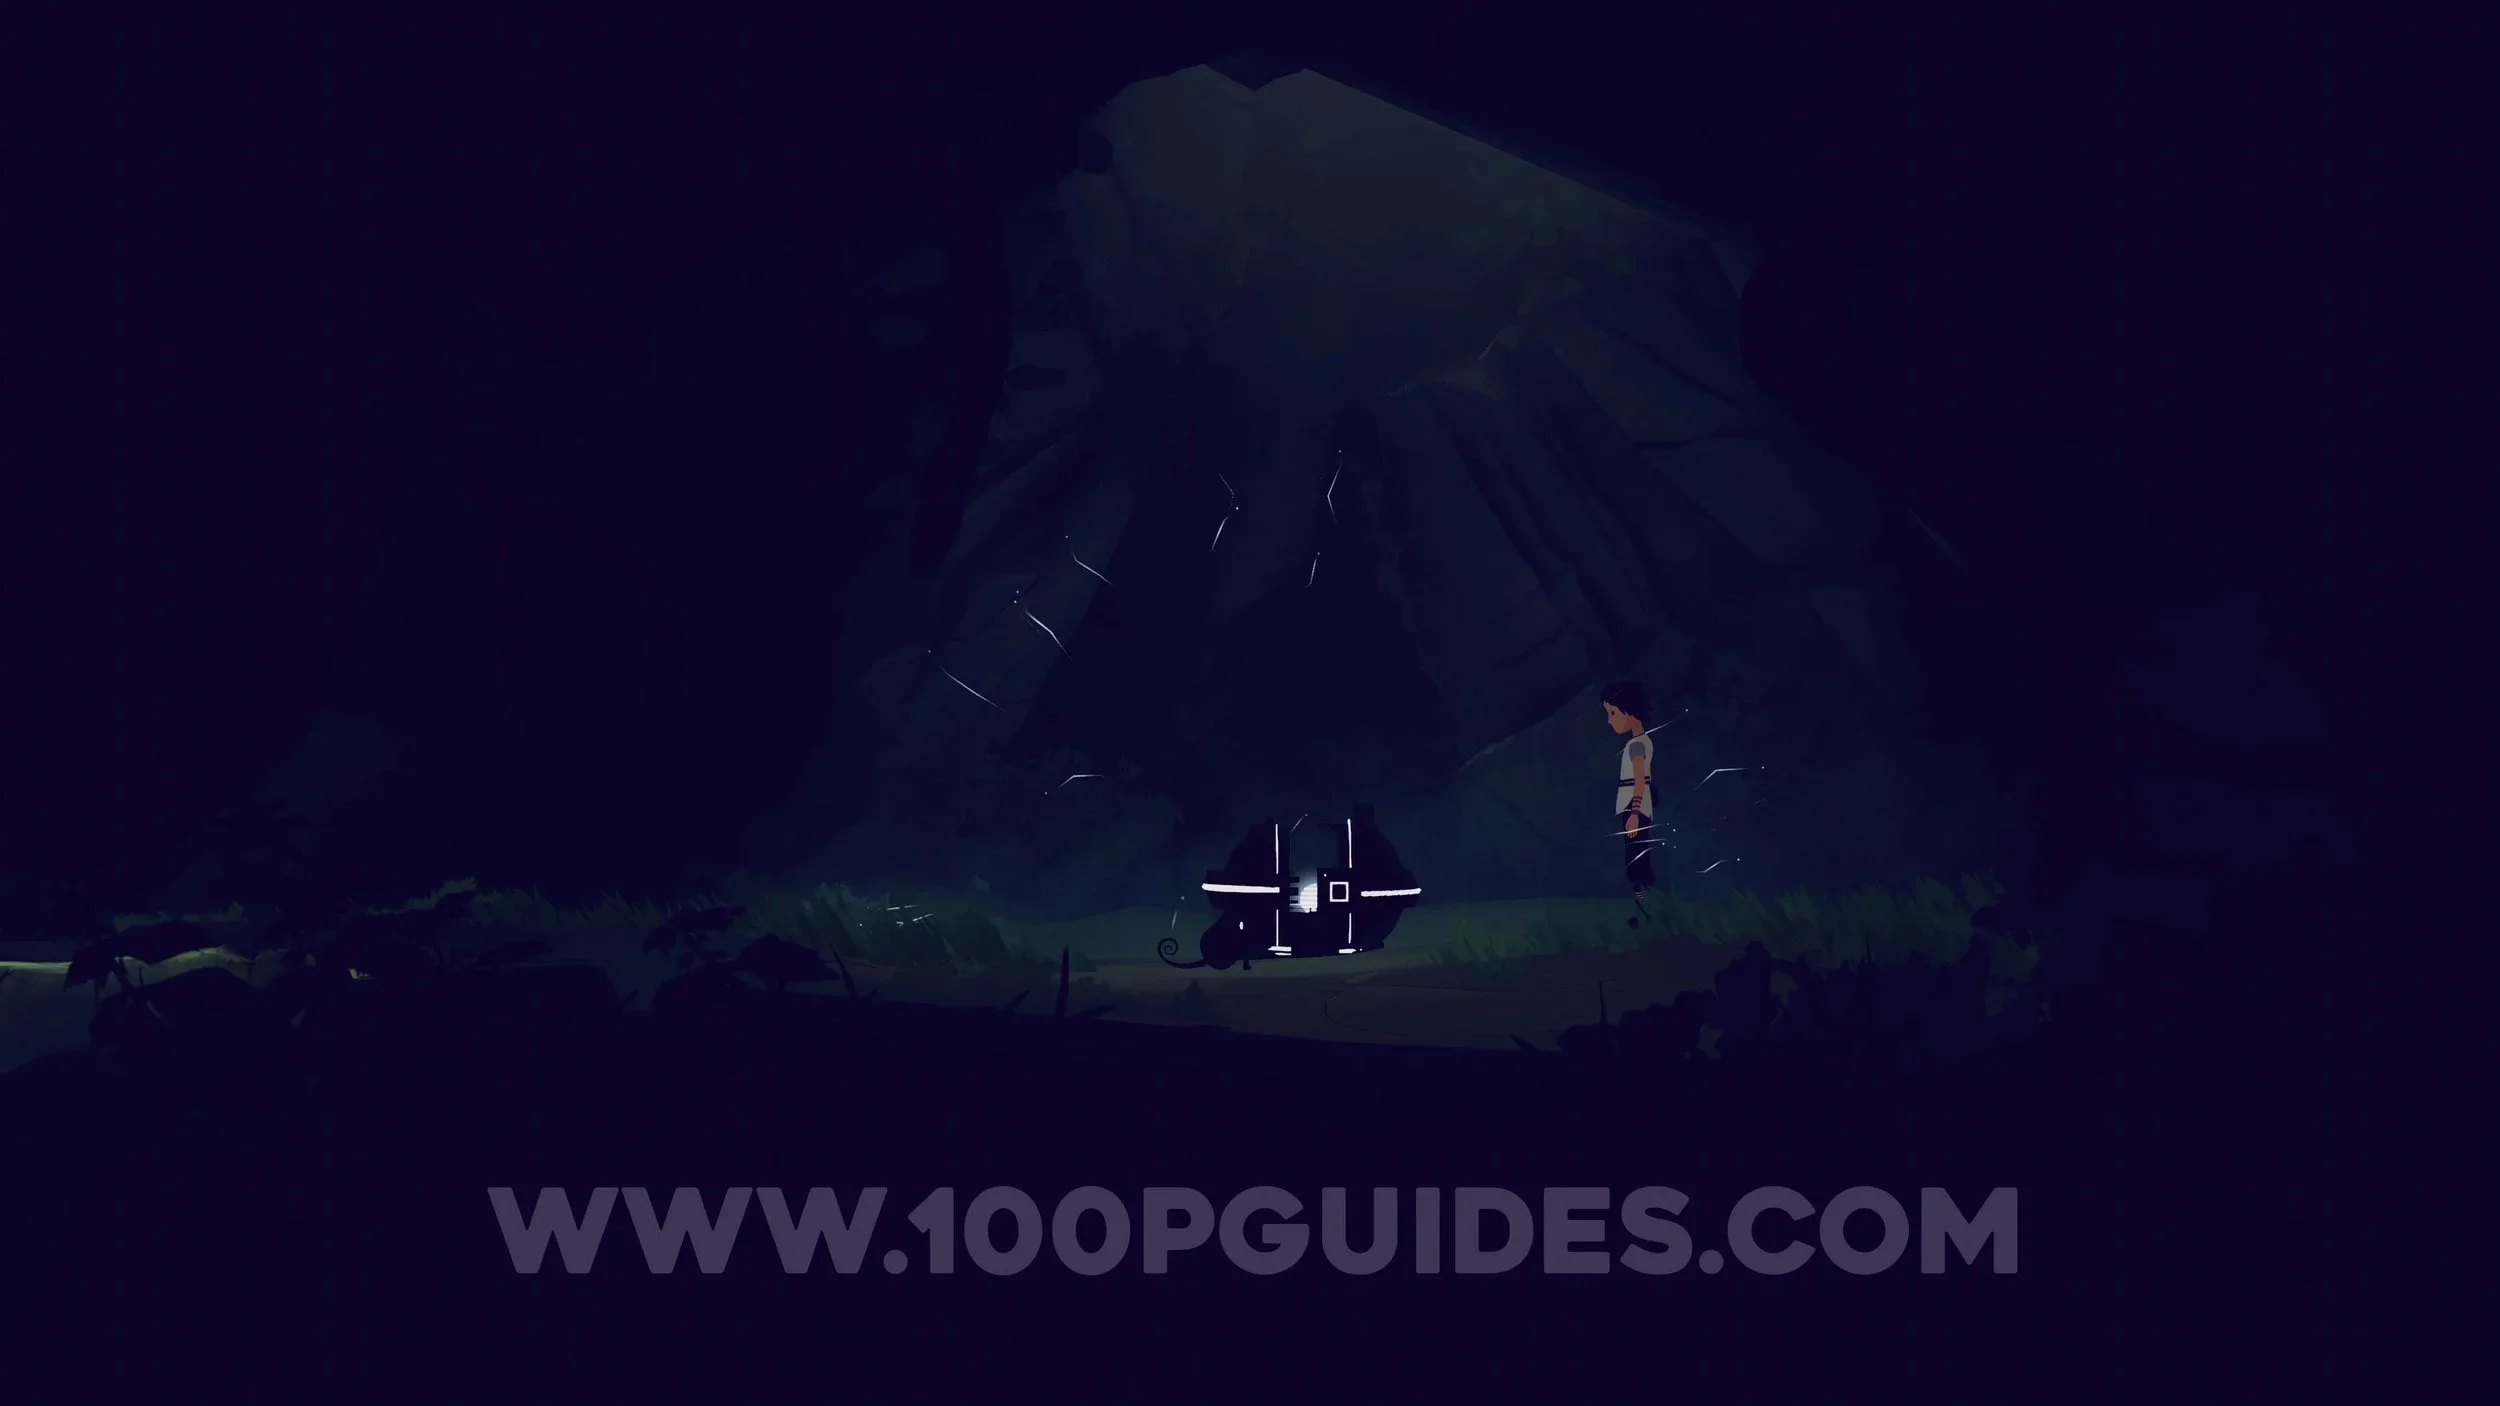
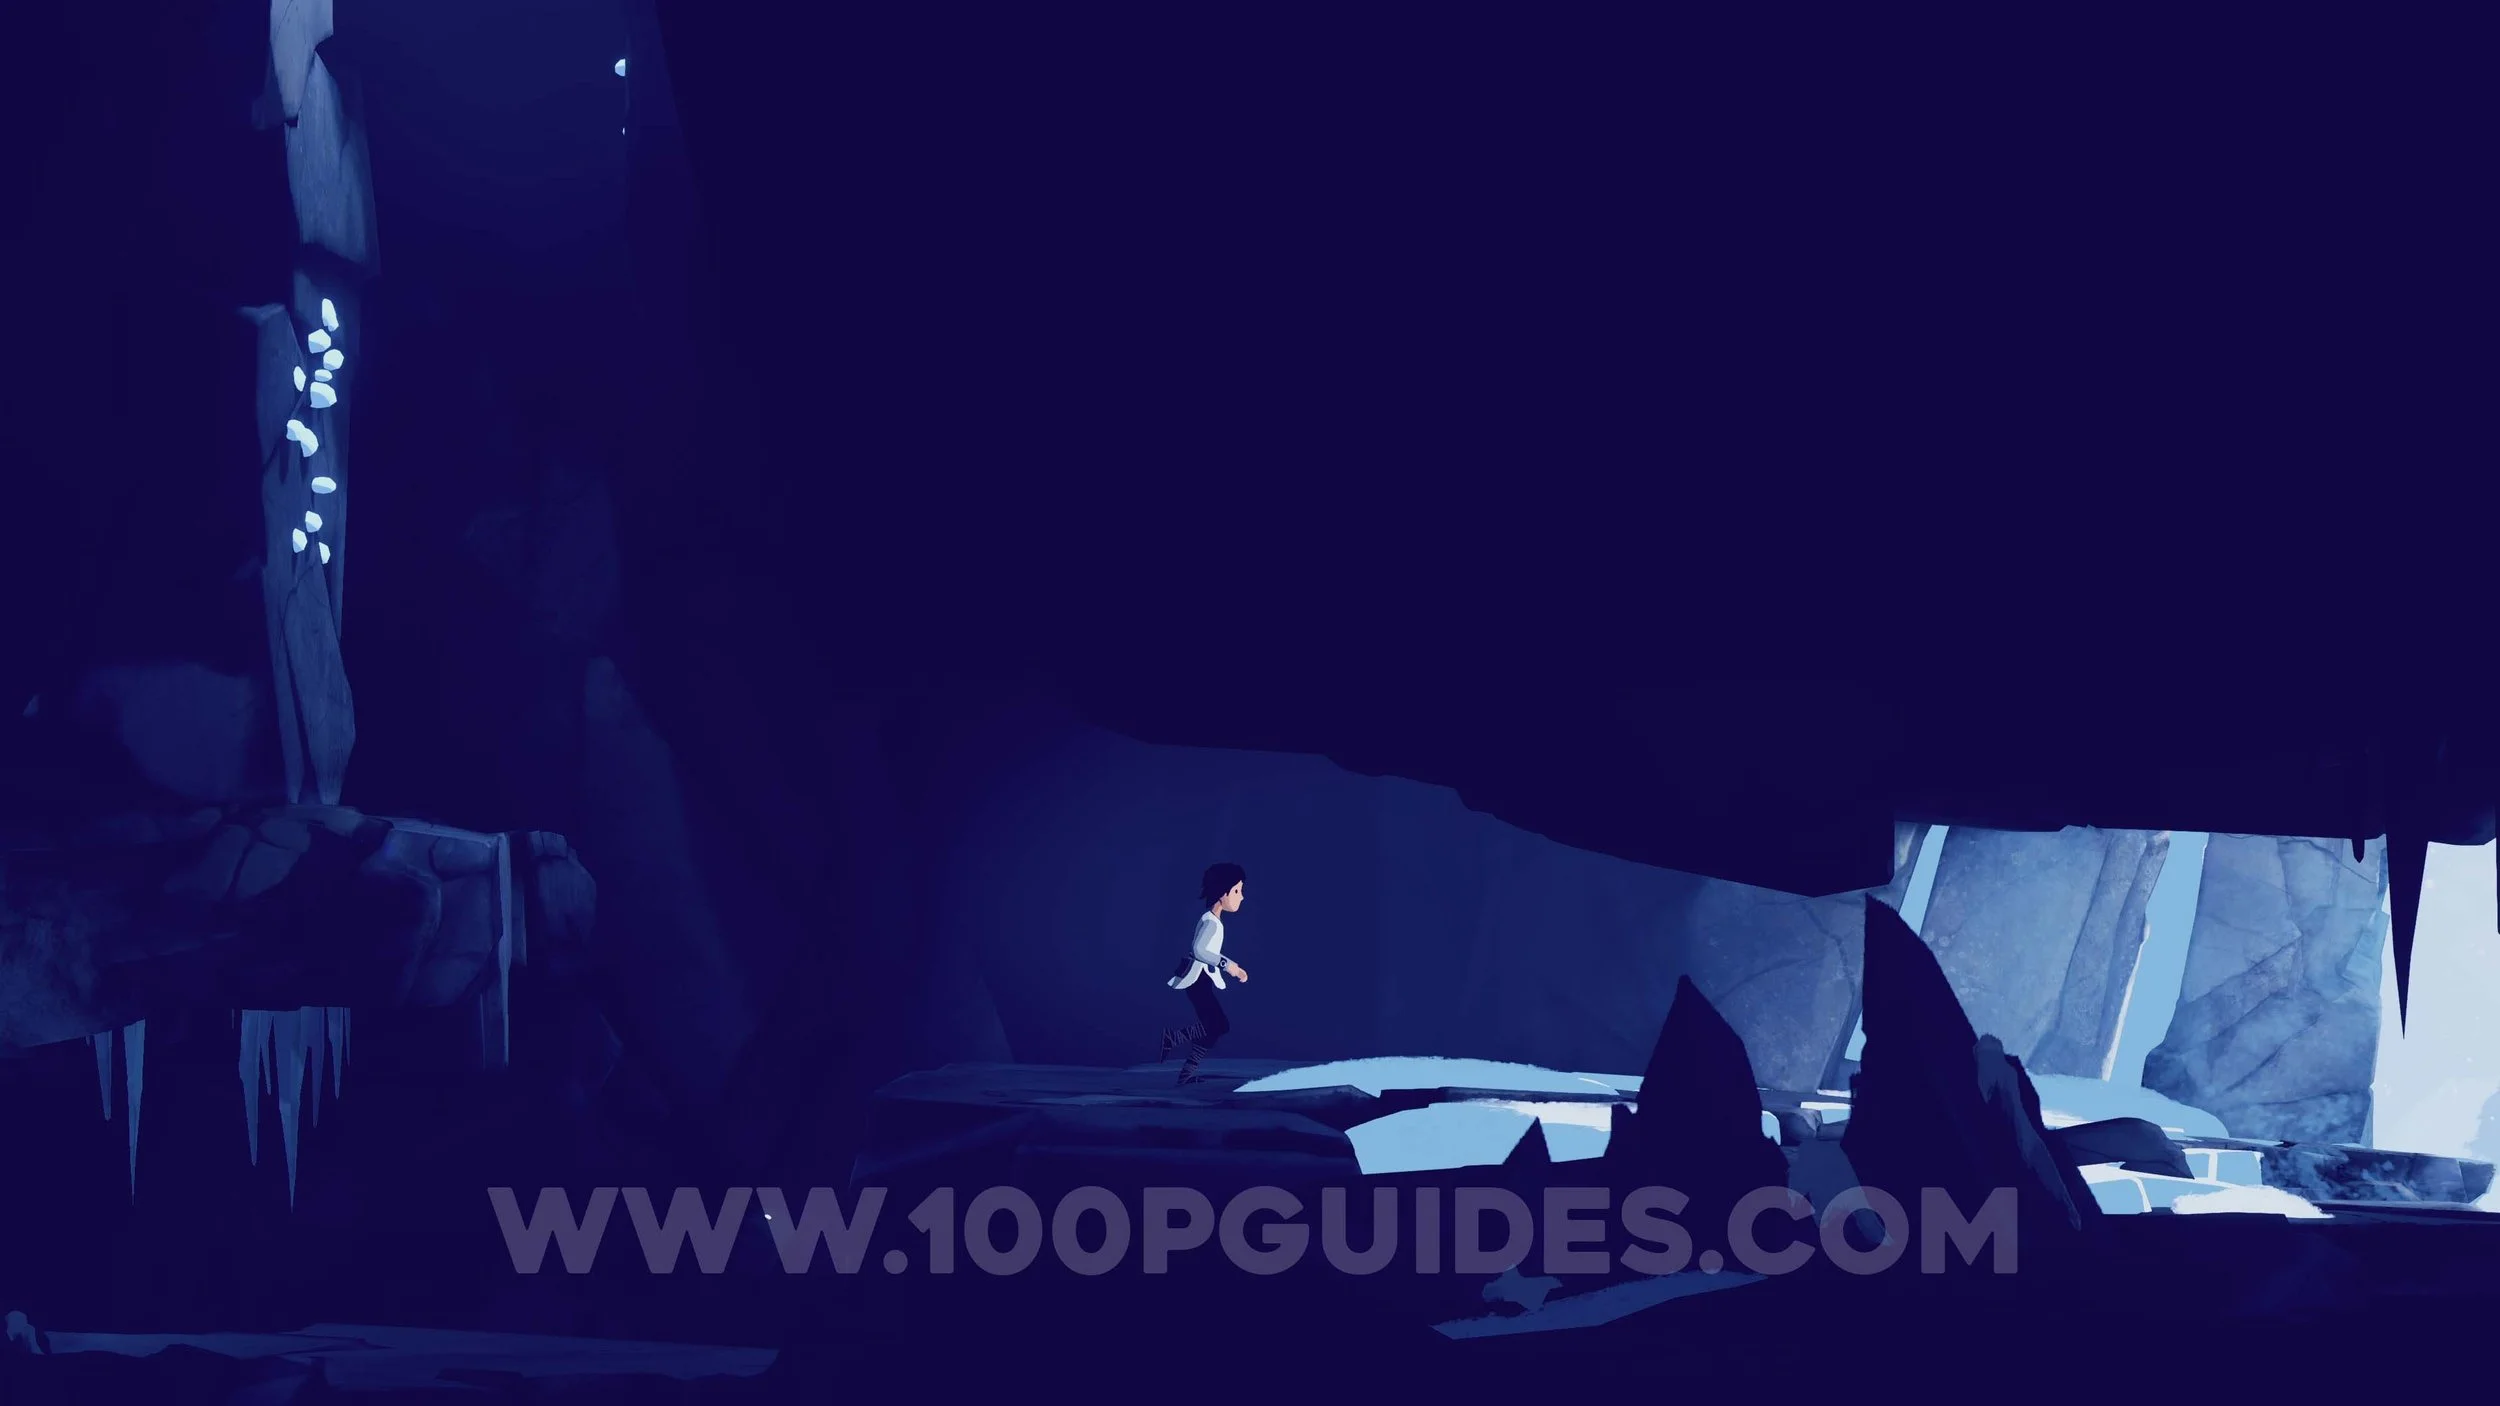
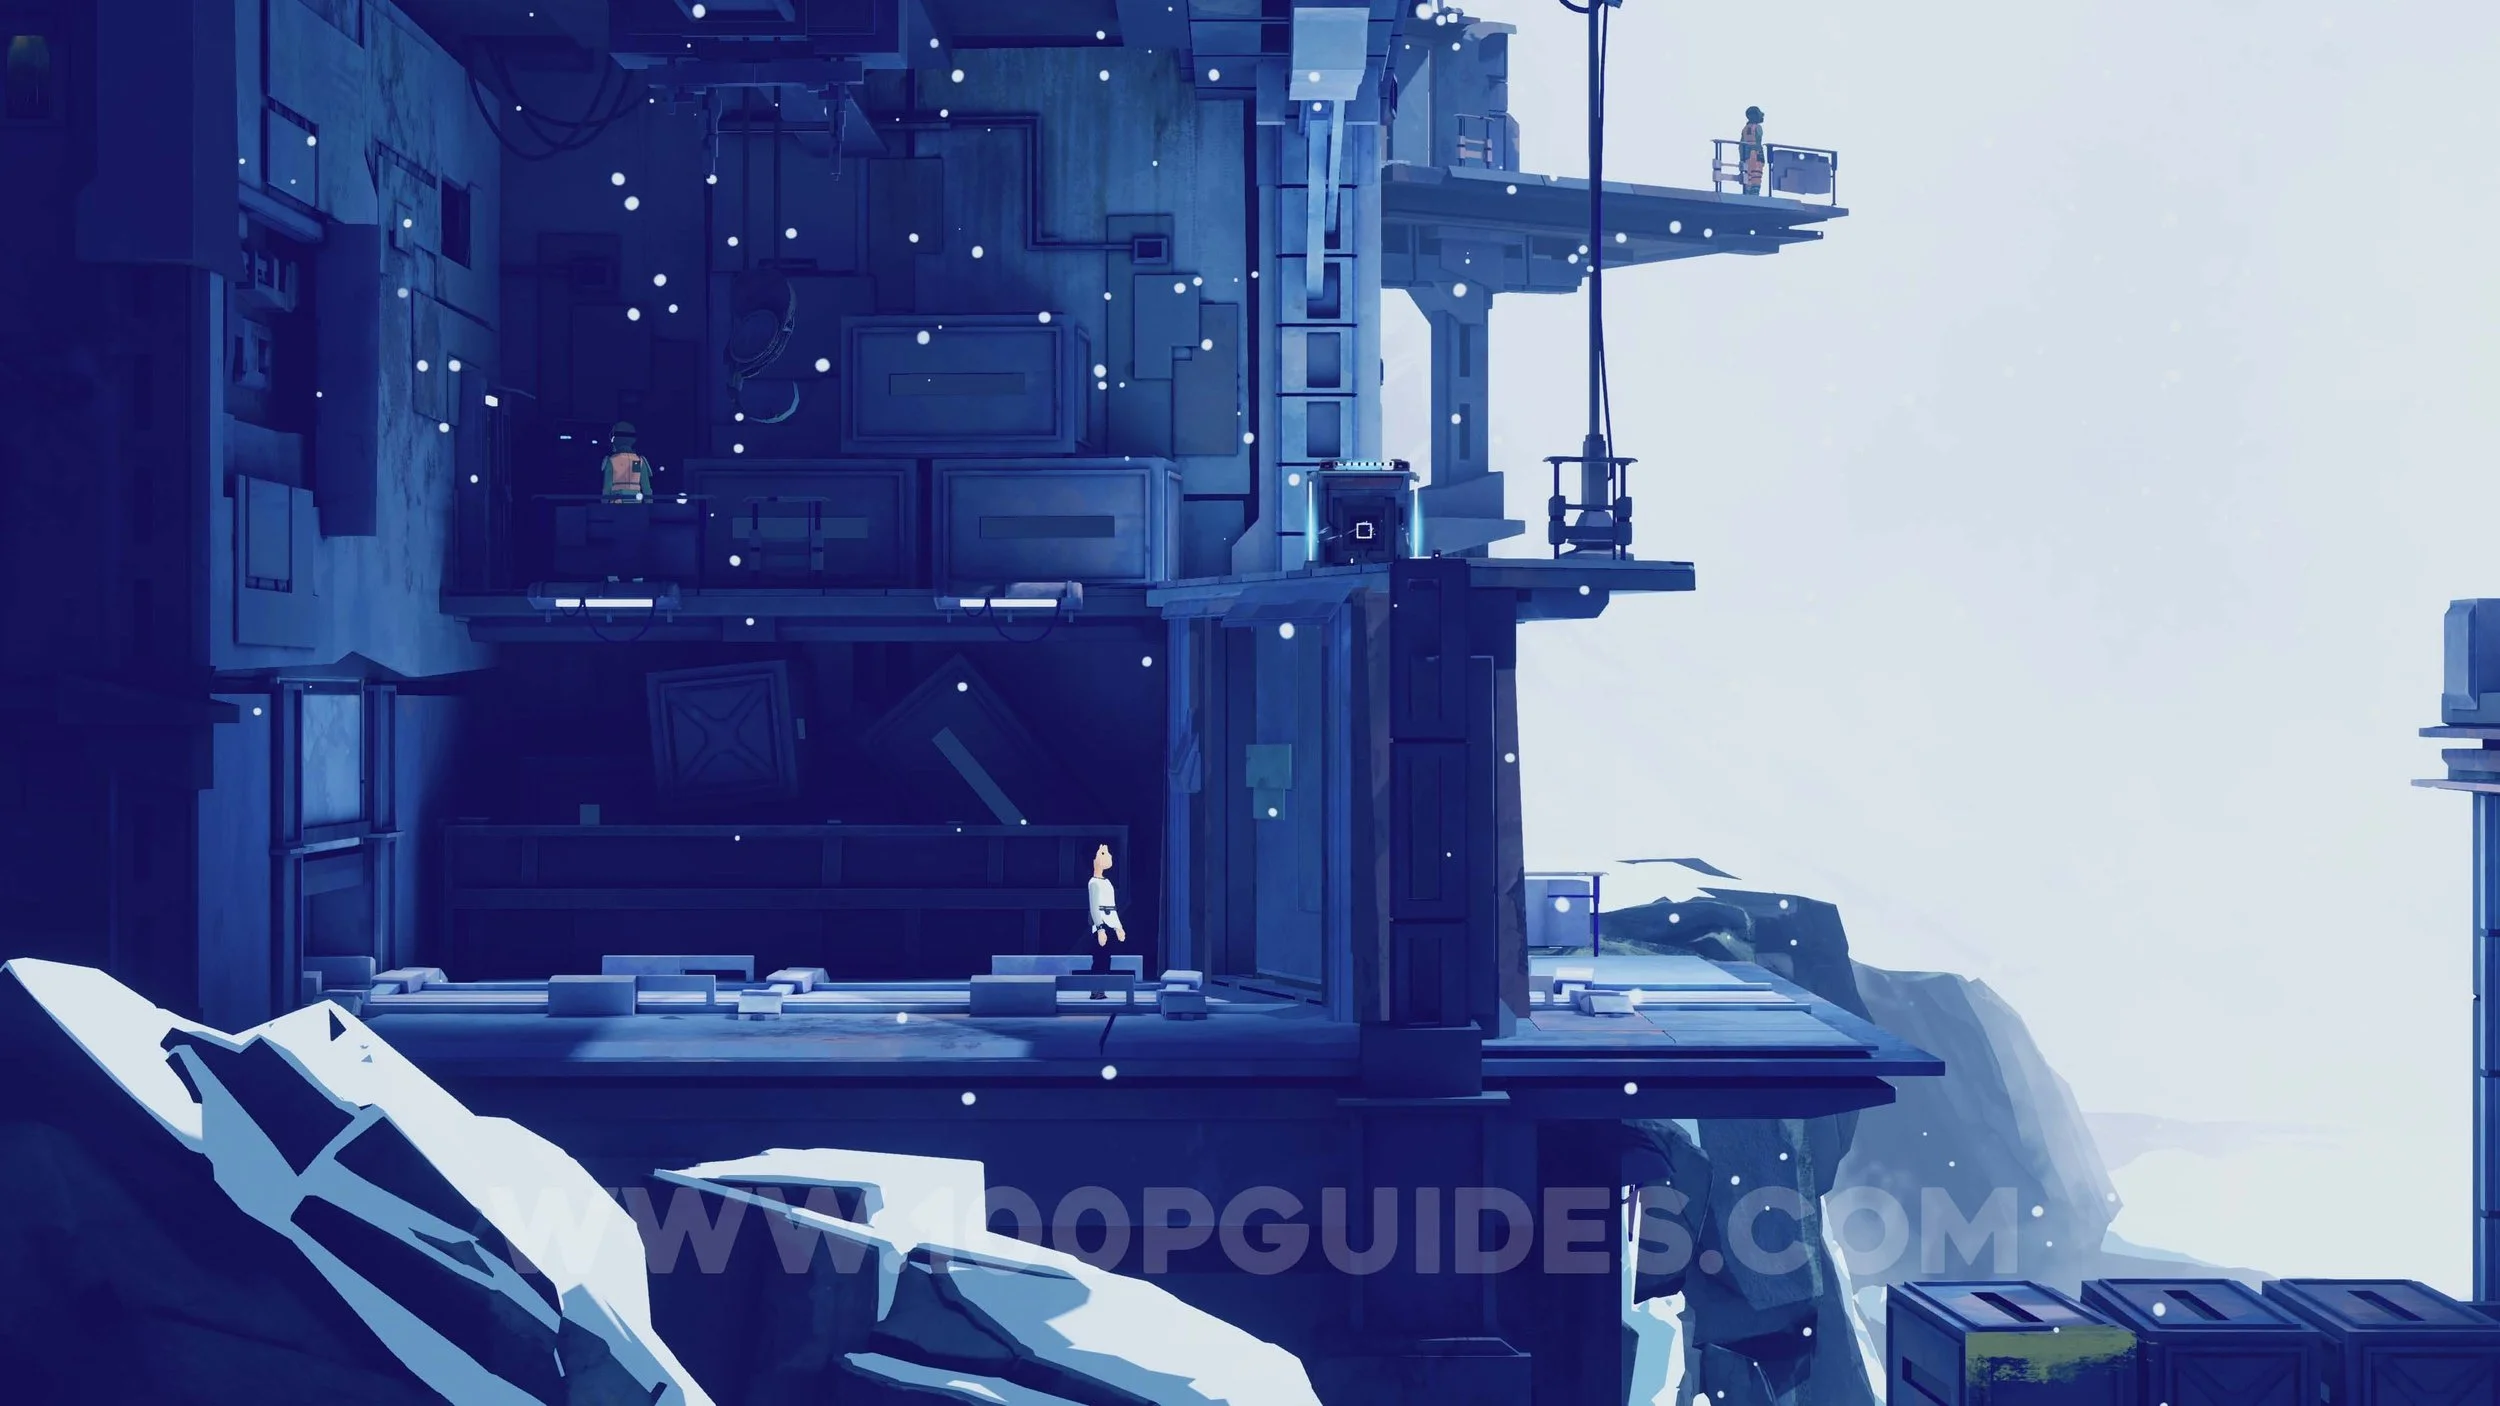
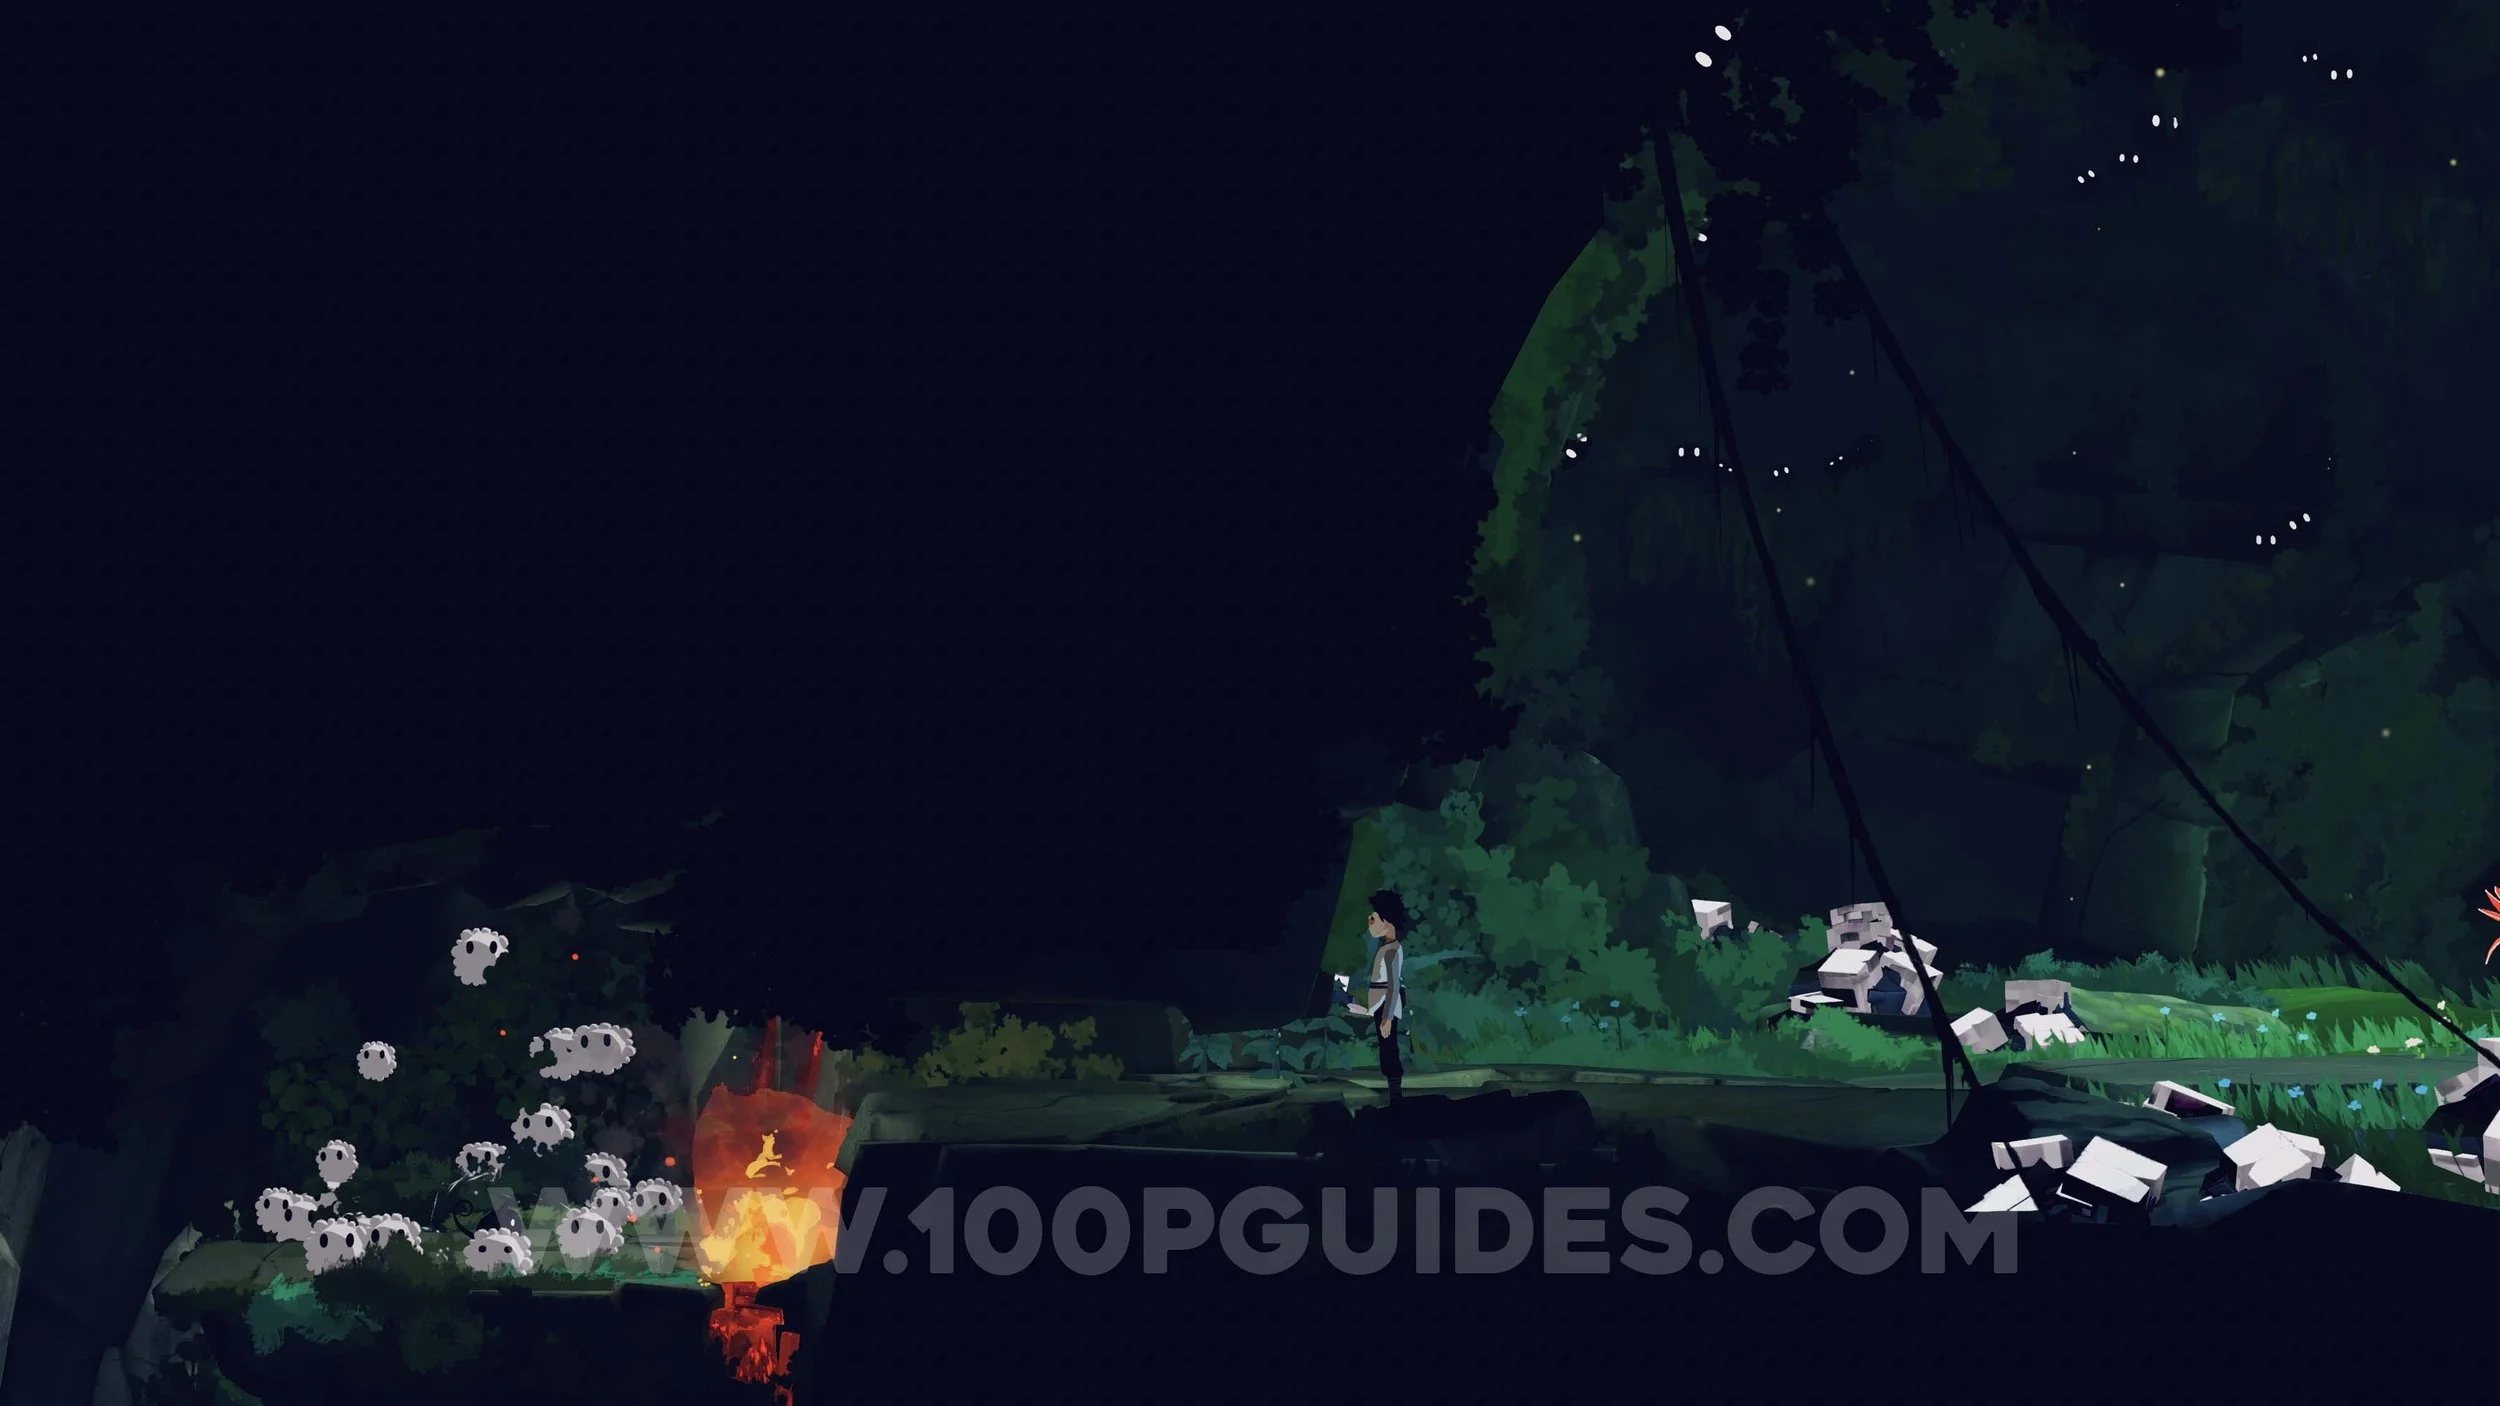
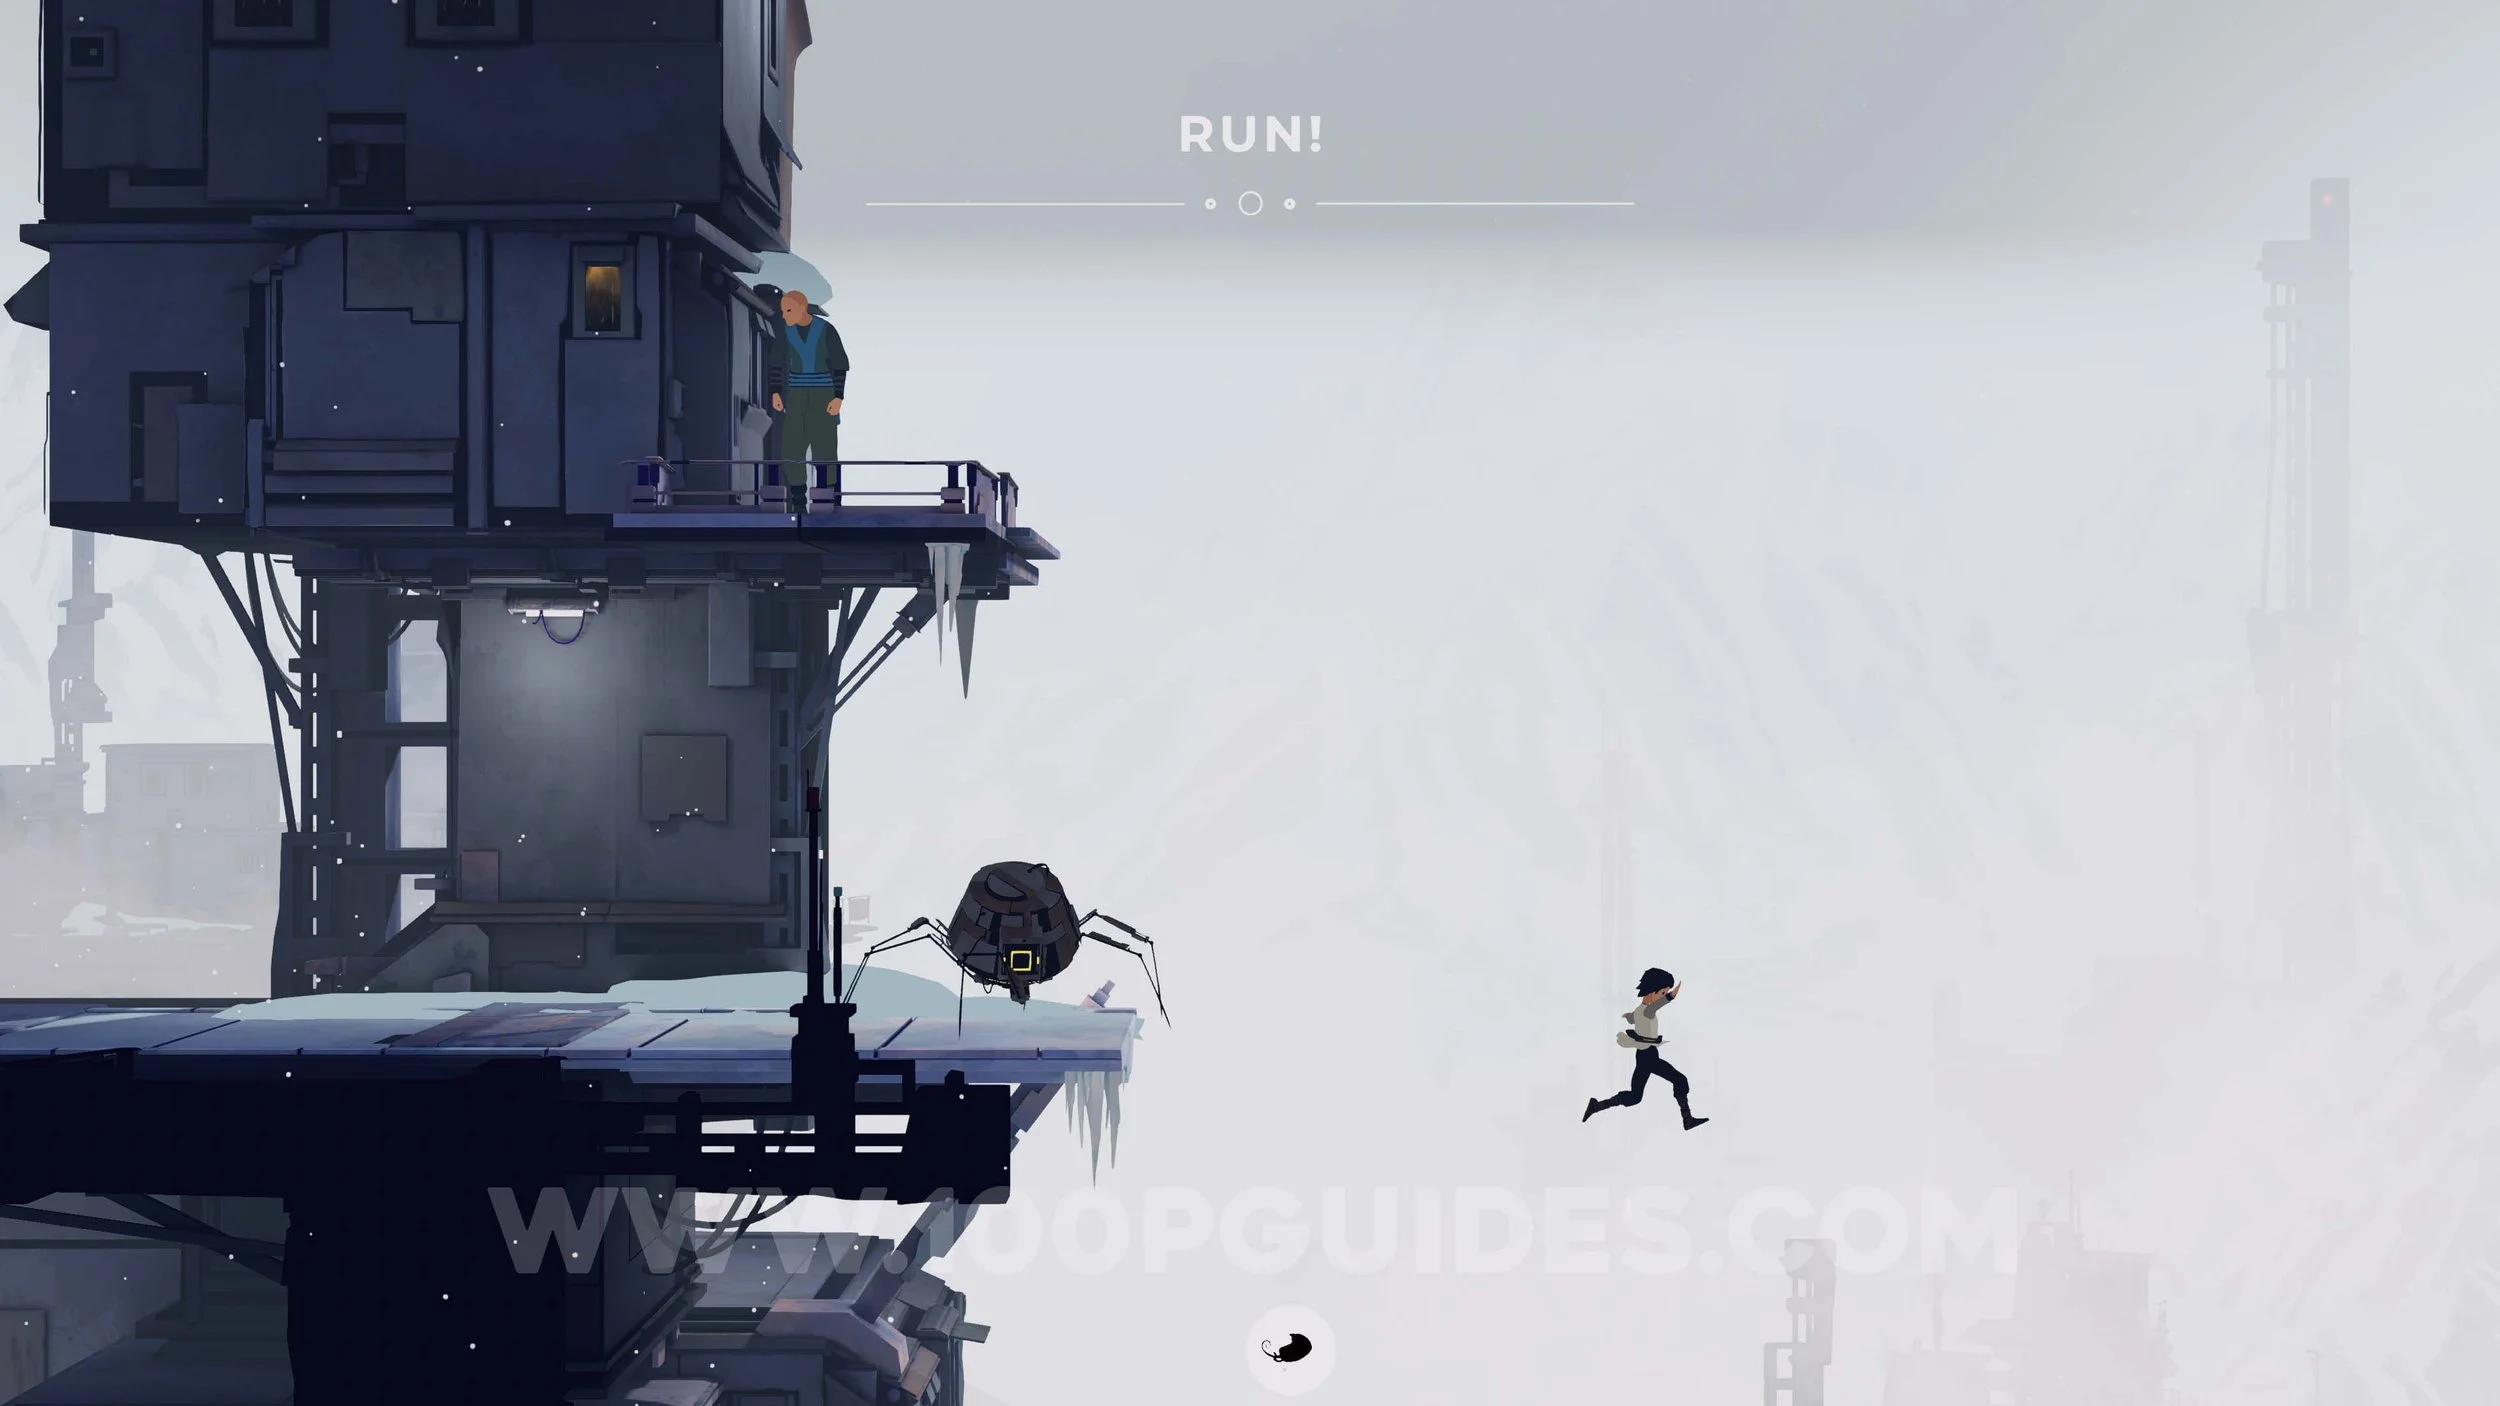
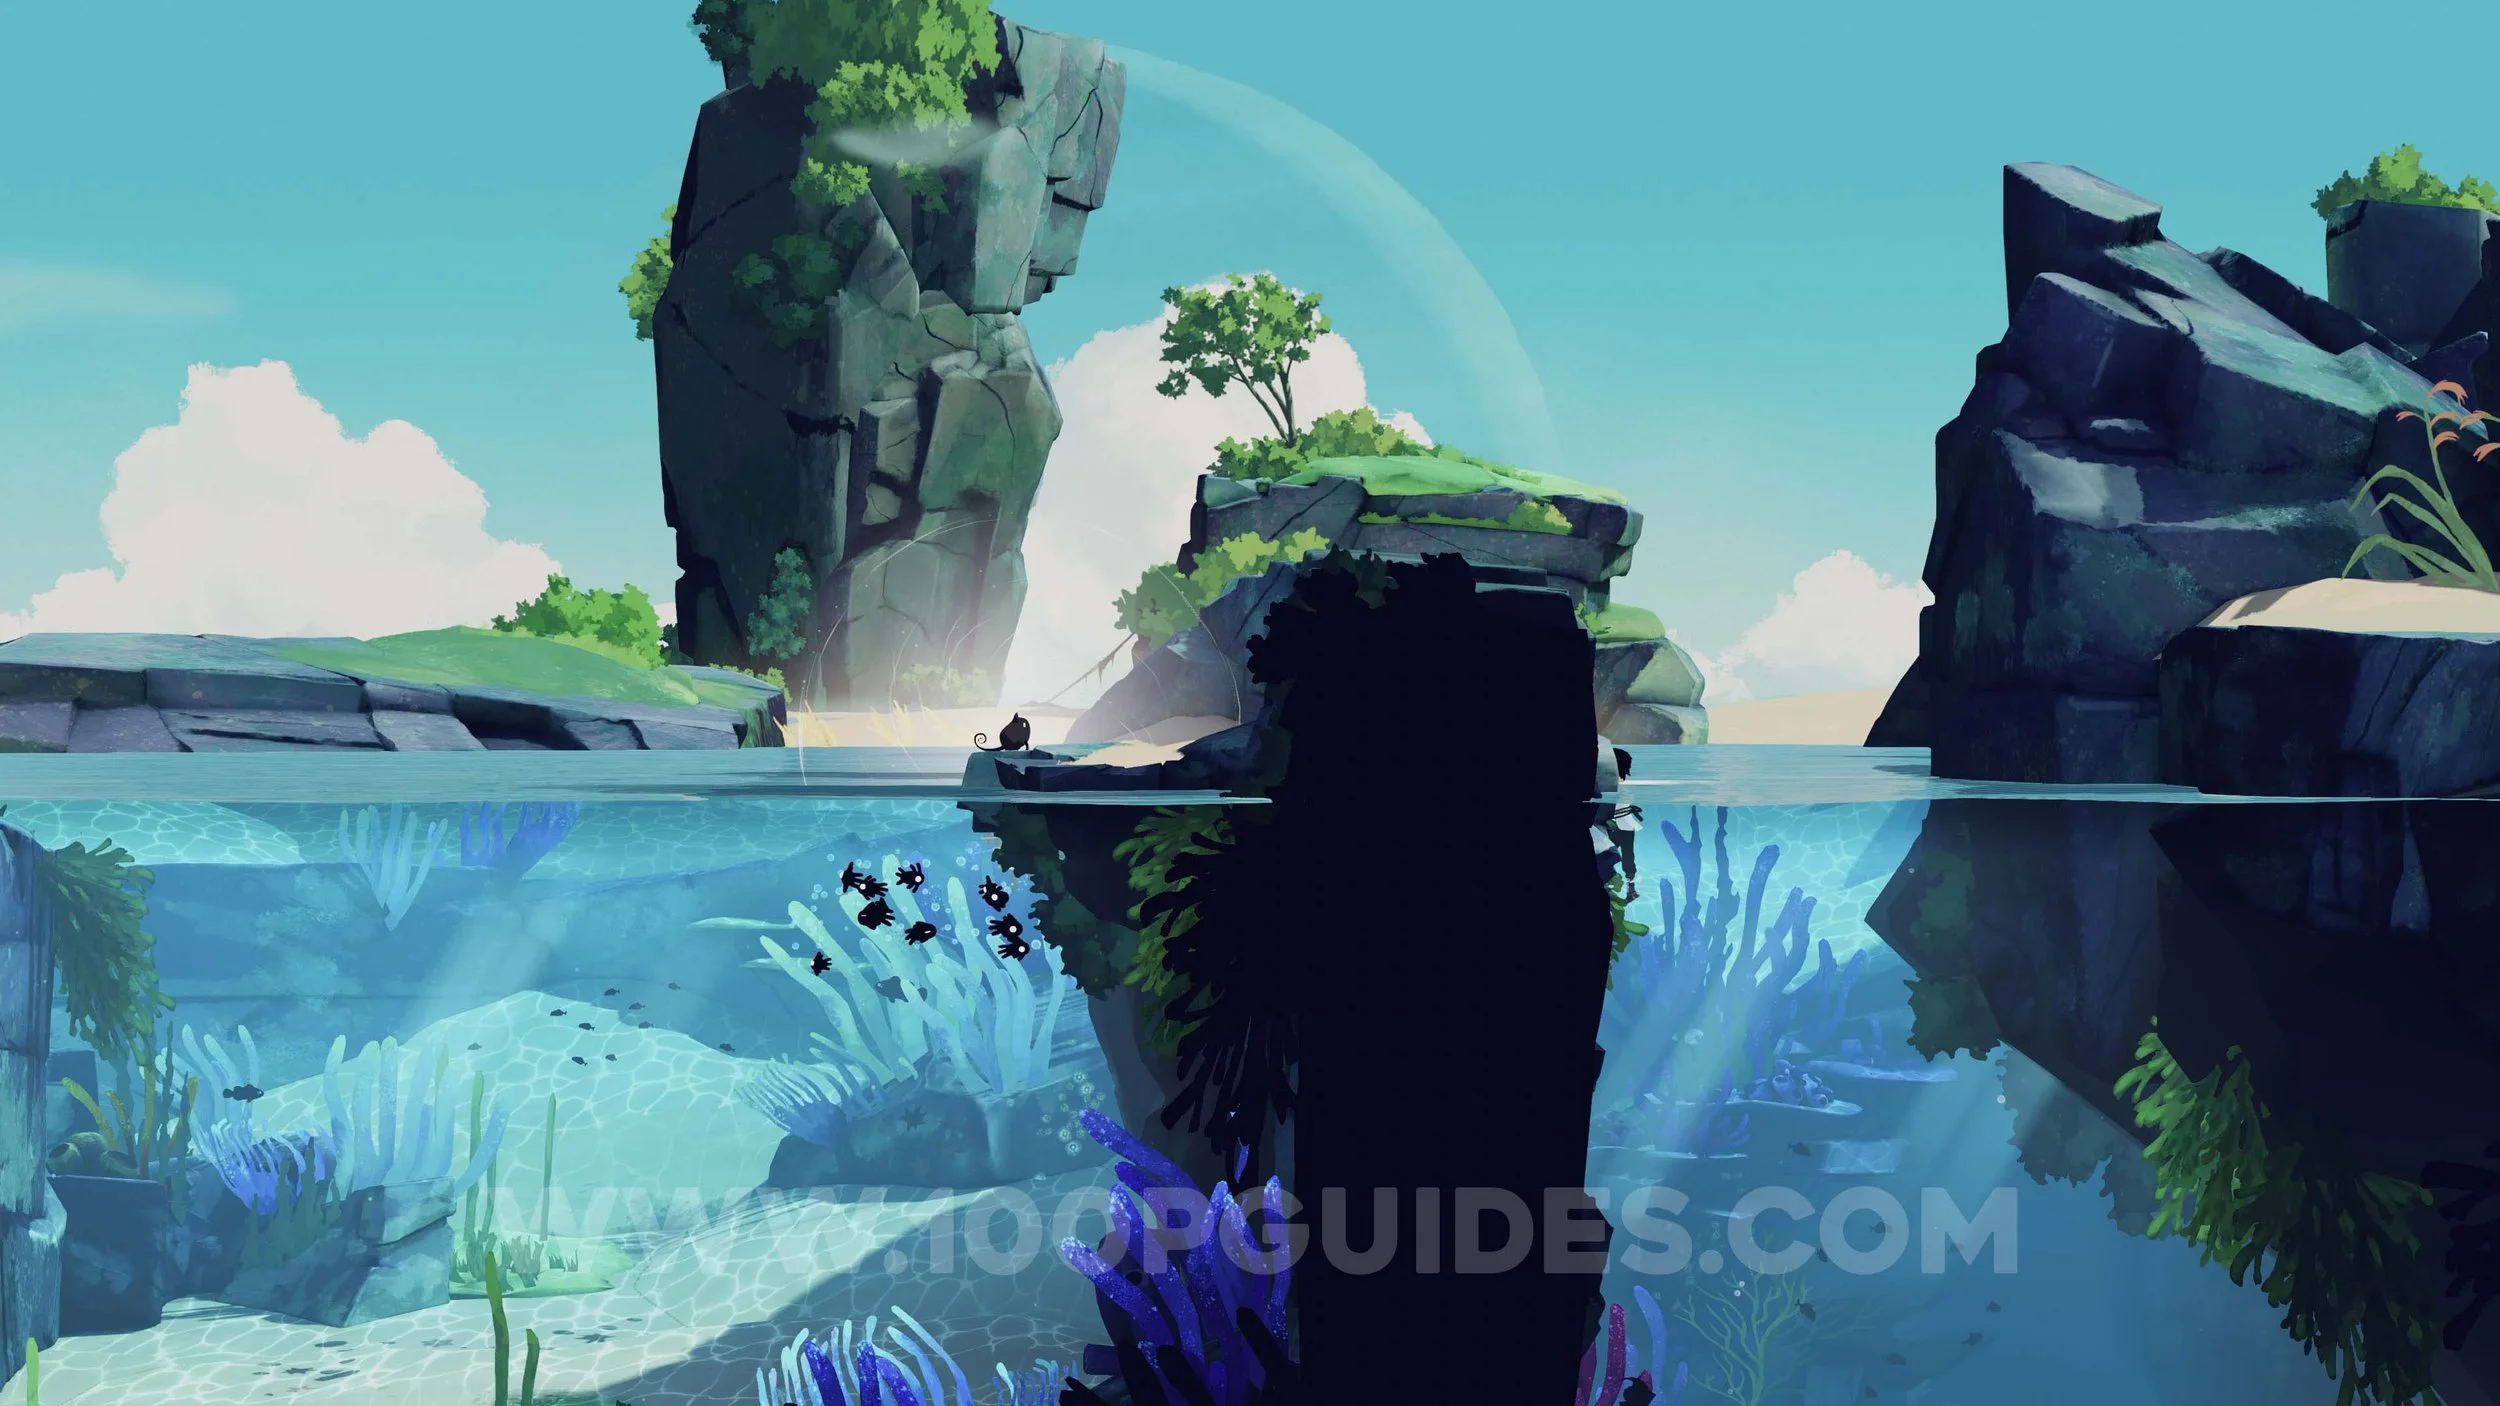
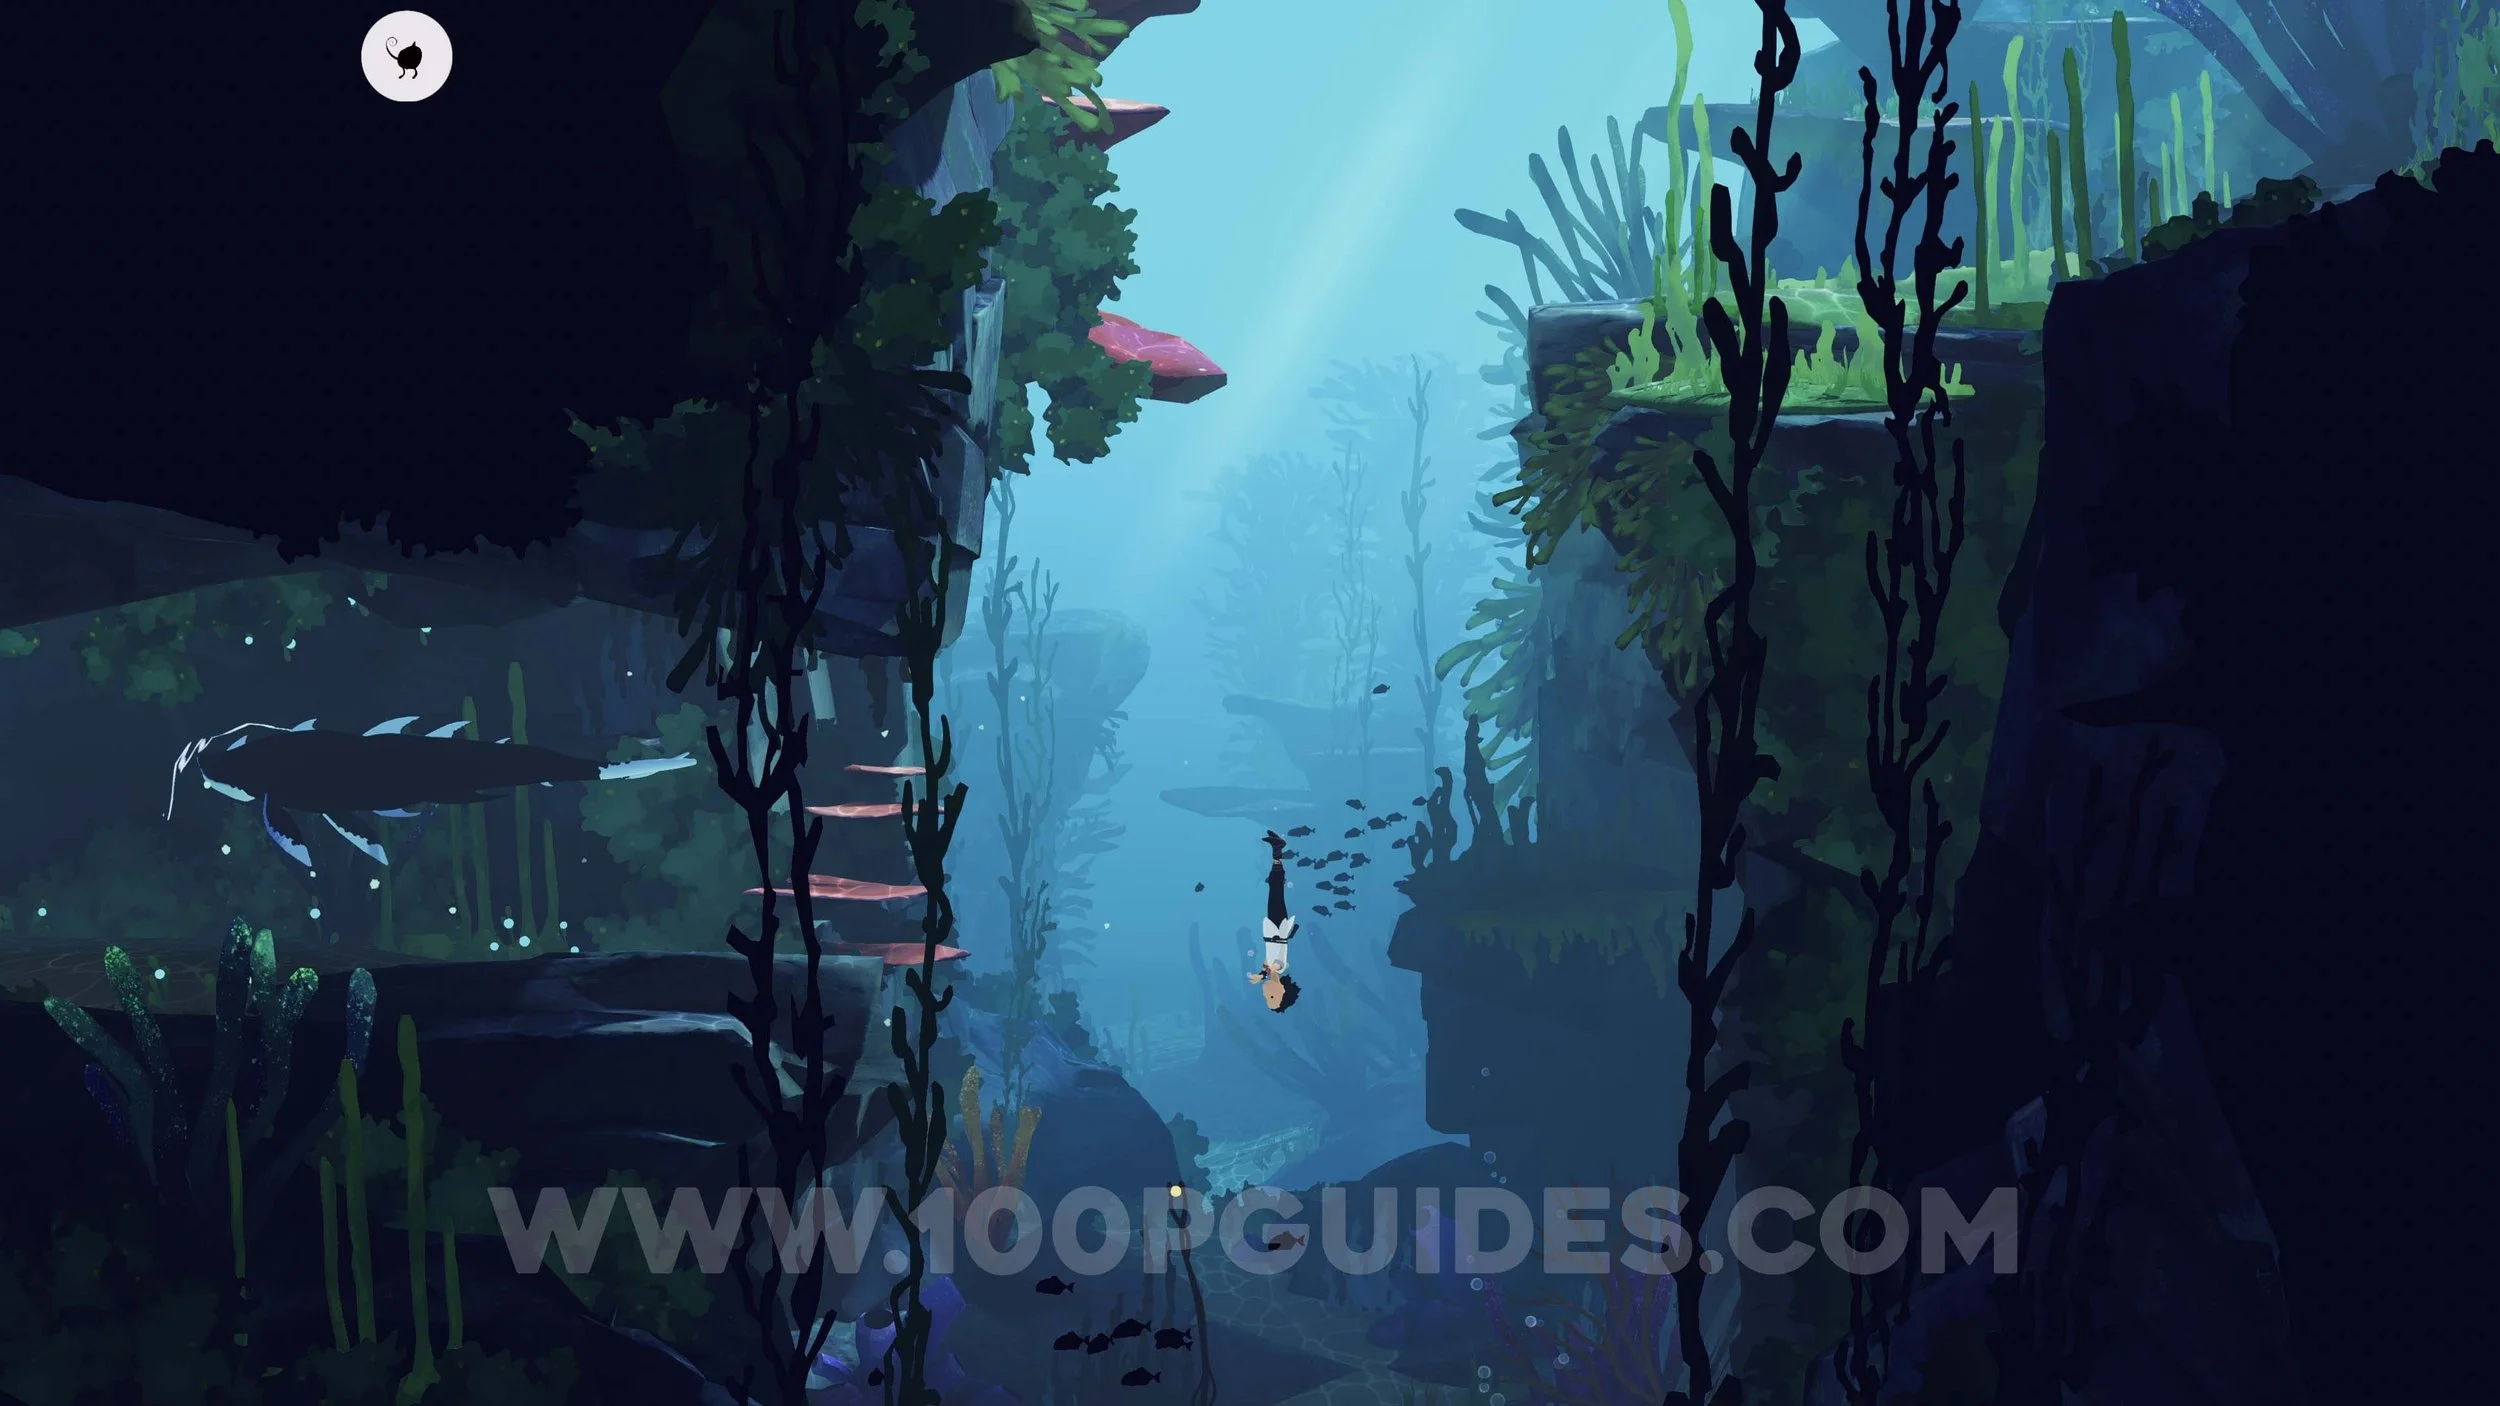
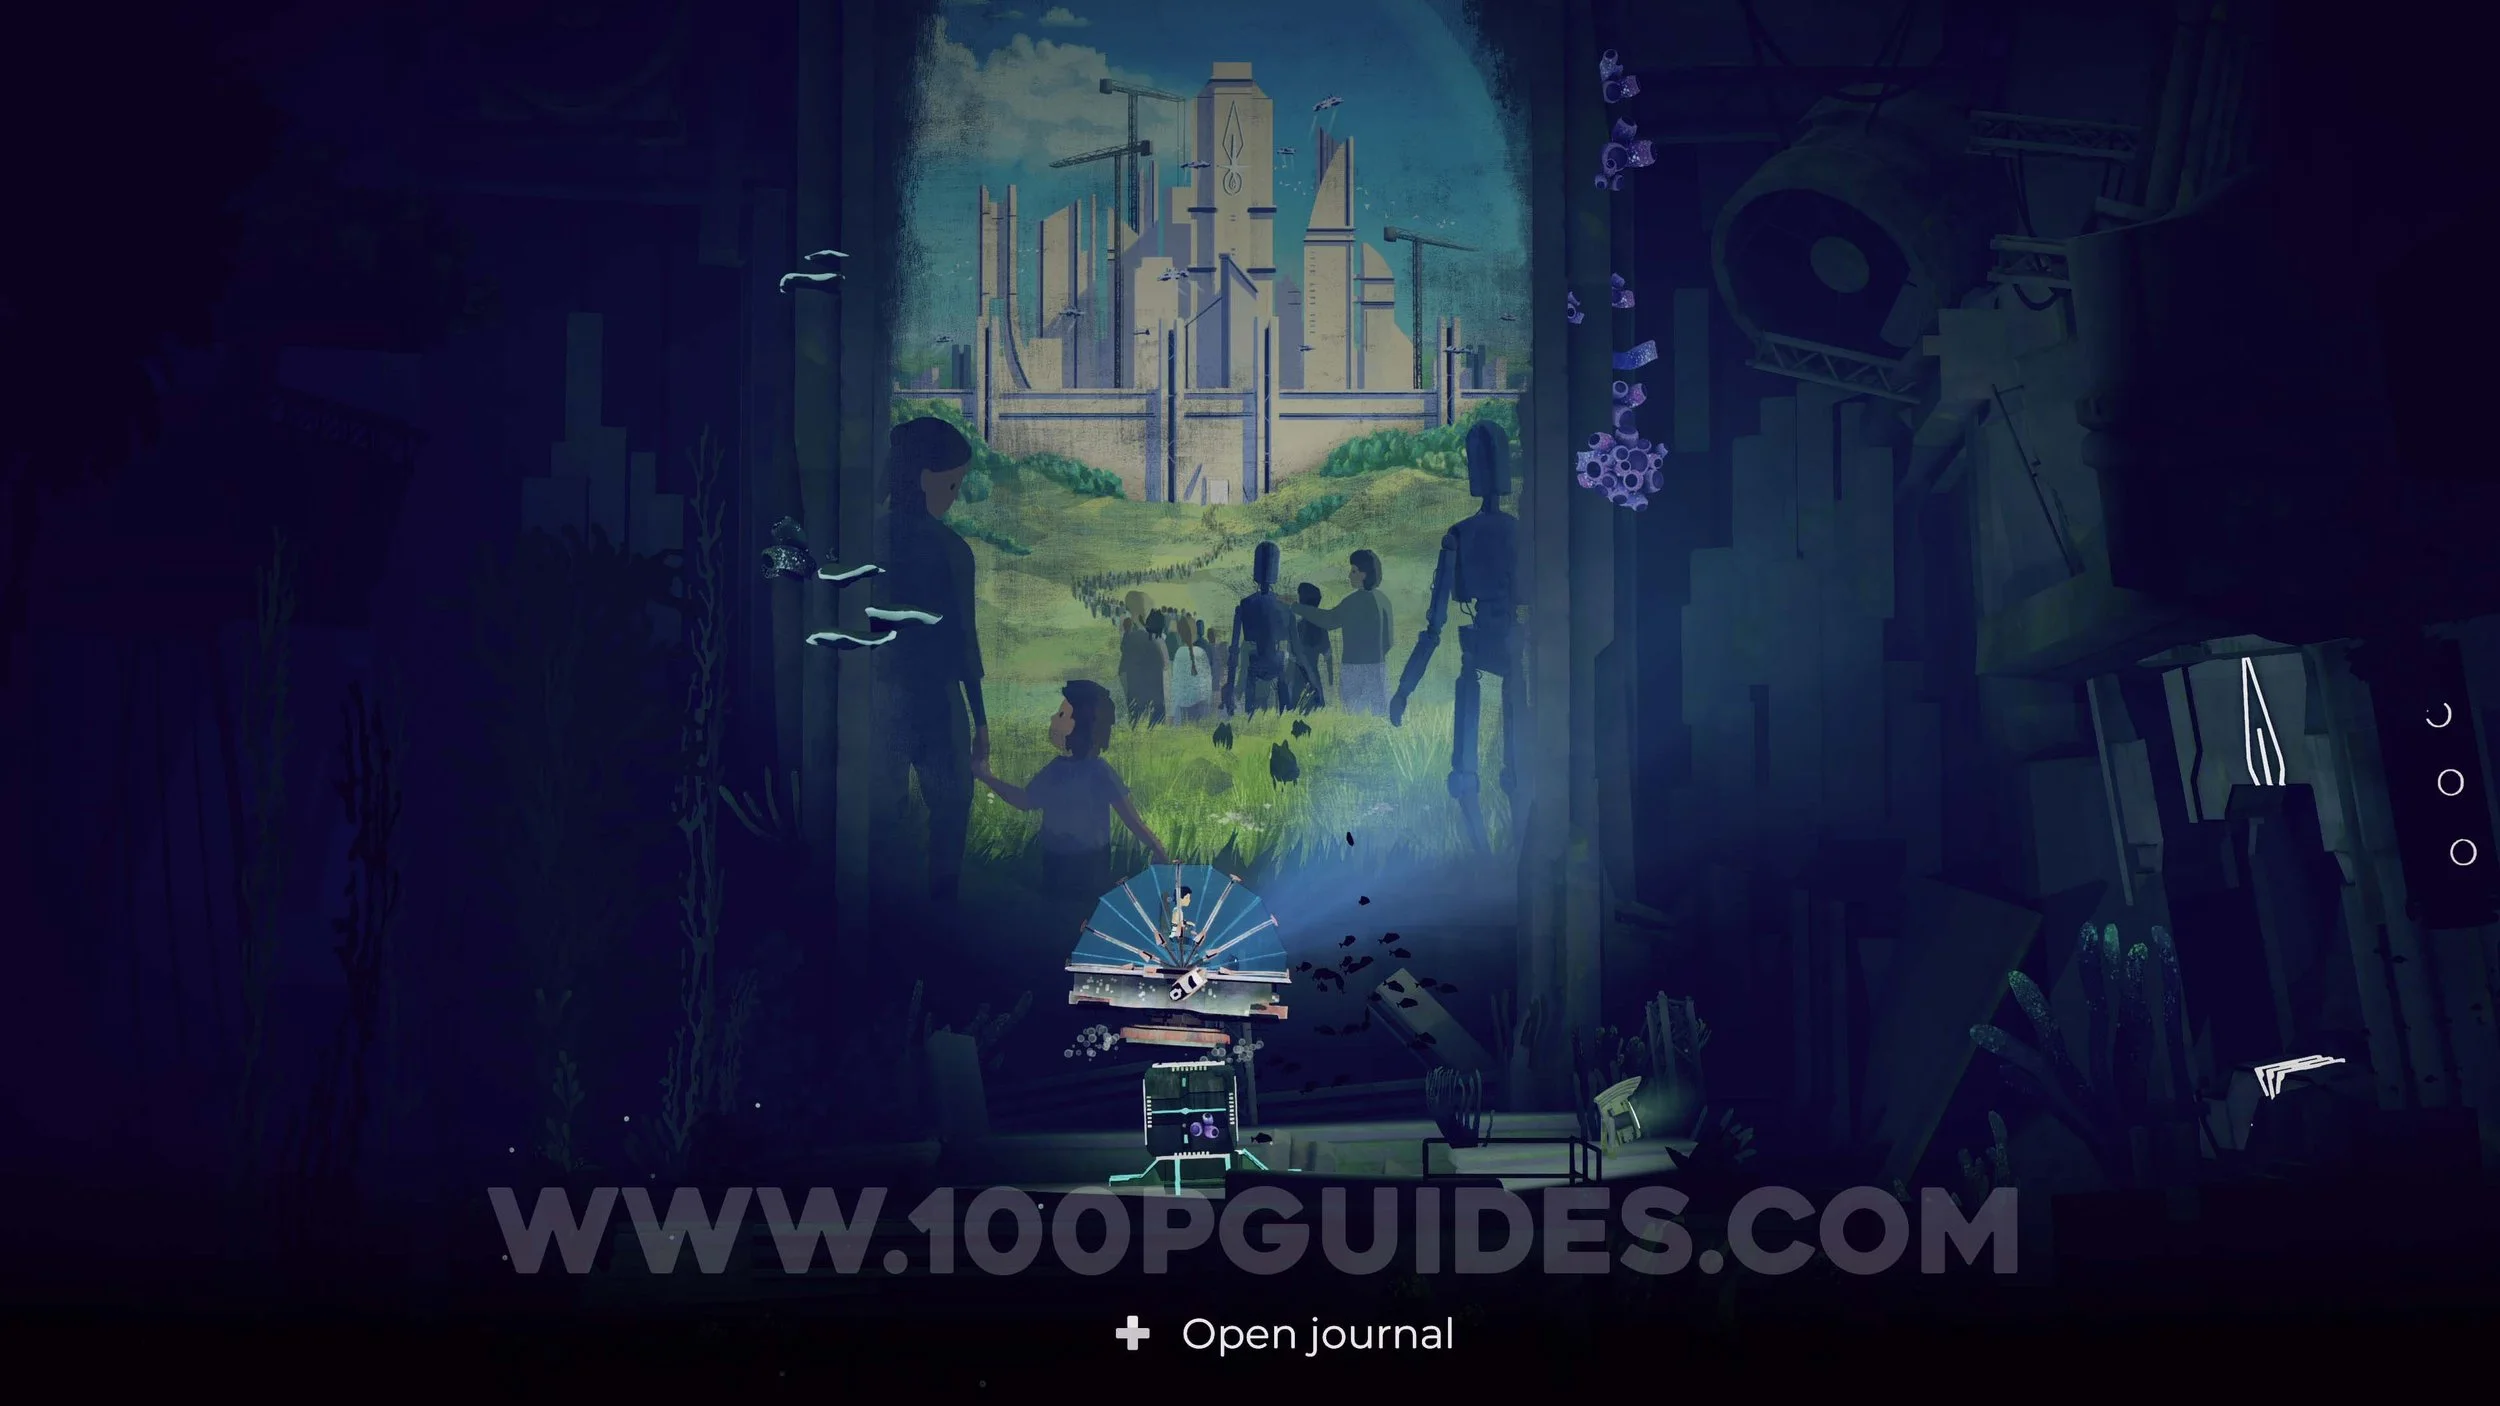
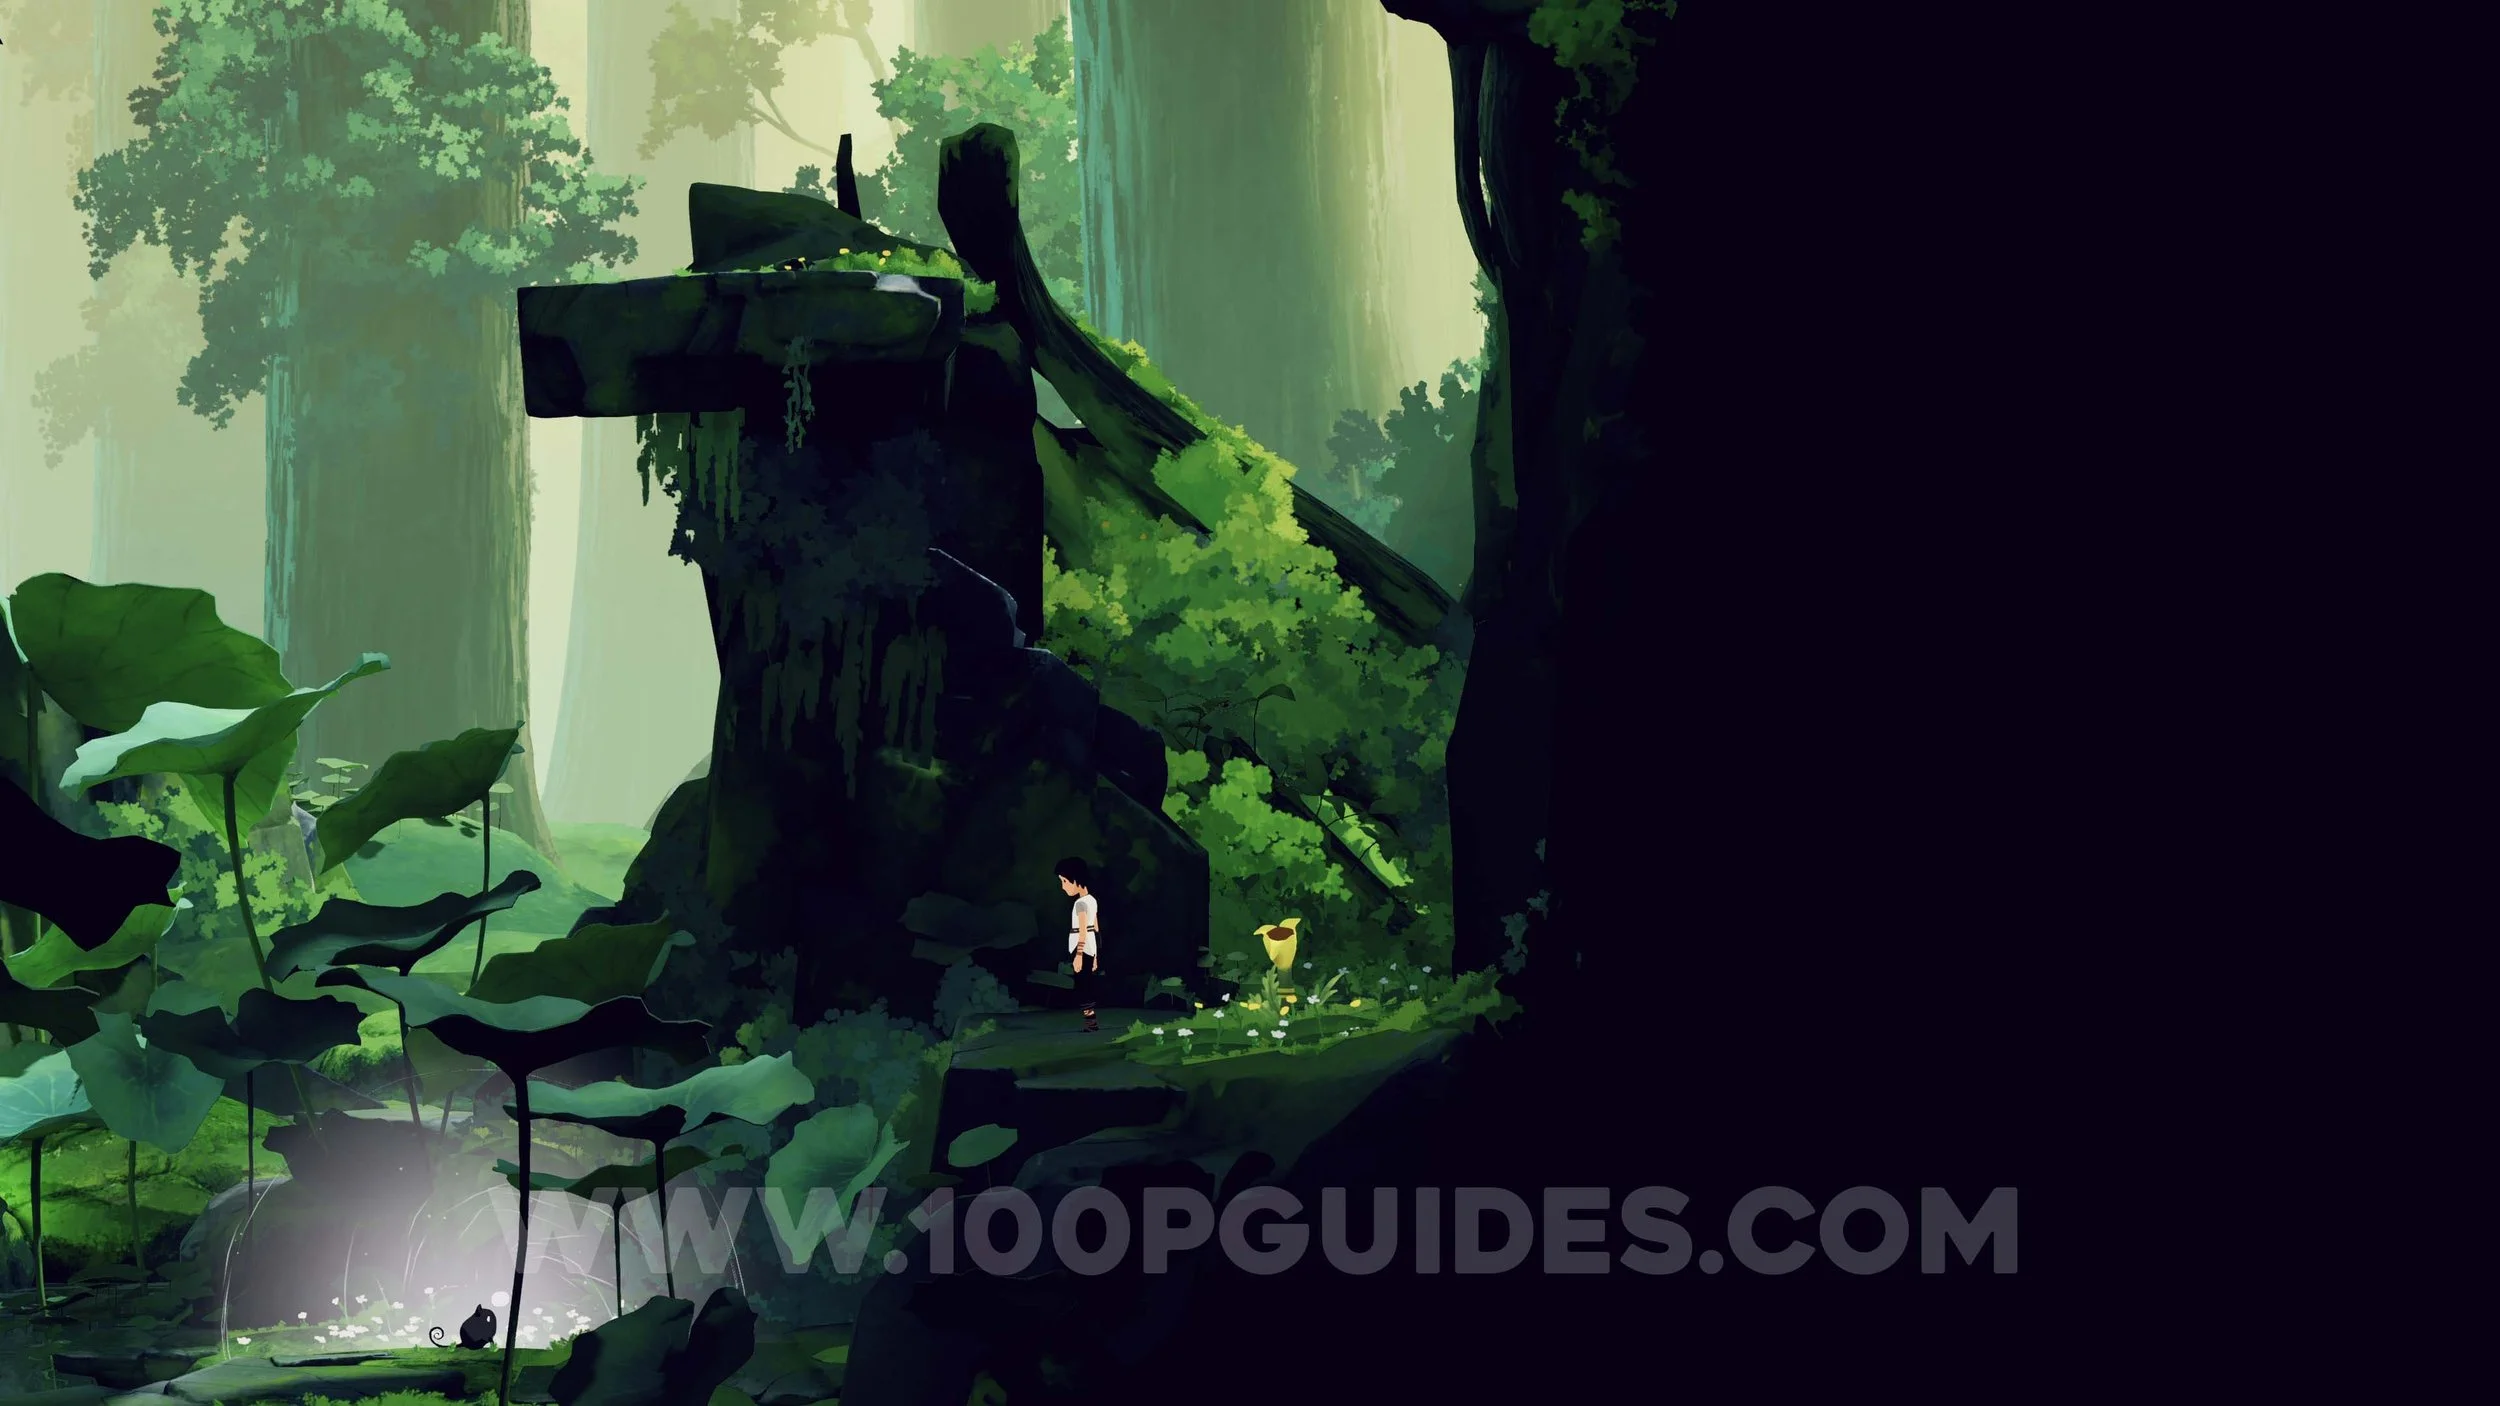
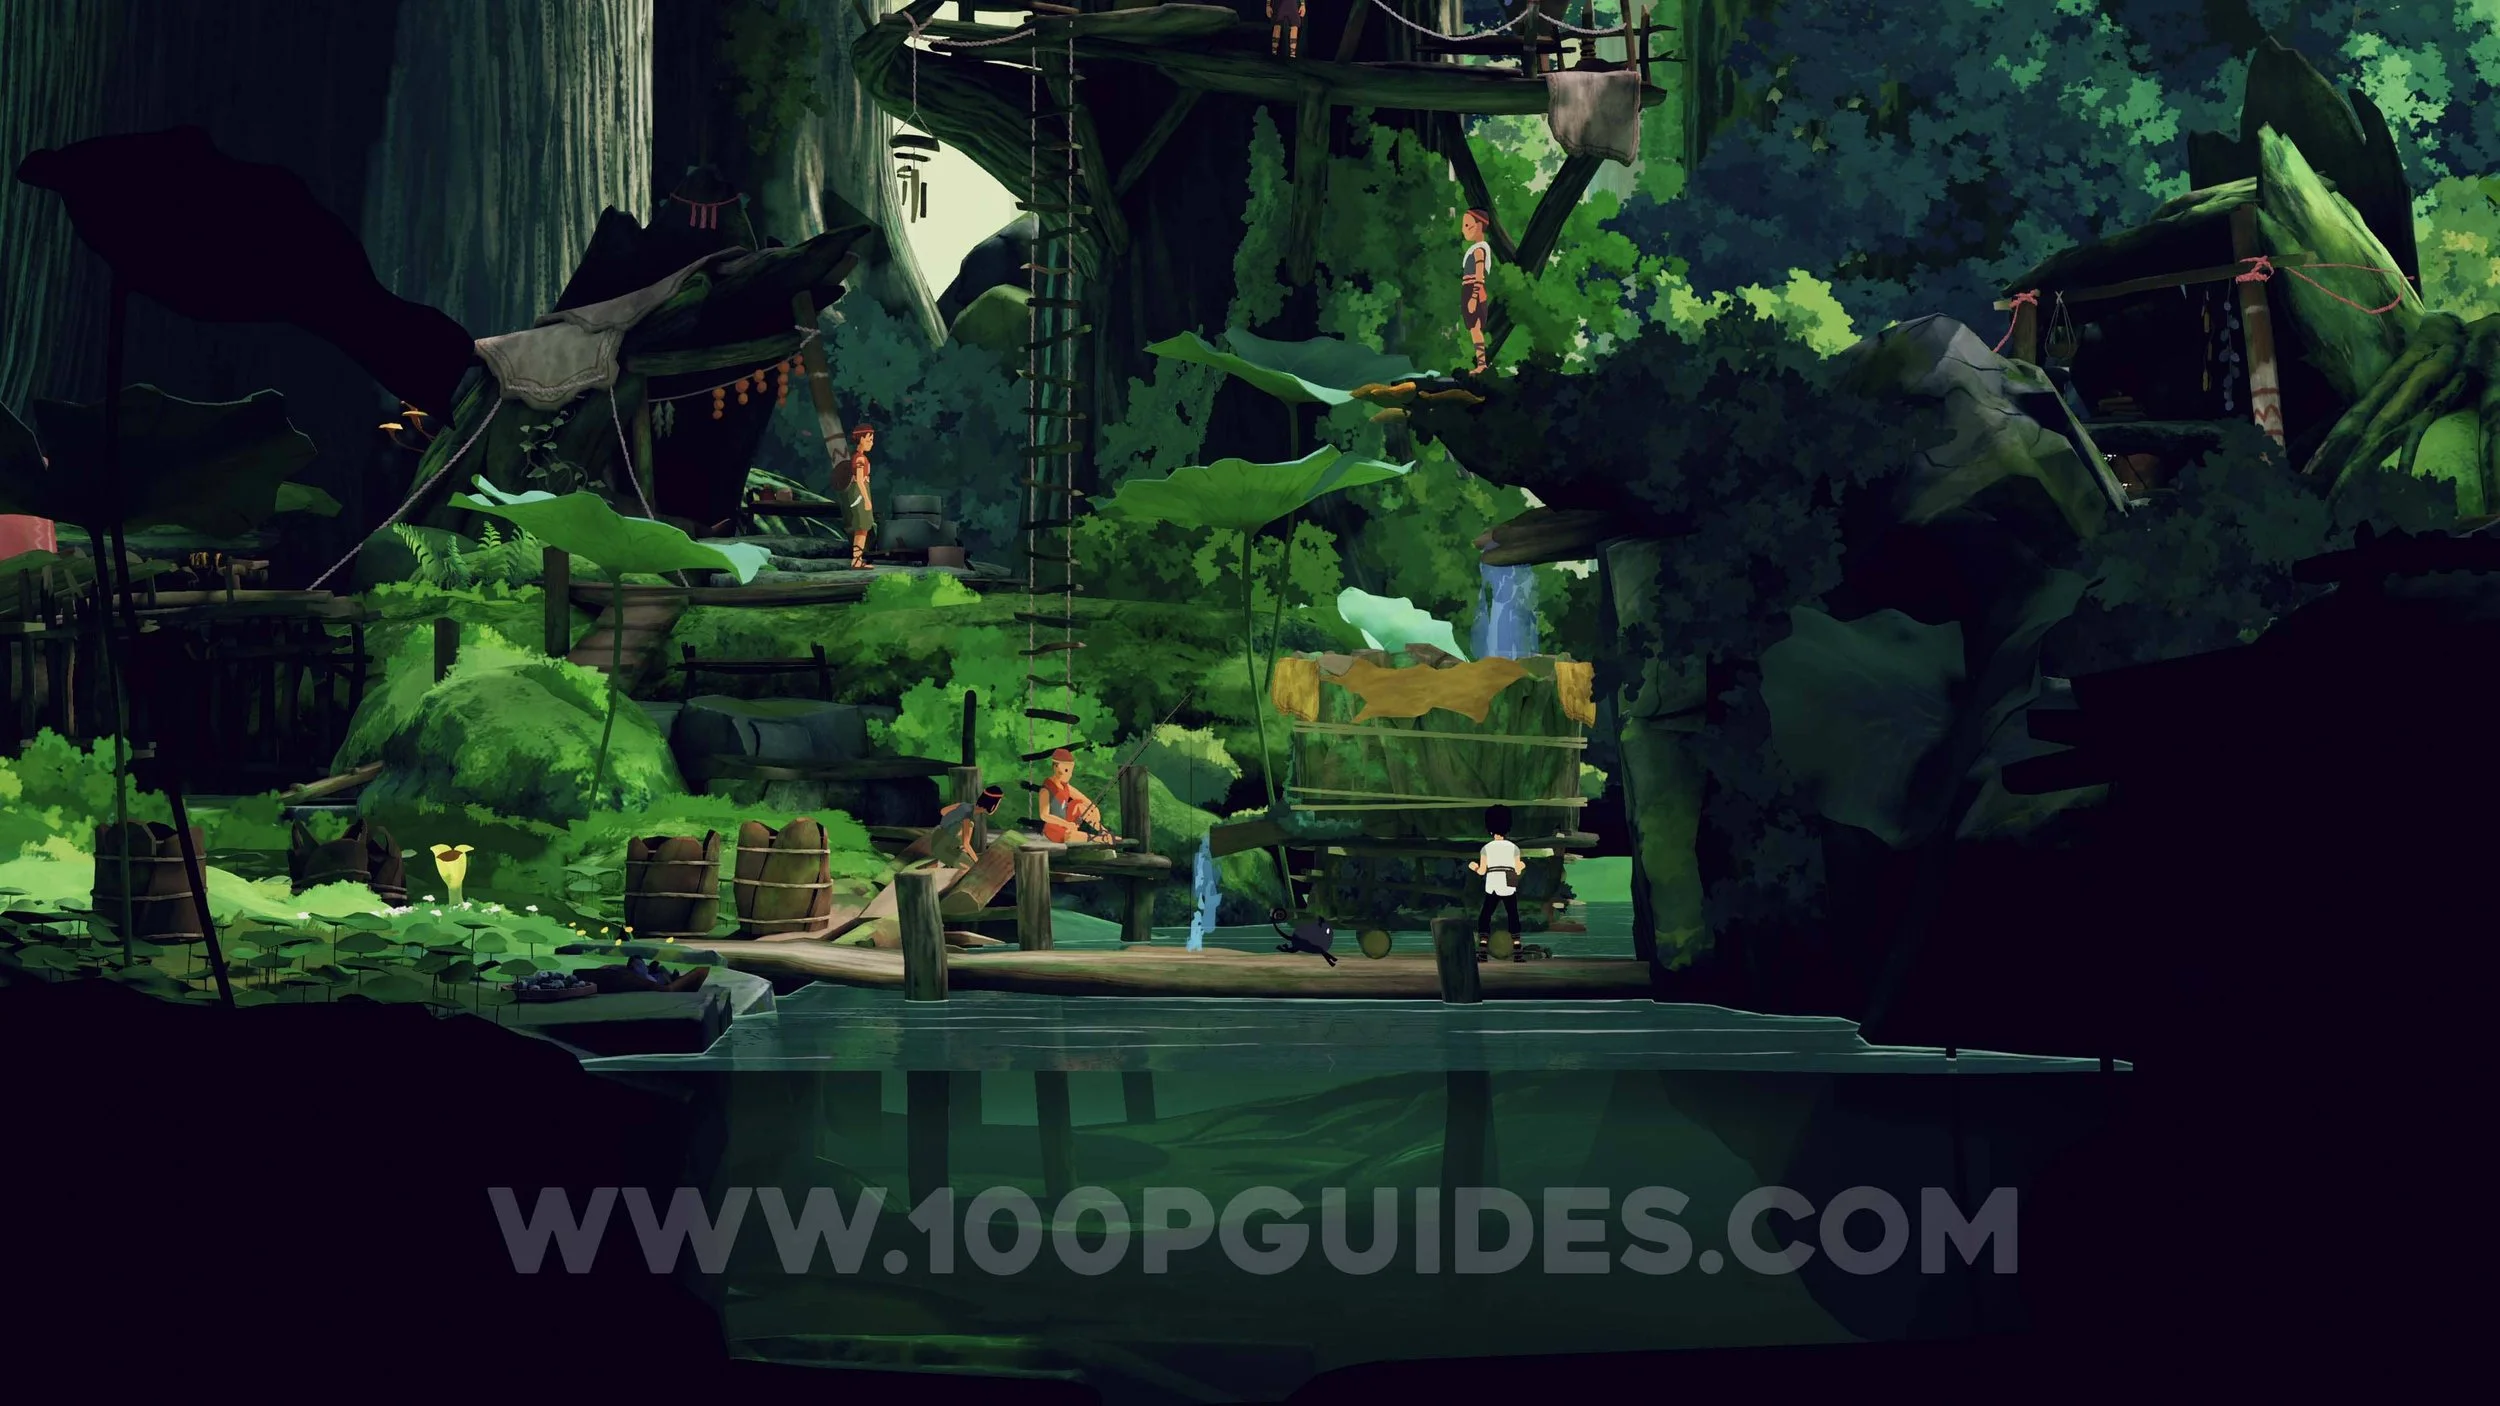
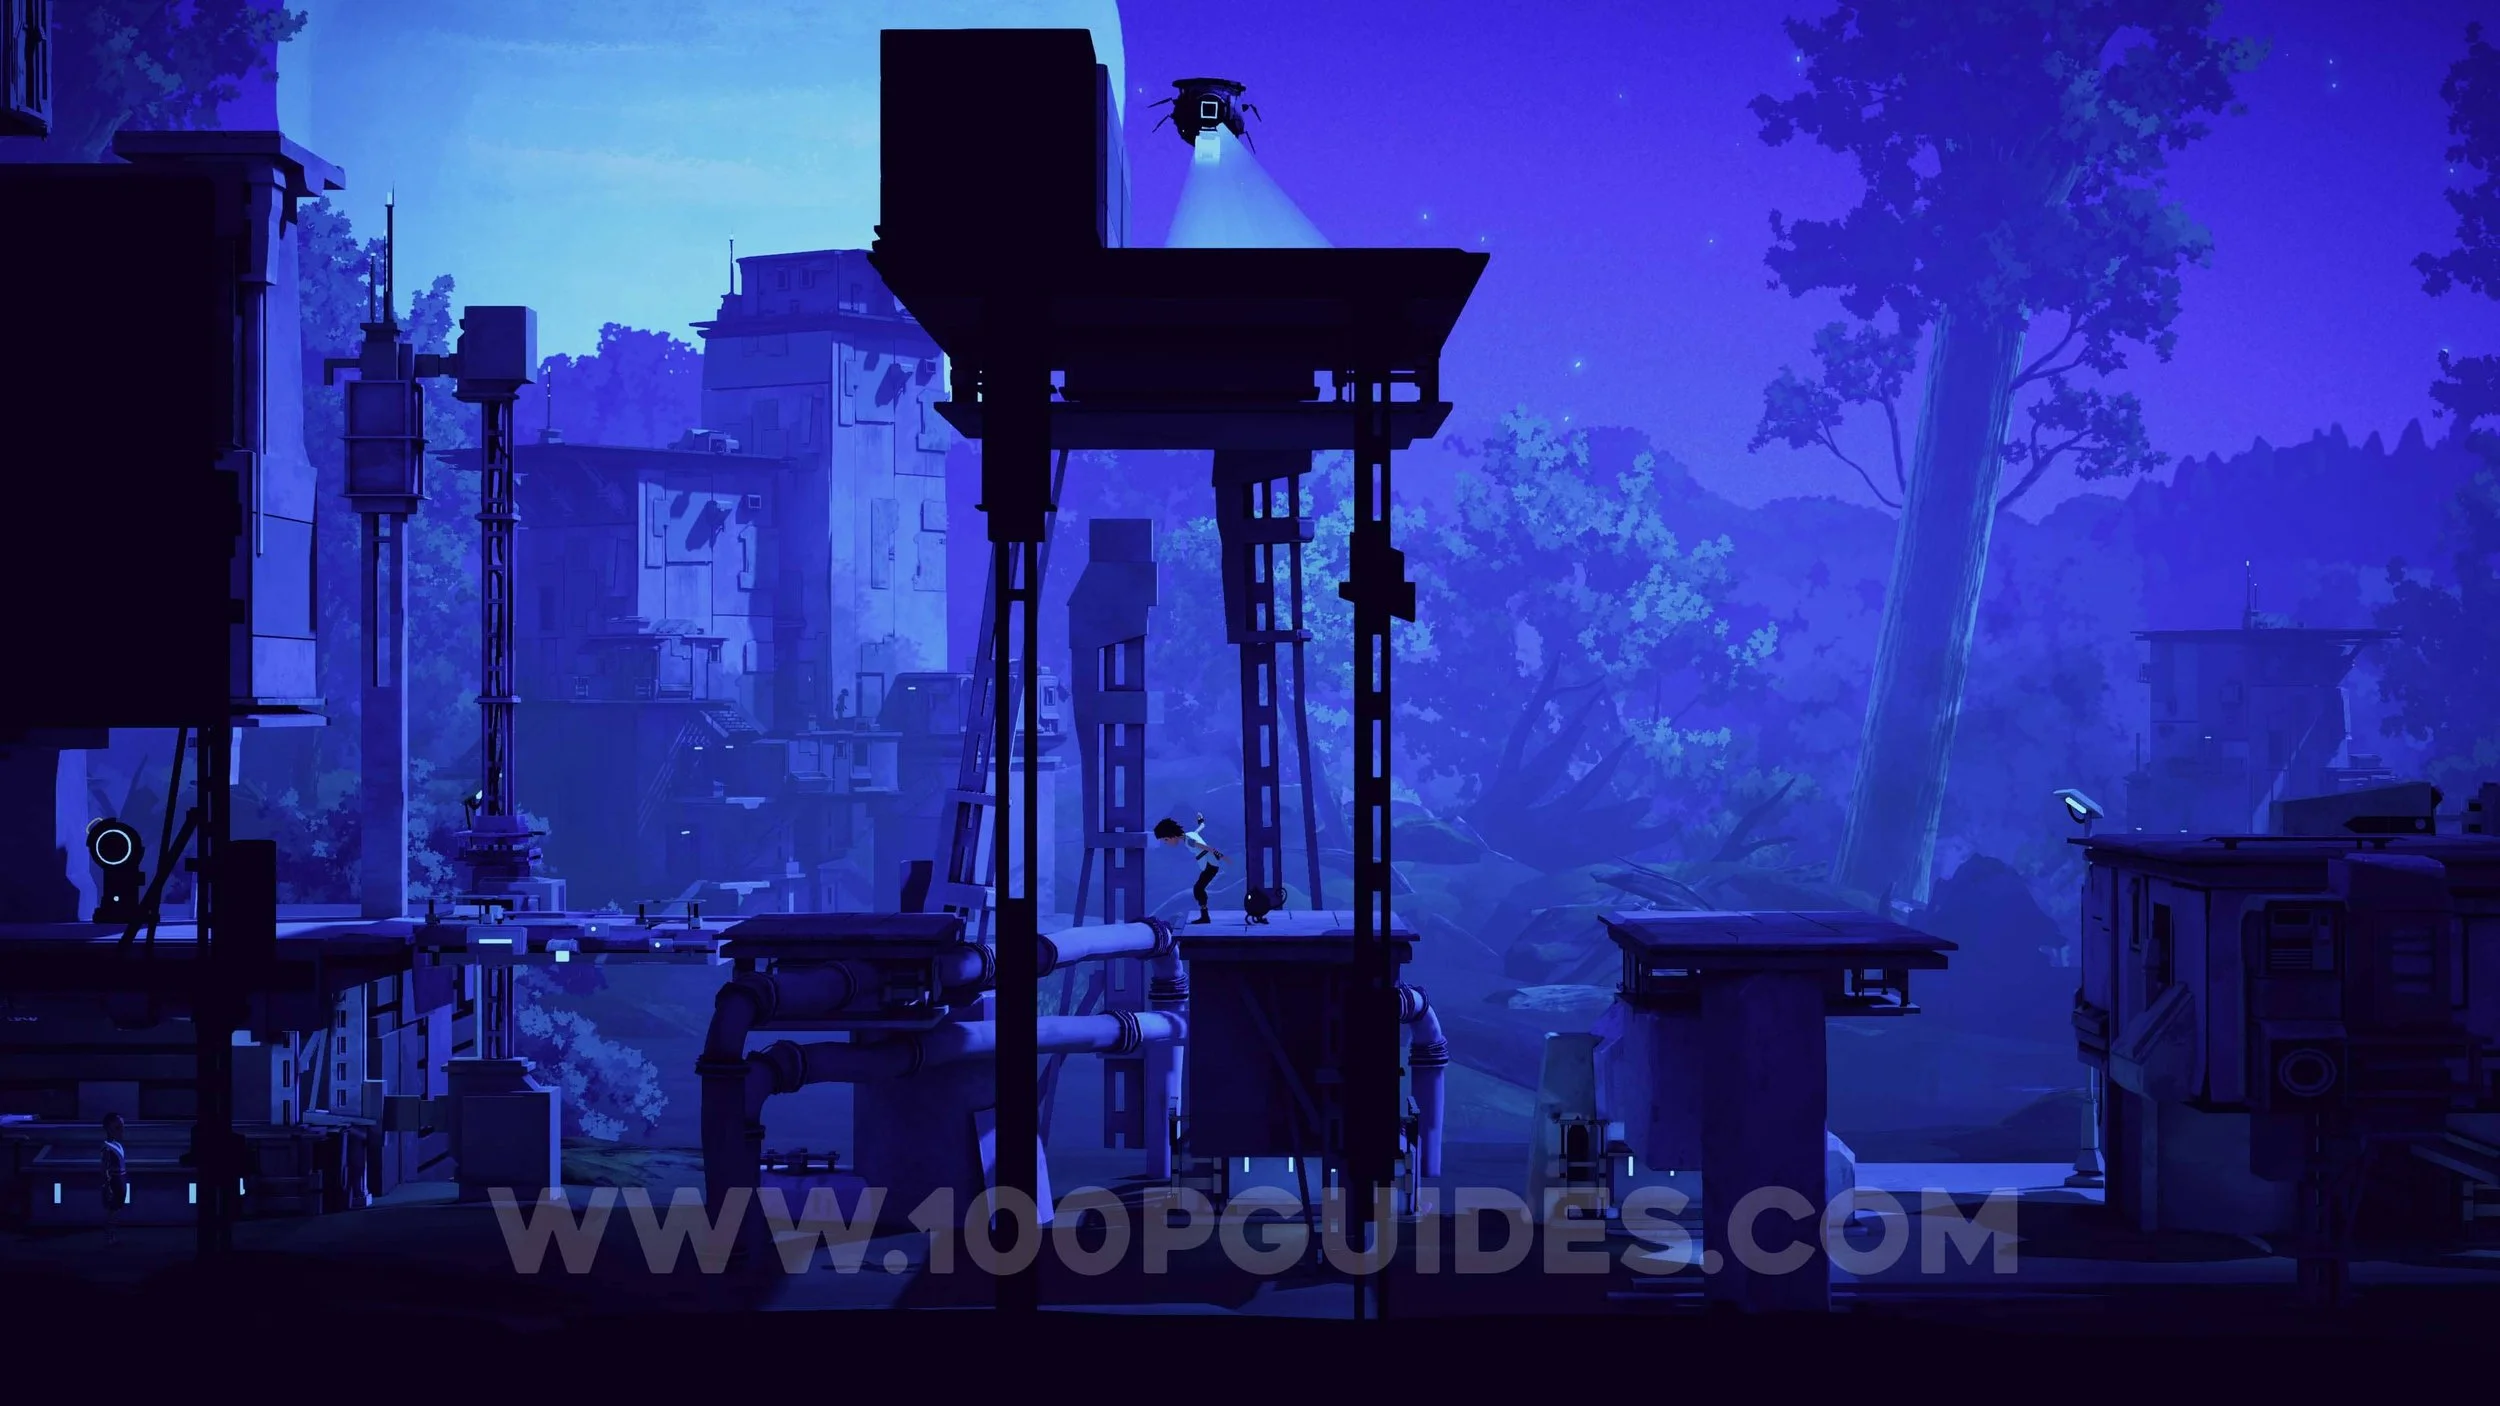
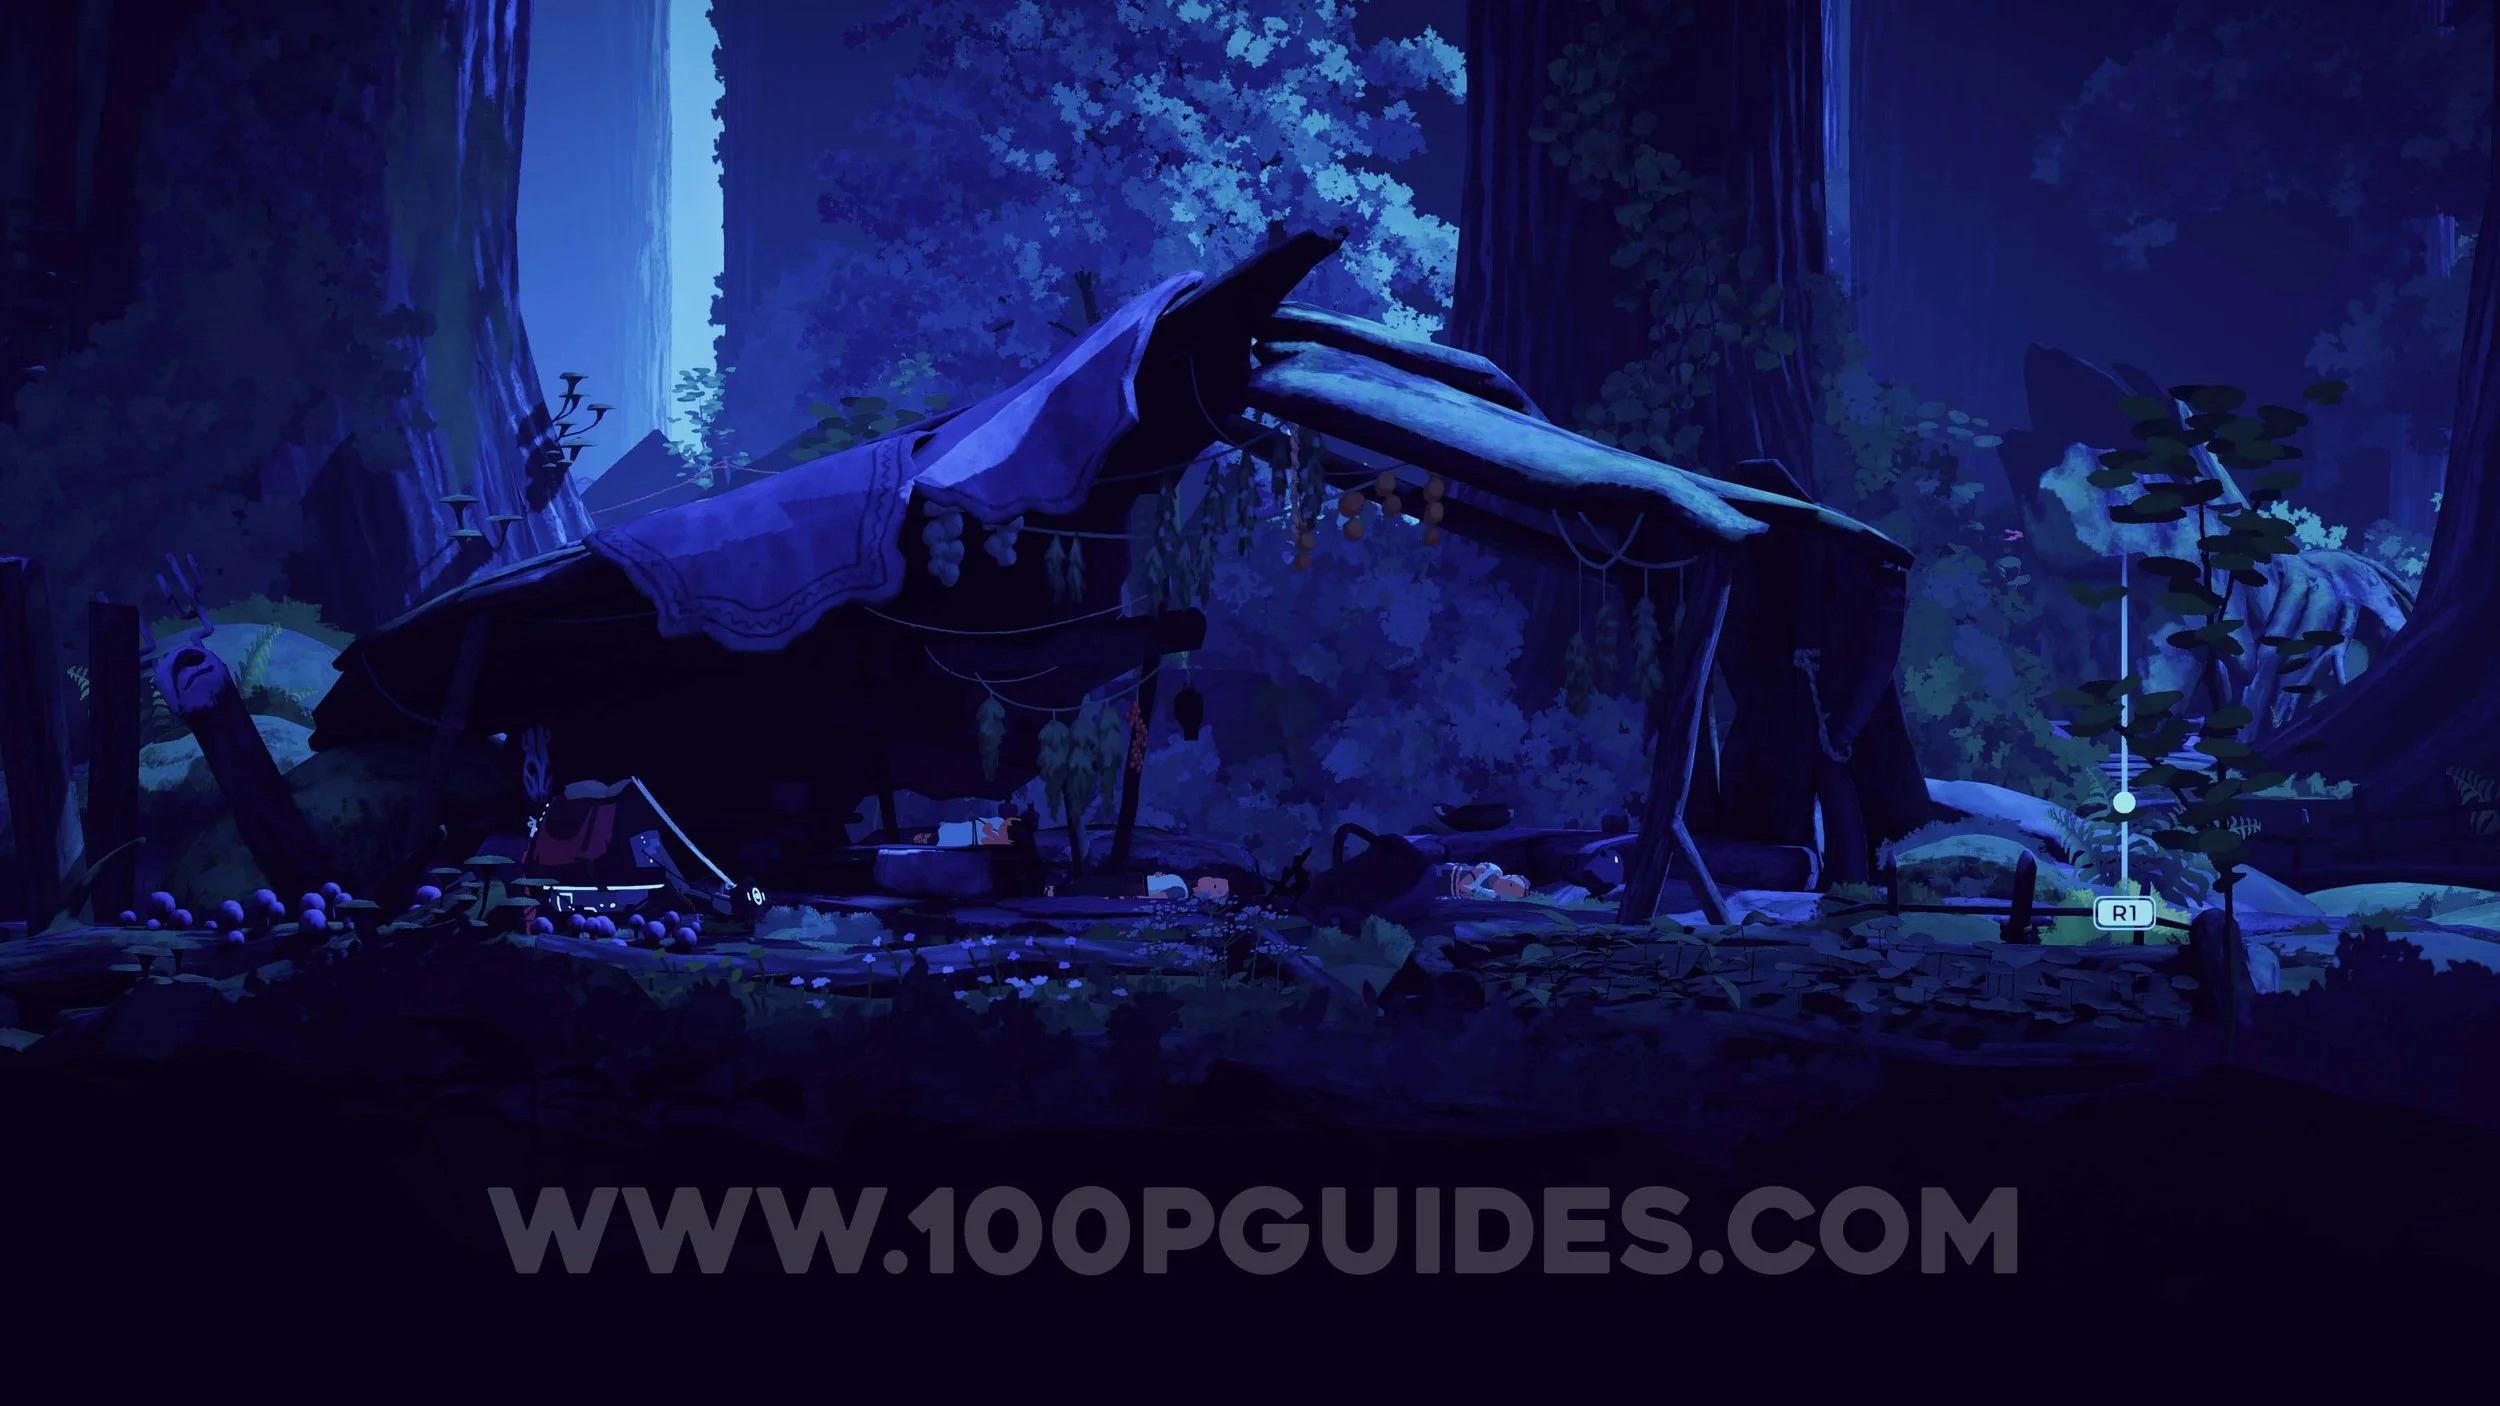
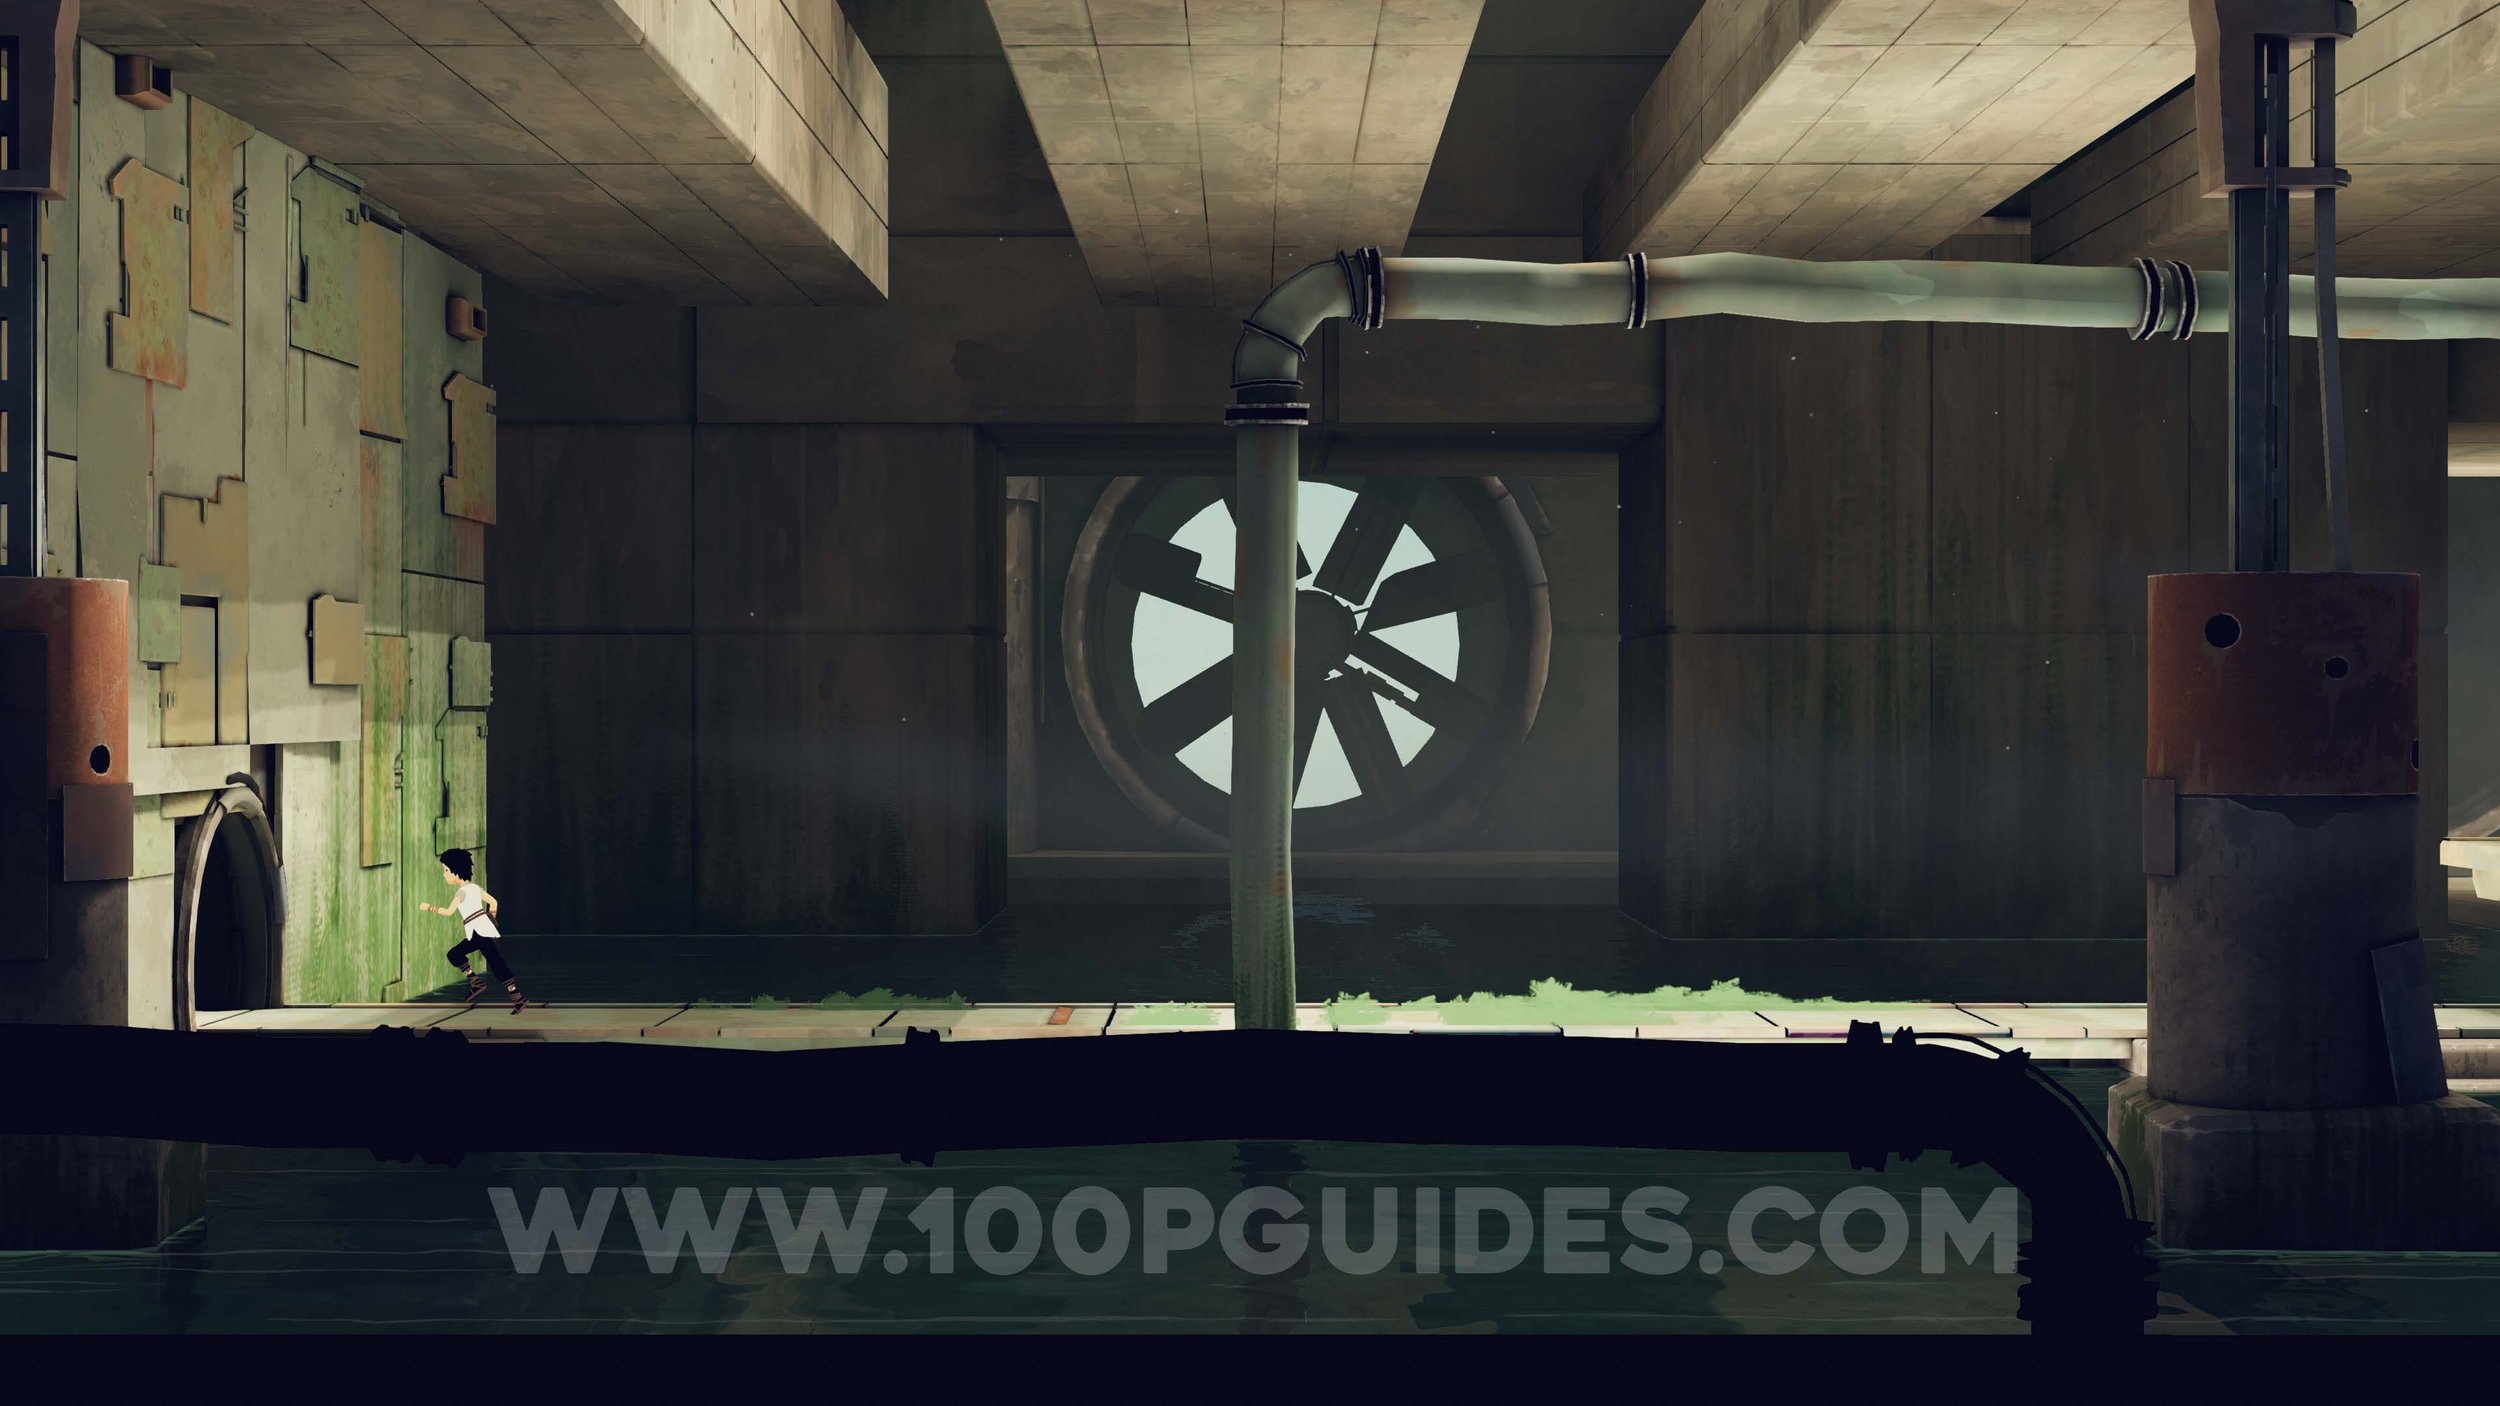
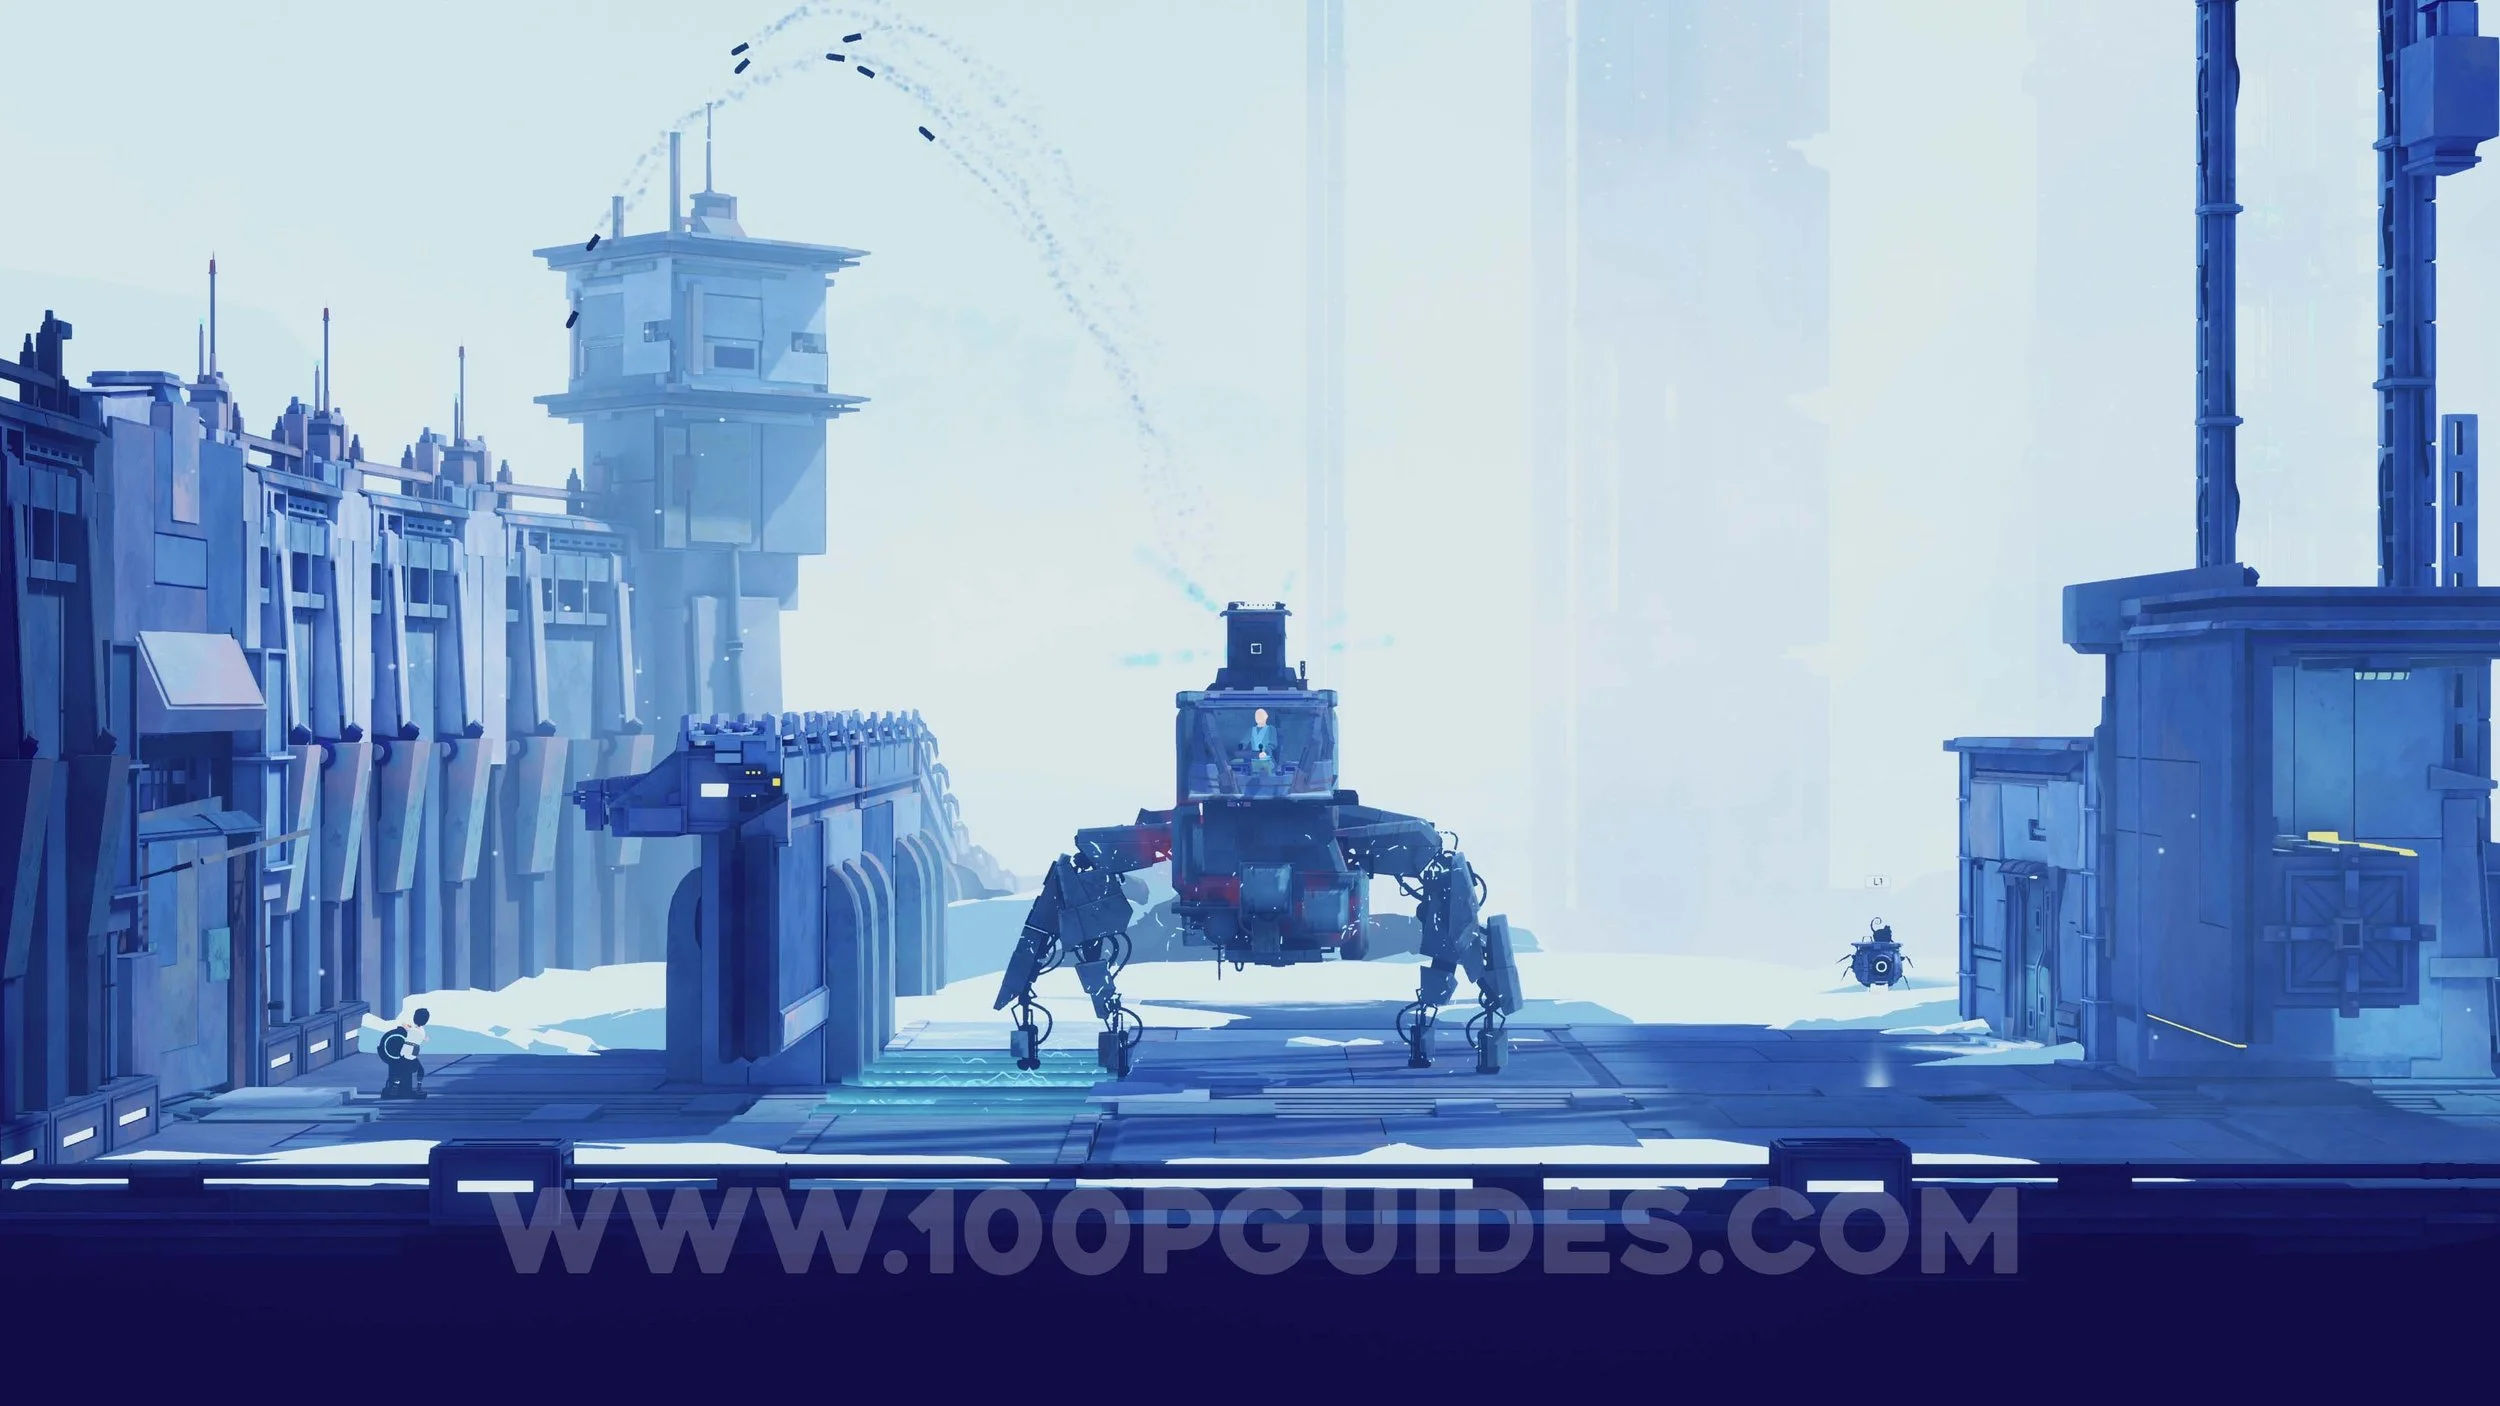
At the start of the game, head to the right to progress. This section introduces the basic controls, such as jumping, crouching, and sprinting. Along the way, you will pass a painting on the wall that is added to your Journal. These are story-related and are not required for any trophies or achievements. Shortly after, you will meet Anua, an NPC who will accompany you during this chapter.
After the short cutscene, you will need to sneak up on Anua by hiding in the grass. Press L2 to stay concealed when she is looking in your direction and only move forward when she looks away. Continue onward and head down until you reach an area with electricity on the ground. Climb the yellow markers on the wall to reach the switch, which turns off the electricity and opens the door.
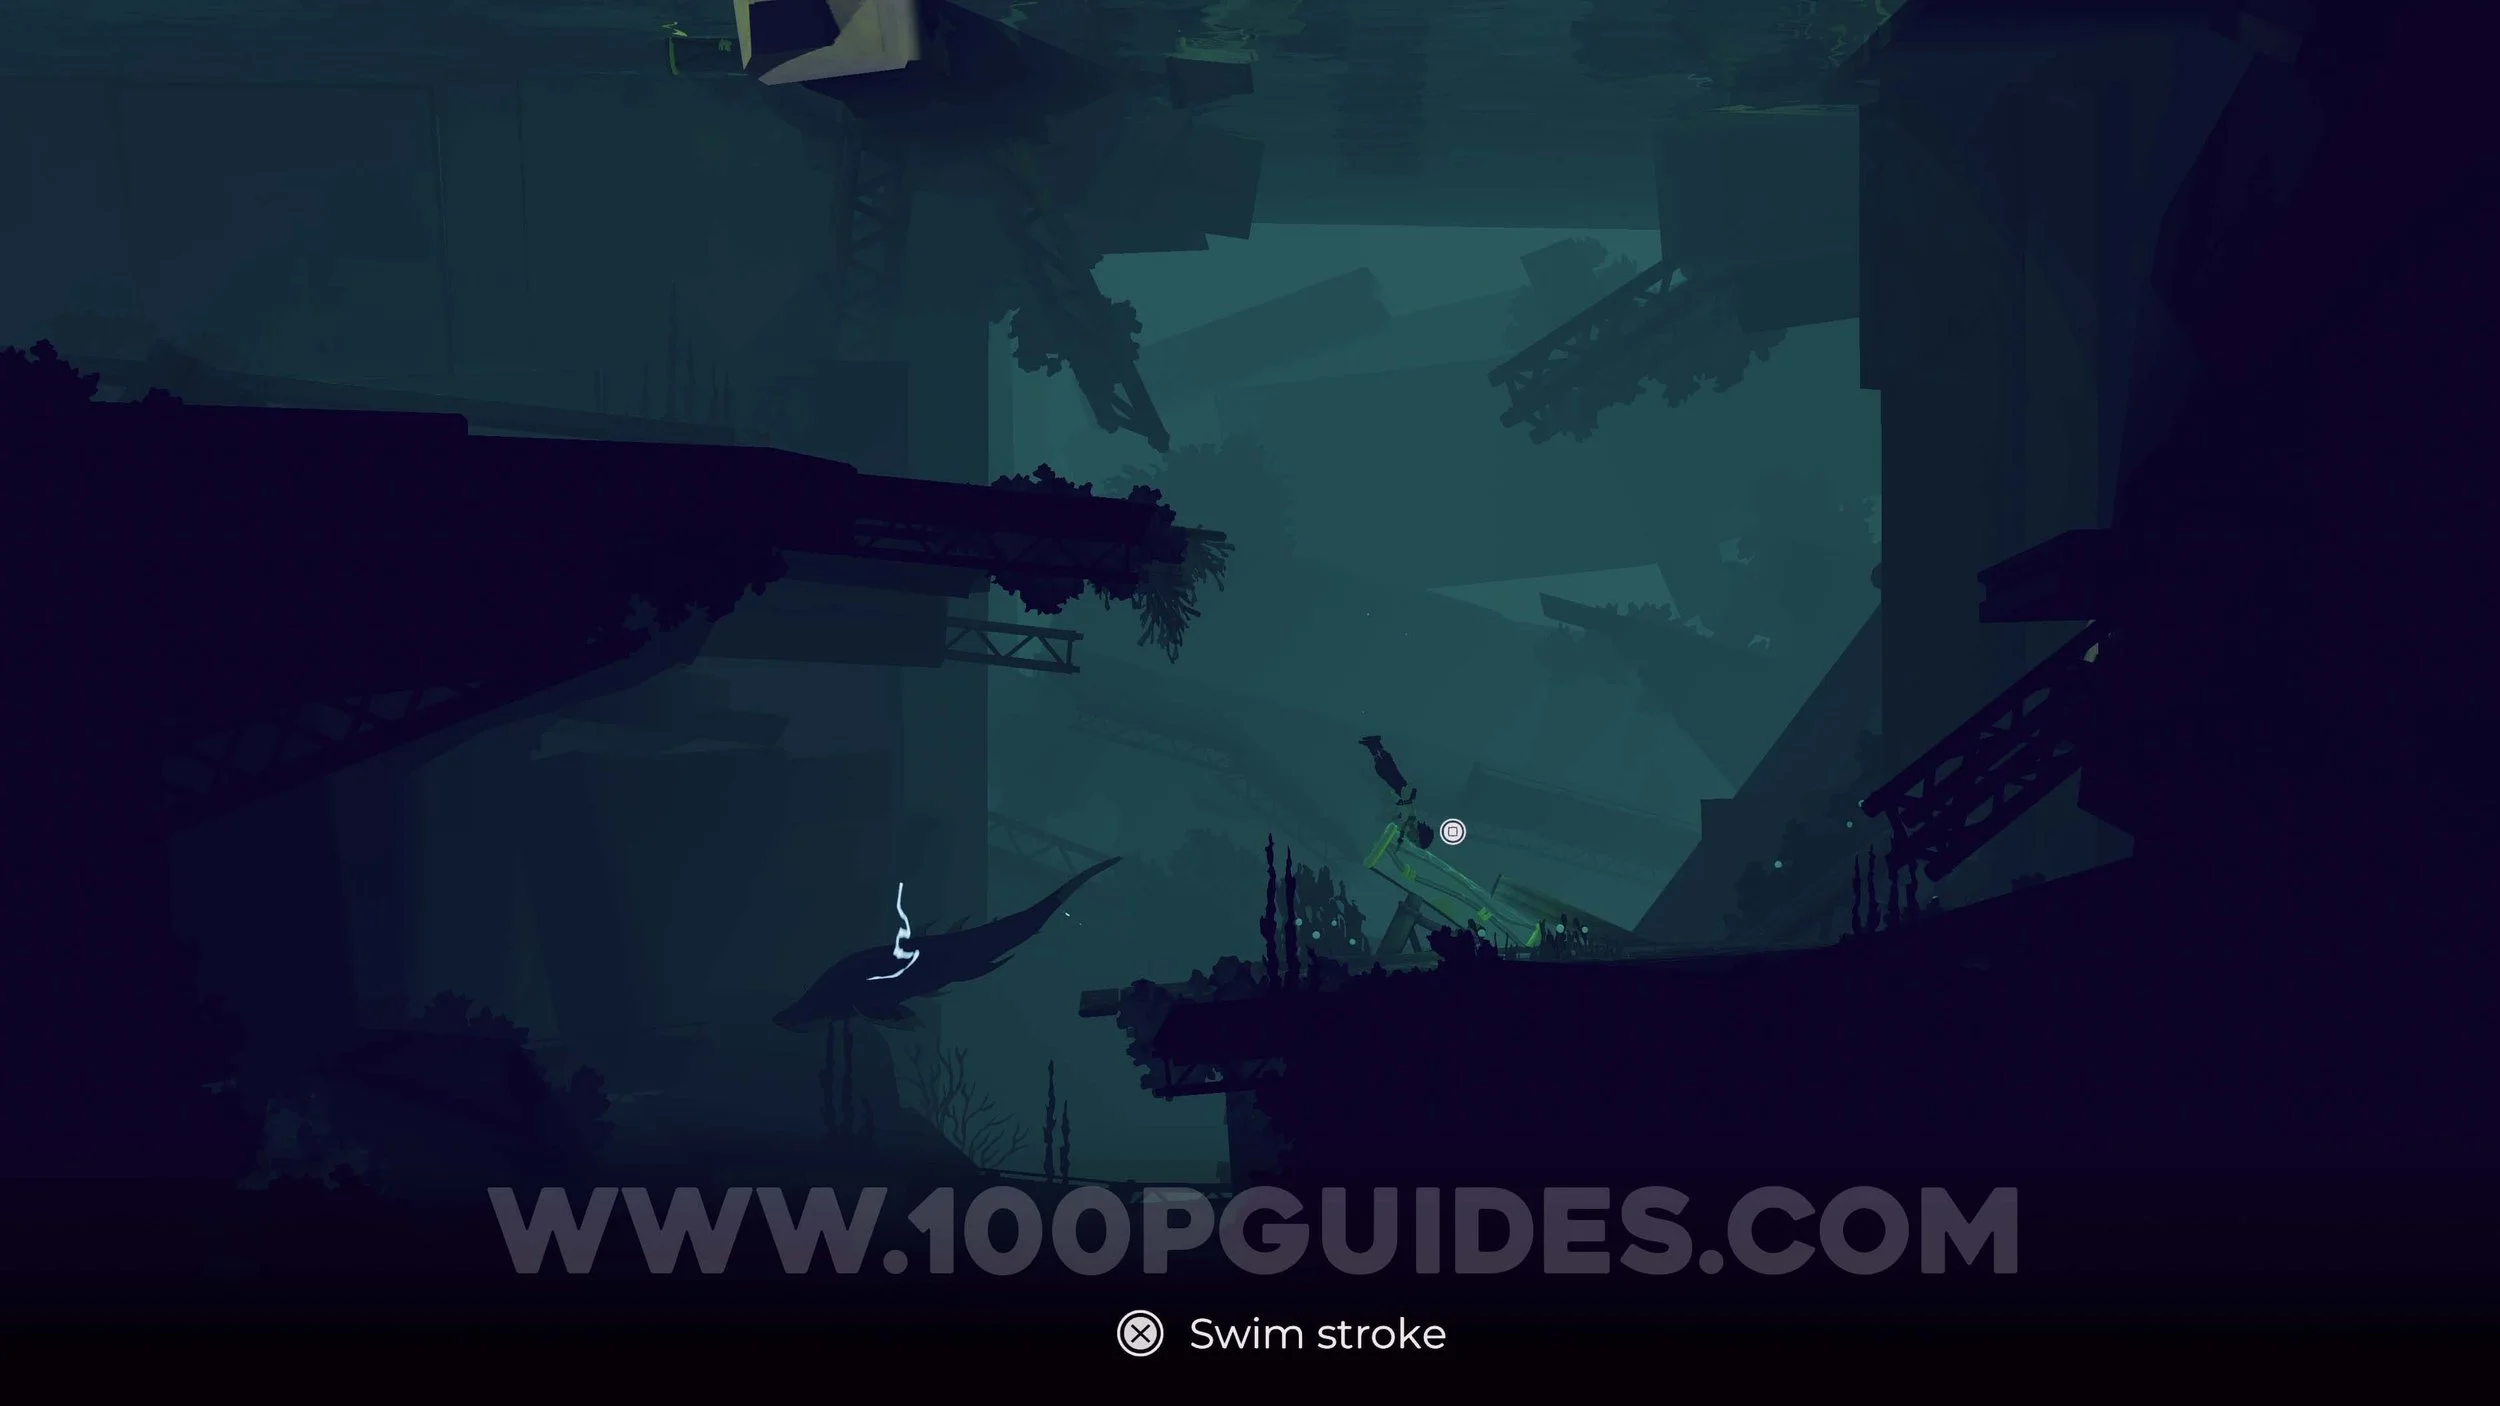
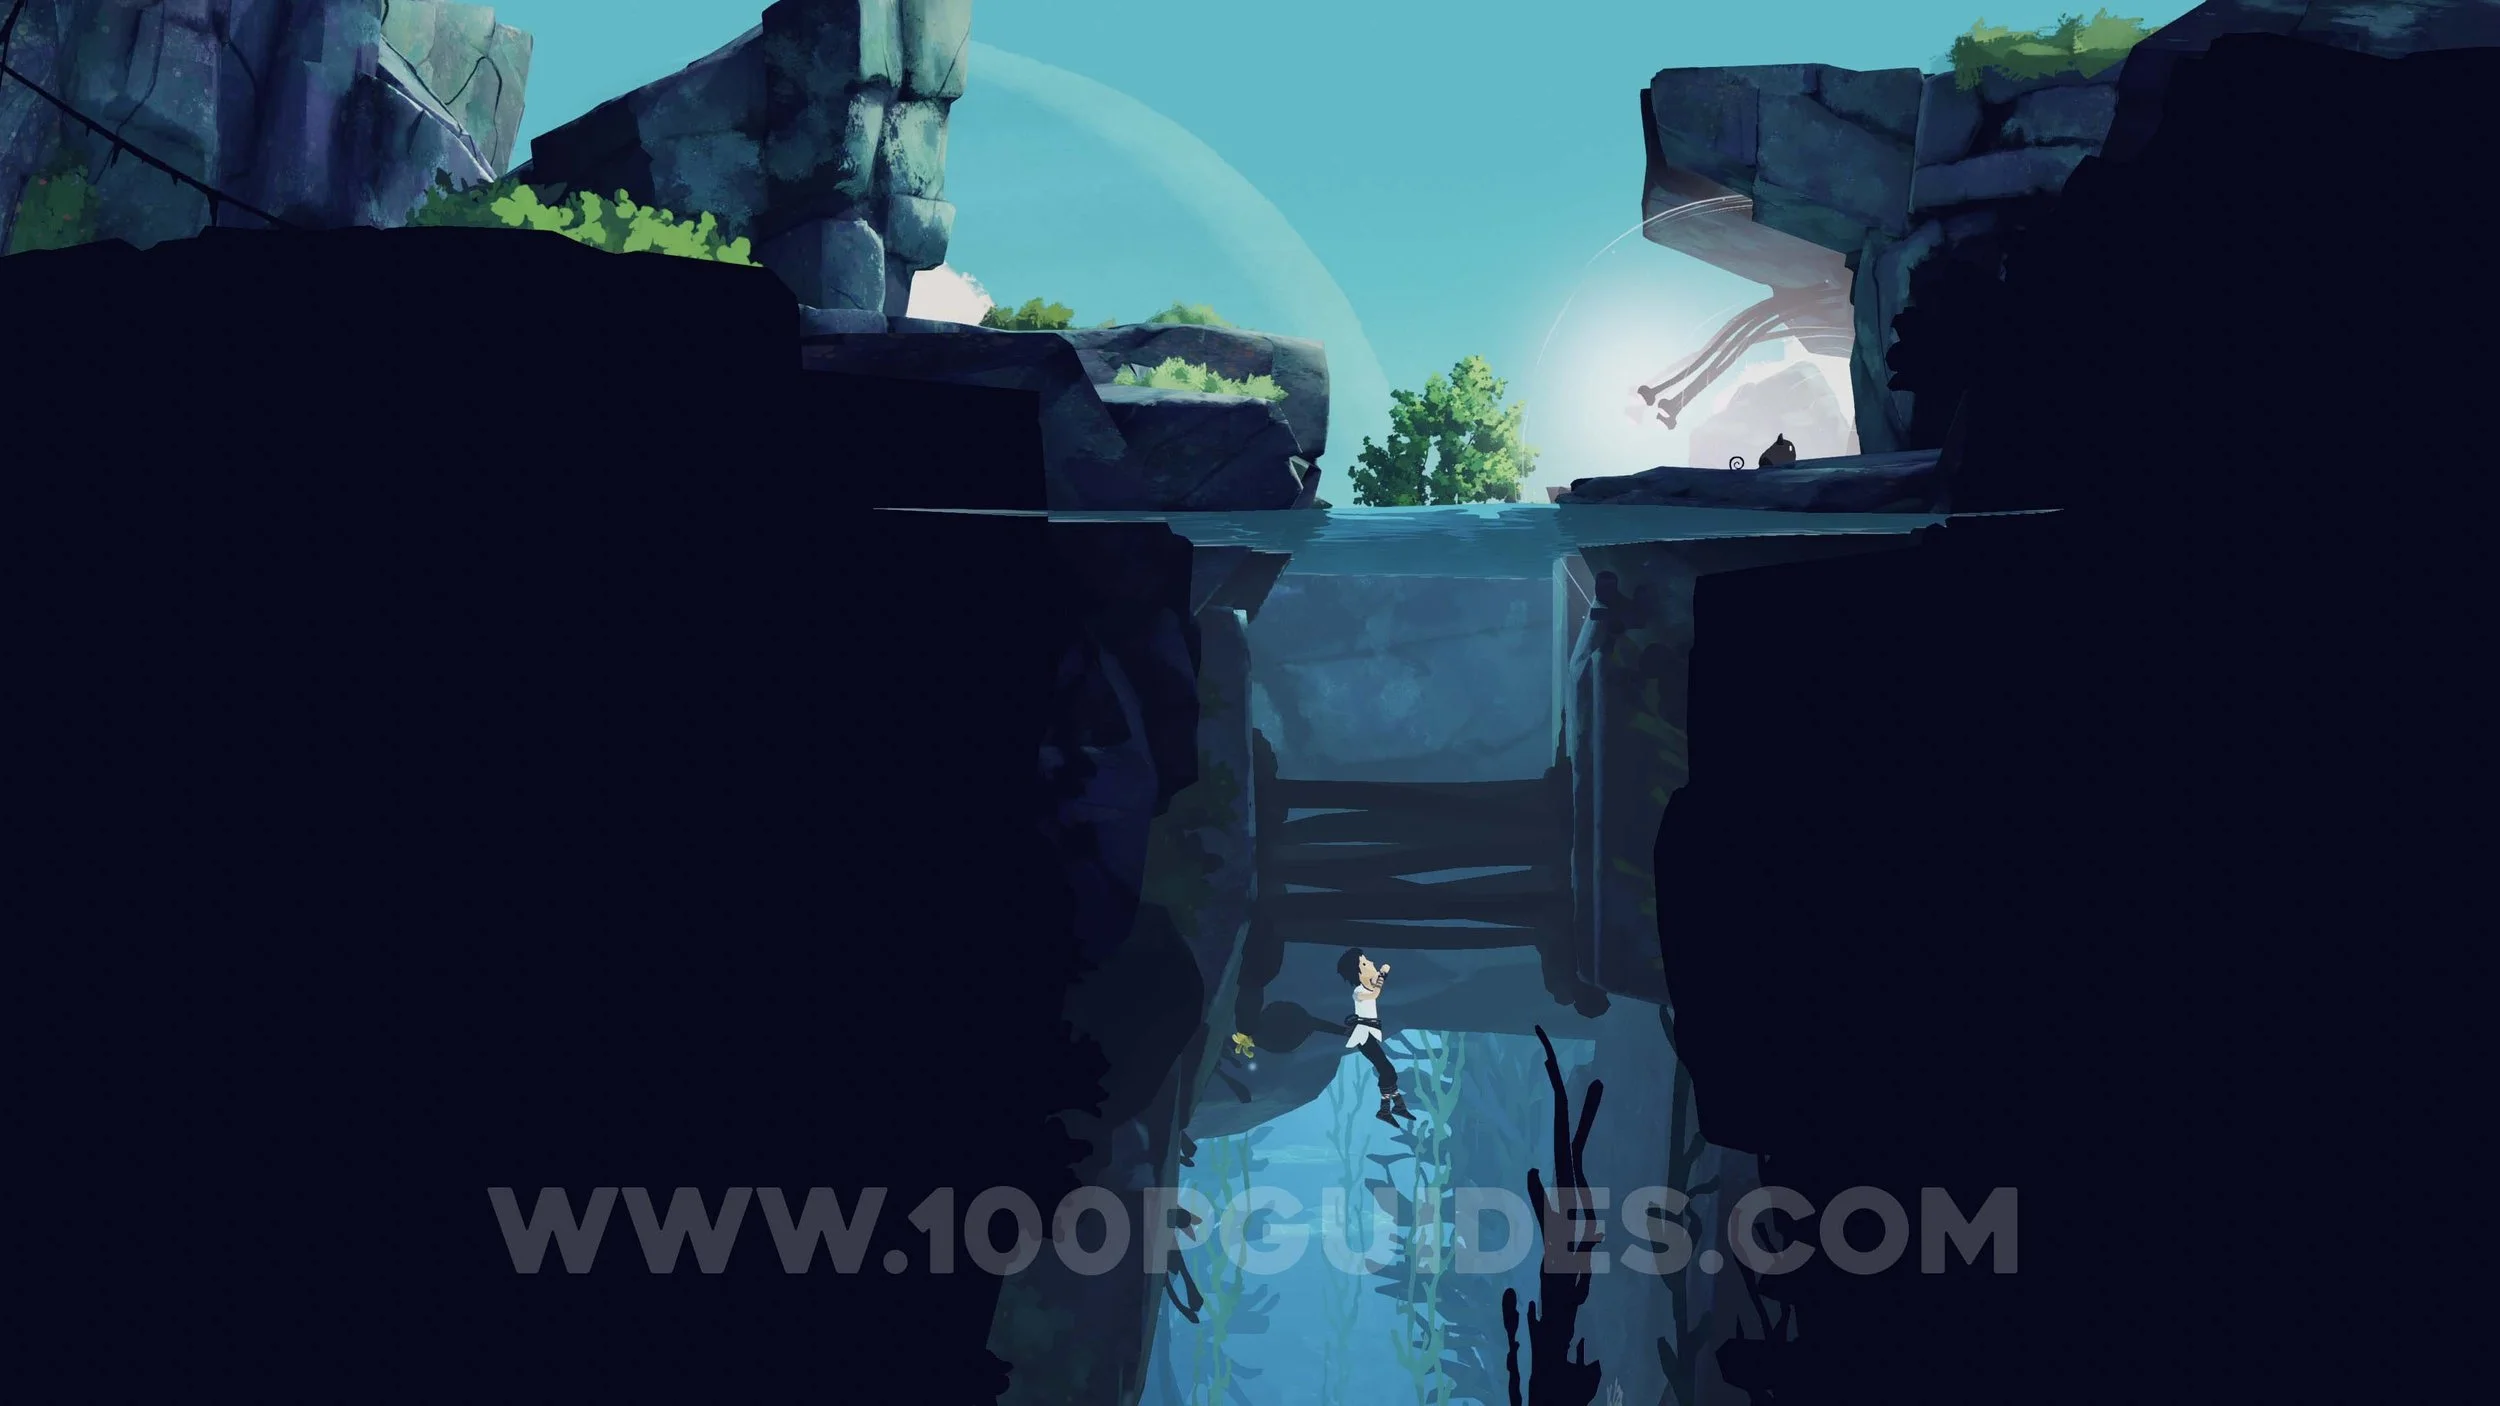
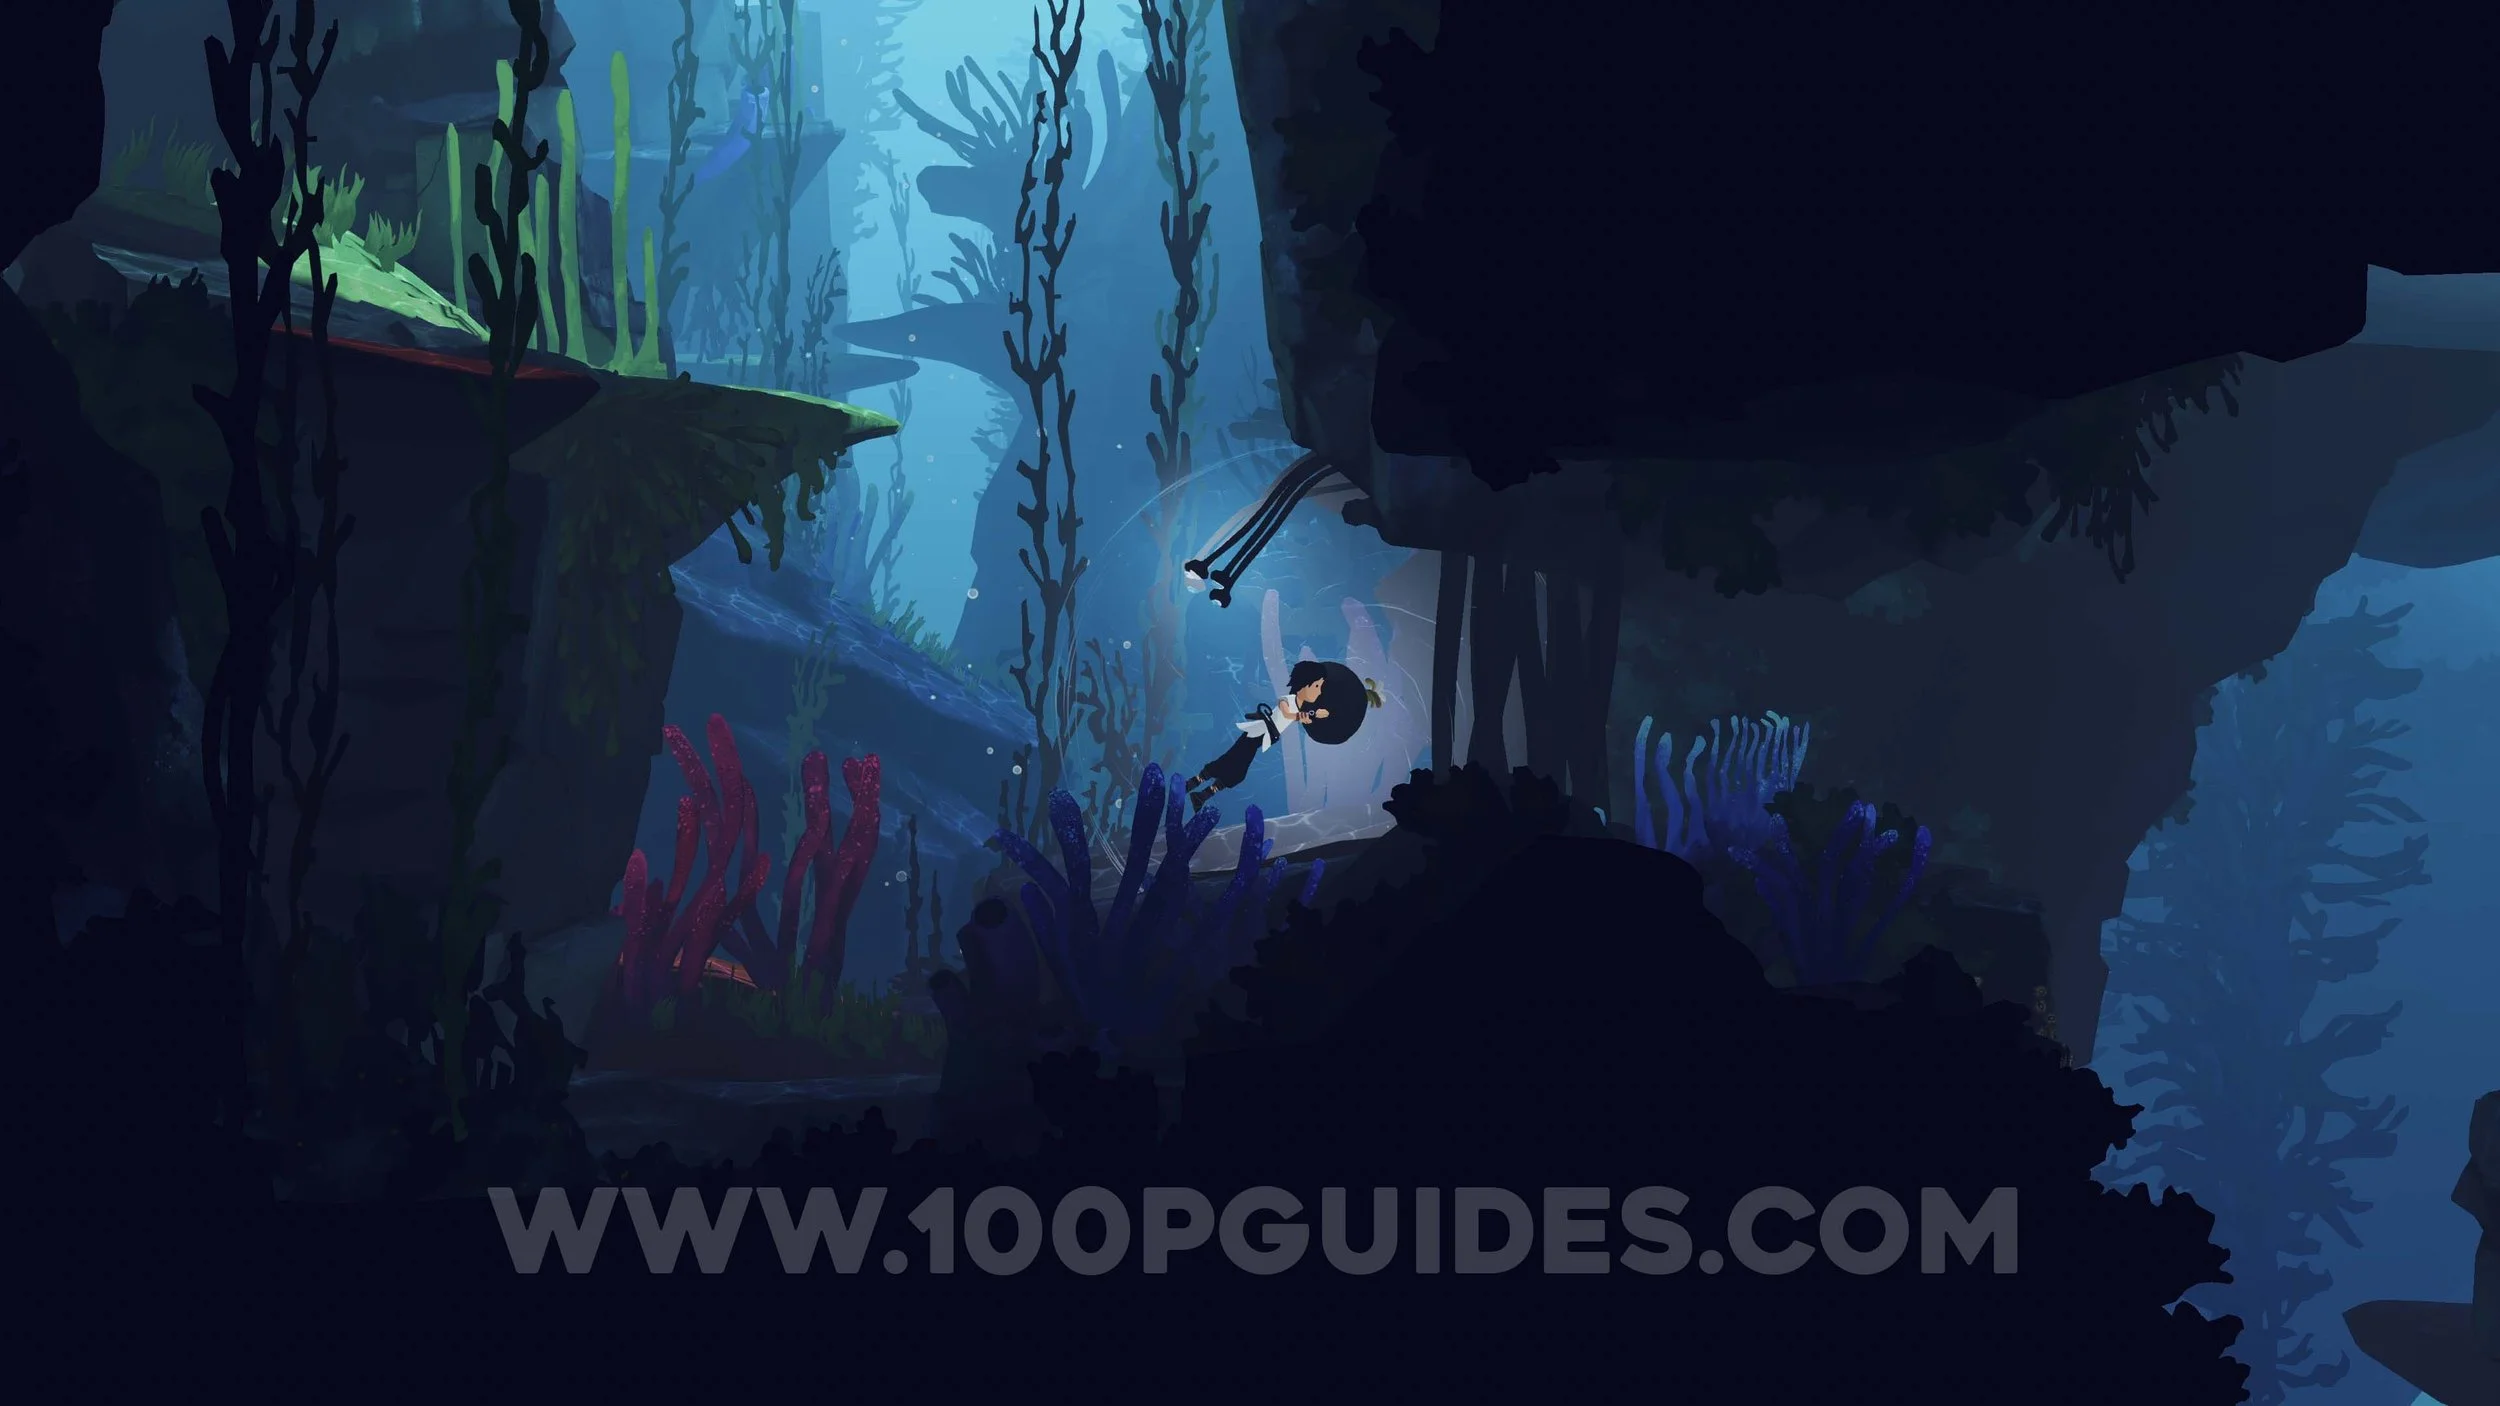
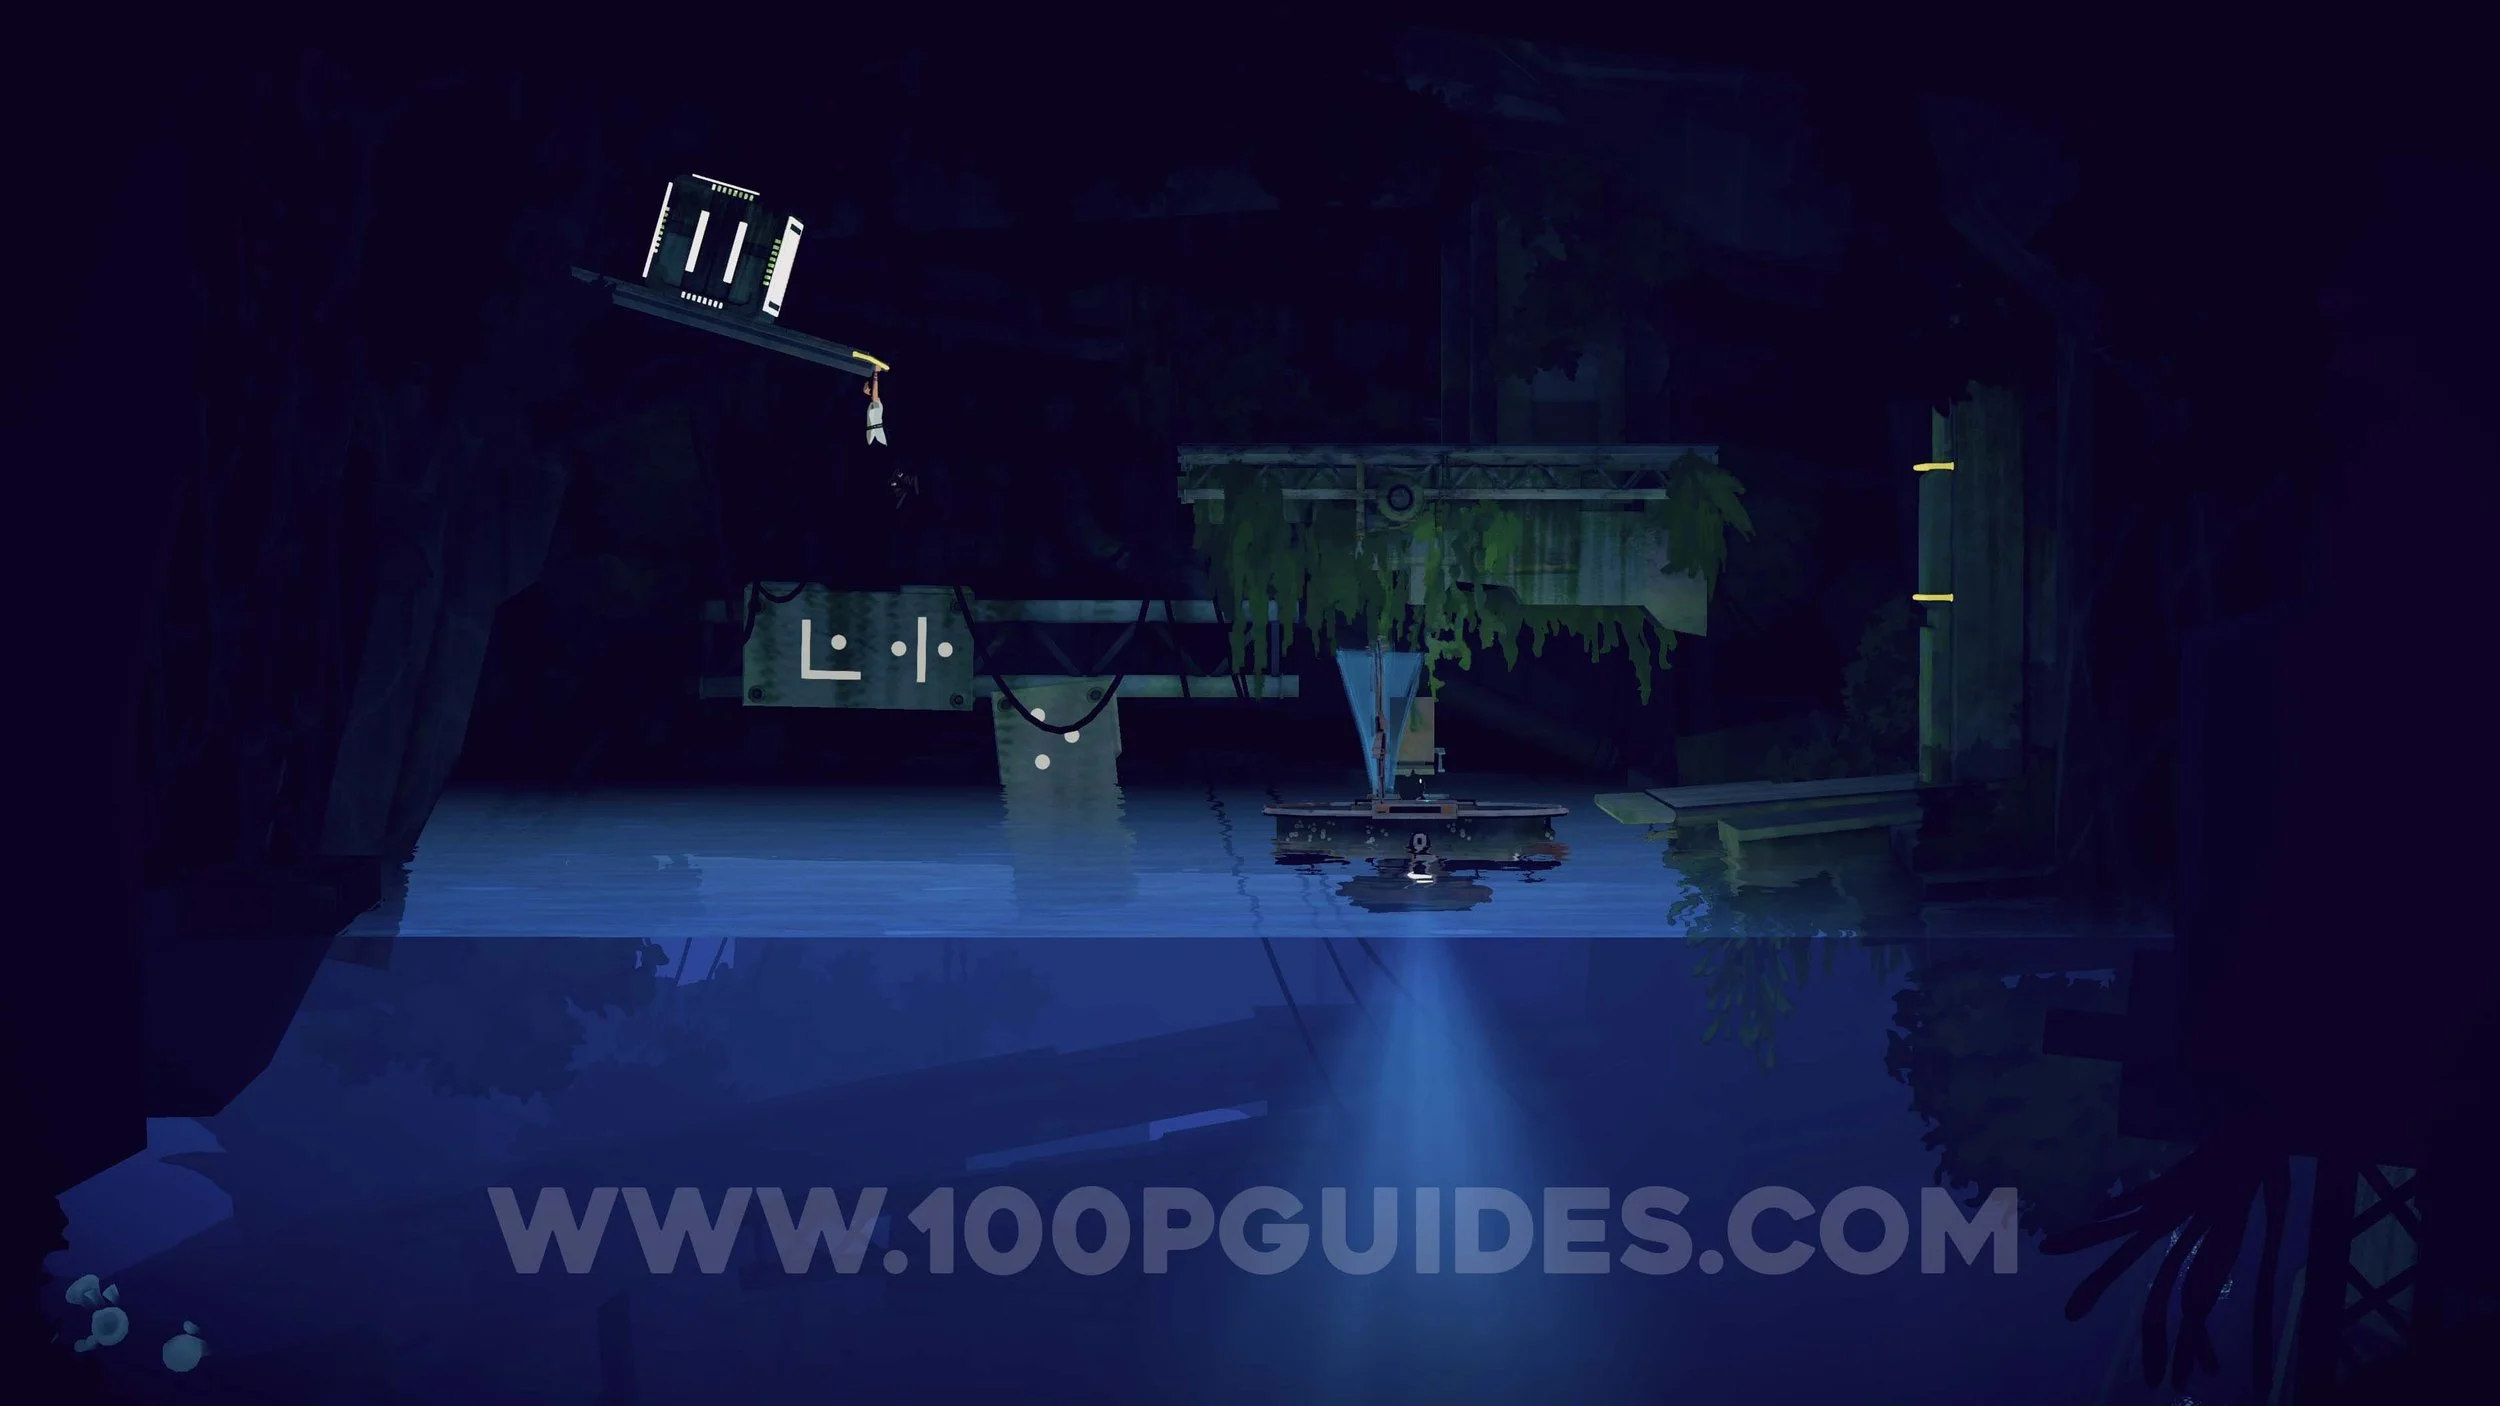
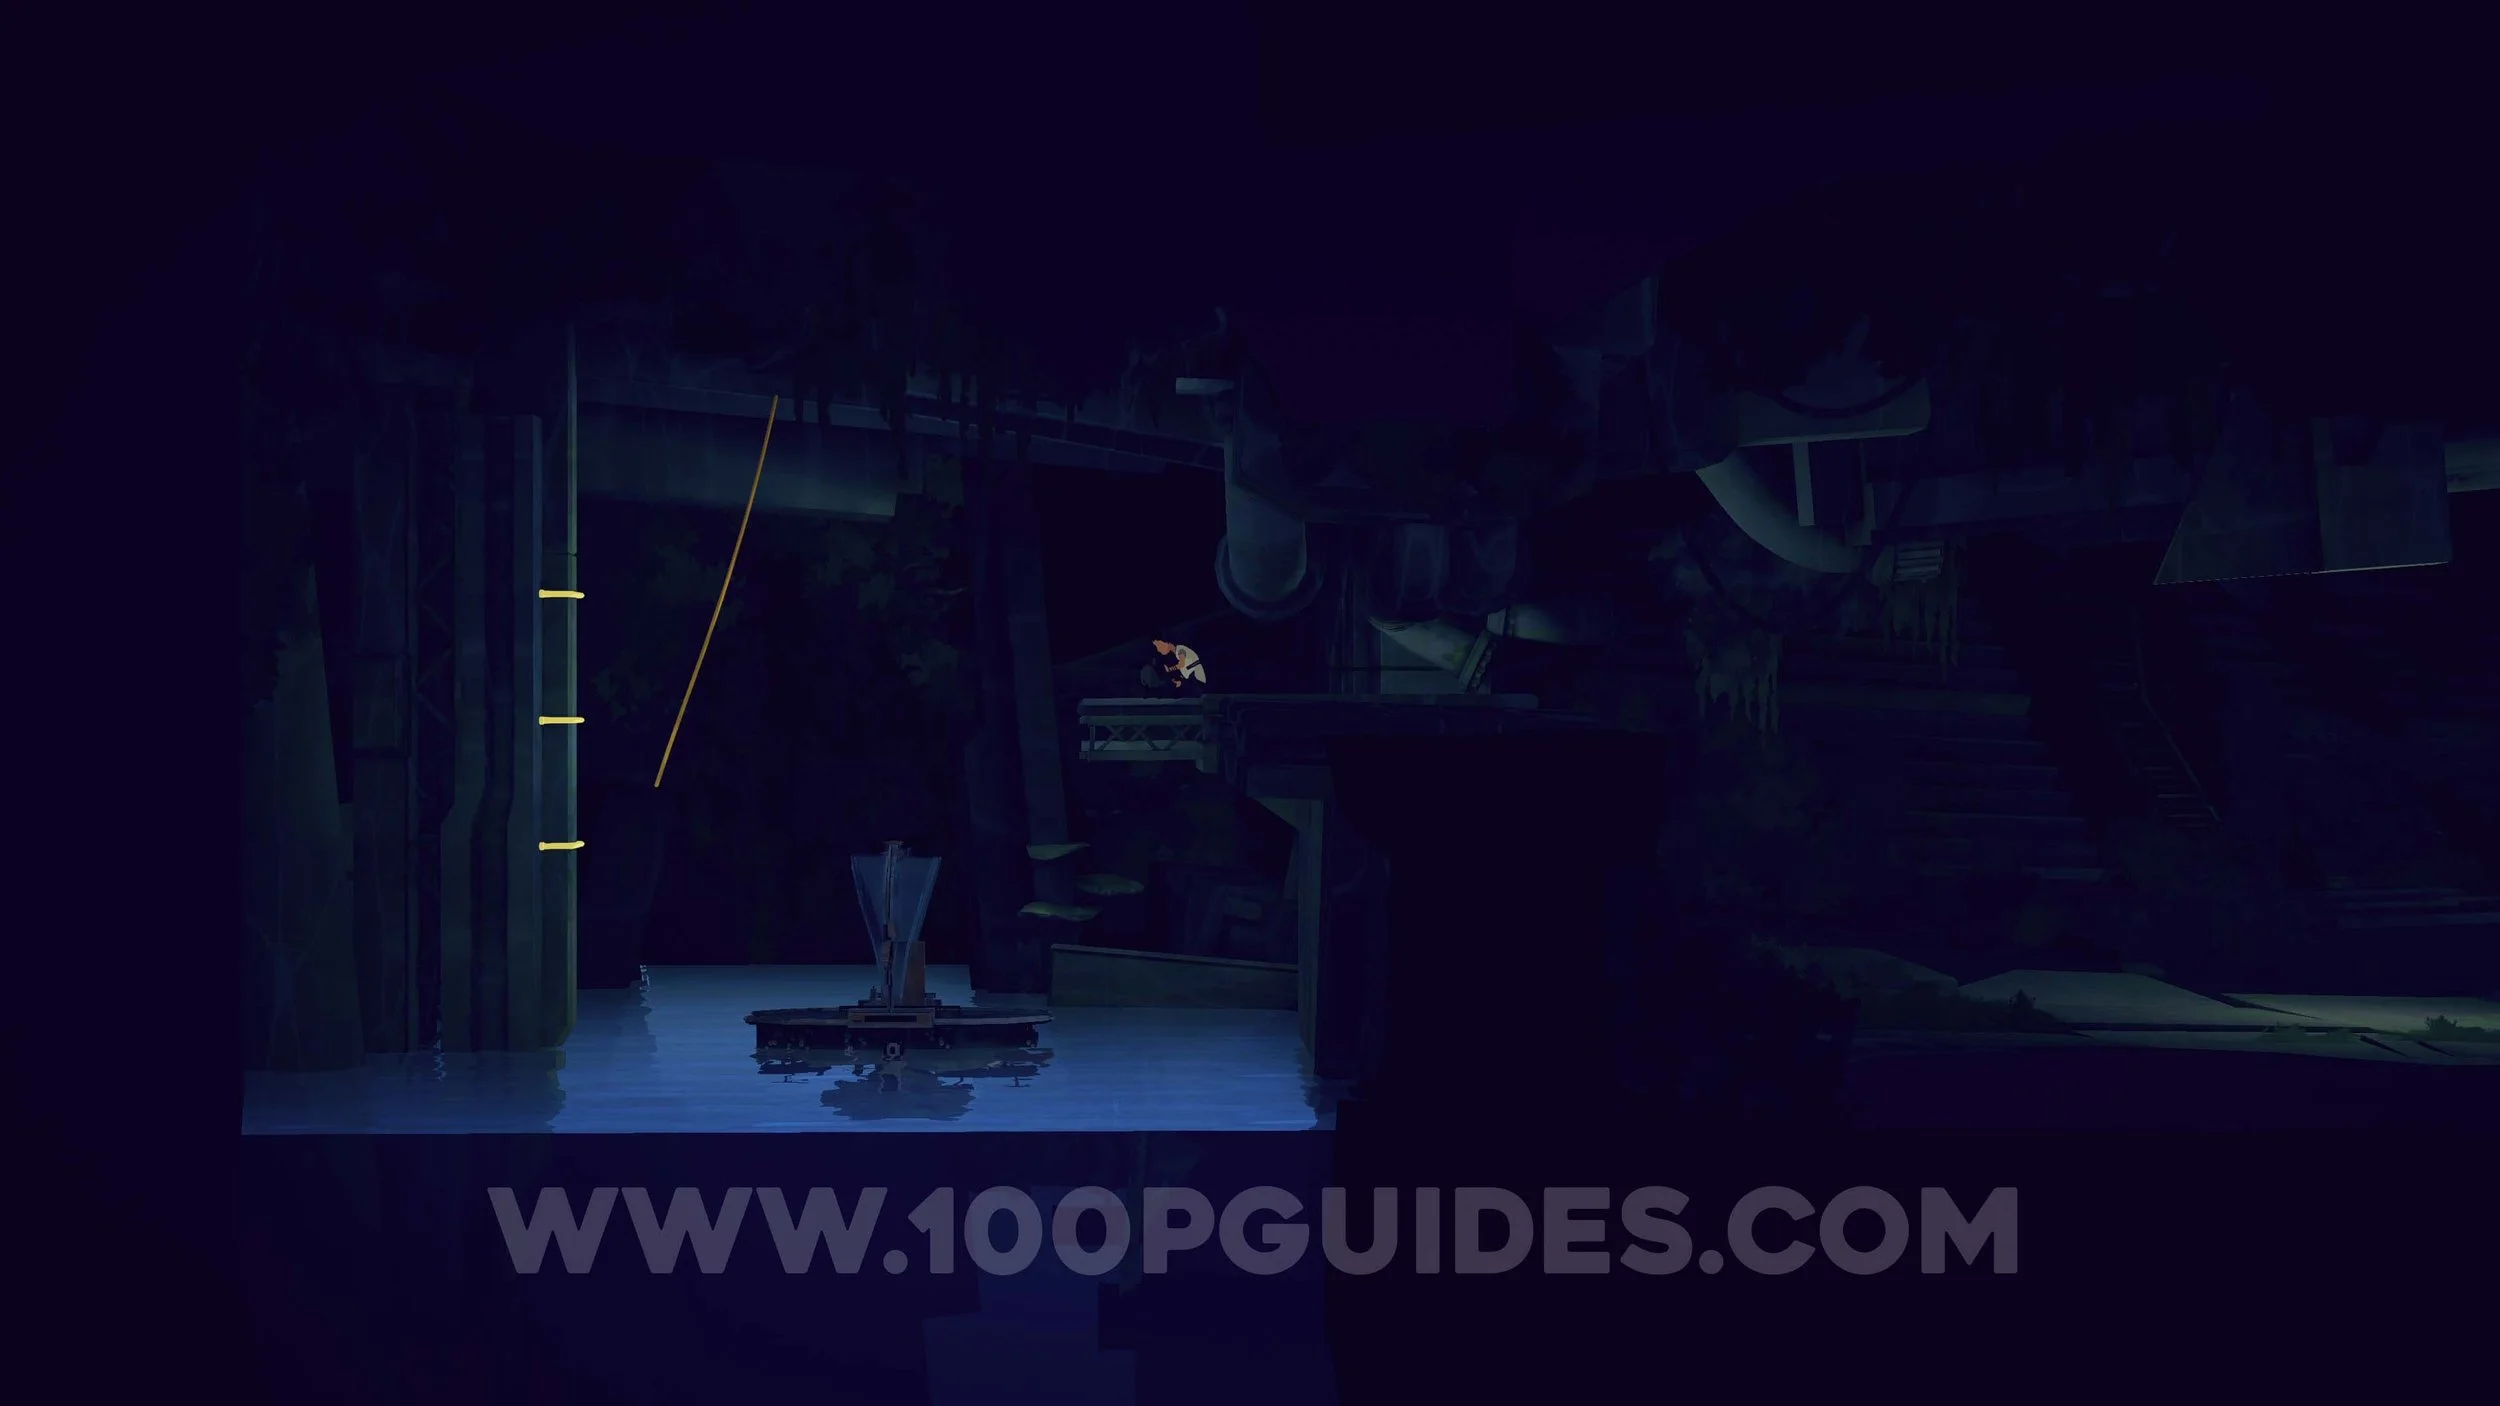
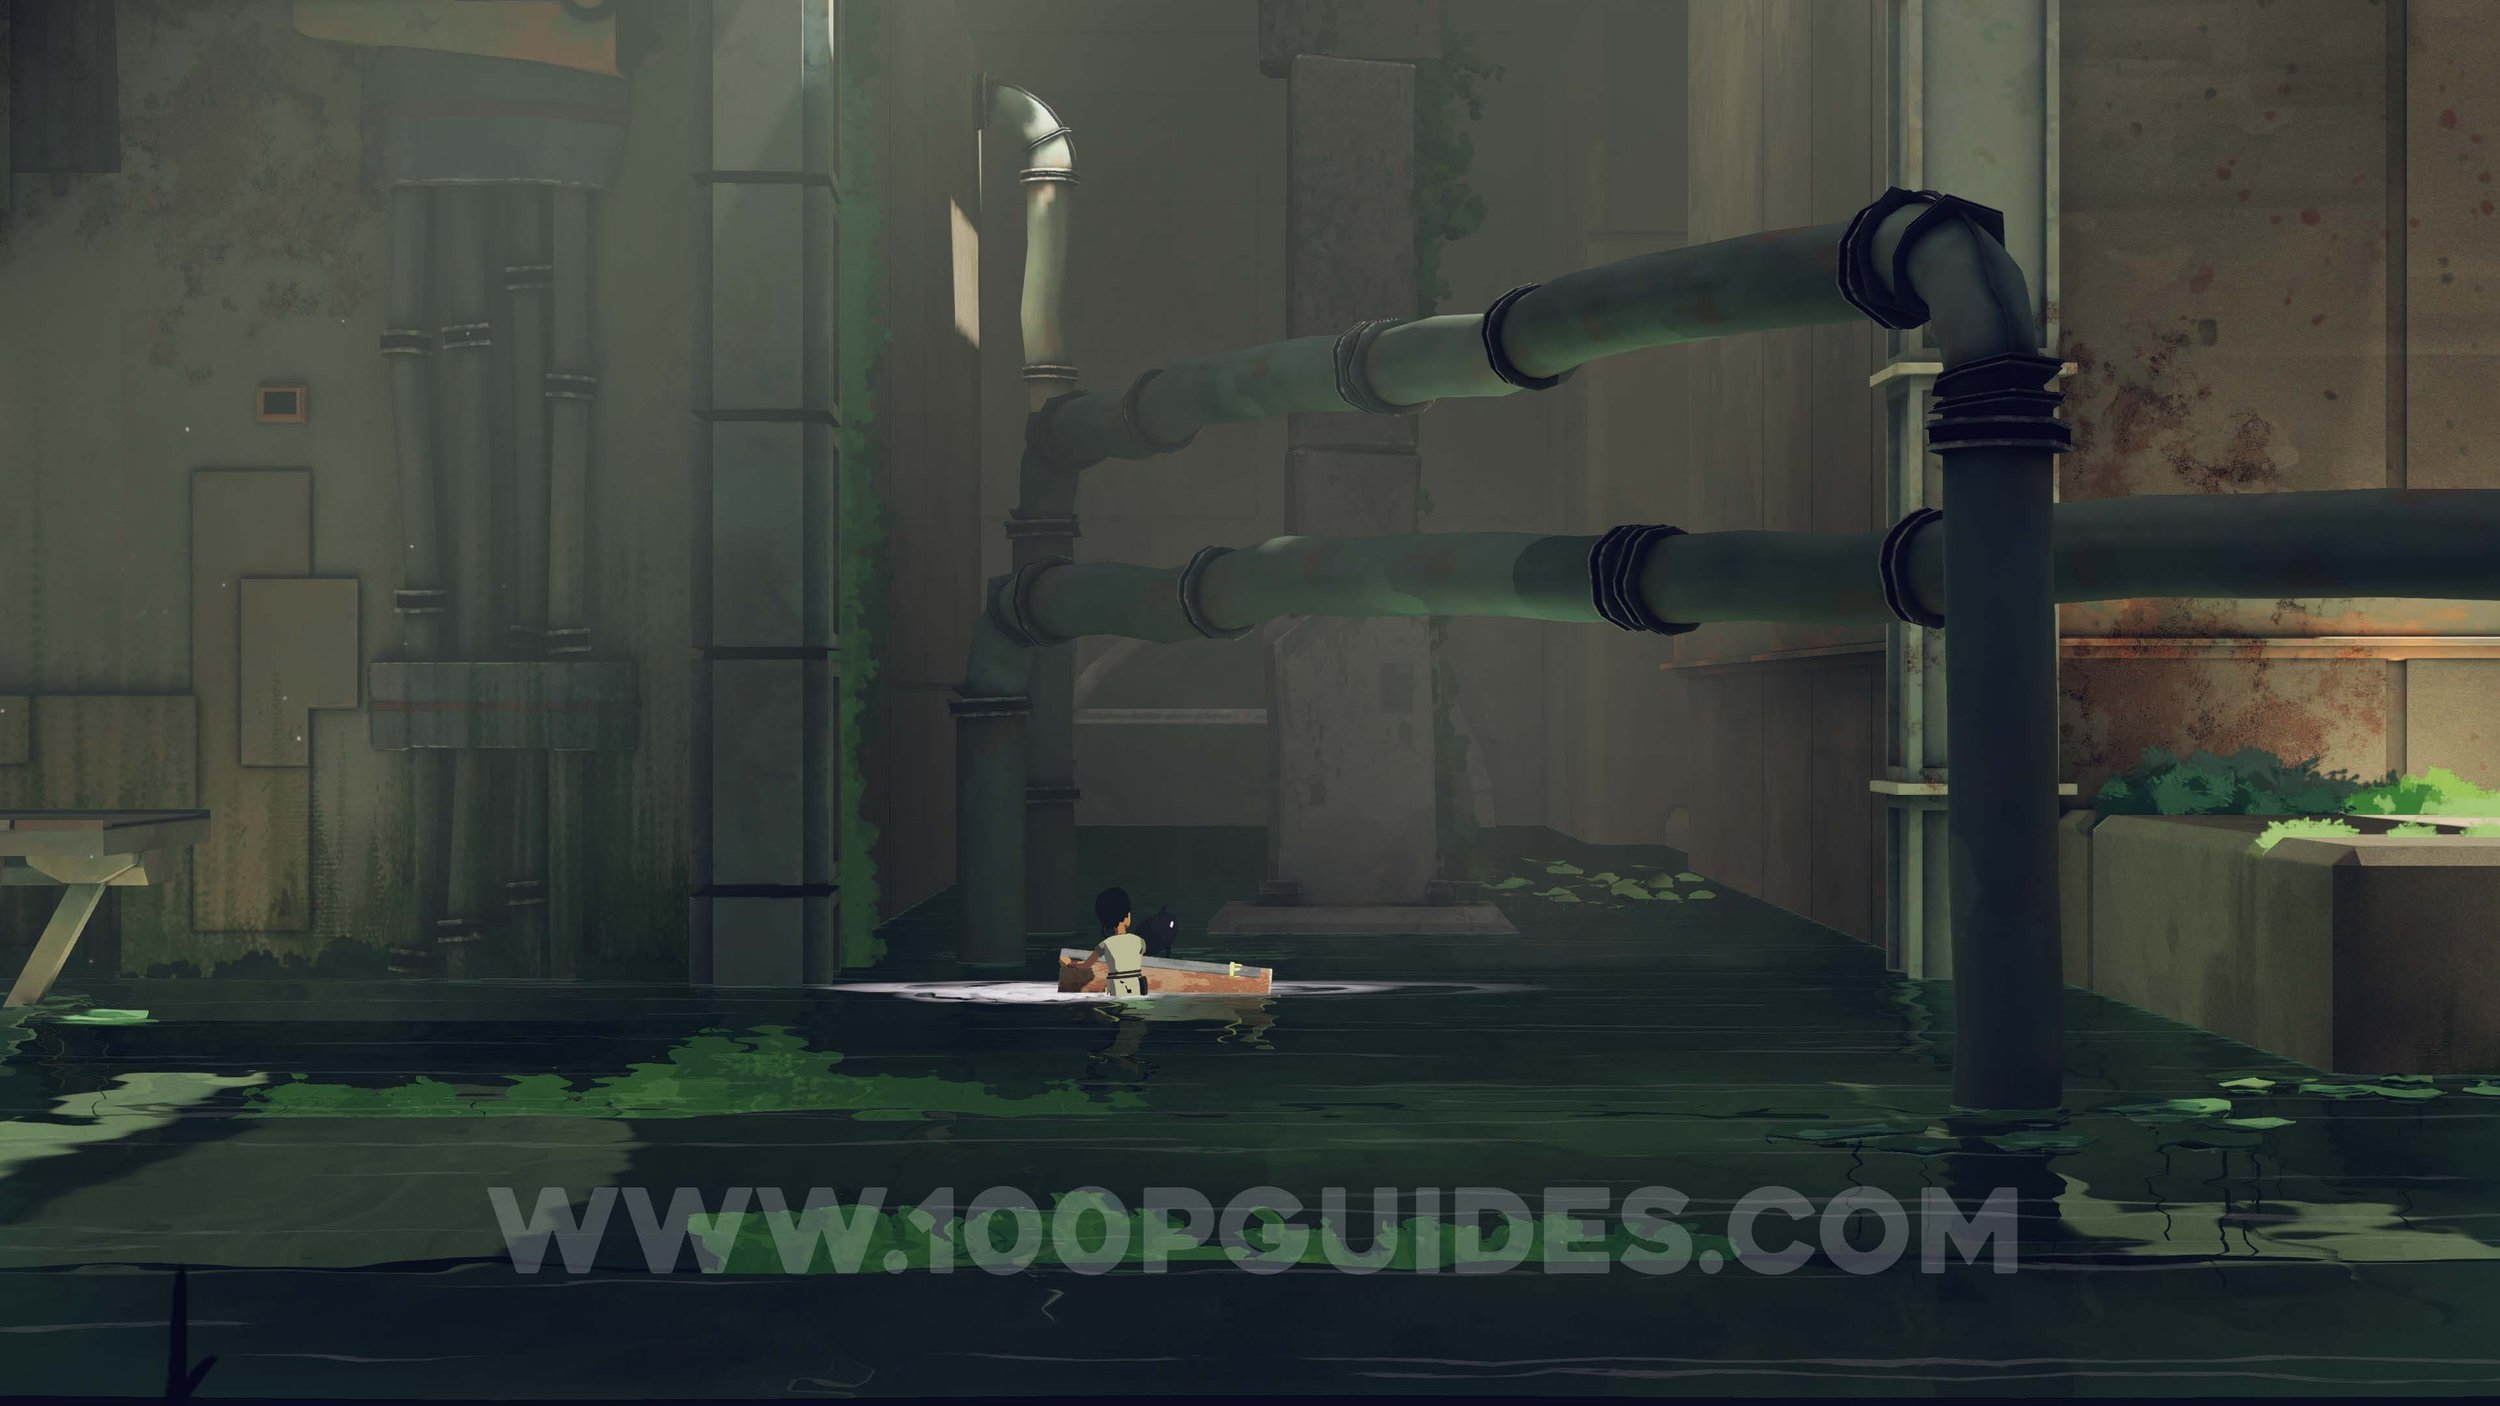
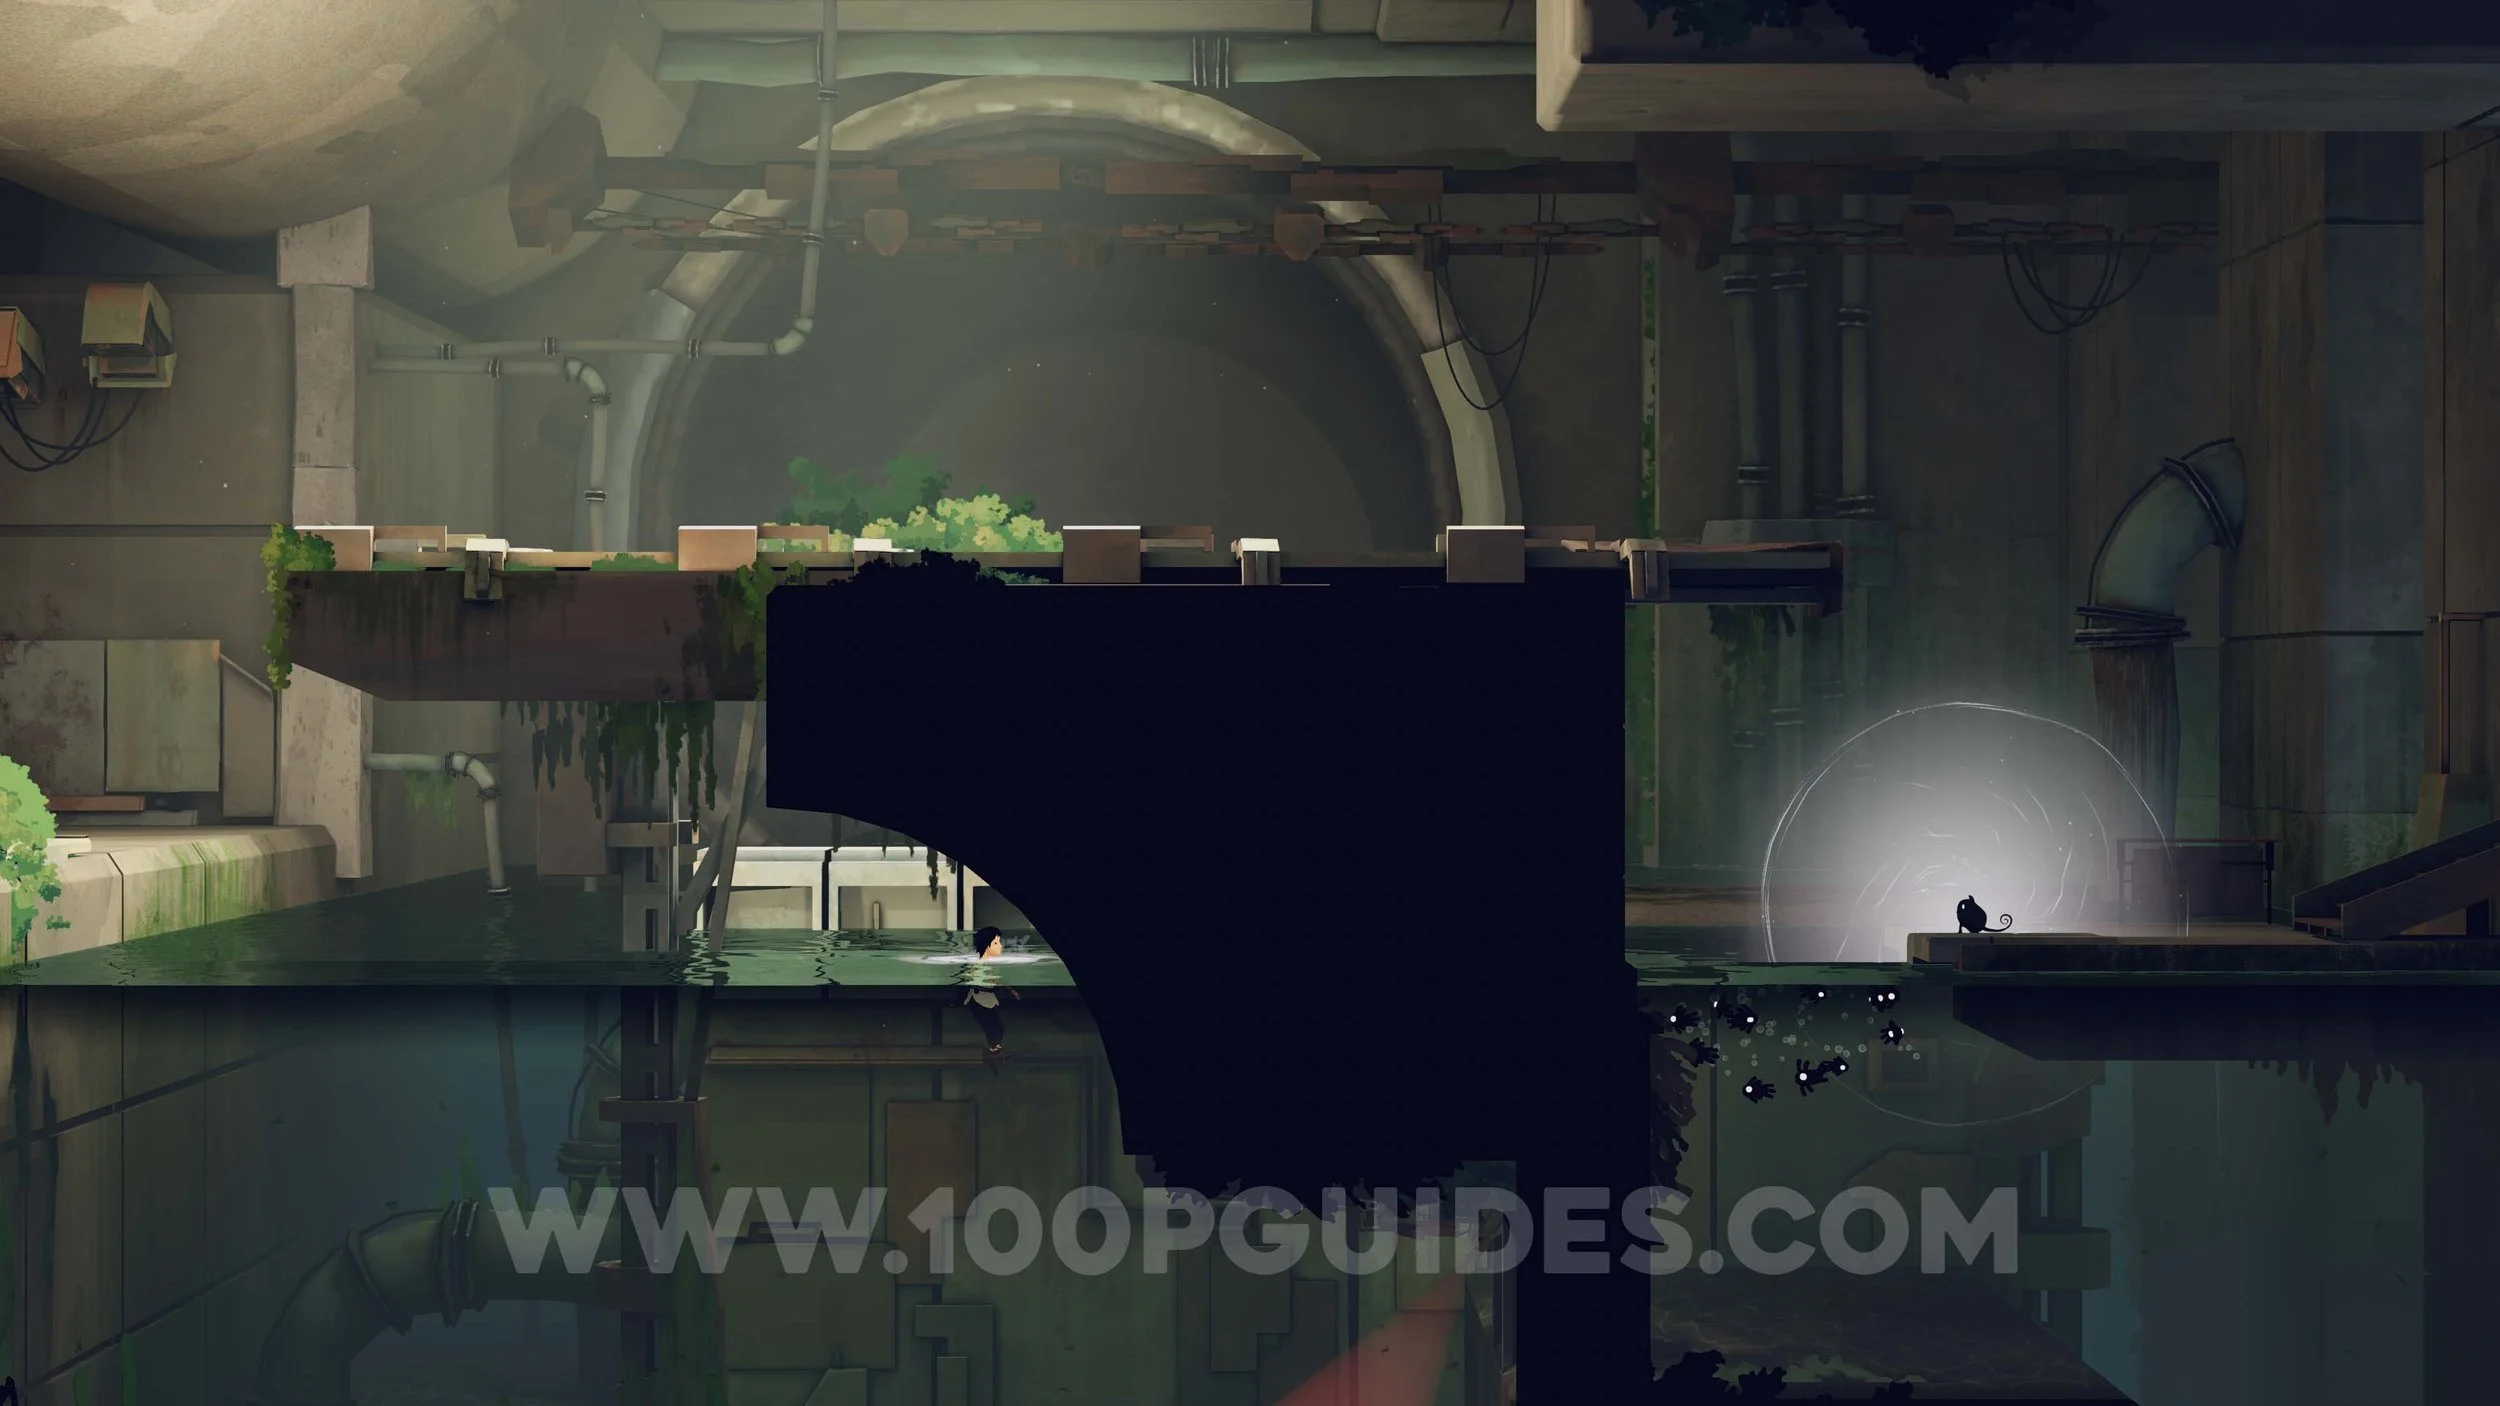
In the next room, use the rope to swing left and then climb down. Grab the platform and drag it all the way to the left so Anua can get on, then pull it back to the right. Head into the next area and dive into the water. Swim to the right underwater, remembering to come up for air when needed.
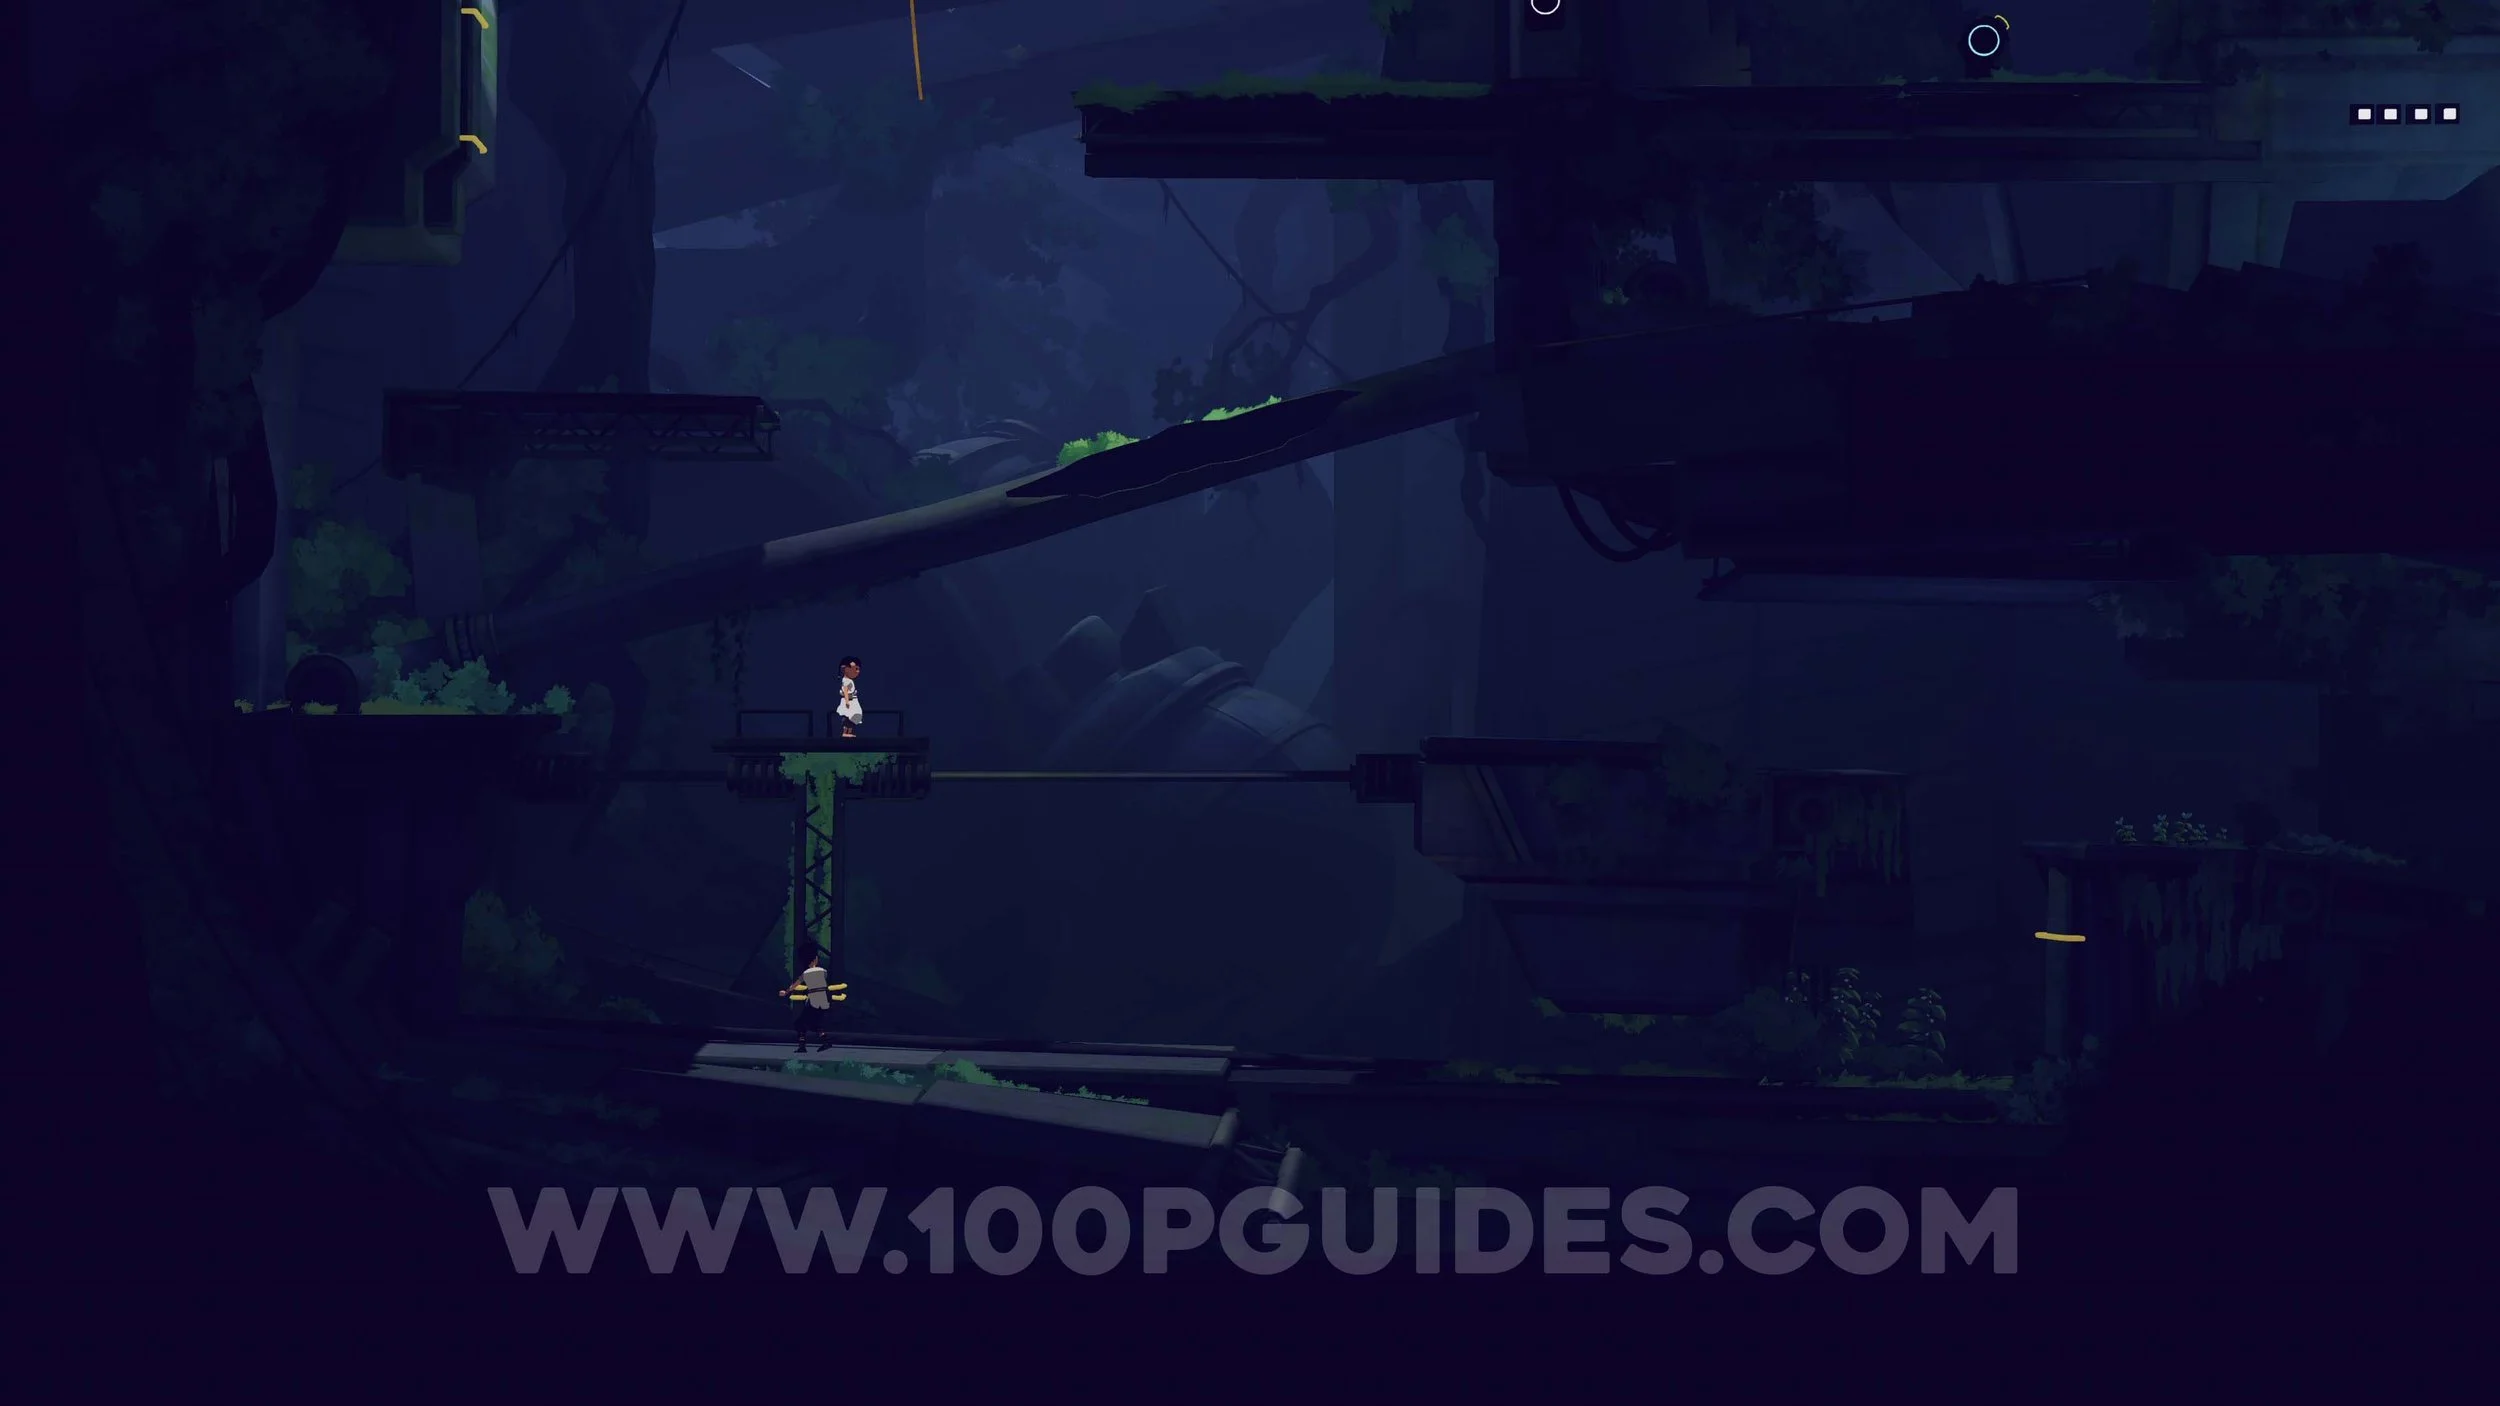
Continue to the right until you reach a switch. Press it to lower the gate, allowing Anua to continue above you. Then move right and grab the crate. Place it under the gate and press the switch again so you can swim underneath. After that, come out of the water and head right the same way Anua did.
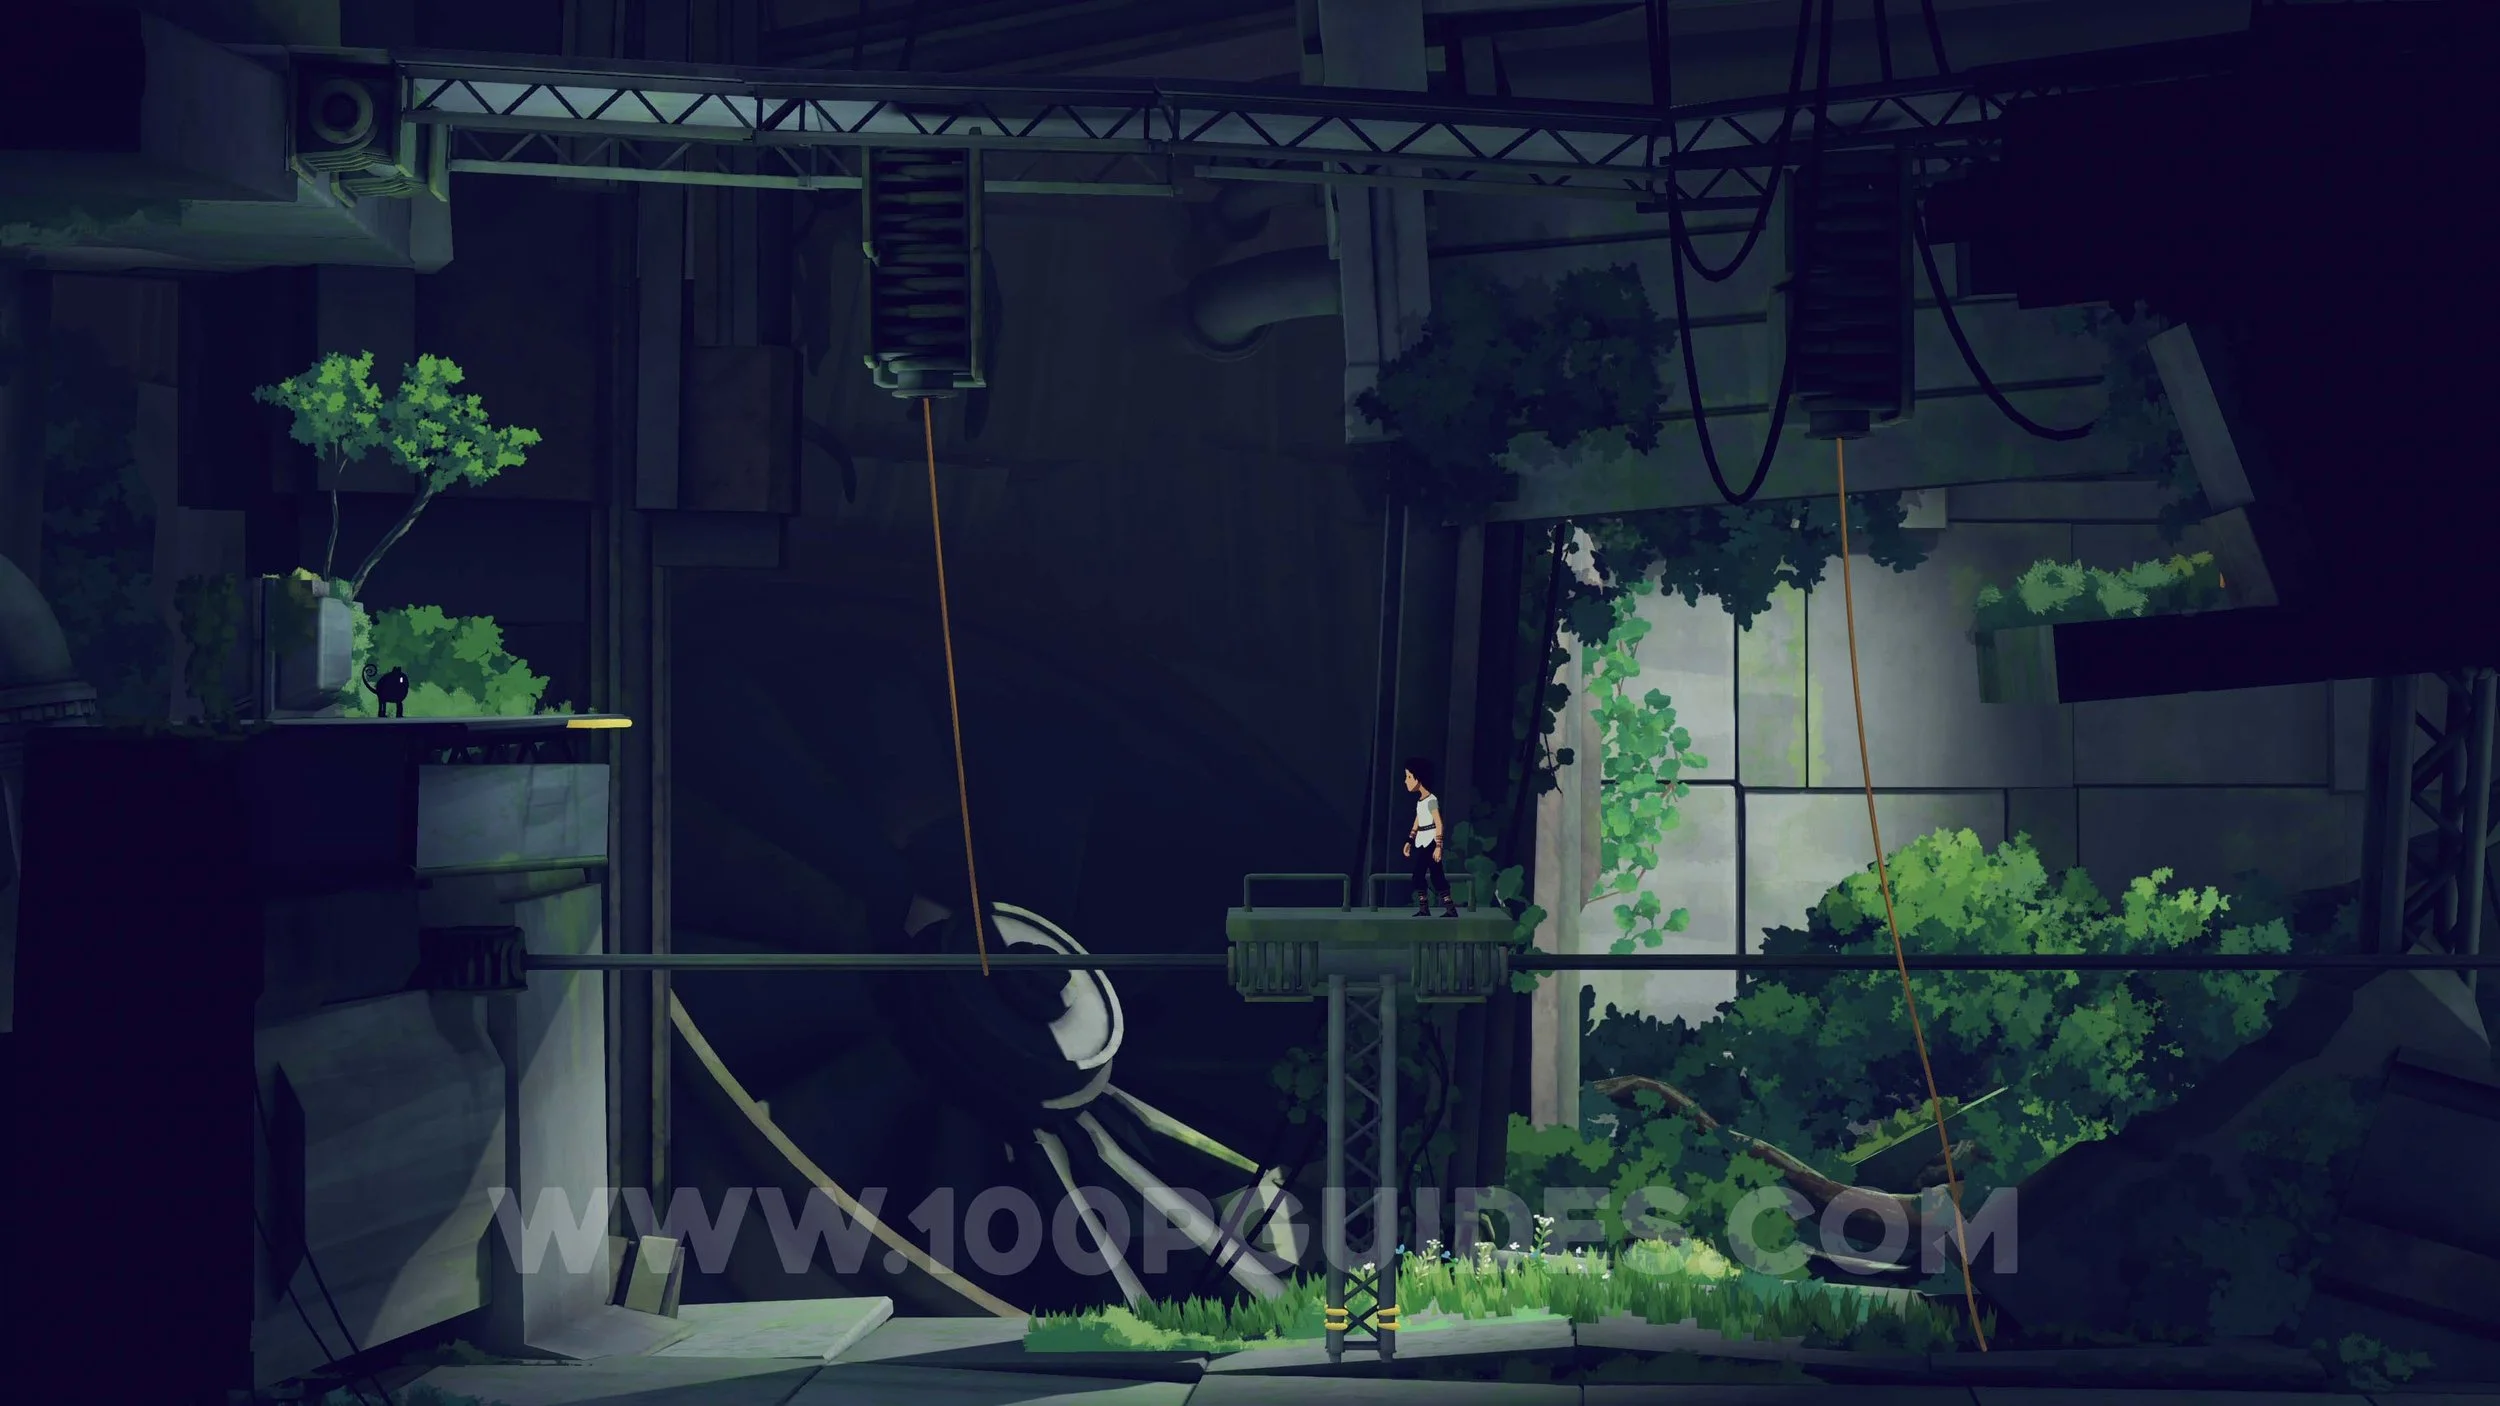
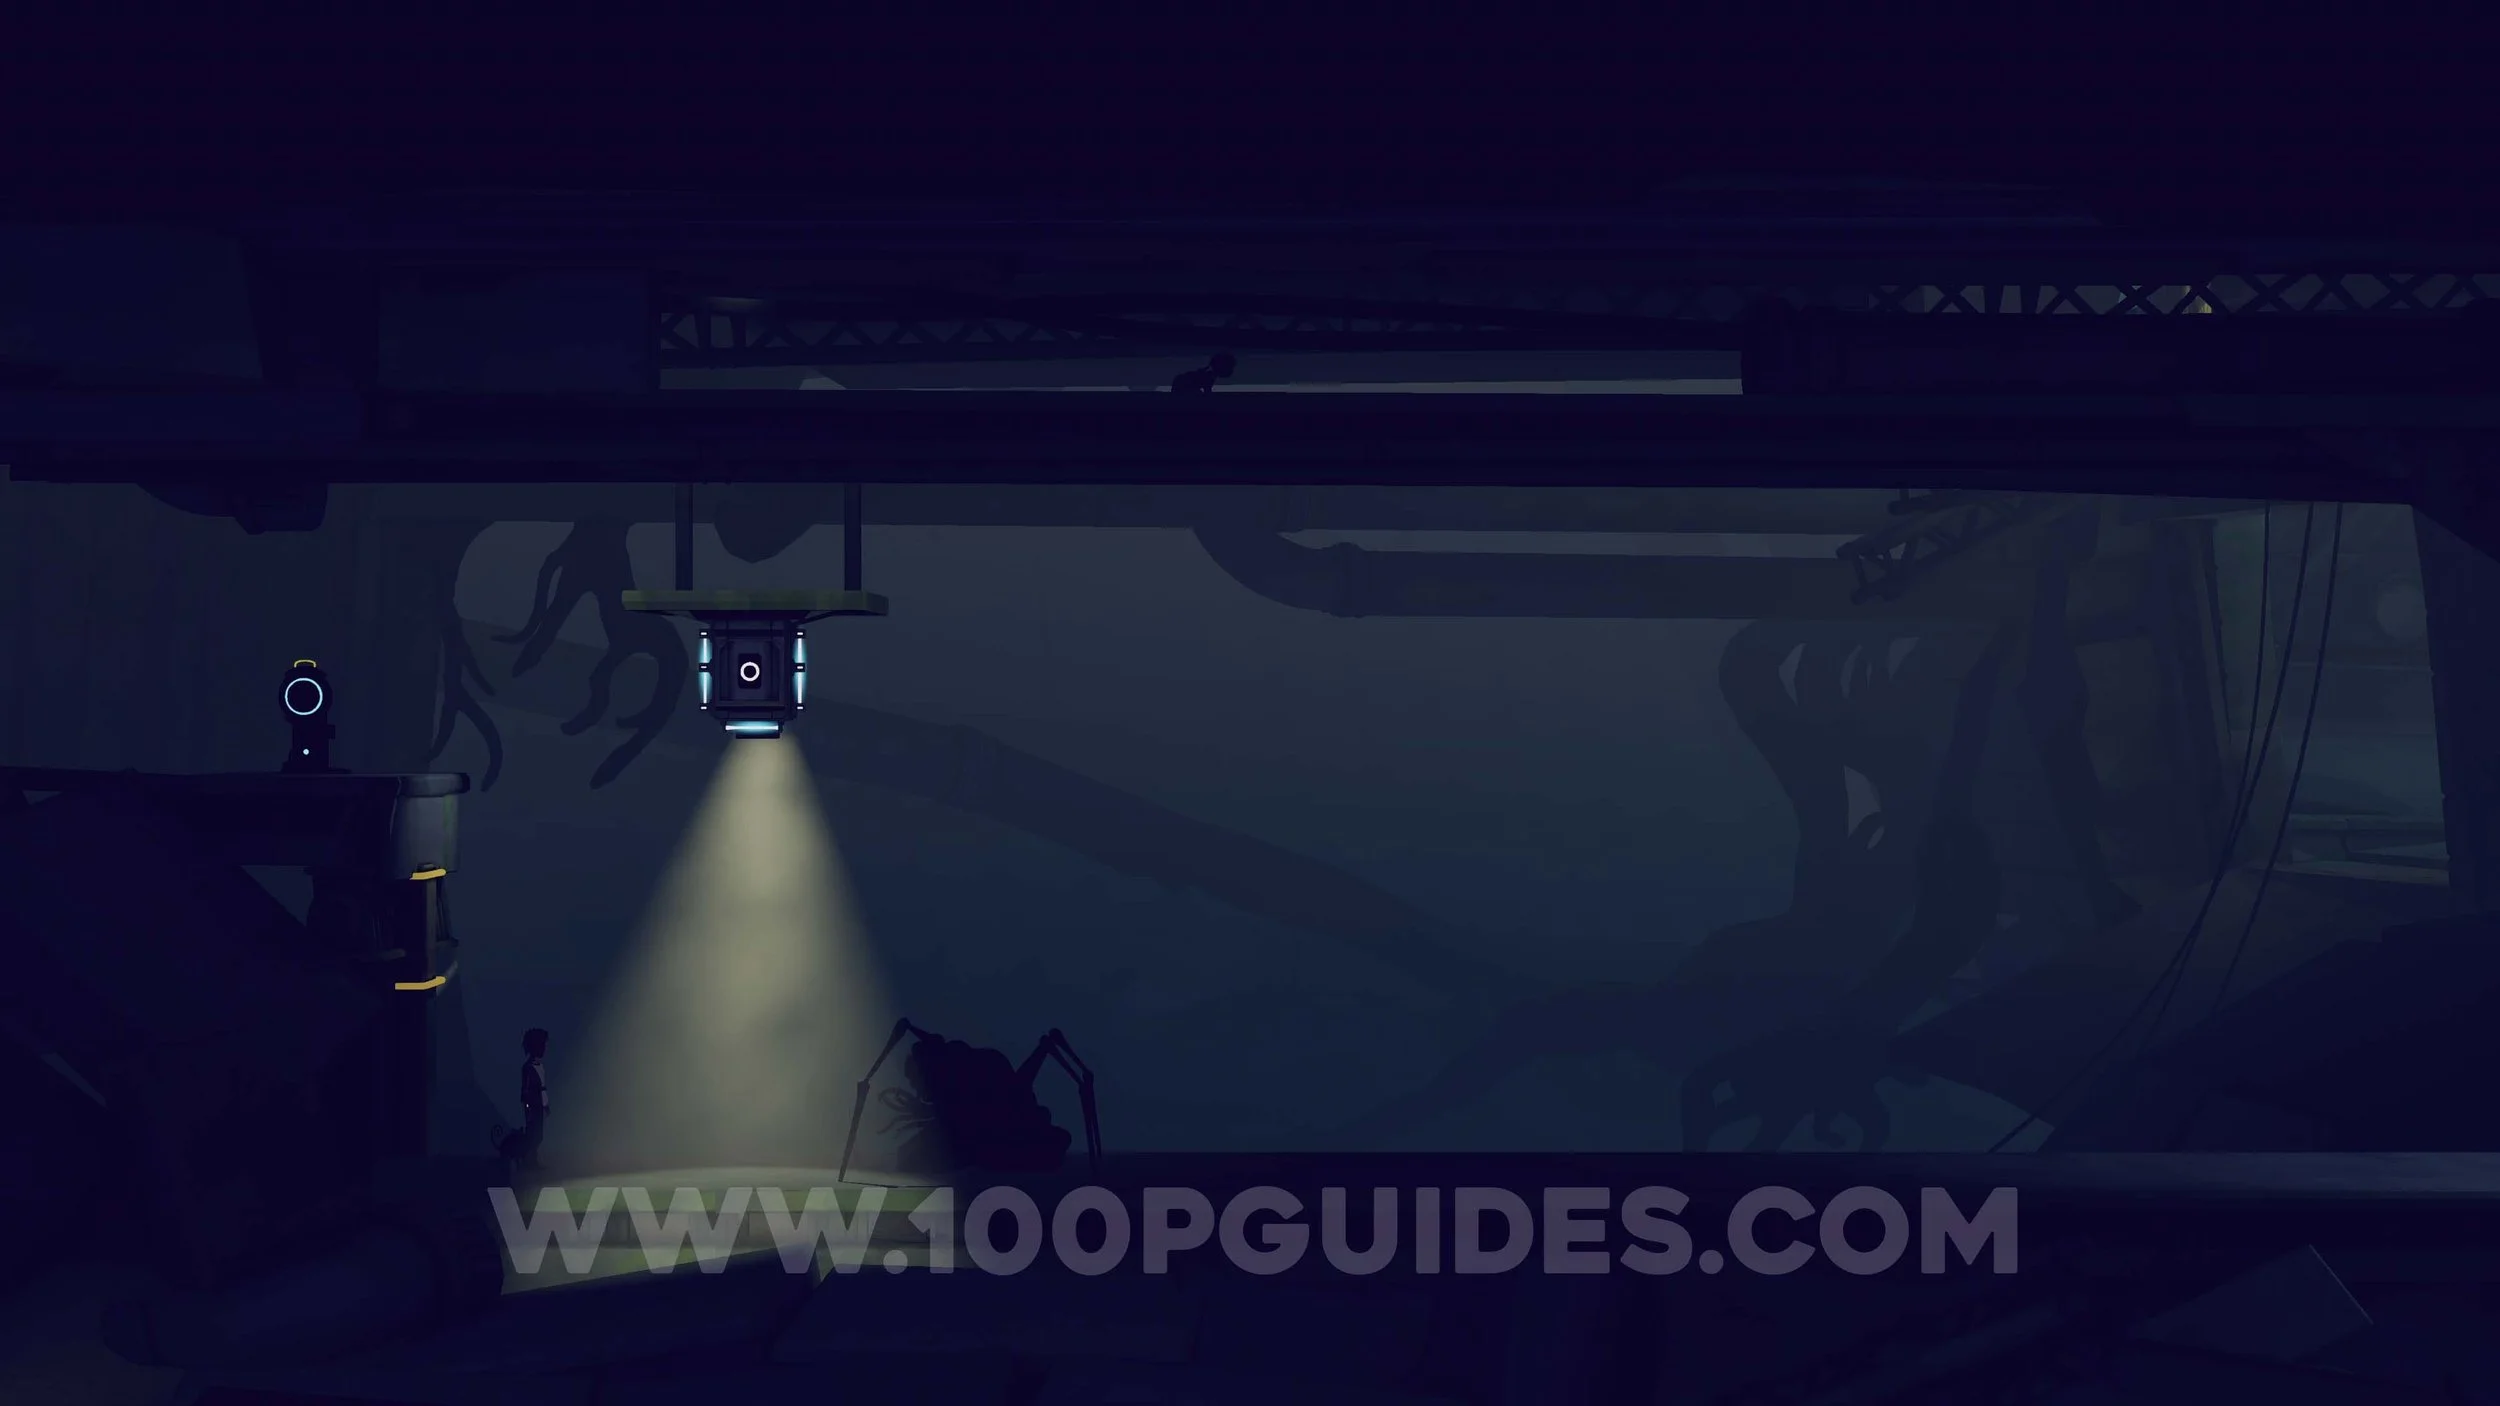
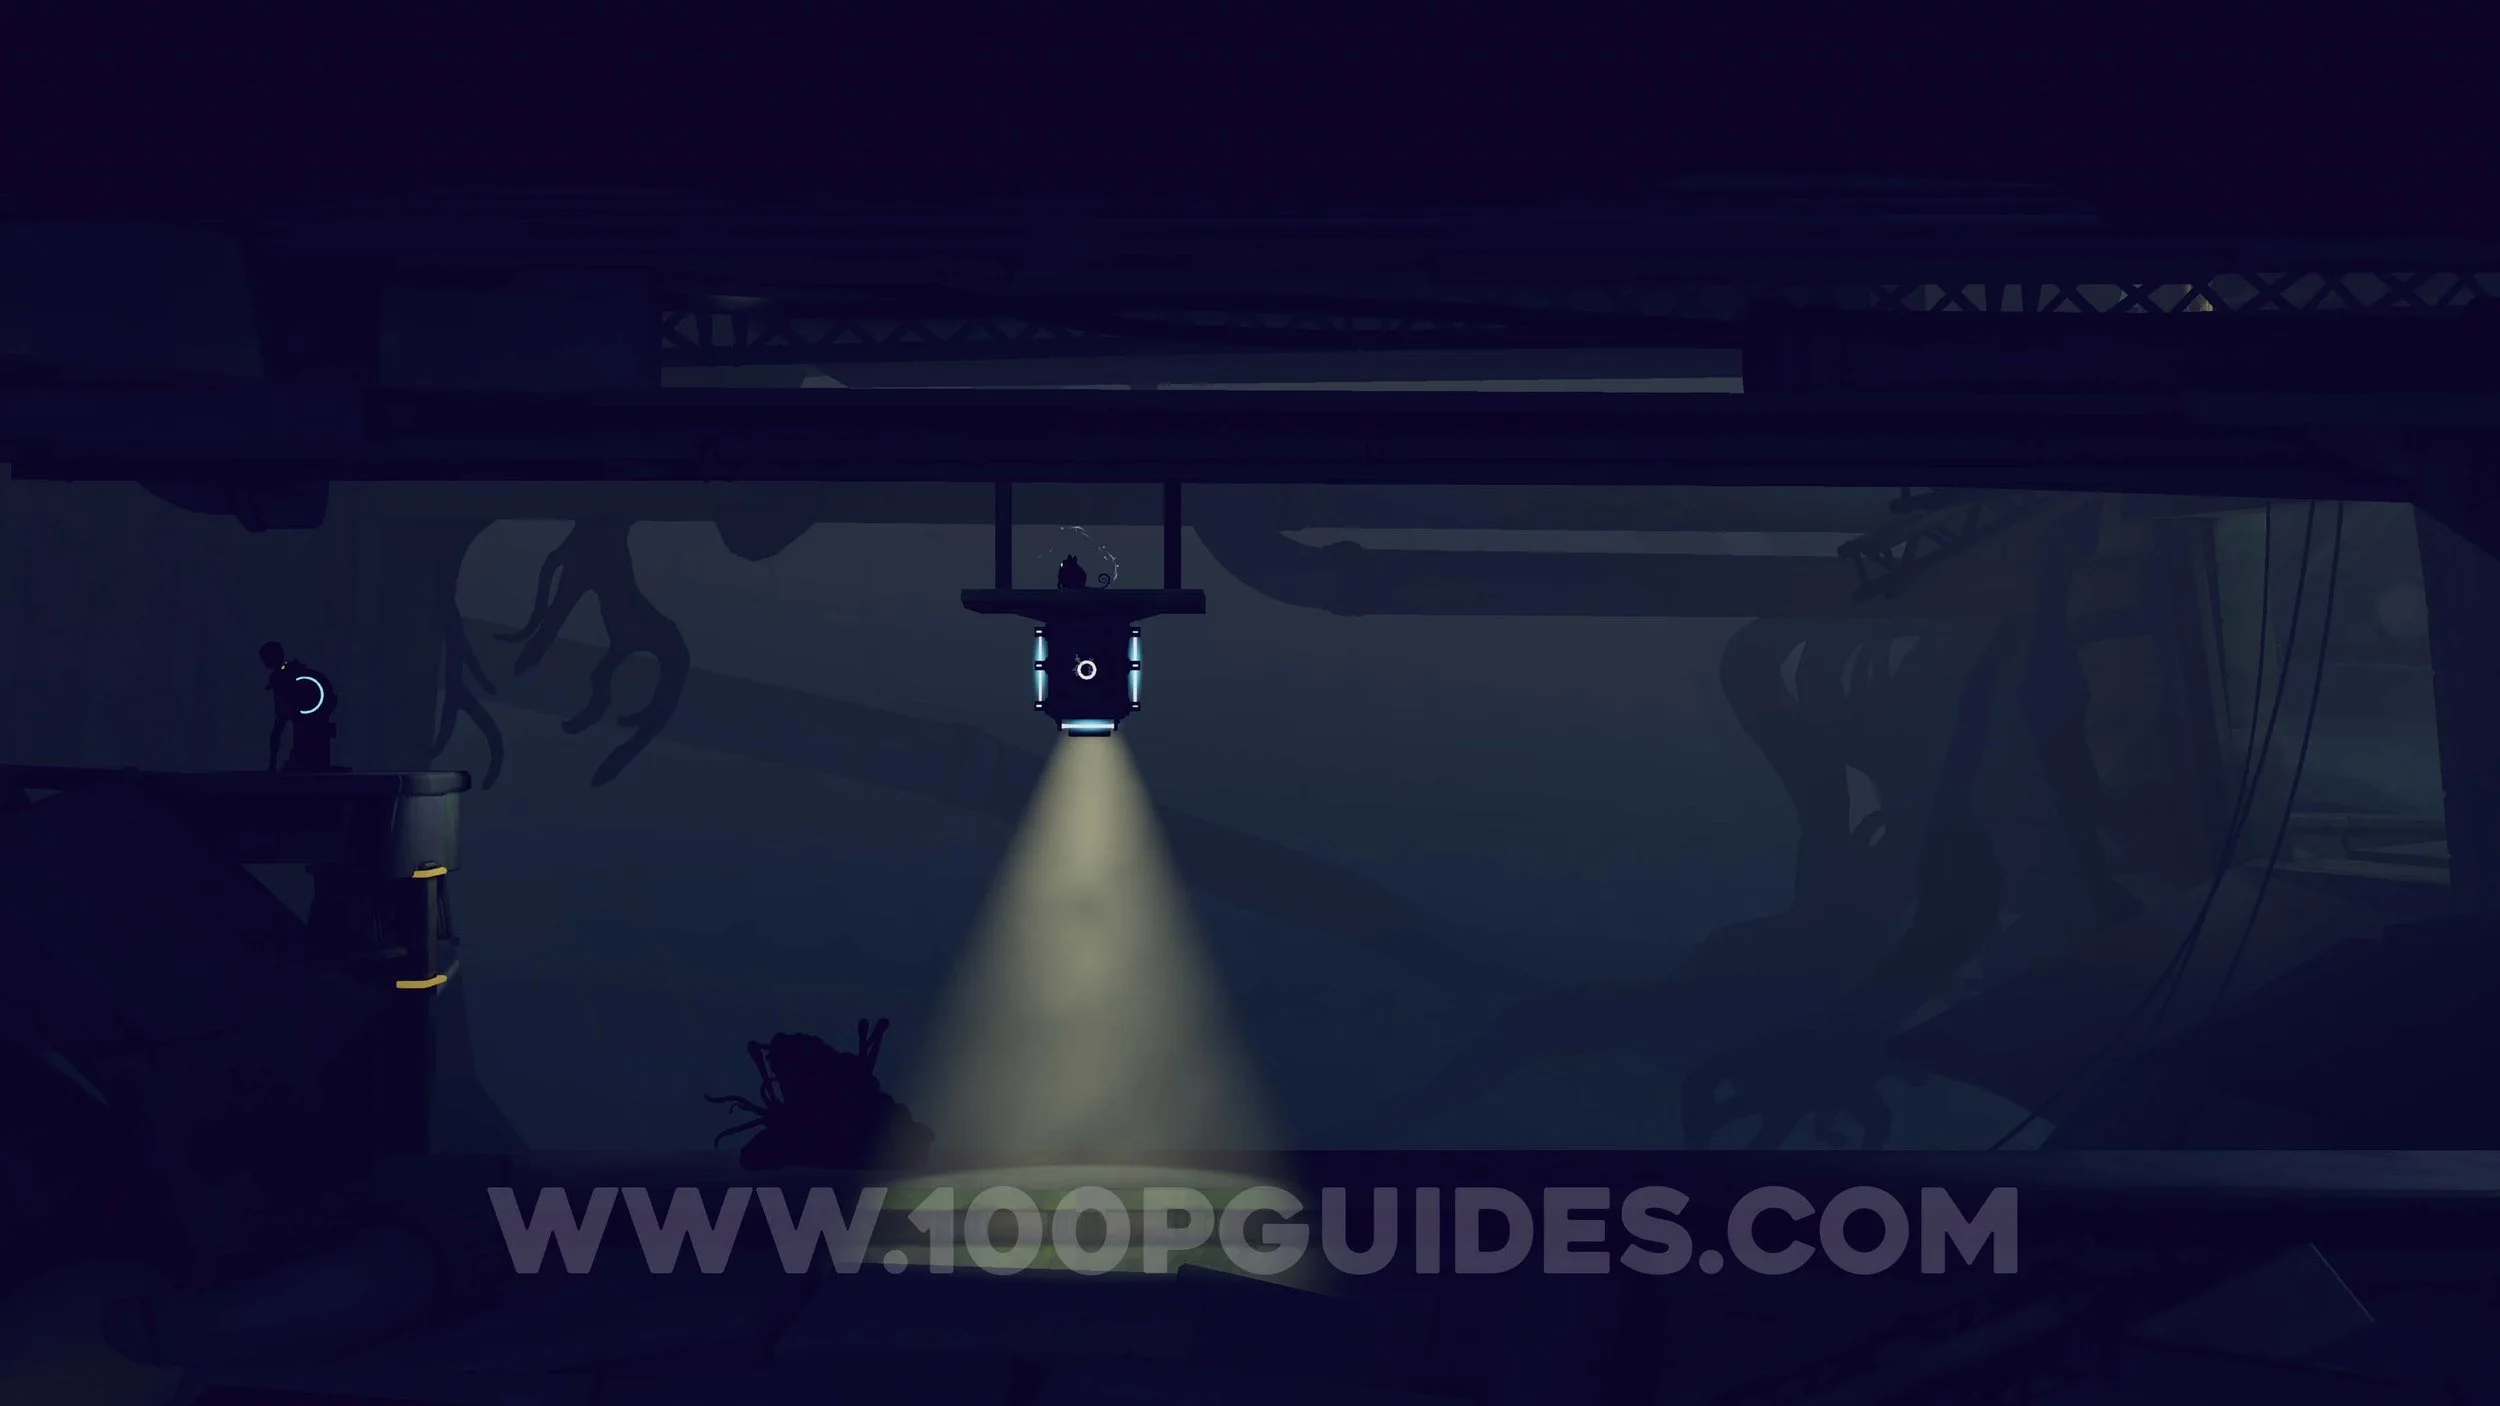
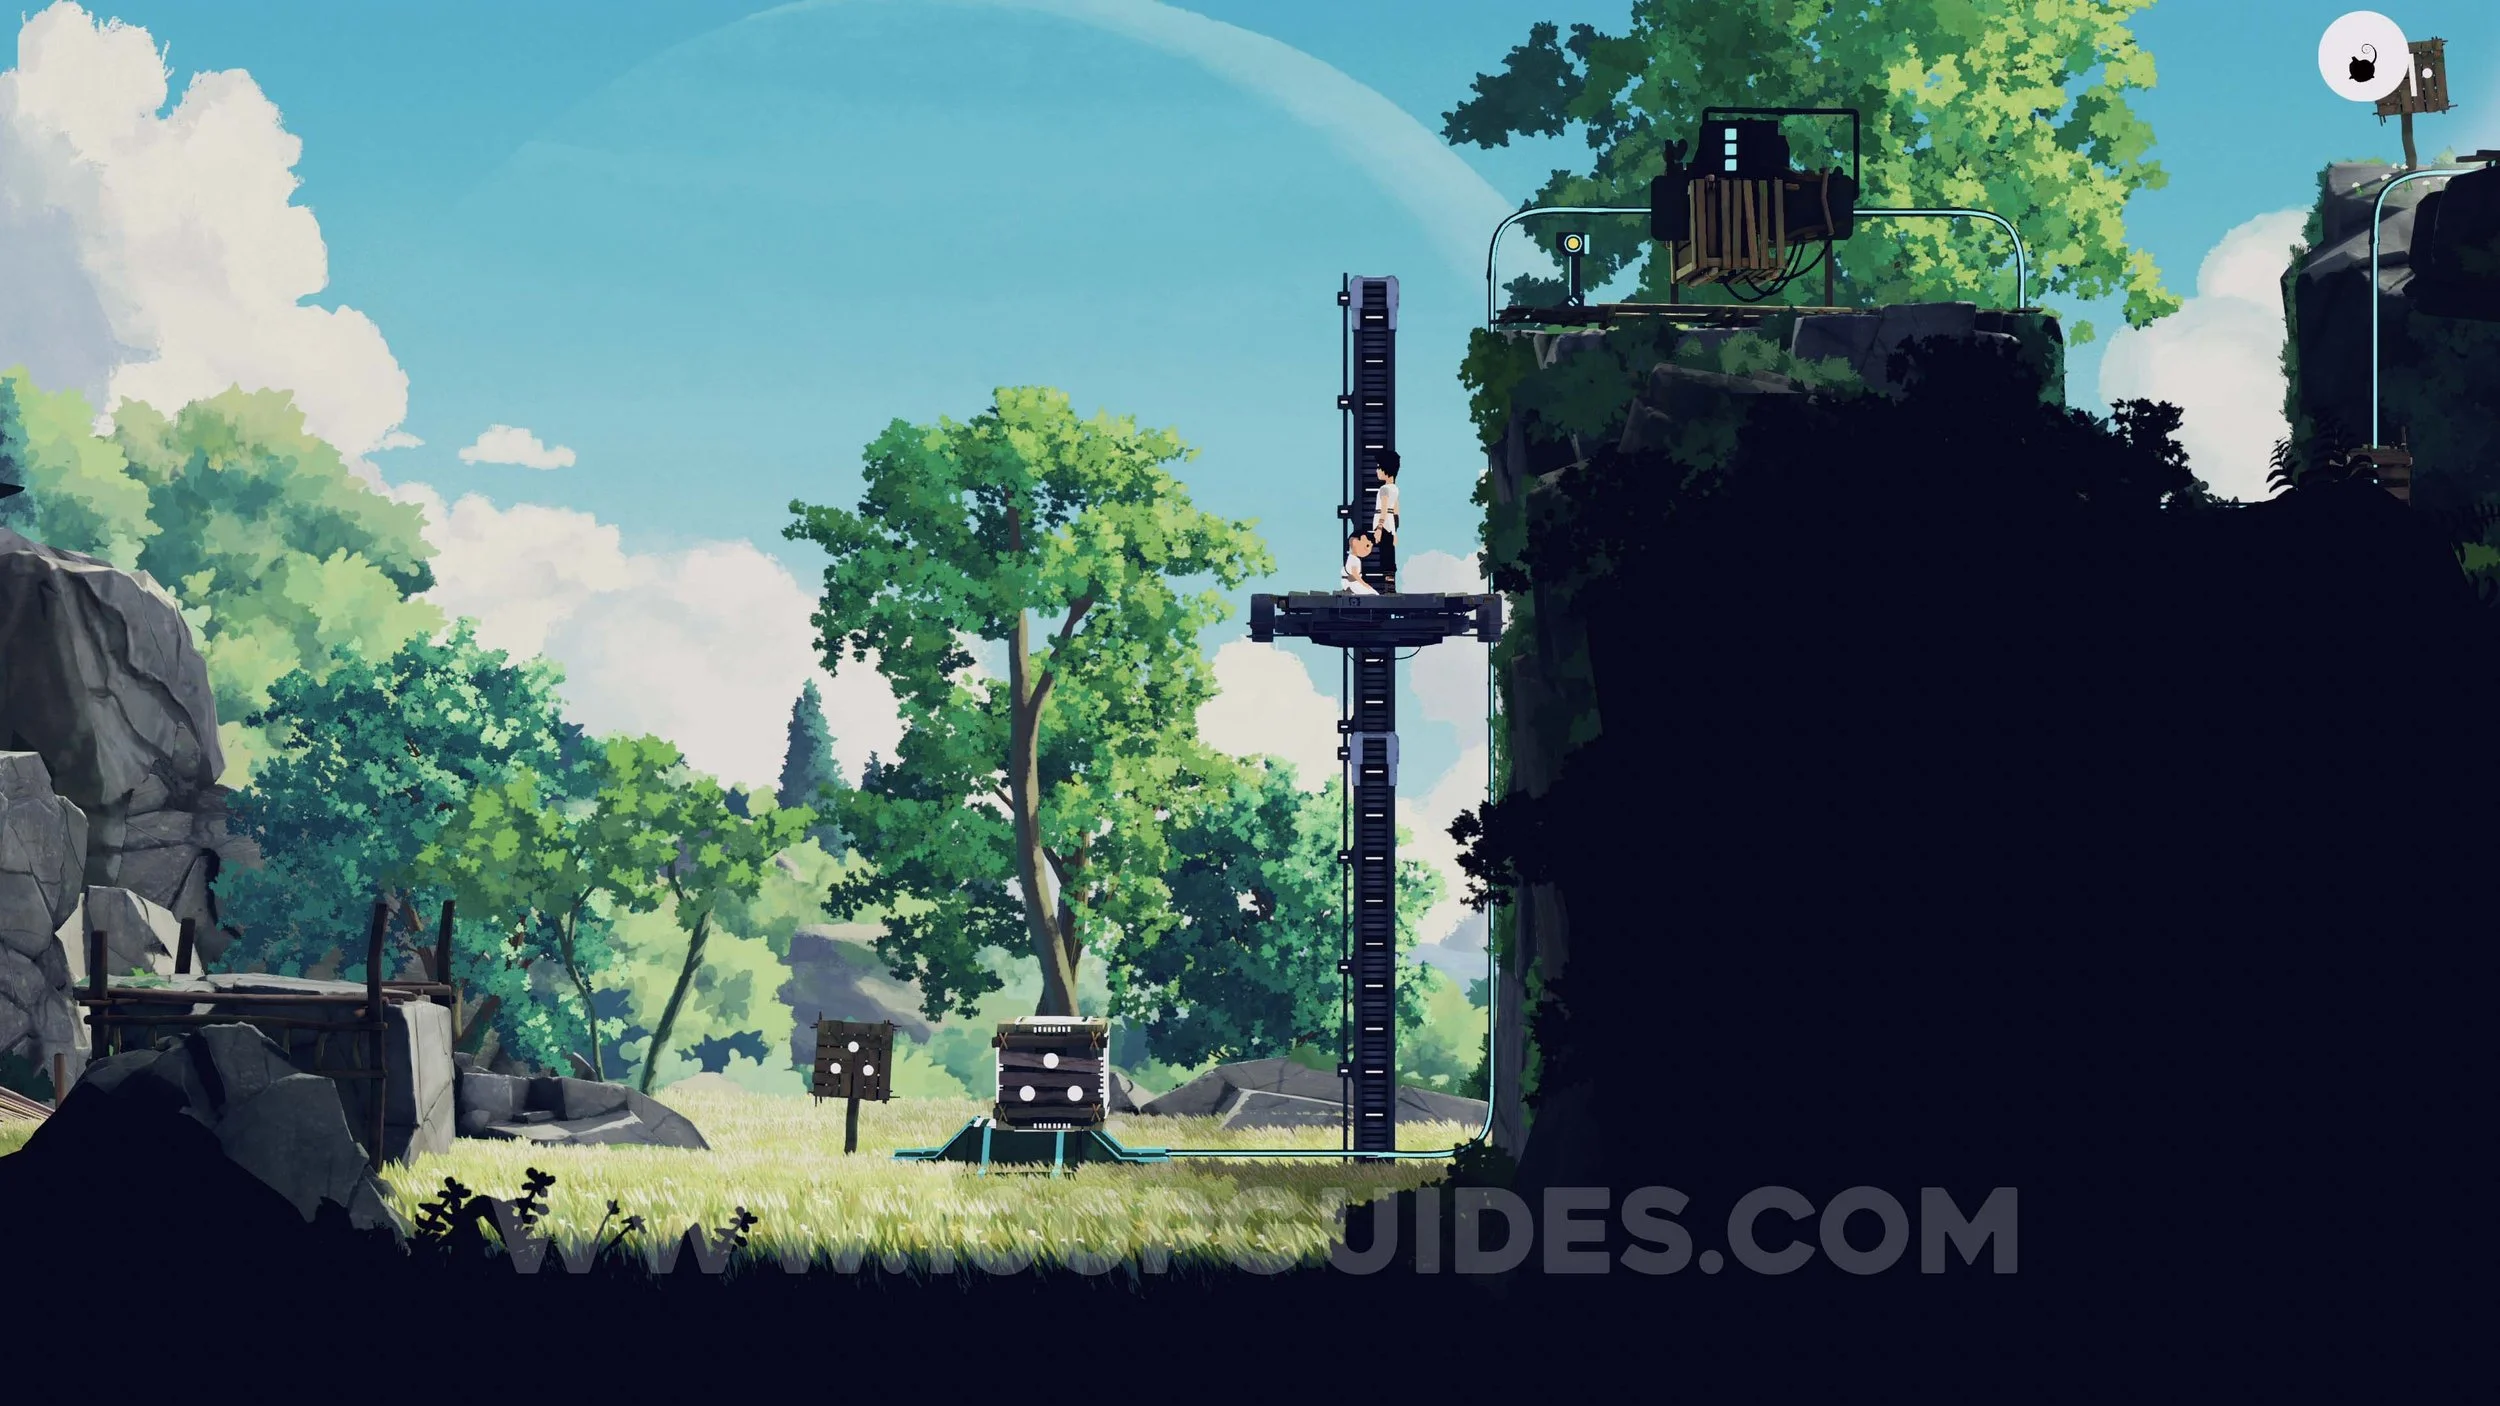
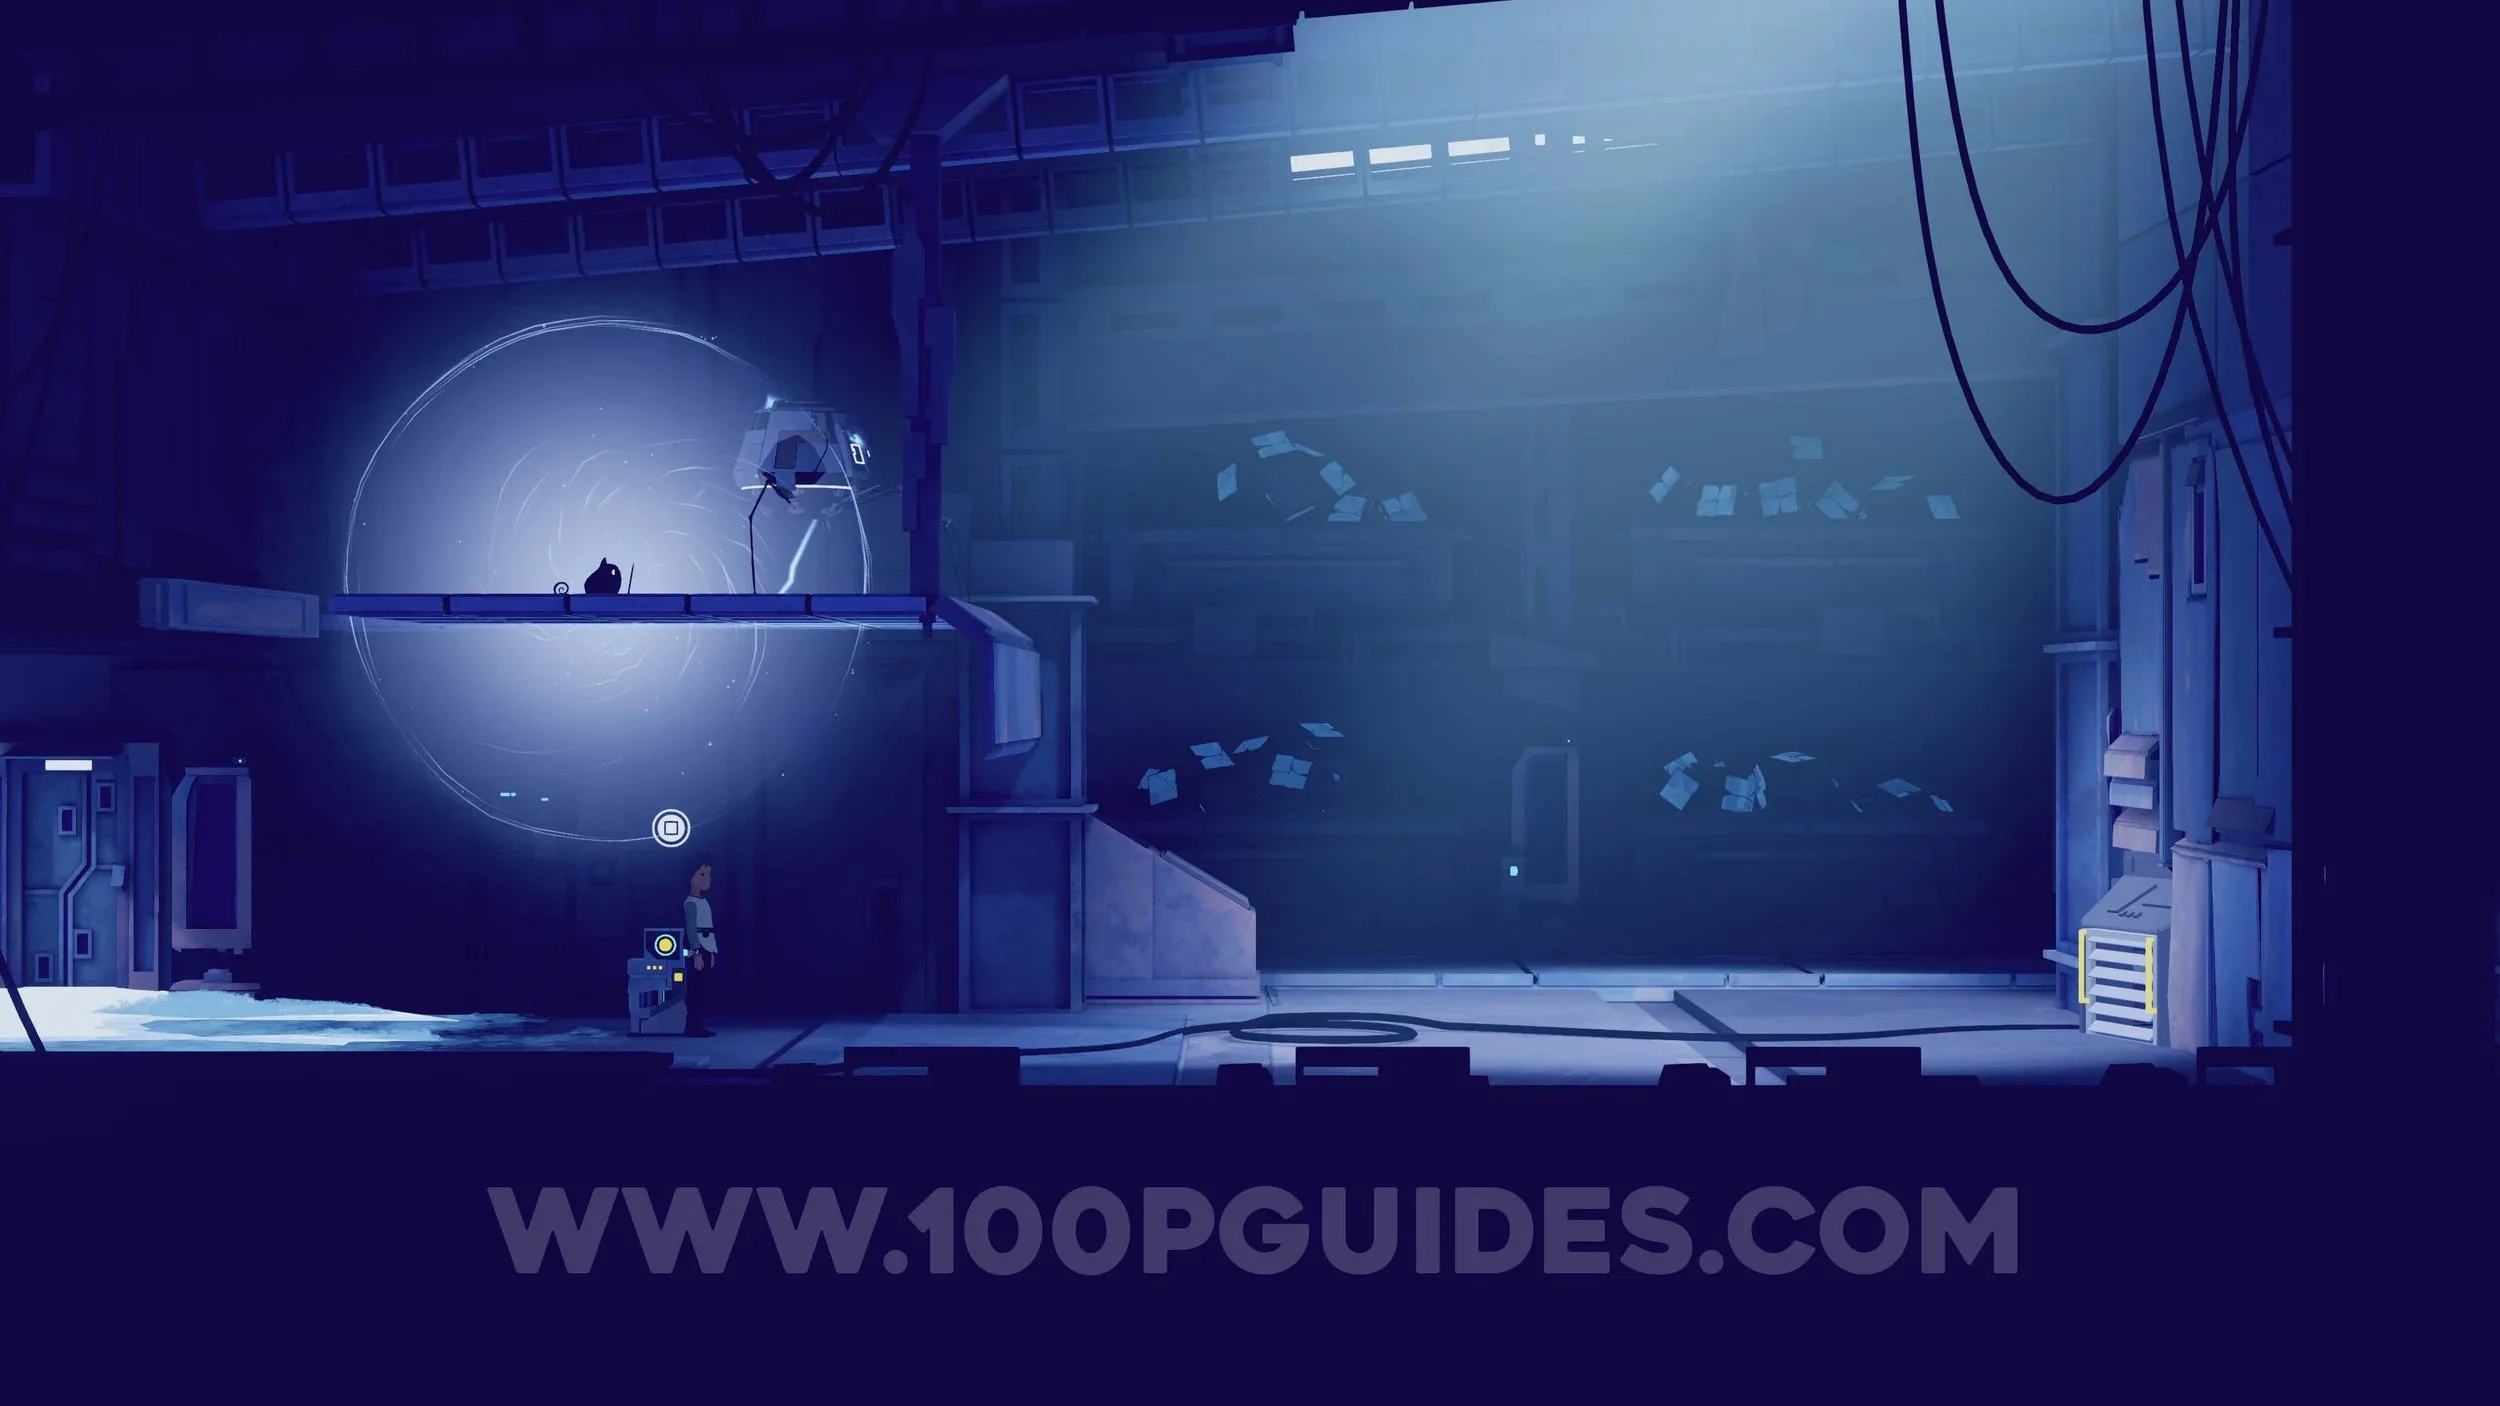
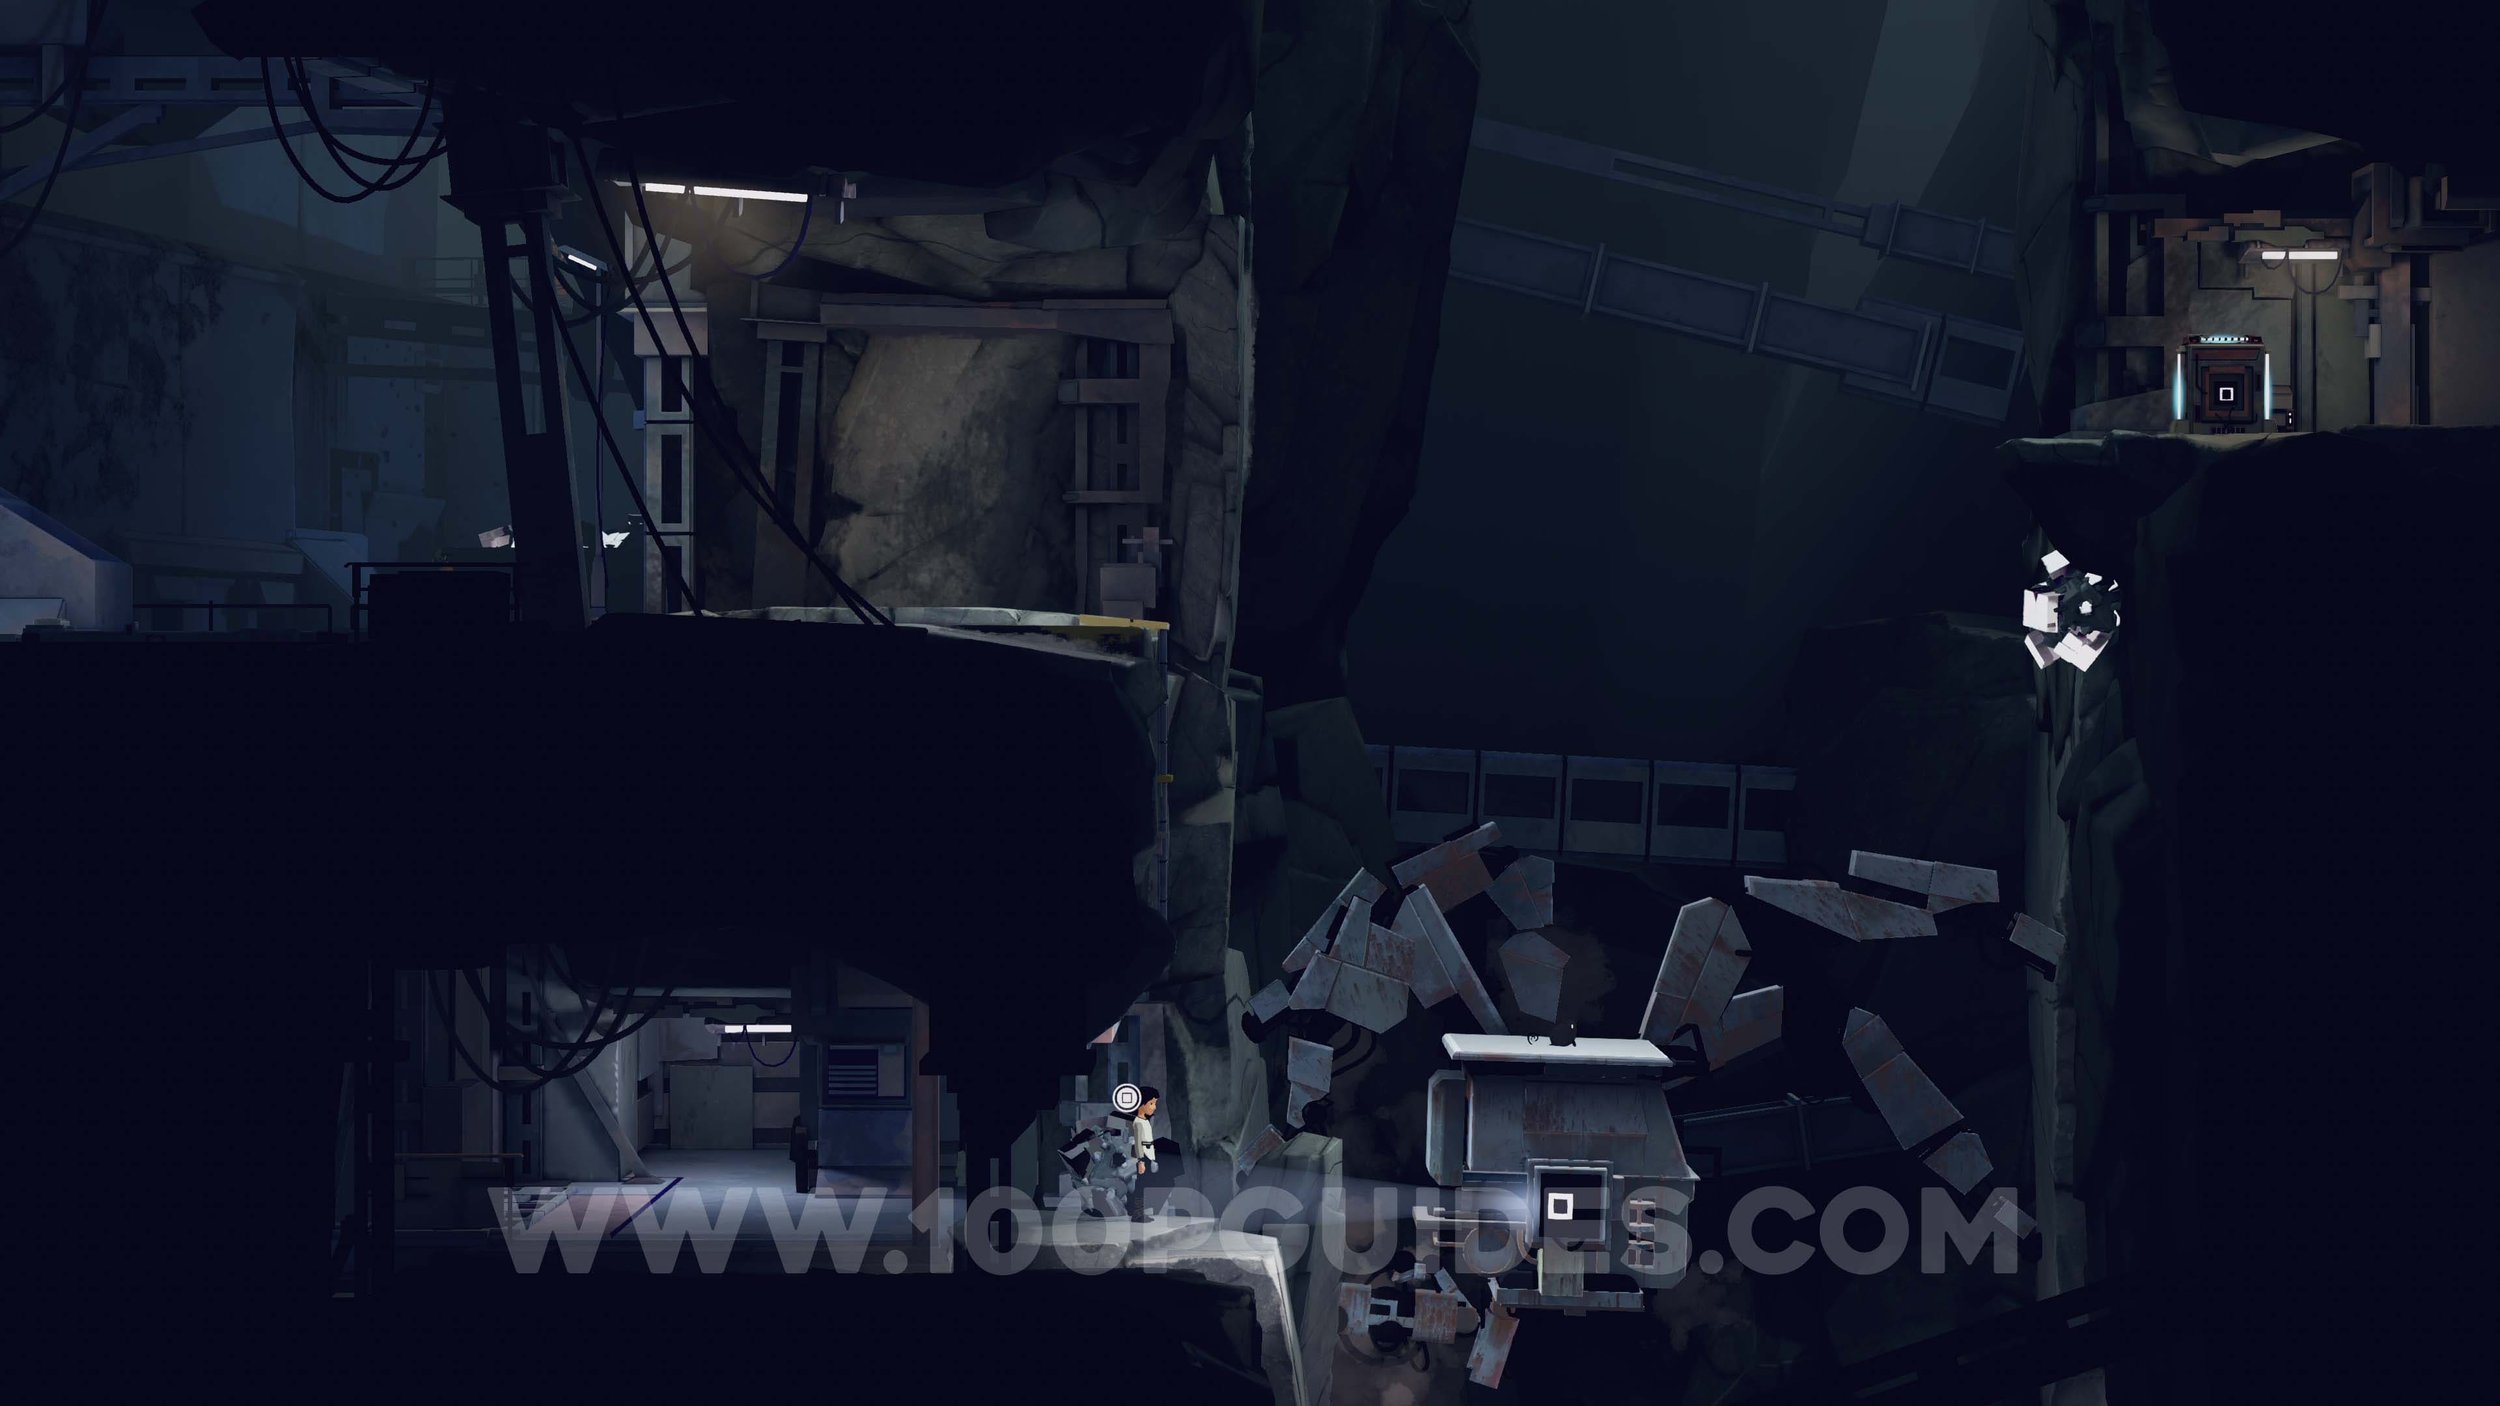
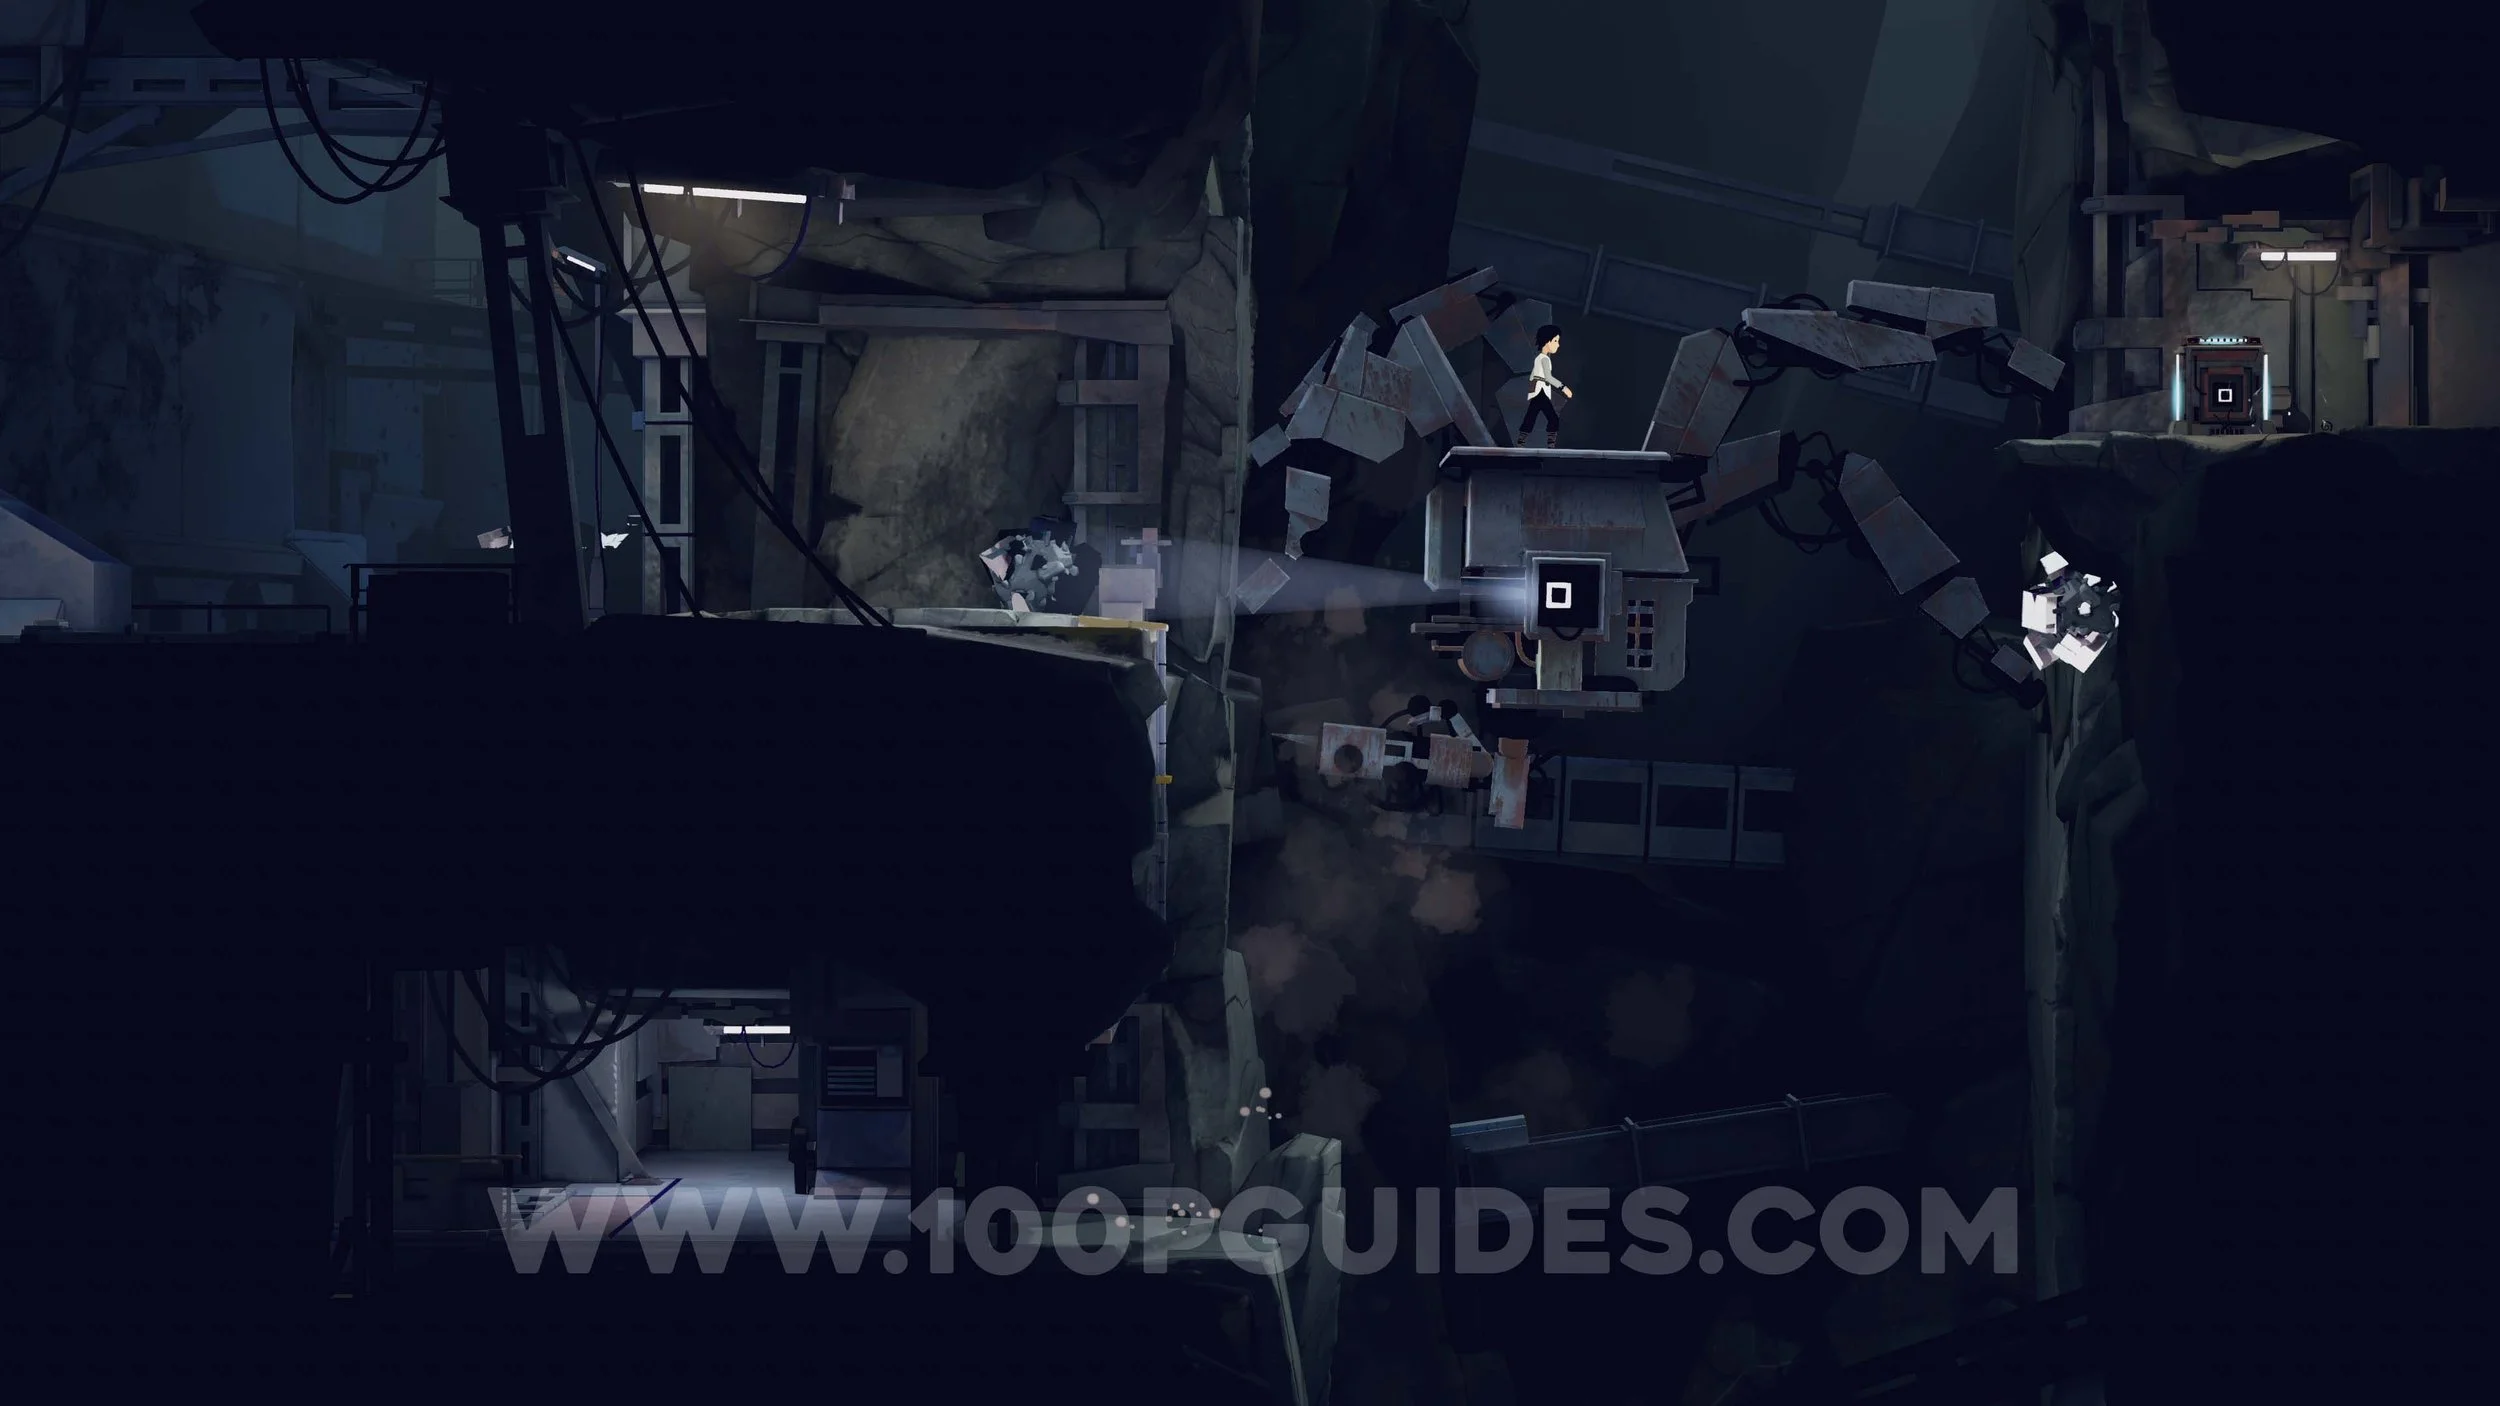
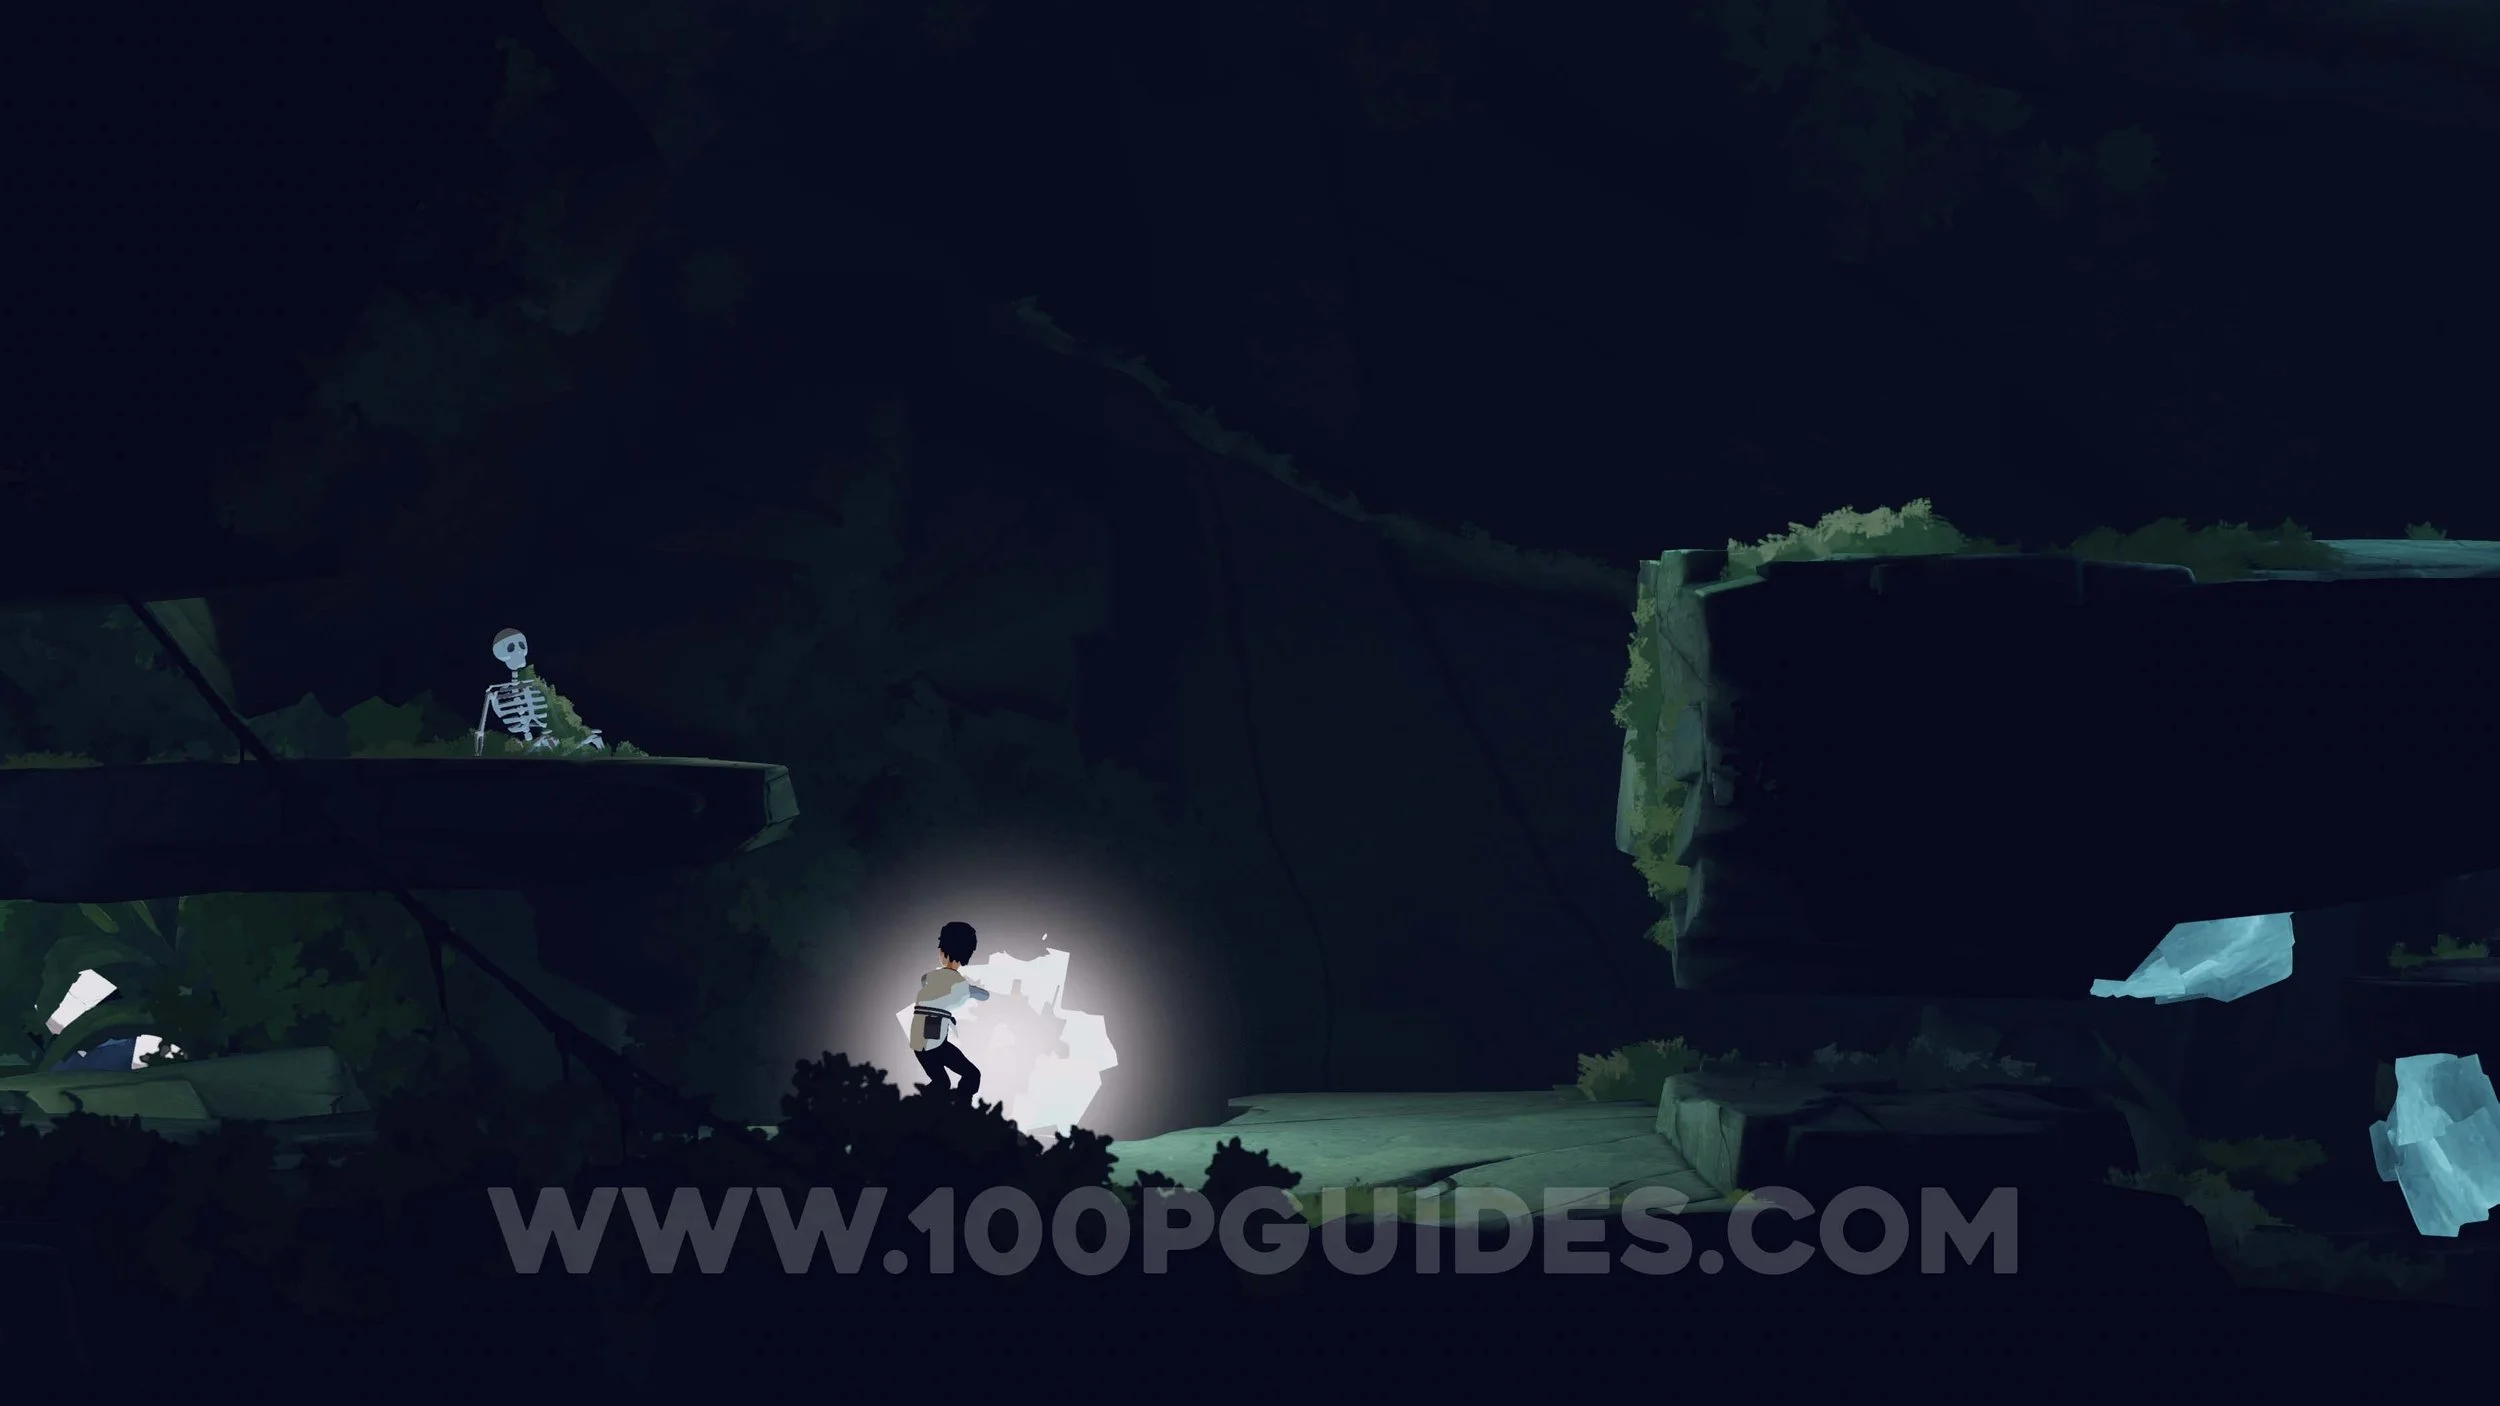
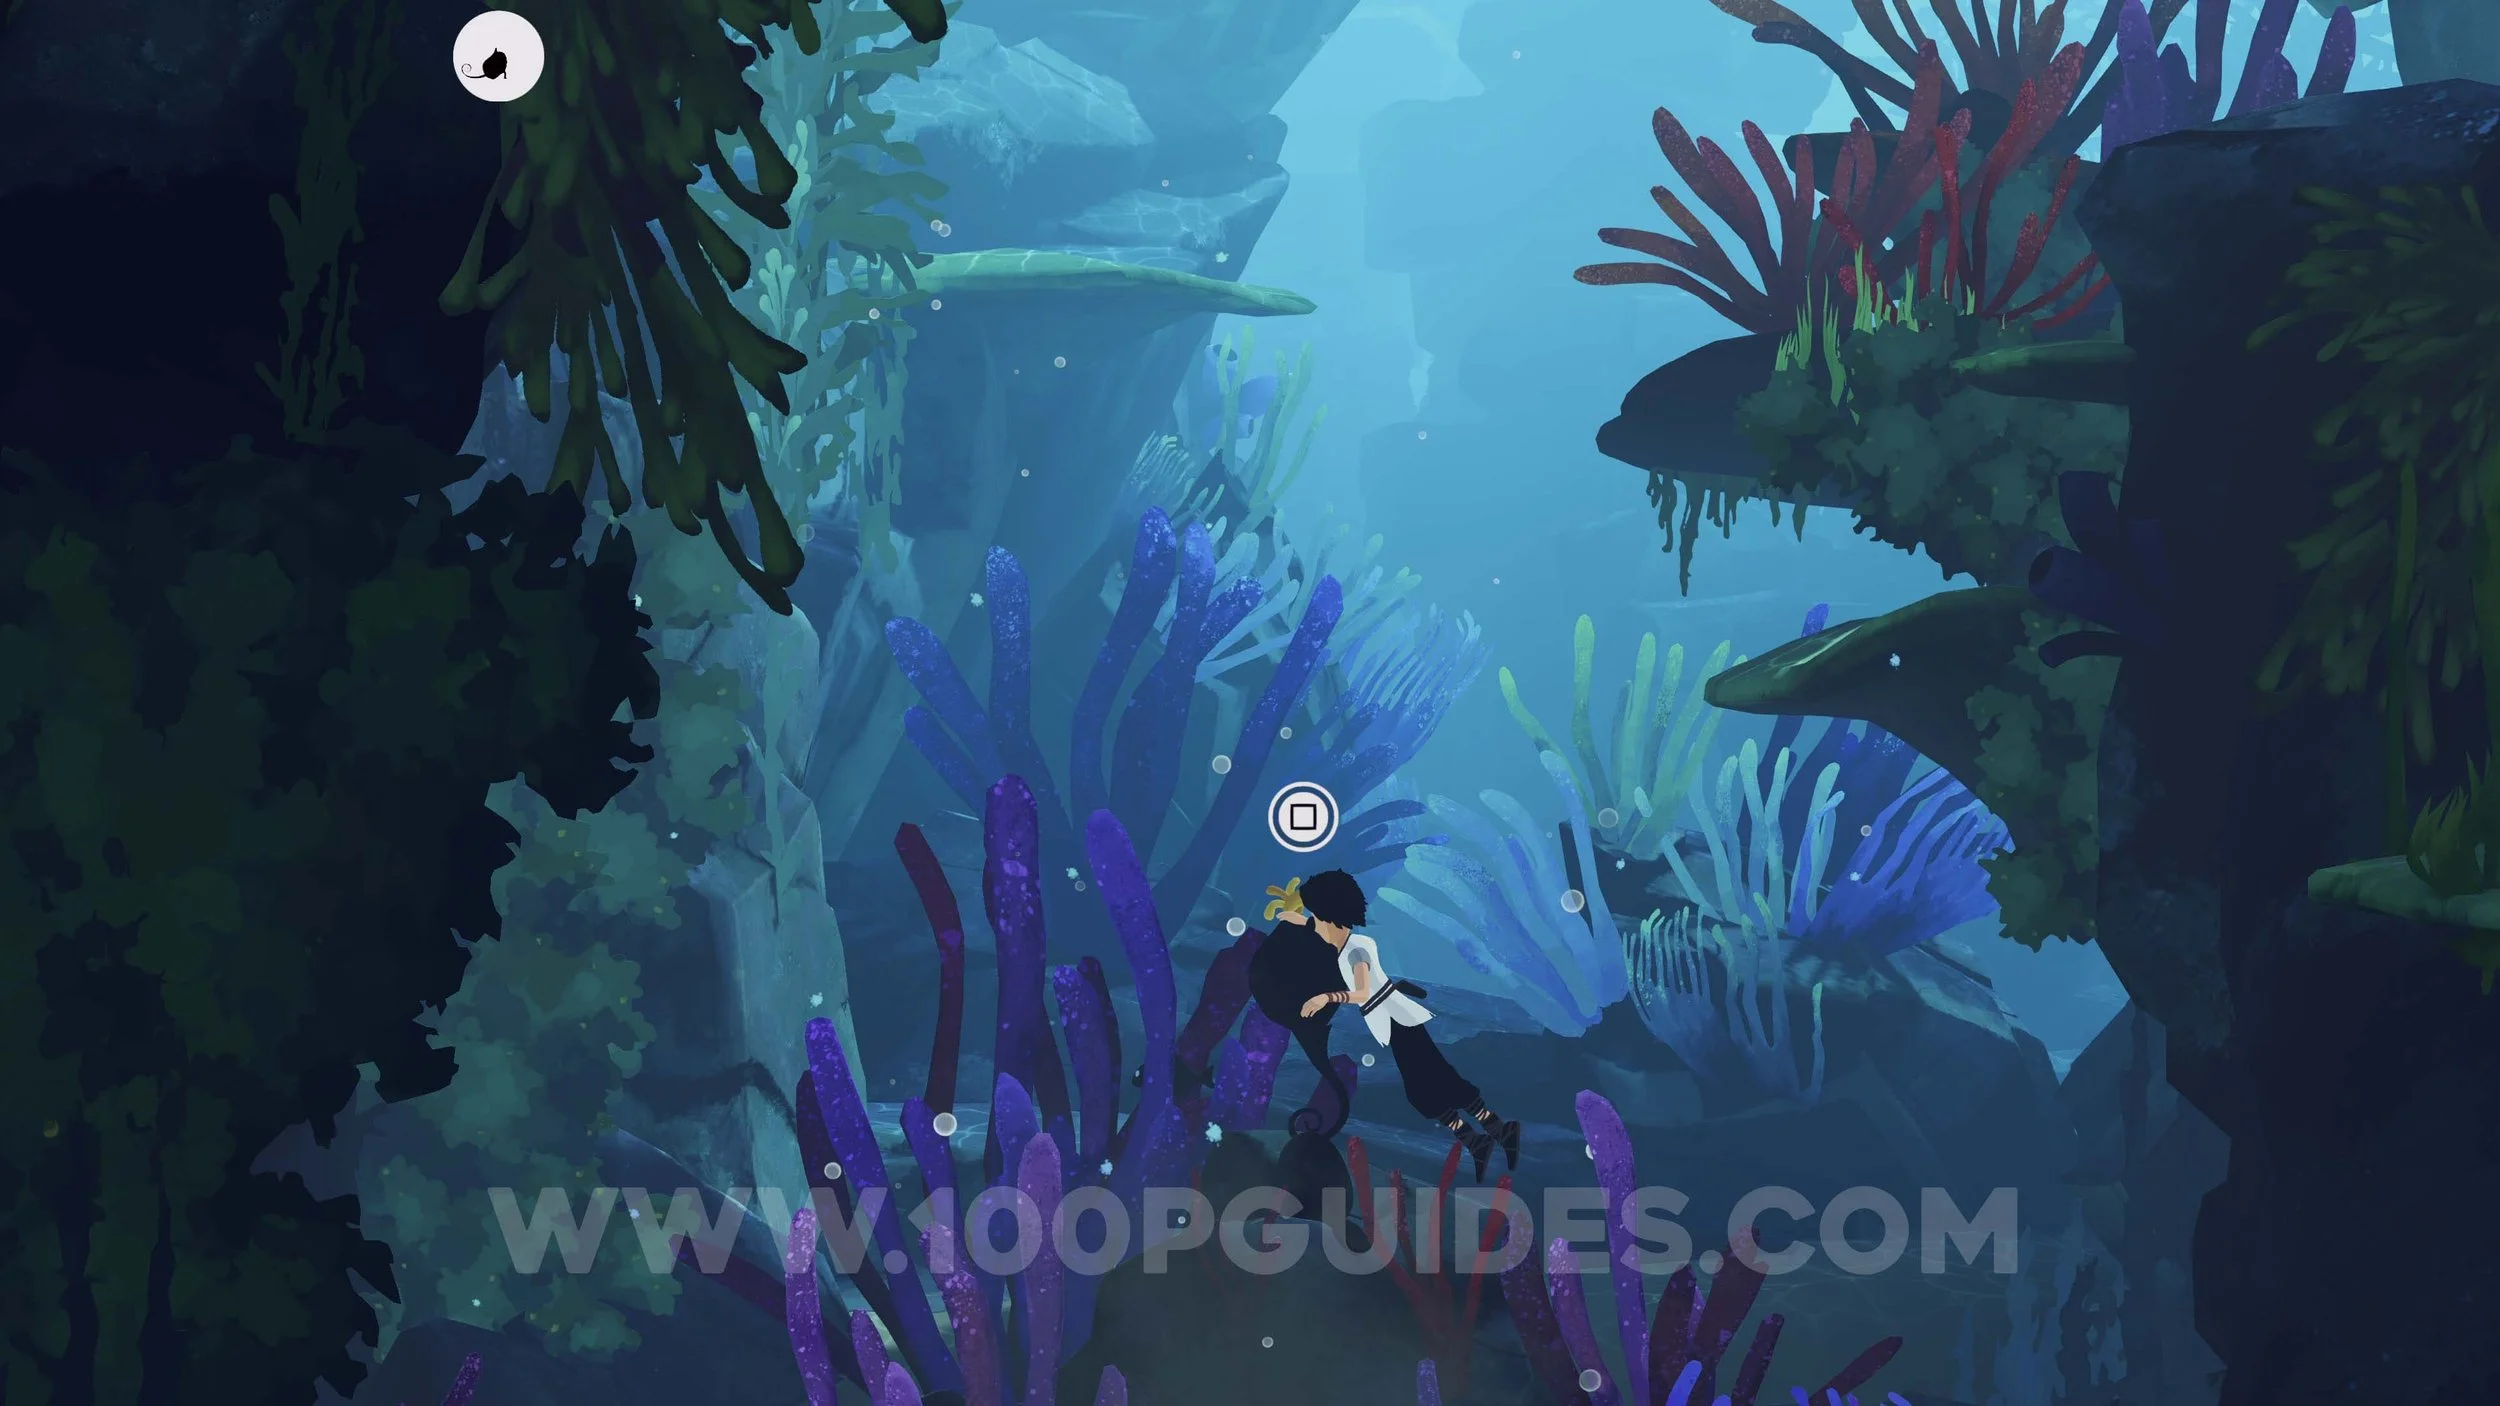
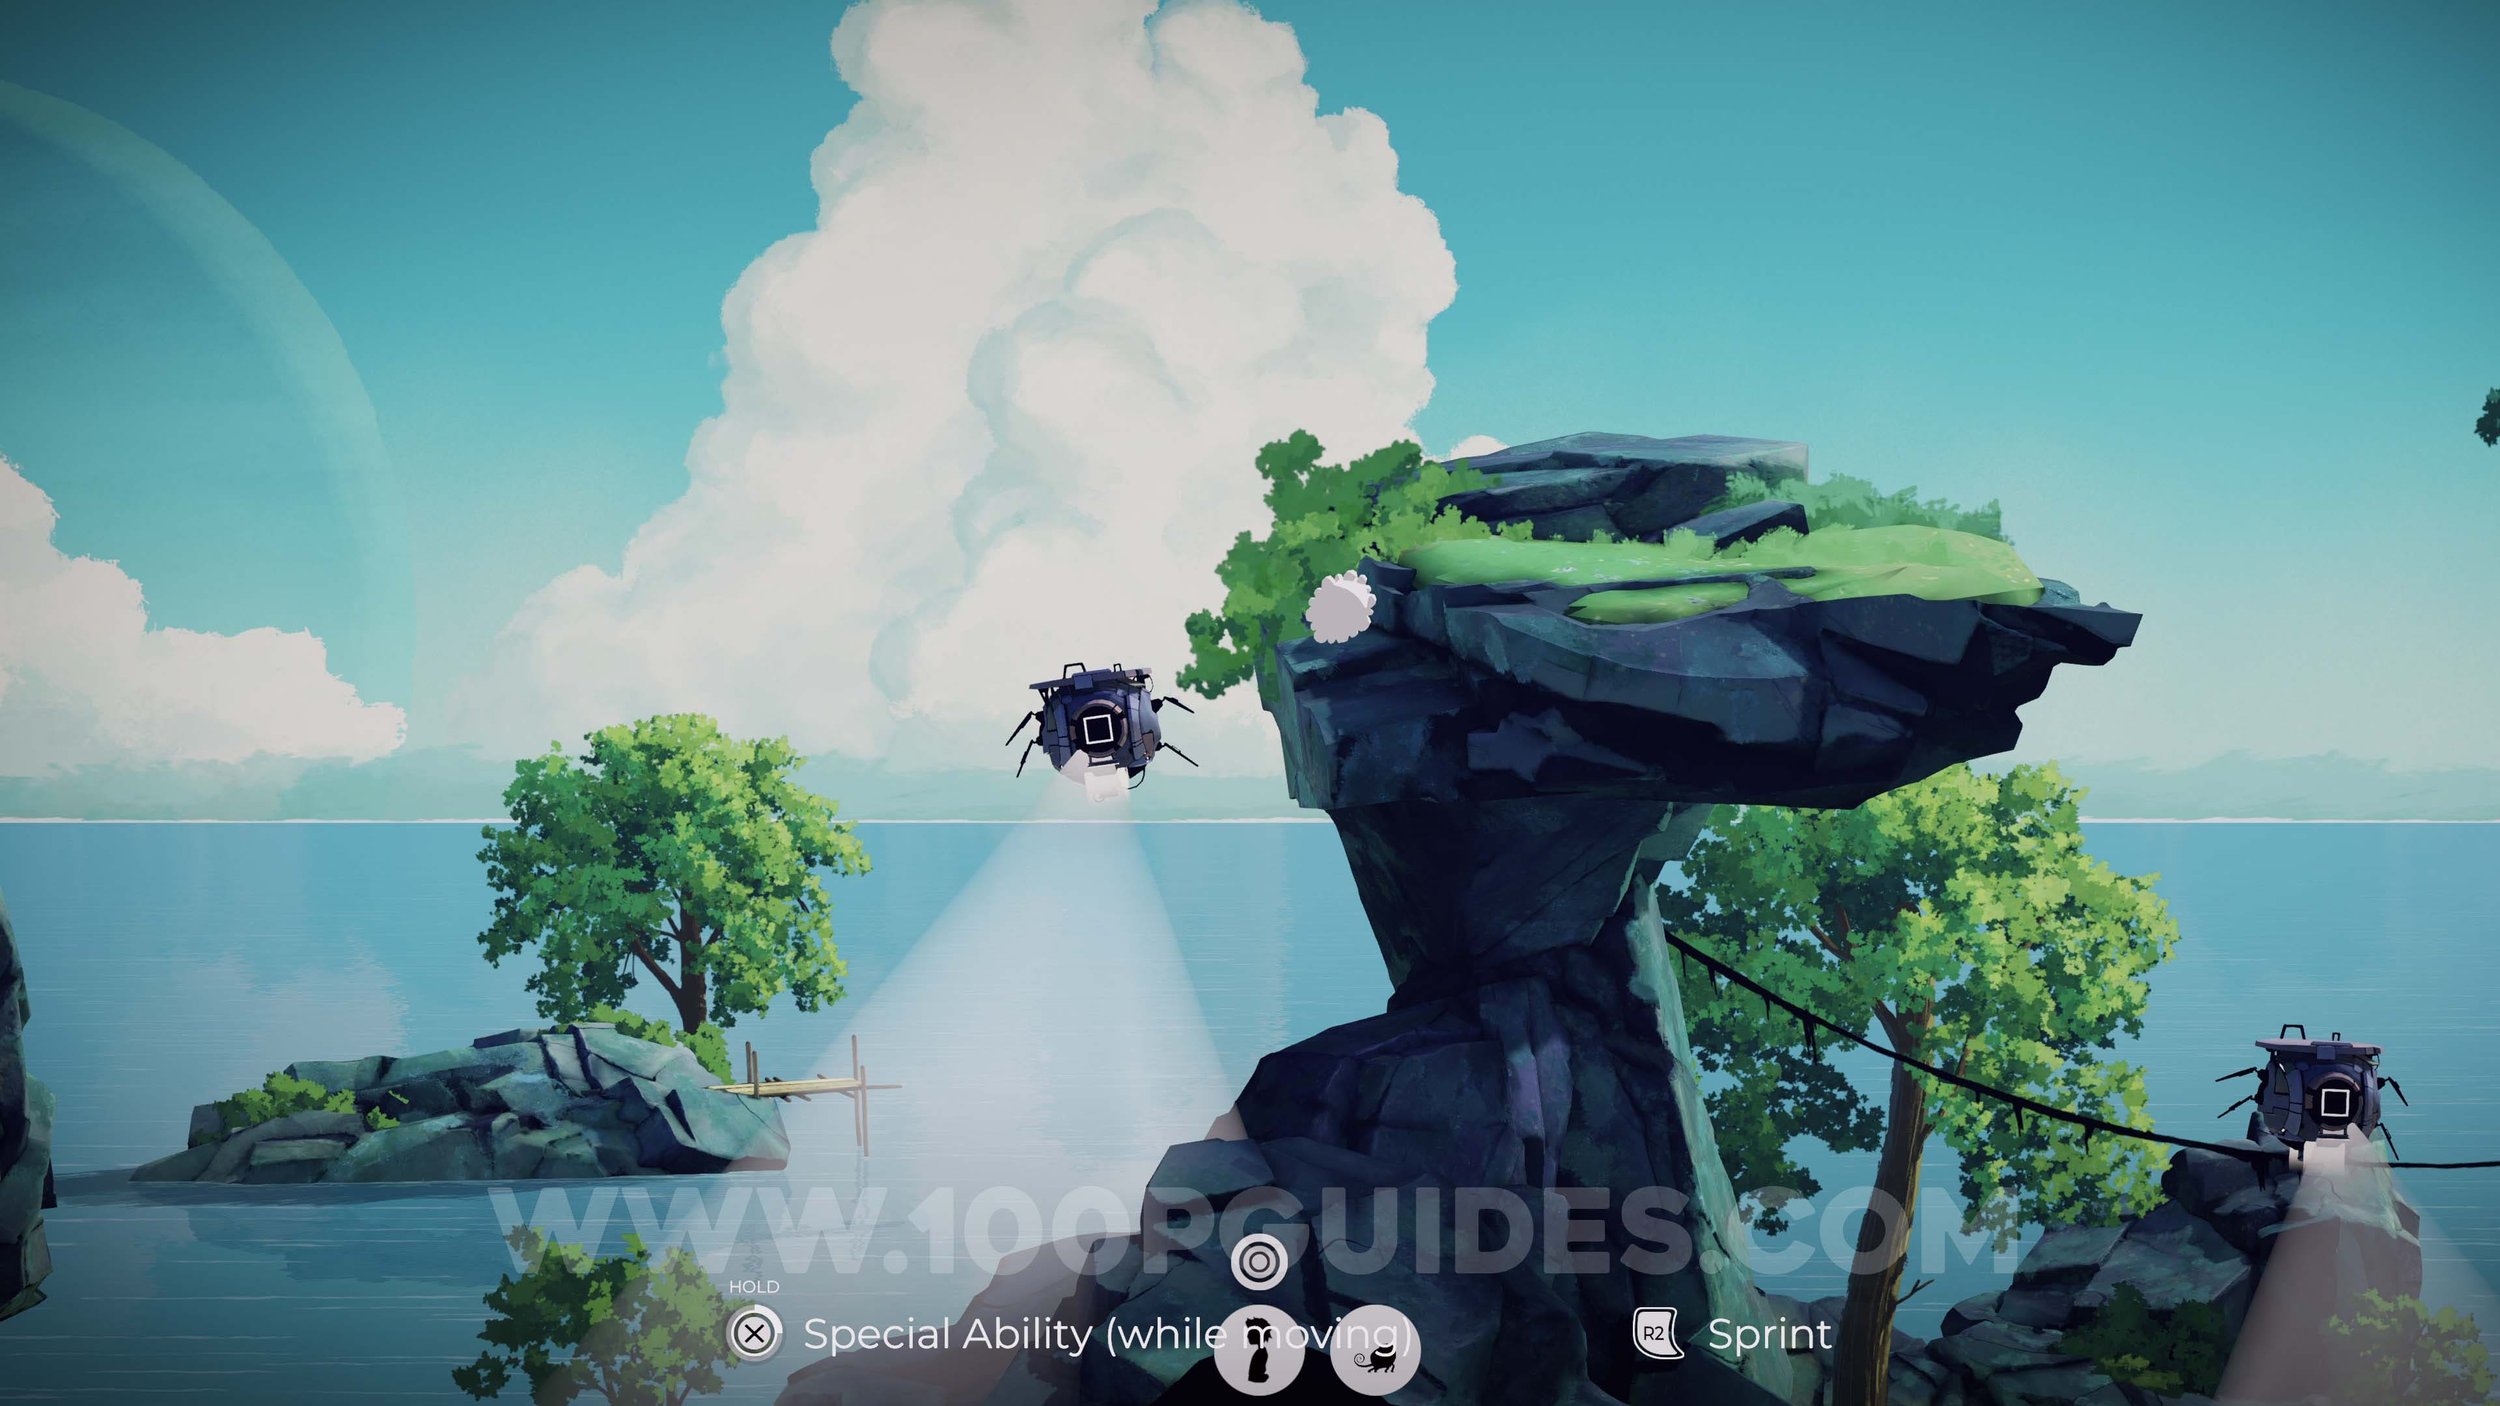
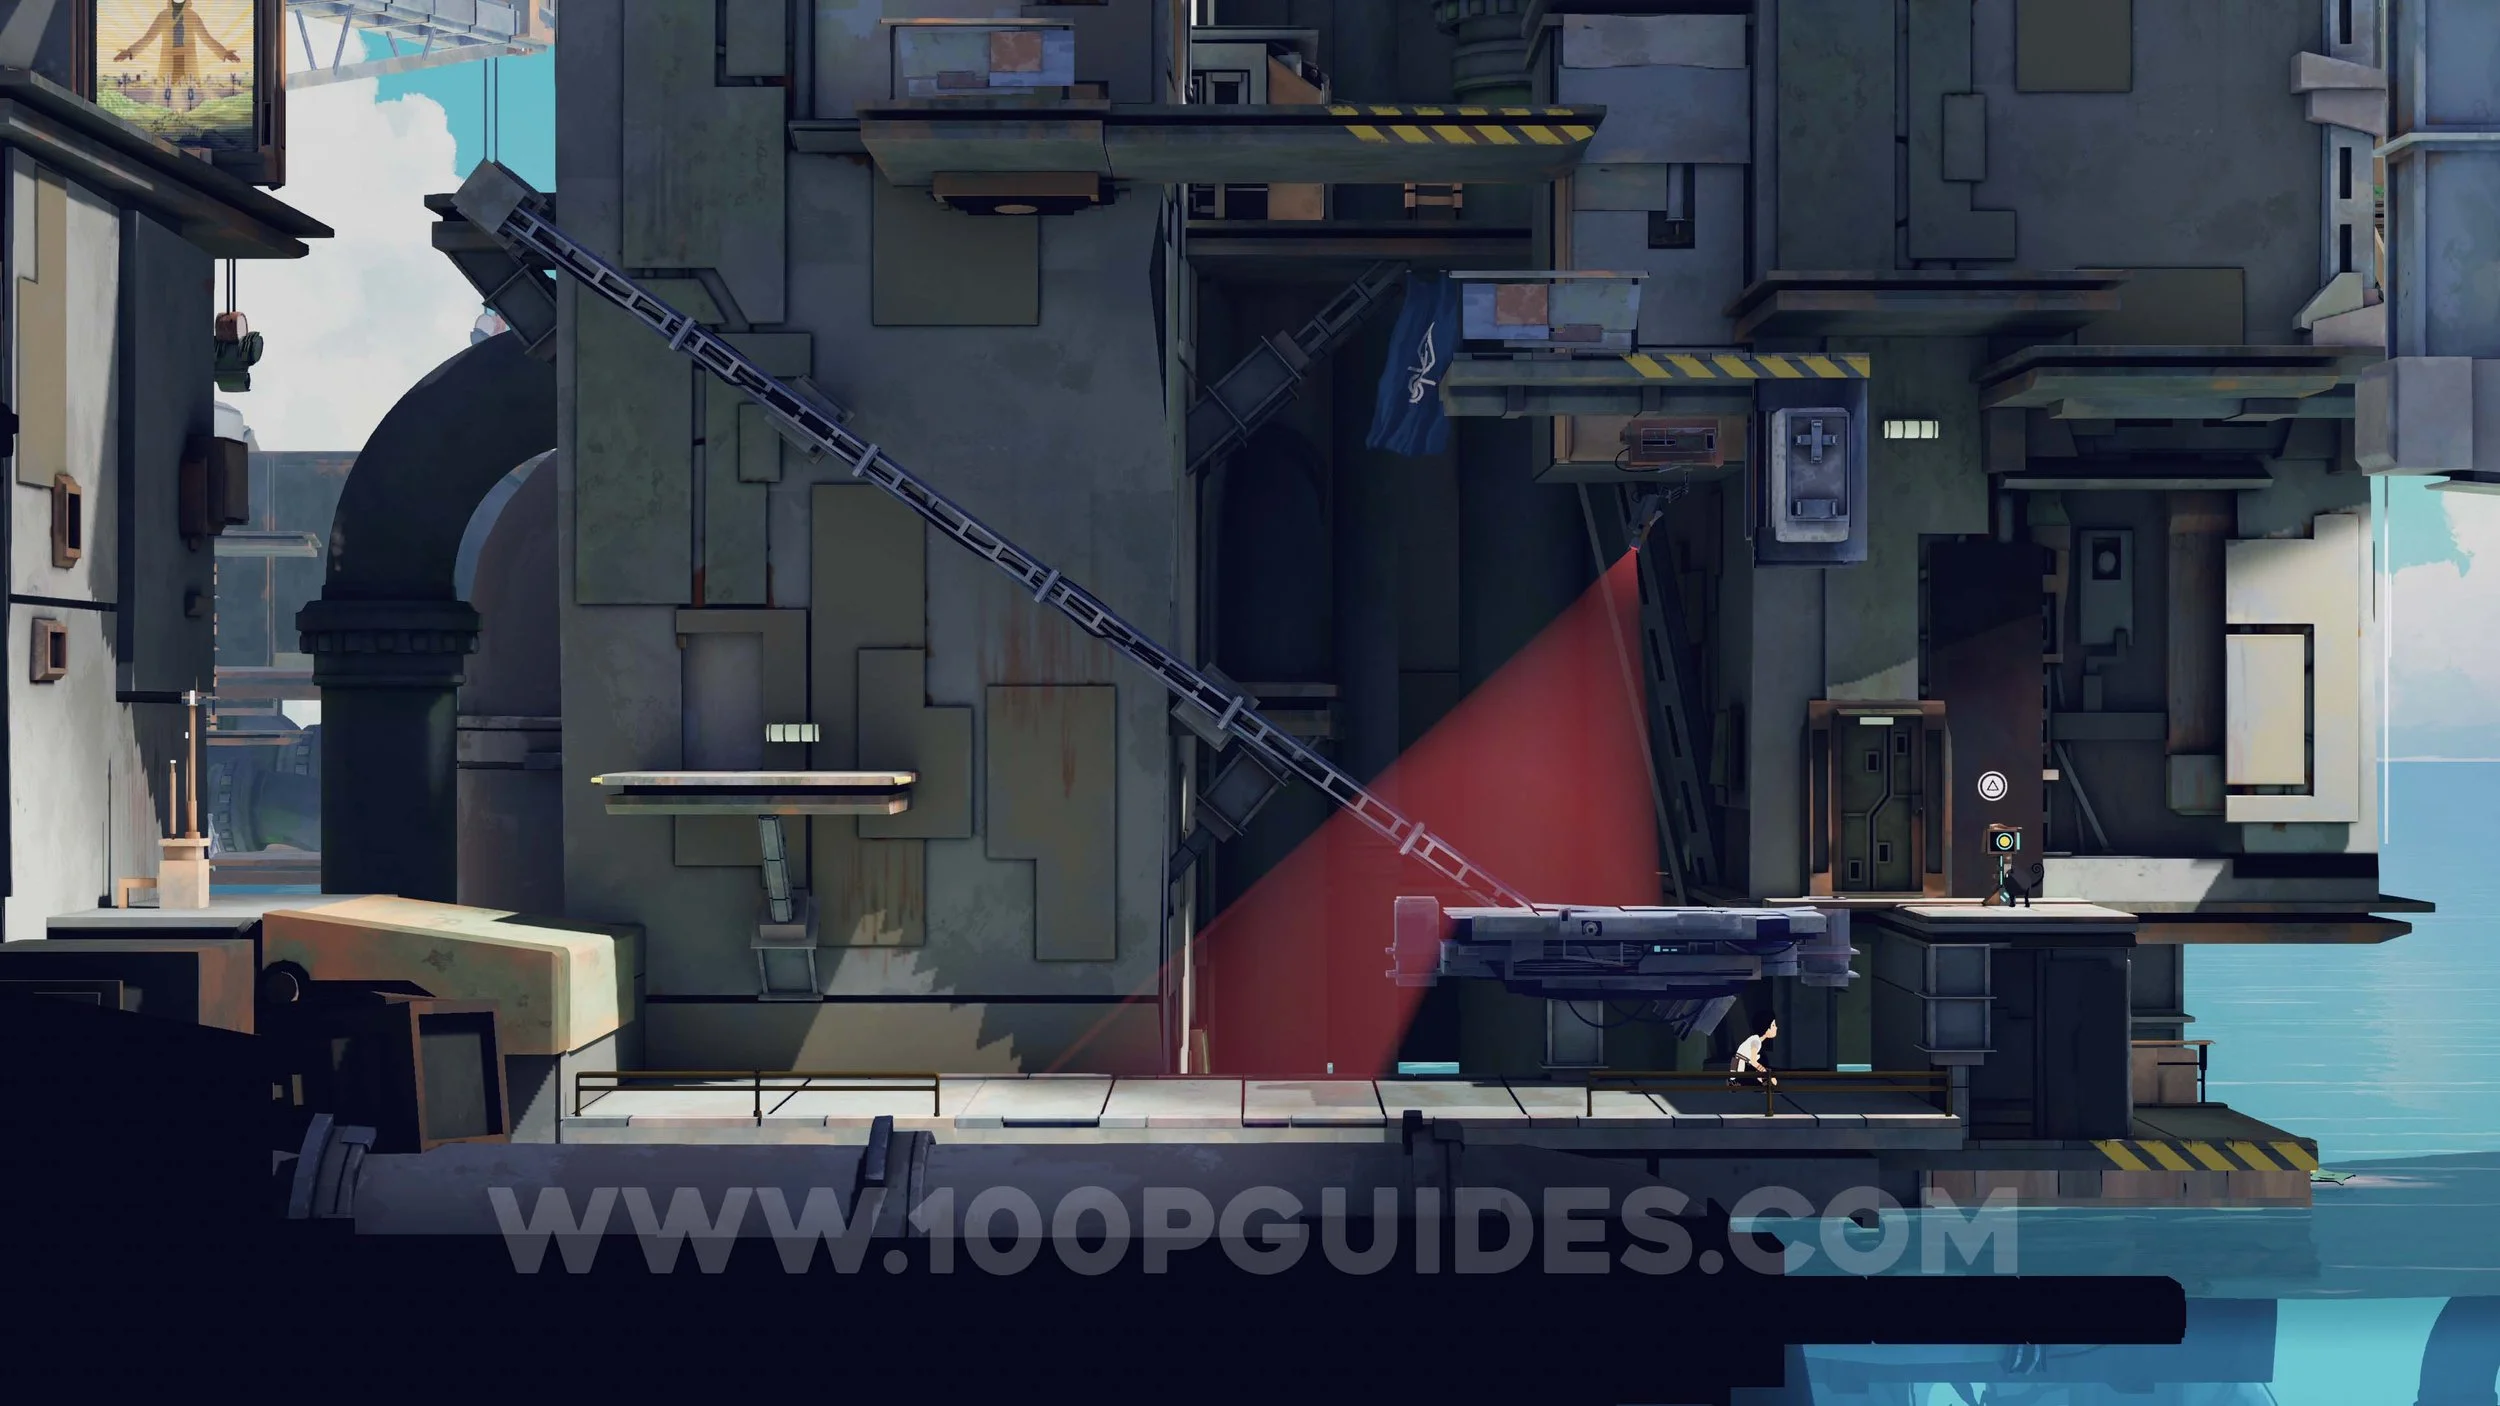
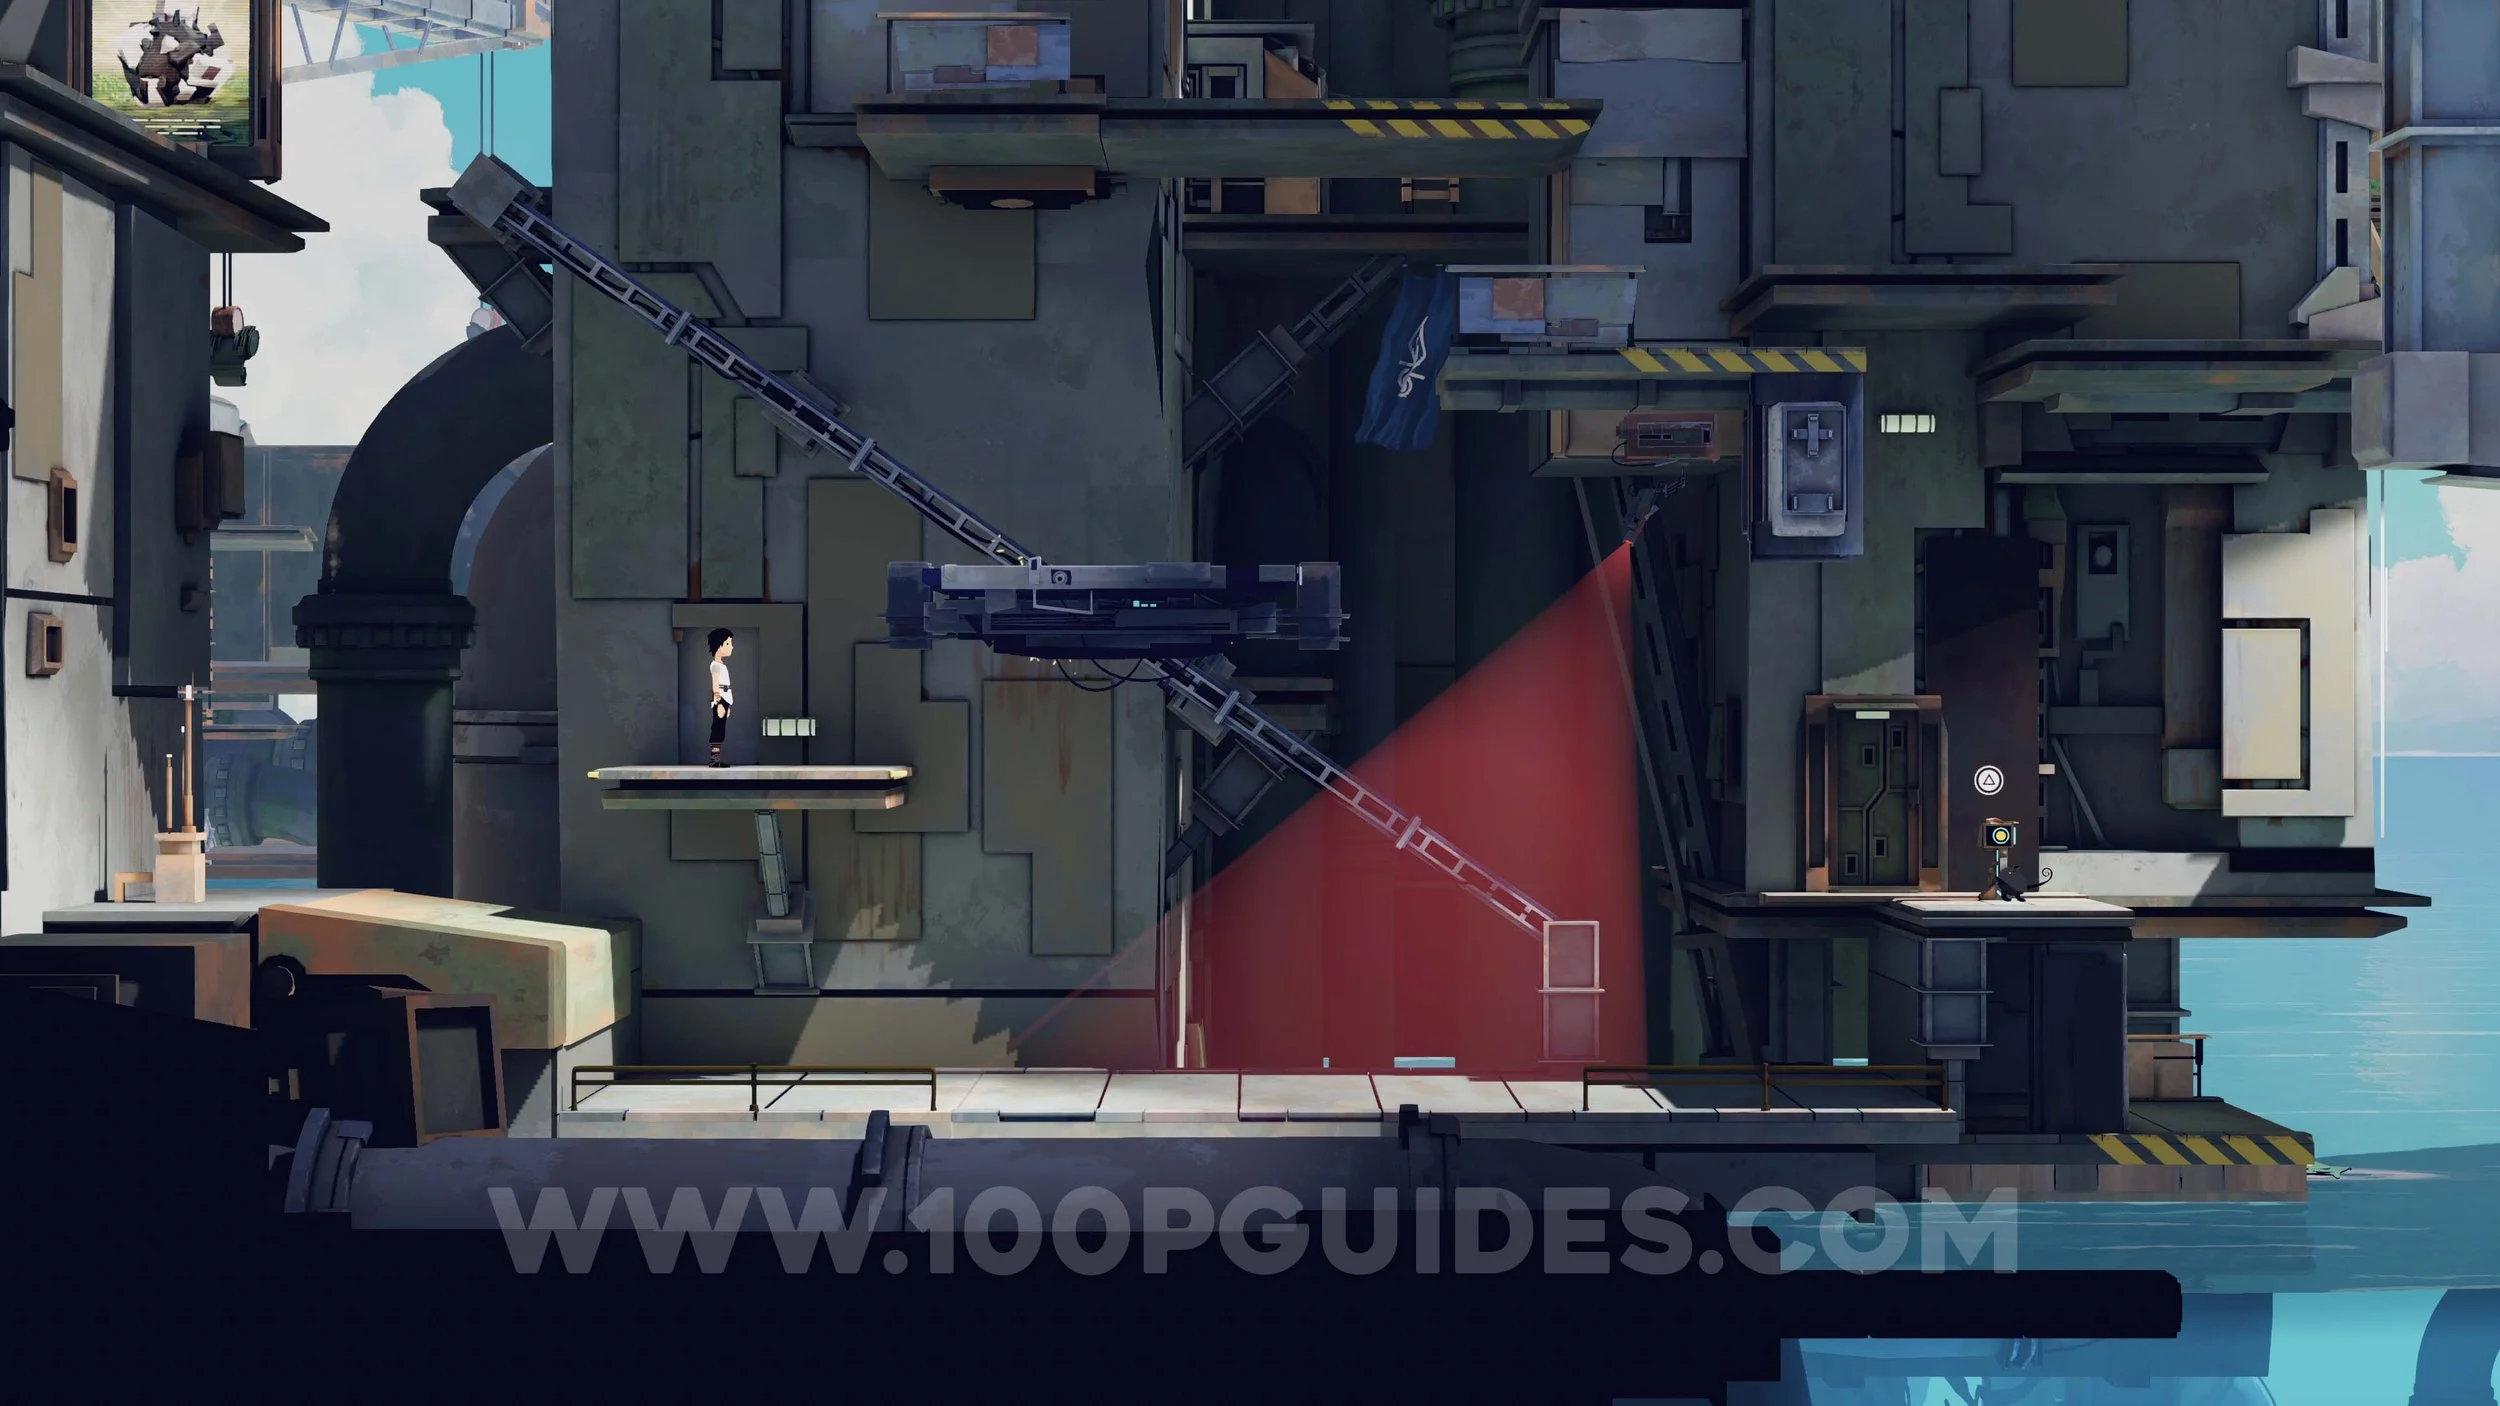
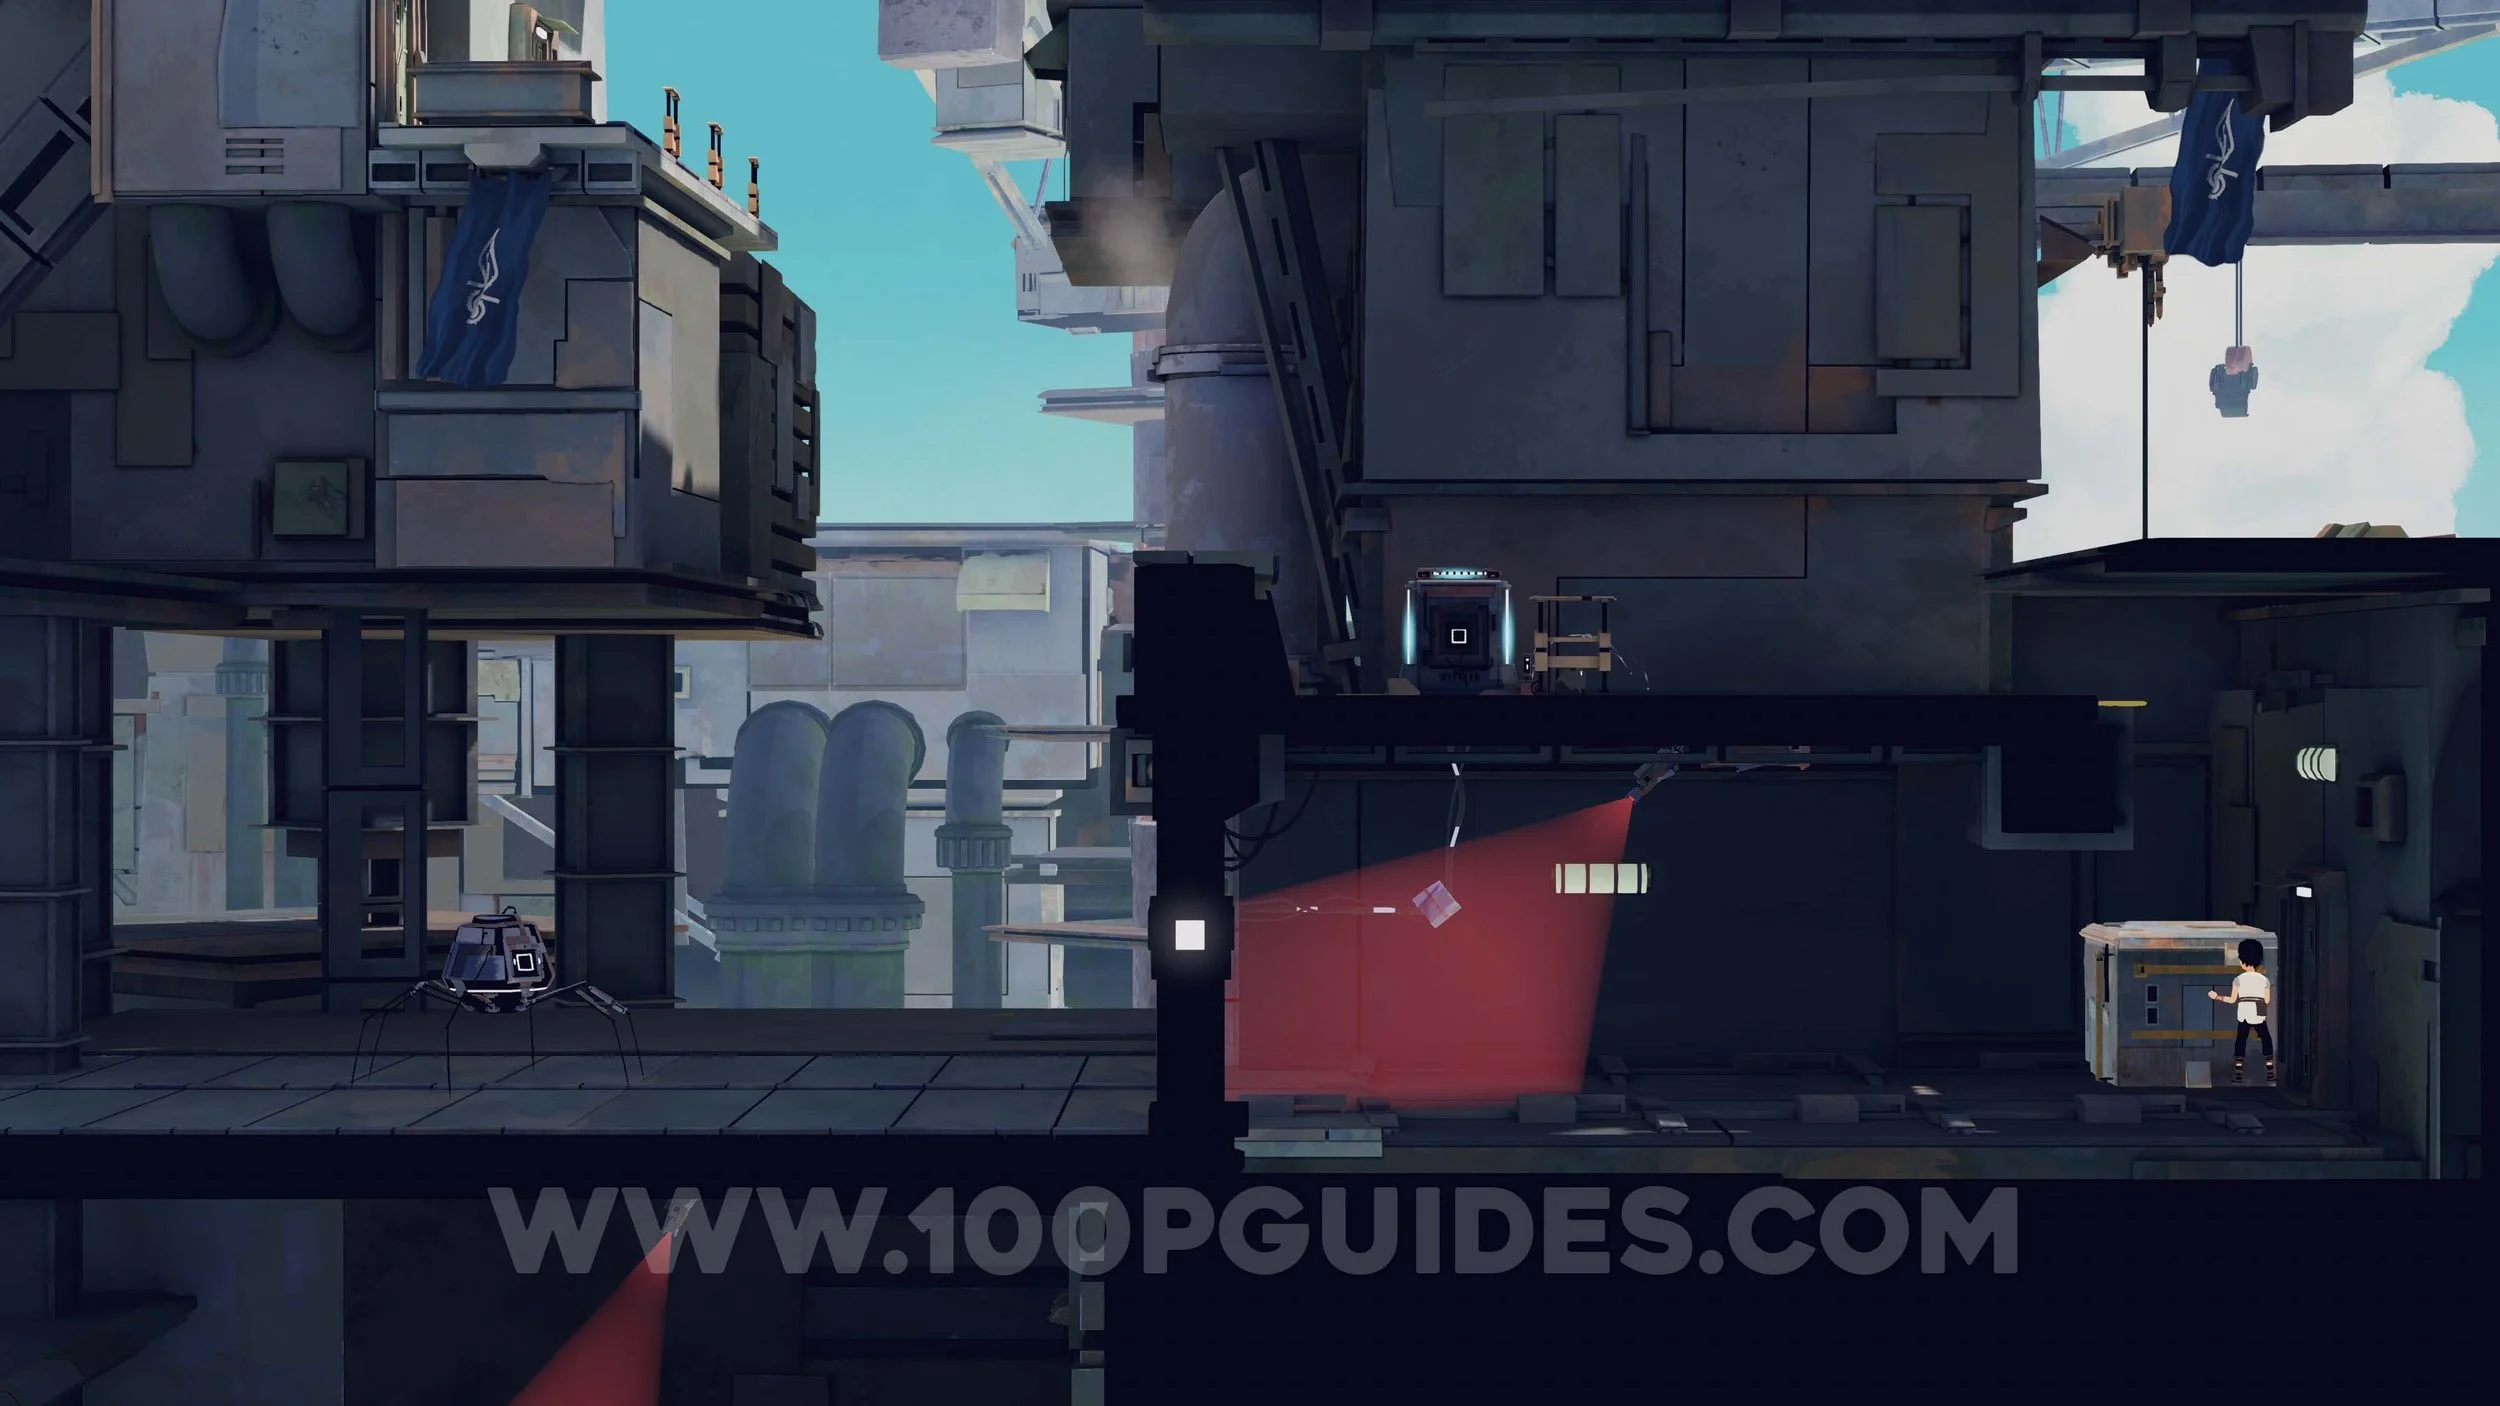
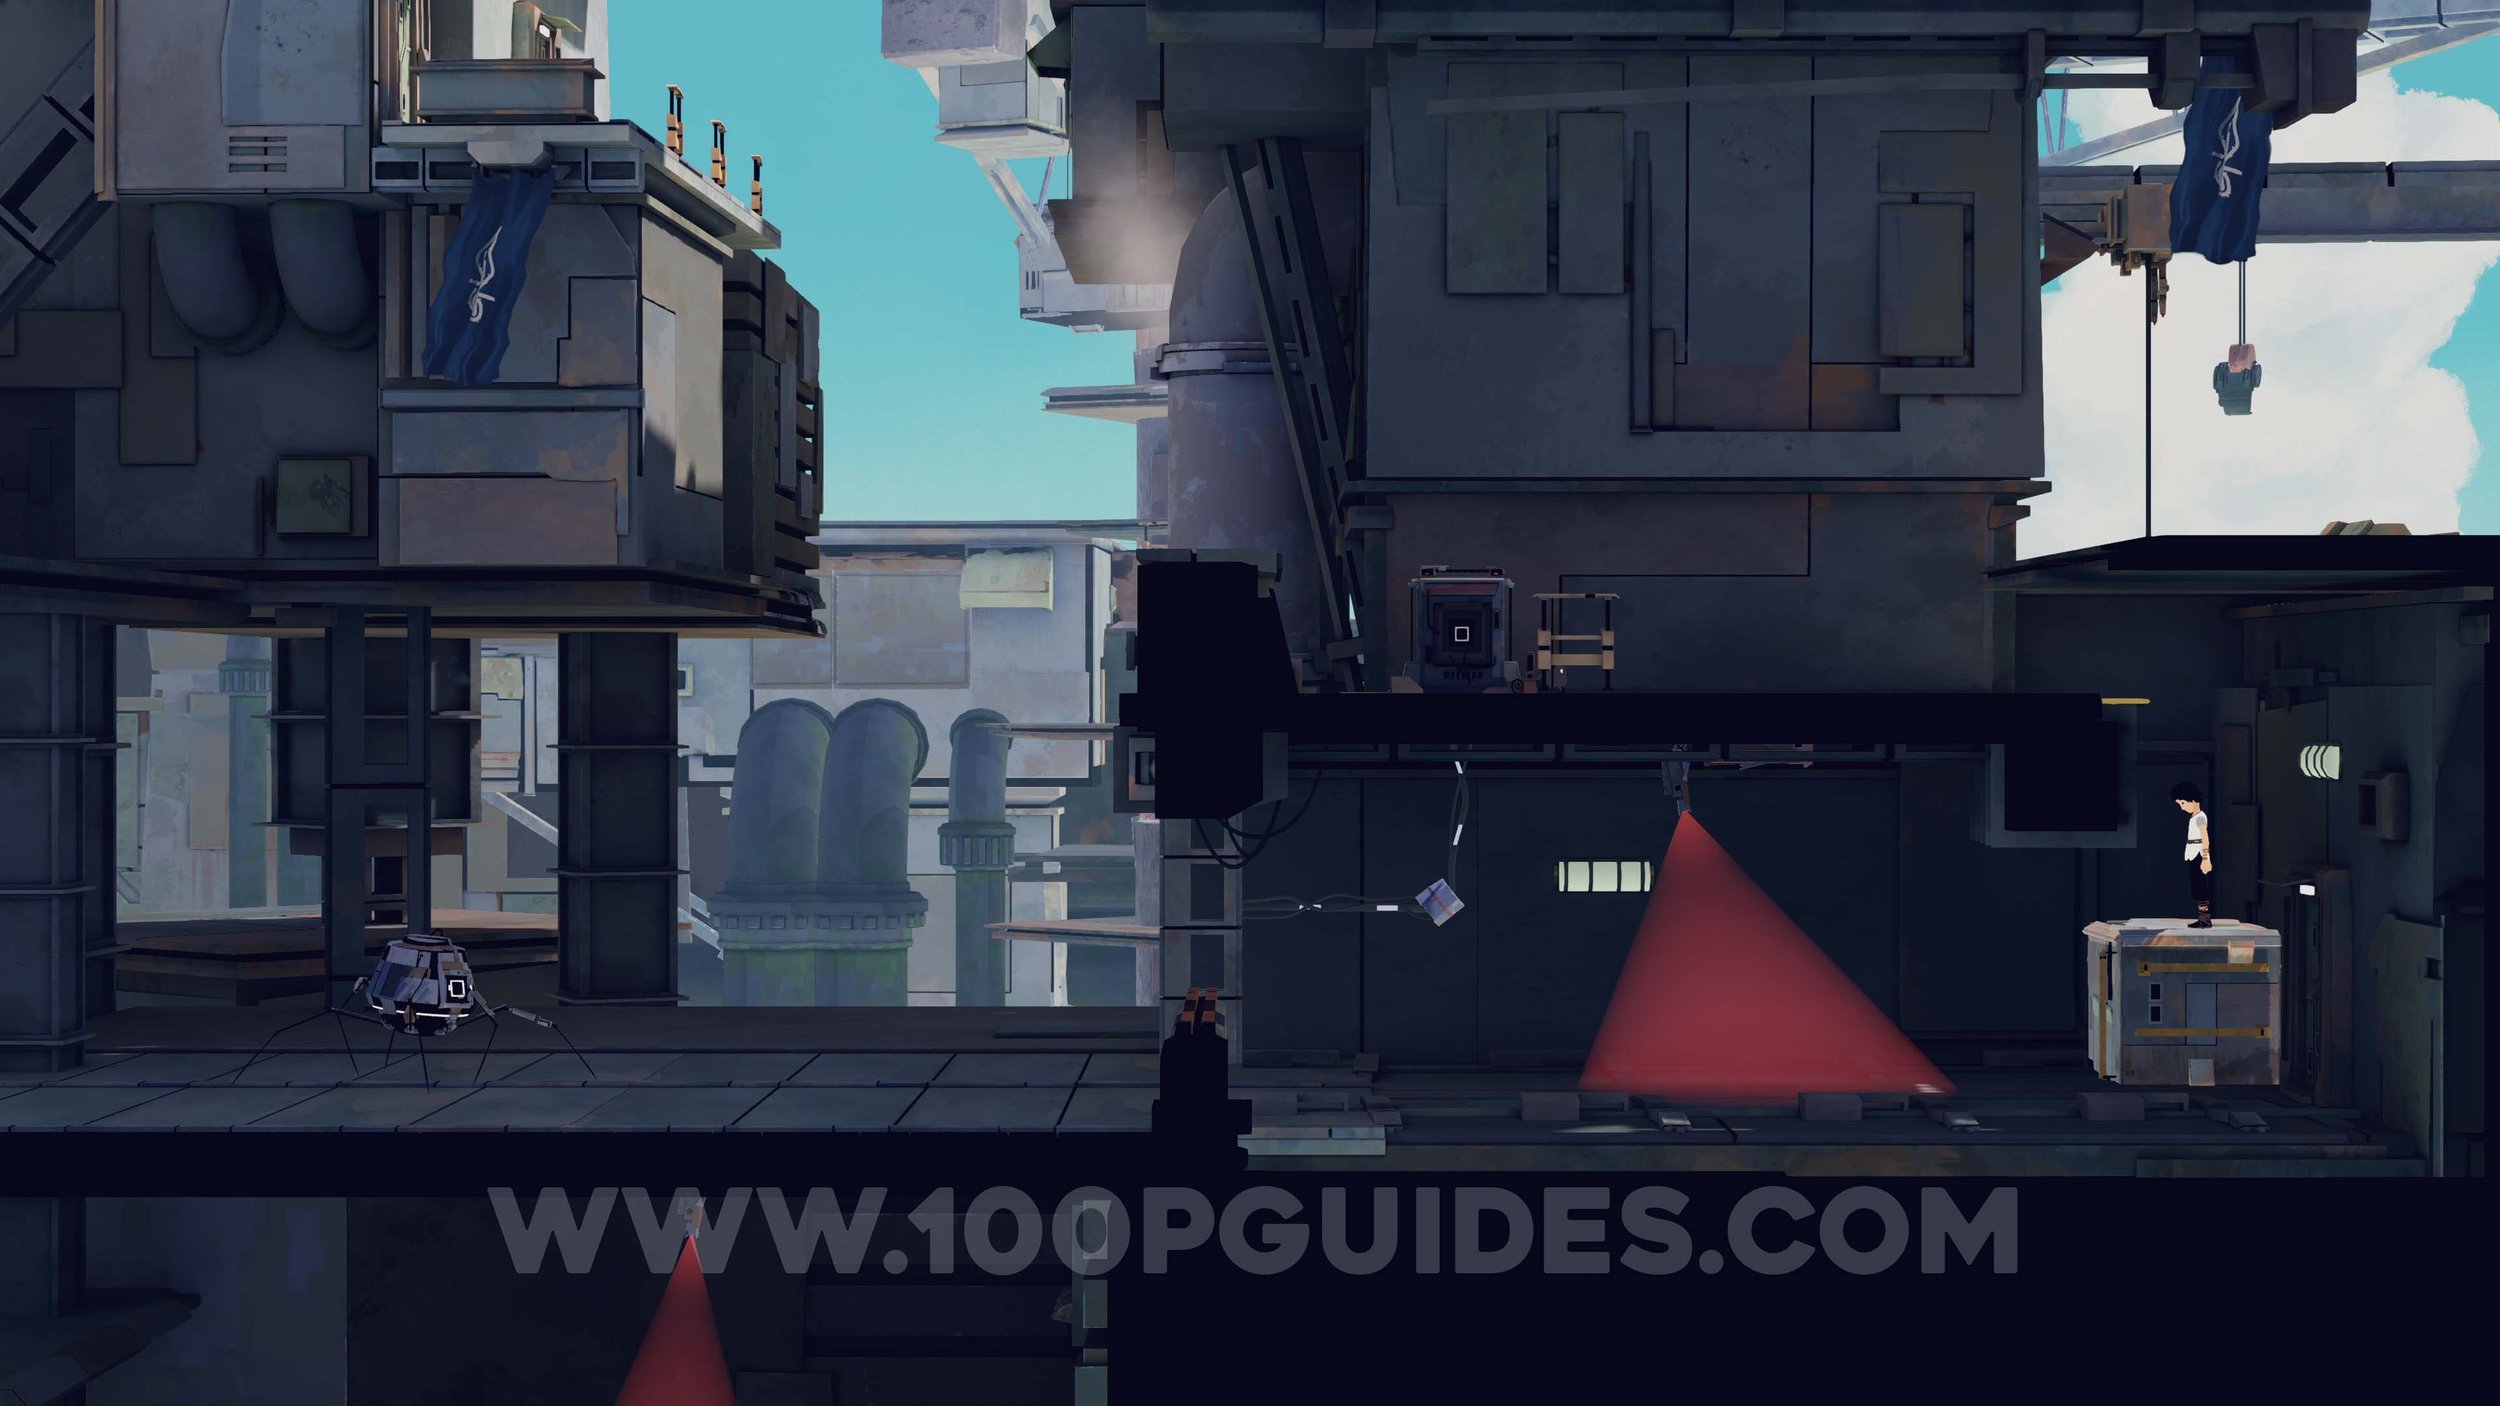
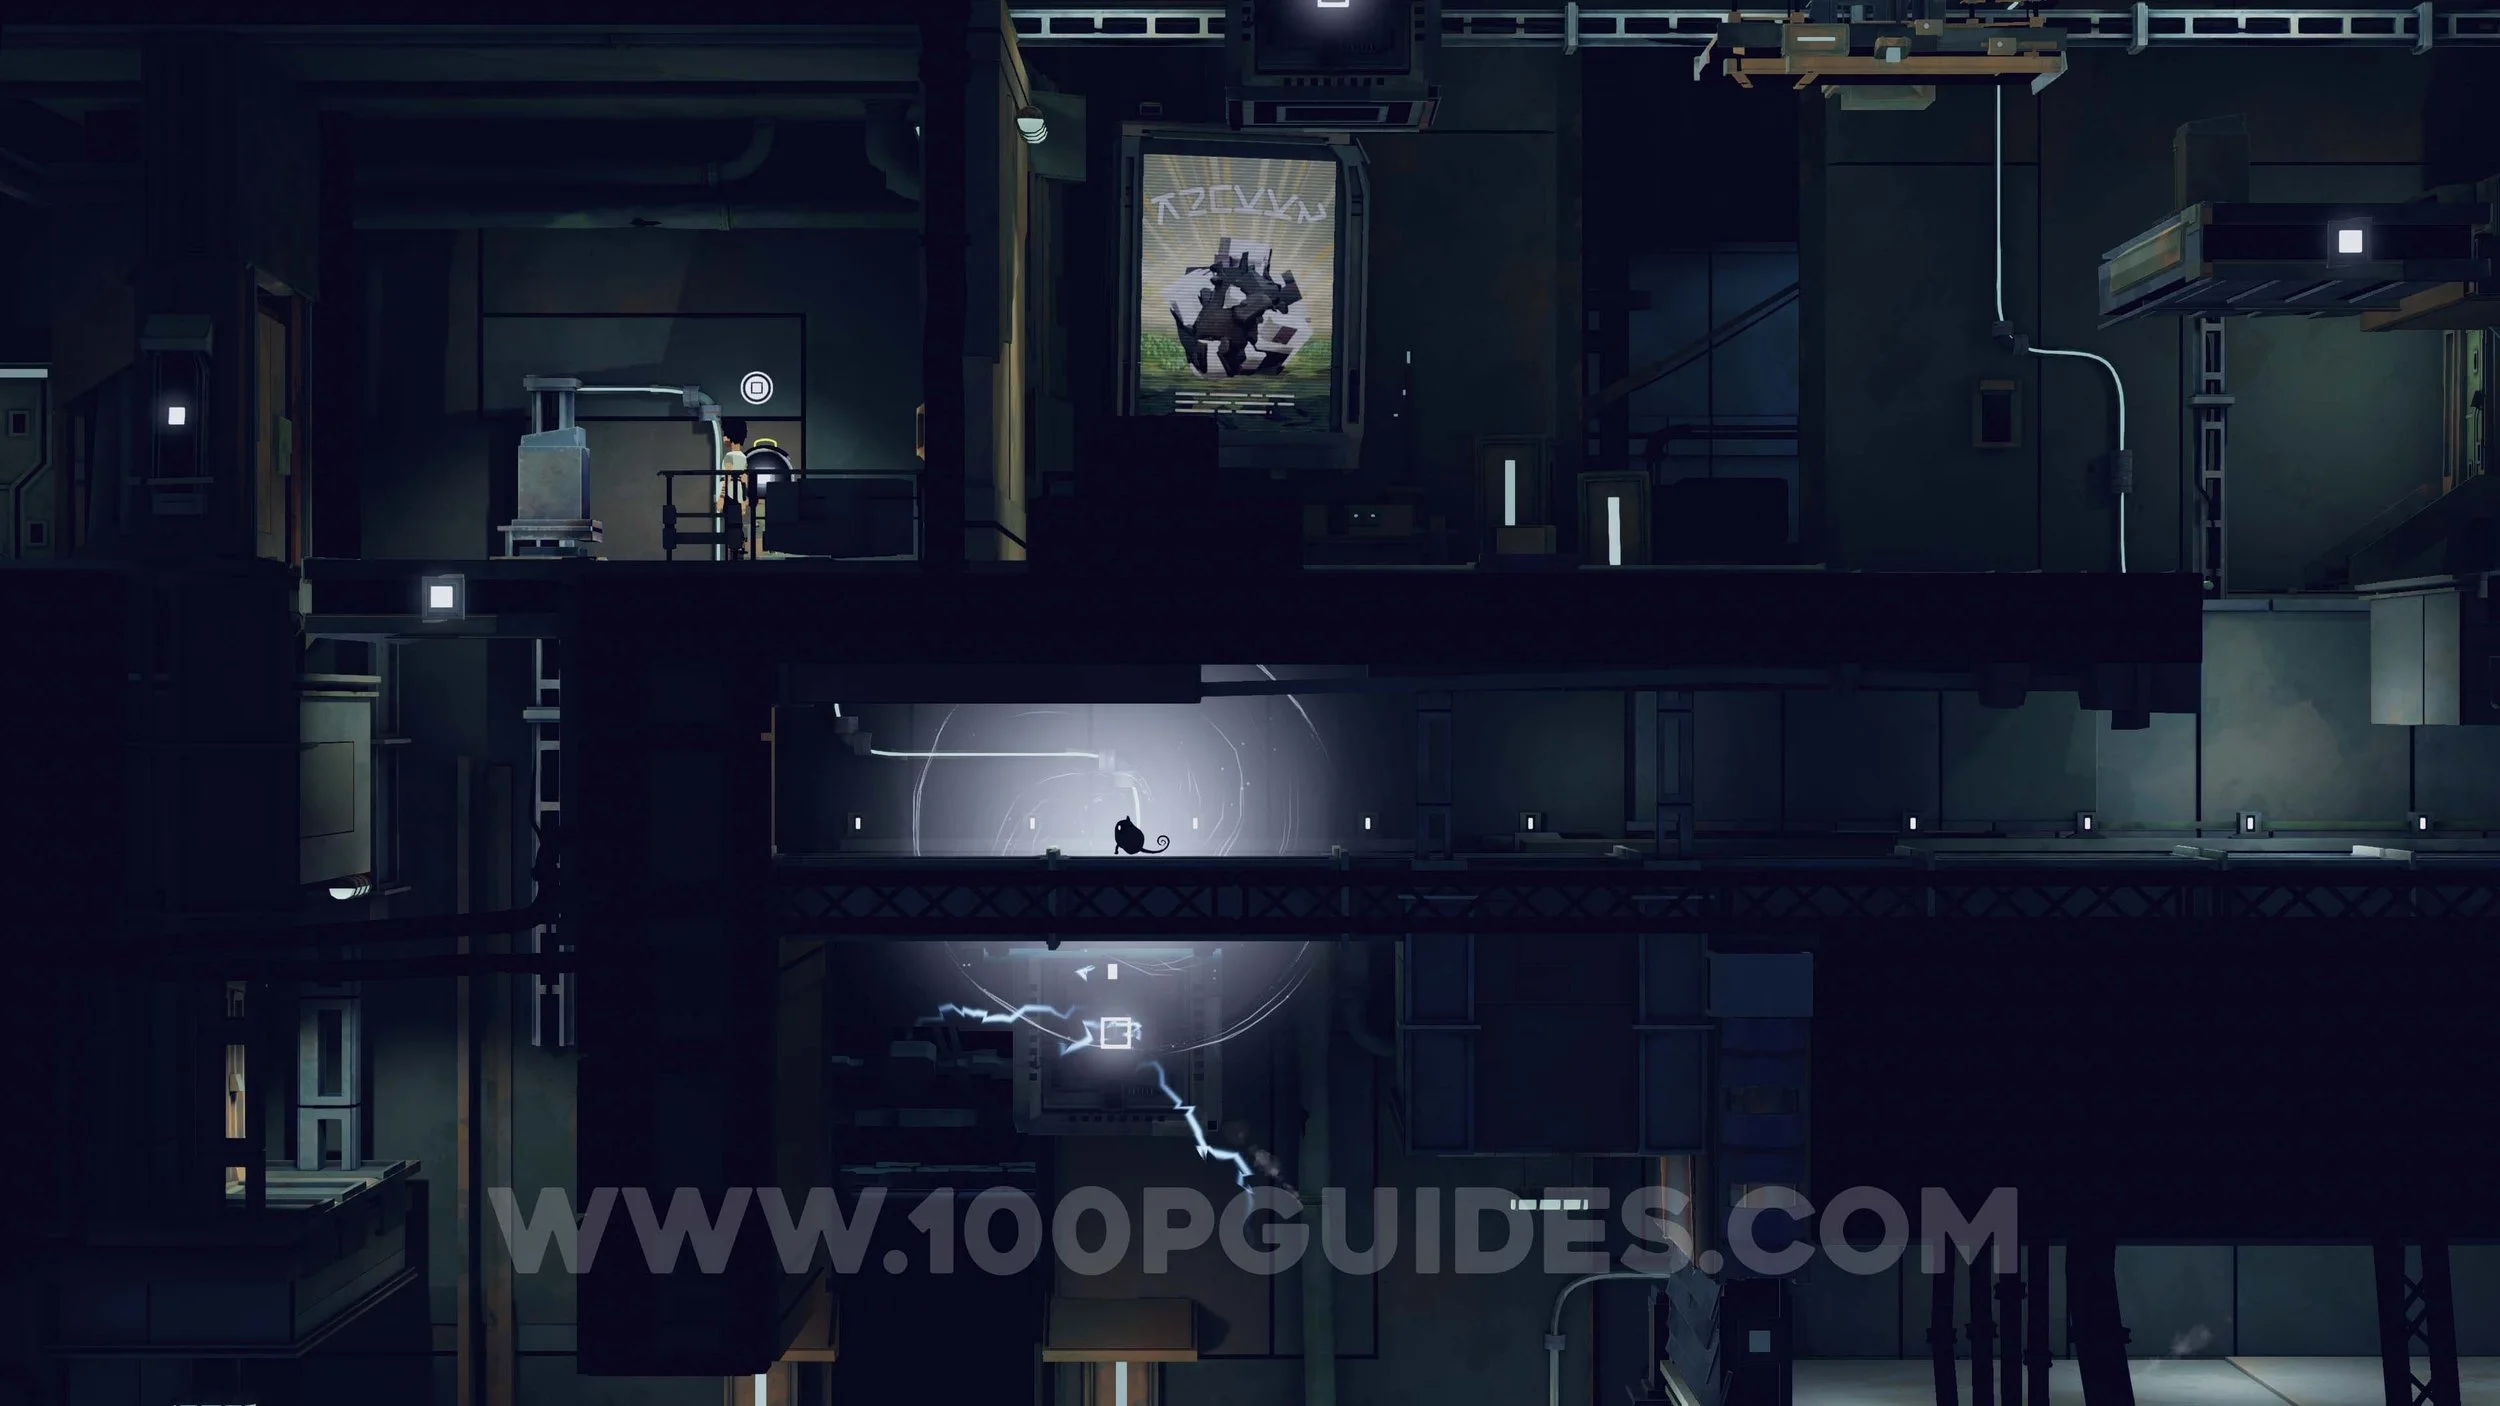
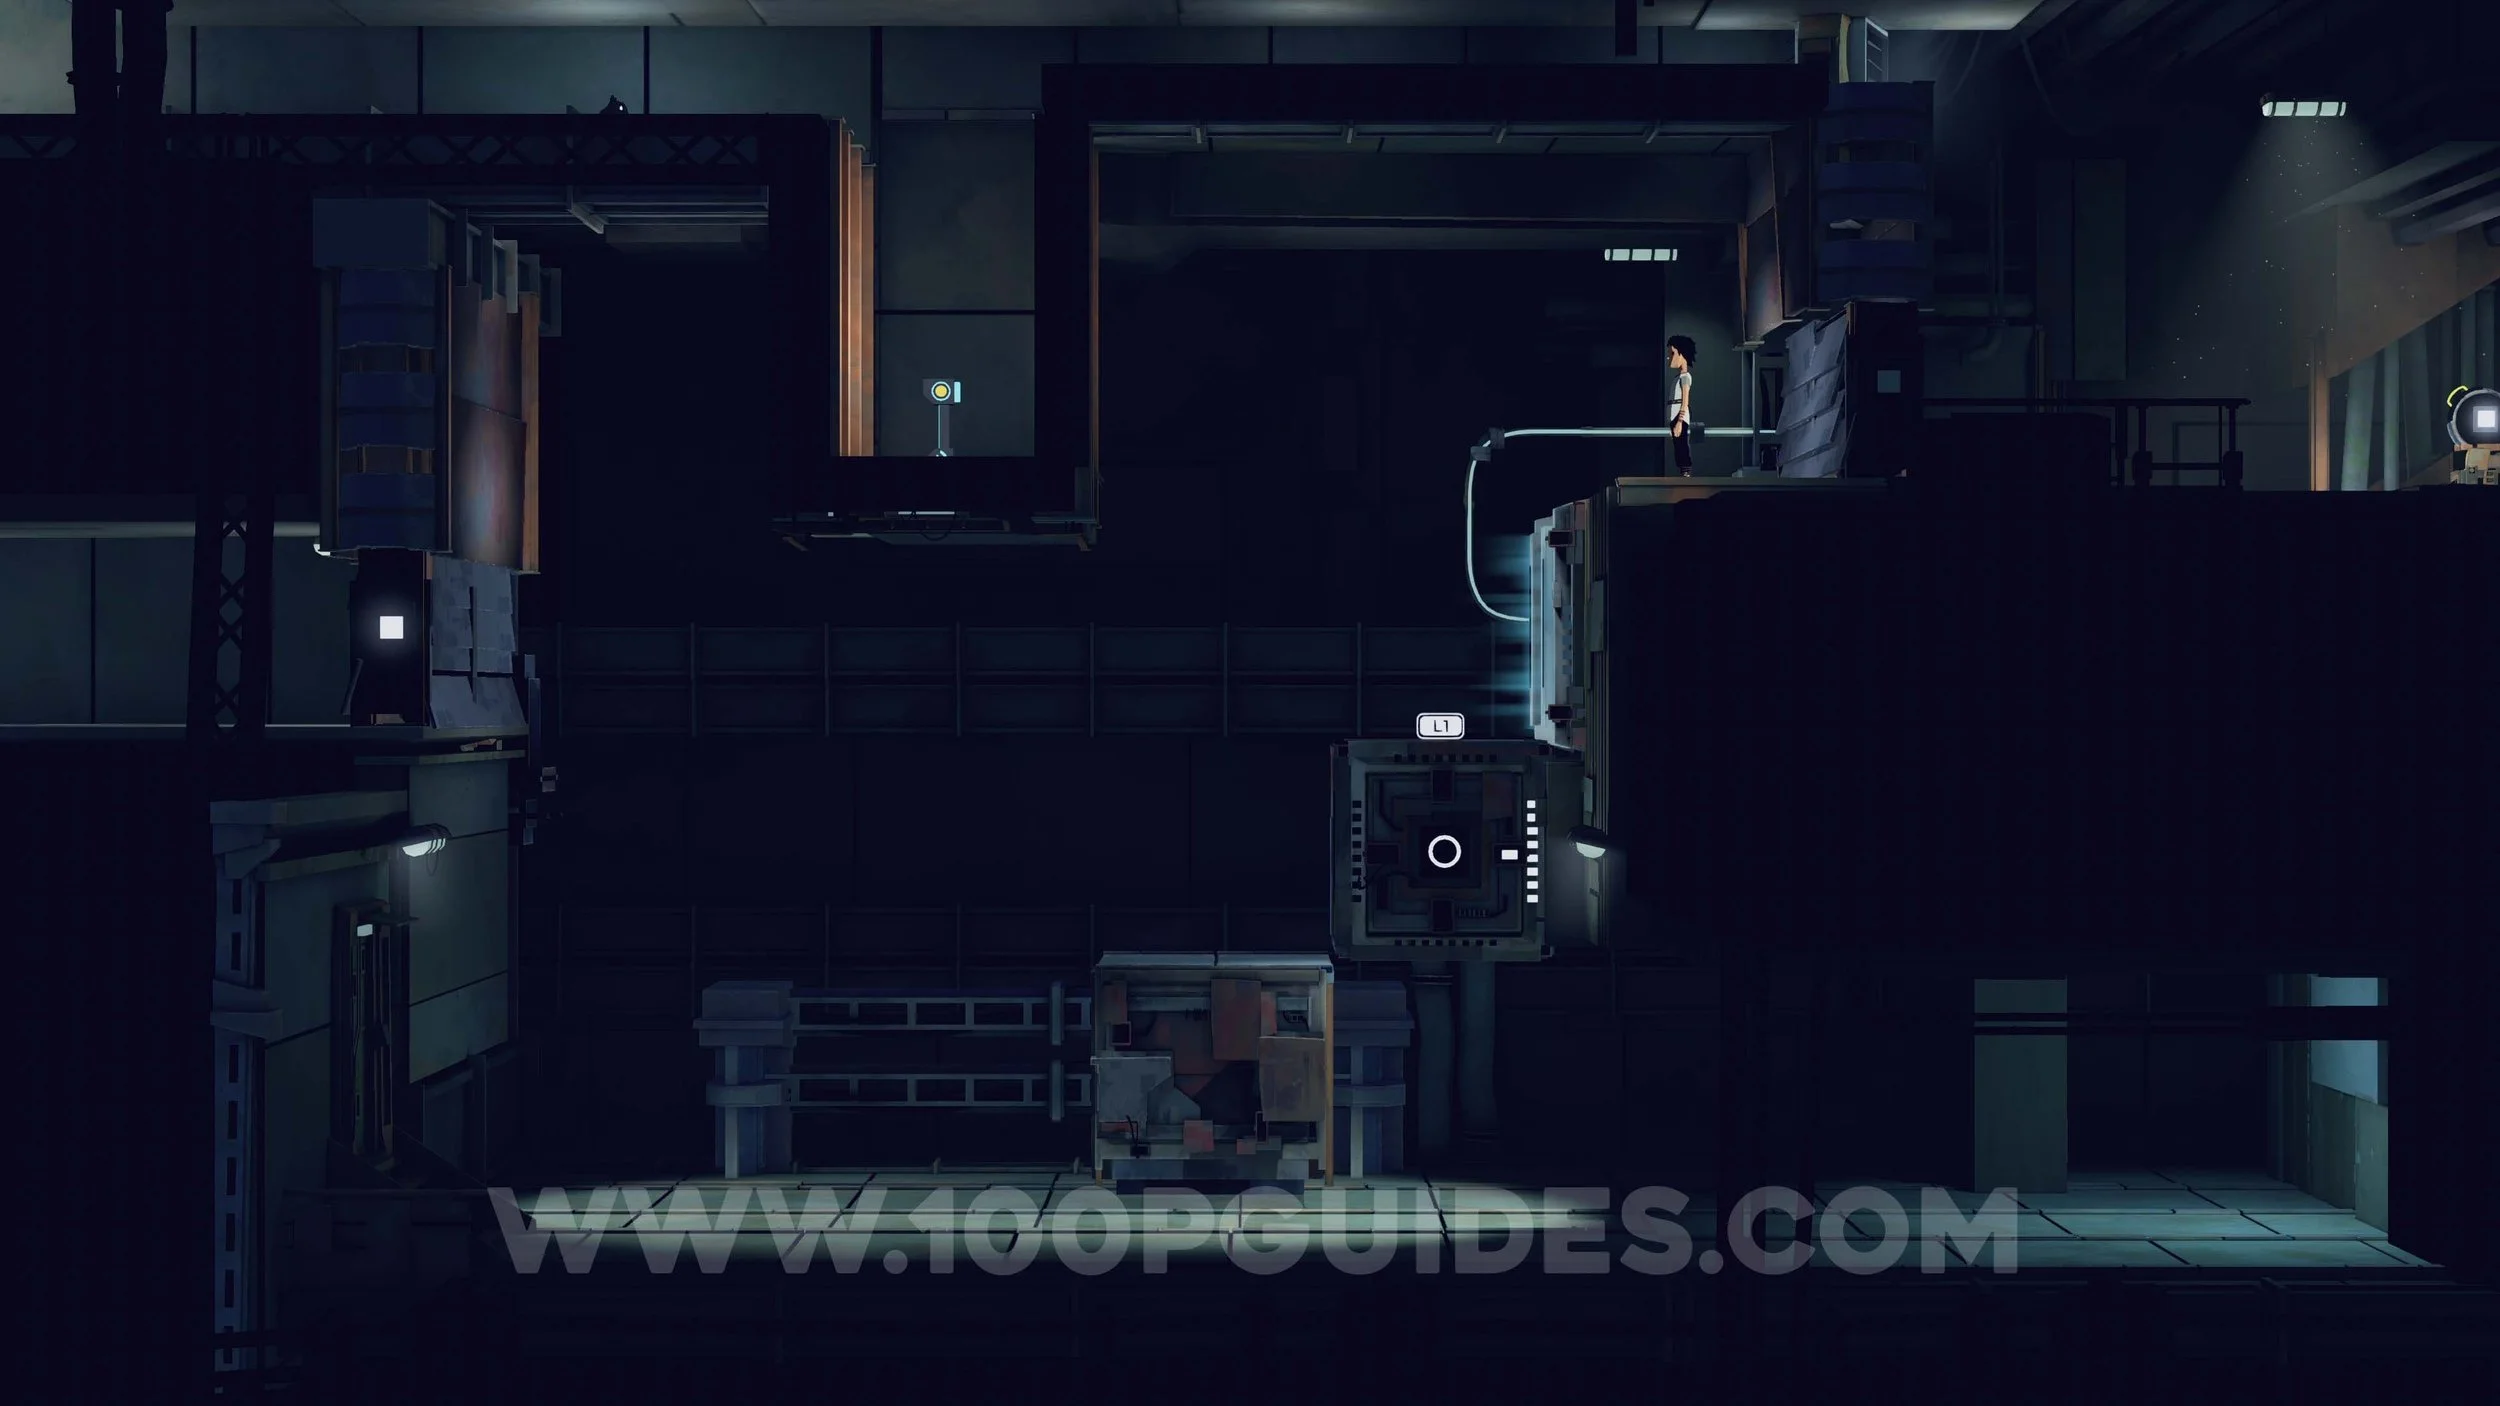
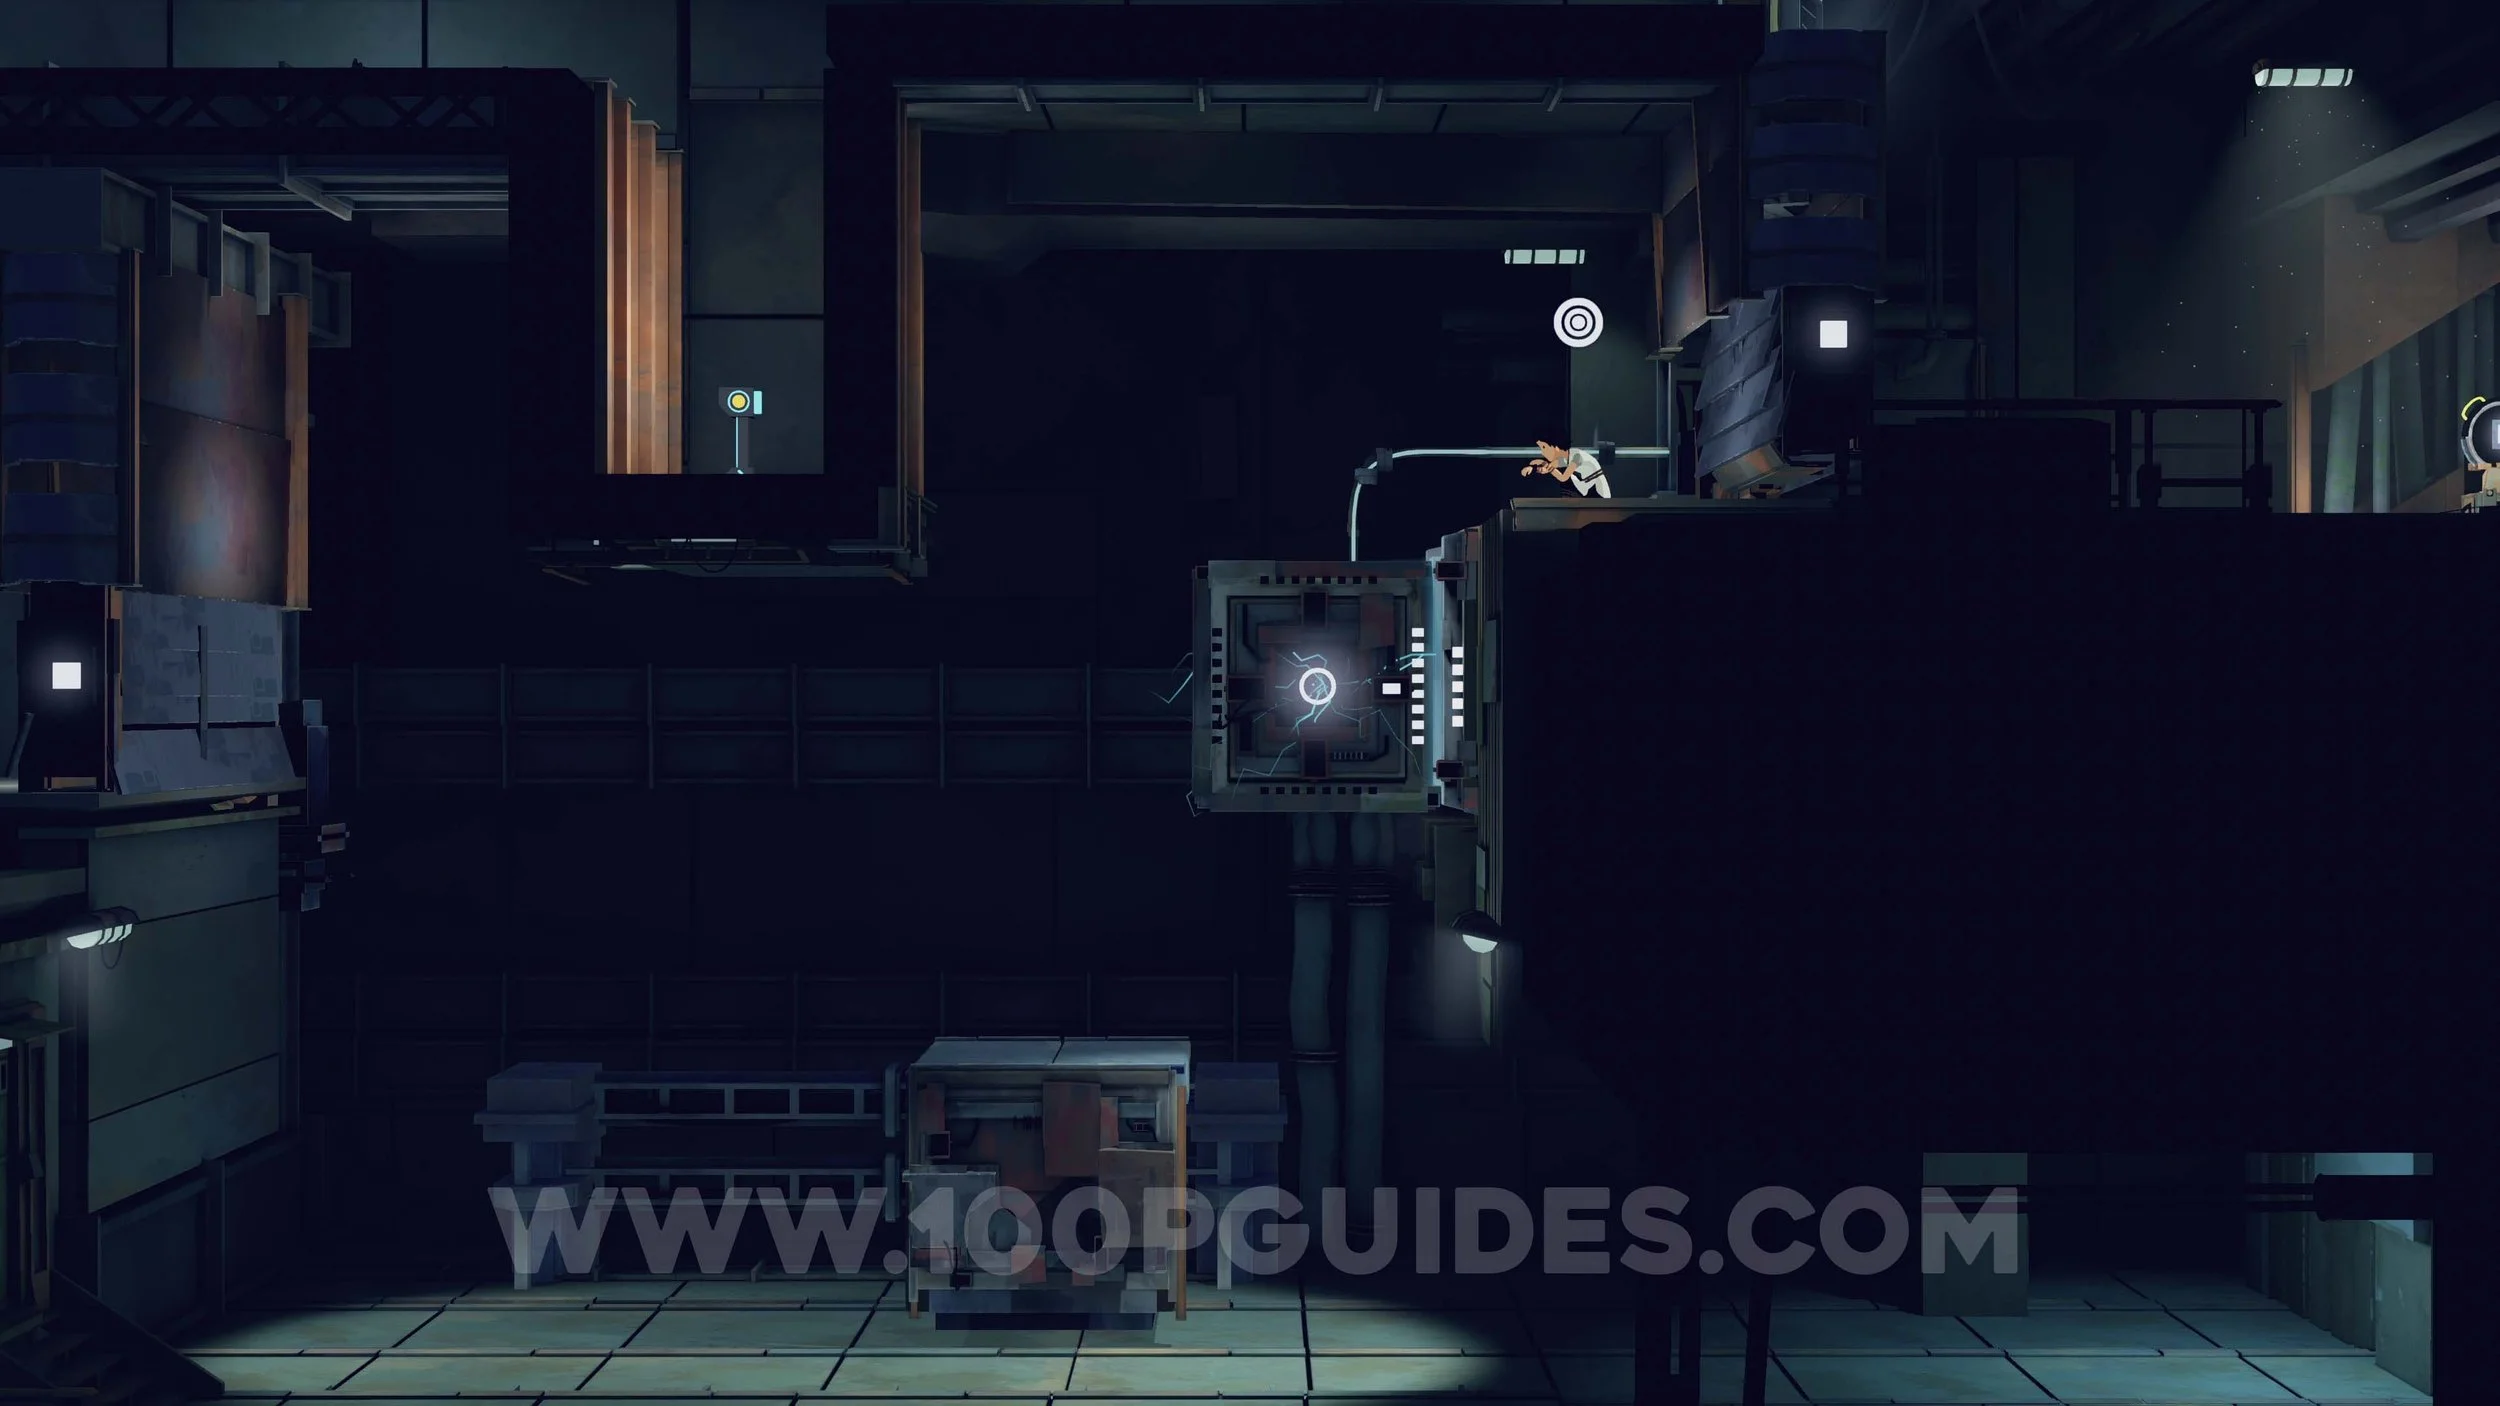
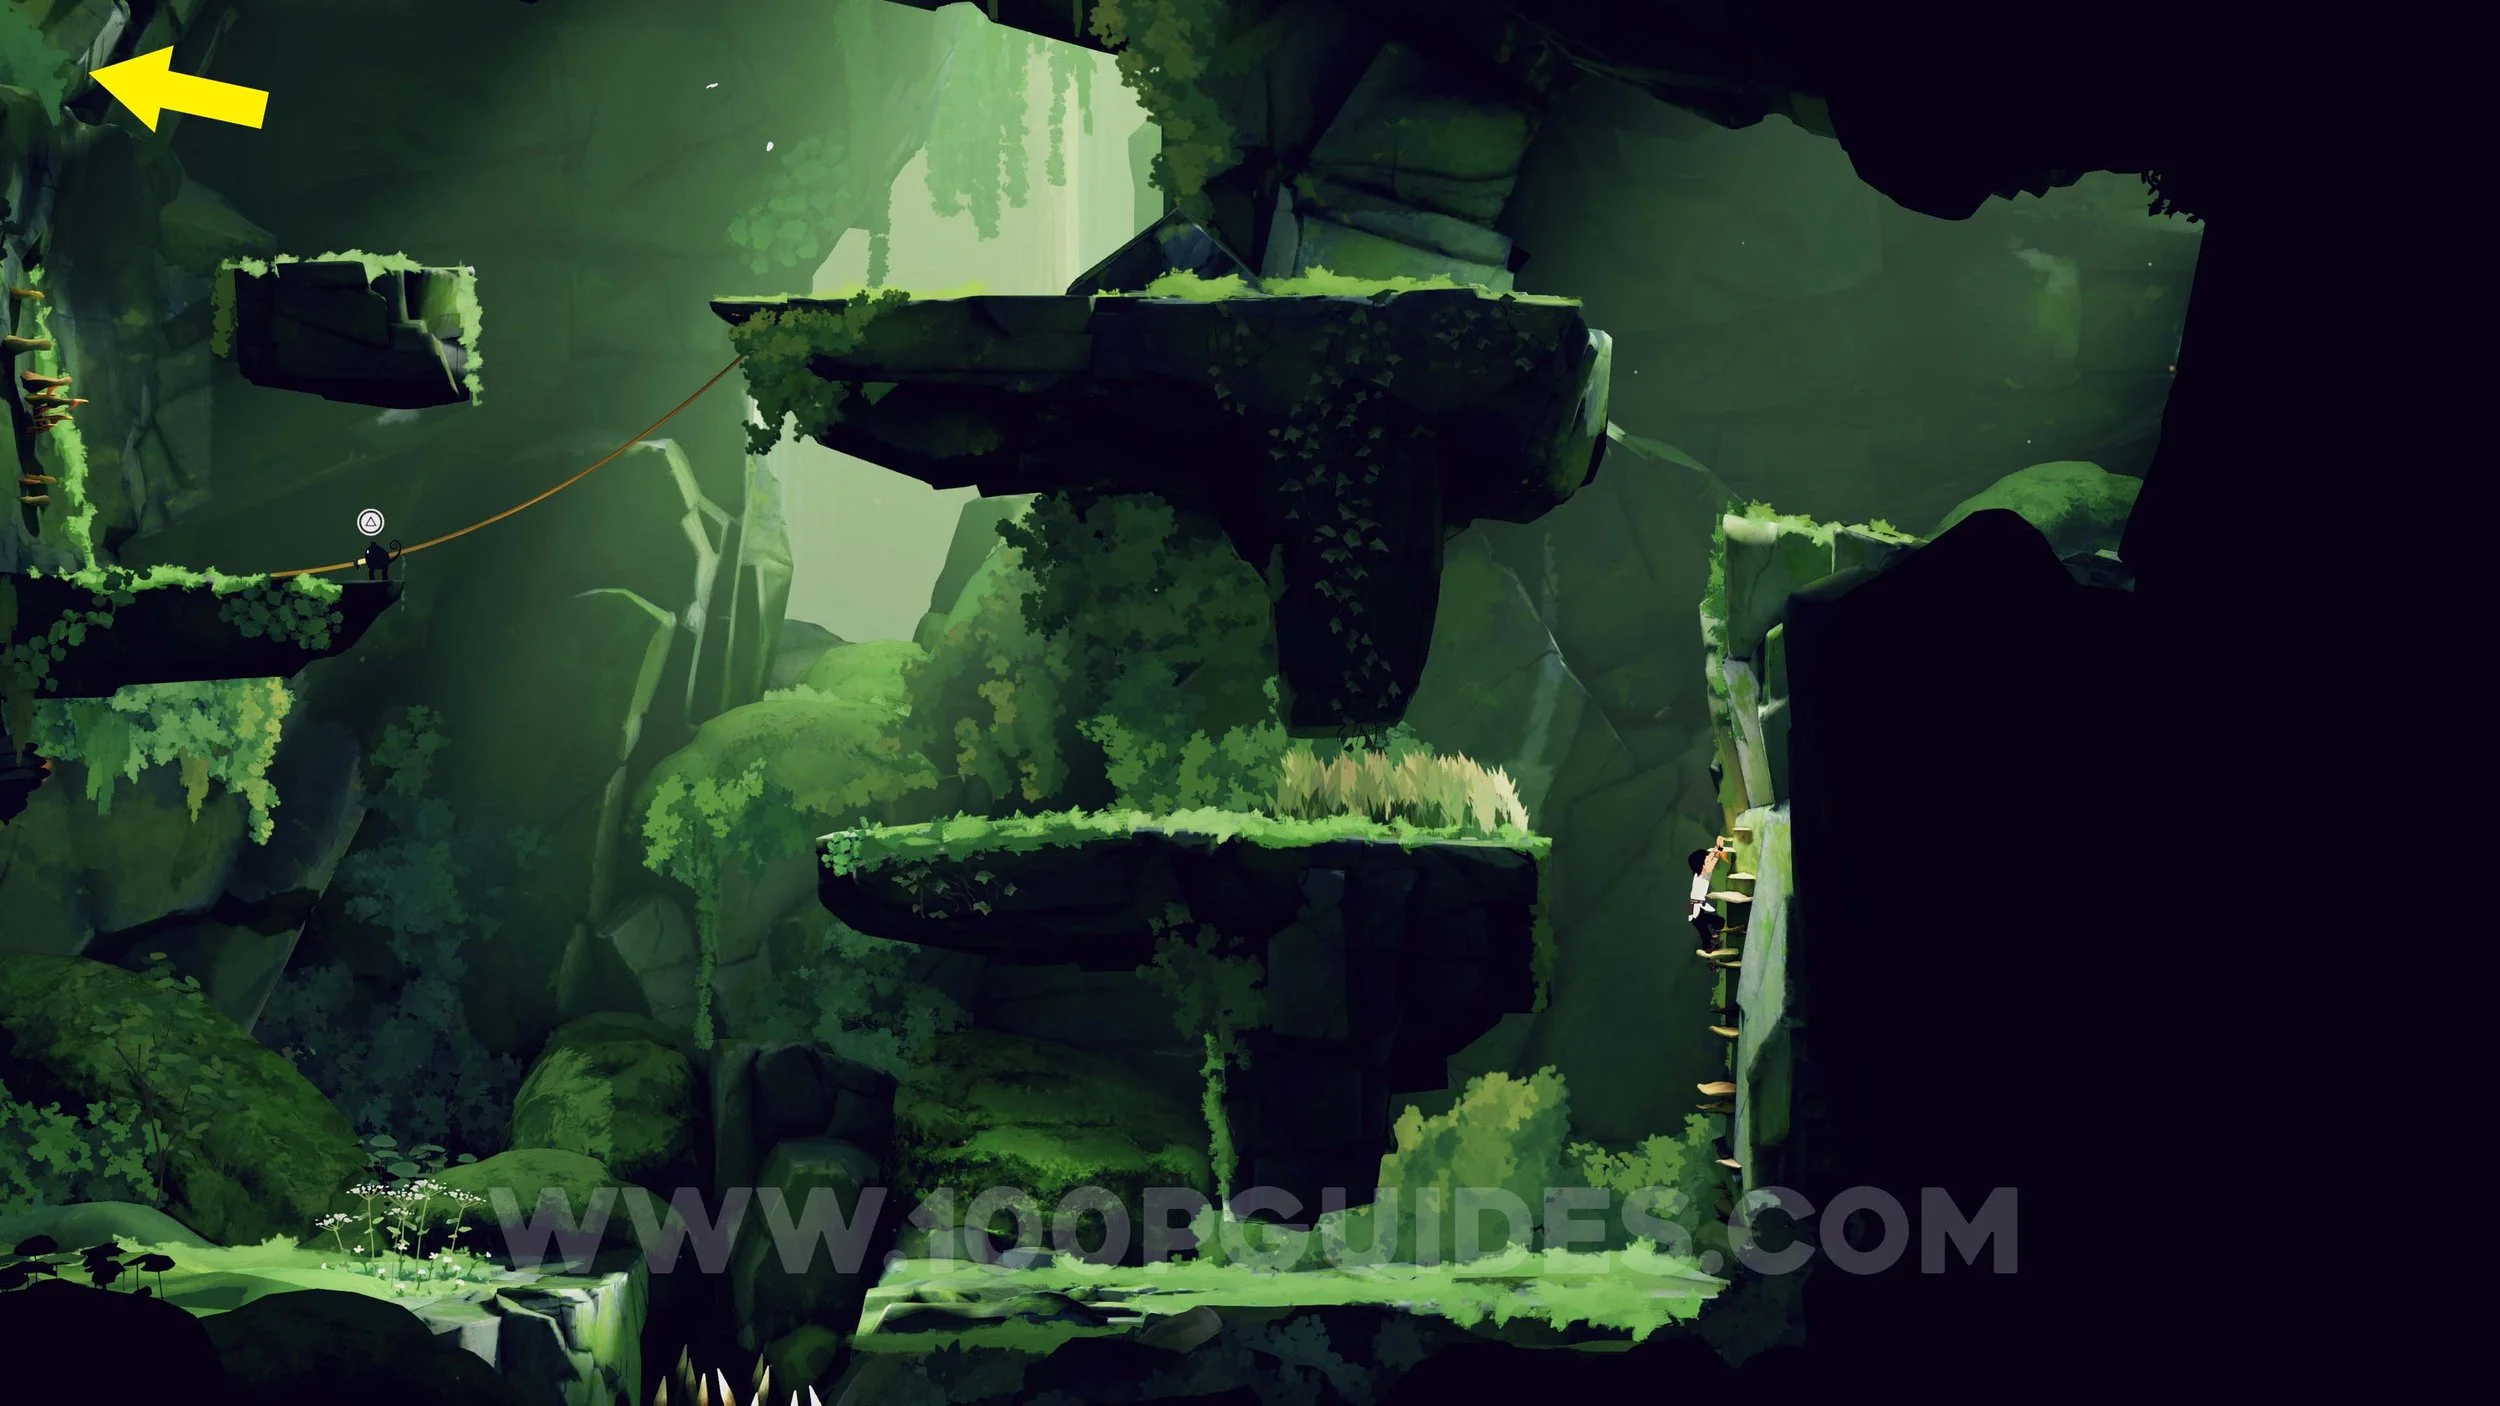
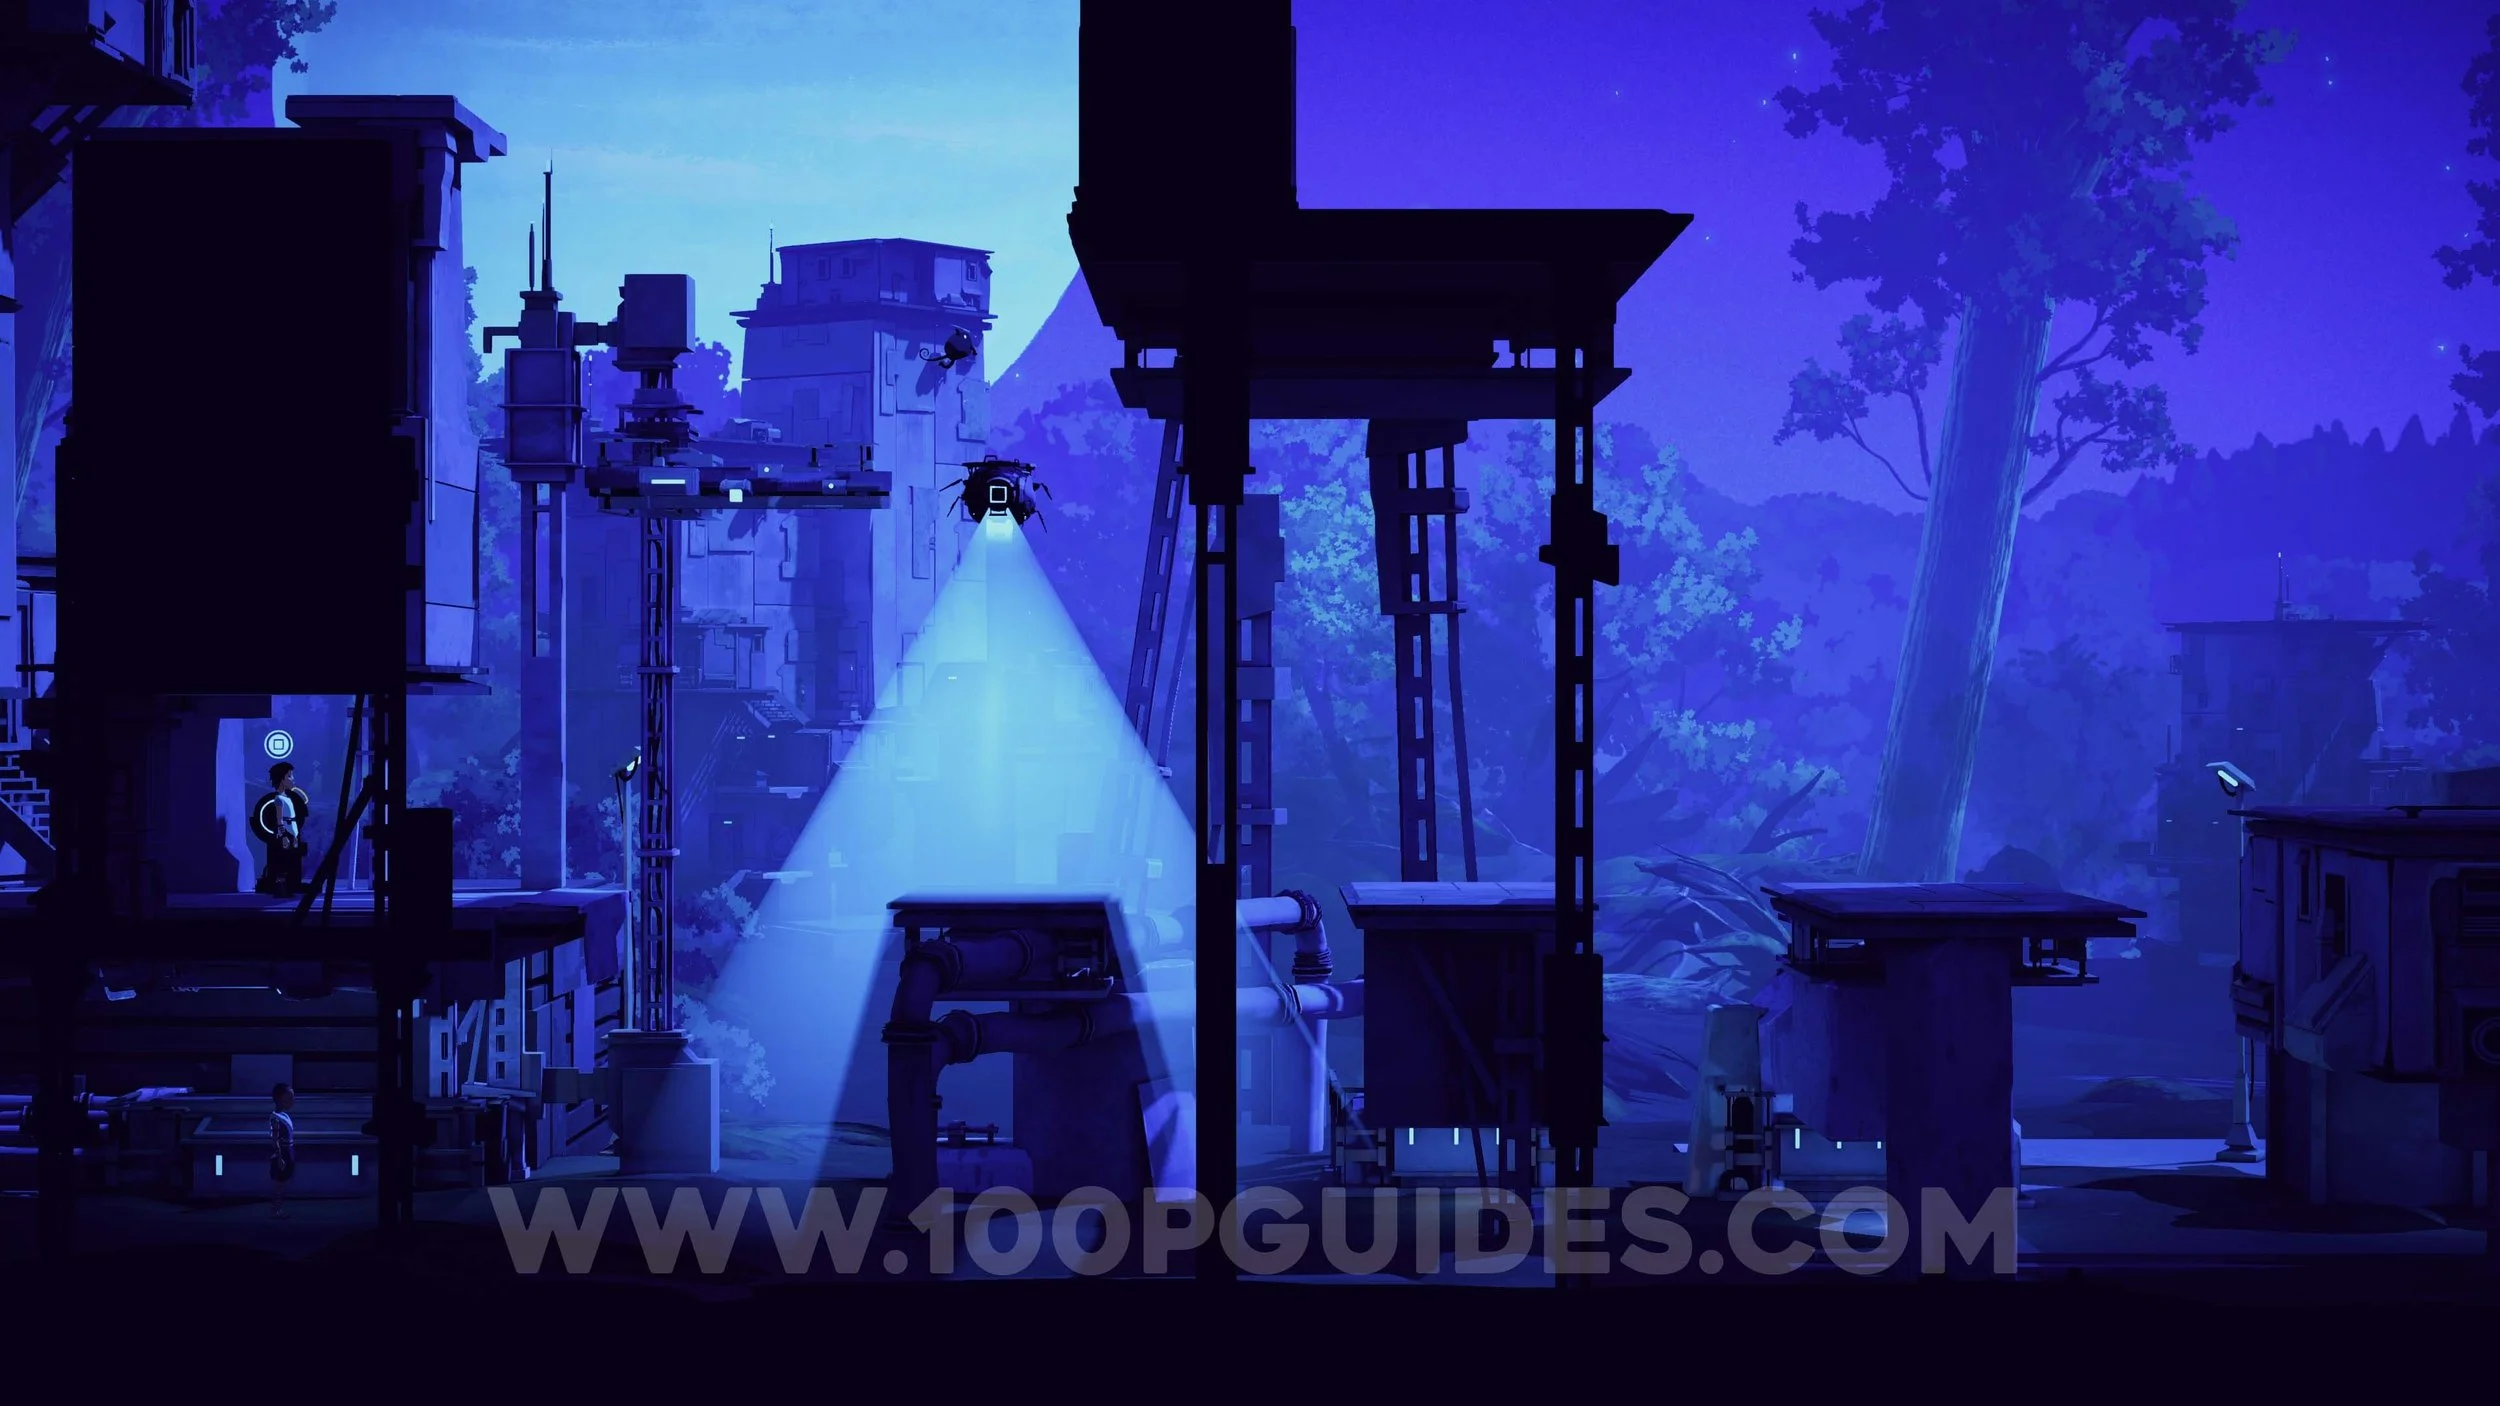
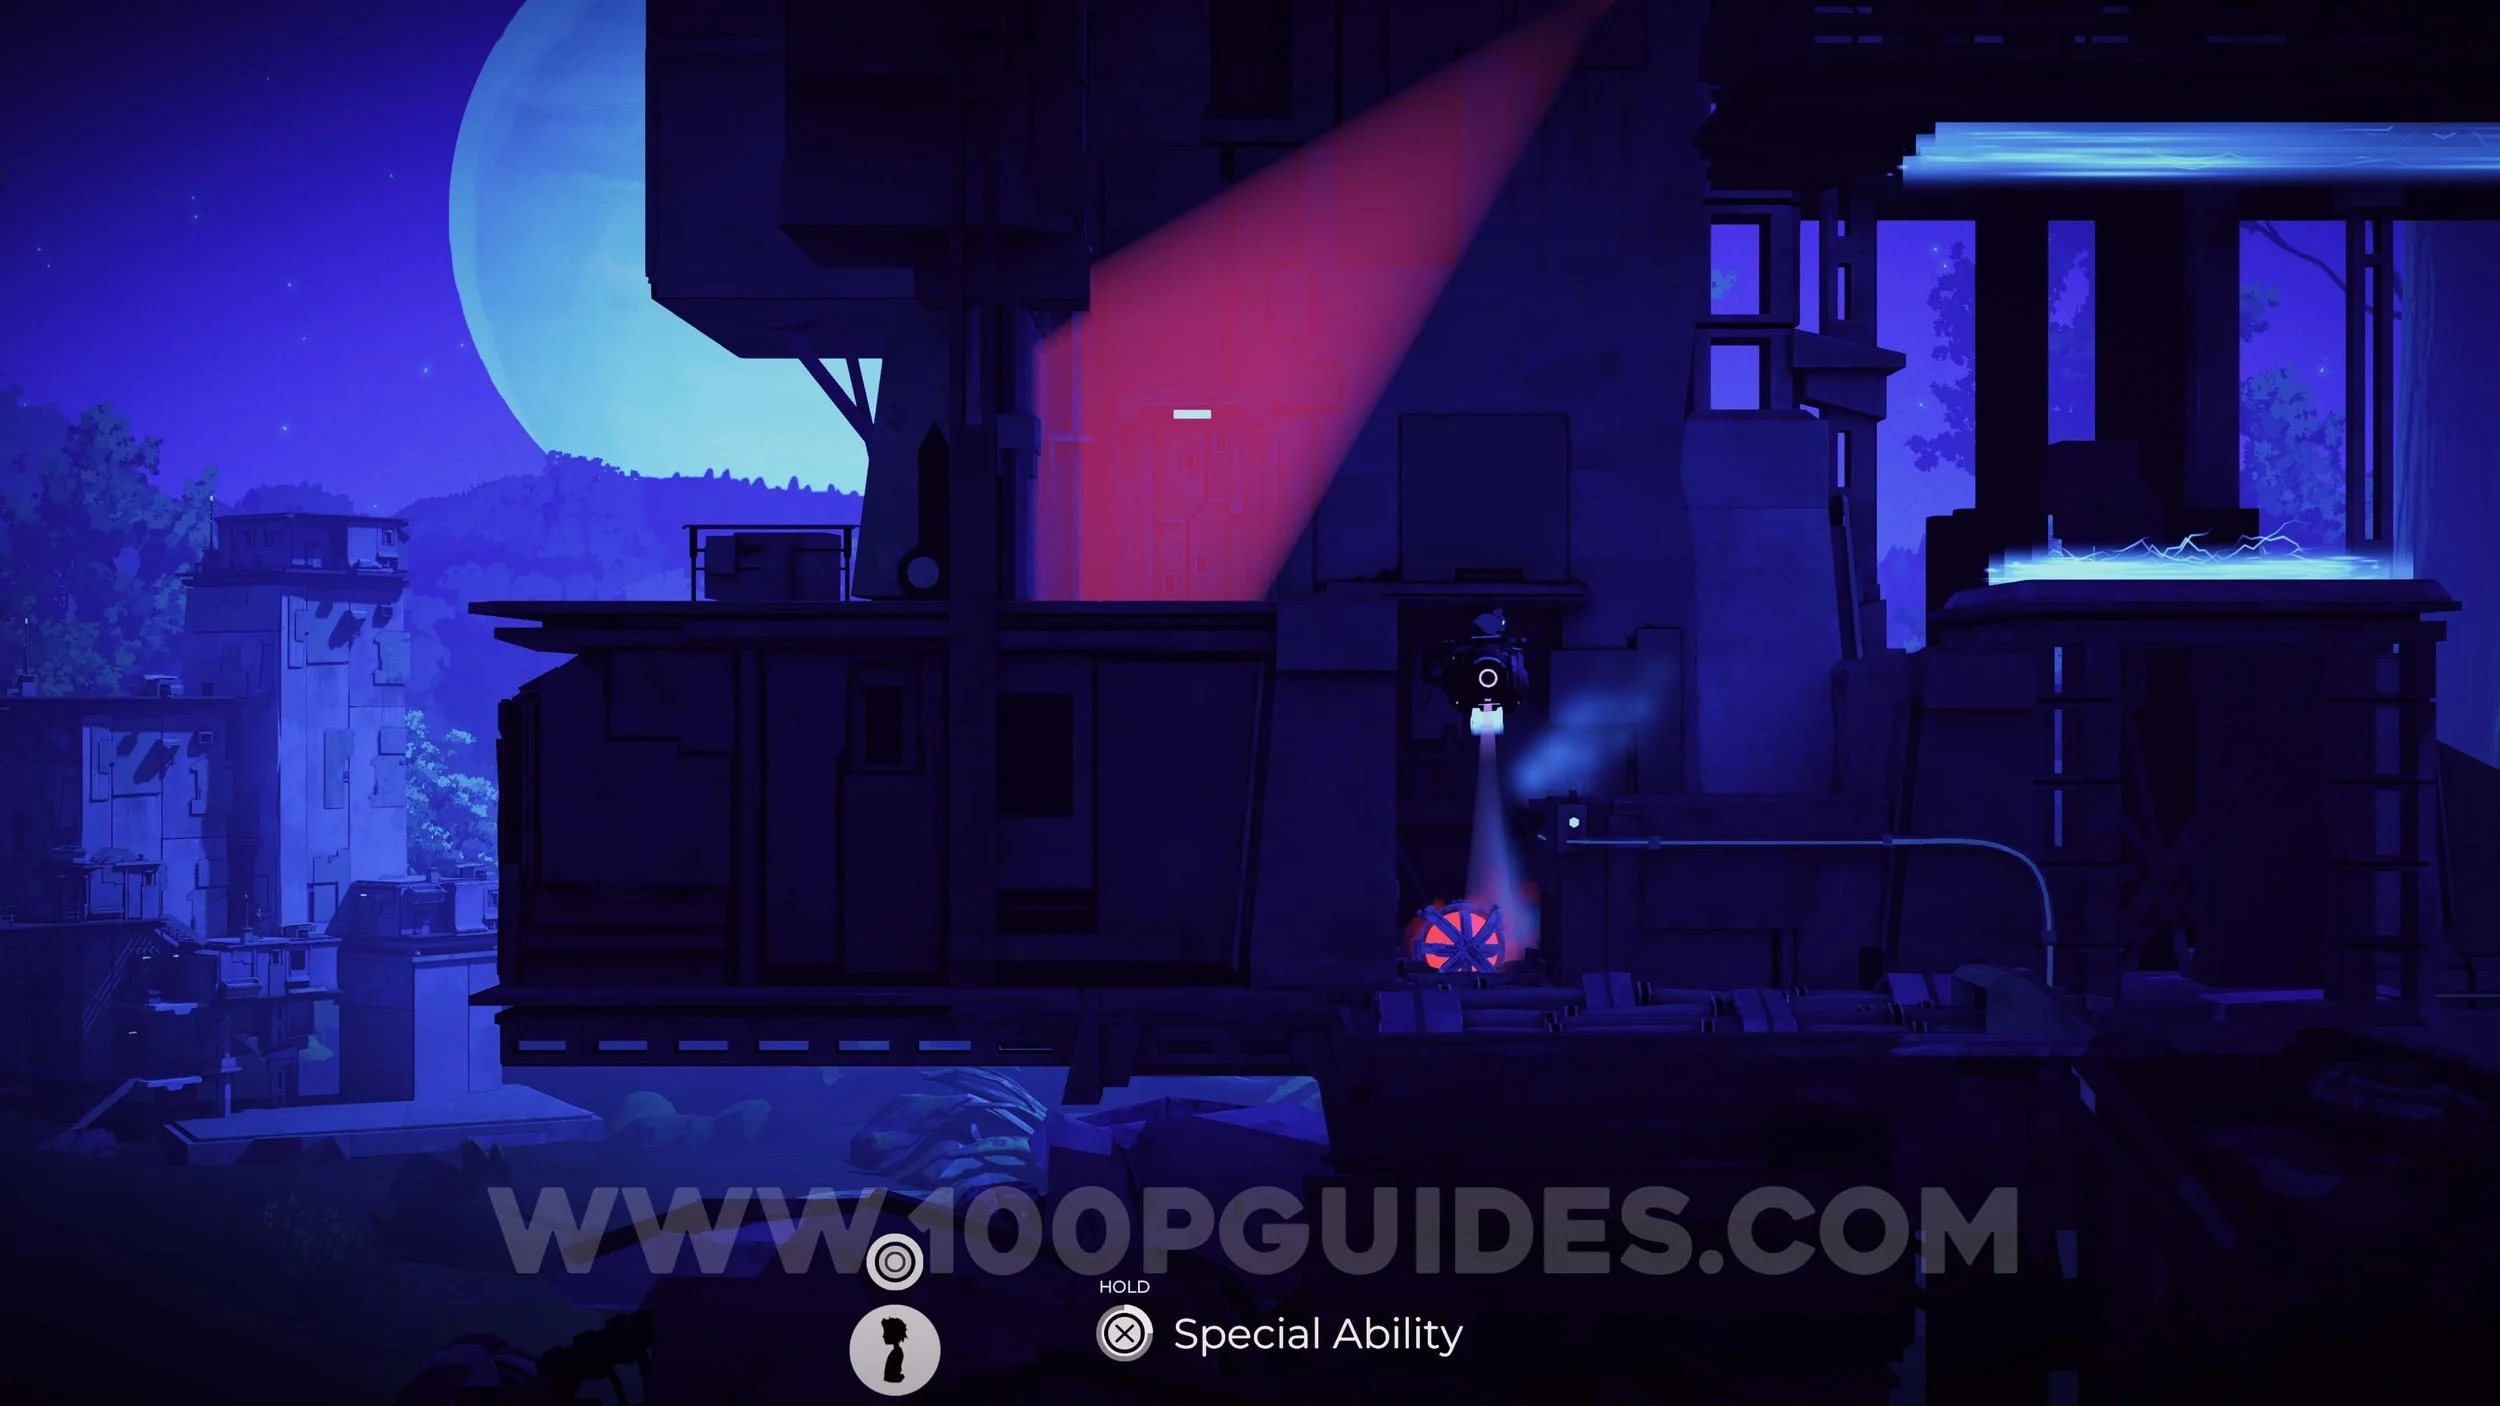
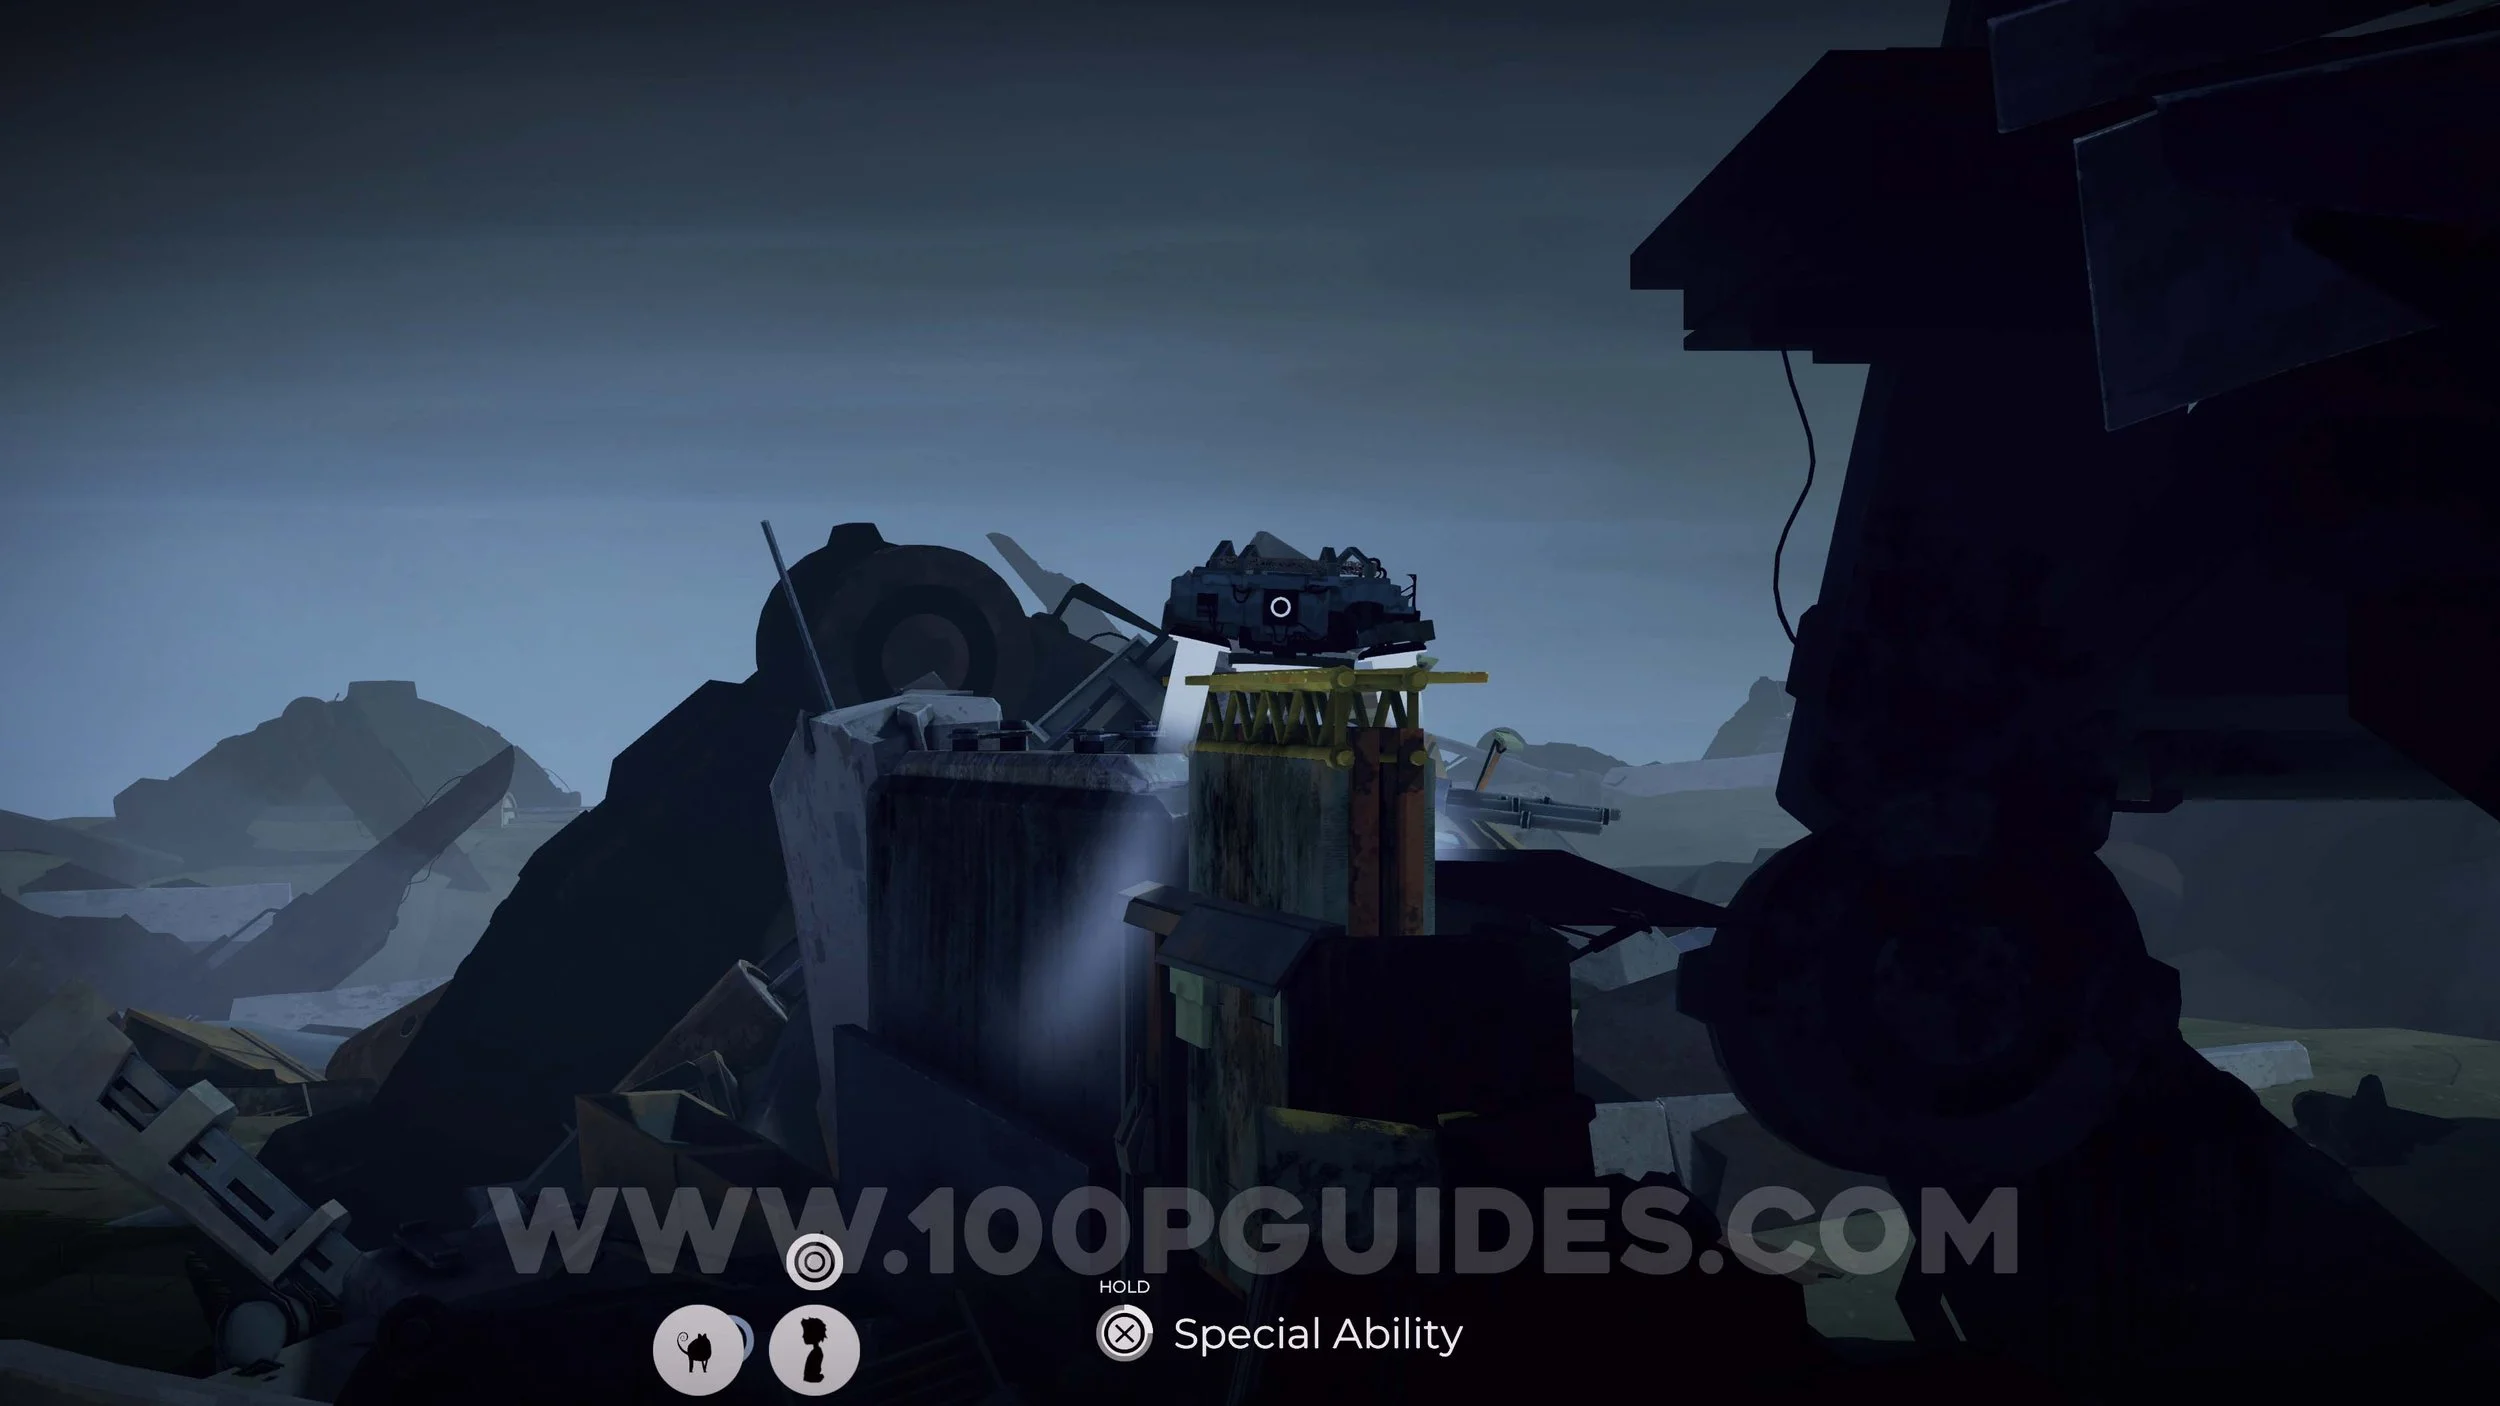
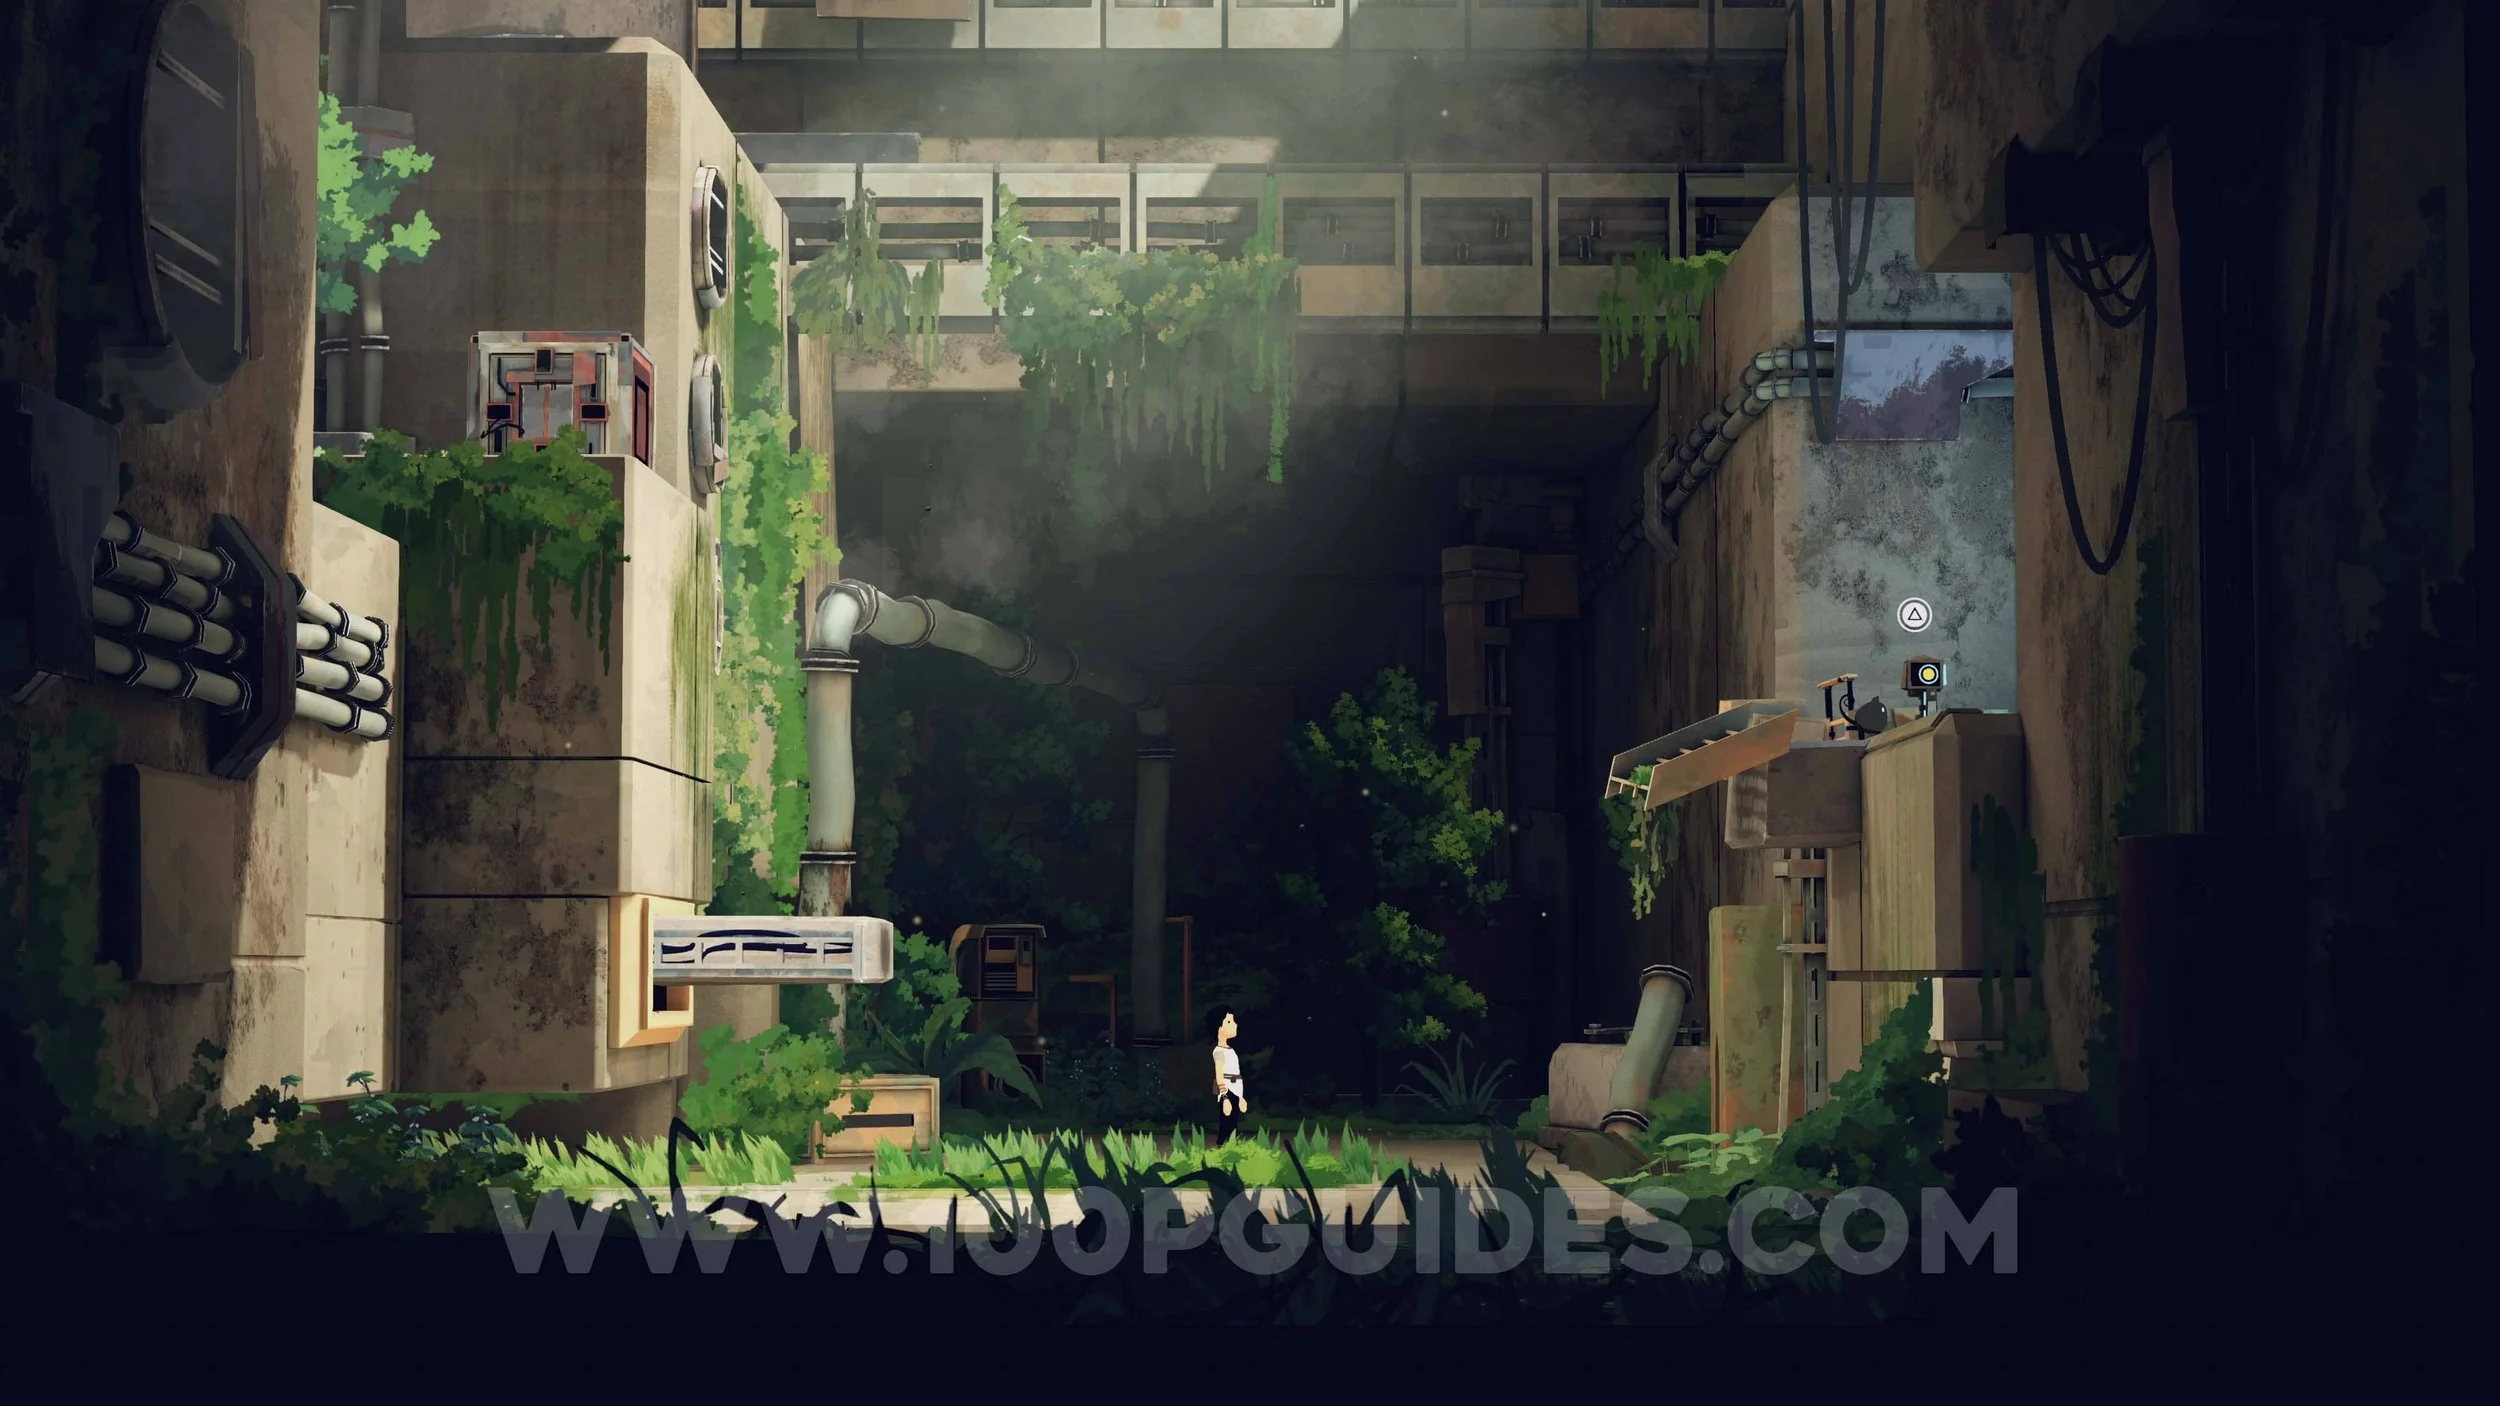
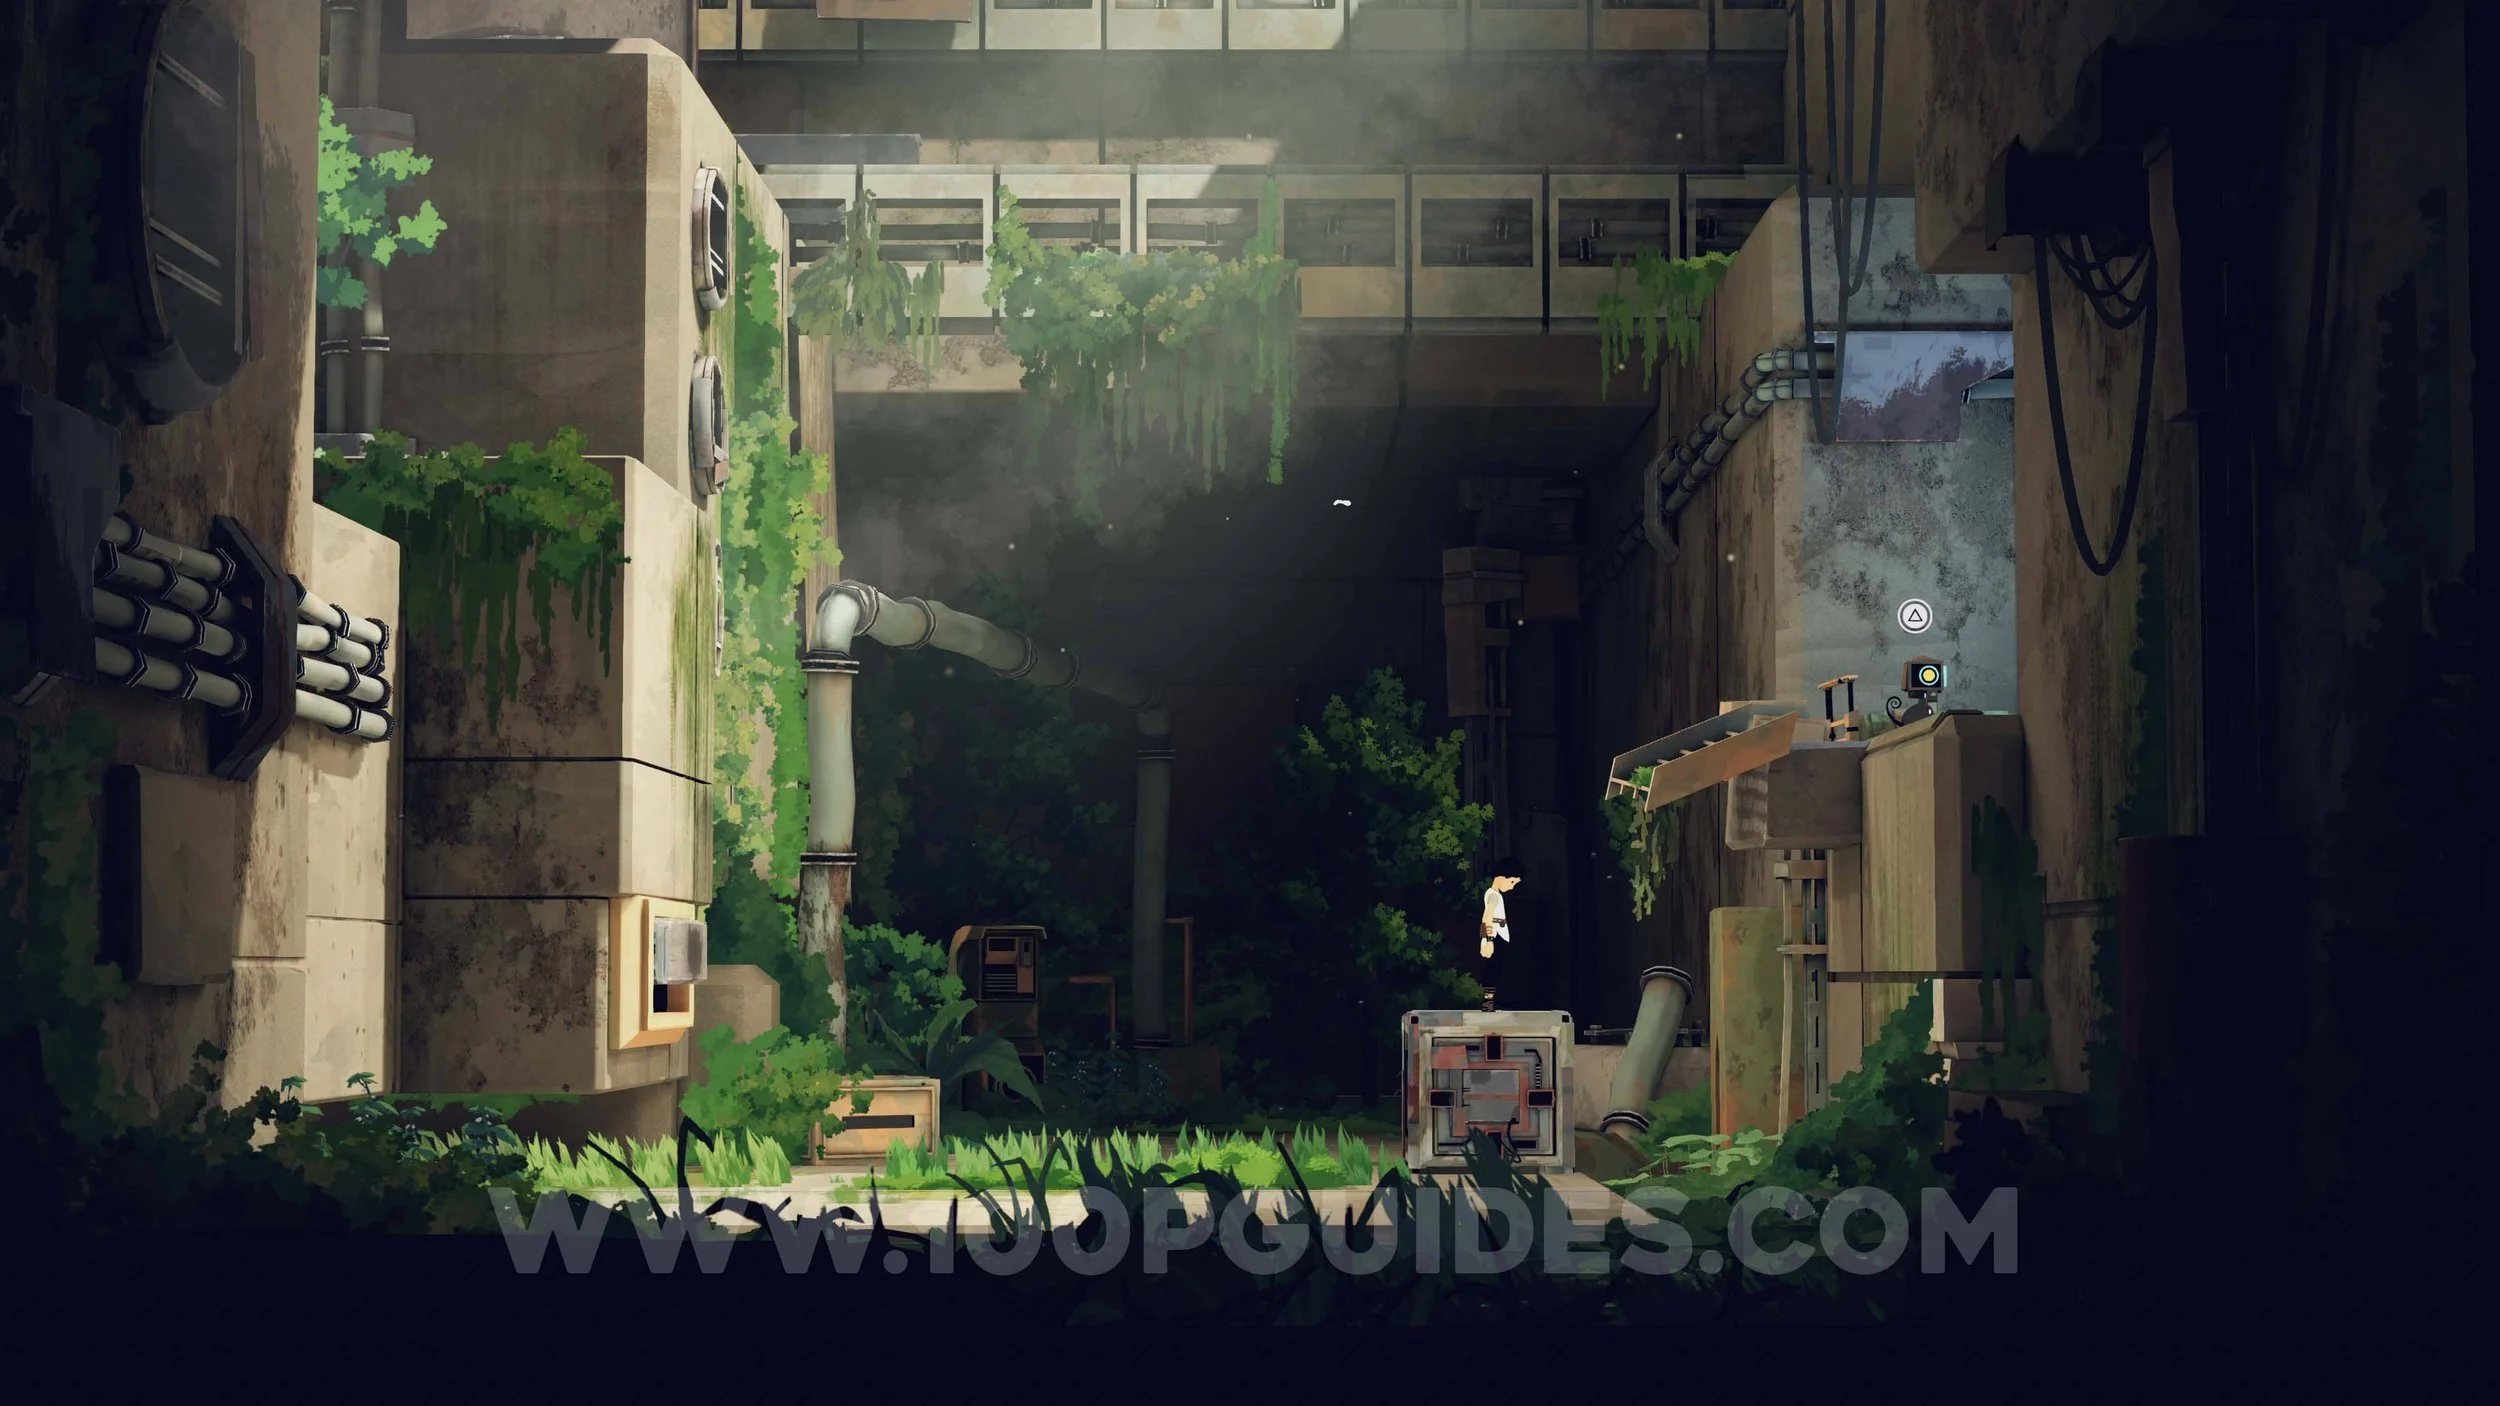
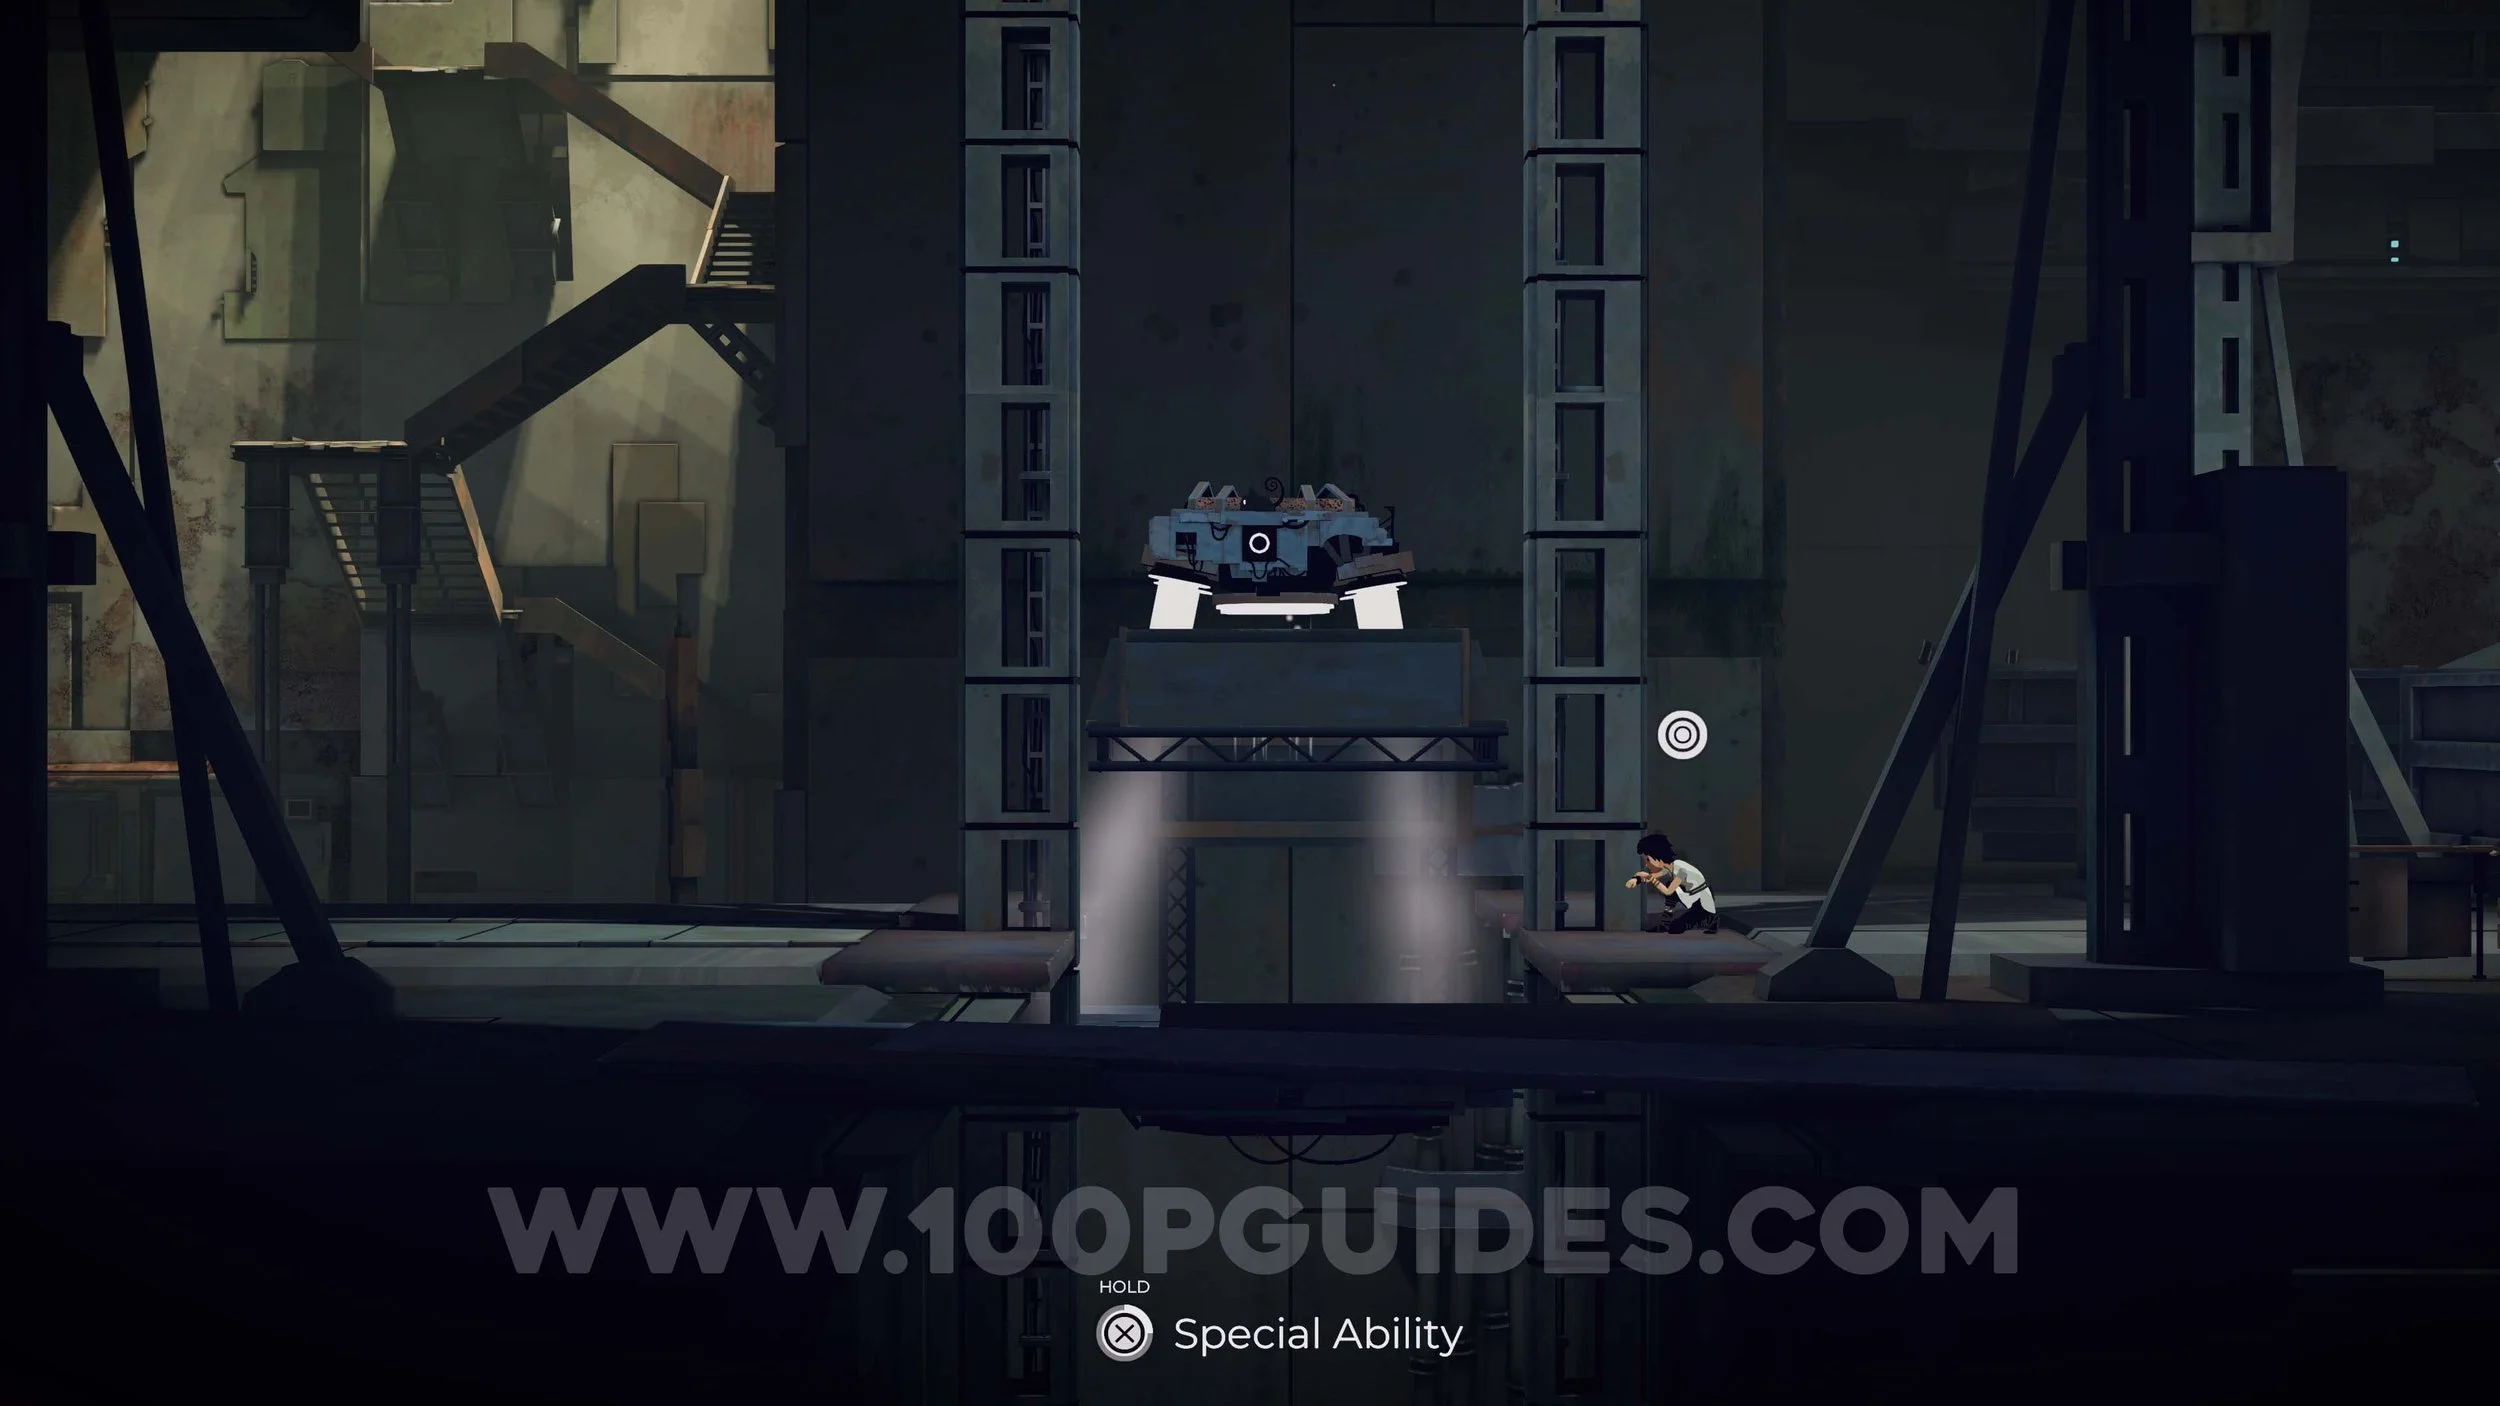
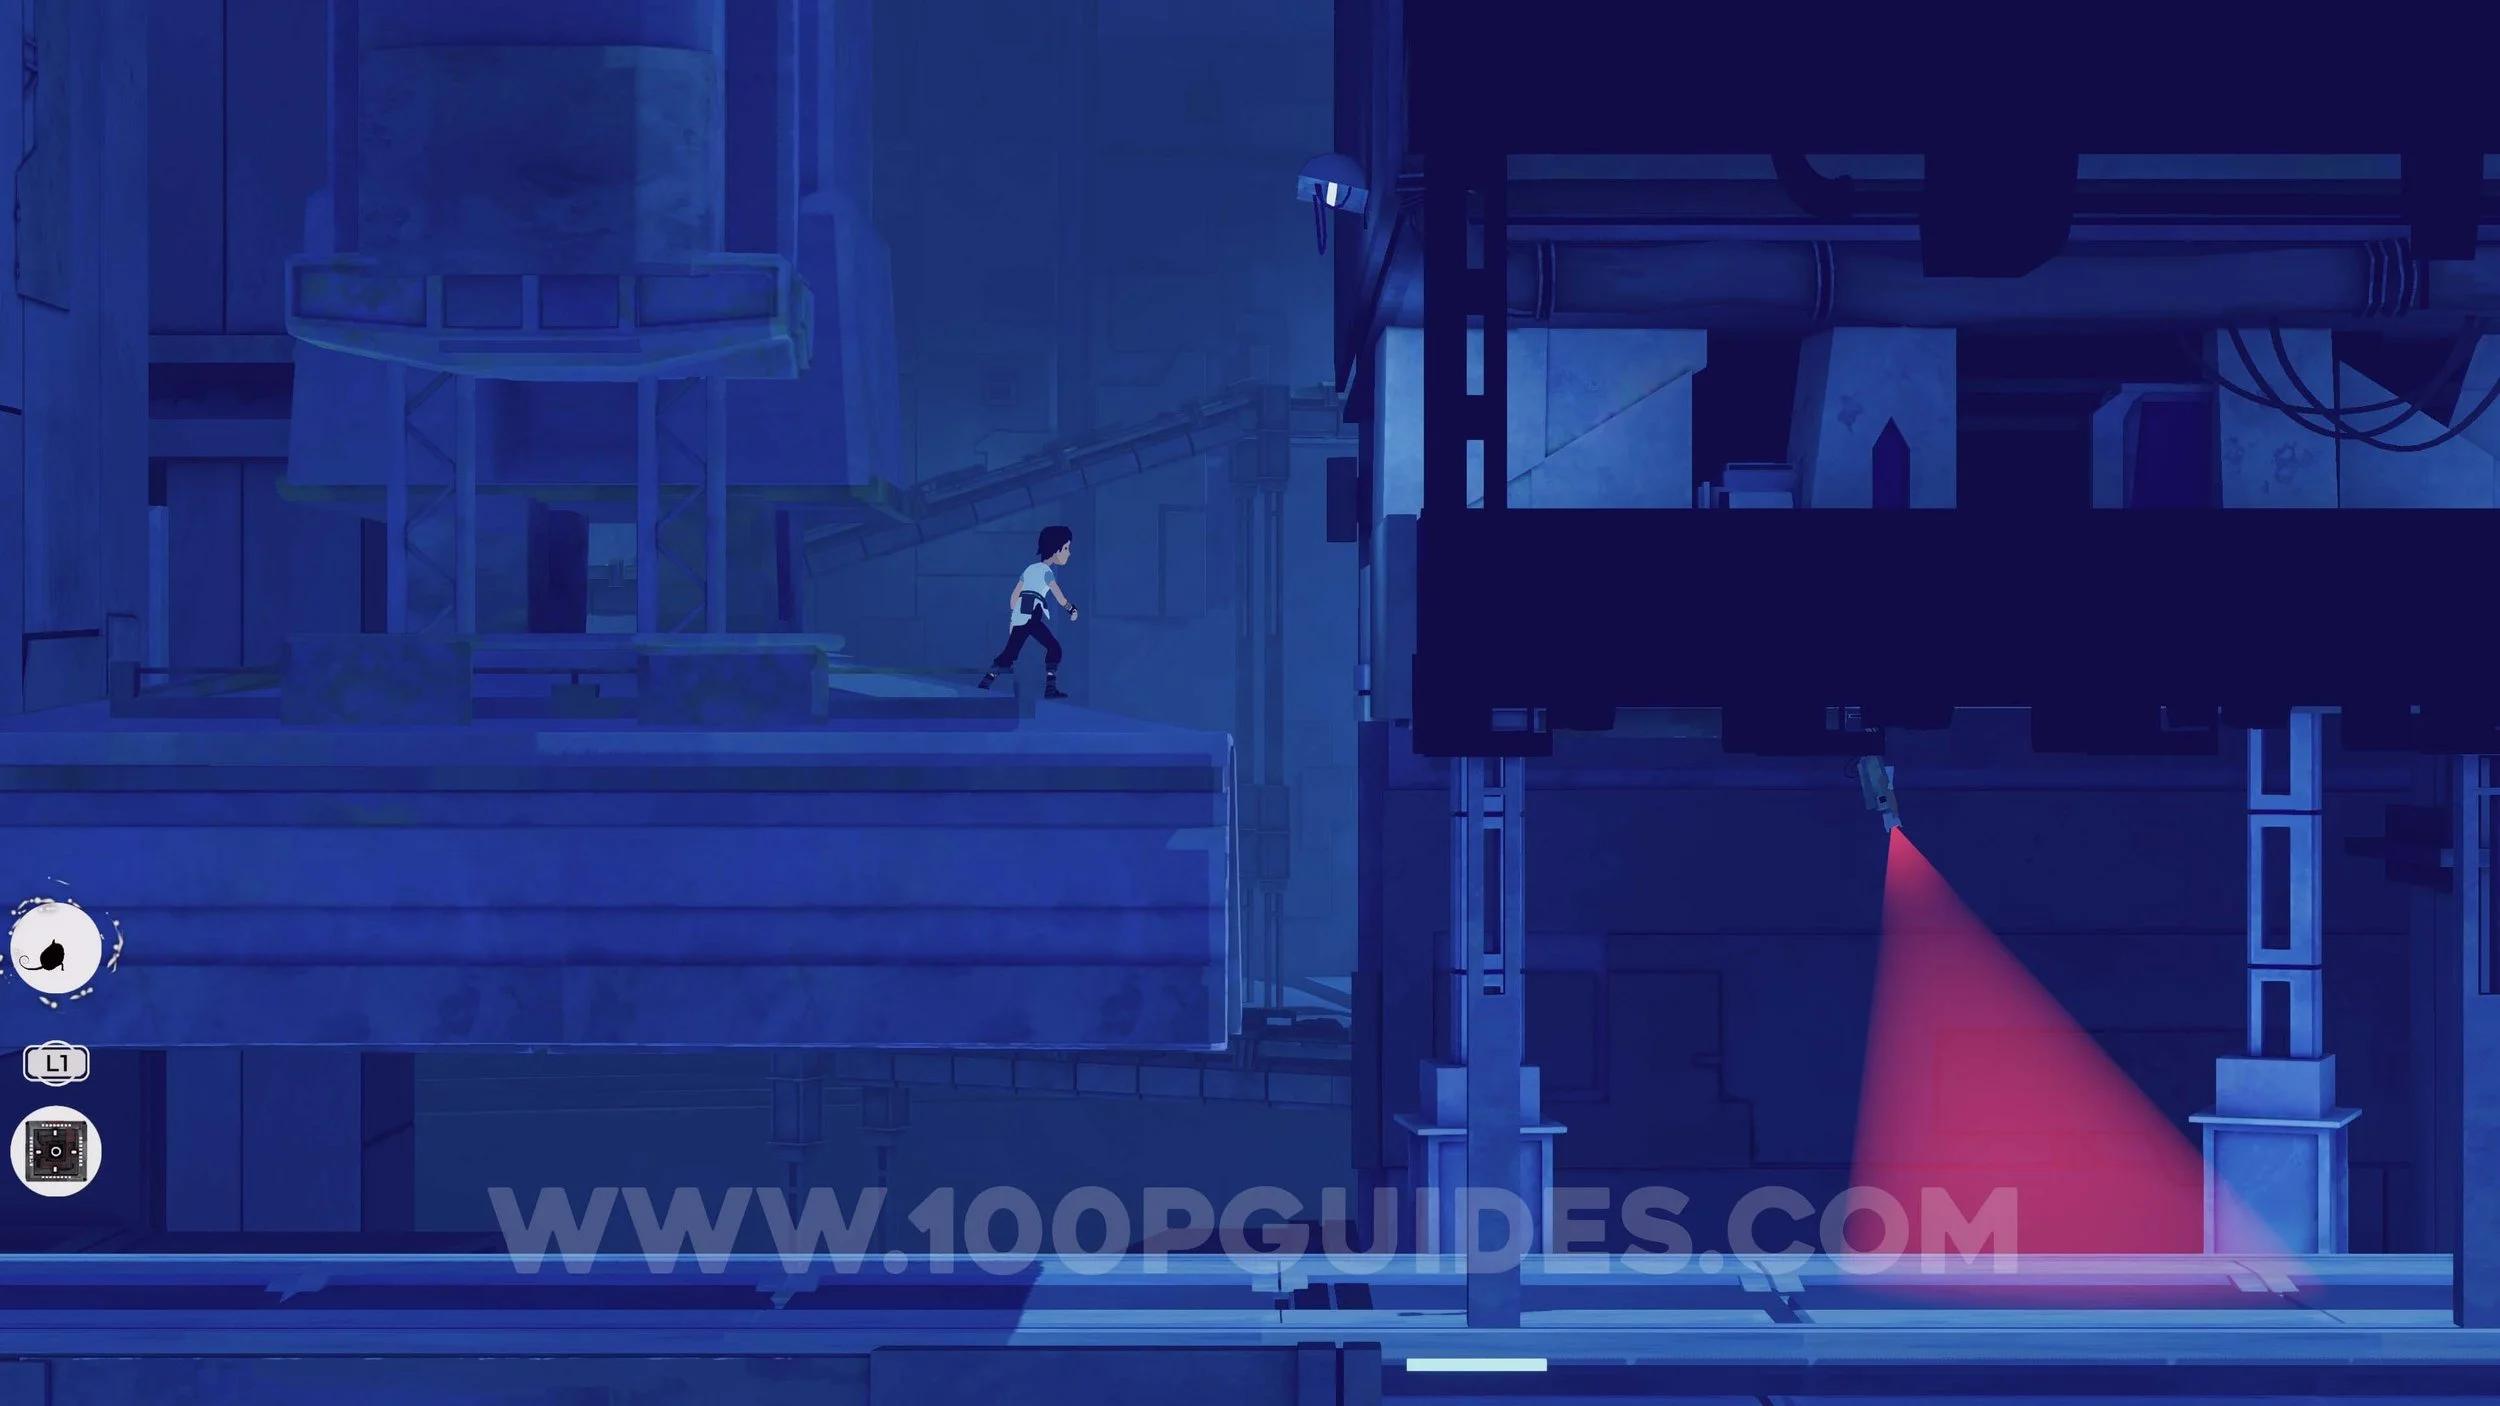
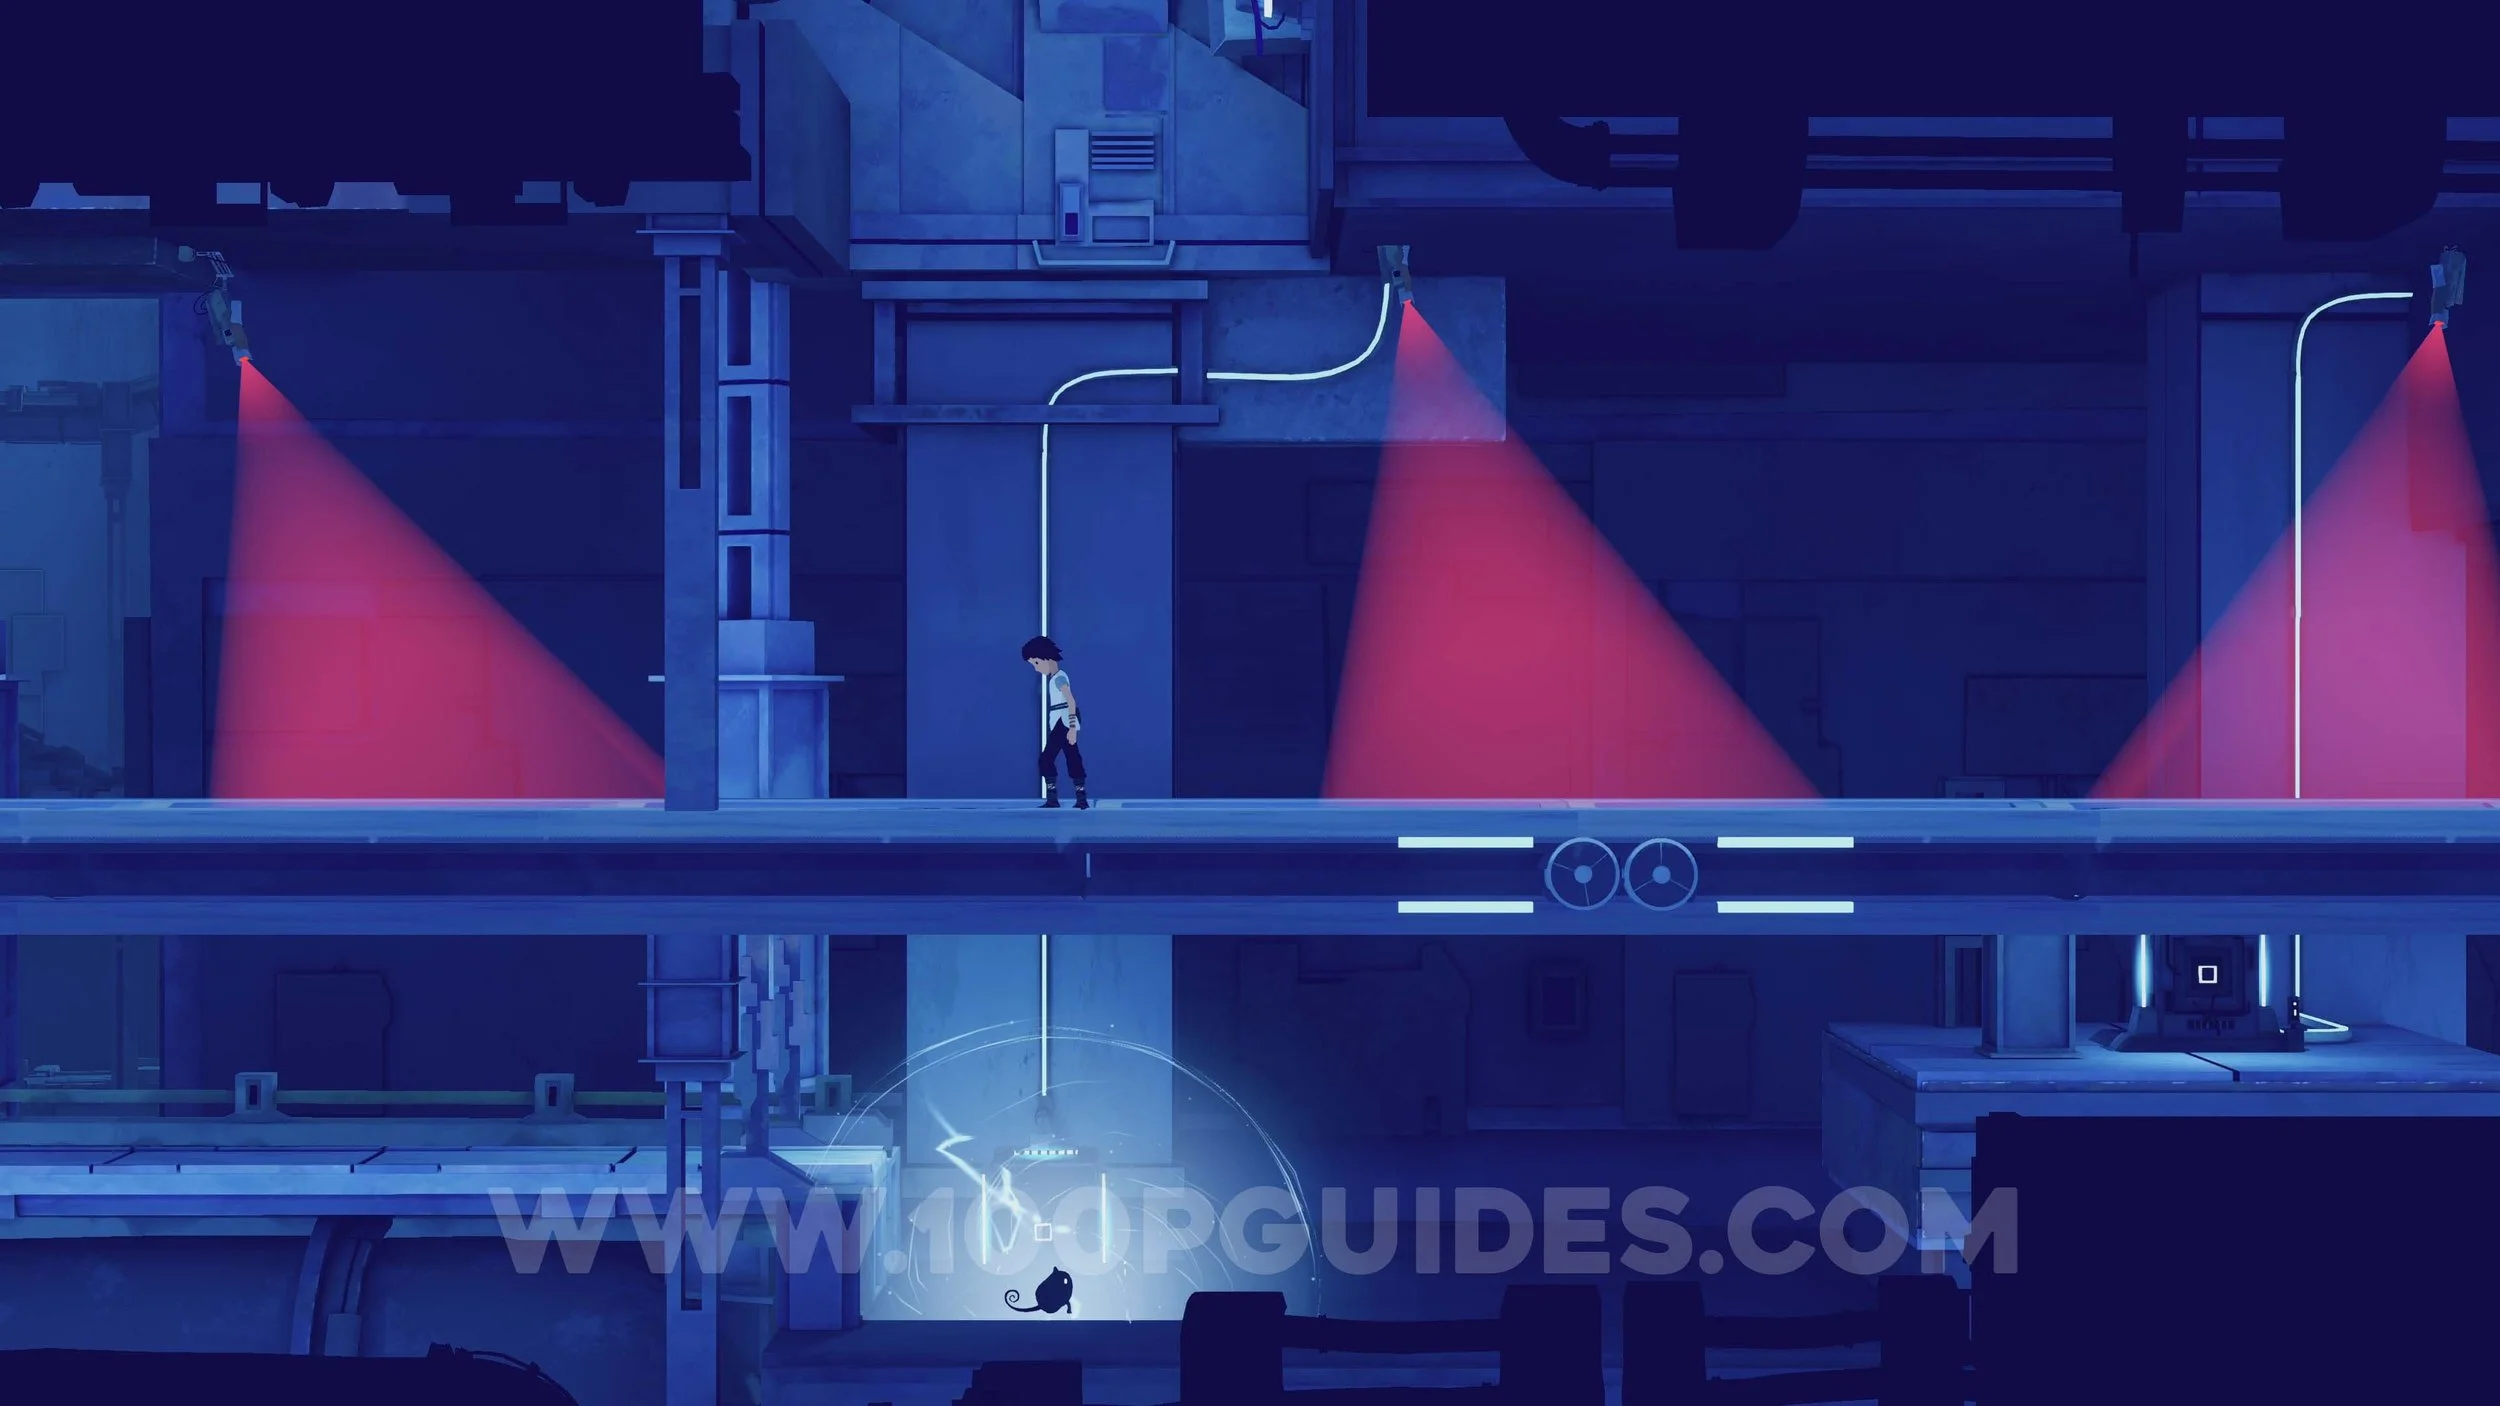
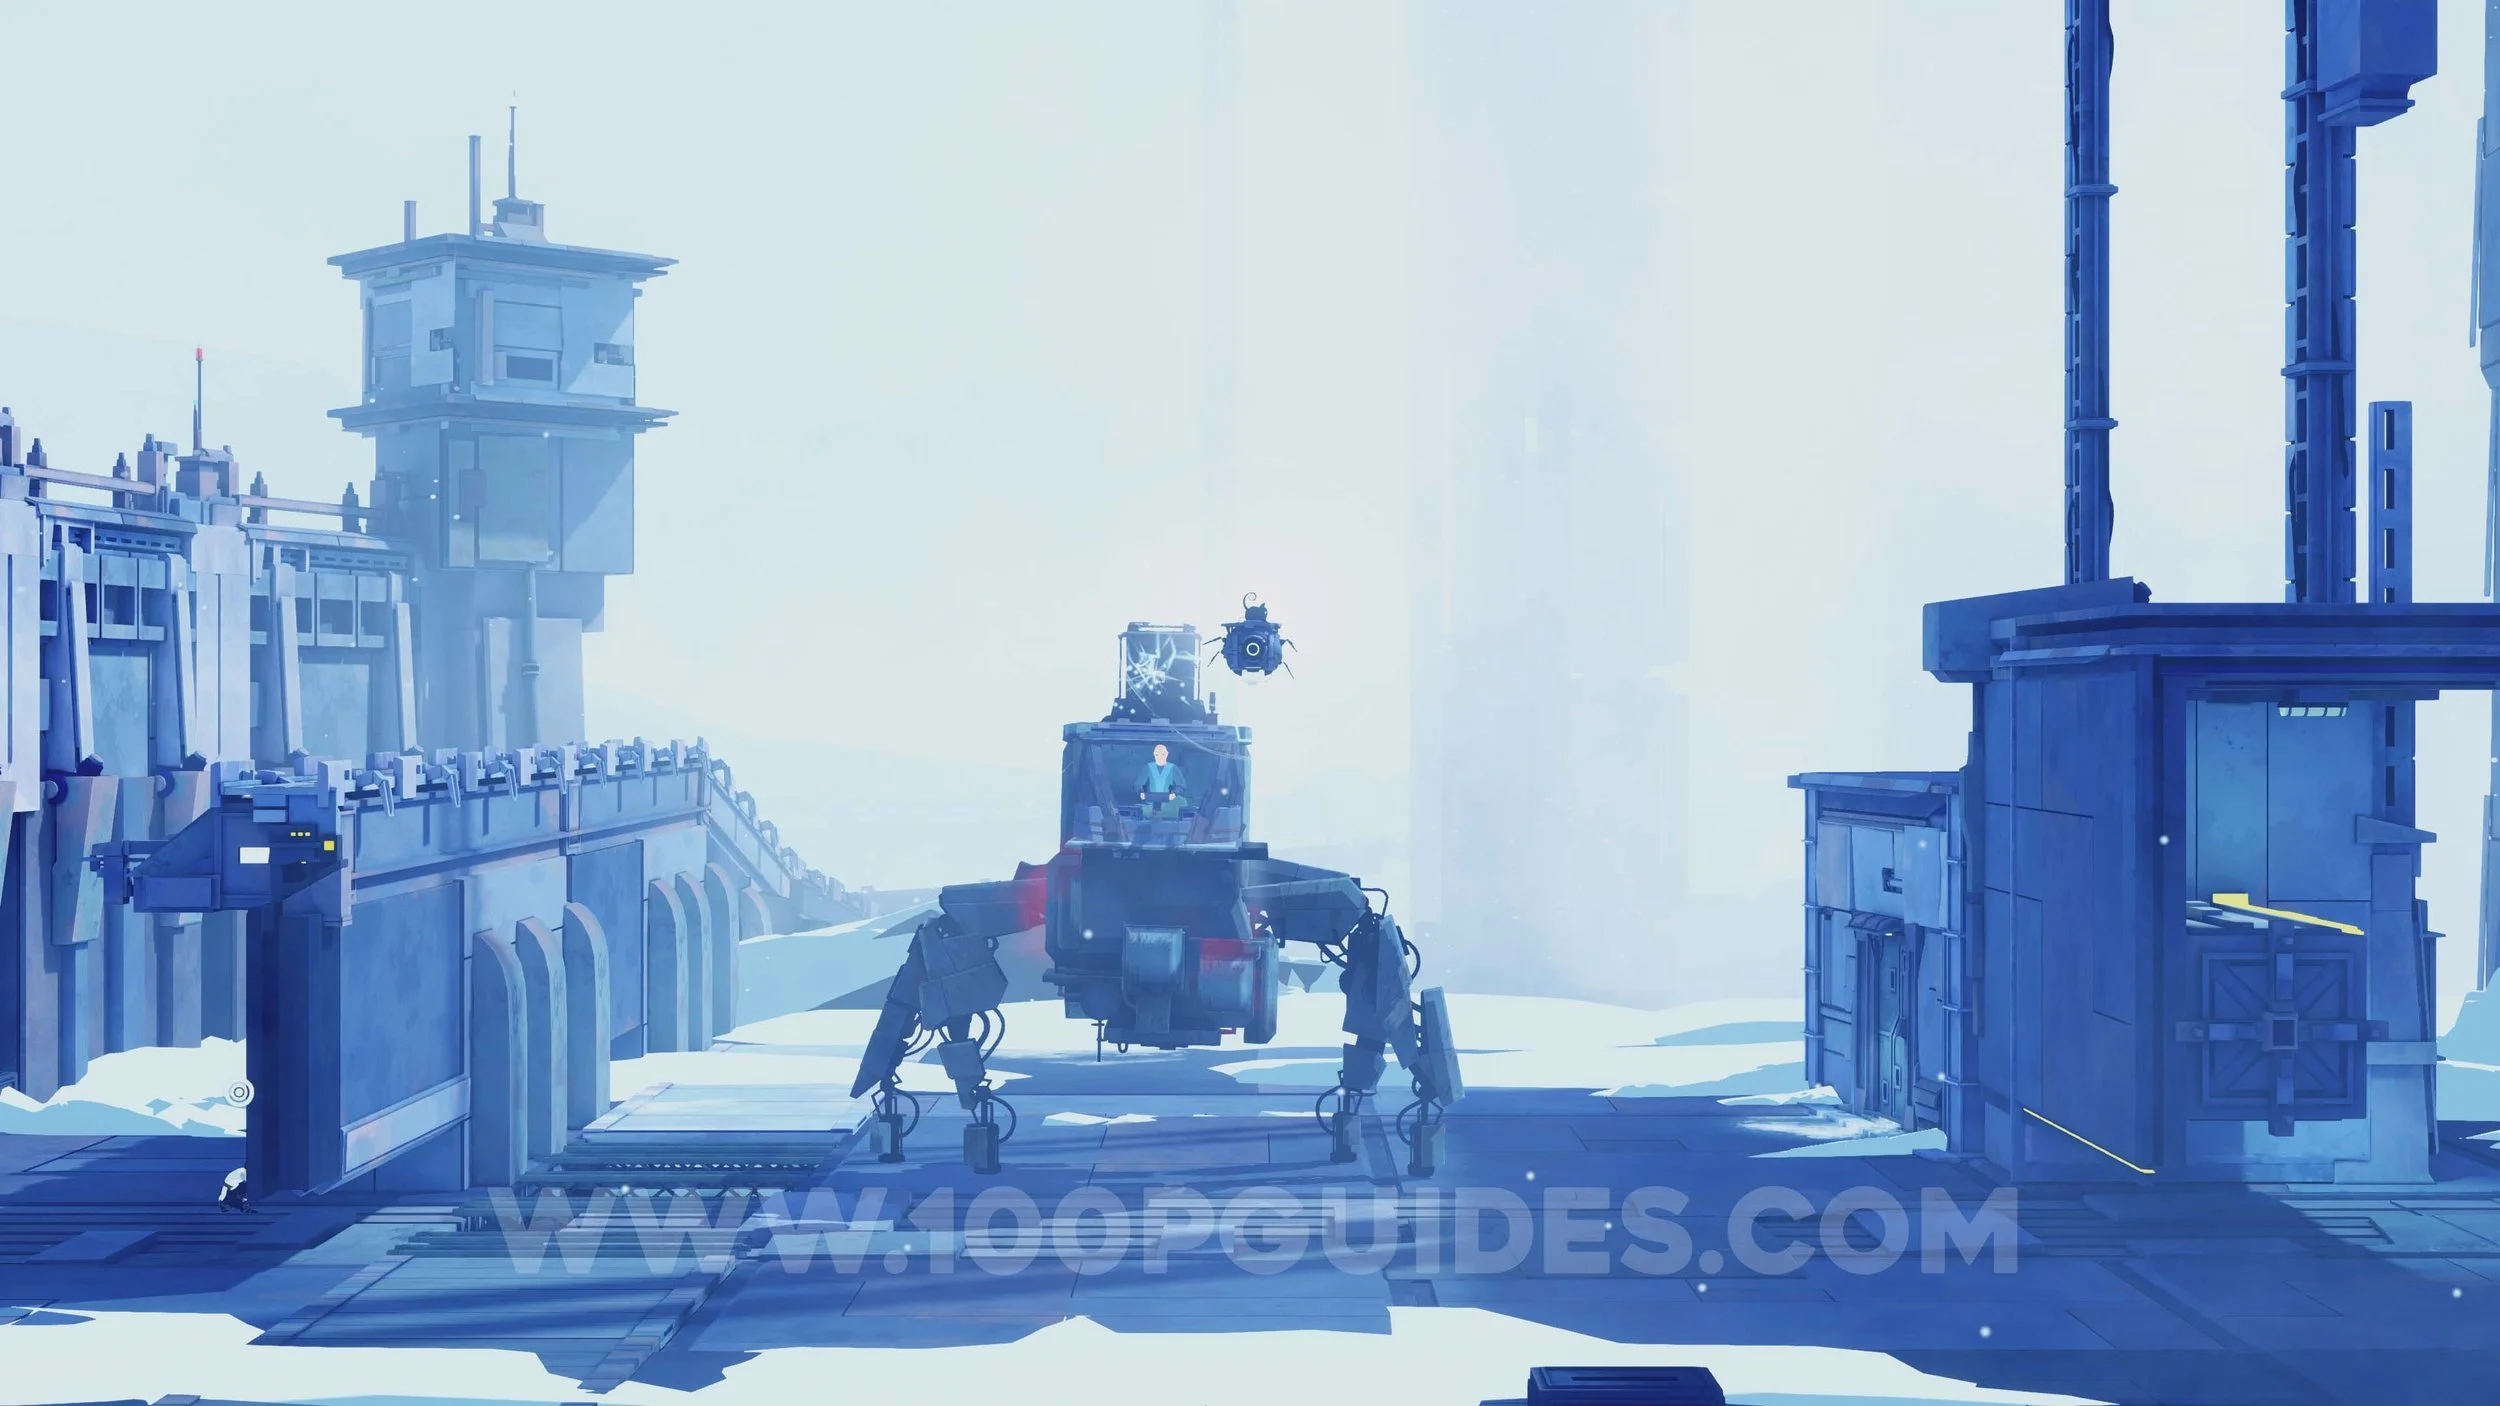
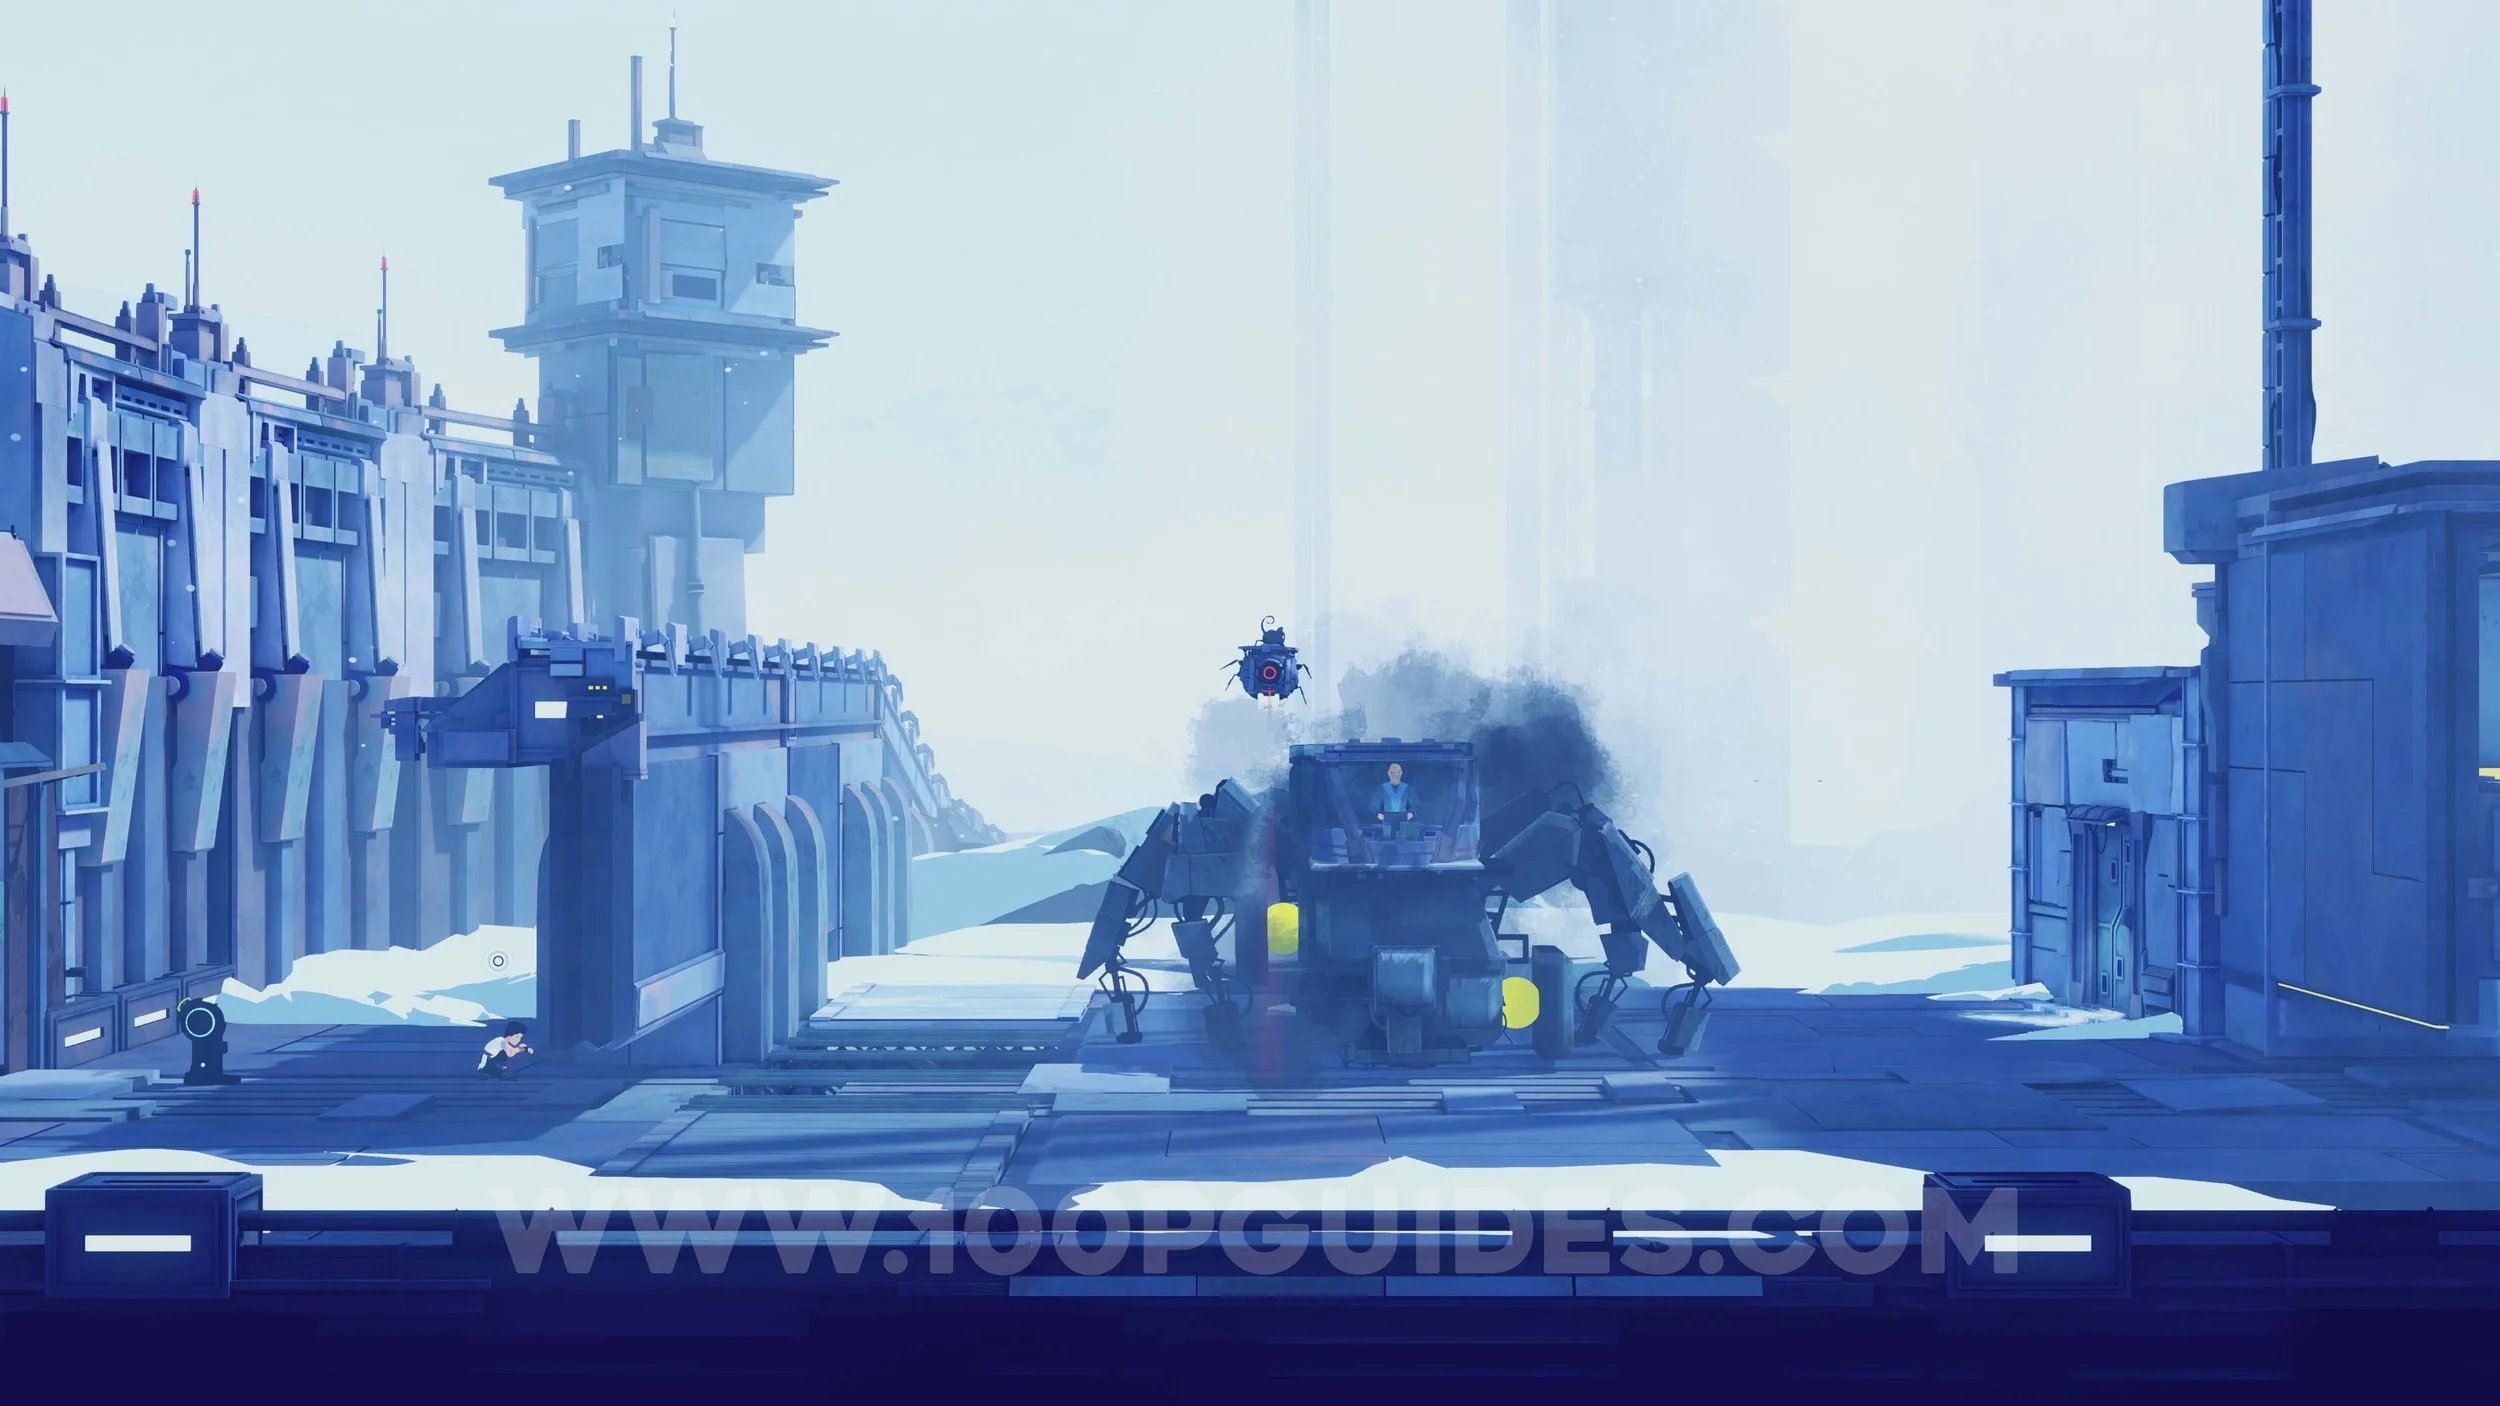
After reuniting with Anua, climb the wall using the yellow markers and then use the rope to descend on the other side. Here you will encounter your first enemy. Enemies cannot be defeated in Planet of Lana 2, so you must use the environment to avoid them. These creatures are repelled by light, which acts as a barrier. Climb up to the switch and turn off the light to make the creature move left. Once it is on the other side of the light, turn it back on so you can safely continue to the right.
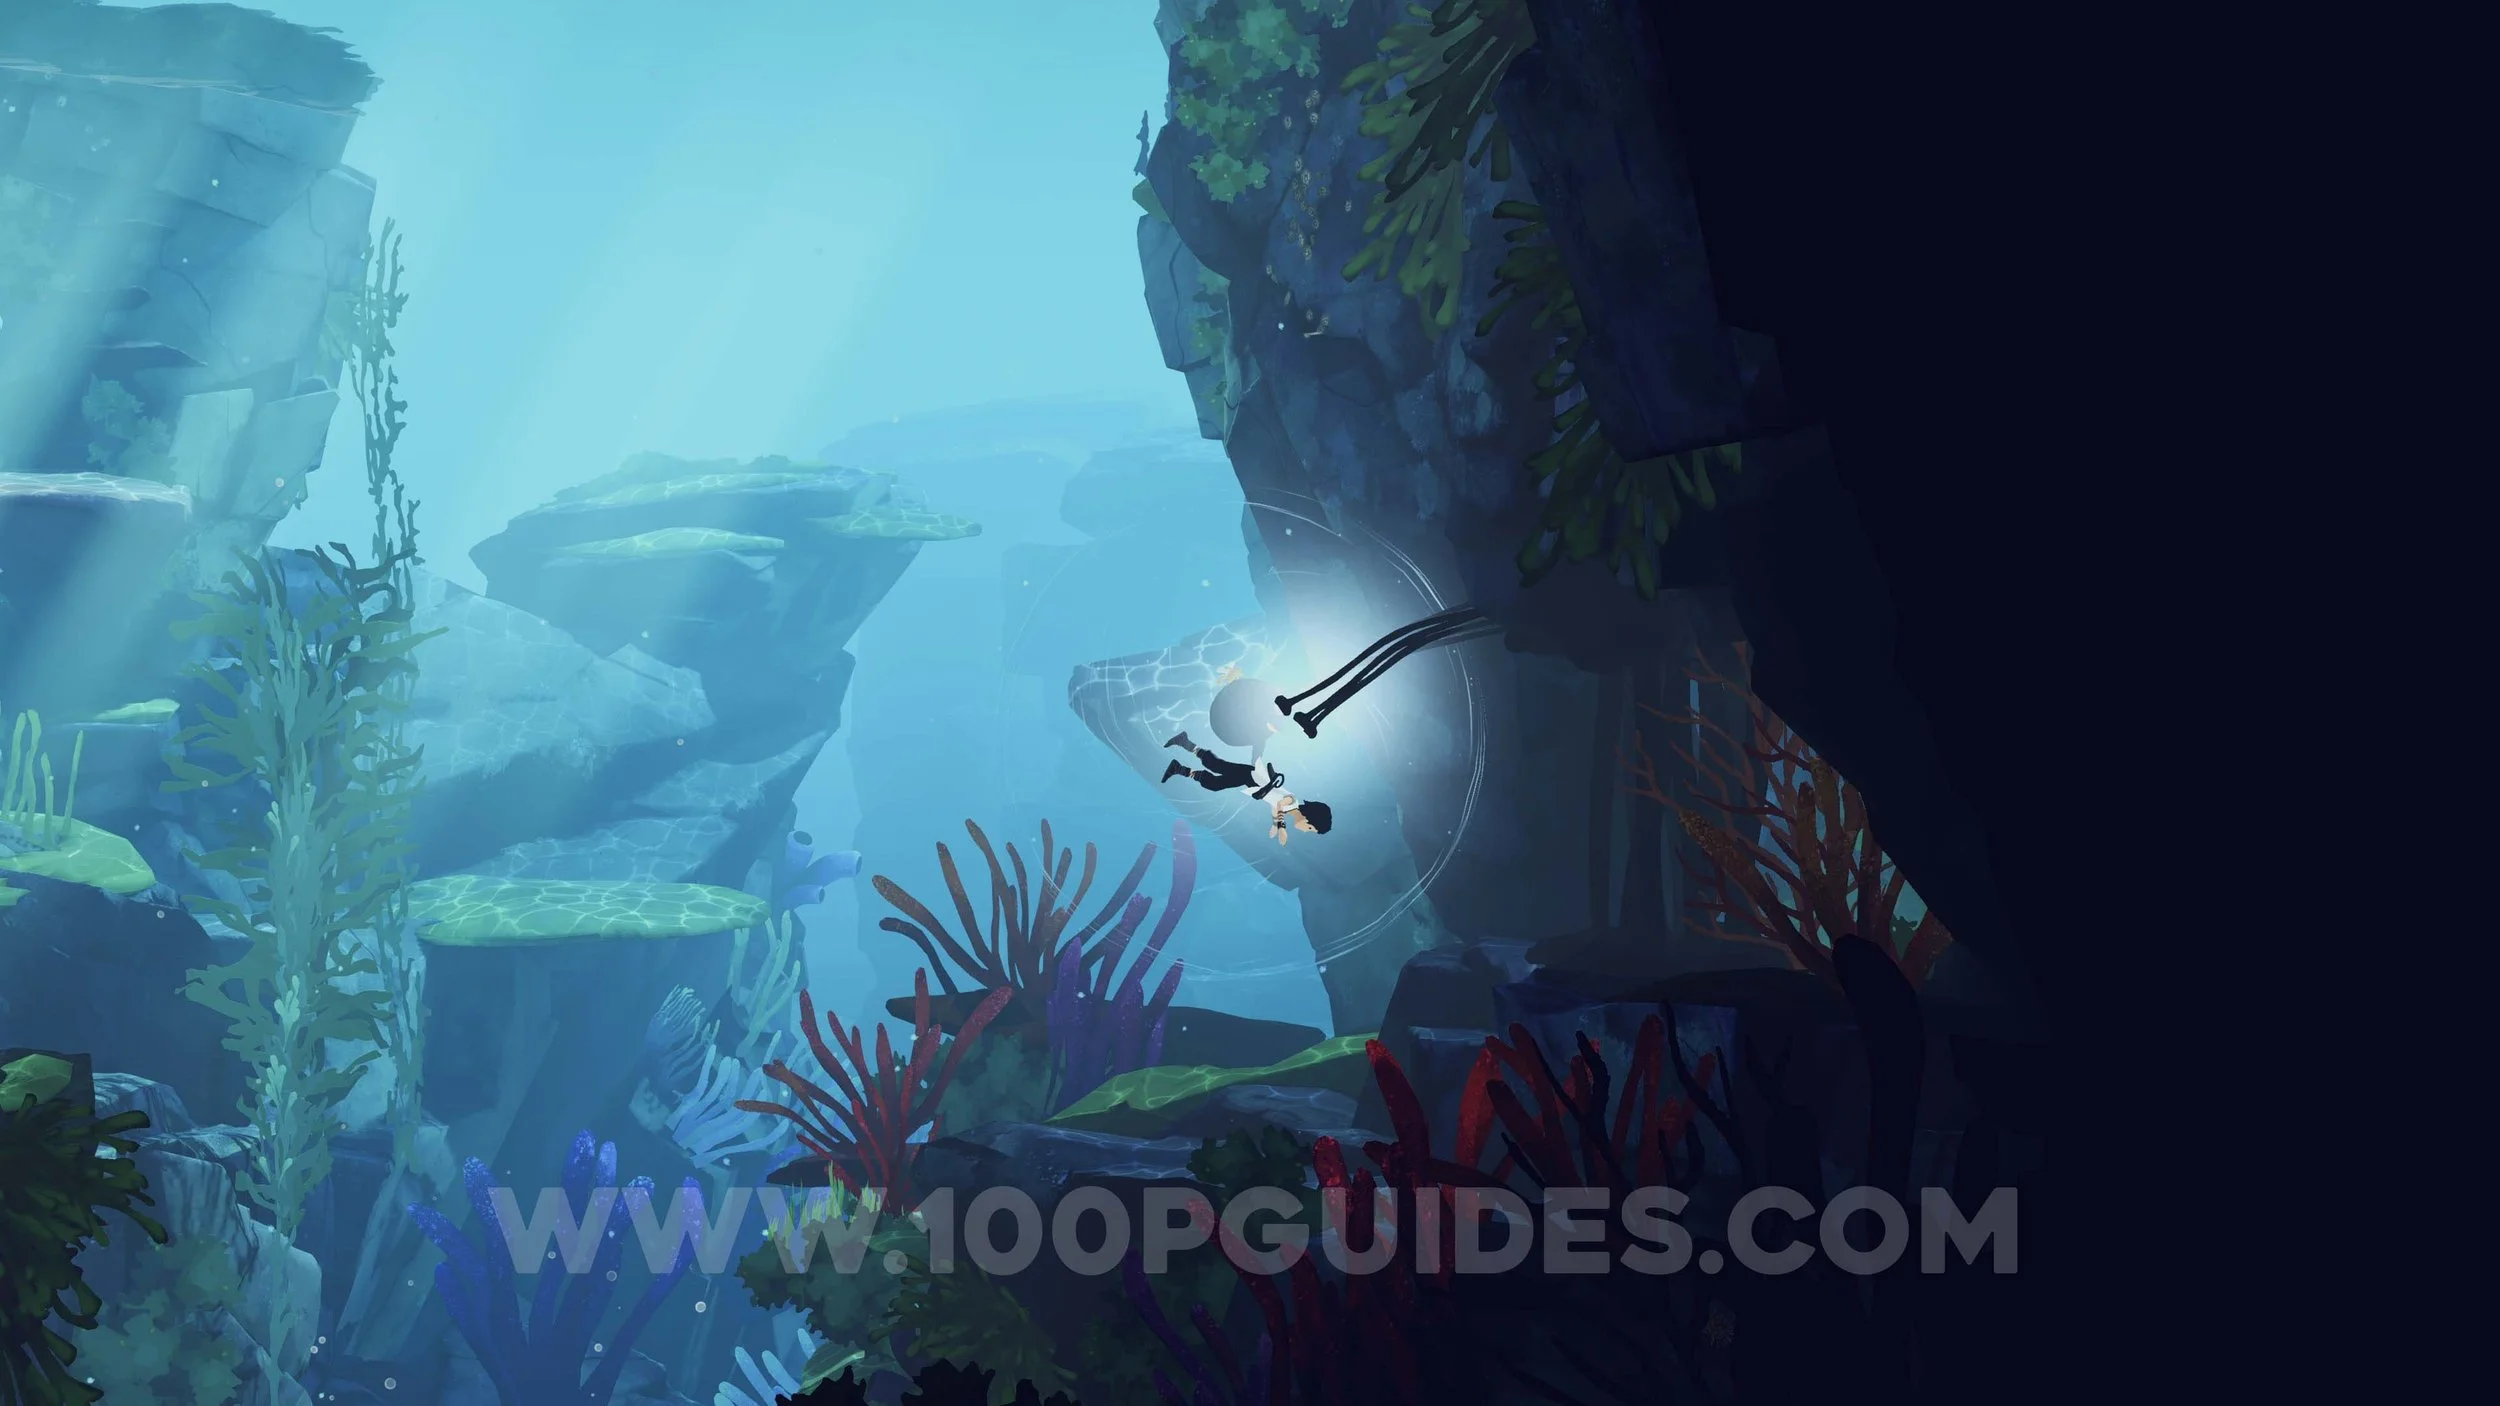
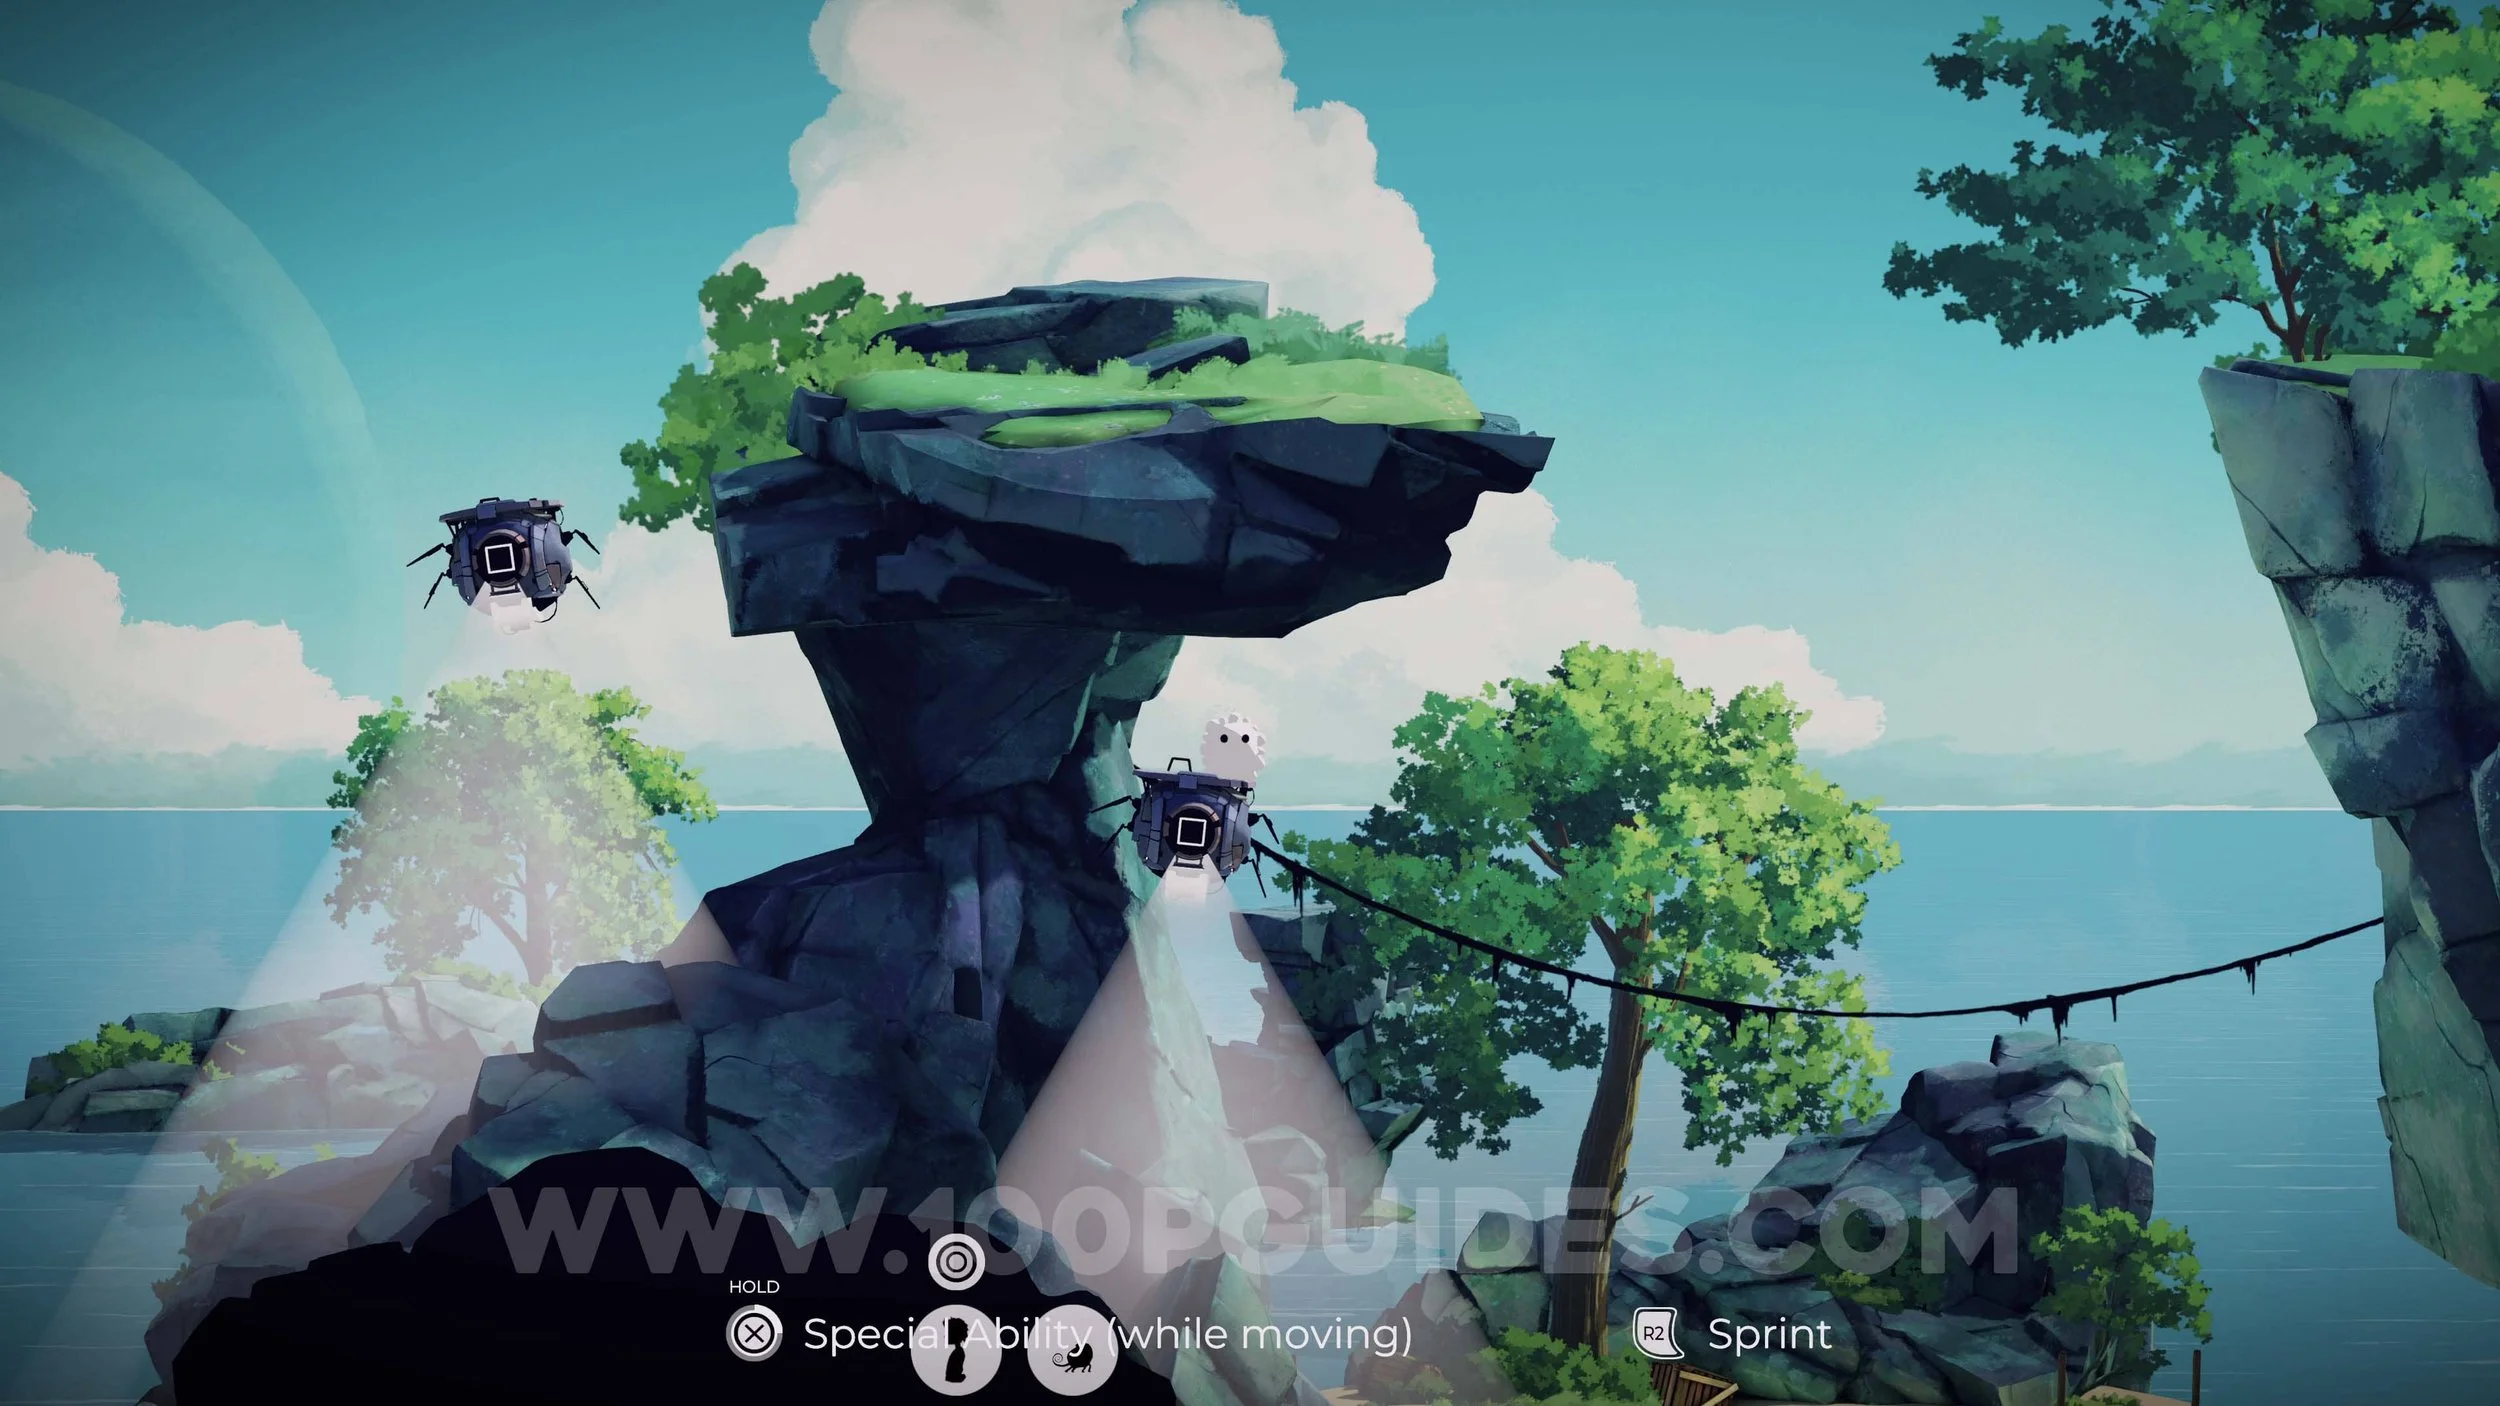
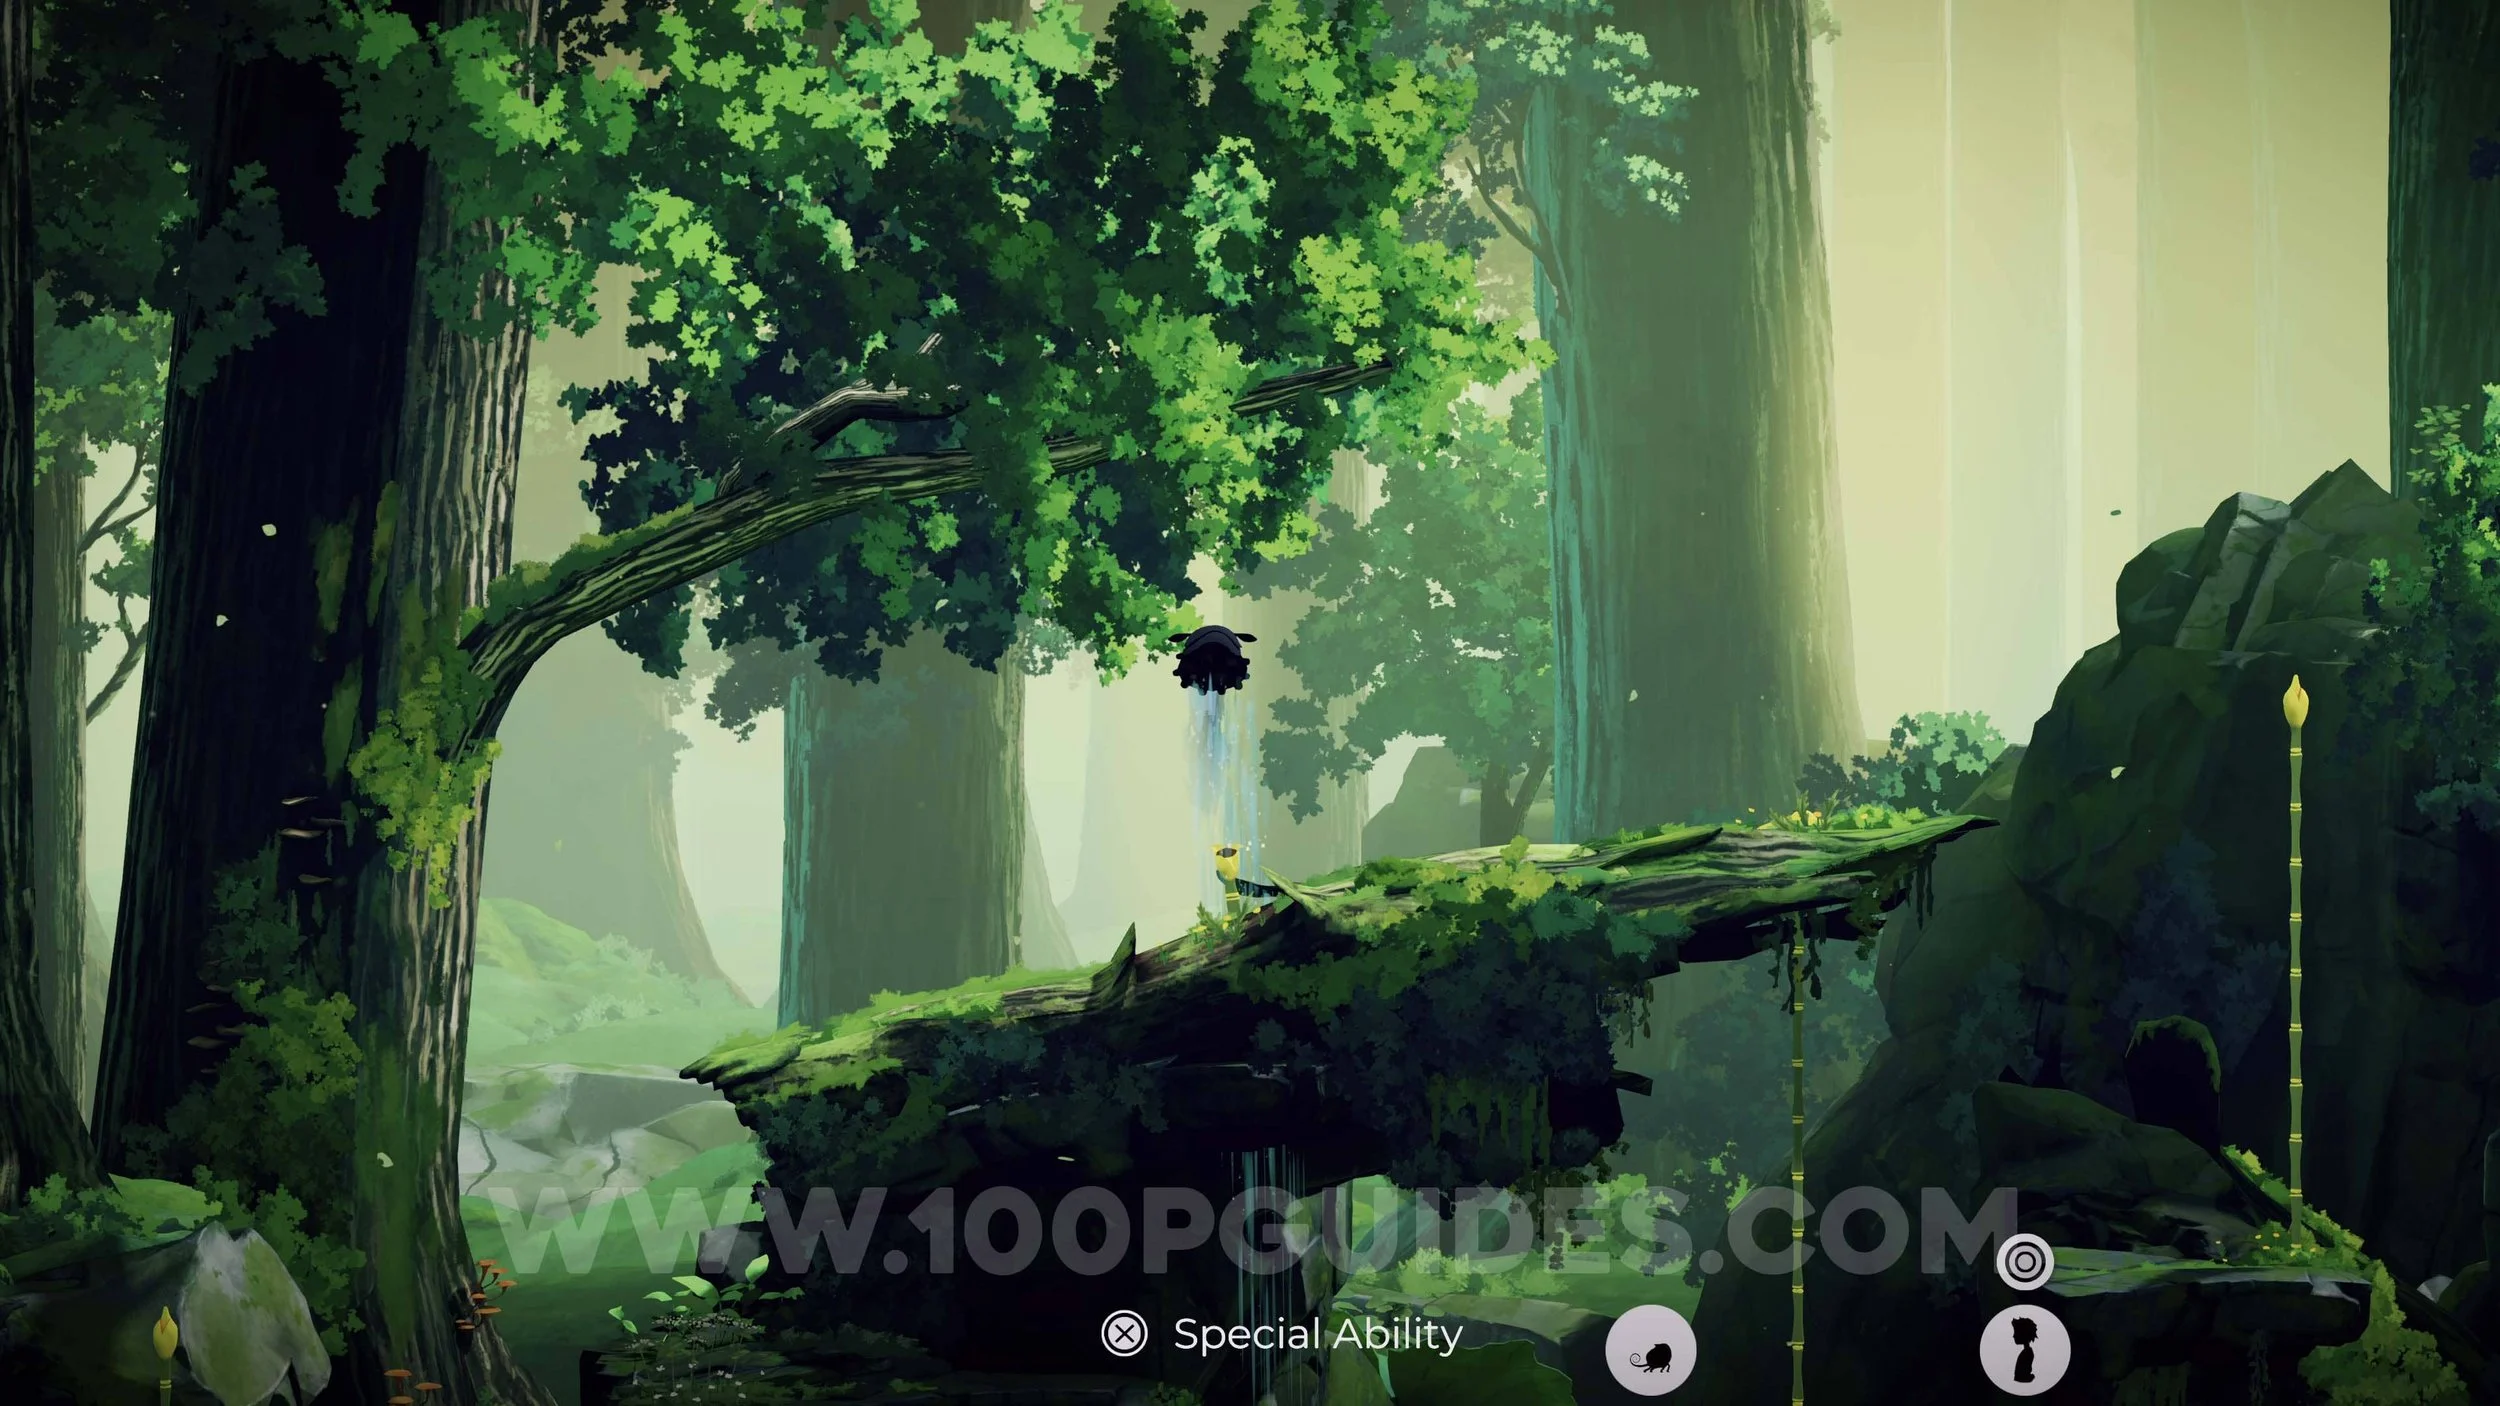
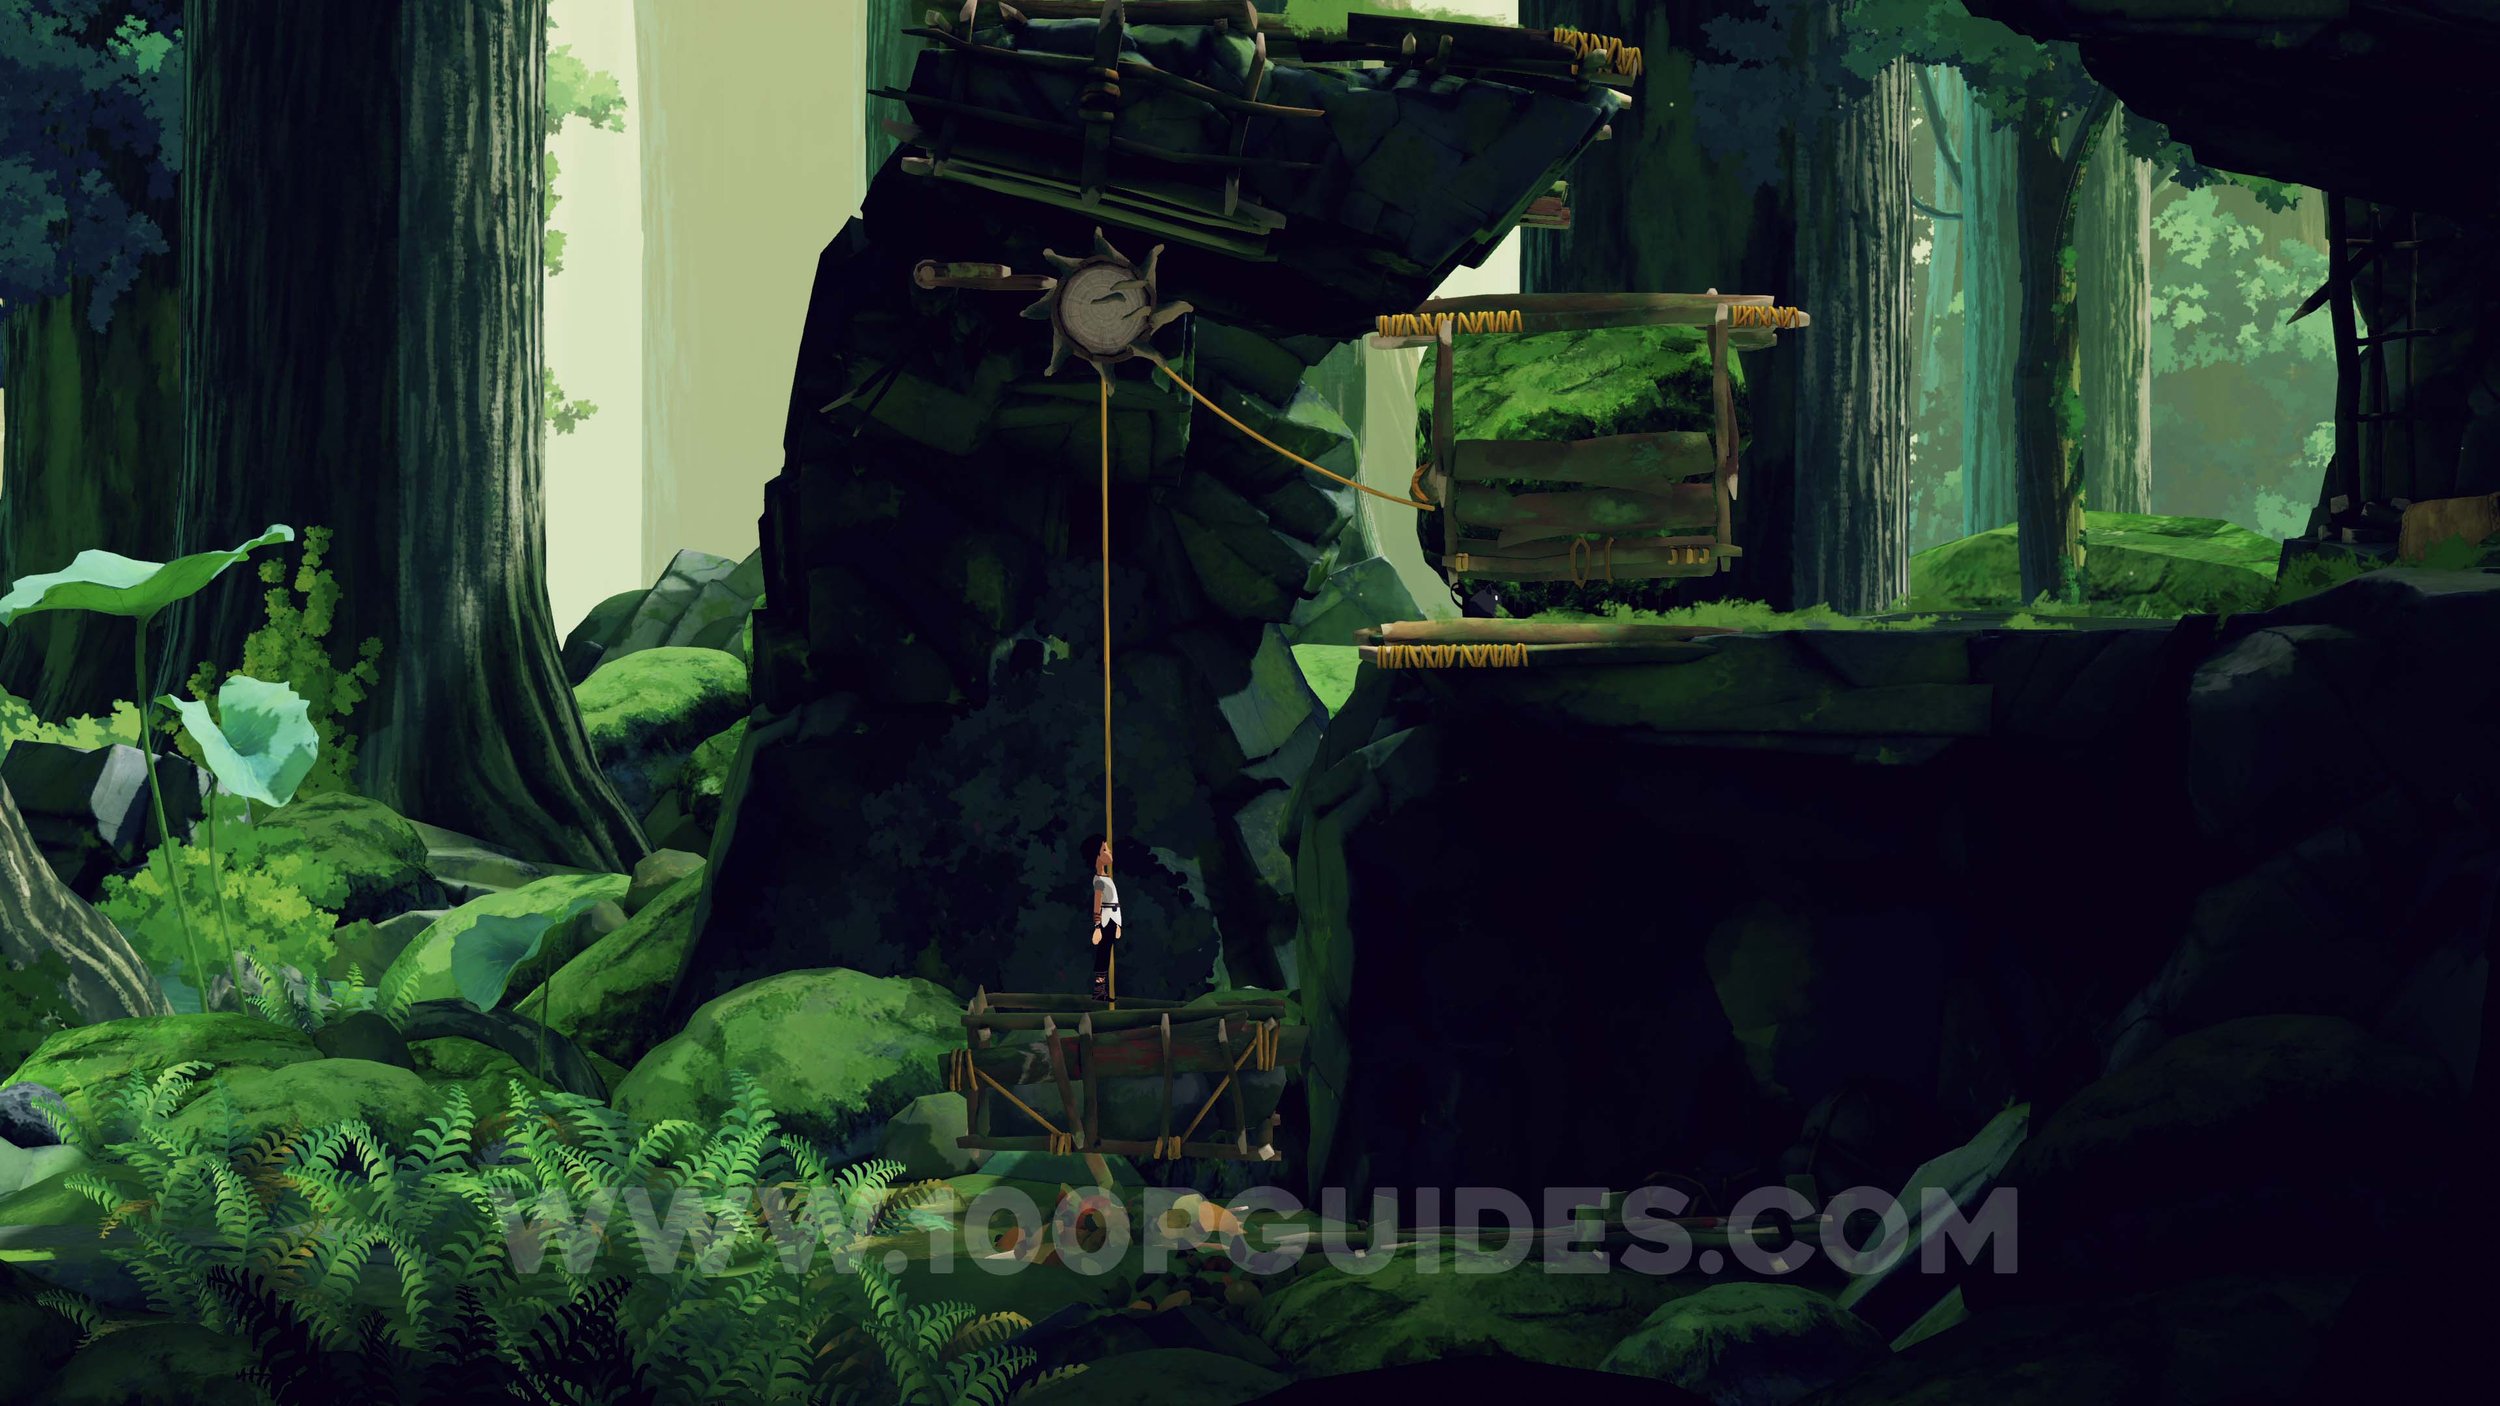
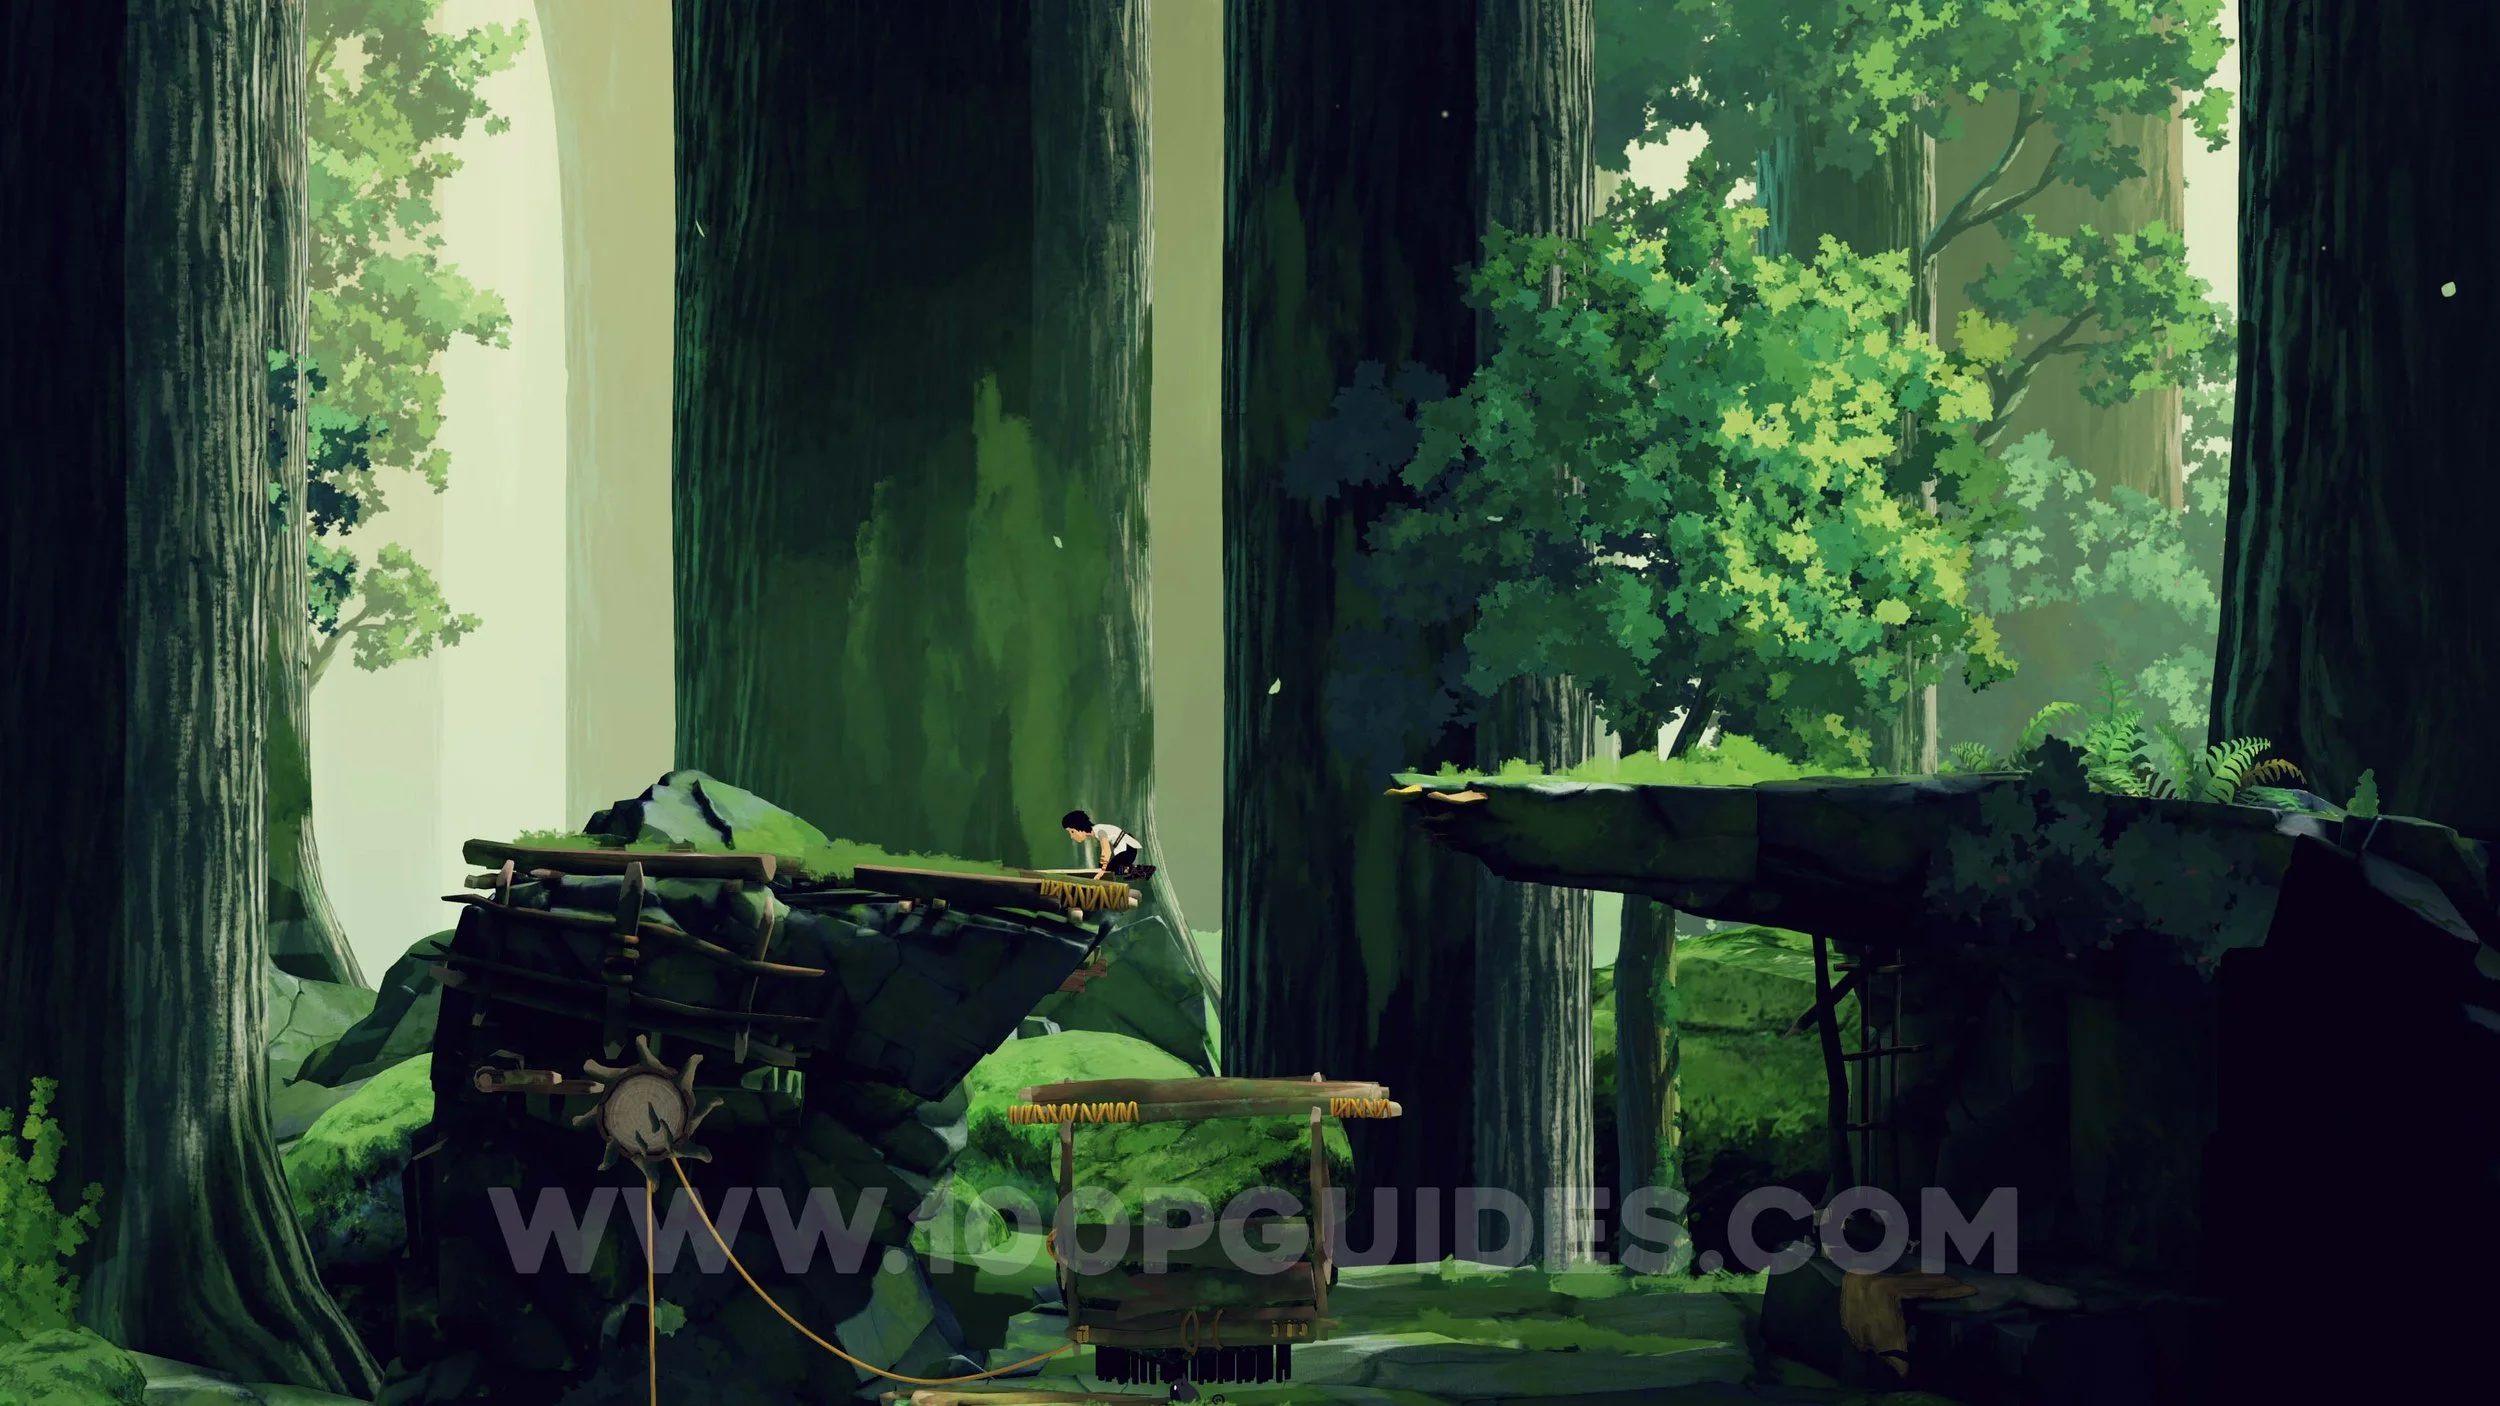
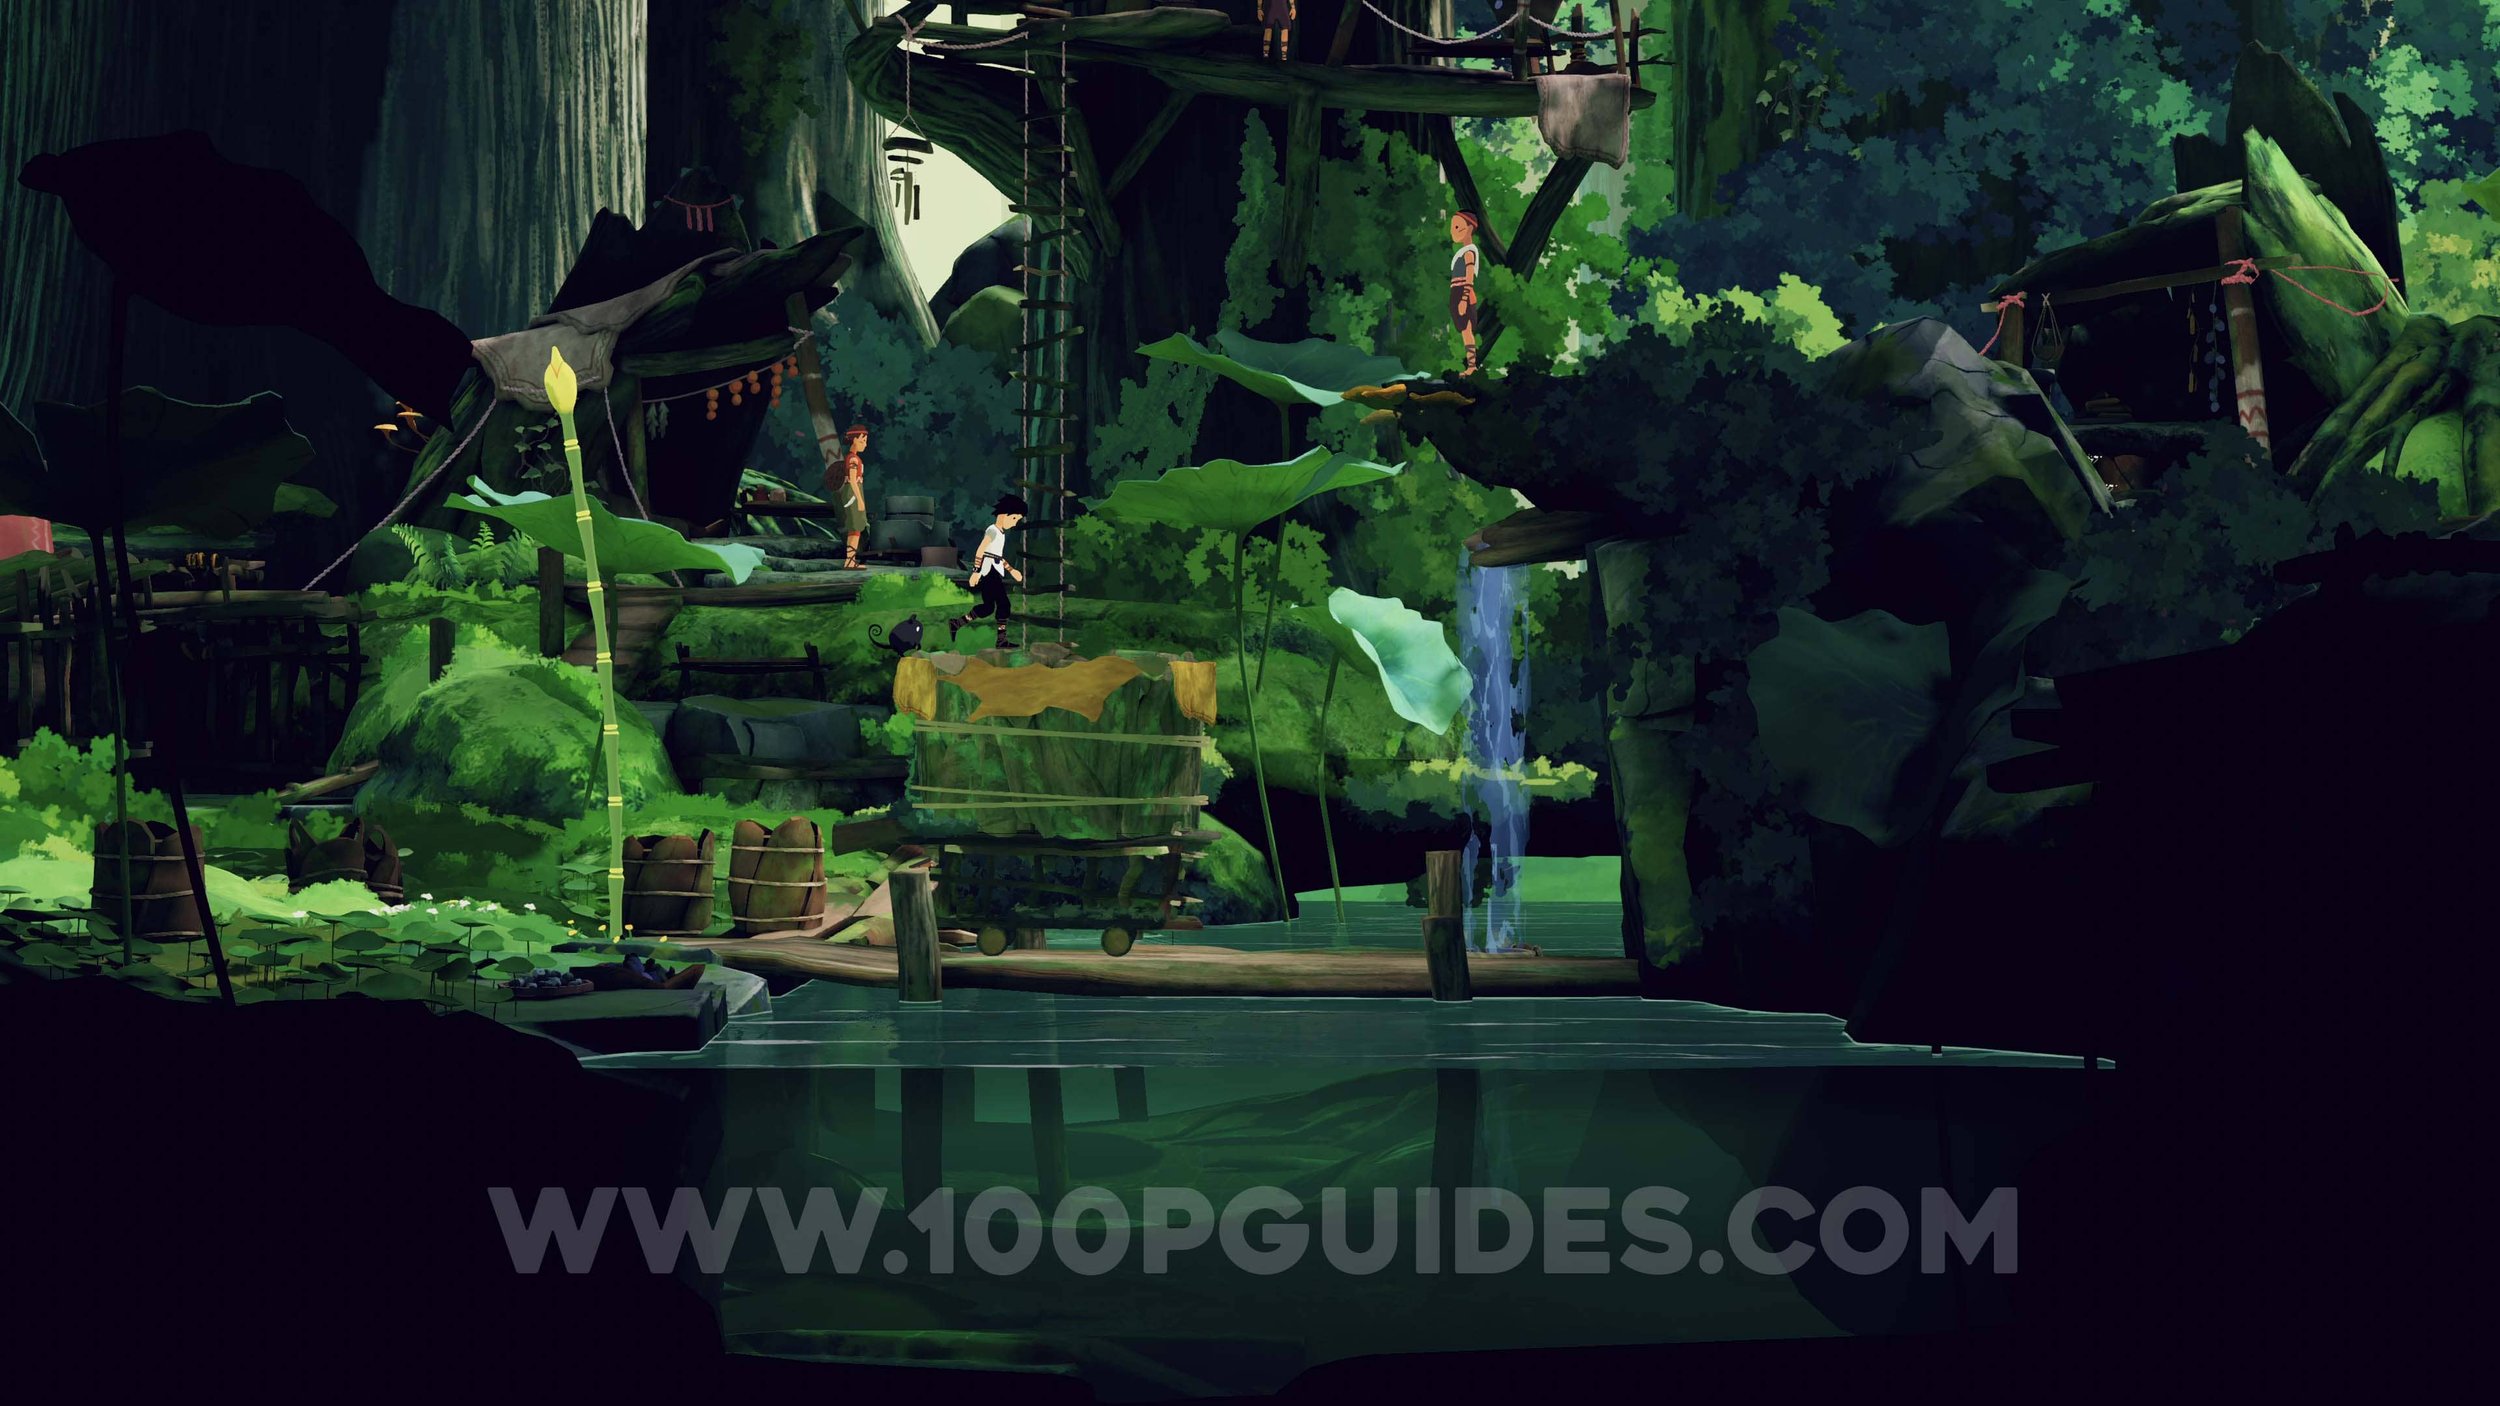
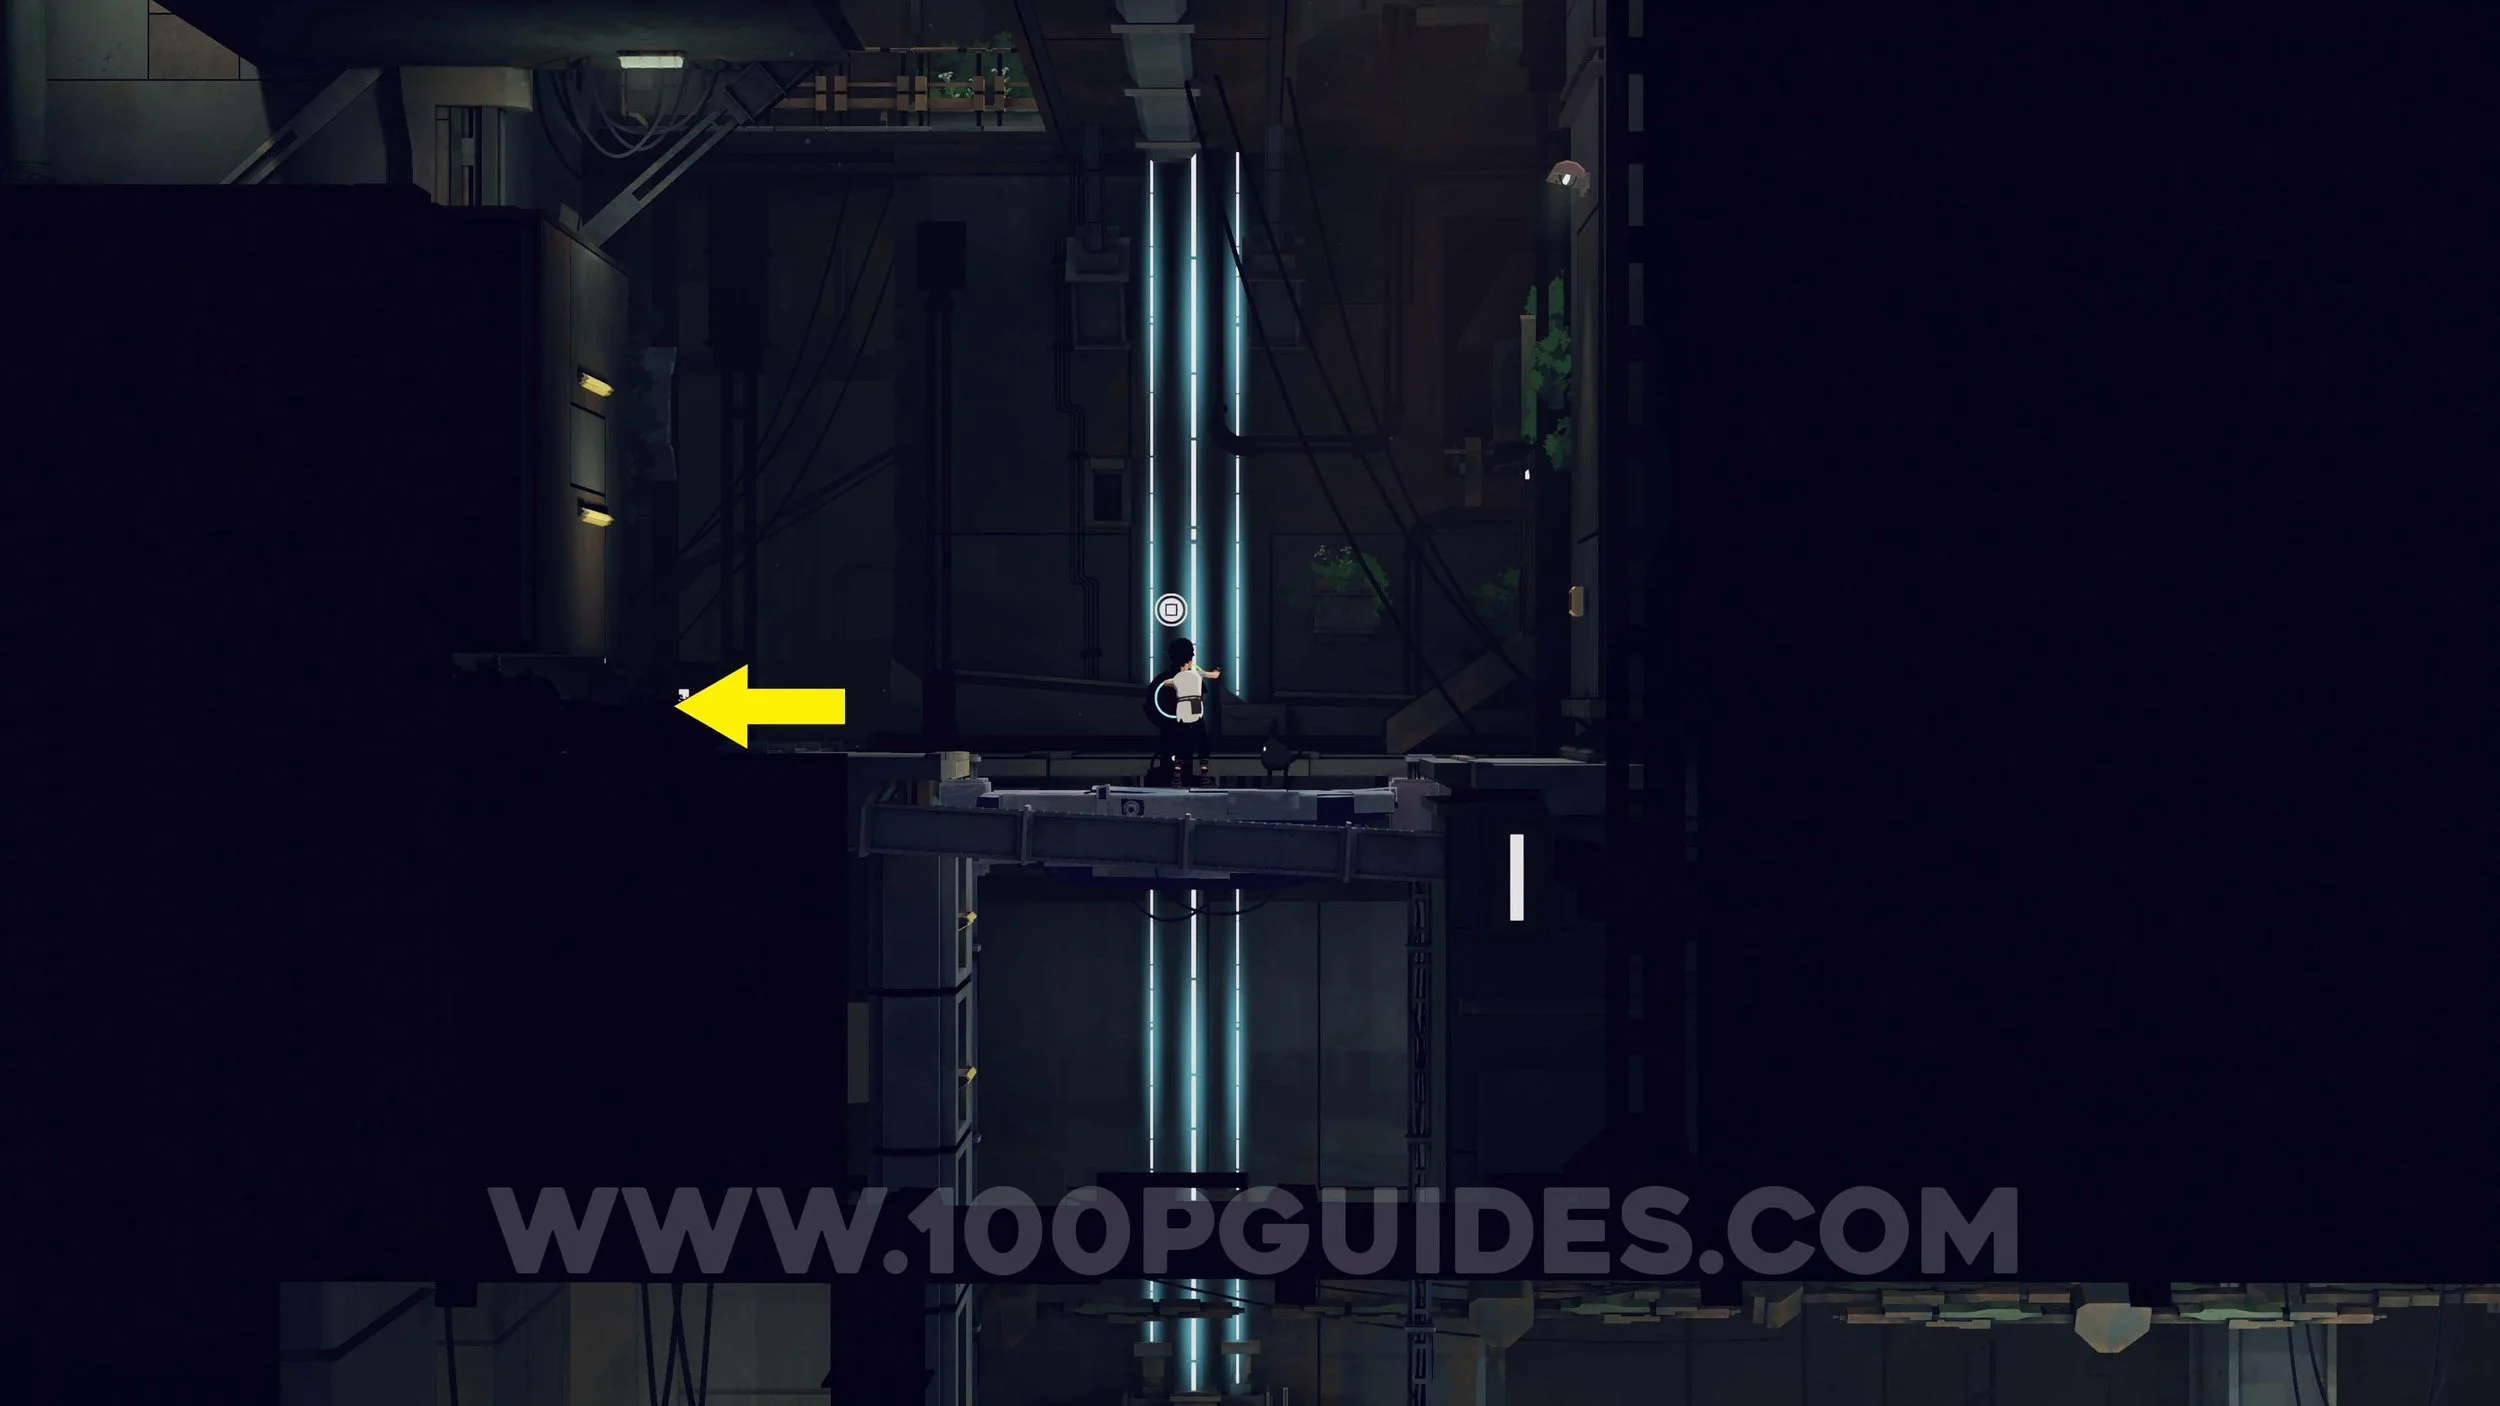
In the next area, you will encounter another enemy. Swing across the rope, then quickly run to the right and climb up to the switch. Press it to turn on the light beneath the platform where Anua is standing. Use the upper beam to cross over to Anua’s platform and drop down on the left side of the light. Grab the platform and push it to the right so Anua can cross safely. Then climb the rope and swing onto the movable platform to continue right.
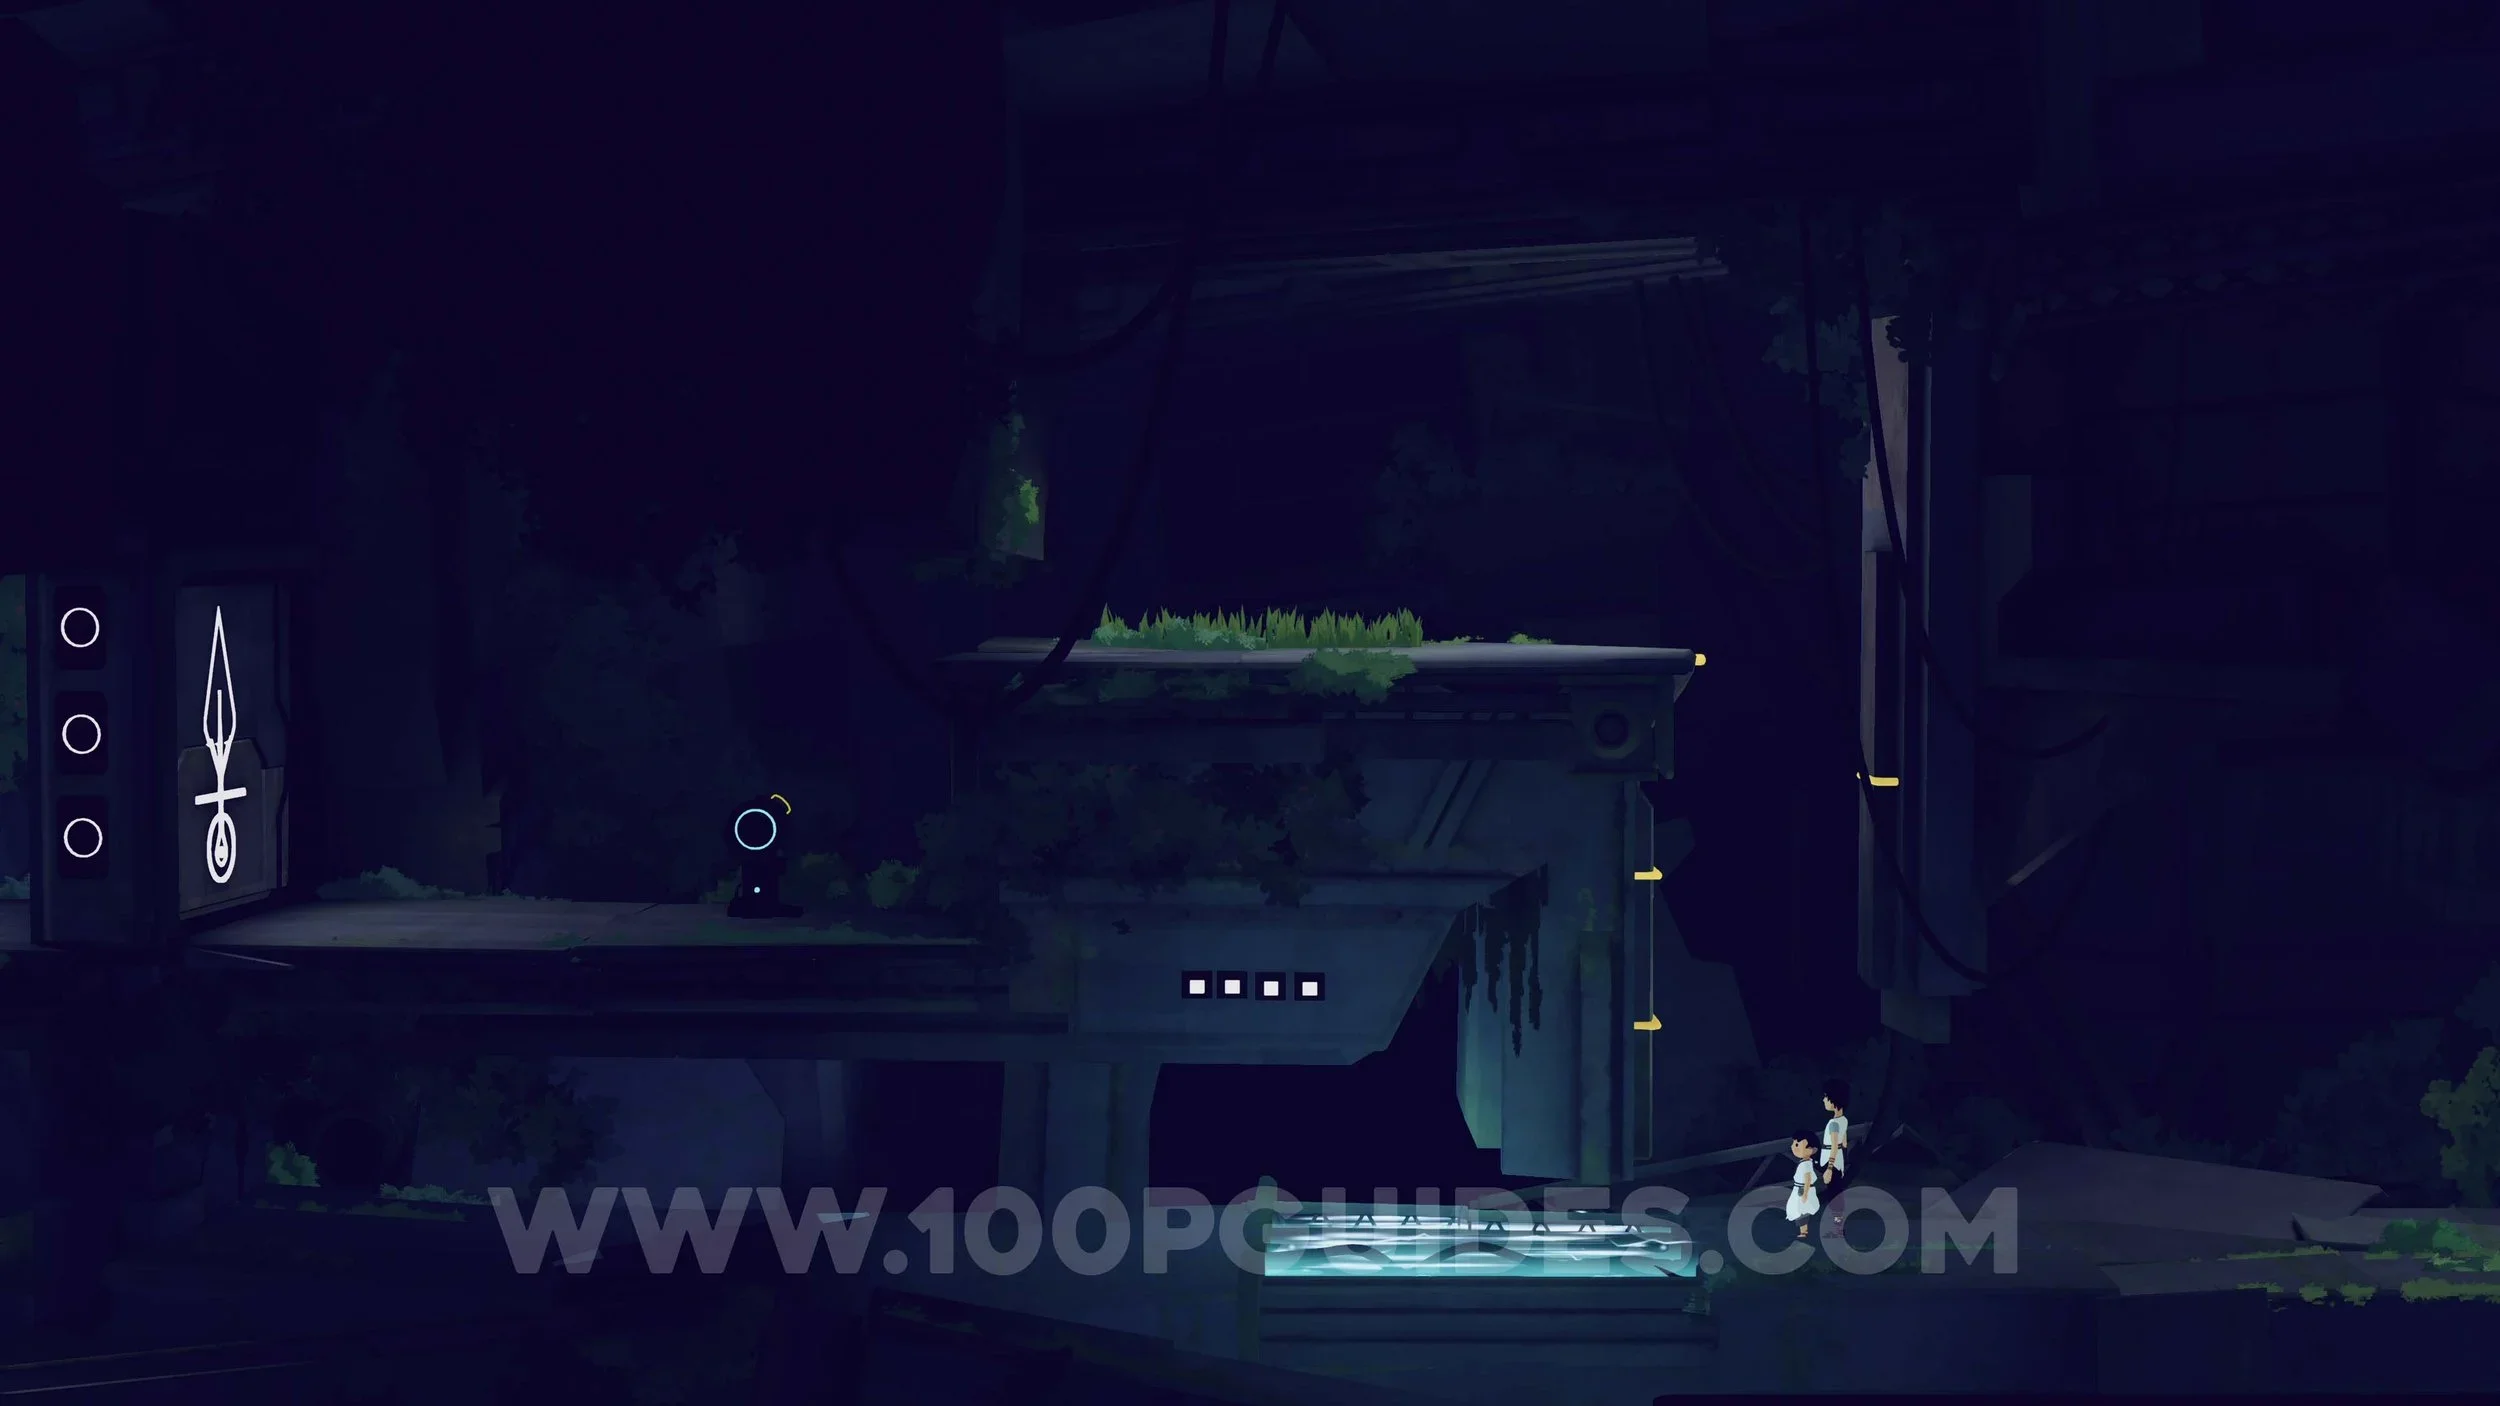
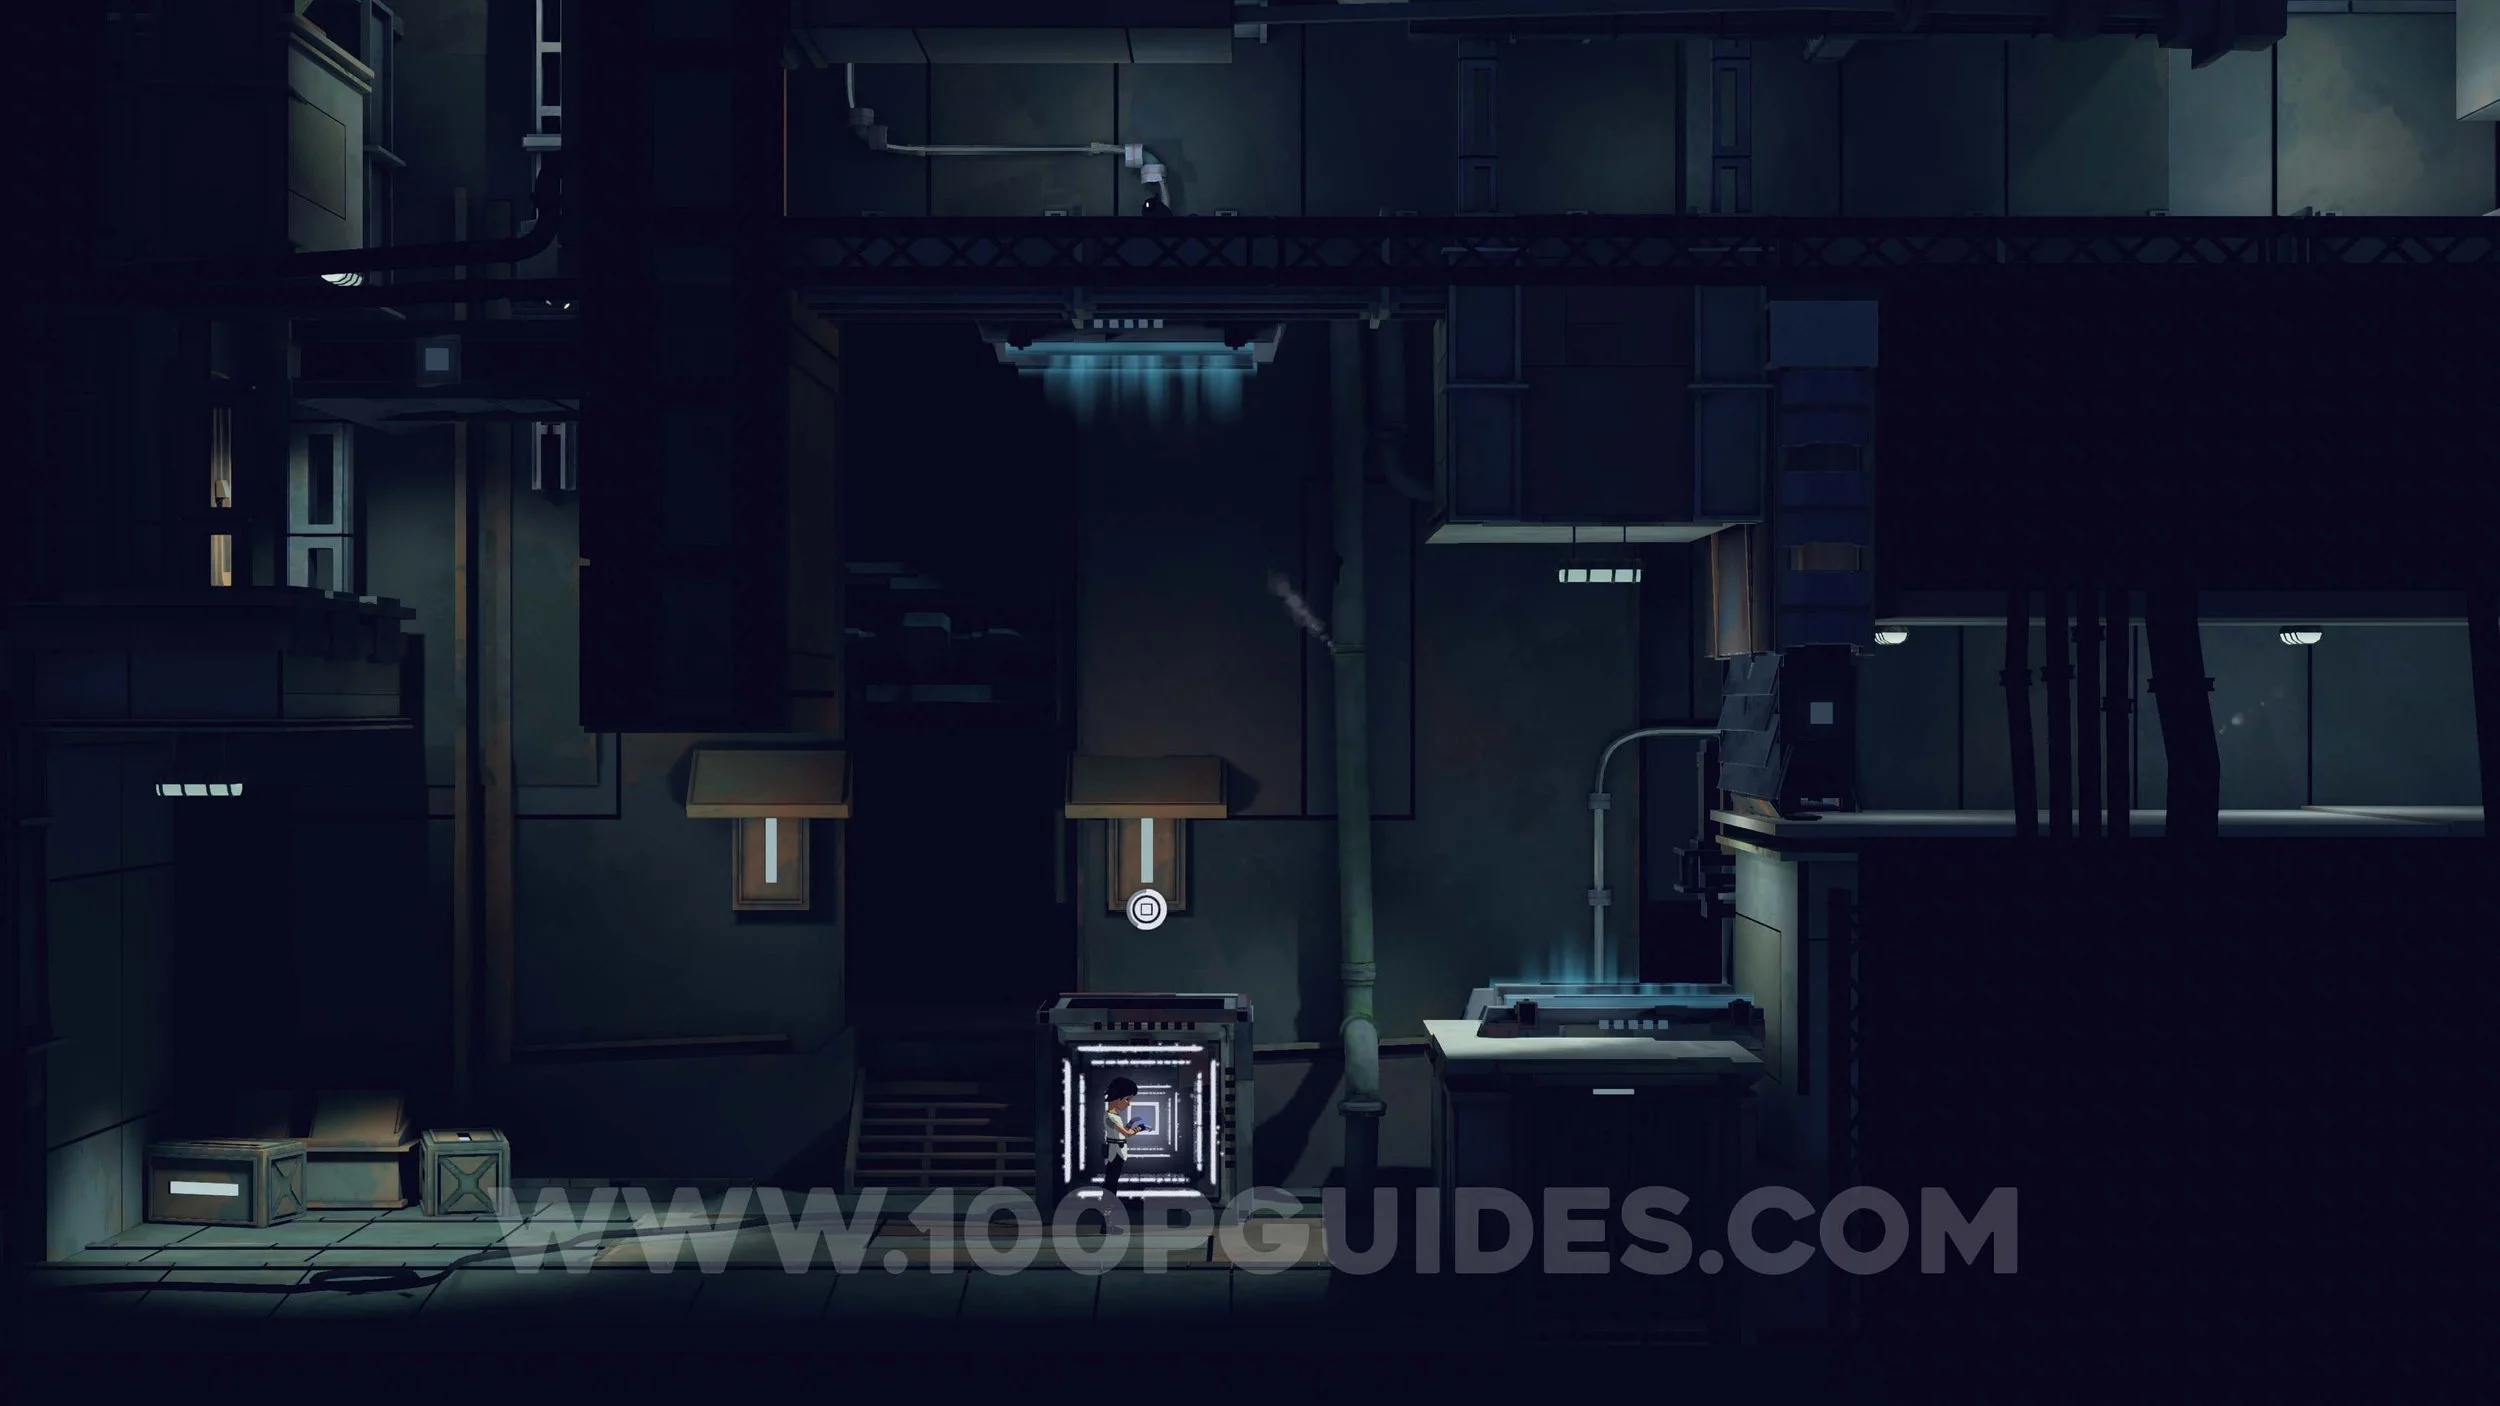
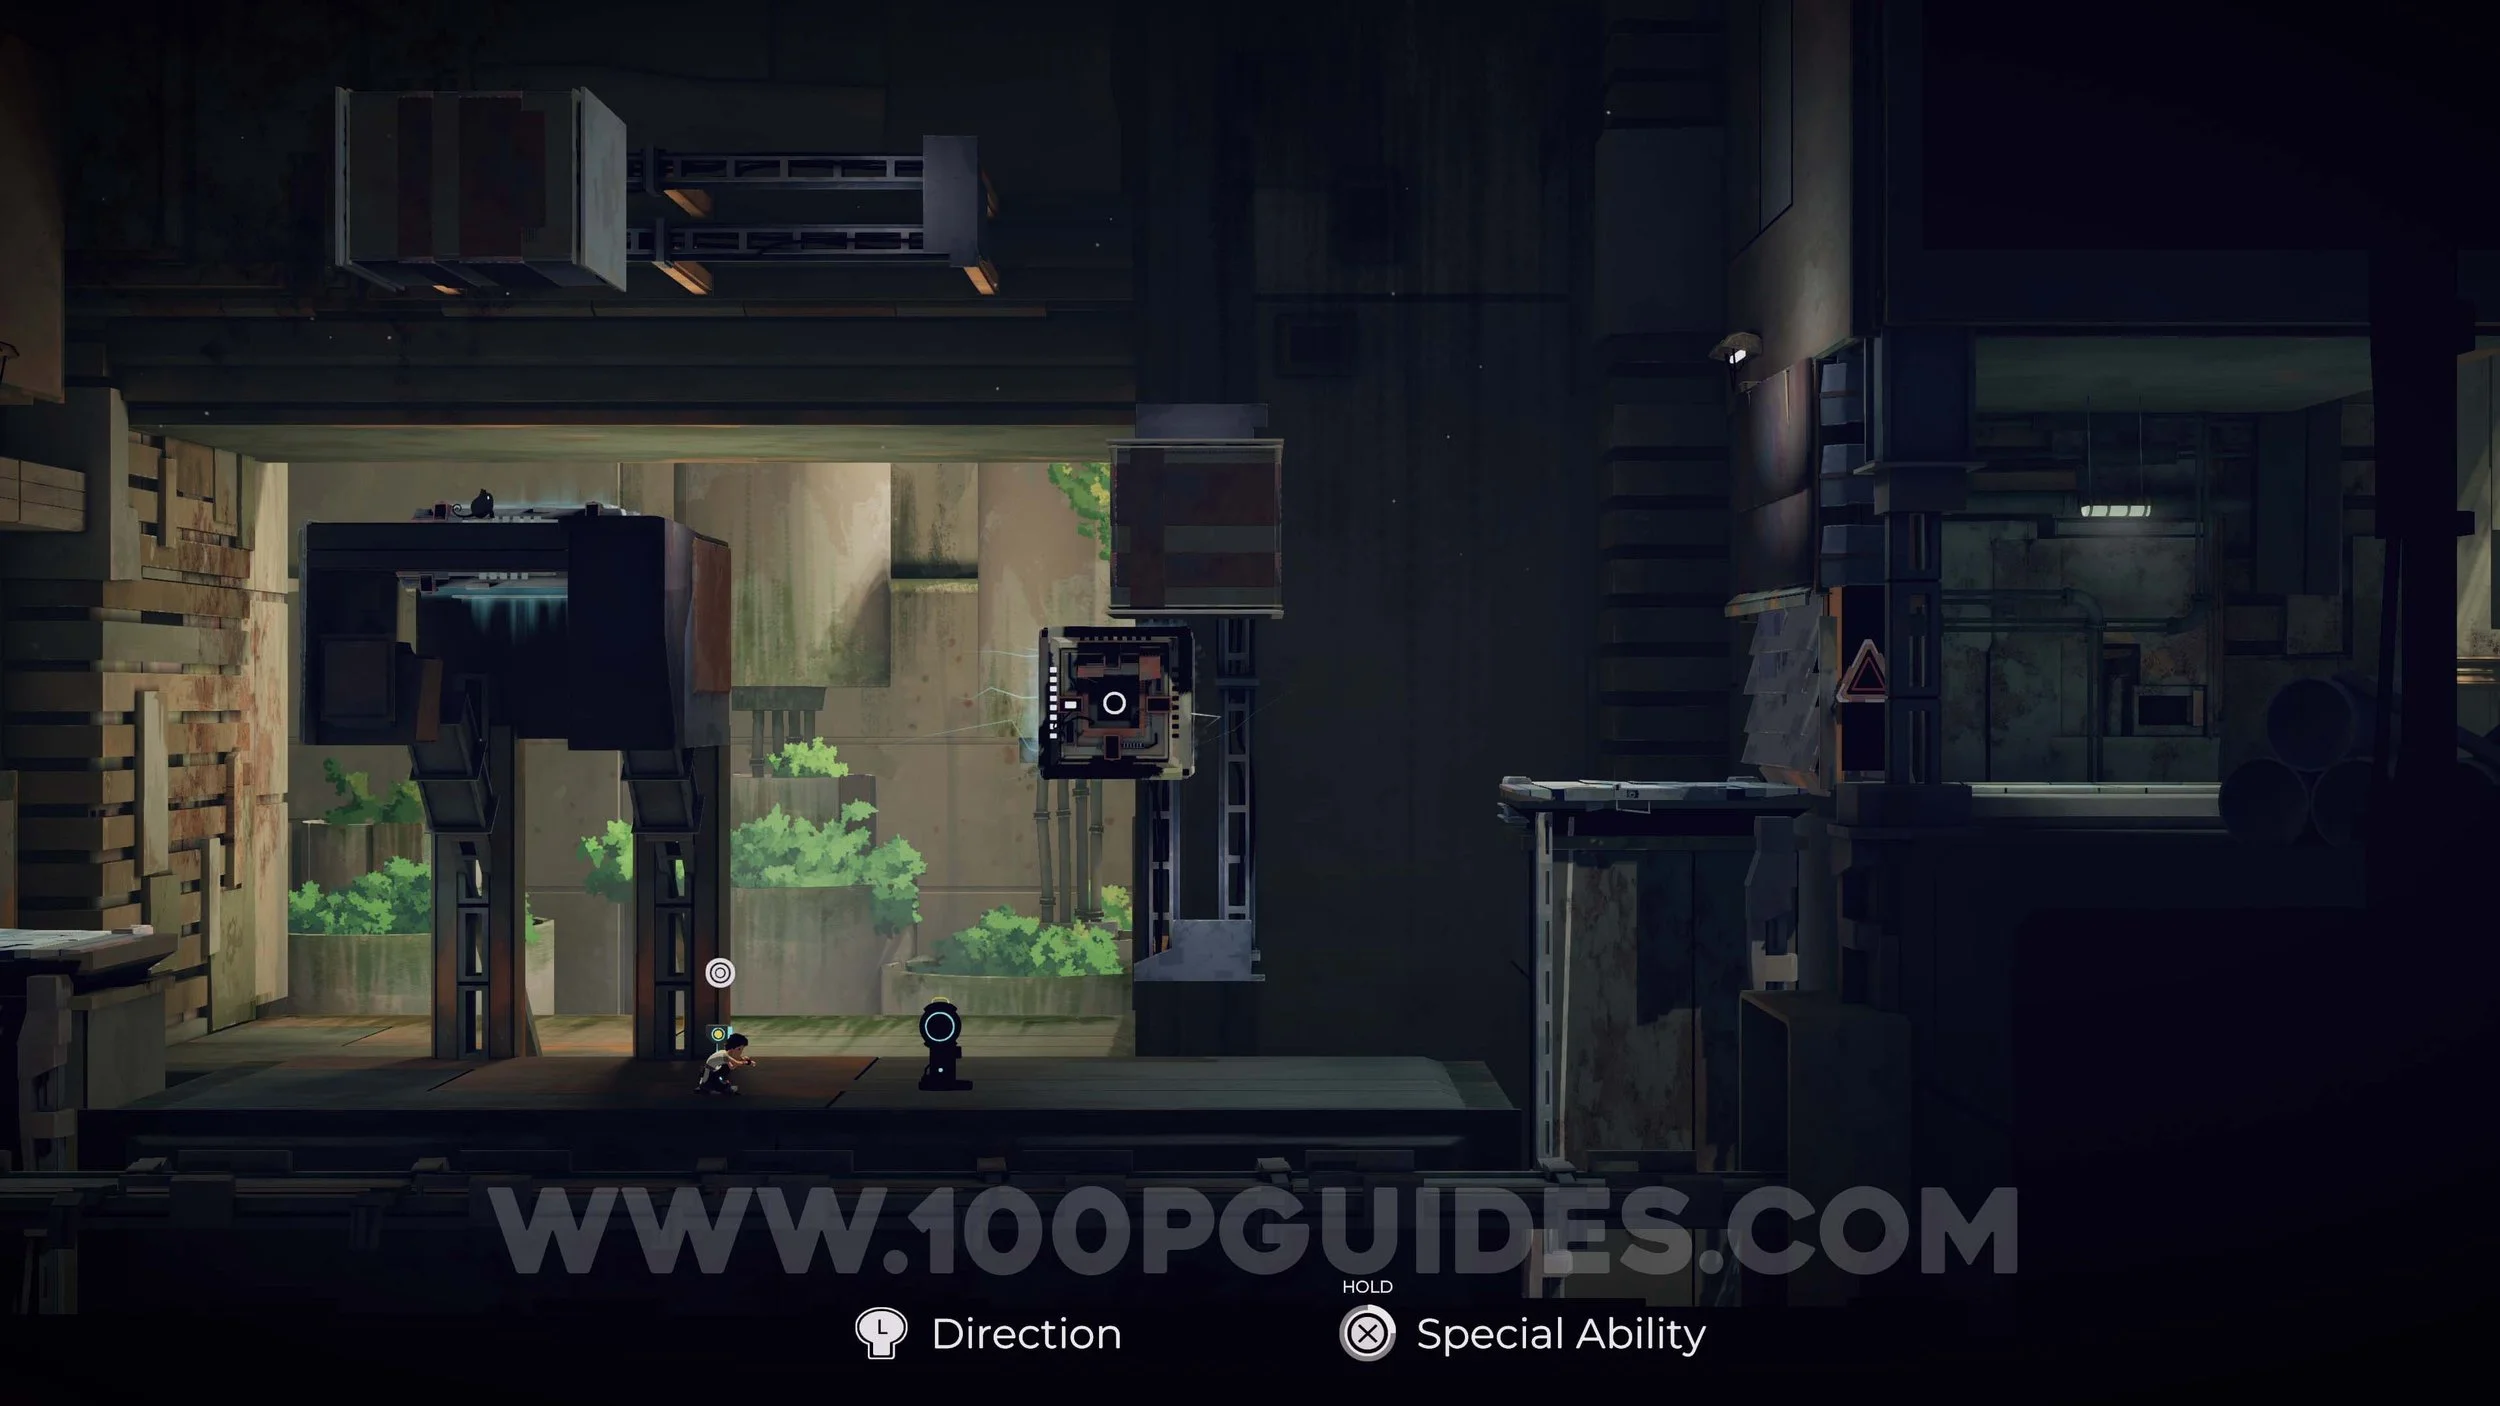
You will now take control of Mui and learn Mui’s controls. You can command Mui by pressing R1. In the first room, send Mui to the switch and press Triangle. Continue left until you reach an electric box, then hold Triangle near it to activate it and open the door. Jump up to the next platform with another electric box and use Triangle to turn off the electricity. This allows Mui to jump down to the rope and separate it. Once the platform moves all the way to the right, use it to jump up and continue left.
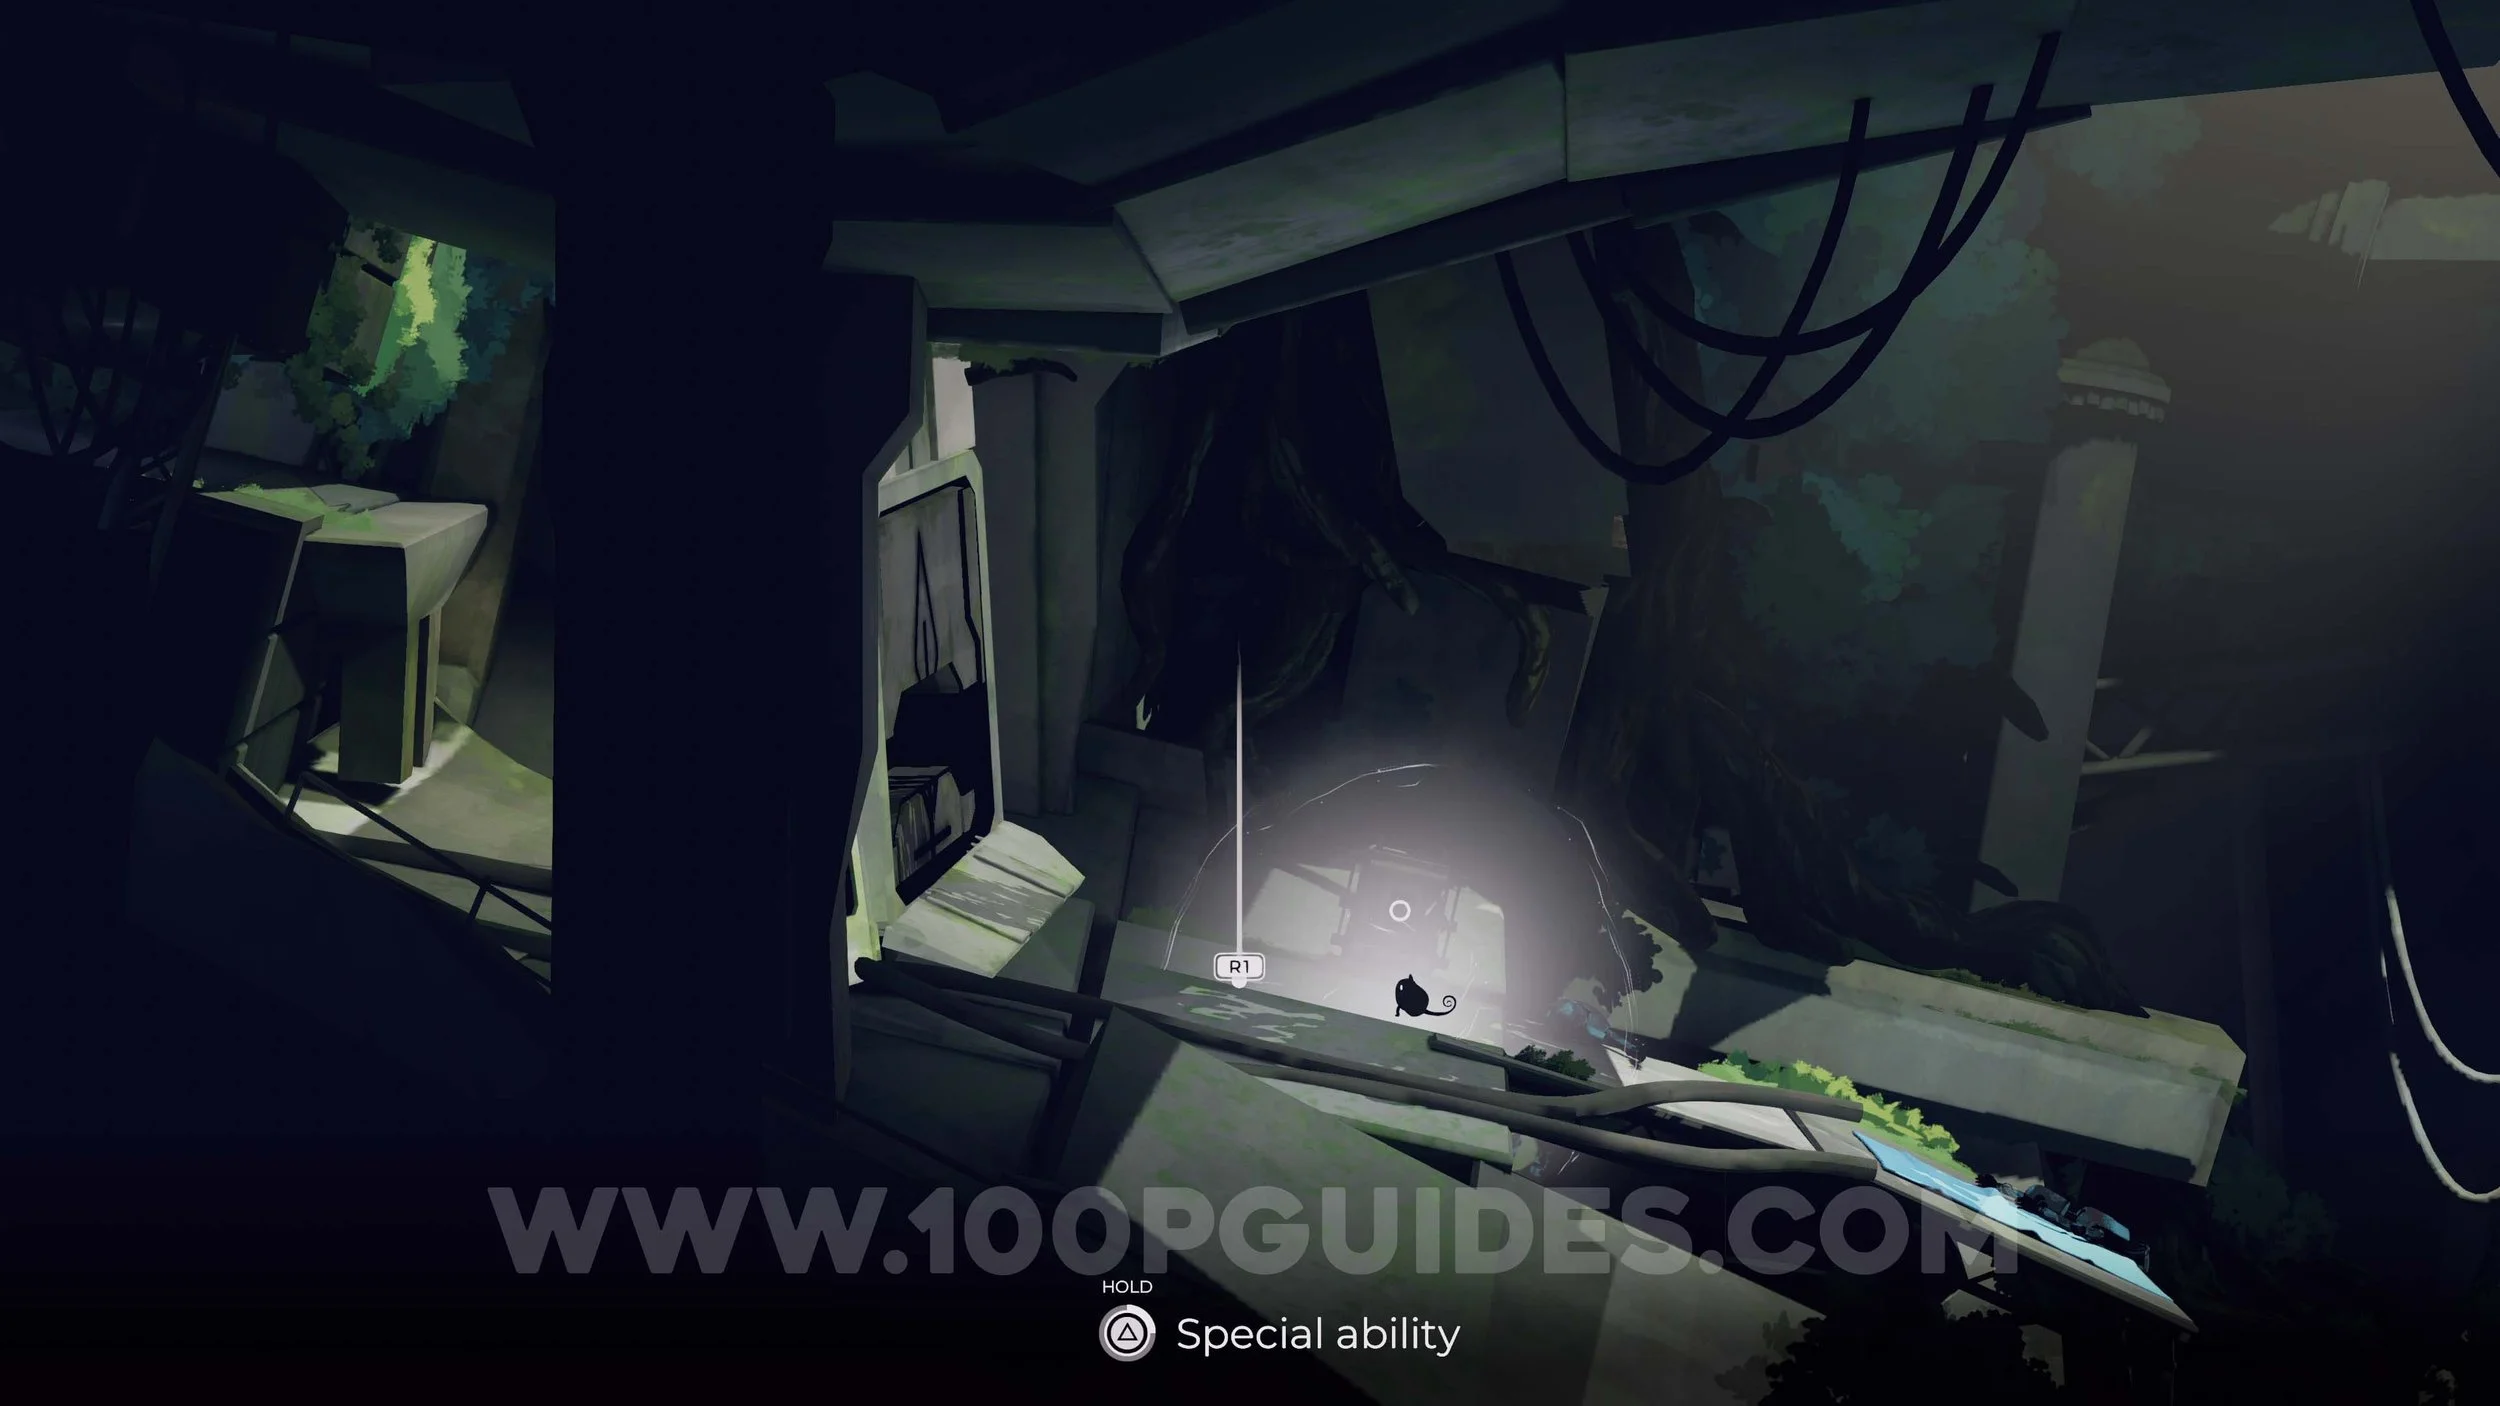
In the next room, press the switch on the lift. Then, once at the top, press Triangle to activate the electric box that opens the door below. Press the switch again and jump through the door.
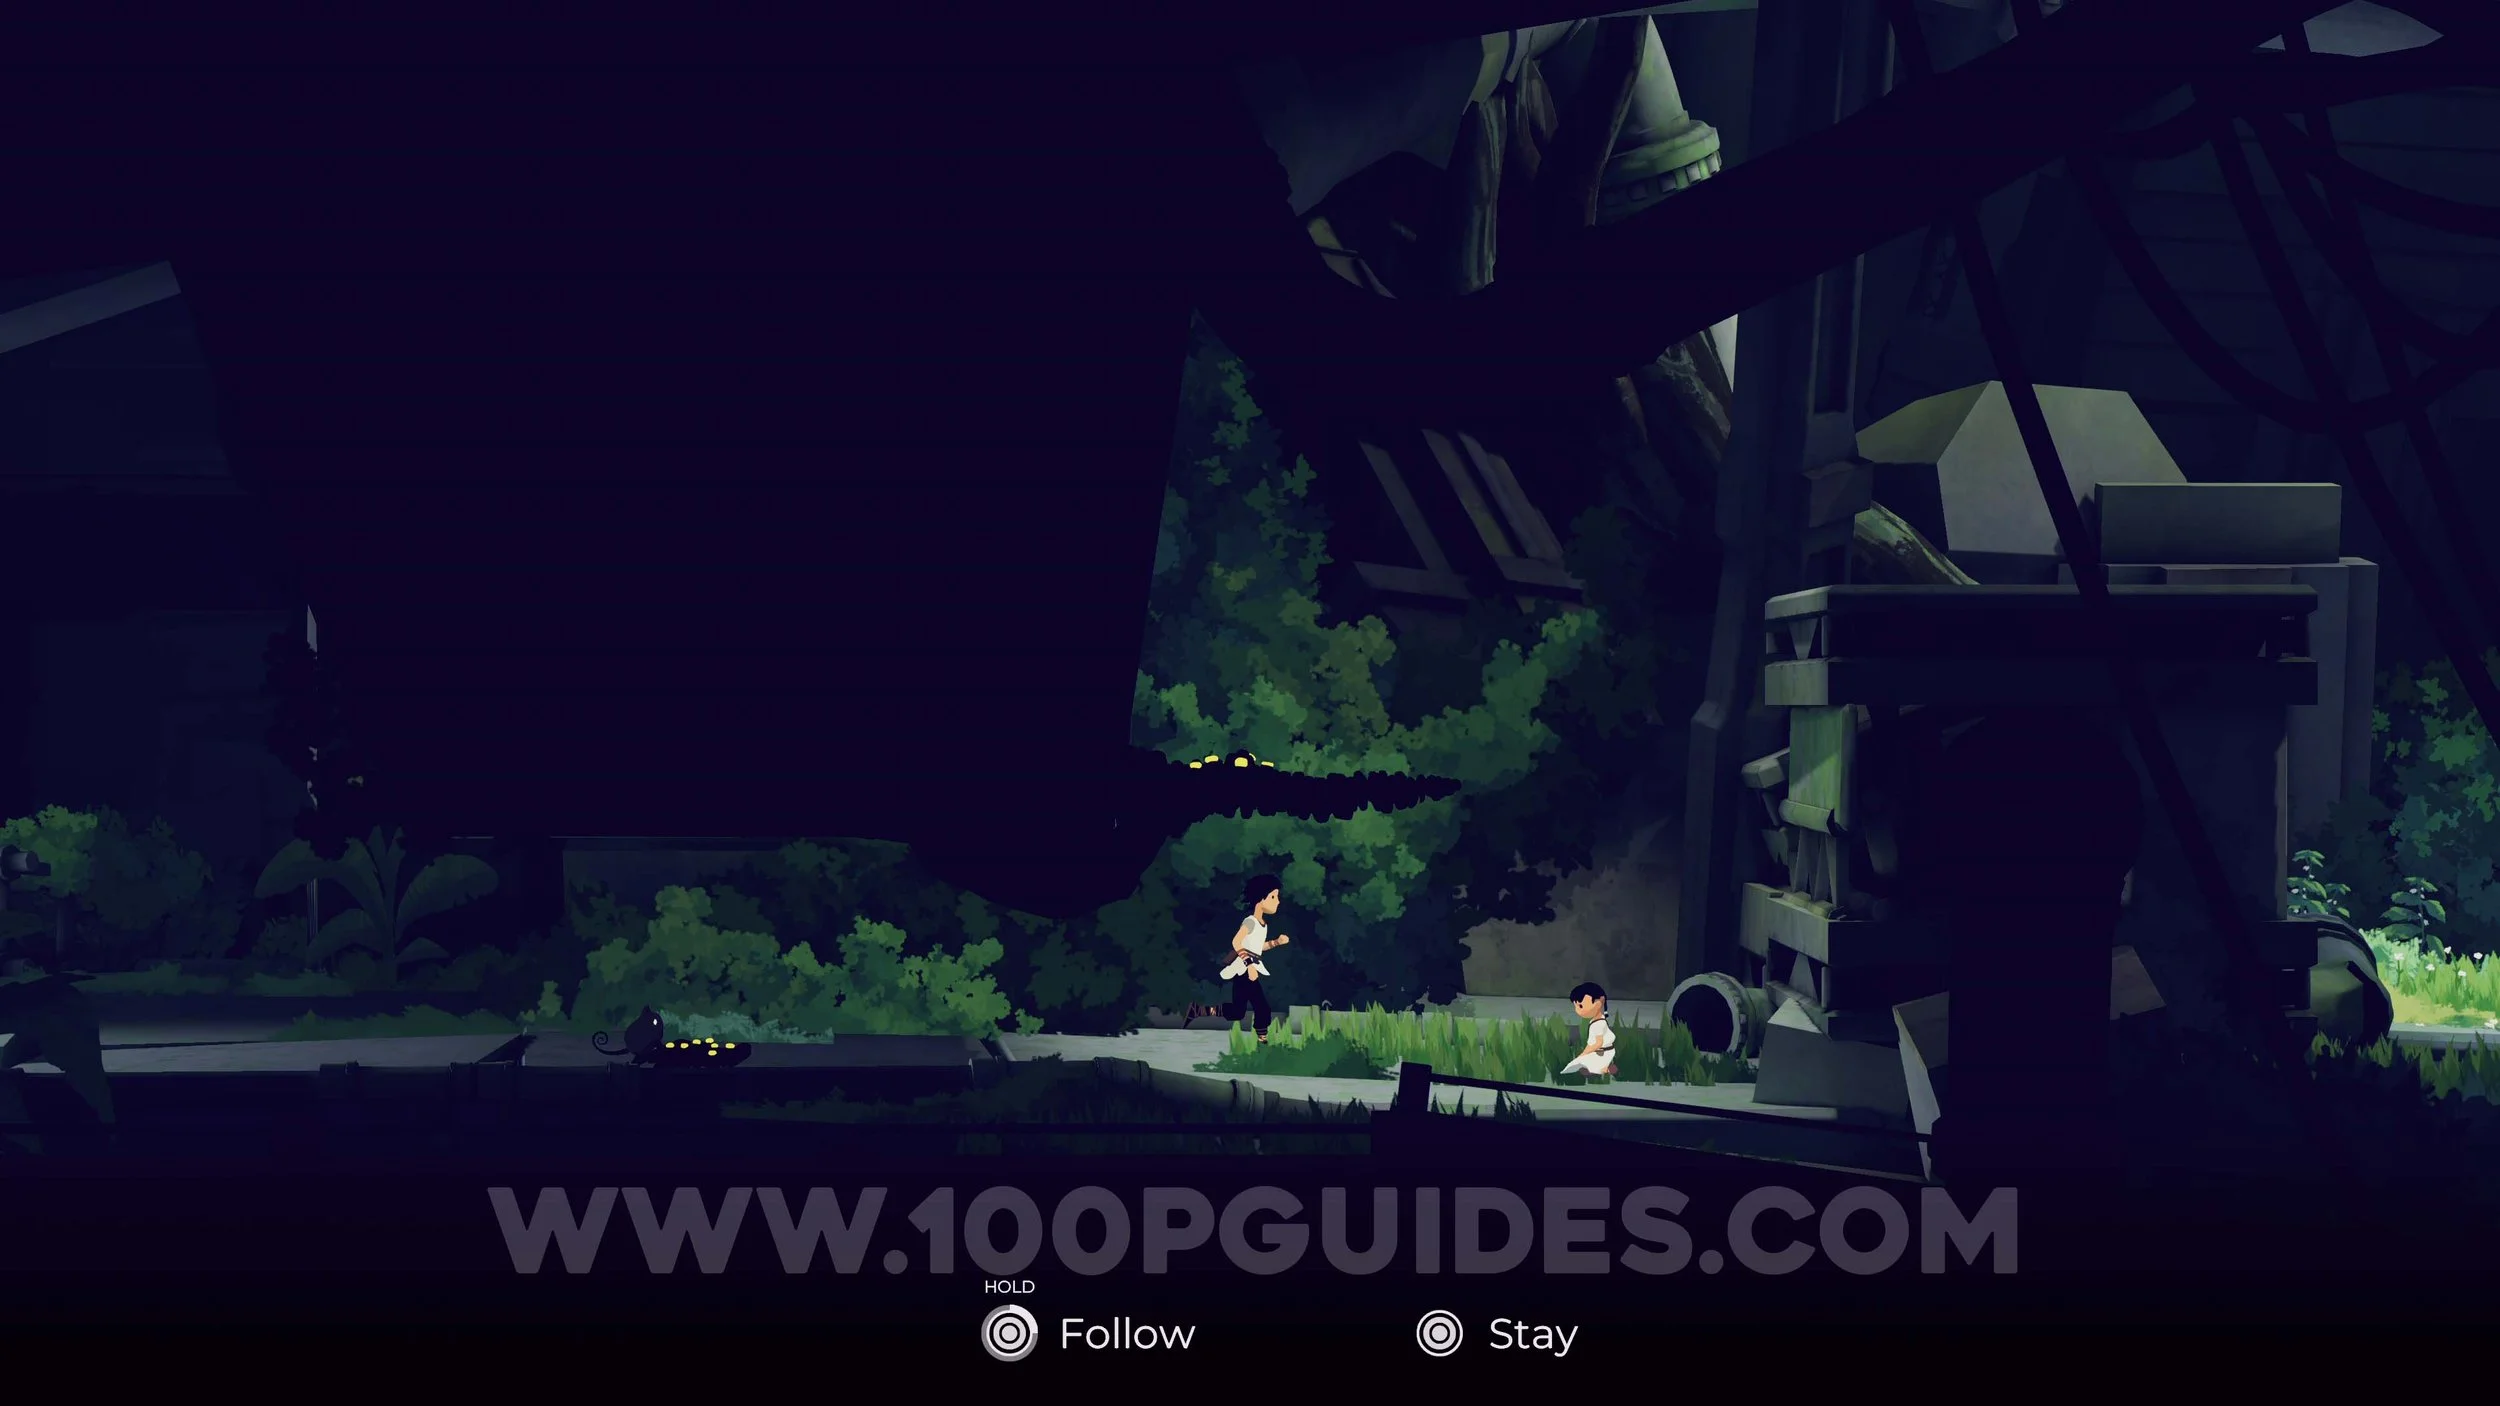
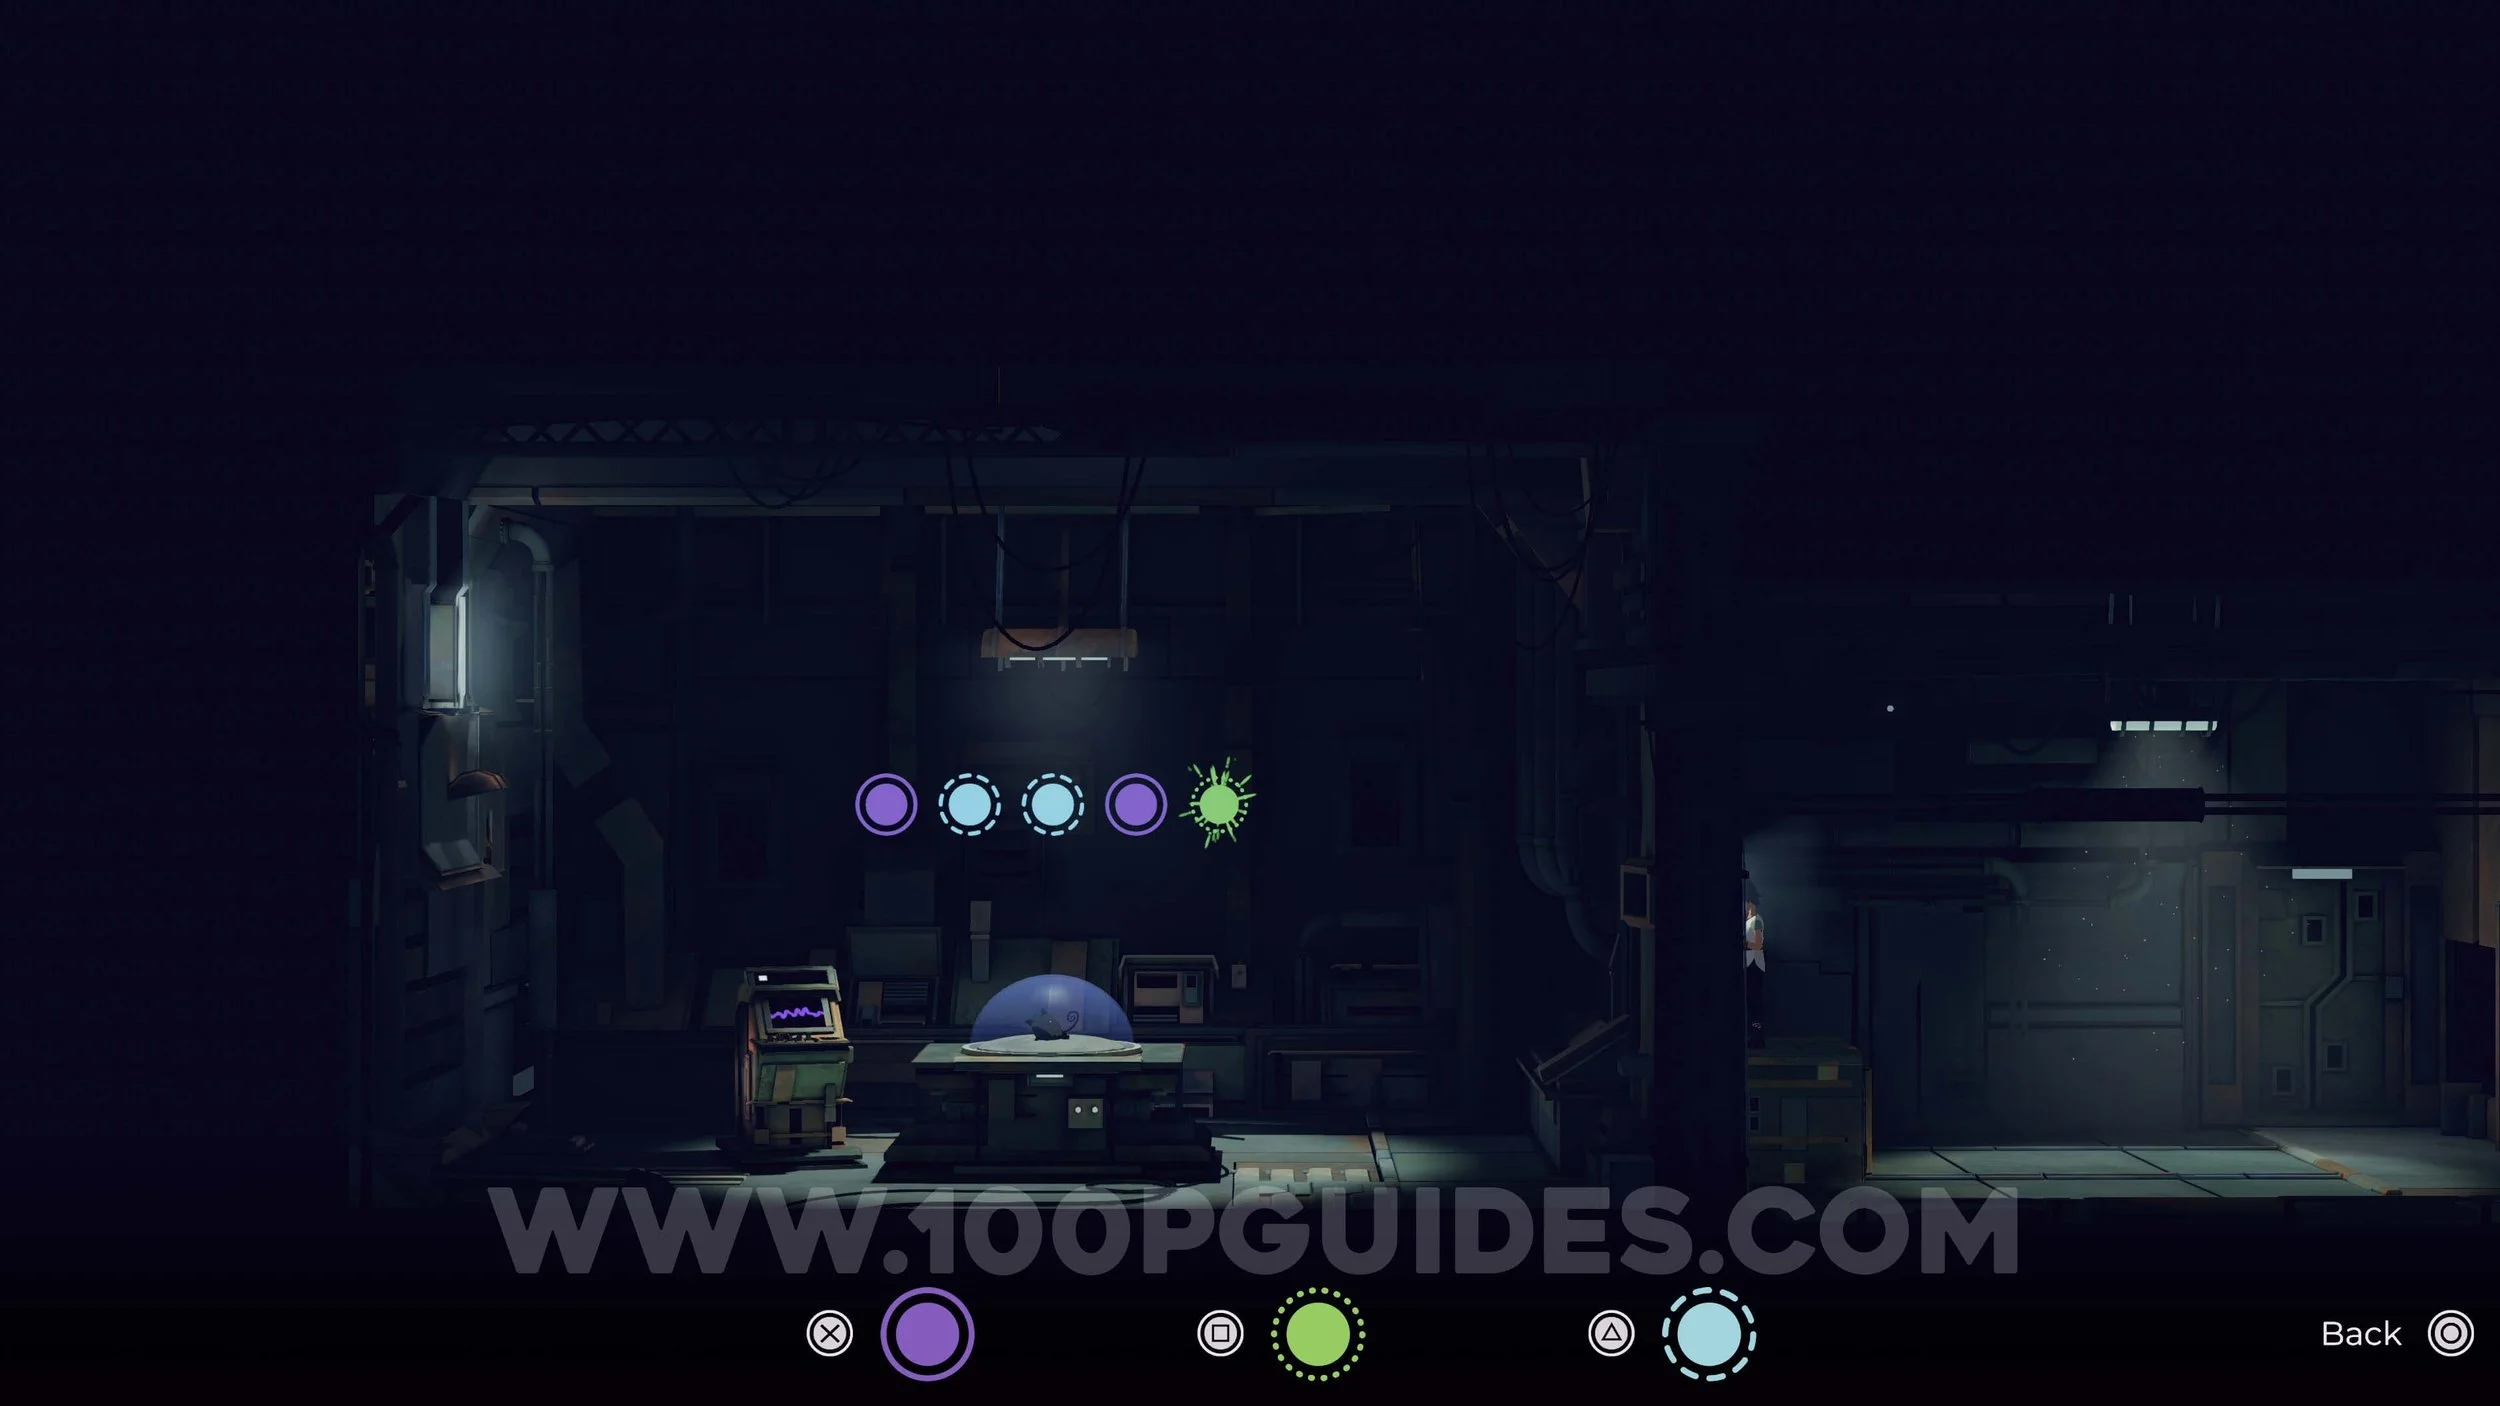
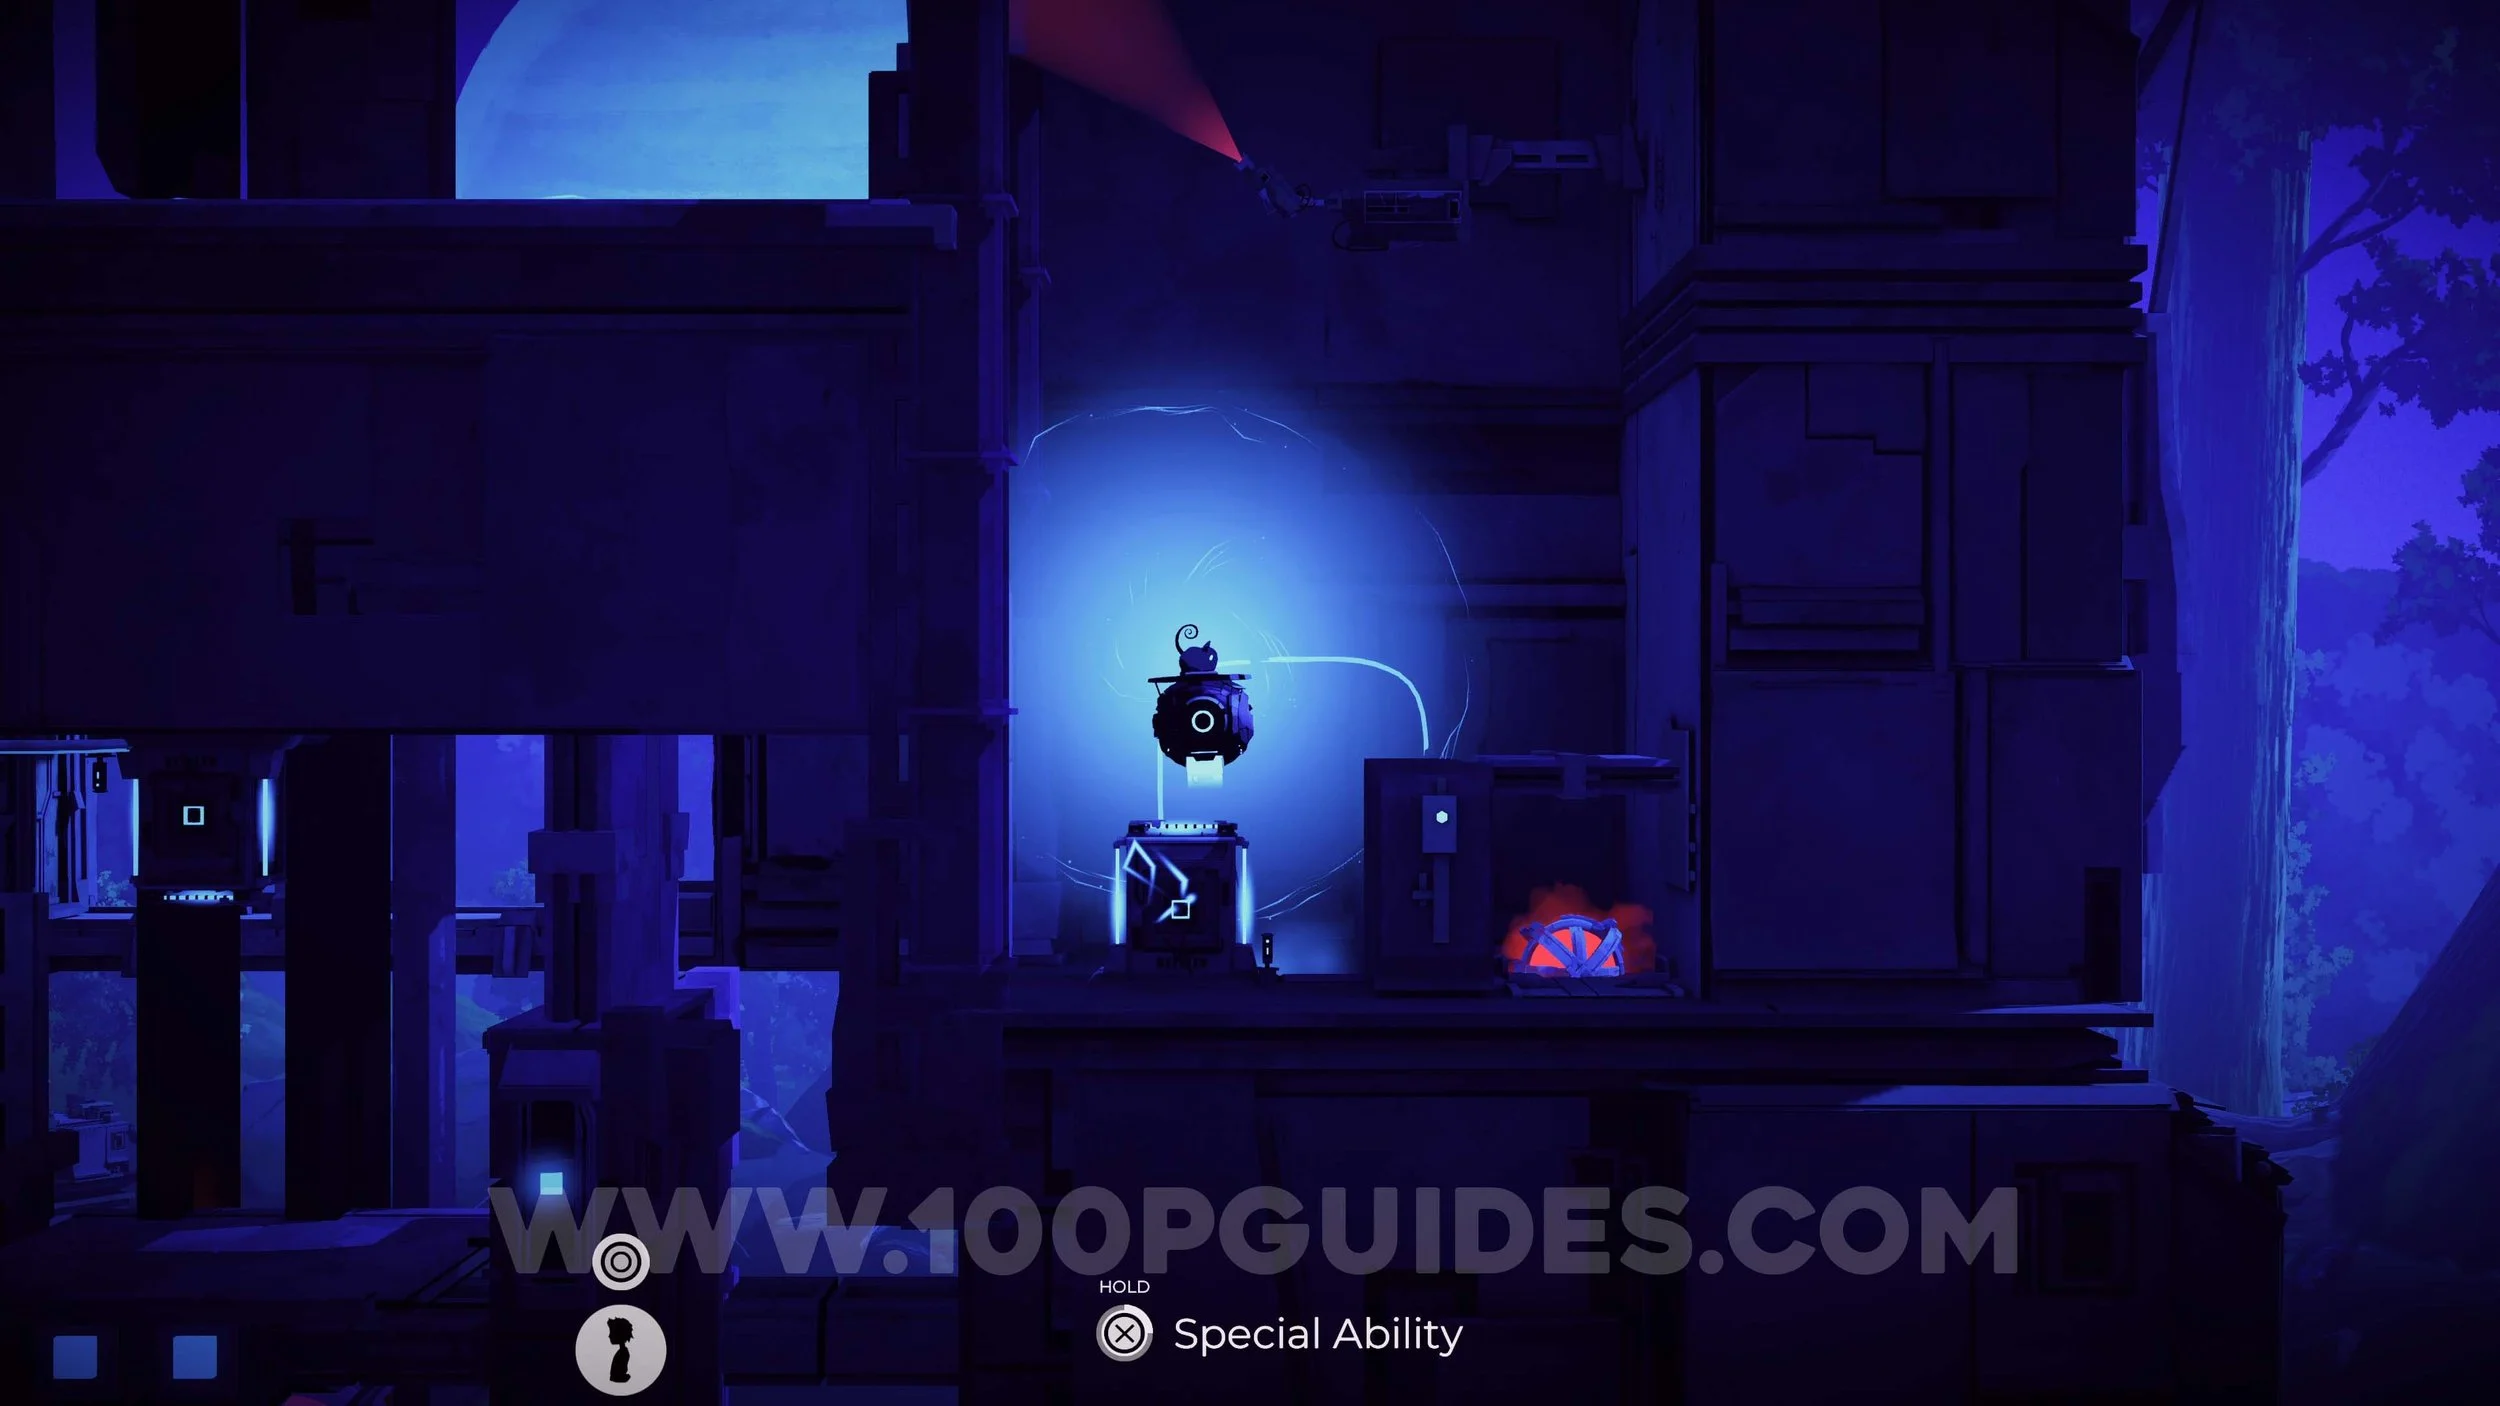
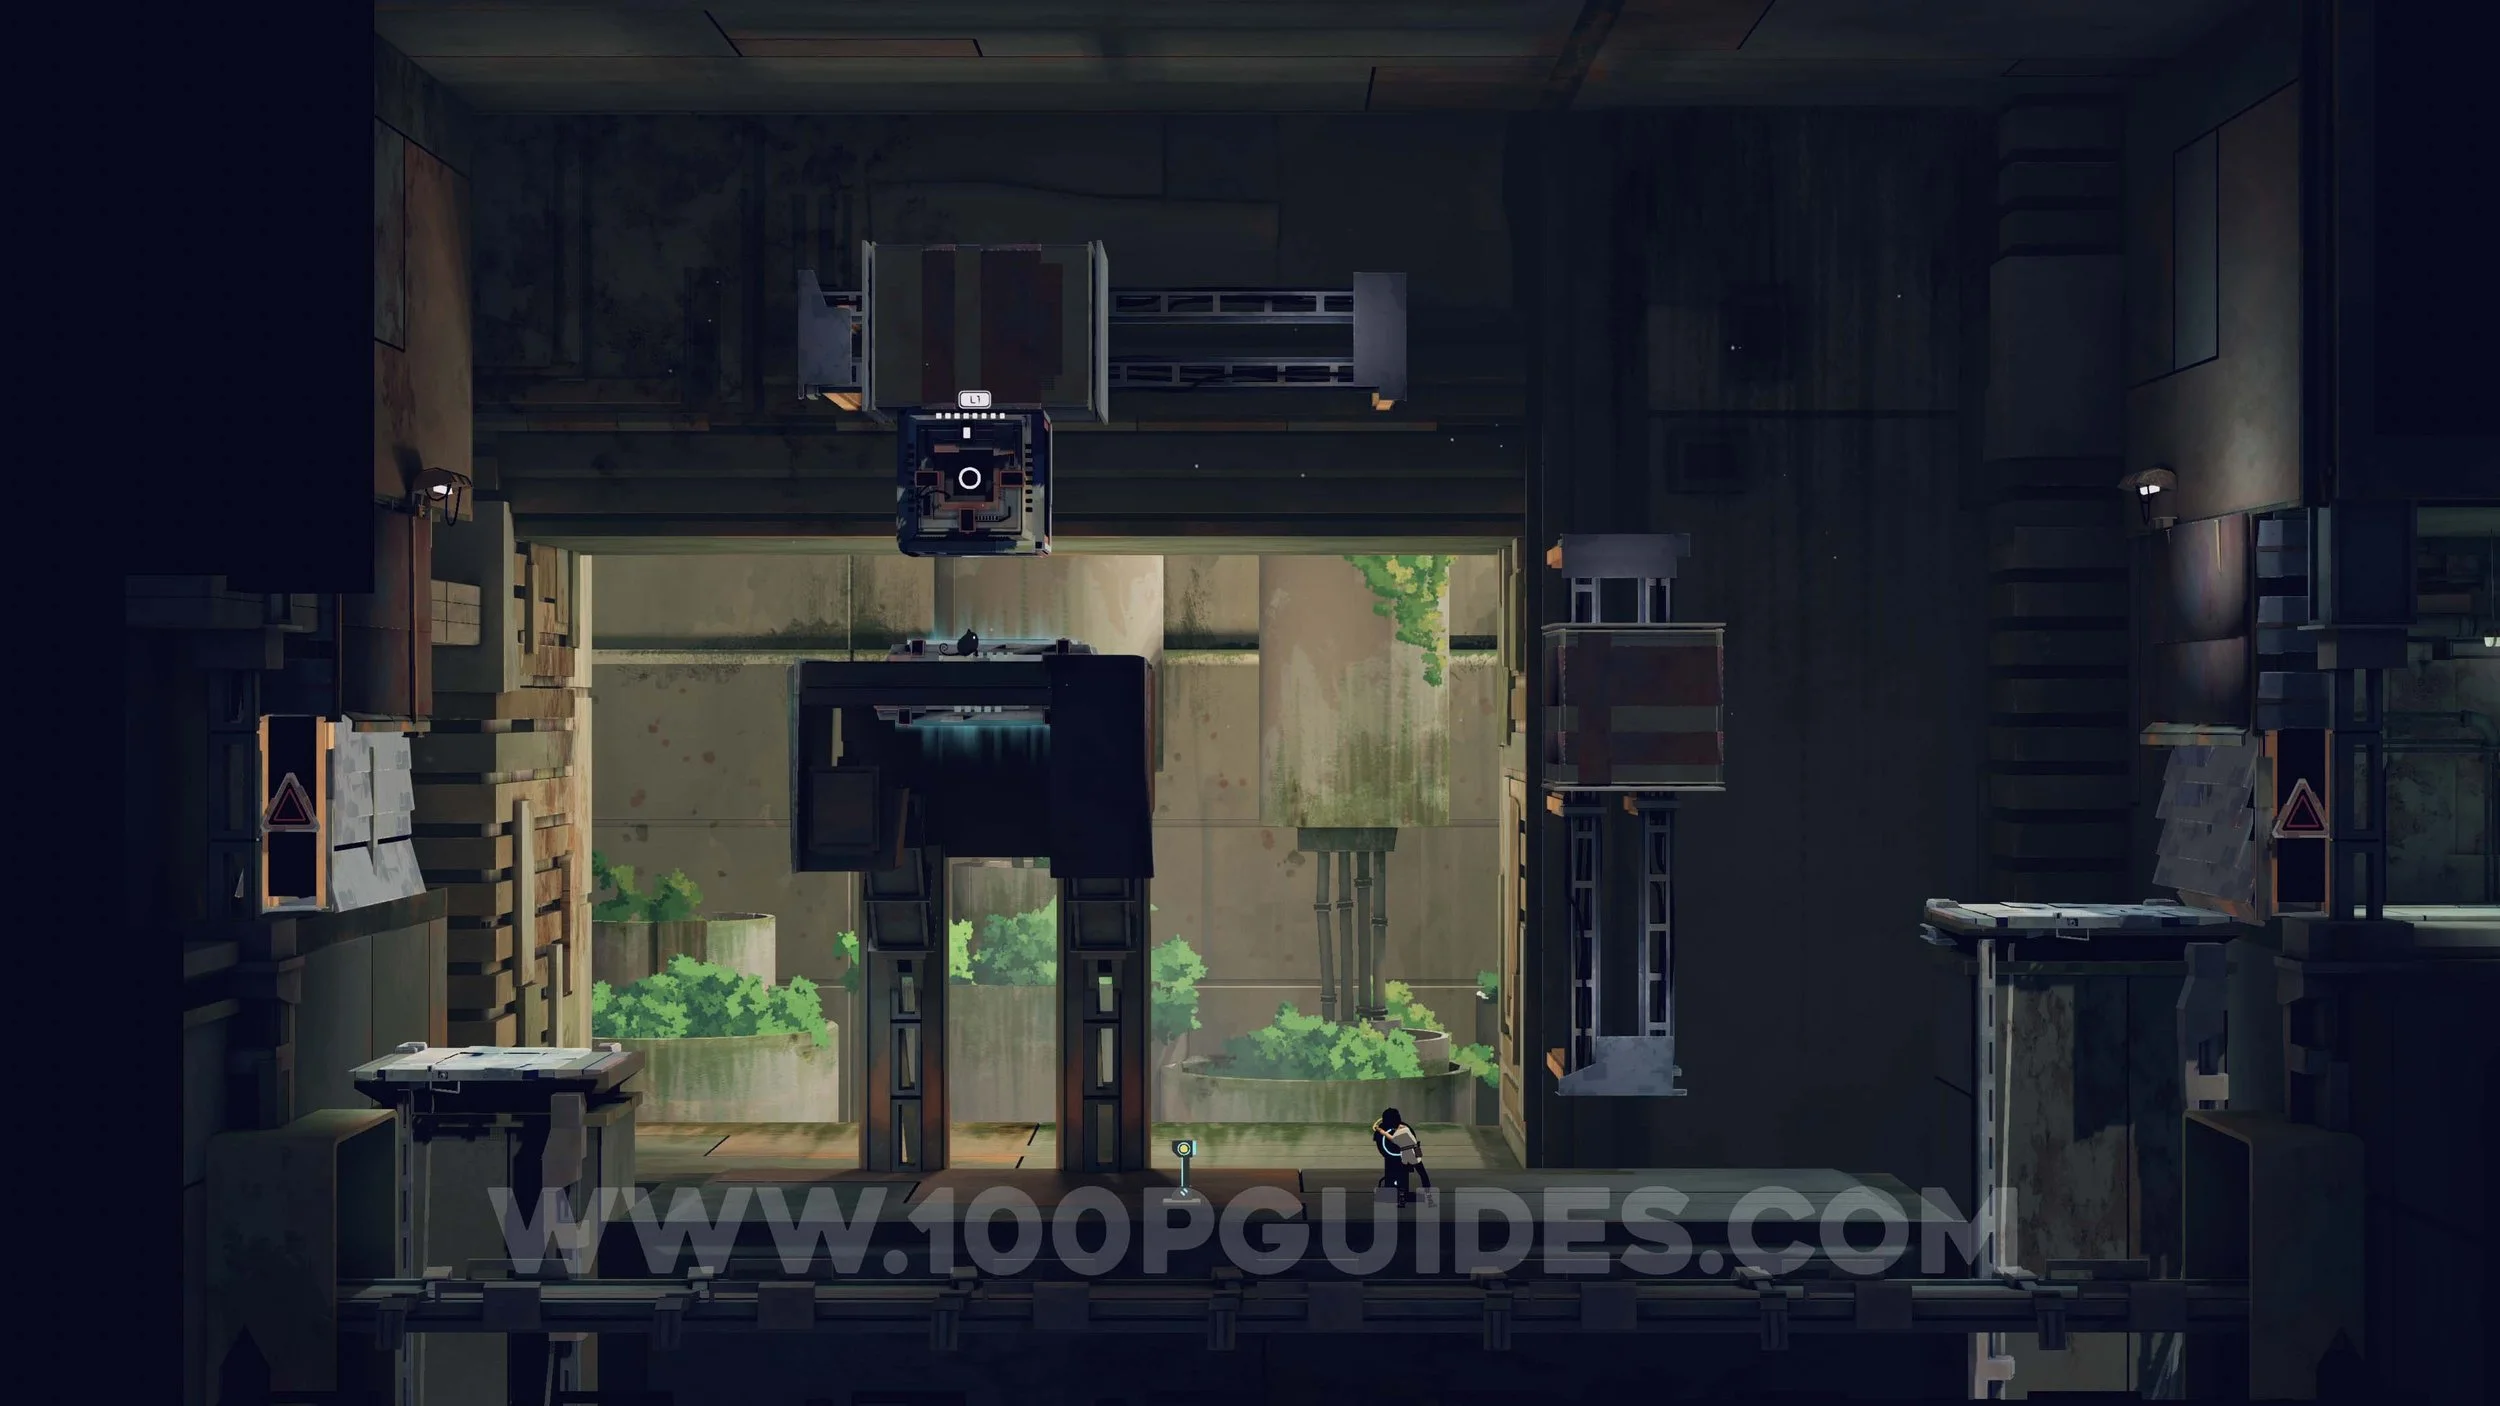
You will now be reunited with Lana & Anua. Pet Mui by pressing L2 + Square to get this area out of the way for the Purrfect trophy/achievement. Pet Mui 1/16.
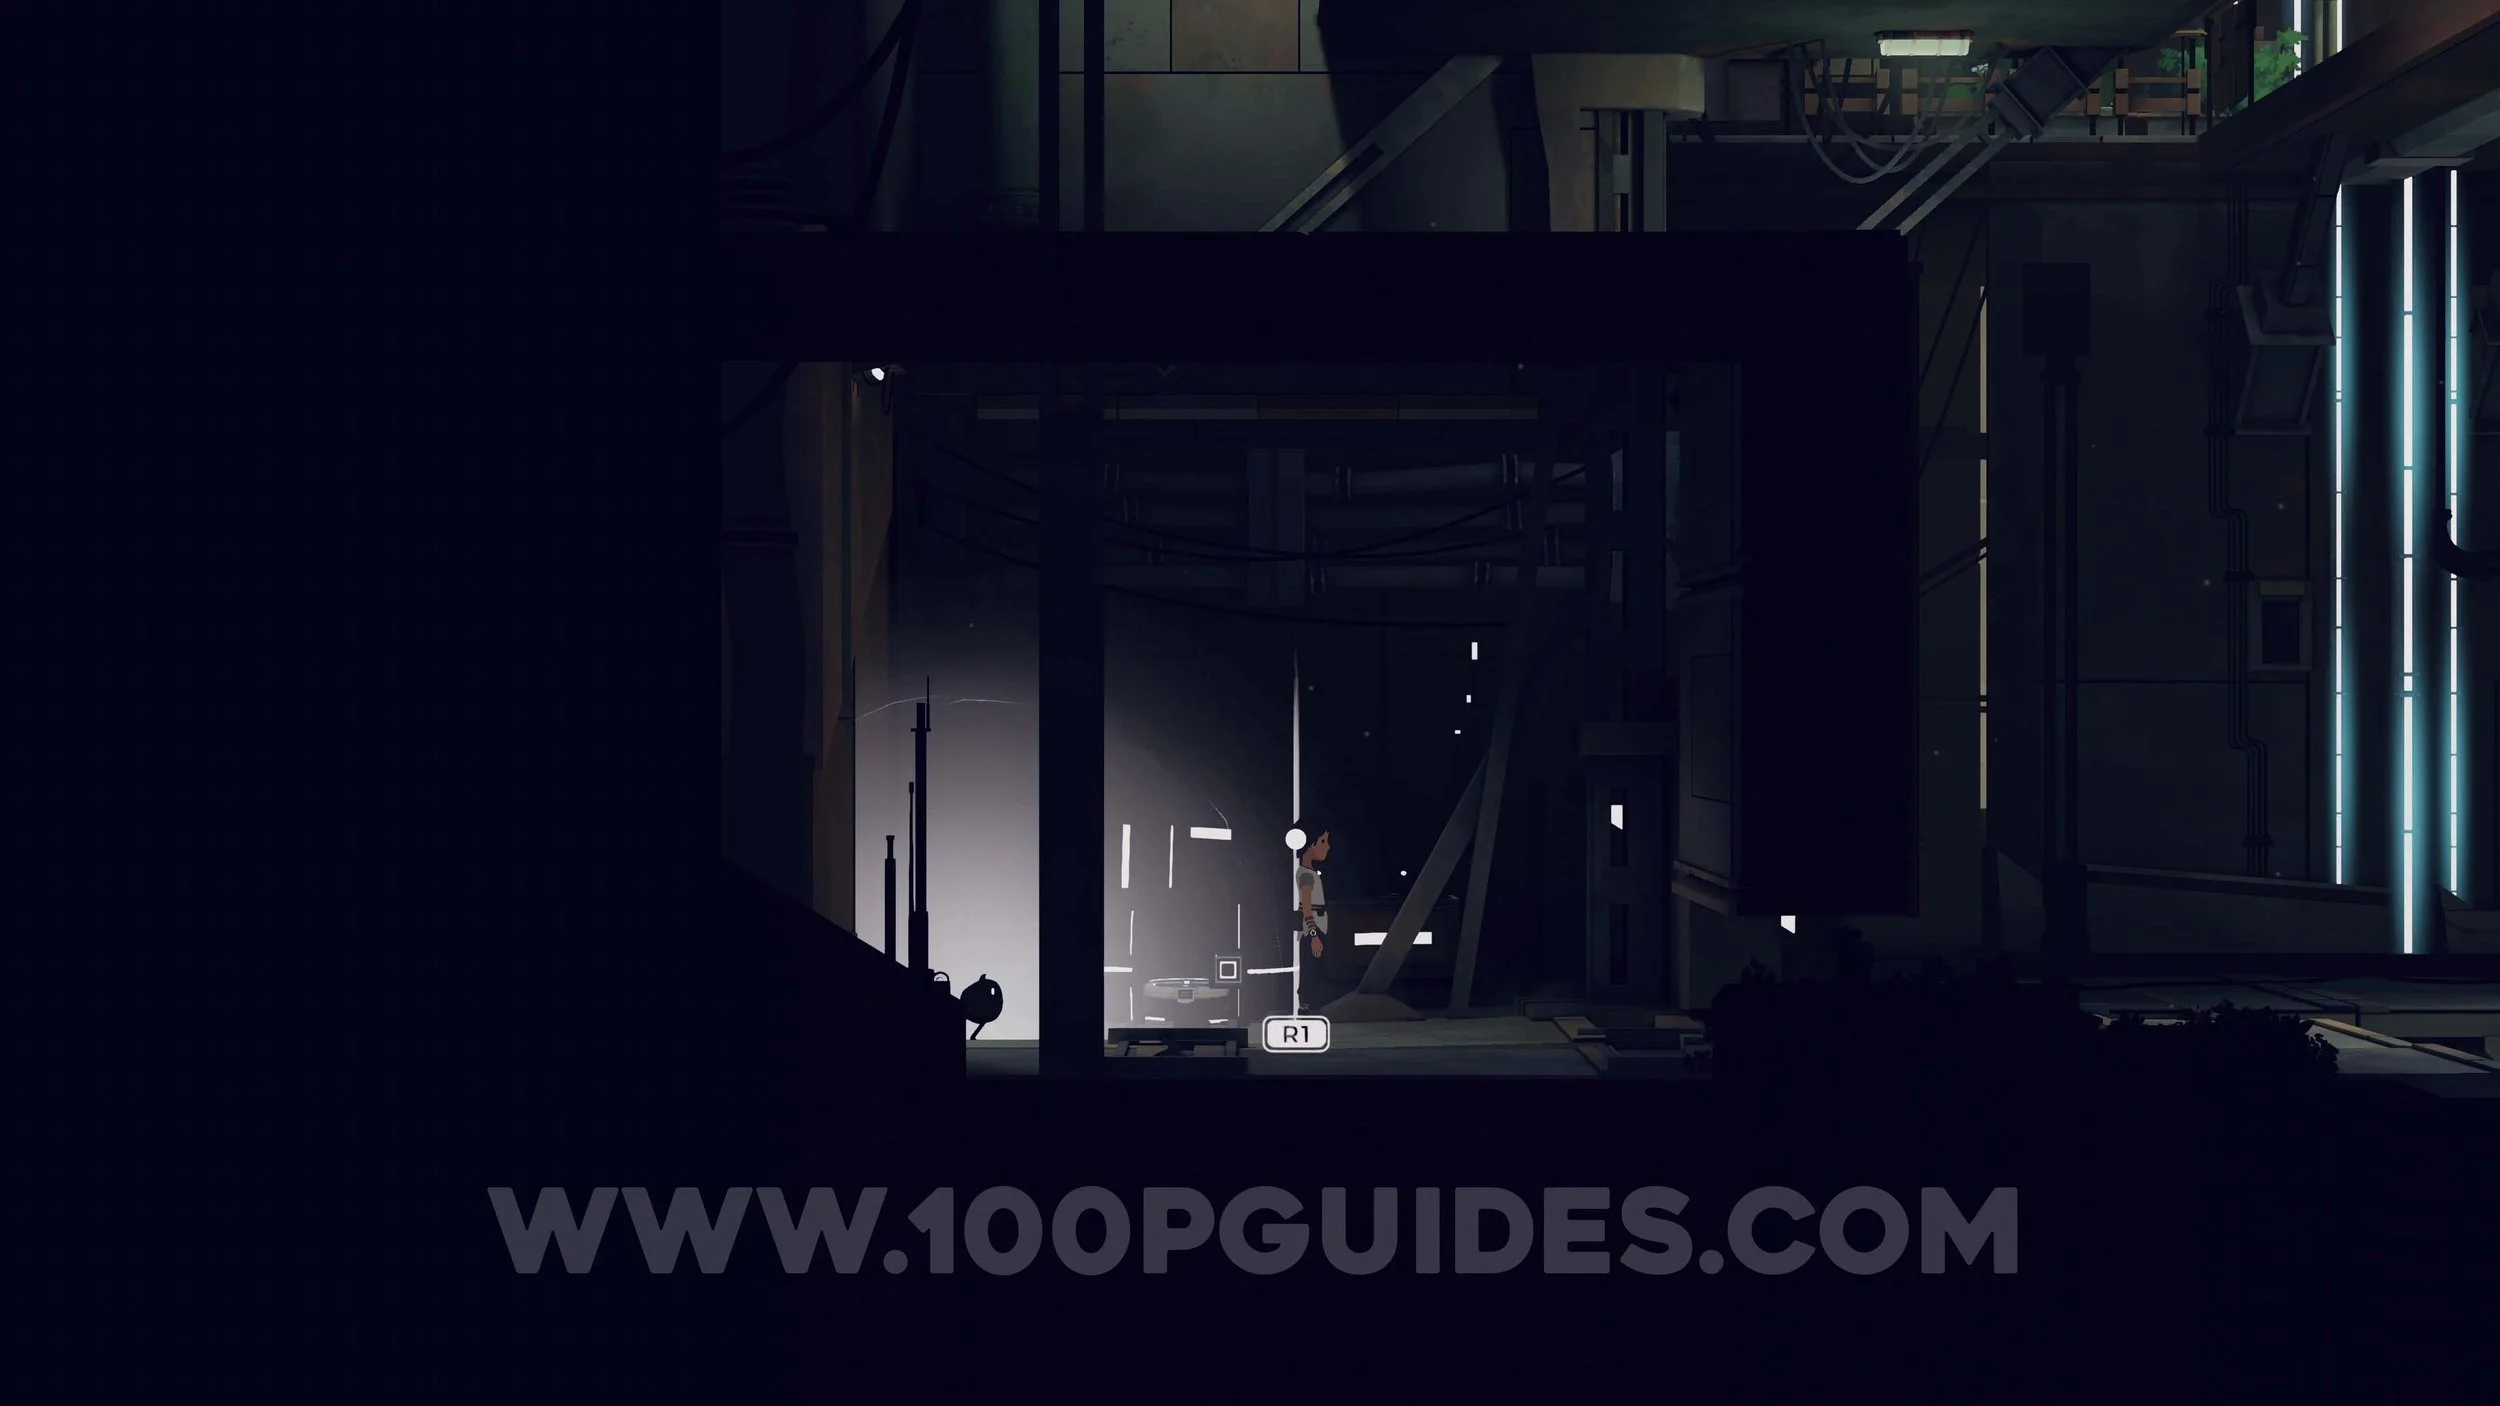
Continue to the right and have Mui follow you by holding Circle. In the next room, command Mui to stay on the black and yellow patch on the ground by pressing Circle, allowing you to climb onto the tentacle and move forward. In the following area, have Mui activate the electricity box so you can proceed.
You will then enter another room with a locked door and an electricity box. First, leave Mui at the electricity box, then climb up to the door. Once you reach it, hold Triangle to command Mui to activate the box and open the door, allowing you to continue.
In the next area, command Mui to stay on the yellow and black patch. This allows you to drop down onto the tentacle and reach the area below.
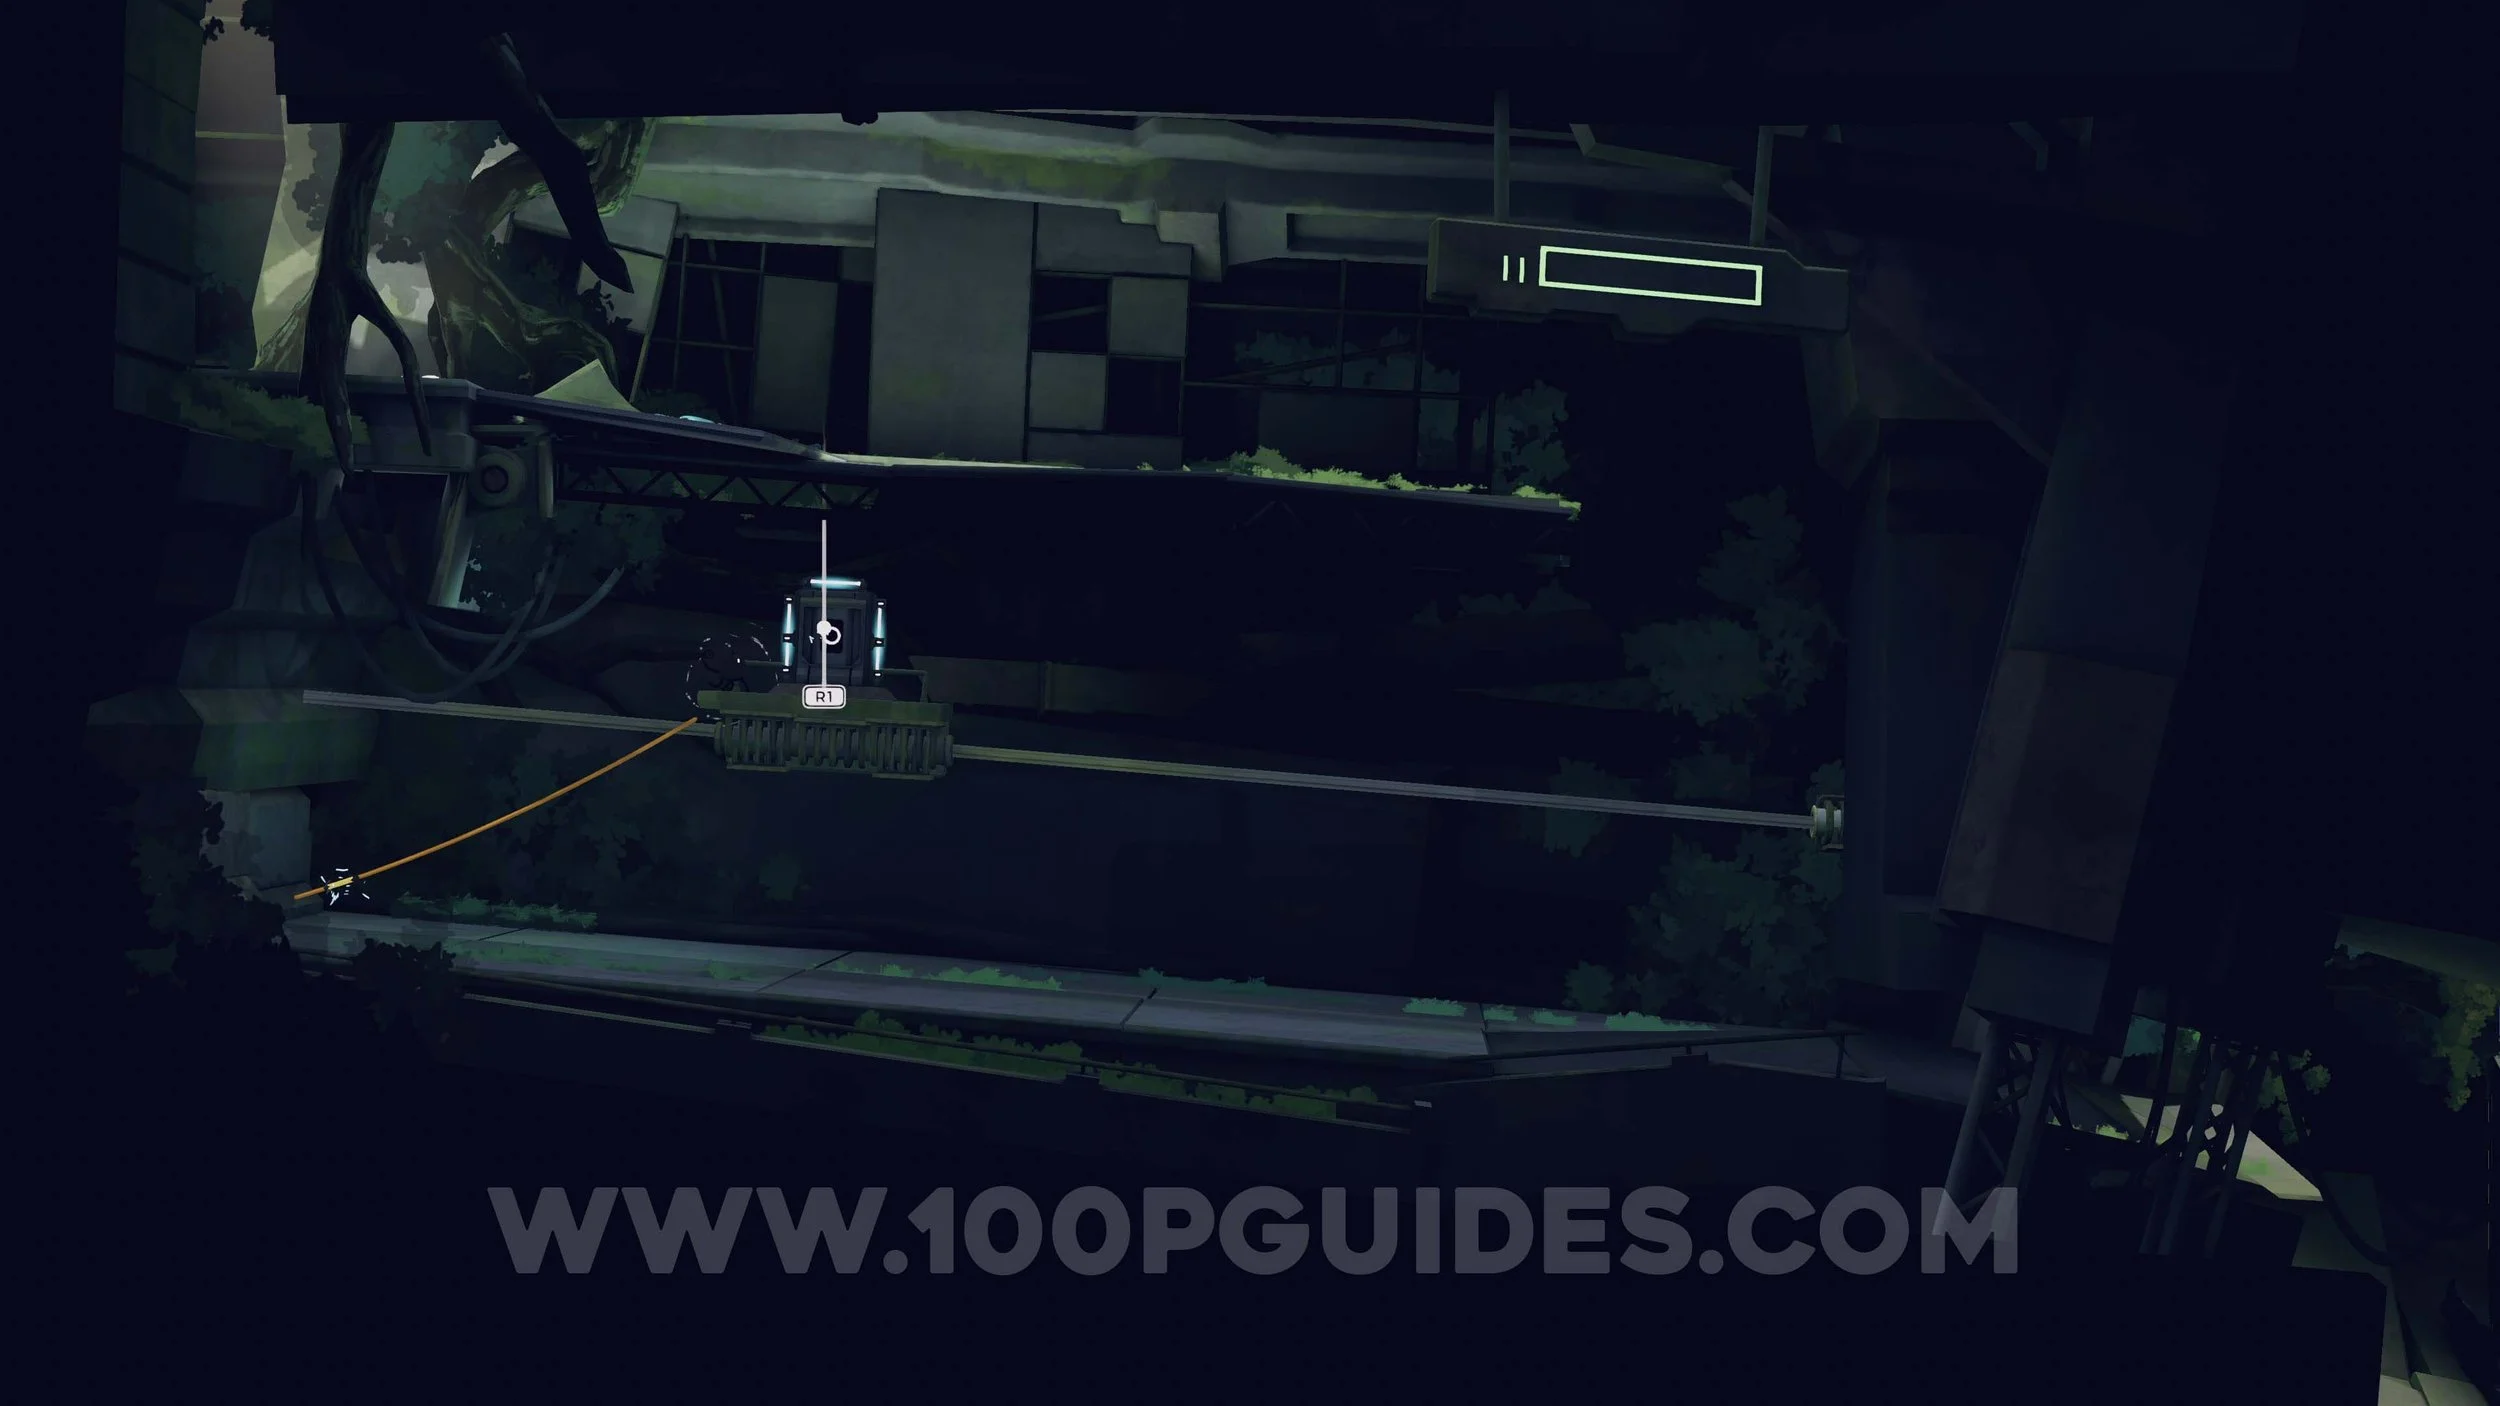
Next, grab the platform and place it beneath the first rope above you. Use the R1 pointer to command Mui to climb up to the rope and separate it. Then have Mui land on the movable platform and guide Mui to the rope on the left. After Mui separates the second rope, use the two ropes and the platform to cross to the left and continue.
In the next area, you will encounter another enemy that must be avoided. Start by using the switch to move the light all the way to the left. Drop down and lure the creature toward the light. Then command Mui to climb to the platform where the light is located. Have Mui activate the electricity box and move the platform to the right over the creature while the light is off, leaving the creature on the left side of the light. Bring the platform back to the left and then jump over the creature to continue.
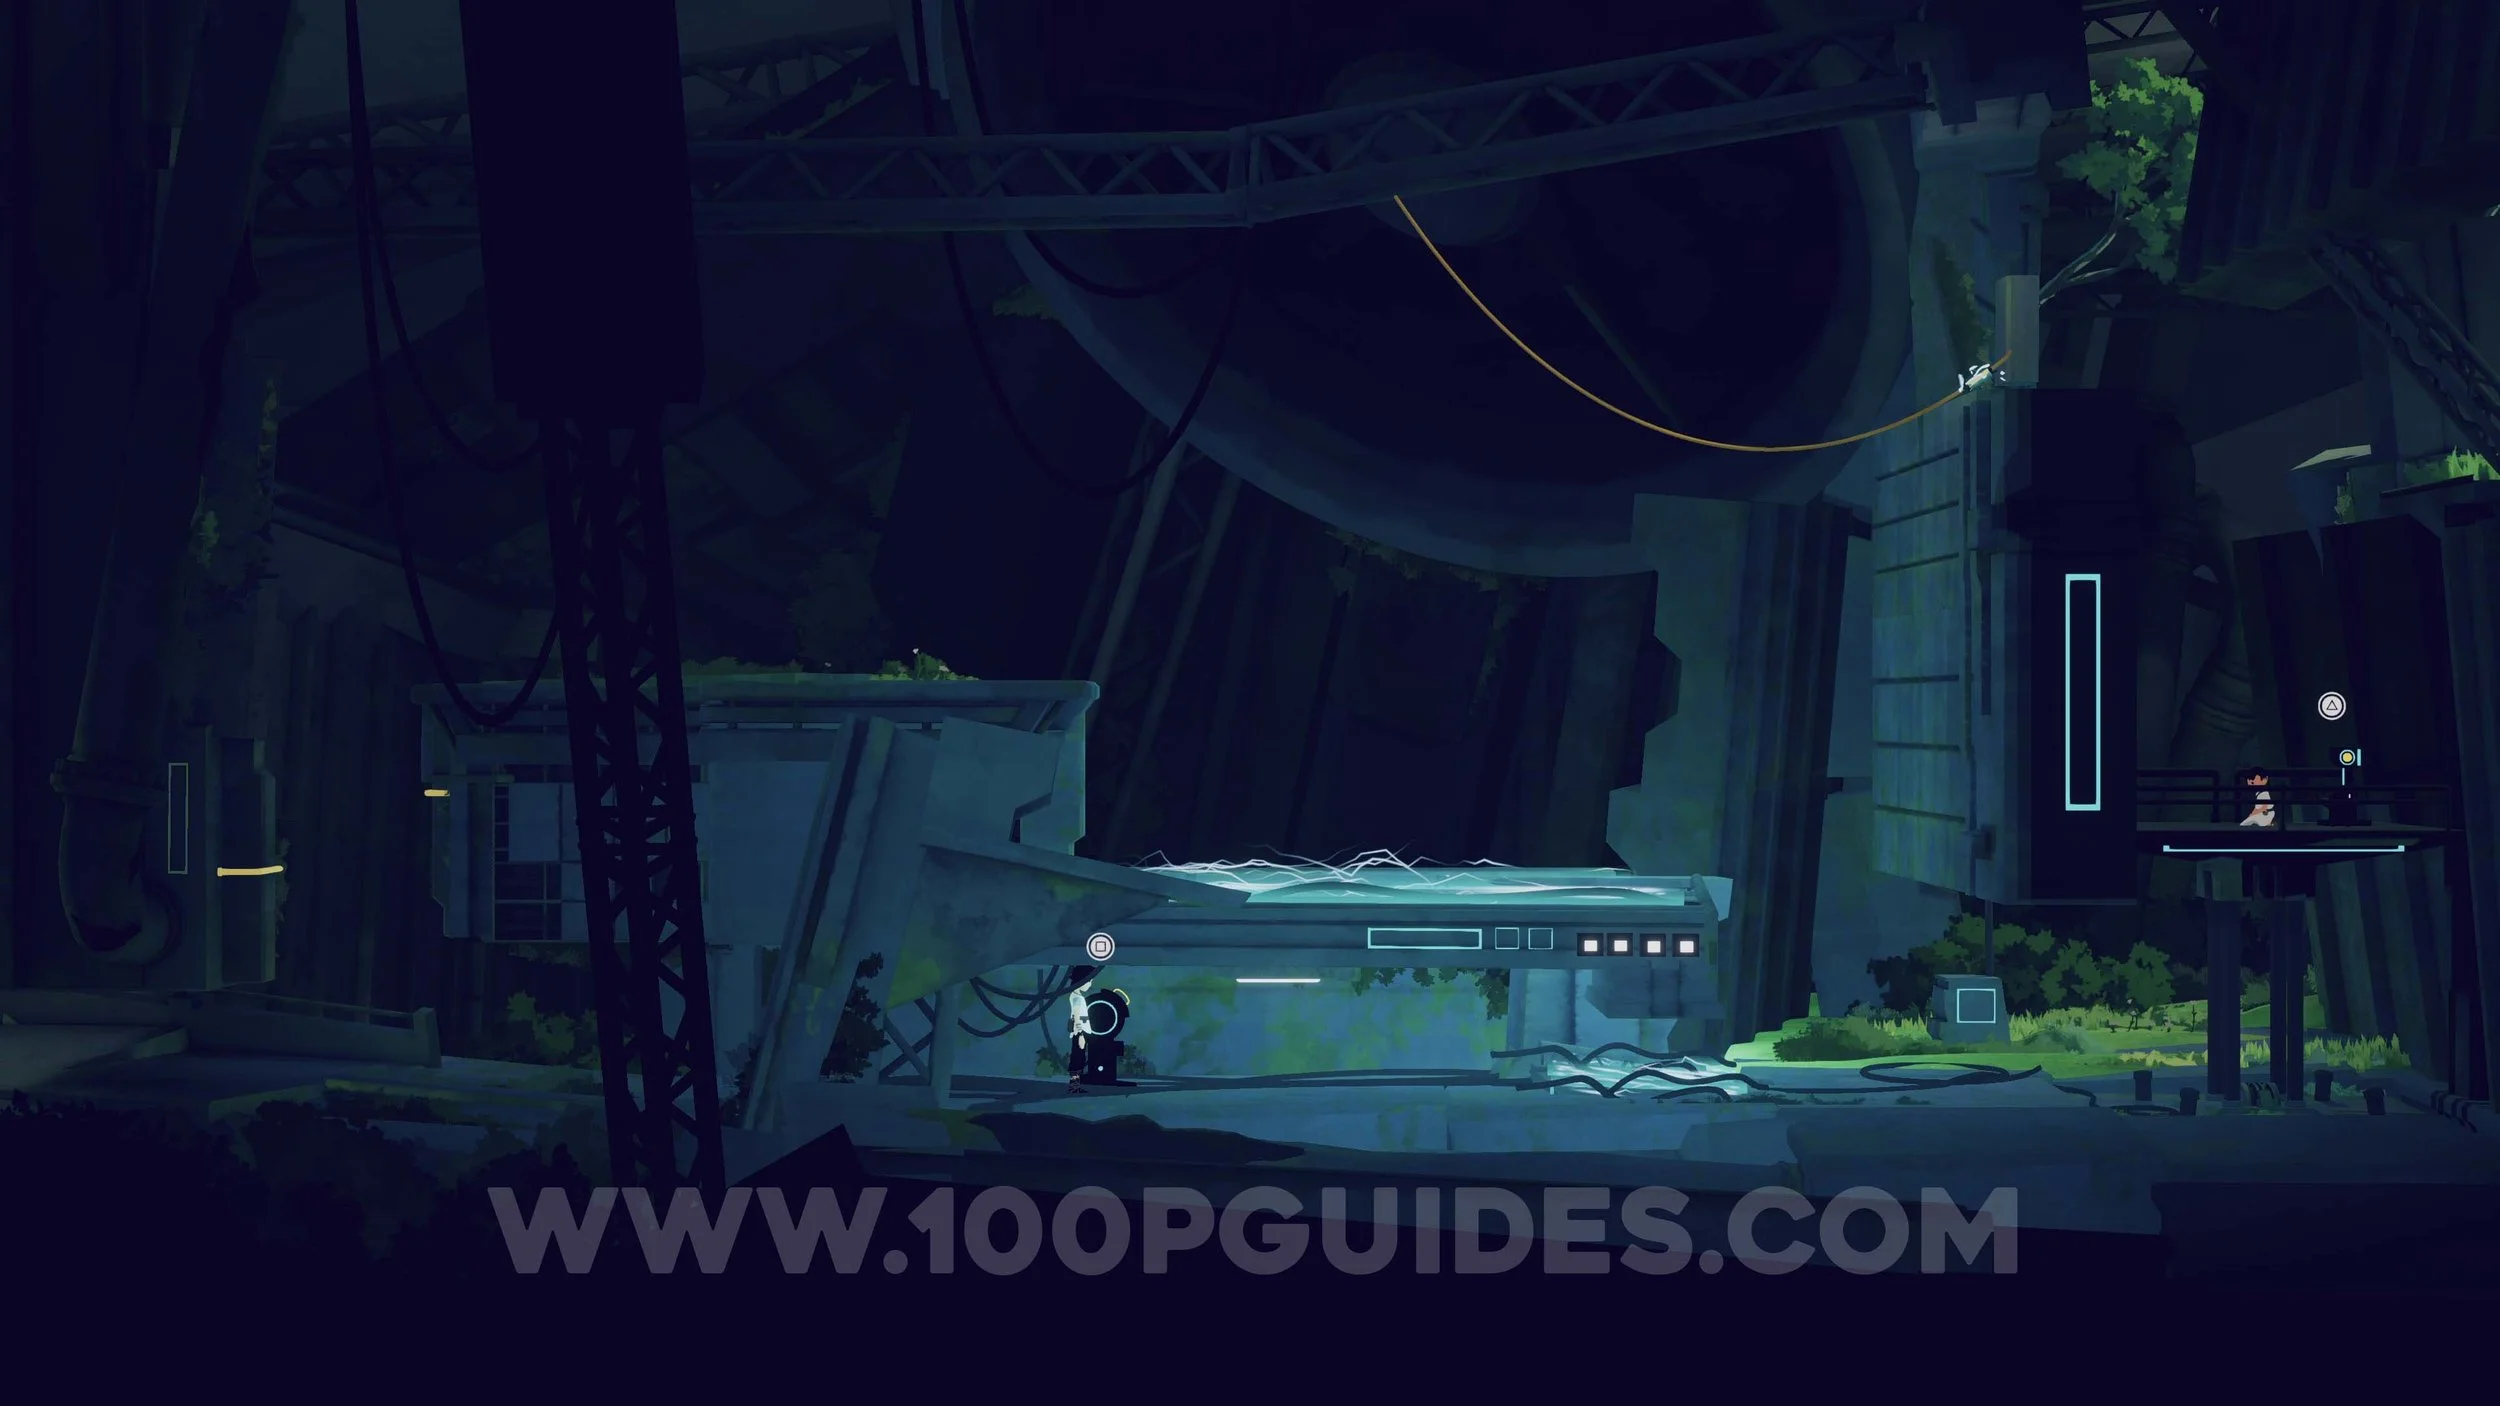
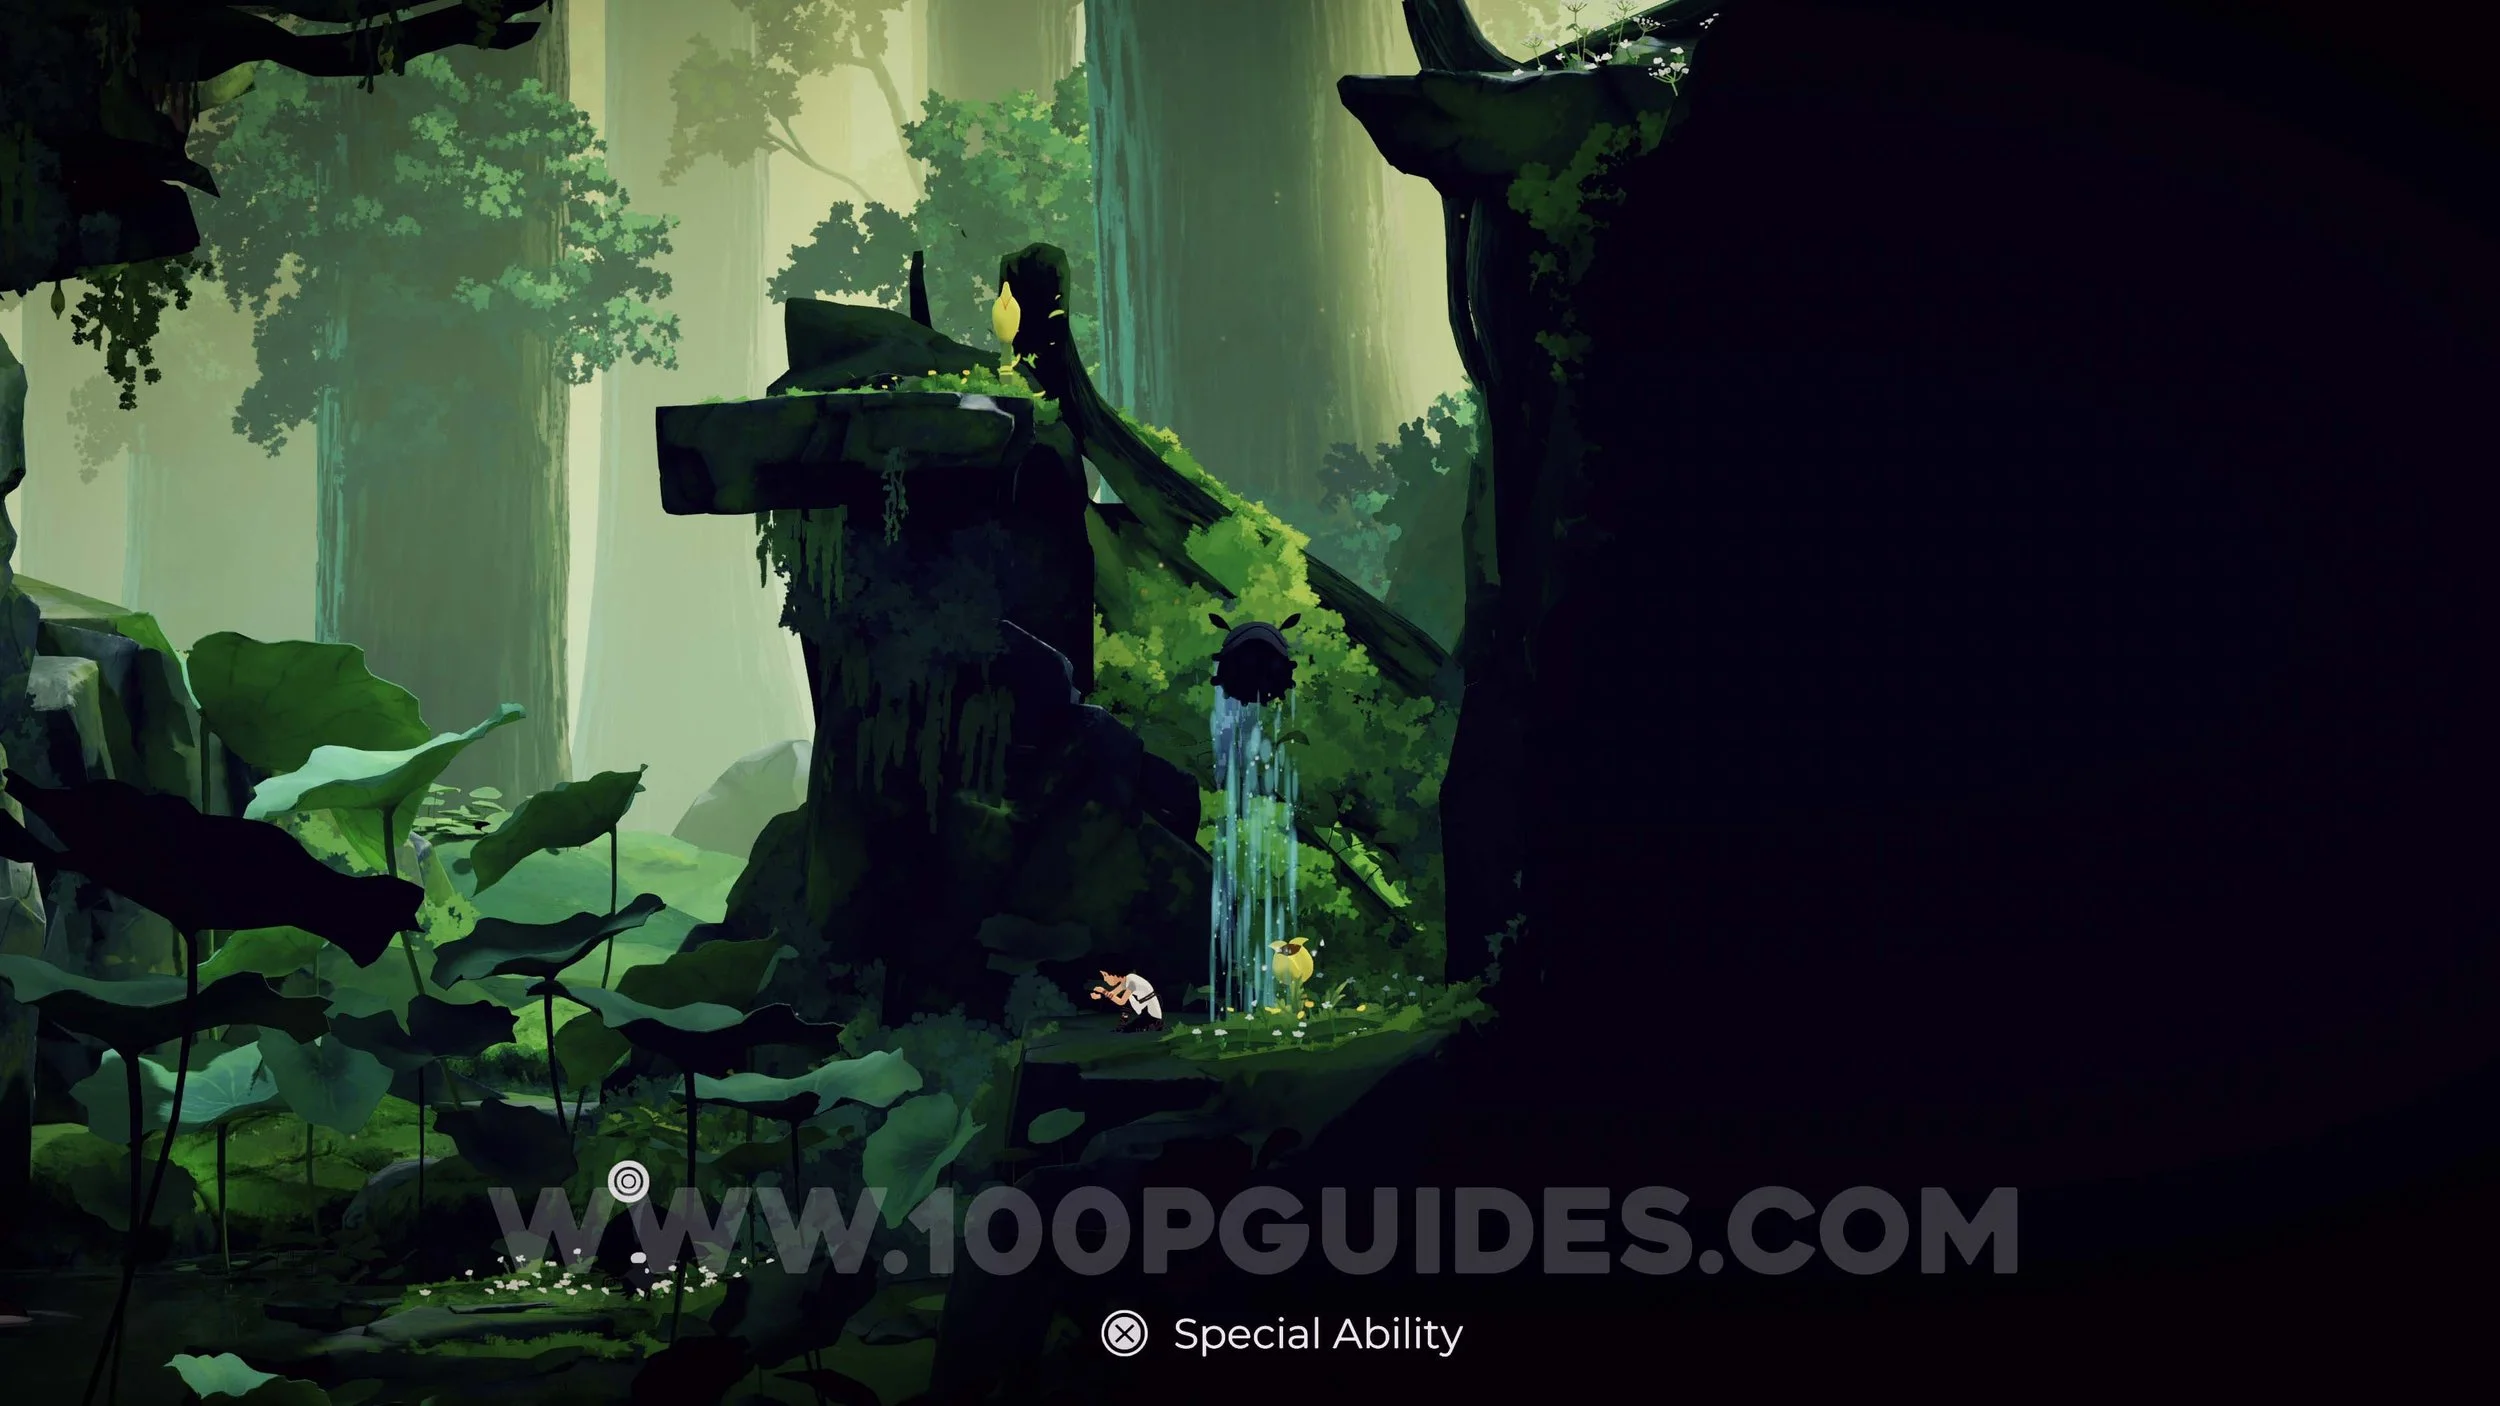
Next, dive underwater and interact with the metal panel to make it surface. Move it into position so Mui can cross the first water section. There is another panel deeper underwater to the right. Watch out for the fish and interact with it when it is facing the other way. Then use the panel to help Mui reach the electricity box and open the door.
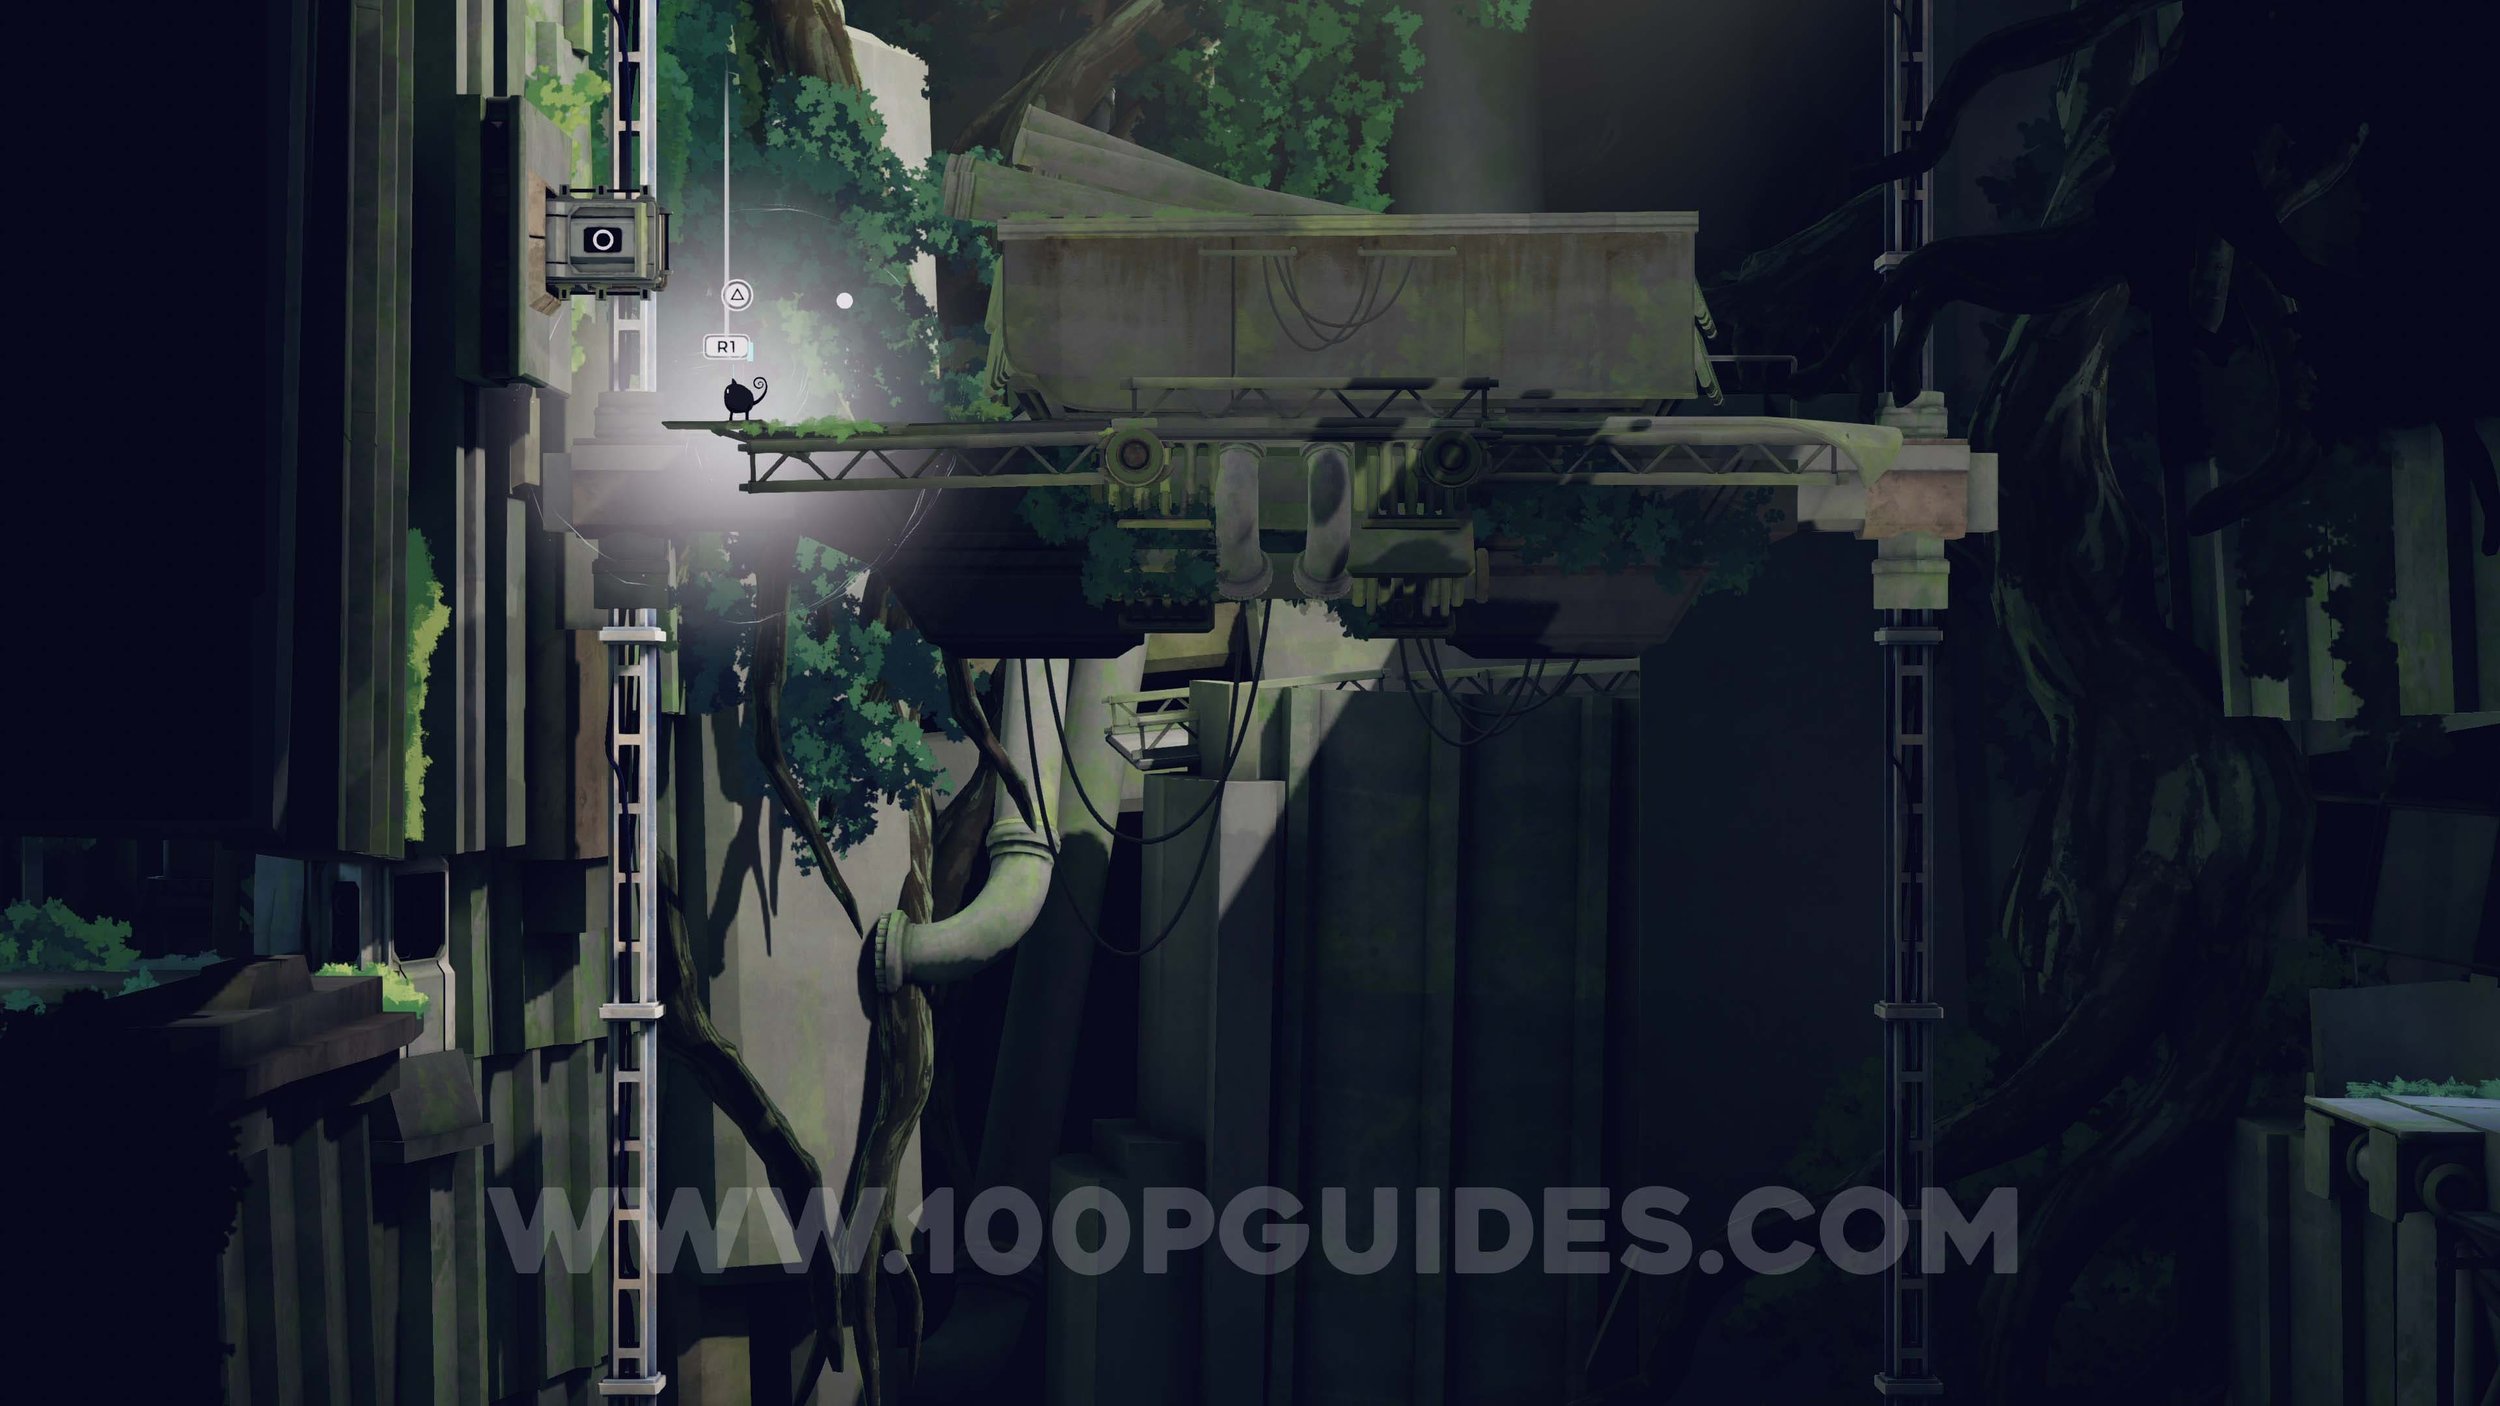
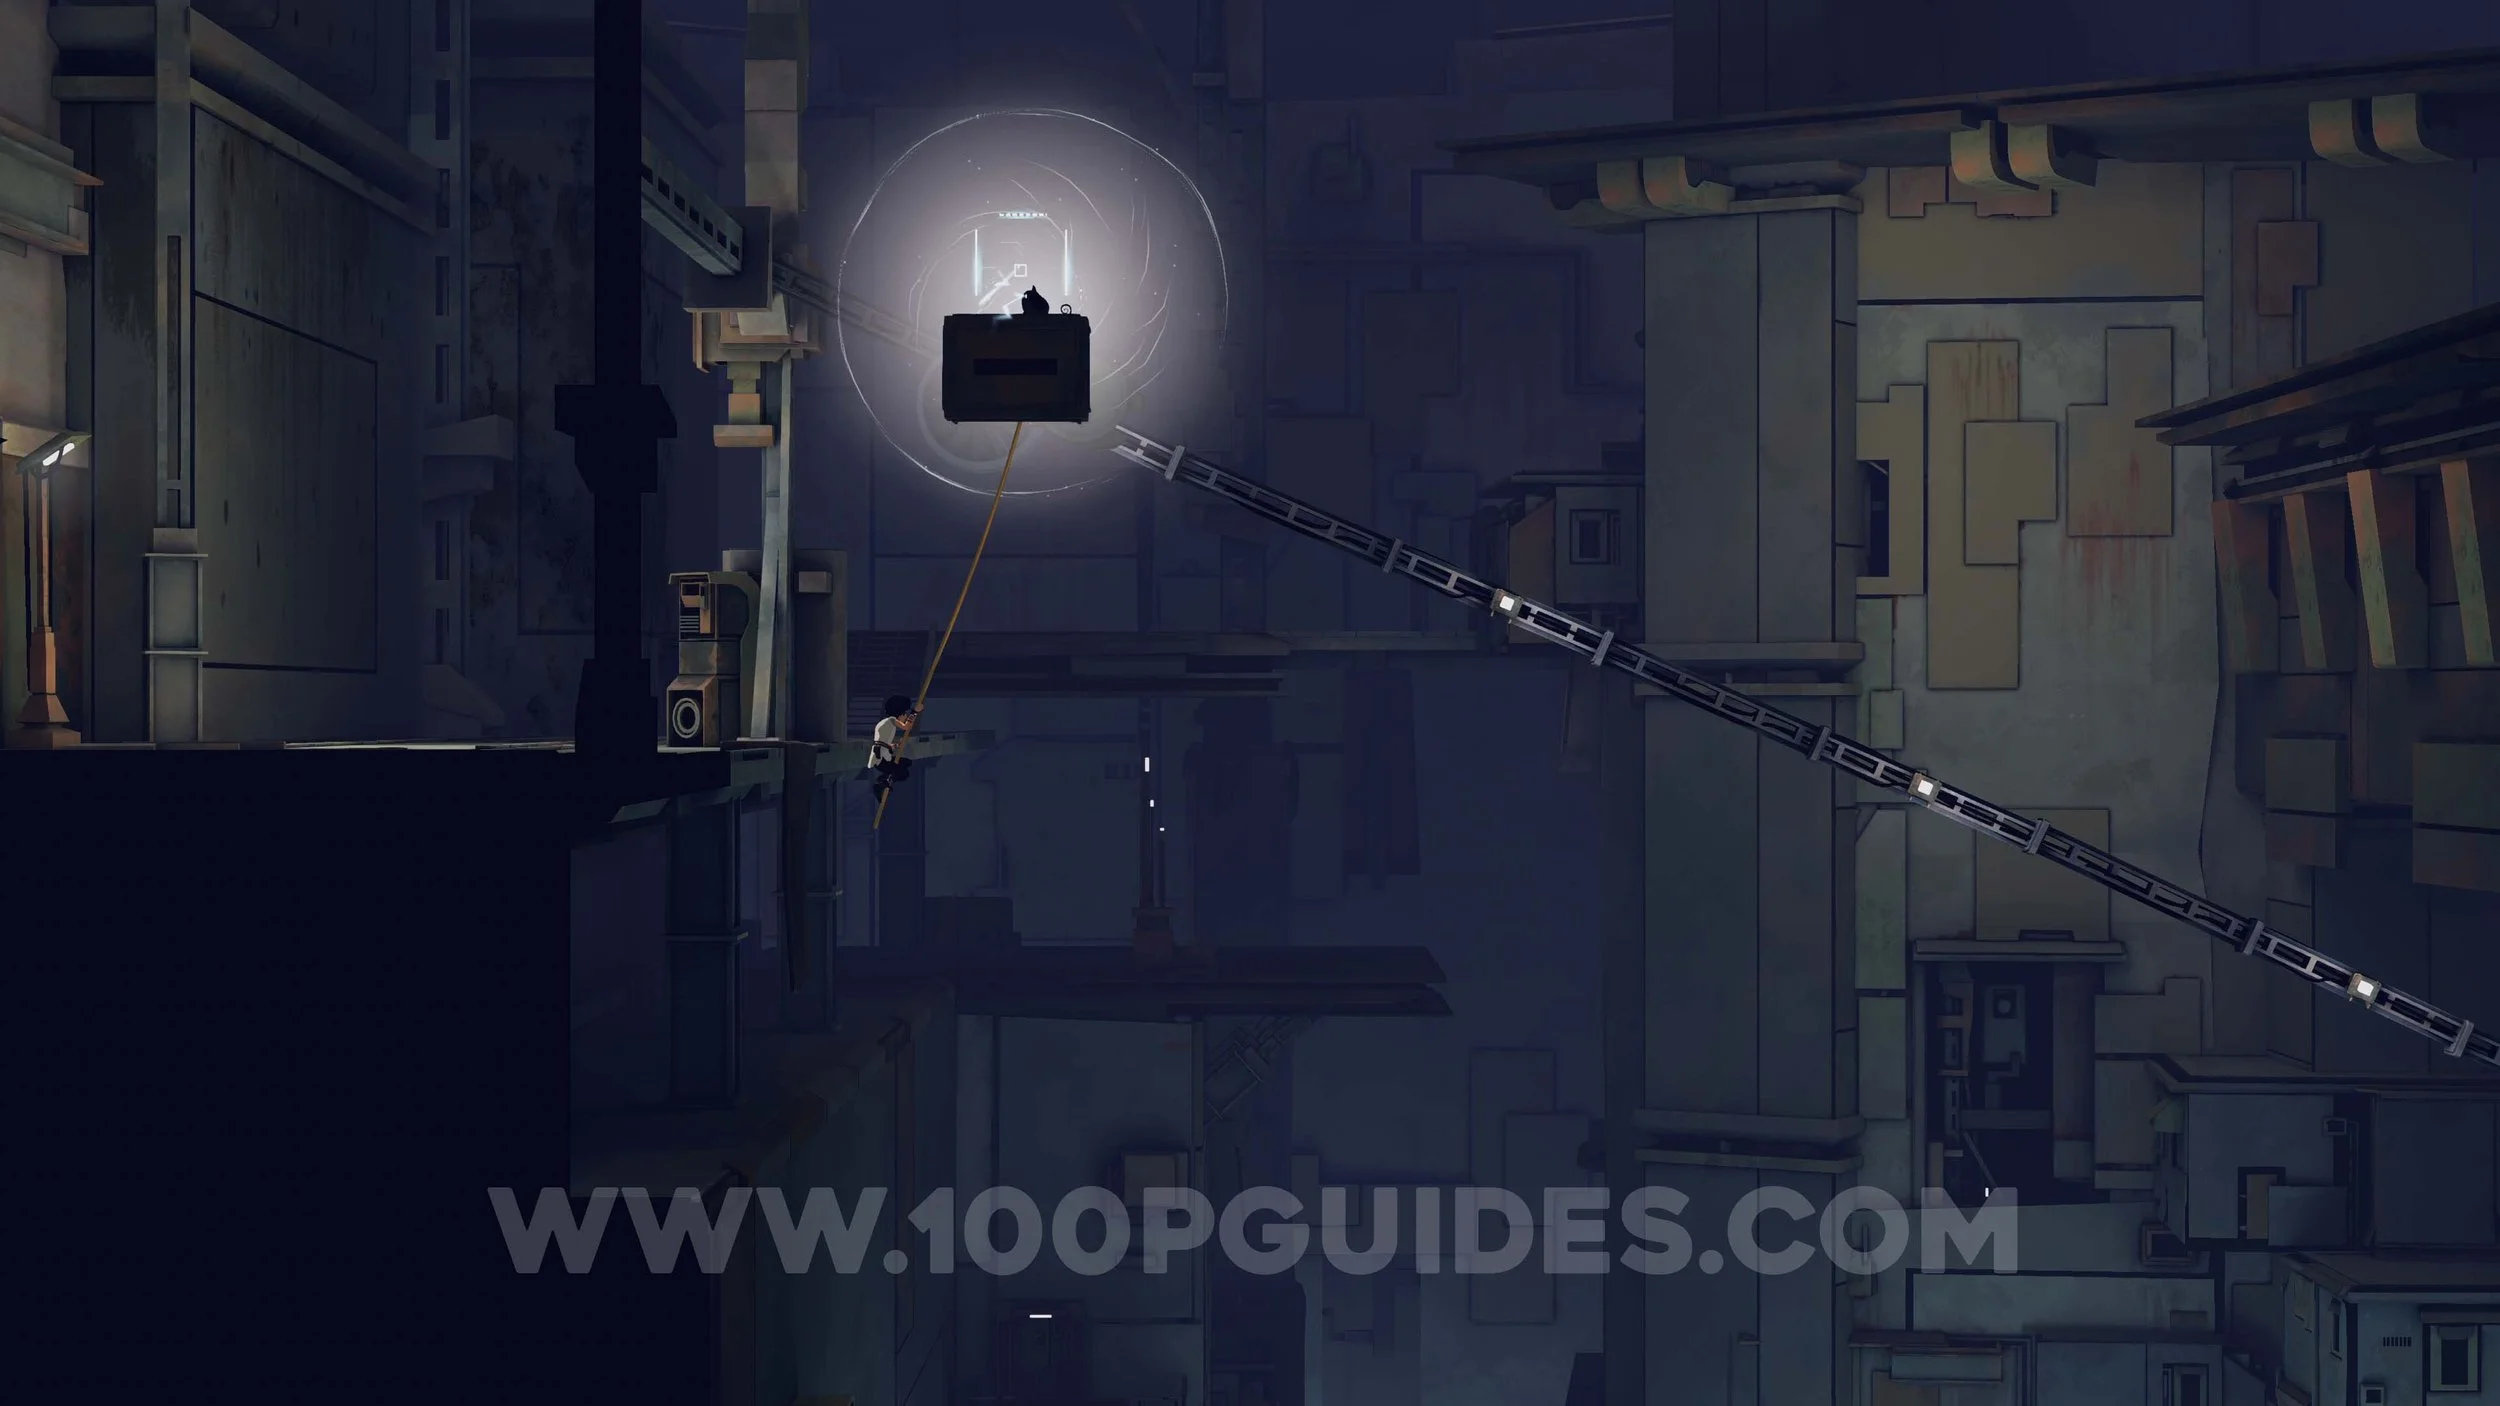
In the next room, start by turning off the electricity using the switch. Command Mui onto the lift, then turn the electricity back on and have Mui activate the lift to reach the rope at the top. Turn the electricity off again so Mui can separate the rope, then reactivate the electricity. Finally, climb up to the rope, swing across to the lift, and ride it up to continue to the Captain’s Quarters.

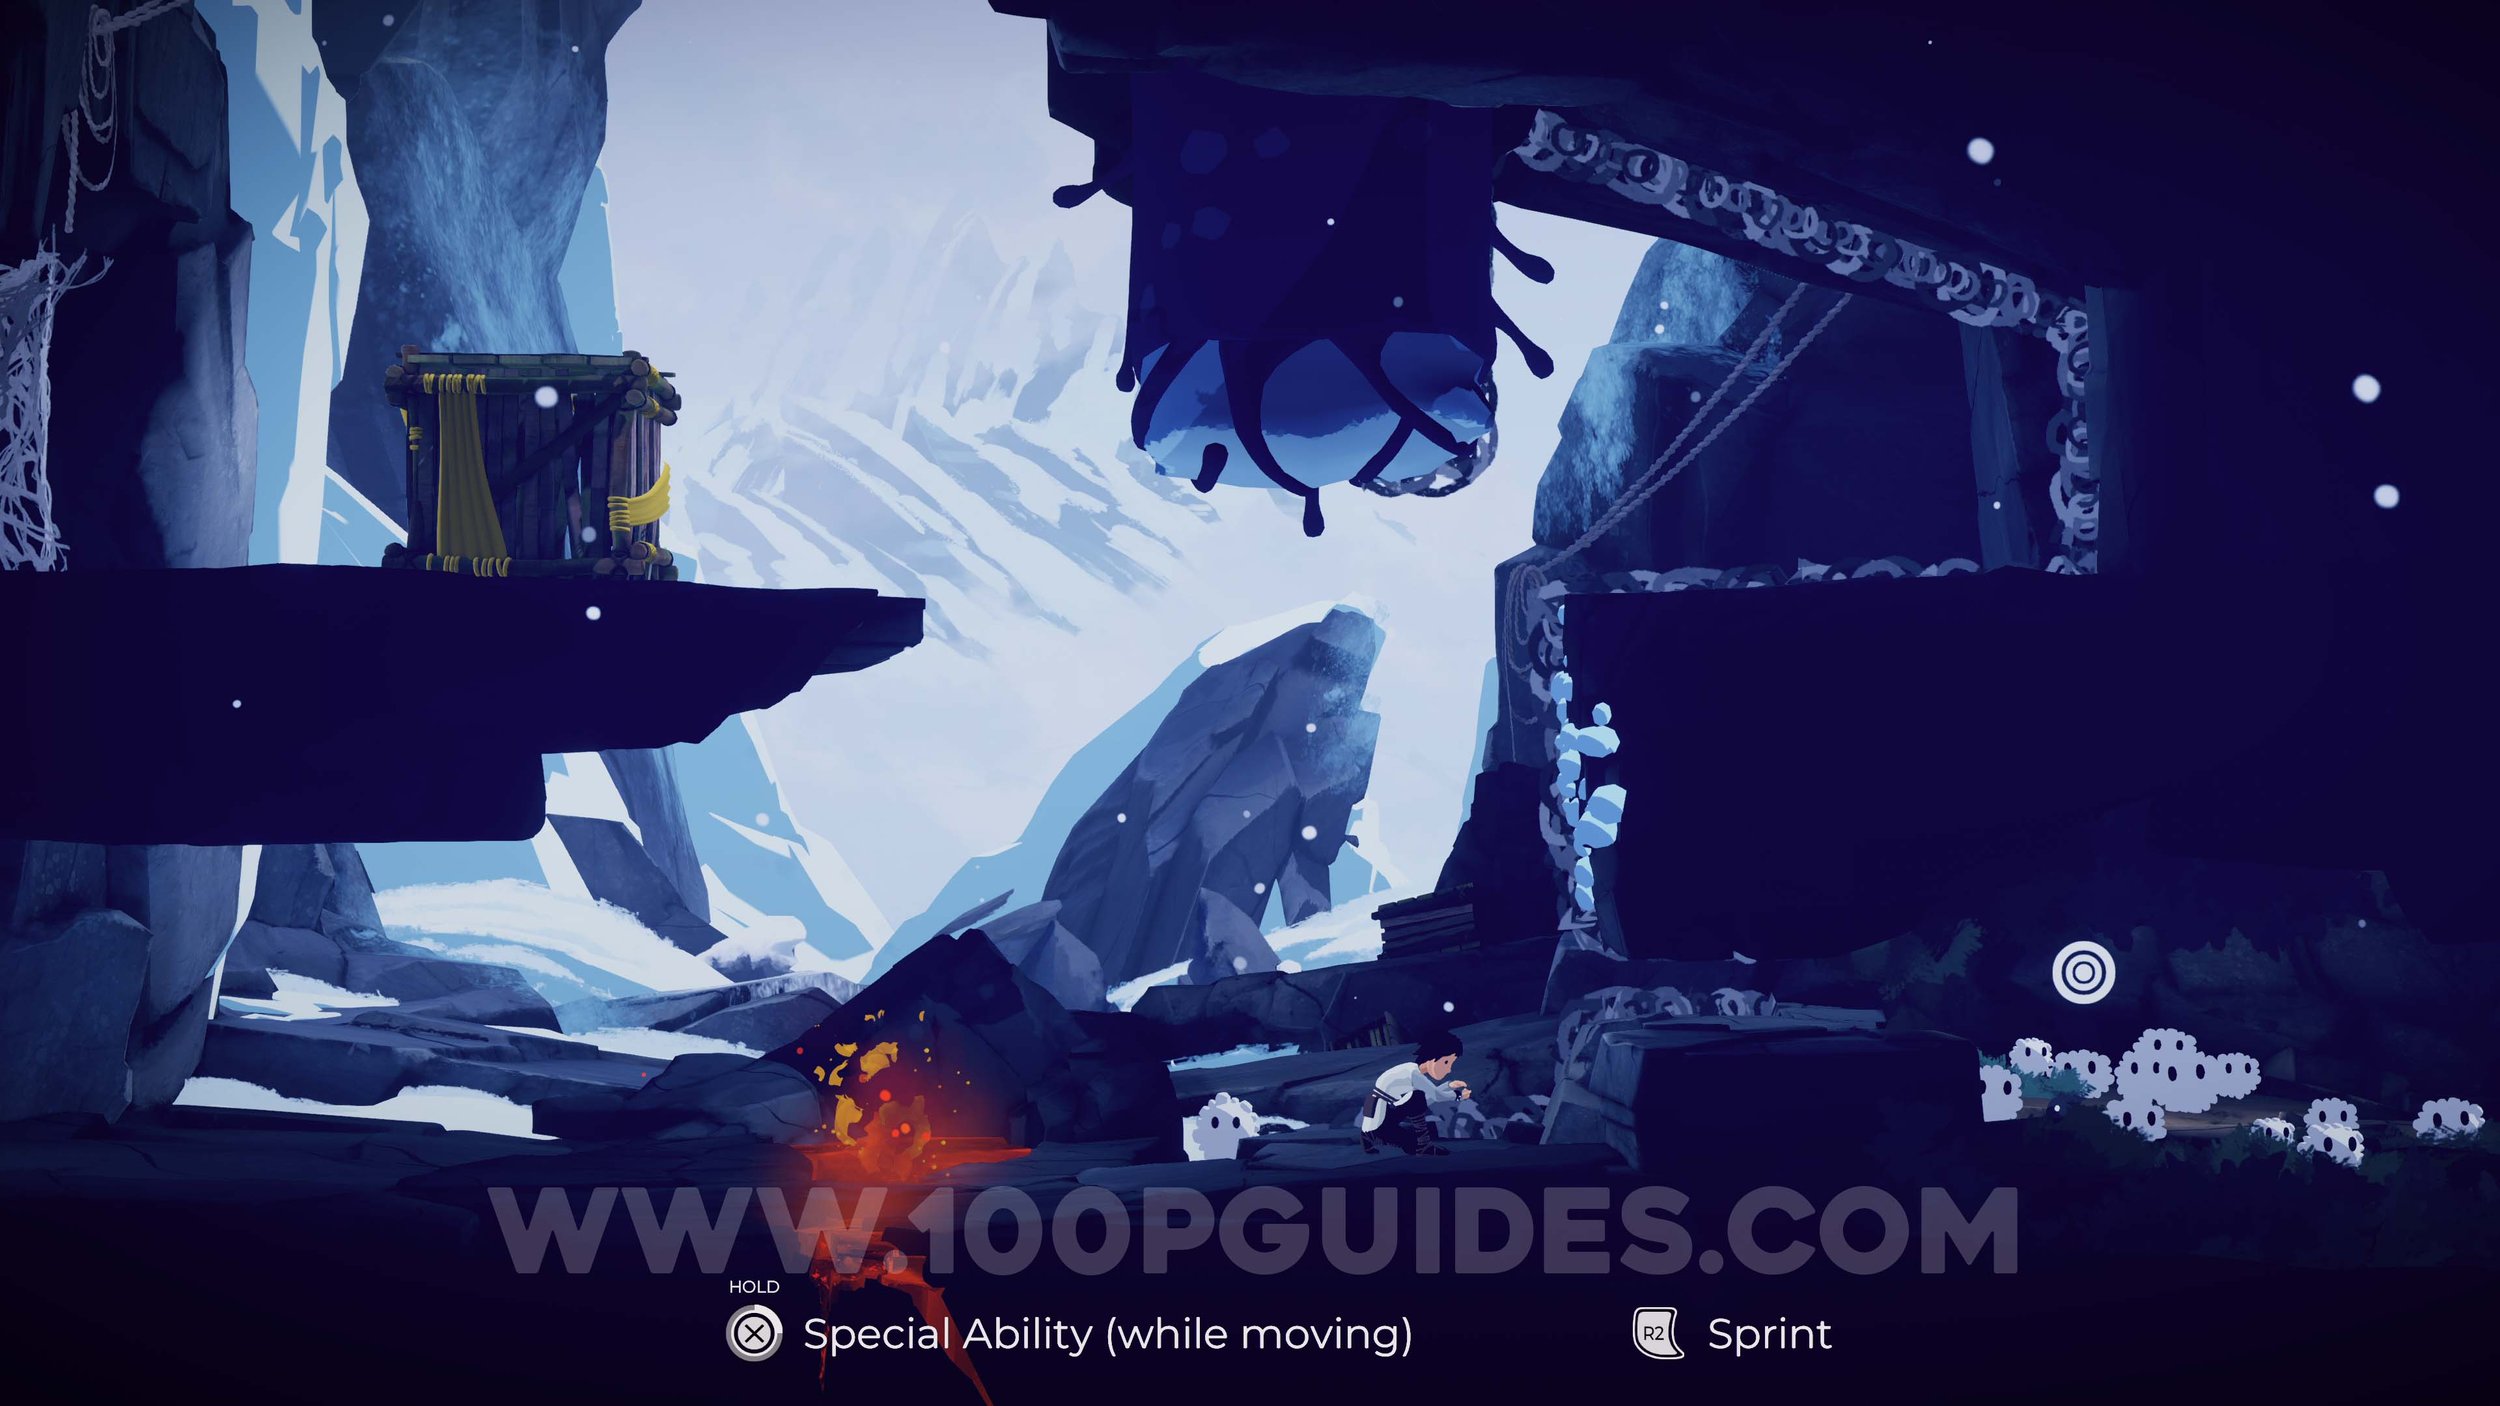
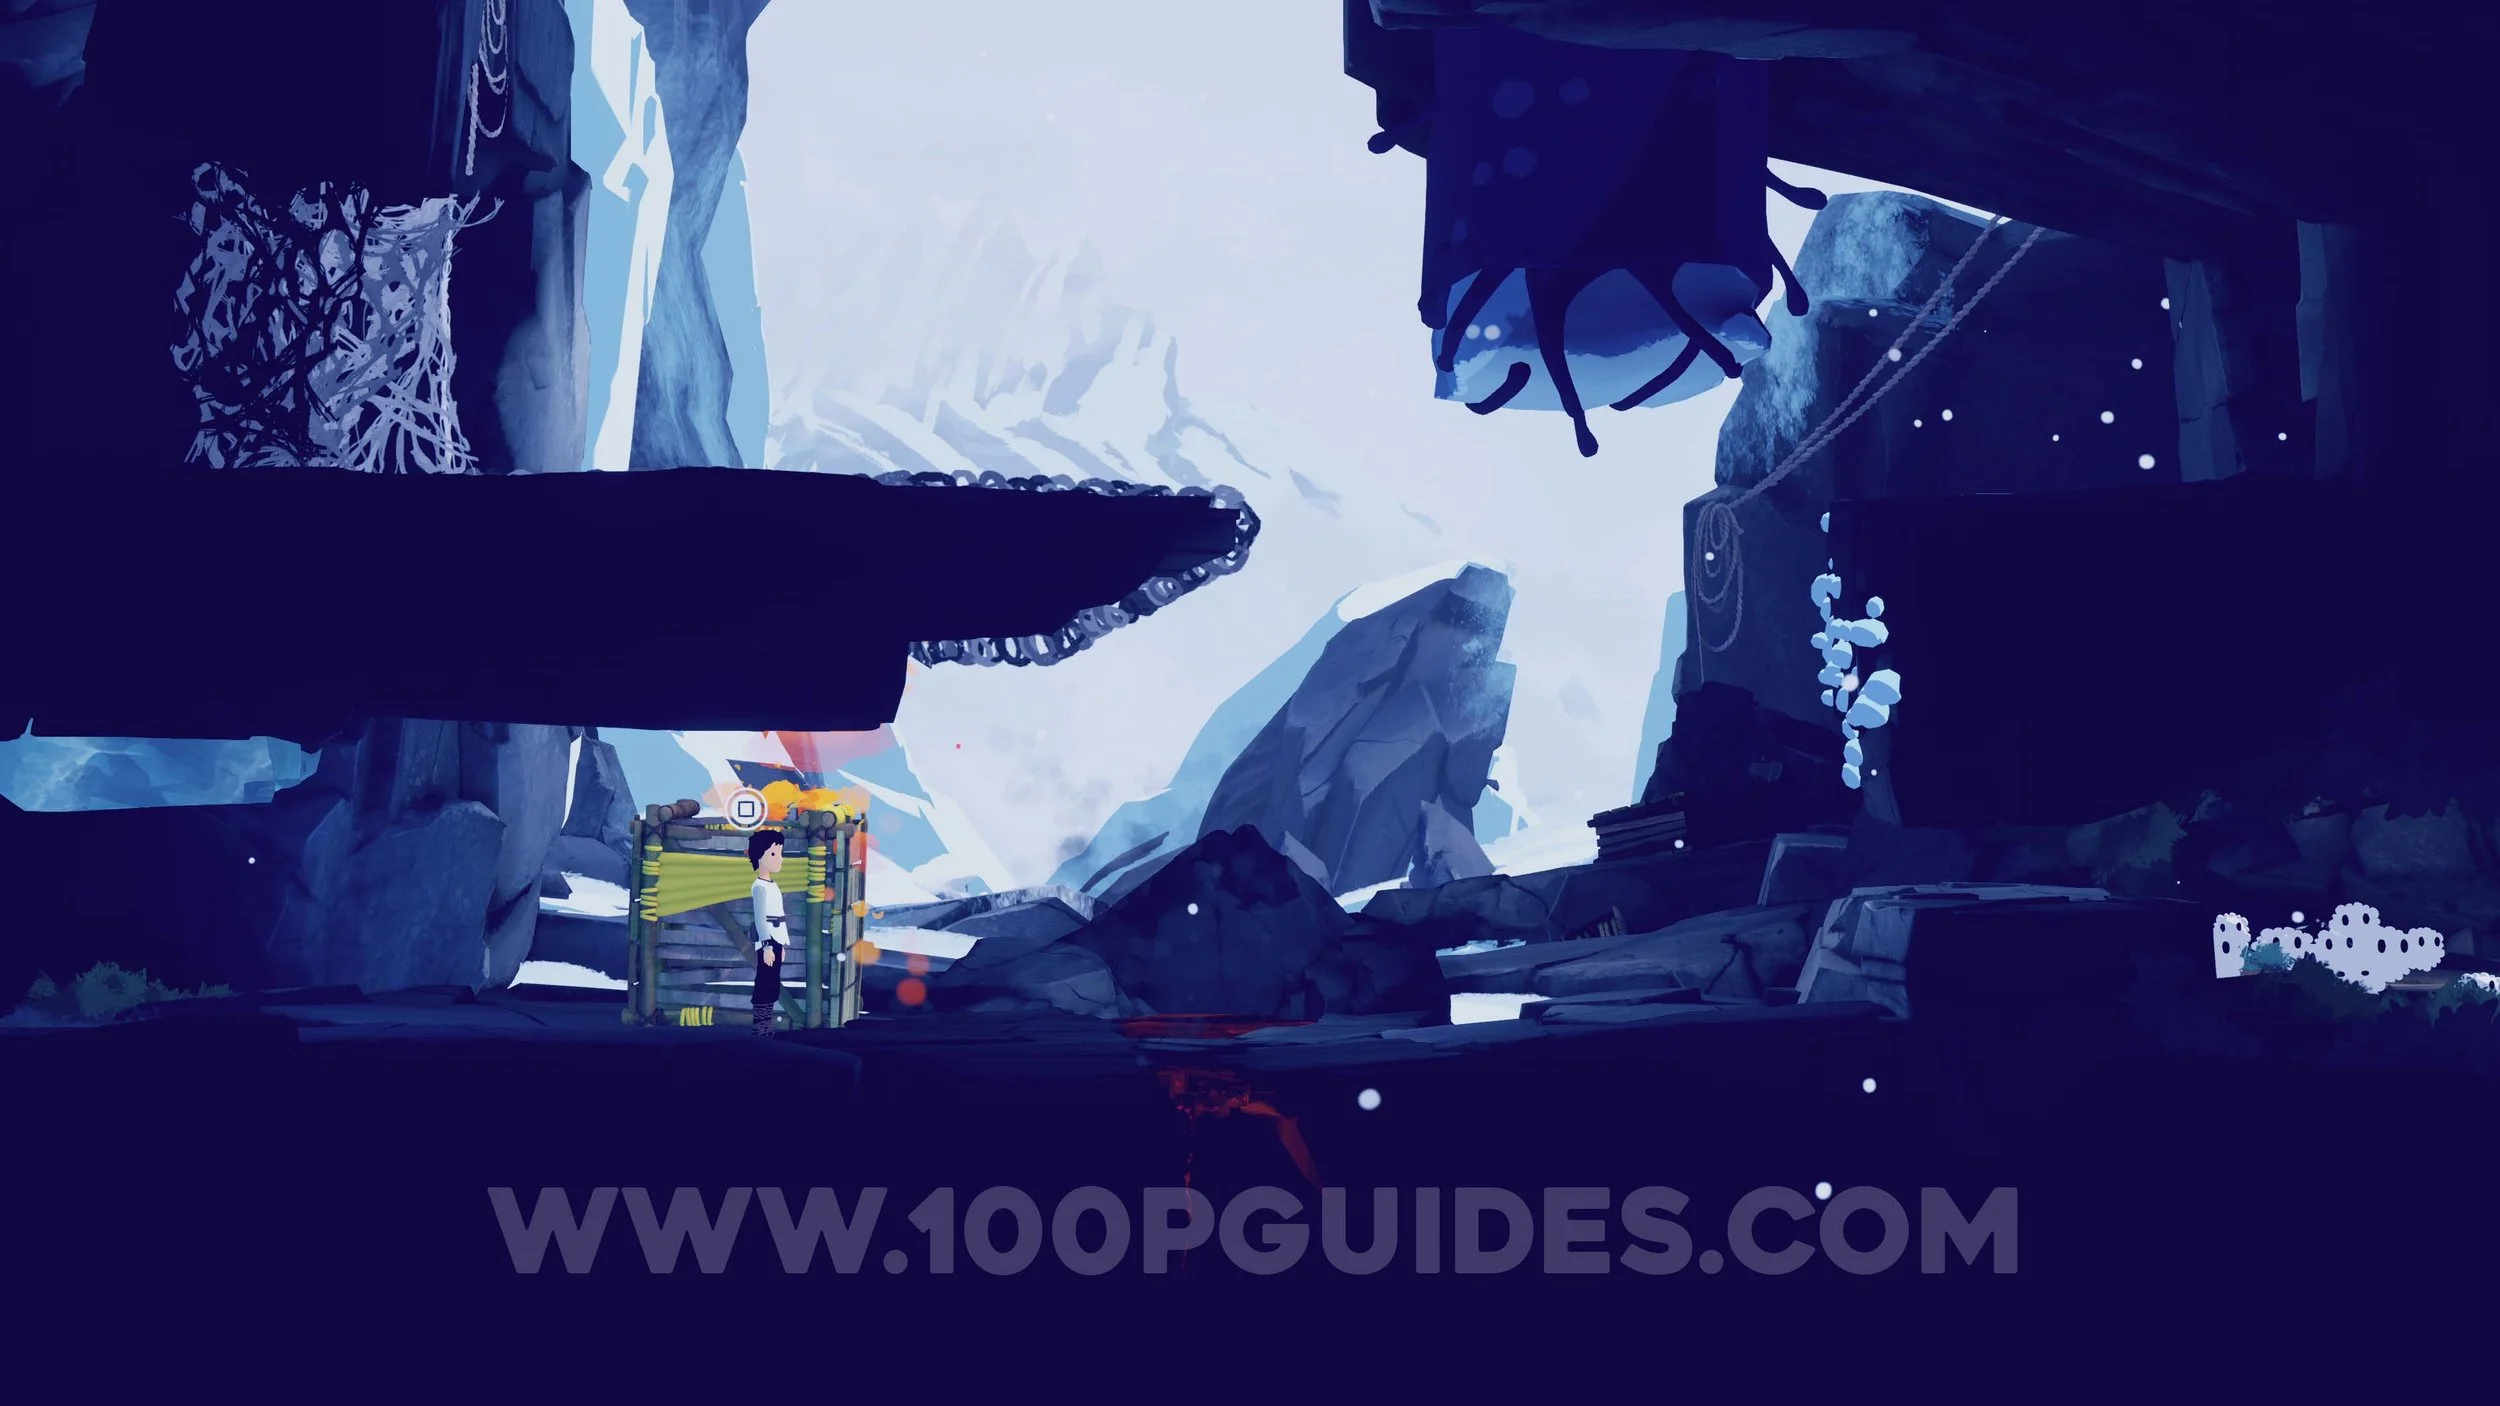
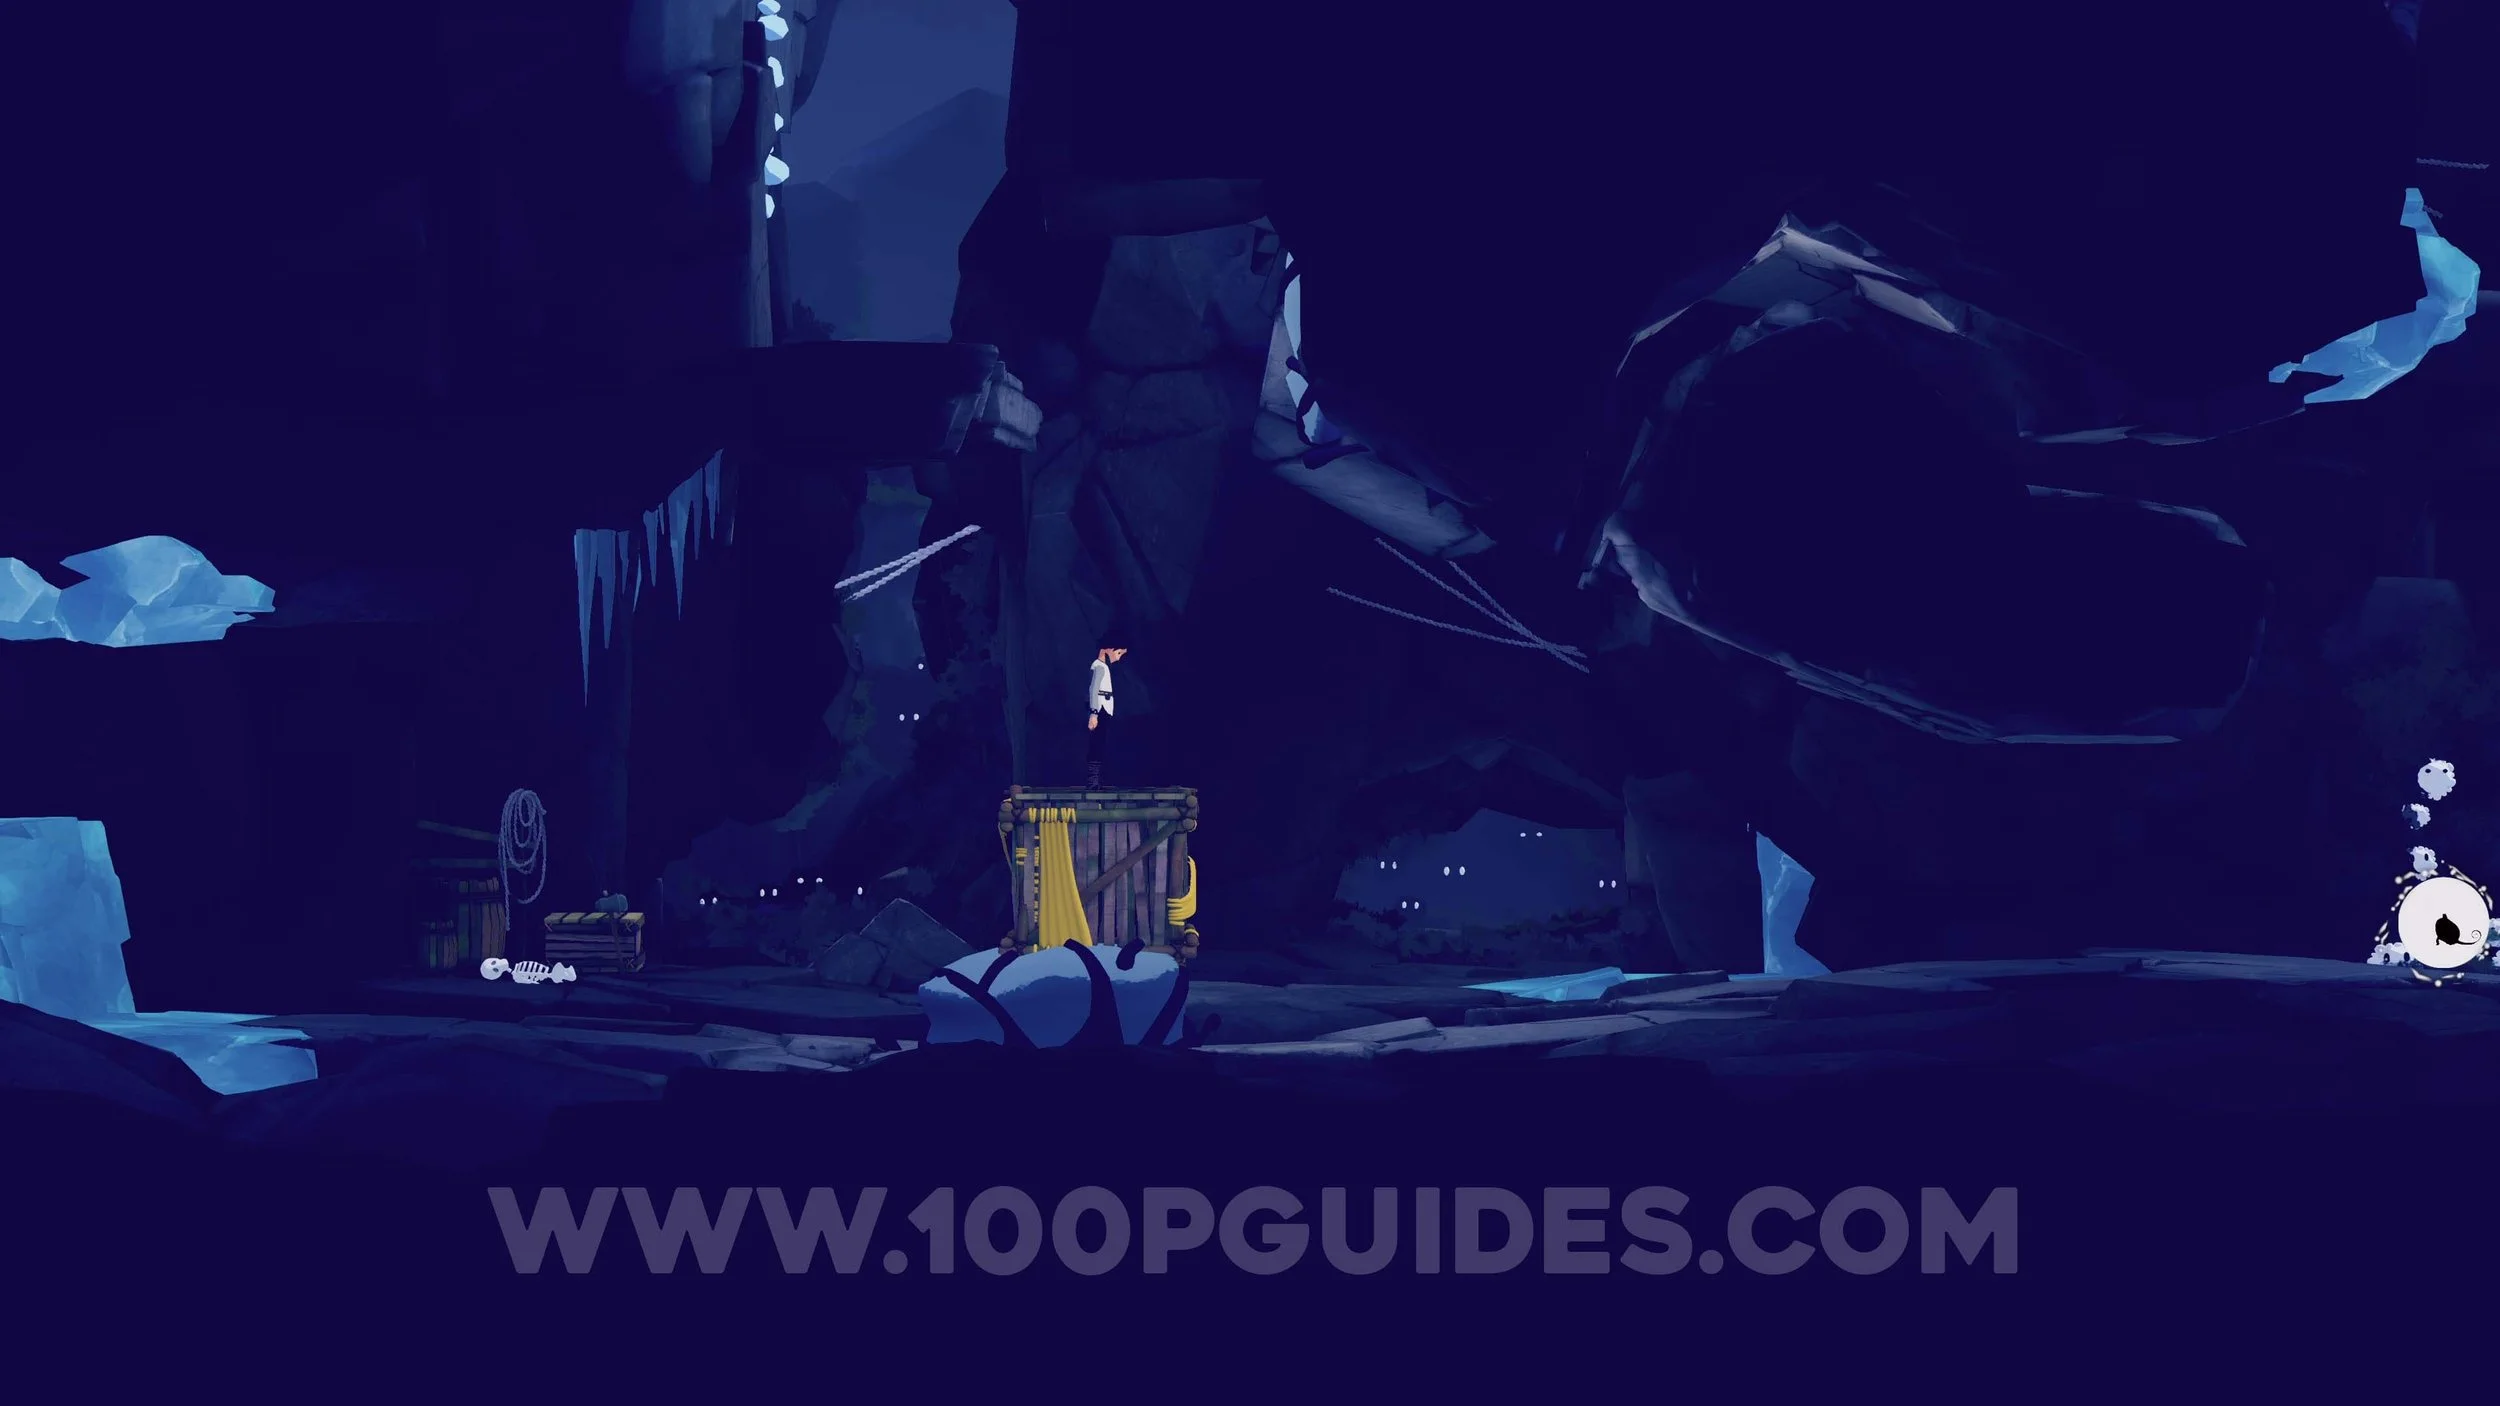
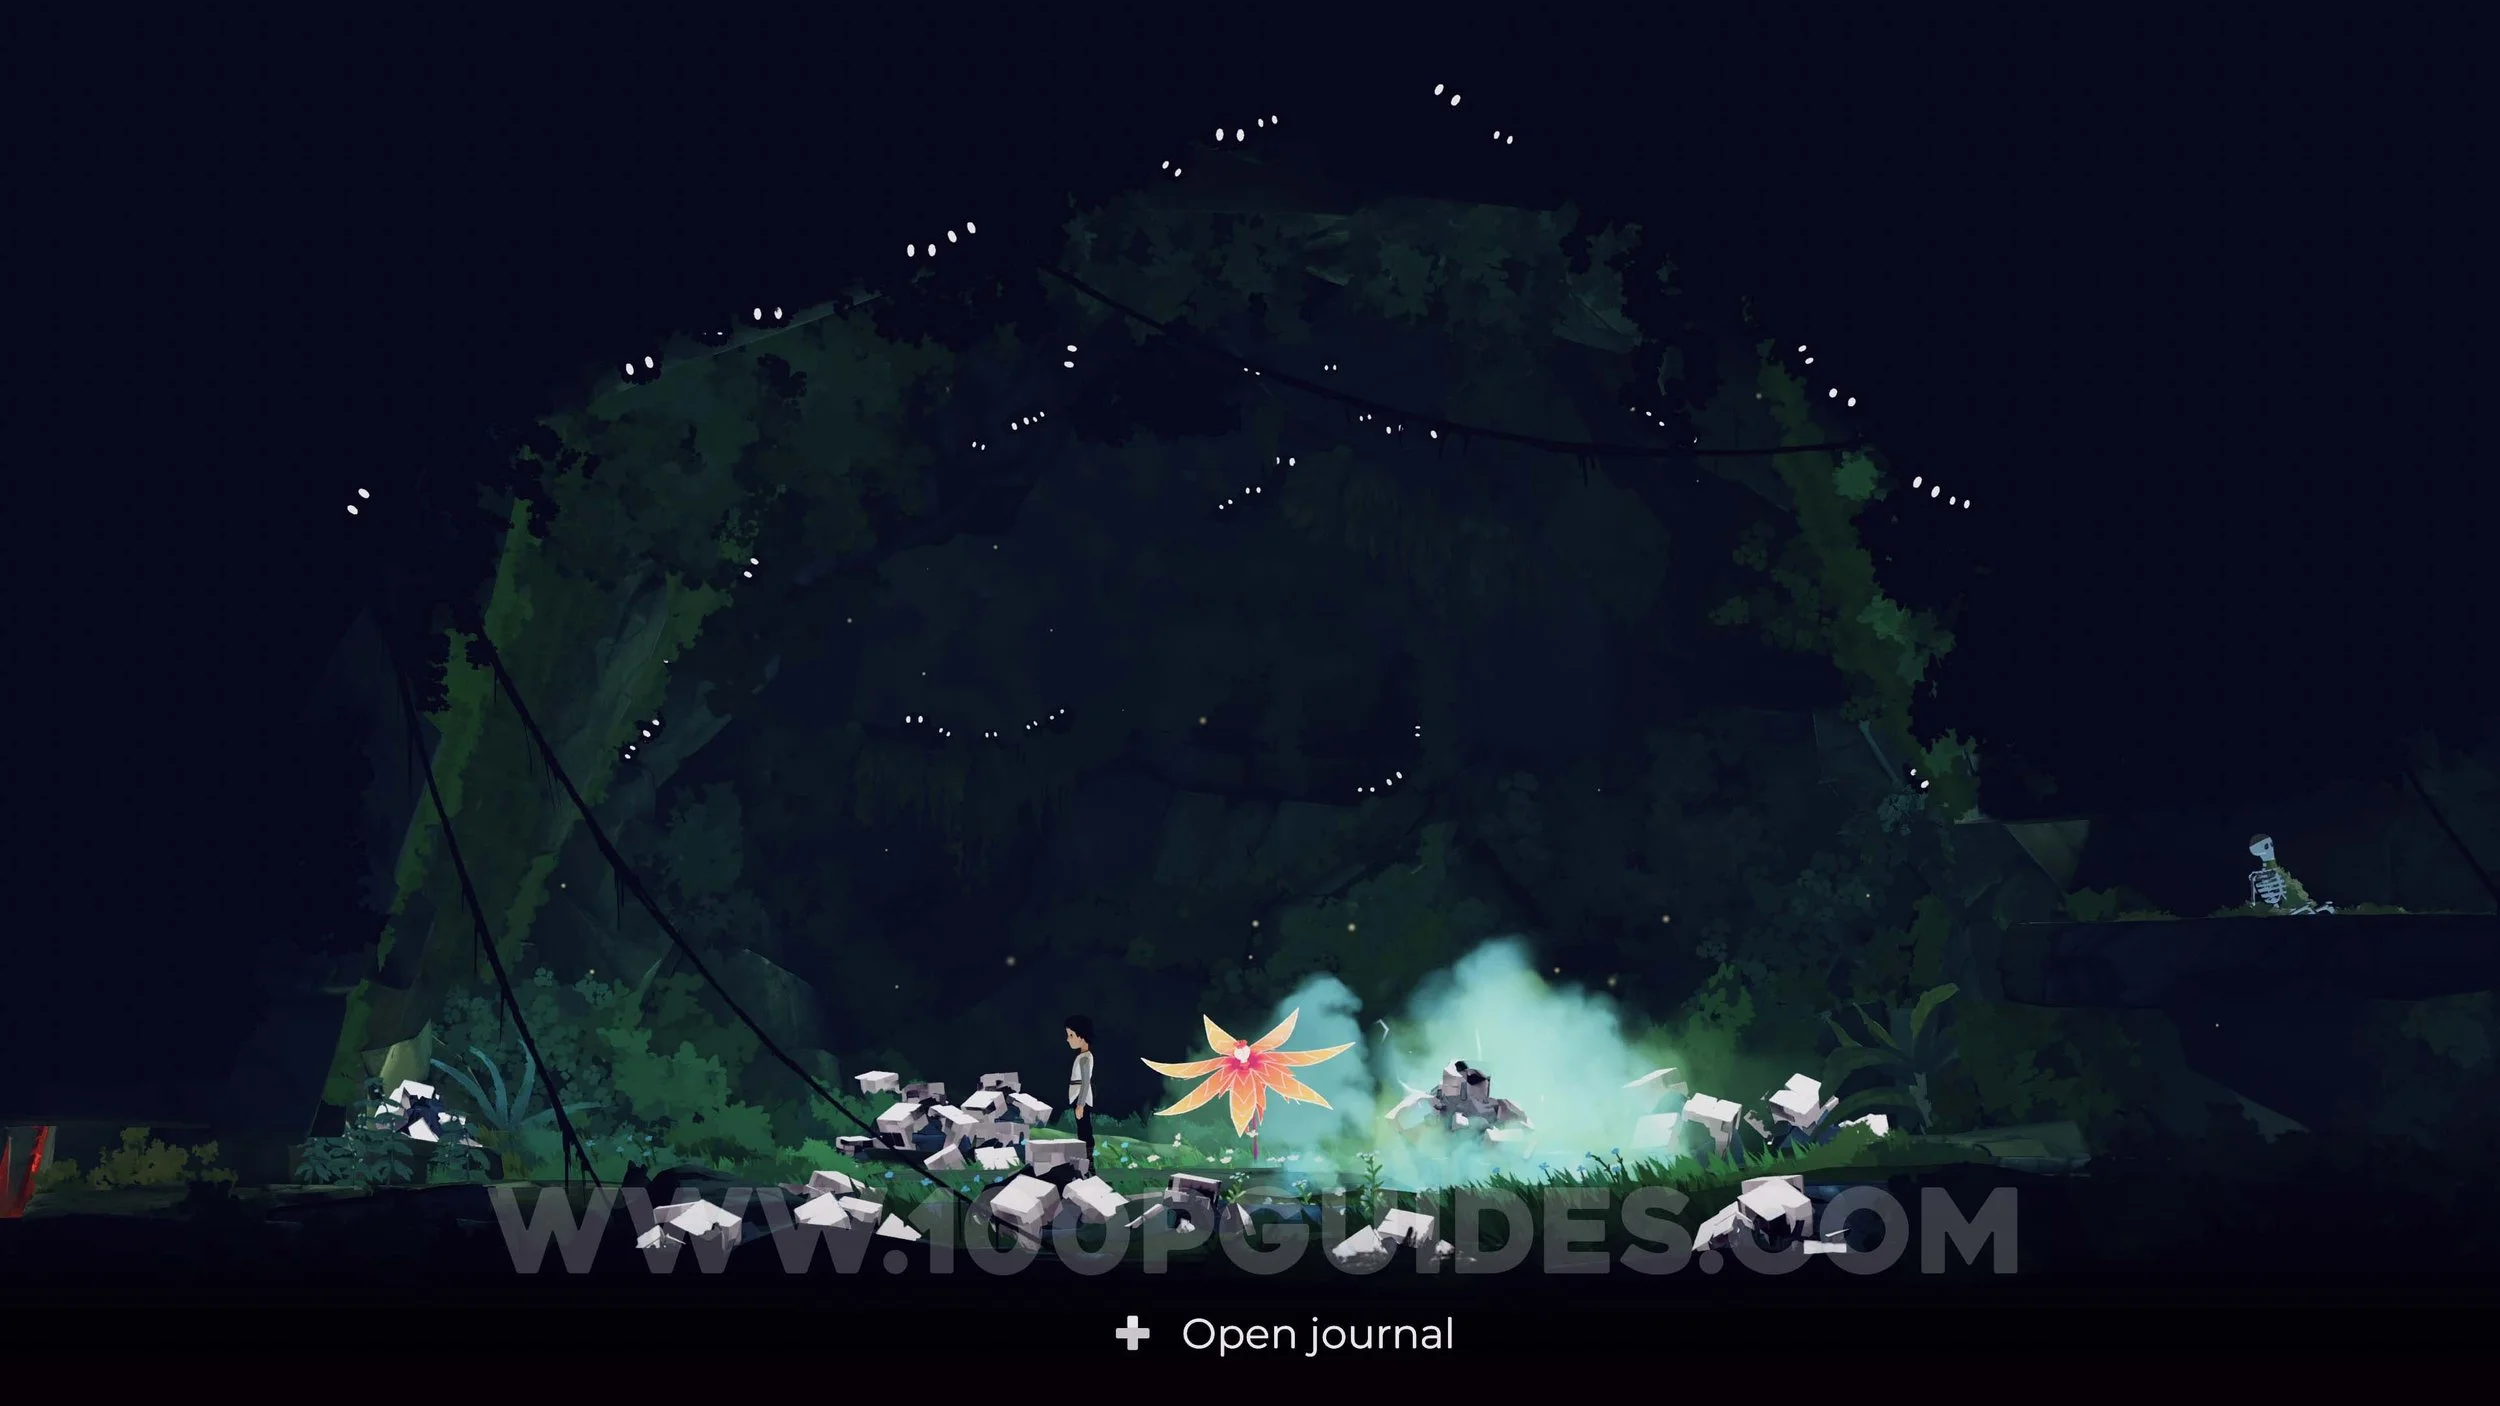
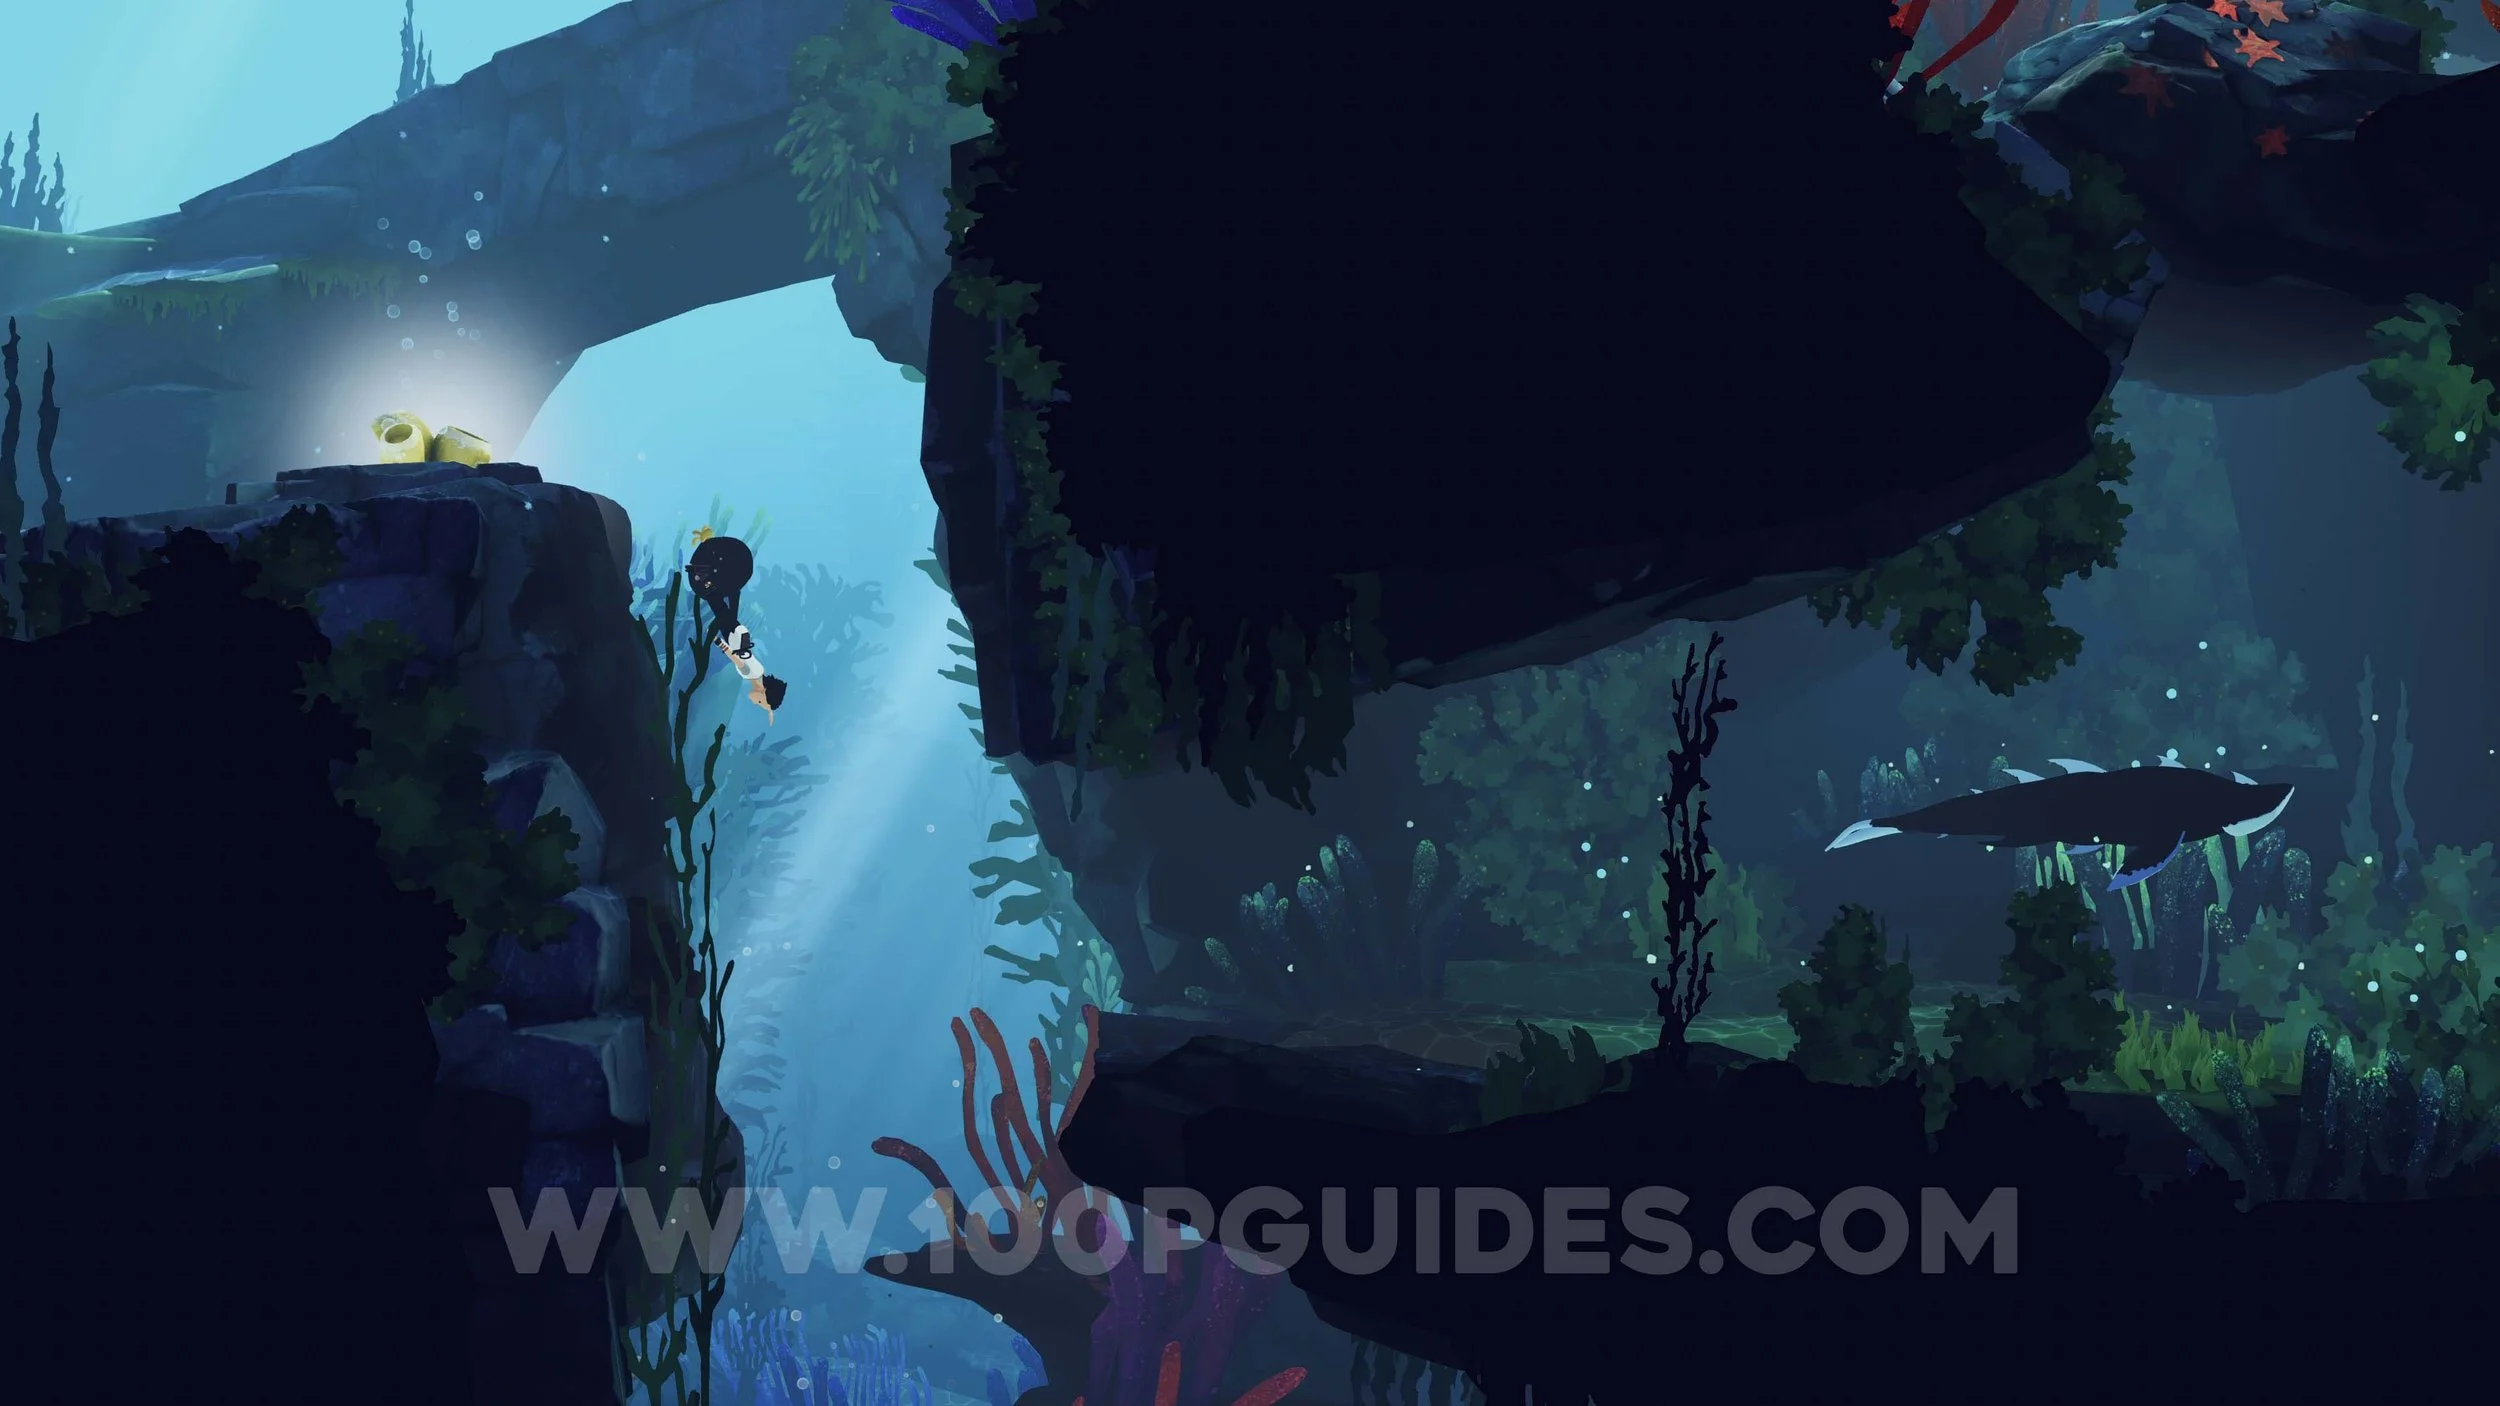
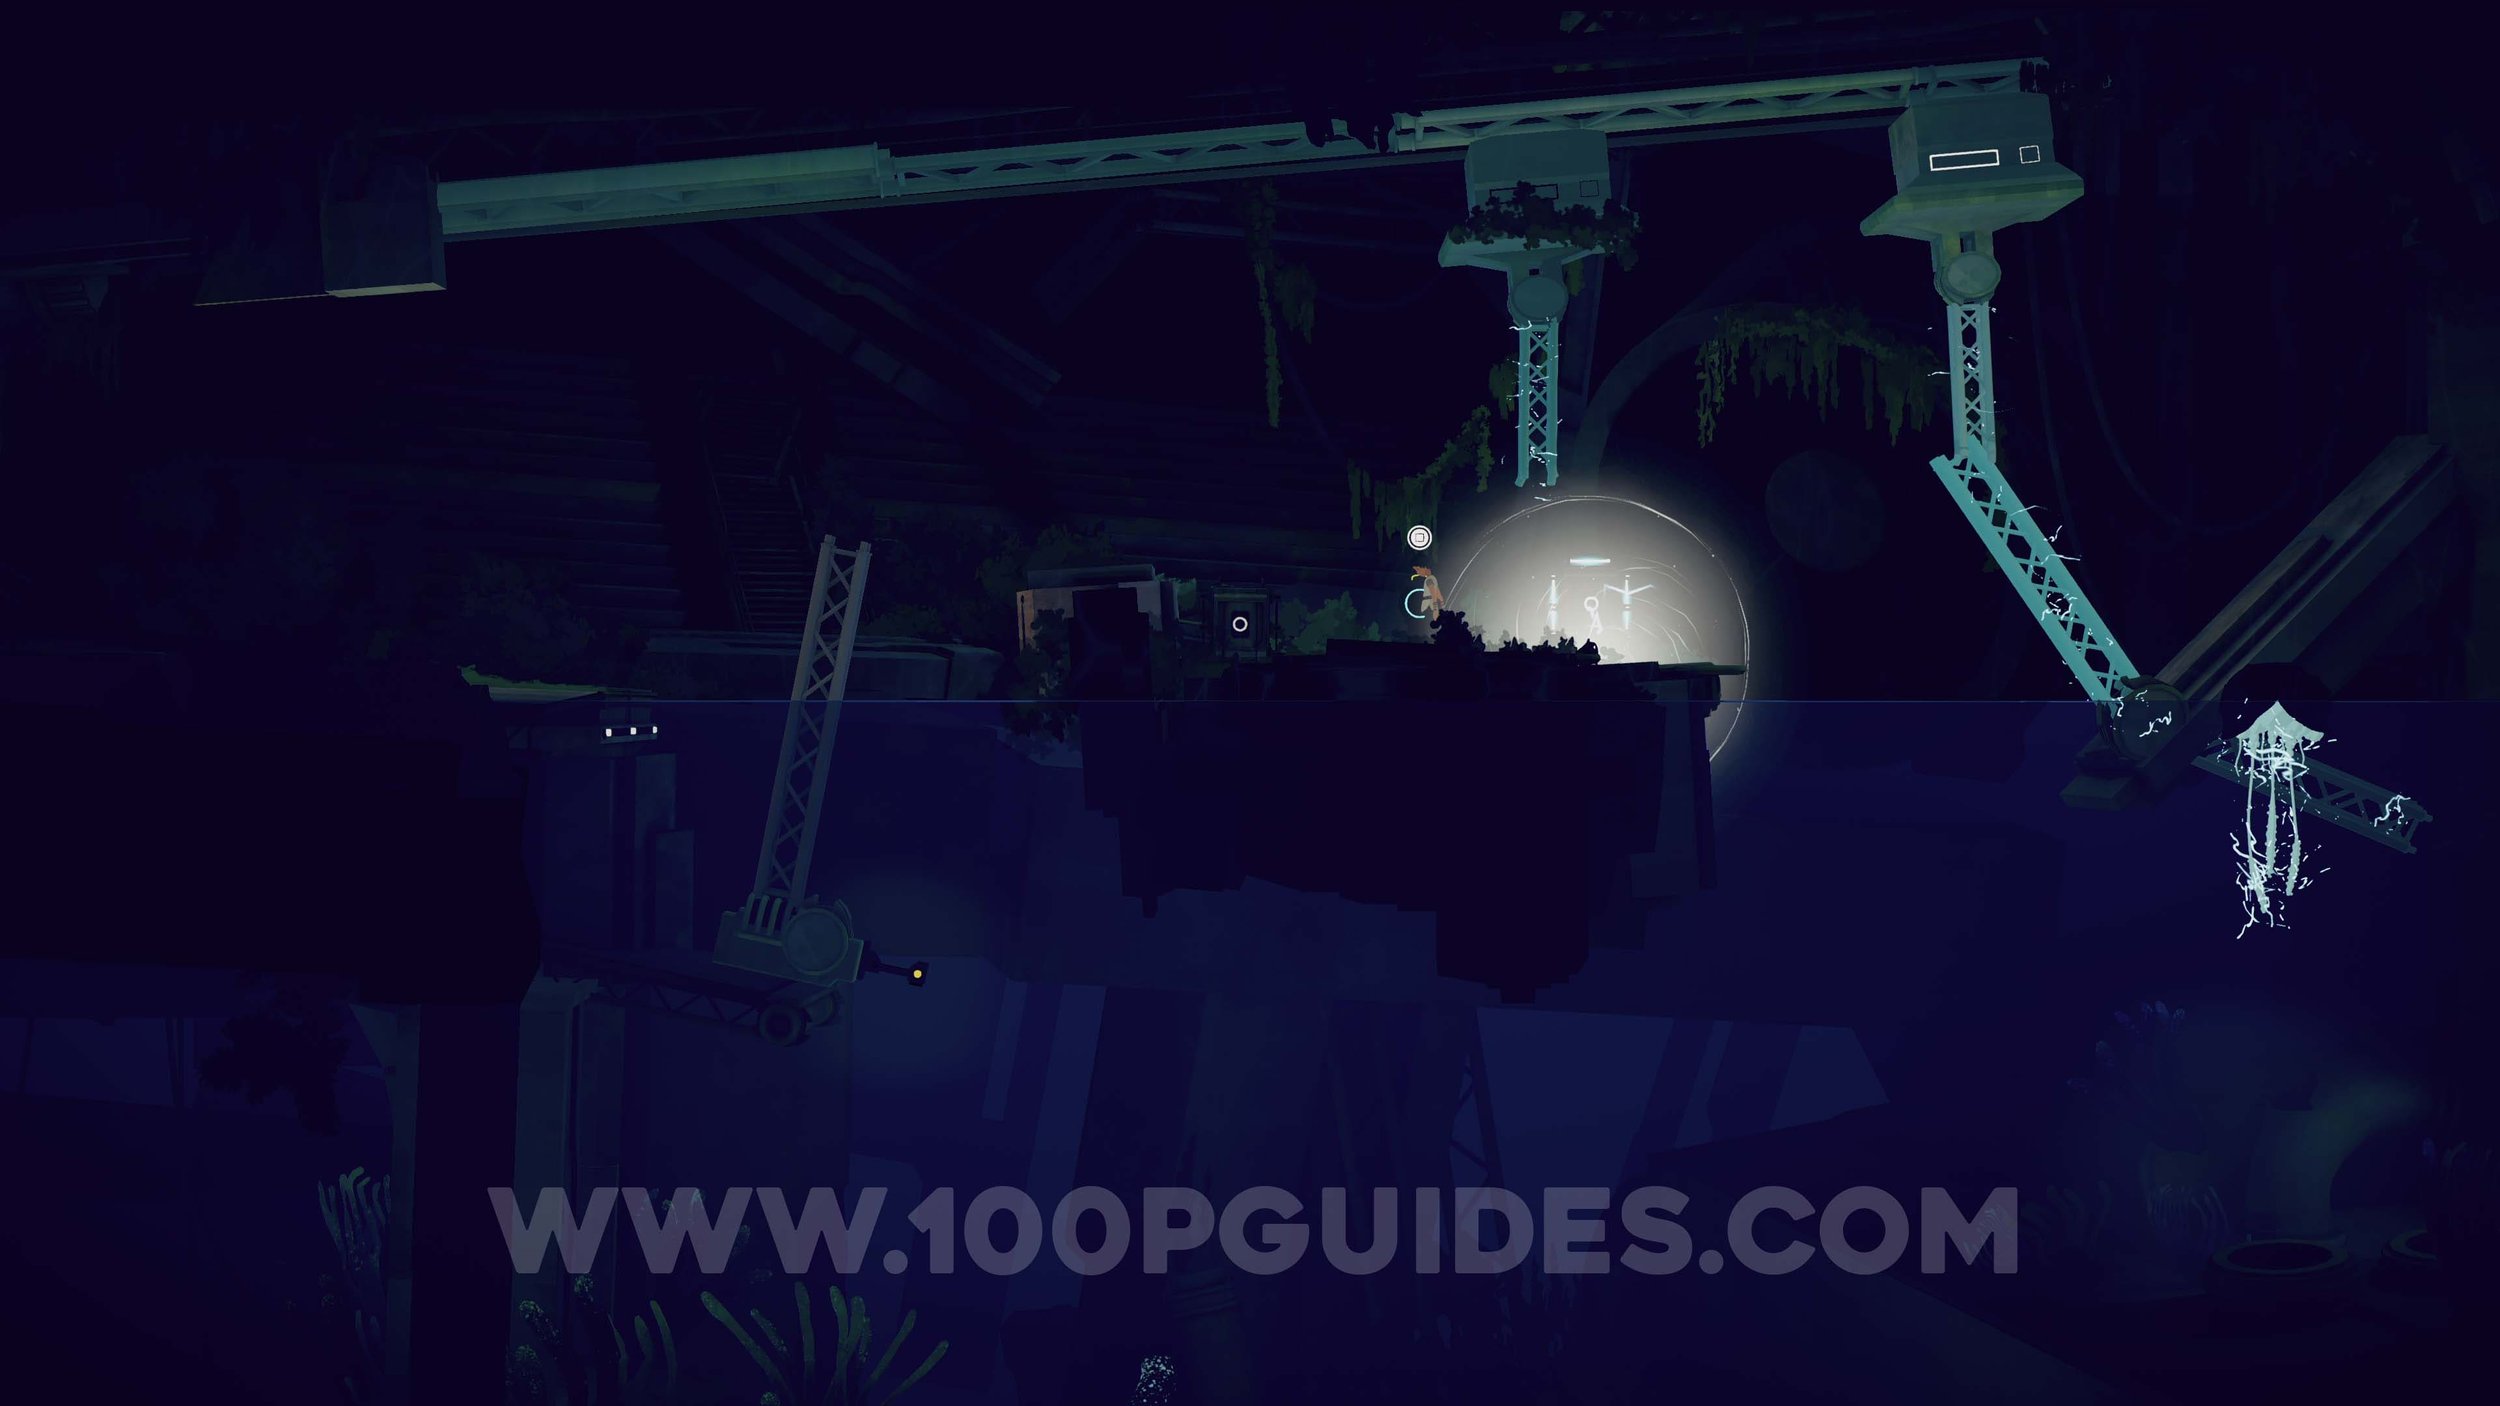
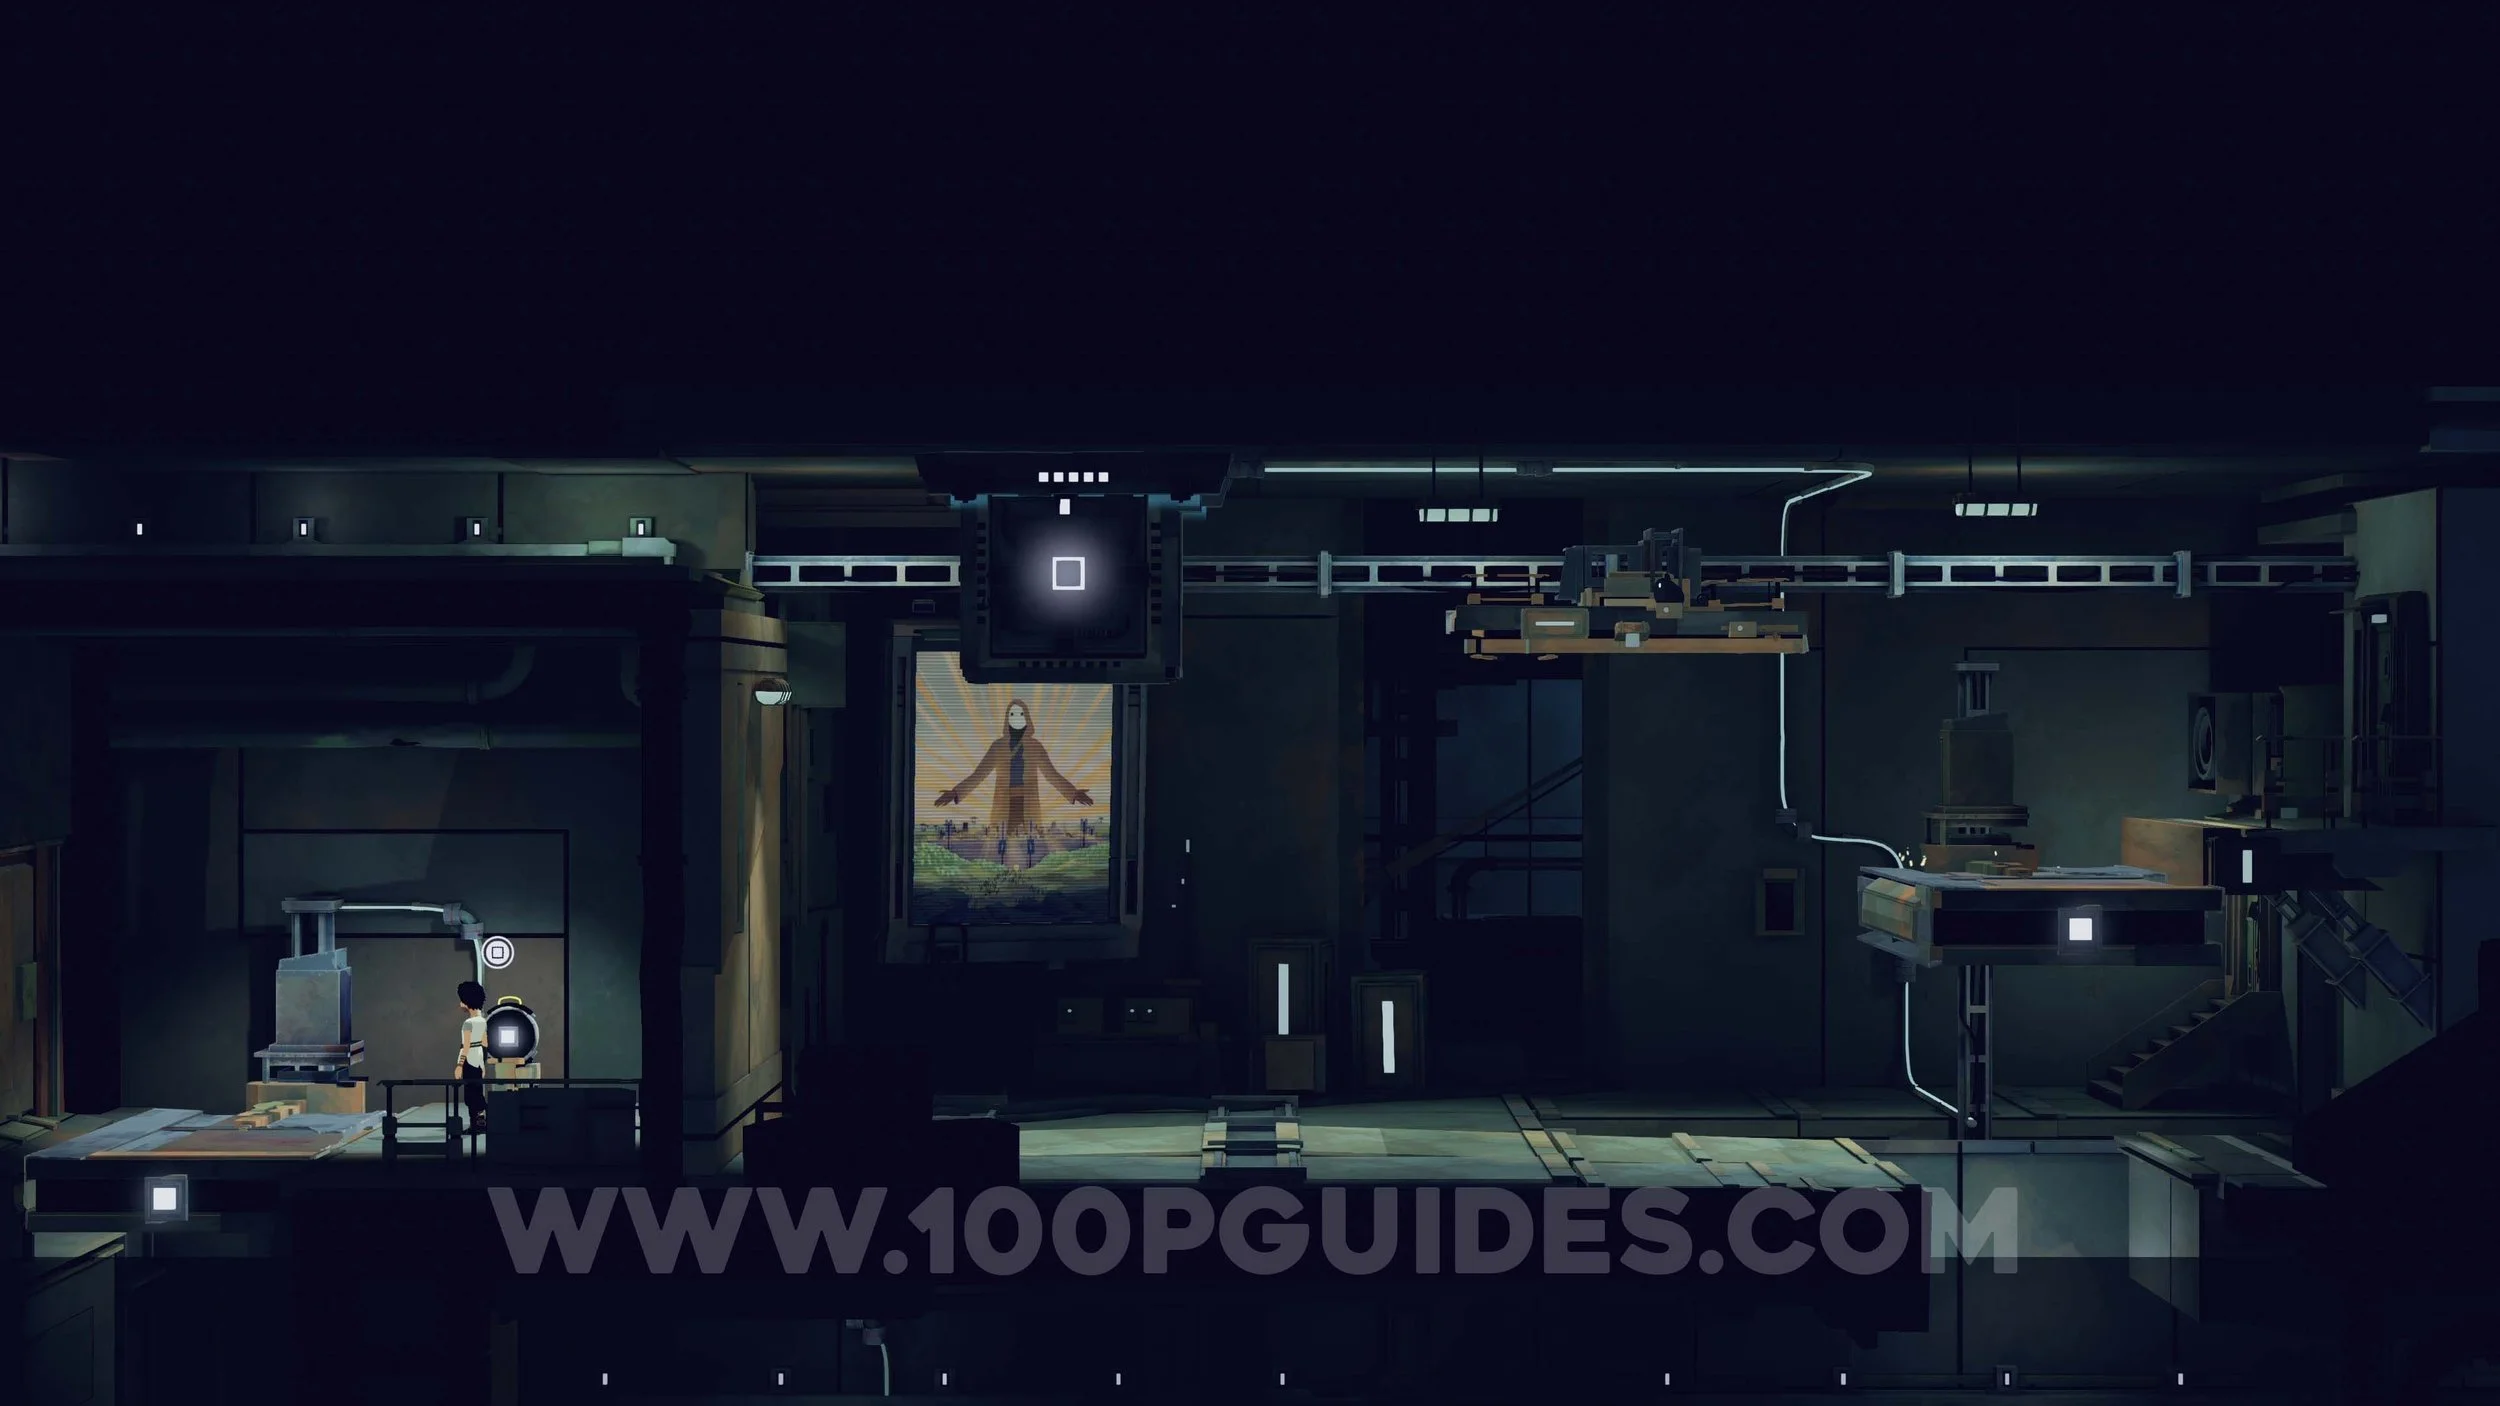
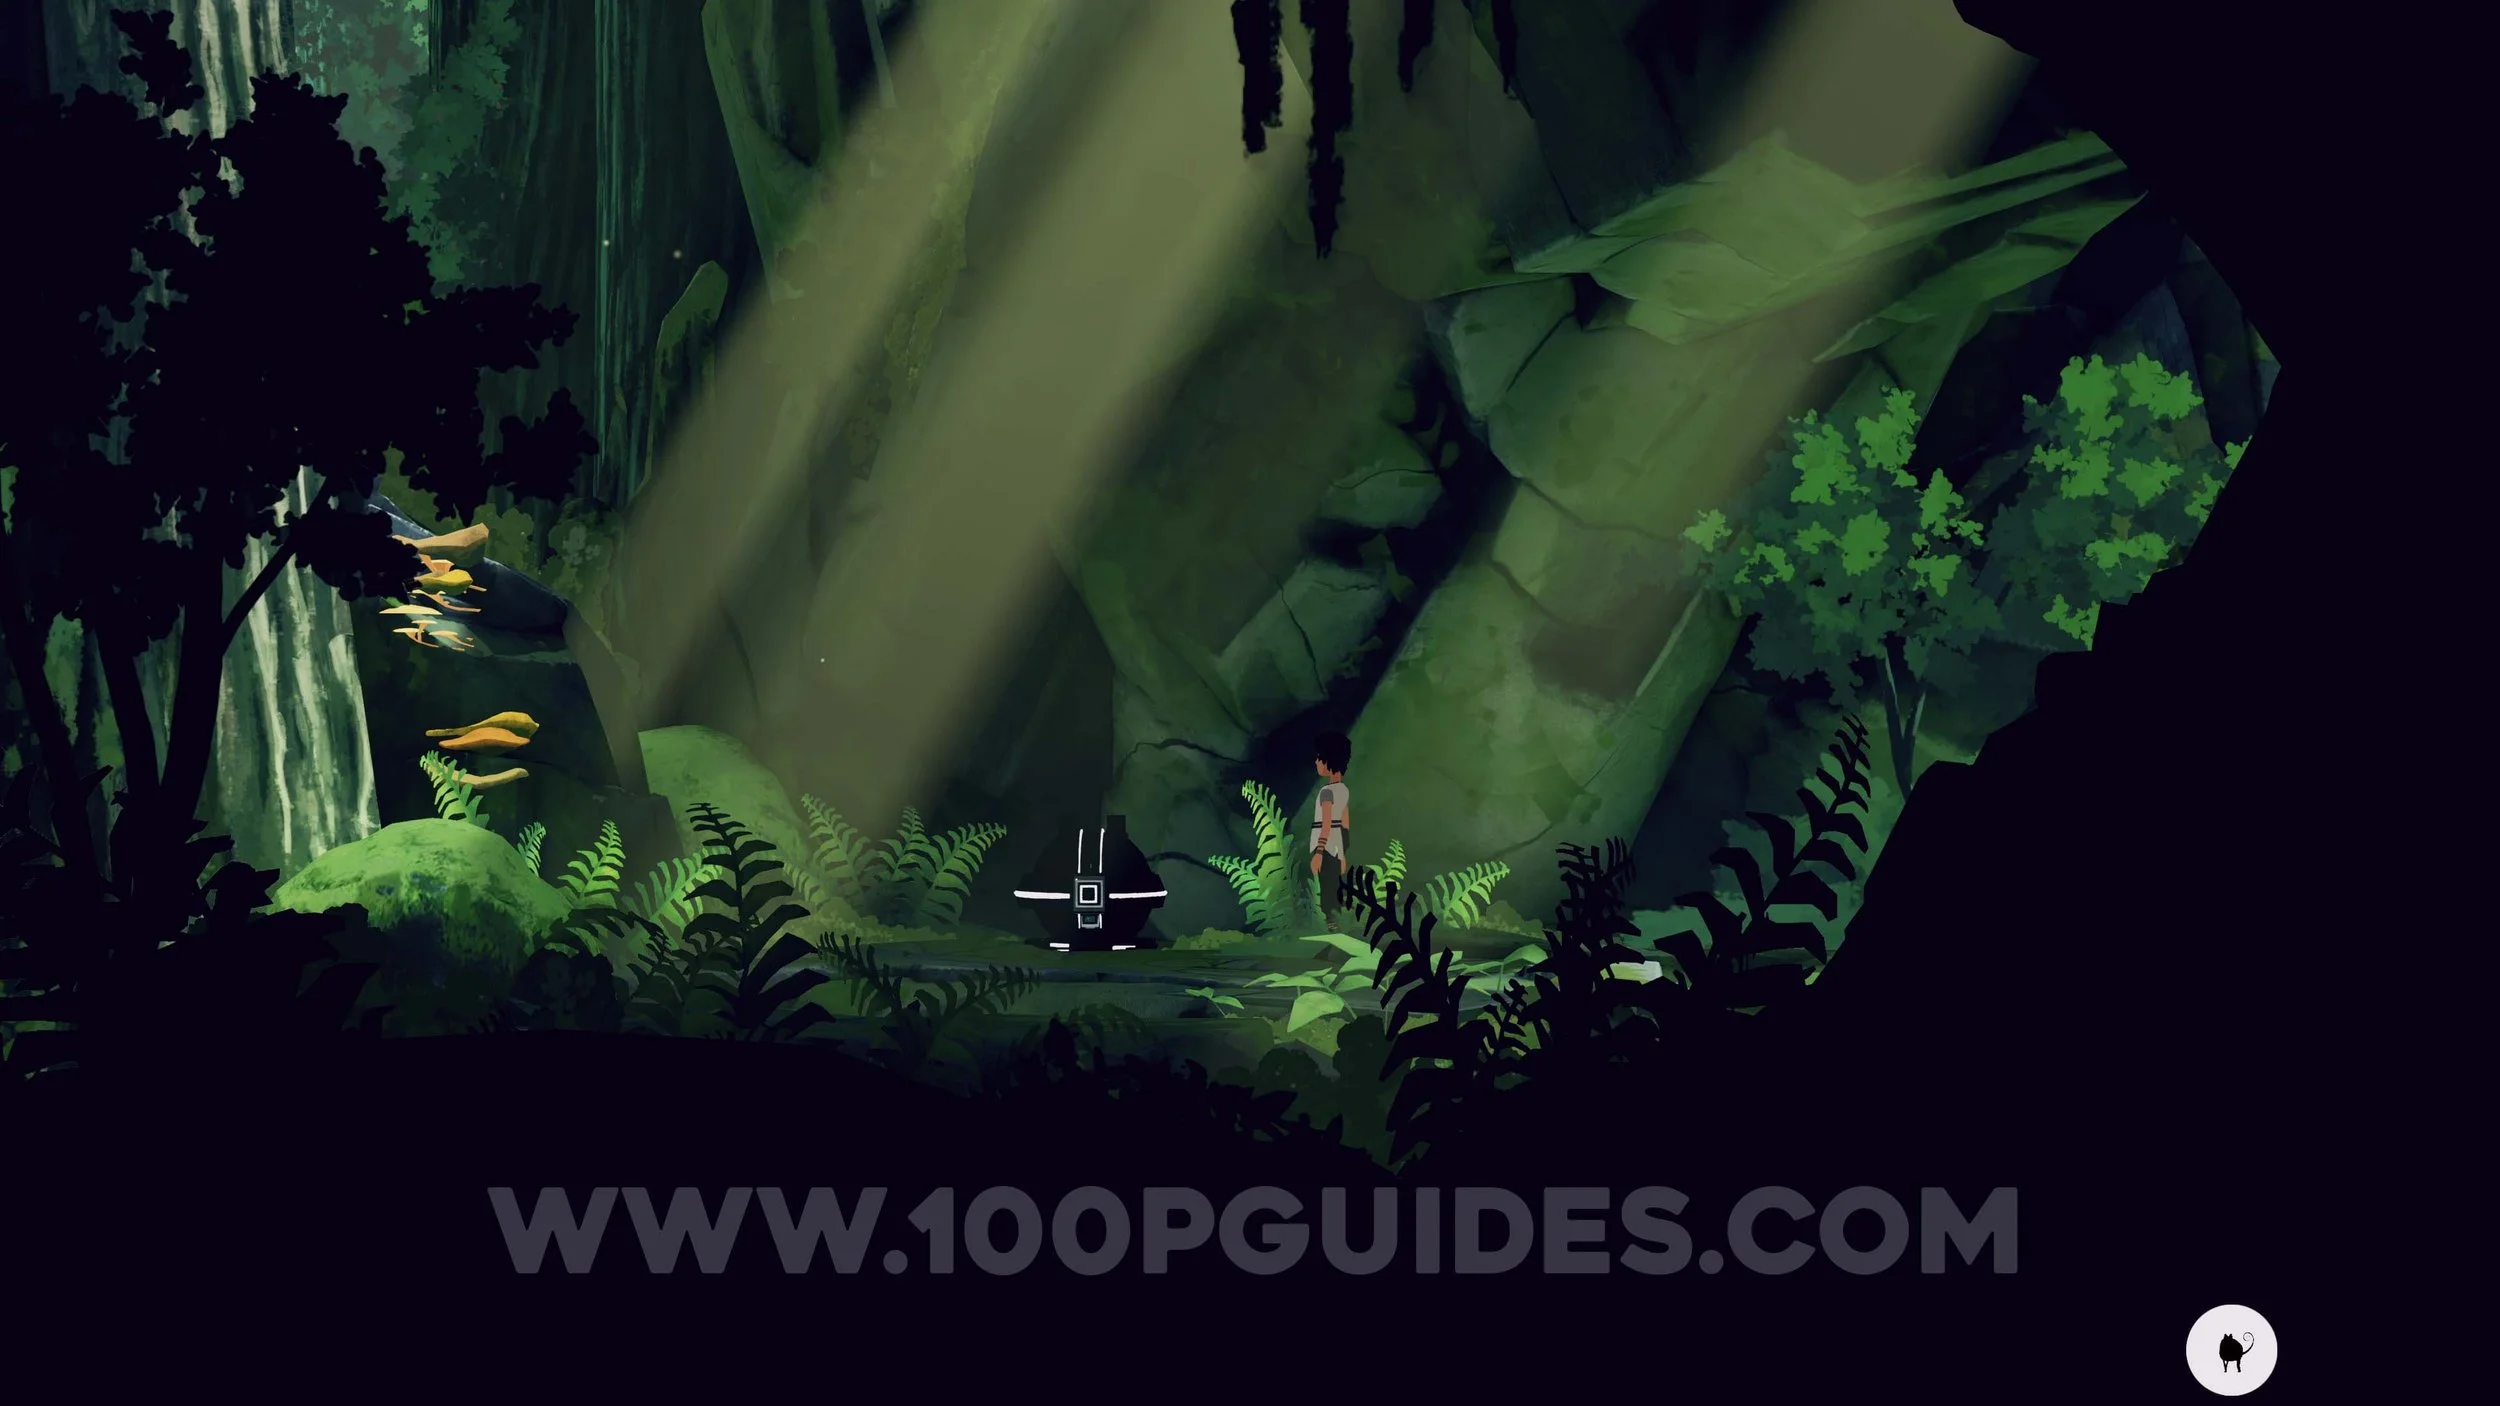
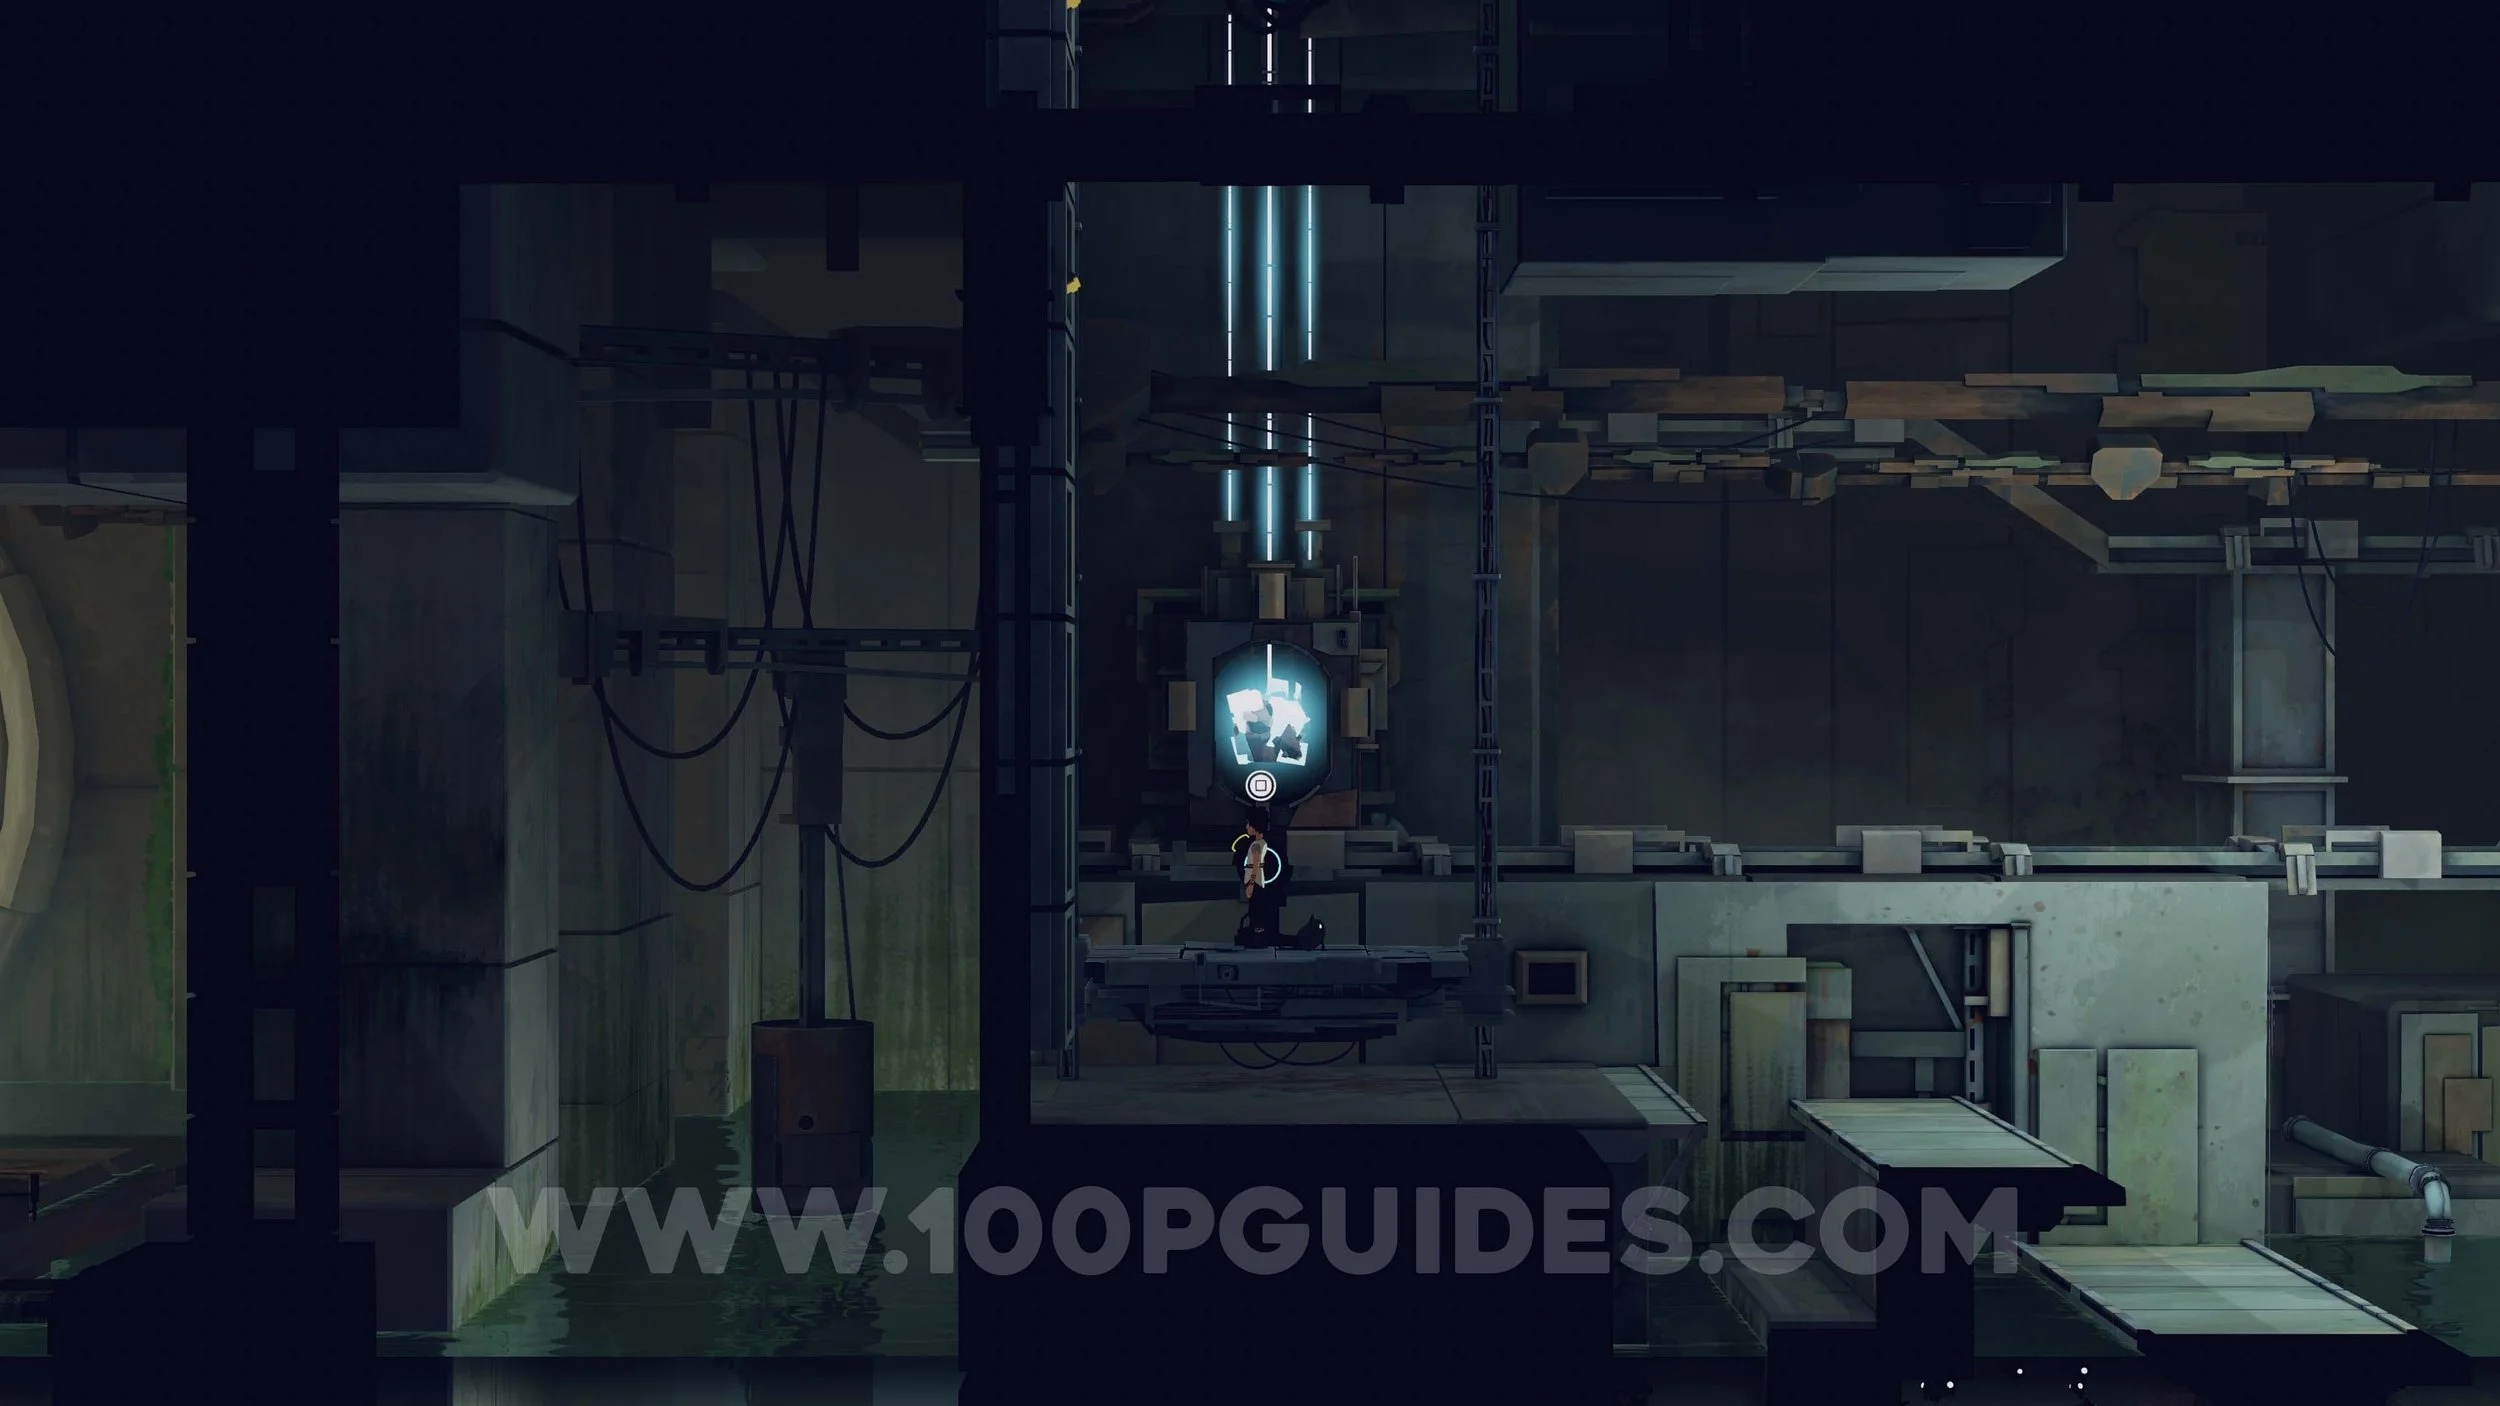
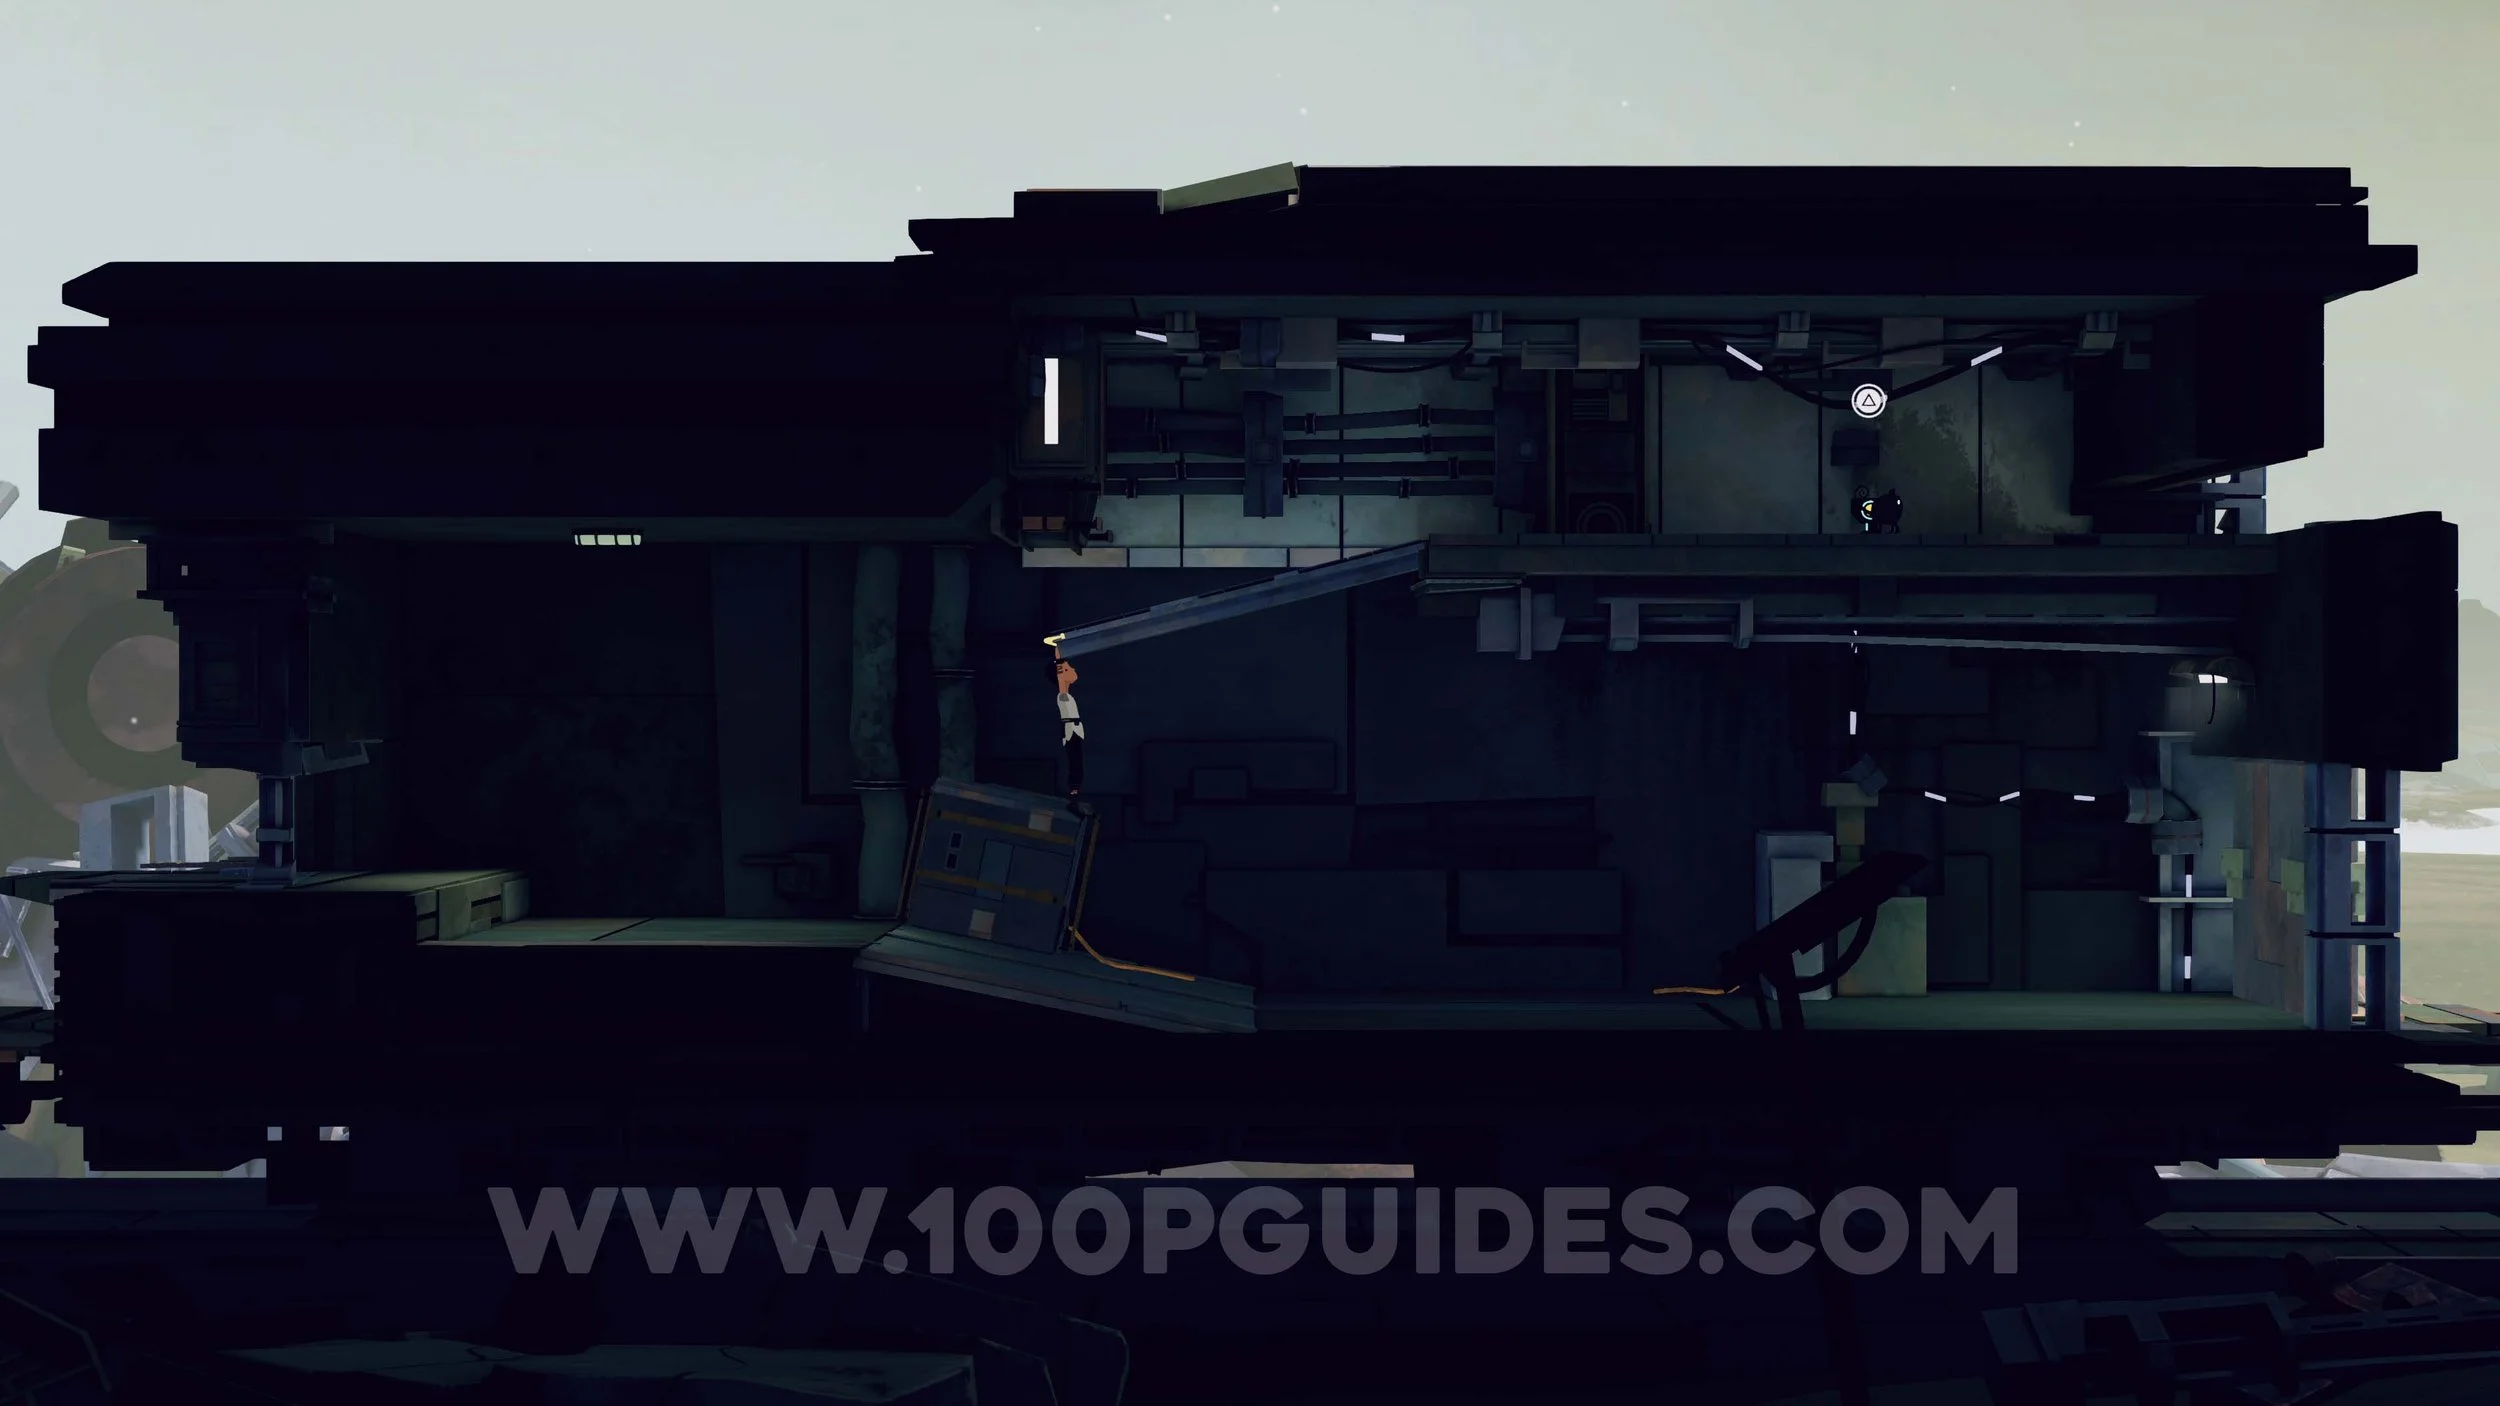
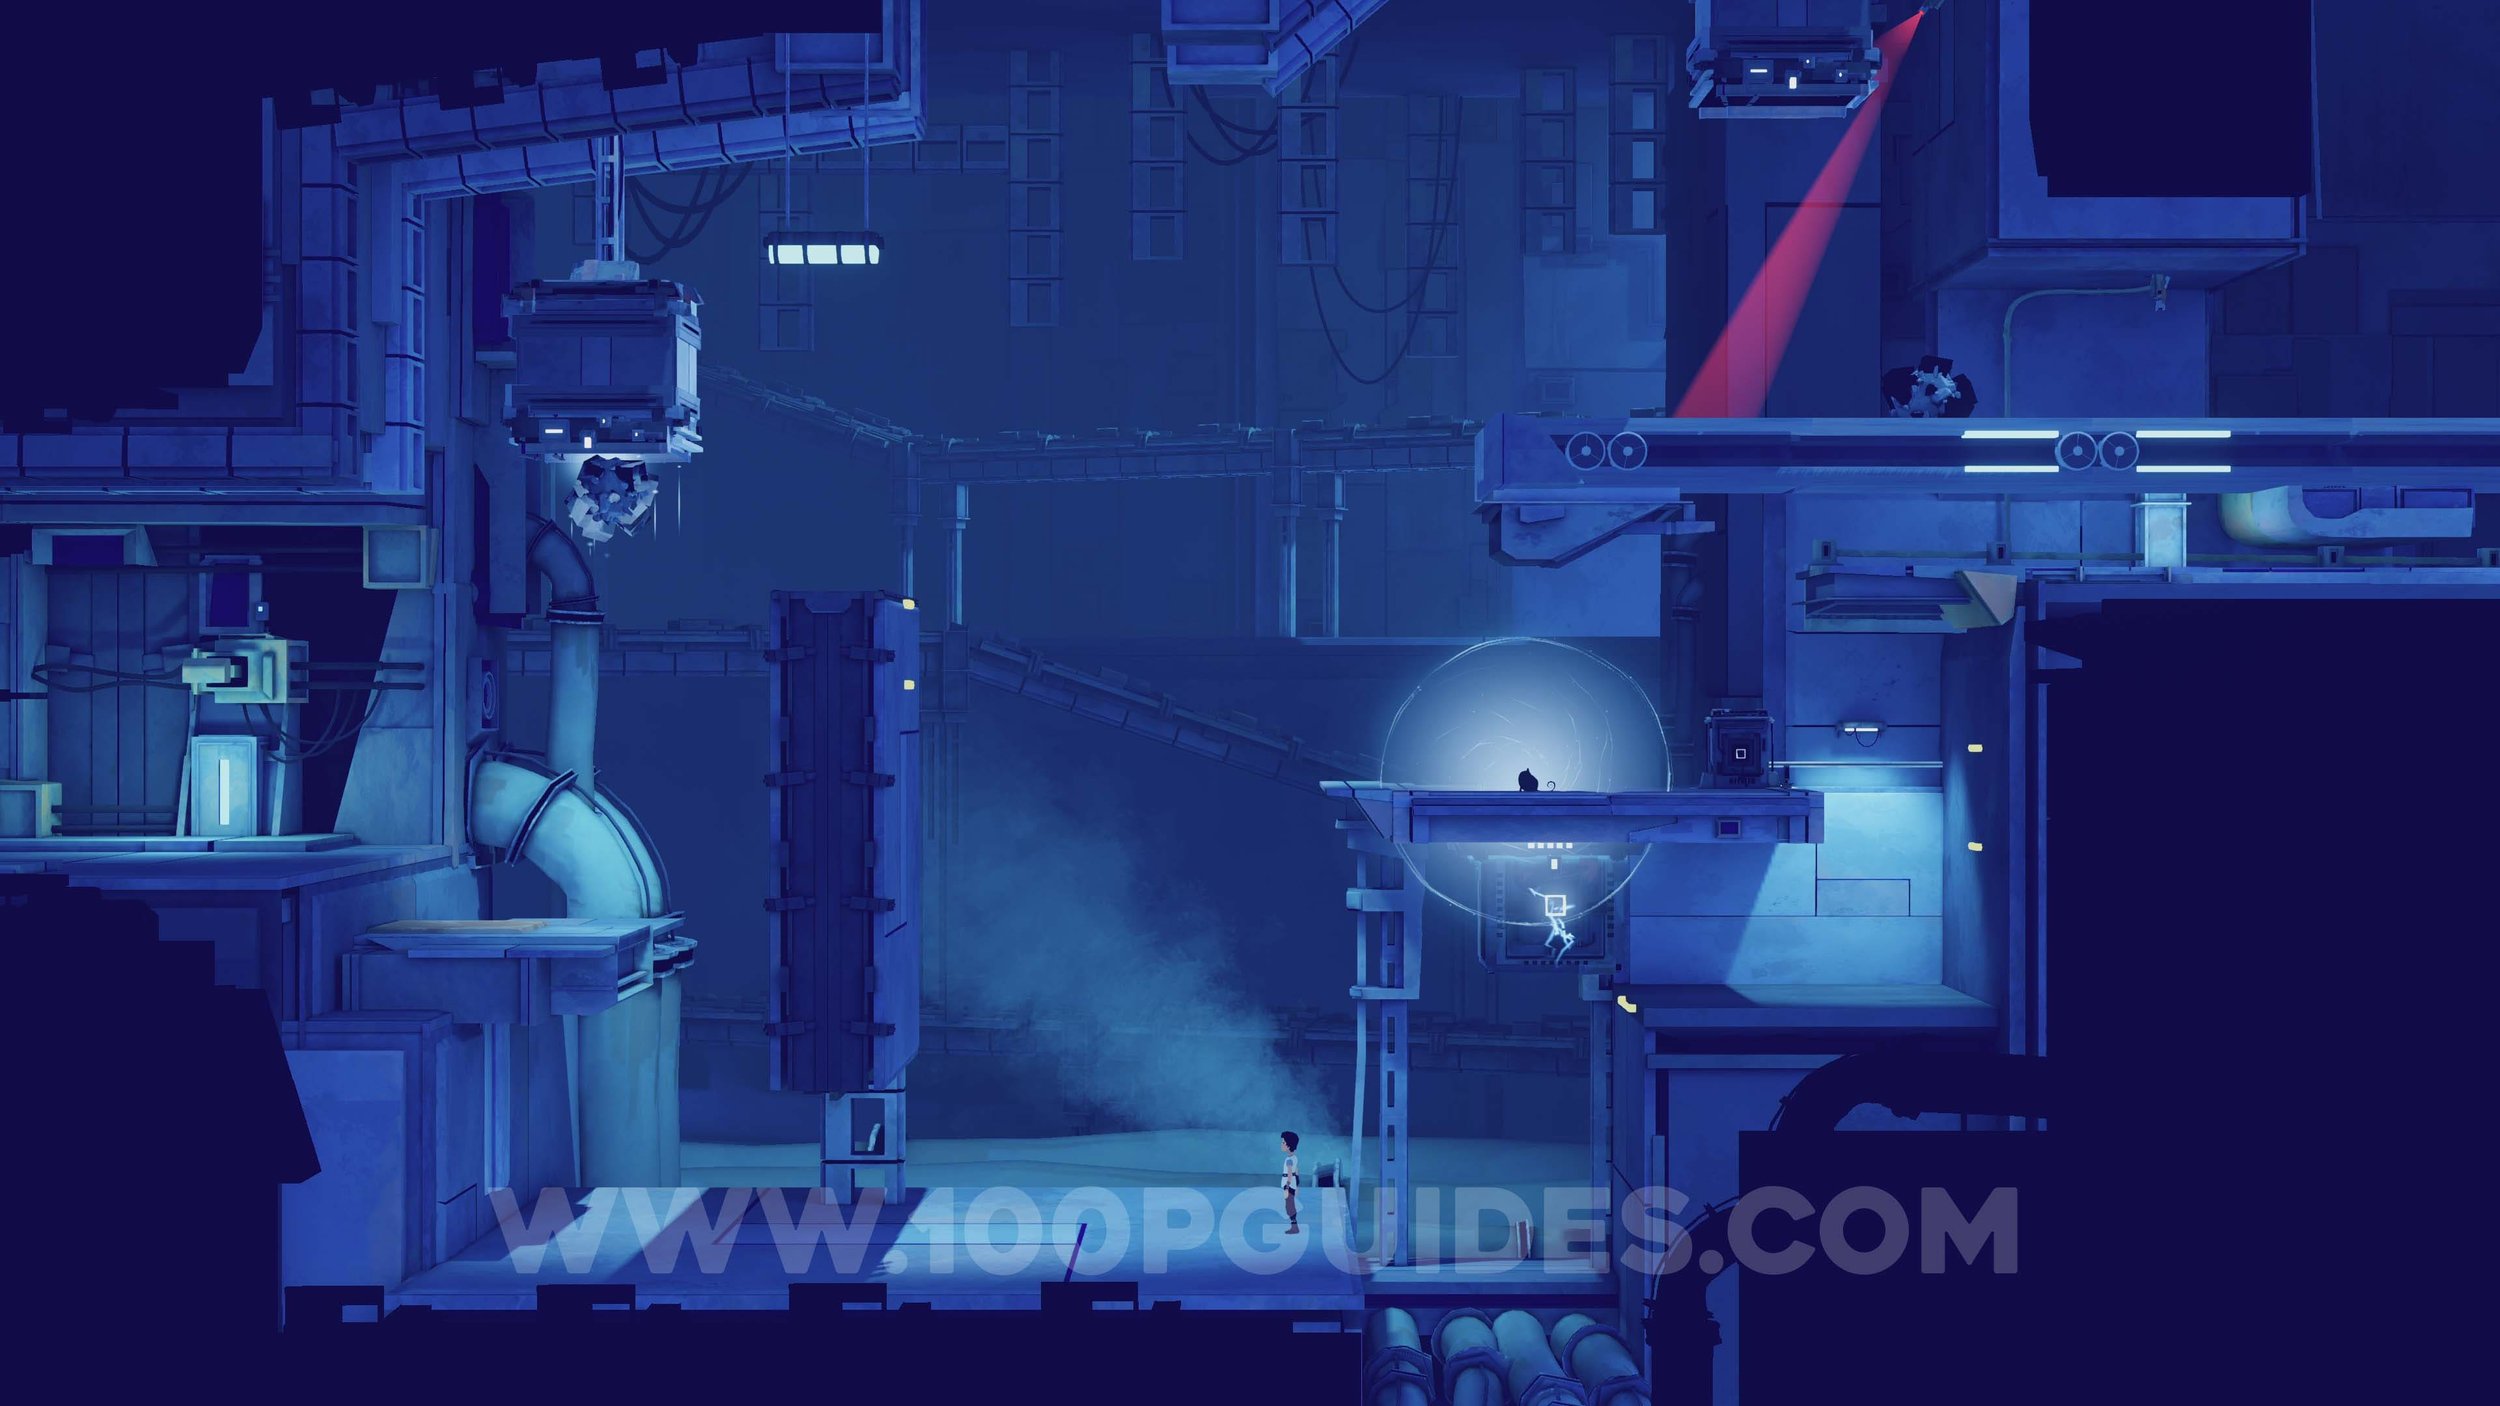
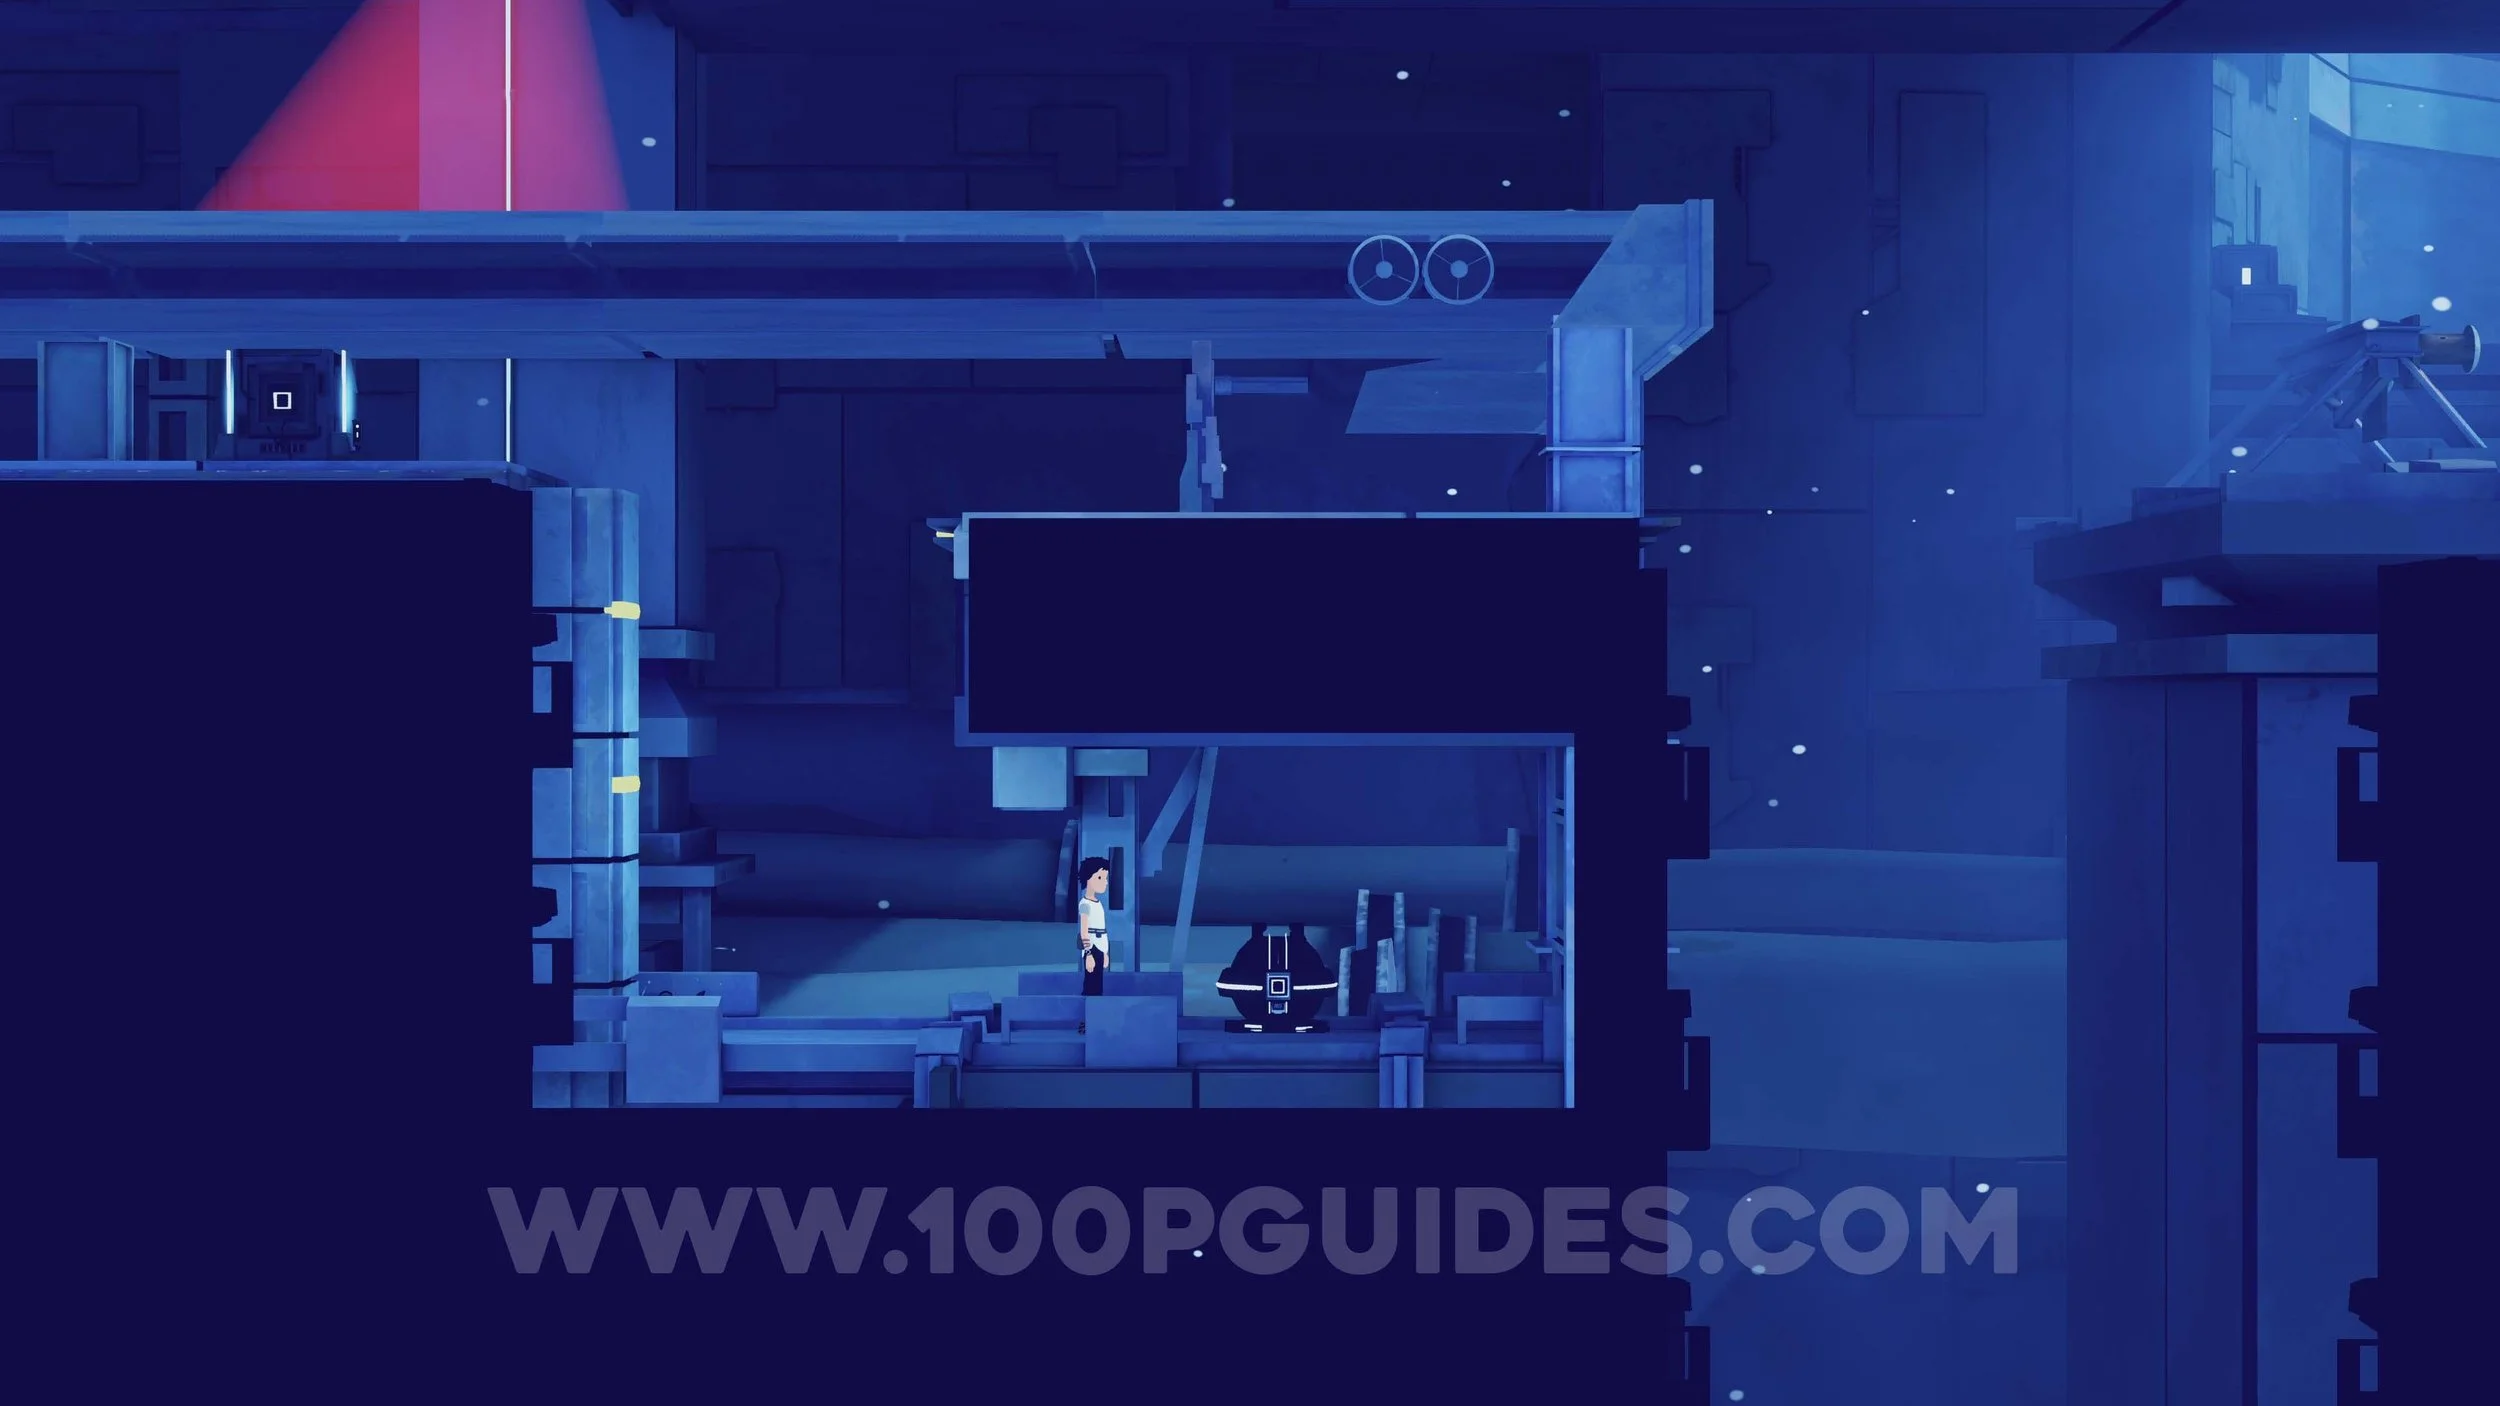
After moving through the Captain’s Quarters and examining the painting, you will reach an area with hydraulic presses. Command Mui to activate the switch above to turn them on, then run and slide underneath them. After passing the second press, take the hidden path on the right to find the first Secret. Secret 1/10.
To open the secret chest, command Mui to it and hold Triangle.
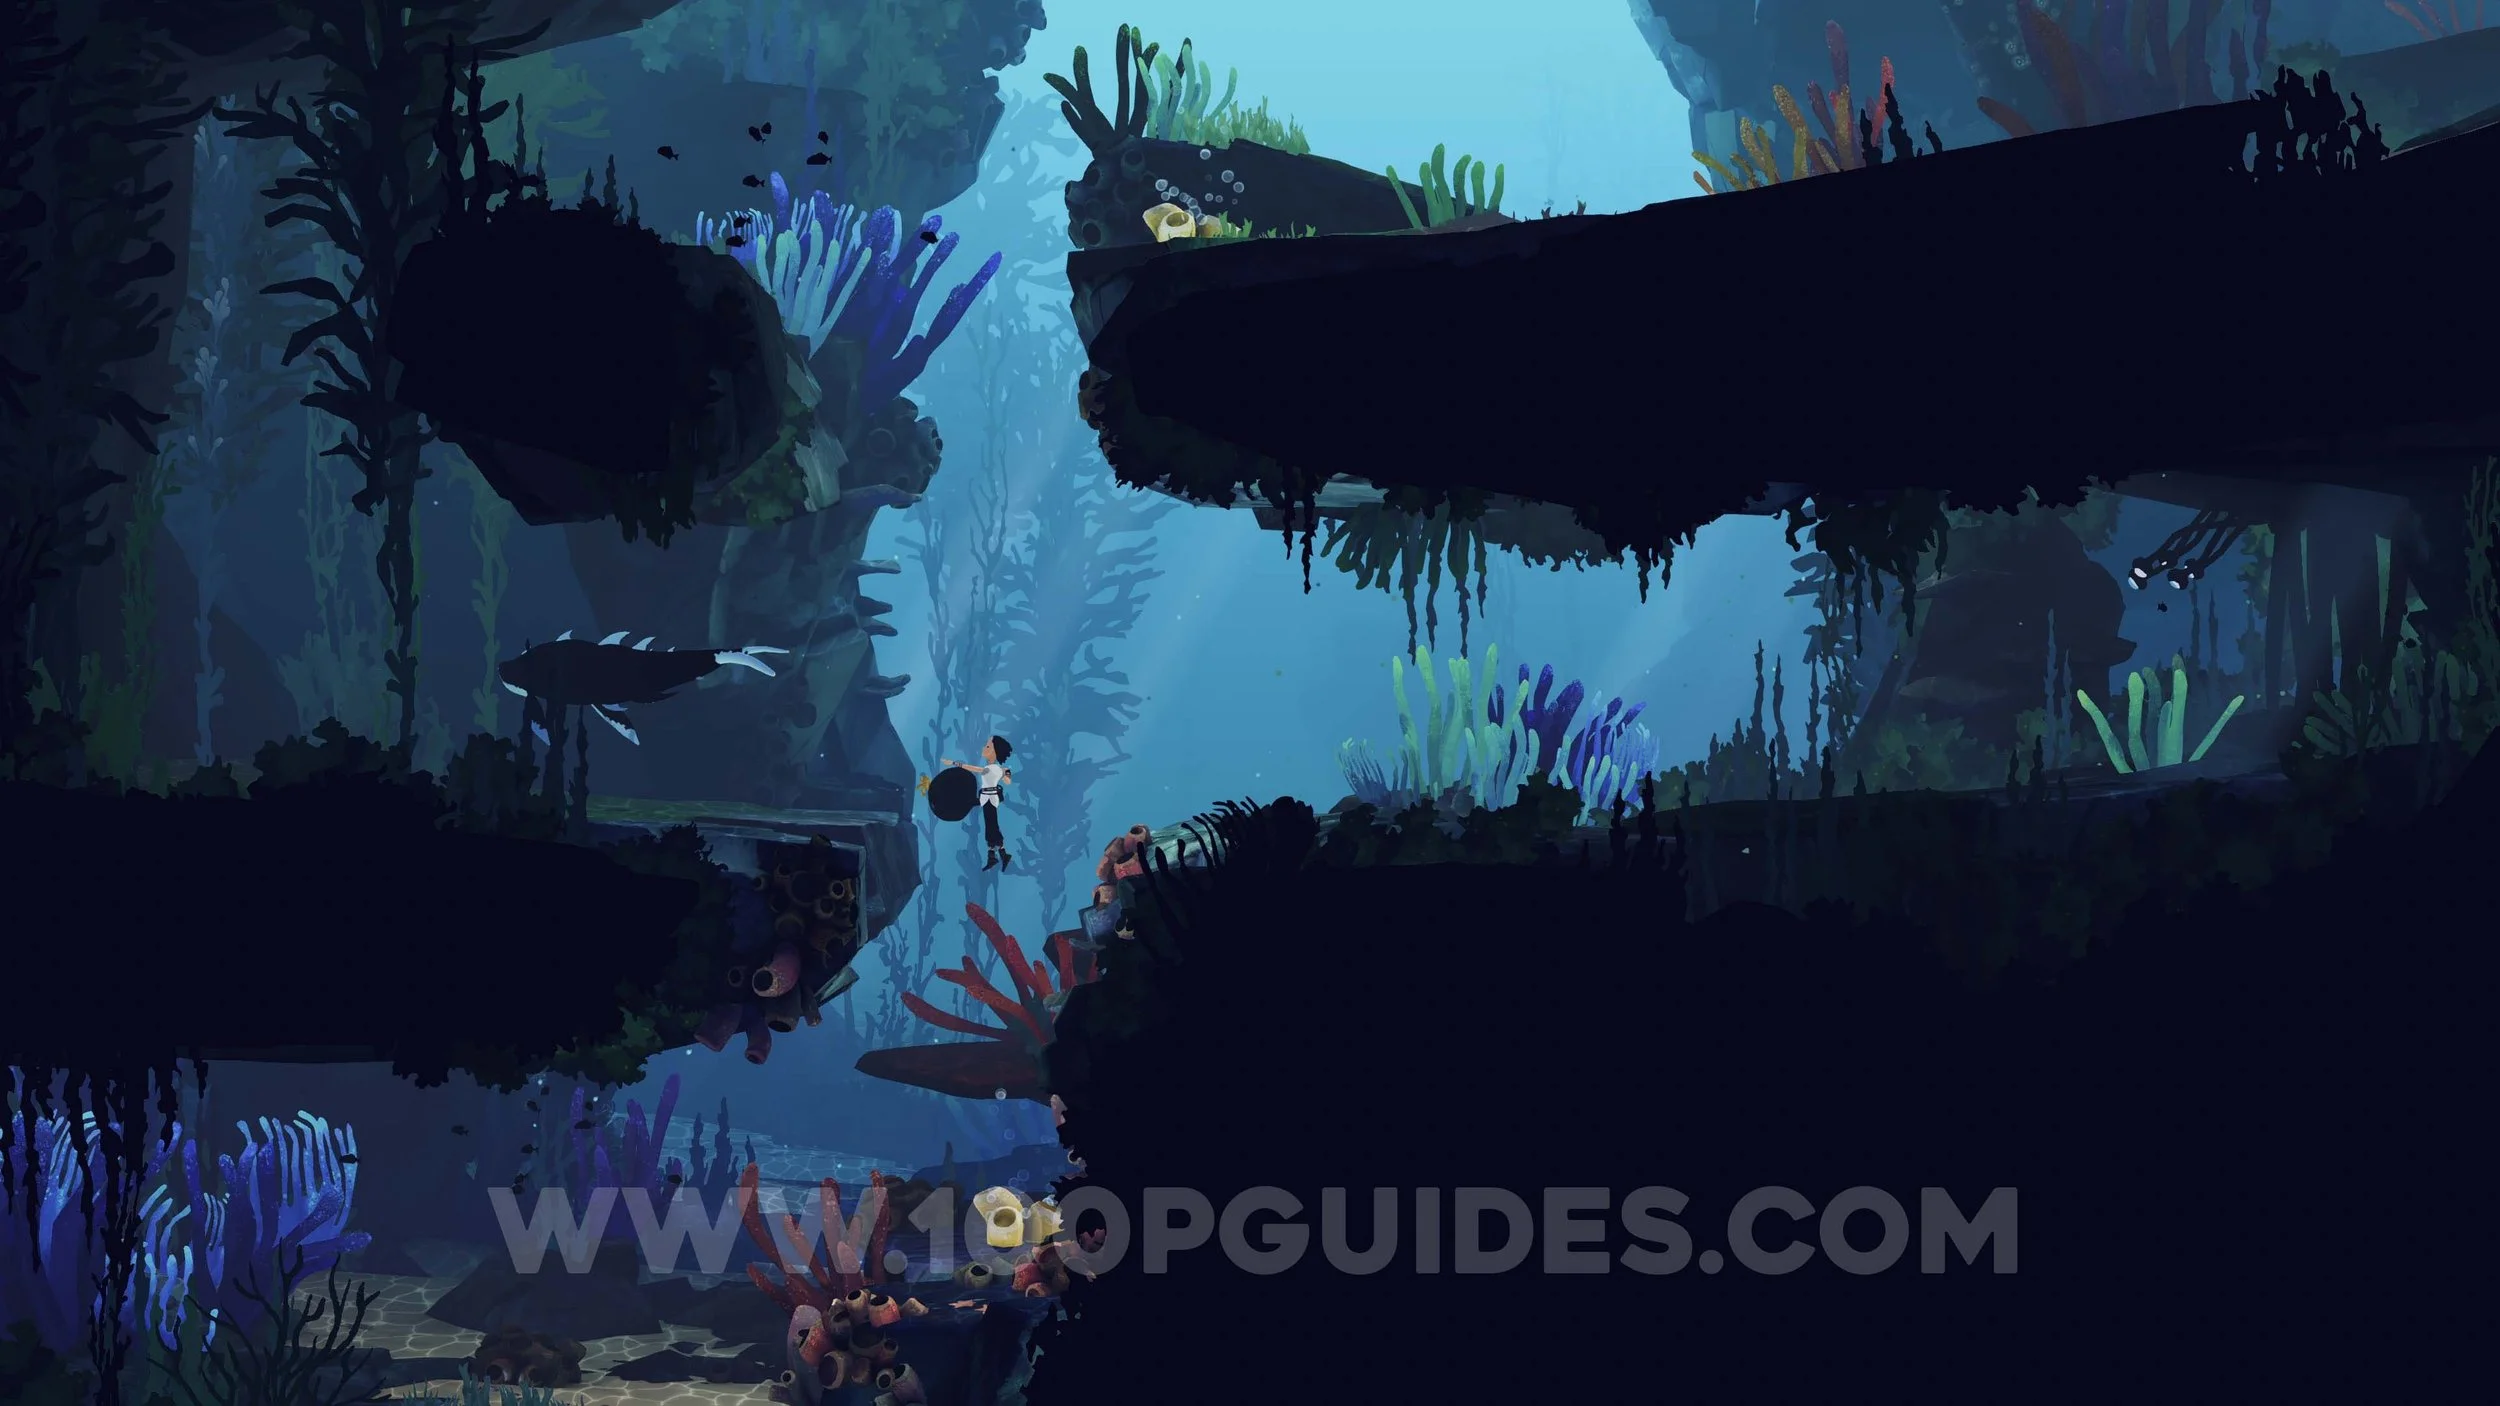
Finally, climb over the second hydraulic press and climb up to finish the first chapter!
Chapter 2 - Home Sweet Home
The first thing you should do in the chapter is pet Mui to get this area out of the way for the Purrfect trophy. Pet Mui 2/16.
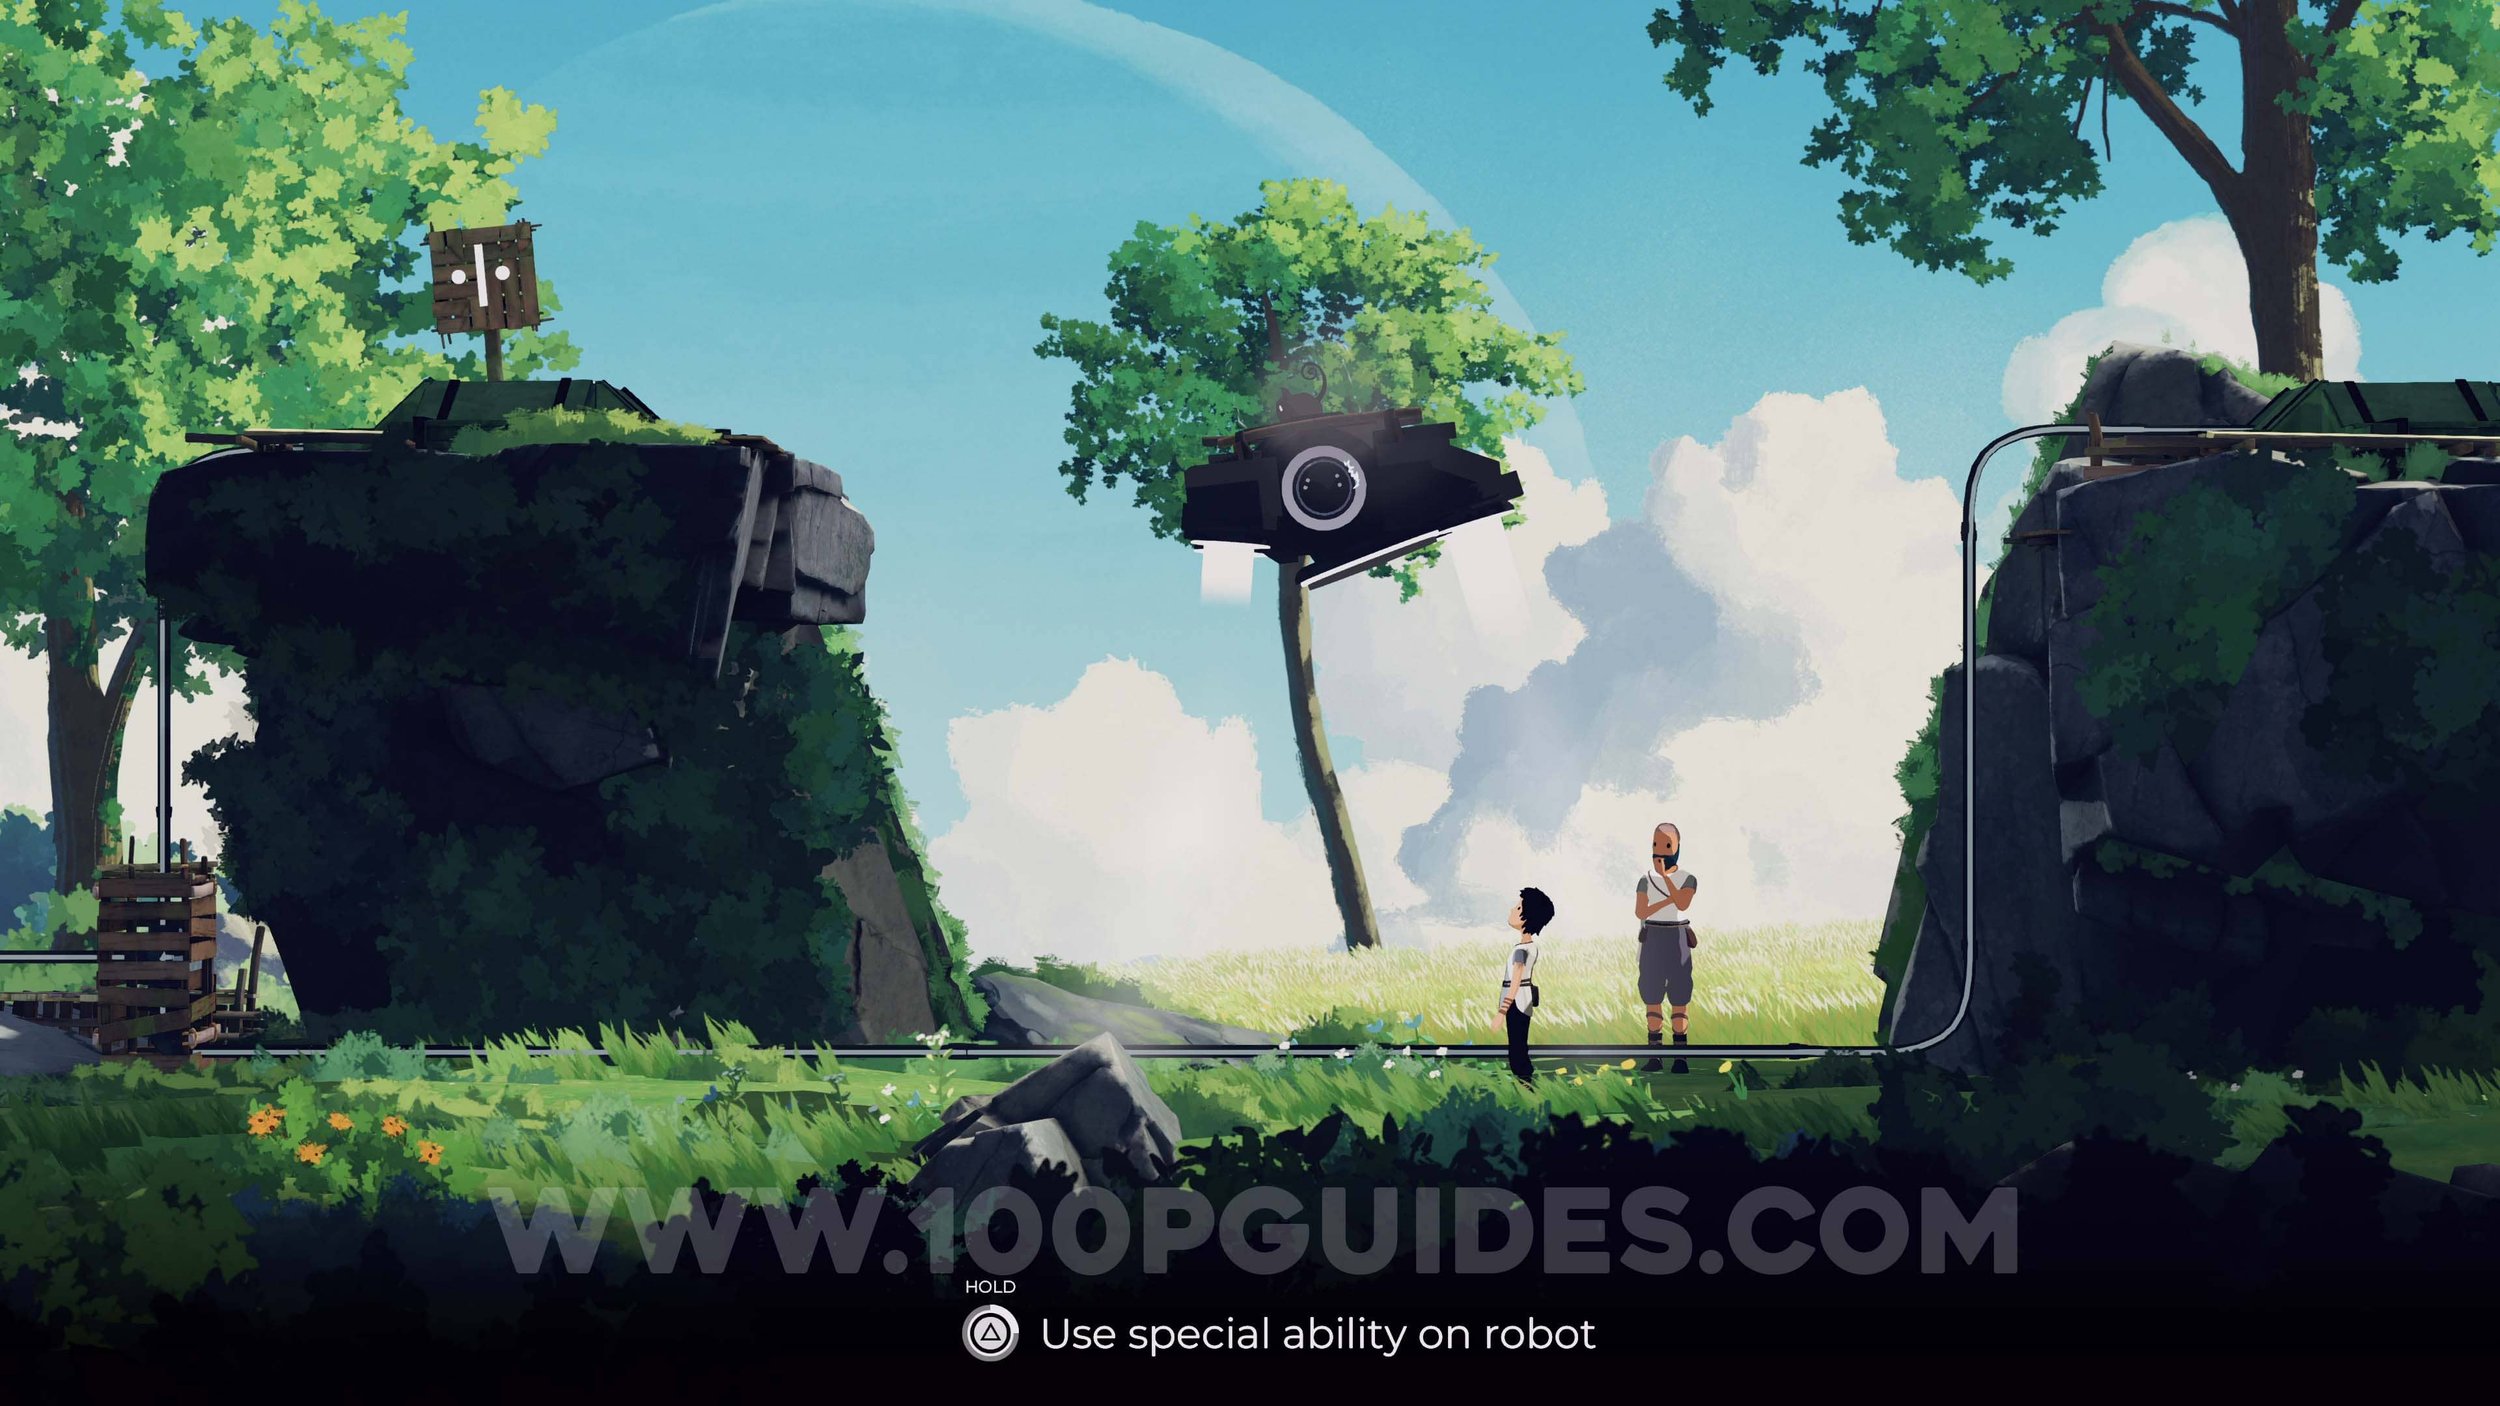
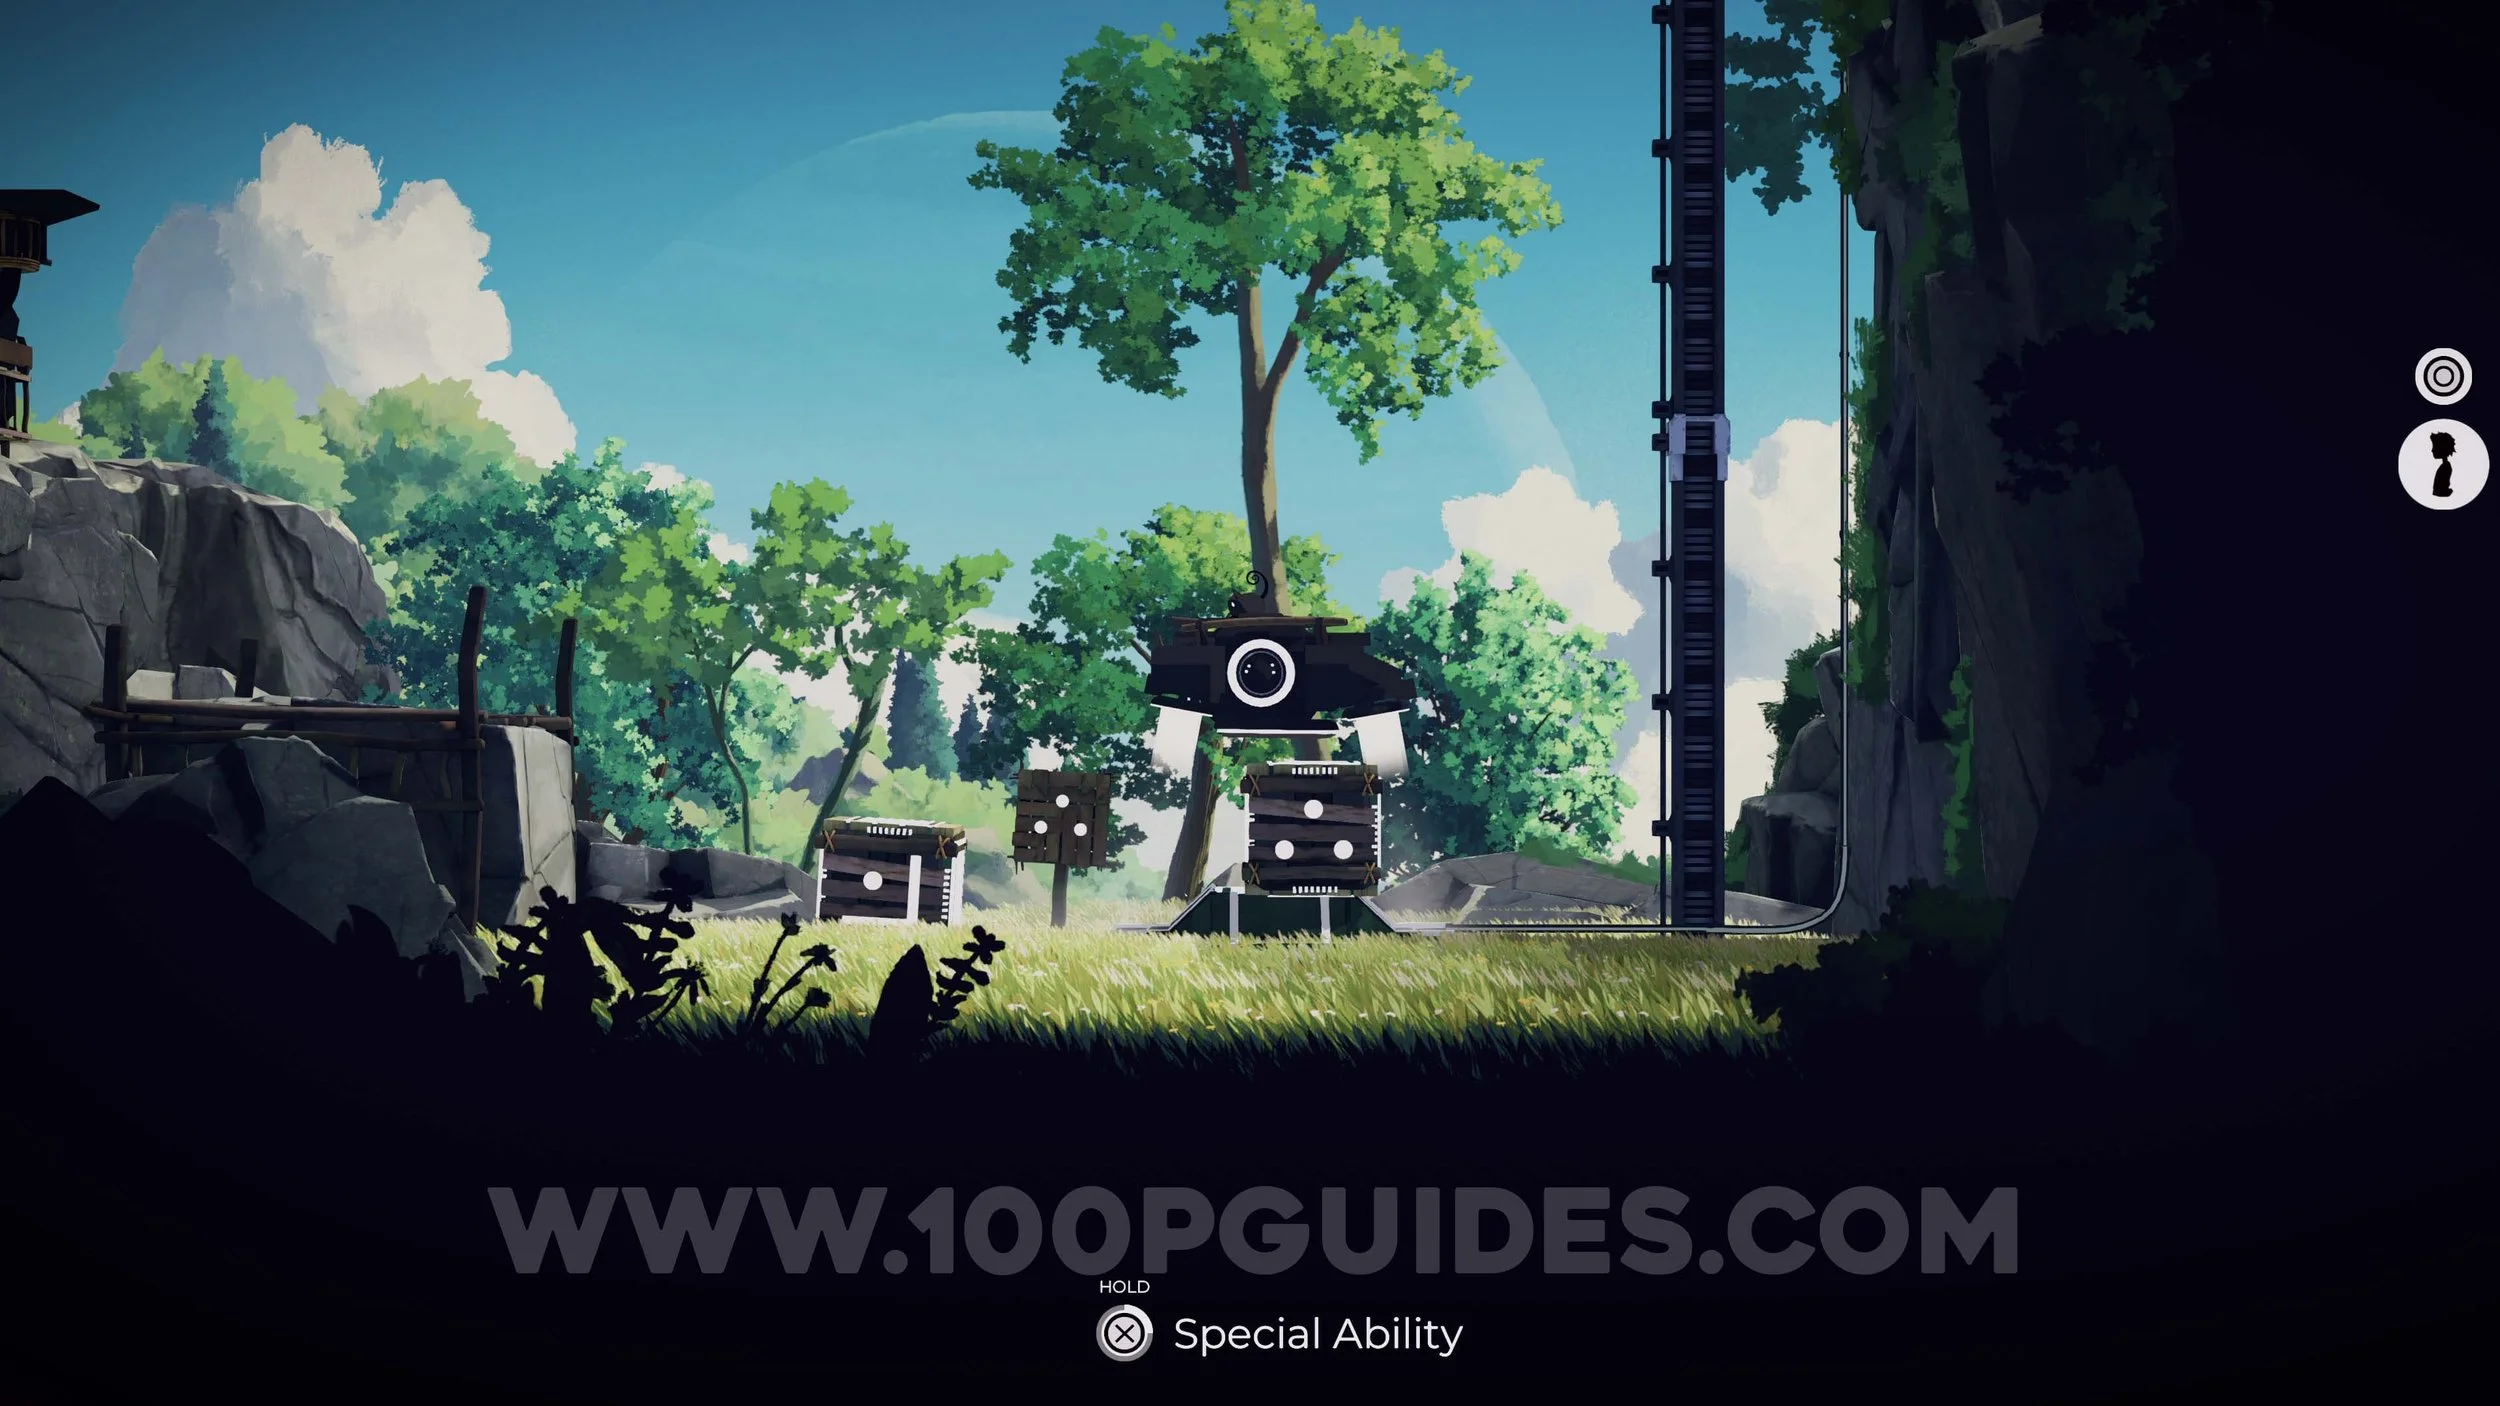
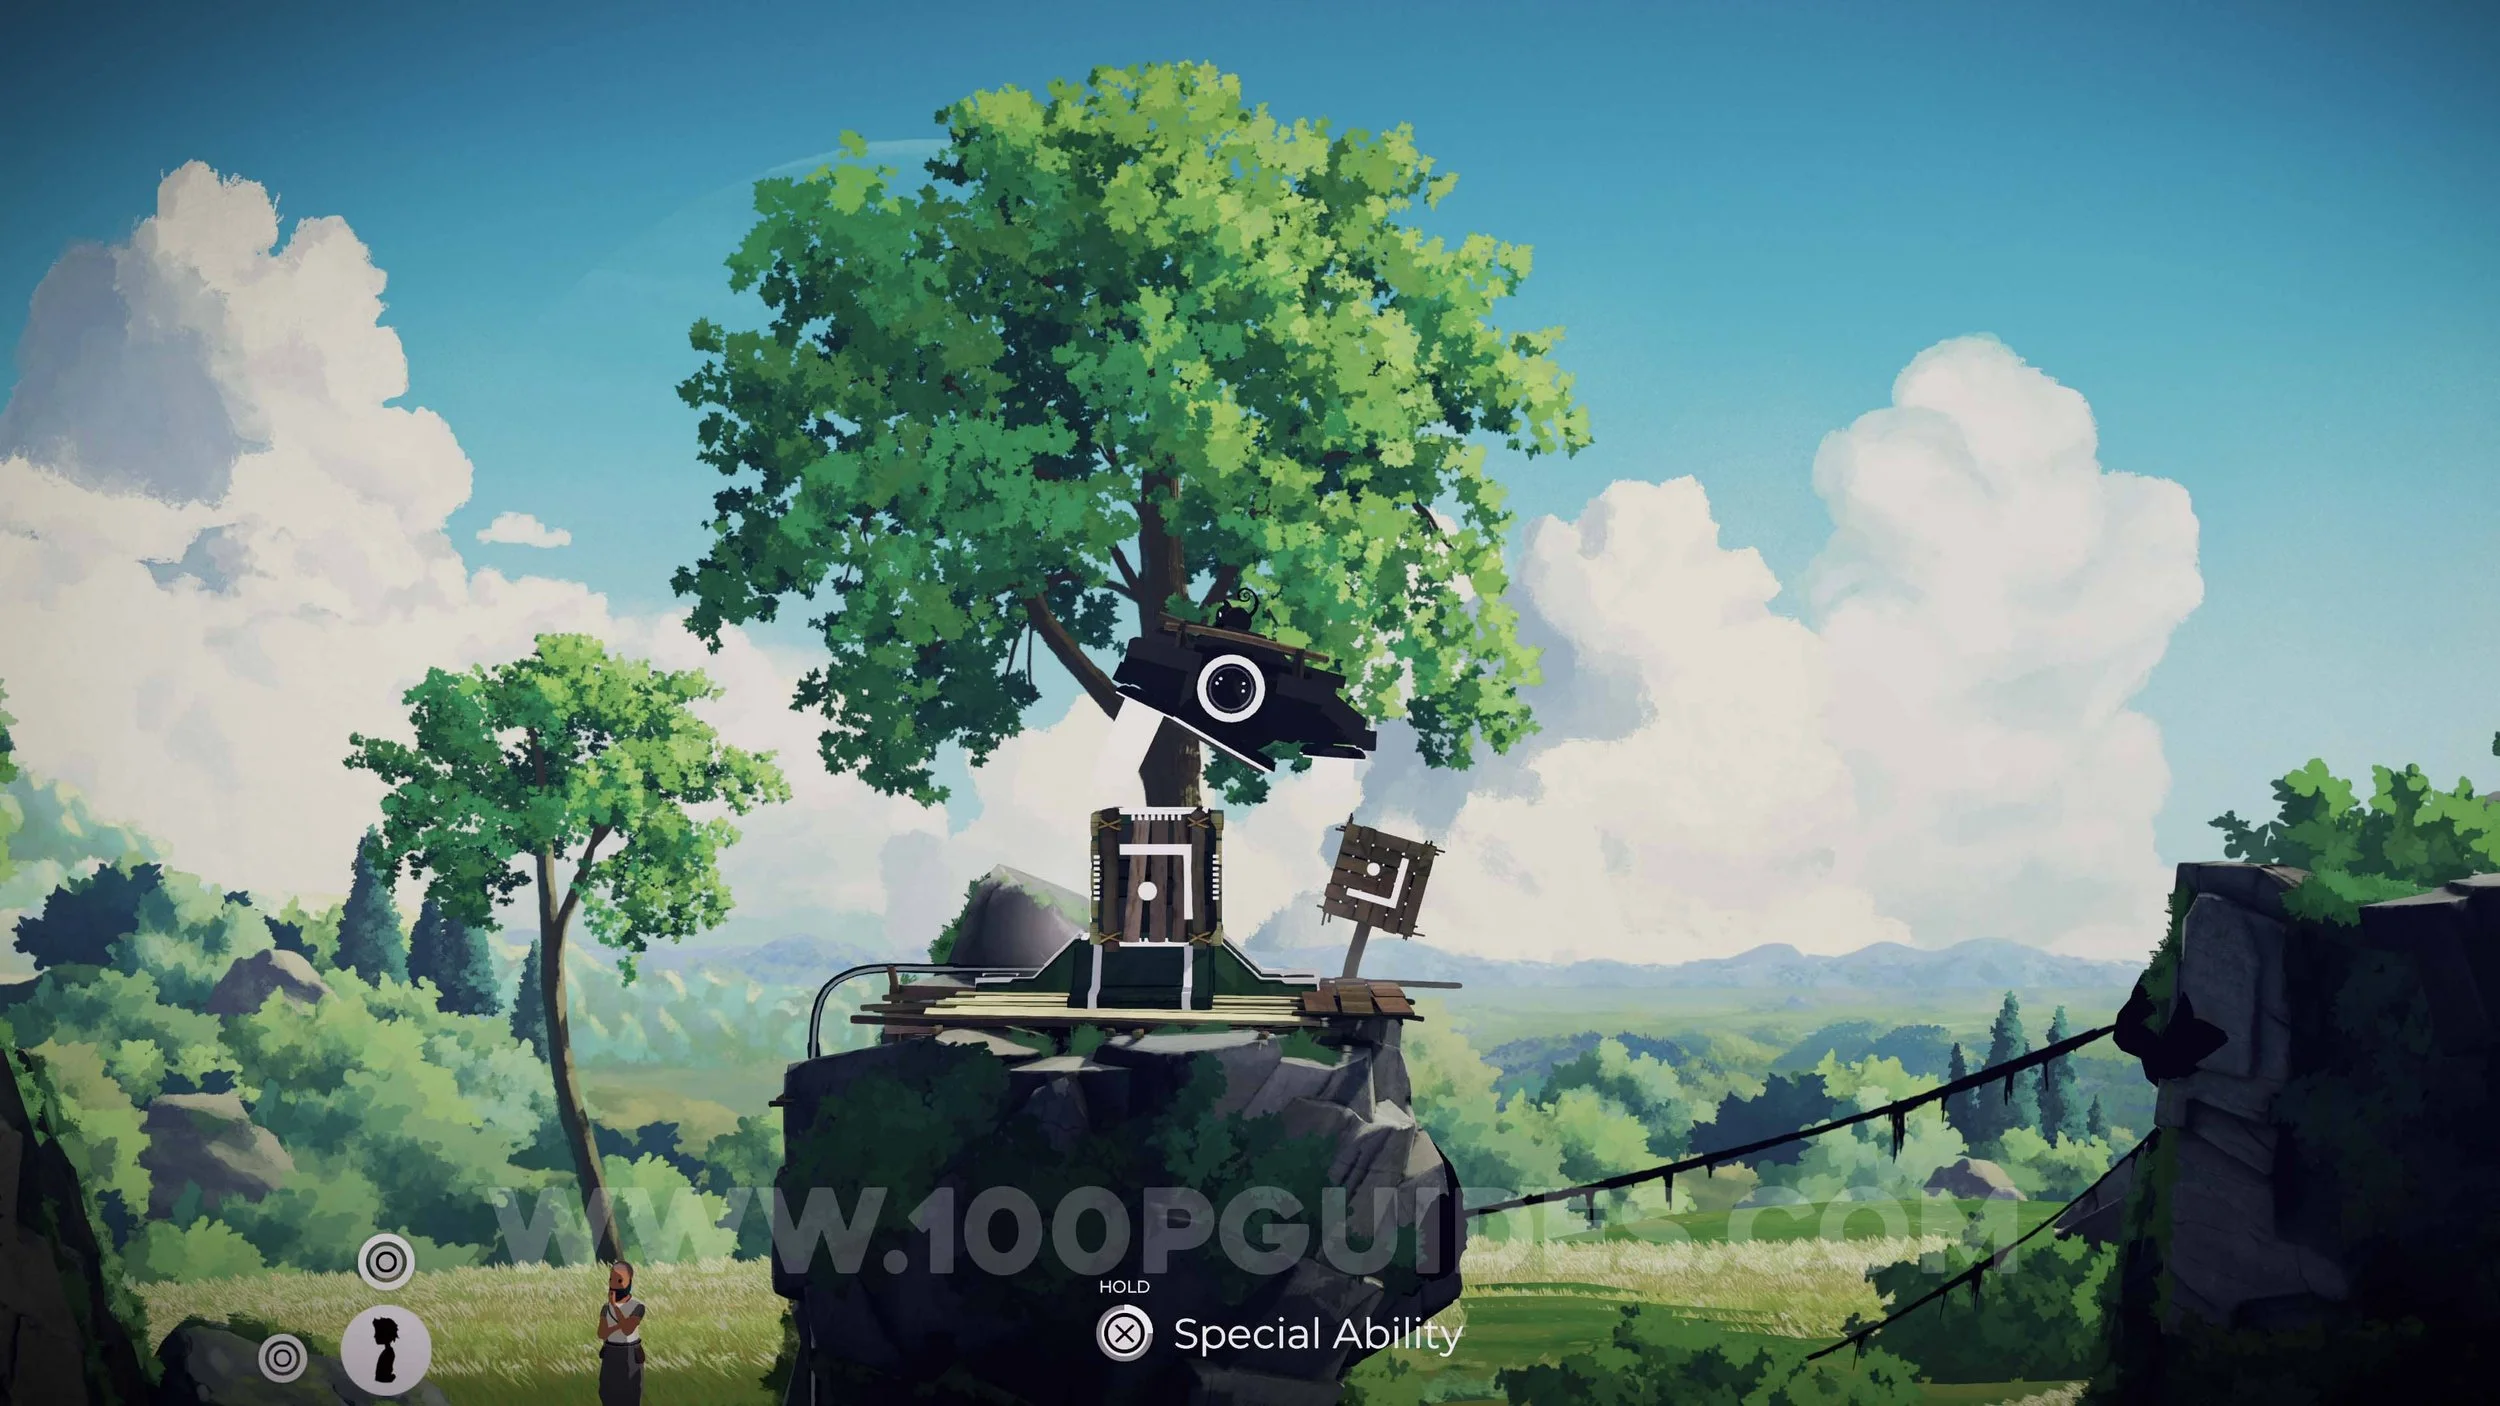
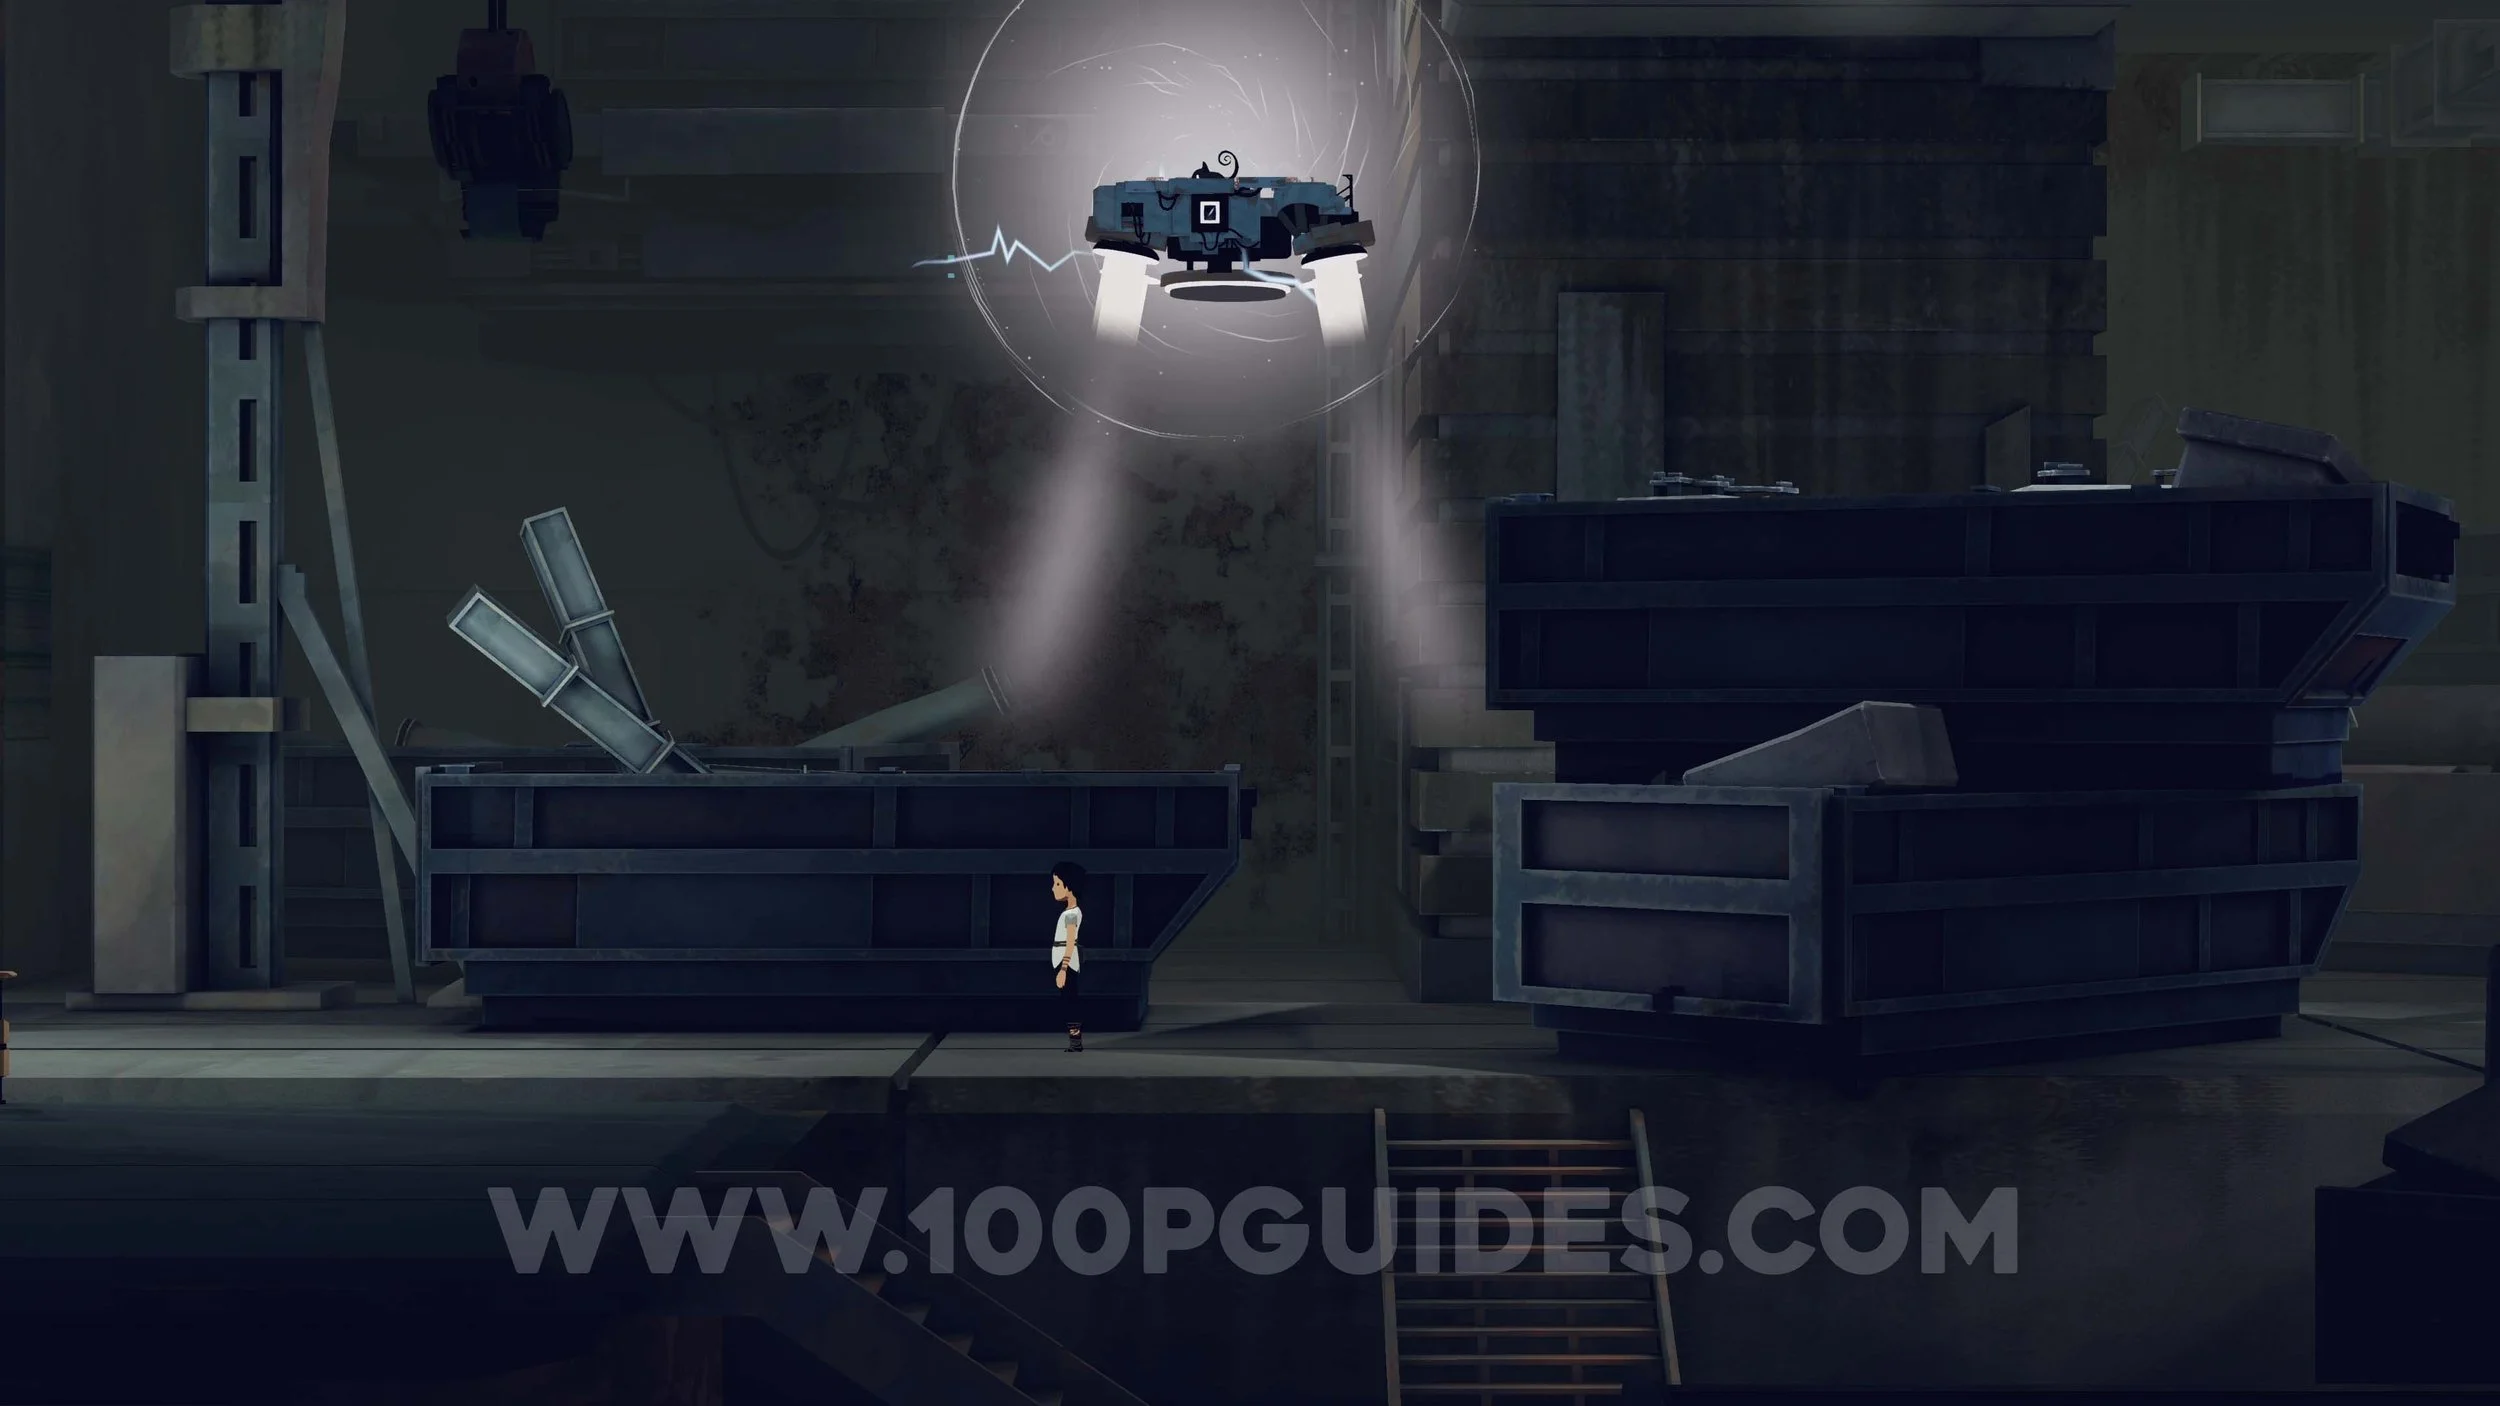
Continue left until you encounter a flying bot. Command Mui to jump on top of it and hold Triangle to bring it down. Once it falls, approach it and hold Square to take control of the bot. You must now place the three cubes onto the three pads with matching symbols using the bot’s magnetic ability by holding X.
One cube is located on the far right past the building, another sits on the rock near where the bot was found, and the final cube is below the lift on the left. Two of the pads are on the rocks near the bot’s starting area, while the third is below the lift on the left. Once all cubes are placed correctly, activate the lift and ride it down to continue.
In the next area, drag the platform to the right and use it to reach the rope and swing to the plants that allow you to climb to the top. After this, continue left until the cutscene plays.
After the cutscene, you will be in the next “part” of Chapter 2, so pet Mui. Pet Mui 3/16.
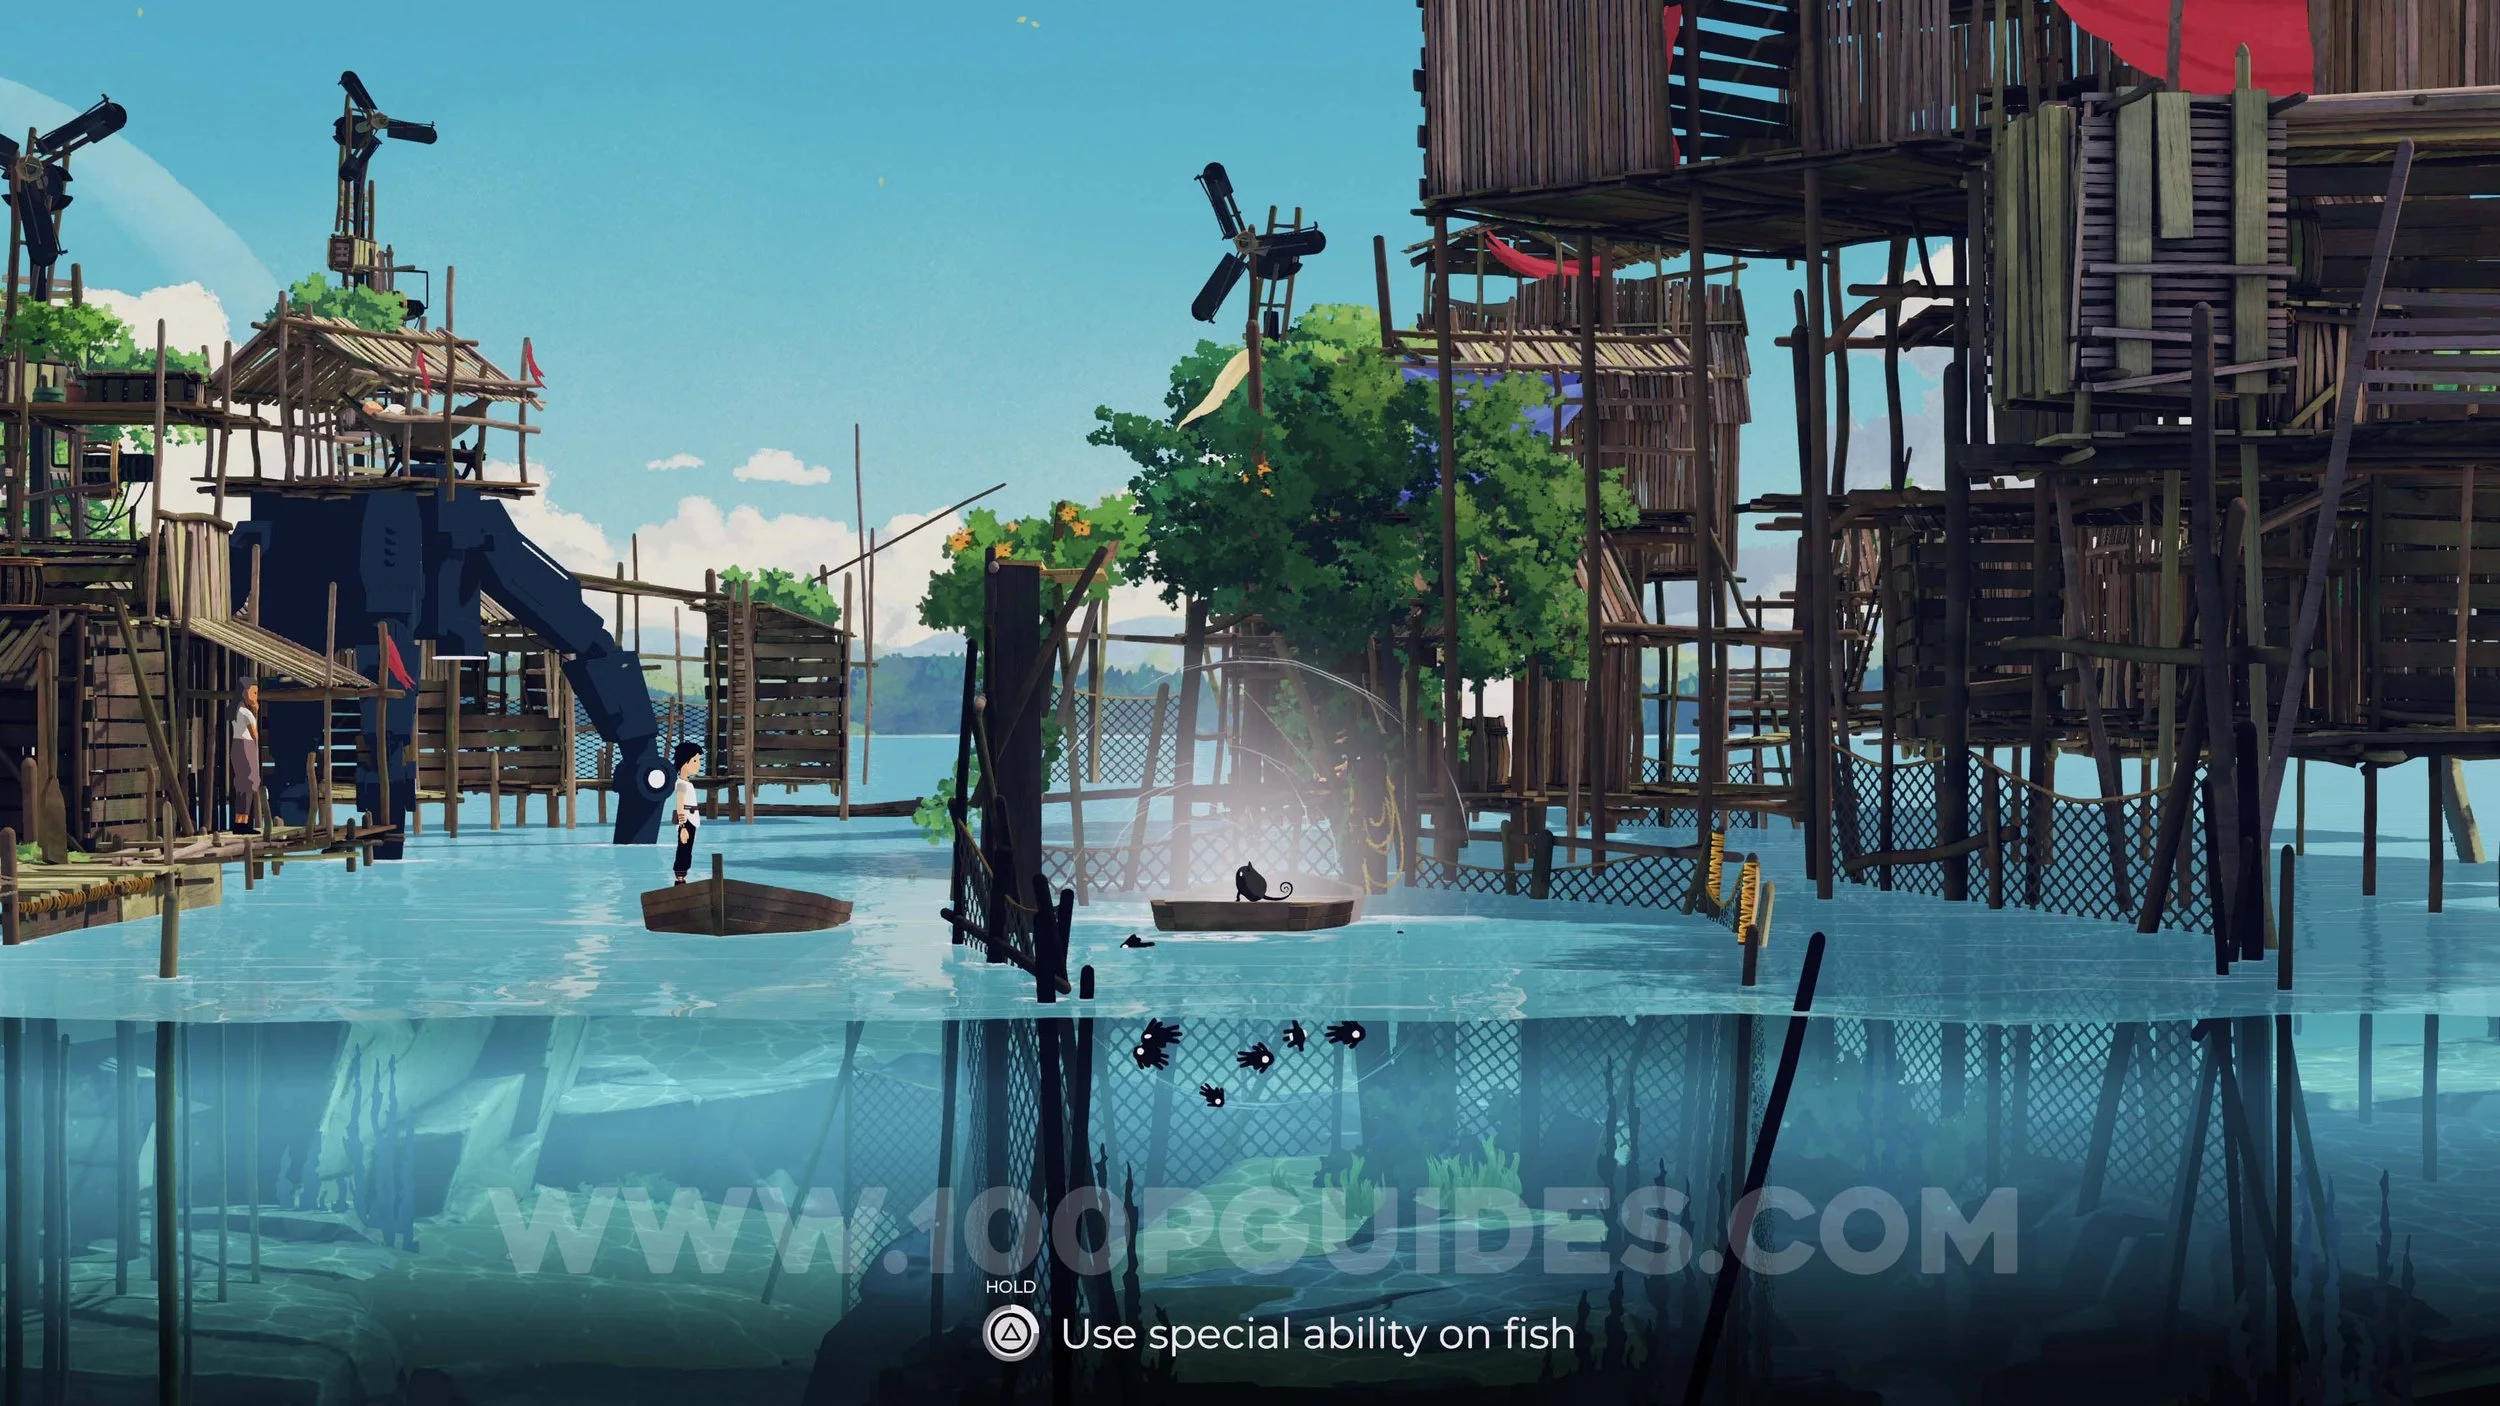
From here, head right until you reach the end of the area where a group of fish are swimming in the water behind a wall. Dive down and move the wooden log. Then send Mui over to the boat near the fish and hold Triangle to take control of one of them. While controlling the fish, swim downward until you spot a large electric fish on the right. Hold X at the junction where the paths meet to release a smoke screen.
Now take control of Lana and swim downward, using the smoke screen to avoid being detected by the fish. At the end, move the wooden log.
After emerging from the water, backtrack to the left until you reach a wooden cart filled with logs that can be moved. Leave Lana at the cart, then hold Triangle again to take control of another fish, making sure Mui remains on the boat above. This time, swim all the way down and pass through the small gap behind the second log that Lana moved earlier. On the other side, you will find the seaweed along with another electric fish. Get its attention and lure it into the gap on the right, directly below Lana’s position with the cart. As soon as the large fish enters the space, switch back to Lana and push the cart left to trap it. With the fish contained, safely swim down and collect the seaweed.


Once you have the seaweed, backtrack to the left until you trigger a cutscene with Anua. Continue moving left by pushing the logs. After another short cutscene at the gravestone, keep heading left until one final cutscene plays, marking the end of the chapter.

Chapter 3 - The Cure
First things first, the most important part. Pet Mui 4/16.
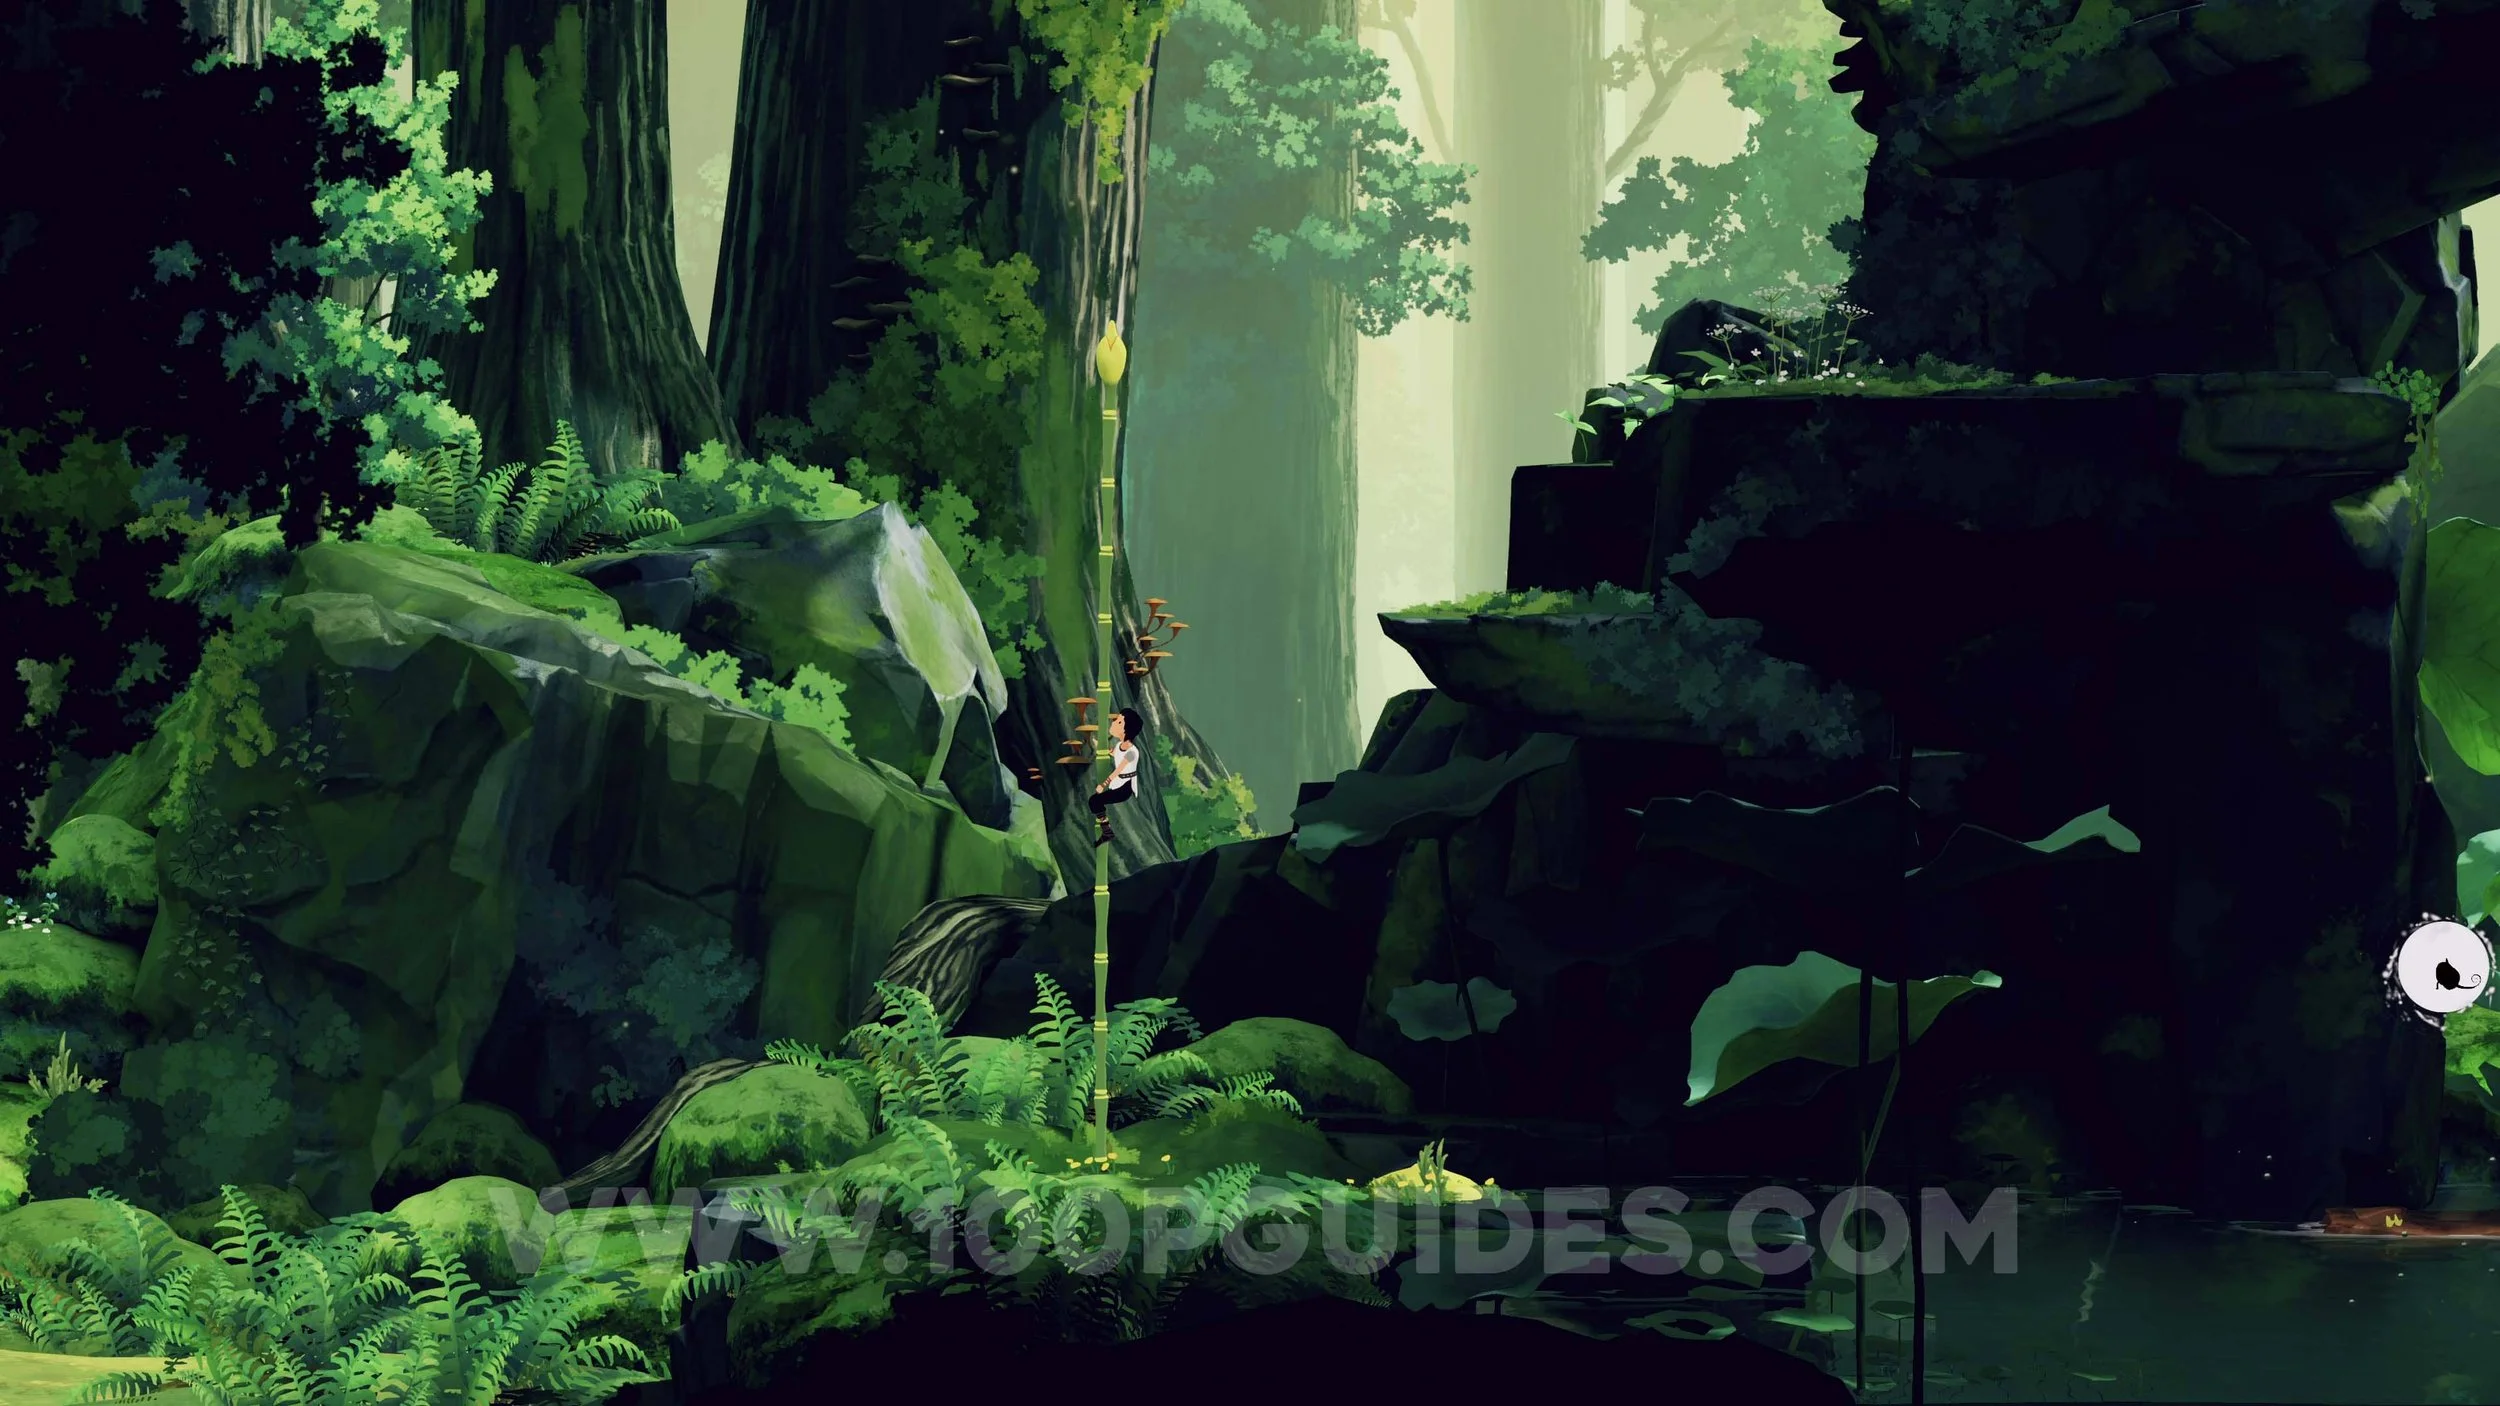
Continue right and climb up the first section of icy walls. Then, before climbing the second section, go right and climb down to the chest. Secret 2/10.
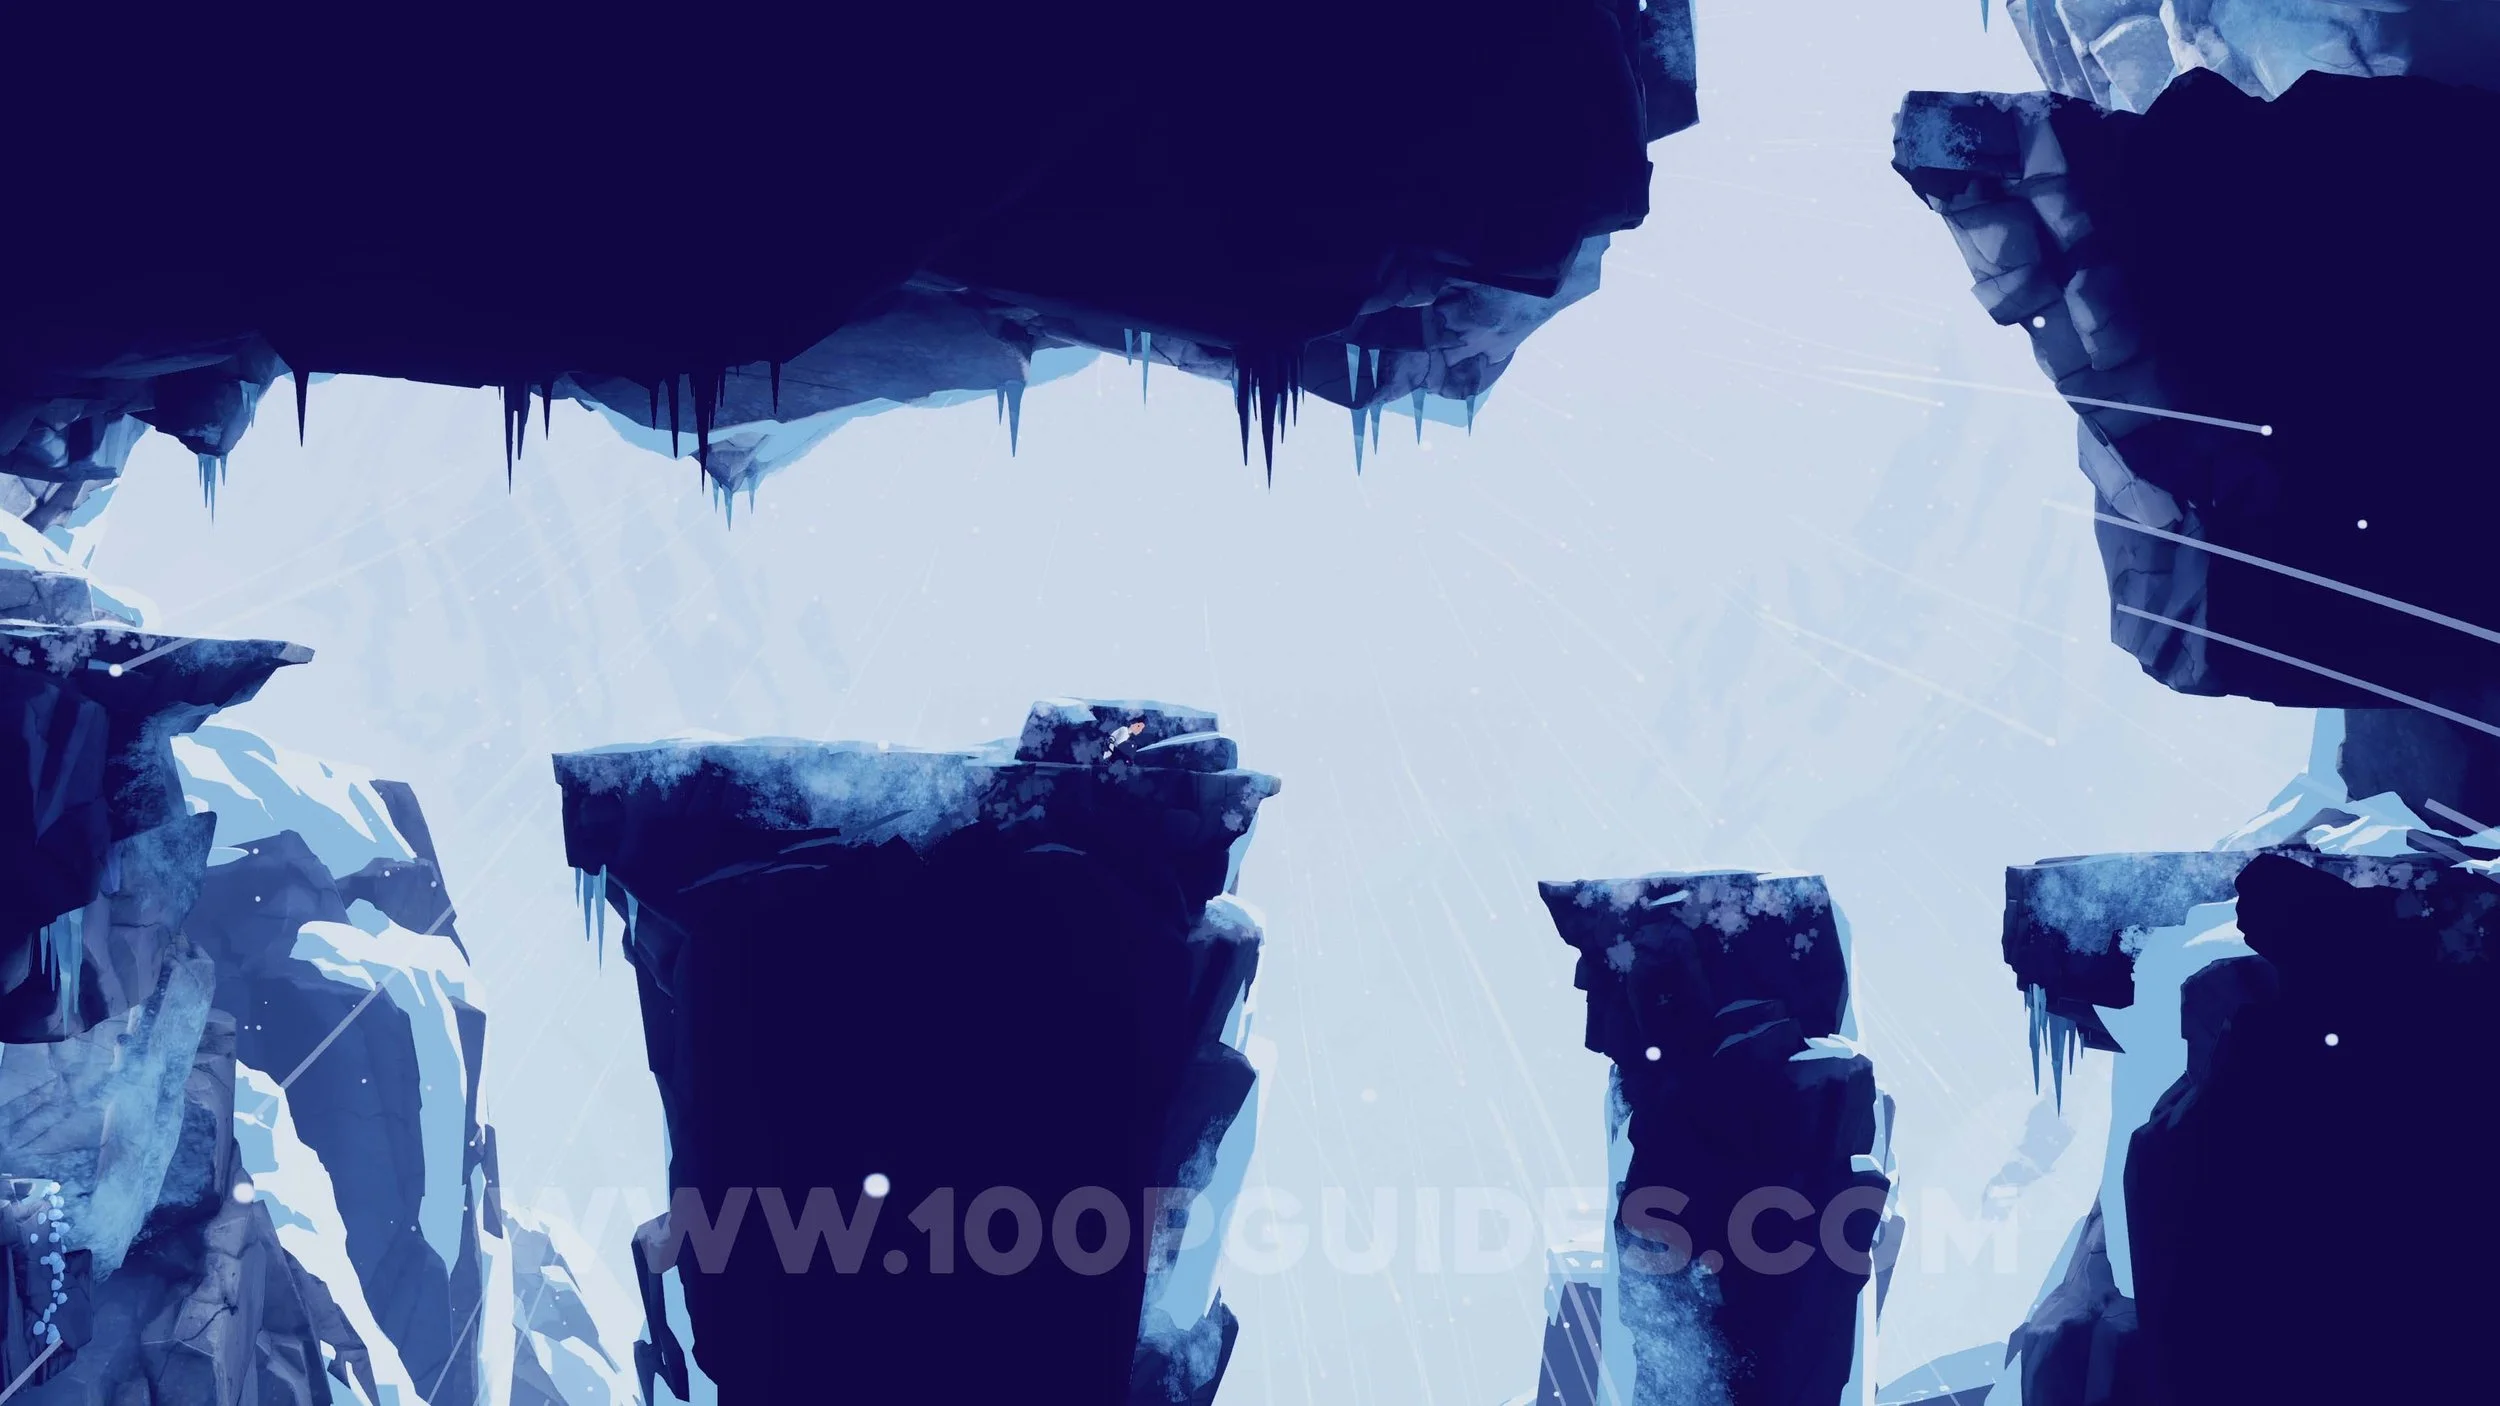
Continue climbing the icy walls to progress. In the next section, use the rocks as cover and wait for the strong winds to calm before moving forward.
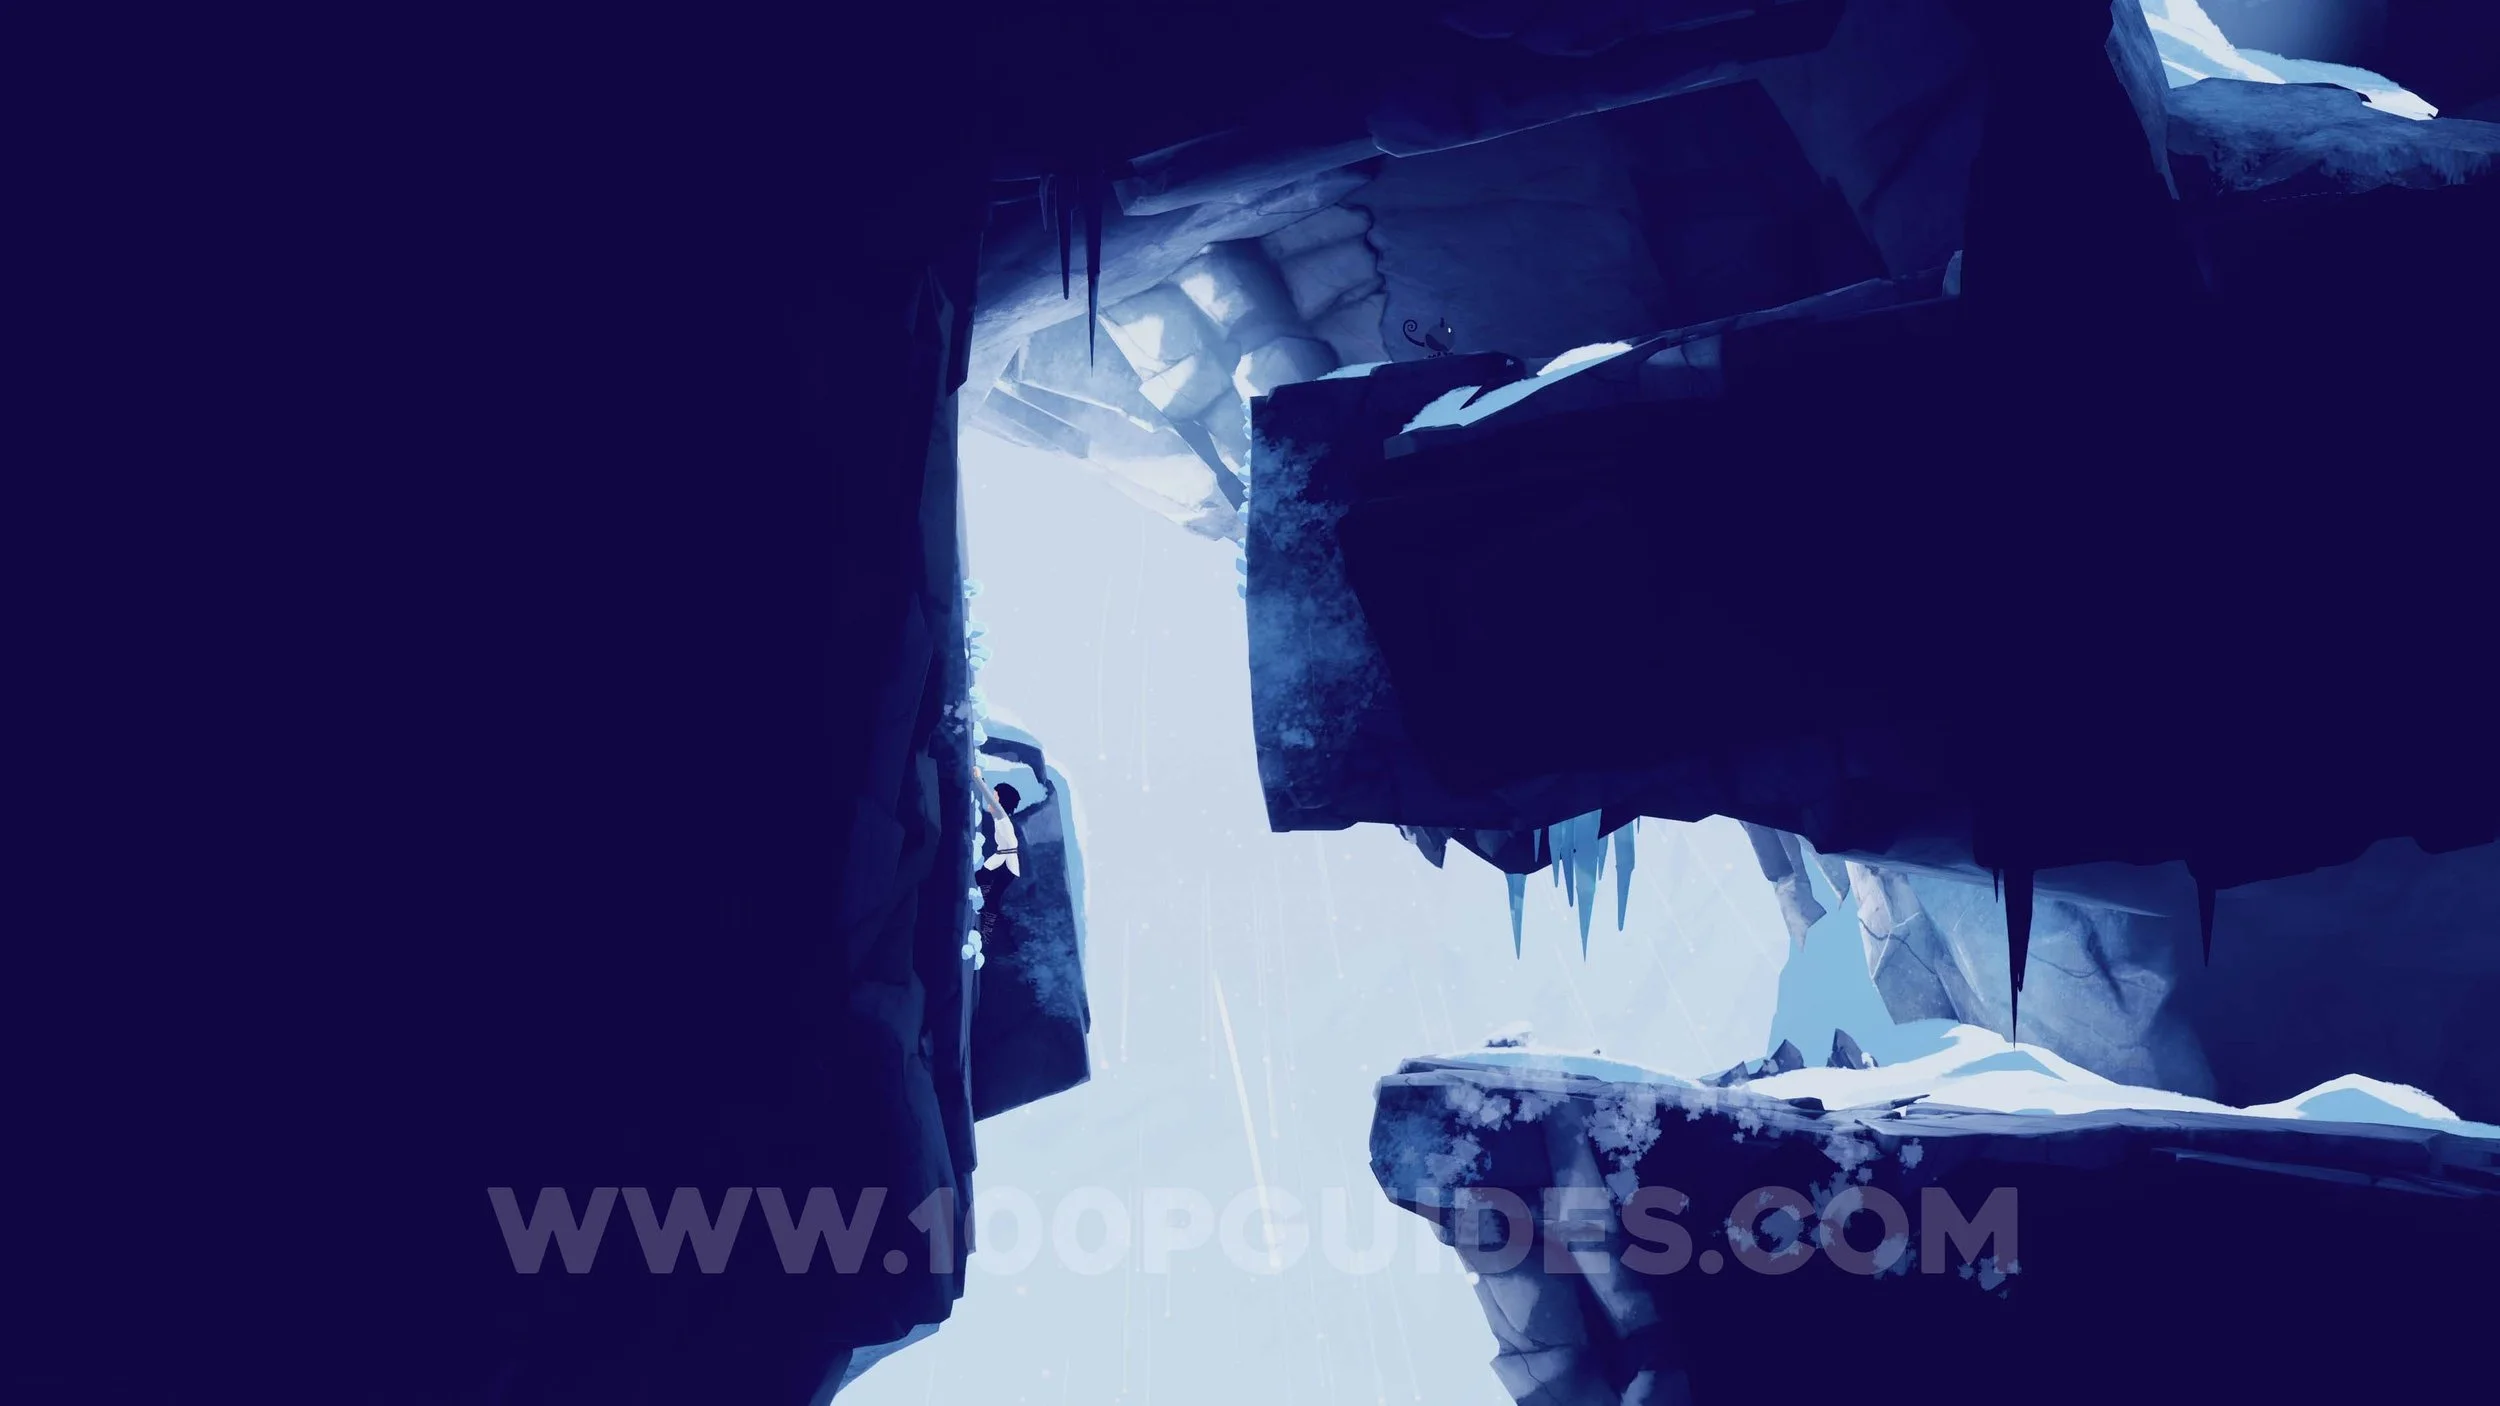
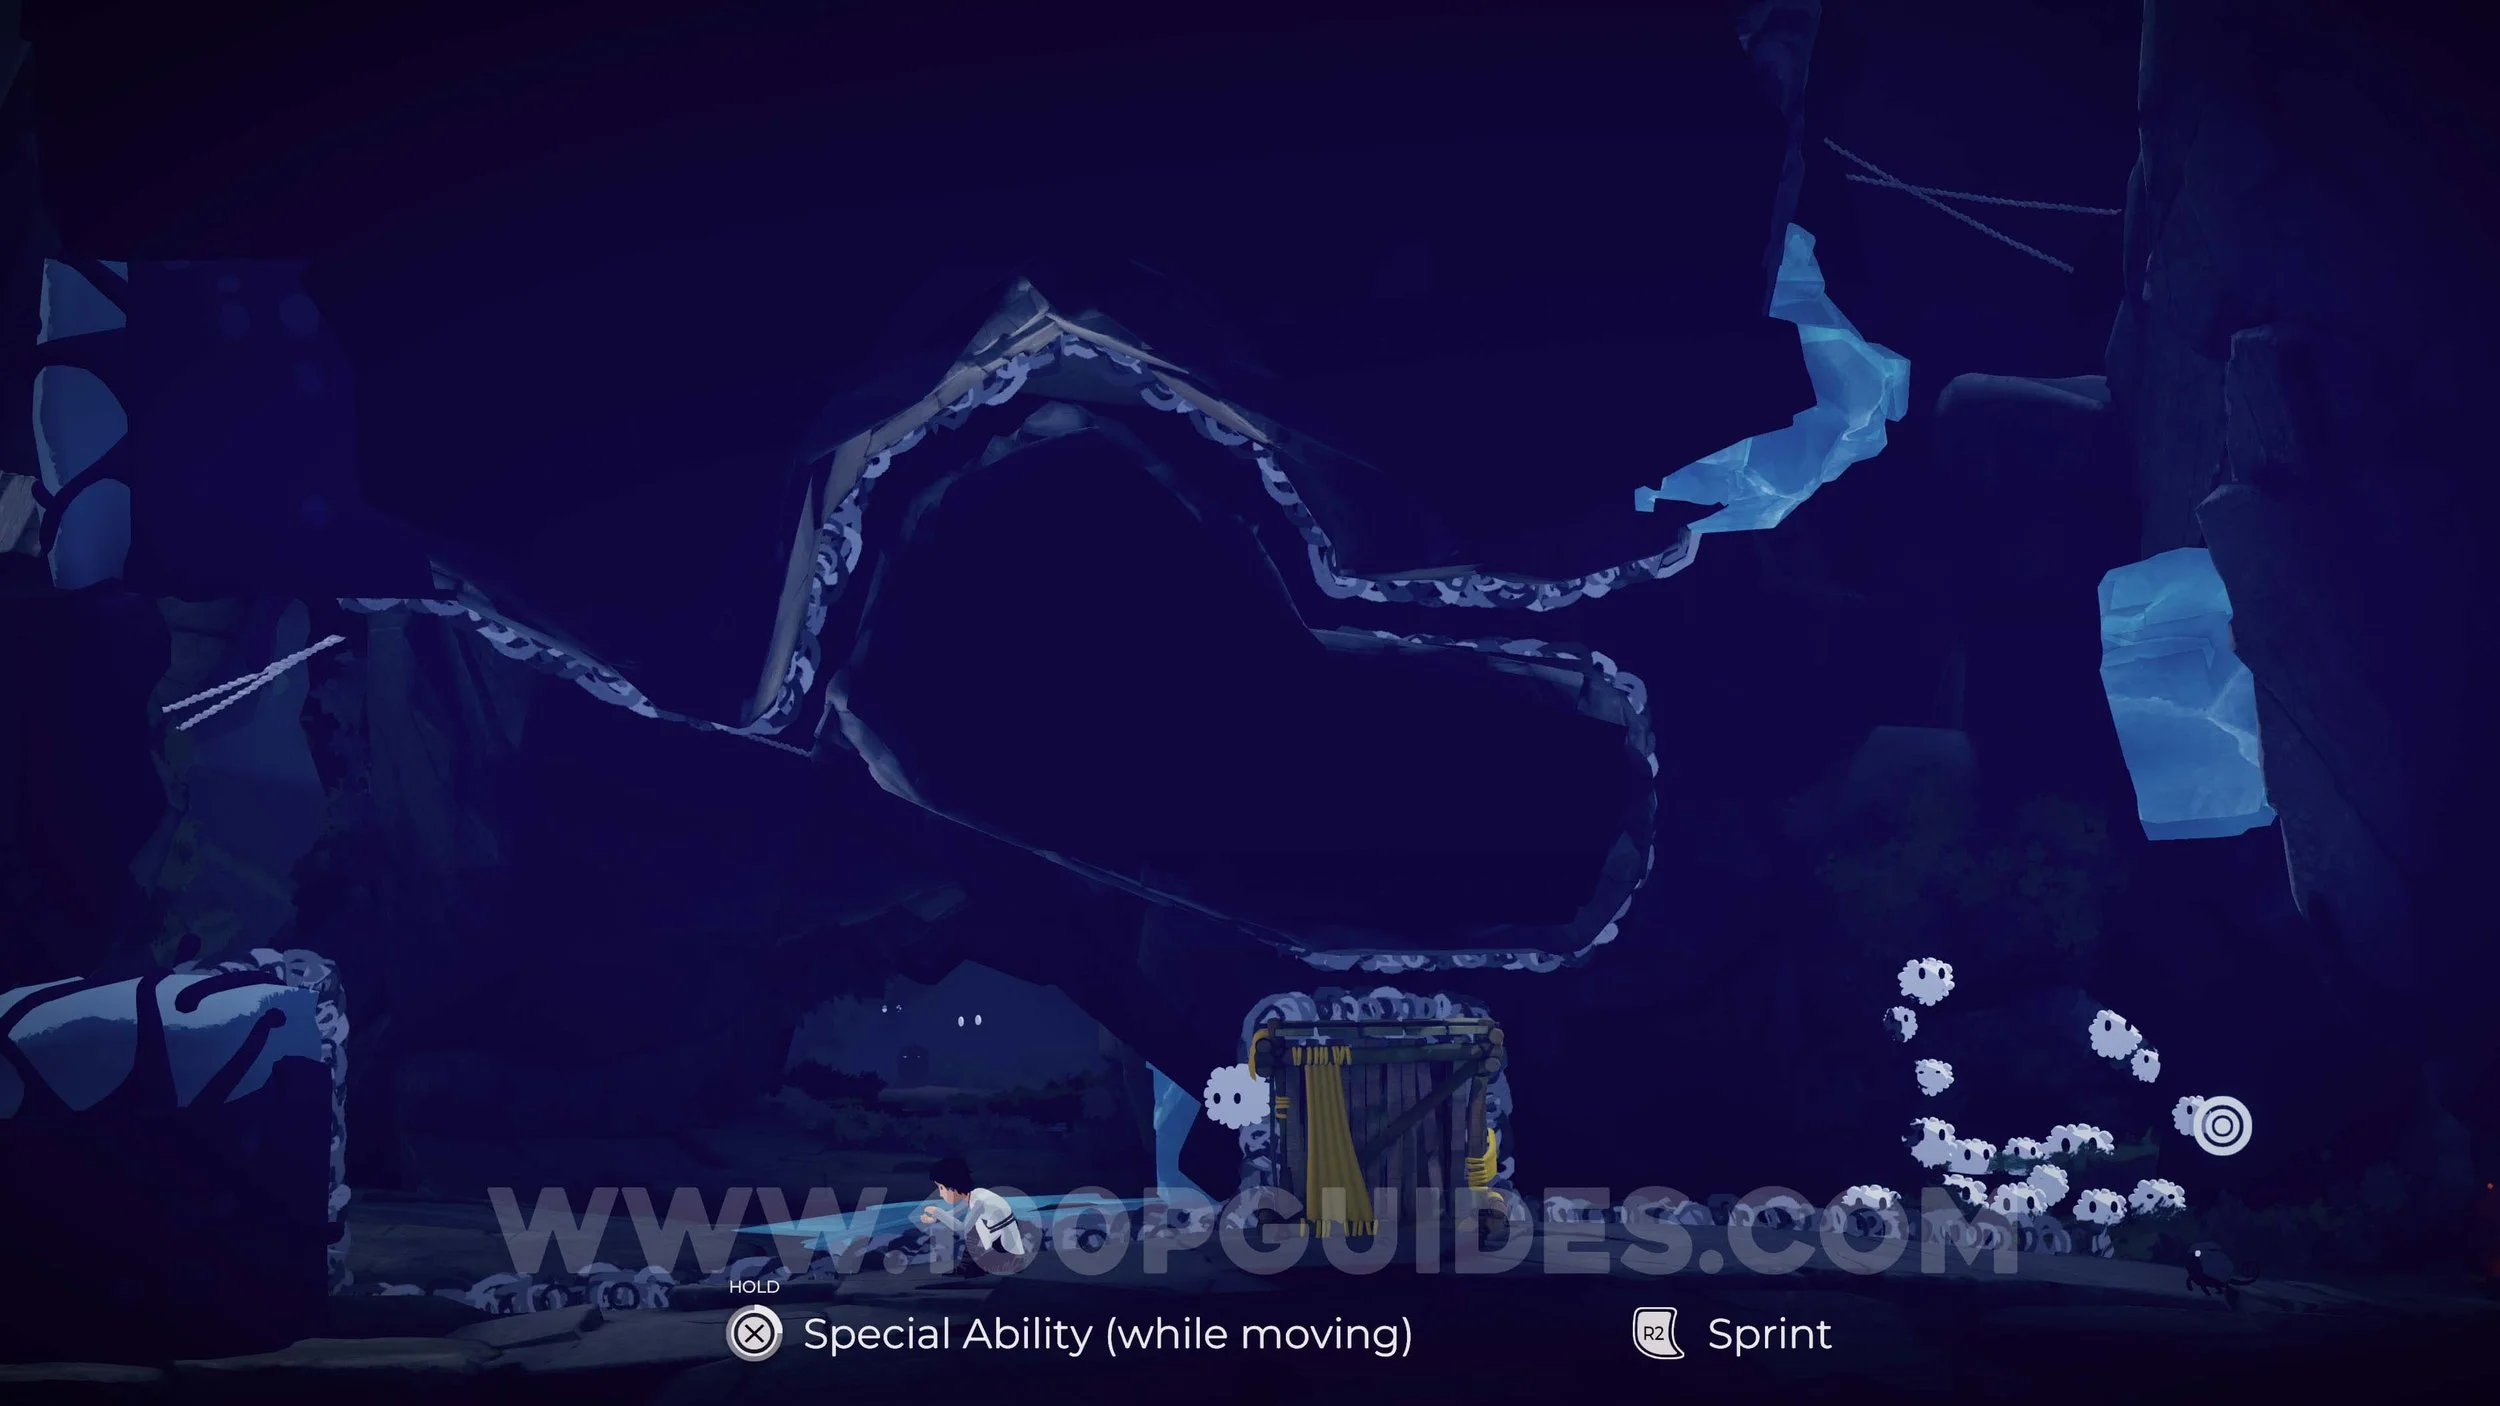
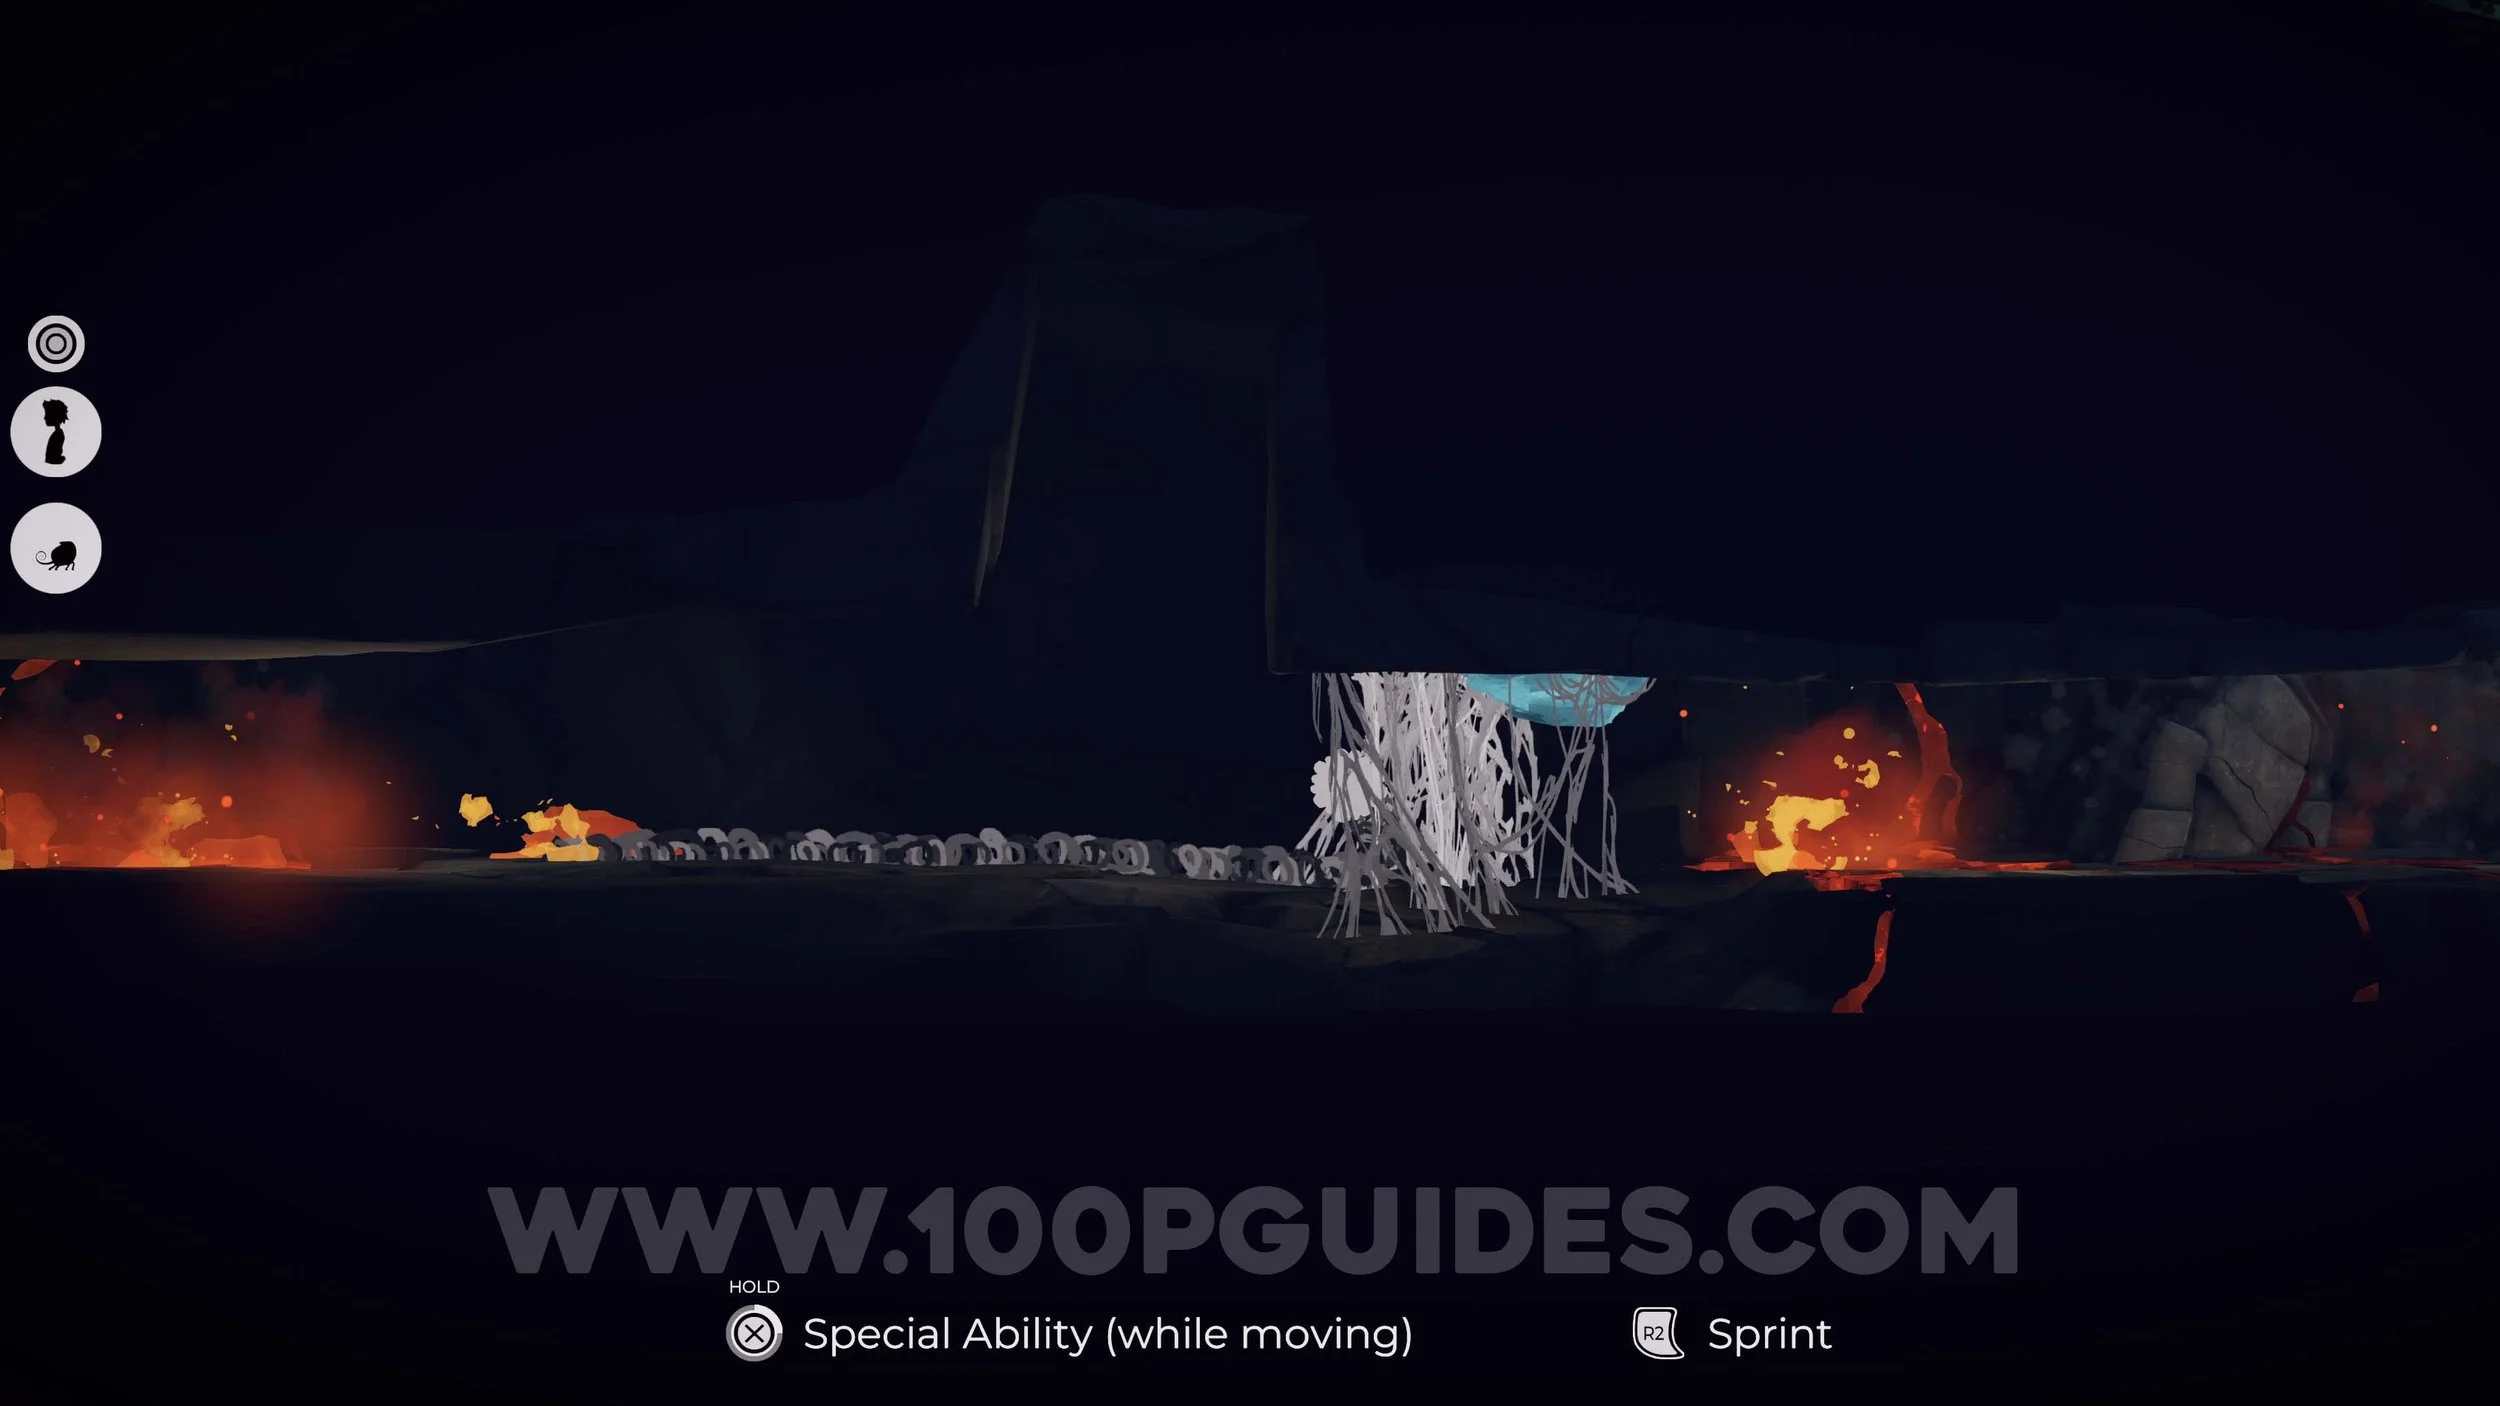
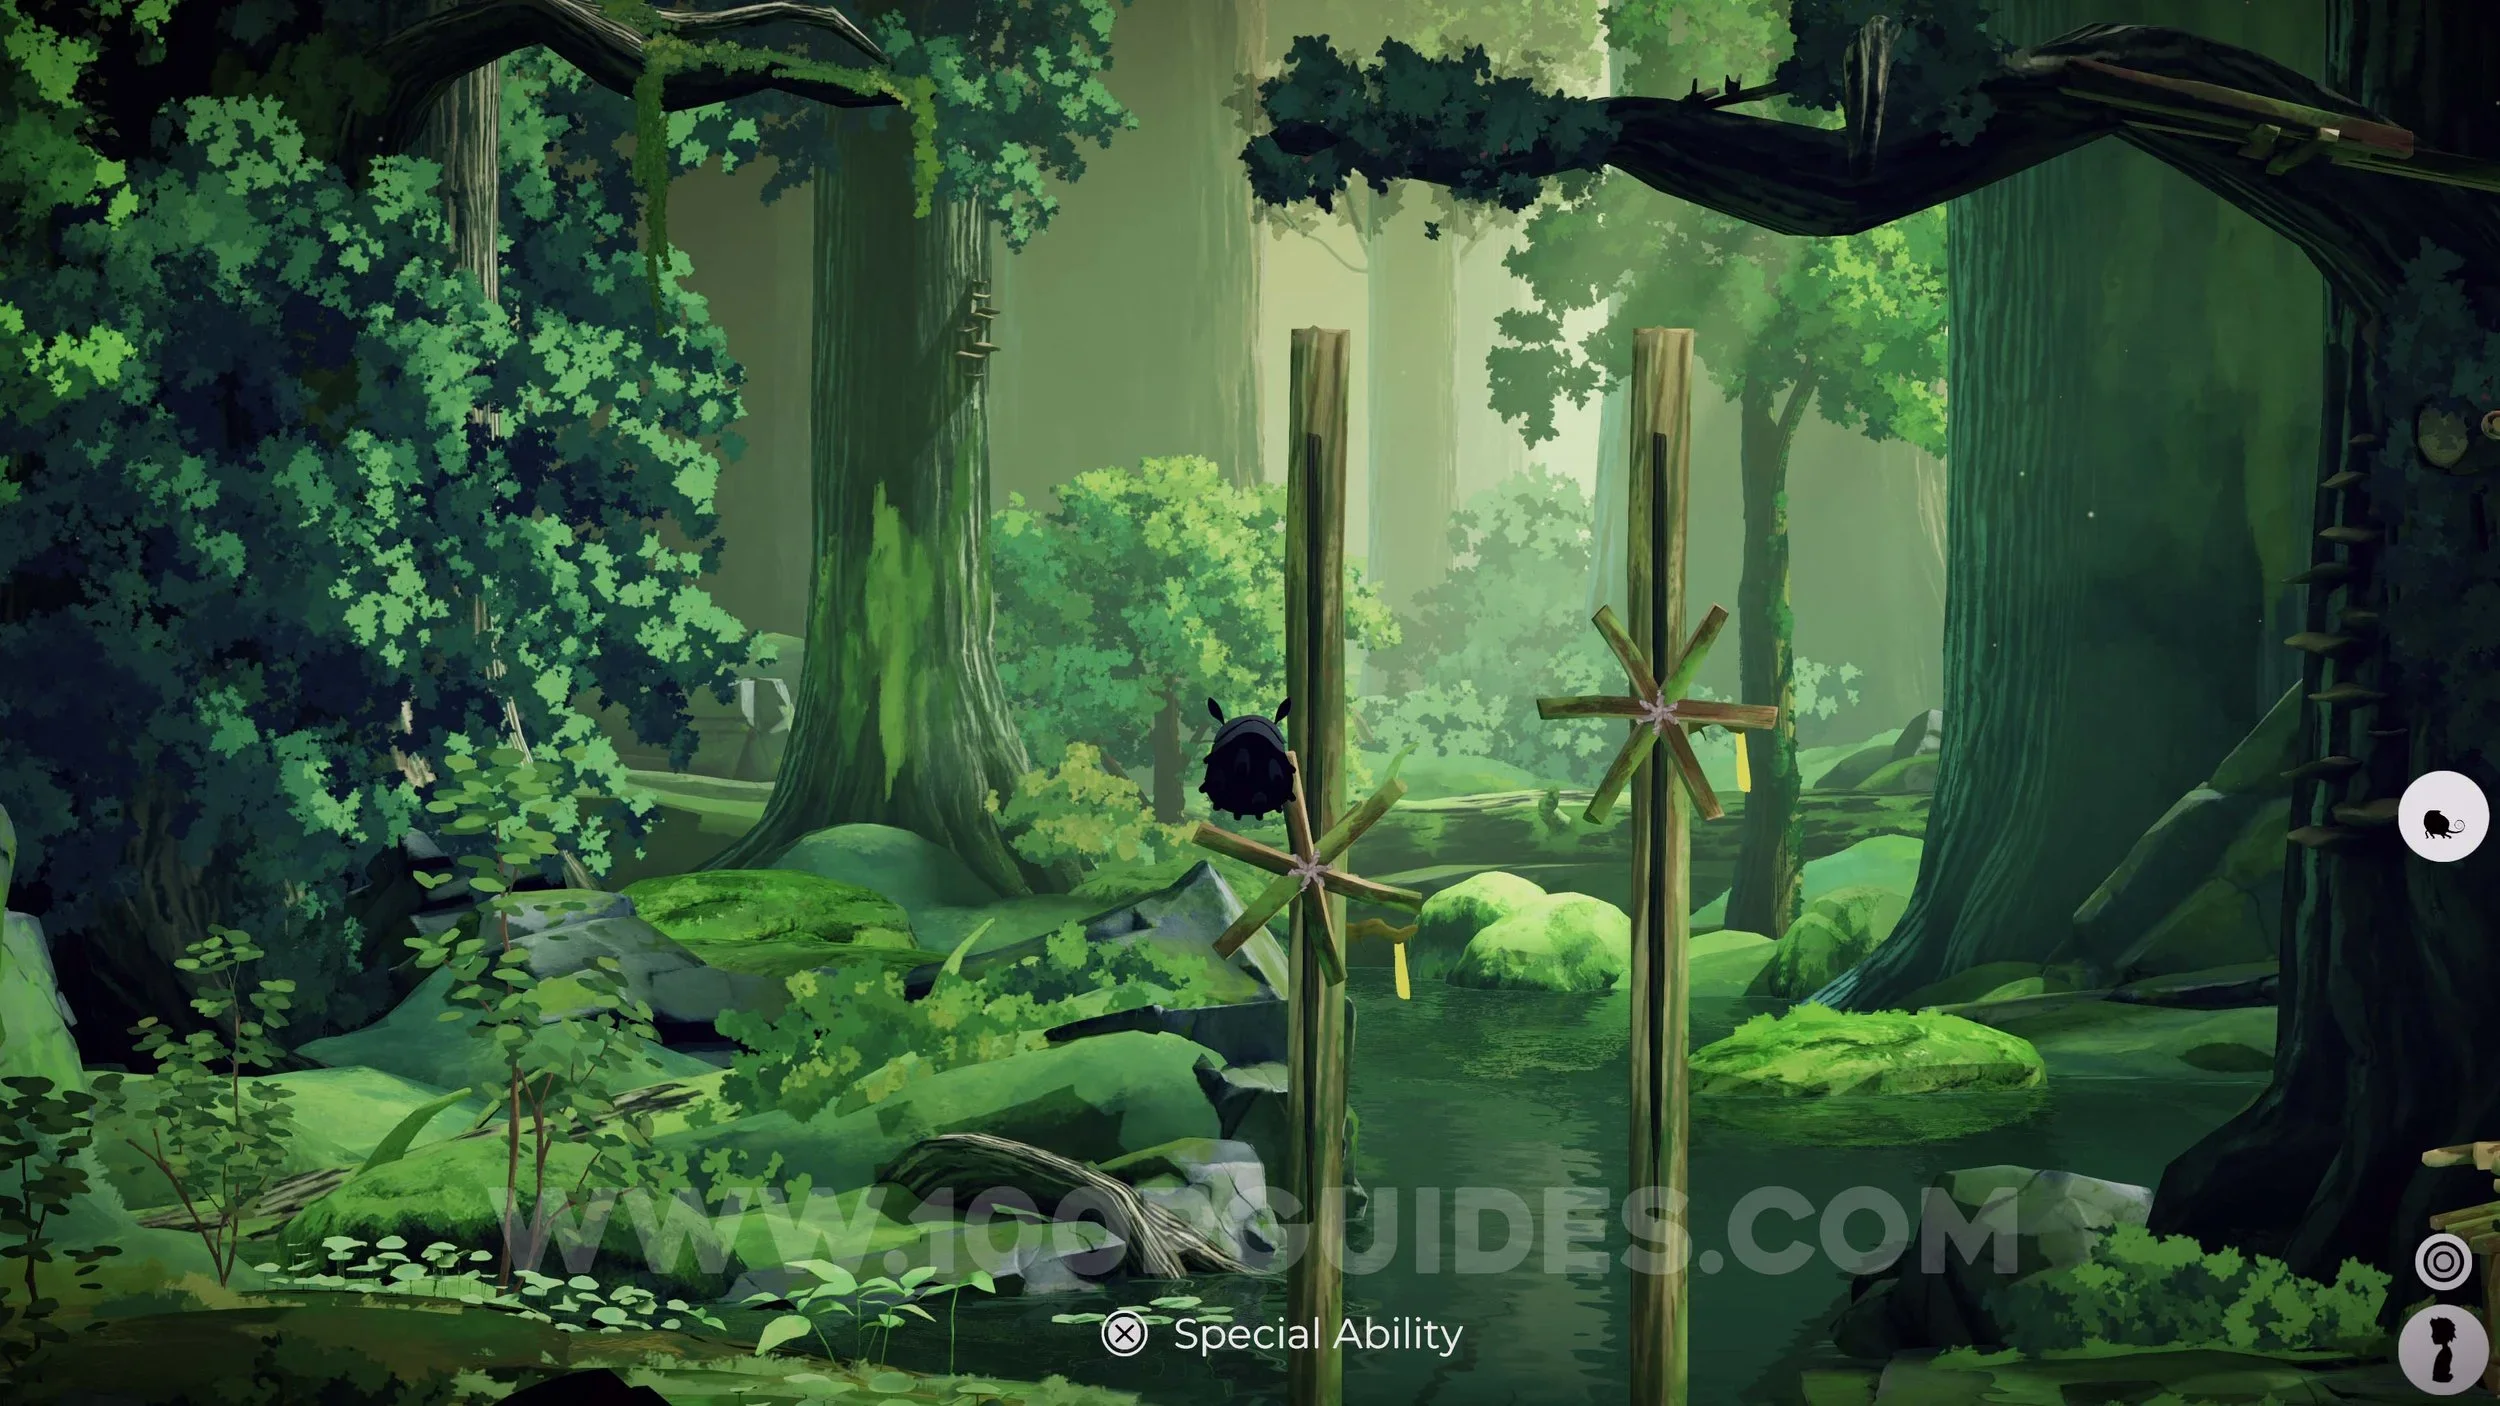
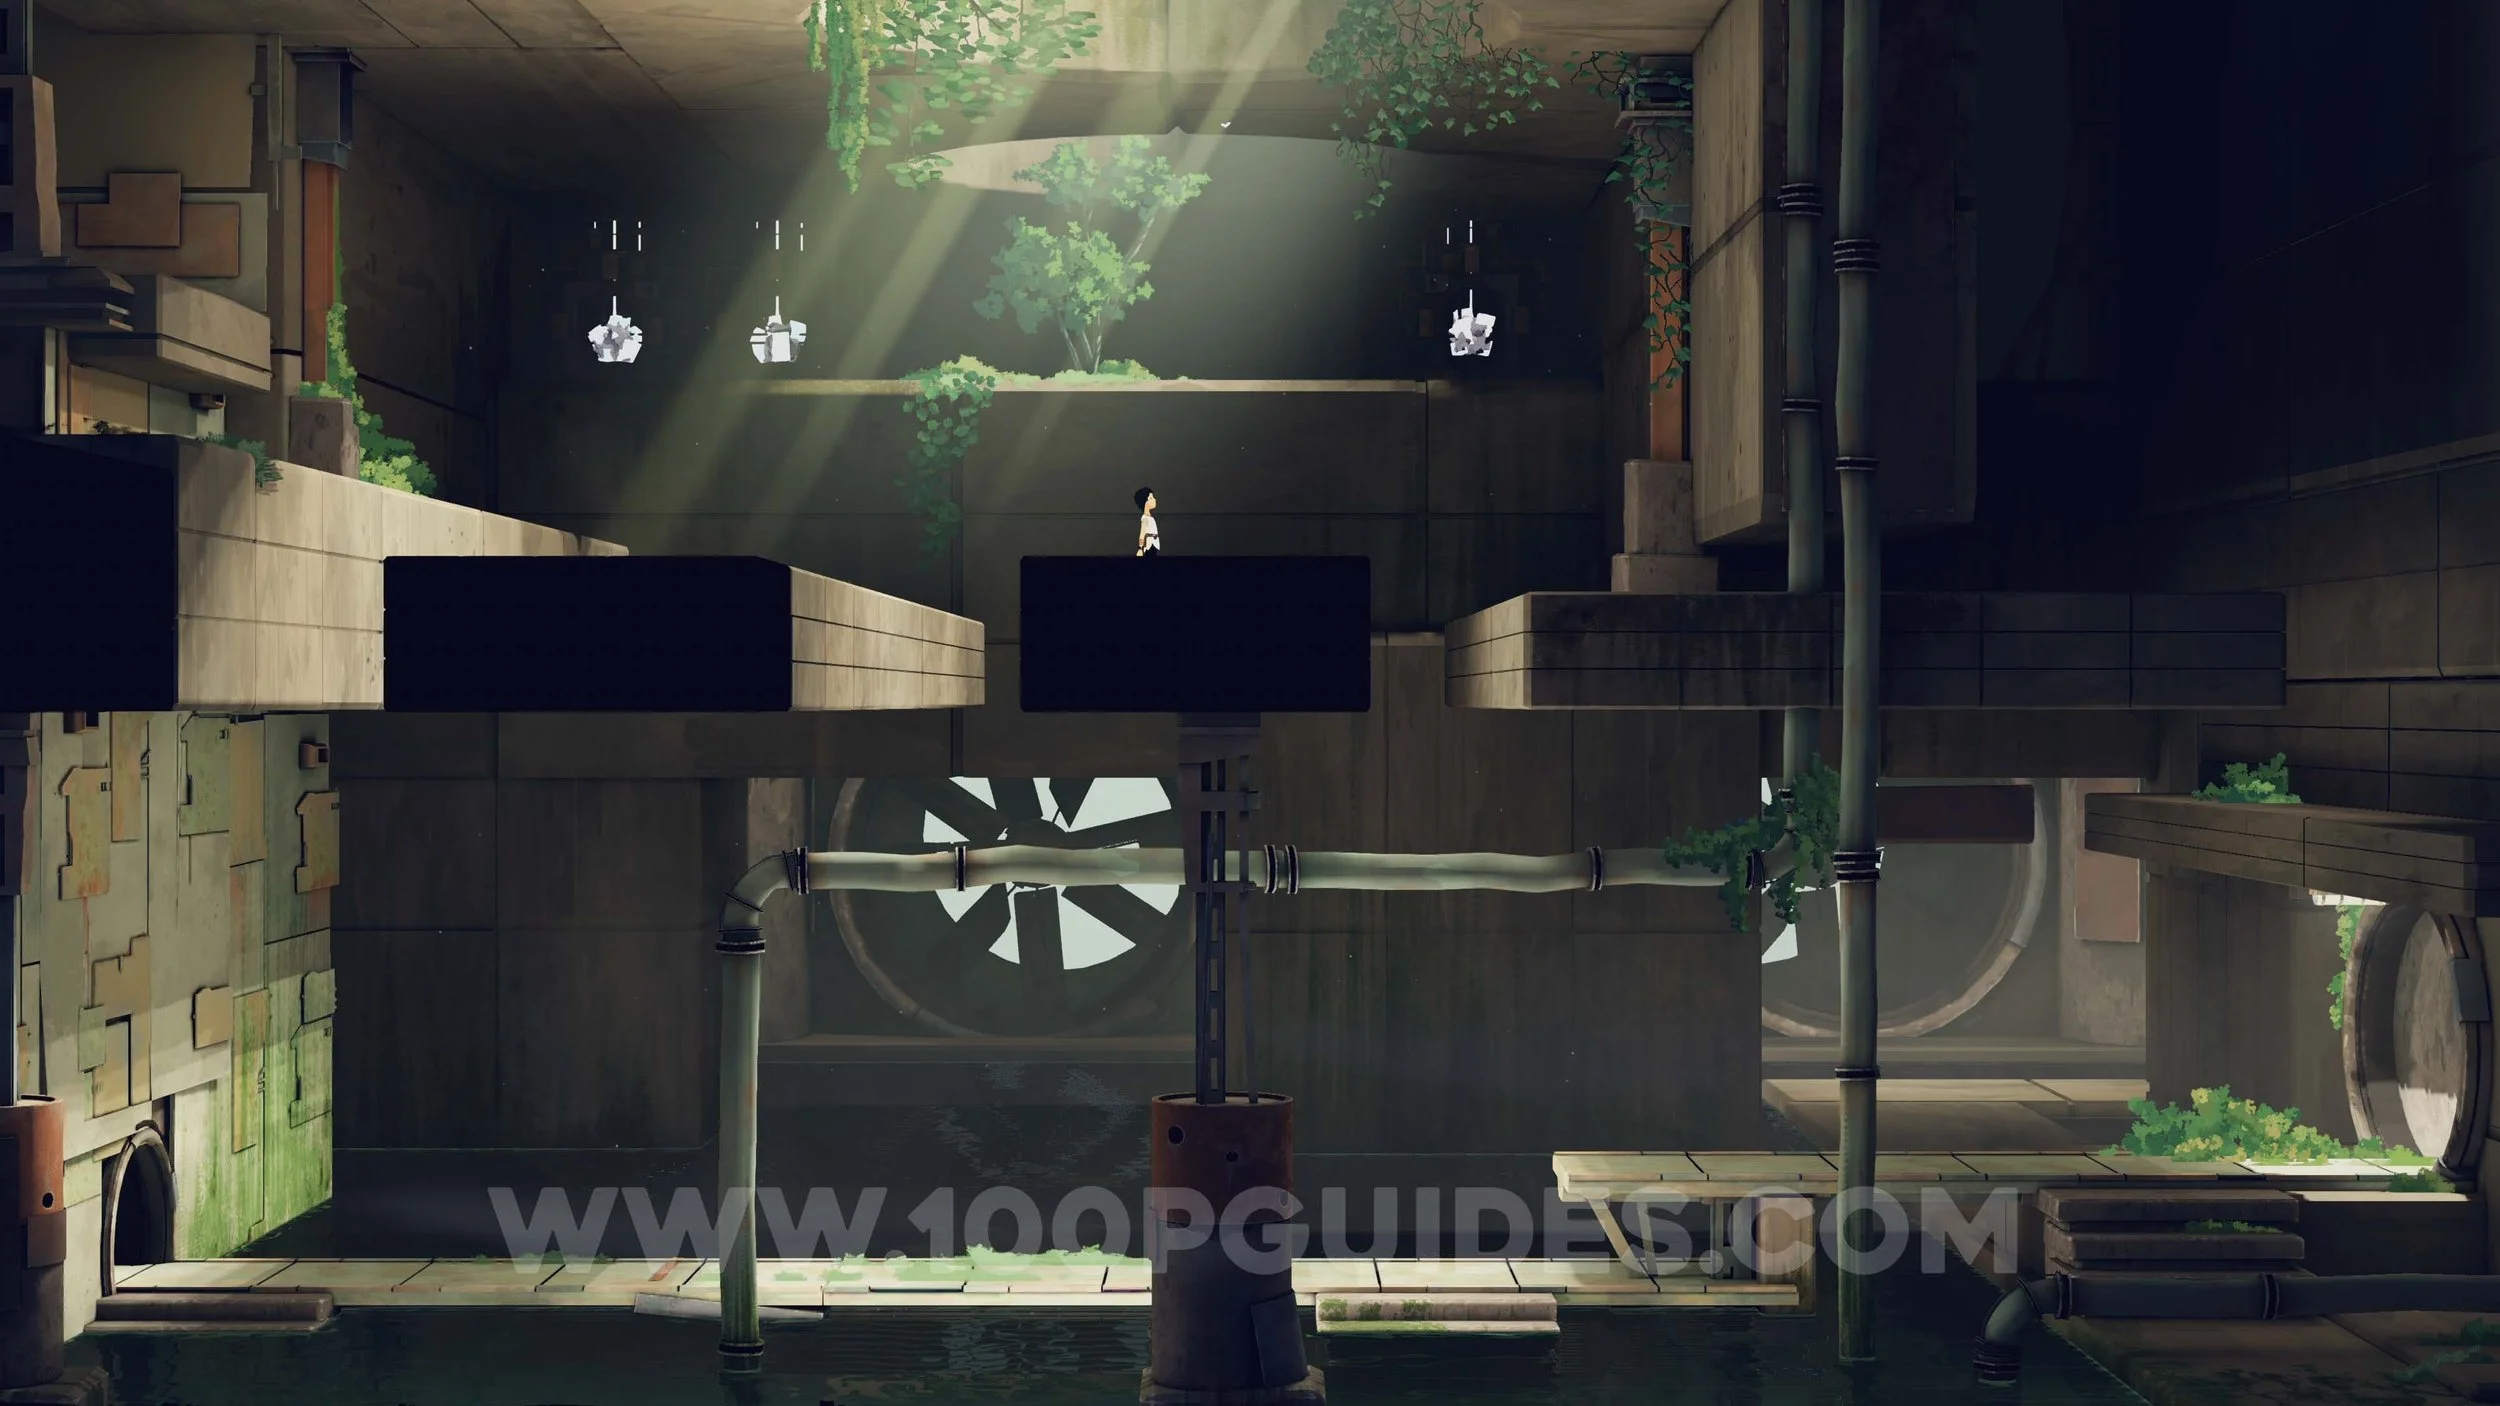
The game will now introduce a new mechanic that is used several times throughout the adventure and allows you to burn webs. First, send Mui up to the small white fluff creatures on the platform above and hold Triangle to take control of one. These creatures can move along walls and ceilings, but they cannot jump and can only transfer between nearby surfaces. They also cannot stick to ice. While moving, hold X to leave a trail of flammable material that fire can follow.
To burn the web on the right, move up to it and begin holding X. While holding the button, create a trail from the web back to the fire by rolling into the flames. The fire will travel along the trail and burn away the web.
Continue right to reach another web puzzle. Start by climbing up to the platform on the right with Lana. Then use Mui to take control of a fluff creature and climb to the "living cube” near the right platform. Create a trail from the column to the fire to temporarily move it out of the way. Quickly run and jump across with Lana to the box and push it down. Place the box to the left of the fire and use it to help a fluff creature reach the web. Finally, connect the web to the fire with a trail of fluff to burn it and continue forward.
After crossing a large outdoor area while hiding from the strong winds, you will enter another cave. Inside, you will find a corrupted rock that will instantly kill you if you get too close. To purify it, simply place Mui nearby.
In the next room, advance while keeping Mui close to climb up and advance.
You will soon reach another web puzzle. Start by pushing the box so it sits at the closest possible point beneath the center of the ceiling. Take control of a fluff creature and create a trail that connects the top living cube, making sure to use the highest path over the rock, then the bottom living cube, and finally the fire. As soon as the fire passes the box and begins moving toward the two cubes, quickly grab the box and place it on top of the bottom living cube once it lowers after being hit by the flame. Stand on the box, wait for the cube to rise and for the upper cube to shift, then jump up to continue forward.
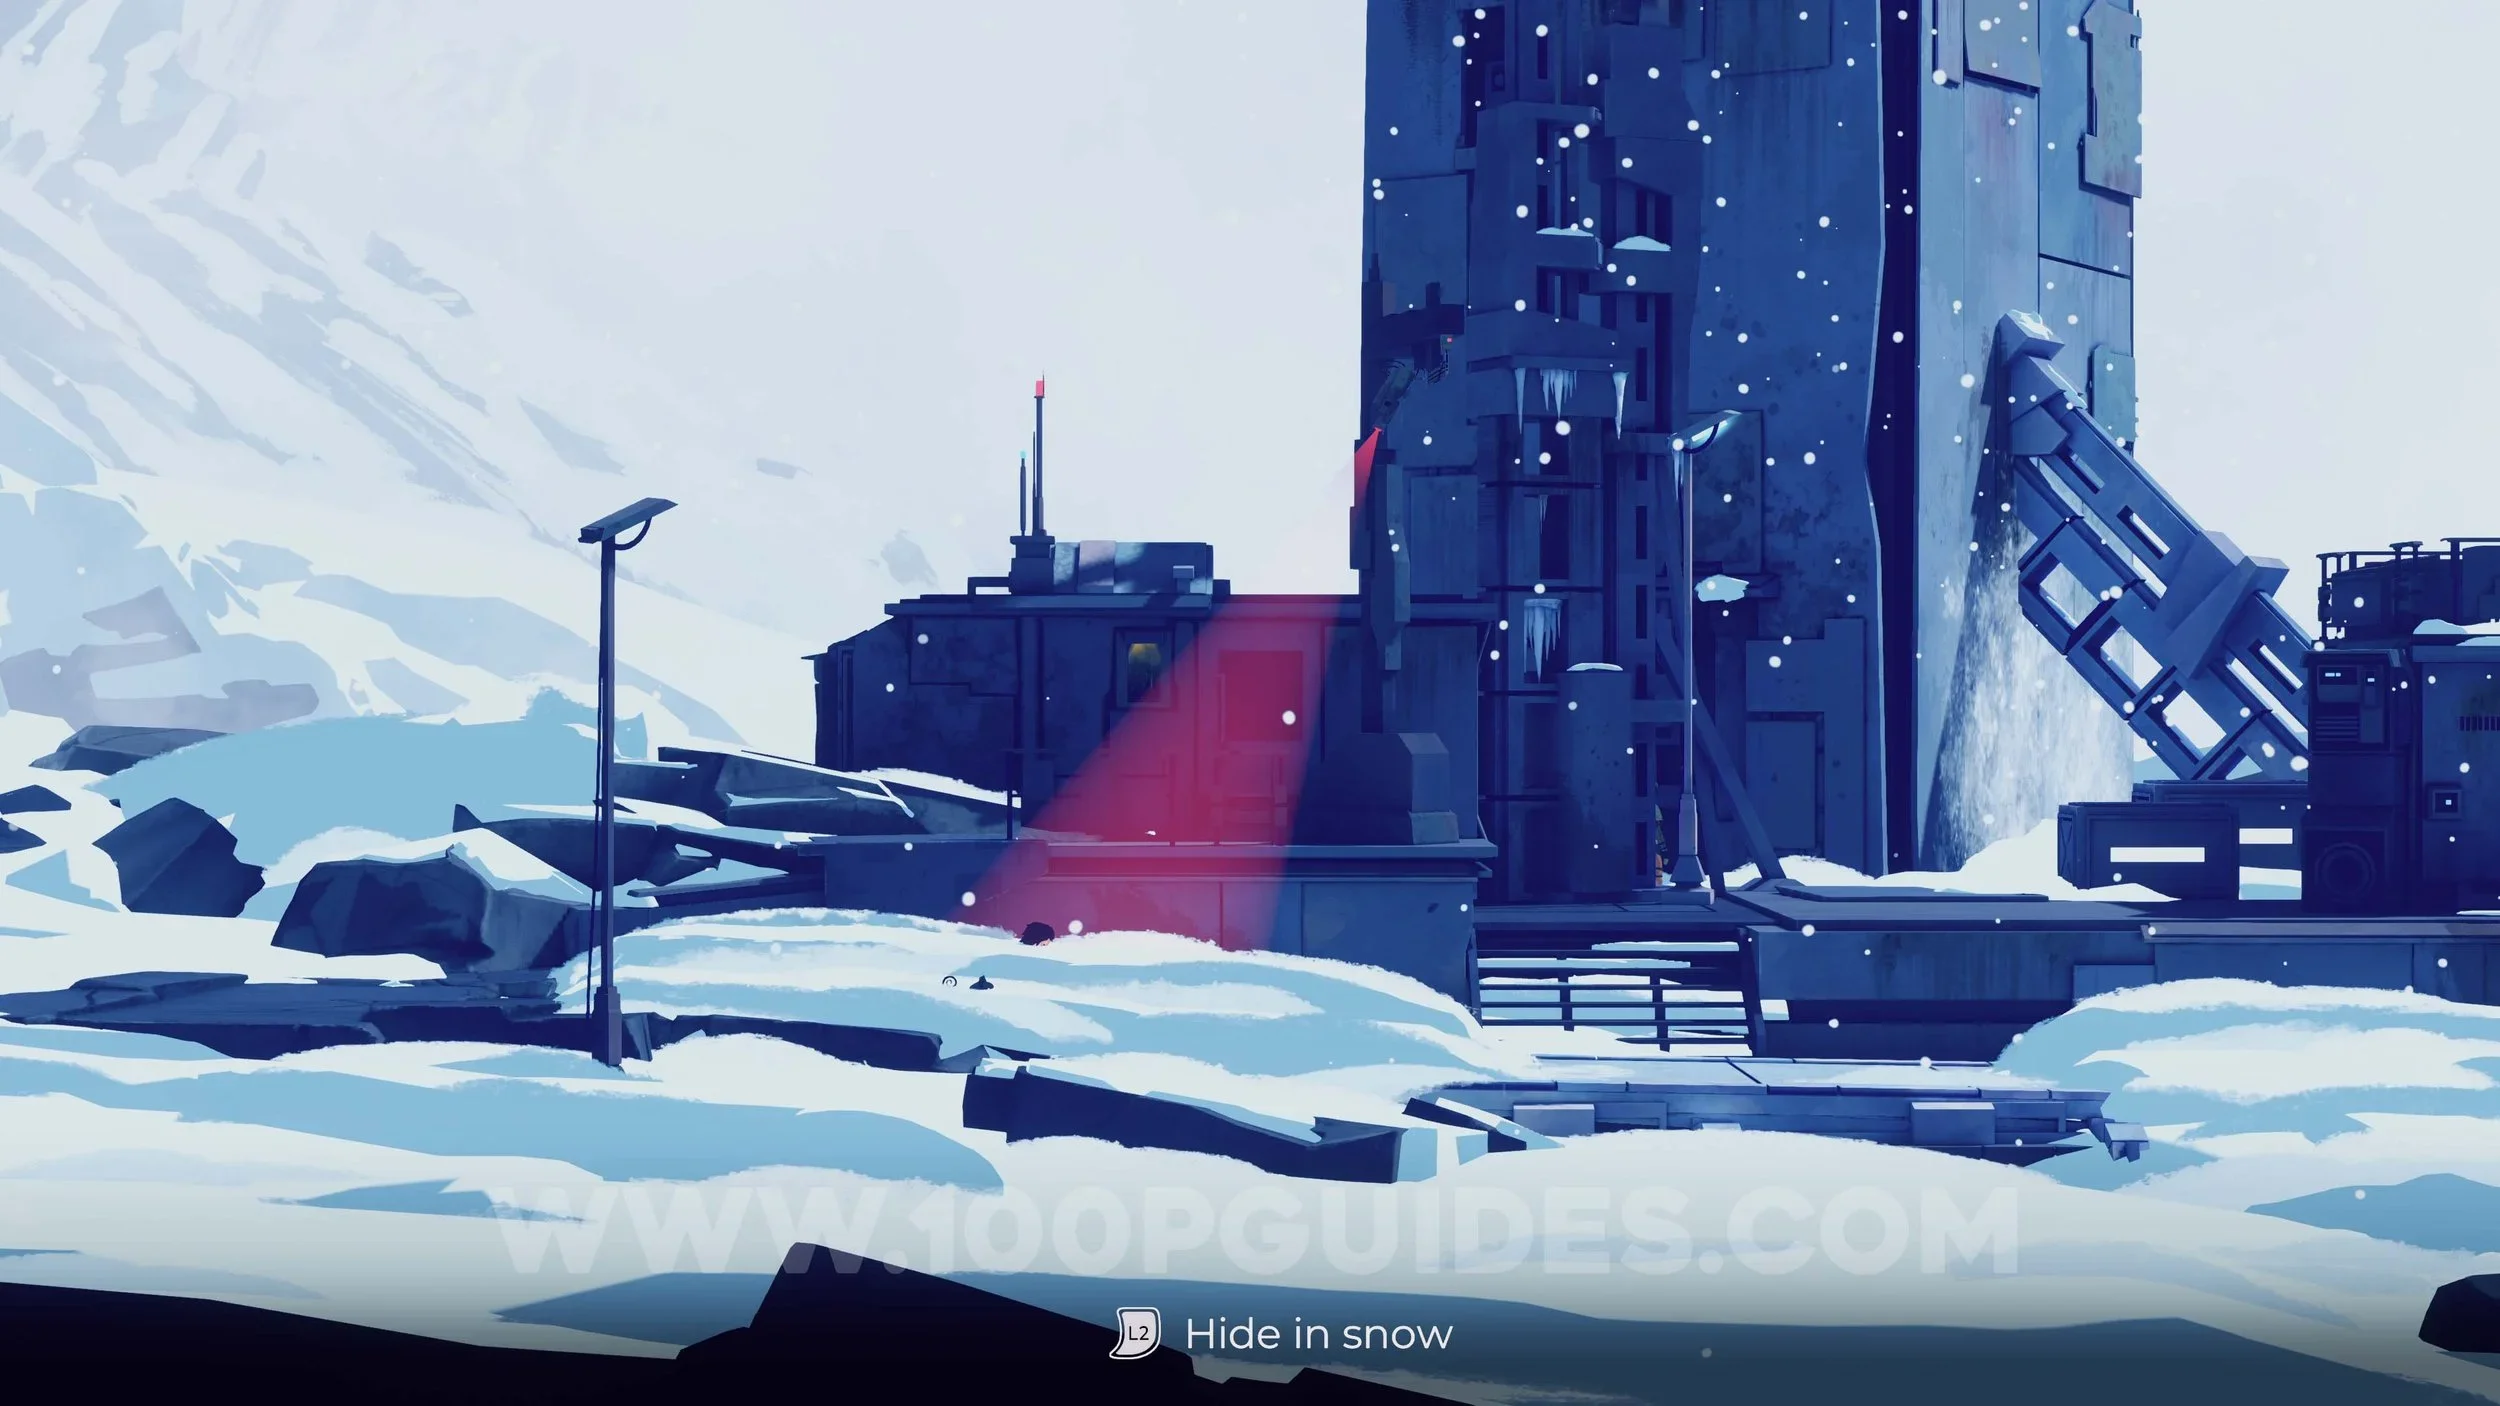
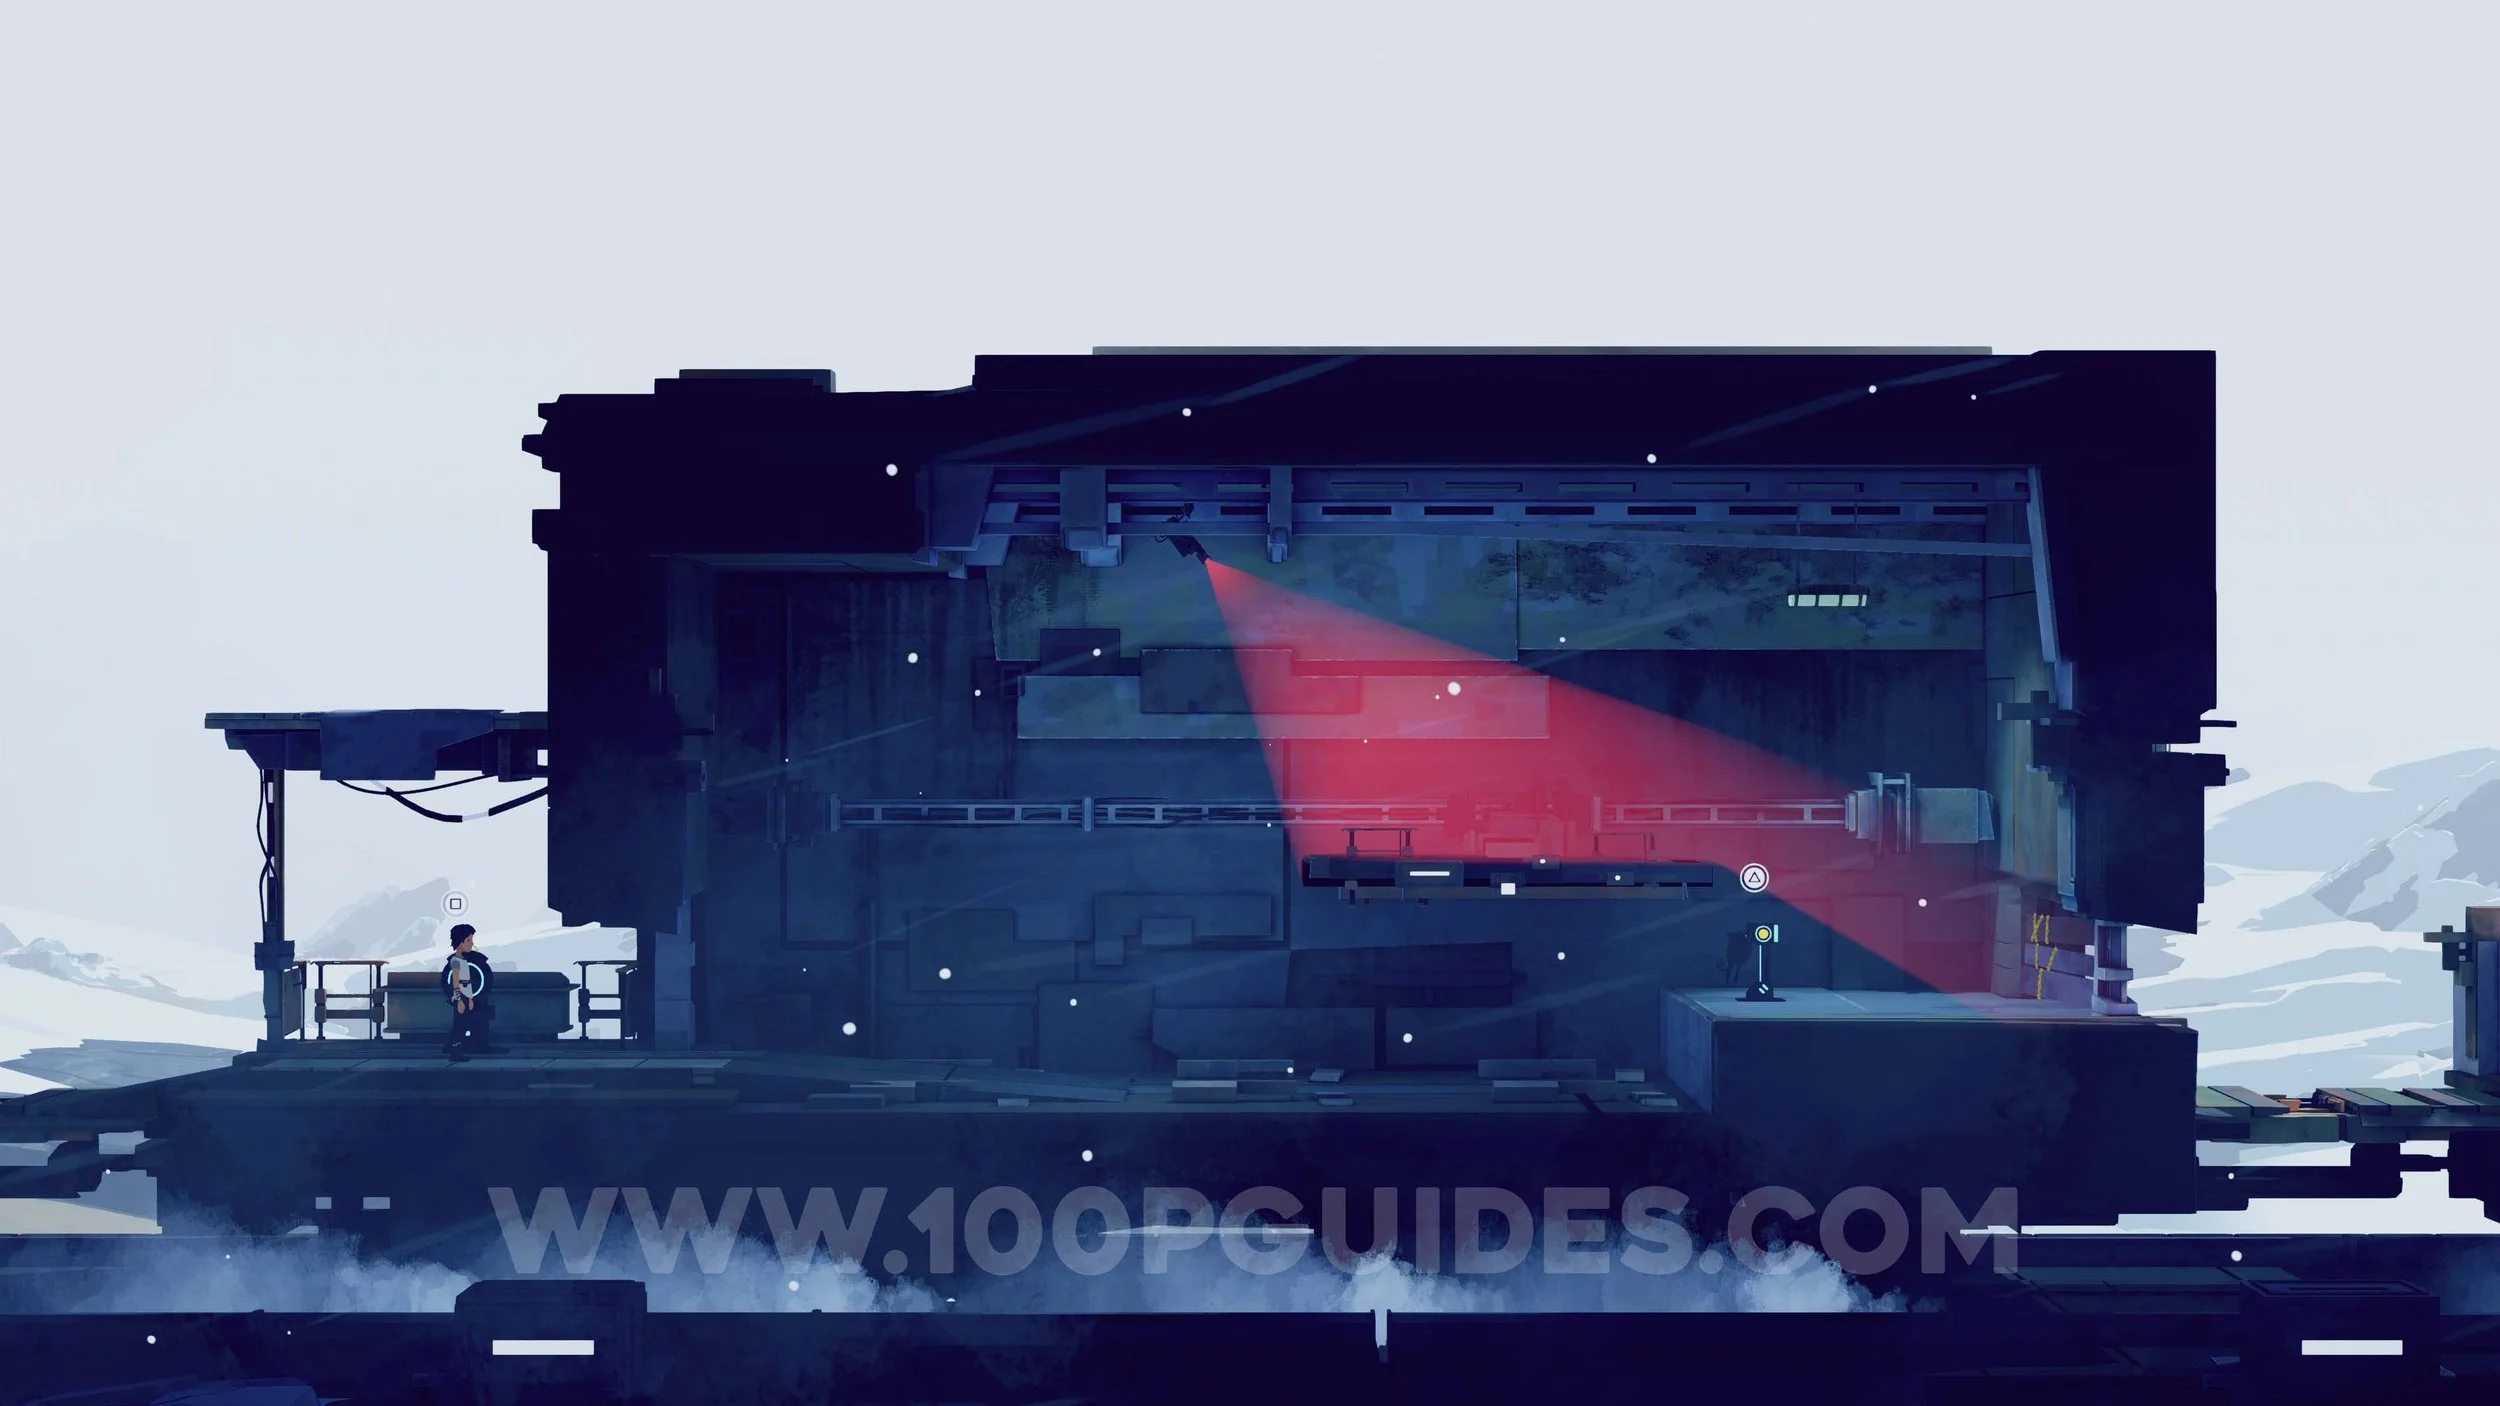
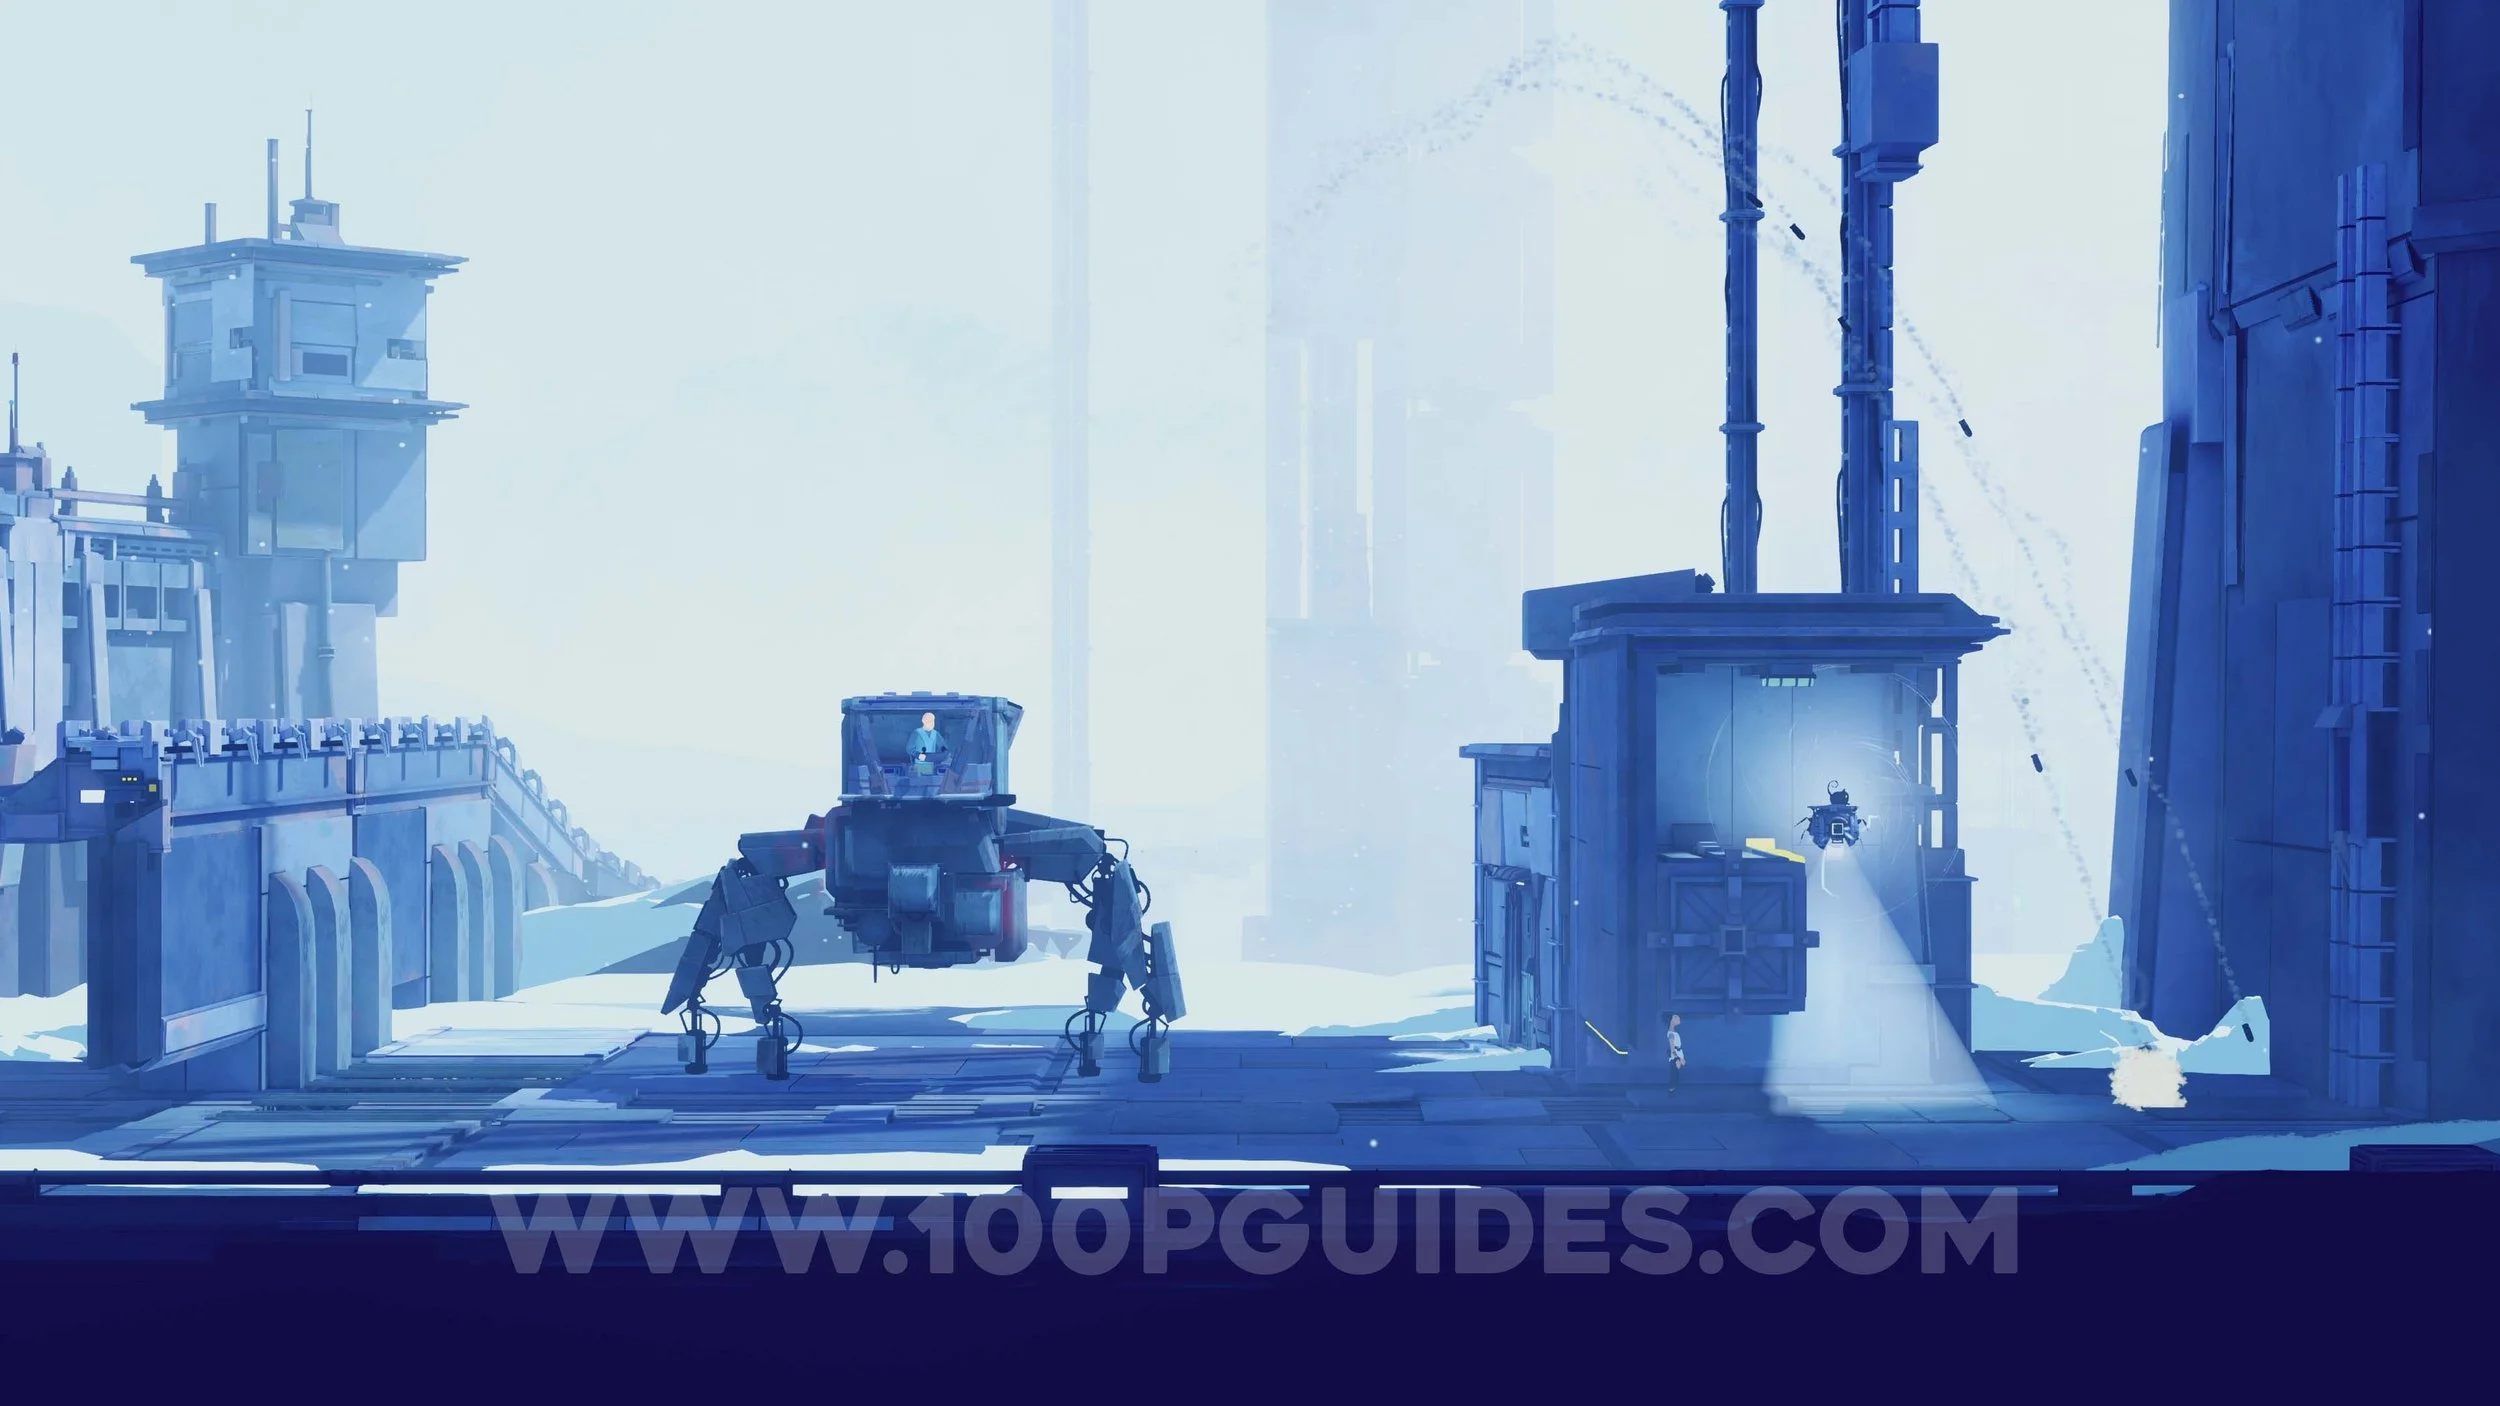
You will now come to an outside area with a small enemy base. To get past the security cameras, press L2 and hide in the snow.
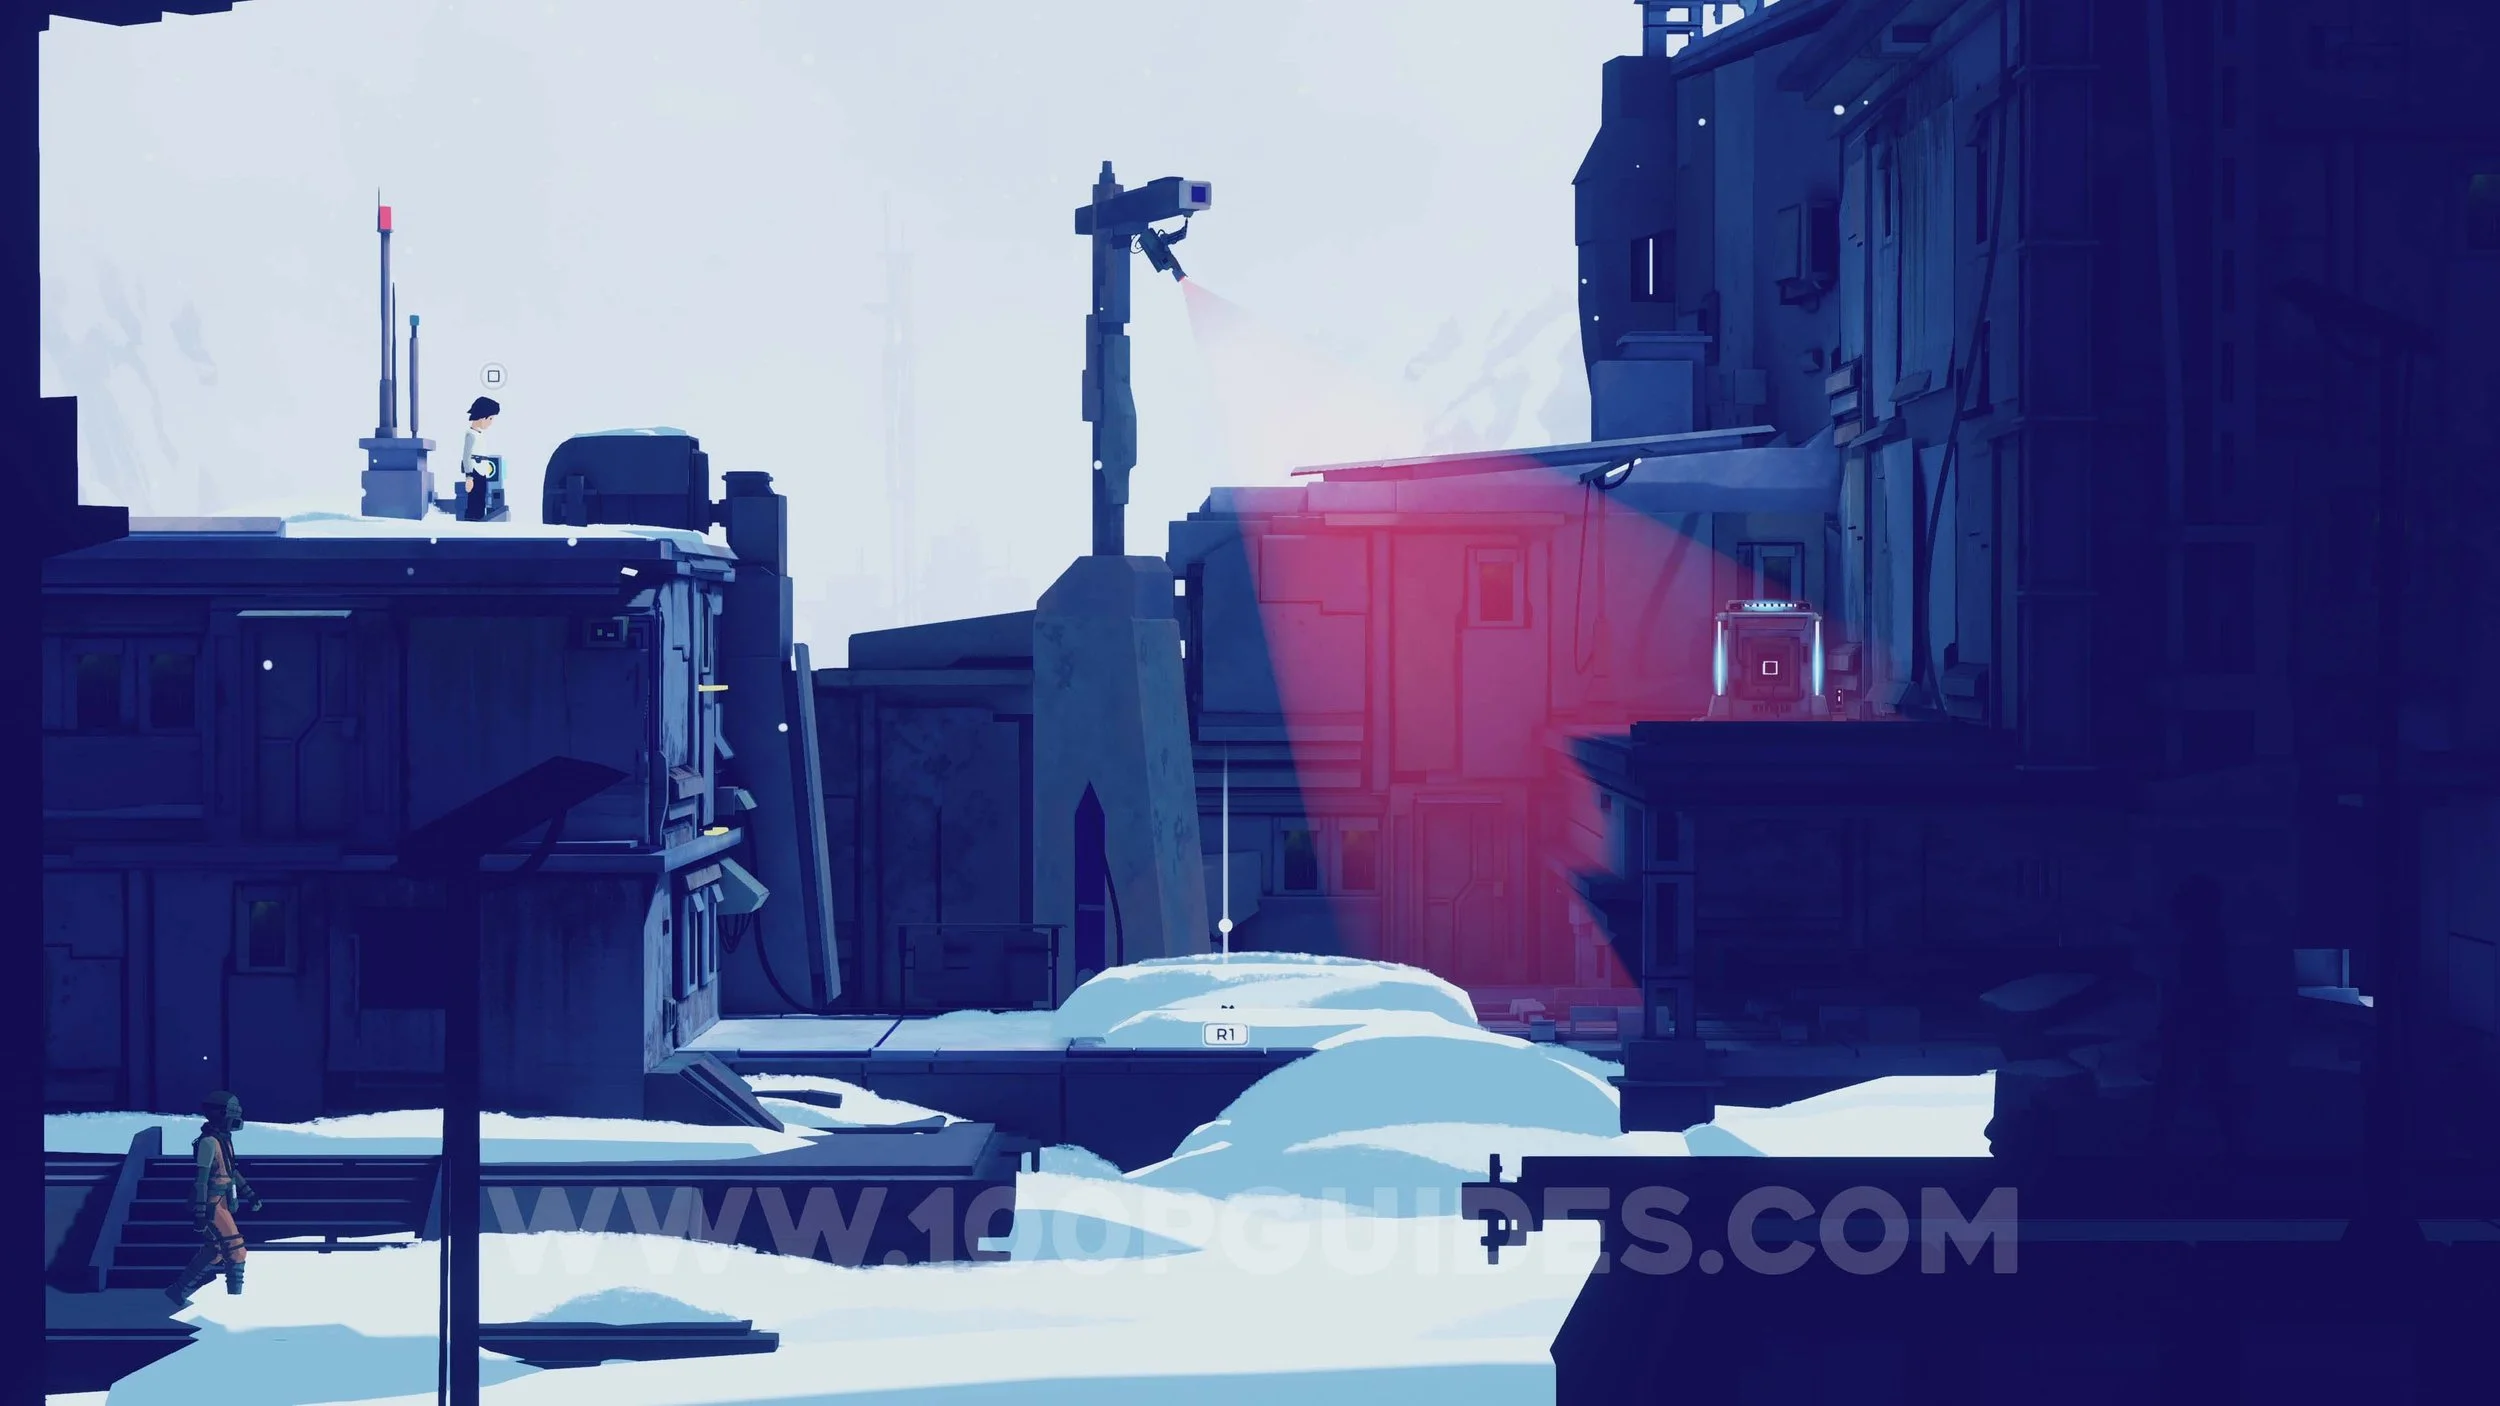
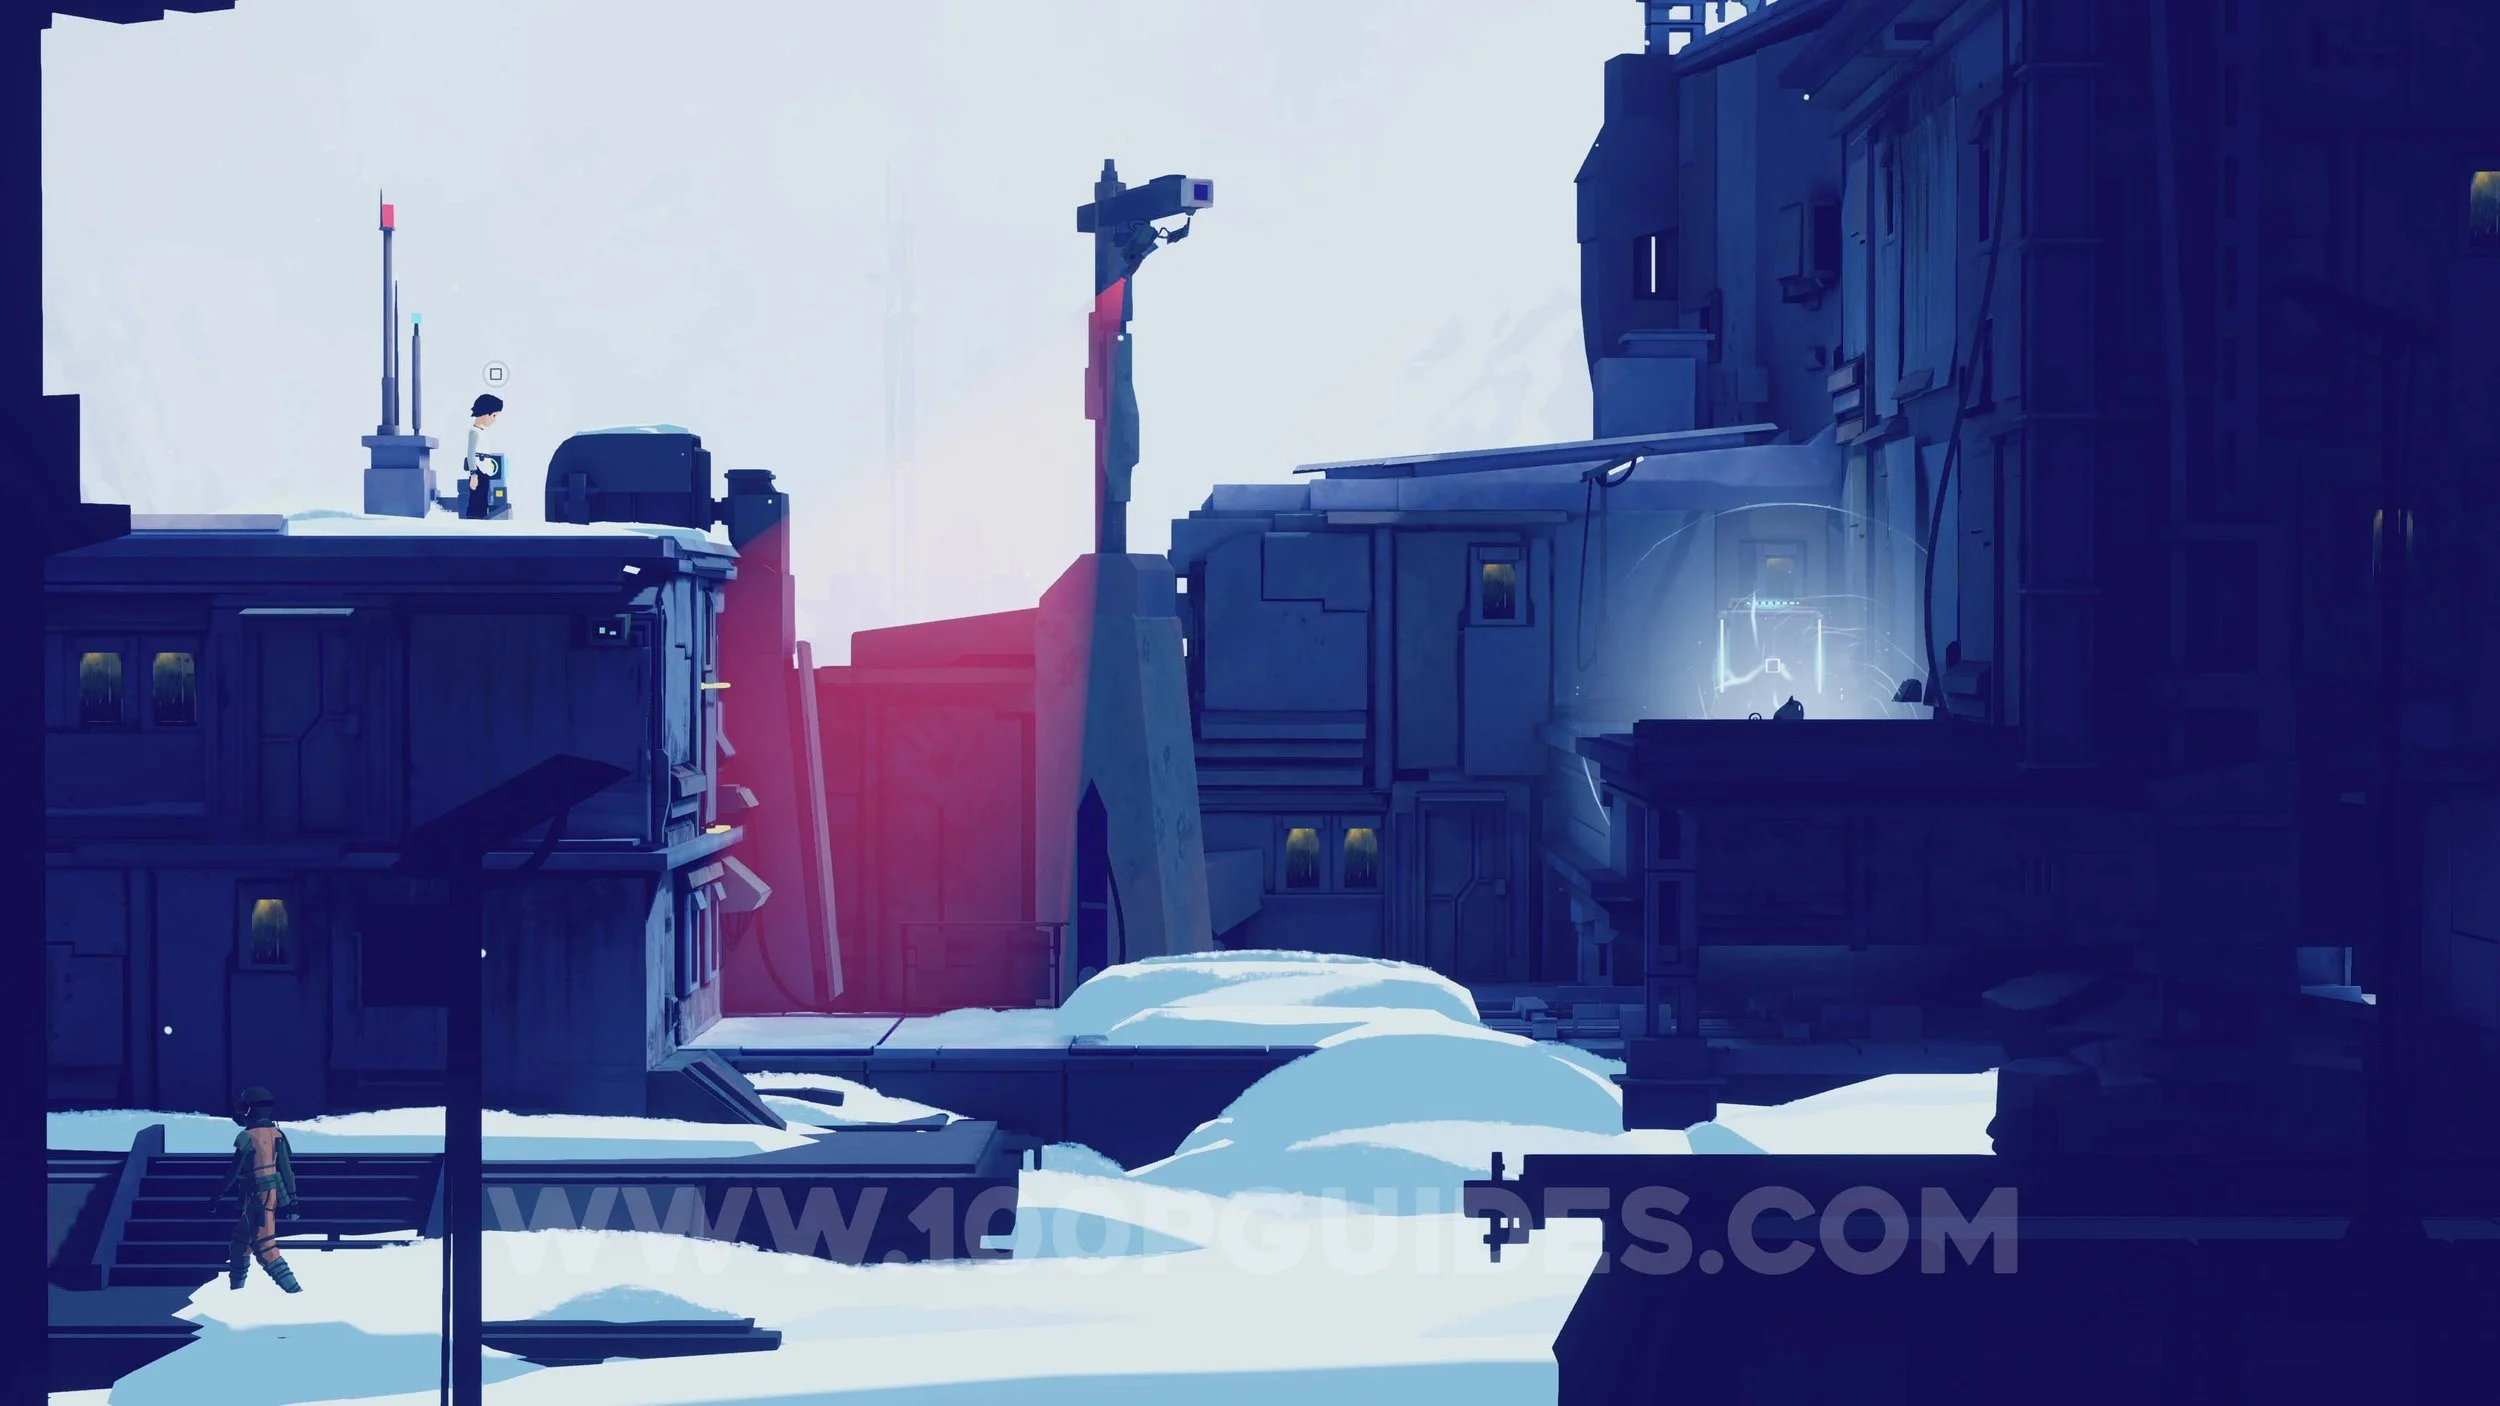
After this, you will reach a second base. Press the switch to move the security camera to the right, then send Mui down into the snow. Press the switch again to bring the camera back to the left, allowing Mui to safely climb up to the electricity box. Hold Triangle to activate it and disable the camera so you can continue.
In the next area, simply send Mui up to the electricity box and activate it to open the door.
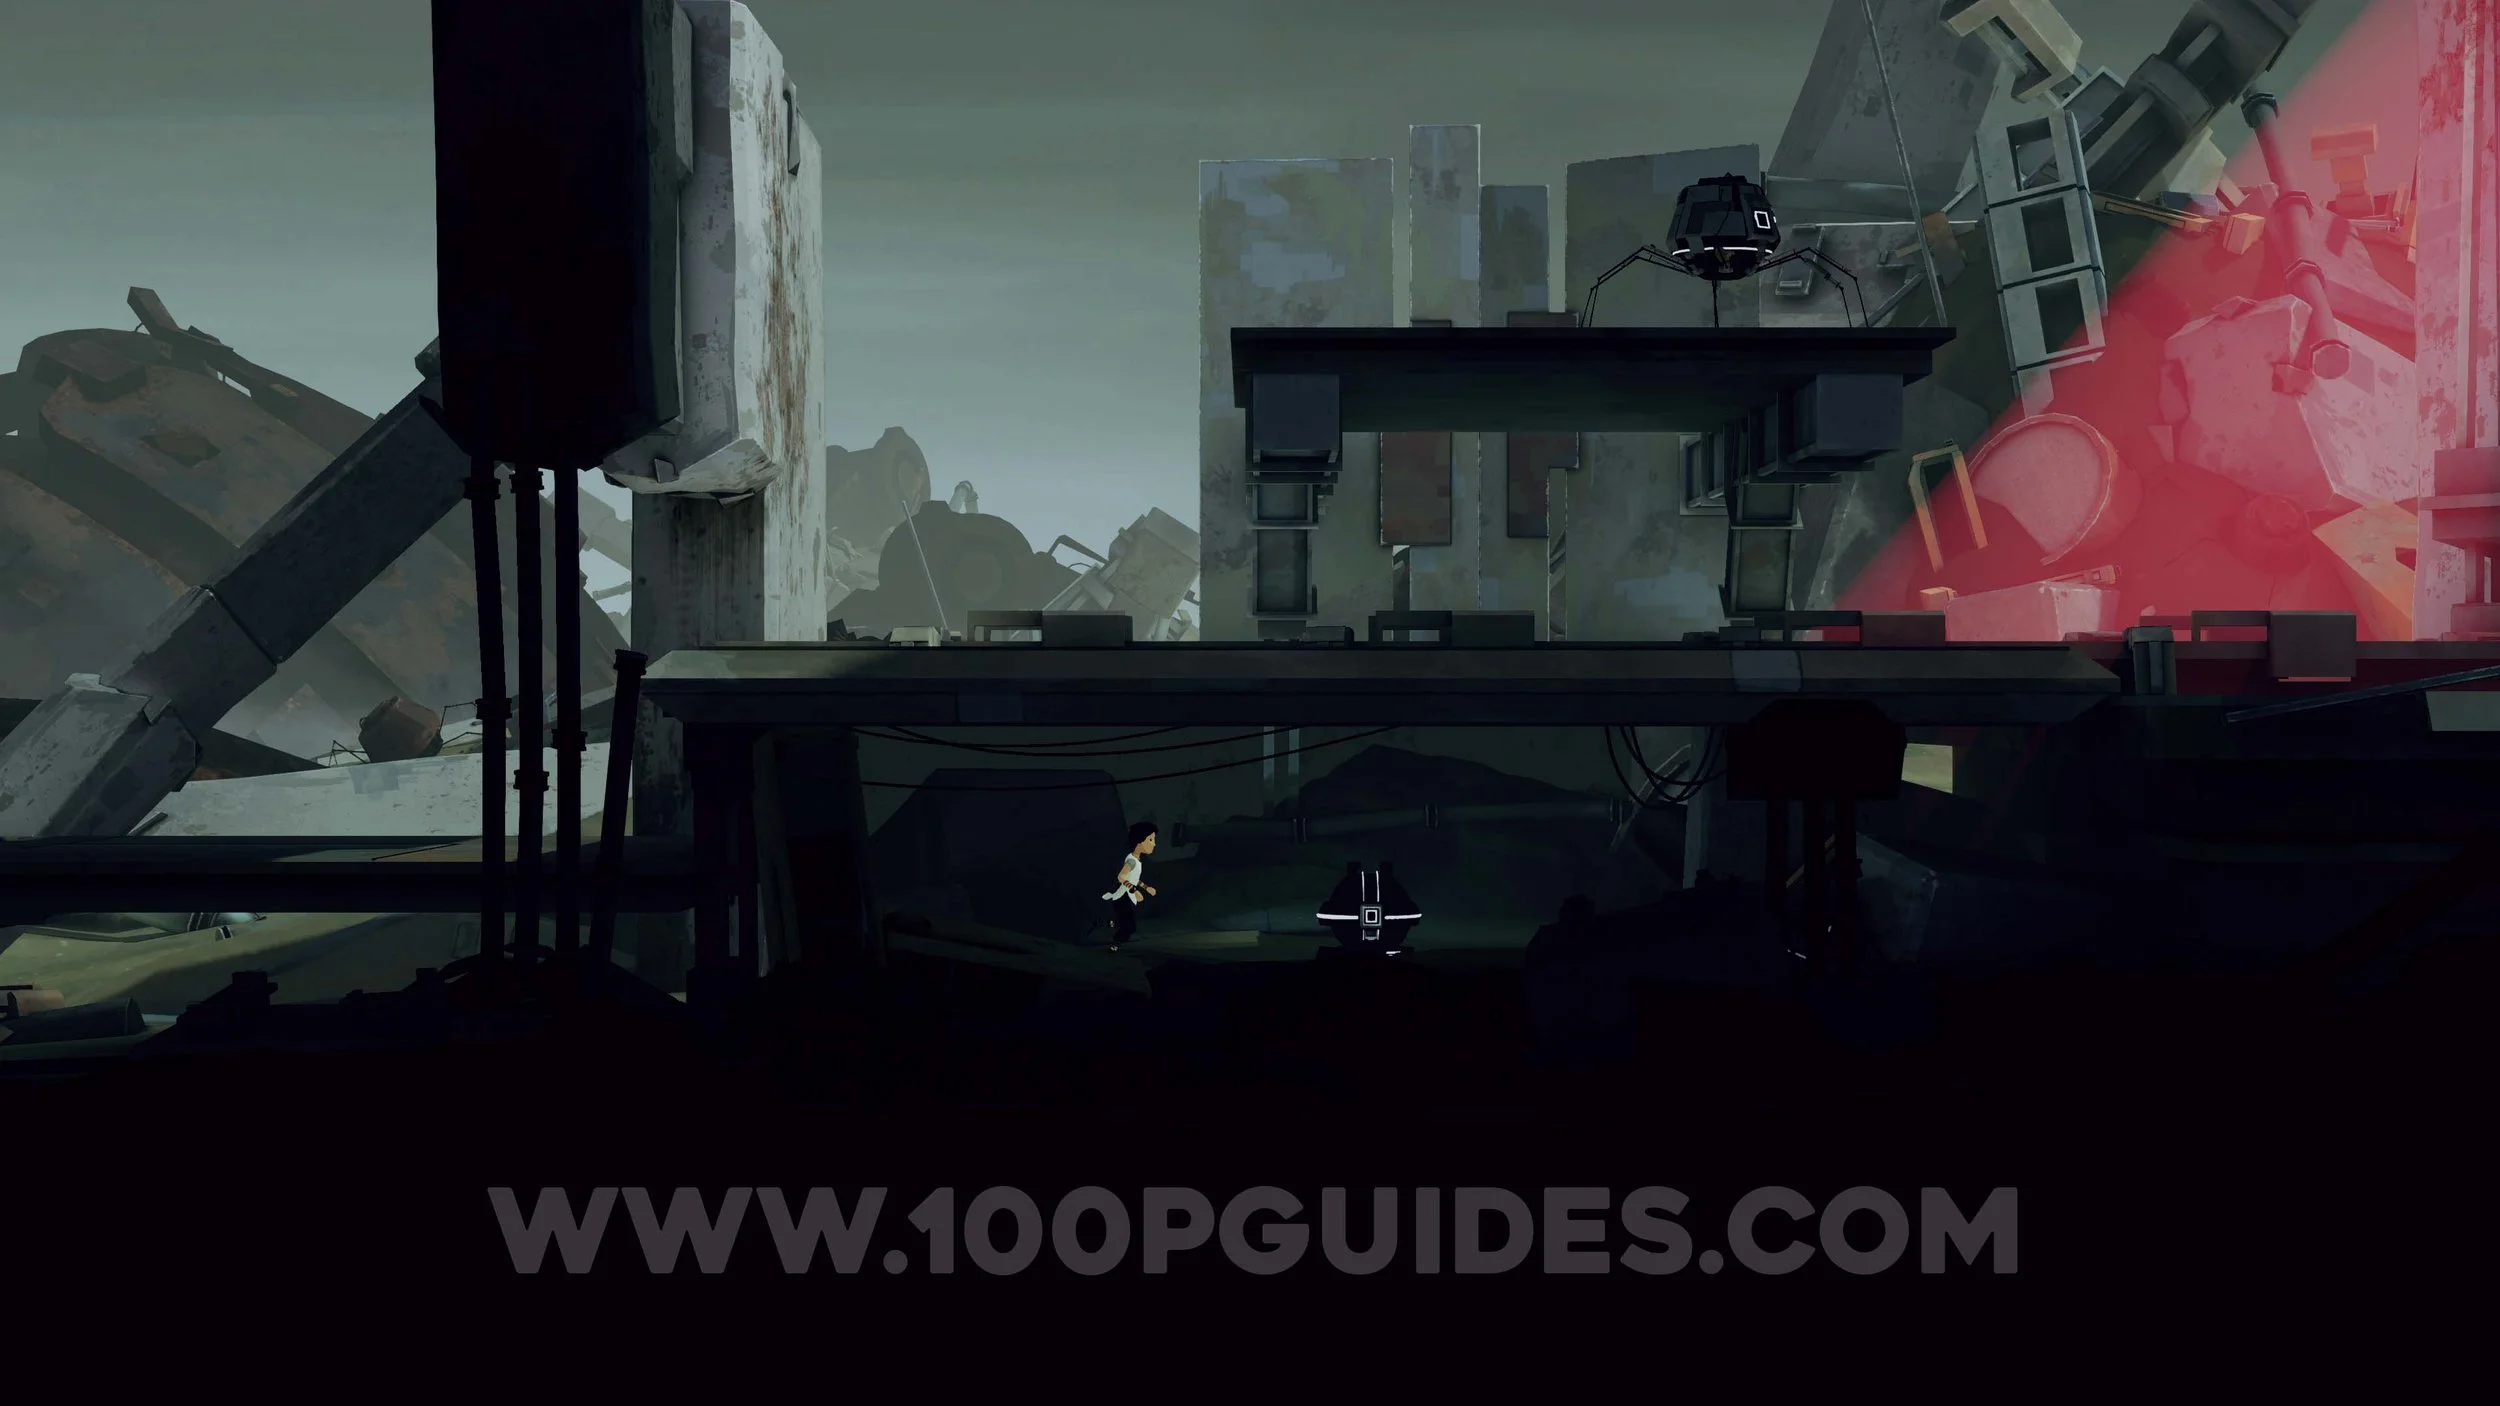
Continue forward to encounter a new type of enemy. These bots will charge toward you if they spot you, resulting in an instant game over. To avoid this one, hide in the snow and move underneath the platform where the bot is patrolling. As soon as it turns to the left, run to the right and slide through the gap before it can catch you.
In the next area, activate the switch to shut off the electric current powering the camera through the cable. Then send Mui up to cut the cable. Turn the electricity back on to open the door and continue through.
Continue through the open area until you reach a room with another bot. To get past it, press the switch and send Mui through the newly opened gap to reach the underside of the bot. Hold Triangle to have Mui deactivate it, giving you a short window to open the path on the right and move through. Make sure to call Mui back to follow you before continuing.
In the next room, you will encounter two security cameras and two electricity boxes. Start by pressing the switch and sending Mui up to the first electricity box. Activate it, then quickly press the switch again to move the second camera out of the way. Stand on the lift and command Mui to activate the second electricity box to power it and continue down.
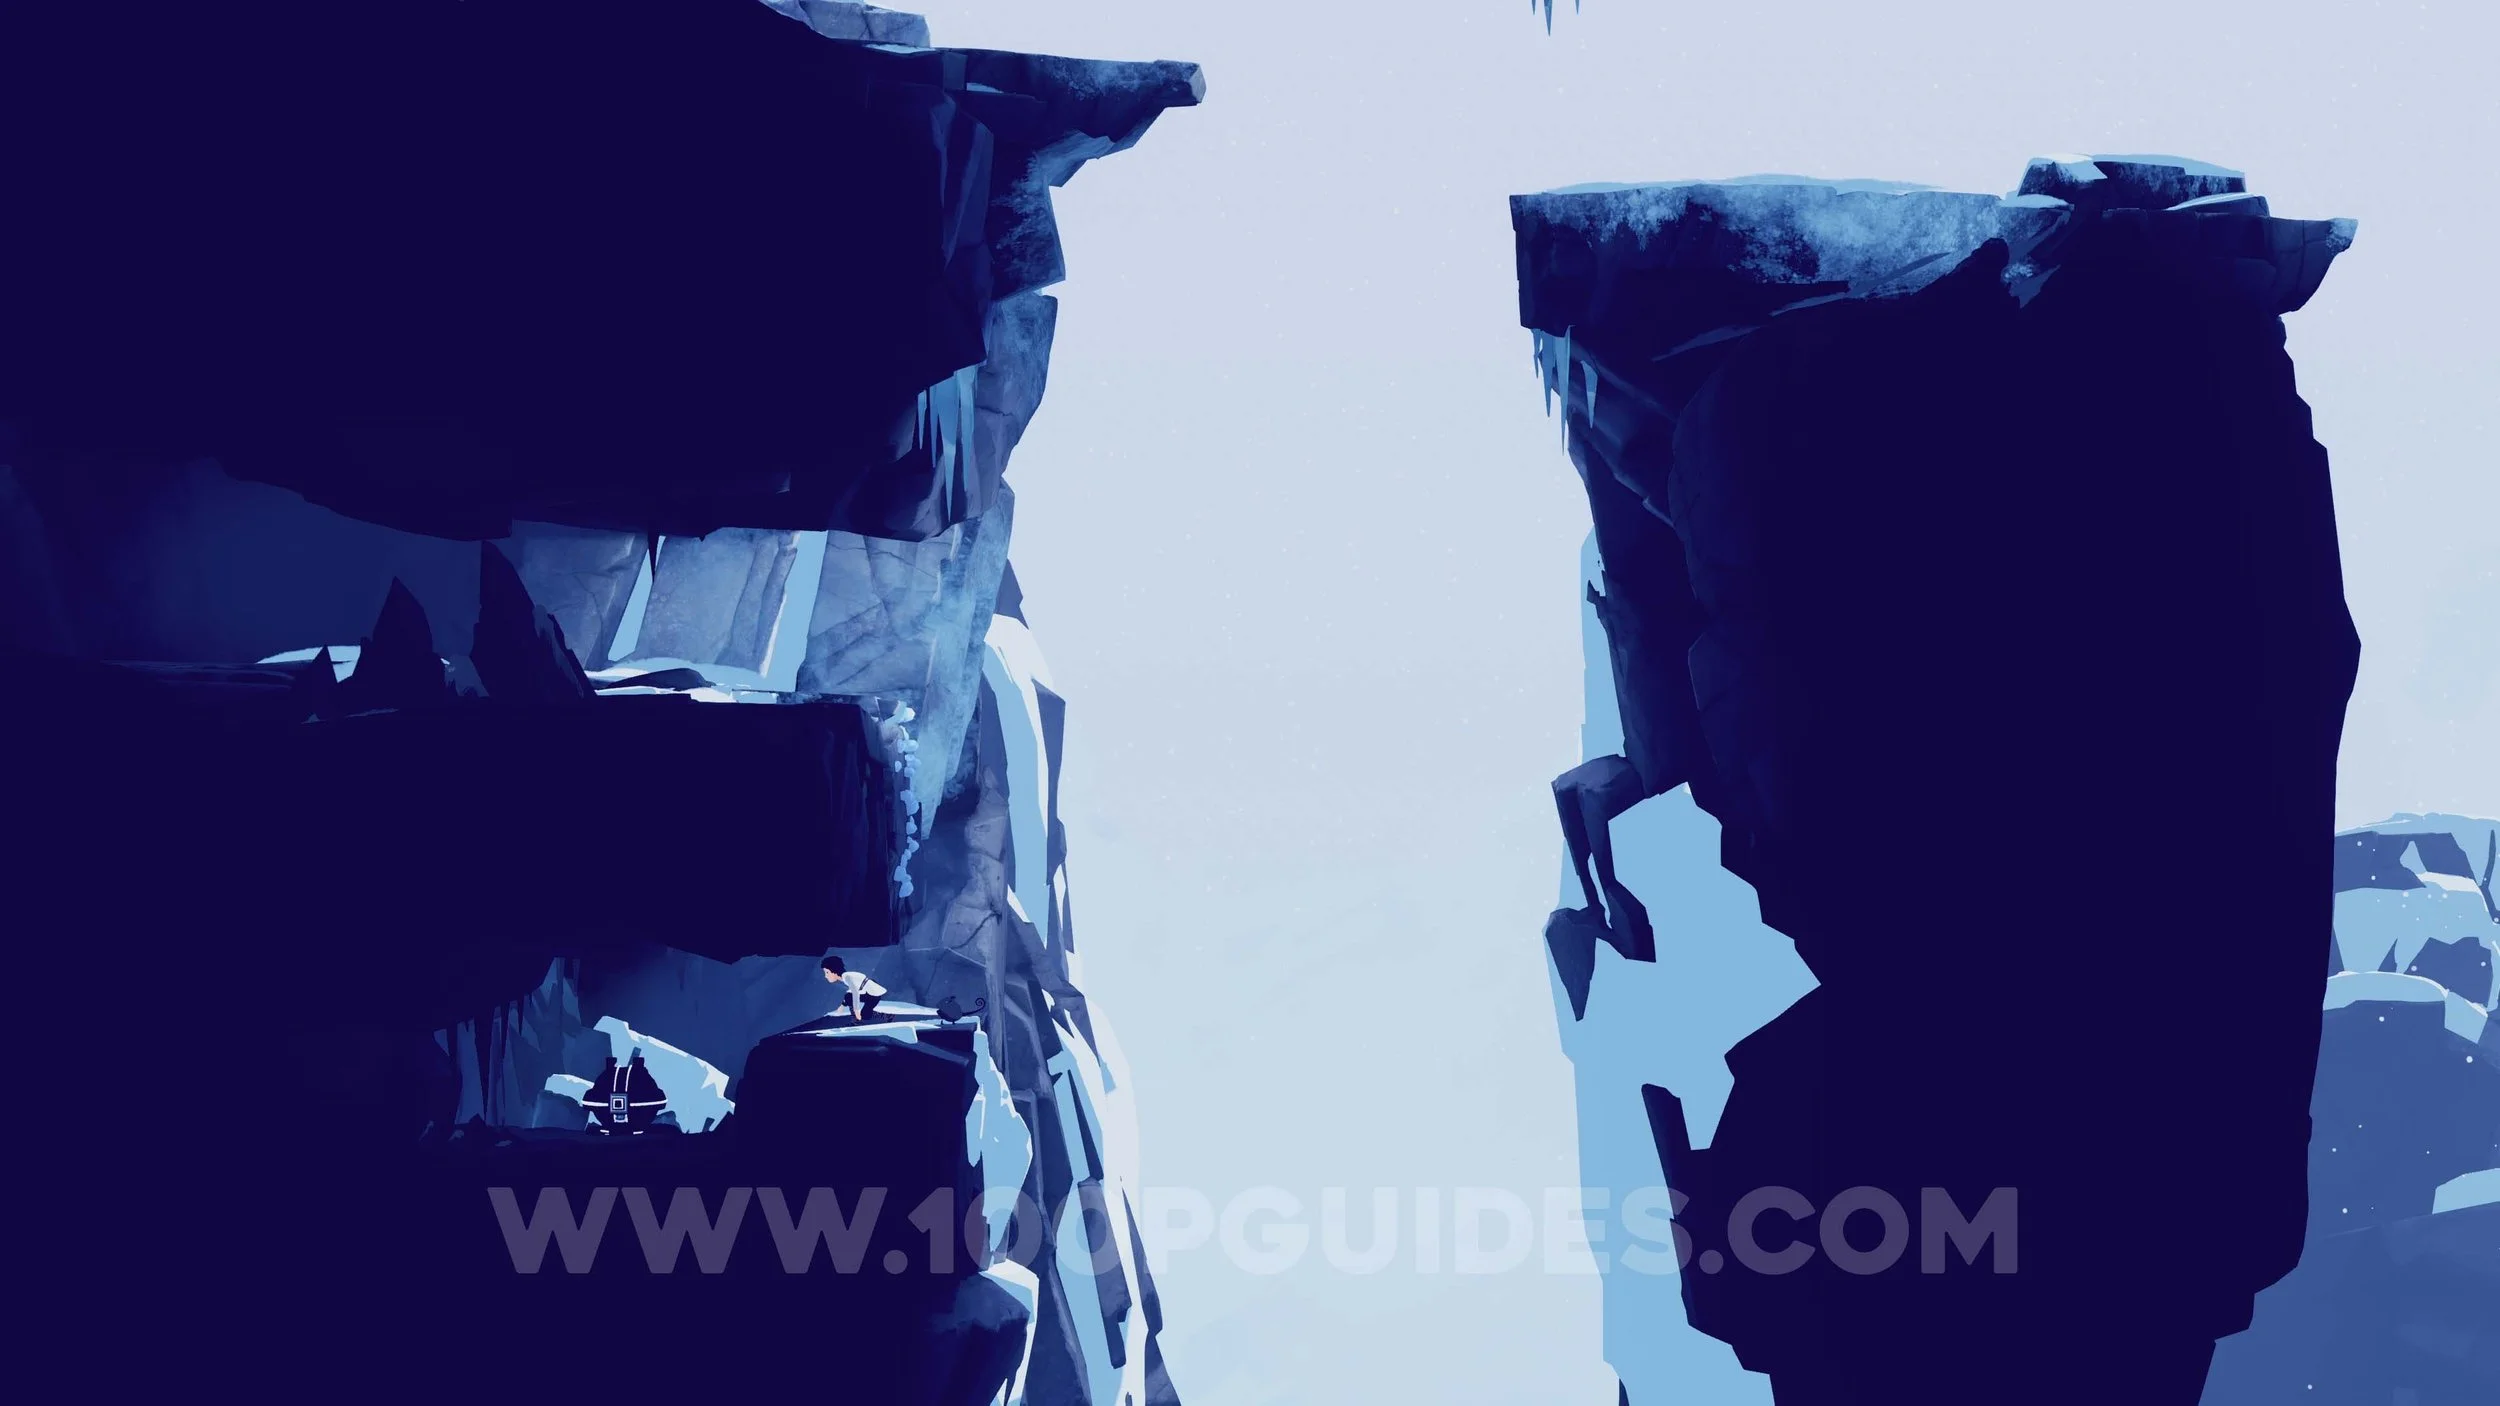
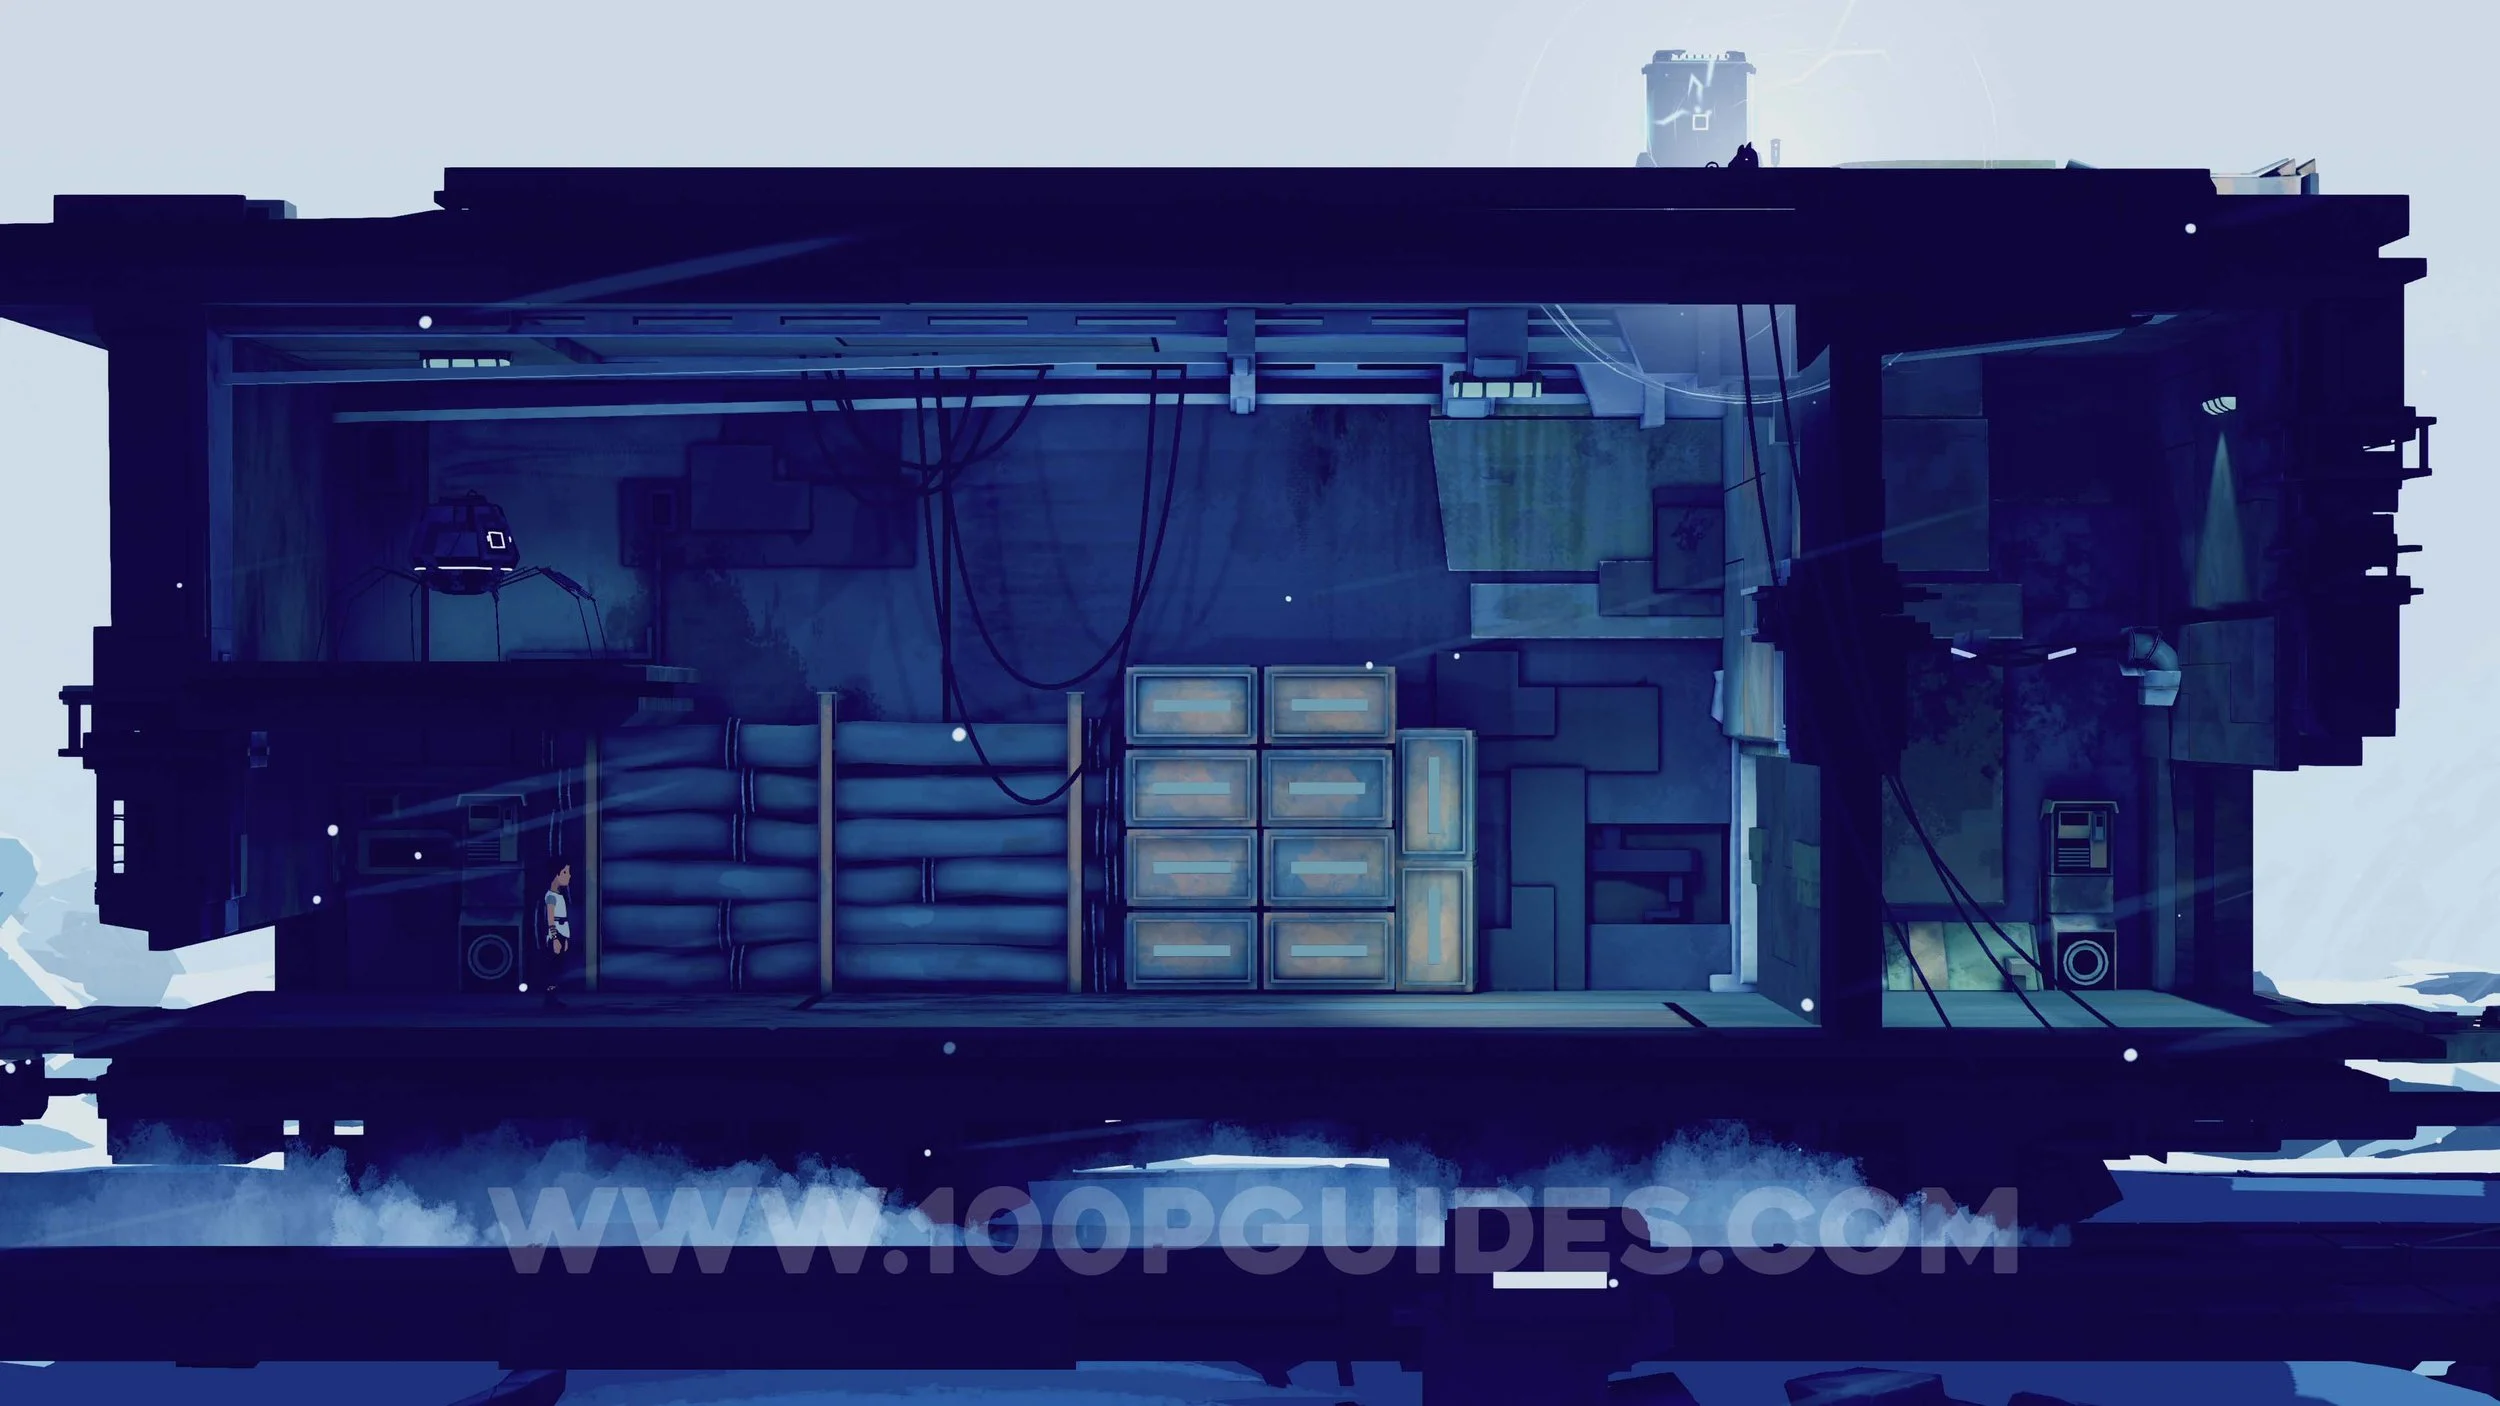
Continue forward and ride the large lift down to the next area. At the bottom, take the hidden path on the left to find Secret 3/10. The bottom of the lift also represents the next area, so Pet Mui 5/16.

After advancing to the right, you will reach a large bot mining a rock. Climb down to the rock below and drag it toward the edge to lure the bot down. Send Mui onto the top of the bot, then move the rock away so the bot returns to the upper platform, allowing Mui to reach the electricity box. Activate it and push the rock onto the lift. Ride the lift up with the rock, then drag it to the right until the bot comes down again, letting you jump across to Mui and continue forward.
Continue to the right by having Mui purify the corrupted rock. Then use the electricity box to deactivate the nearby security camera and proceed forward.
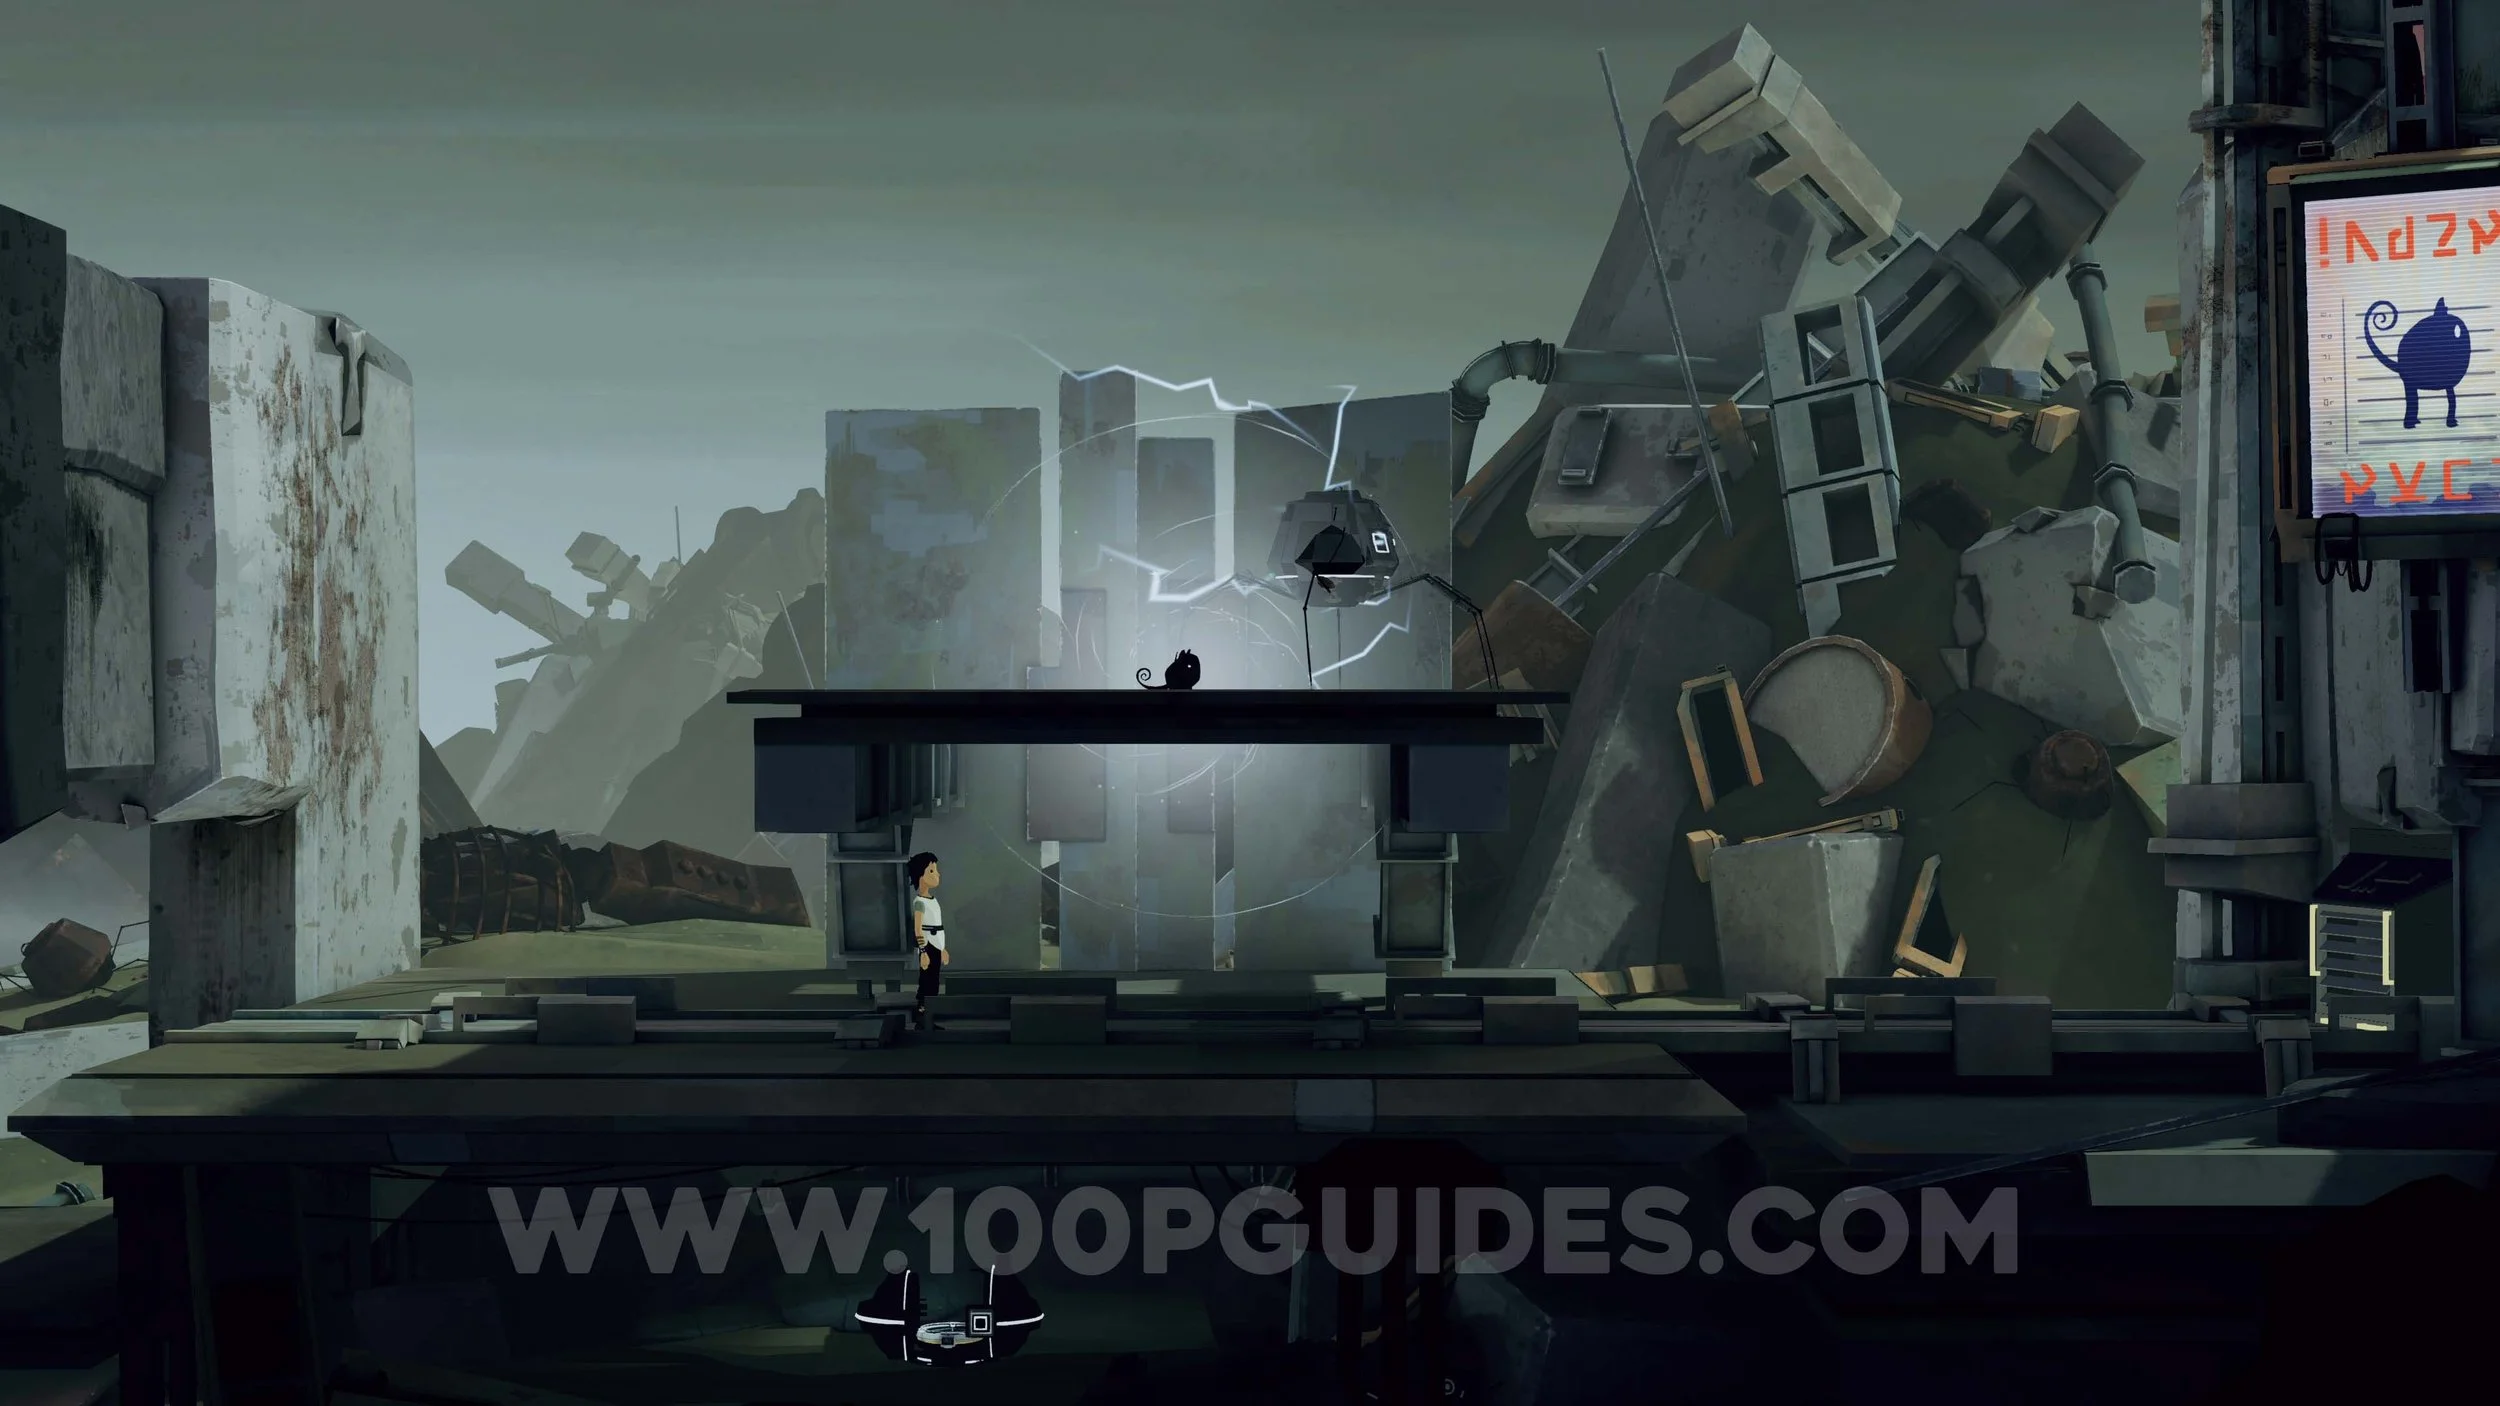
You will then reach another area with a bot mining rocks. Start by climbing onto the left side of the bot and jumping into the lower-left tunnel. Remove the wooden panels and send Mui to the fluff creature to take control of one. Wait for the bot to move close to the wall below, then climb up and reach the web. Create a trail of fluff from the web down onto the top of the bot. When the bot reaches its highest position, continue the trail around the right side of the bot. As soon as you enter the red security camera light, you will ignite, and the flames will follow the trail of fluff to burn the web.

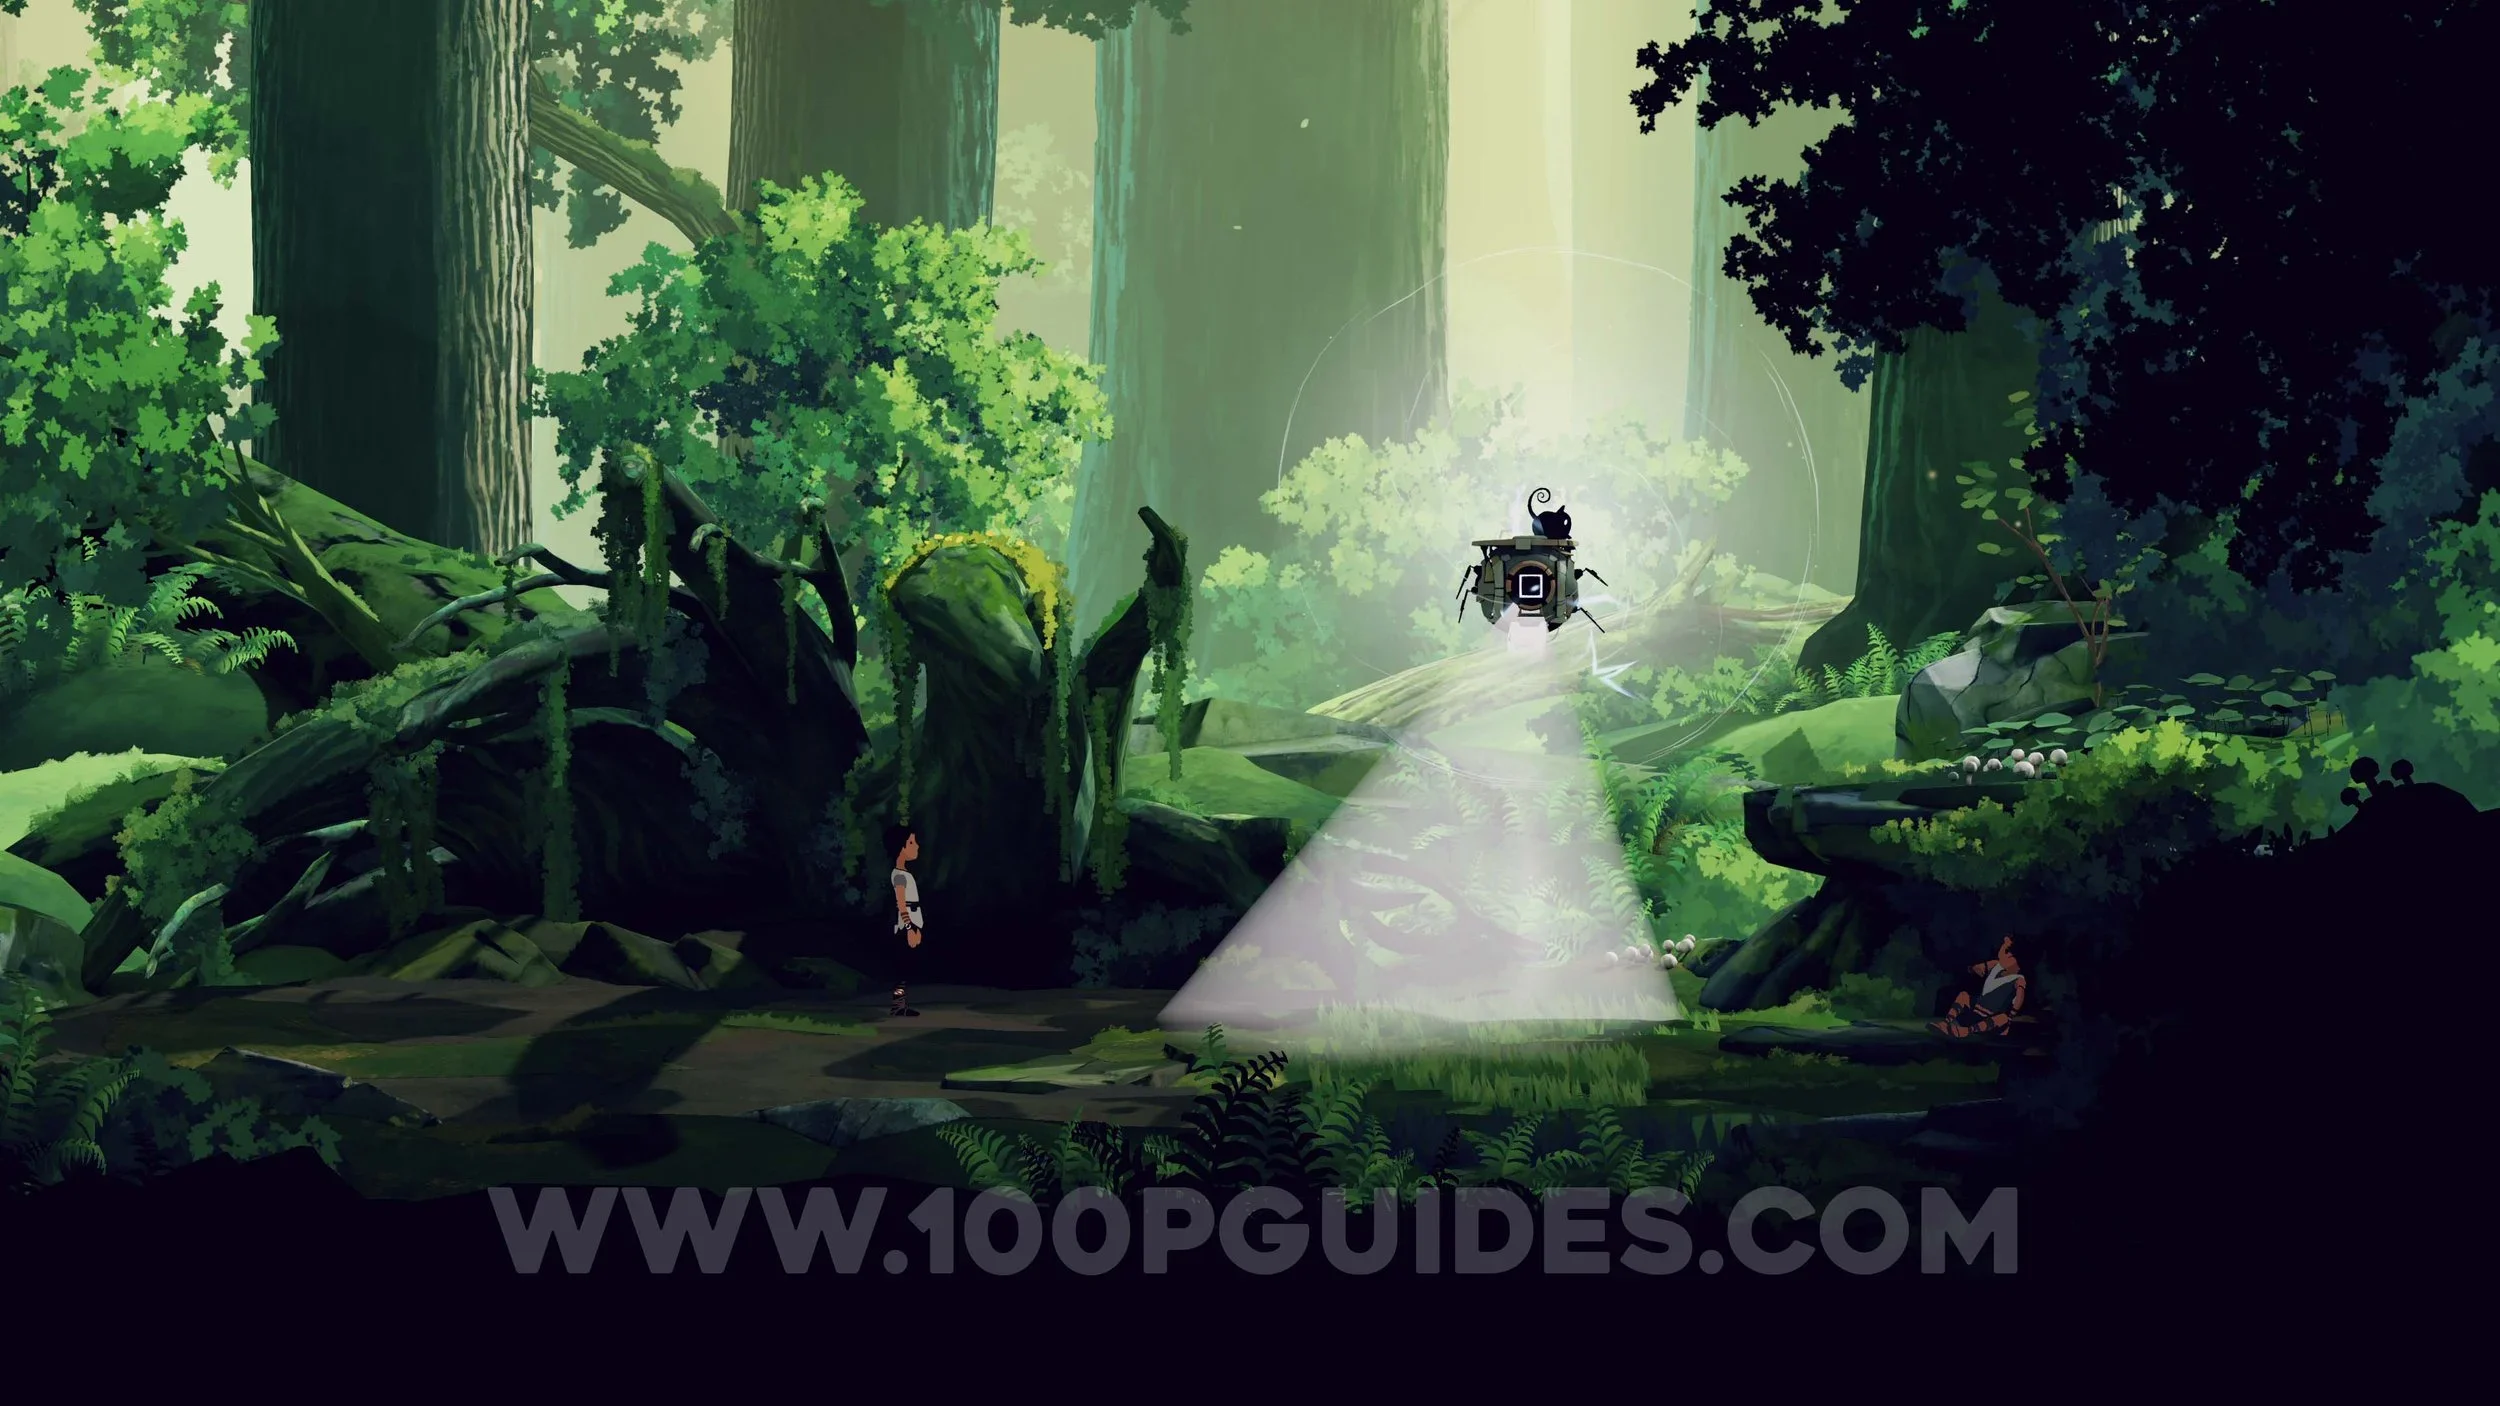
After riding a small lift down, continue right to find another lift with a security camera. Send Mui to activate the electricity box on the far right, then quickly activate the lift and ride it down. At the bottom, head right to the end of the area to find a flying bot. Command Mui to jump on top of it and hold Triangle to deactivate it, then hack it with Lana.
While controlling the flying bot, fly above the mining bot and move to the right to pick up the rock using the magnetic ability by holding X. Place the rock beneath the mining bot so you can switch back to Lana and use the rope to jump onto the top of it. Take control of the flying bot again, grab the rock, and slowly fly upward above the mining bot so it follows you. Once it reaches the correct height, switch back to Lana and jump across to the path on the right.
After this, press the switch to deactivate the camera and ride the lift down to continue.

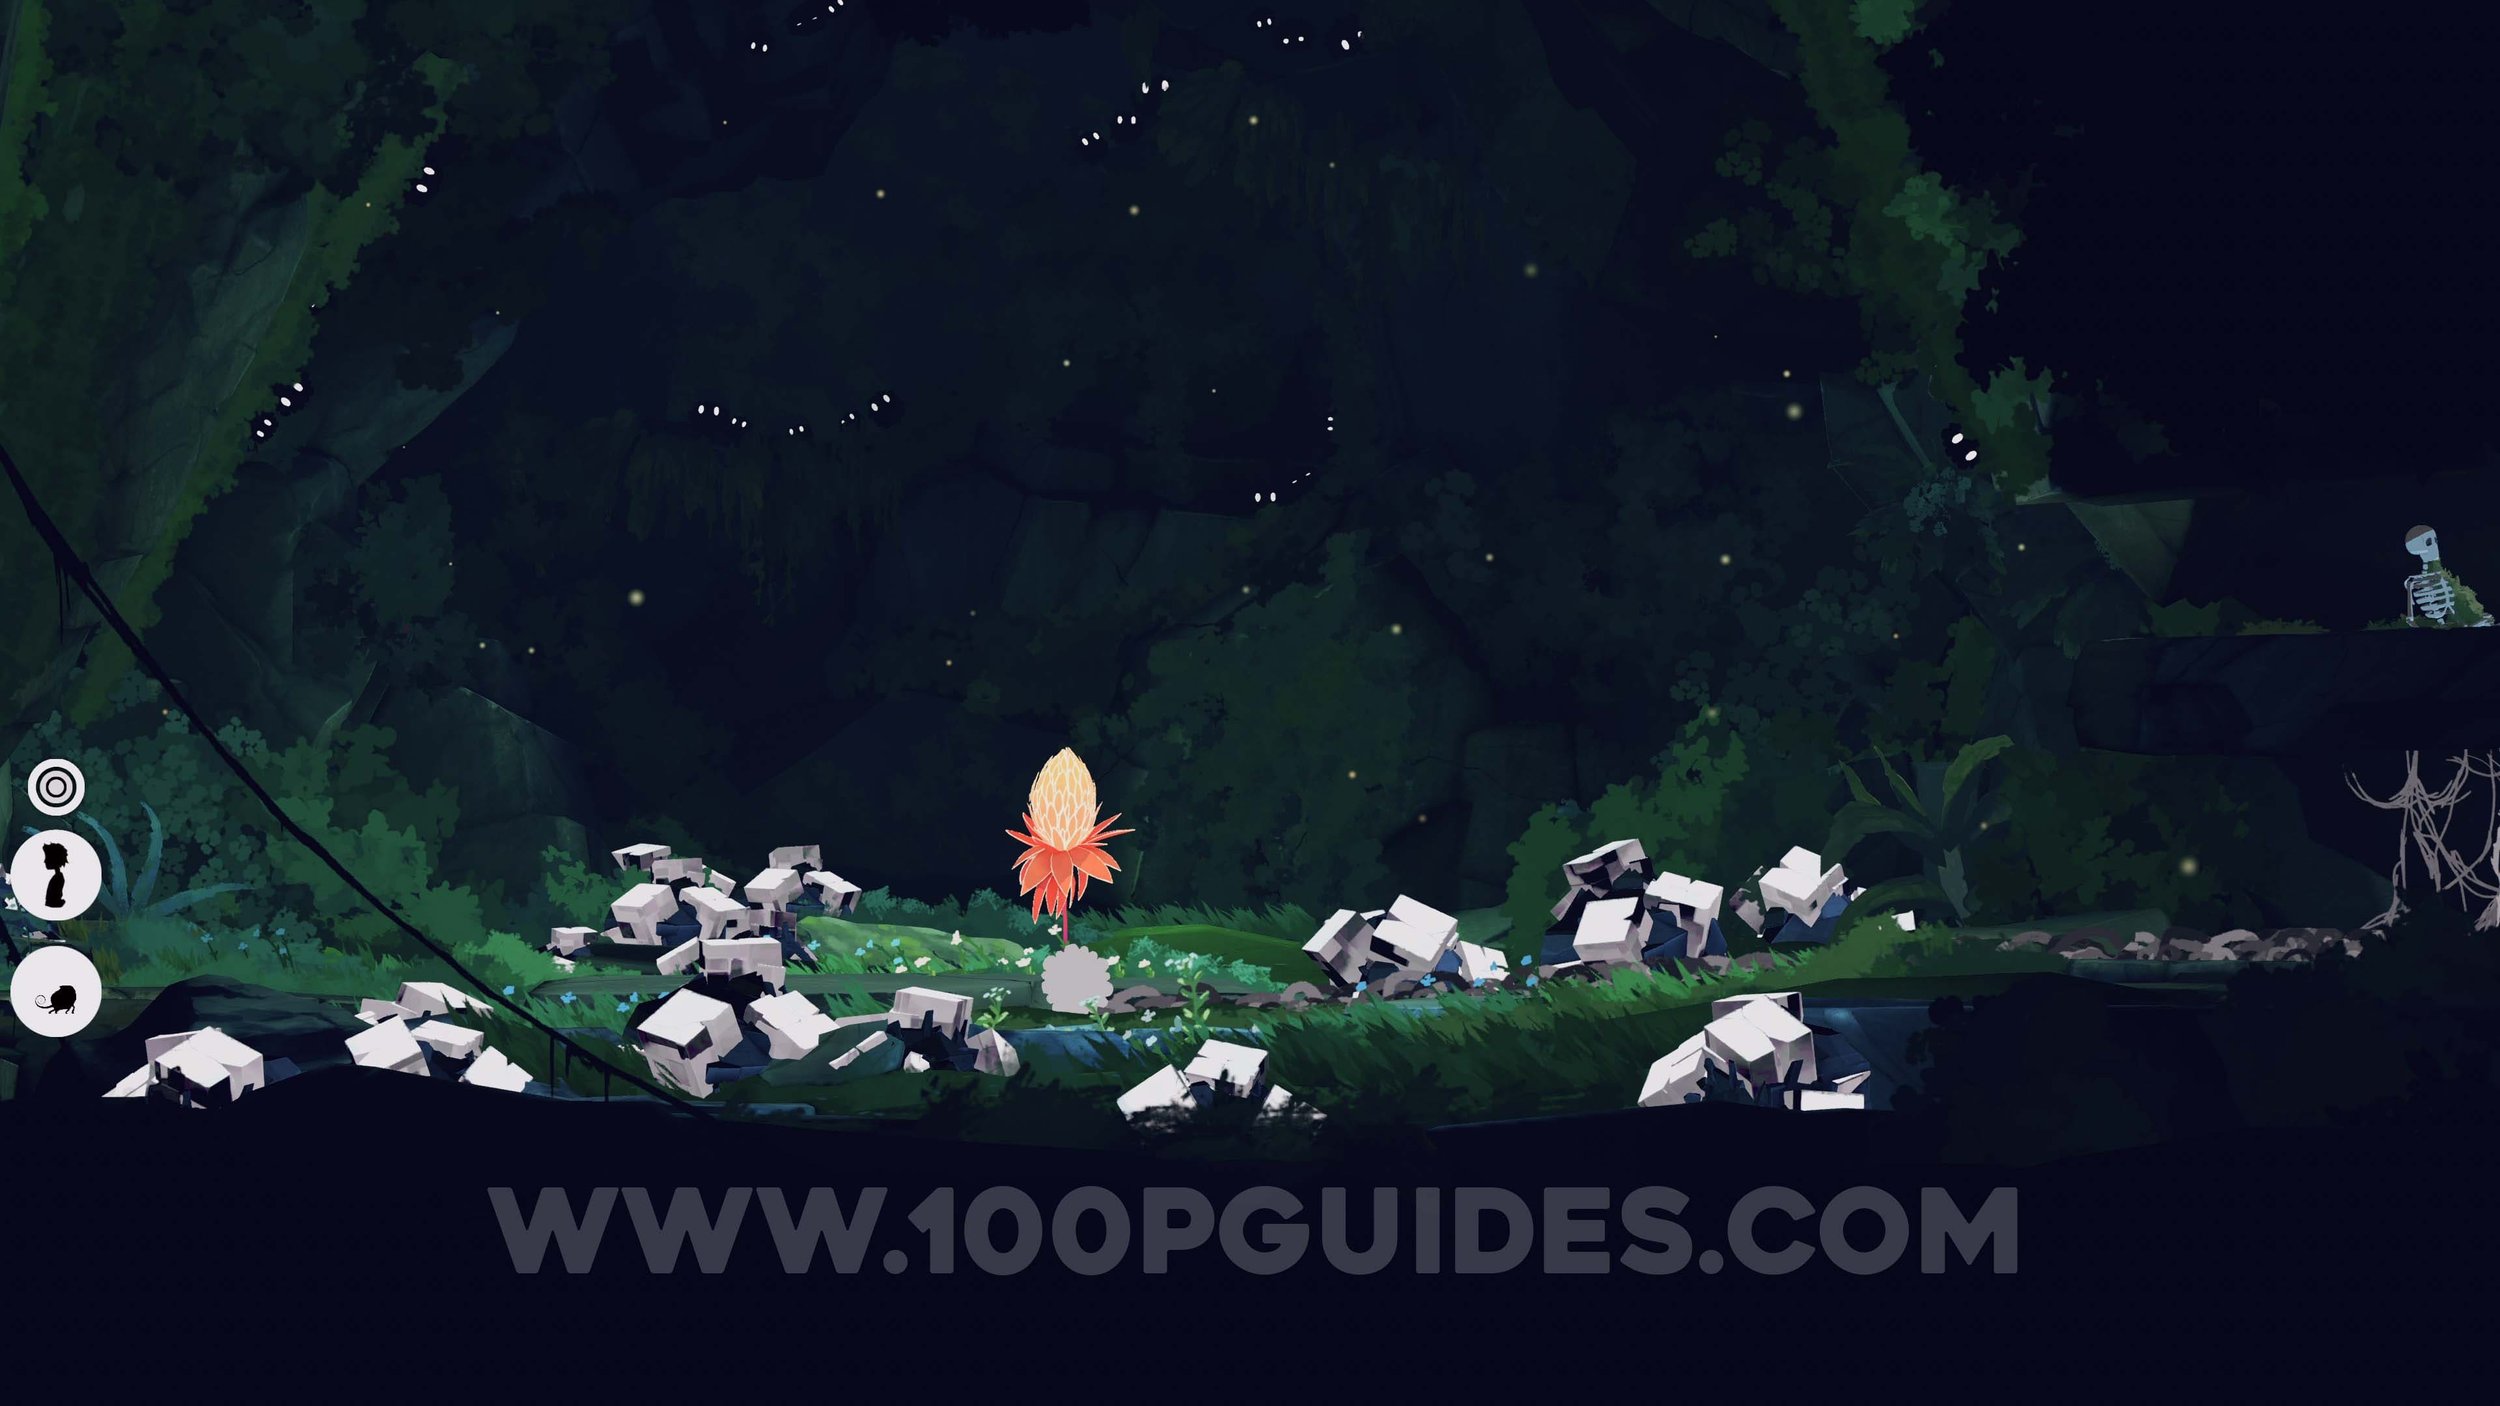
Now continue left and follow the path while avoiding the gaps with enemies. You will eventually reach the Flower, the first ingredient and main objective, but you must open it first. Send Mui to the fluff creatures on the left and take control of one, then move downward.
For the first web, start at the web and create a trail of fluff. When the flame turns off, stop the trail directly above the flame and continue left so the fluff stays active while the web burns once the fire turns back on. Continue past the next flames to reach another web. Wait until the rightmost flame is off, then quickly create a trail from where the flame was all the way to the web. As soon as the trail connects, stop creating fluff and move into the safe gap above the web to keep the creature alive.
Continue upward with the fluff creature until you reach the flower. Move to the web on the right side of the flower and create a trail that connects back to the fire on the left. Once the web burns away, send Mui to purify the corrupted rock and drag it to the flower. Finally, move Mui off the rock to open the flower and collect the ingredient inside.
After escaping the cave while running from the poisonous gas, you will reach an area with two security cameras. Send Mui up to the electricity box to deactivate the first camera, then wait for the second camera to look upward before moving through the gap on the left. Send Mui beneath the enemy bot and hold Triangle to deactivate it, then quickly climb to the top. After the cutscene, run and jump off the right edge to escape.
After the cutscene, pet Mui! Pet Mui 6/16.
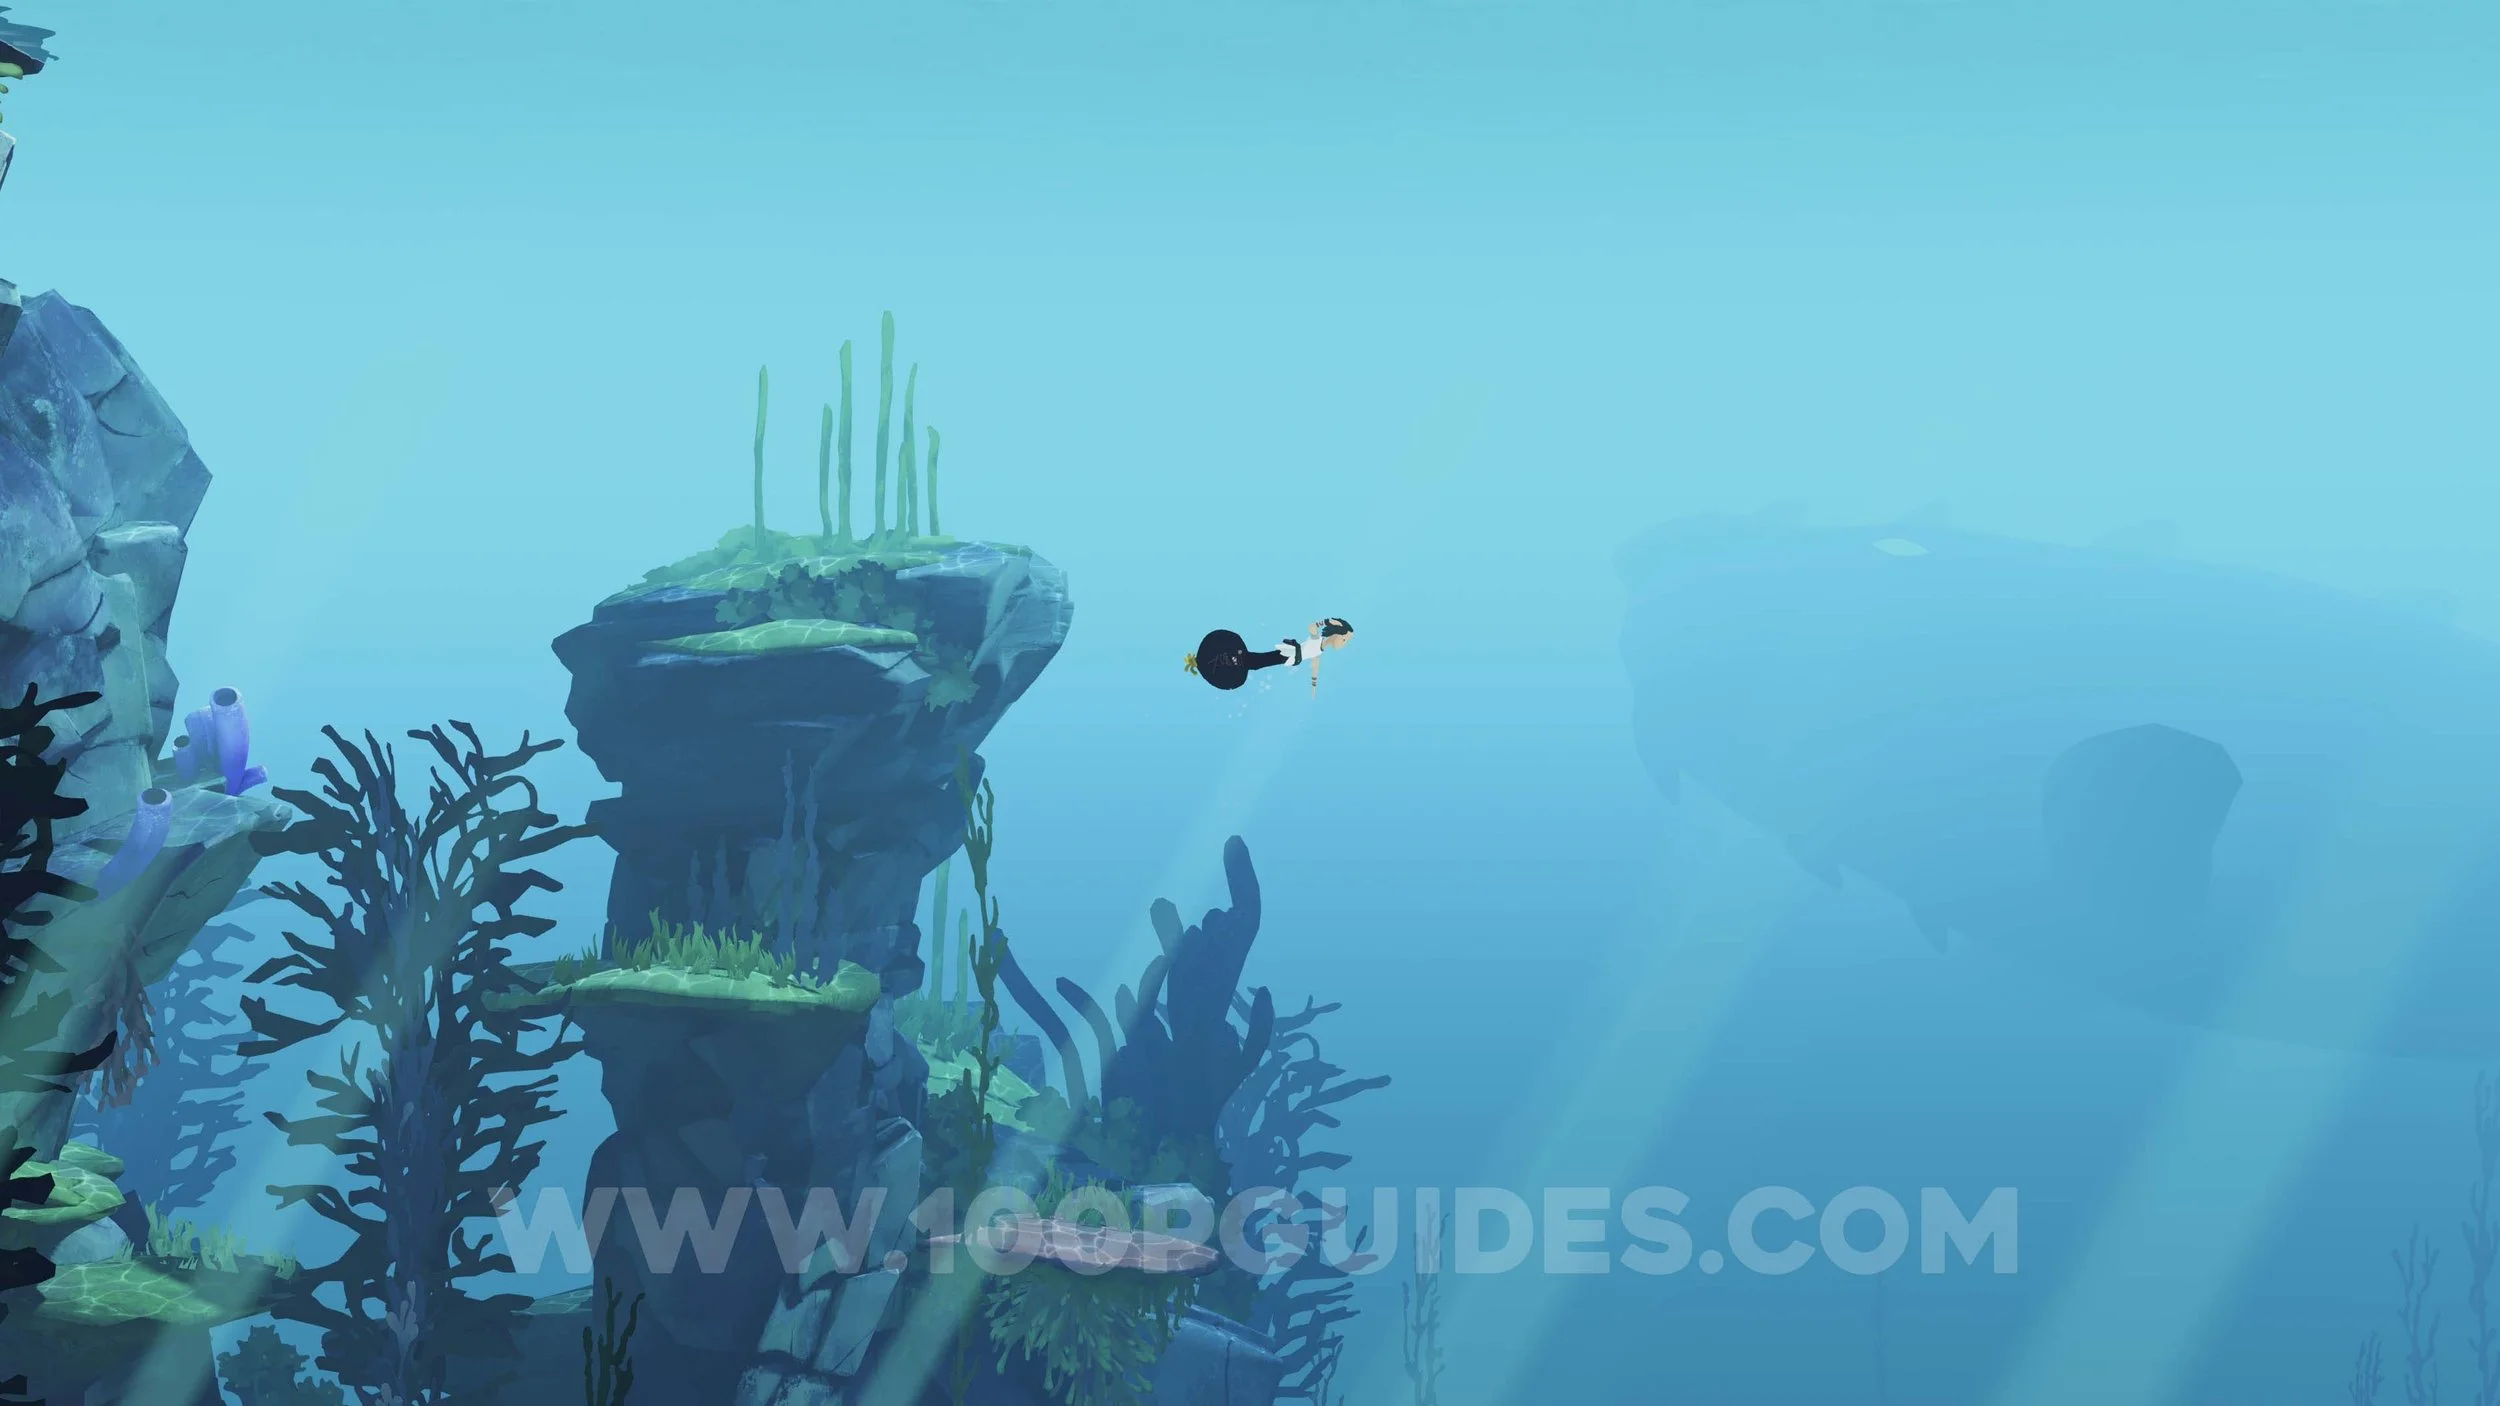
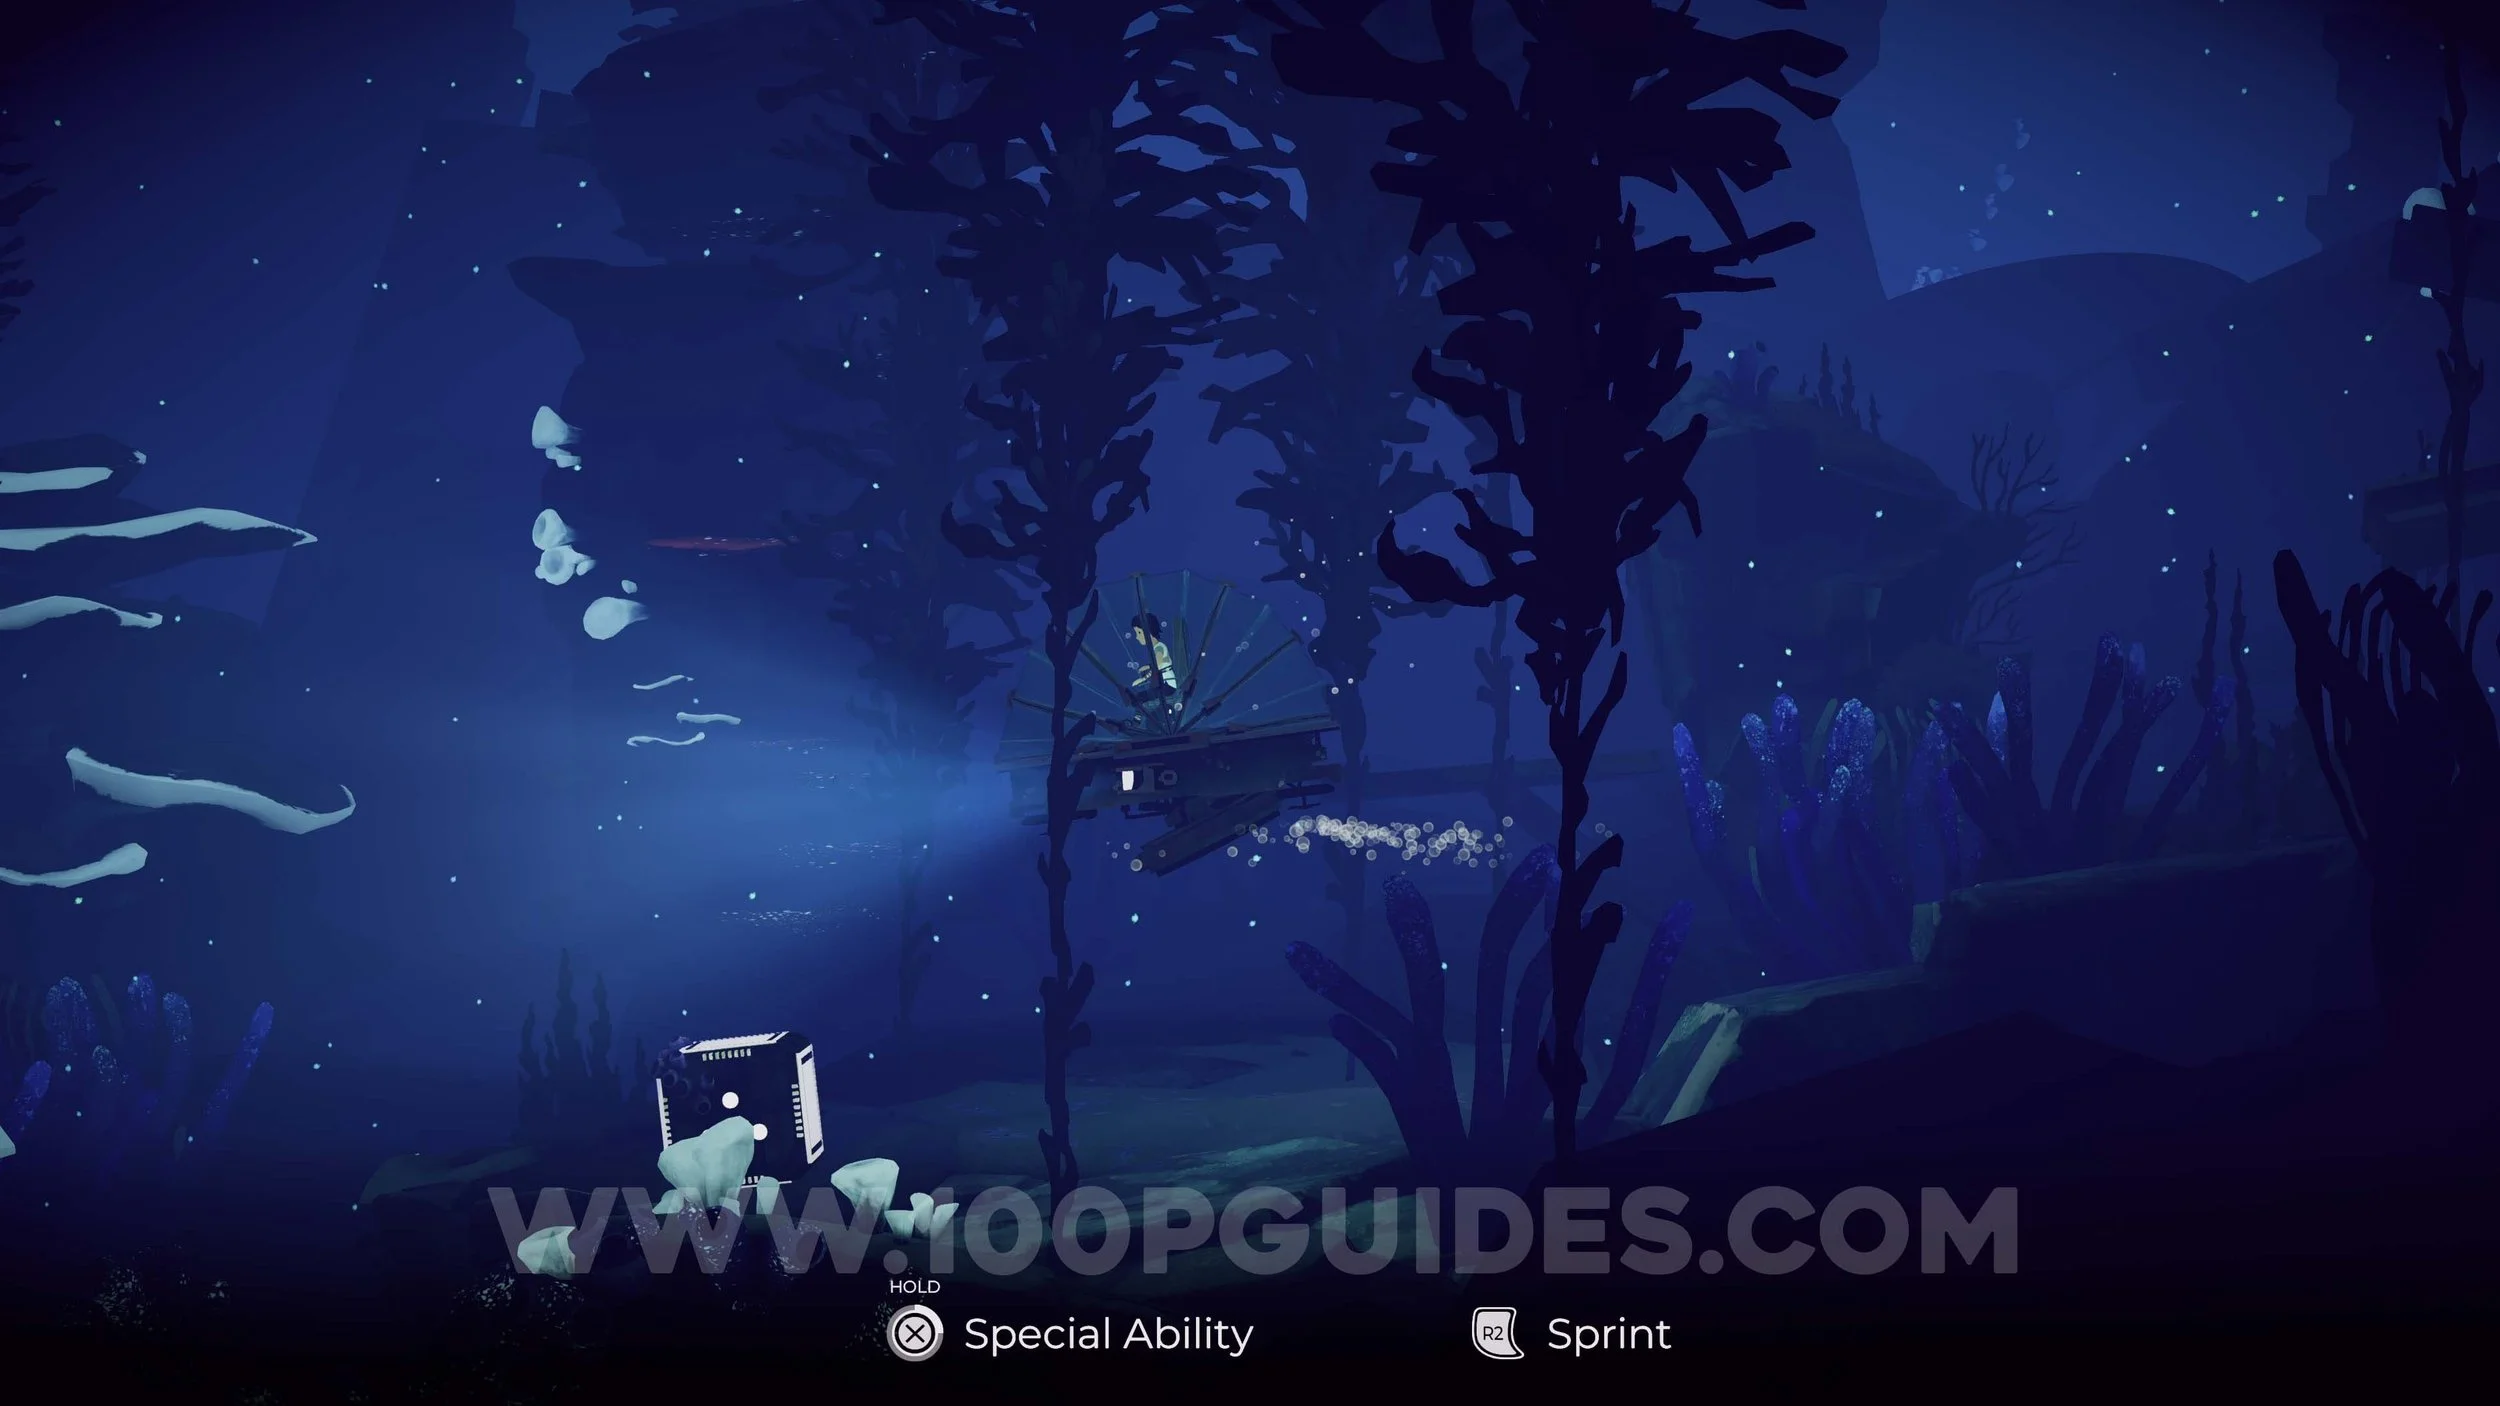
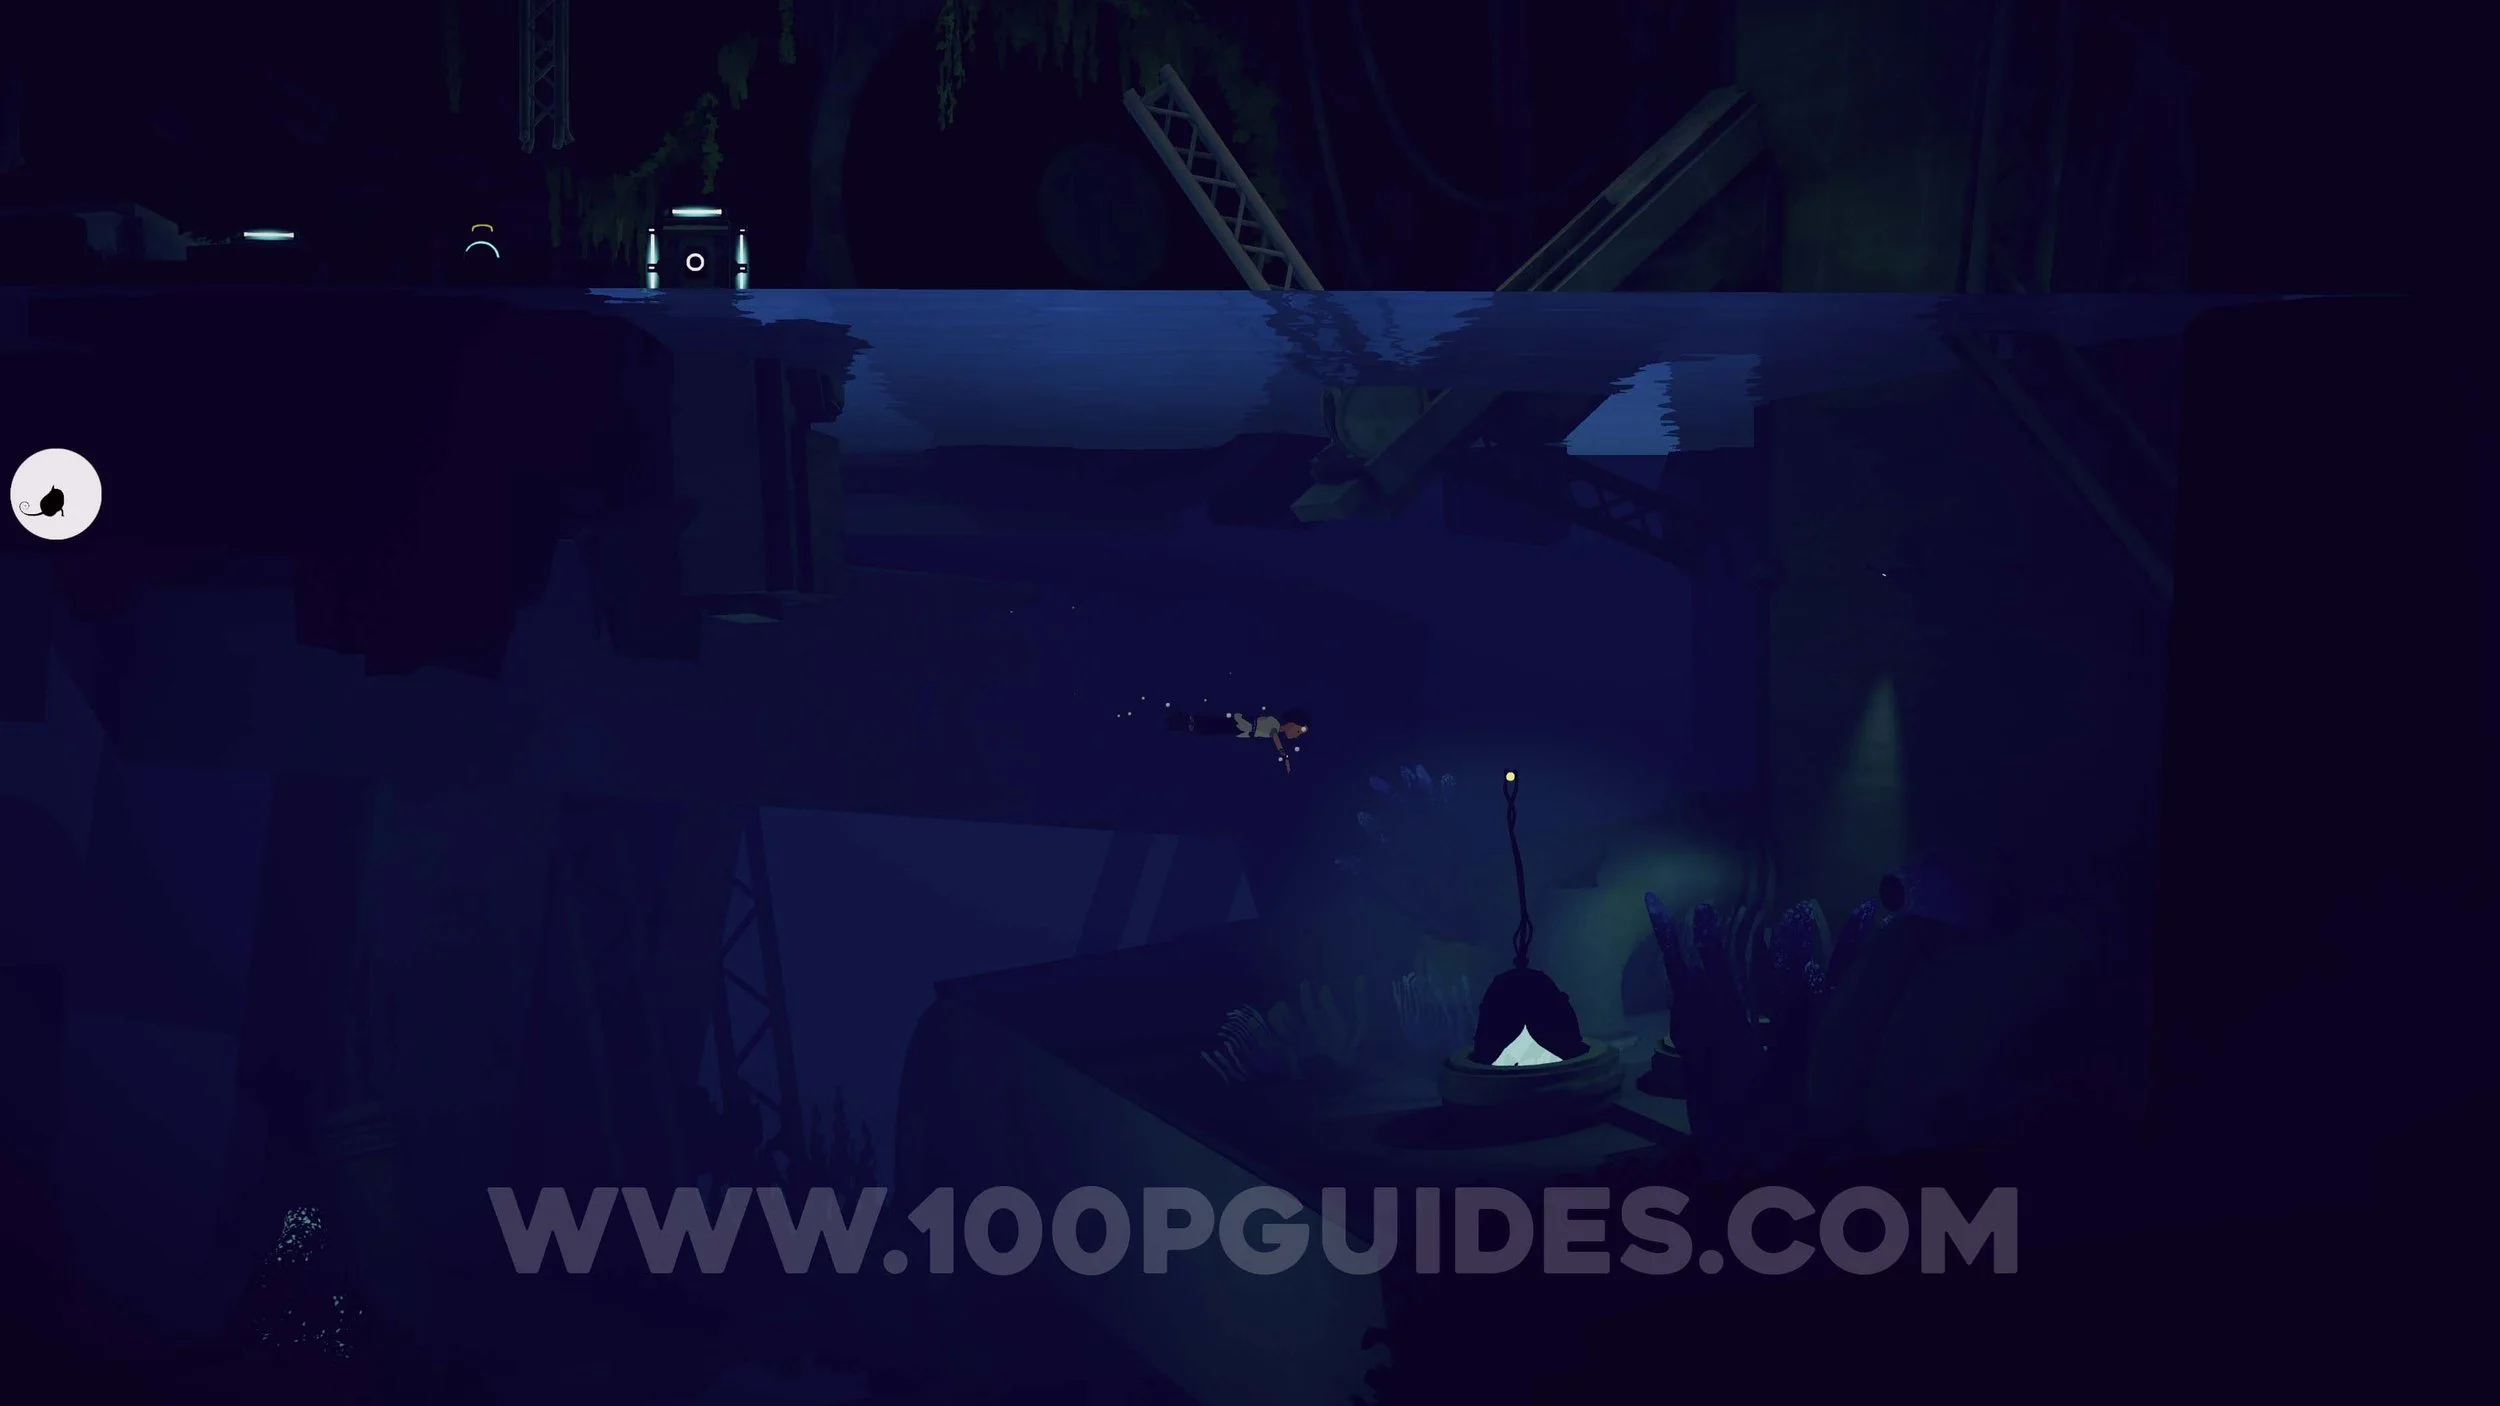
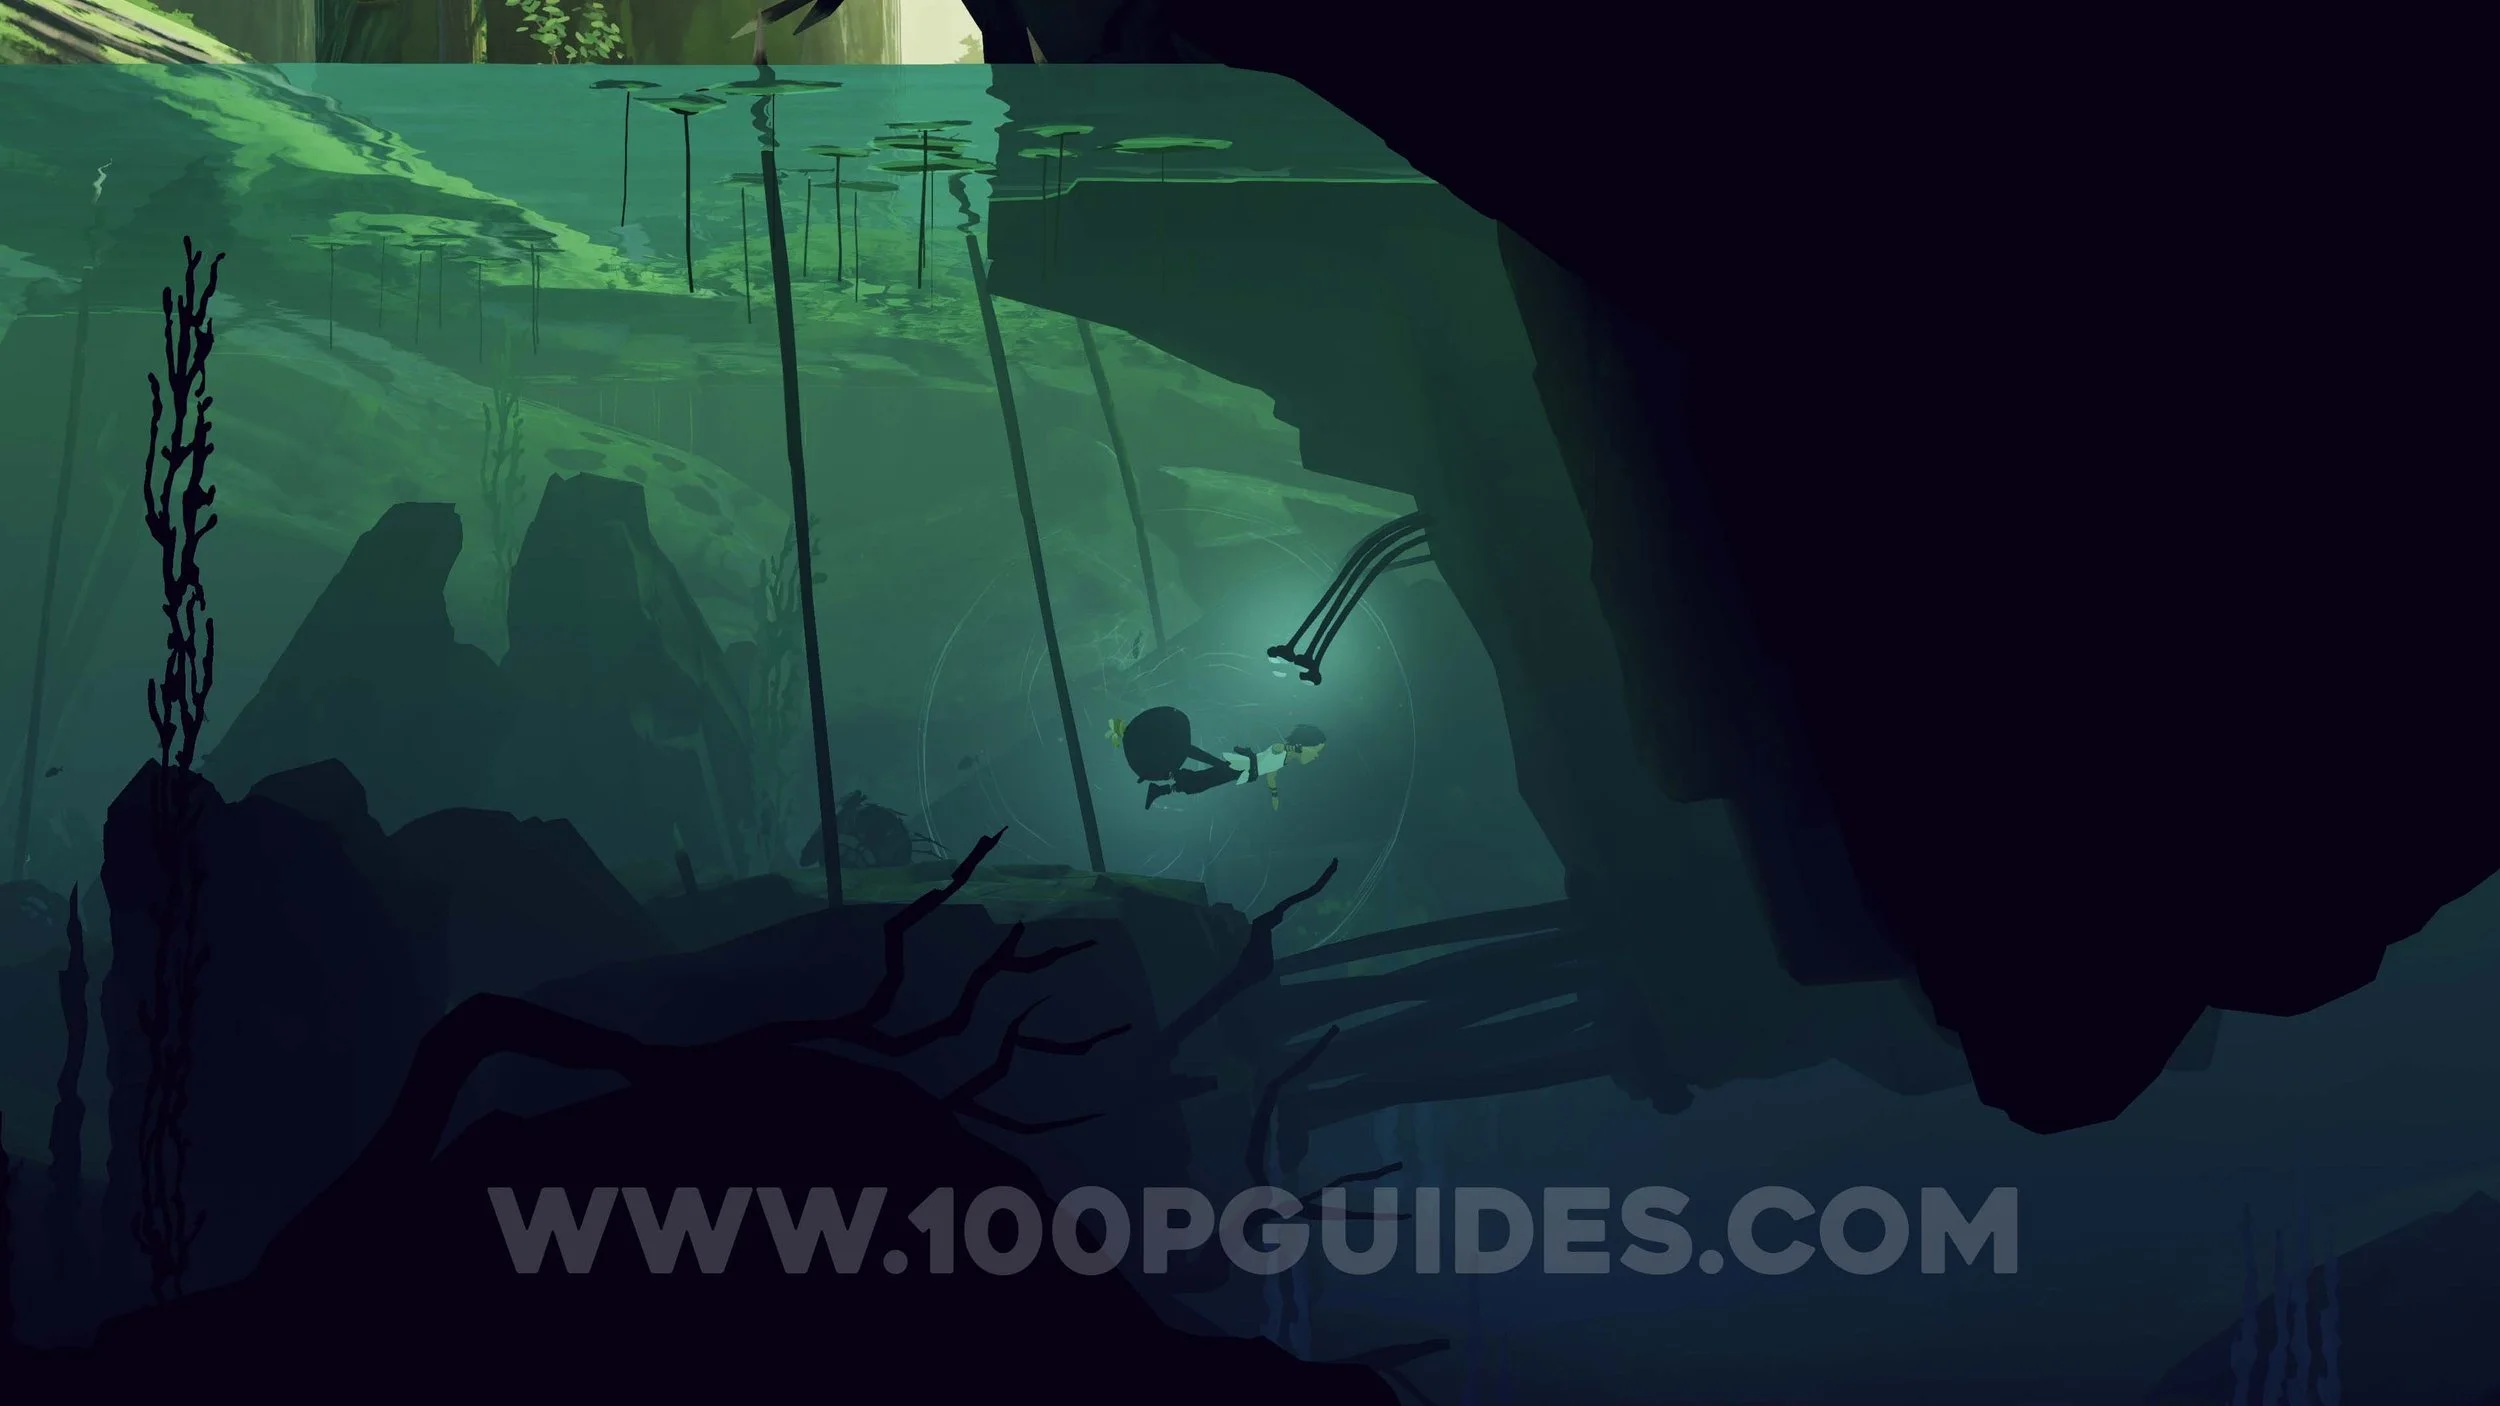
Now head right into the second pond of water. Dive down, swim to the right, and collect the black plant. Return to Mui and have Mui jump onto the plant, allowing you to traverse water together, including underwater sections. With Mui on the plant, dive down and continue to the right. Command Mui to jump up to the rope and release it, then climb up and continue right.
In the next water area, dive down and attach yourself to another flower at the bottom. Pick up Mui and swim down to the right where you will find a gate made of tentacles. Use Mui’s Triangle ability near the eyes to unlock and open the path forward.
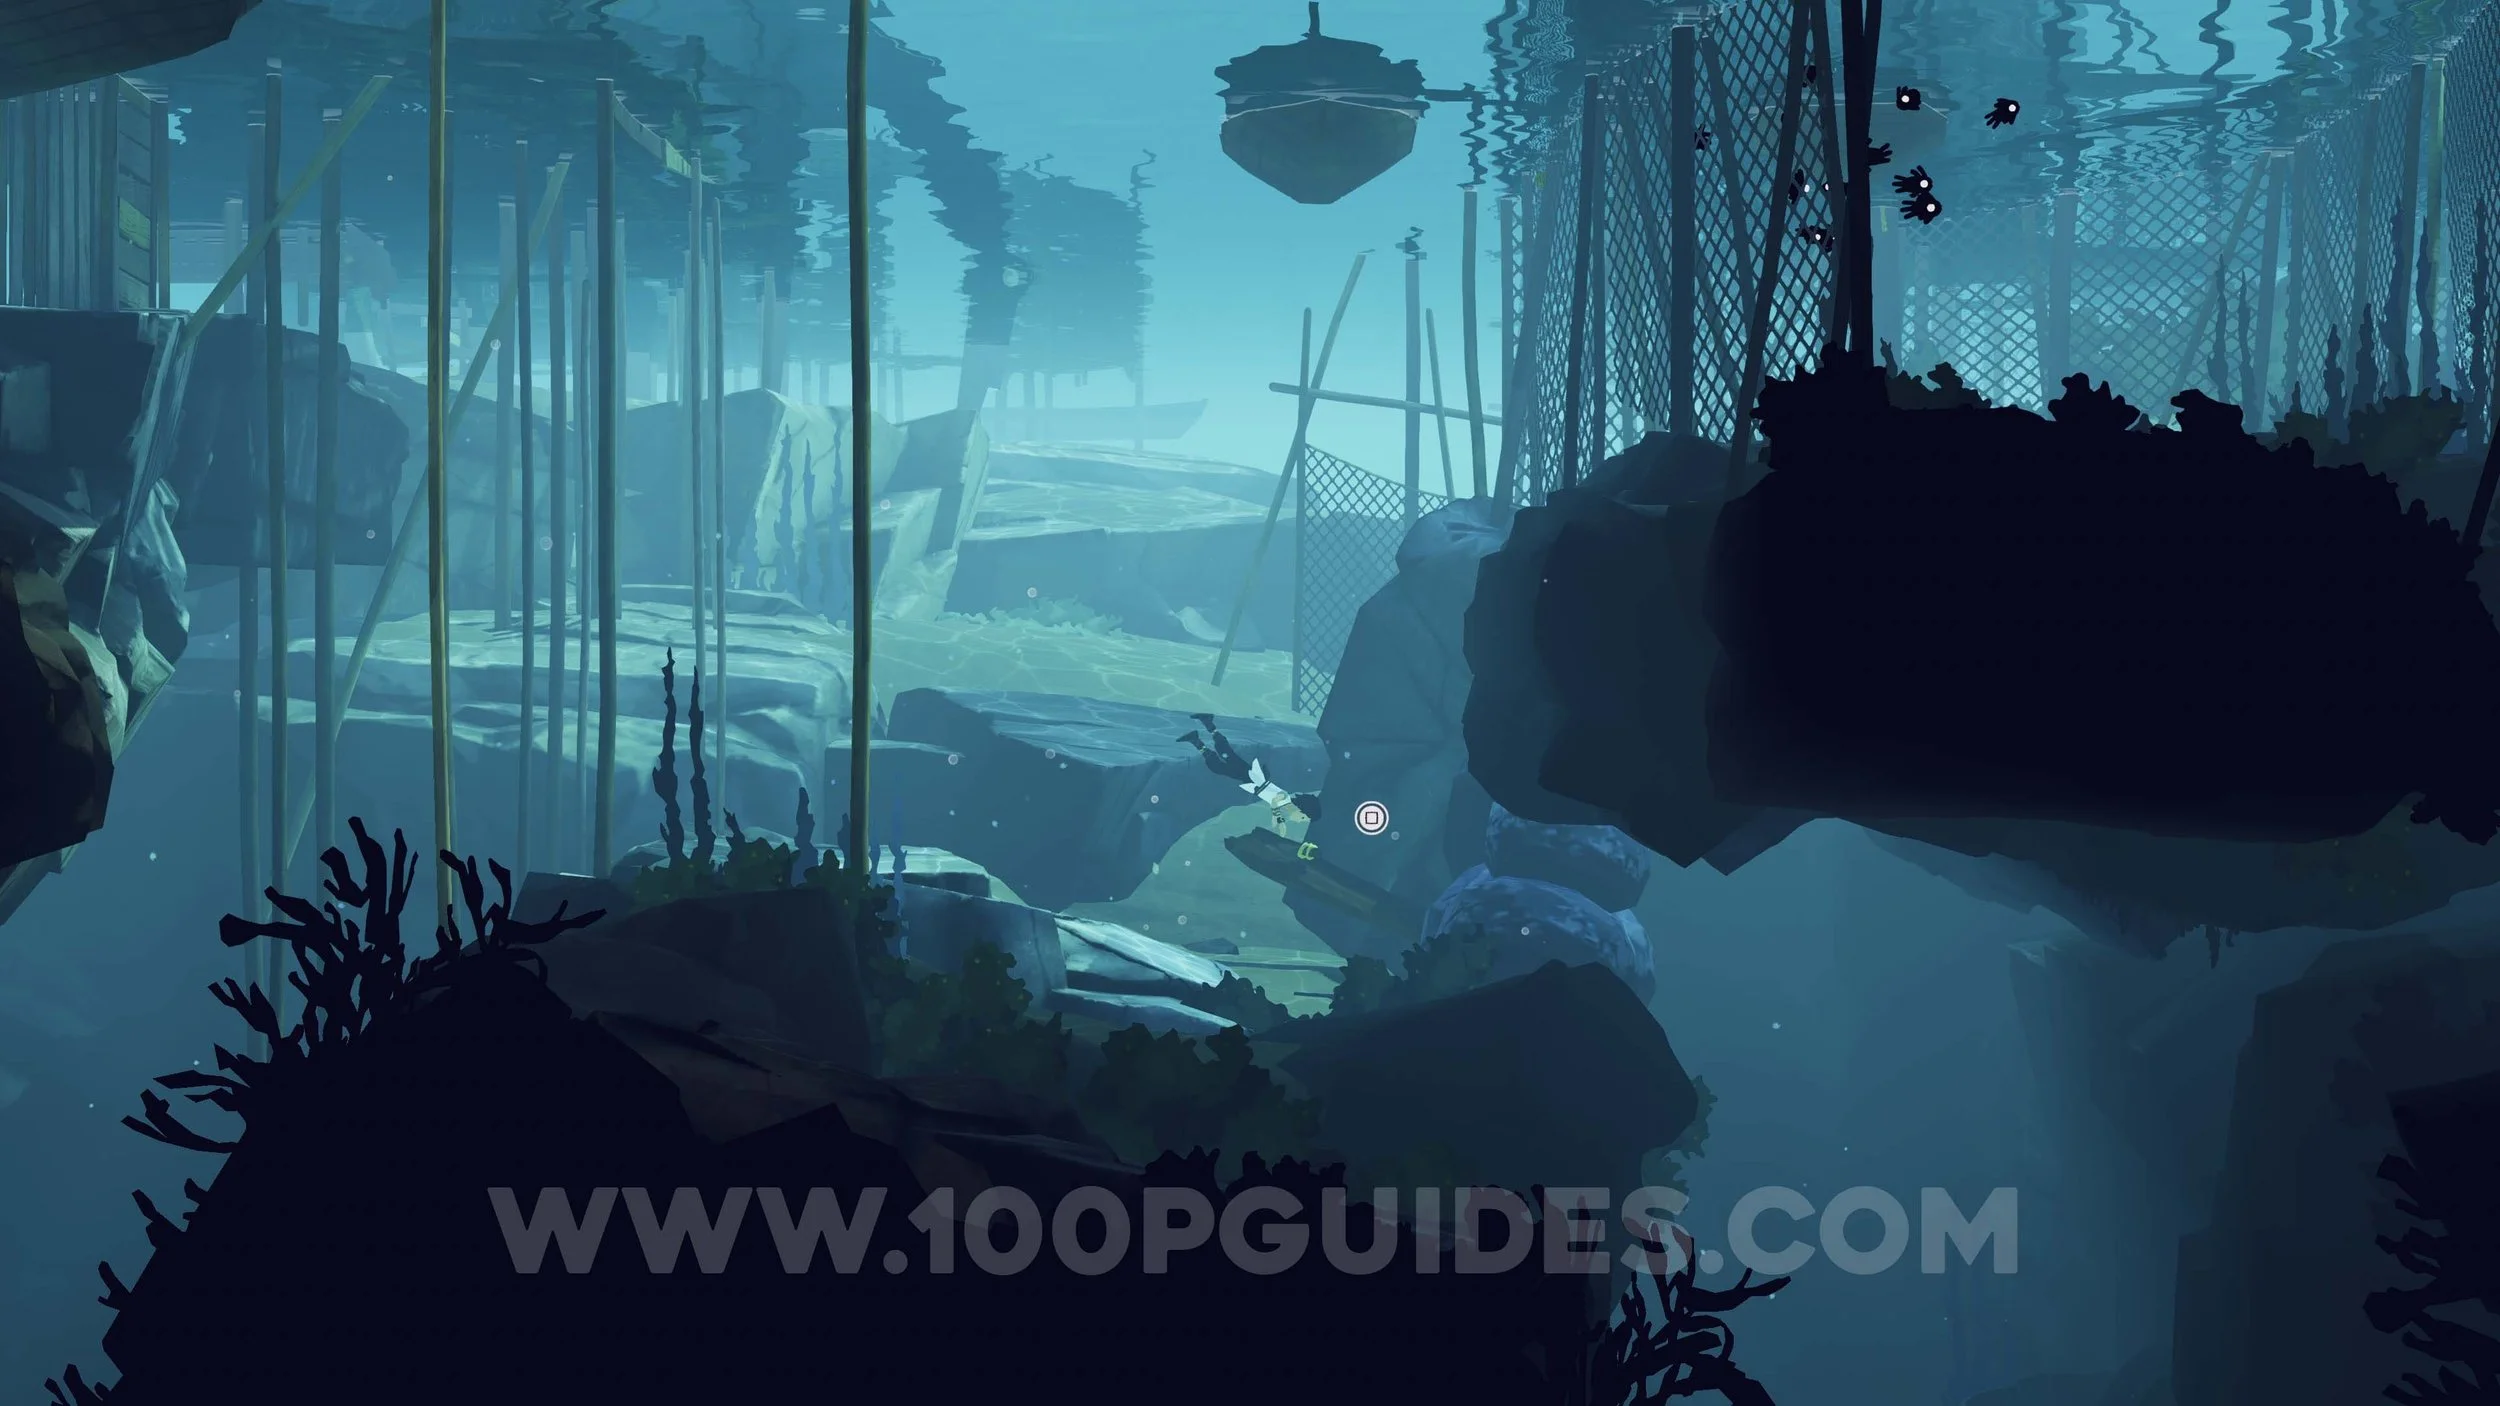
On the other side, watch out for the jellyfish above and dive down to the right. Wait until the large fish turns away before continuing downward. Move right to find another patrolling fish and use the yellow coral to restore your air if needed. As soon as the second fish begins swimming left, head upward. At the top, you will find small fish that you can take control of.
Take control of one of the small fish and jump over the two rock walls on the left, then swim through the narrow gap at the bottom. Use a smoke screen to pass the first fish and continue toward the second. Leave another smoke screen where the paths cross so Lana and Mui can safely reach the tentacle gate. Open it and continue forward.
On the other side of the gate, emerge from the water and send Mui up to the rock on the right. Dive down, then swim right and upward. Command Mui to move over to the eyes and open the tentacle barrier. Climb up and continue right to trigger a short cutscene.
After the cutscene, dive down and swim to the right. Emerge on the other side and command Mui to cross using the jellyfish. Once across, have Mui release the rope, then climb up and continue through the small fishing village.

After the fishing village, dive down and swim over the yellow pointed tentacle to make a jellyfish surface, allowing Mui to cross. Continue by swimming down to the right where you must bring four more jellyfish to the surface so Mui can cross the water safely. Be careful of the large fish near the deeper jellyfish.

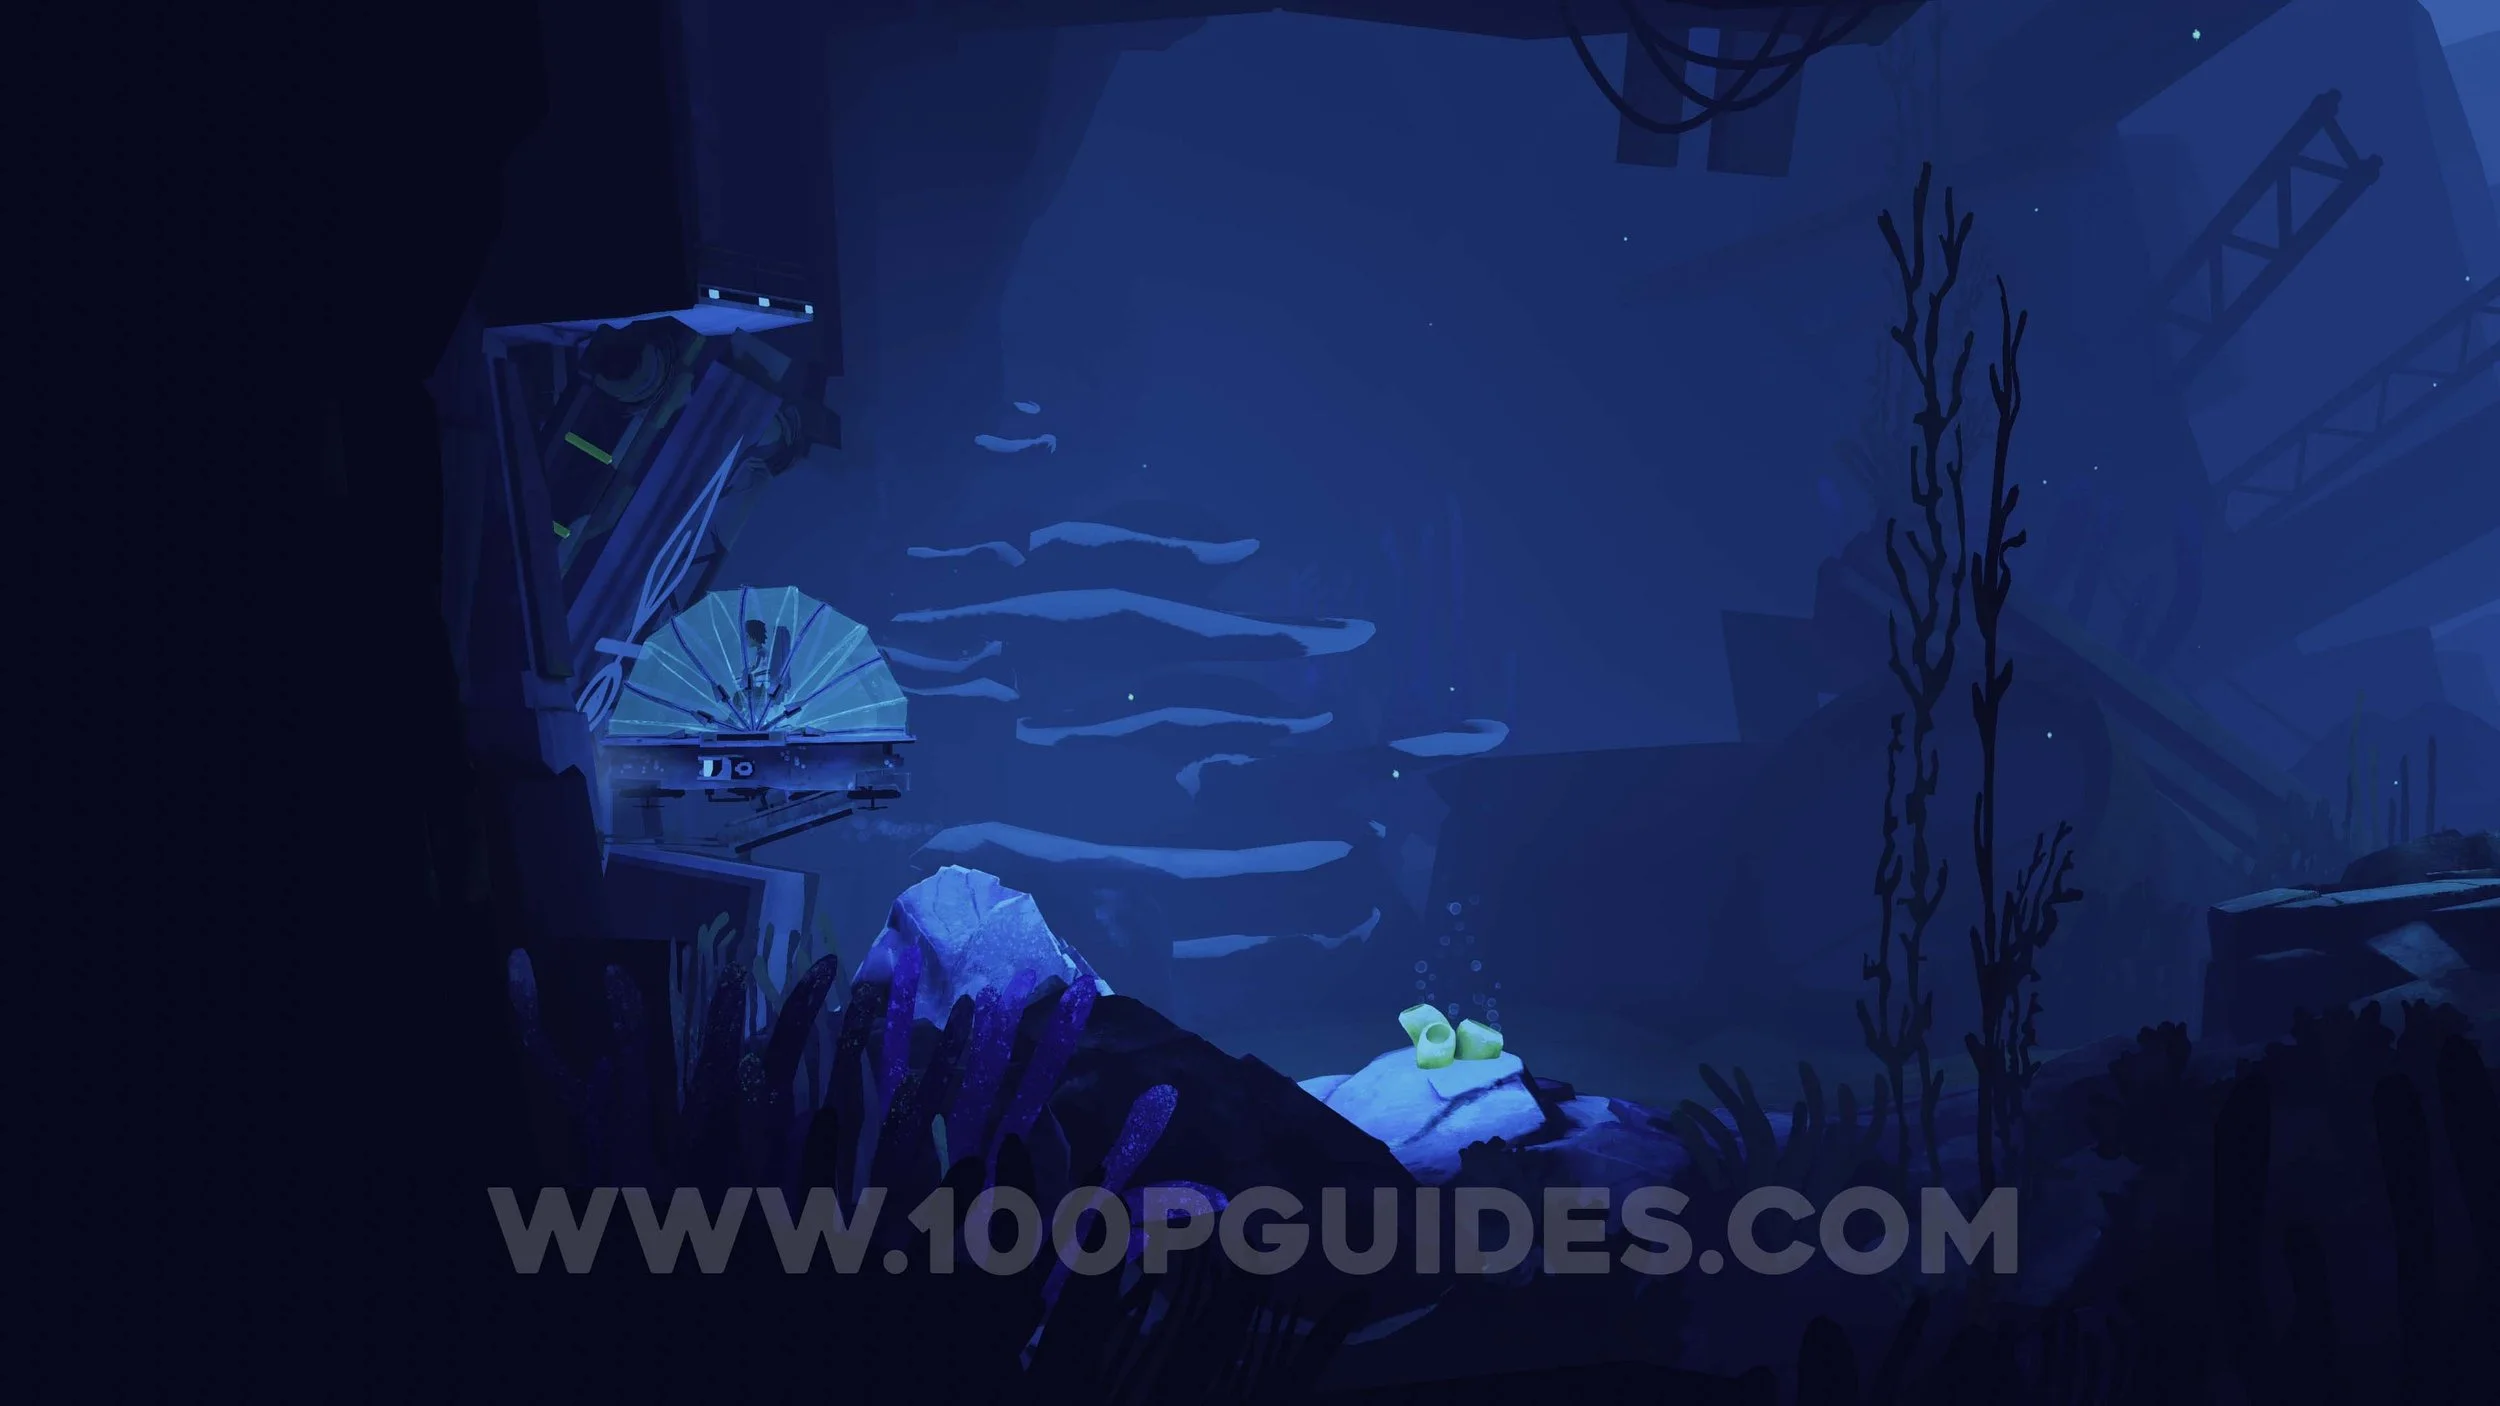
In the next area, have Mui stand on the plant, then dive down and open the tentacle gate. Continue to the right to reach an open area with a massive fish in the background. Surface and climb up onto the land on your left to find Secret 4/10.

After collecting the secret, use the plant to bring Mui and Lana across to the land on the right.
In this area, move to the center and take control of a fluff creature. Head left and climb the rock, then wait until the bot moves to its closest point before climbing onto it. Ride the bot across to the rock on the right and step off. Repeat the process with the second bot to reach the web. Start at the web and create a trail of fluff while moving left along the sand. Wait until the bot spots you so the laser ignites the trail and burns the web. Once it is cleared, wait for the bot to reach its highest position and run to the right to continue.
After speaking with the NPC, dive down and swim to the right to find a flower that allows you to carry Mui. Continue right and dive down once you reach the metal wall. Use Mui to activate the electricity box, then pass through the opened gate to proceed.

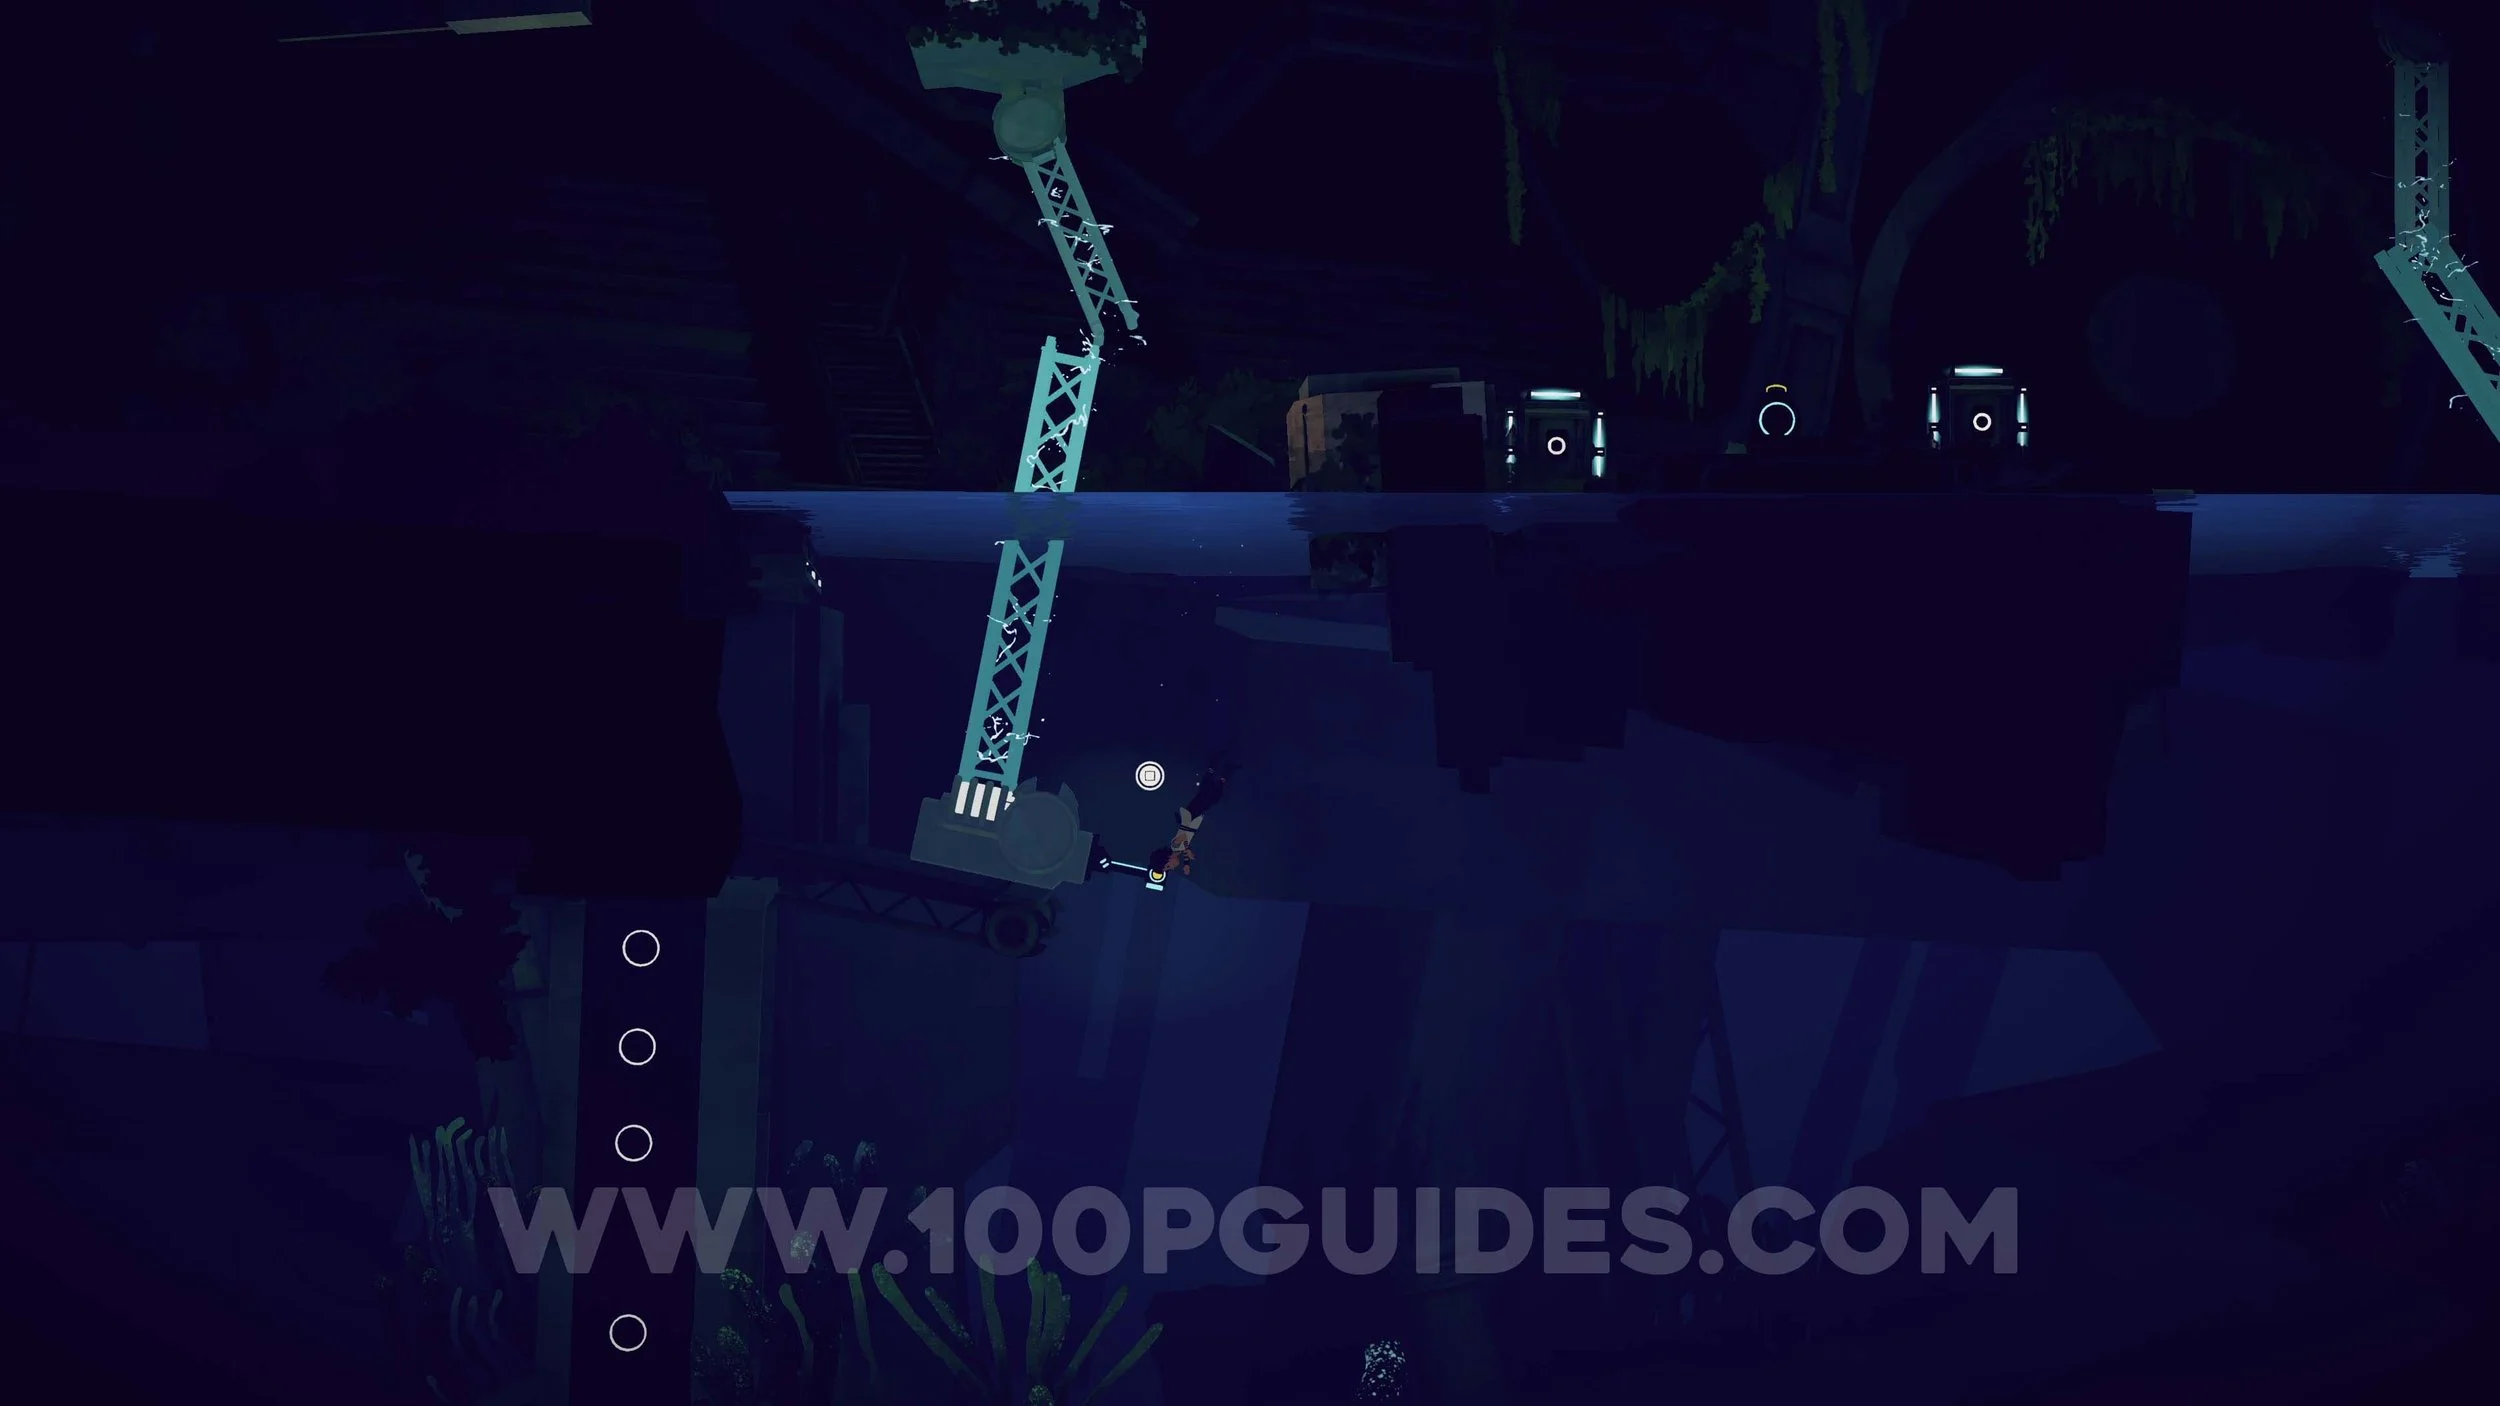
After heading right and surfacing from the water, you will reach an area with a switch and a diagonally moving platform. Start by calling the lift down and moving underneath it. Command Mui to press the switch so you can move left while using the lift as cover from the security camera. Next, have Mui call the lift down and then send it back up. As it rises, jump onto it to reach the top. From there, jump across the platforms on the right to find Secret 5/10. Afterwards, return and head left to continue.
In the next area, drop down and drag the box to the right, then jump onto it. Command Mui to activate the electricity box to open the gate. The bot will begin chasing you, so quickly climb up to where Mui is and trap the bot behind the gate. You can then continue left.
Press the switch on the right and board the submarine to descend. Hold X to activate the magnetic panel beneath the submarine, then pull up the metal lever to open the metal gate and continue forward.
Exit the base through the gate and head left, then continue downward. After descending for a while you will reach a metal gate that can be opened by ramming into it. On the other side you will find the next main objective, the Seashell.
Start by going left and using the magnet to pick up the metal pole. Place it to the right of the Seashell so it connects with the metal pole extending from the right side. Then use the magnet to grab the middle section of the metal structure attached to the shell and connect all three pieces together.
Next, move left and park the submarine in the small gap above so you can exit it. Swim to the right and enter the narrow opening to wake a jellyfish, which sends an electric current through the metal and opens the Seashell. Finally, swim up and collect it to continue.
From the Seashell, ram through the gate on the left using the submarine.
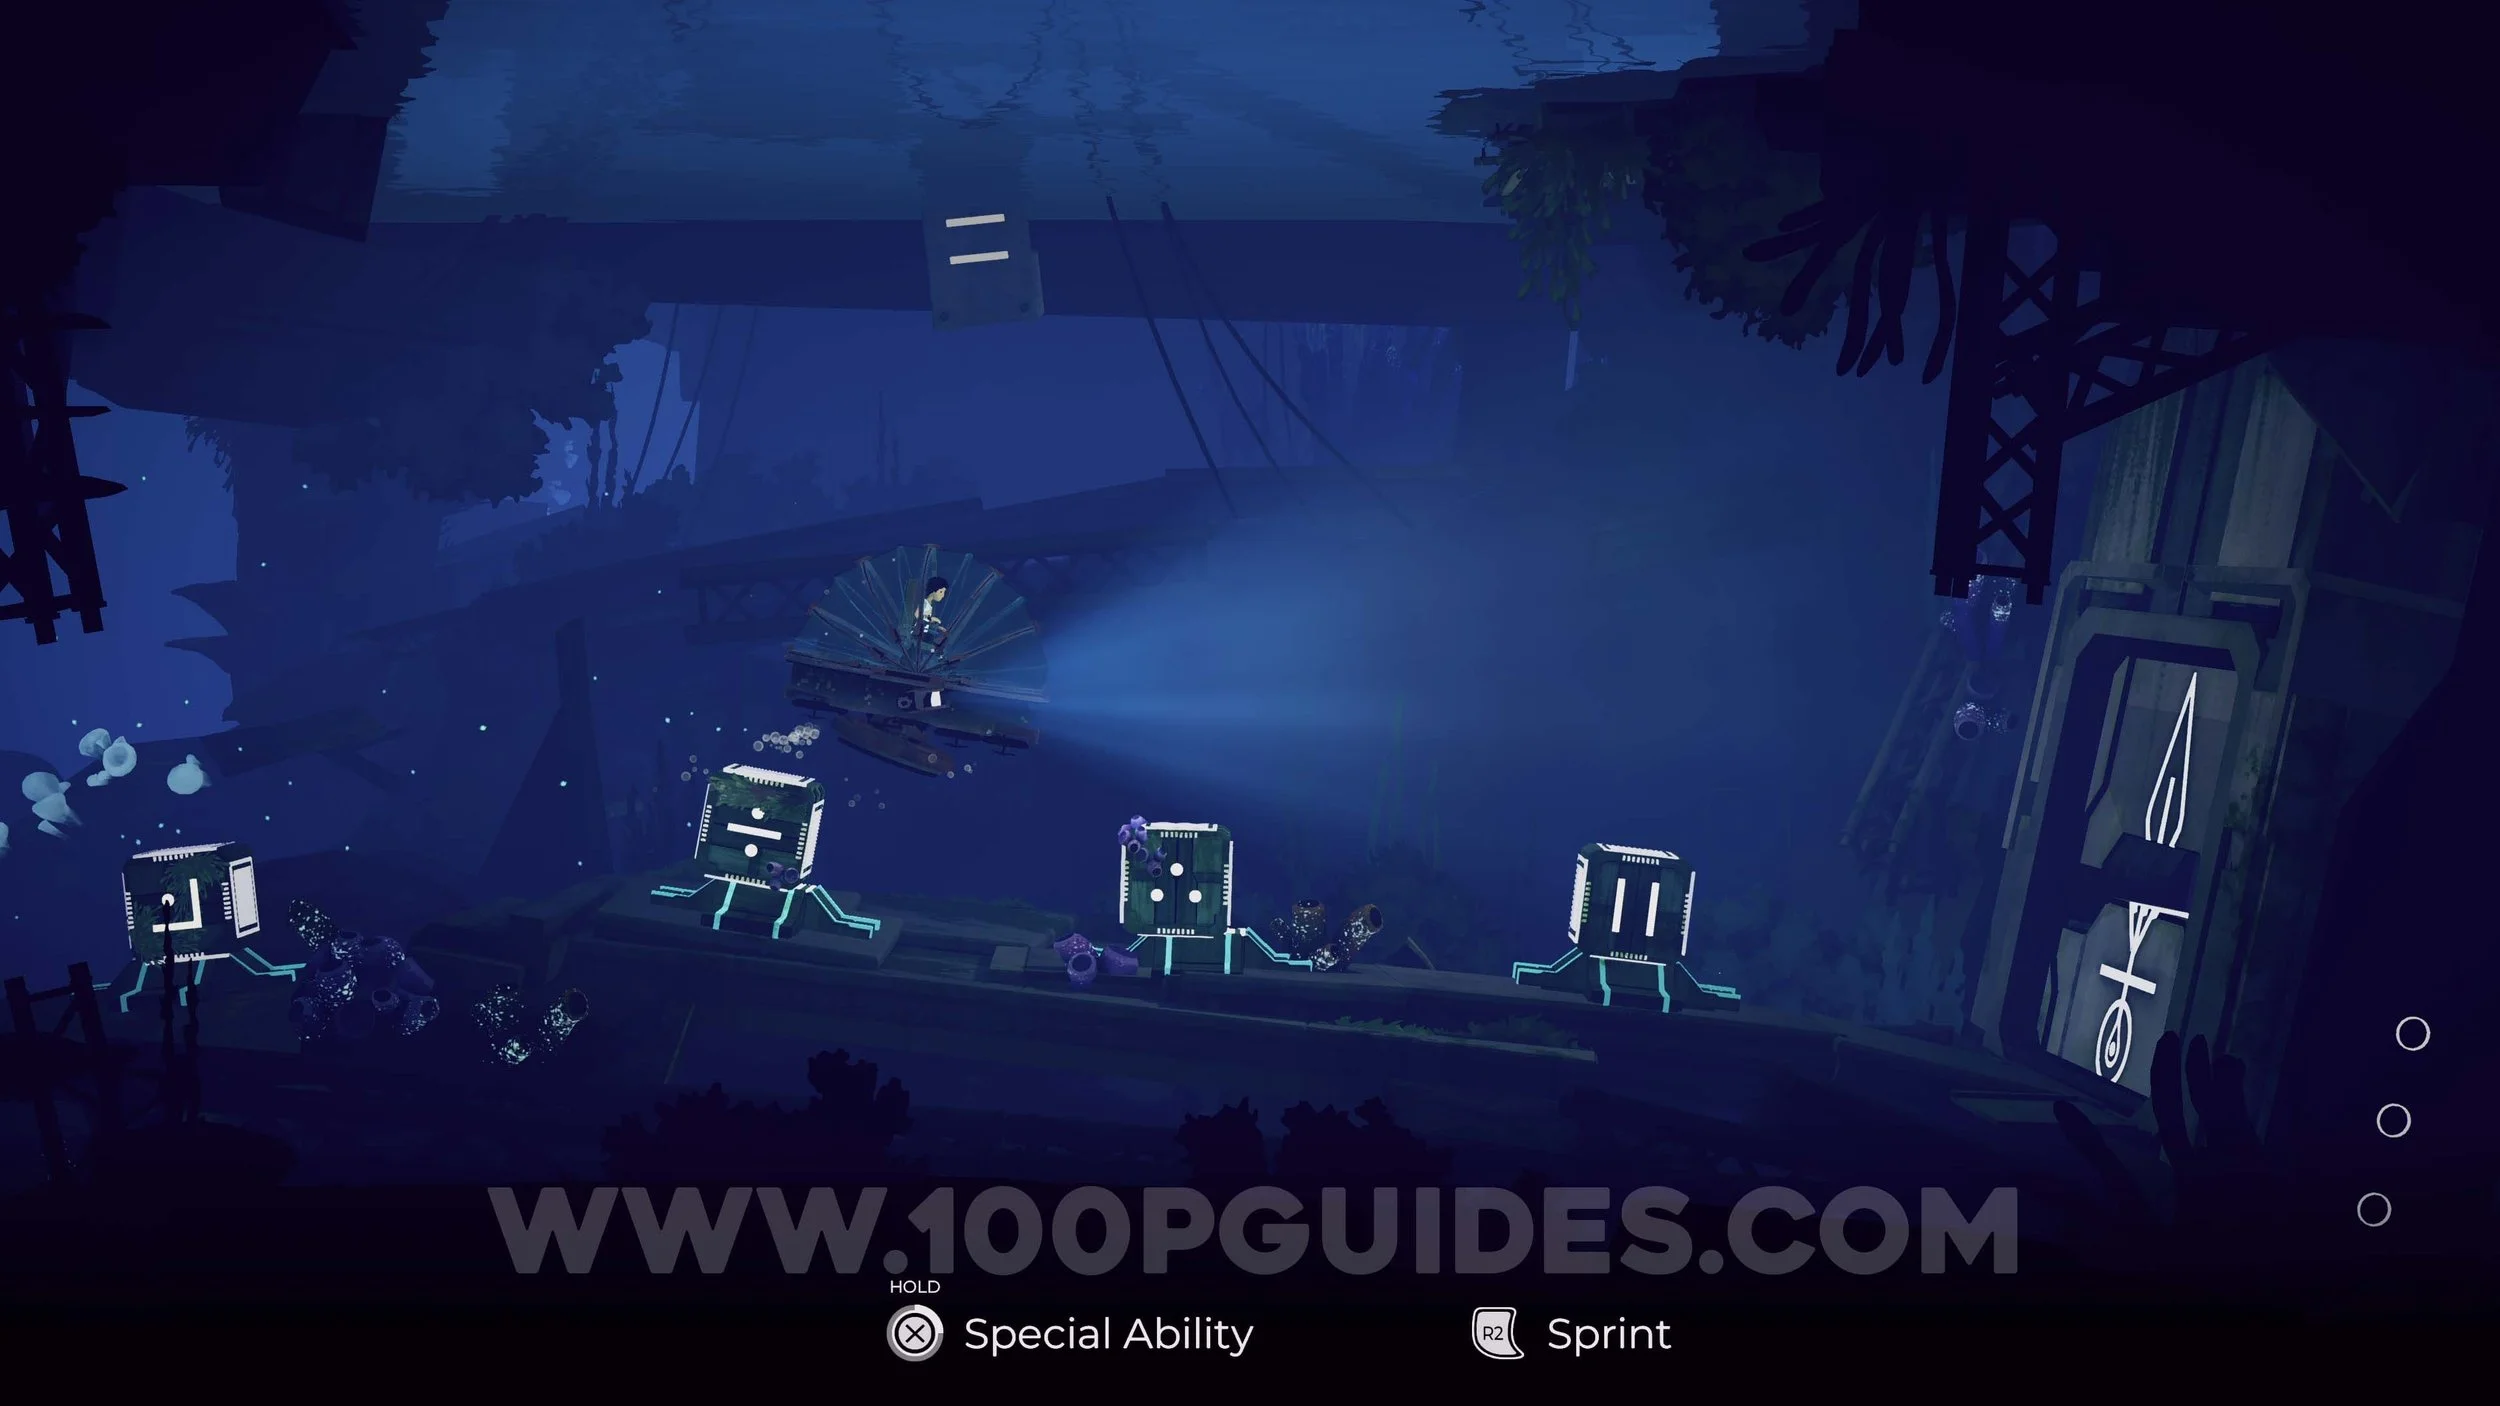
In the next area, you must place four cubes onto the correct plates in the order shown in the image below. One of the cubes can be obtained by hanging from the ledge above the puzzle and waiting for it to drop into the water, while another is located on the far left side of the area. Once all cubes are placed correctly, continue through the gate on the right.
Continue along the only available path until you reach a locked gate. Ascend and park the submarine here. This is also a good opportunity to pet Mui in this area. Pet Mui 7/16.
After parking the submarine, crouch and move through the gap on the right. Jump into the water, swim right, and wake the jellyfish to send electricity through the metal structure. Use the lever in the middle to connect the right metal structure to the one powered by the jellyfish. Then, command Mui to activate the right electricity box and quickly use the middle lever to move the left metal structure into position. If needed, activate the electricity box again until the left metal piece connects with the structure with the underwater switch. Finally, activate the underwater switch, return to the submarine, and continue through the gate.
After passing through the gate, continue along the only available path. You will encounter a few minor obstacles, including placing a cube on a switch, clearing debris from another switch, and lifting a large piece of debris from a lift before dropping it back down while timing your movement through the gap below. Continue forward to trigger the final cutscene that ends the chapter.

Chapter 4 - Mui’s Journey
During this chapter, you will be controlling Mui. Start by pressing the switch on the right to display a sequence of colours on the screen. Then command Mui to move to the cradle with the baby and press the buttons in the same order shown on the screen in the background.

After this, continue to the right until you meet the captain. Following the cutscene, the next chapter will begin.
Chapter 5 - The Enemy
At the start of the chapter, push the box toward the small hole in the wall and interact with it to take control of Mui. Enter the colours in the following order as shown on the screen: Purple, Blue, Blue, Purple, Green. Then hold Triangle to open the capsule and escape.
Climb up to the vent on the left side of the room and continue through until you reach an electricity box. Activate it to open the door and allow Lana to pass through.
Continue right into the next room and command Mui to follow. Use the lever to move the crane holding the box so it sits beneath the panel on the ceiling. Hold Triangle to have Mui drop the box, then quickly move the crane away with the lever before the box rises again. The box will land on the panel, opening the path below for Mui.
Send Mui down and hold Triangle on the box to drop it, allowing Lana to descend into the area below.
Next, command Mui to drop the box again so you can hack it. Once hacked, control the box by holding X together with a direction. Move it onto the panel on the right to open the door and continue forward.
In the next room, command Mui to press the switch to move the metal cube to the right. Then have Mui drop the electricity box so you can hack and control it. Move it in the following sequence: Right, Up, Right, Up, Left, Down, Right. You can then climb onto the box to reach the locked vent above.
Take control of the box again and move it Left, Down, Right, Up, Right to unlock the vent. Then in the next room, press the lever to reunite with Mui. Make sure you pet Mui. Pet Mui 8/16.
In the next room, send Mui beneath the first electricity box and activate it to disable the camera on the right. Then activate the second box to open the door, allowing both of you to continue forward.
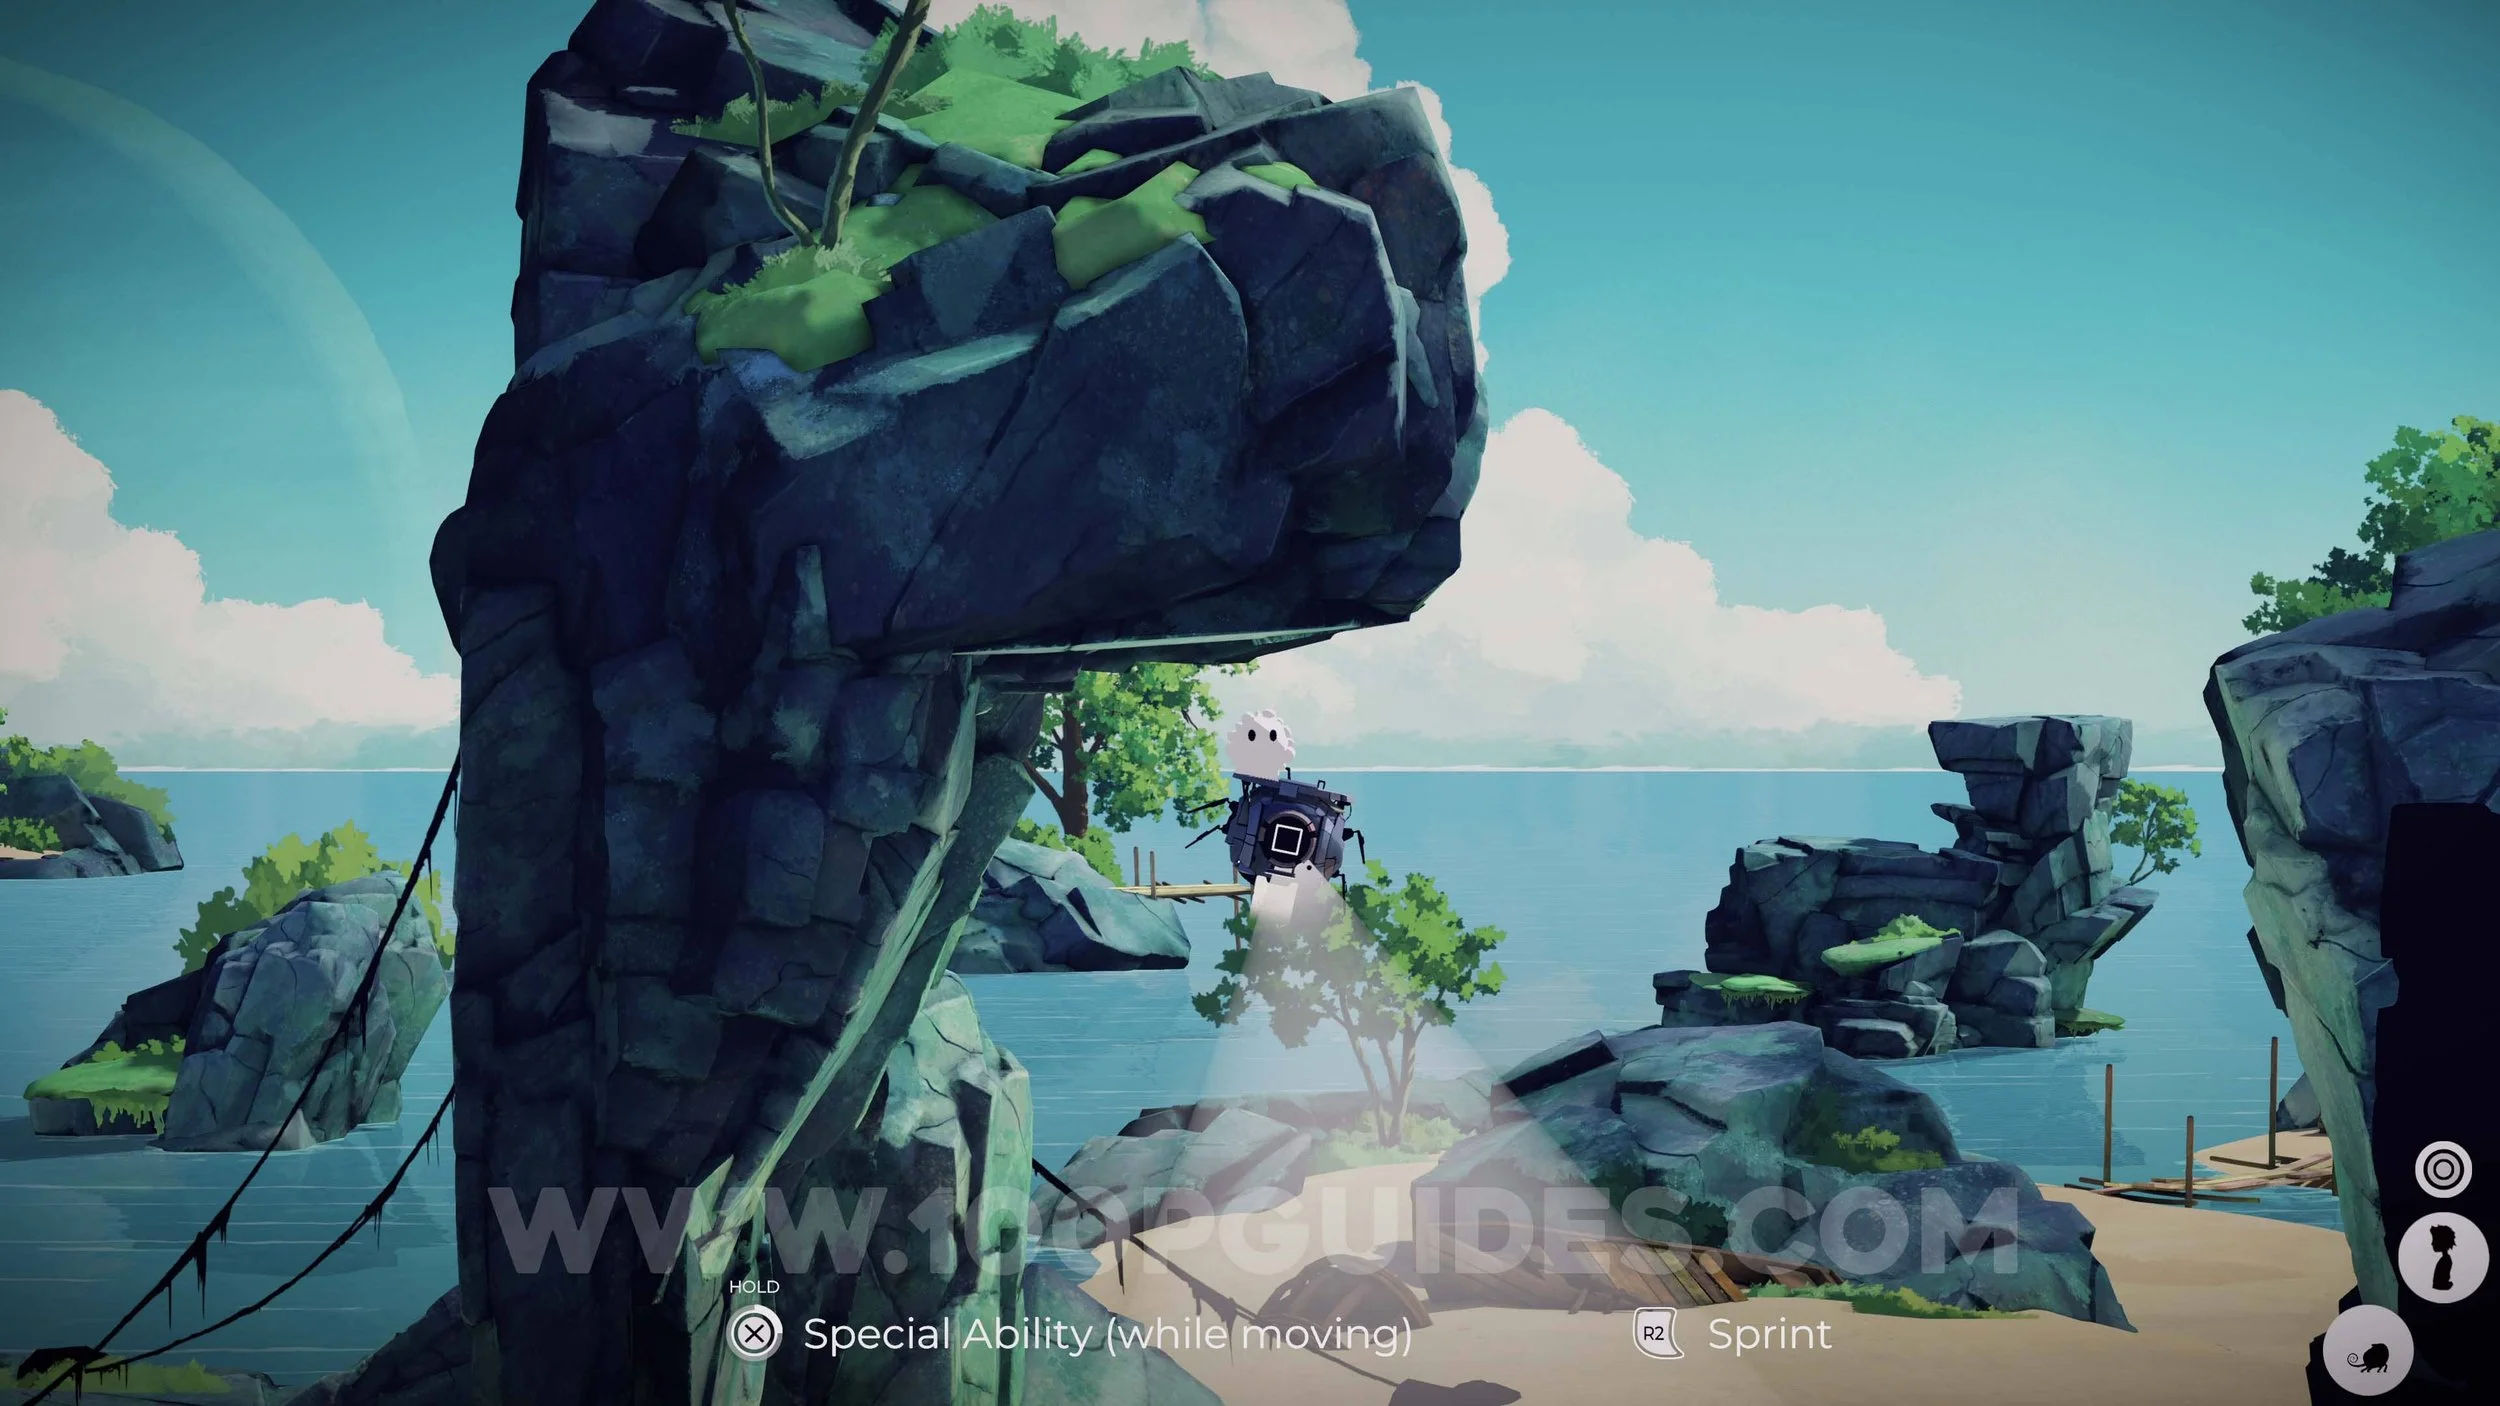
Next, you will enter a chase sequence where you must run and jump across the flying ships to escape the enemy bots.
Afterwards, you will arrive in a forest area. As always, make sure to pet Mui here. Pet Mui 9/16.
Continue to the right until you encounter a new type of creature that resembles a giant walking rock. You can make it move by baiting it with Mui, but be careful not to leave Mui underneath it for too long, or it will result in a game over. Use Mui to lure the creature to the right so Lana can jump up, then quickly have Mui follow you up to continue.

After diving down in the next pond and raising a log to help Mui cross, hold Triangle with Mui standing over the black fly creature on the ground to take control of it. With this creature, you can collect water from the pond and hold X over the yellow flowers to grow bamboo. Use it on all four flowers in the area, one to the left of the pond, one to the right, and two above. Once the bamboo has grown, climb up to continue forward.
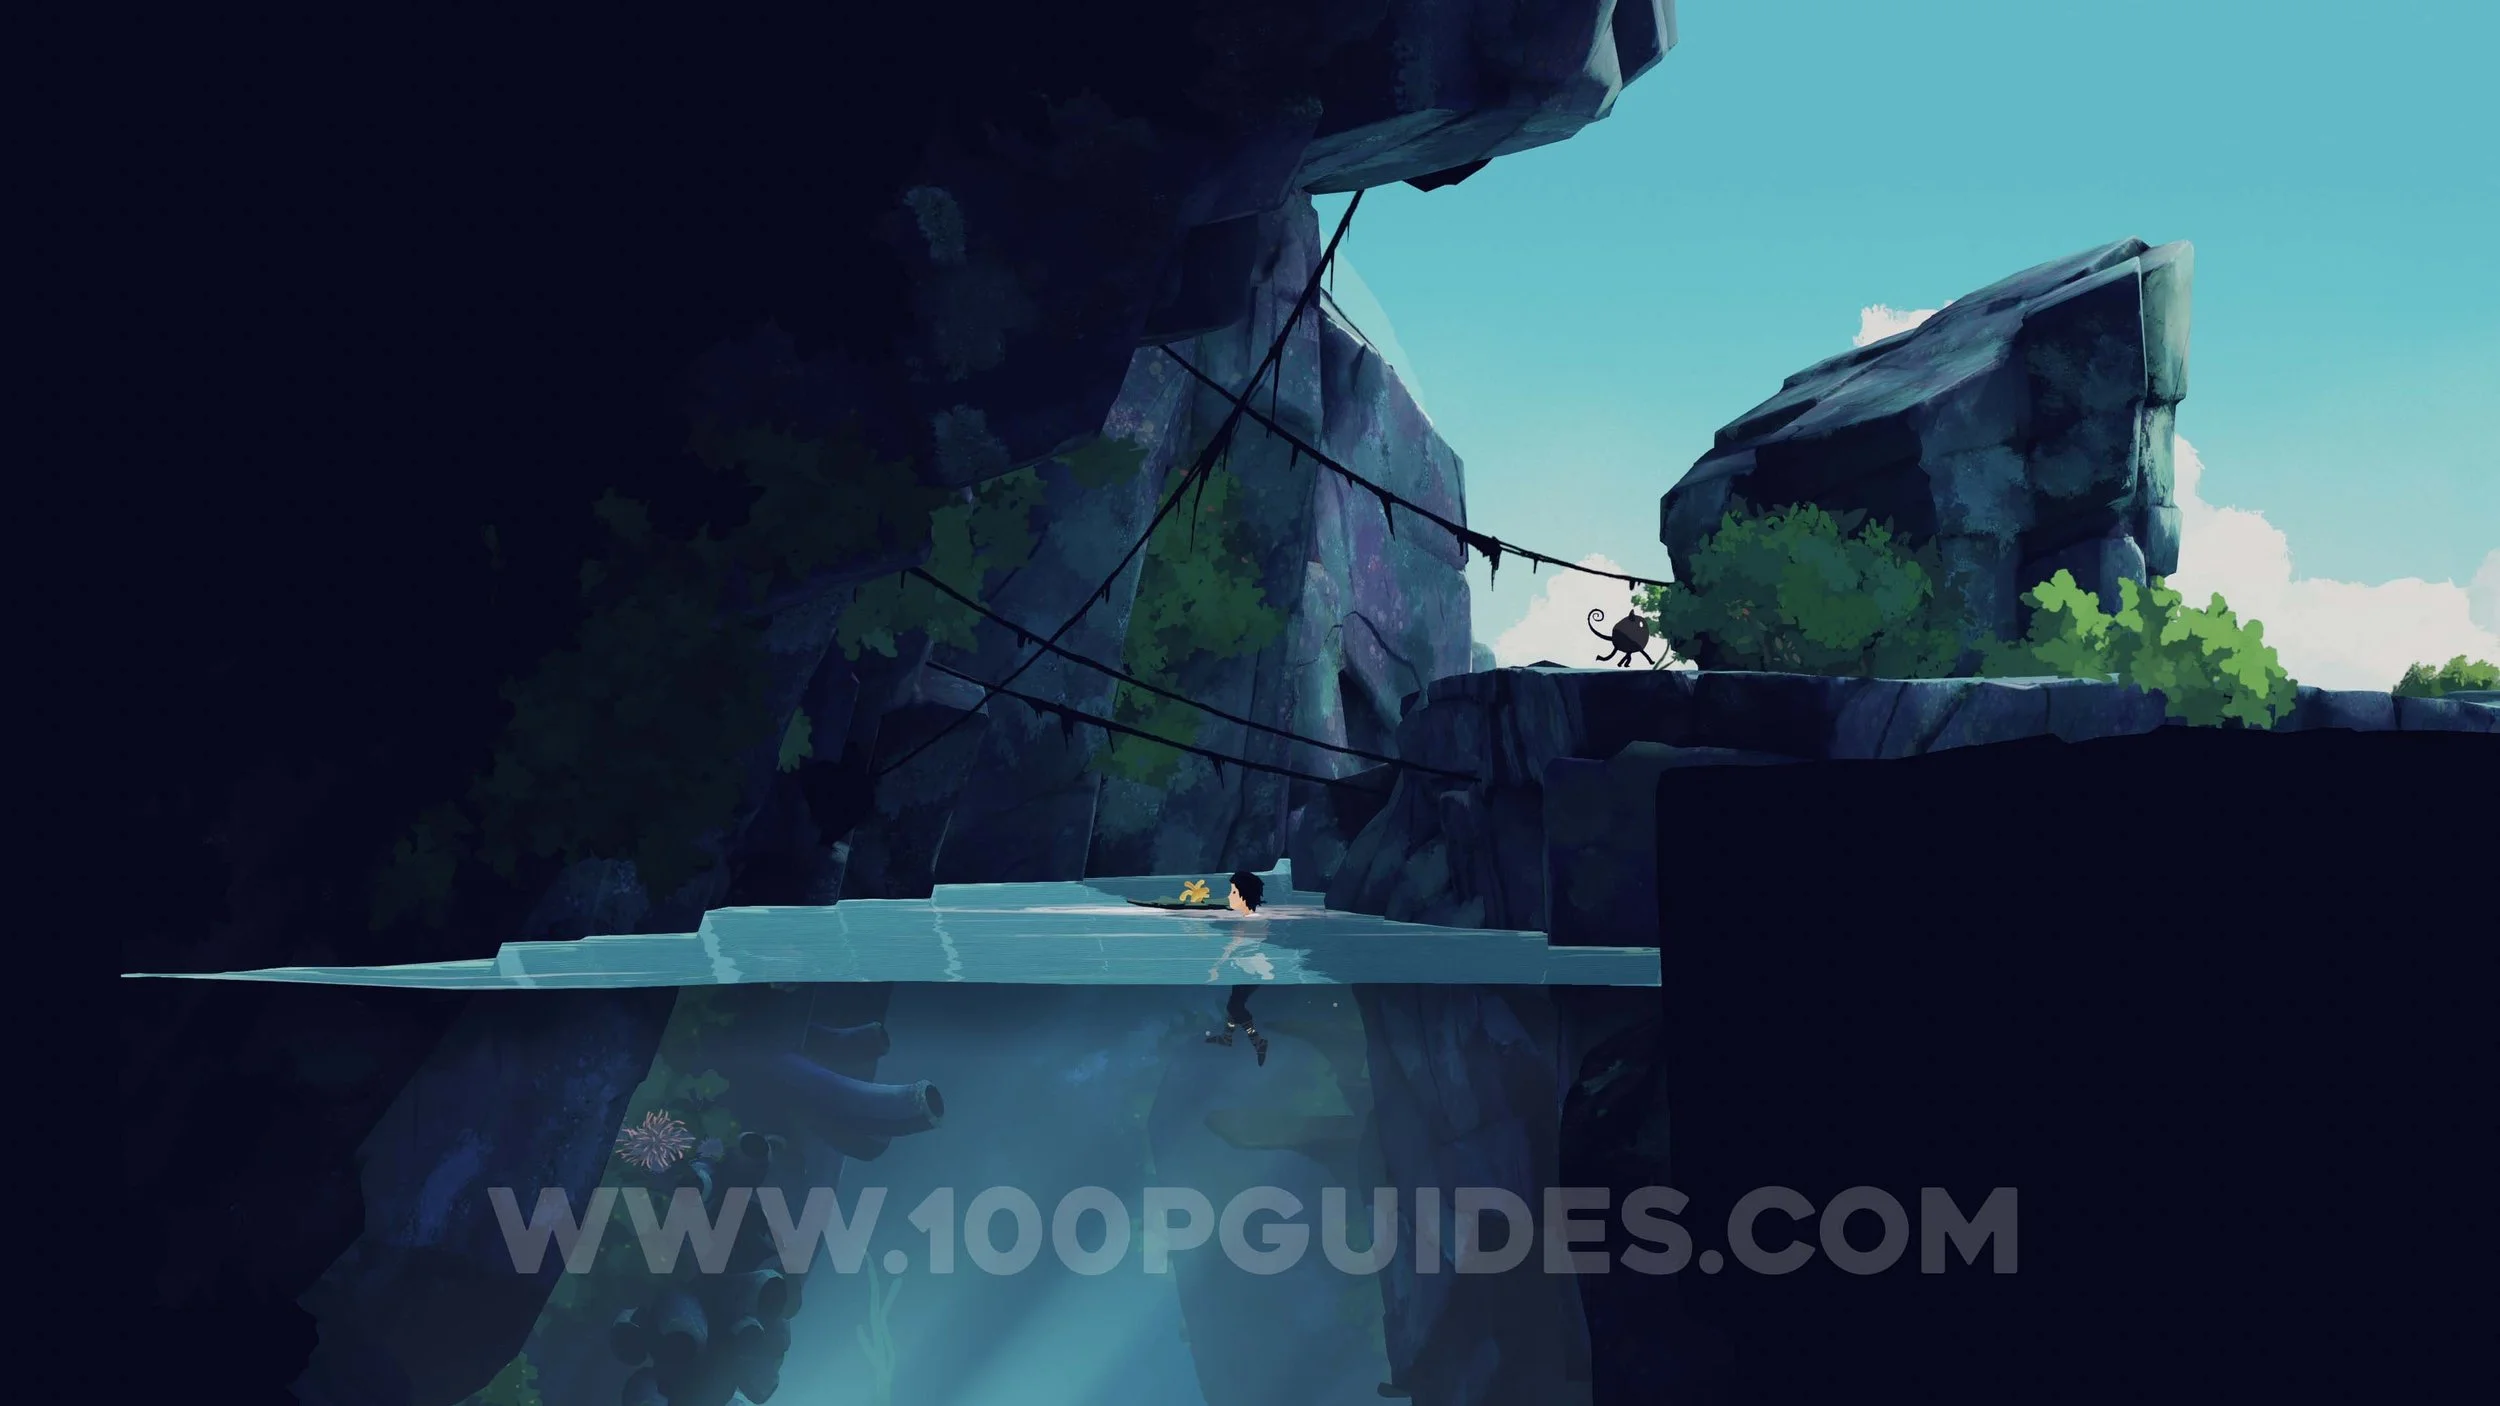
In the next area, watch out for the wasps and send Mui up to the rope and release it. Then use it to swing across to the left. Here, jump up to the gap in the top left to find Secret 6/10.
Continue to the right until you reach another pond of water. Dive down and swim to the left to find a plant that allows you to carry Mui underwater. Pick up Mui, then head right and open the tentacle gate to continue.
In the next area, activate the trap to make the platform drop. Send Mui upward and bait the rock creature to the right while Lana stands on the platform, raising it so you can climb up. Move right and stand on the slightly higher ledge to jump onto the rock creature. Command Mui to move left so the creature follows, allowing you to reach the top and continue. Be careful not to leave Mui underneath the creature for too long.
Continue forward until you reach another trap. Step onto it, and a cage will drop around you. Send Mui to the platform above the cage and take control of the fly creature. Take it to the pond to collect water, then spray the two wooden star-shaped mechanisms on the poles until they align with the yellow cloth, releasing the cage.
After escaping, send a fly into the trap and use the lowered cage as a platform to climb up and continue forward.
Continue to the right until you see a boy hiding from a bot. Command Mui to jump onto the bot and hold Triangle to disable it, then use Lana to hack it. The boy will then guide you into a village.
After the cutscene in the village, Pet Mui 10/16.
Continue to the right until you reach a cart beside a yellow flower. Push the cart to the right so it fills with water, then quickly move it back and water the flower. Once the bamboo grows, climb up using the shoot to reach the top of the cart and jump across to the platform on the right.
After heading right for a while, you will enter a dark cave. Continue through until you reach a stone tablet with symbols. Interact with it and press the notes in this order: Triangle > X+Square > Triangle > Square > Square.
Continue deeper into the cave until you find another stone tablet. Interact with it and press: Square, X+Square, Triangle, Square, Triangle.
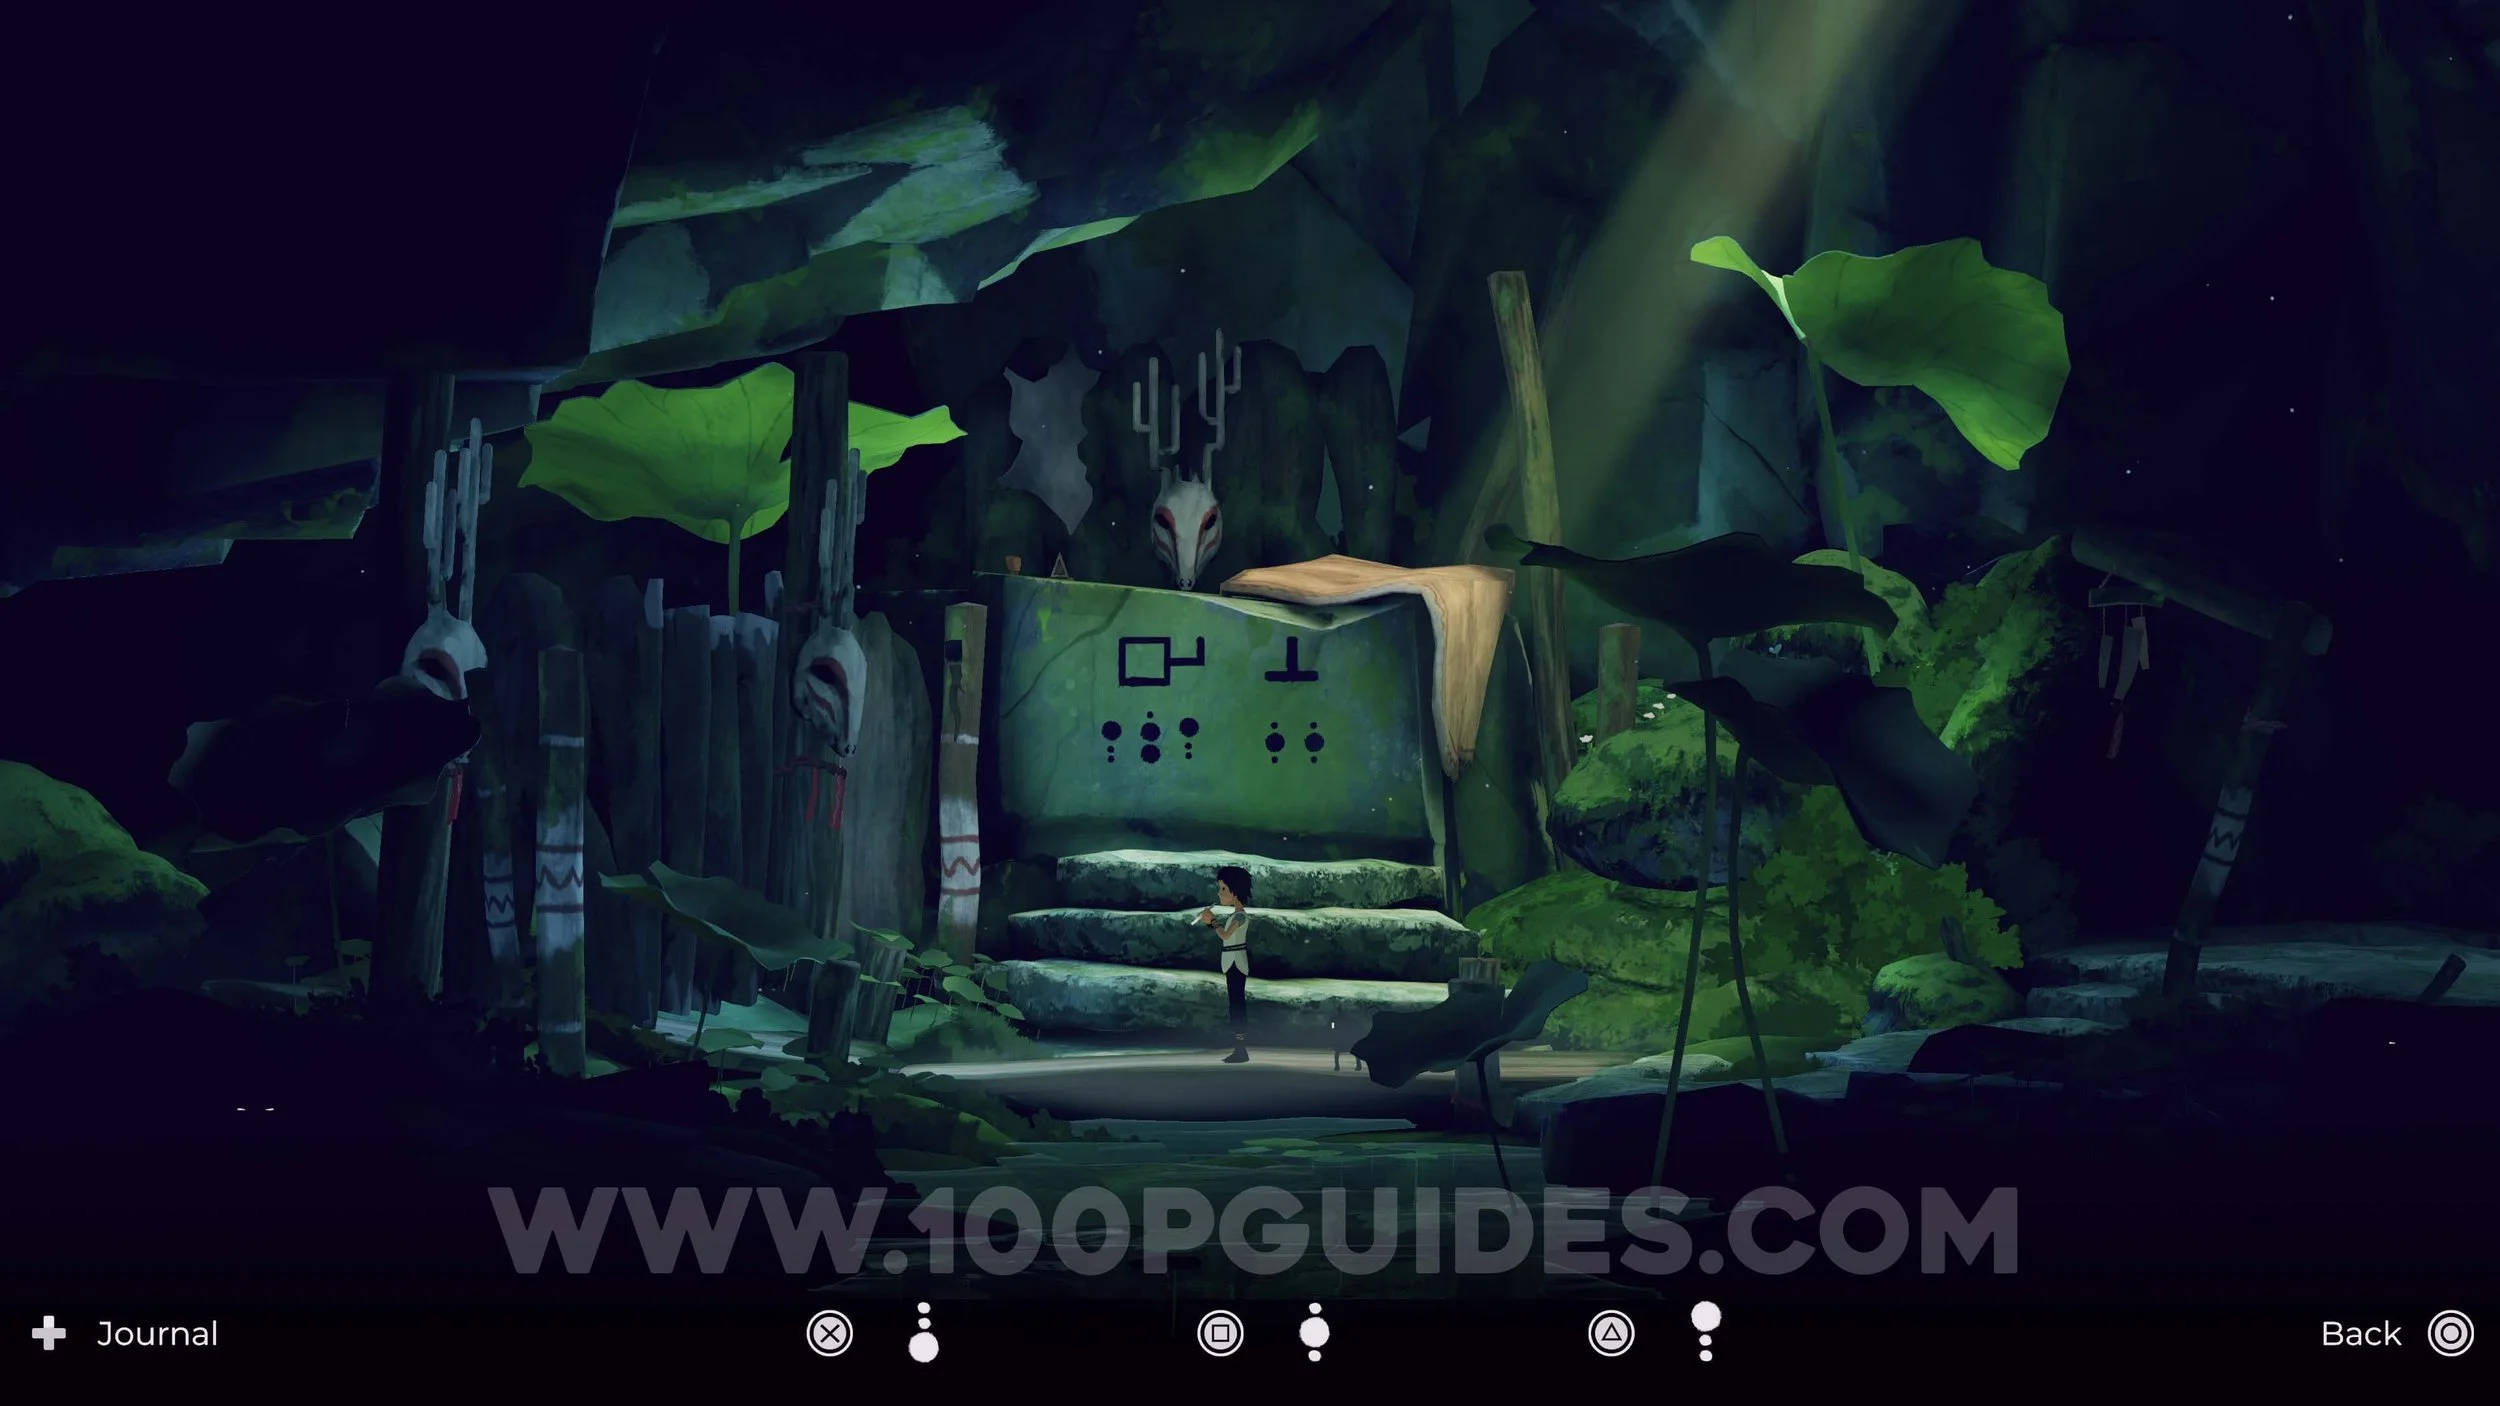
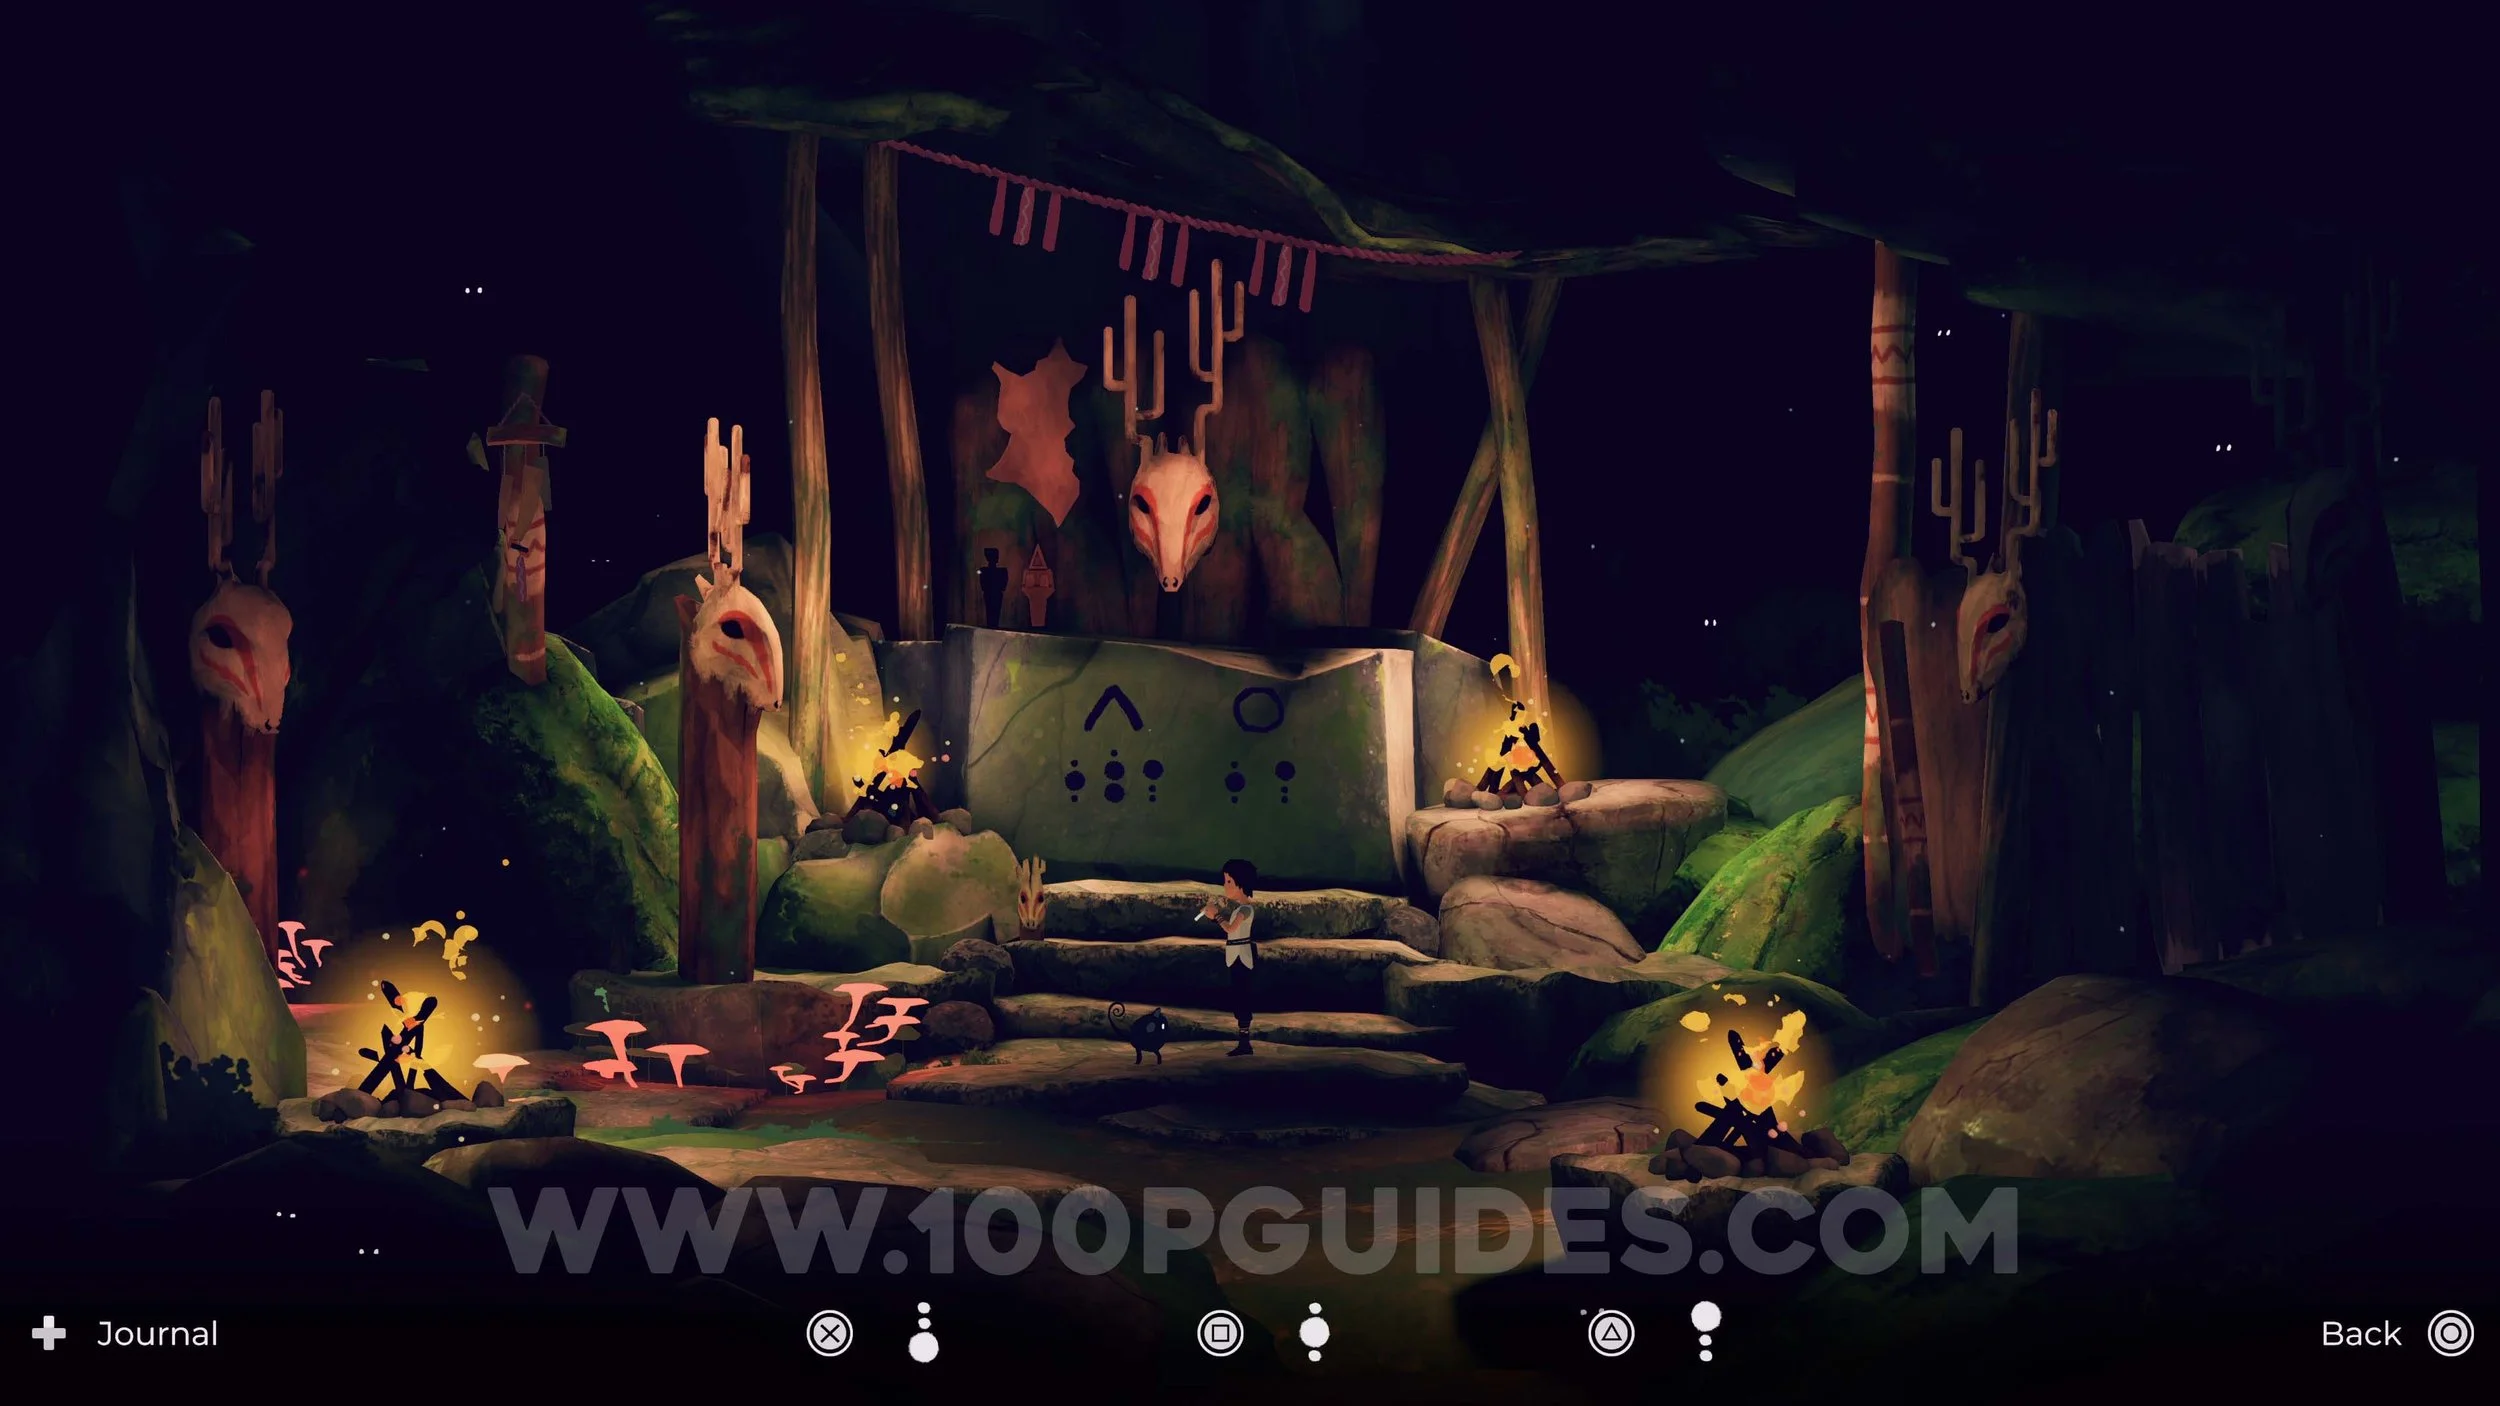
After making your way through the cave, you will return outside to the tree near the lake. Here you must combine the symbols from the tablets and play the notes they represent. Interact with the tree and press the following sequence: Square+Triangle > X+Square > Triangle > Square > Square+Triangle.
After obtaining the final ingredient, return to the village and watch the cutscene. Once it ends, continue left to trigger another cutscene that transitions you to the next area.
As soon as you start the next area, Pet Mui 11/16.
Continue to the right until you reach a removable vent. Send Mui up to the area above, then move through the vent and command Mui to stand beneath the enemy bot. Hold Triangle to disable it, then quickly run through the next vent. Make sure Mui follows you before the bot reactivates.
In the next area, run to the right while avoiding the bot’s light. Climb up to the platforms where the bot is patrolling and wait until it moves to the top platform before heading to the switch on the left. Command Mui to stand on the lift and raise it. When the bot gets close, have Mui jump onto it and hold Triangle to disable it, then use Lana to hack and take control of the bot.
After taking control of the bot, fly to the right and move underneath the massive drill. Ascend along the right side and enter the main drill structure. Activate the electricity box, then fly over to the red sphere and press X to shoot and destroy it.
Next, return beneath the drill and ascend along the left side. Activate the electricity box to disable the upper security camera. Wait until the lower camera moves fully downward, then fly through the gap beneath the box and continue upward past the disabled camera. On the right side, you will find another electricity box. Activate it to reveal a second red sphere and destroy it while avoiding the rotating security camera.
Finally, fly into the center of the structure, activate the electricity box, and shoot the main central red sphere several times to destroy the drill. After this, you will regain control of Lana. Simply run to the right to finish the section.
You will now be back at the village. Pet Mui 12/16.
In the village, just keep going right until you trigger the cutscene that ends the chapter.

Chapter 6 - Mui’s Journey Part 2
This is another short chapter where you control Mui. Start by climbing onto the cradle and pressing Triangle to take control of it. Continue moving right until a cutscene plays. After leaving the baby, keep heading right toward the bridge to trigger another cutscene.
Once the scene ends, you will return to the present time village. Continue right until one final cutscene plays, marking the end of the chapter.
Chapter 7 - Revenge
As soon as you start the chapter, Pet Mui 13/16.
From the start, head right until you reach a yellow platform floating on the water with a flying robot nearby. Hack the robot to take control of it and use its magnet to raise the platform while Lana is standing on it. Then use the magnet to pull down the metal structure on the right, allowing you to climb up to the next area.

In the next area, use the magnet to move the metal structure to the left and use it to cross the water. Then lift the gate with the magnet so you can pass through. On the other side, command Mui to climb up and drop the rope to continue.
After climbing a rope, you will see two destroyed bots with flashing red lights on them. Go under the platform to the right of these bots to find Secret 7/10.
After continuing right by deactivating the enemy bot on the platform with Mui, you will encounter another enemy bot beneath a security camera. Send Mui up to the electricity box and turn off the camera as soon as the bot exits through the door on the right. Climb above the doorway and wait for the bot to return. As soon as it re-enters, drop down and go through the door.
In the next area, quickly send Mui to the electricity box on the far right, then open the vent with Lana before the bot comes back.

You will soon reach an area filled with water. Dive down and interact with the debris to make it float to the surface, then drag it into position so Mui can reach the right side and enter the hole.
Dive down again and continue right until you encounter underwater security cameras. Command Mui to activate the electricity boxes above to disable them, allowing Lana to safely pass through.
Continue to the right and help Mui cross the water by dragging the debris into position. You will eventually reach a dead end with a switch located in the area above. Send Mui up to press it, then return through the gap and climb up to the box. Push the box down and use it as a platform to reach the switch and continue forward.
In the next room, send Mui to the group of fish on the right and hold Triangle to take control of one. Guide the fish down and around to Lana, then hold X to release a smoke screen in front of the security camera so Lana can pass safely.
You will need to repeat a similar process in the following room, this time avoiding additional obstacles such as security cameras and hydraulic presses while guiding the fish toward the camera you must blind. Once Lana makes it through, ride the lift up together with Mui.
At the top of the lift, slide under the wall on your left to find Secret 8/10 (this secret is technically #9 as far as the trophies are concerned).
After following the path for a while, you will emerge into a large city. Make sure you Pet Mui 14/16 here.
Continue through the city until you slide down into an underground area with two large fans in the background. In this room, enter the tunnel on the left to find Secret 9/10.
In the next room, you will need to solve a puzzle.
First, send Mui up above the box and press Triangle to drop it so you can hack it. Press the switch to raise the platform on the right side. Now take control of the box and move it in this order: Left, Up, Right, Down, Left. The box should now be positioned on the right side of the central structure.
Next, use the other switch to move the upper metal block so it sits directly above the magnetic box. Control the box and move it up onto the metal block. Then use the switch again to move the metal block to the left so it aligns above the plate on the middle structure. Finally, move the box down onto the plate to open the path forward.

In the next room, head to the far right and command Mui to climb onto the robot. Hold Triangle to overload it, then hack it with Lana. While controlling the robot, raise the lift in the center of the room. Have Lana step onto the lift and pull it to the top using the robot. Once at the top, overload the electricity box to open the door and exit back into the city.
Continue through the city until you reach a locked gate. Send Mui through the gap above and overload the electricity box to open the path forward.
In the next room, command Mui to climb onto the bot and wait until it moves close to the electricity box. Hold Triangle to overload it, opening the door so Lana can pass through.
Afterwards, climb onto the rope and have Mui overload the electricity box above to continue forward.
After this you will jump onto a moving train. On the train, Pet Mui 15/16.
Continue to the right until you reach a train car with a switch and a box suspended by a cable. Command Mui to bite the cable to release the box, then drag it to the left and use it to hang from the metal panel above. While Lana is hanging, send Mui up through the gap to reach the switch and open the door to continue.
In the next car, use the switch to guide the platform so it blocks the security camera and allows Mui to reach the switch on the right. After Mui presses the switch, reposition the platform to block the camera’s new line of sight, allowing Lana to safely pass through.

Continue into the next car.
Here you will find an enemy bot on the platform above and a locked door on the opposite side. Send Mui up to the box on top of the car and overload it. You will need to time your movement so Lana passes through the door while the bot remains behind. Listen for the sound cue from the door to know when it is about to close.
After this you will arrive at the secret base. Pet Mui for the final time (Pet Mui 16/16).
Continue right until you reach a room with magnetic blocks moving along the ceiling. Send Mui up to the platform above the box and hold Triangle to release it, then hack it with Lana. Control the box and move it Up, Left, Down, Right so you can use it to climb up and reunite with Mui.
Next, control the box again and move it Up, Left. Jump onto it with Lana, climb the yellow grab points, and stand on the vertical structure.
Now return the box to its original position so the hanging blocks begin moving again. Wait until one passes just to the left of Lana and jump onto it. After landing on the conveyor belt above, command Mui to overload the electricity box below to disable the security camera.
As you move right along the conveyor belt, jump onto the right side of the hydraulic press and pass through the gap above the security camera to avoid detection. Then have Mui follow along the lower path and command Mui to overload the electricity boxes as you progress to disable the cameras.
At the end of the section, before heading outside, jump left into the gap beneath the conveyor belt to find Secret 10/10.
Go outside and continue to the right to begin the final boss encounter.
Start by heading right and command Mui to climb onto the bot, then hack it so you can control it later. Run to the left side to bait the boss onto the cables and activate the switch to electrocute and paralyse it. This will reveal an electricity box on its head. Take control of the bot with Mui on top, overload the box, then hold and release X to shoot the two red cores that appear.
Next, run all the way to the right and wait for the boss to step onto the cables again. Activate the switch to electrocute it, overload the box once more, and shoot the two red cores to finish the fight.
After the cutscene, the final chapter will begin.
Chapter 8 - Temati’s Journey
This final section plays out more like a cutscene than a chapter, as there is no gameplay required.
If you collected all 10 Secrets and petted Mui all 15 times, you should now have 100% completion of Planet of Lana 2. Congrats!