Fatal Frame 2 Remake All Collectible Locations
This guide will show you where to find every Collectible and how to get every Ending in Fatal Frame 2 Remake.
Fatal Frame 2 Remake features 700+ collectibles. These include:
121 Documents. Lore items that provide background on the world and its characters. Some will trigger side quests, but most have no direct gameplay impact. Collect them all for the Countless Voices Cry Out trophy.
71 Spirit Stones/Charms. Equipable items that provide various buffs. Collect them all for the Extensive Protection trophy.
25 Wraiths. Hostile spirits that must be defeated. You need to defeat at least one of each type for the Solace for the Tortured trophy.
264 Specters. Harmless spirits that briefly appear while exploring. You must photograph them all for the Chasing the Shades trophy.
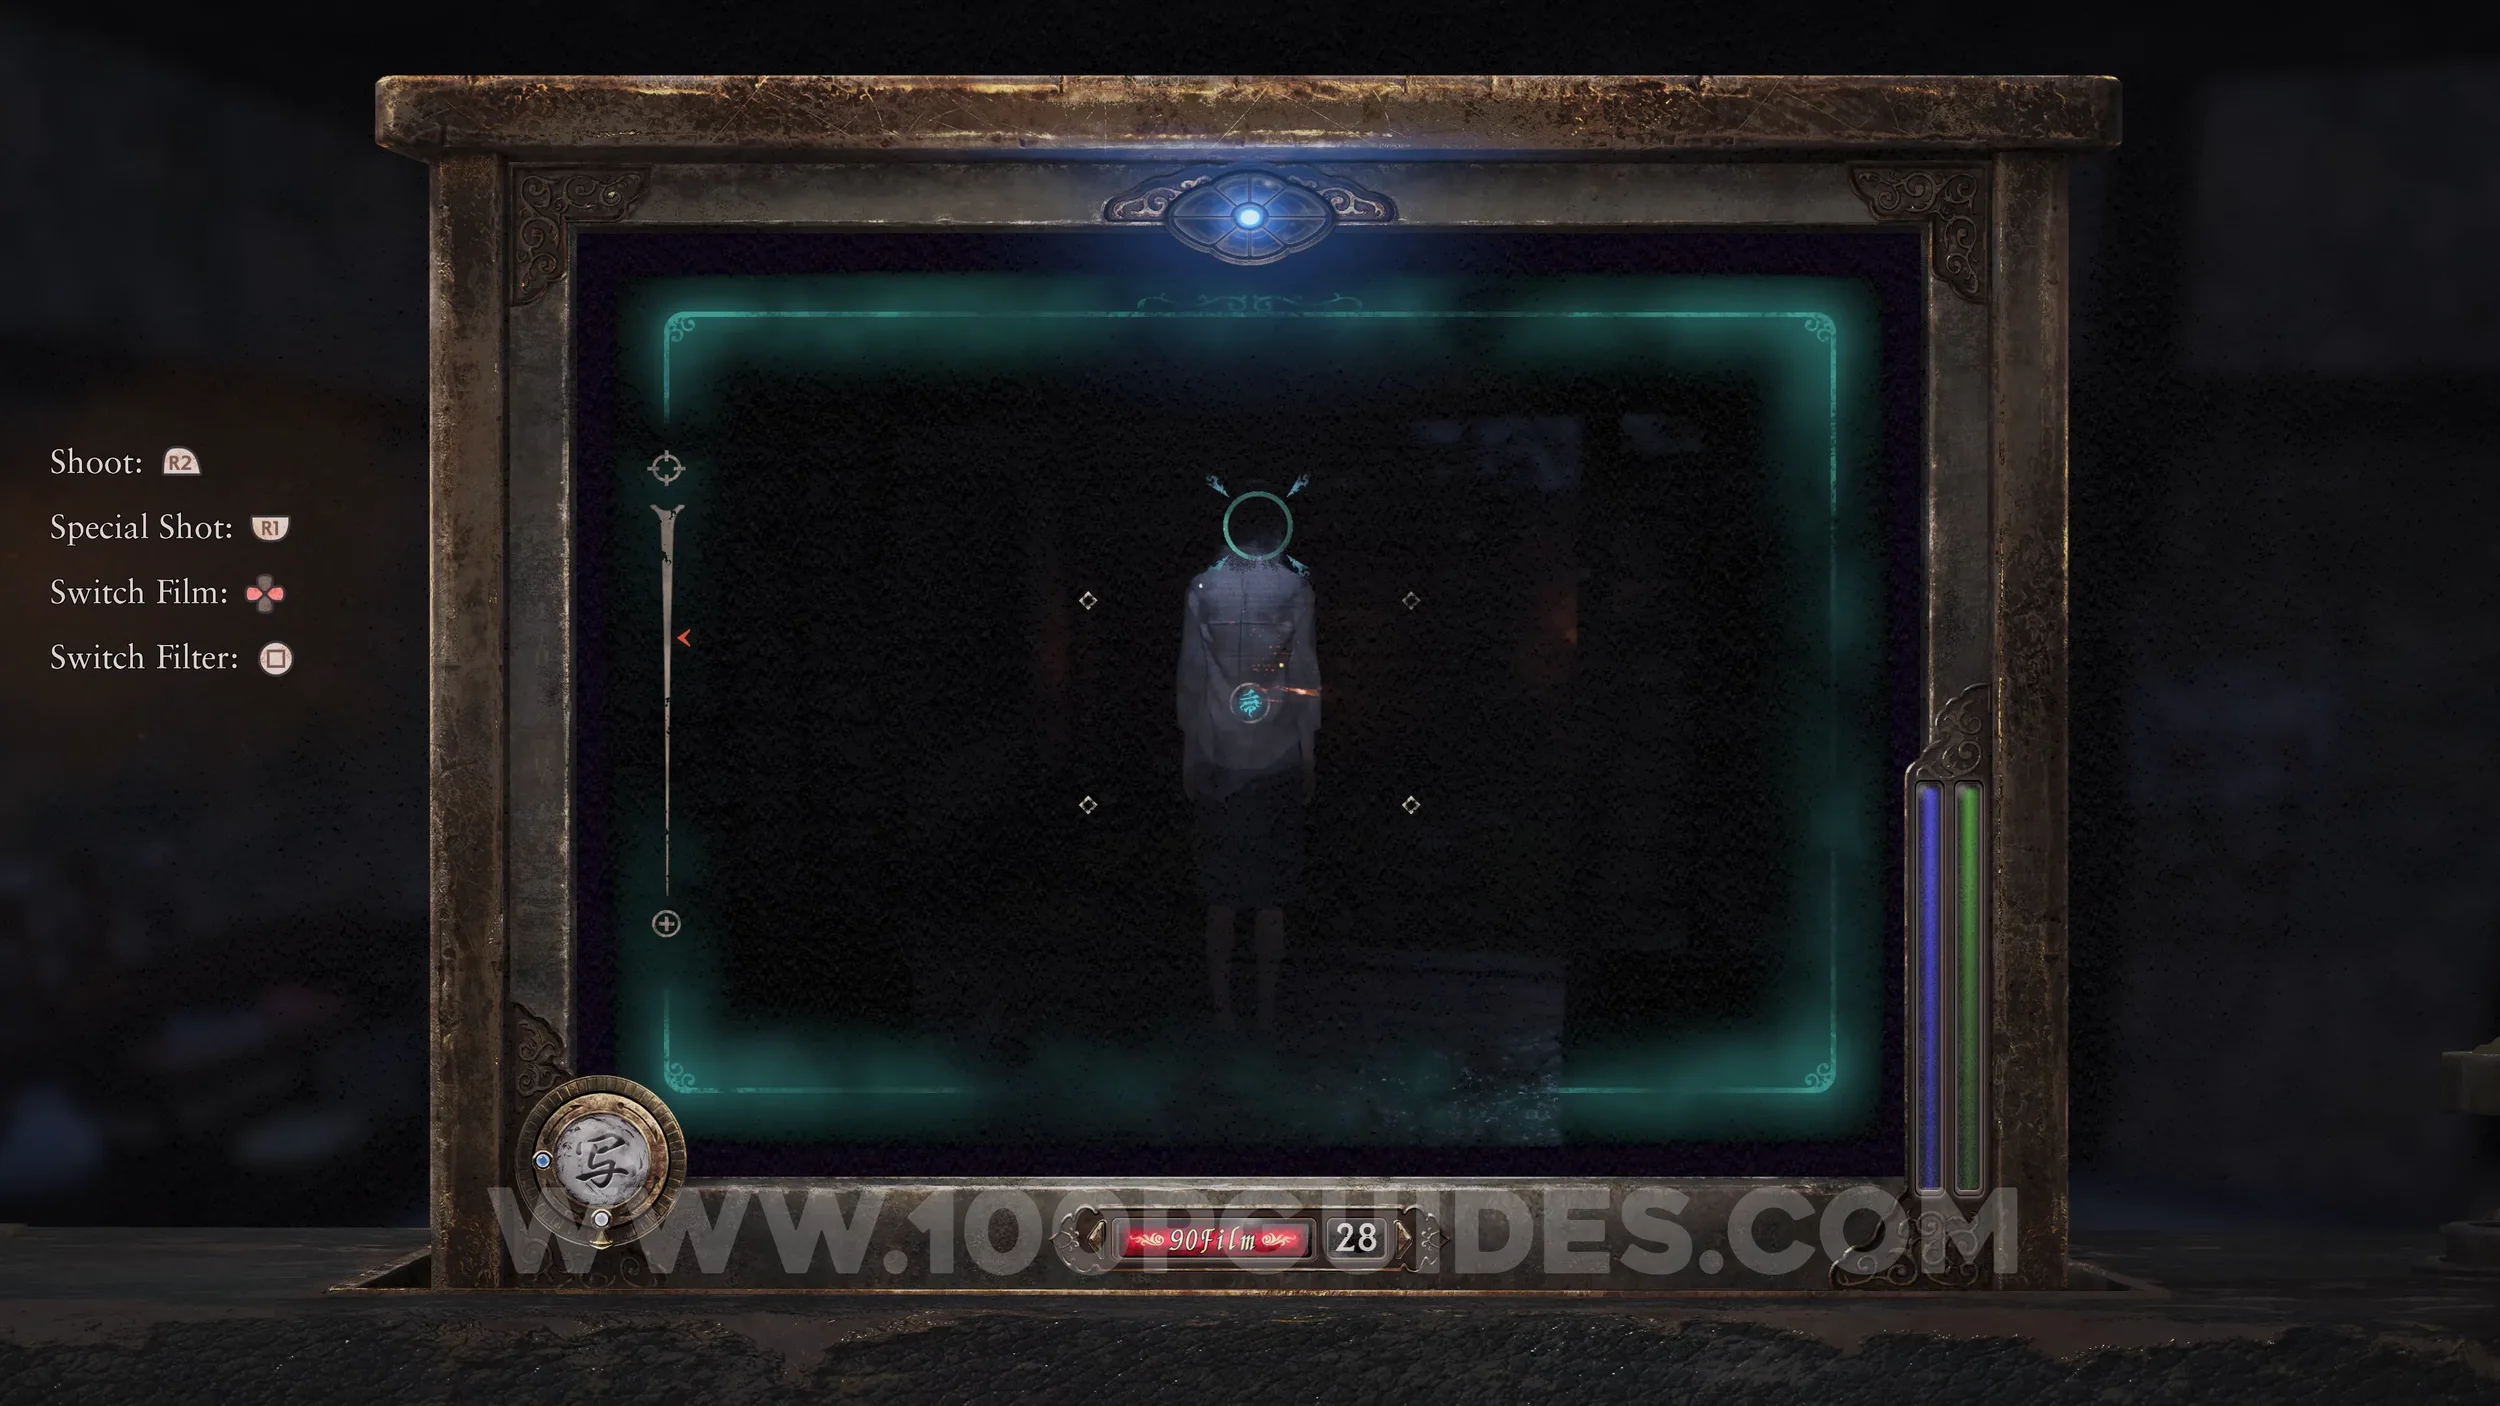
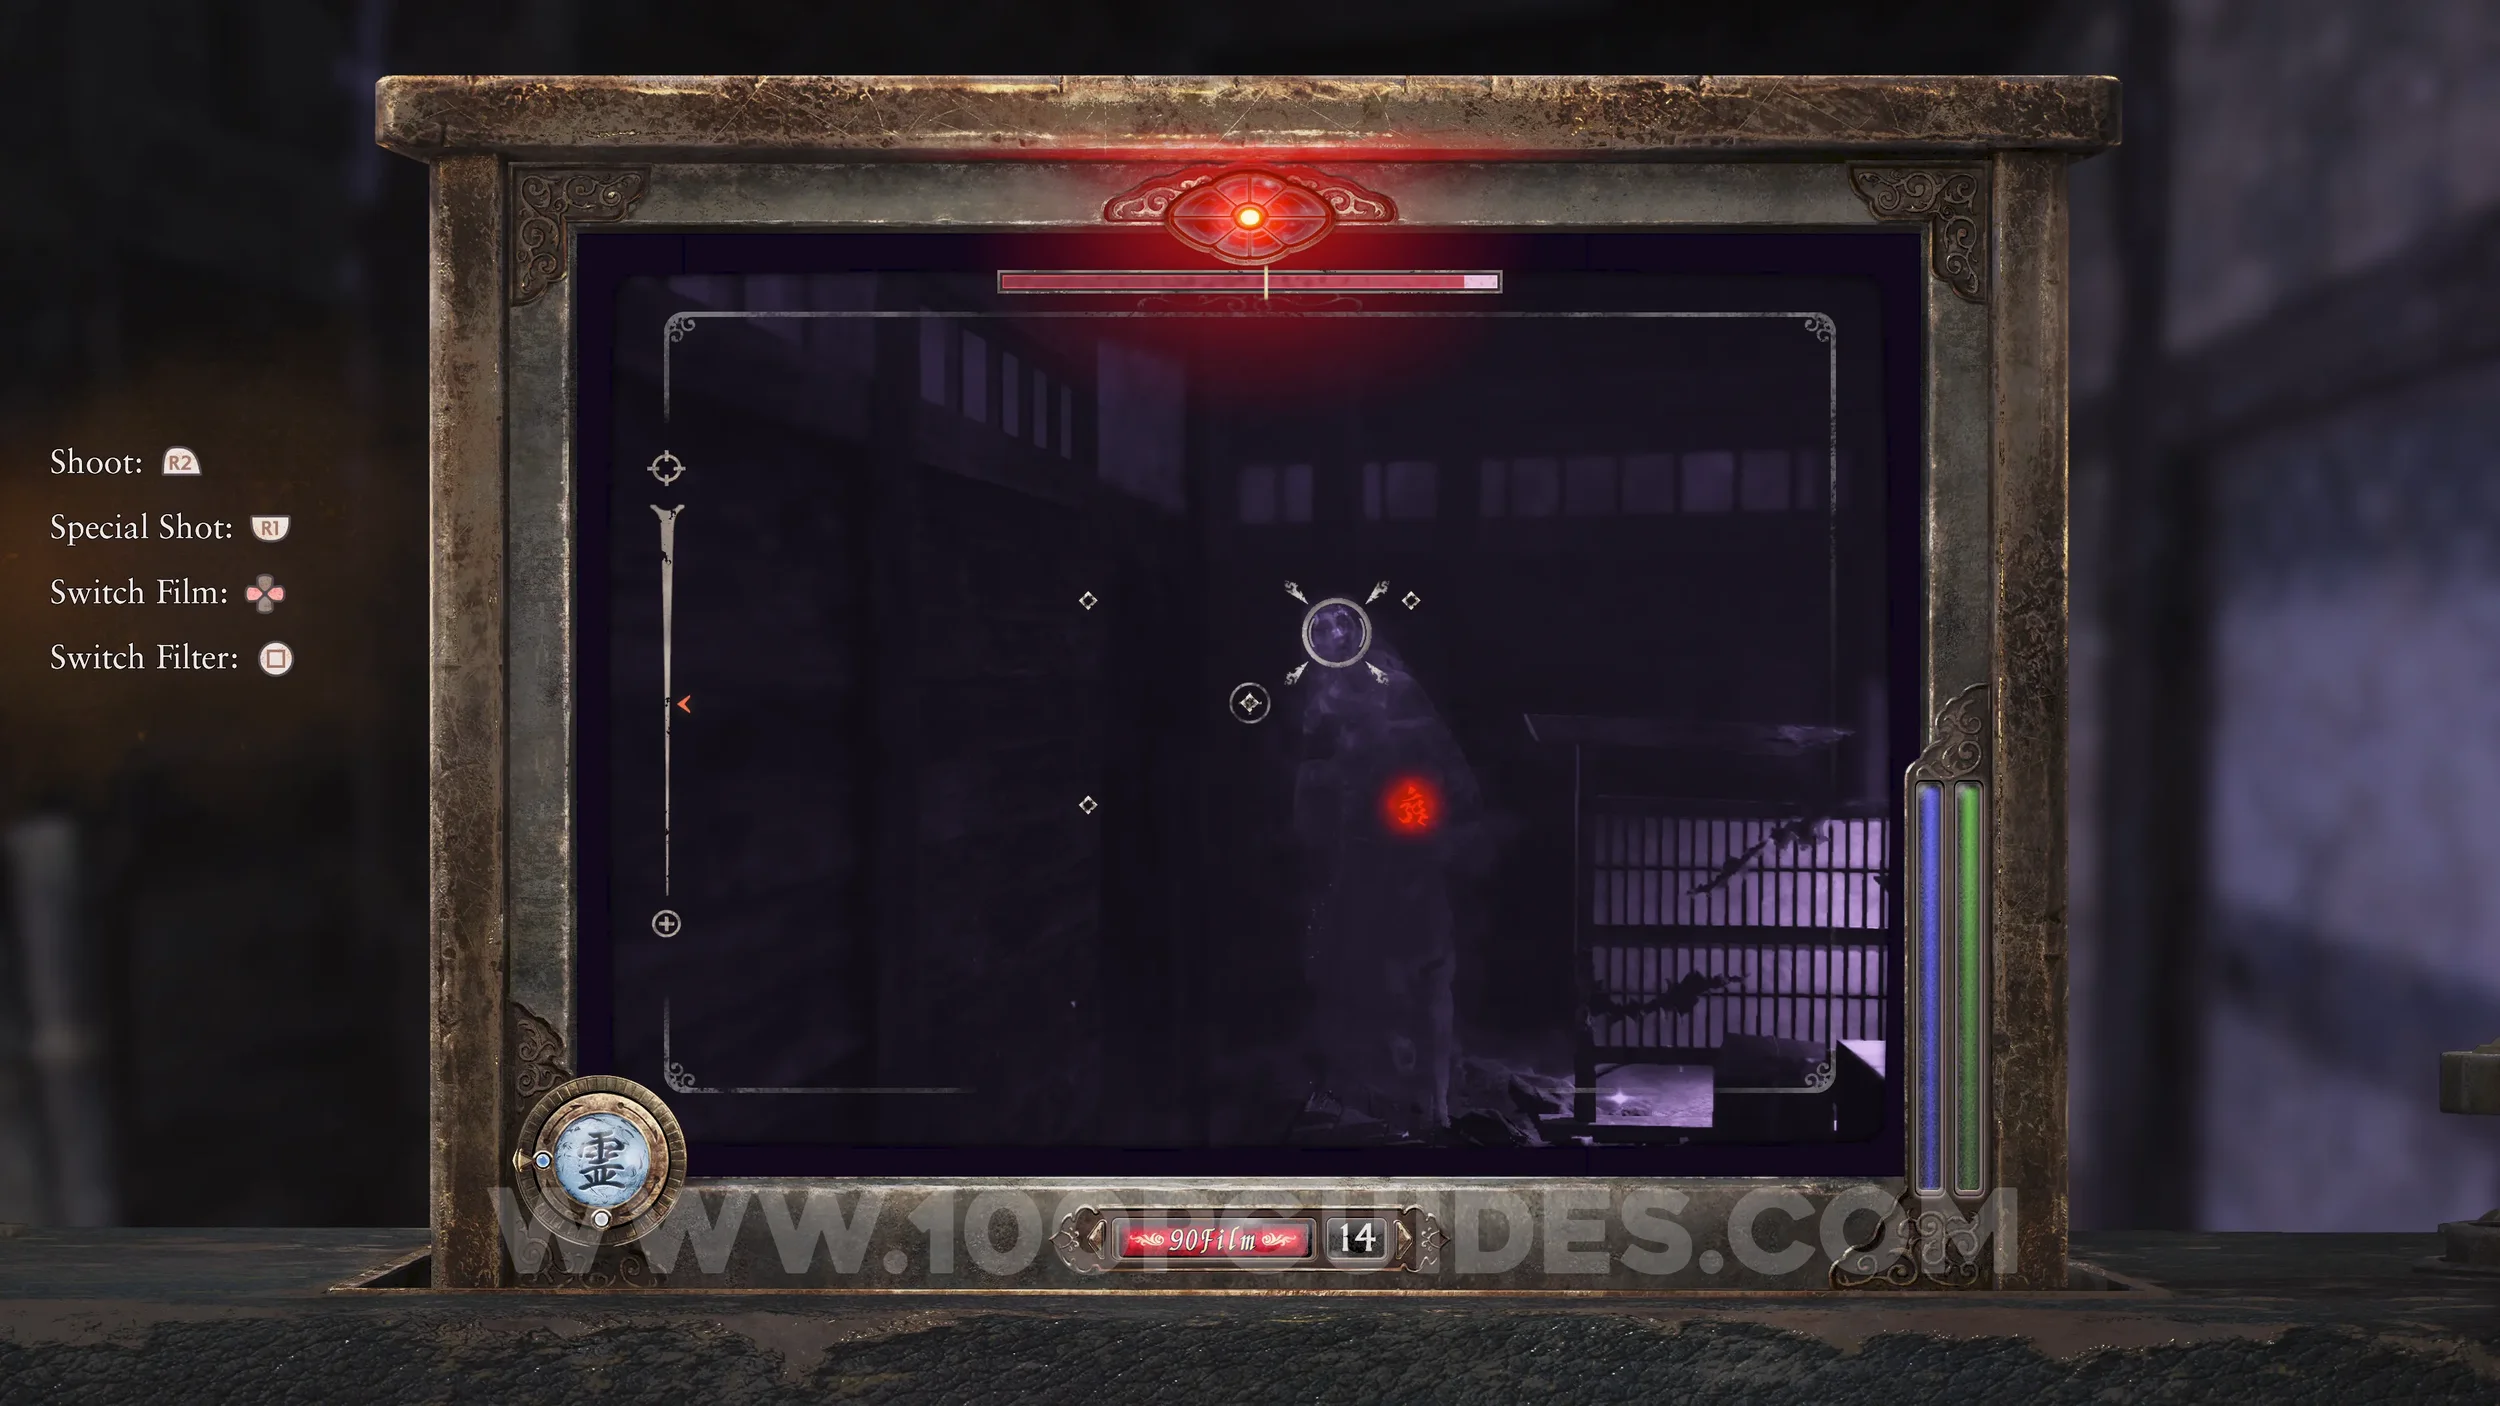
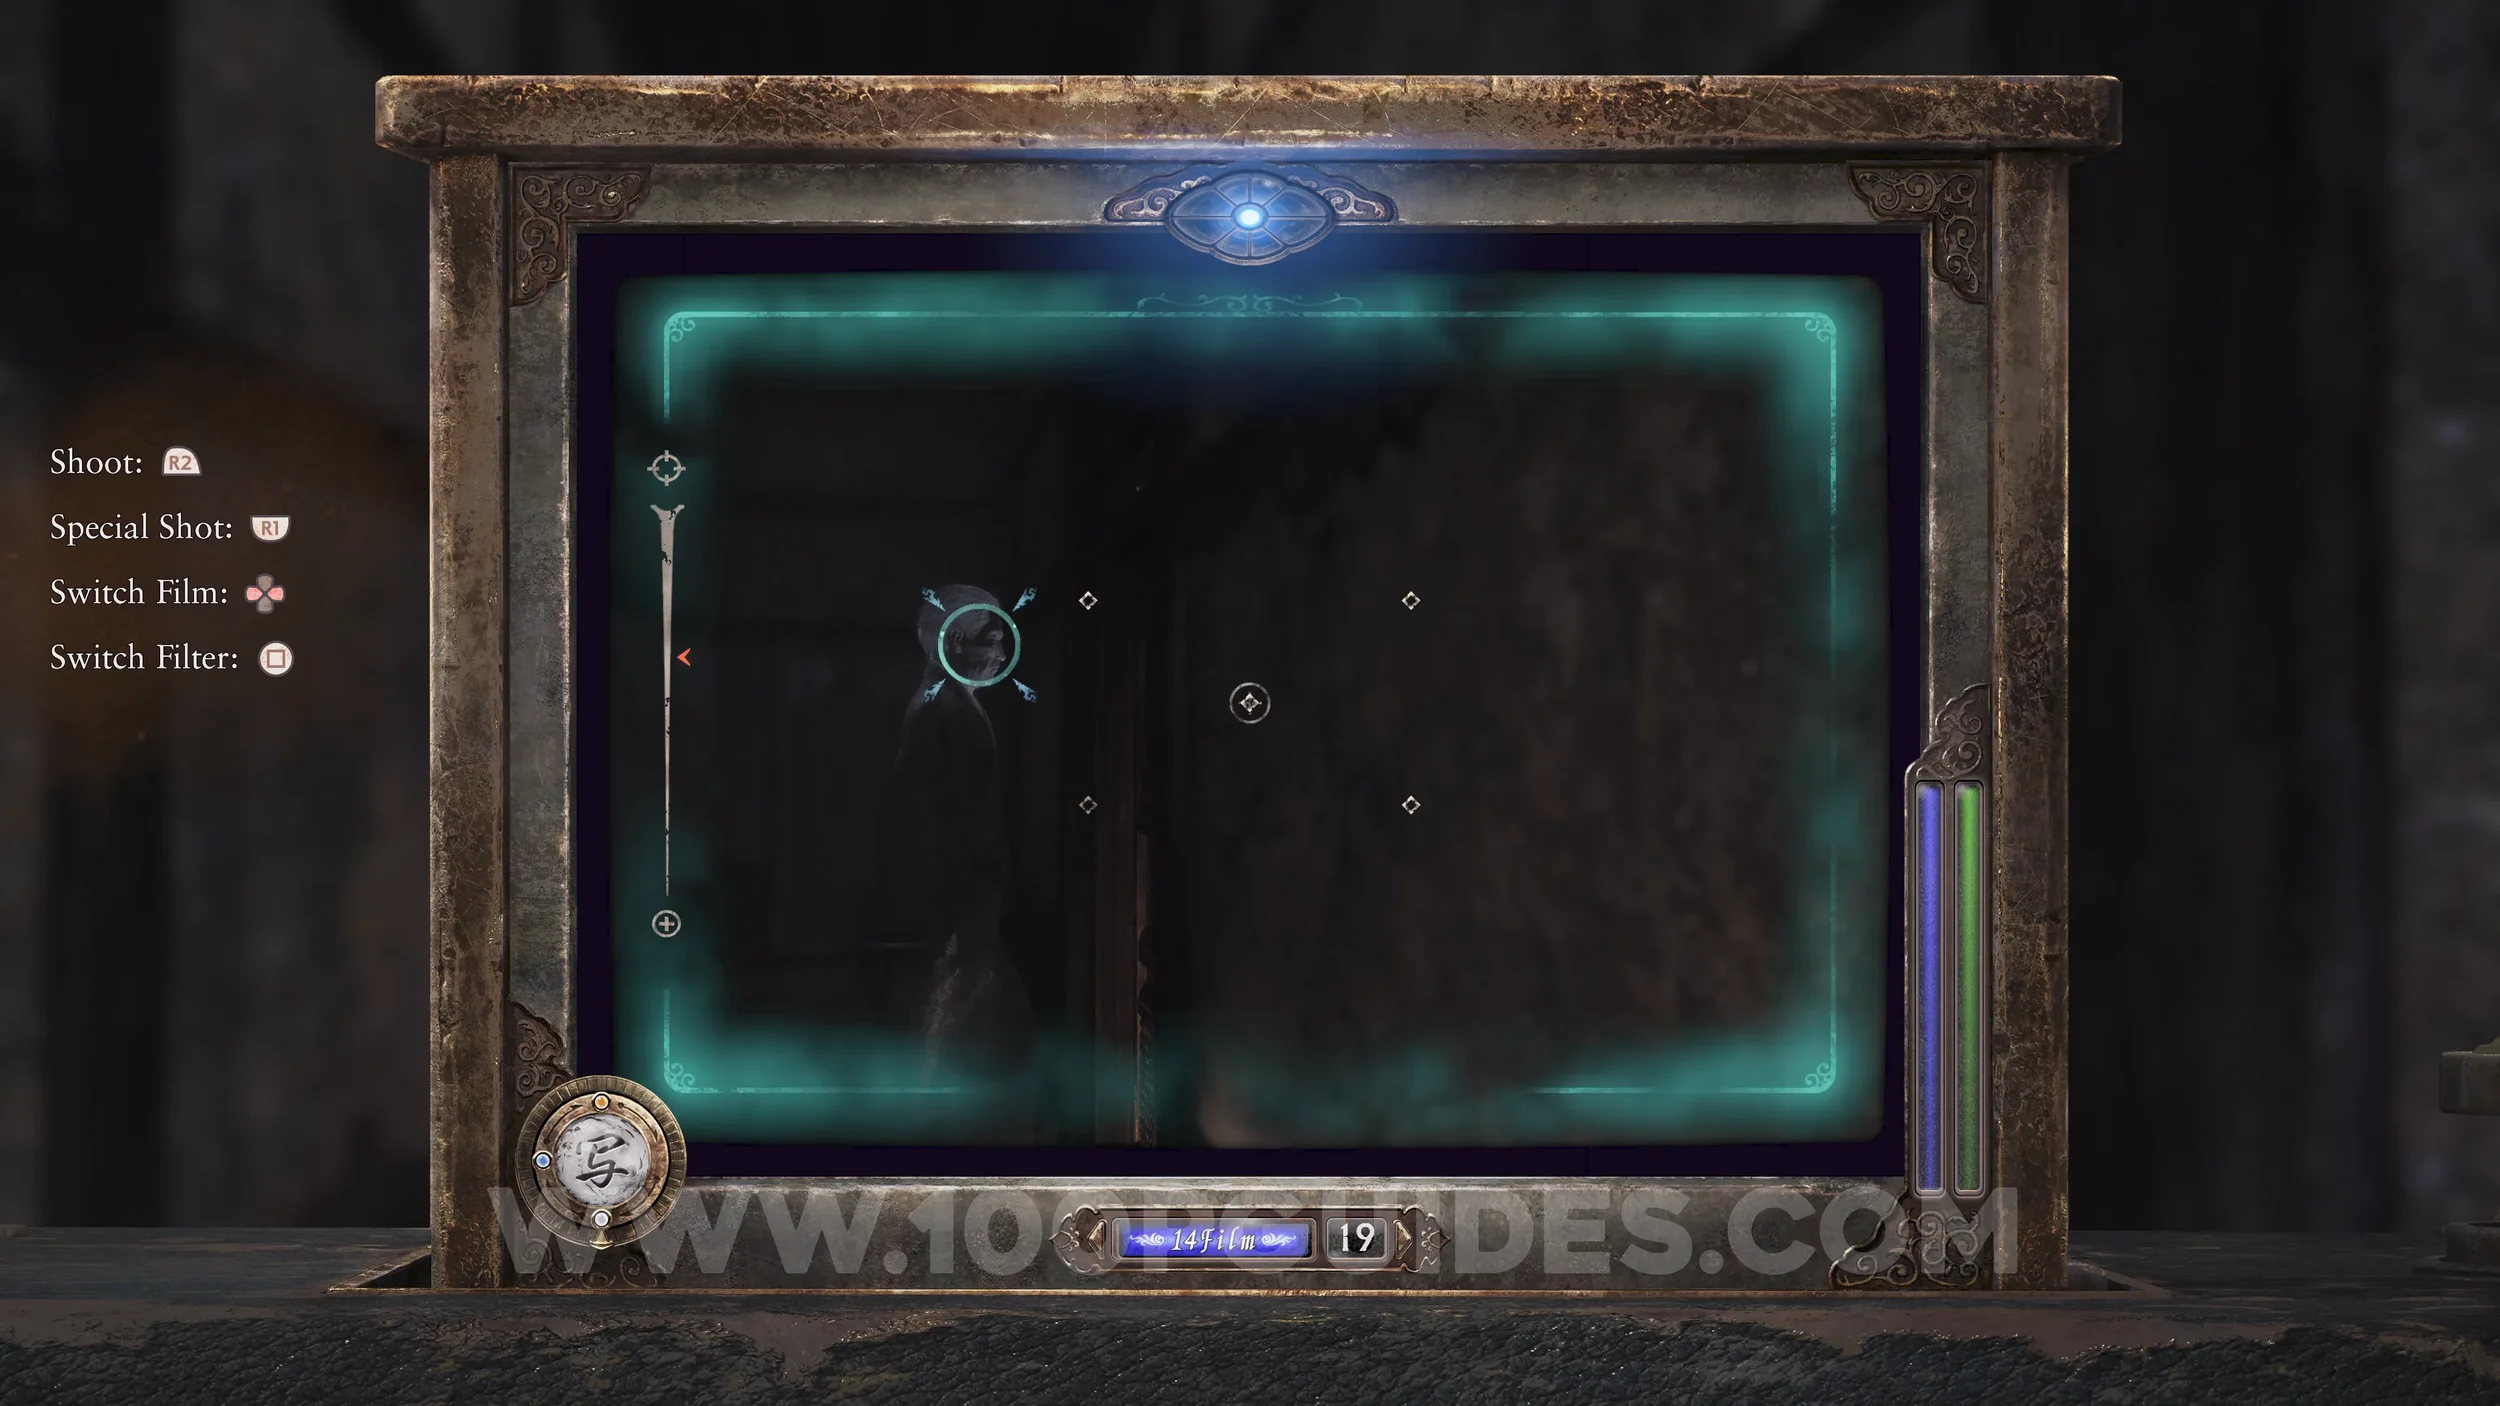
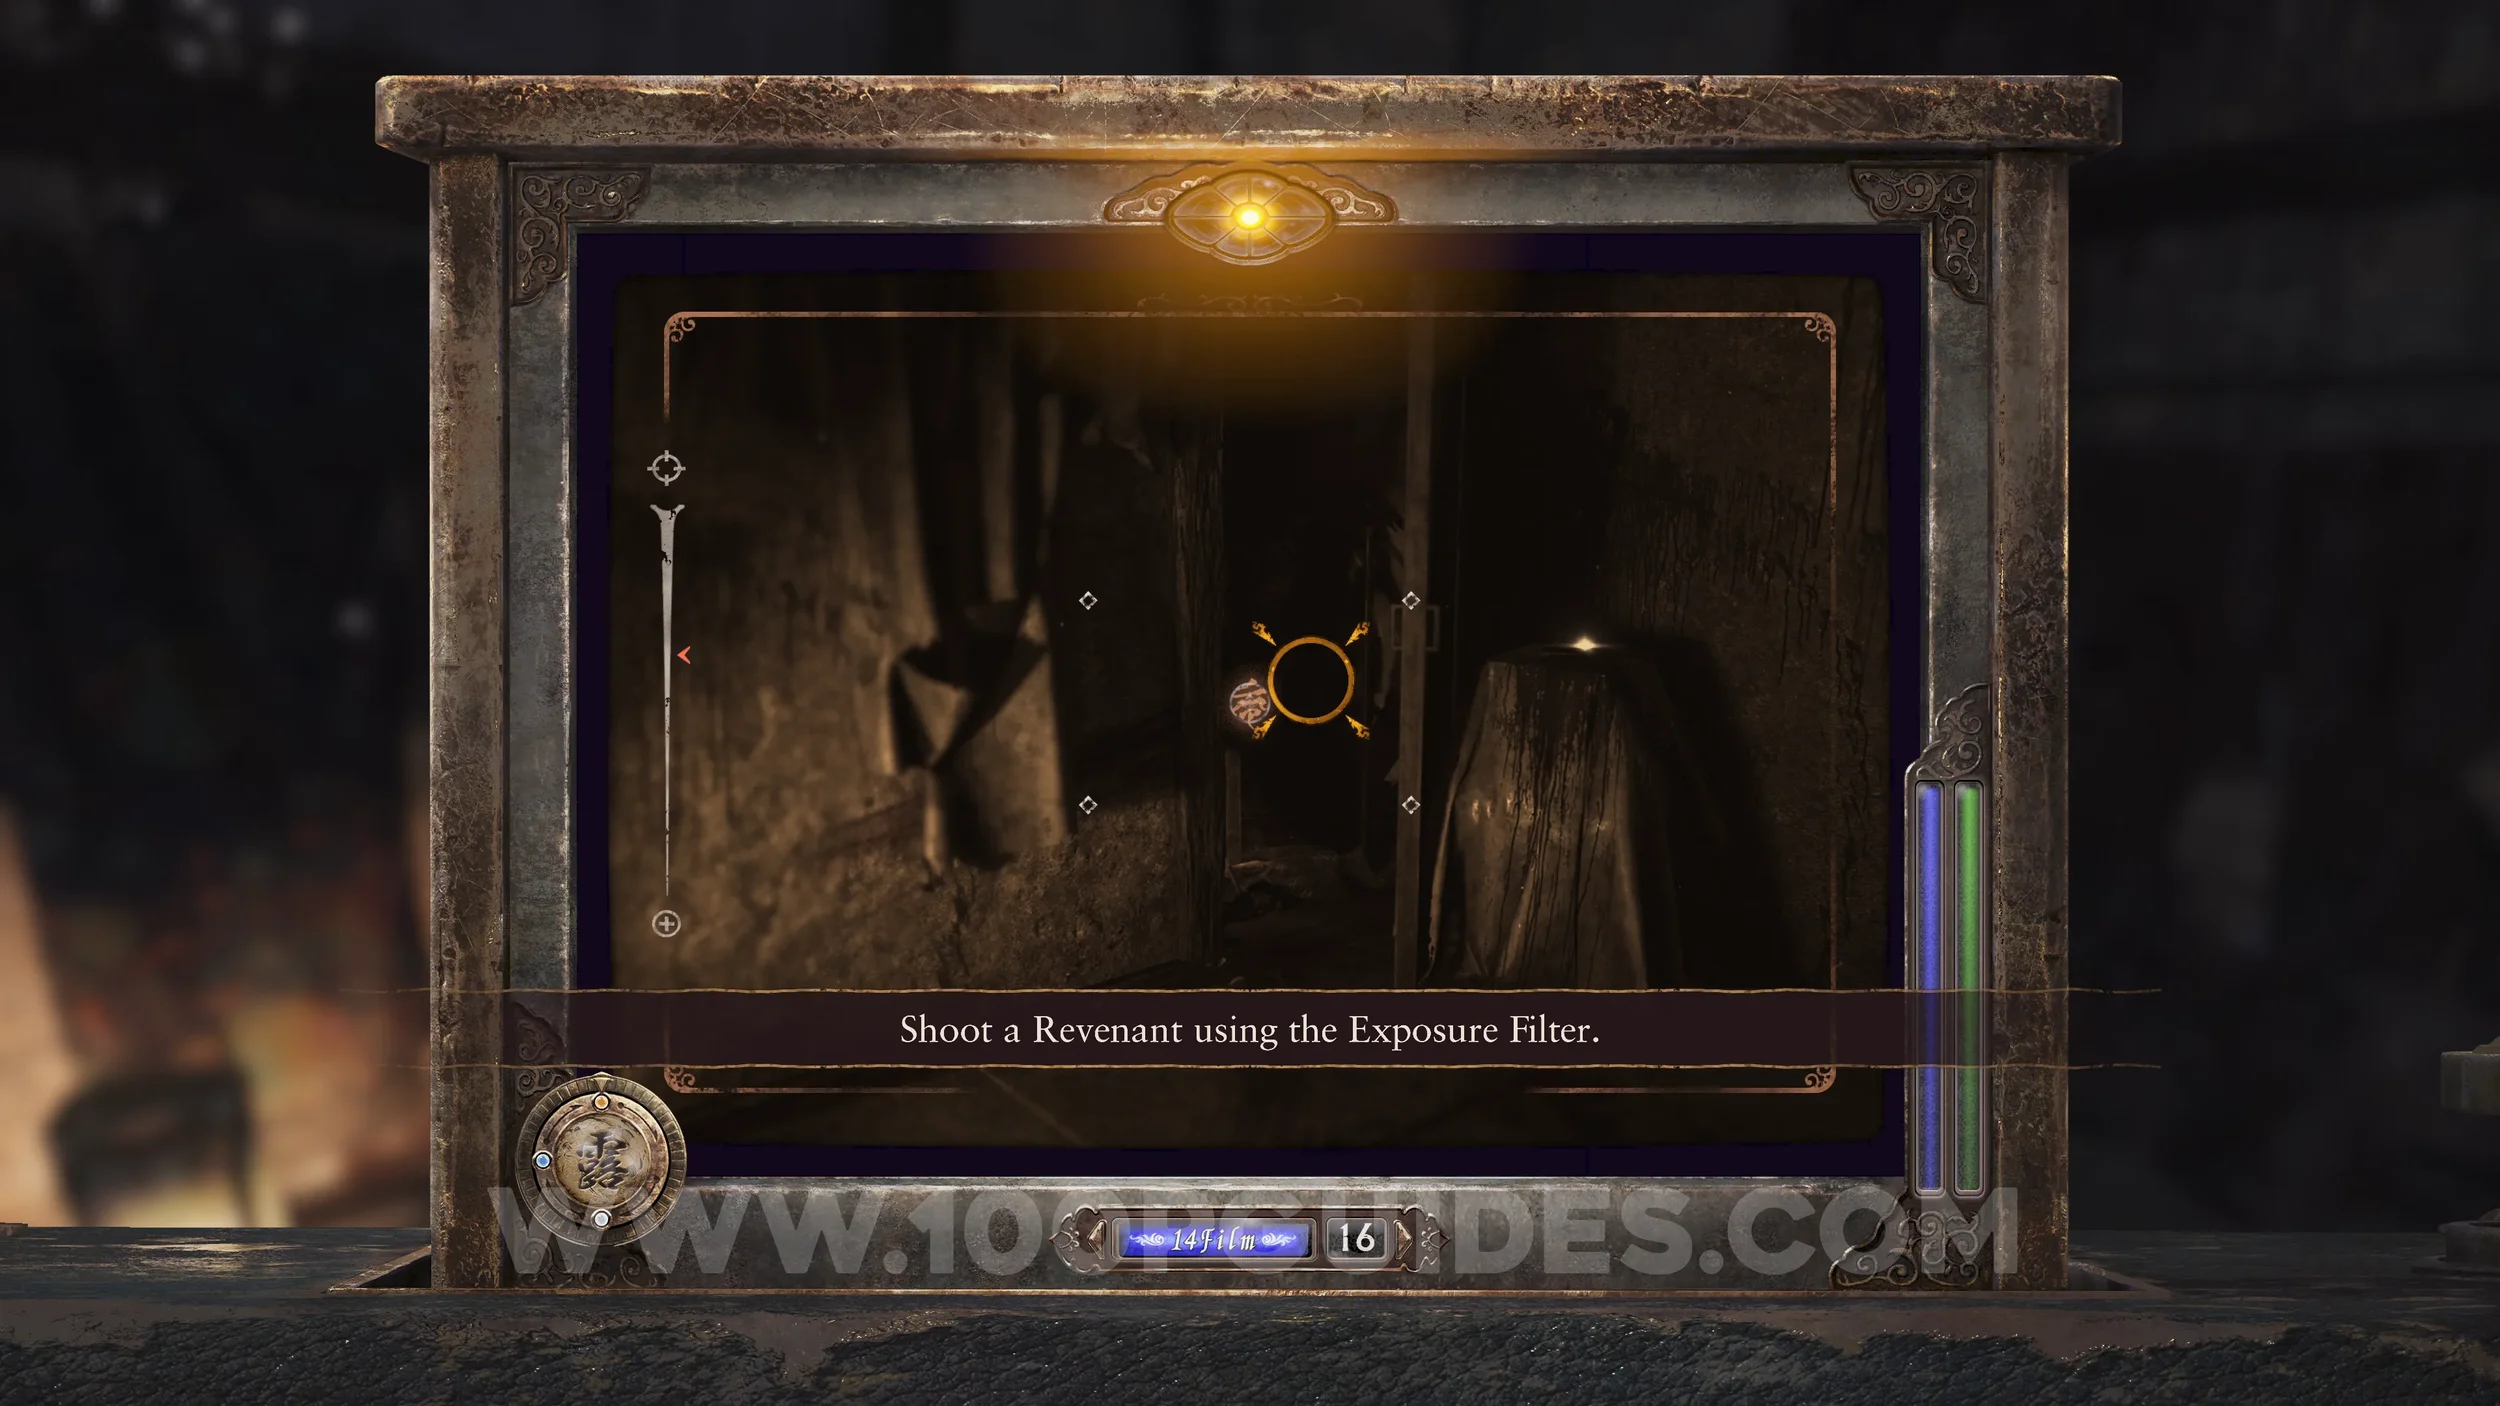
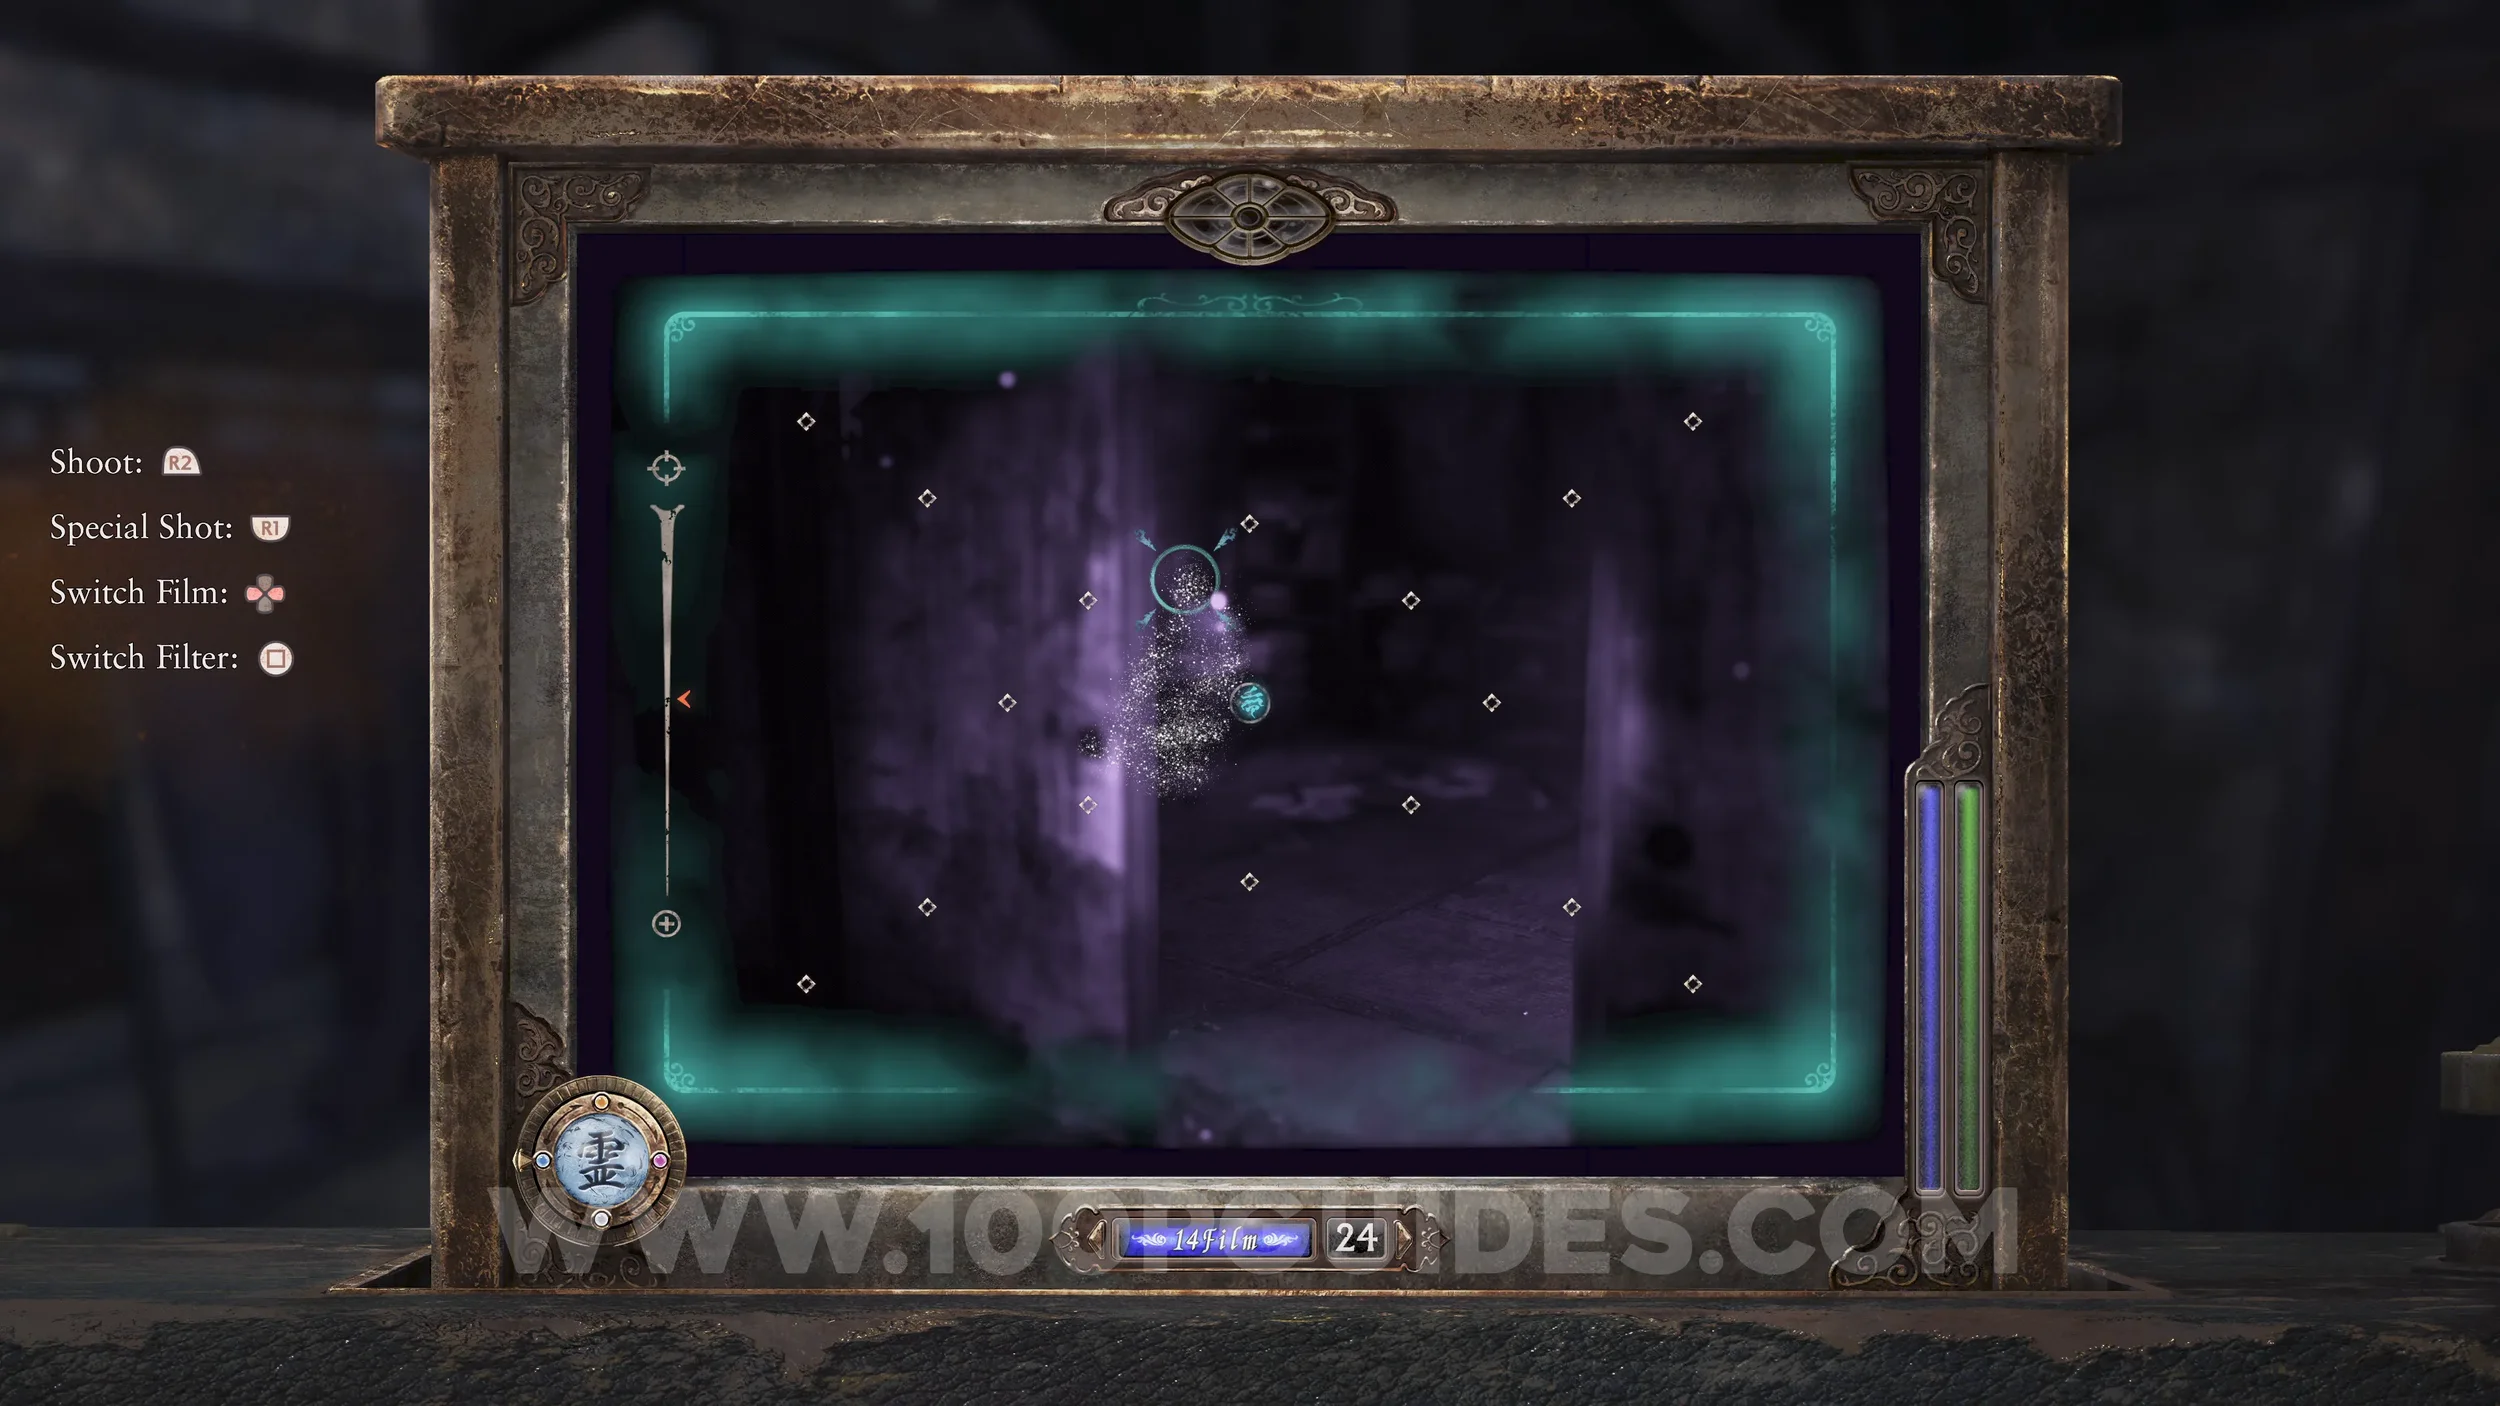
39 Revenants. Hidden spirits that can only be revealed using the Exposure Filter. Photograph them all for the Finding Faint Remains trophy.
47 Twin Dolls. Hidden pairs of dolls found throughout the game. Both dolls must be in the same photo for the collectible to count. Collect them all for the Dual Funeral Rites trophy.
18 Phantom Exposes. Locations that can be altered using the Exposure Filter after finding the corresponding photograph. Discover them all for the Expose Expert trophy.
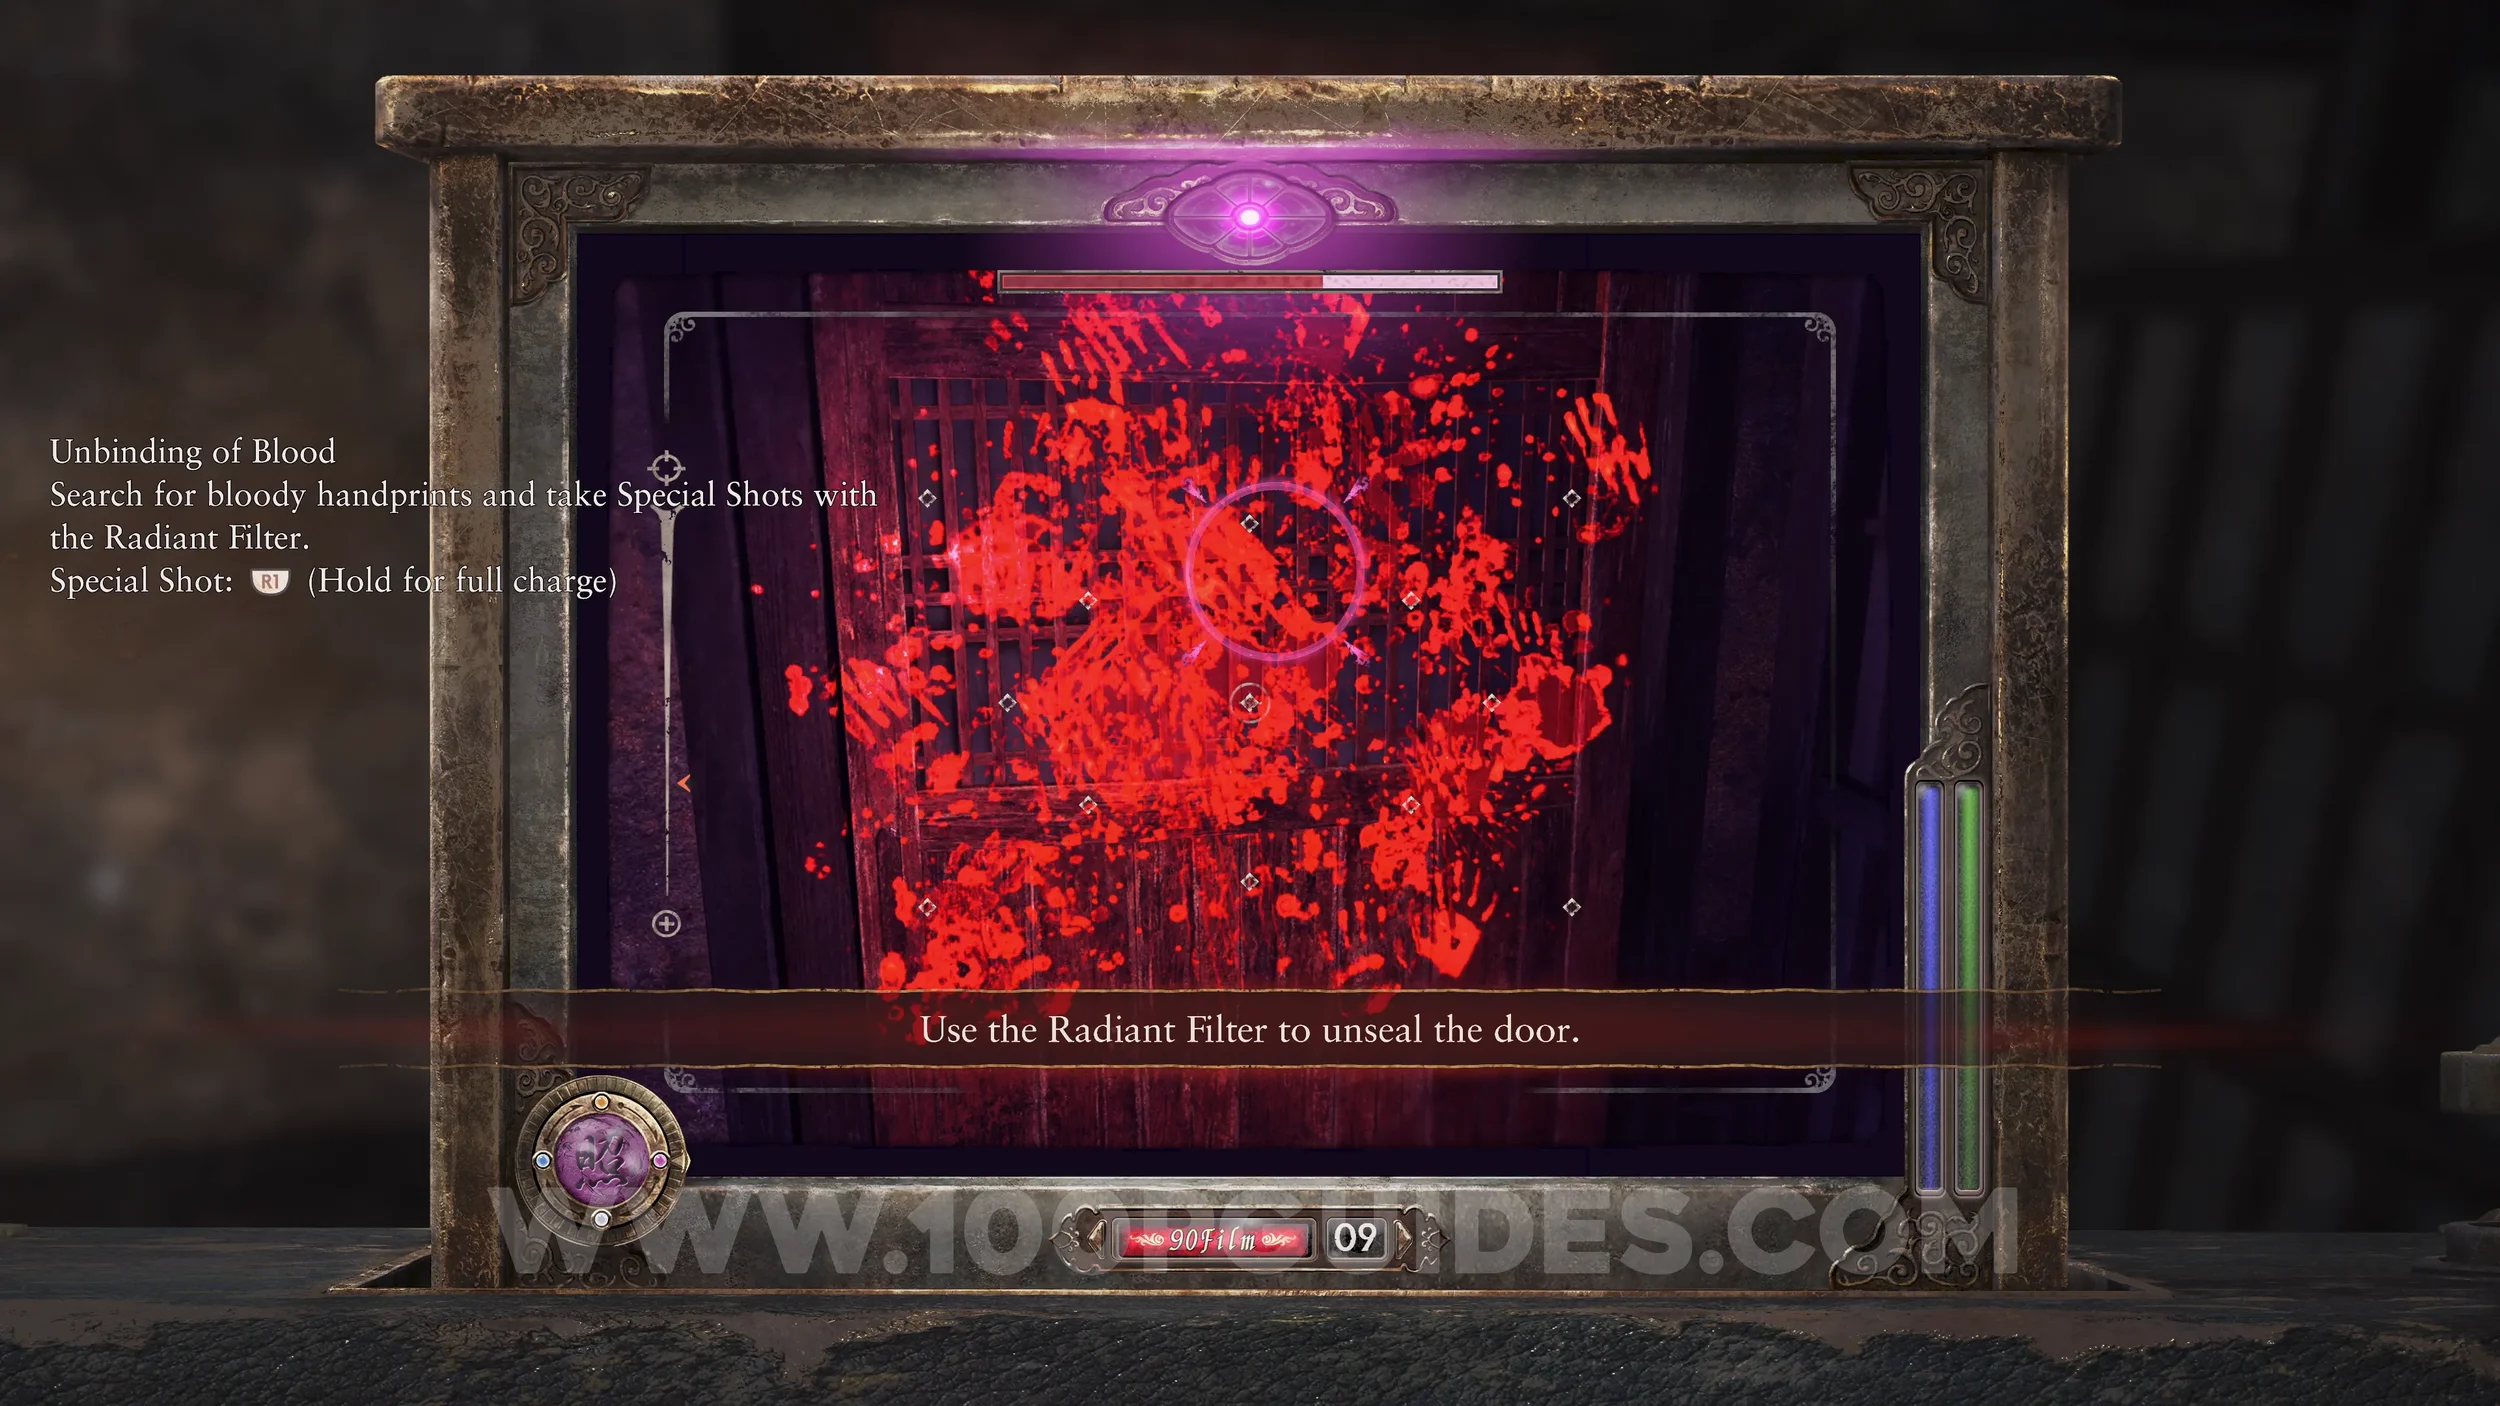
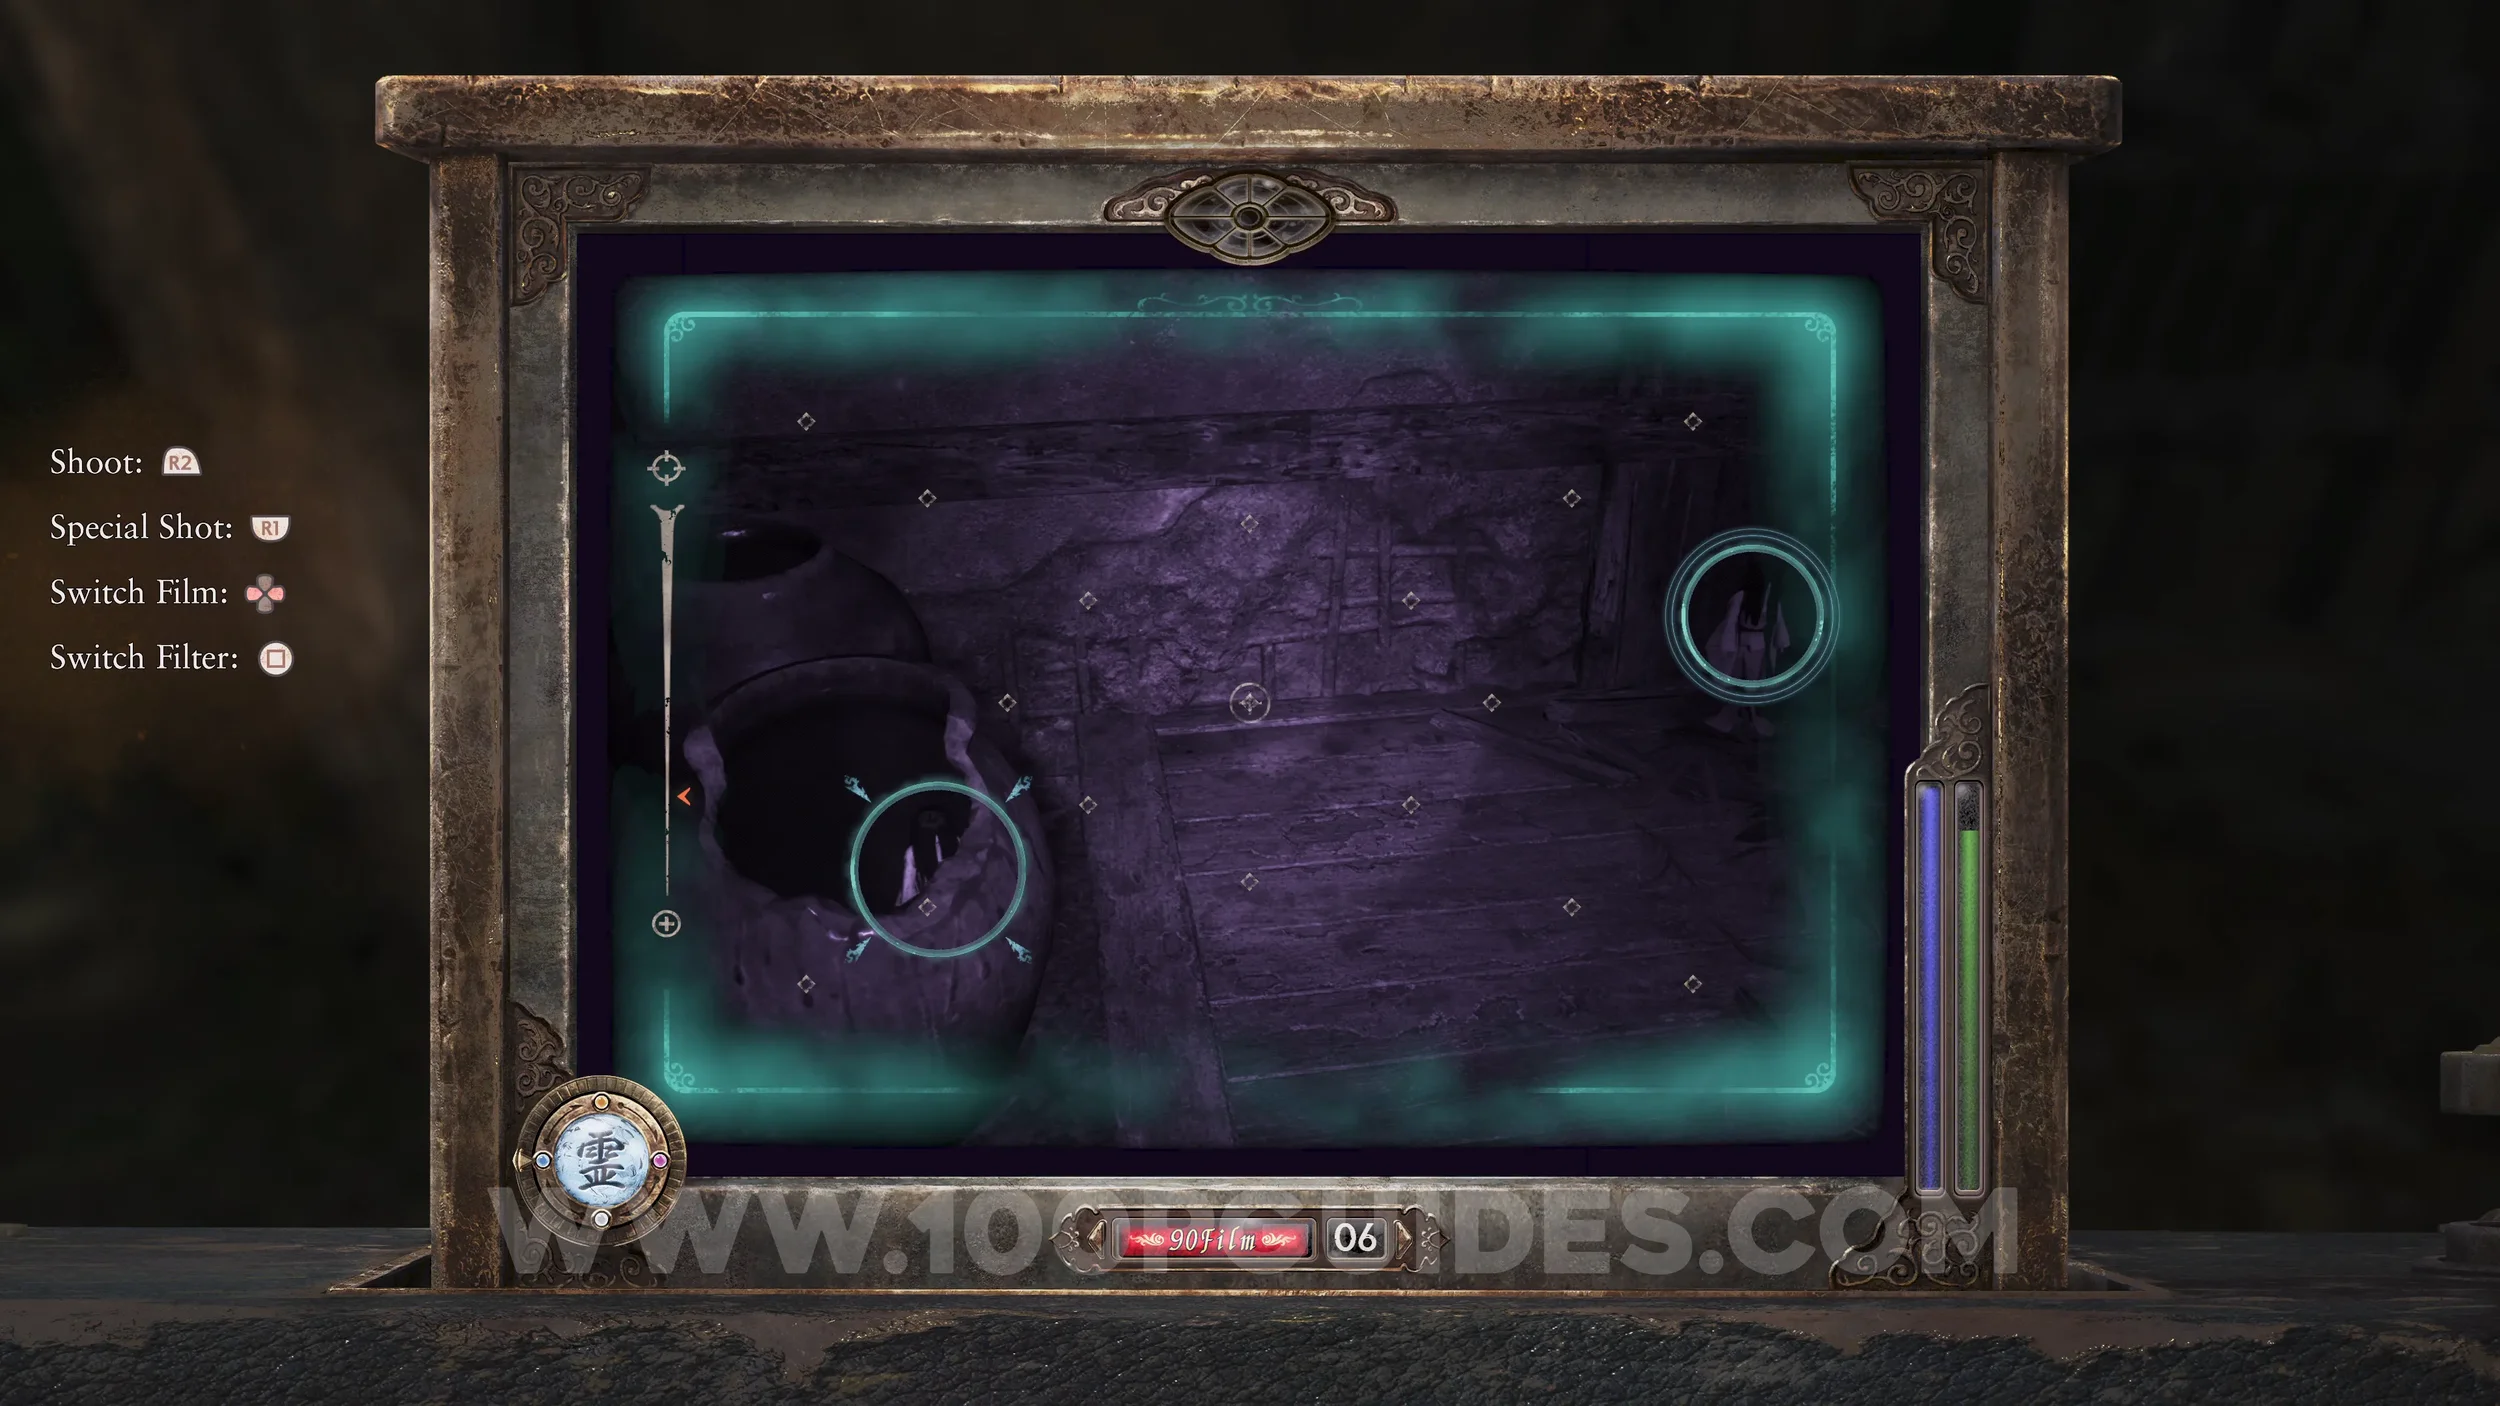
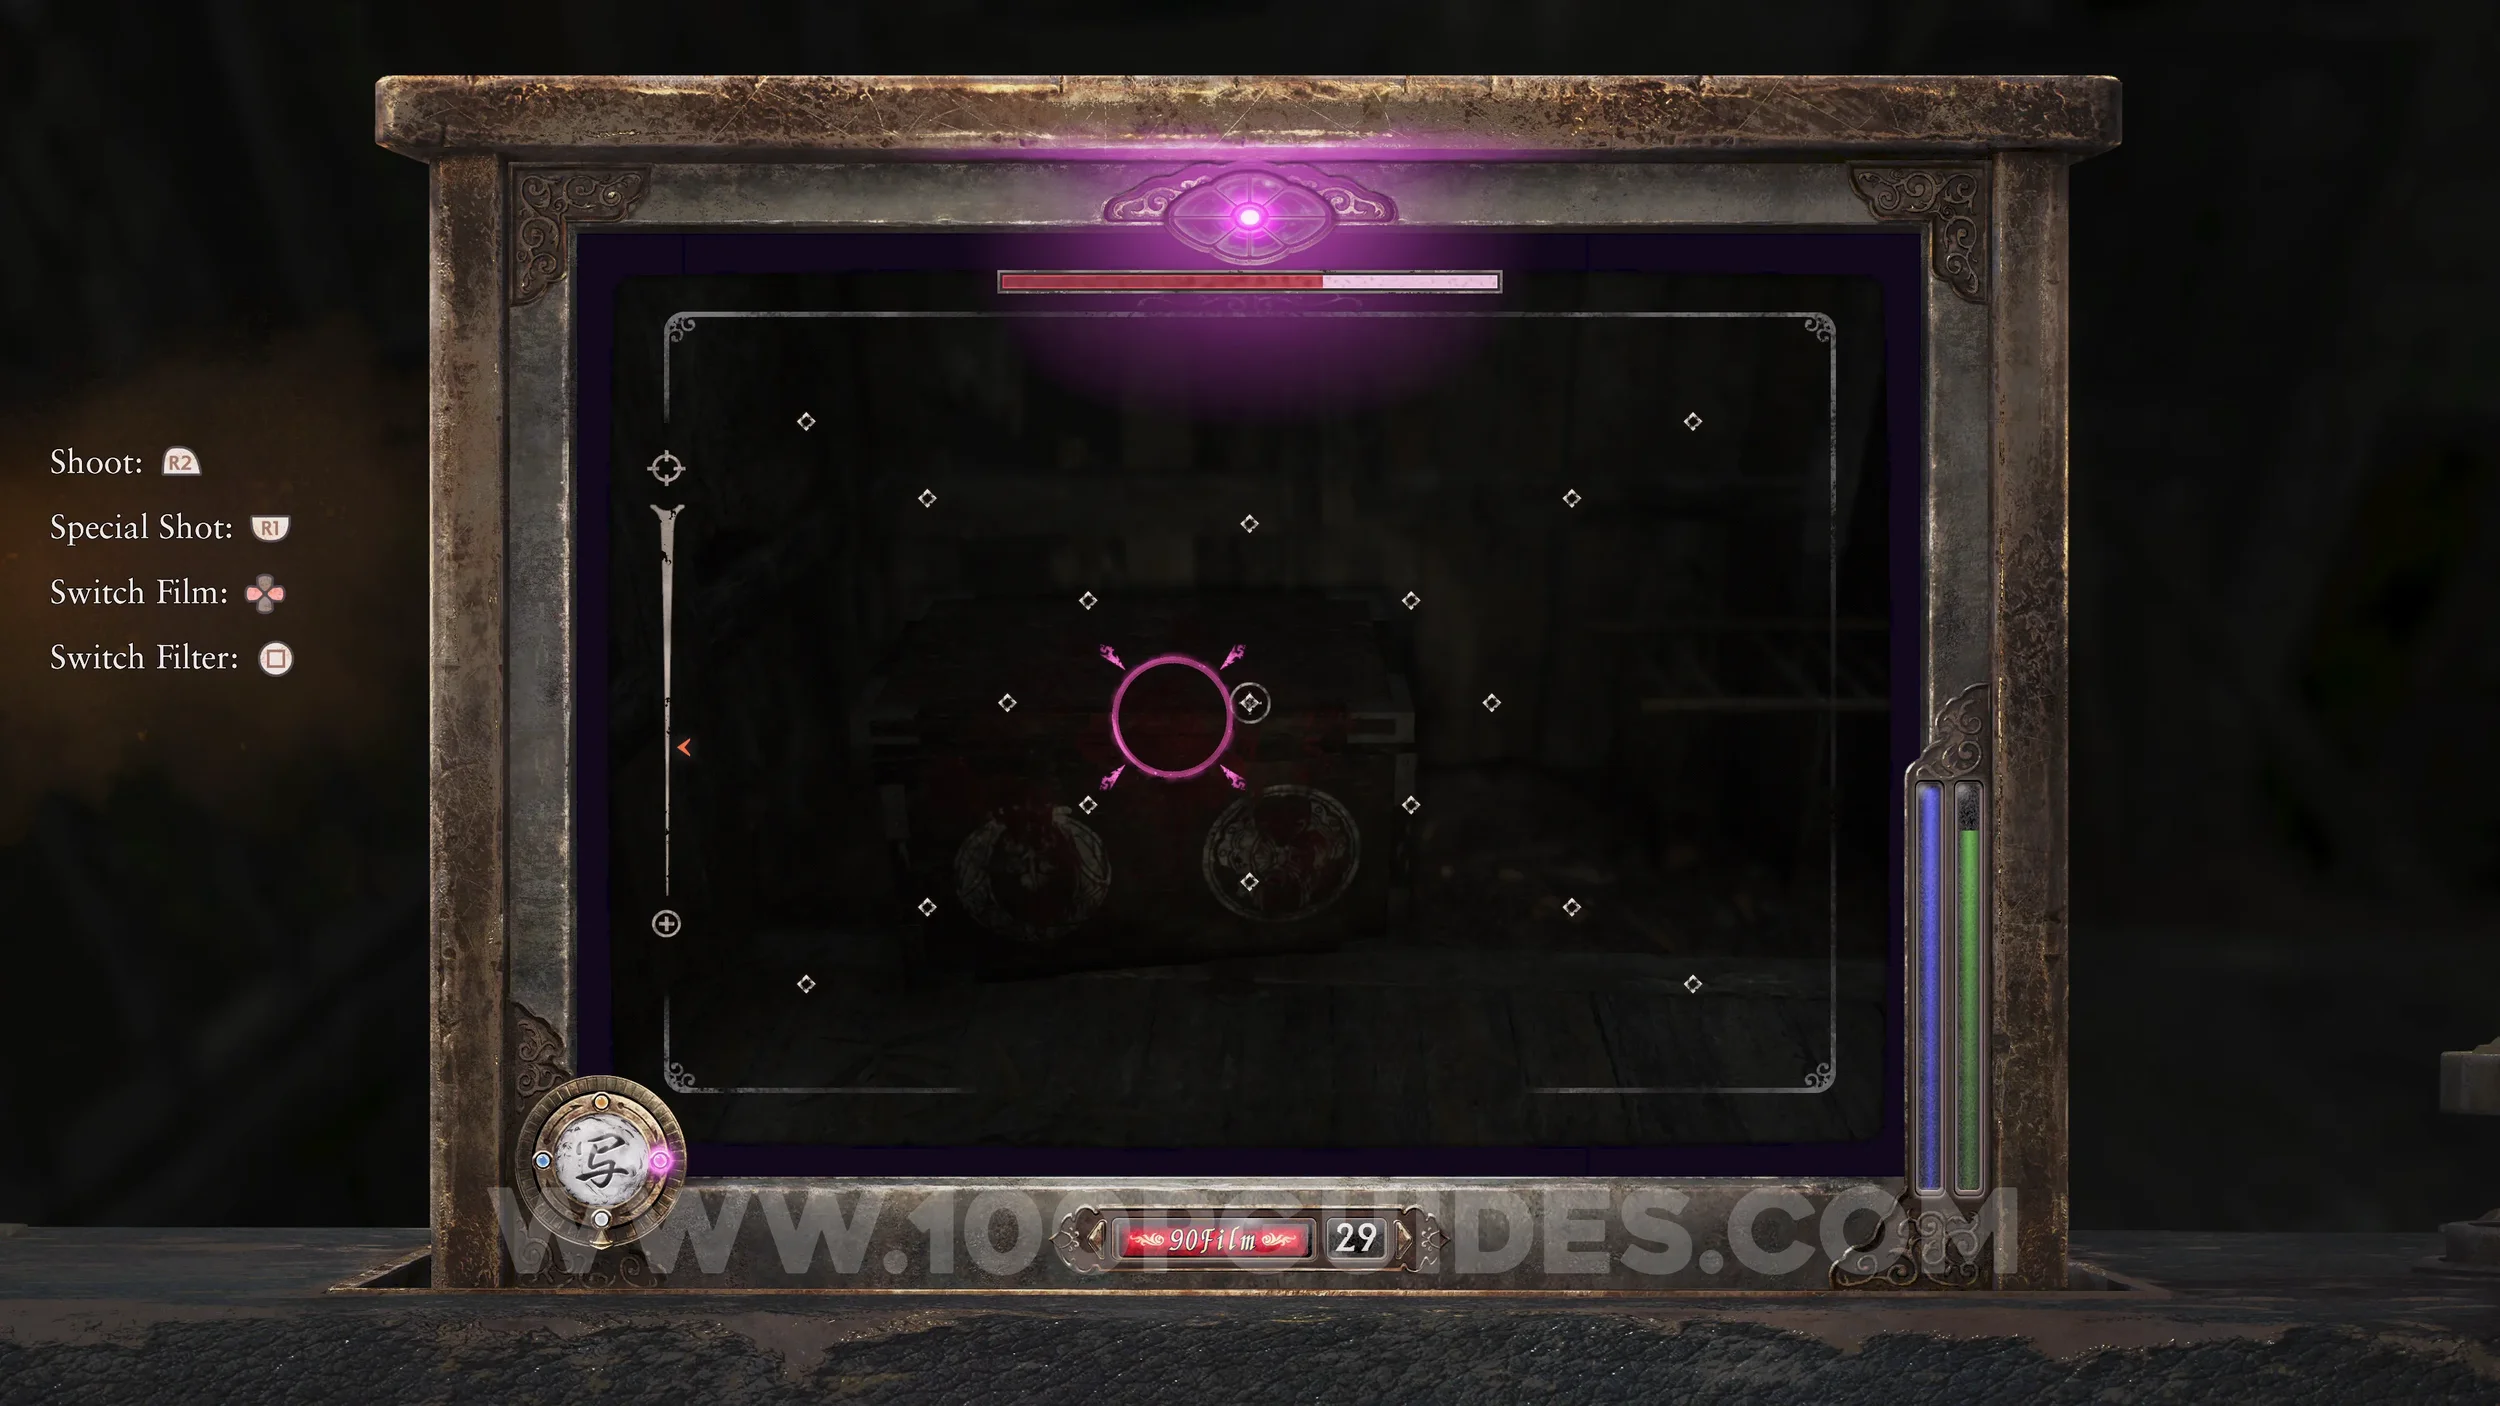
30 Unbindings of Blood. Objects such as pots and cupboards sealed with blood that can only be opened using the Radiant Filter. Open them all for the Unbinding Enthusiast trophy.
80 Prayer Beads. Used to upgrade your Camera Obscura and filters. You will need more than one playthrough to collect enough for The True Camera Obscura trophy. They can also be purchased with points after completing the game.
16 Side Quests. This guide covers how to complete every side quest. These are required for certain endings, specters, documents, and other collectibles.
6 Endings. In addition to collectibles, this guide explains how to unlock every ending.
This guide also includes other, less important items that are completely optional.
No collectibles are missable, as Chapter Select becomes available after completing the game for the first time. Collectible progress also carries across saves for trophy tracking. You can check this in the Info > Play Record menu.
Obtaining every collectible and unlocking every ending in Fatal Frame 2 Remake will require at least five playthroughs, although six are recommended. The good news is that most subsequent runs will not be full playthroughs, as you will only need to replay specific sections of the story.
Chapter 1
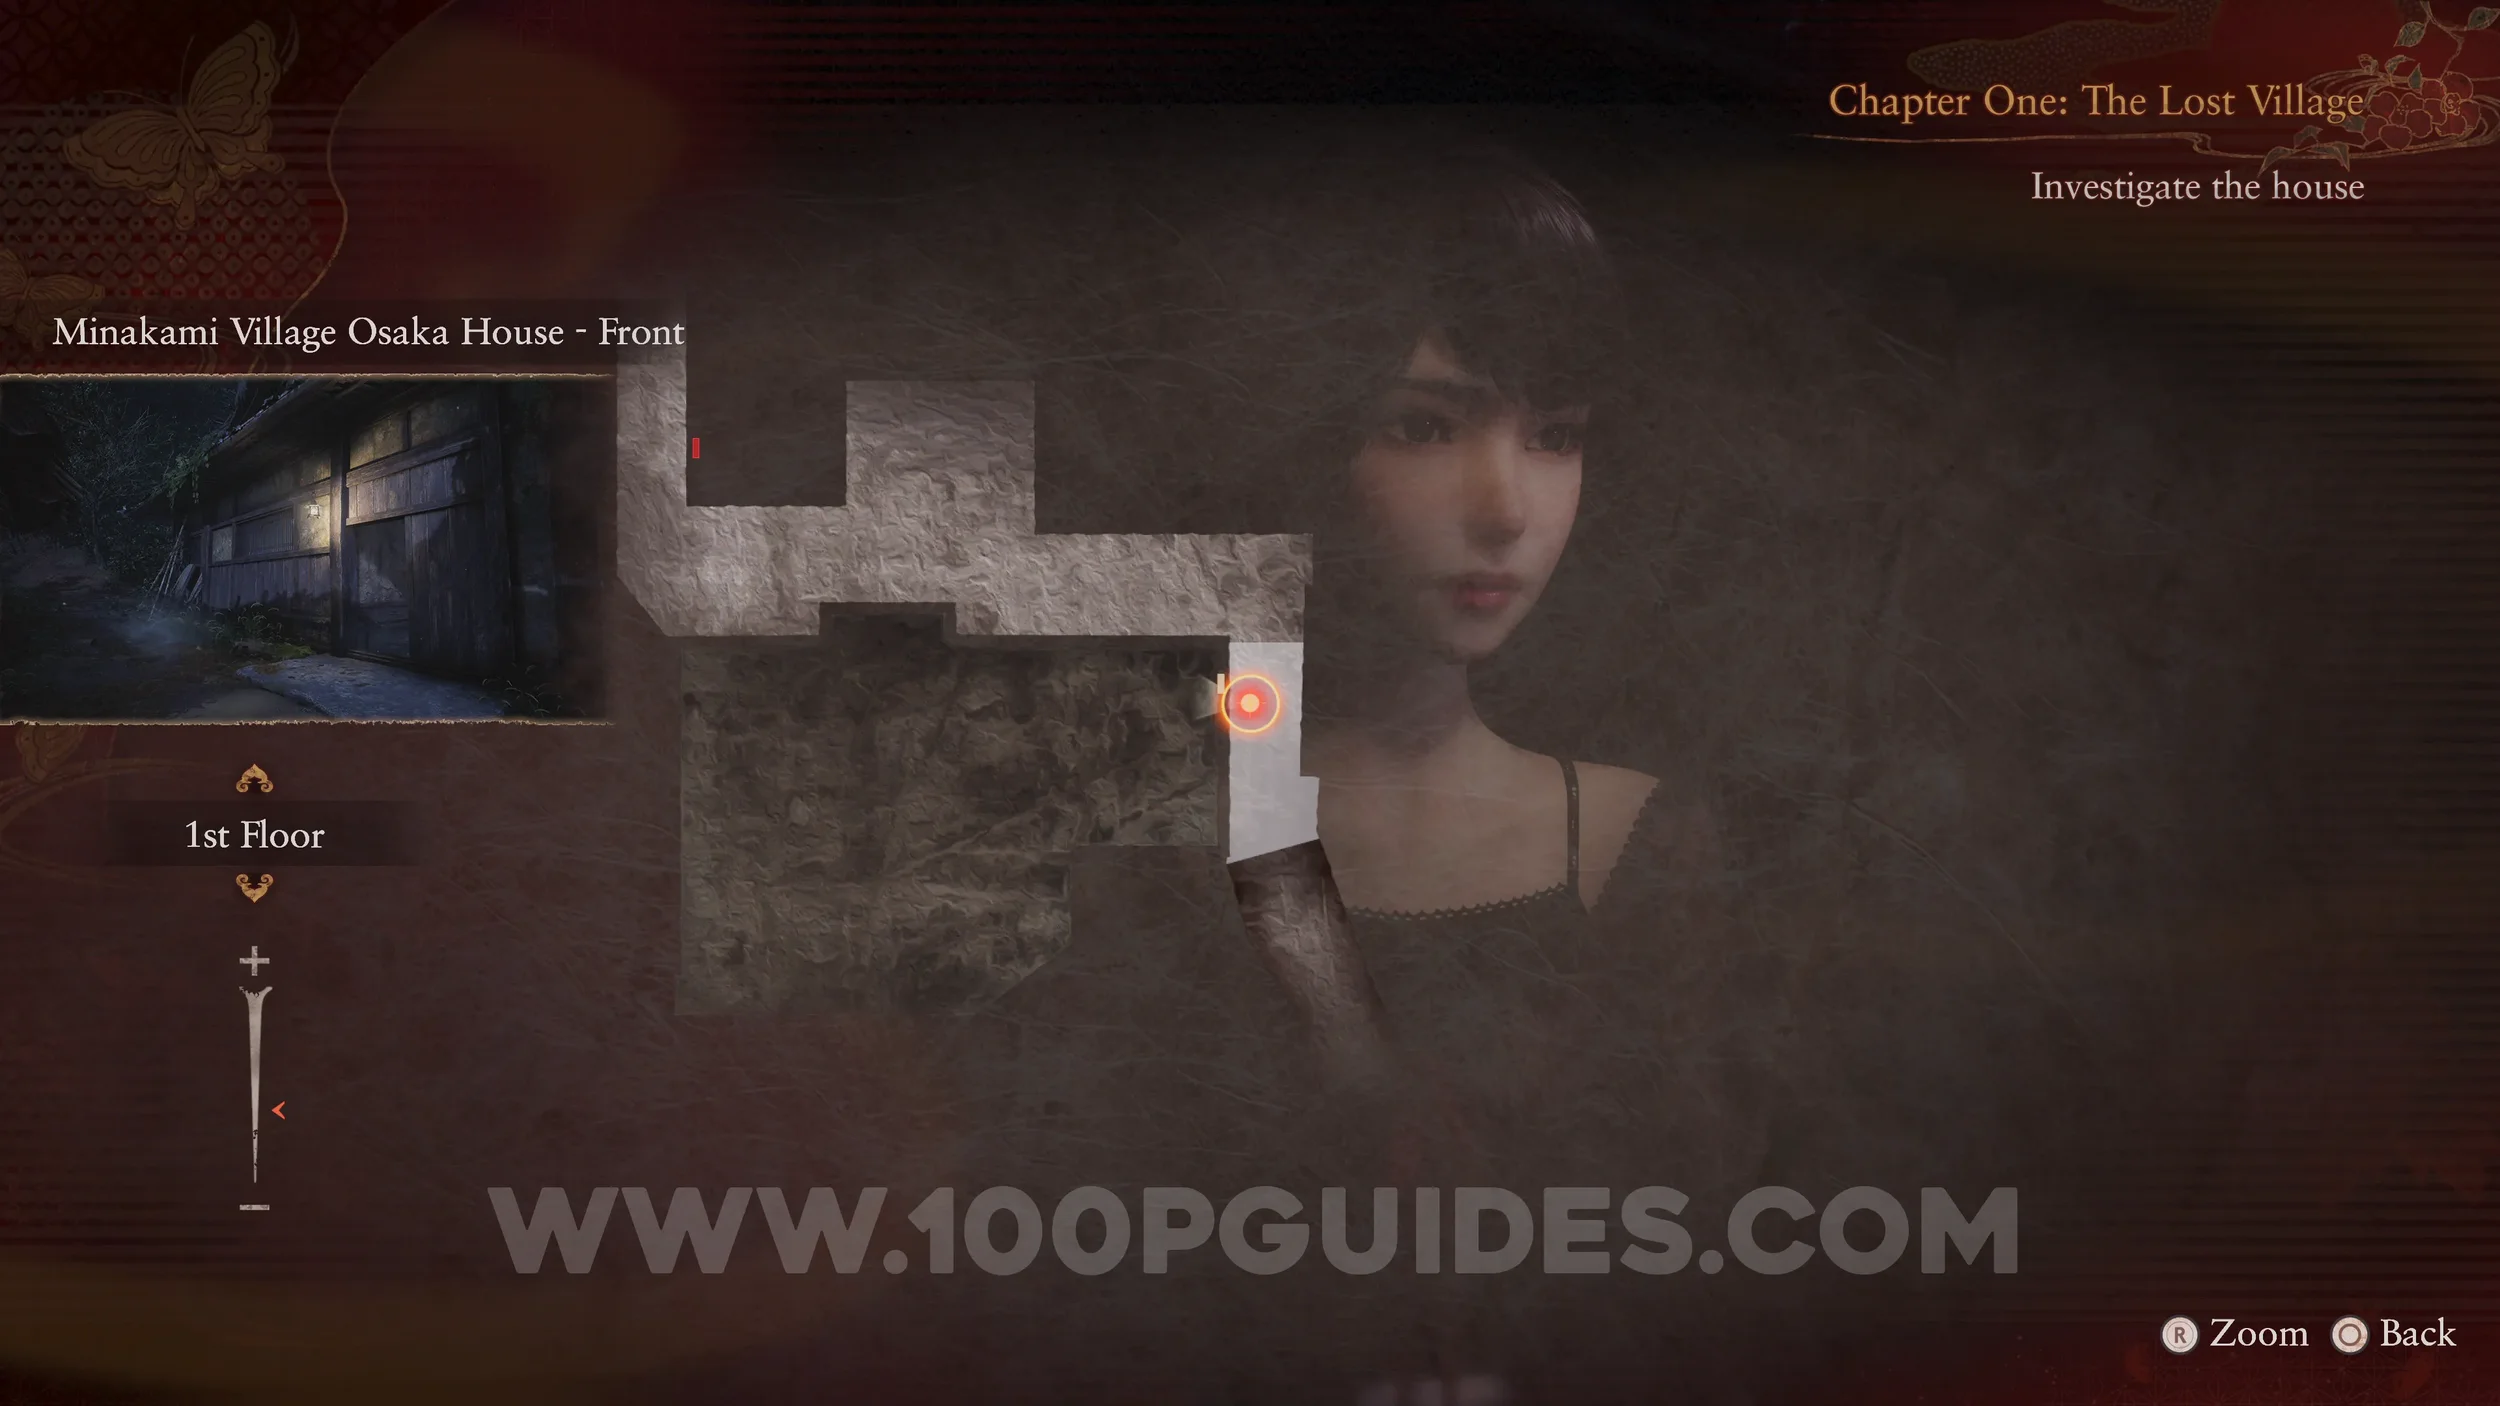
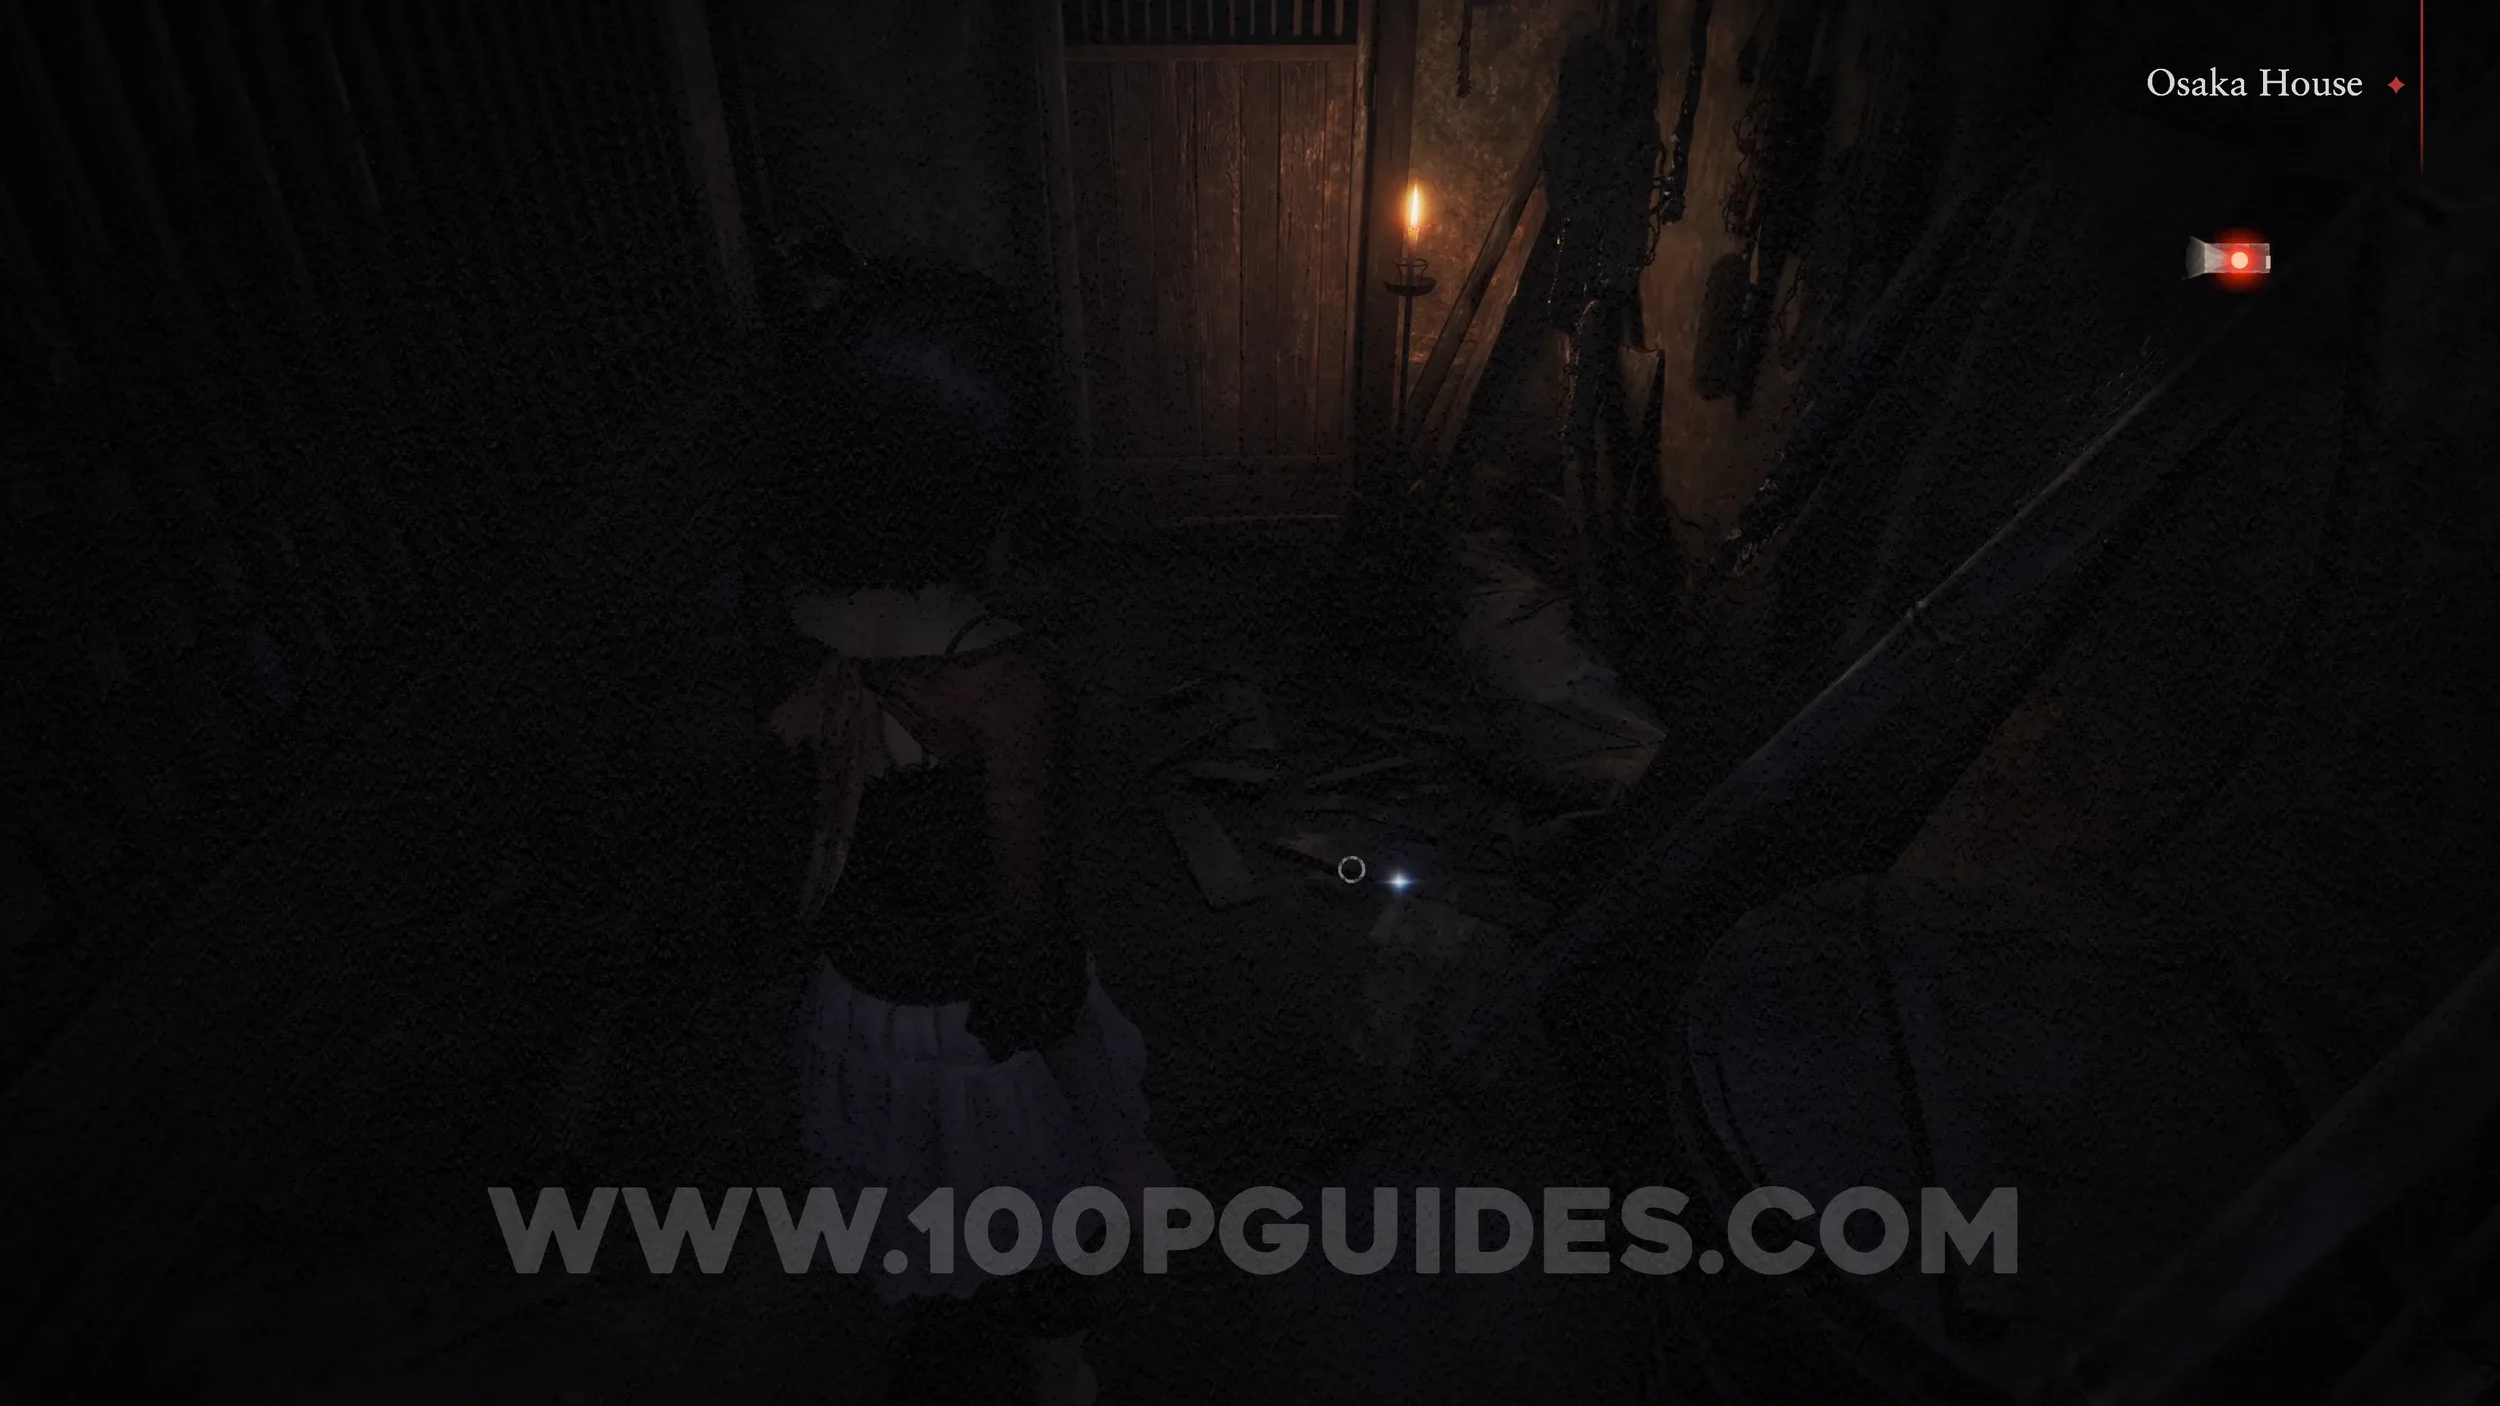
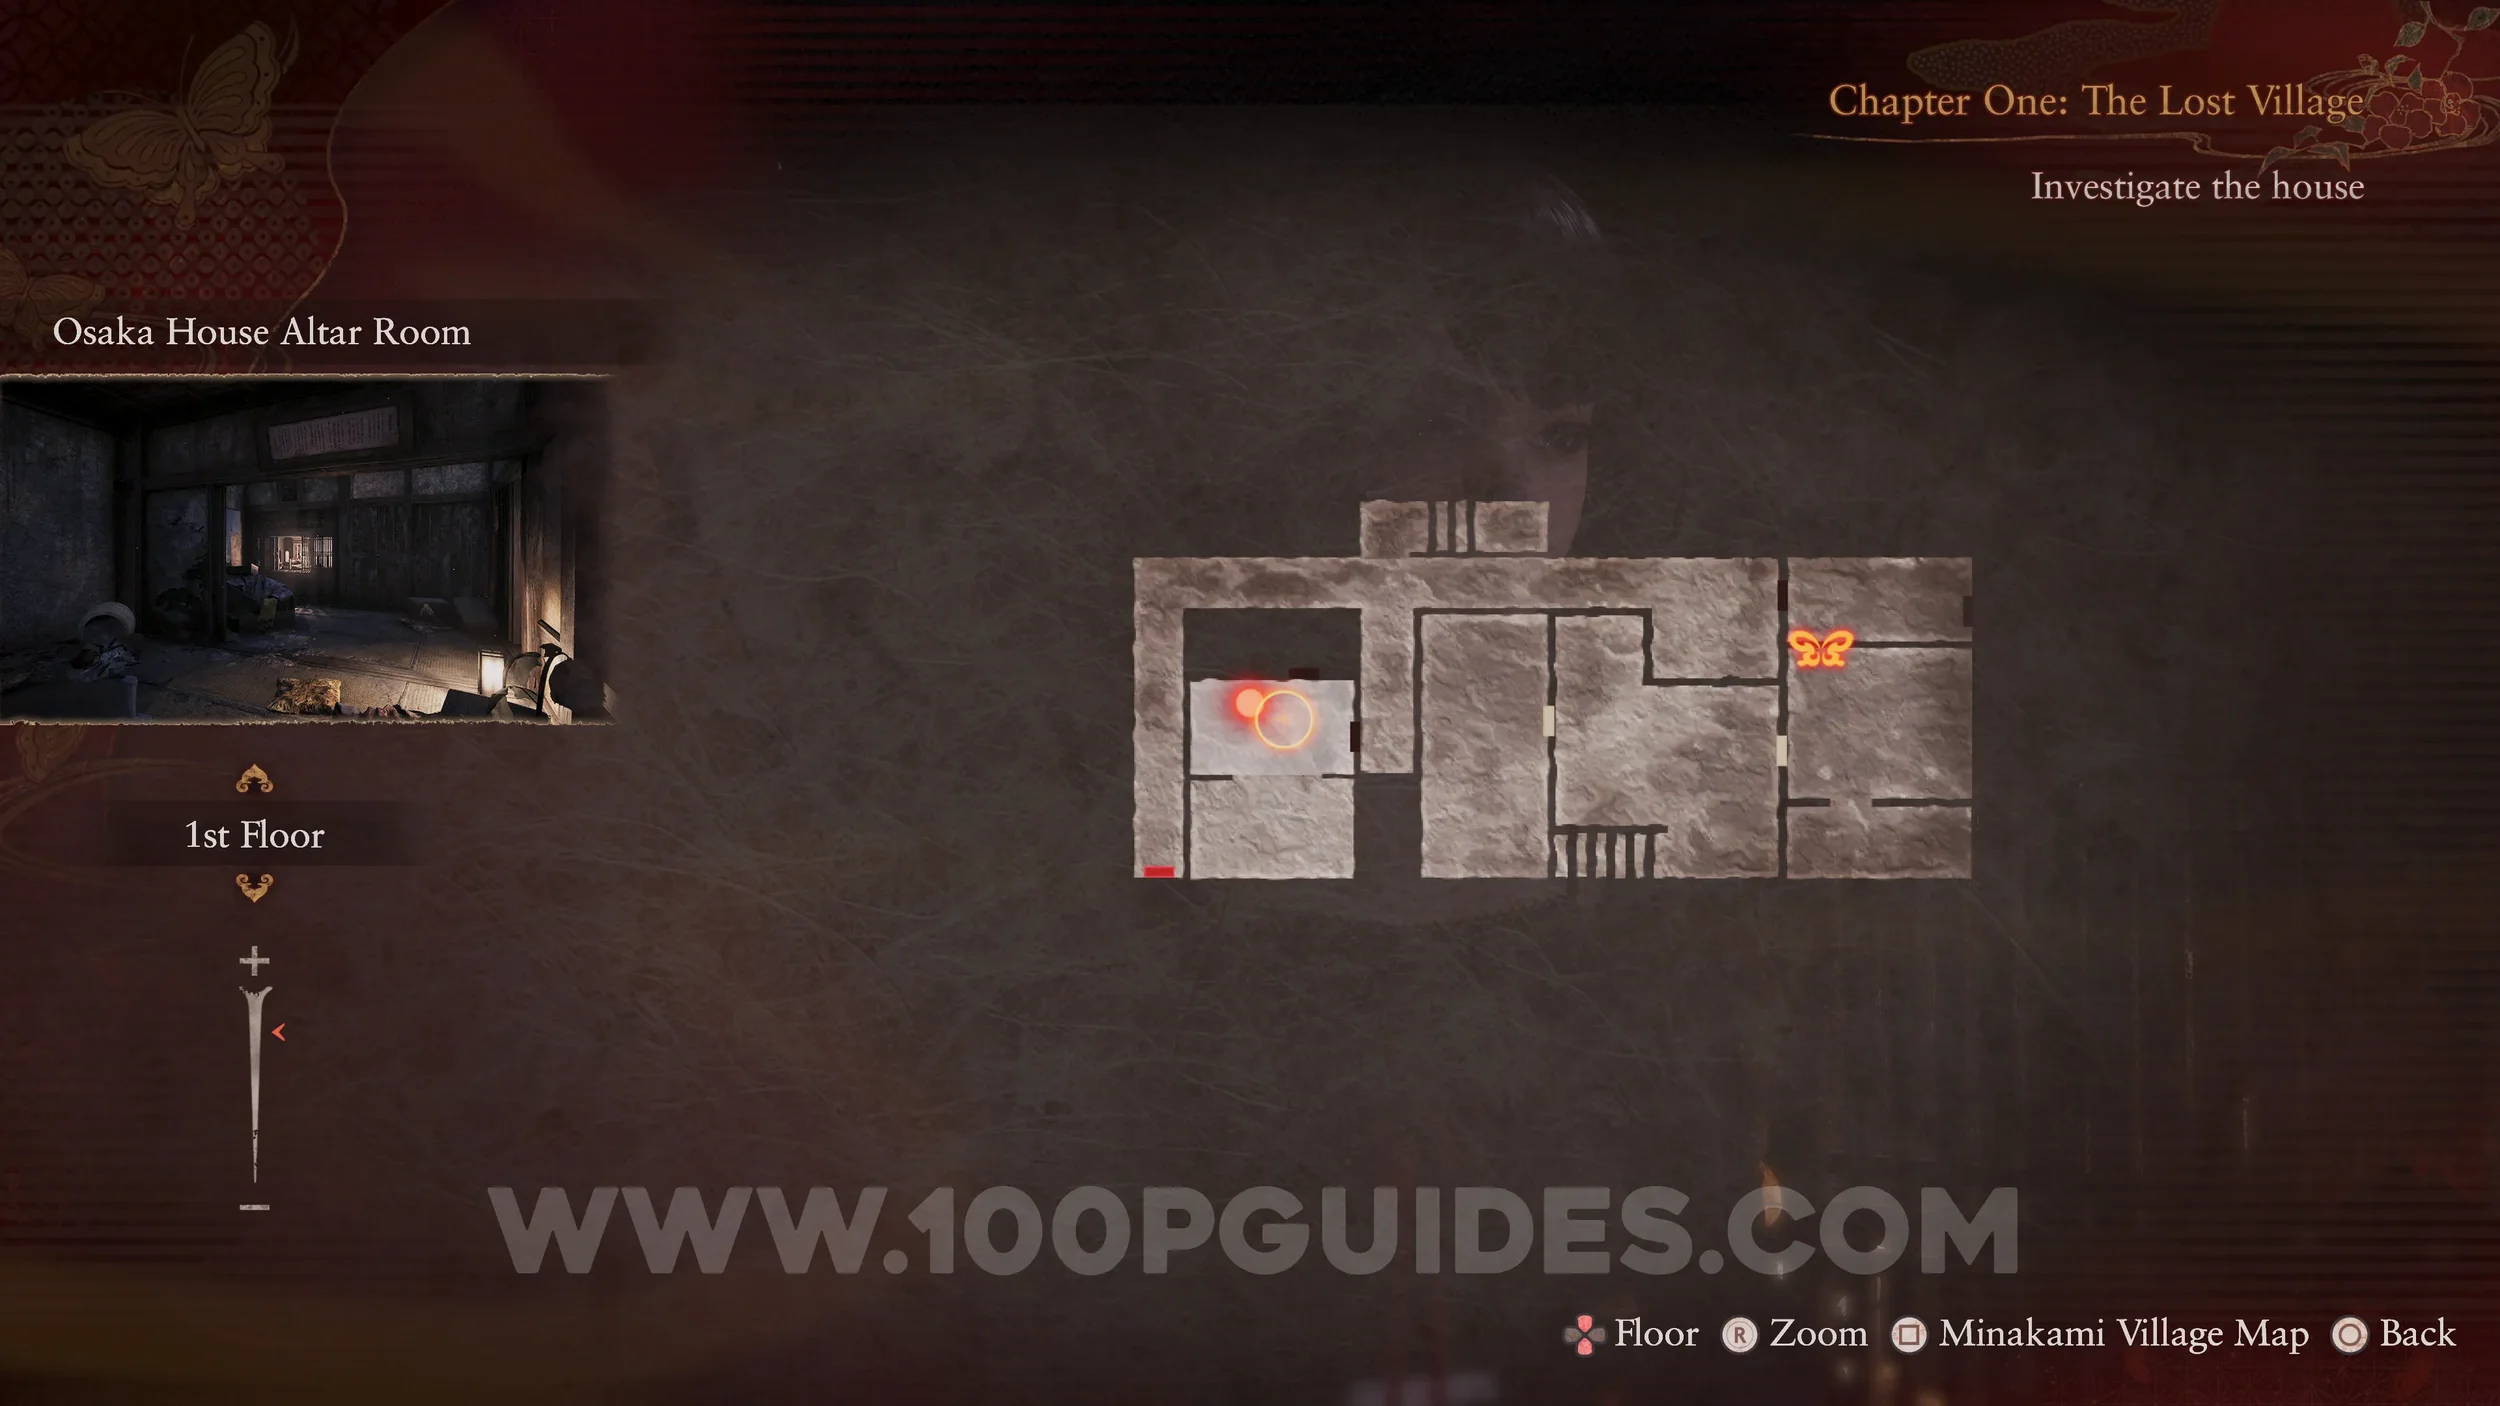
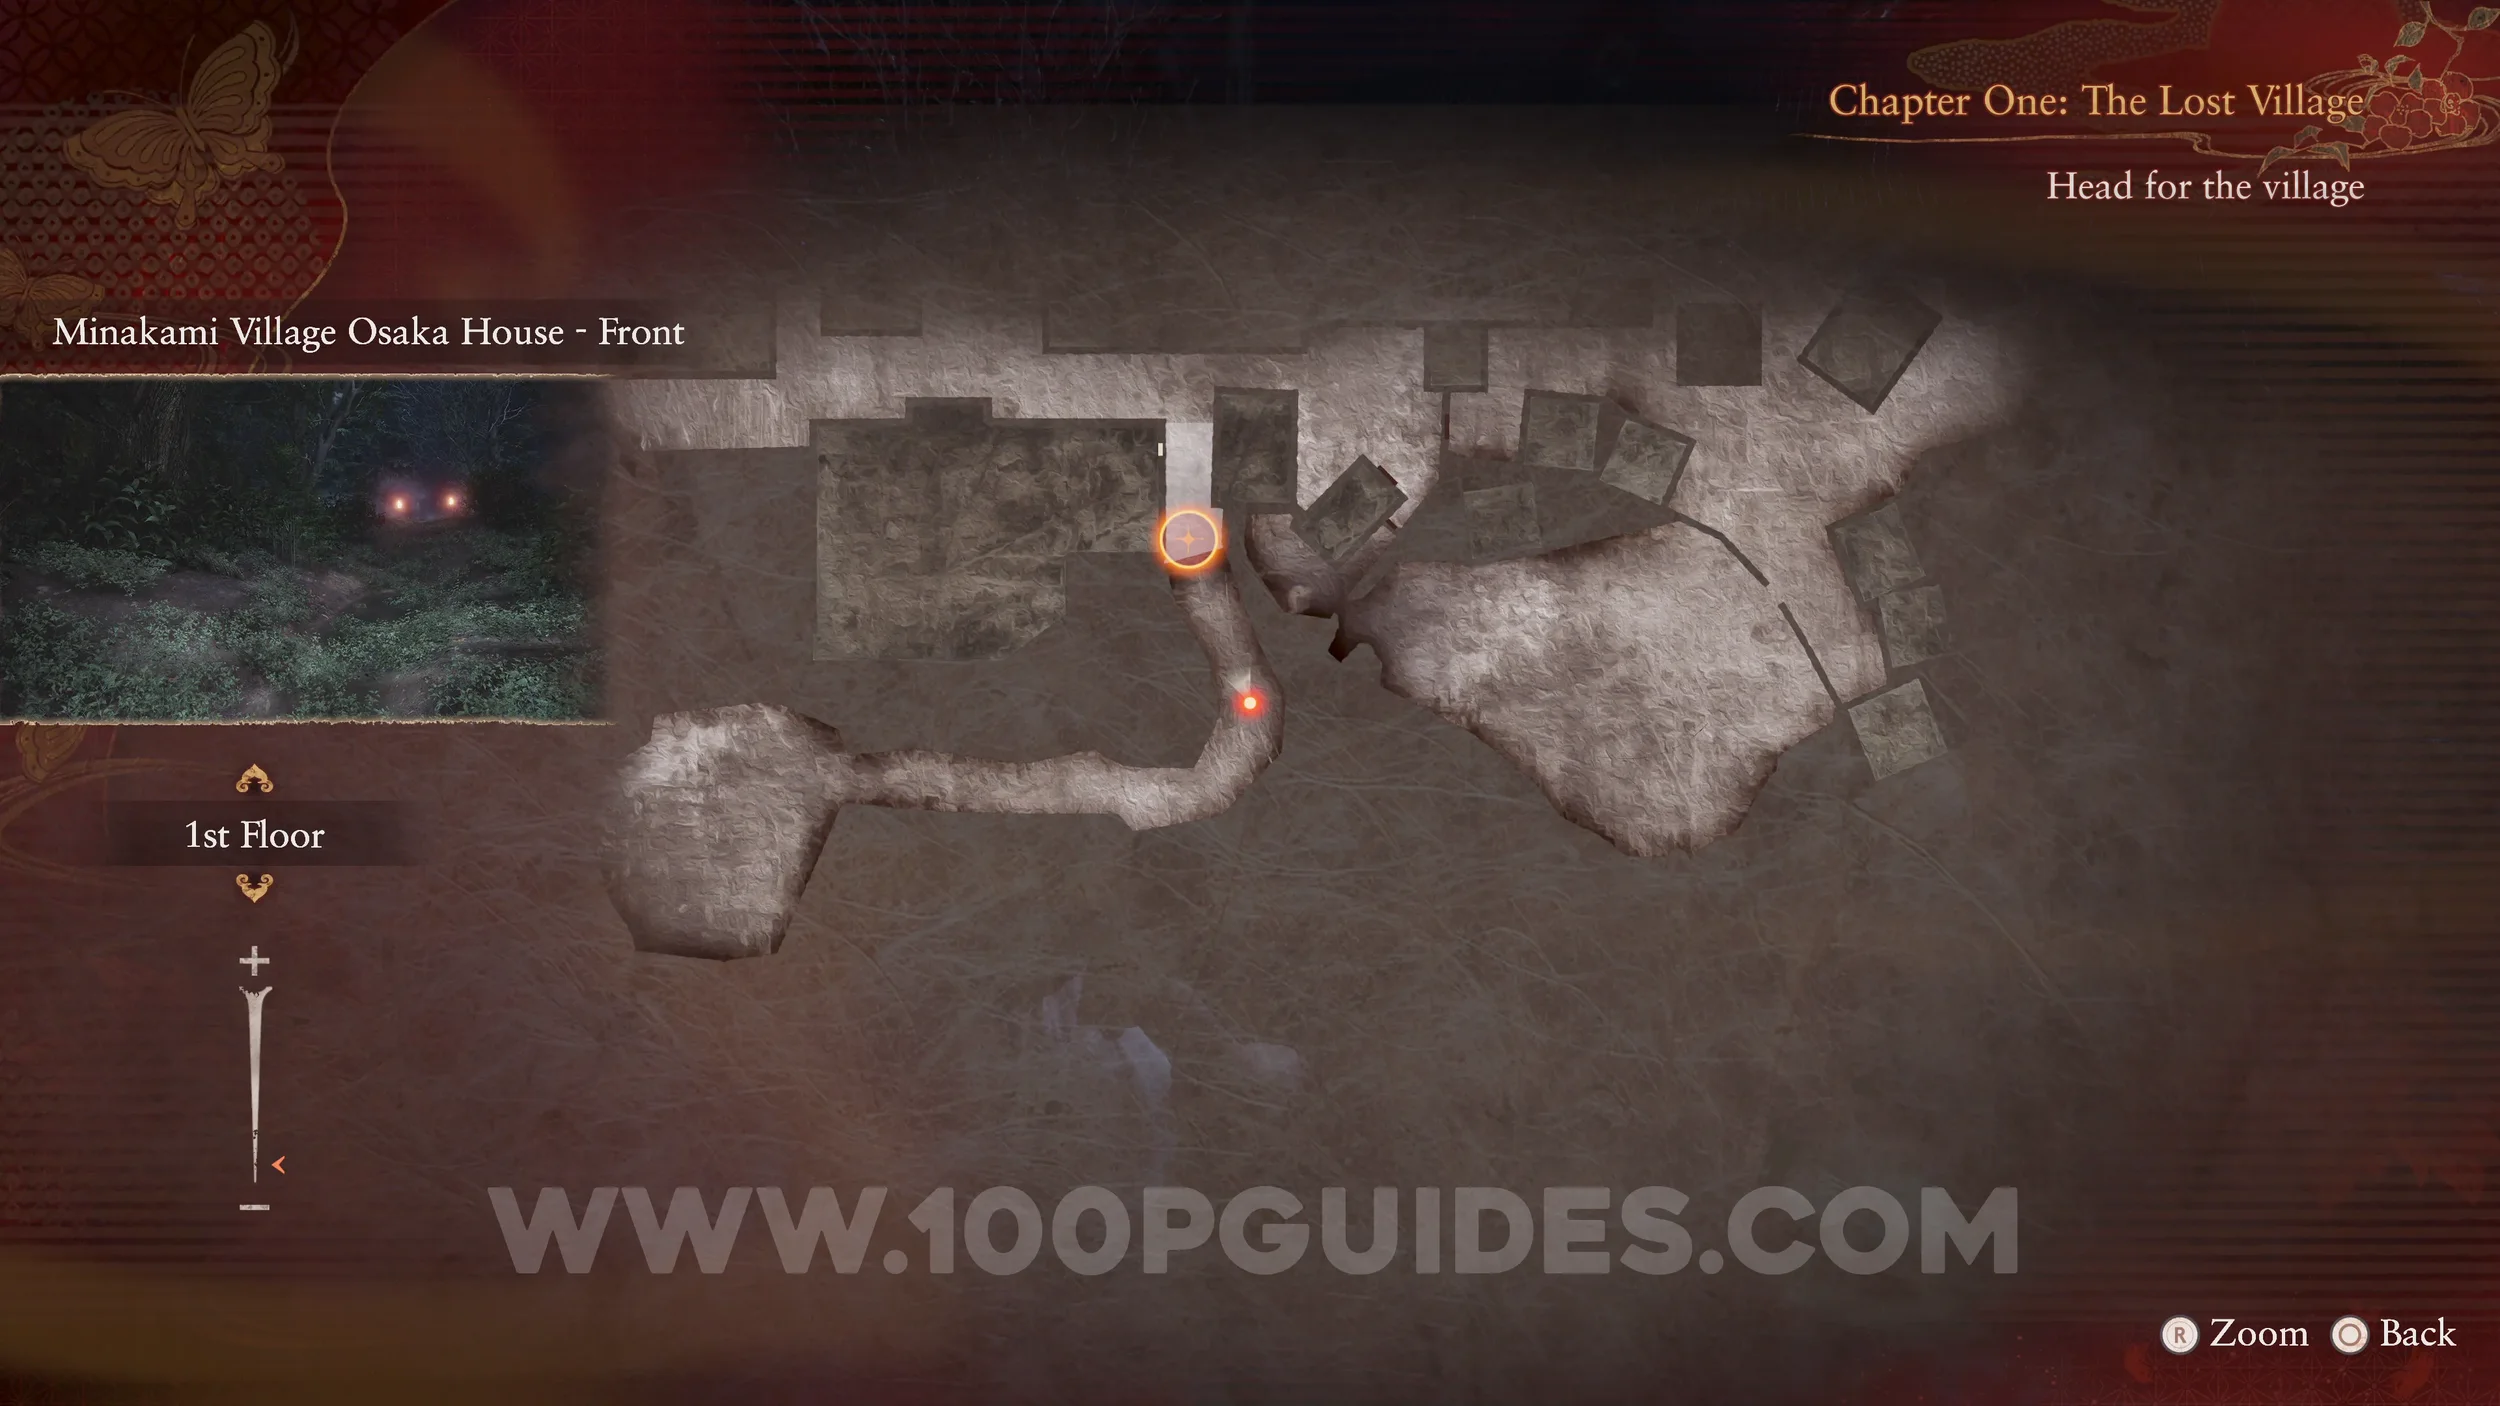
Document #1 - News Clippings. On the floor as soon as you enter the Osaka House.
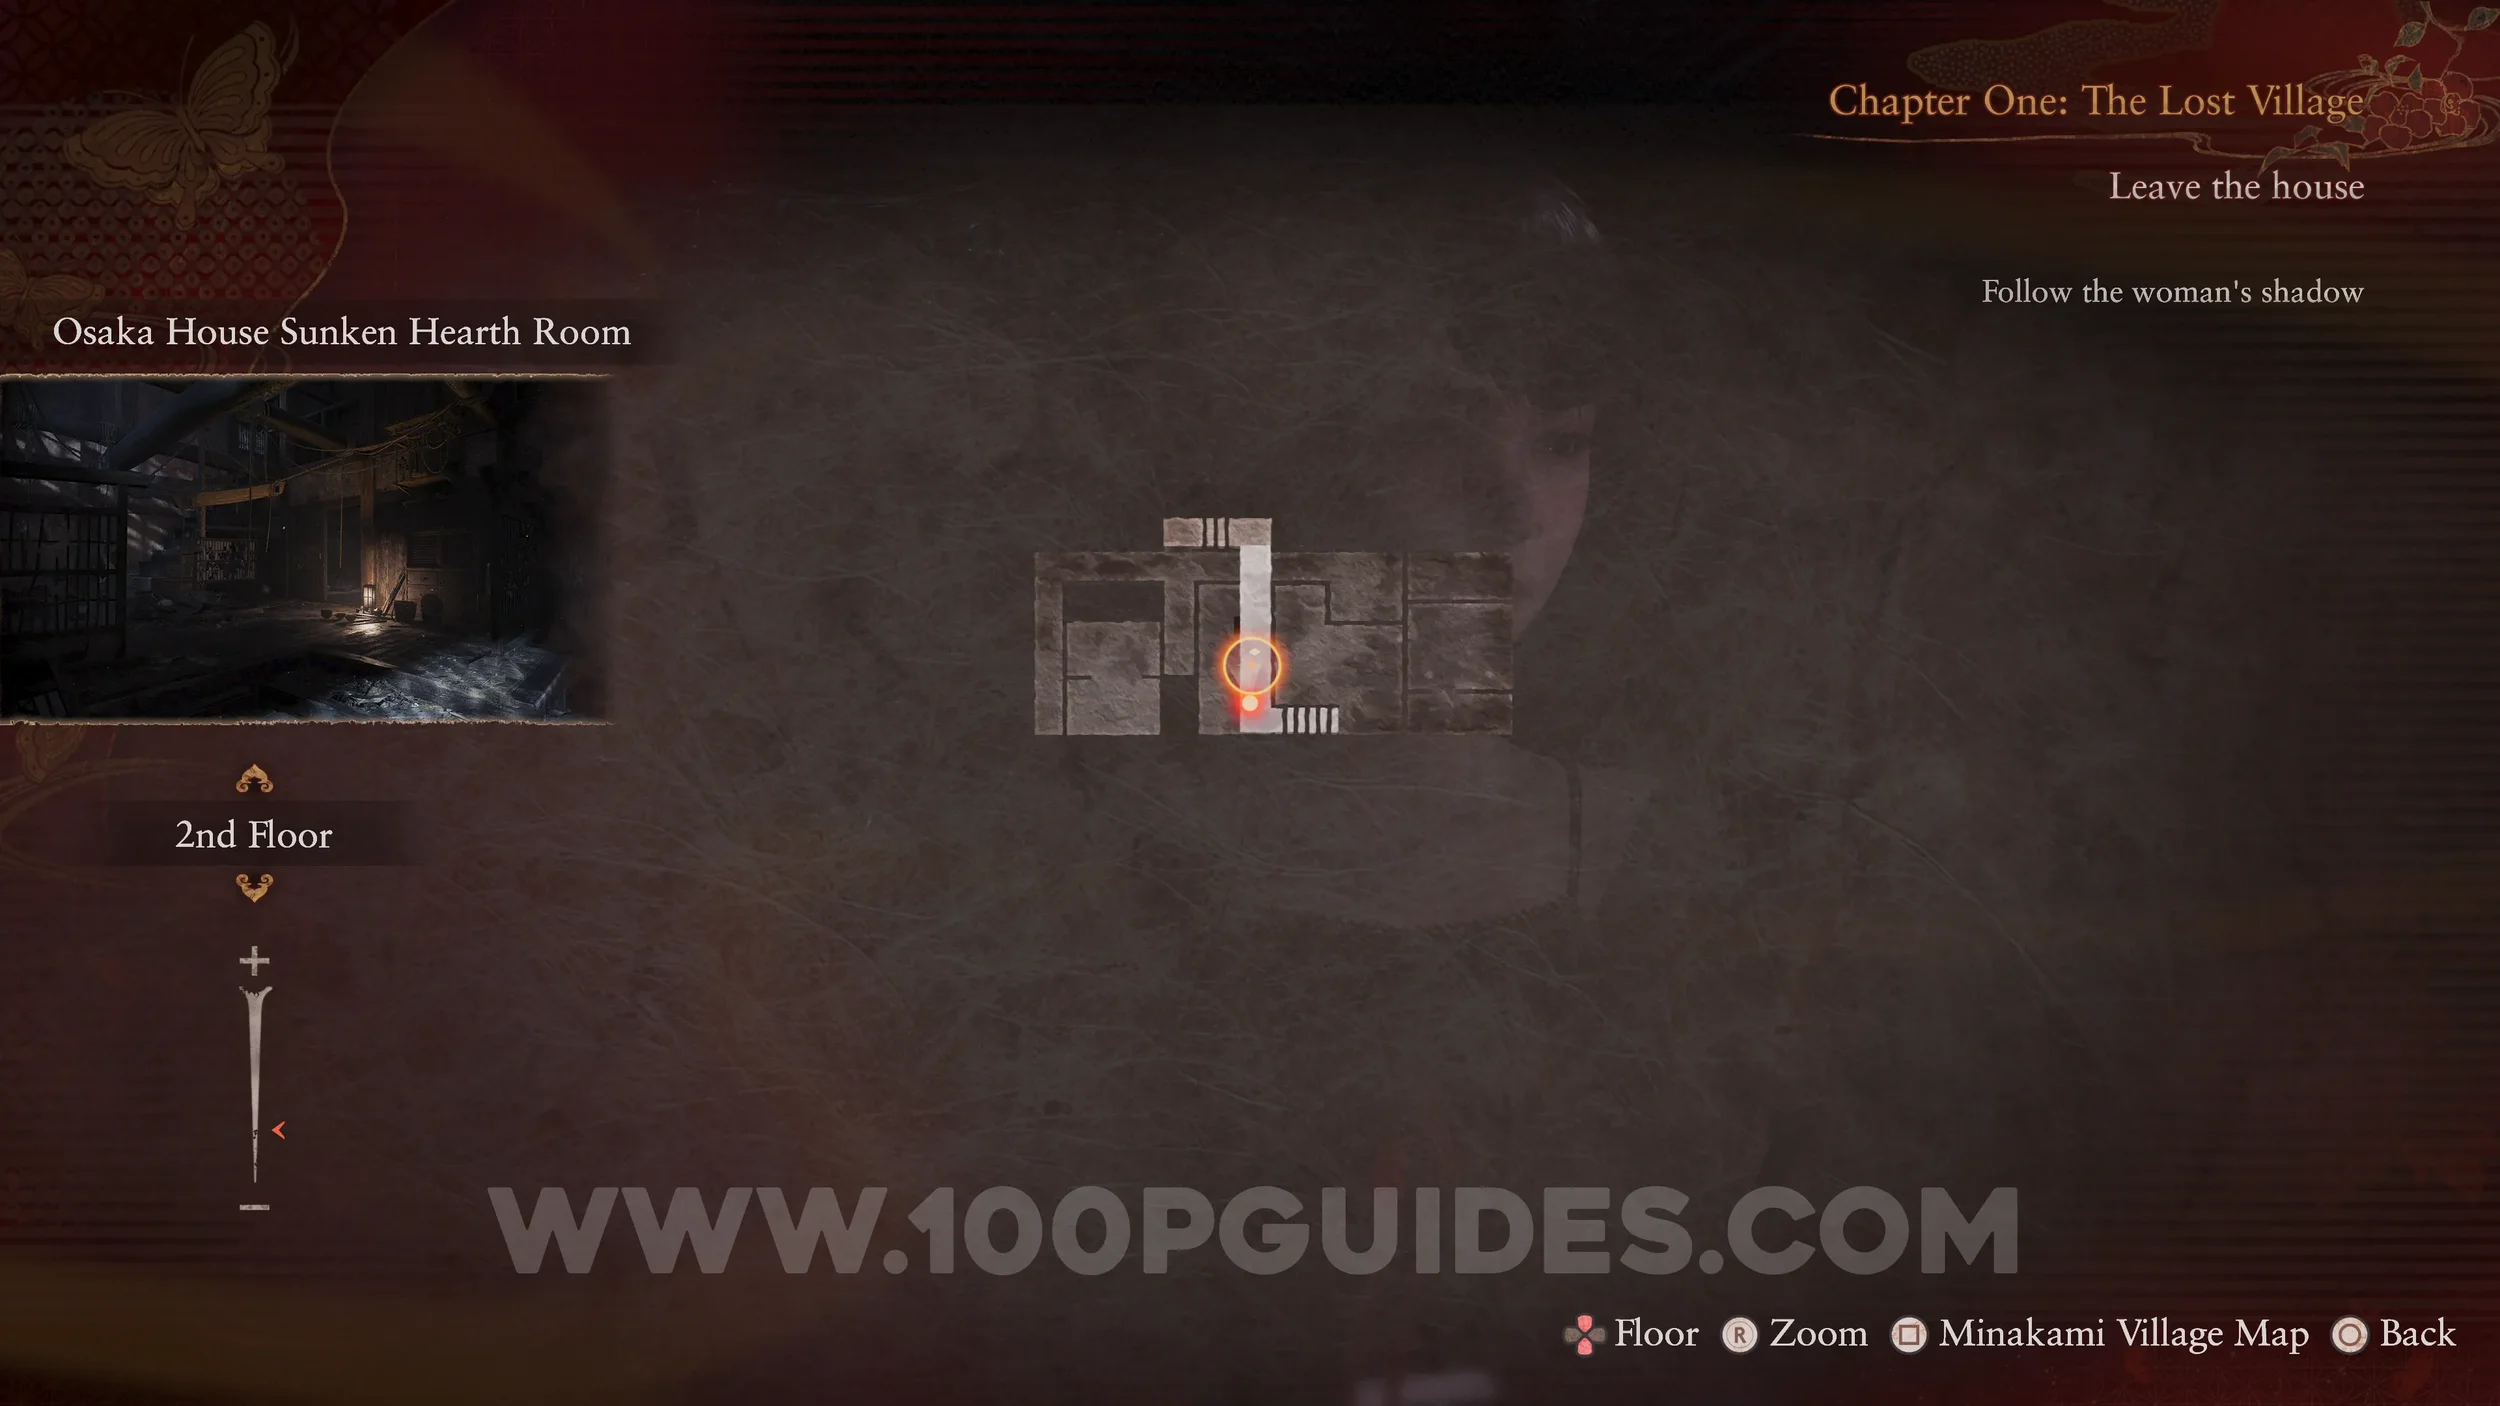
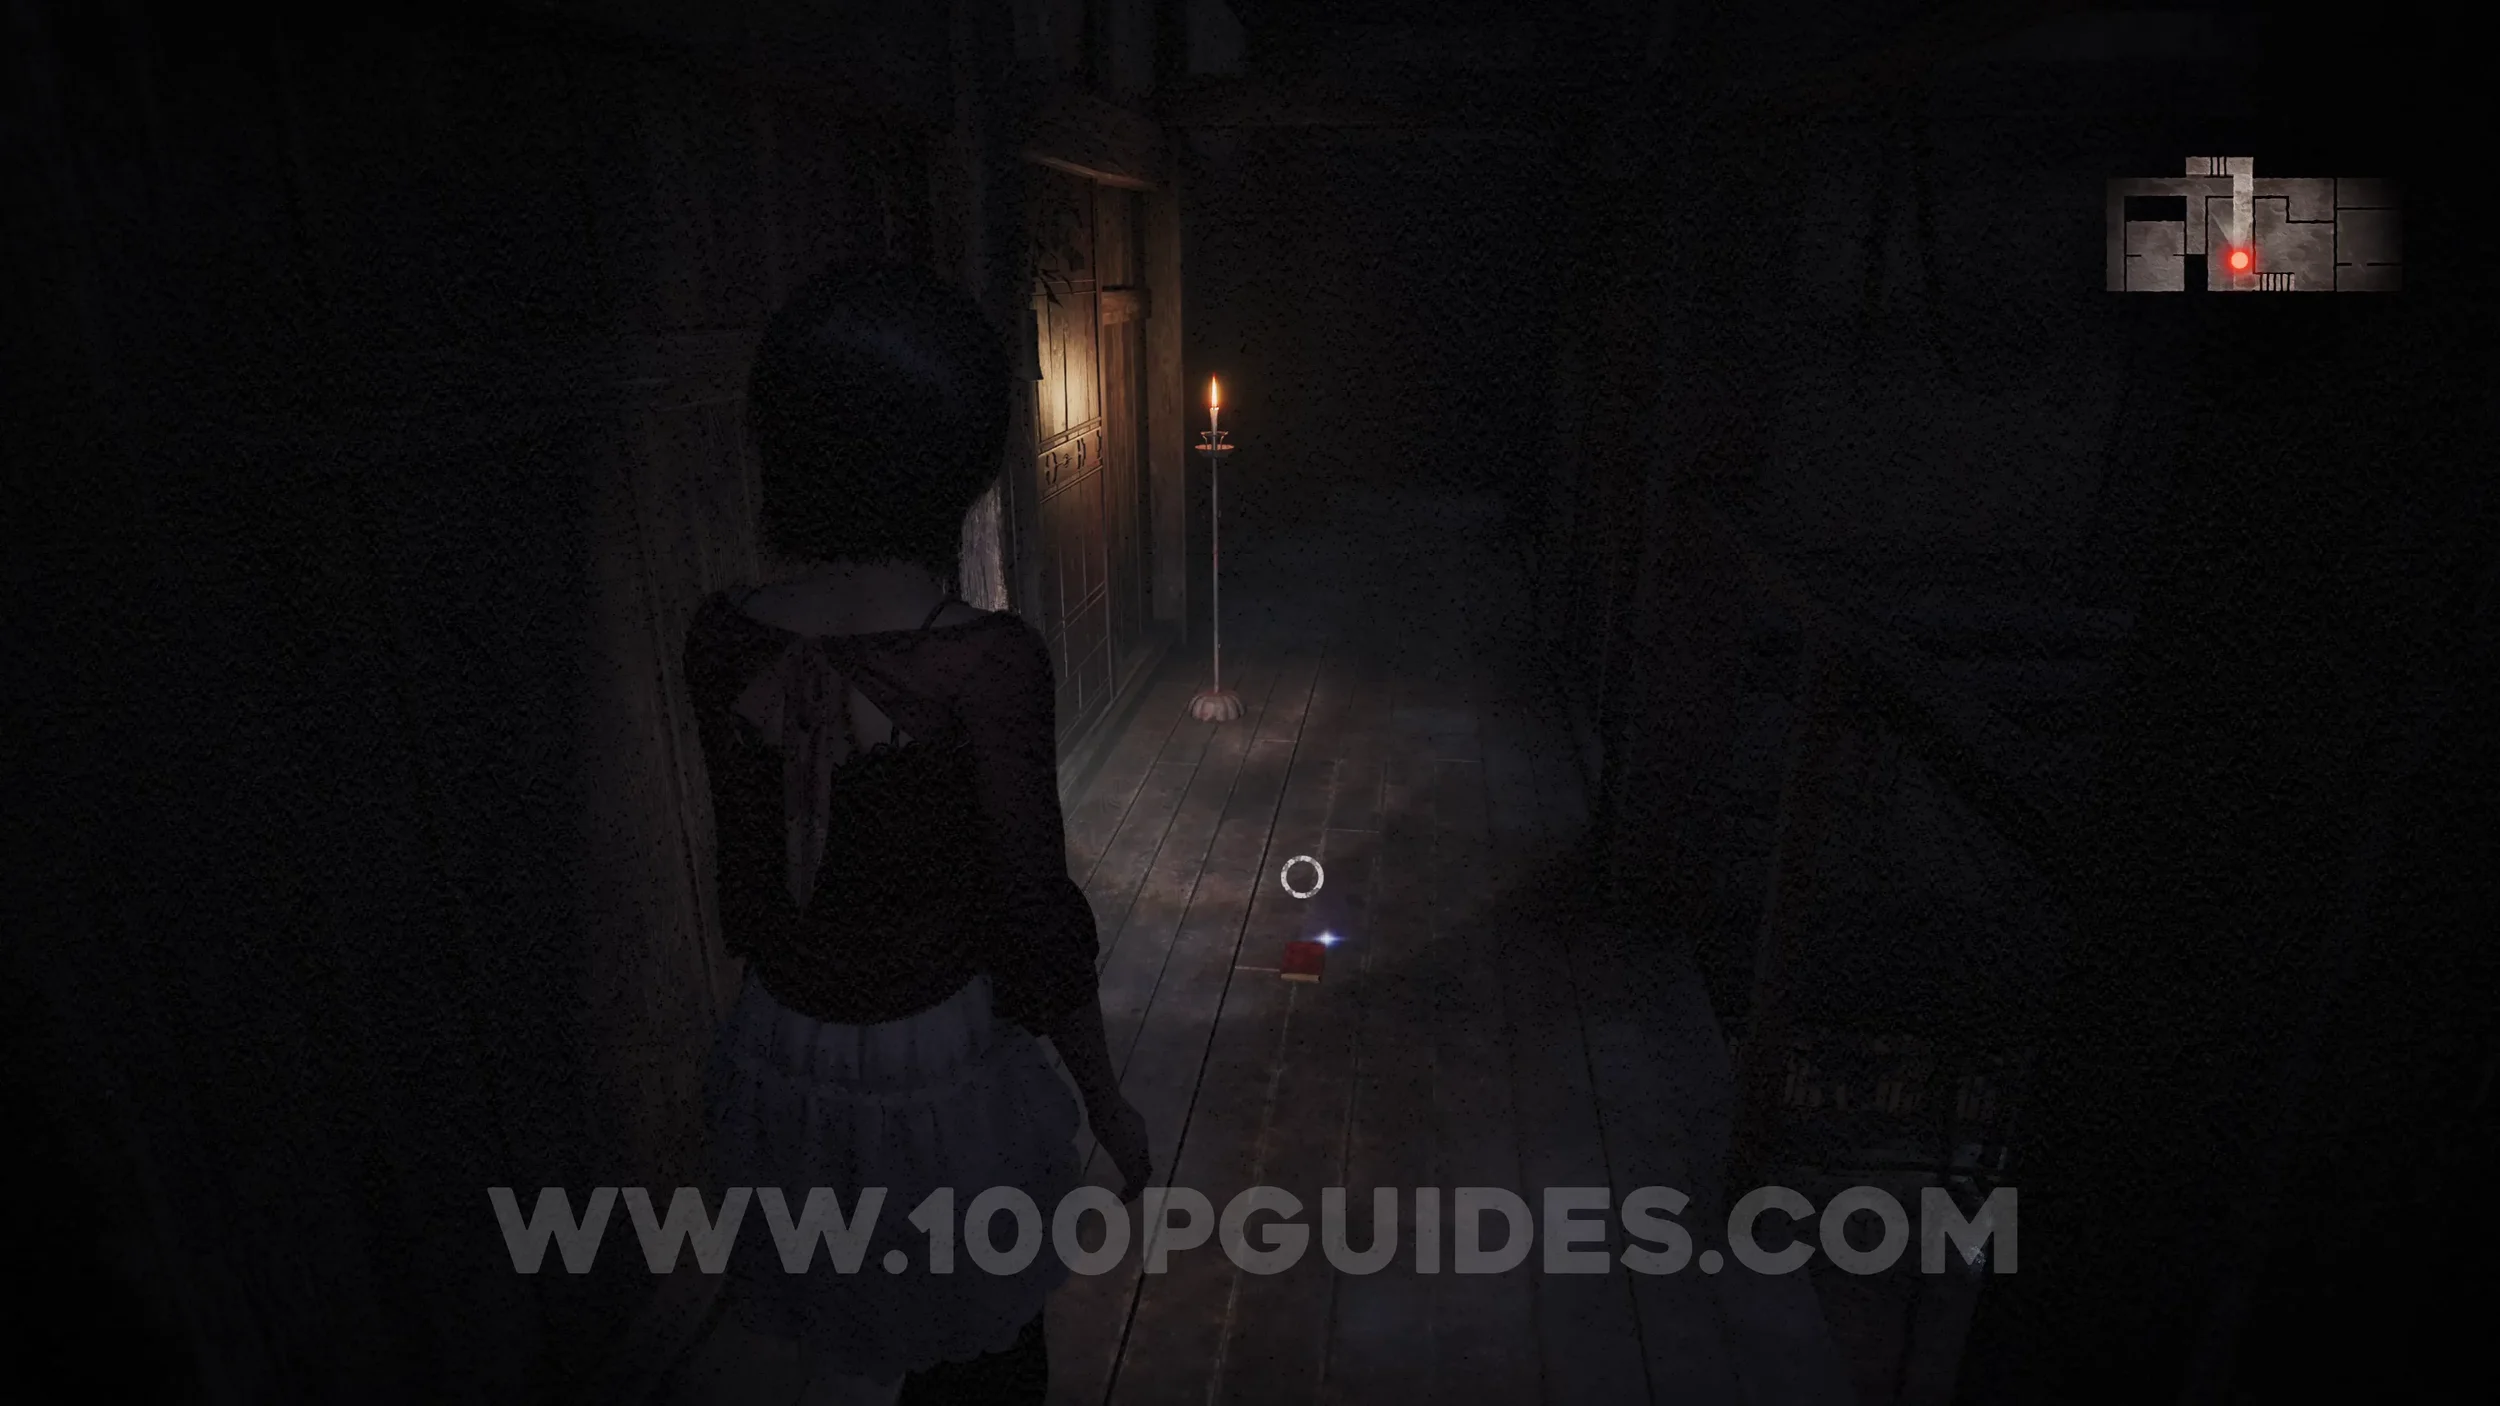
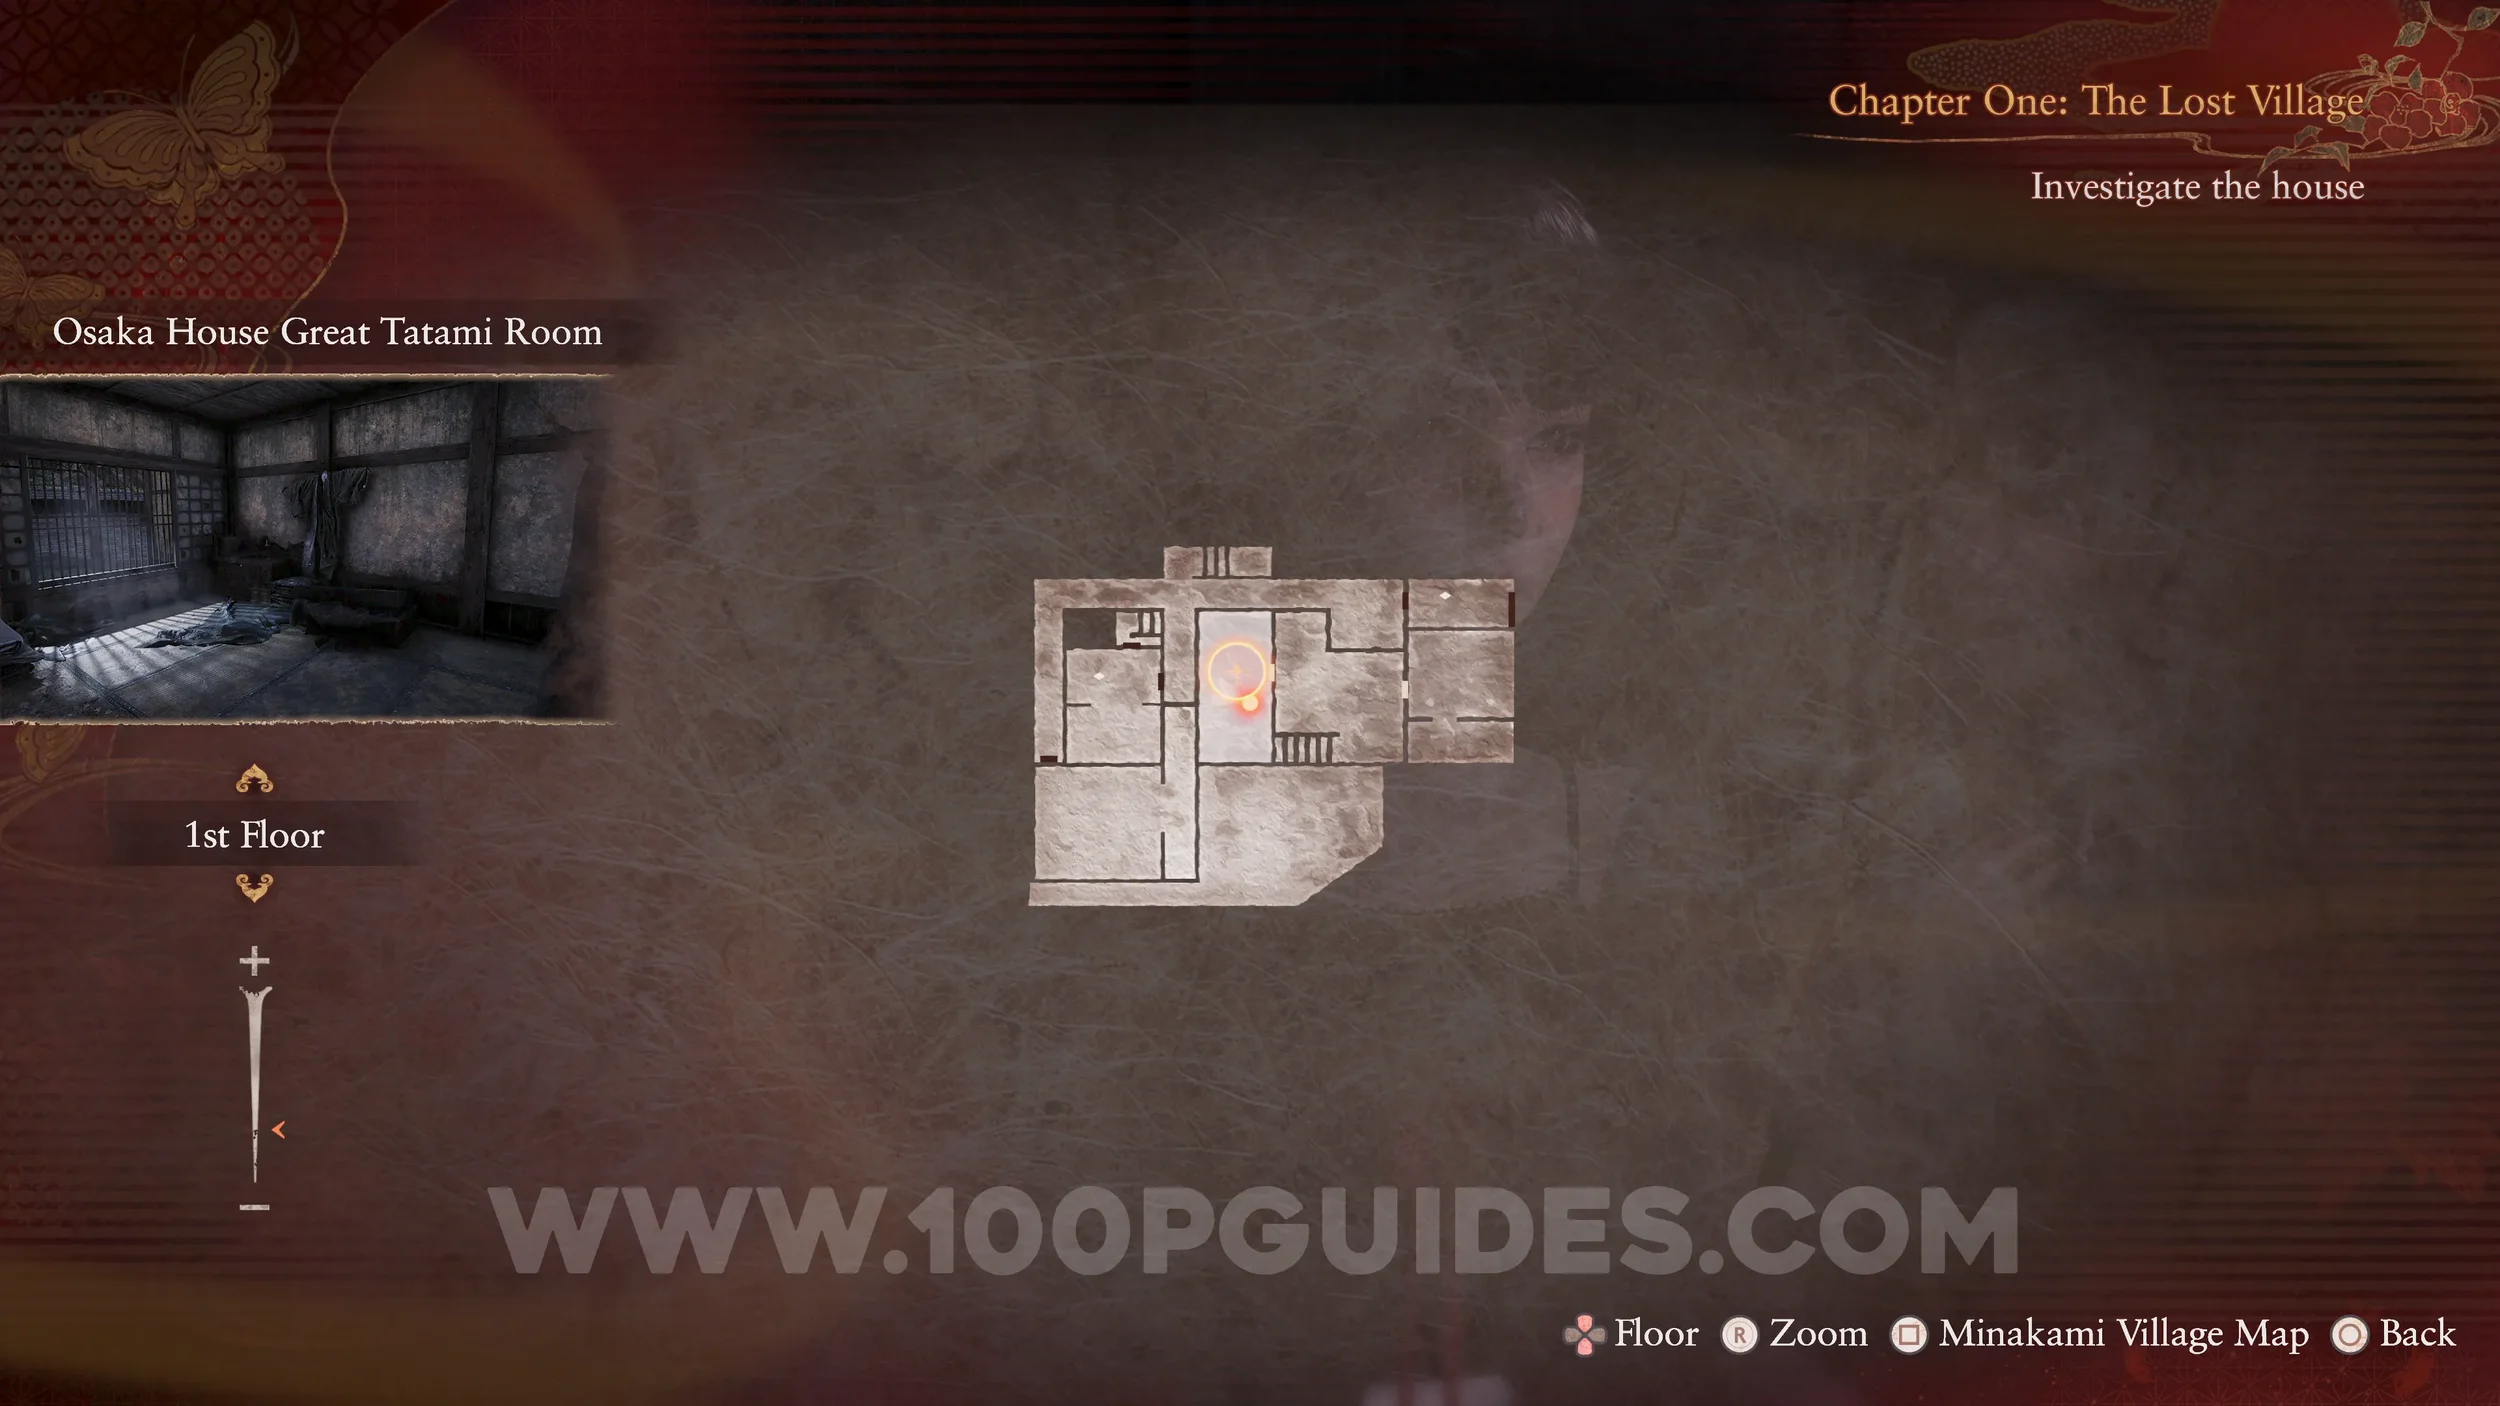
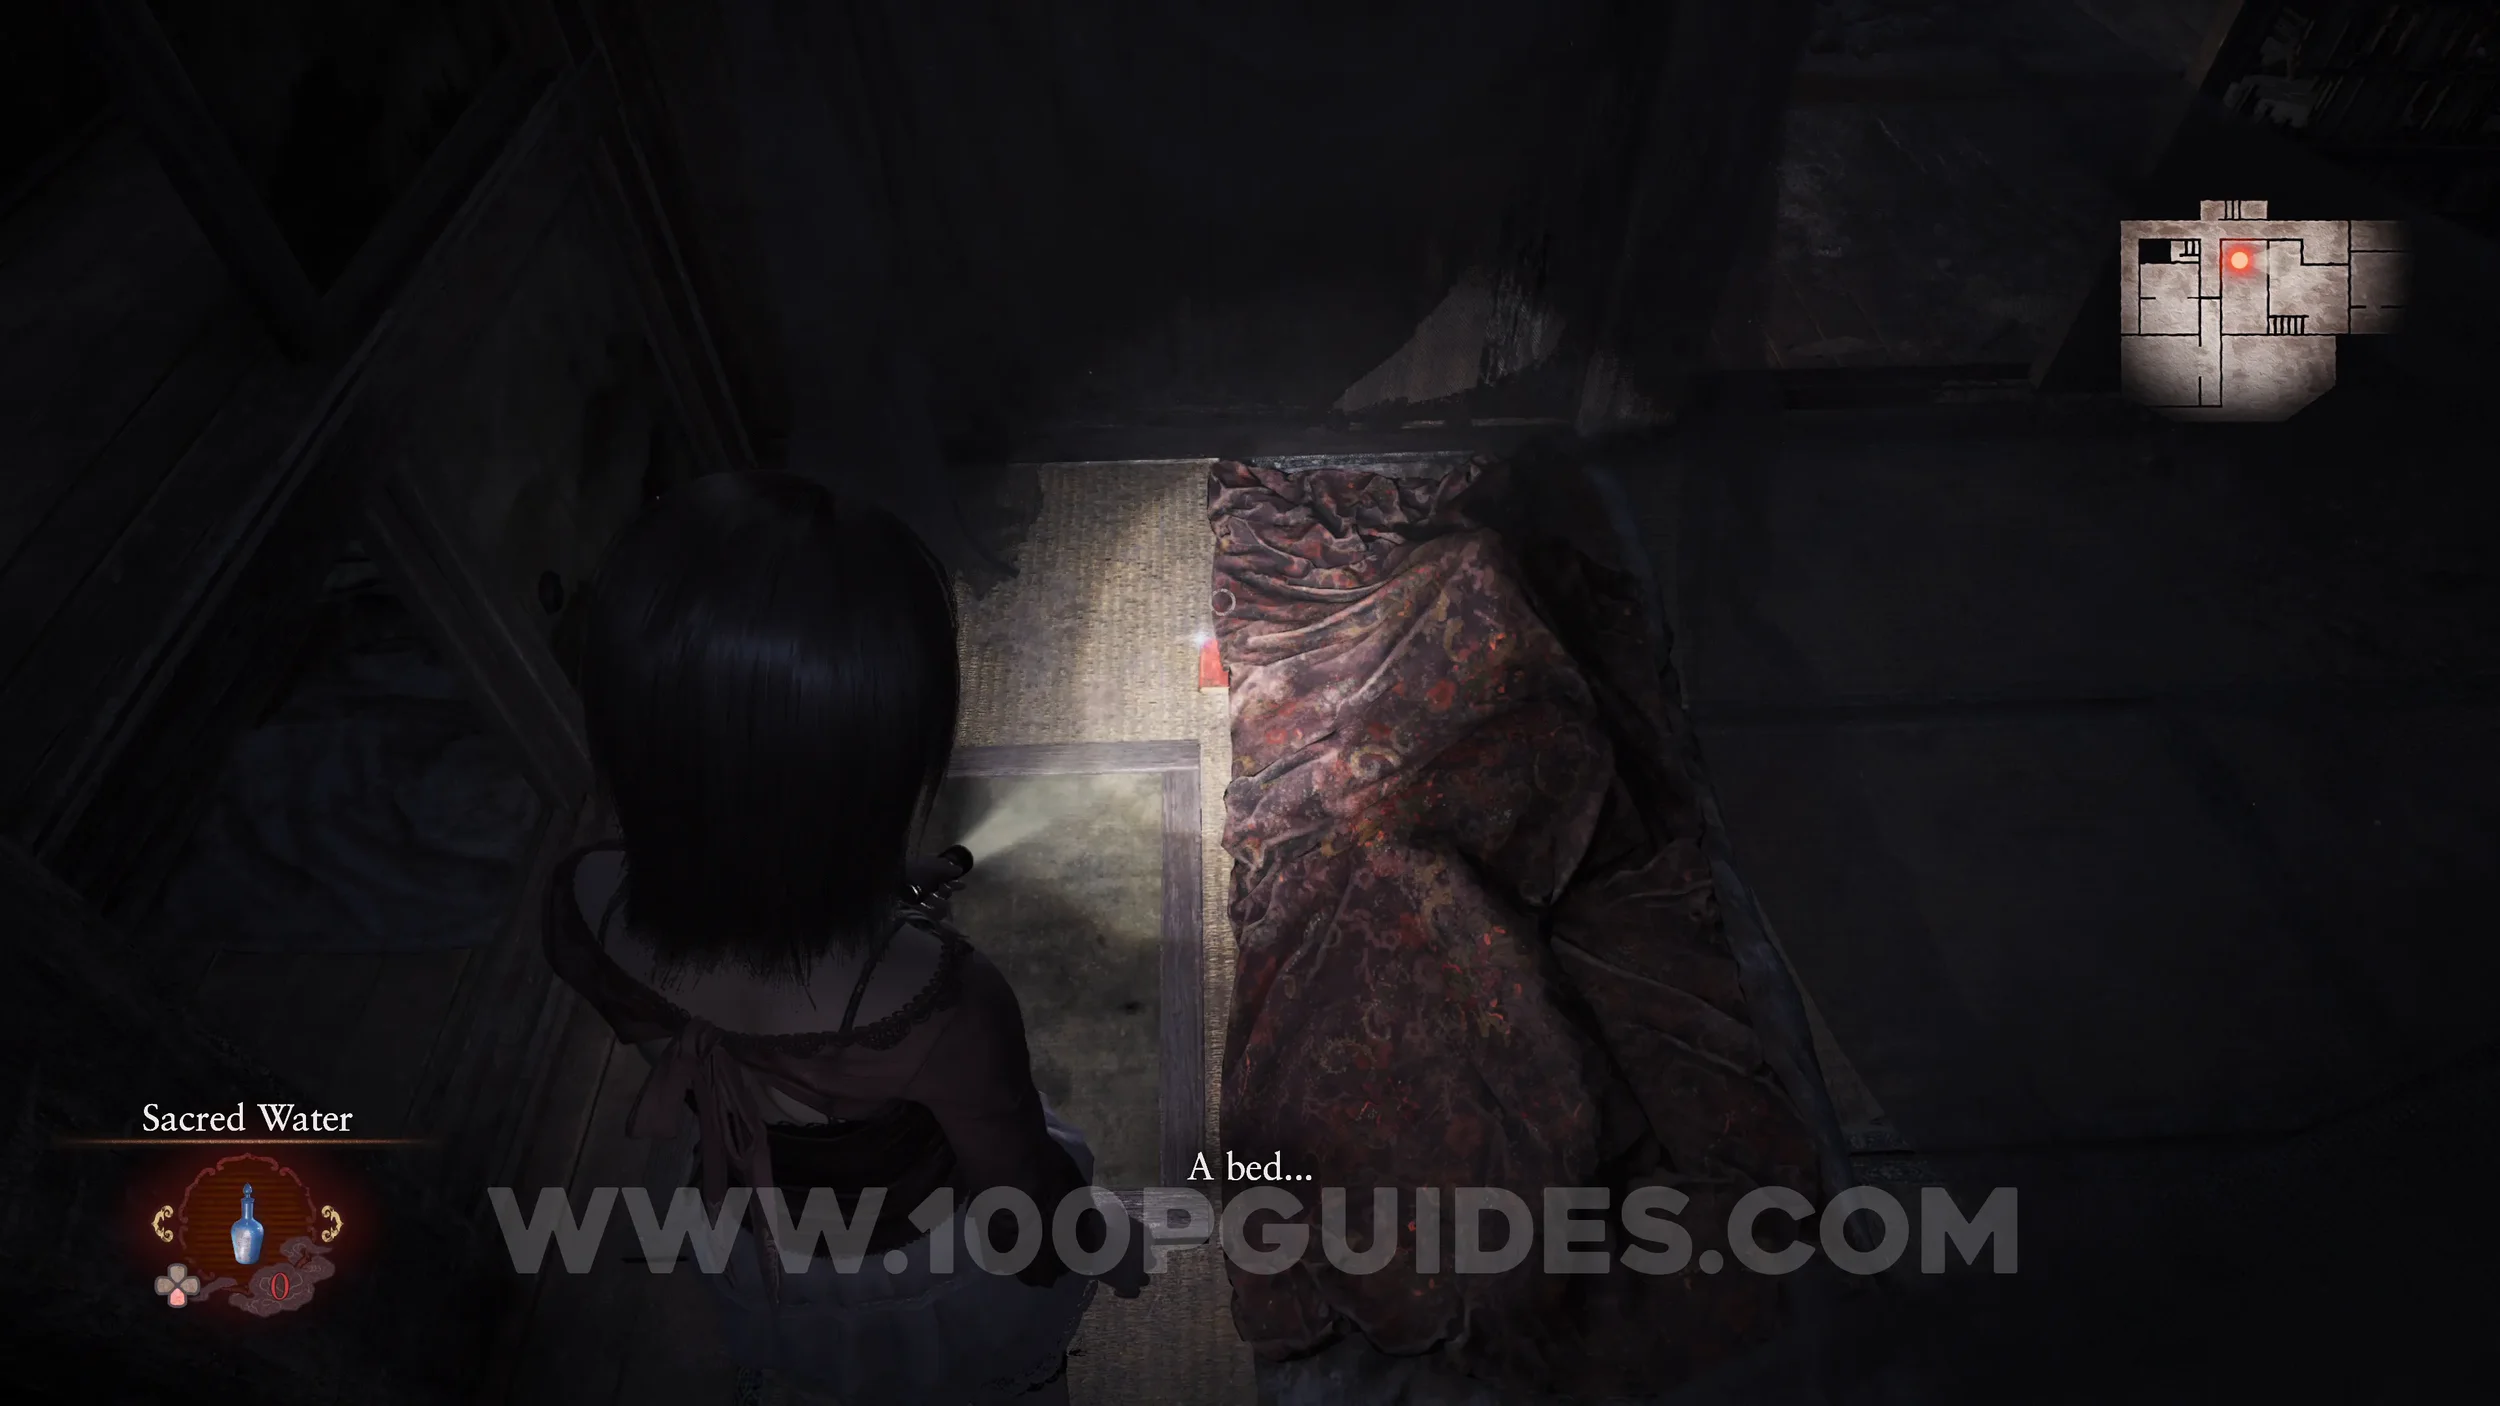
Document #2 - Woman’s Notebook 1. In the room under the stairs in the Osaka House.
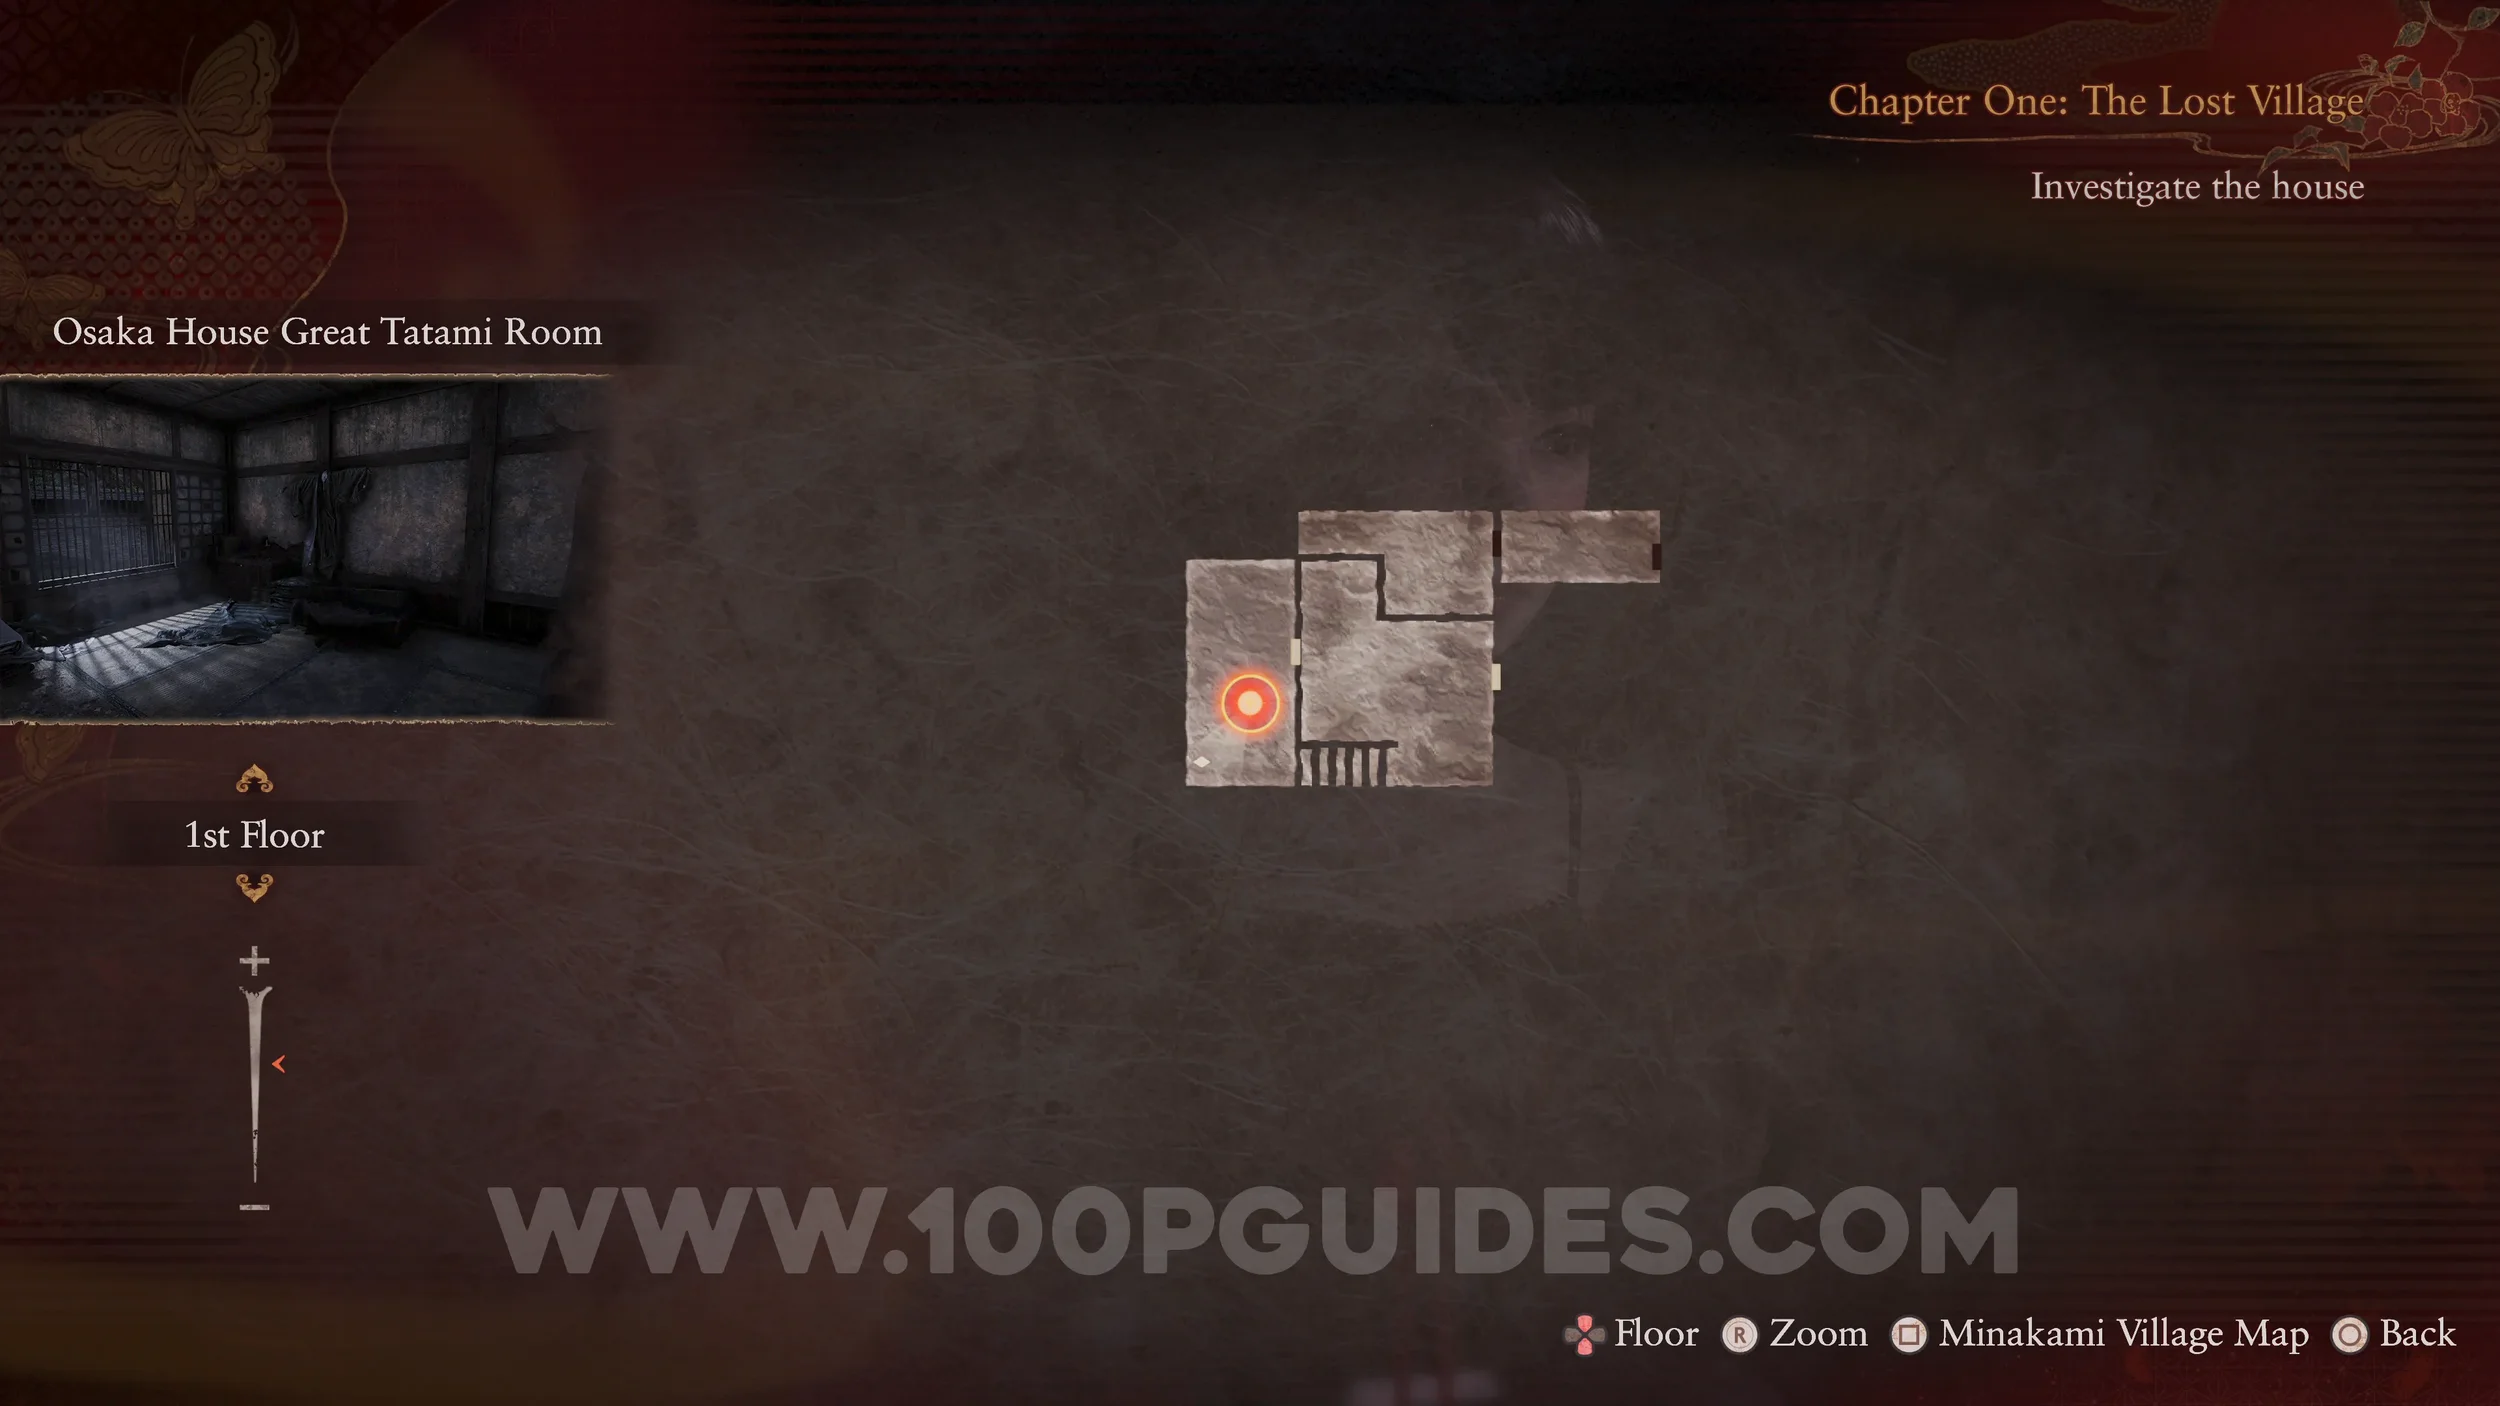
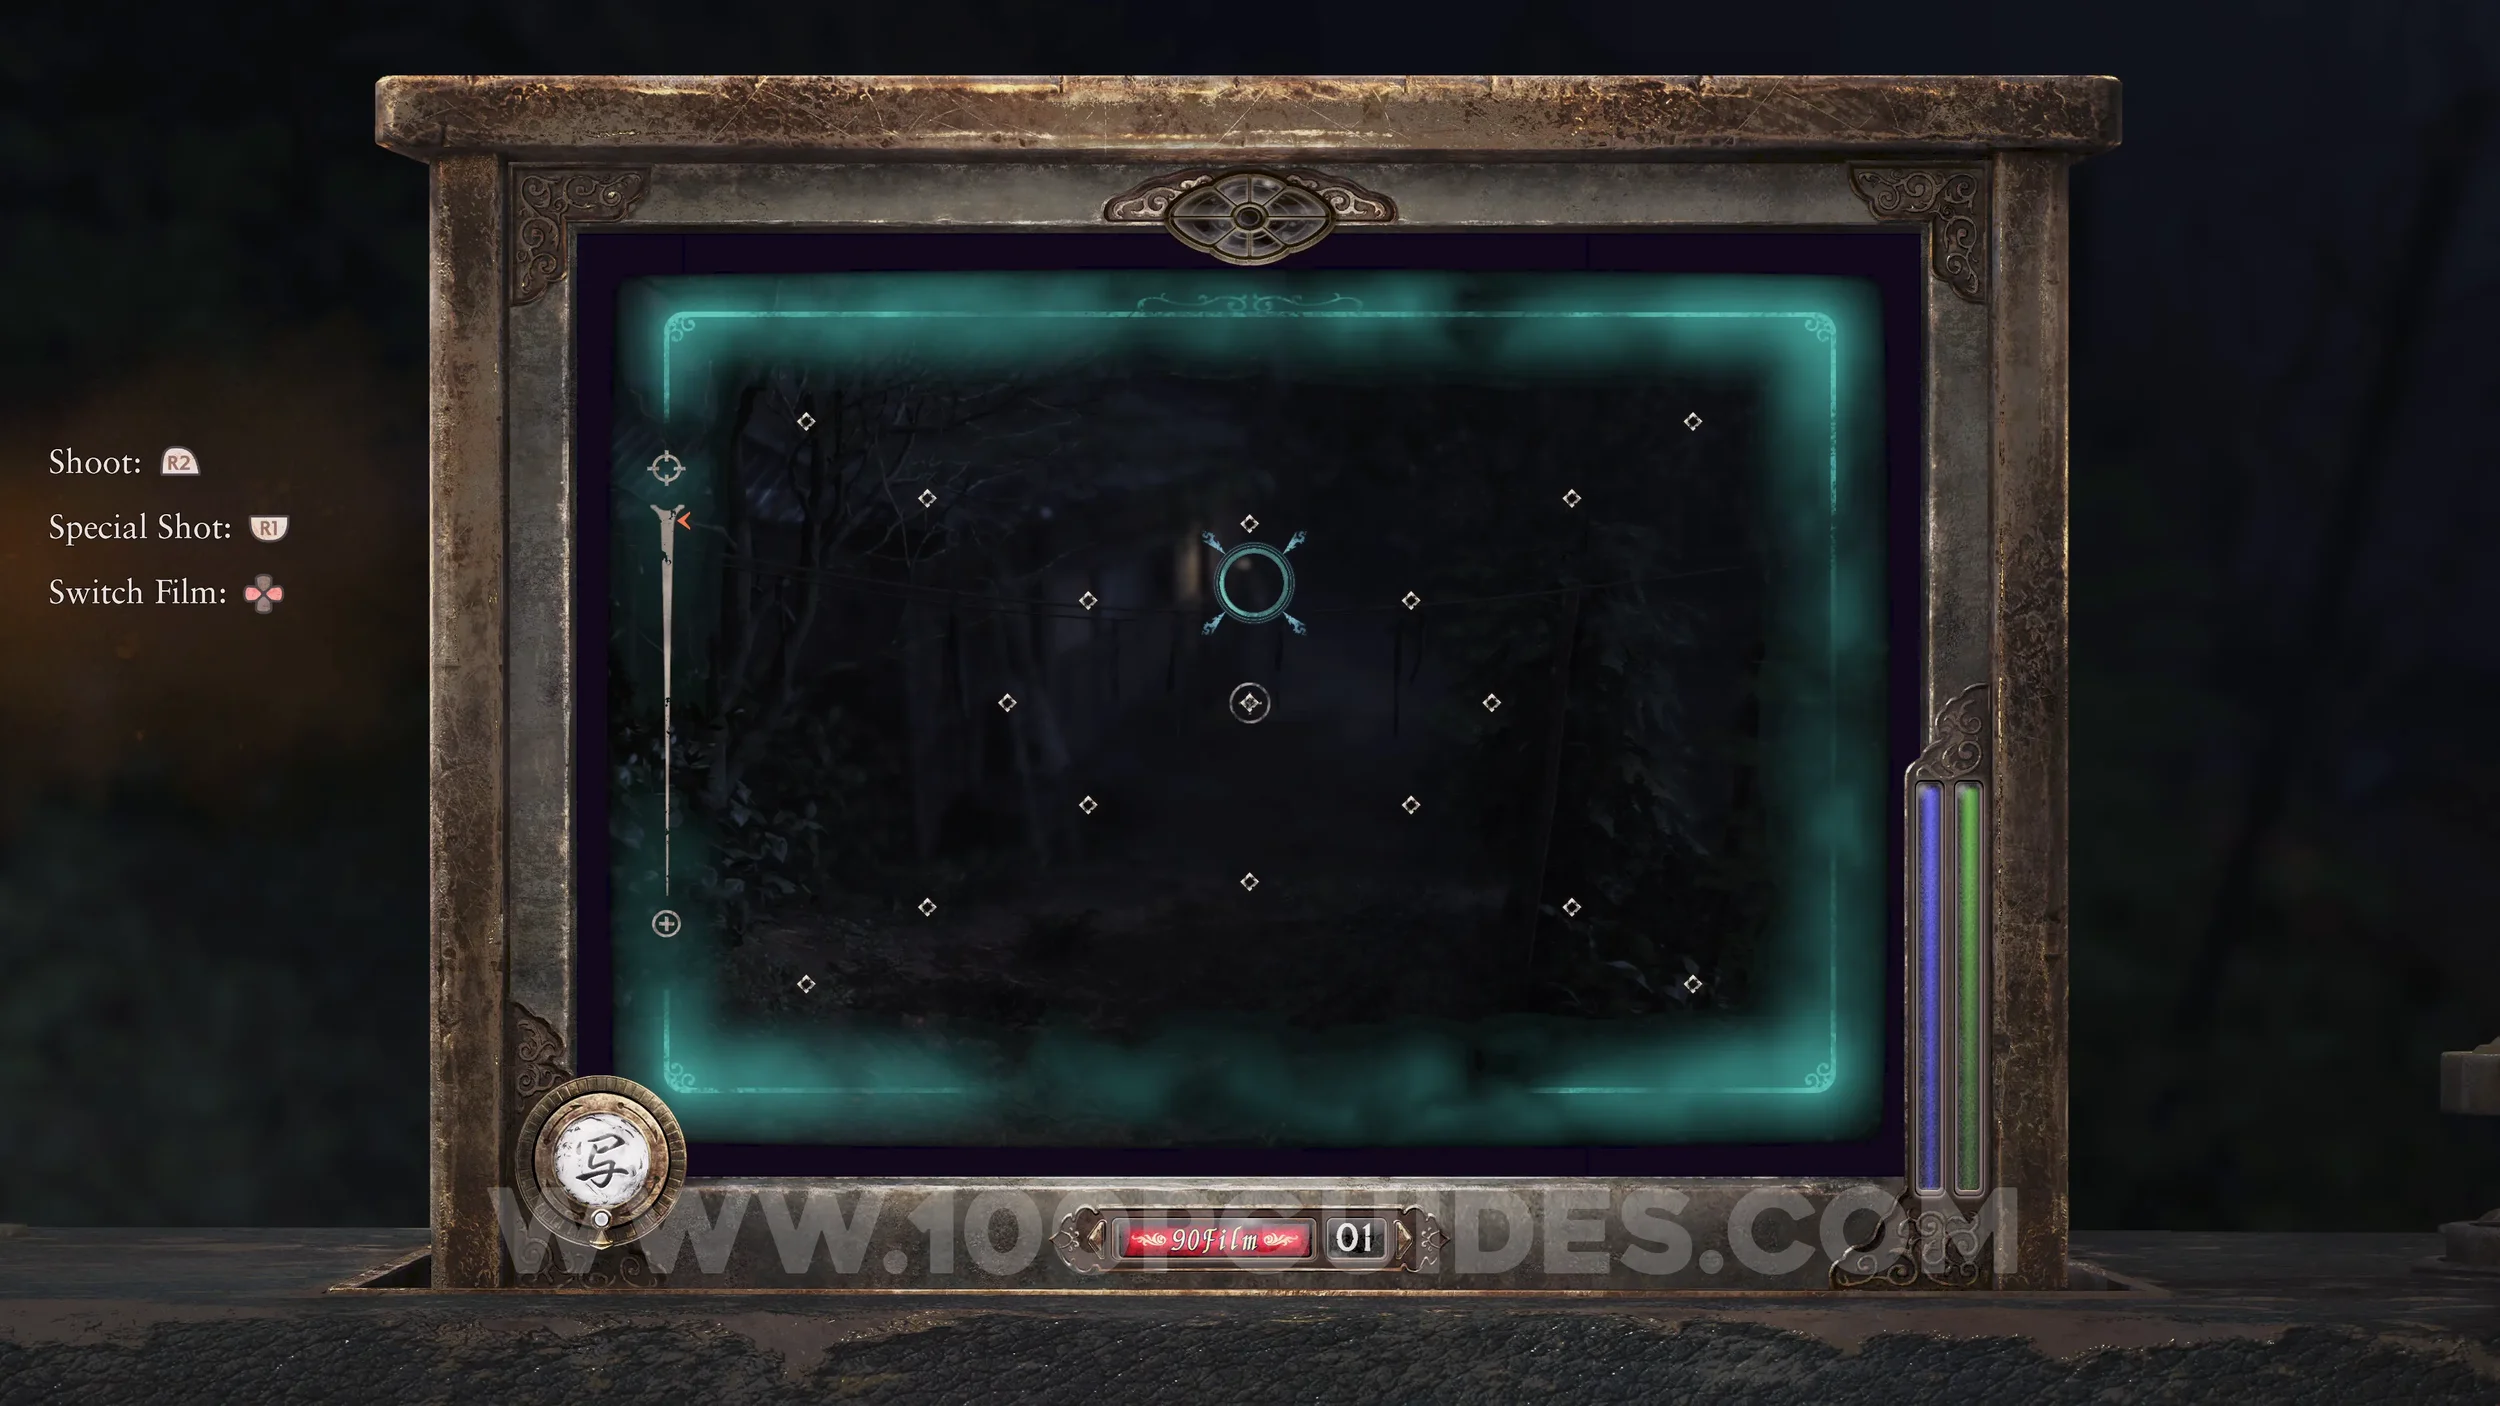
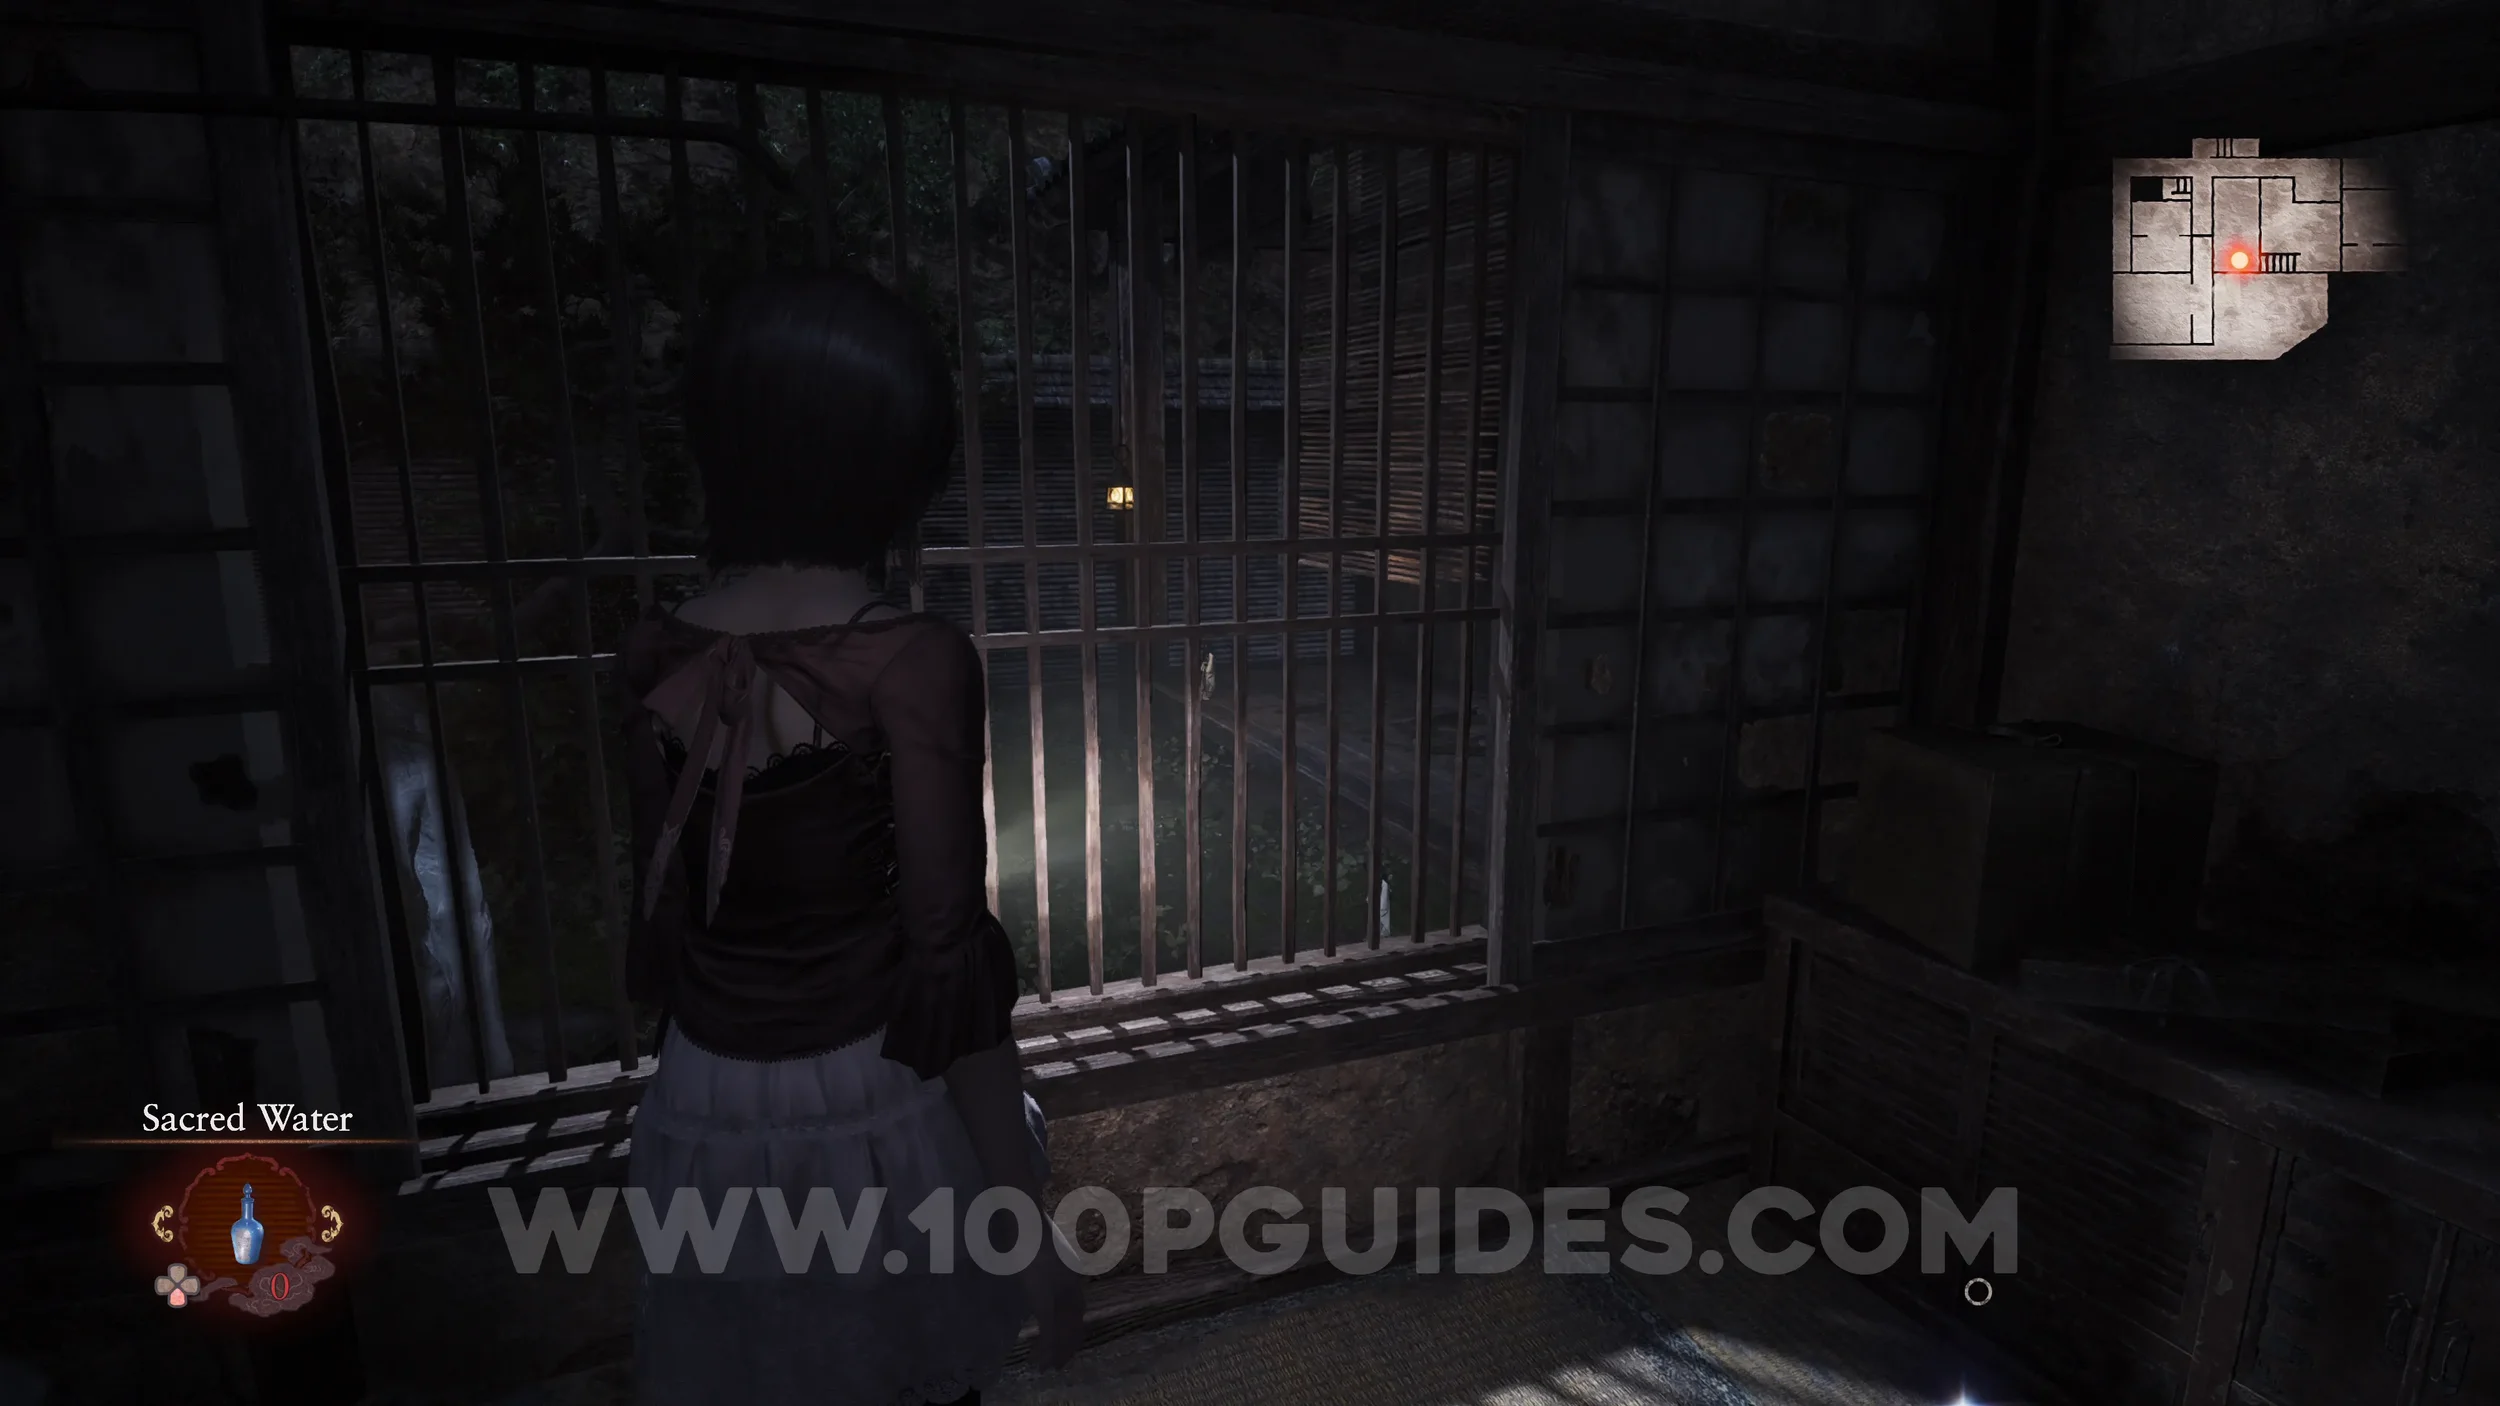
Document #3 - Woman’s Notebook 2. In the same room as the previous document. Picking up this document will cause Specter 002 to appear outside the window. However, since you do not have the camera yet, you cannot register it. It is technically possible to register it by leaving this document until after obtaining the camera, but since New Game Plus is required anyway, we will register it then as you will start with the camera.

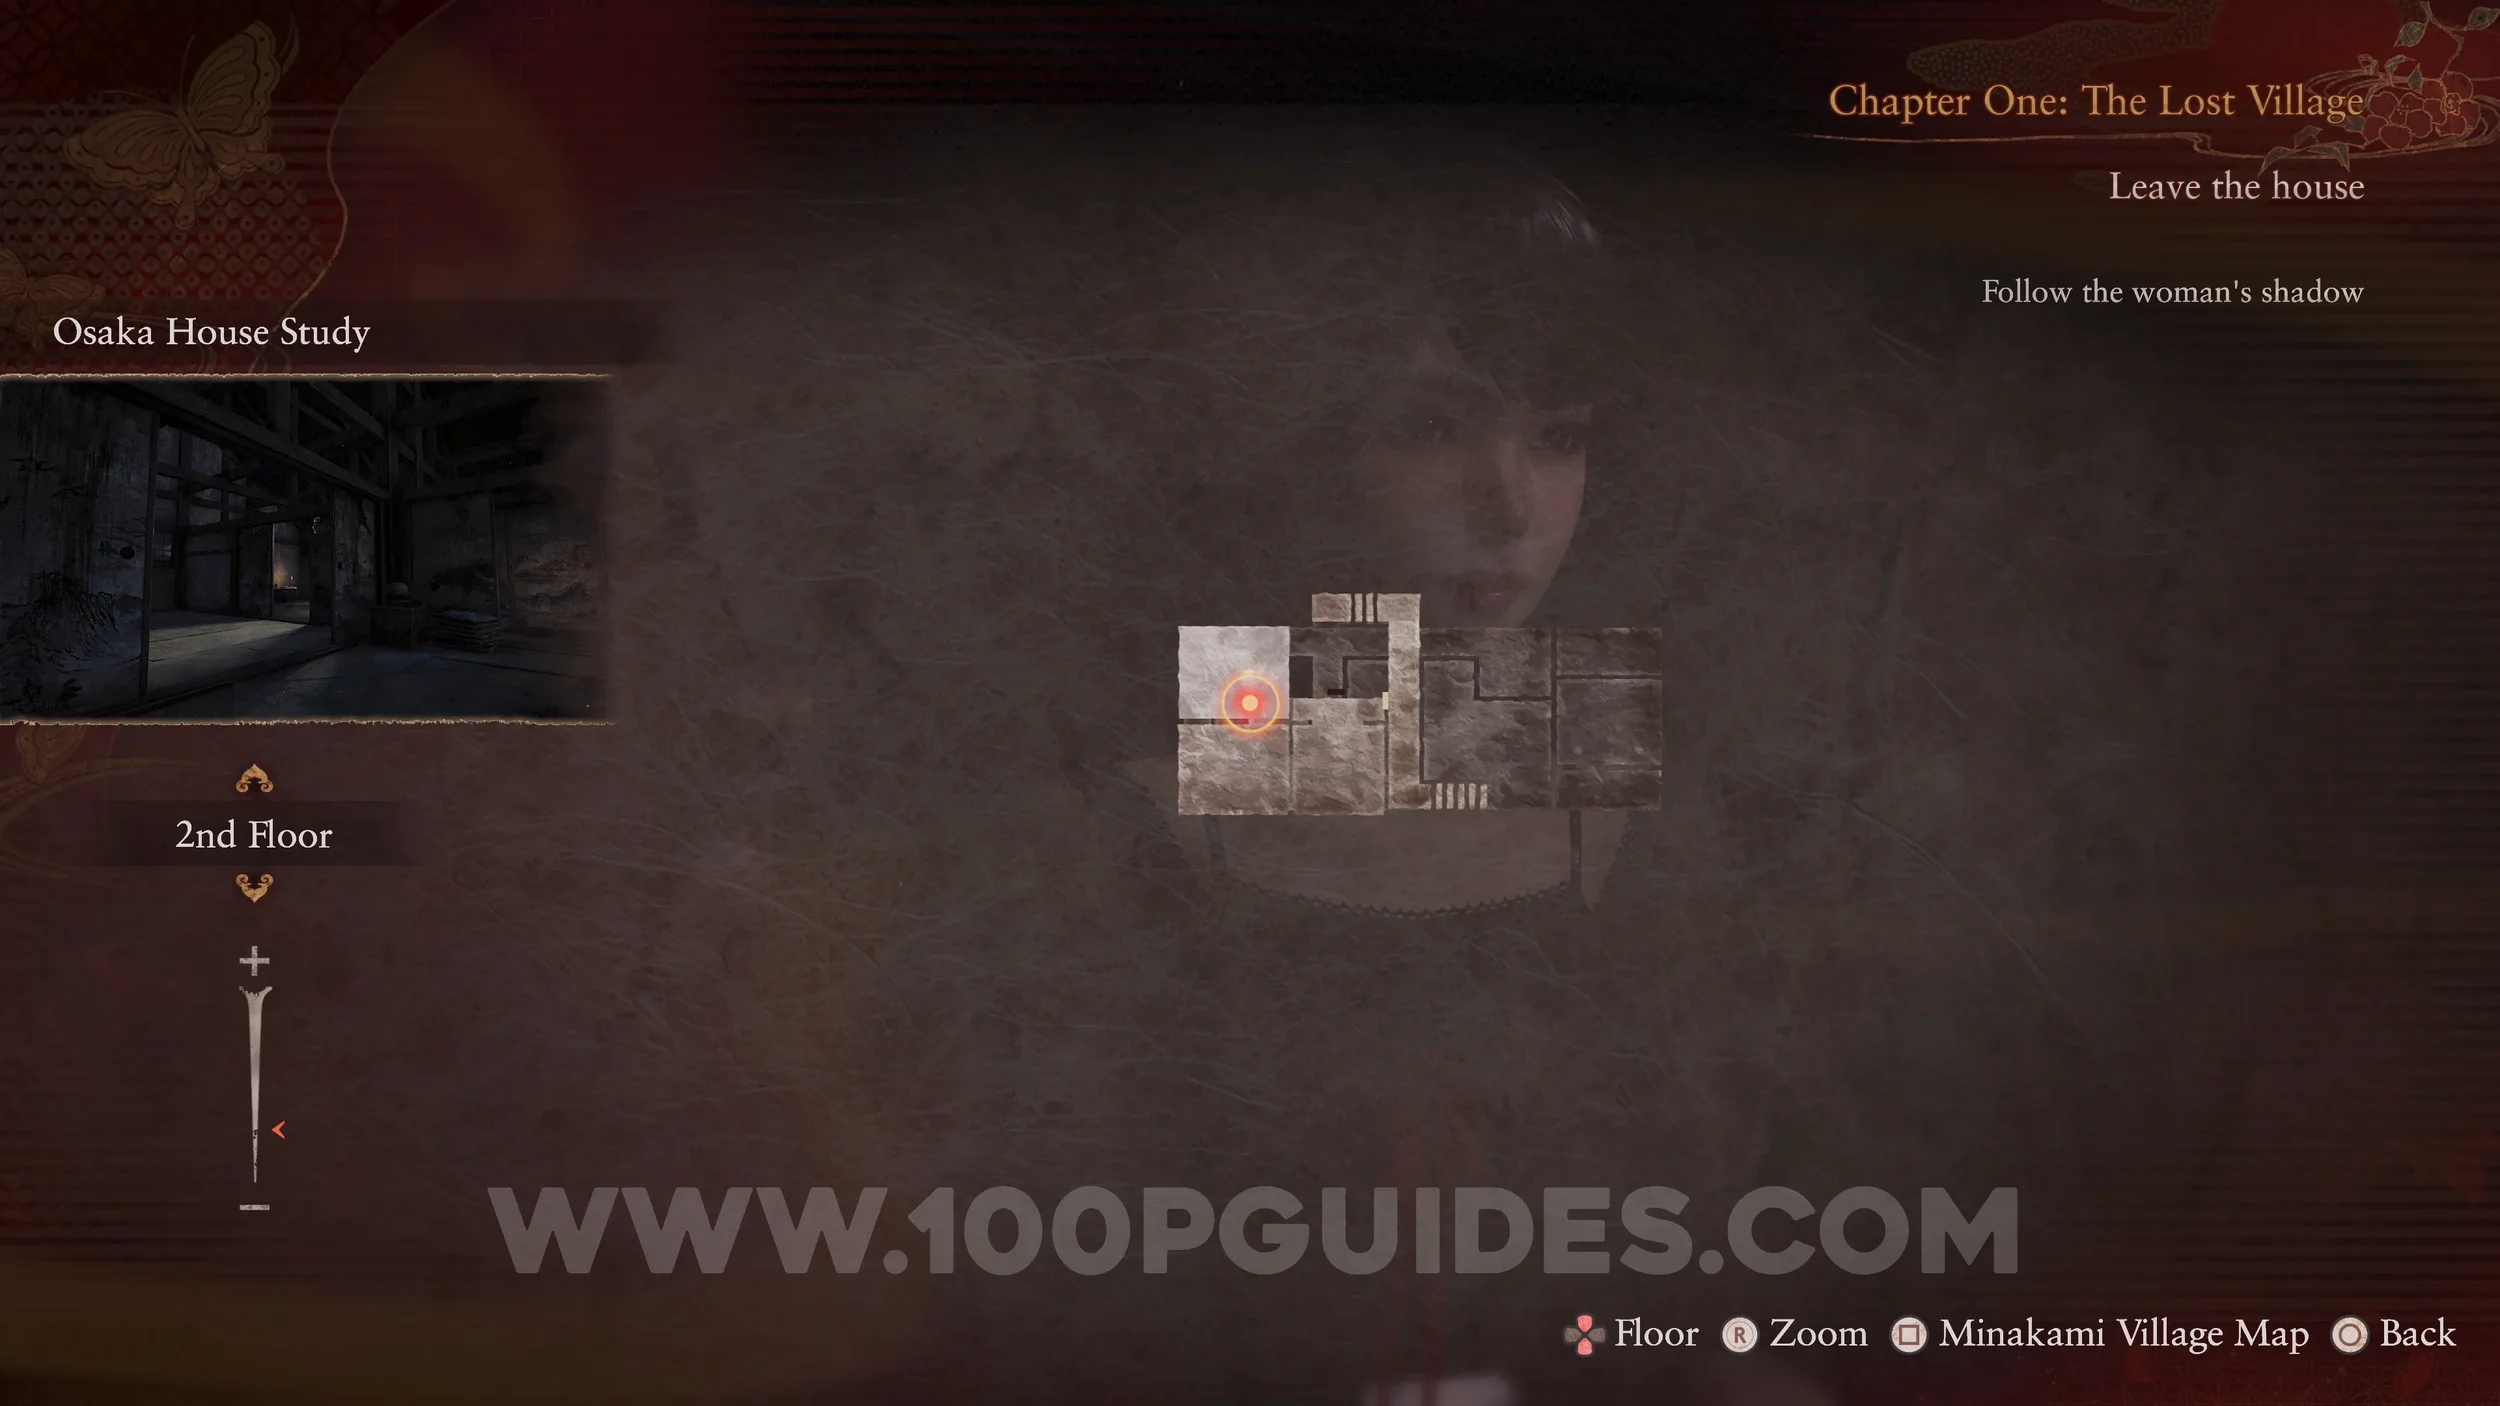
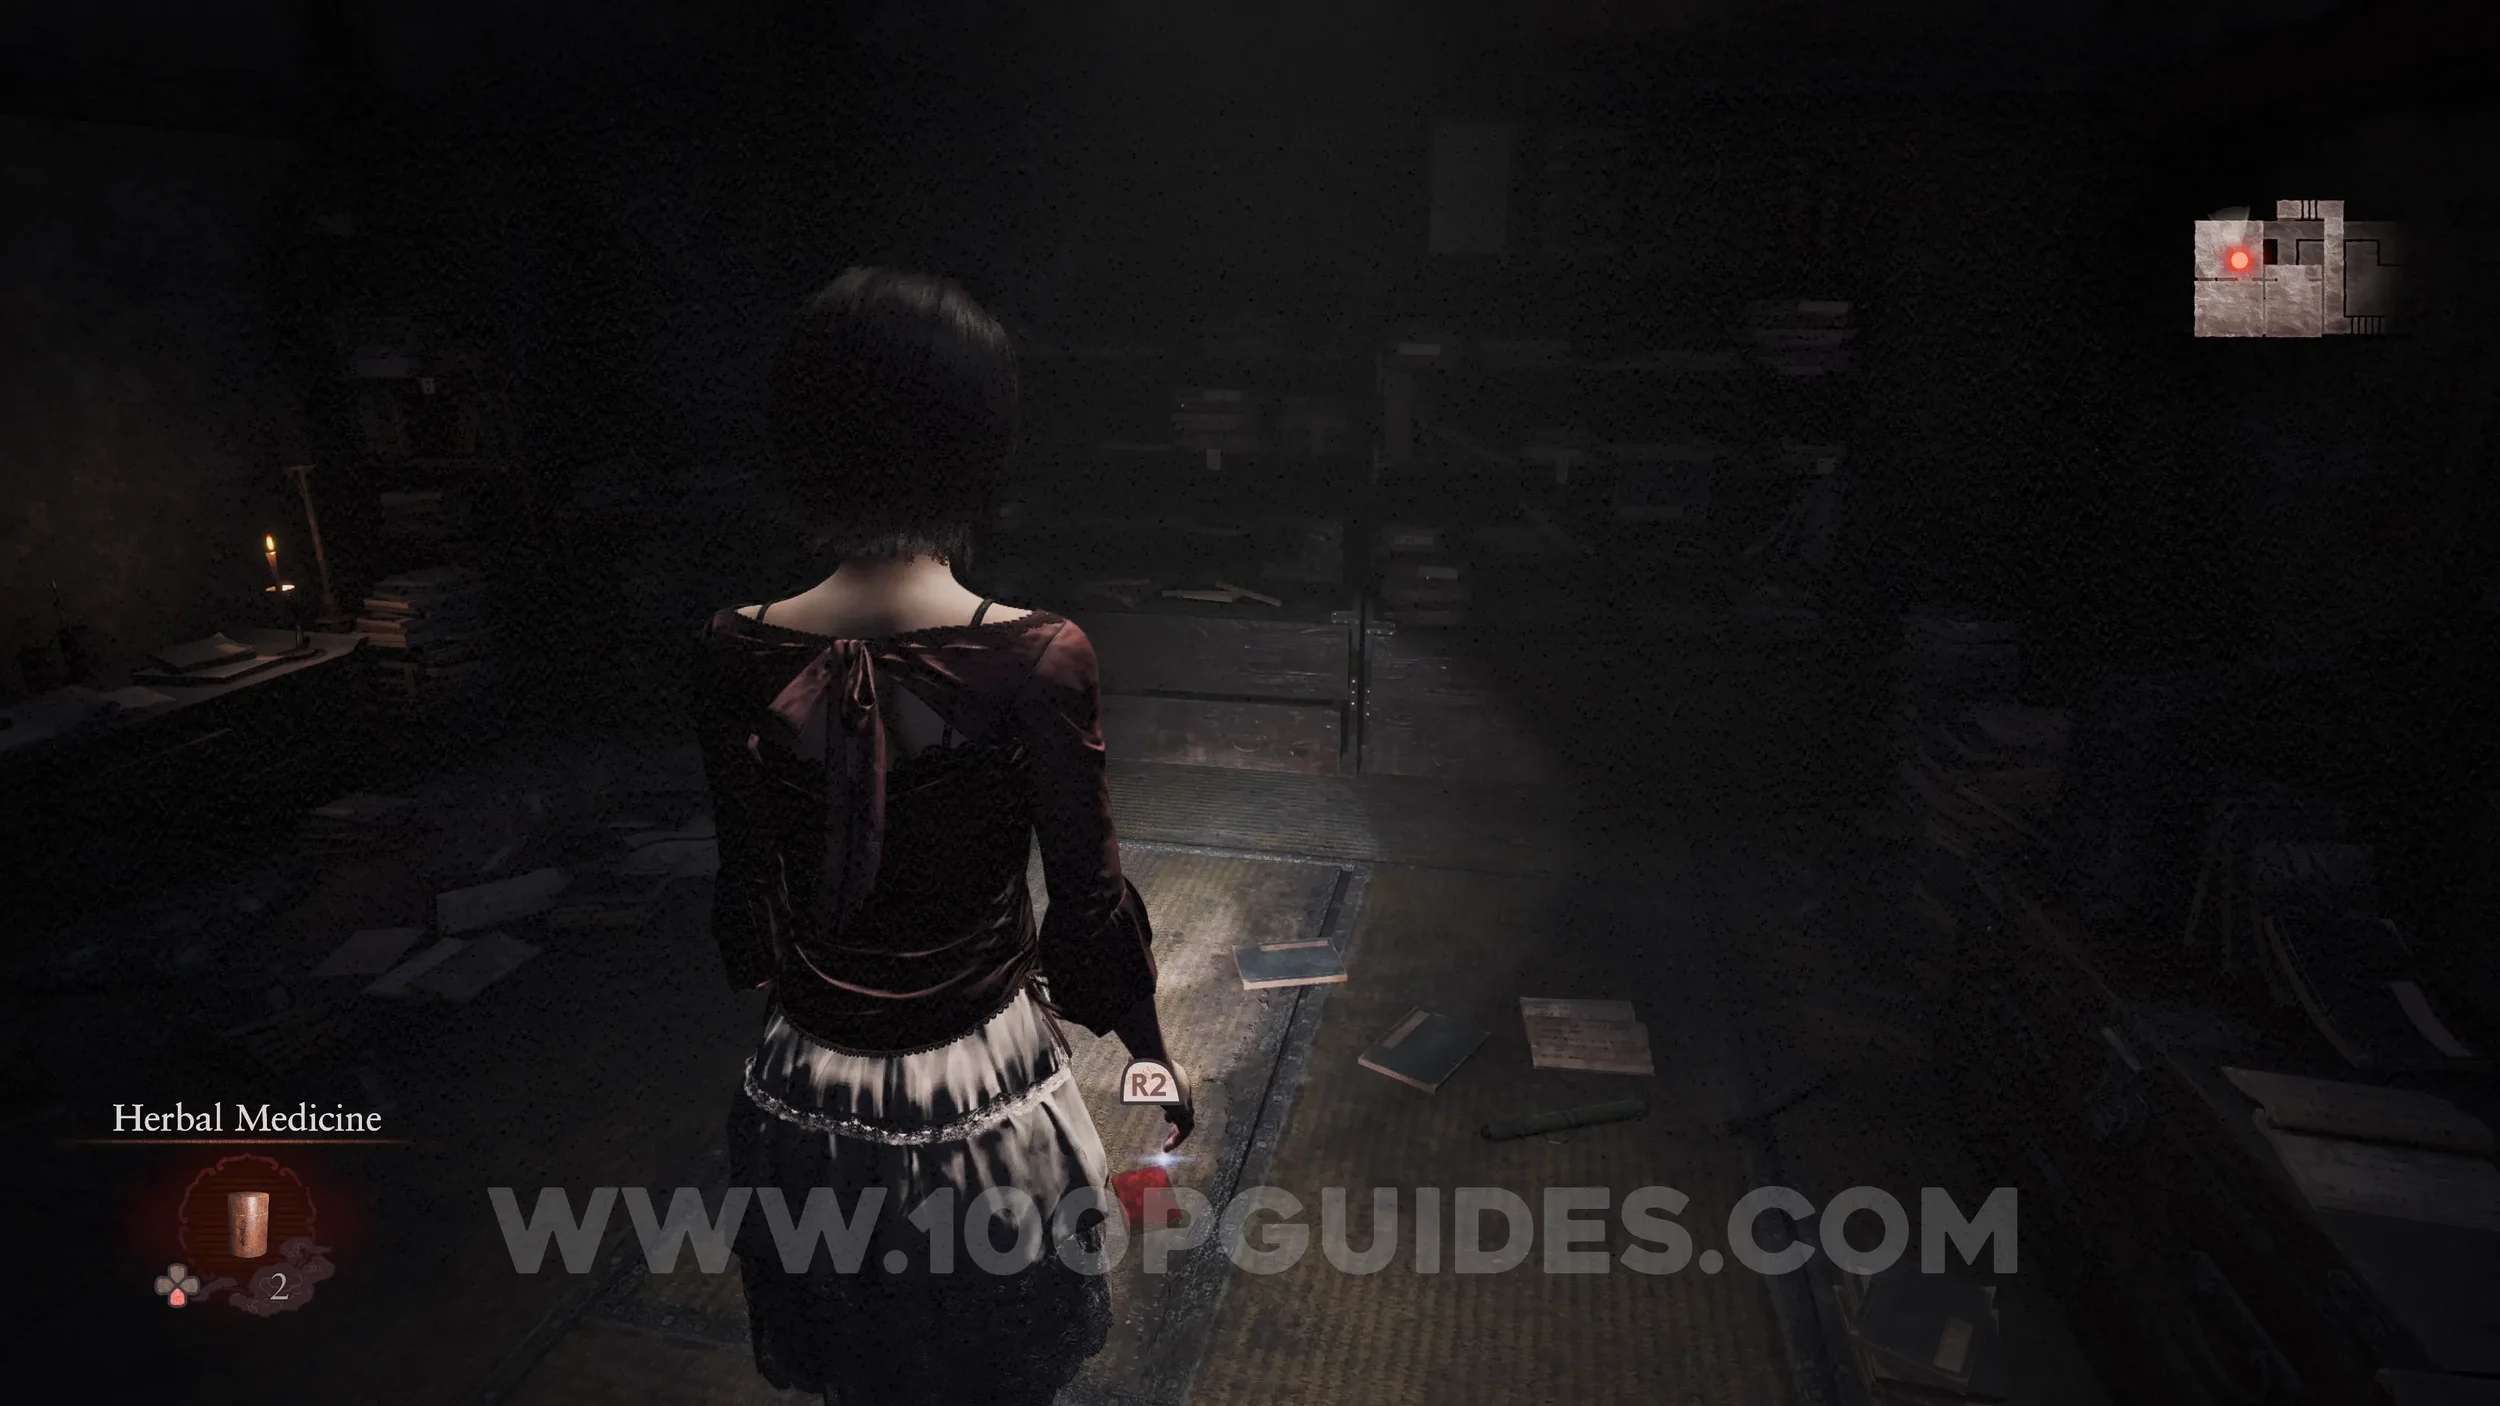
Document #4 - Woman’s Notebook 3. In the small room next to the save point room in the Osaka House.
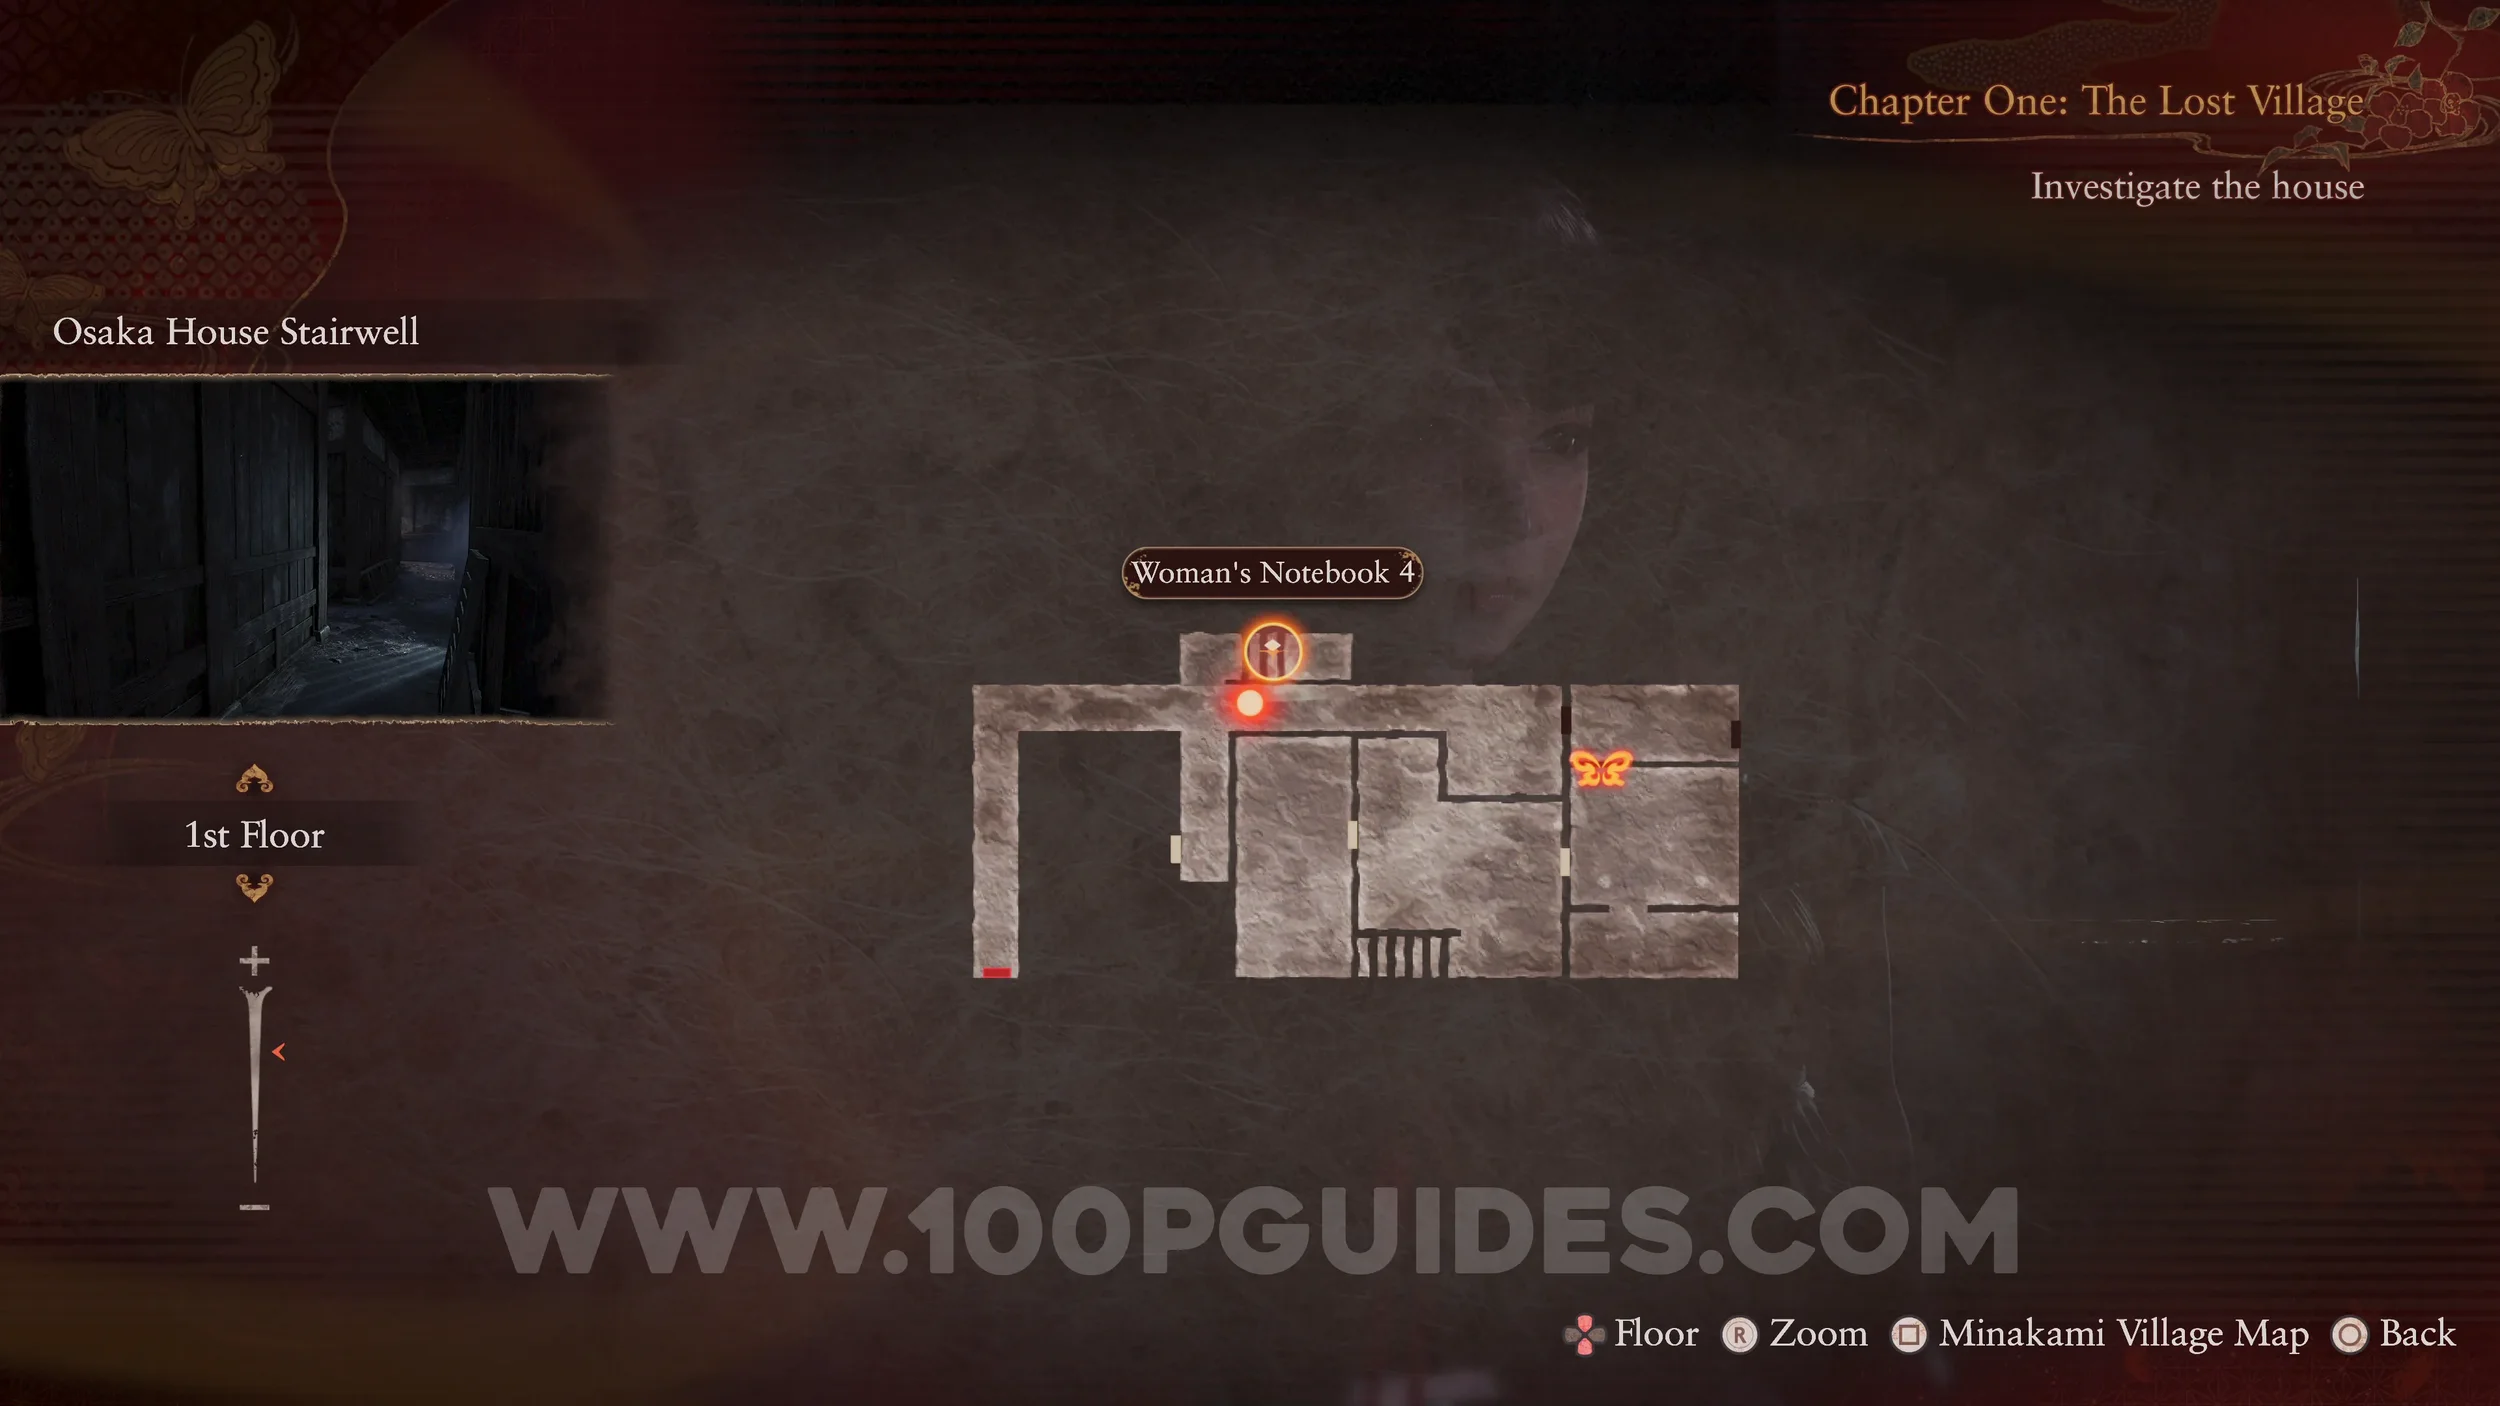
Document #5 - Woman’s Notebook 4. In a small gap in the hall in the Osaka House.
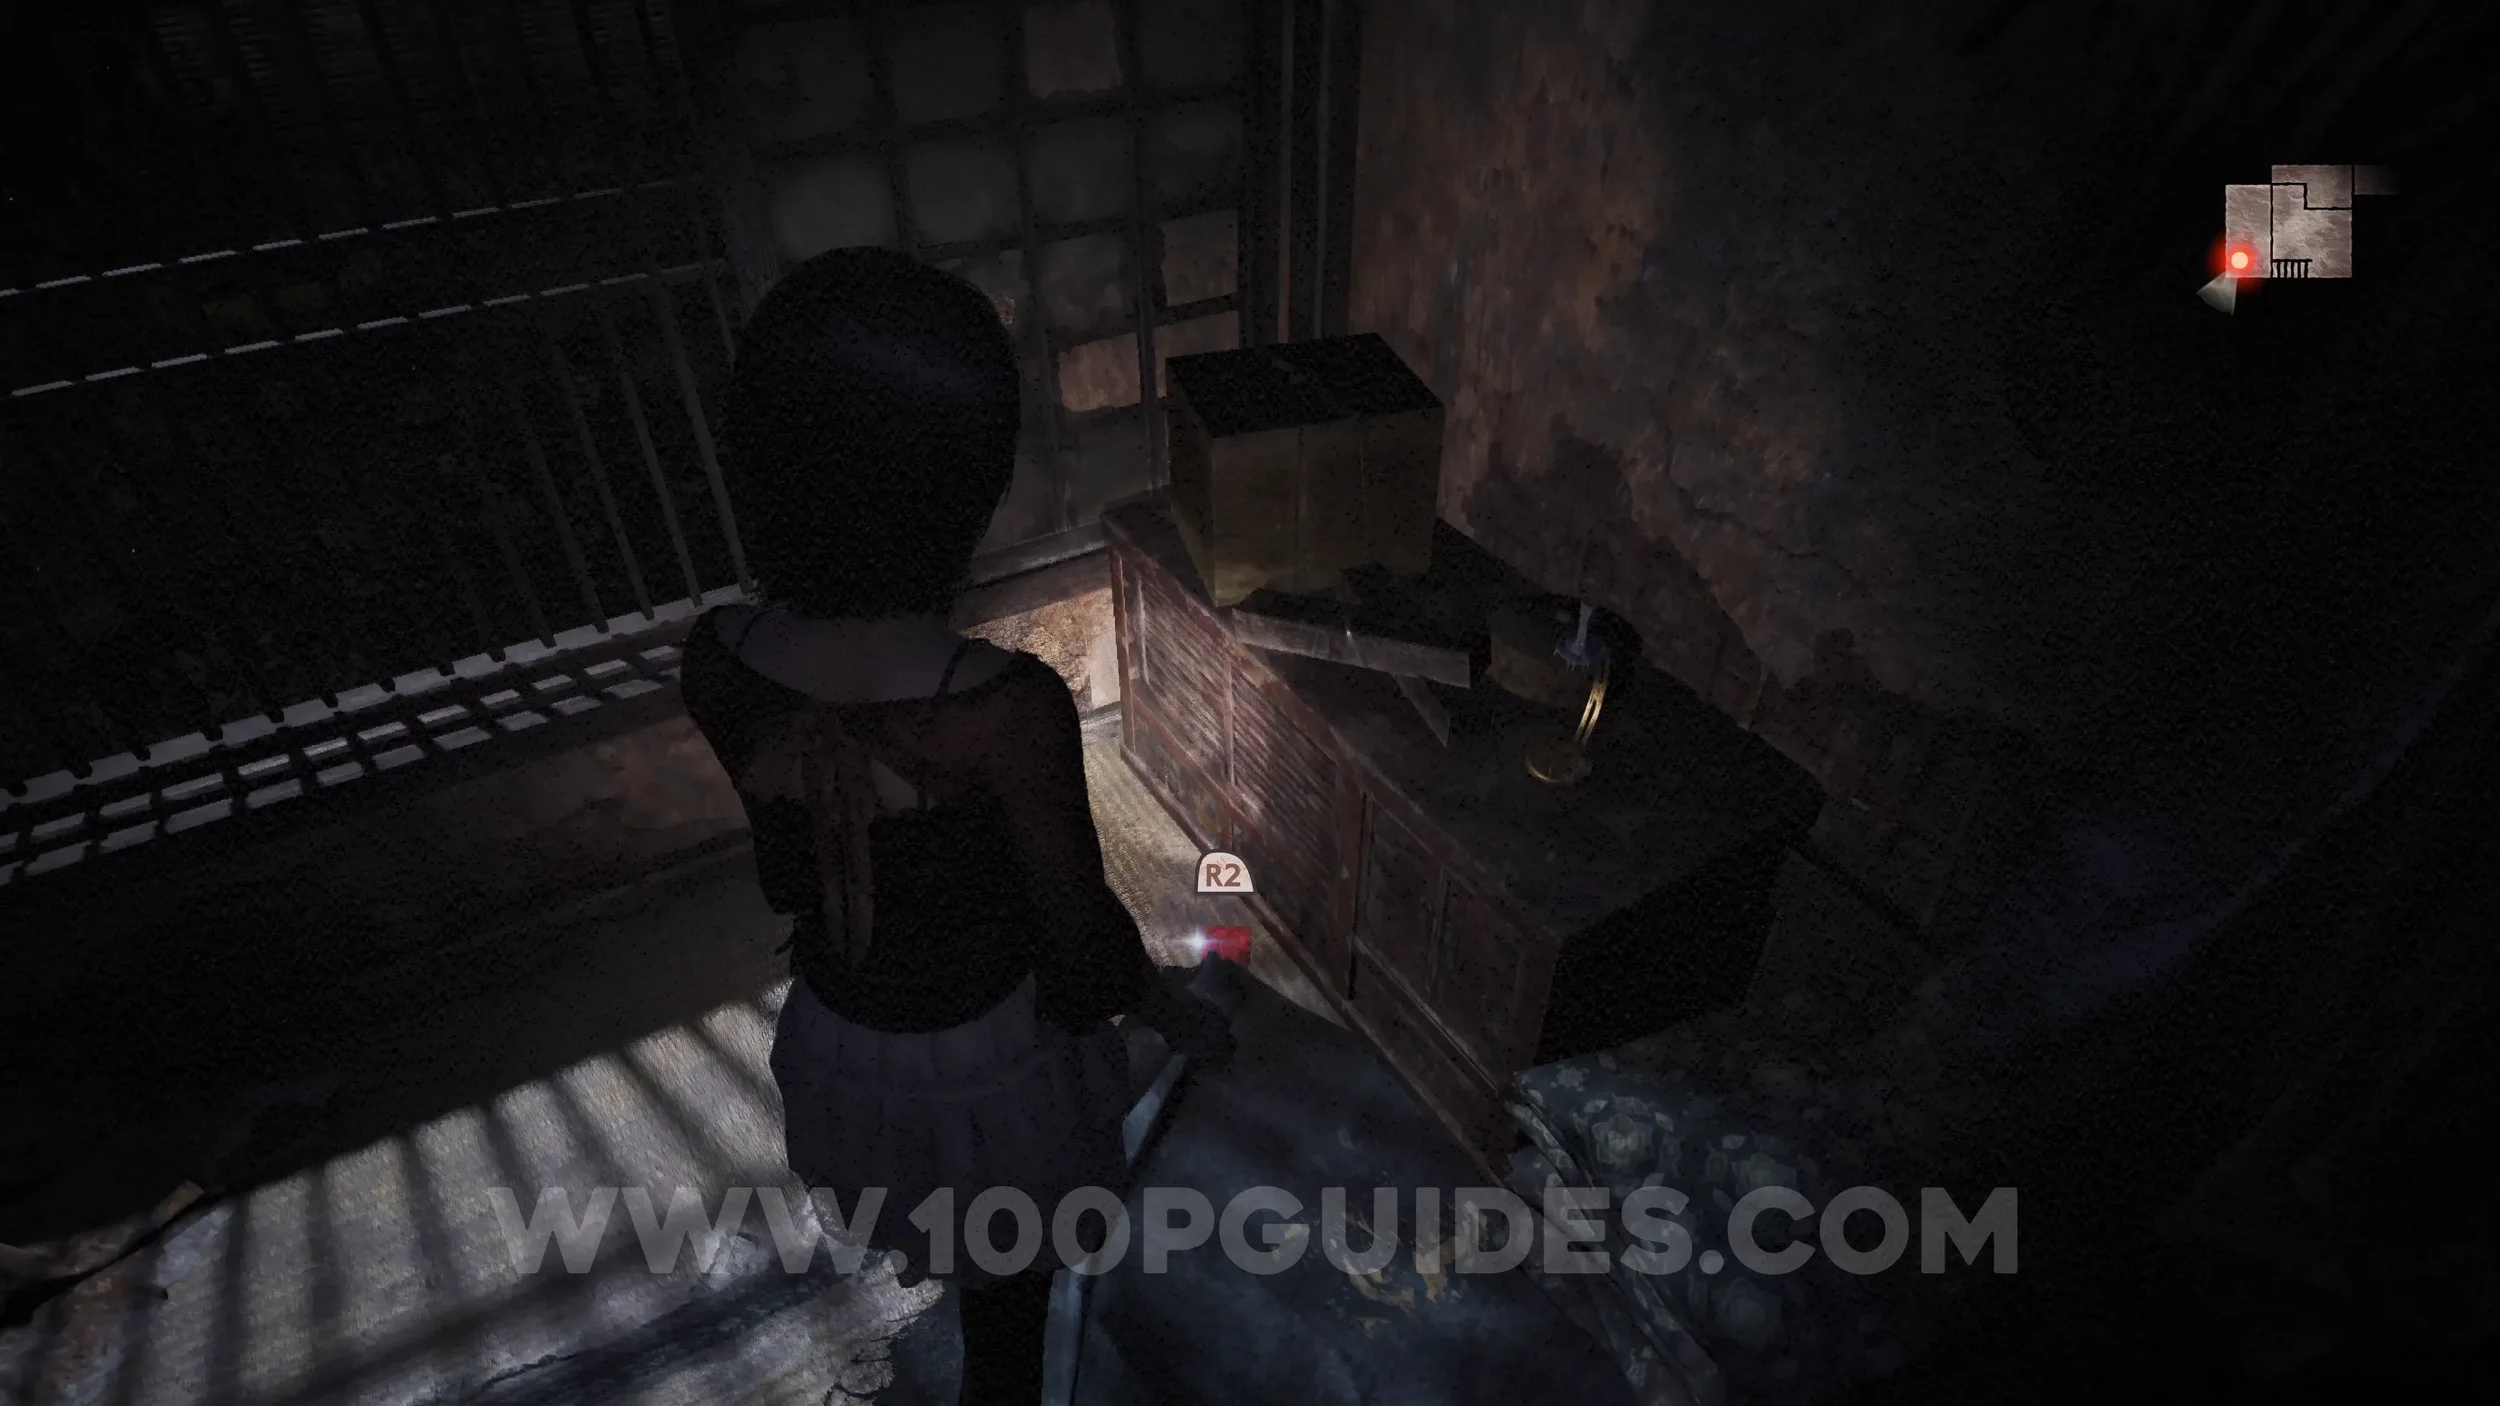
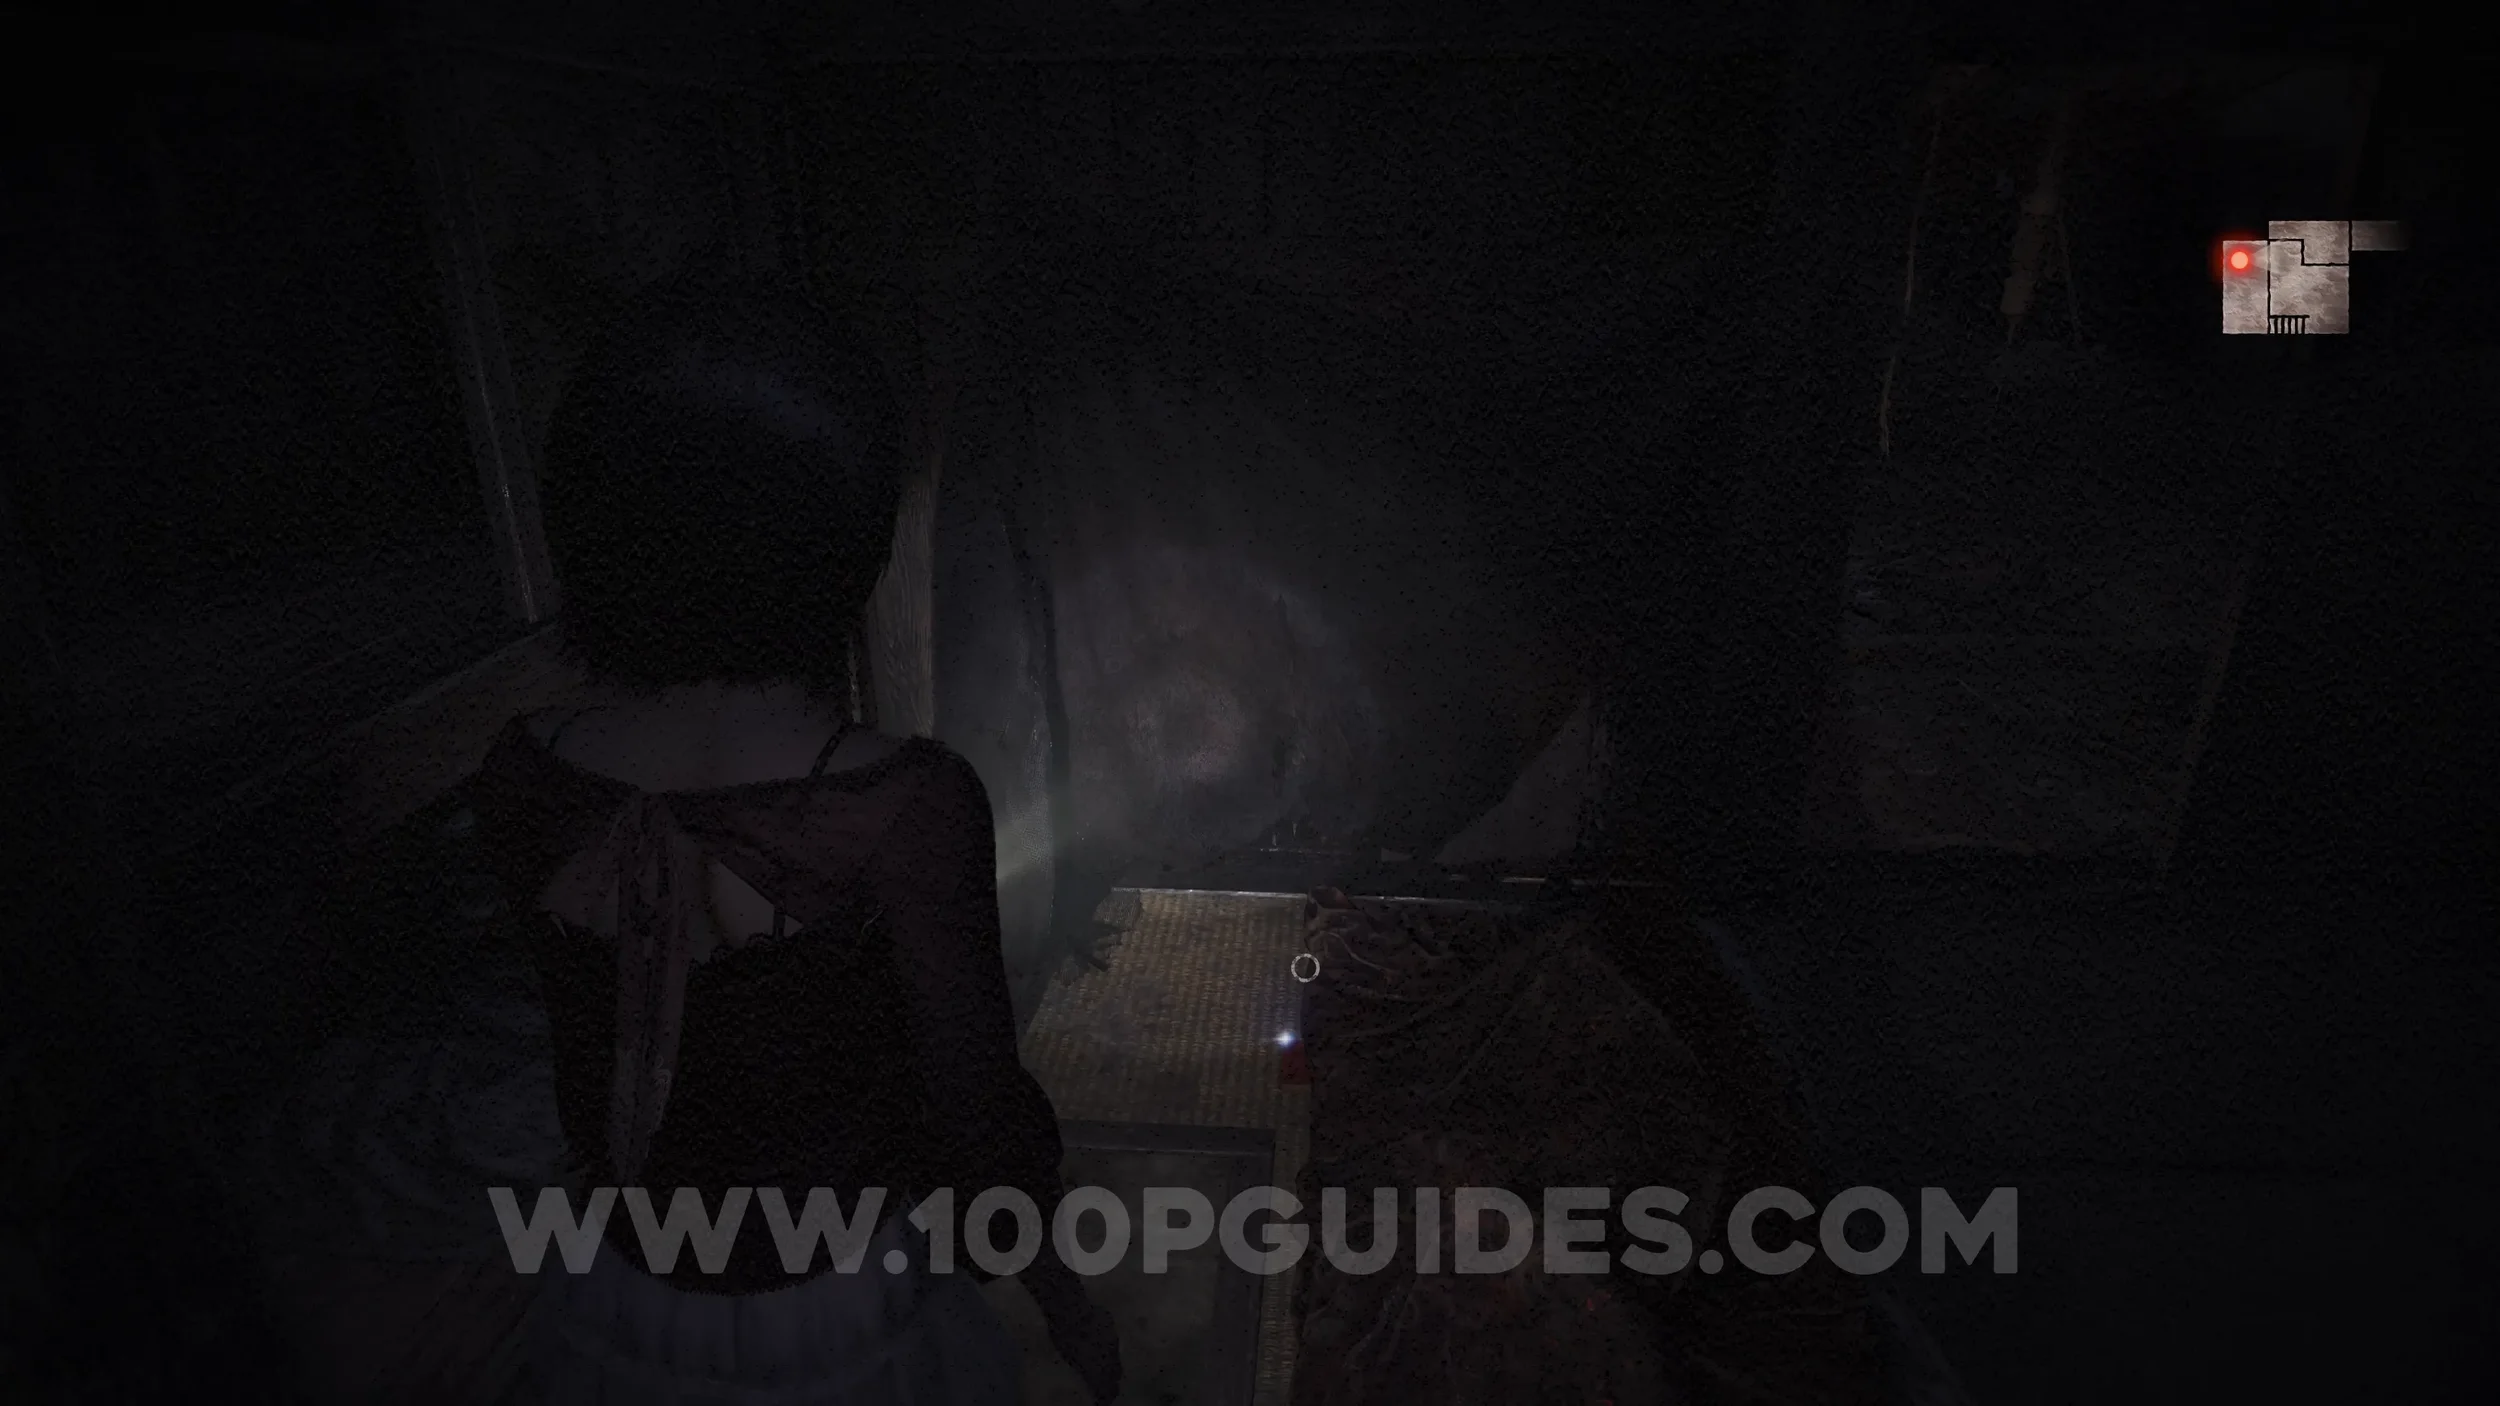
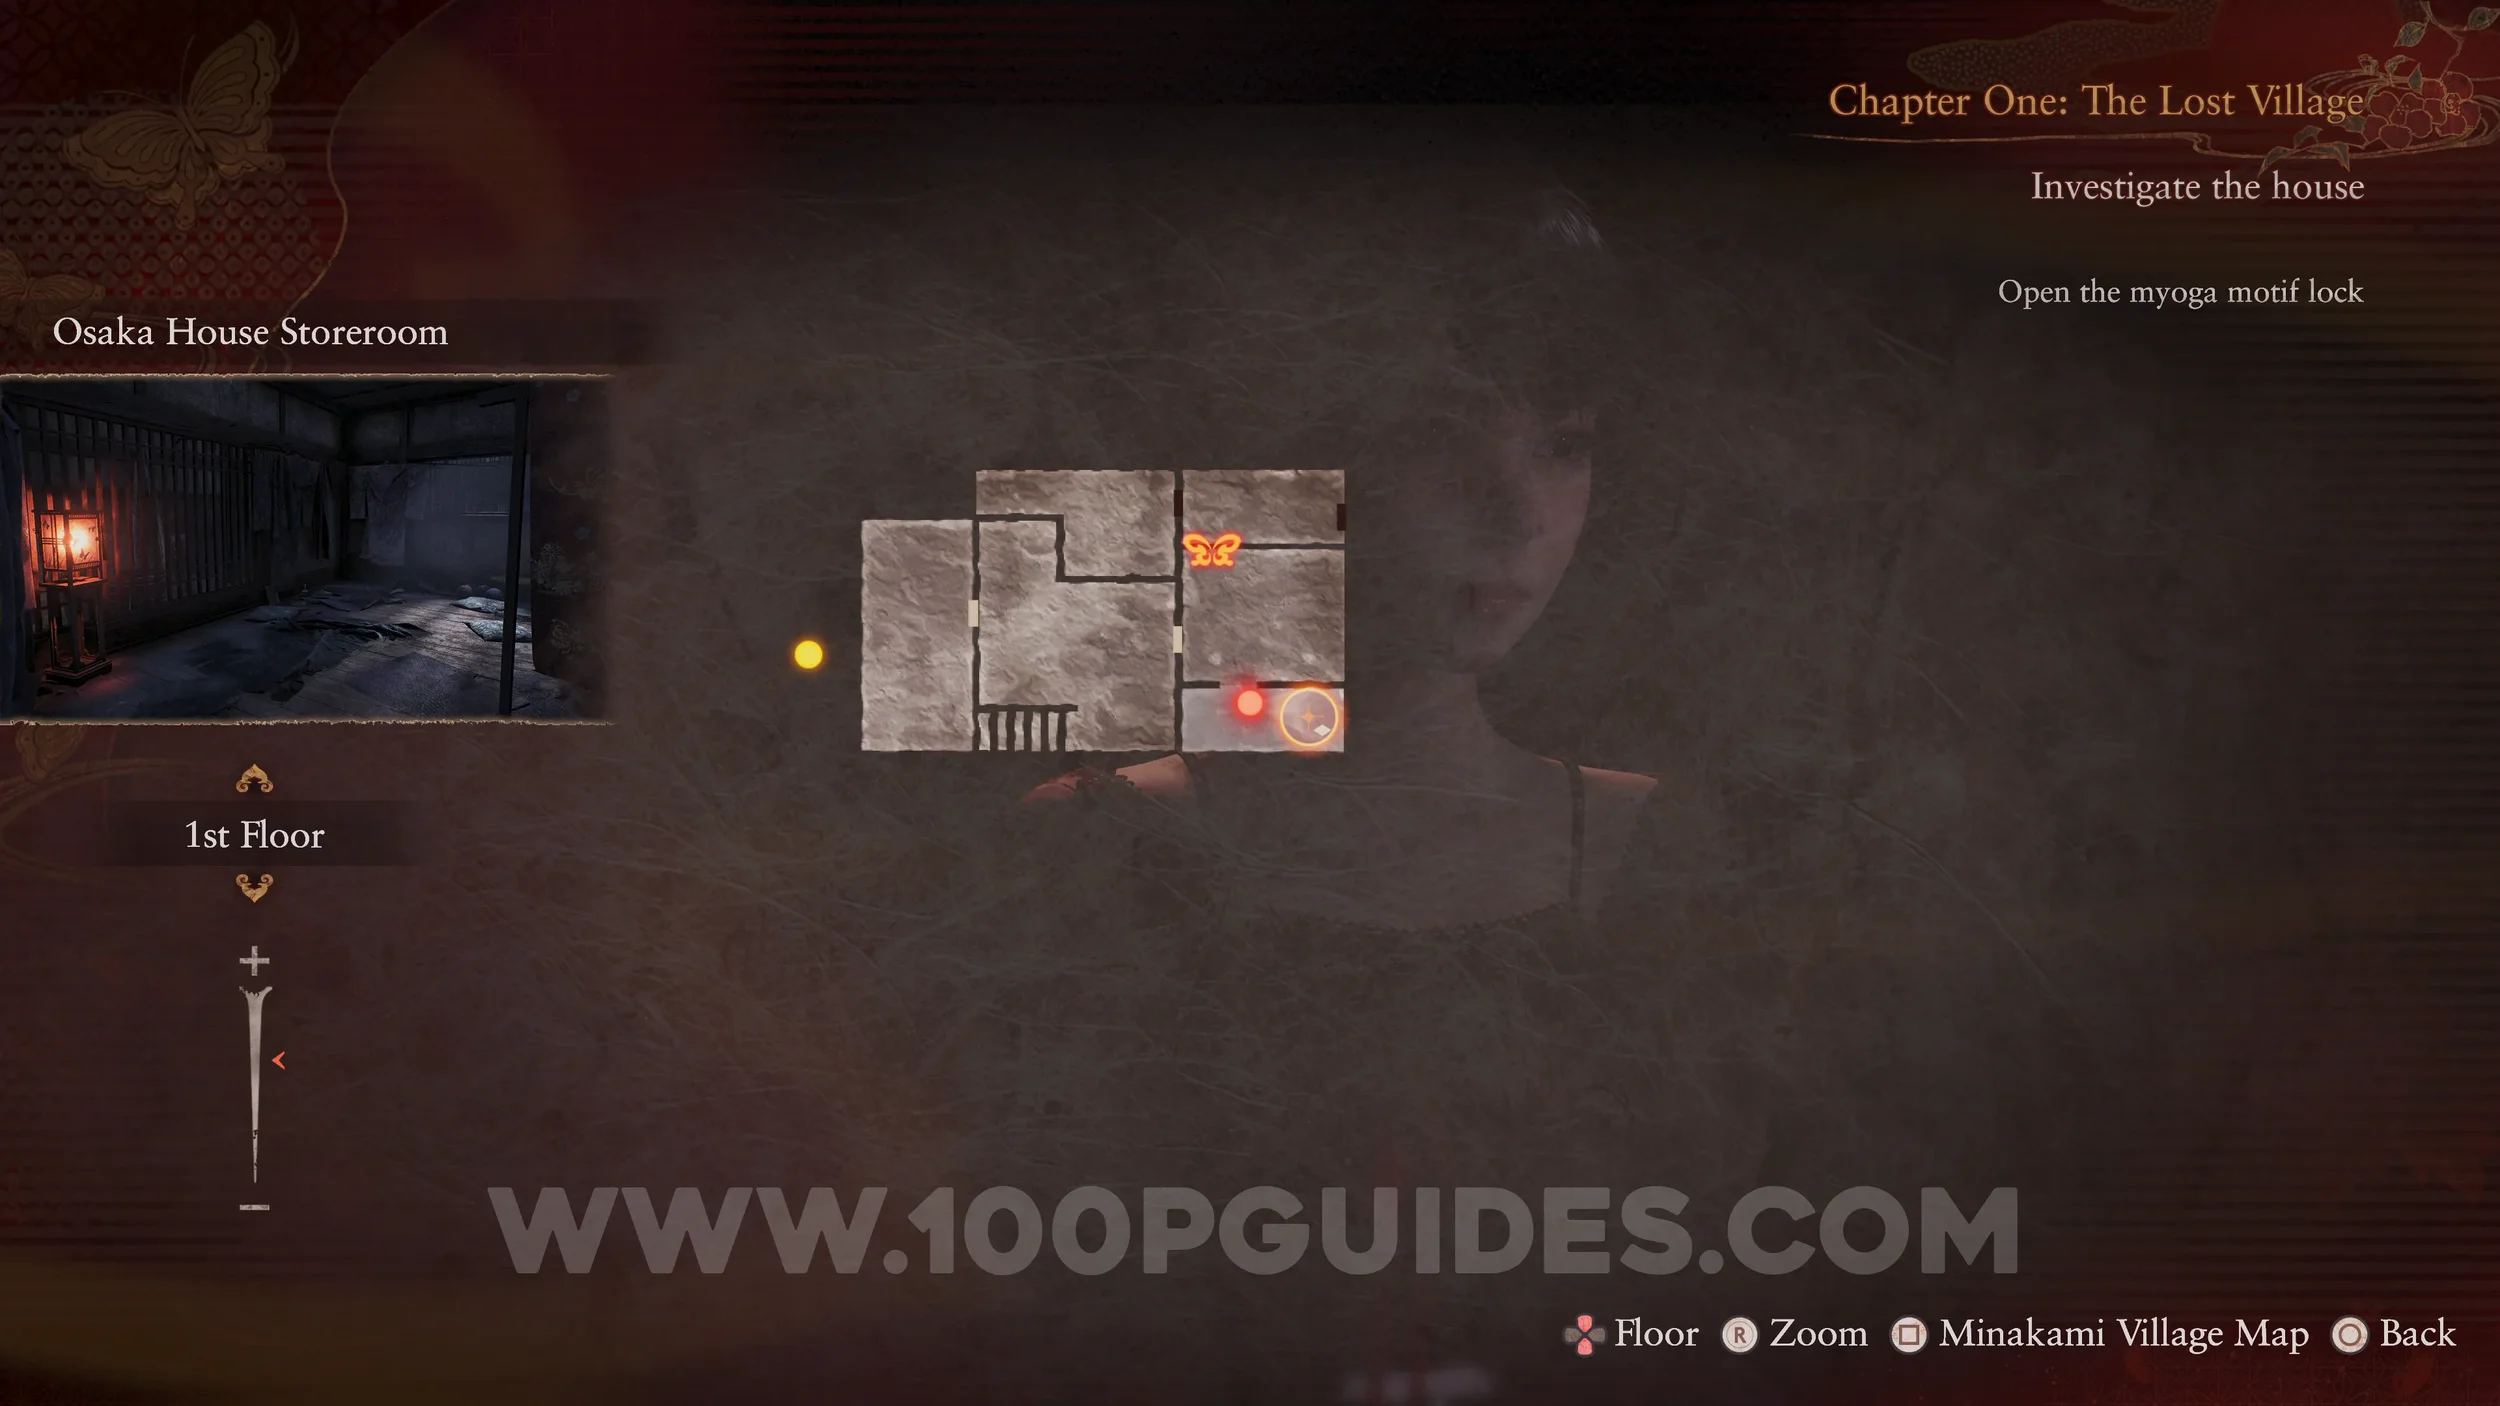
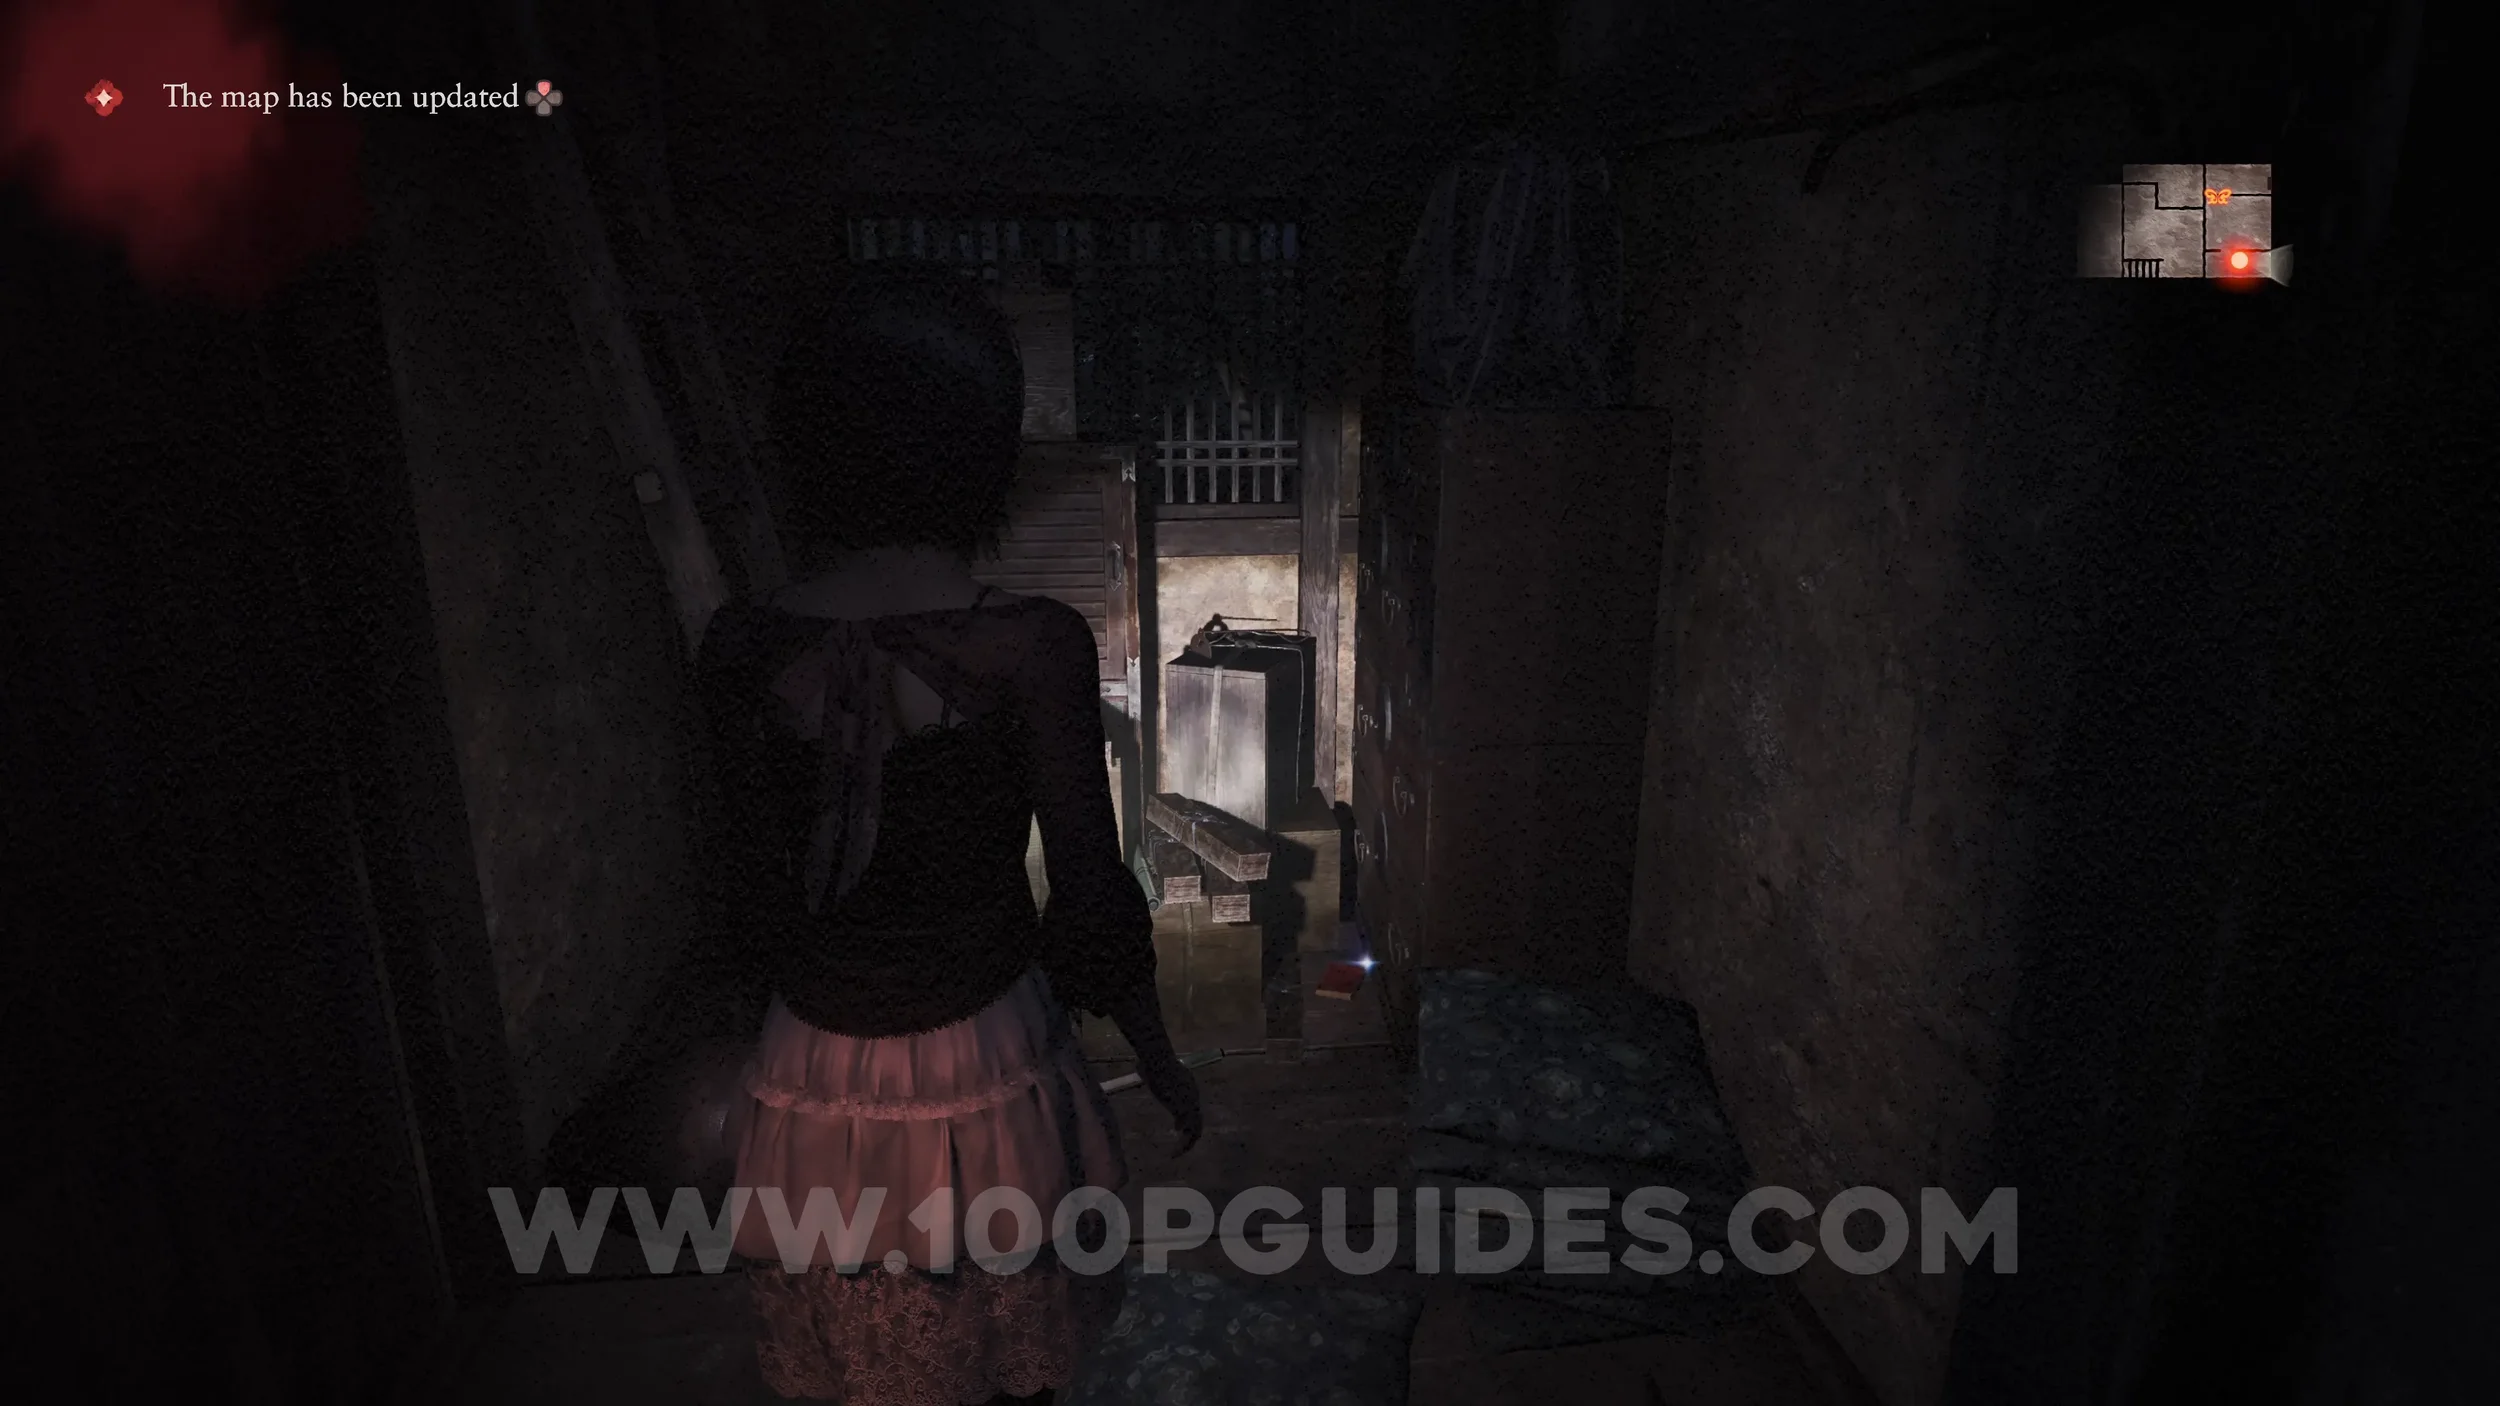
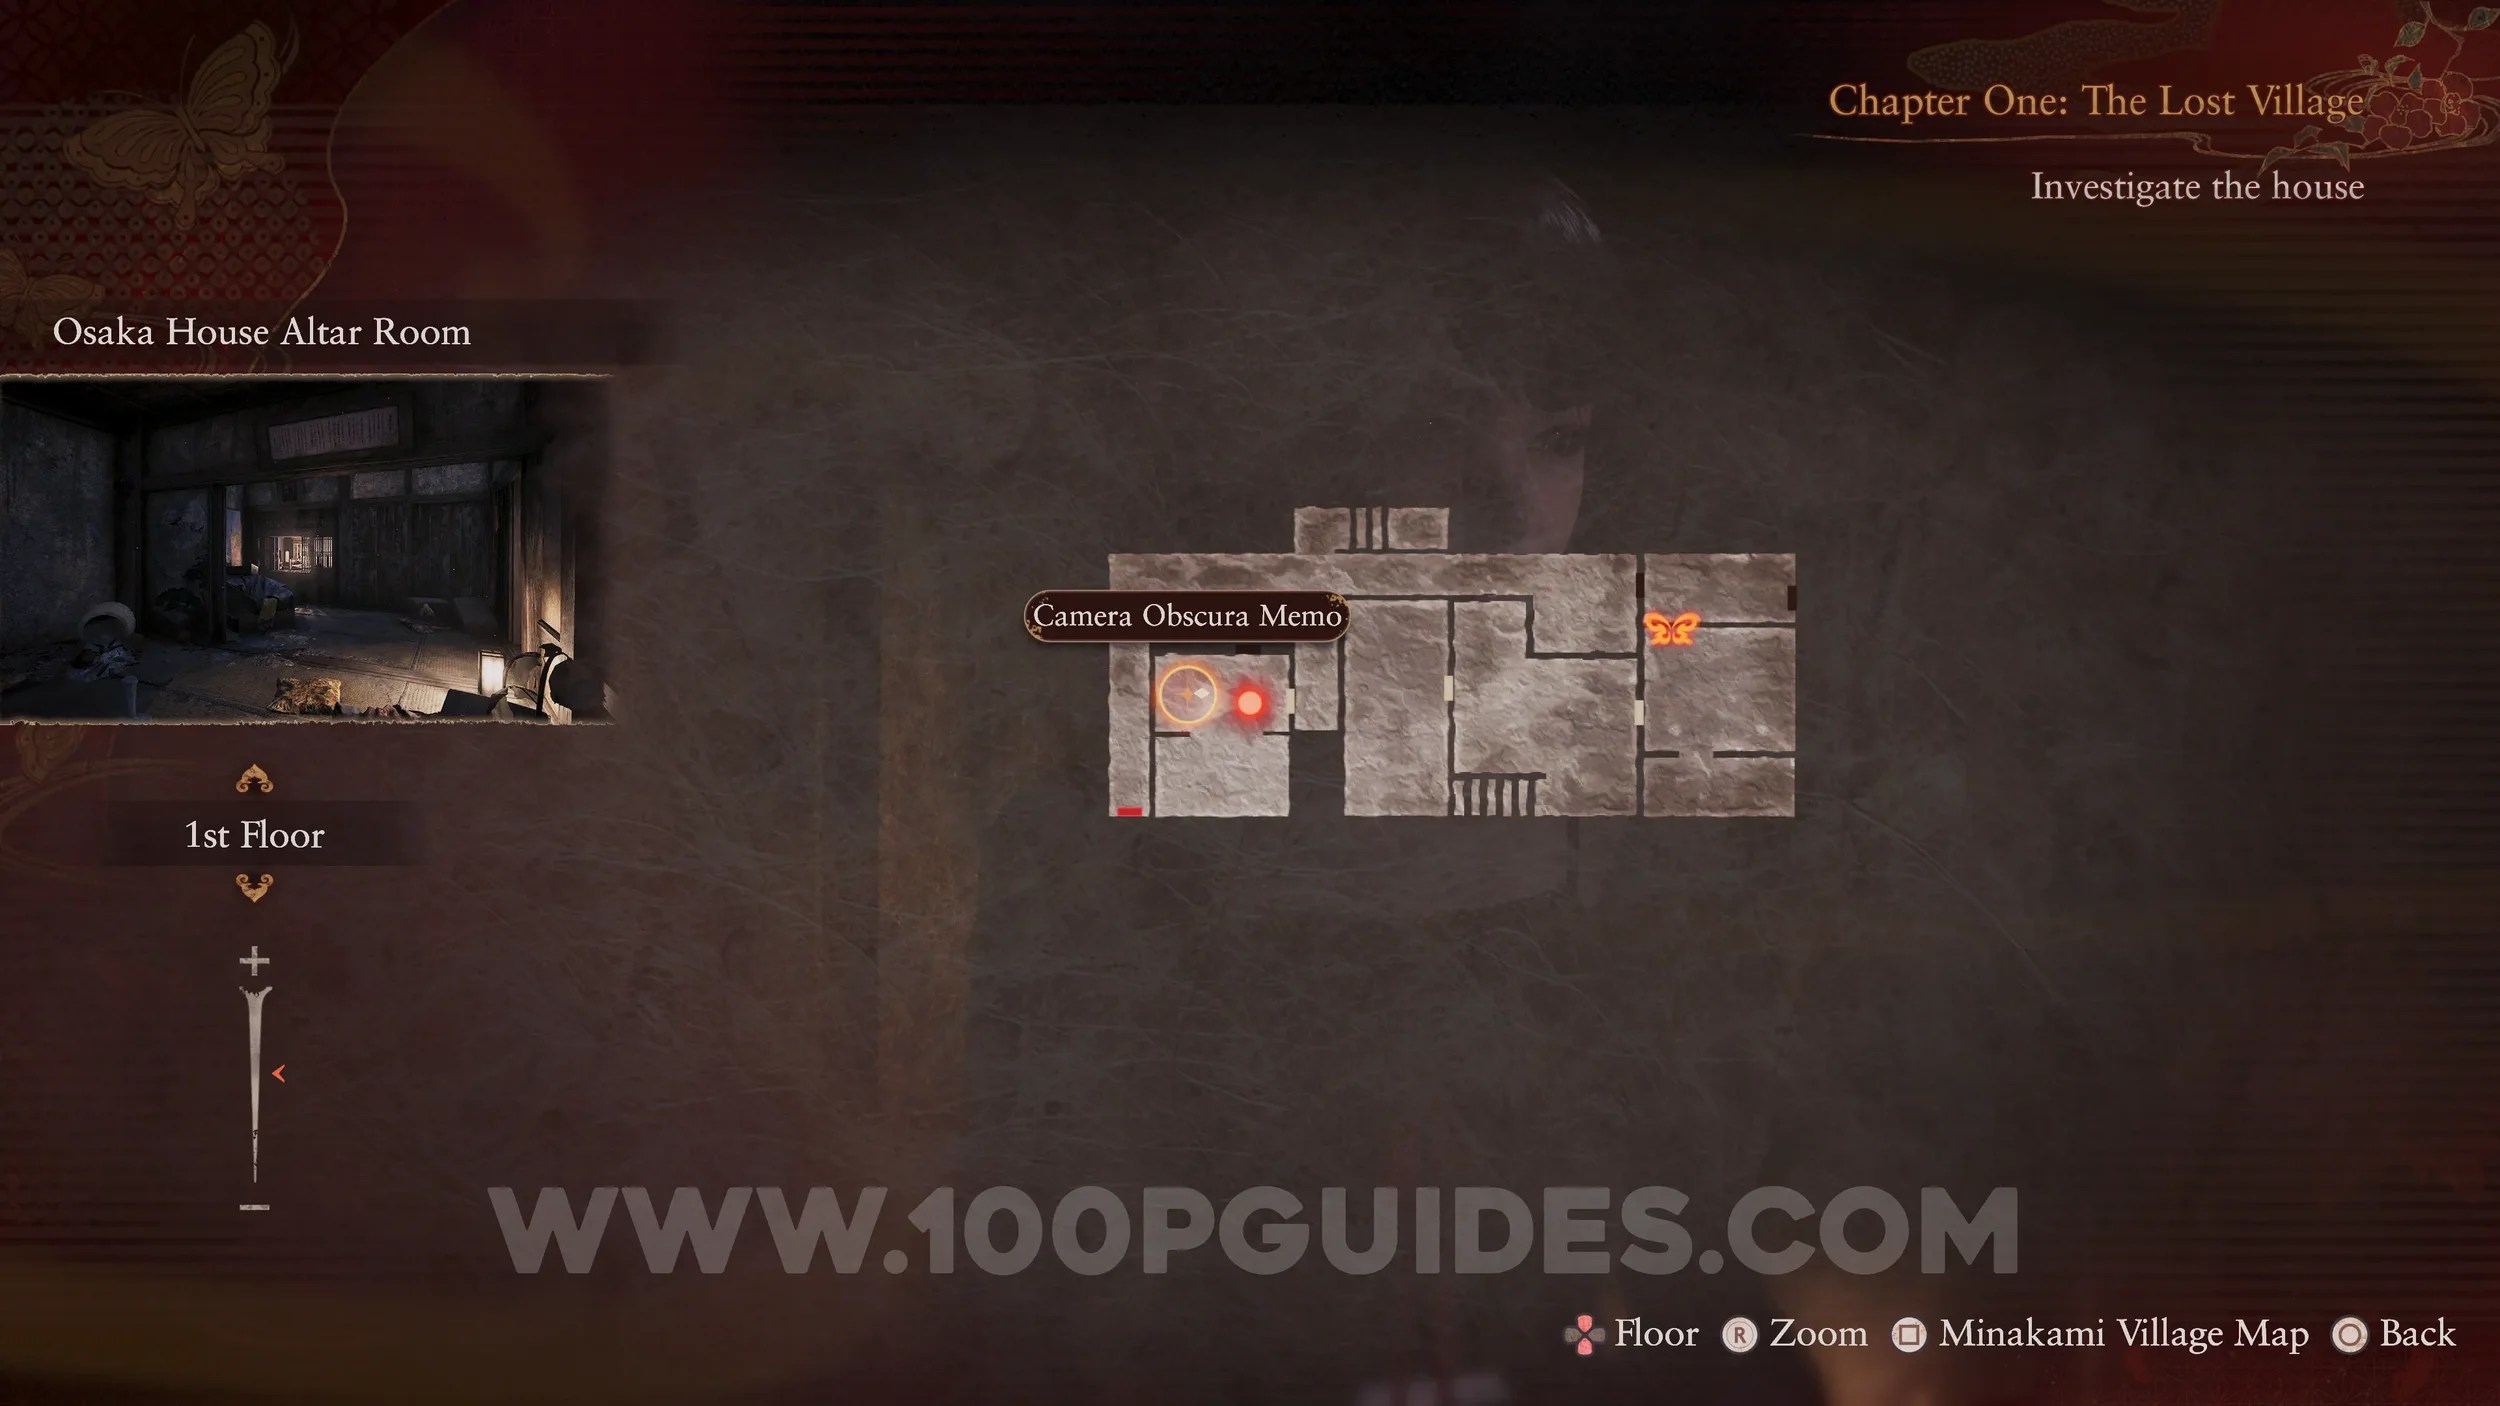
Document #6 - Camera Obscura Memo. In the room that you open with the Myoga Motif key in the Osaka House.
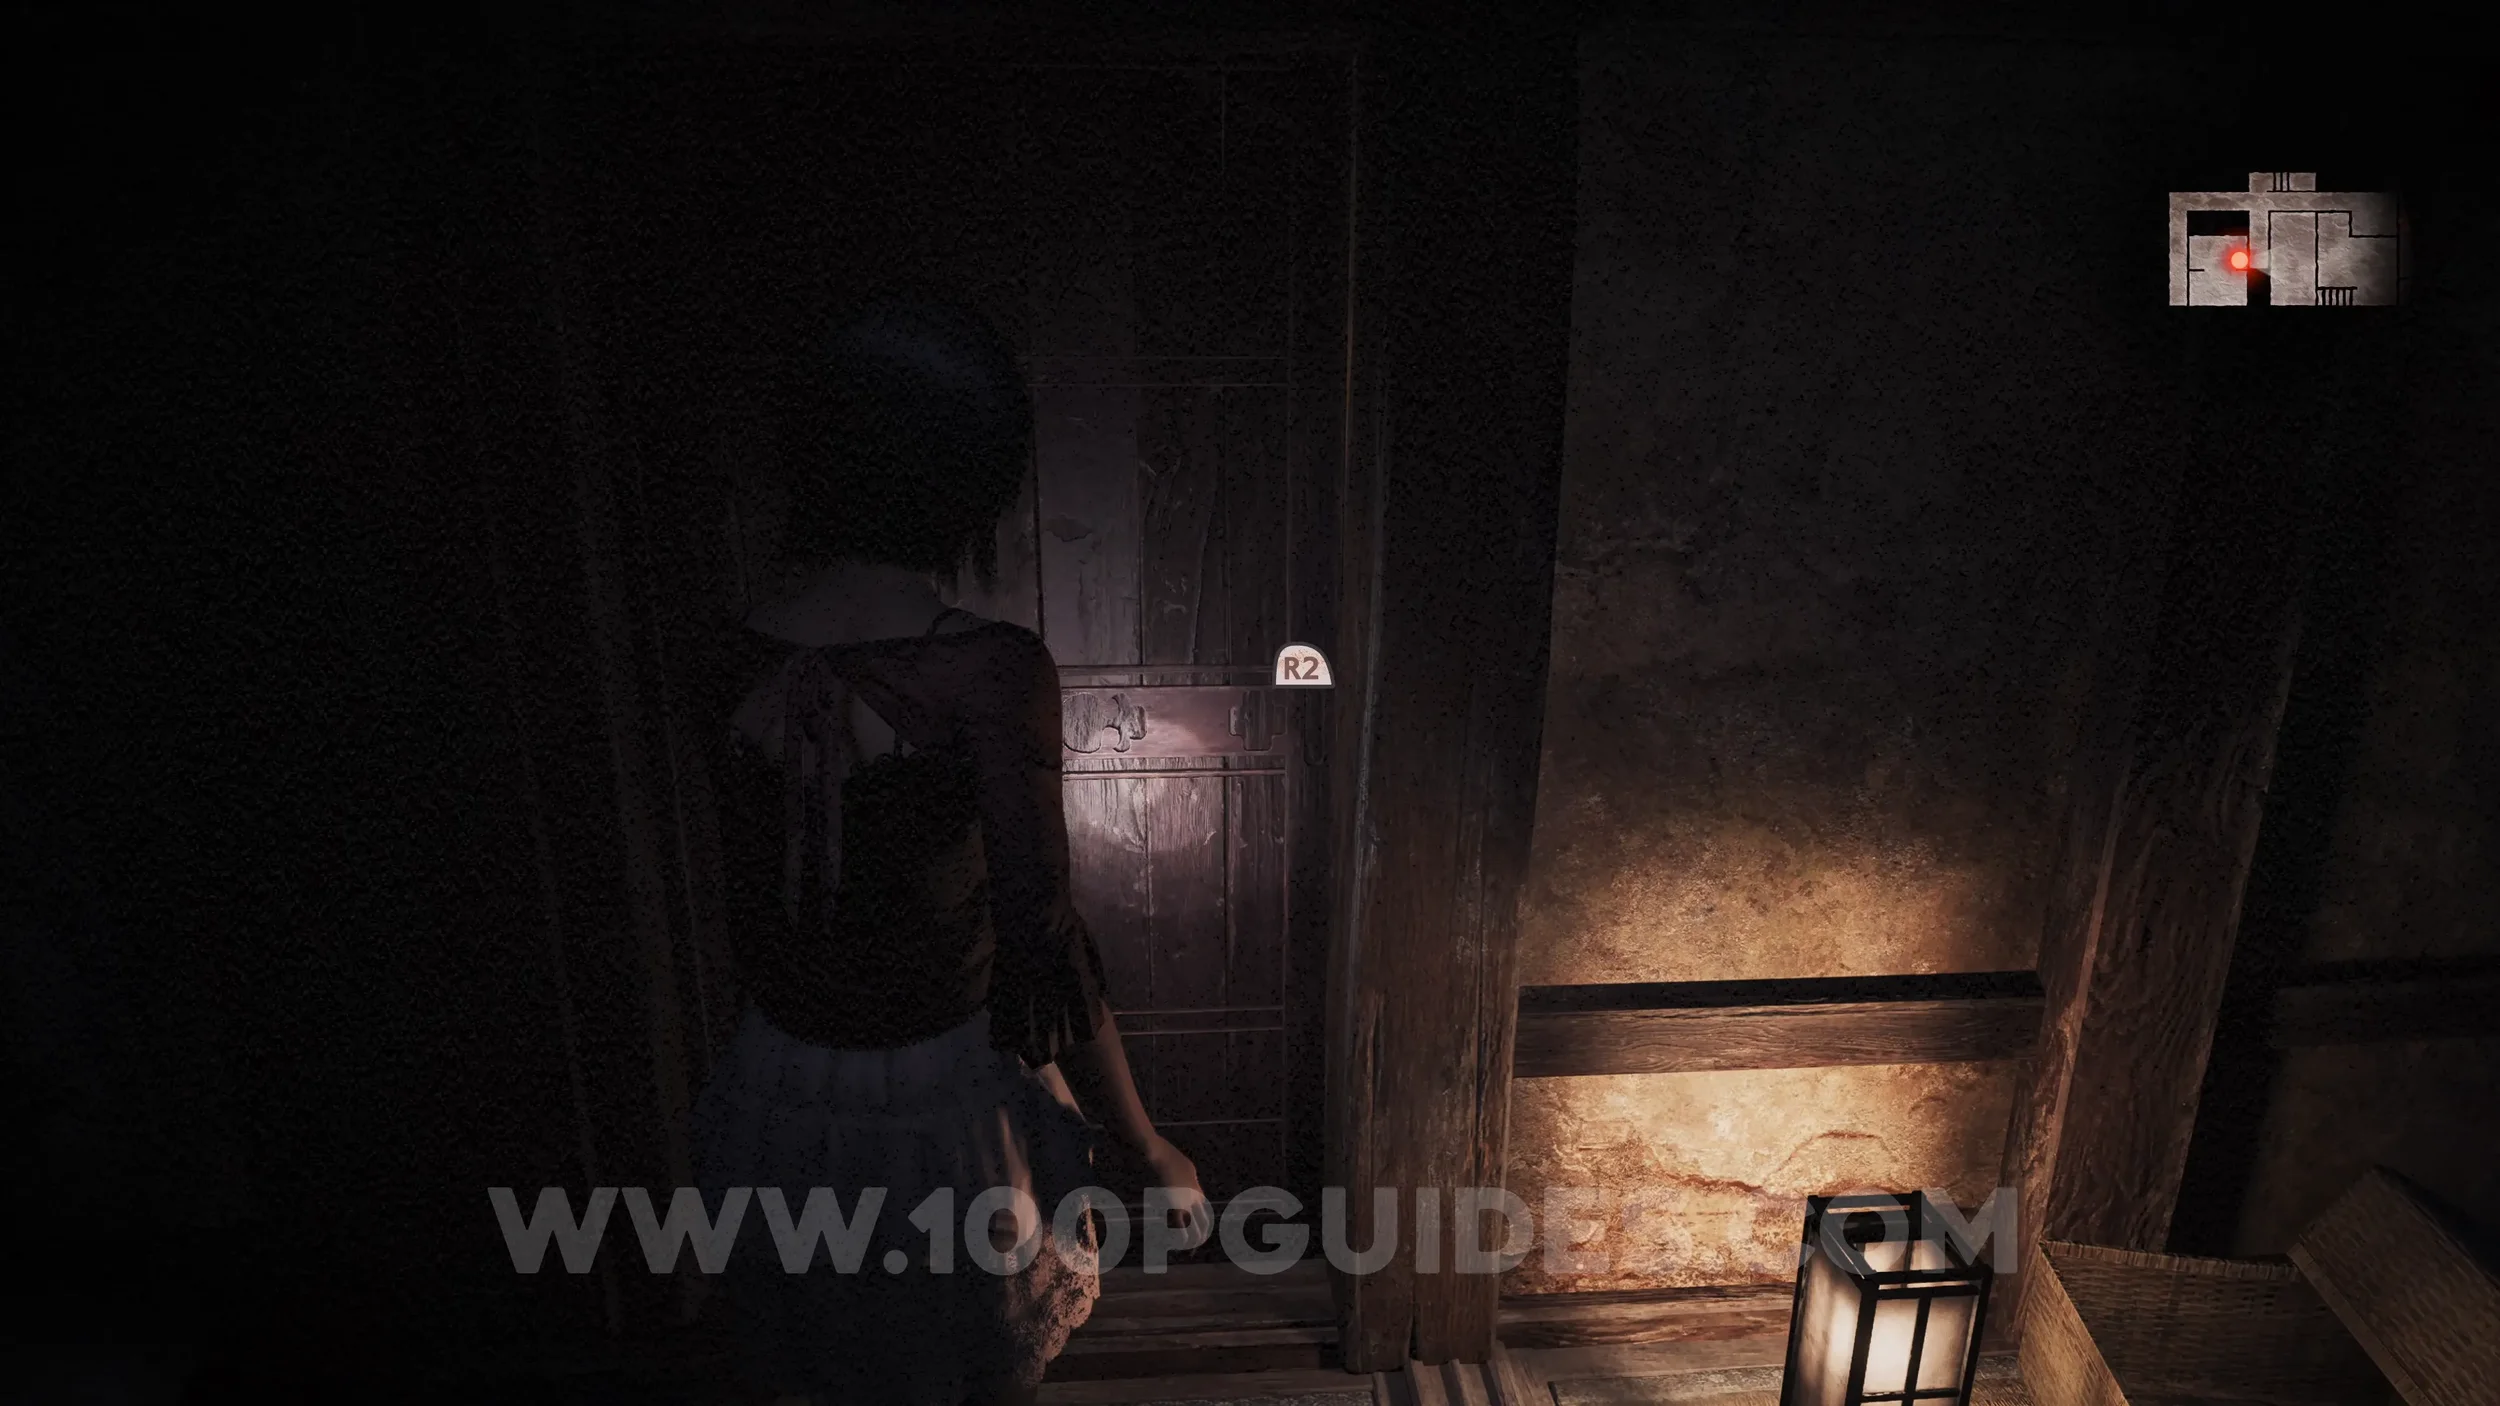
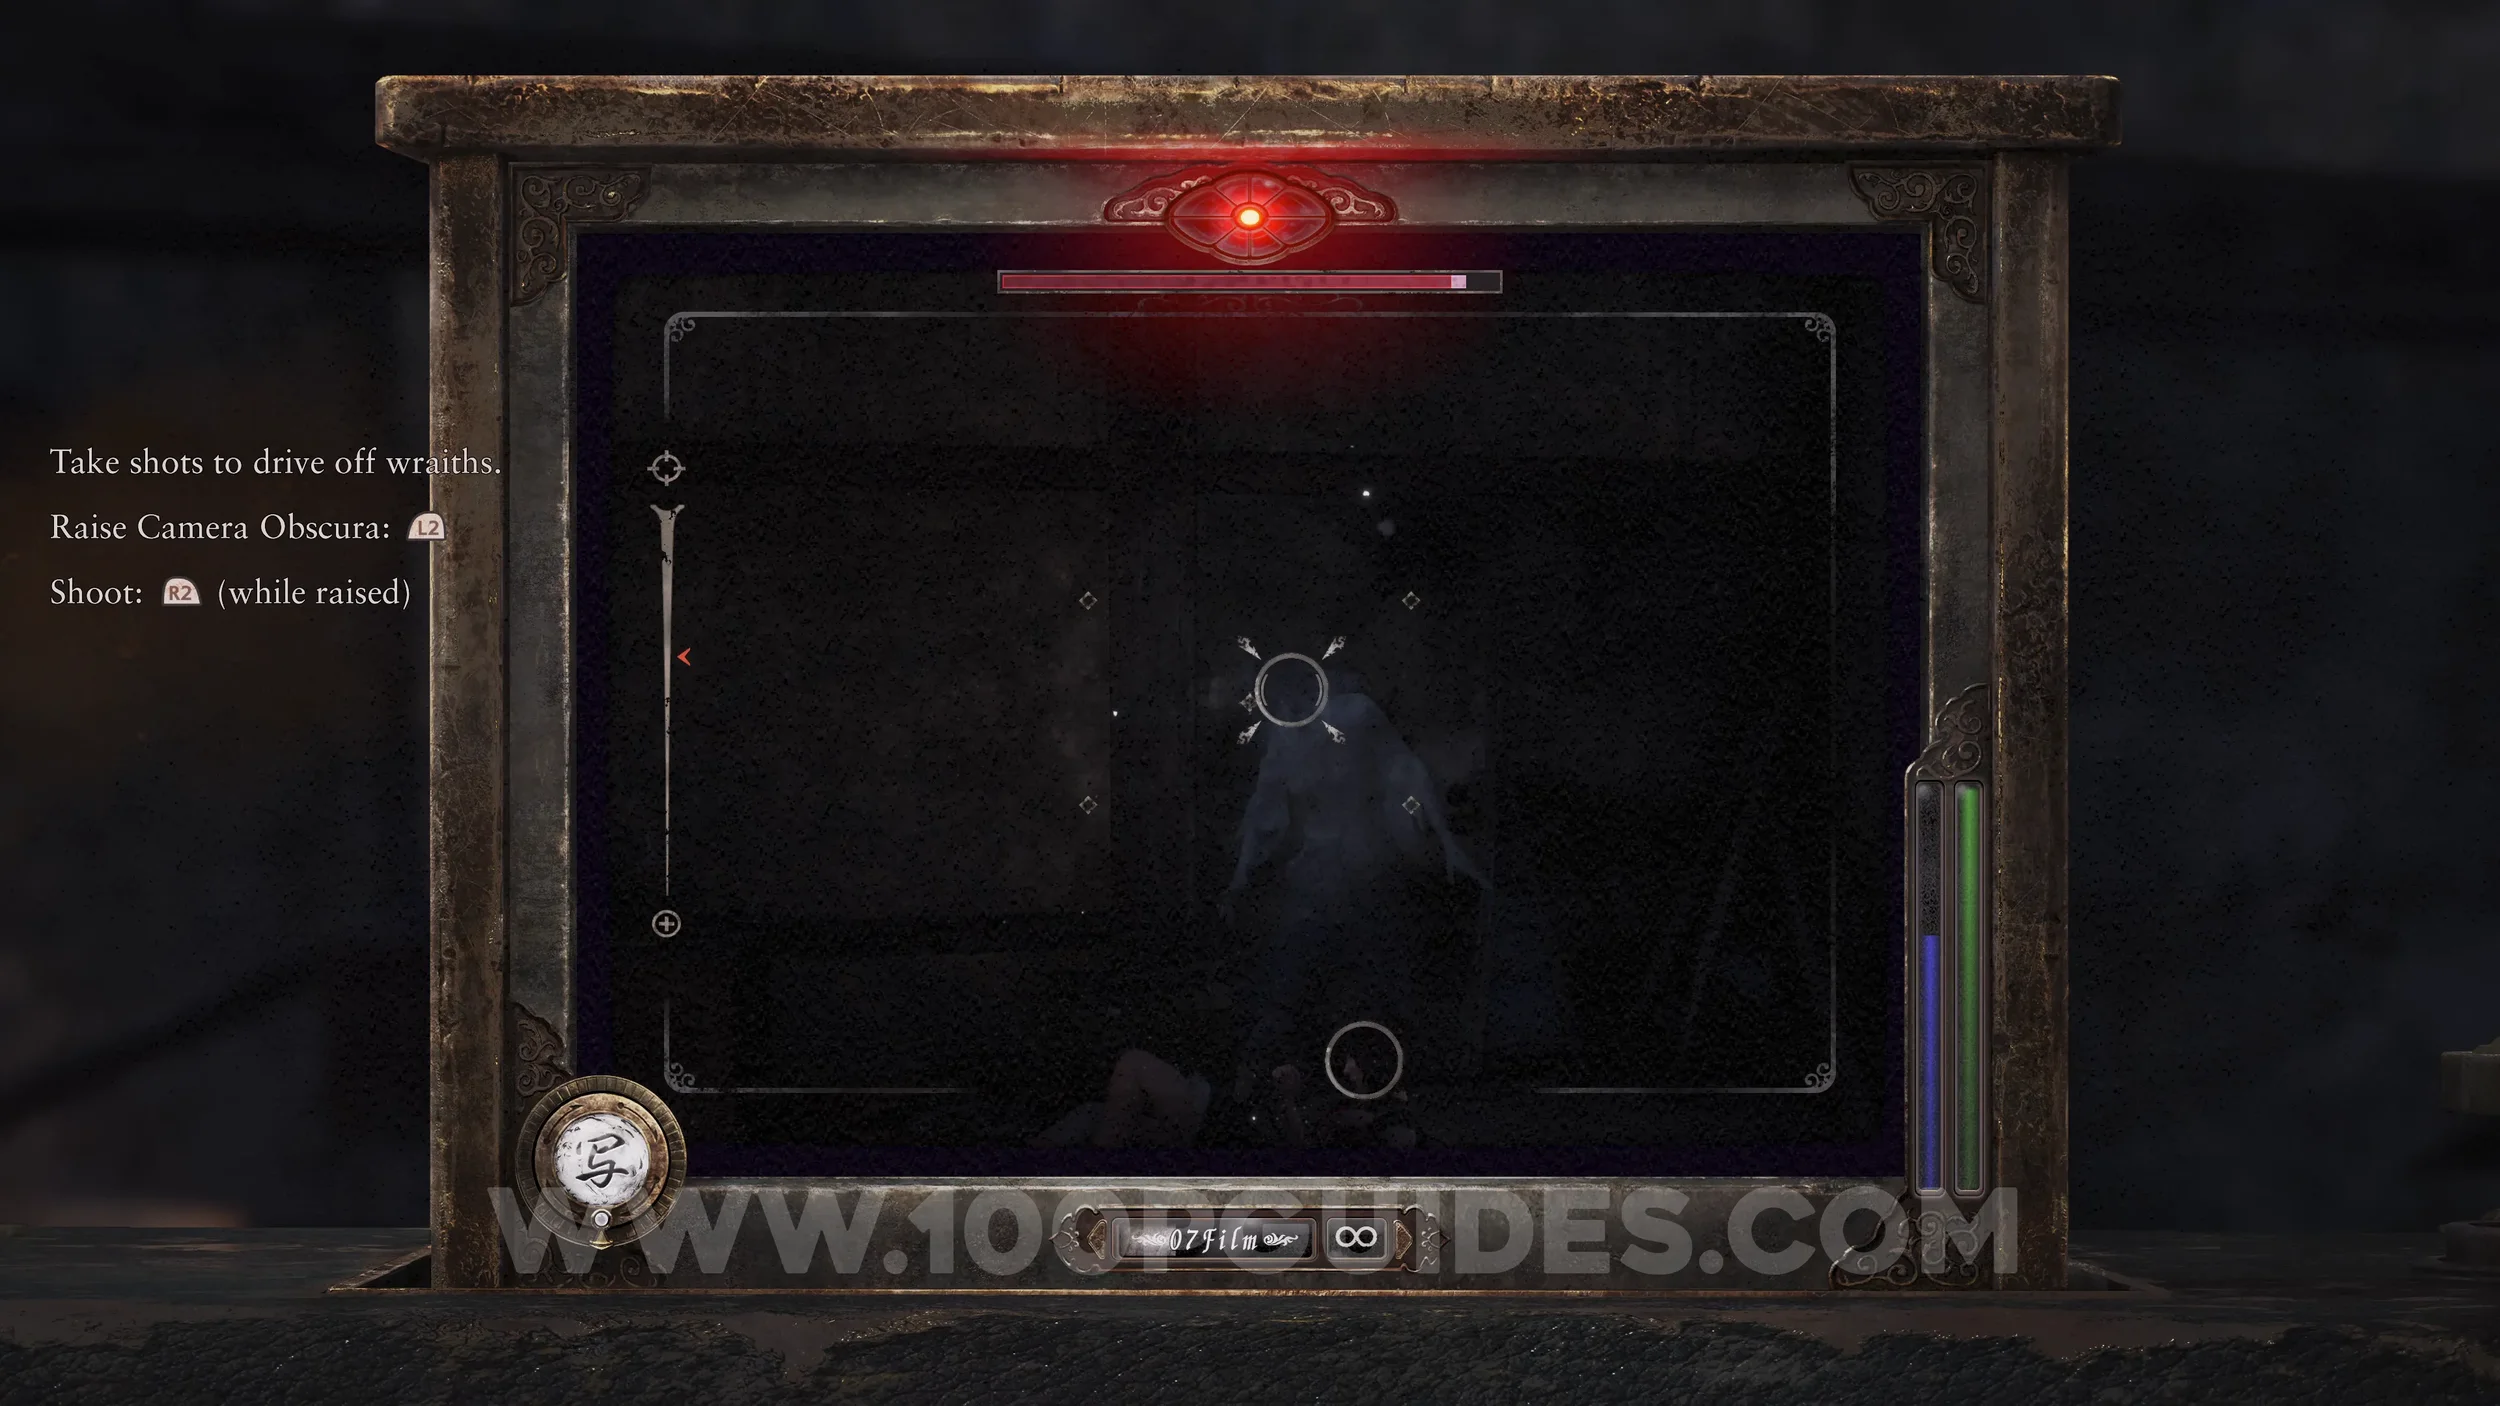
Wraith #1 - 001 The Wanderer. Will appear as soon as you try and leave the room where you get the Camera Obscura.
Specter #1 - 004 Woman Roaming Second Floor. Will appear on the top floor behind you as soon as you try and leave the Osaka House through the front door.
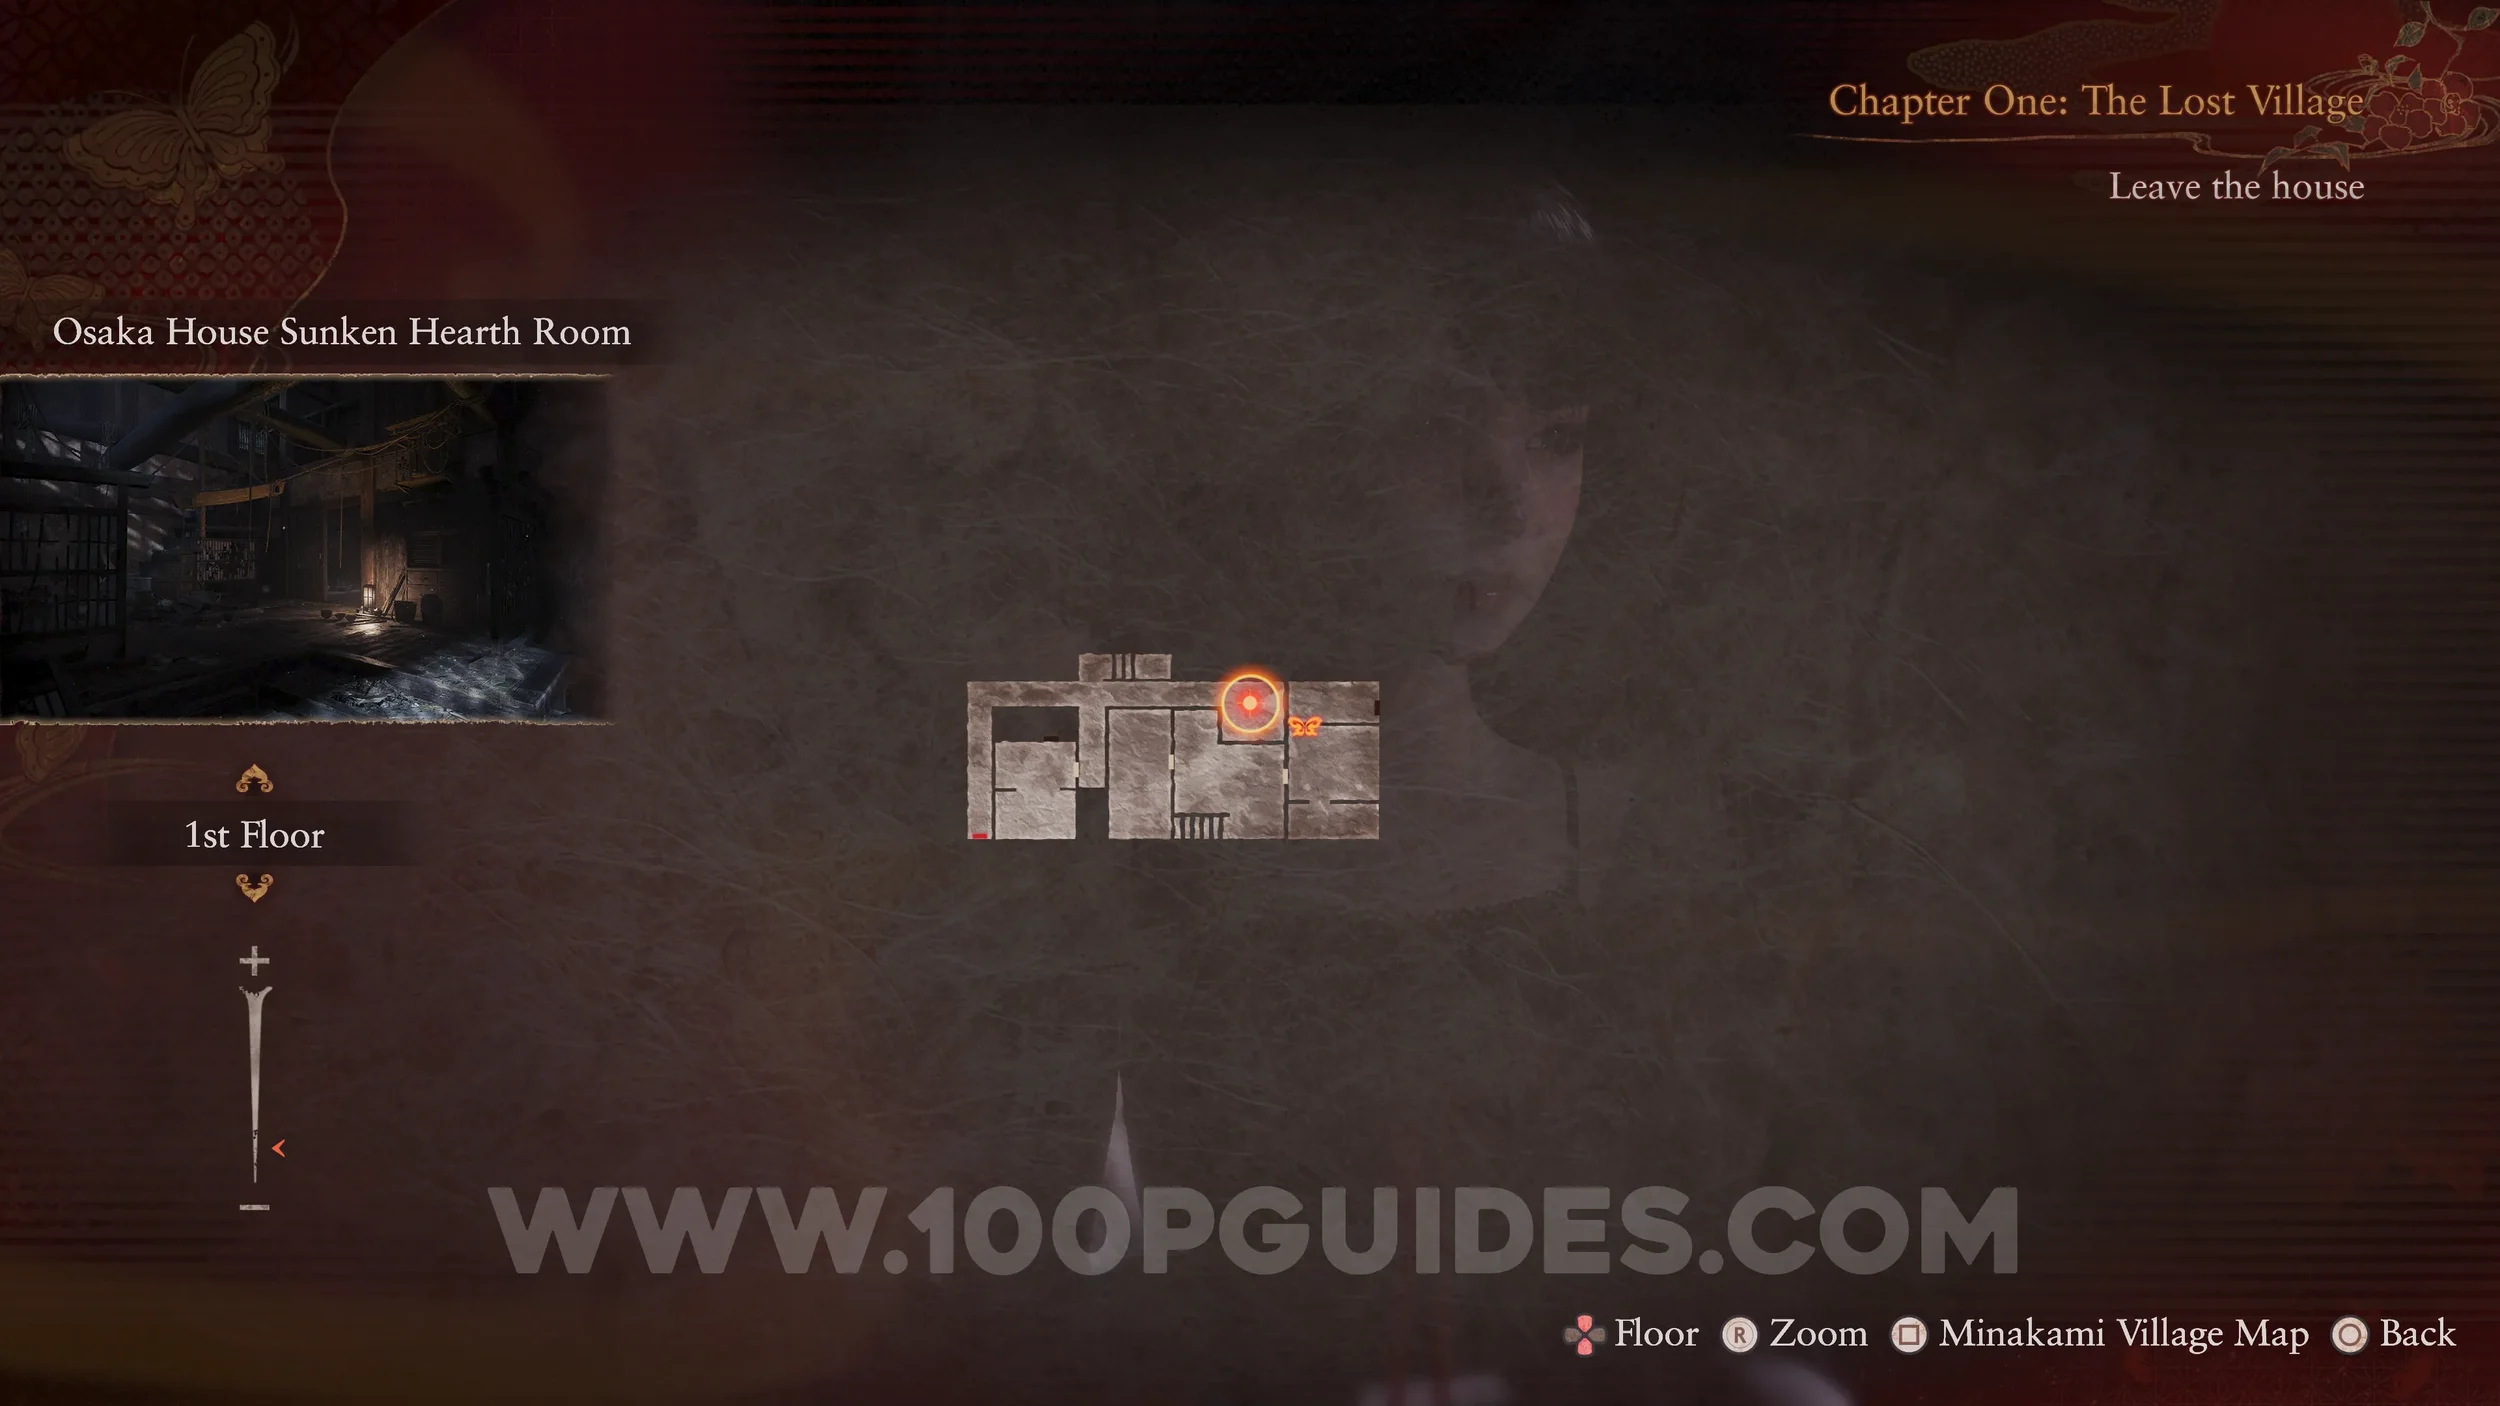
Specter #2 - 005 Beckoning Woman. As soon as you go through the door on the top floor, go into the room on your left to see the specter.
Document #7 - Woman’s Notebook 5. On the top flor where the previous Specter was.
Document #8 - Woman’s Notebook 9. Enter the door on the left of the upper hall in the Osaka House. Then go through to the third room to find it on the floor.
Chapter 2
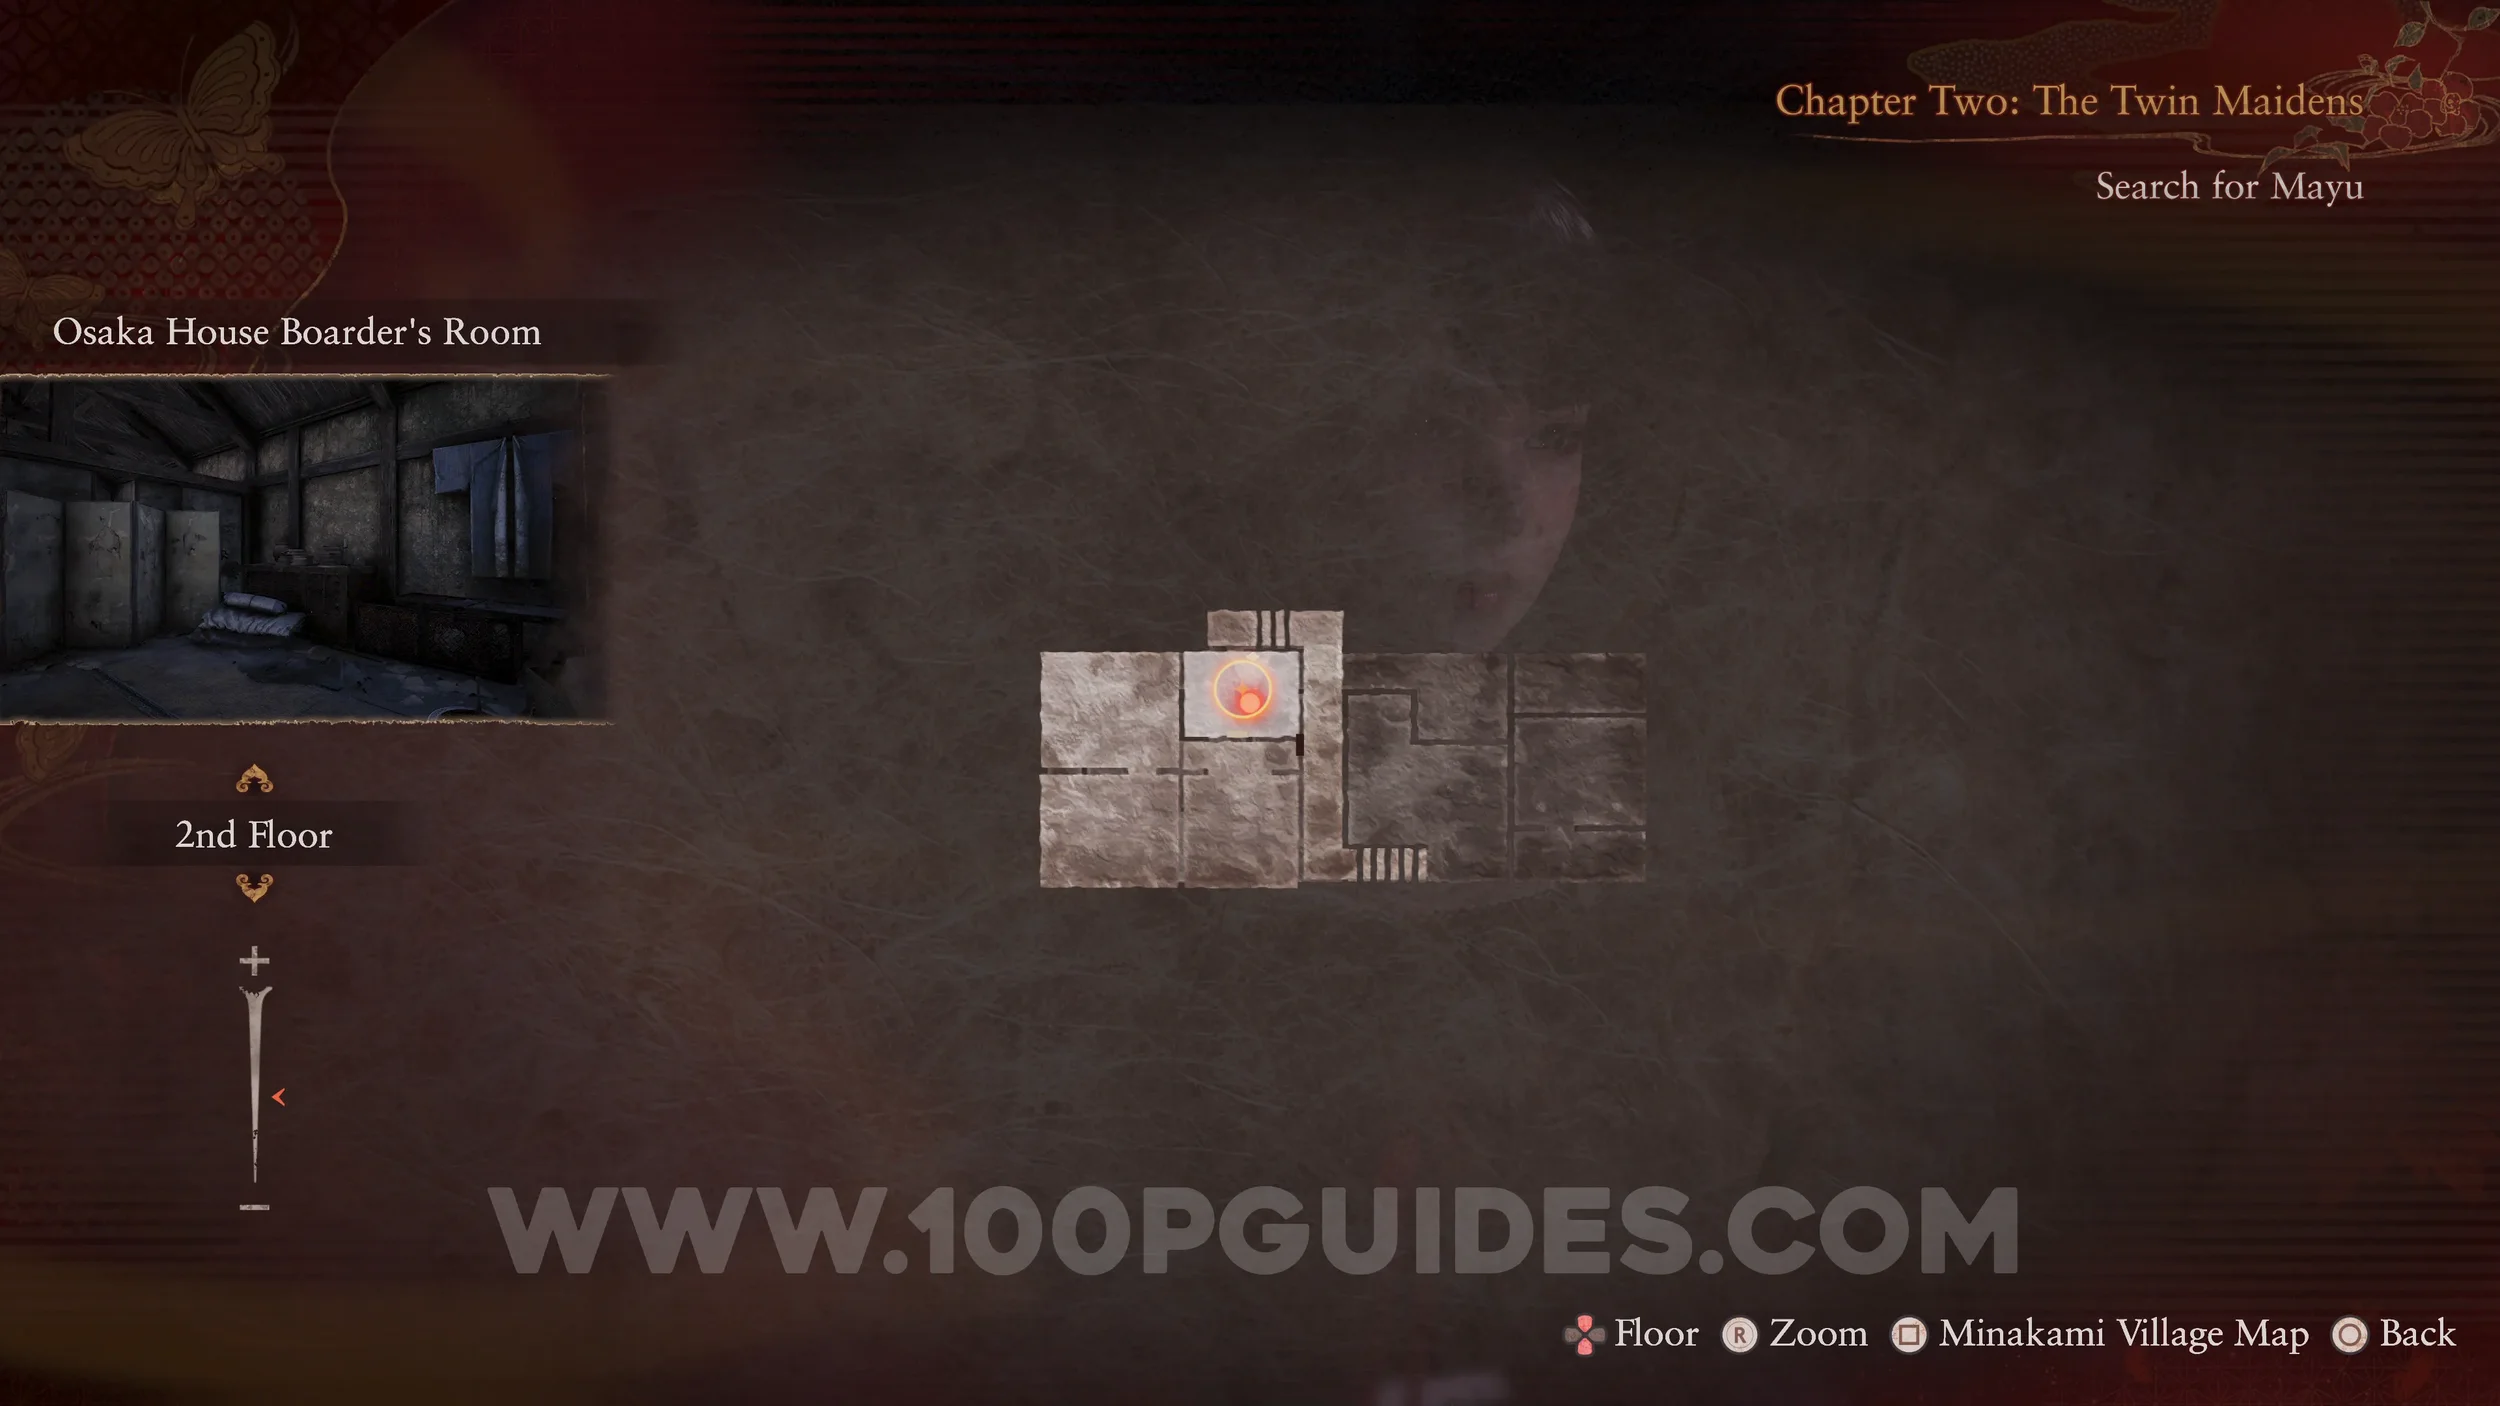
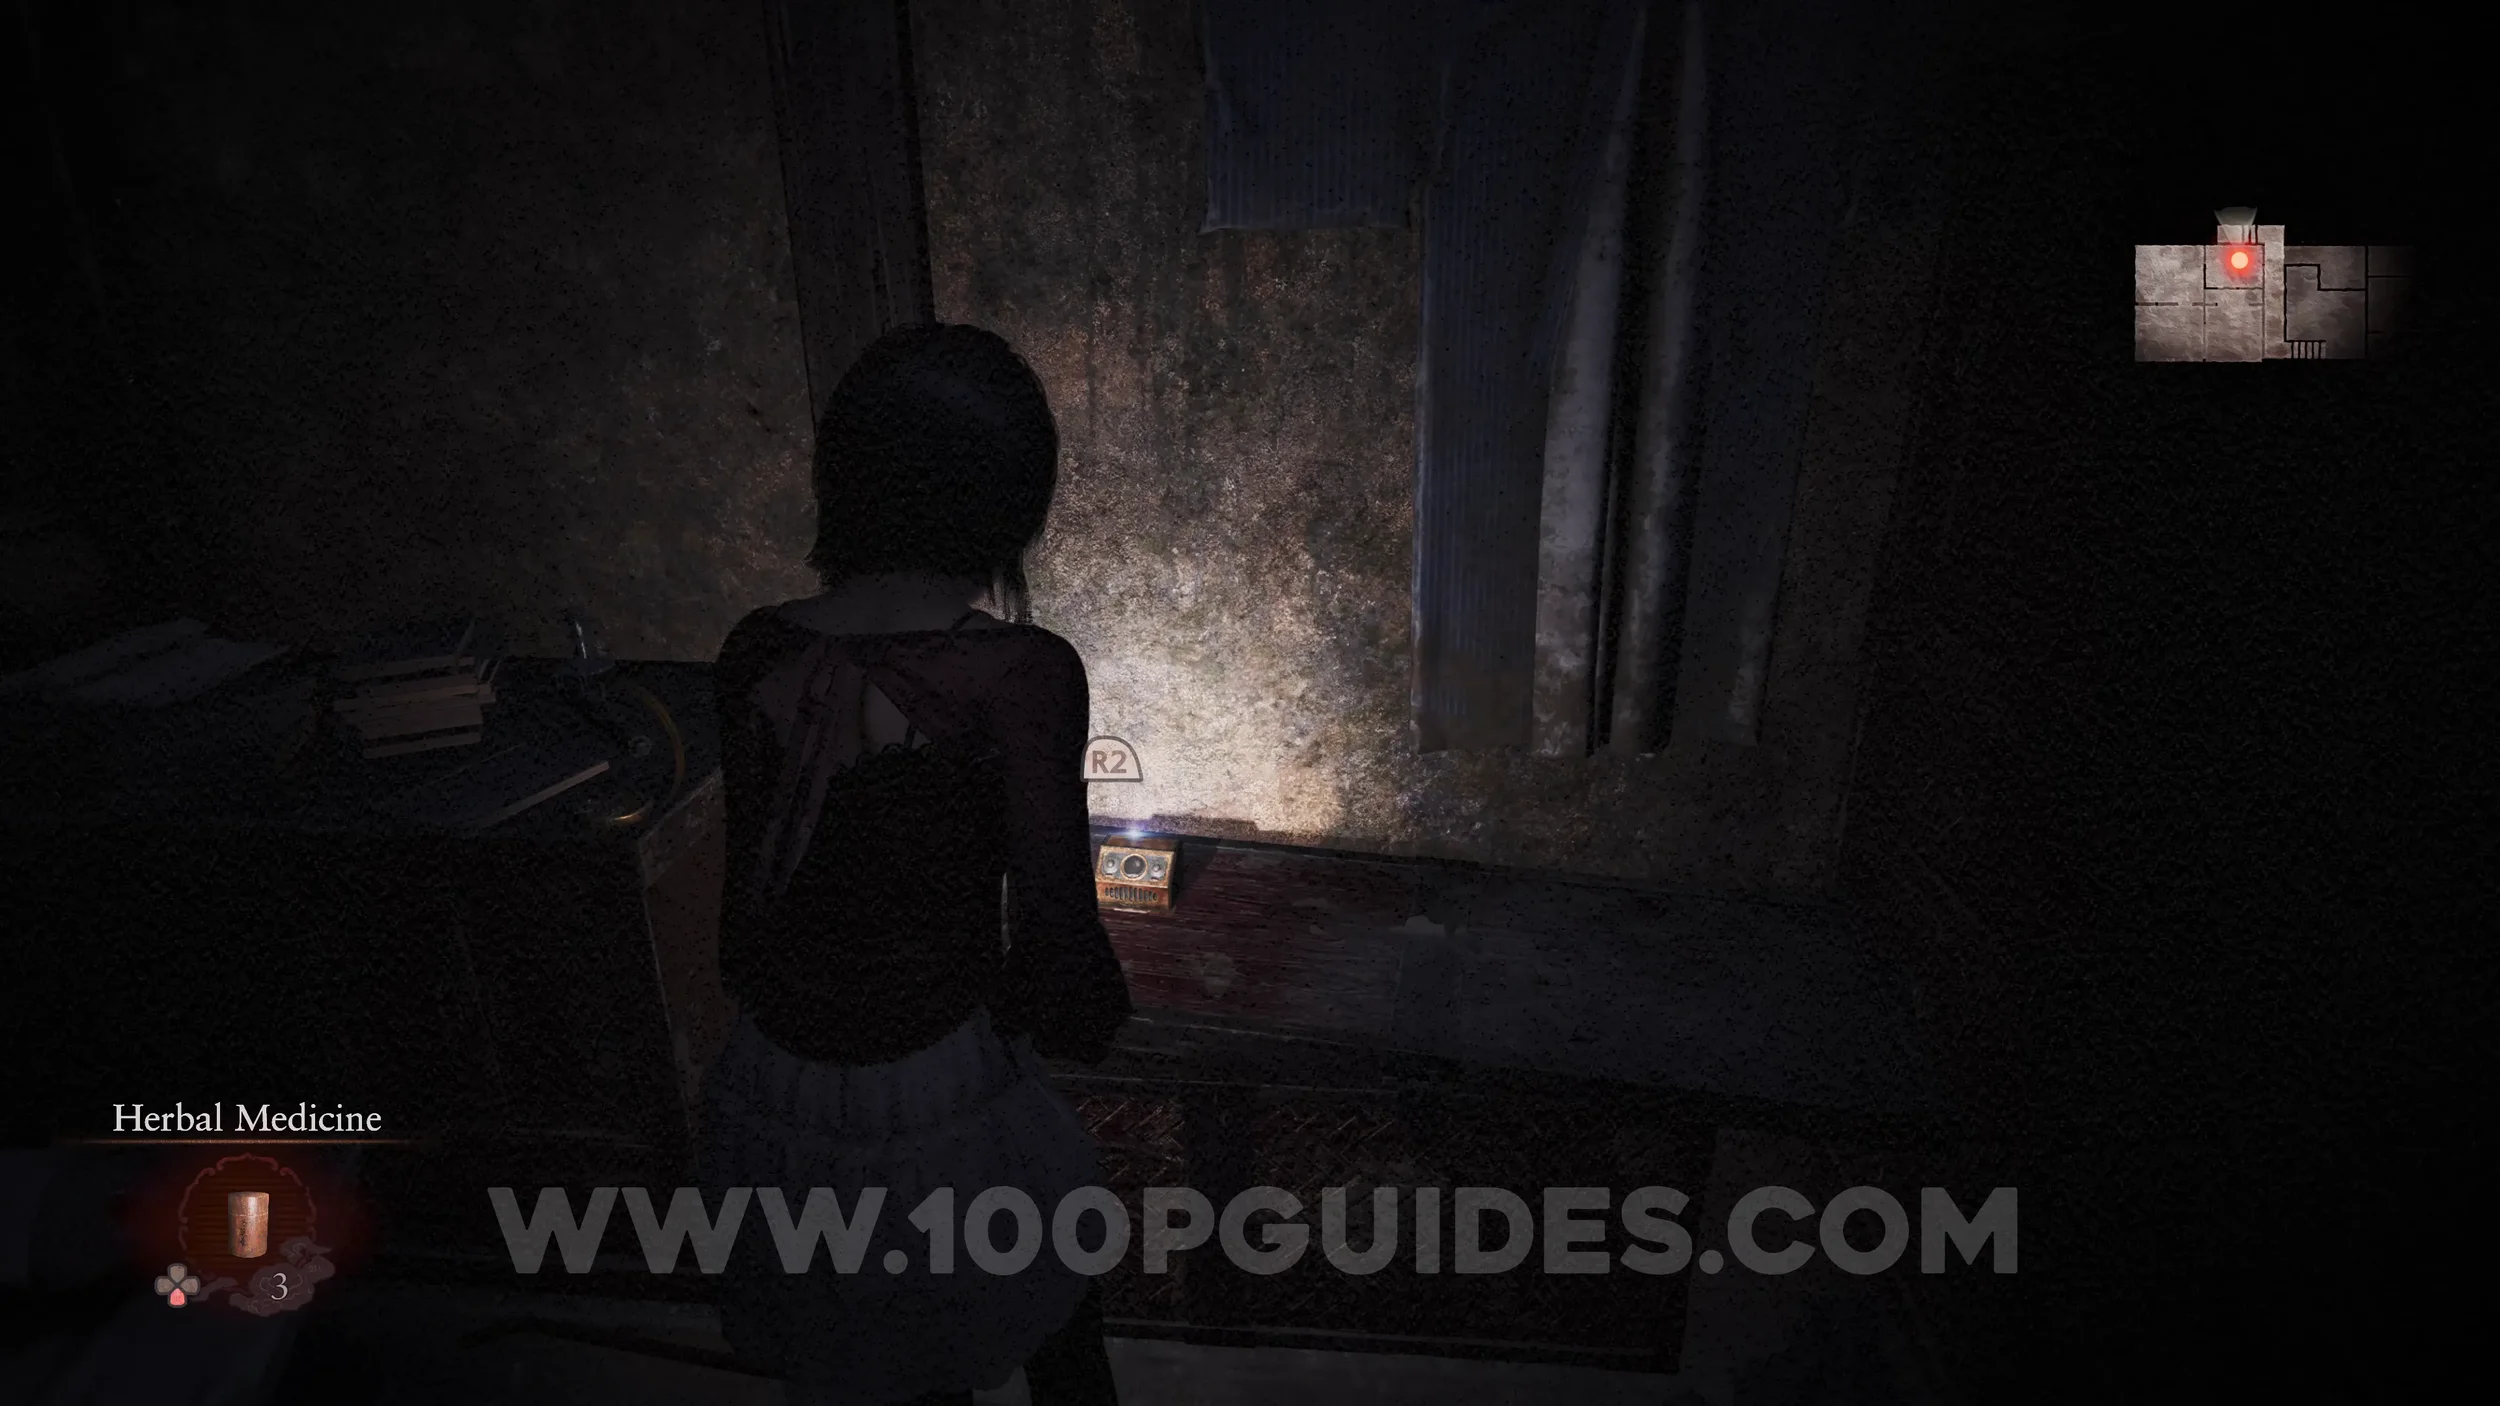
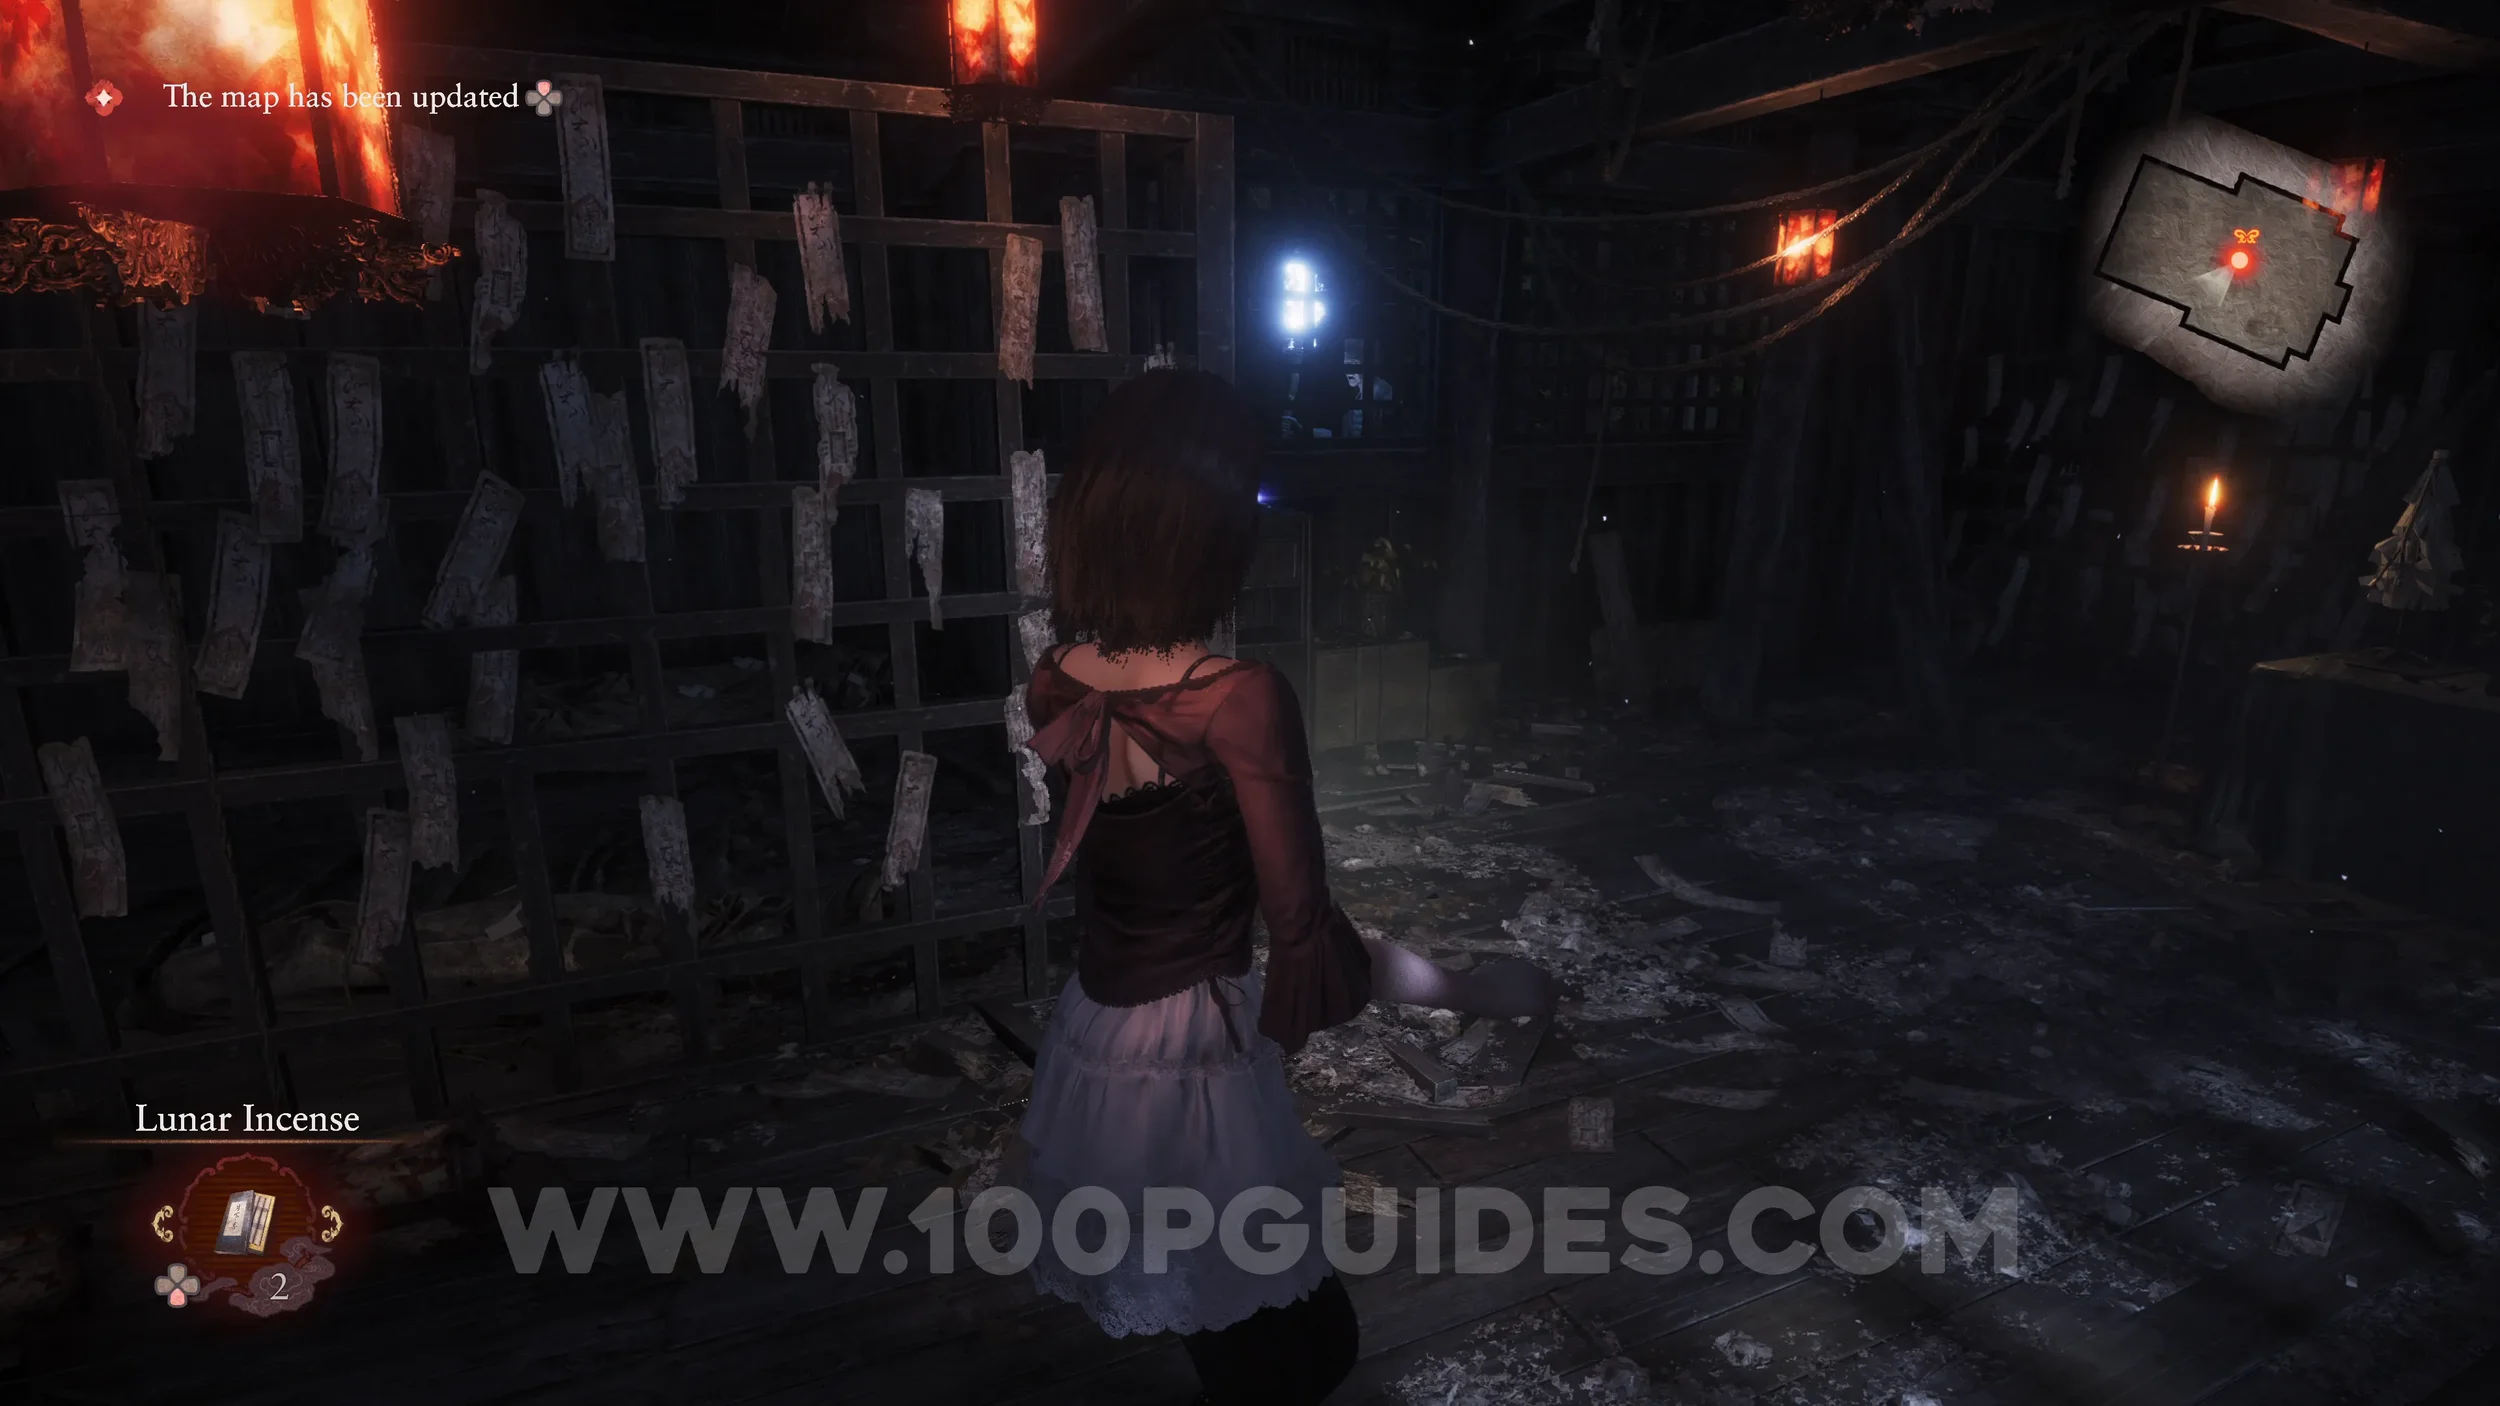
Document #9 - Spirit Stone Radio Memo and Spirit Stone #1 - Mayu’s Charm. Found in the Boarder’s Room on the top floor of the Osaka House. Pick up the radio to also get the document.
Specter #3 - 006 Woman Watching from Window. As soon as you go back through the door to the upper floor hall, look through the window to the south.
Wraith #2 - 002 Succumbed Man. This Wraith will attack you once you return to the Osaka House front door.
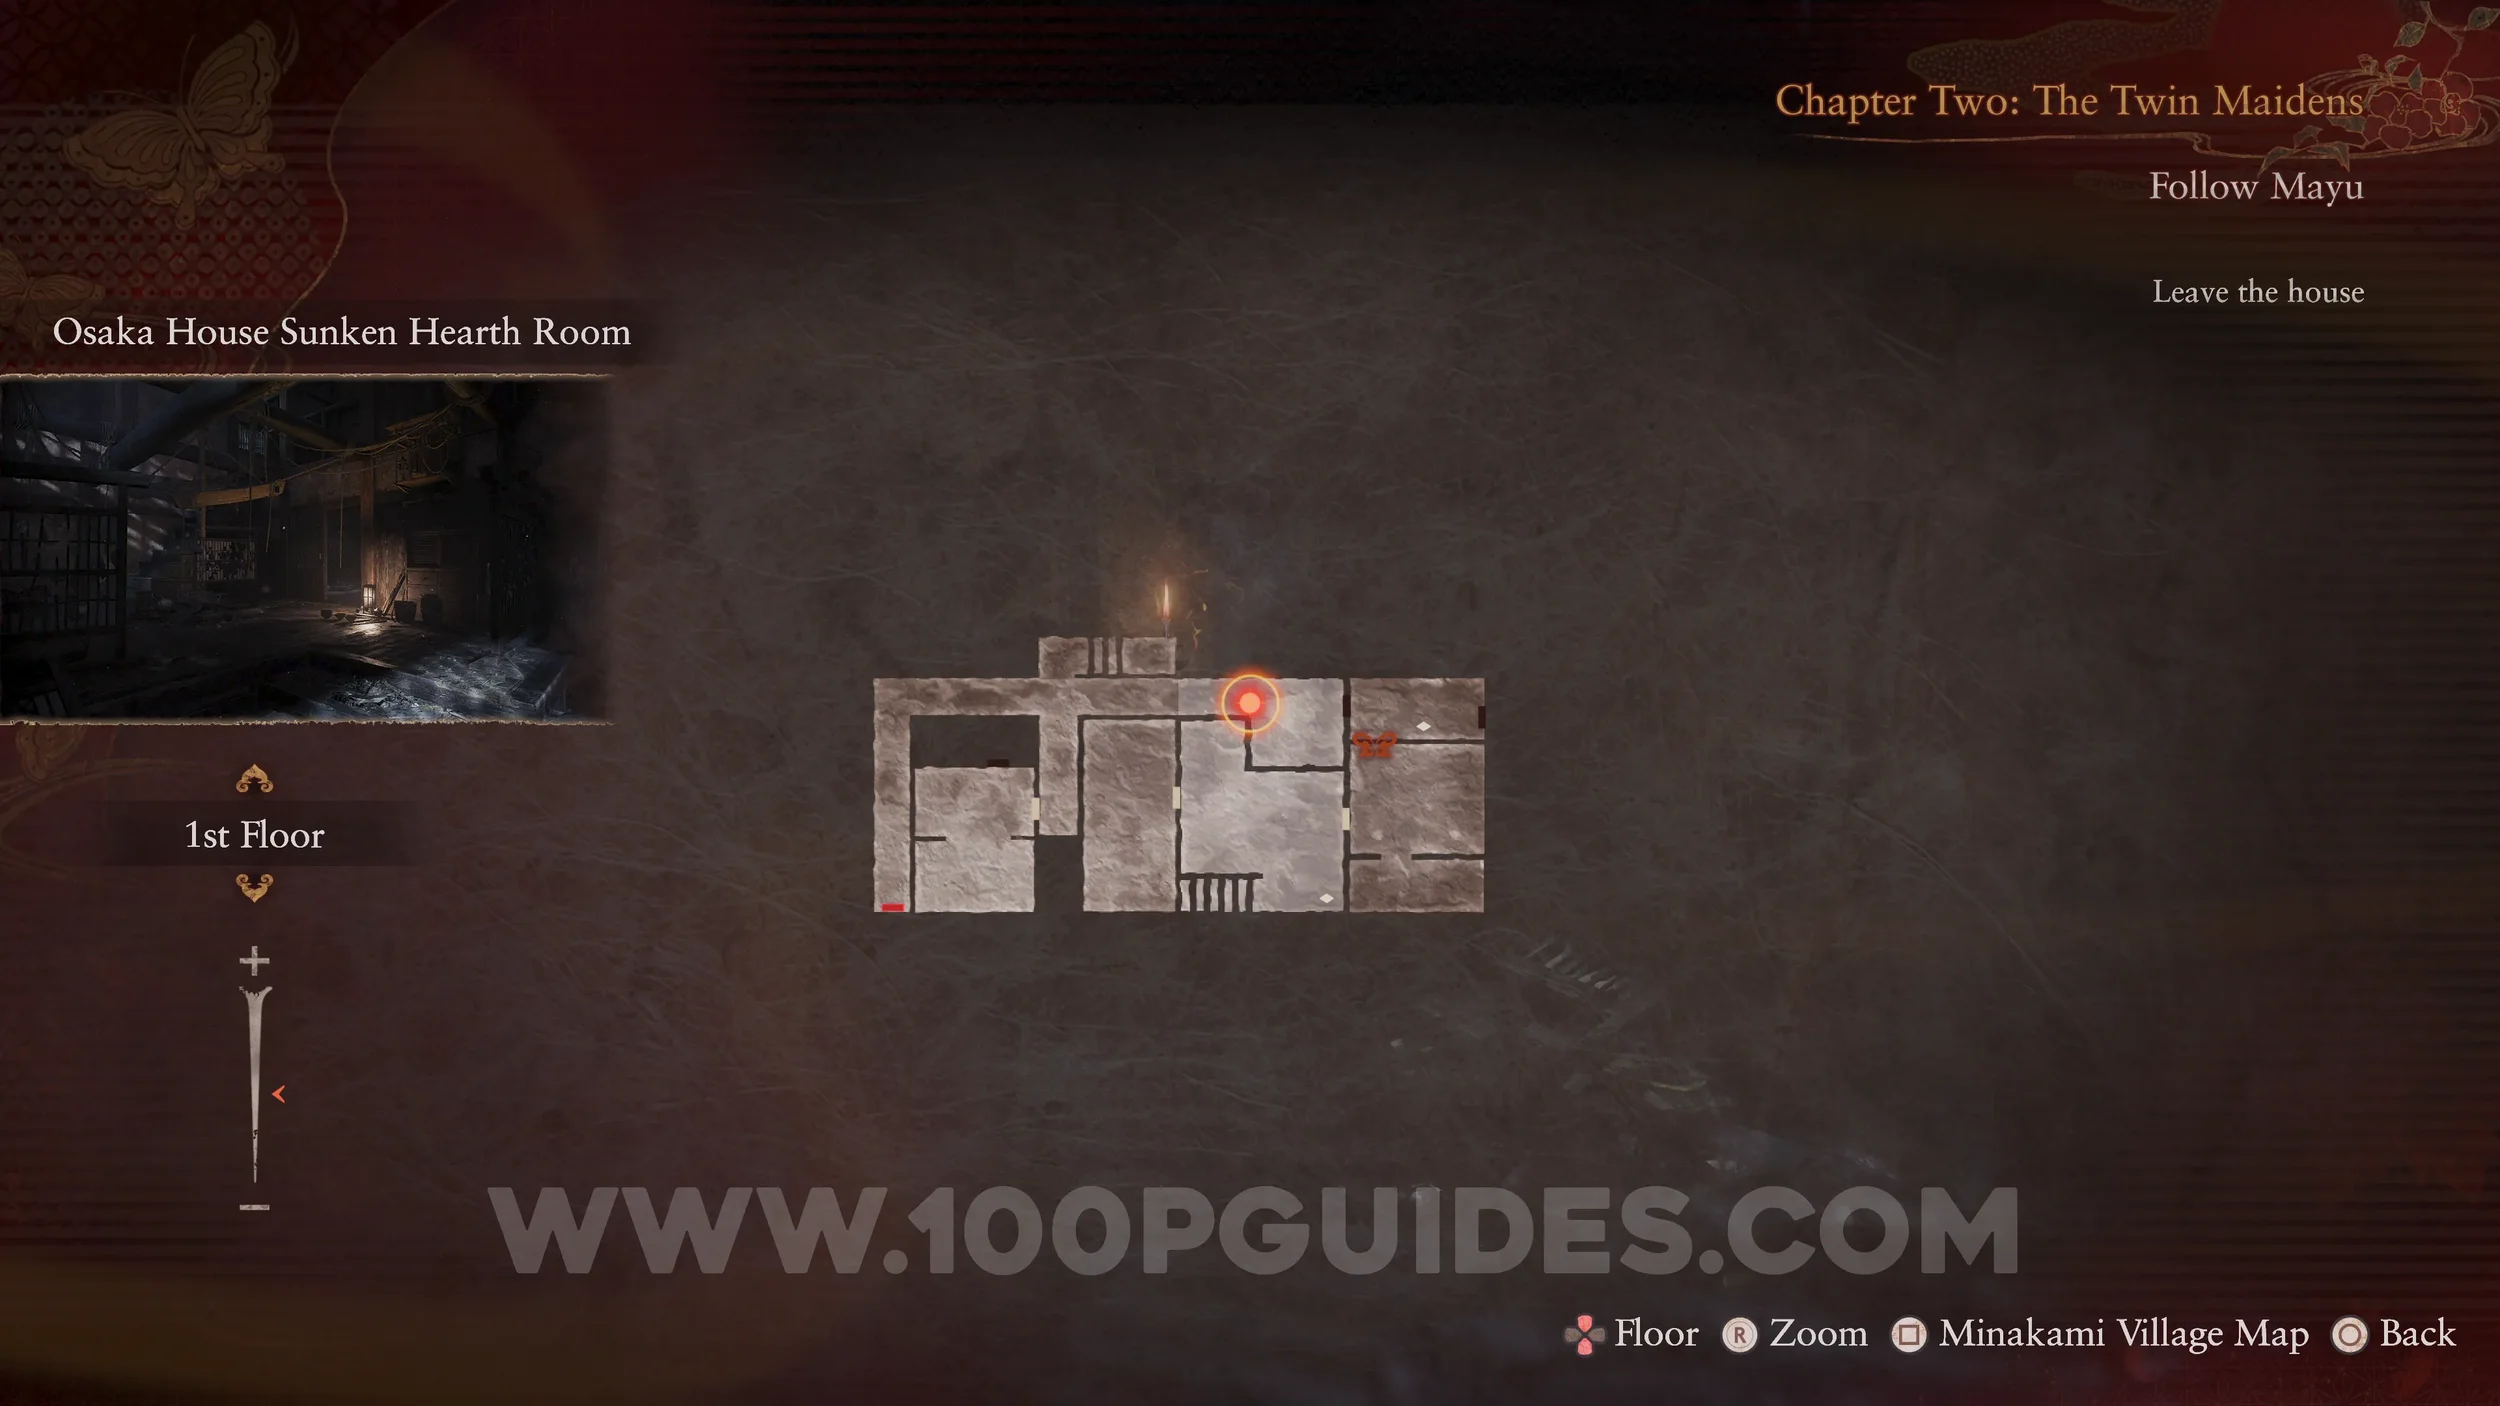
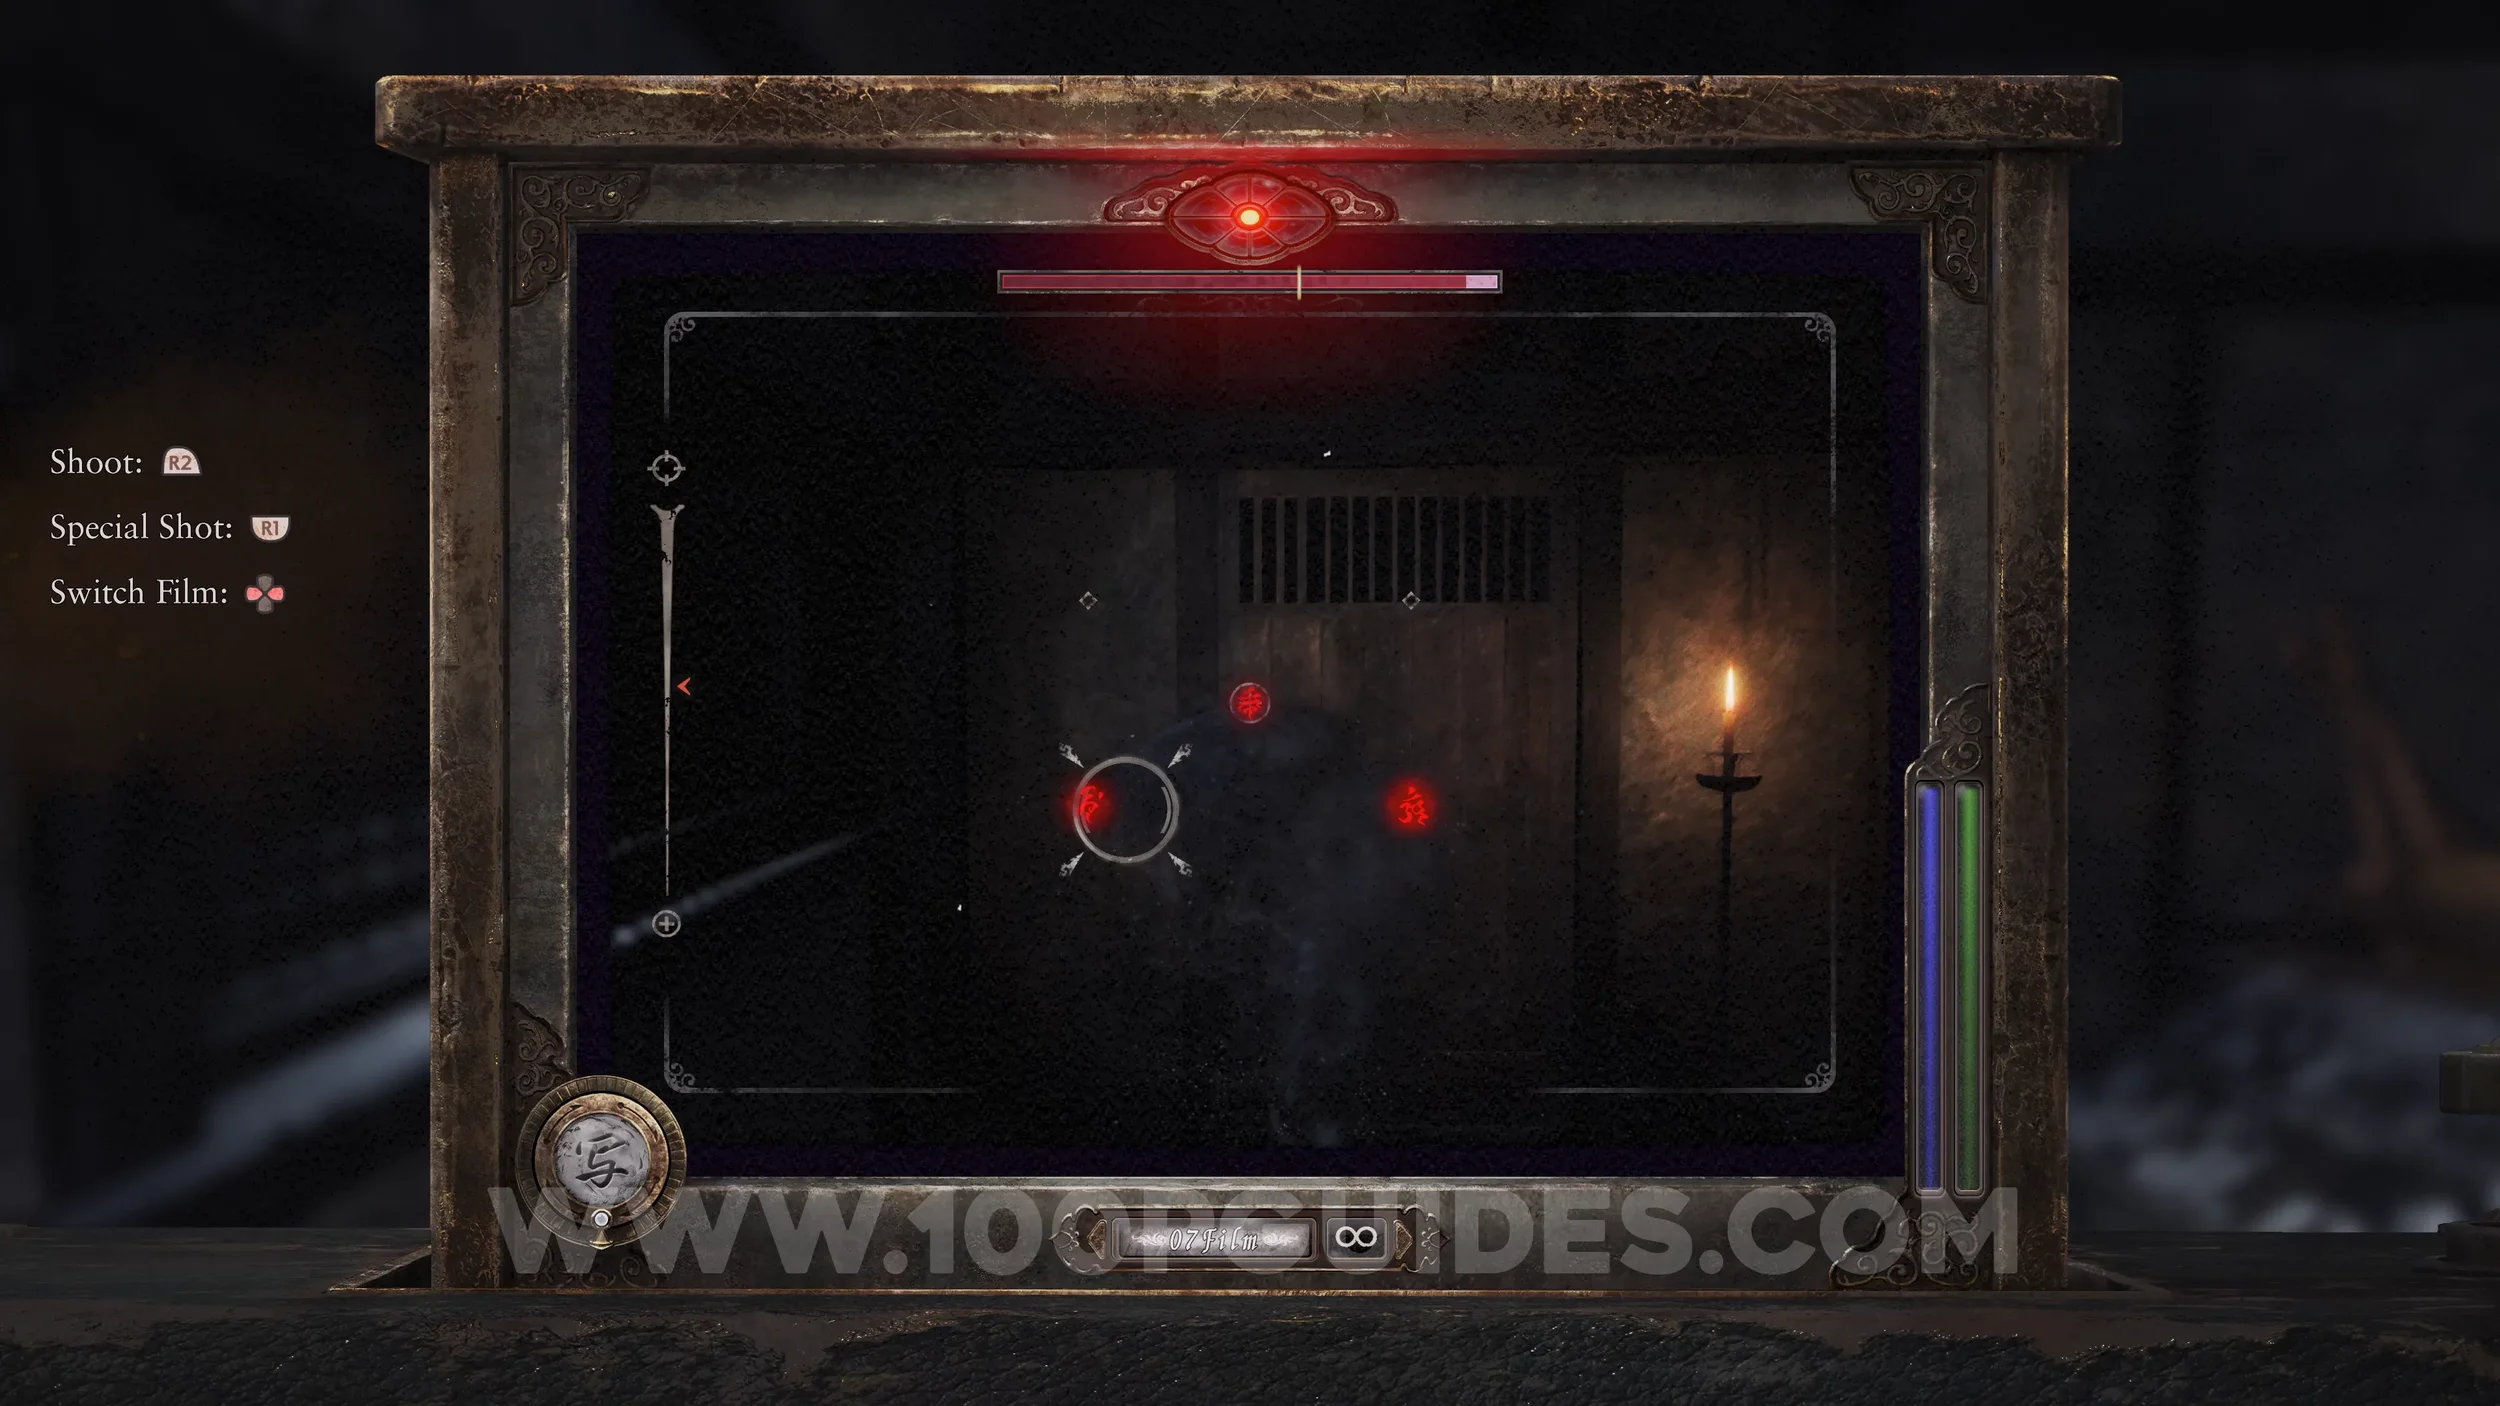
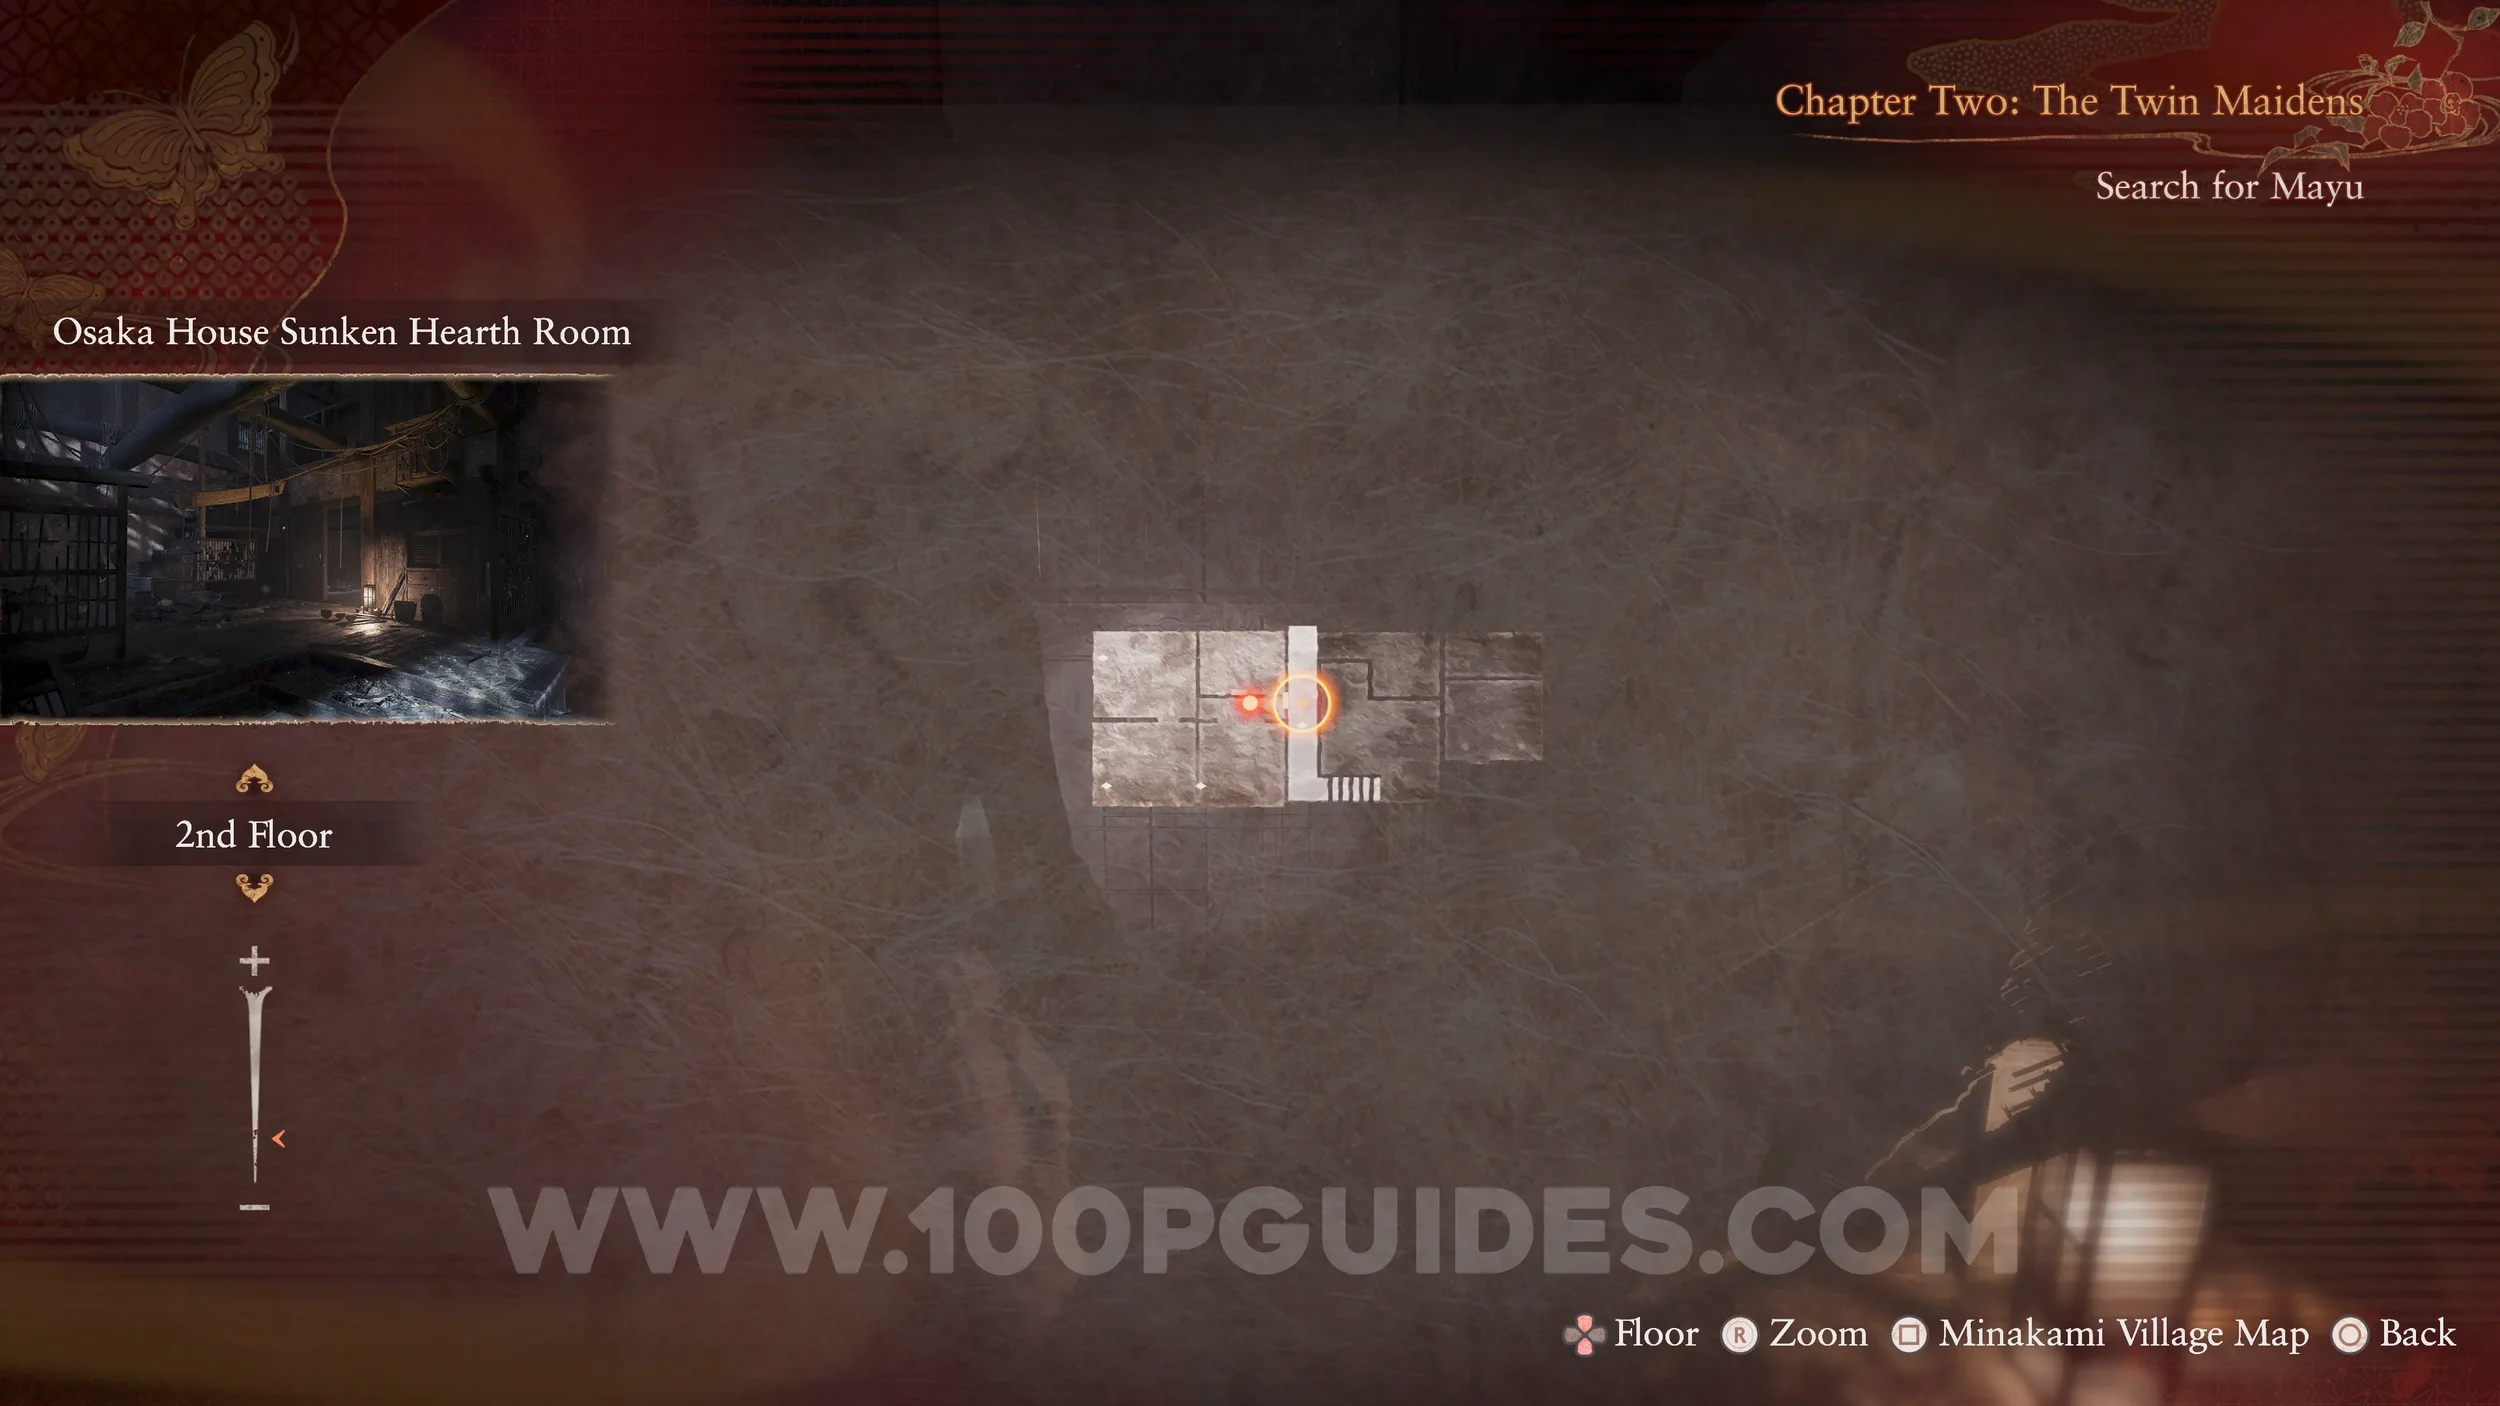
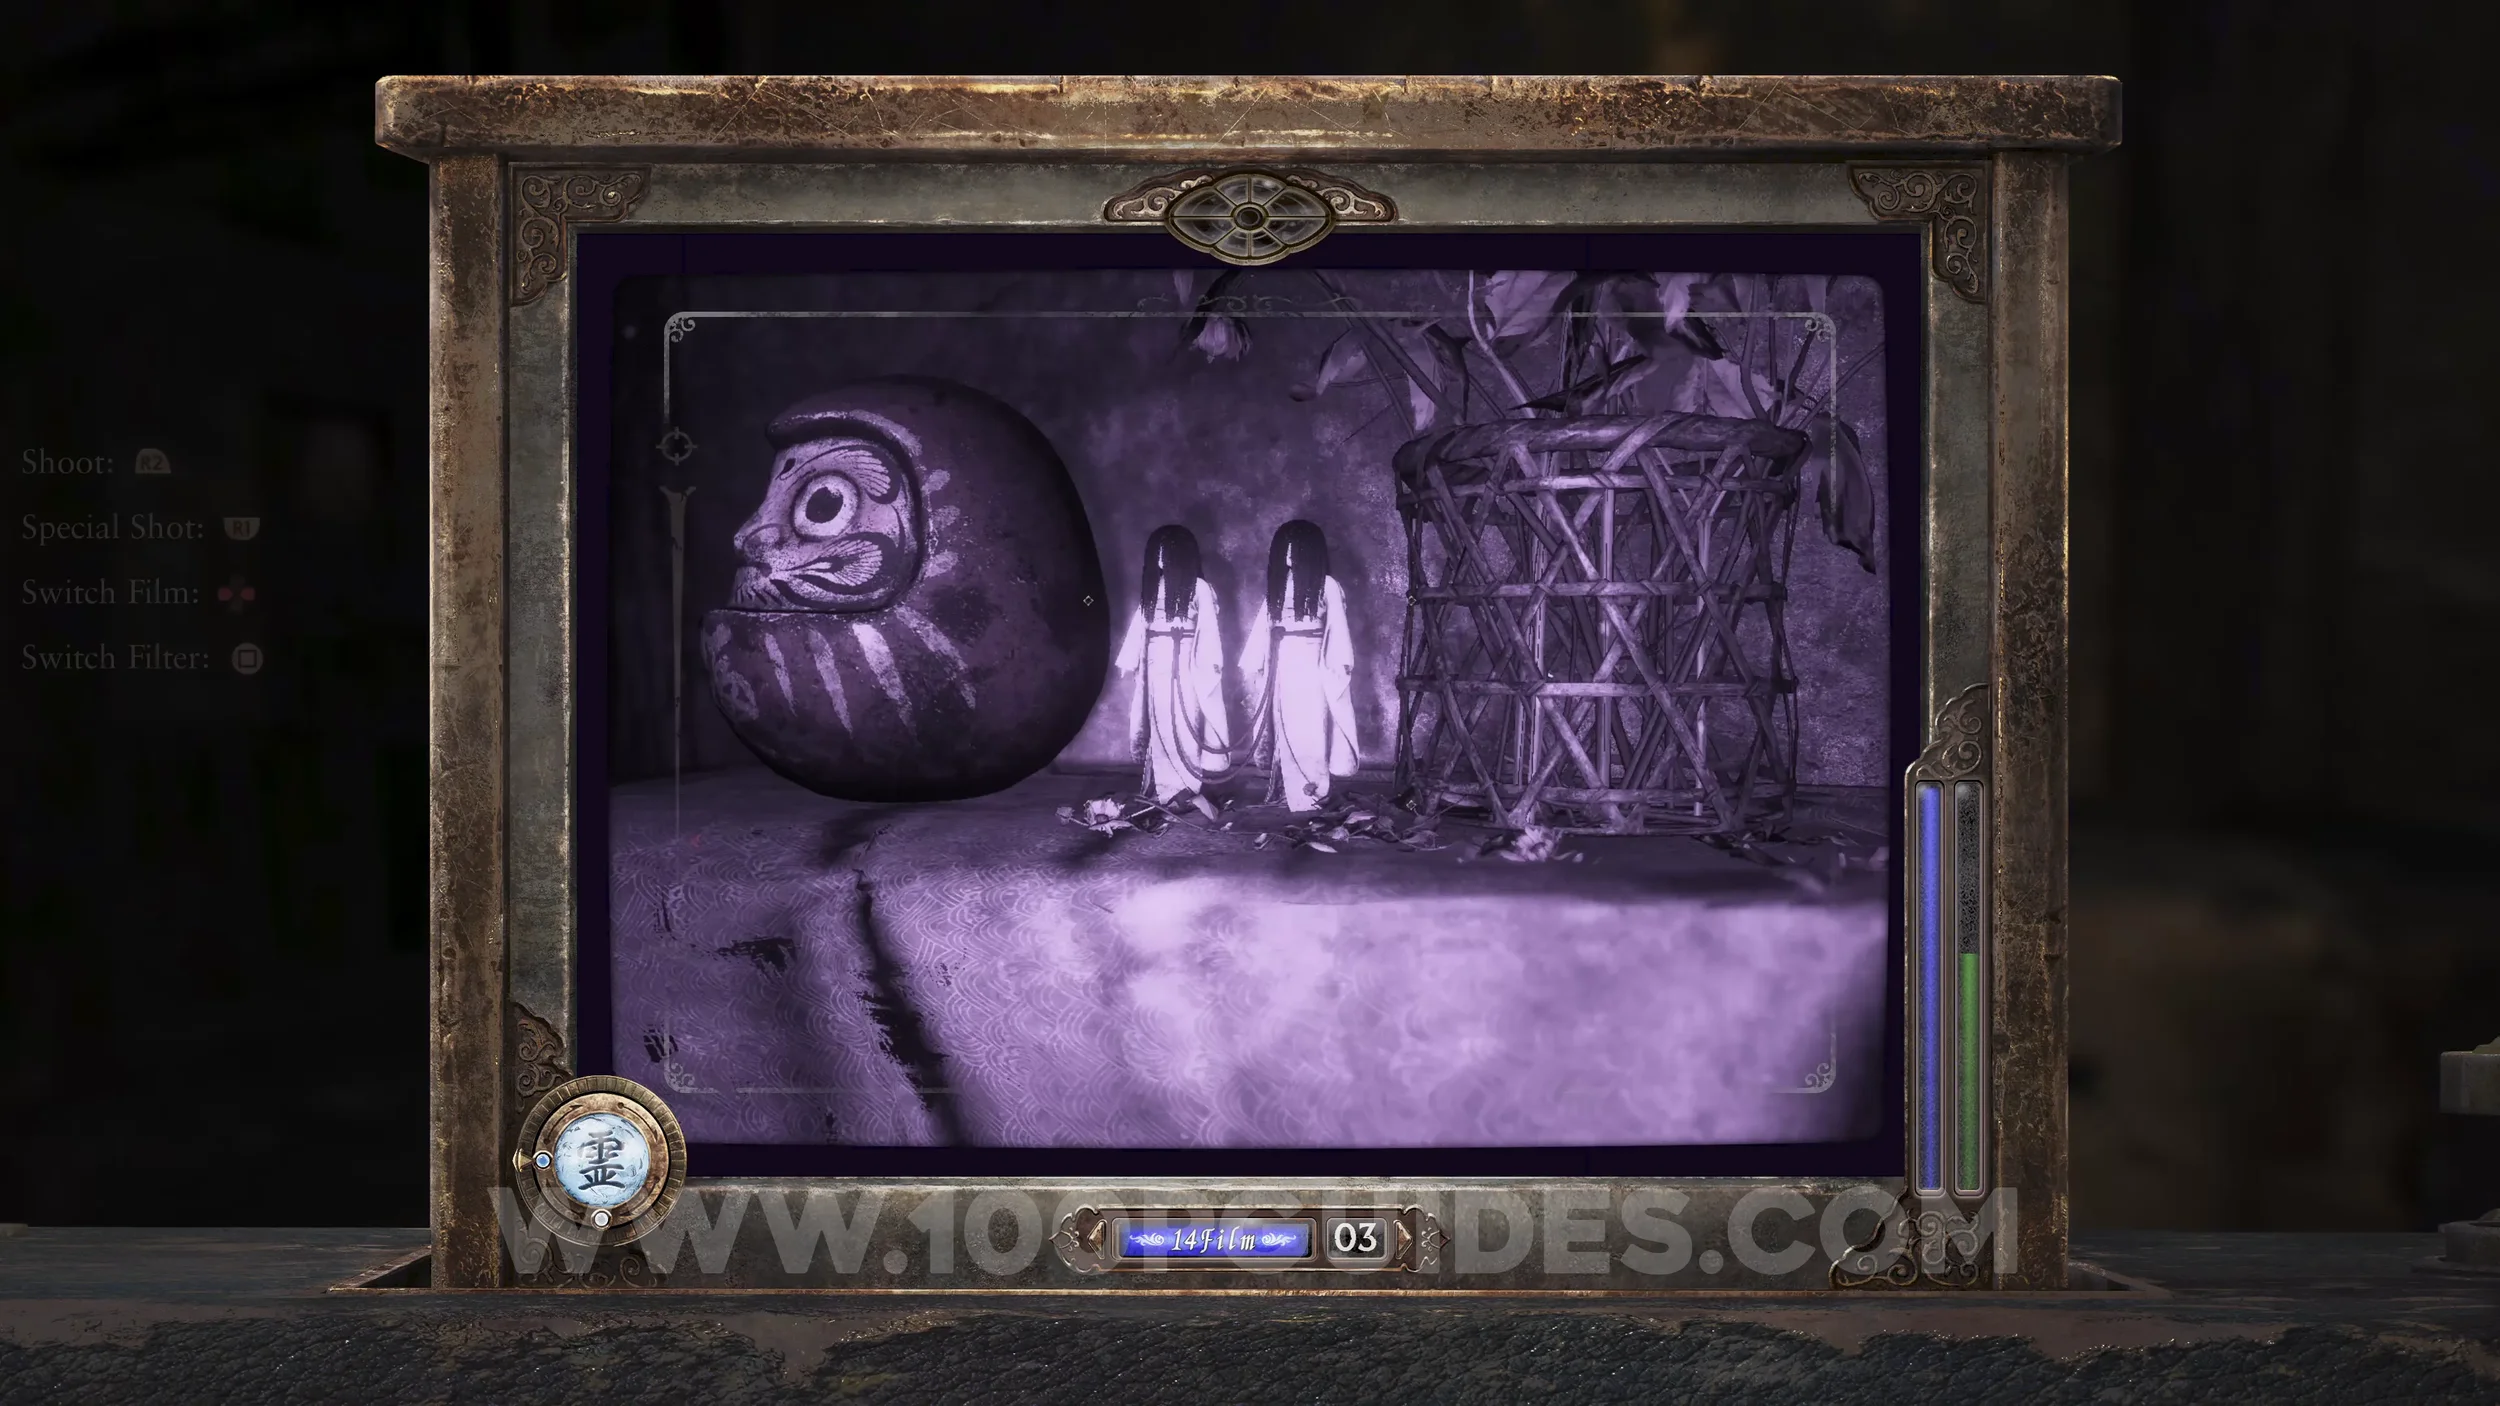
Specter #4 - 007 Seeker, Specter #5 - 008 Man Chasing Fleeting Twins, Specter #6 - 009 Man Fearing Calamity and Specter #7 - 010 Villagers. Return to the save room in the Osaka House and look through the window. Make sure you get all 3 Specters in the shot to unlock the “Villagers” specter.
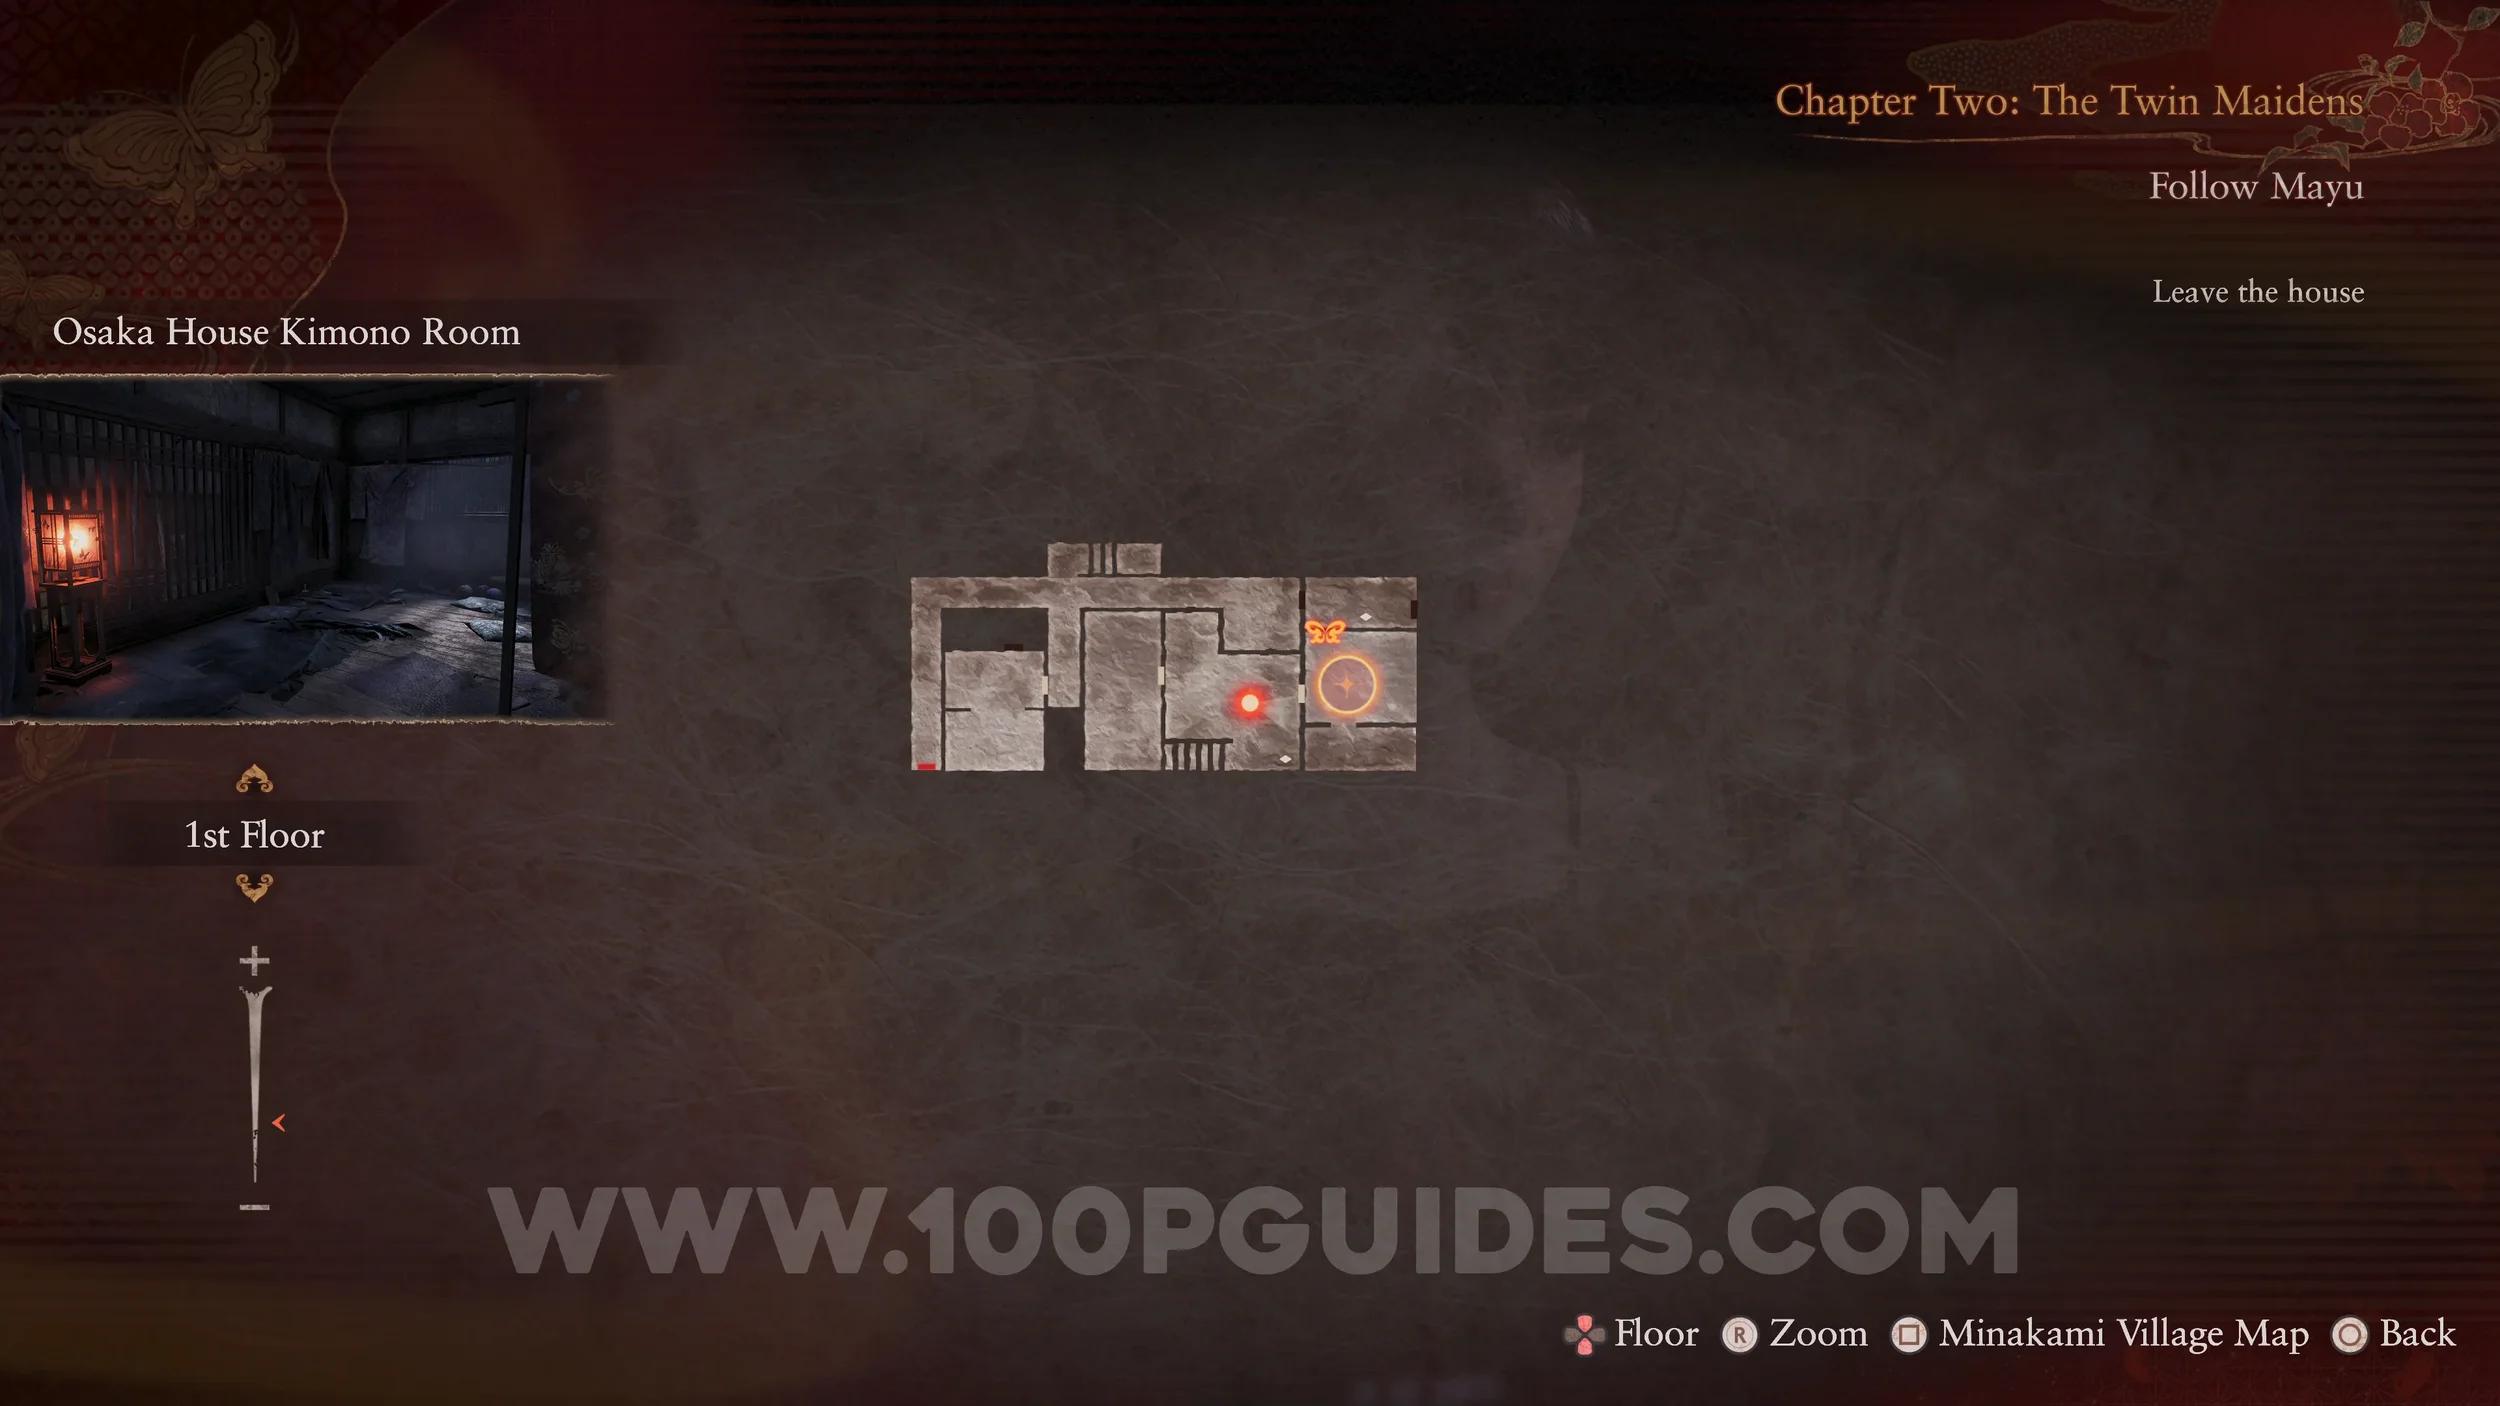

Twin Dolls #1 (1). In the save room near the window. Make sure they are both in view.

Specter #8 - 011 Man Peering Into Camera Obscura. In front of you as soon as you leave the Osaka House.
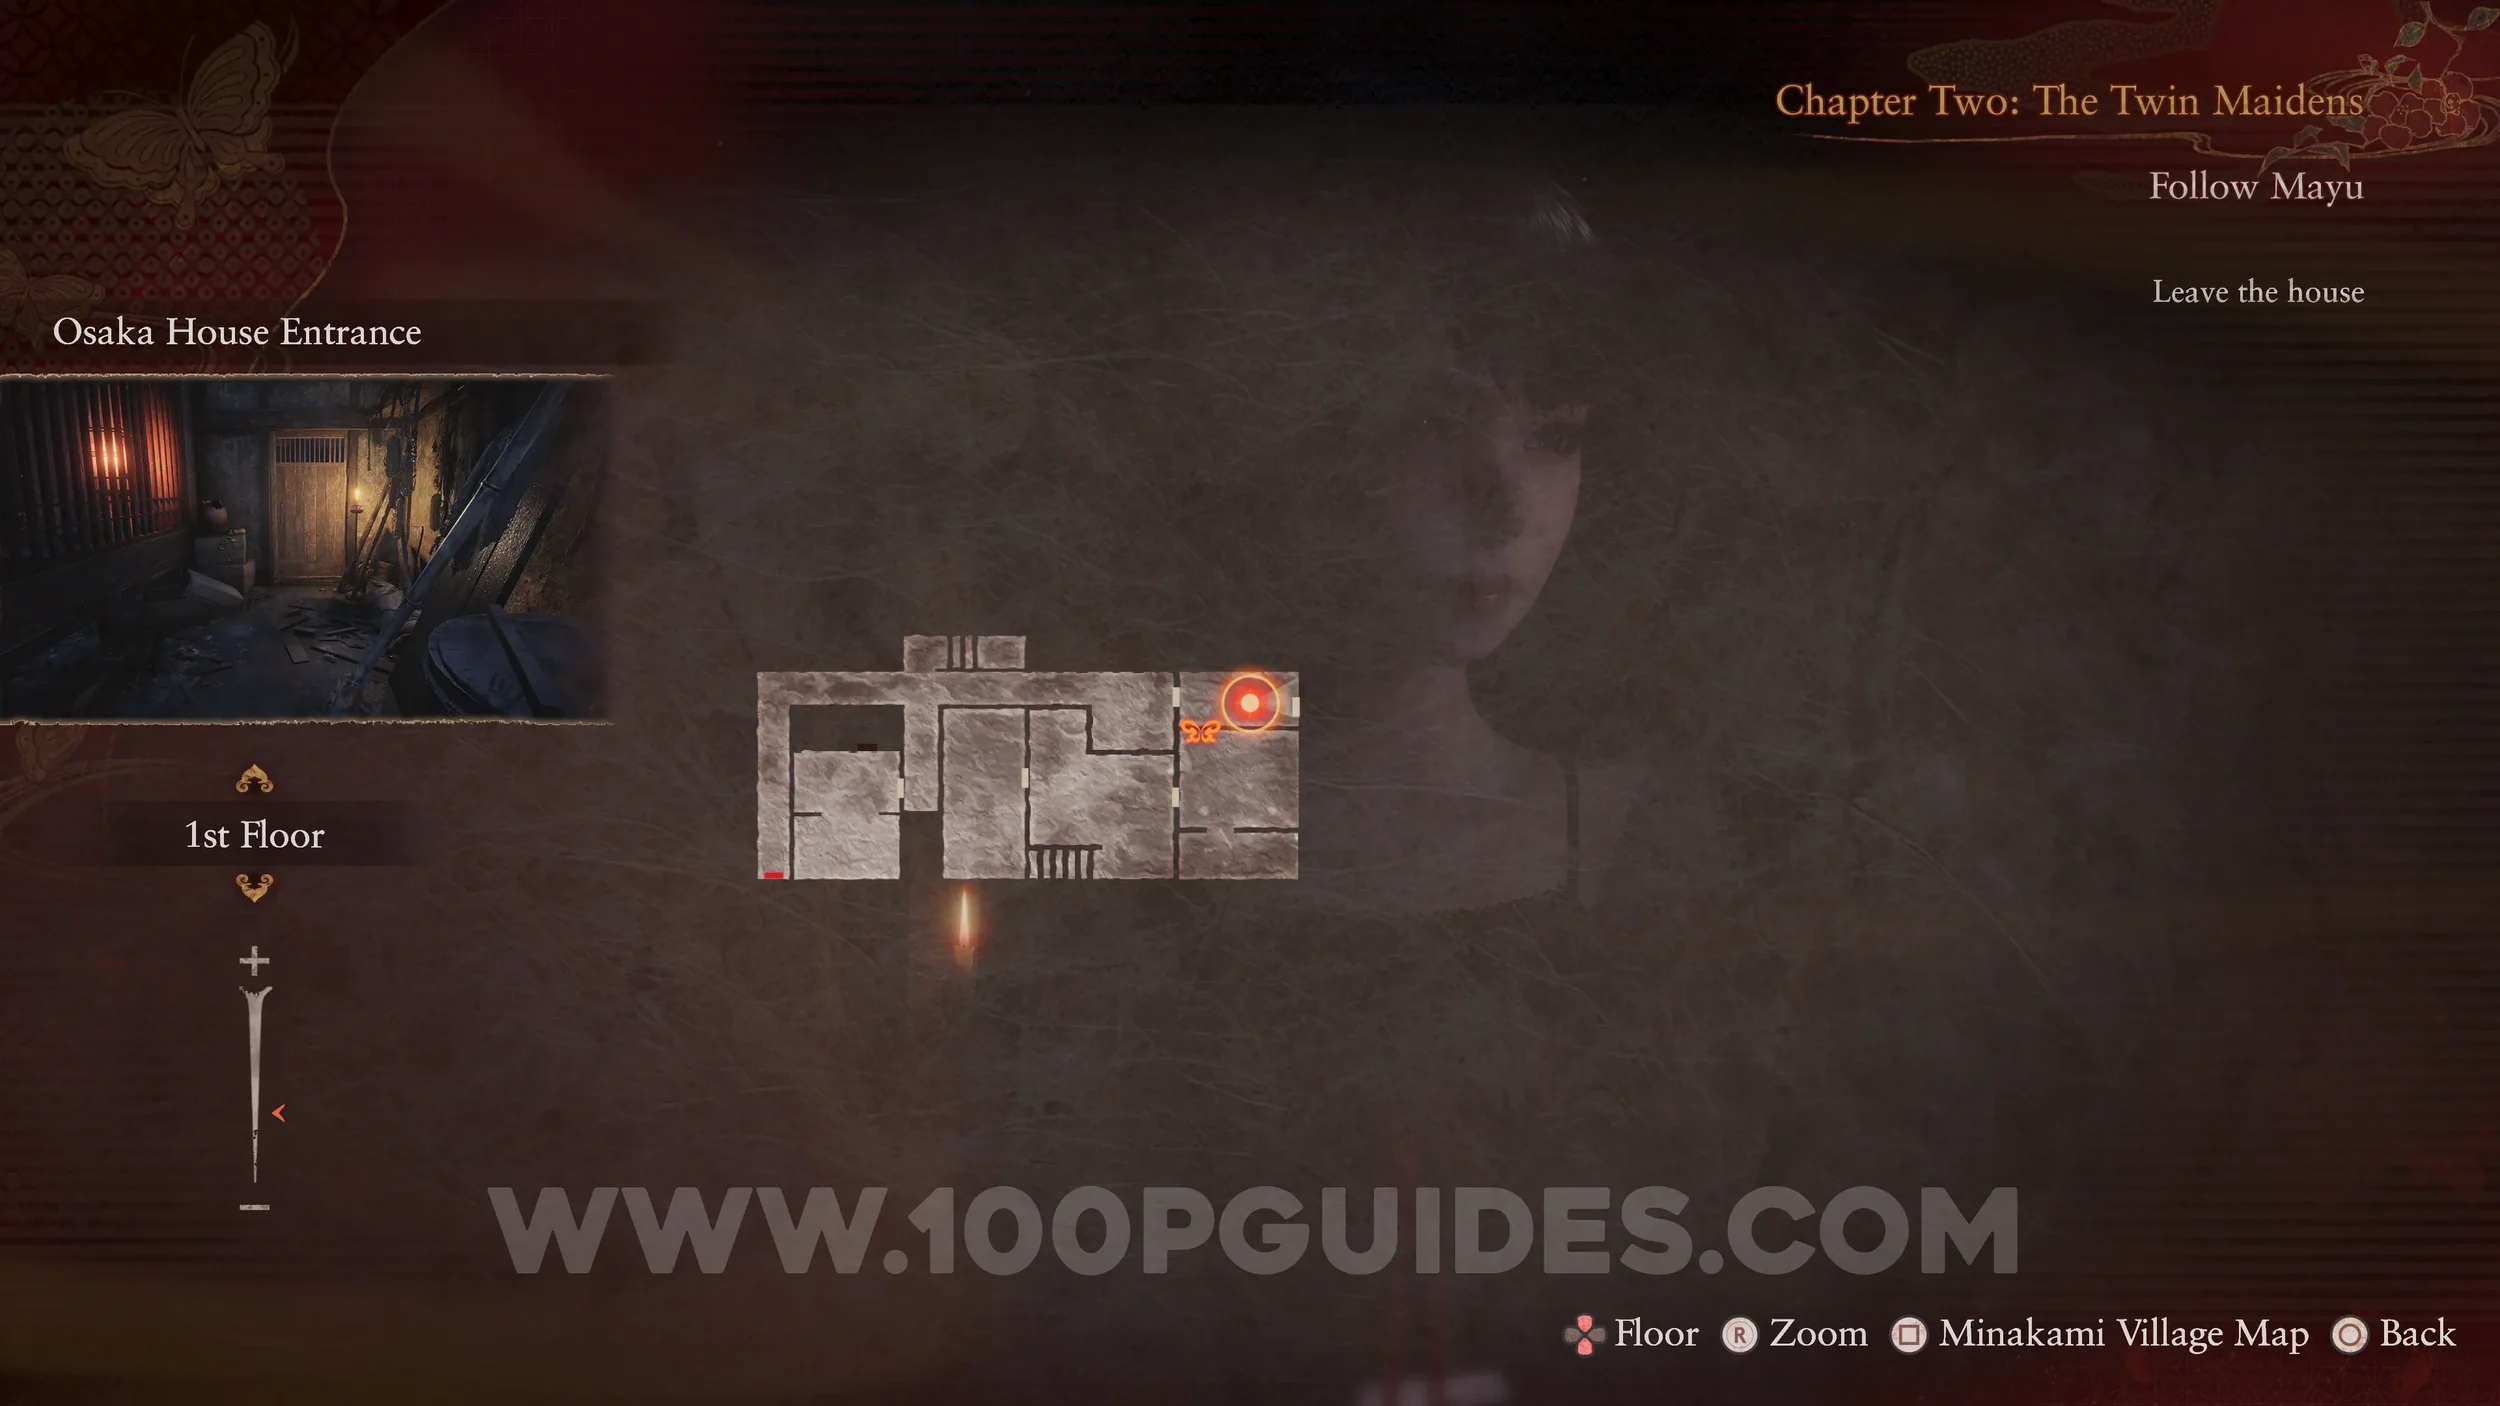
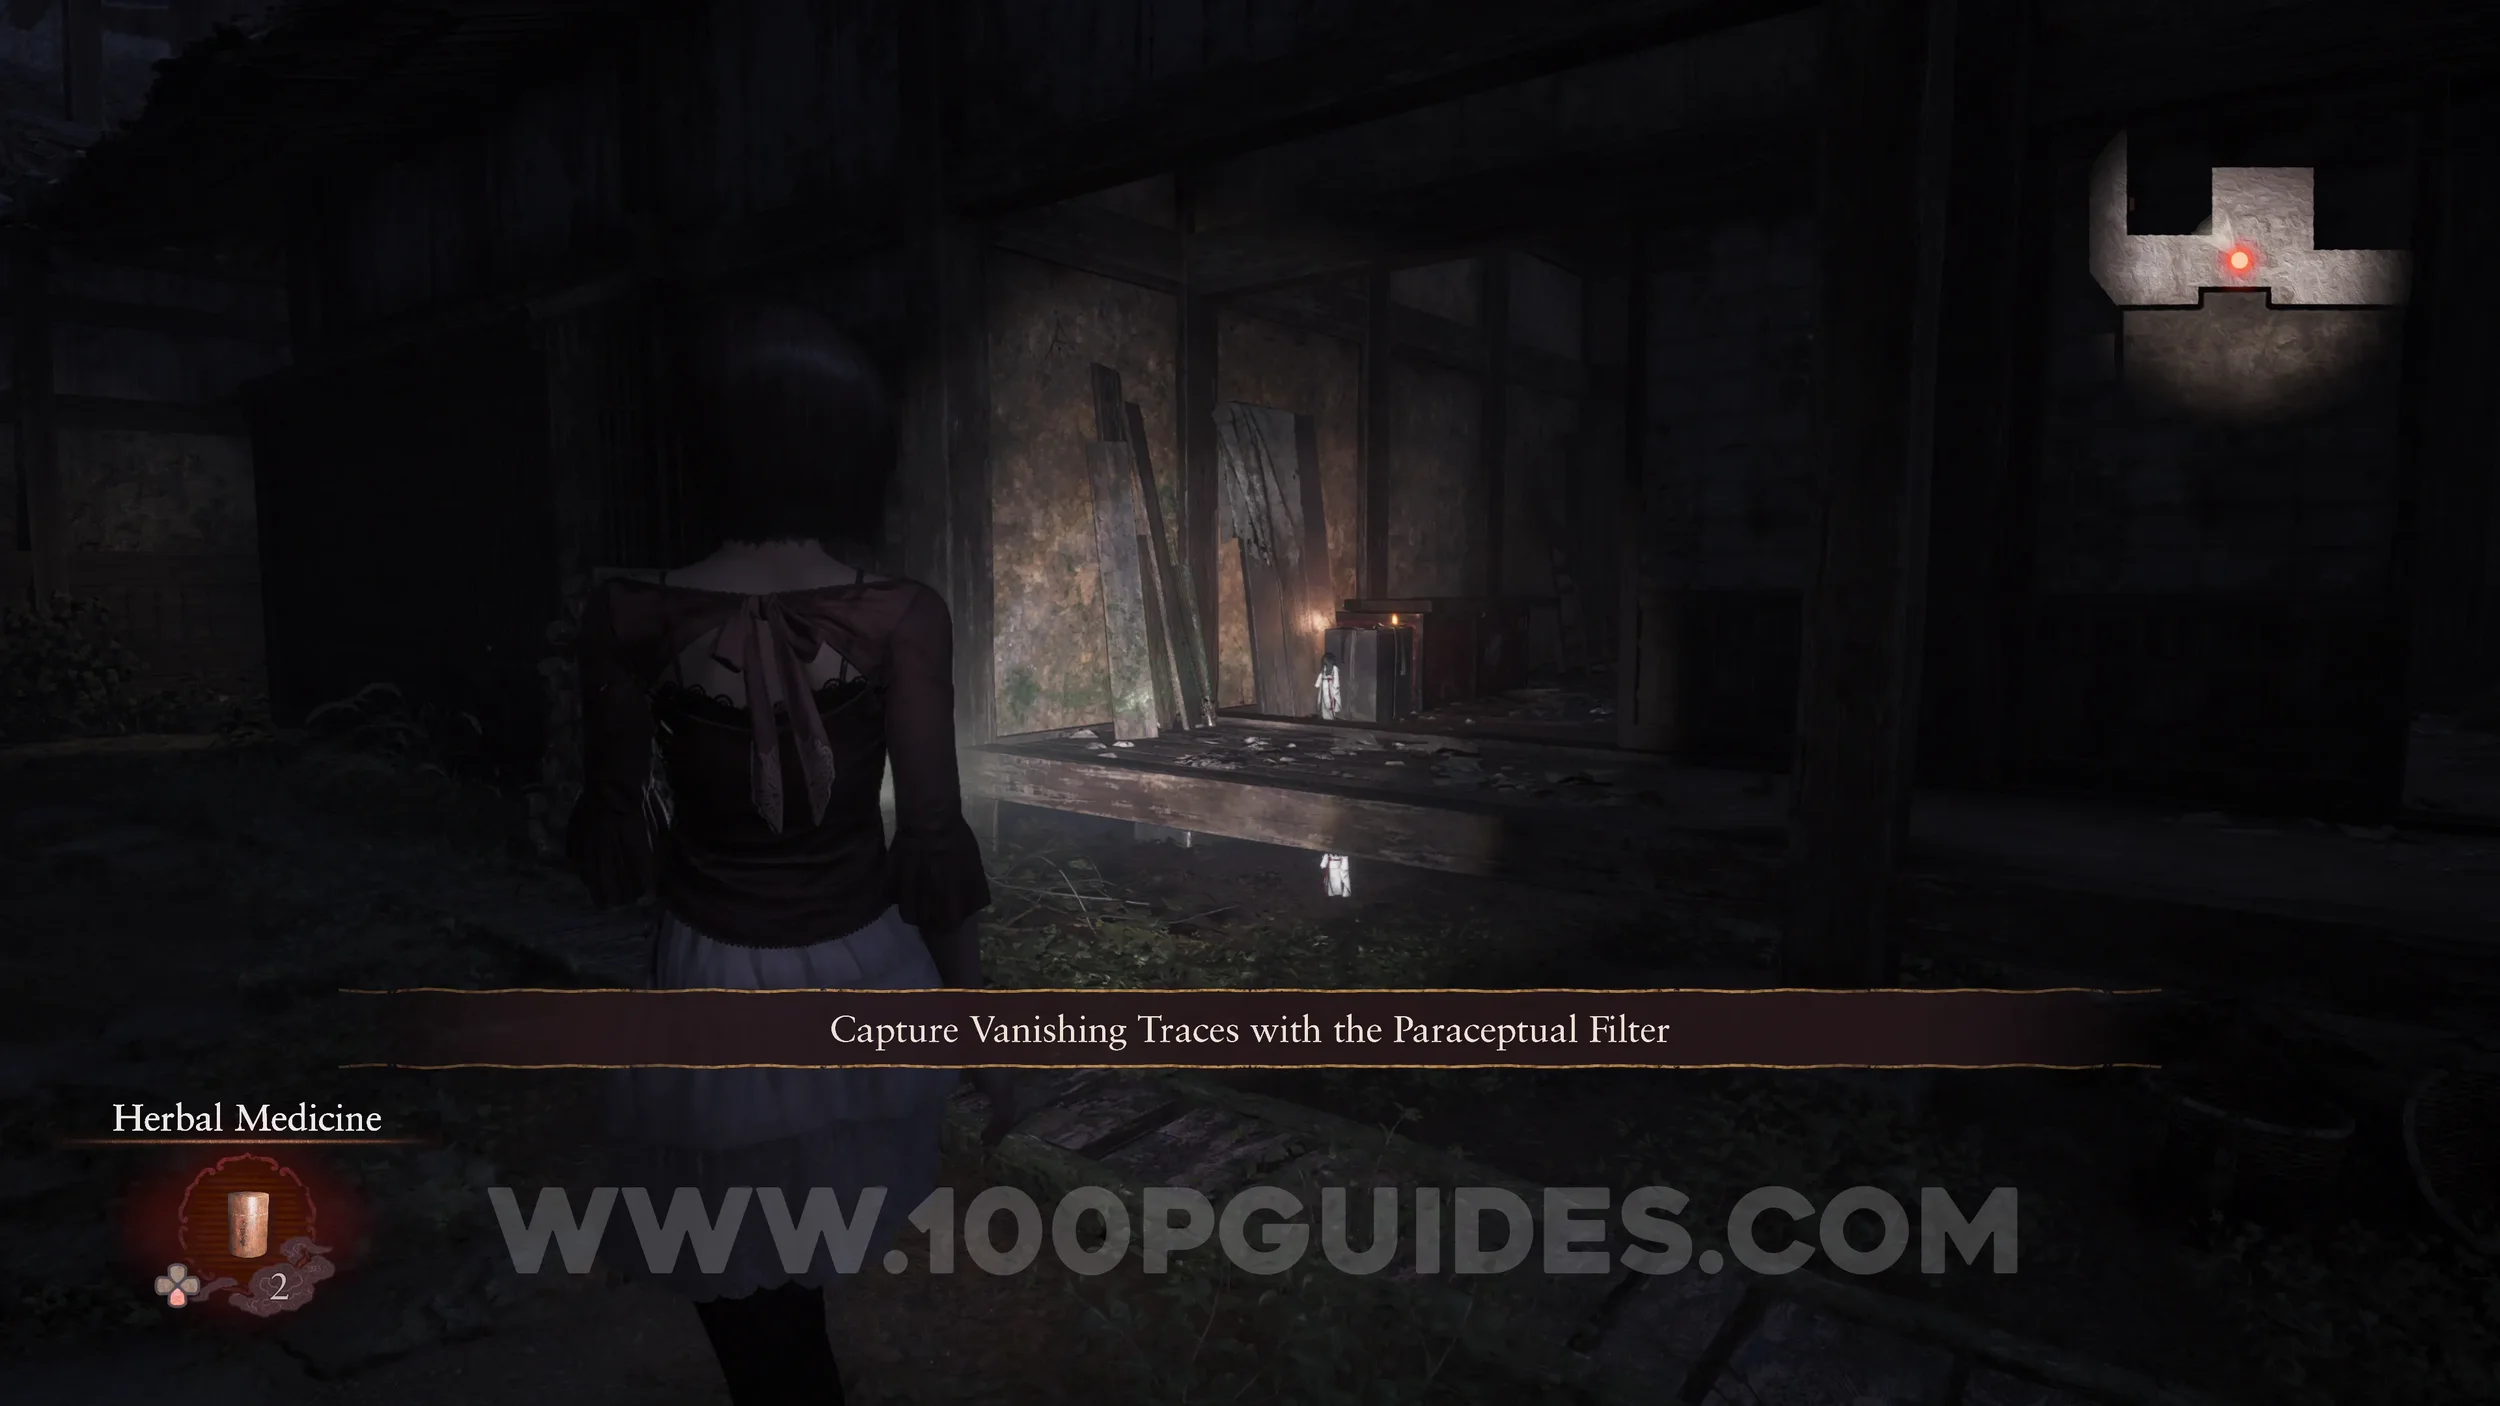
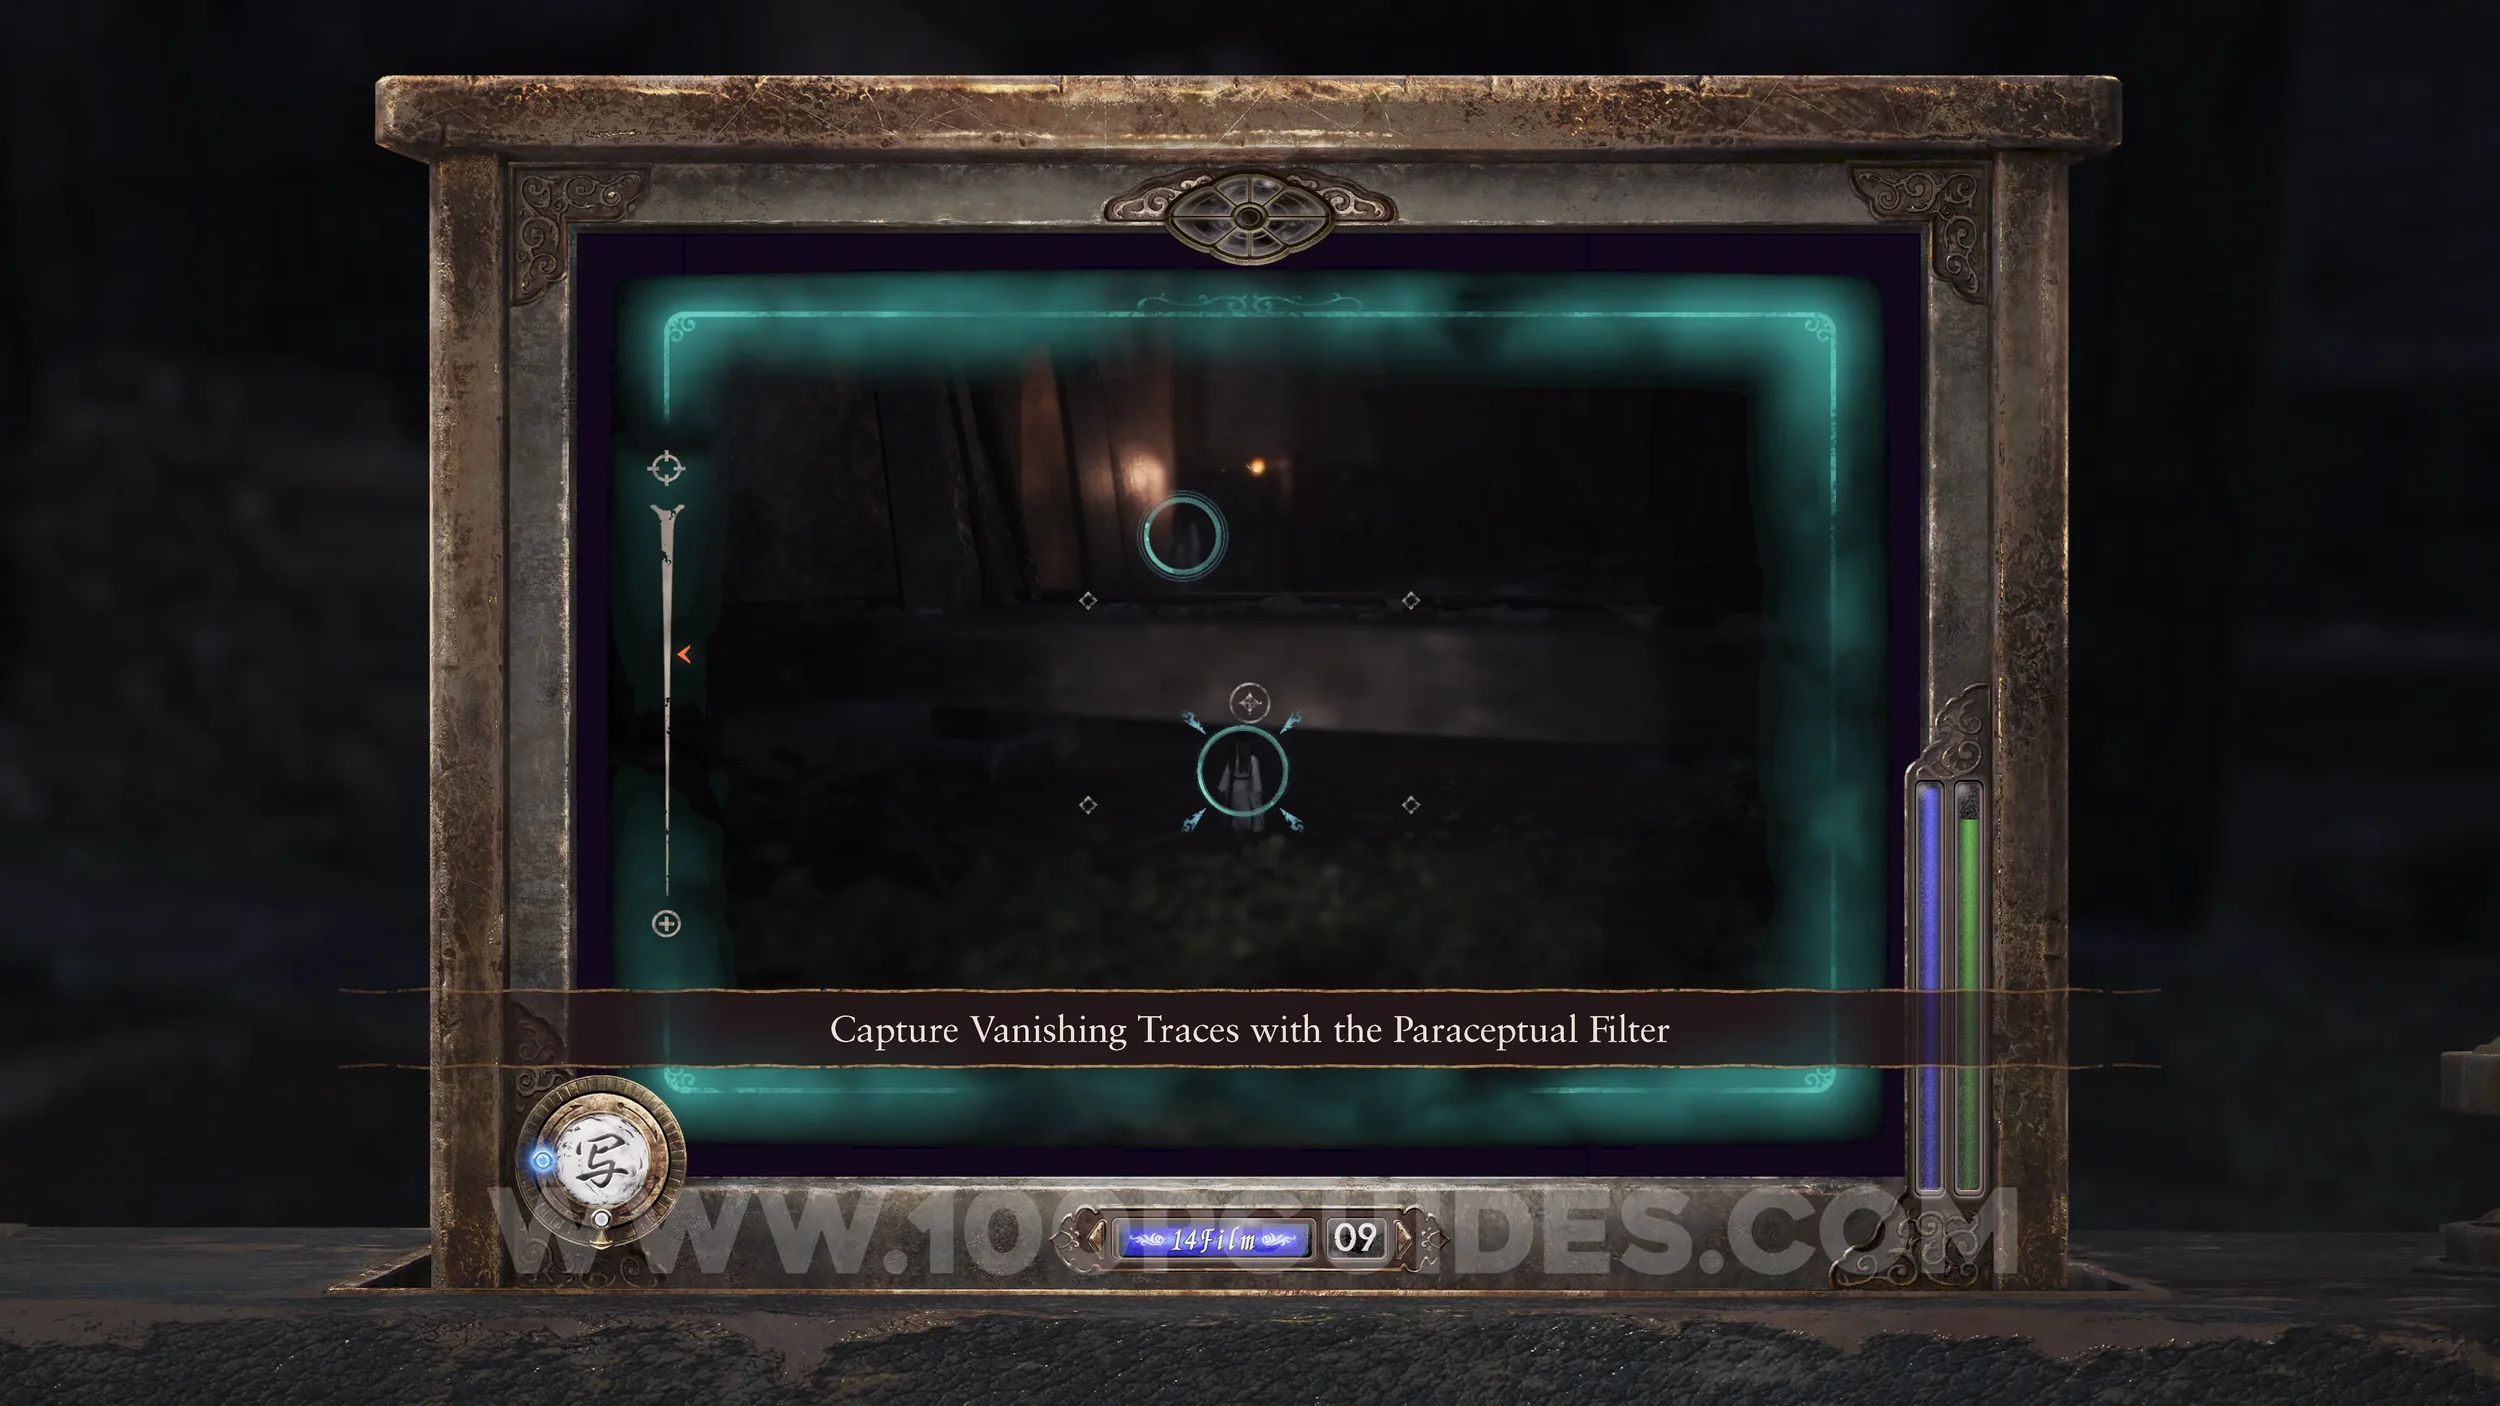
Document #10 - Paraceptual Filter Memo. Obtained automatically after leaving the Osaka House.
Specter #9 - 012 Mayu Being Called. Found after turning left around the corner when exiting the Osaka House.
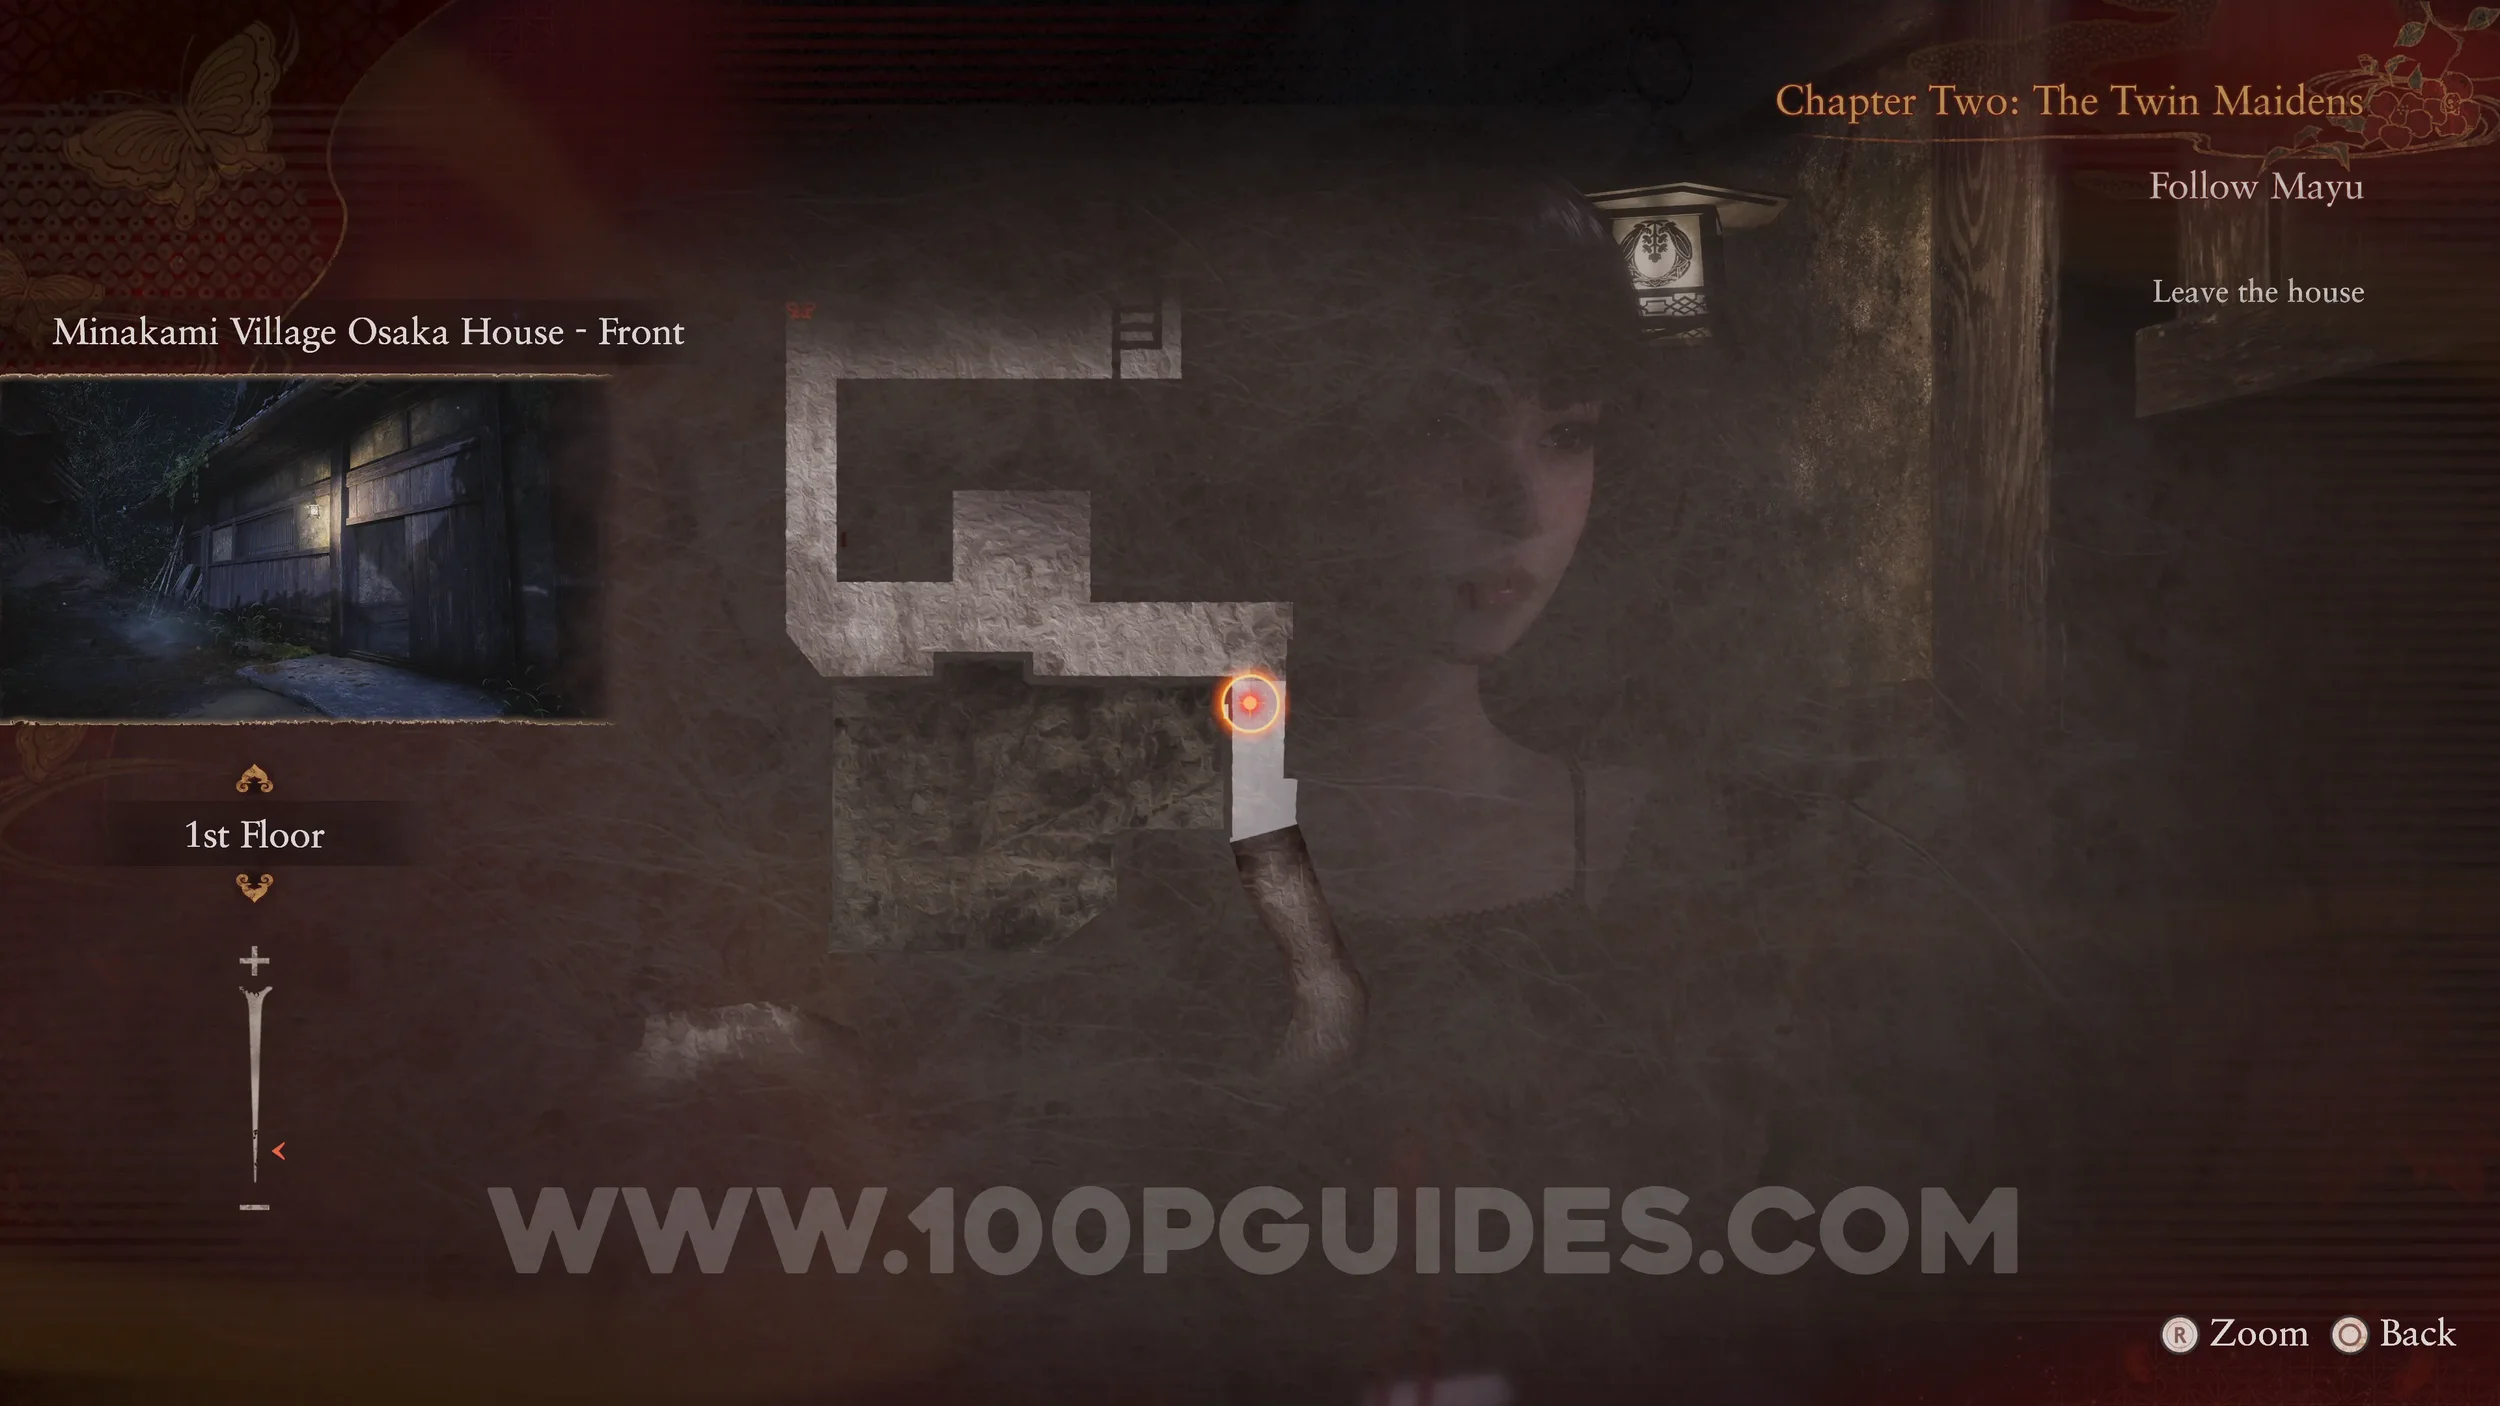
Wraith #3 - 003 The Seeker. After leaving the Osaka House, backtrack up the hill to where the game started.
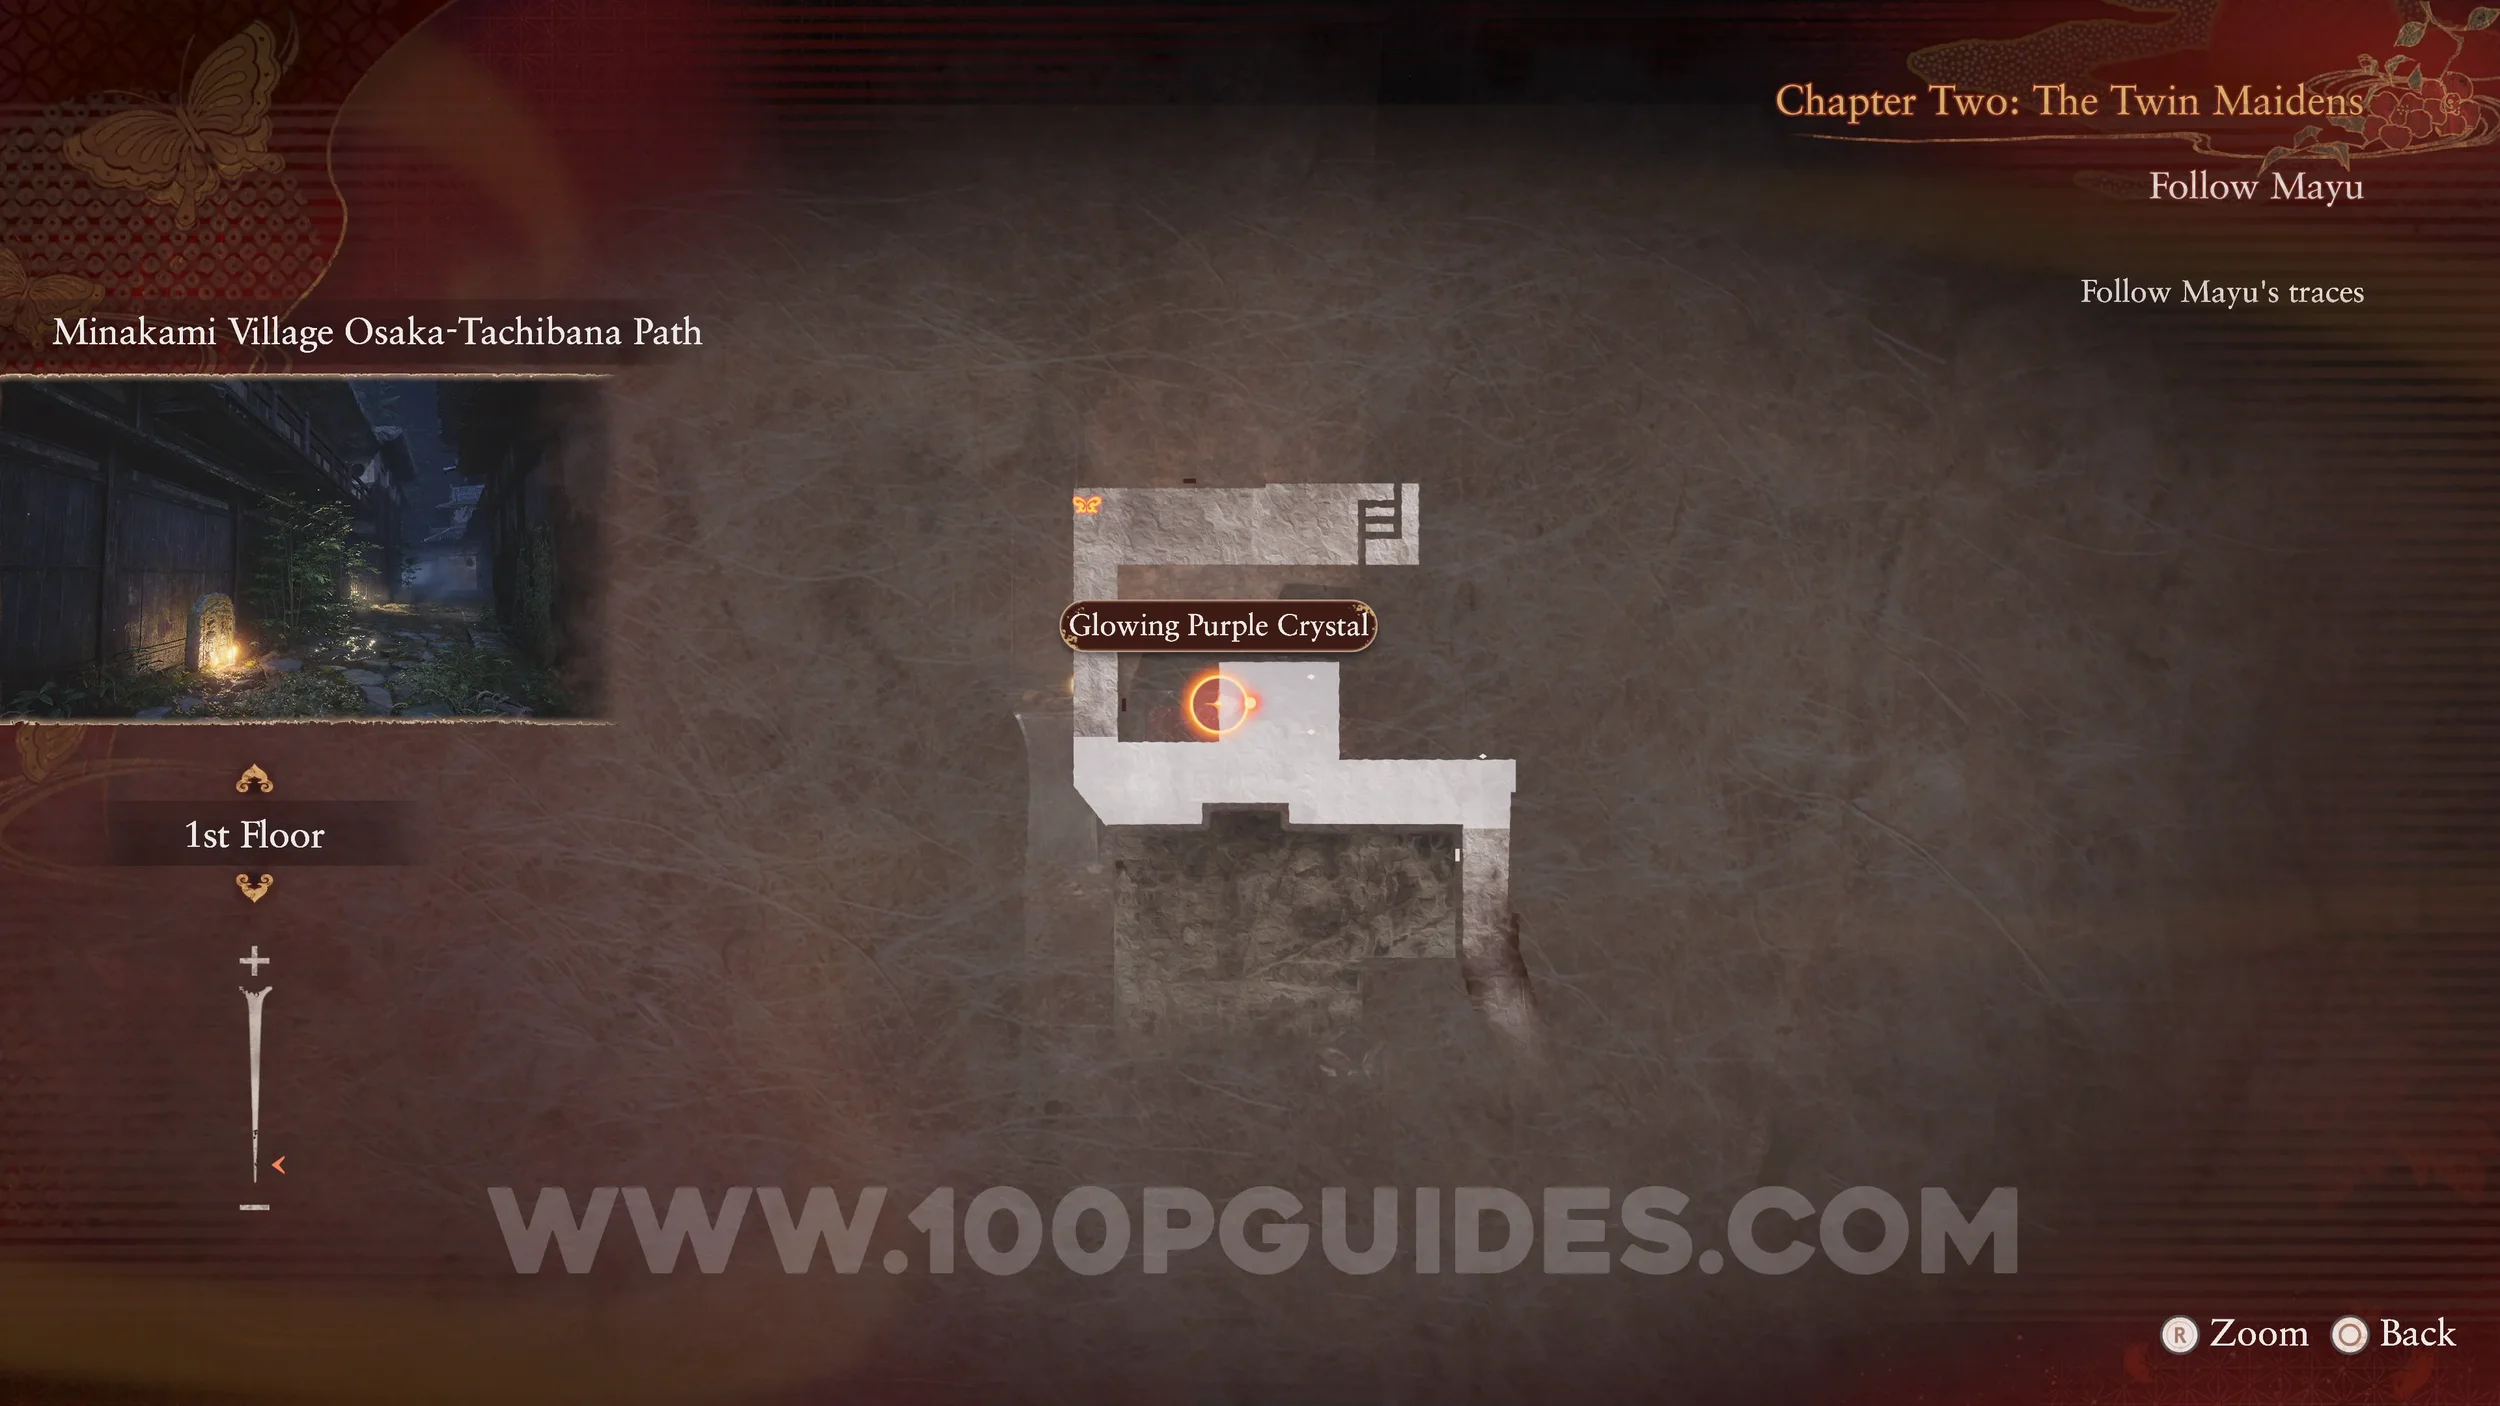
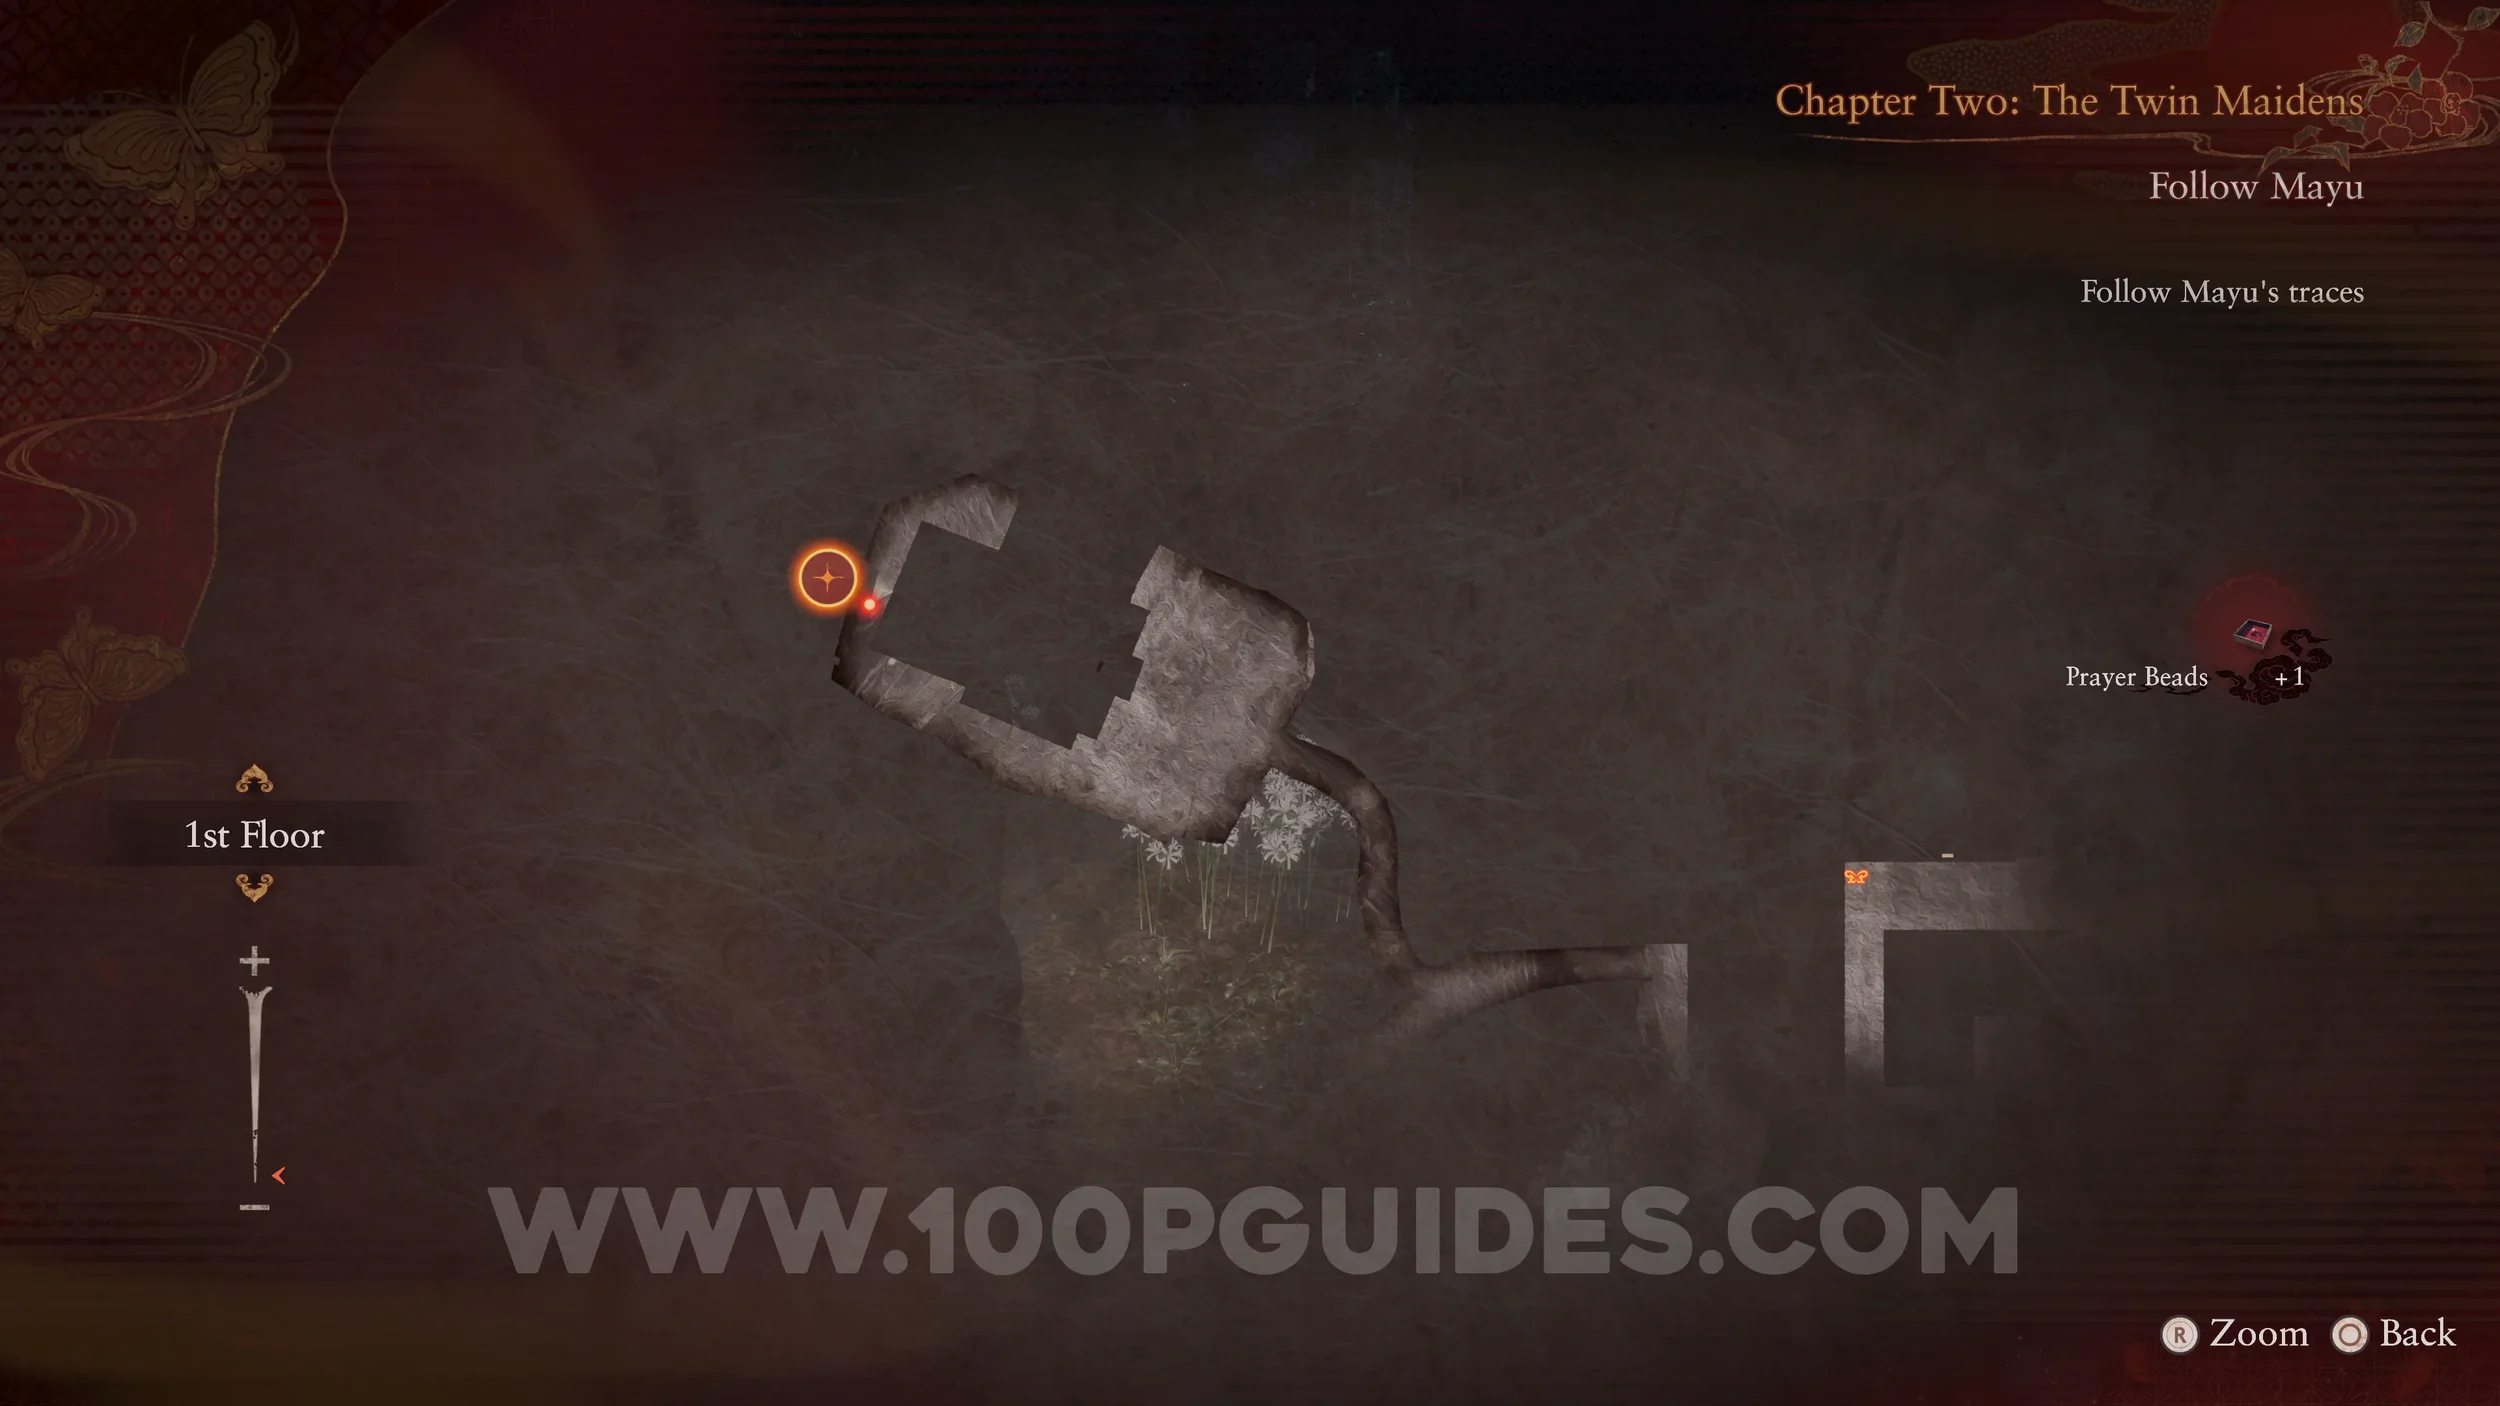
Twin Dolls #2 (42). Found in the street north of the Osaka House. One is beneath the wooden floor, and the other is near a box above. Make sure both are in frame.
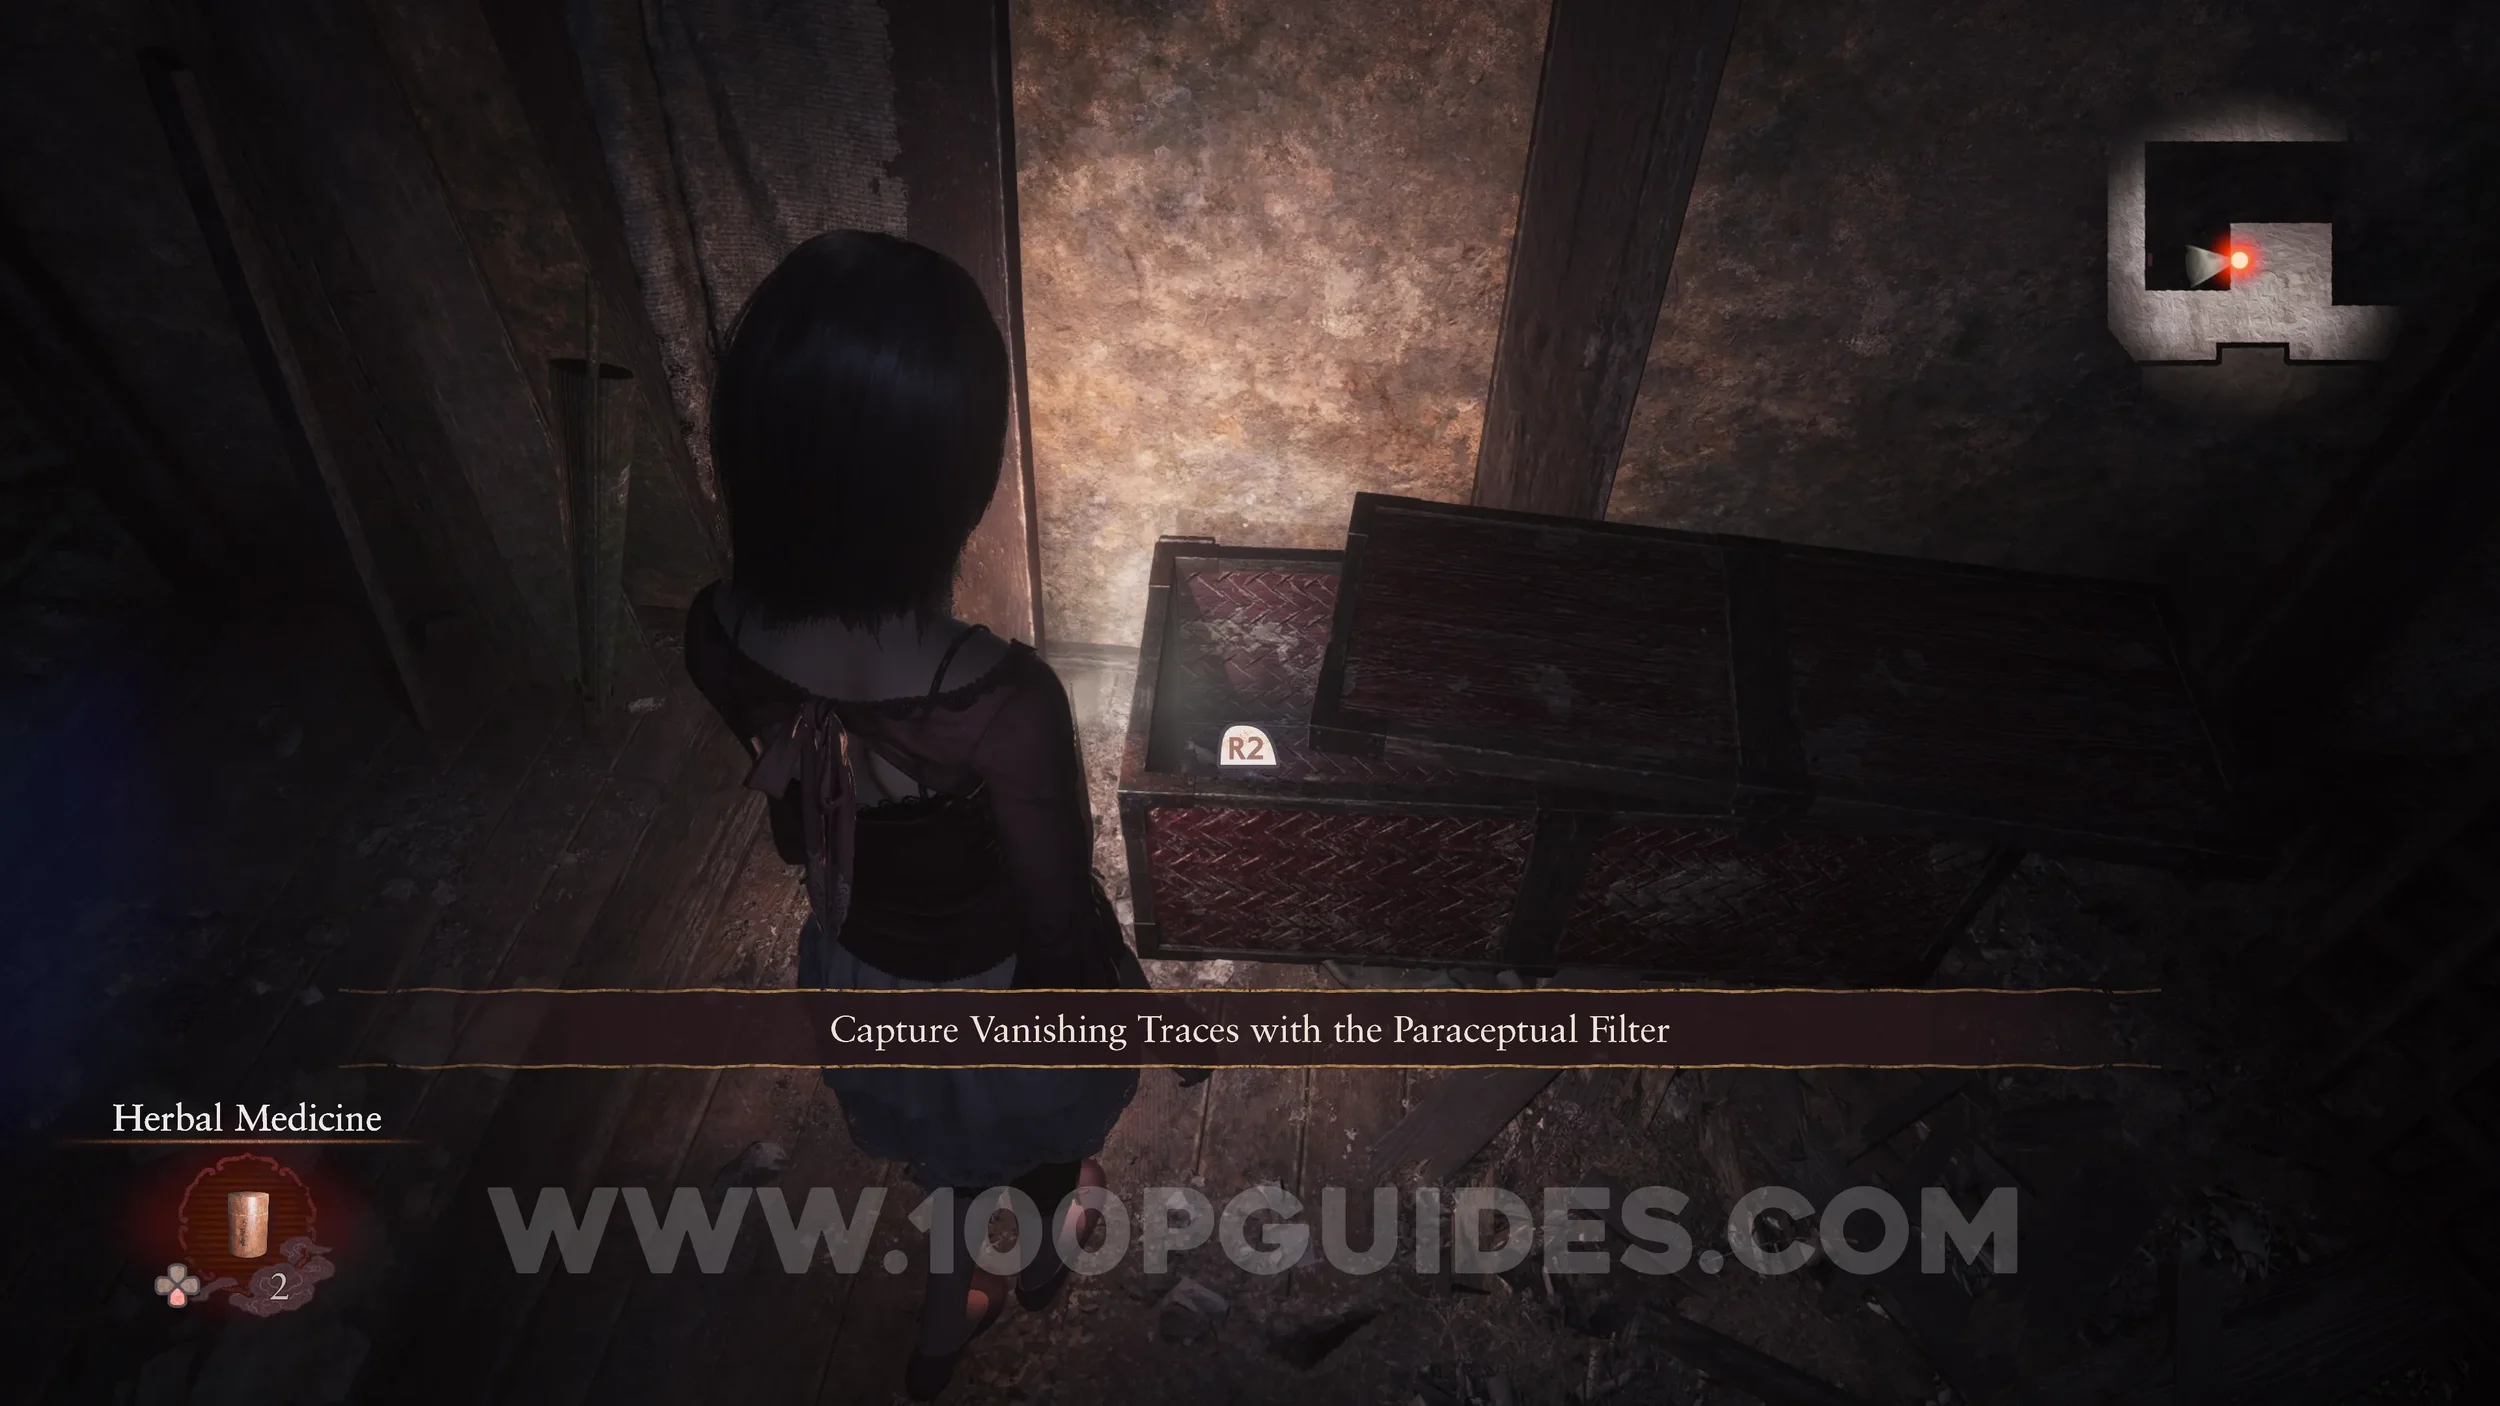
Spirit Stone #2 - Glowing Purple Crystal. Found in the box where the previous dolls were located.
Prayer Beads #1. After leaving the Osaka House, go around the left corner and follow the path west. Continue up the hill to reach a temple. The bead can be found behind the temple. I recommend using it to unlock the Zoom feature for the Camera Obscura, as some of the upcoming Twin Dolls will require it. If you do not have it yet, you can return later.
Twin Dolls #3 (3). On the right side of the temple.


Twin Dolls #4 (15). Walk along the upper left path that circles around the temple to find them.

Twin Dolls #5 (23). From the previous collectible, backtrack until you can go north to a temple. At the temple you will see a hole beneath the door that you can crawl through. Do not go through yet. Instead, head right all the way to the end and crouch. Then zoom out or step back to get both dolls under the temple in frame.
Twin Dolls #6 (24). Now go under the temple and exit on the other side. Head up the stairs and enter the upper floor. Cross through the interior and go down the stairs. At the bottom, turn right to find the two dolls between the wooden screens.

Twin Dolls #7 (25). Also found in the temple. It is on a shelf next to a round head decoration in the room just southwest of where the previous collectible was located.

Twin Dolls #8 (2). On the wall just before the next save point, down the street north of the Osaka House.

Document #11 - Twin Doll Findings. On the wall with the dolls.
Document #12 - Folklorist’s Note 1. Enter the Kiryu House near the save point and go up to the top floor. The collectible is on the table next to a portrait.
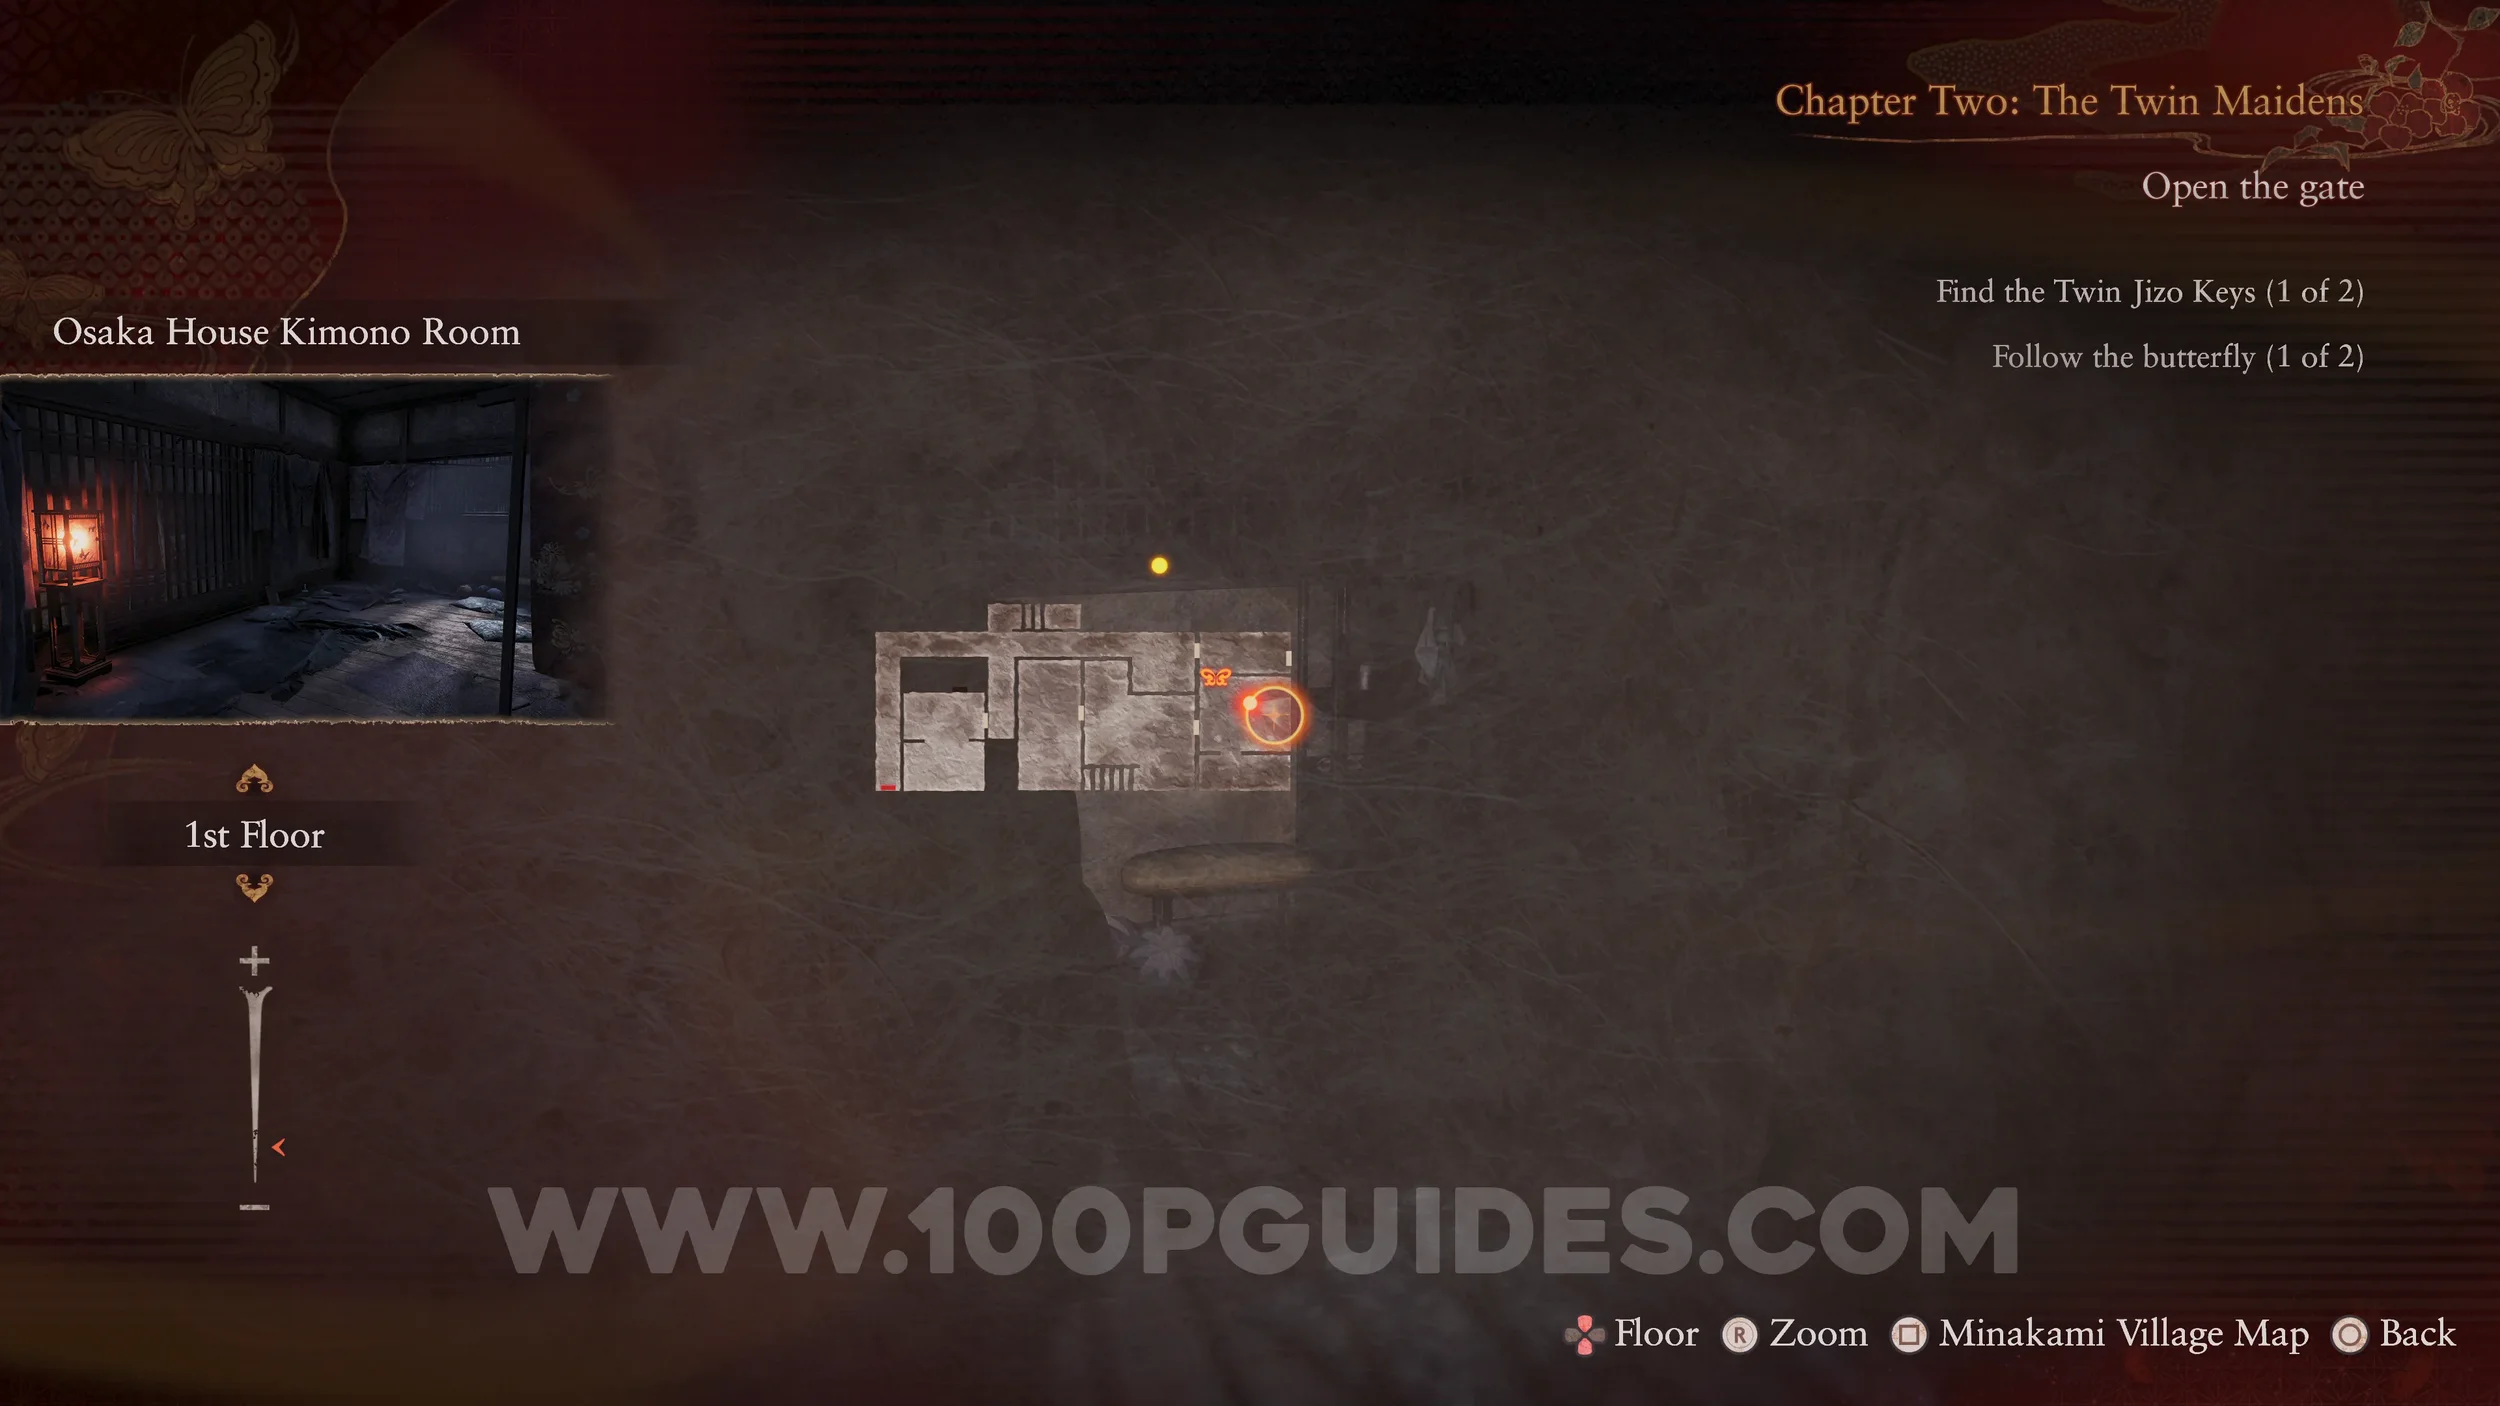
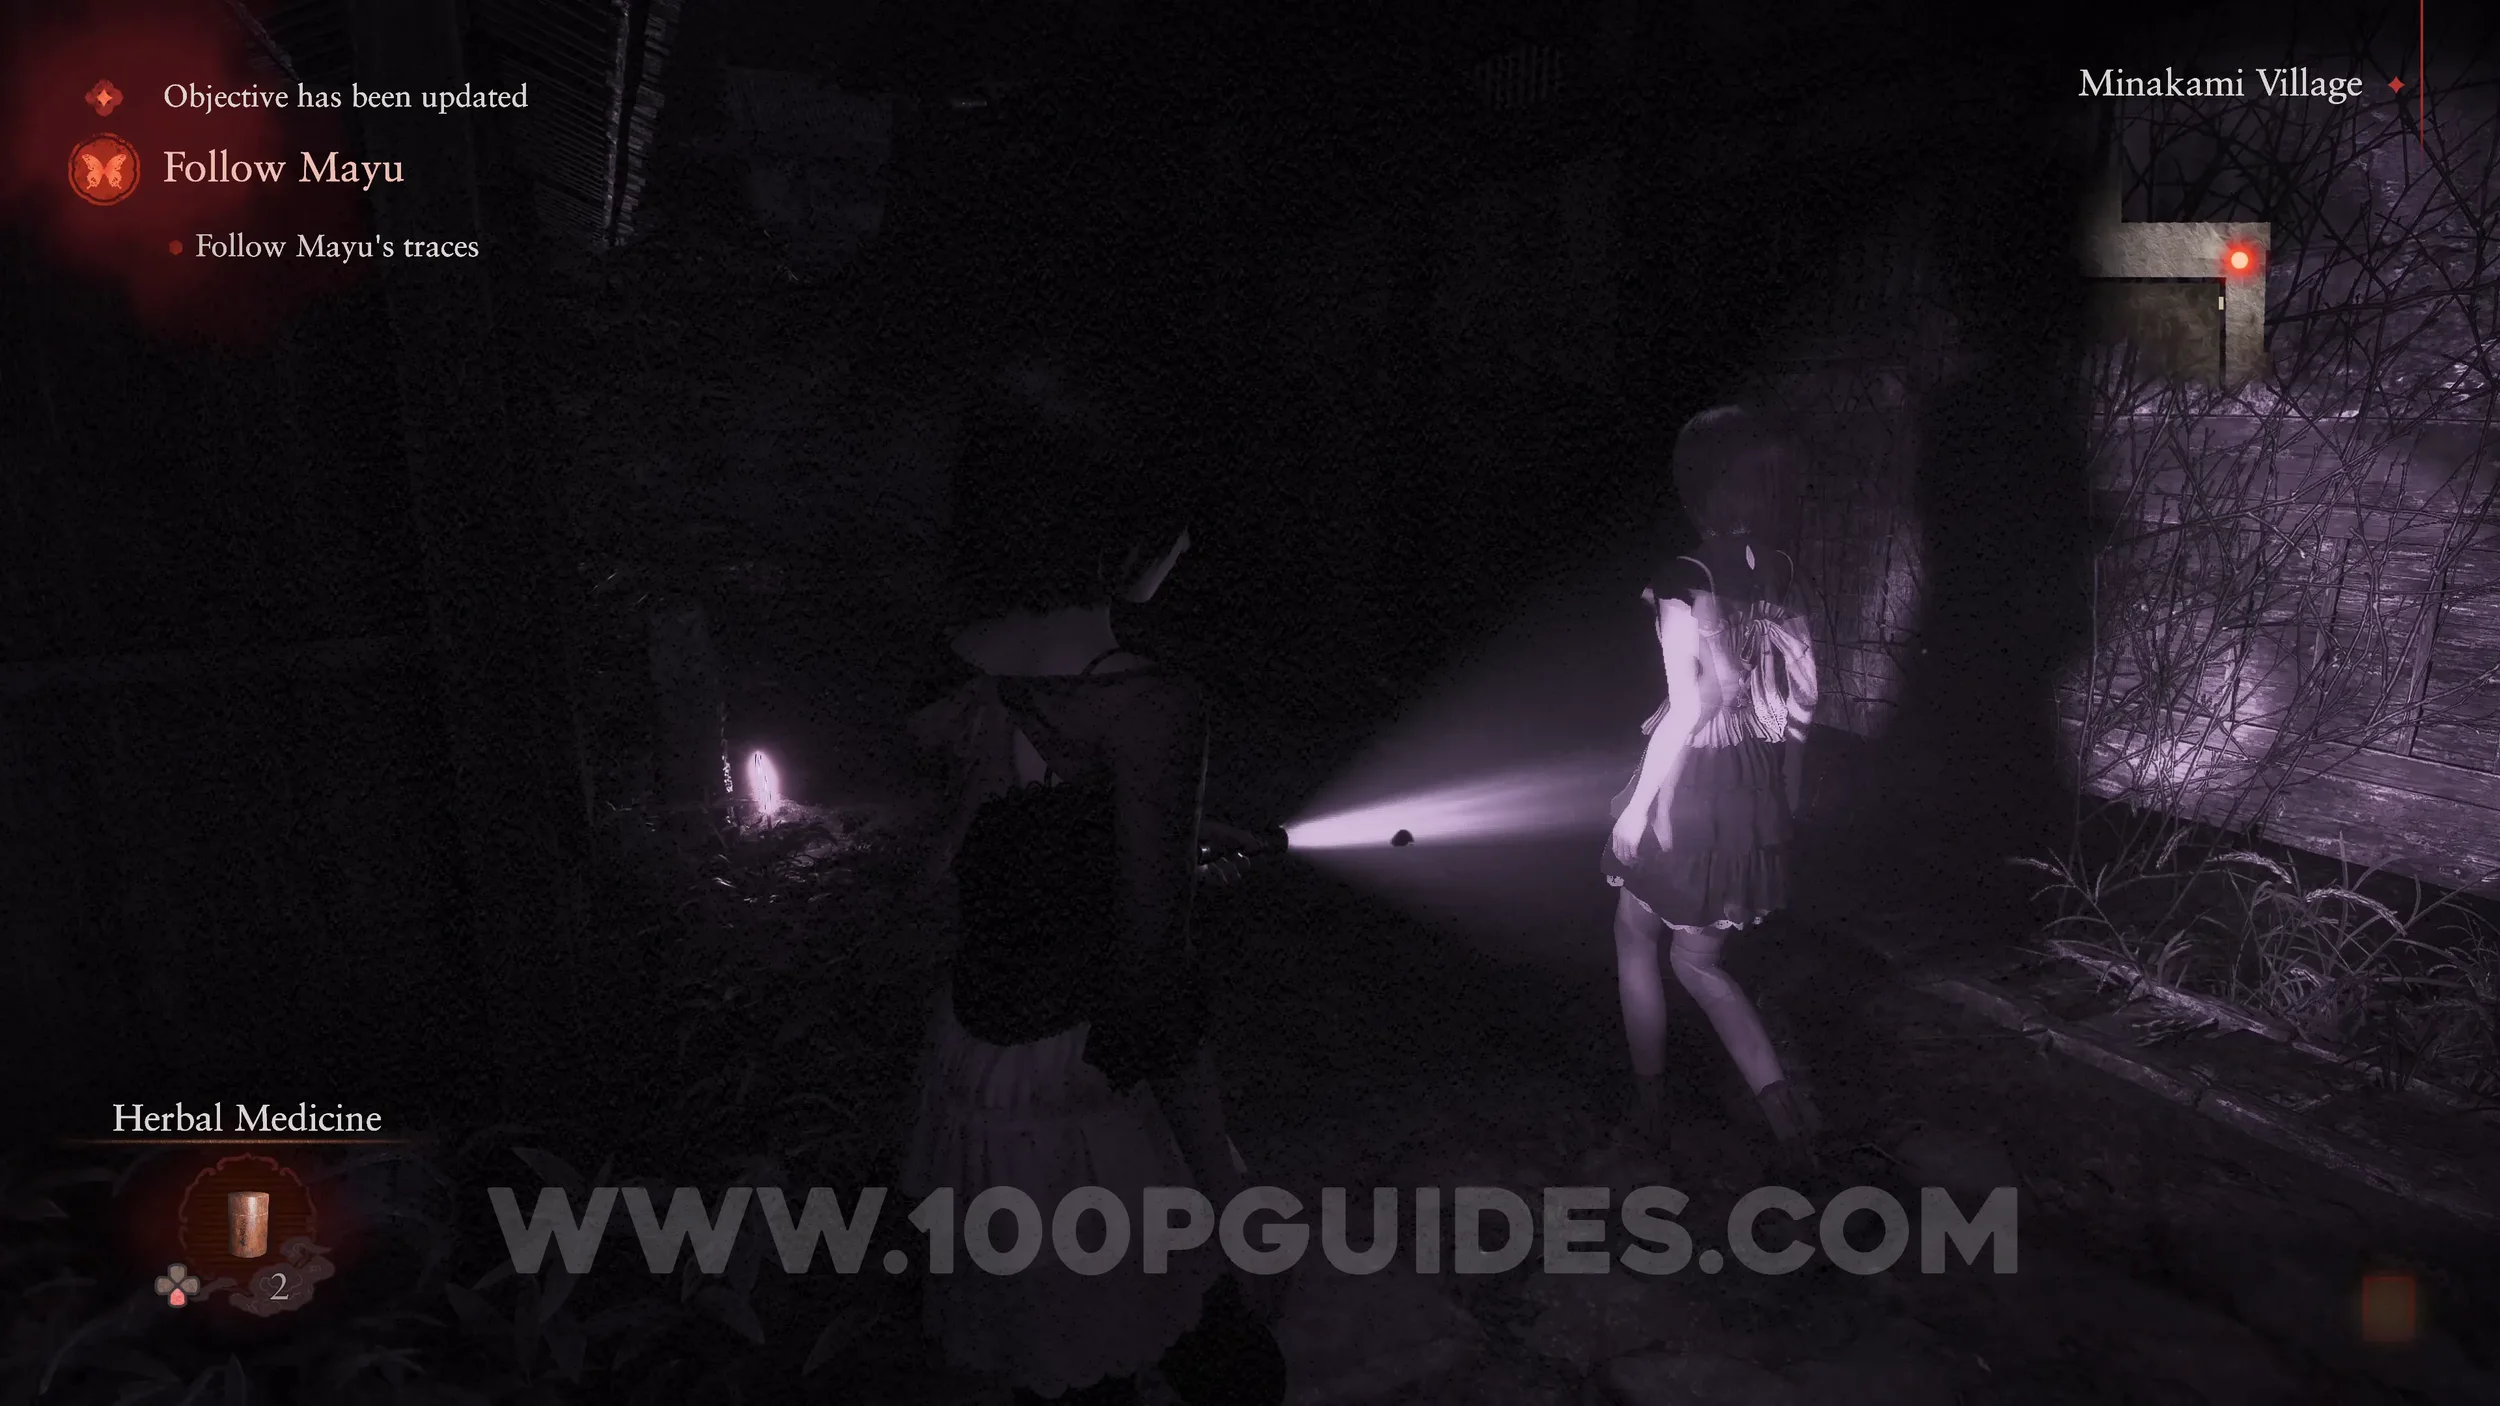
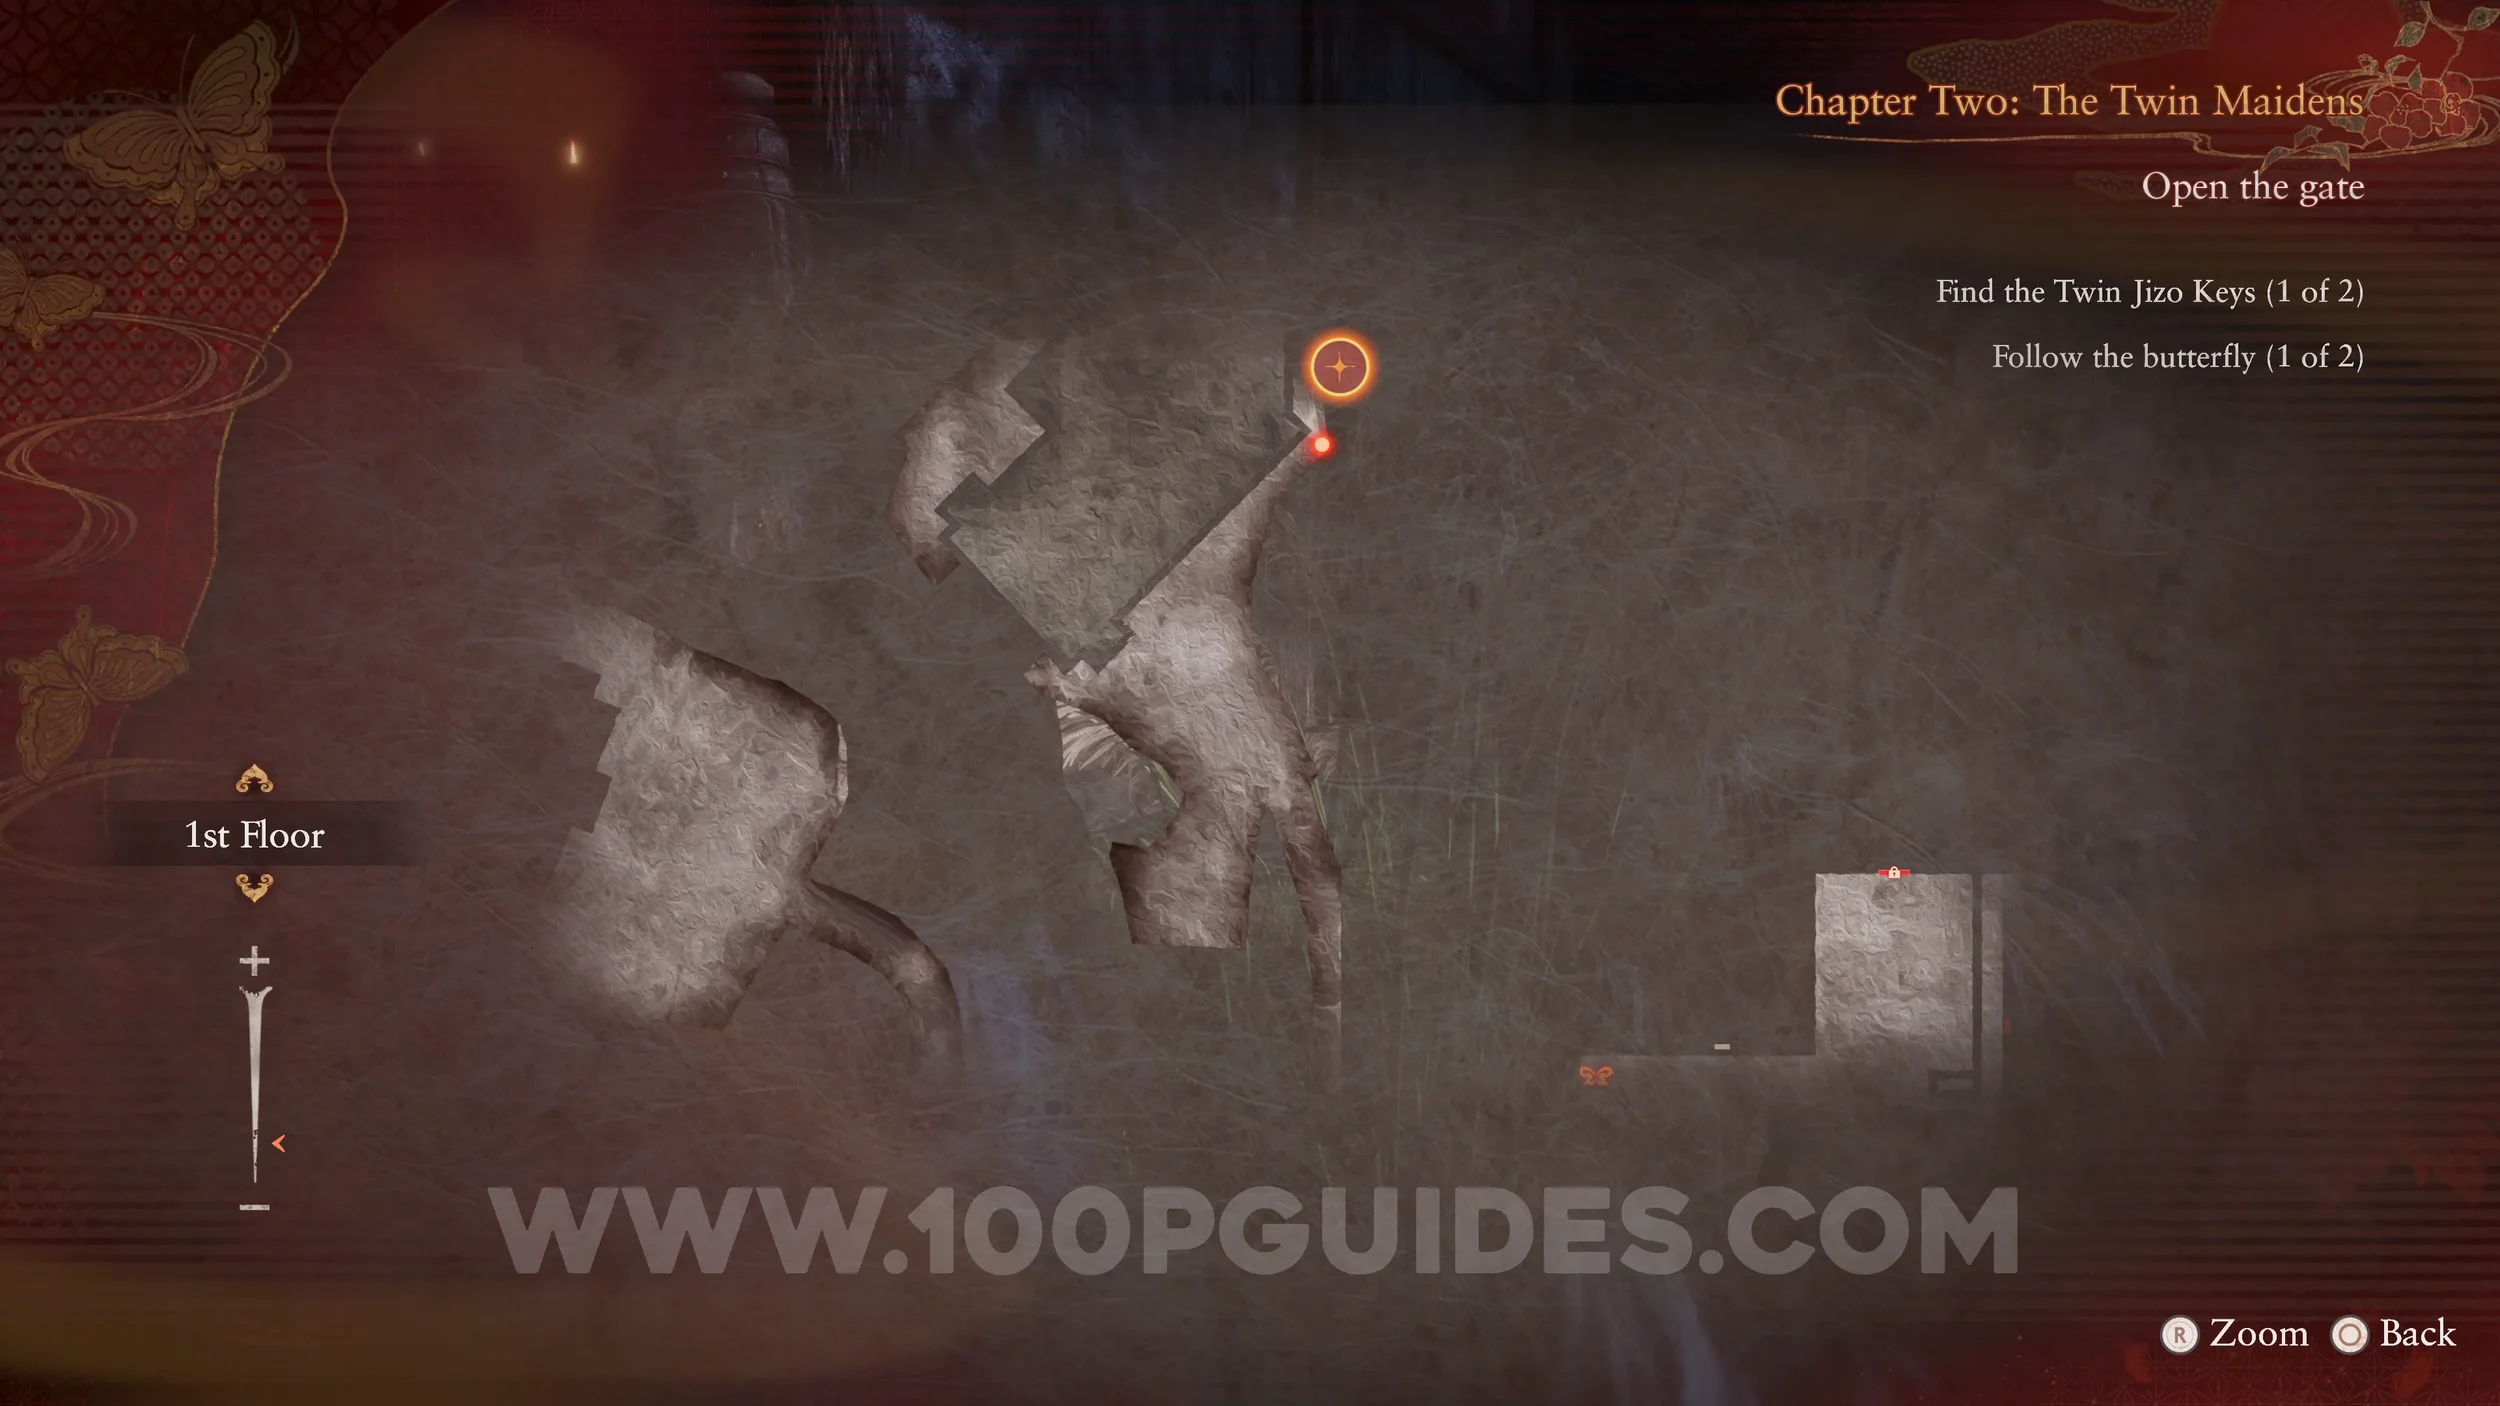
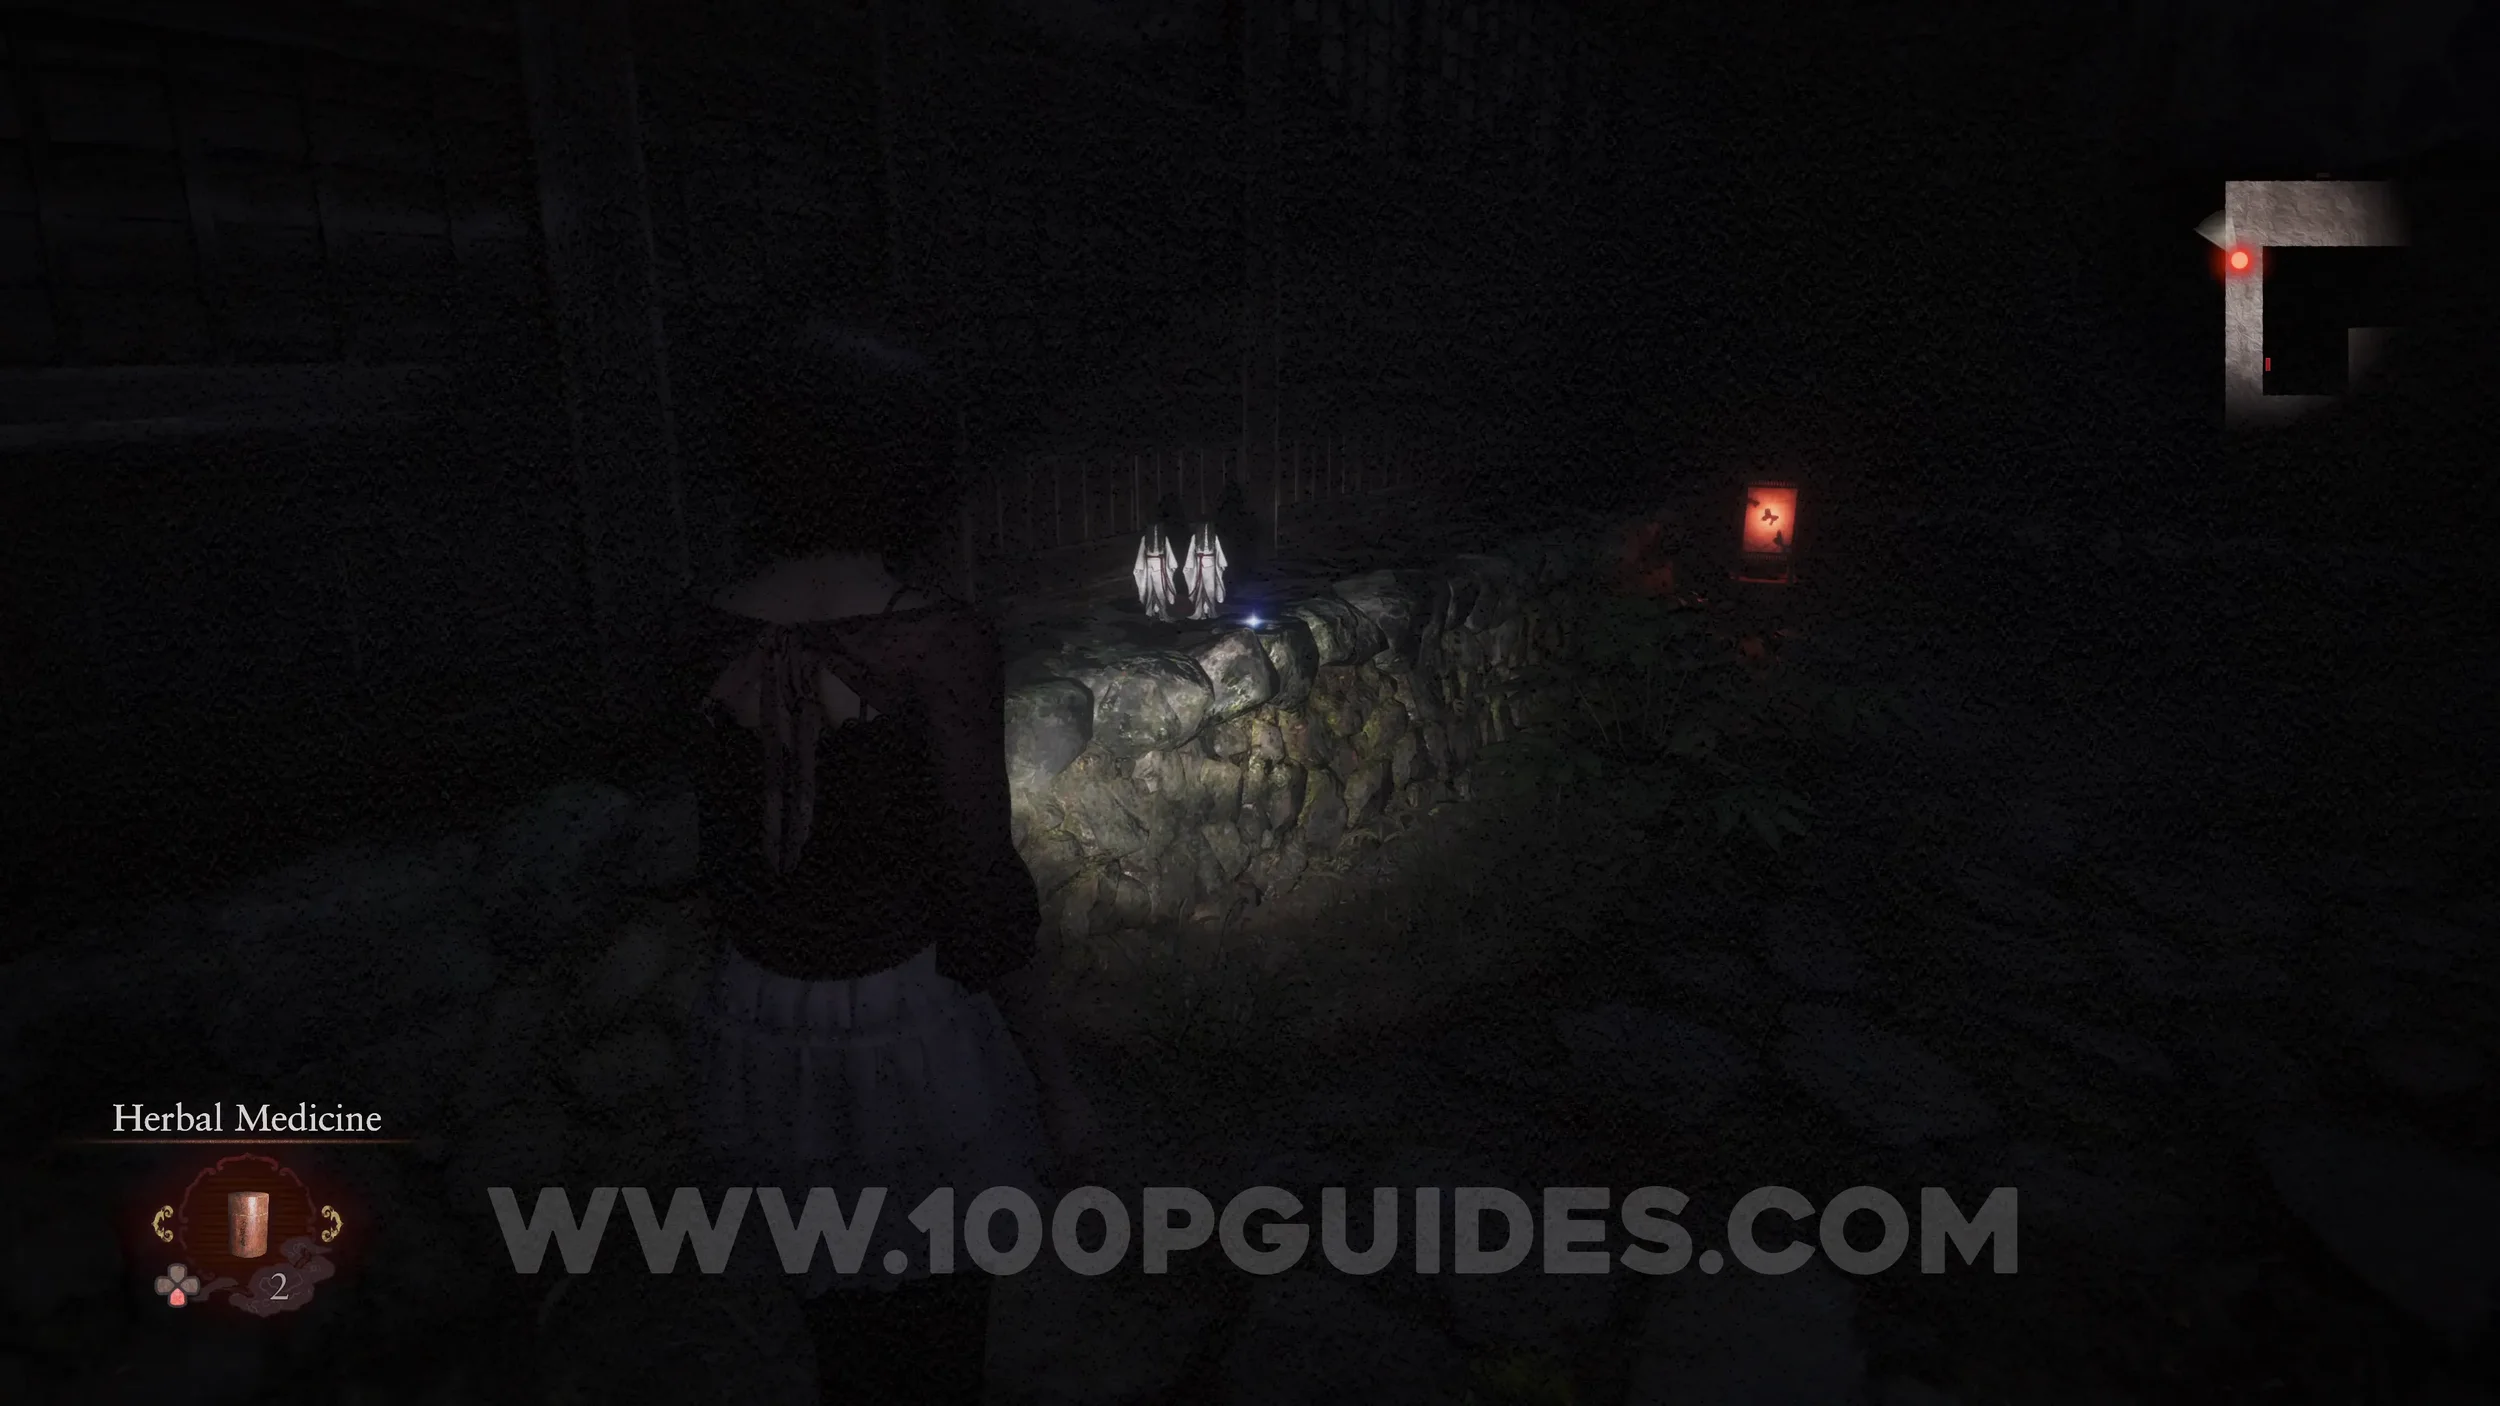
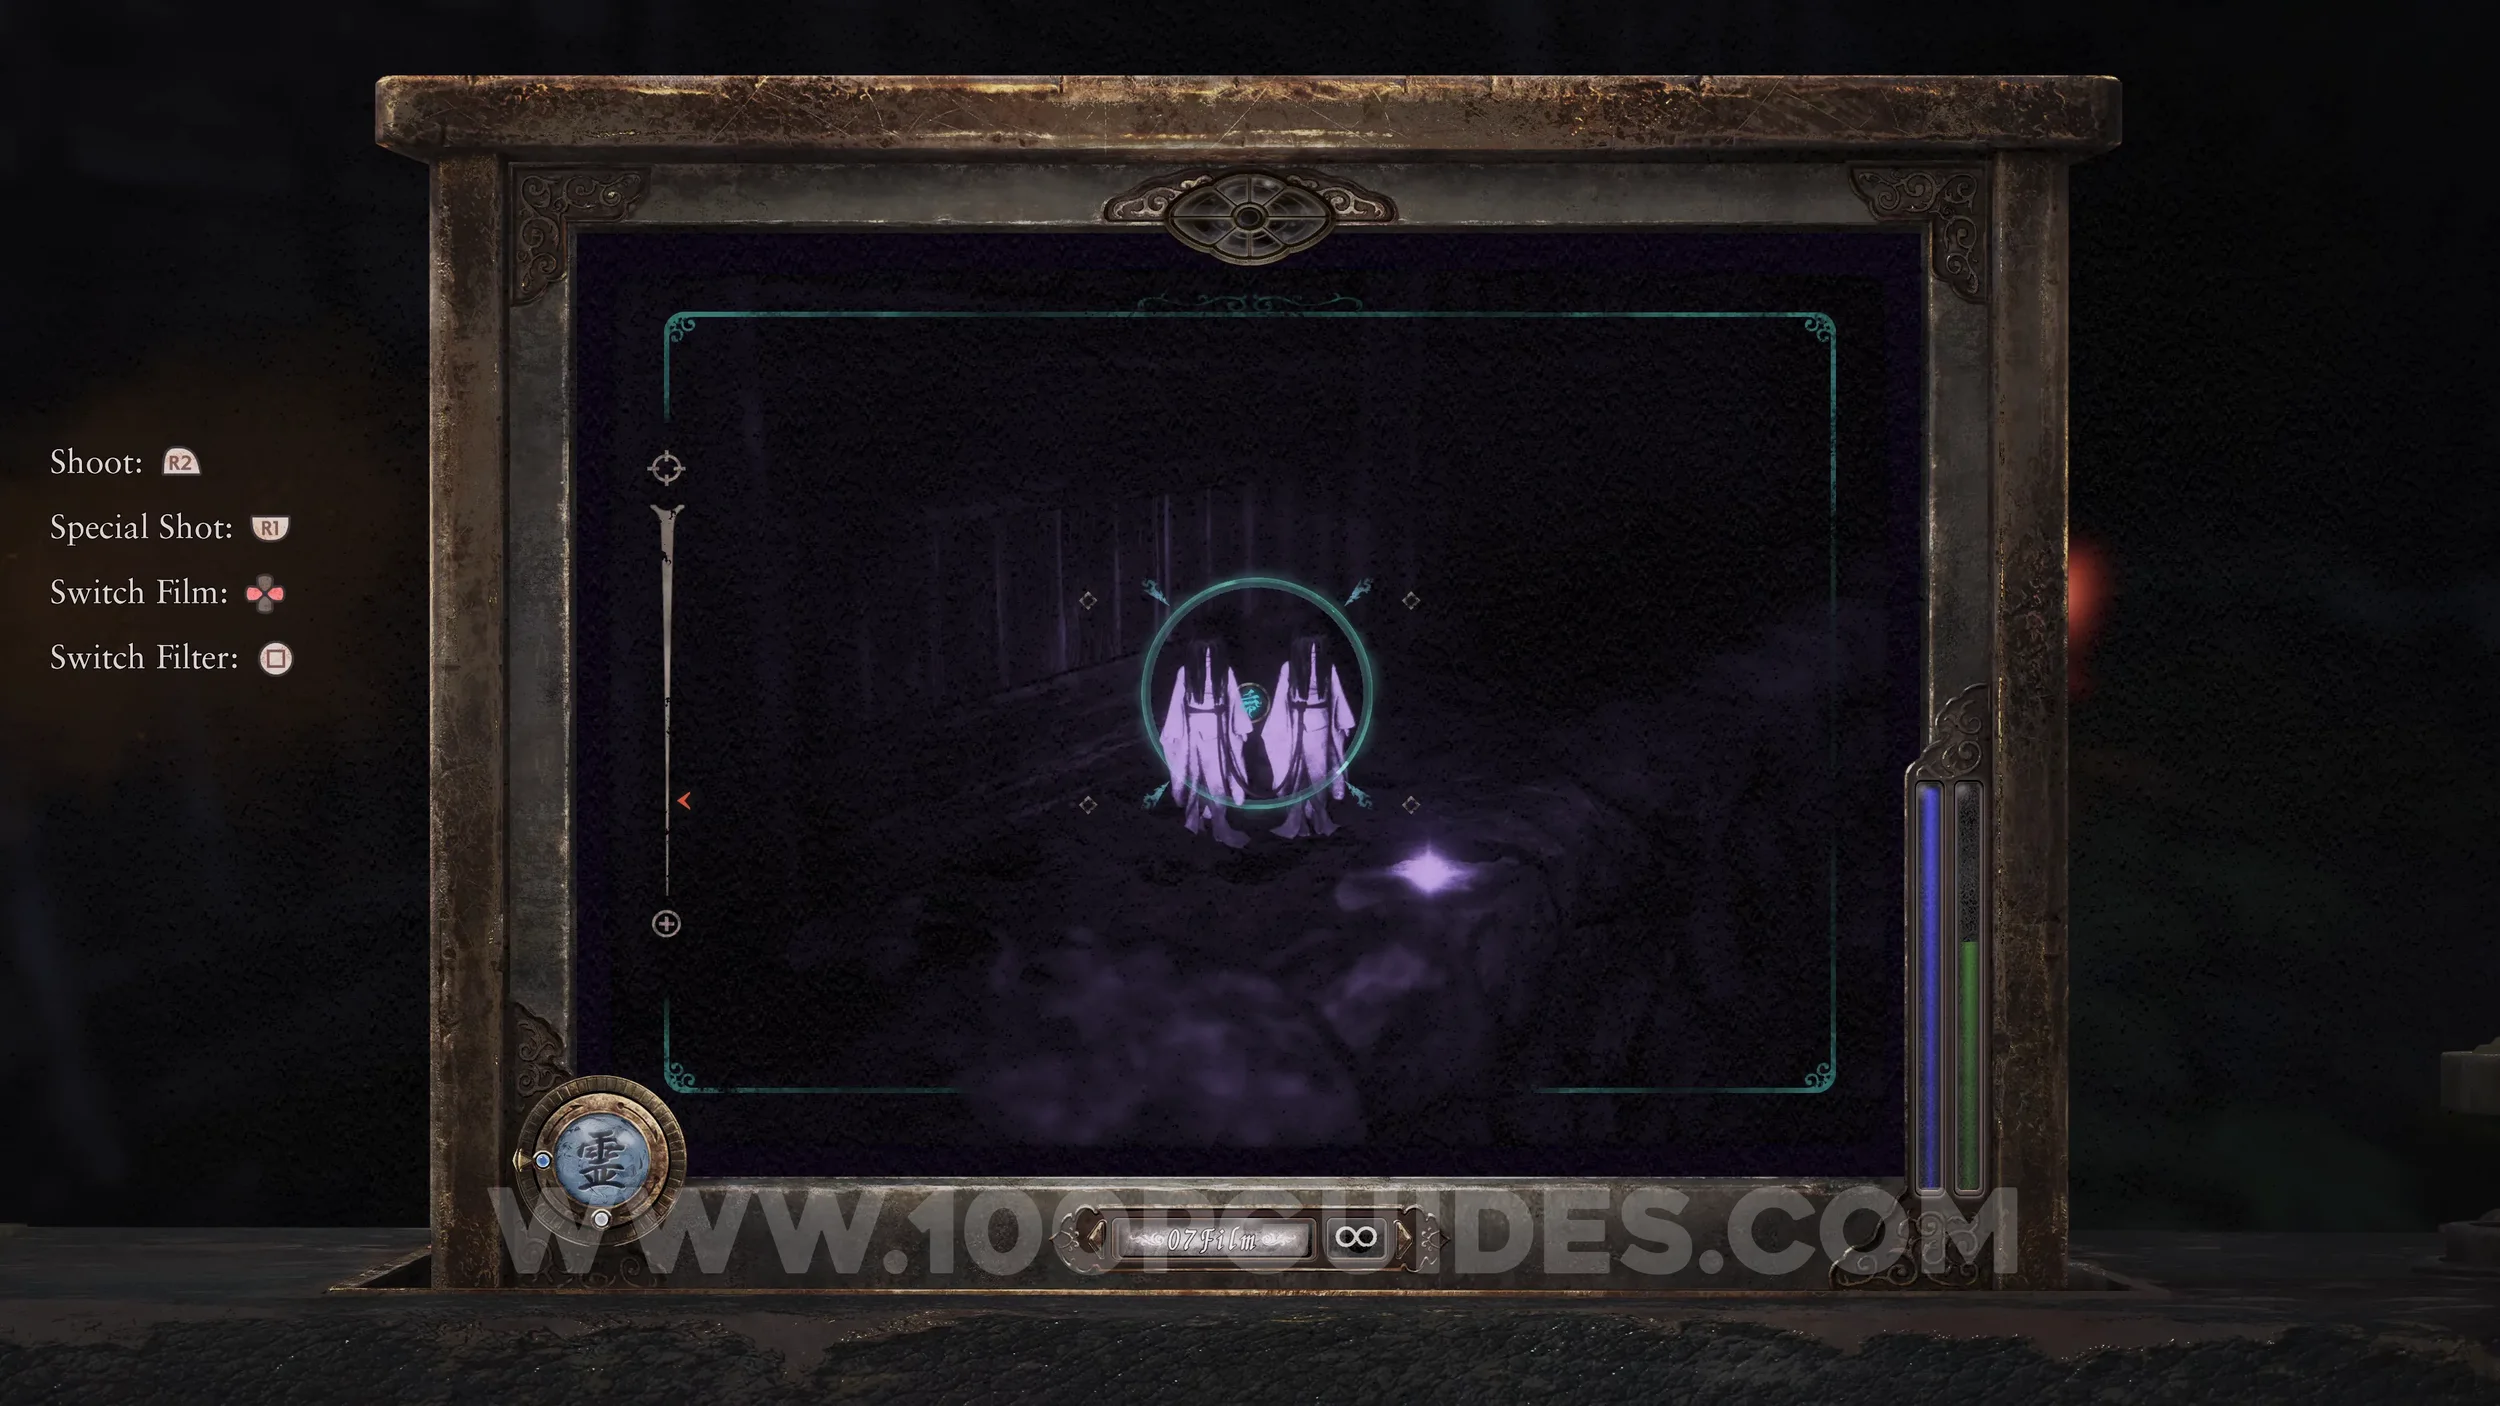
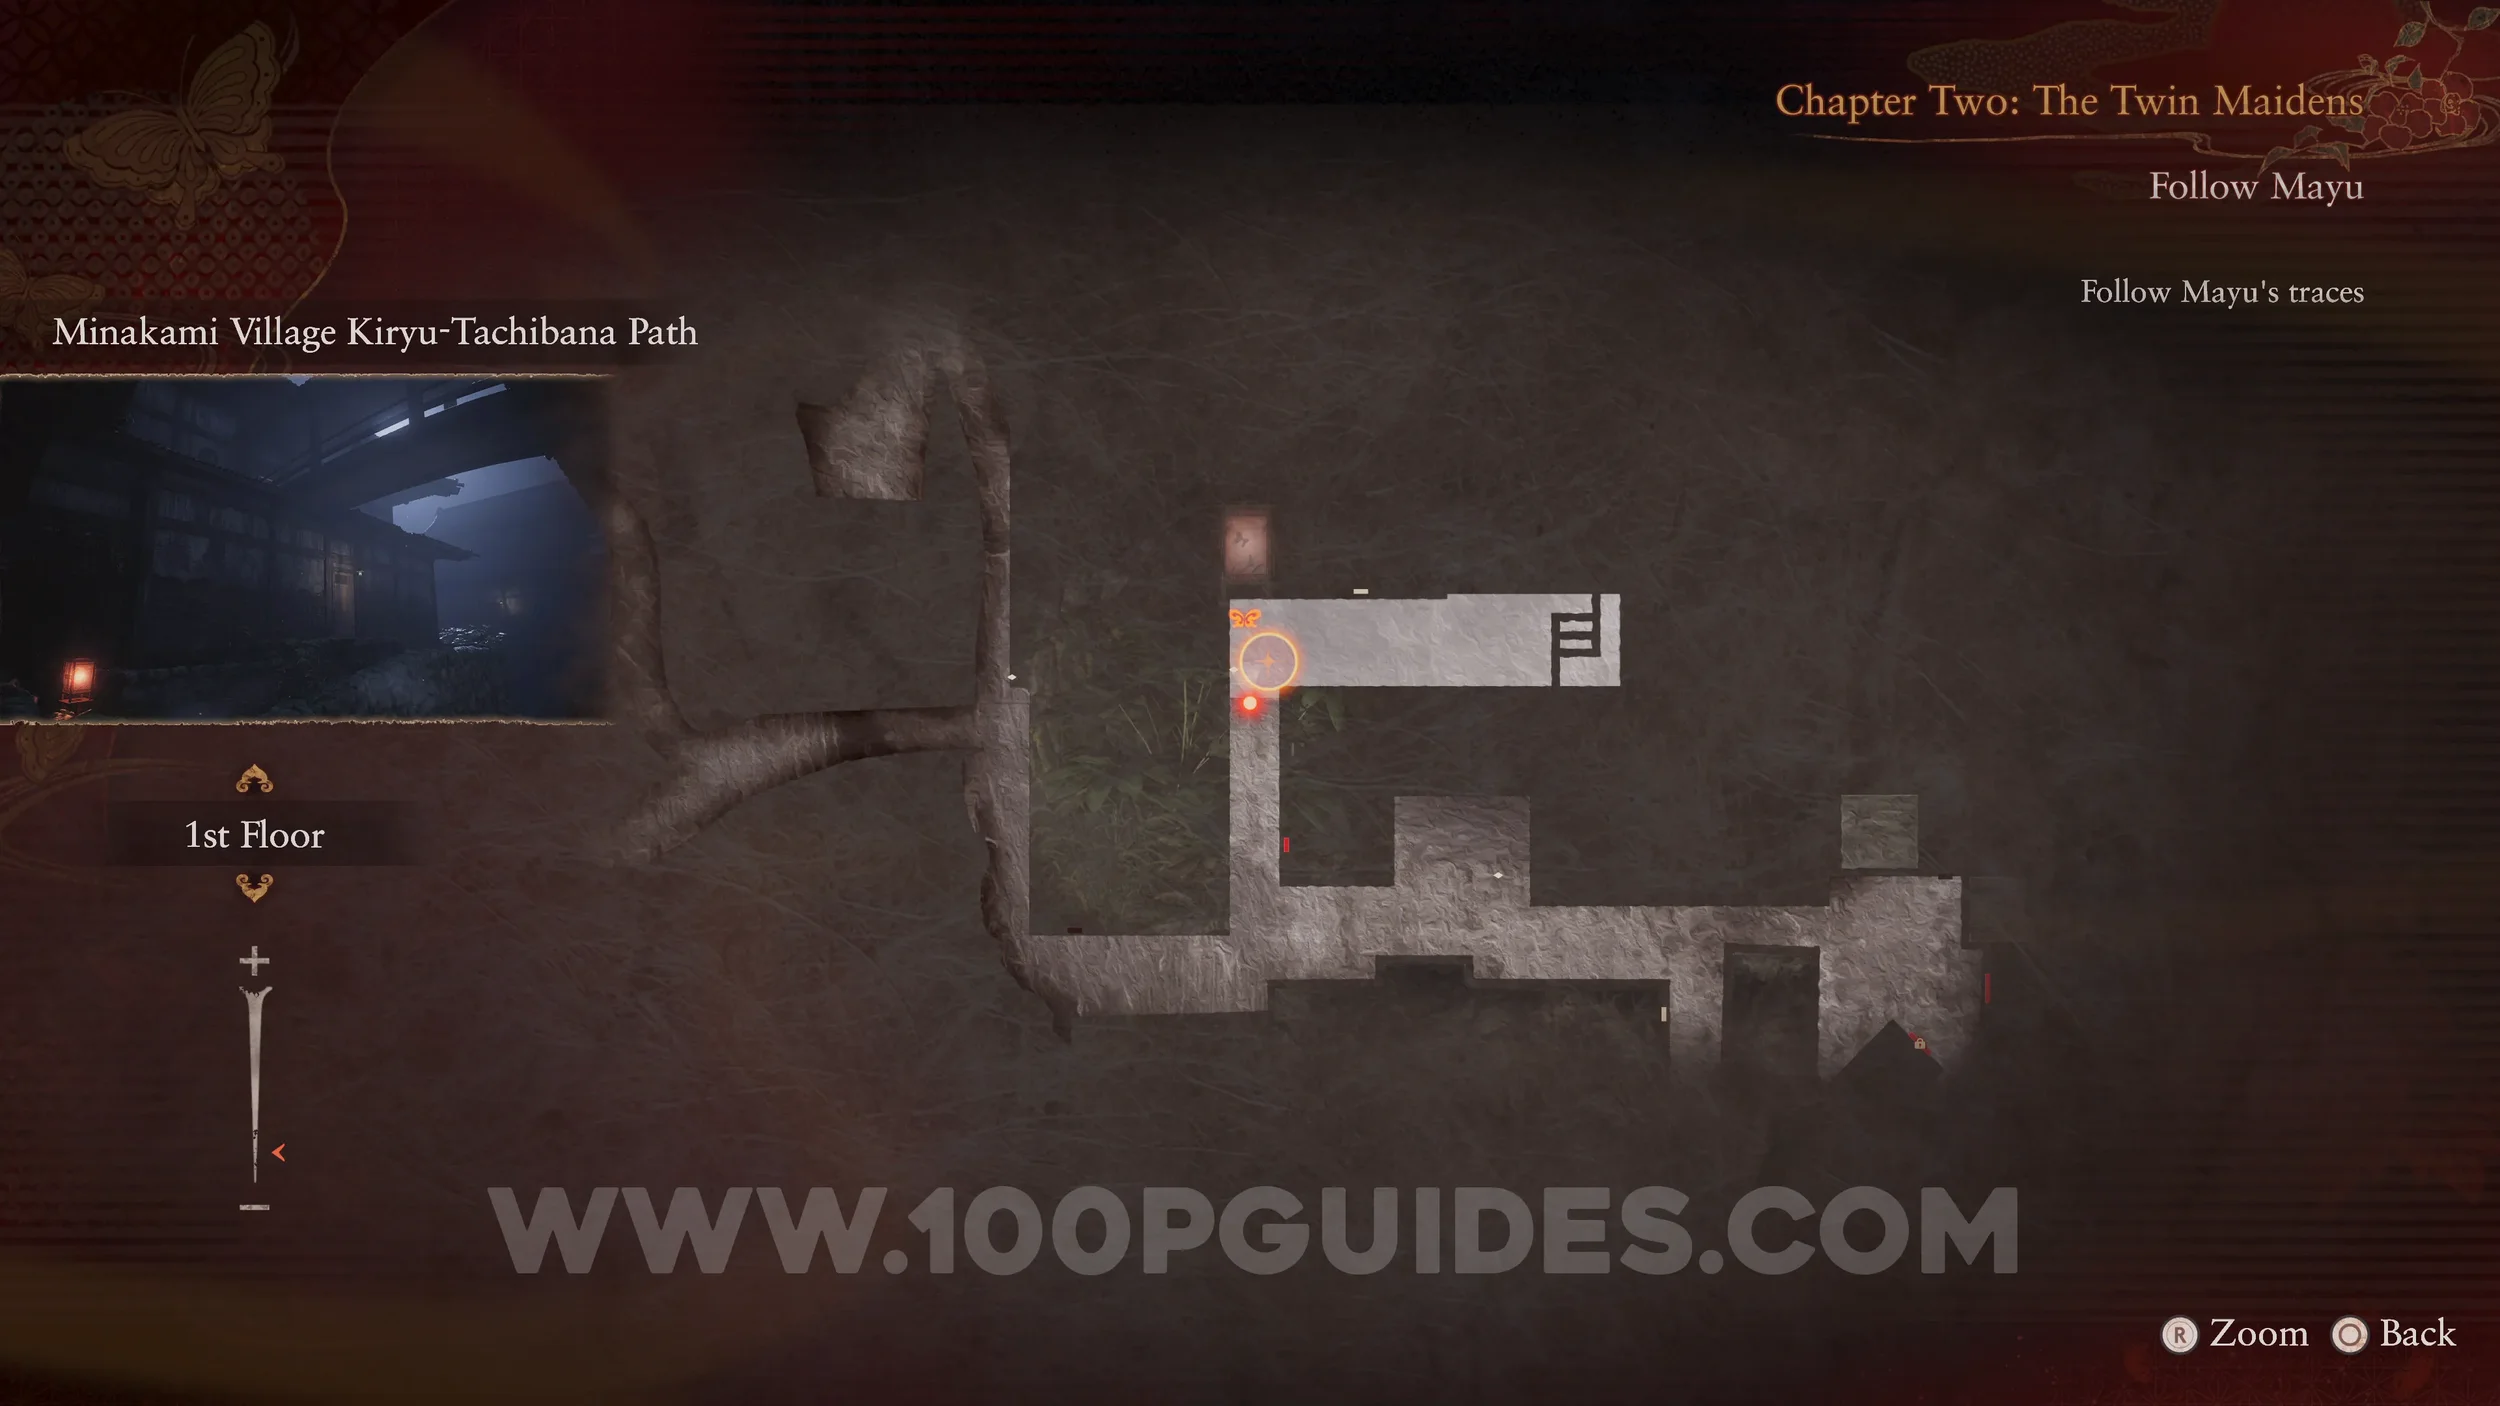
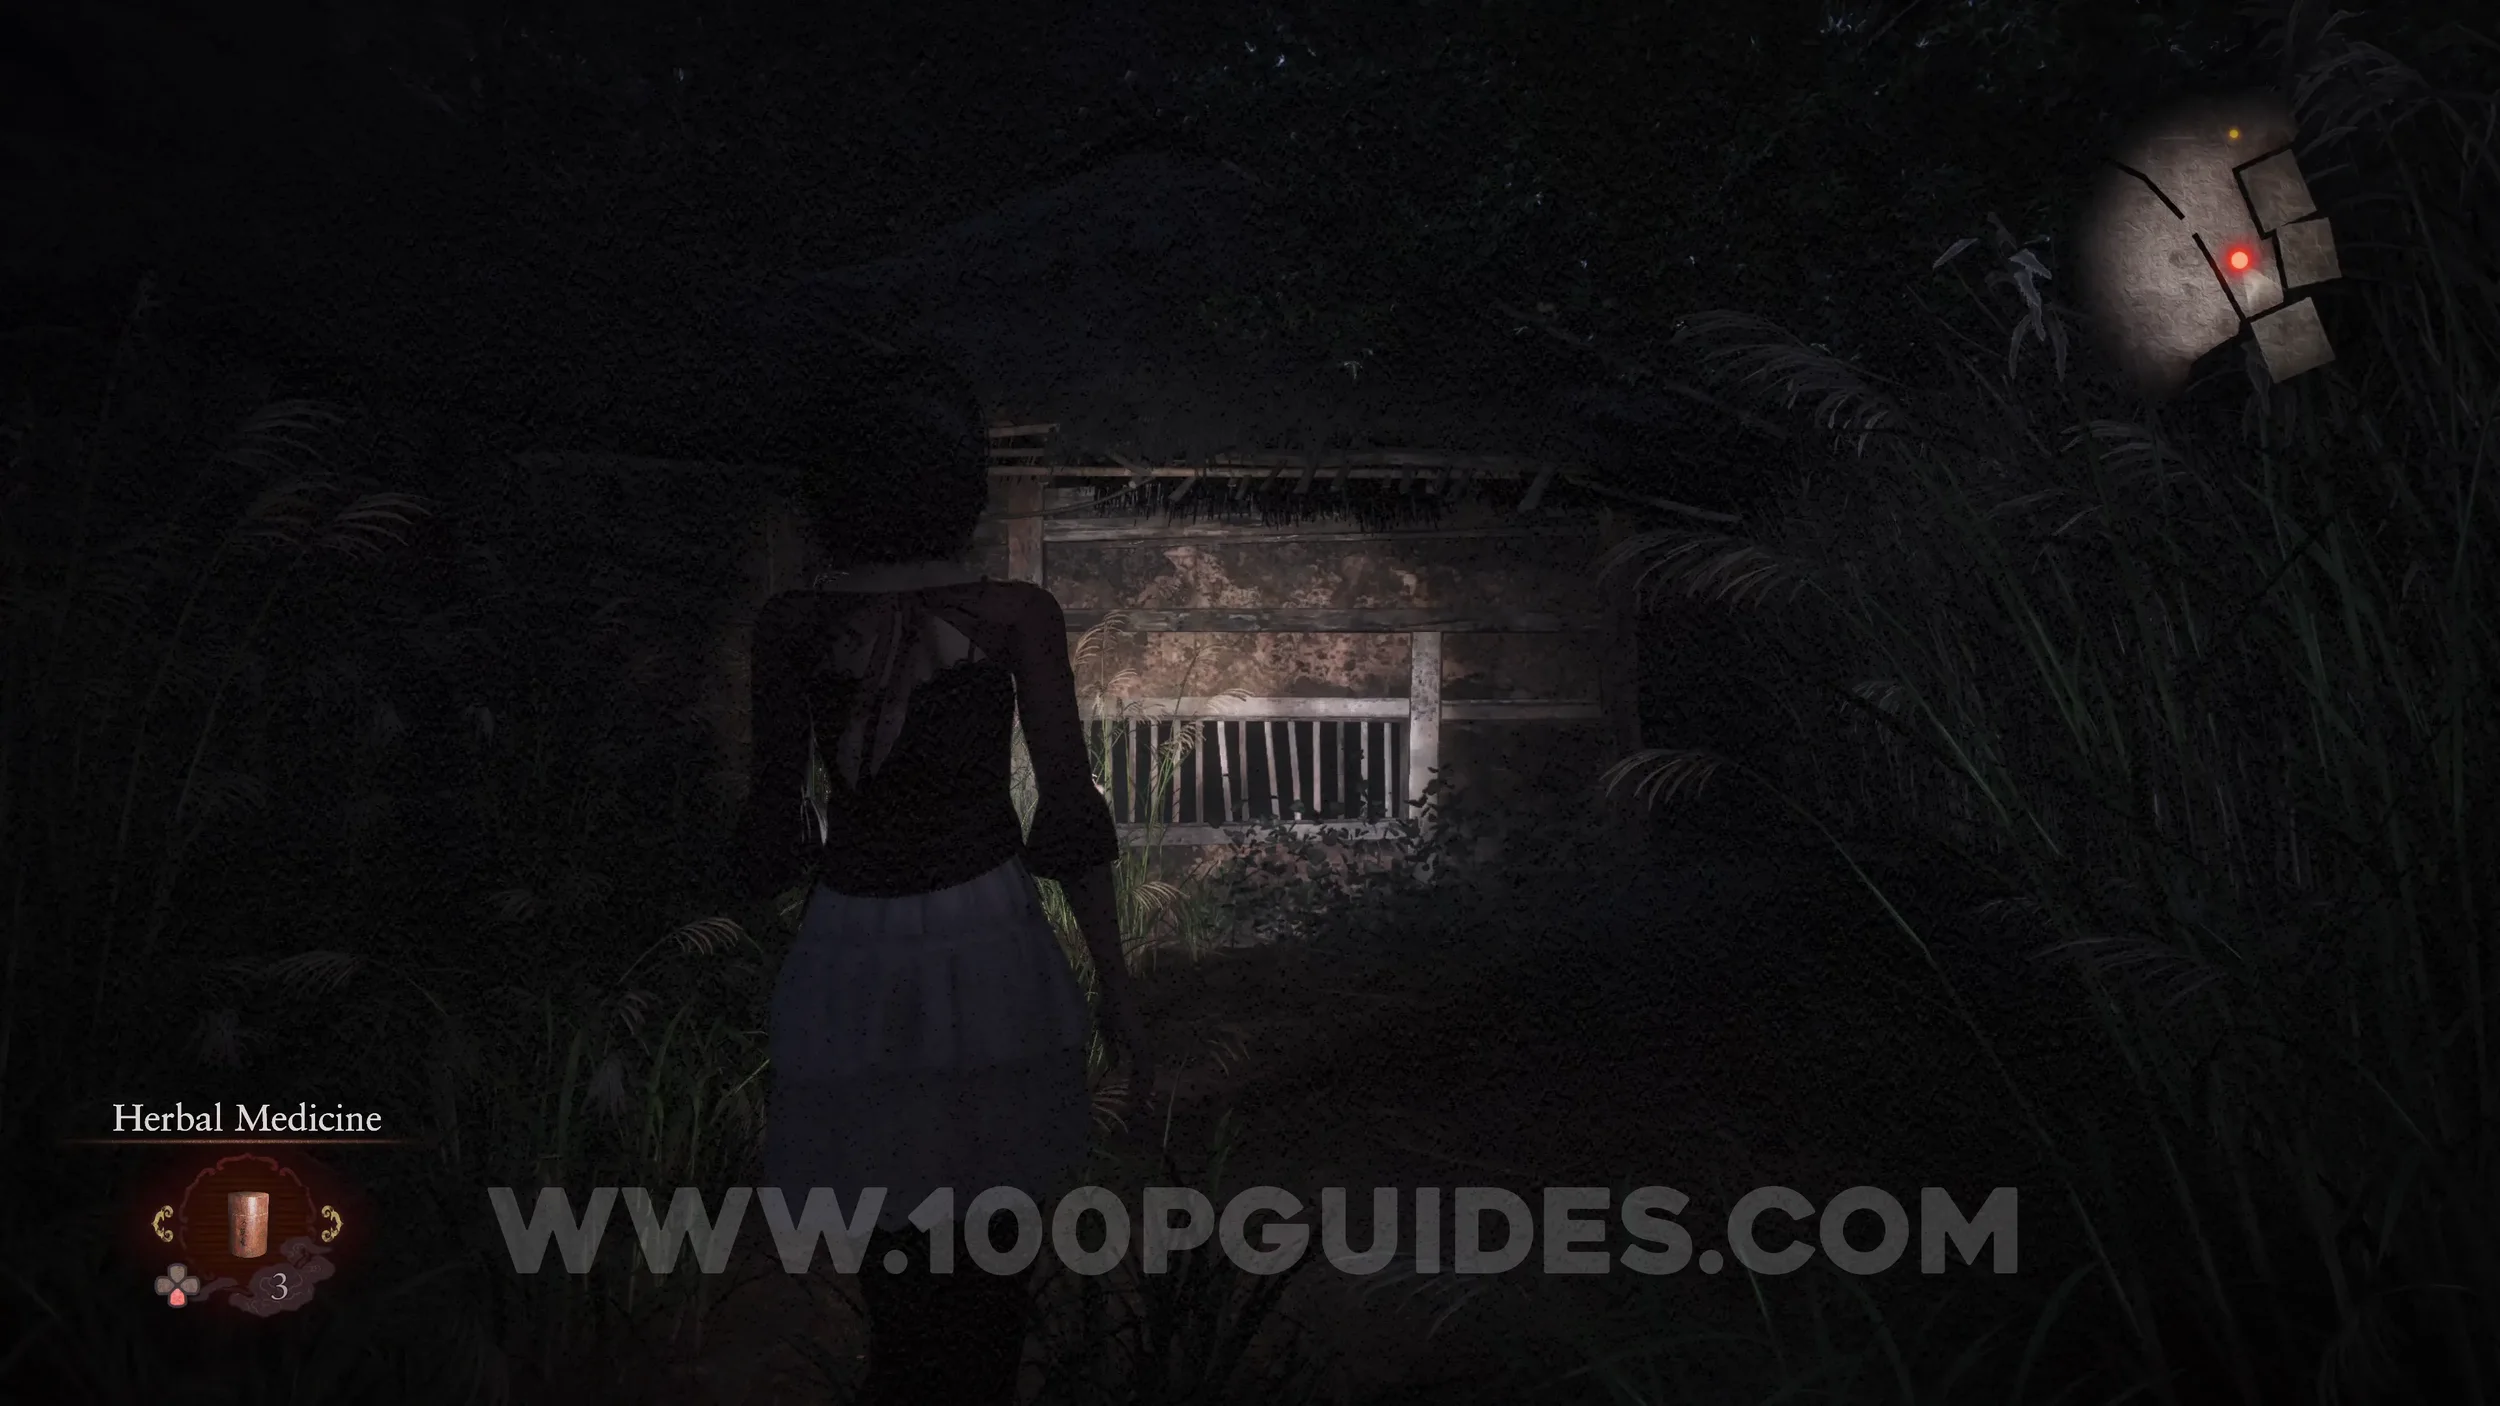
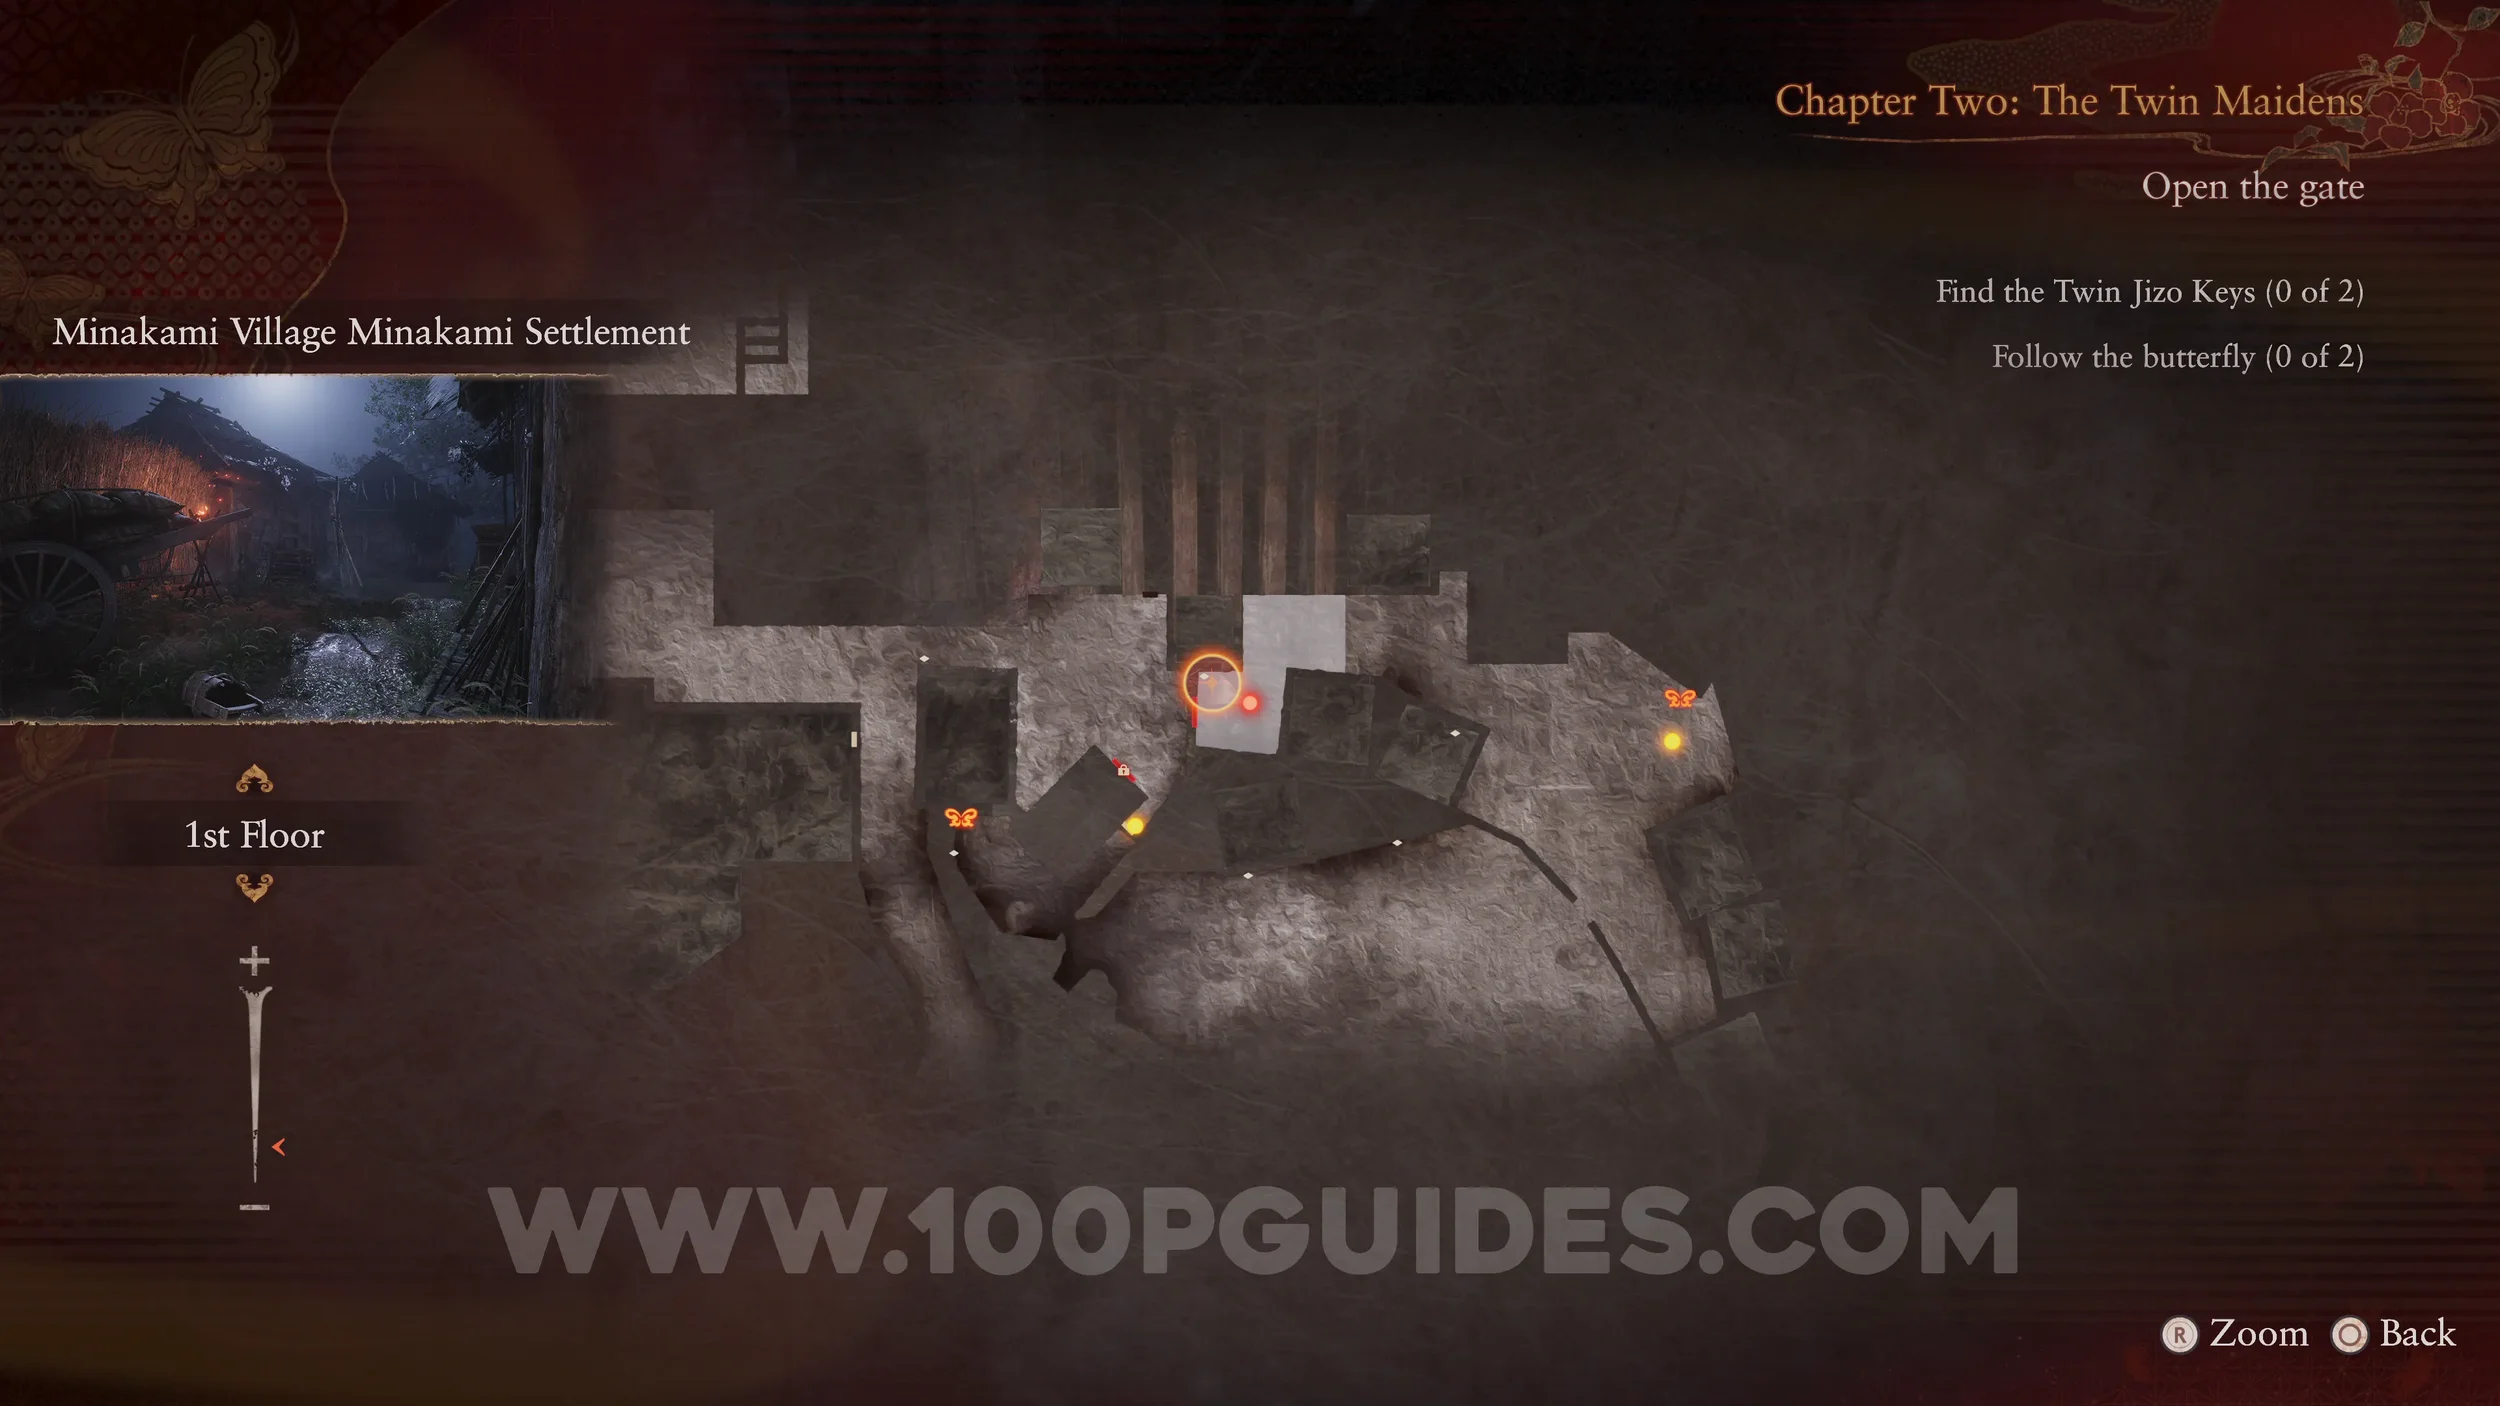
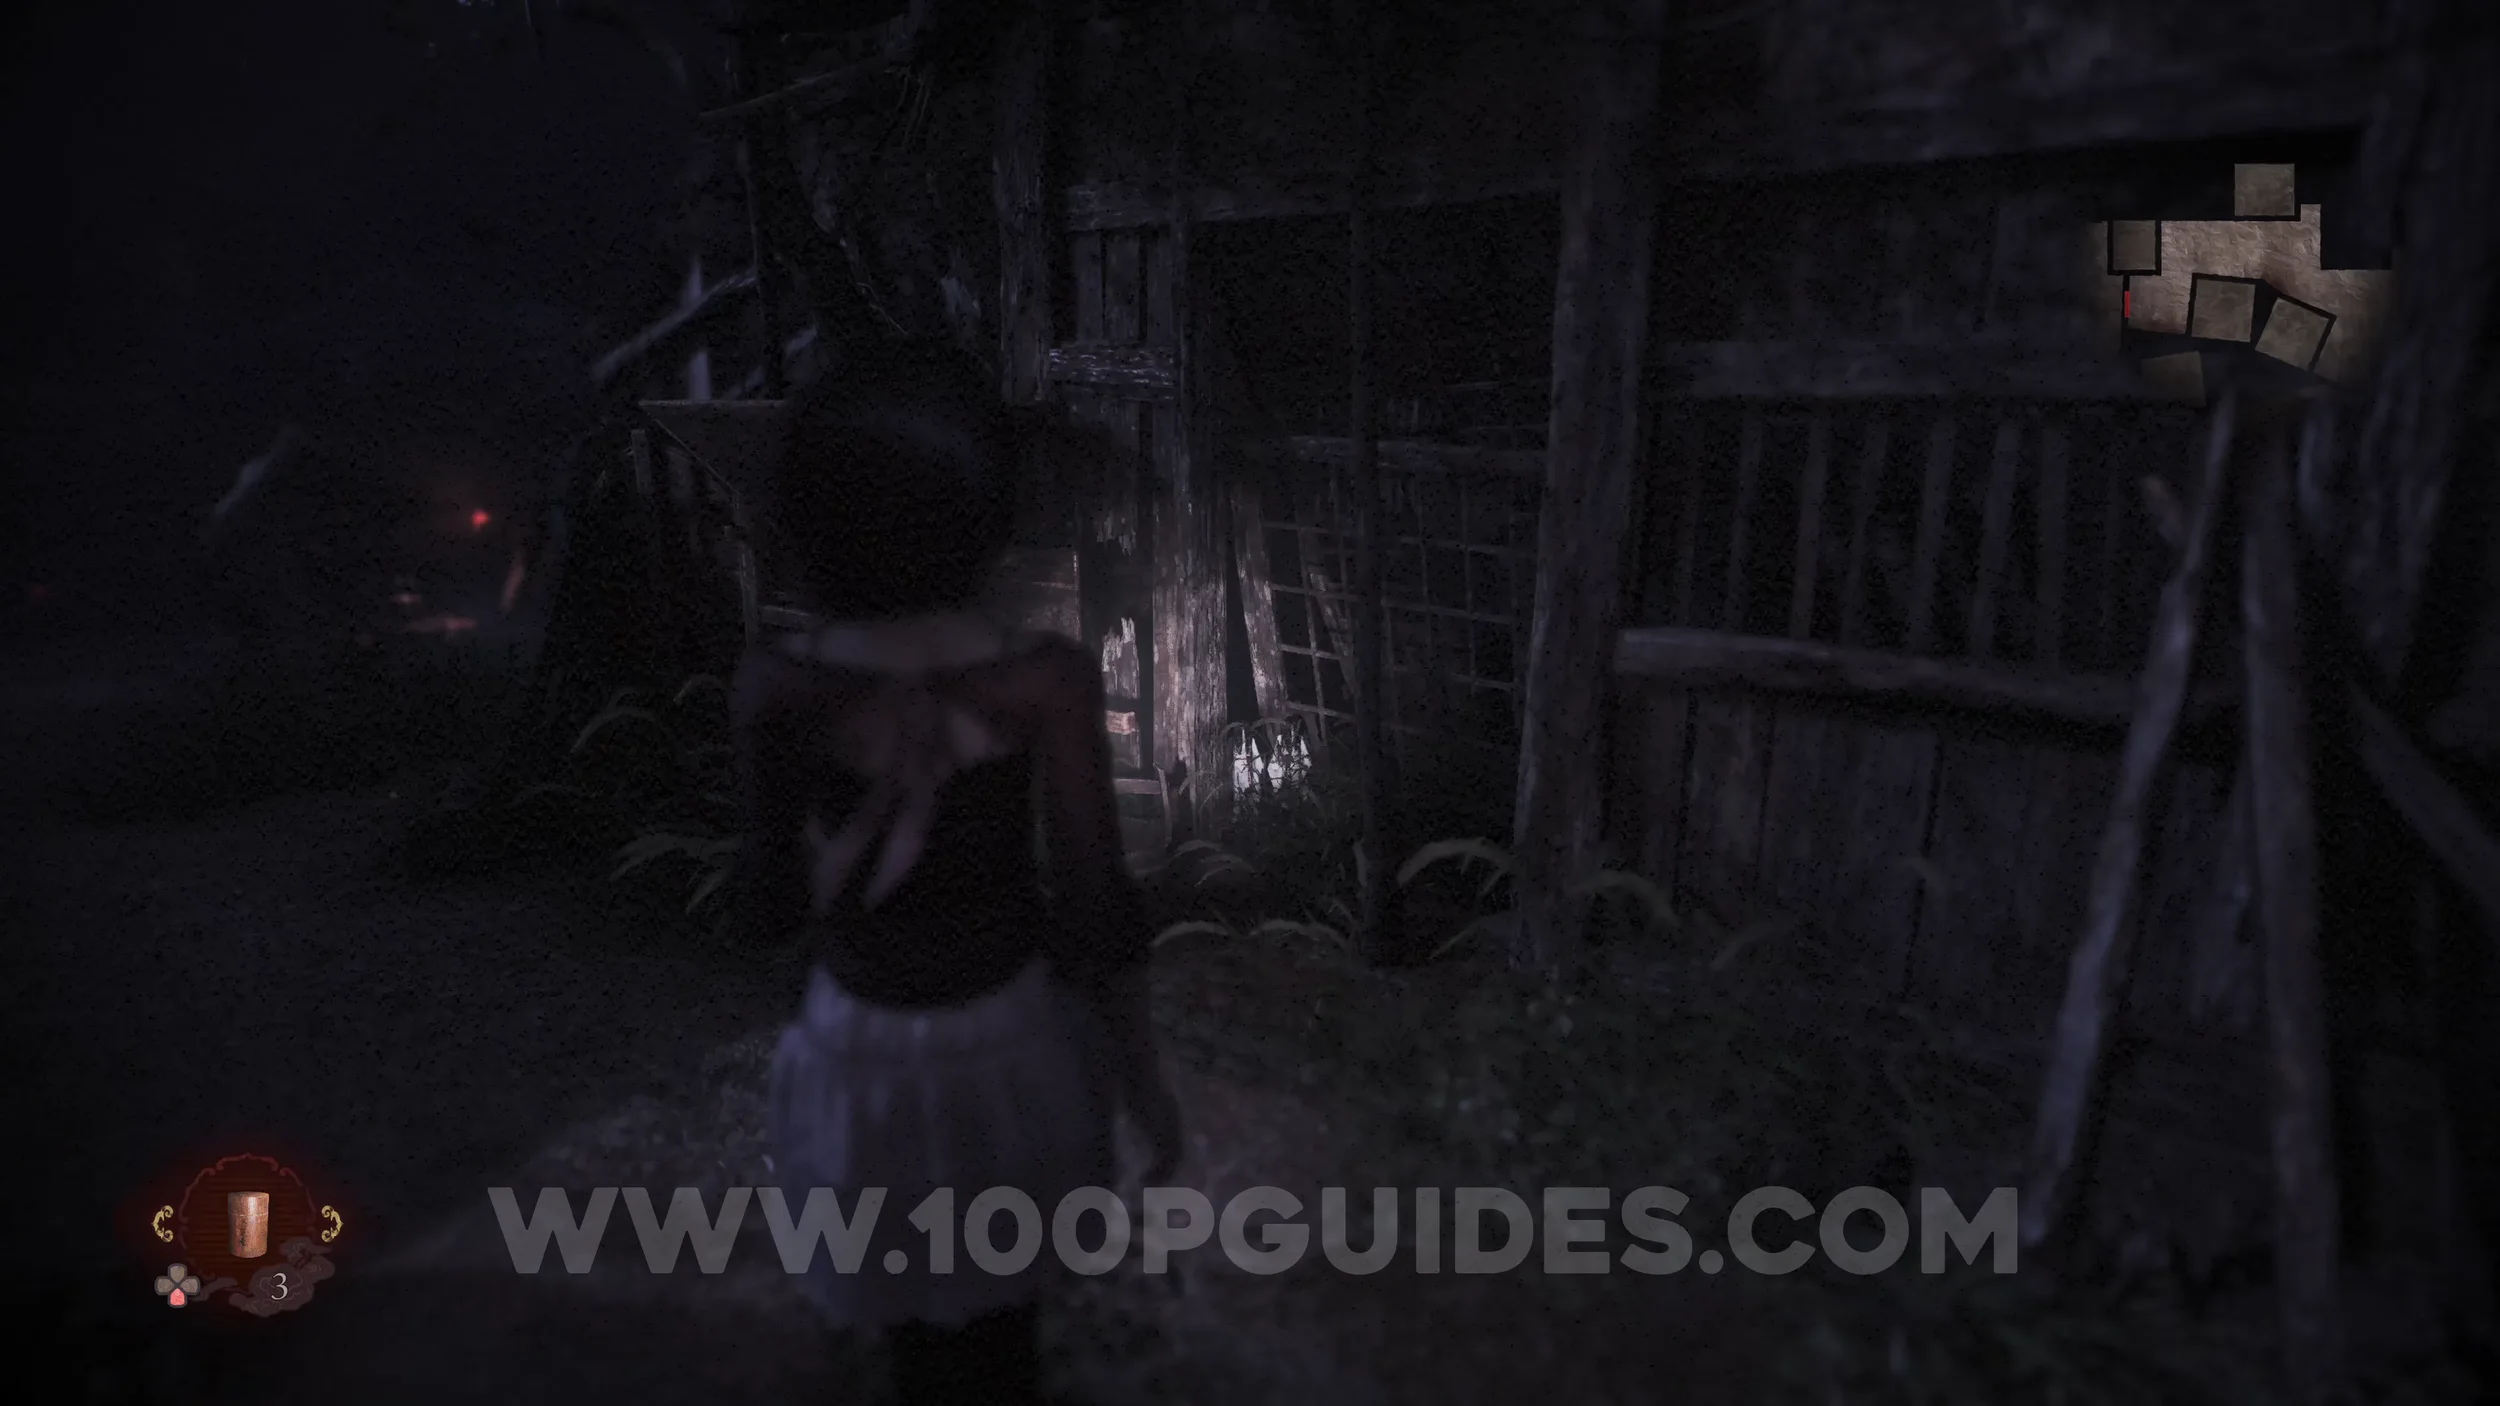
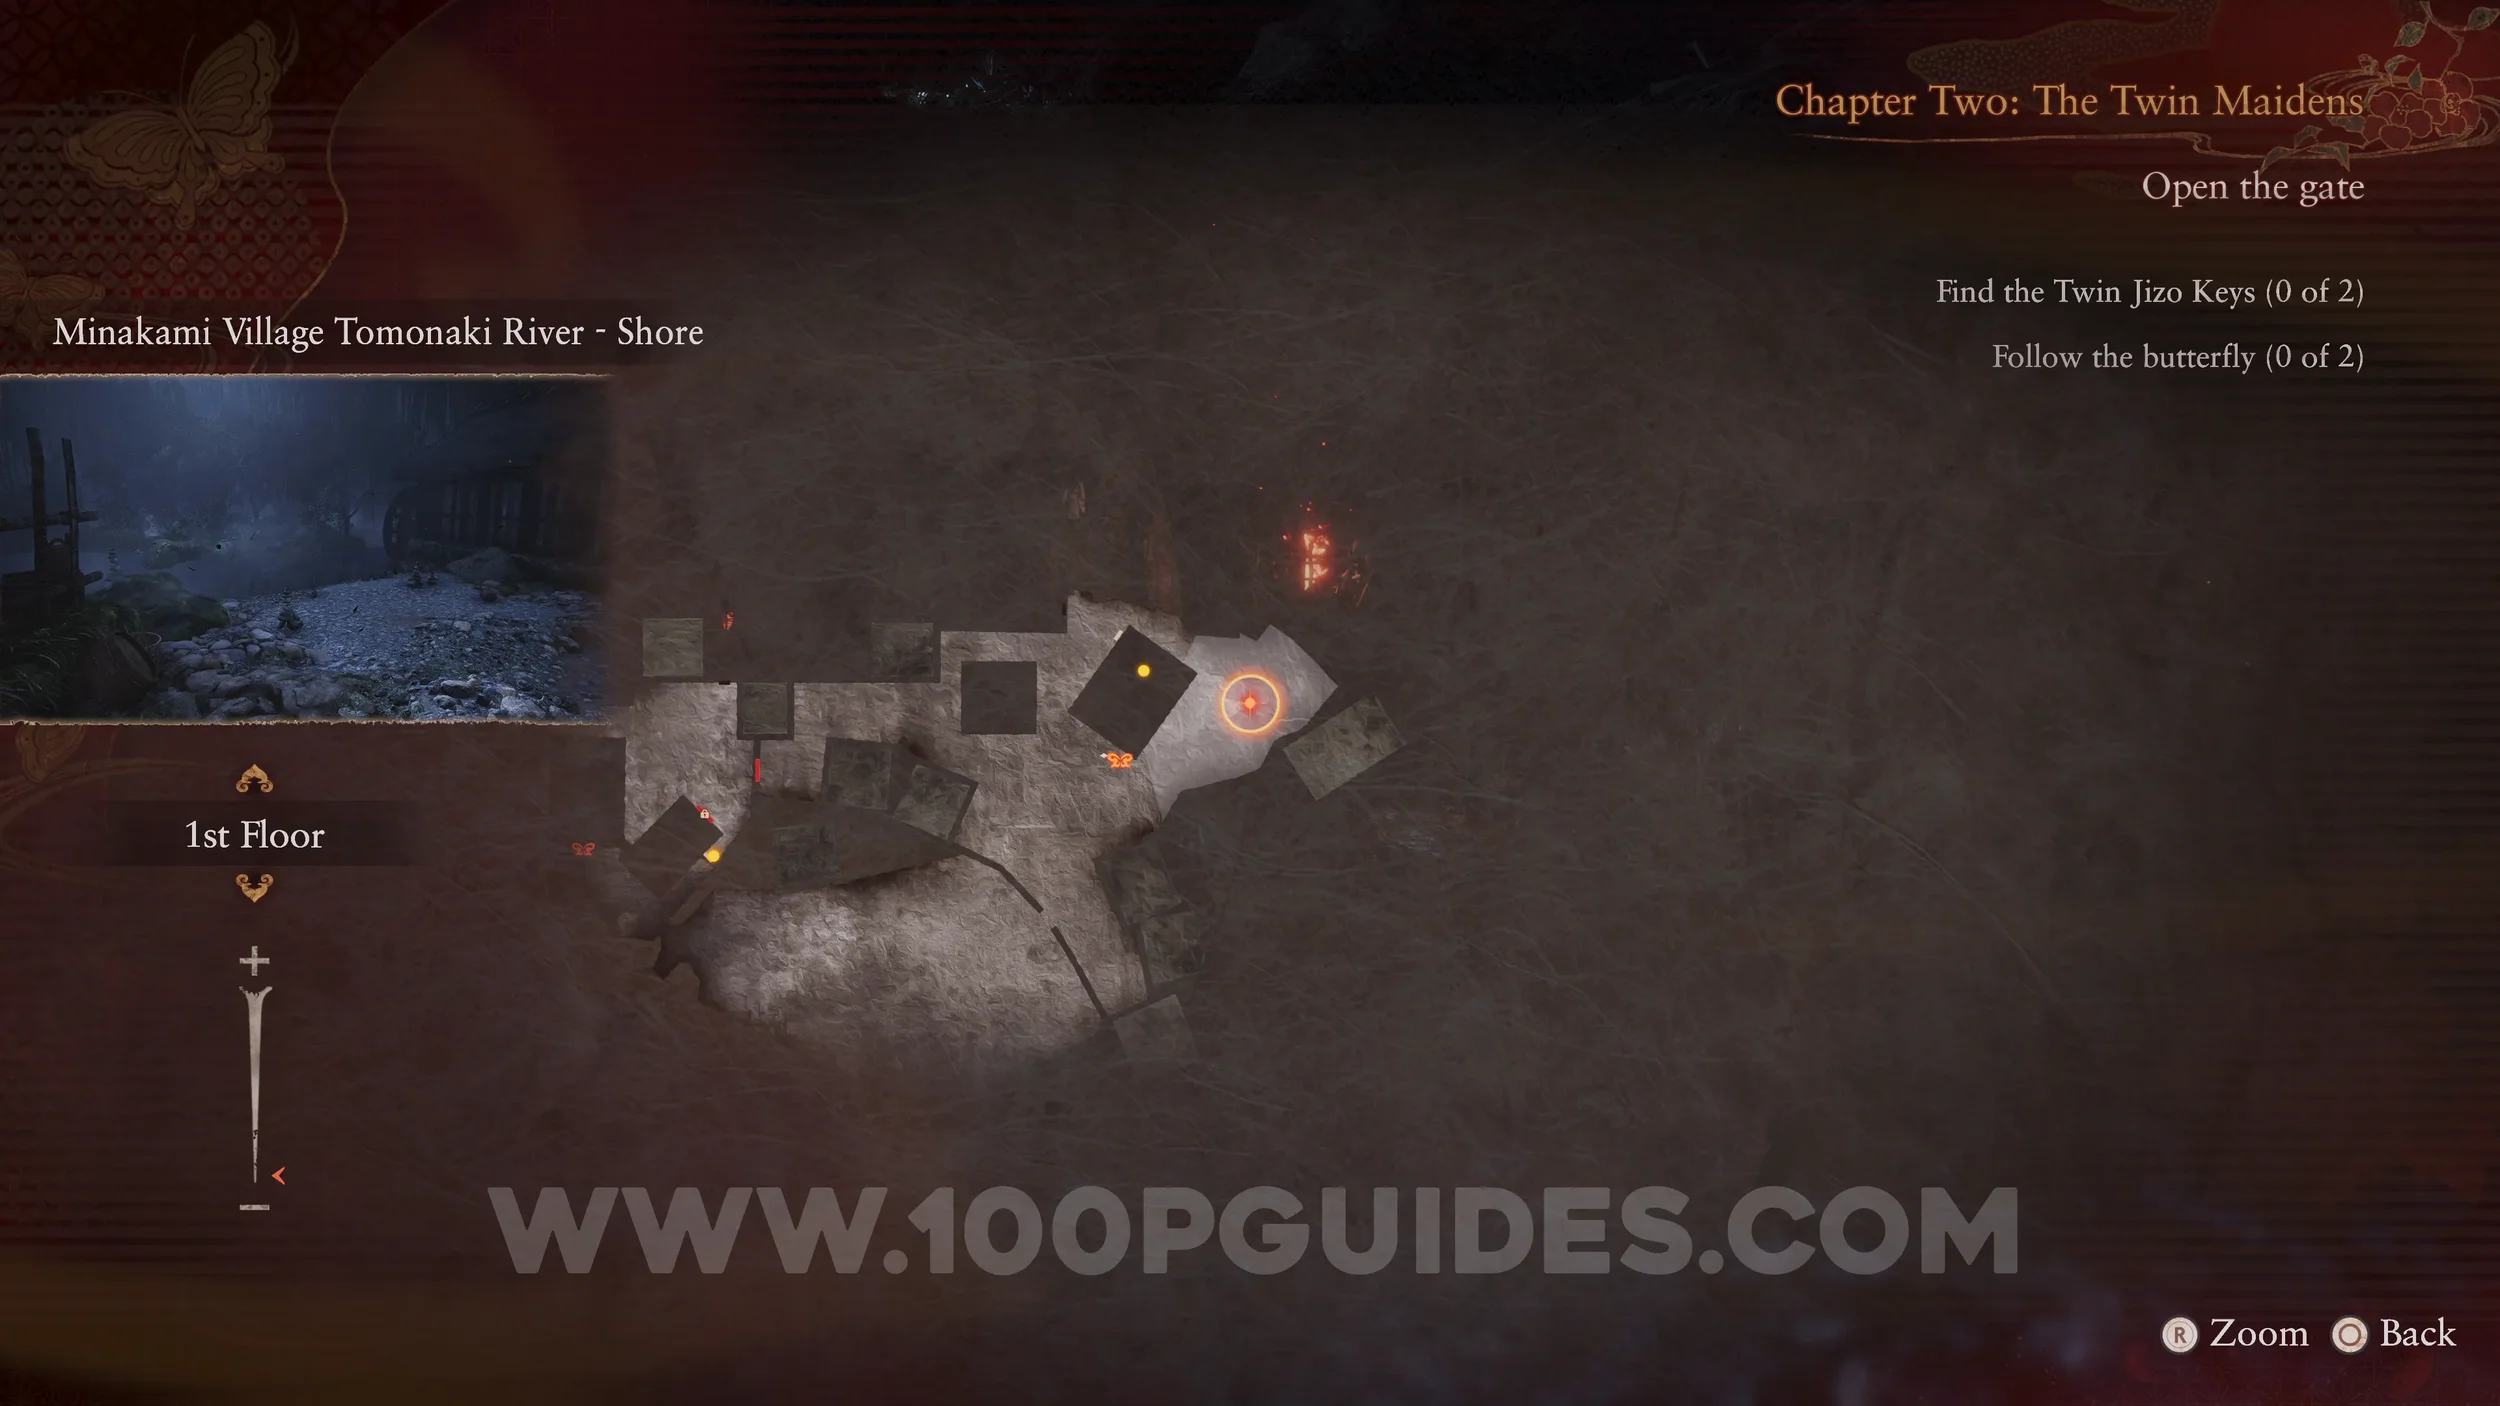
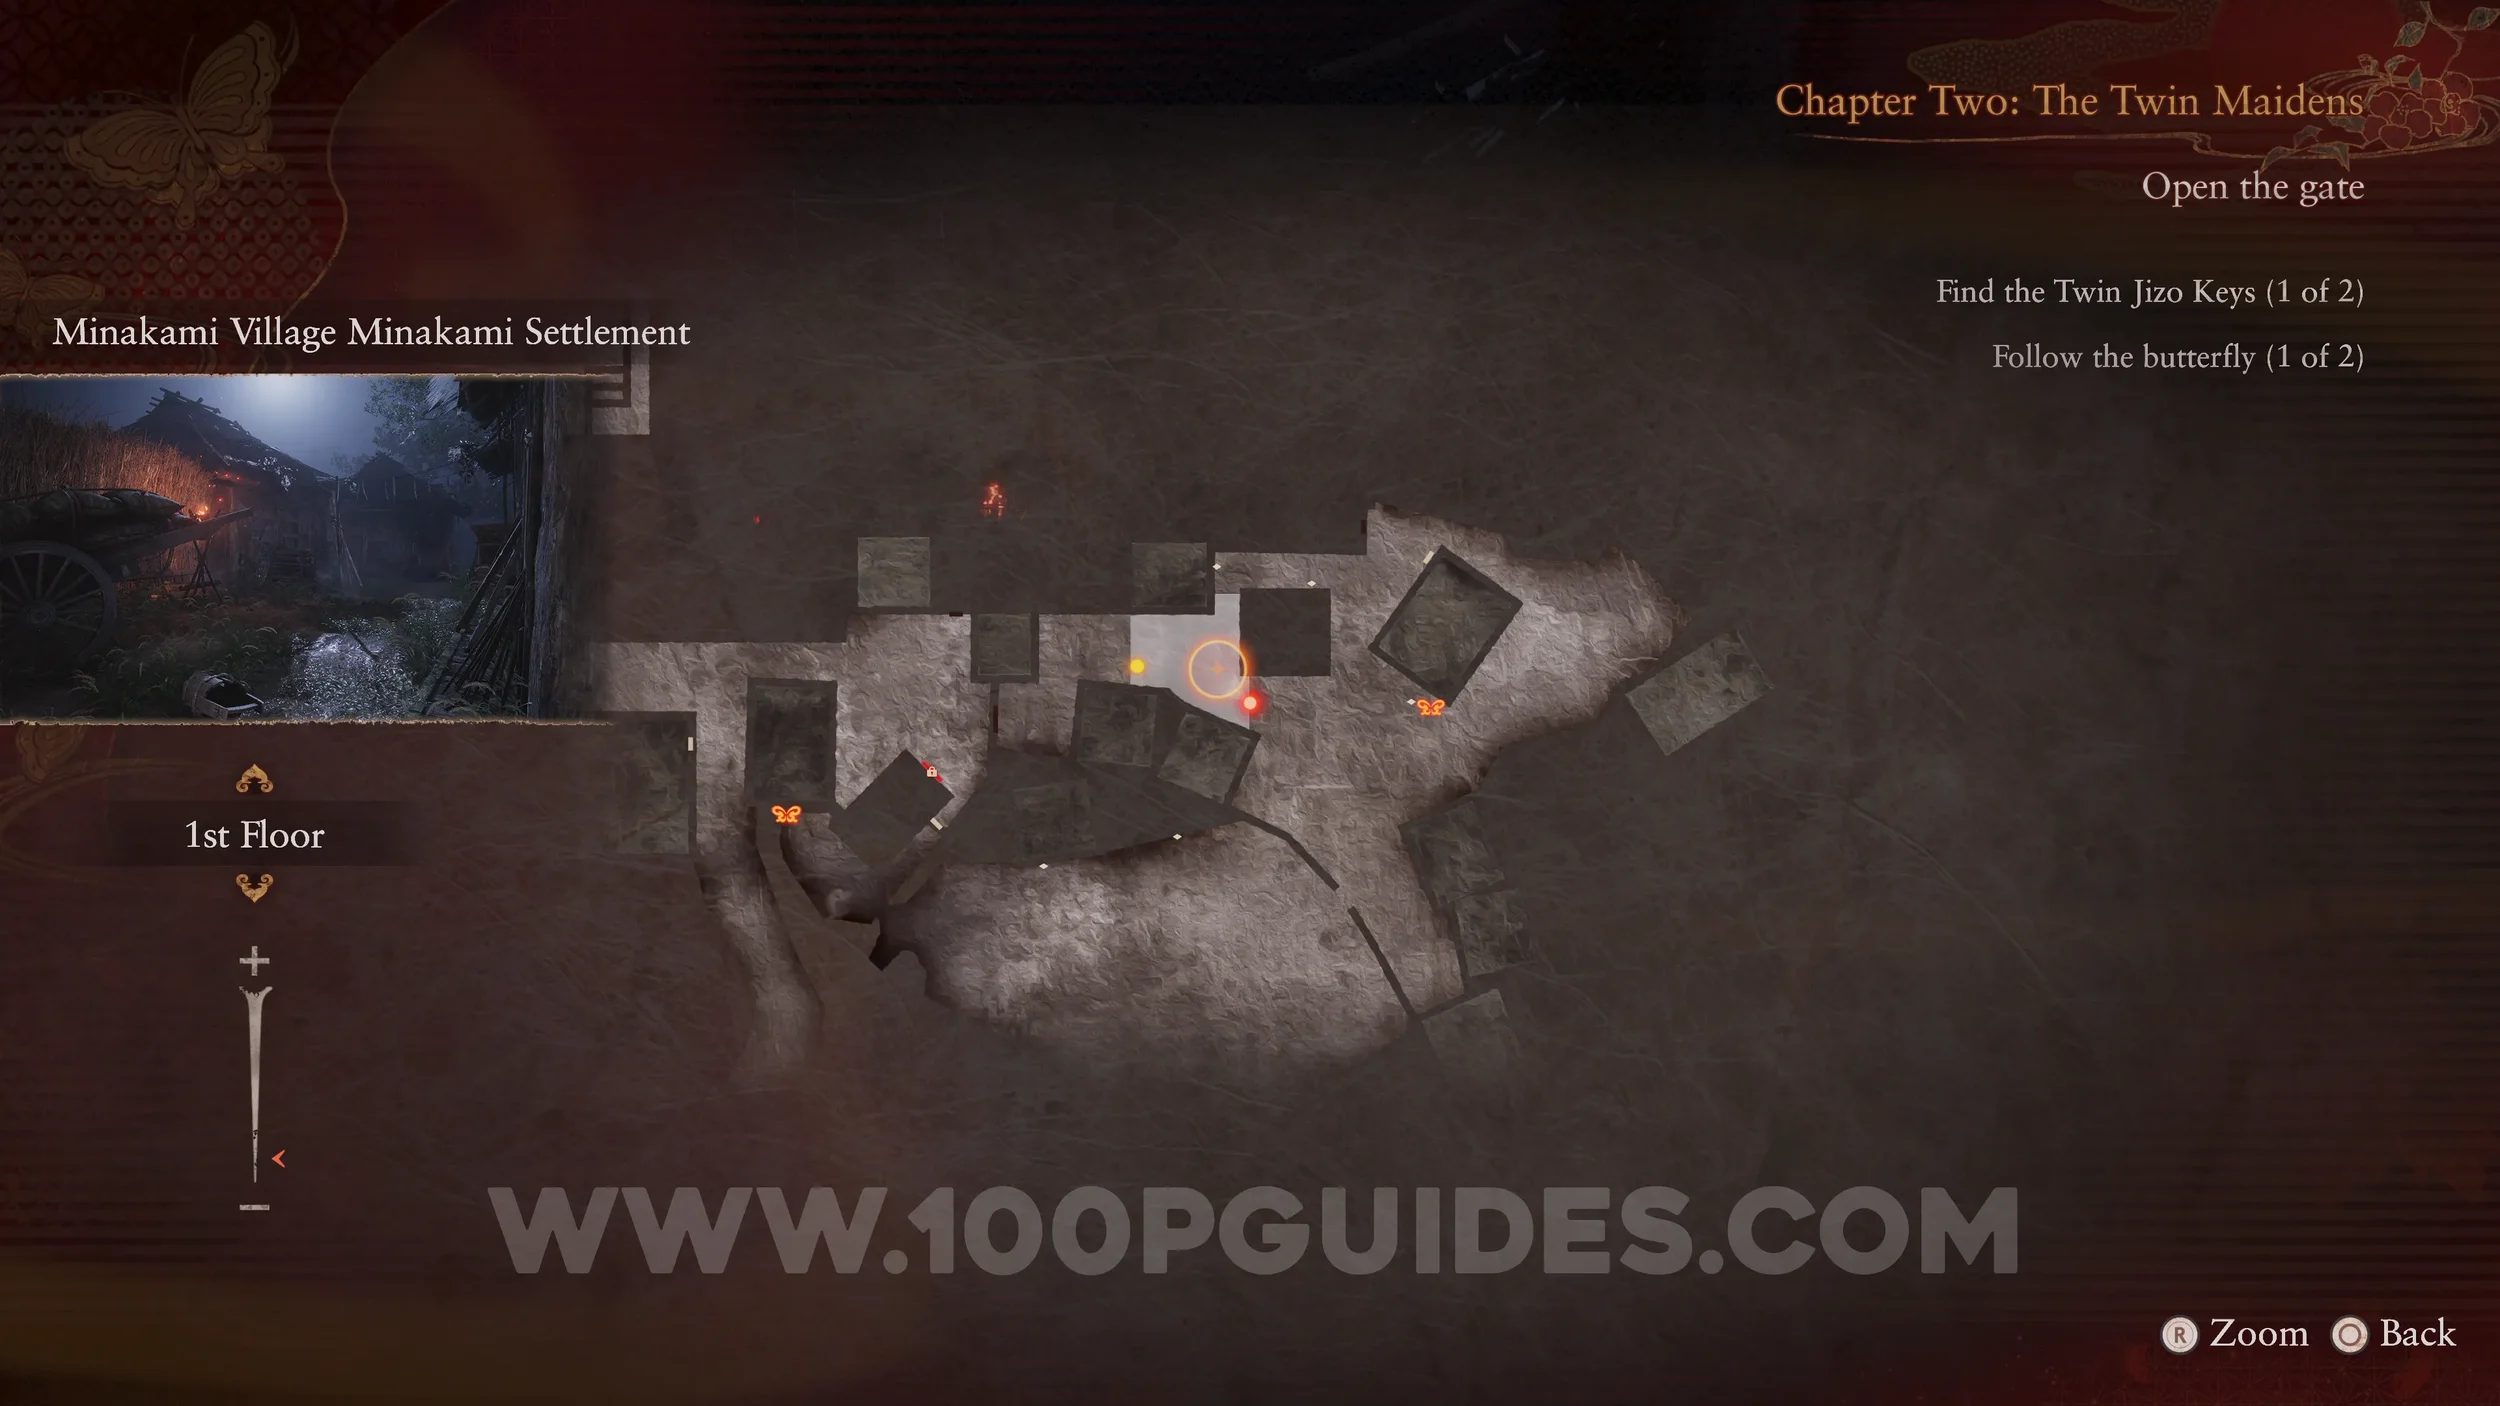
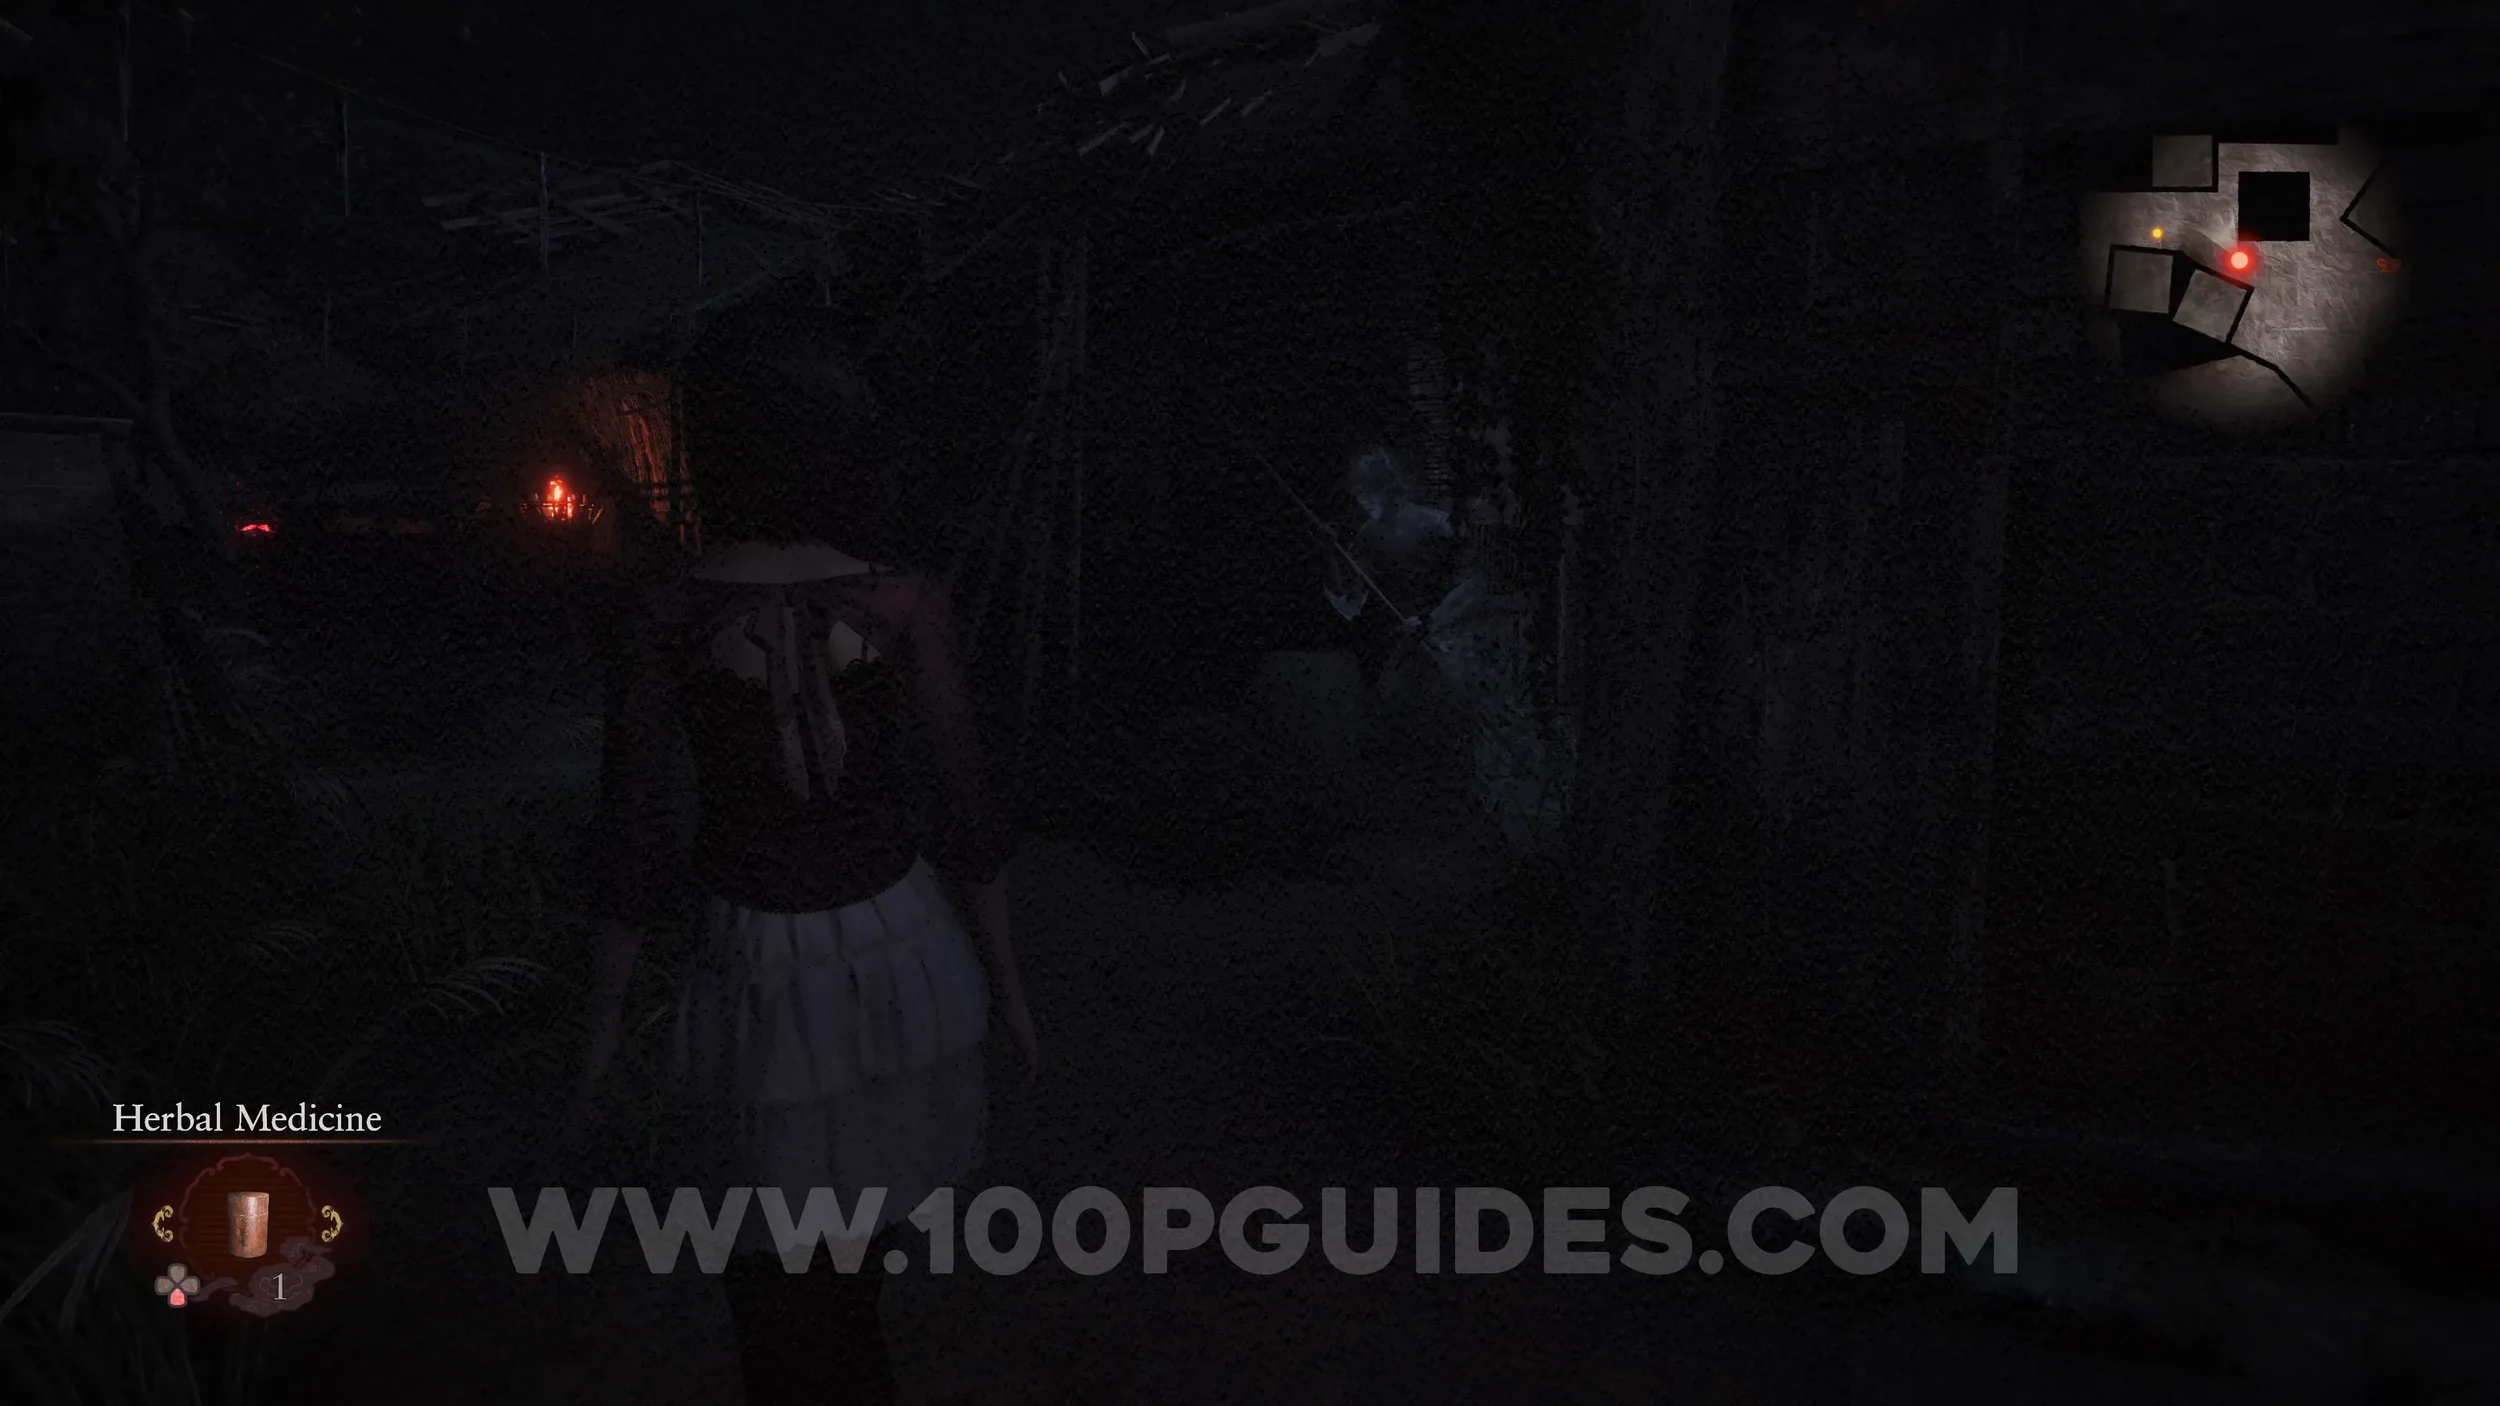
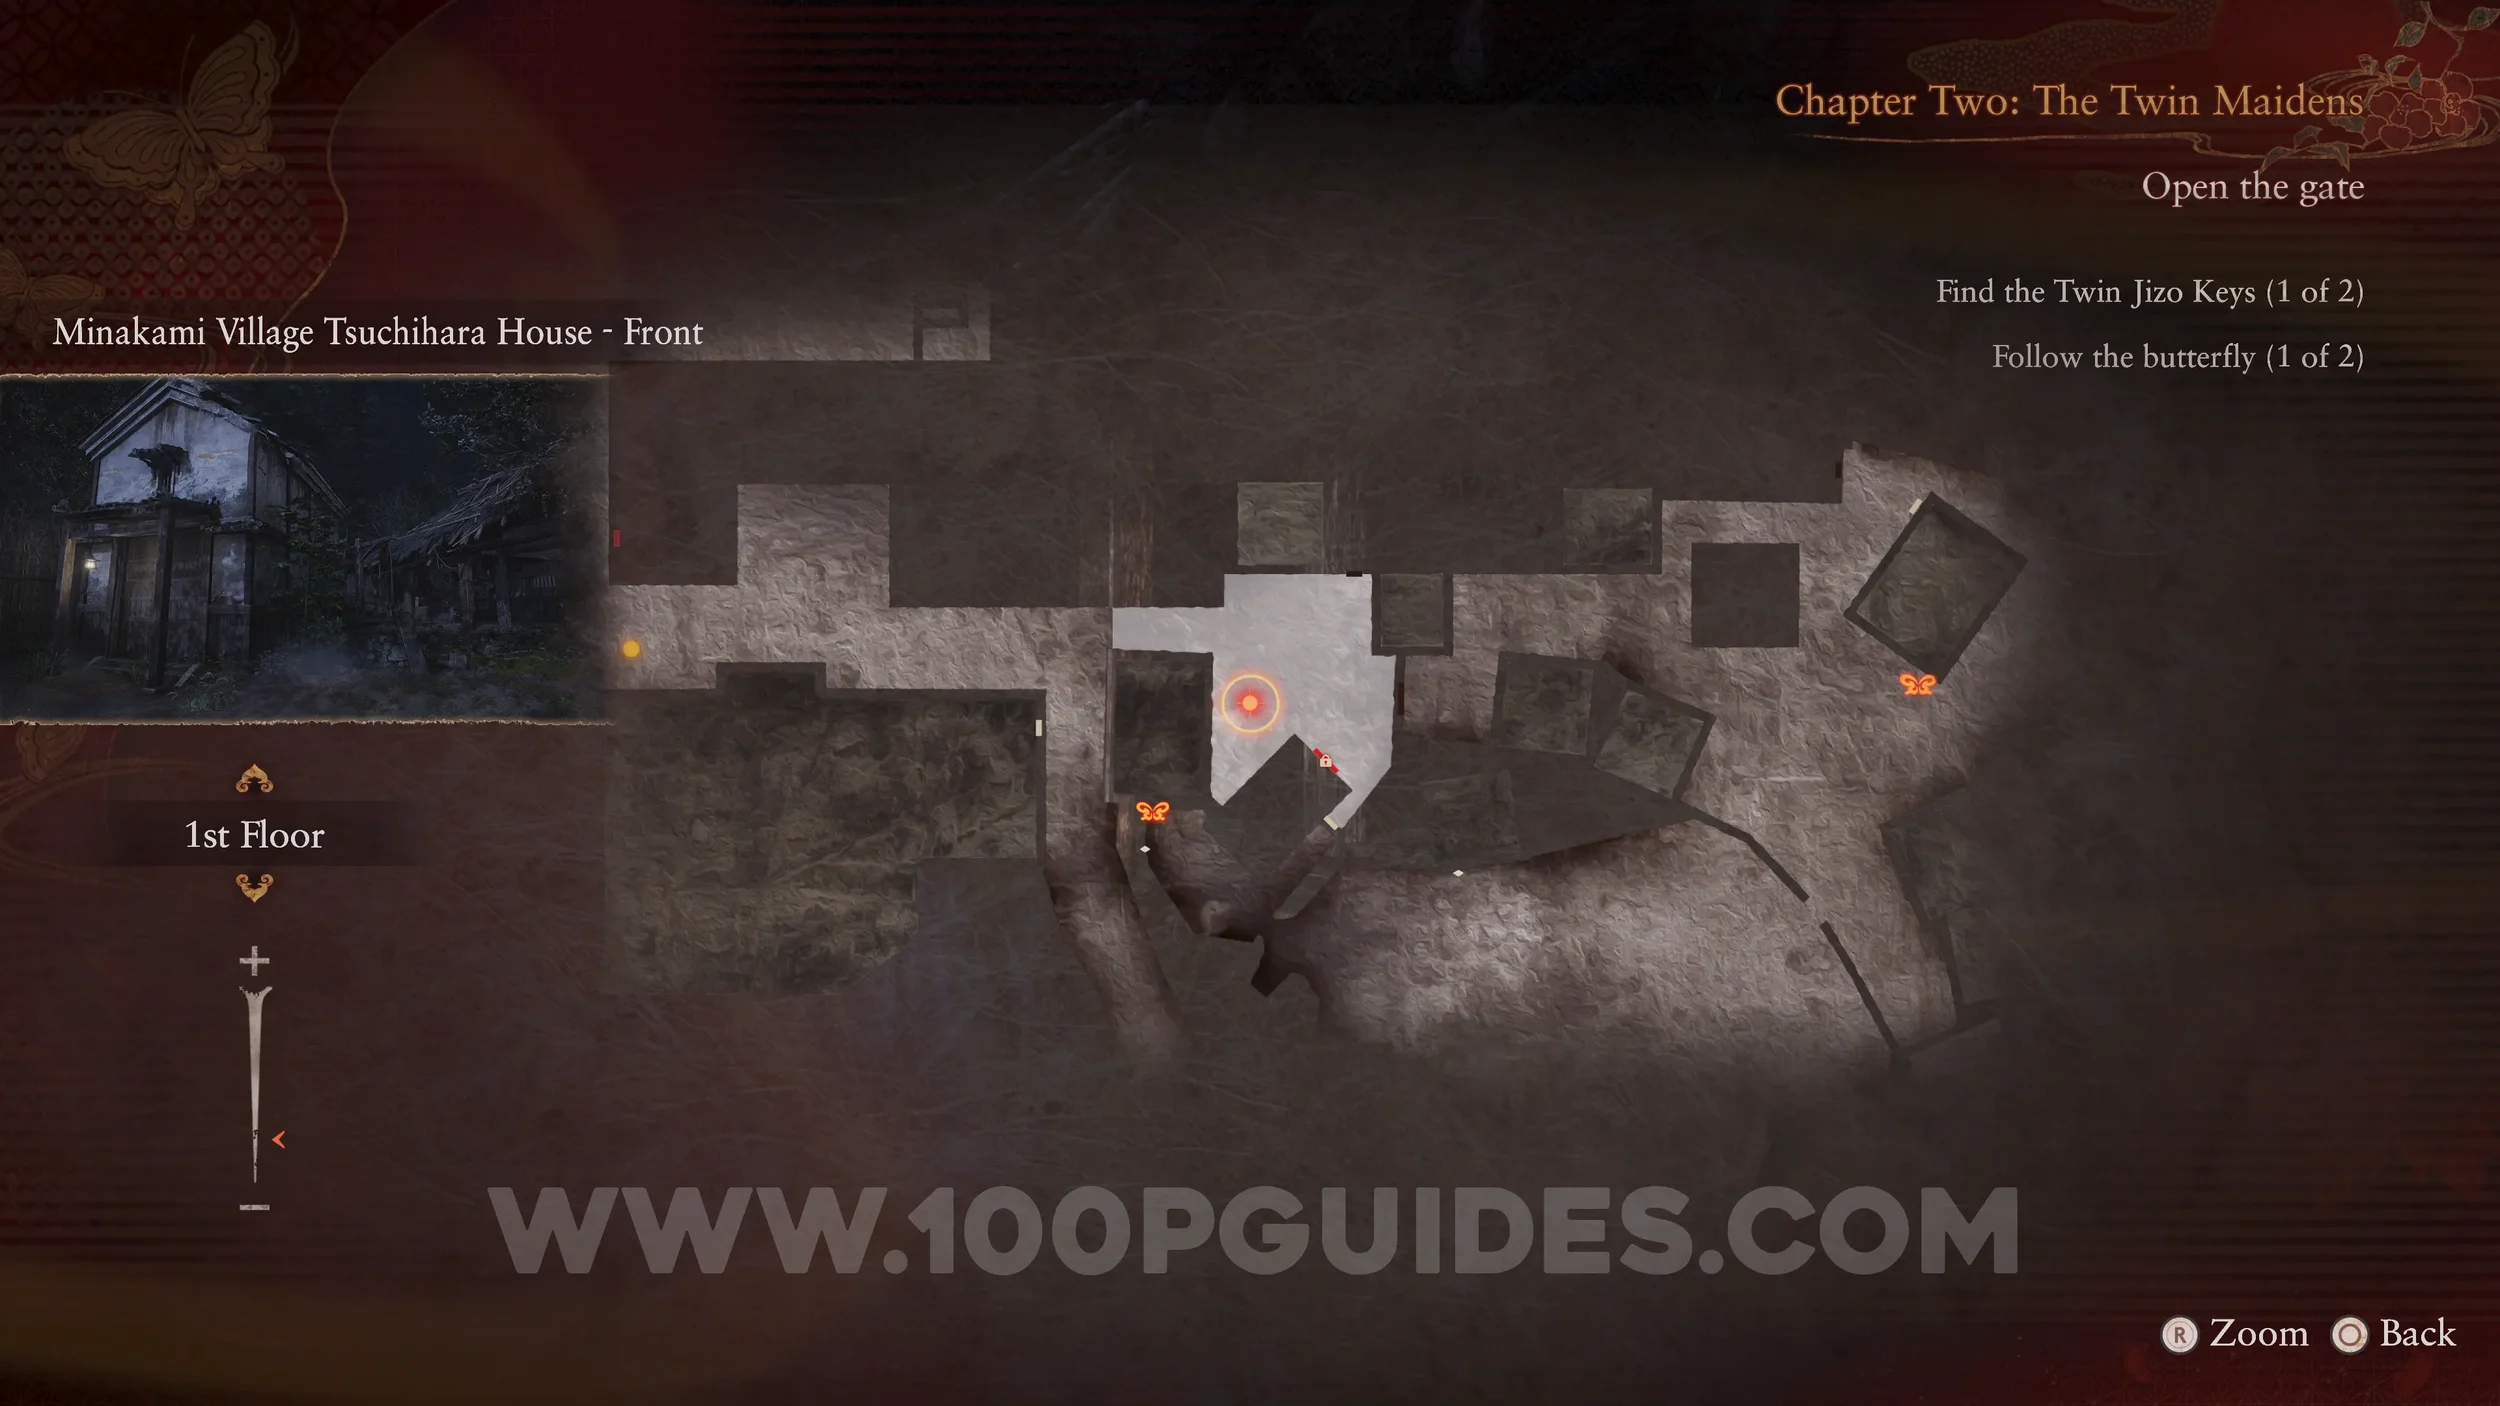
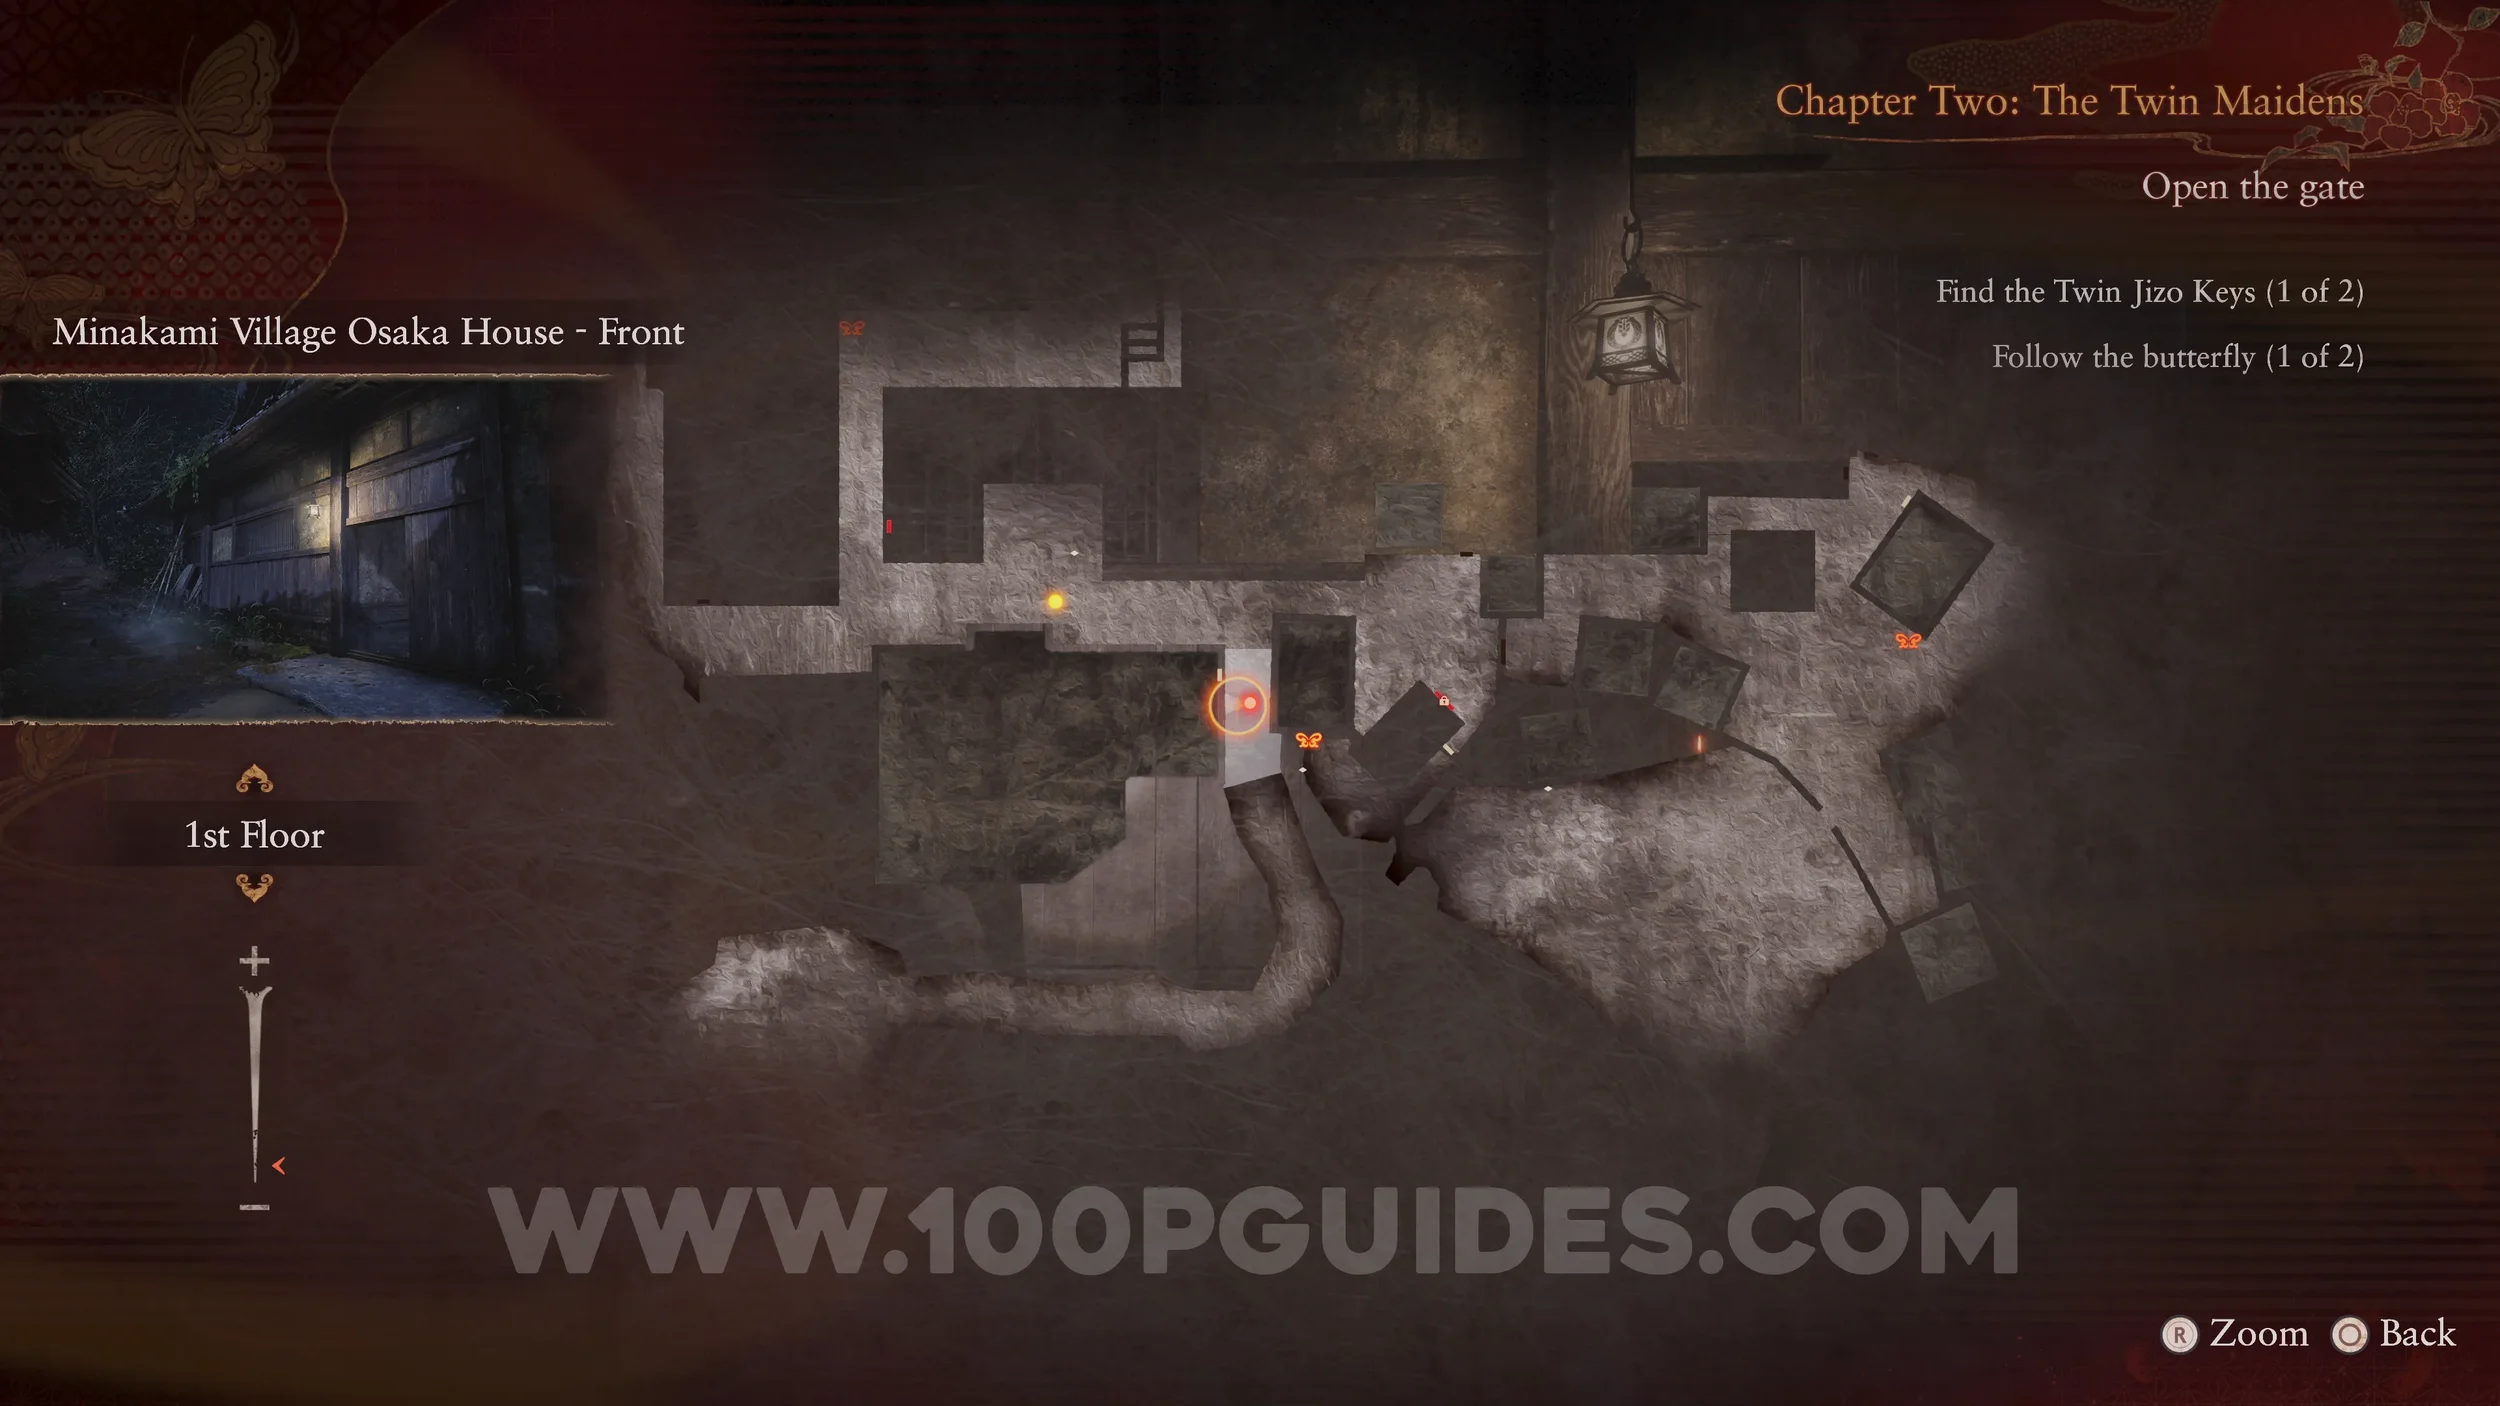
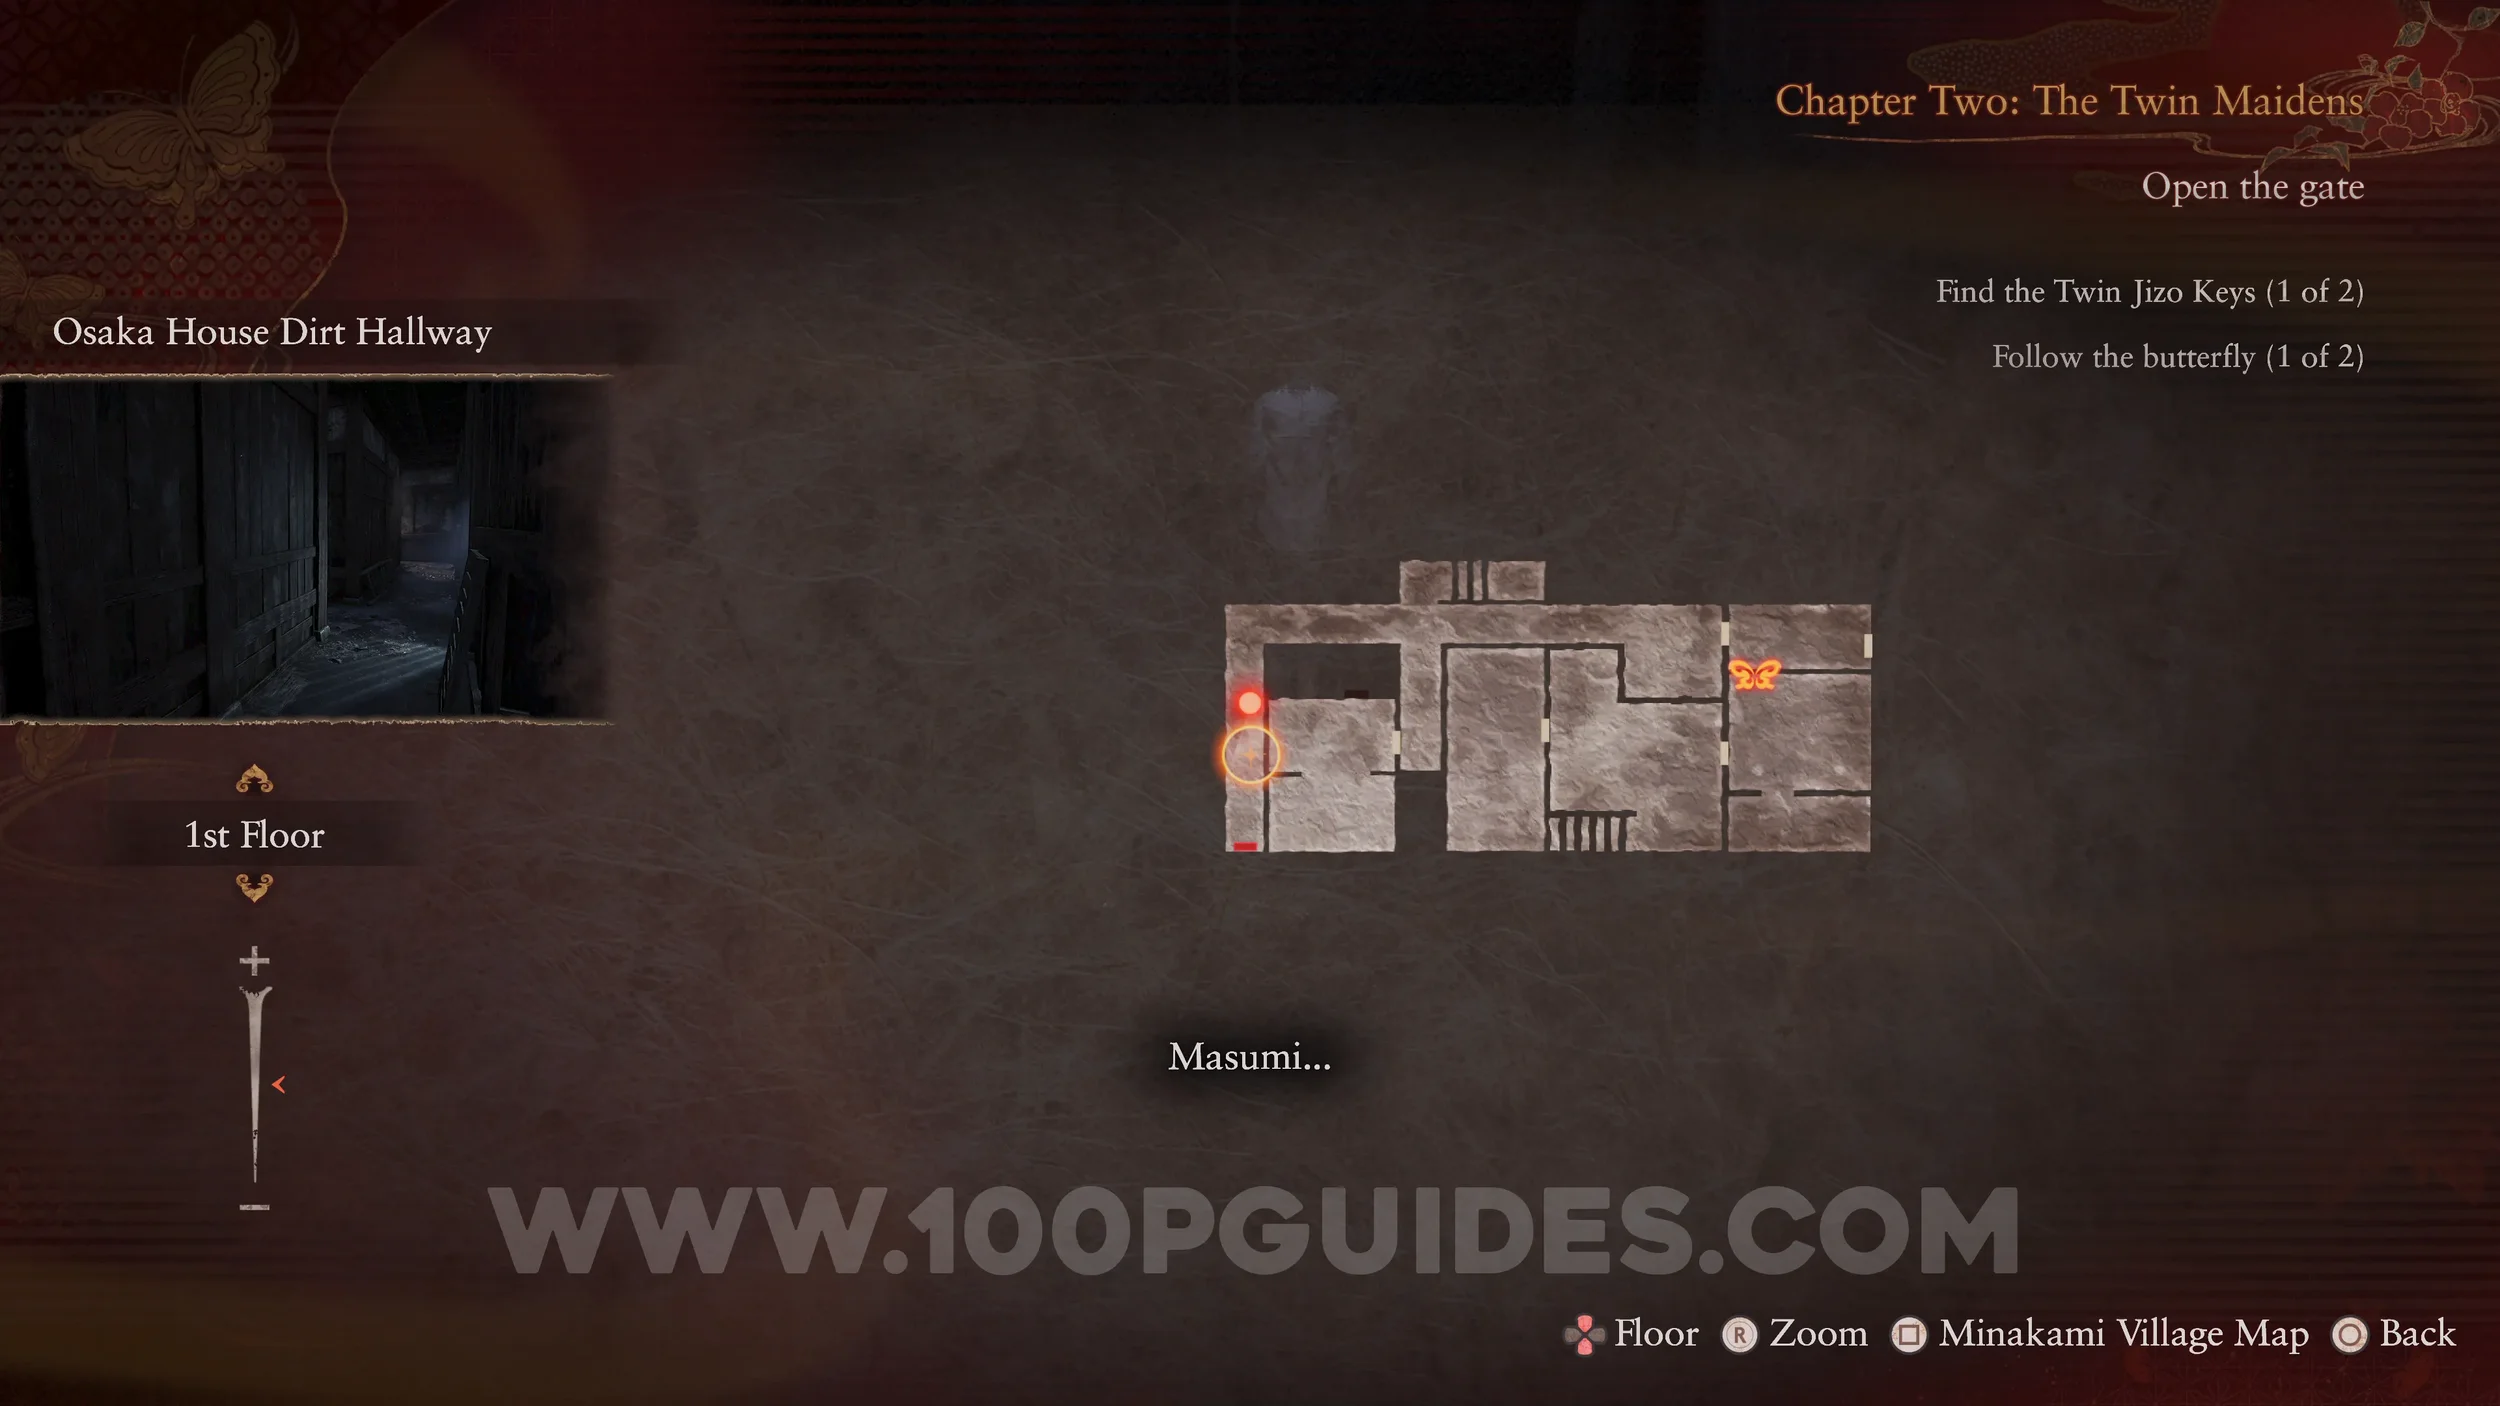
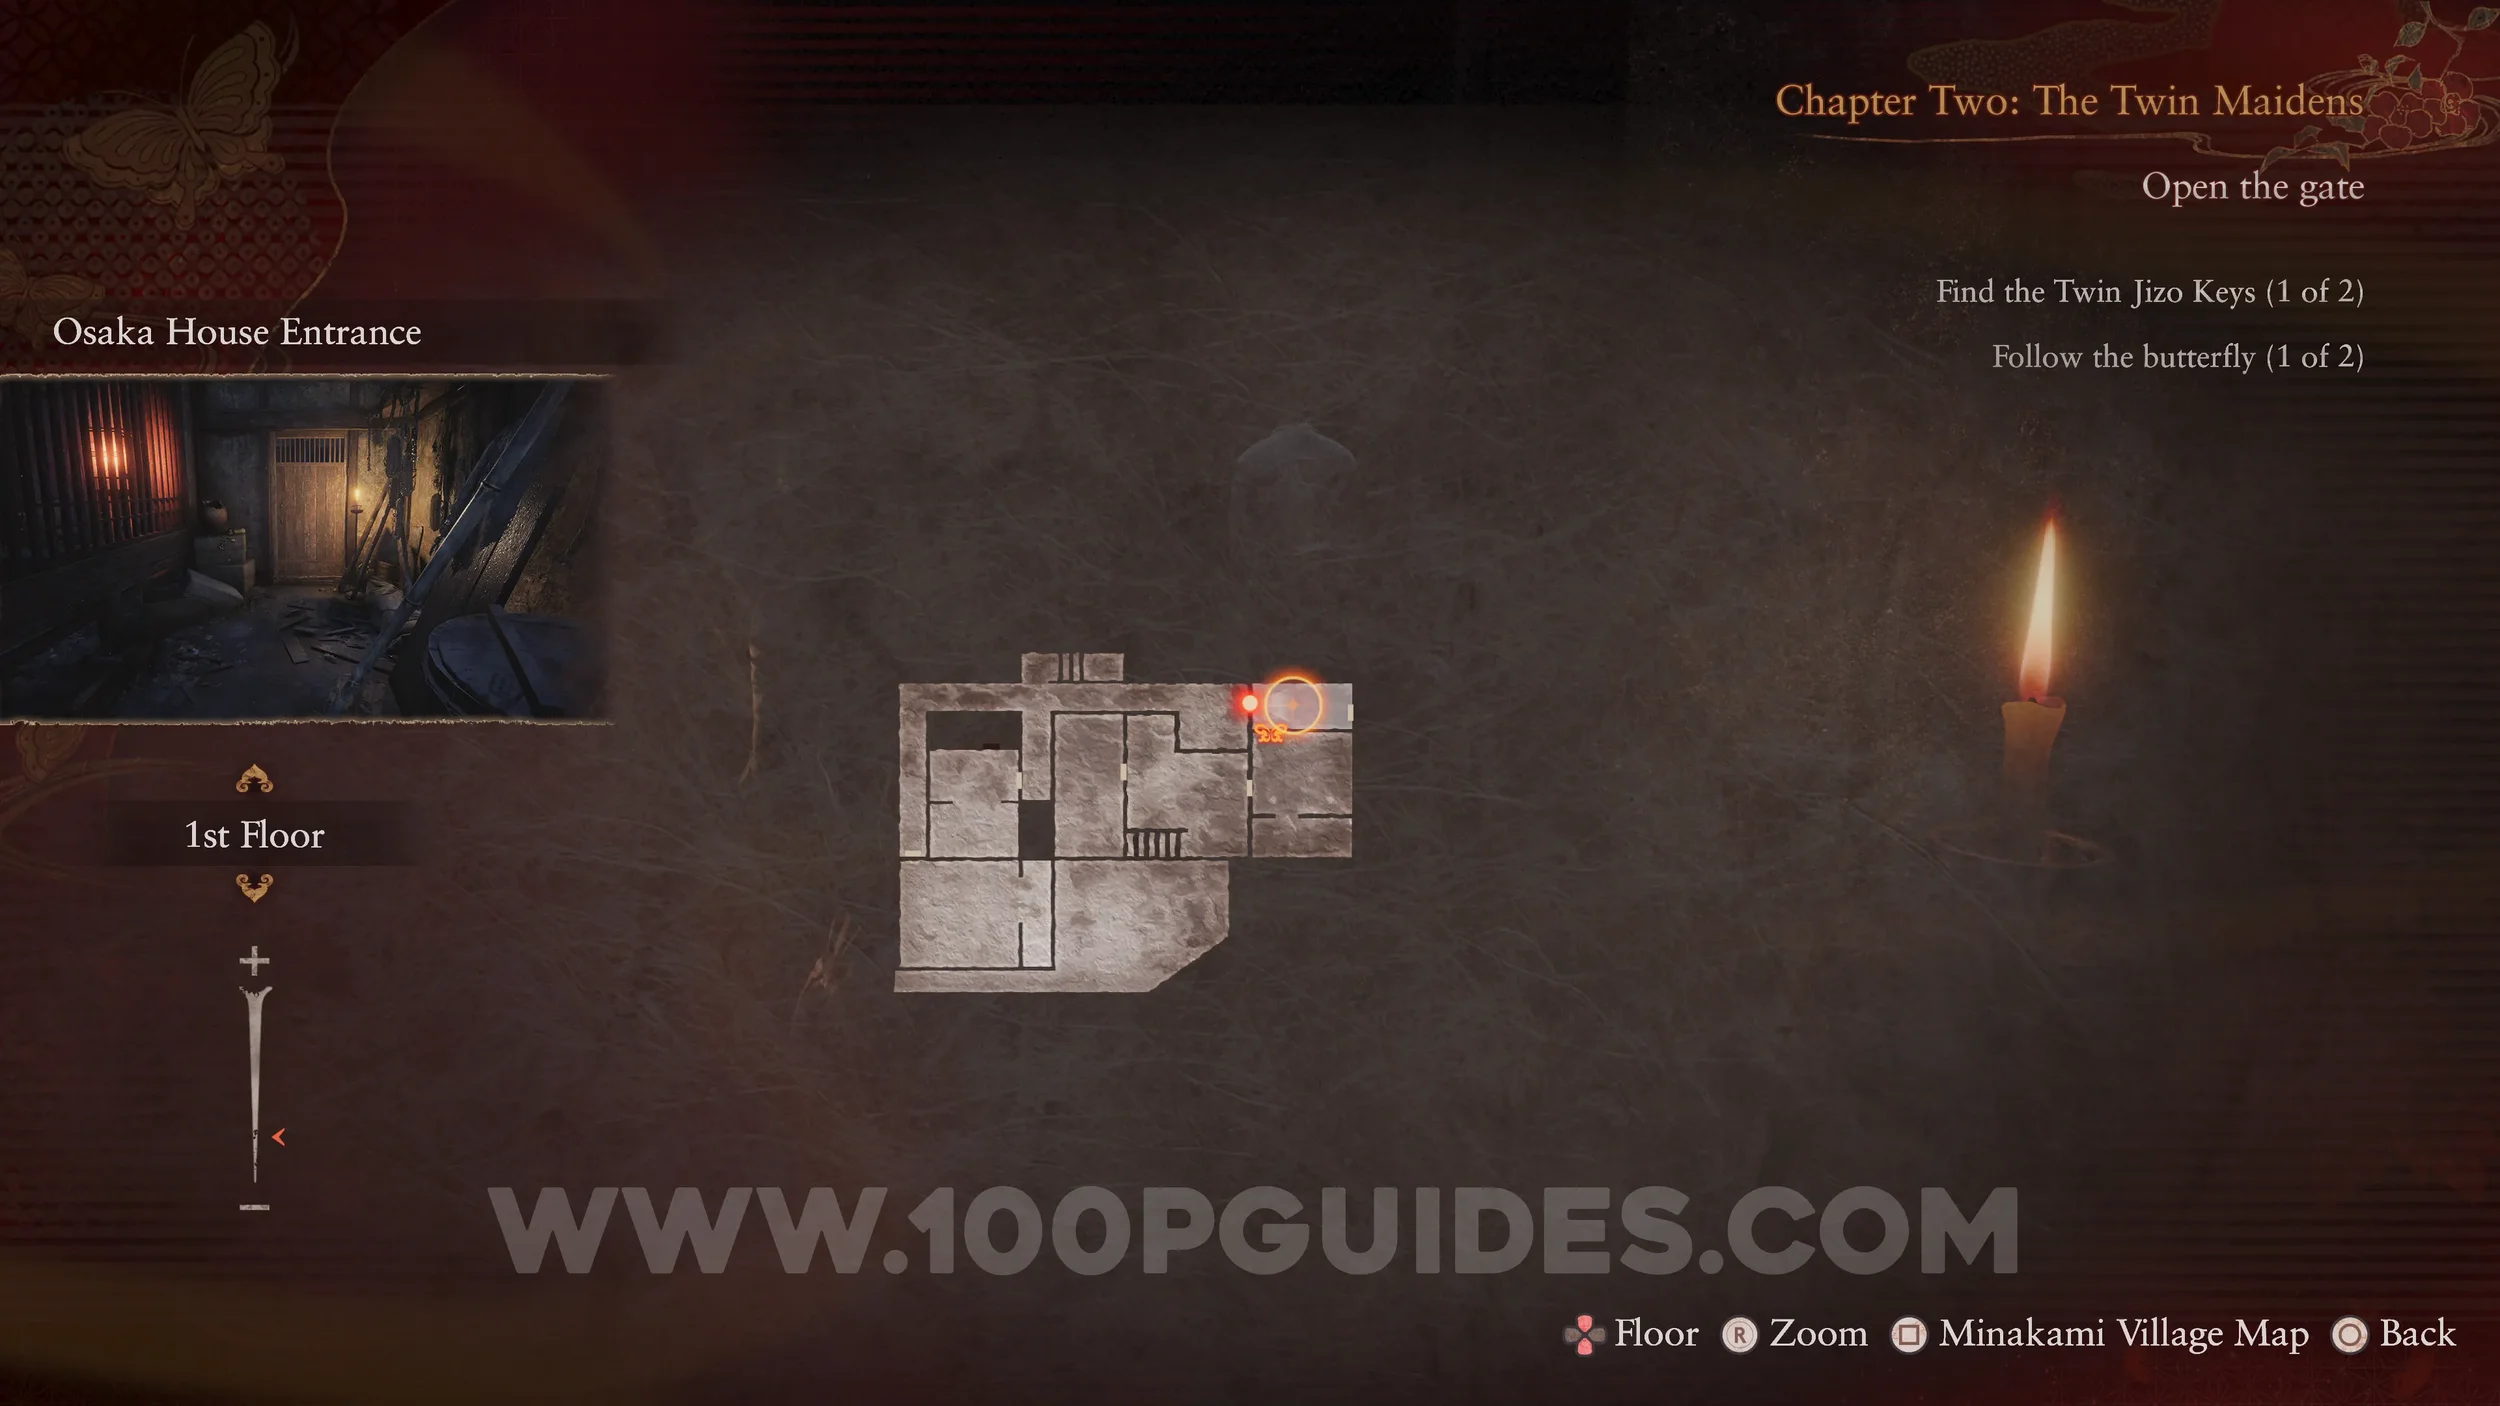
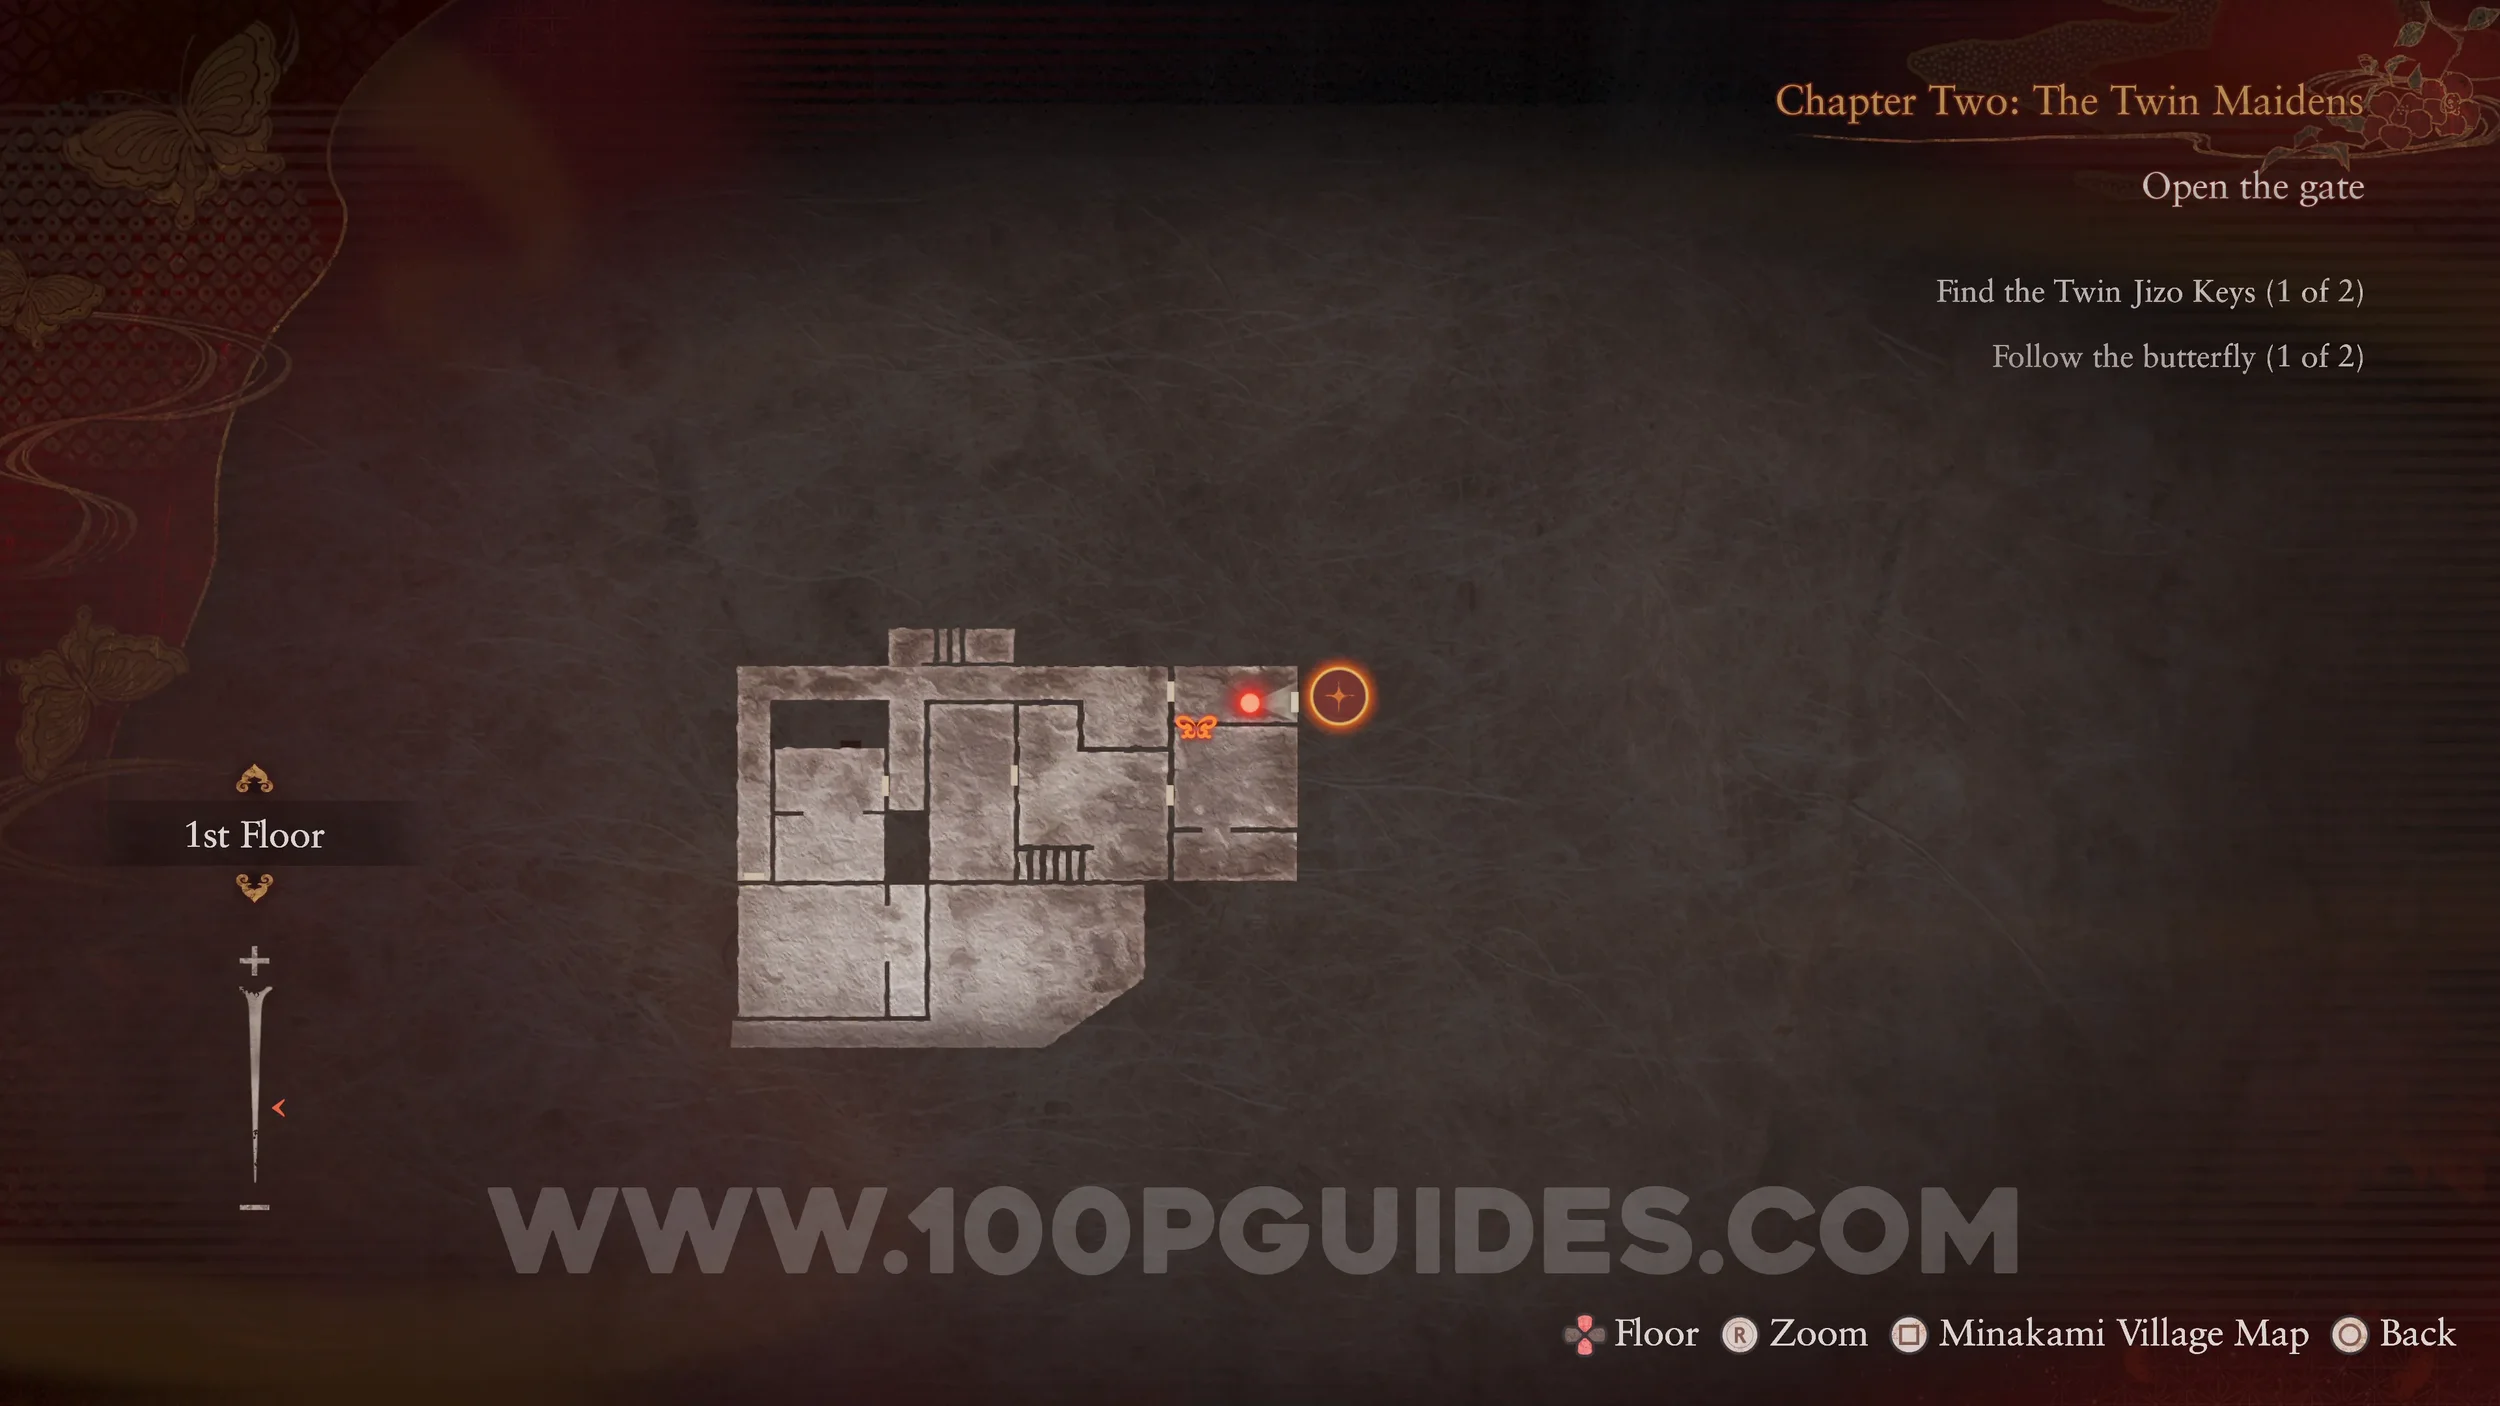
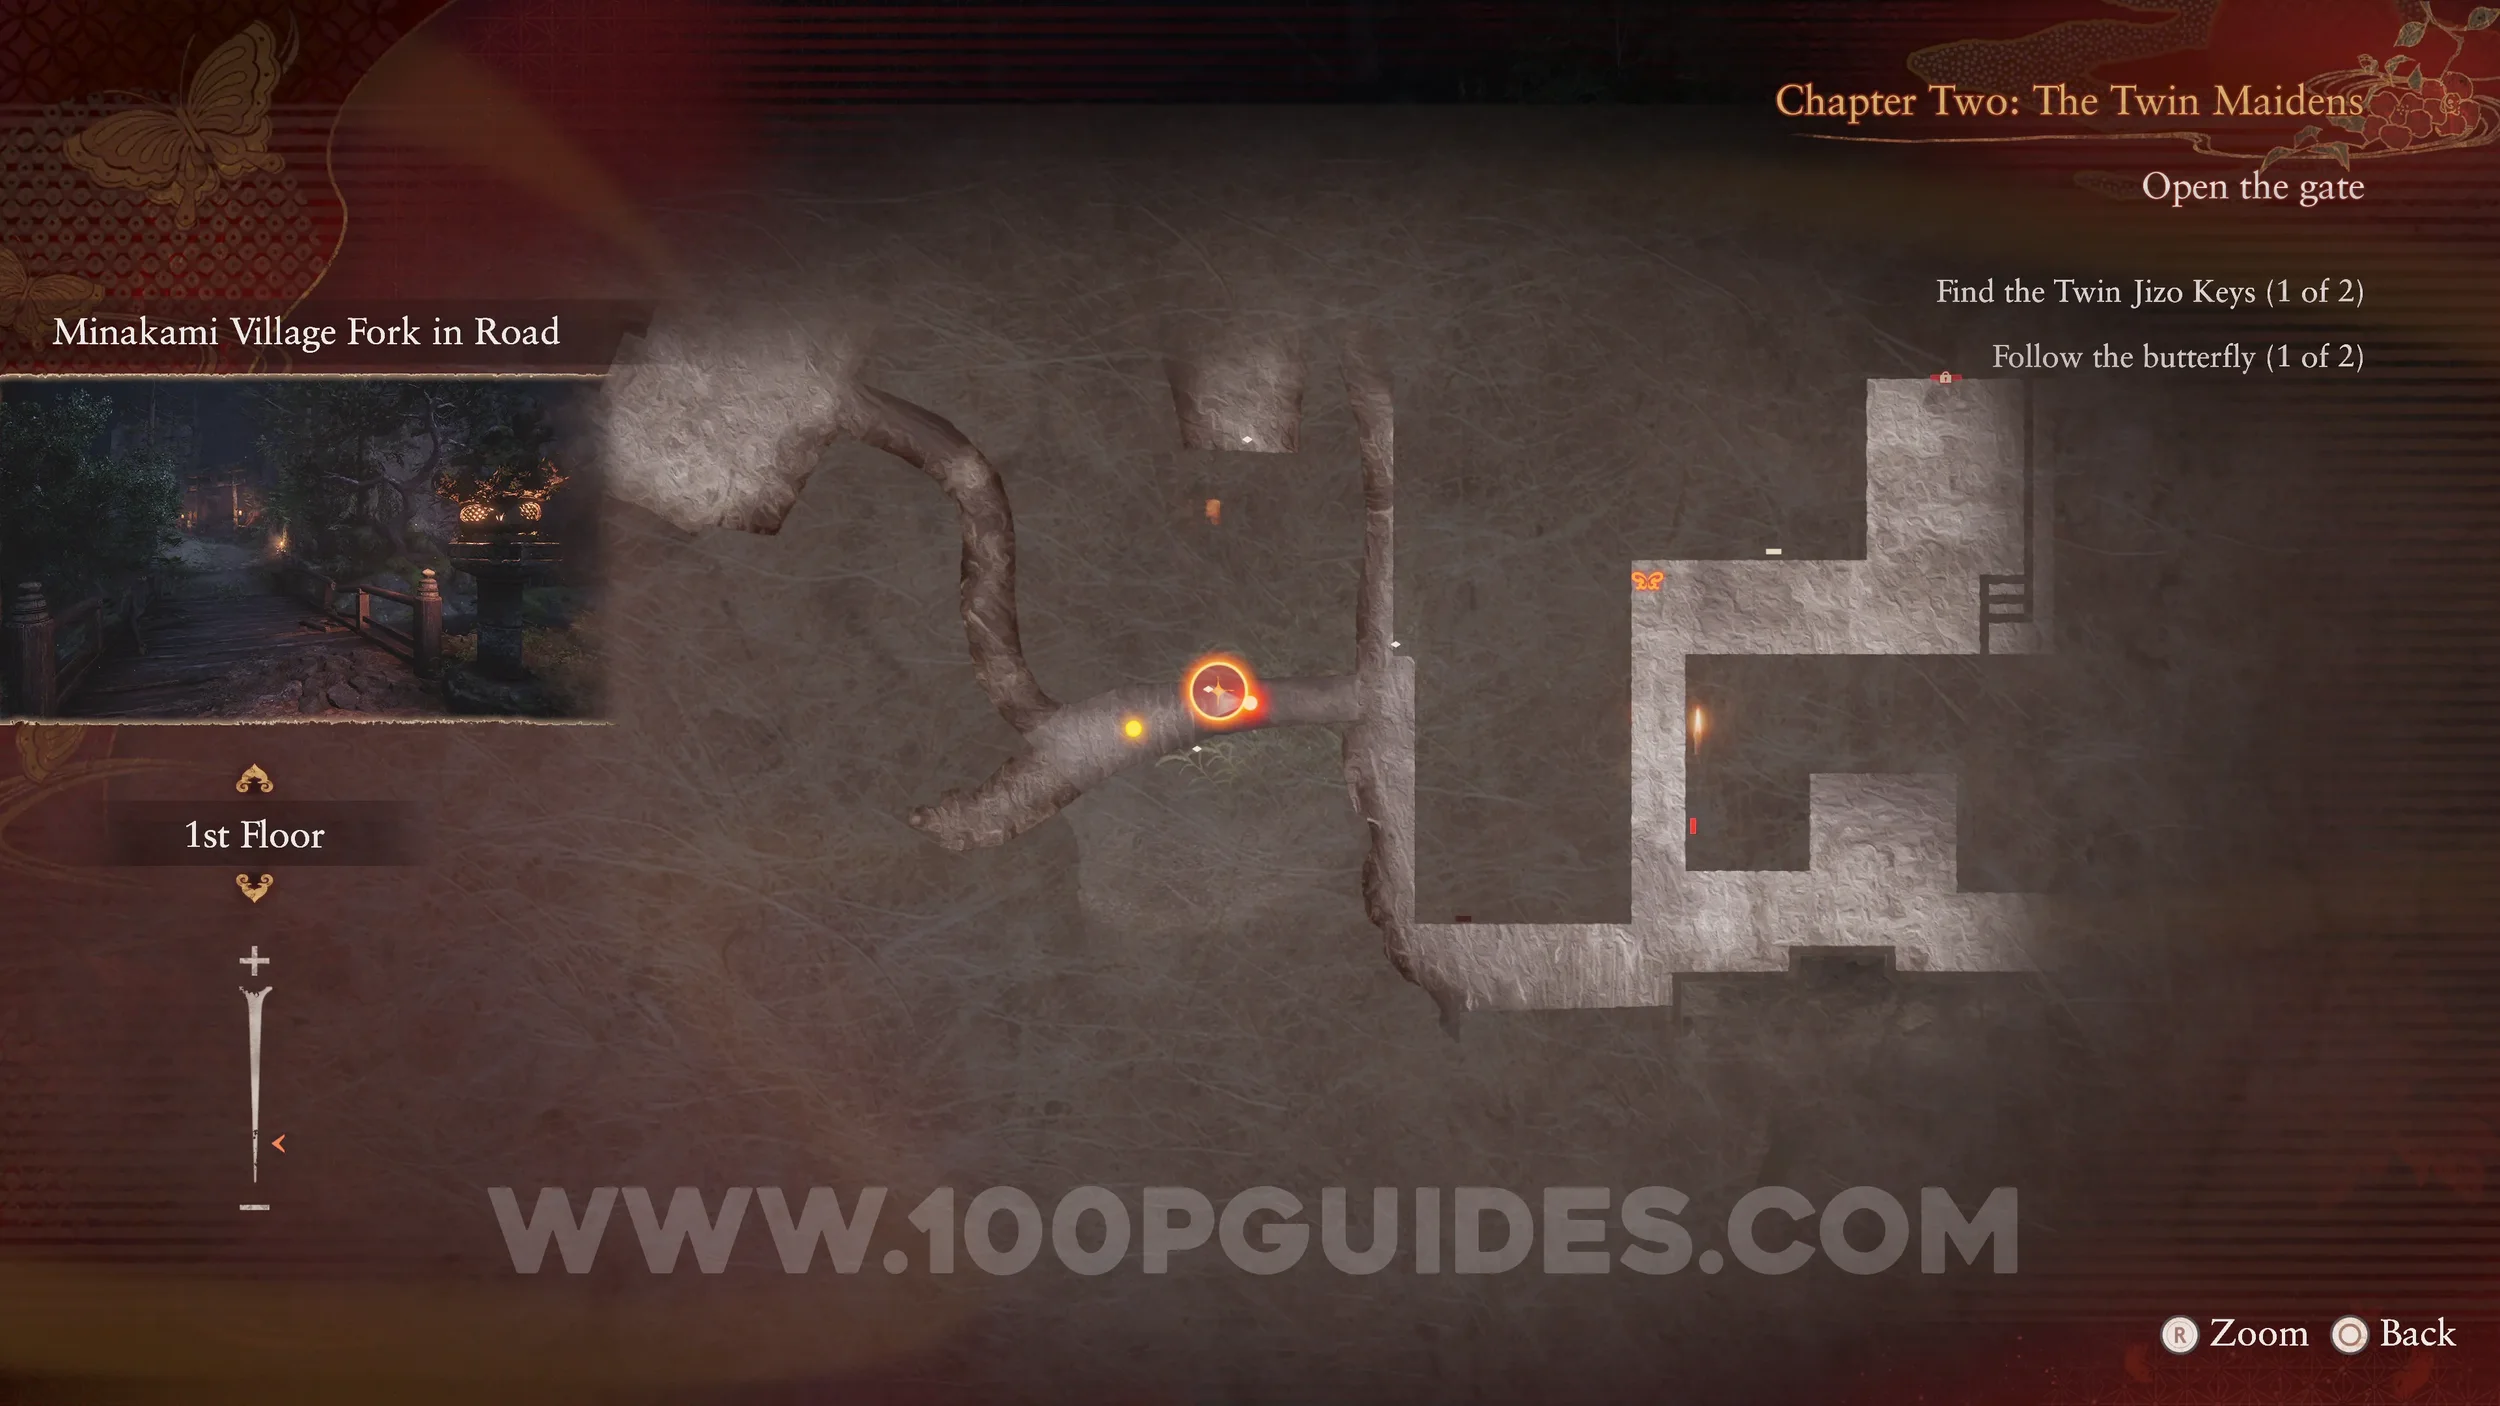
Specter #10 - 013 Butterfly Chaser, Specter #11 - 014 Woman in Bloody Kimono and Specter #12 - 015 Mayu and Inviting Woman. After going around the corner east of the save point, you will see Mayu standing in front of an open gate with a specter. Take the photo to register all three specters.

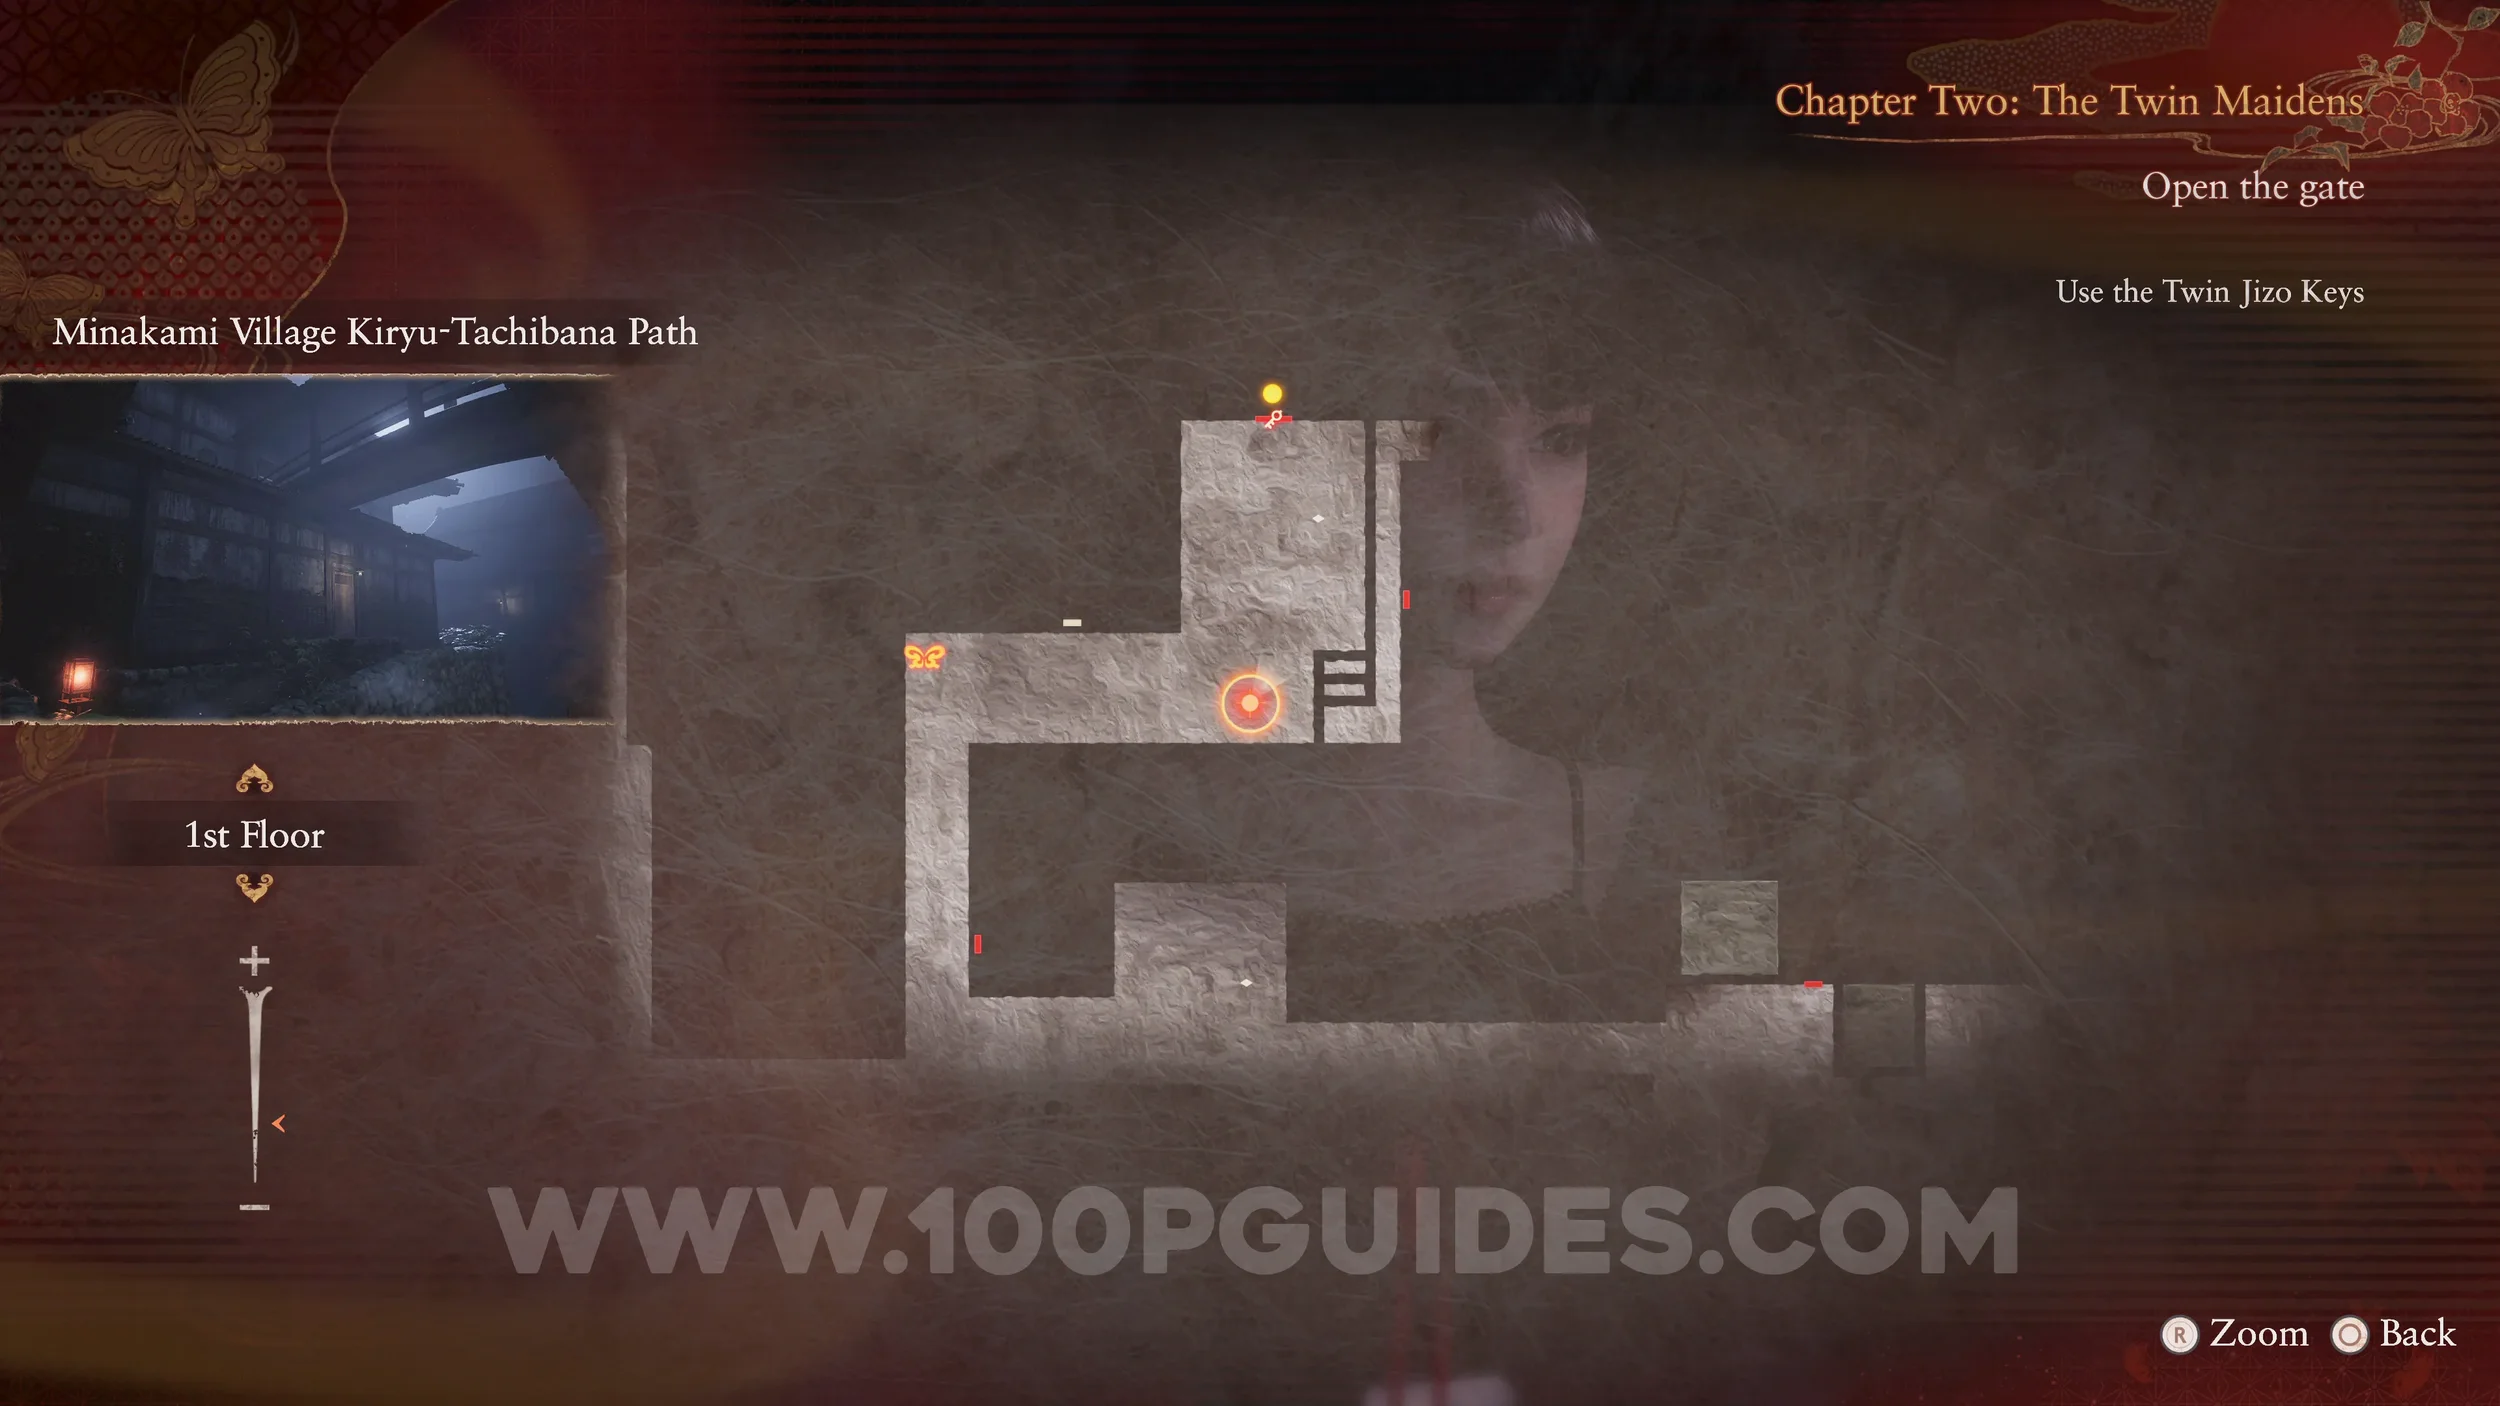
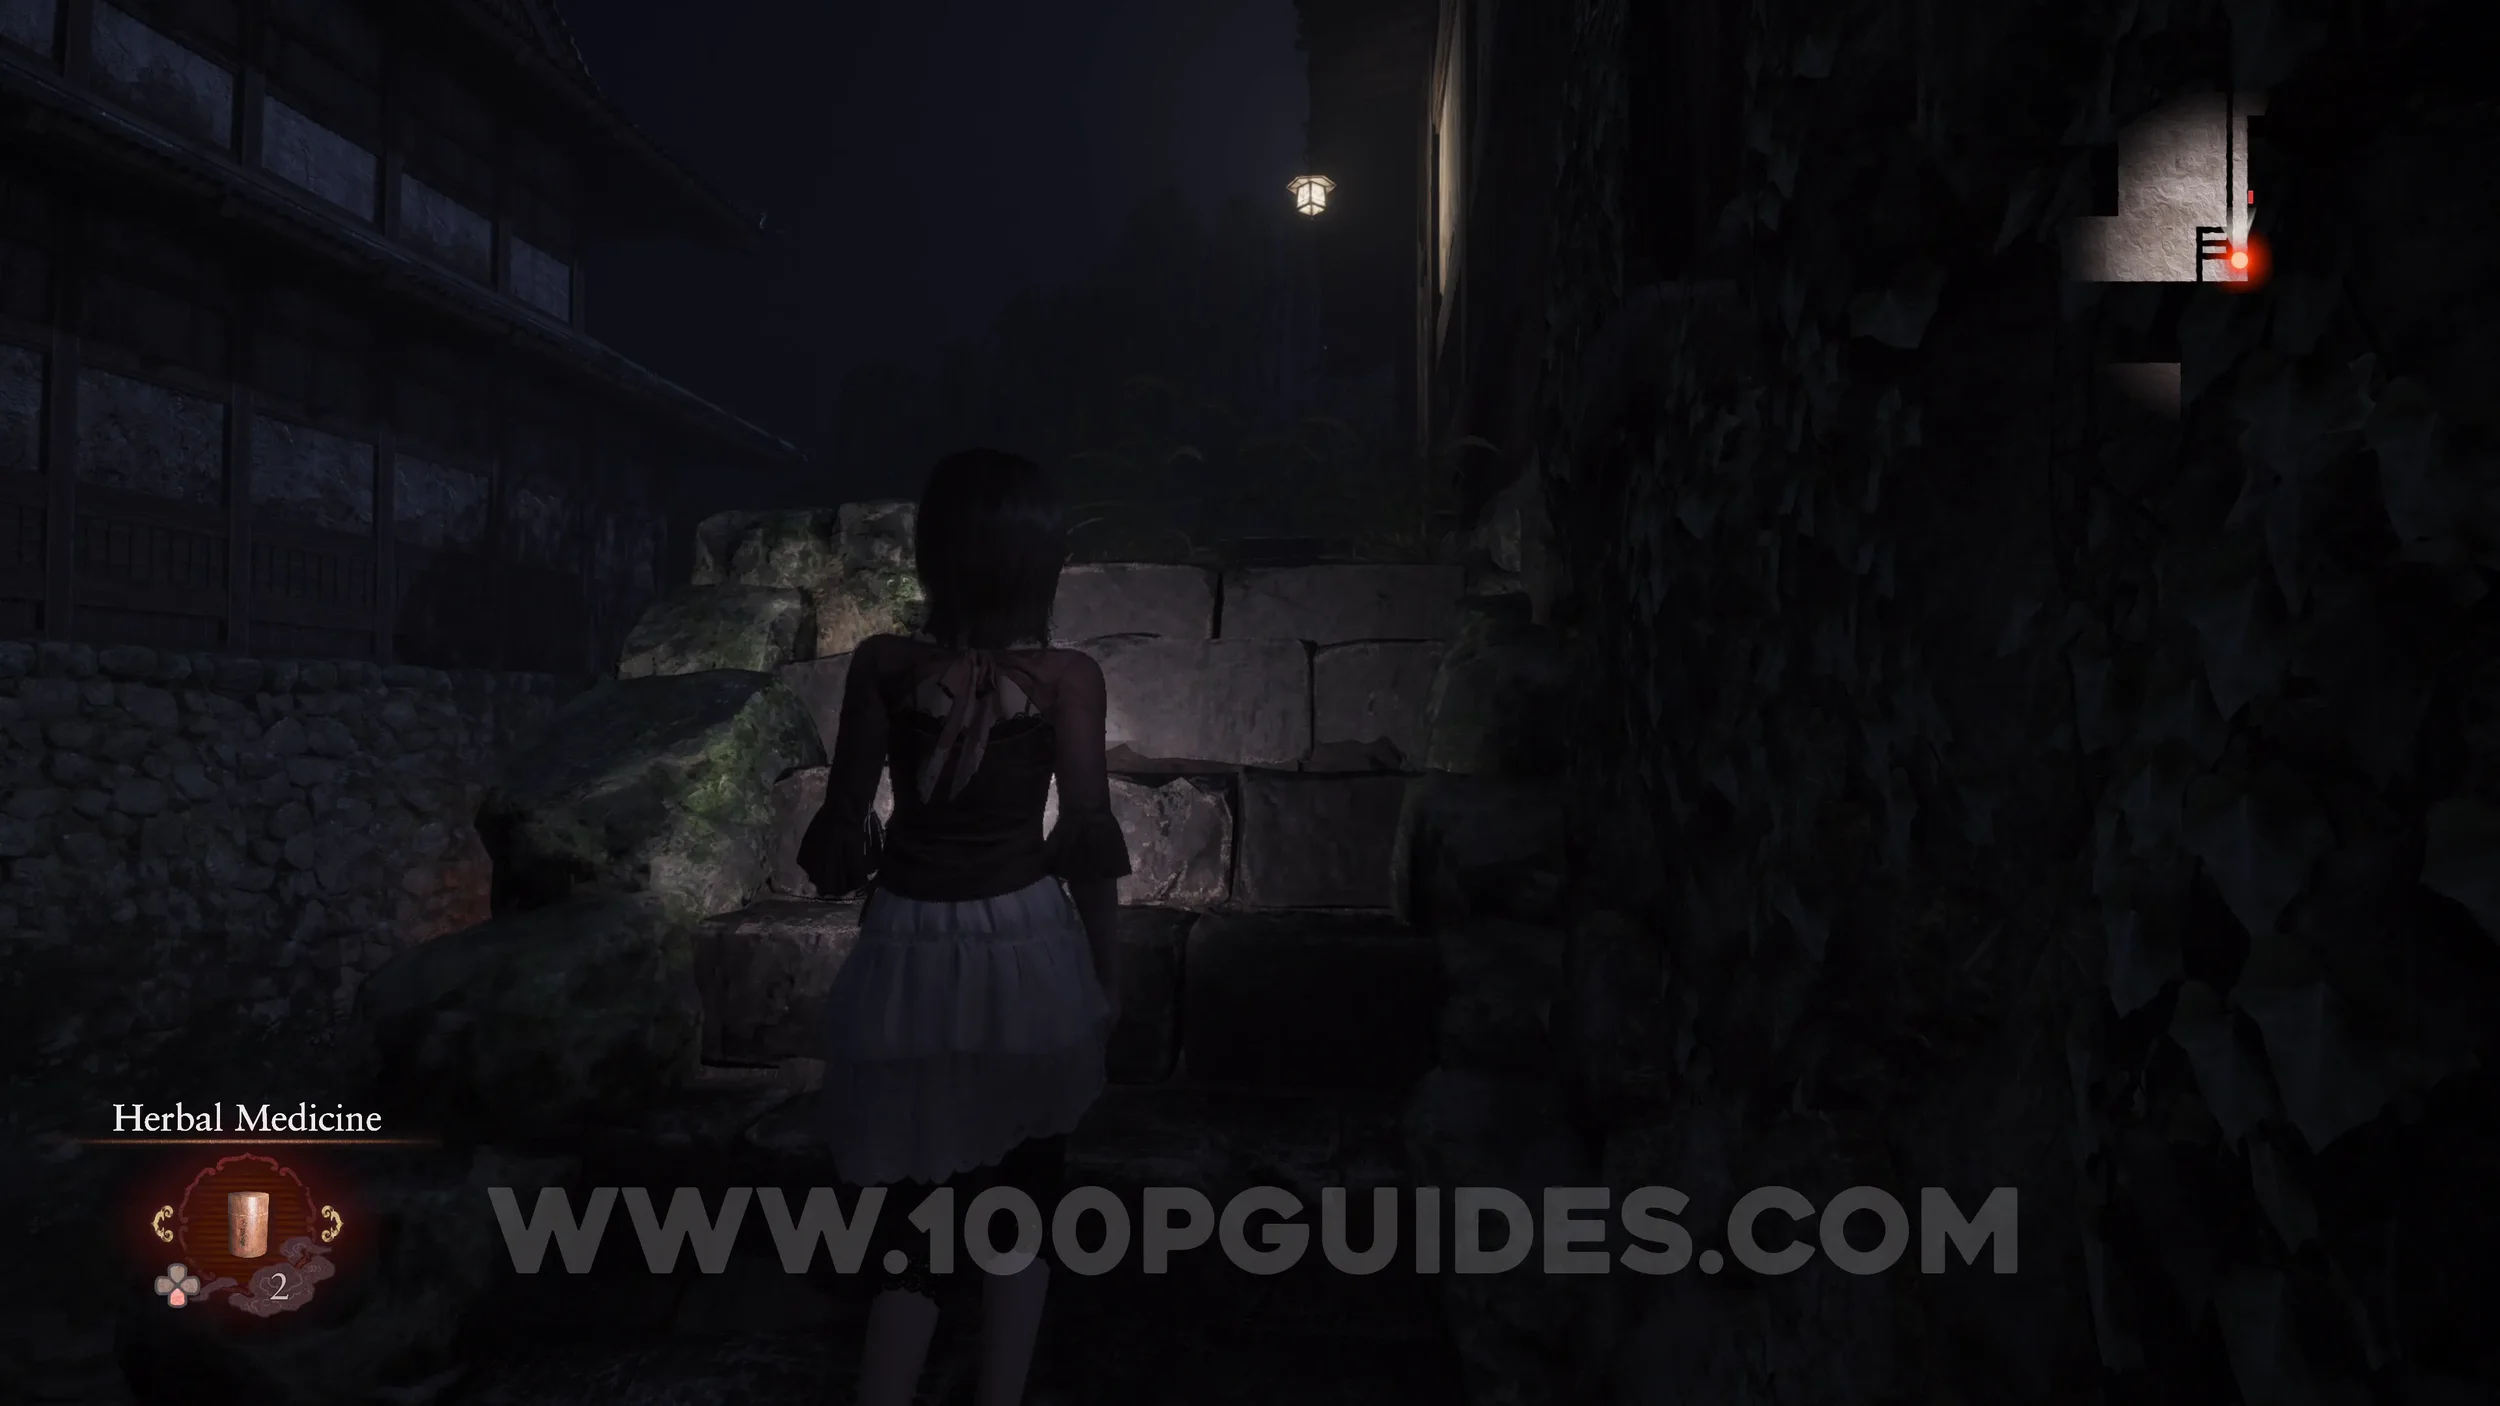
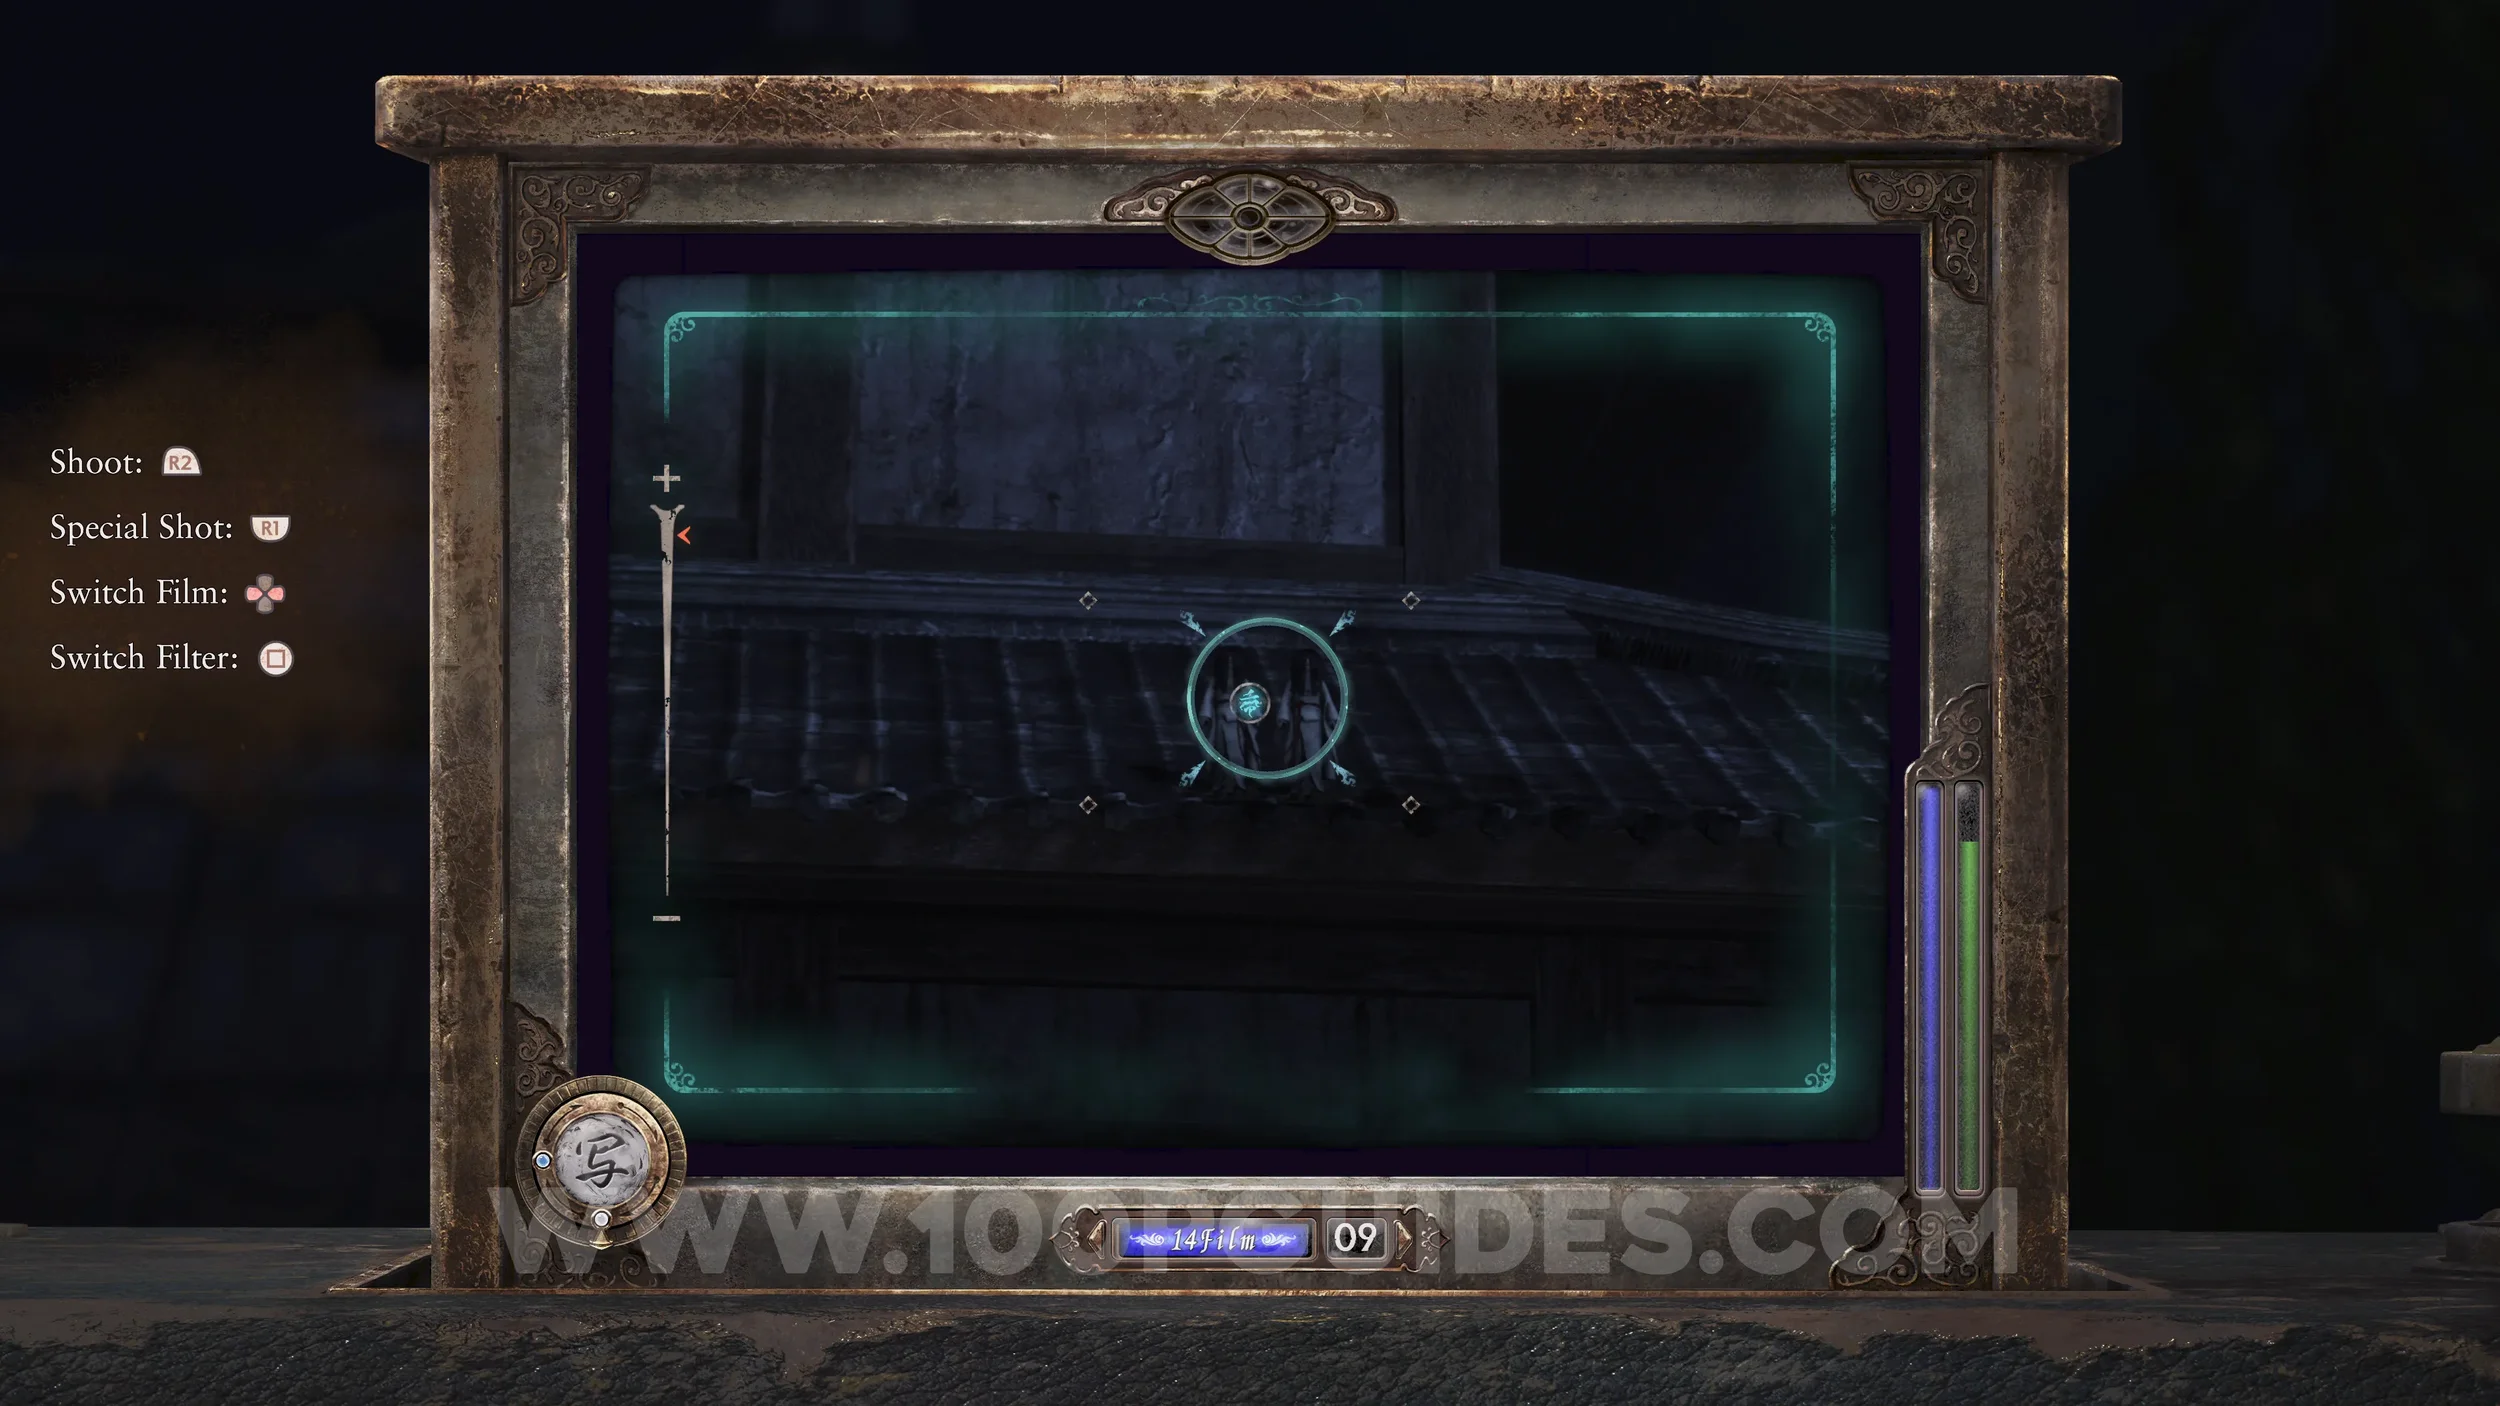
Twin Dolls #9 (13). Just before the gate that requires you to get the two keys, go up the stairs on the right side and go to the end. From here, look over to the roof to the west and zoom in with your camera to see the dolls.
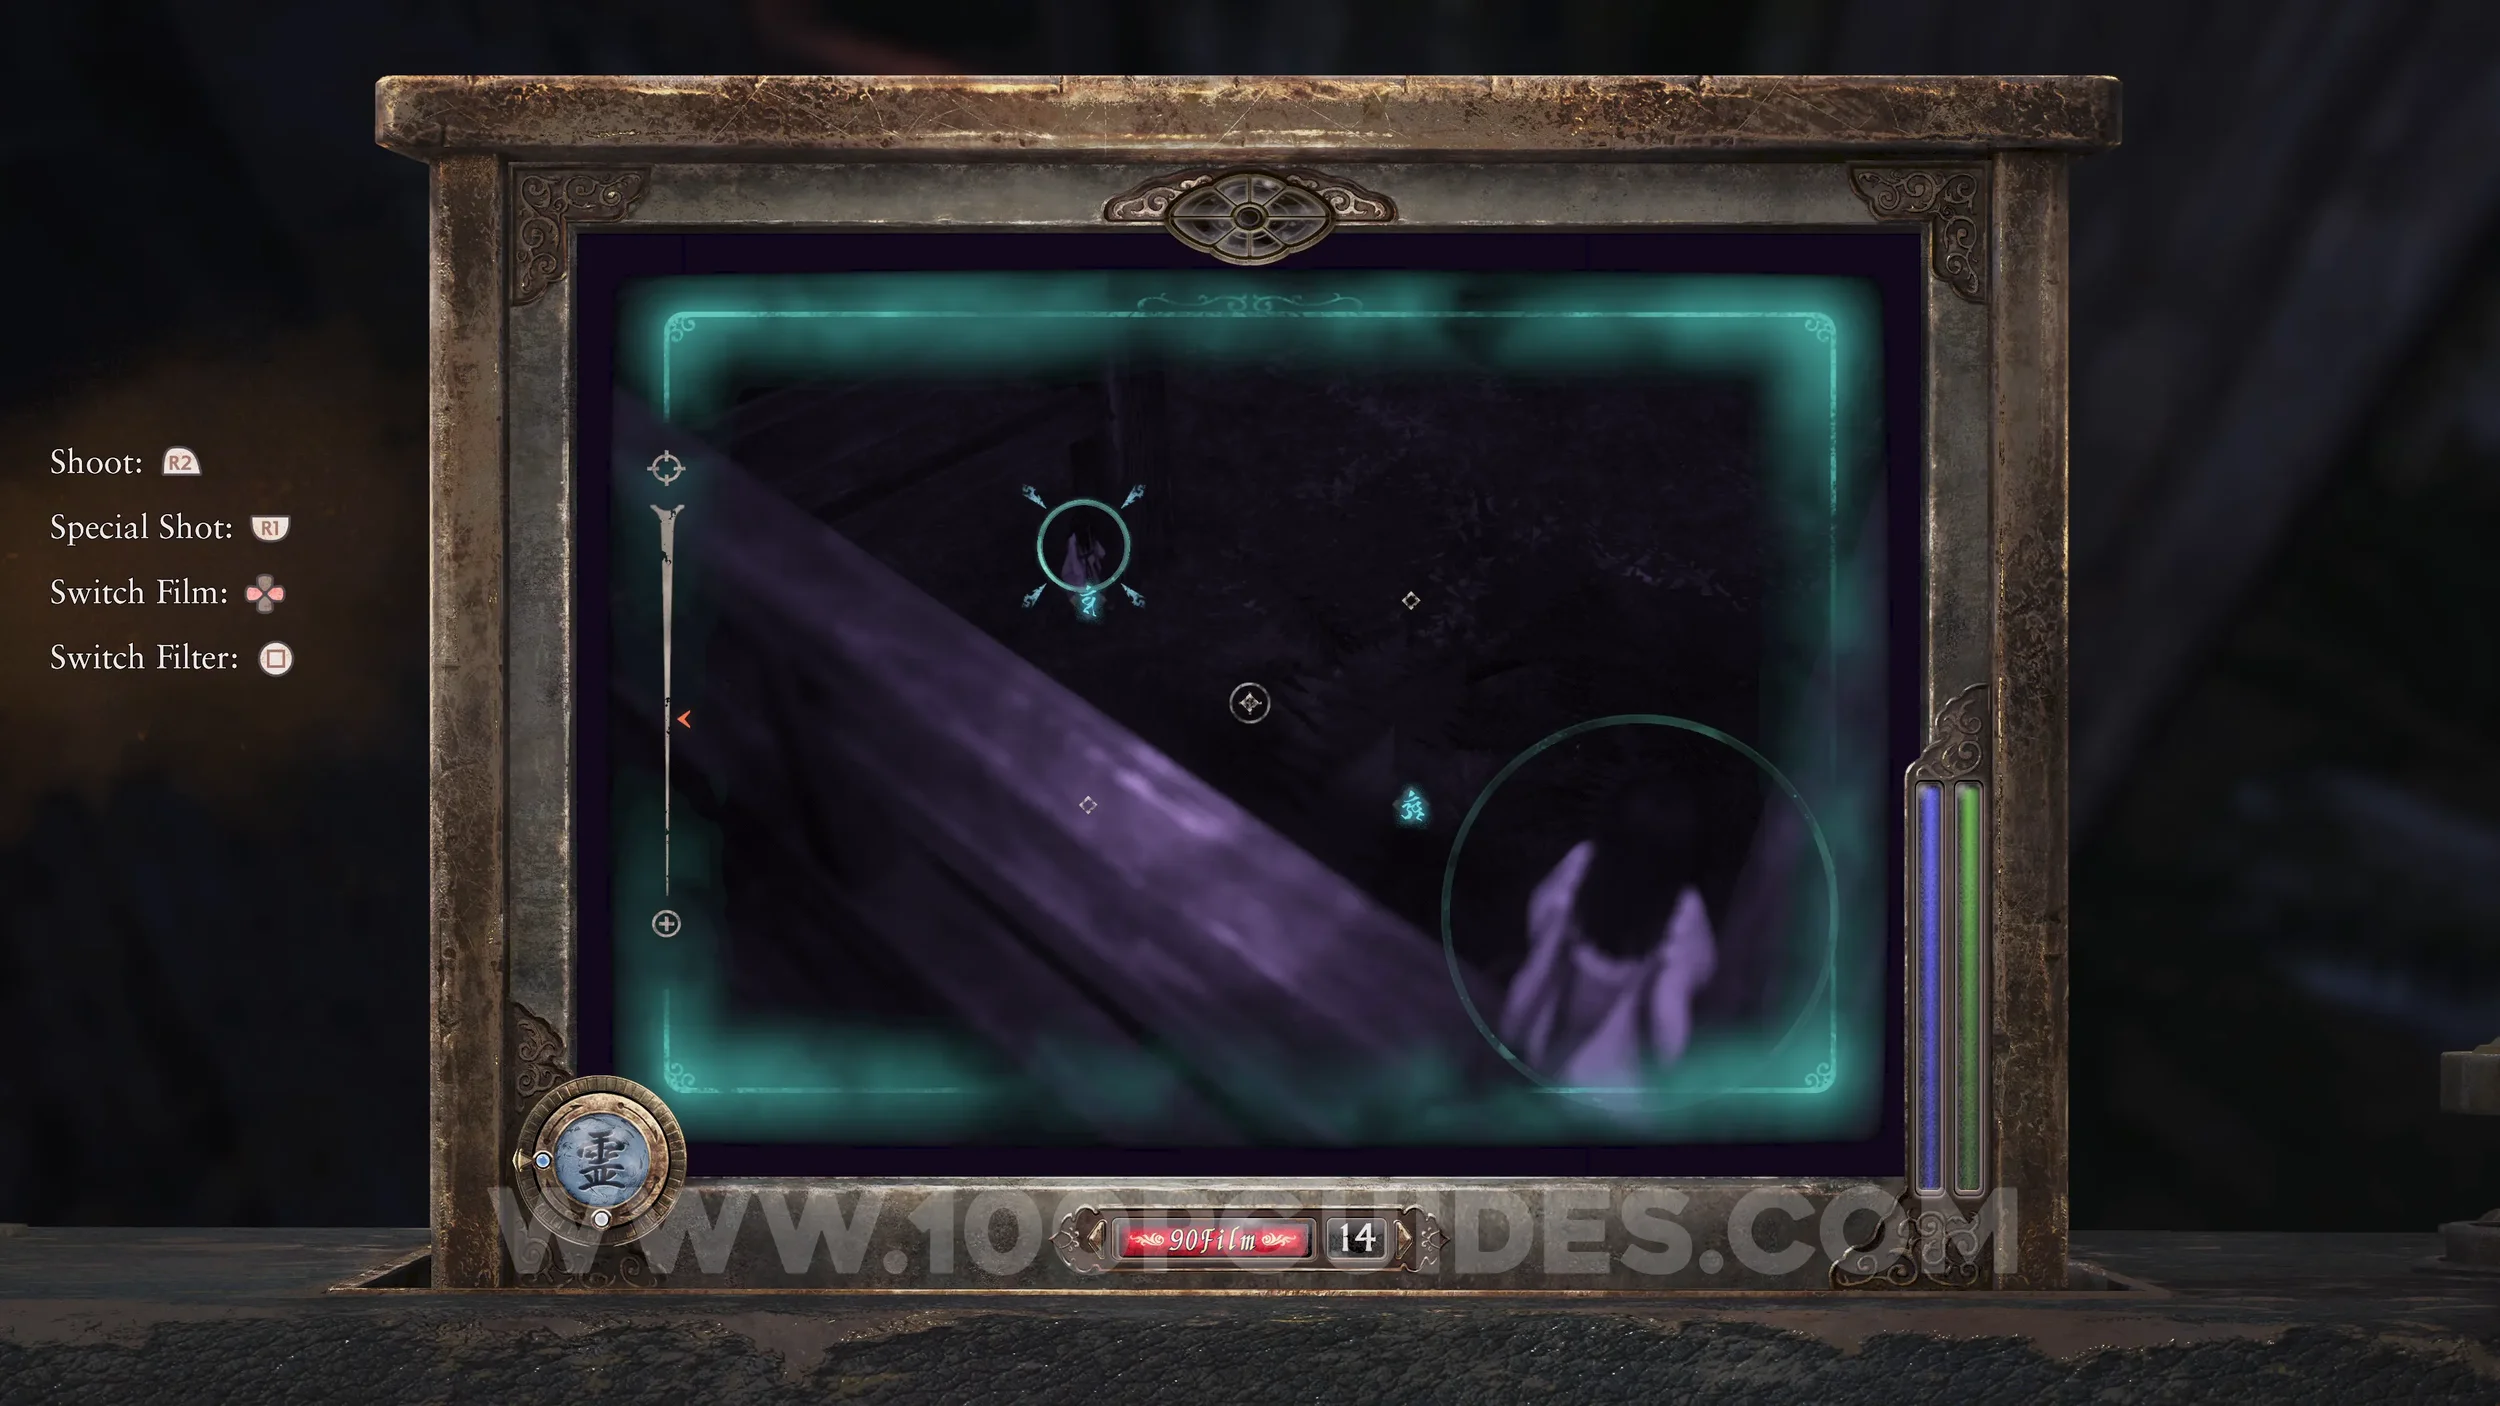
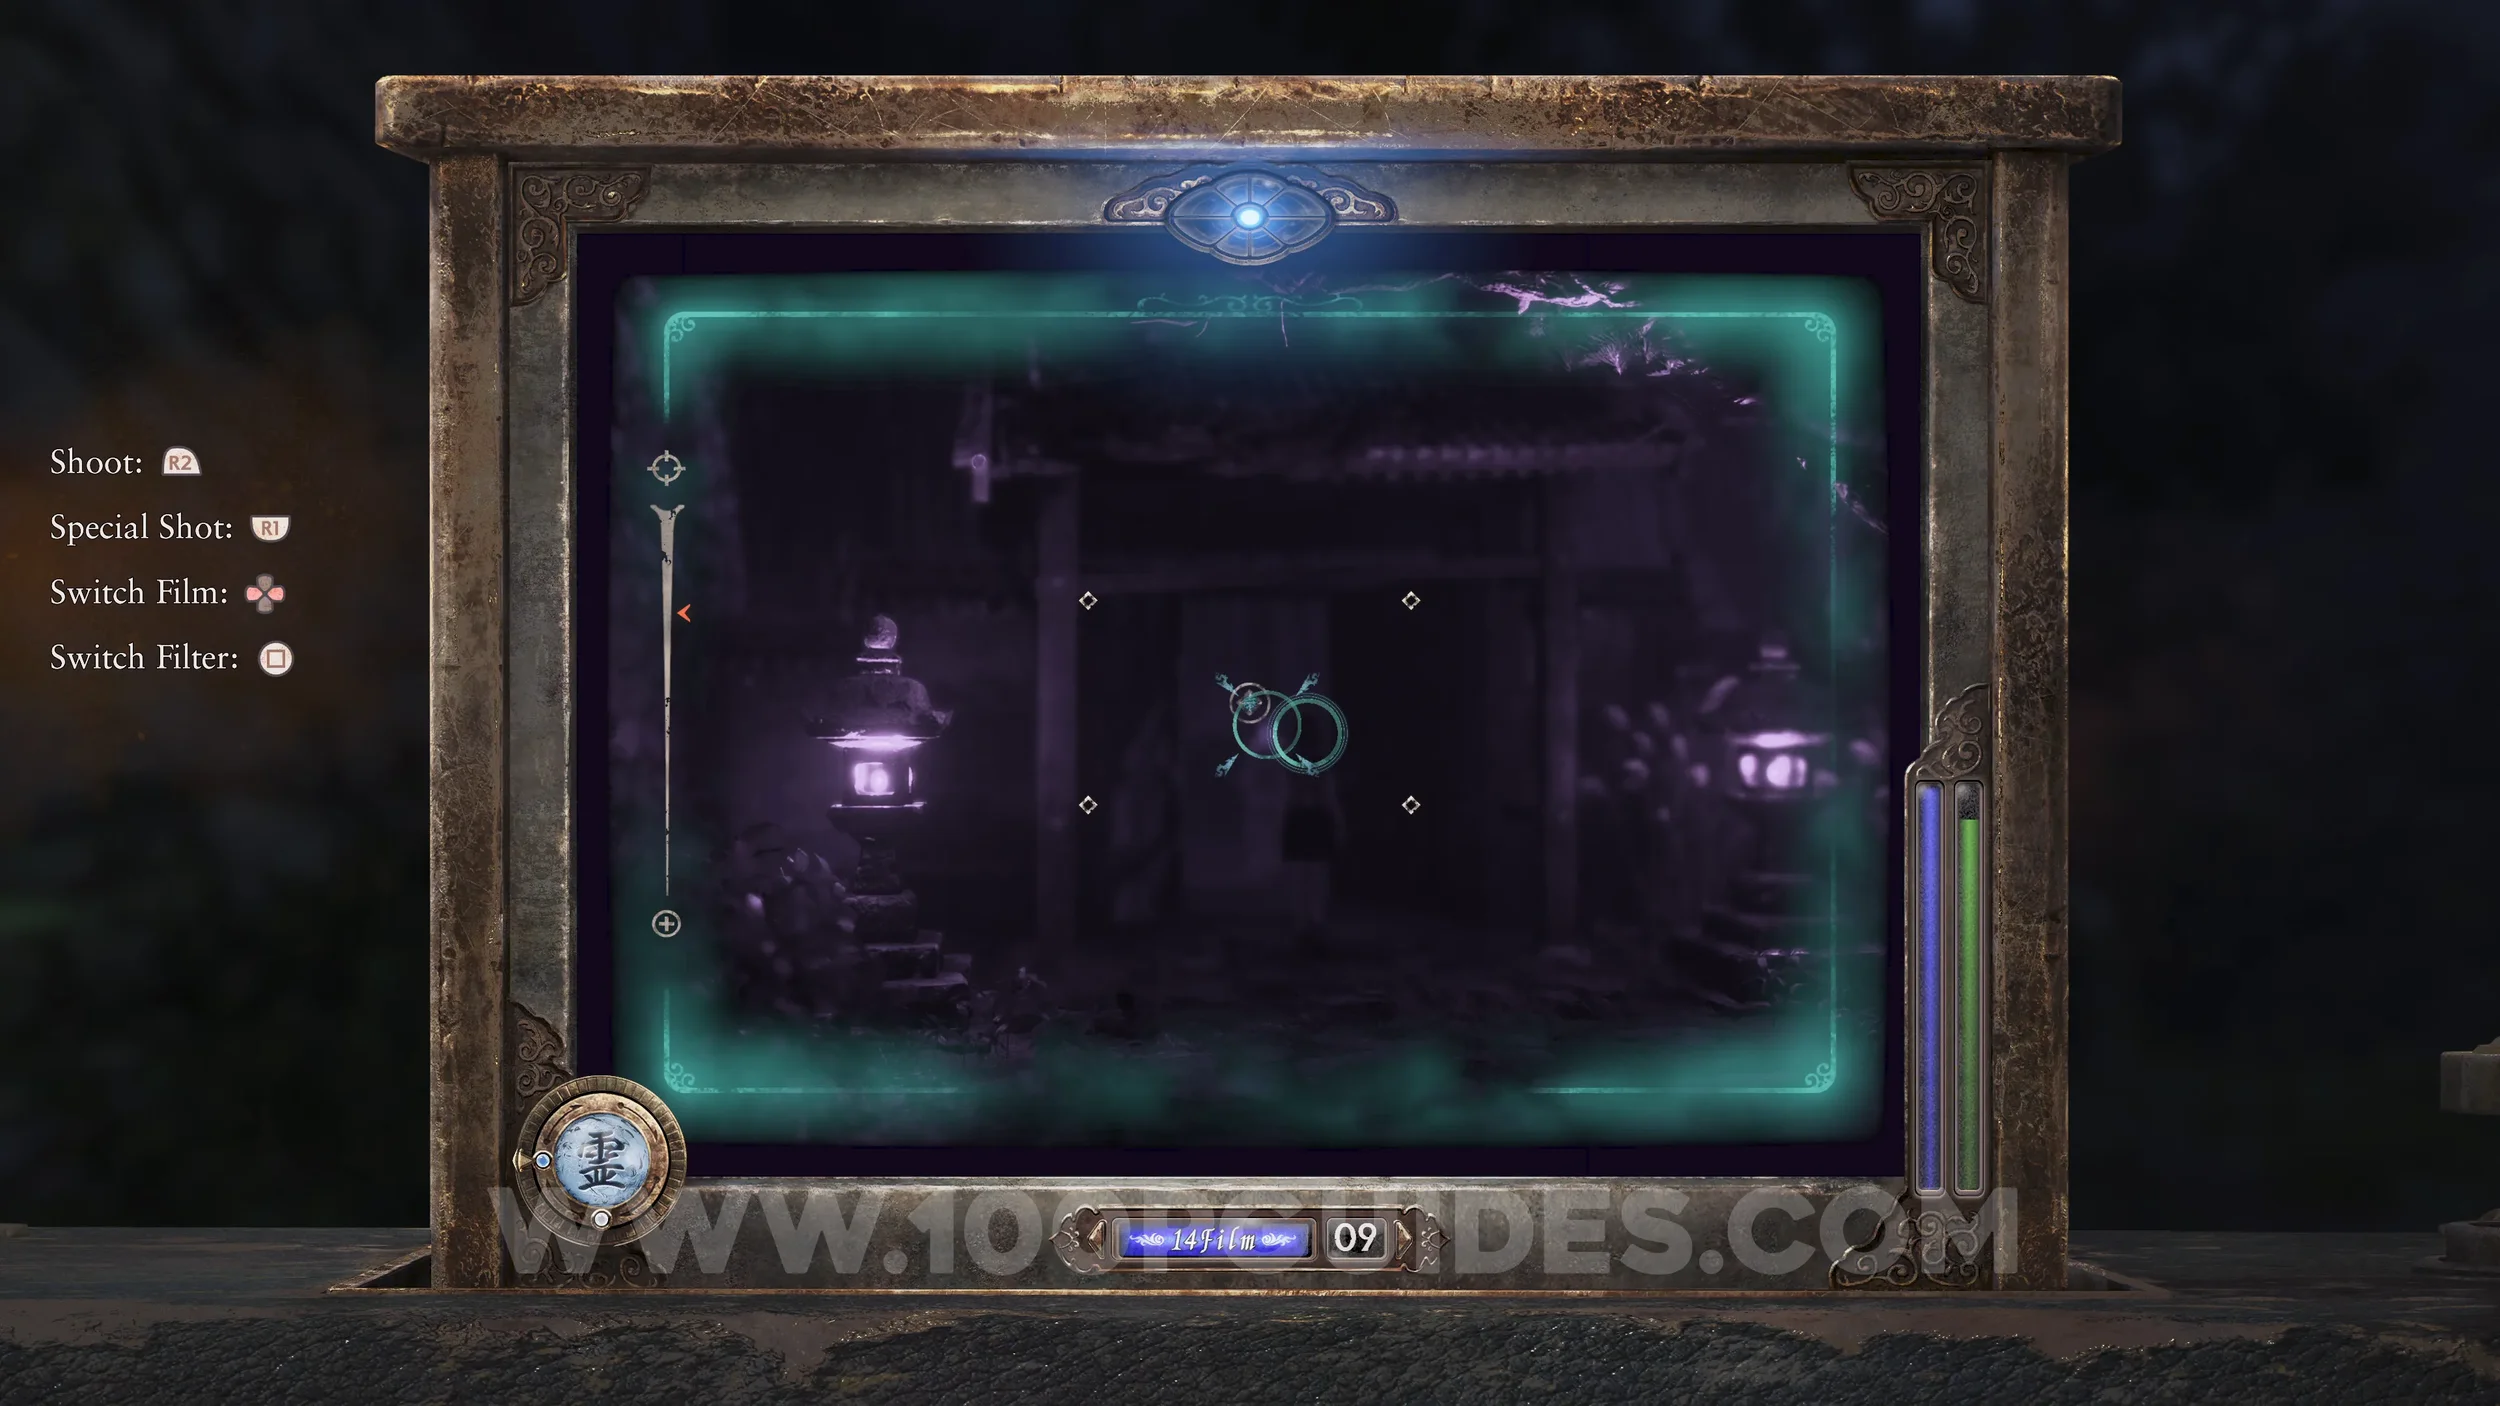
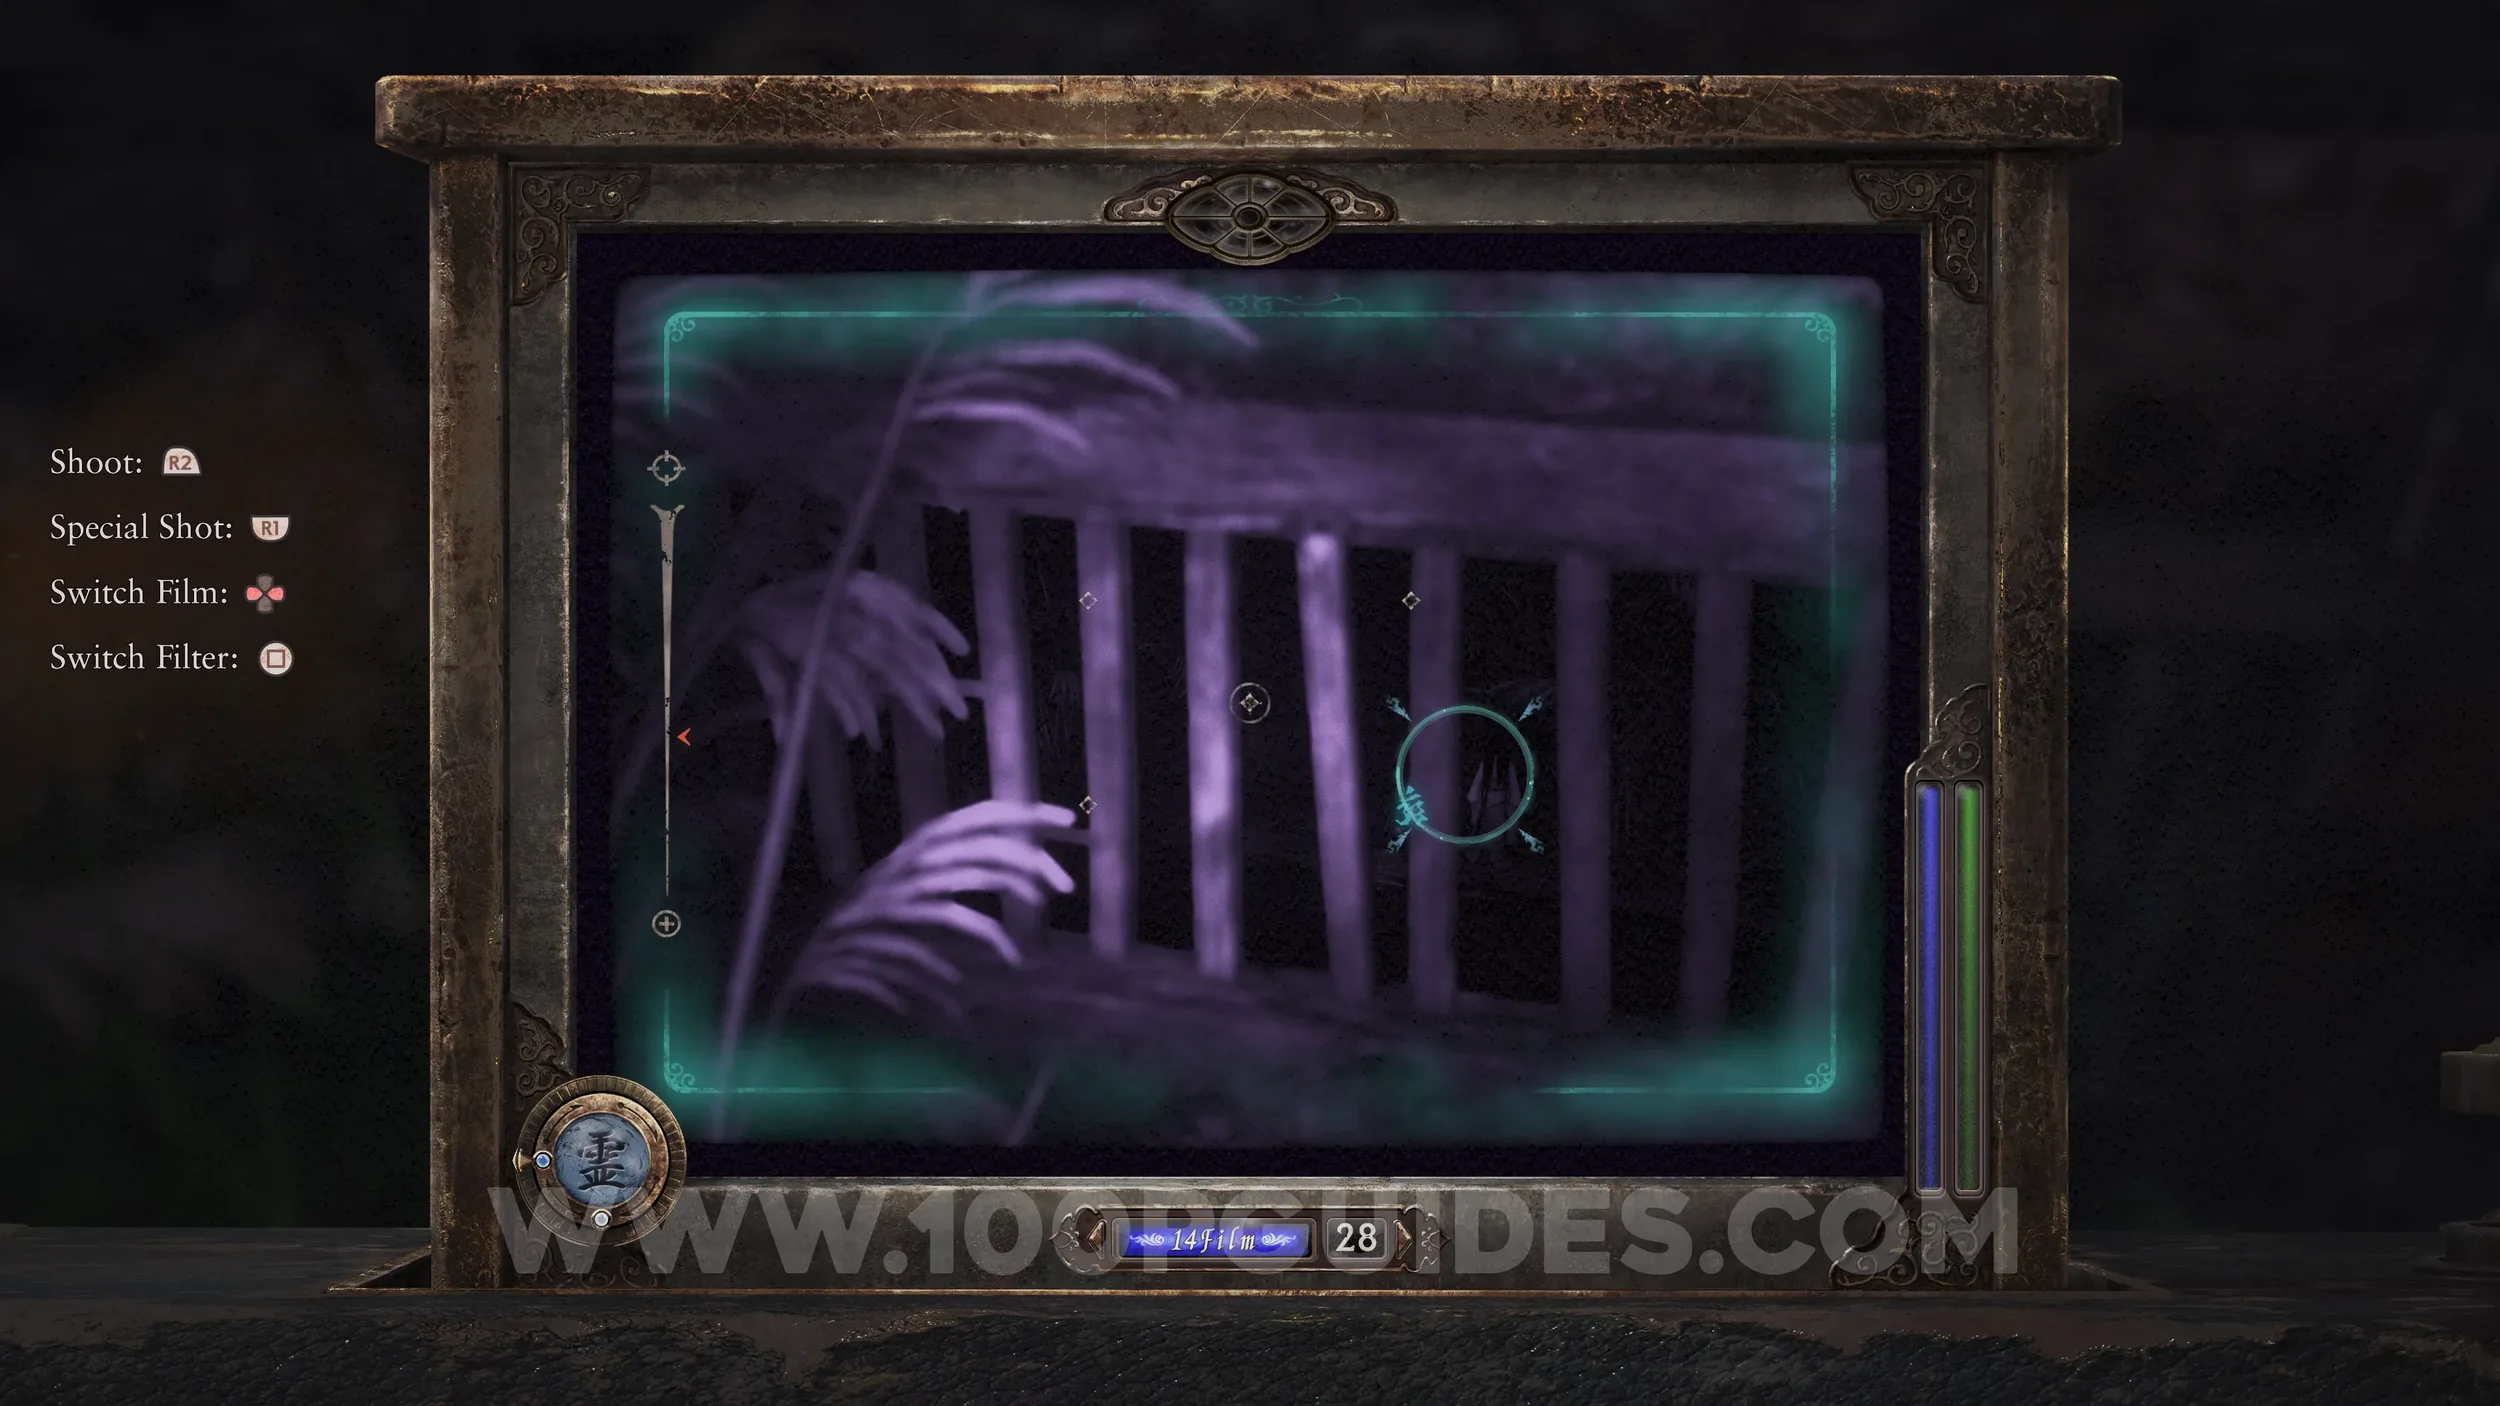
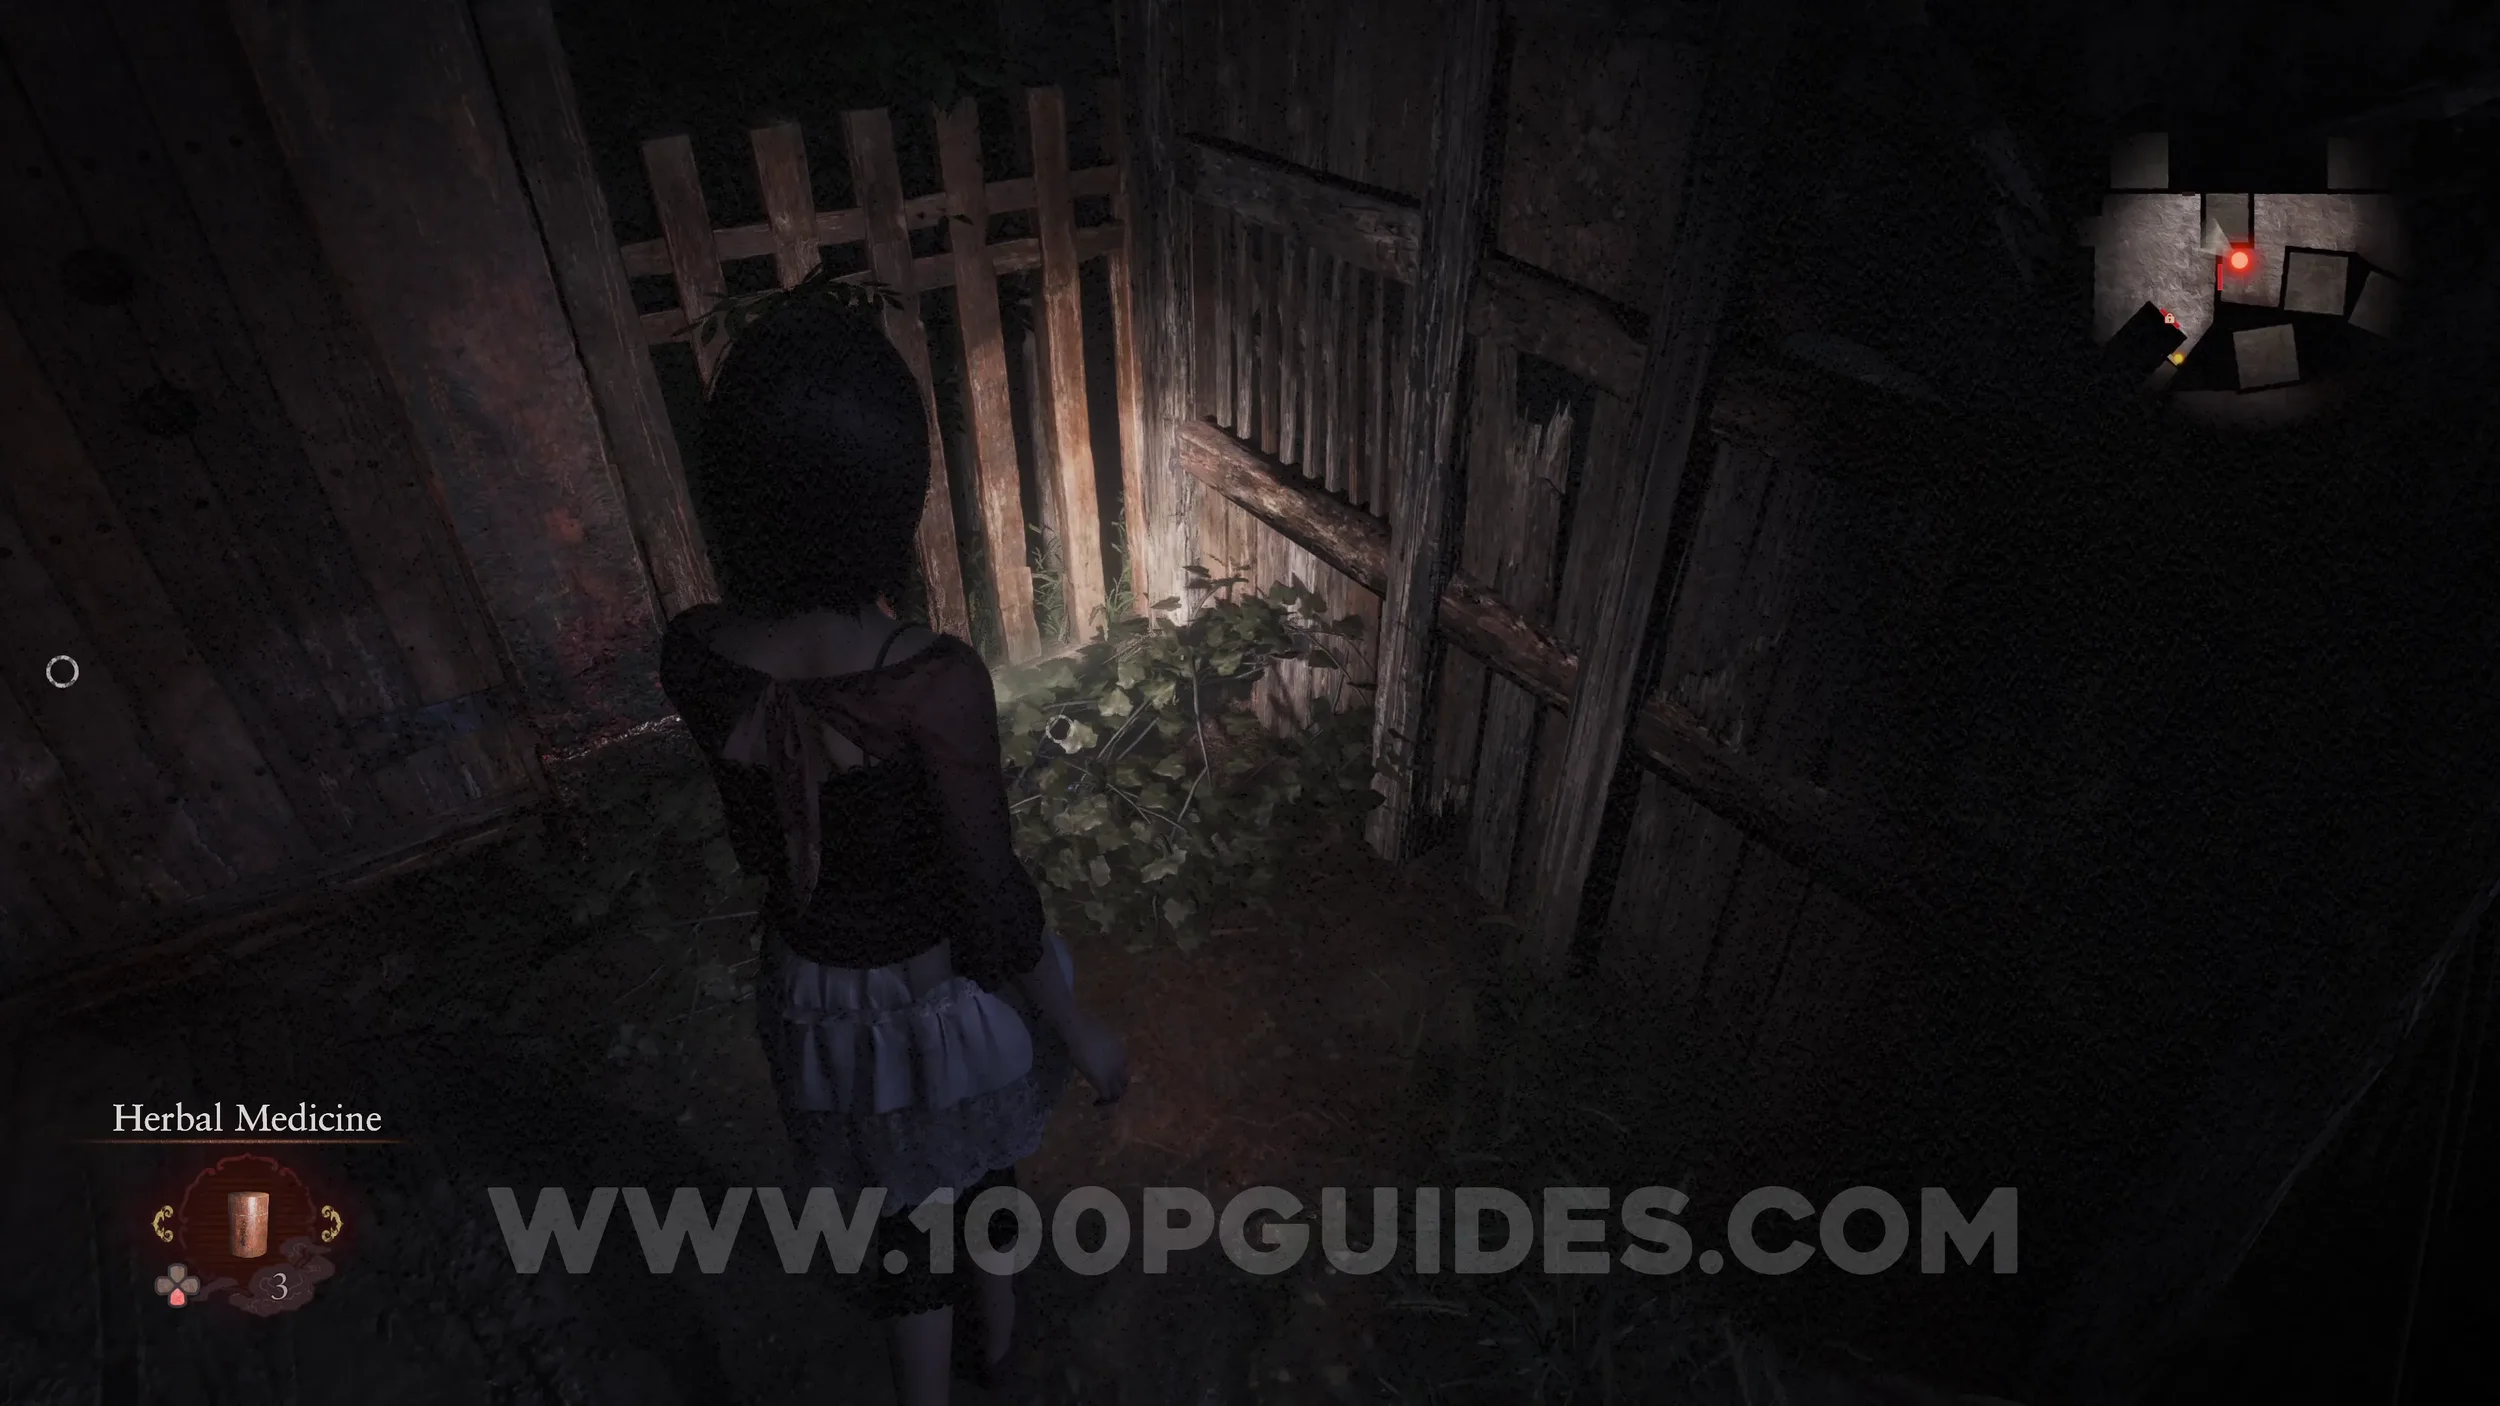
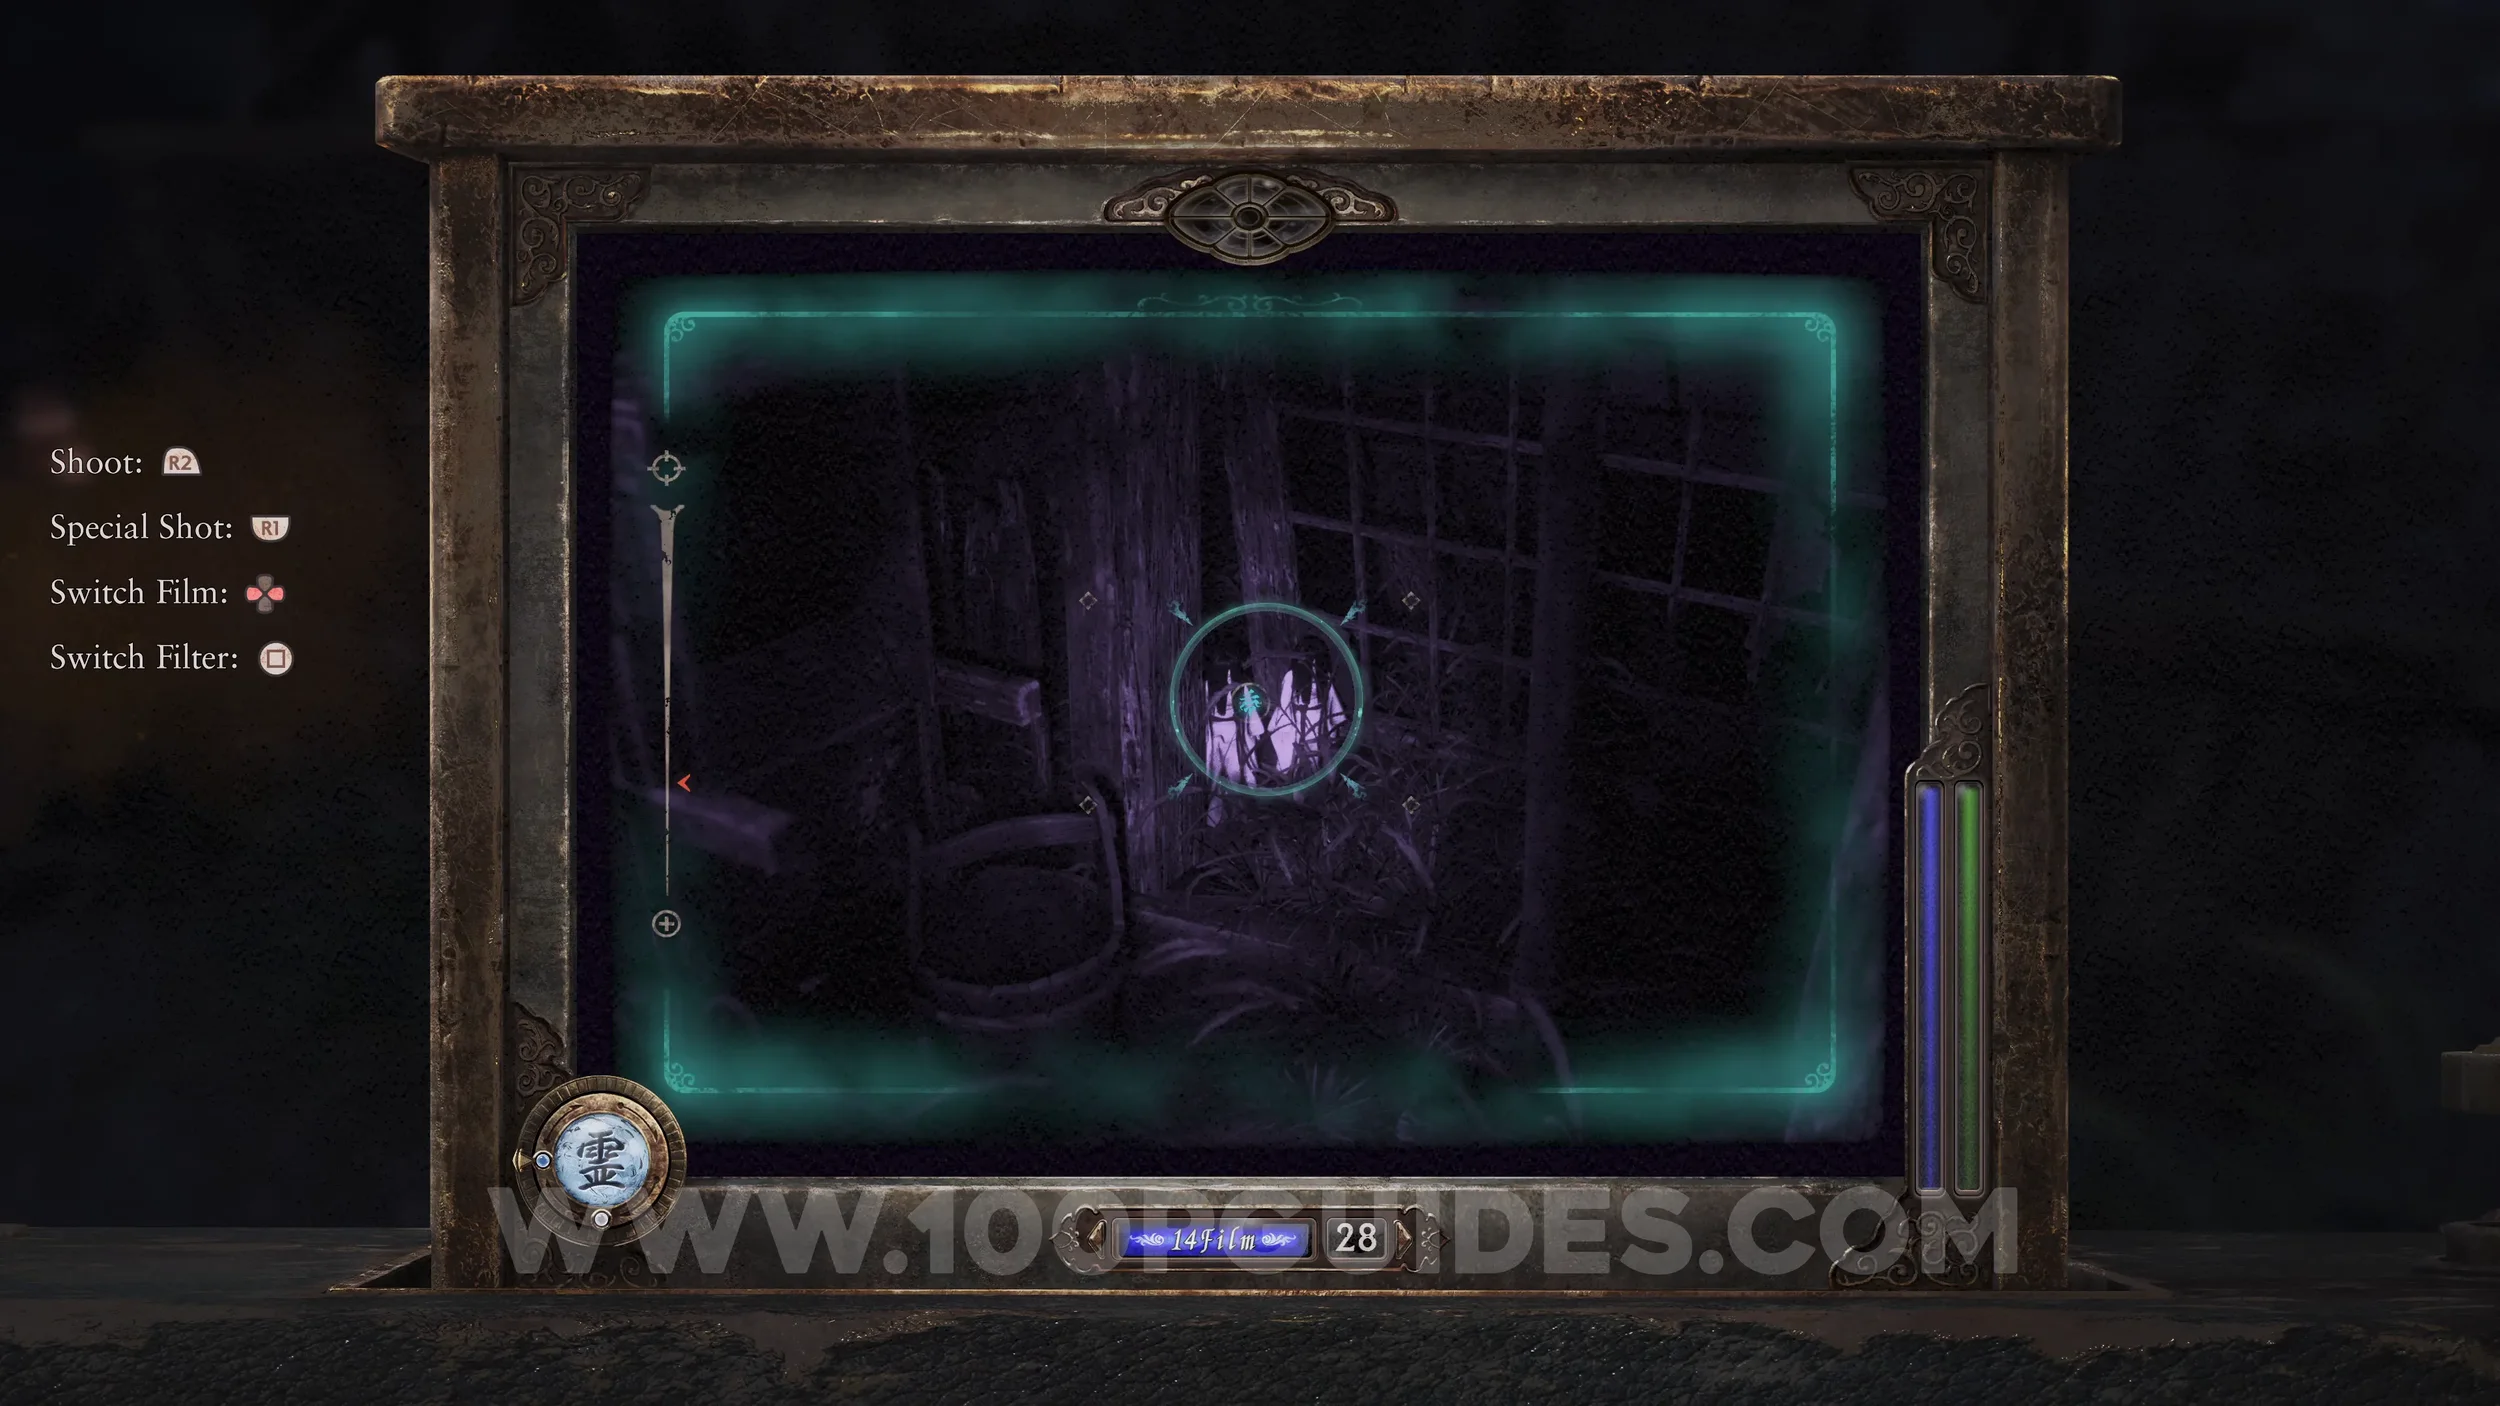
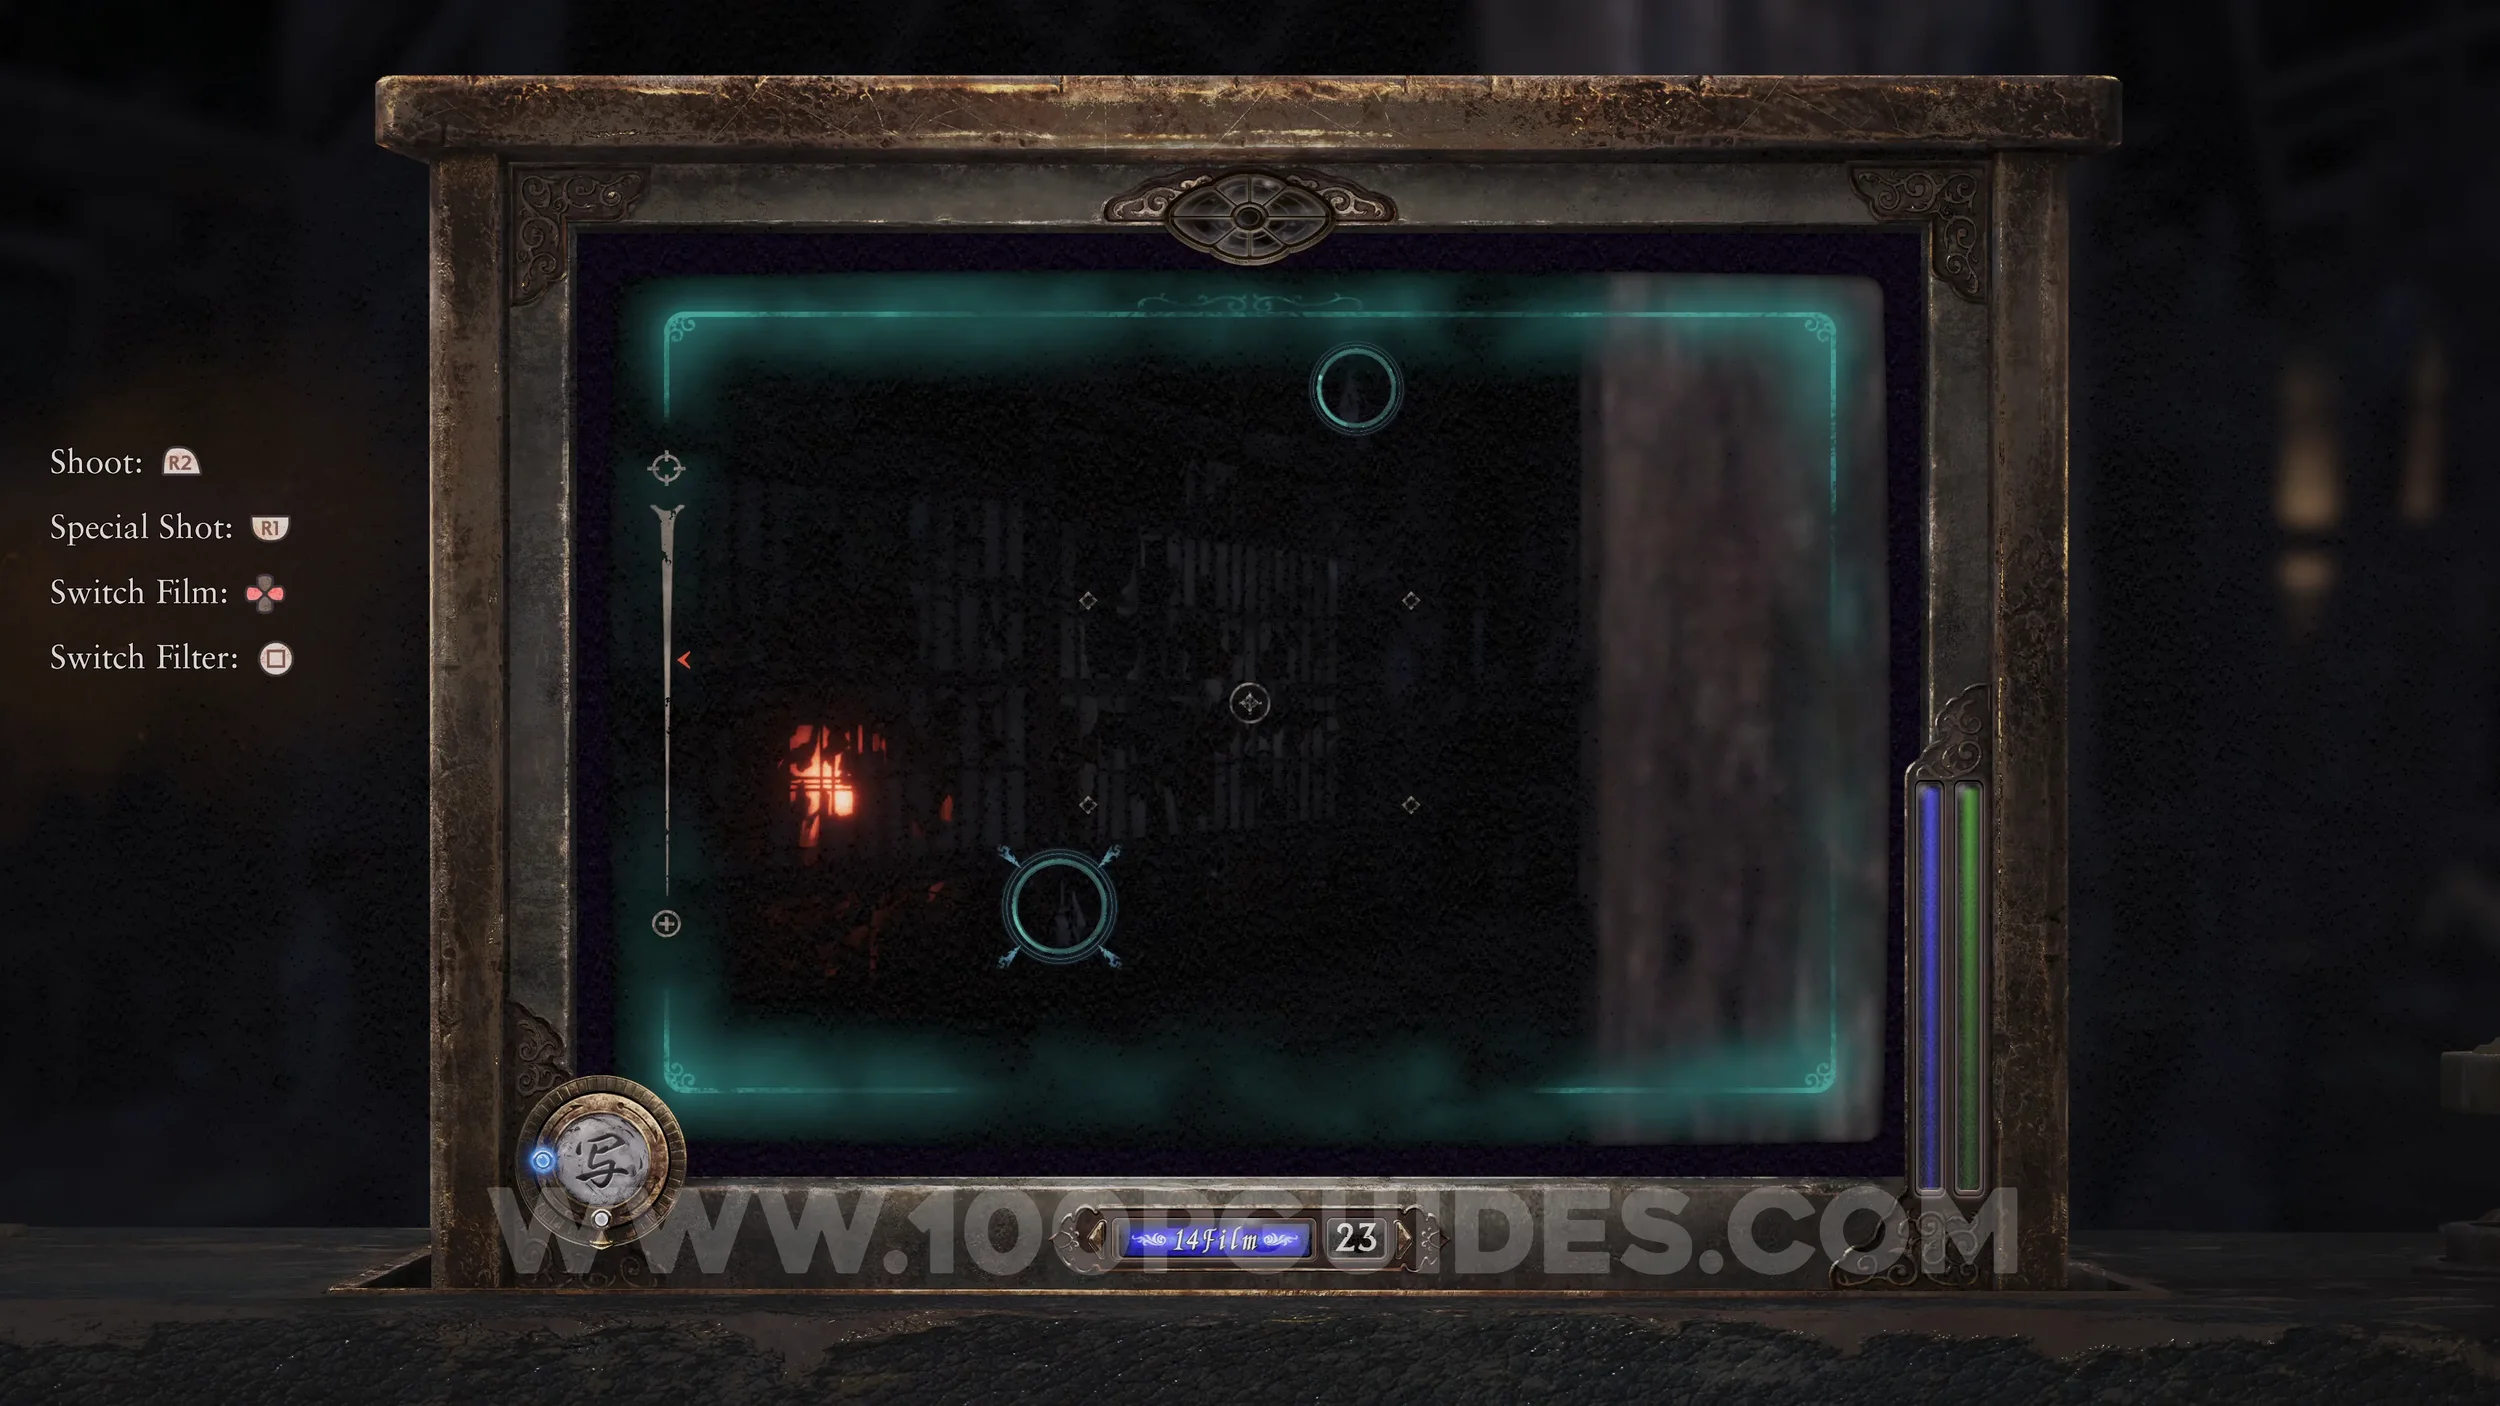
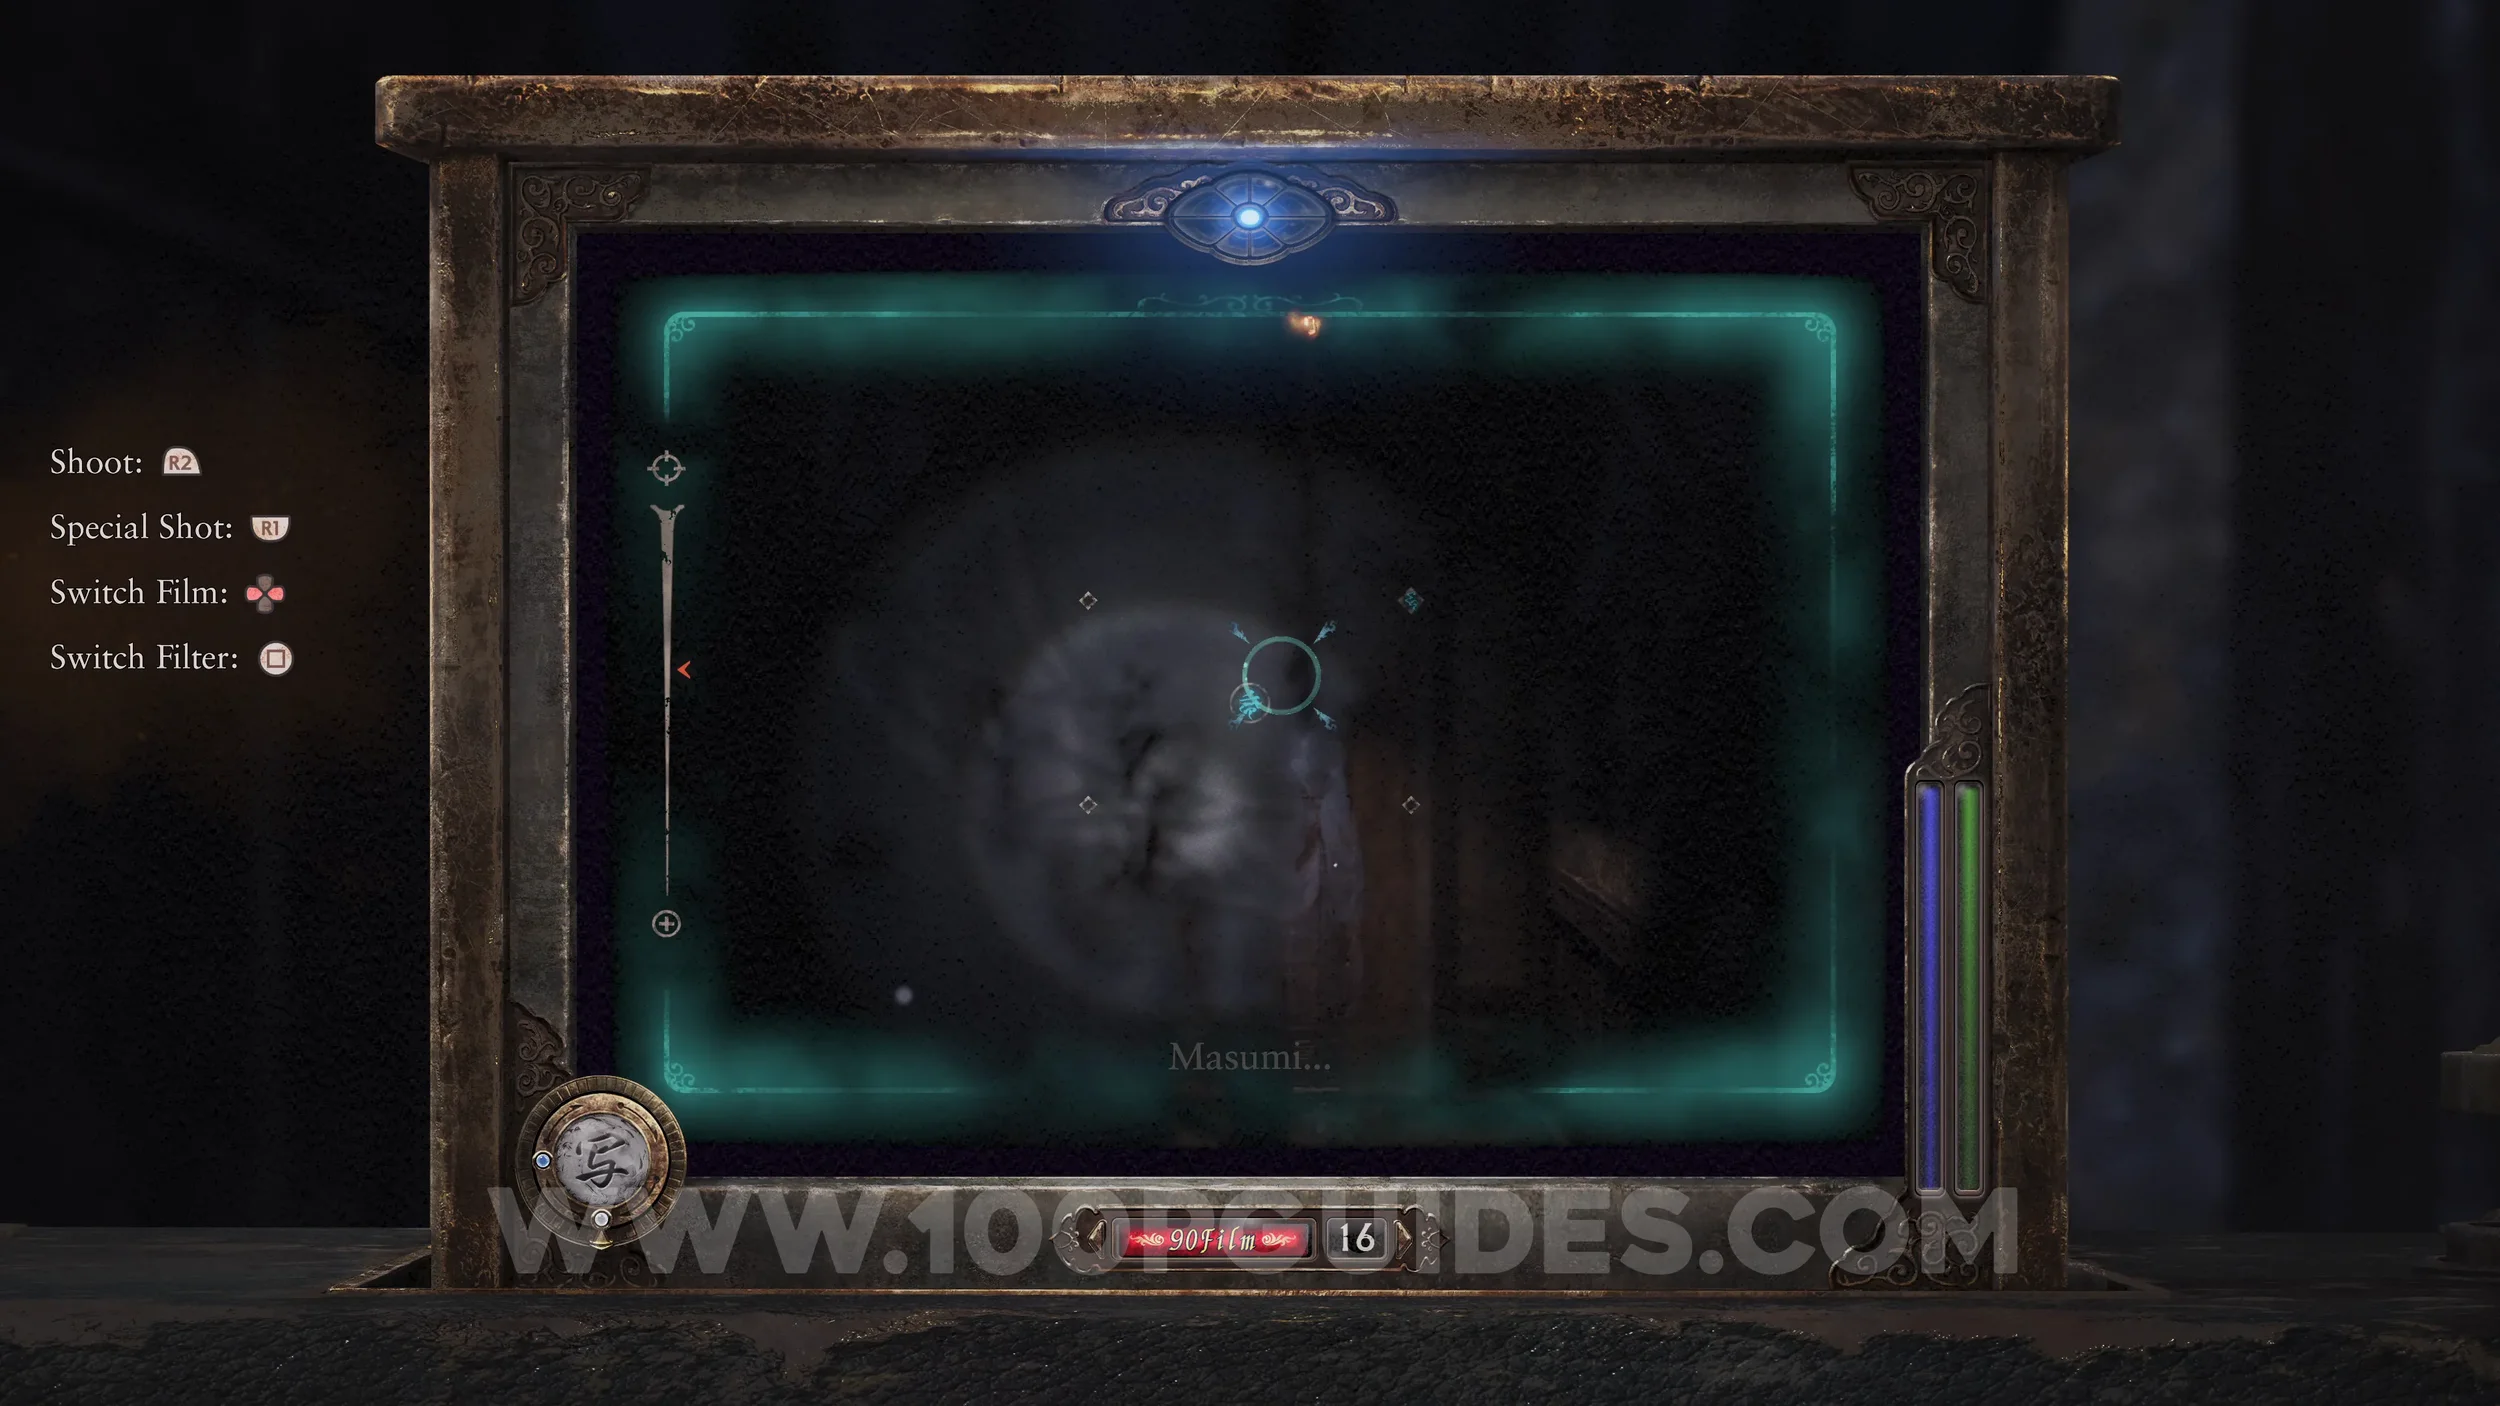
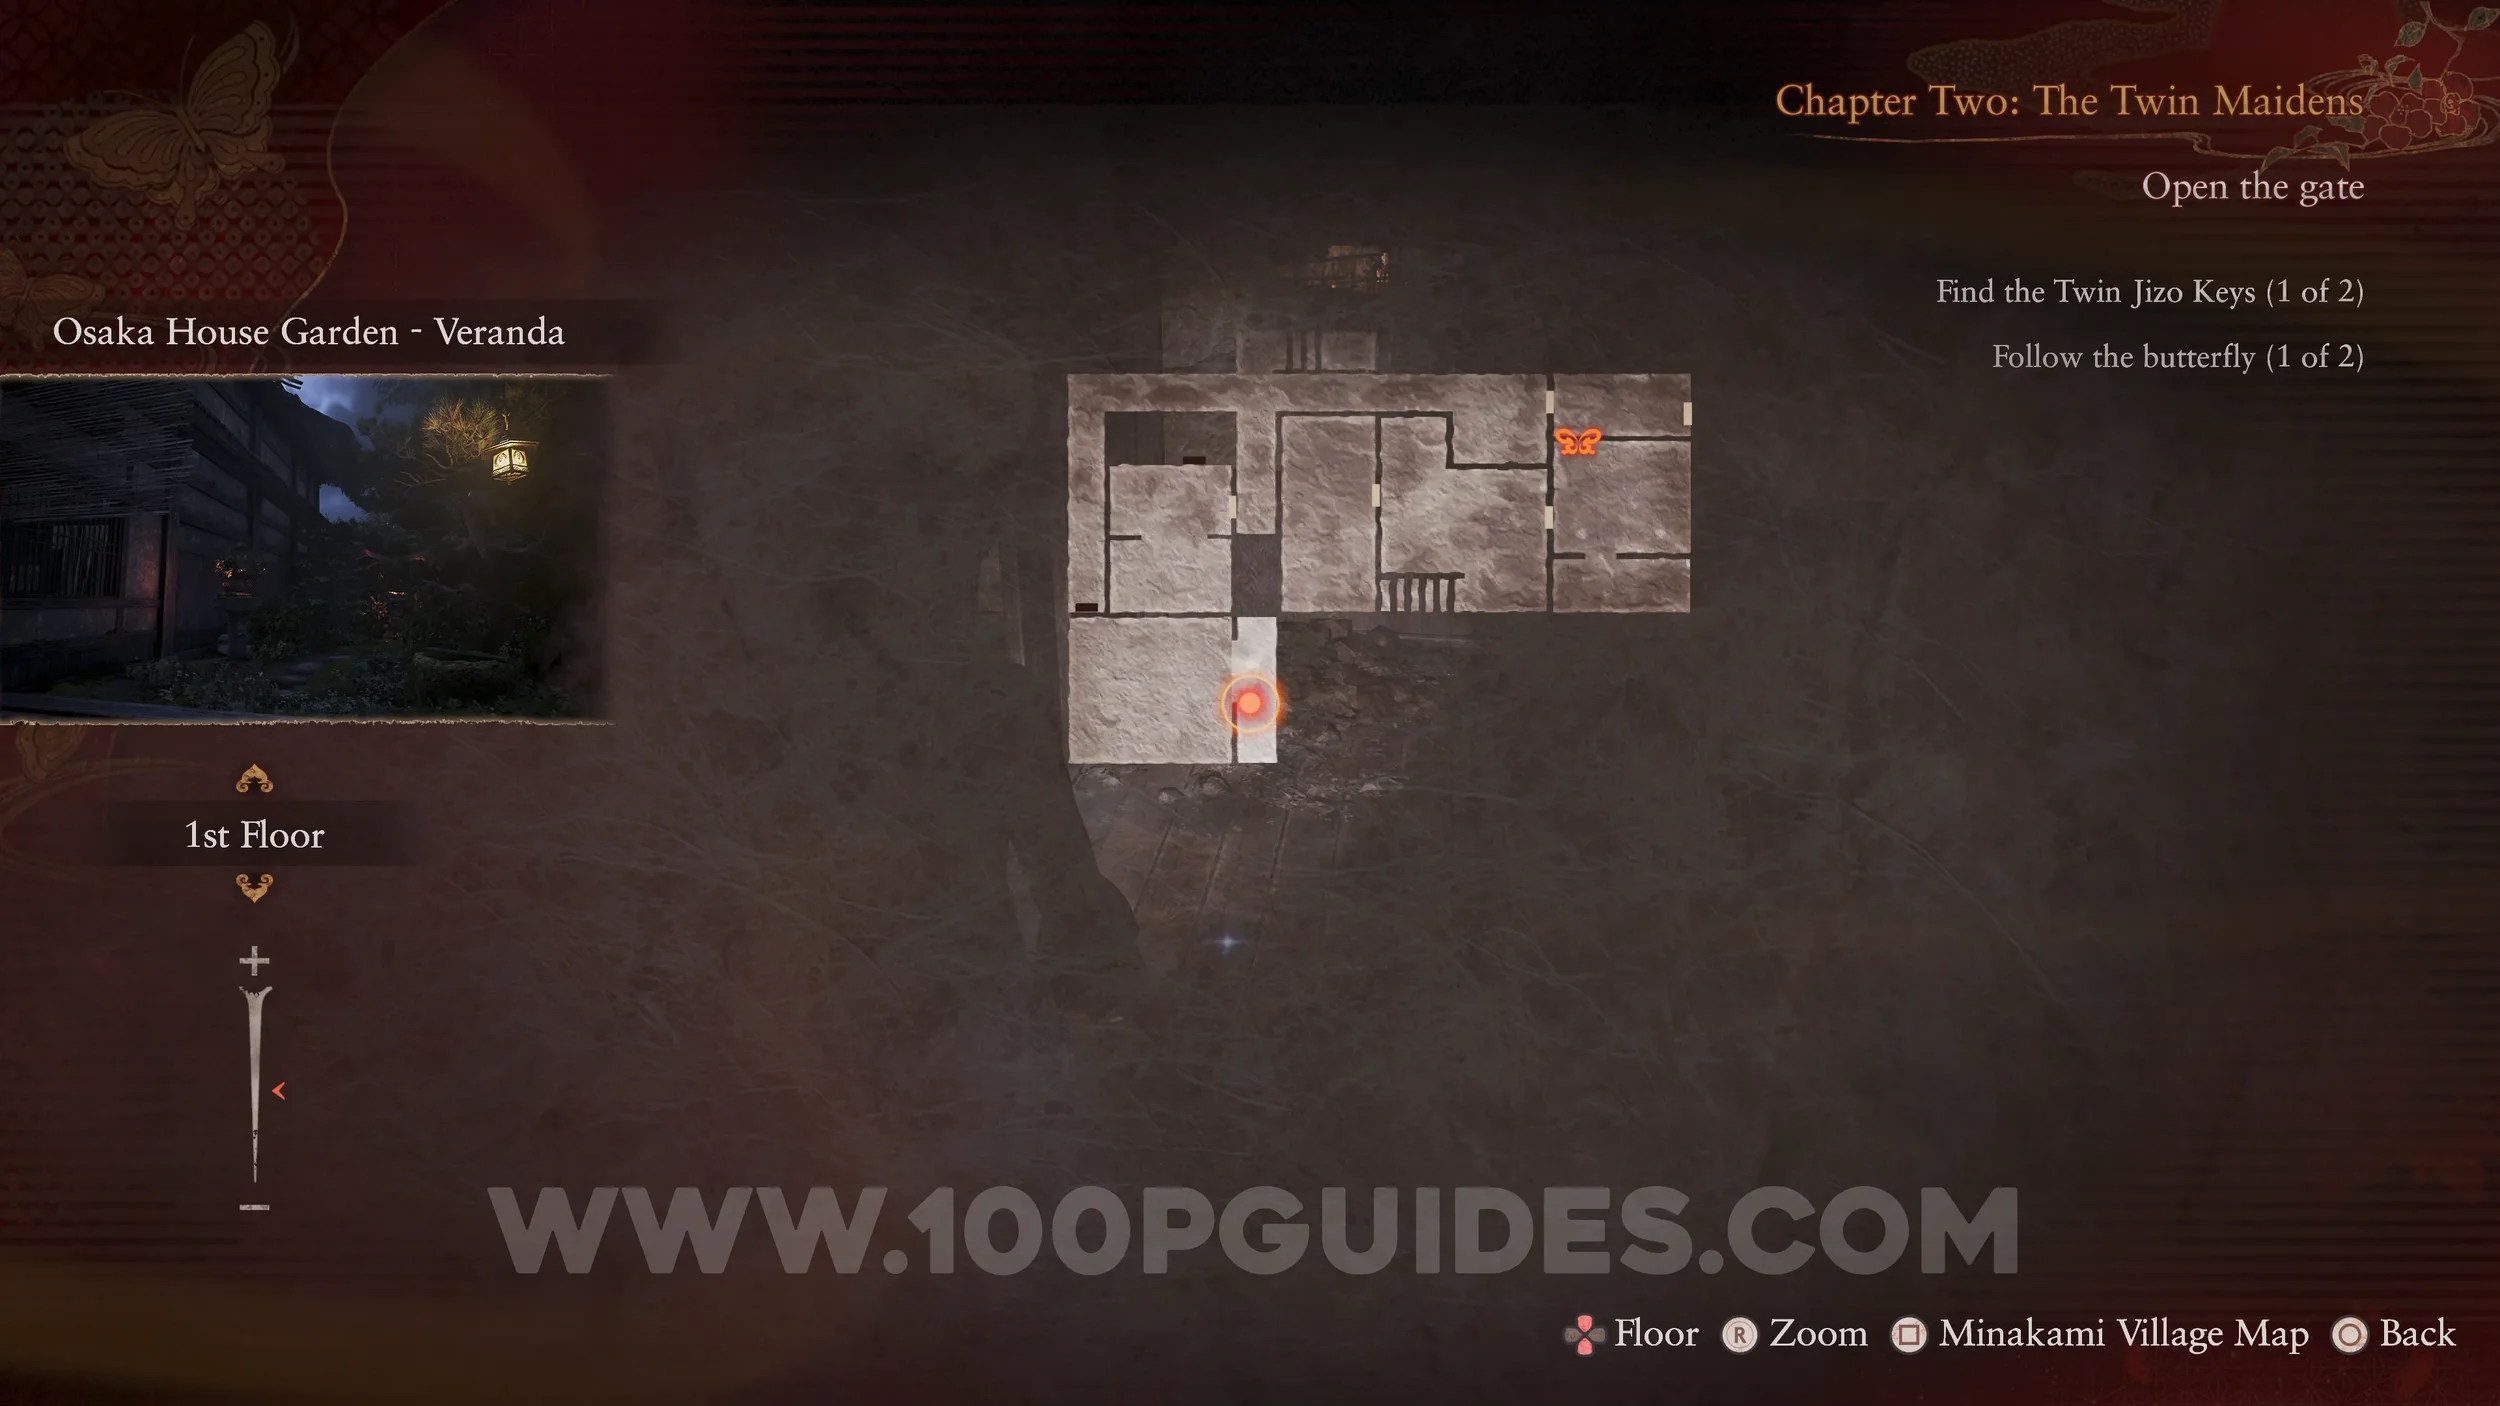
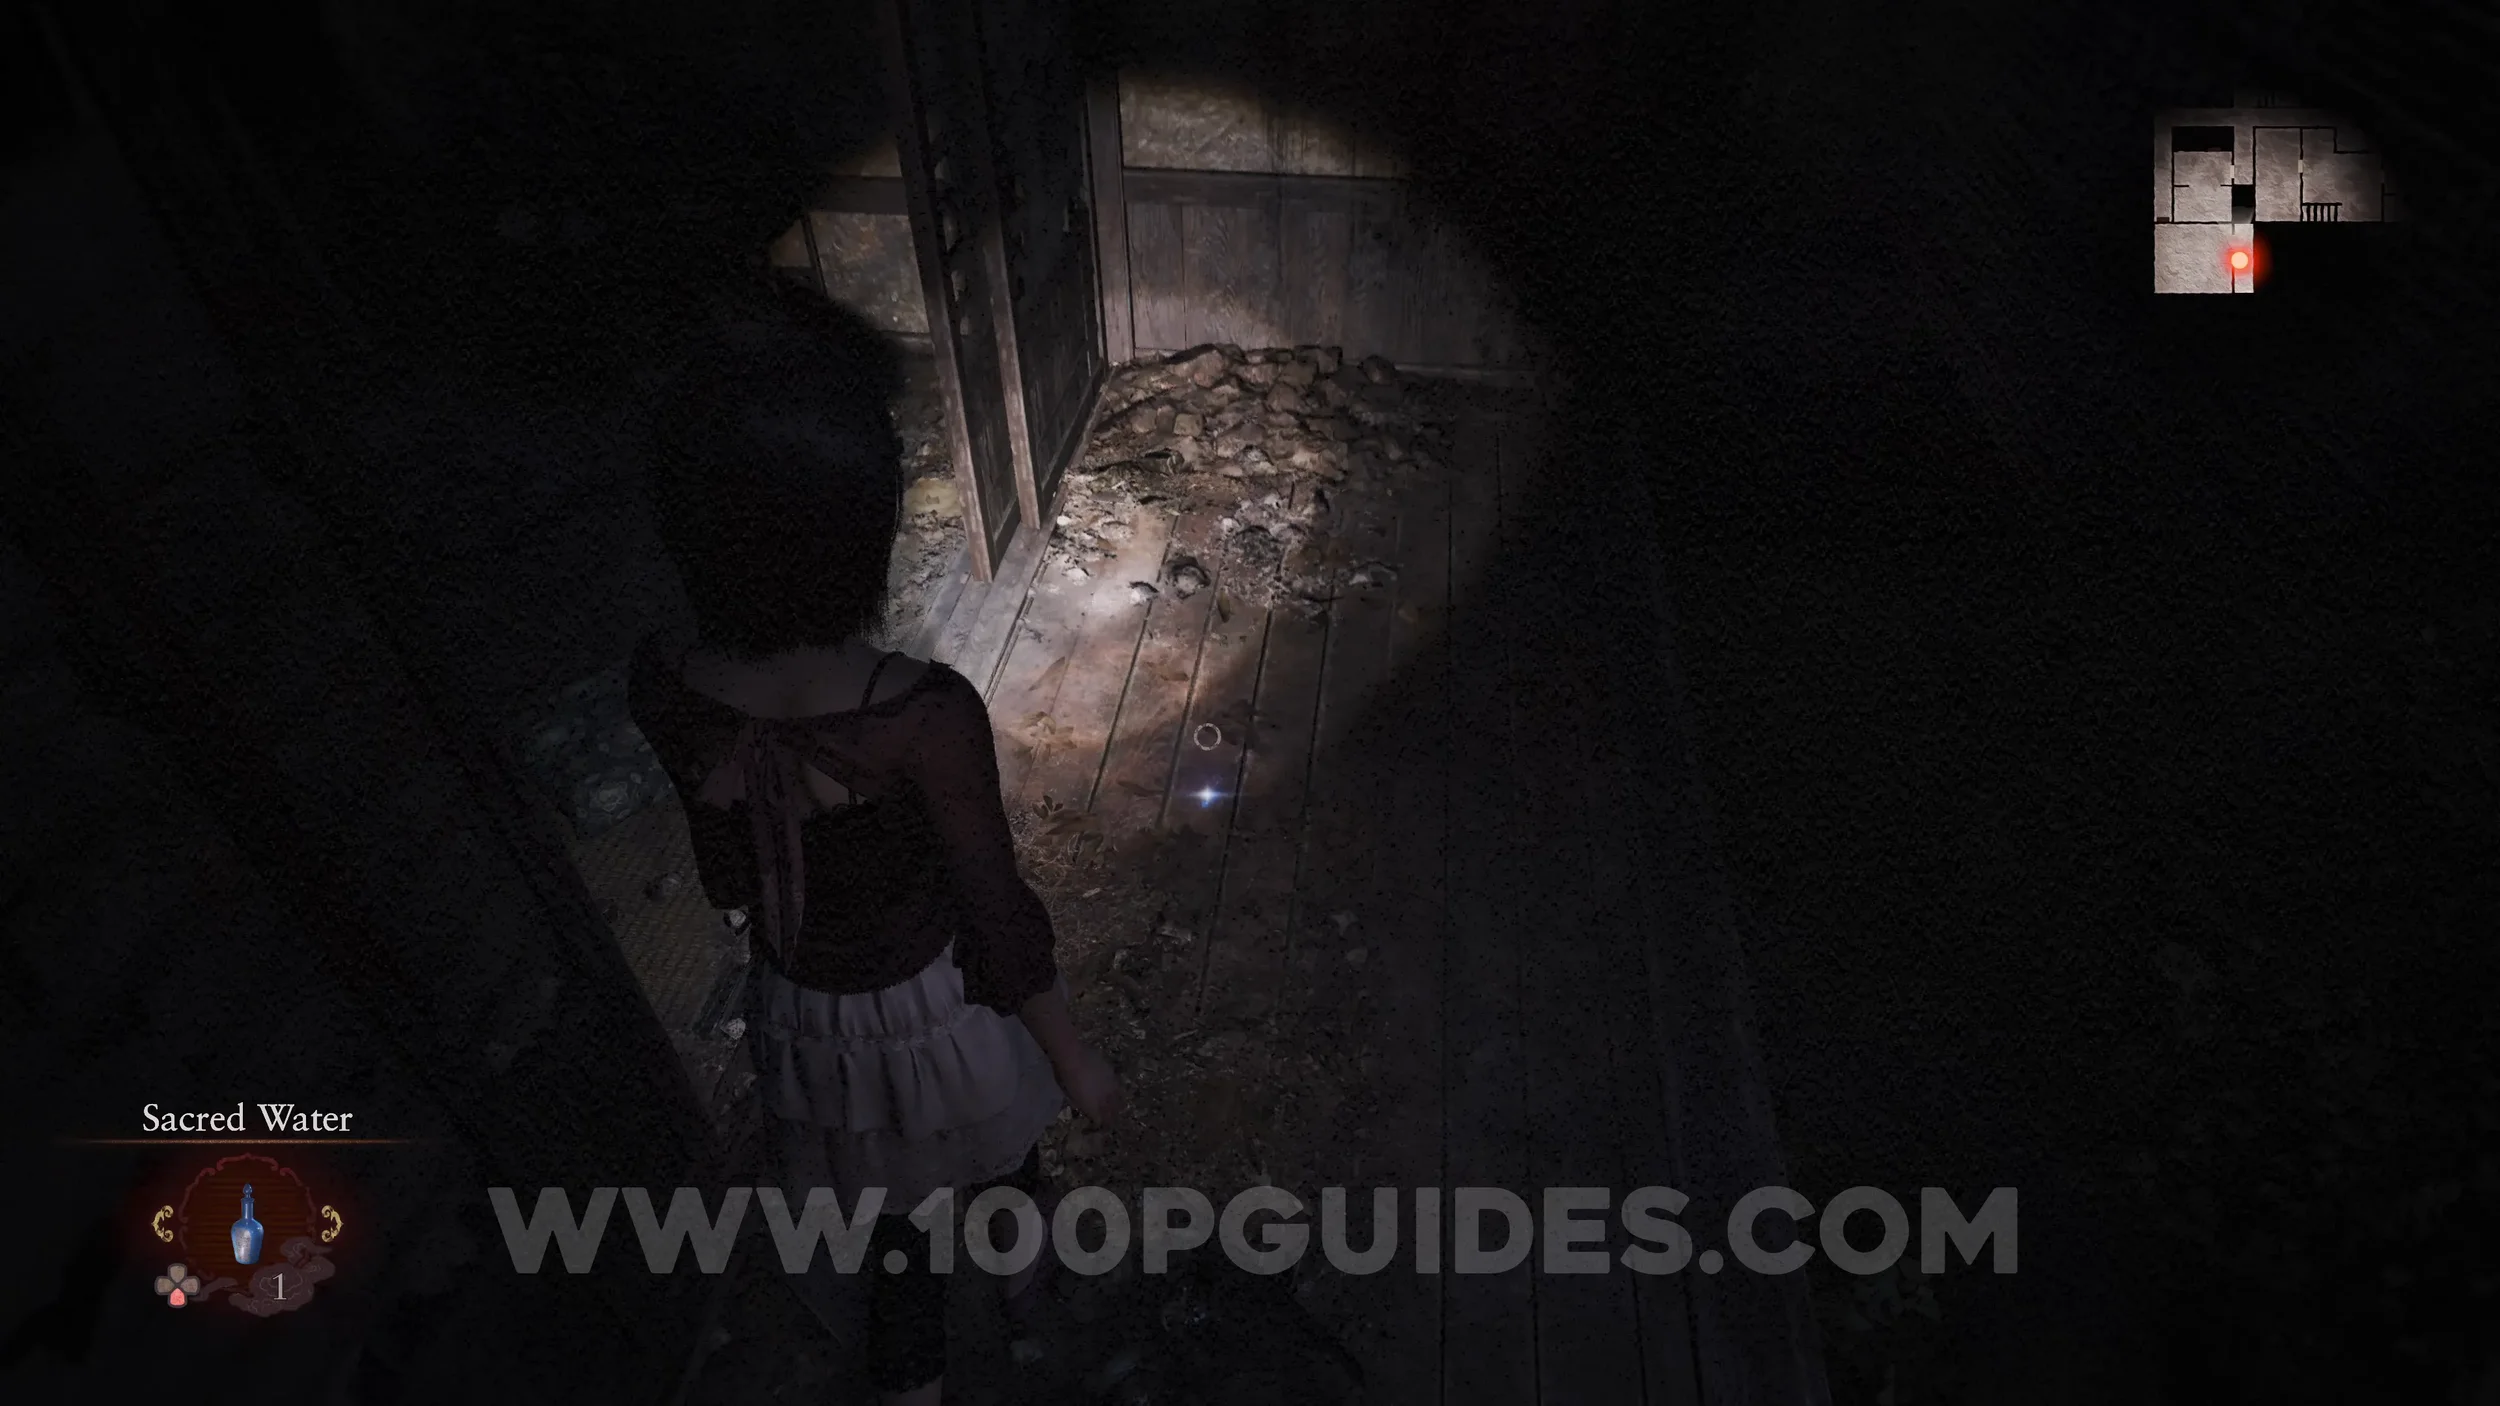
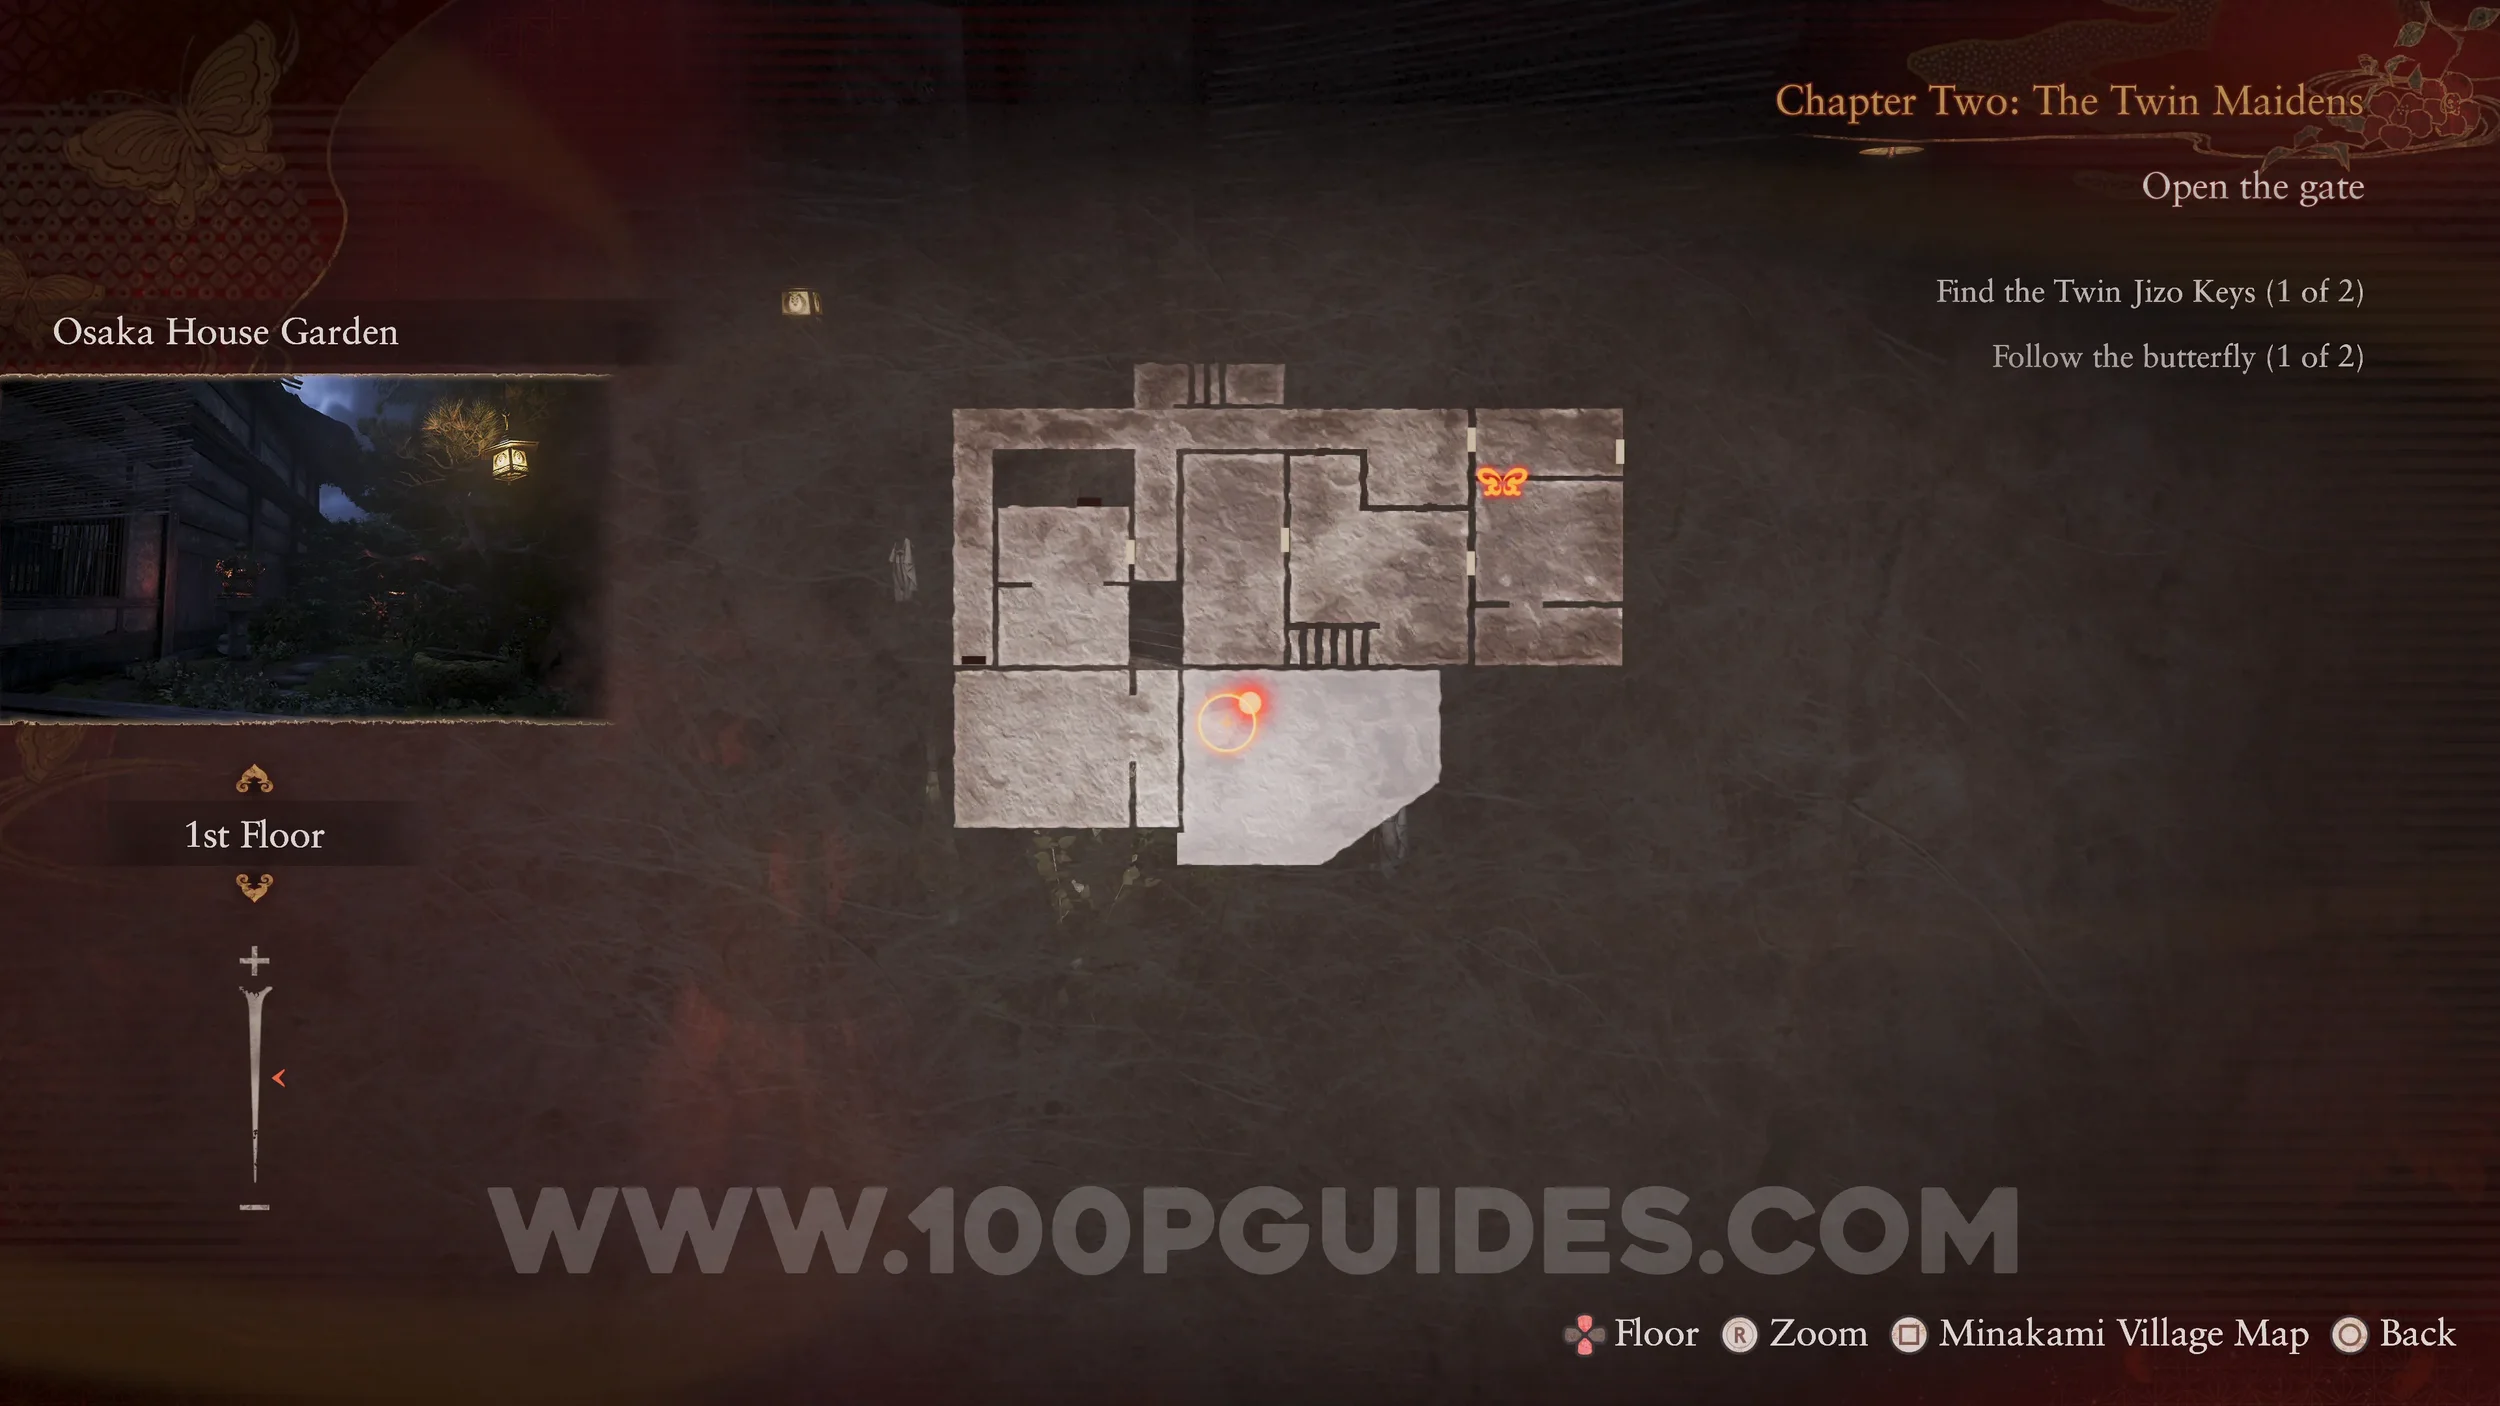
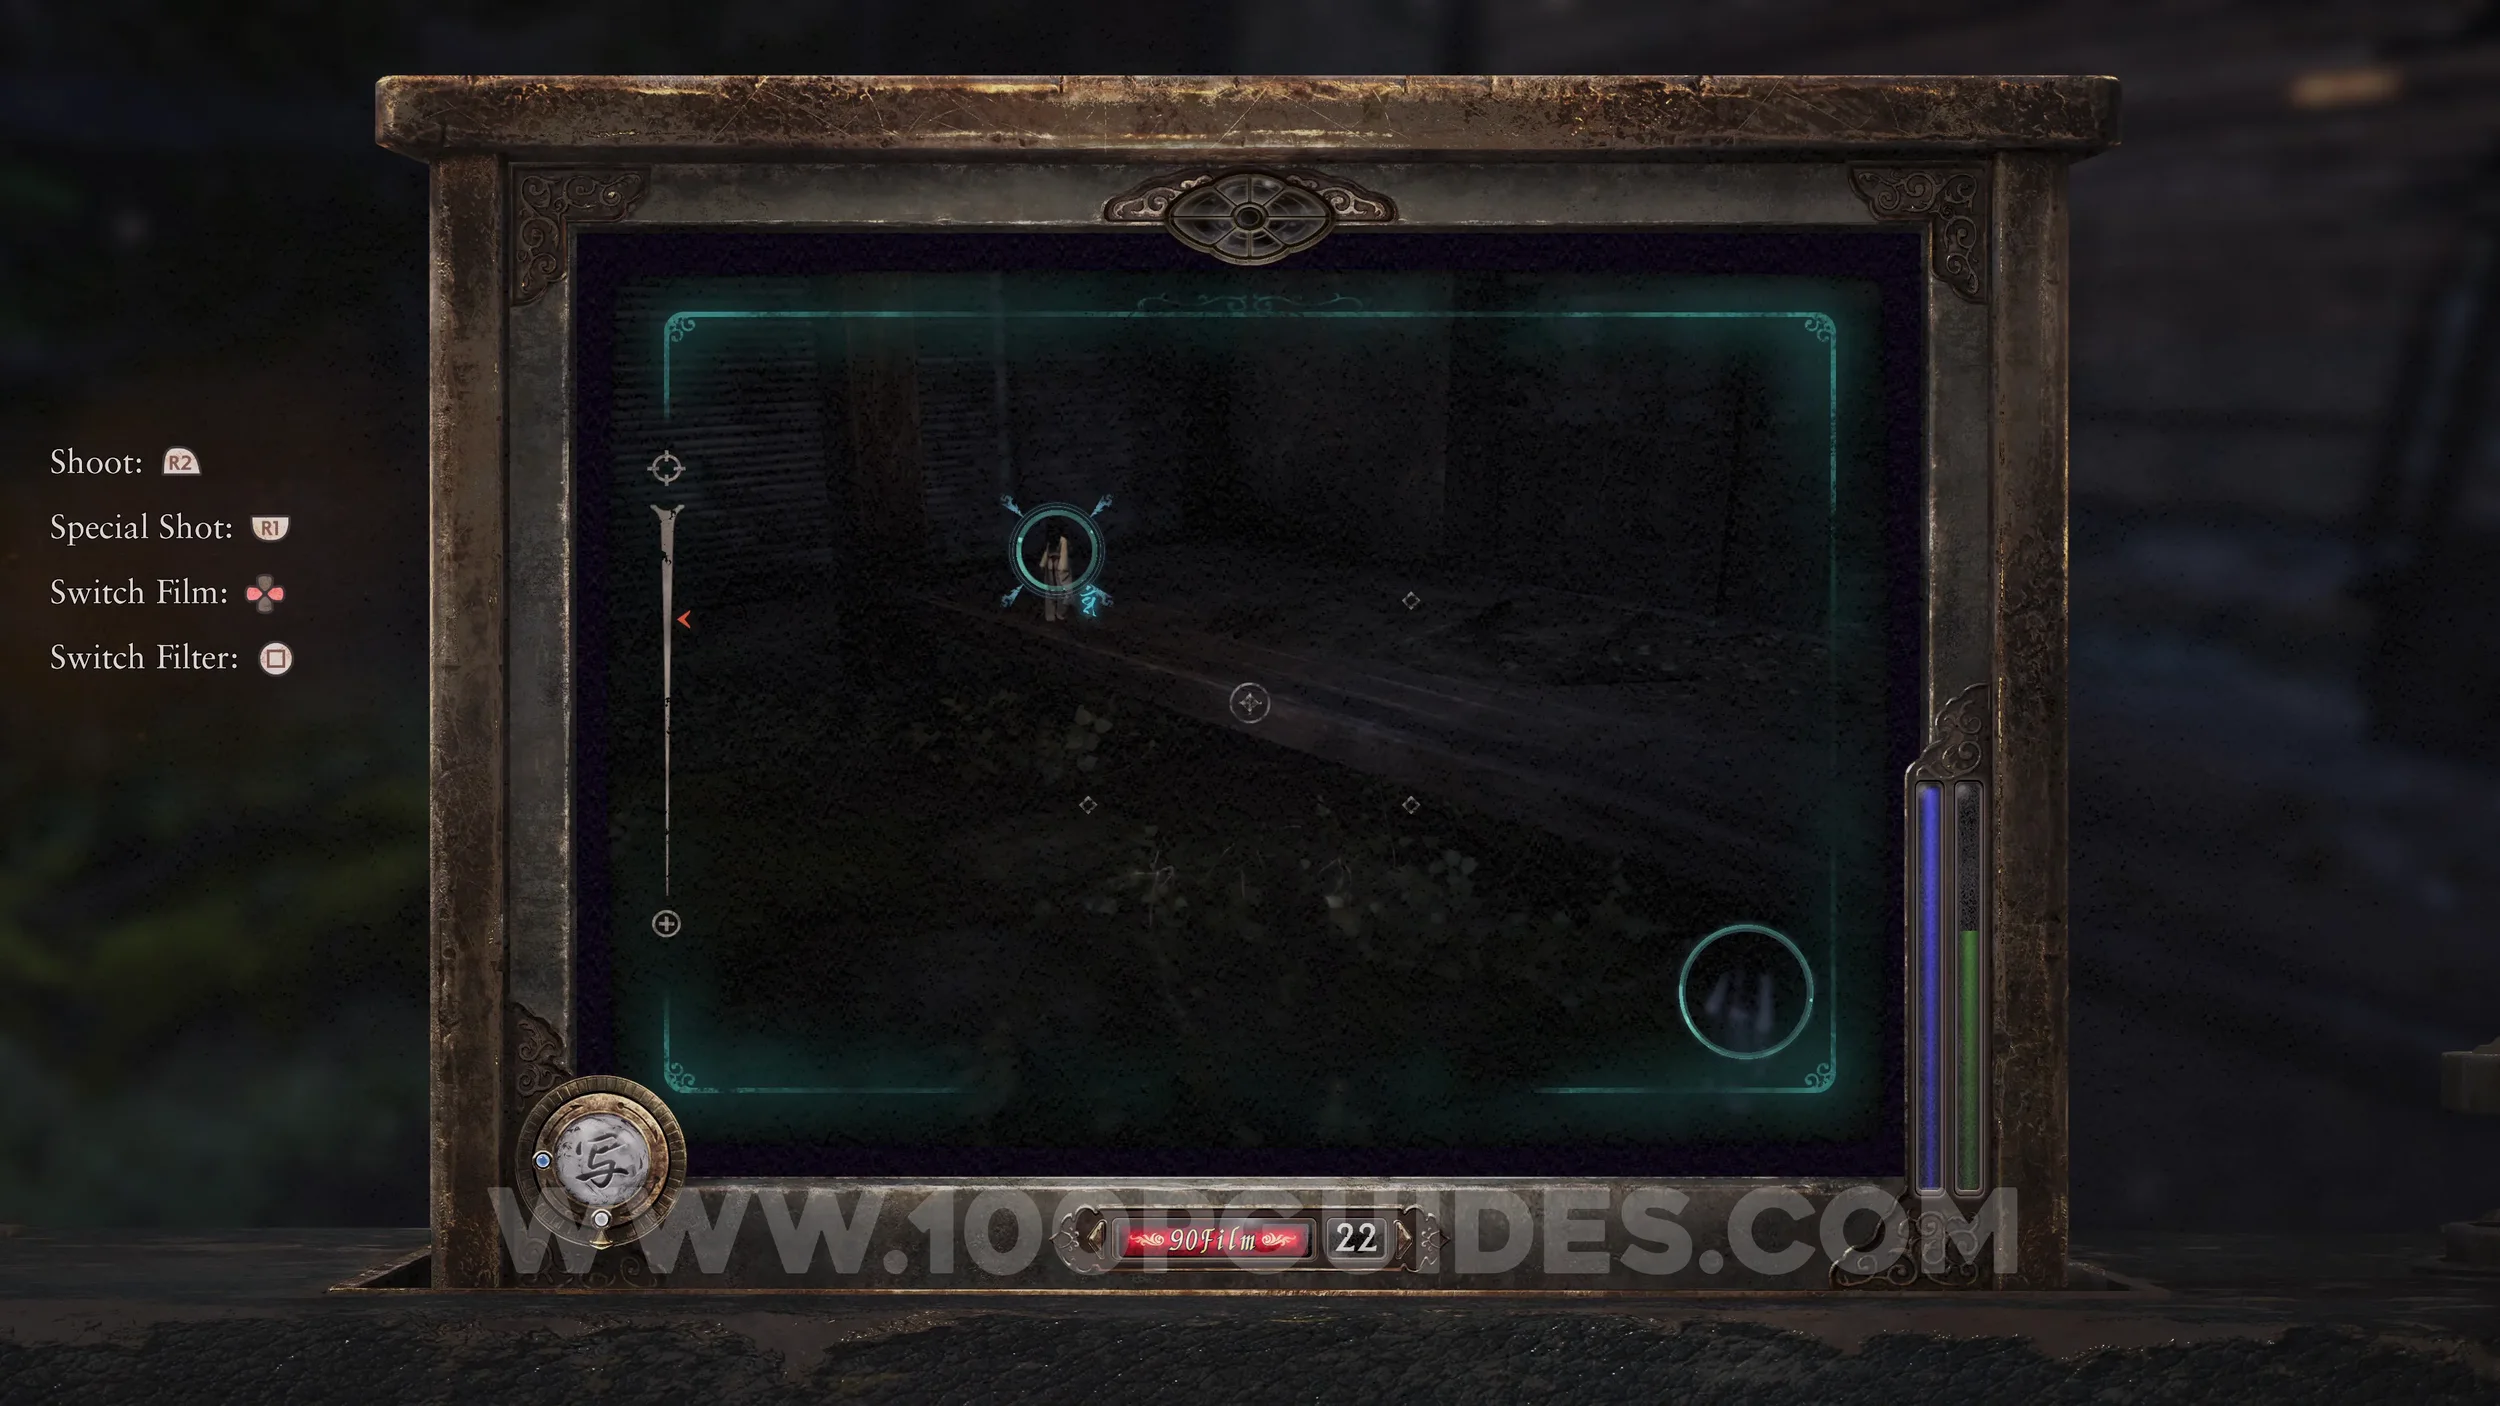
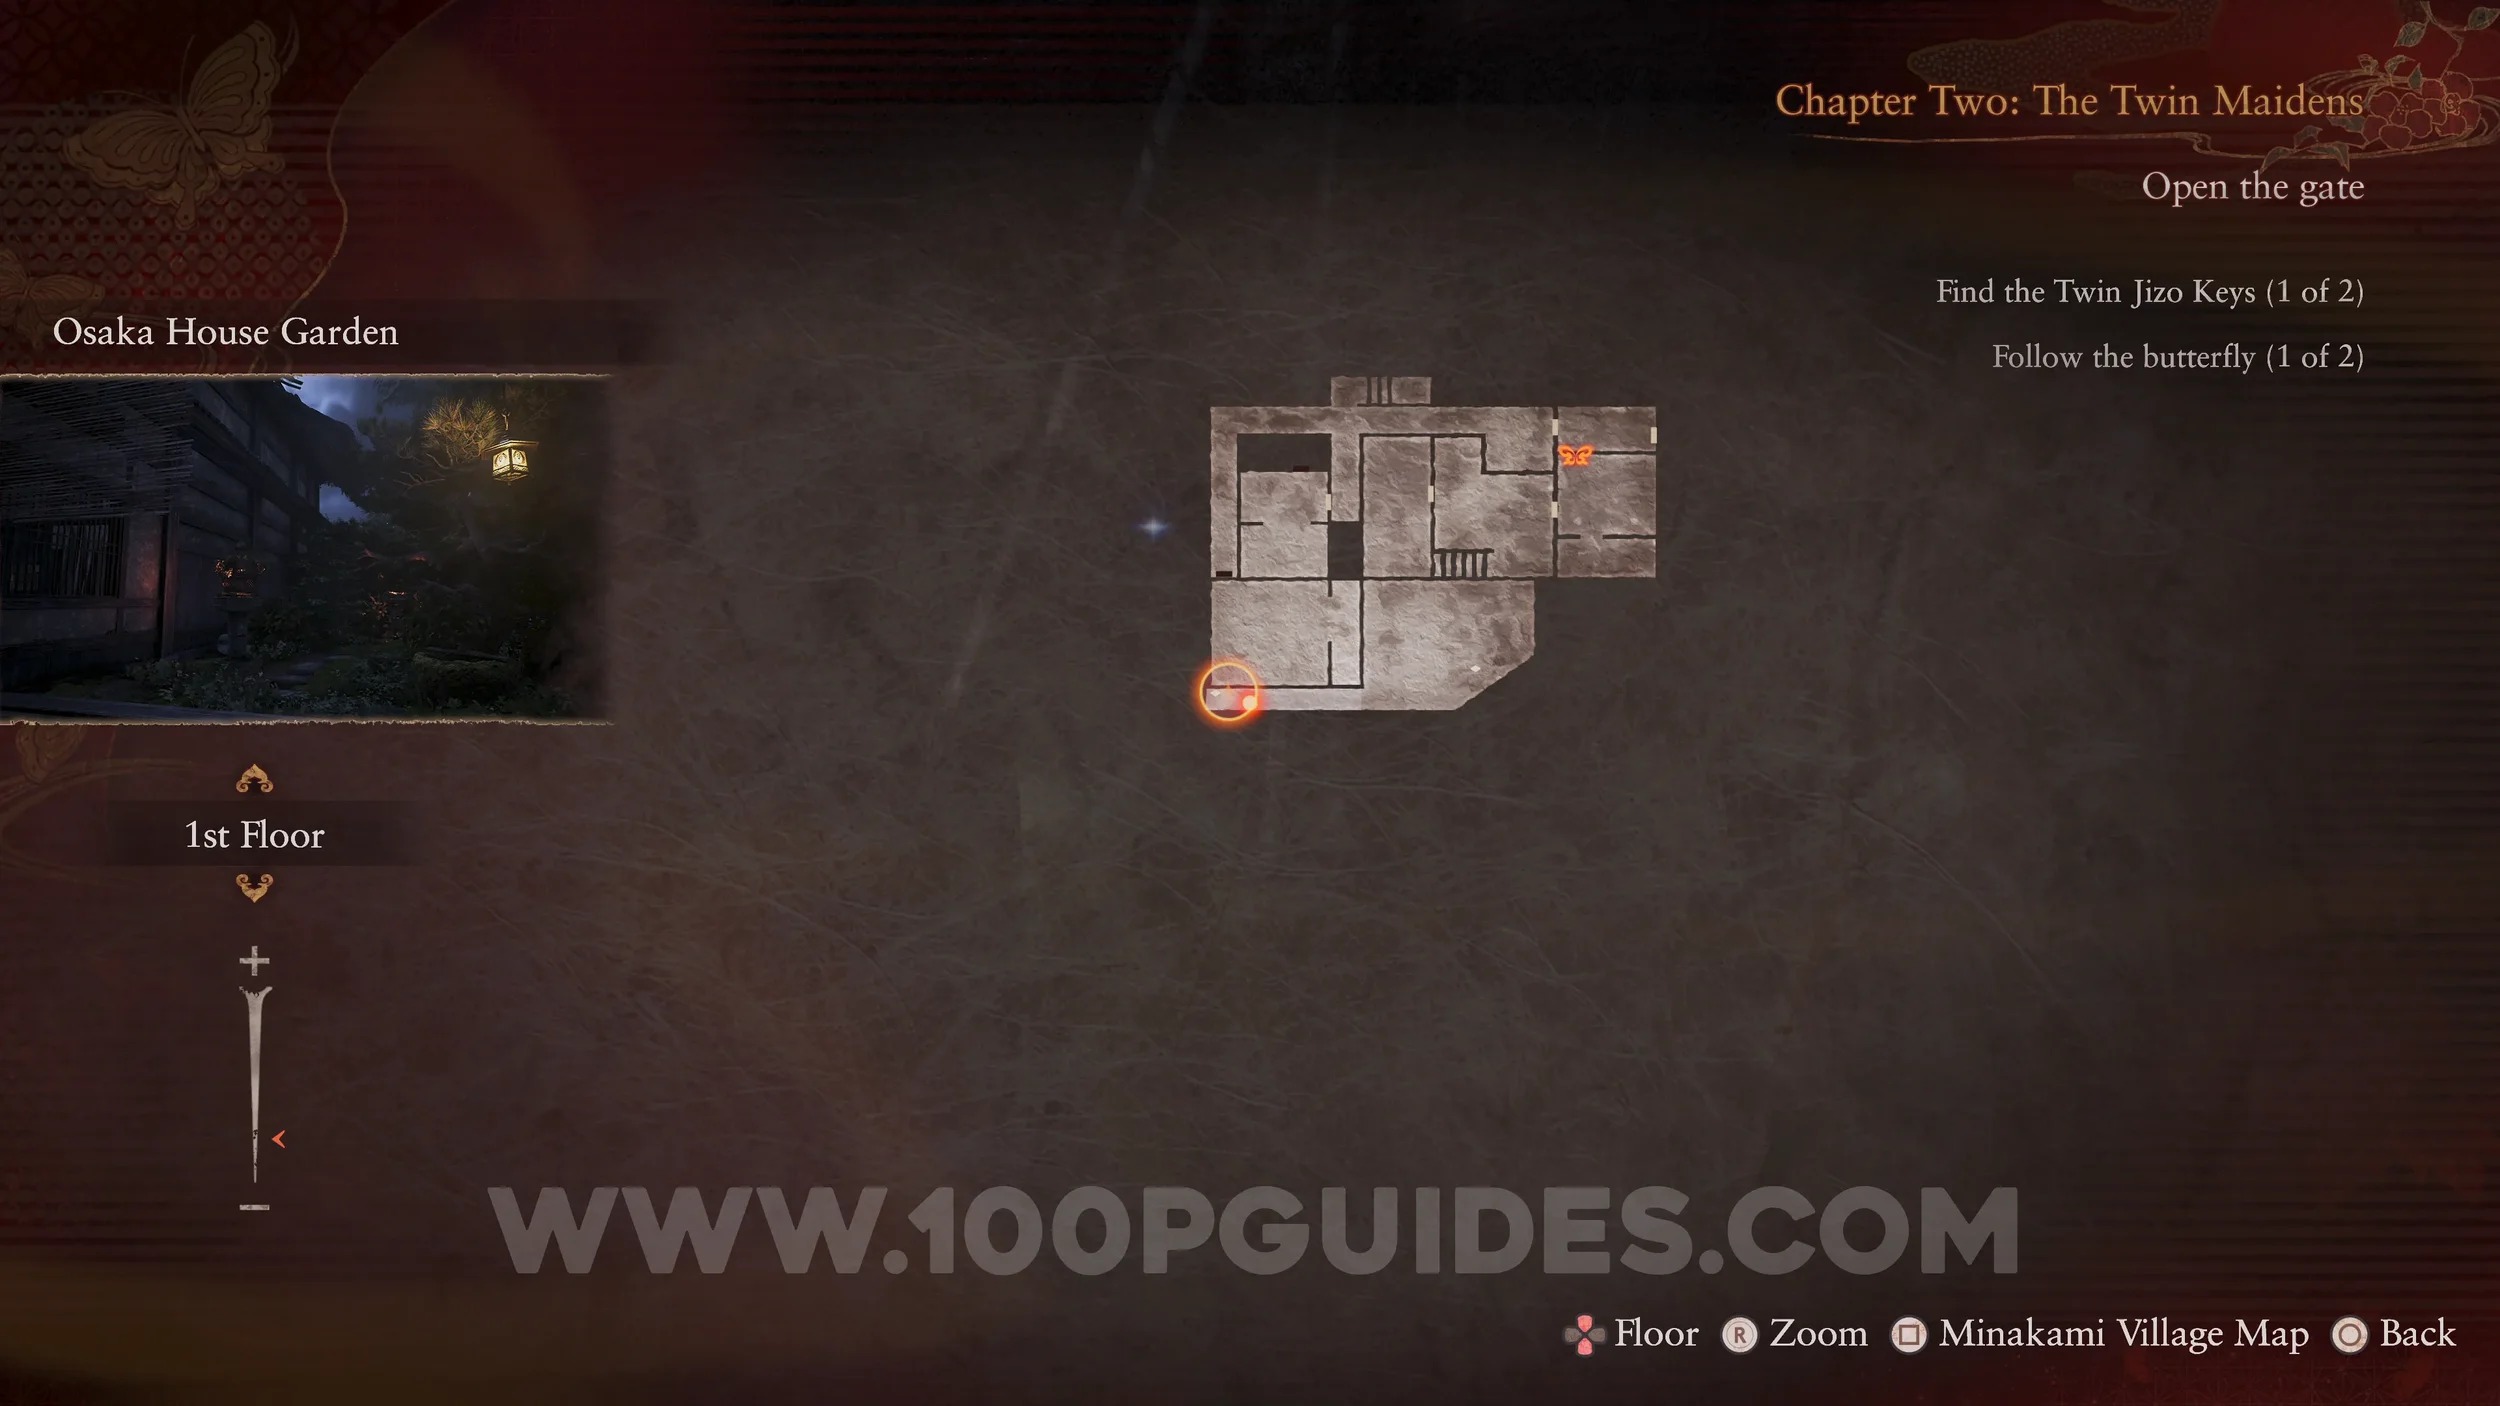
Specter #13 - 016 Beckoning Crimson Butterfly. After examining the gate just past the save point, turn around and look through the camera to see the Specter Butterfly.

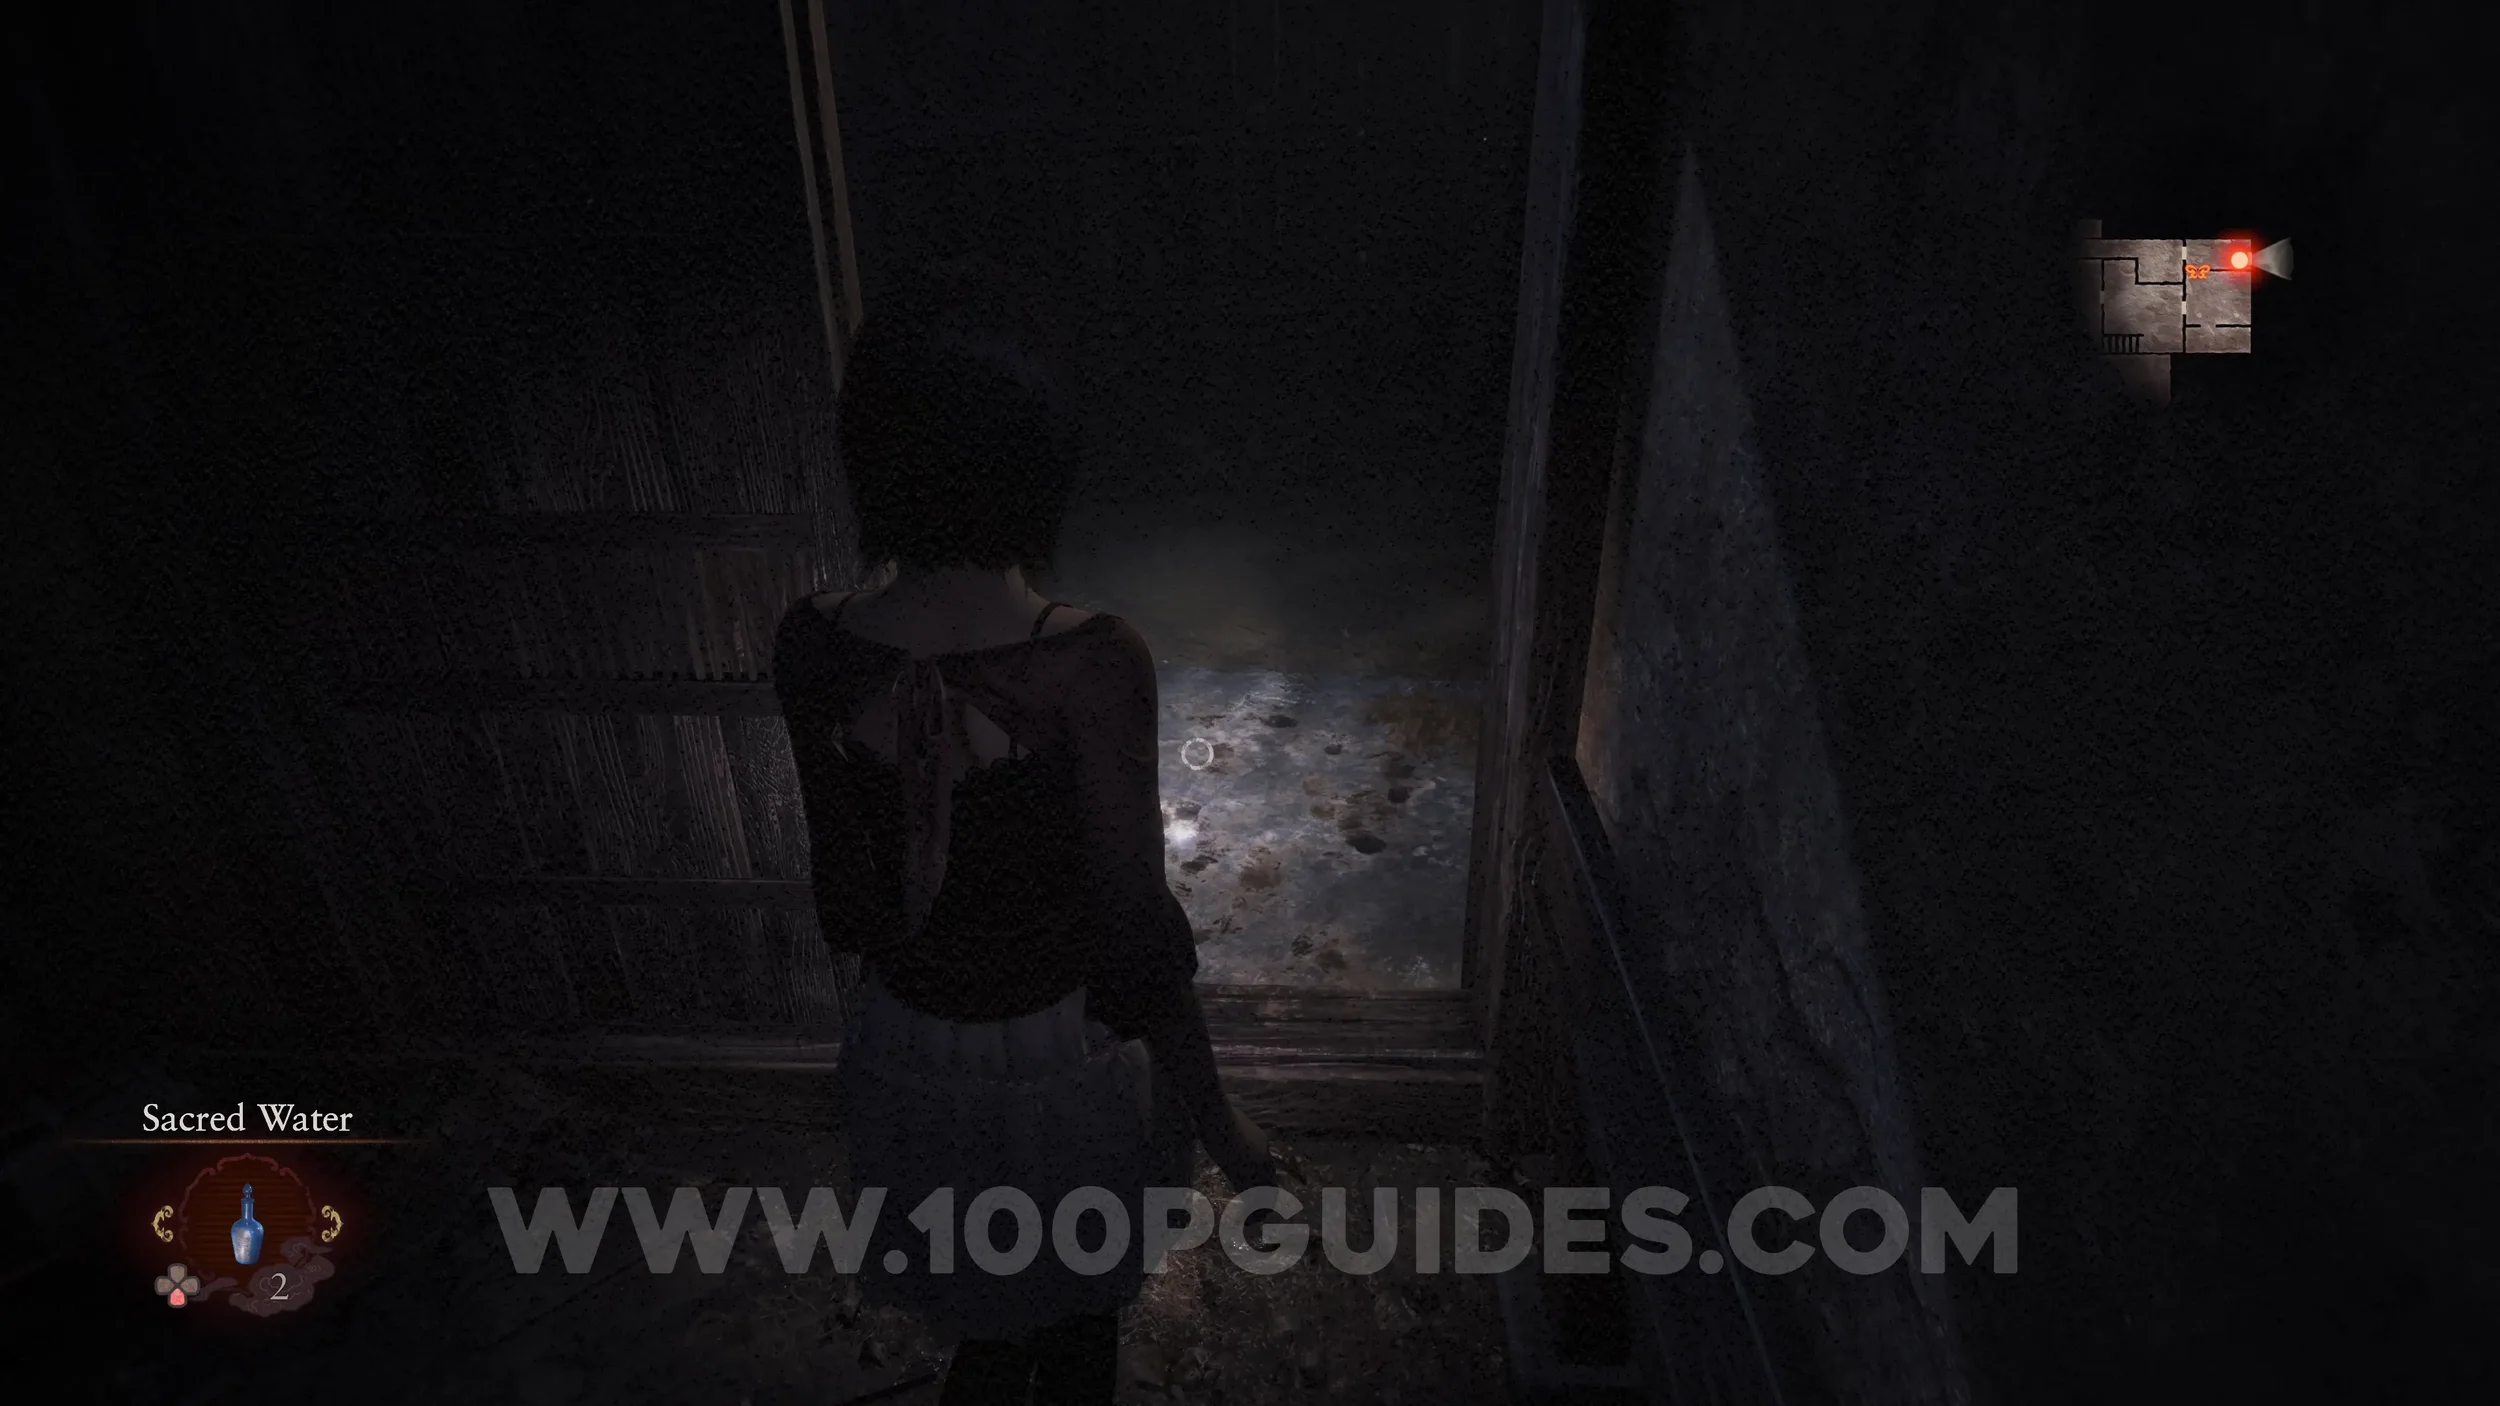
Wraith #4 - 004 The Sickle Bearer. After examining the gate, turn around and follow the butterfly. As you go up the stairs, this wraith will attack you.
Specter #14 - 017 Woman Looking Down. After defeating the wraith on the stairs, look up to spot the specter above.

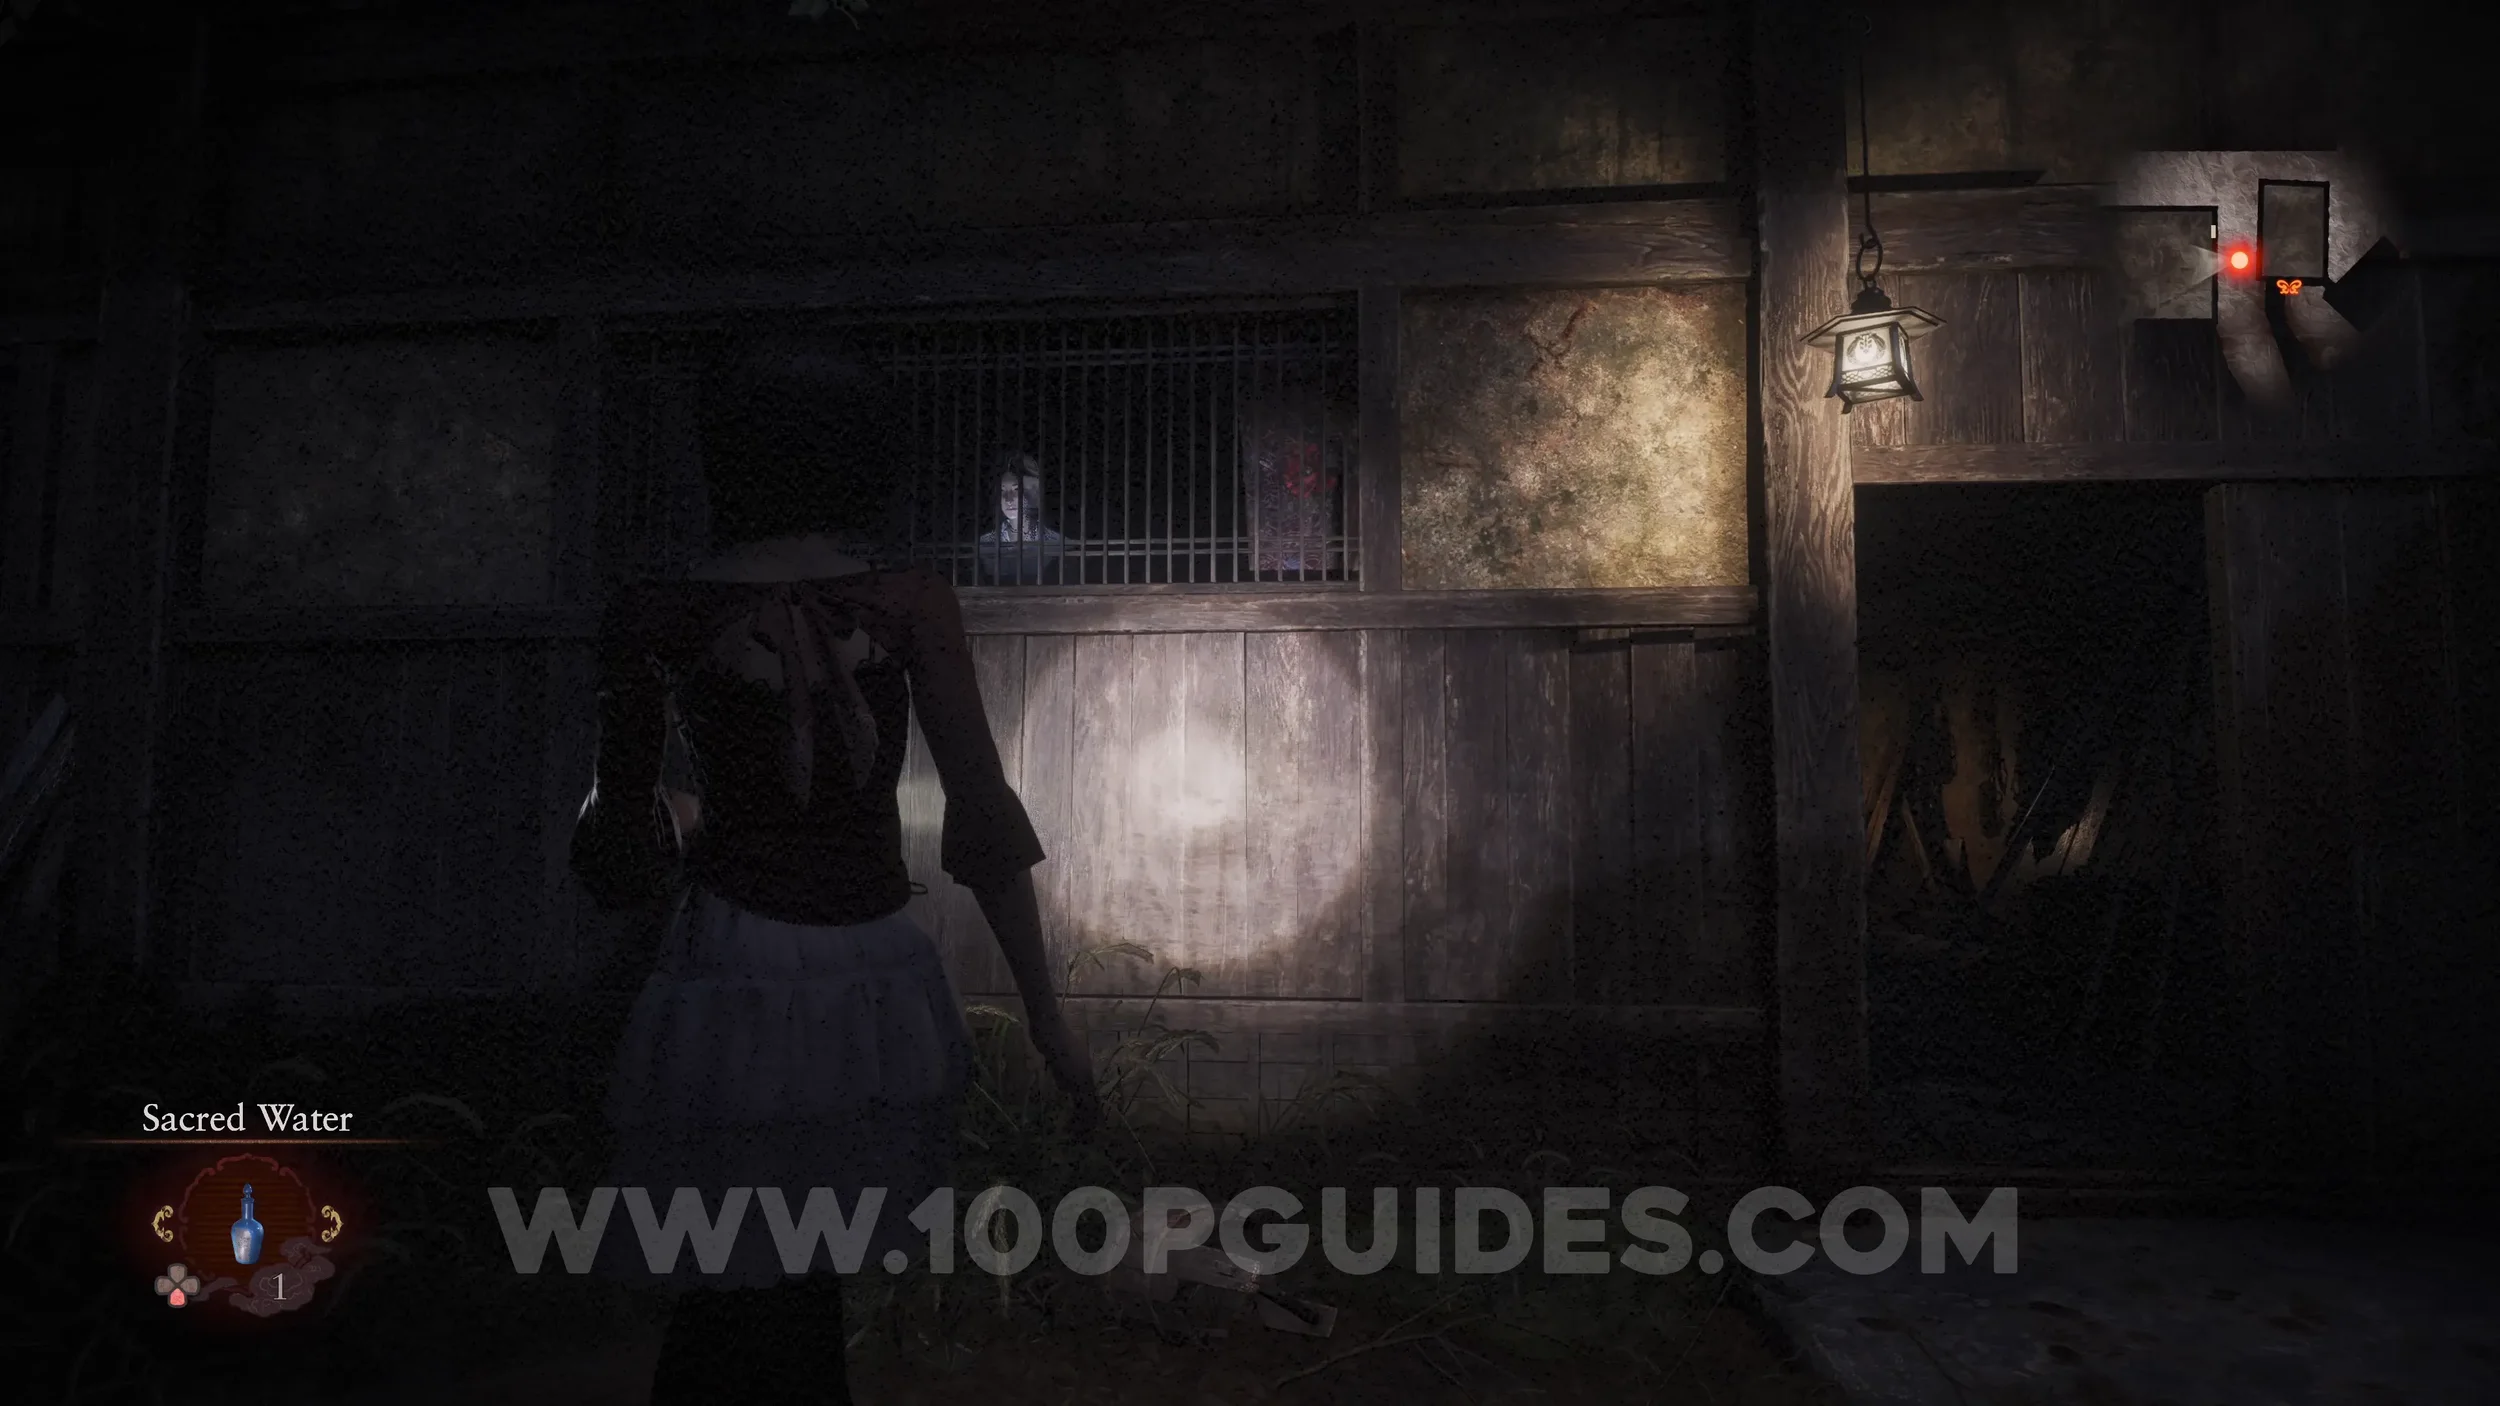
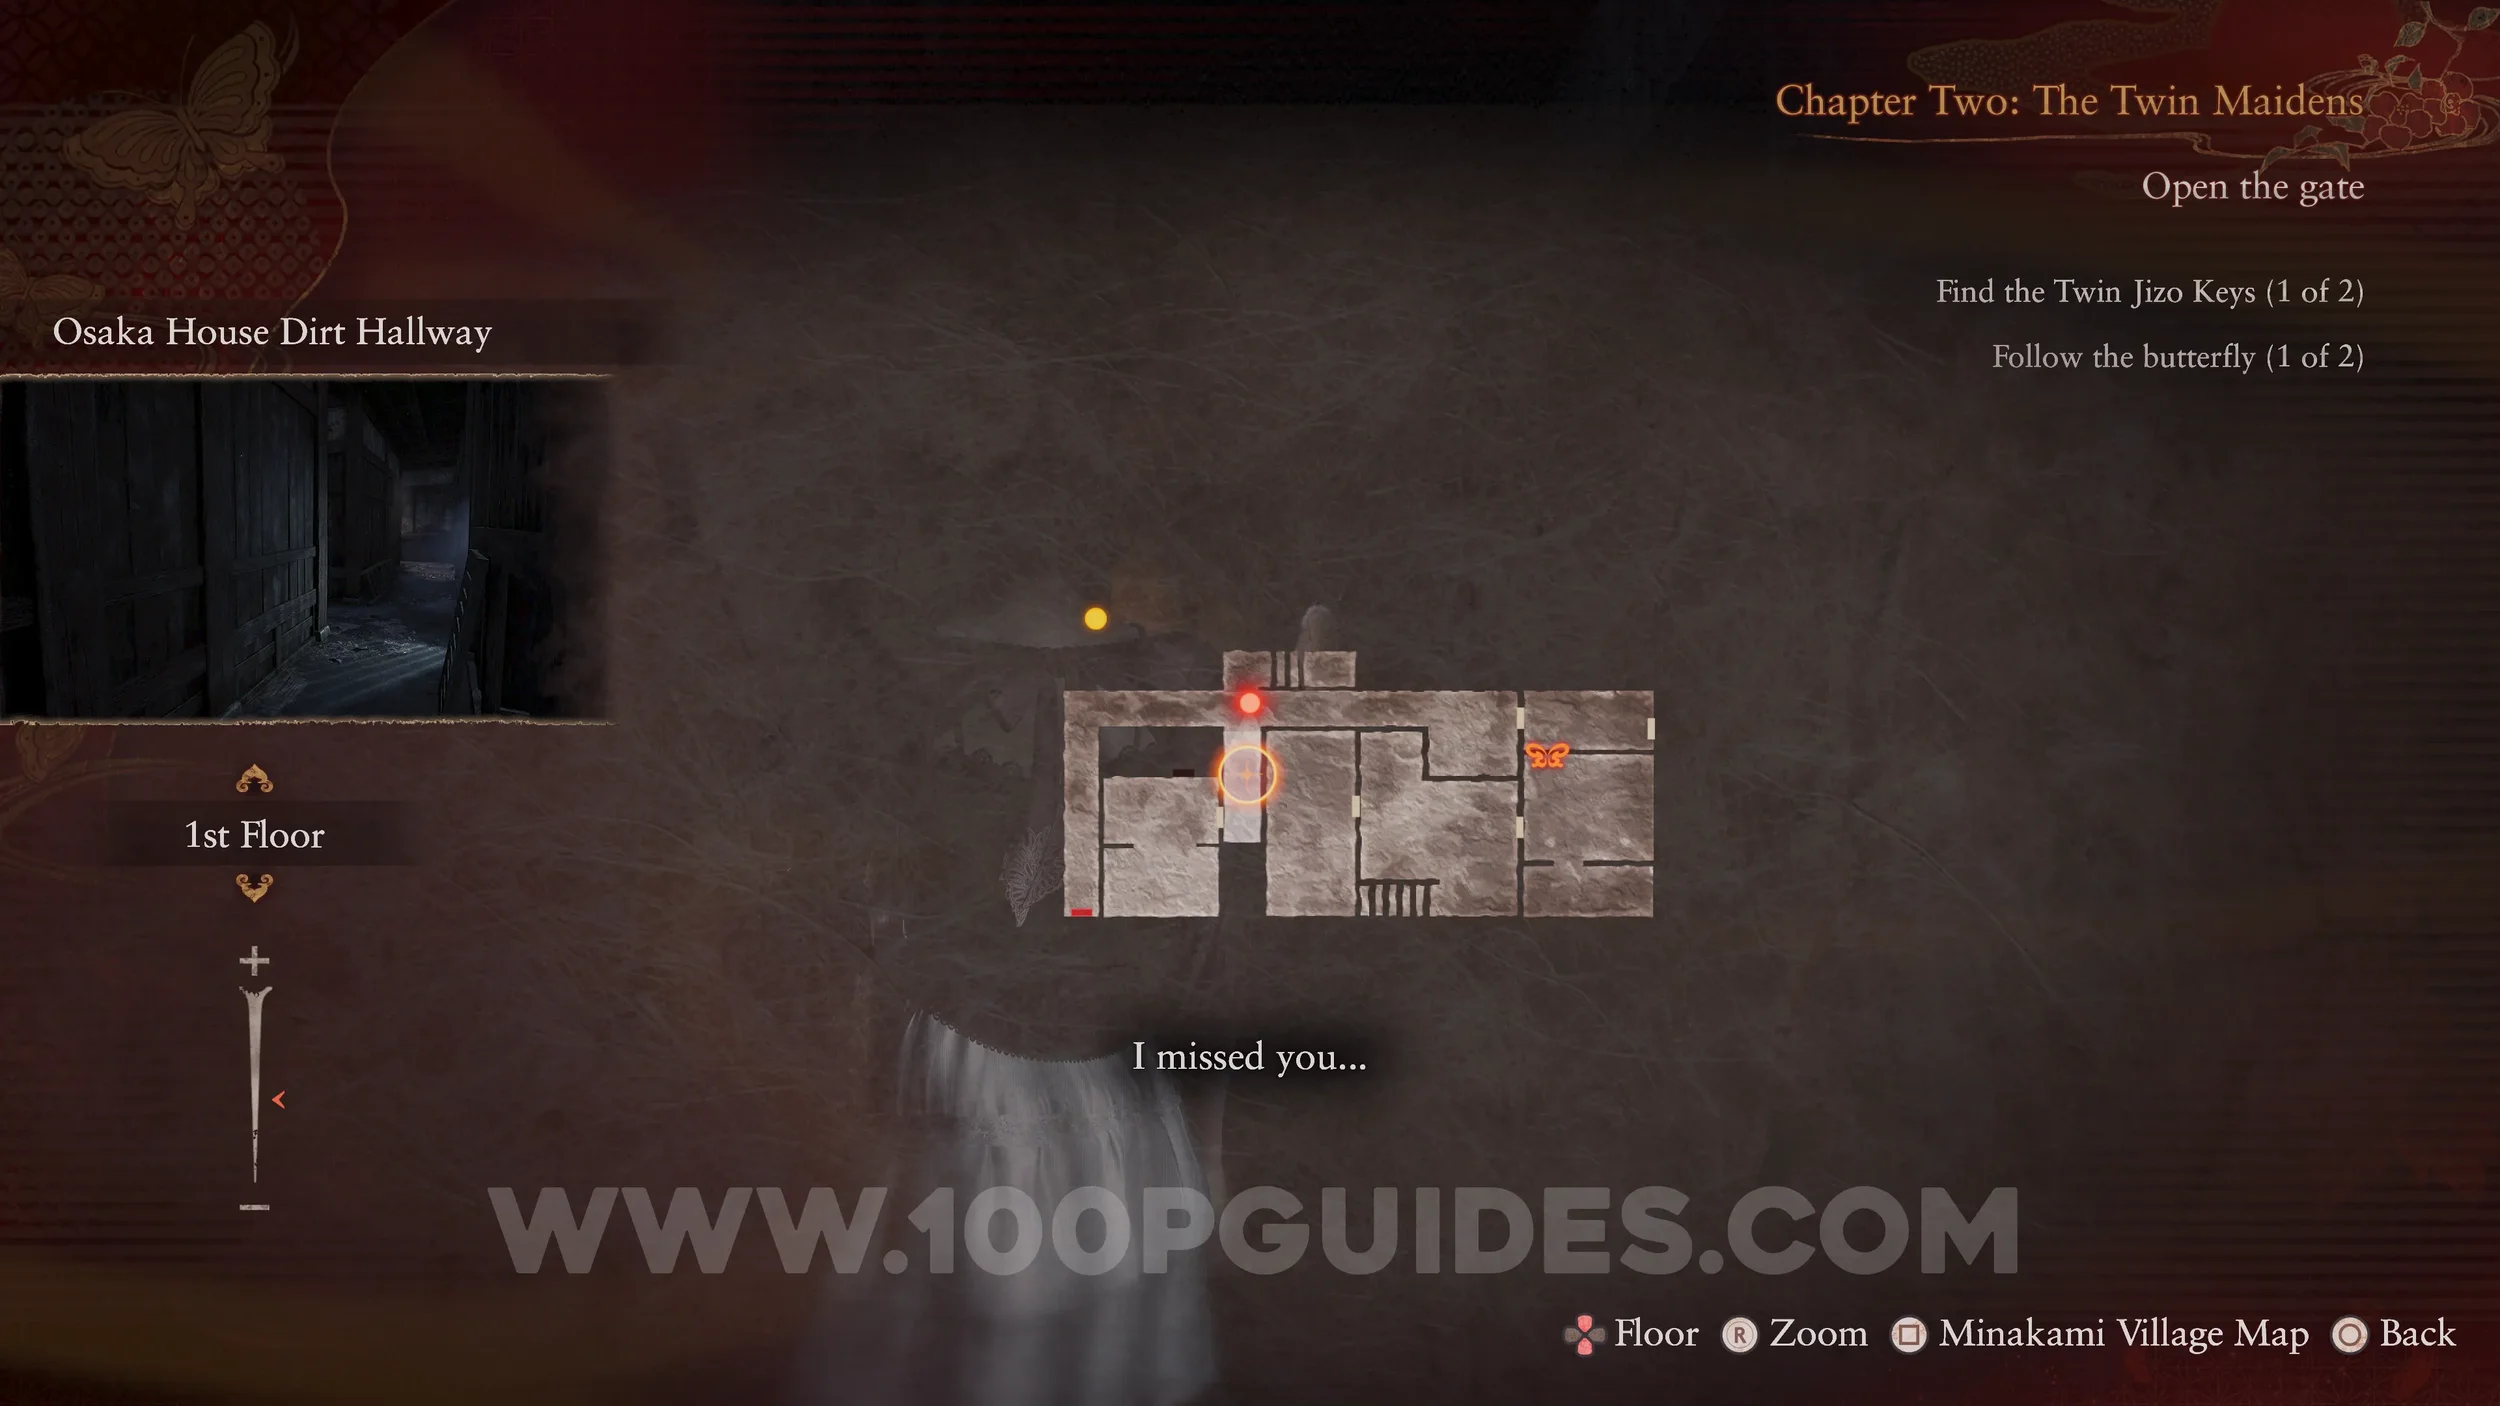
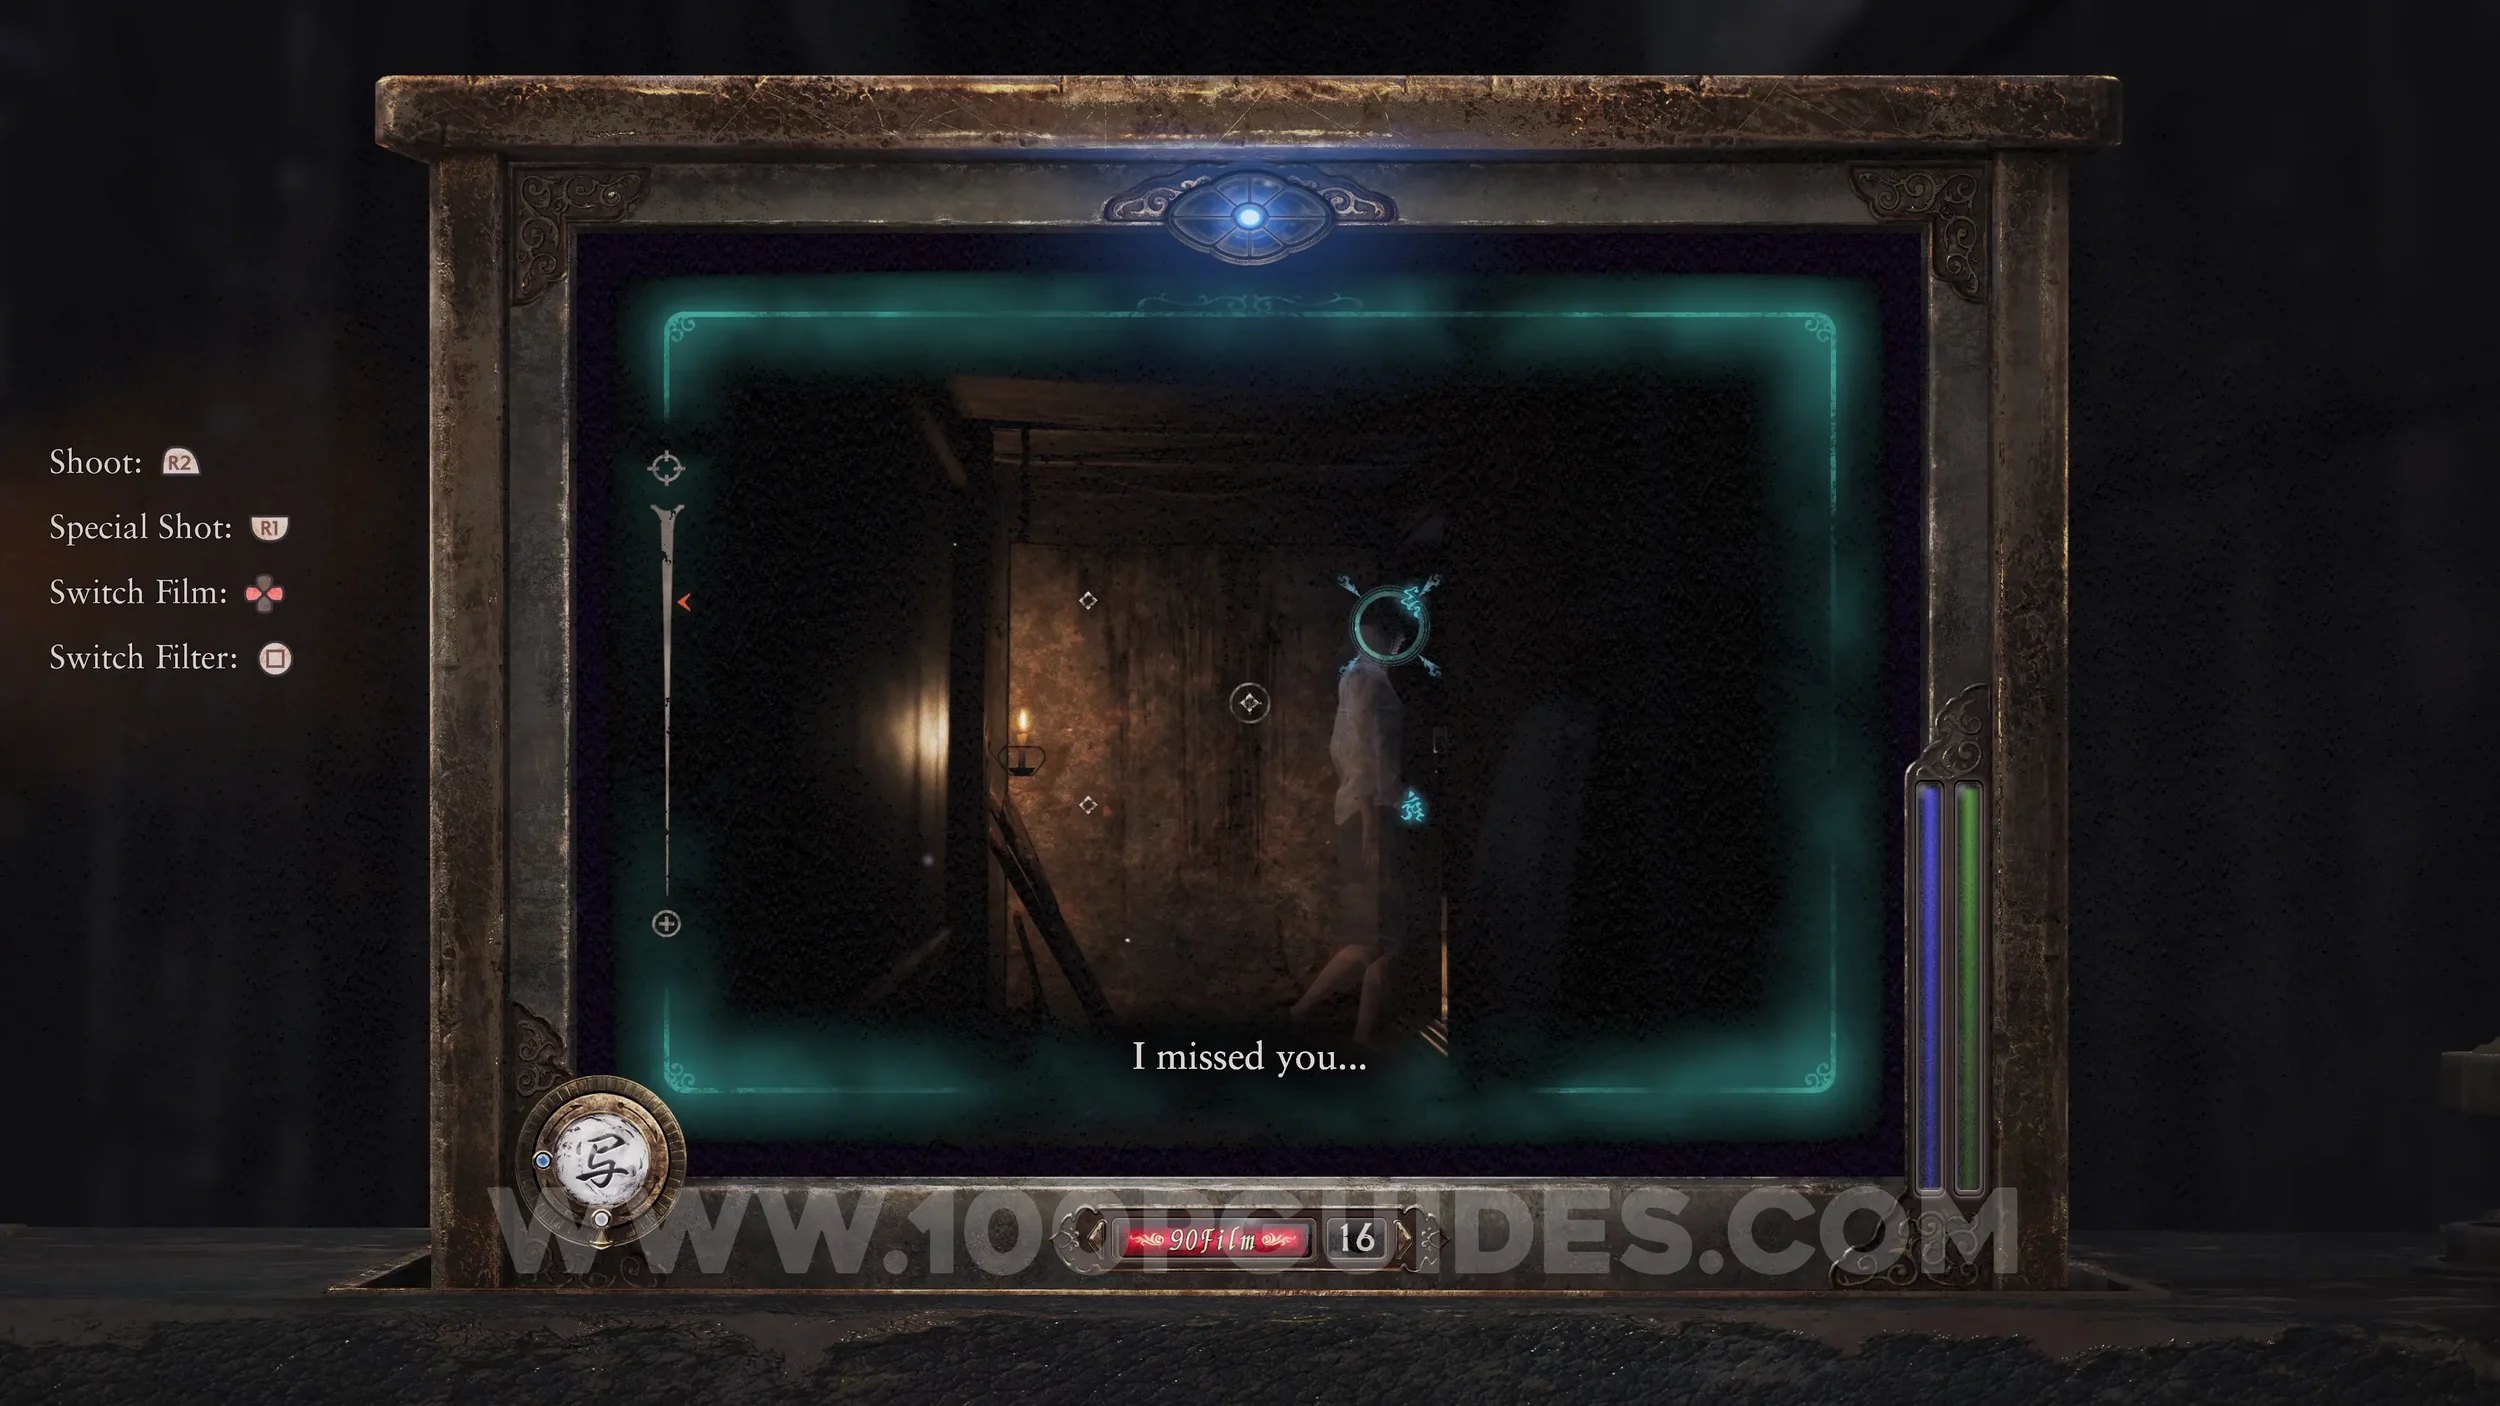
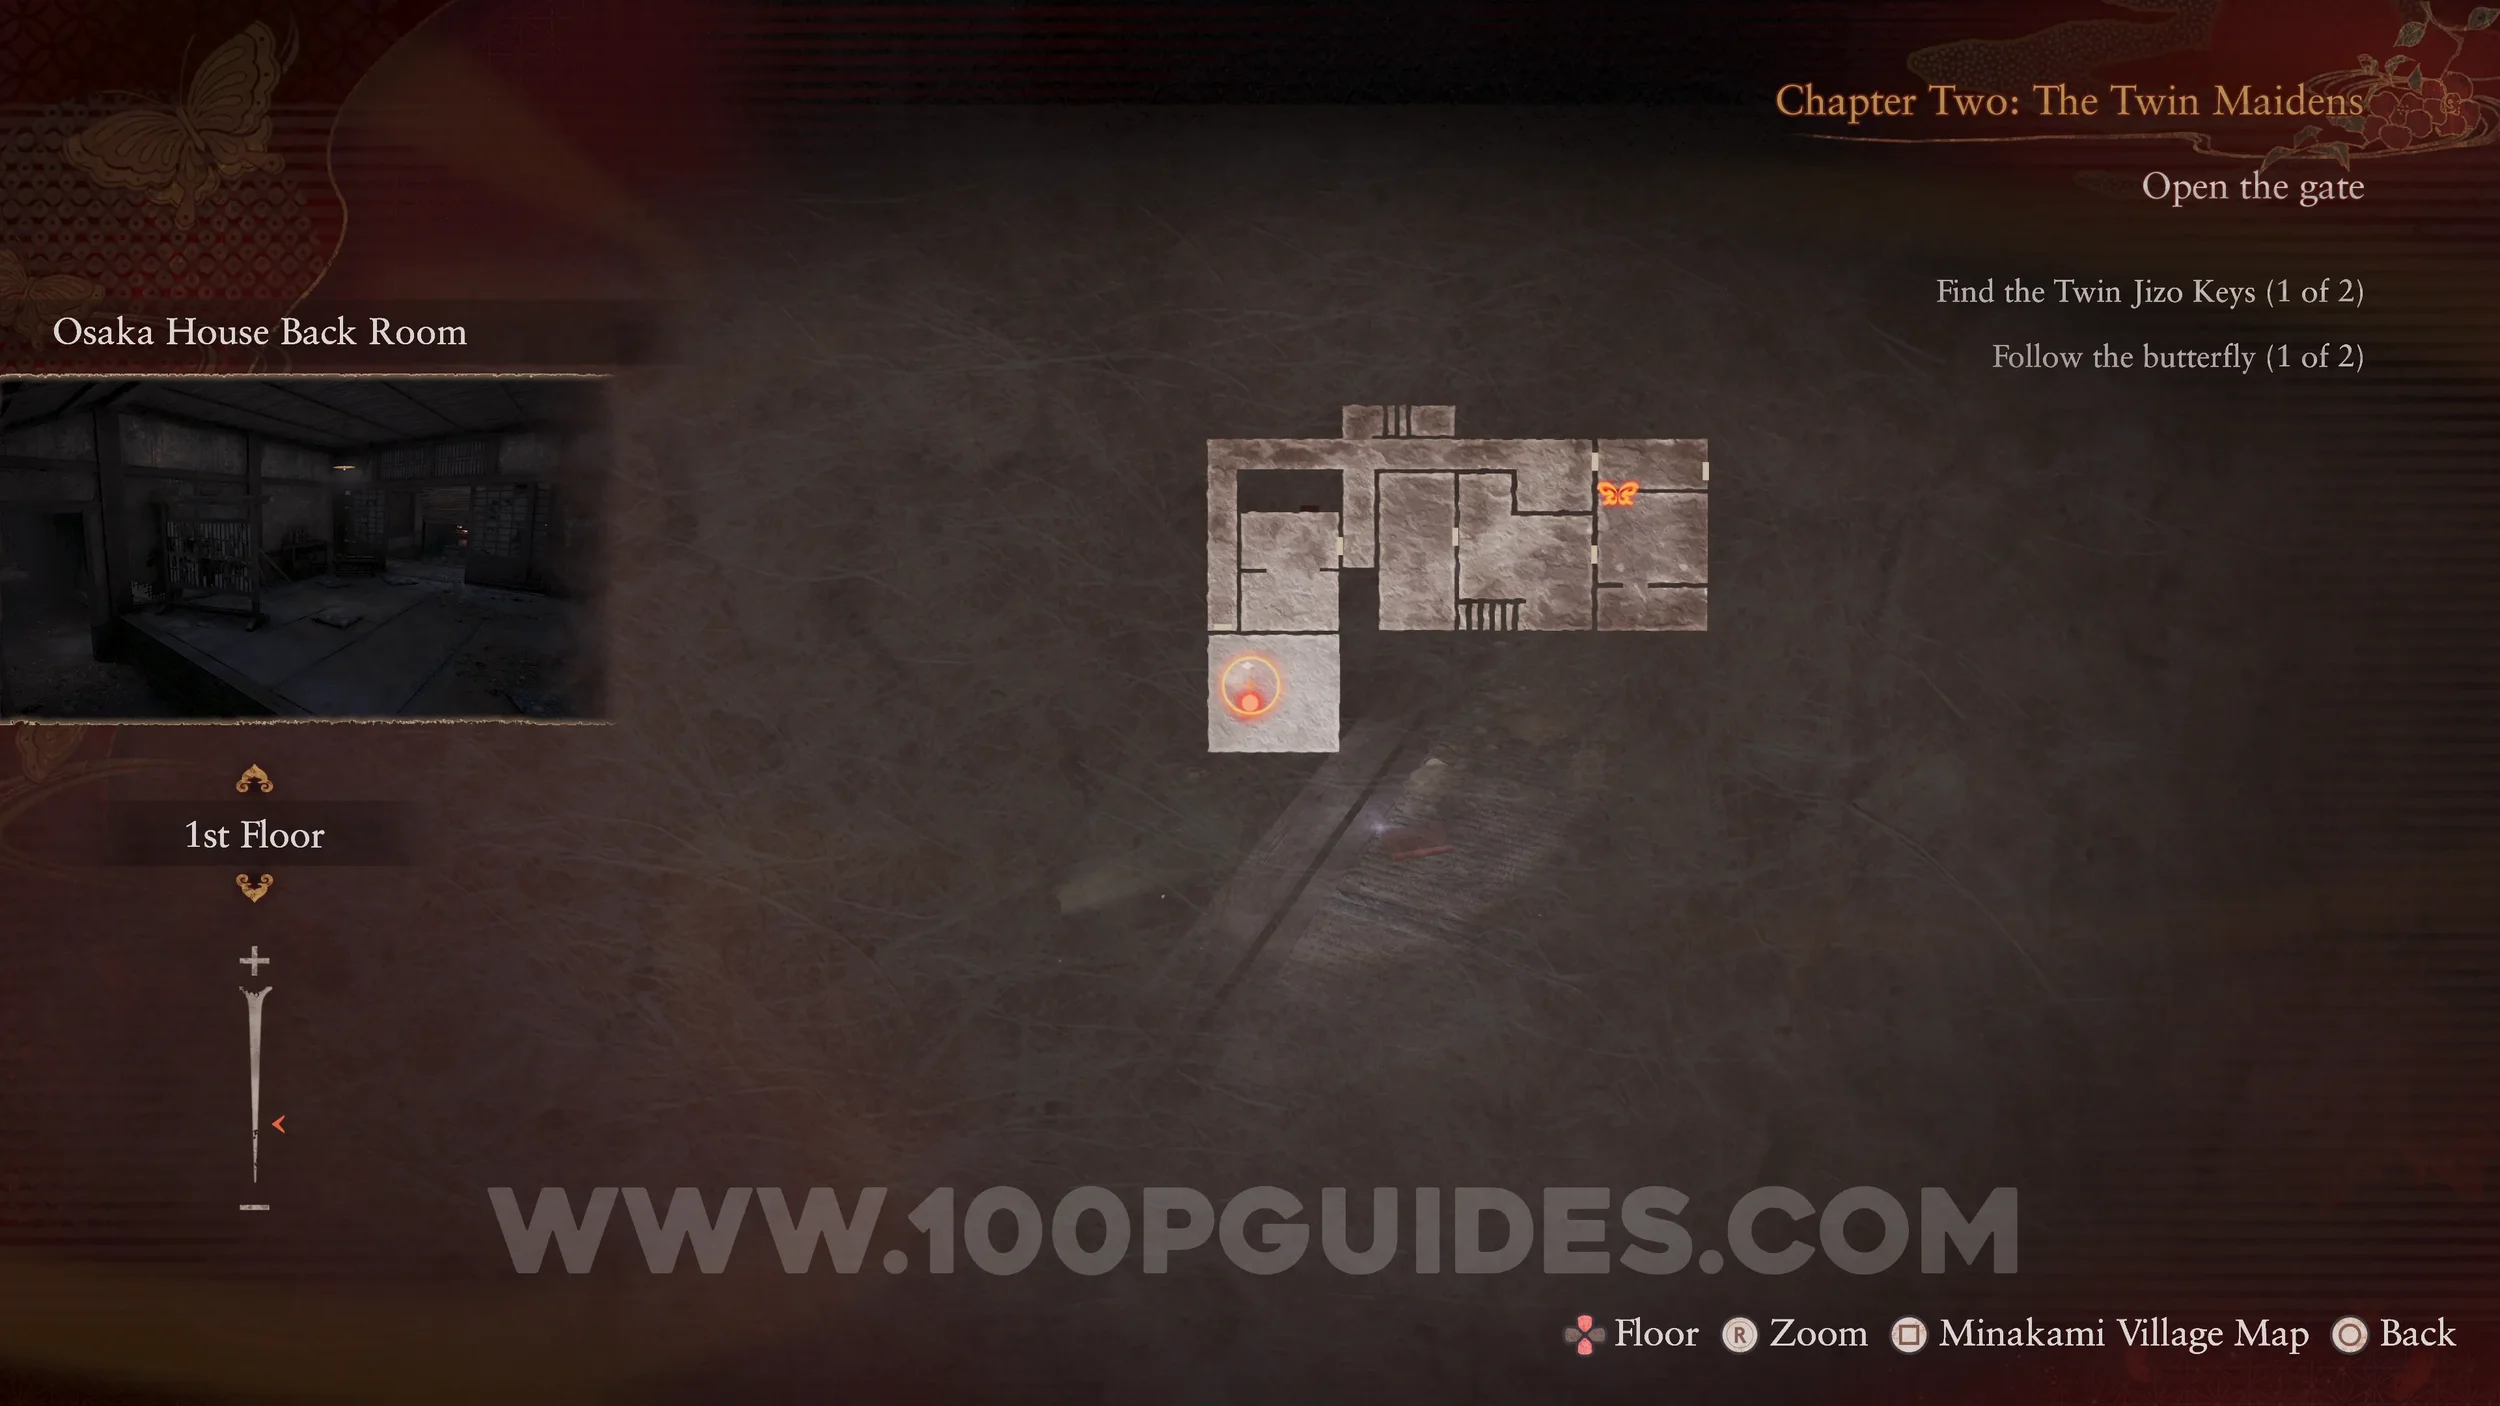
Specter #15 - 018 Trapped Boy. After following the butterfly through the first gate, a cutscene will play. The specter can be seen through the window as soon as it ends.
Specter #16 - 019 Guiding Crimson Butterfly. Spawns just after the cutscene with the trapped boy.
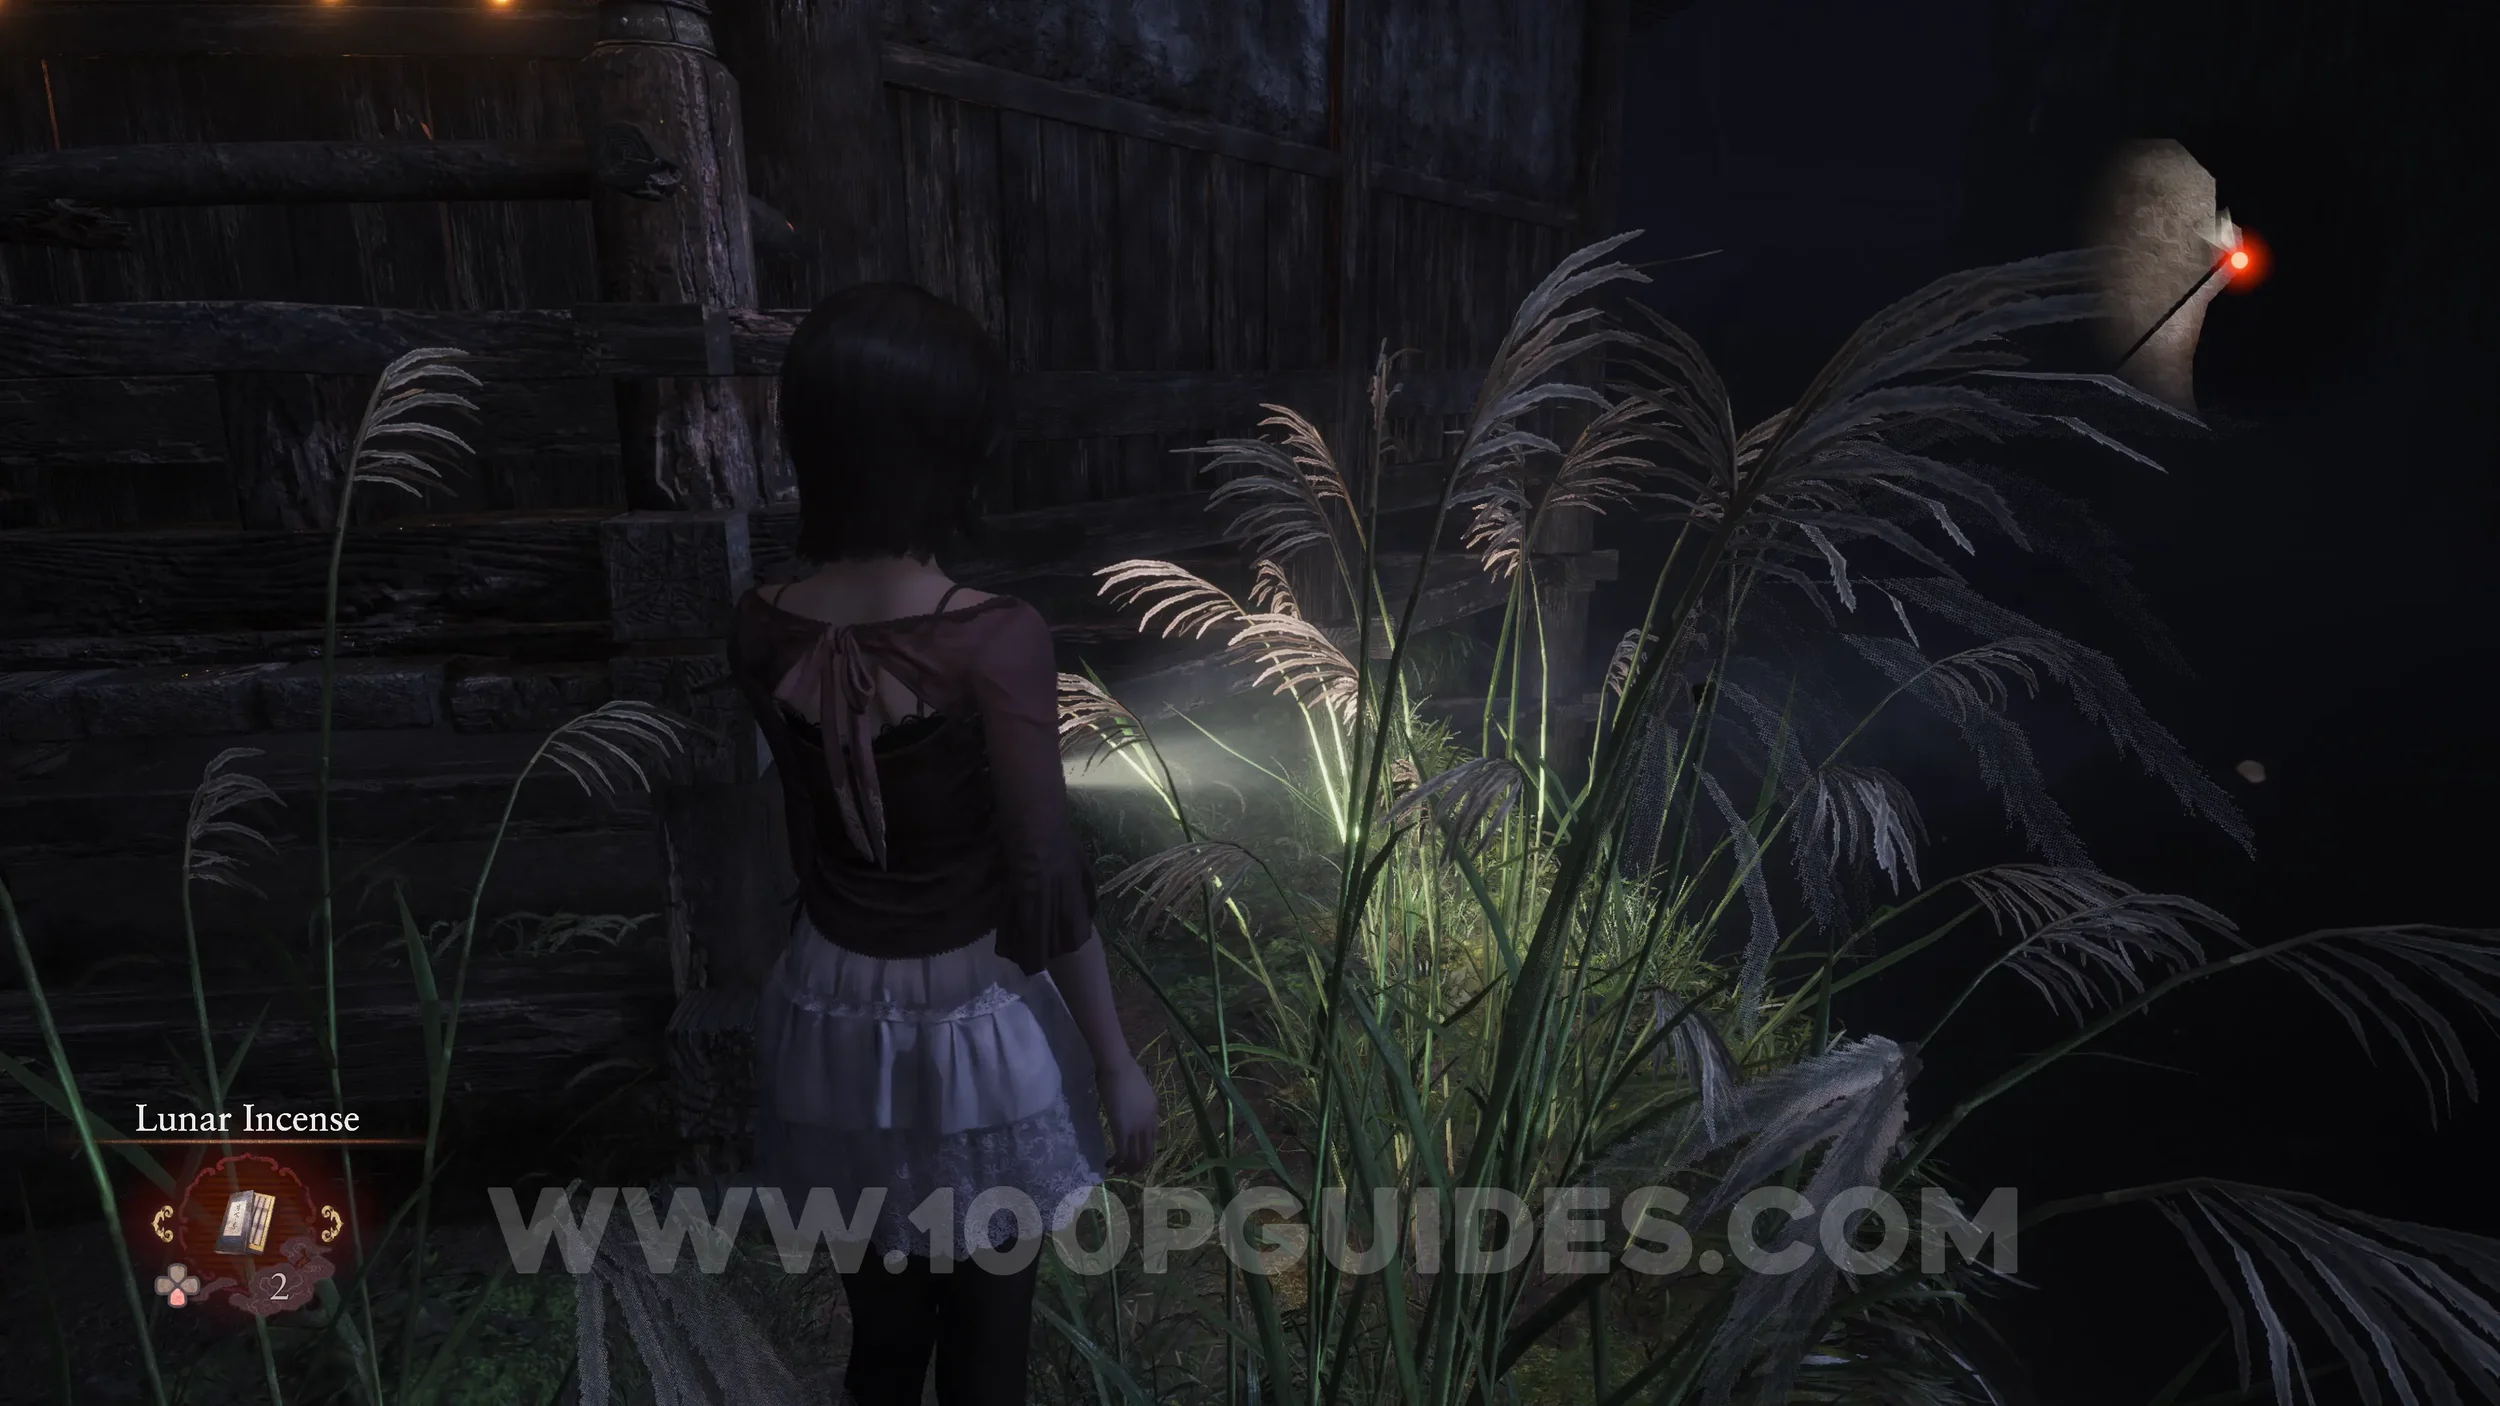
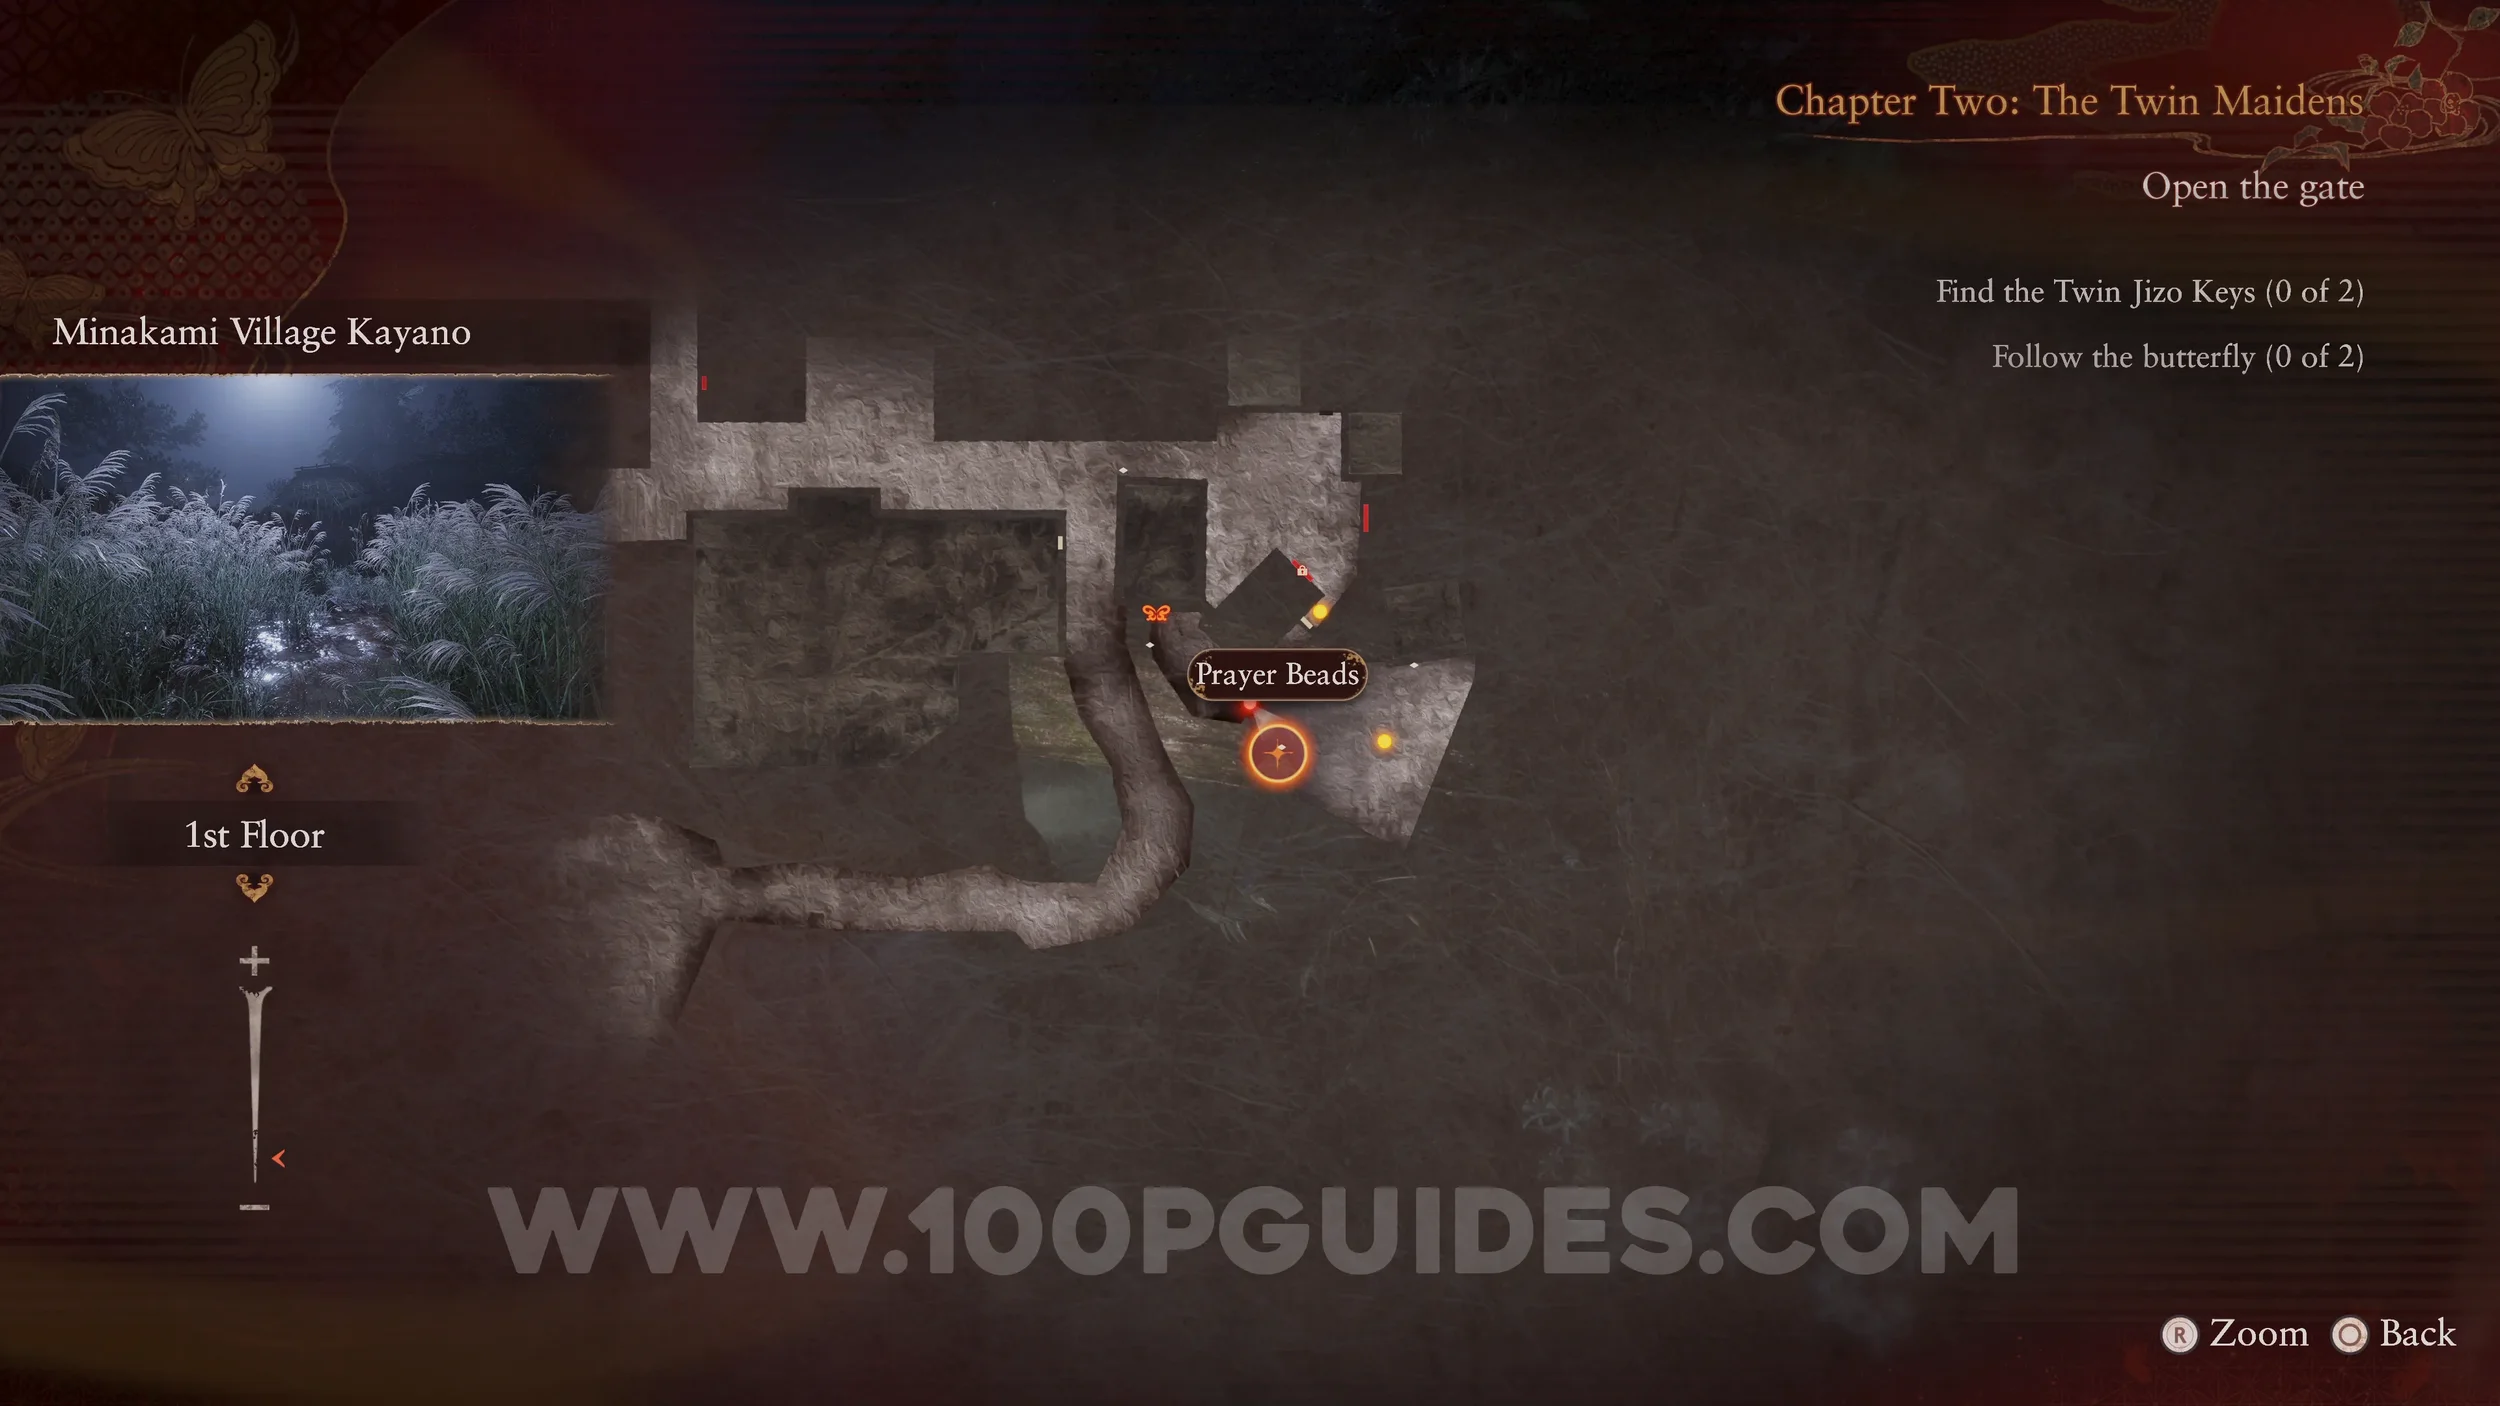
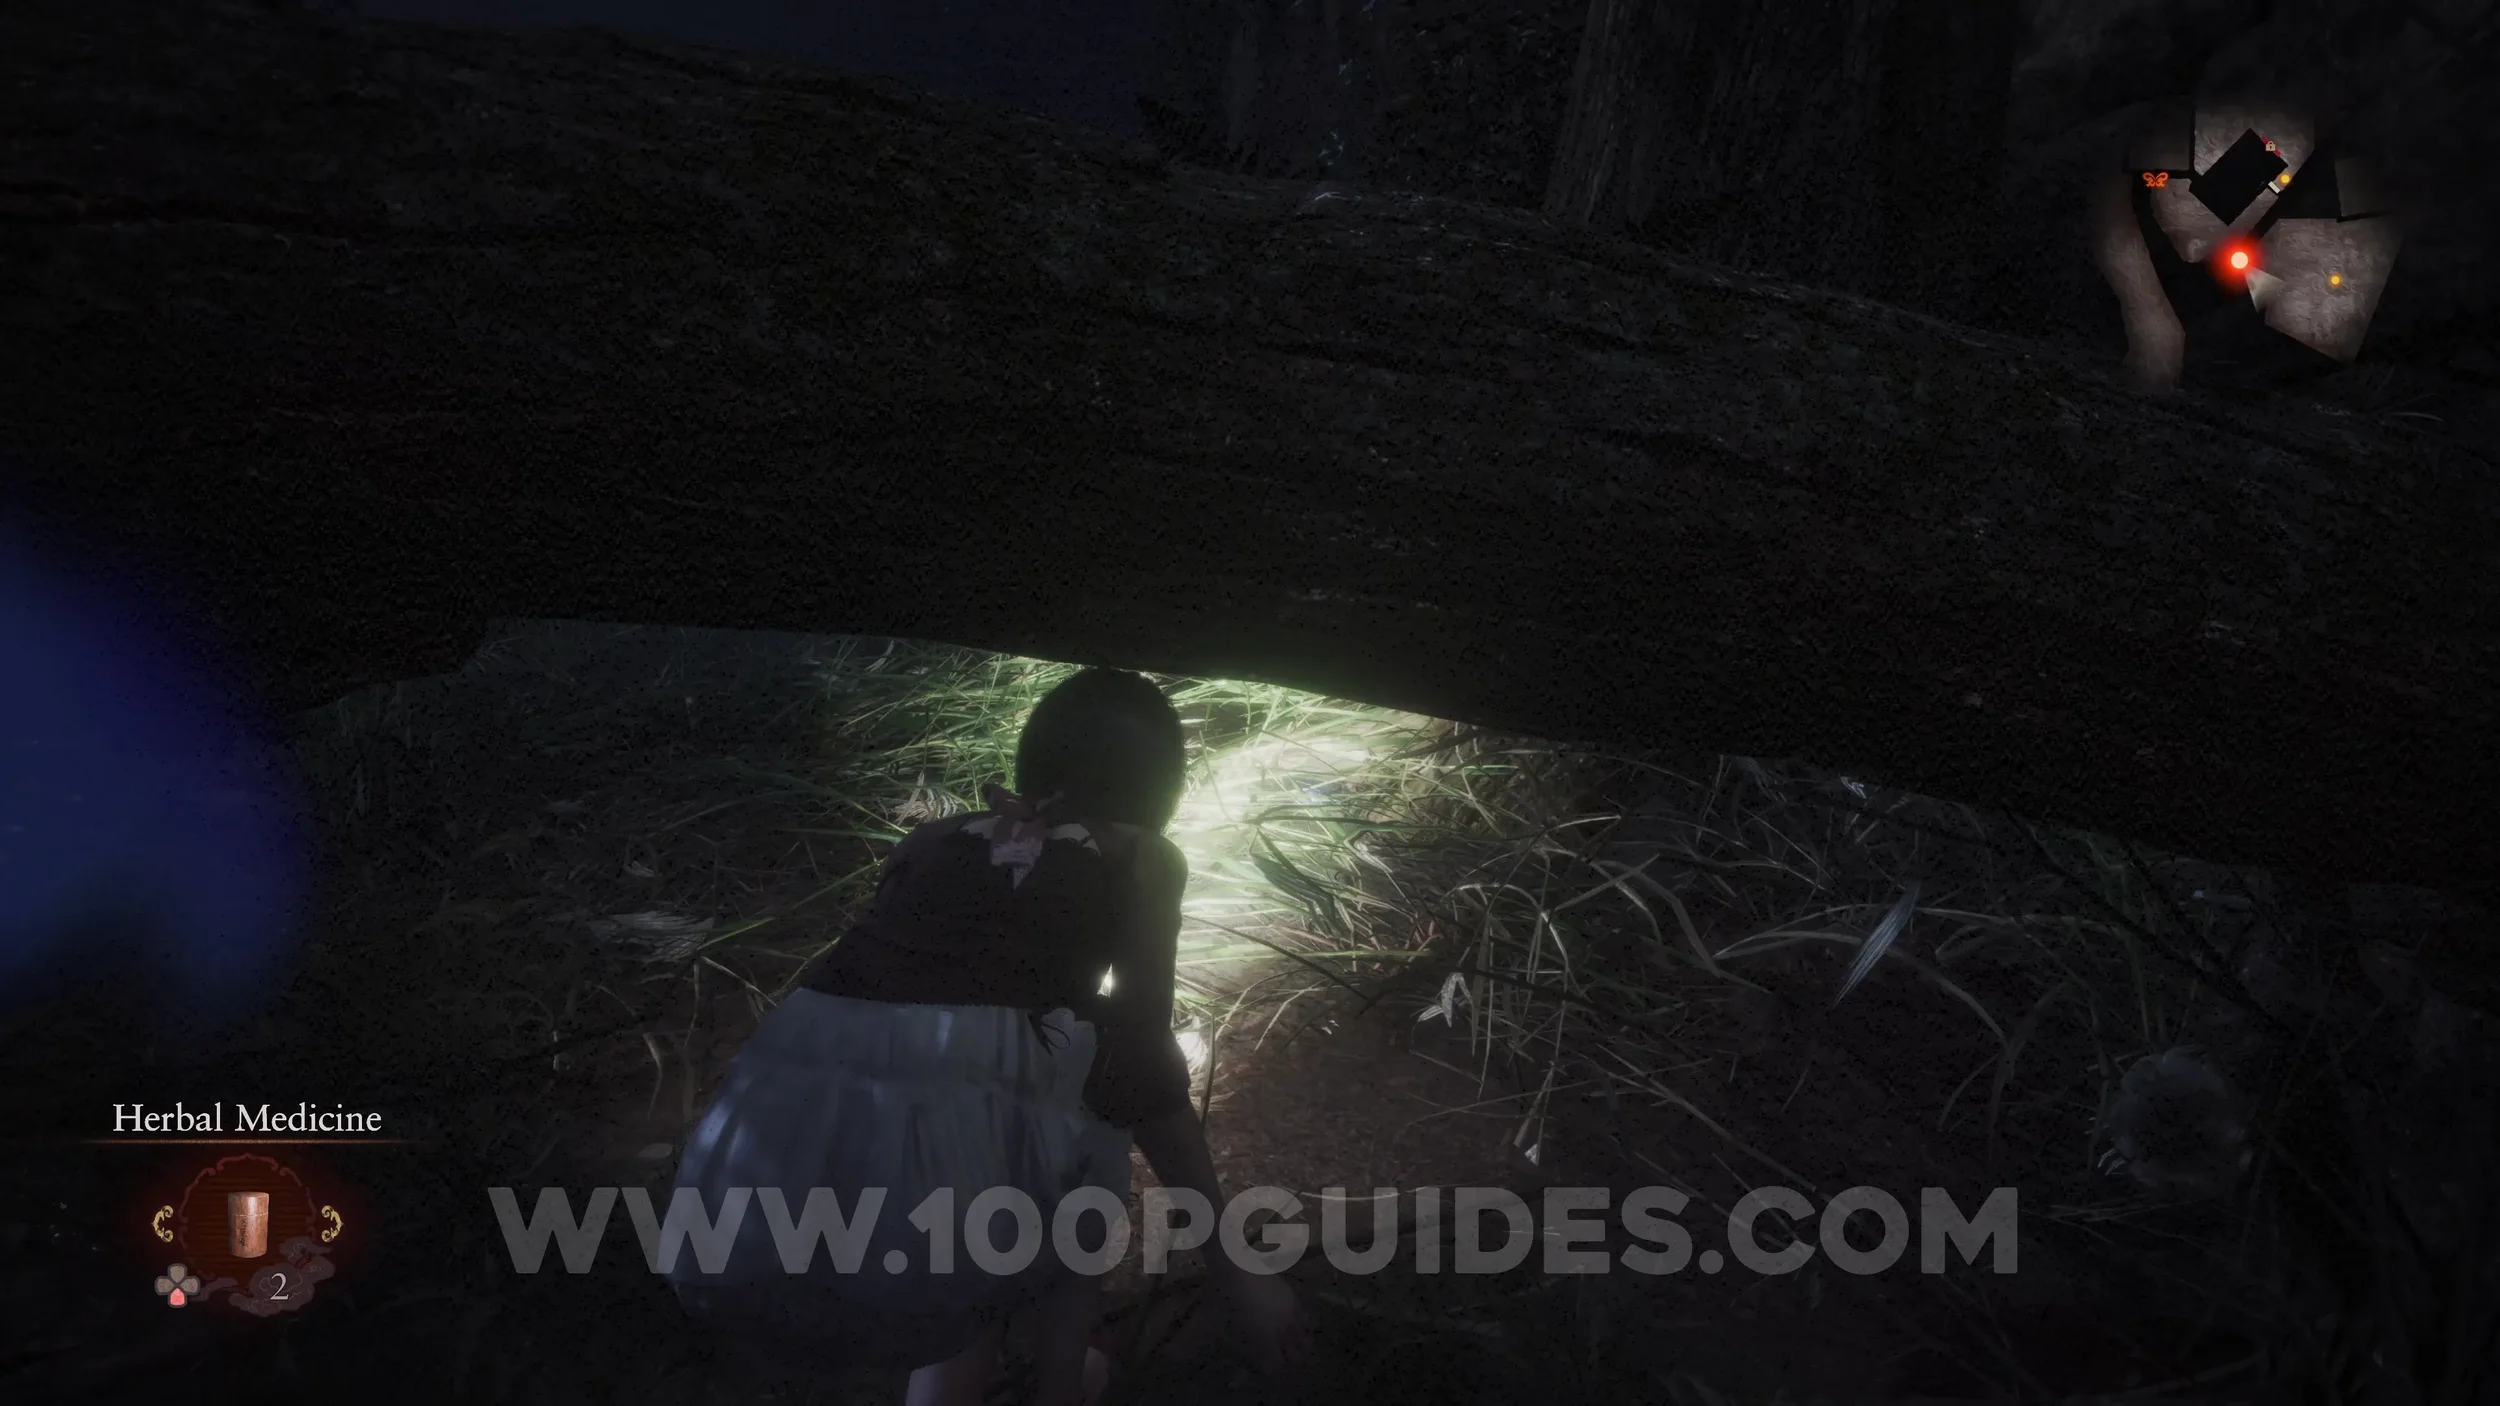
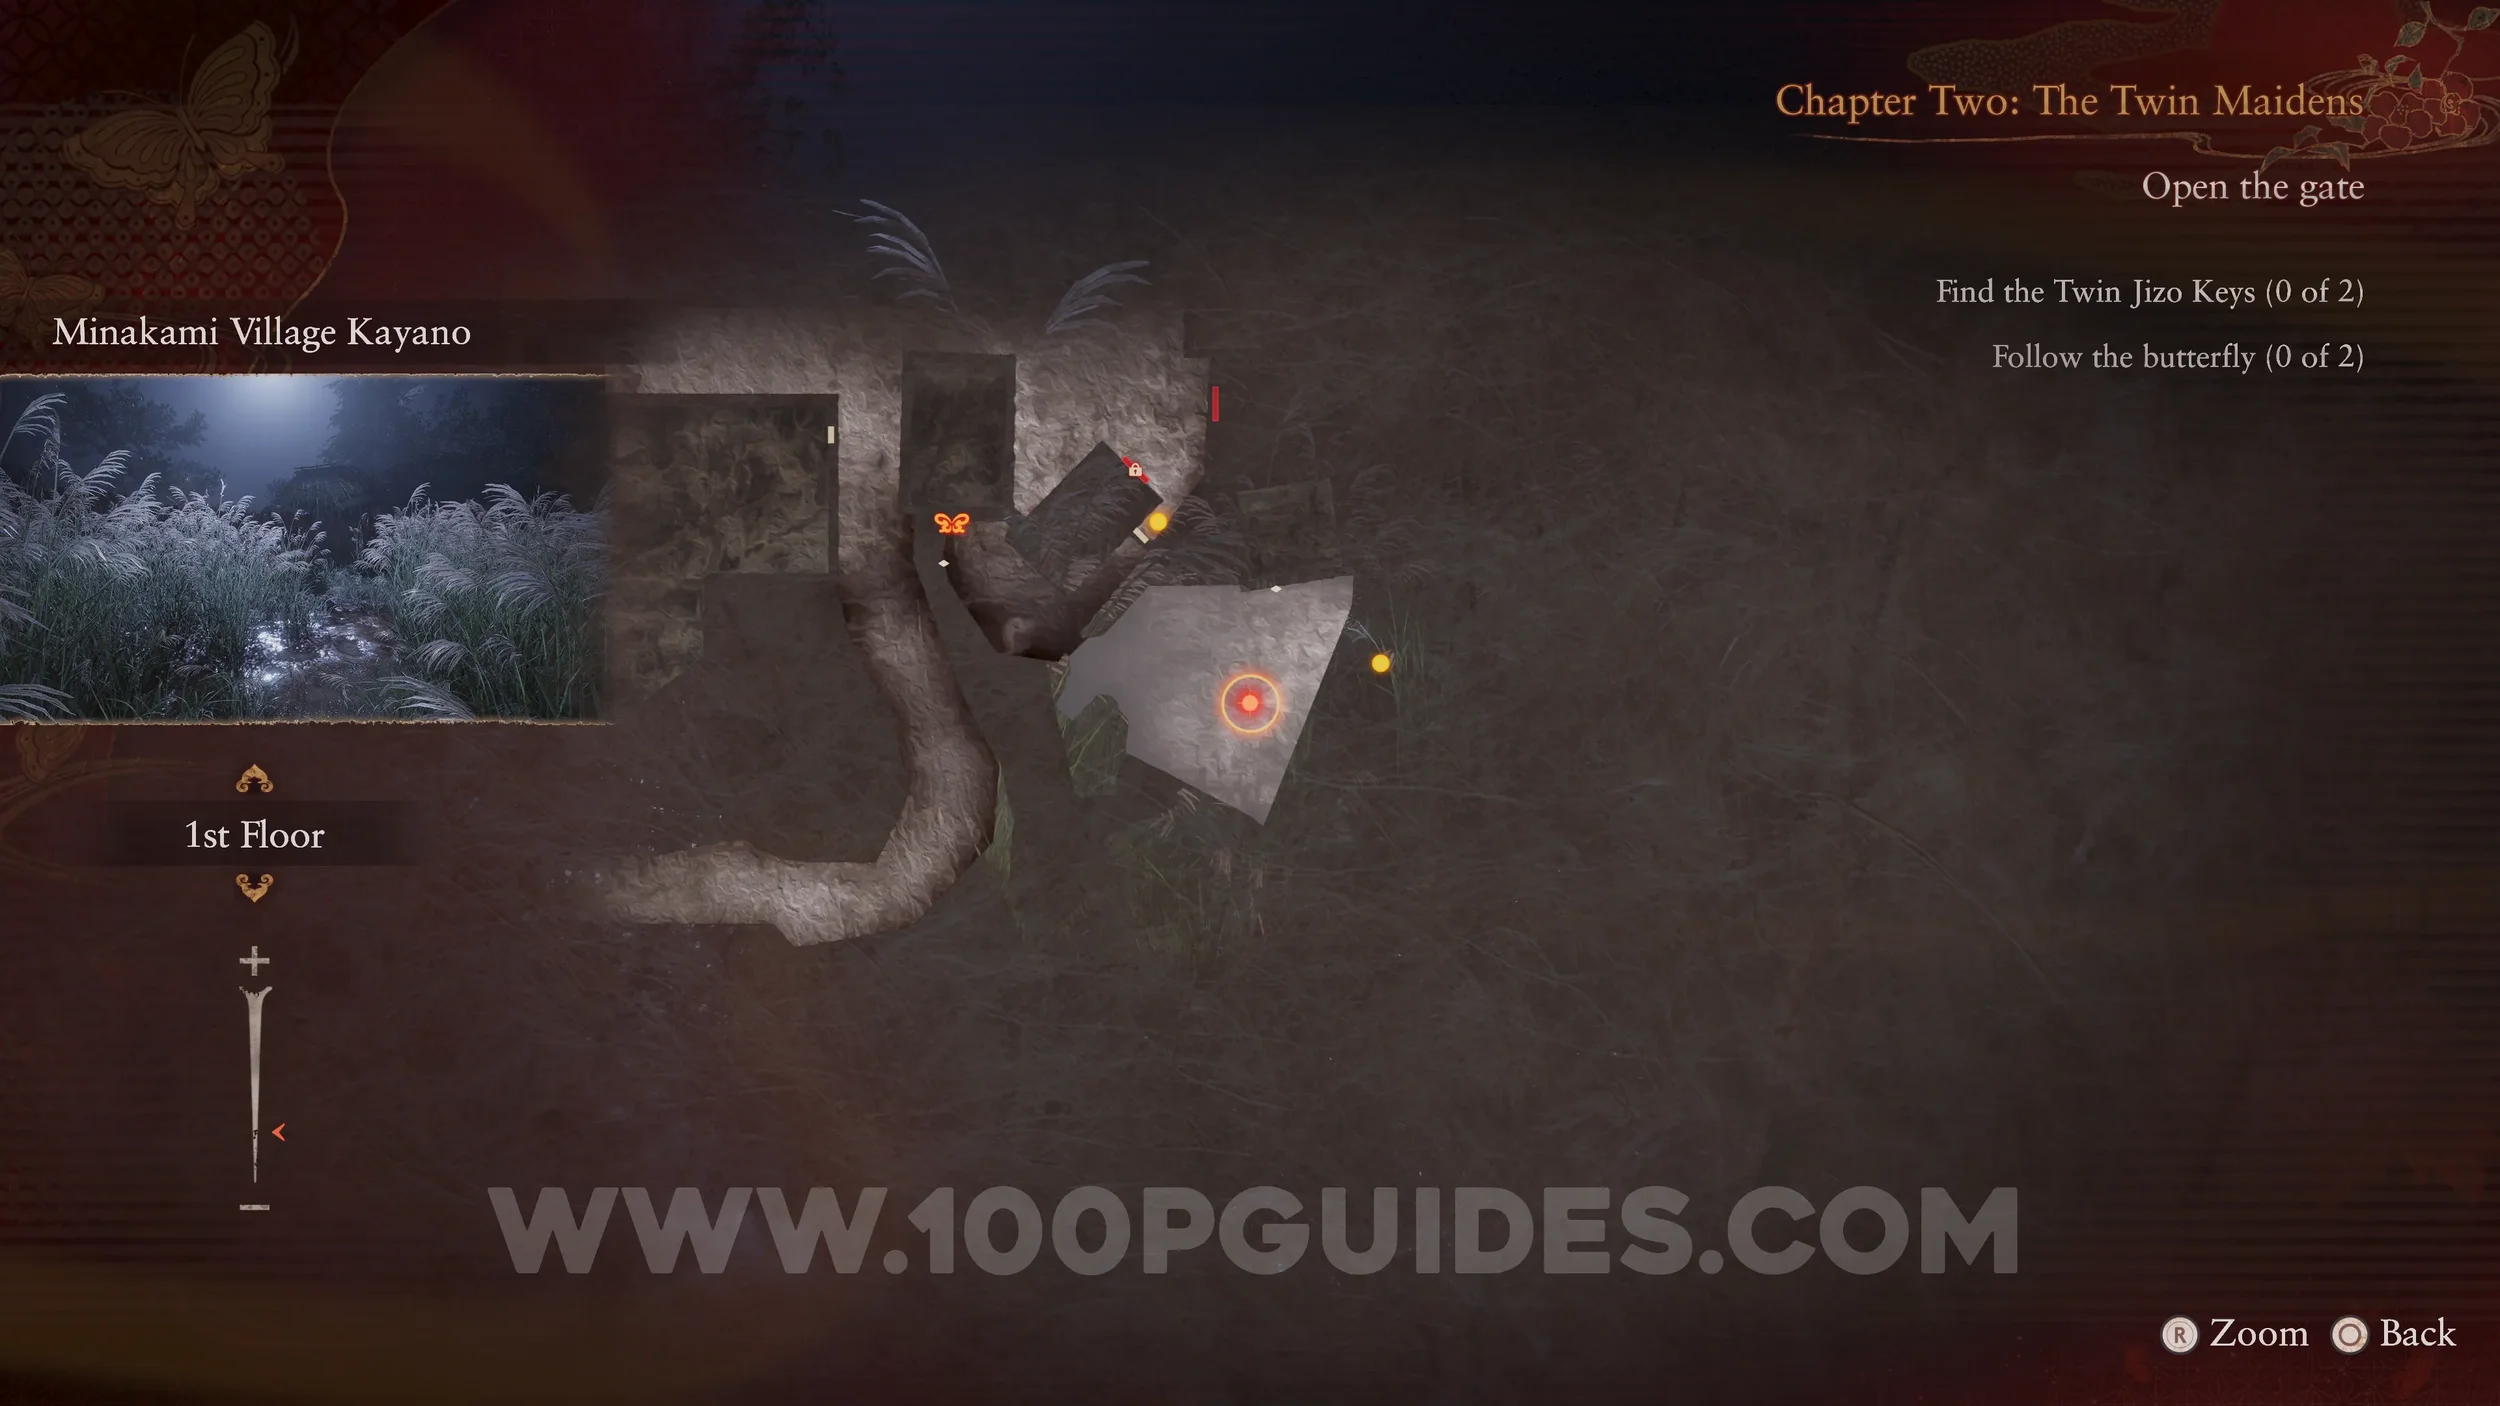
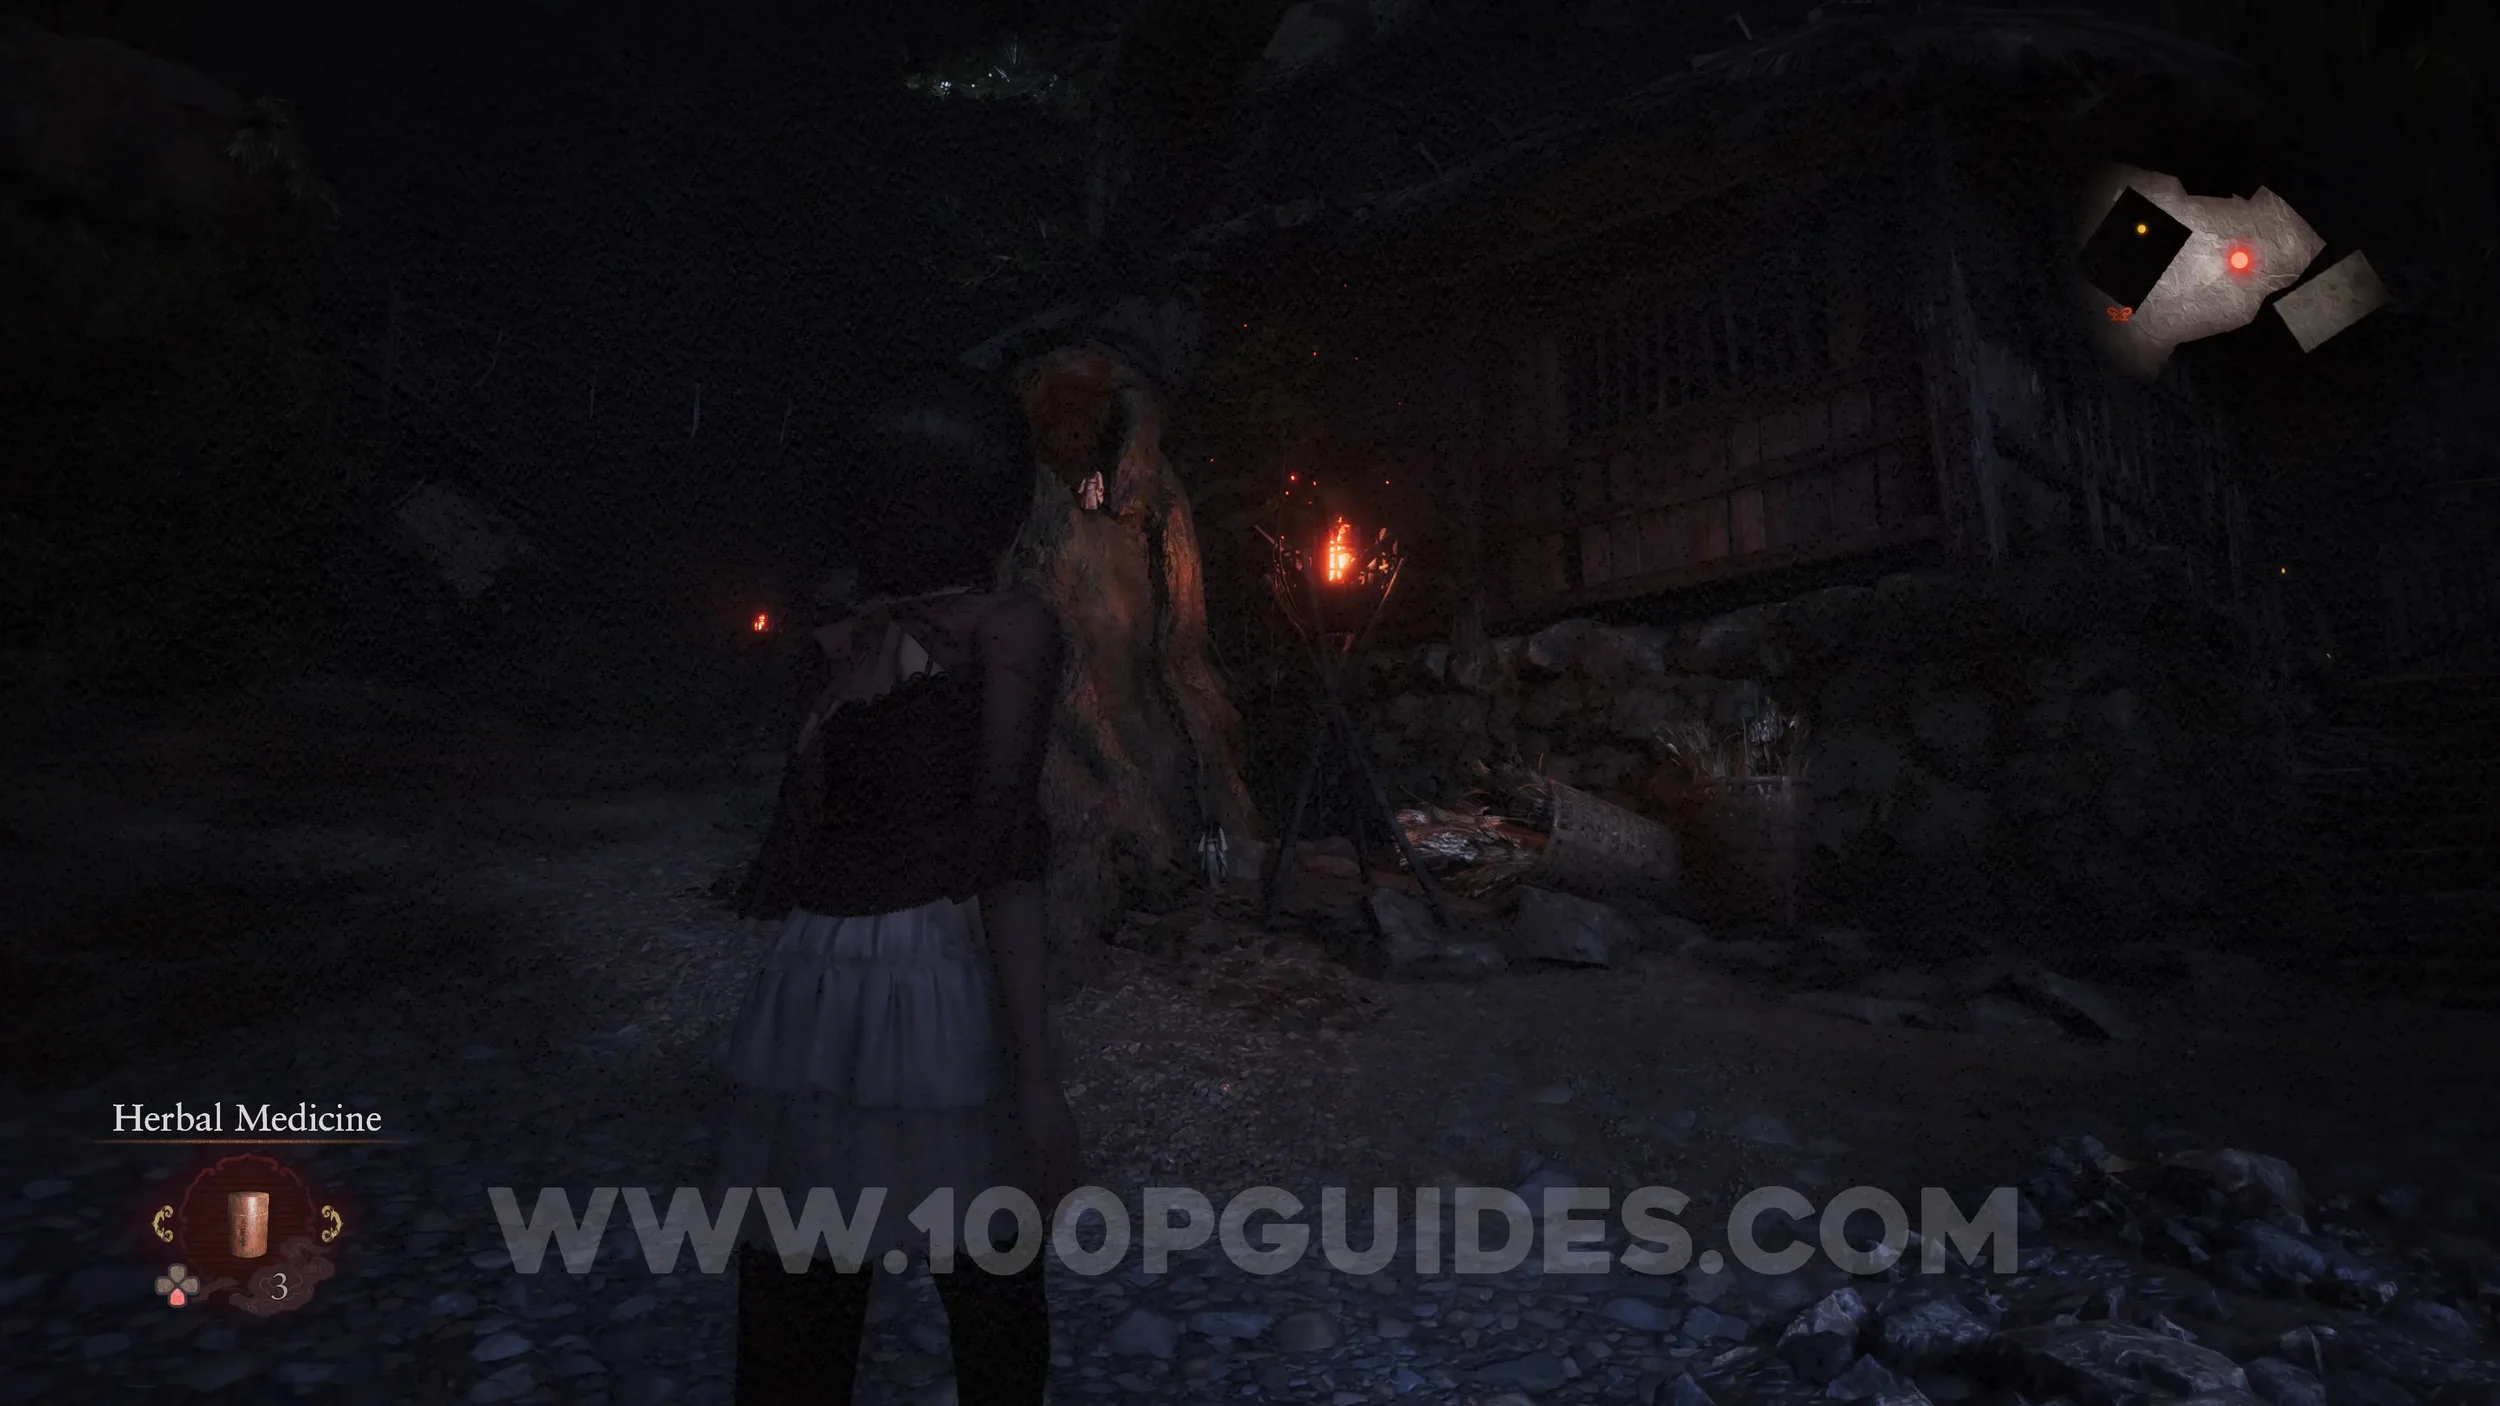
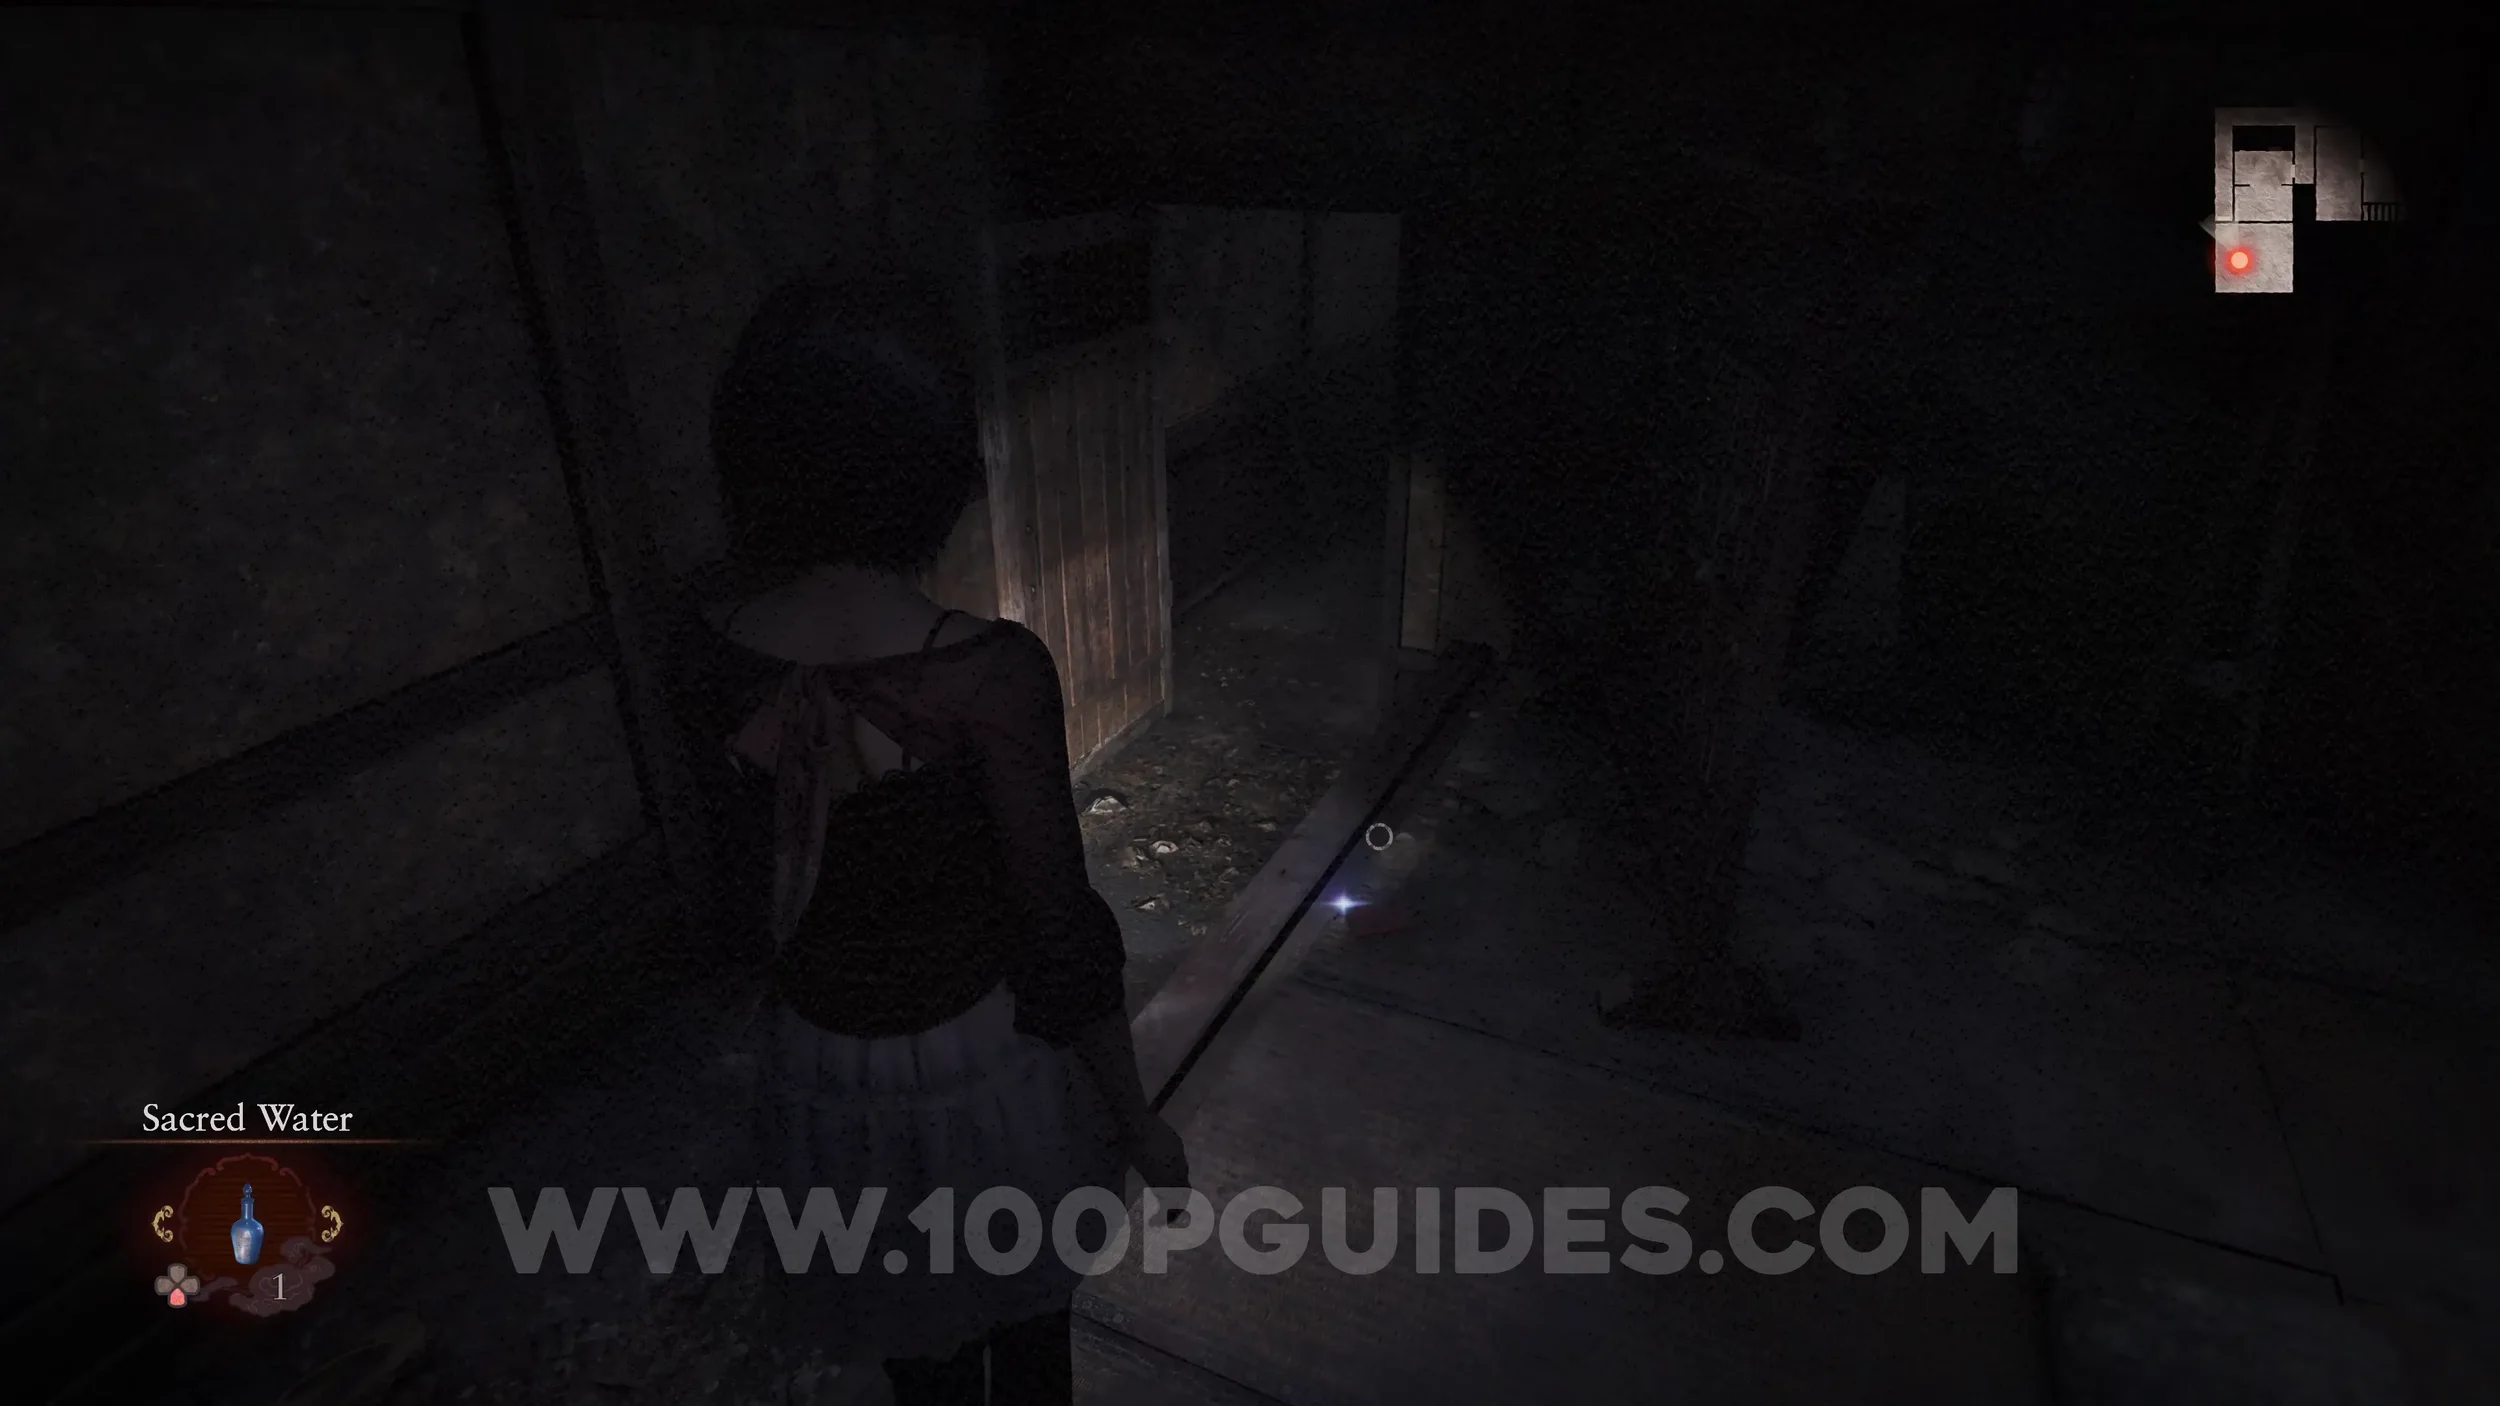
Prayer Beads #2. On the ground just after passing under the fallen tree after the trapped boy.
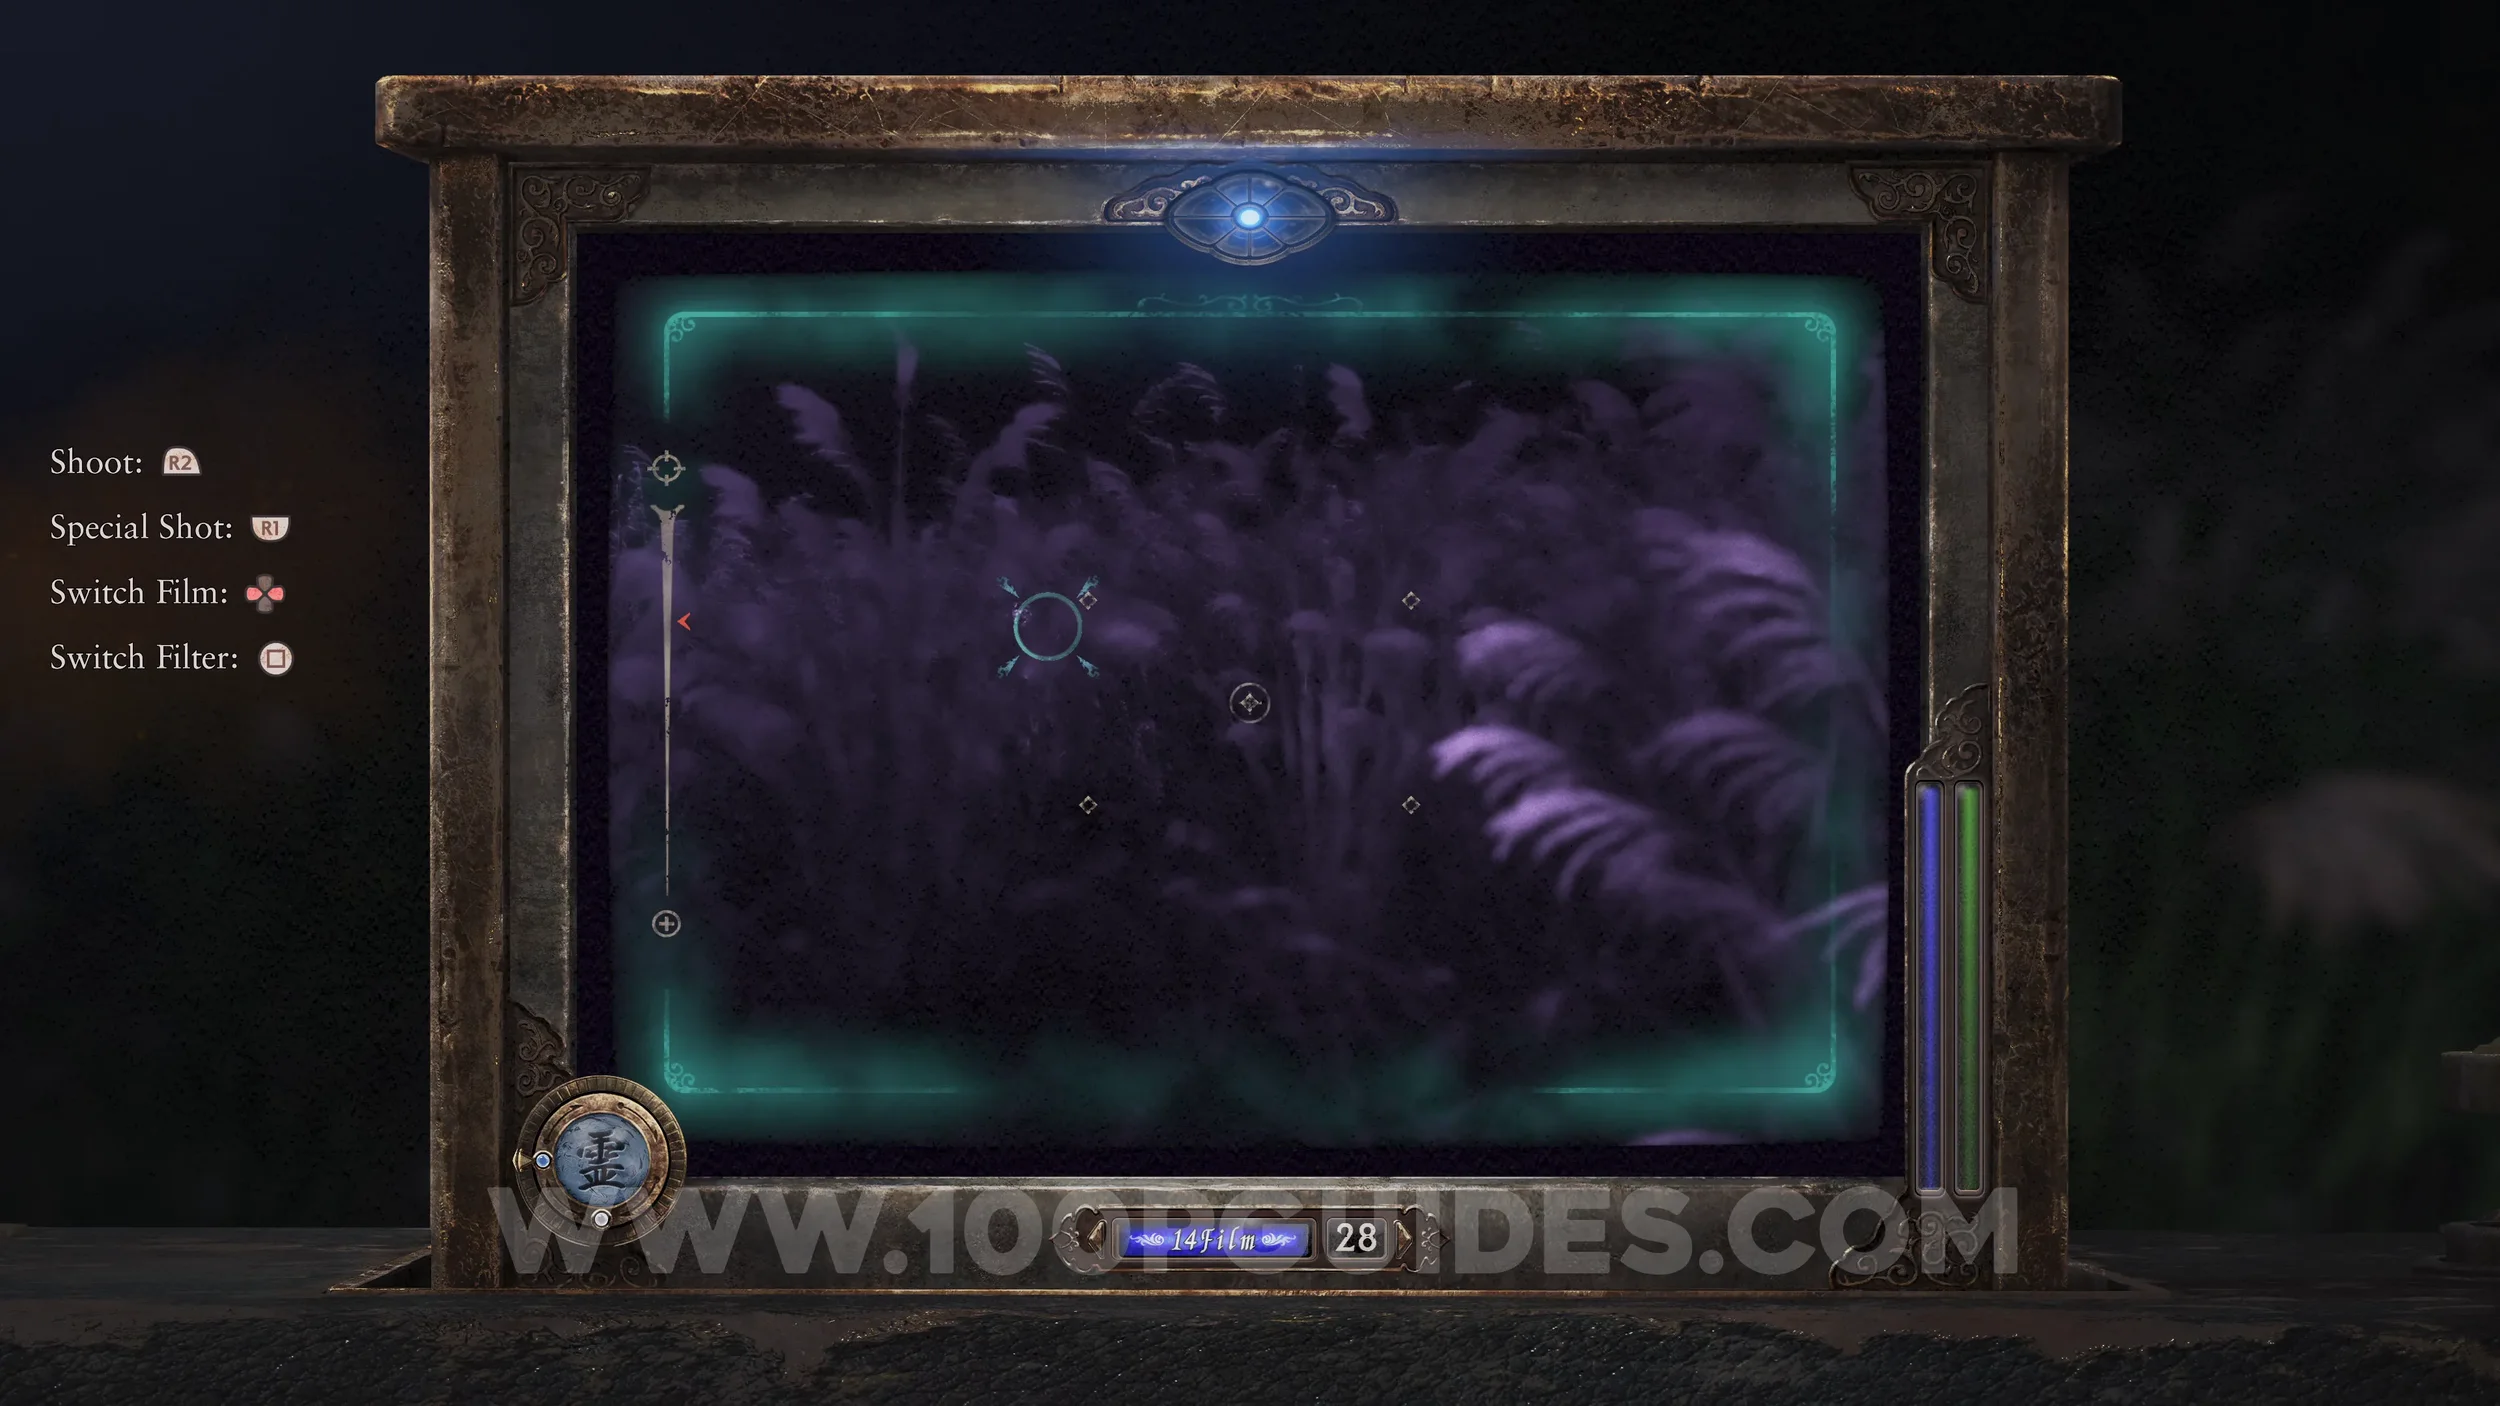
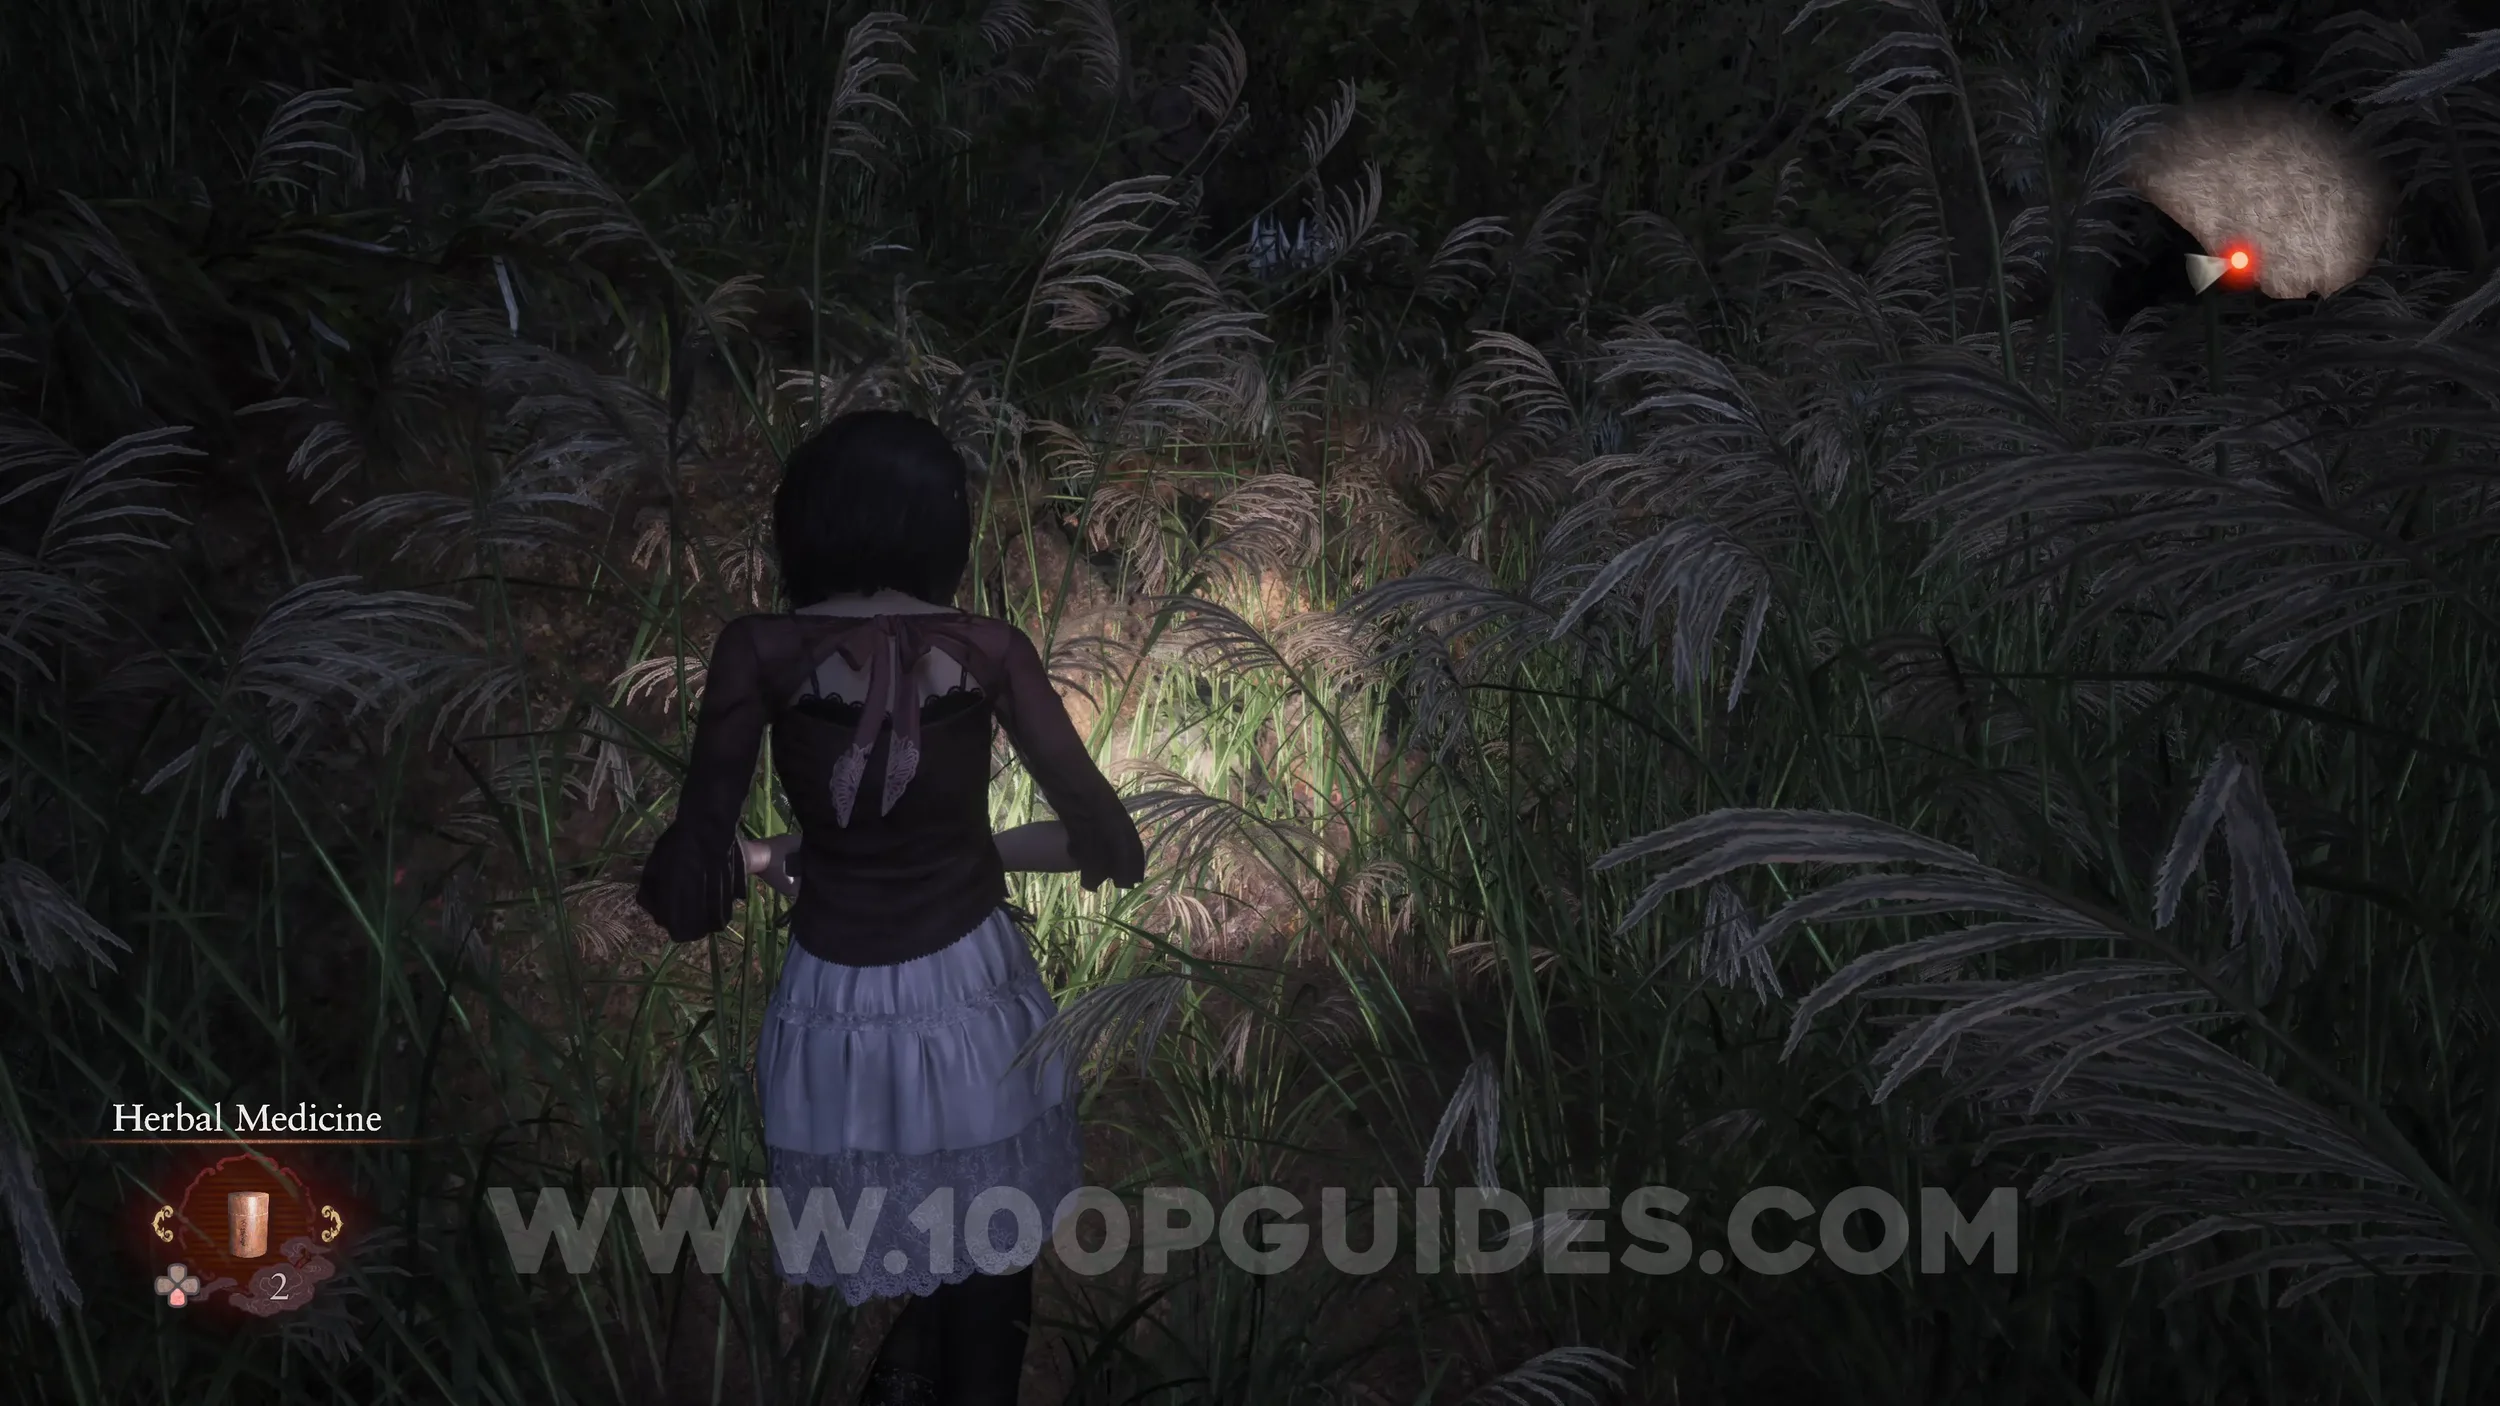
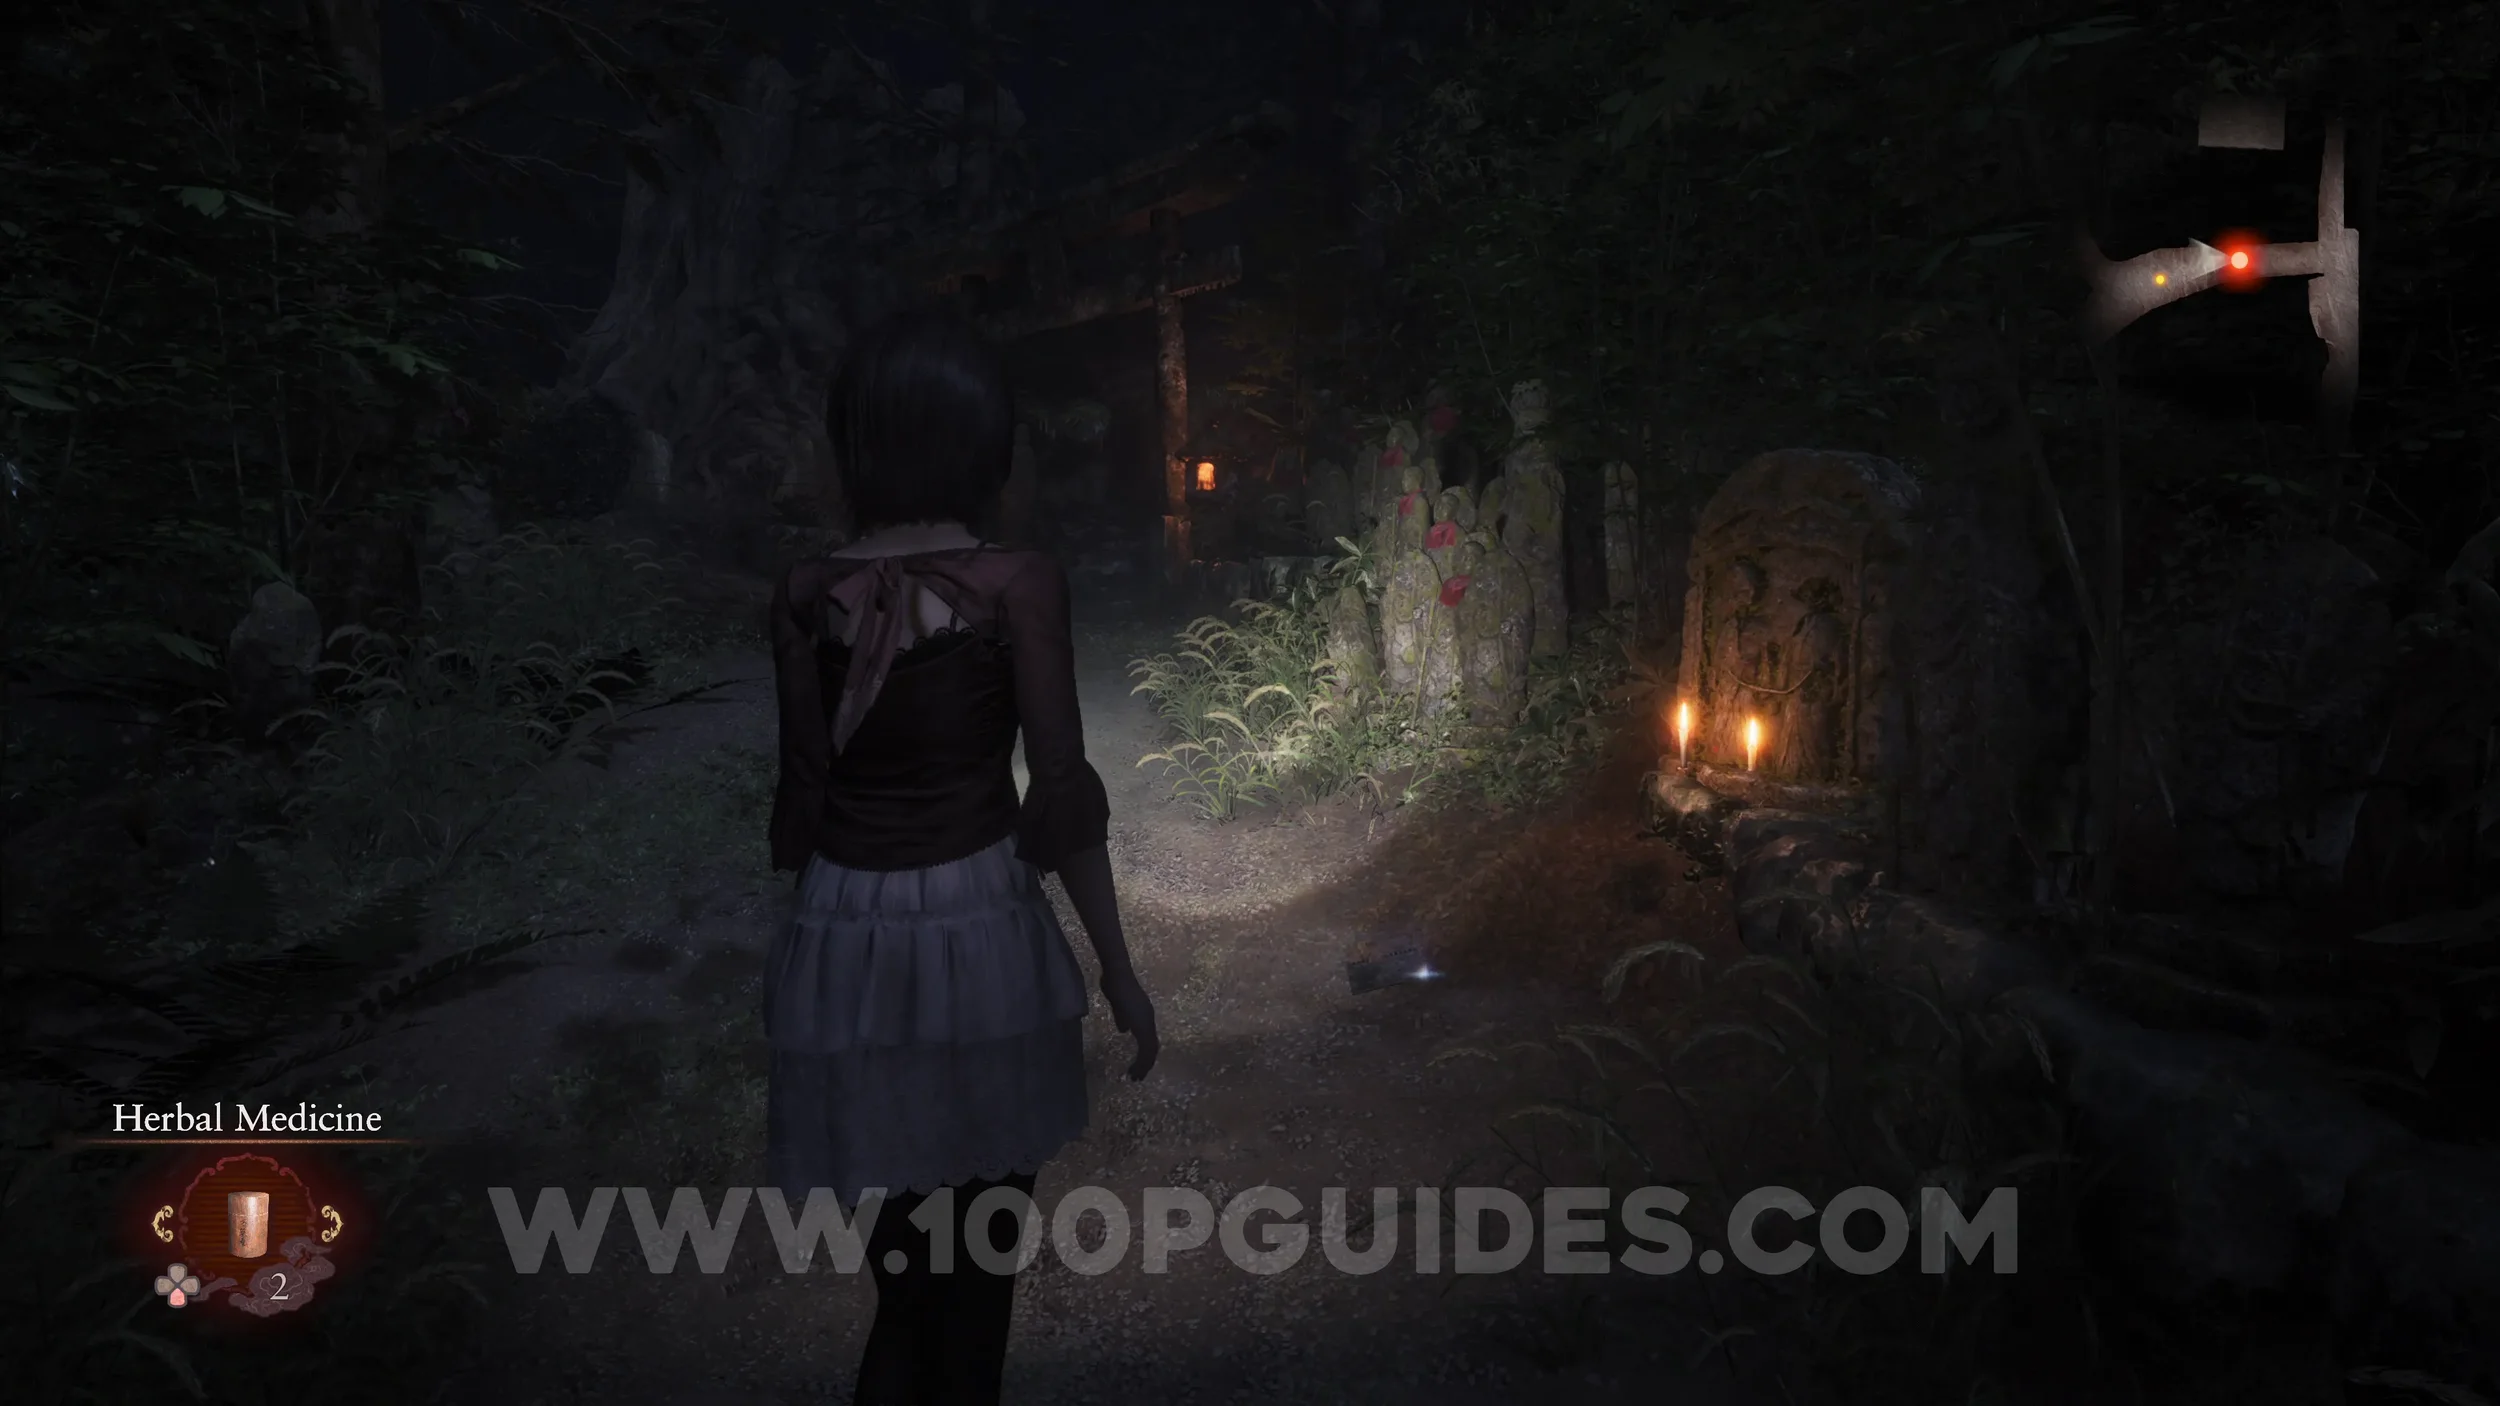
Specter #17 - 158 Playing Girl. This specter will cross in front of you as you pass through the long grass field.
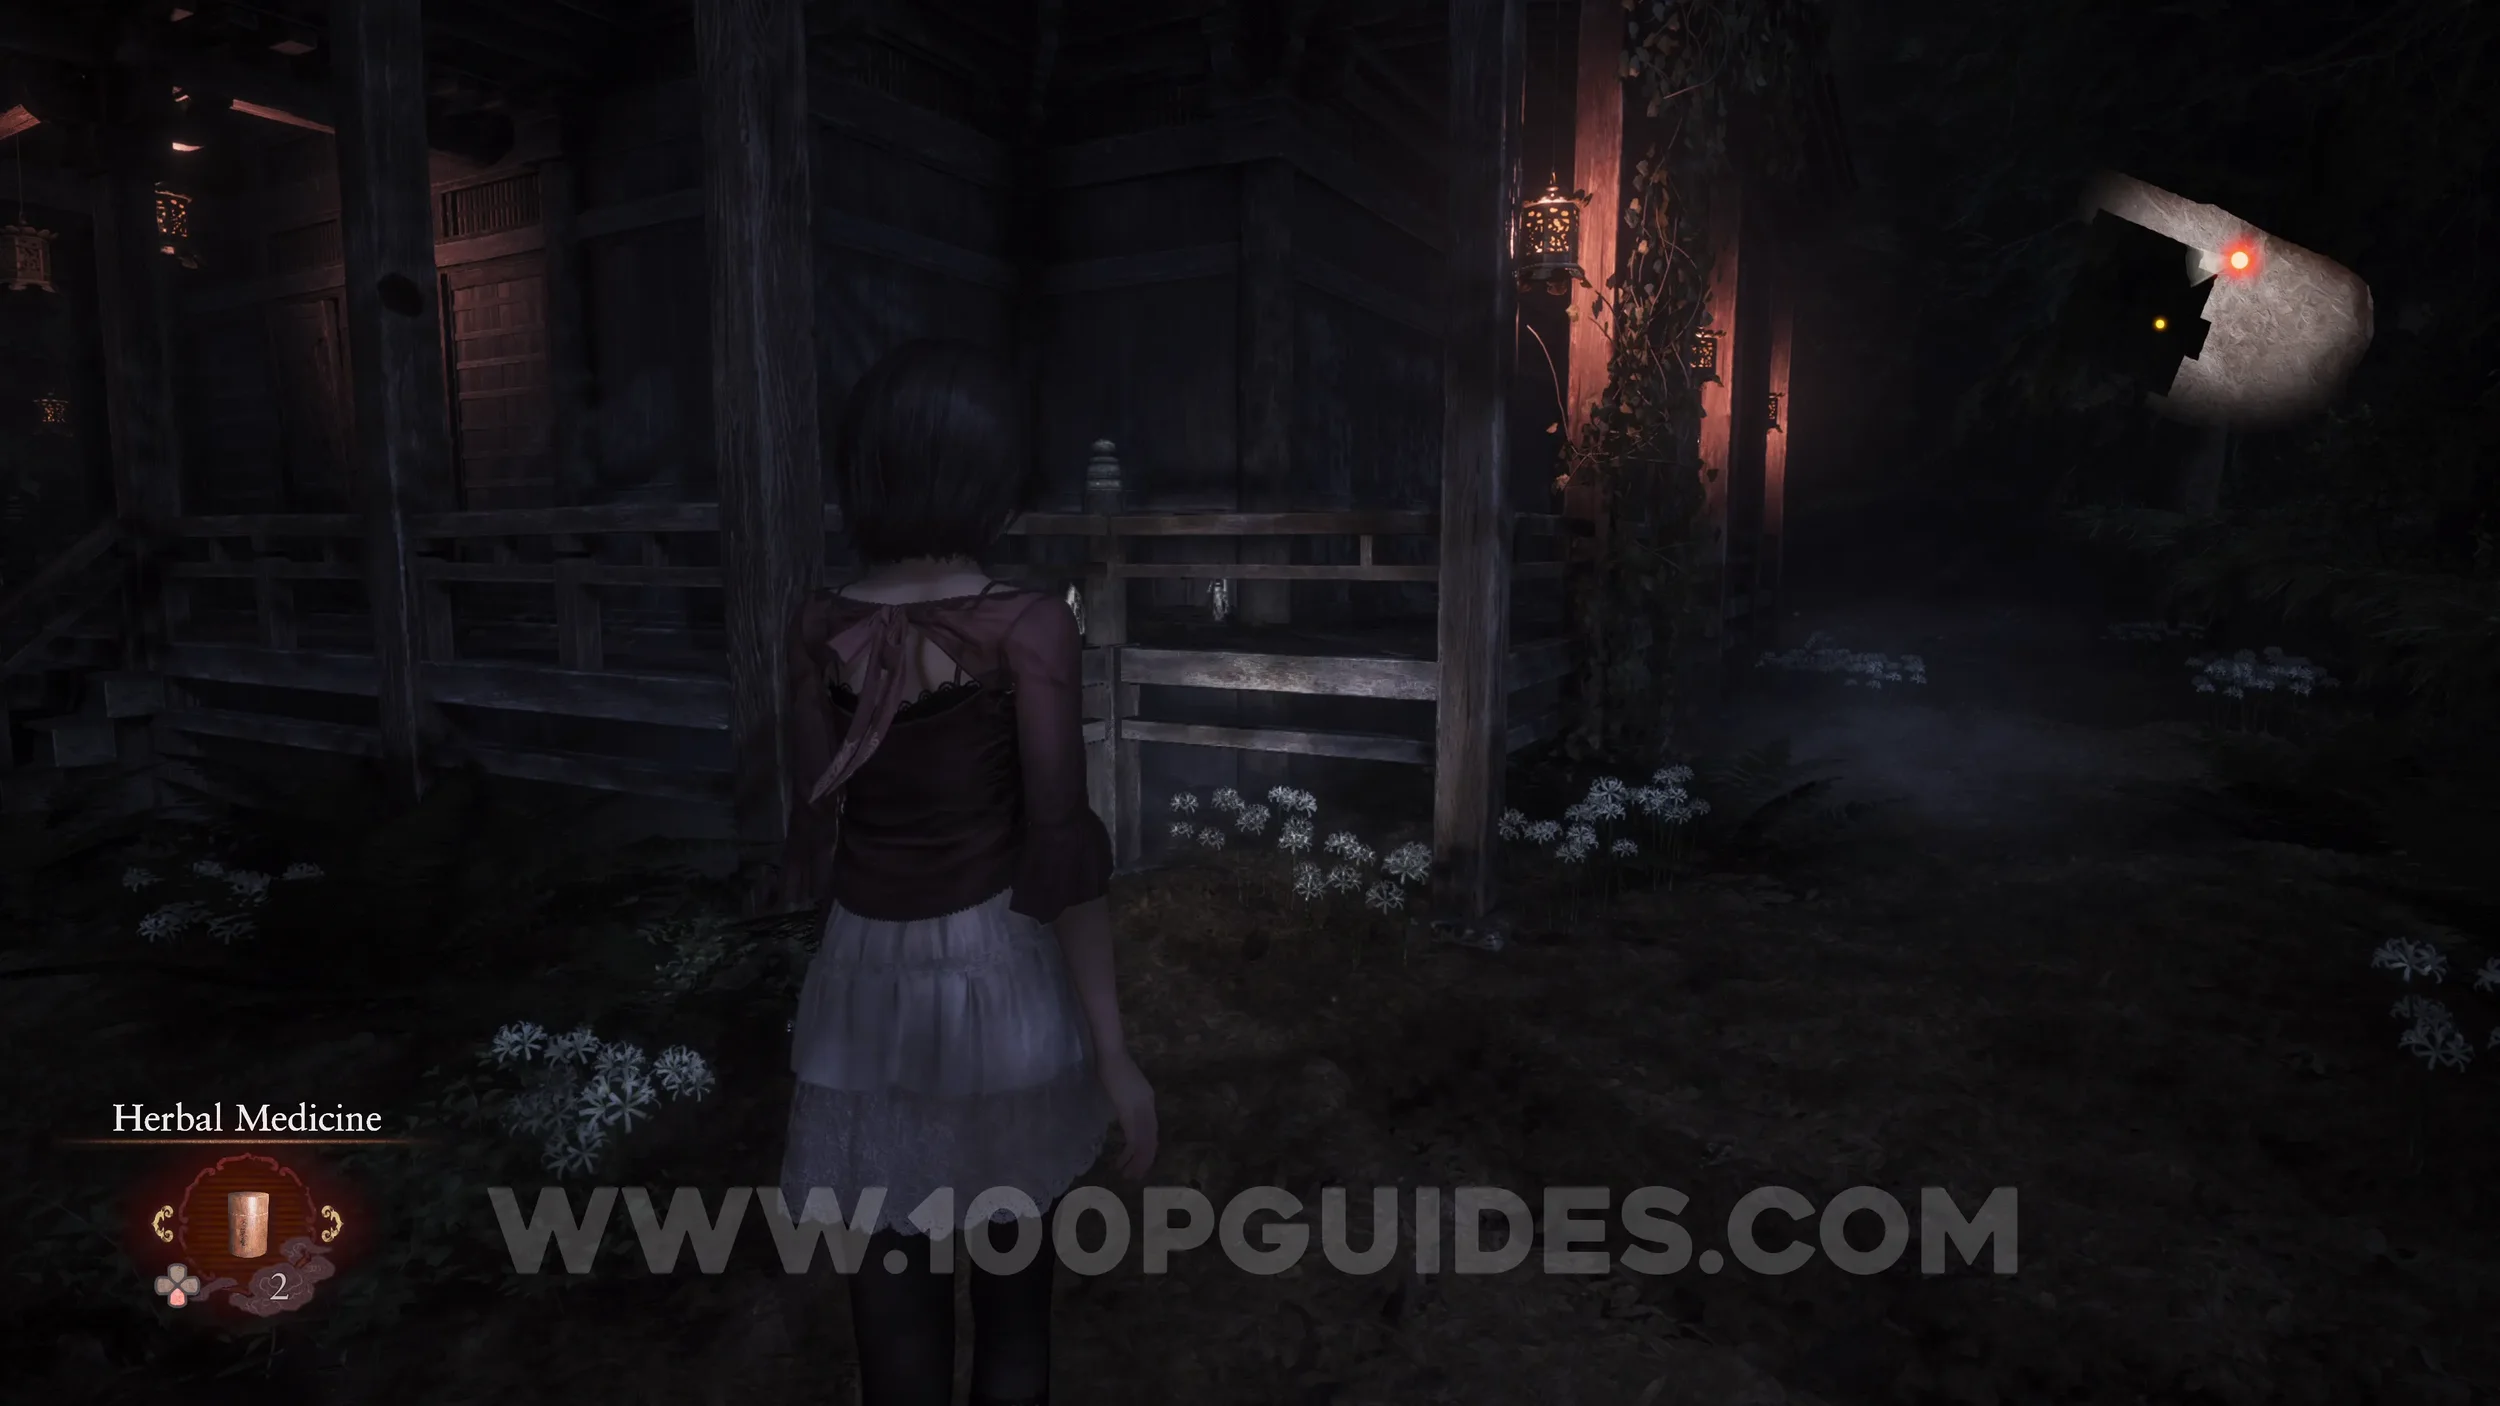
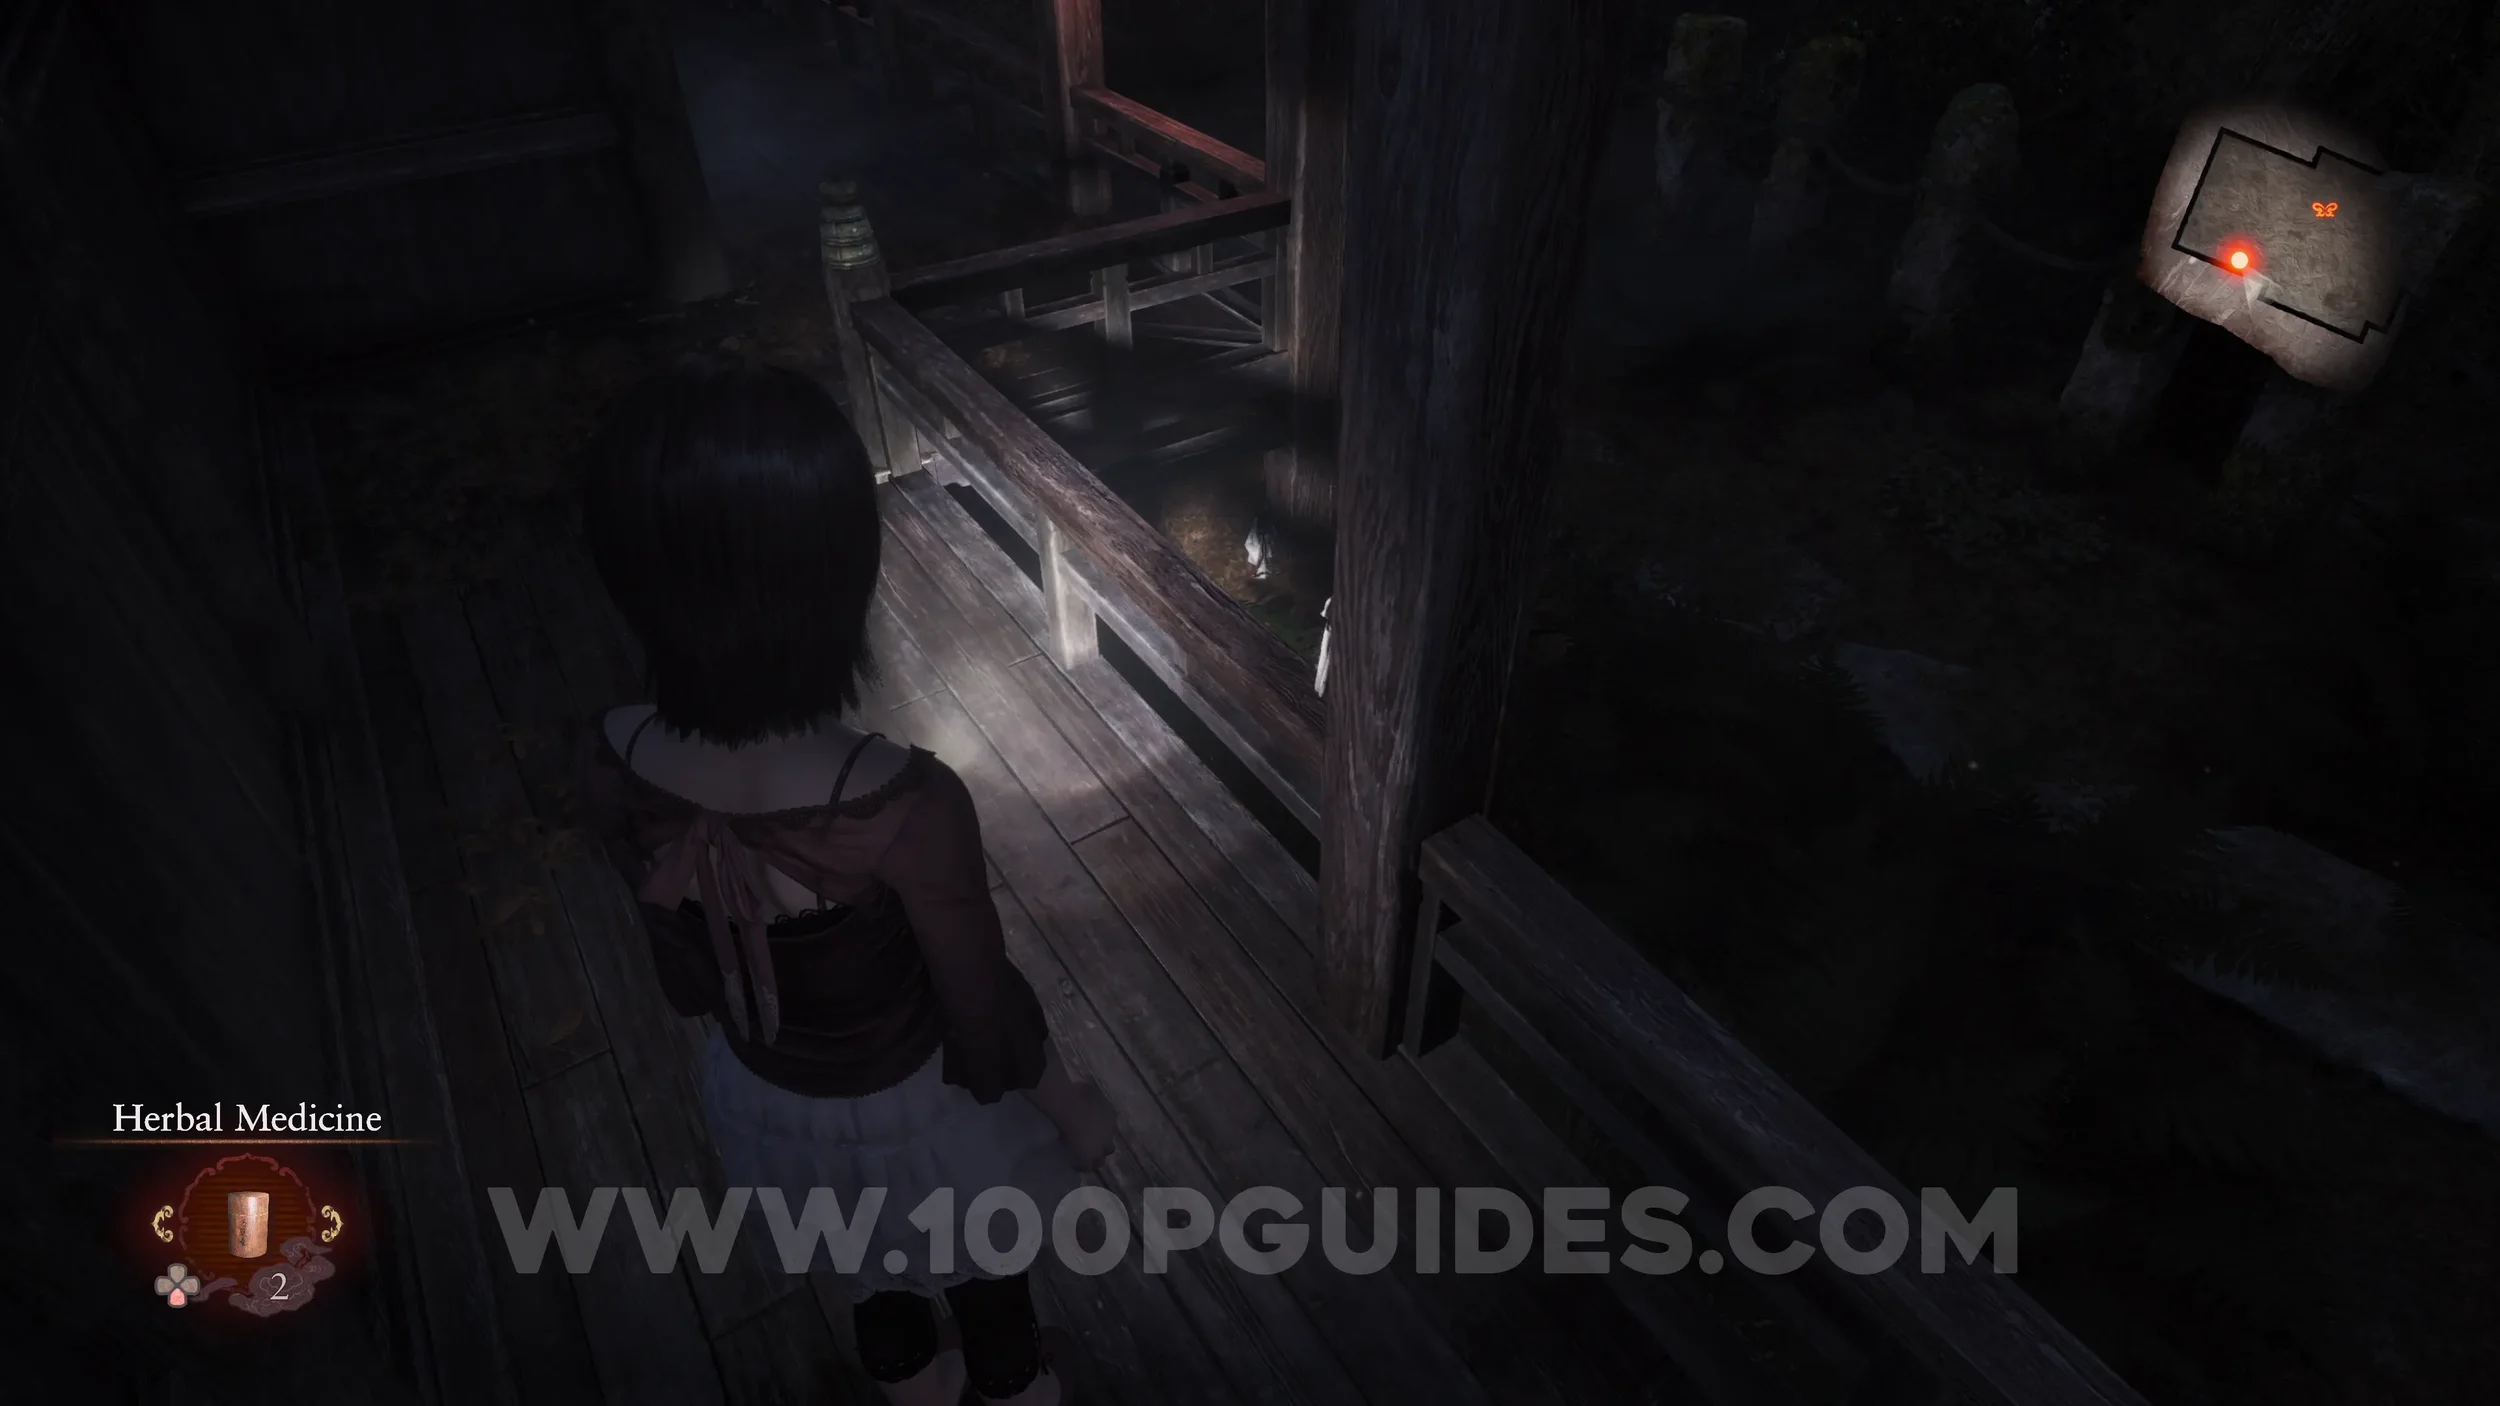
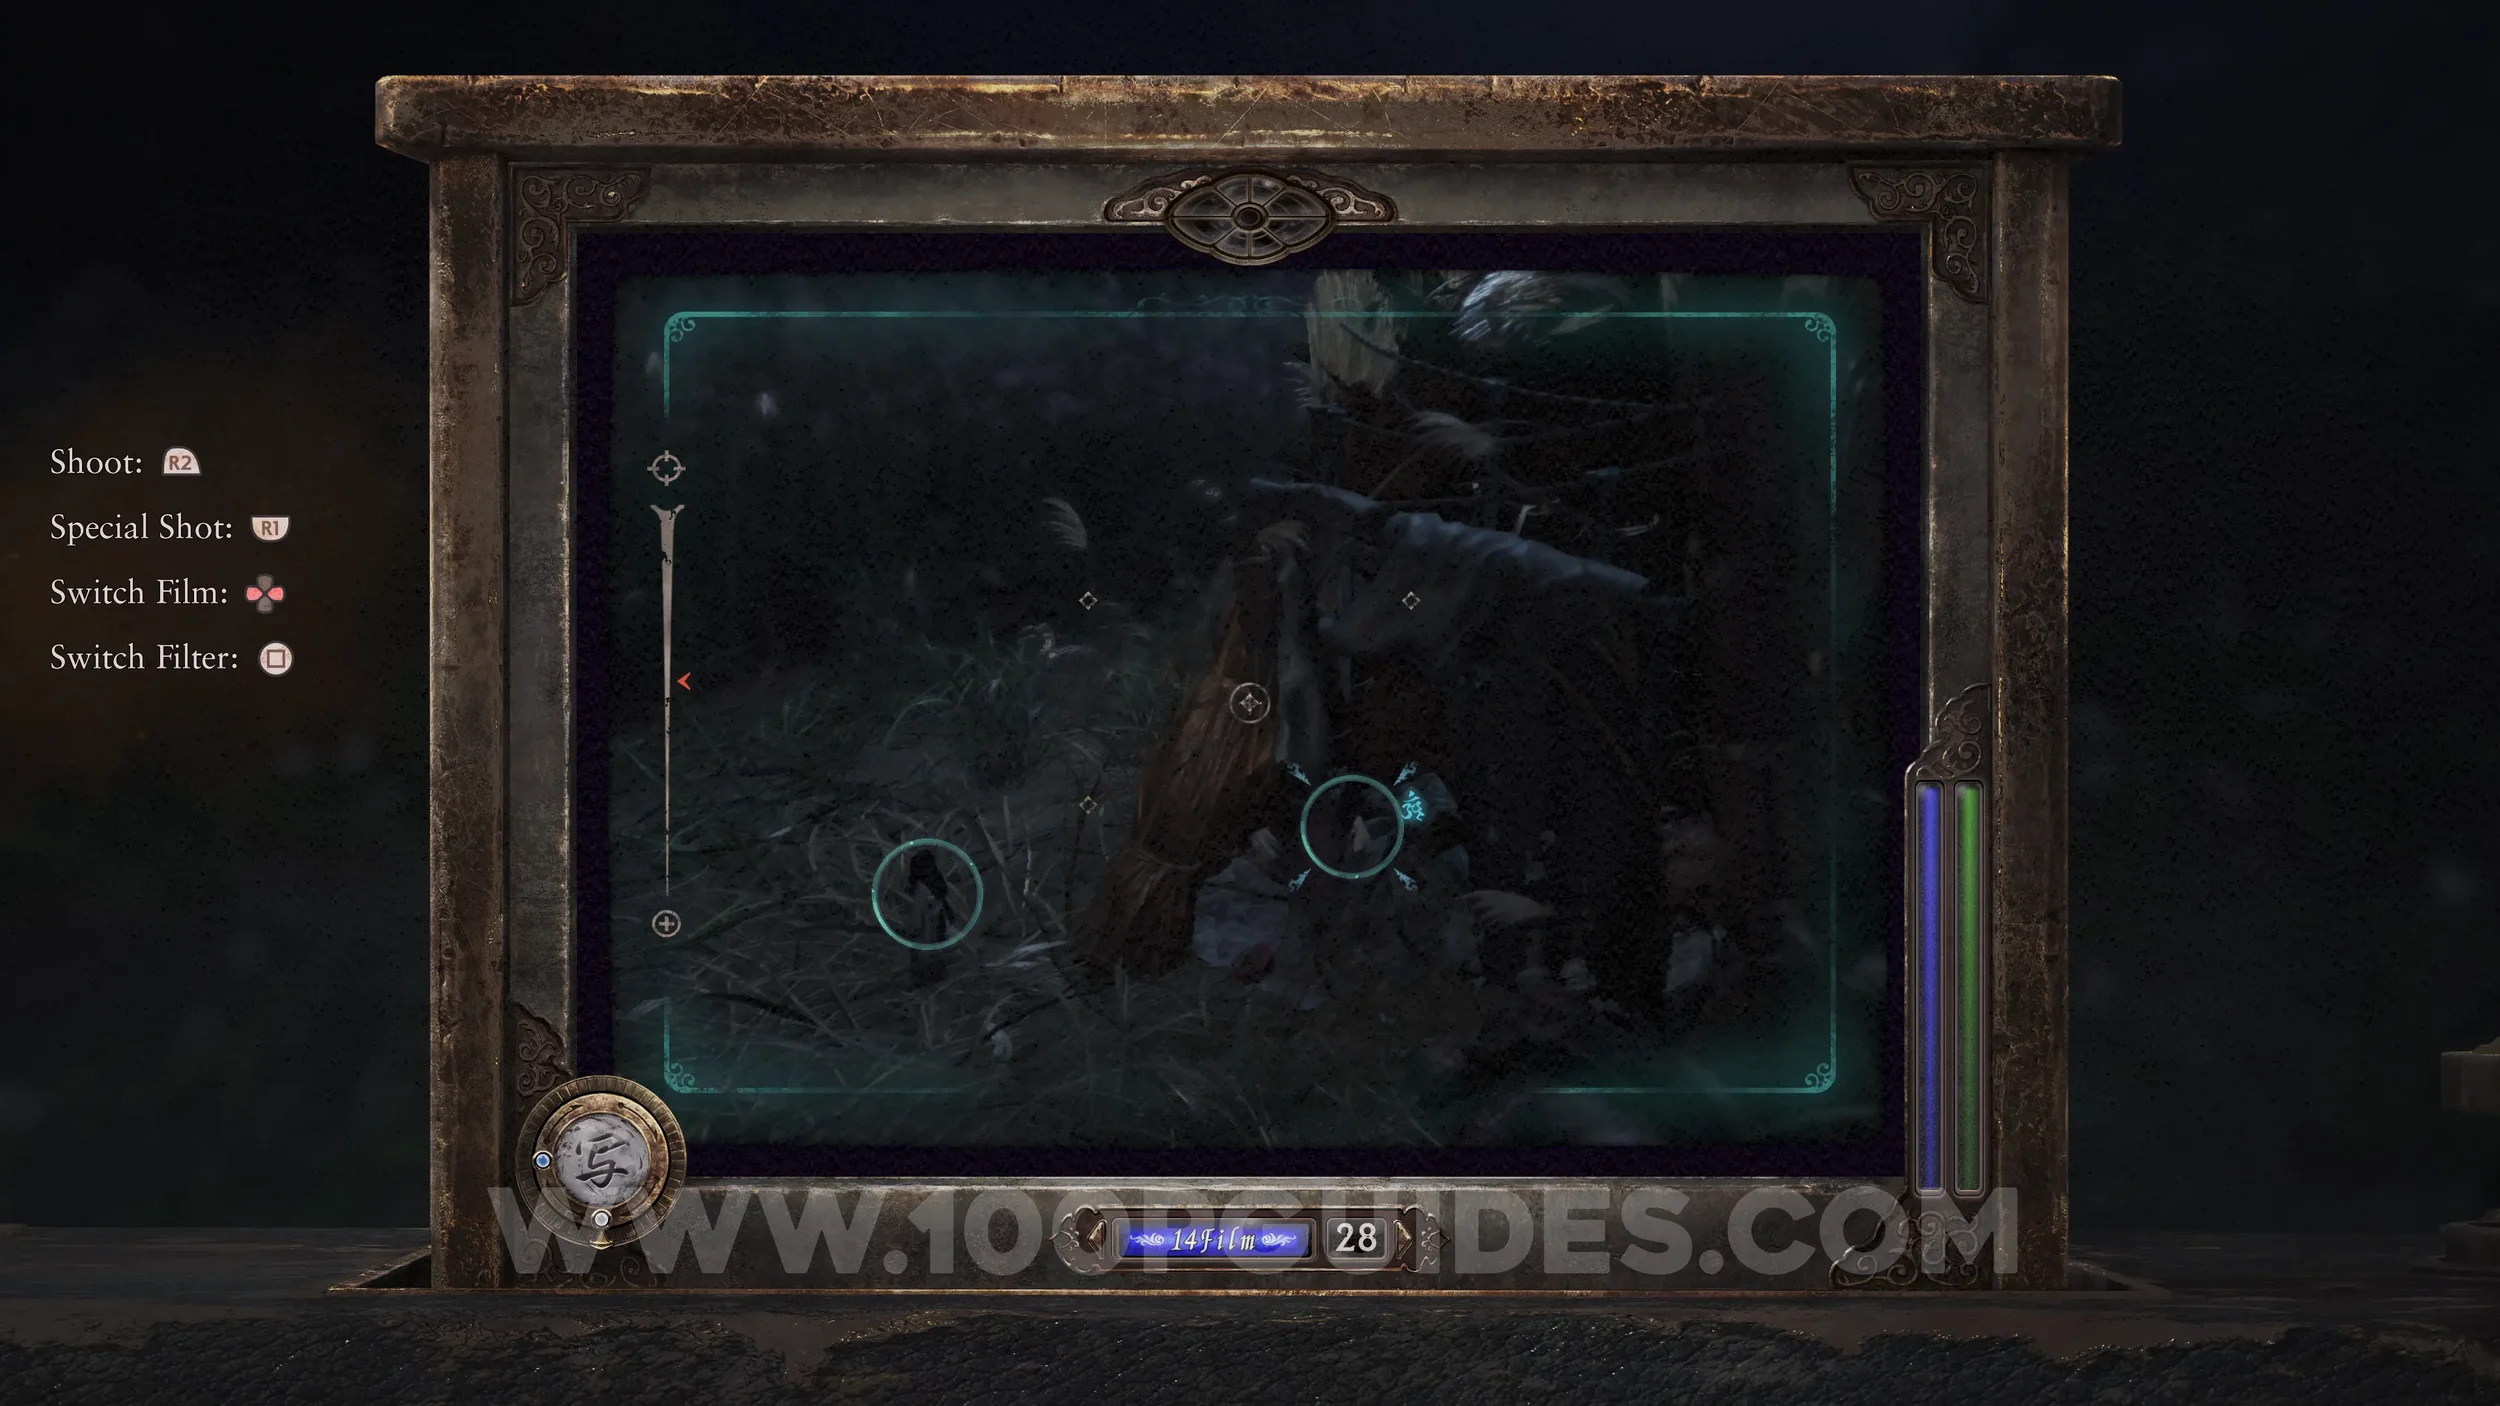
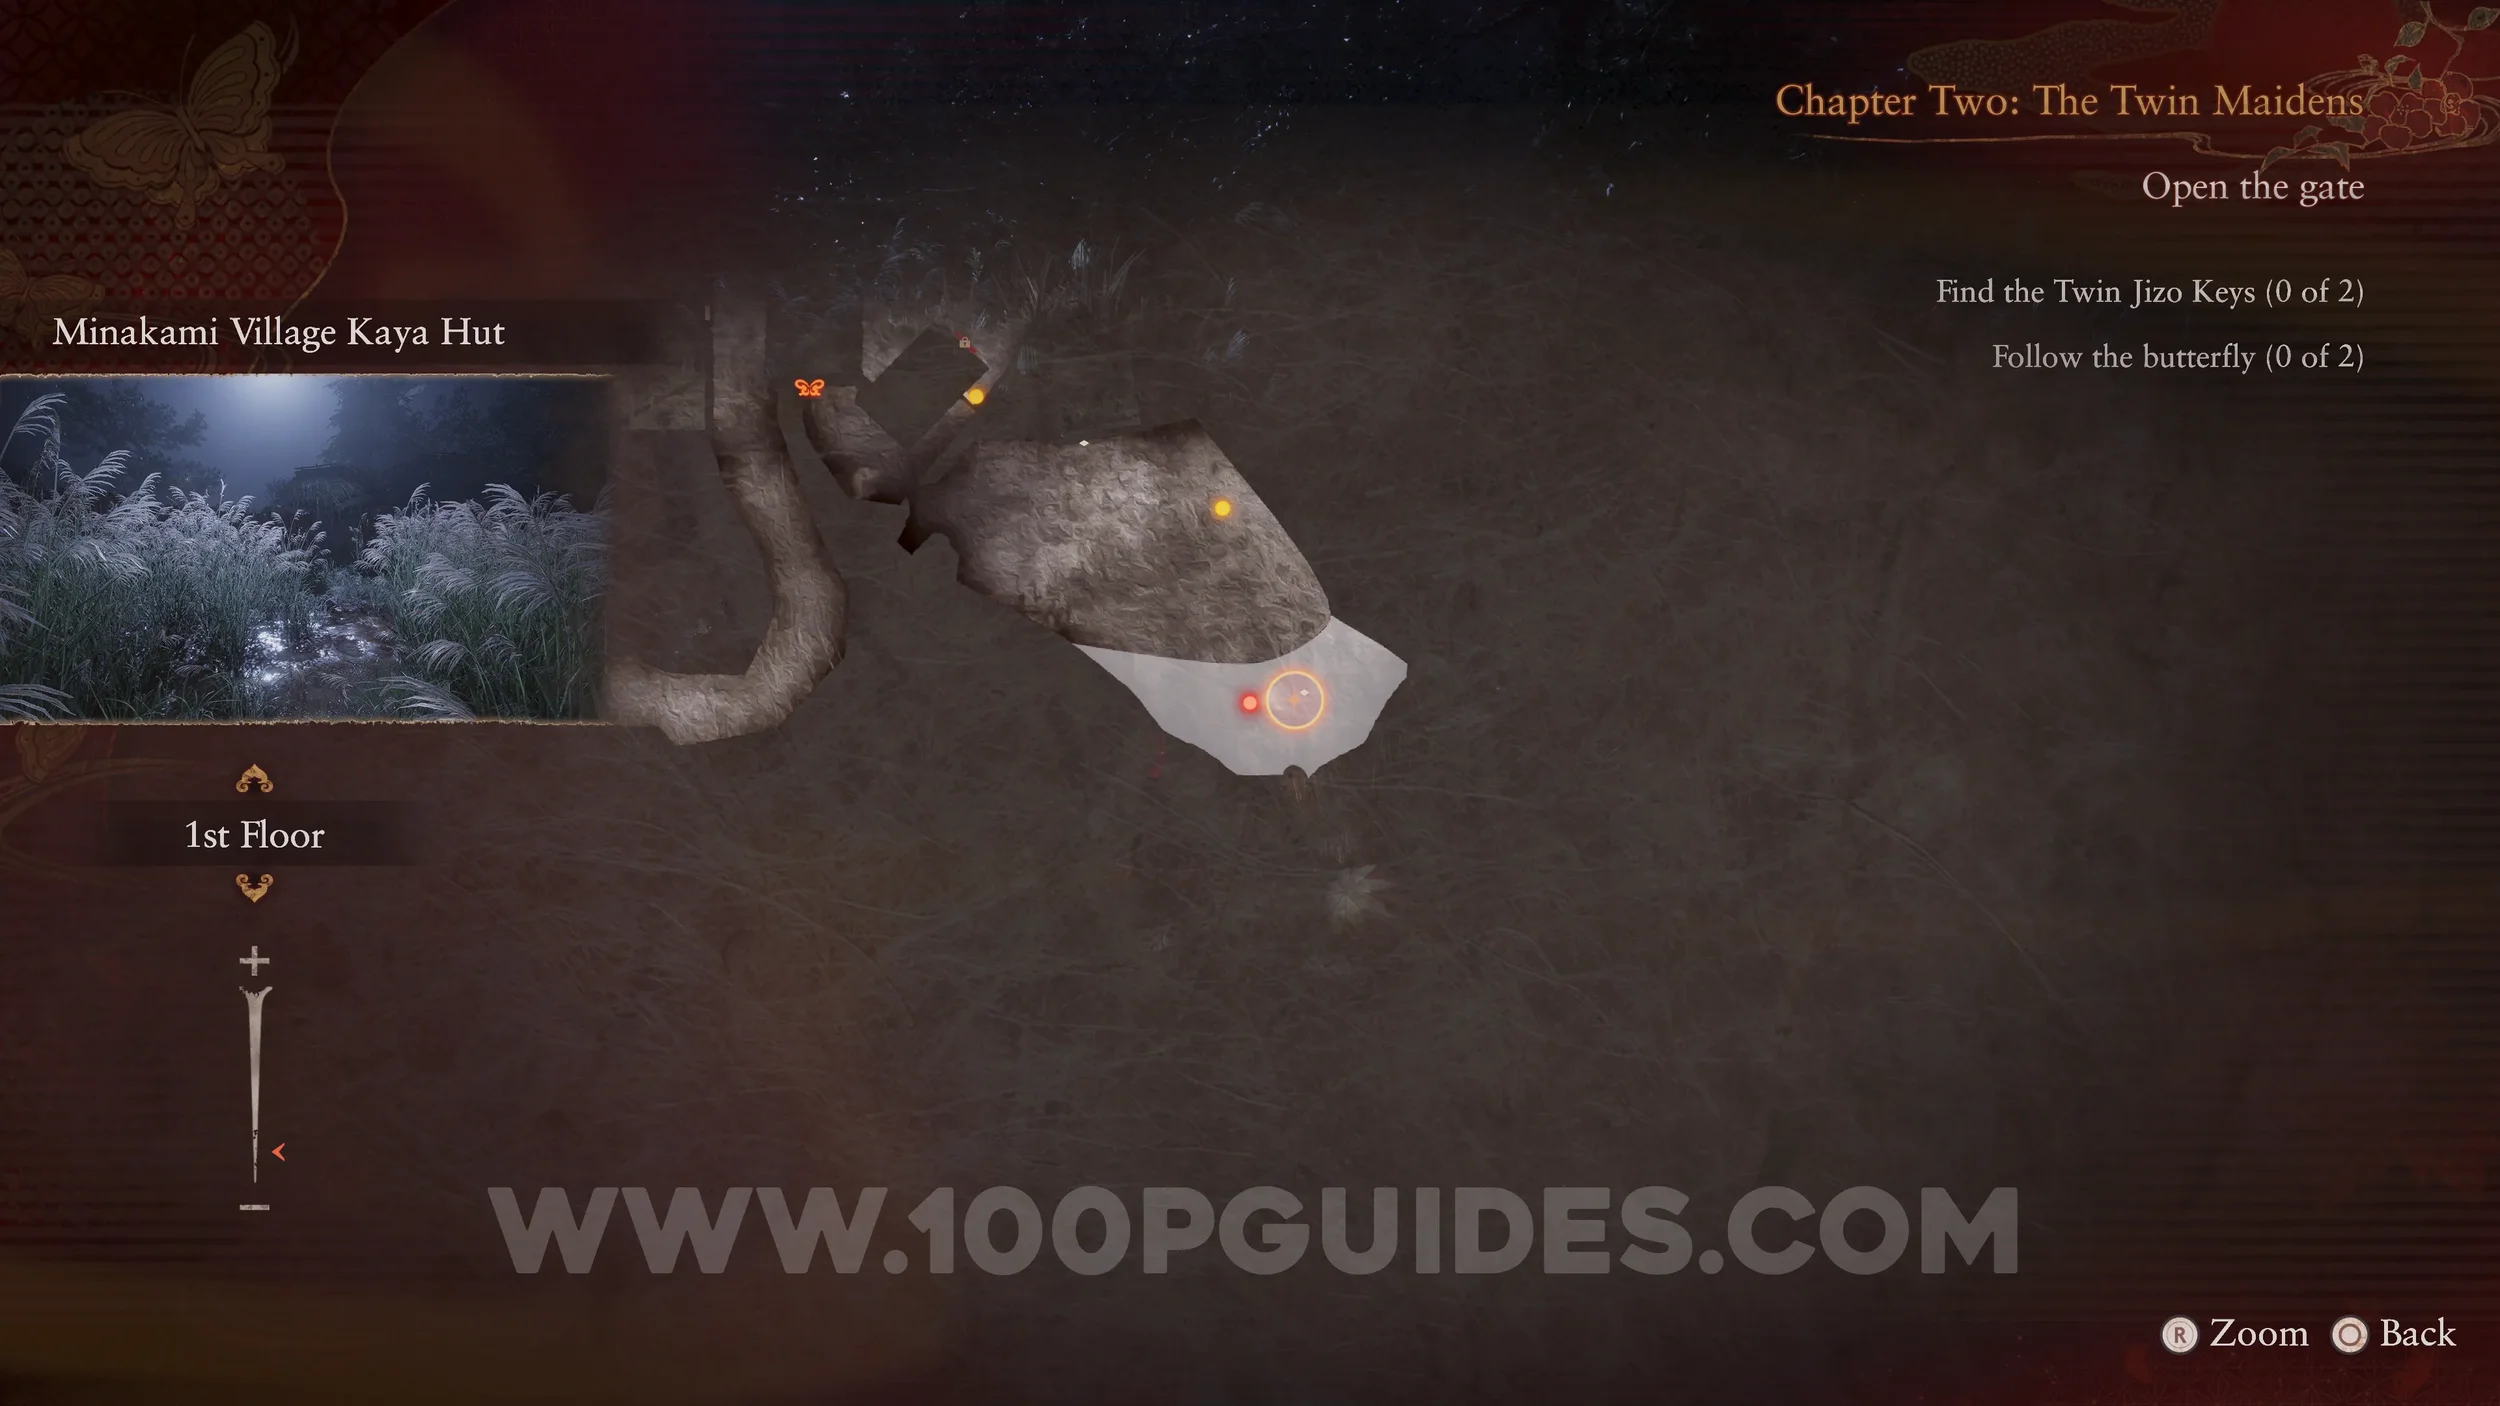
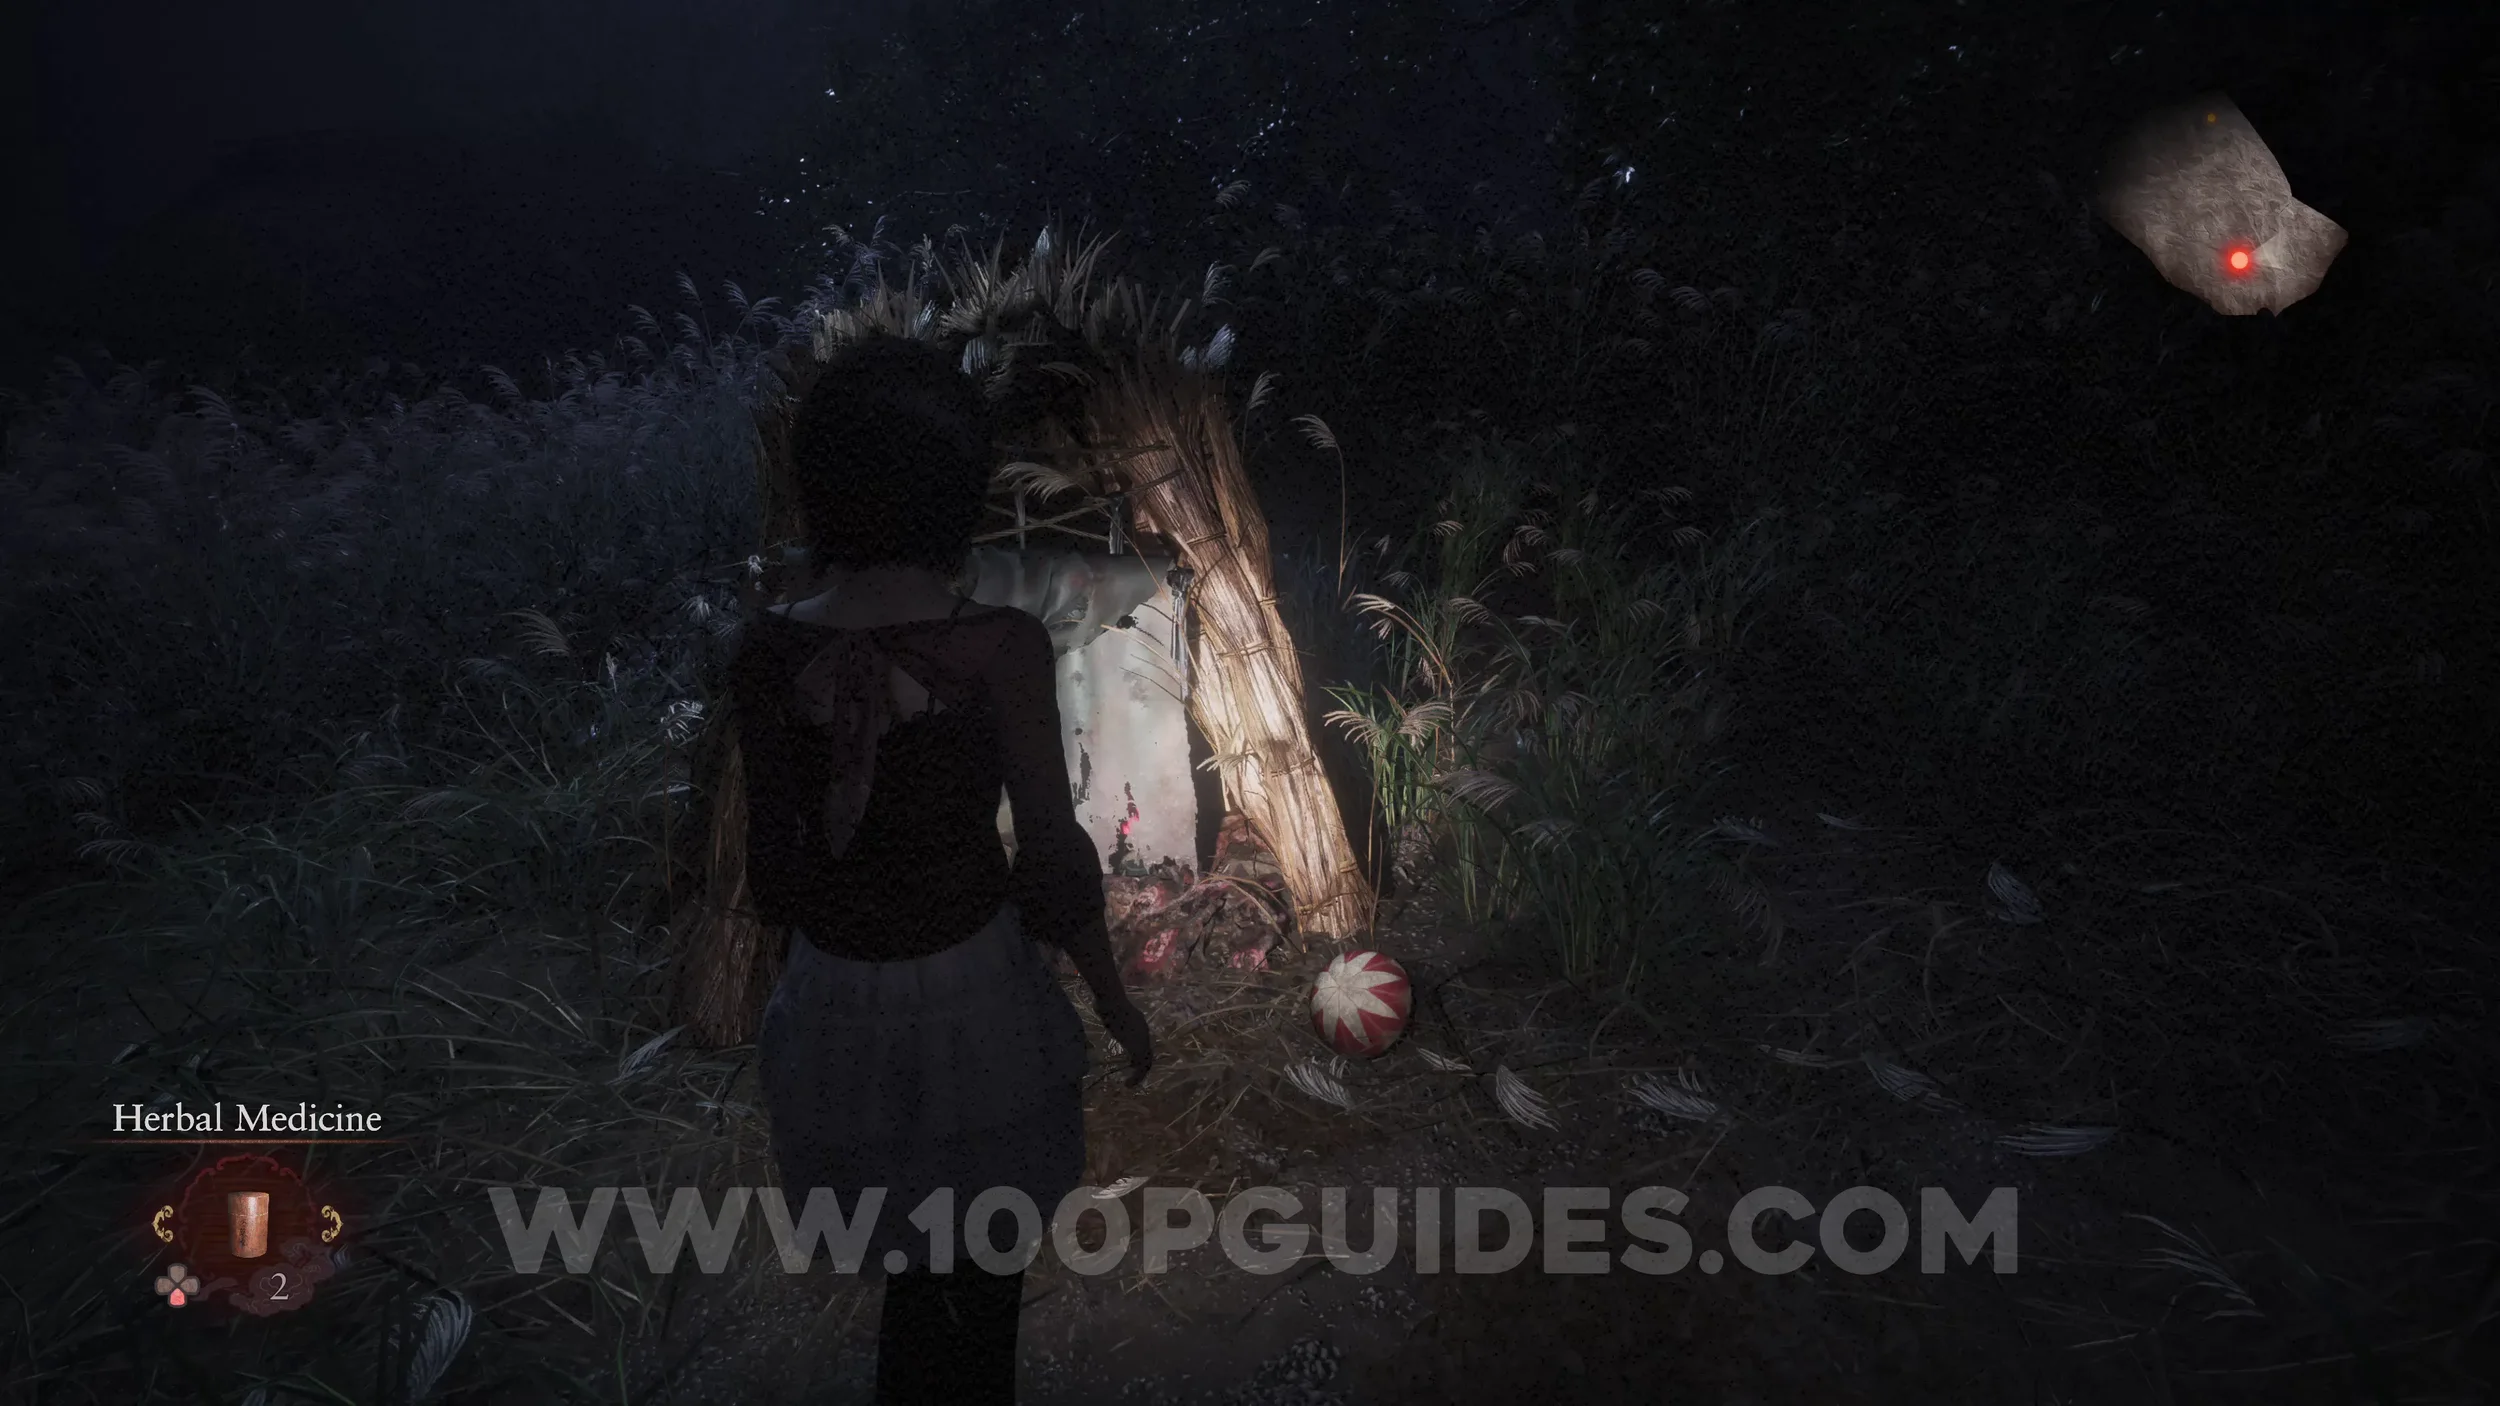
Twin Dolls #10 (6). In the tall grass field, head south to find a small straw hut. One doll is inside, and the other is outside. Position the camera so both are in the shot.
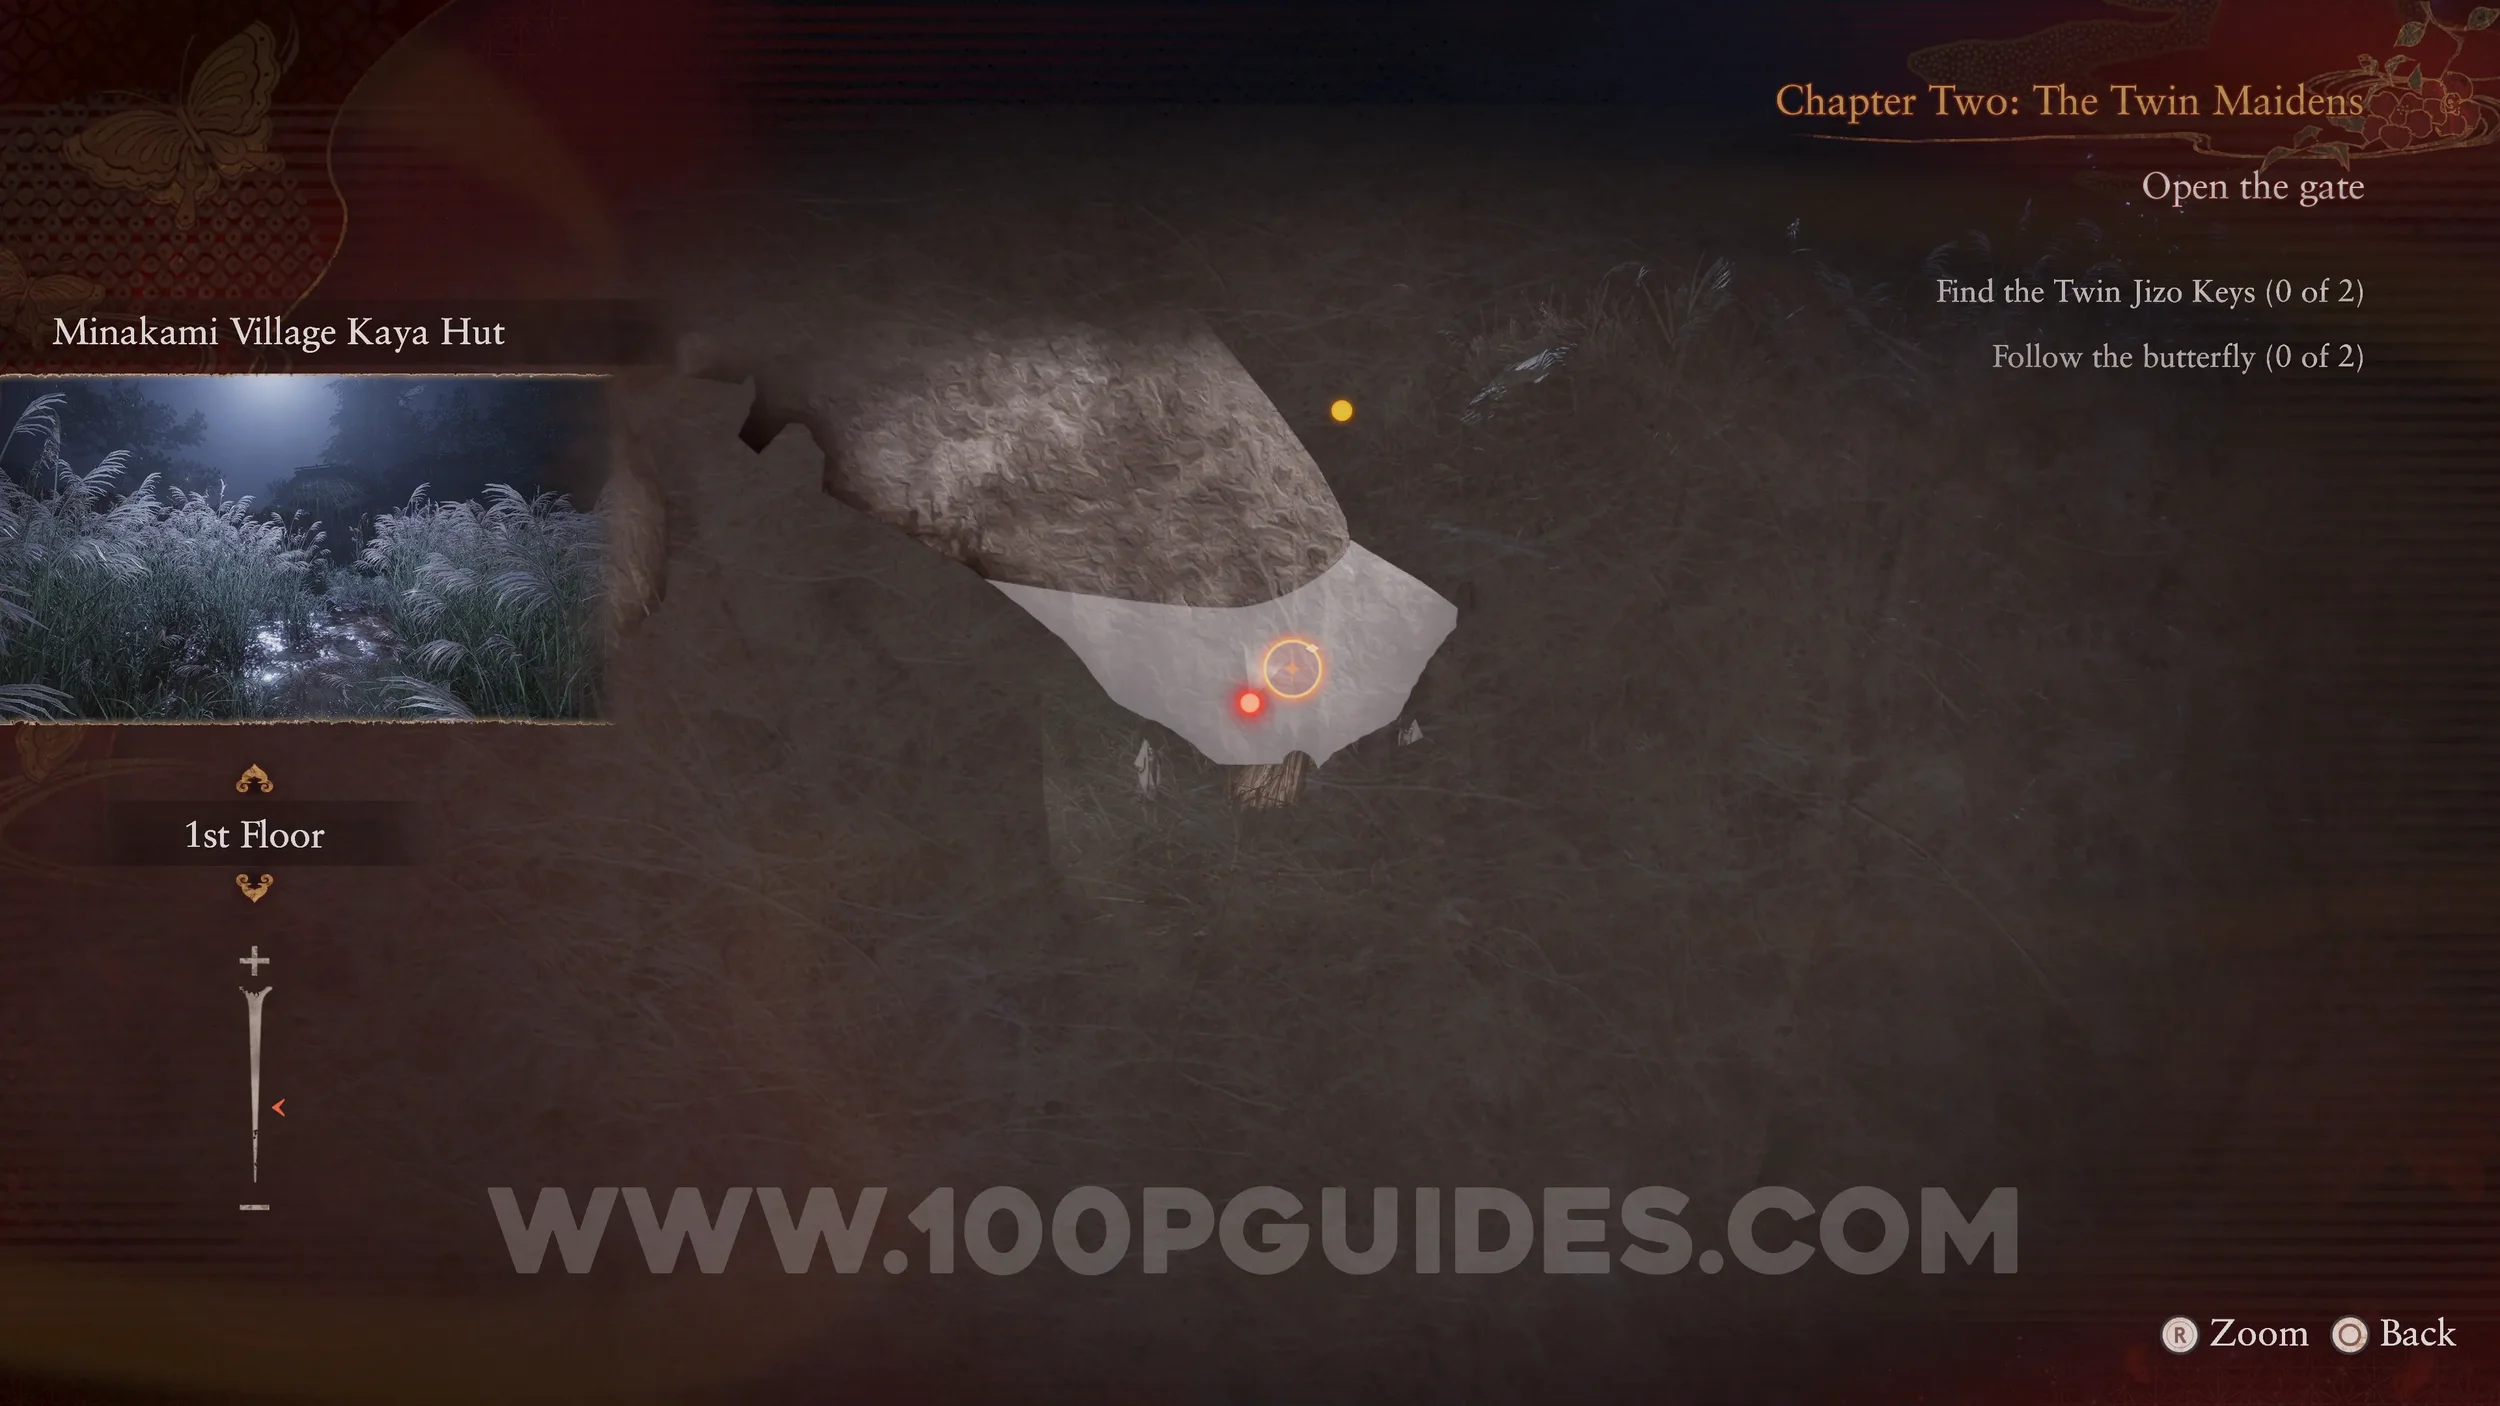
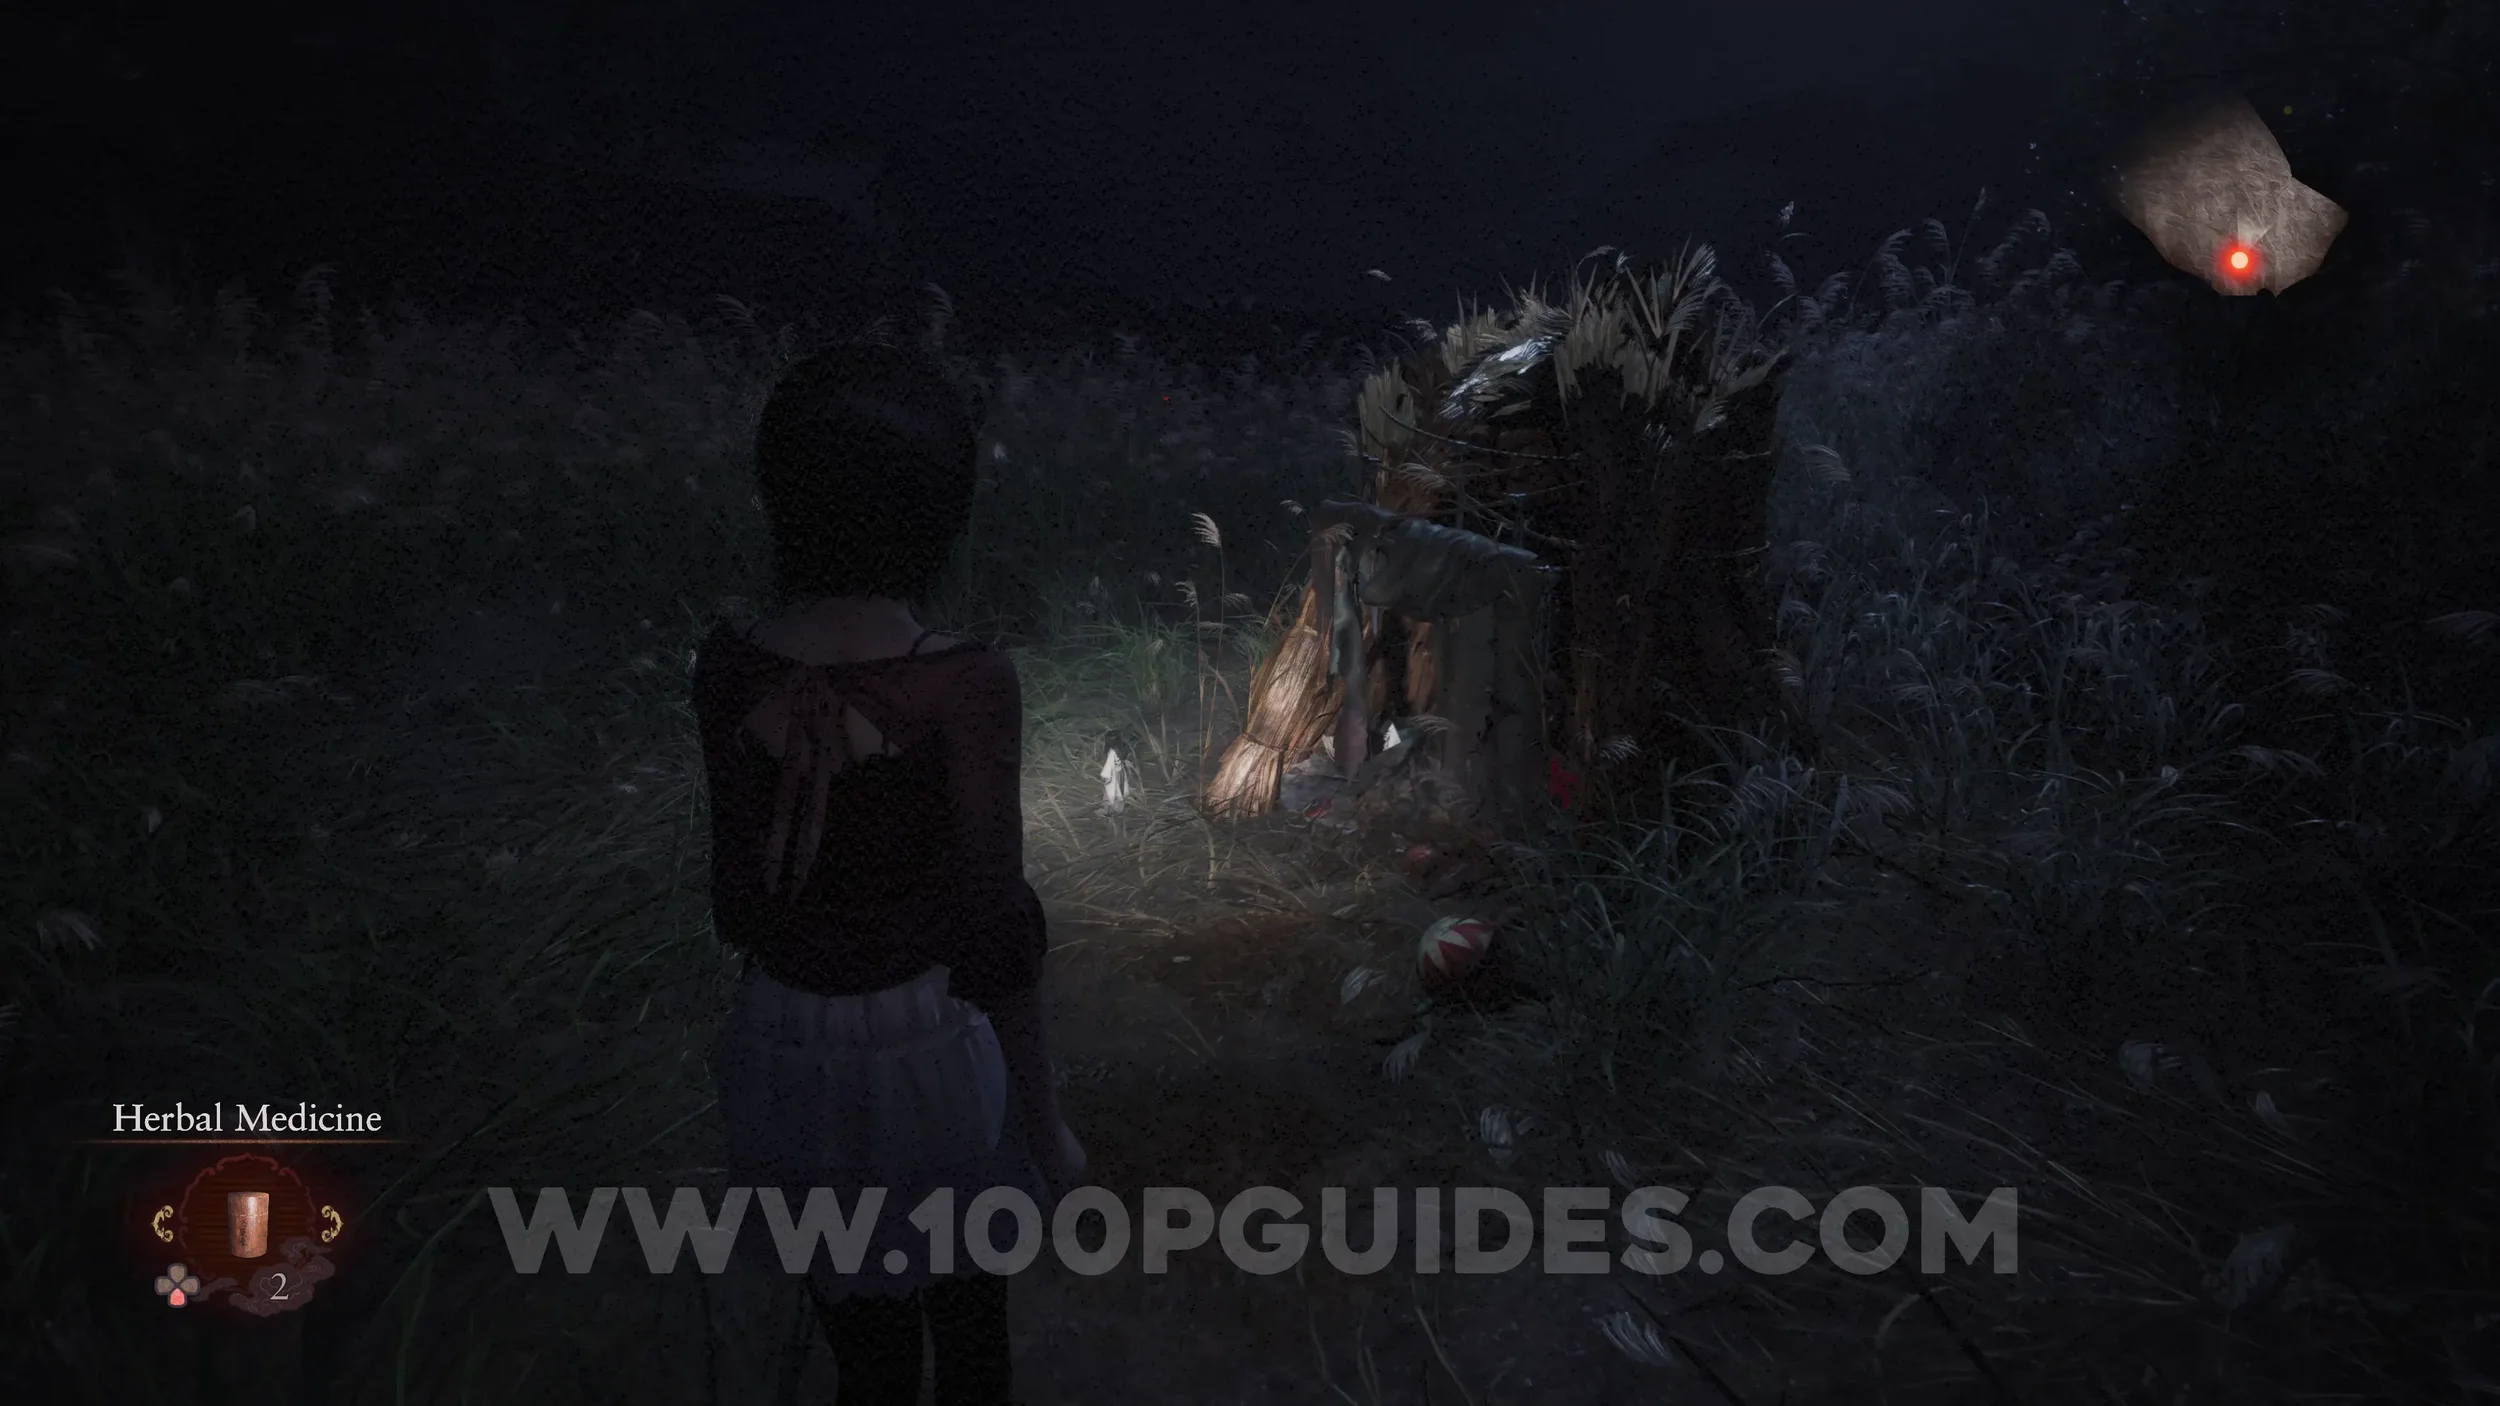
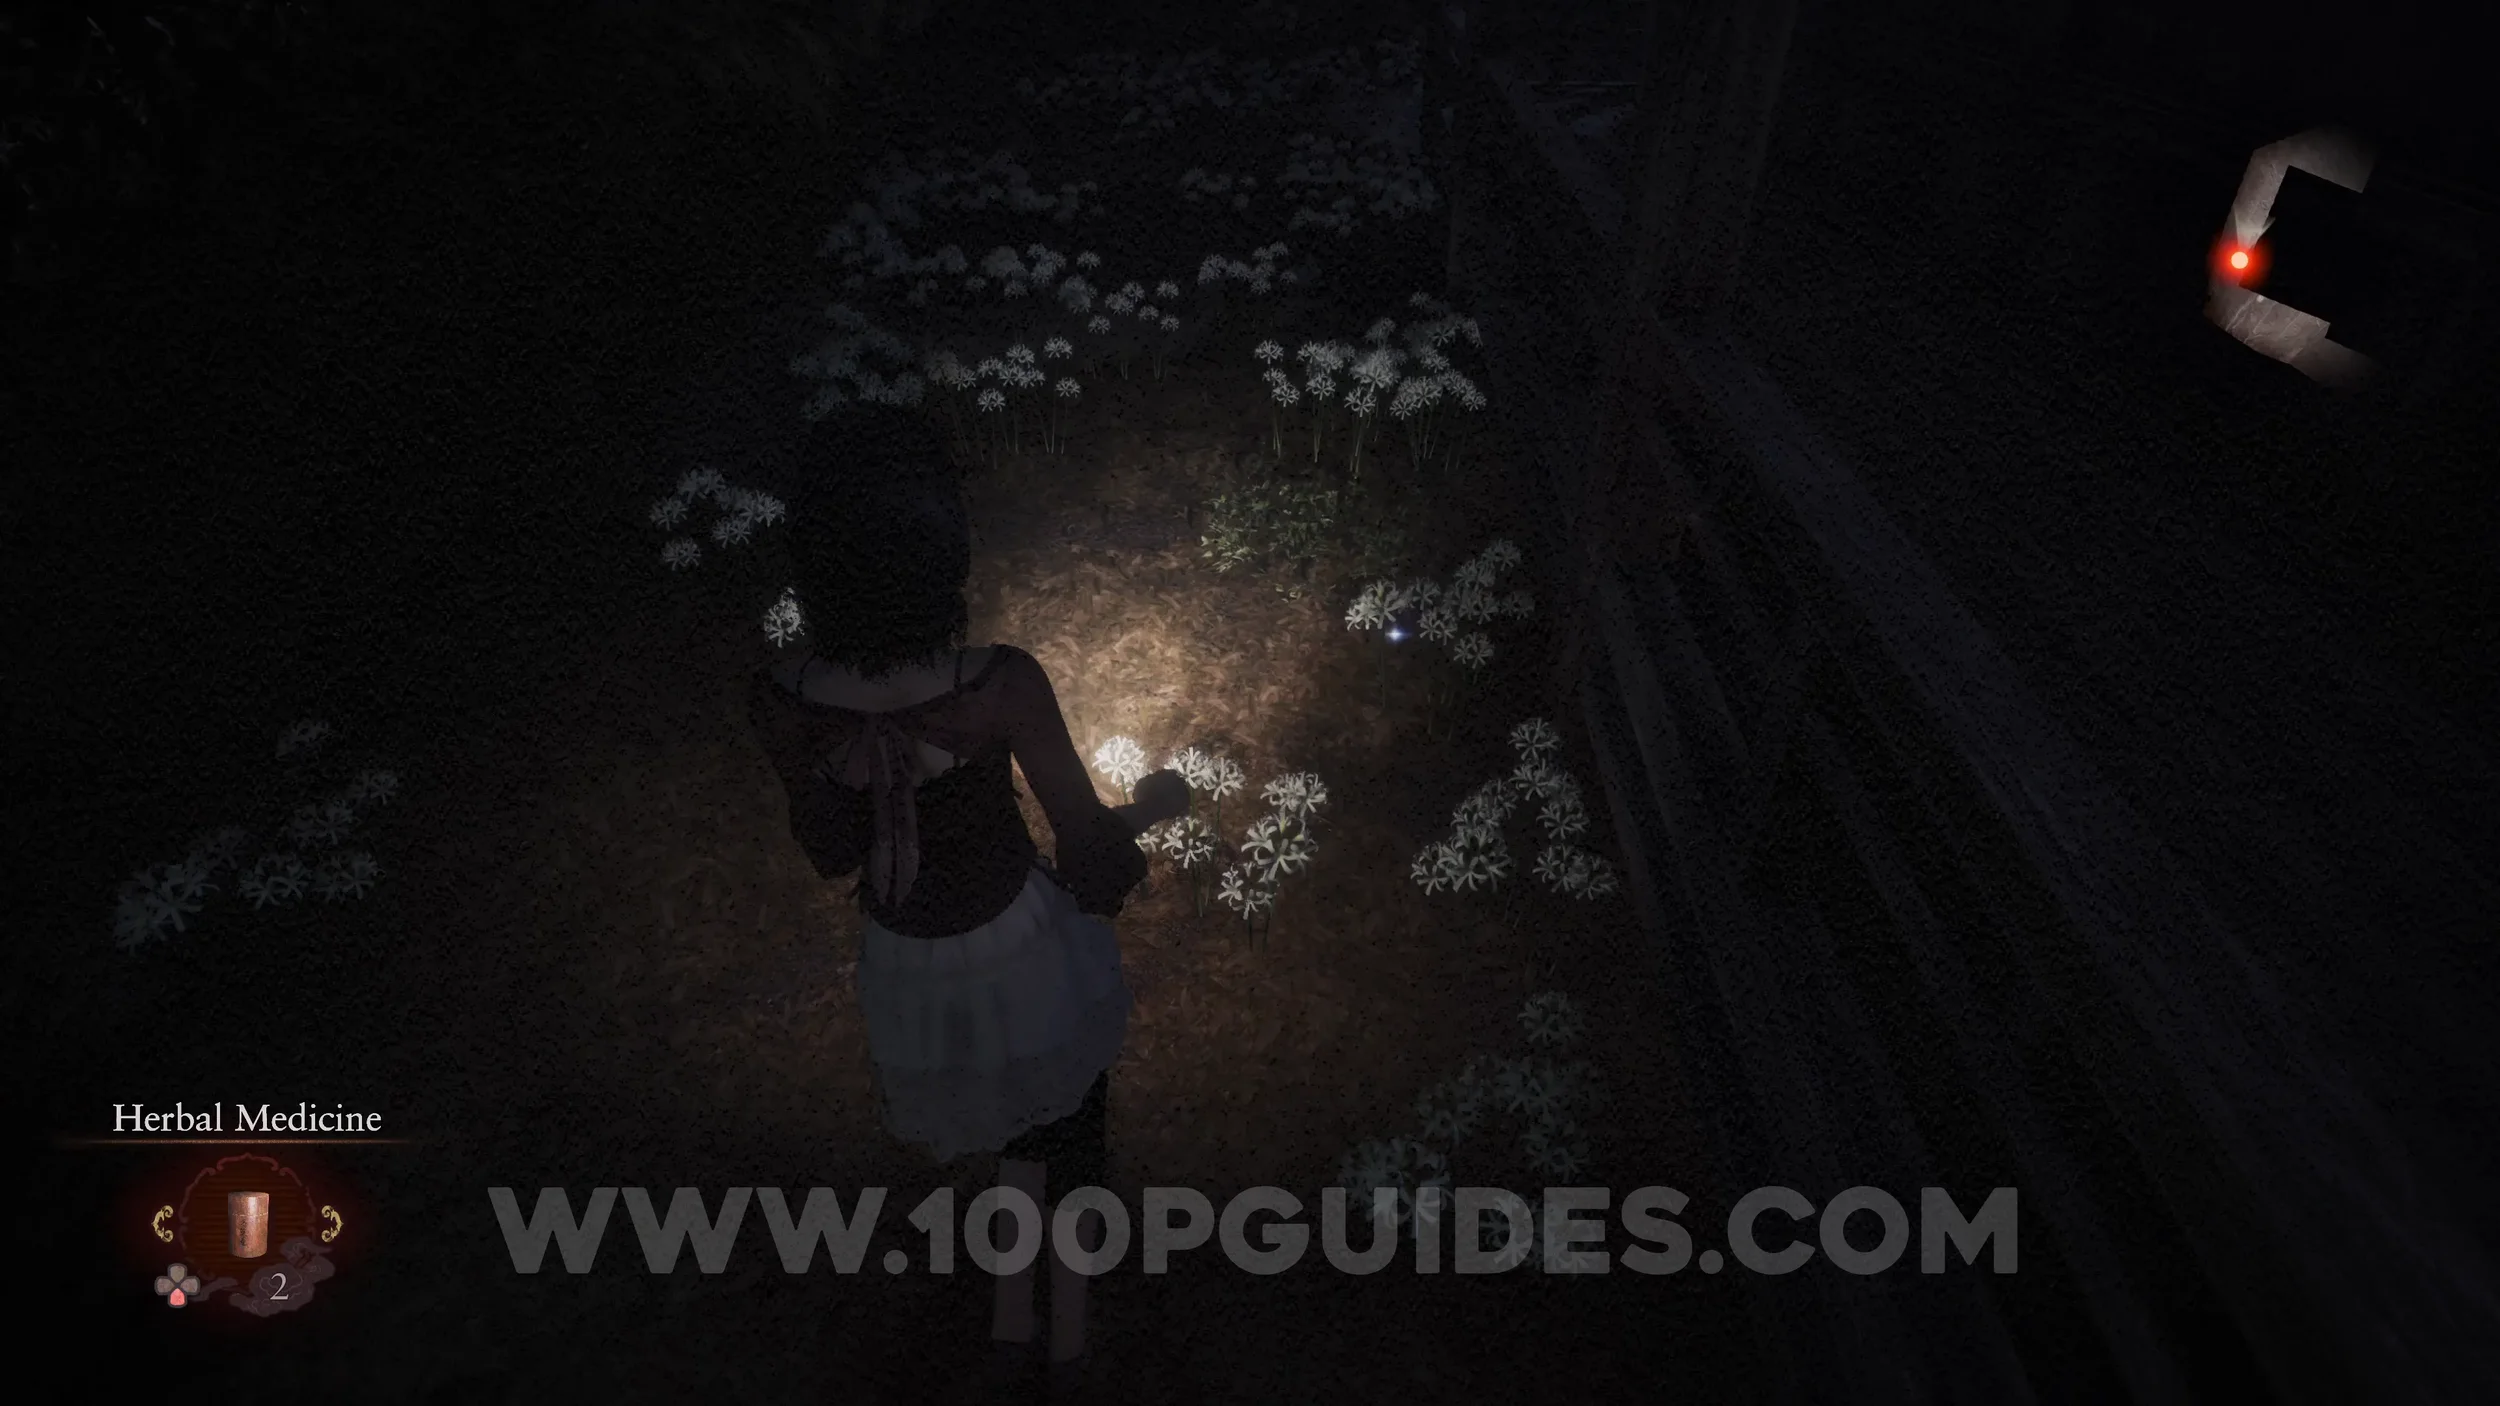
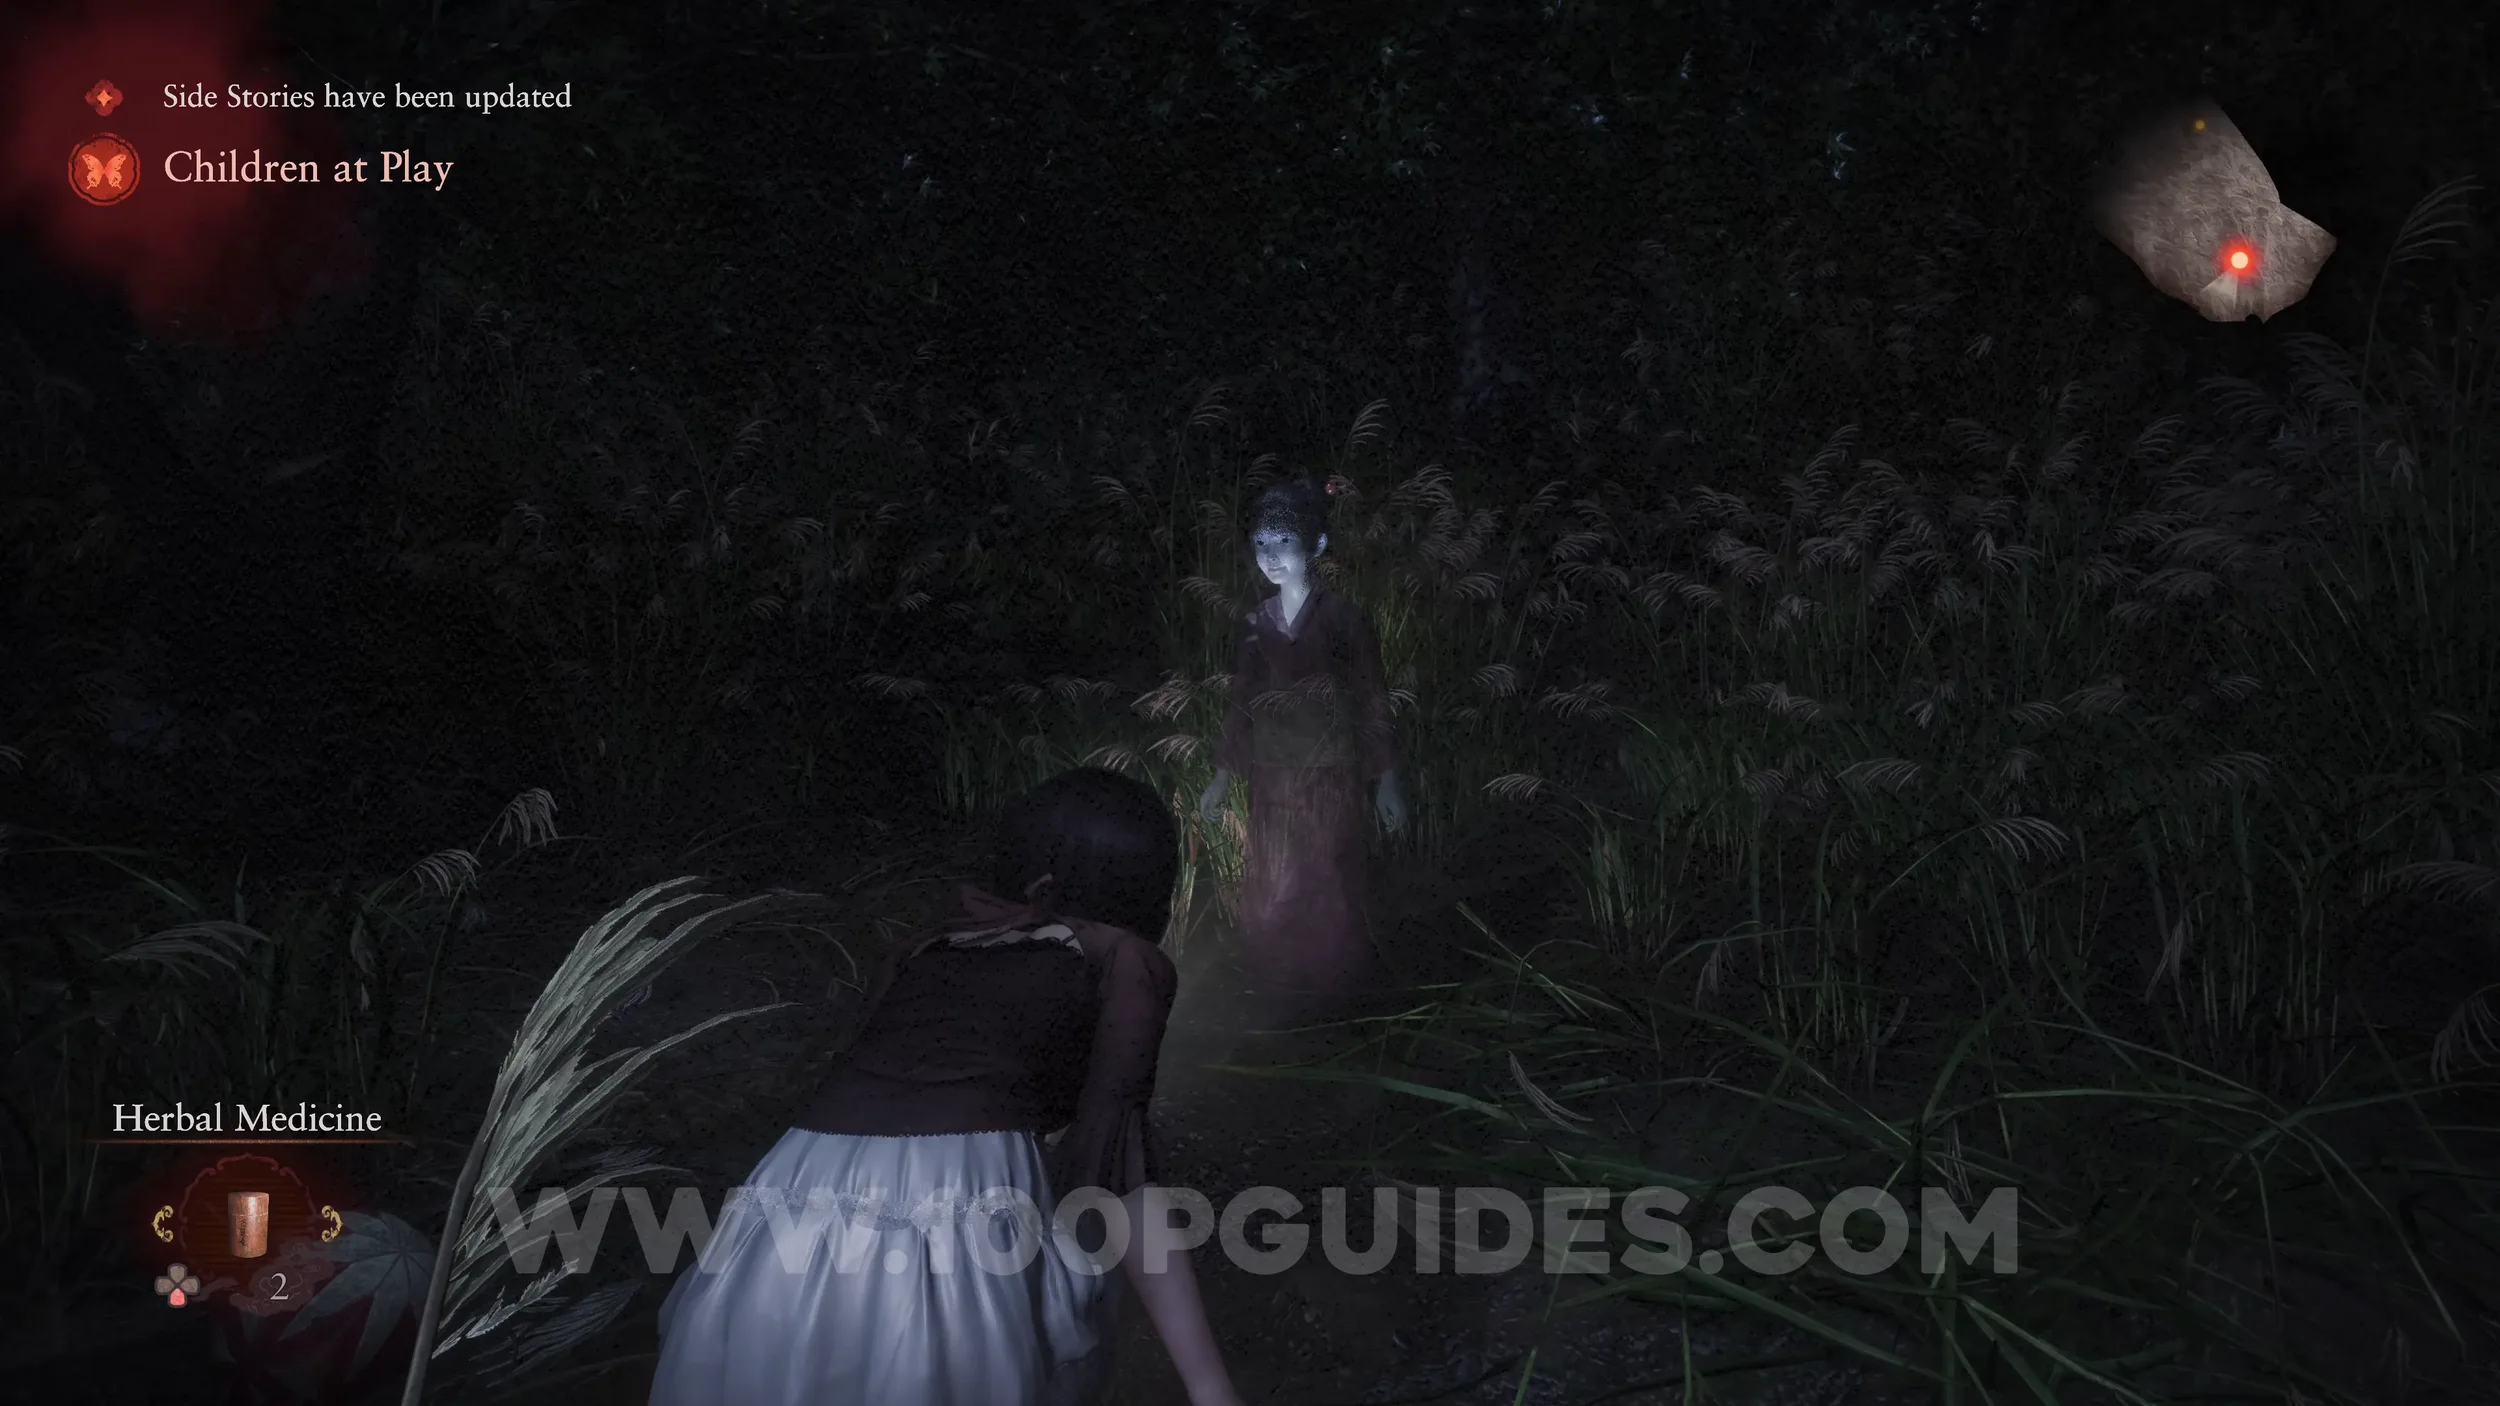
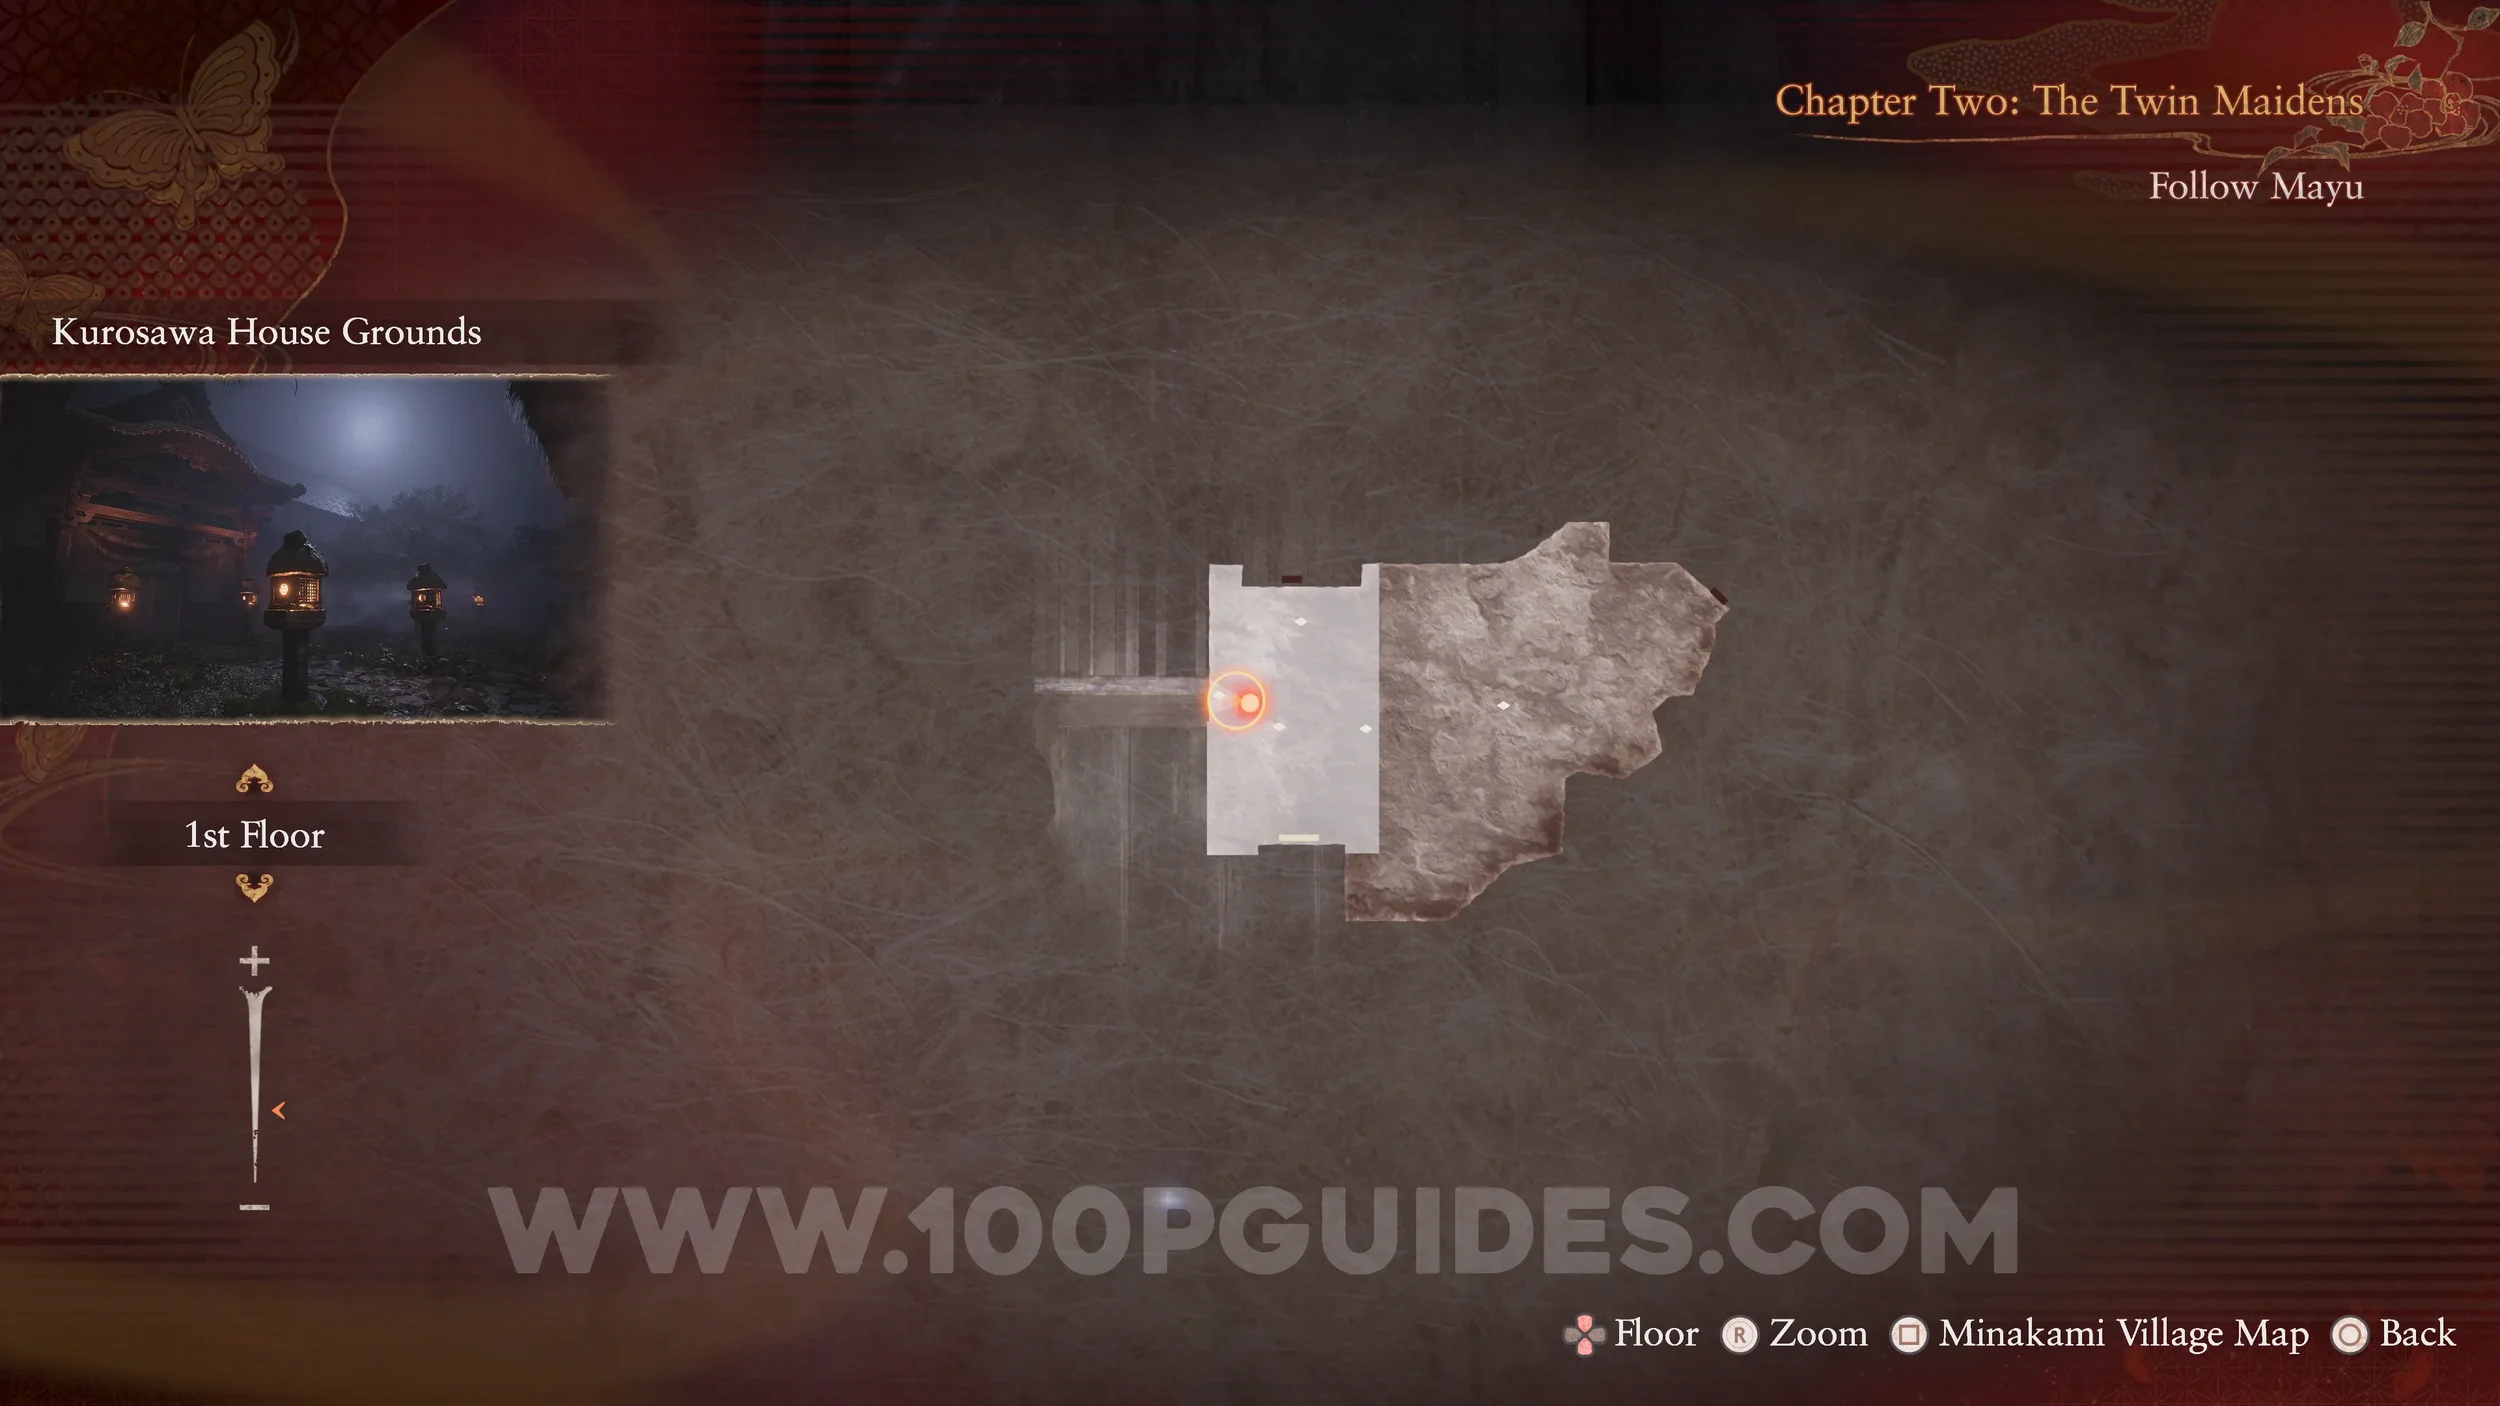
Document #13 - Children’s Note 1, Specter #18 - 159 Girl Peeking Into Thatched Hut, Spirit Stone #3 - Broken Garnet (1/2) and Side Quest #1 - Children at Play. Found inside the straw hut. This also starts the “Children at Play” side quest. After leaving the hut, the specter will appear in front of you.
Twin Dolls #11 (47). On the side of the tall grass area, just west of the previous specter.
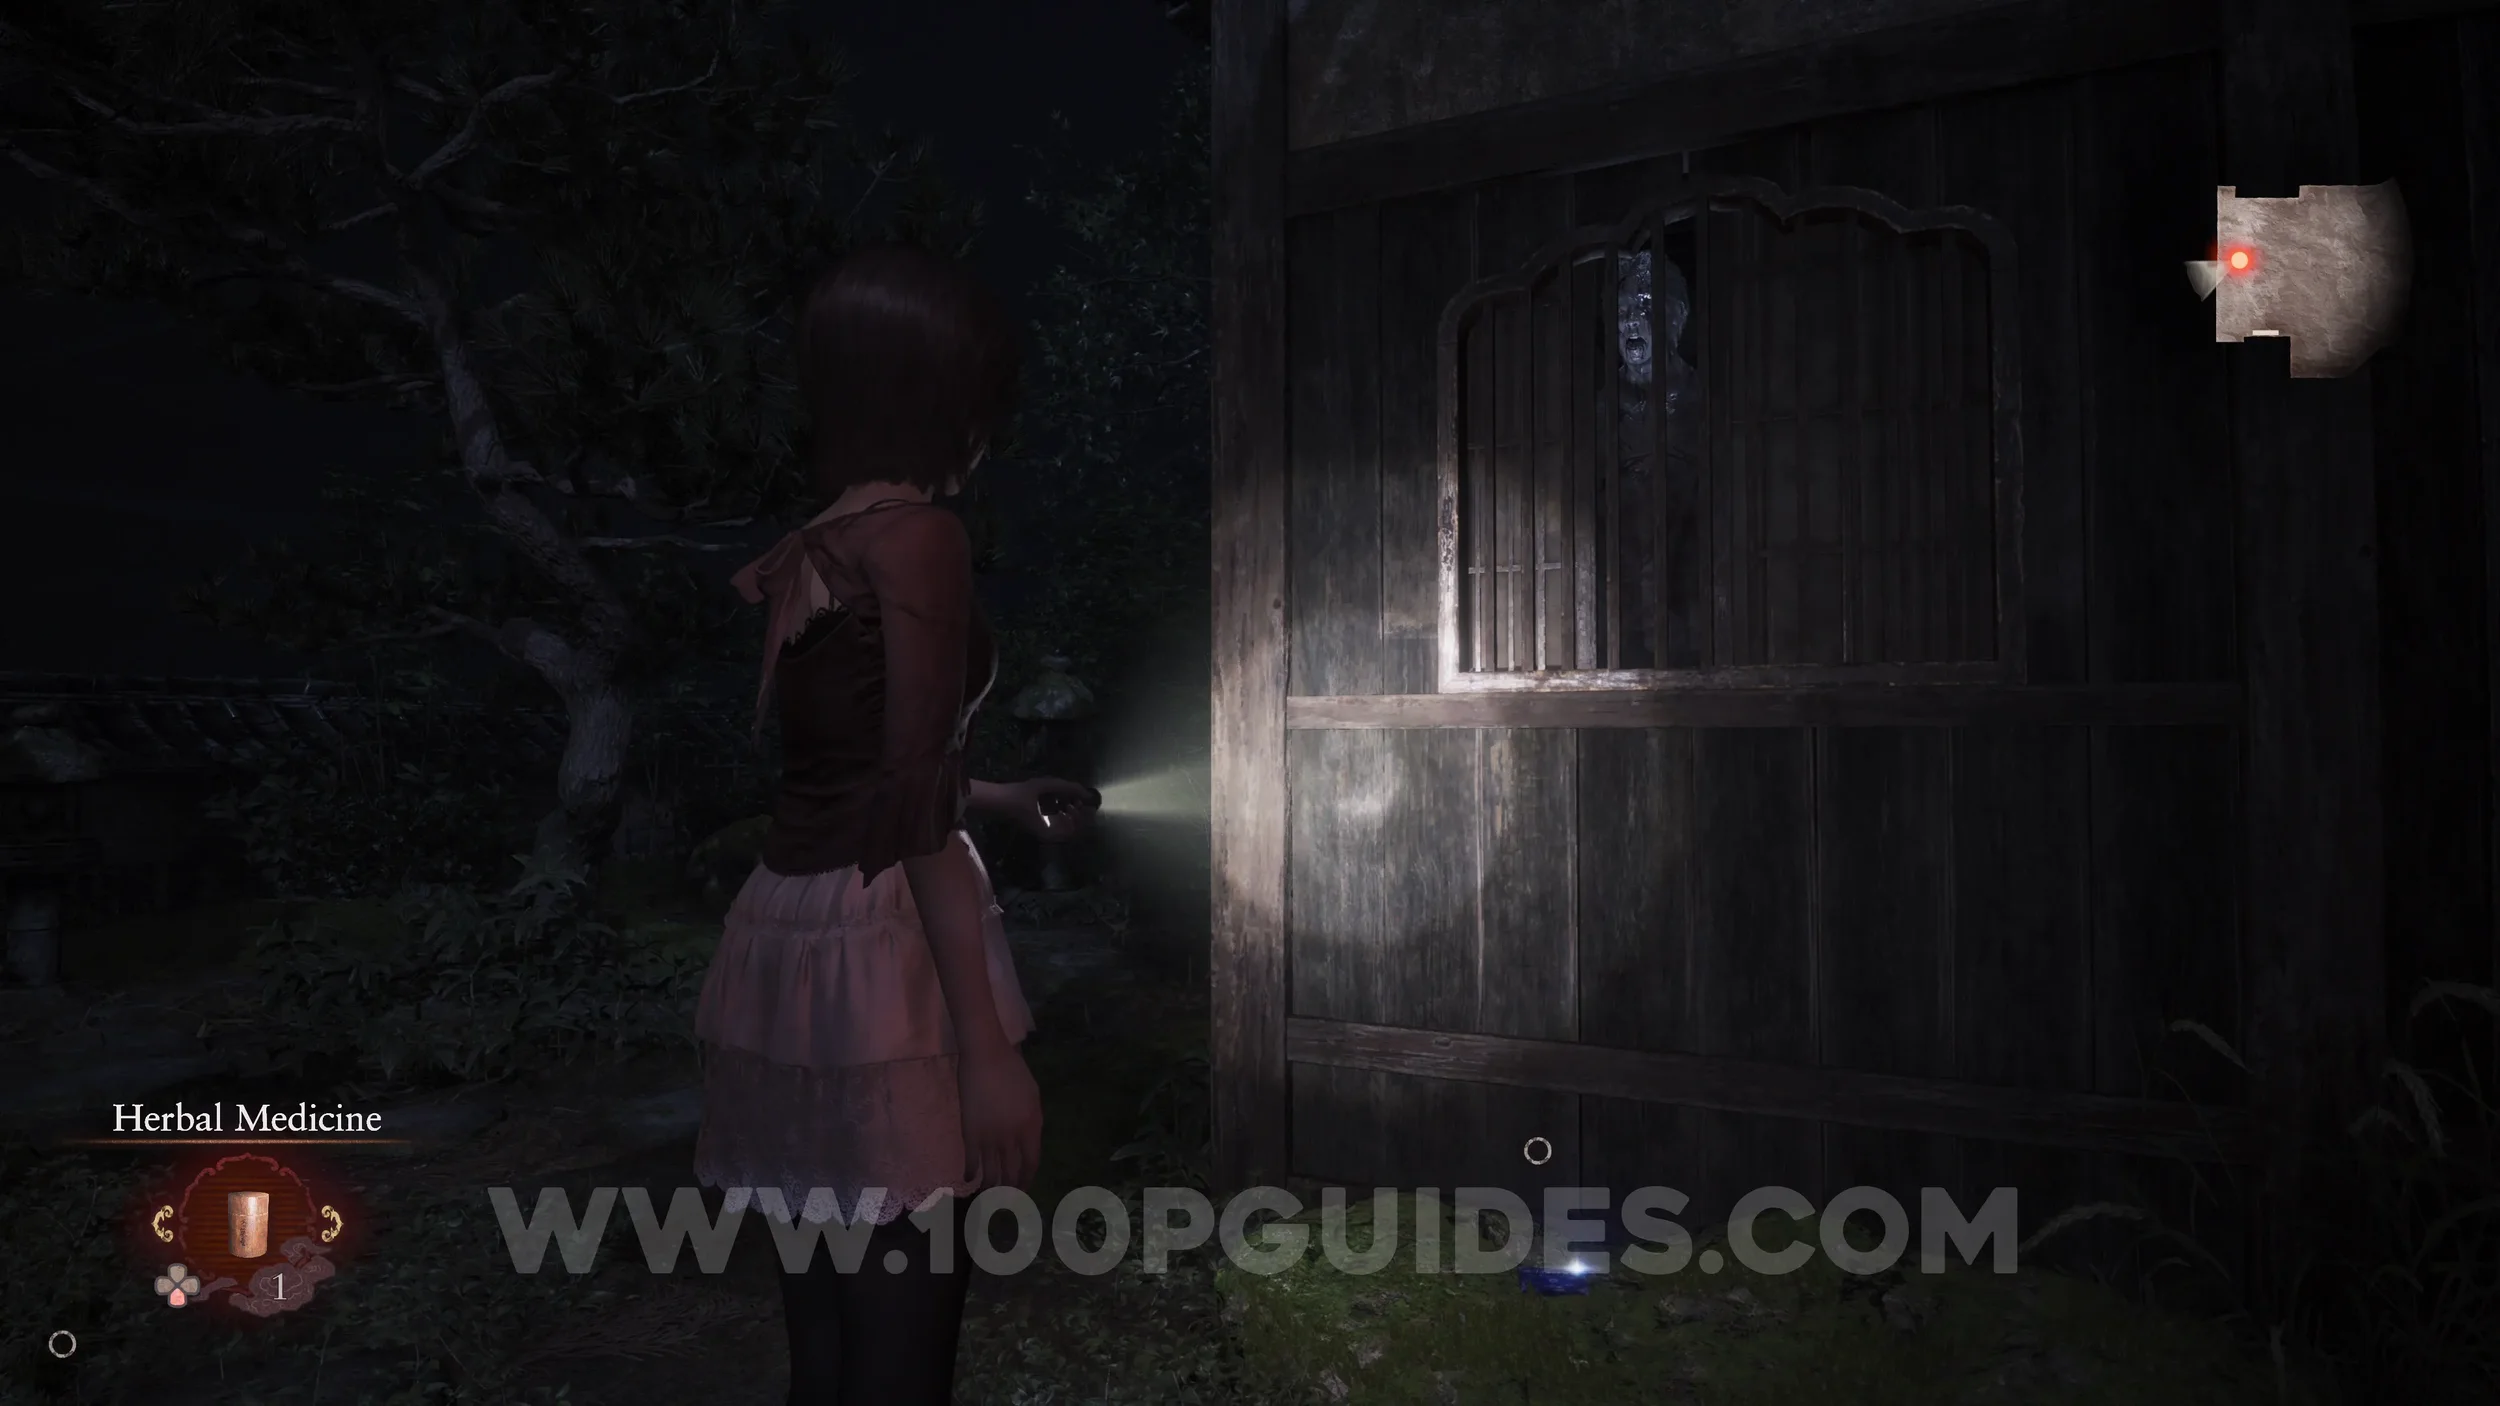
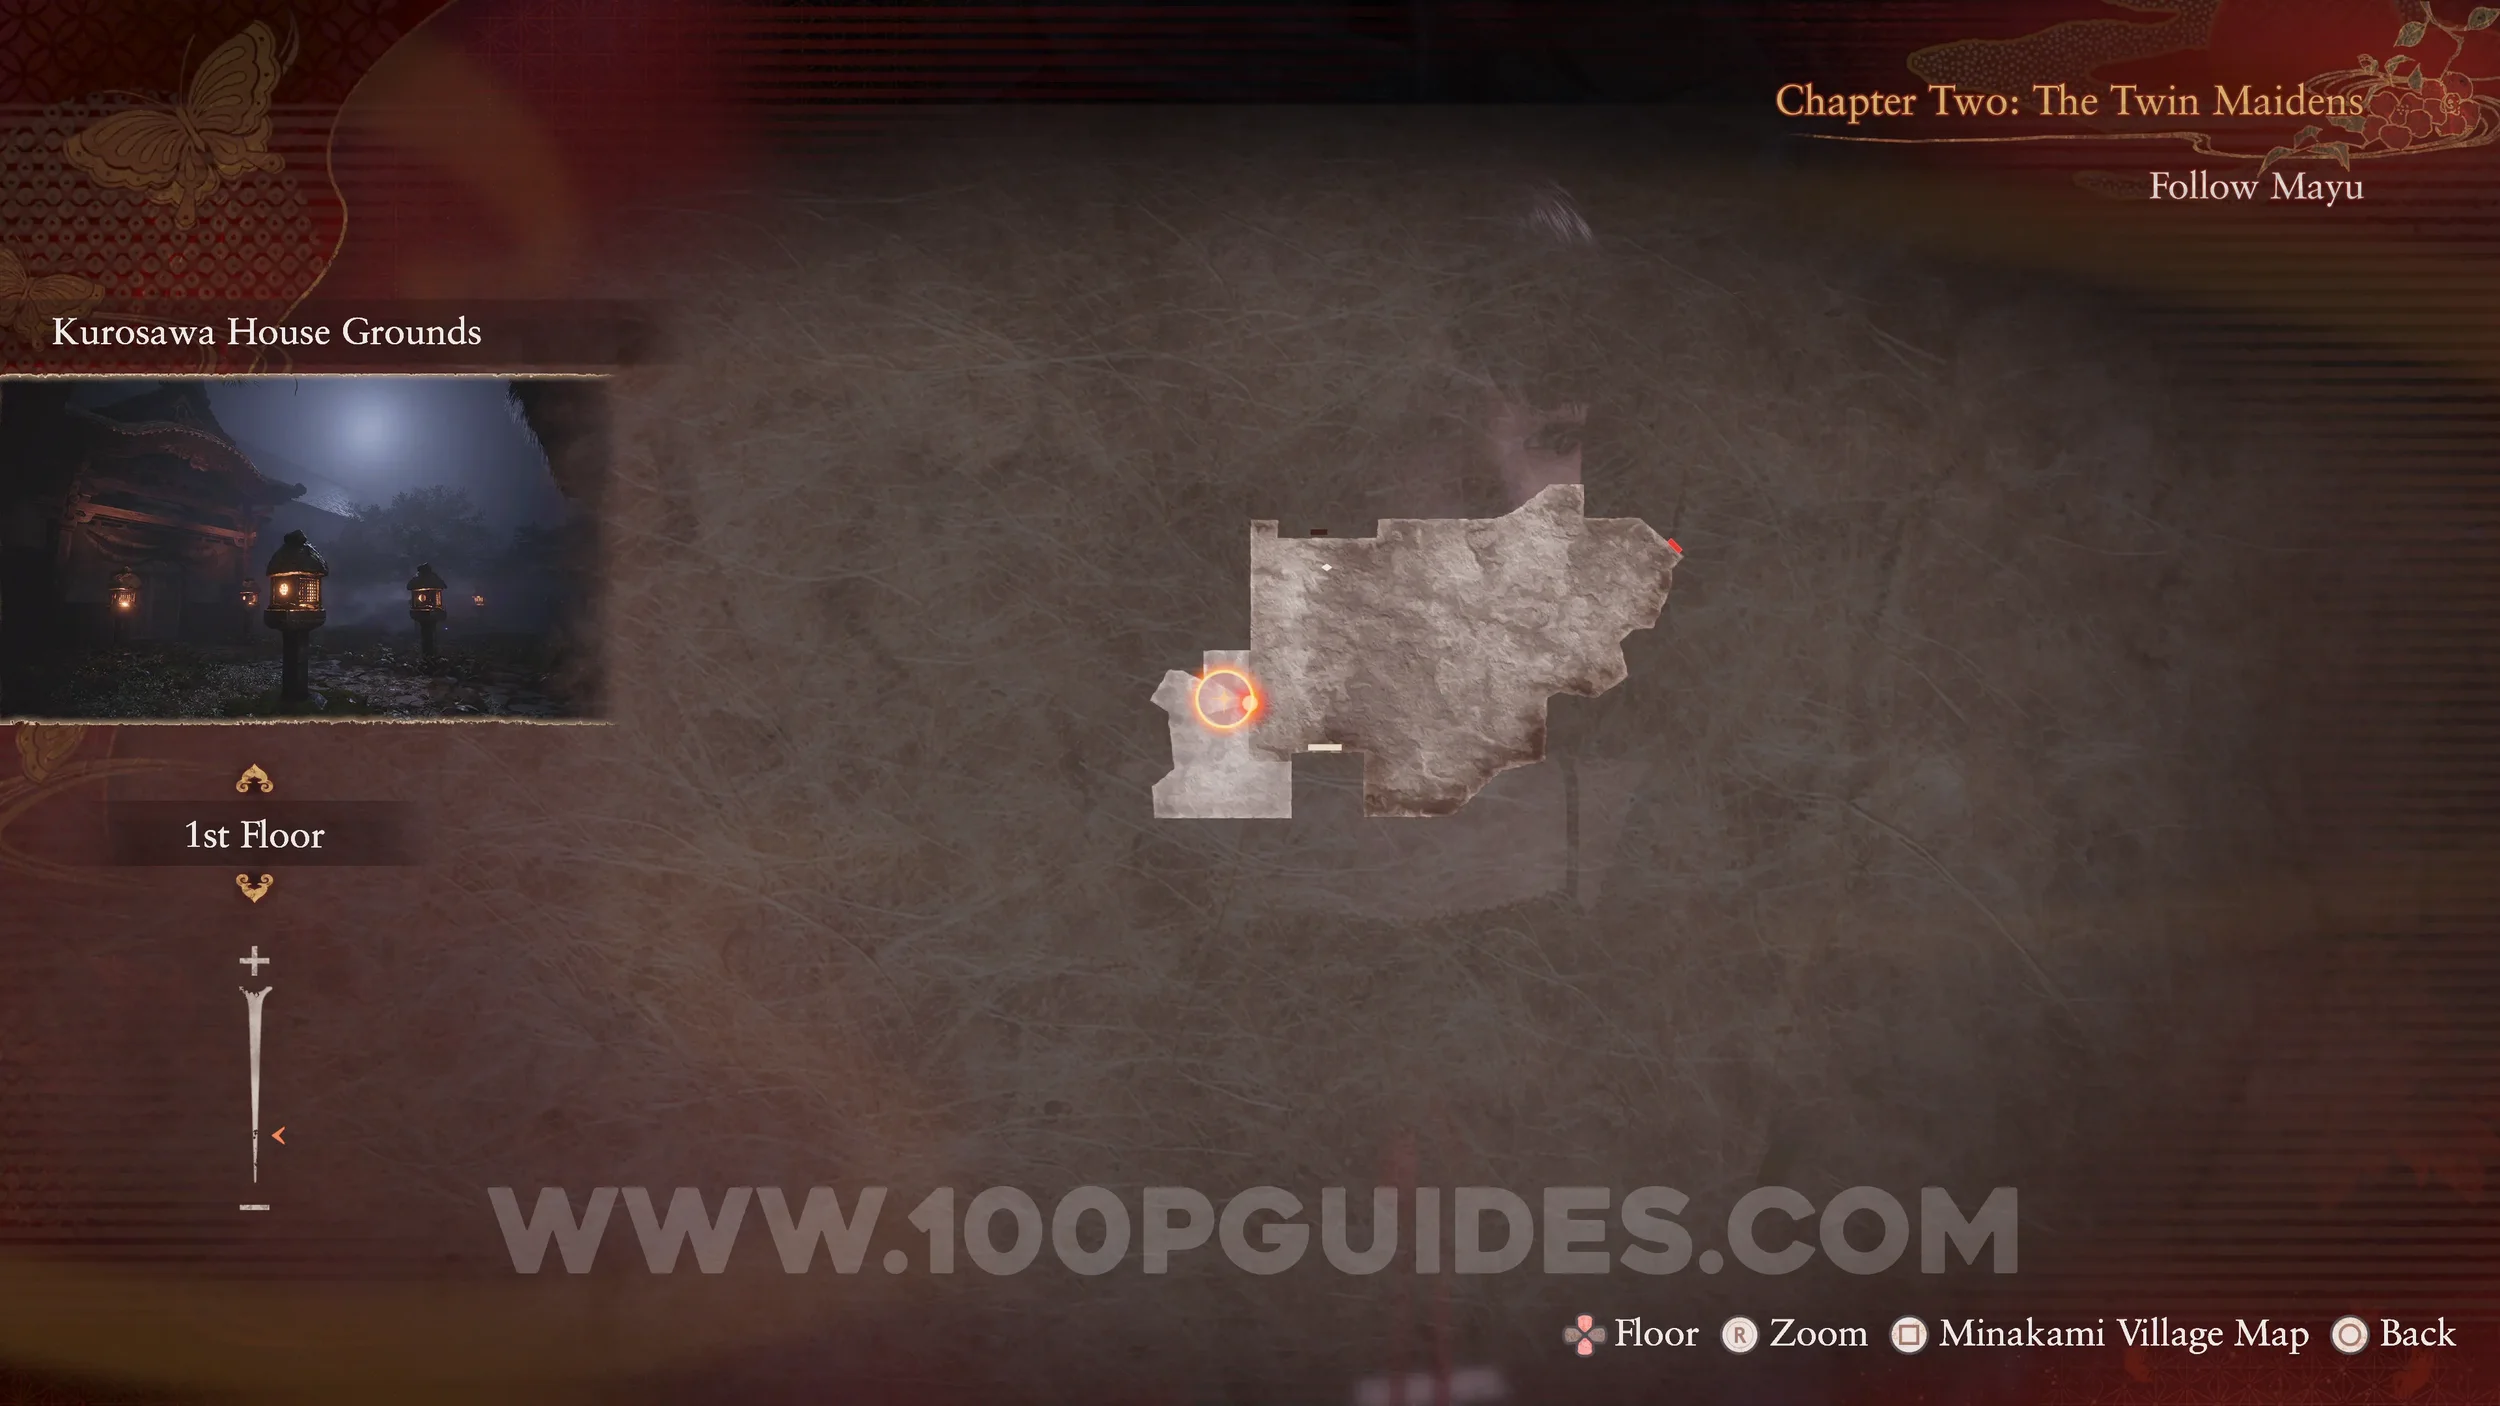
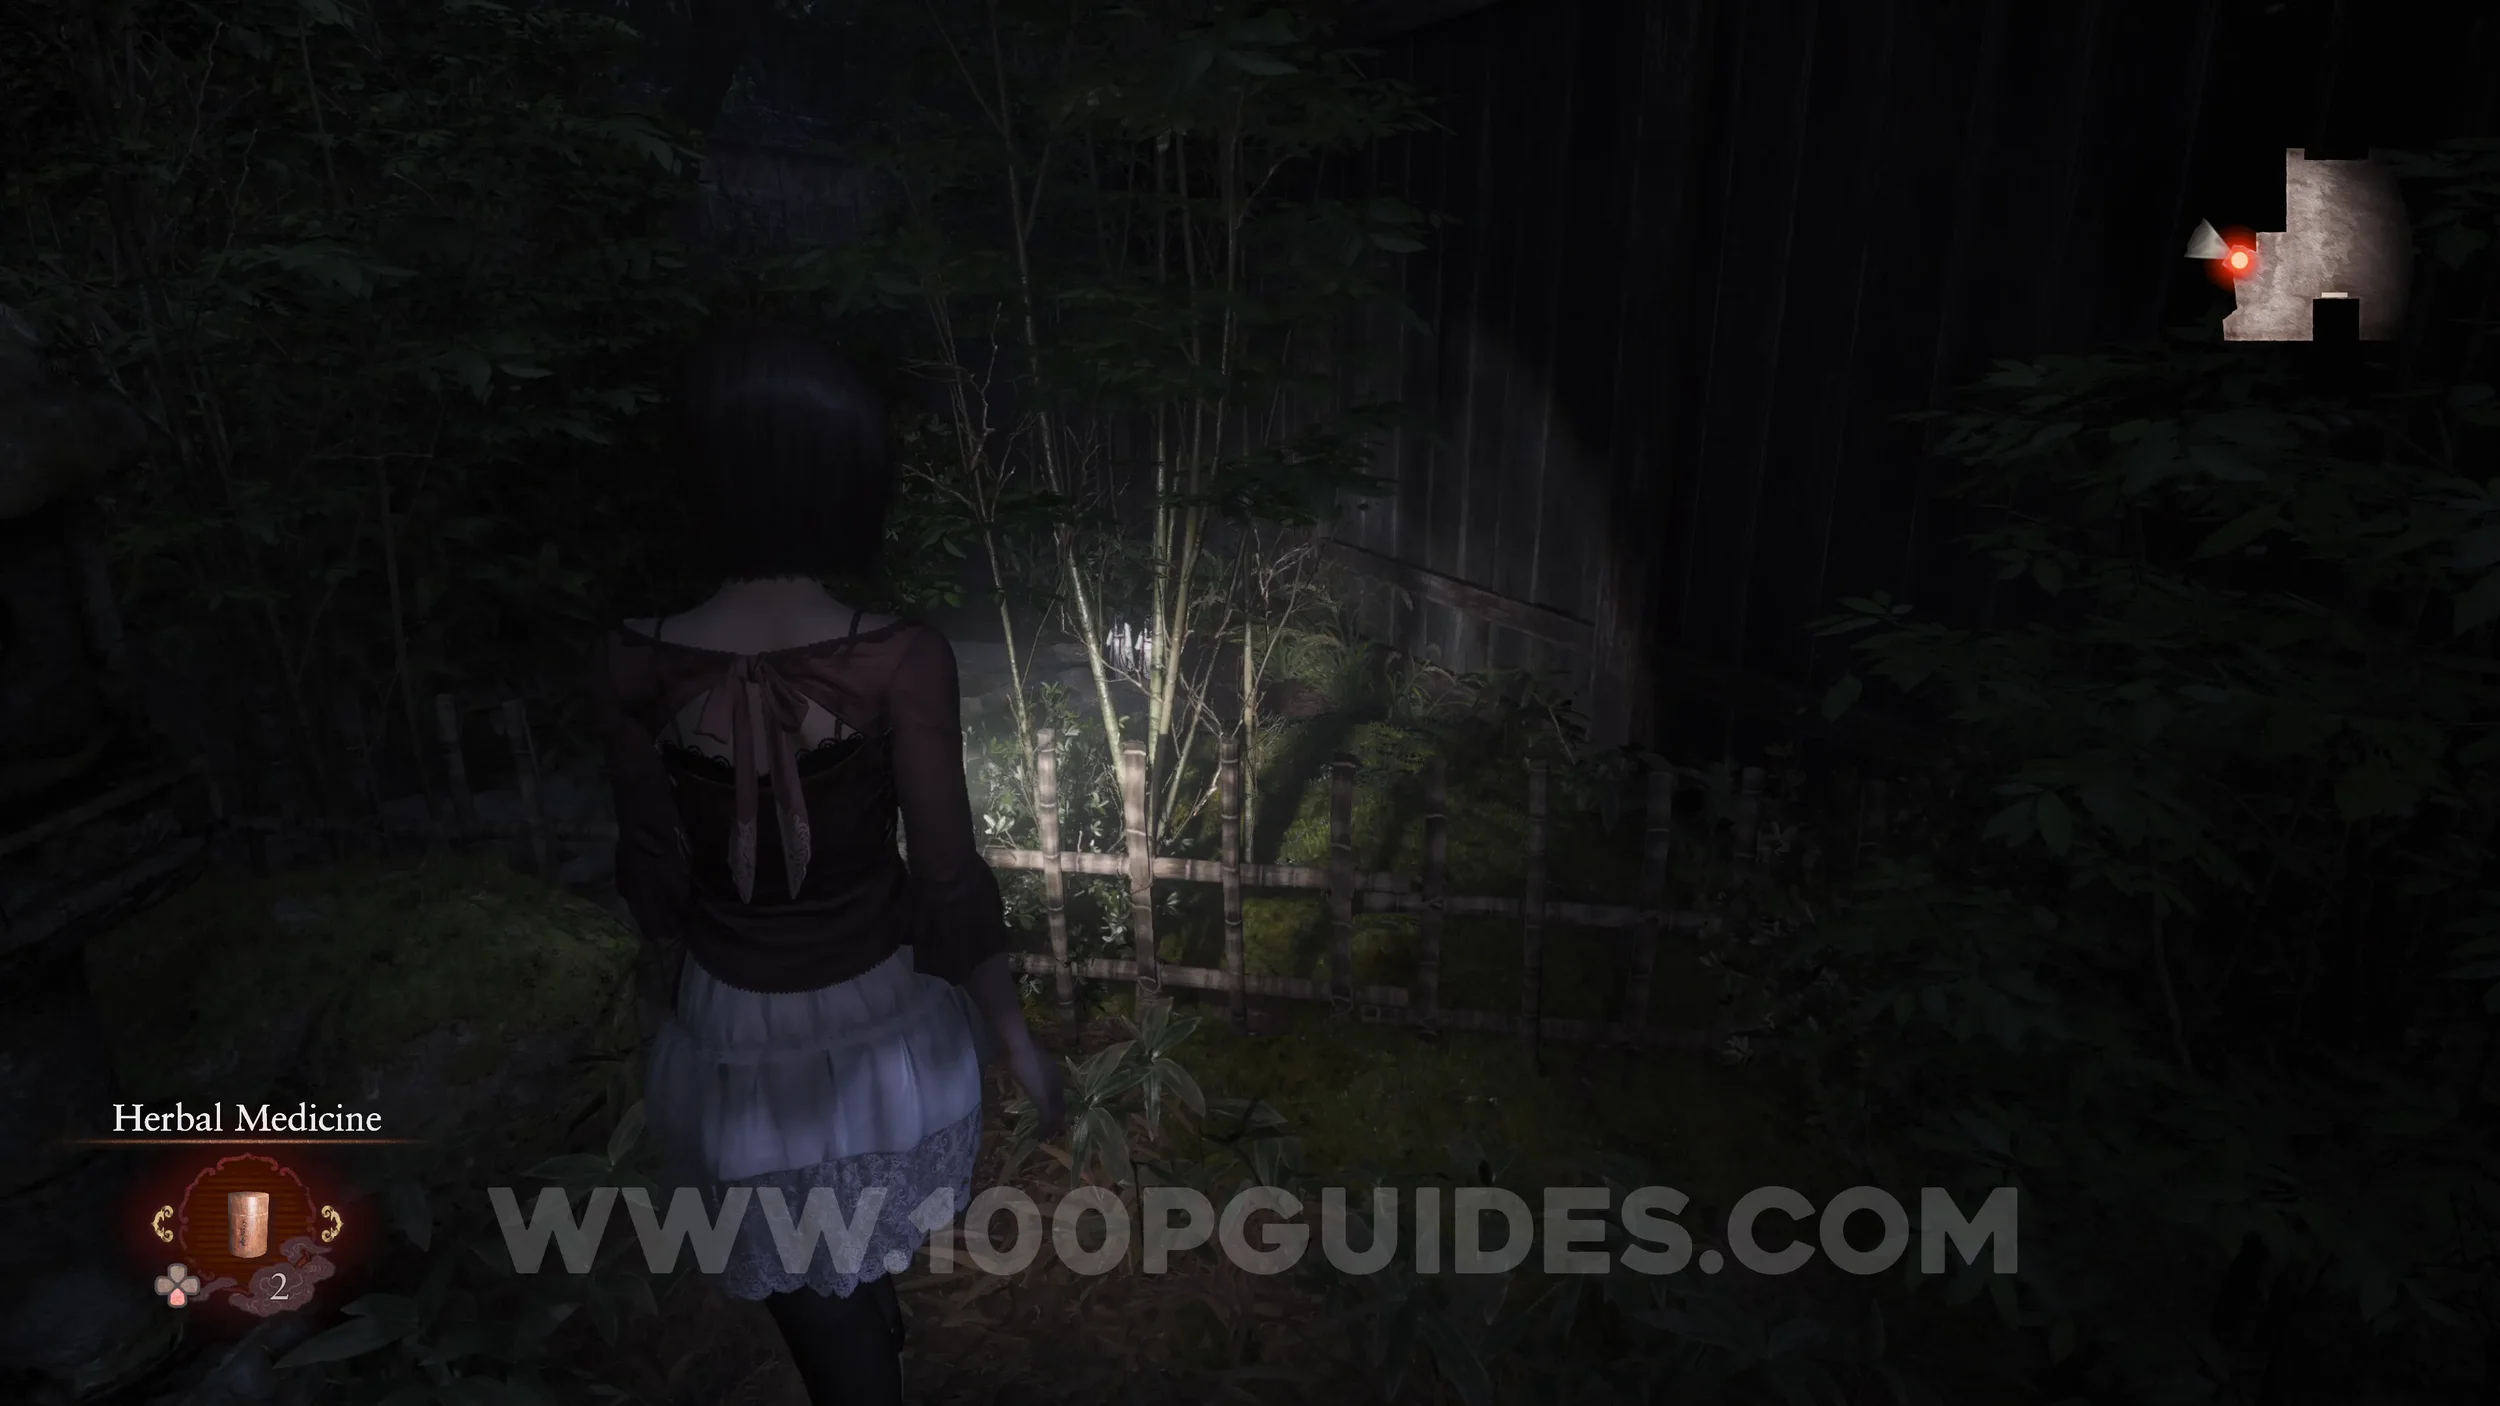
Twin Dolls #12 (46). Go to the northern edge of the tall grass field and look for a doll on the other side of the bamboo fence. The other is just above it. Step back and crouch to get both in the shot.
Twin Dolls #13 (44). After going through the gap in the fence of the field with tall grass. Go right and look through the window at the end to see the dolls.
Prayer Beads #3. After going through the gap in the fence, go left and follow the path to the end. The beads will be next to the locked gate.
Twin Dolls #14 (43). After going through the gap in the fence in the tall grass field, go down the street on your left. The dolls are in one of the houses on the left side.

Twin Dolls #15 (39). On the tree trunk just east of the next save point.
Wraith #5 - 006 The Entrapped. Story-related in the house after following the butterfly.
Prayer Beads #4. In the house where you get the first half of the gate key.
Spirit Stone #4 - Moonstone. Found inside the shelf in the corner of the same building as the previous collectible.
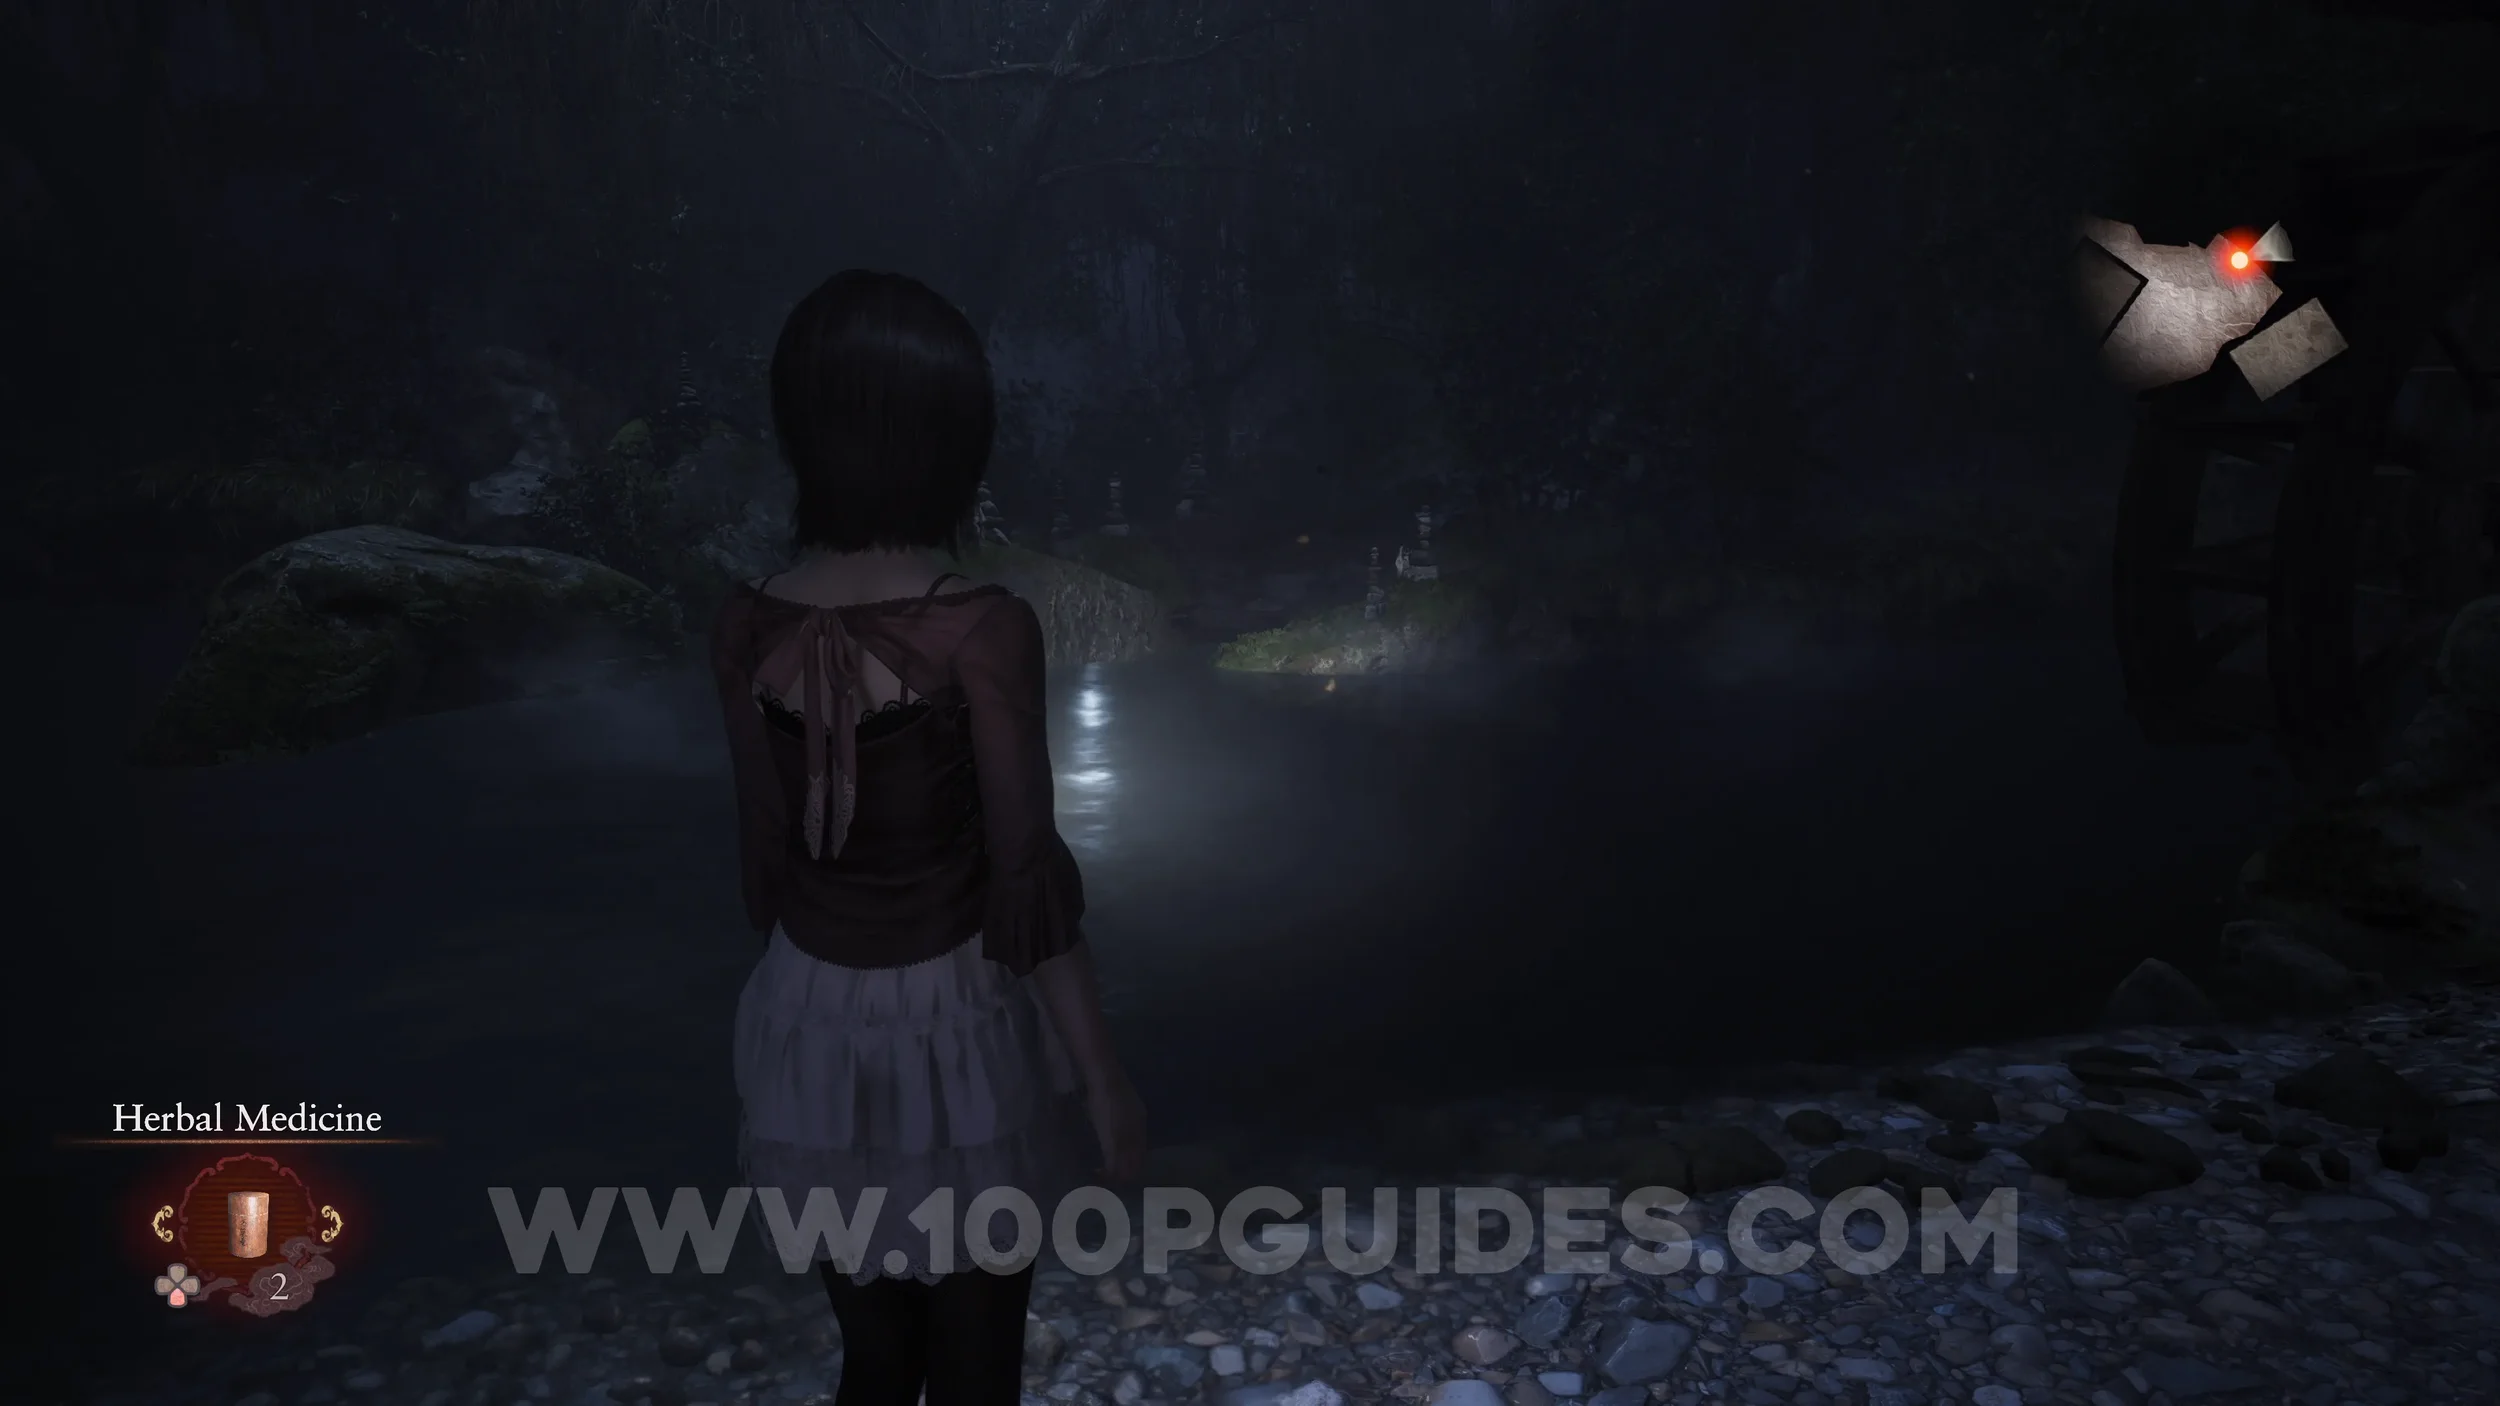
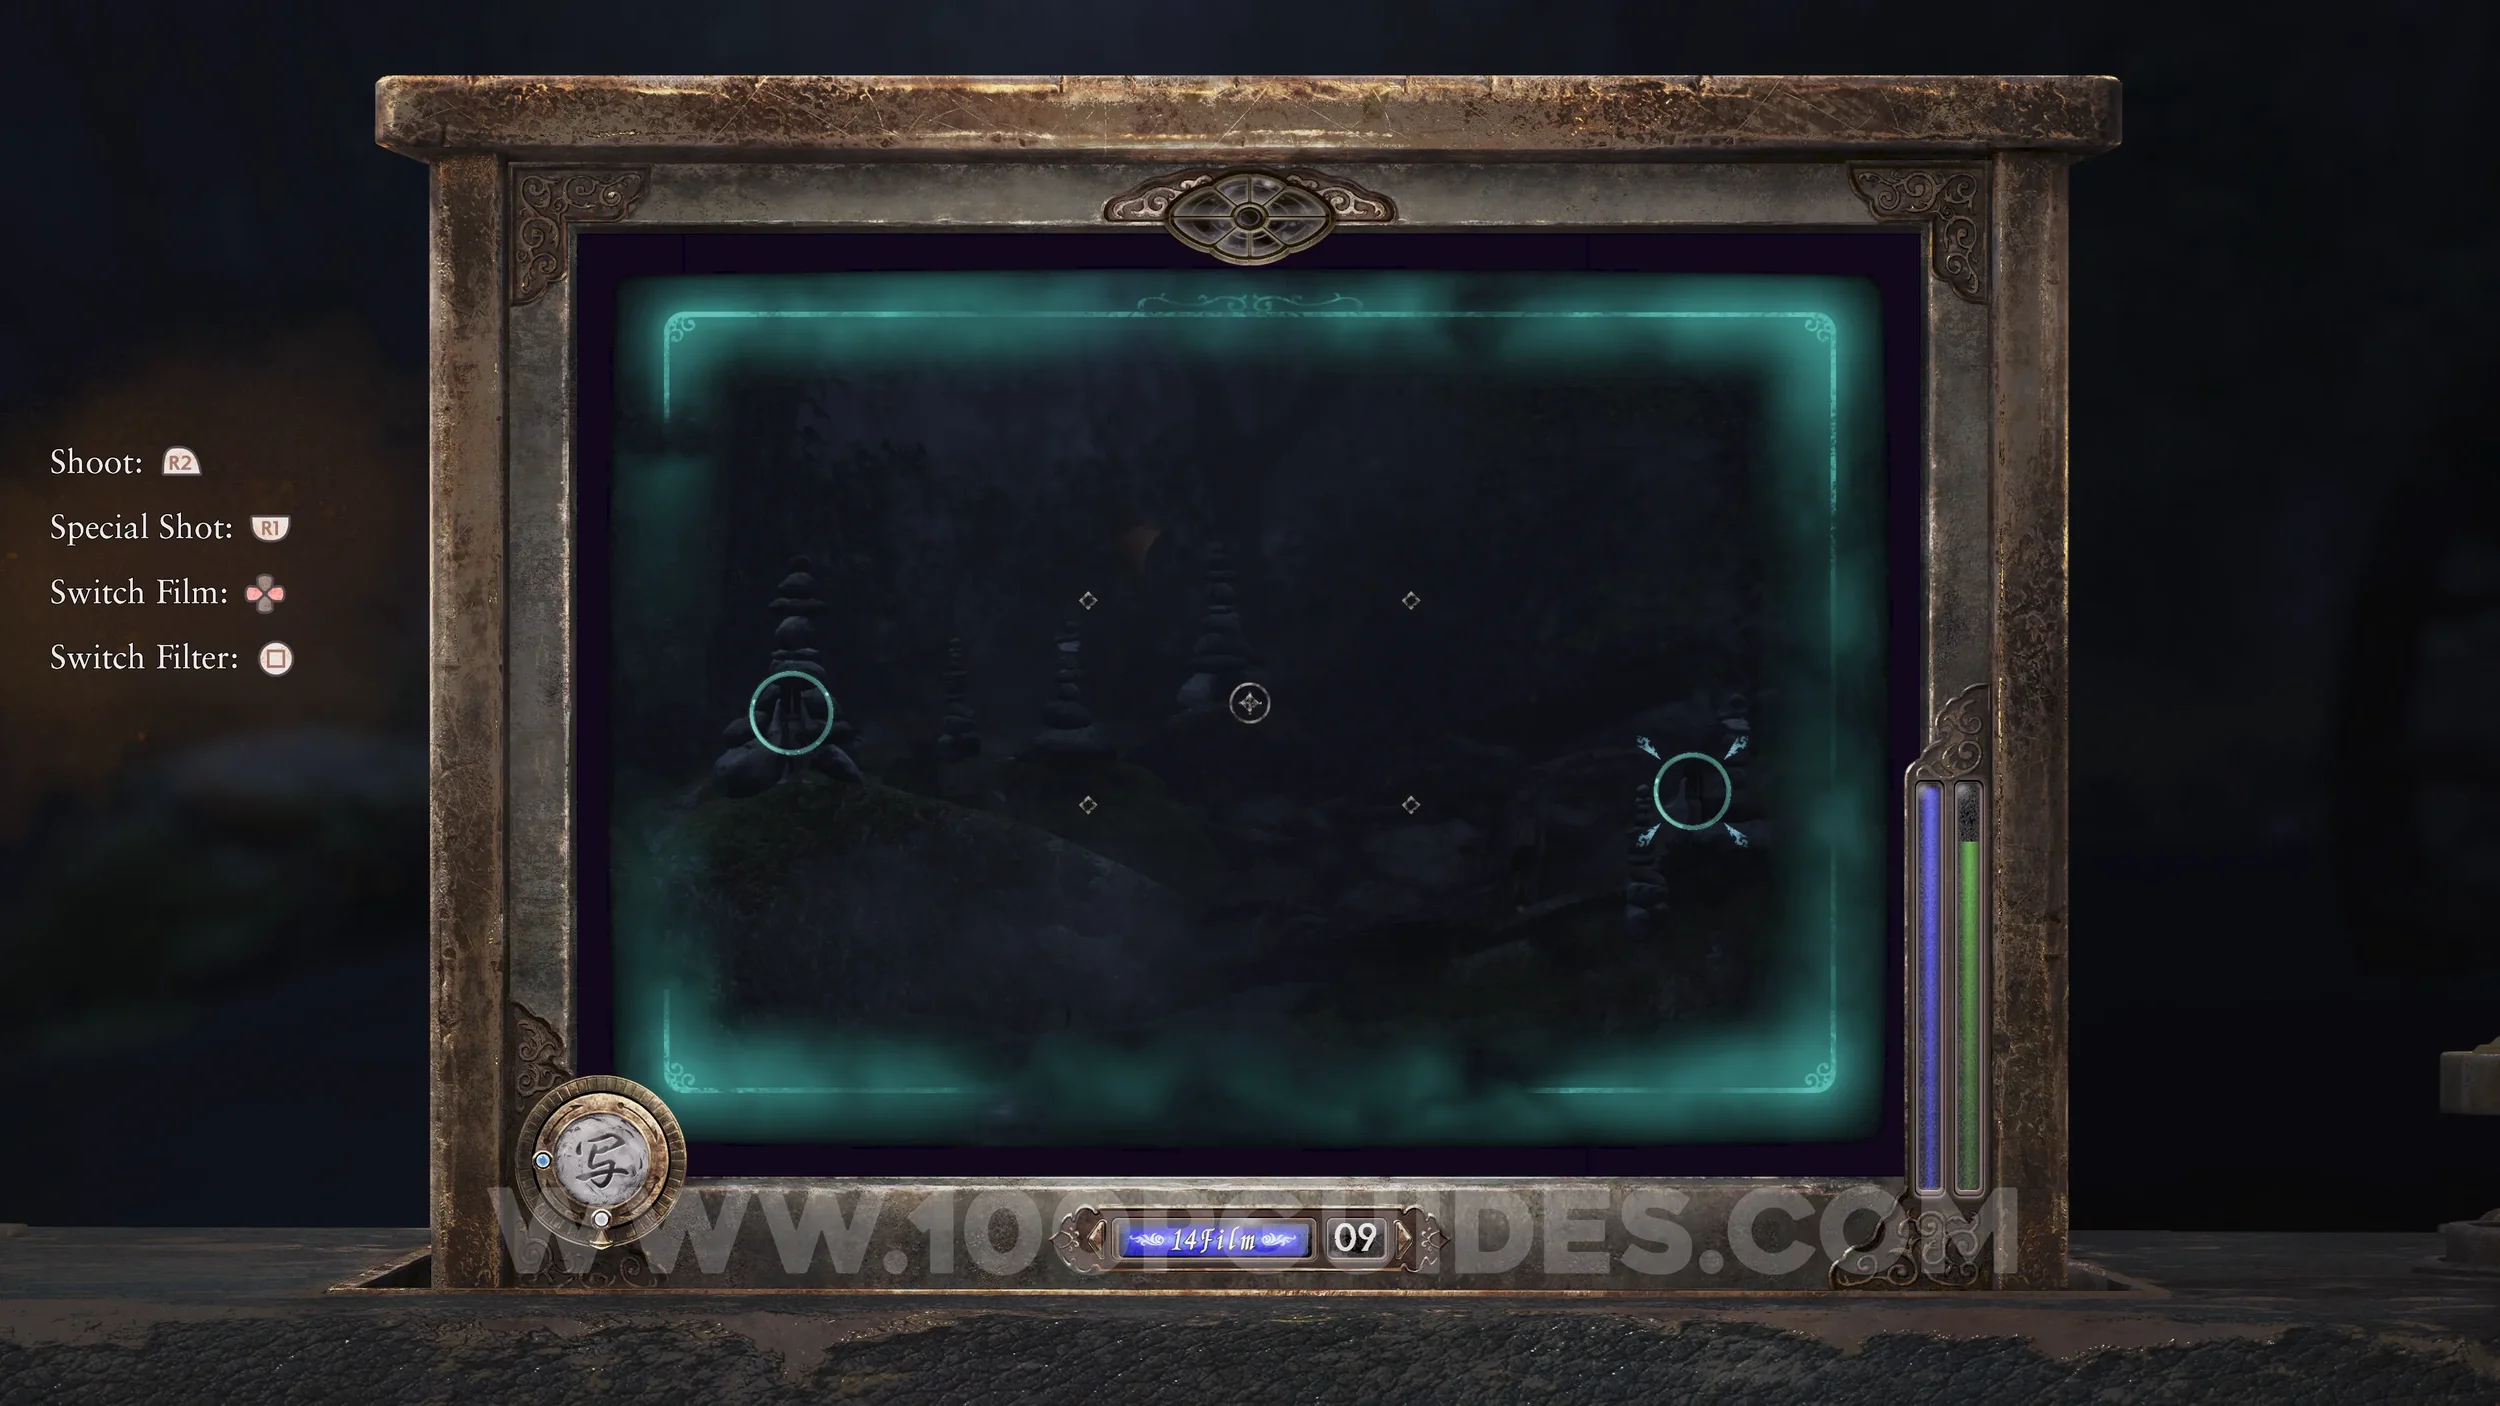
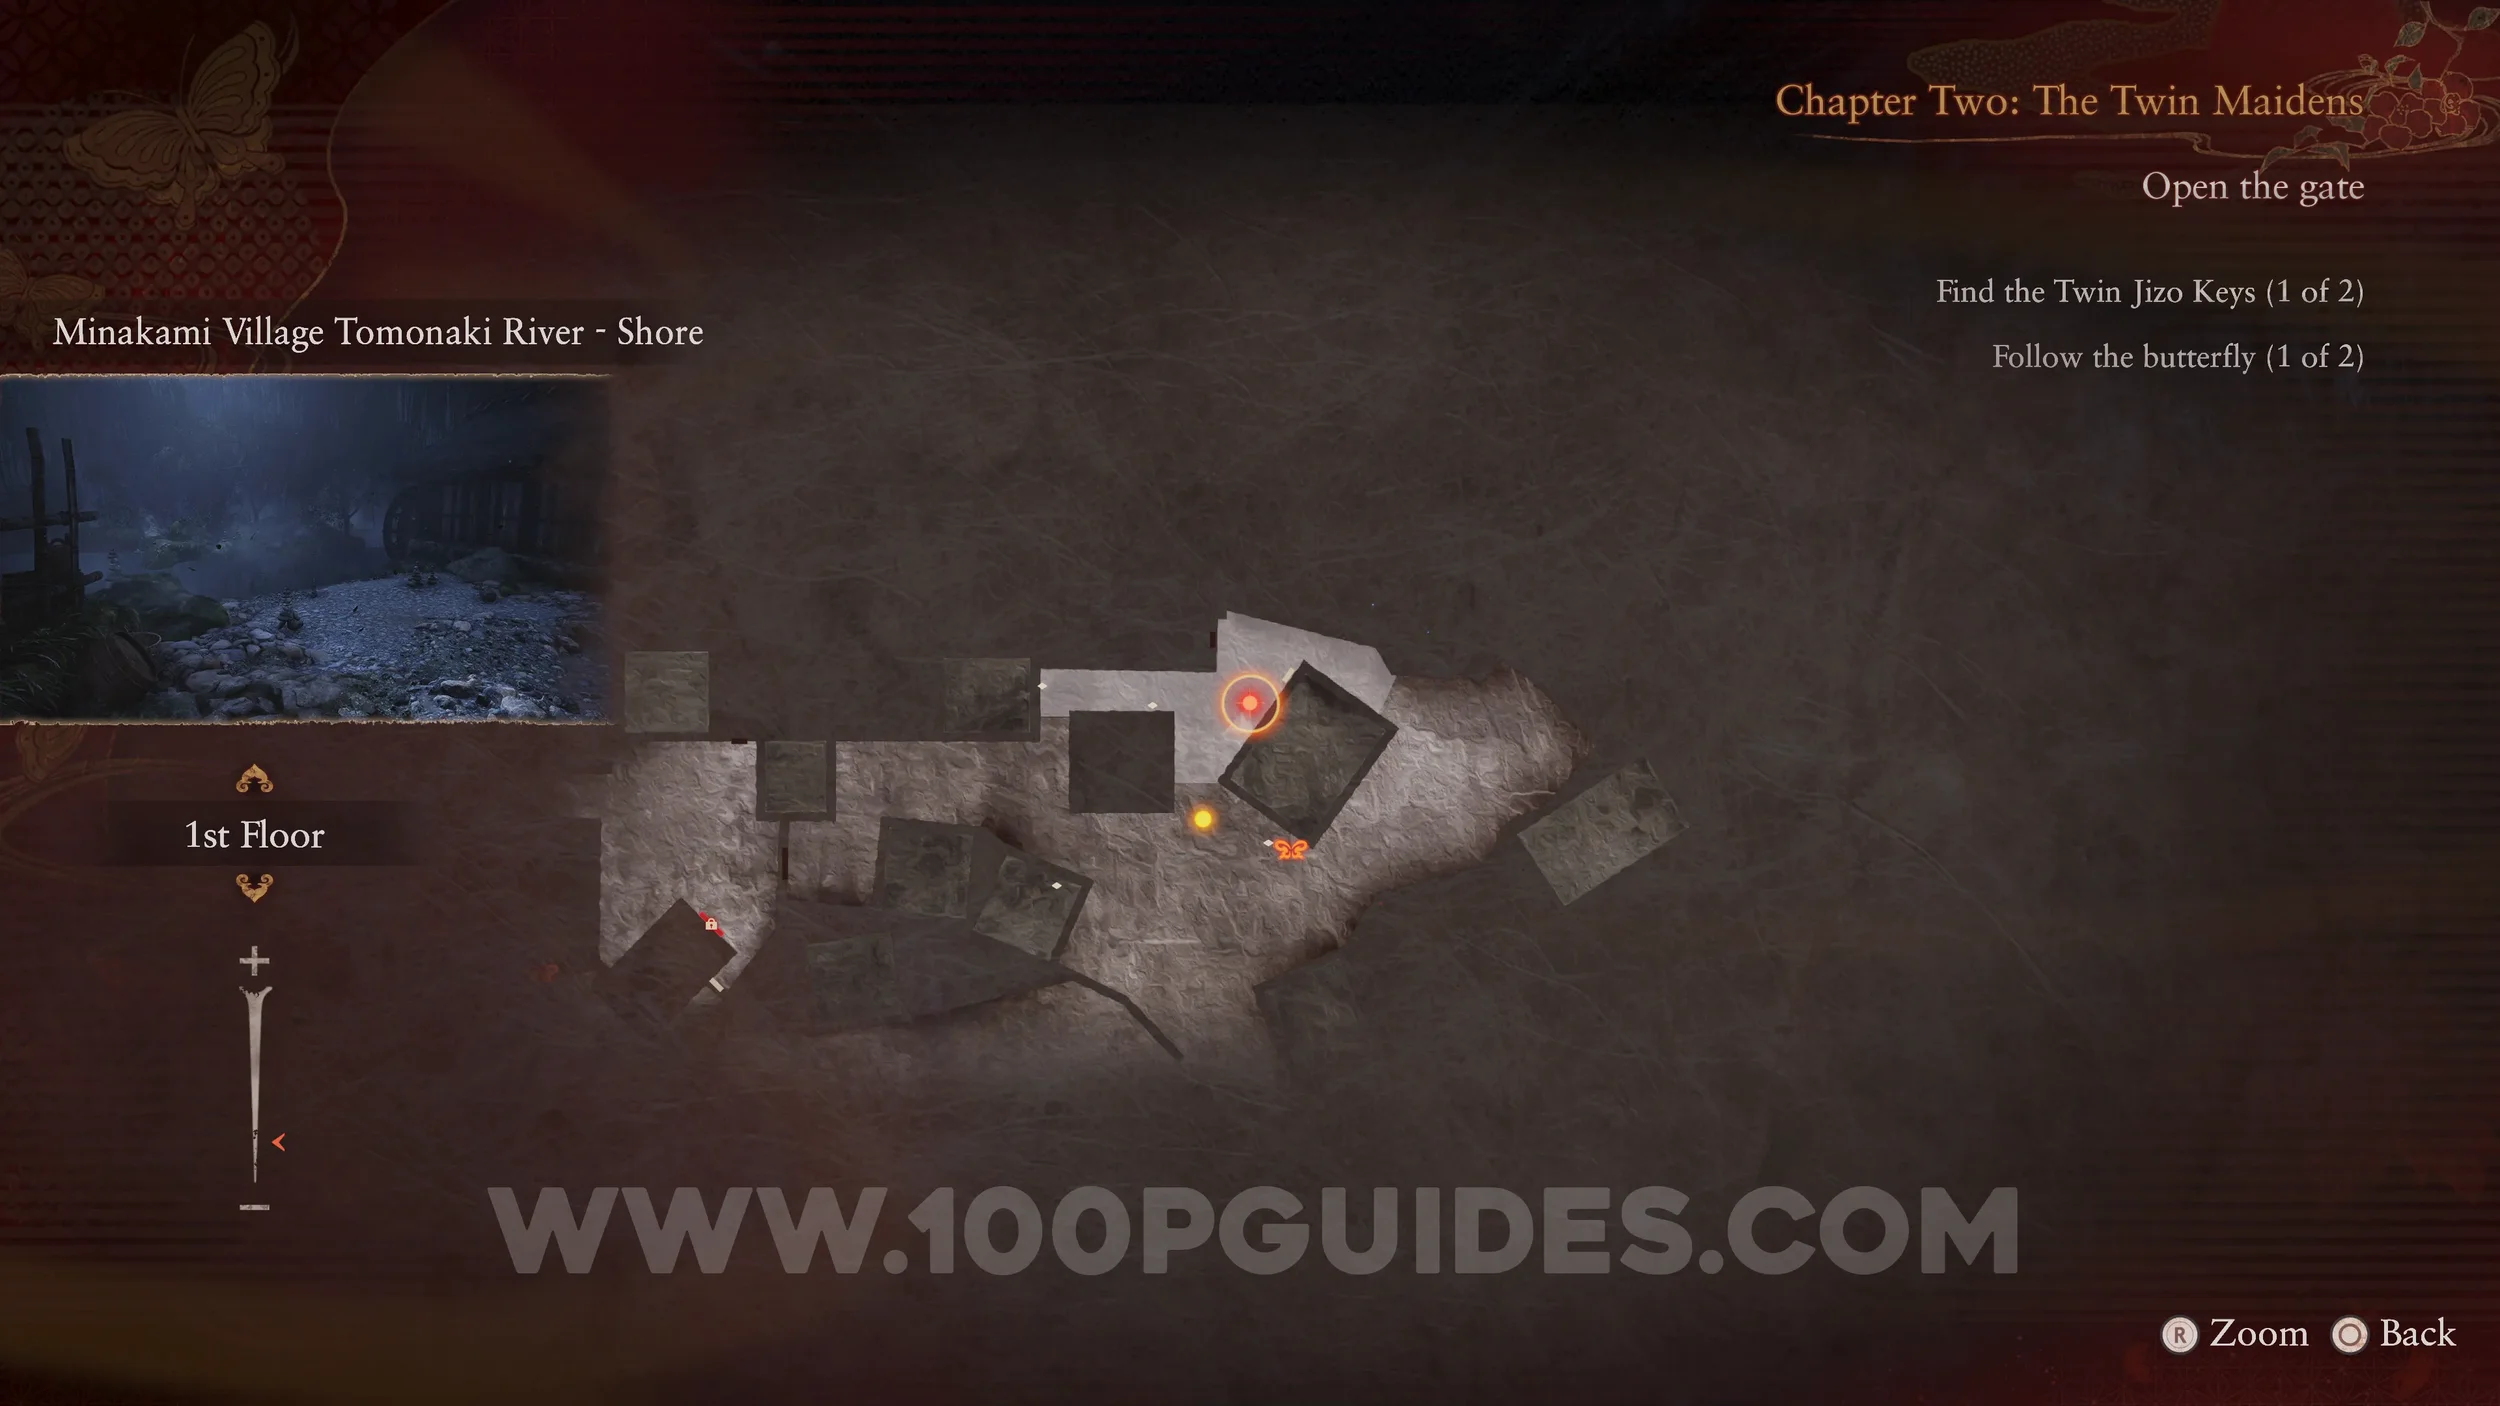
Twin Dolls #16 (37). Go to the shore just northeast of the house with the previous collectibles and use the Zoom feature to focus on the cairns on the other side of the water.
Specter #19 - 020 Inviting Crimson Butterfly. Will spawn as soon as you leave the house where you get the first half of the gate key.
Wraith #6 - 005 The Pole Bearer. On the right side of the street, as you follow the butterfly.
Twin Dolls #17 (4). Found inside the house east of the Osaka House. Enter from the eastern side, then crouch to capture both in the frame.
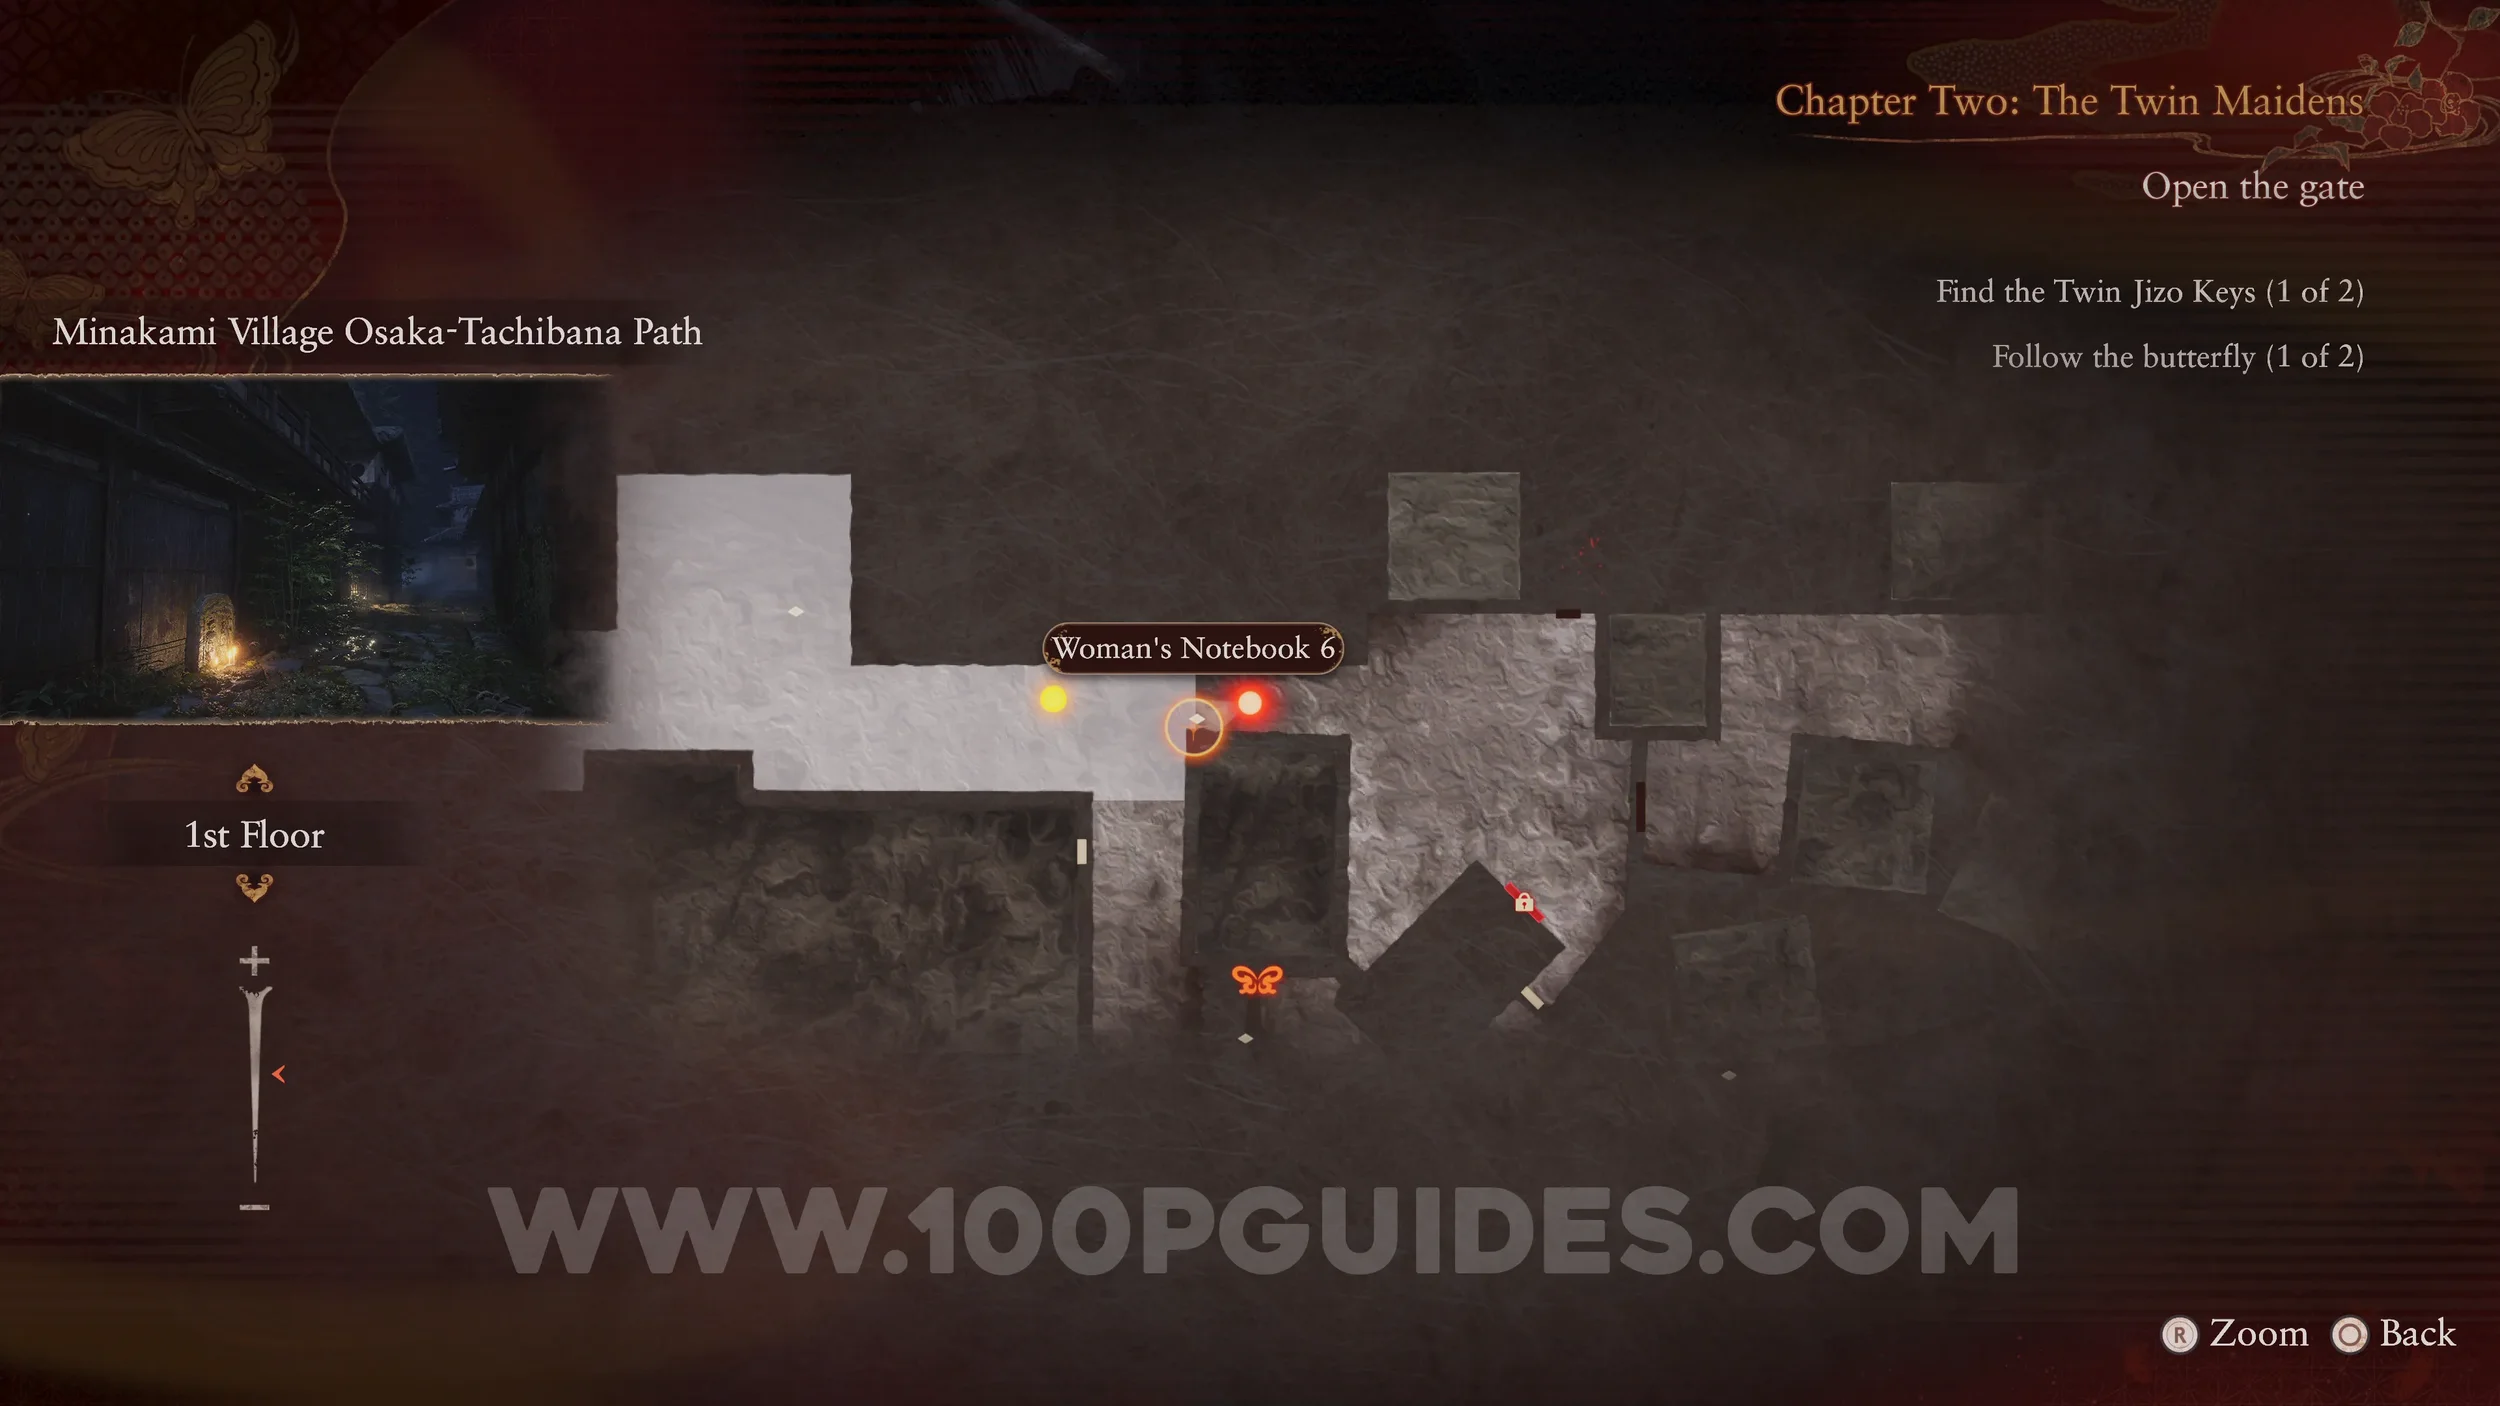
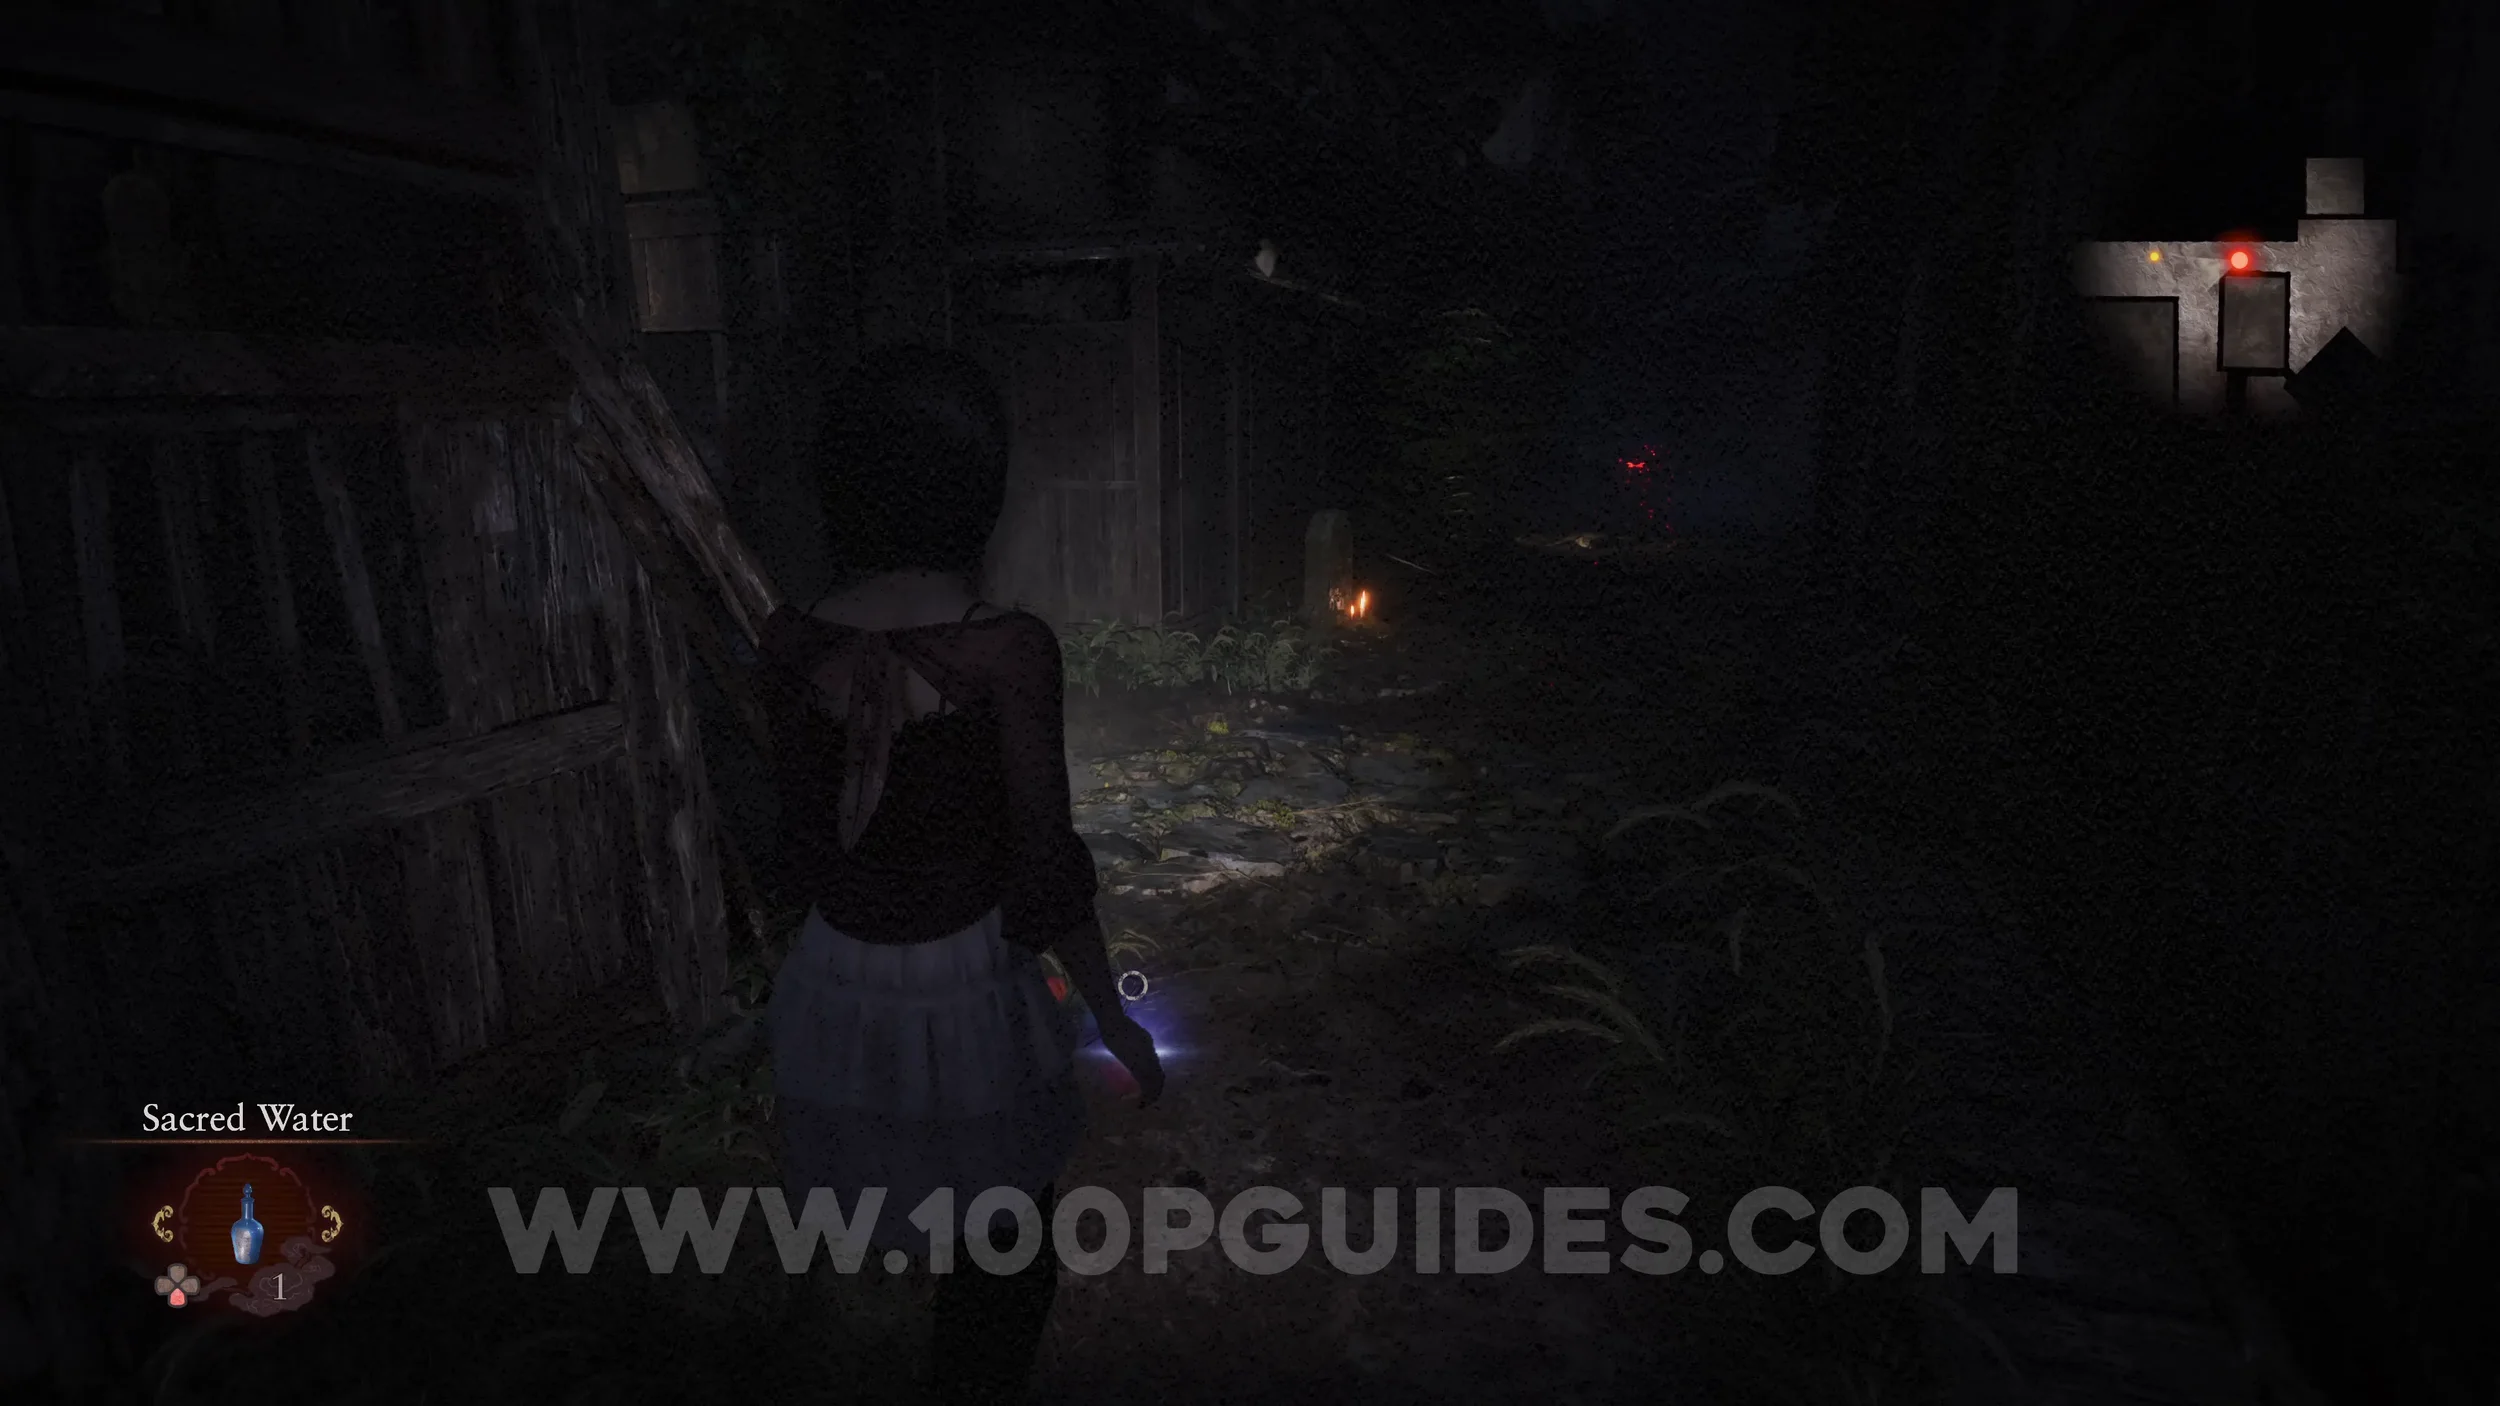
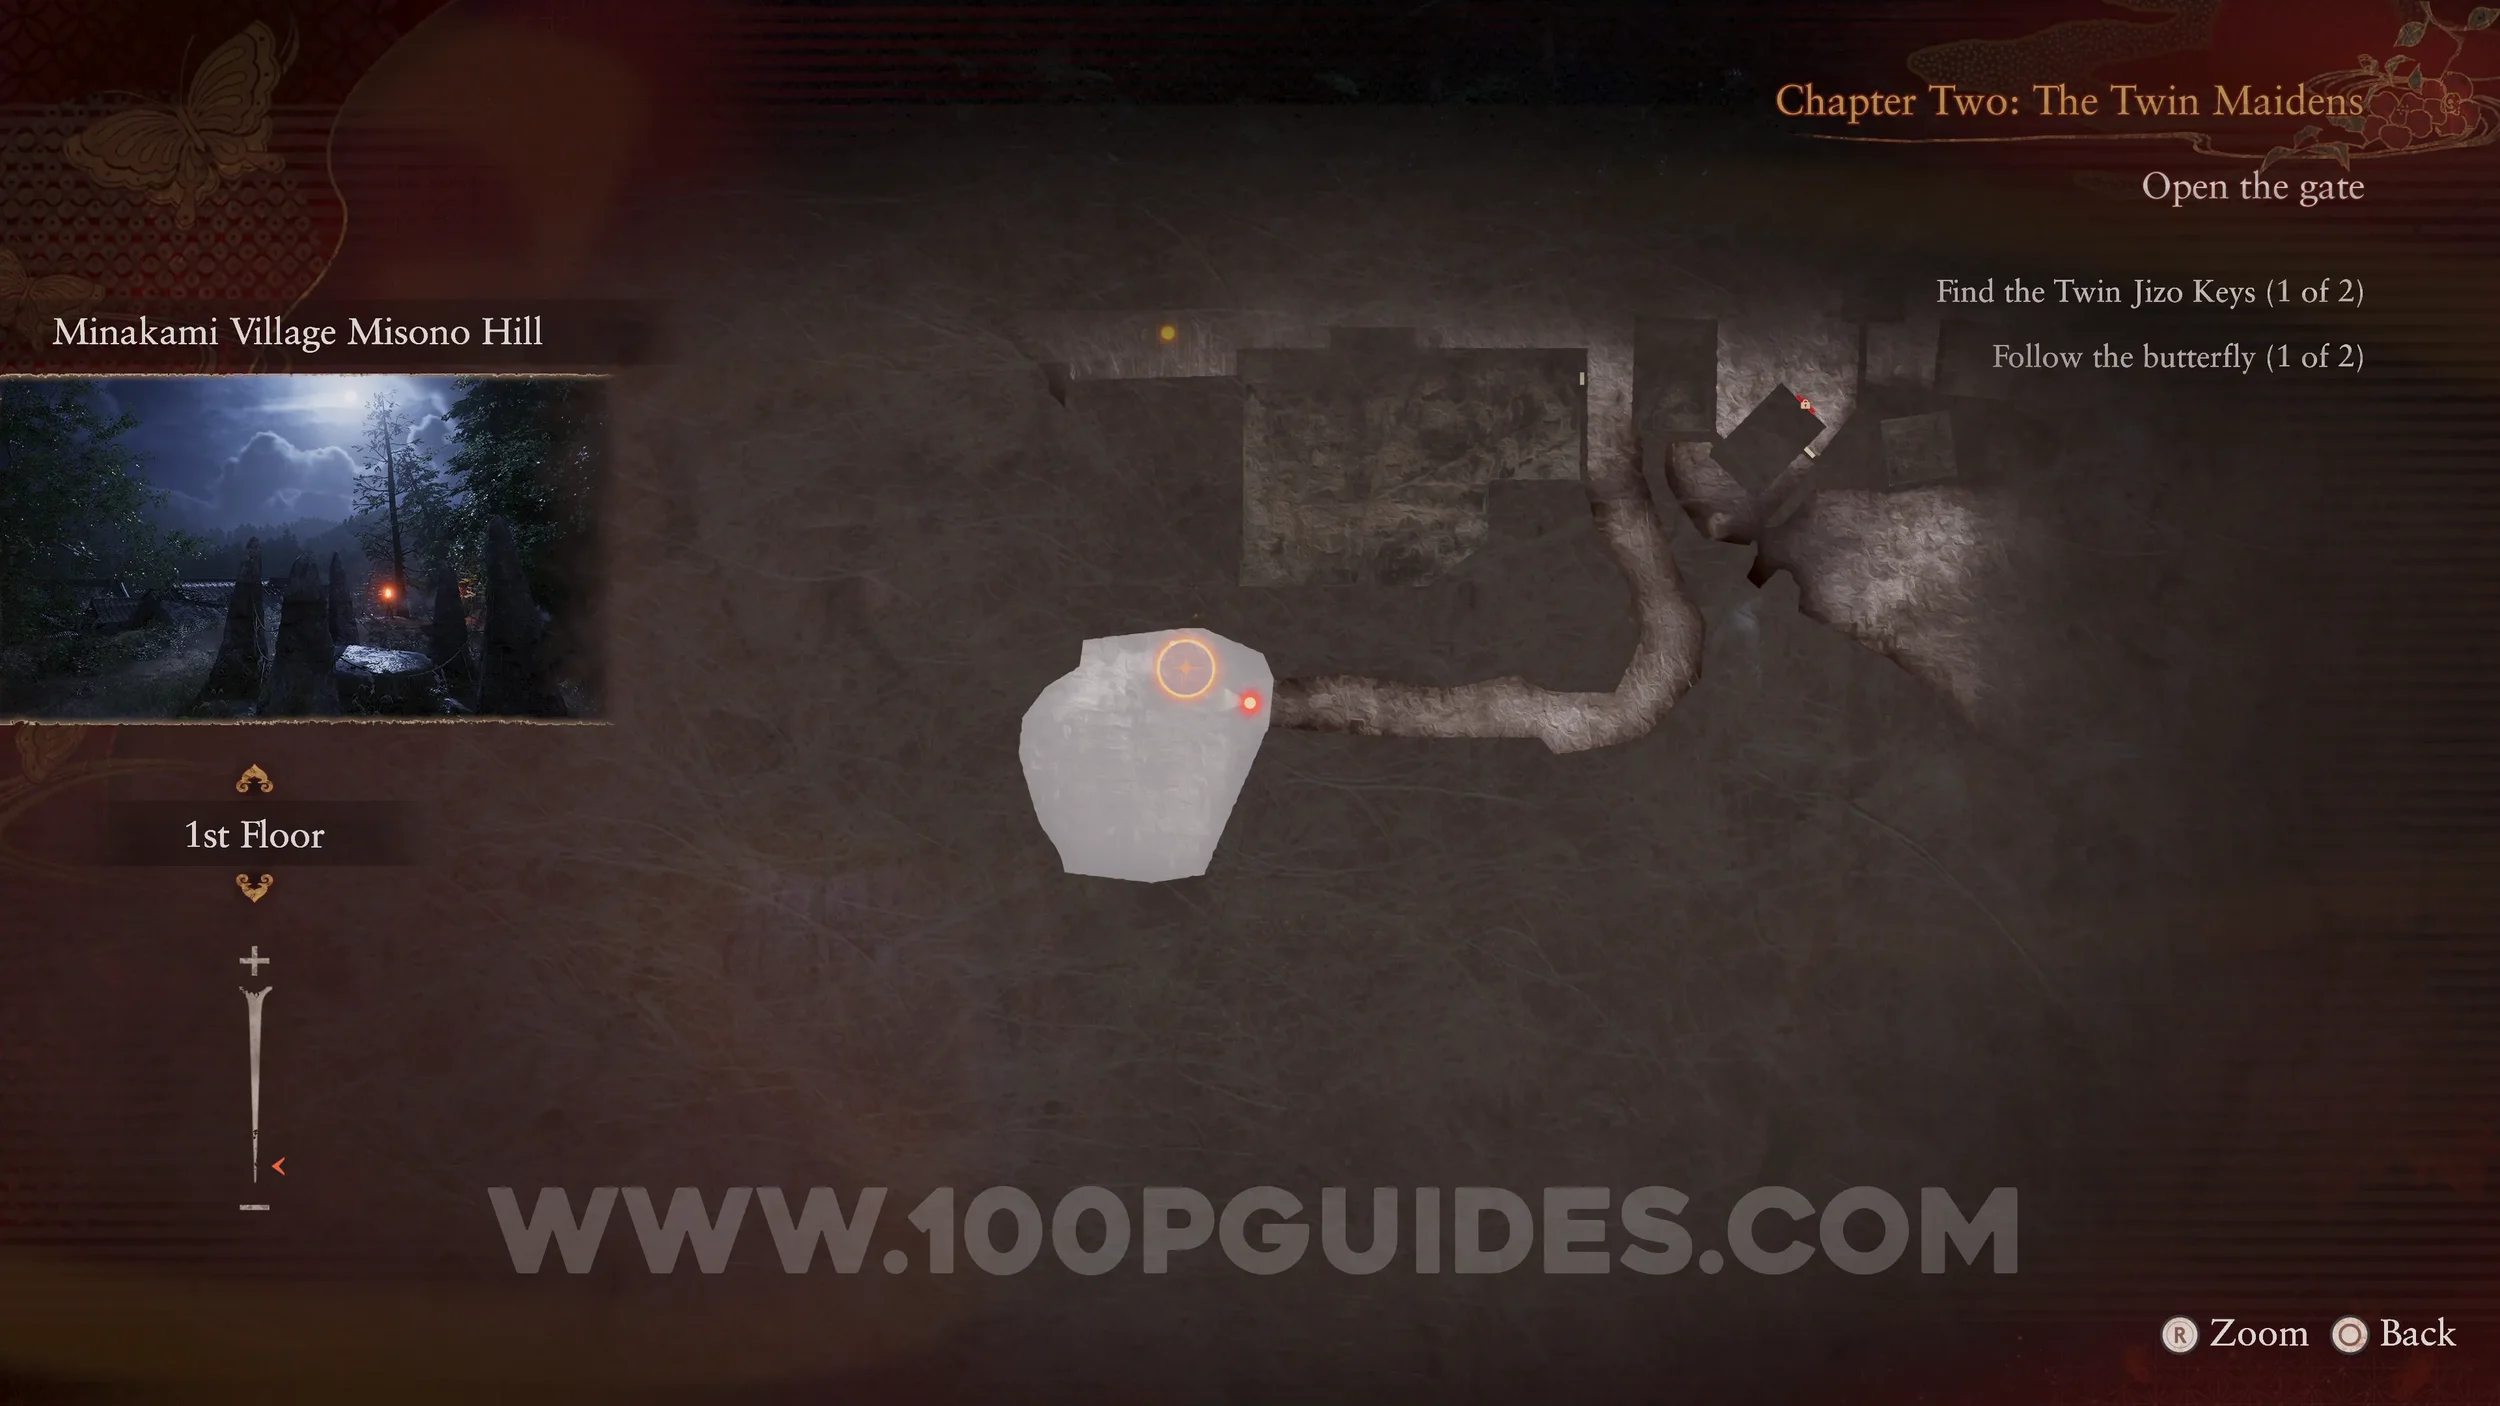
Document #14 - Woman’s Notebook 6, Spirit Stone #5 - Zoisite (1/2), Specter #20 - 165 Woman Adrift and Side Quest #2 - Miyako Sudo. Found on the ground in the street just before reaching the Osaka House while following the second butterfly. The specter will spawn in front of you after picking it up. This will start the “Miyako Sudo” side quest.
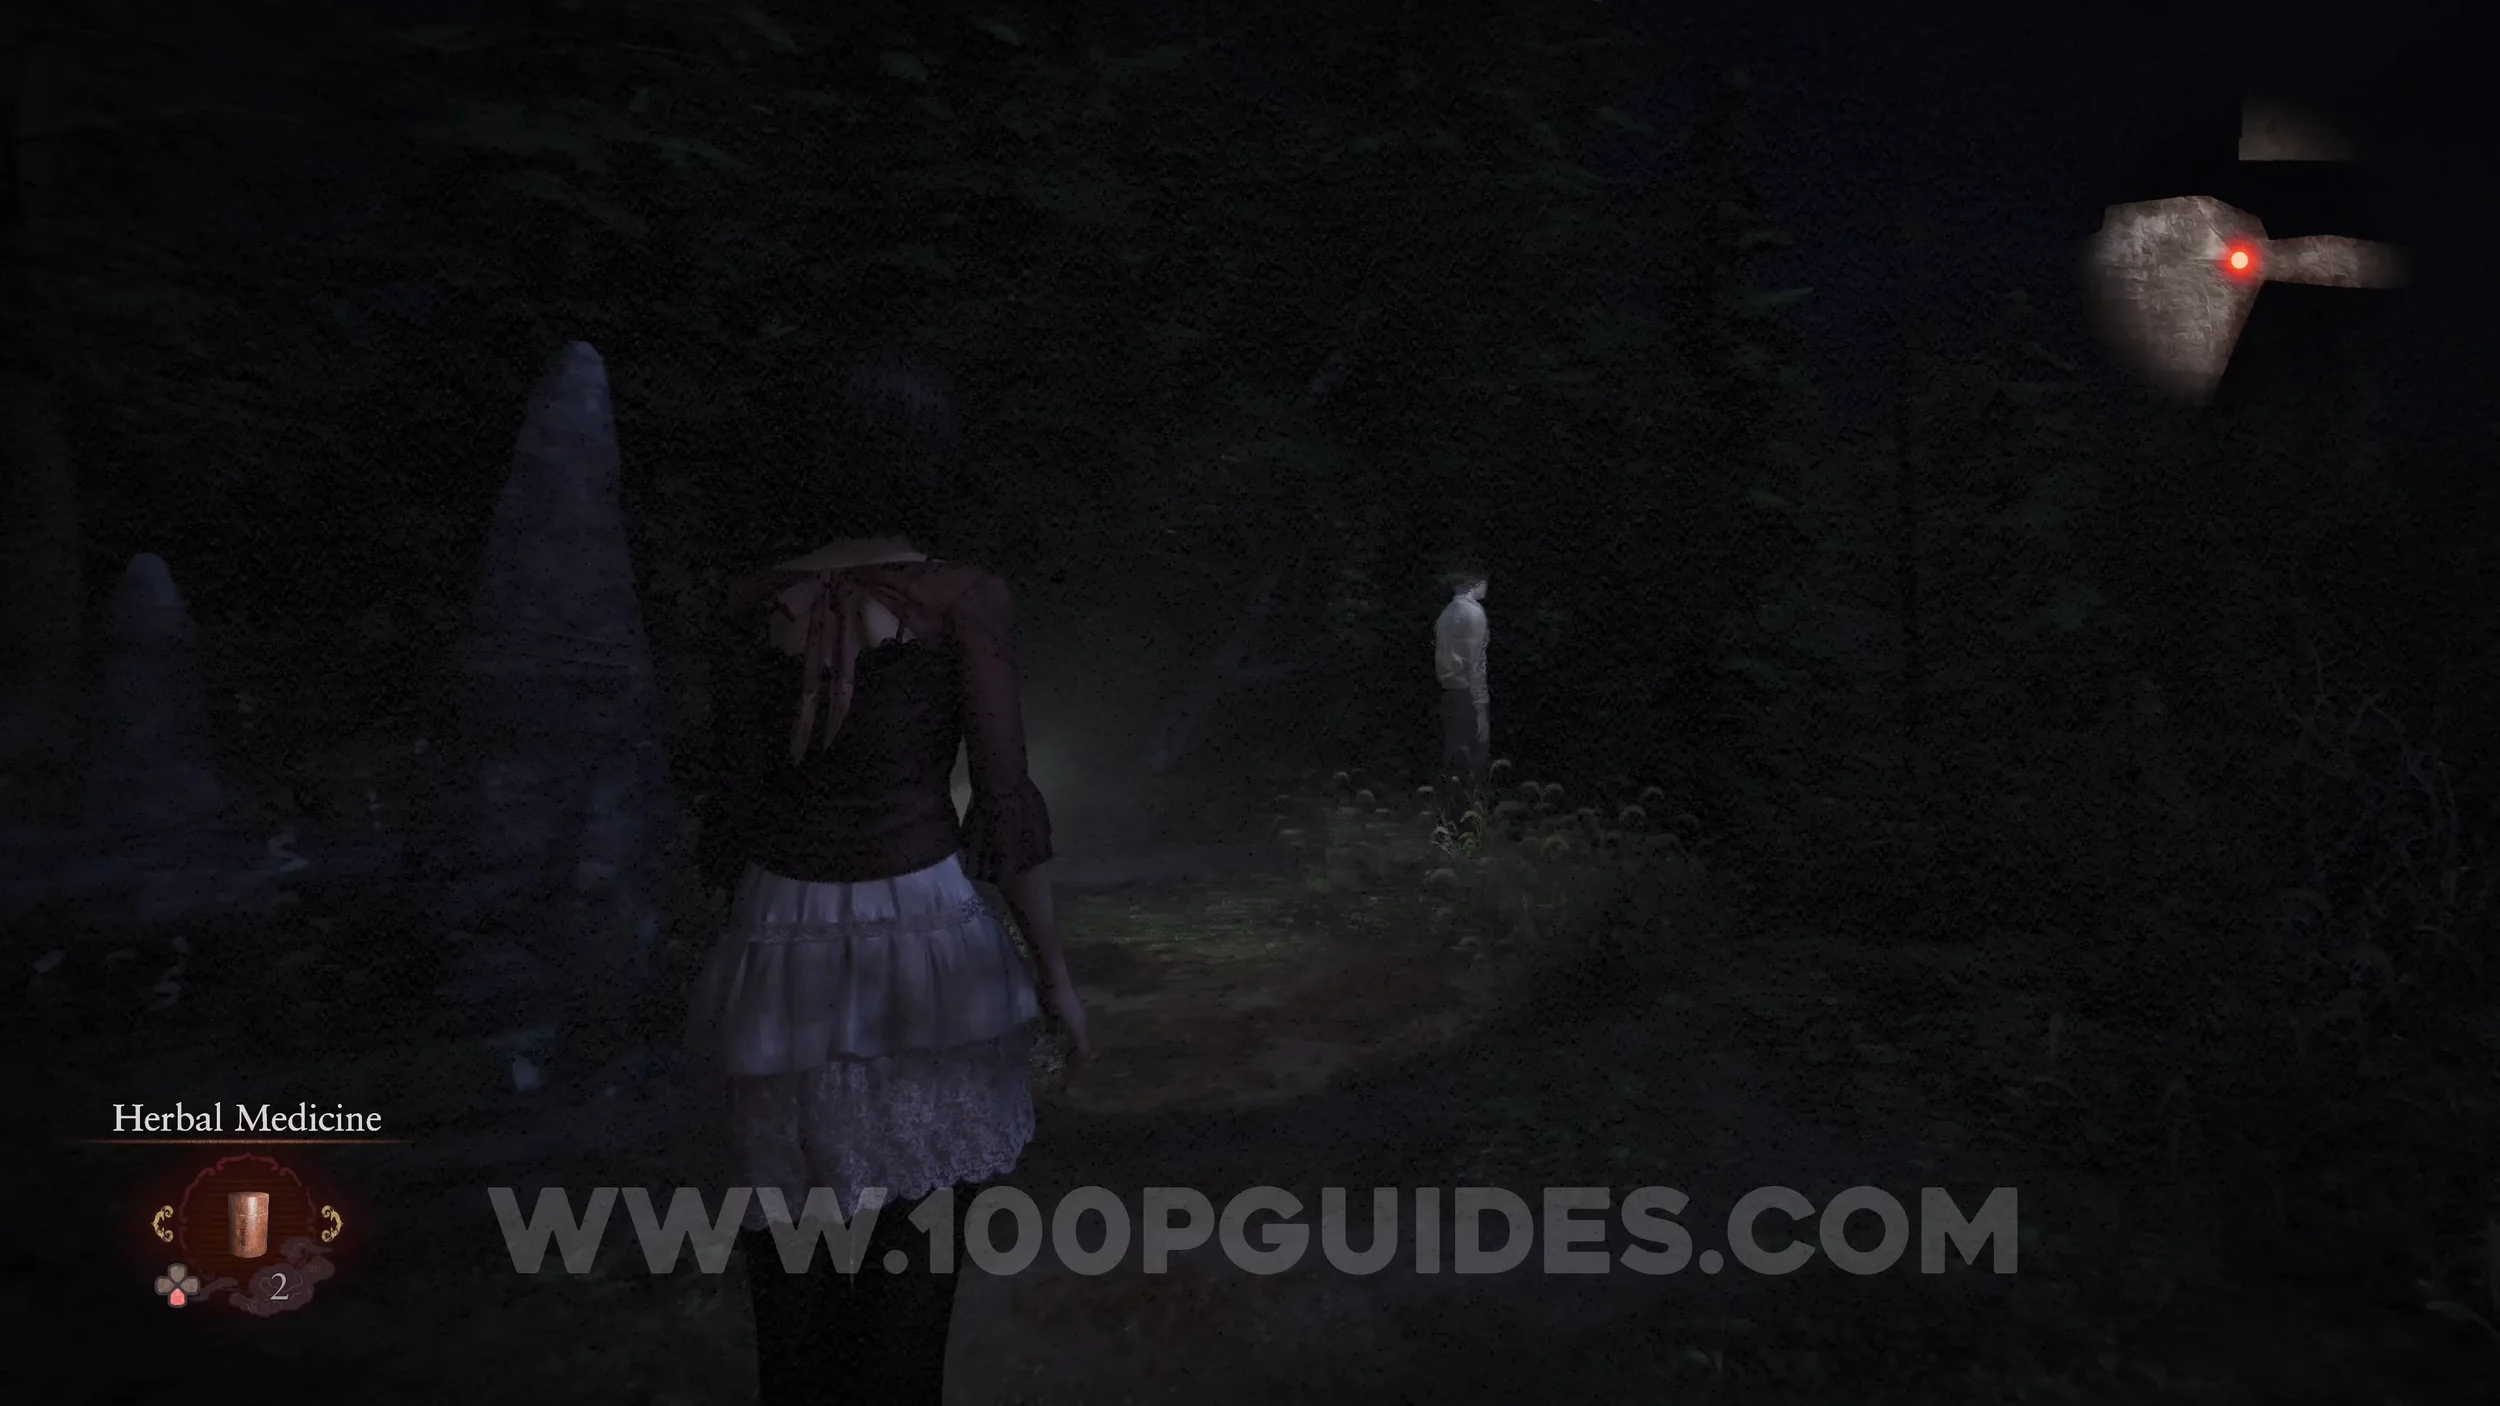
Specter #21 - 166 Woman Overlooking Village. Return to where you started the game after picking up the previous collectible and starting the “Miyako Sudo” side quest.
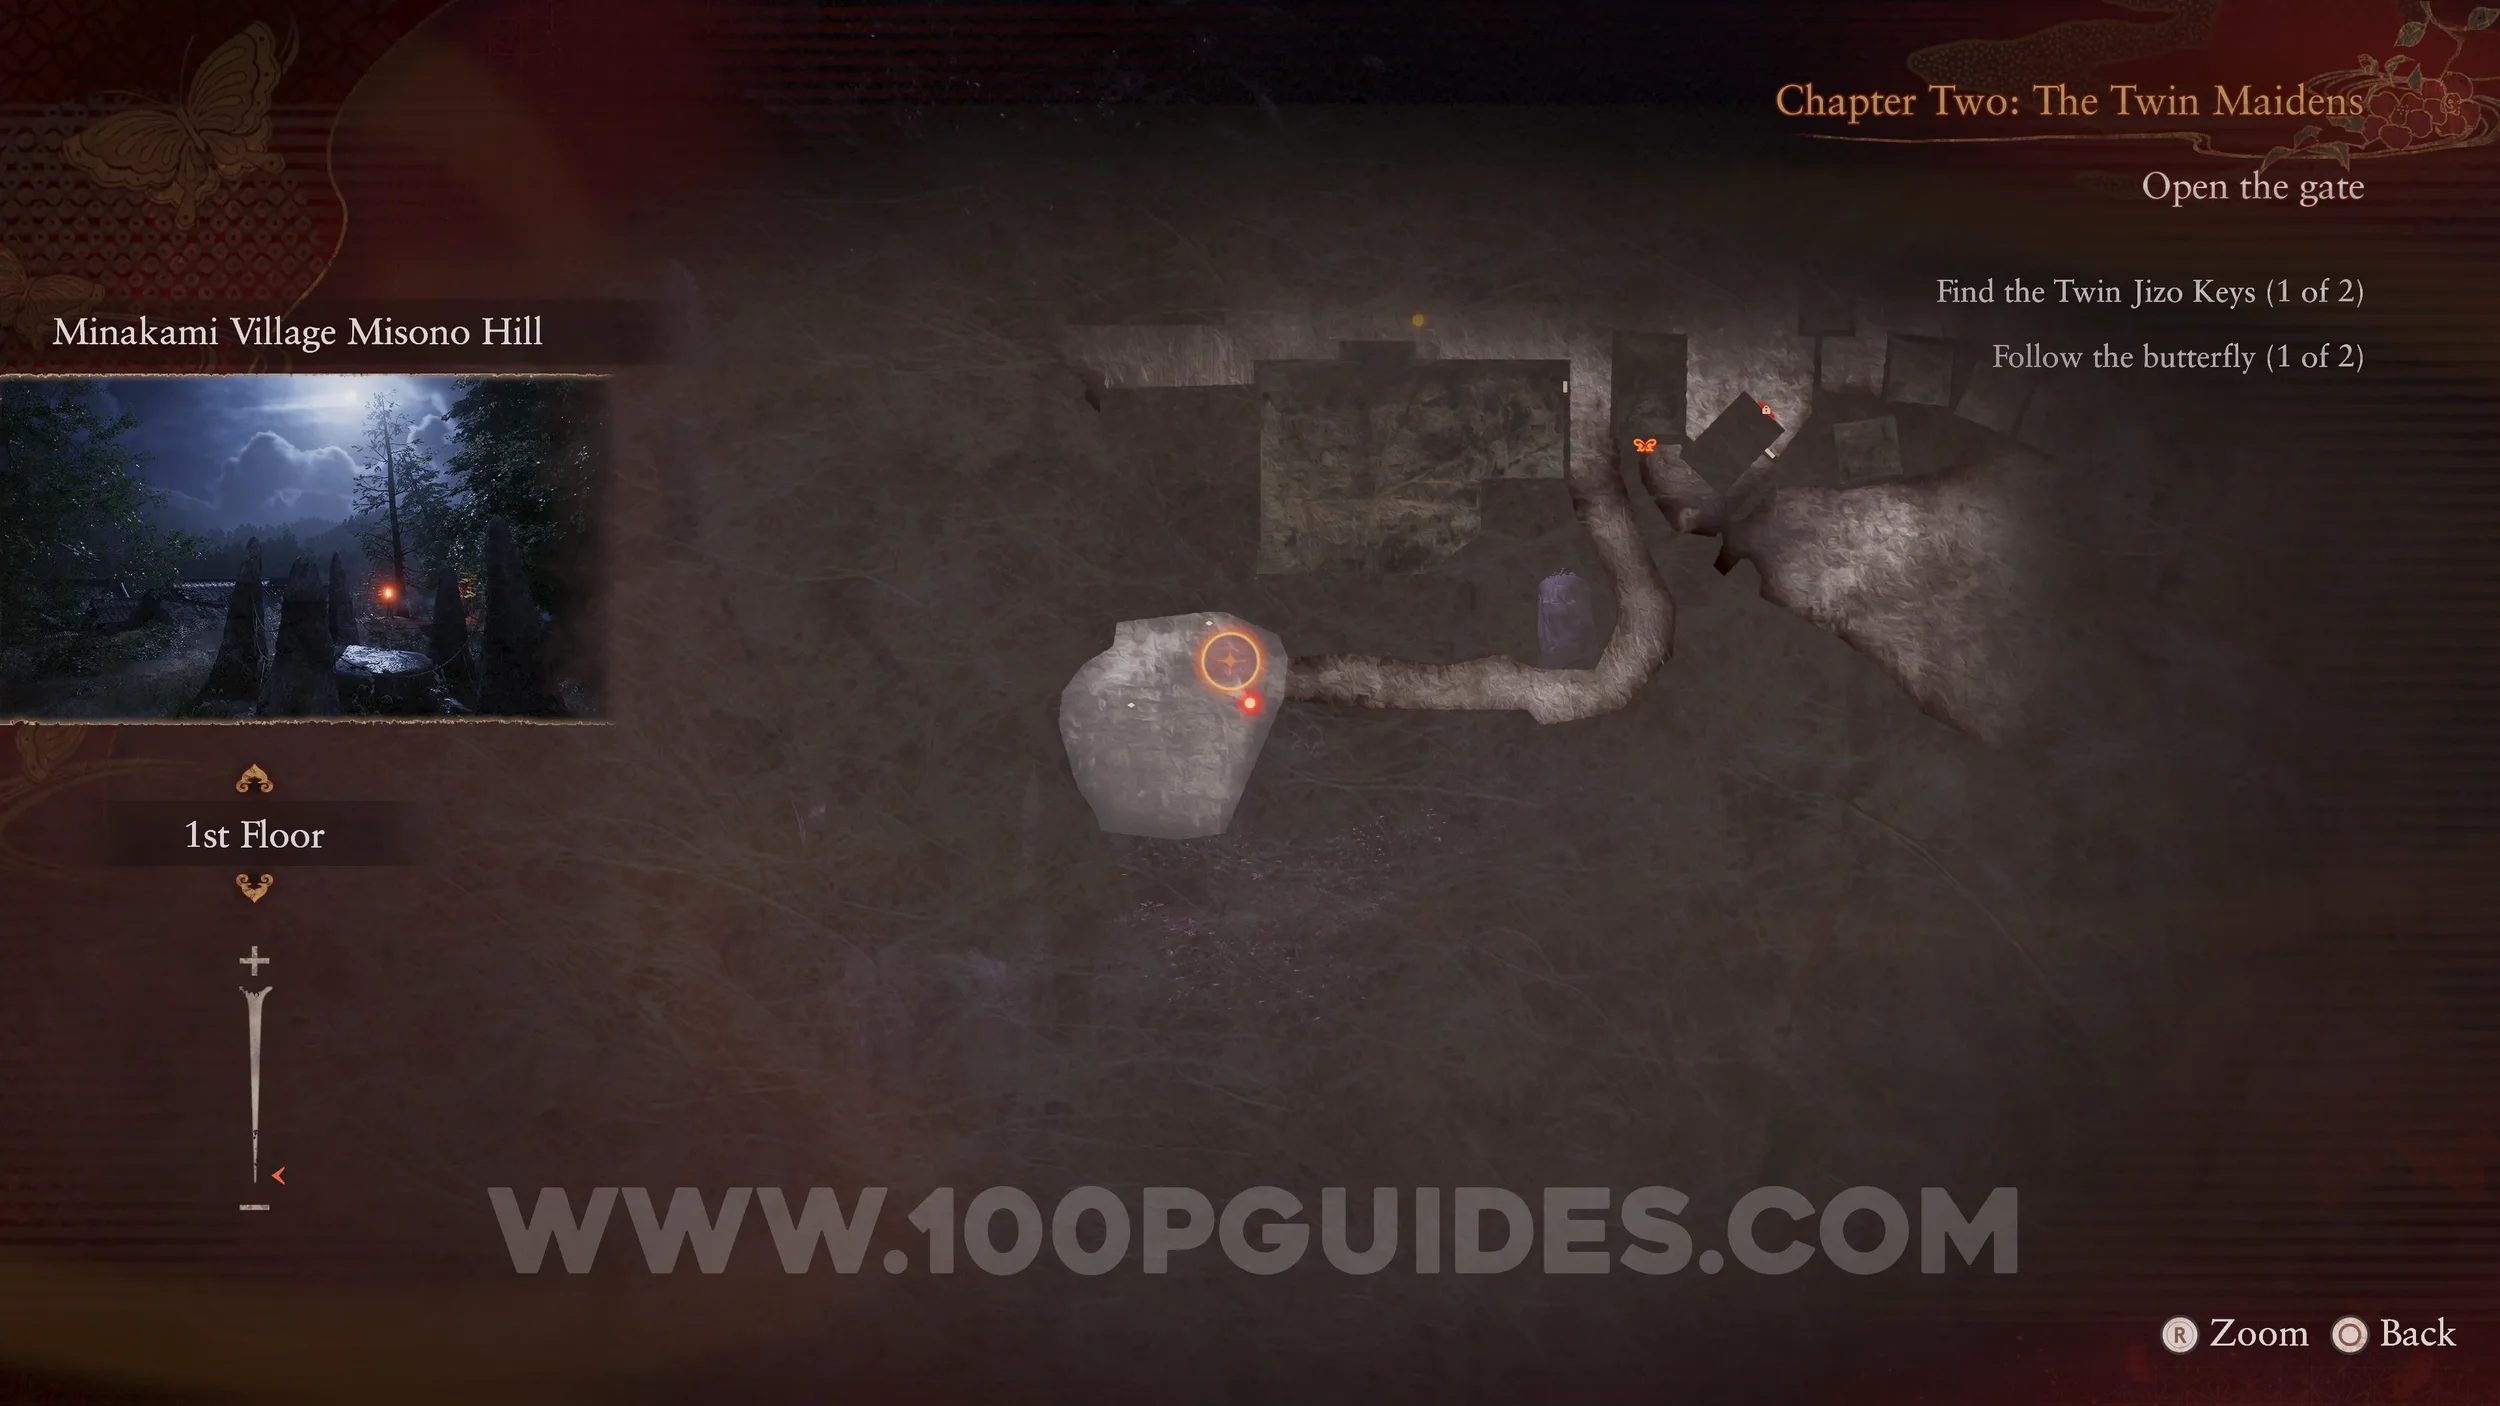
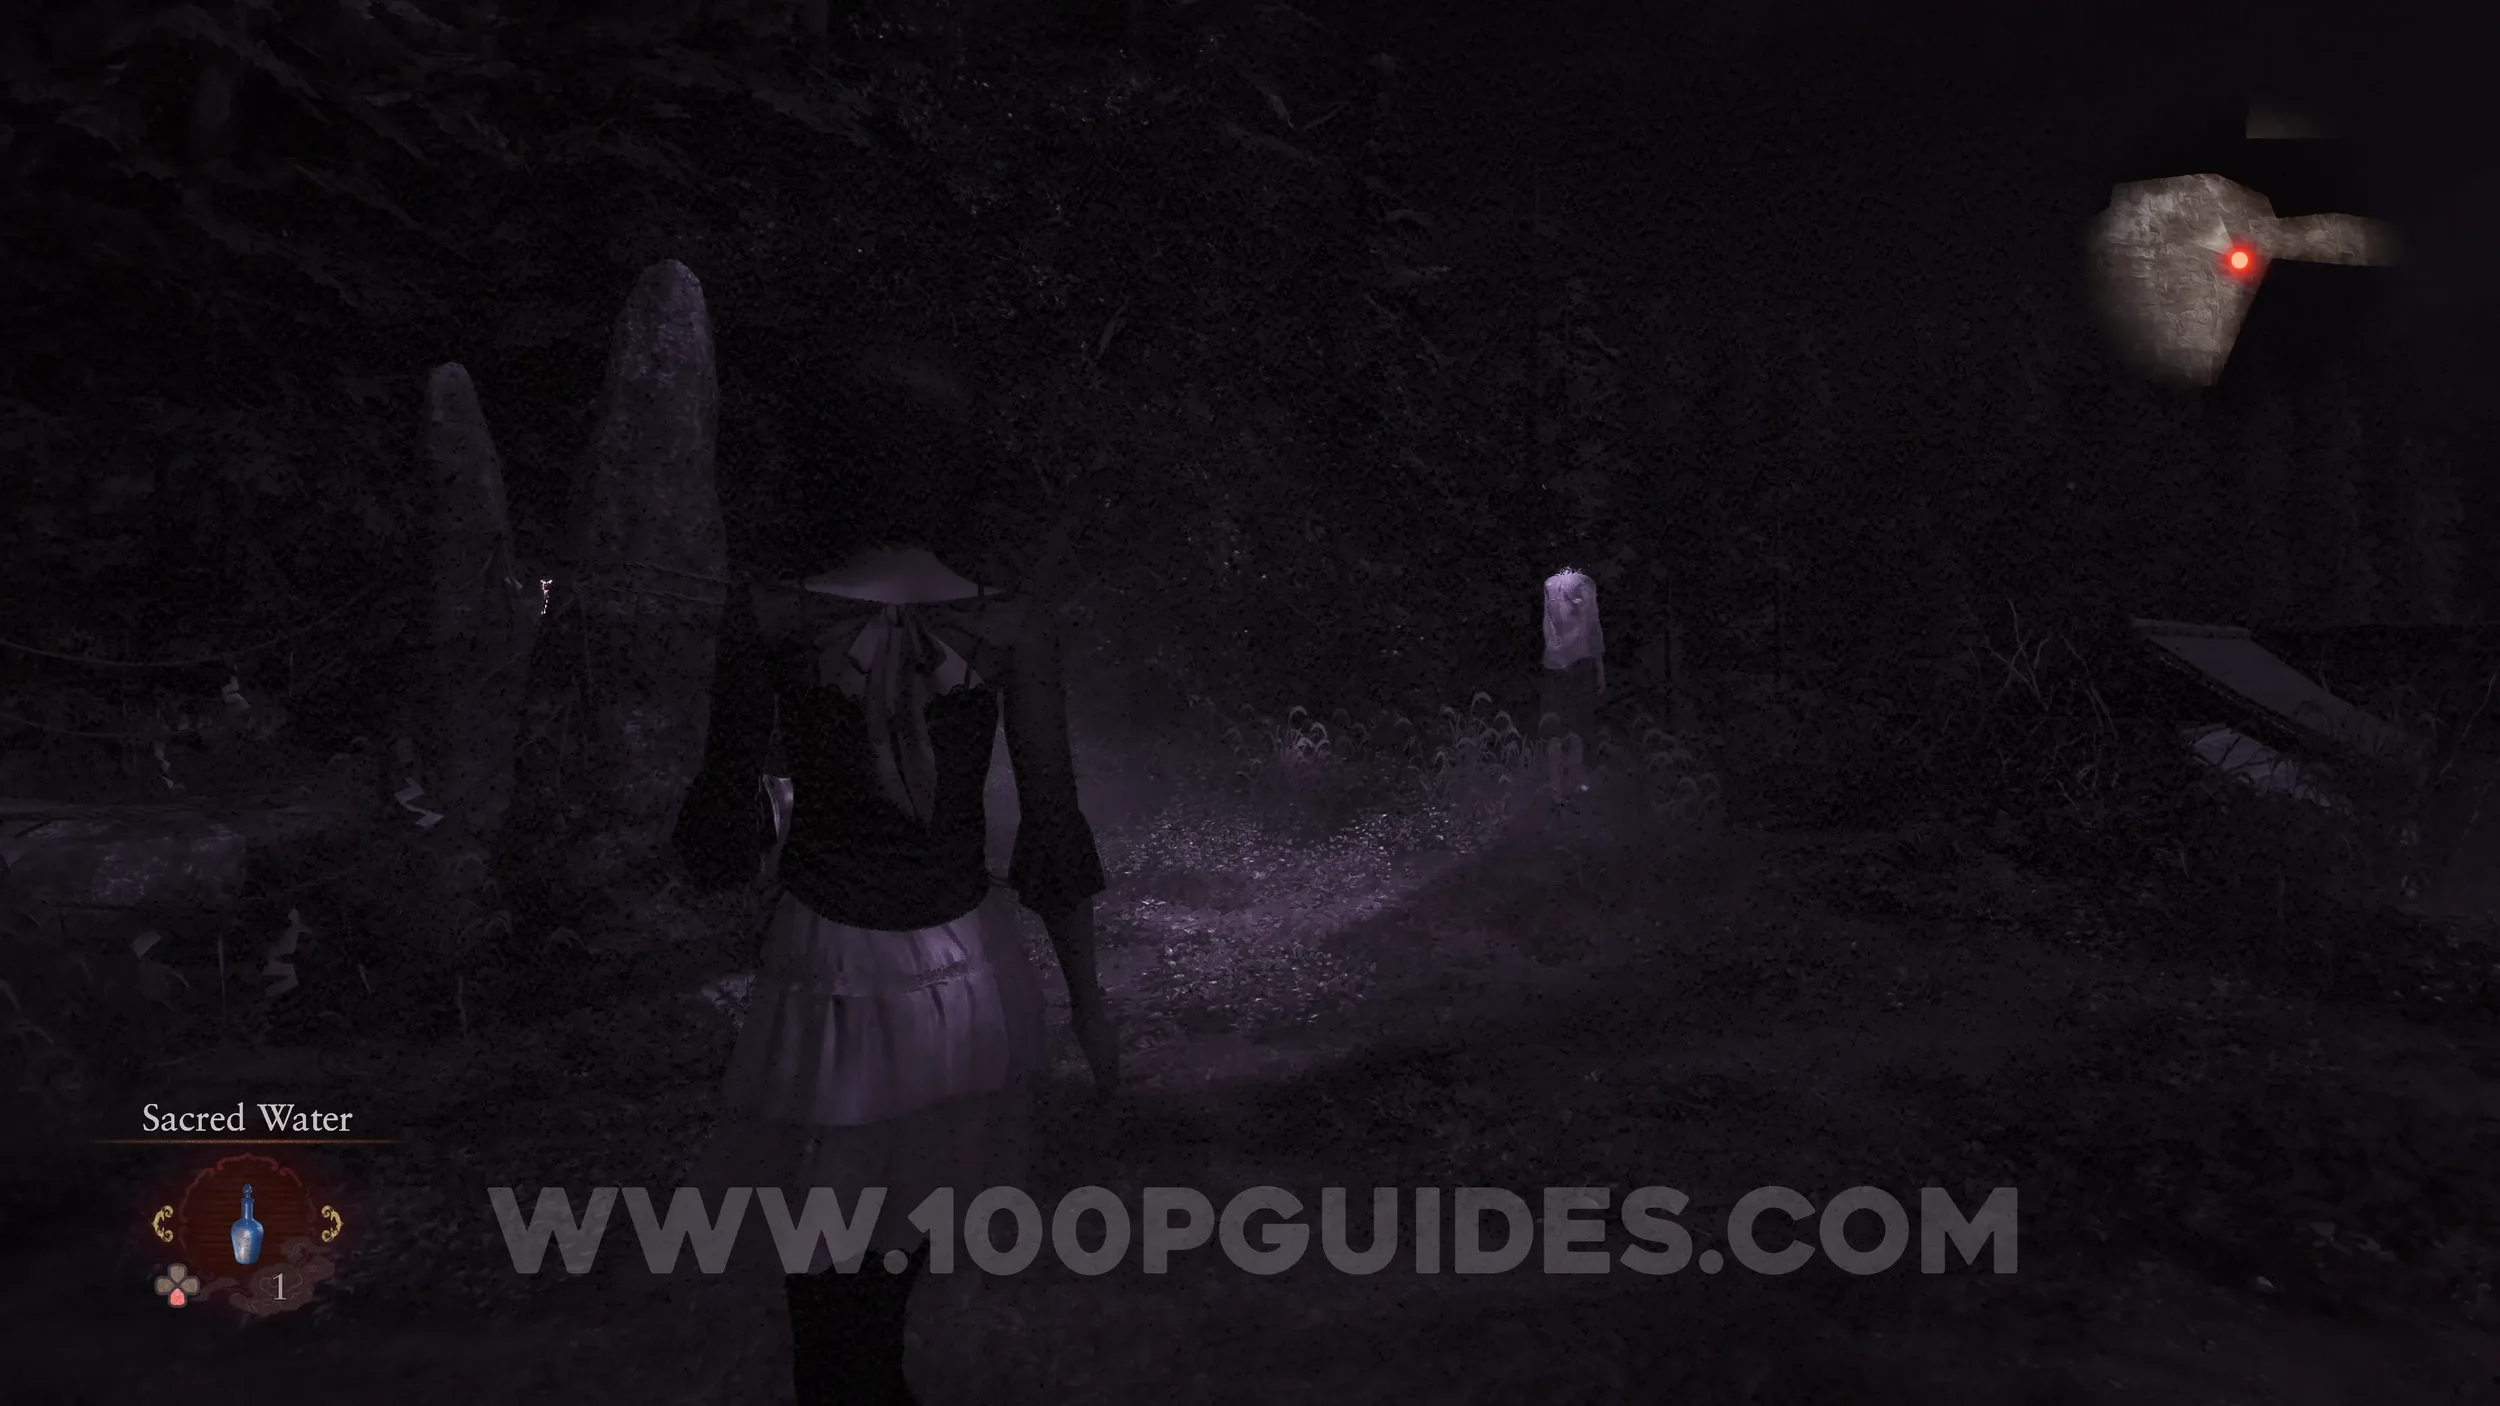
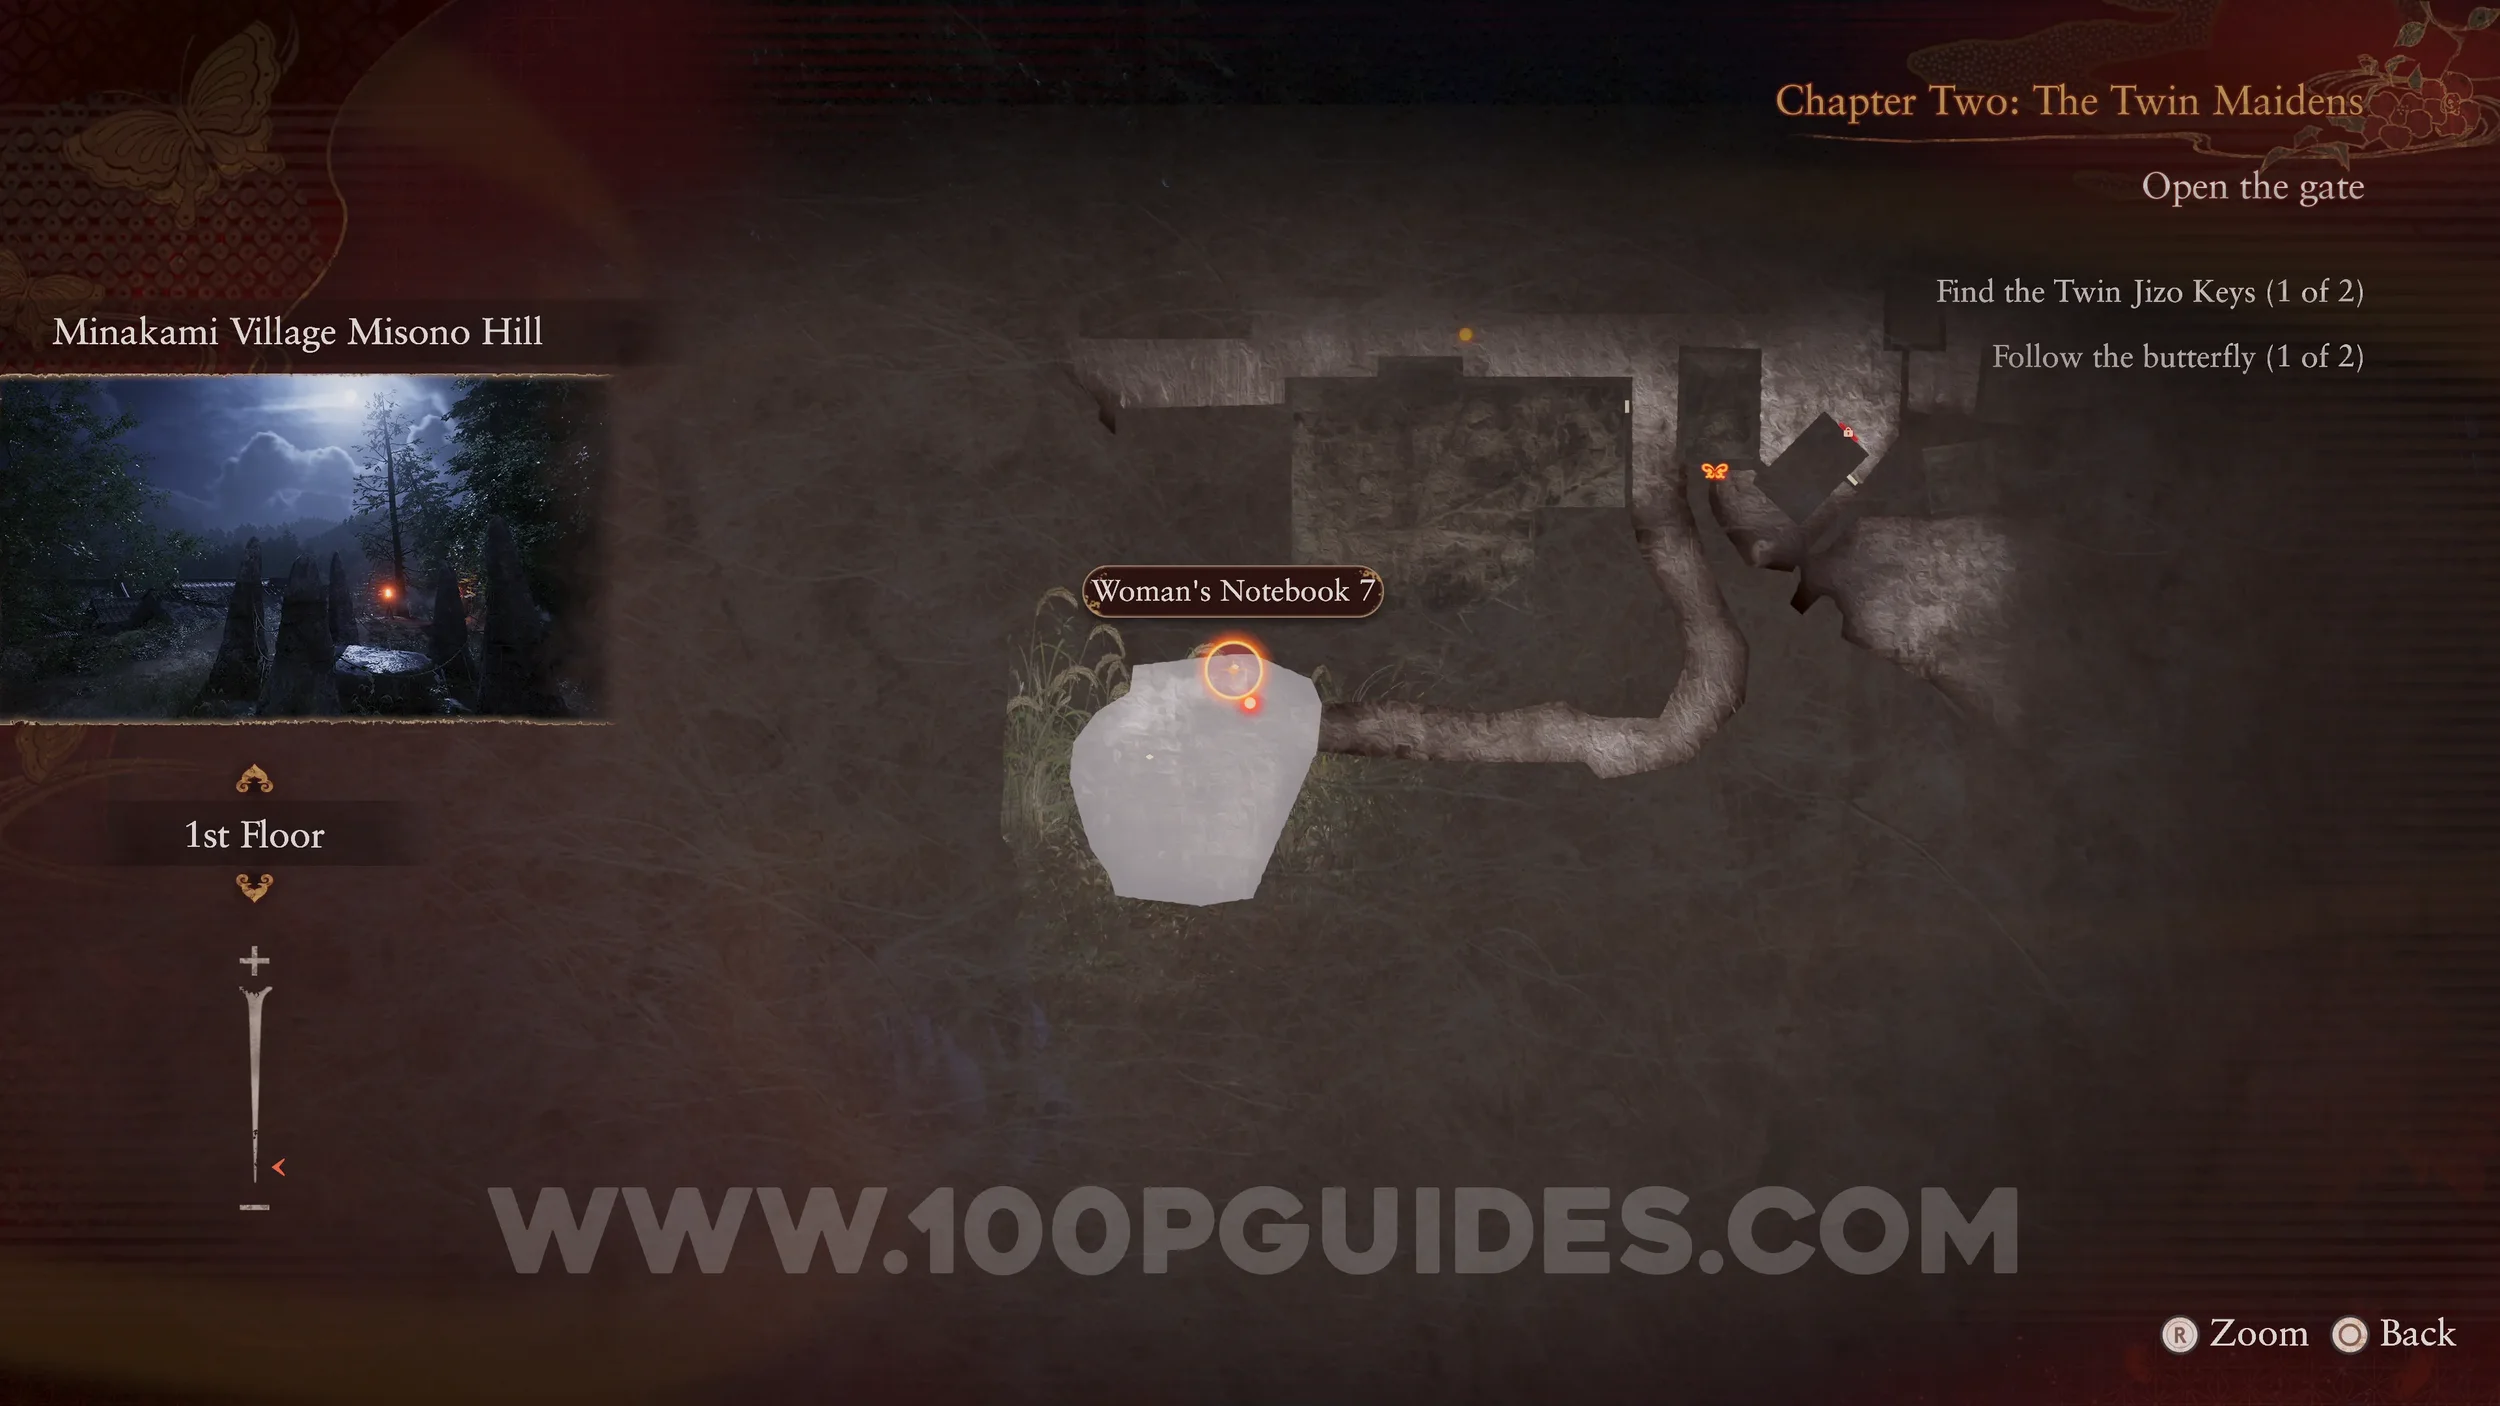
Document #15 - Woman’s Notebook 7. On the ground where the previous specter was.
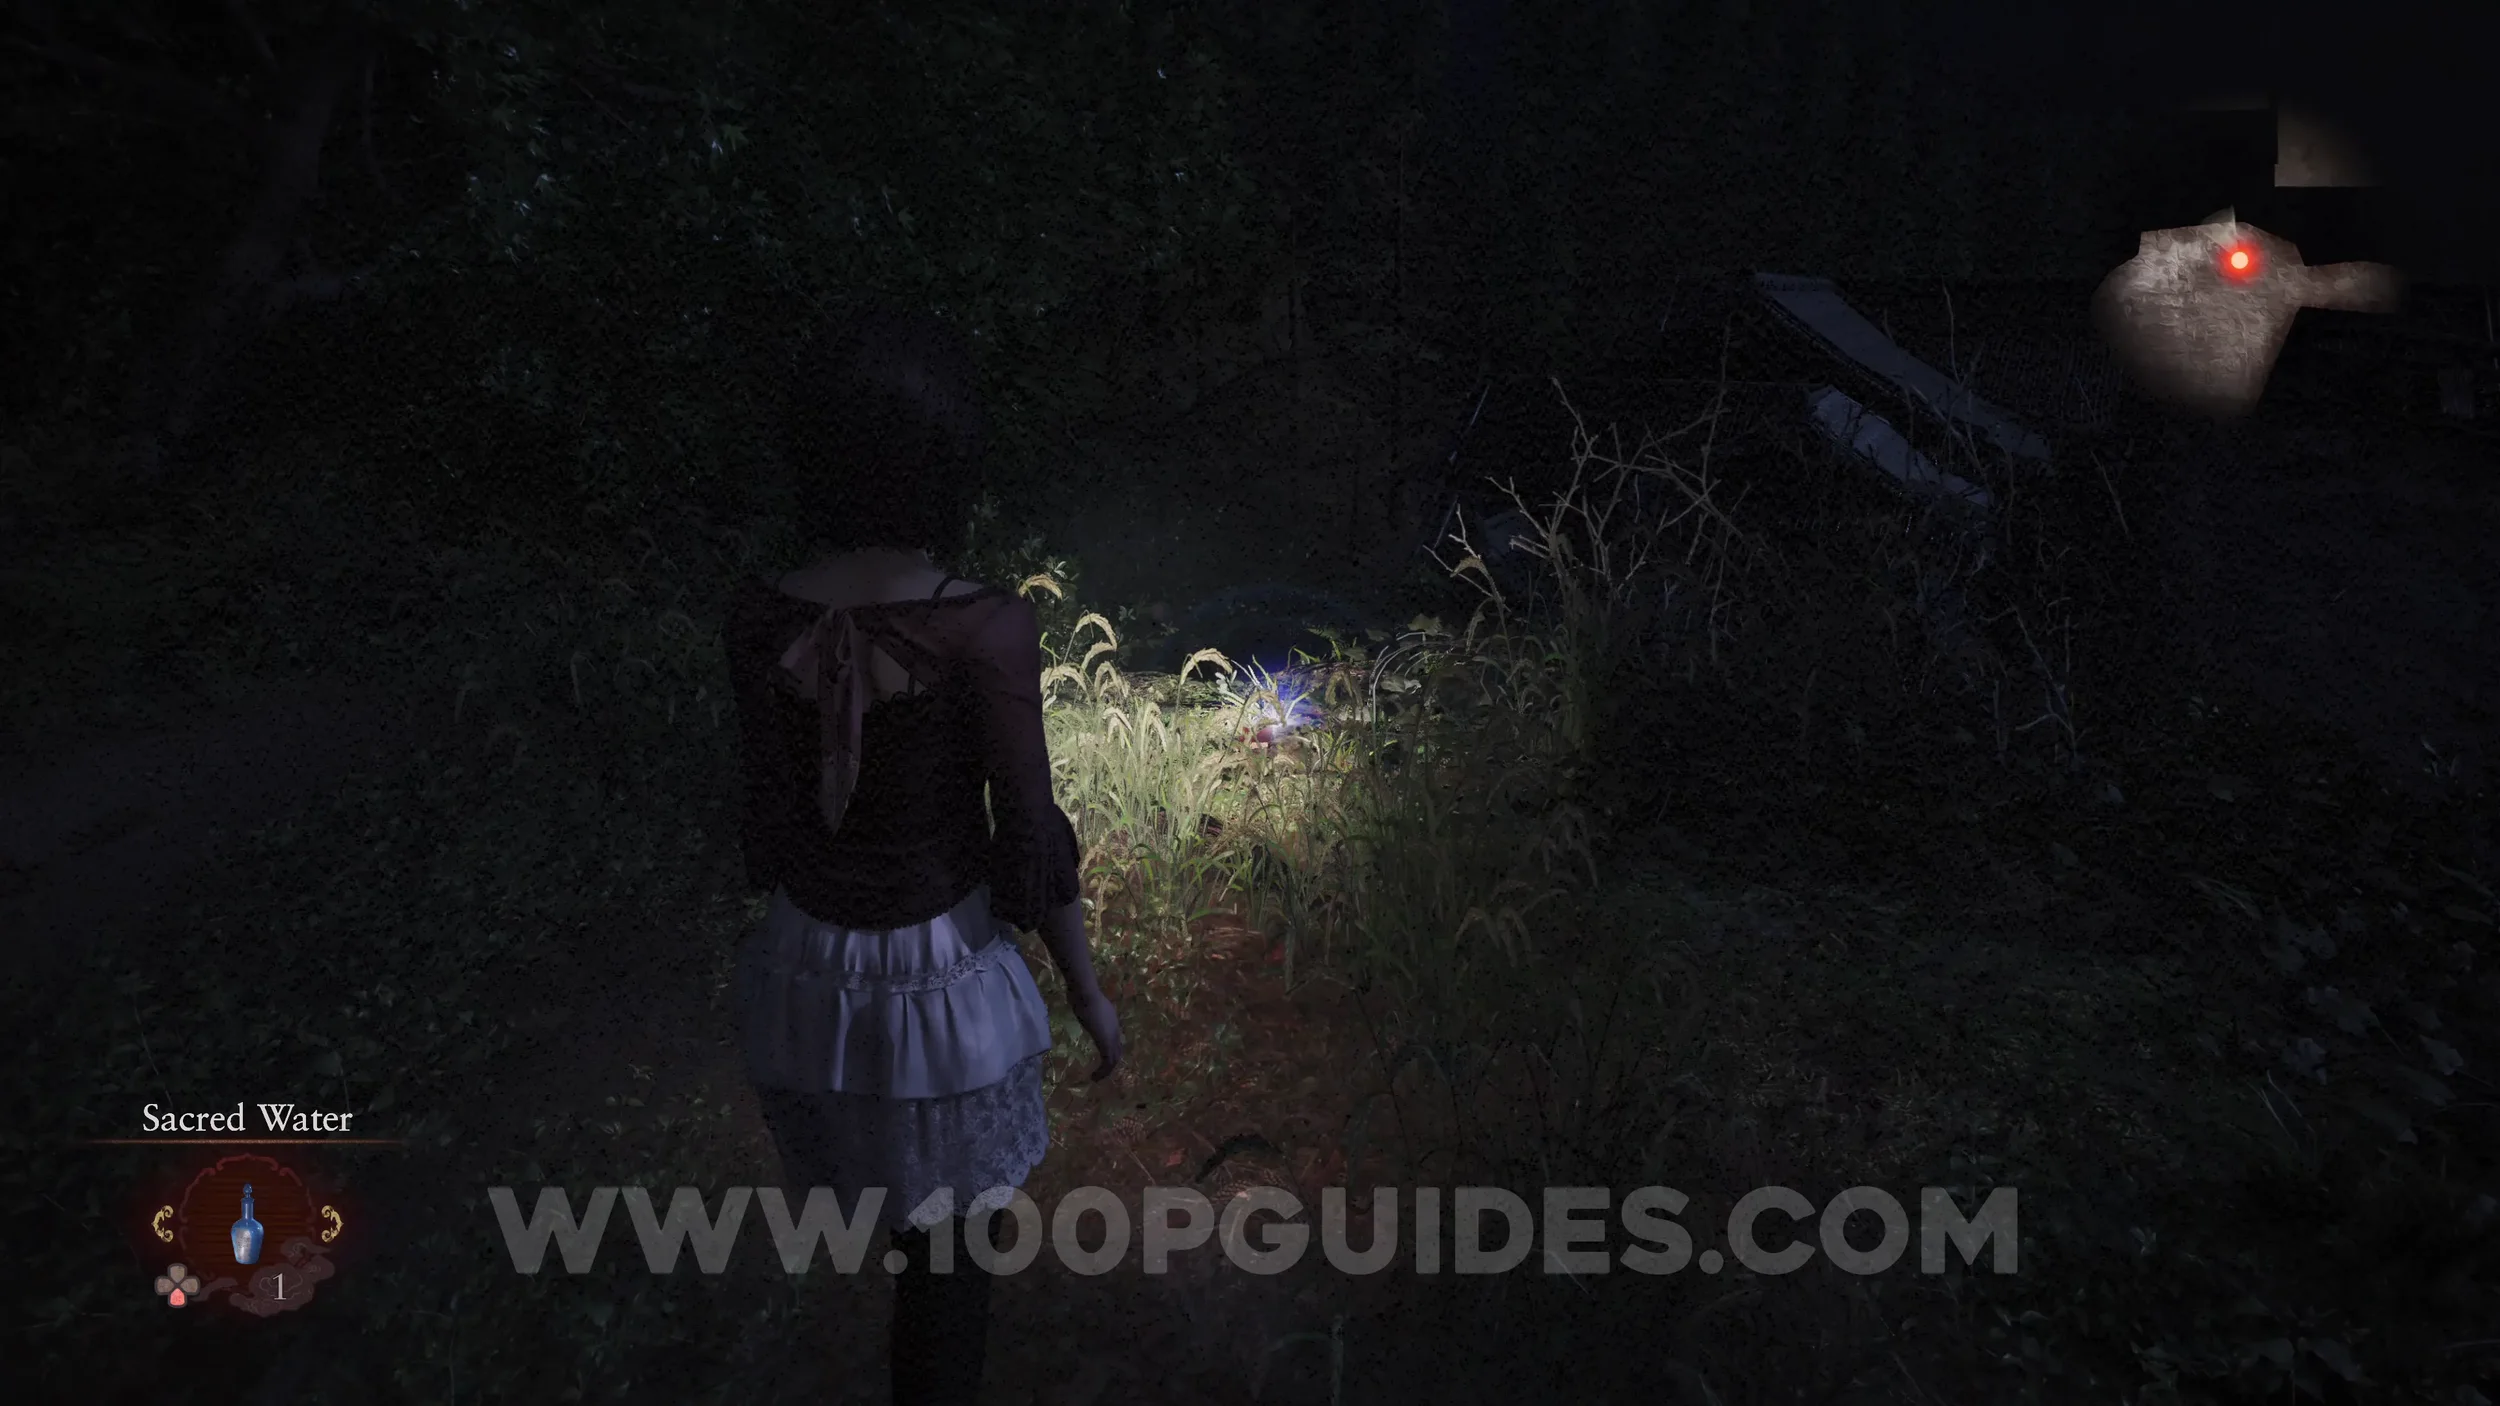
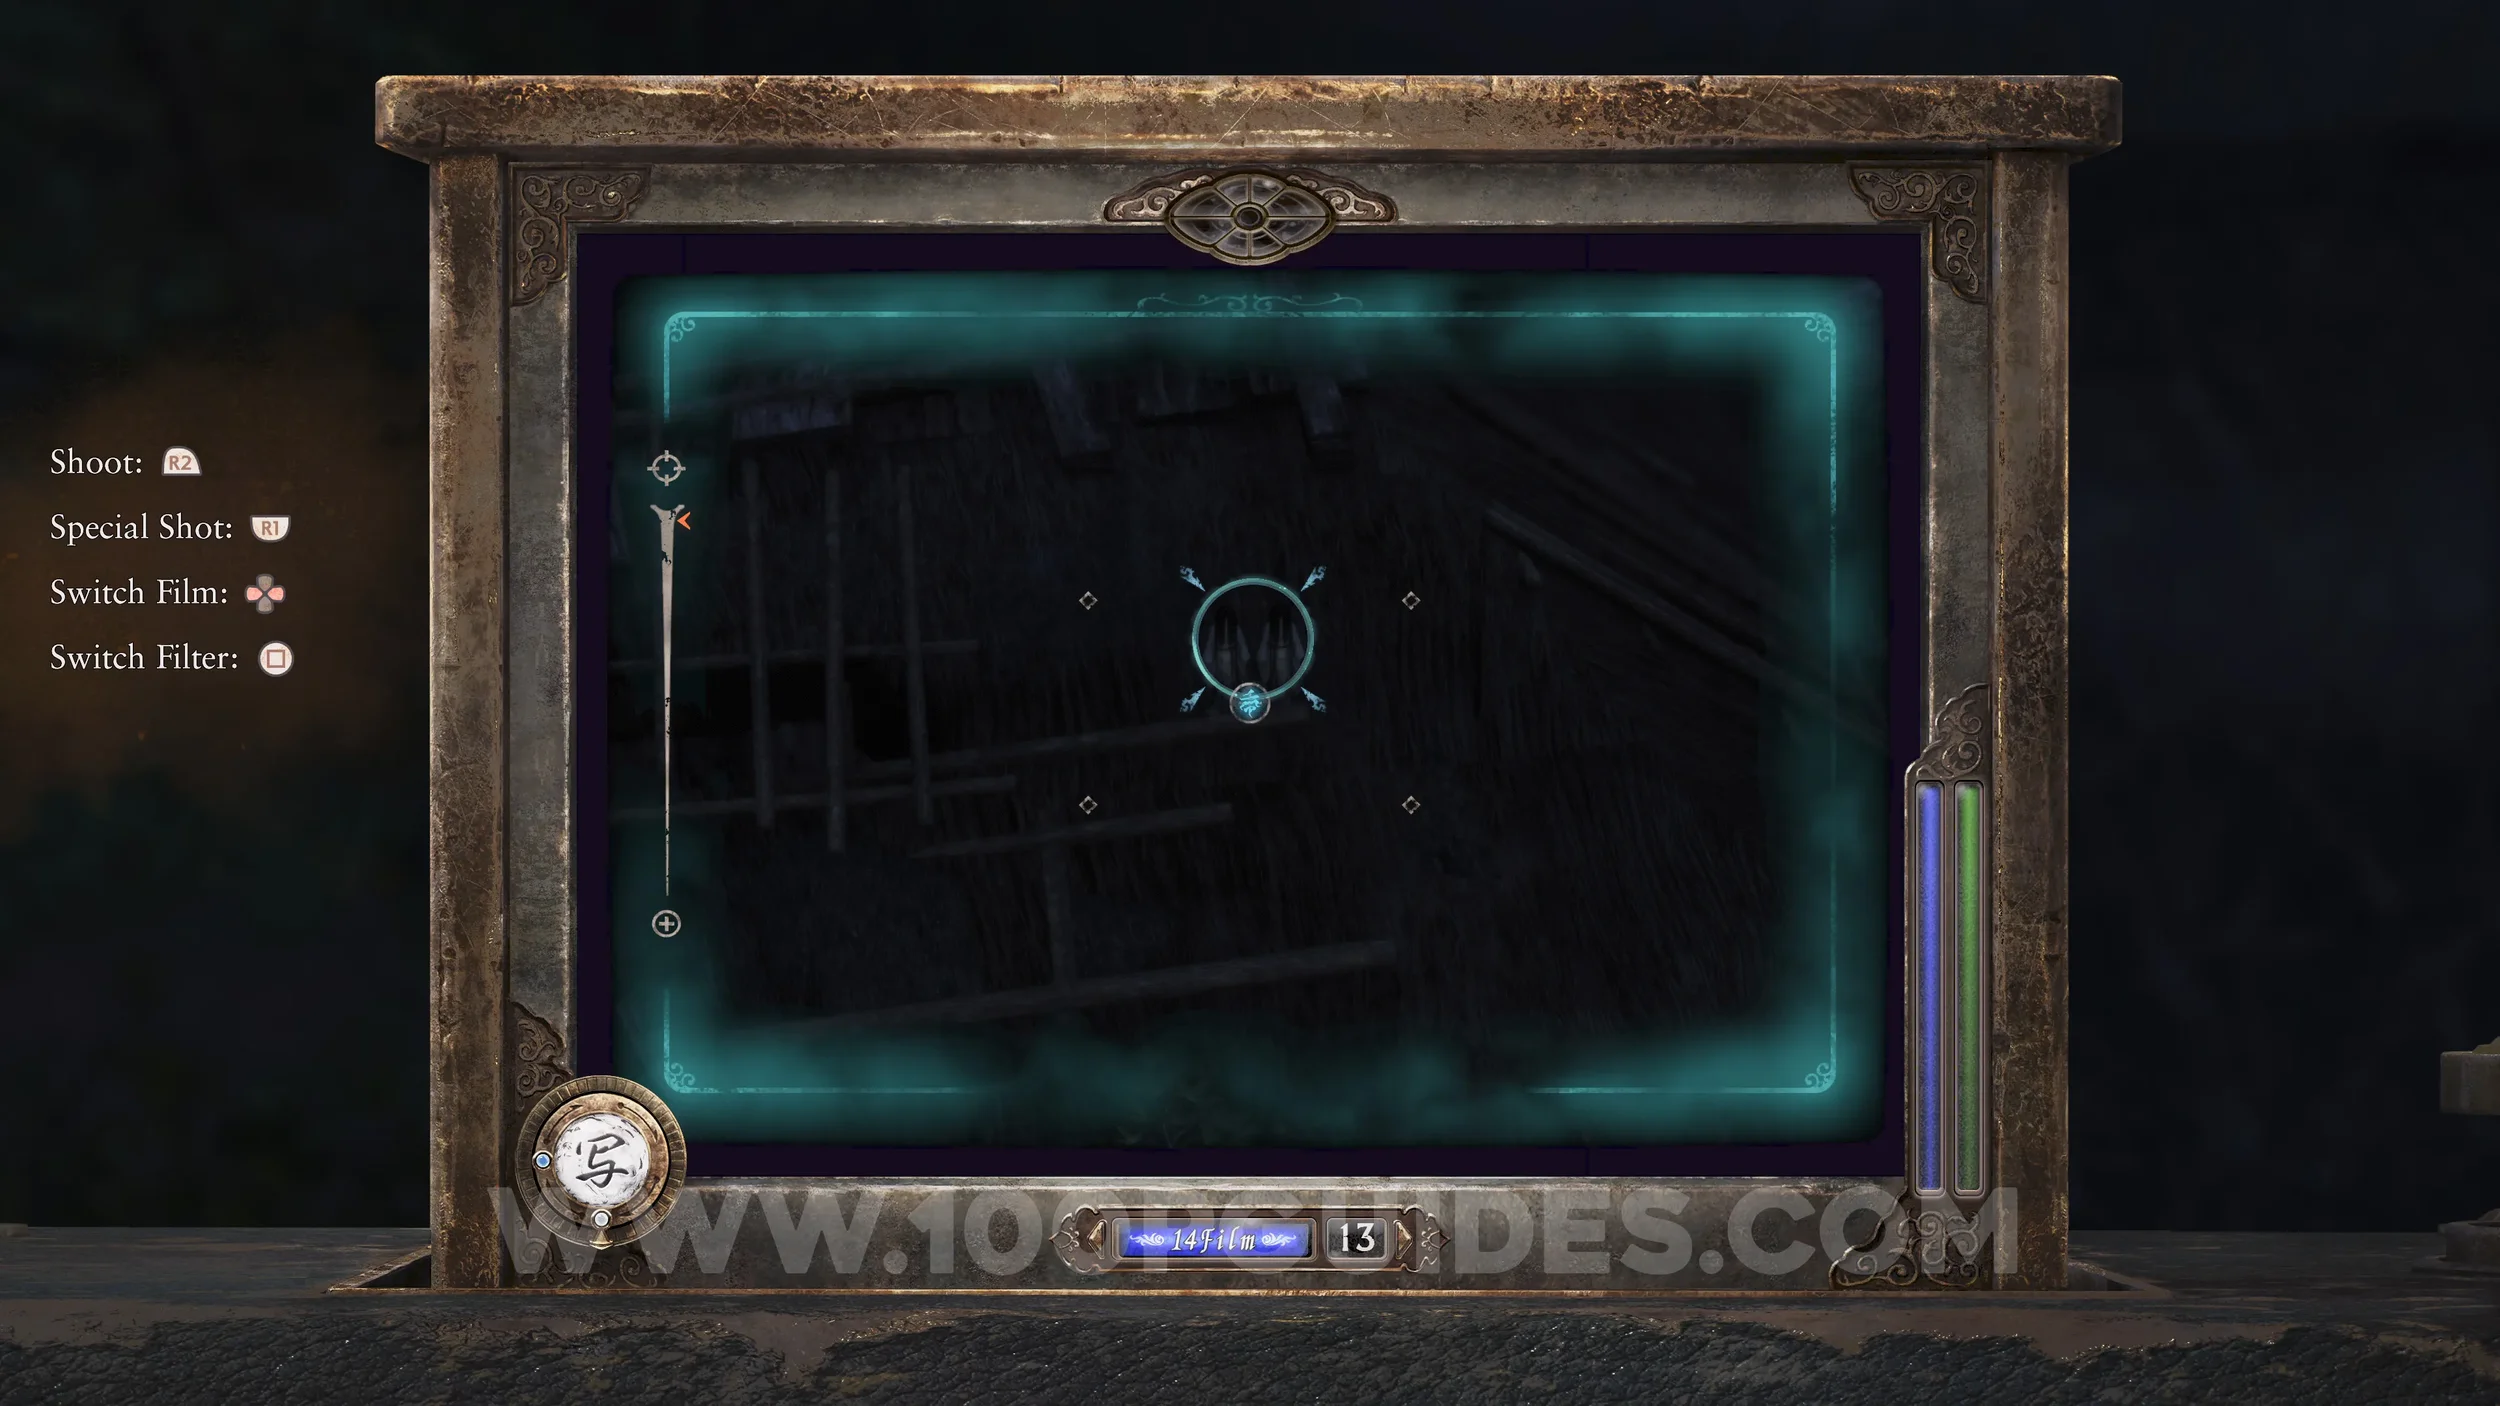
Twin Dolls #18 (41). From where you picked up the document, look through the camera toward the rooftops below and use the Zoom feature to spot the dolls.
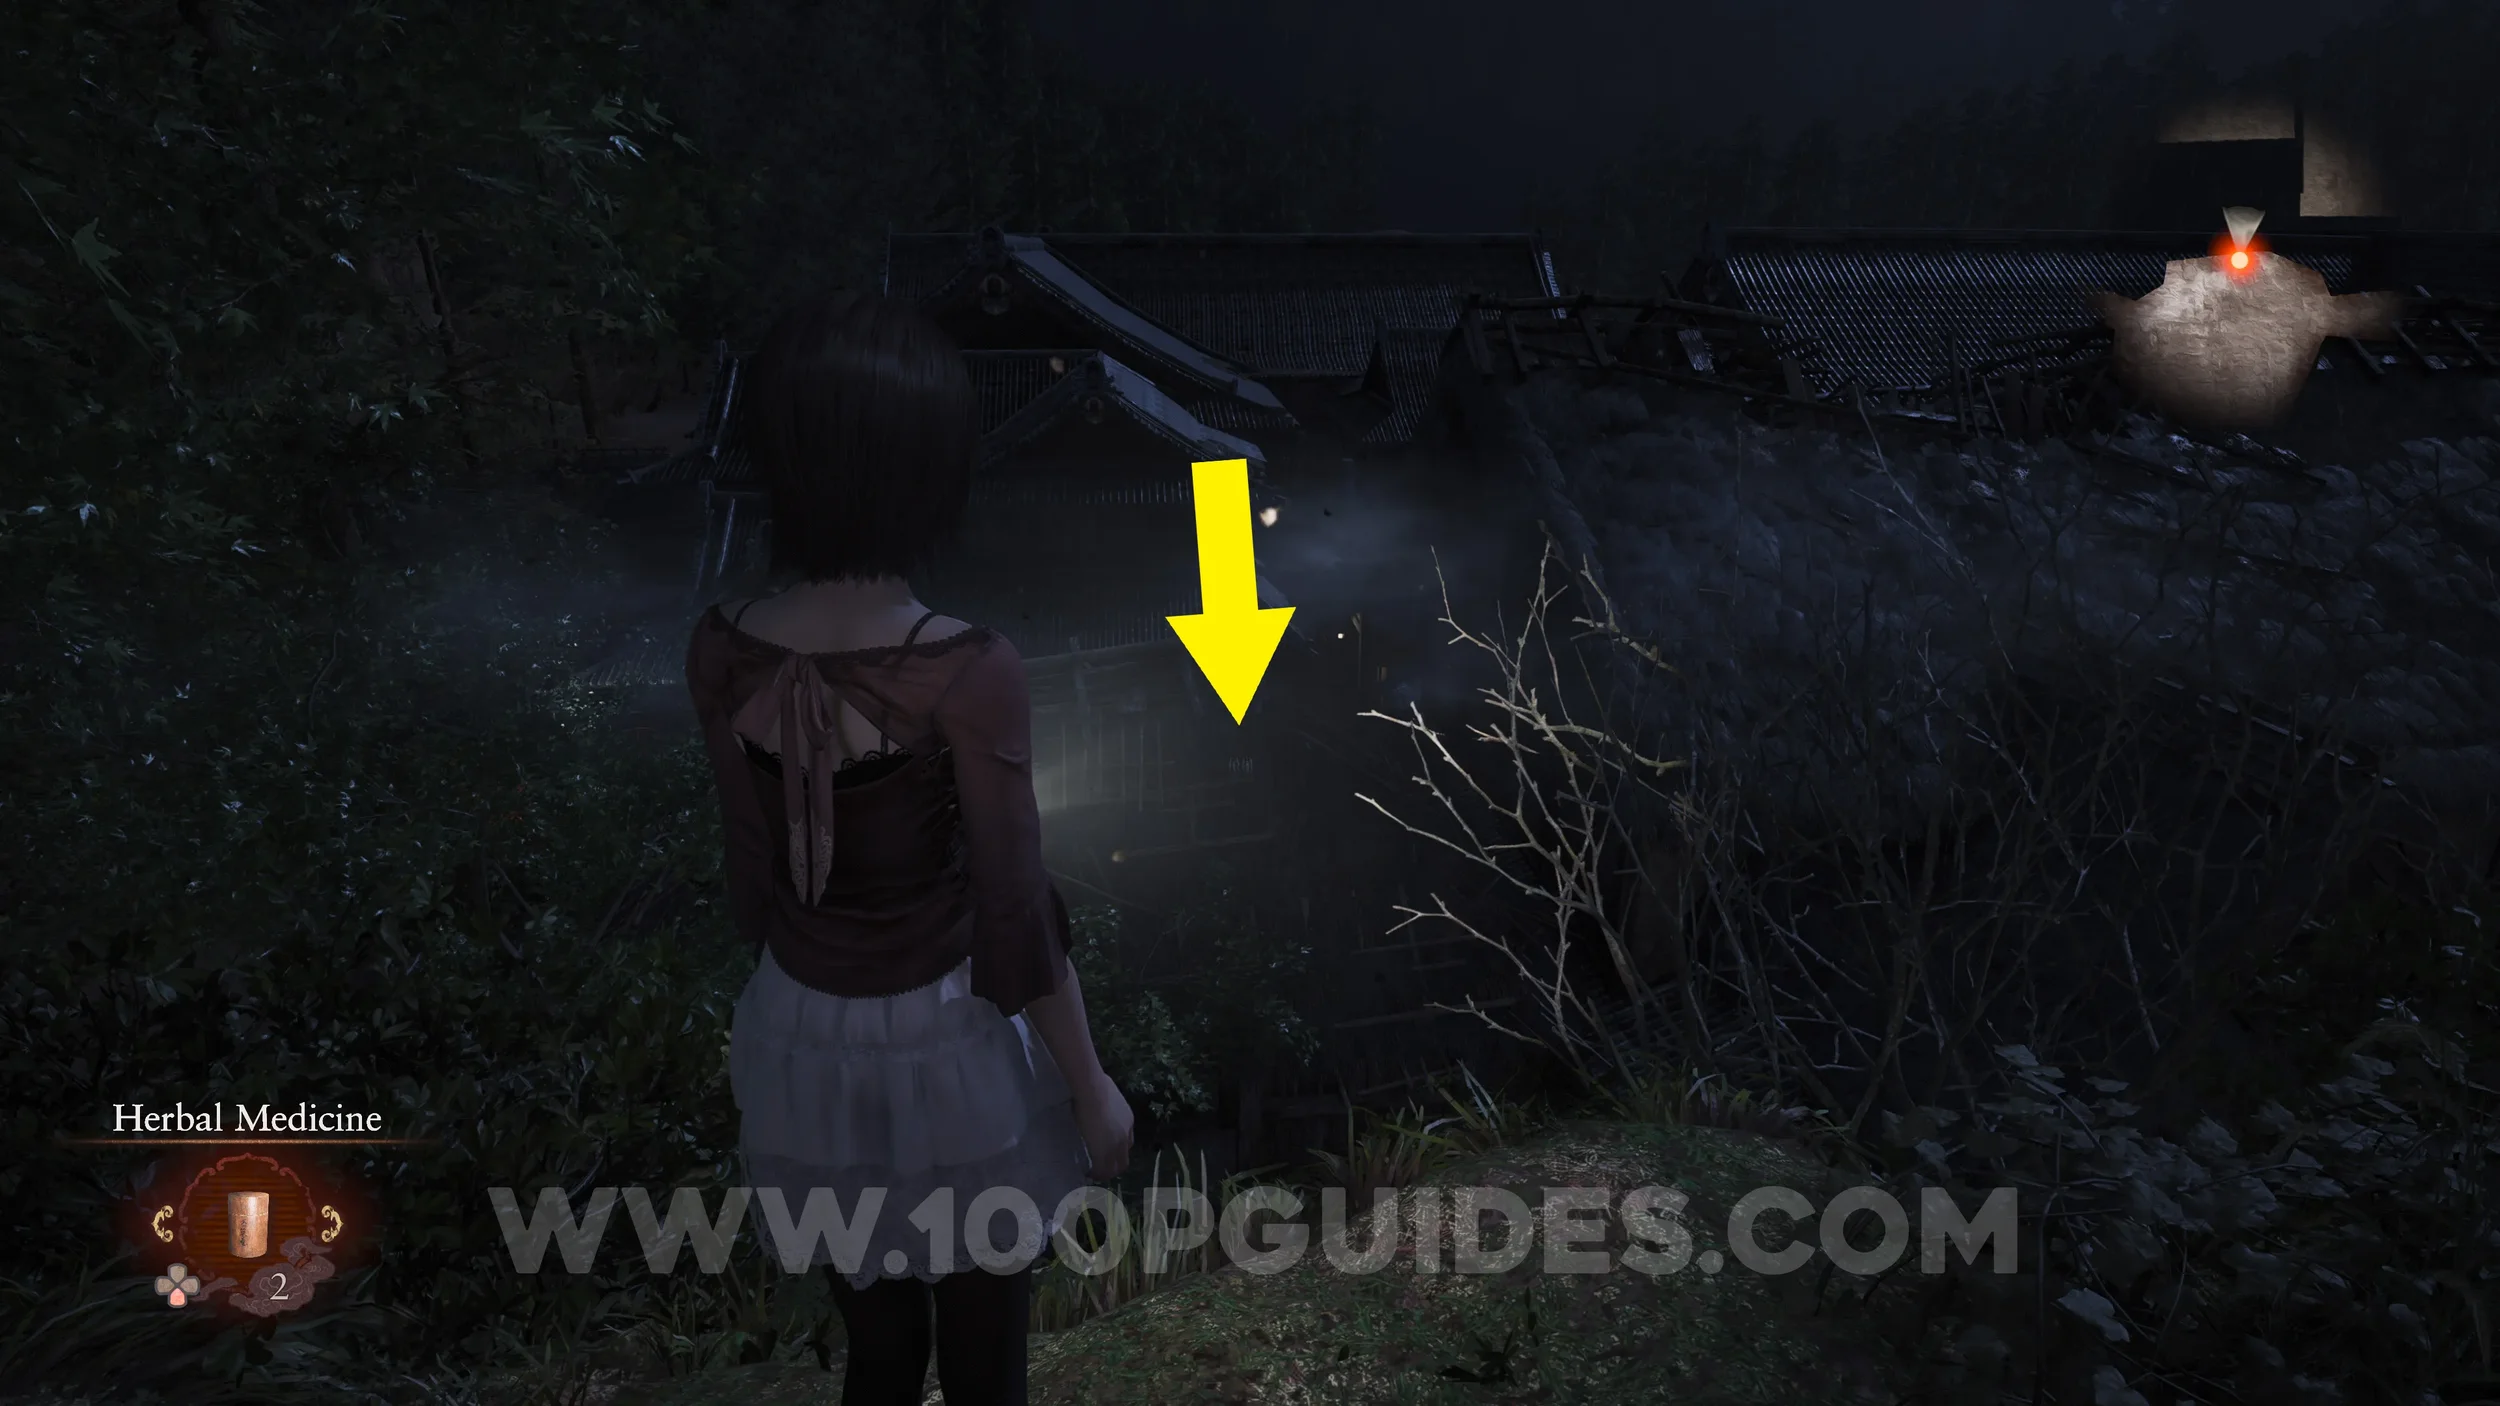
Specter #22 - 167 Woman at the Windowsill. Look through the Osaka House window from the street after obtaining the previous document.
Specter #23 - 168 Woman Heading for Altar. After the previous specter encounter, enter the Osaka House and find this specter in the hallway just before the room where you obtained the Camera Obscura.
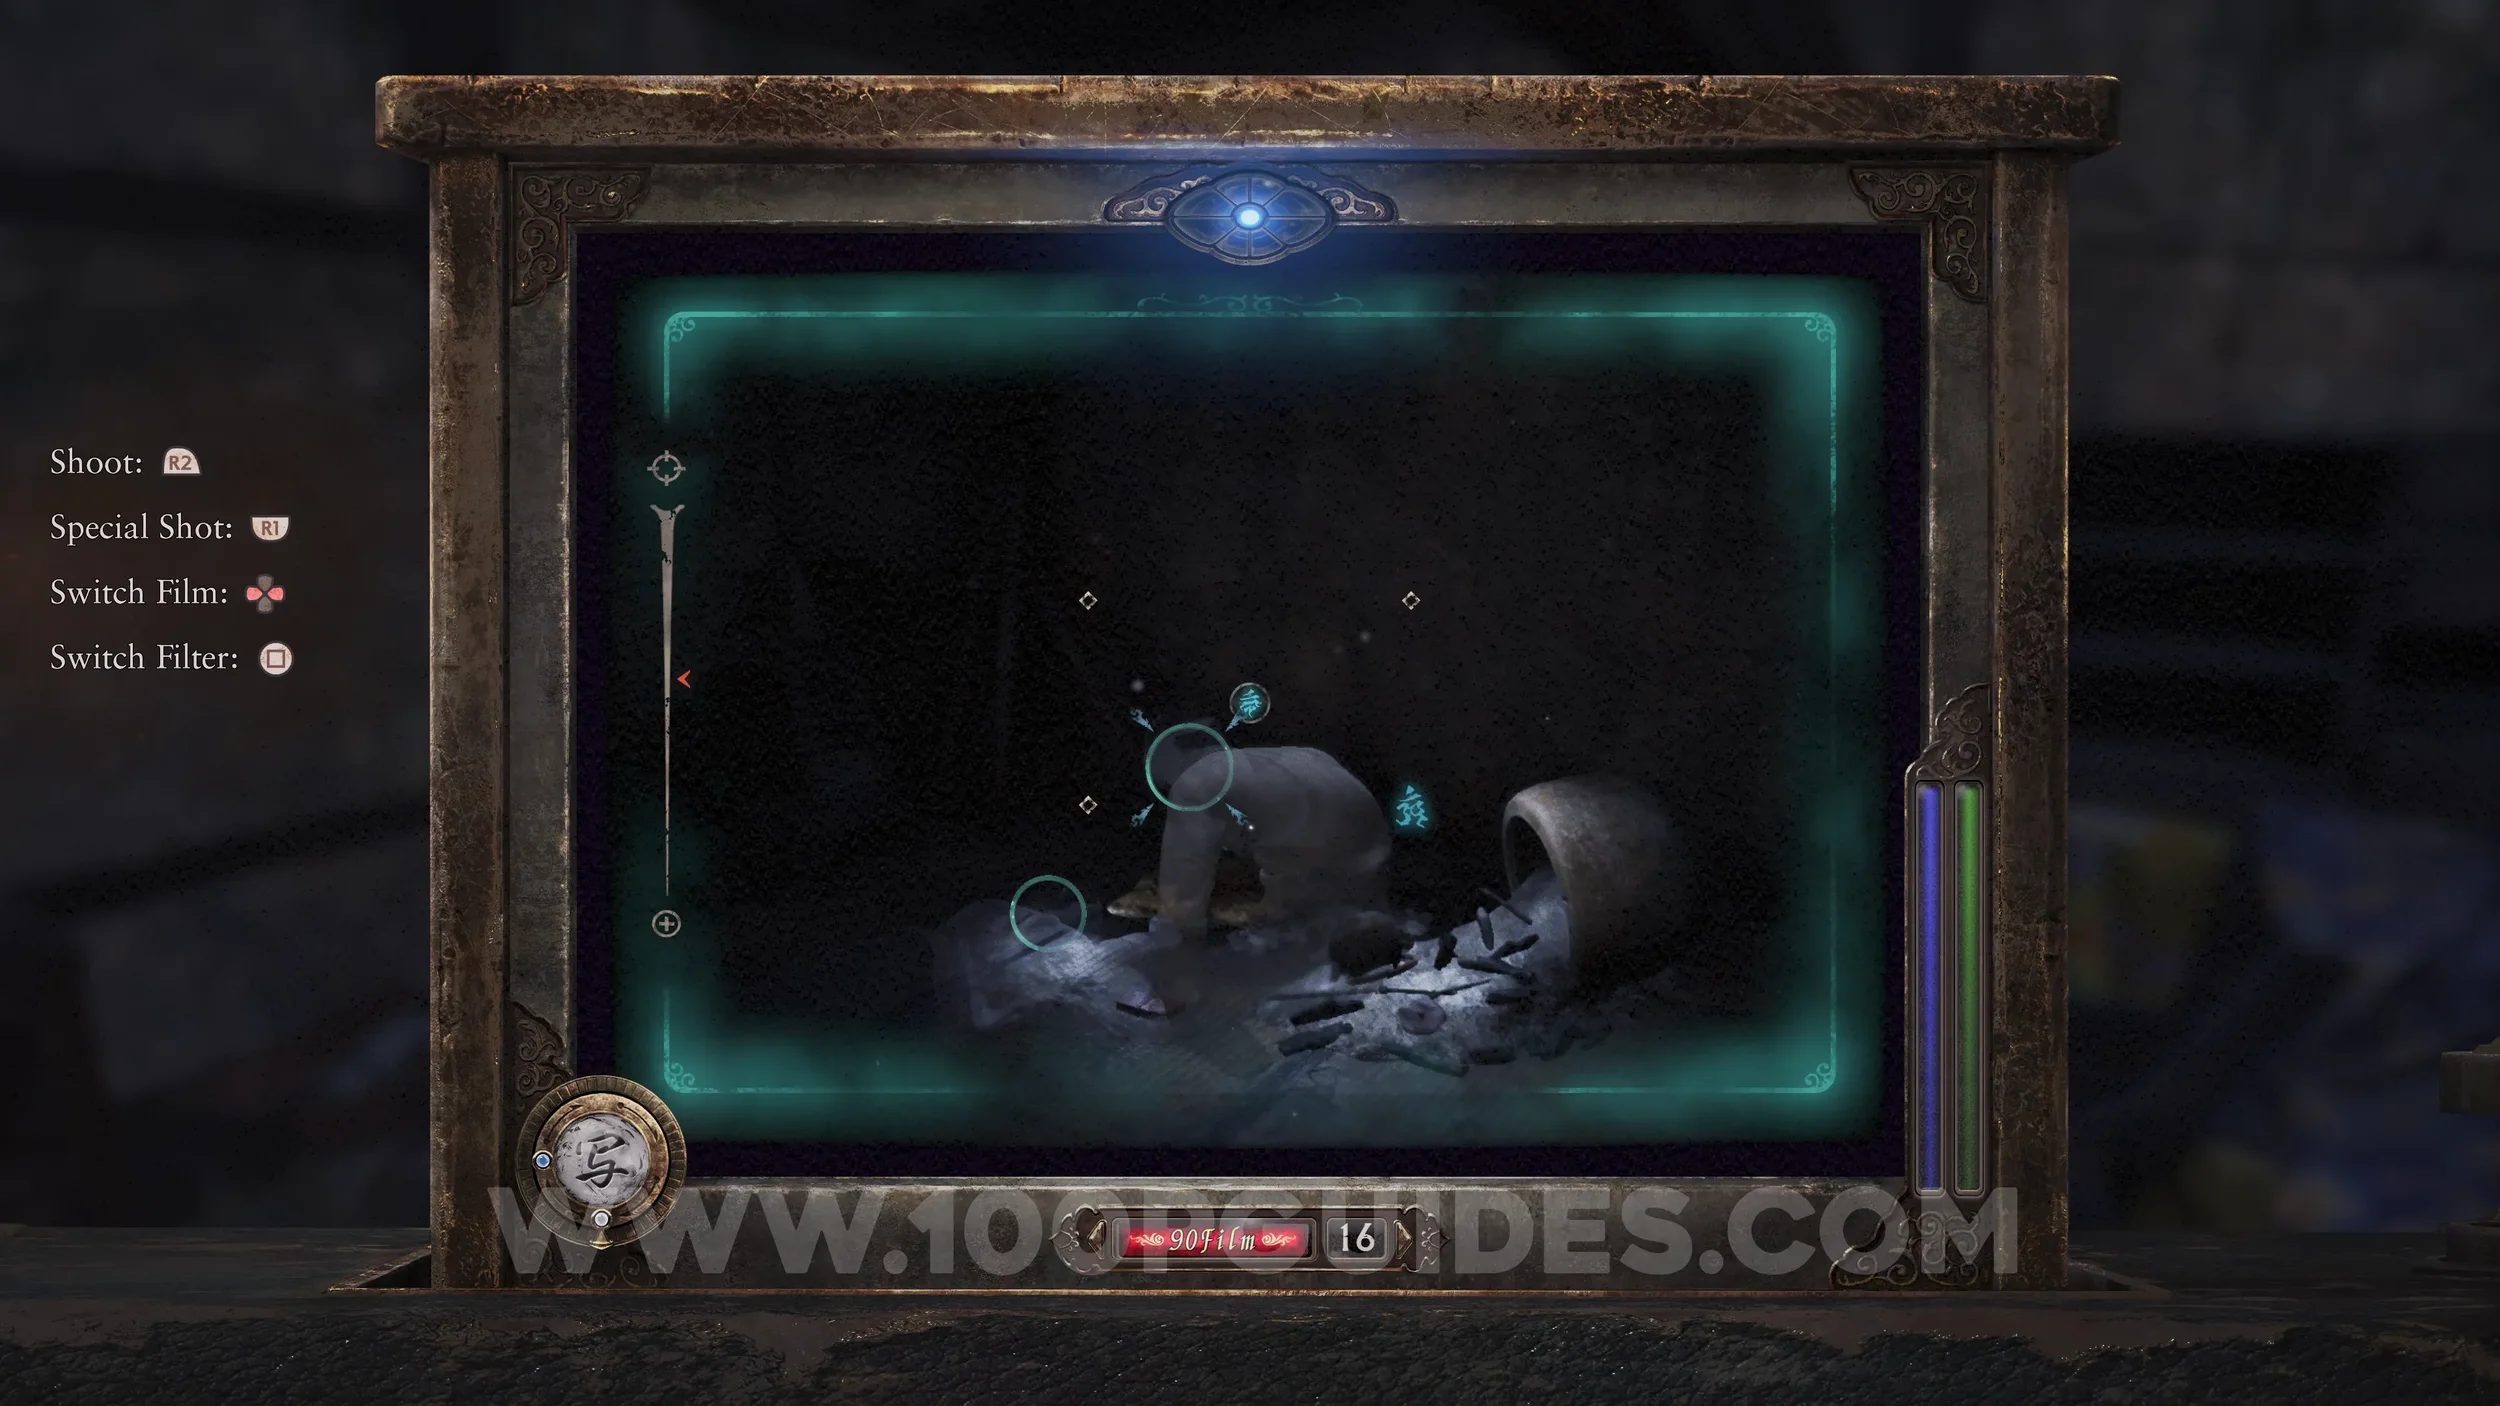
Specter #24 - 169 Slumbering Woman, Specter #25 - 170 Watchful Man and Specter #26 - 171 Longing Couple. Found in the room where you obtained the Camera Obscura. Make sure both are in frame to also register the “Longing Couple” specter.
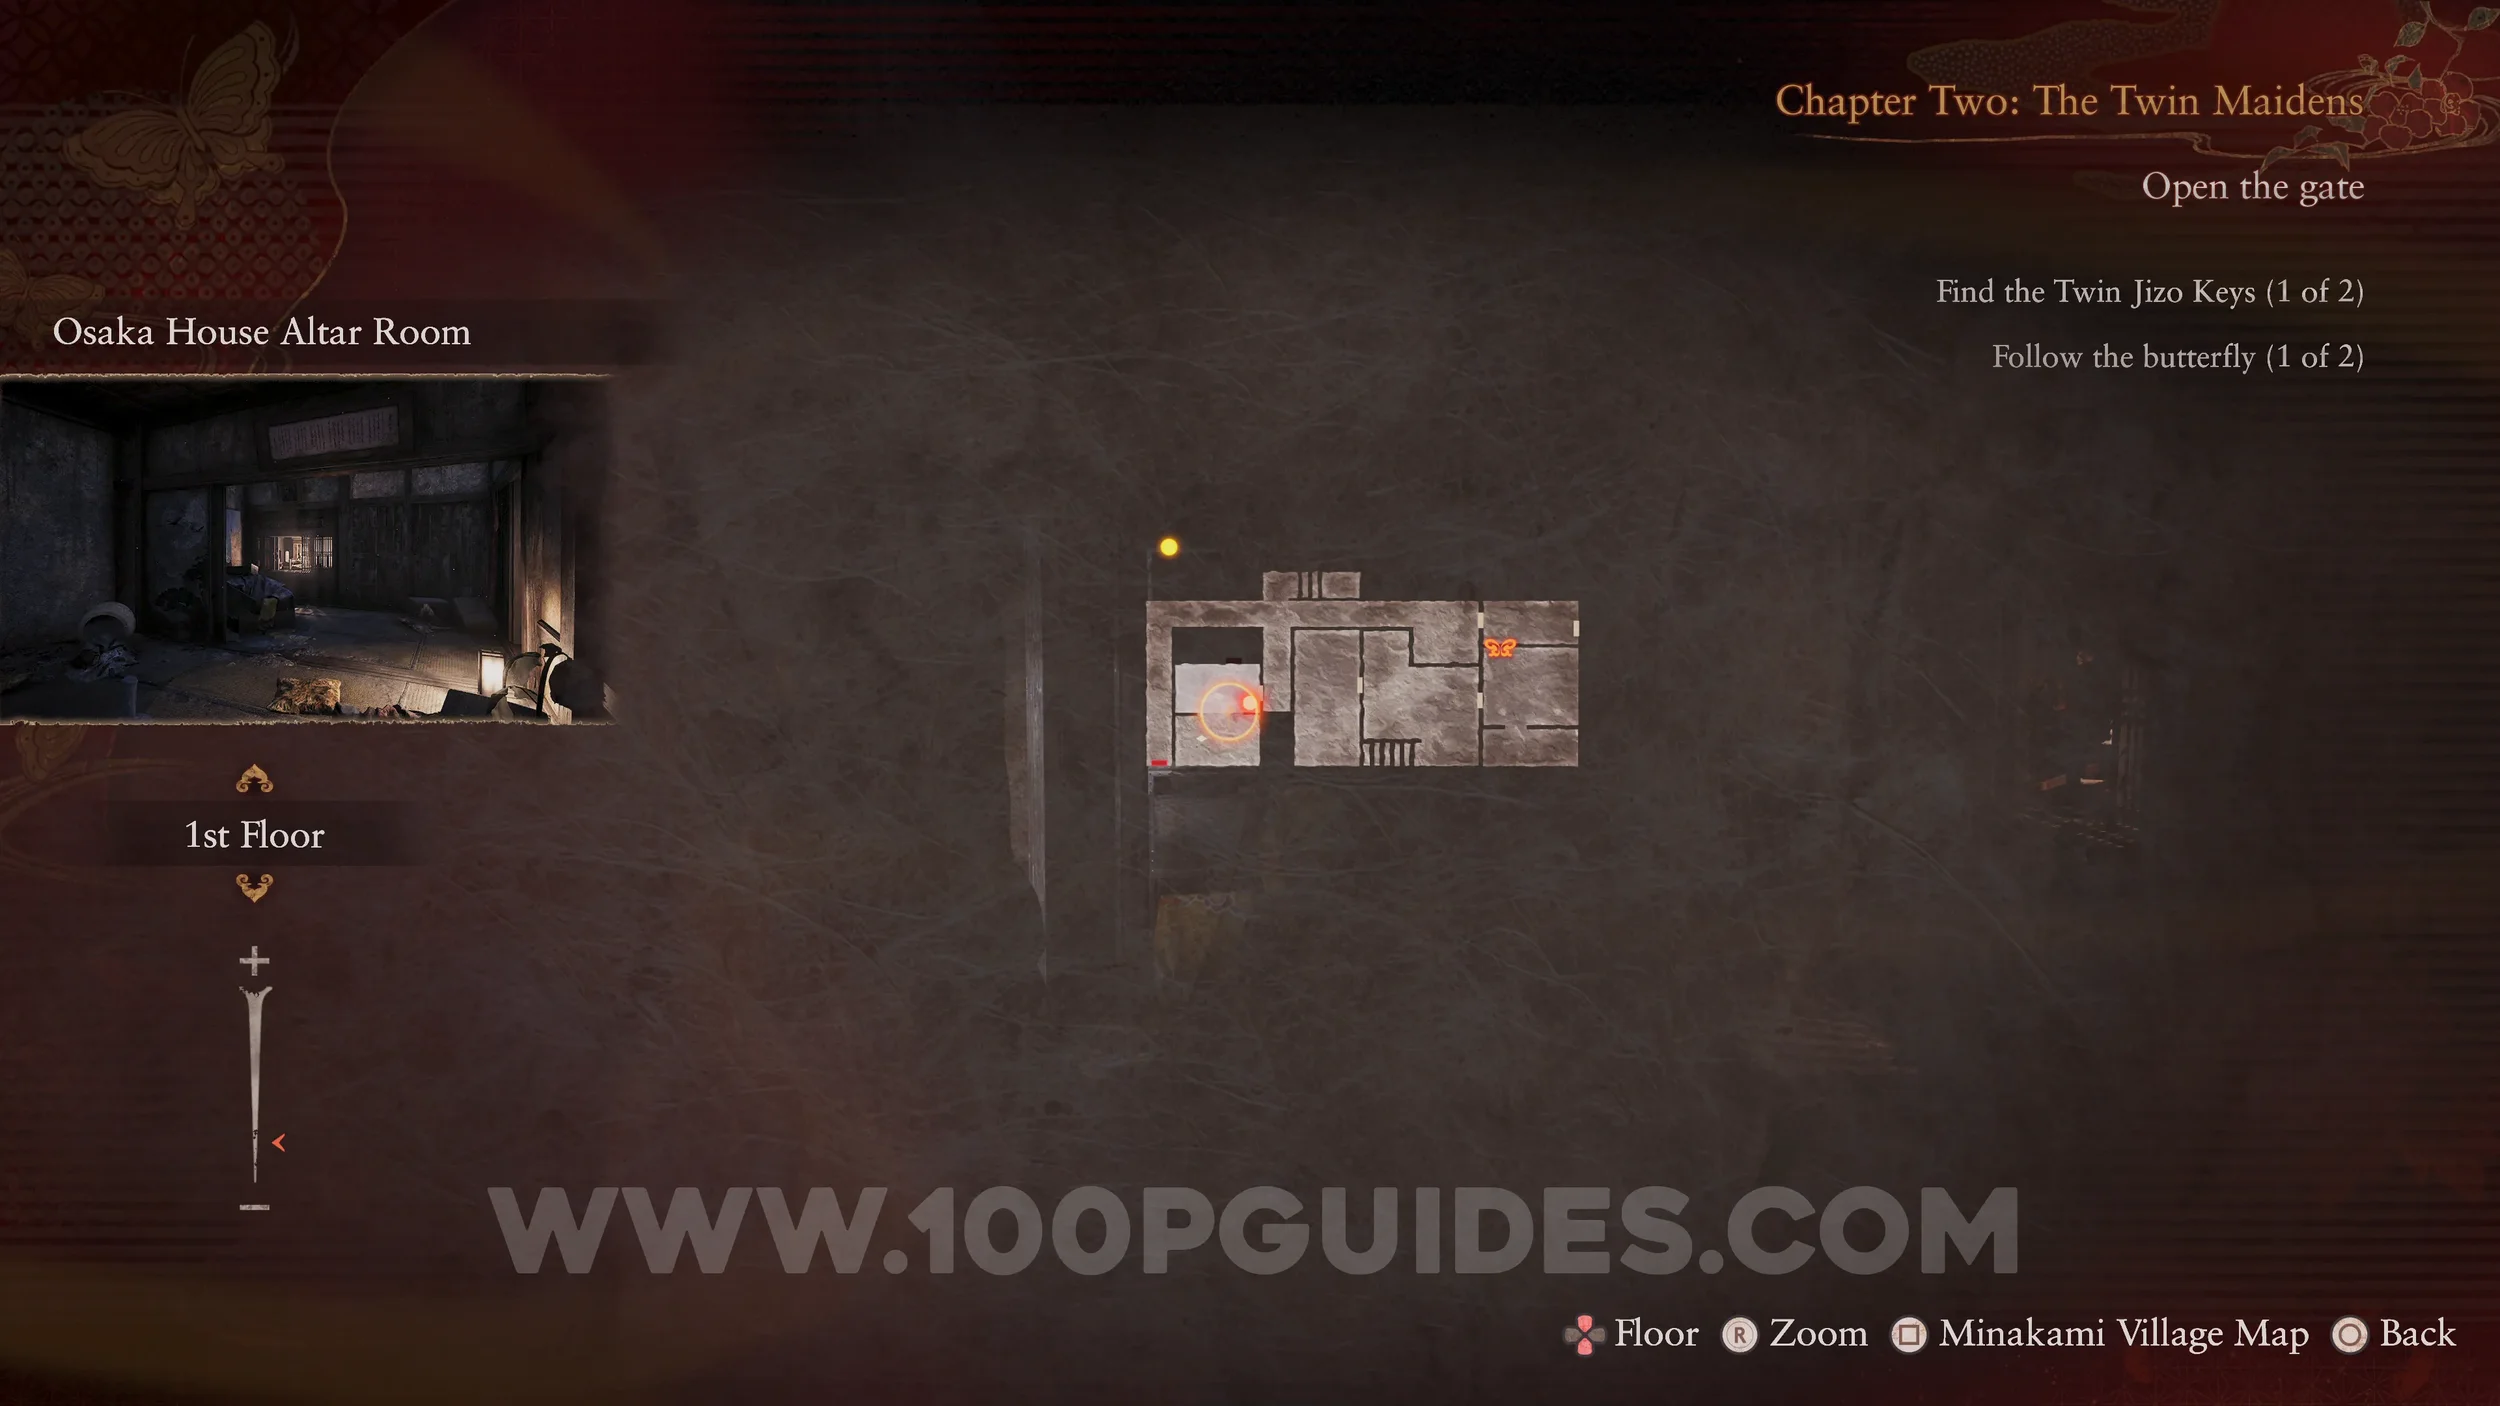
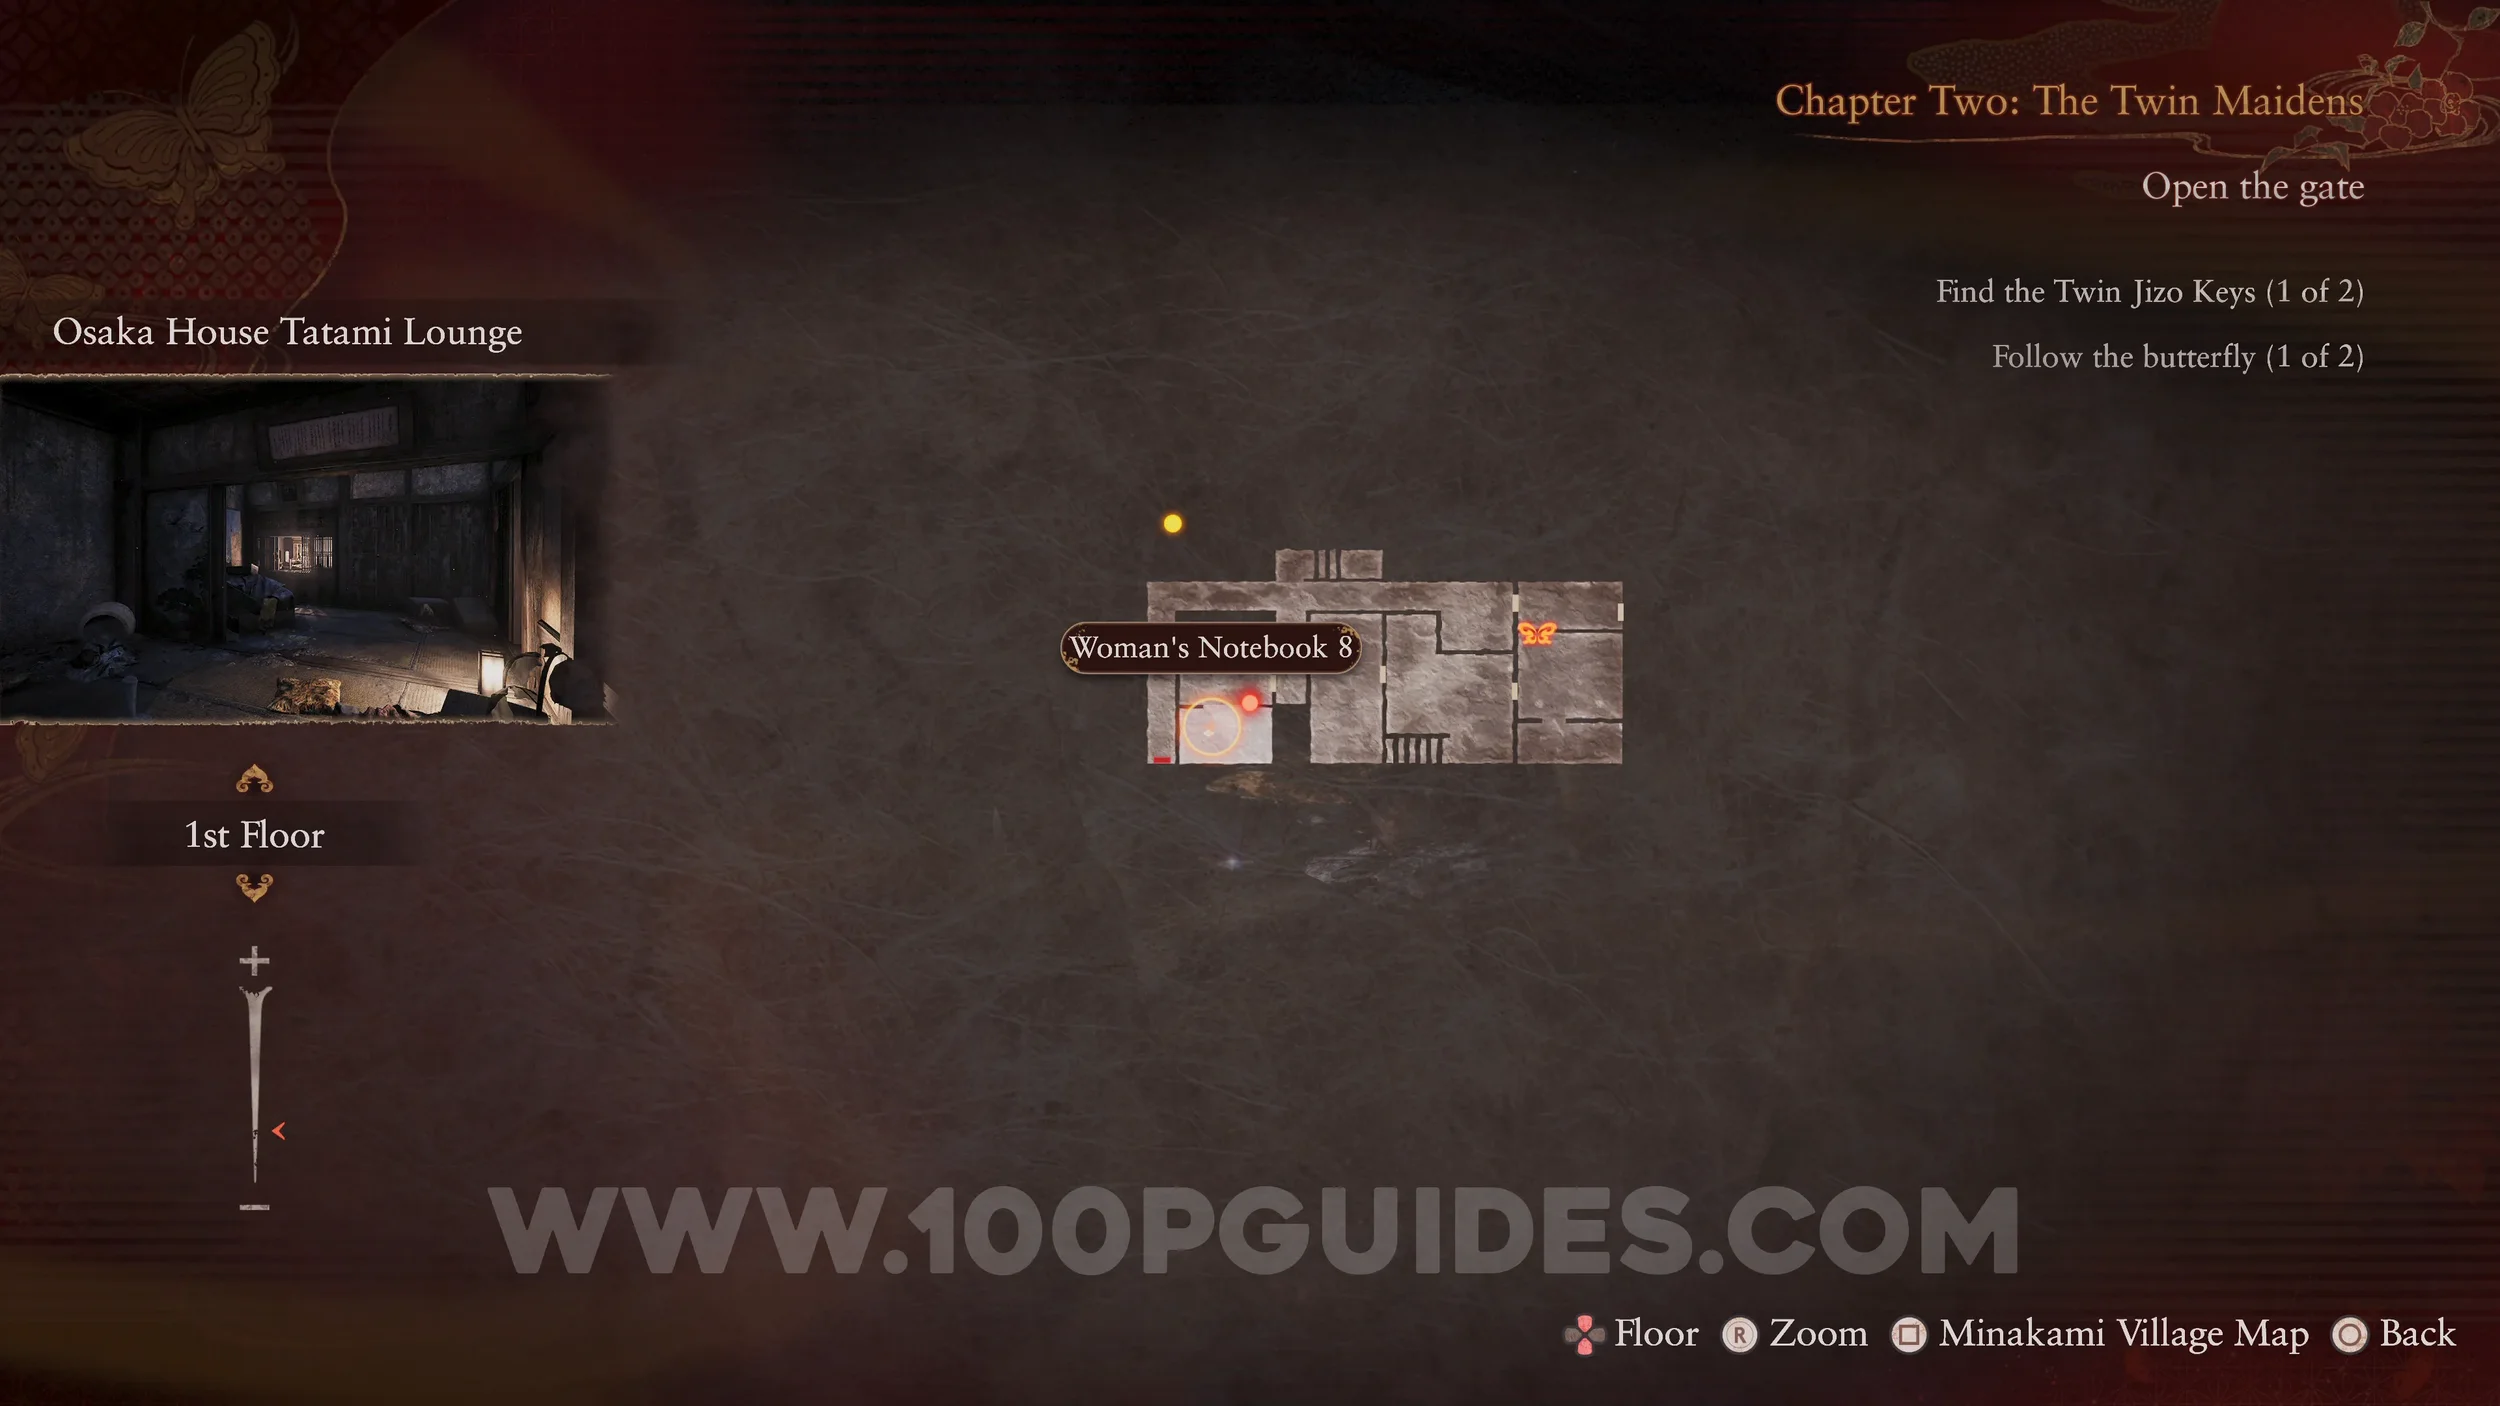
Document #16 - Woman’s Notebook 8. Found on the floor in the same room as the previous specters.
Specter #27 - 172 Woman Walking Into the Depths. Found in the western hallway of the Osaka House after encountering the previous specters.
Document #17 - Woman’s Notebook 10. After the previous specter encounter, the door at the end of the hallway will unlock. The document can be found on the floor inside this room.
Specter #28 - 173 Lady on the Veranda. In the same room as the previous collectible.
Prayer Beads #5. Found in a drawer in the same room as the previous collectibles.
Spirit Stone #5 - Zoisite (2/2). Found on the veranda where the previous specter appeared.
Twin Dolls #19 (12). Found in the small garden within the same courtyard as the veranda.
Prayer Beads #6. Found in the same garden as the previous collectible, down the side of the house.
Specter #29 - 174 Man Investigating. Found just before leaving the Osaka House after finishing the “Miyako Sudo” side quest.
Document #18 - Man’s Note, Spirit Stone #6 - Broken Sard (1/2) and Side Quest #3 - Masumi Makimura. Found on the ground as soon as you leave the Osaka House. This will start the “Masumi Makimura” side quest.
Specter #30 - Man Investigating the Hilltop. After leaving the Osaka House, return to the area where the game began to find this specter.
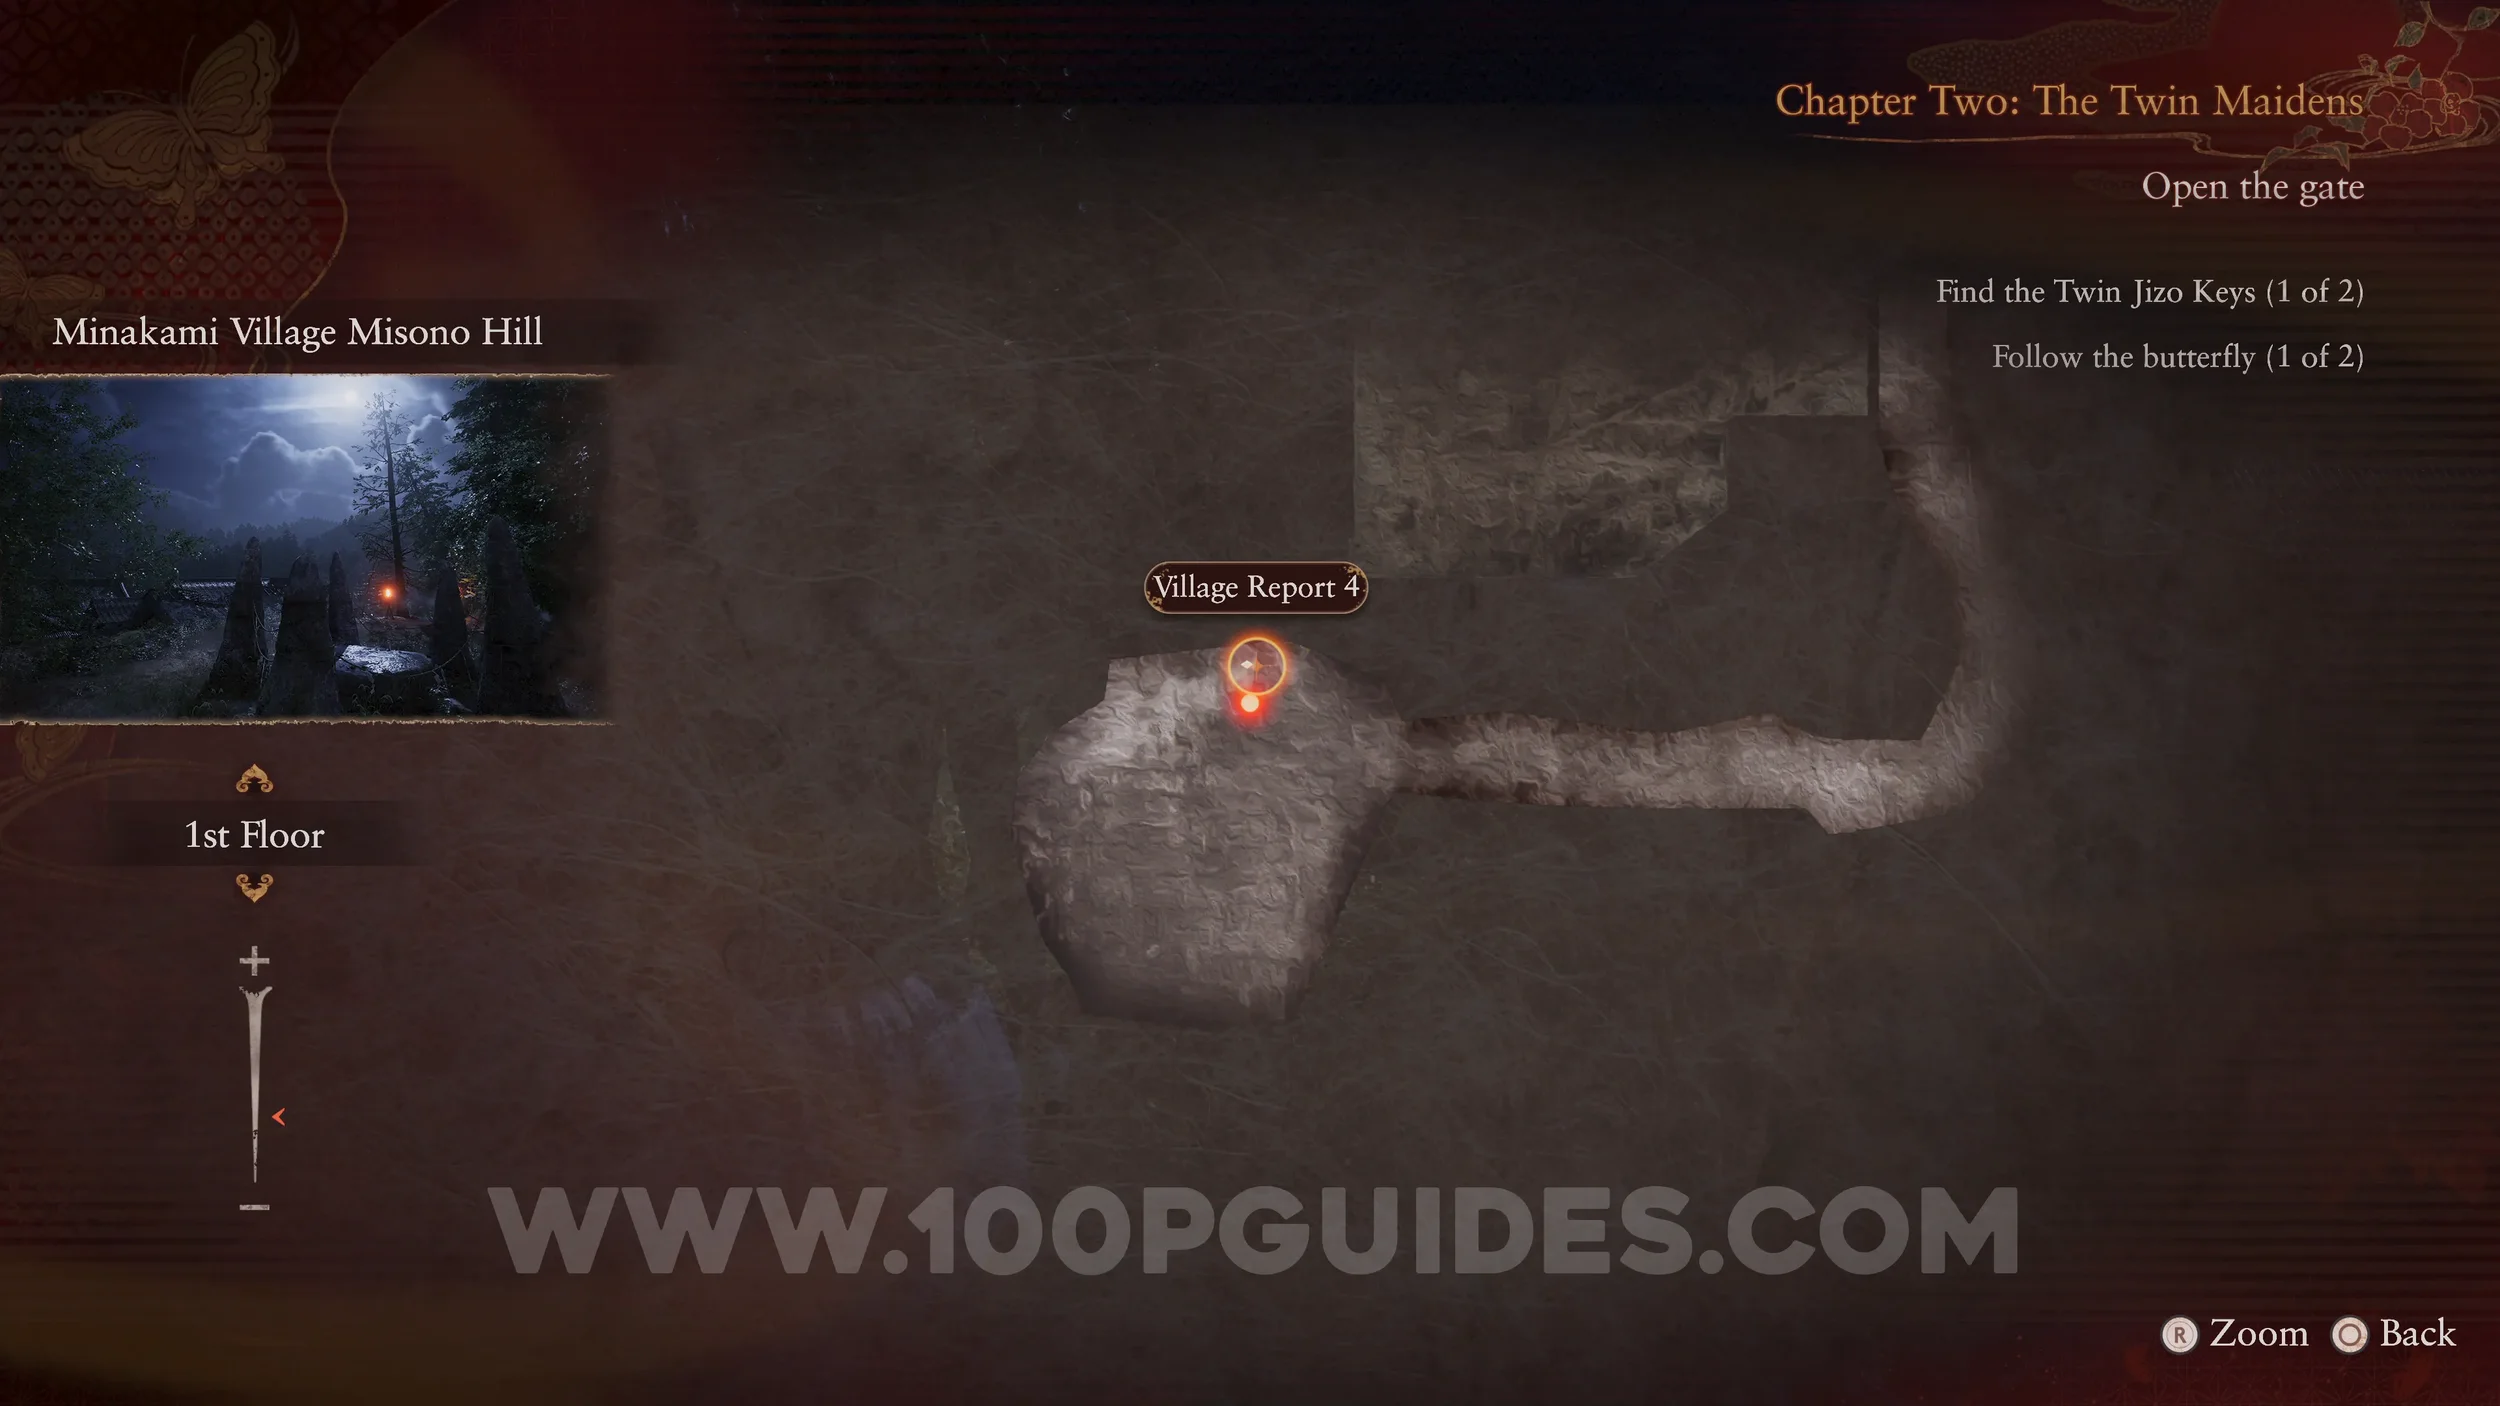
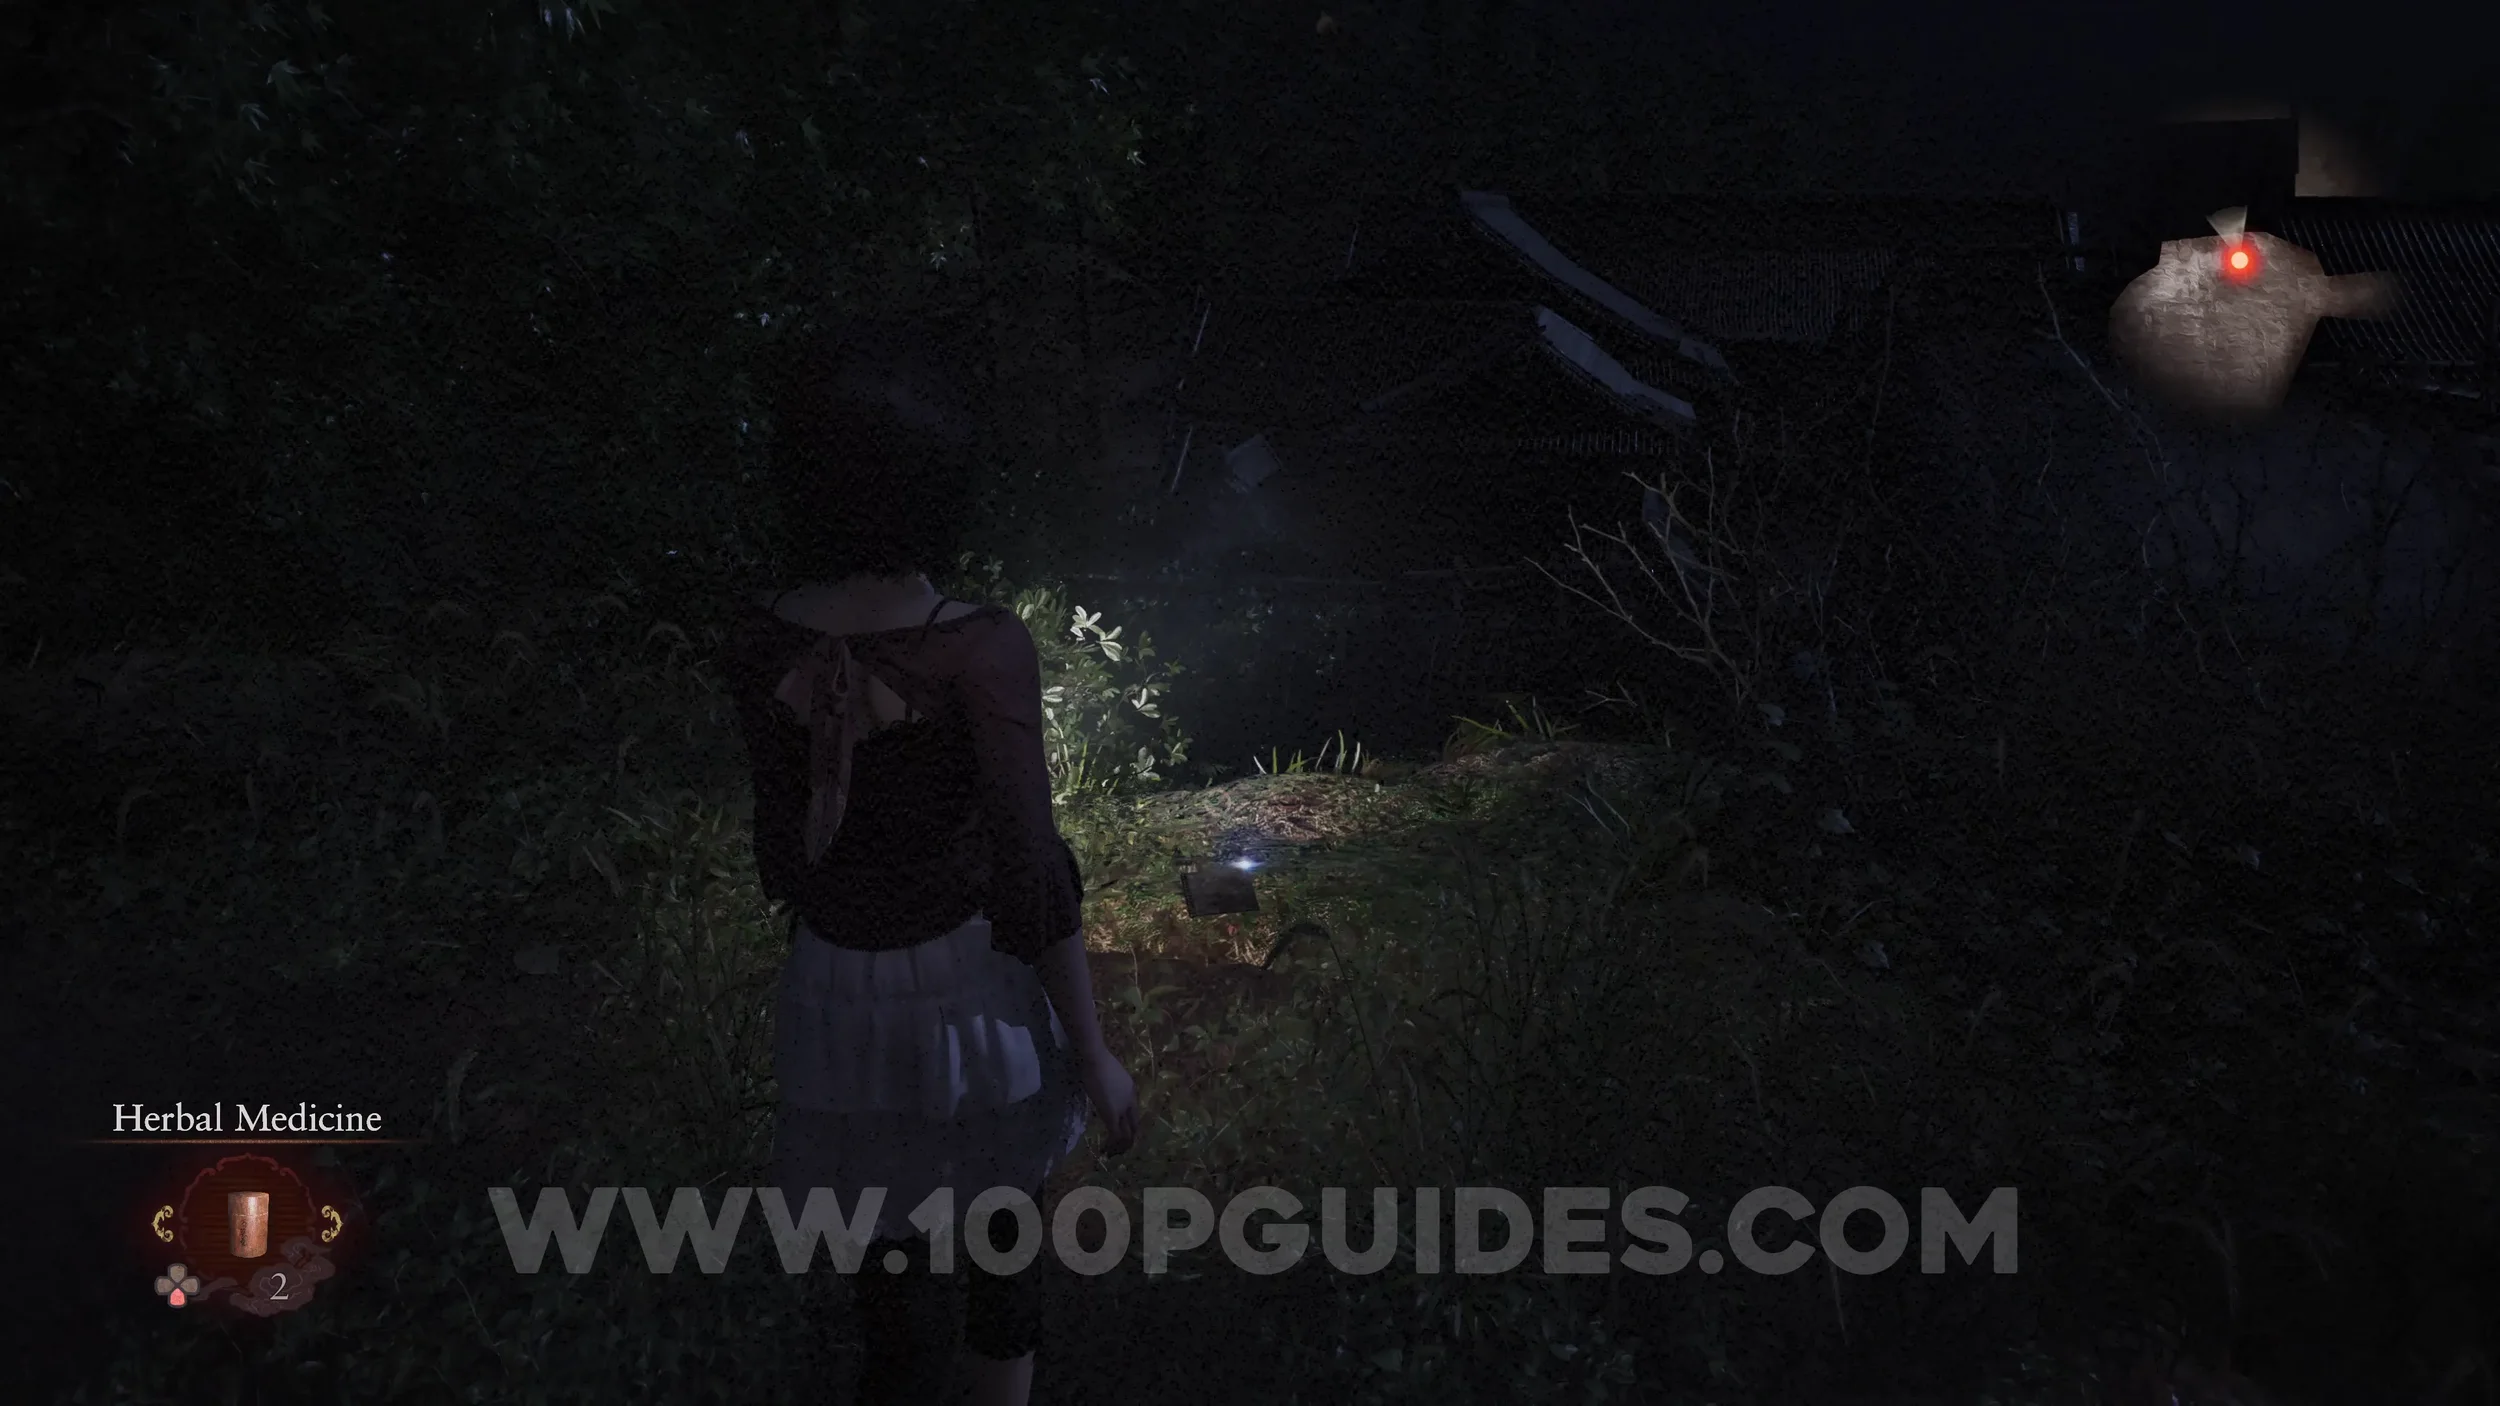
Document #19 - Village Report 4. In the same location as the previous specter.
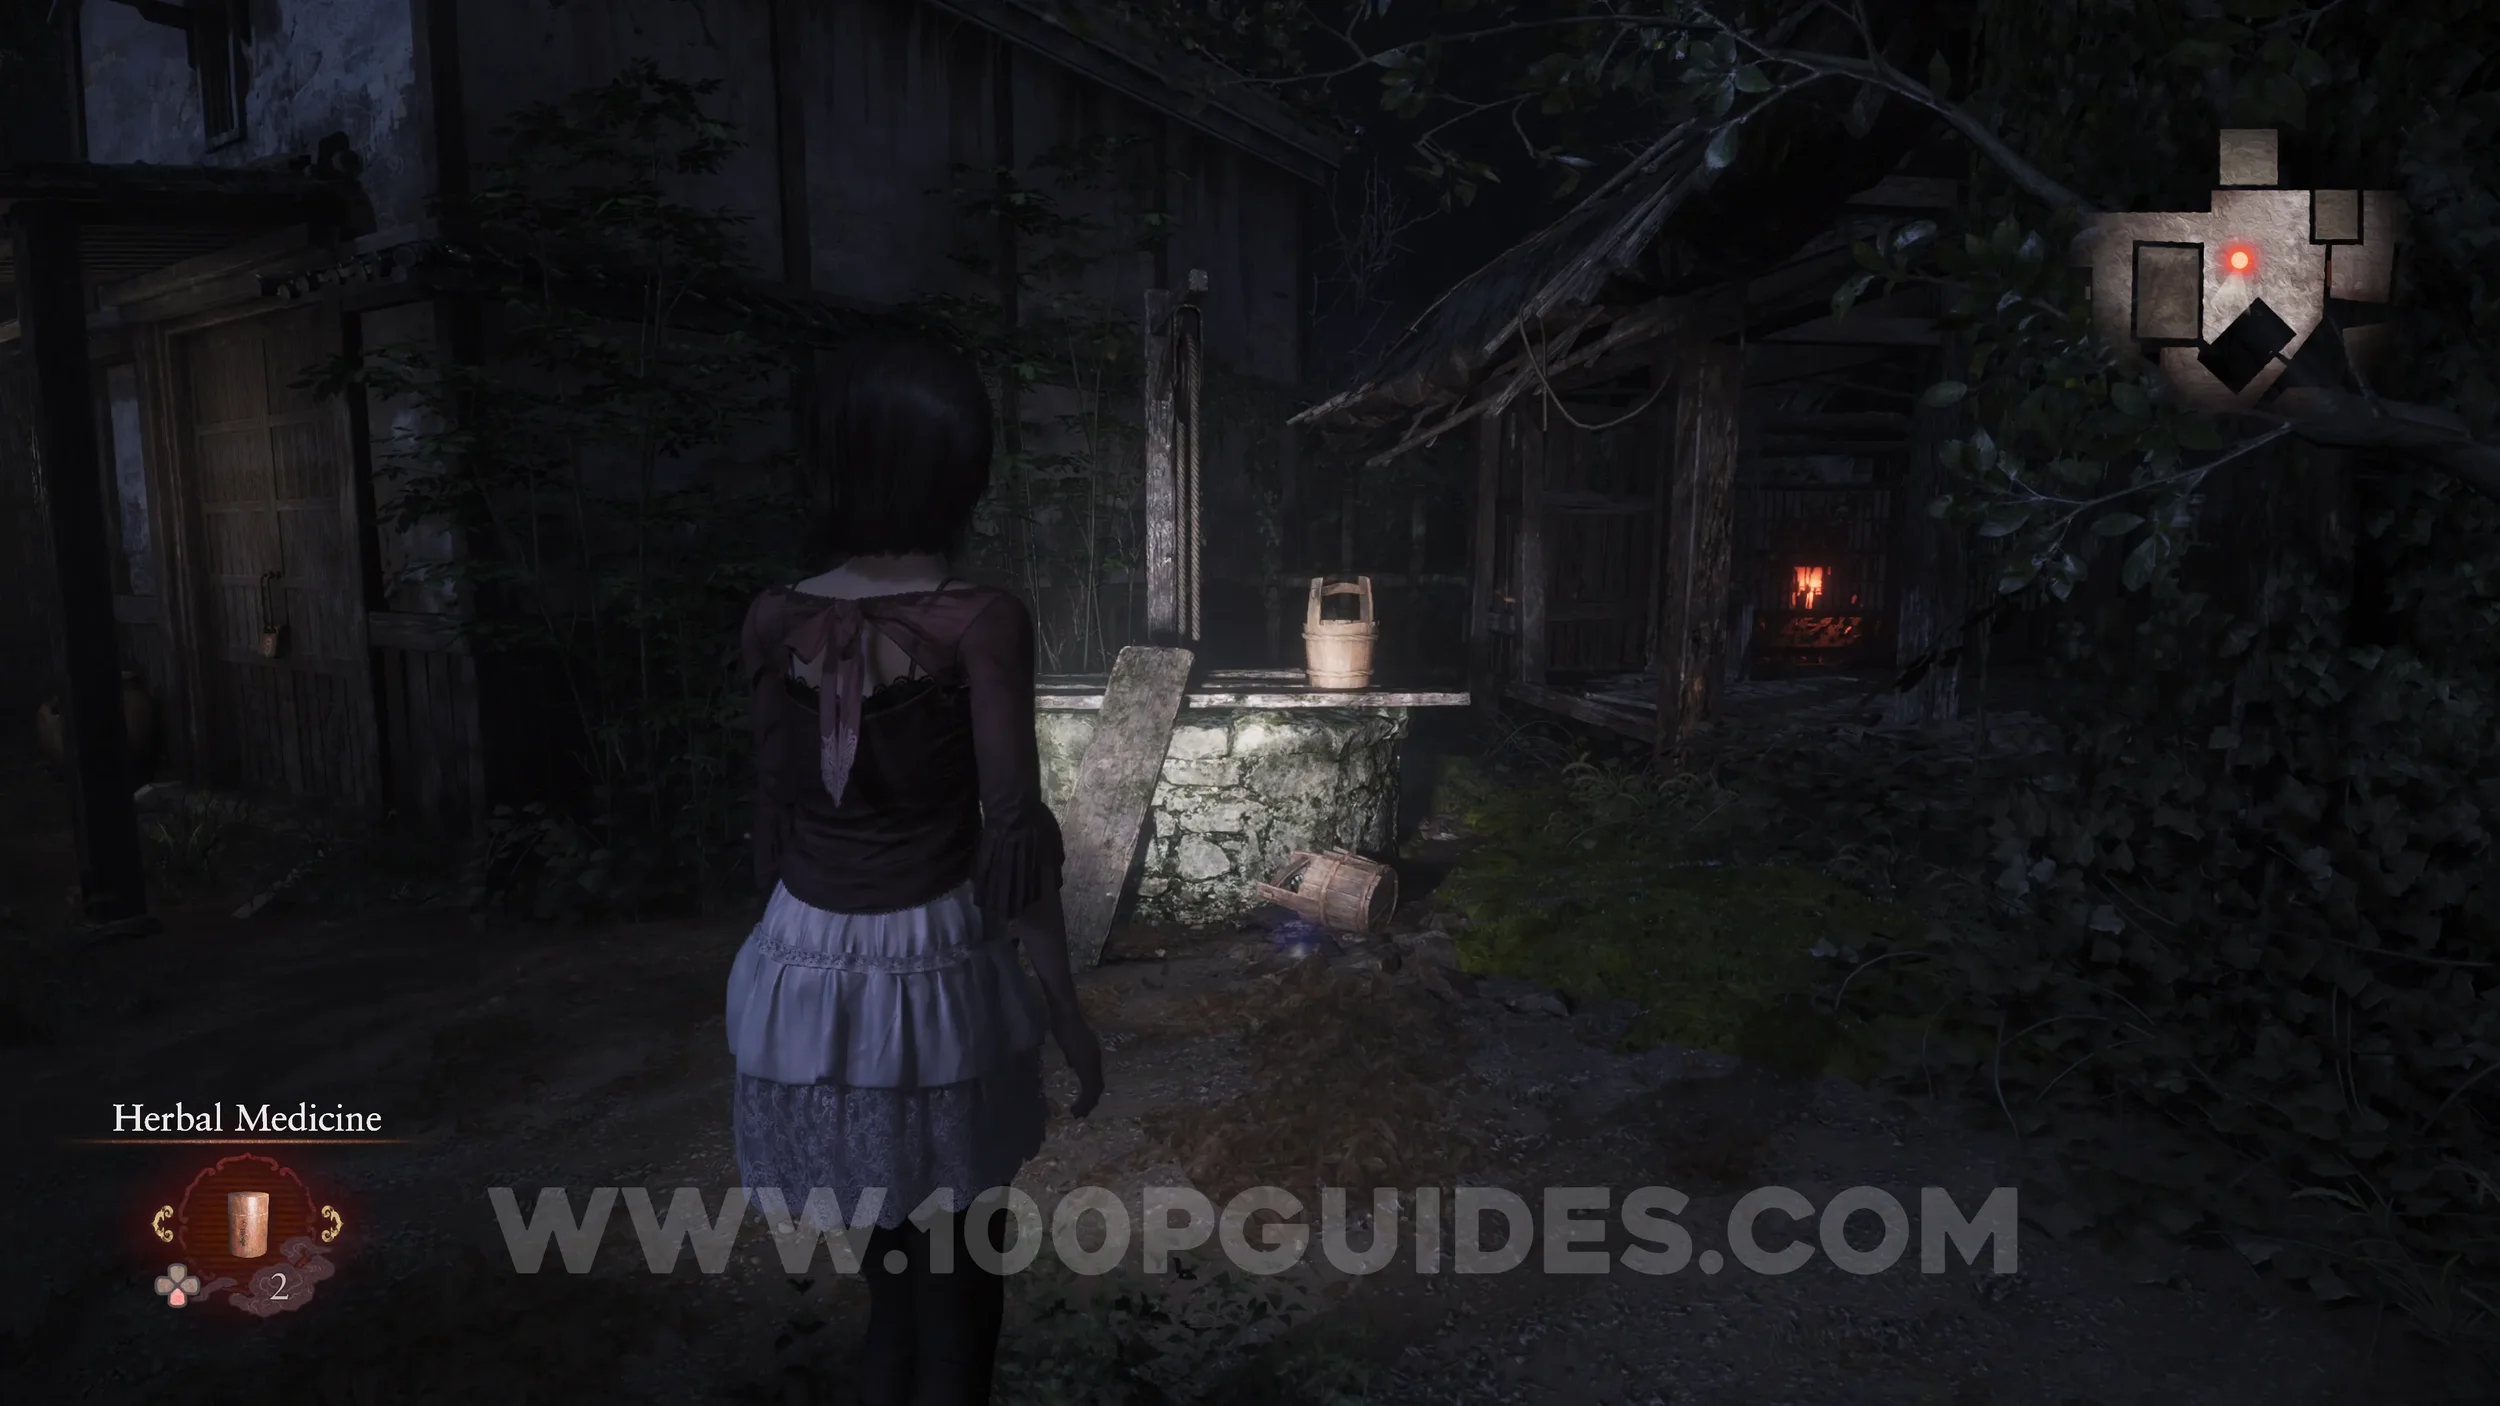
Specter #31 - 177 Well Investigator. Near the well in the small area to the east of Osaka House.
Document #20 - Village Report 2. In the same location as the previous specter.
Specter #32 - 176 Statue Investigator. On the path to the west of the town.
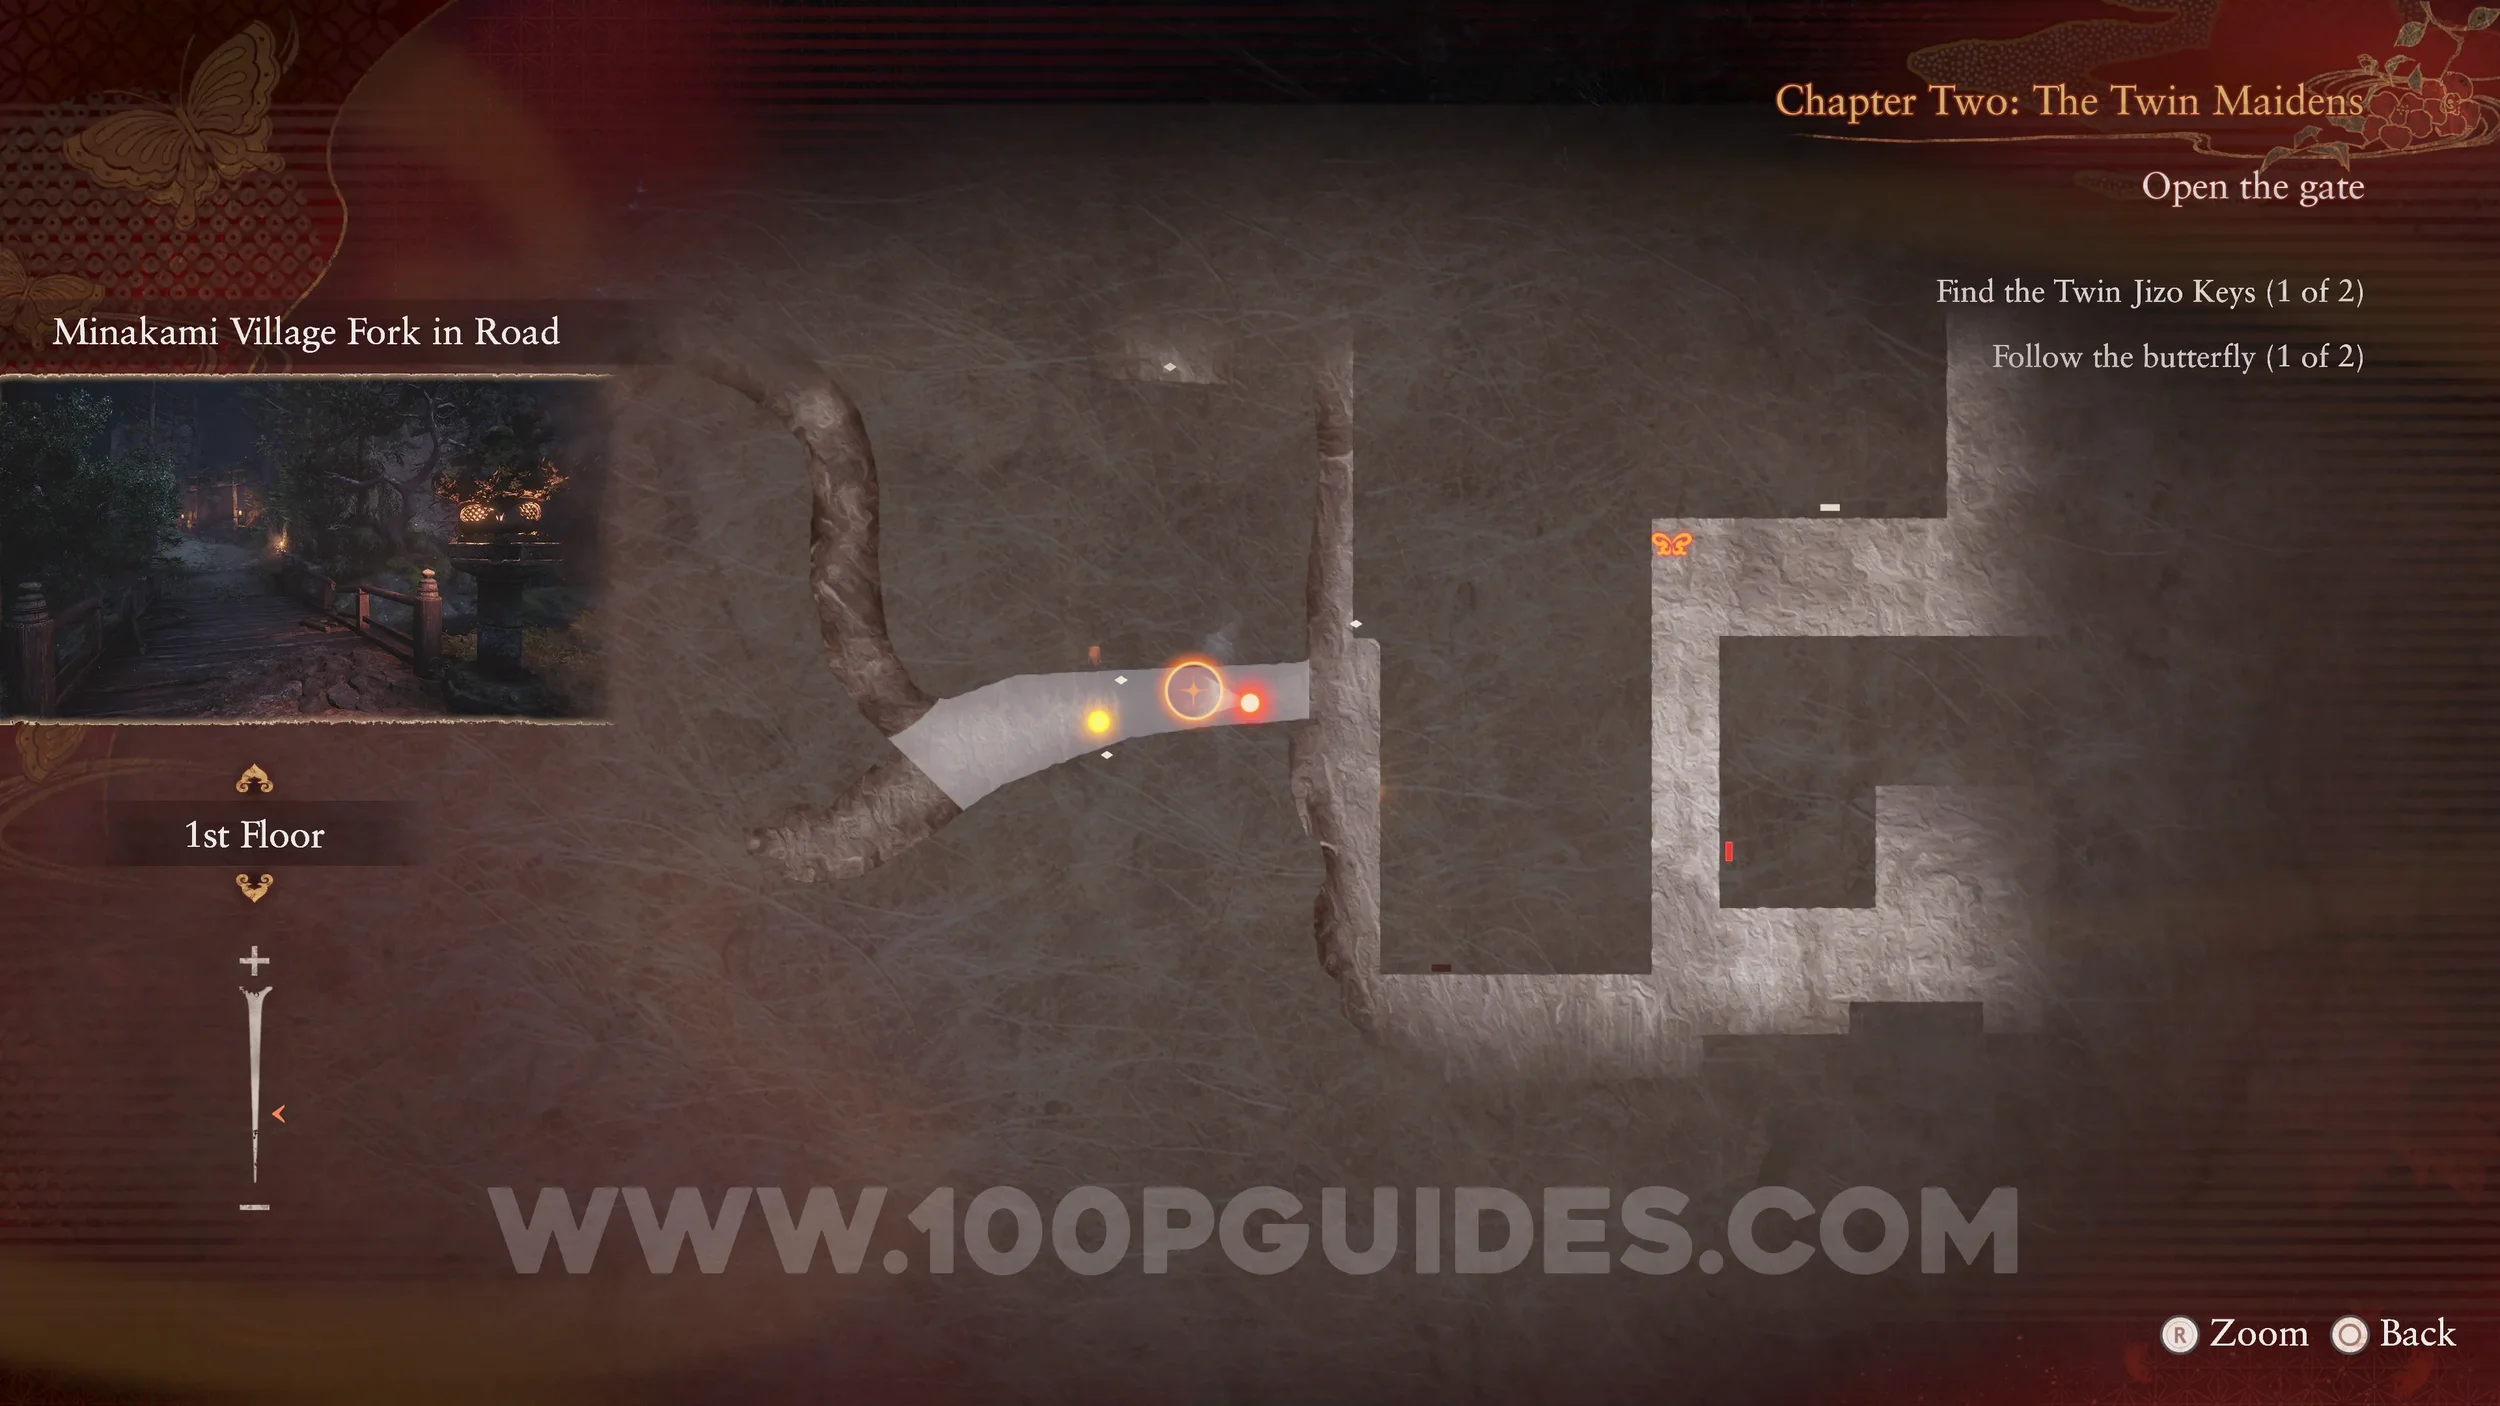
Document #21 - Village Report 1. In the same location as the previous specter.
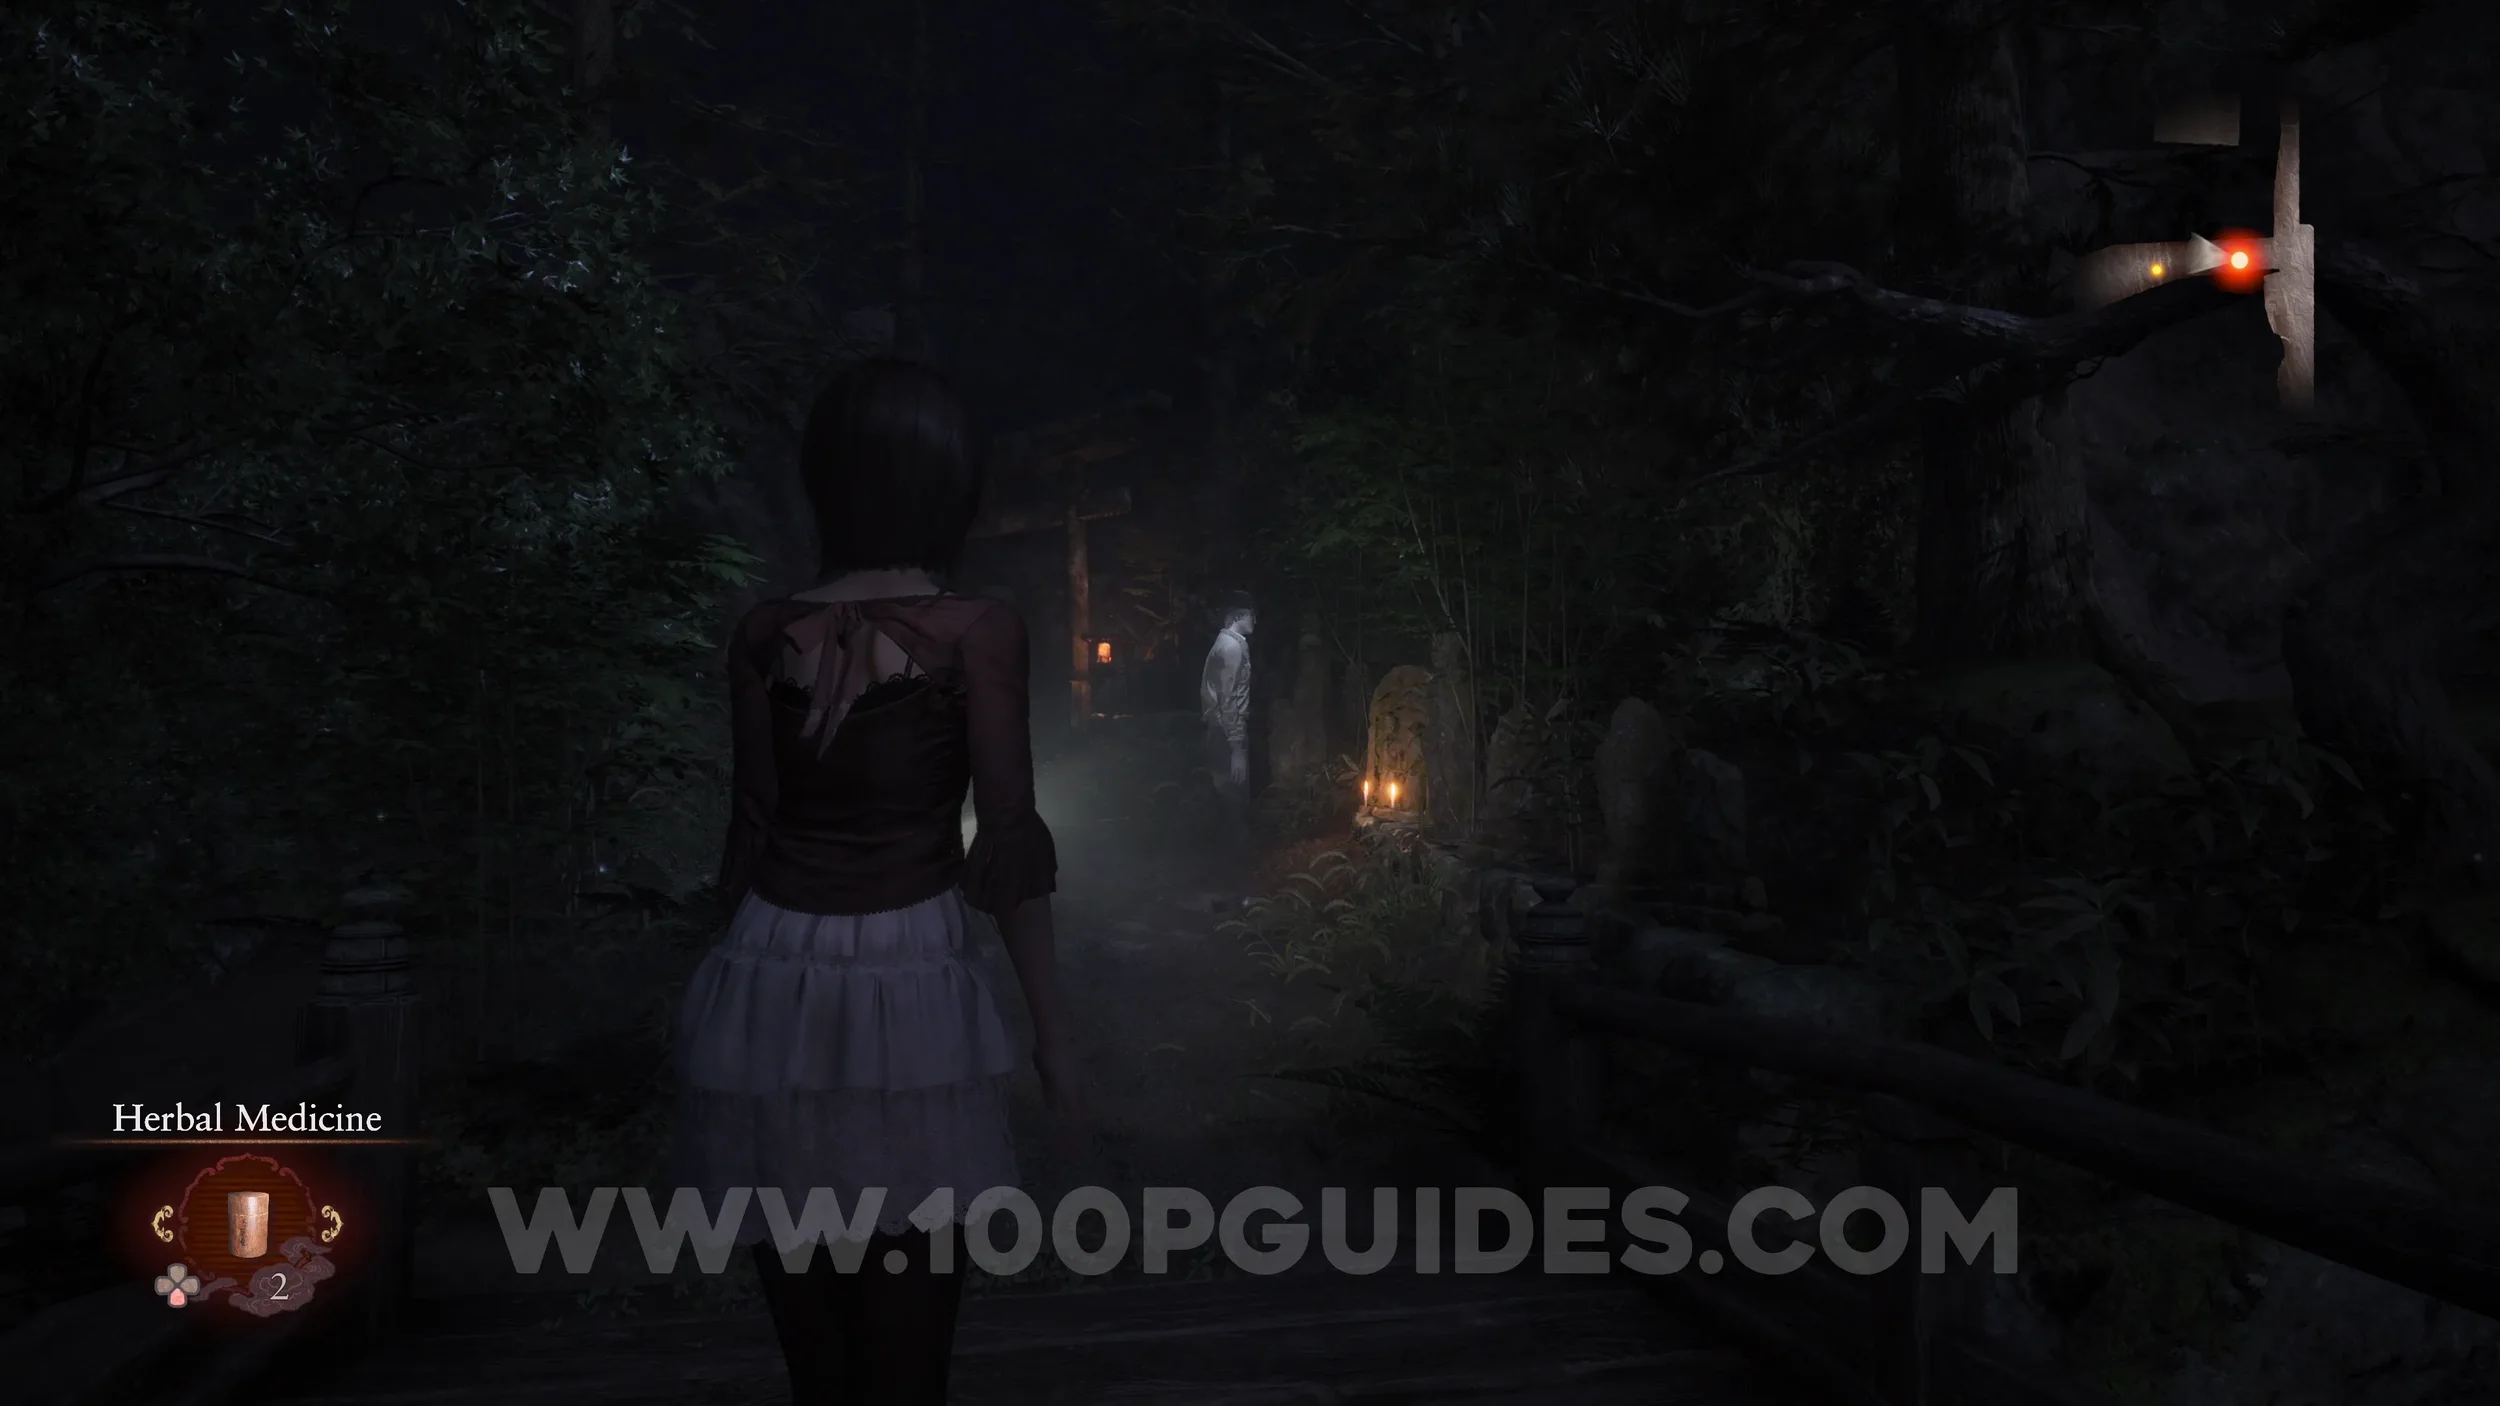
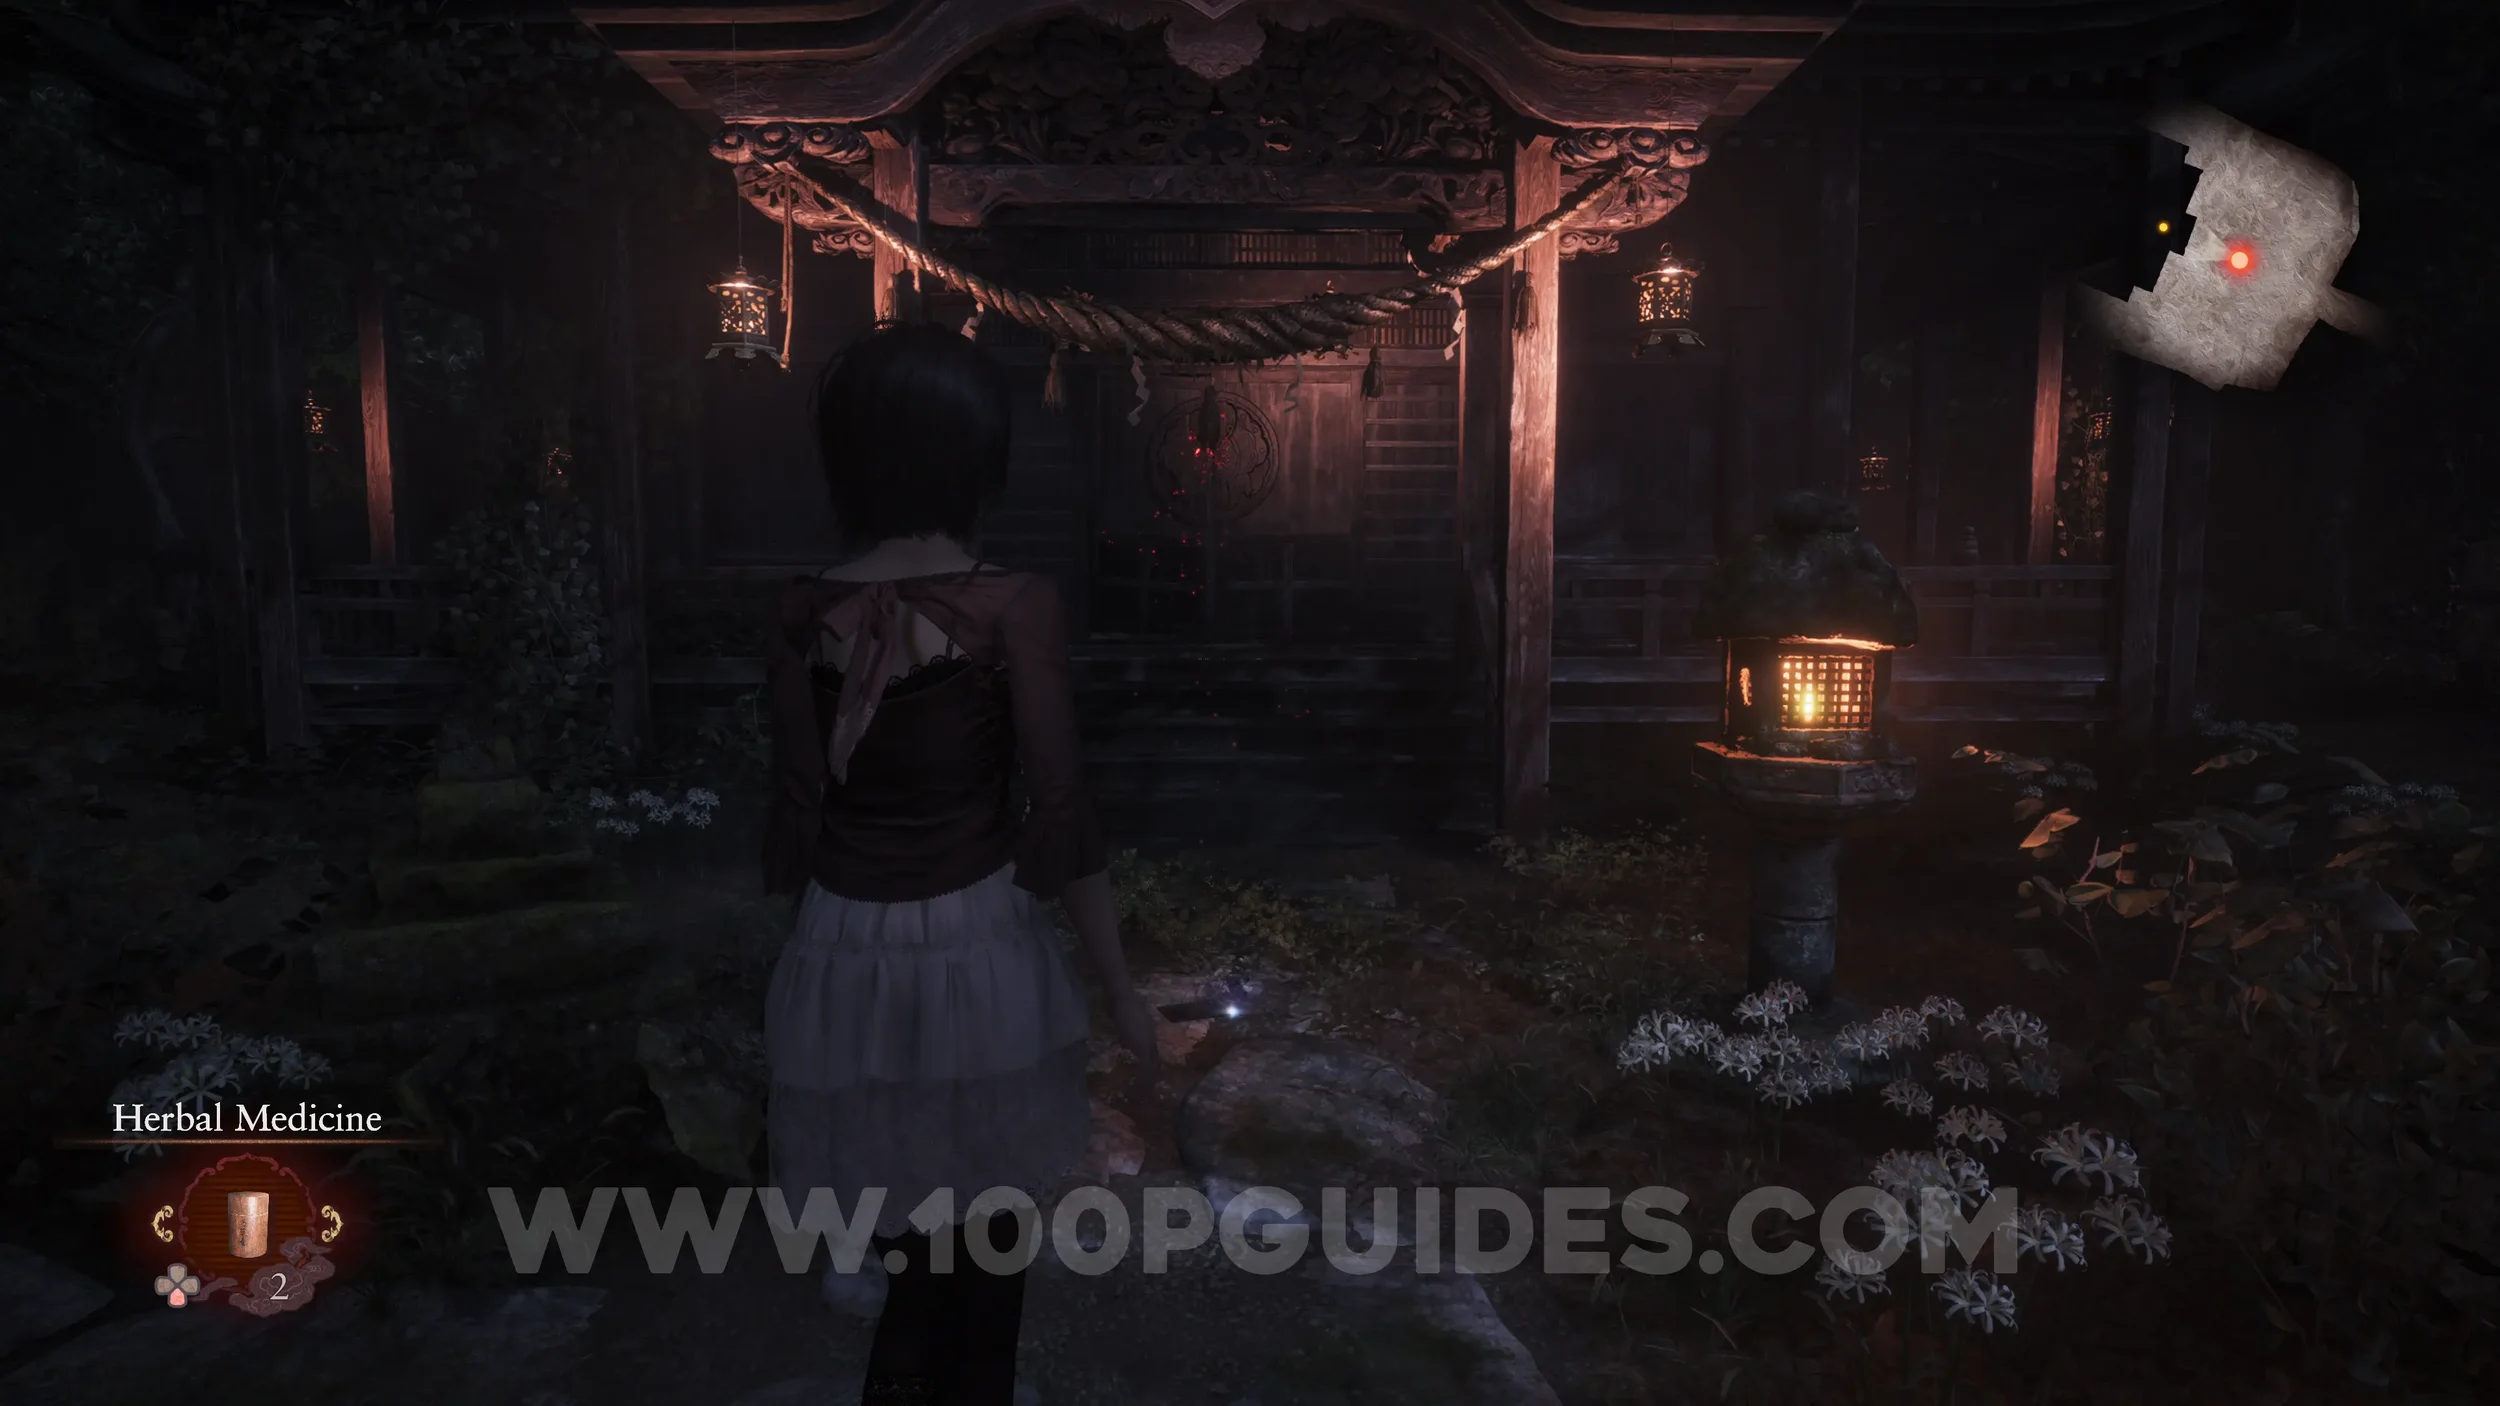
Specter #33 - 178 Man Searching Grounds. Continue up the hill to the temple to find the specter standing in front of it.
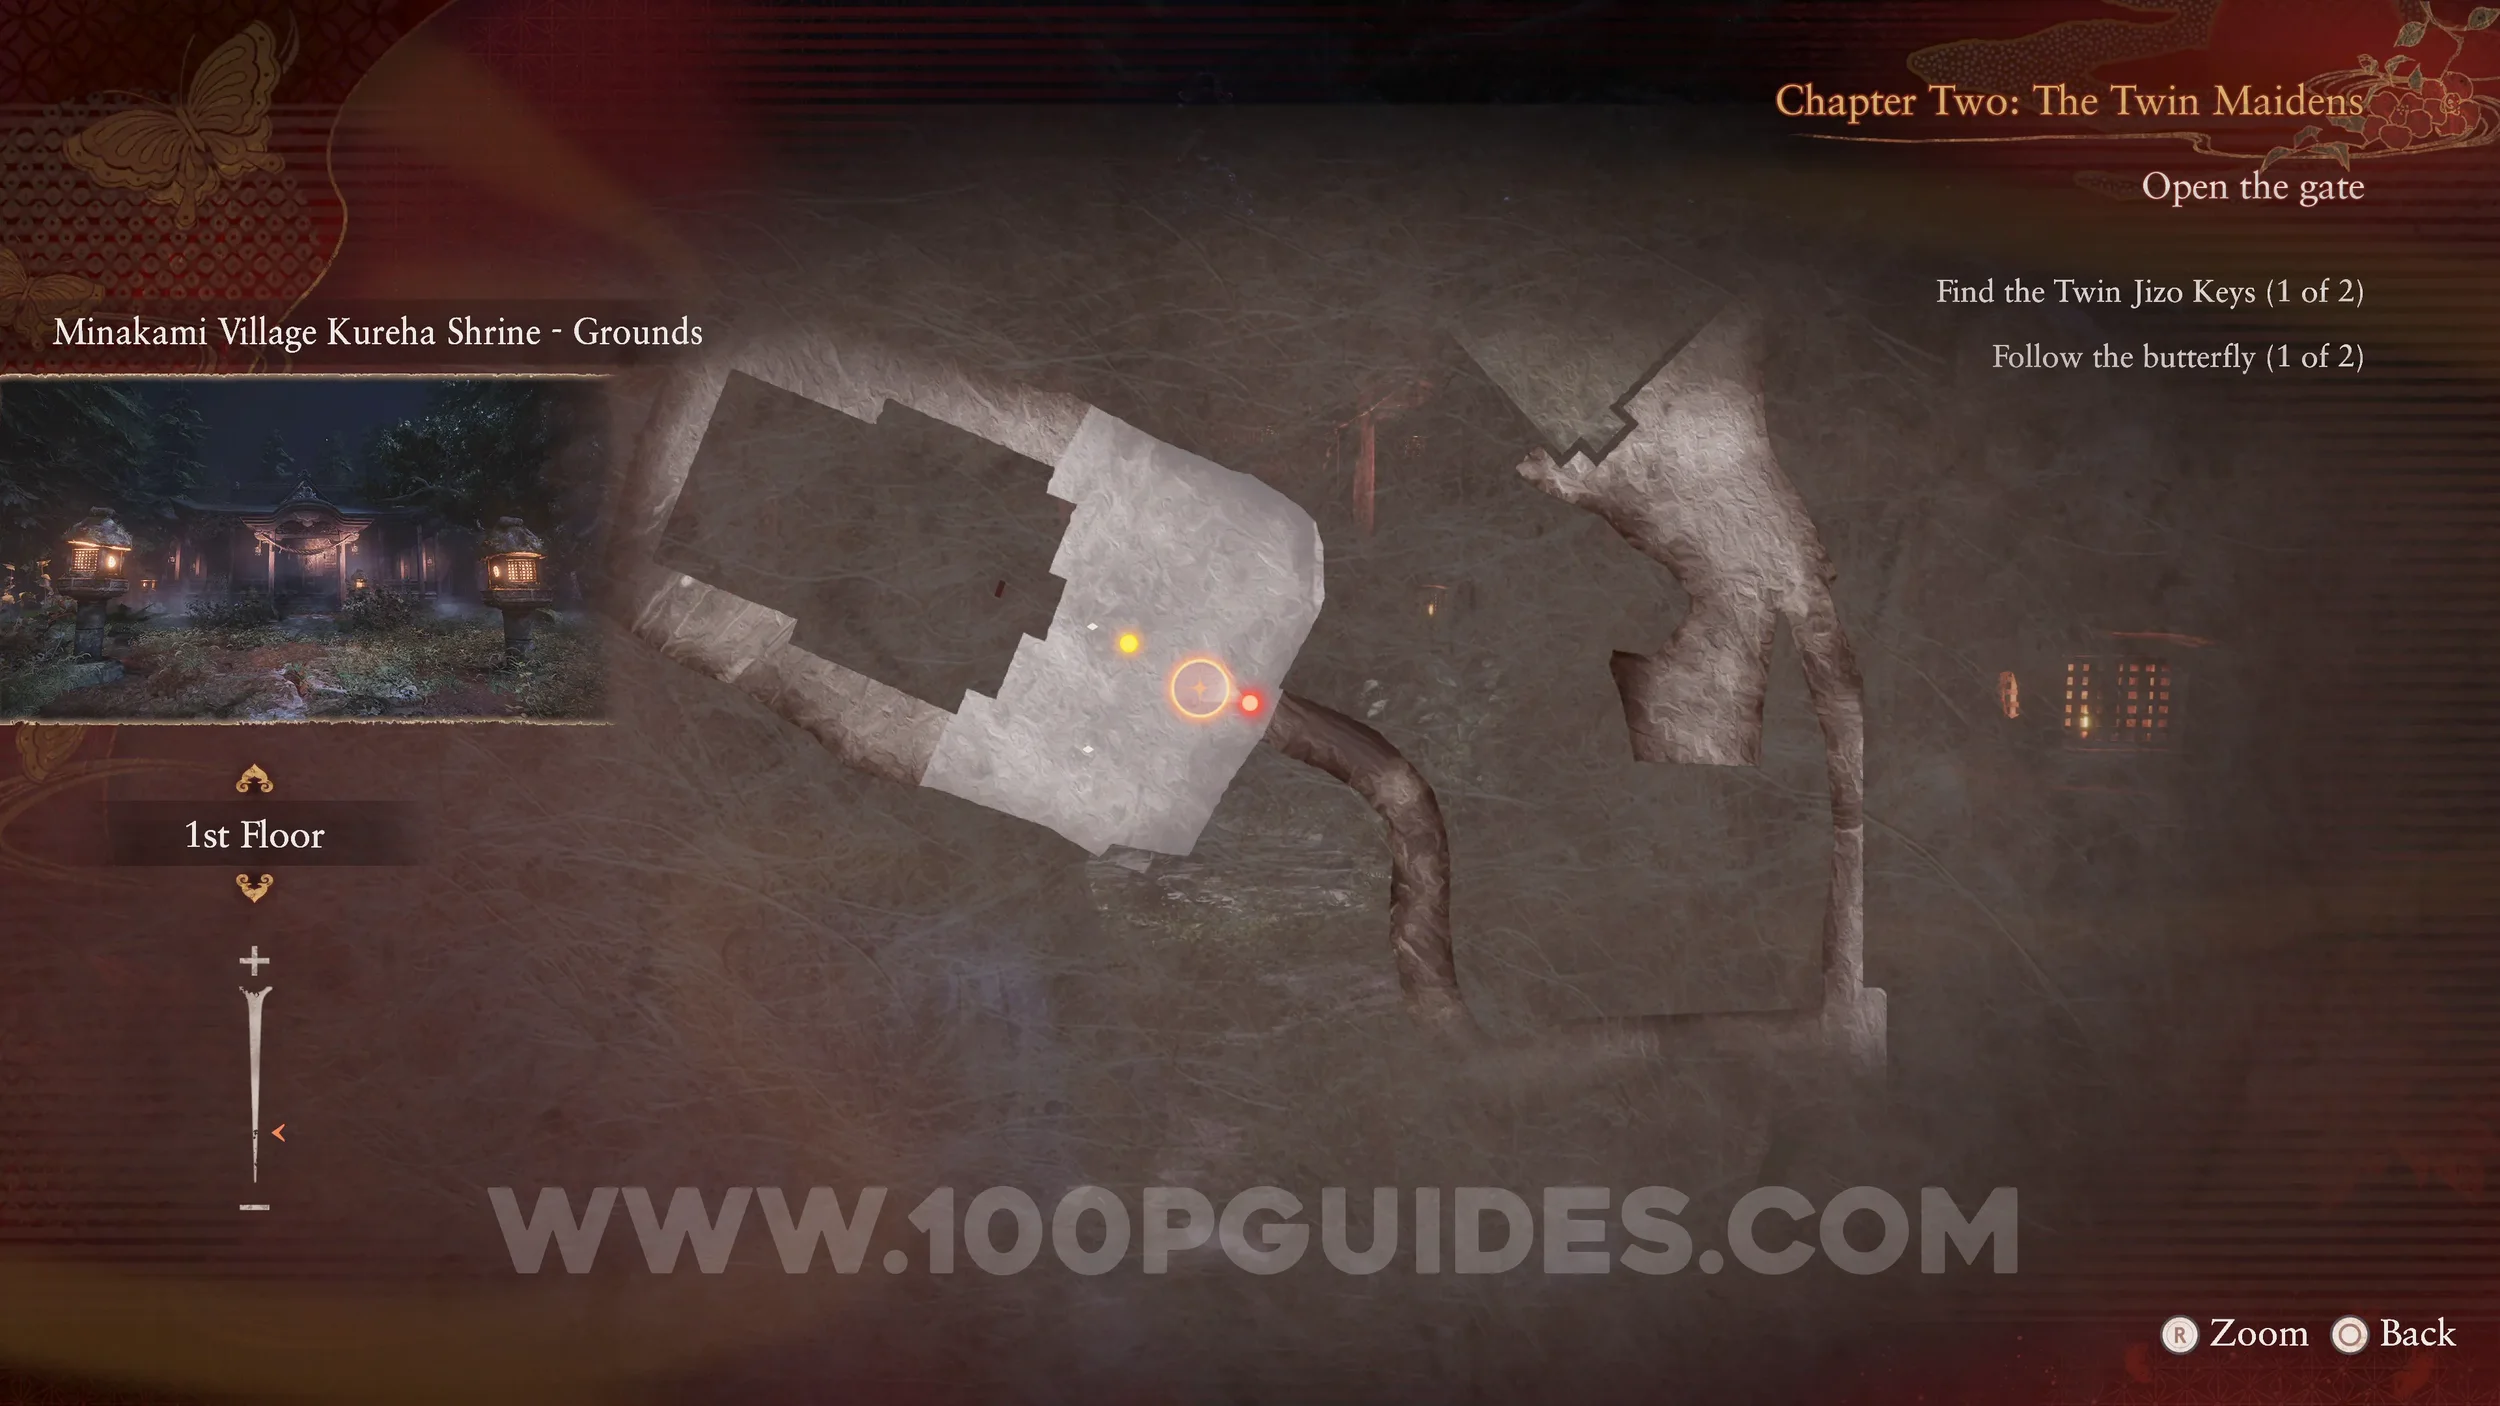
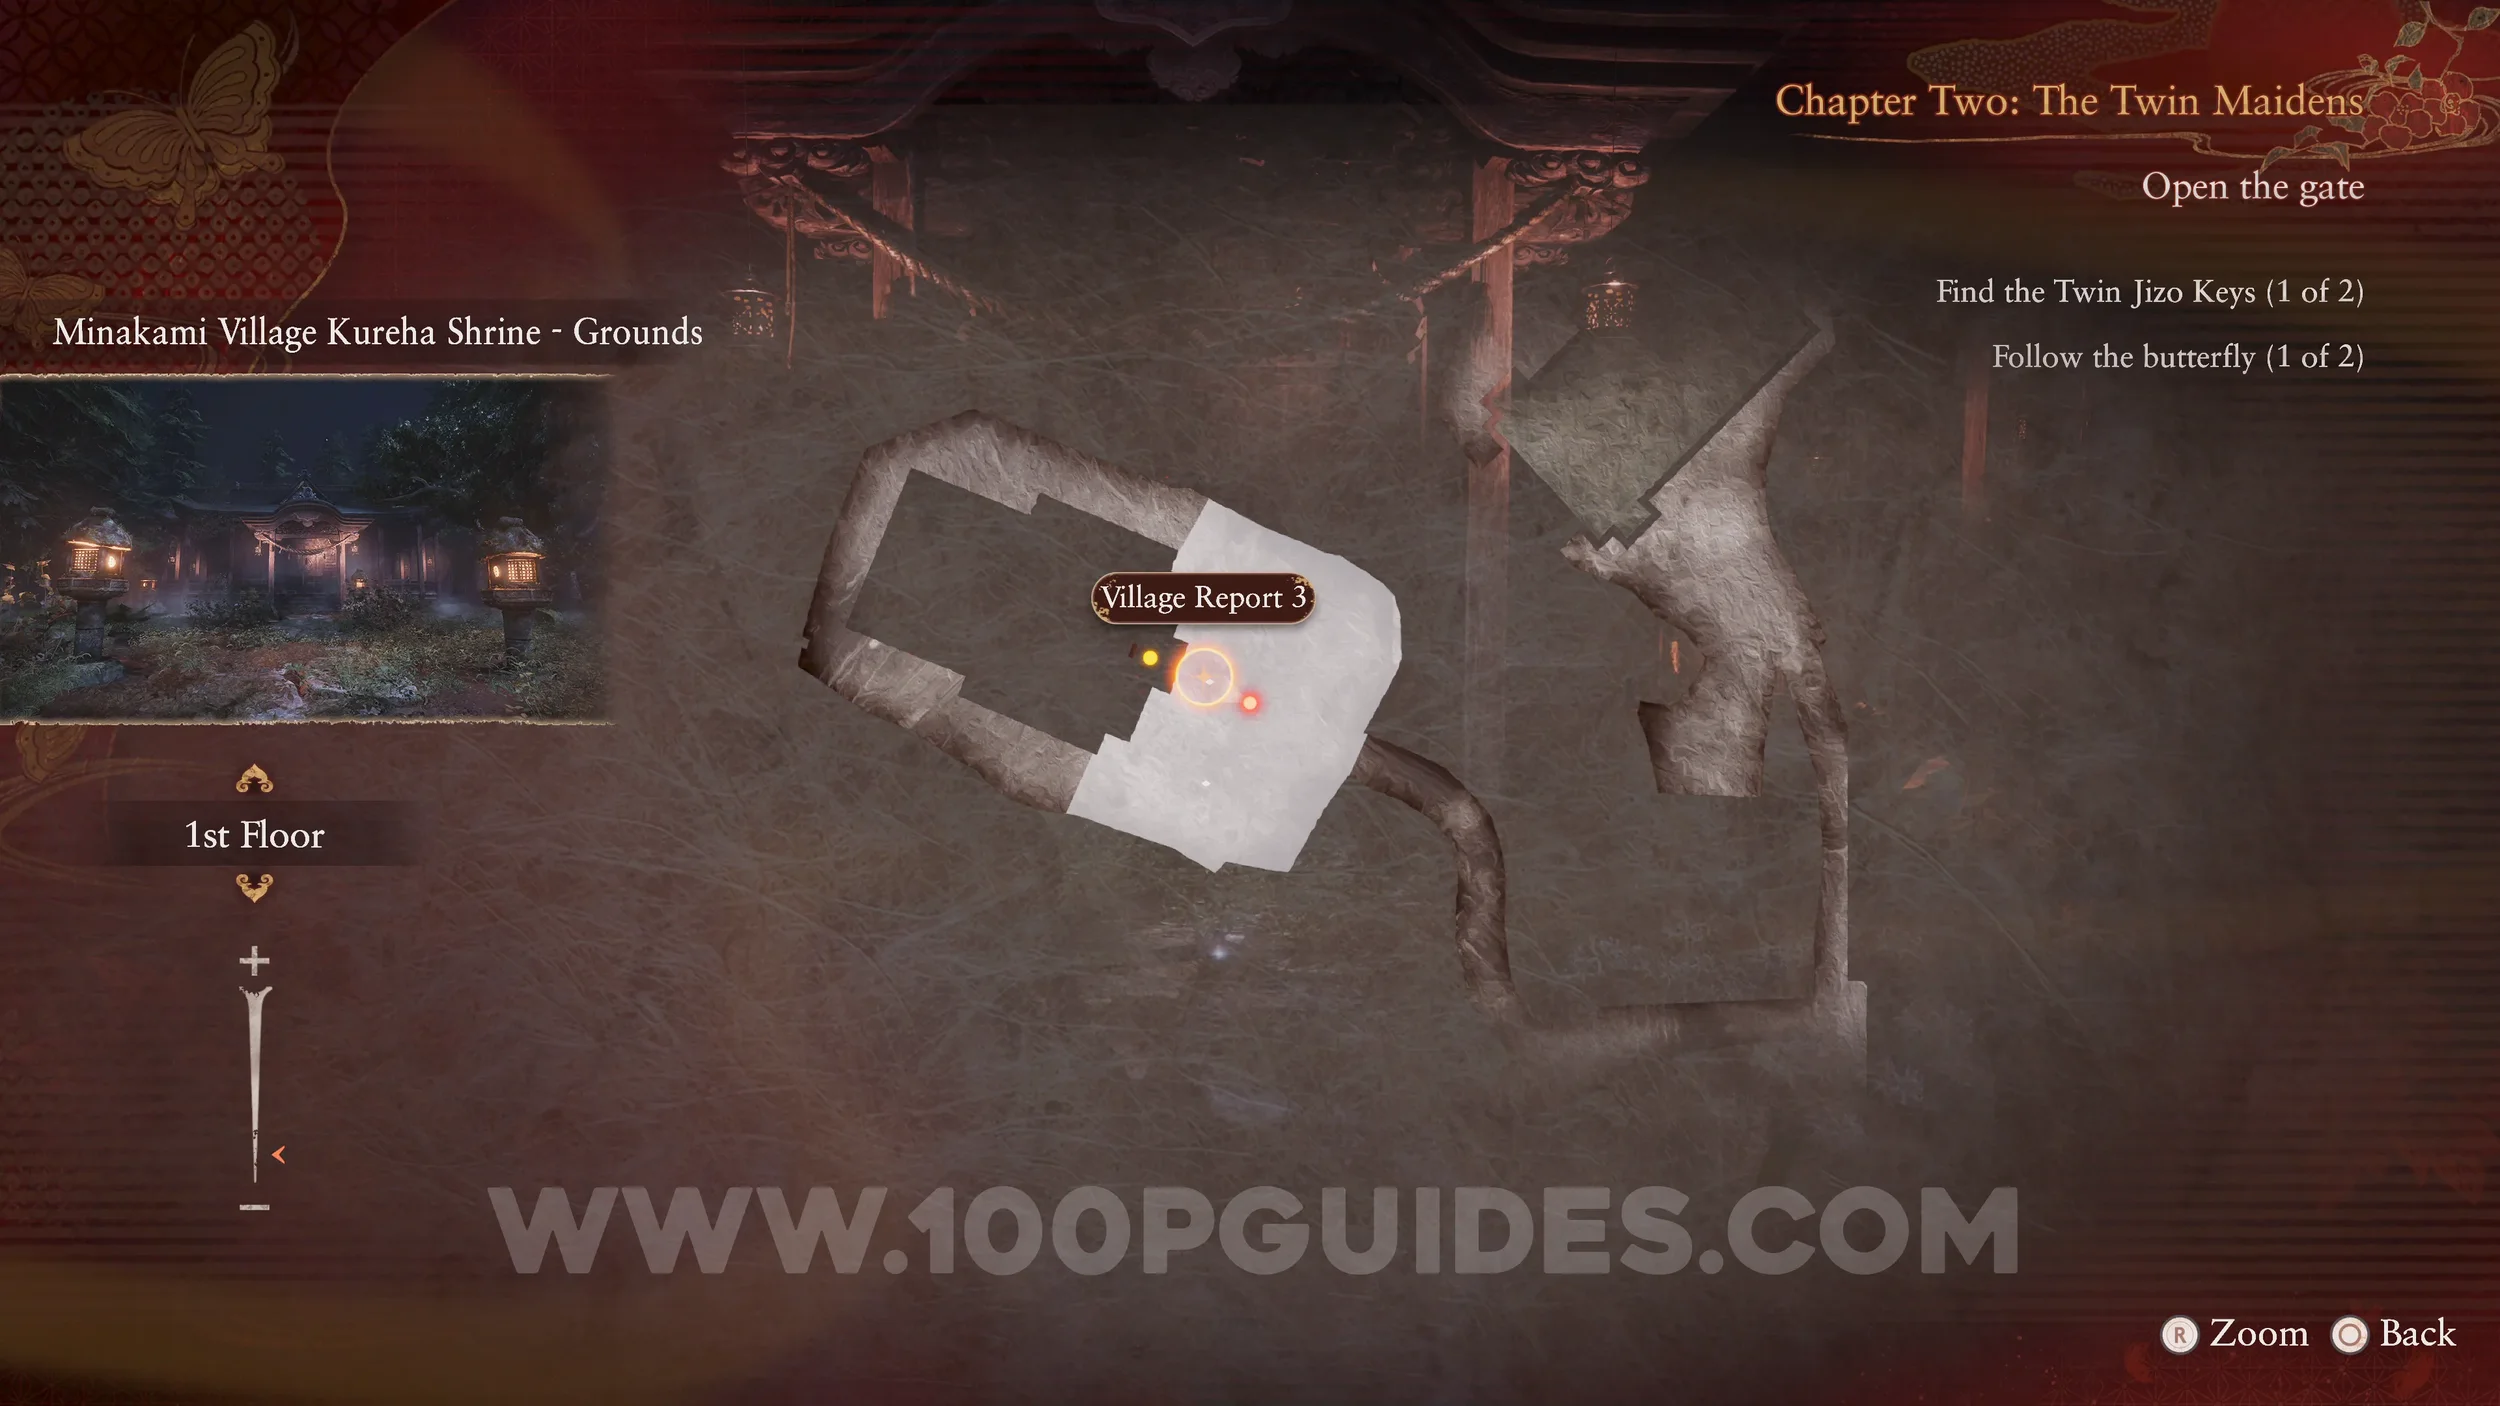
Document #22 and #23 - Village Report 3 and 5. Found on the ground where the previous specter appeared. If you have collected all four, you will also obtain the fifth.
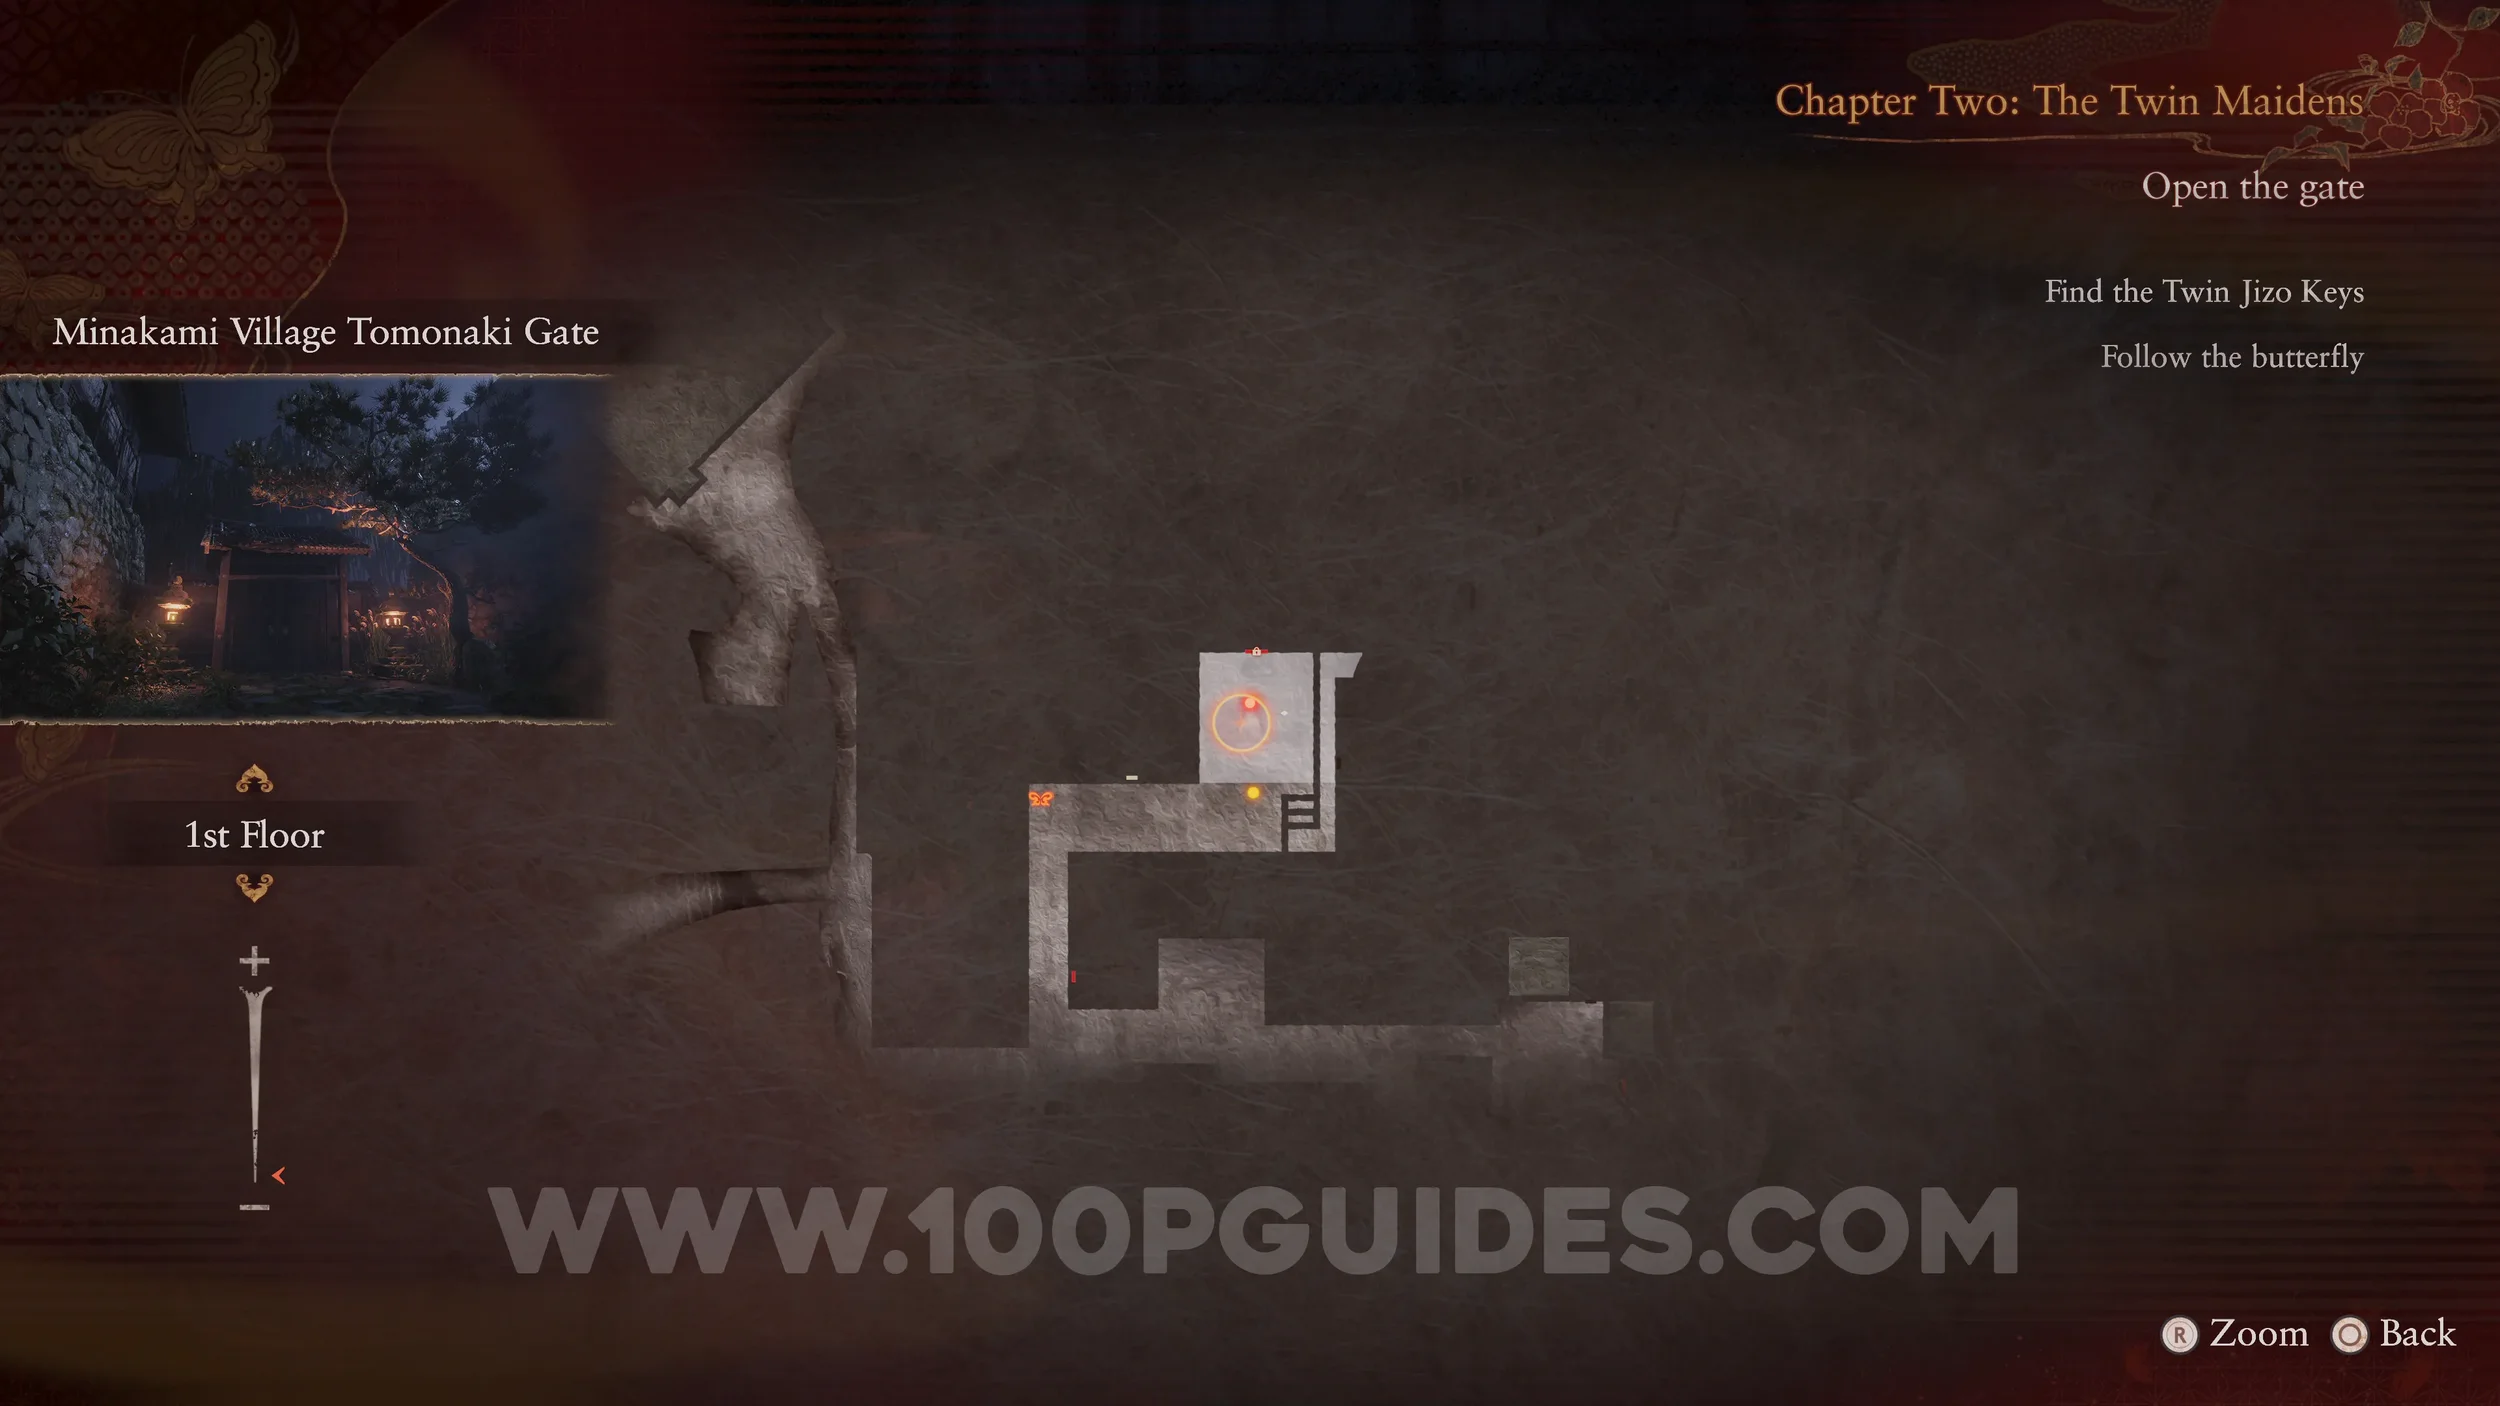
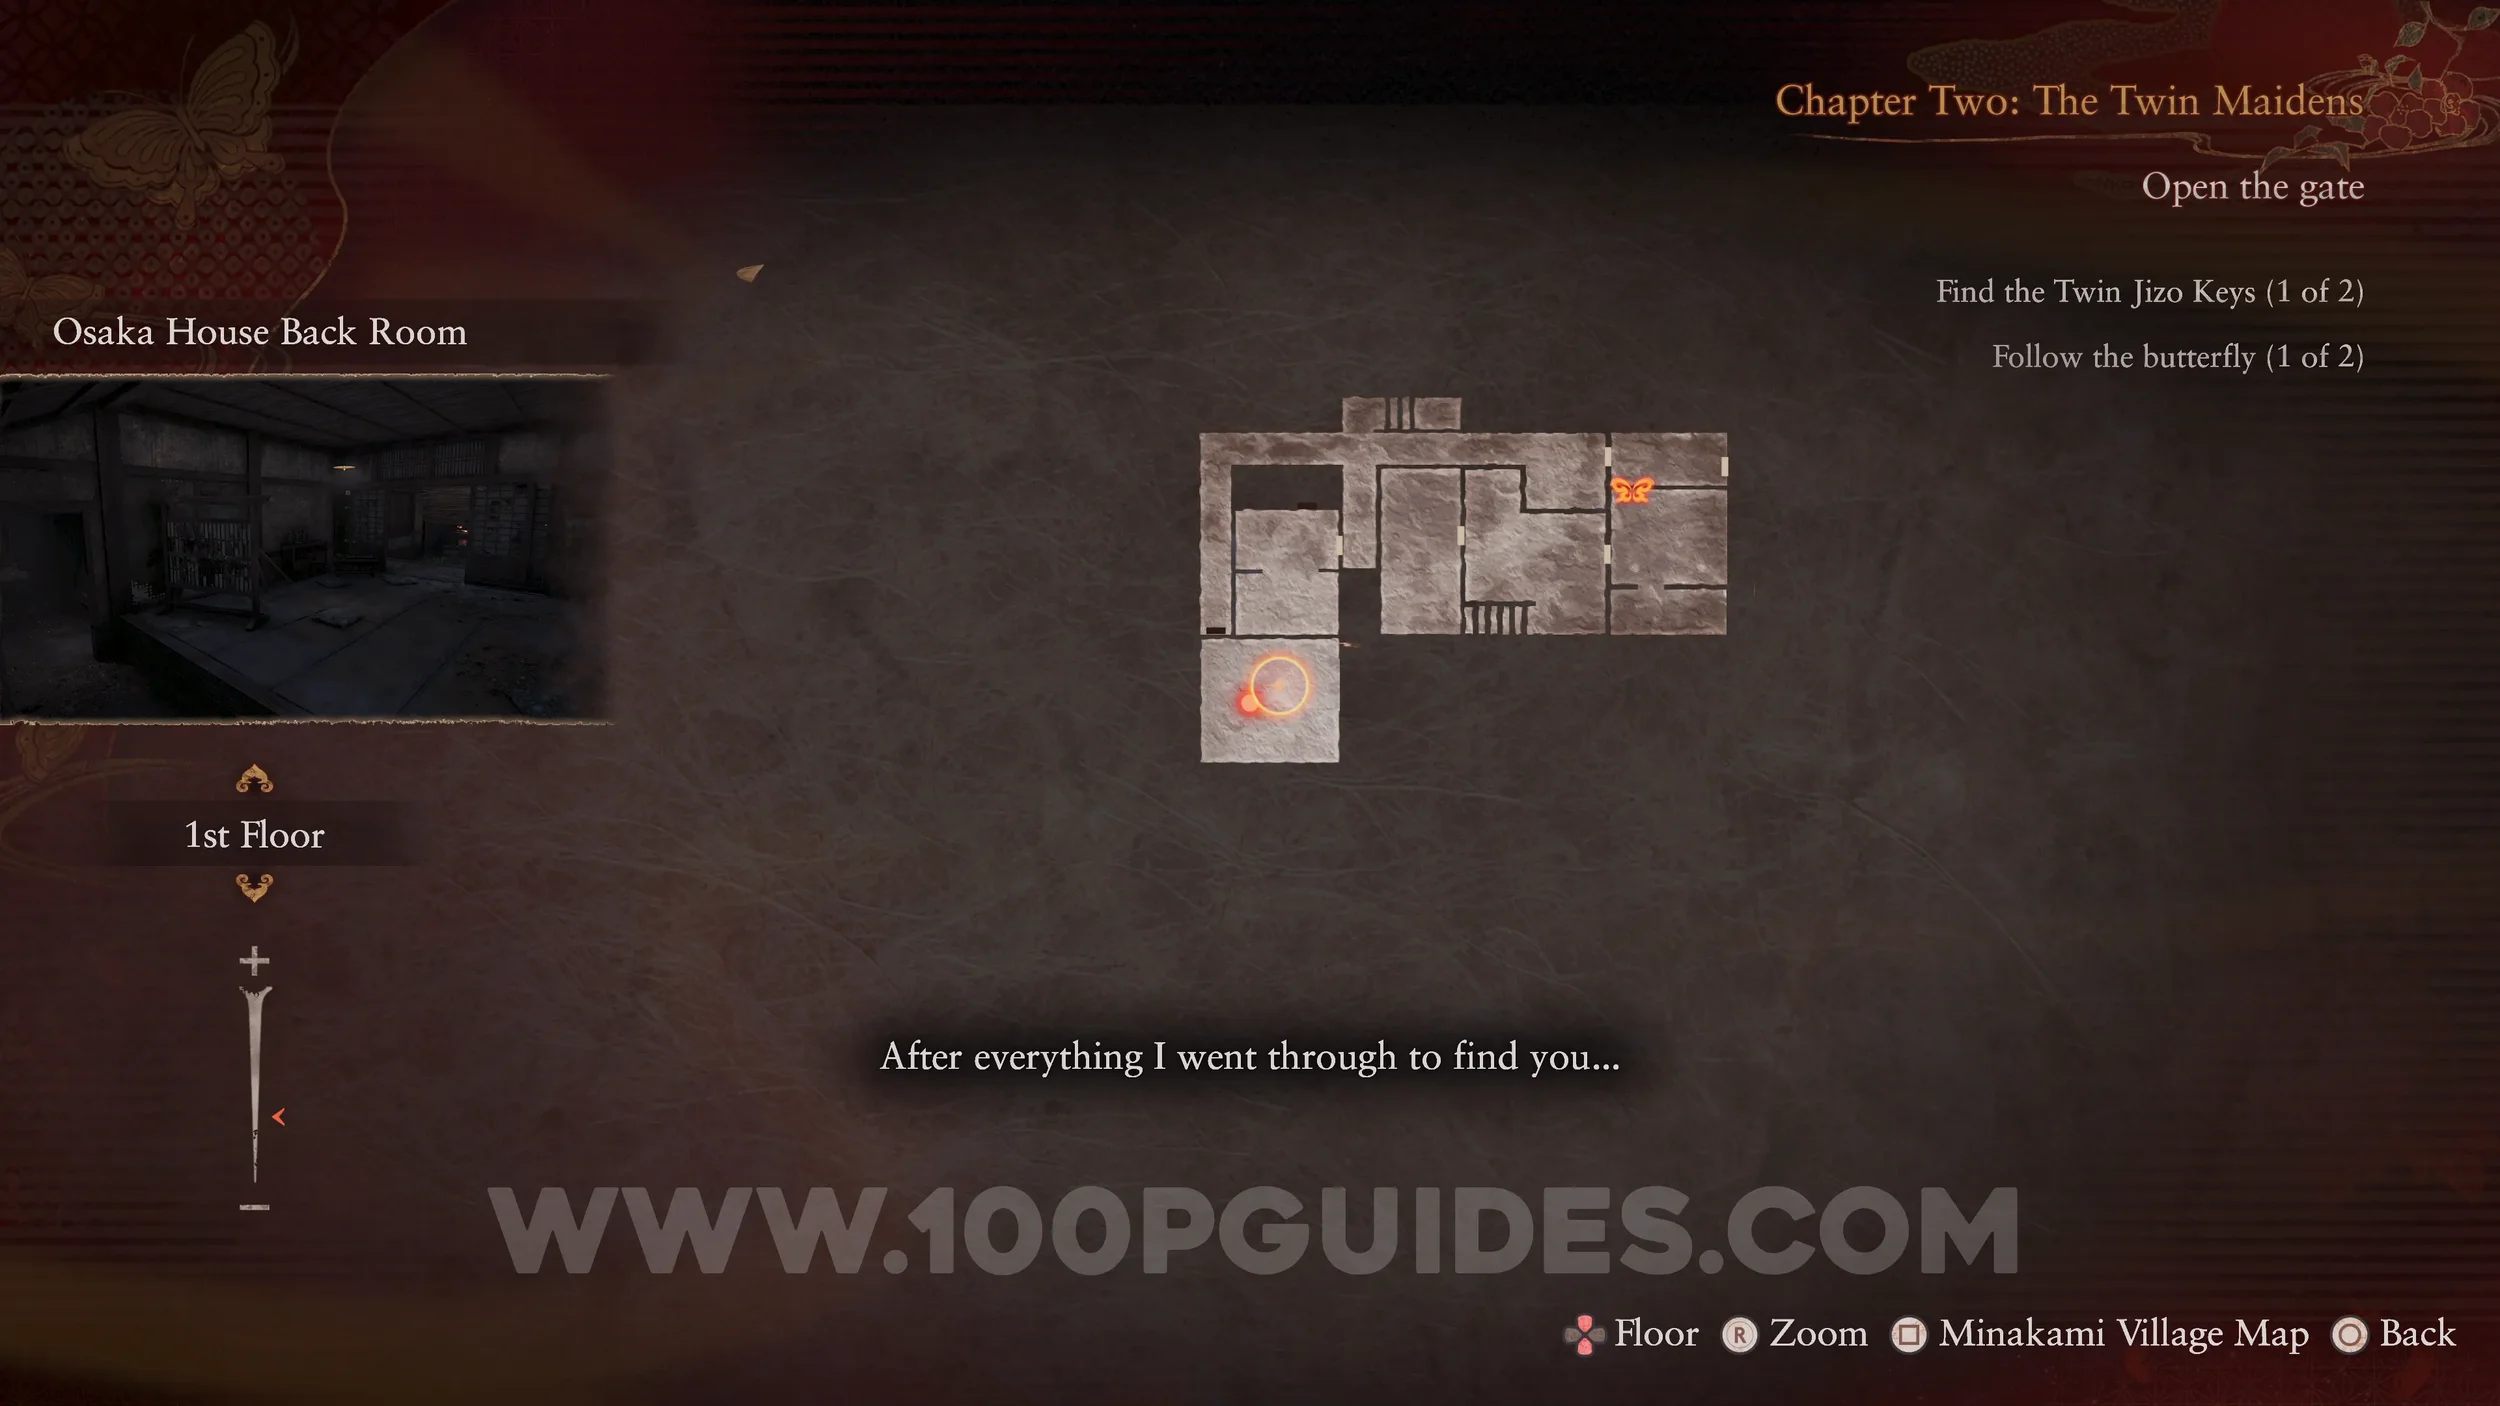
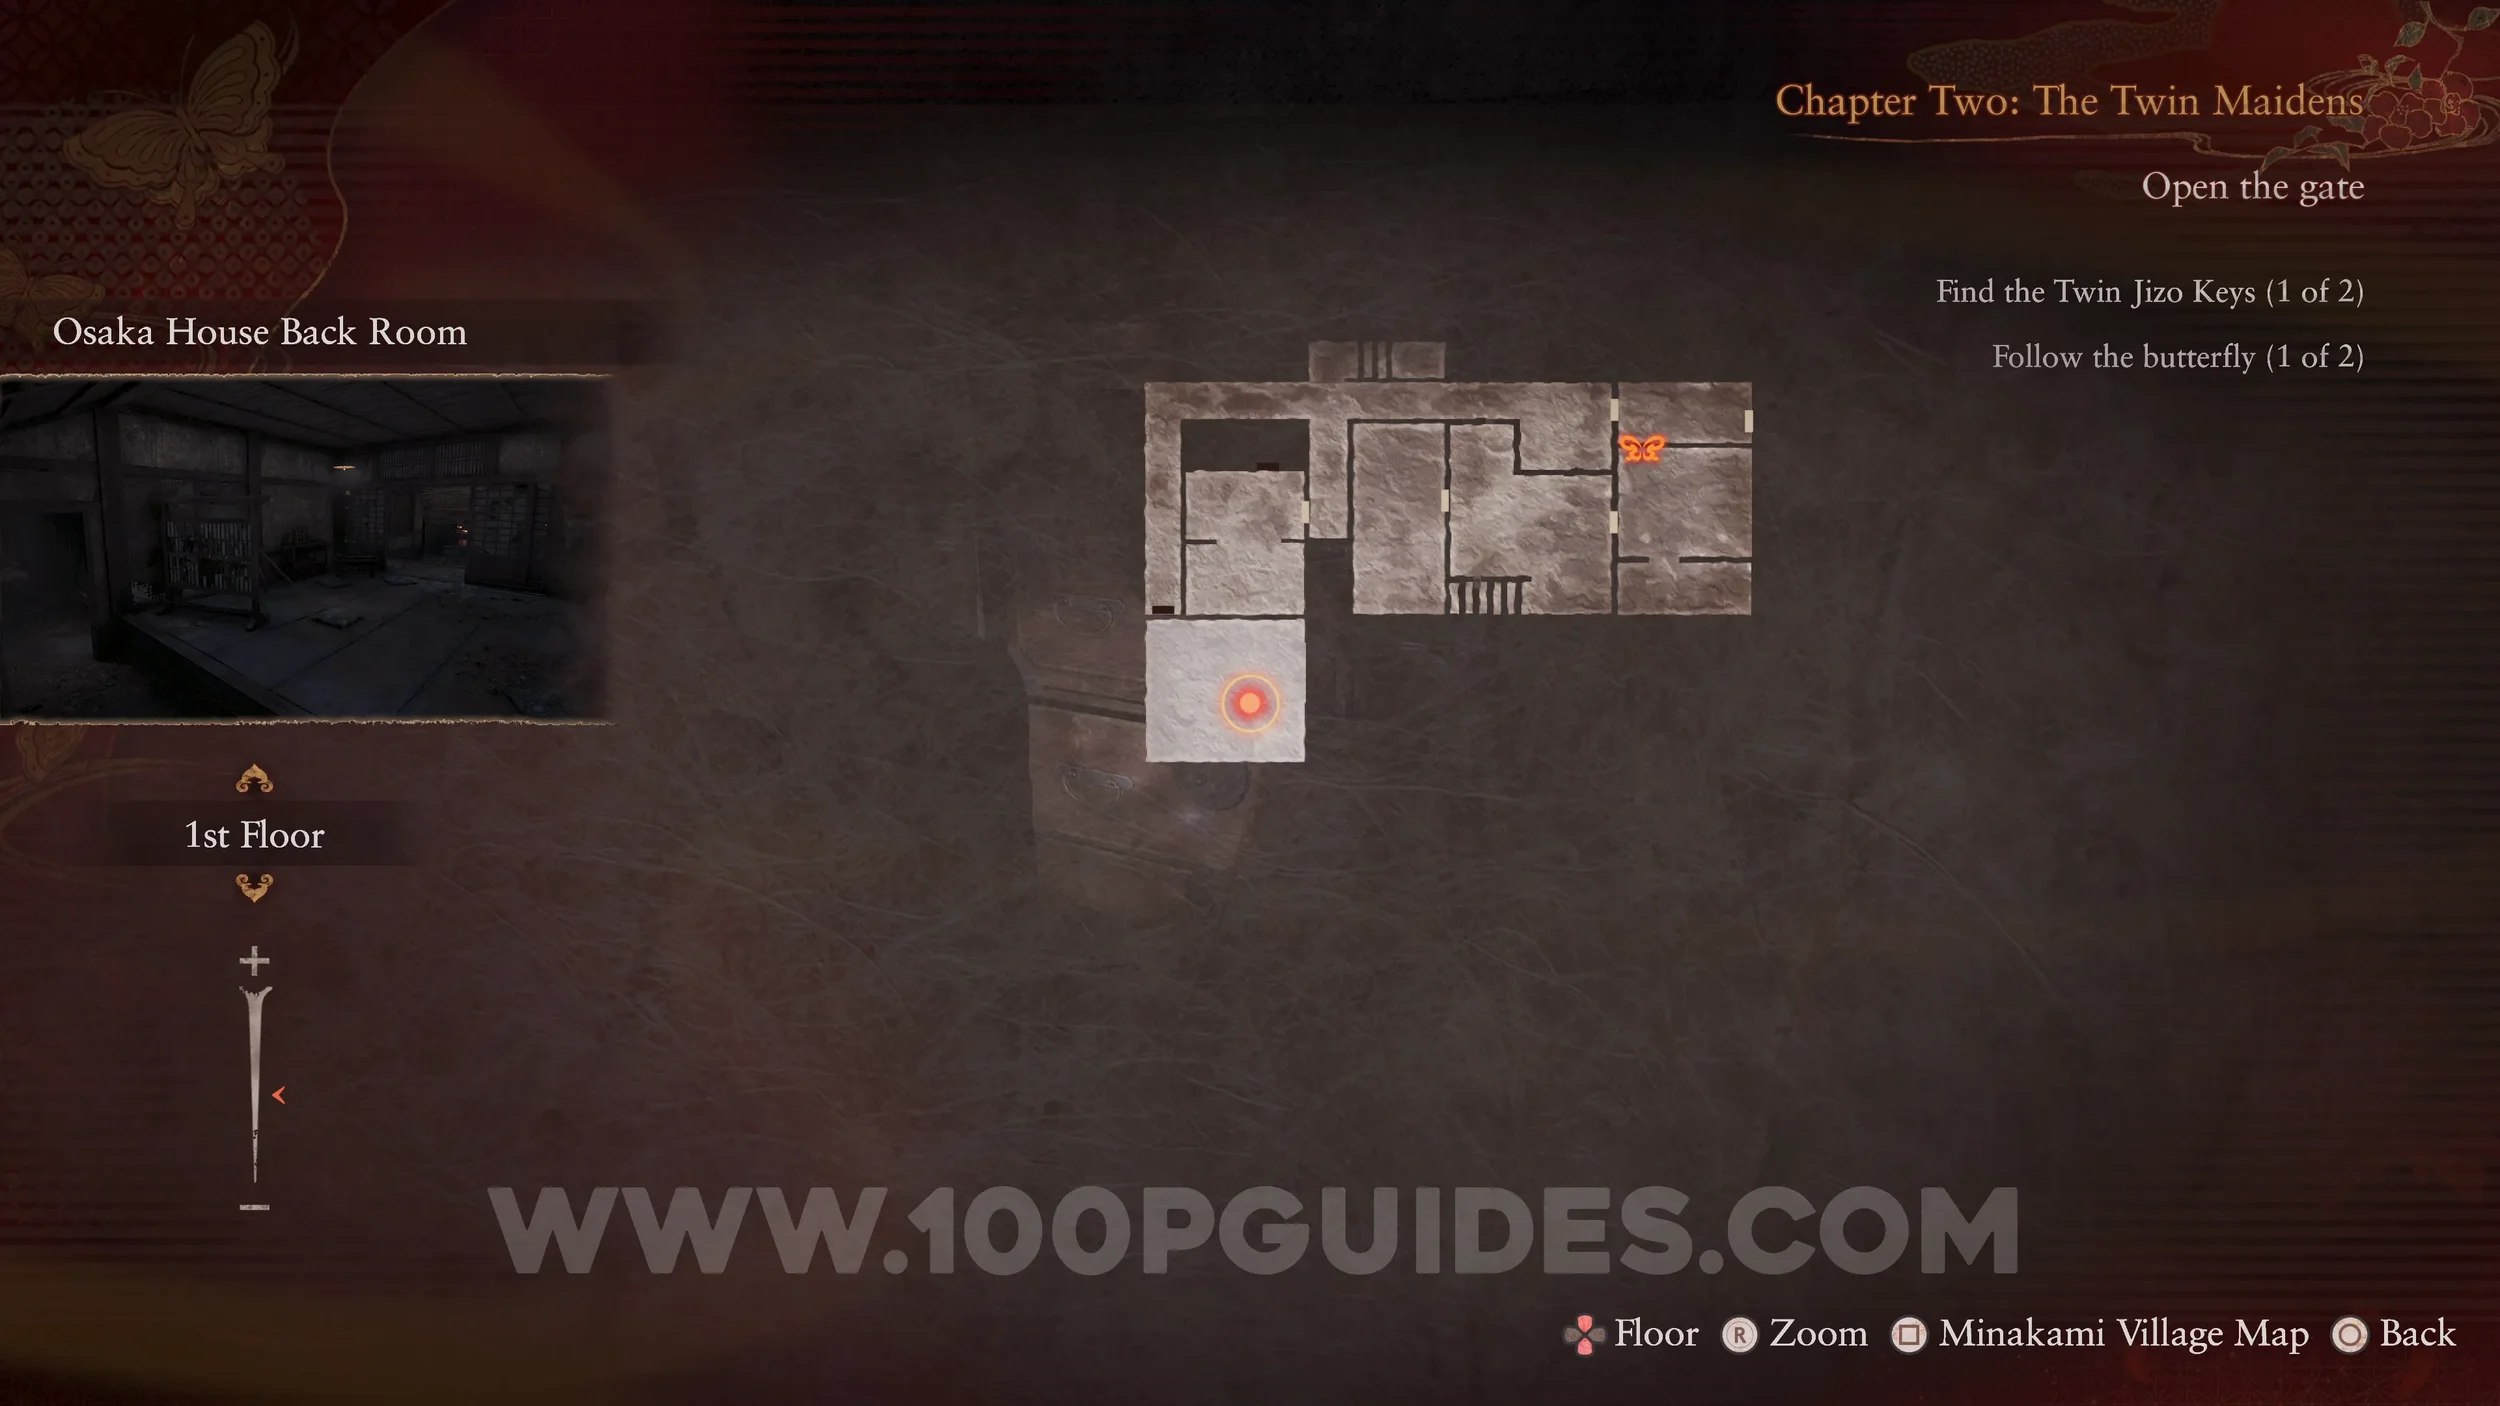
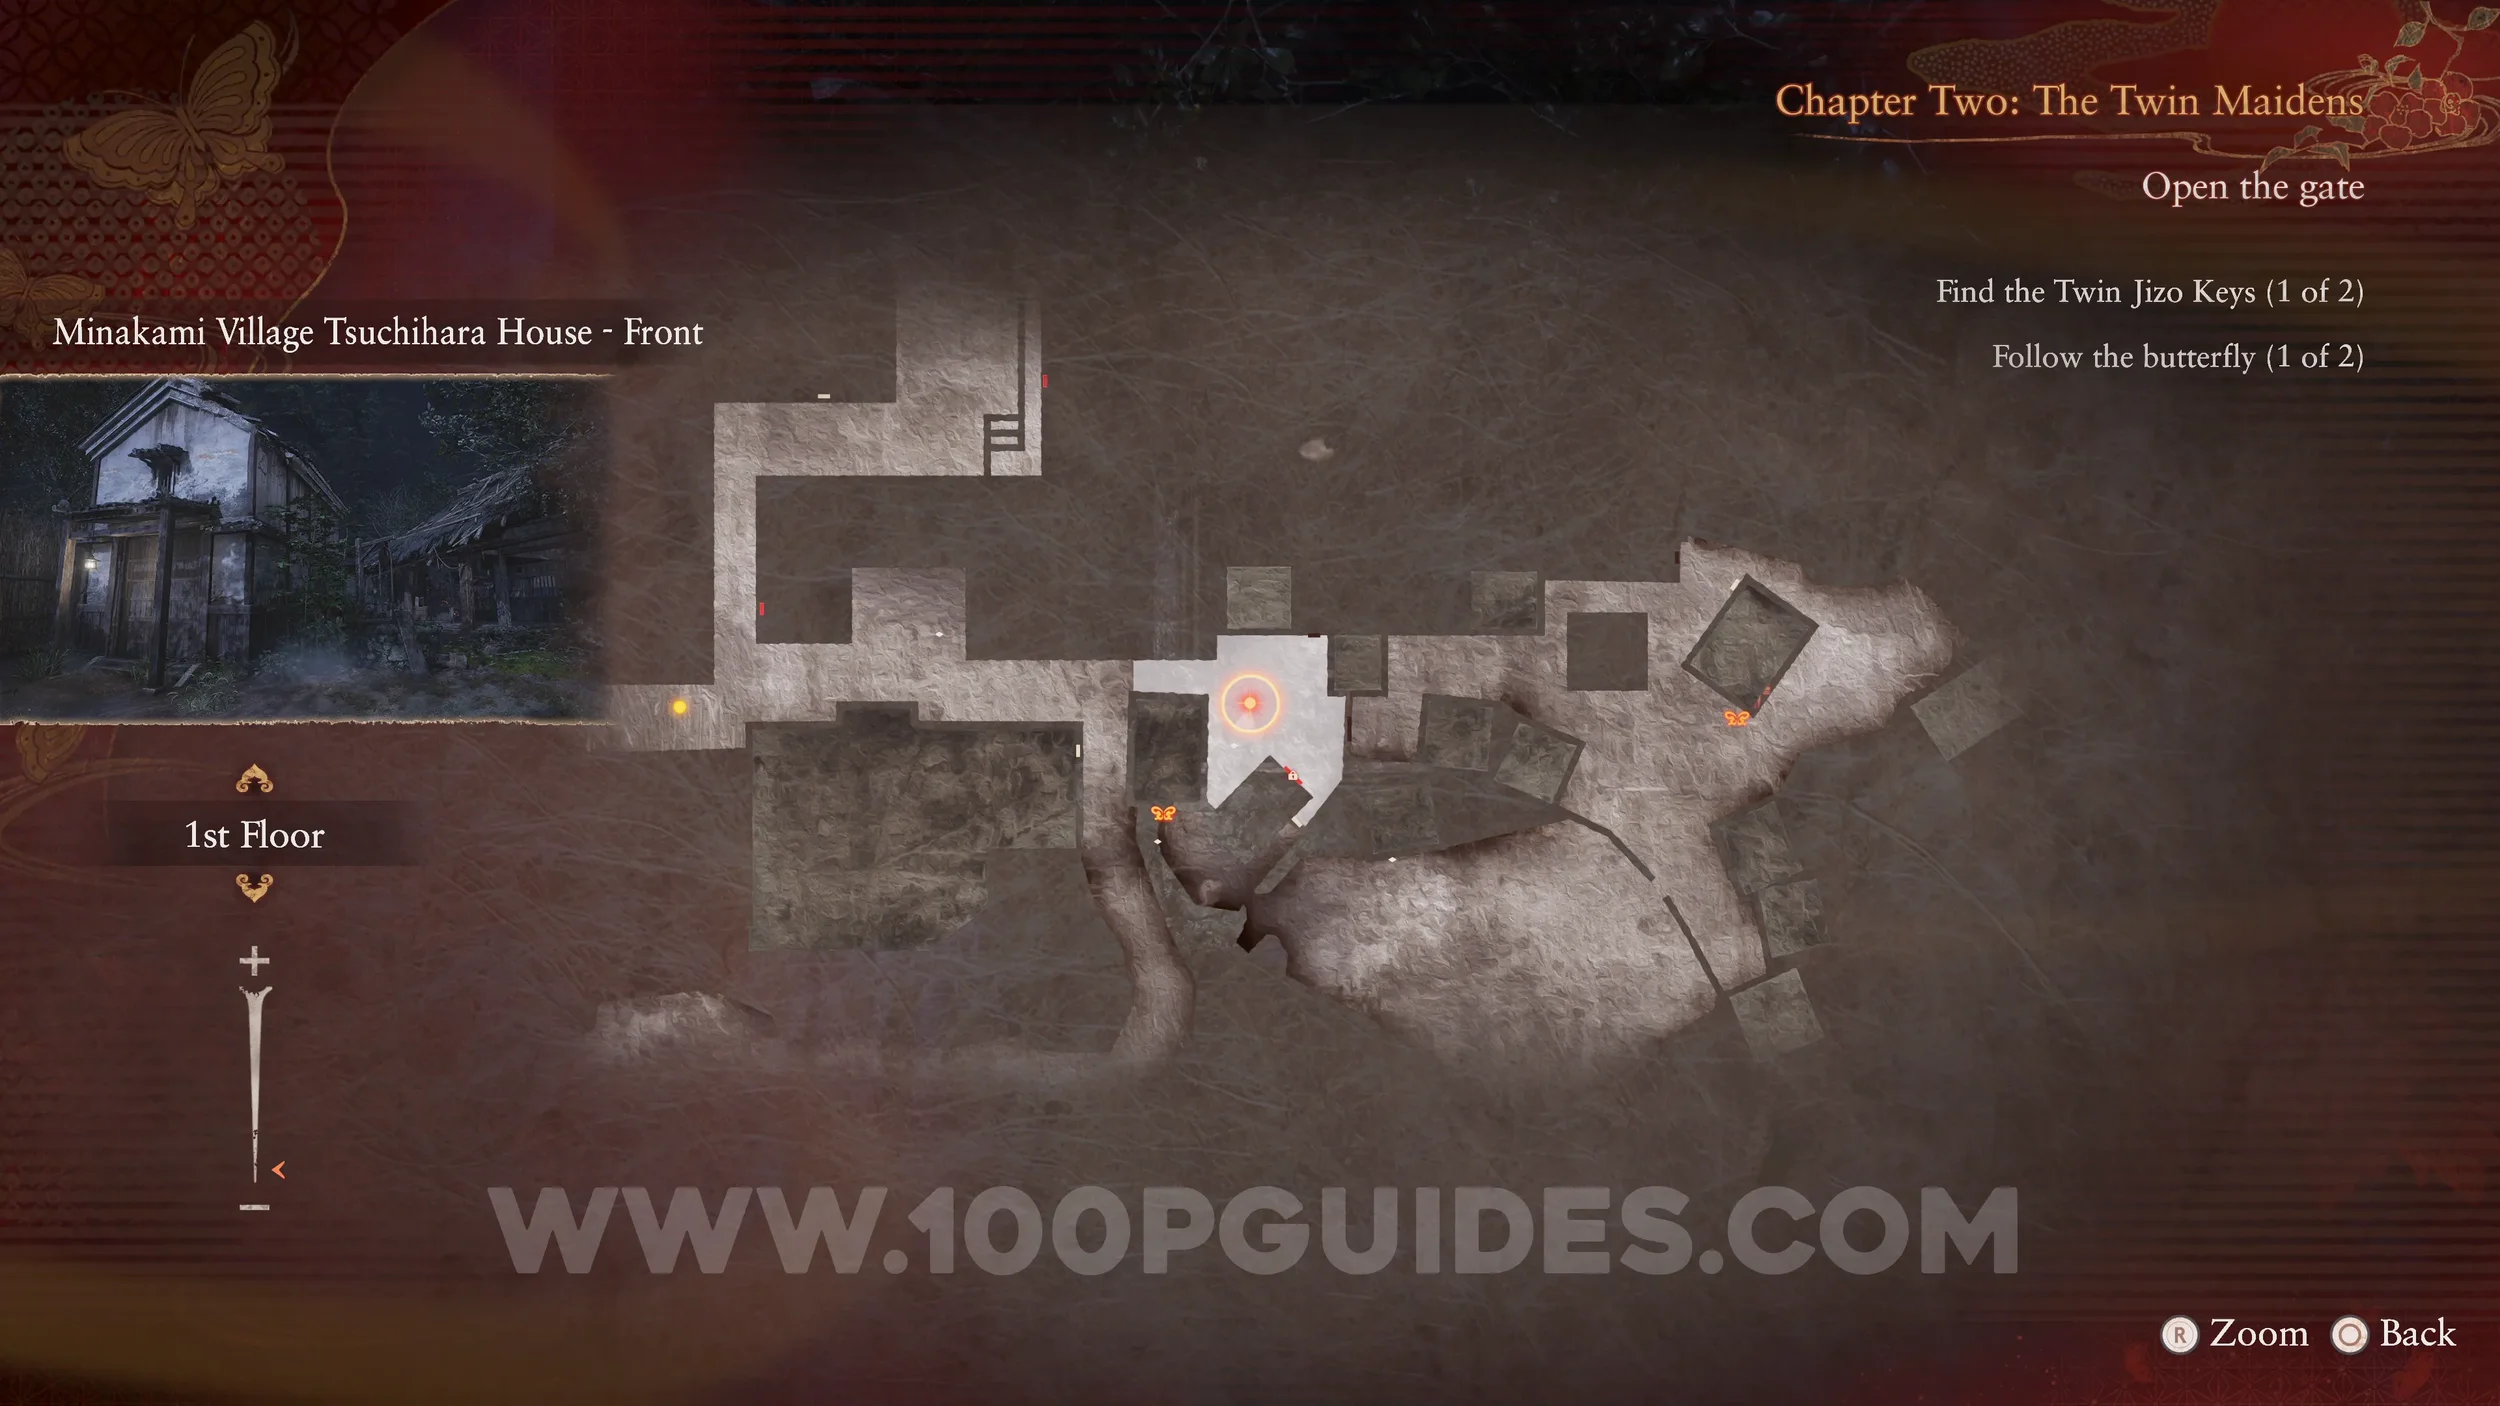
Prayer Beads #7. Found inside the temple after following the butterfly to the Twin Jizo Key (Right).
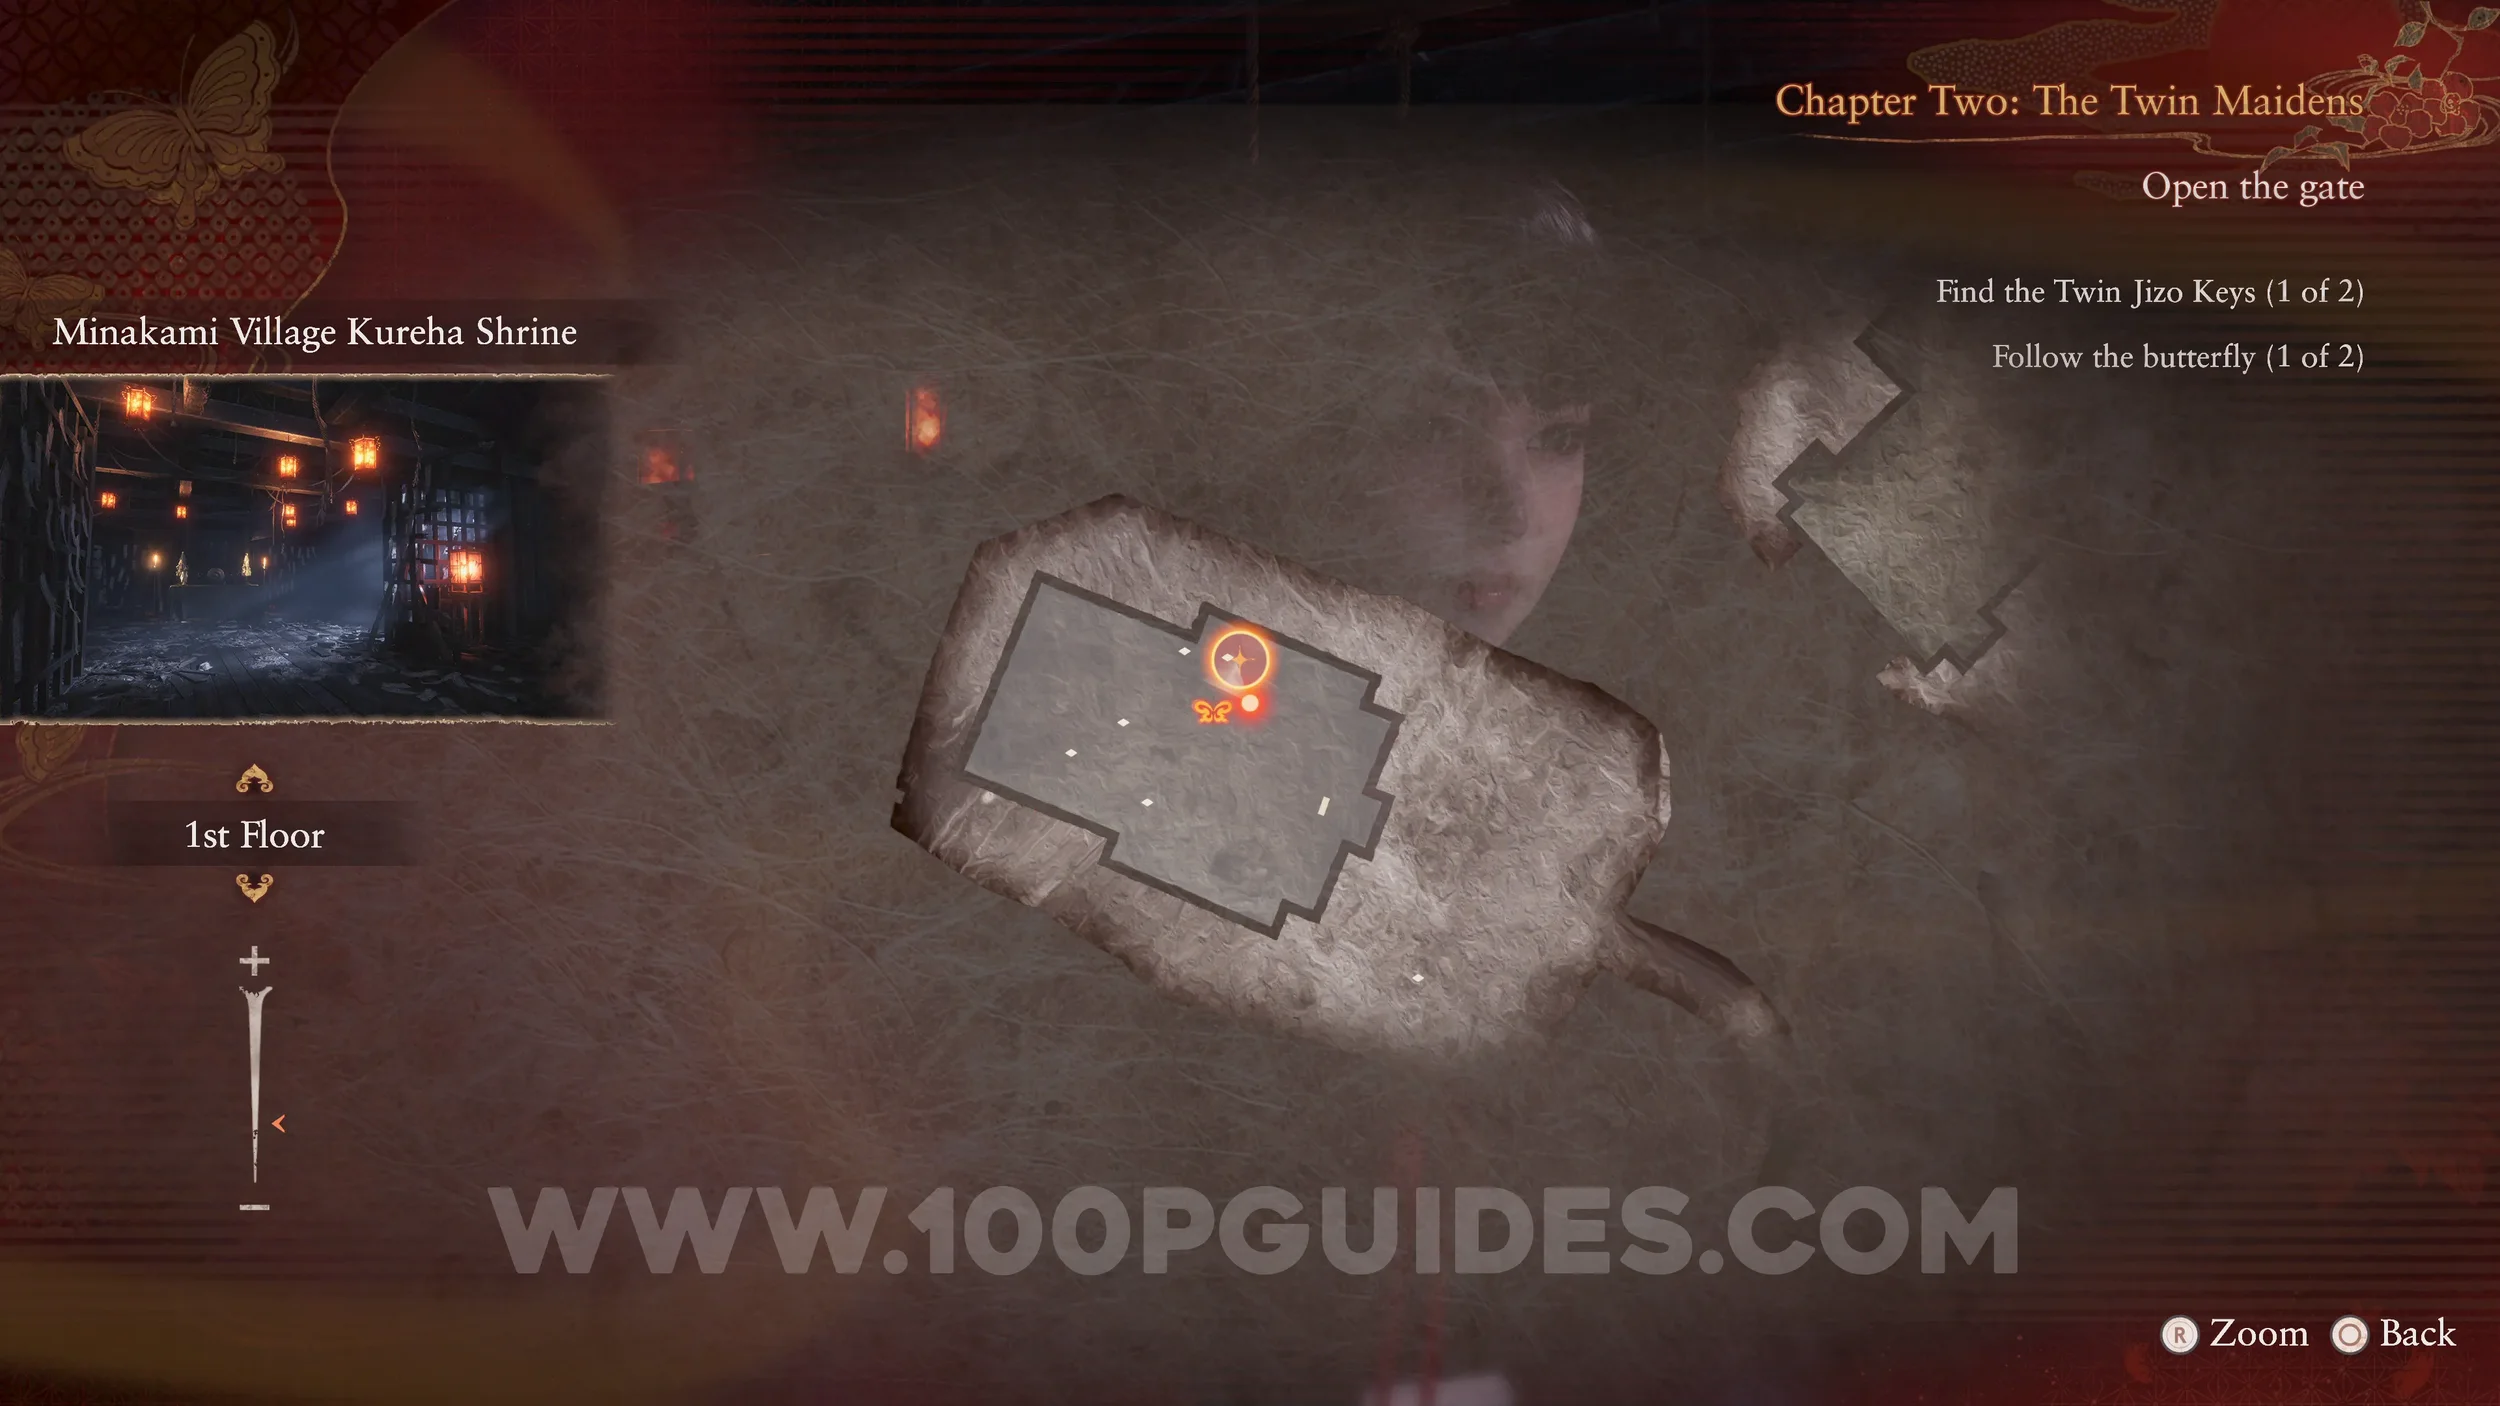
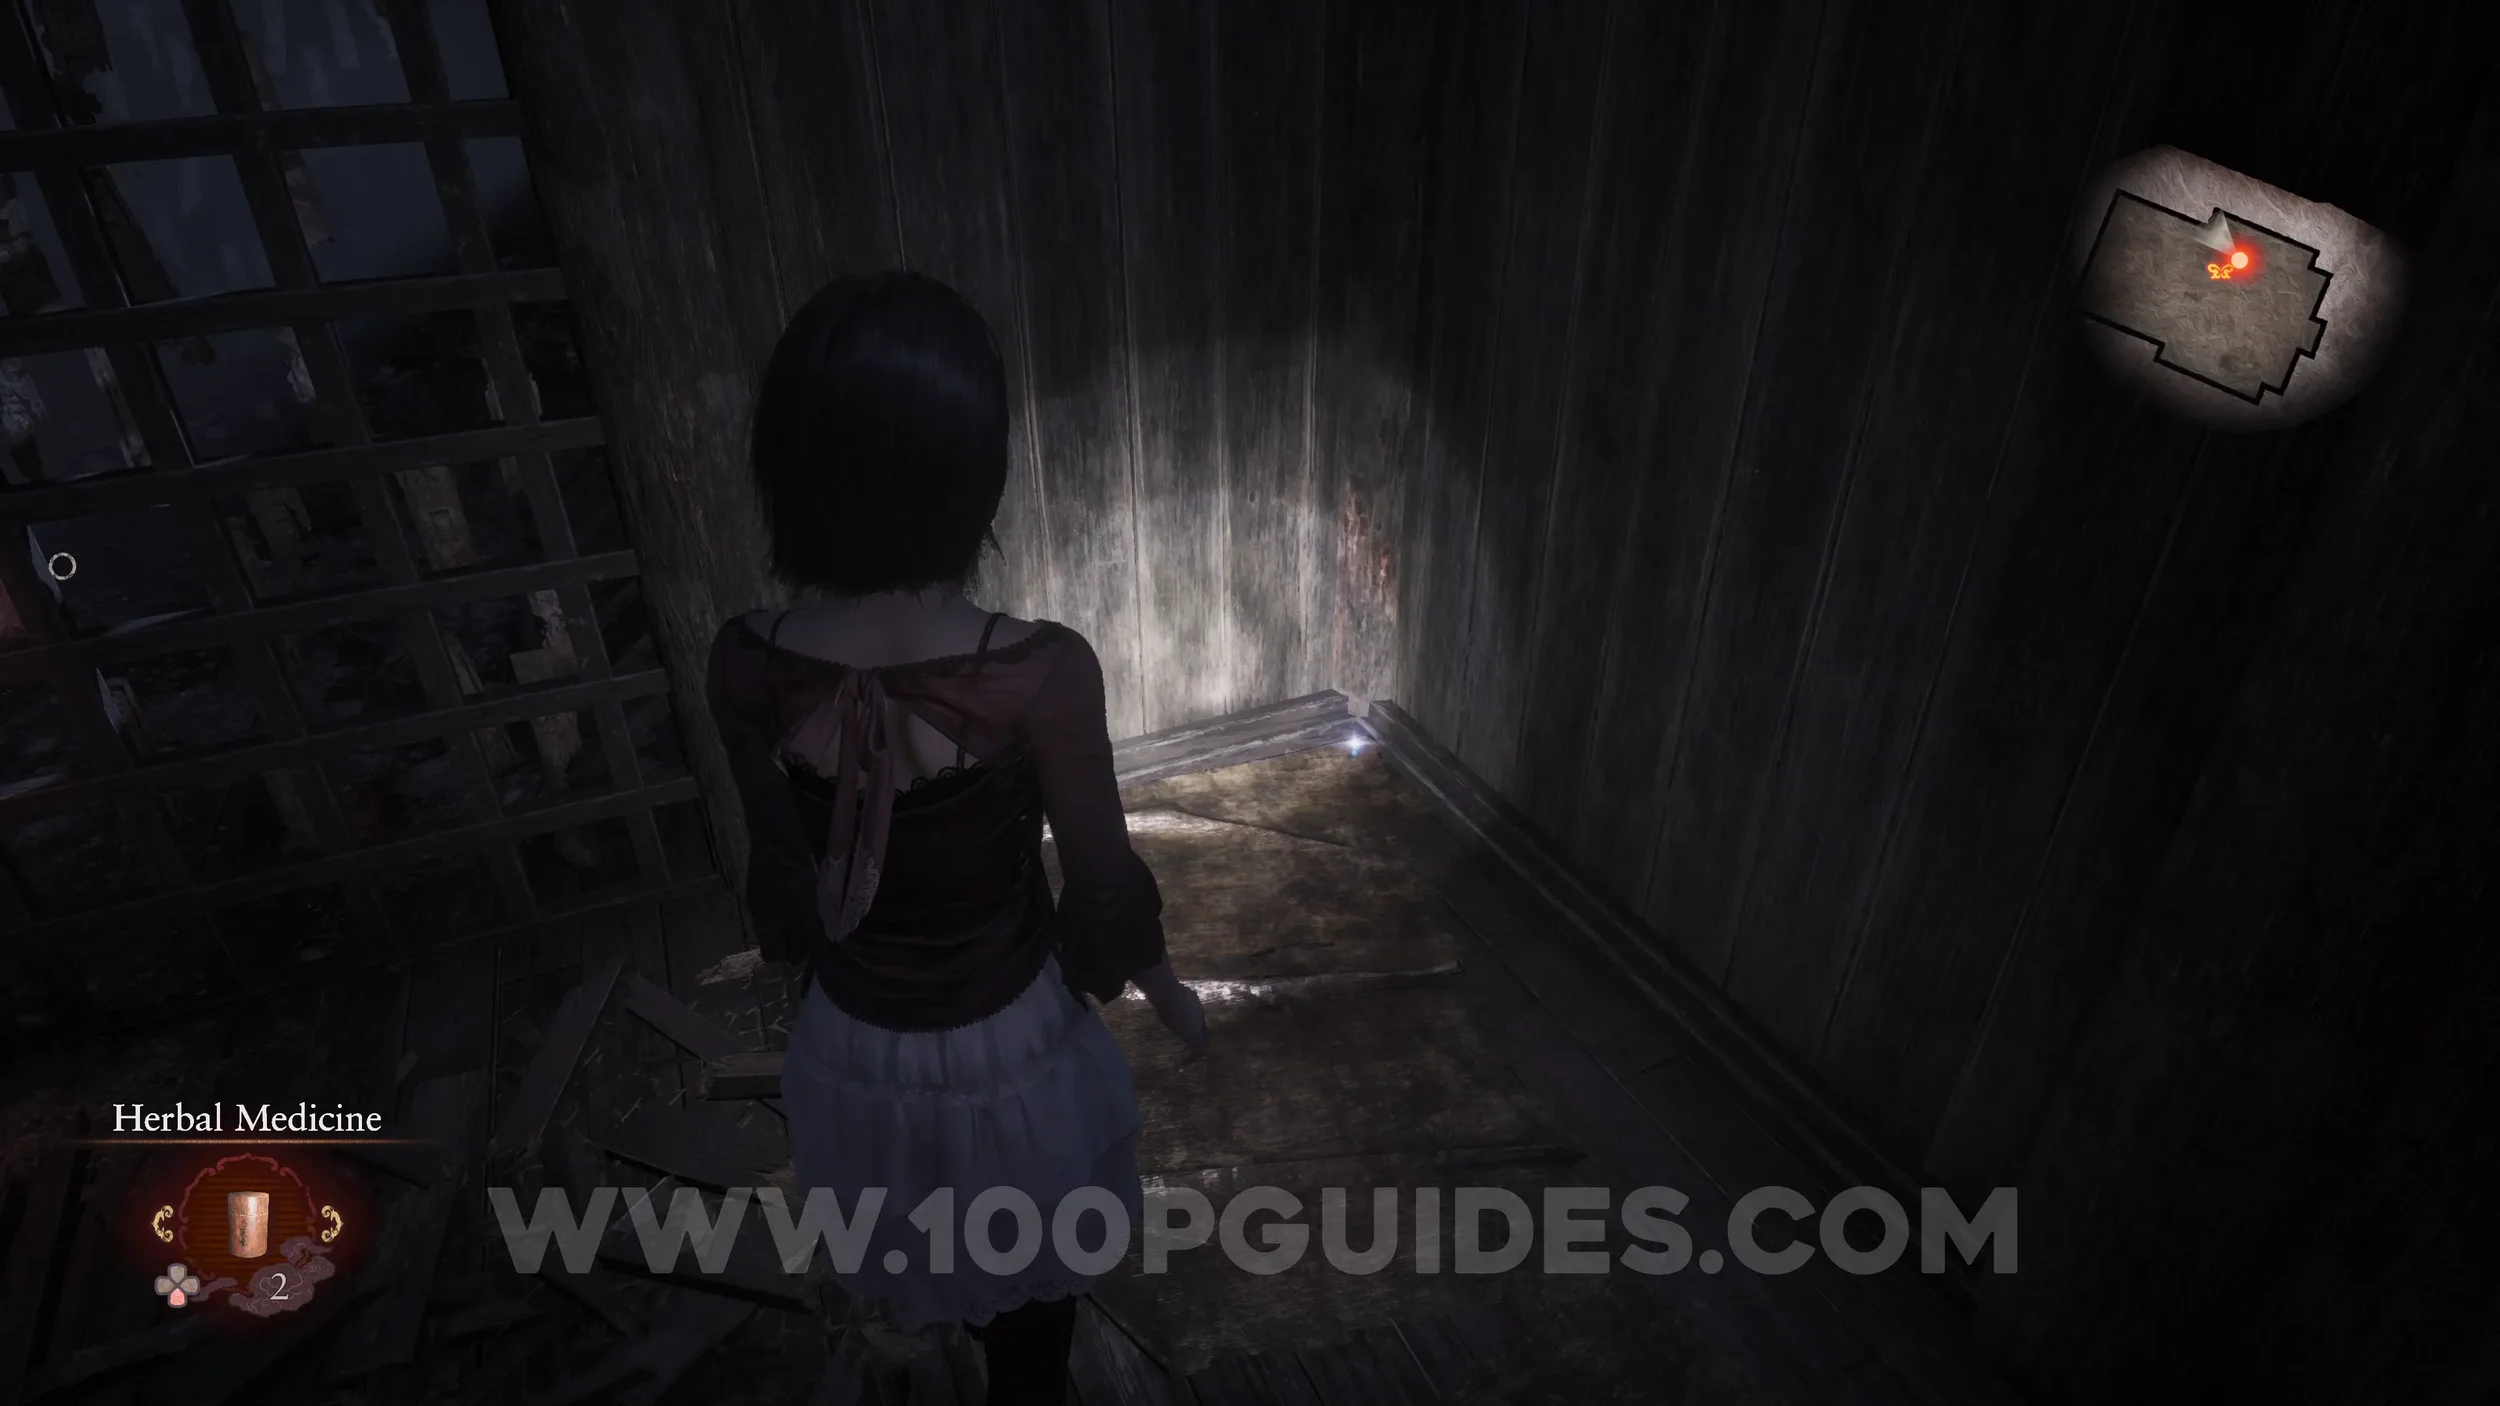
Spirit Stone #7 - Glowing Blue Crystal. Also in the same temple as the Twin Jizo Key (Right).
Twin Dolls #20 (14). Found on the left side of the altar inside the temple where you obtain the Twin Jizo Key (Right).
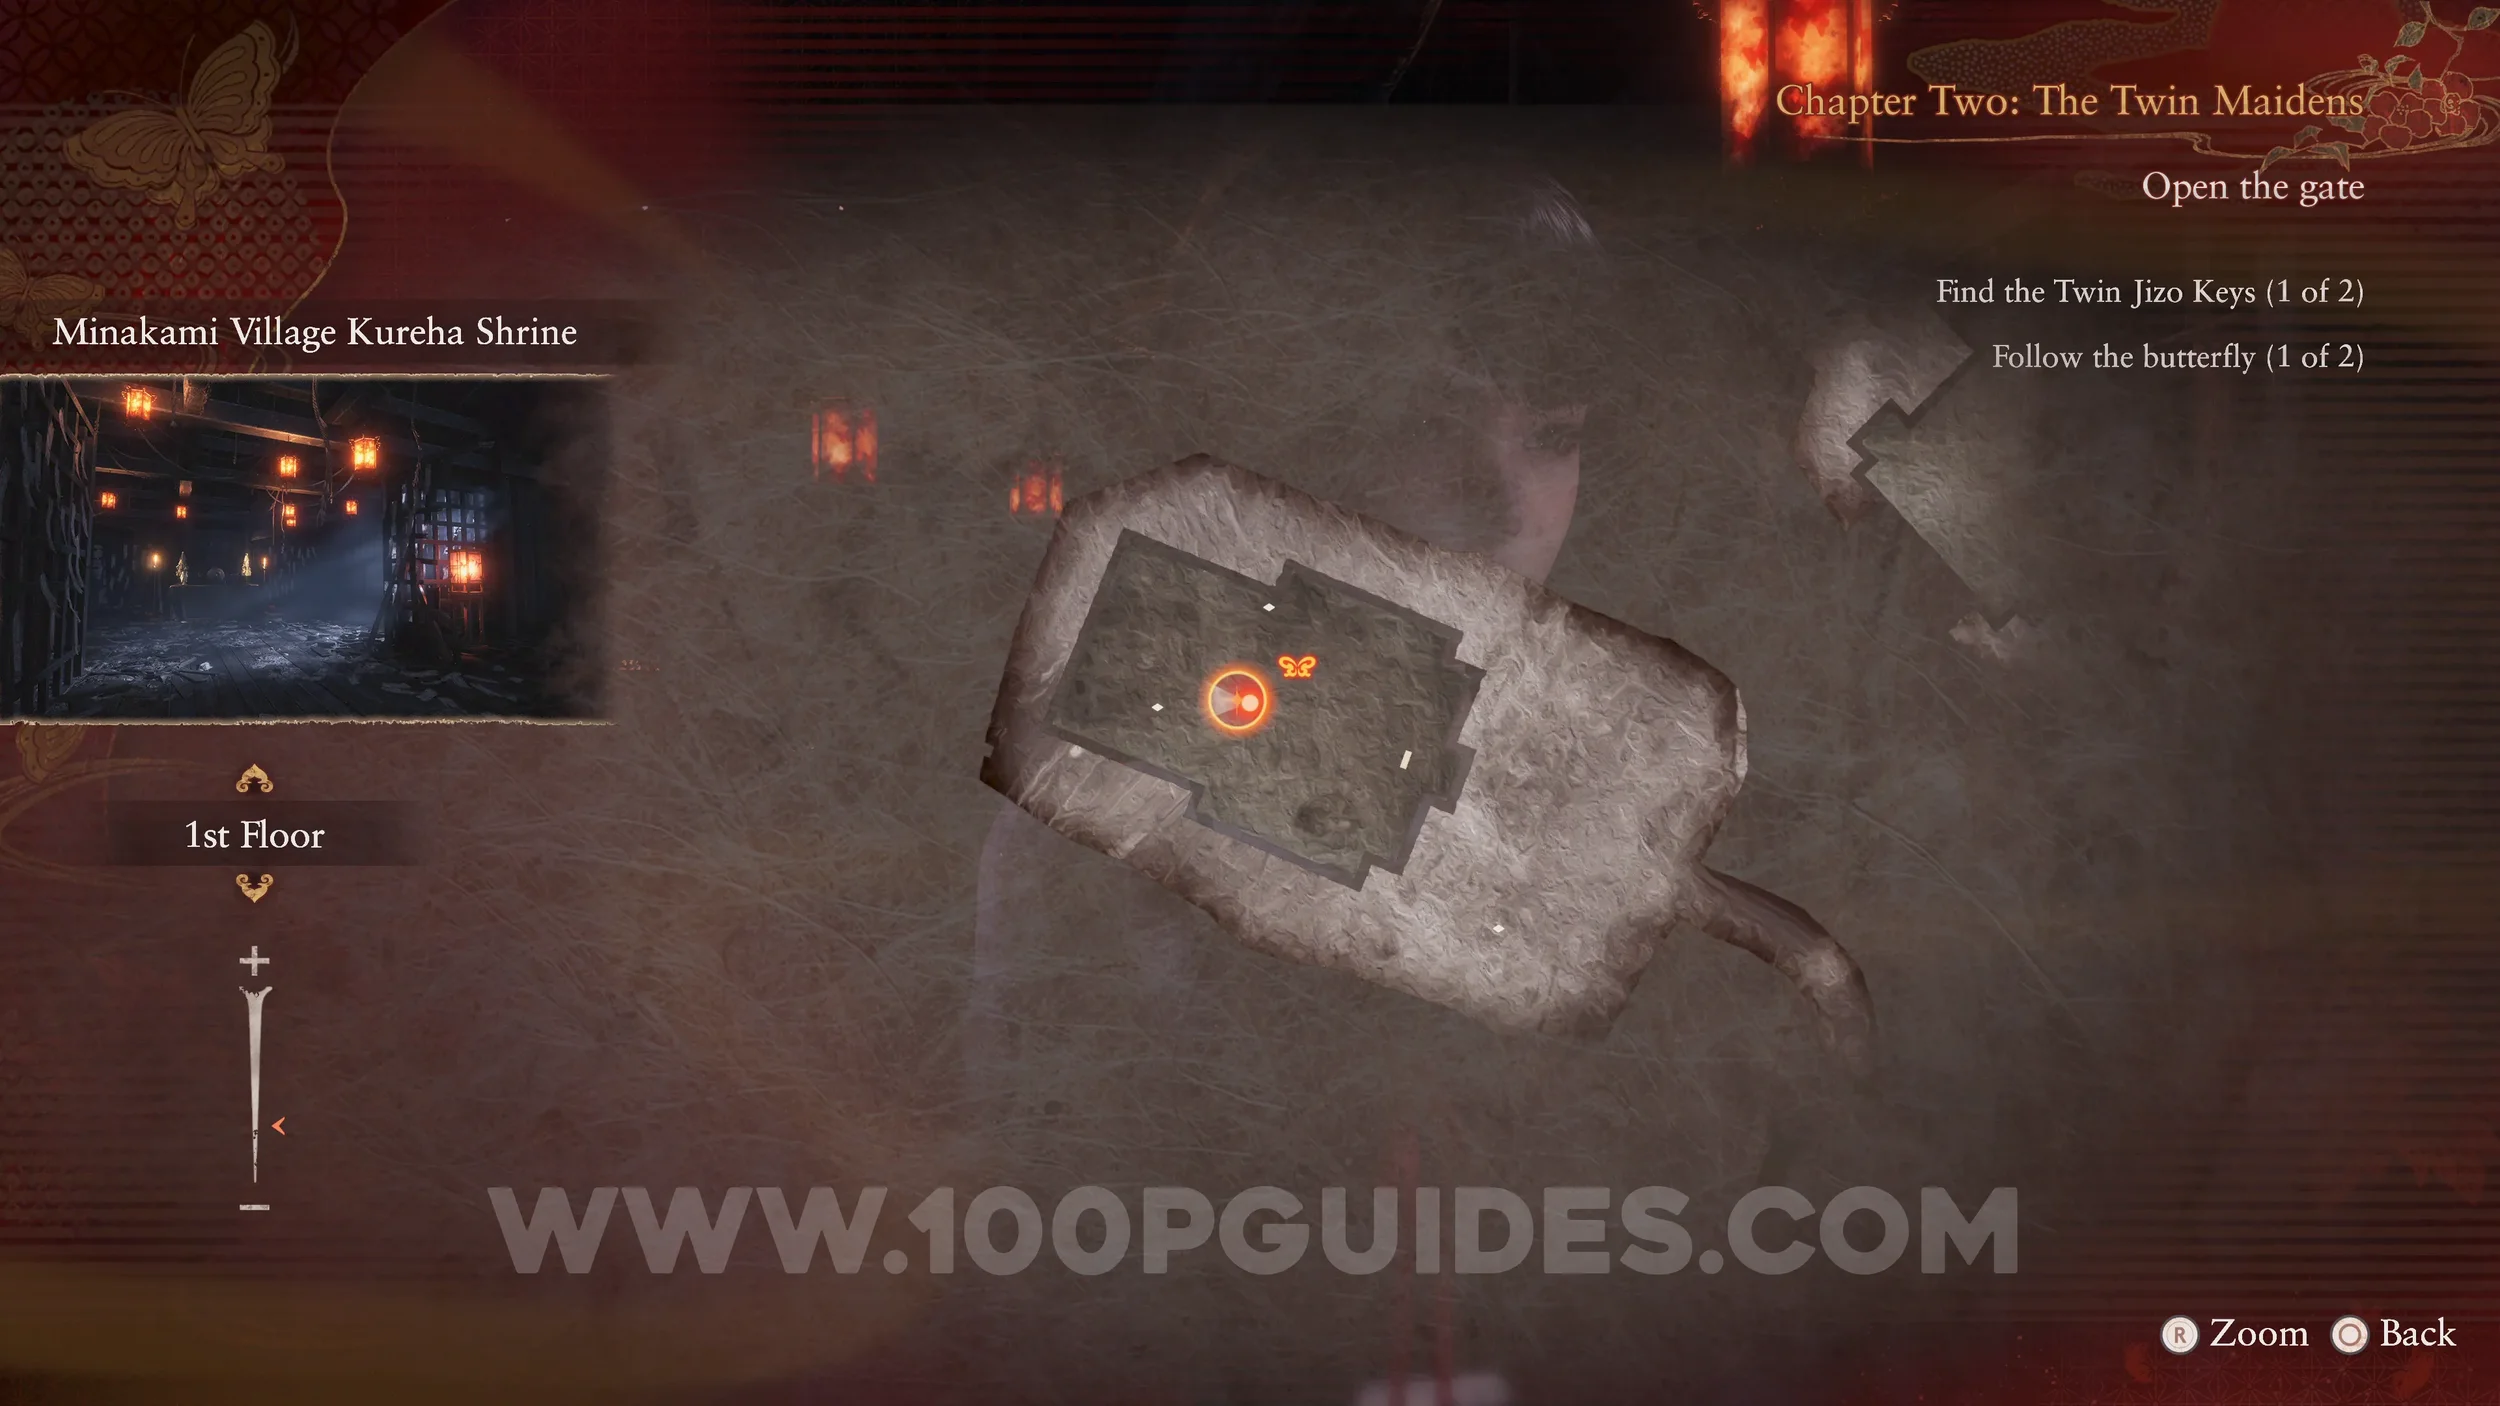
Specter #34 - 021 Man Searching for Twins at Shrine. After picking up the Twin Jizo Key (Right) and going back through the hole in the temple, look out the window on your right to see the specter outside.
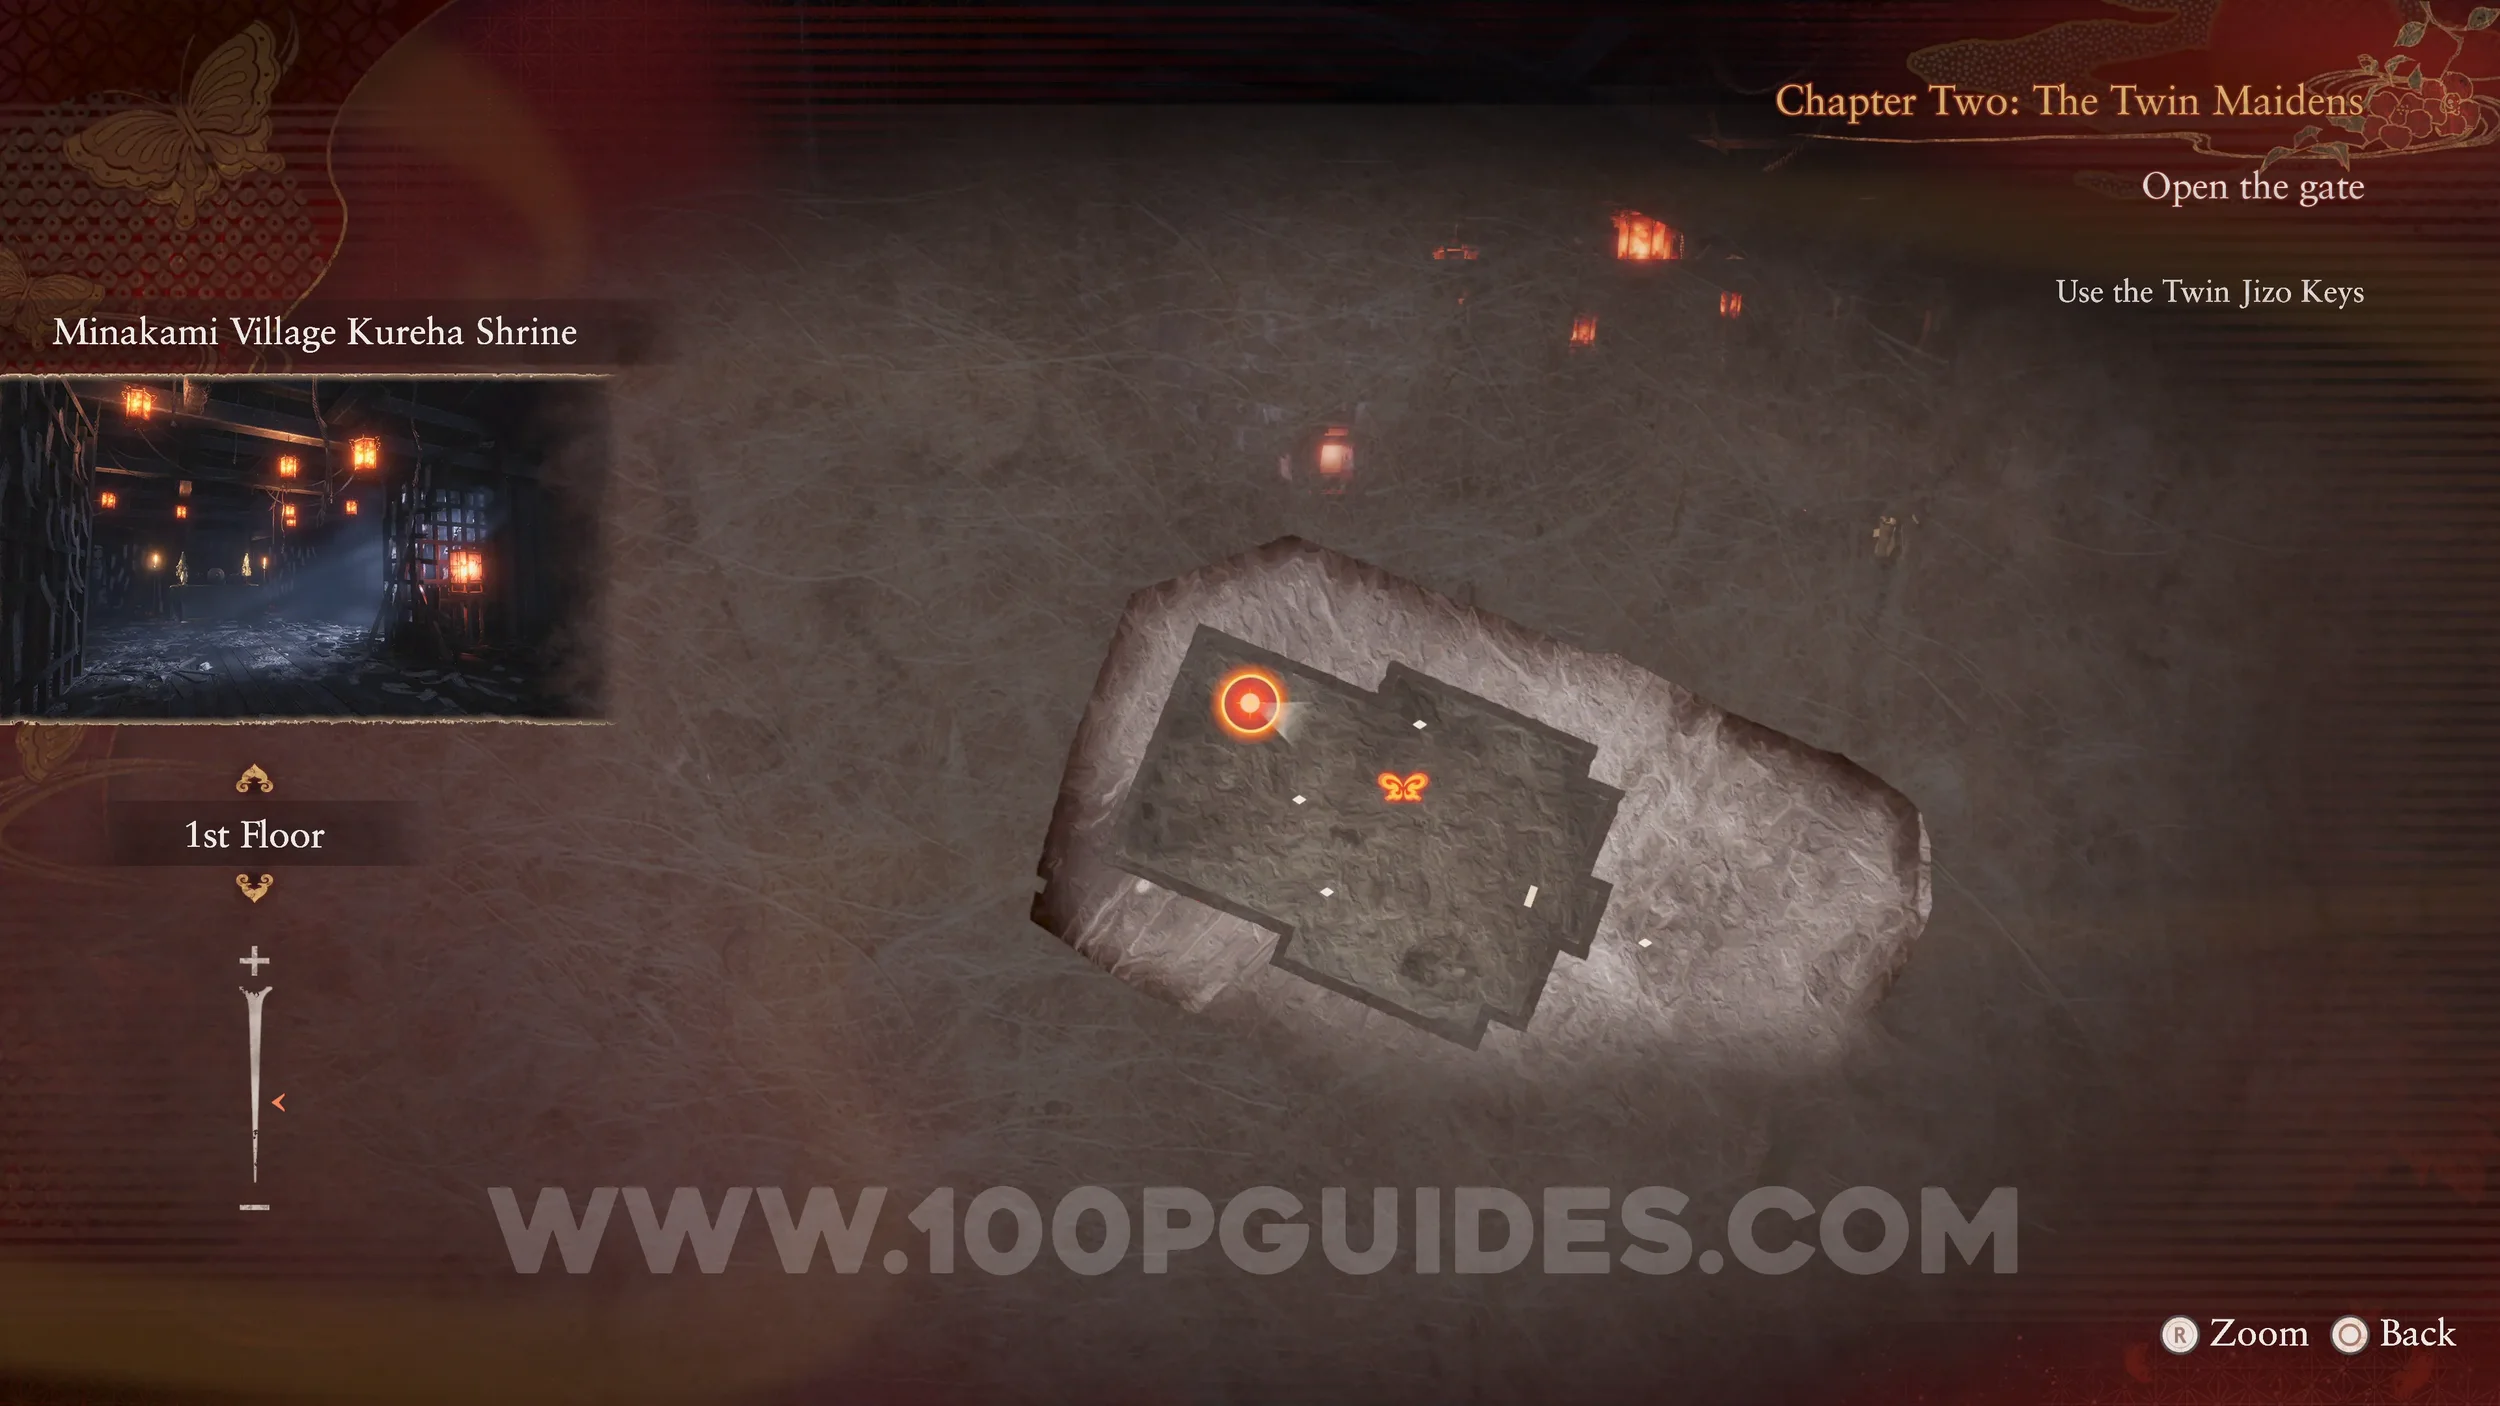
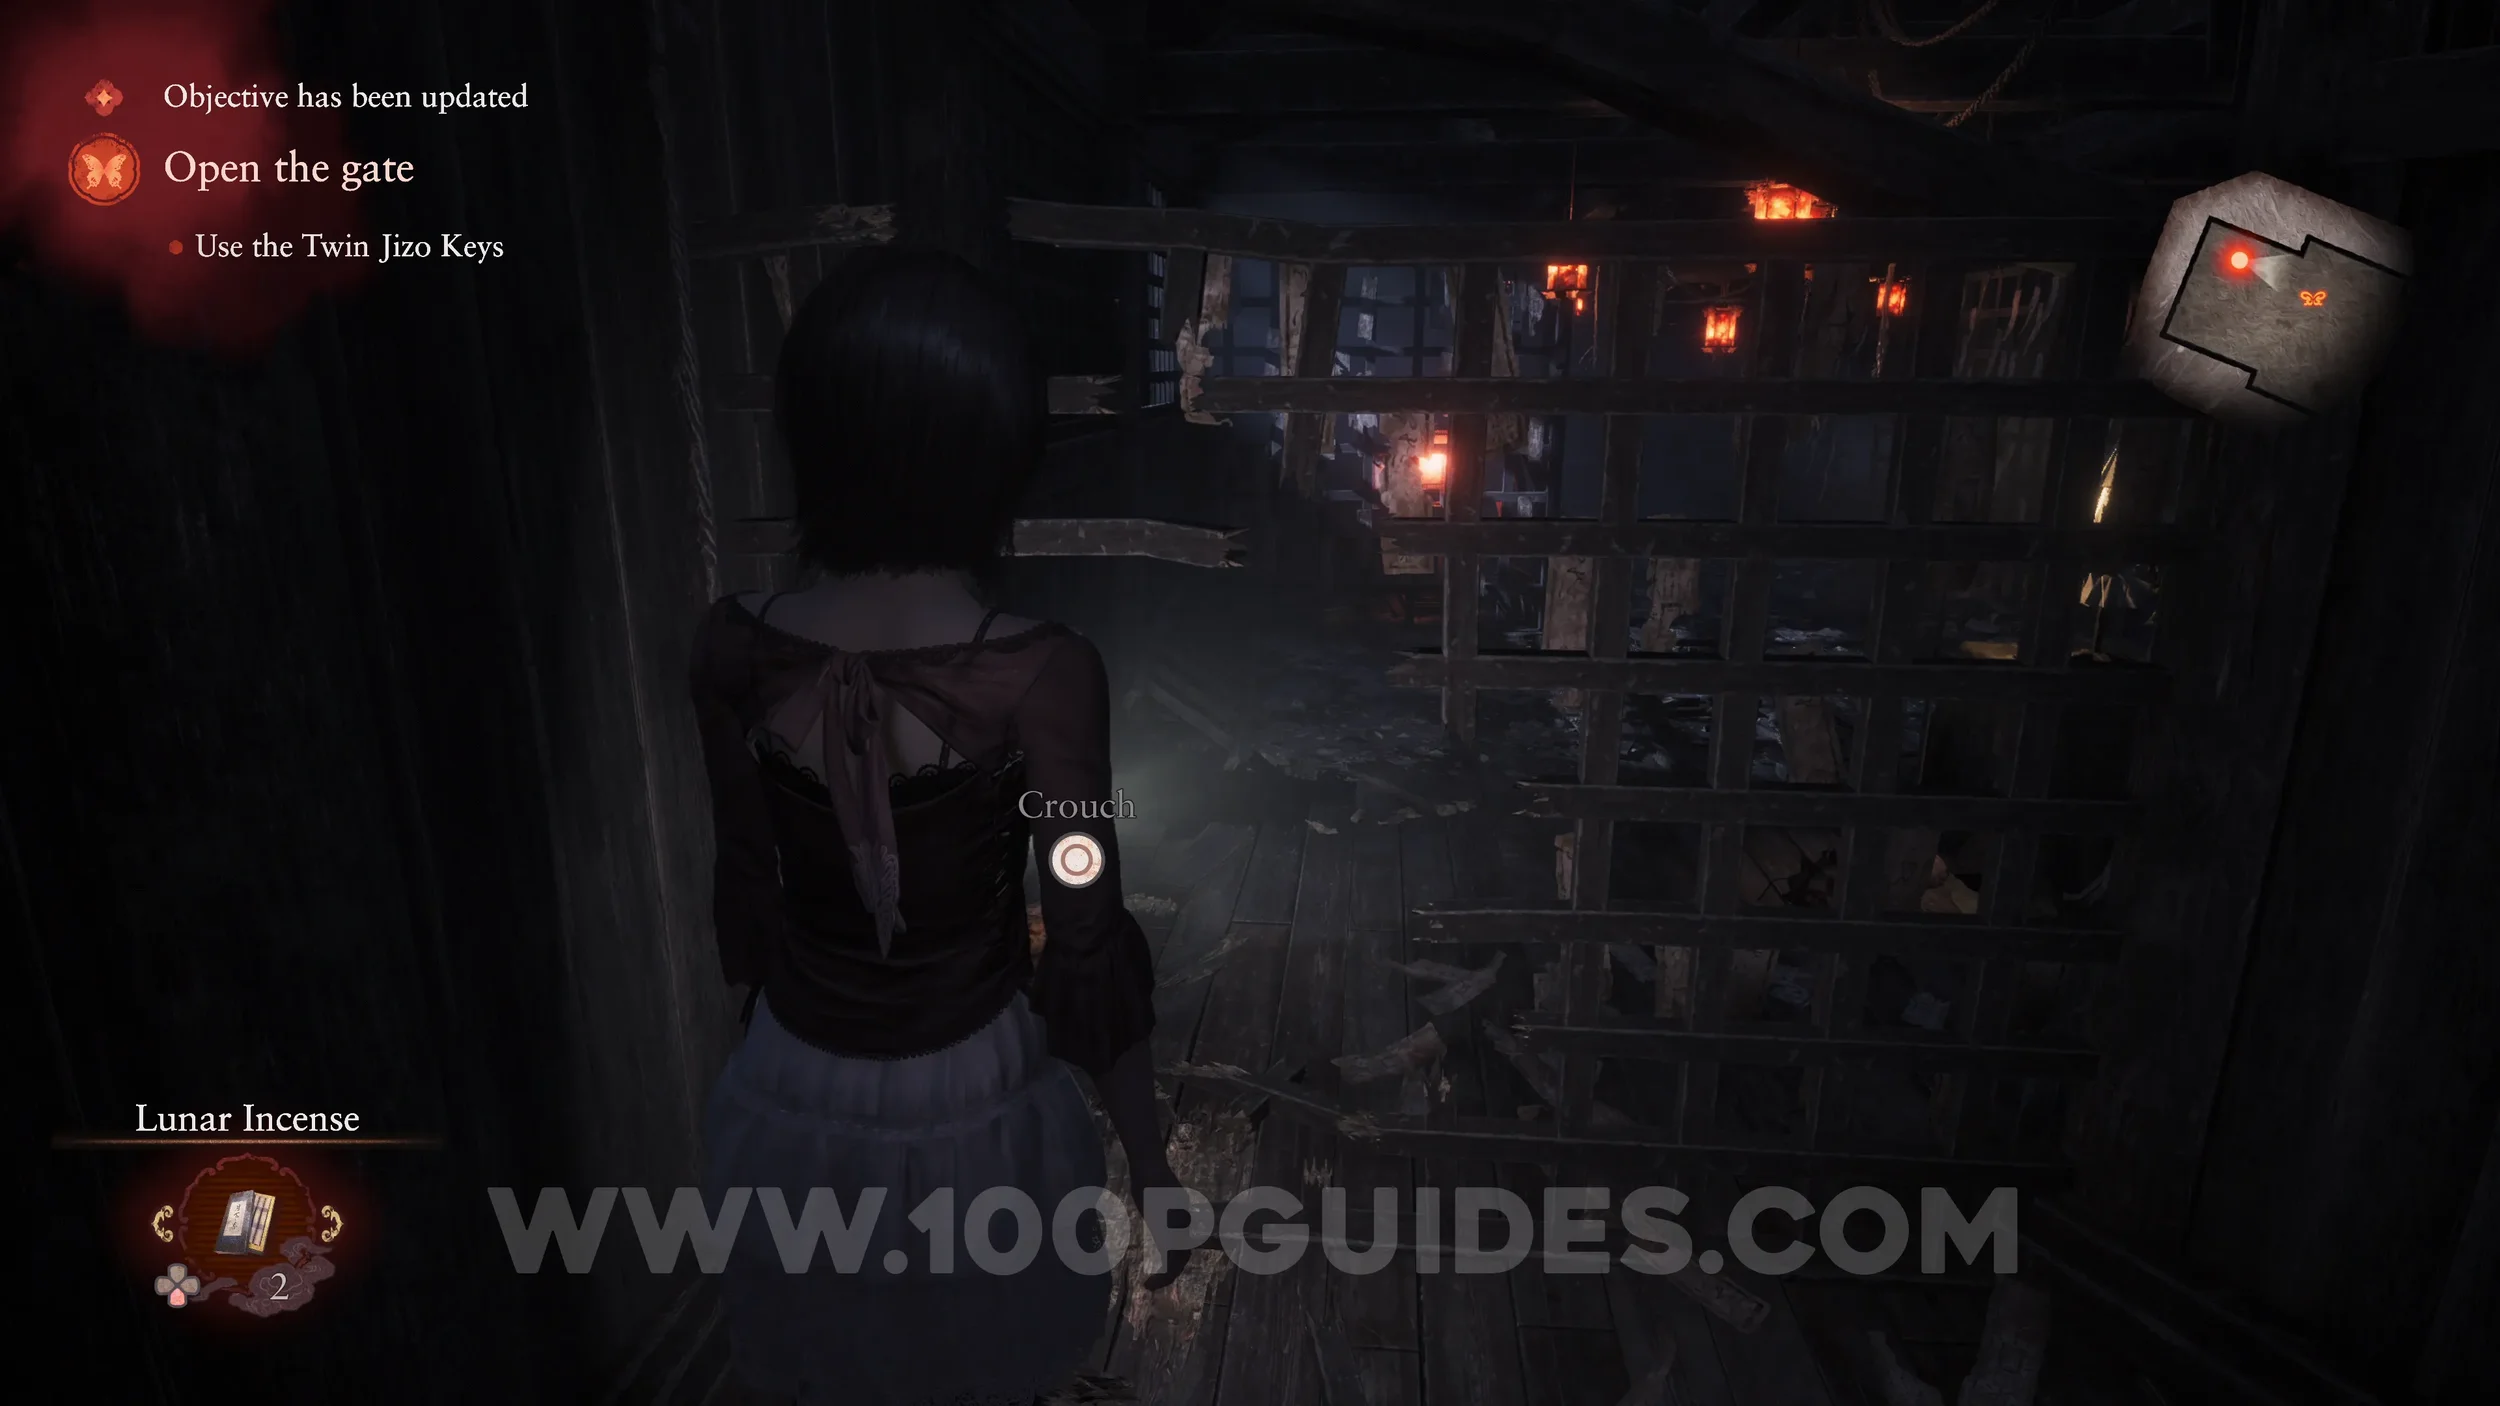
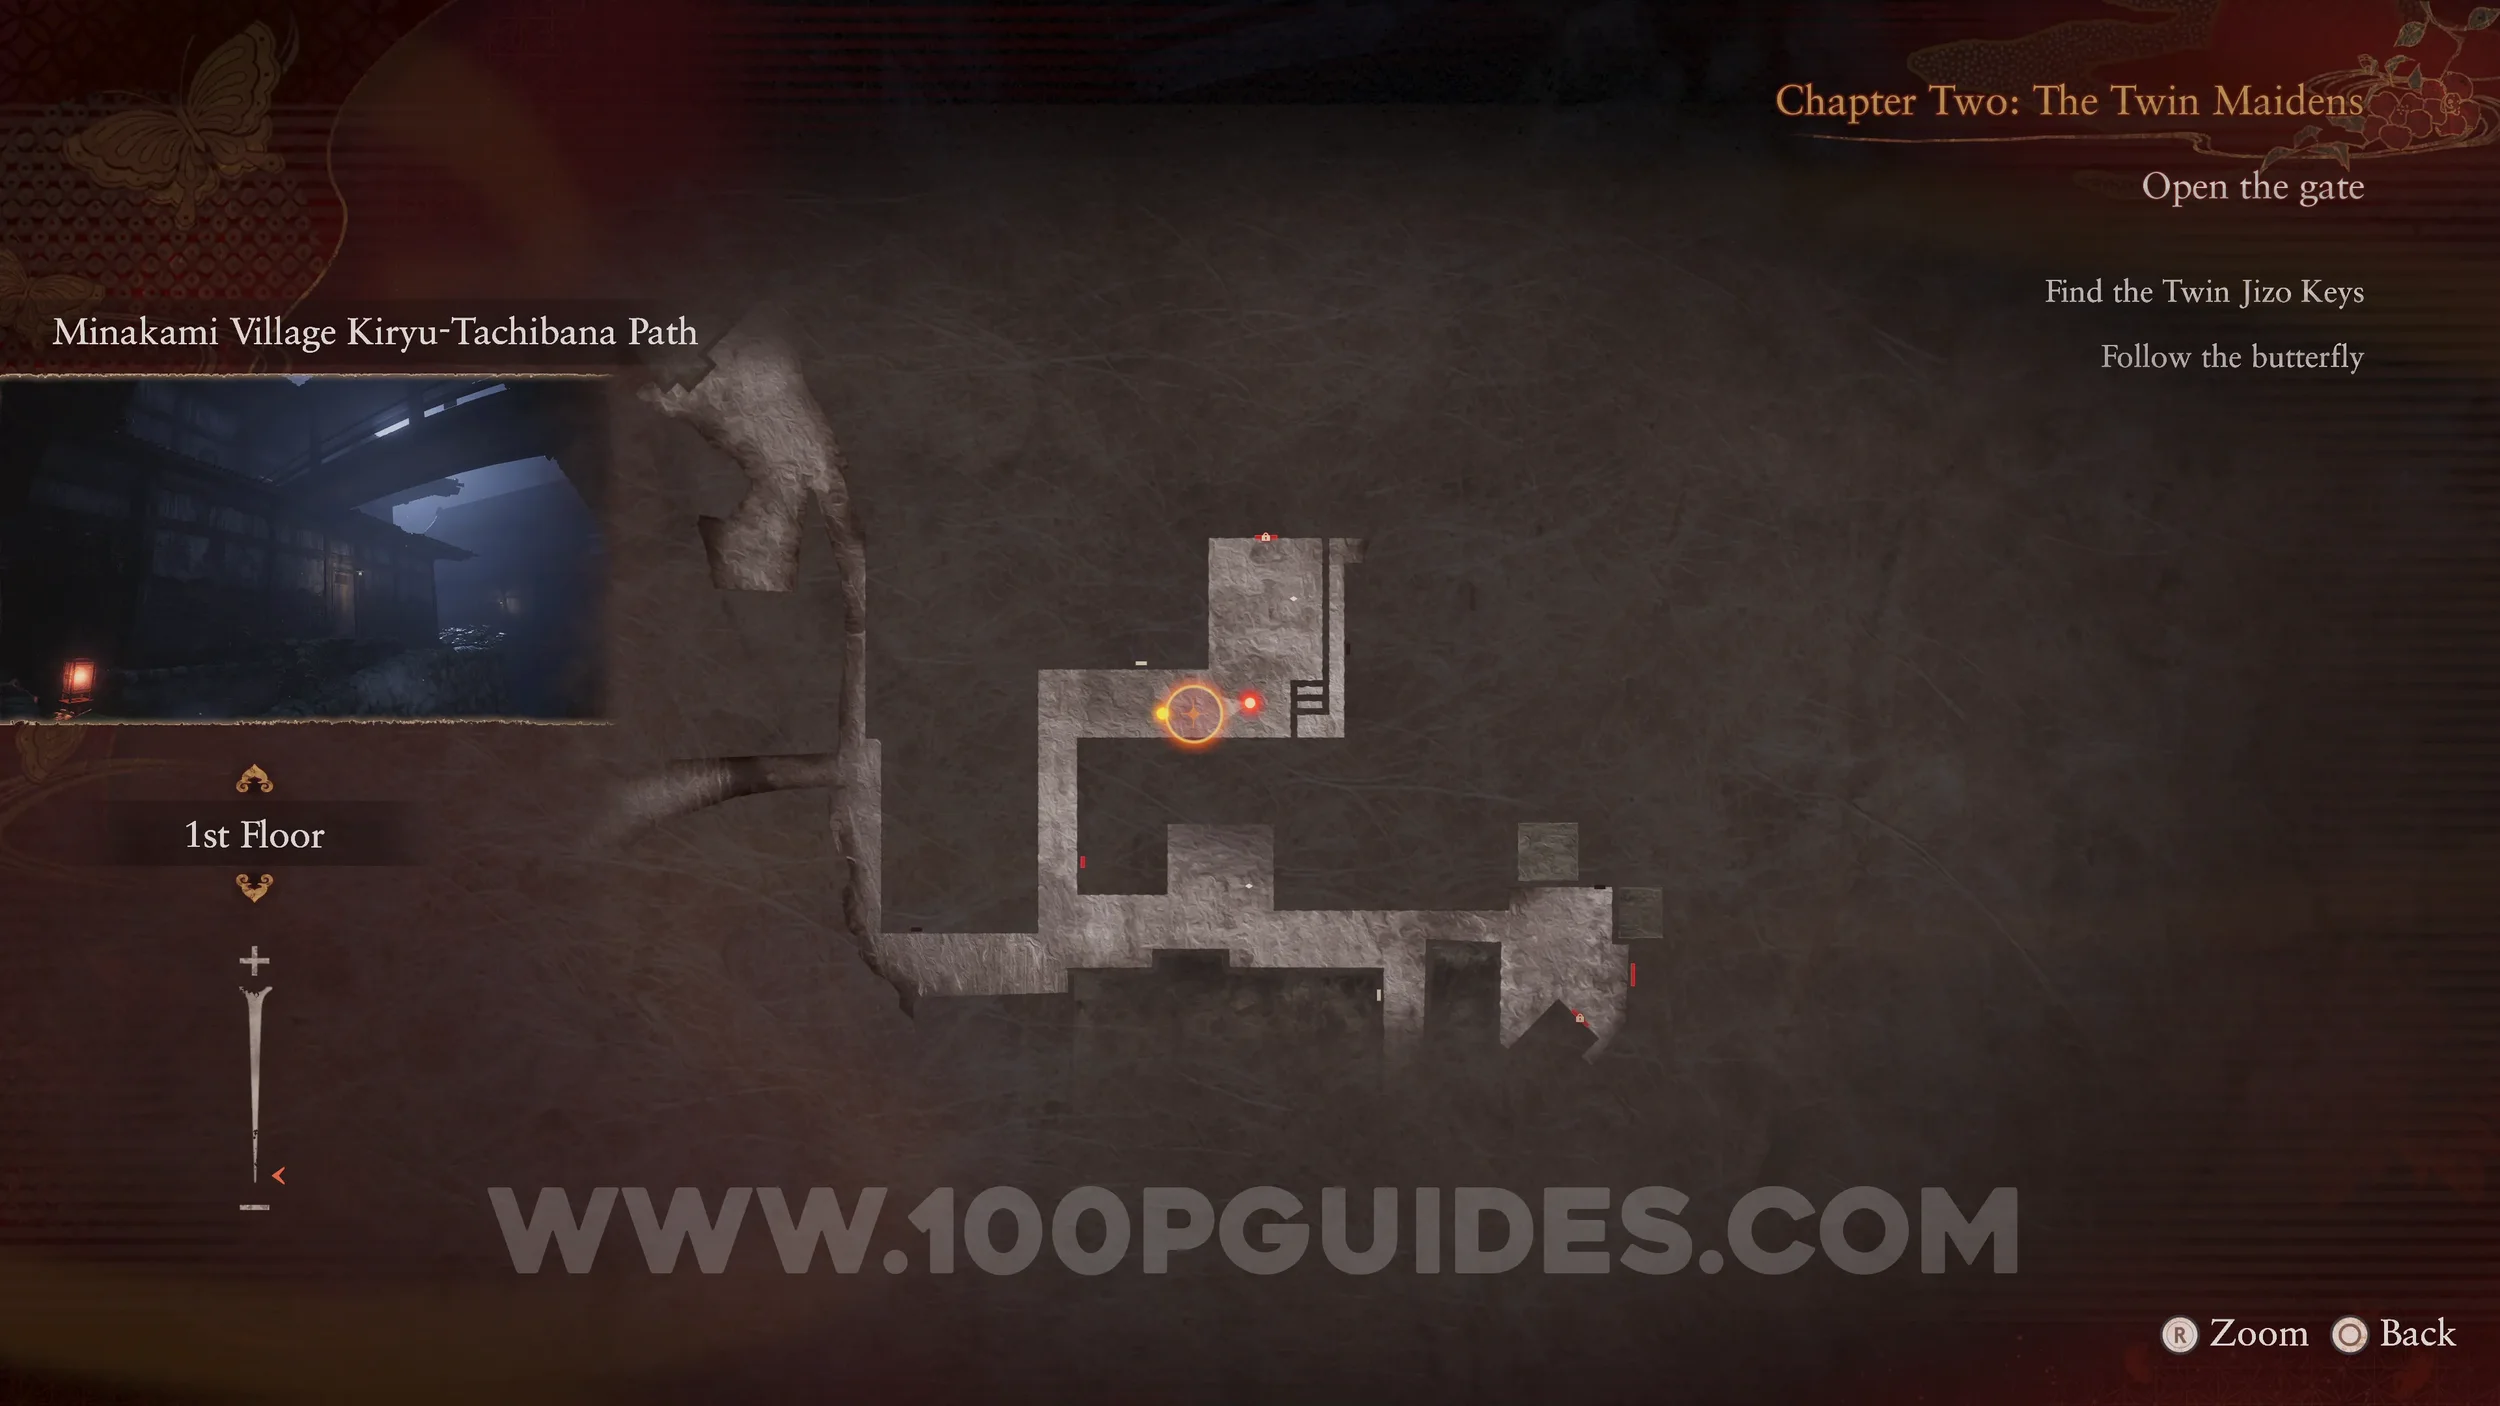
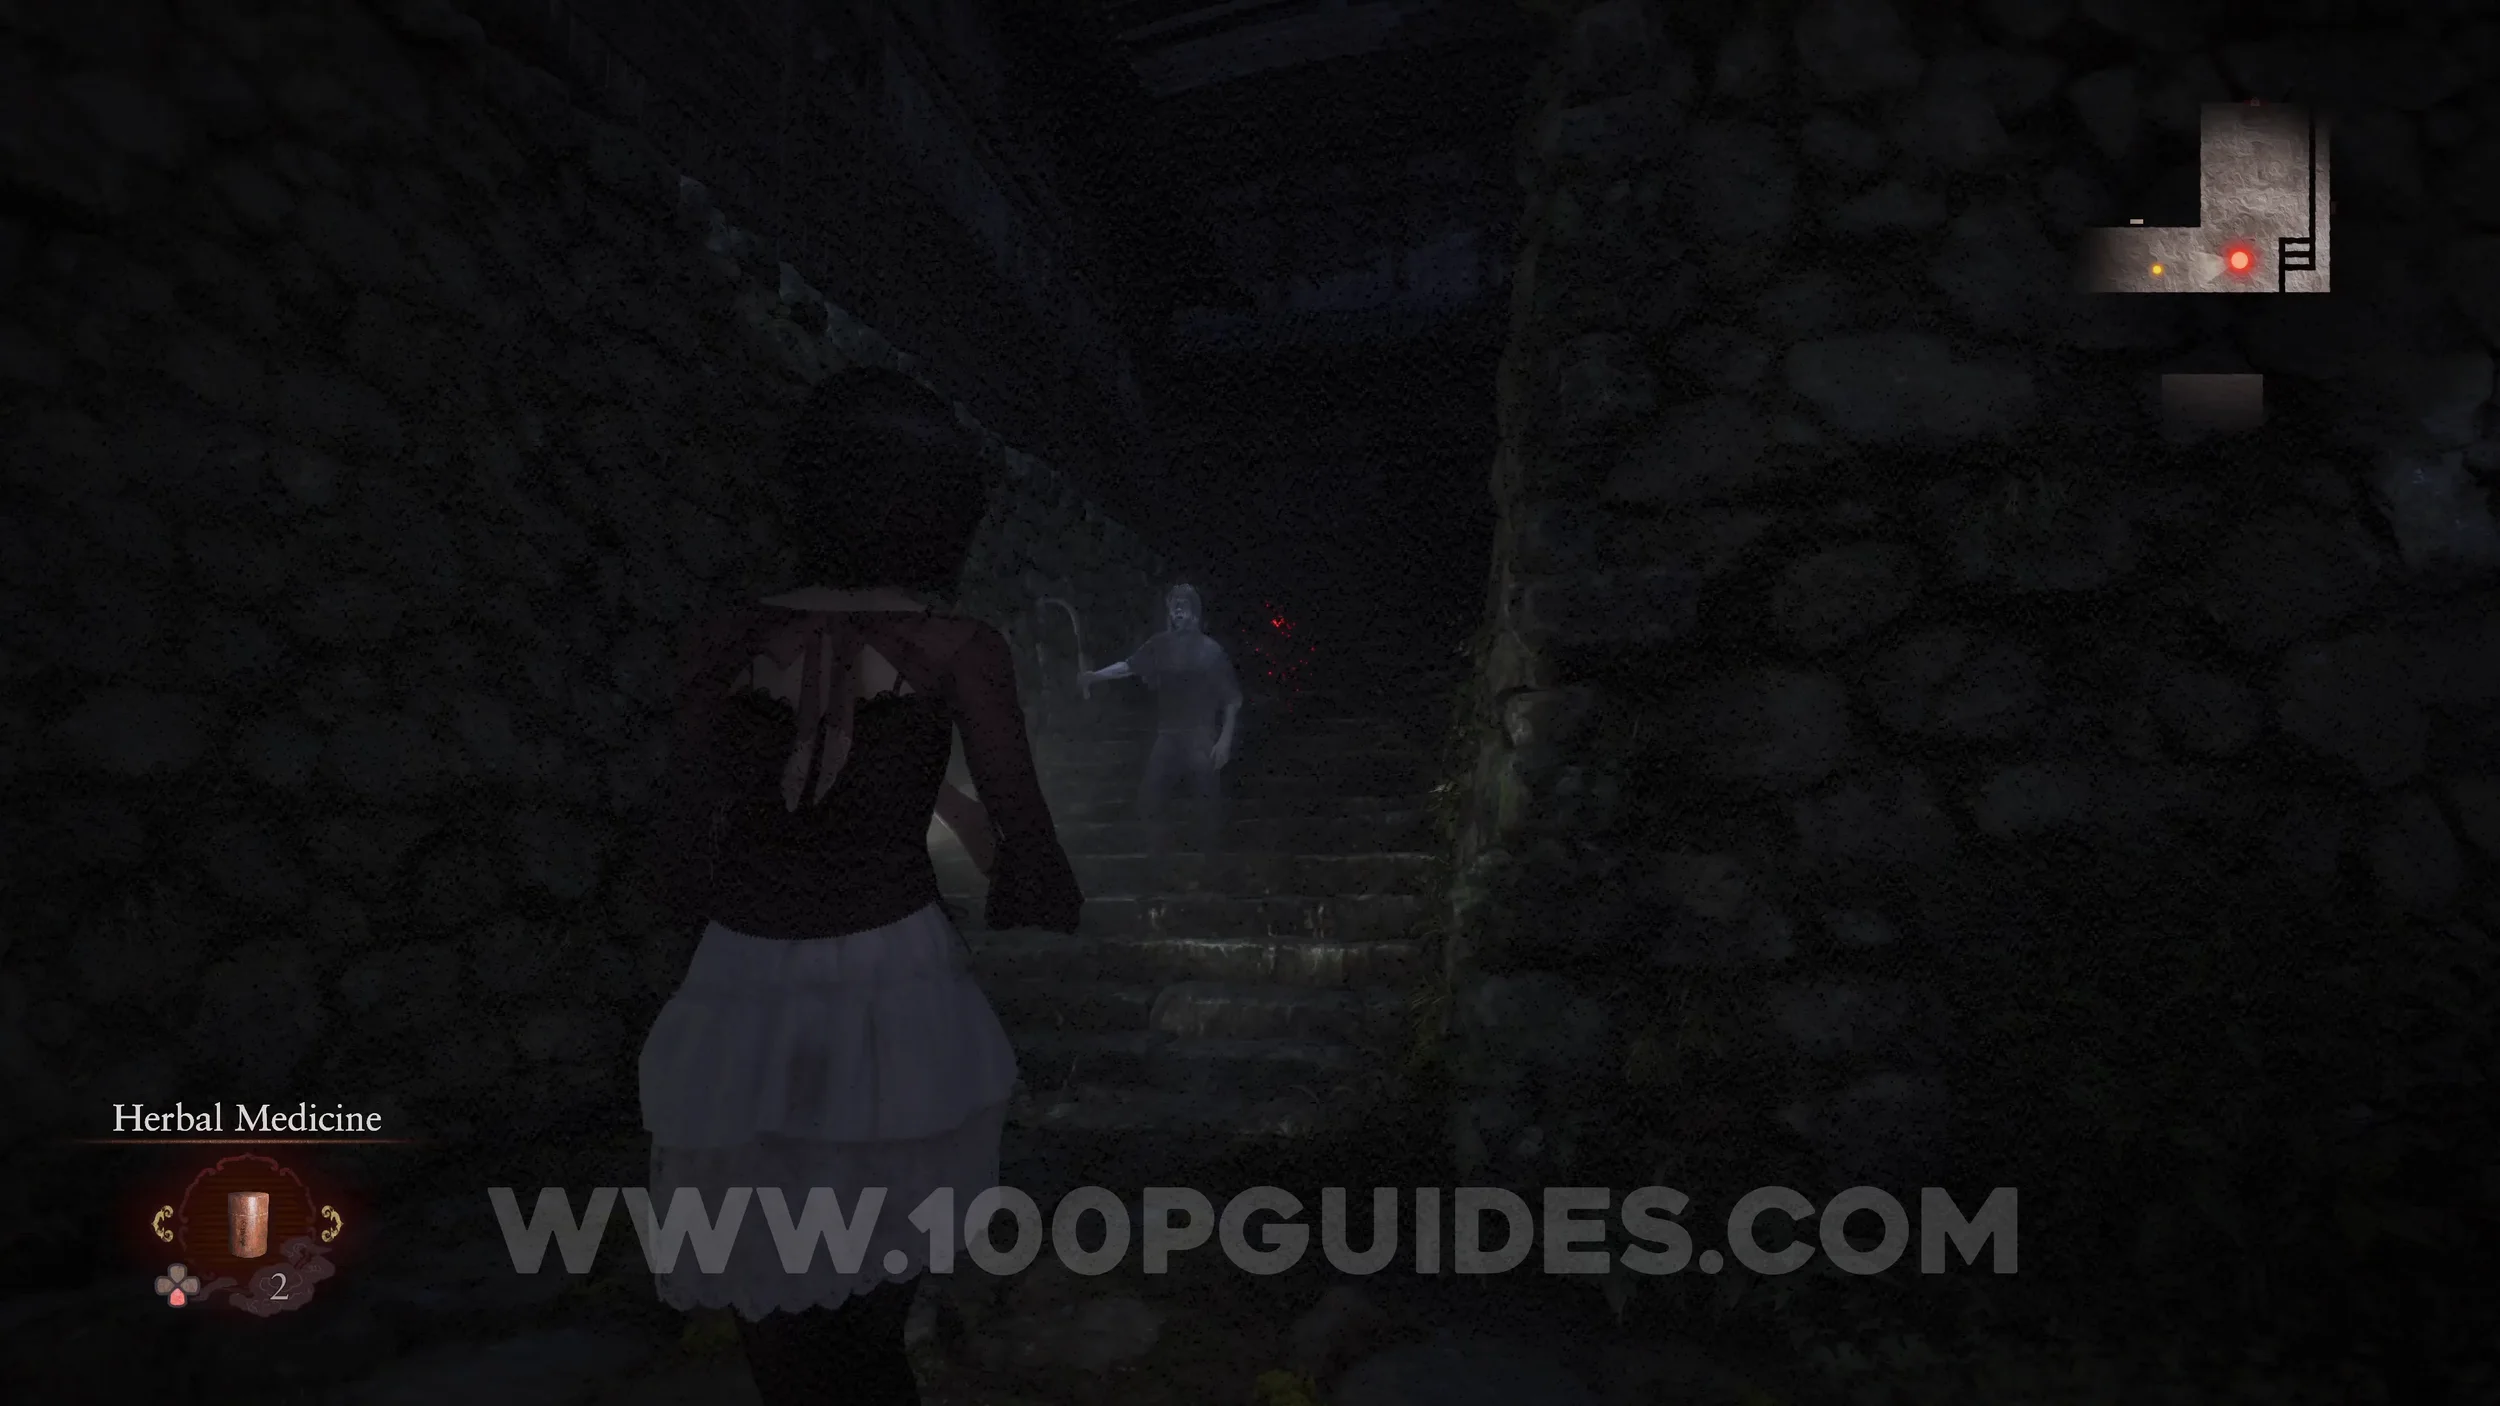
Wraith #7 - 022 Succumbed Woman. Found near the save point on your way to the gate after obtaining both keys.

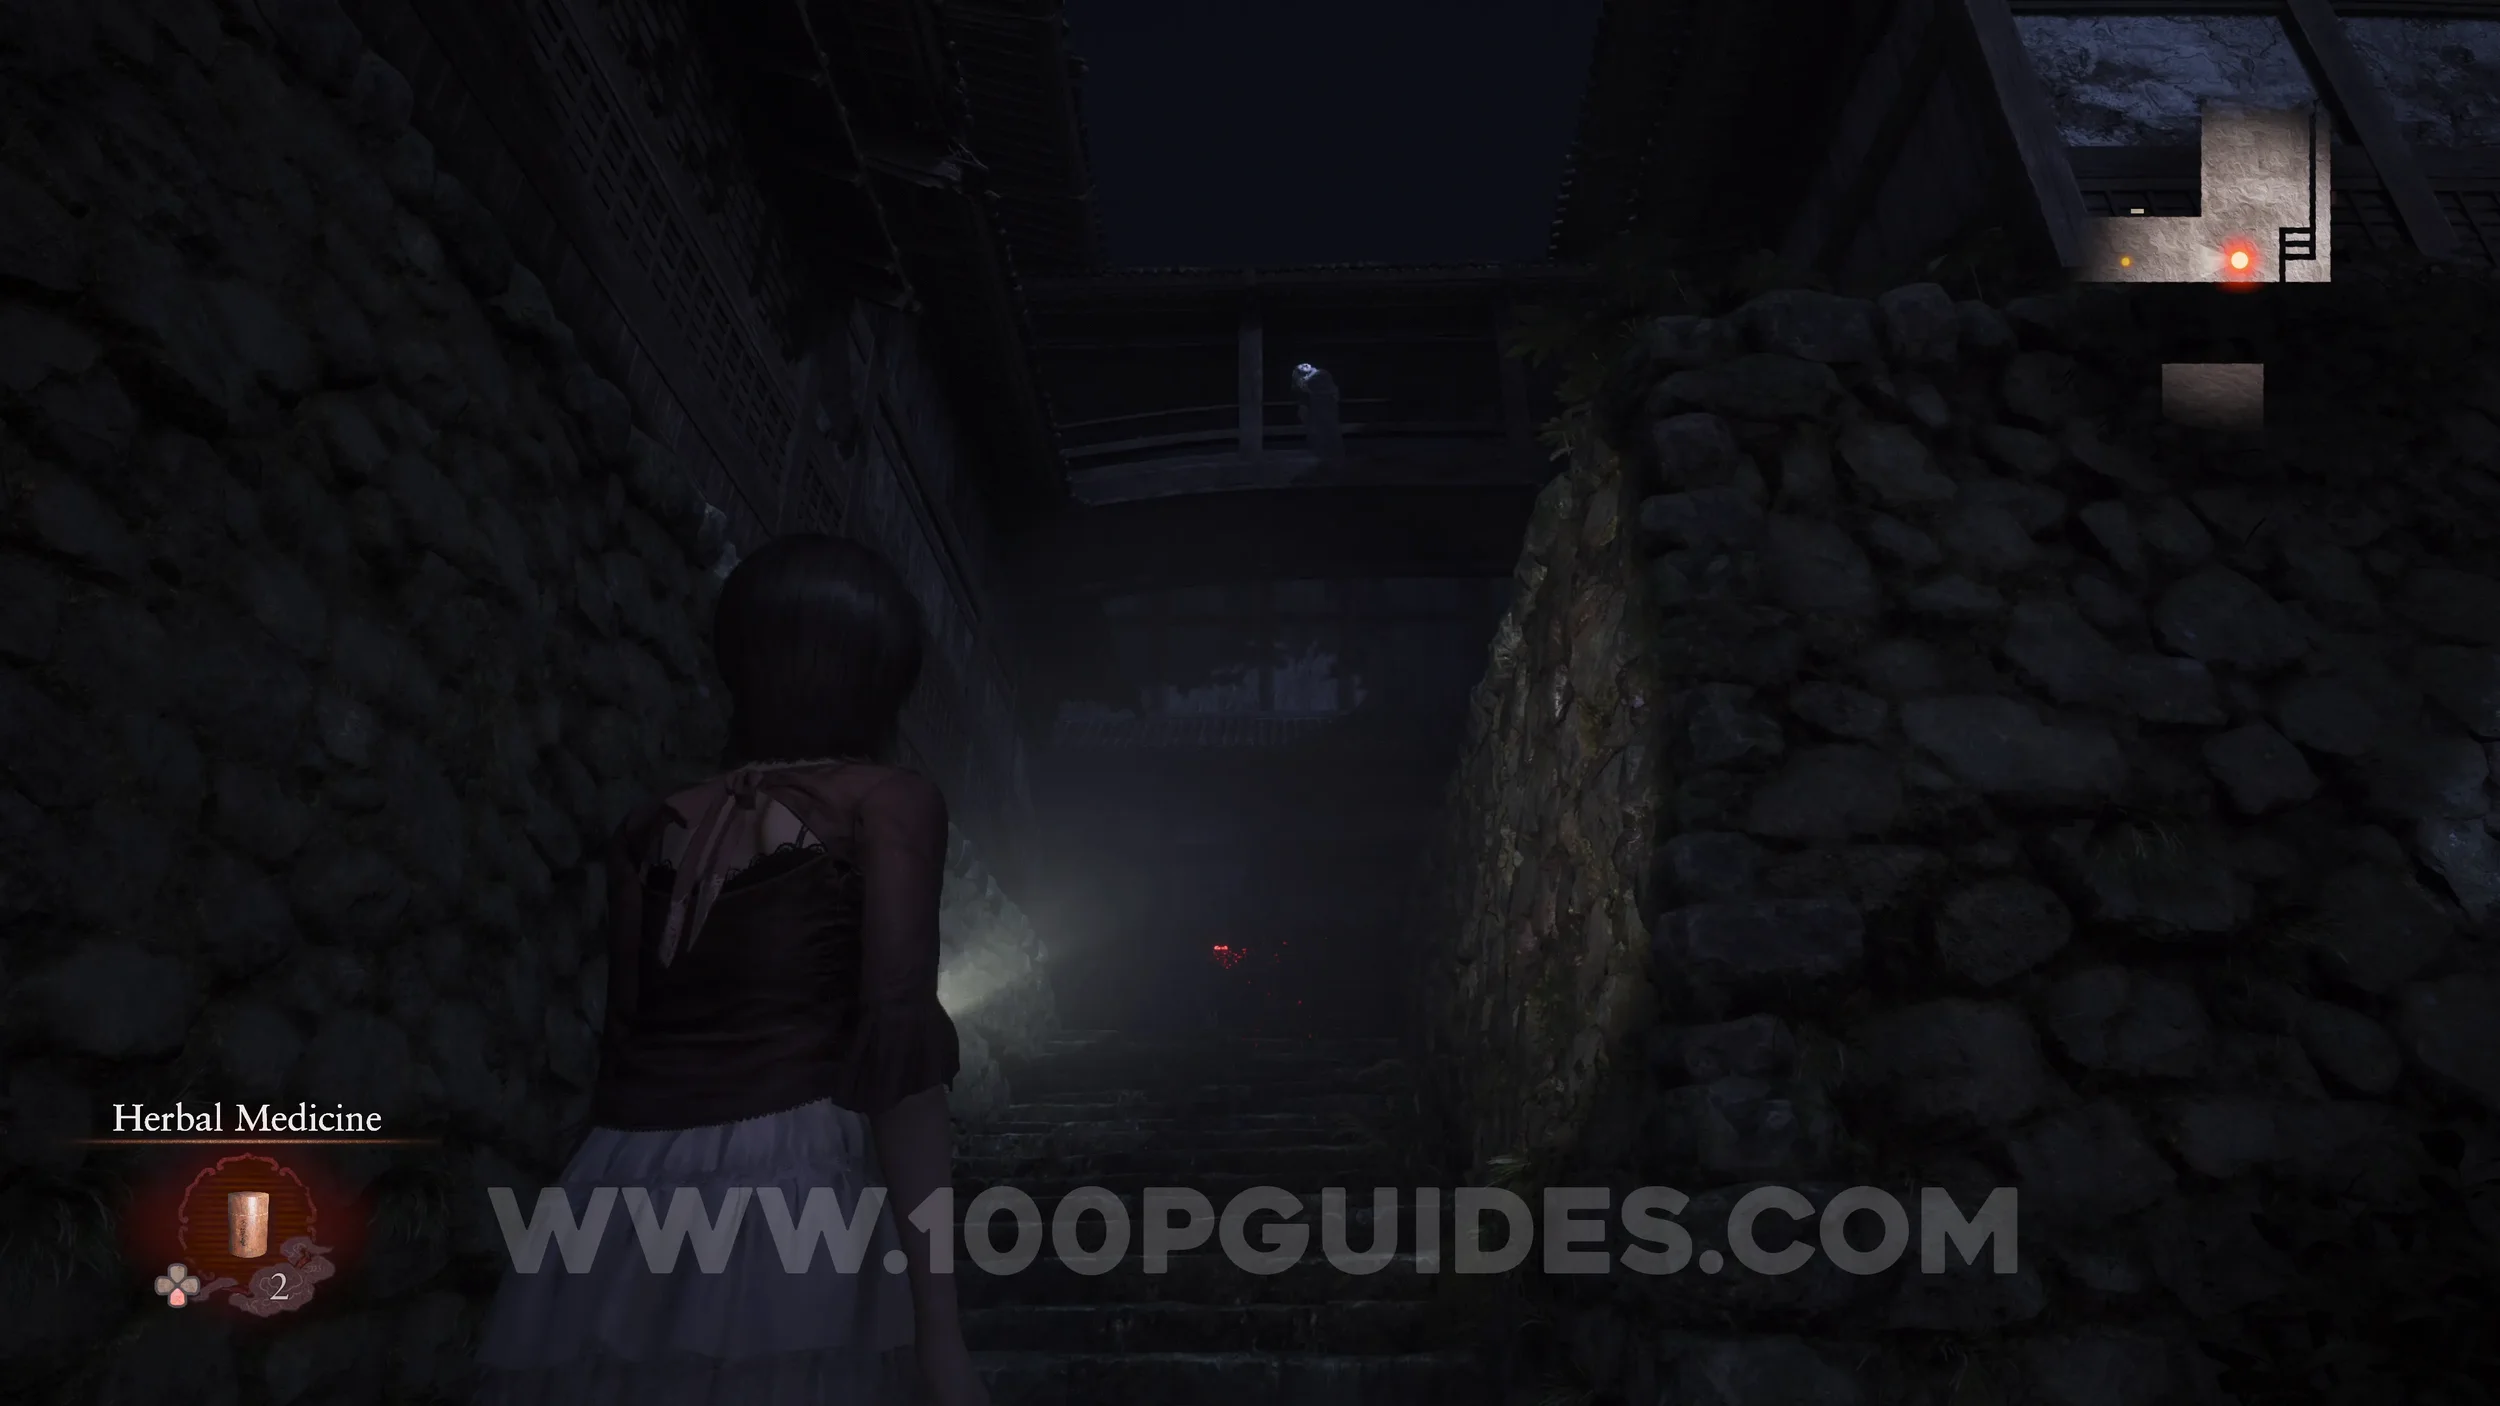
Specter #35 - 022 Moonlit Man. As you approach the gate with the two keys, look up to the right.
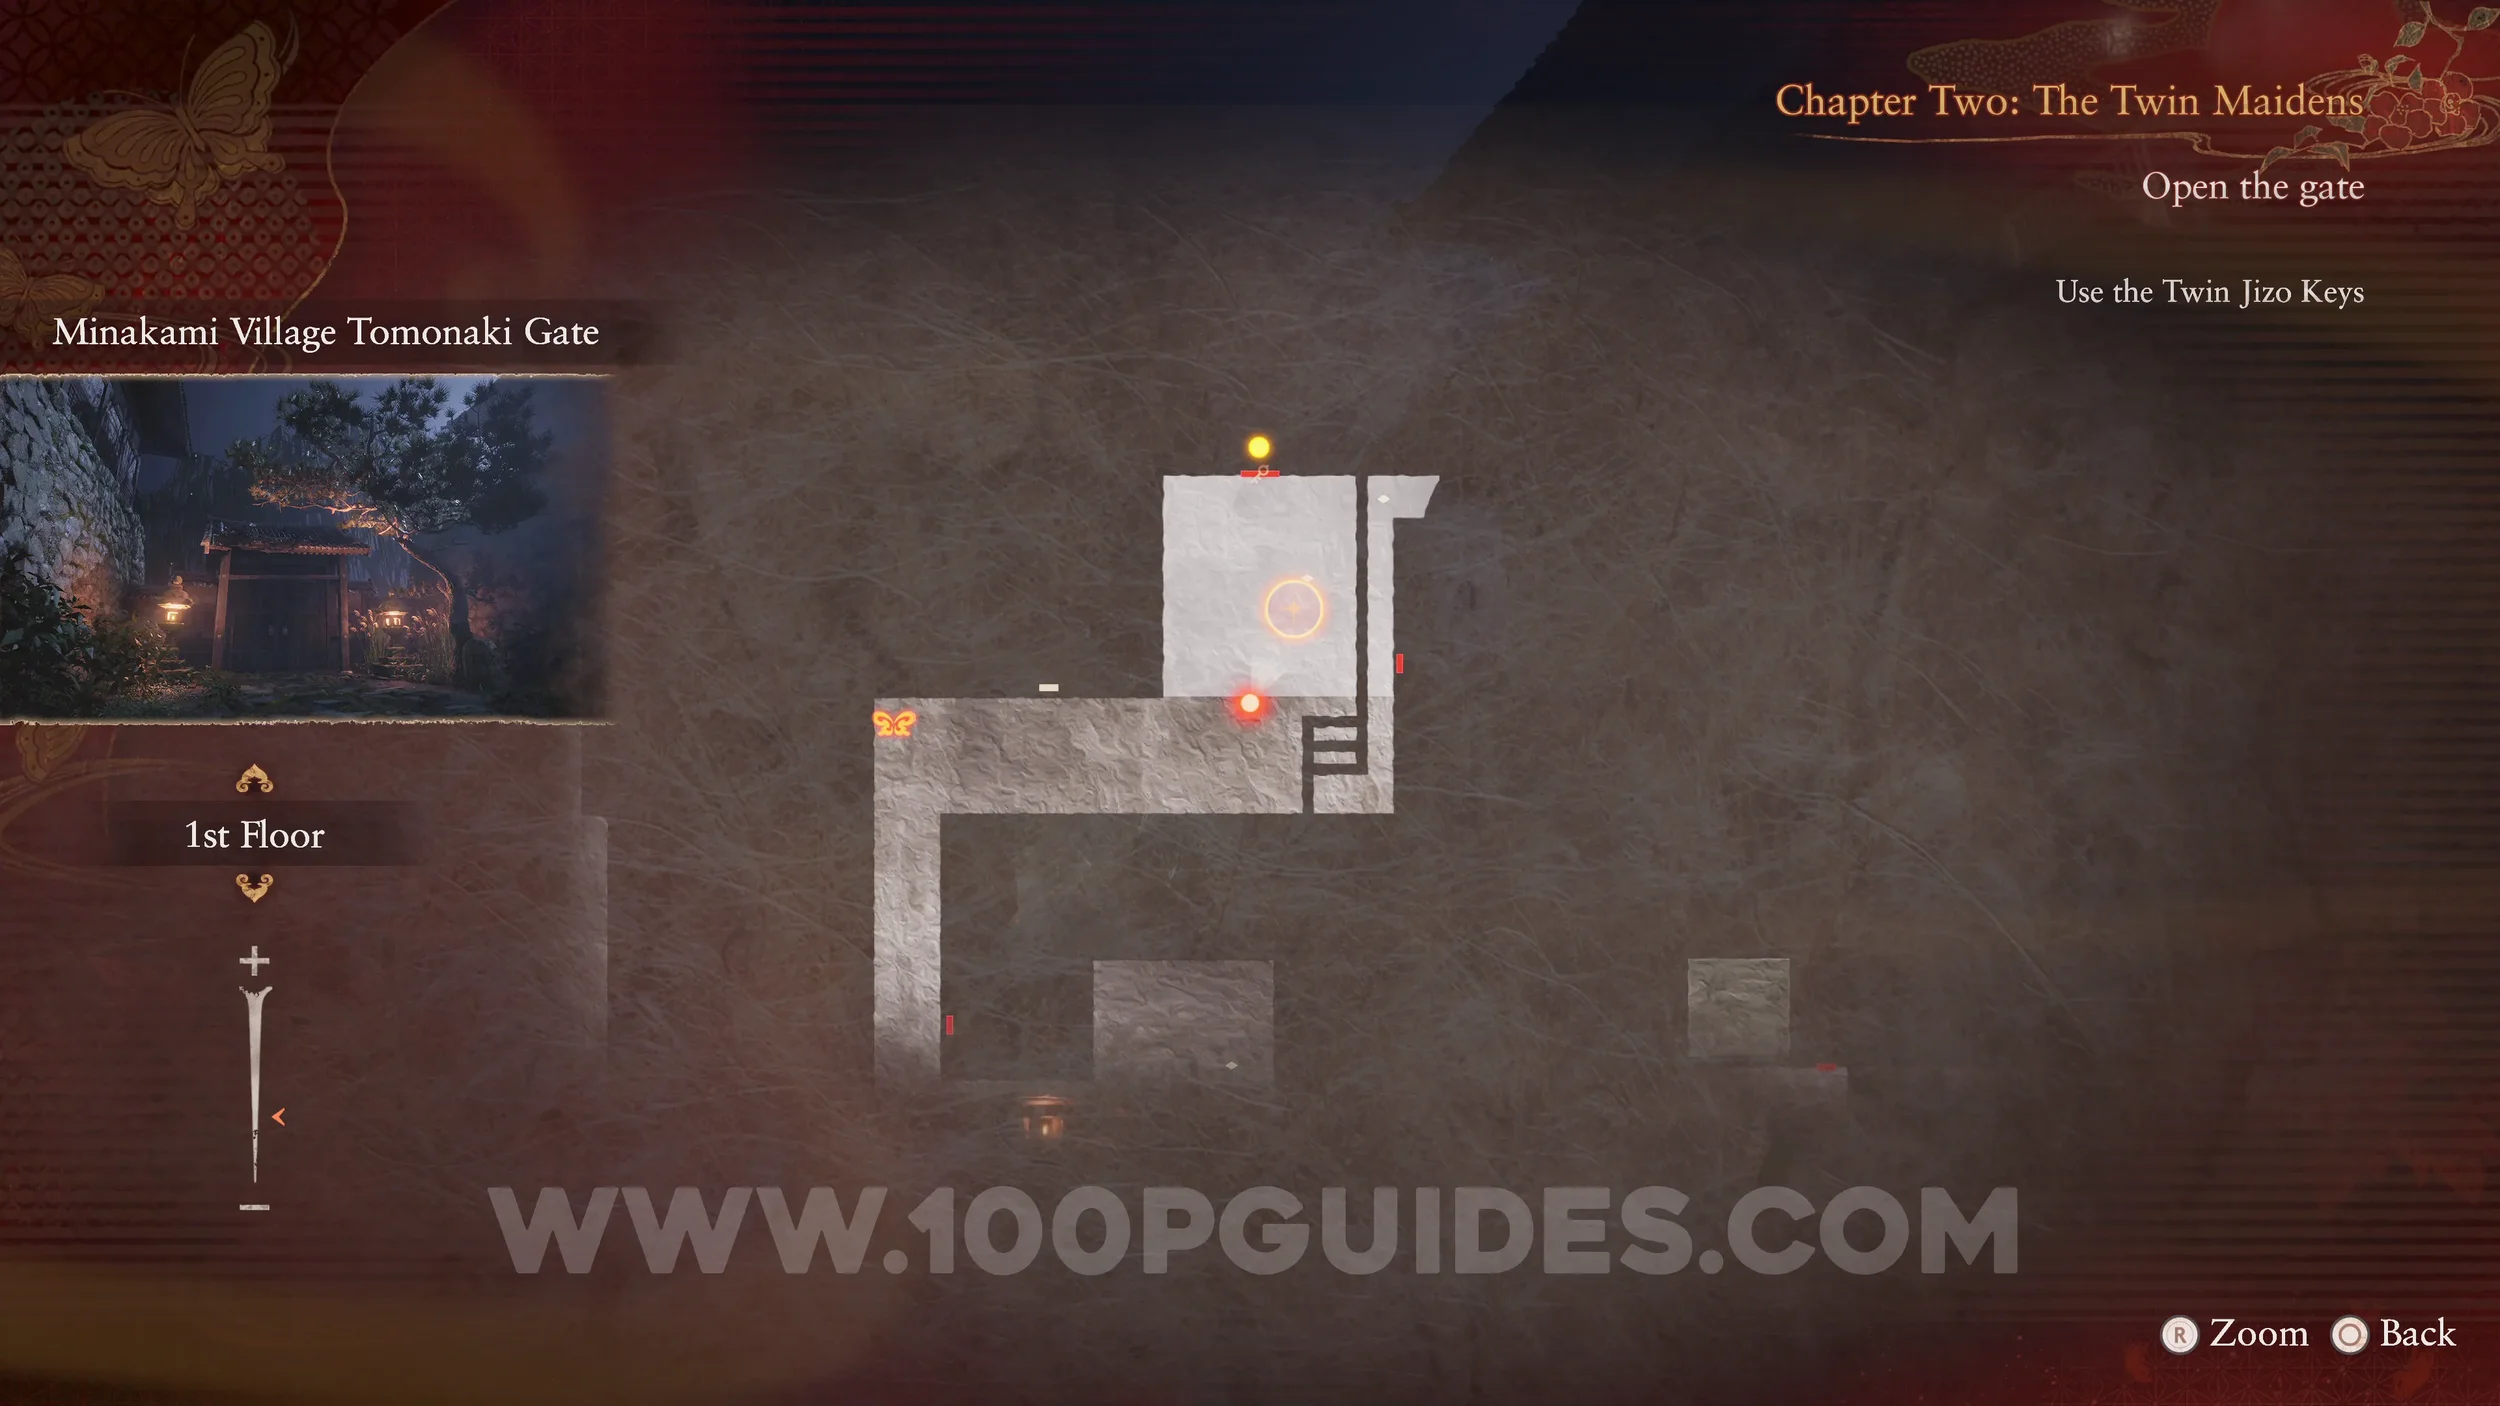
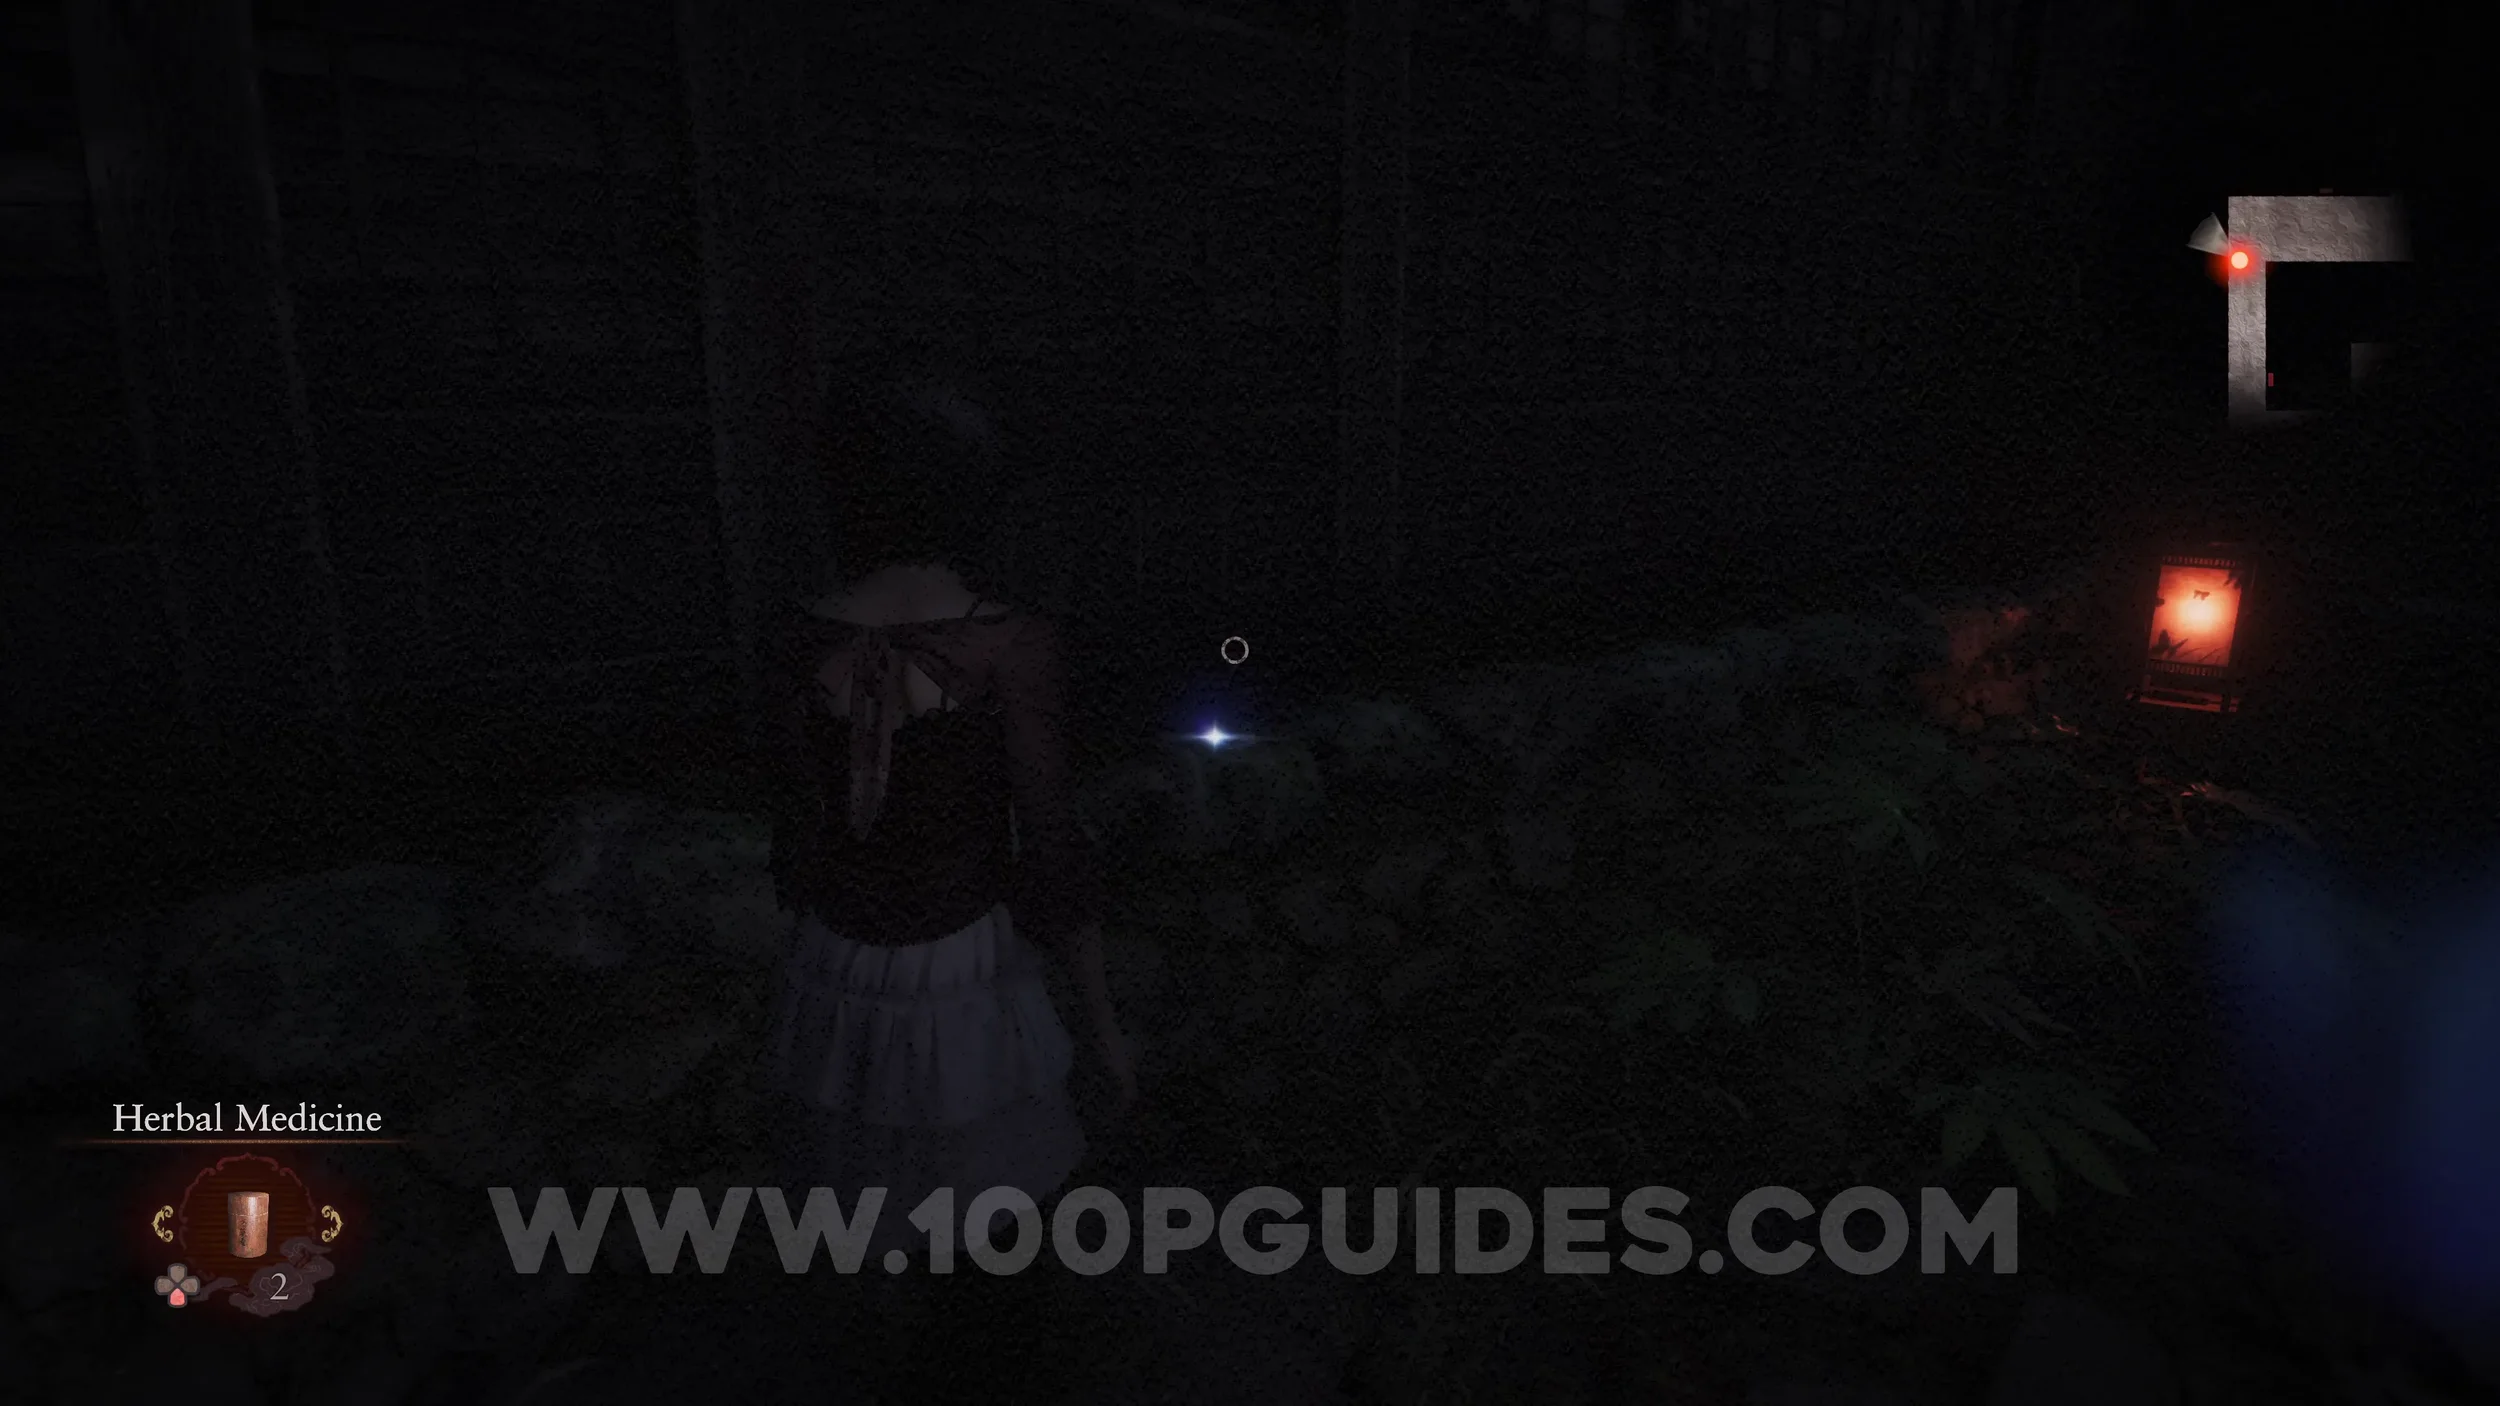
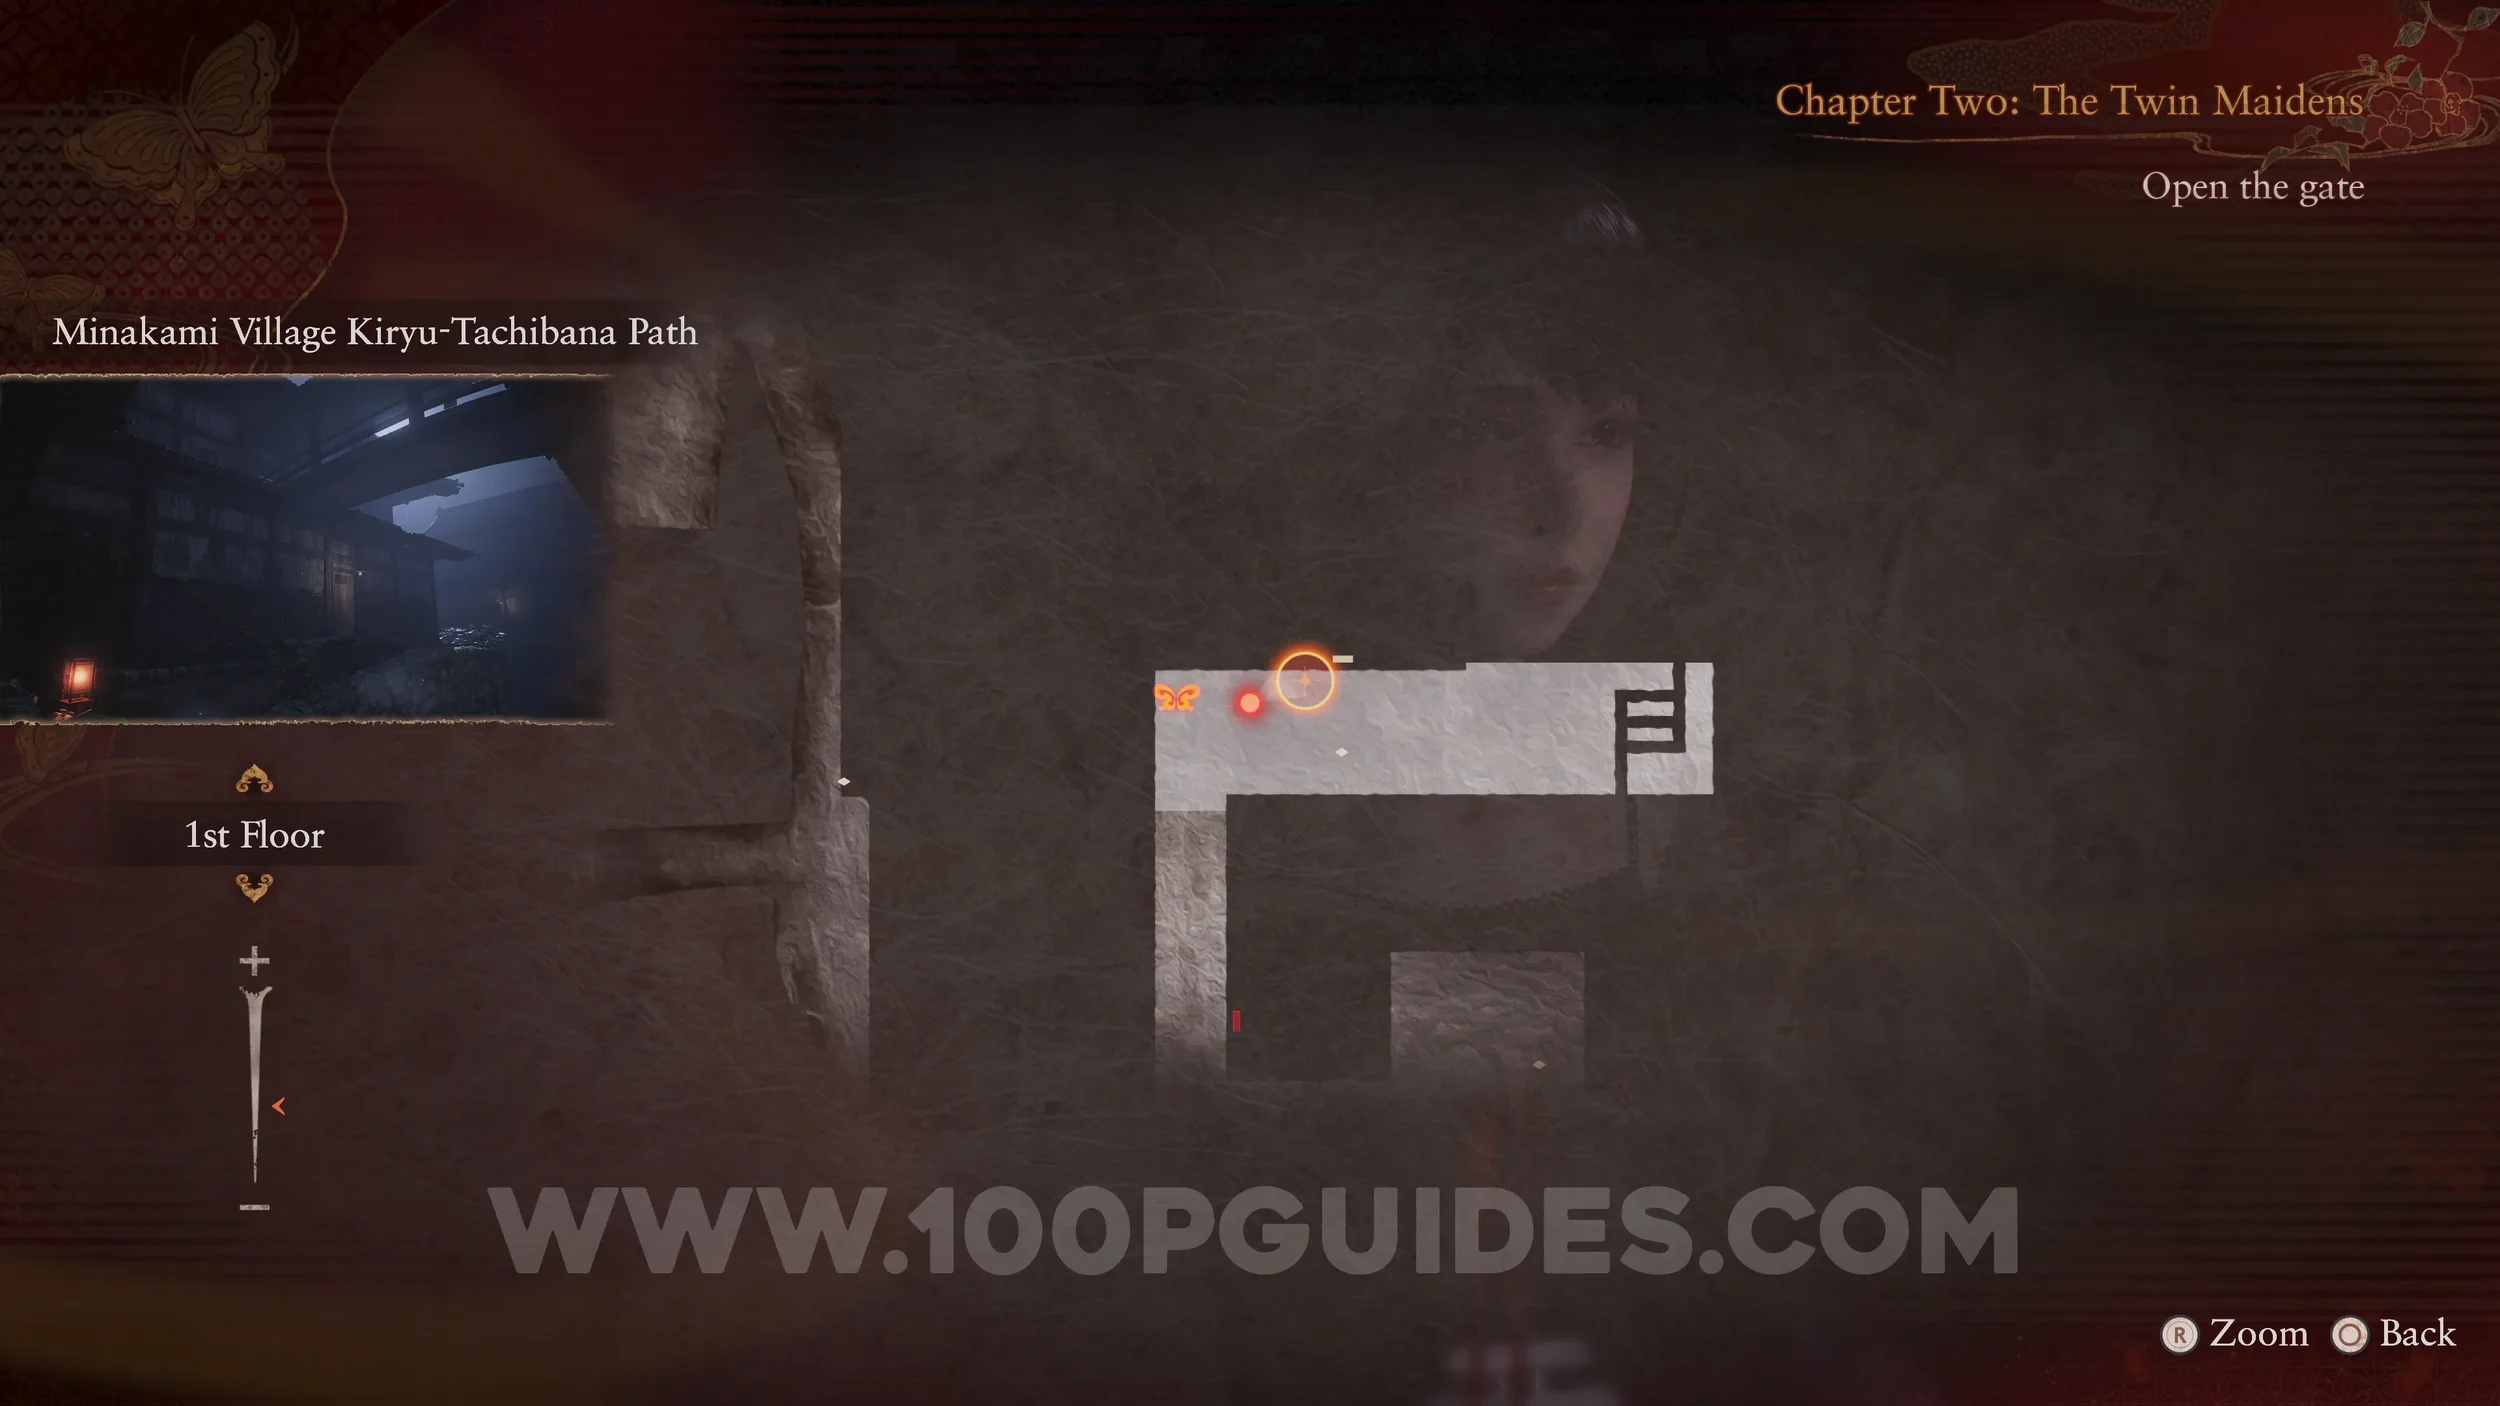
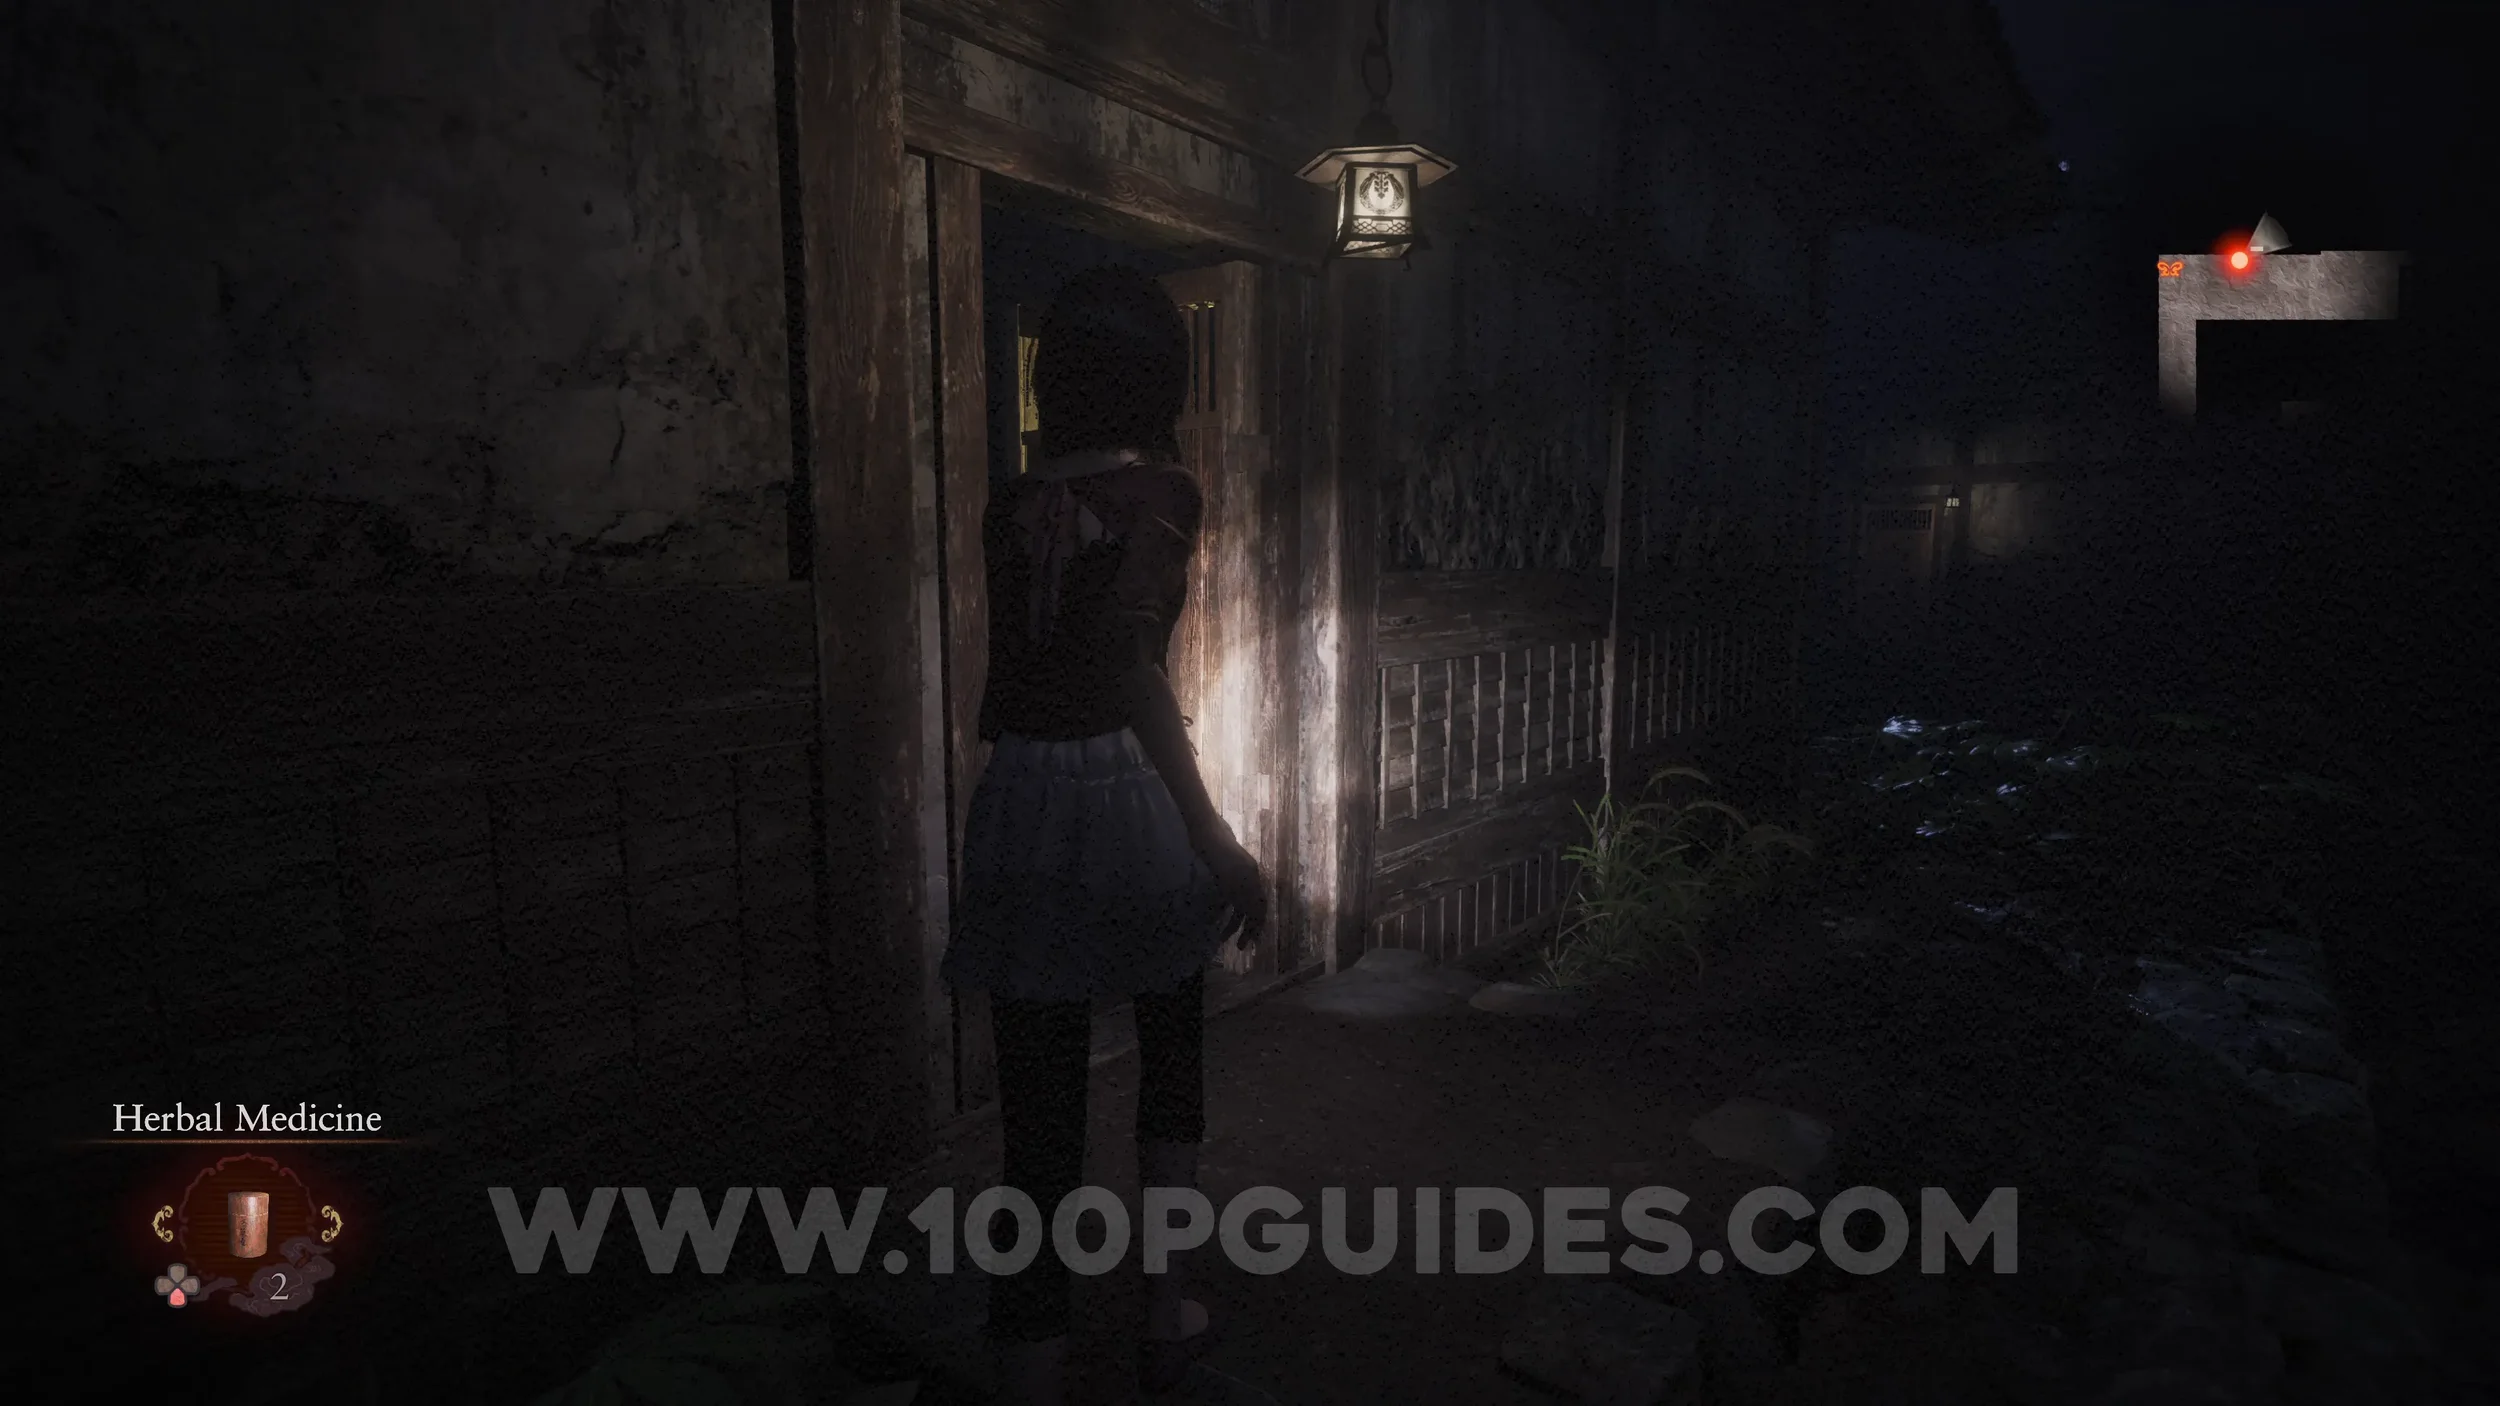
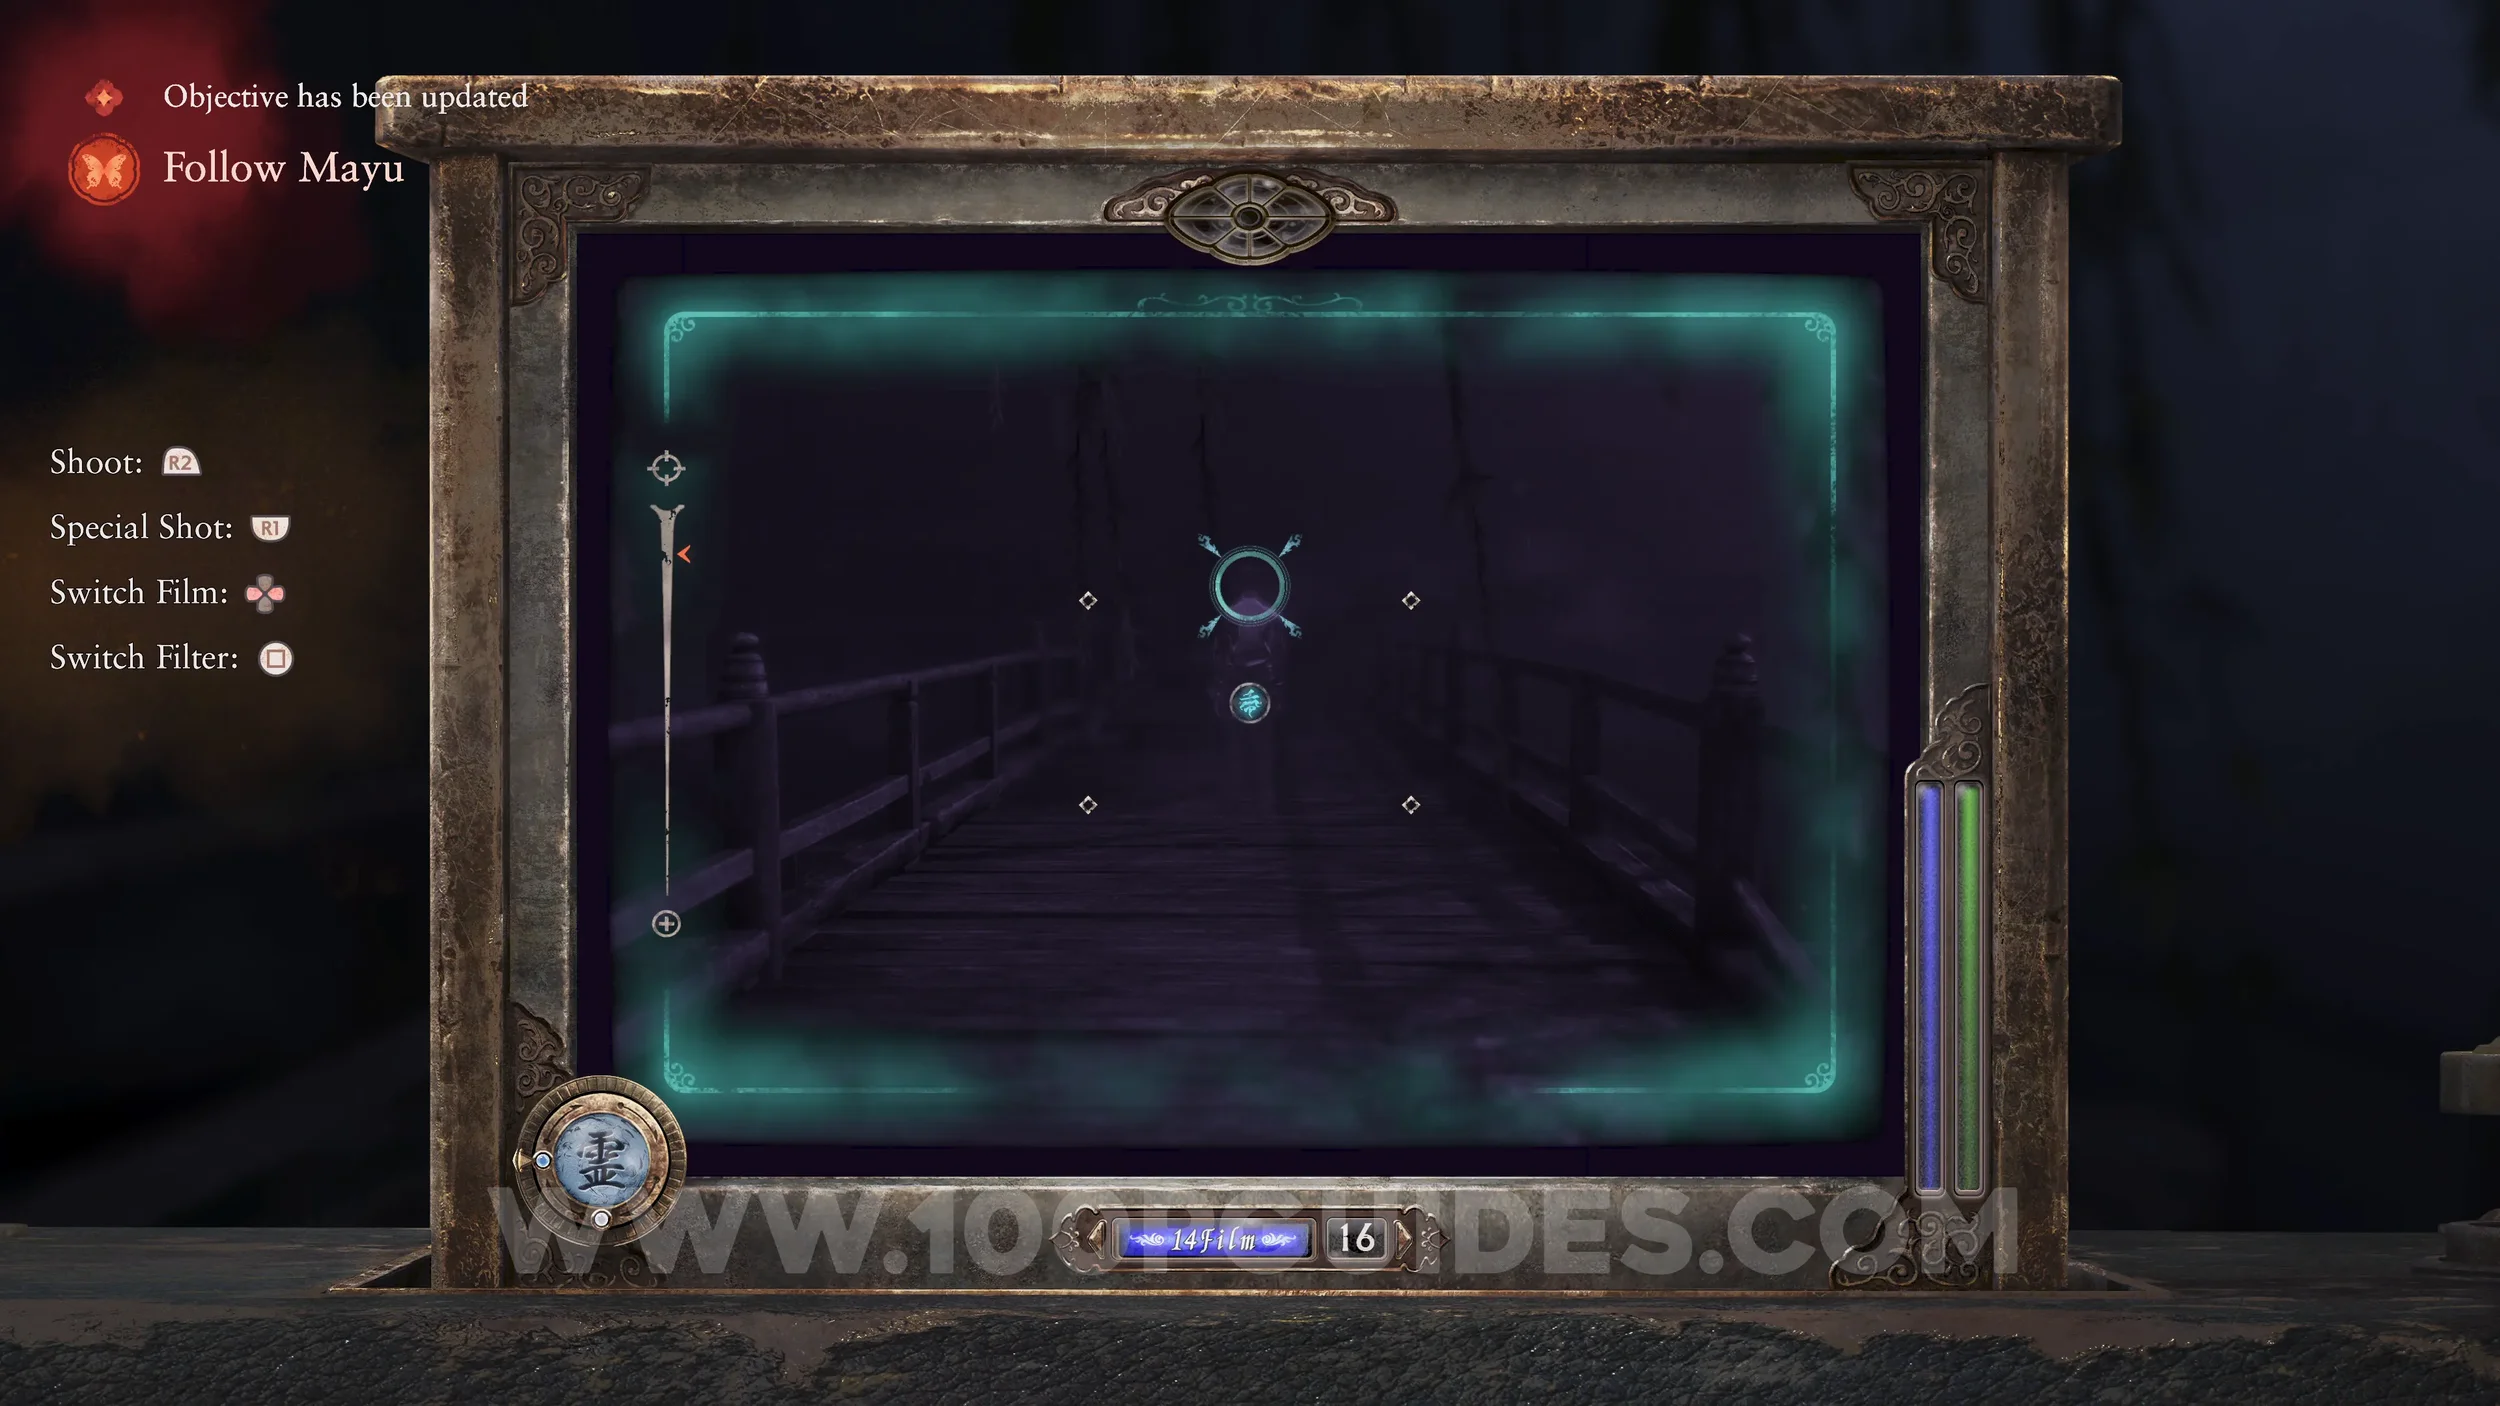
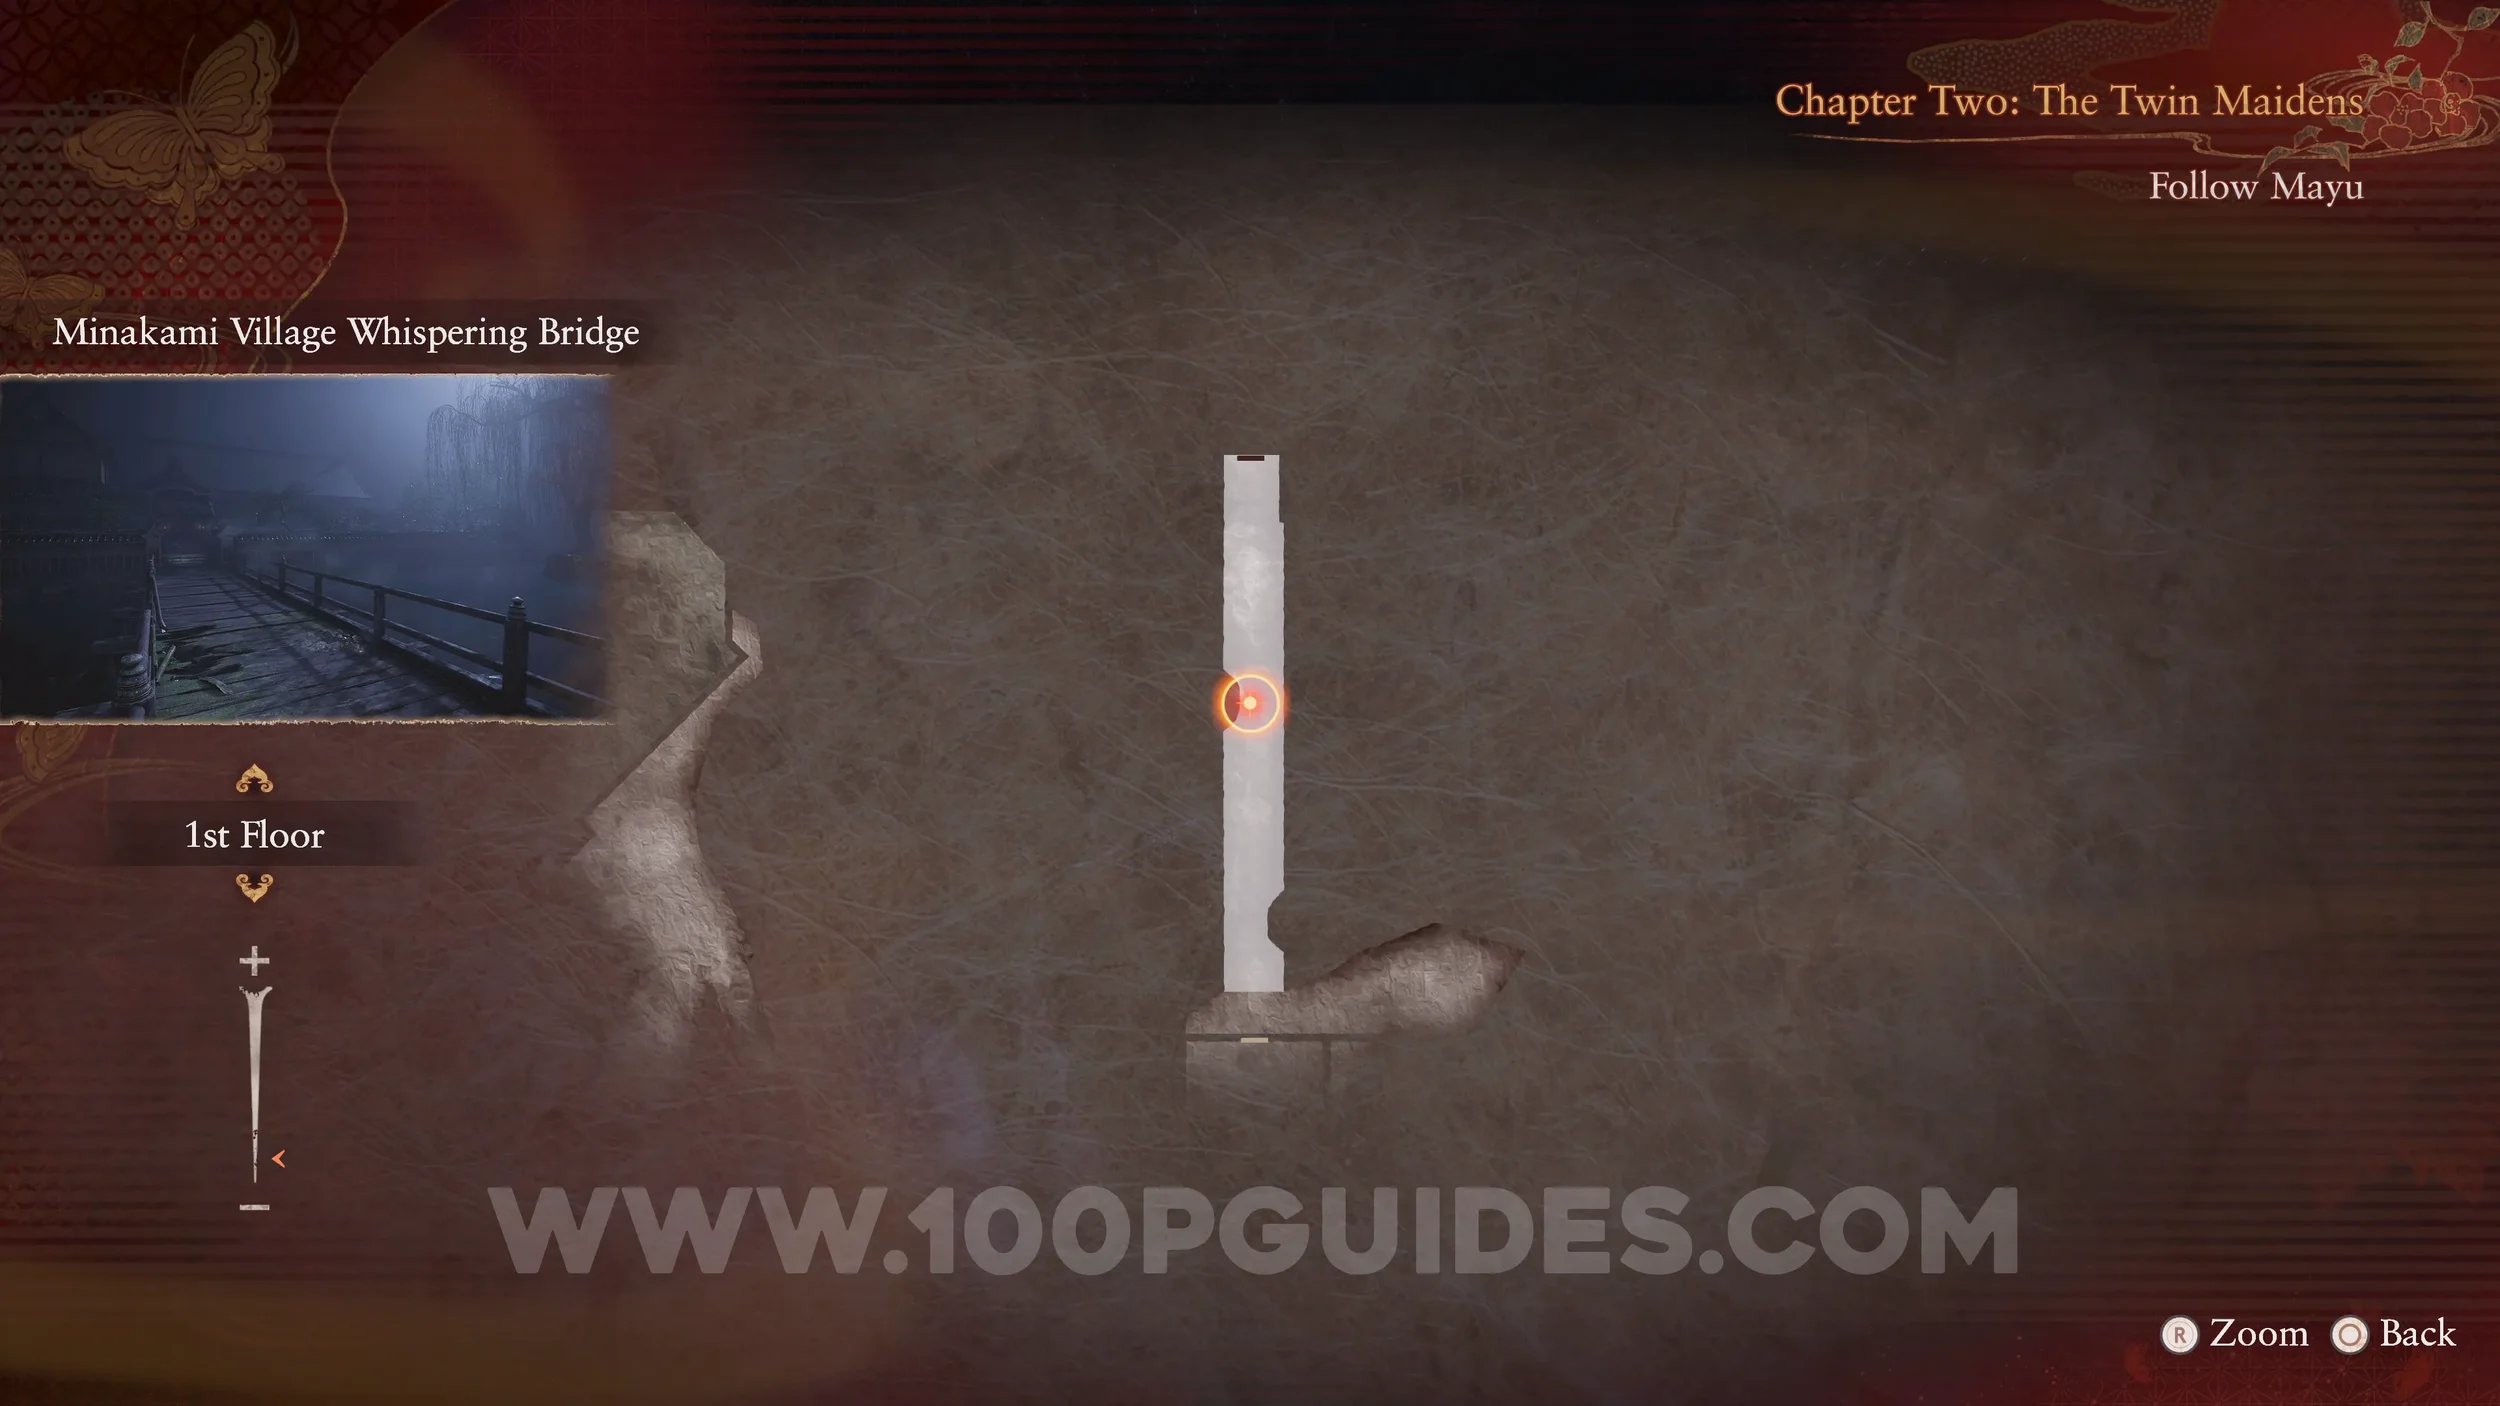
Specter #36 - 179 Man Approaching Kurosawa House. Found on the bridge directly ahead after opening the gate with the two keys.
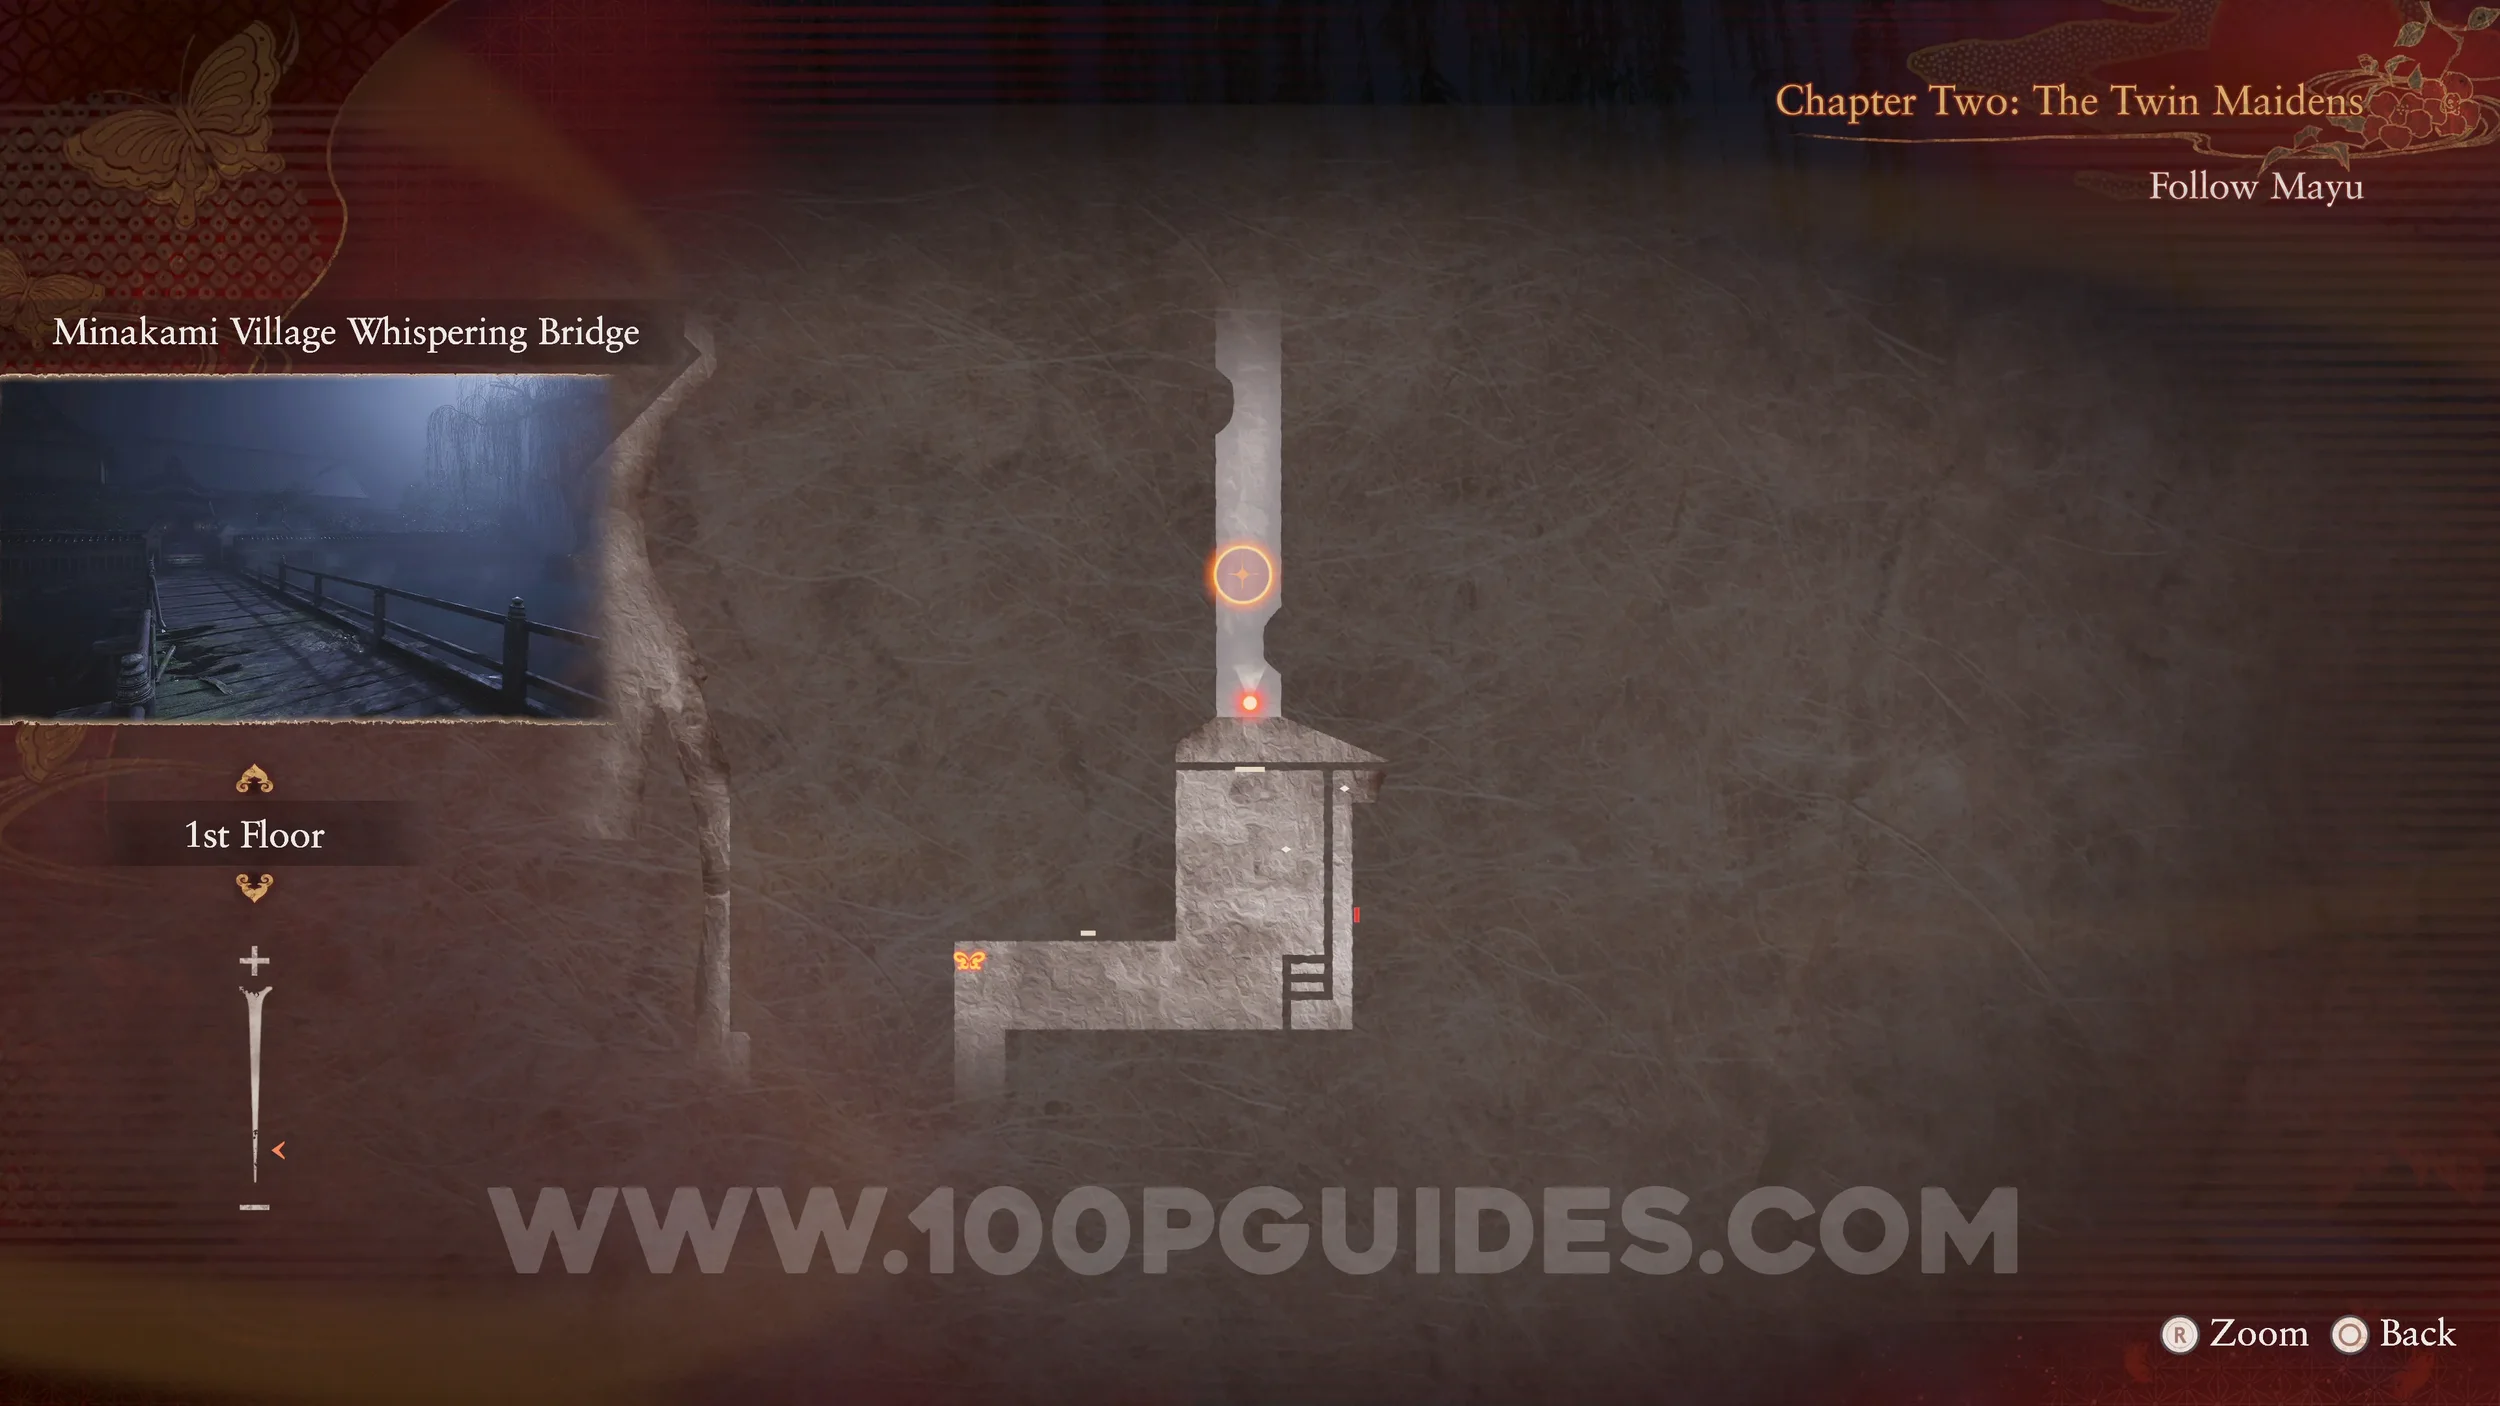
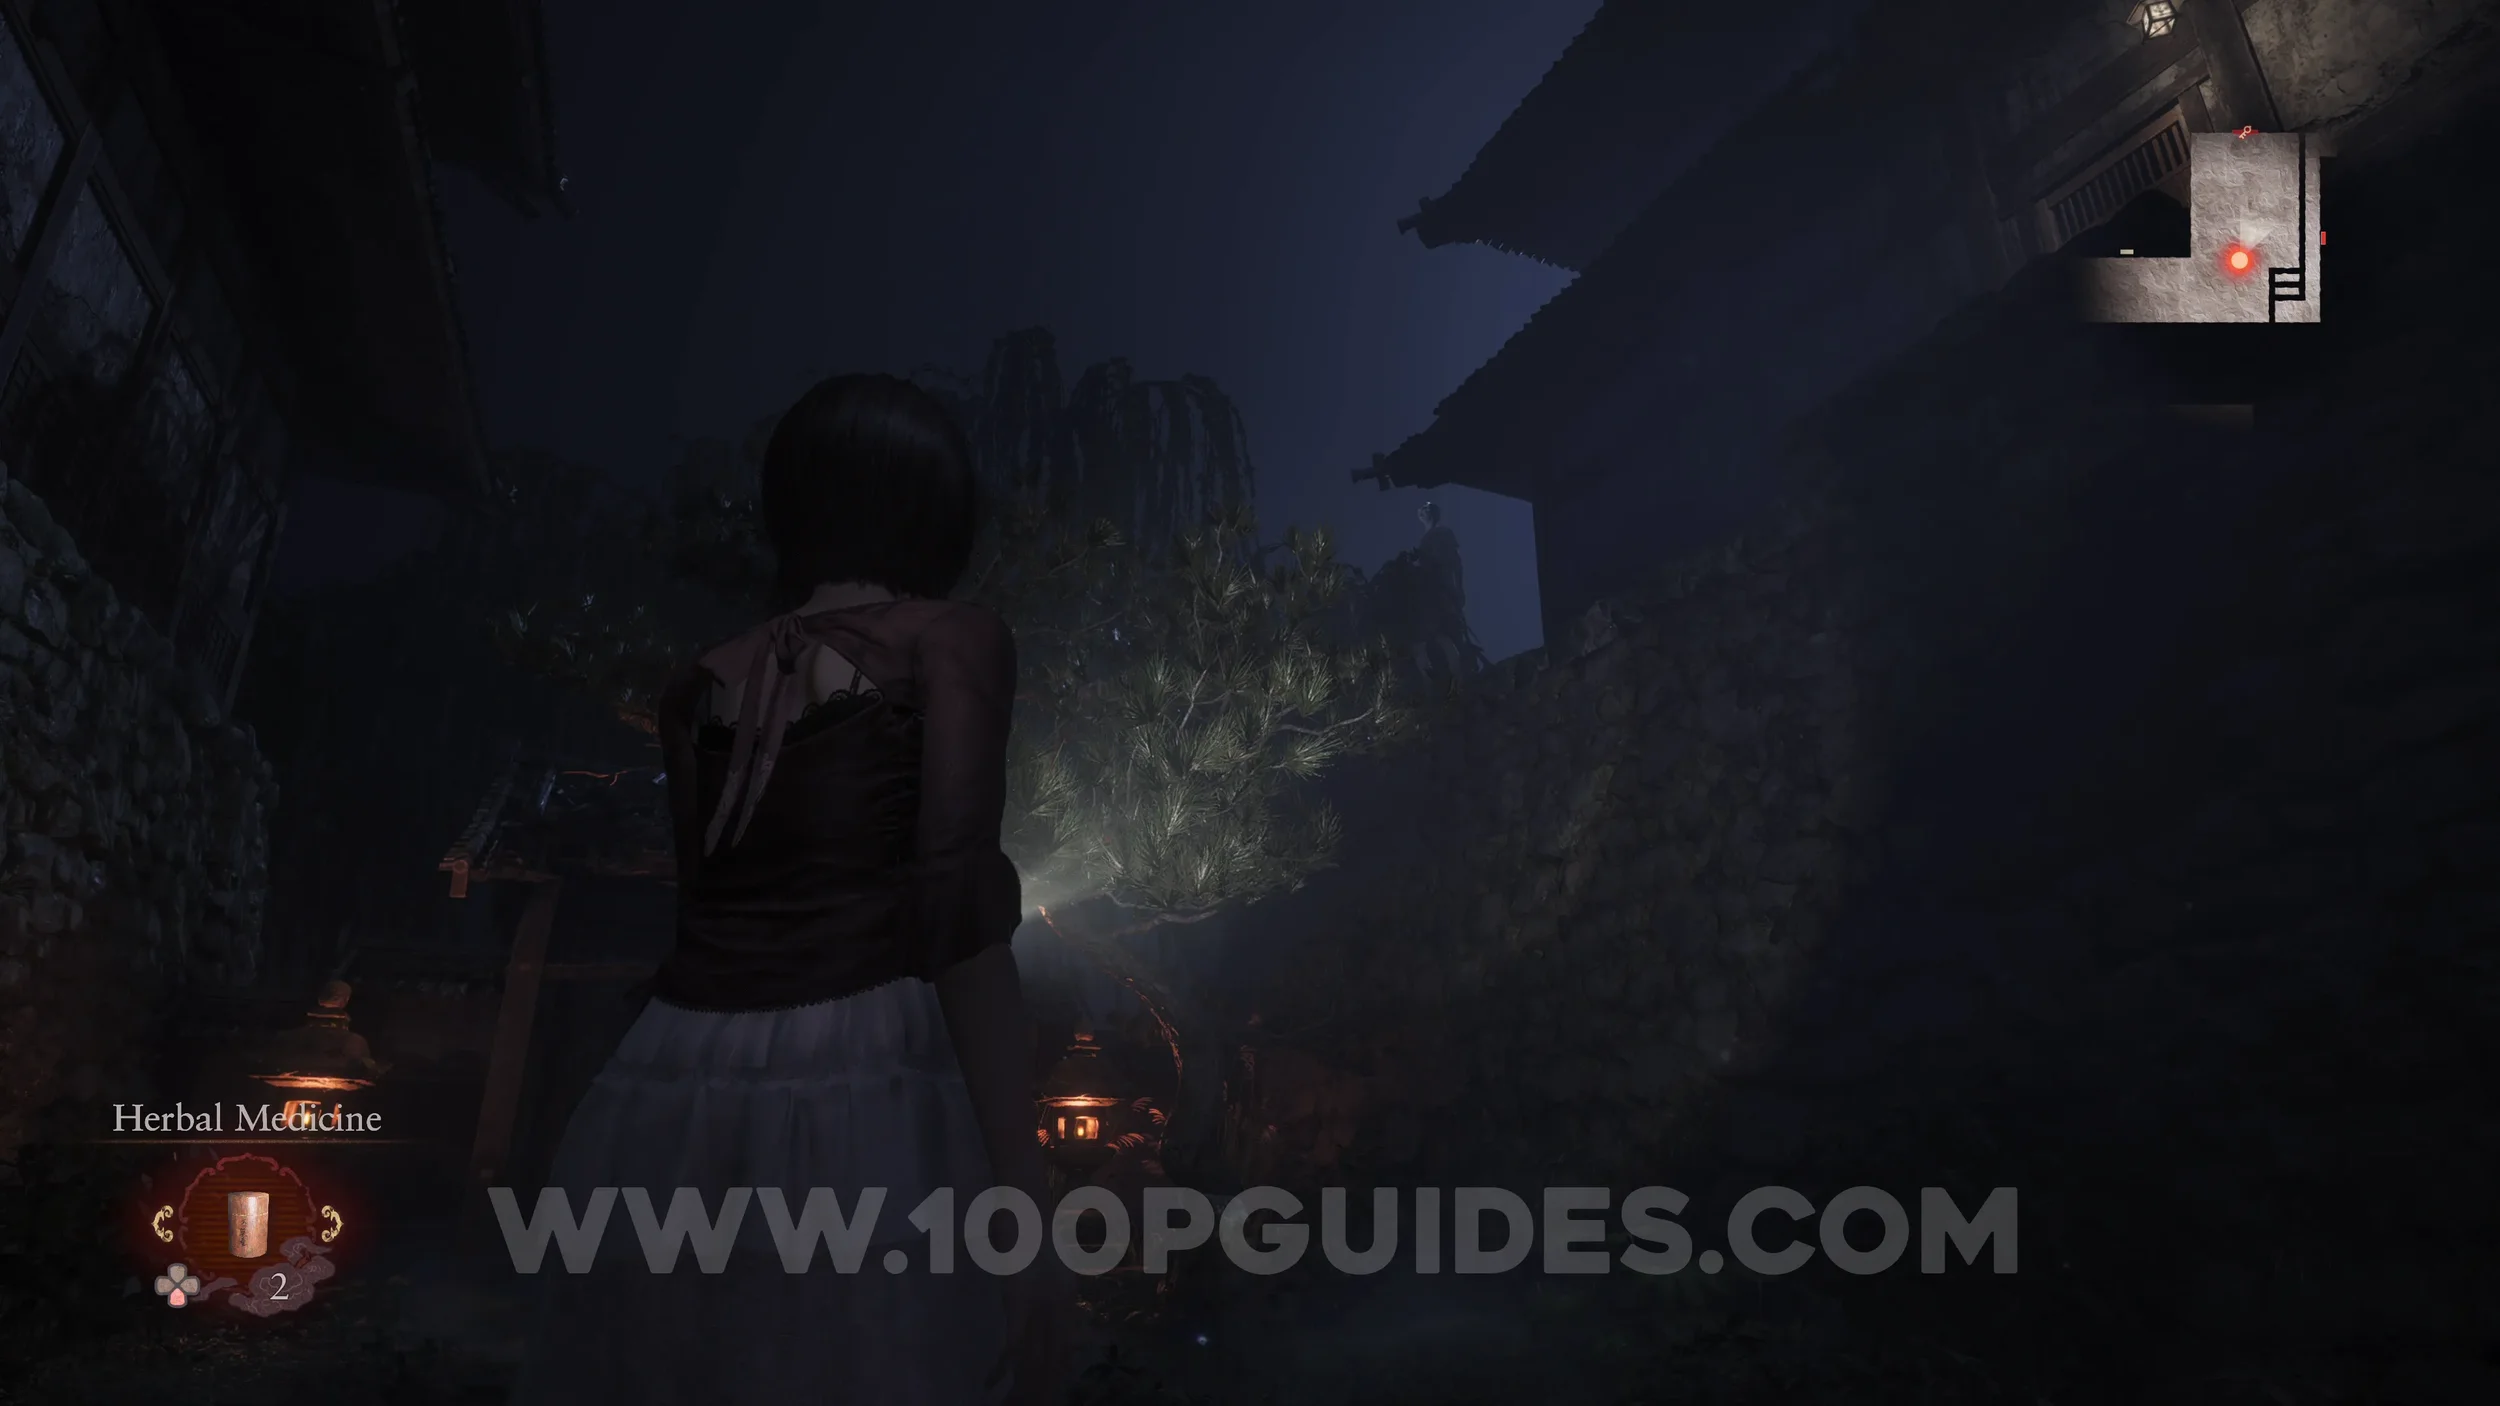
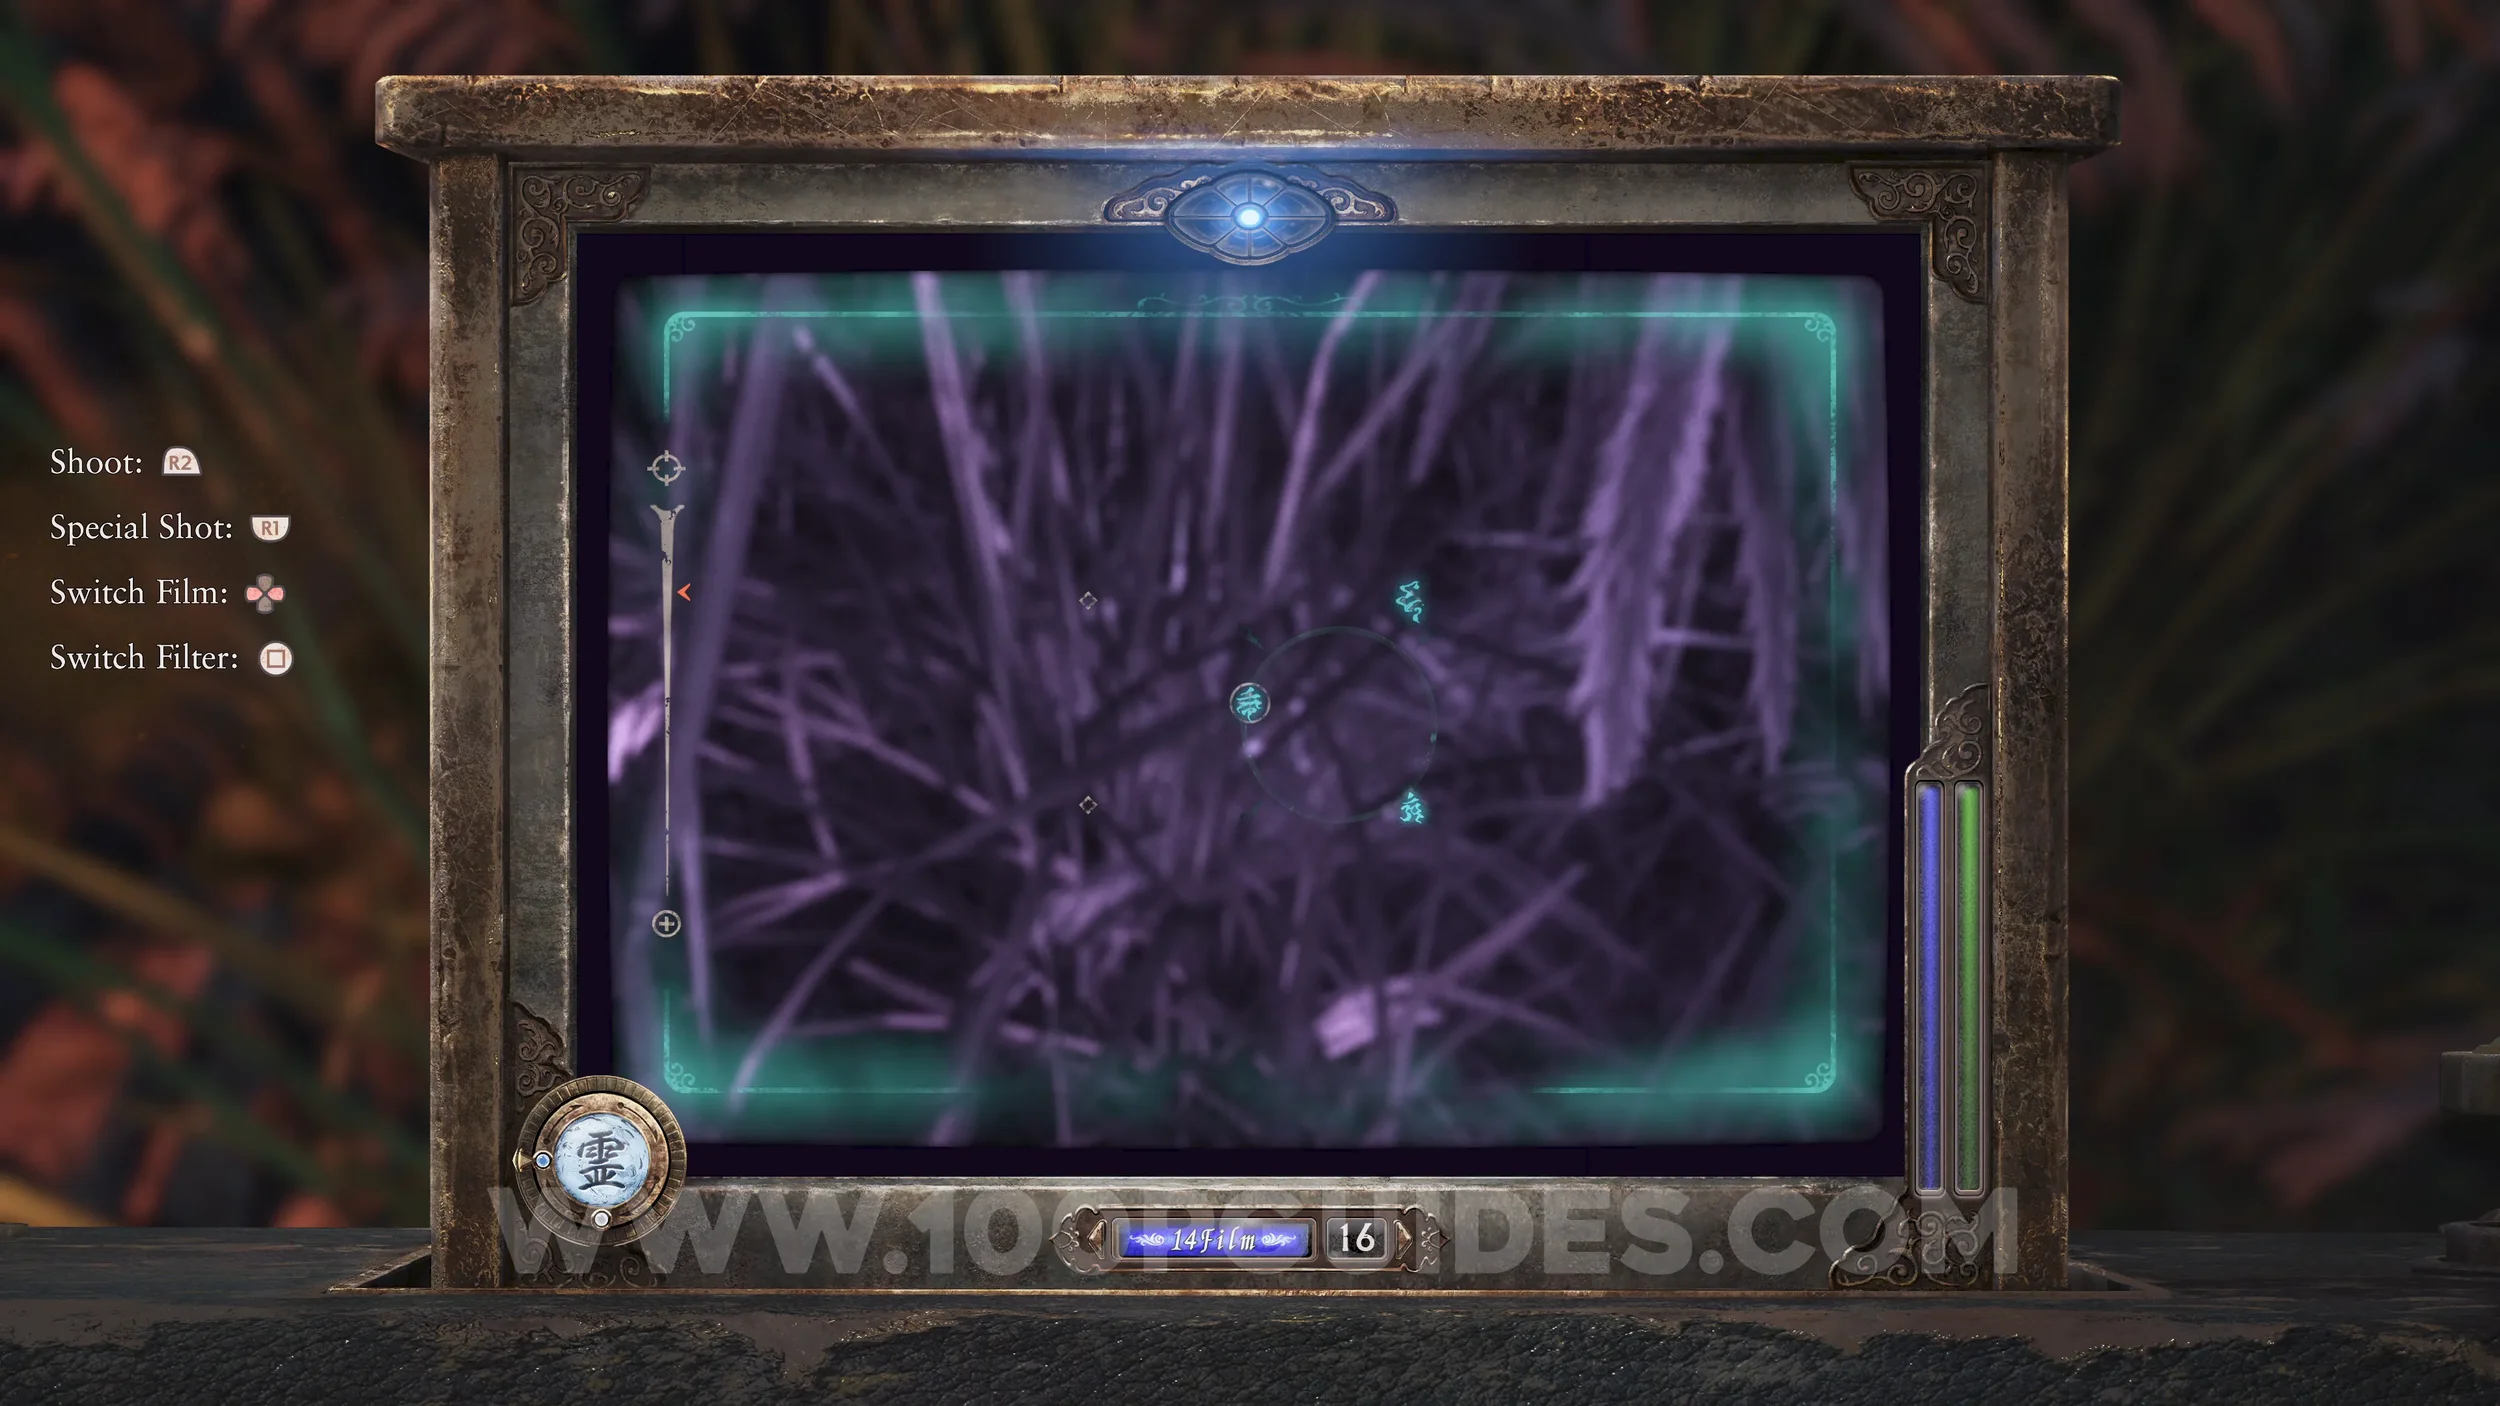
Specter #37 - 023 Man Hiding in Grass. As soon as you go through the gate using the two keys, turn right and the specter will spawn.
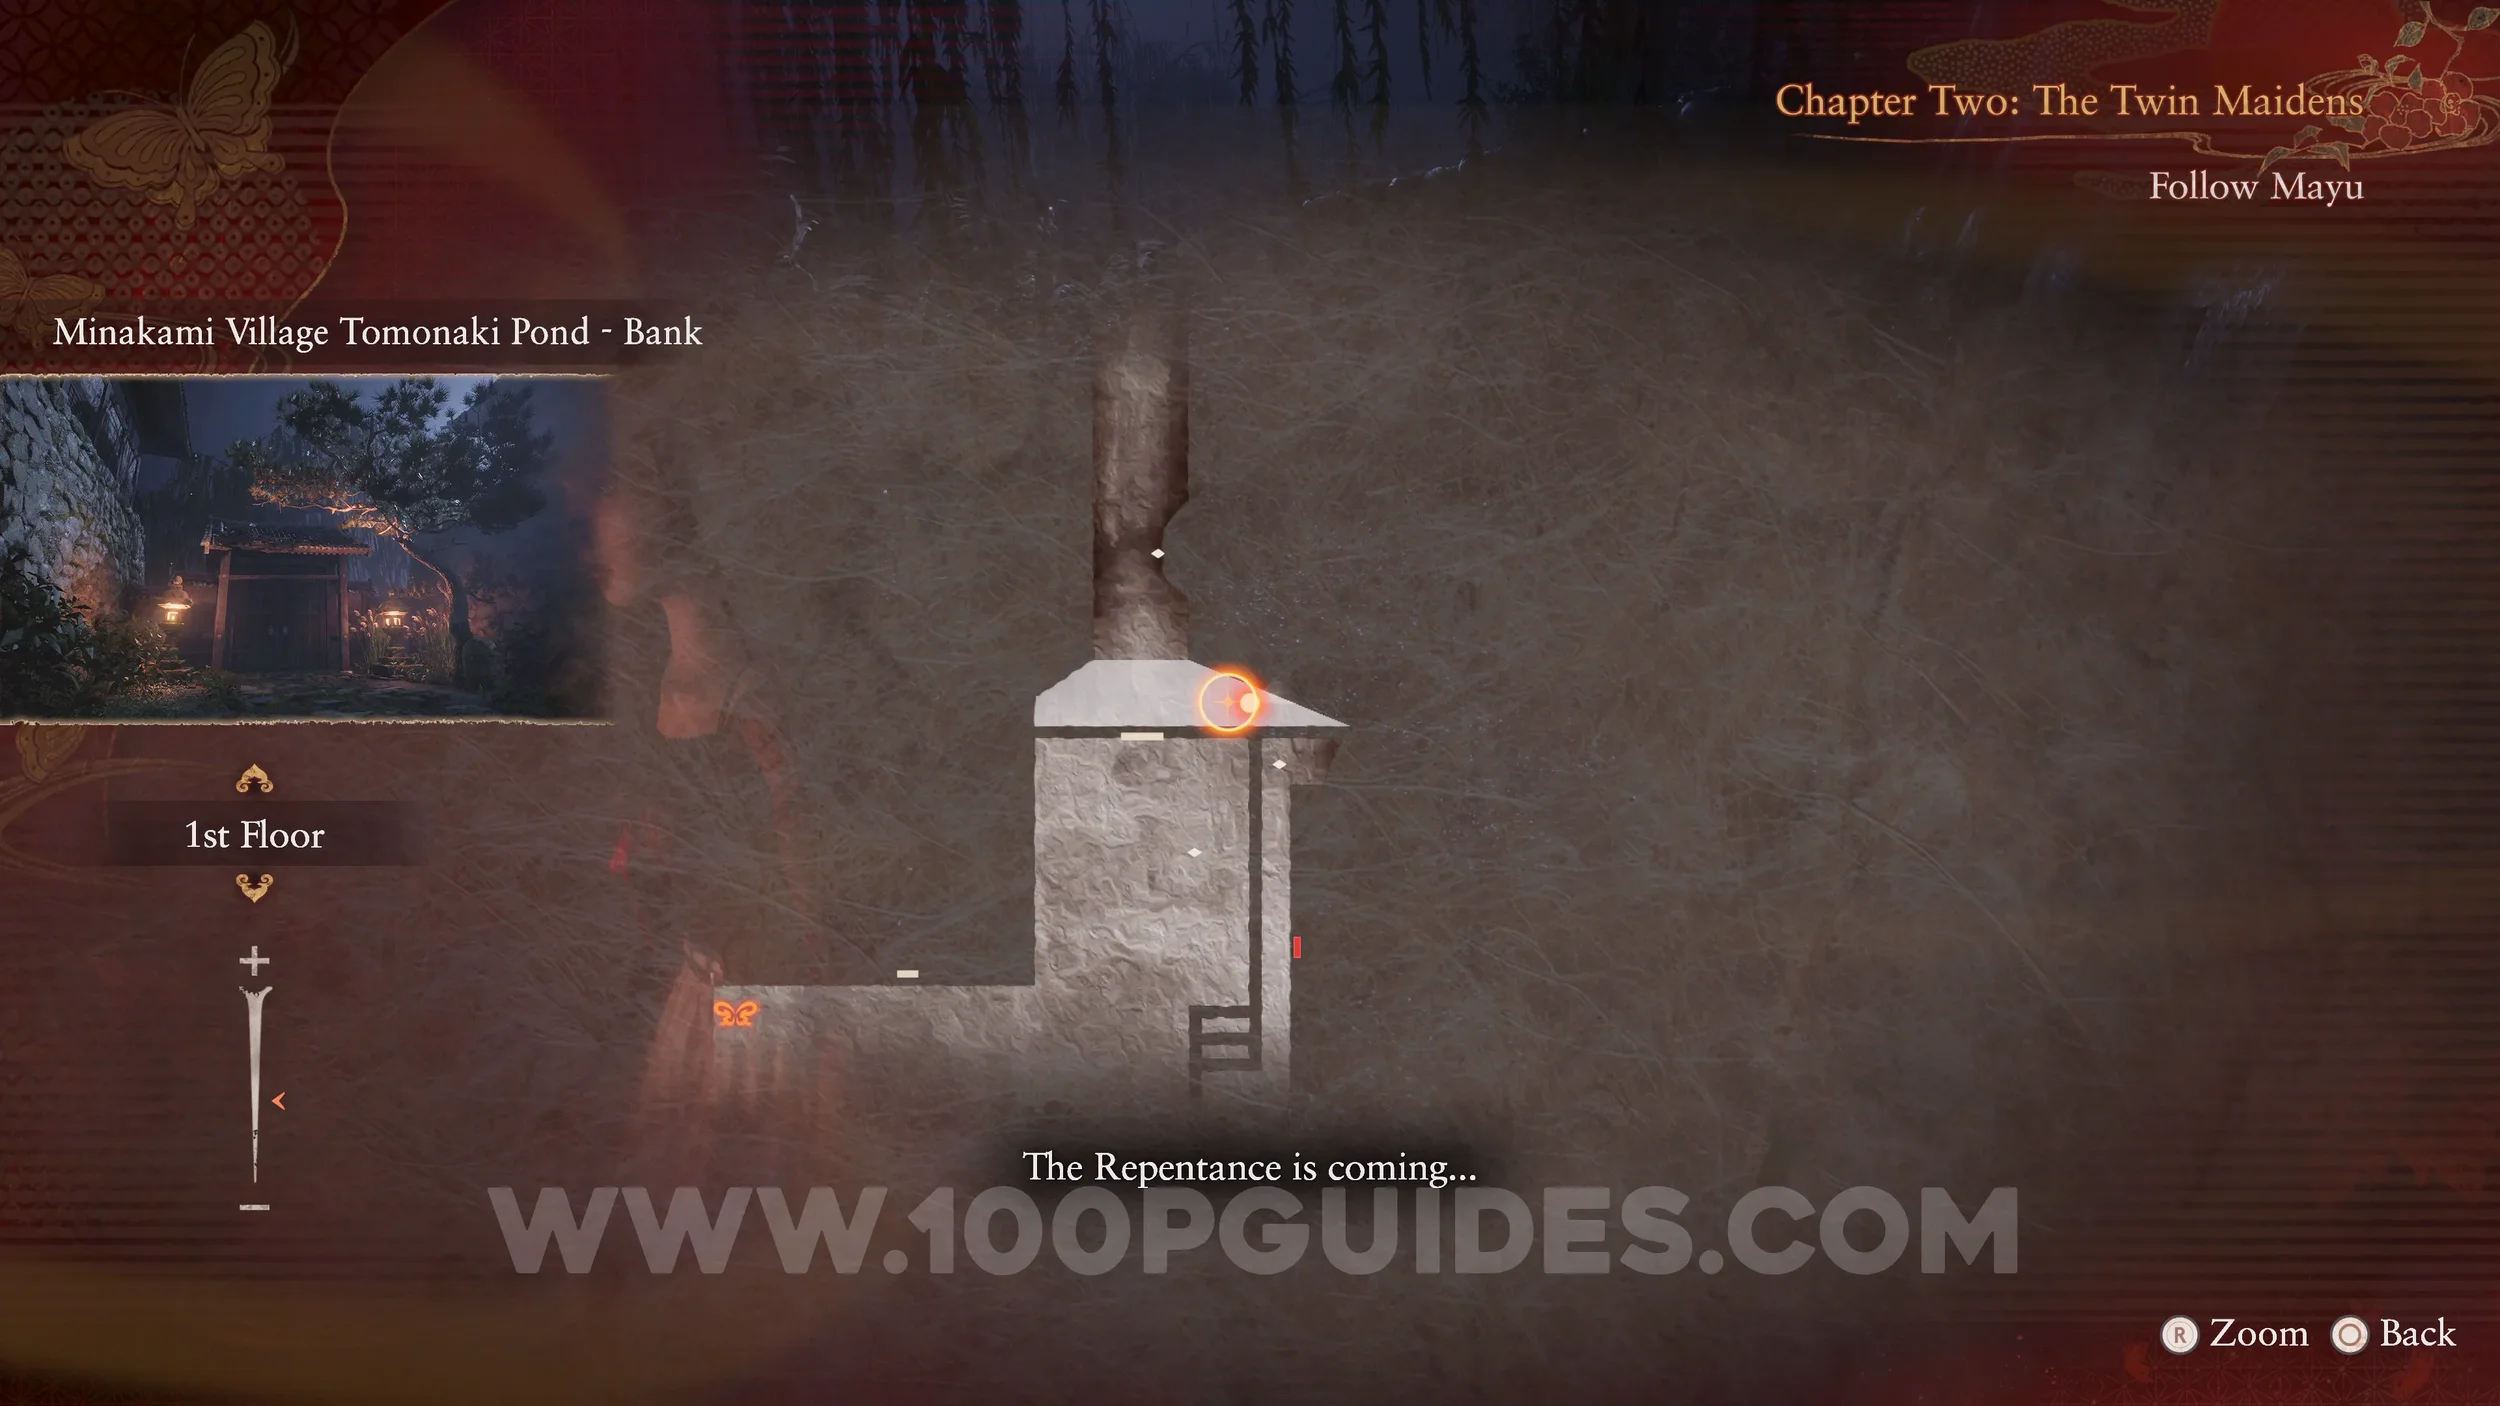
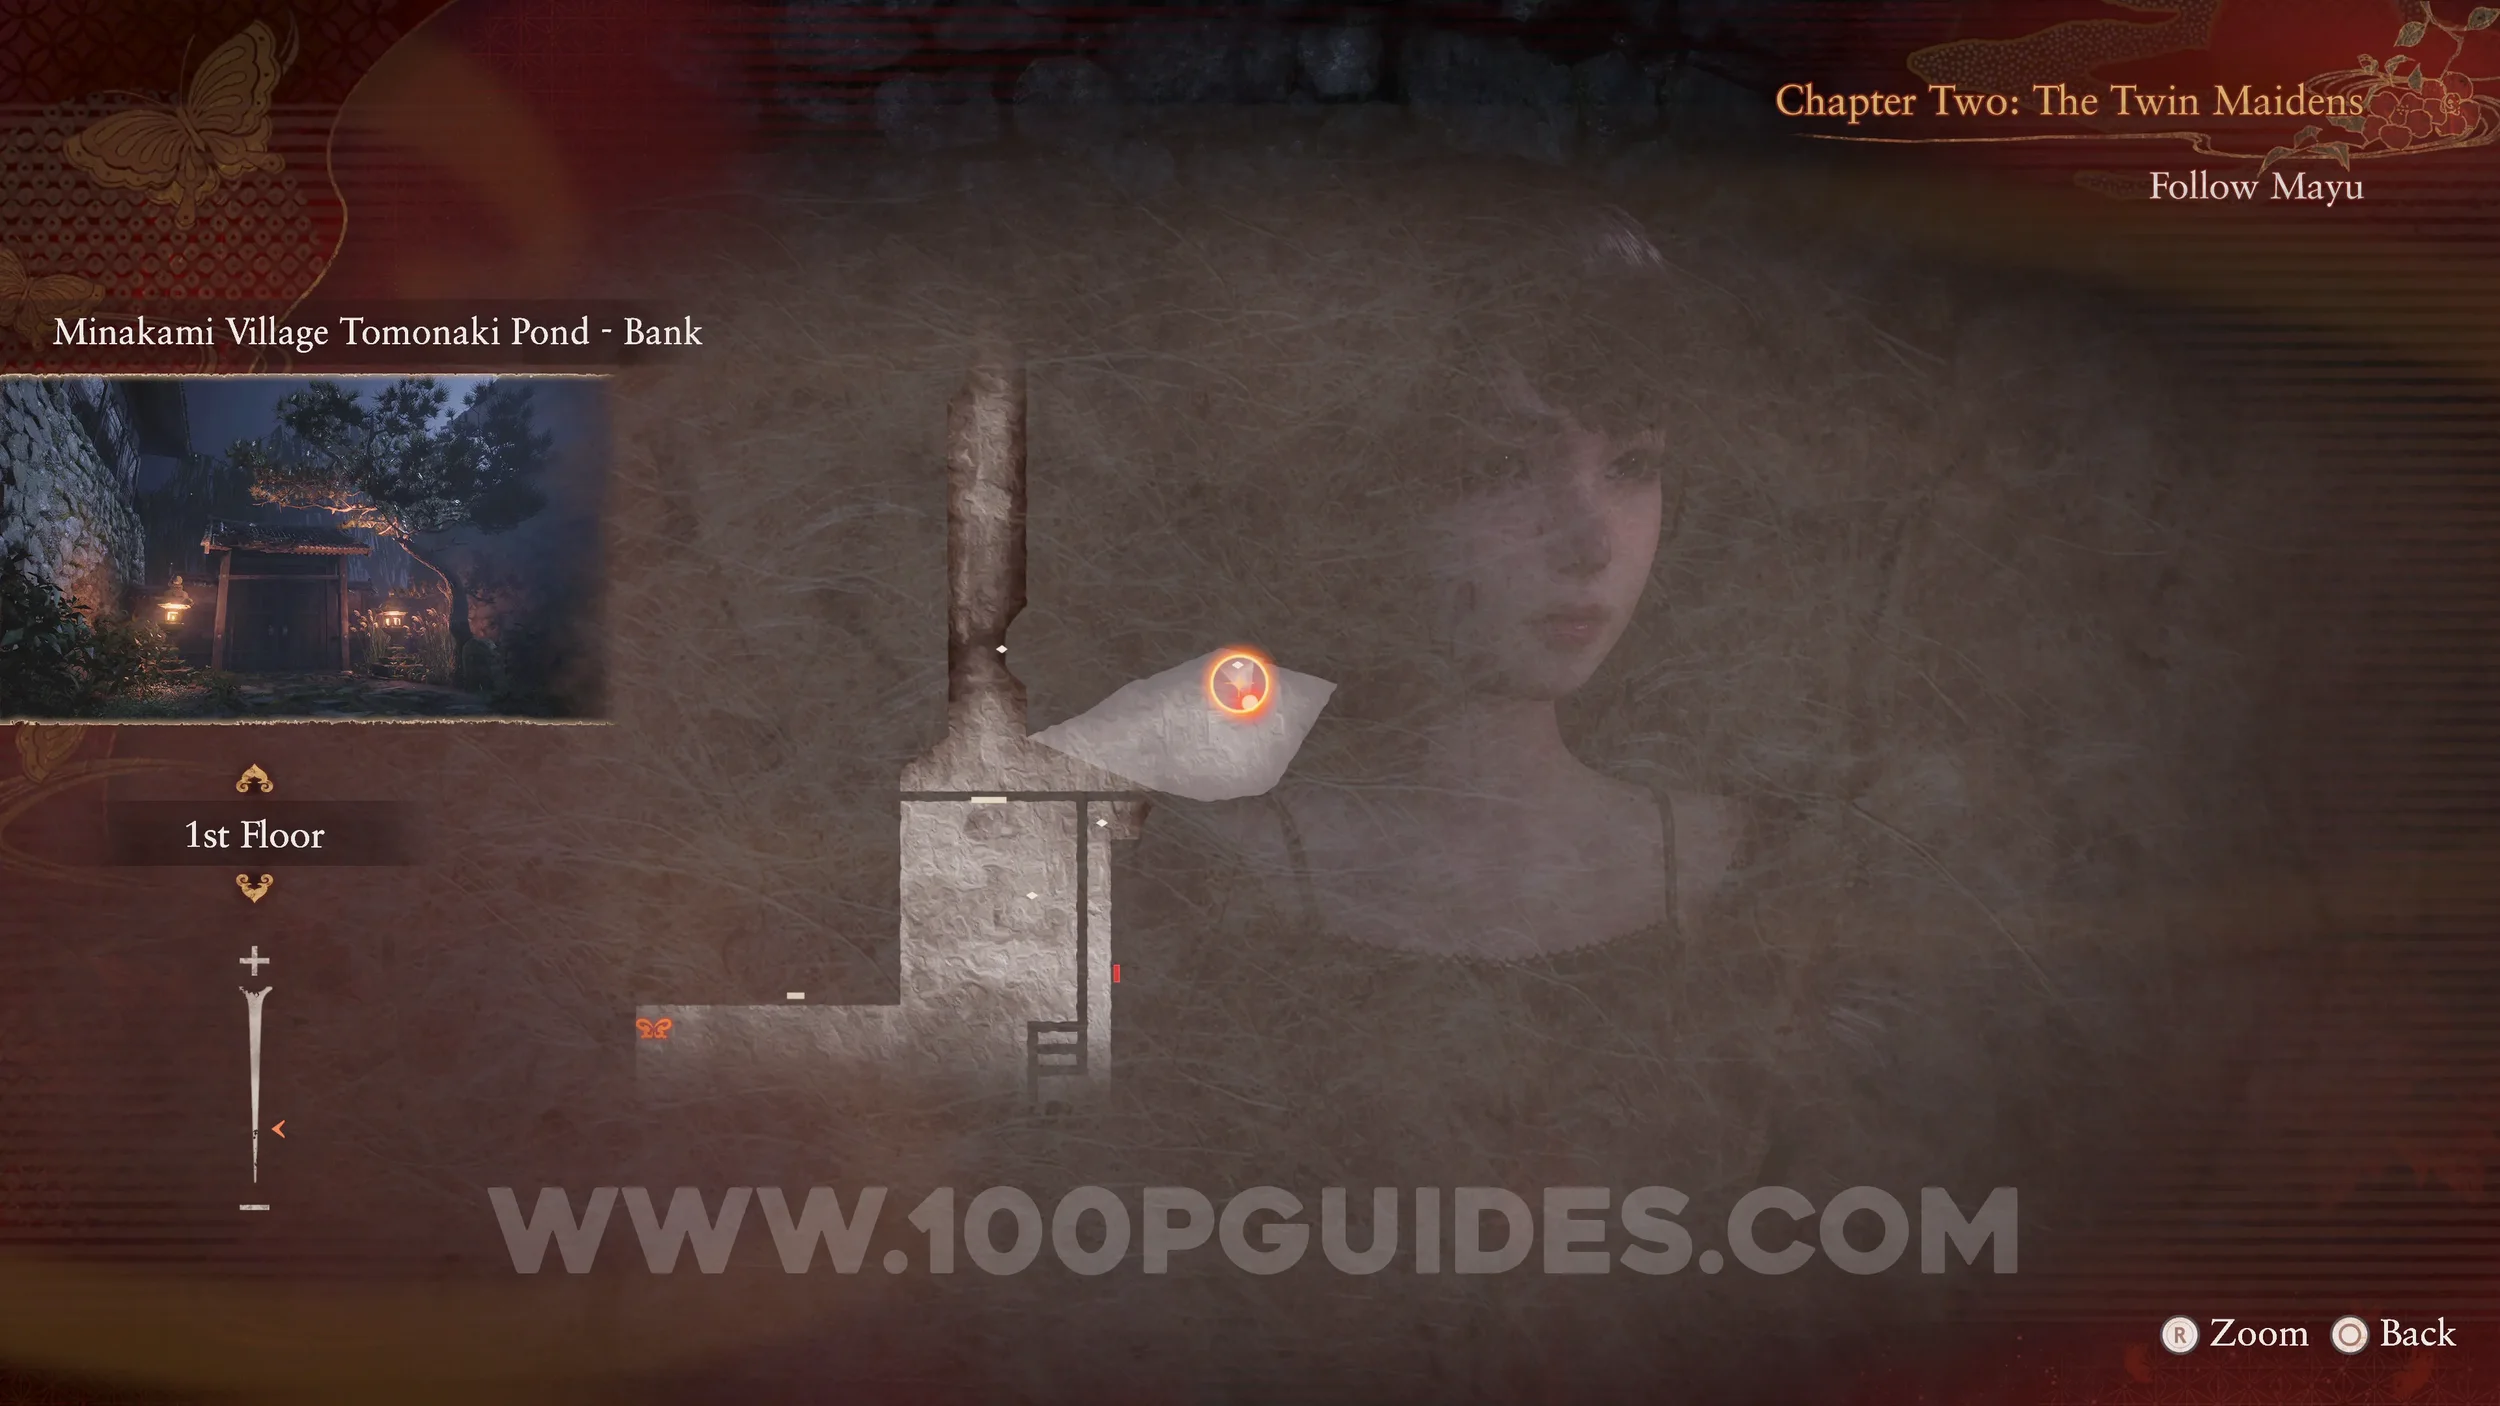
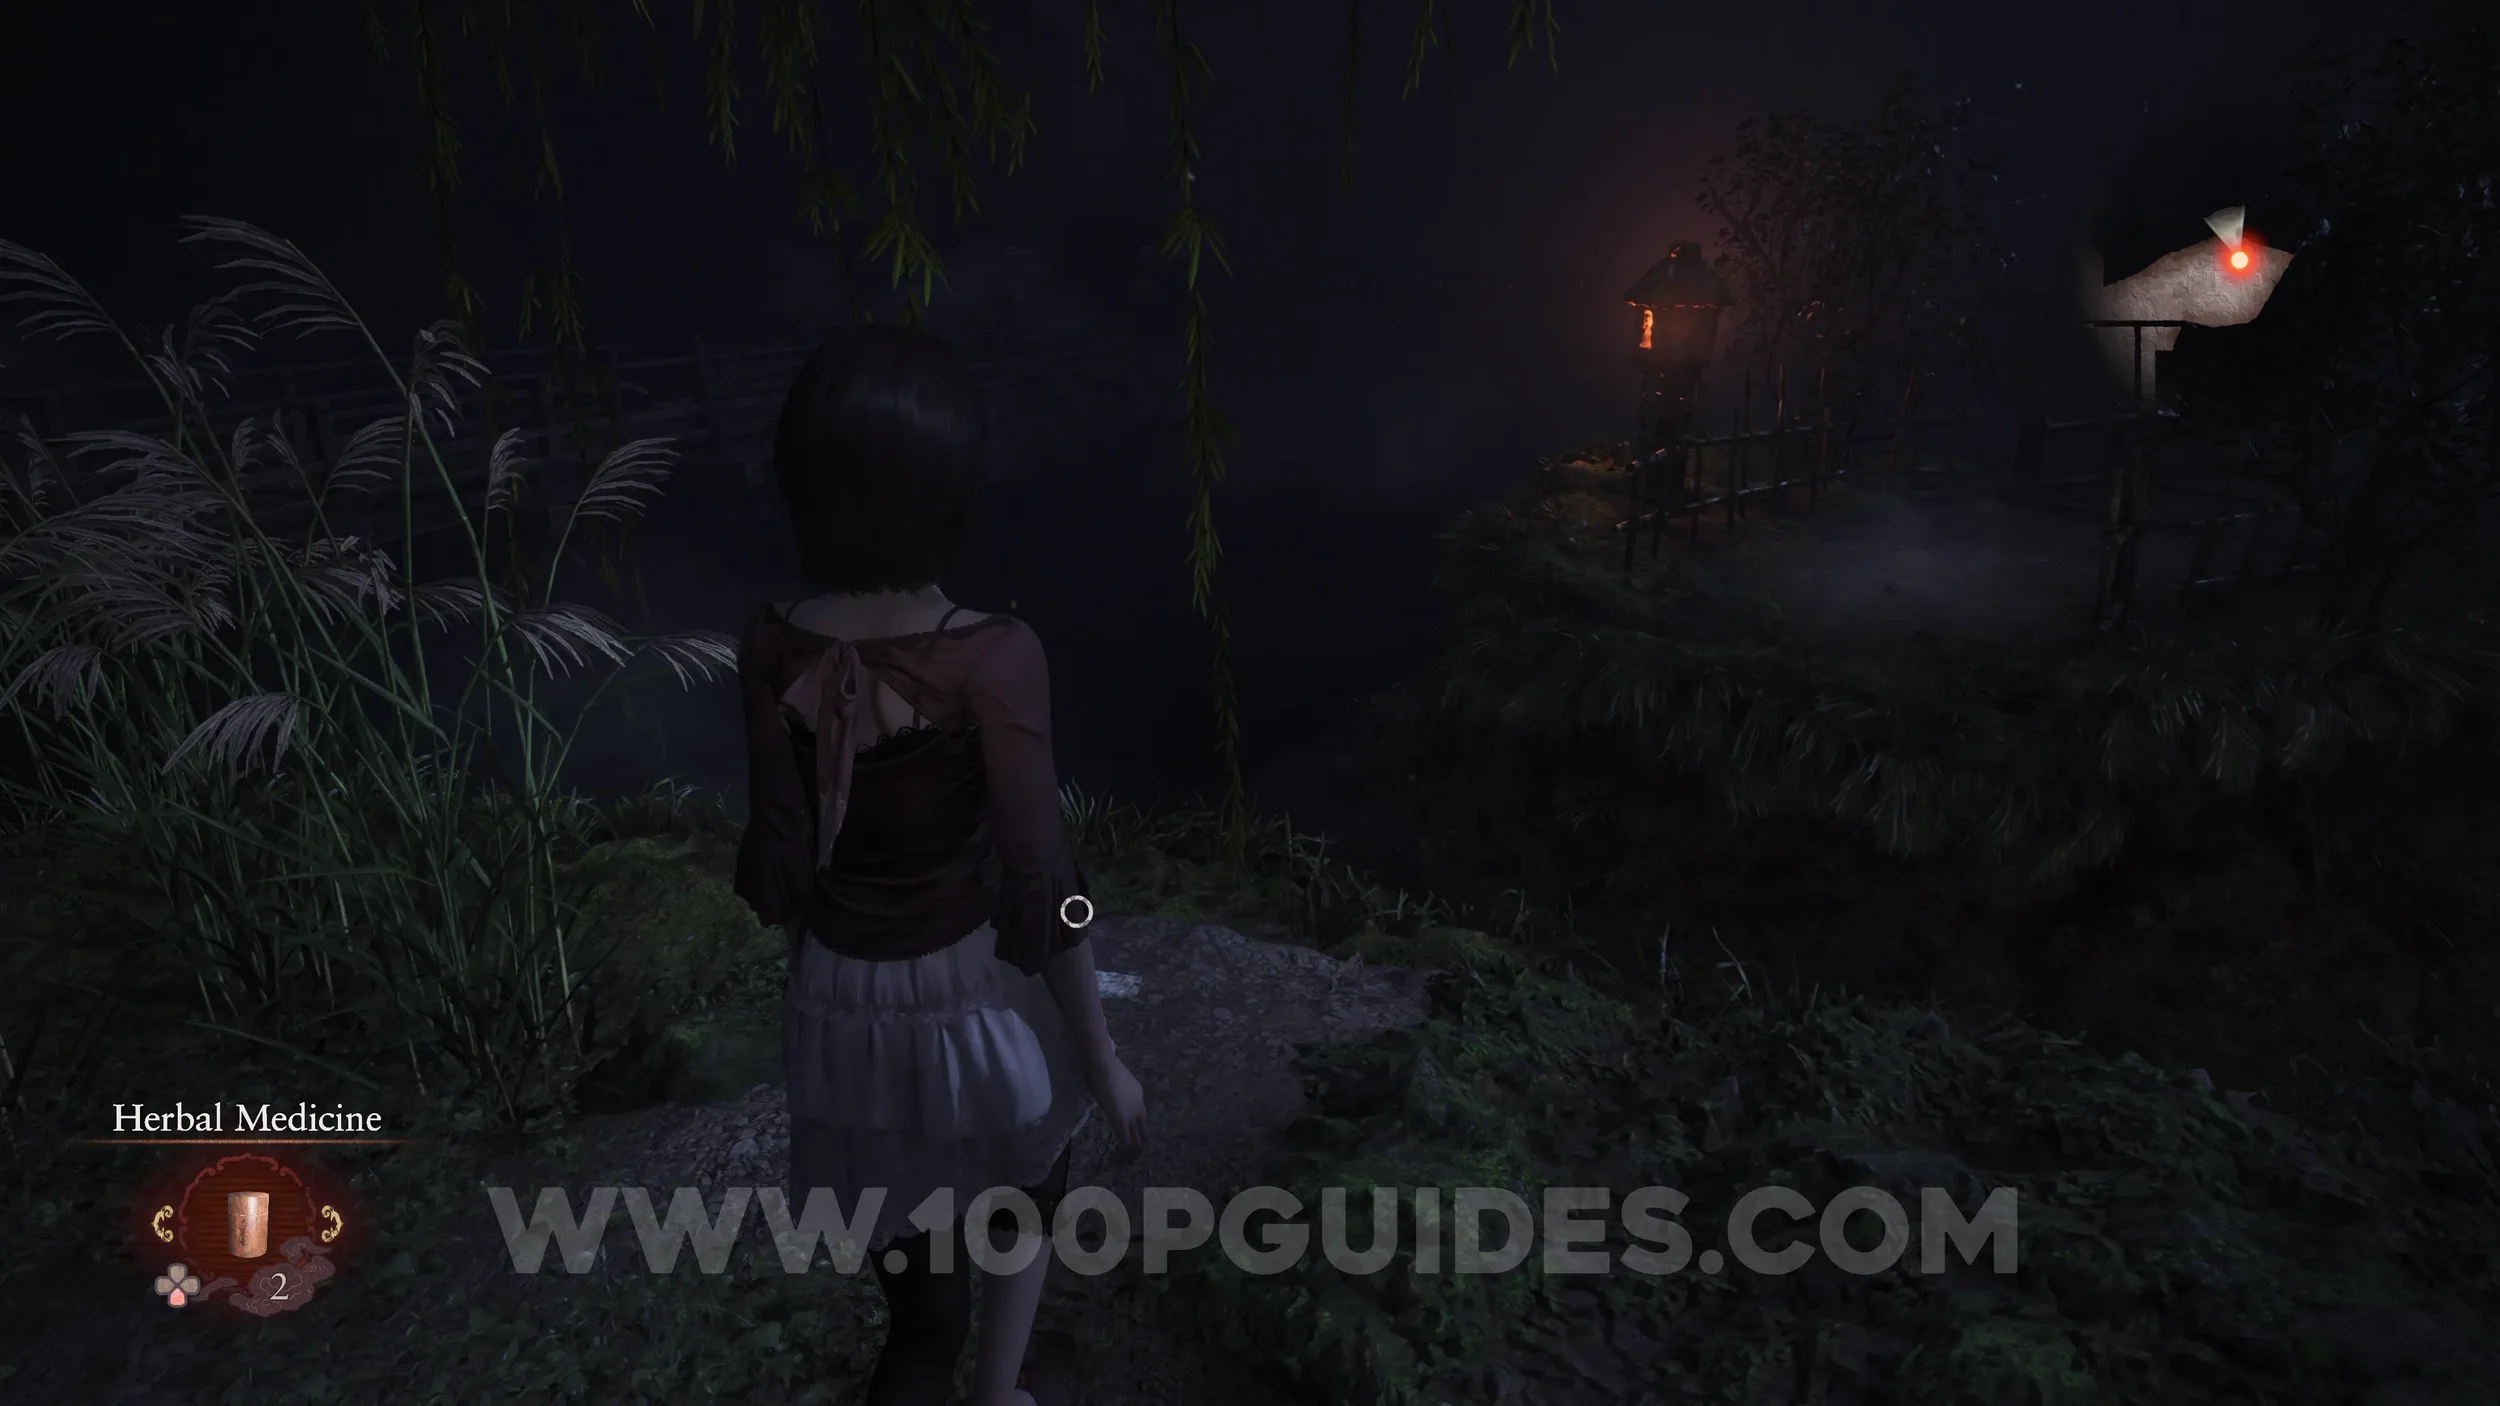
Document #24 - Wet Memo. Found at the end of the path to the right after going through the gate using the two keys.
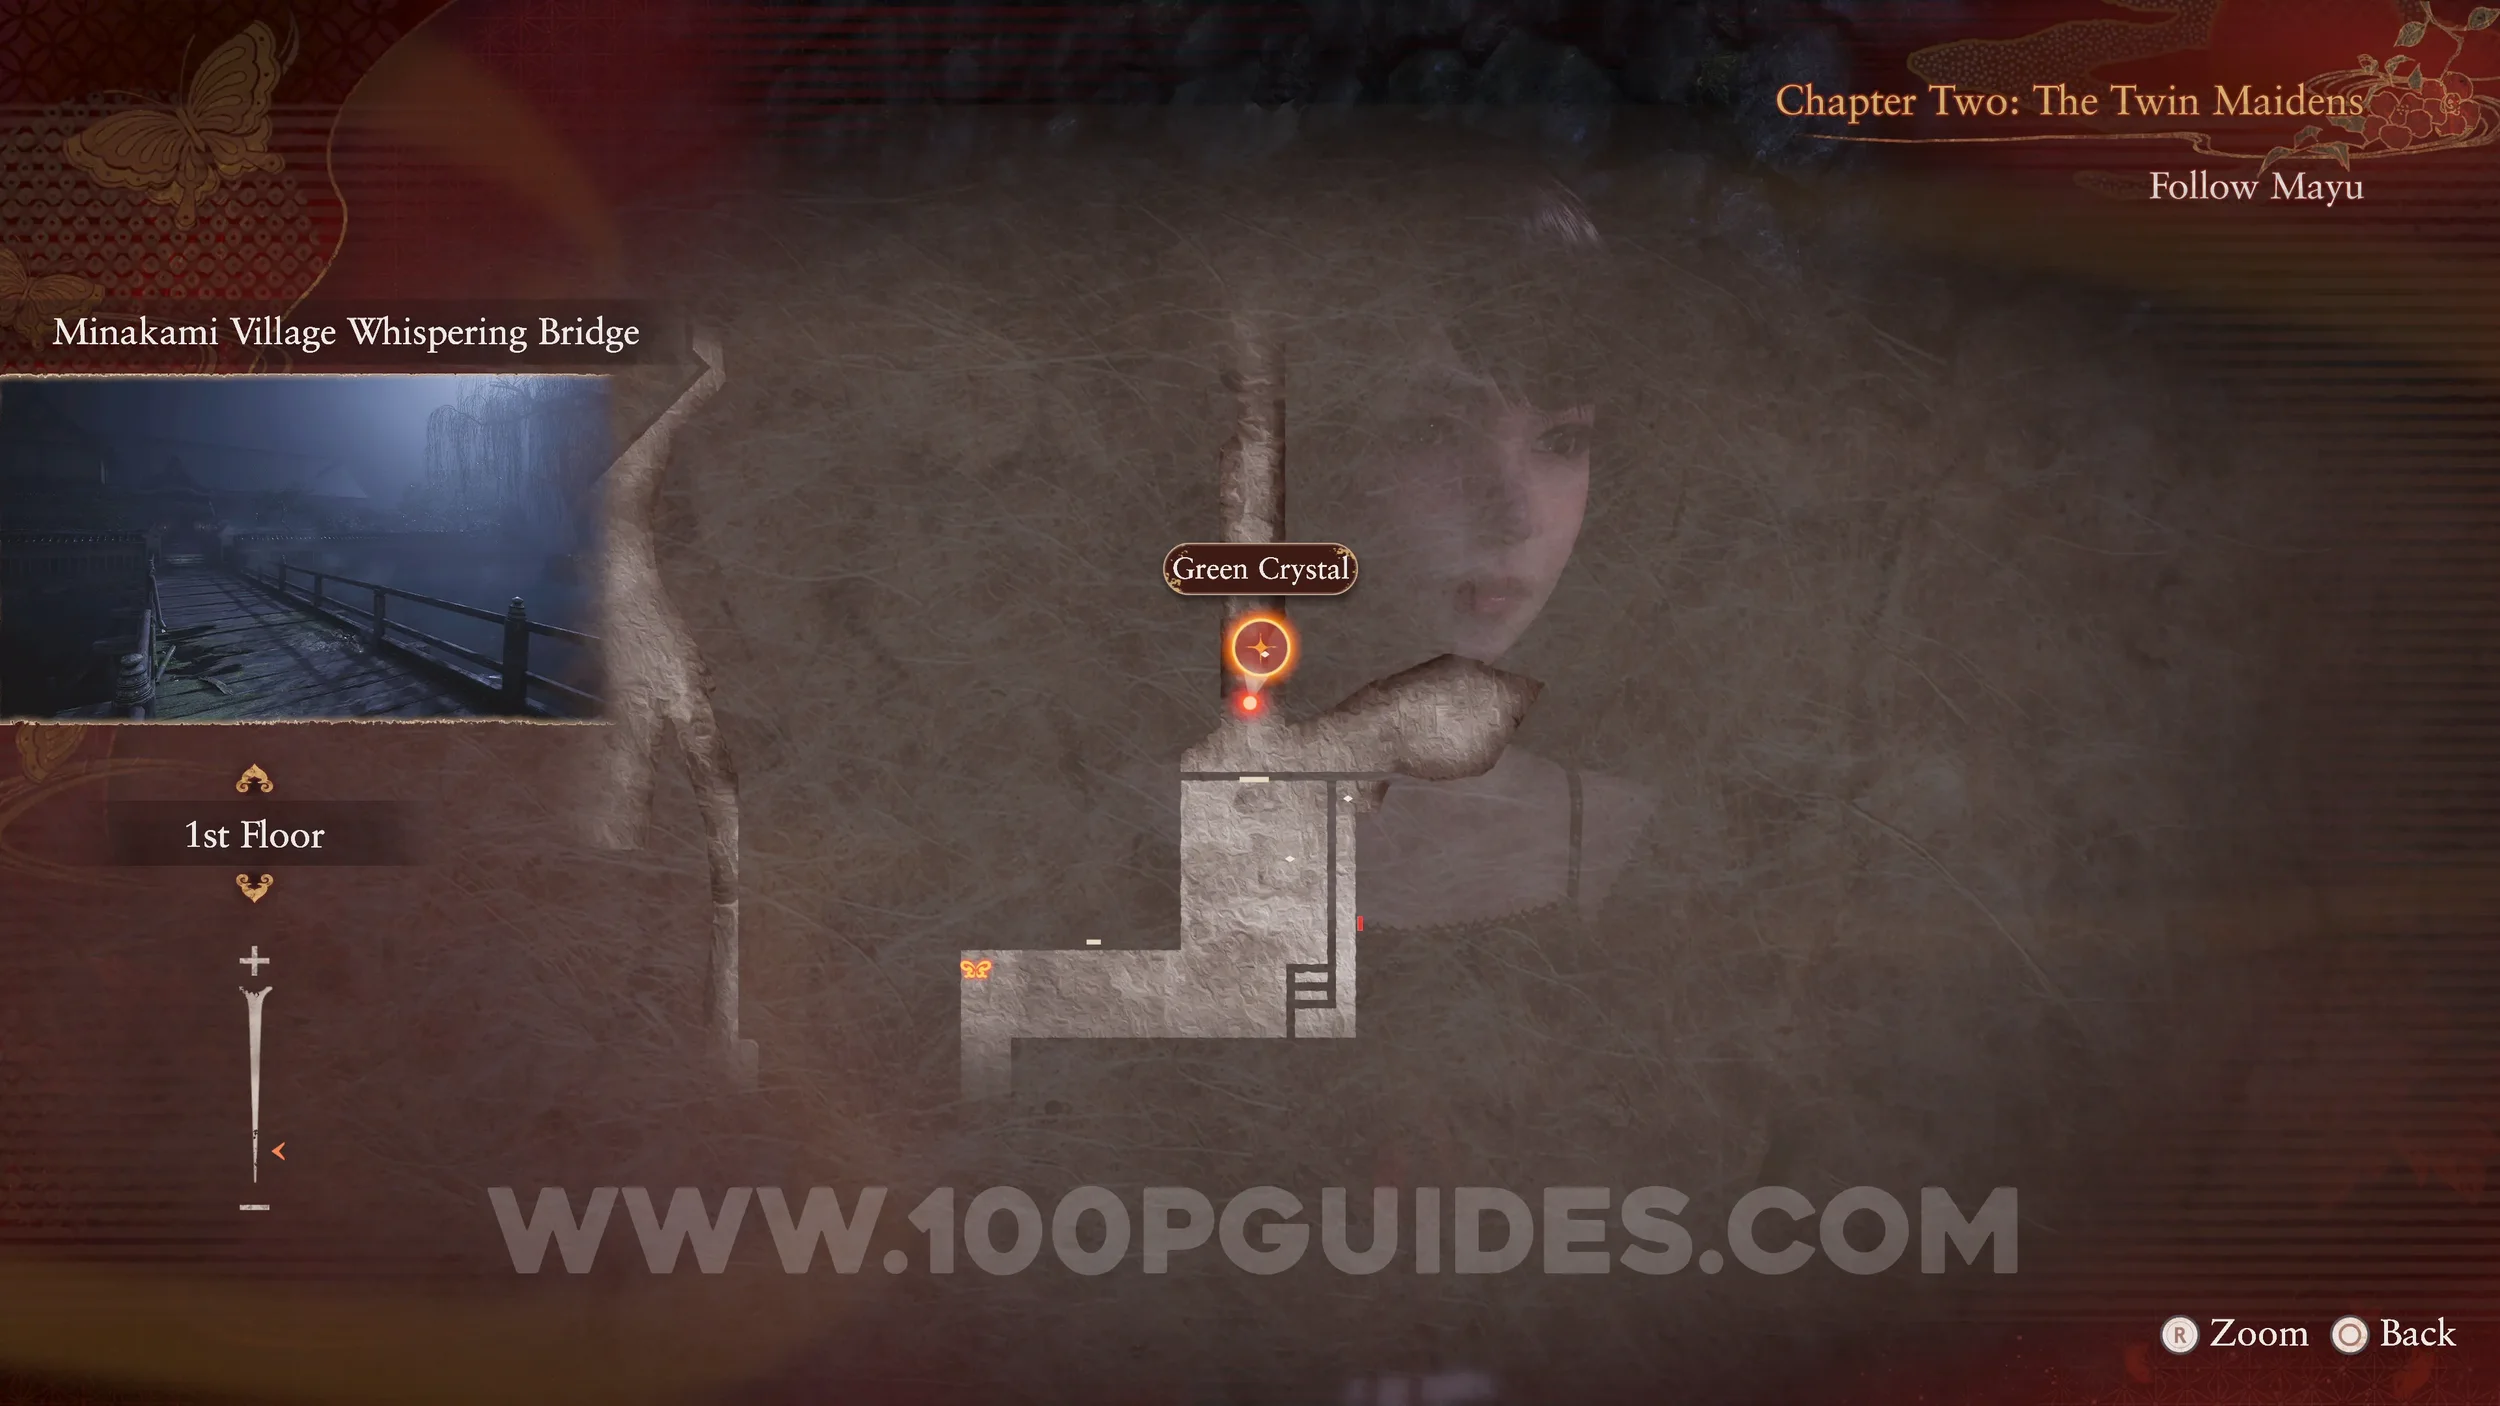
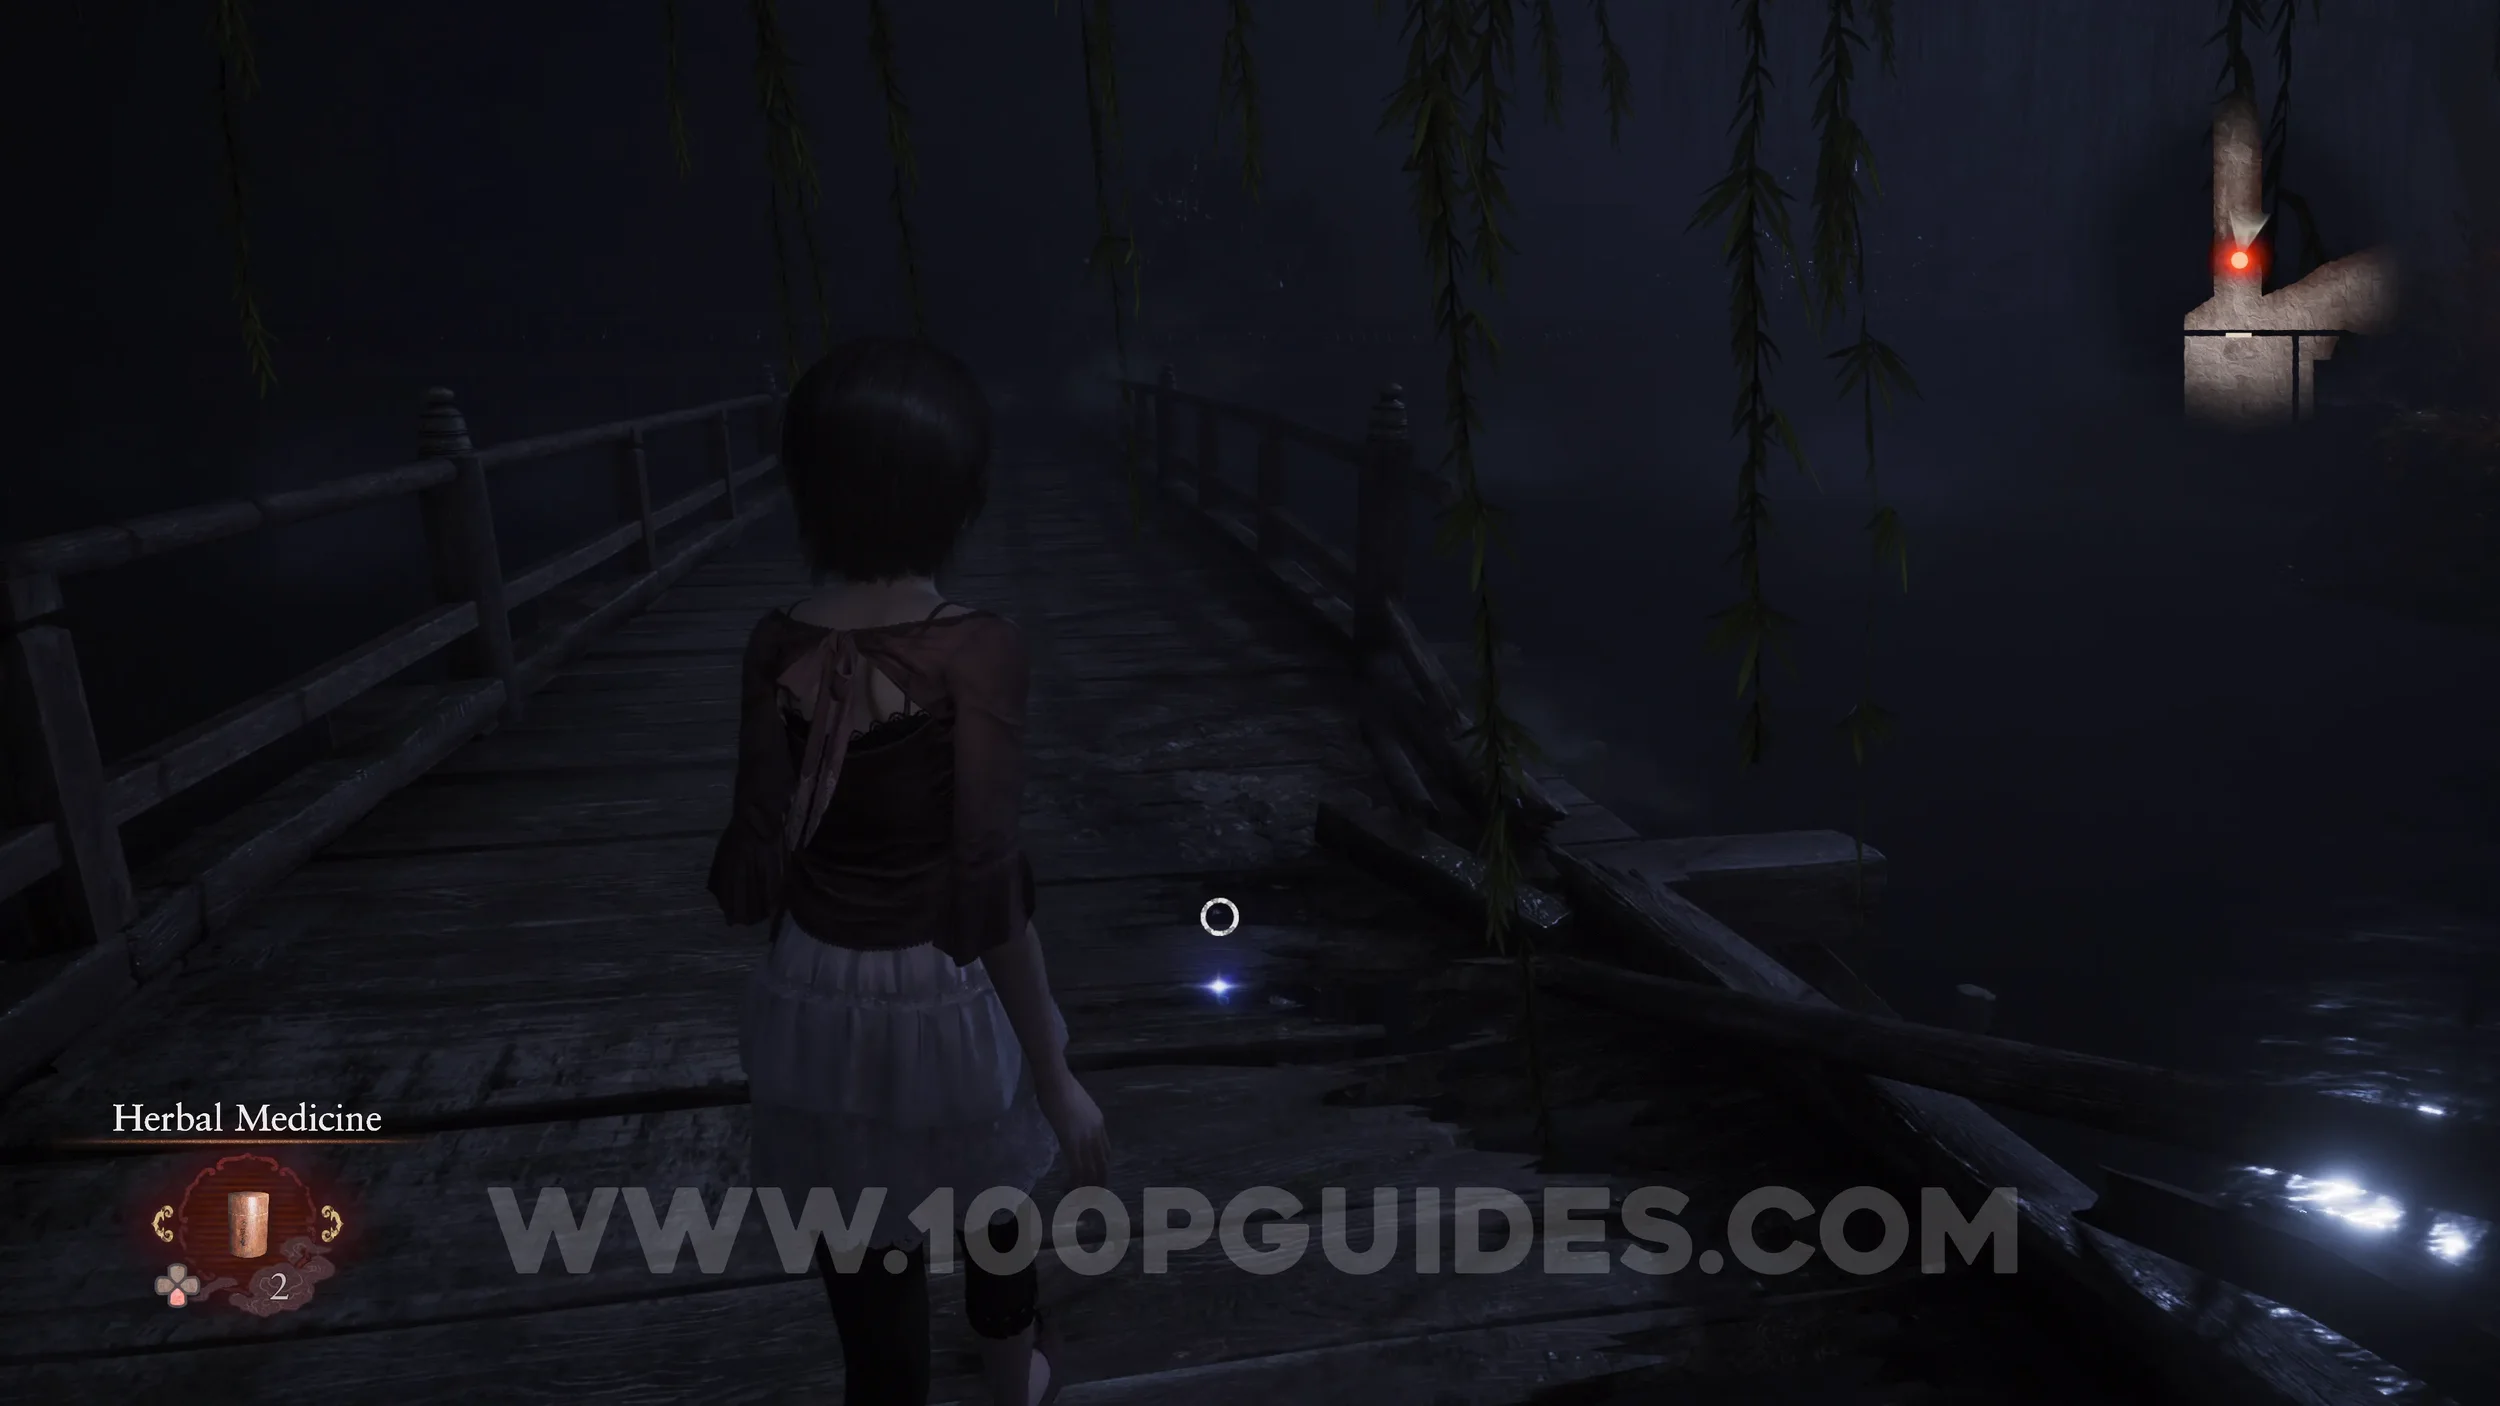
Spirit Stone #8 - Green Crystal. Found on the bridge straight ahead after opening the gate with the two keys.
Specter #38 - 024 Floating Woman and Wraith #8 - 007 Sunken Woman. As you cross the bridge after opening the gate with the two keys, look through the gap to the water on your left. After photographing the specter, a wraith will appear.
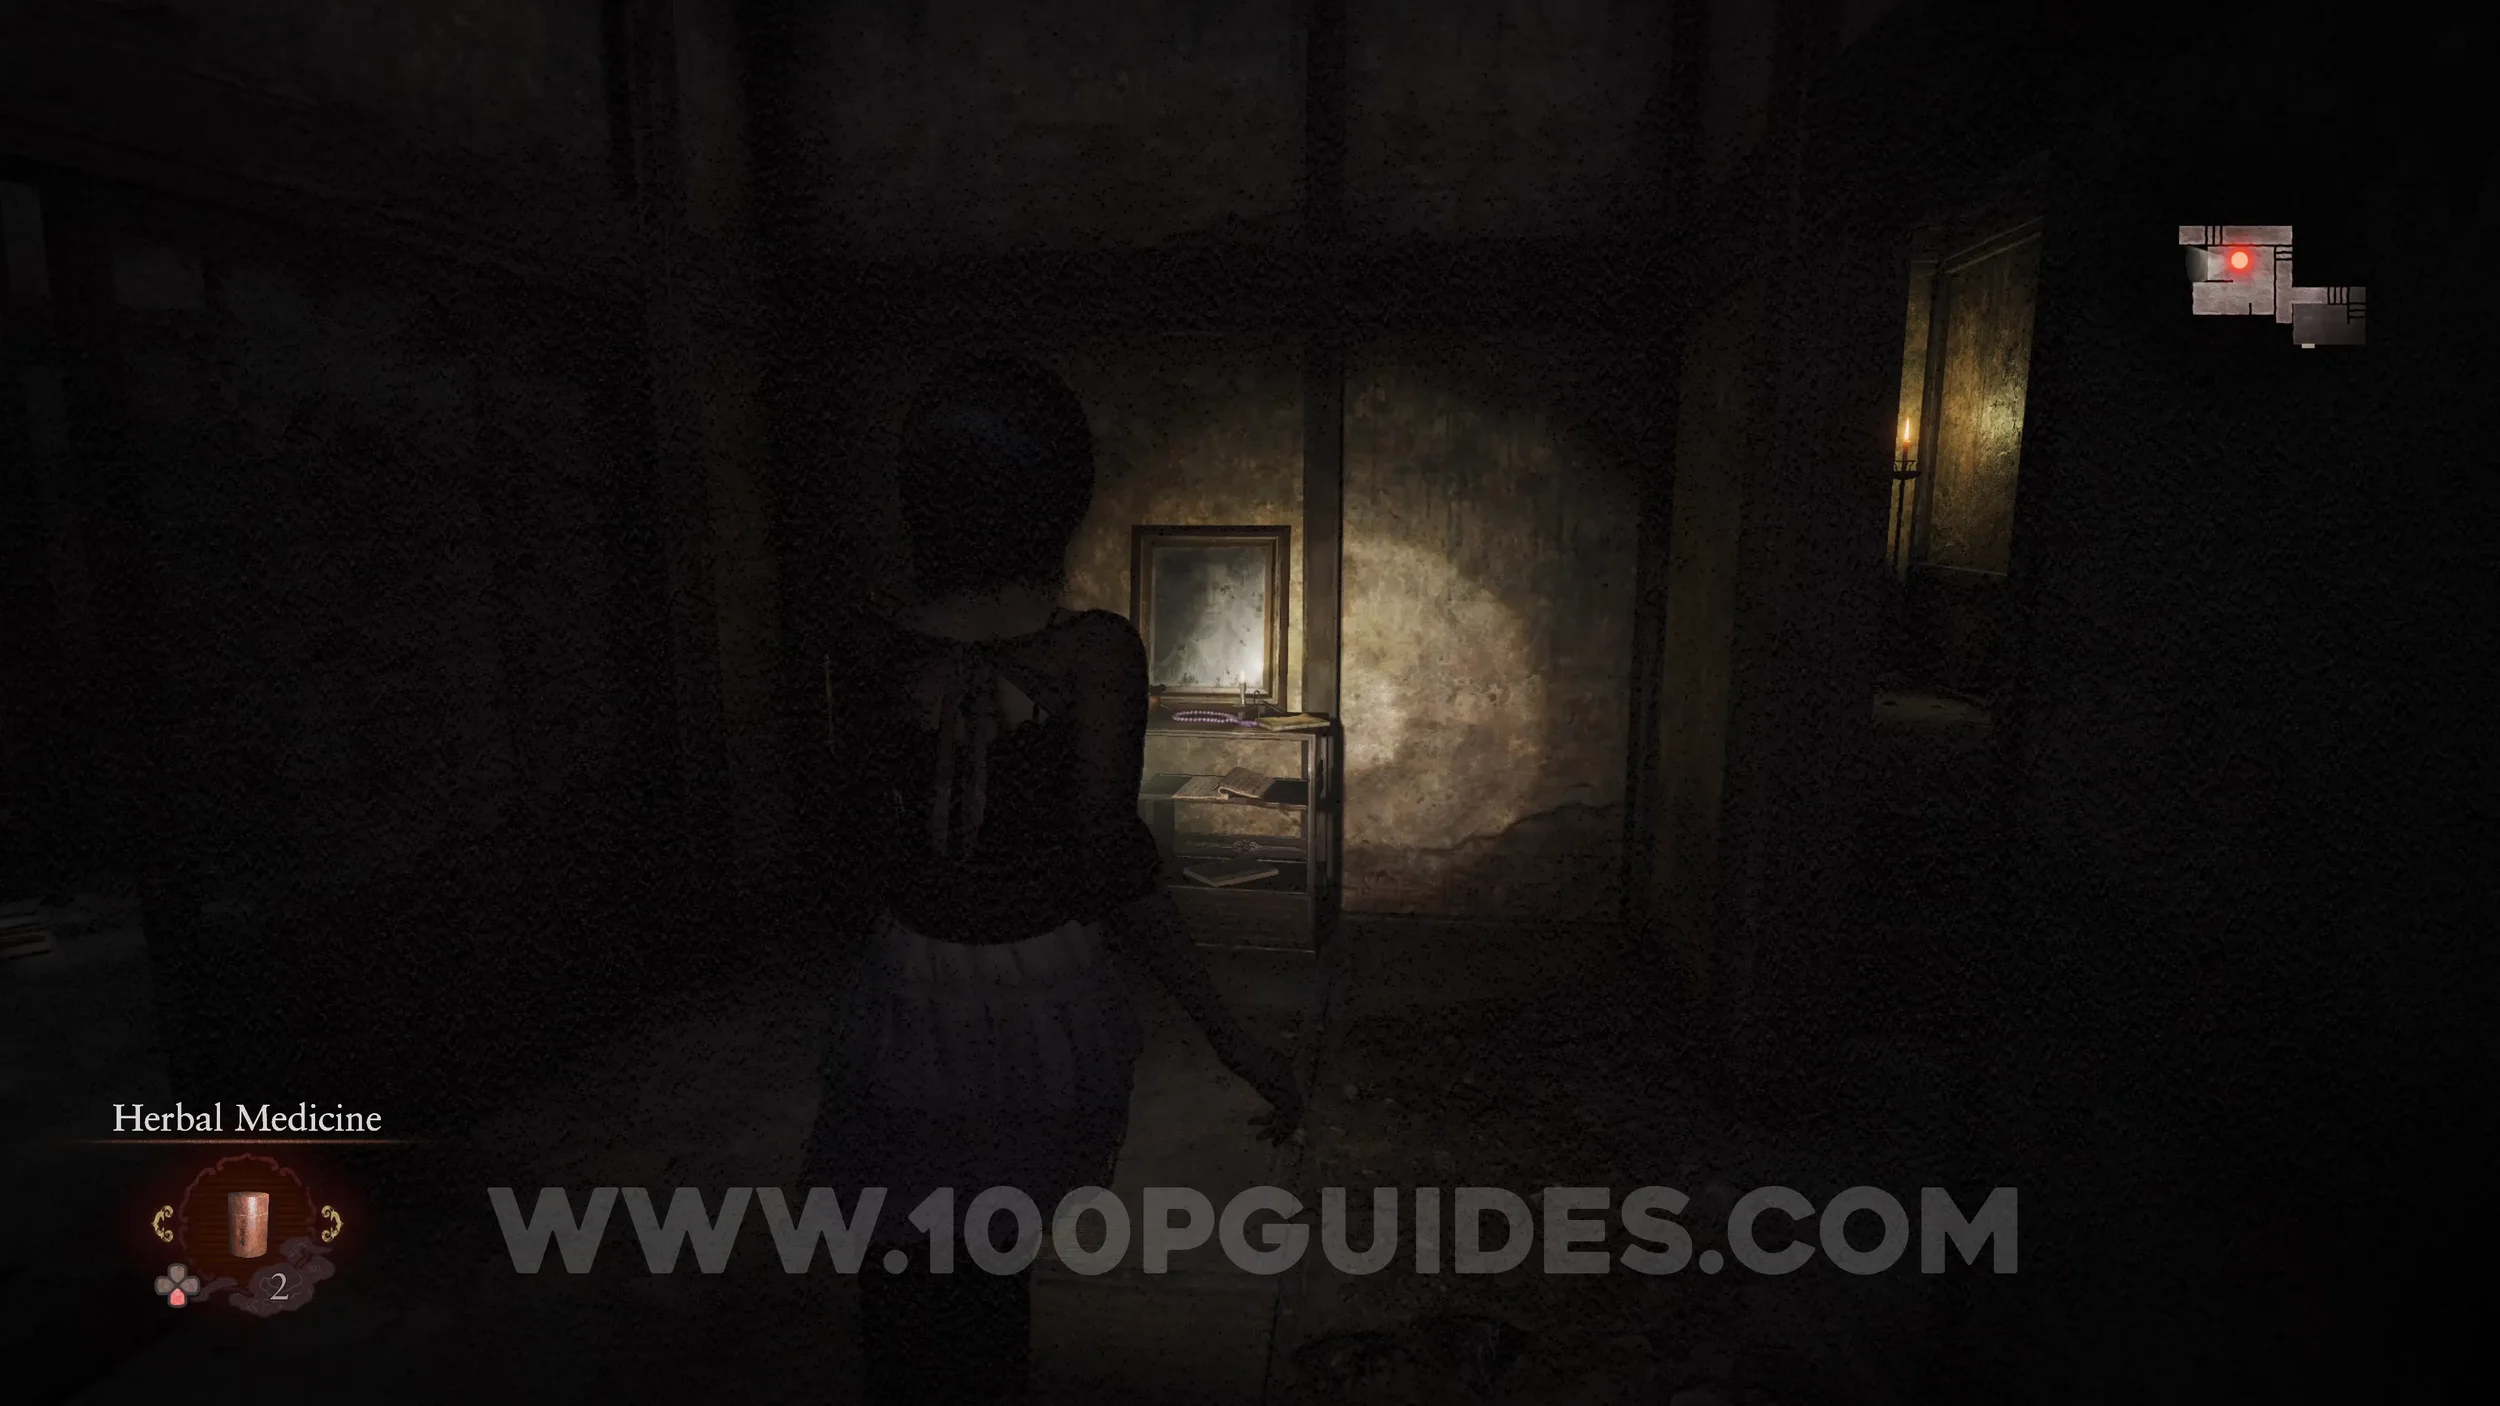
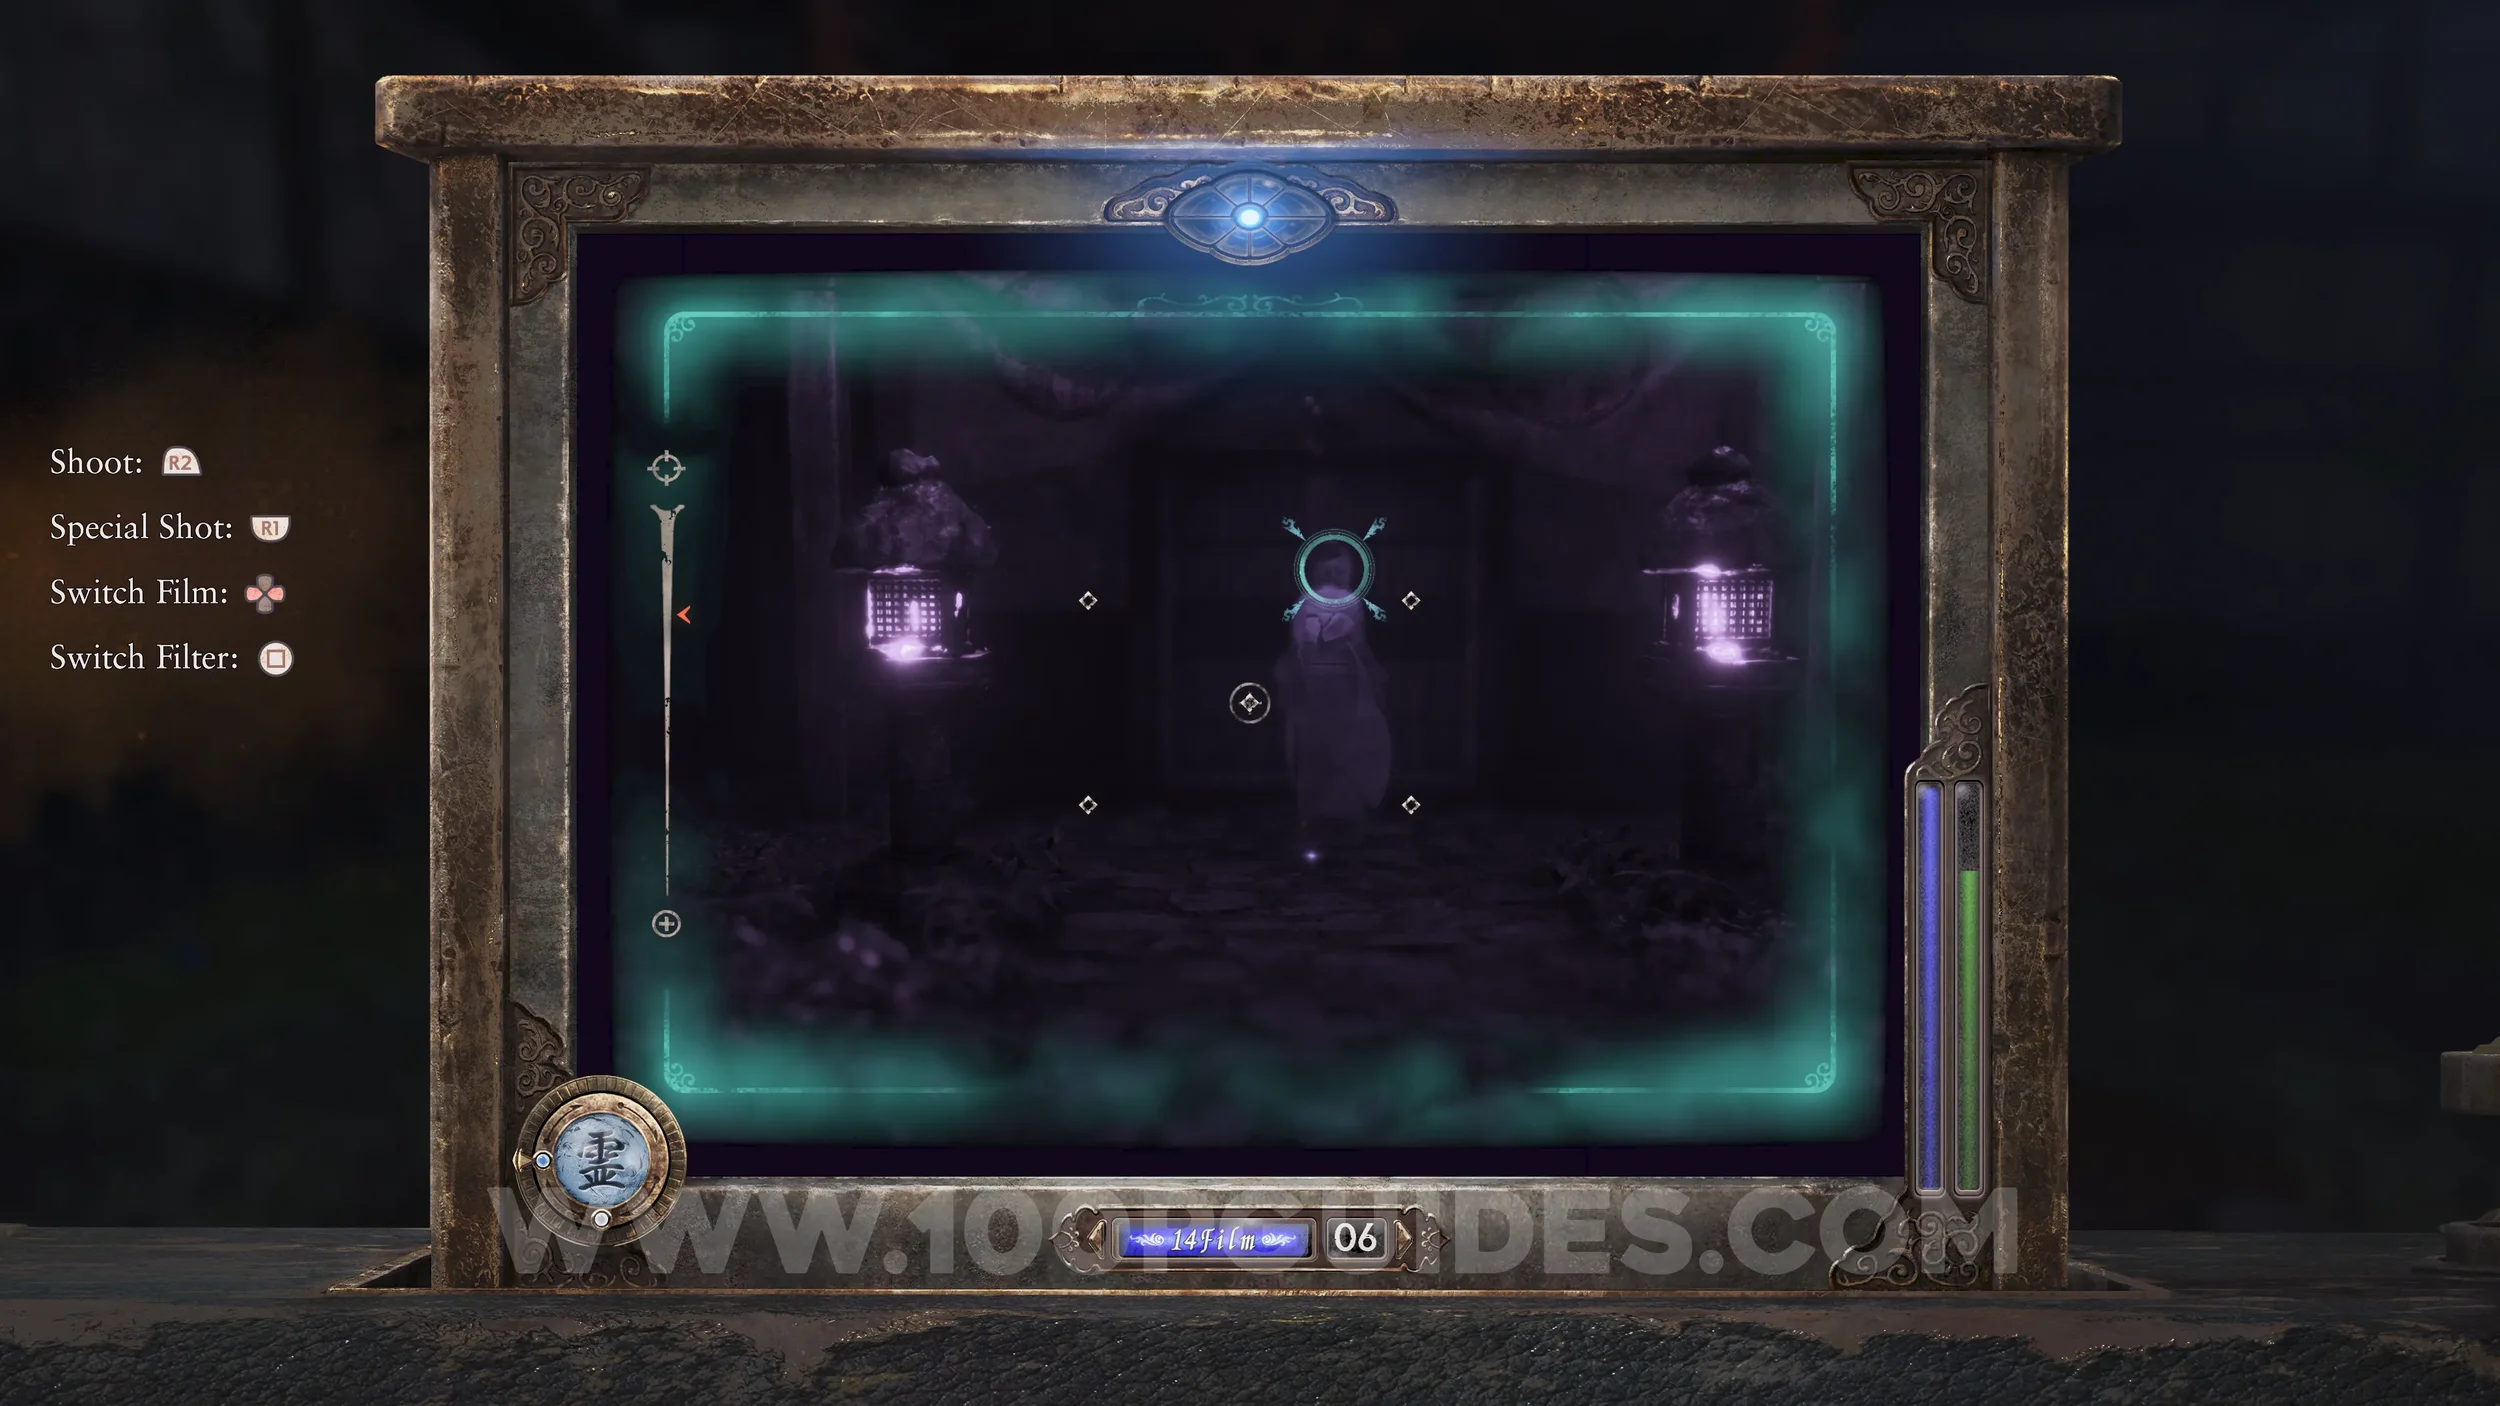
Specter #39 - 025 Woman in the White Kimono. Found on the other side of the gate after crossing the wooden bridge.
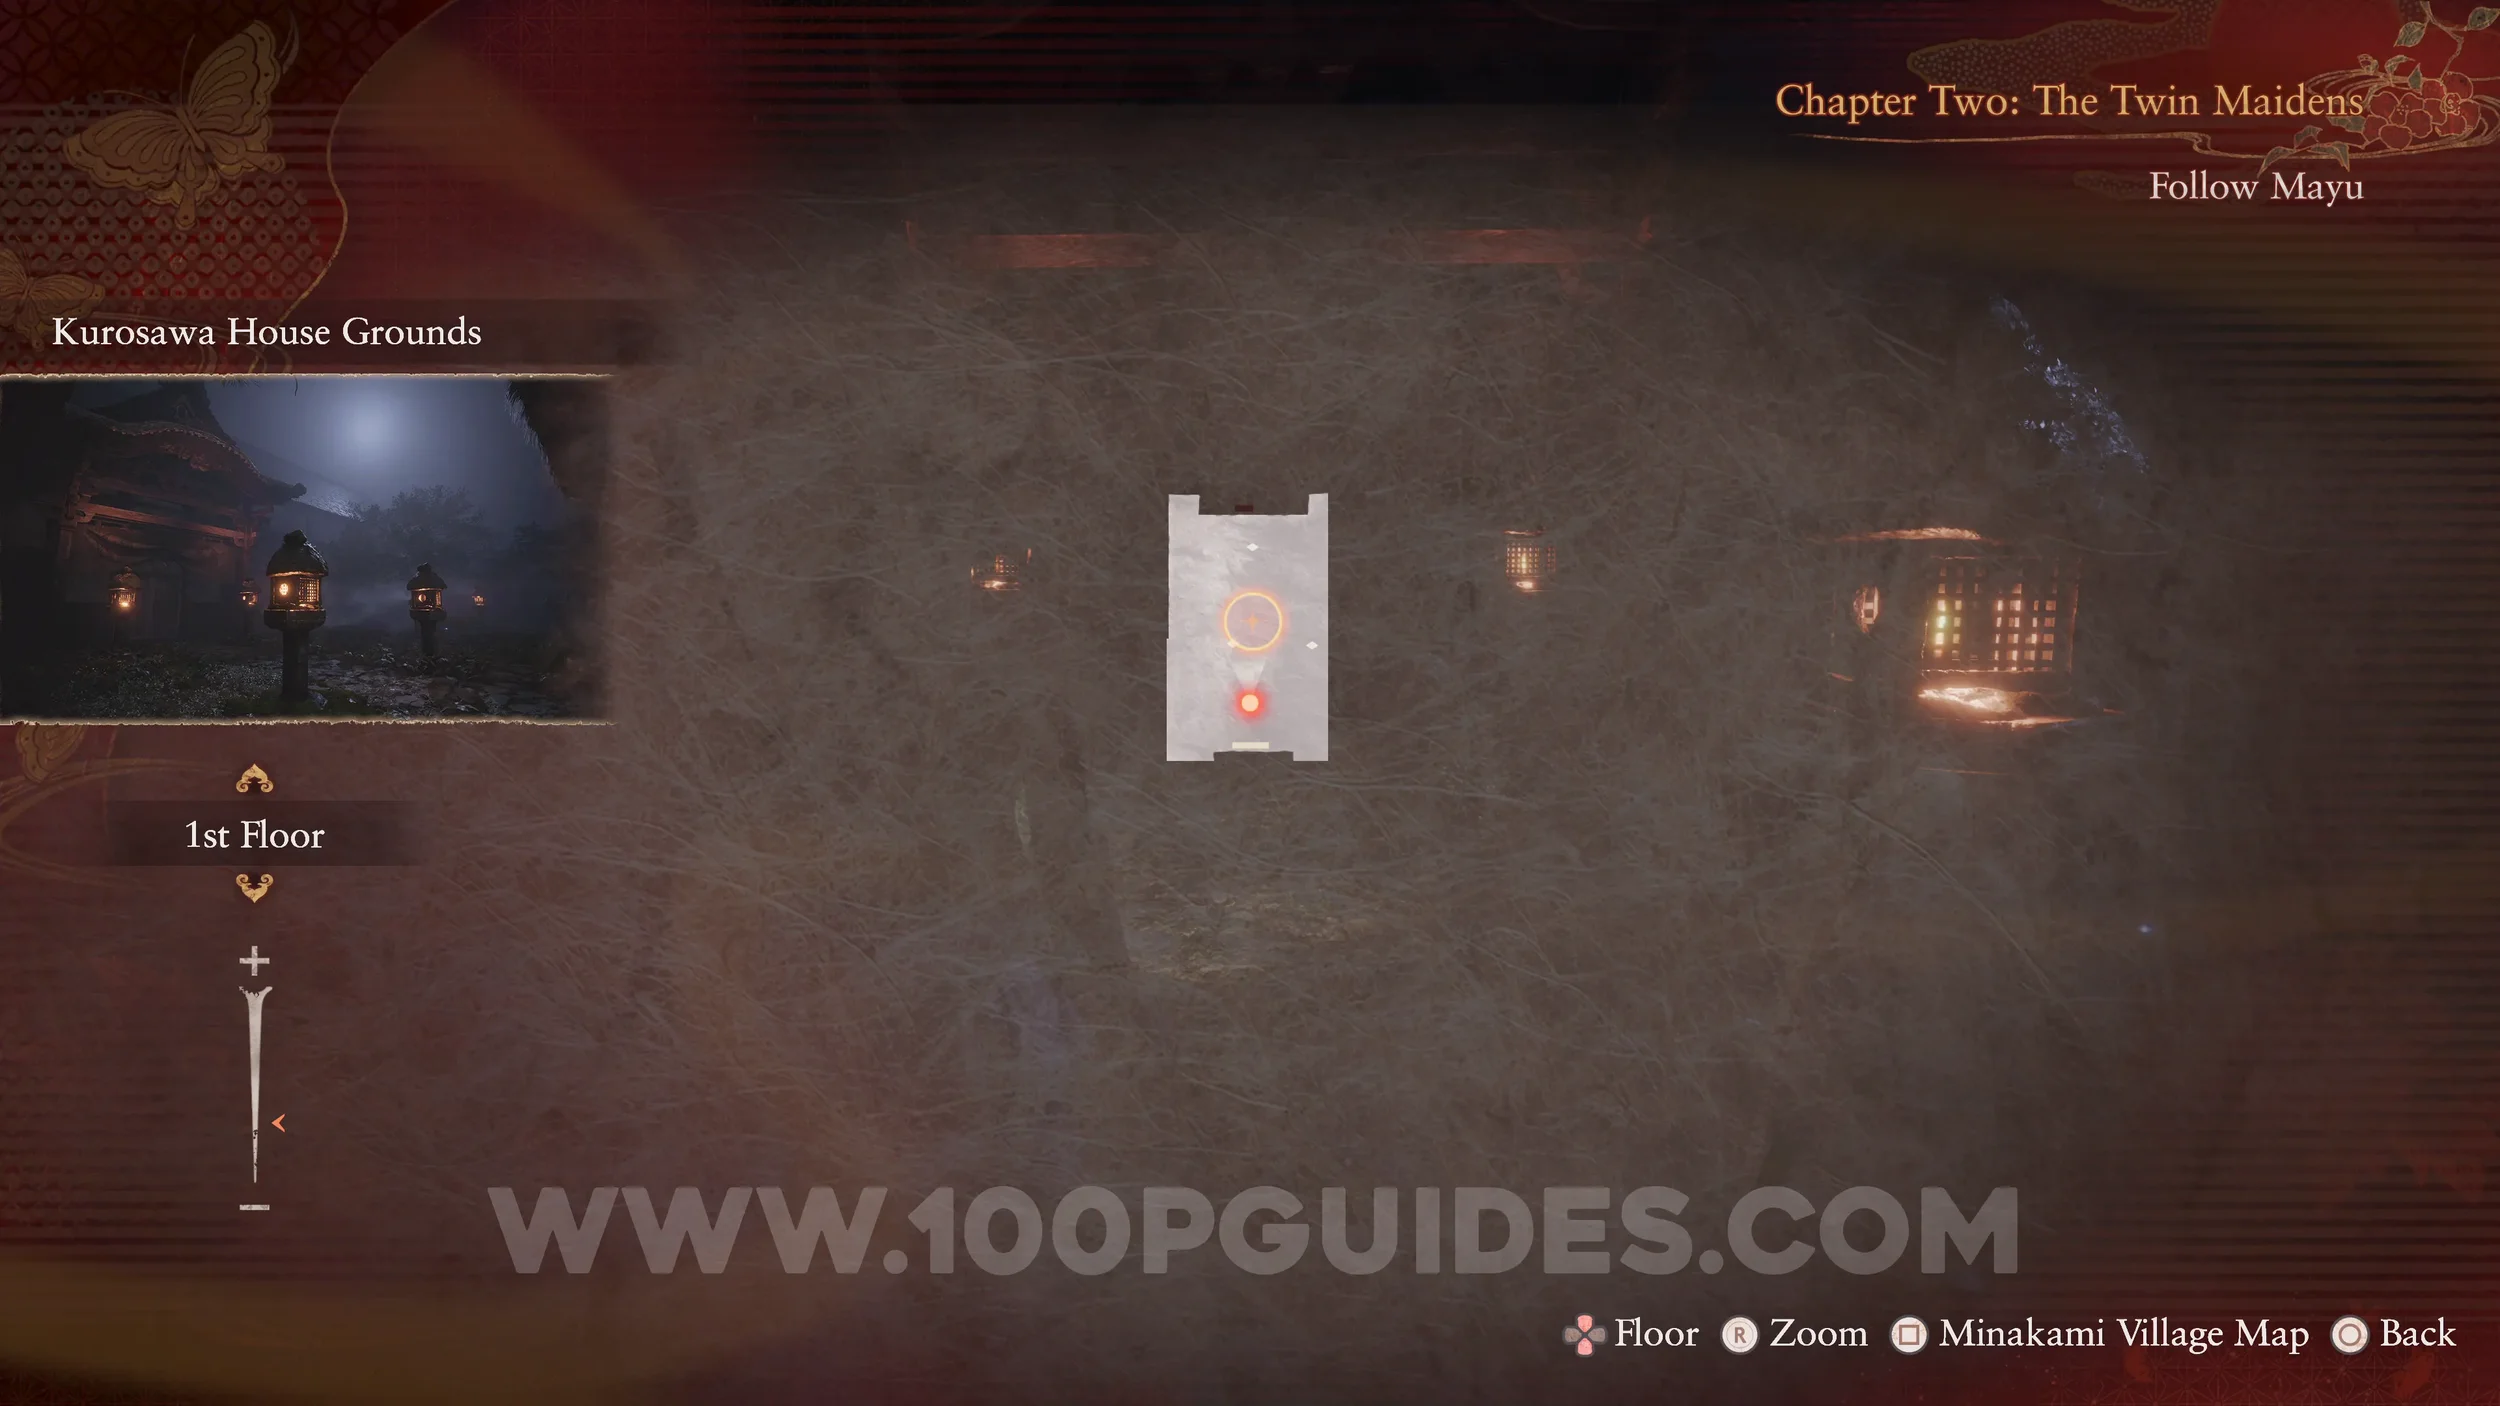
Spirit Stone #9 - Mayu’s Charm 2. On the floor in the same courtyard as the previous specter.
Specter #40 - 026 Man in Hallway. Will appear in the window on the left side of the area where the previous collectibles were.
Twin Dolls #21 (5). On the left side of the area with the previous collectibles.
Prayer Beads #8. In the same courtyard as the previous collectibles.

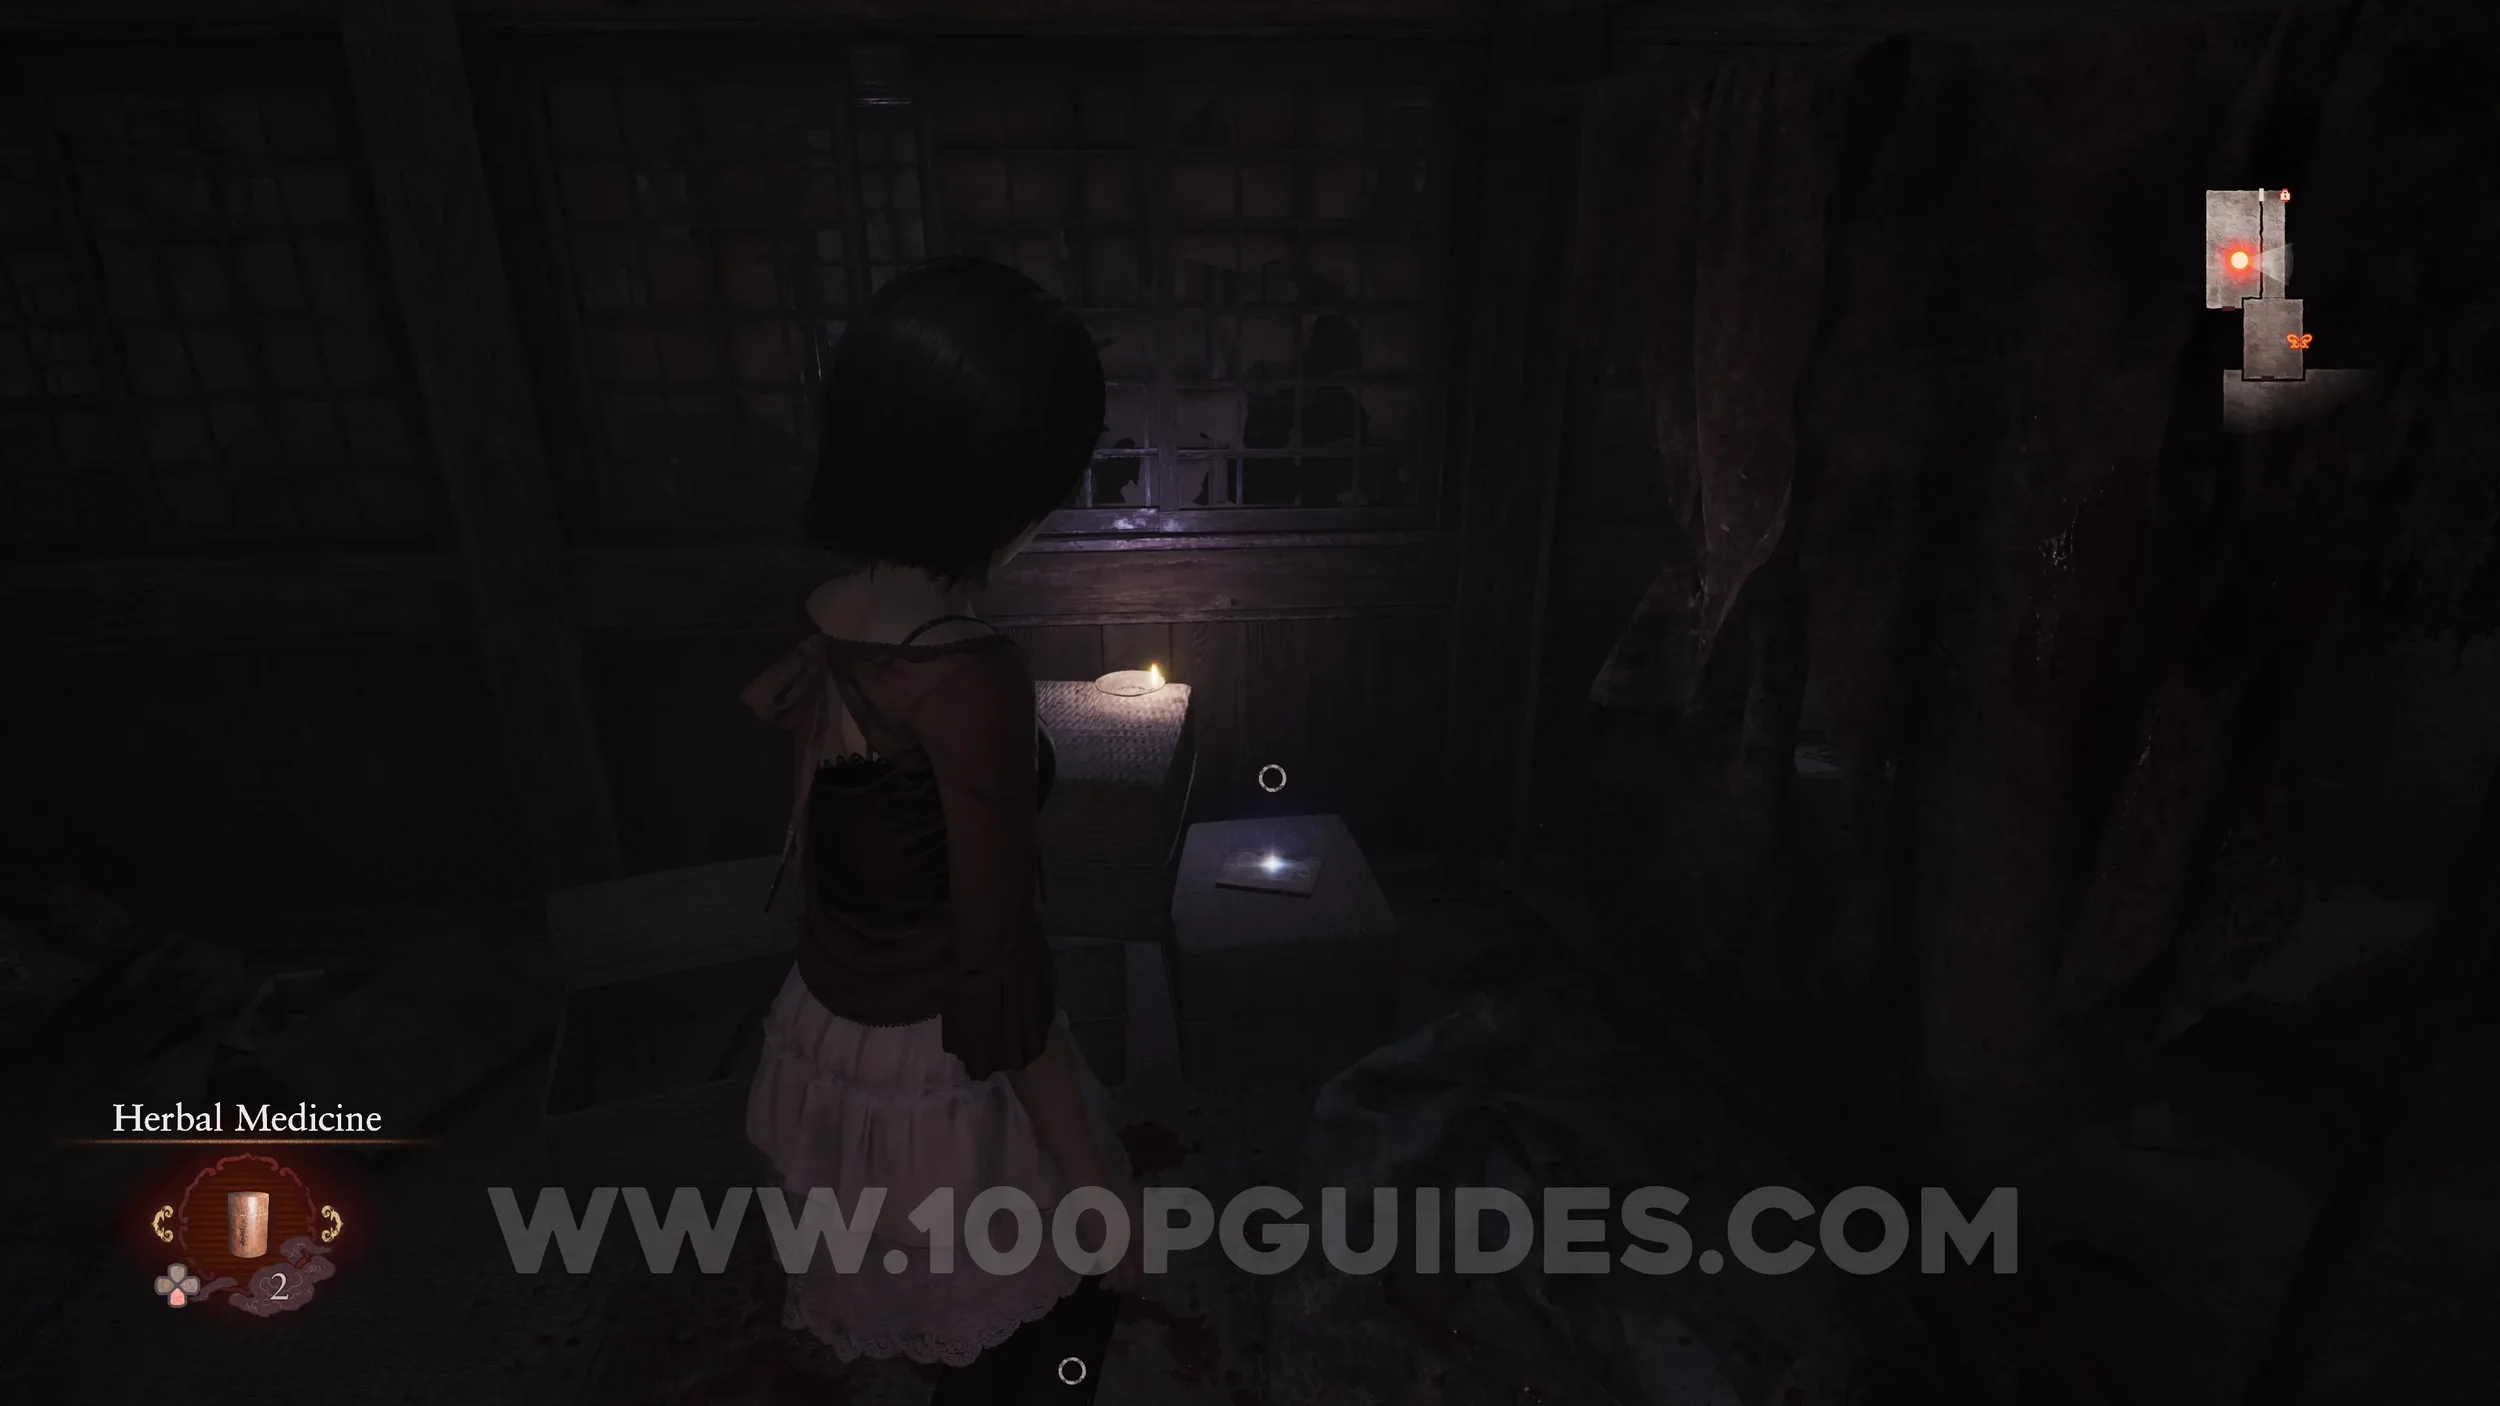
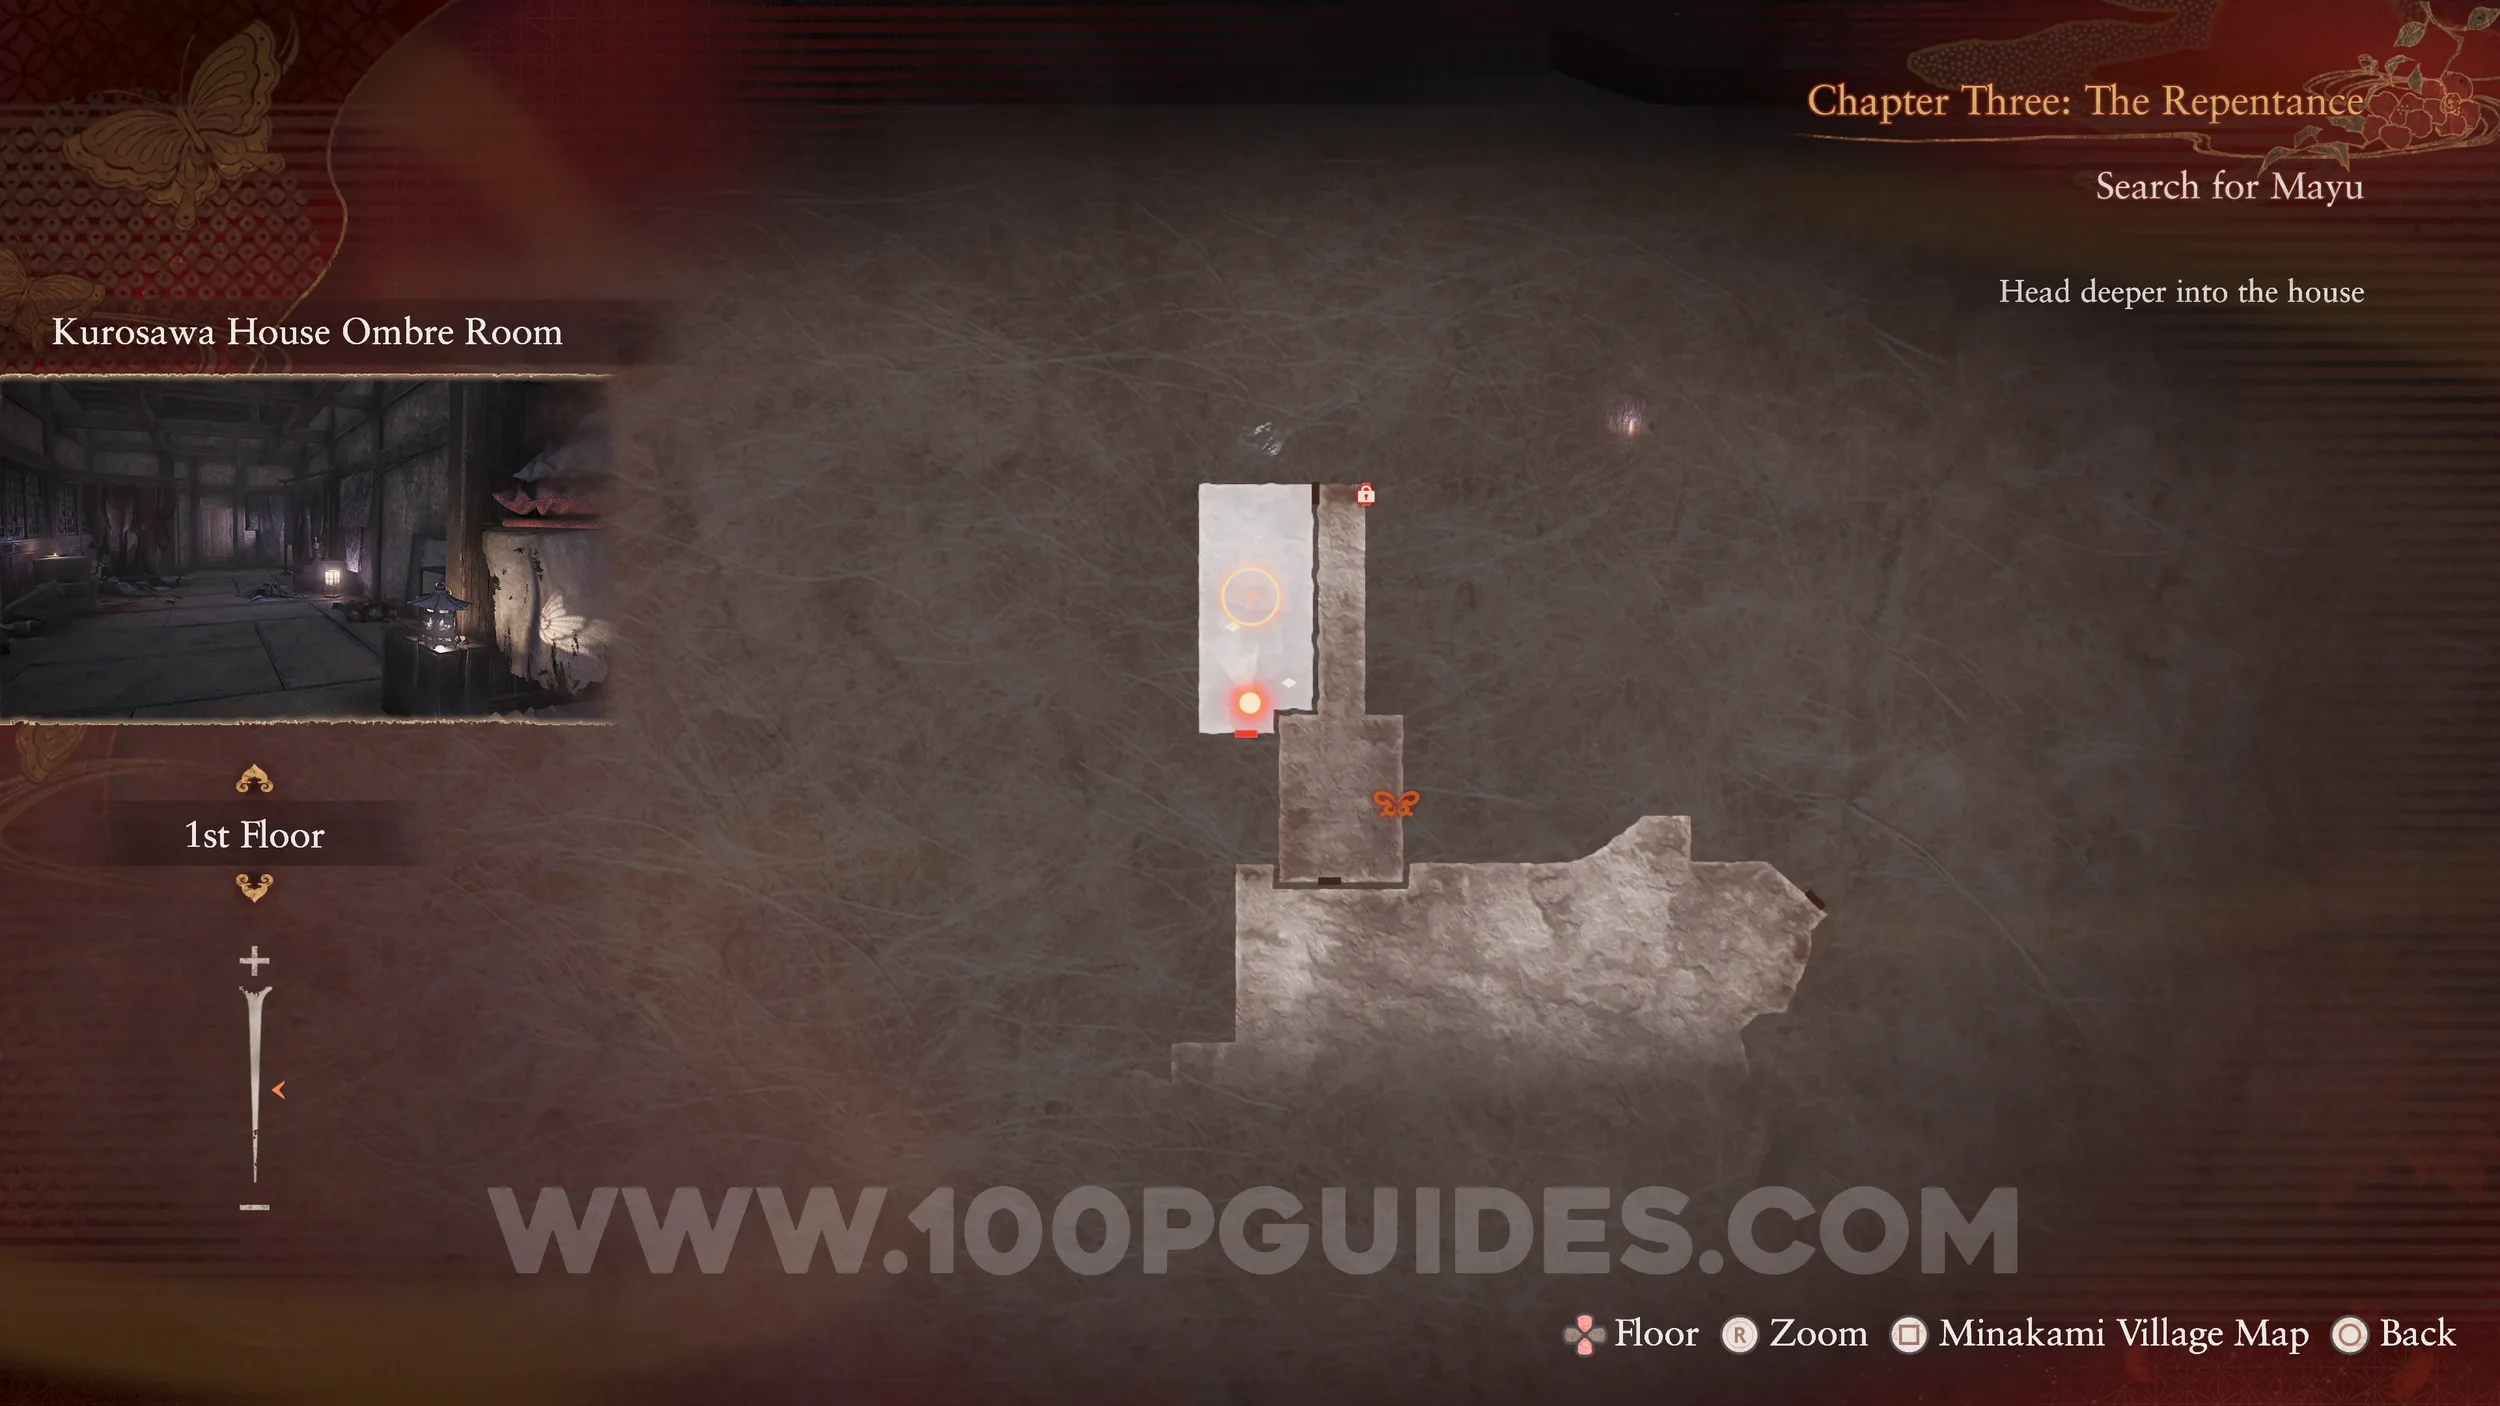
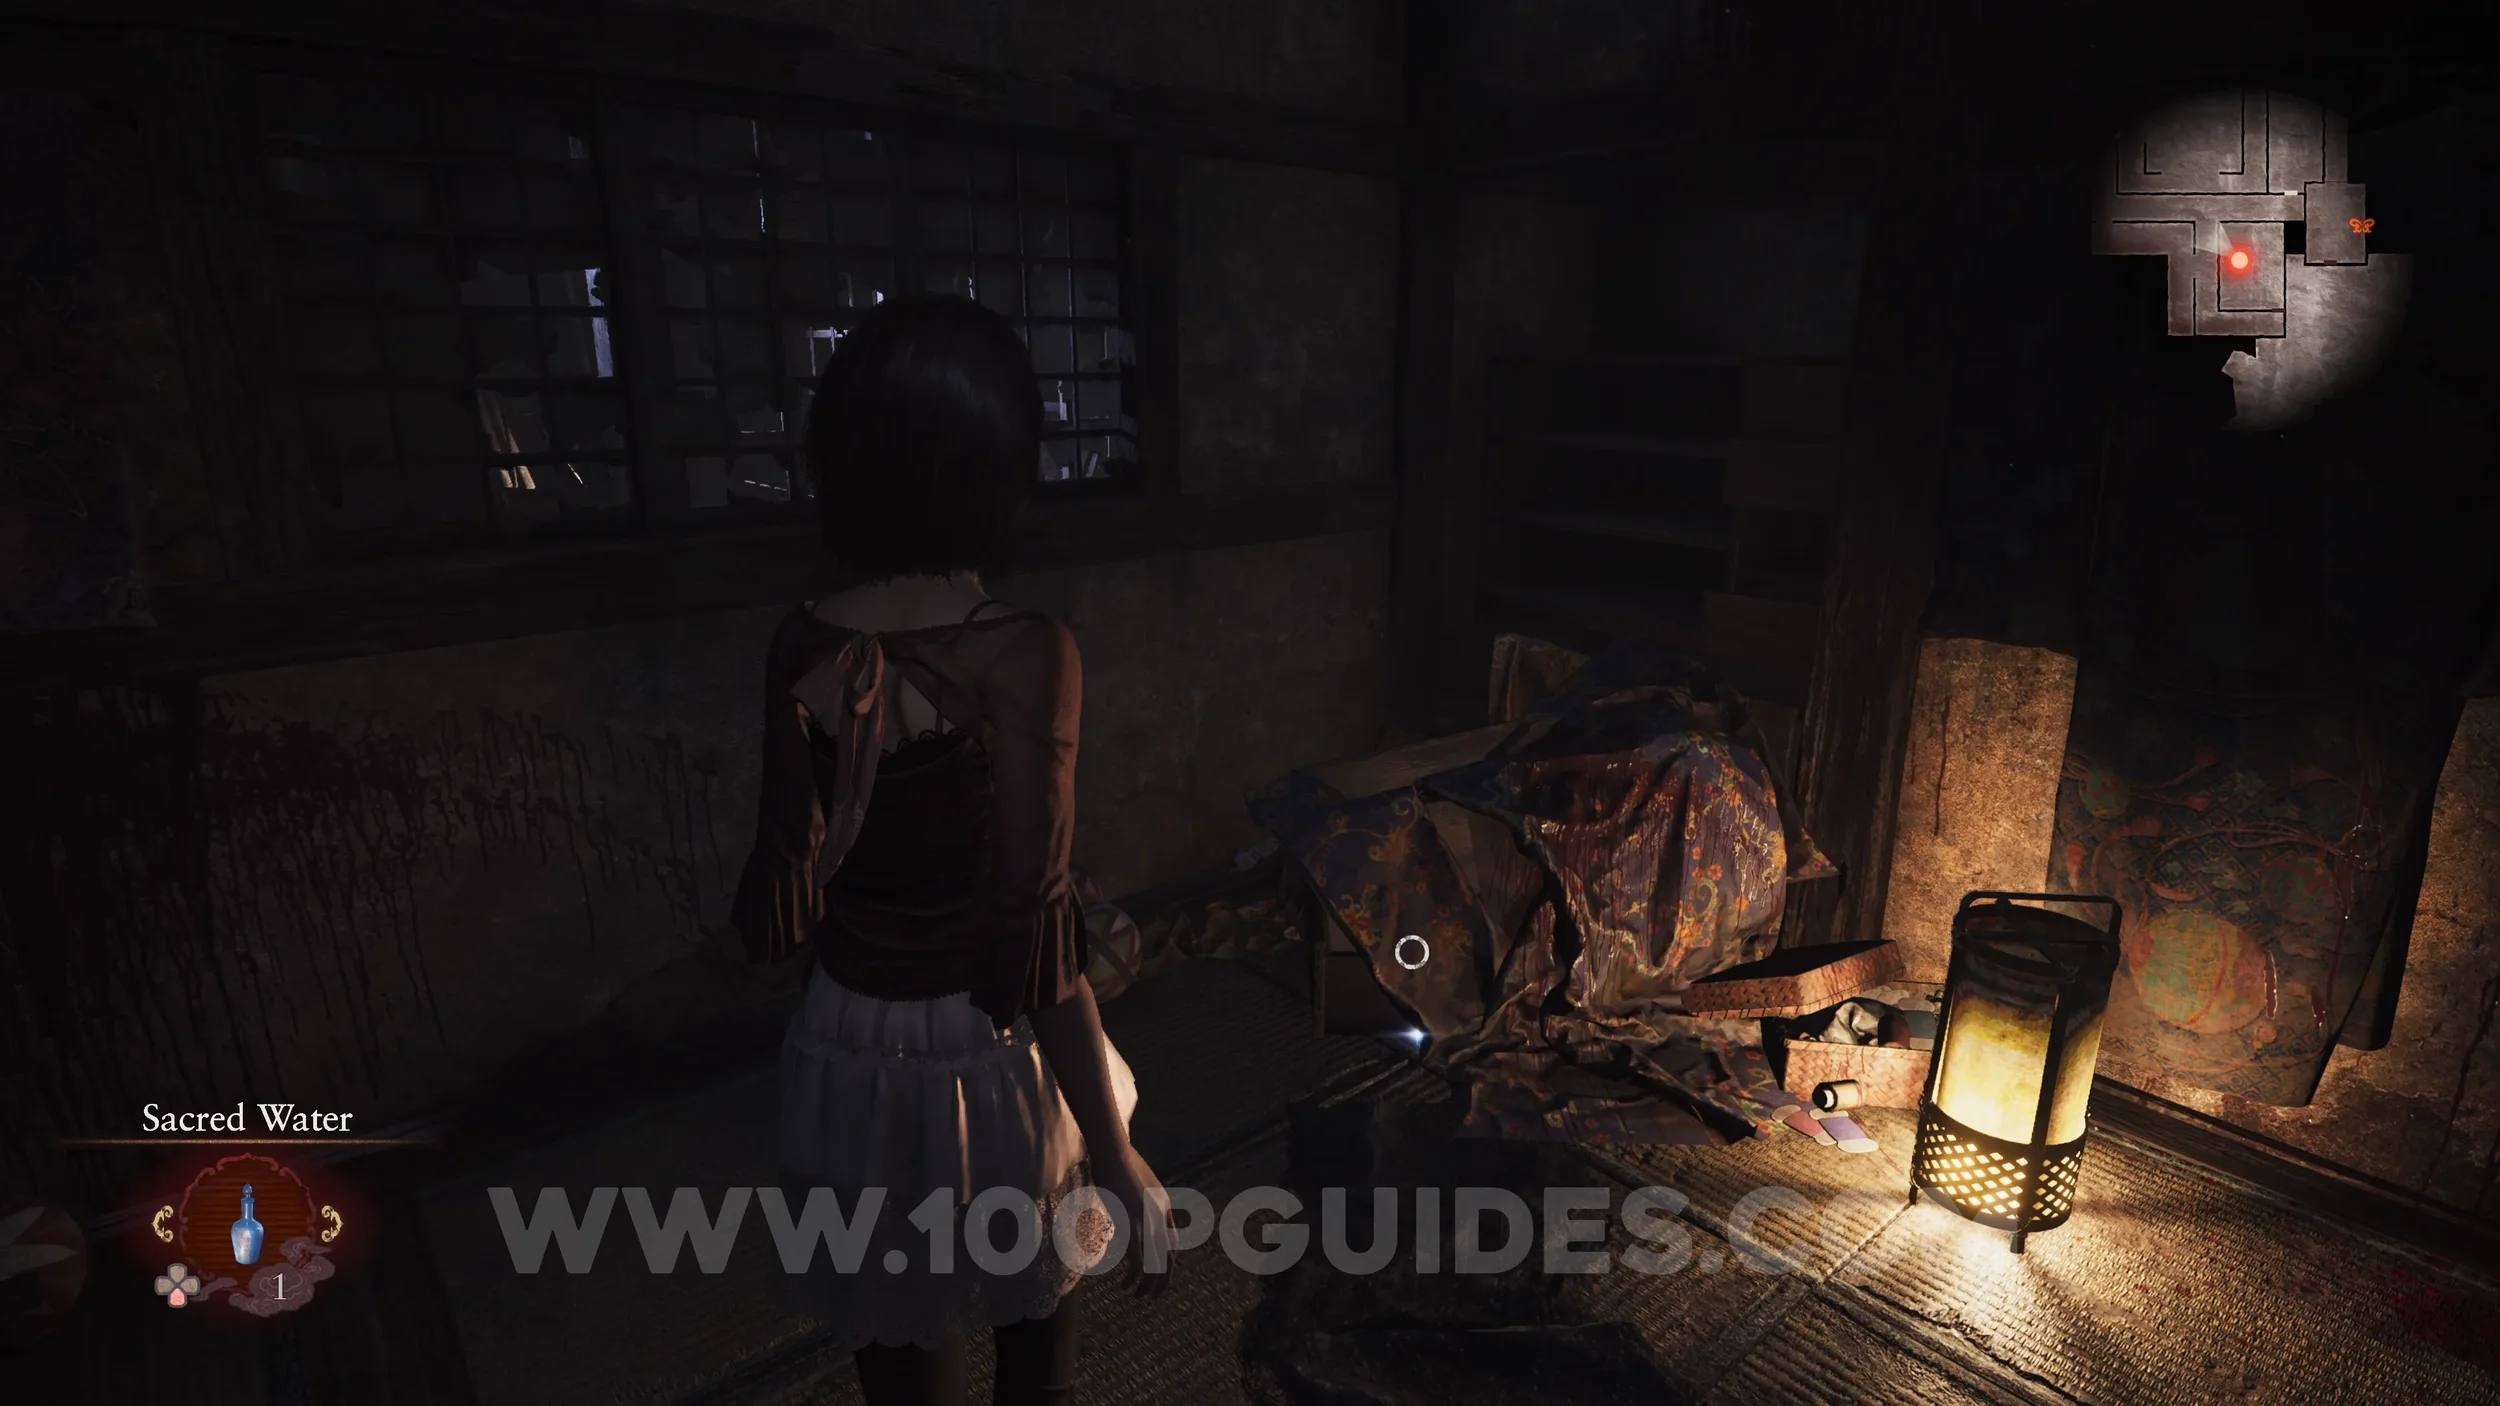
Chapter 3
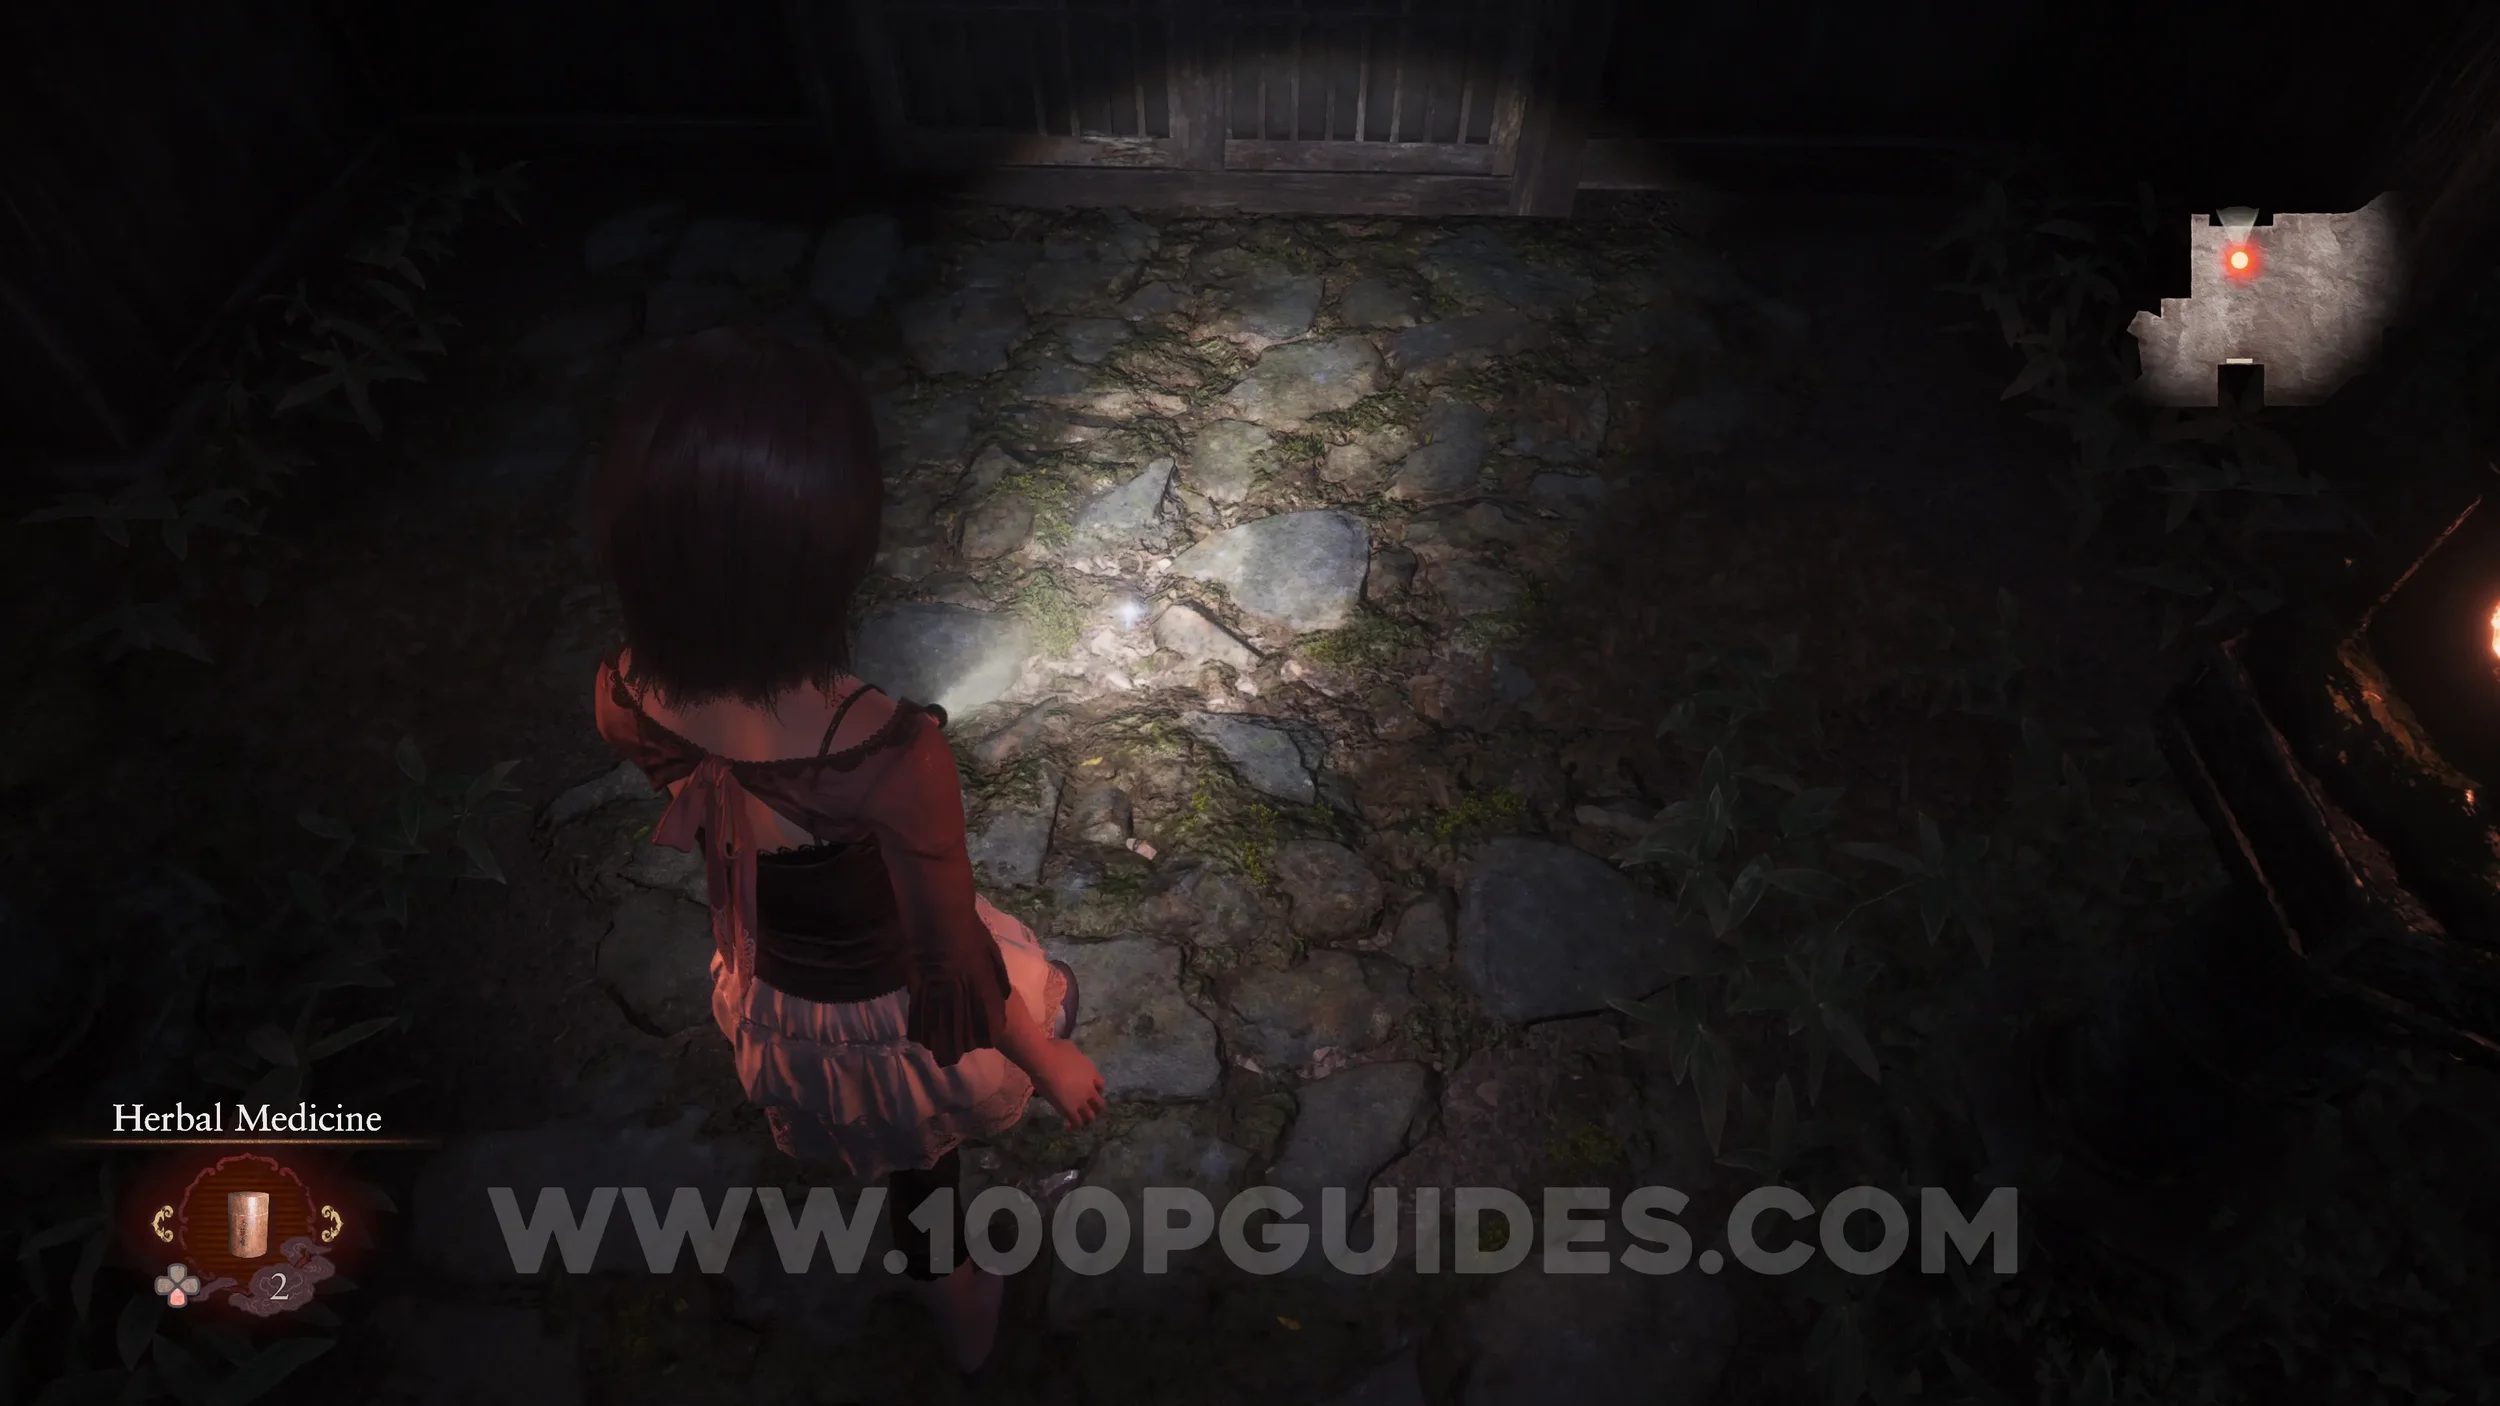
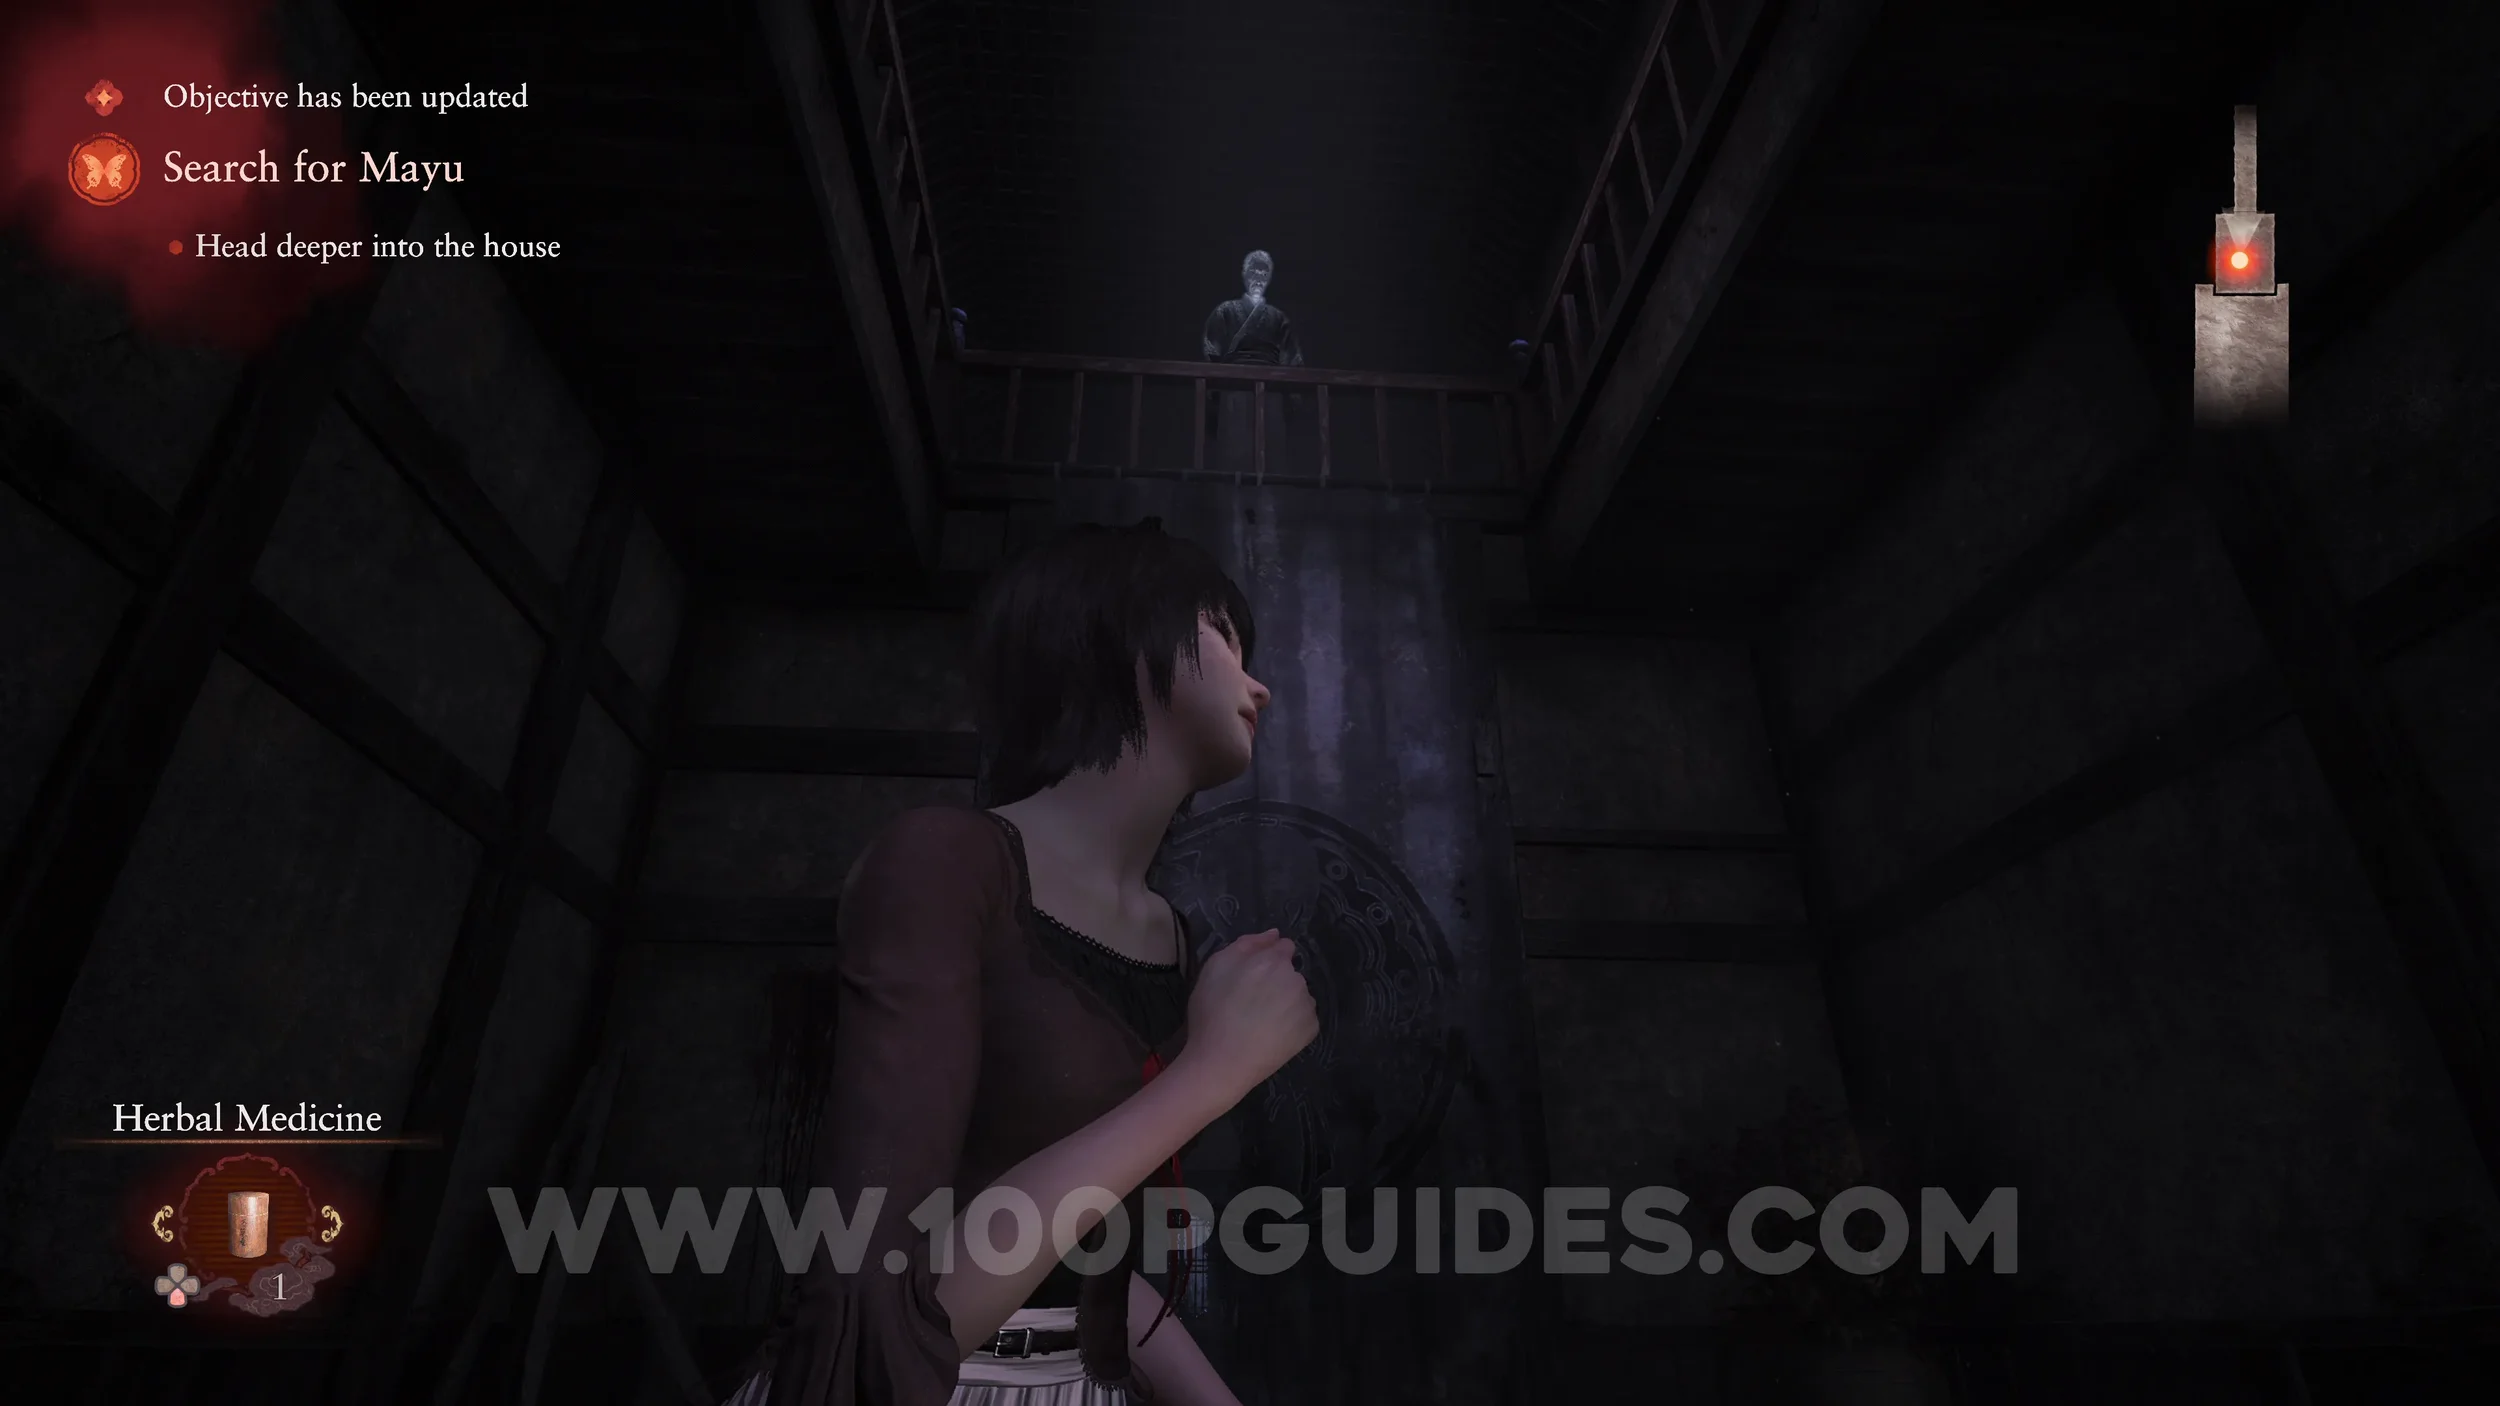
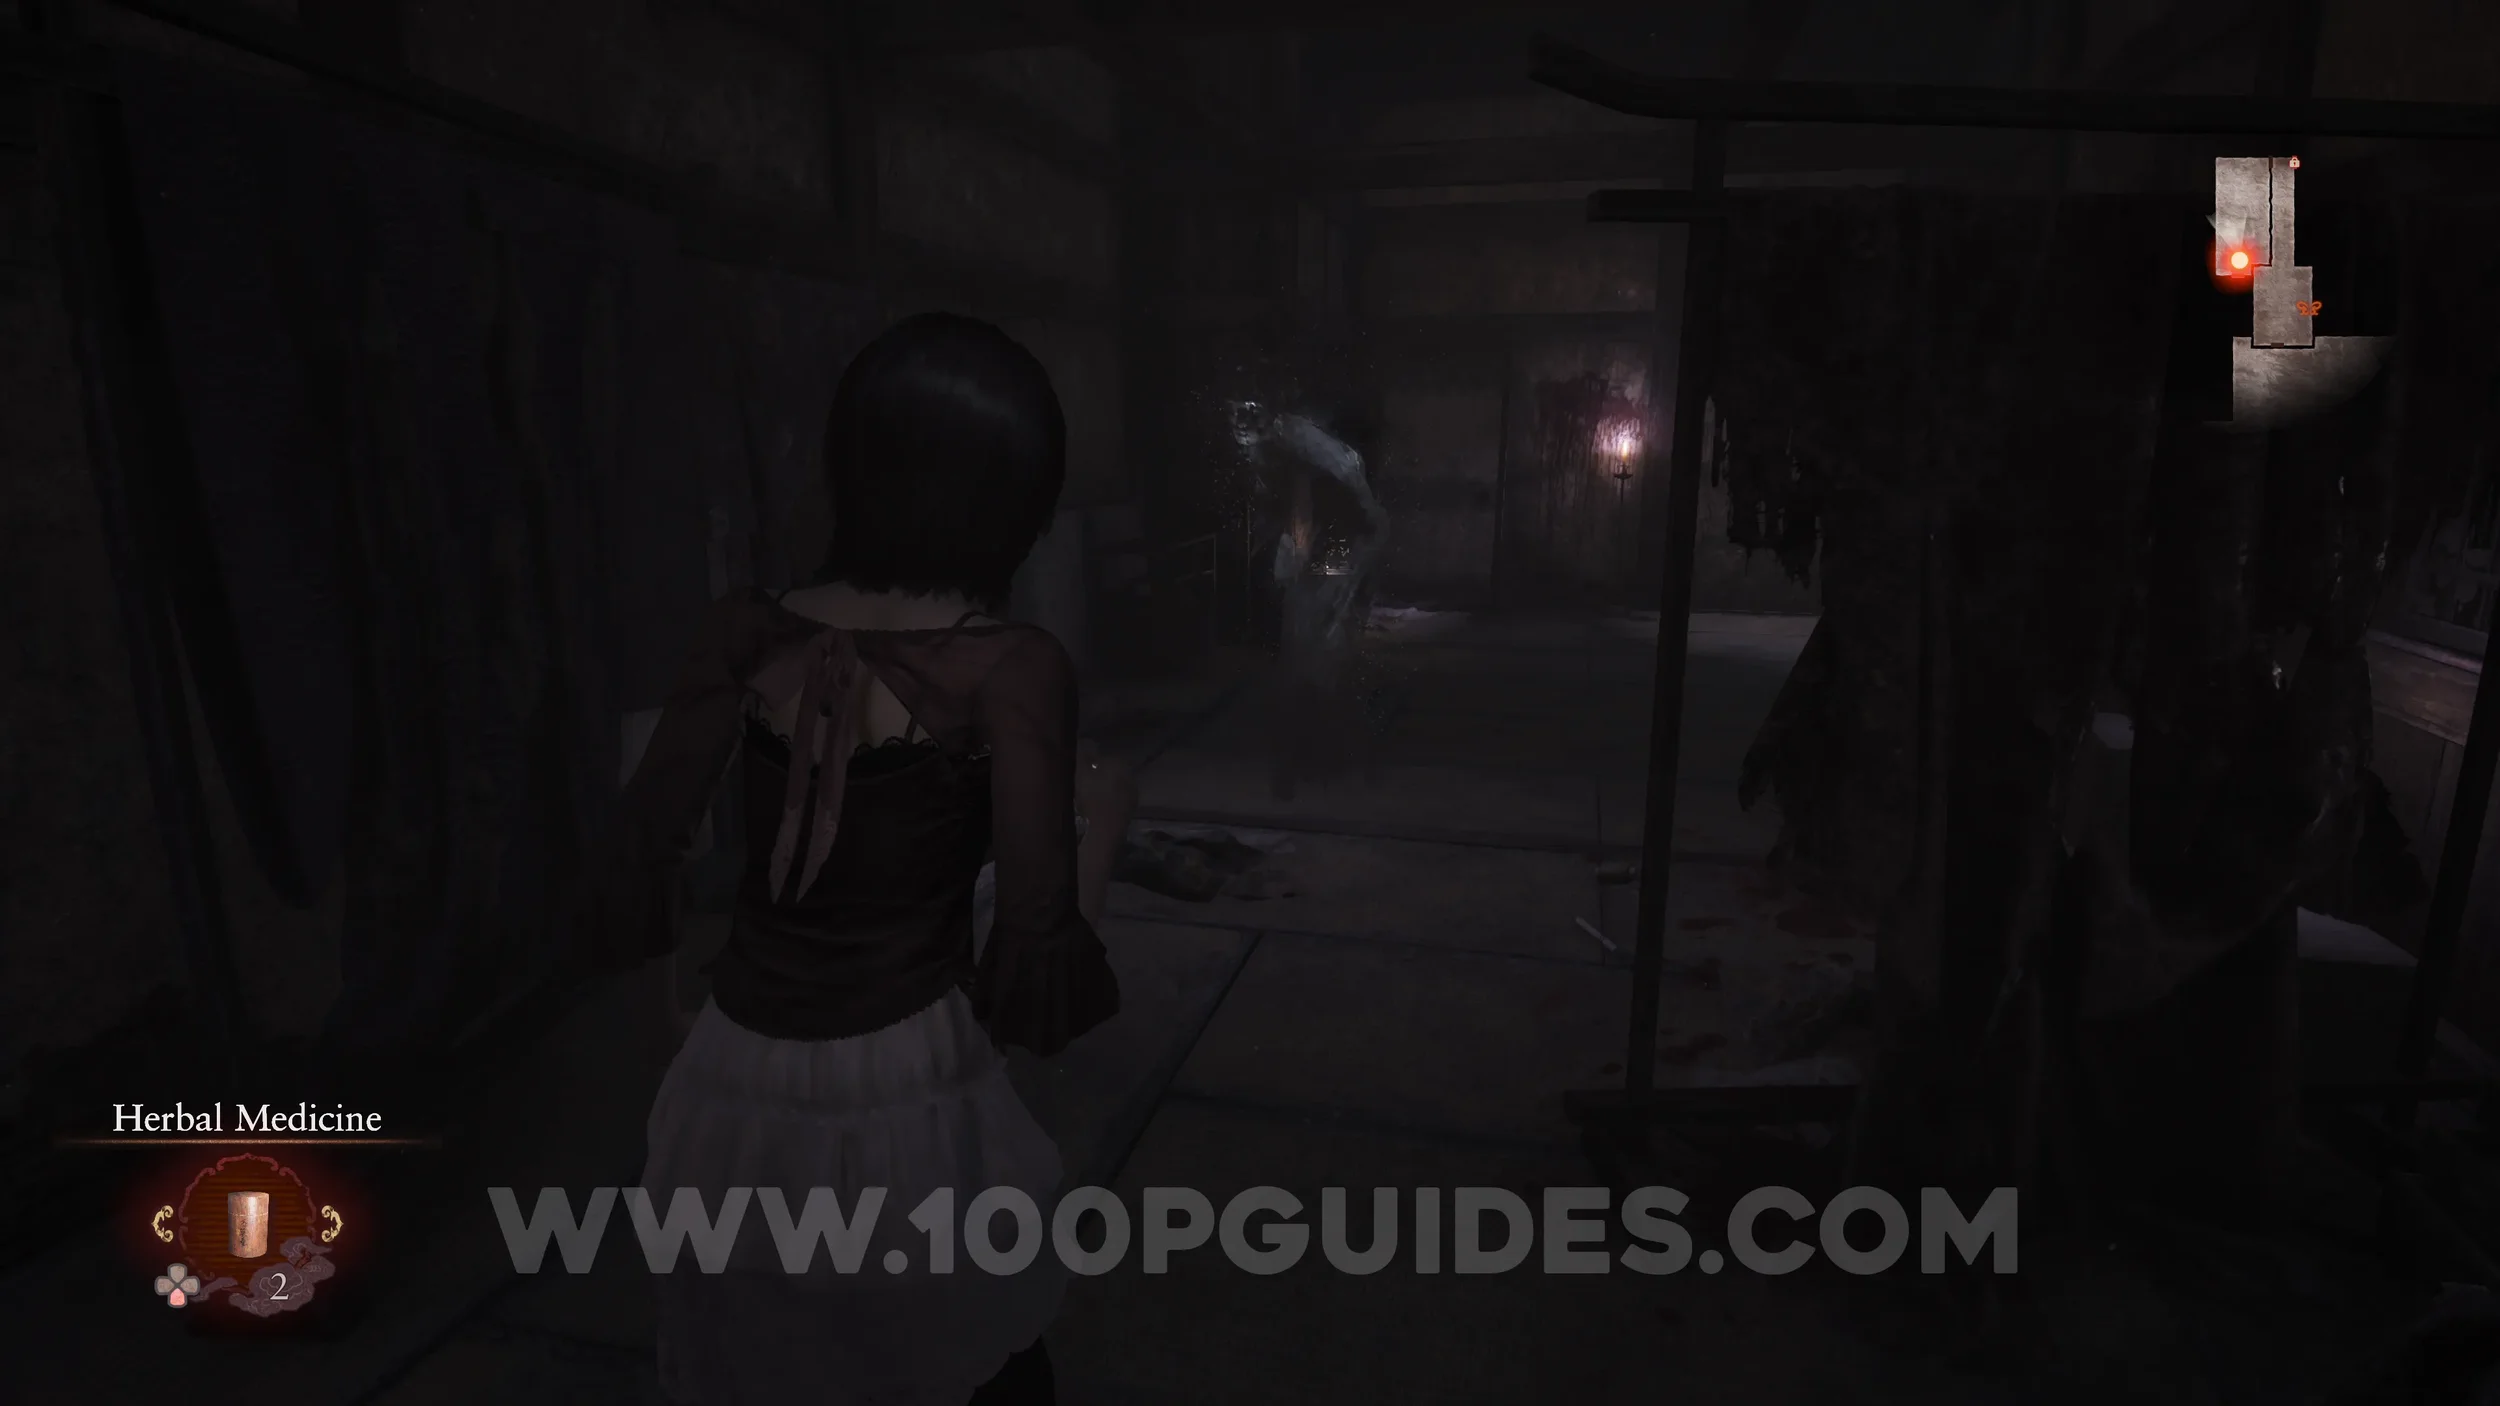
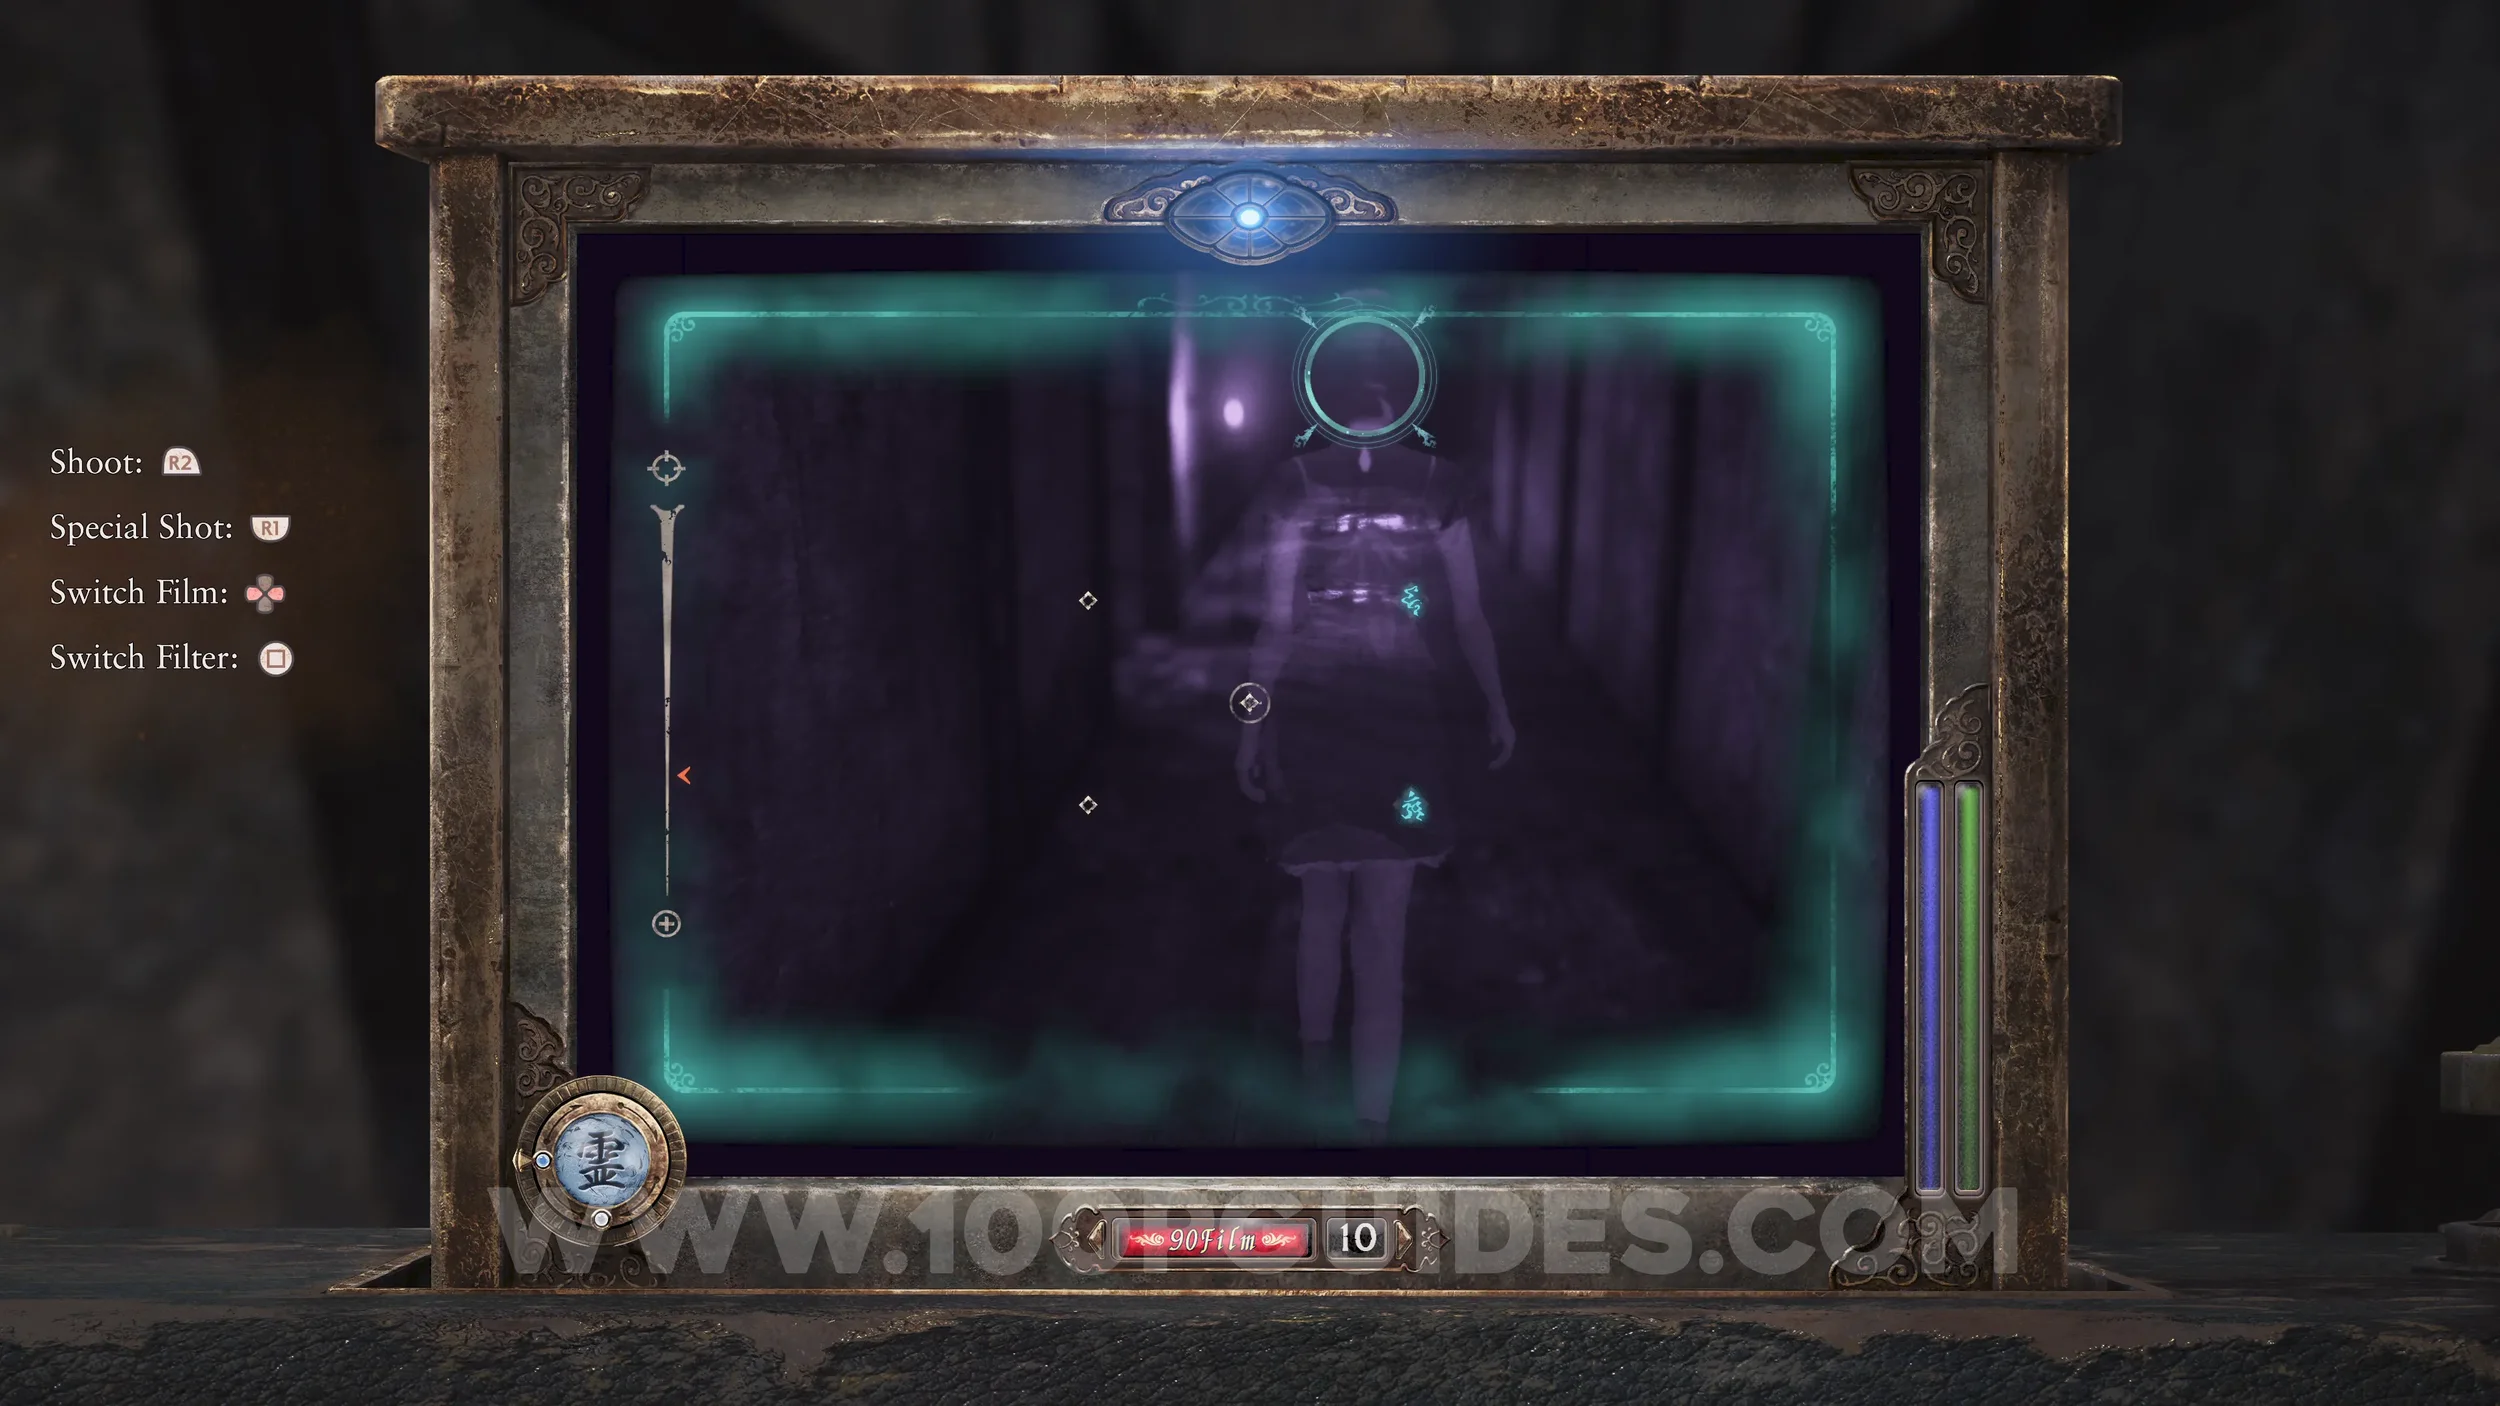
Specter #41 - 027 The Man Above. Overlooking you from above as soon as the chapter starts.
Reversion Beads #1. In the first hall of the chapter.

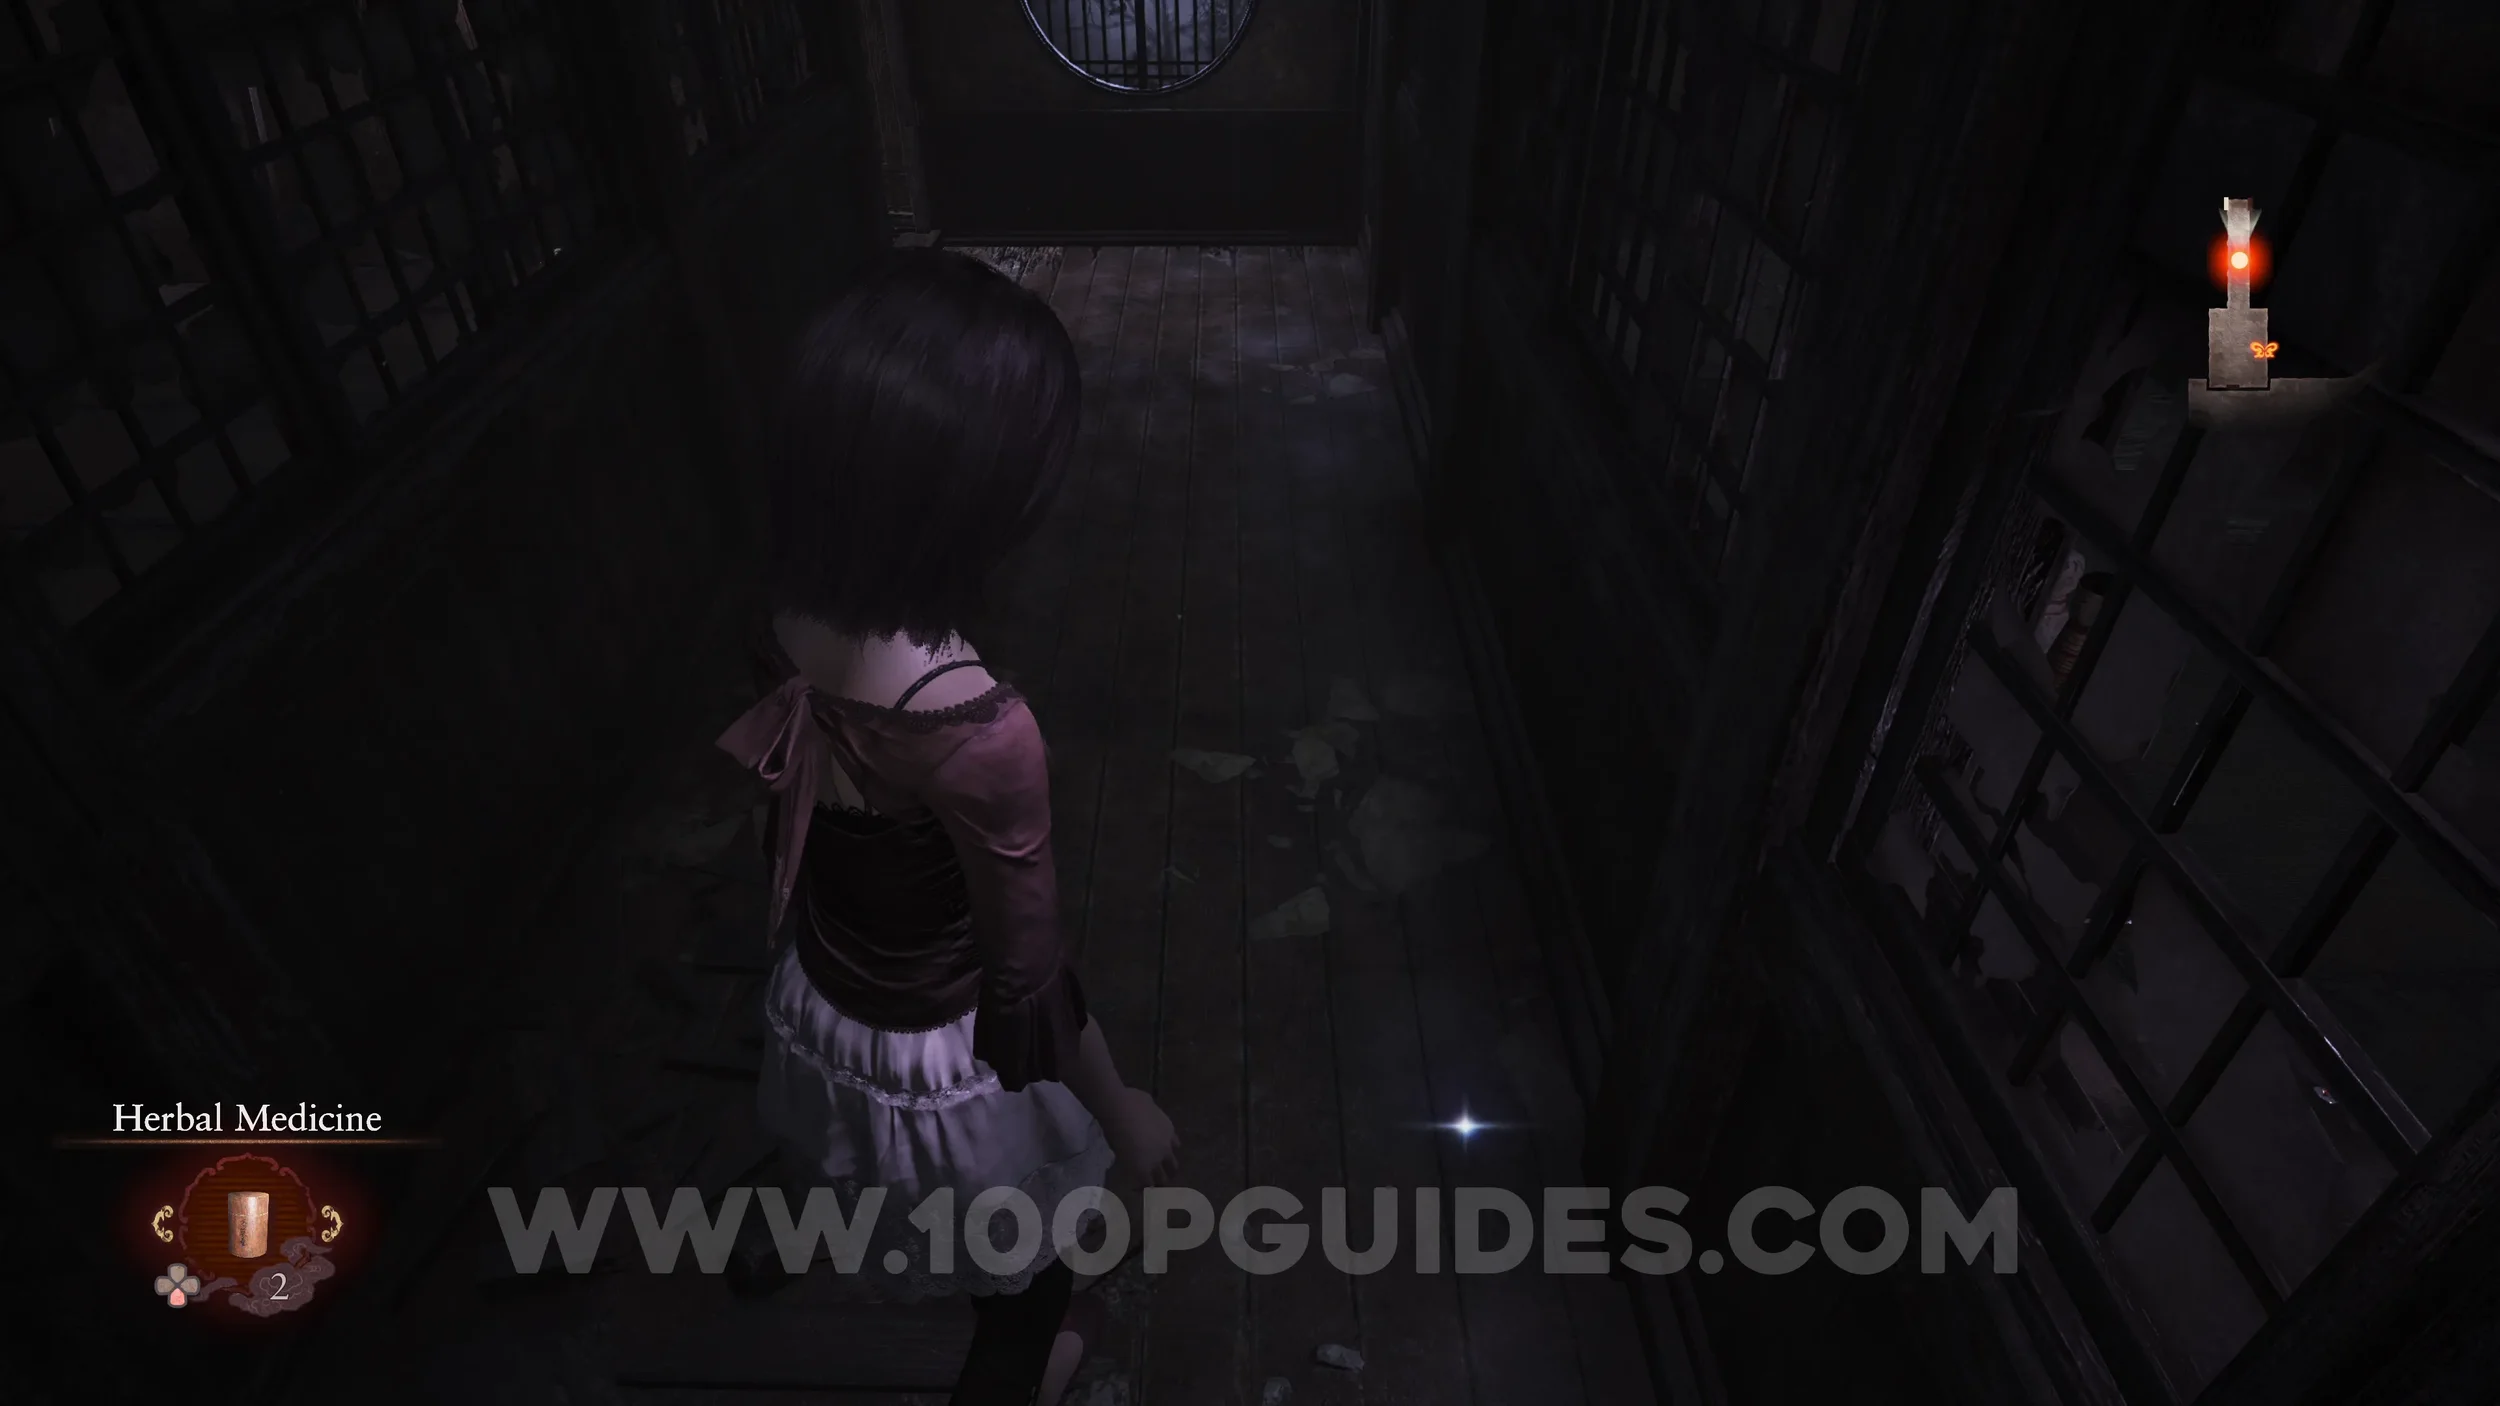
Specter #42 - 028 Hiding Man. At the end of the first hall, go into the room on the left.
Document #25 - Fearful Man’s Note. In the same location as the Hiding Man specter.
Document #26 - Folklorist’s Note 3. In the same room as the previous collectible.

Wraith #9 - 008 Man Killed by Kusabi. Will spawn behind you after trying to open the door in the room with the previous collectibles.
Specter #43 - 29 Mayu Advancing Ahead.Found in the hallway after going through the door following the wraith encounter.

Specter #44 - 30 Man Running Aimlessly. In the same hall as the previous specter.
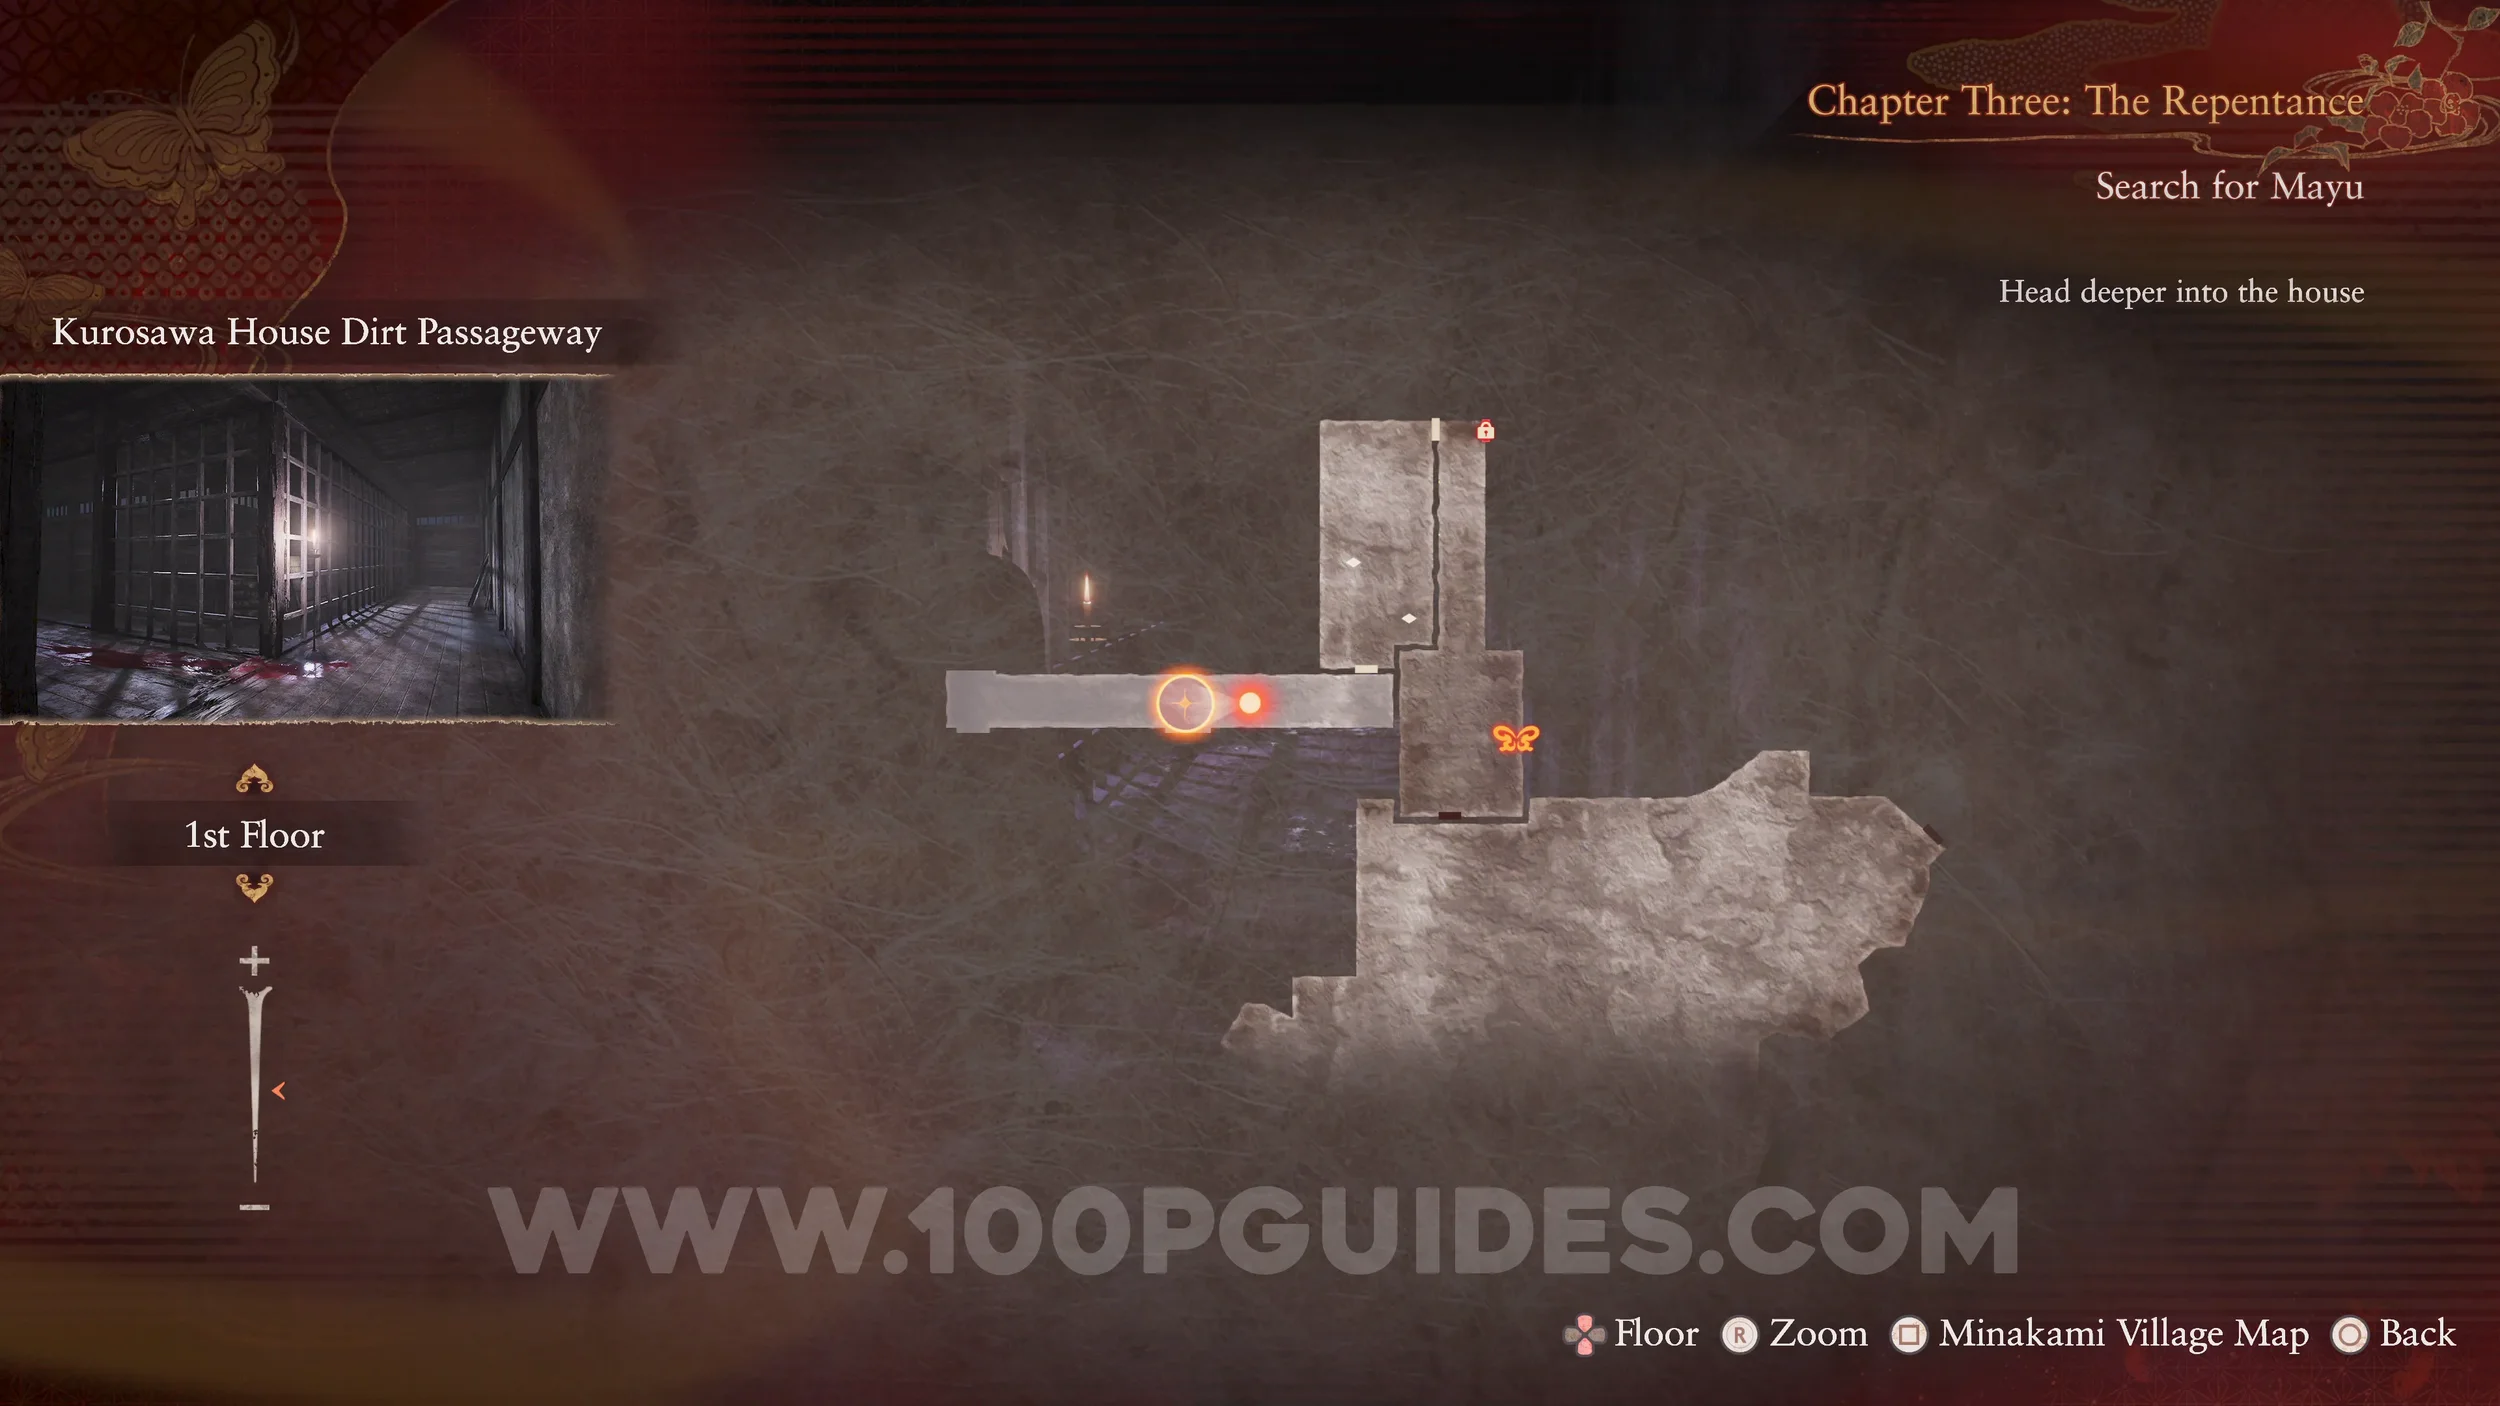
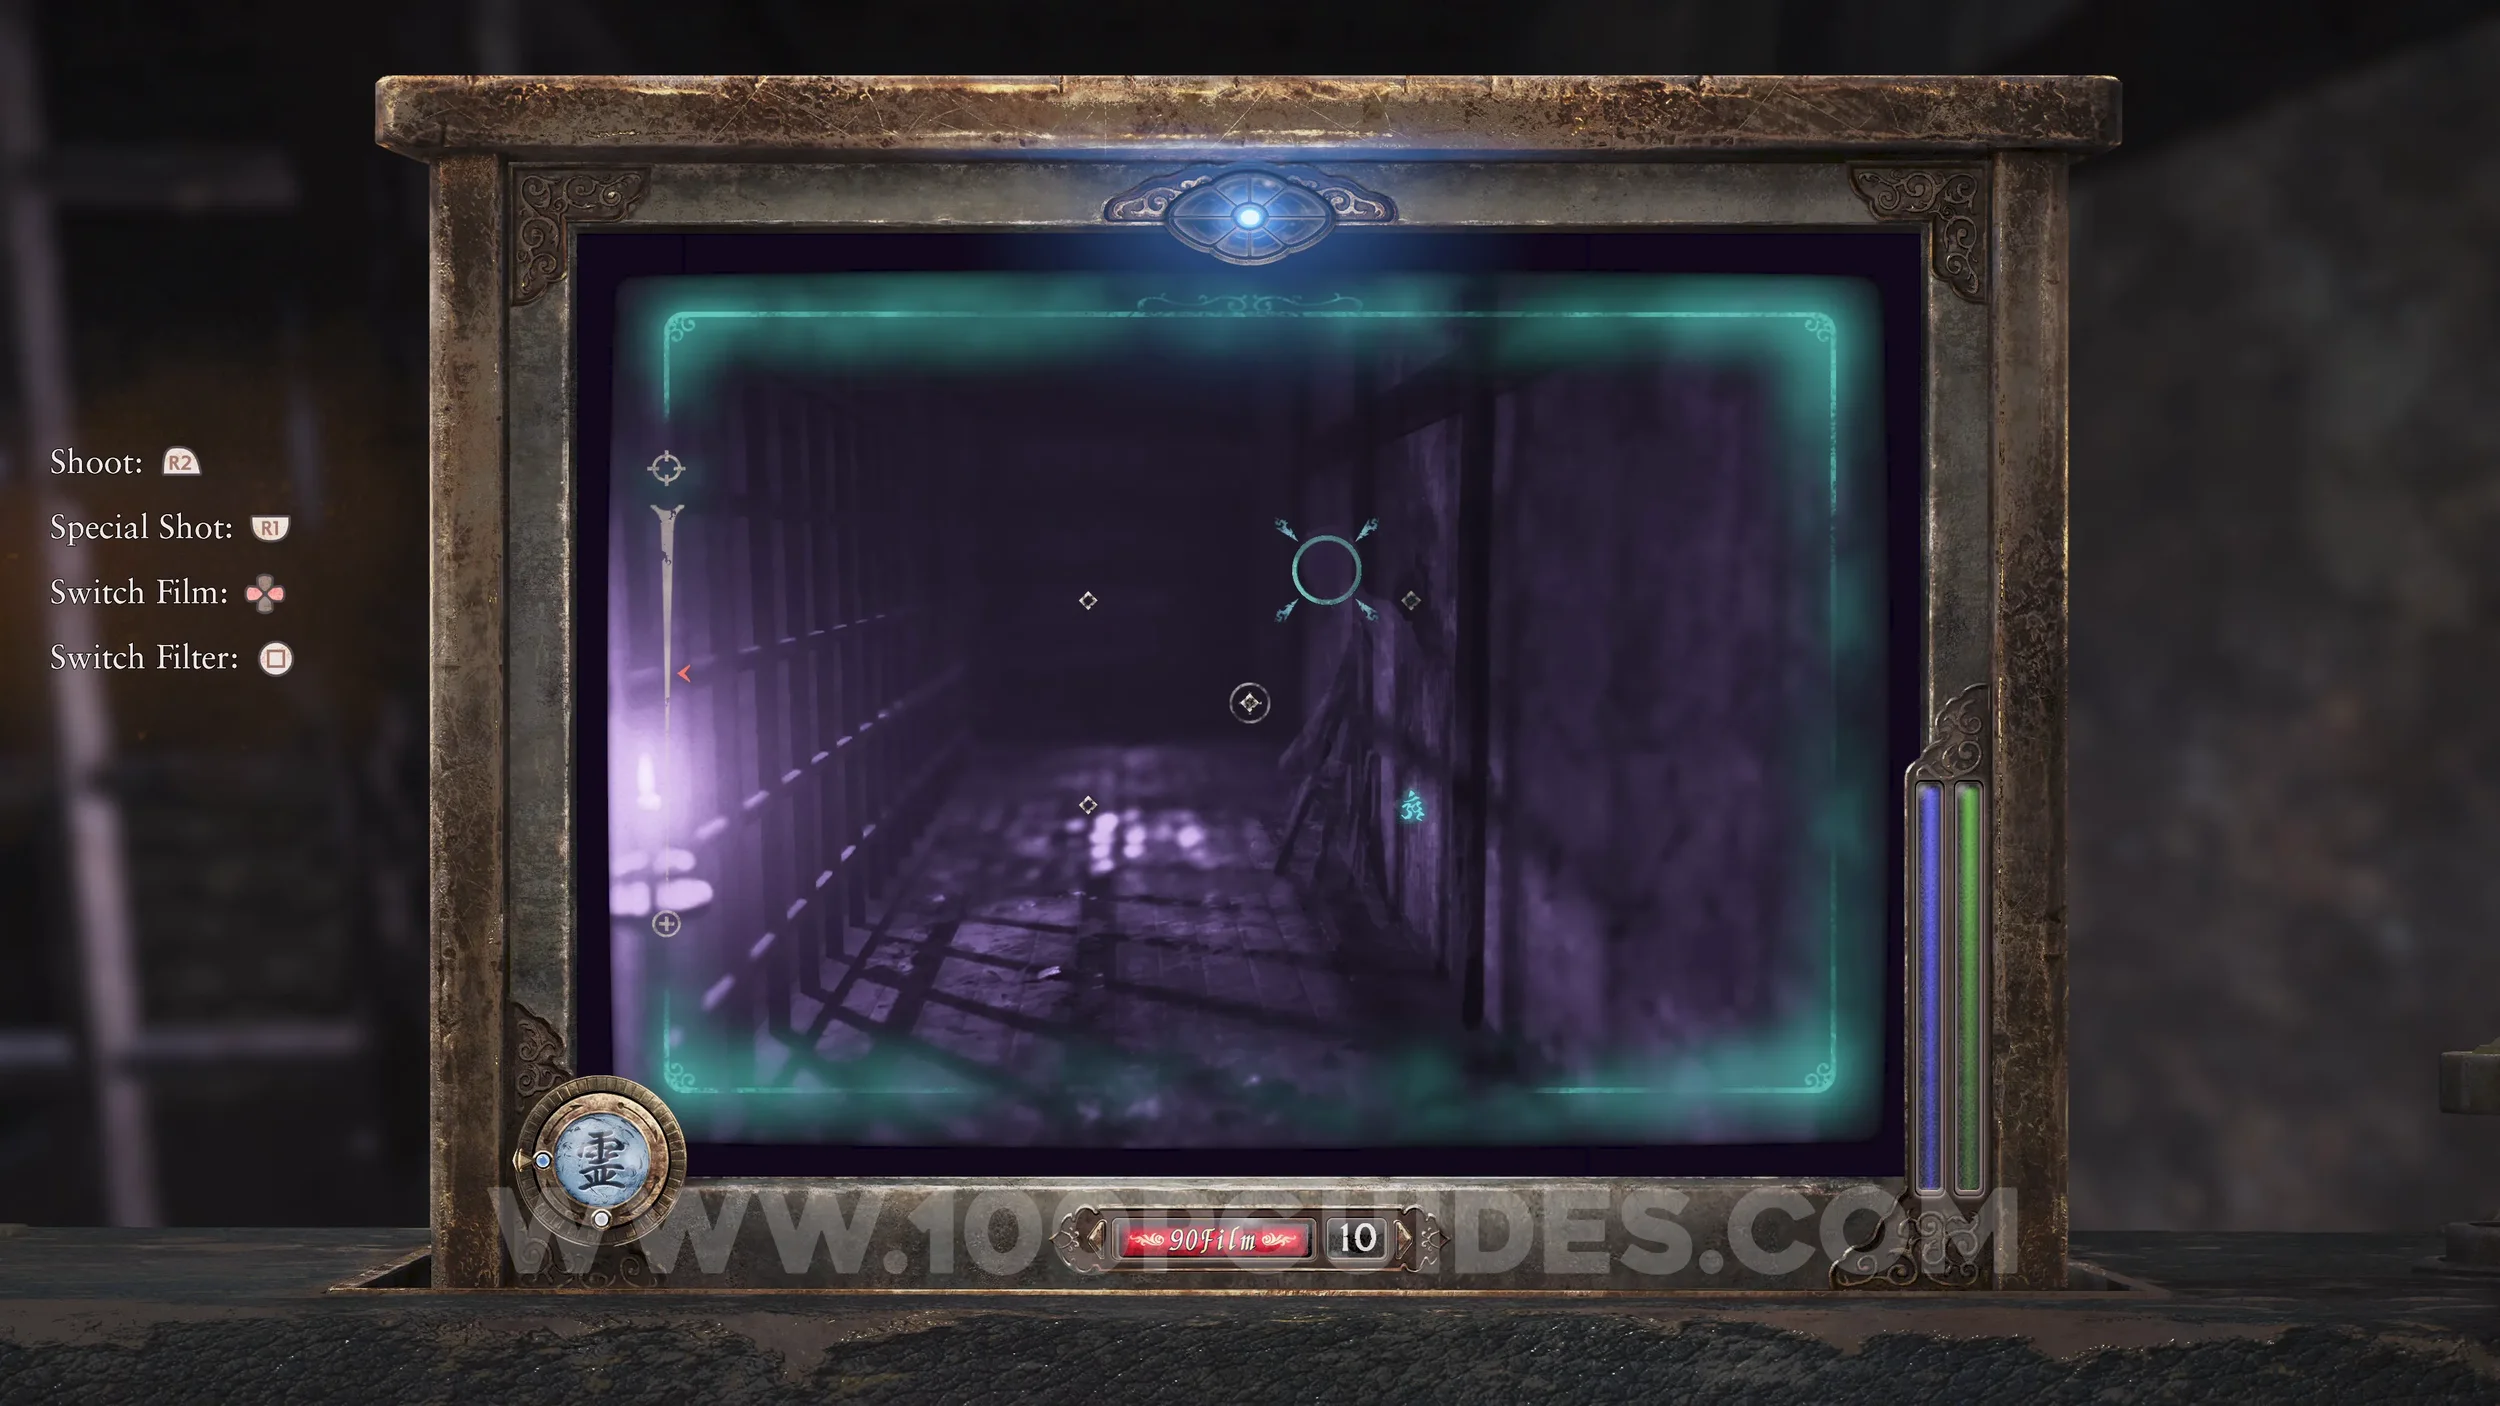
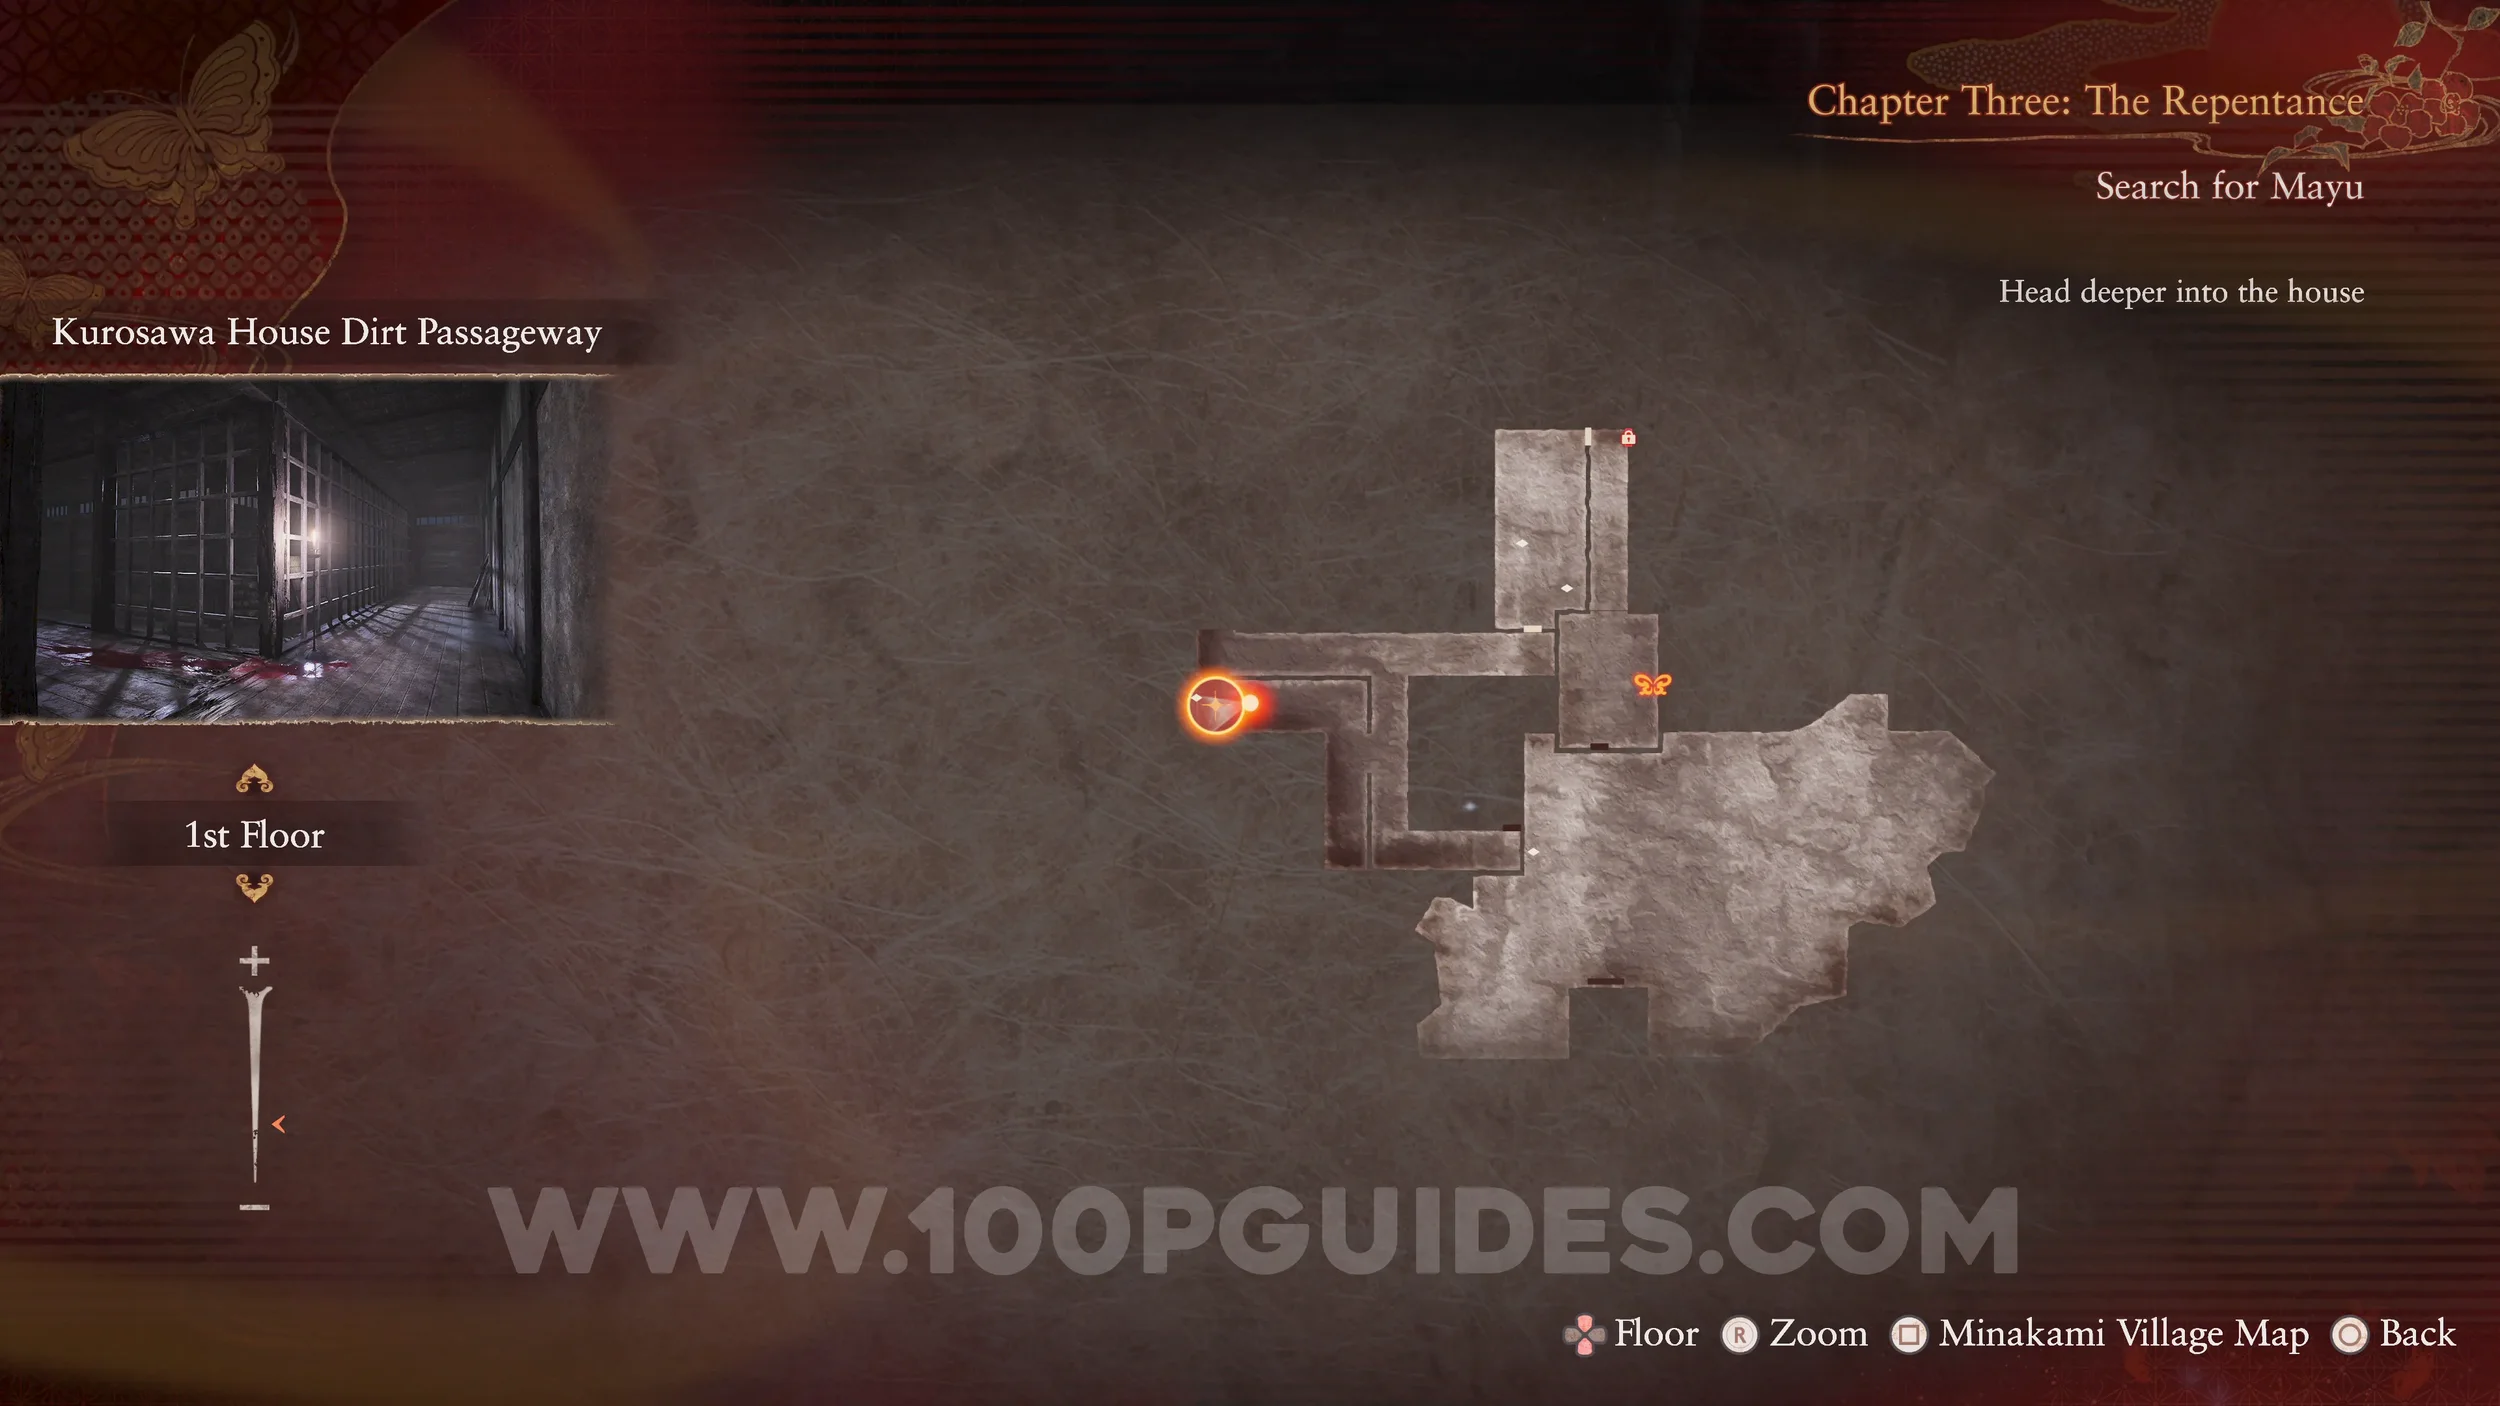
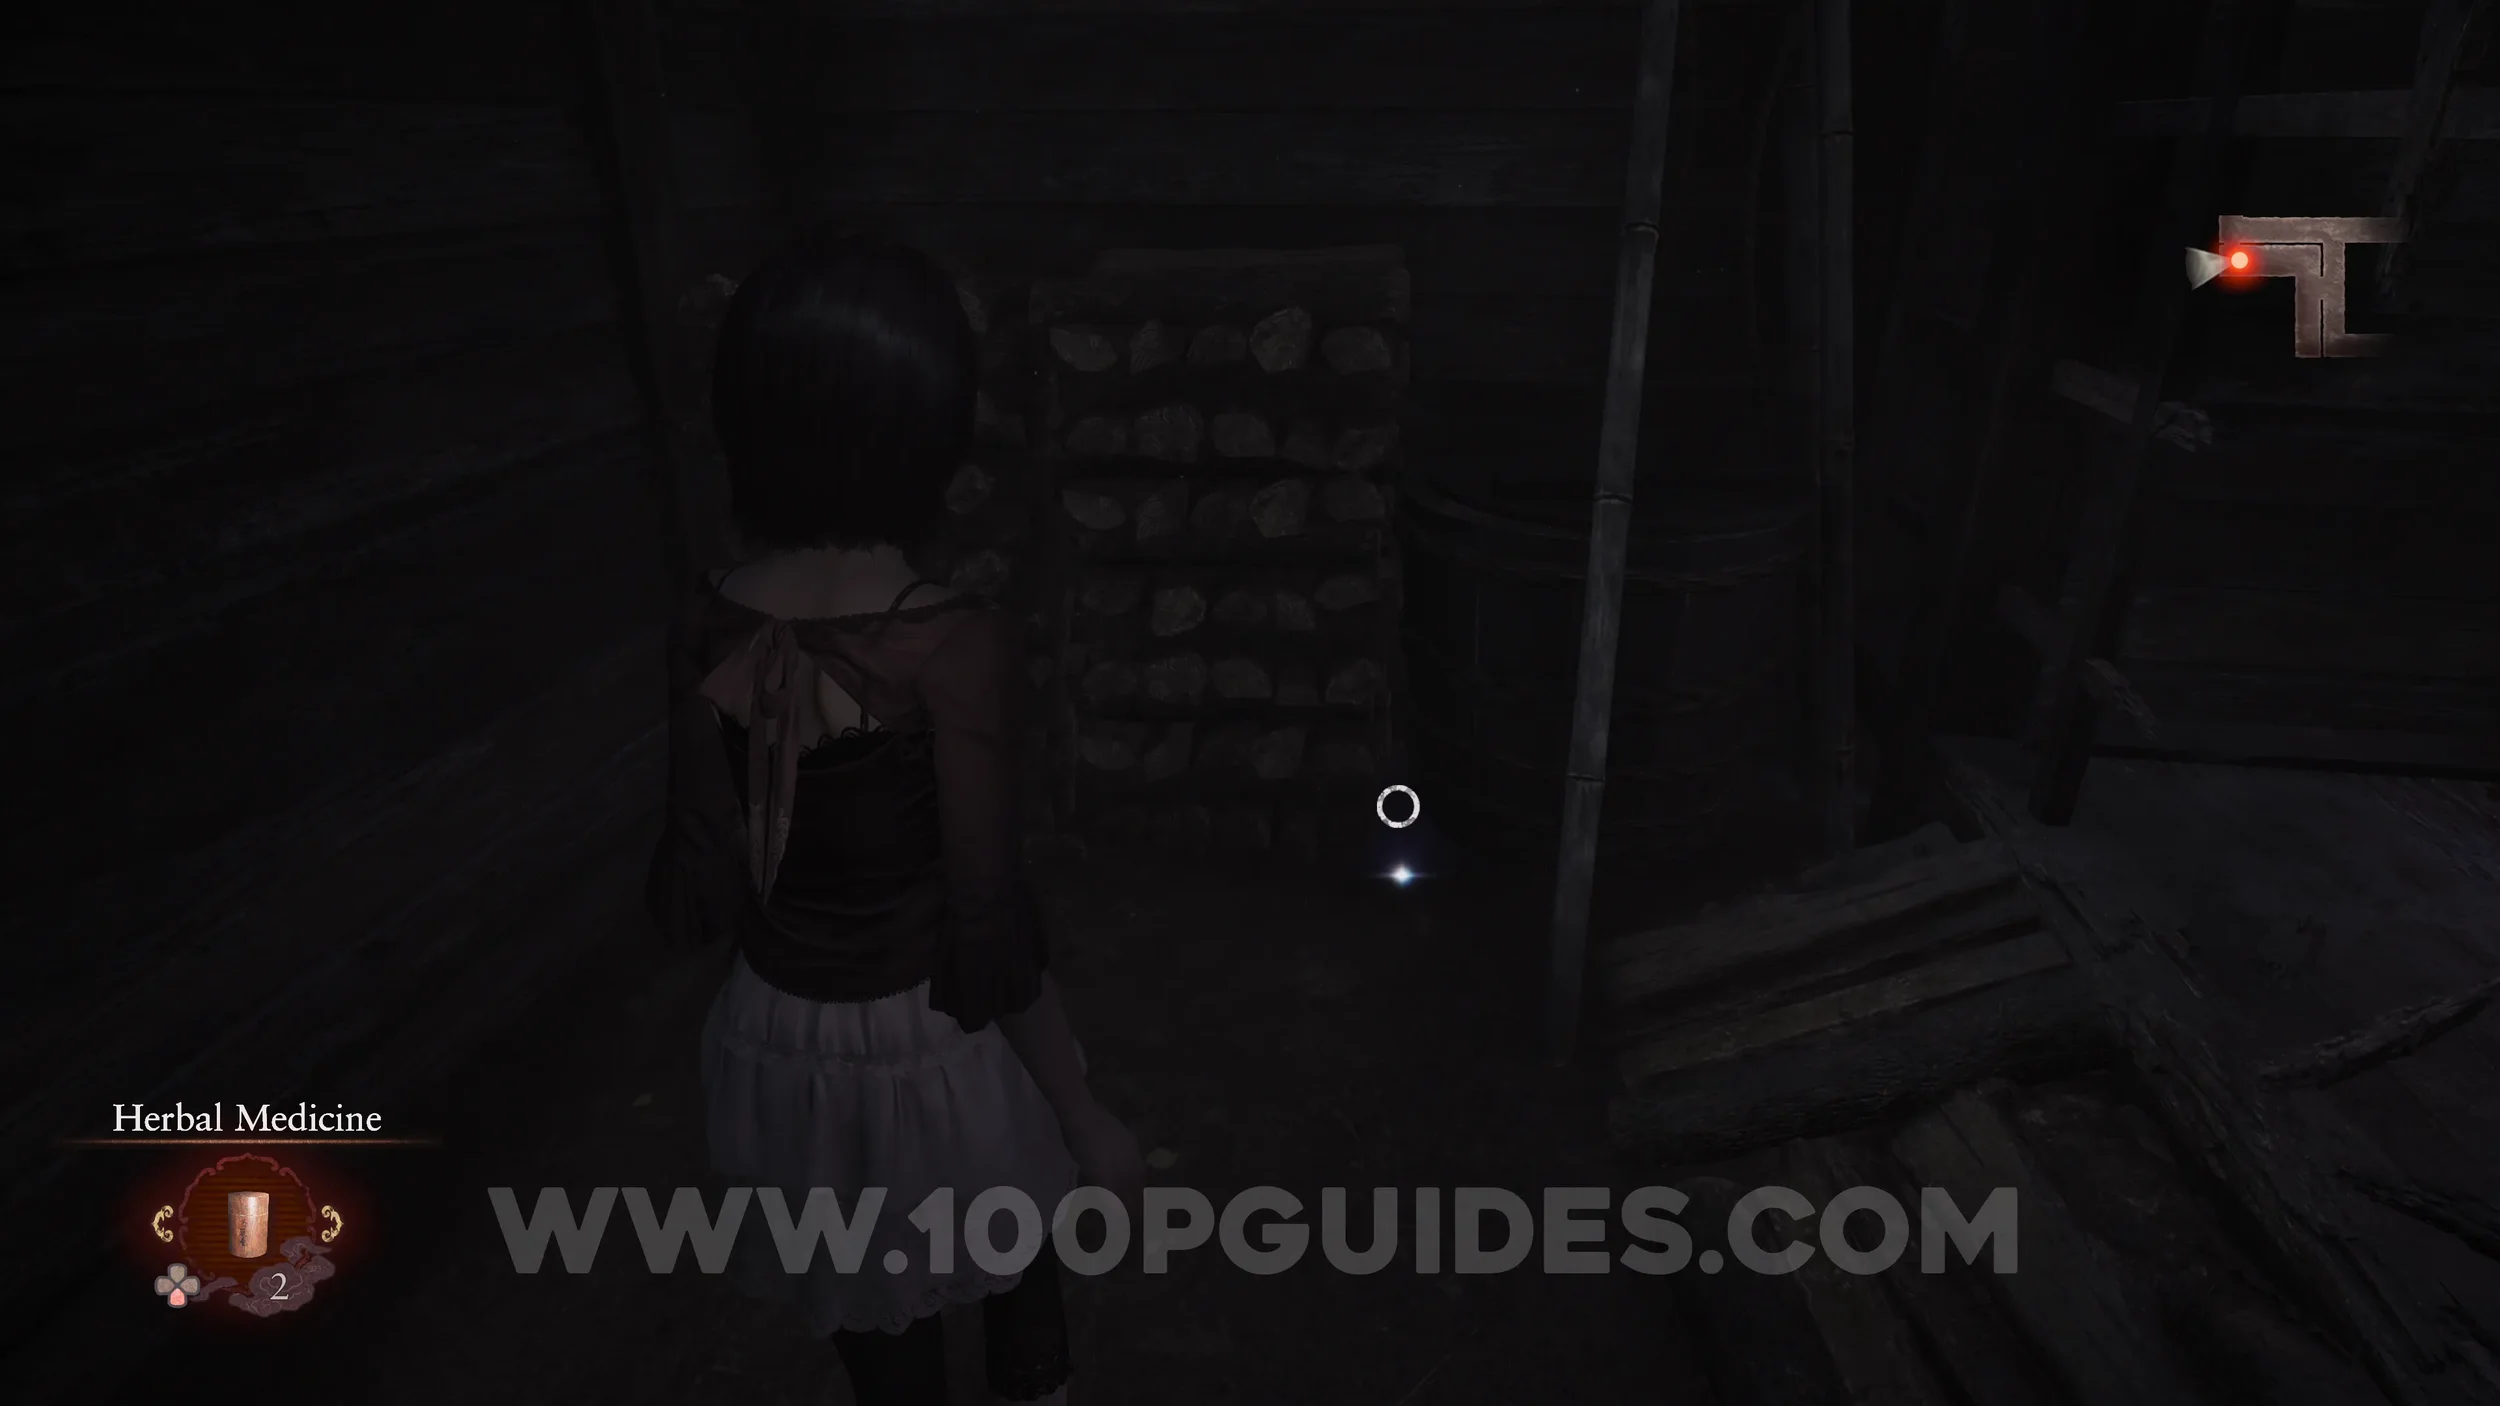
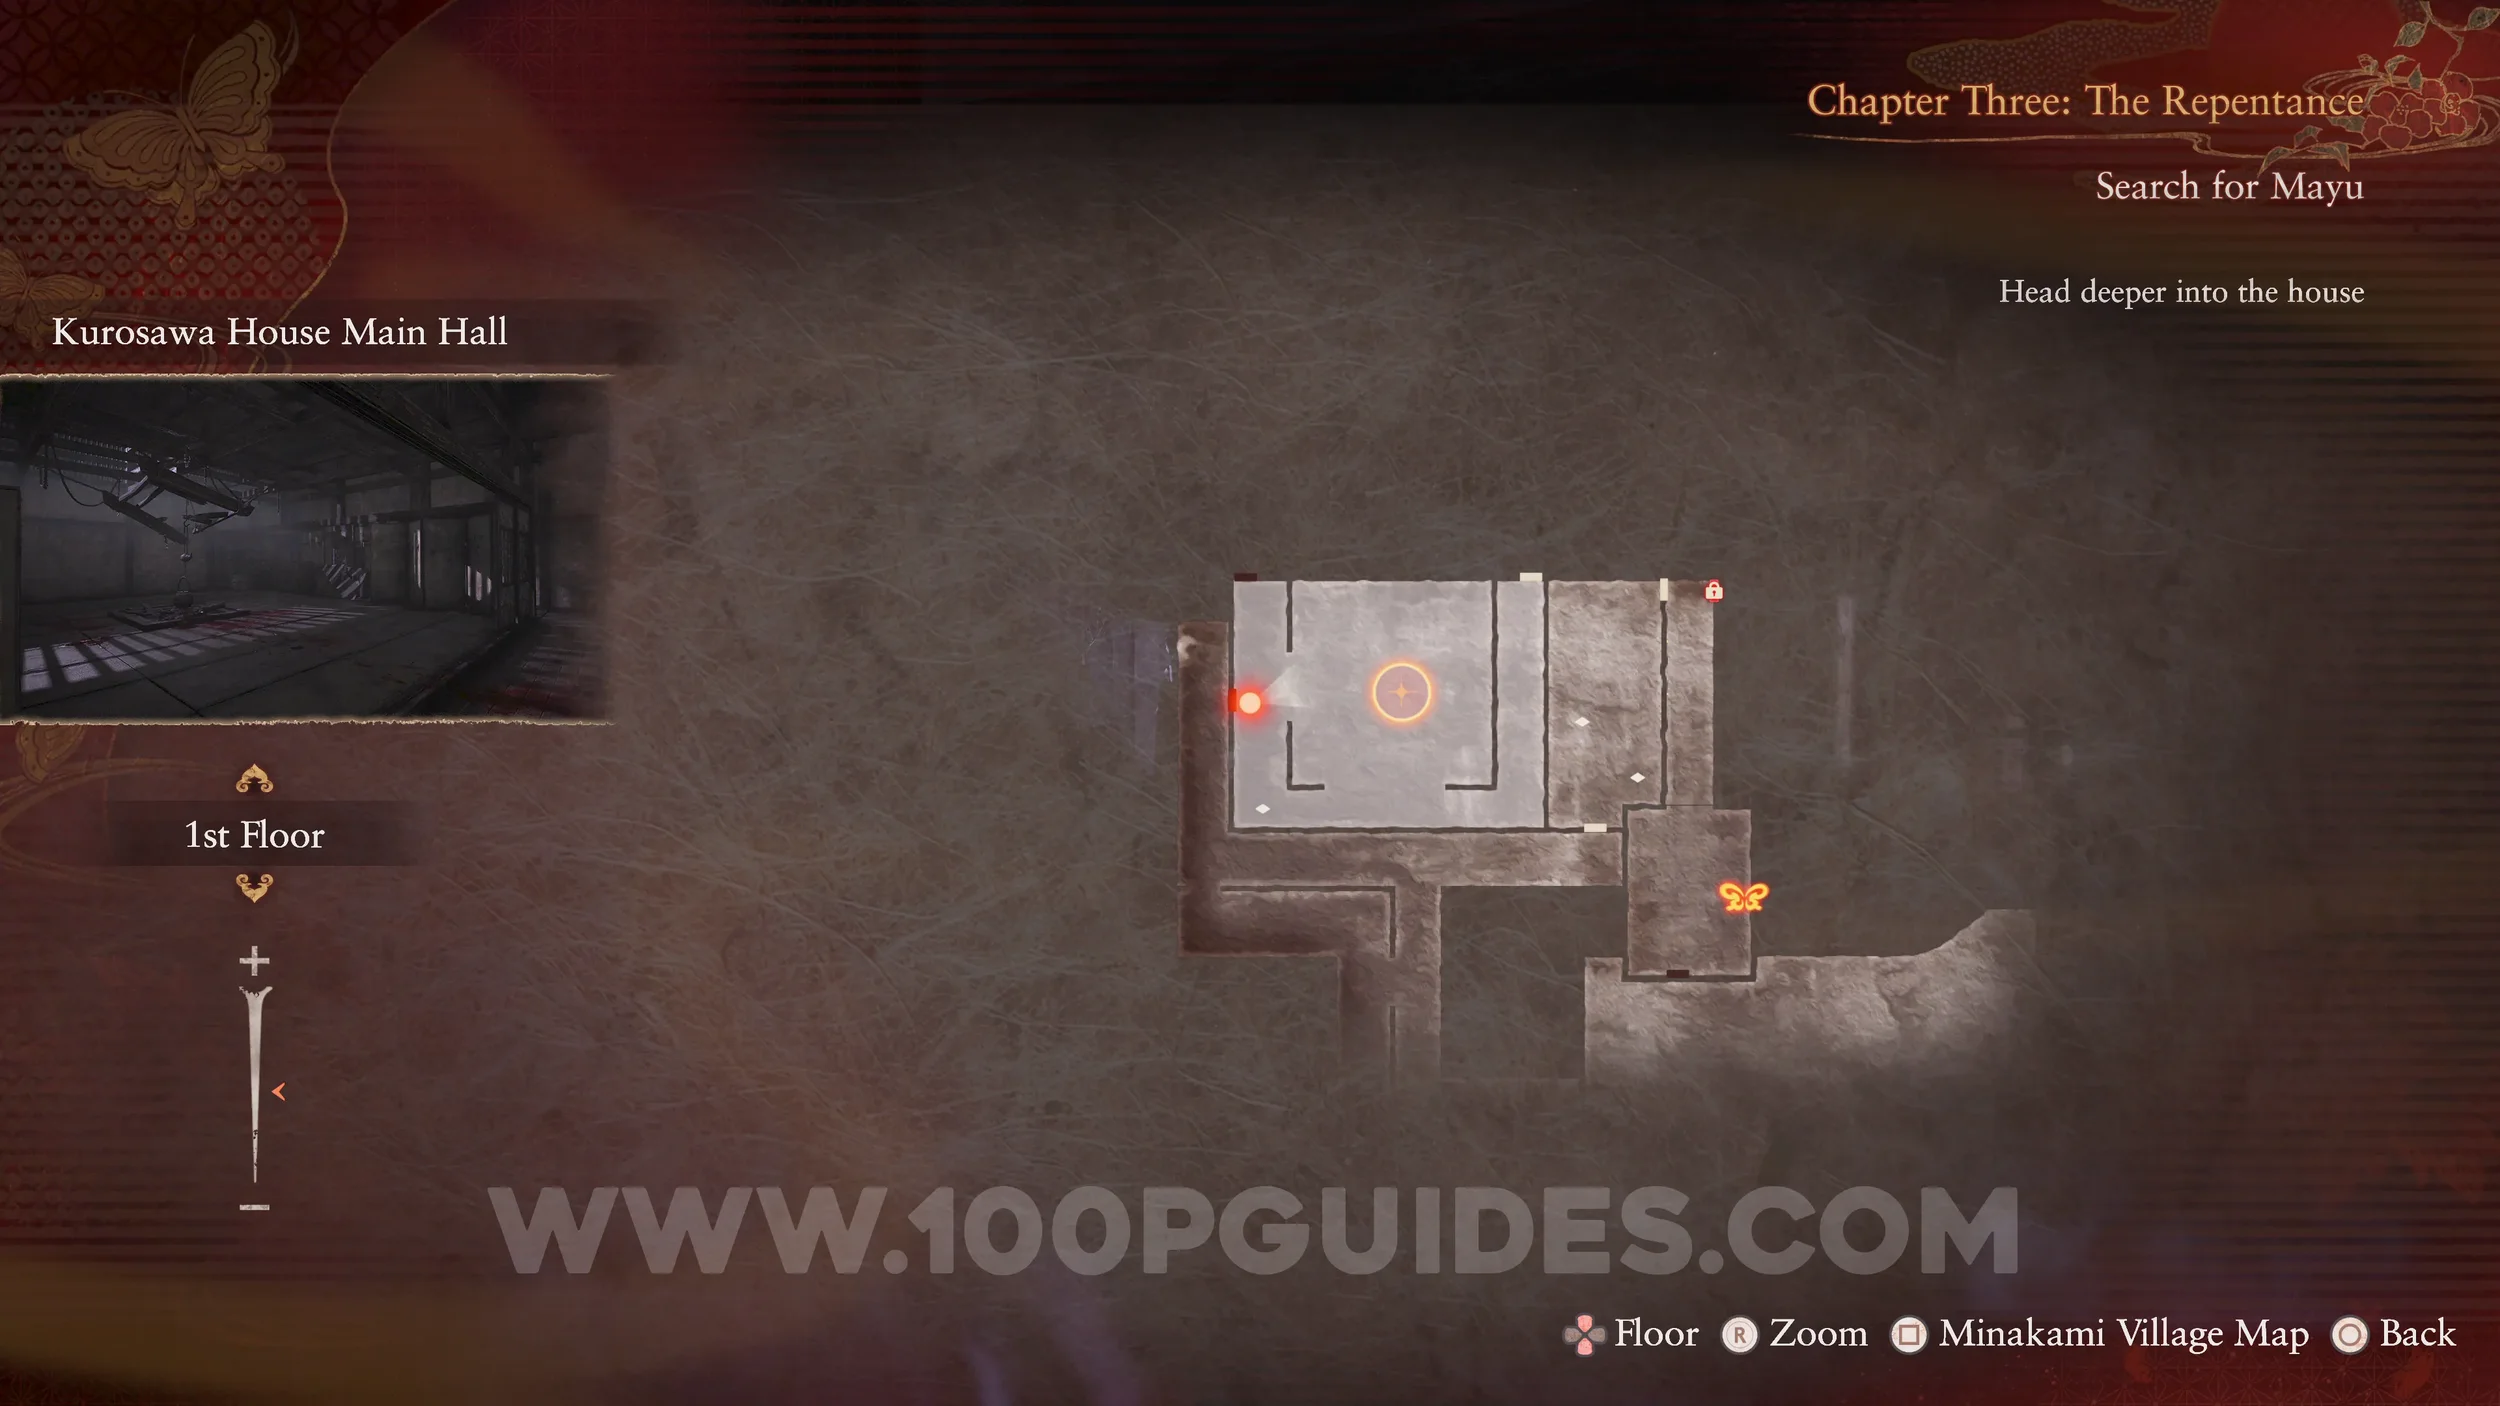
Spirit Stone #10 - Glowing Green Crystal 2. From the hallway where the previous collectibles were found, head south down the corridor. Then enter the room on your right to find the stone on the ground.
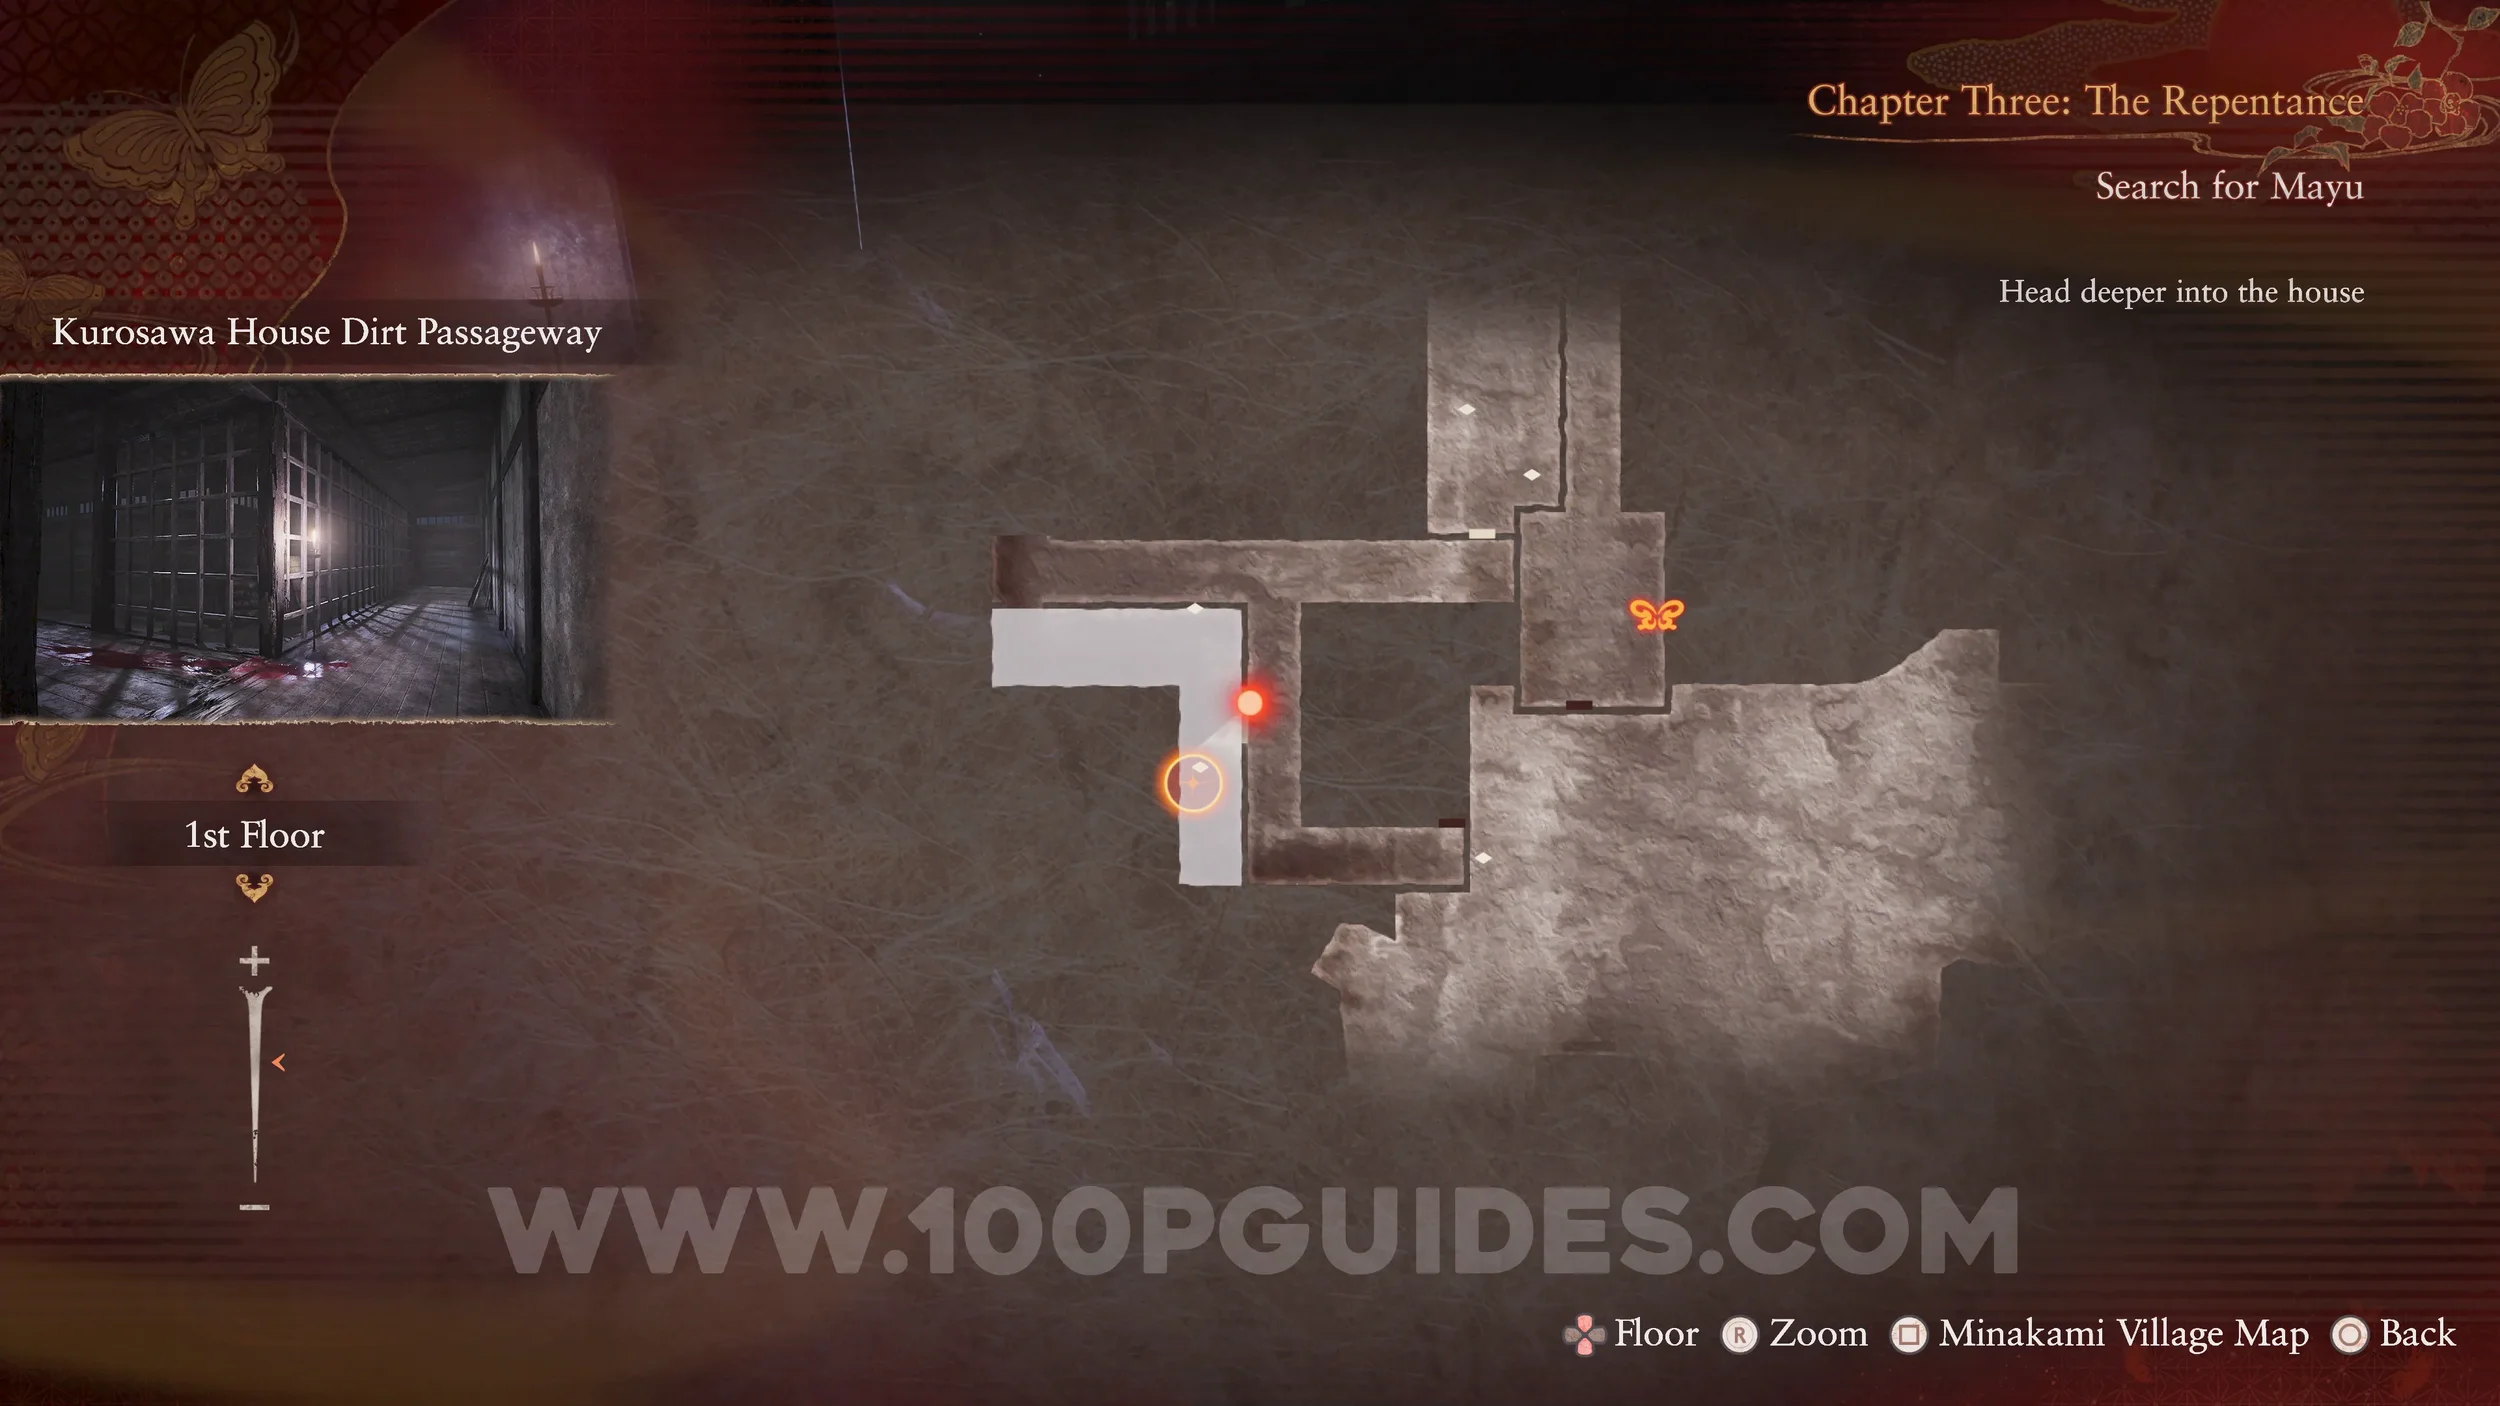
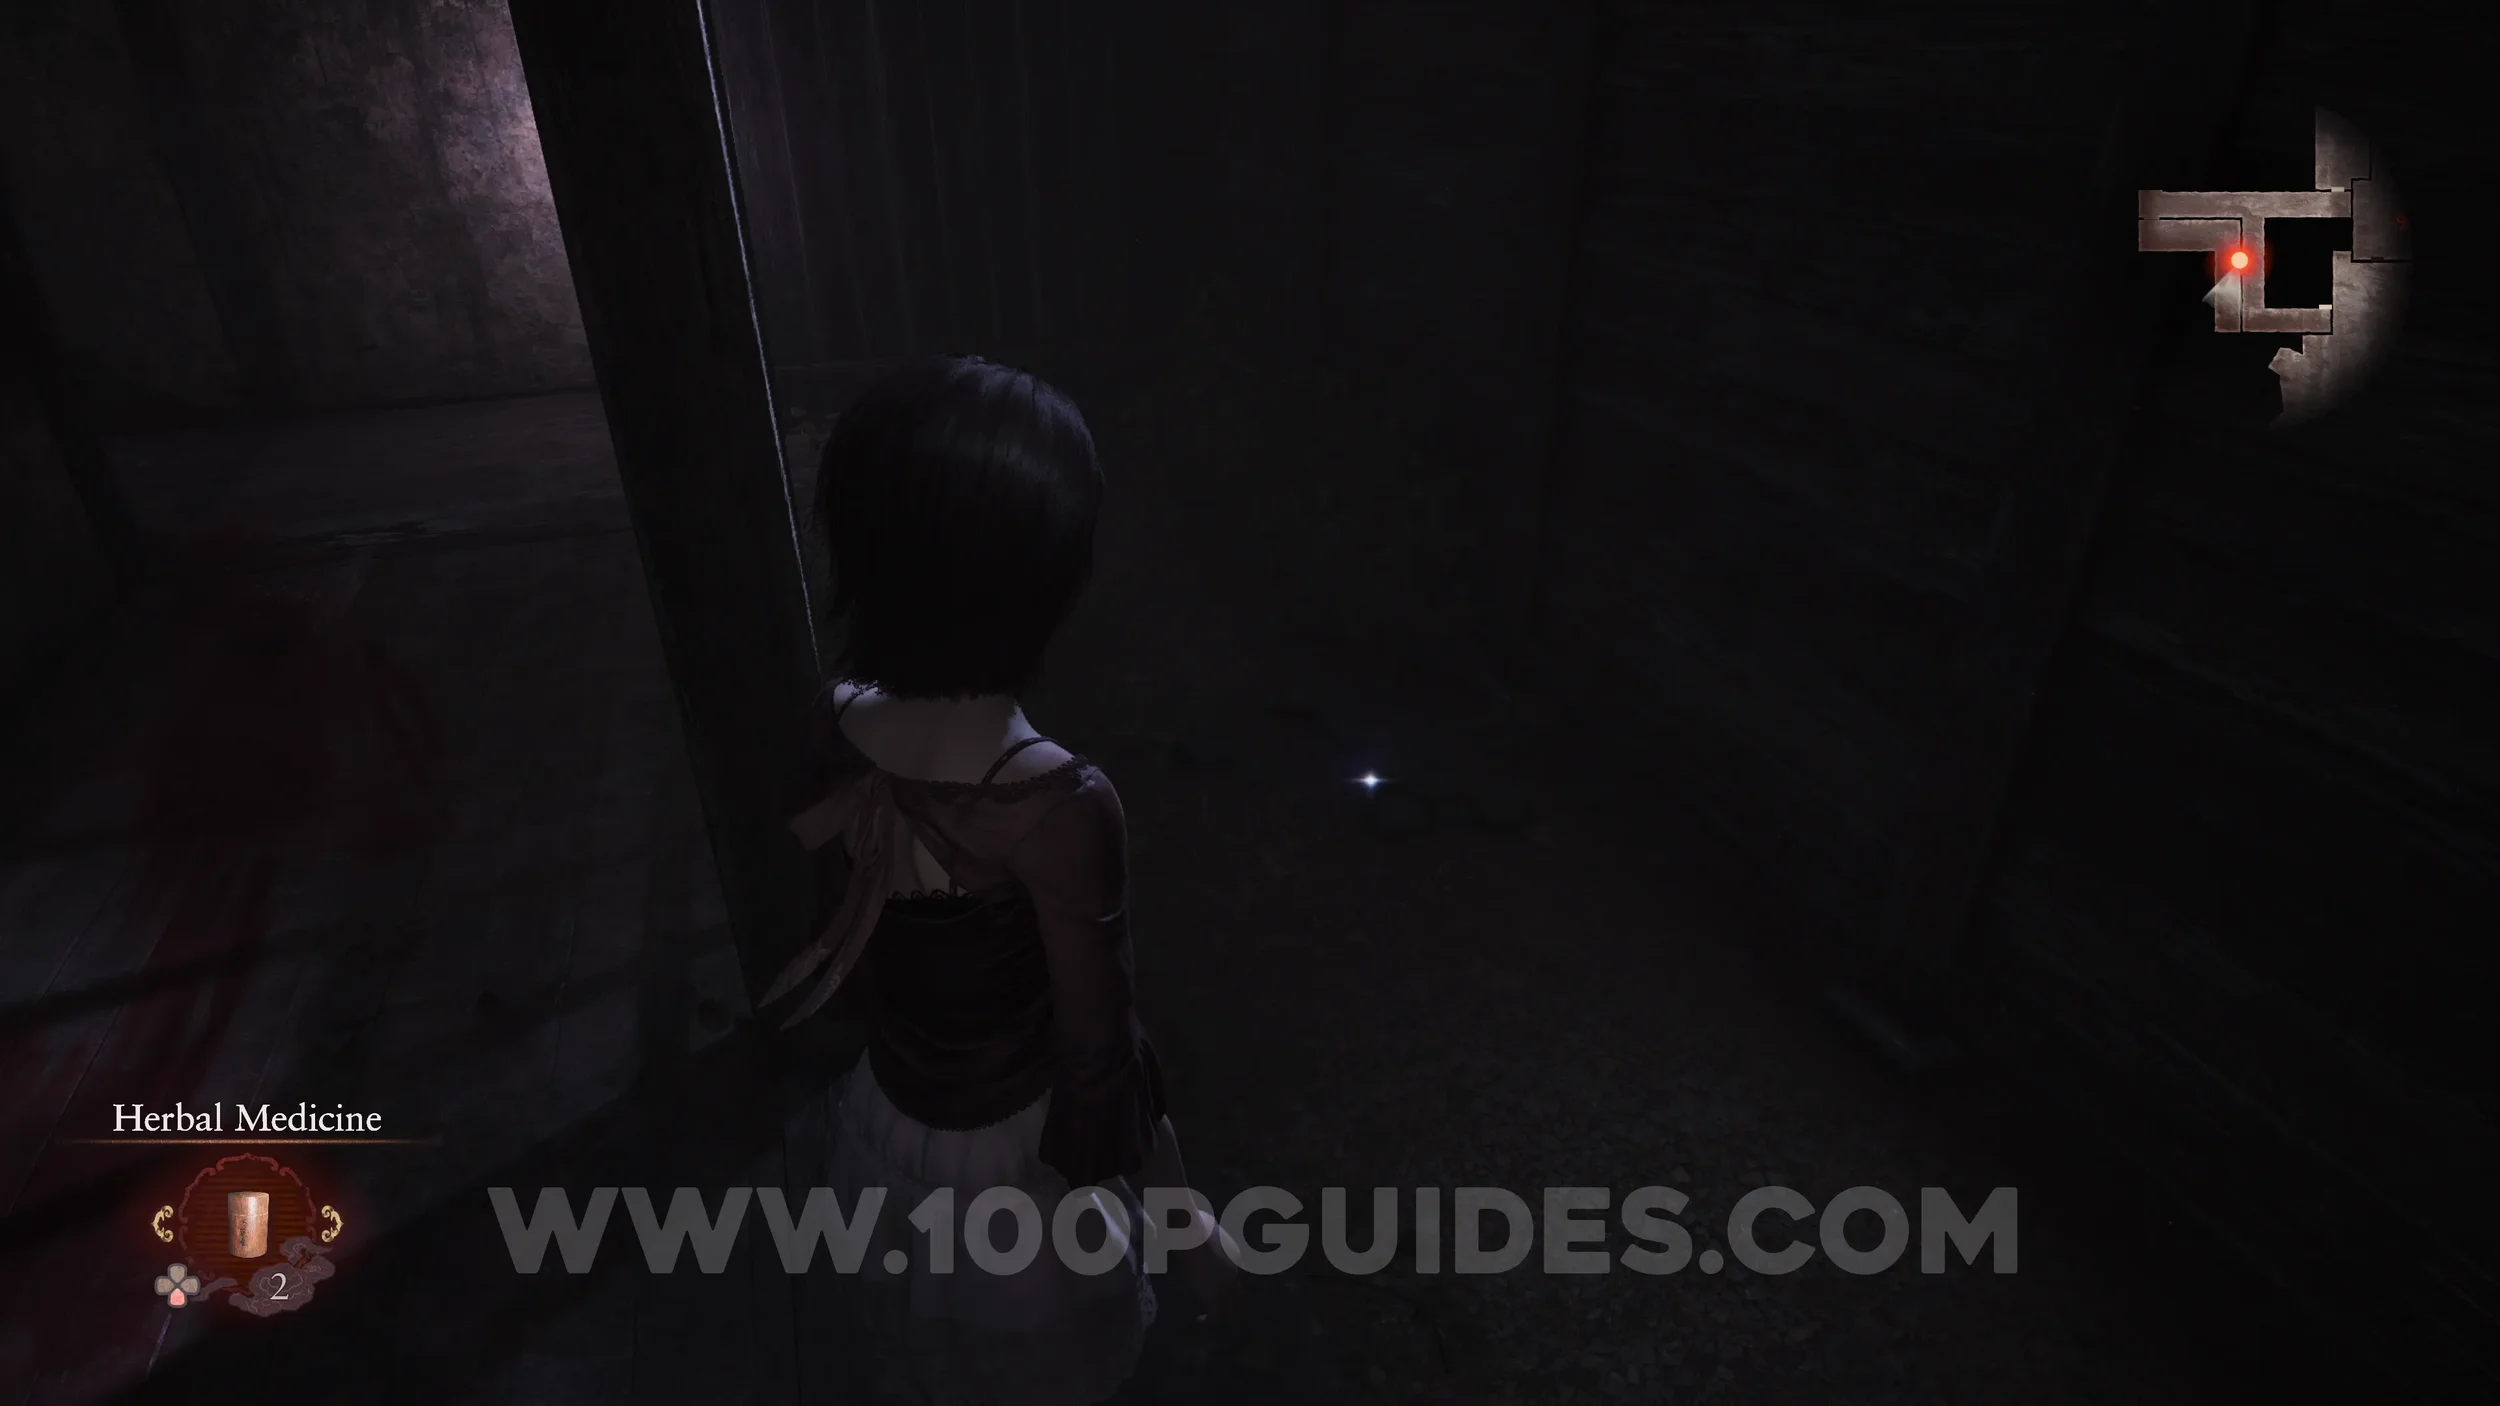
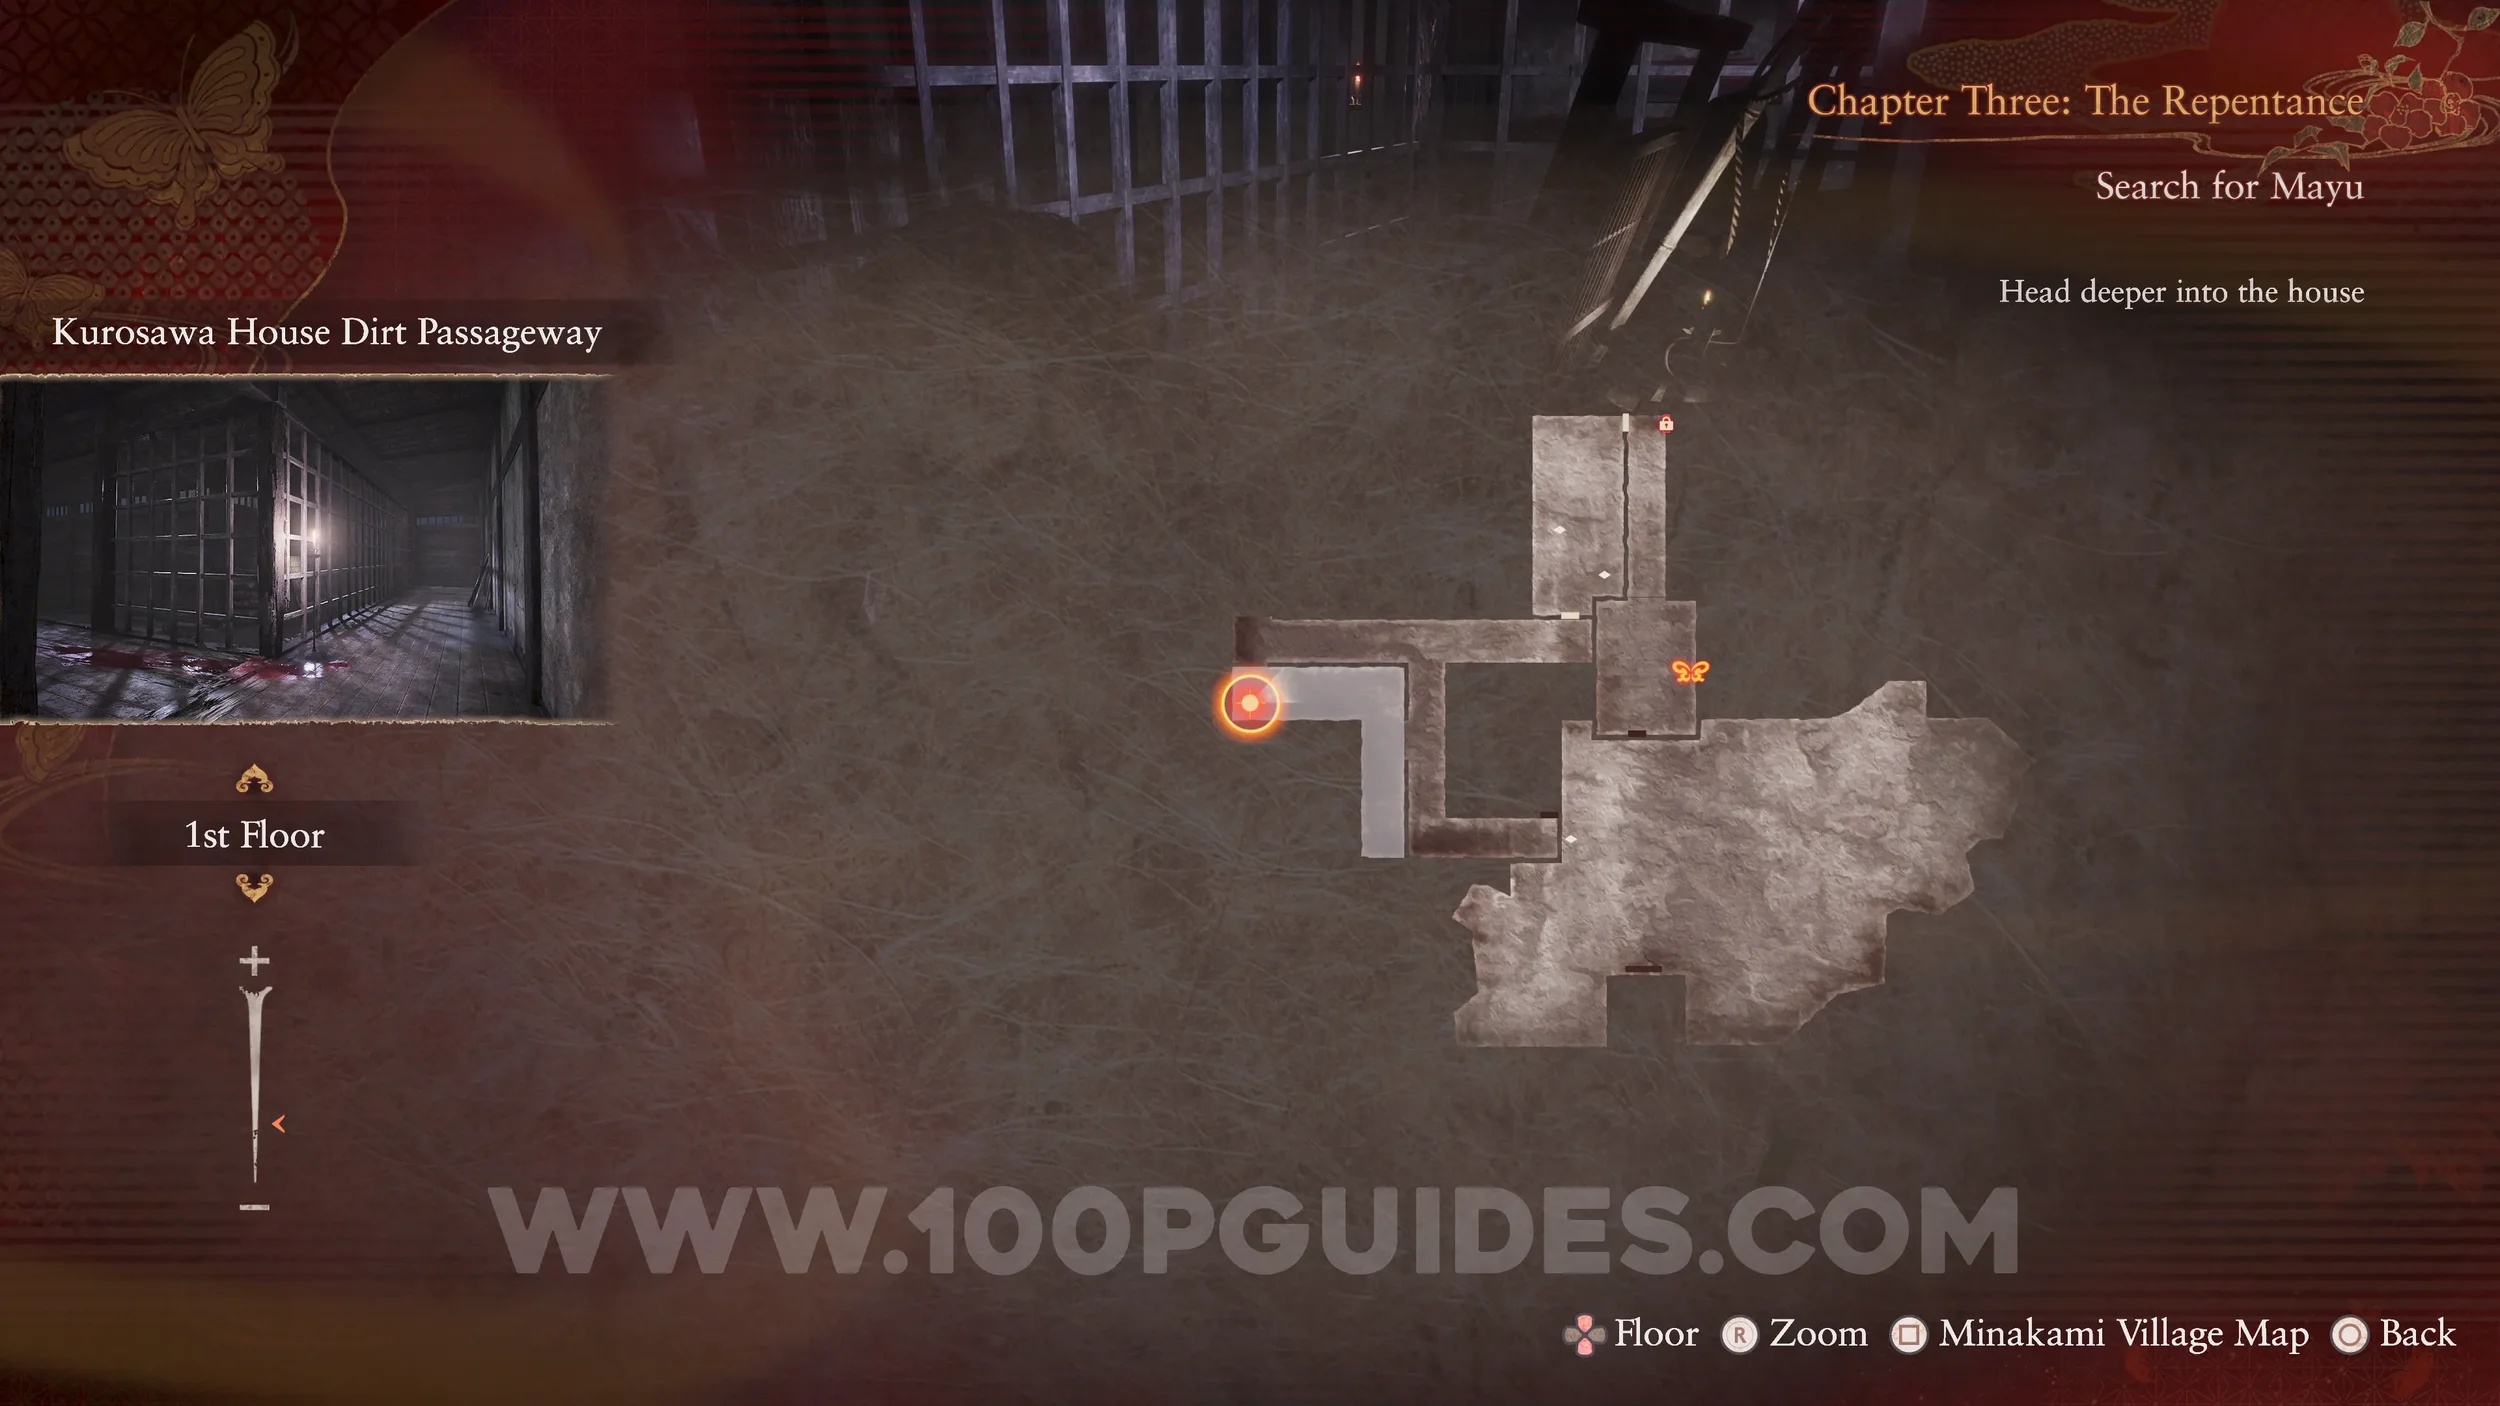
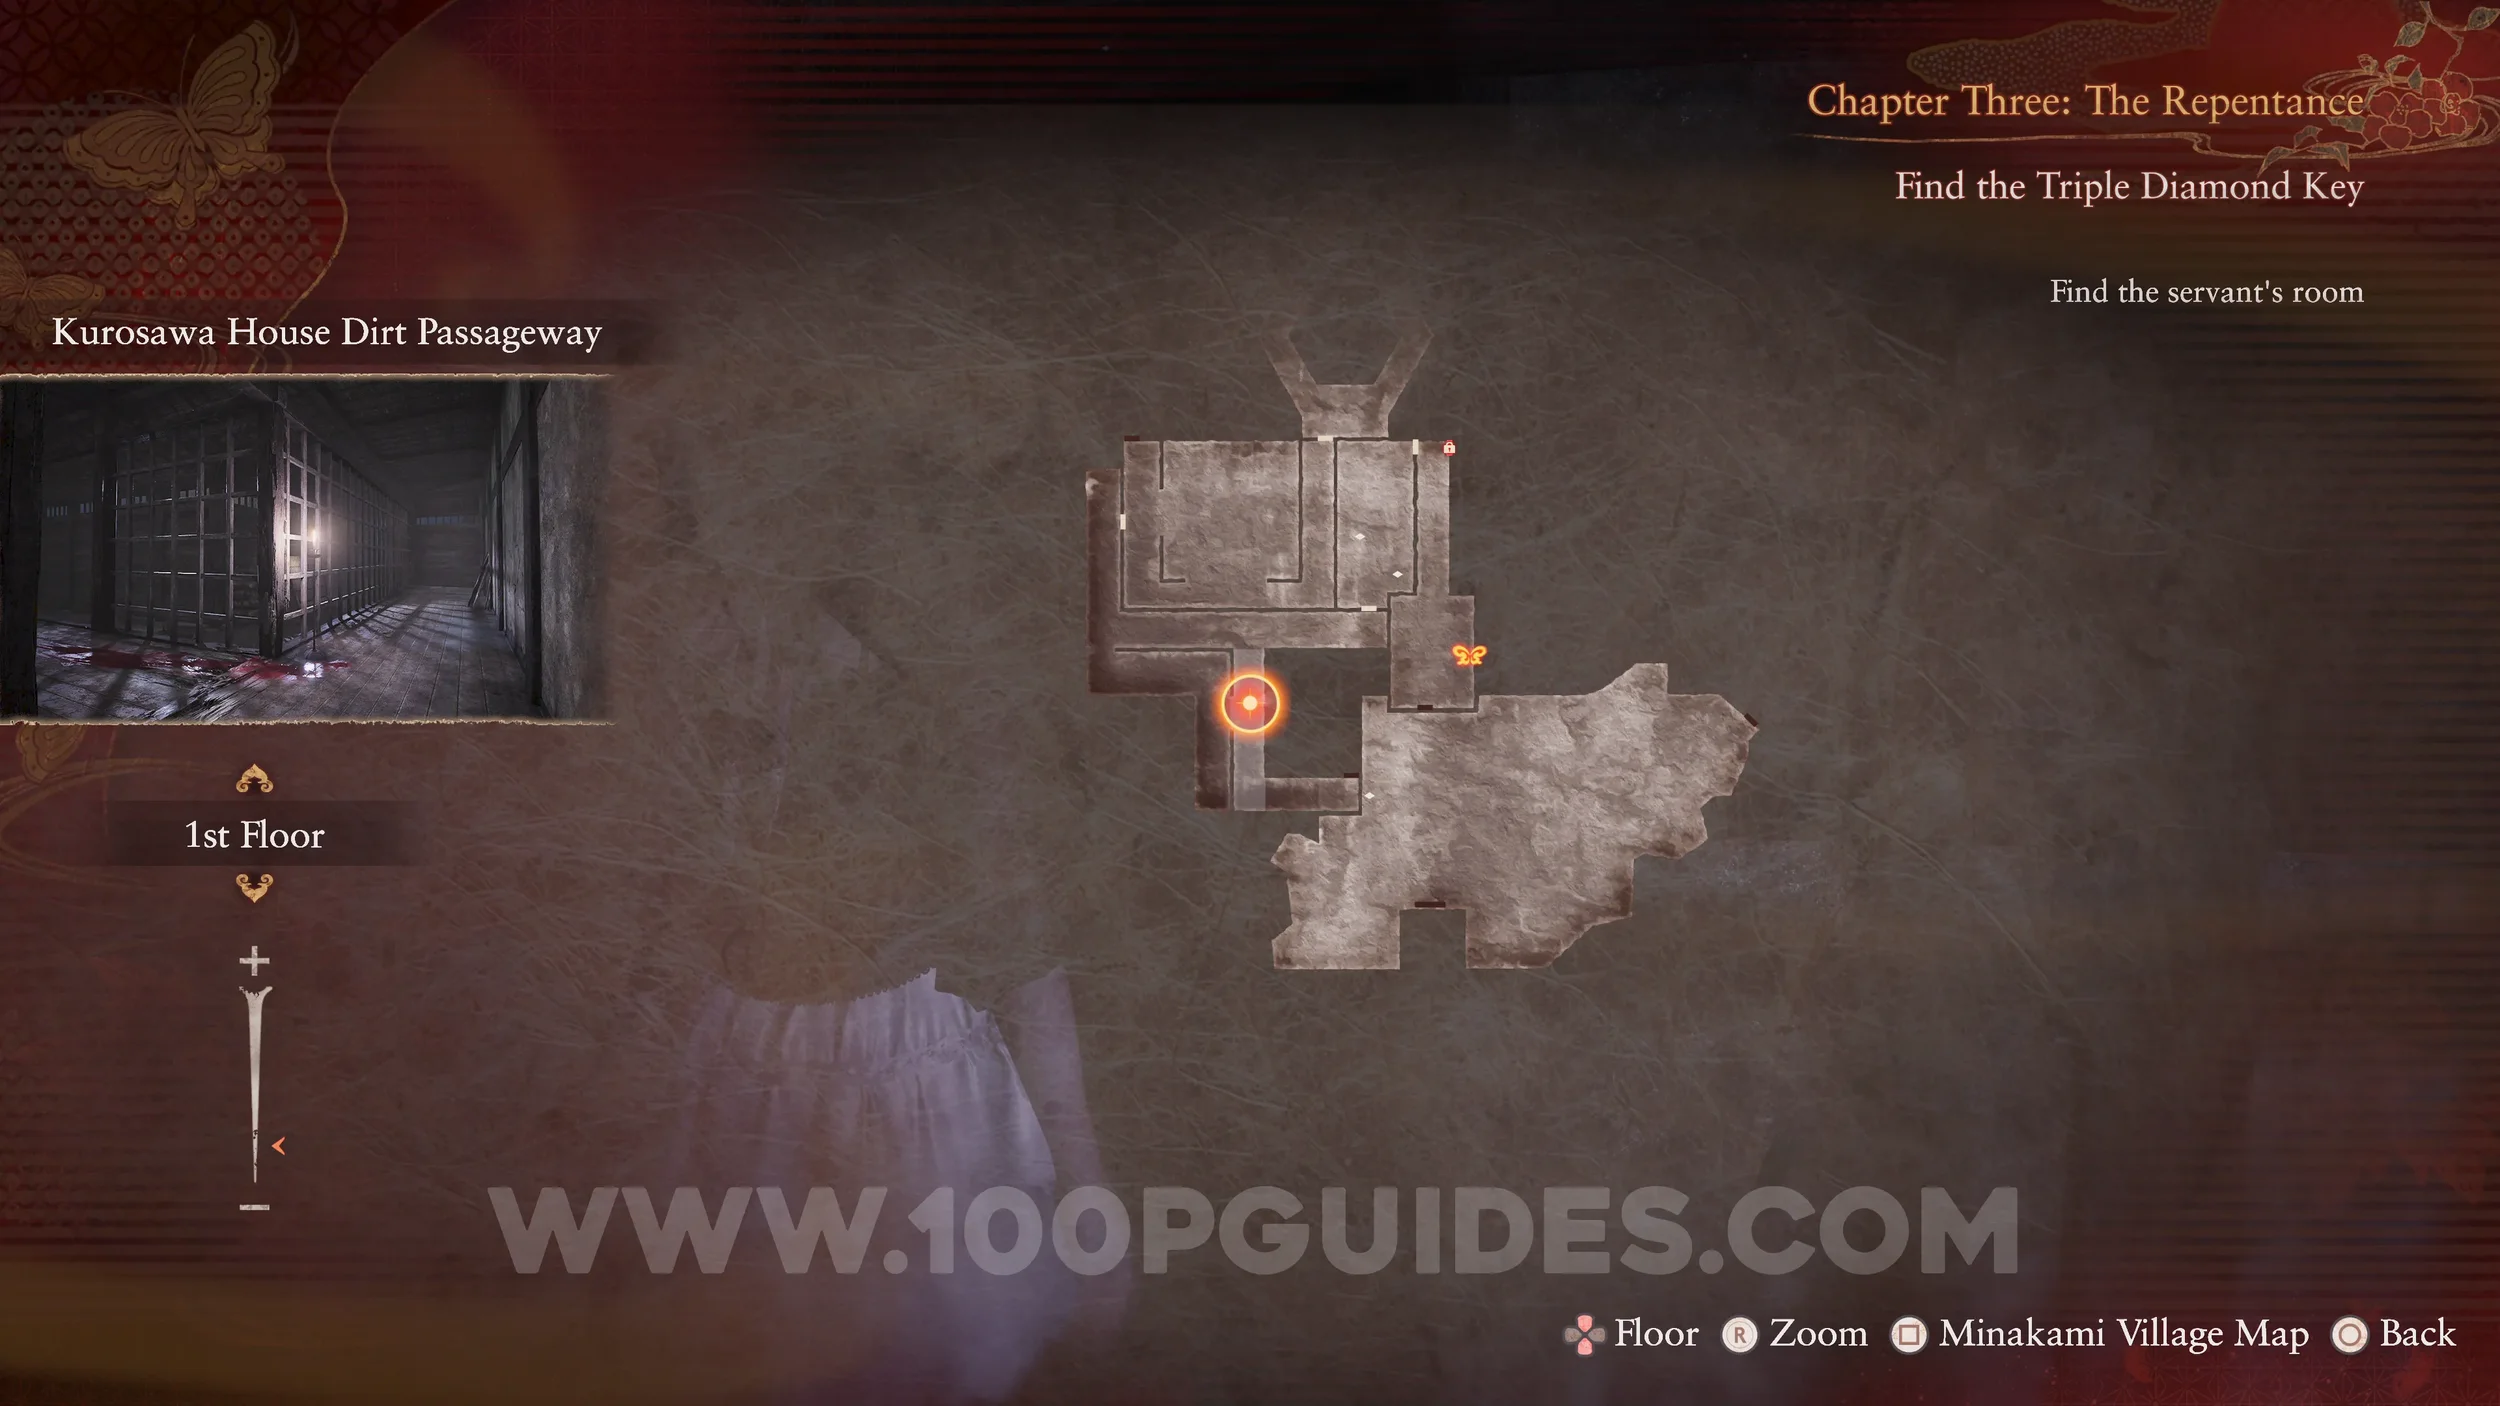
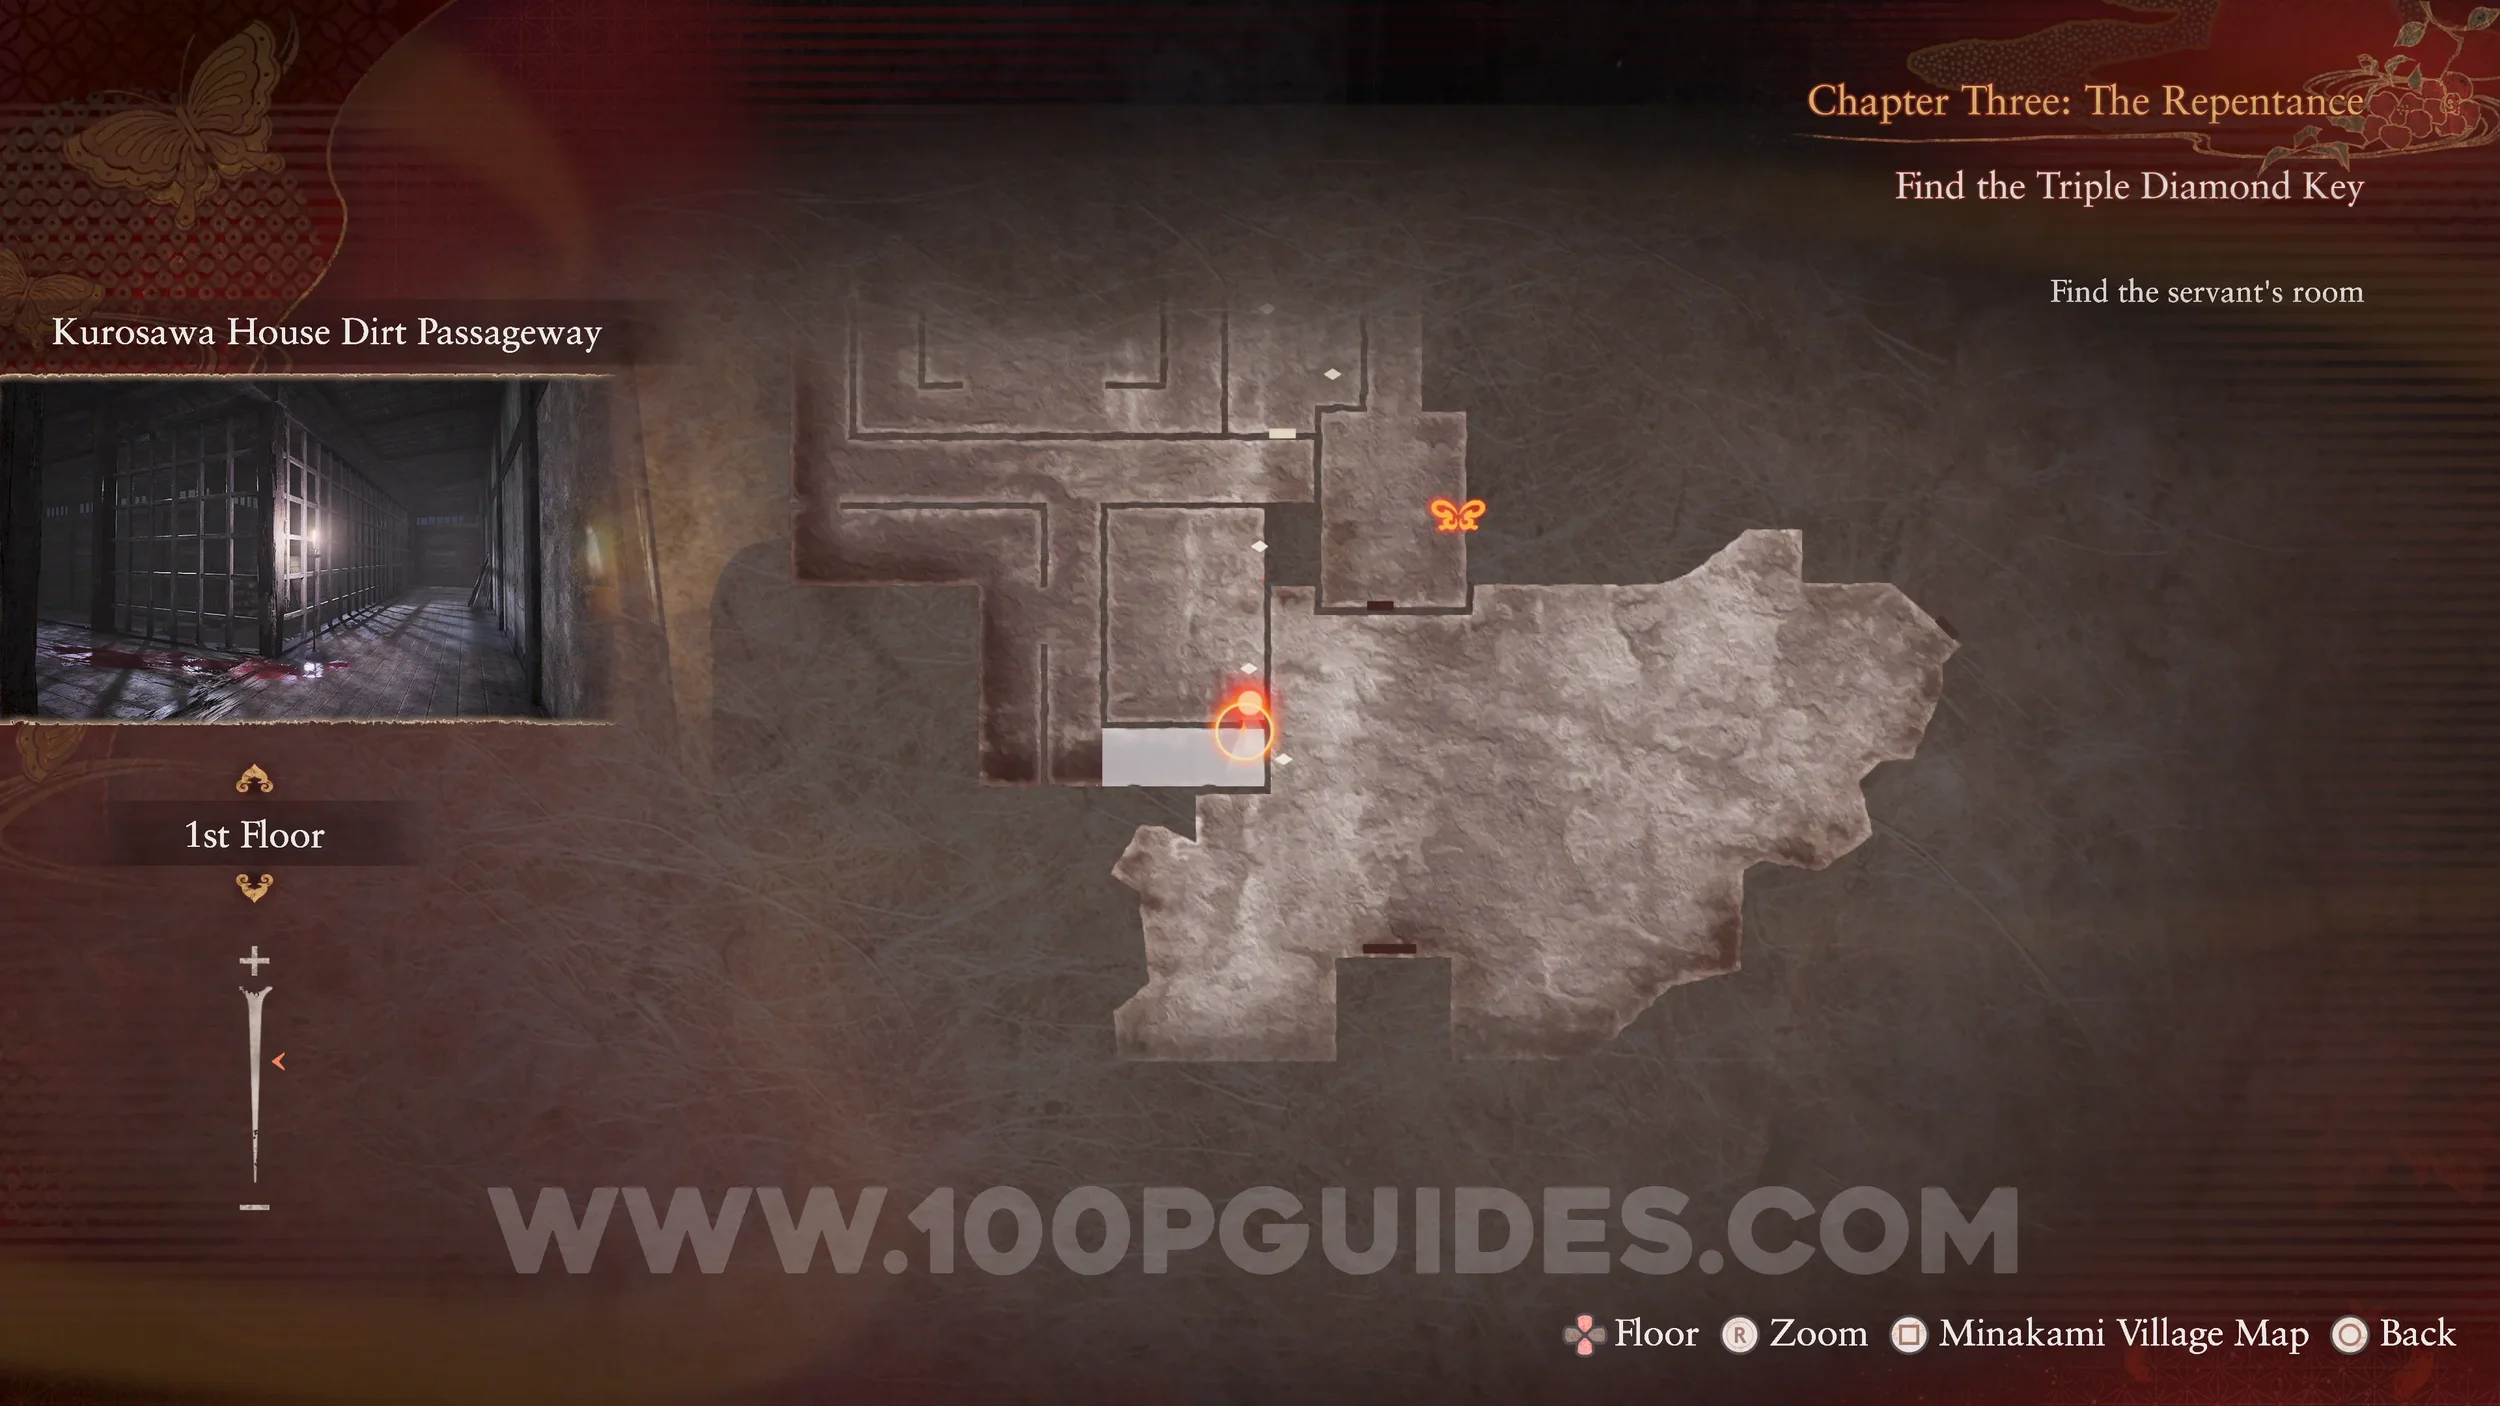
Prayer Beads #9. At the end of the Dirt Passageway (same area as the previous collectible).
Twin Dolls #22 (7). Also found in the Dirt Passageway. From the Prayer Beads, turn around to see them.

Wraith #10 - 009 Woman Killed by Kusabi. Found at the end of the next hallway to the north.

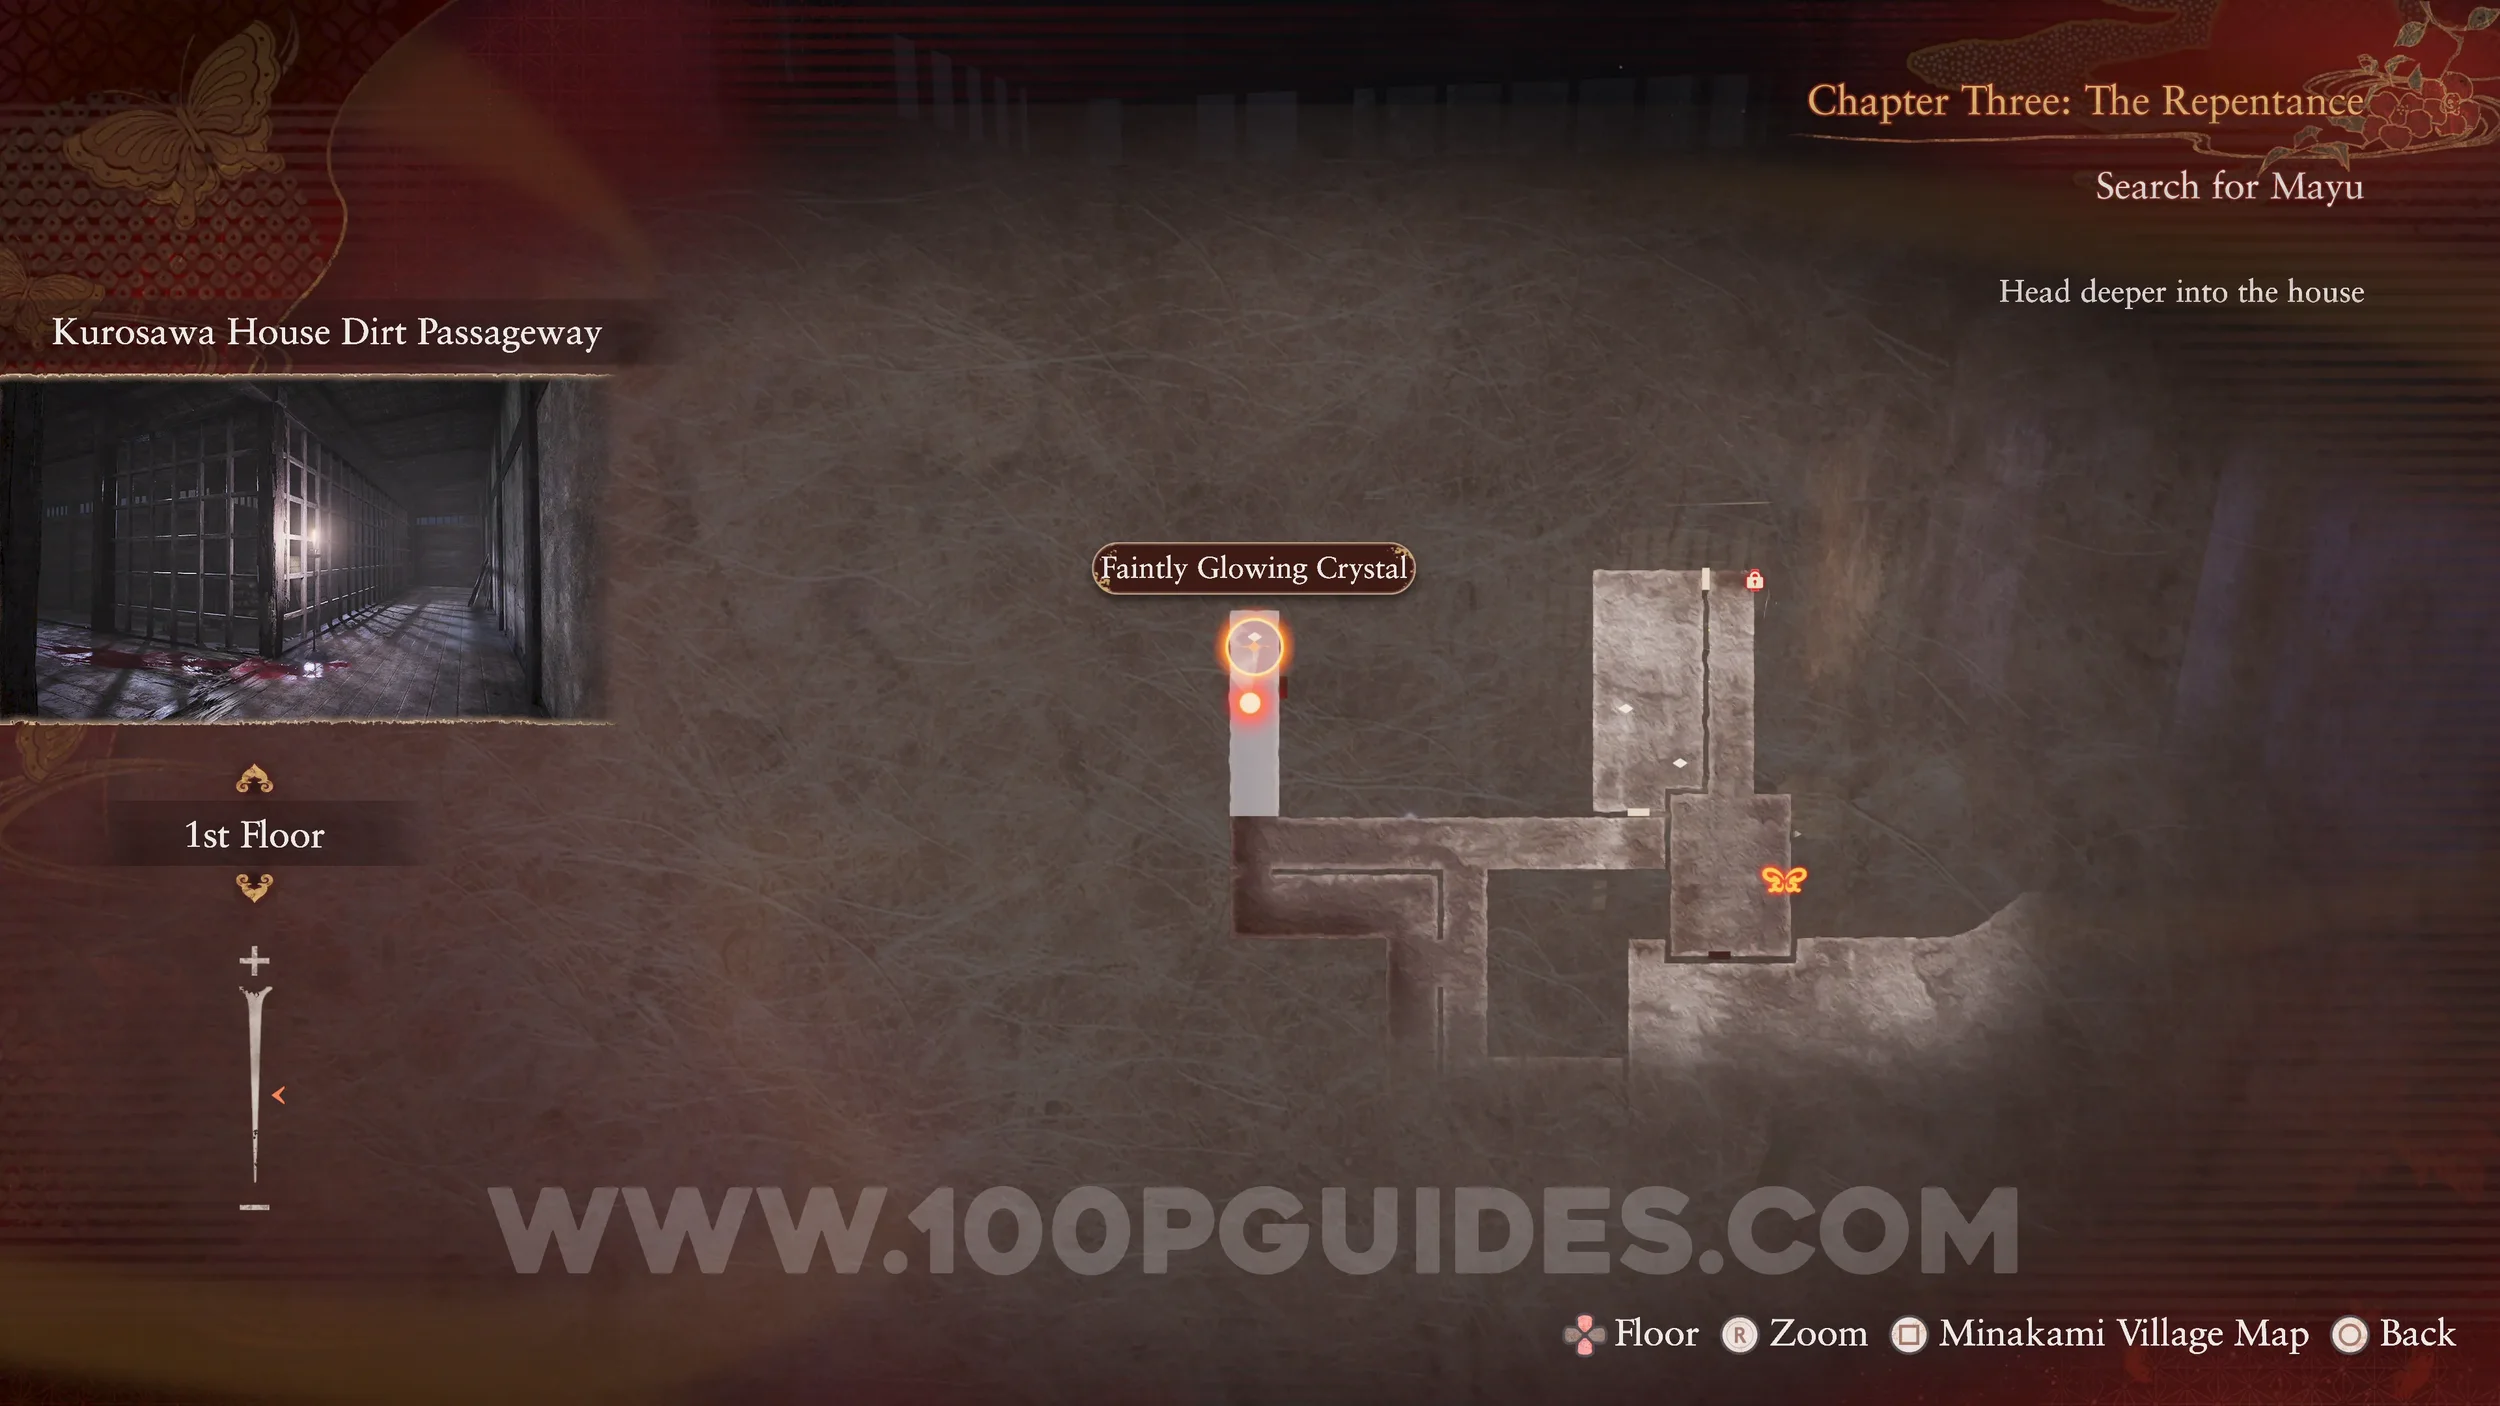
Spirit Stone #11 - Faintly Glowing Crystal. At the end of the same hall as the previous wraith.
Specter #45 - 031 Mayu Advancing Ahead. As soon as you open the door on the eastern side of the hallway, you will see Mayu on the other side of the room. Quickly take a photo of her.
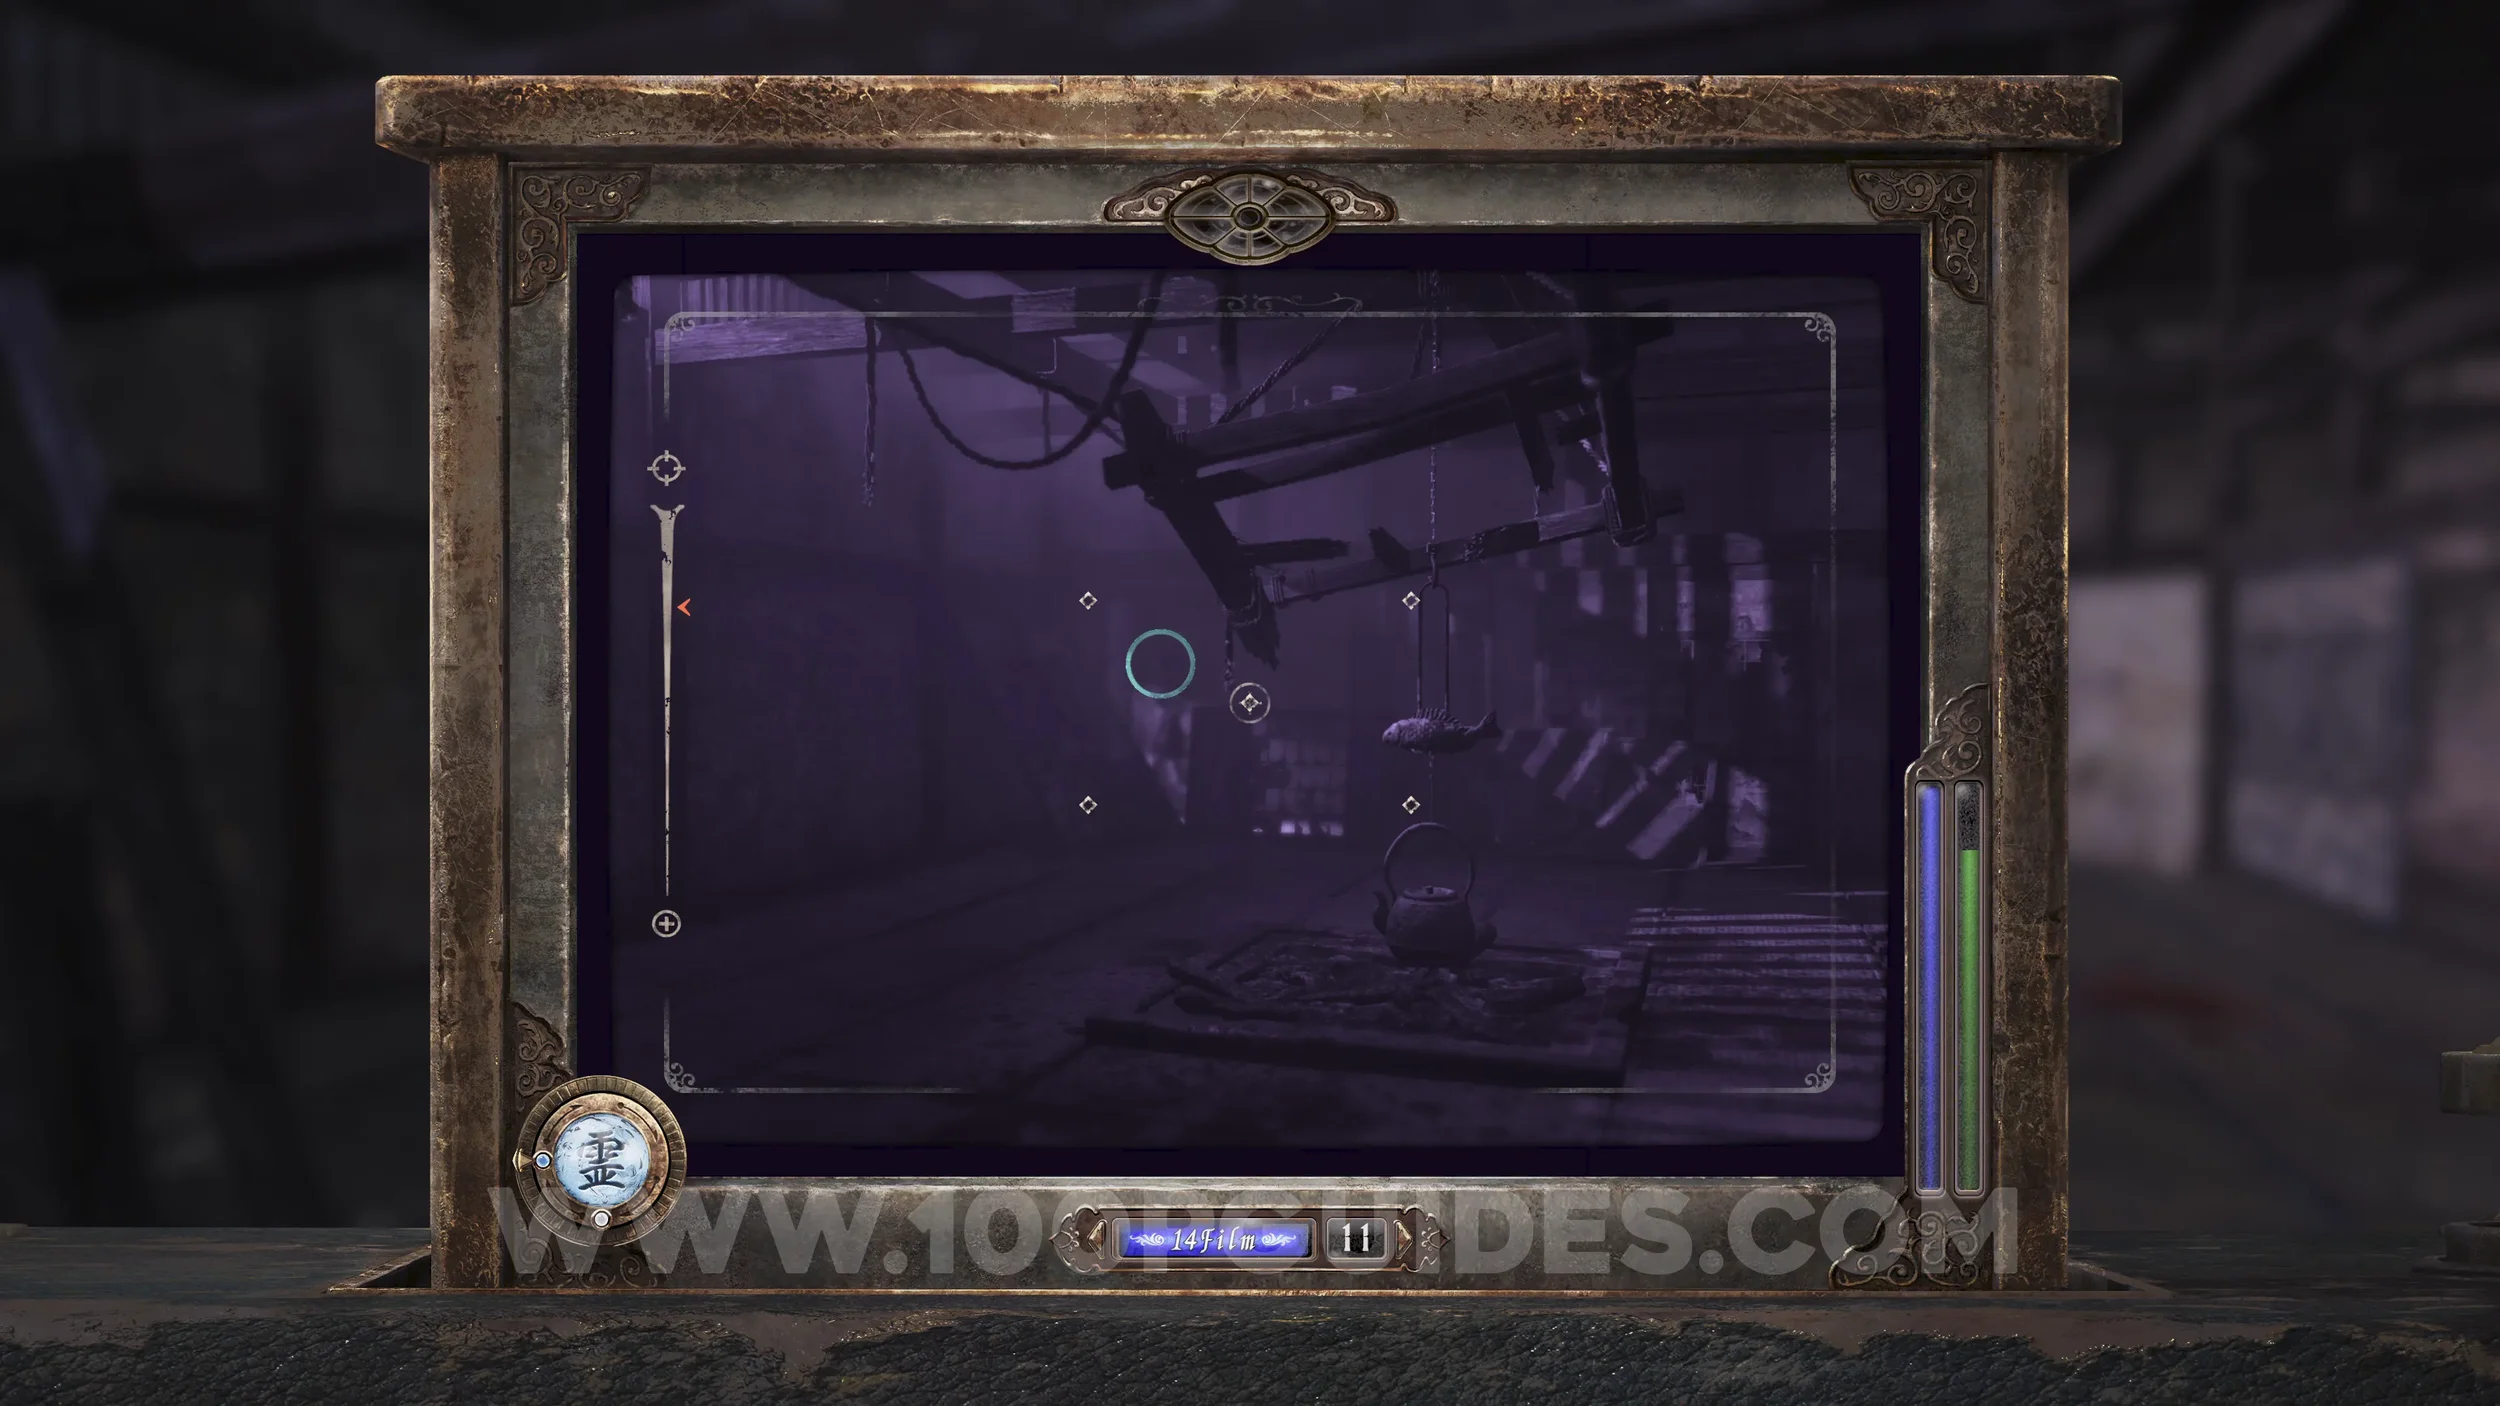
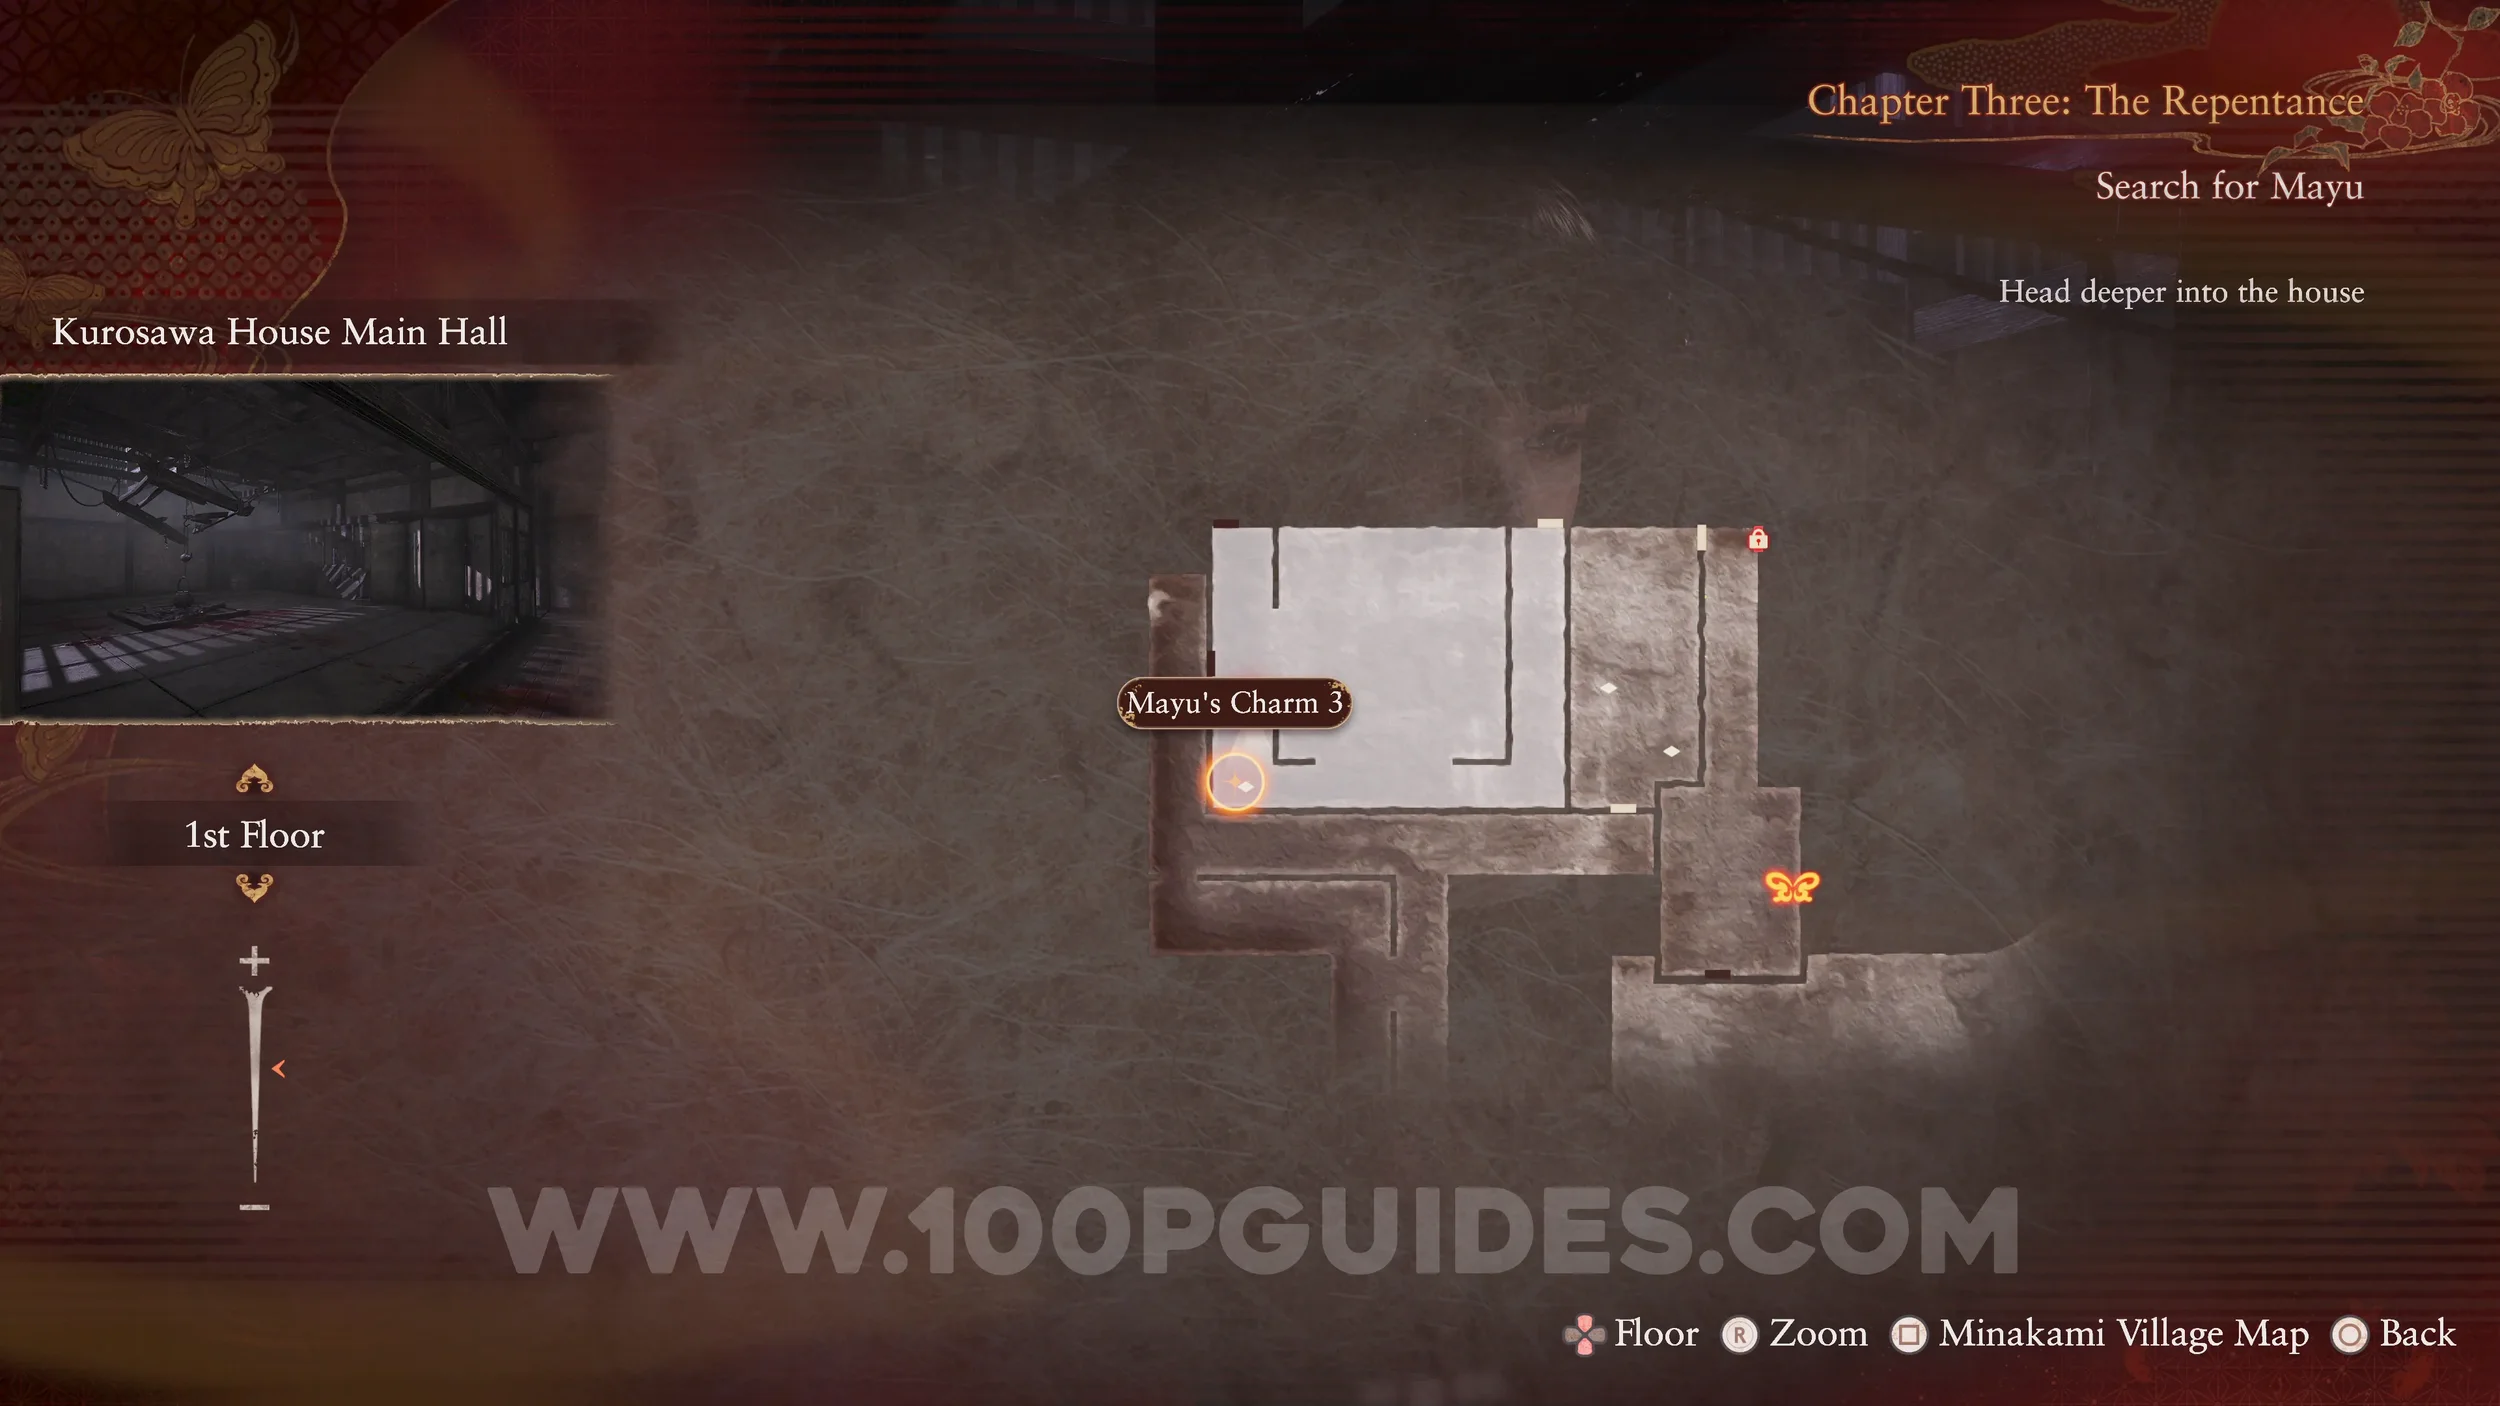
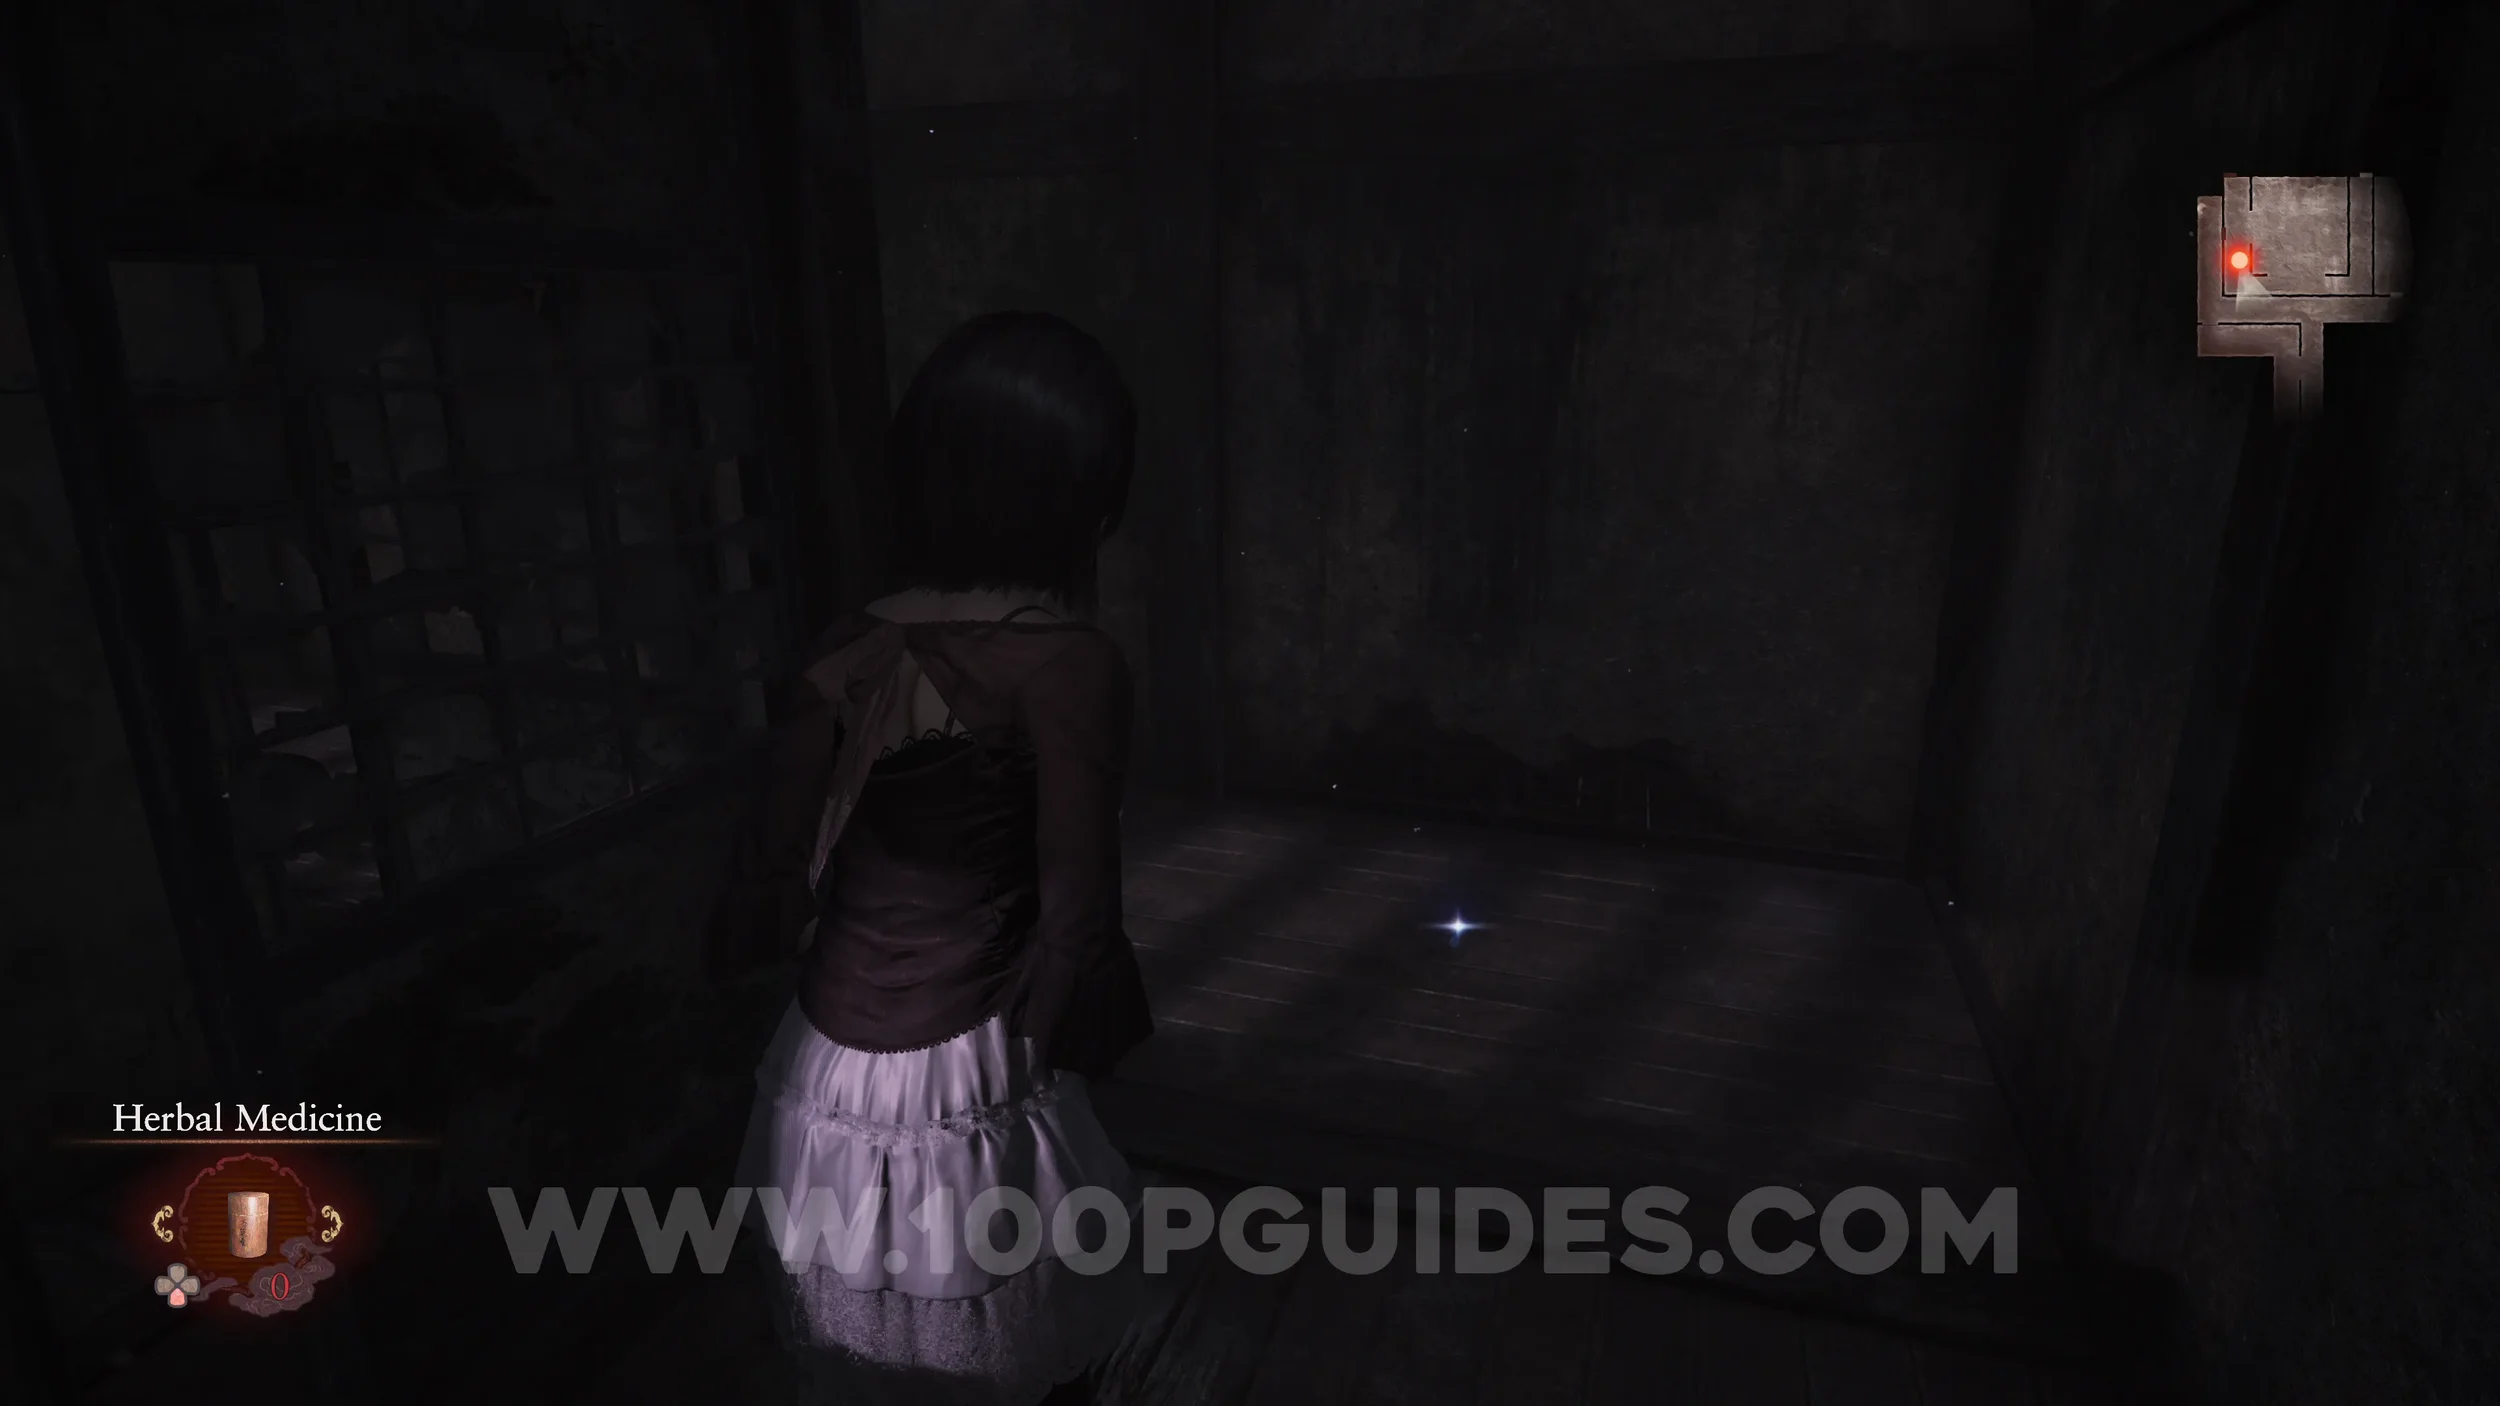
Spirit Stone #12 - Mayu’s Charm 3. Found in the same room where you see Mayu.
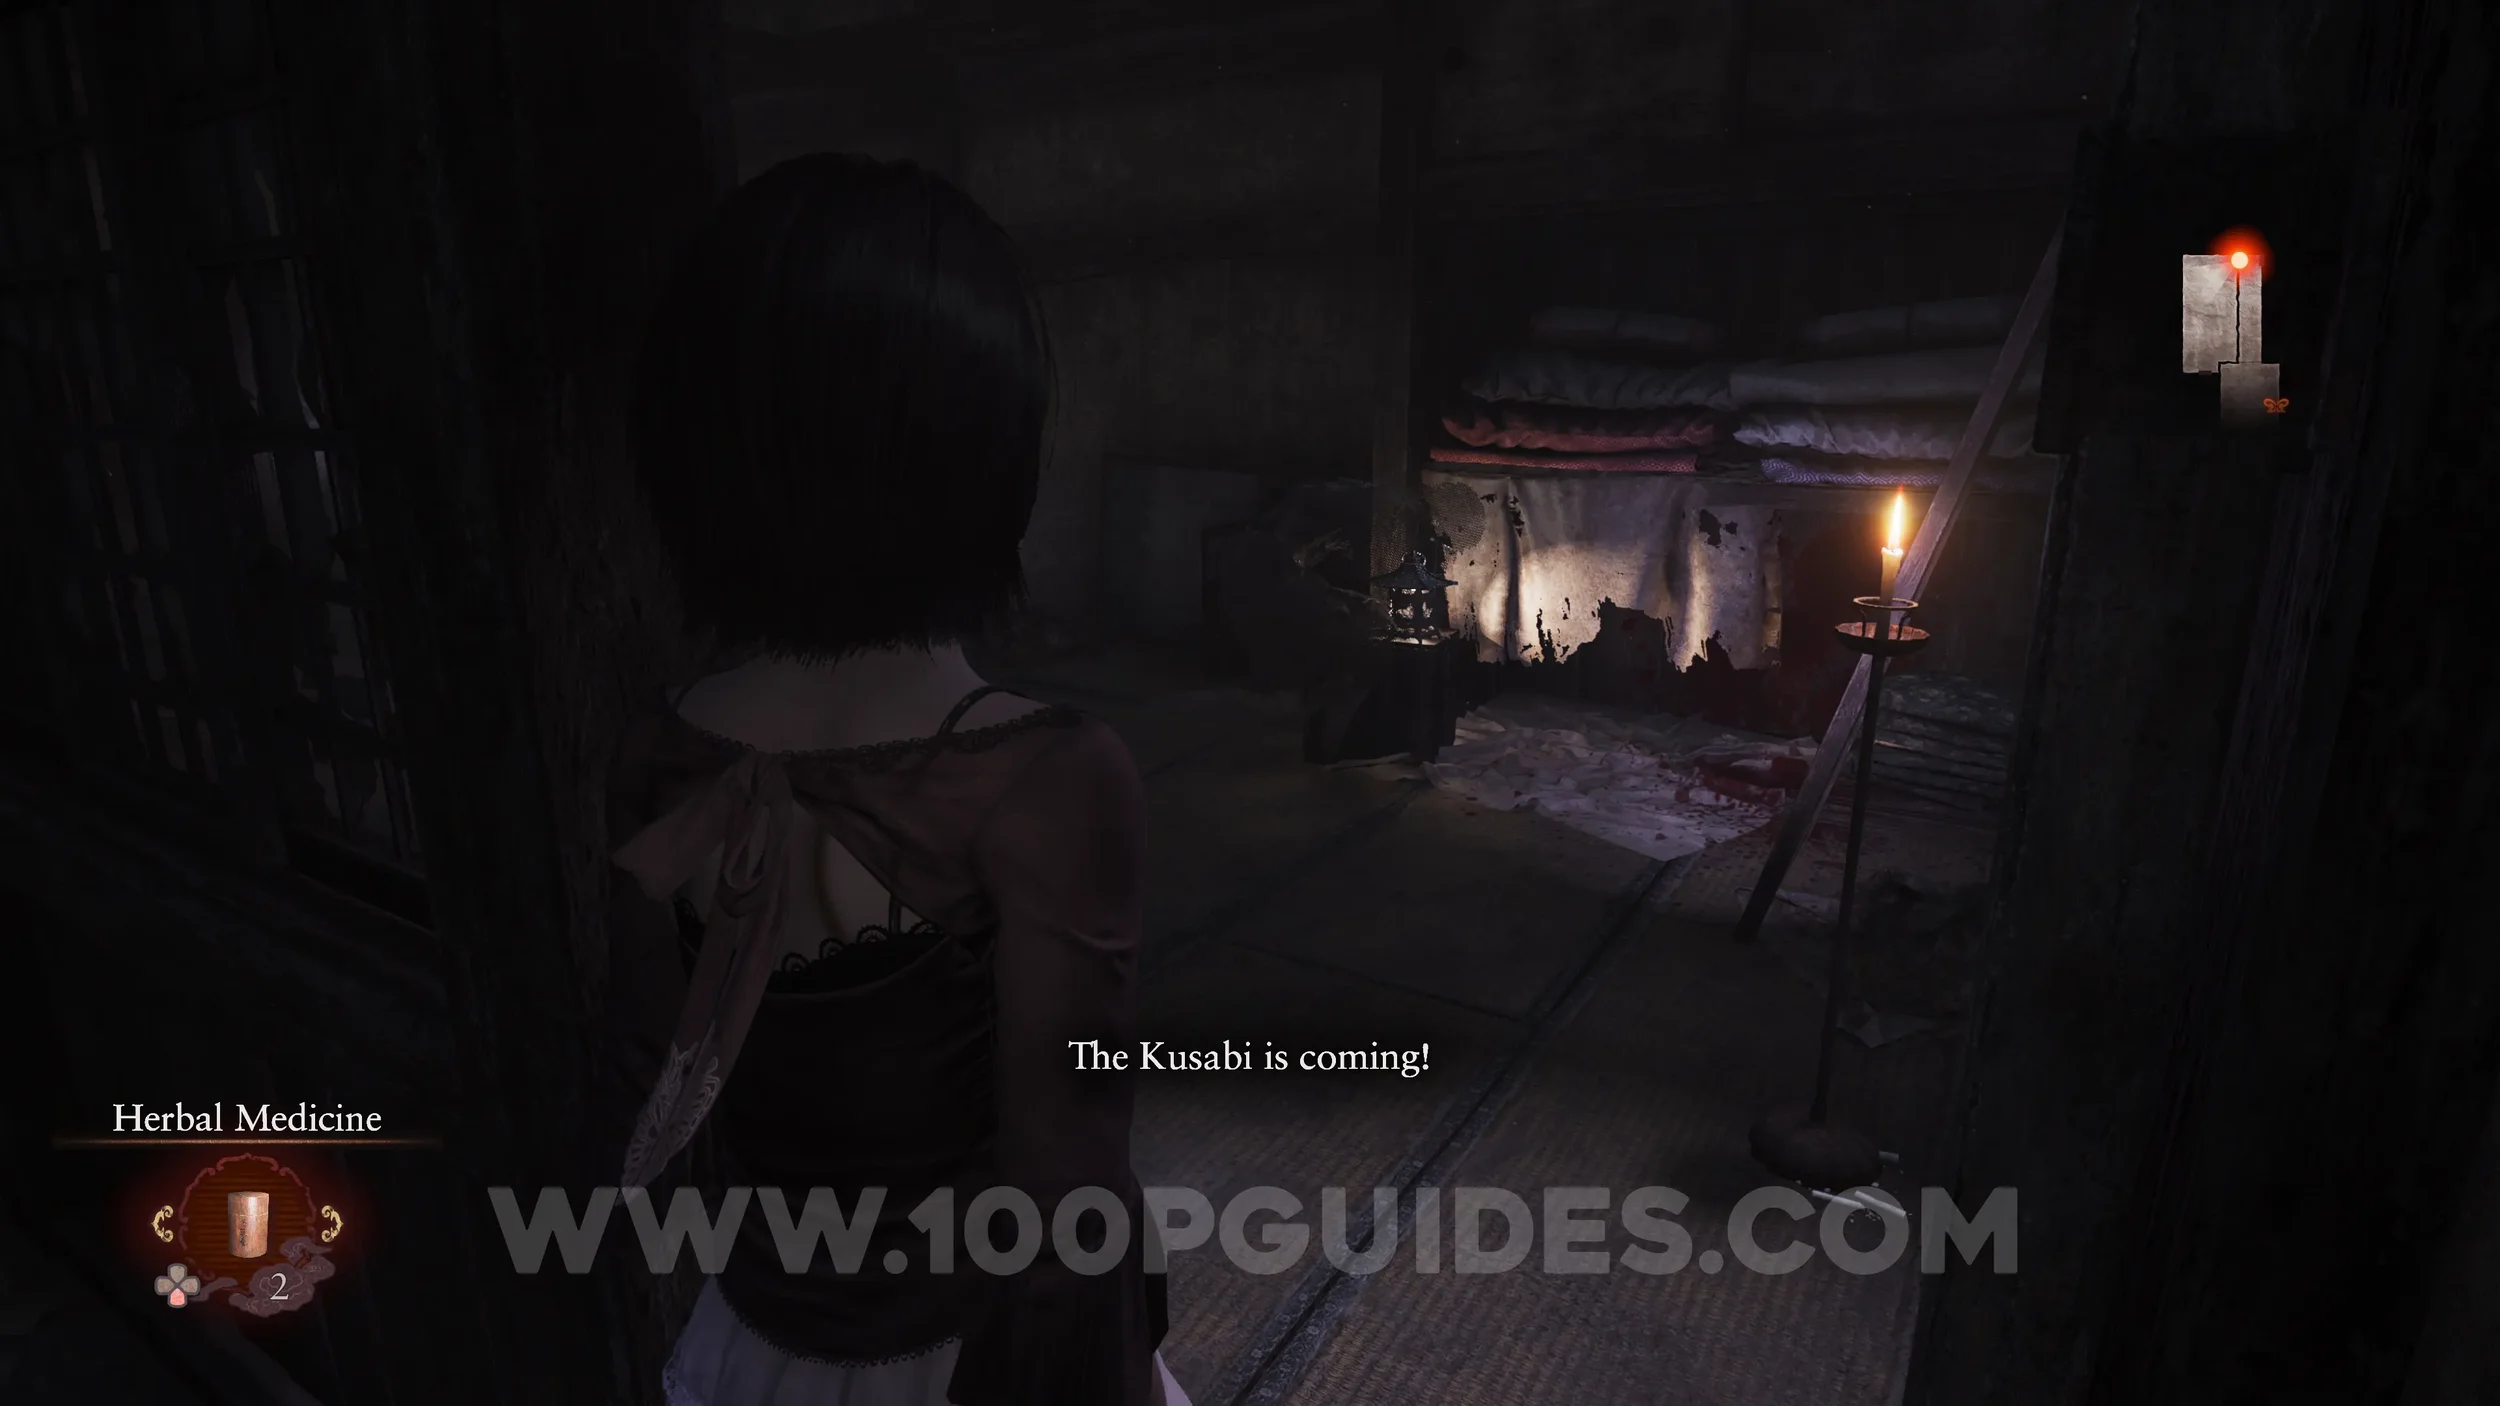
Twin Dolls #23 (8). After being chased by Kusabi, the unkillable wraith, and hiding from him, wait until he goes through the door. Then go back down the circular stairs you were chased up to find the dolls underneath them.
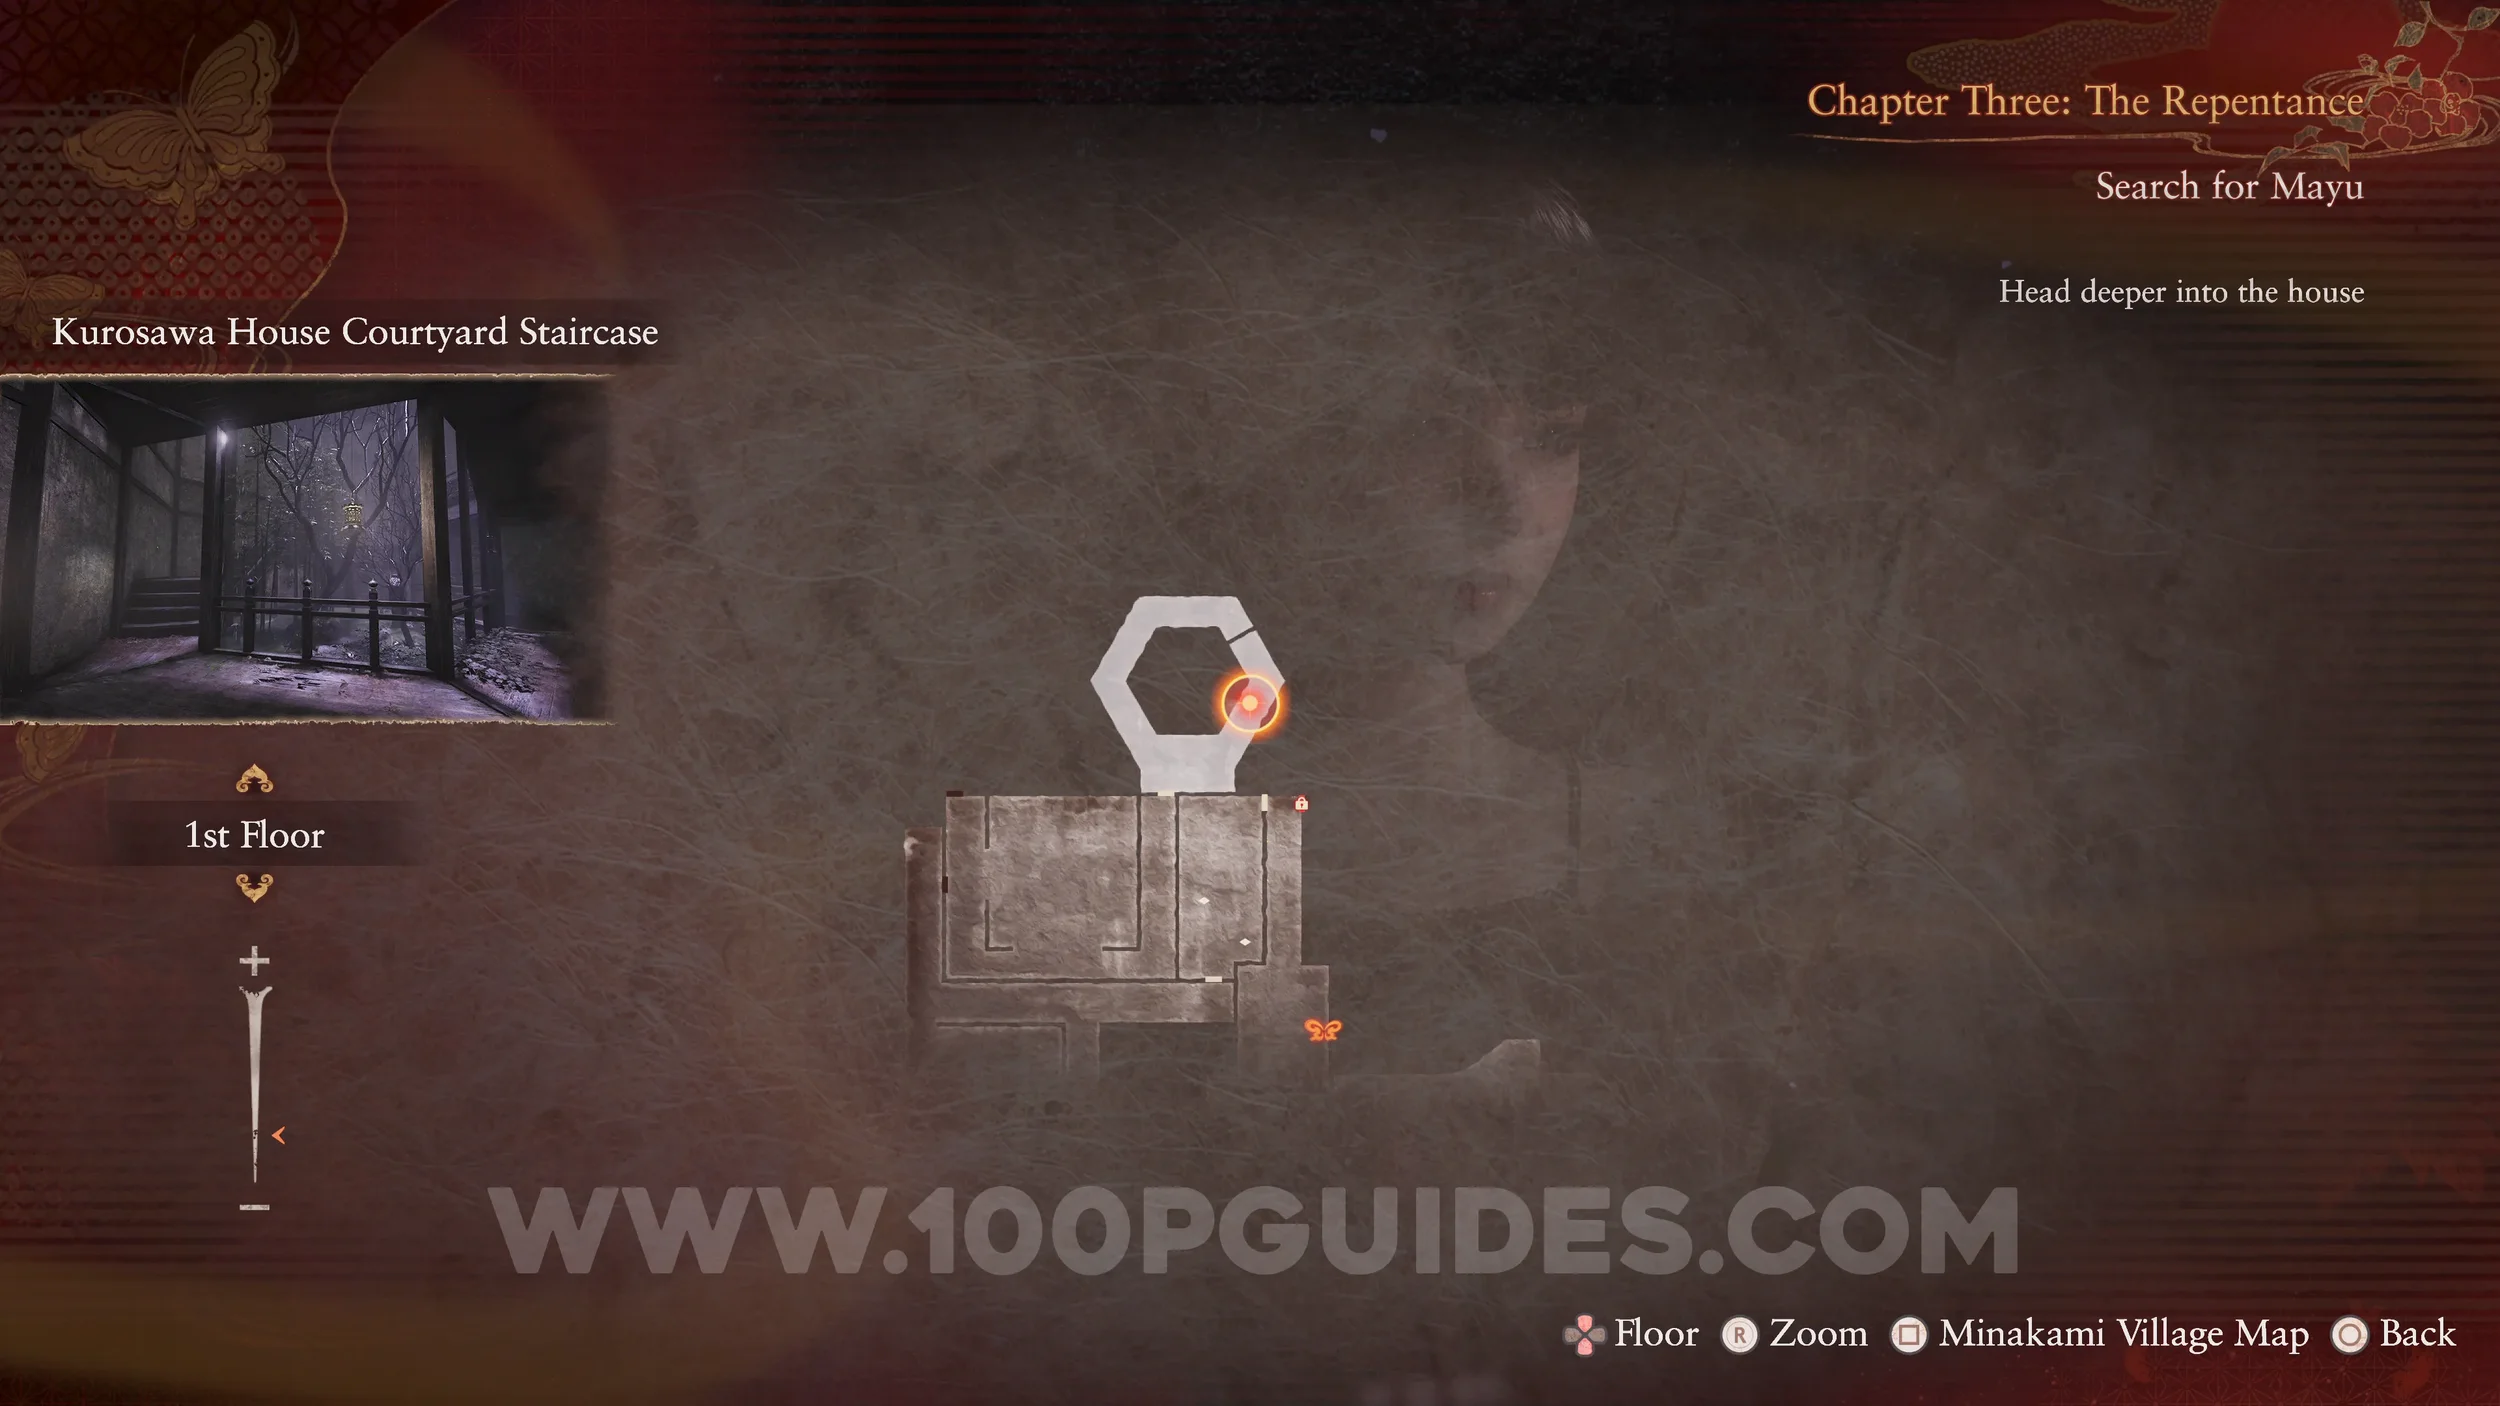
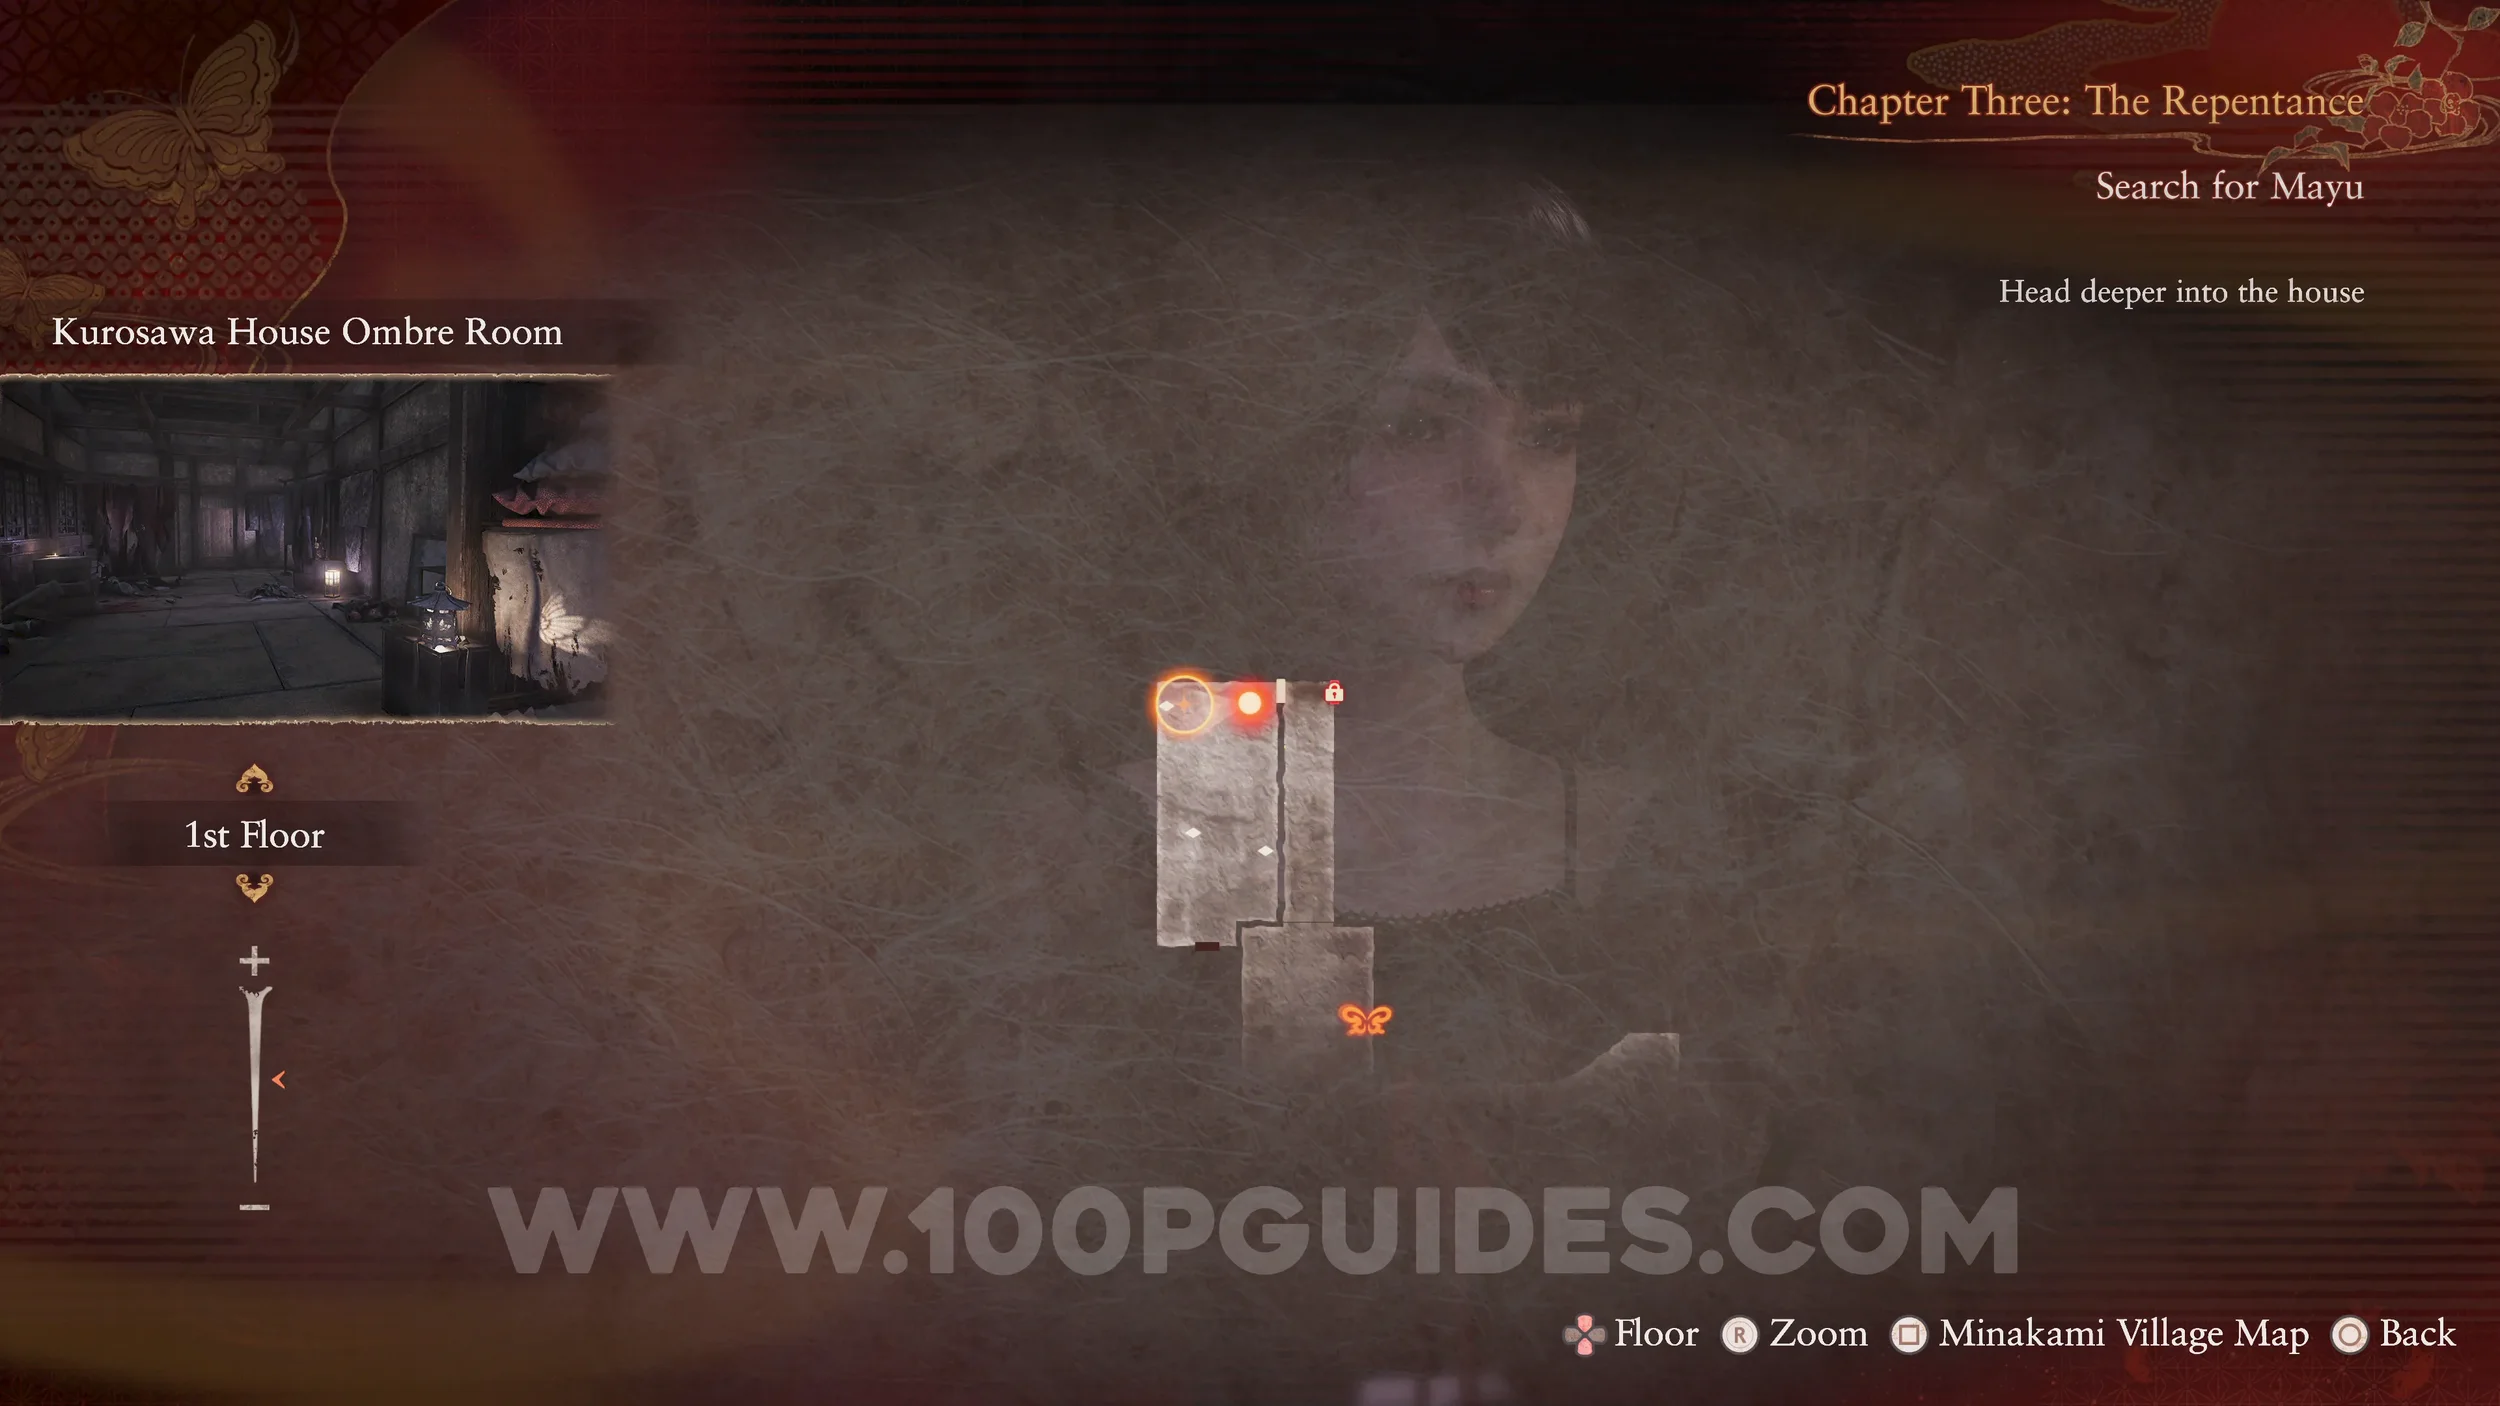
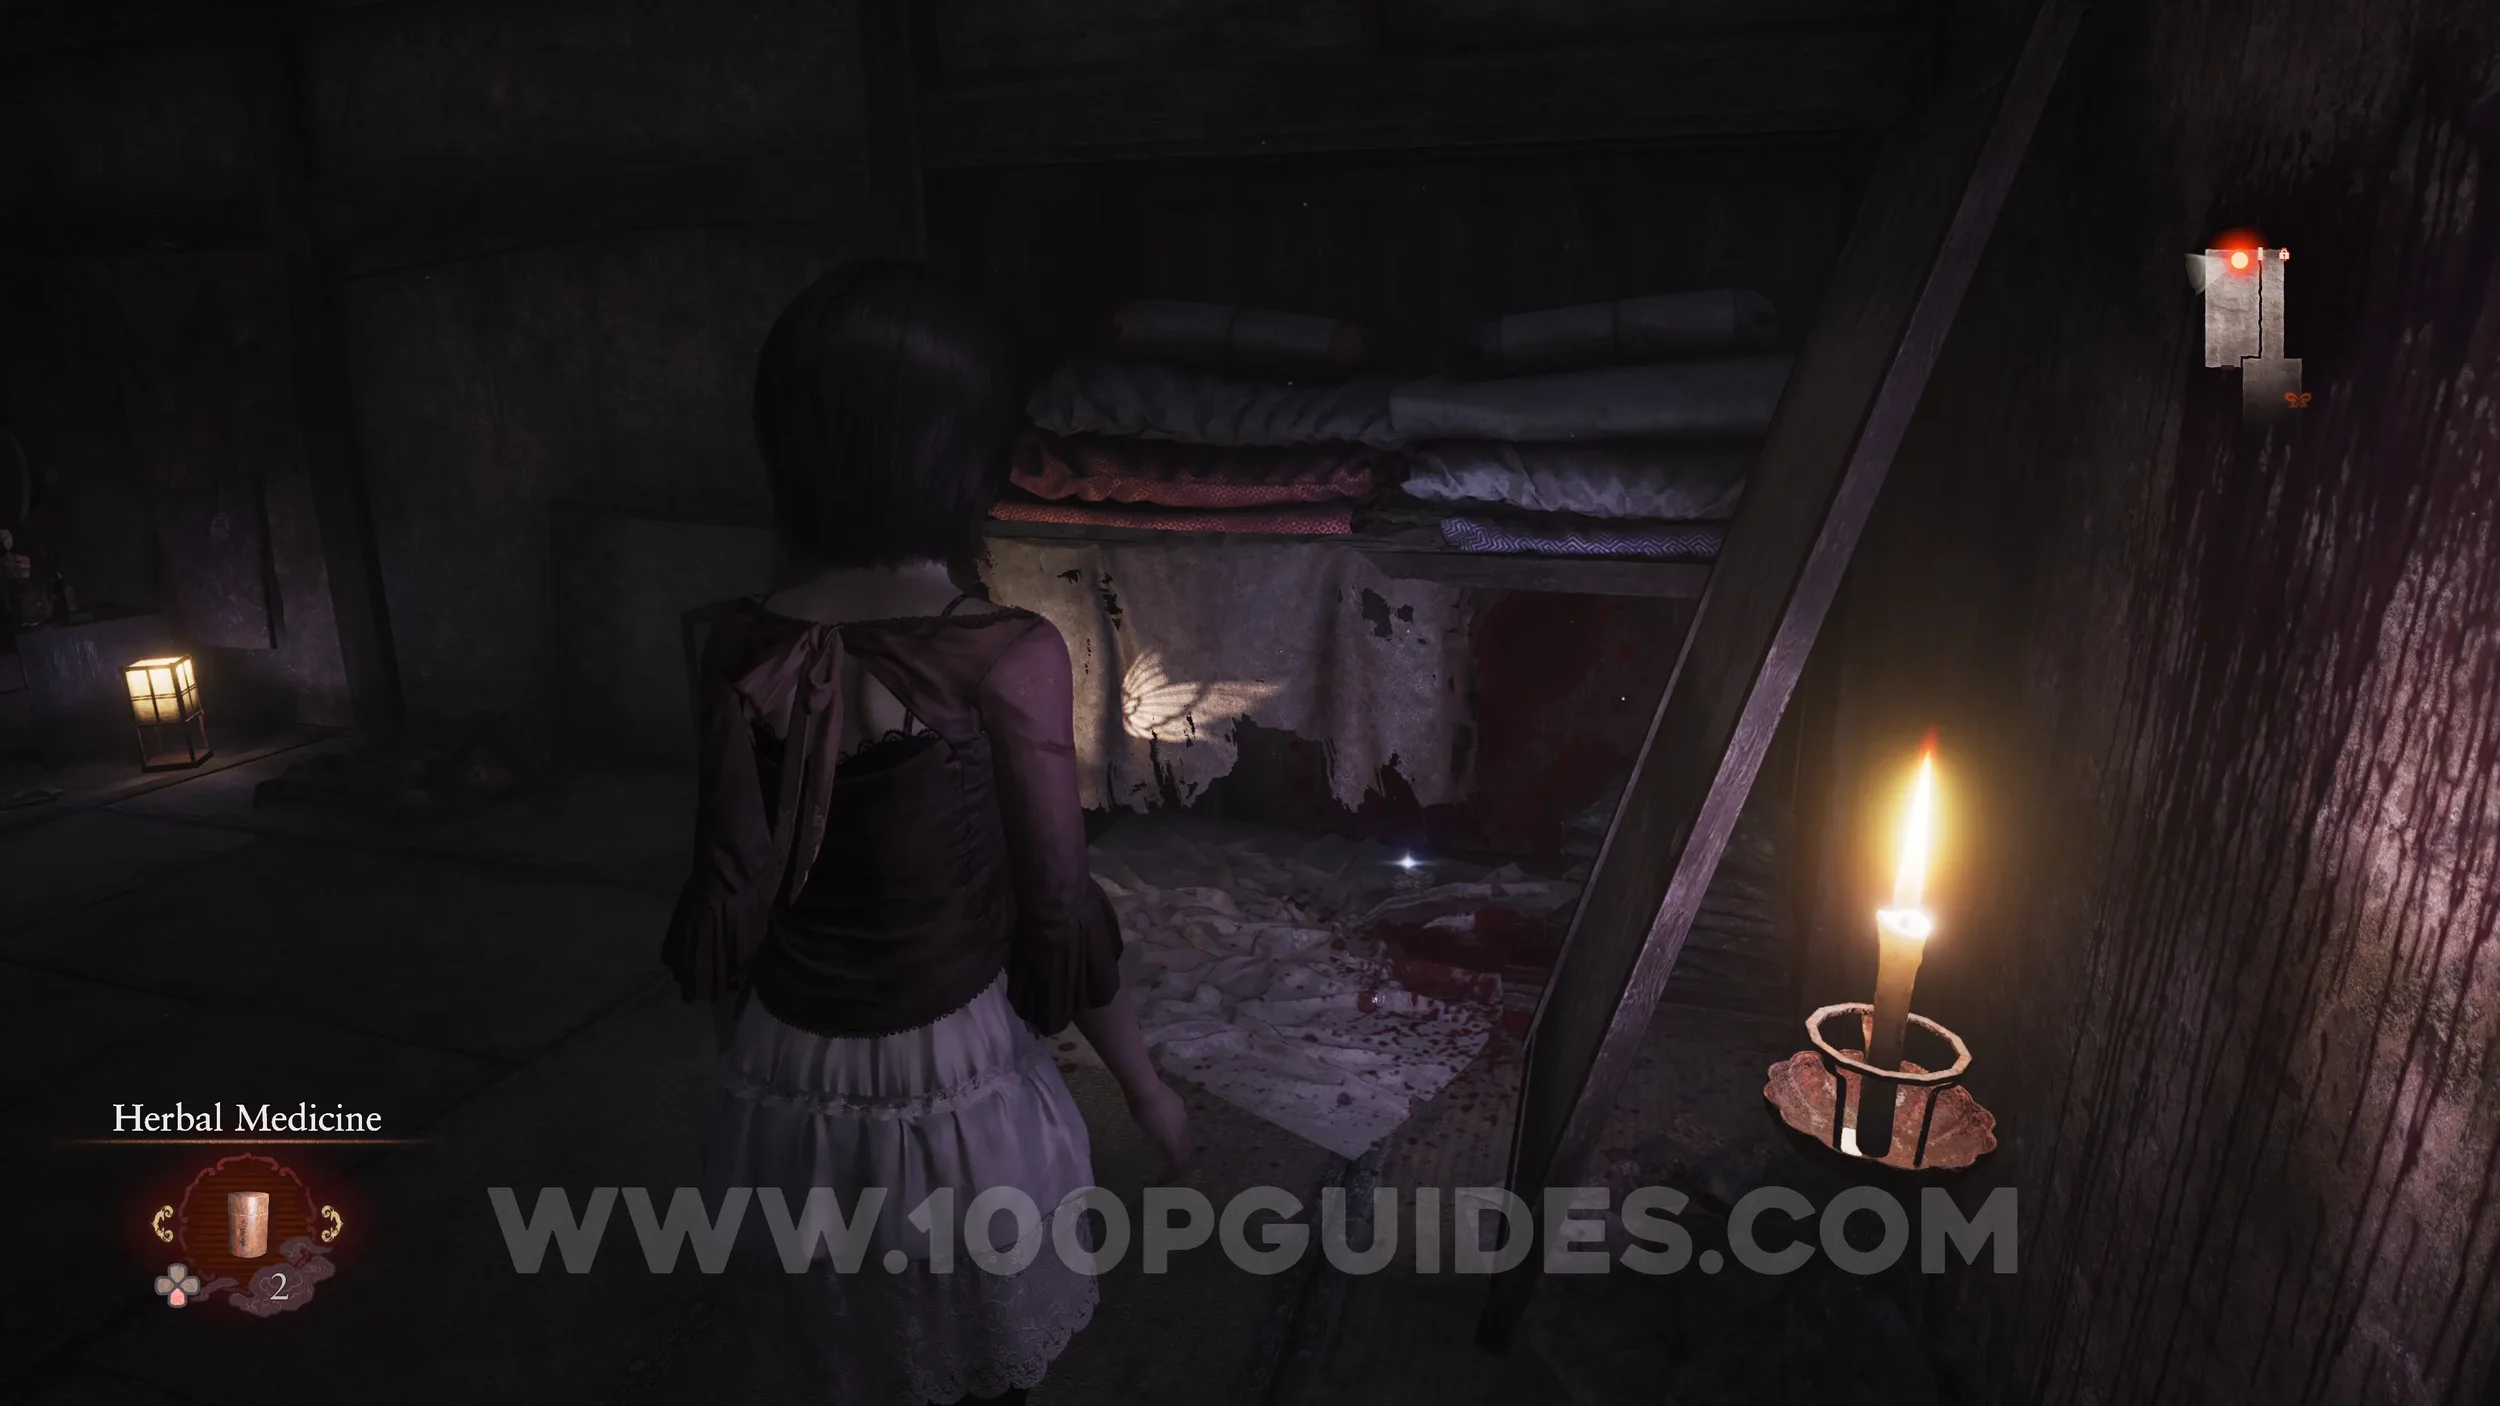
Specter #46 - 032 Mayu Being Guided. In the room after the next save point room.
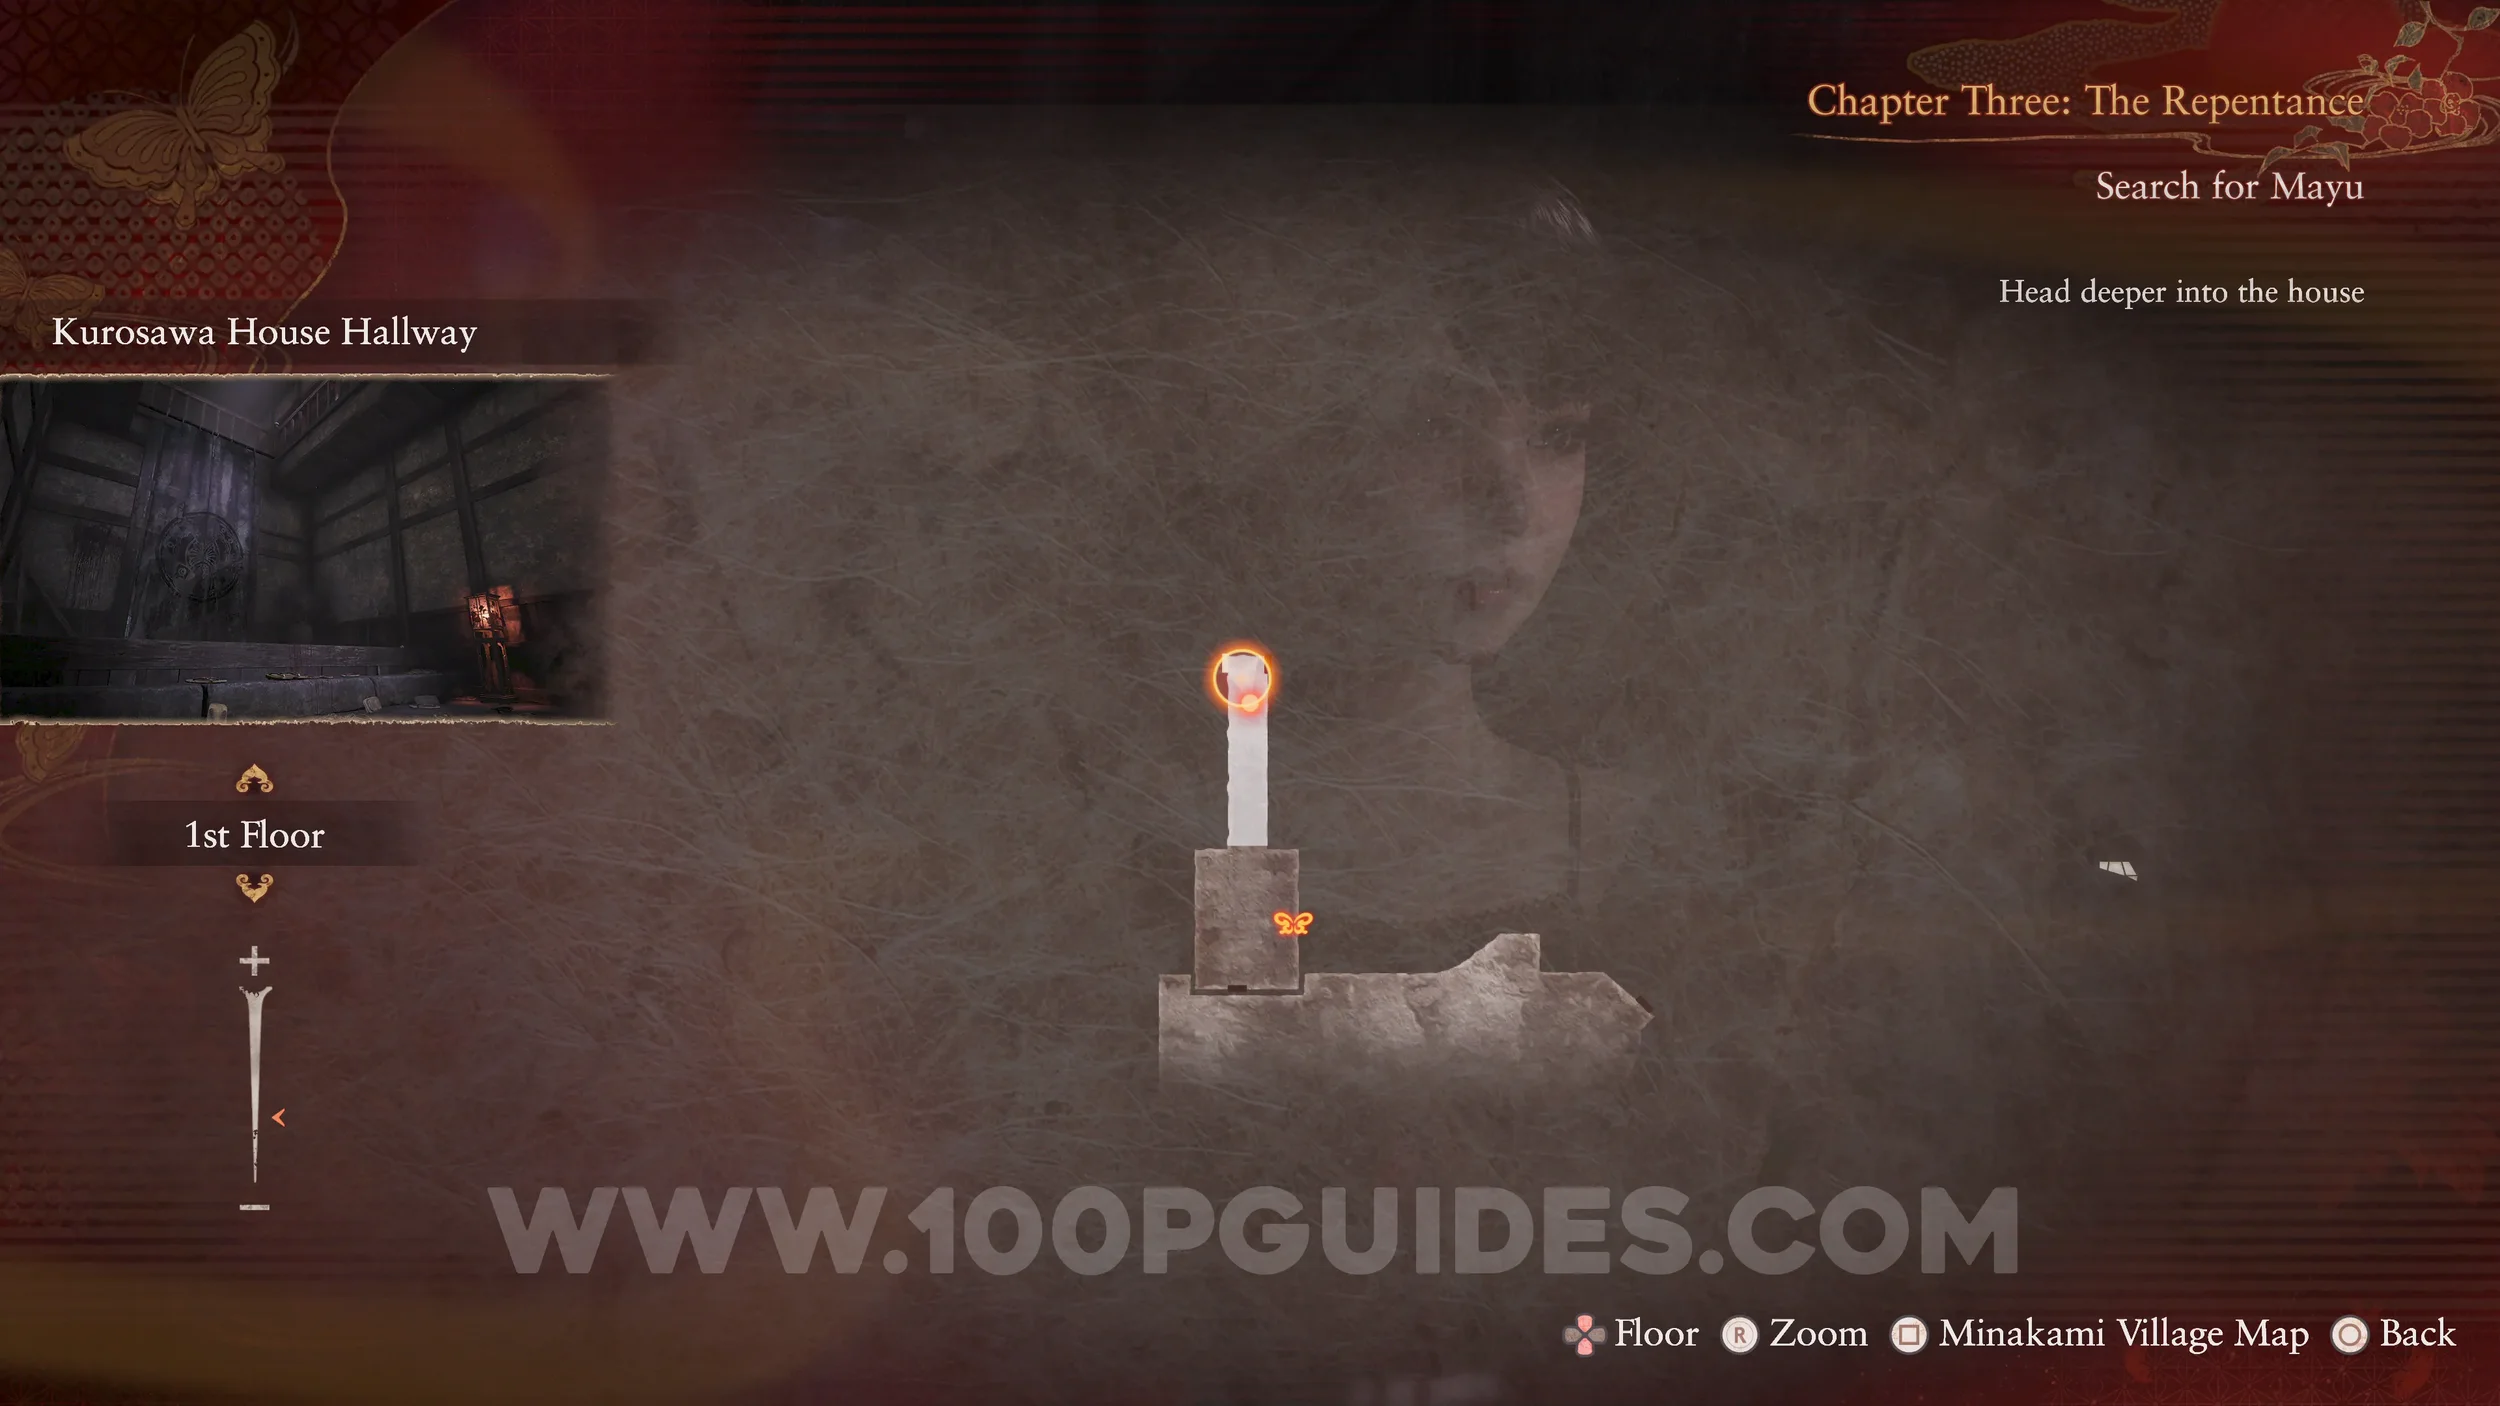
Prayer Beads #10. Also in the room after the save room.
Specter #47 - 033 Man Using Camera Obscura. After examining the locked door in the room after the save room, return to the save room to find the specter.
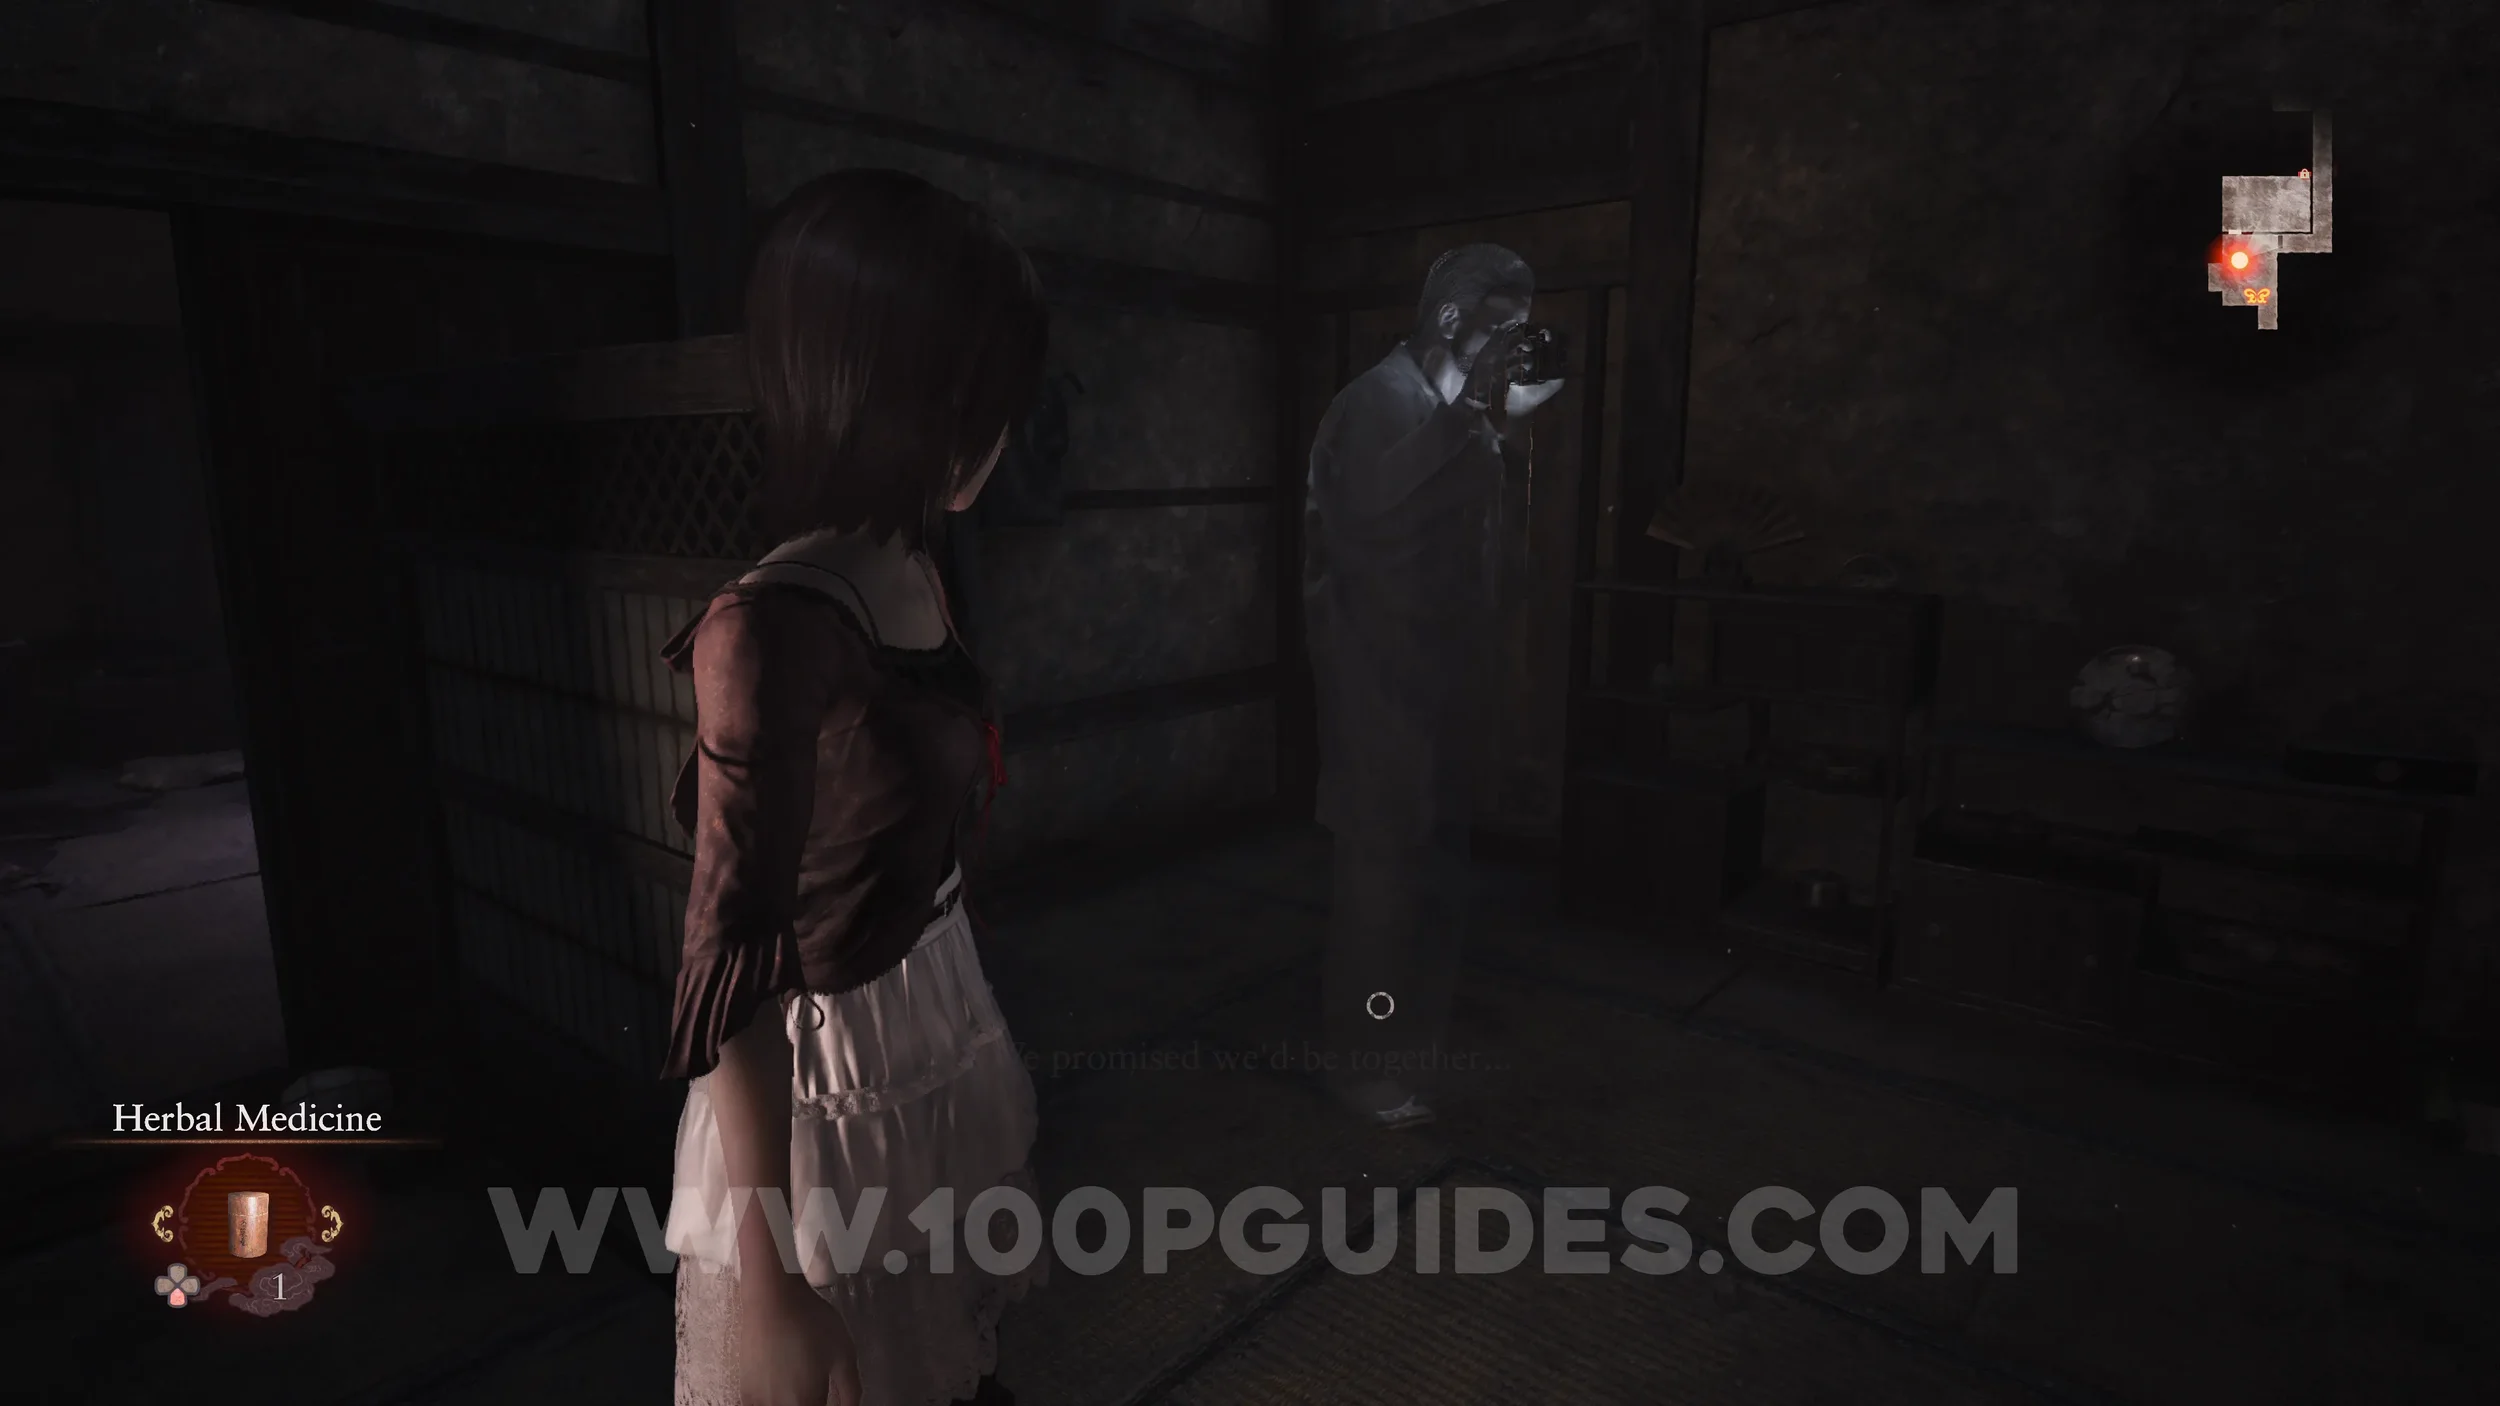
Document #27 - Exposure Filter Memo. On the floor in the same place as the previous specter.
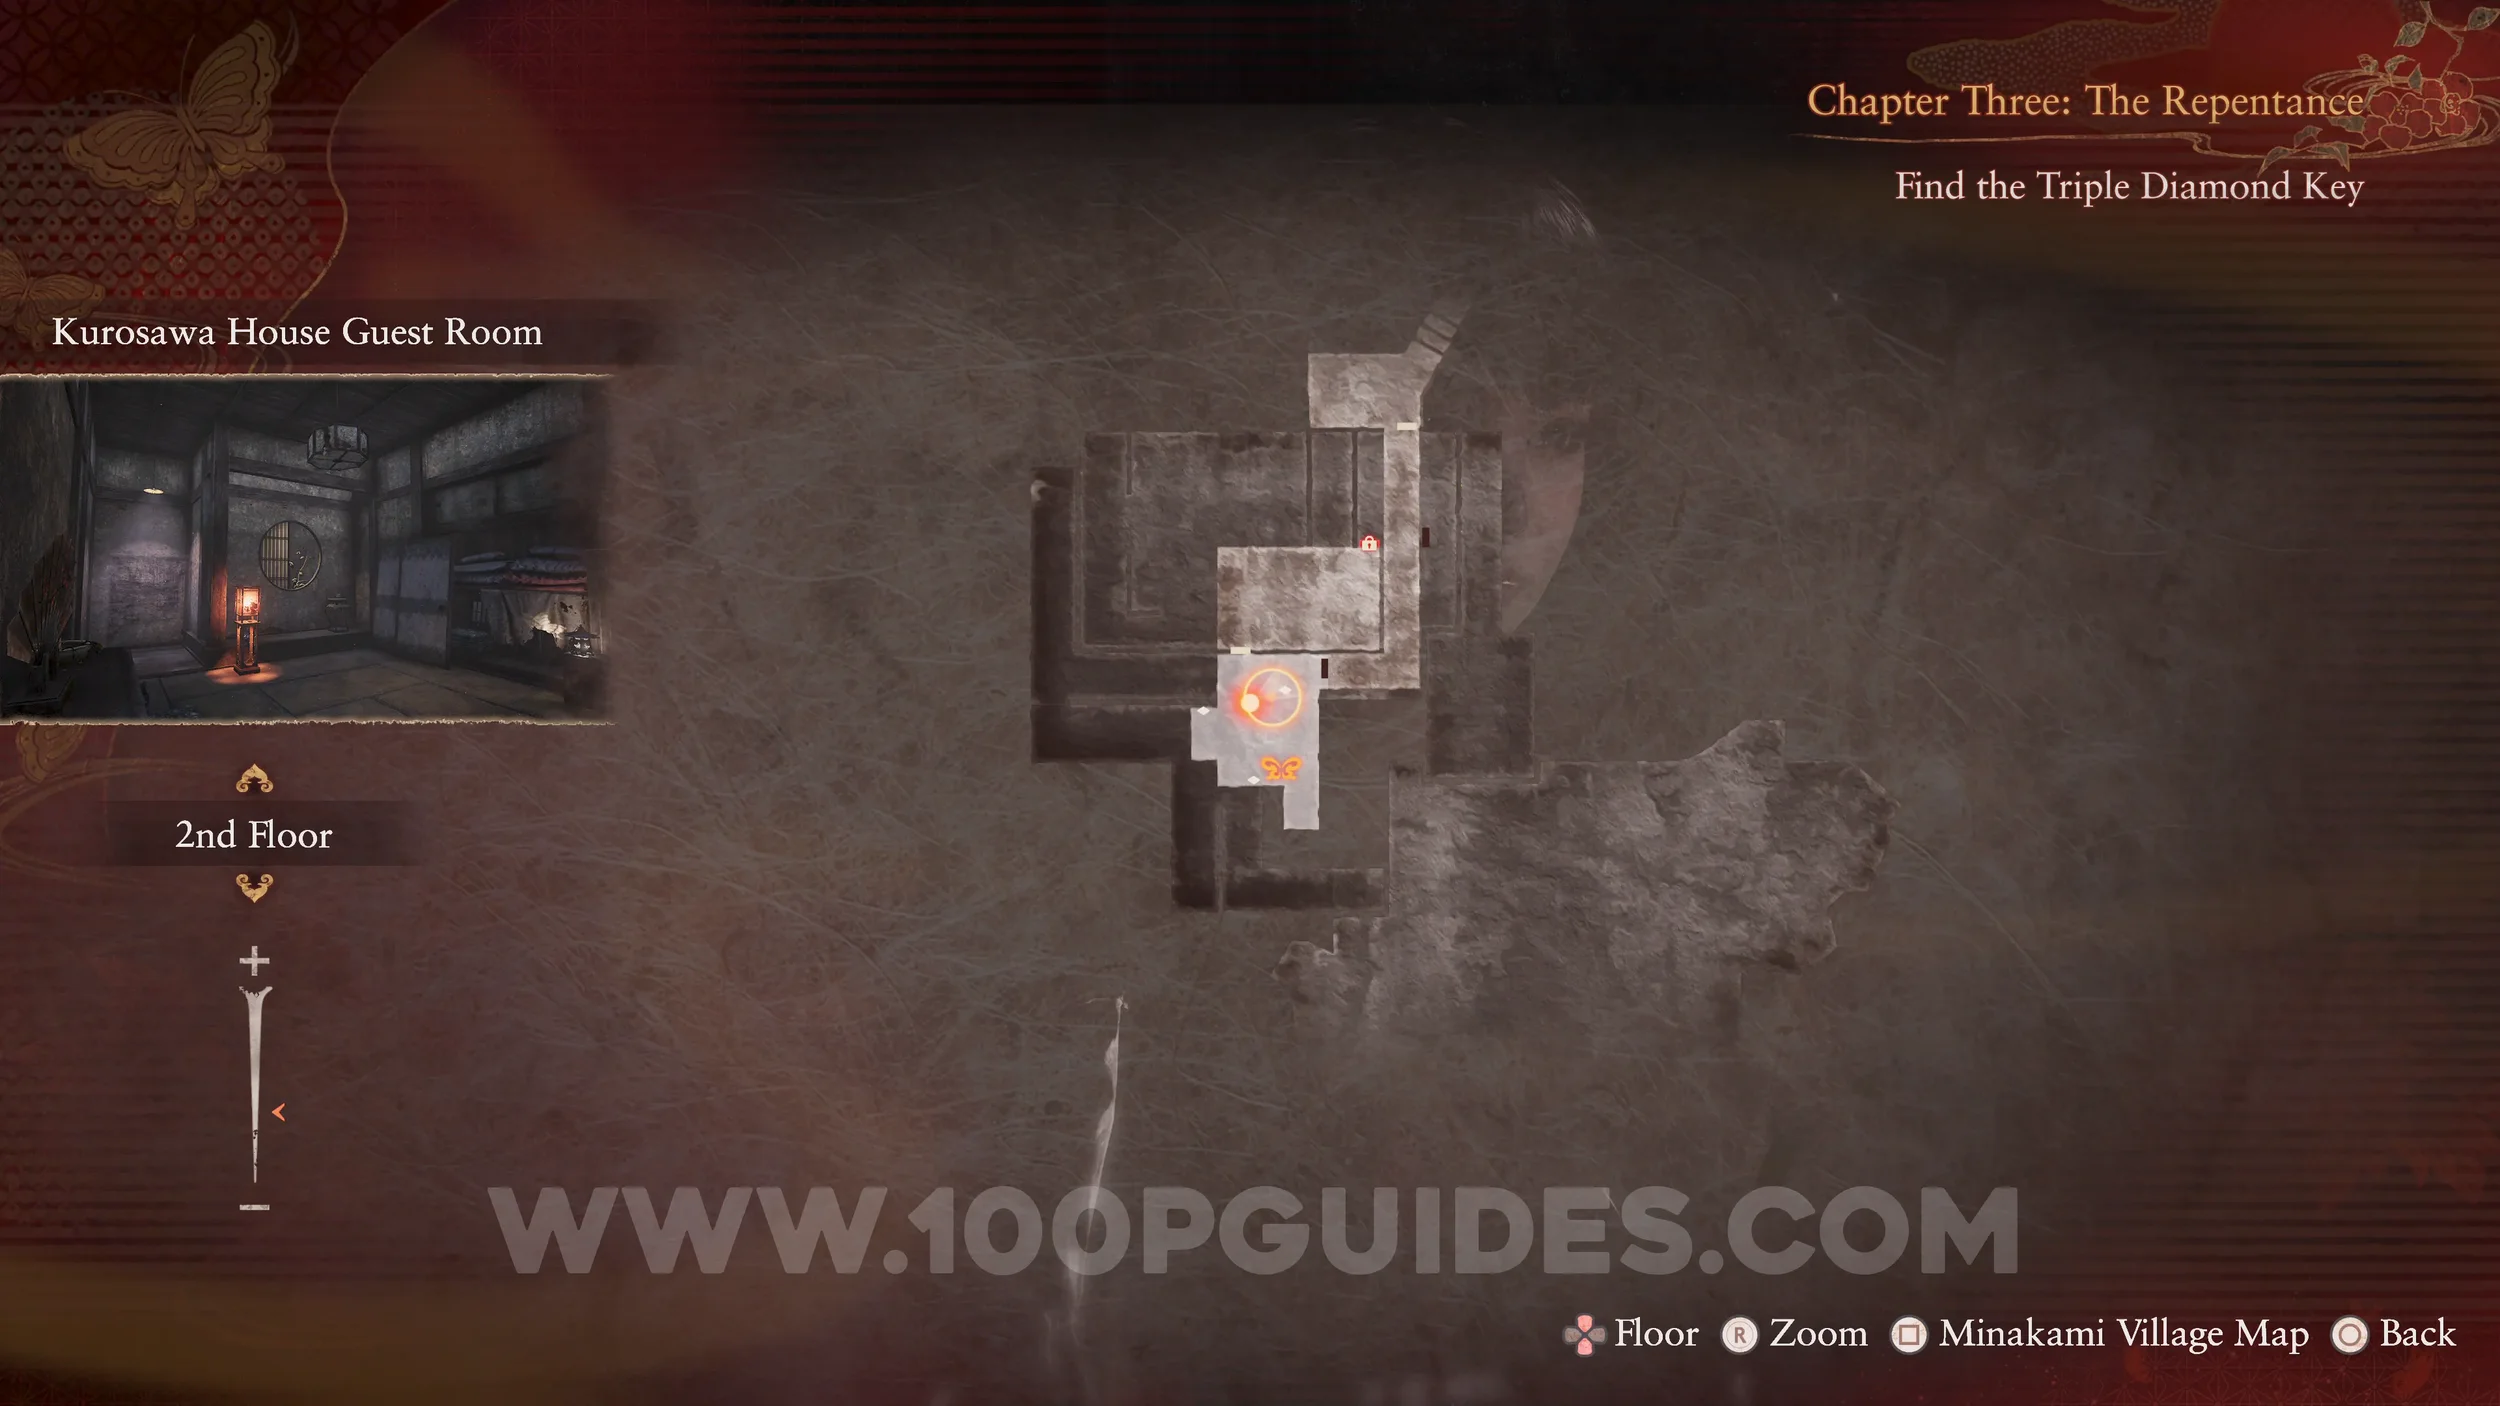
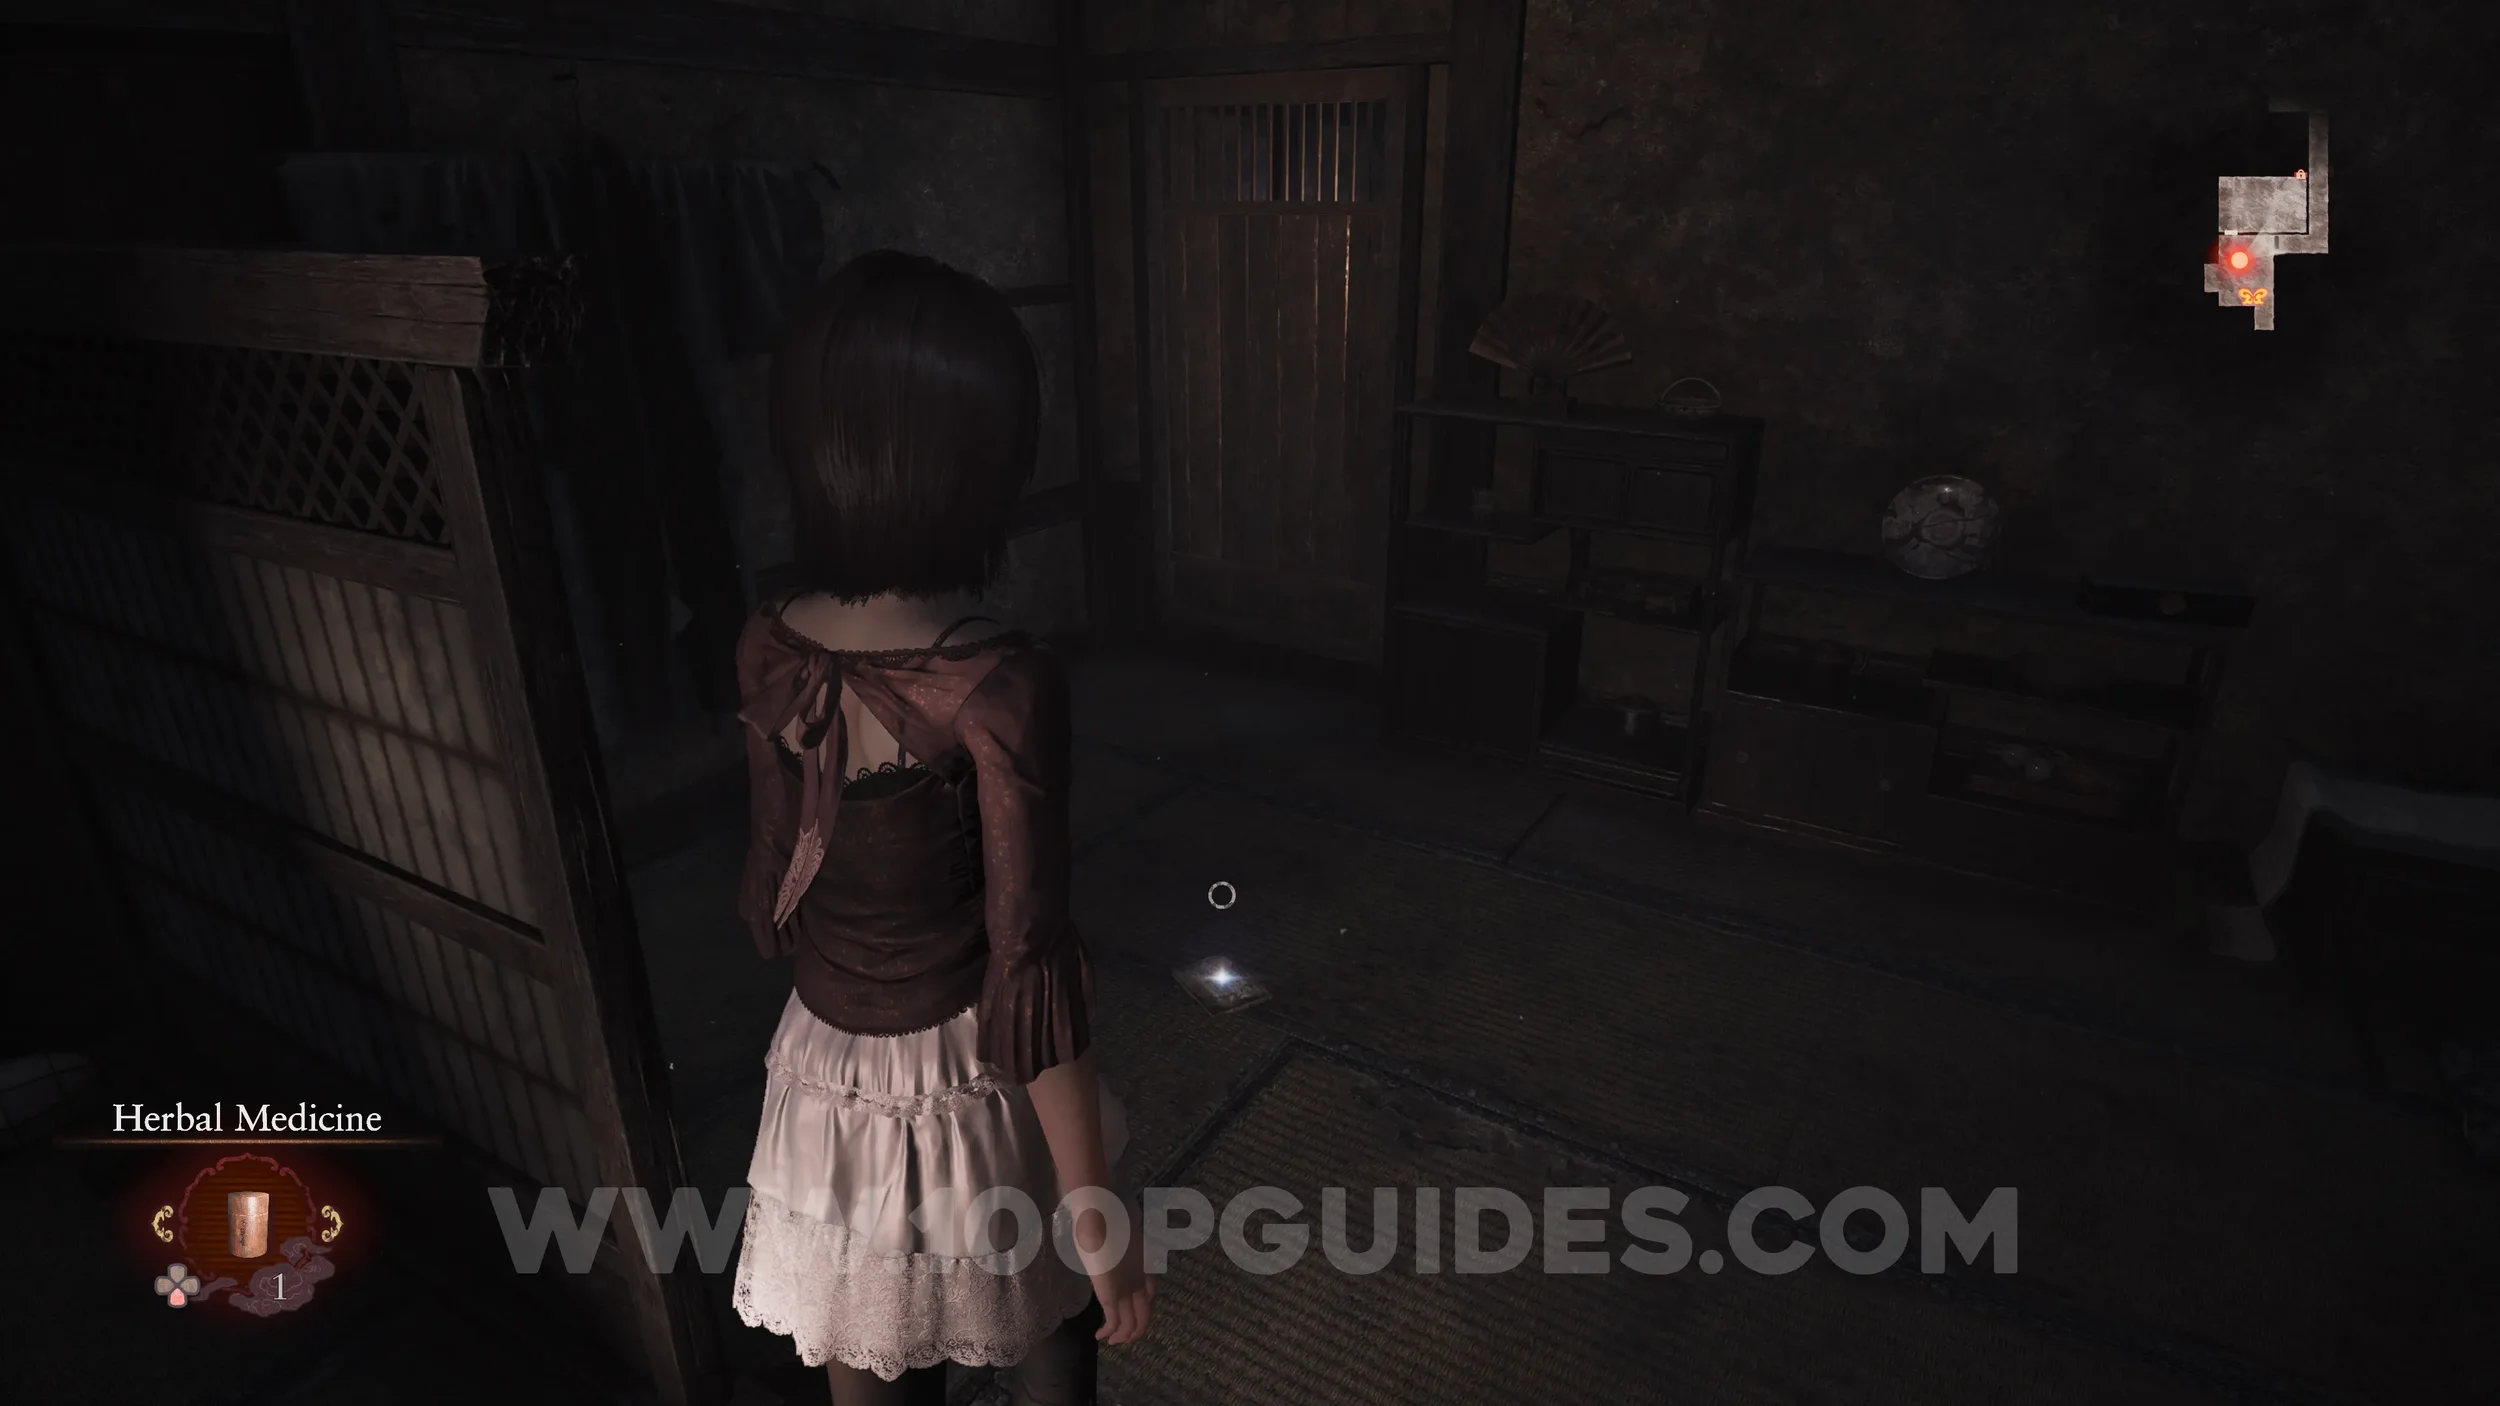
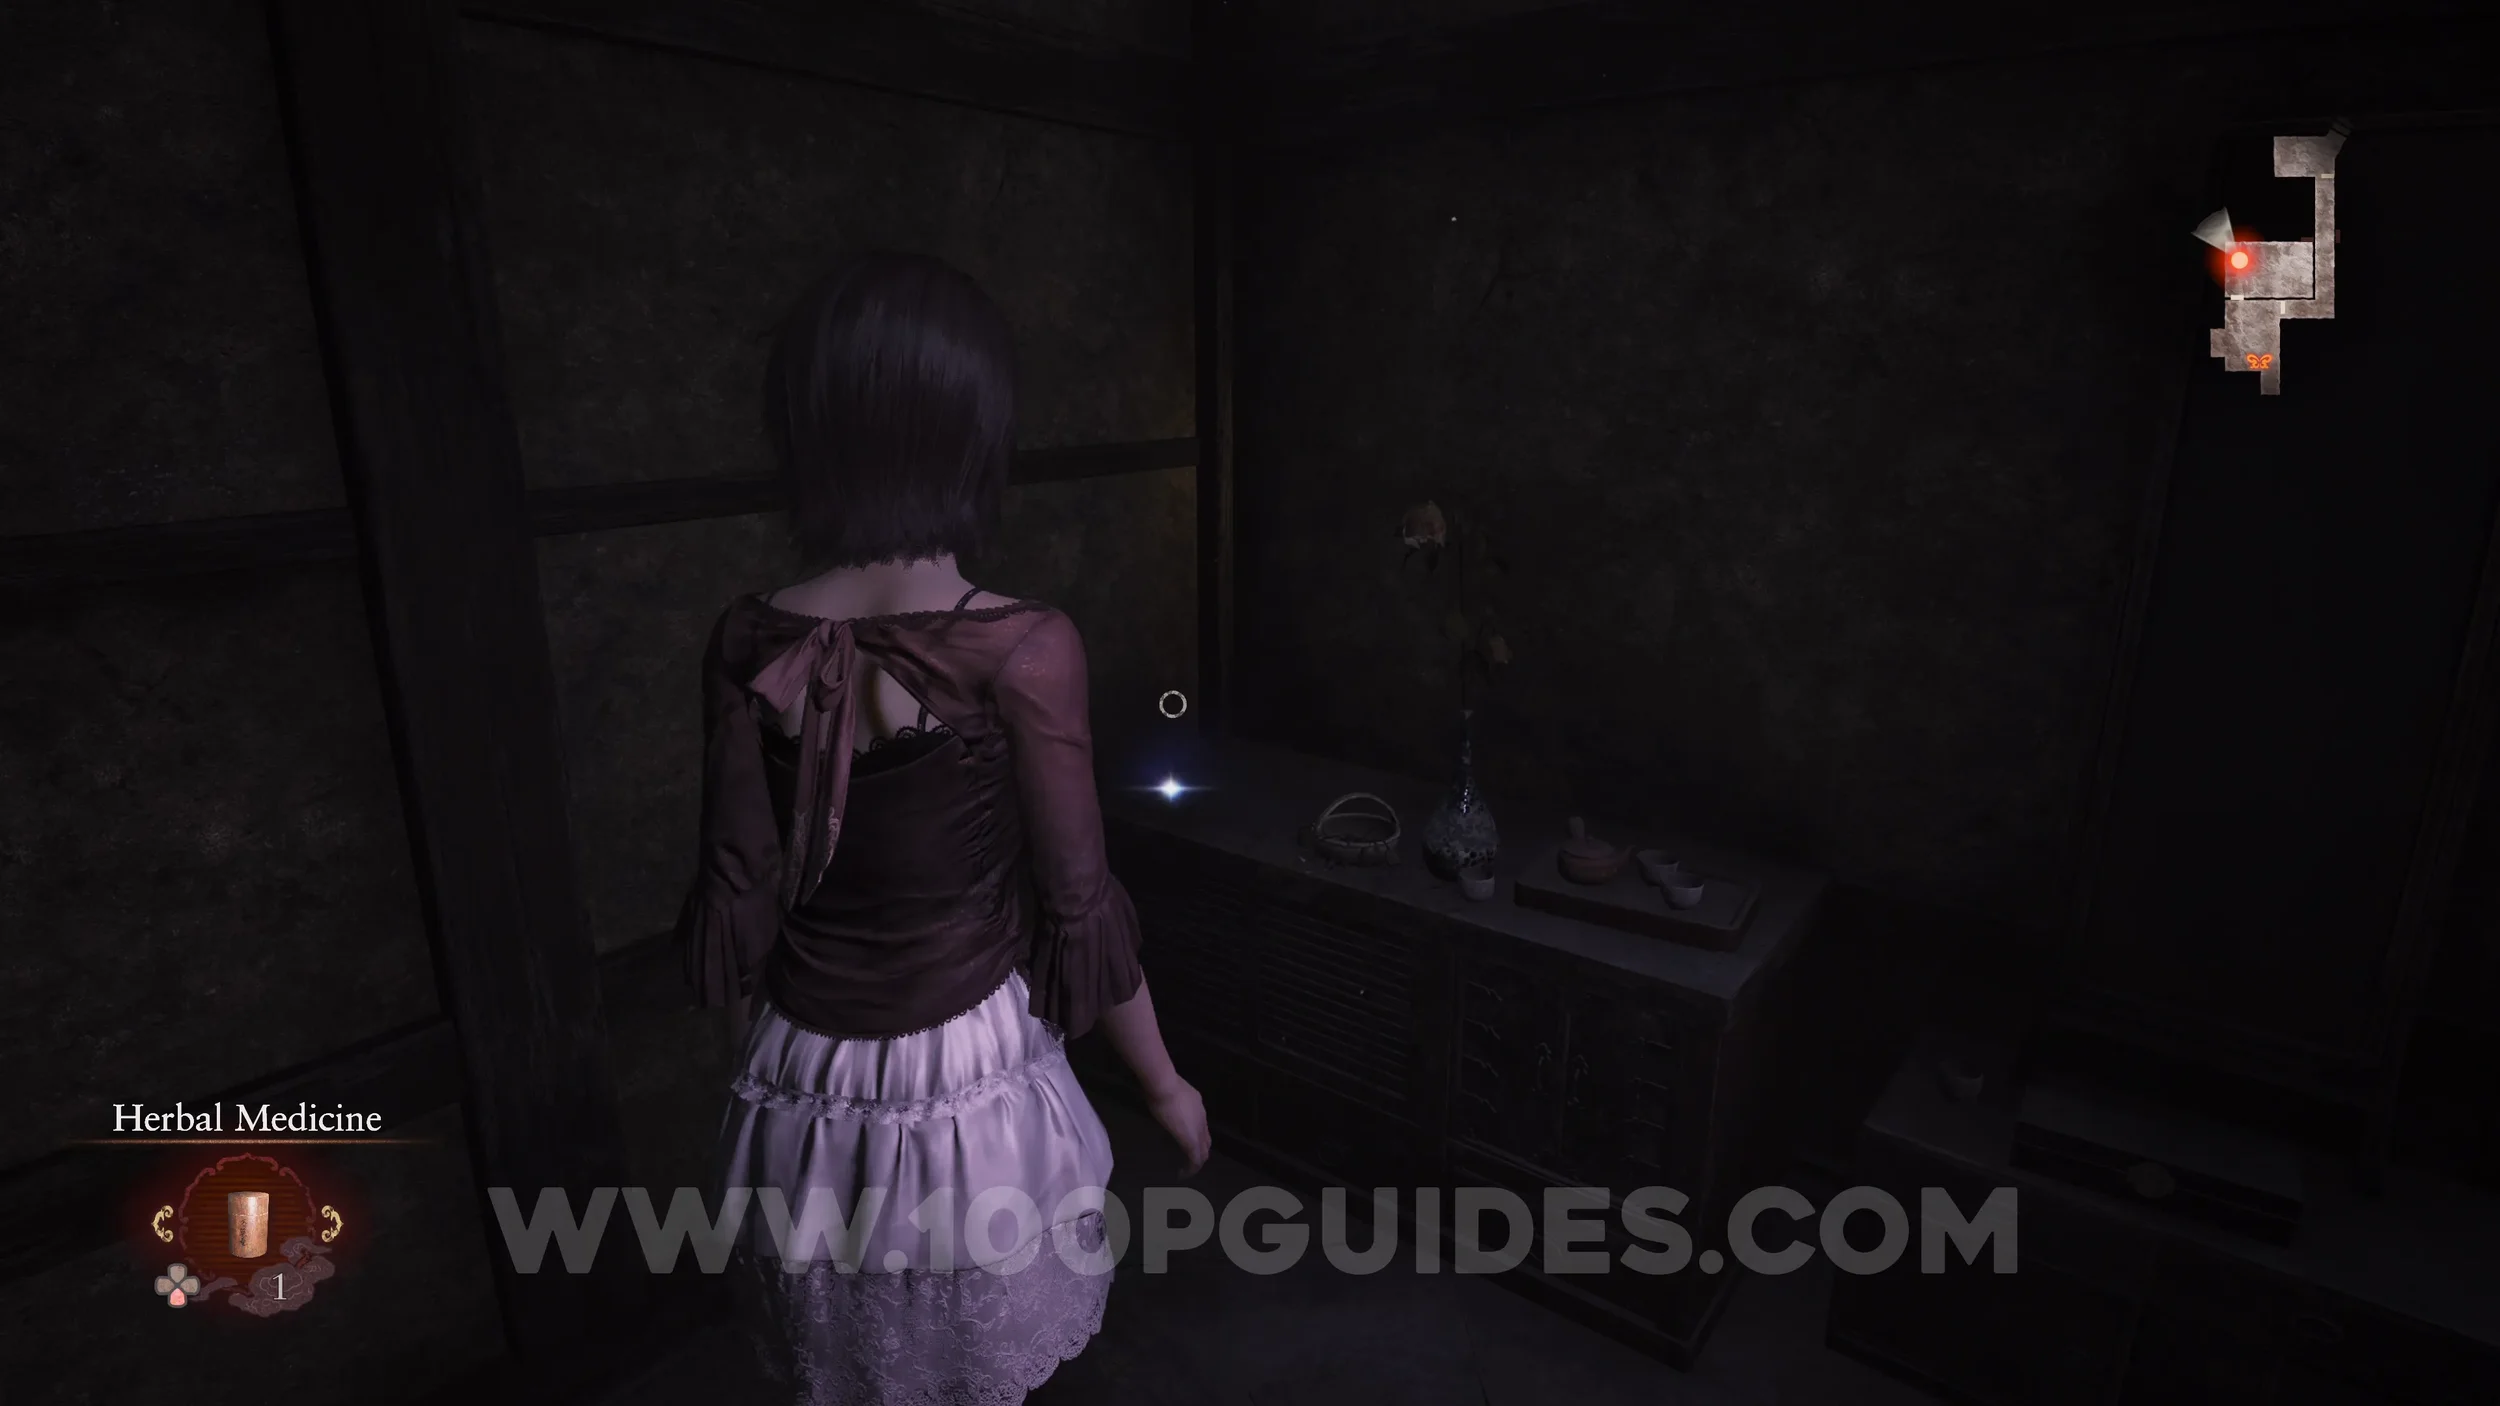
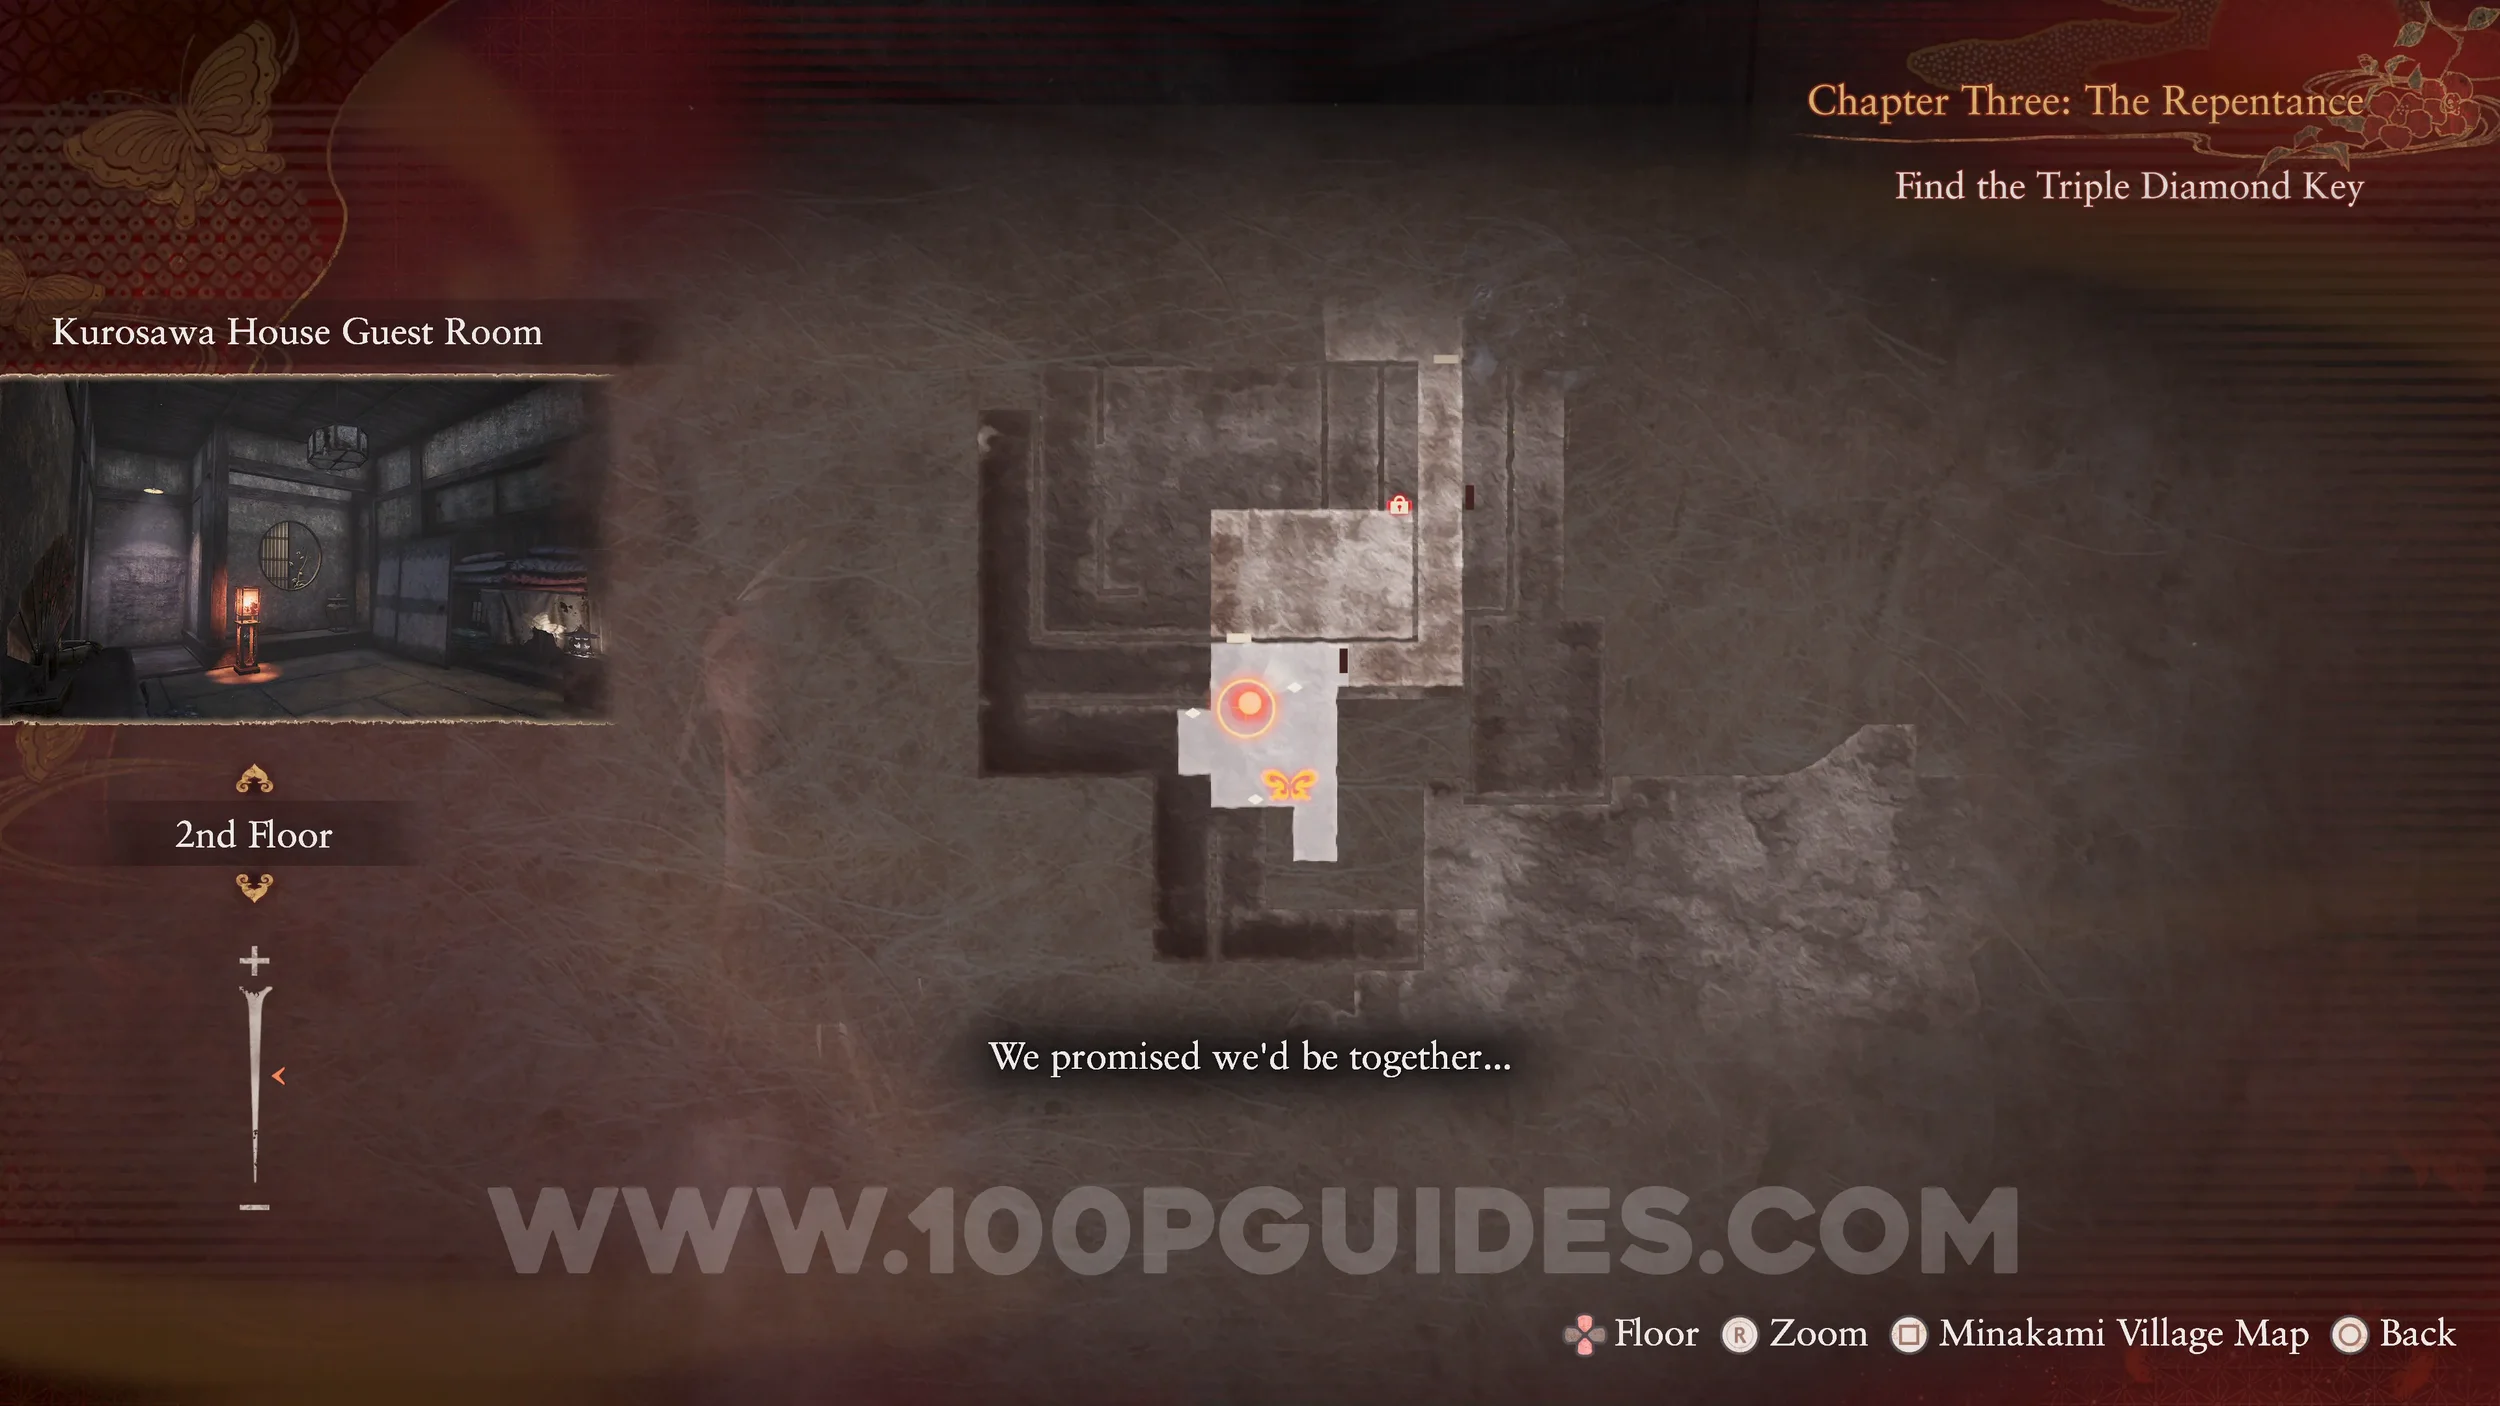
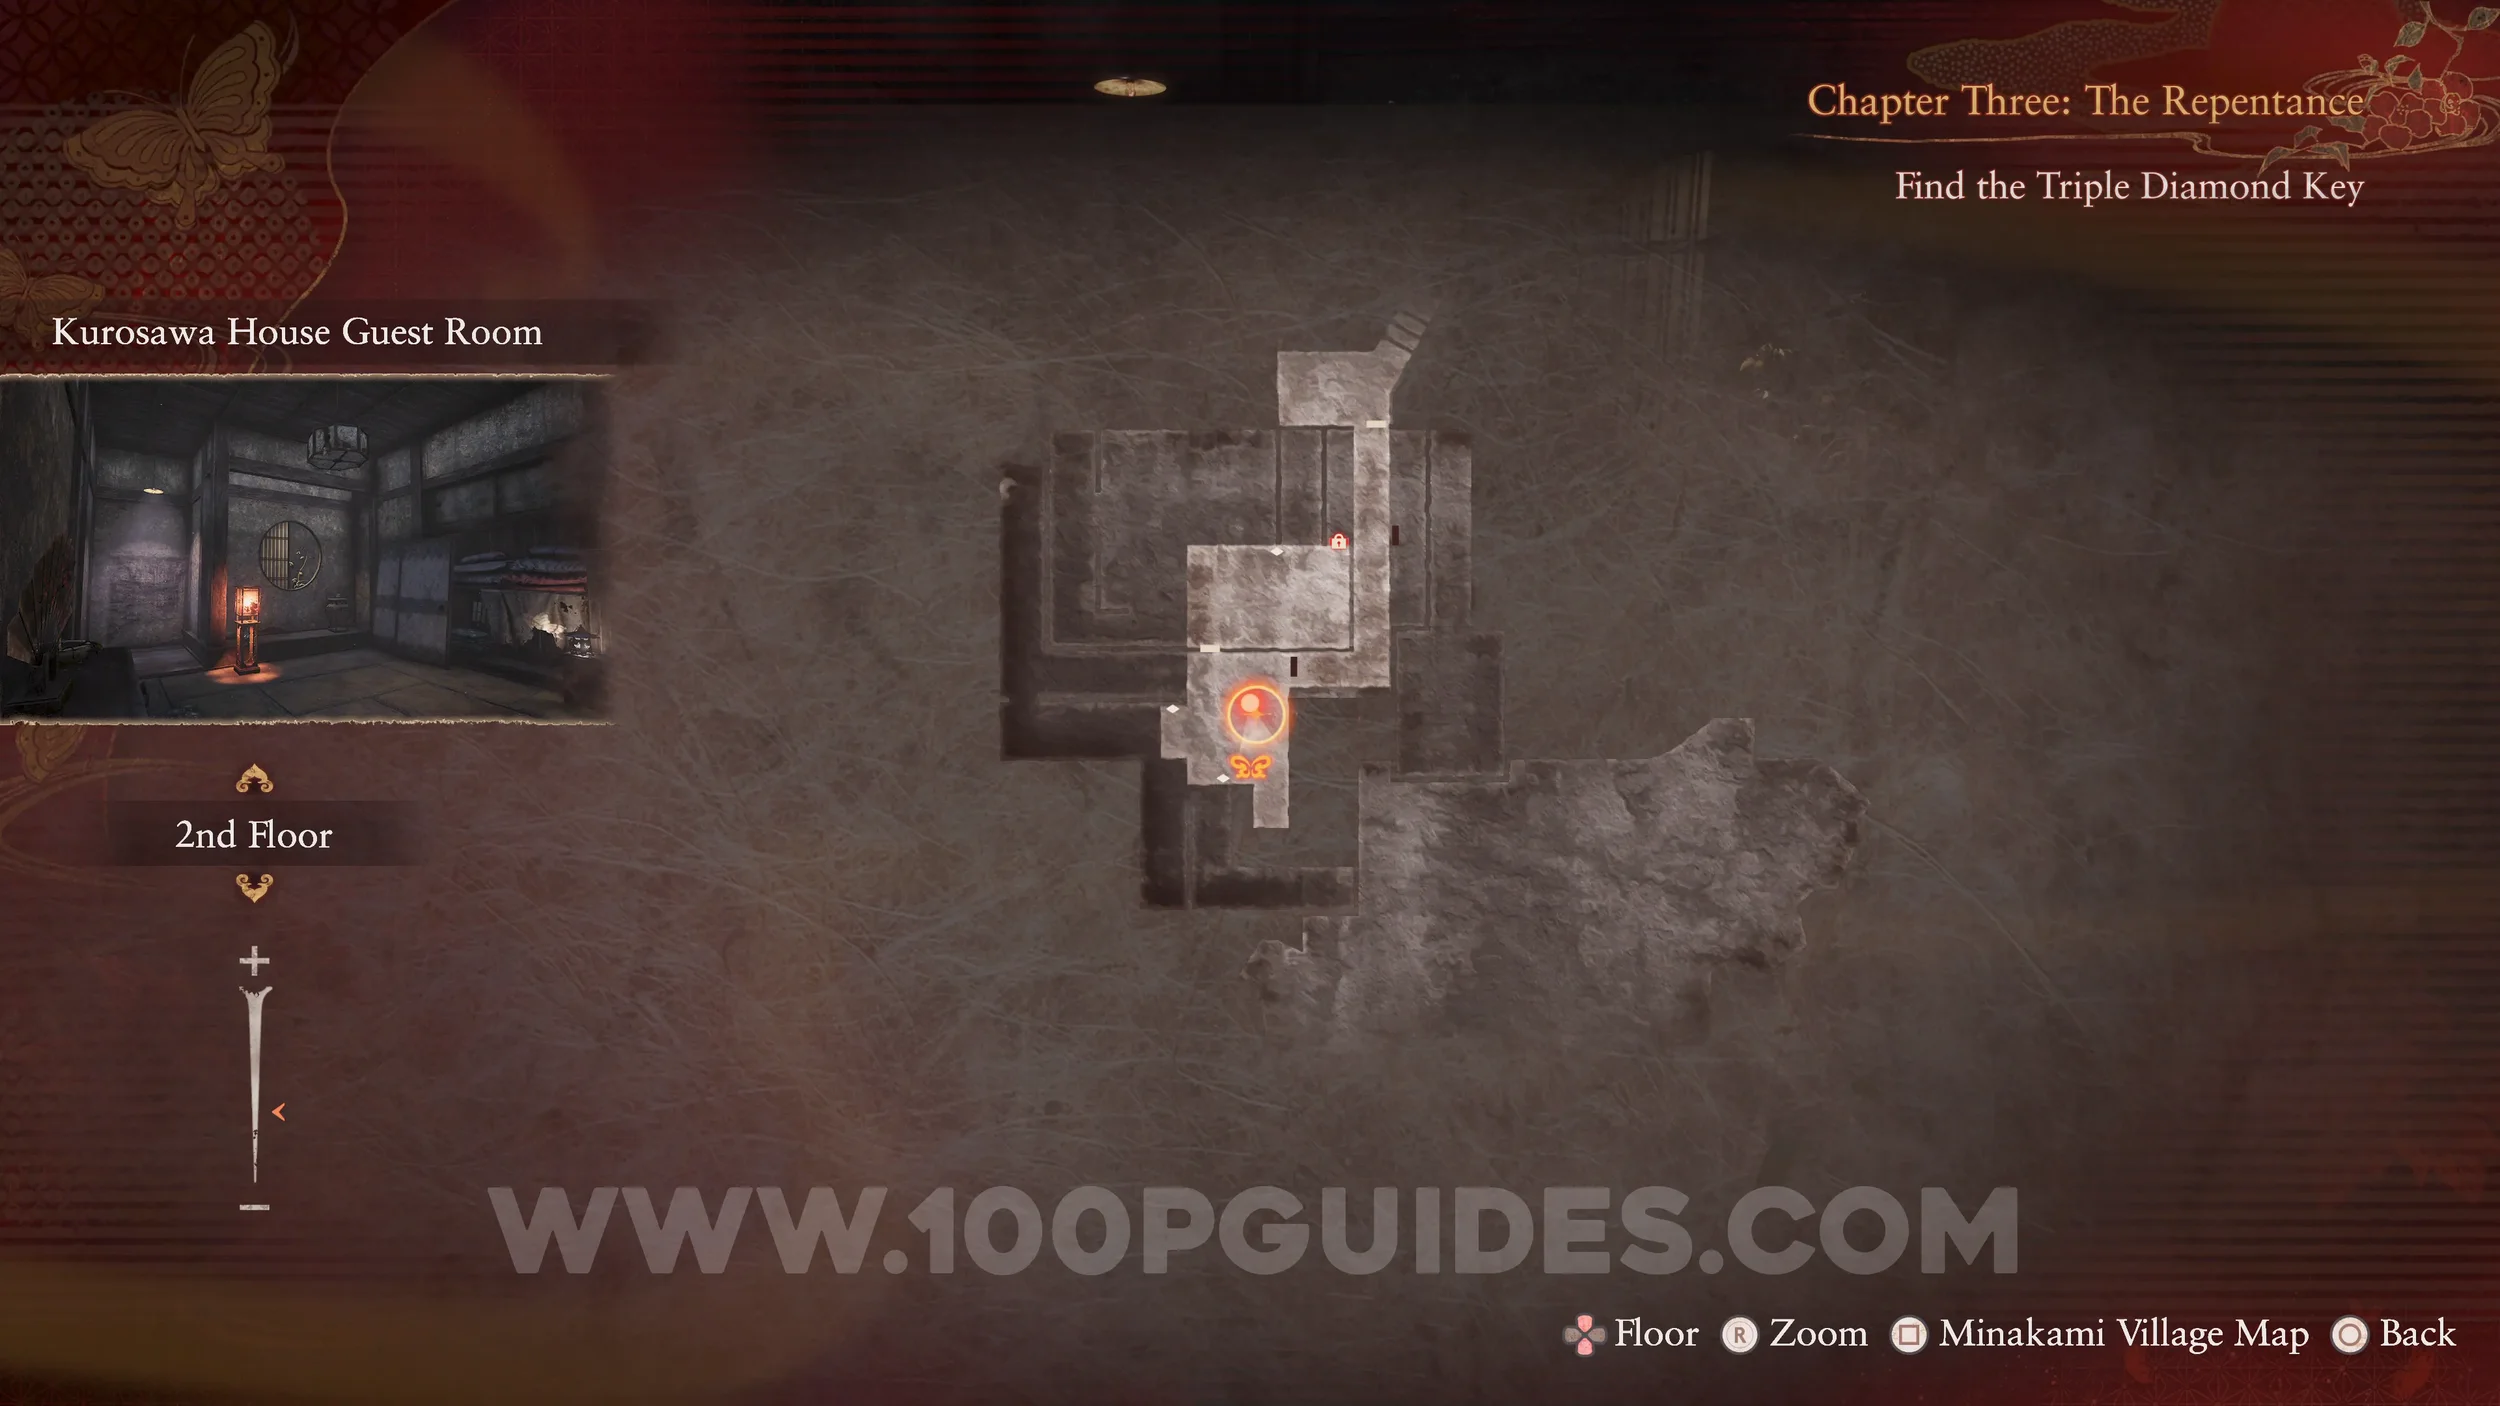
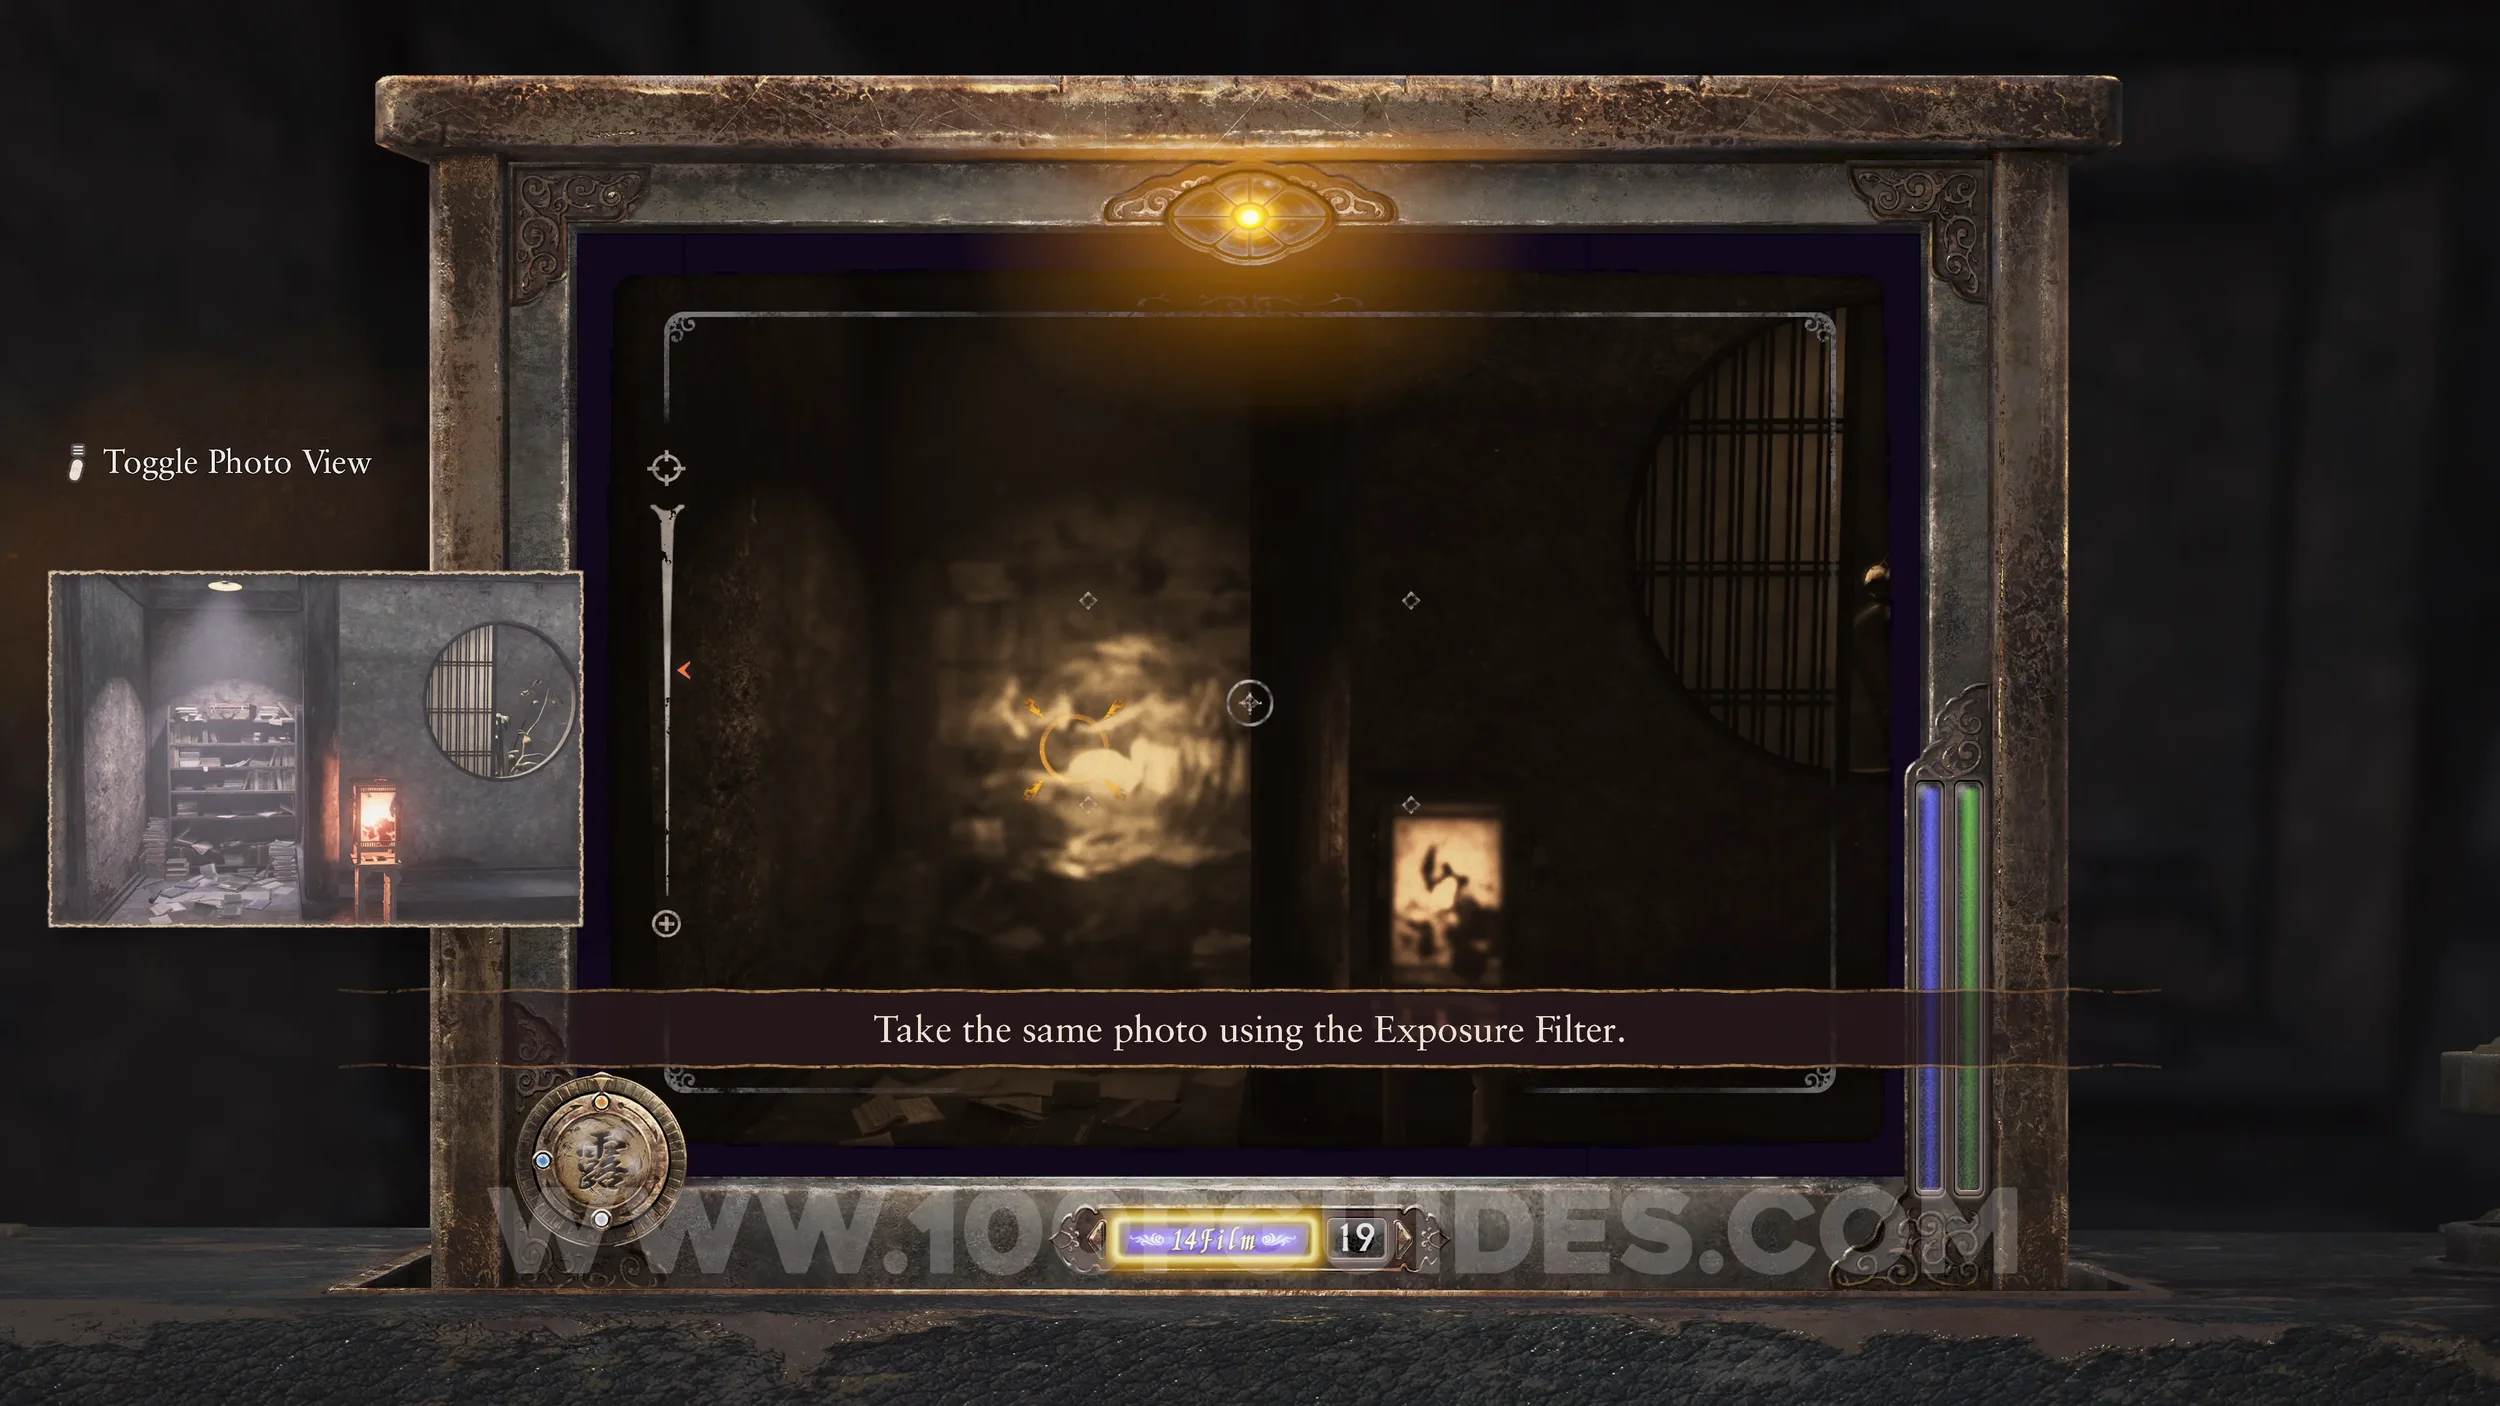
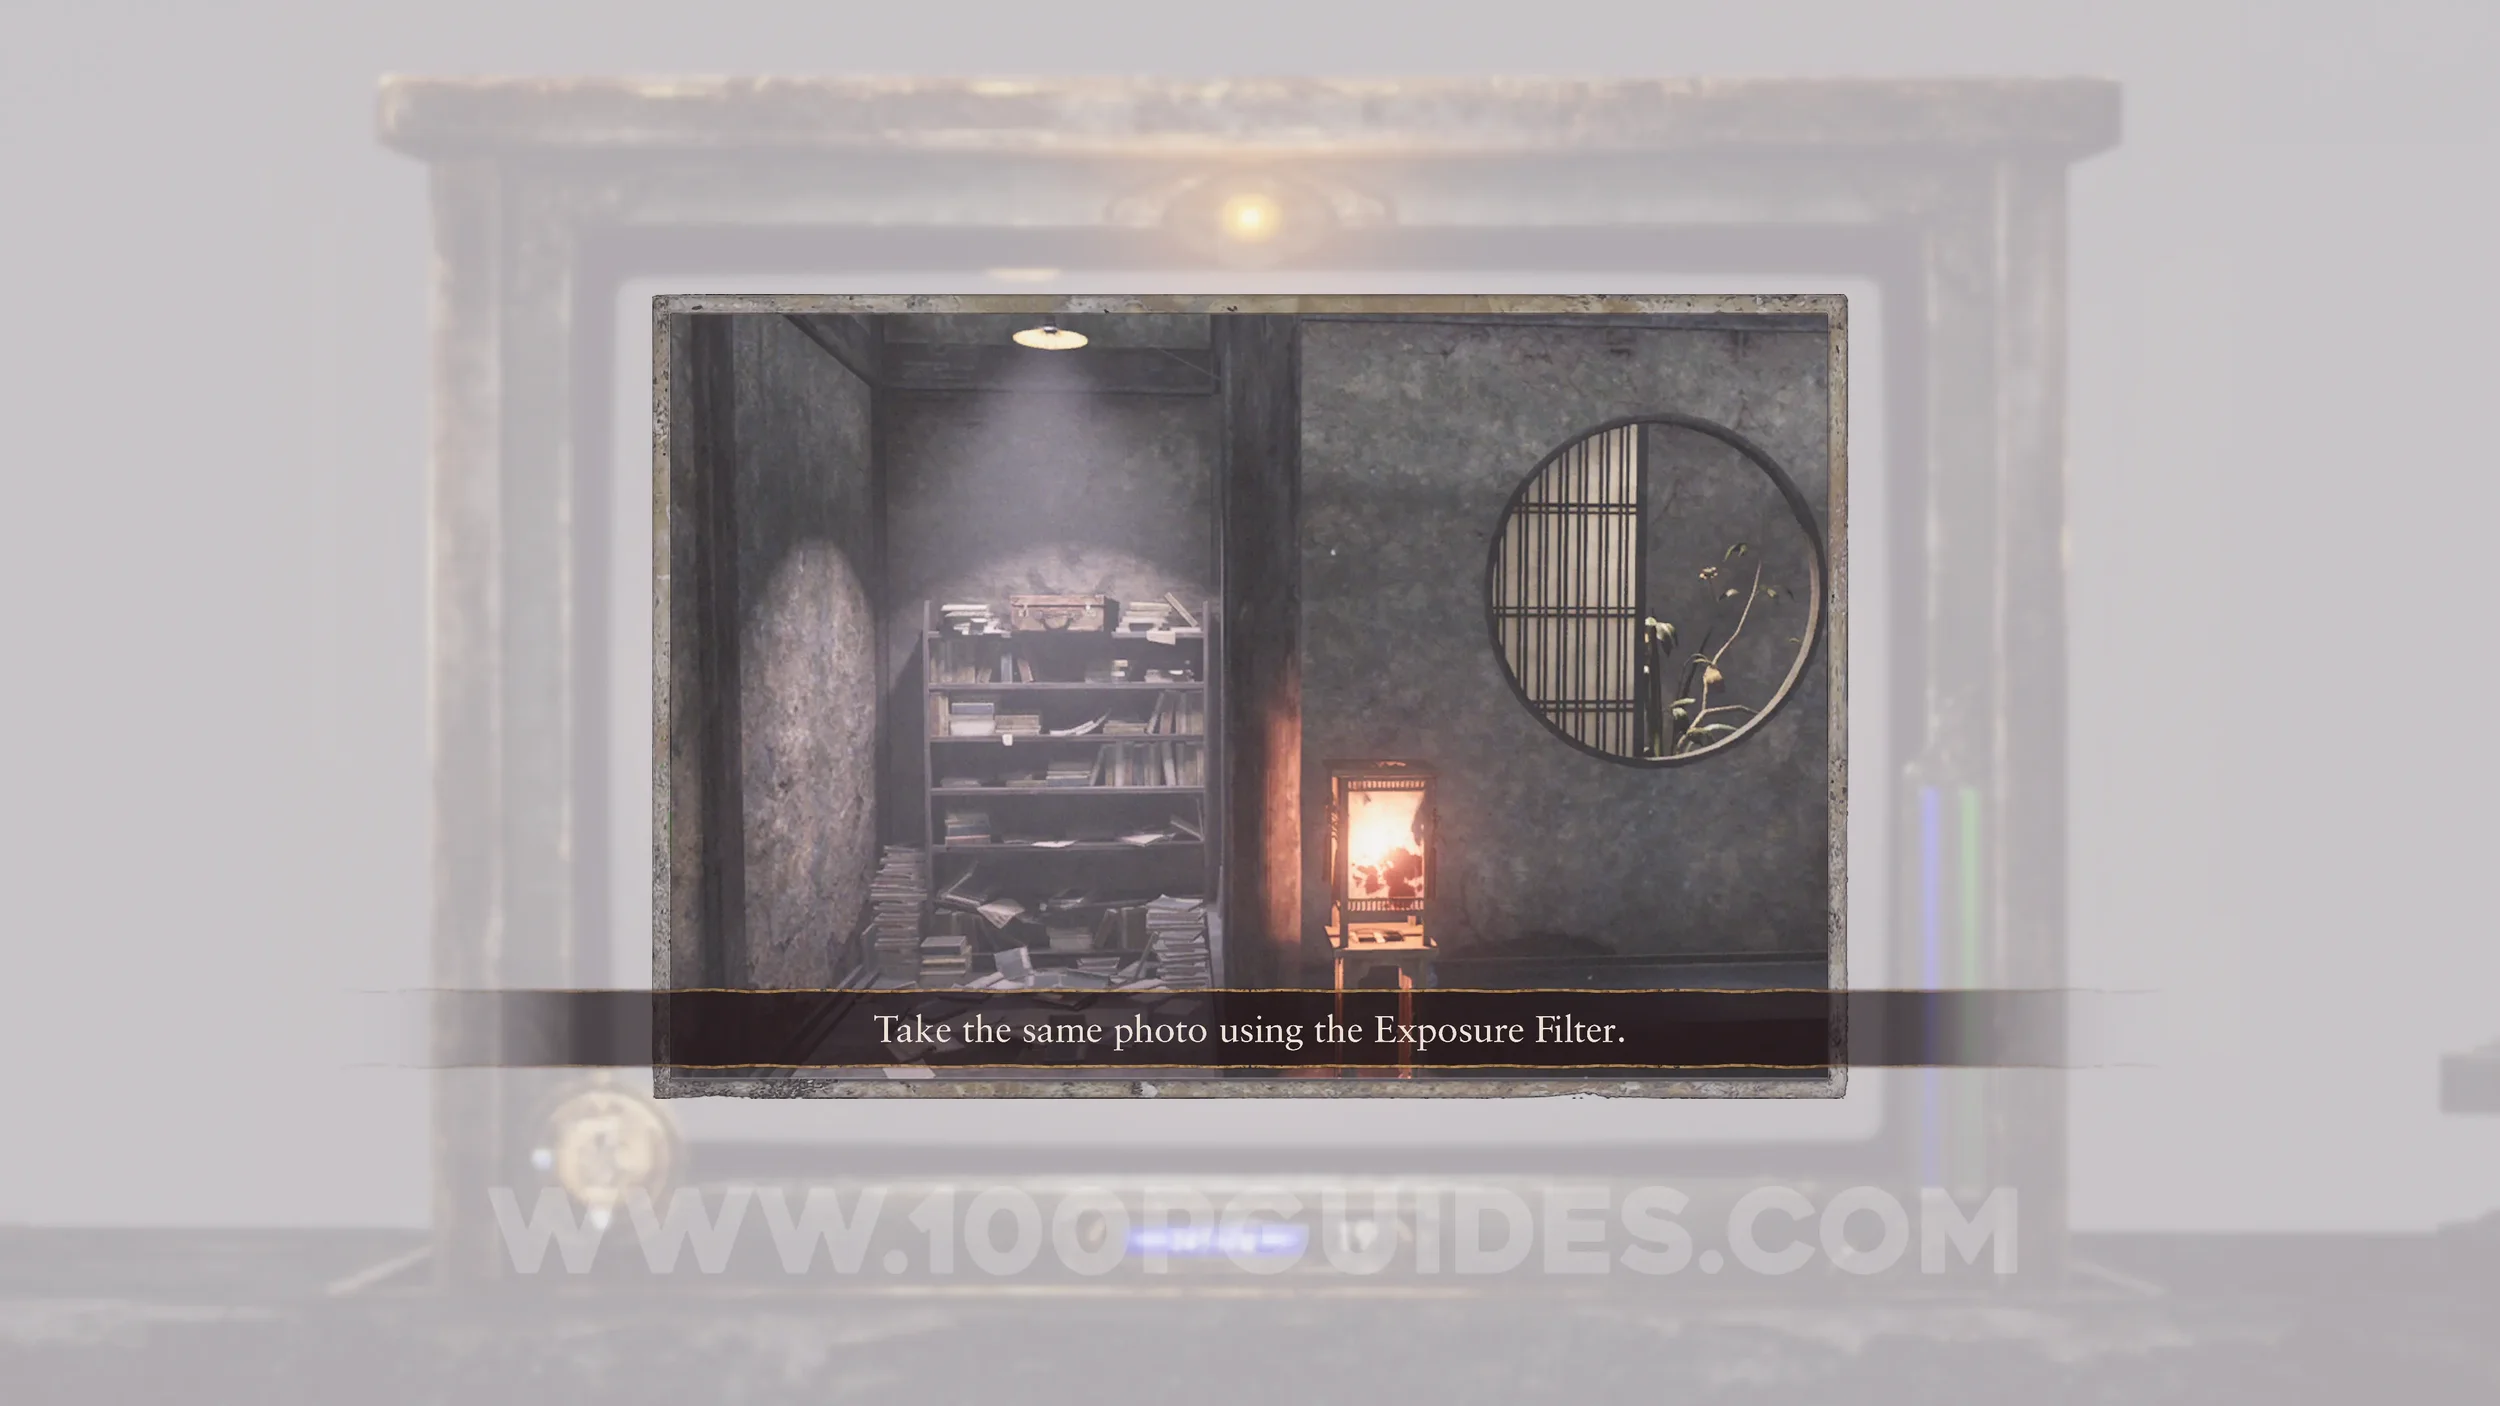
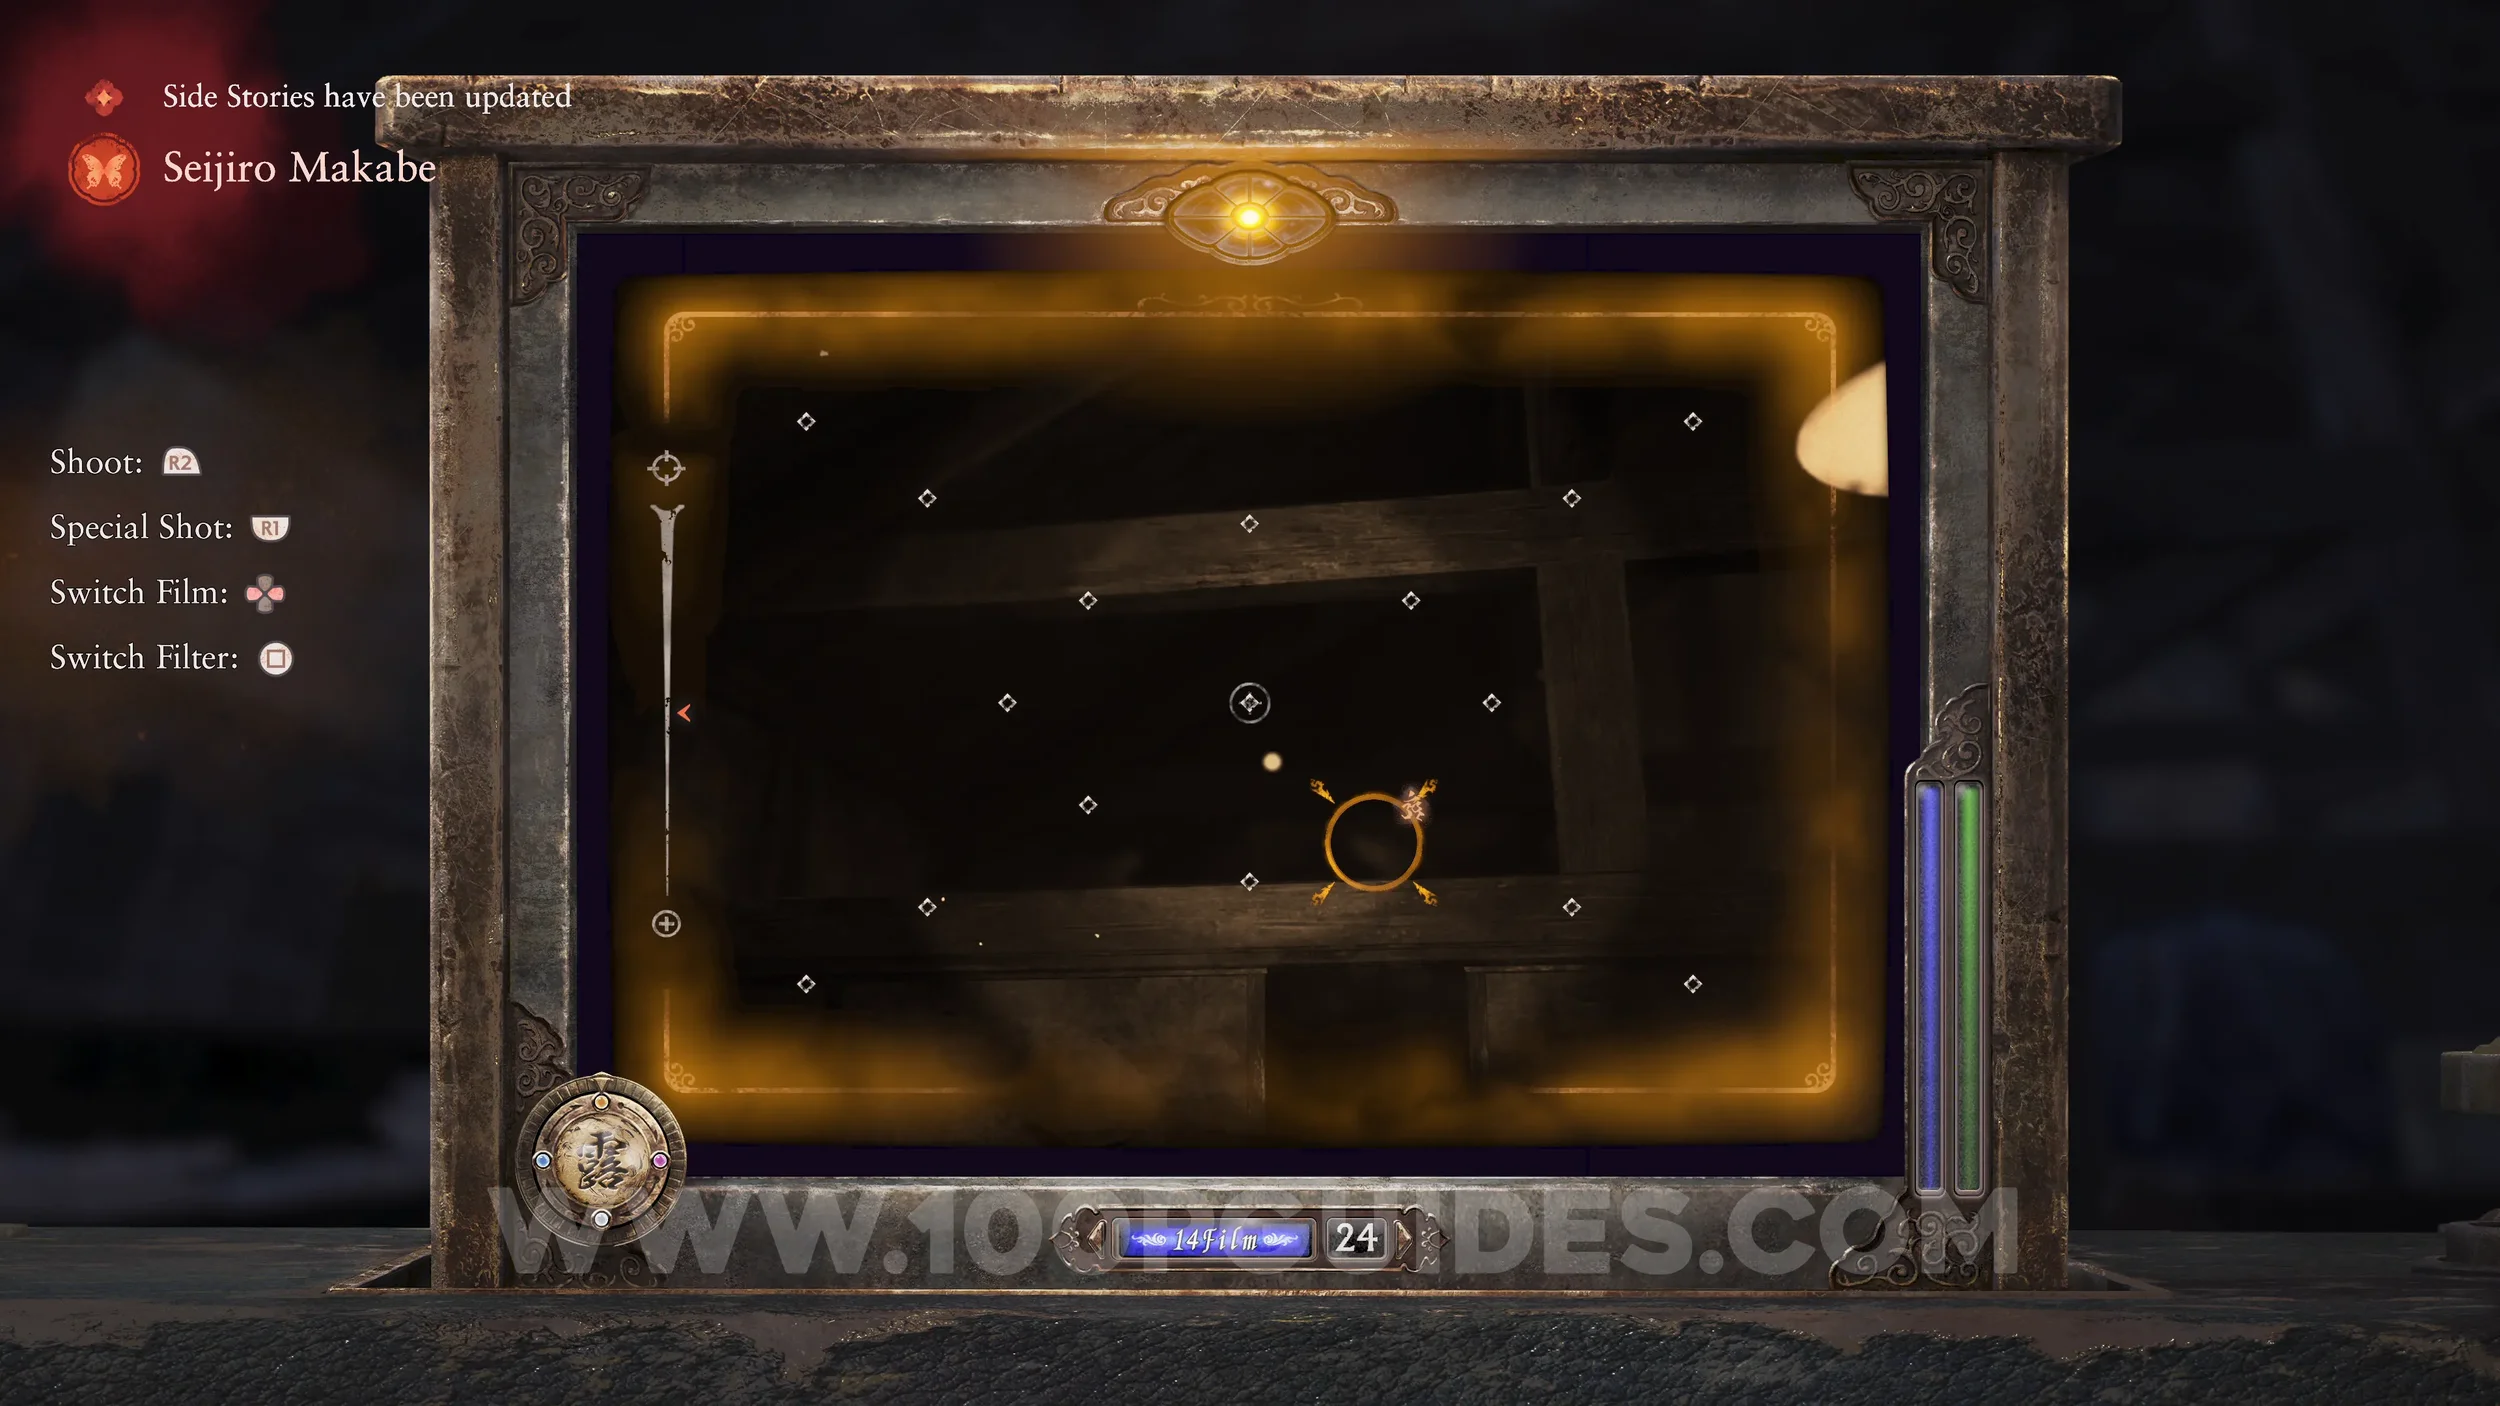
Phantom Expose #1 - Guest Room, Document #28 - Folklorist’s Note 2, Spirit Stone #13 - Lazulite (1/2) and Side Quest #4 - Seijiro Makabe. After obtaining the previous document, use the Exposure Filter to take a photo of the wall to the left of the save point from the same angle shown in the reference photo. This will reveal a hidden shelf. Then examine the briefcase.

Specter #48 - 034 Man Entering Room. After obtaining the Exposure Filter, backtrack through the Guest Hallway to trigger the specter’s spawn.

Specter #49 - 035 Whispering Man. Follow the previous specter into the room on the right, where it will be waiting inside.
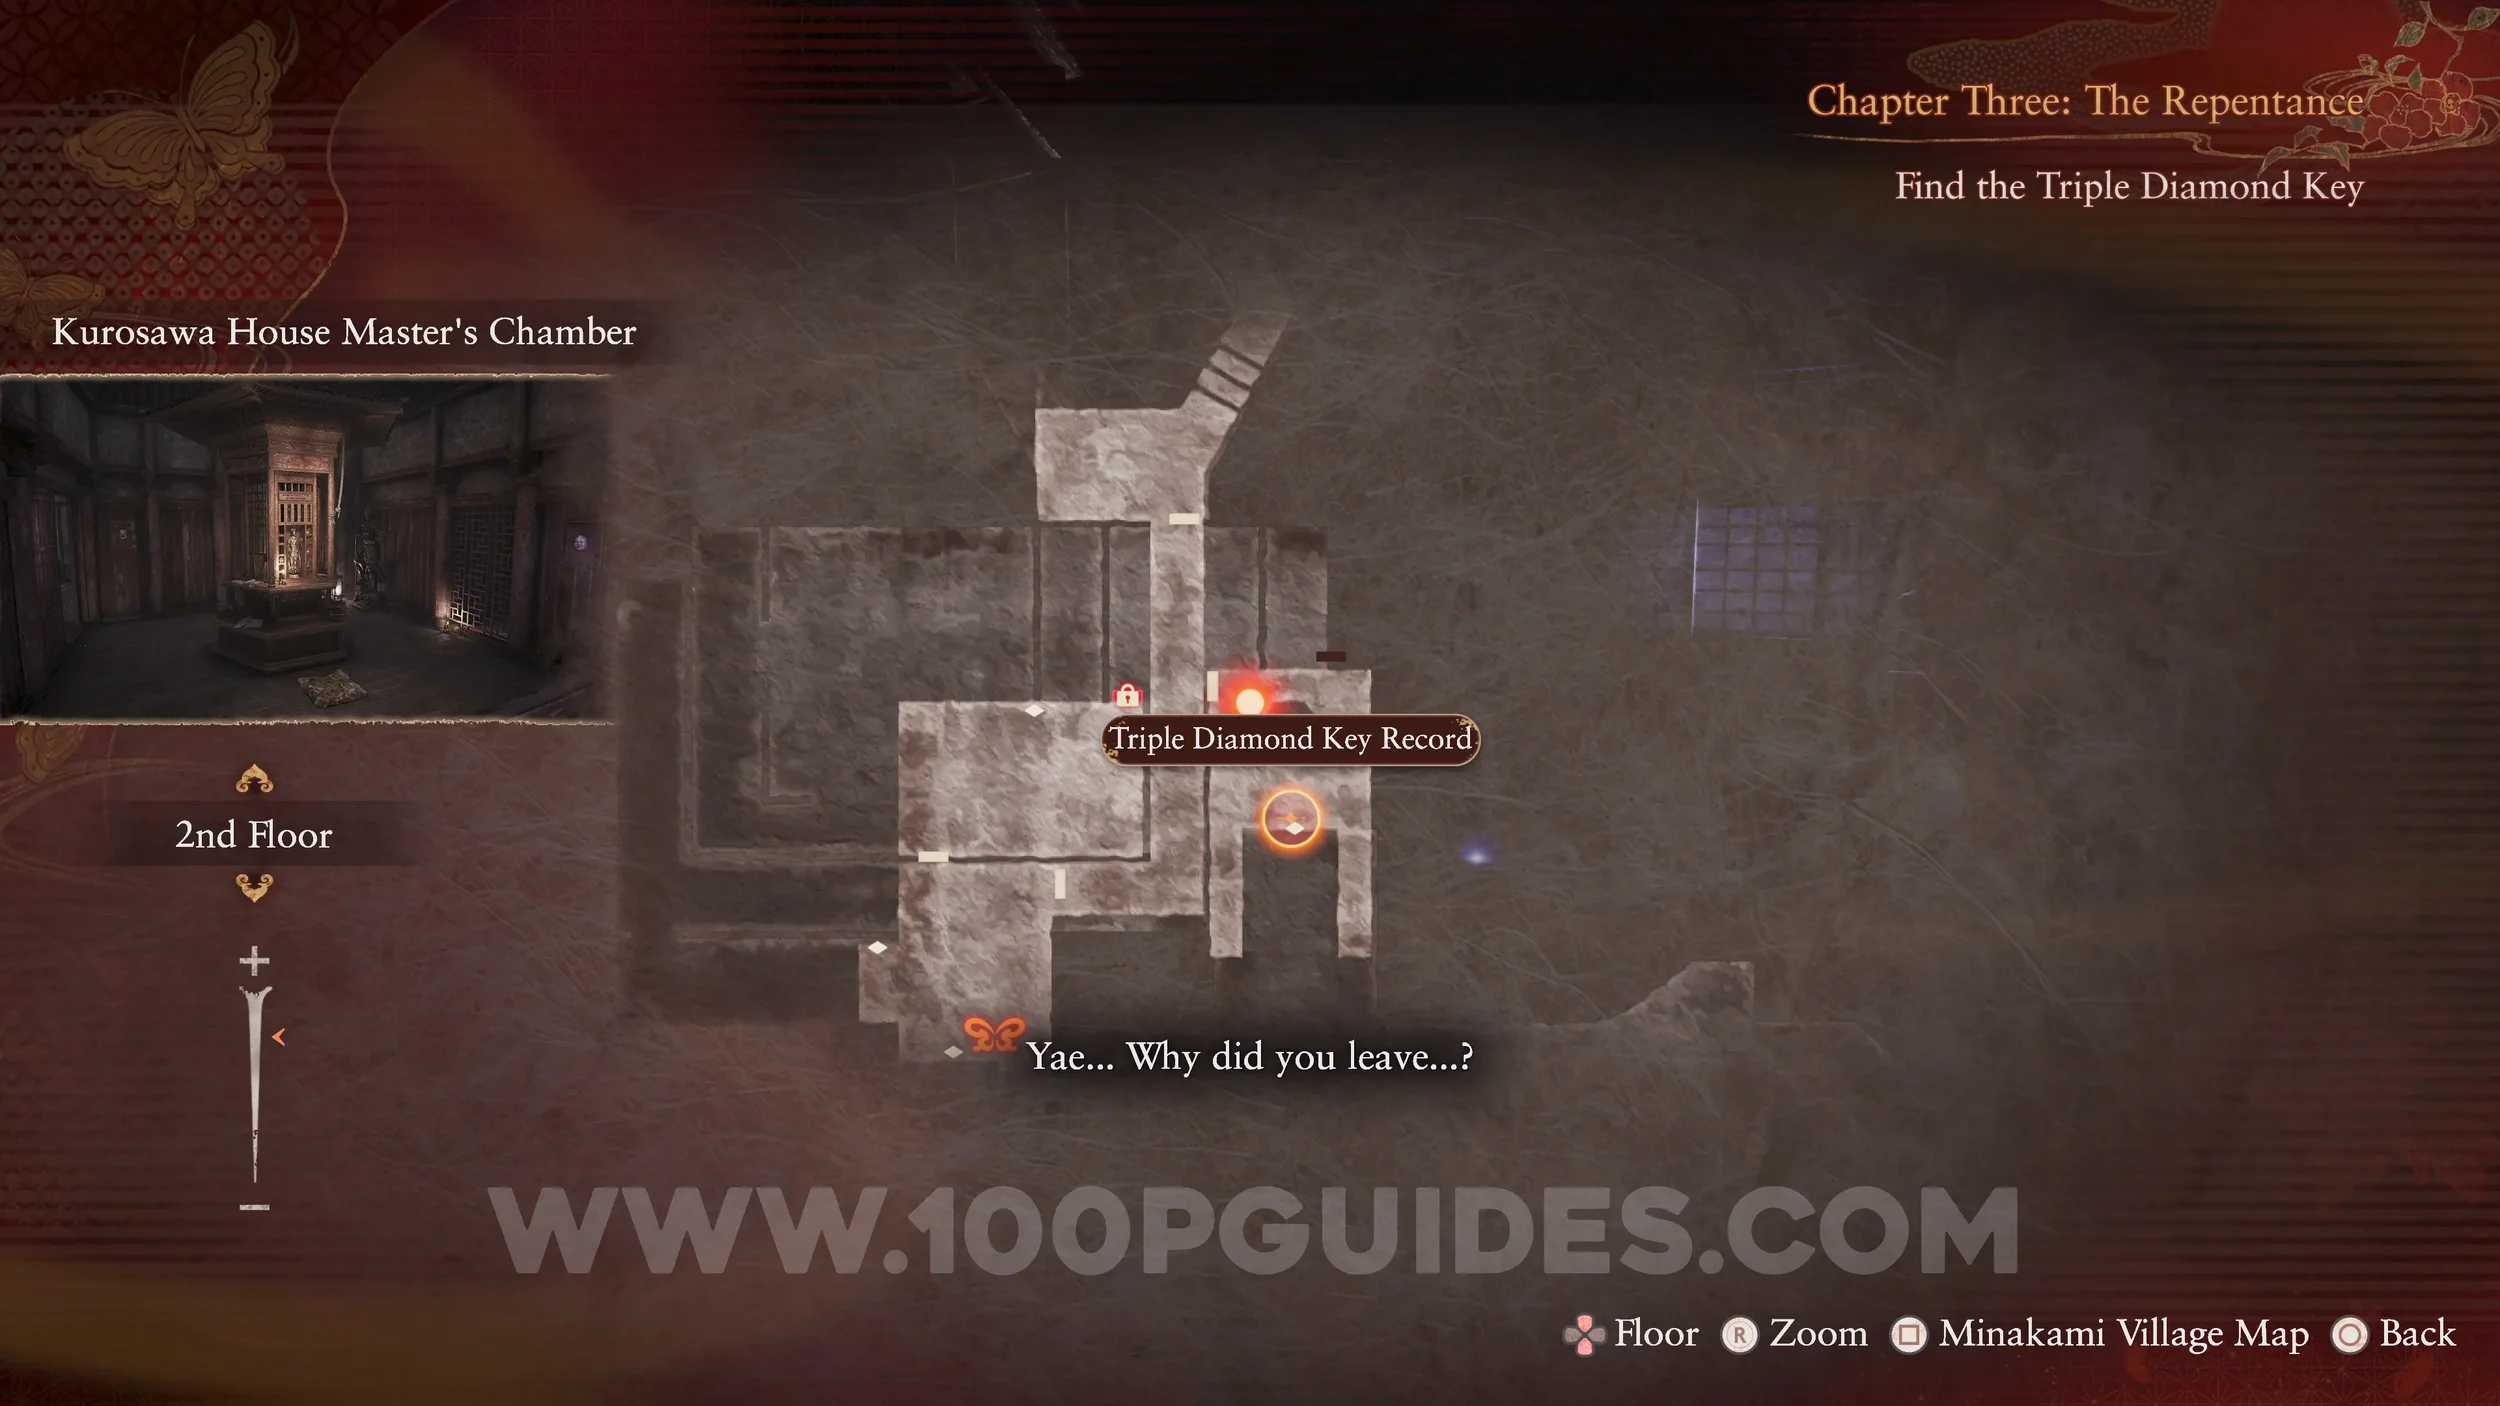
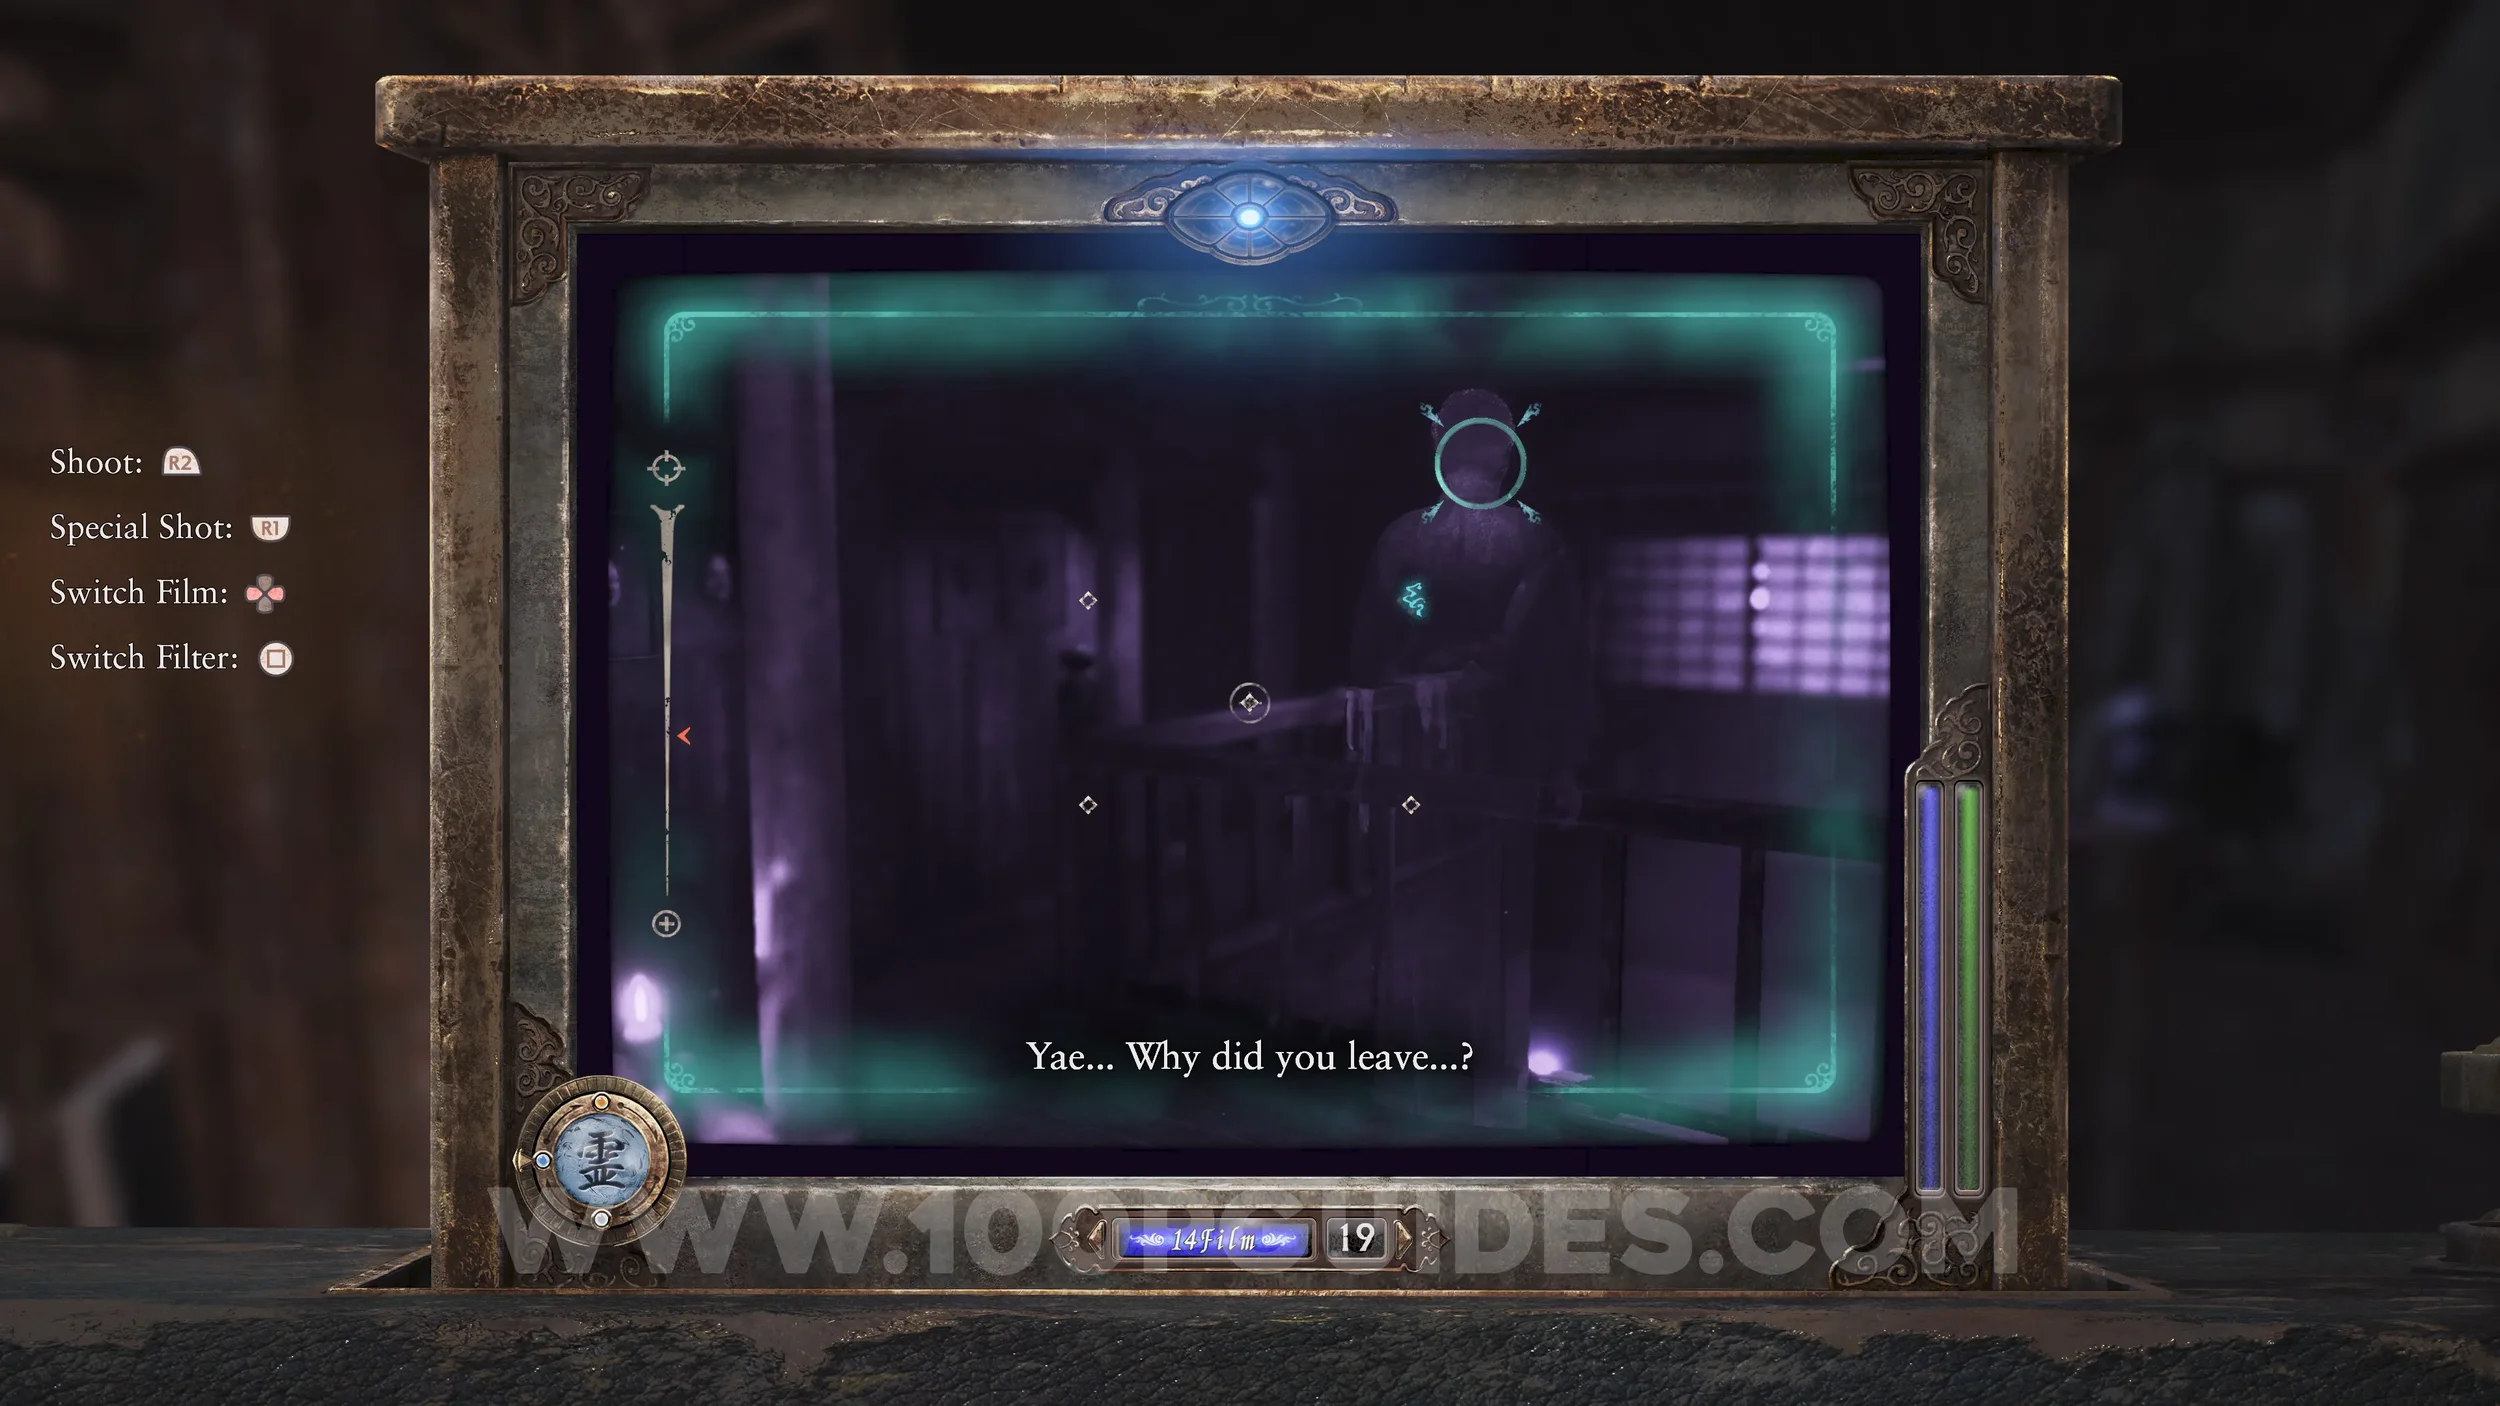
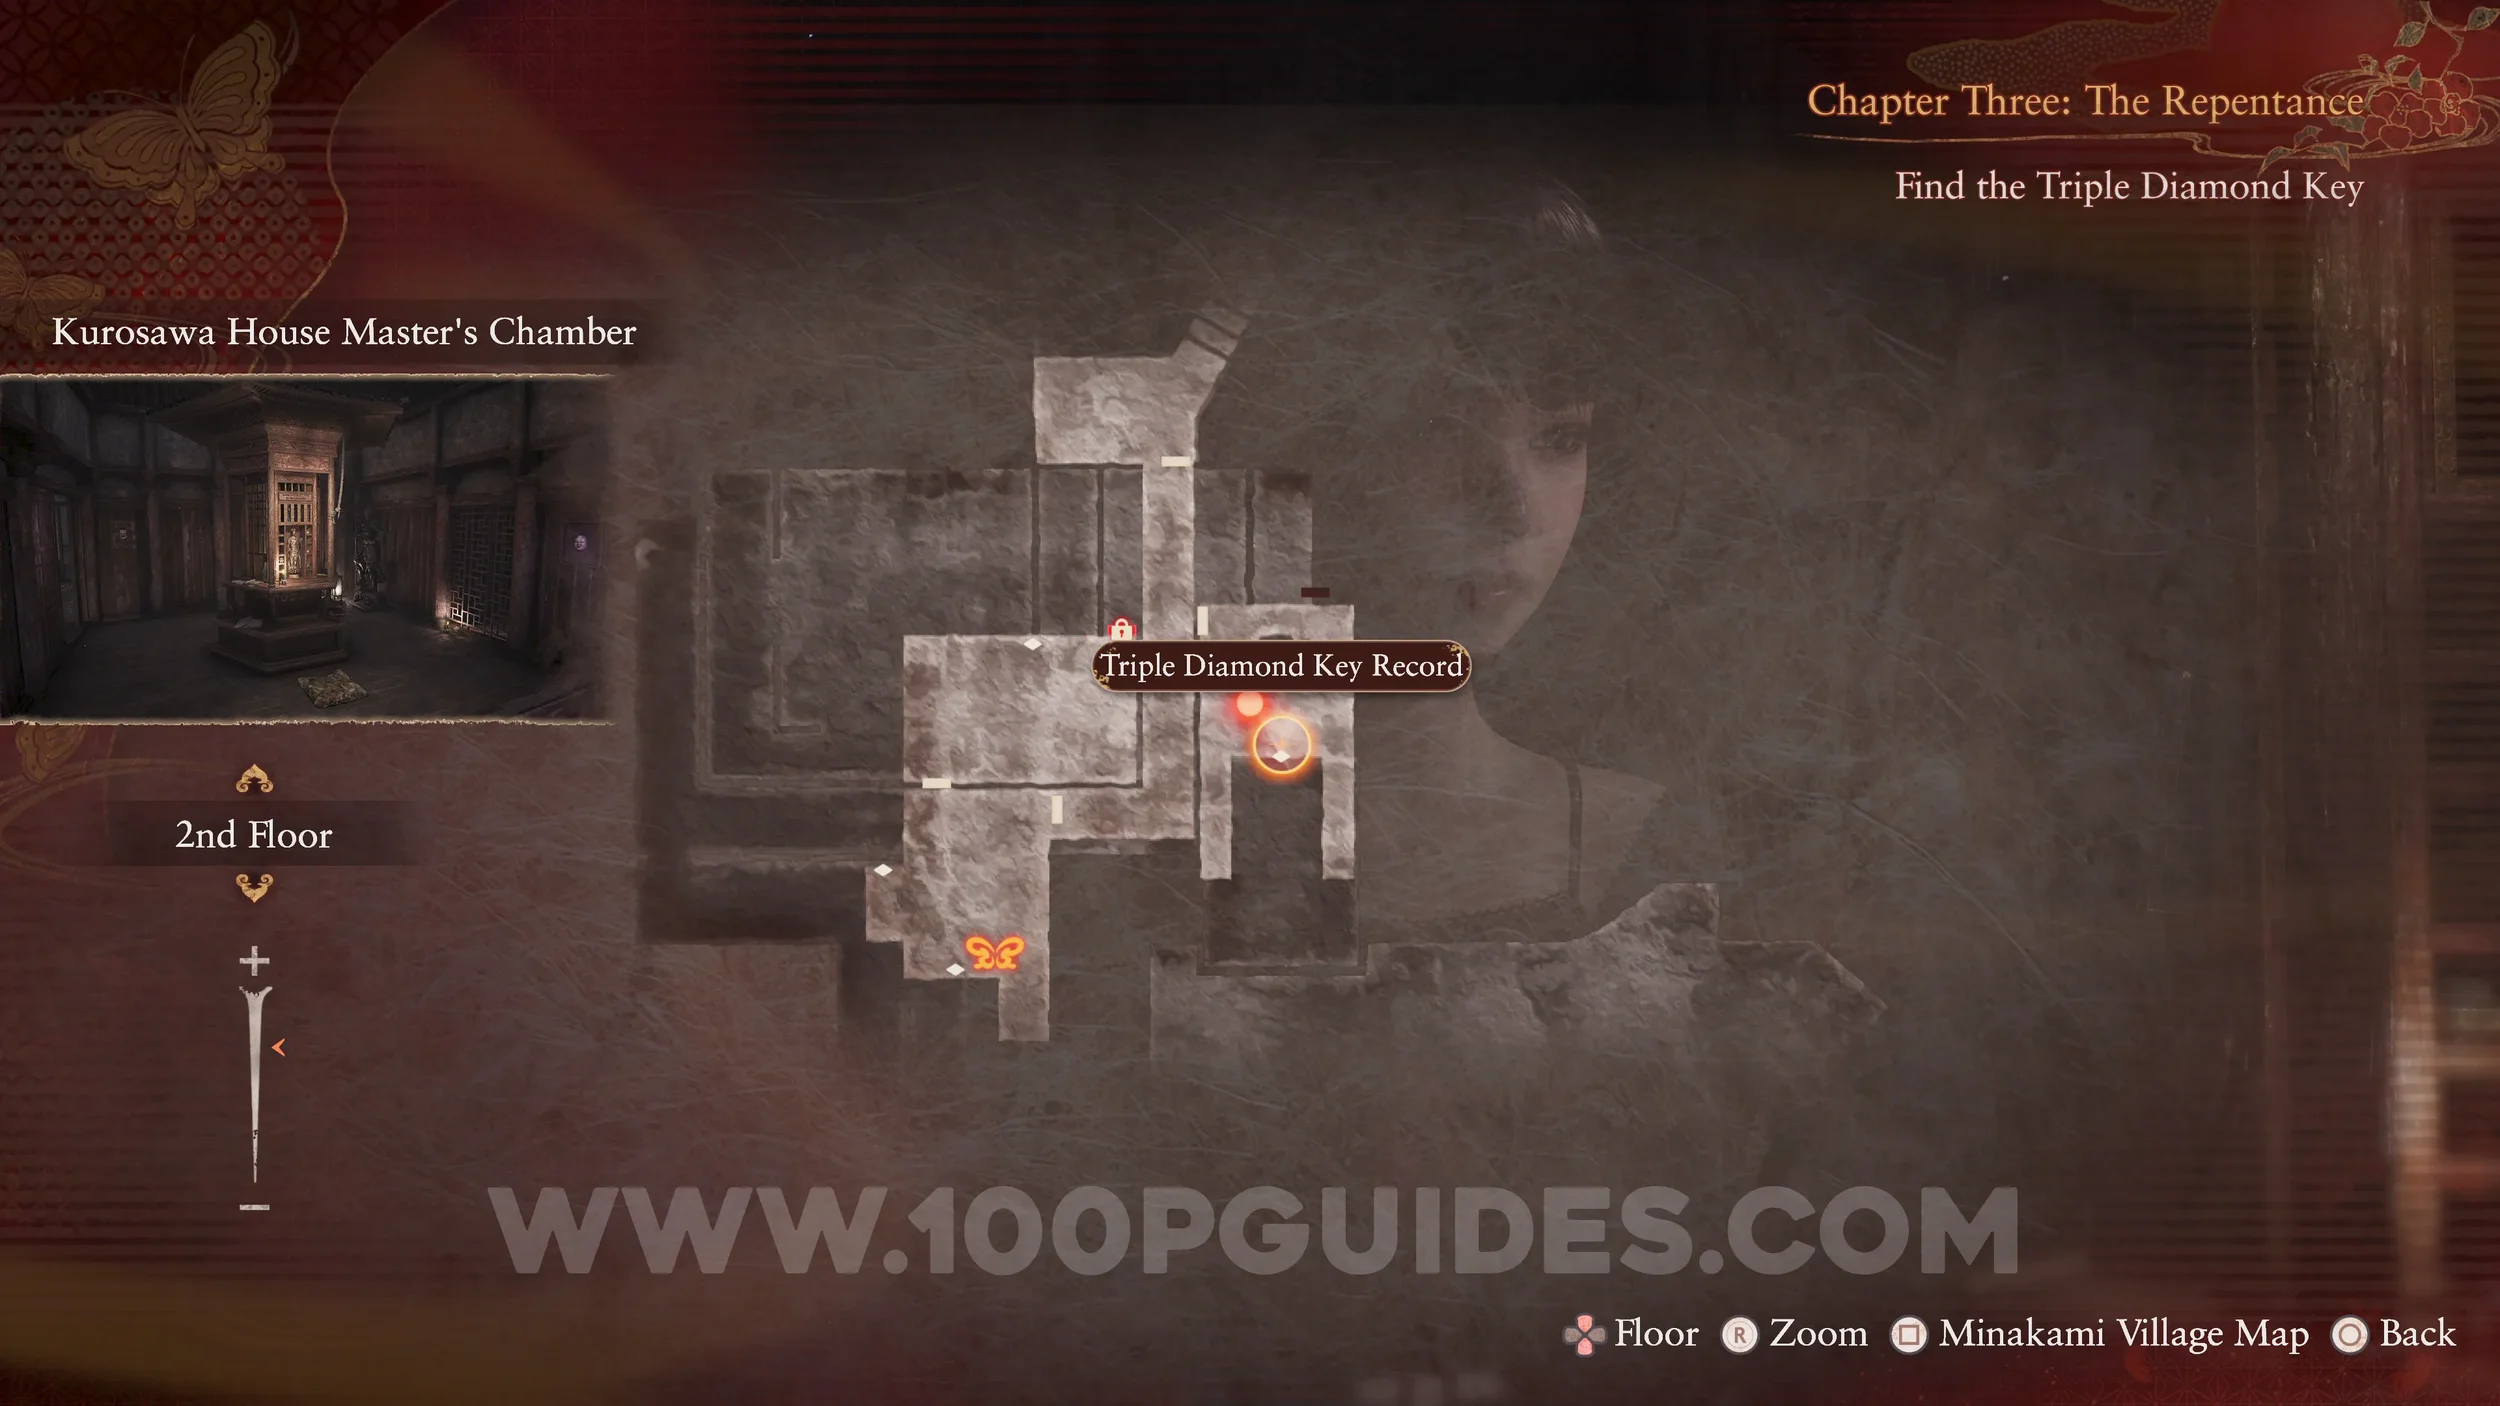
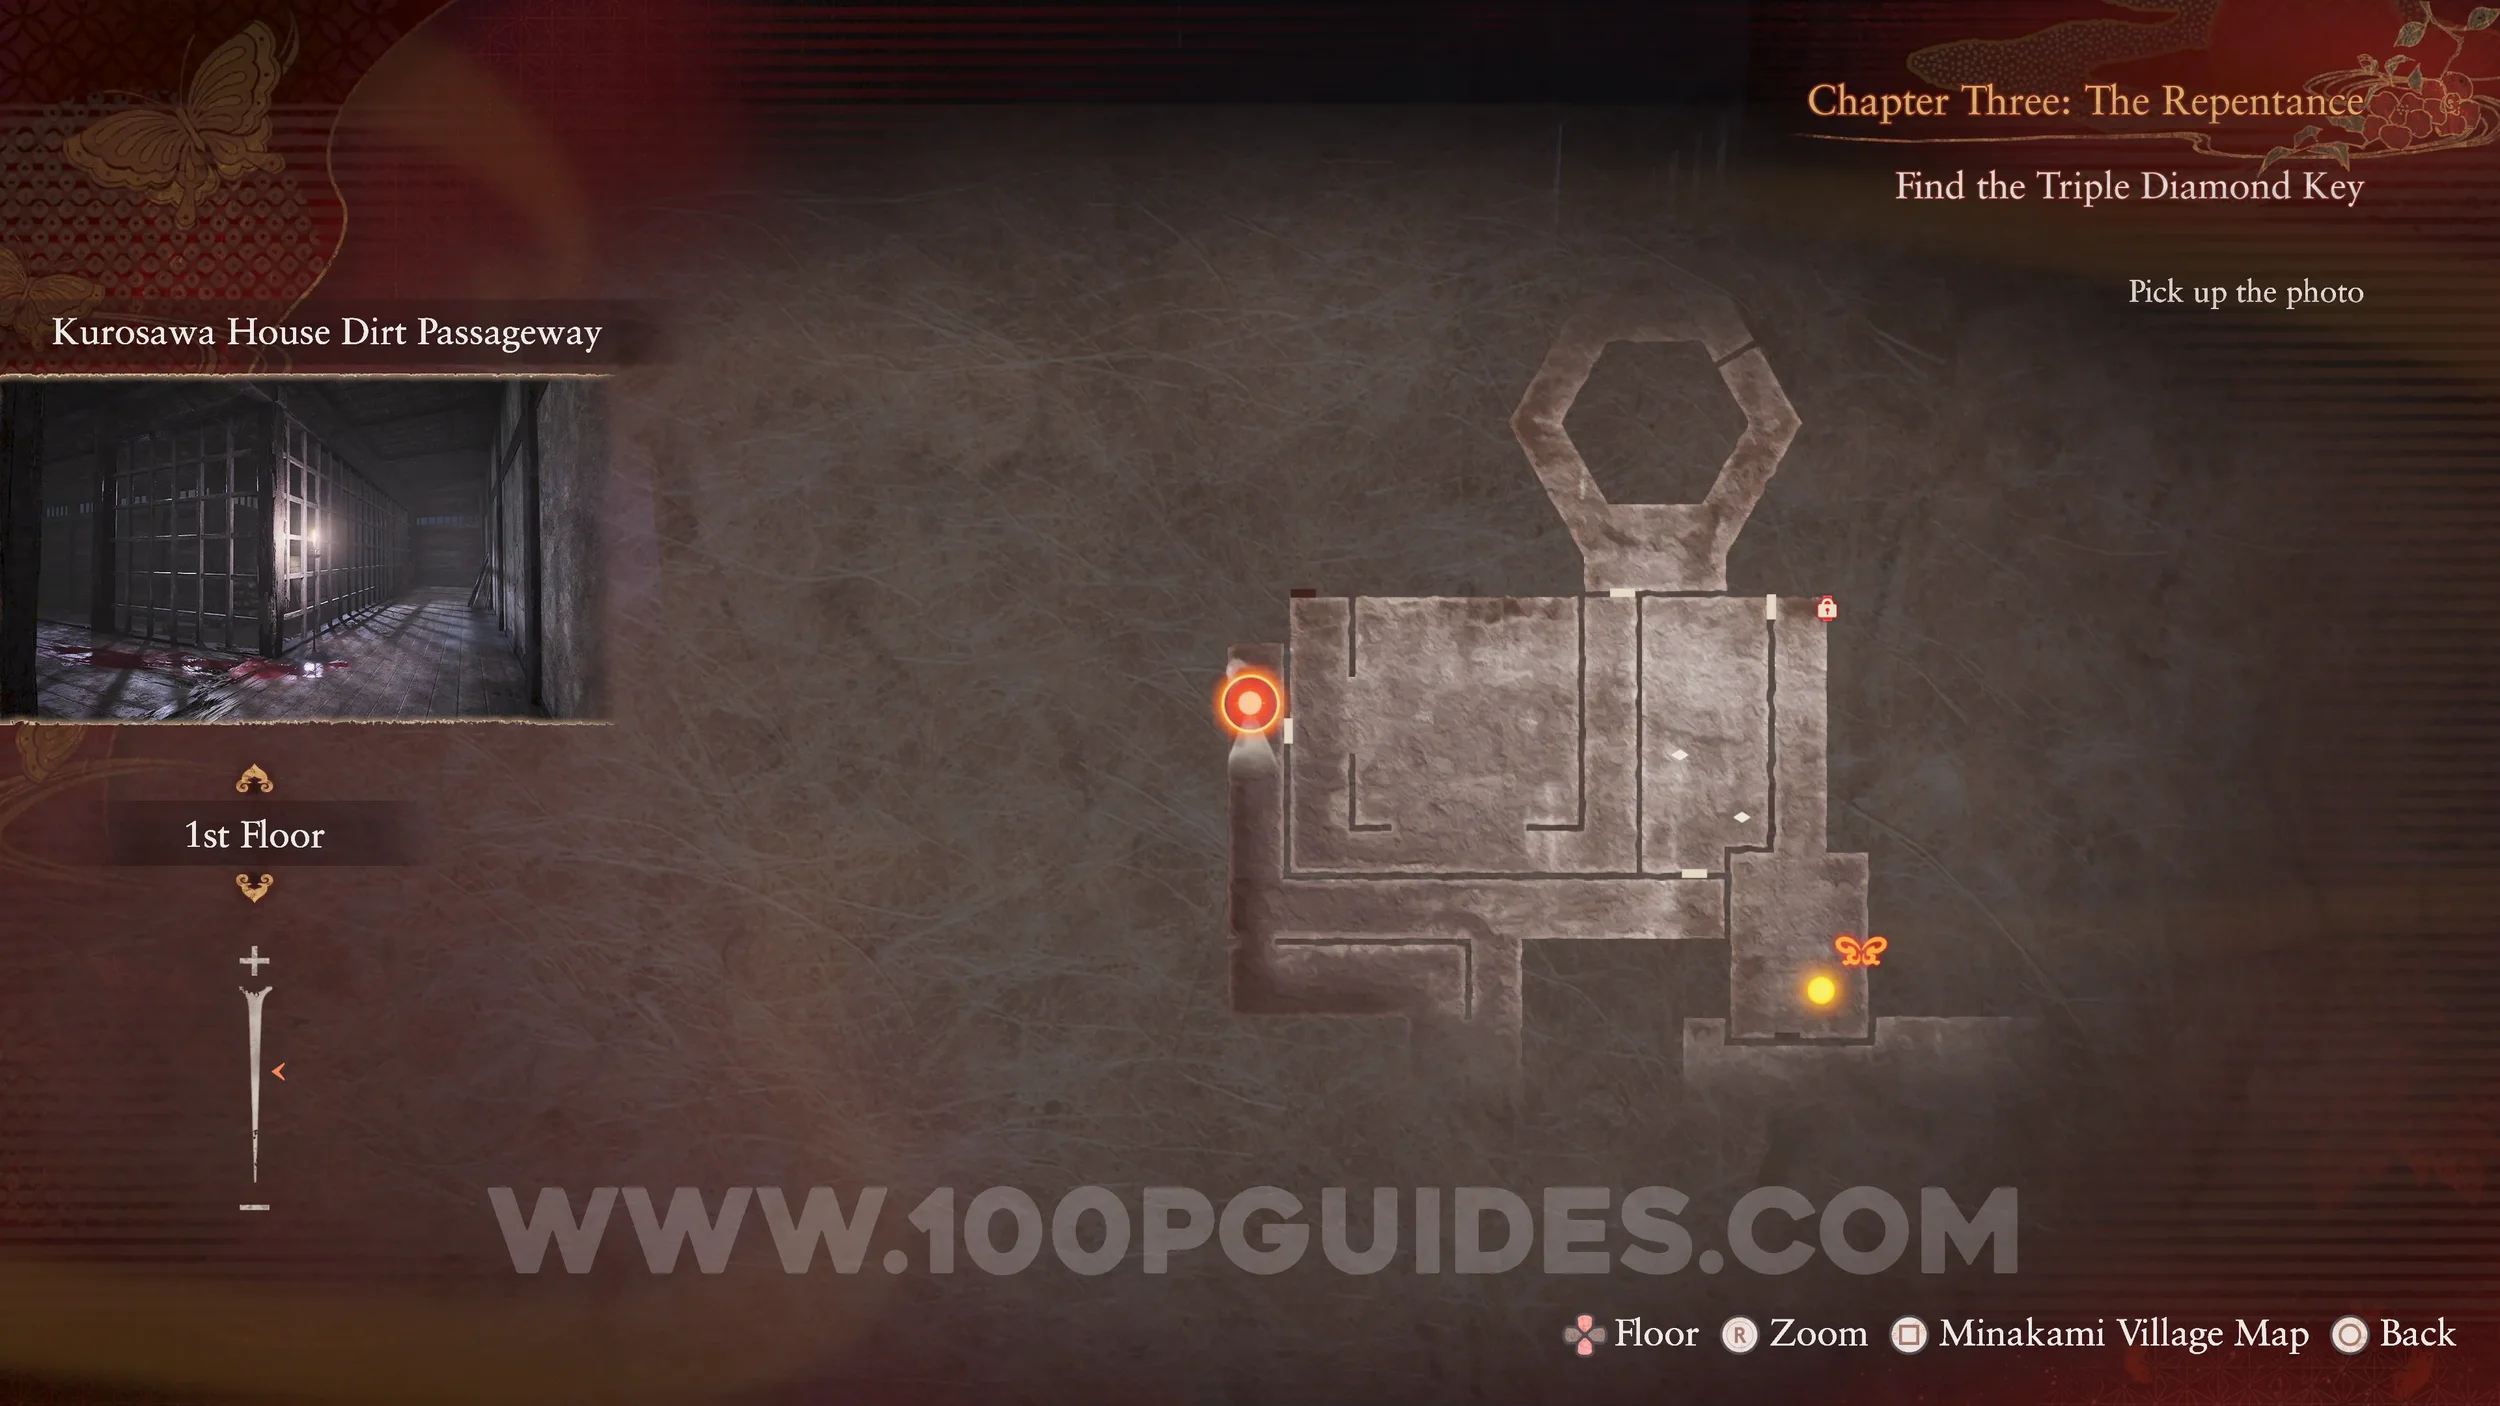
Document #29 - Triple Diamond Key Record. In the same locations as the previous specter.
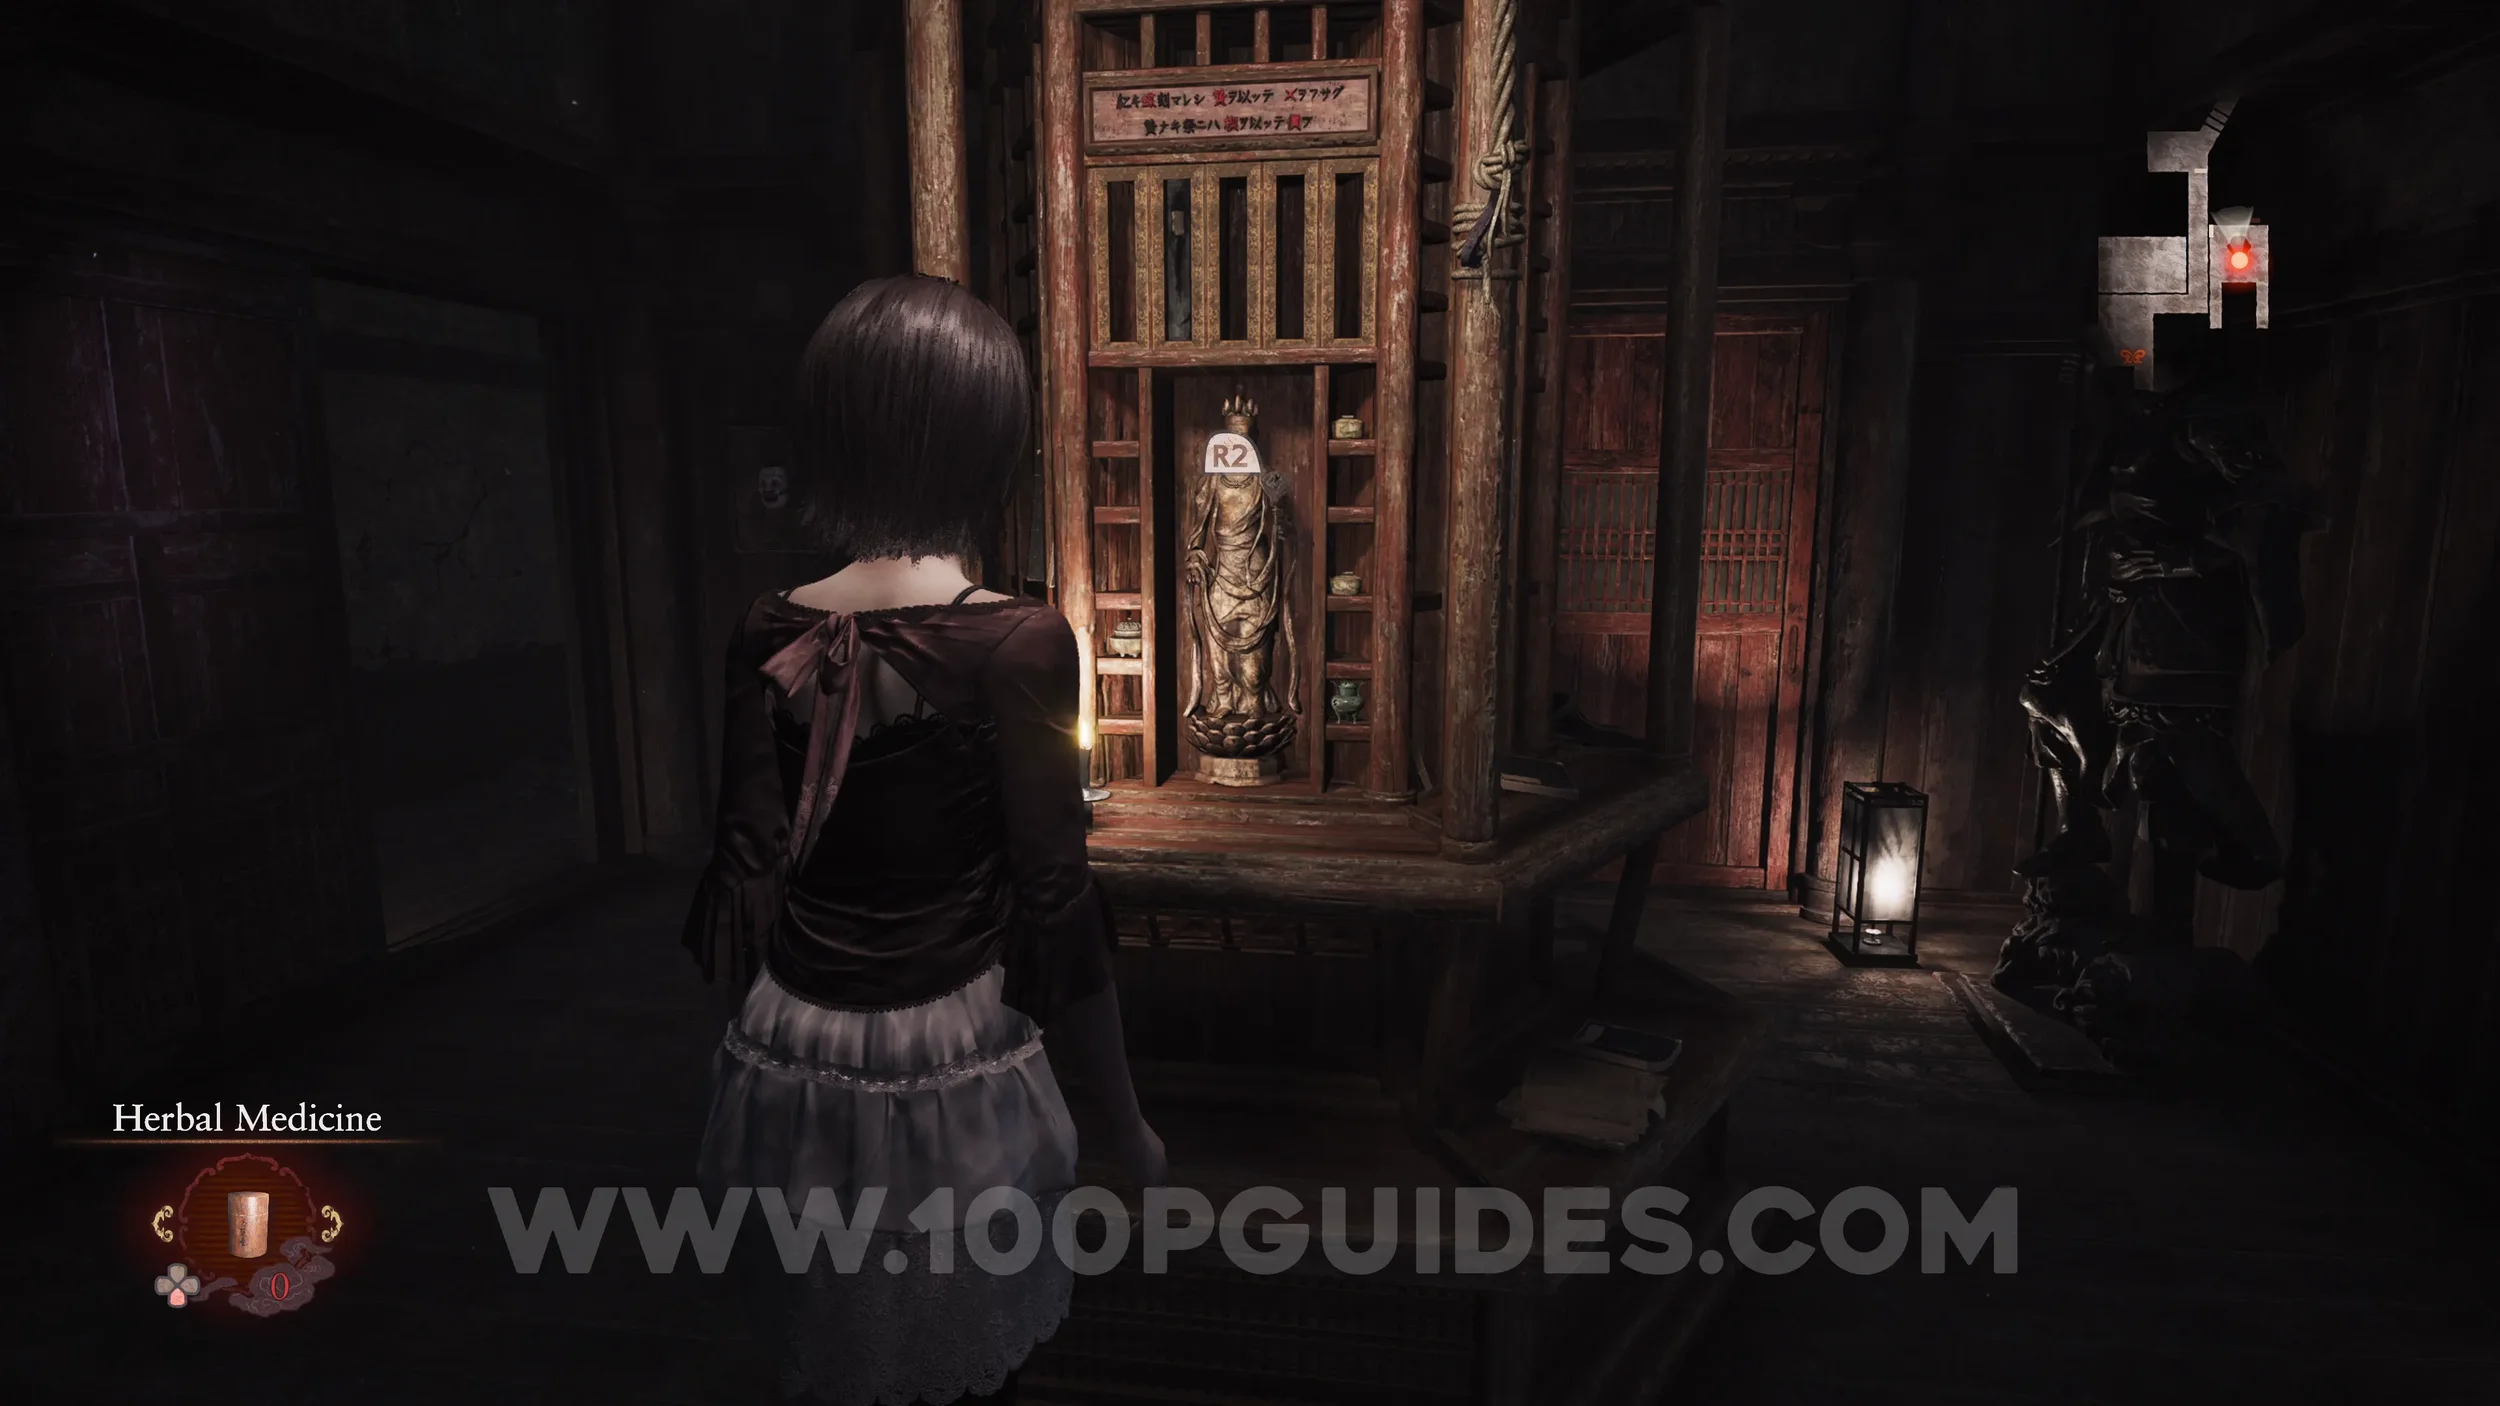
Document #30 - Taboo Tome. Examine the shrine in the center of the room where the previous collectibles were found.
Document #31 - Folklorist’s Note 4. Backtrack to the room where you first encountered Kusabi, the immortal wraith, to find a document on the floor.
Specter #50 - 036 Feeling Villager. Continue backtracking to the next Corridor to see the specter.
Specter #51 - 037 Dragging Shadow, Specter #52 - 038 The Forsaken and Specter #53 - 039 Shadow Dragging Man. Found in the hall on your way to the Bloodstained Room after obtaining the photo. Make sure both specters are in focus for the third to register.
Specter #54 - 040 Closet Man. As you make your way down the hall where the previous specter appeared, look through the window on your left.
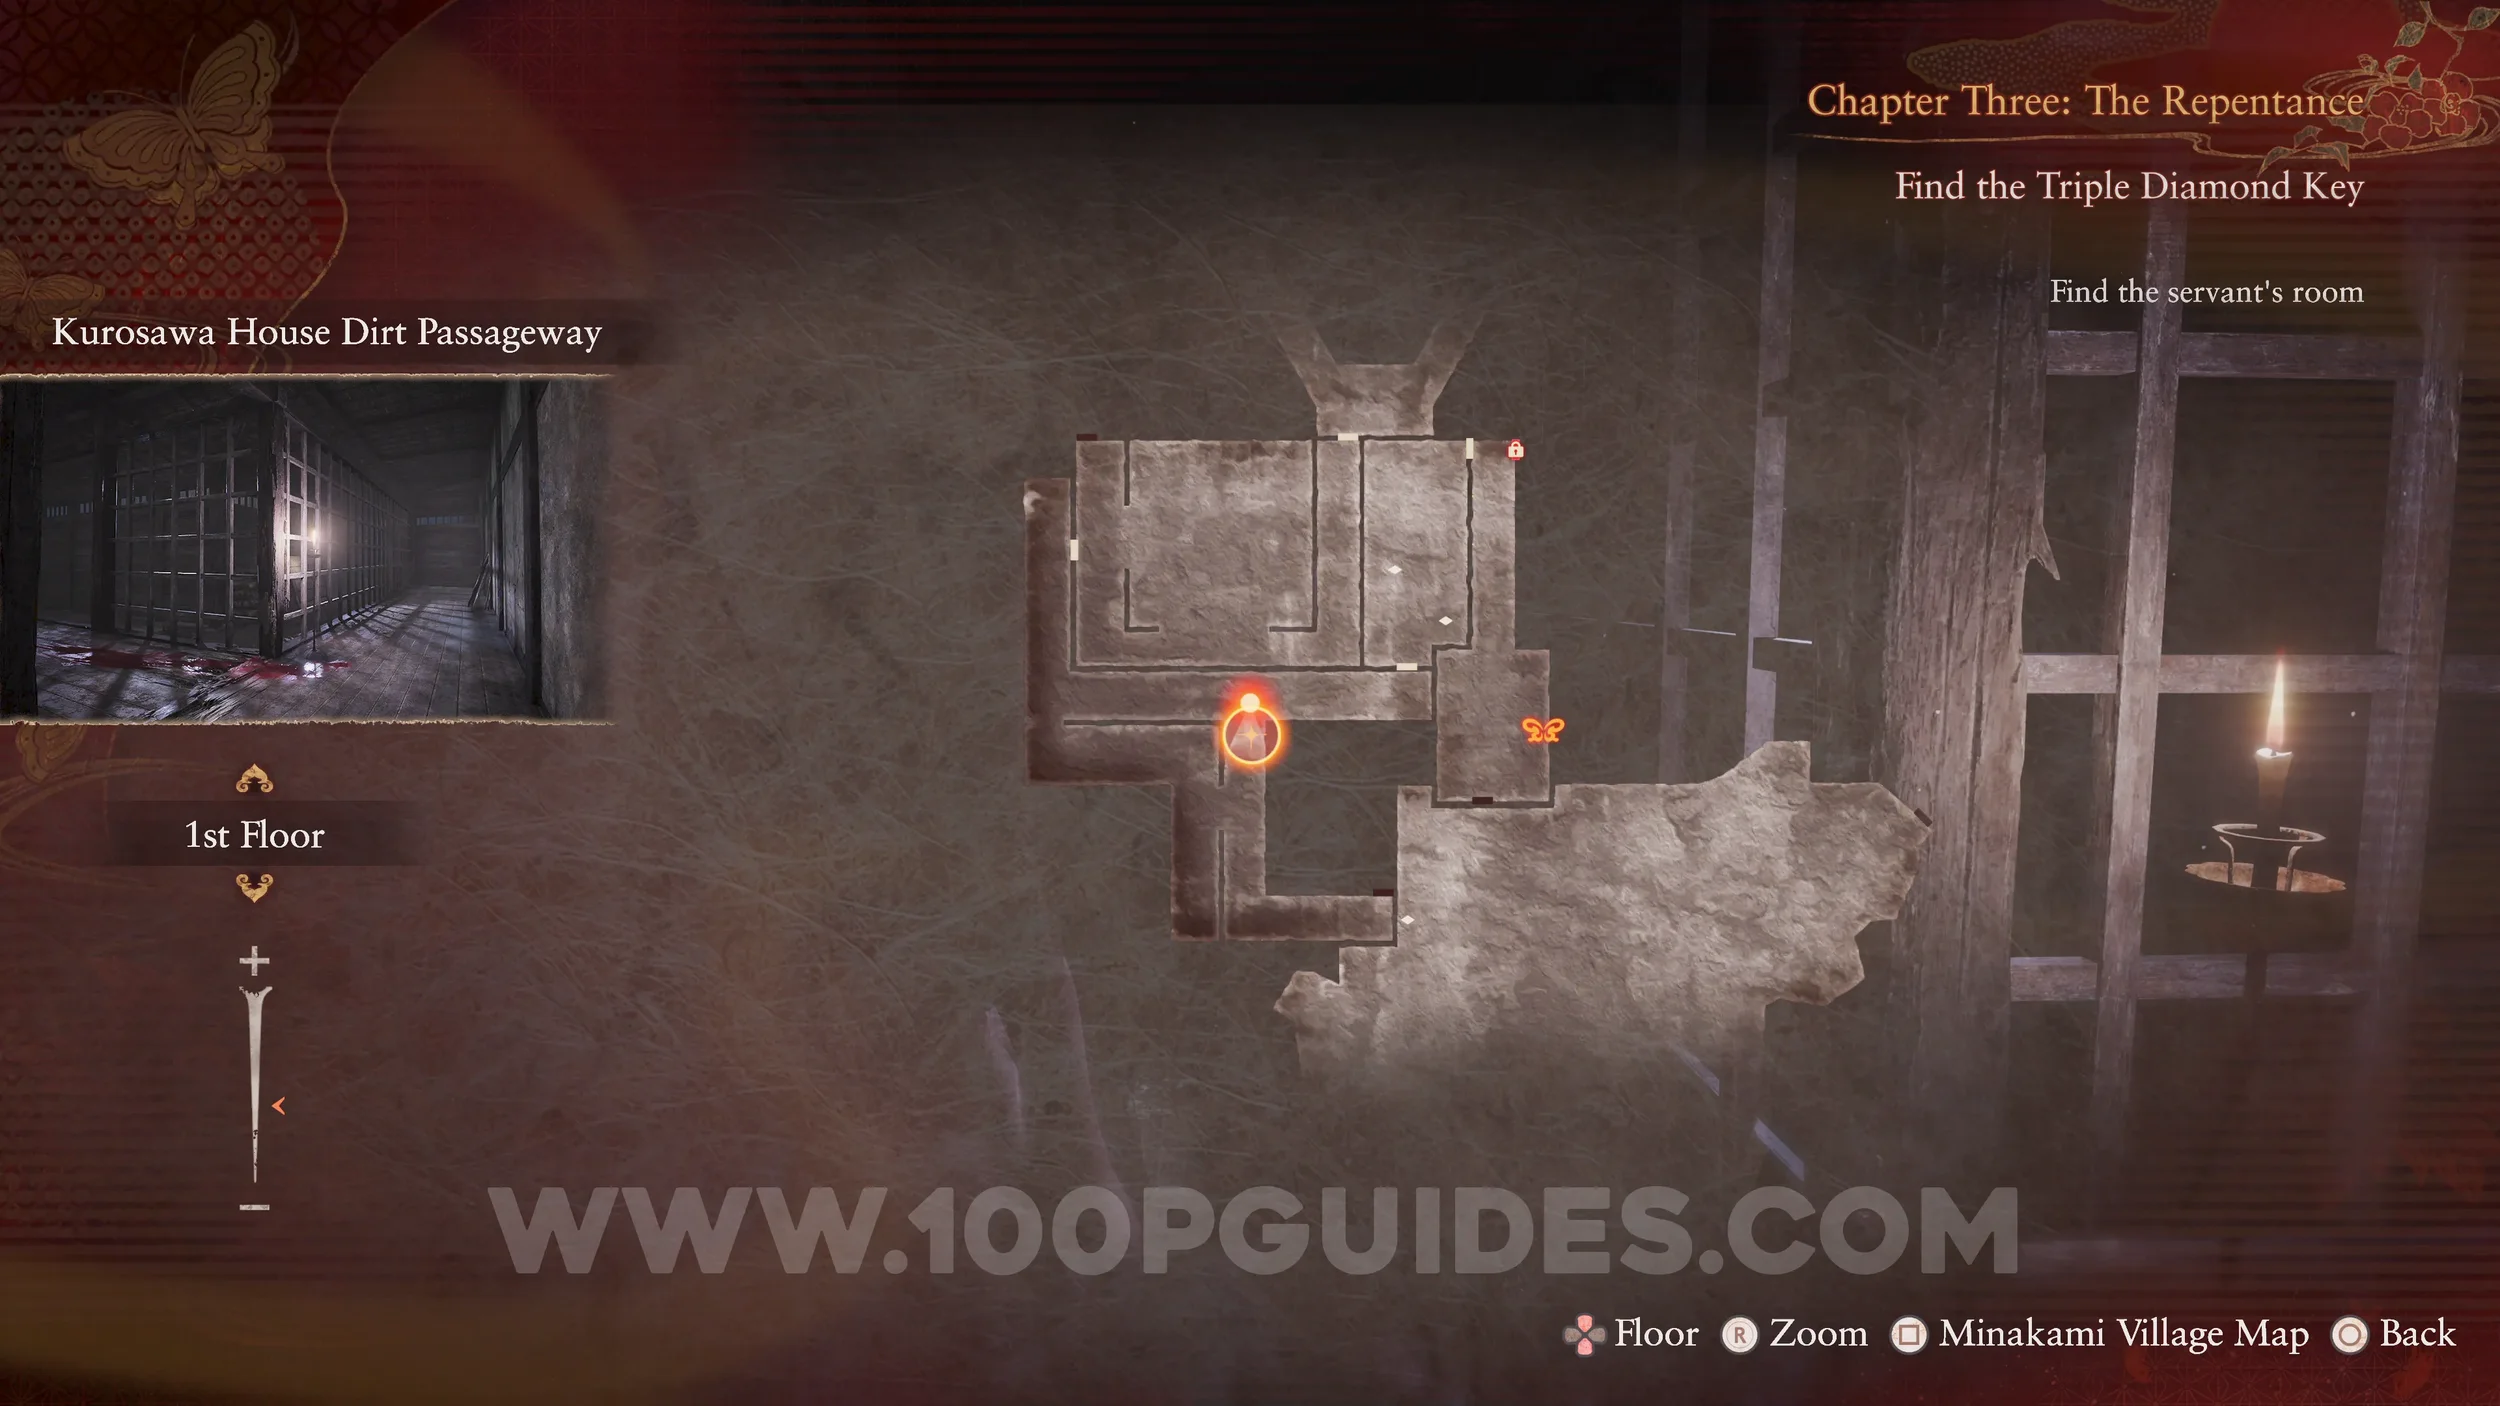
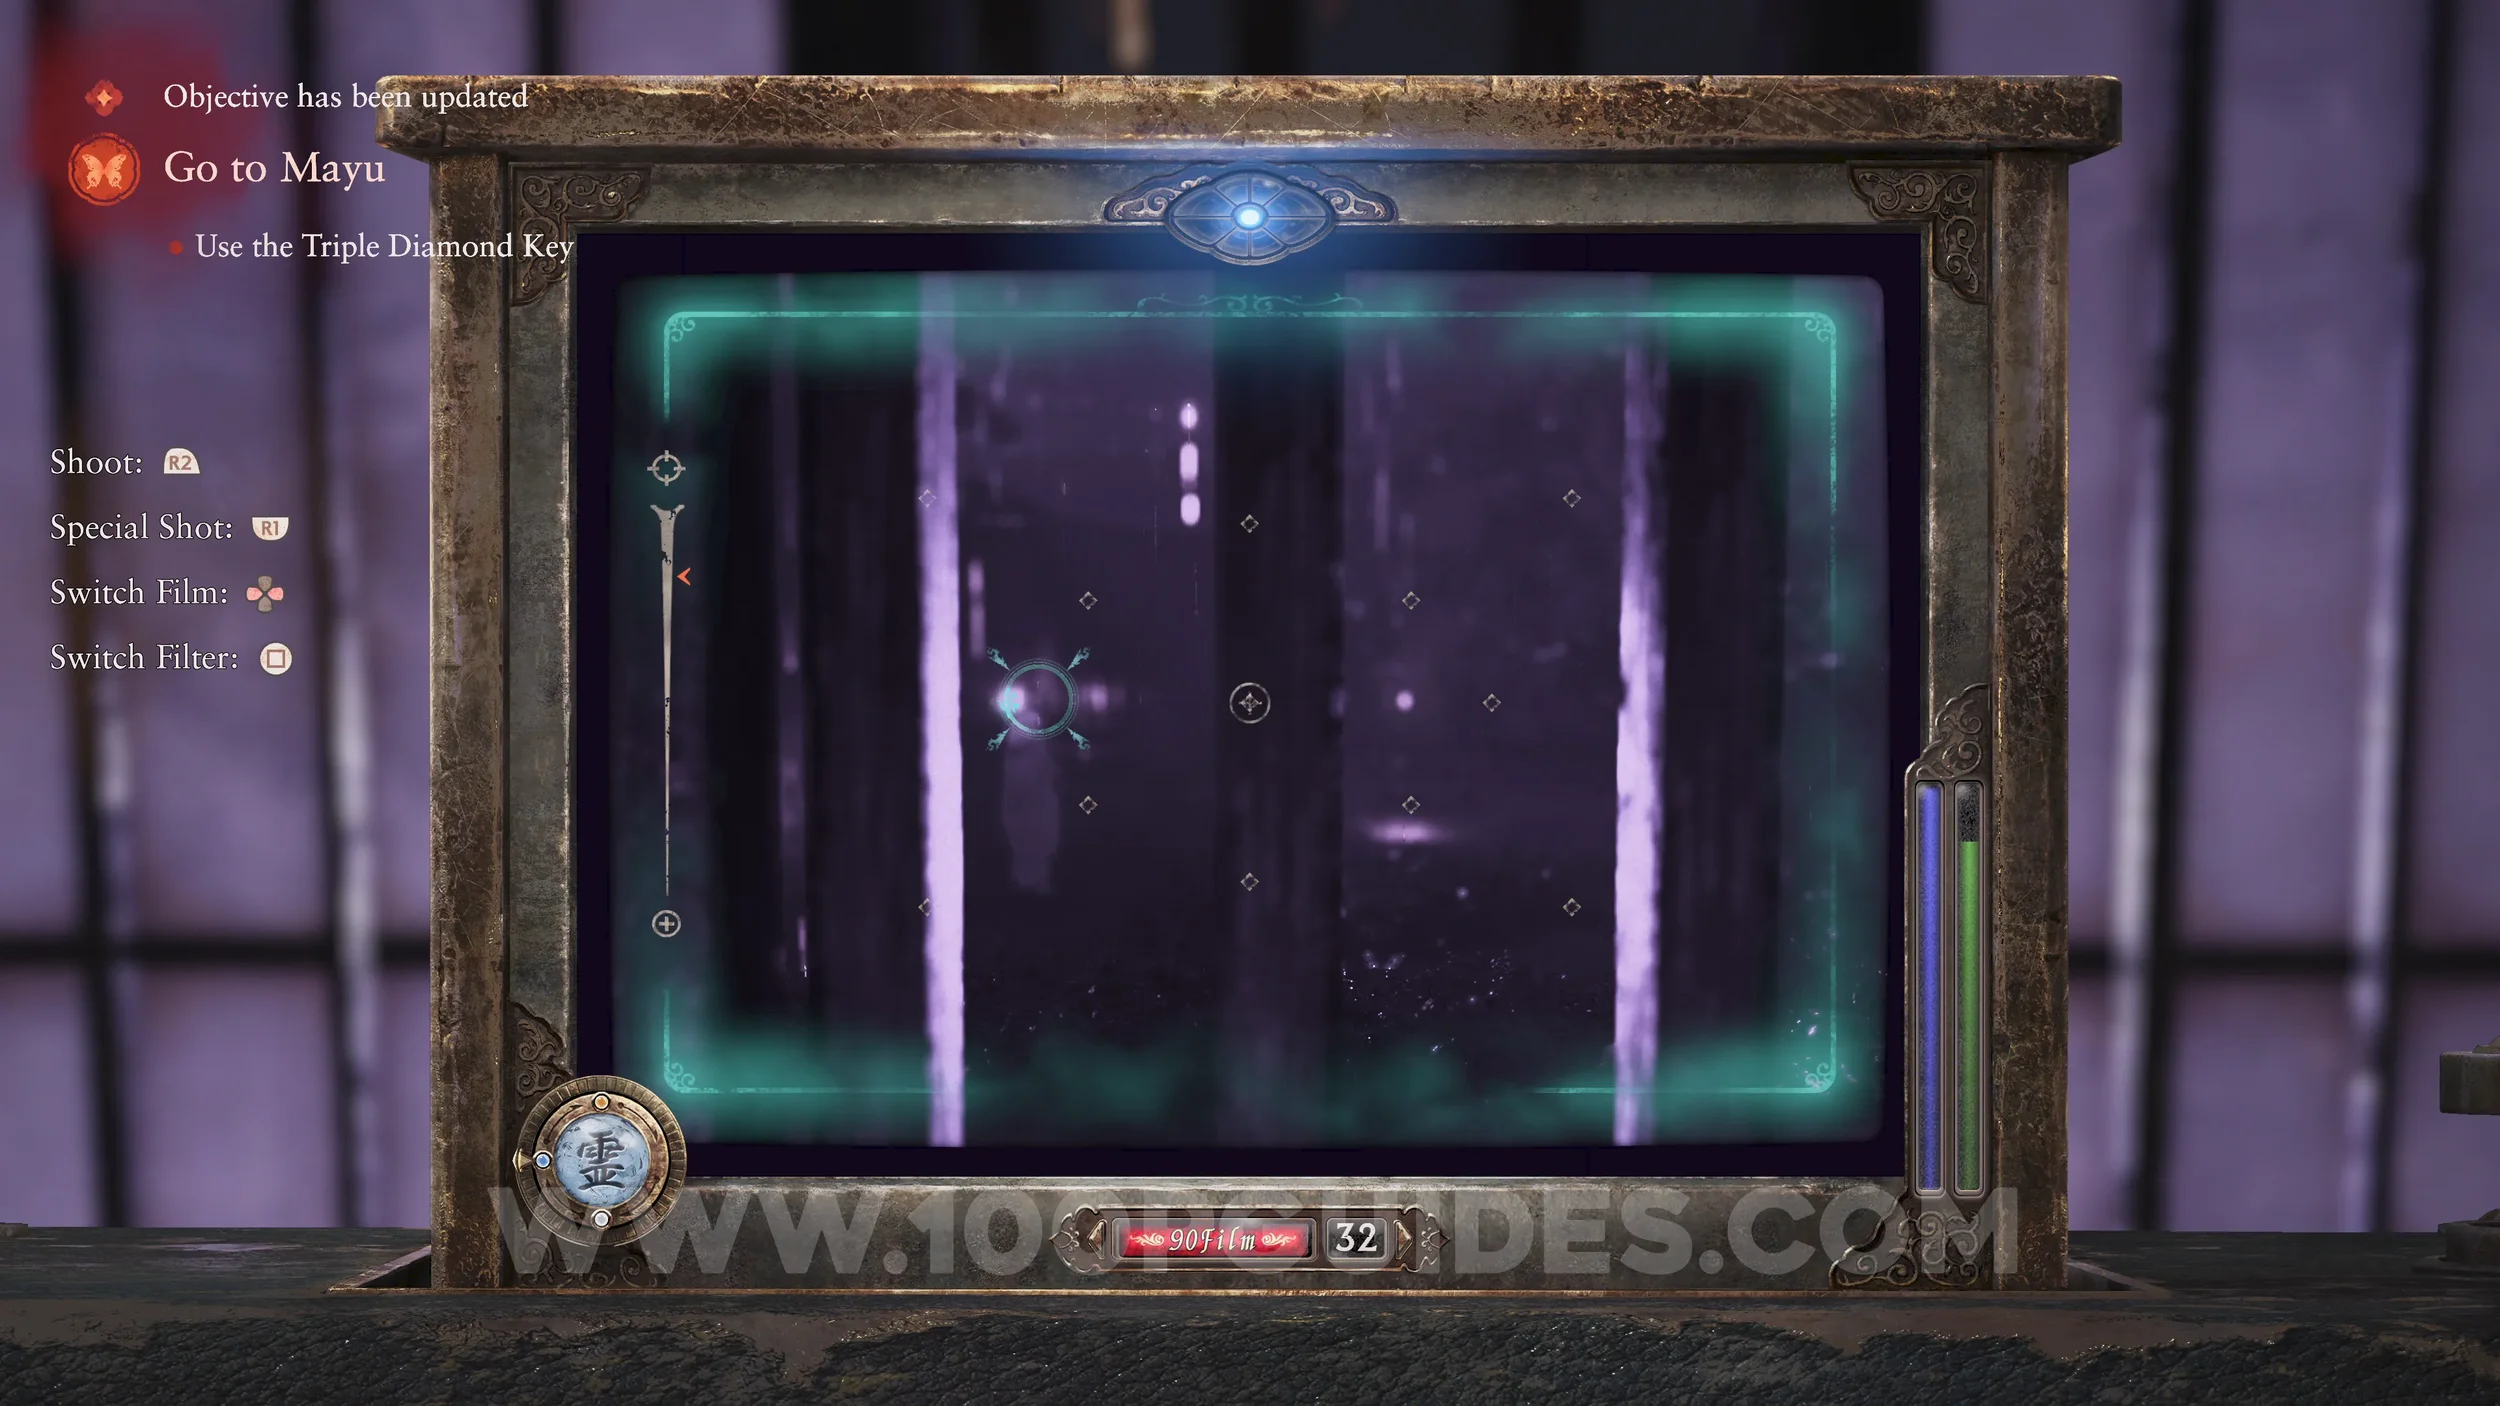
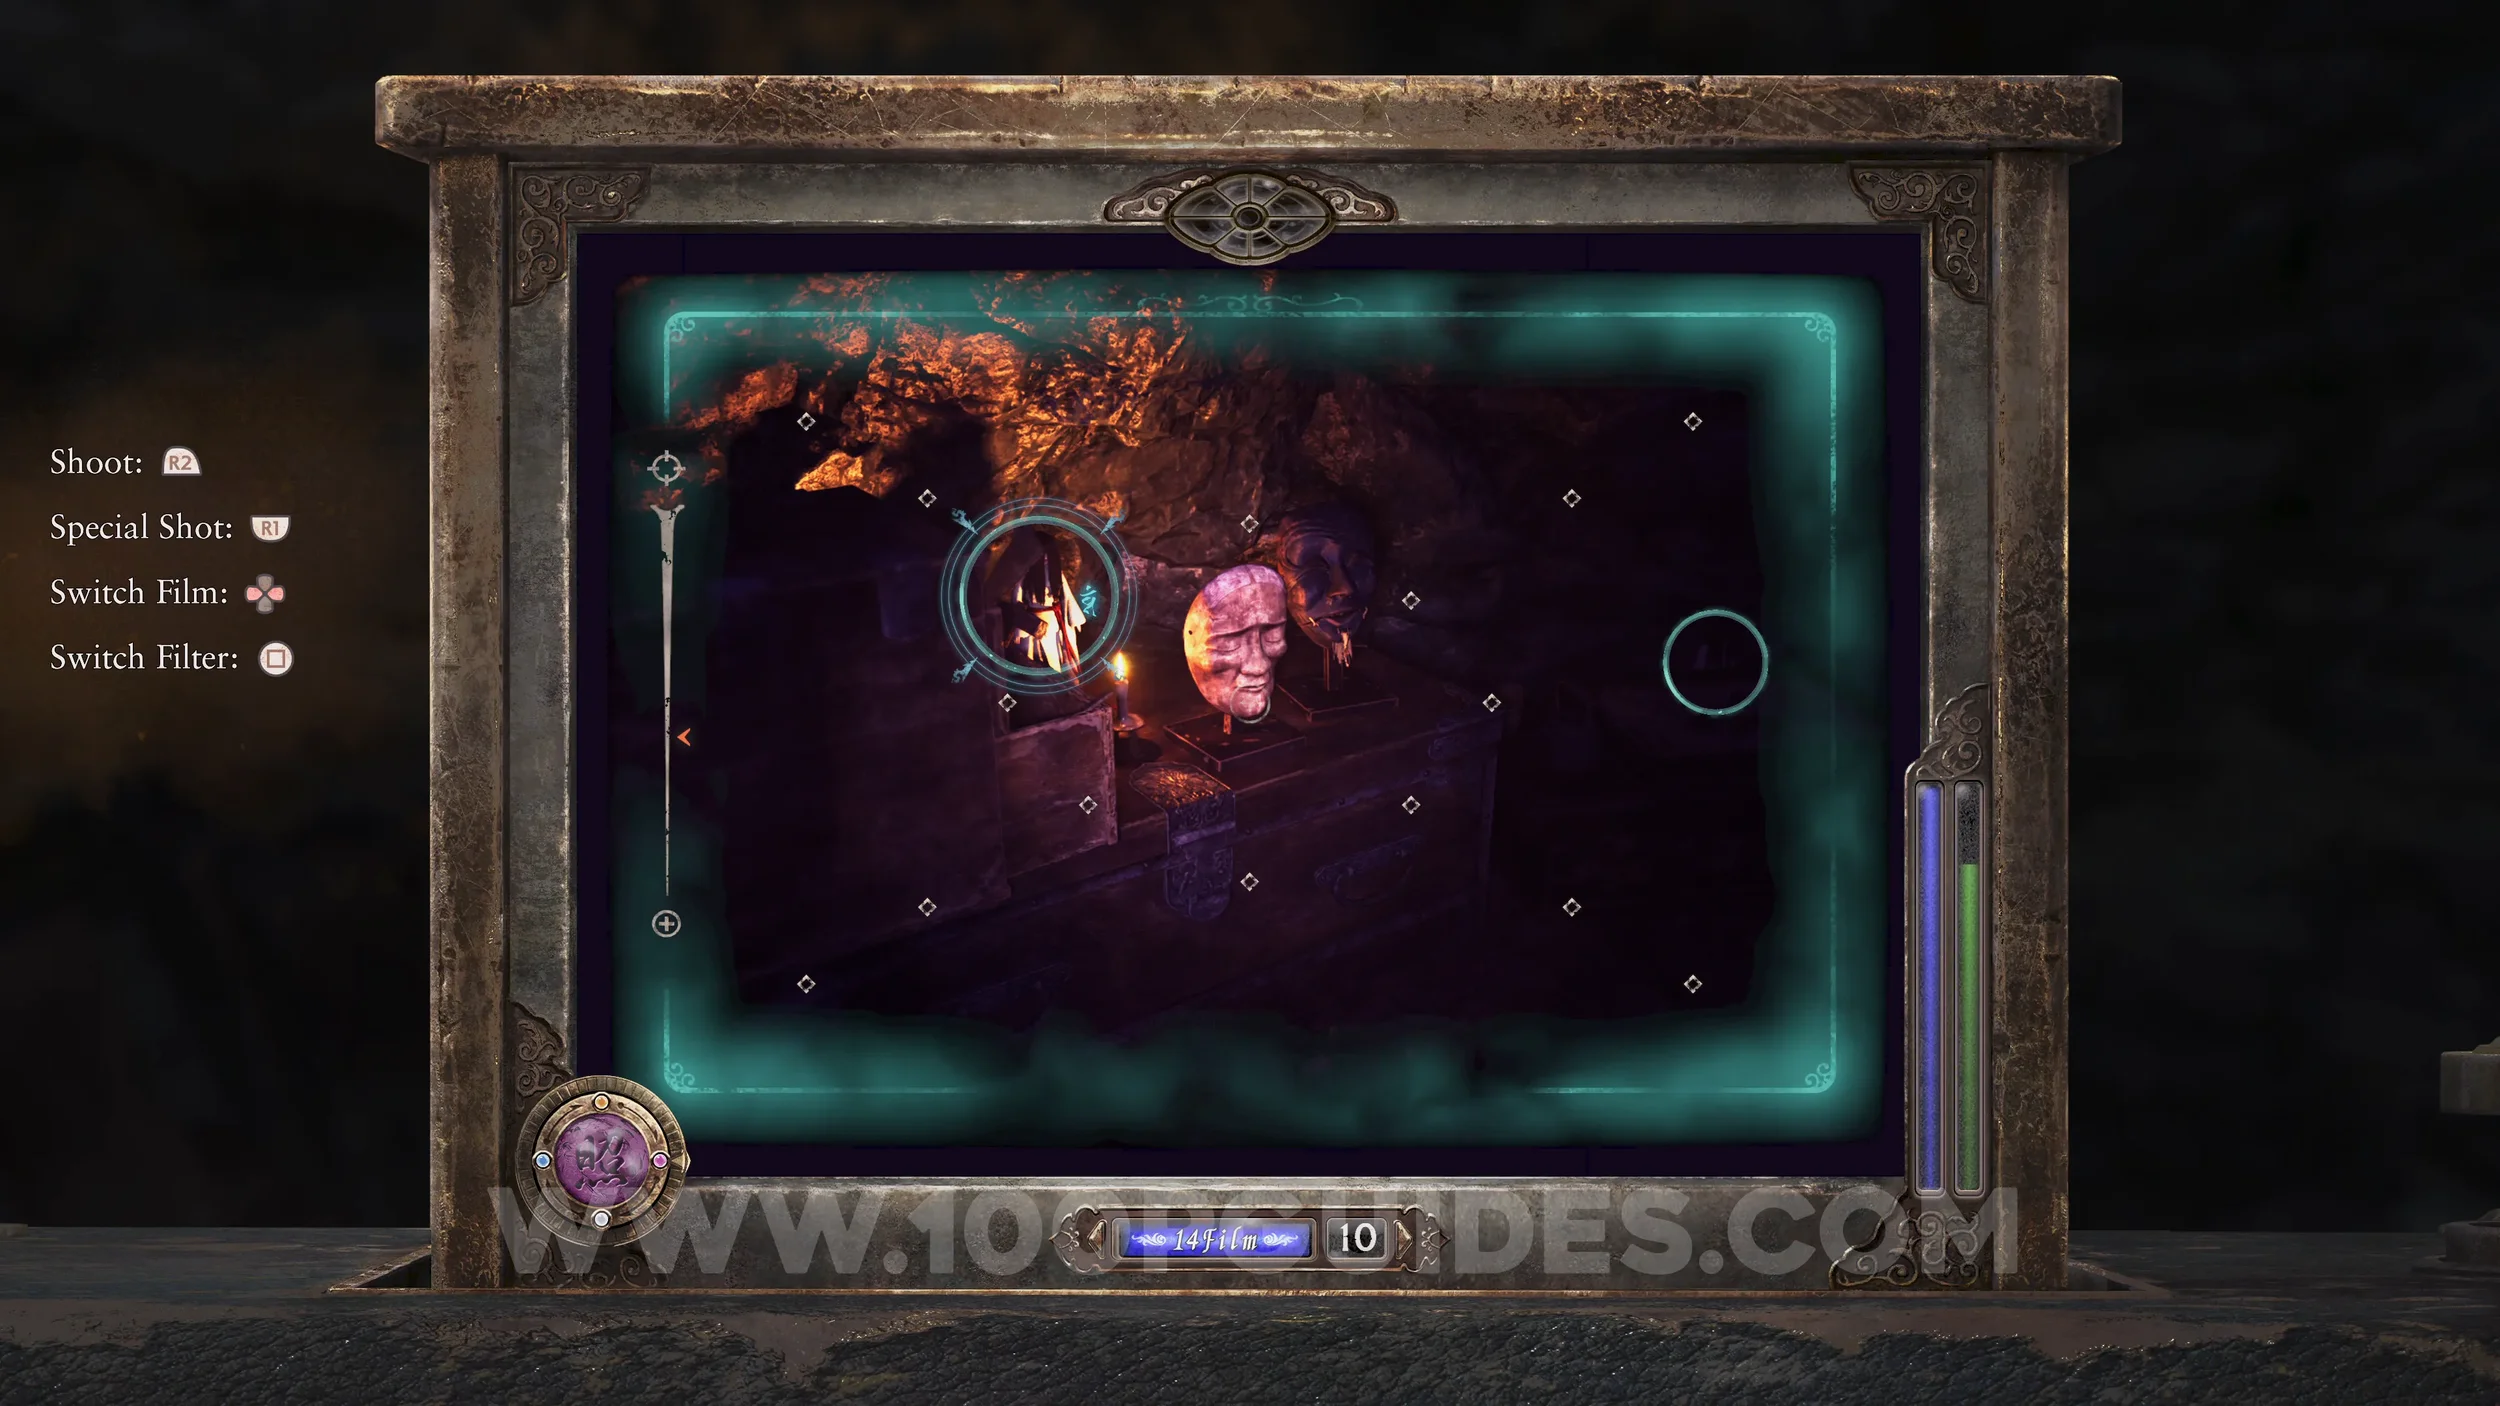
Phantom Expose #2 - Servant’s Room, Revenant #1 - 001 Fearful Man. After using the Exposure Filter on the wall to enter the Bloodstained Room, look through the camera with the Exposure Filter and aim at the half-open closet door to reveal the Revenant. These hidden ghosts can only be seen with the Exposure Filter.
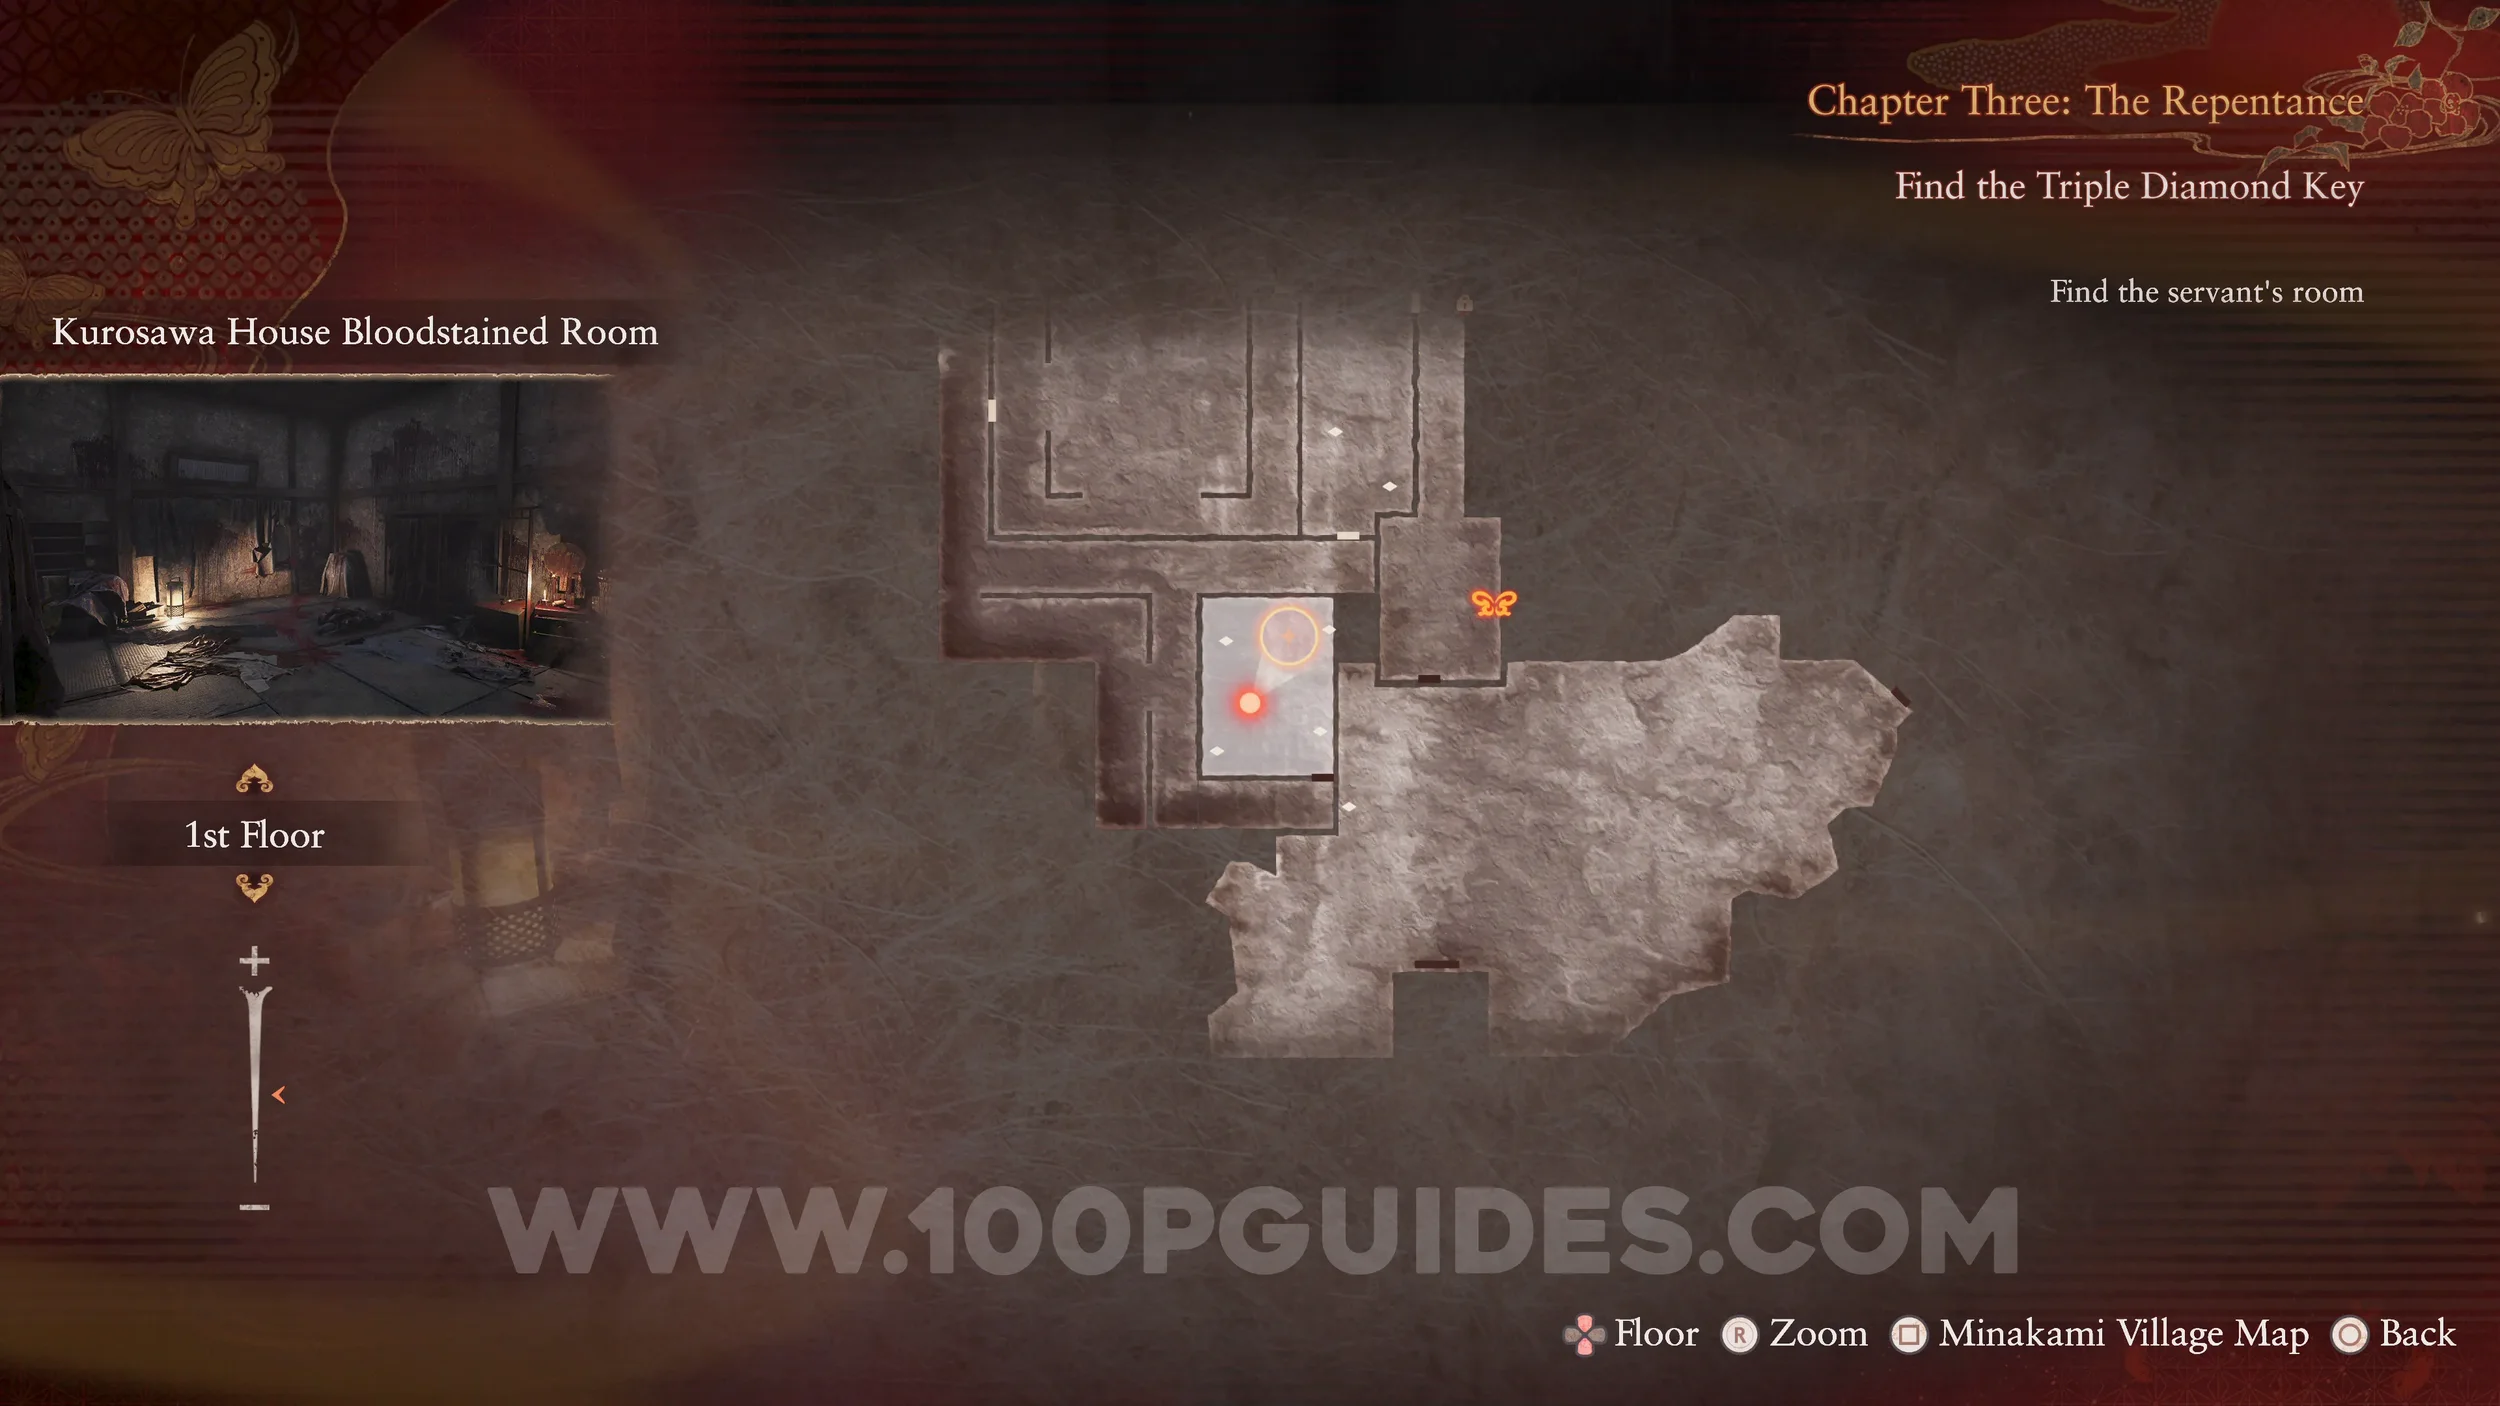
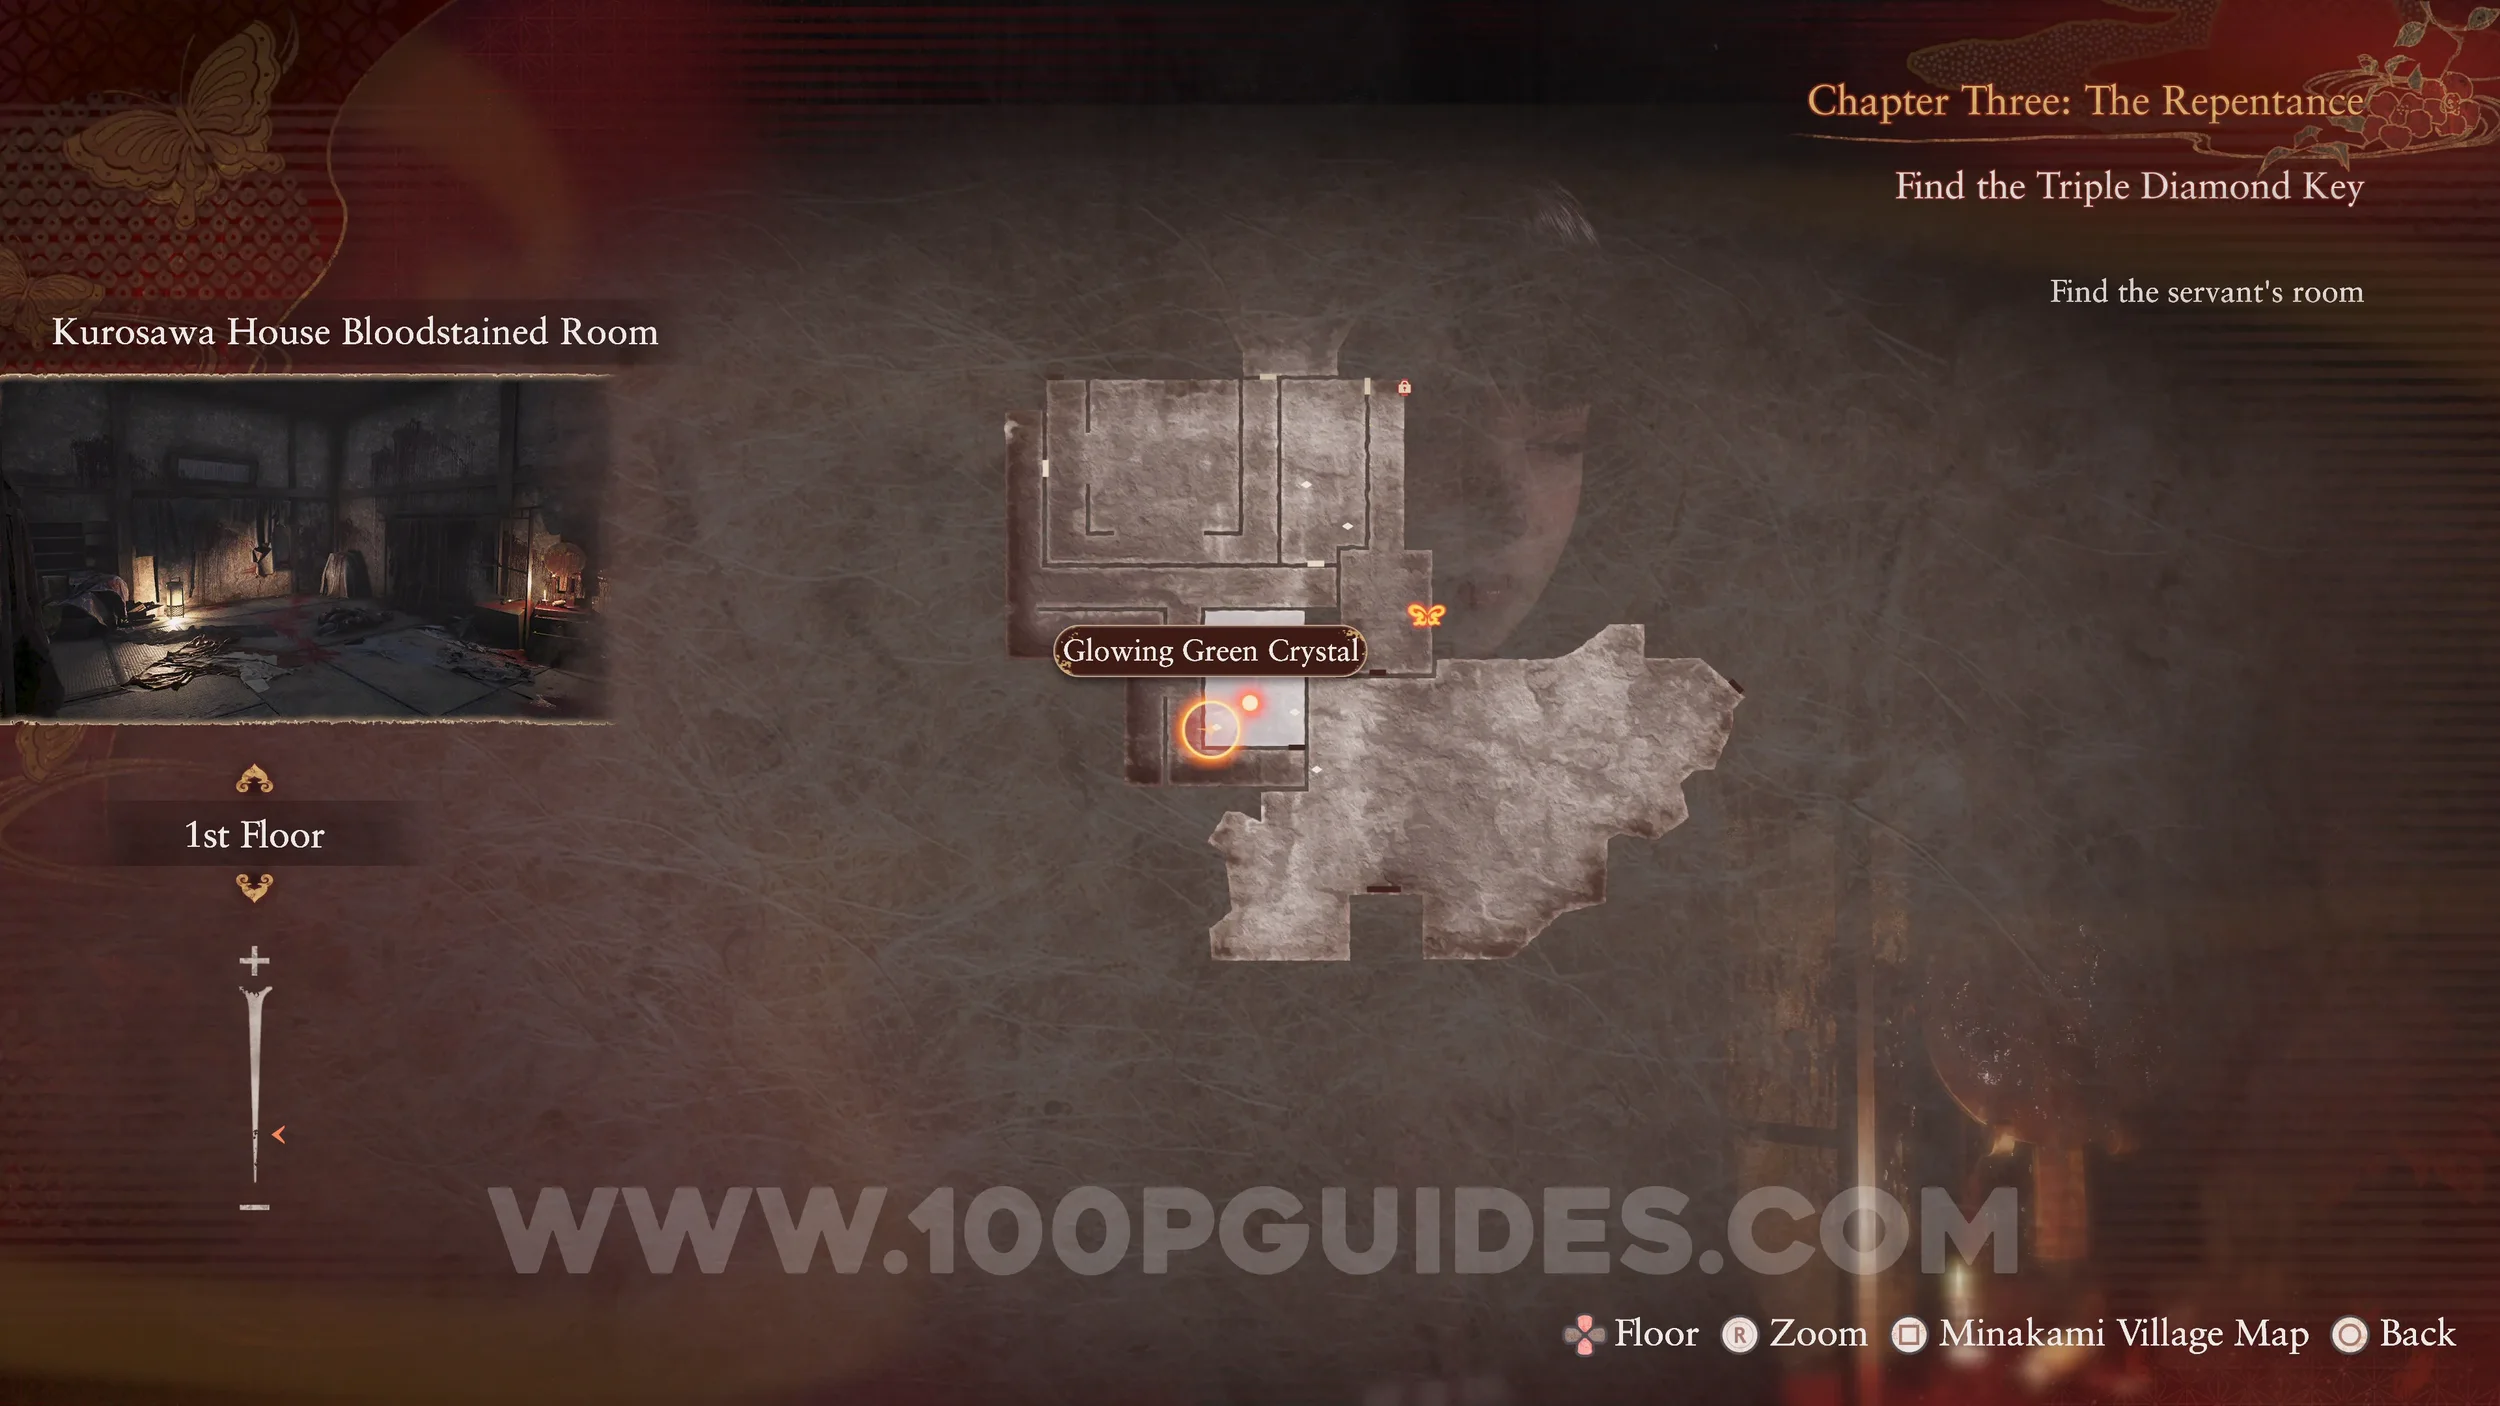
Spirit Stone #14 - Glowing Green Crystal. Also in the Bloodstained Room.
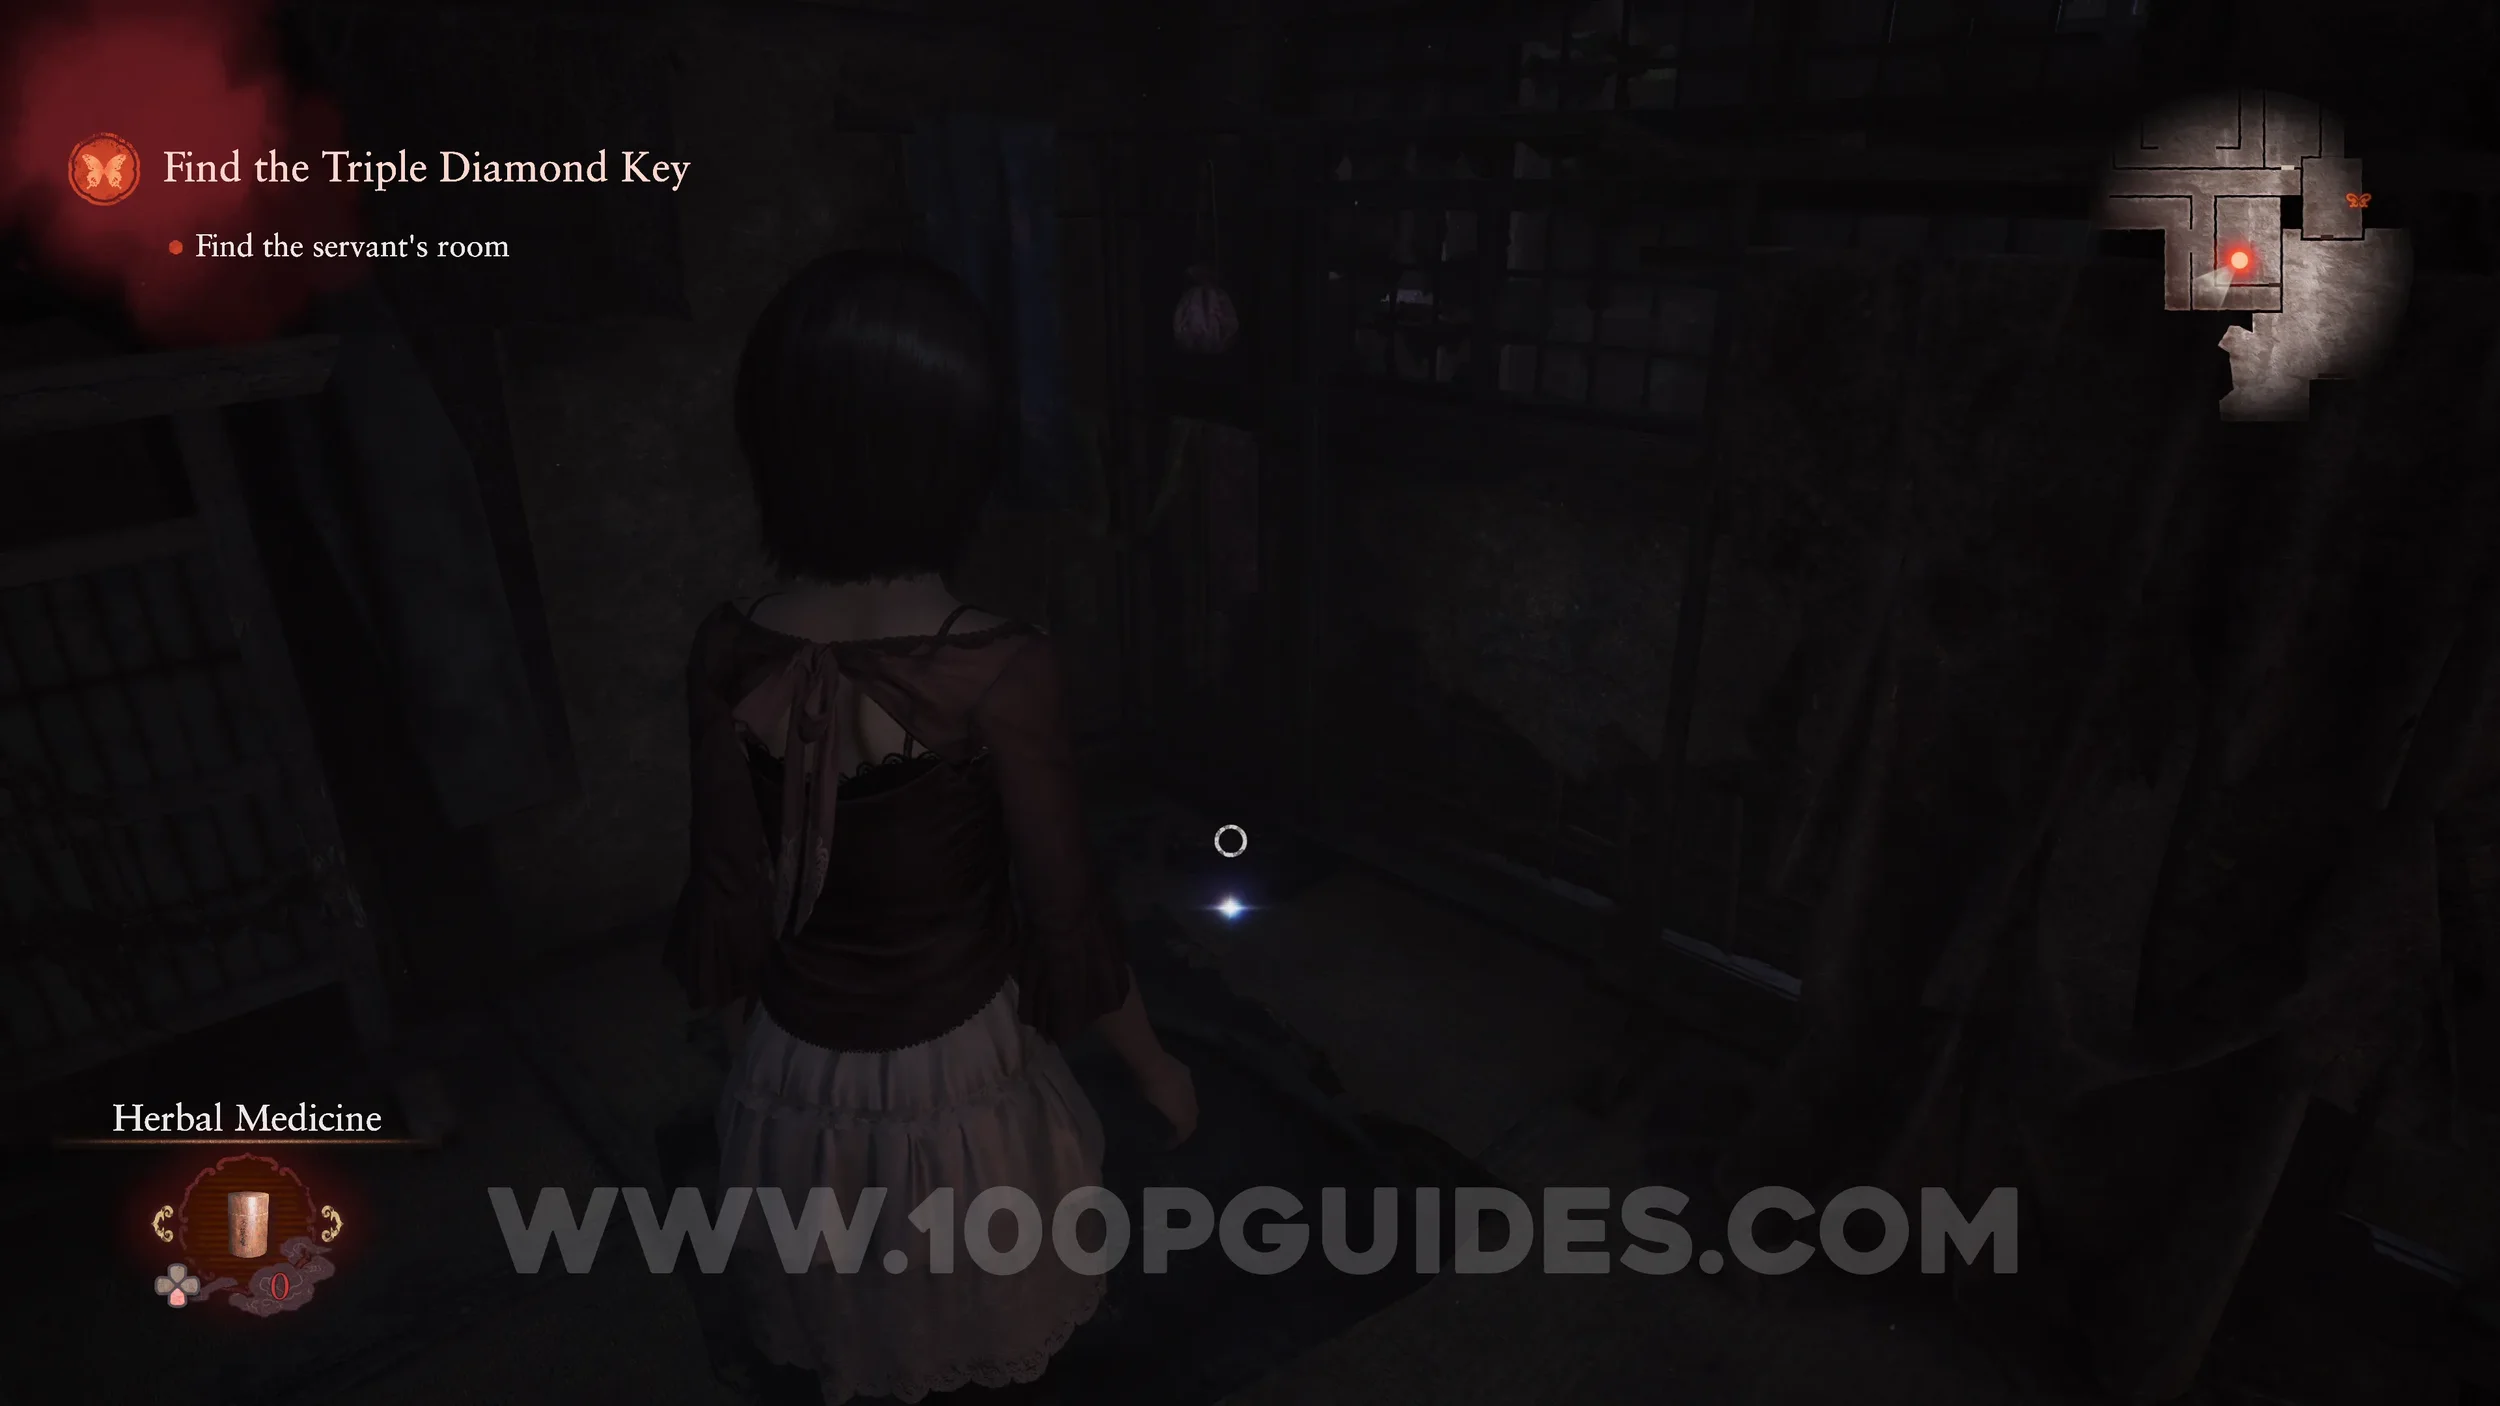
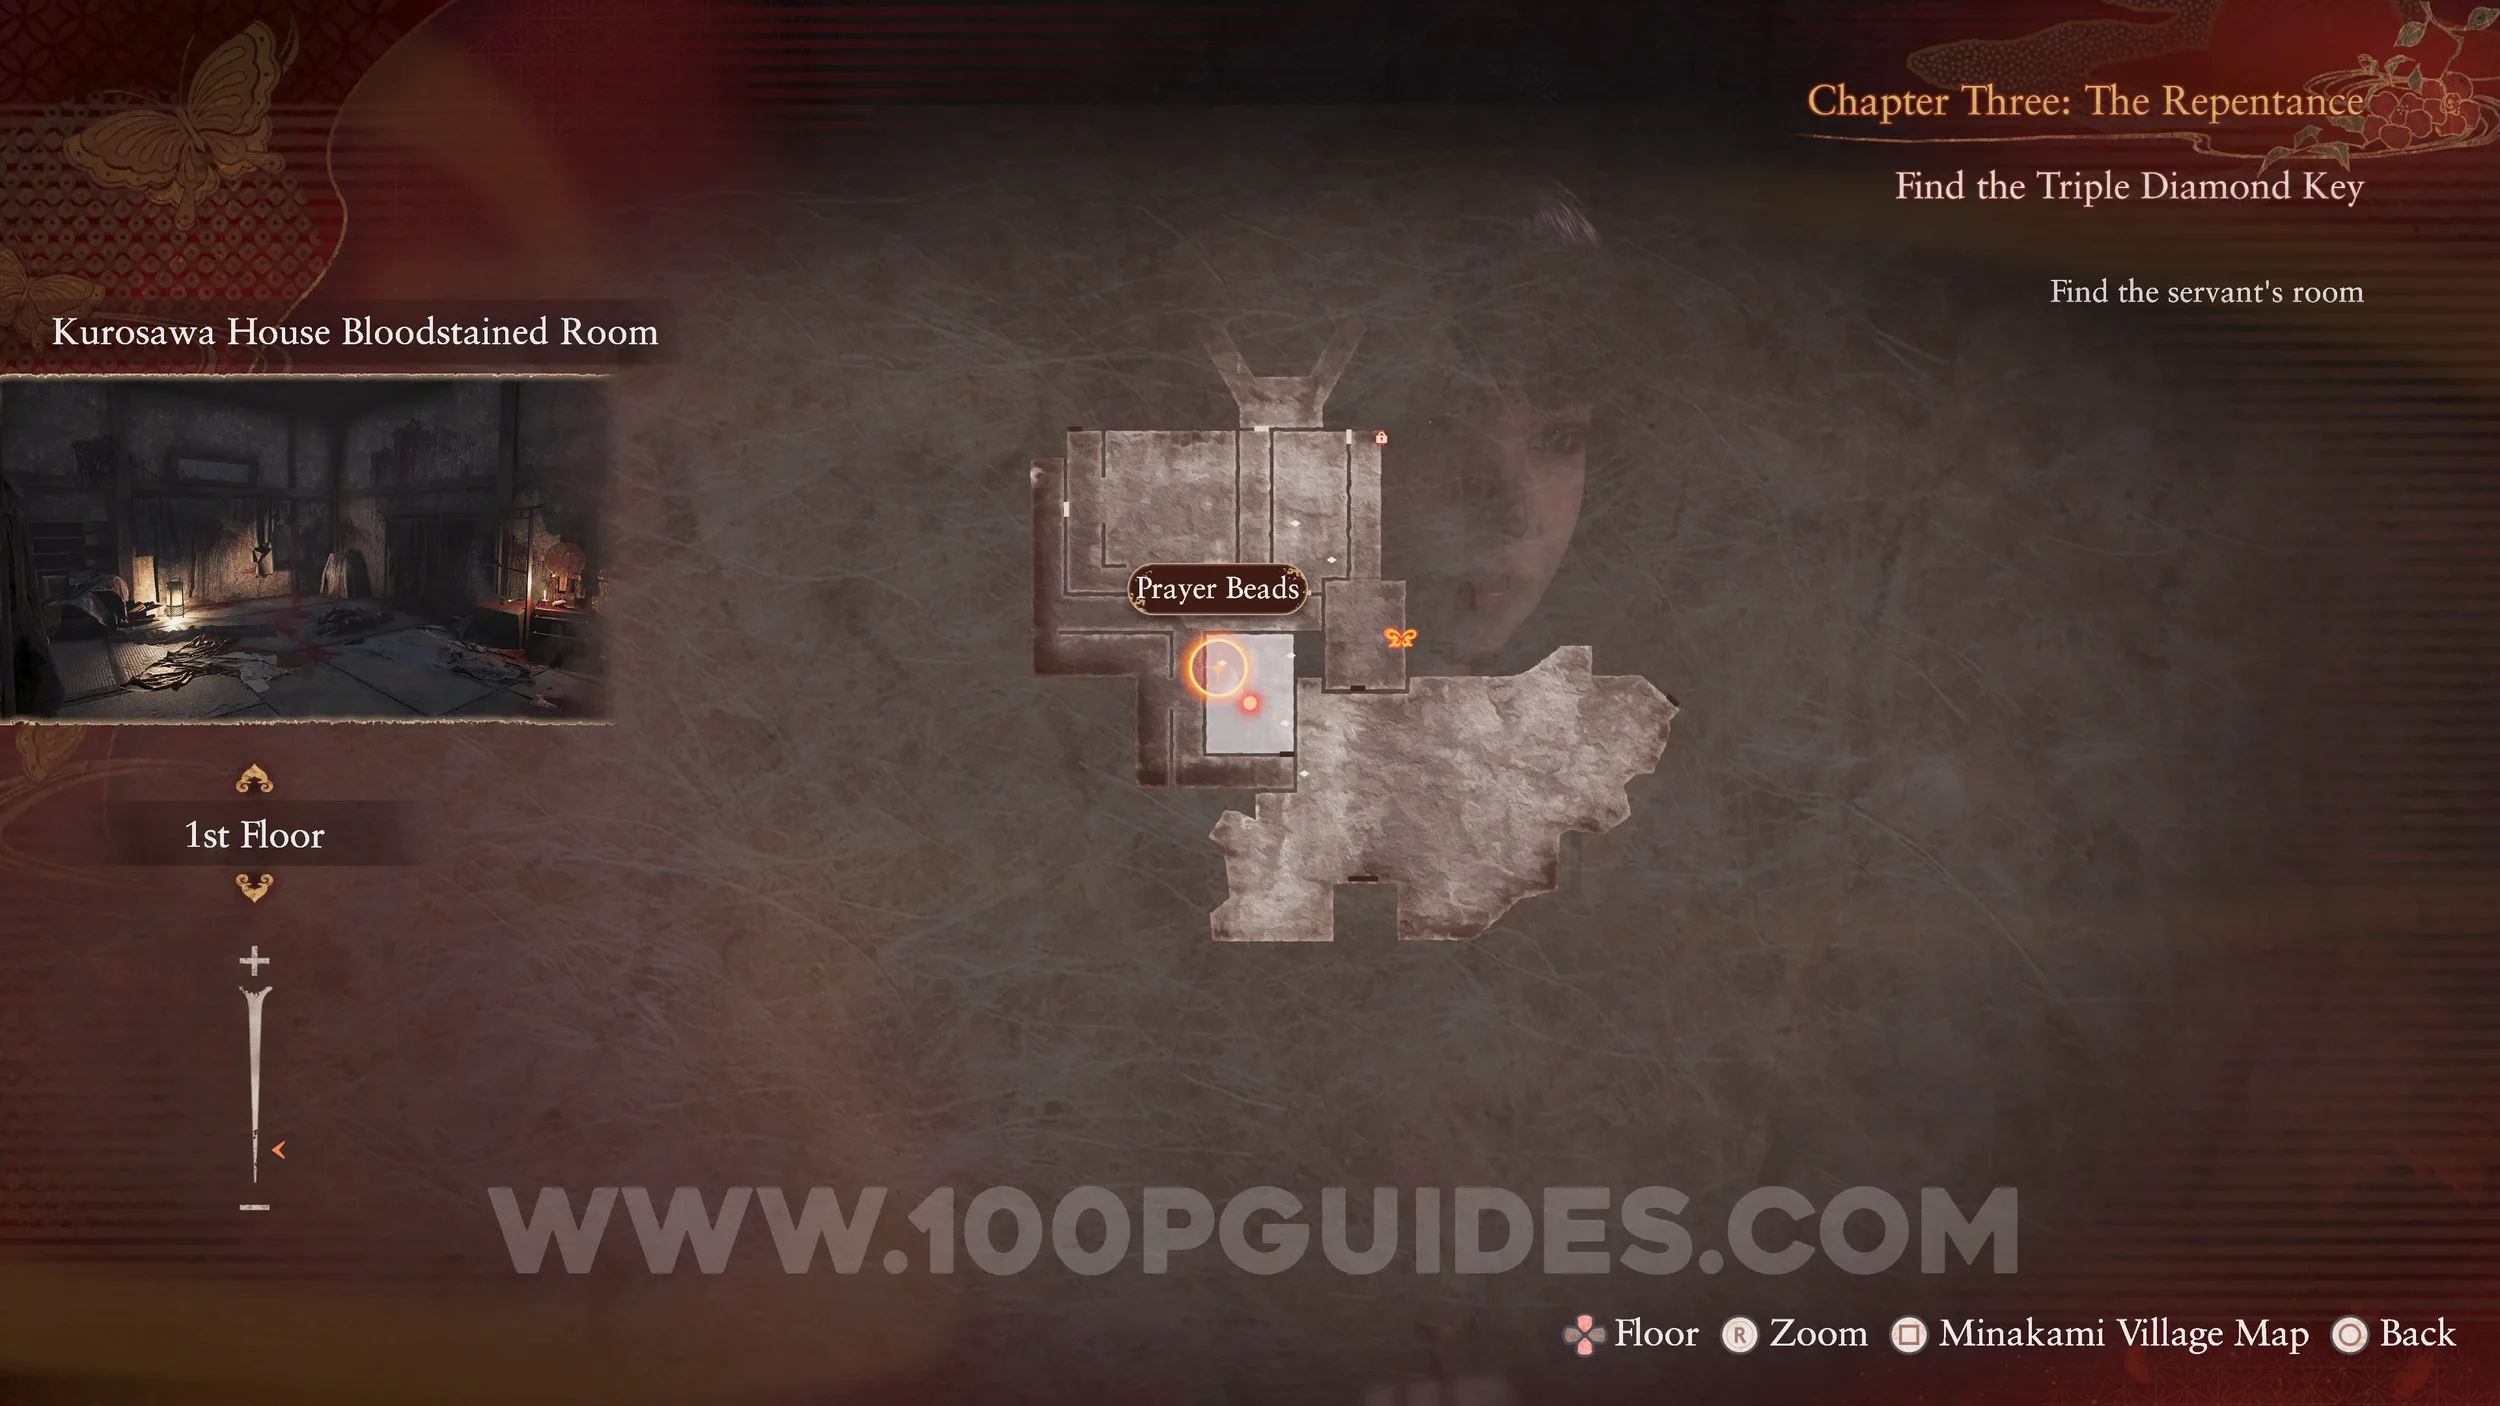
Prayer Beads #11. Also in the Bloodstained Room.
Specter #55 - 041 Woman Waiting Under Tree. As soon as you leave the Bloodstained Room, look through the window on your left.
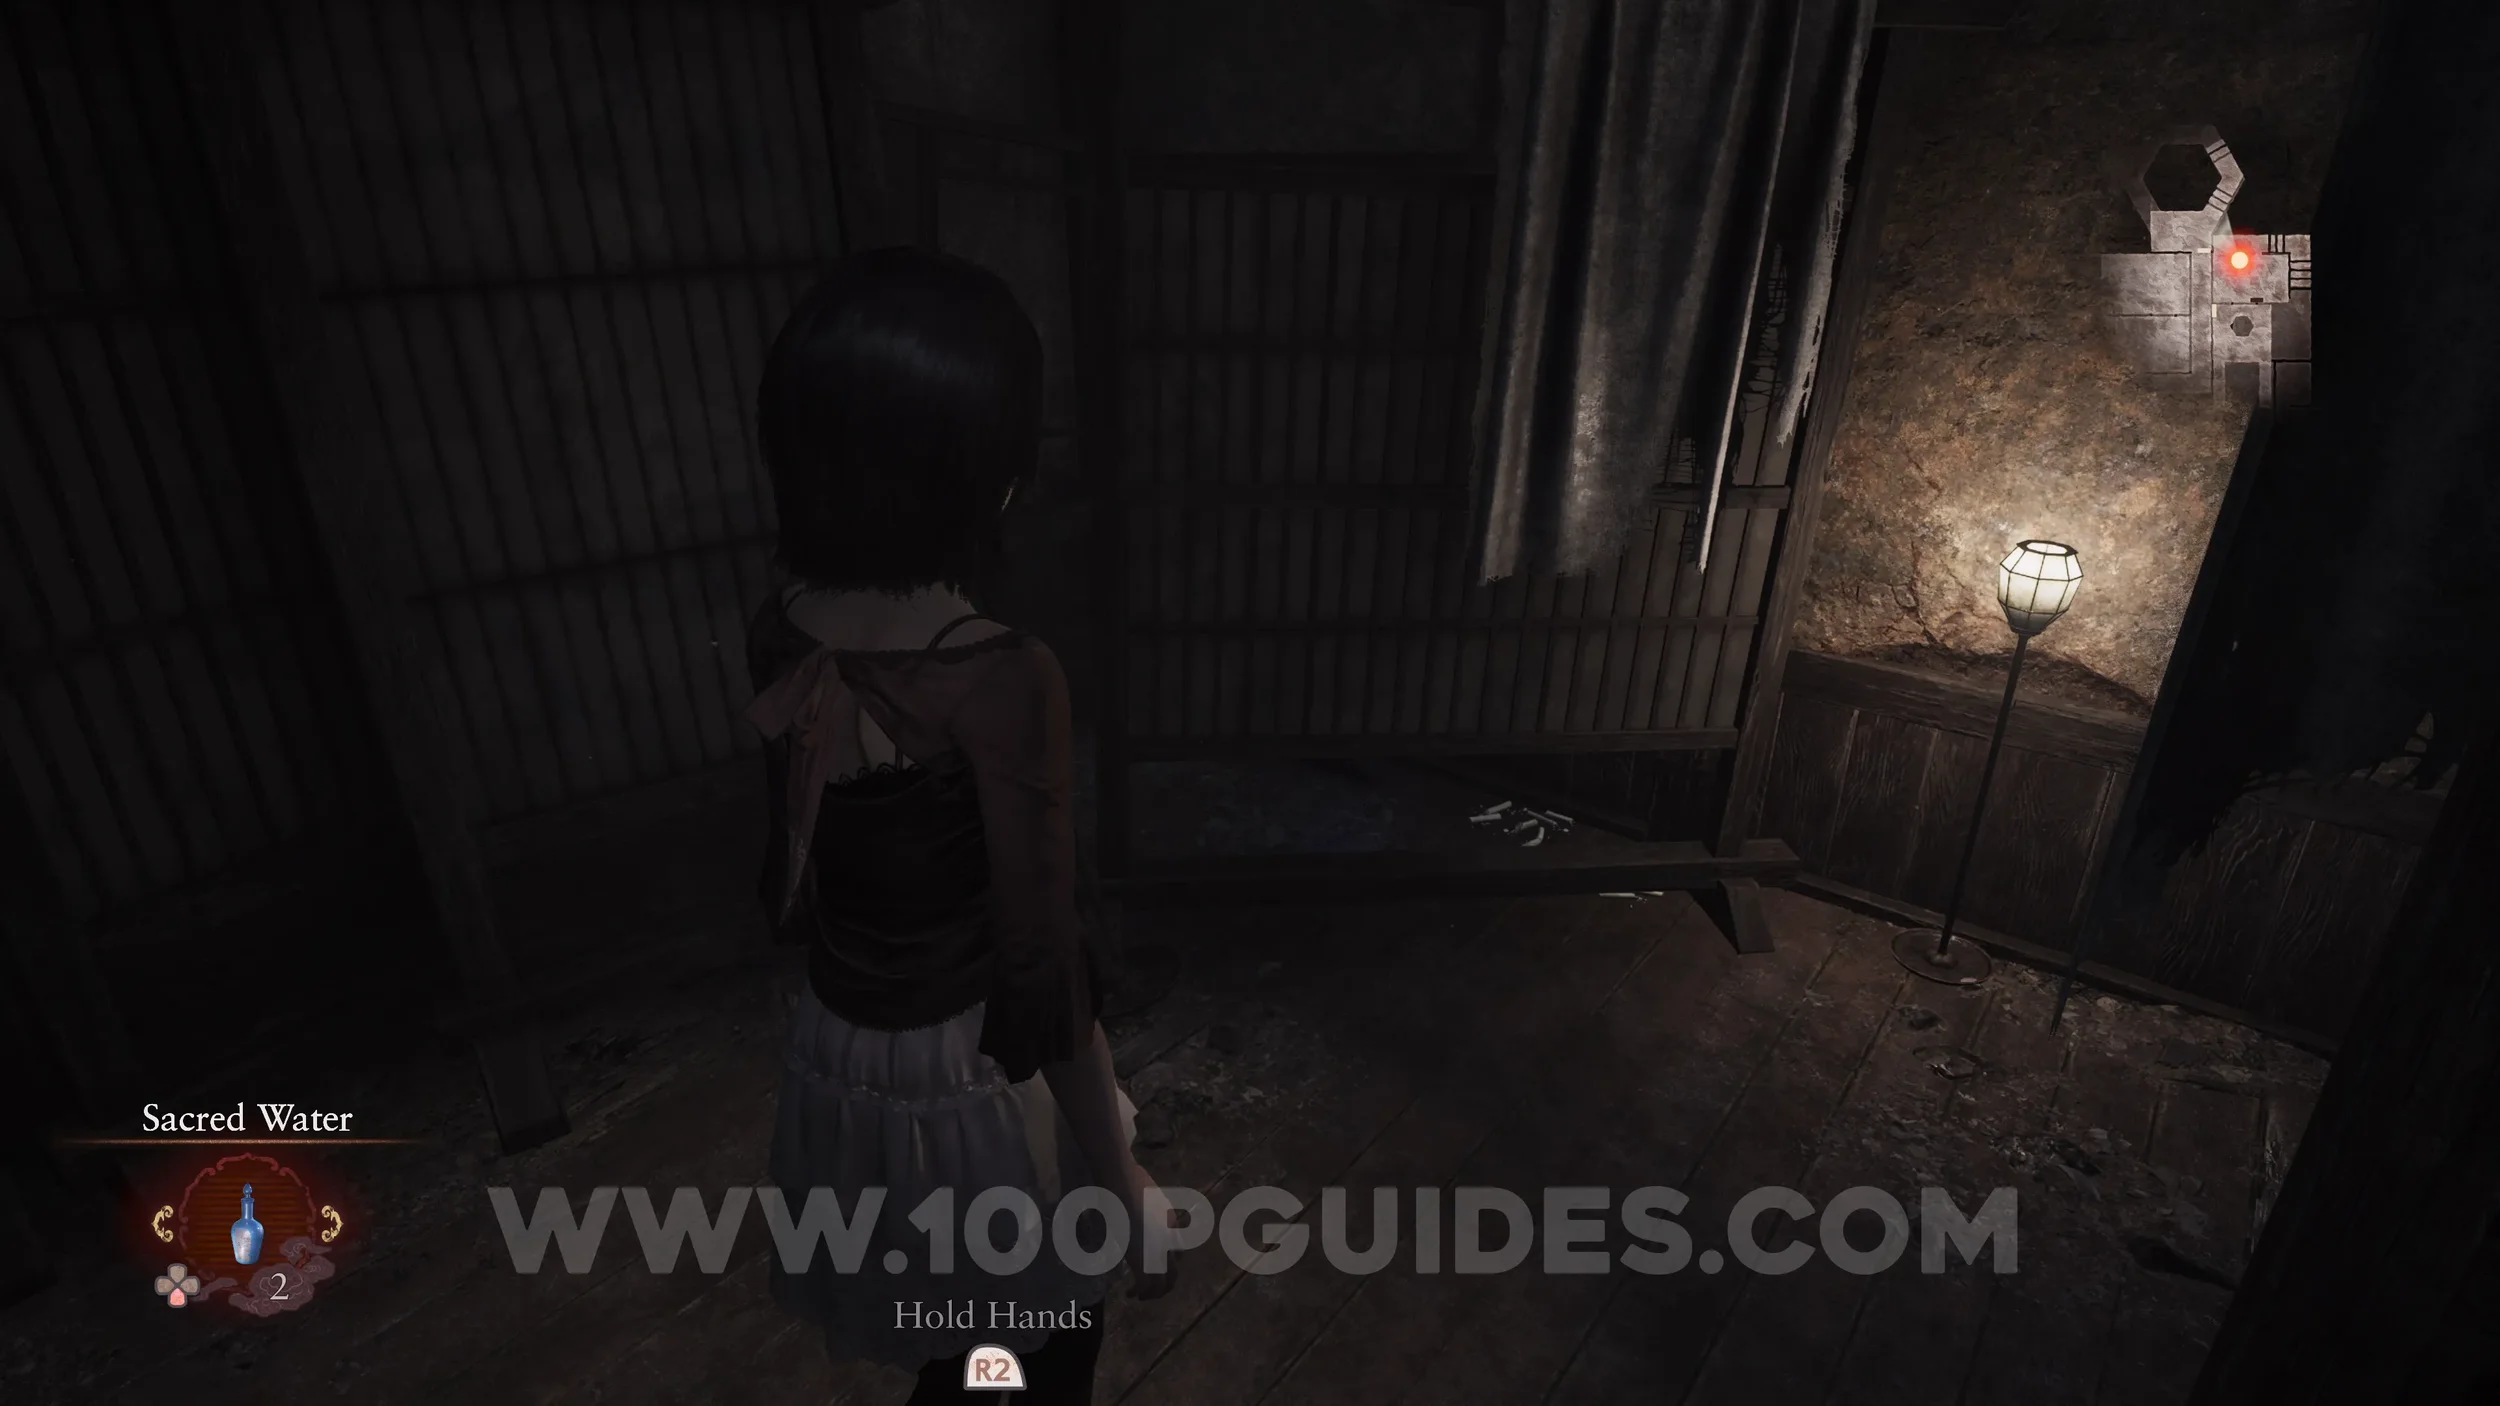
Chapter 4
Document #32 - Butterfly Diary 1. Obtained automatically at the start of the chapter.
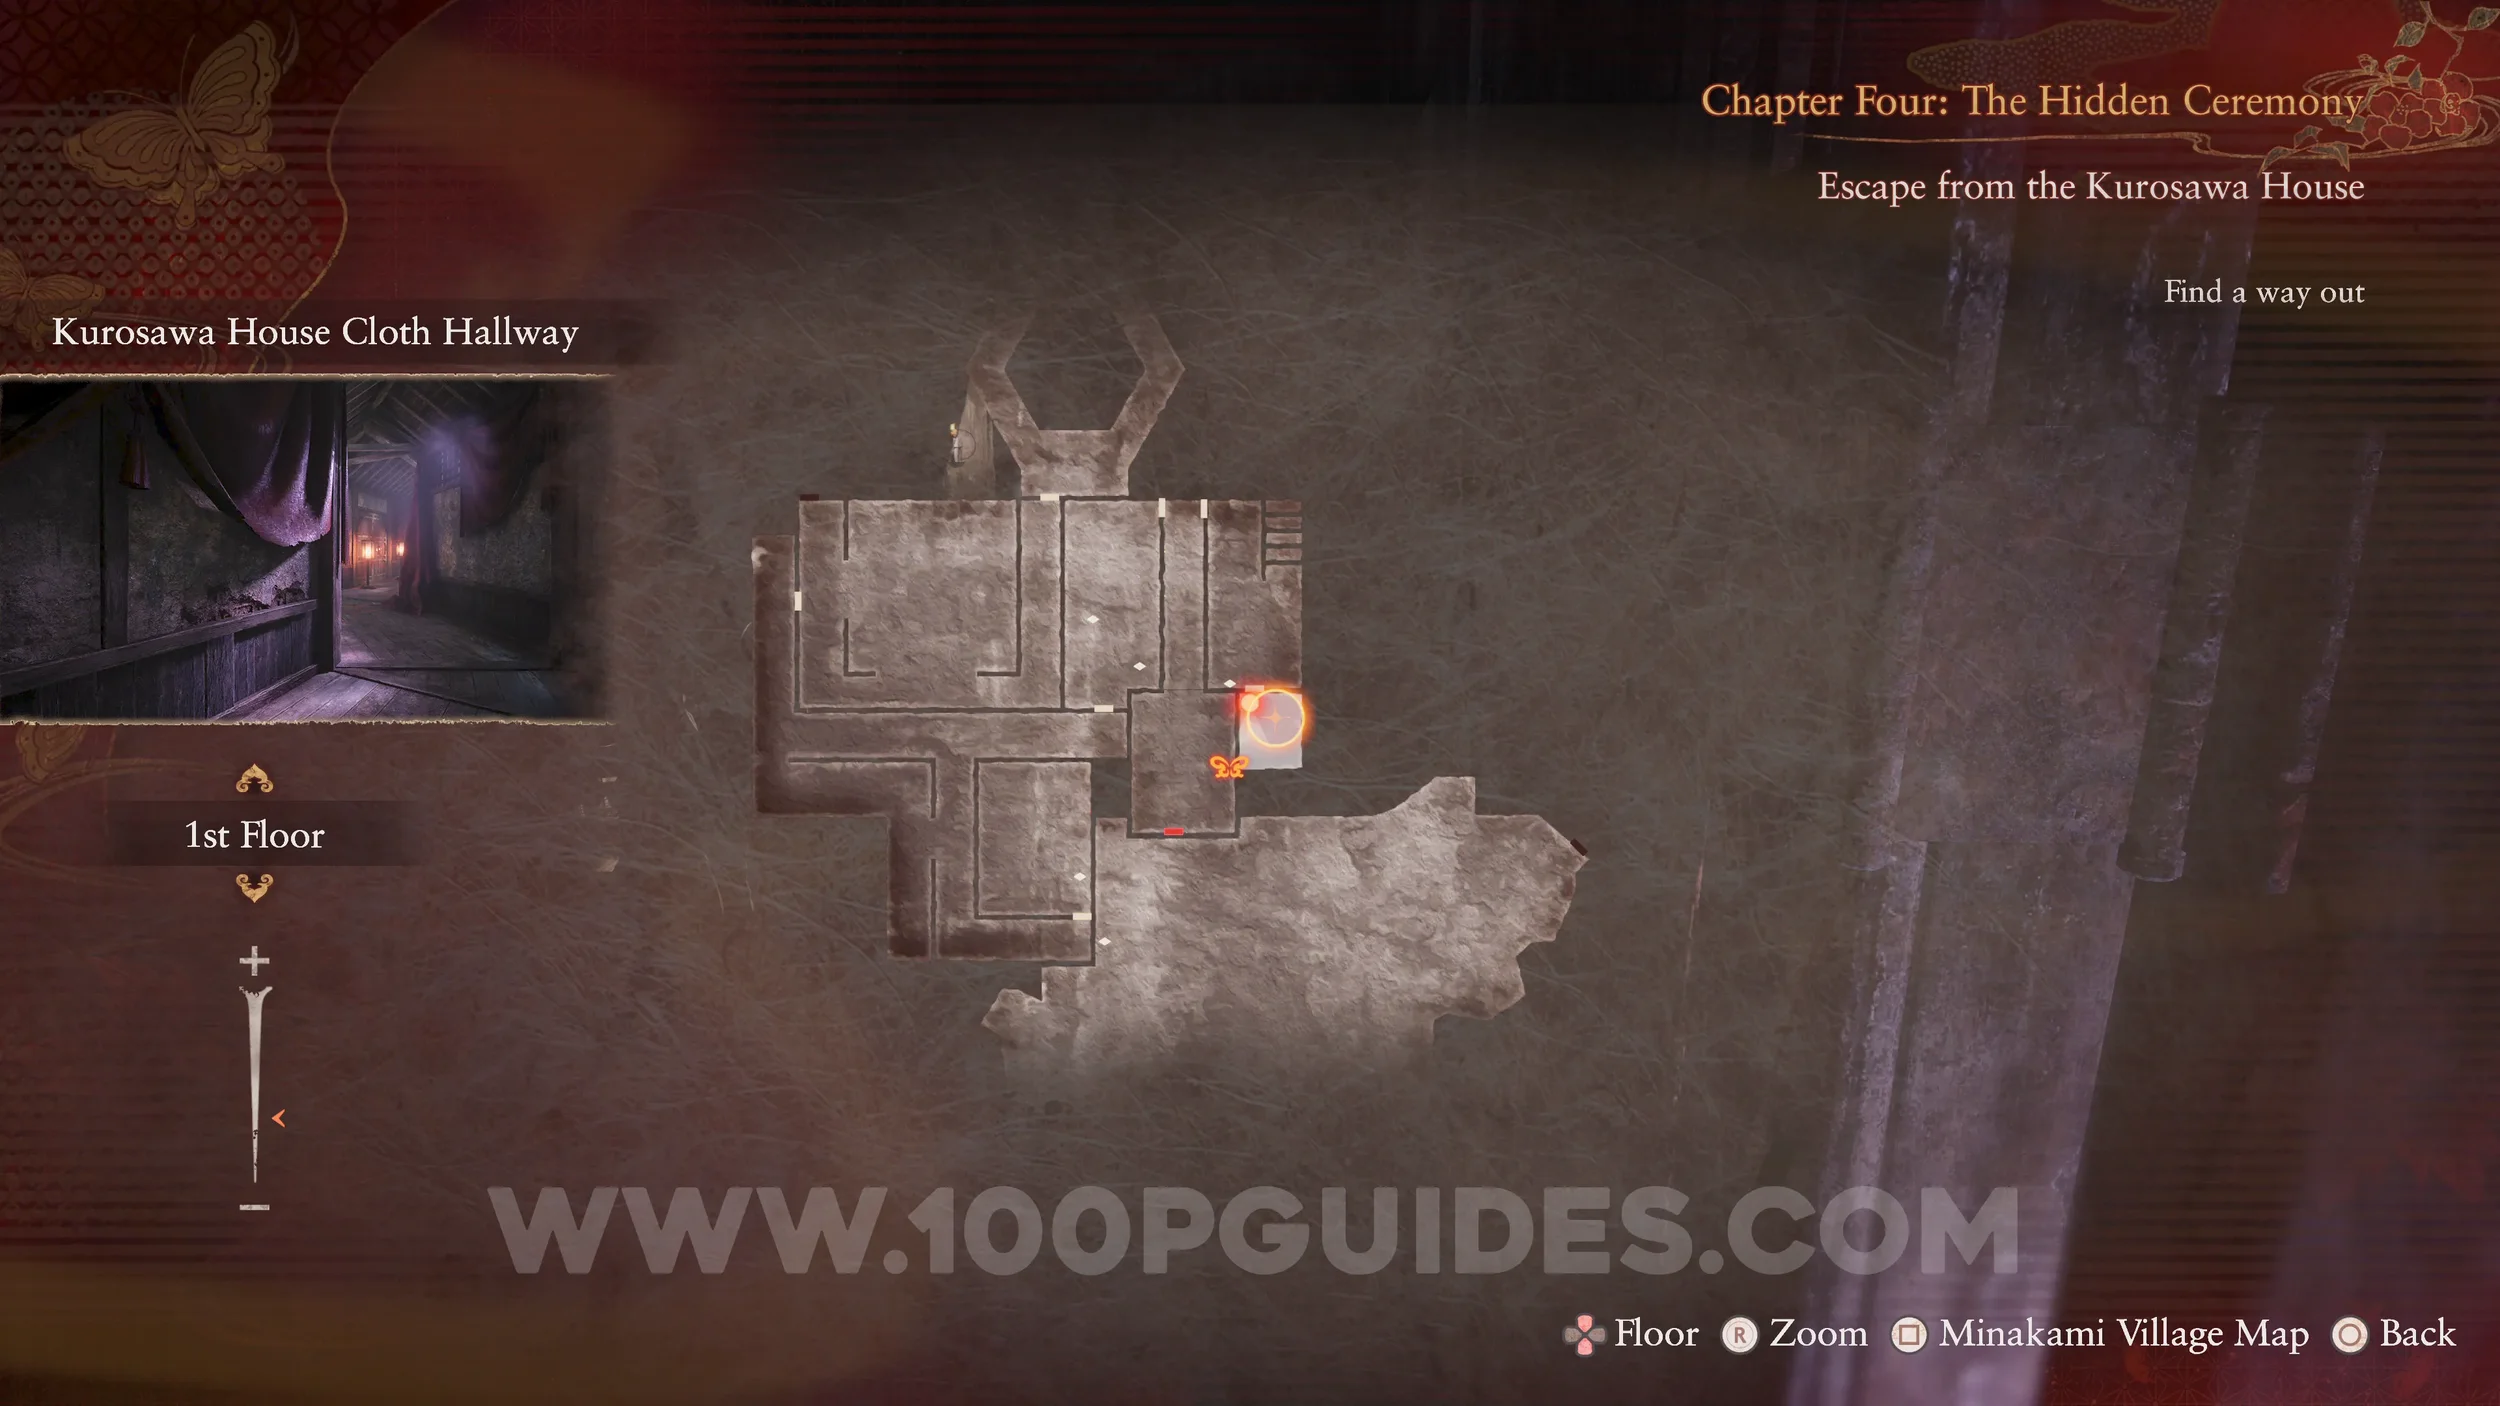
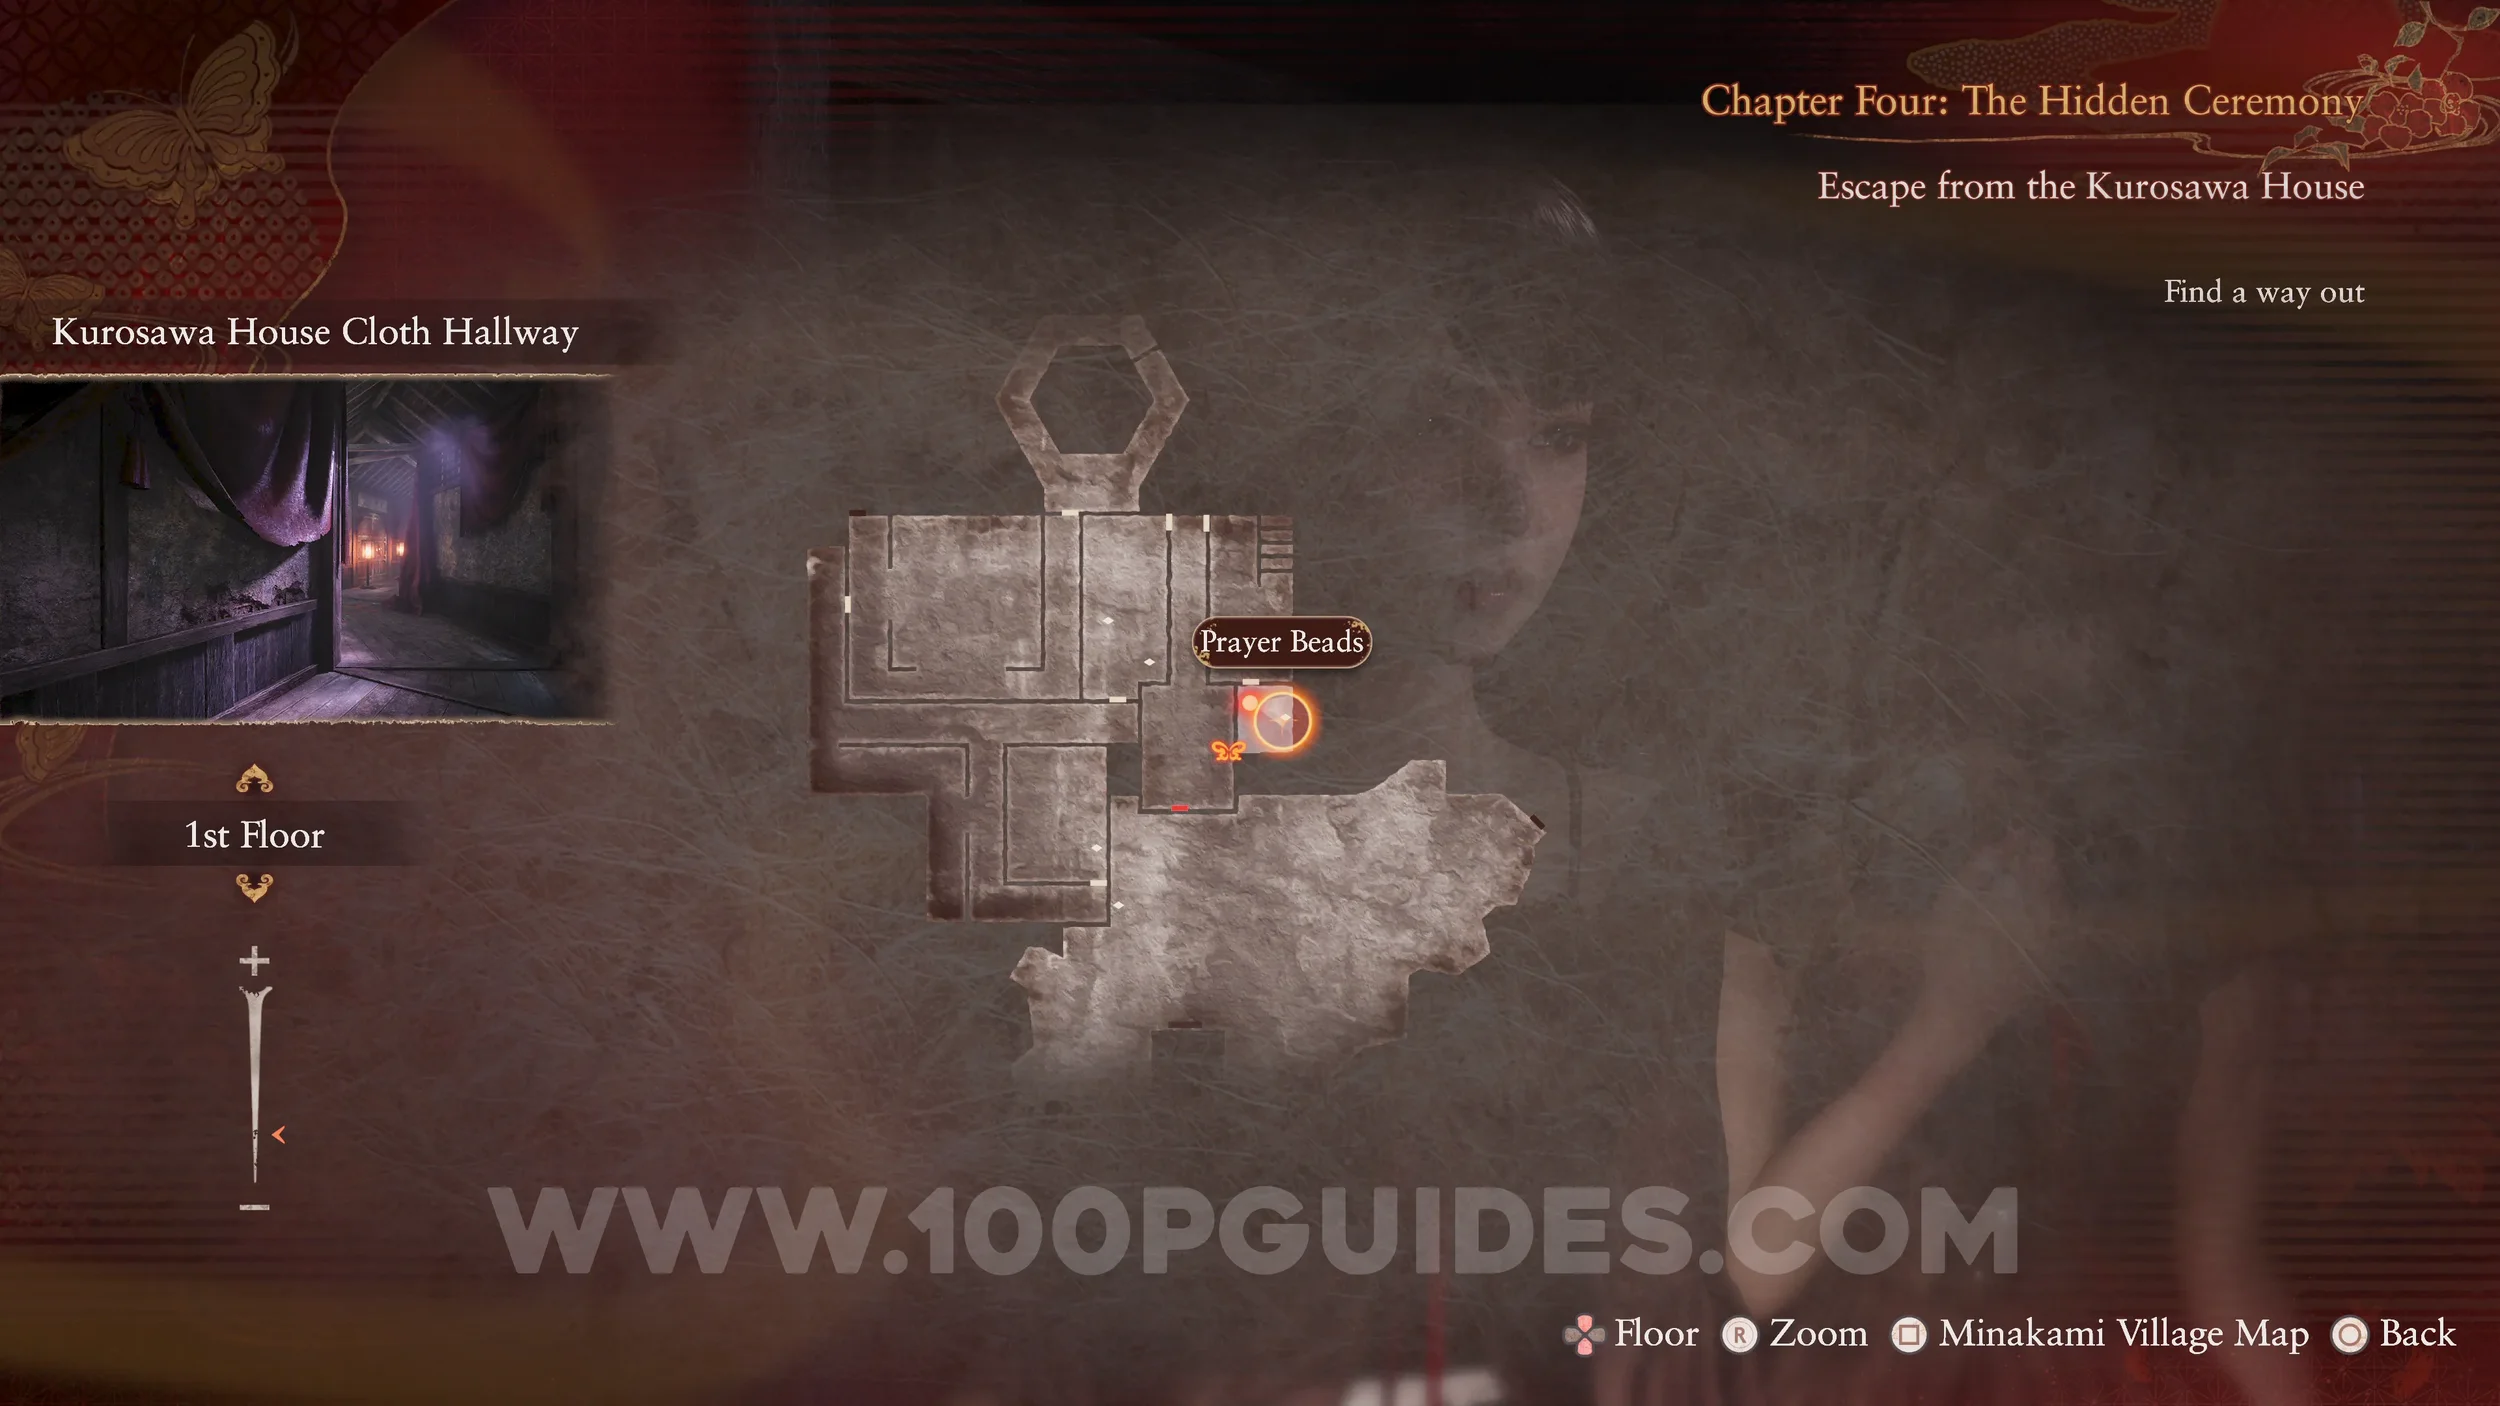
Prayer Beads #12. On the floor as soon as you start the chapter.
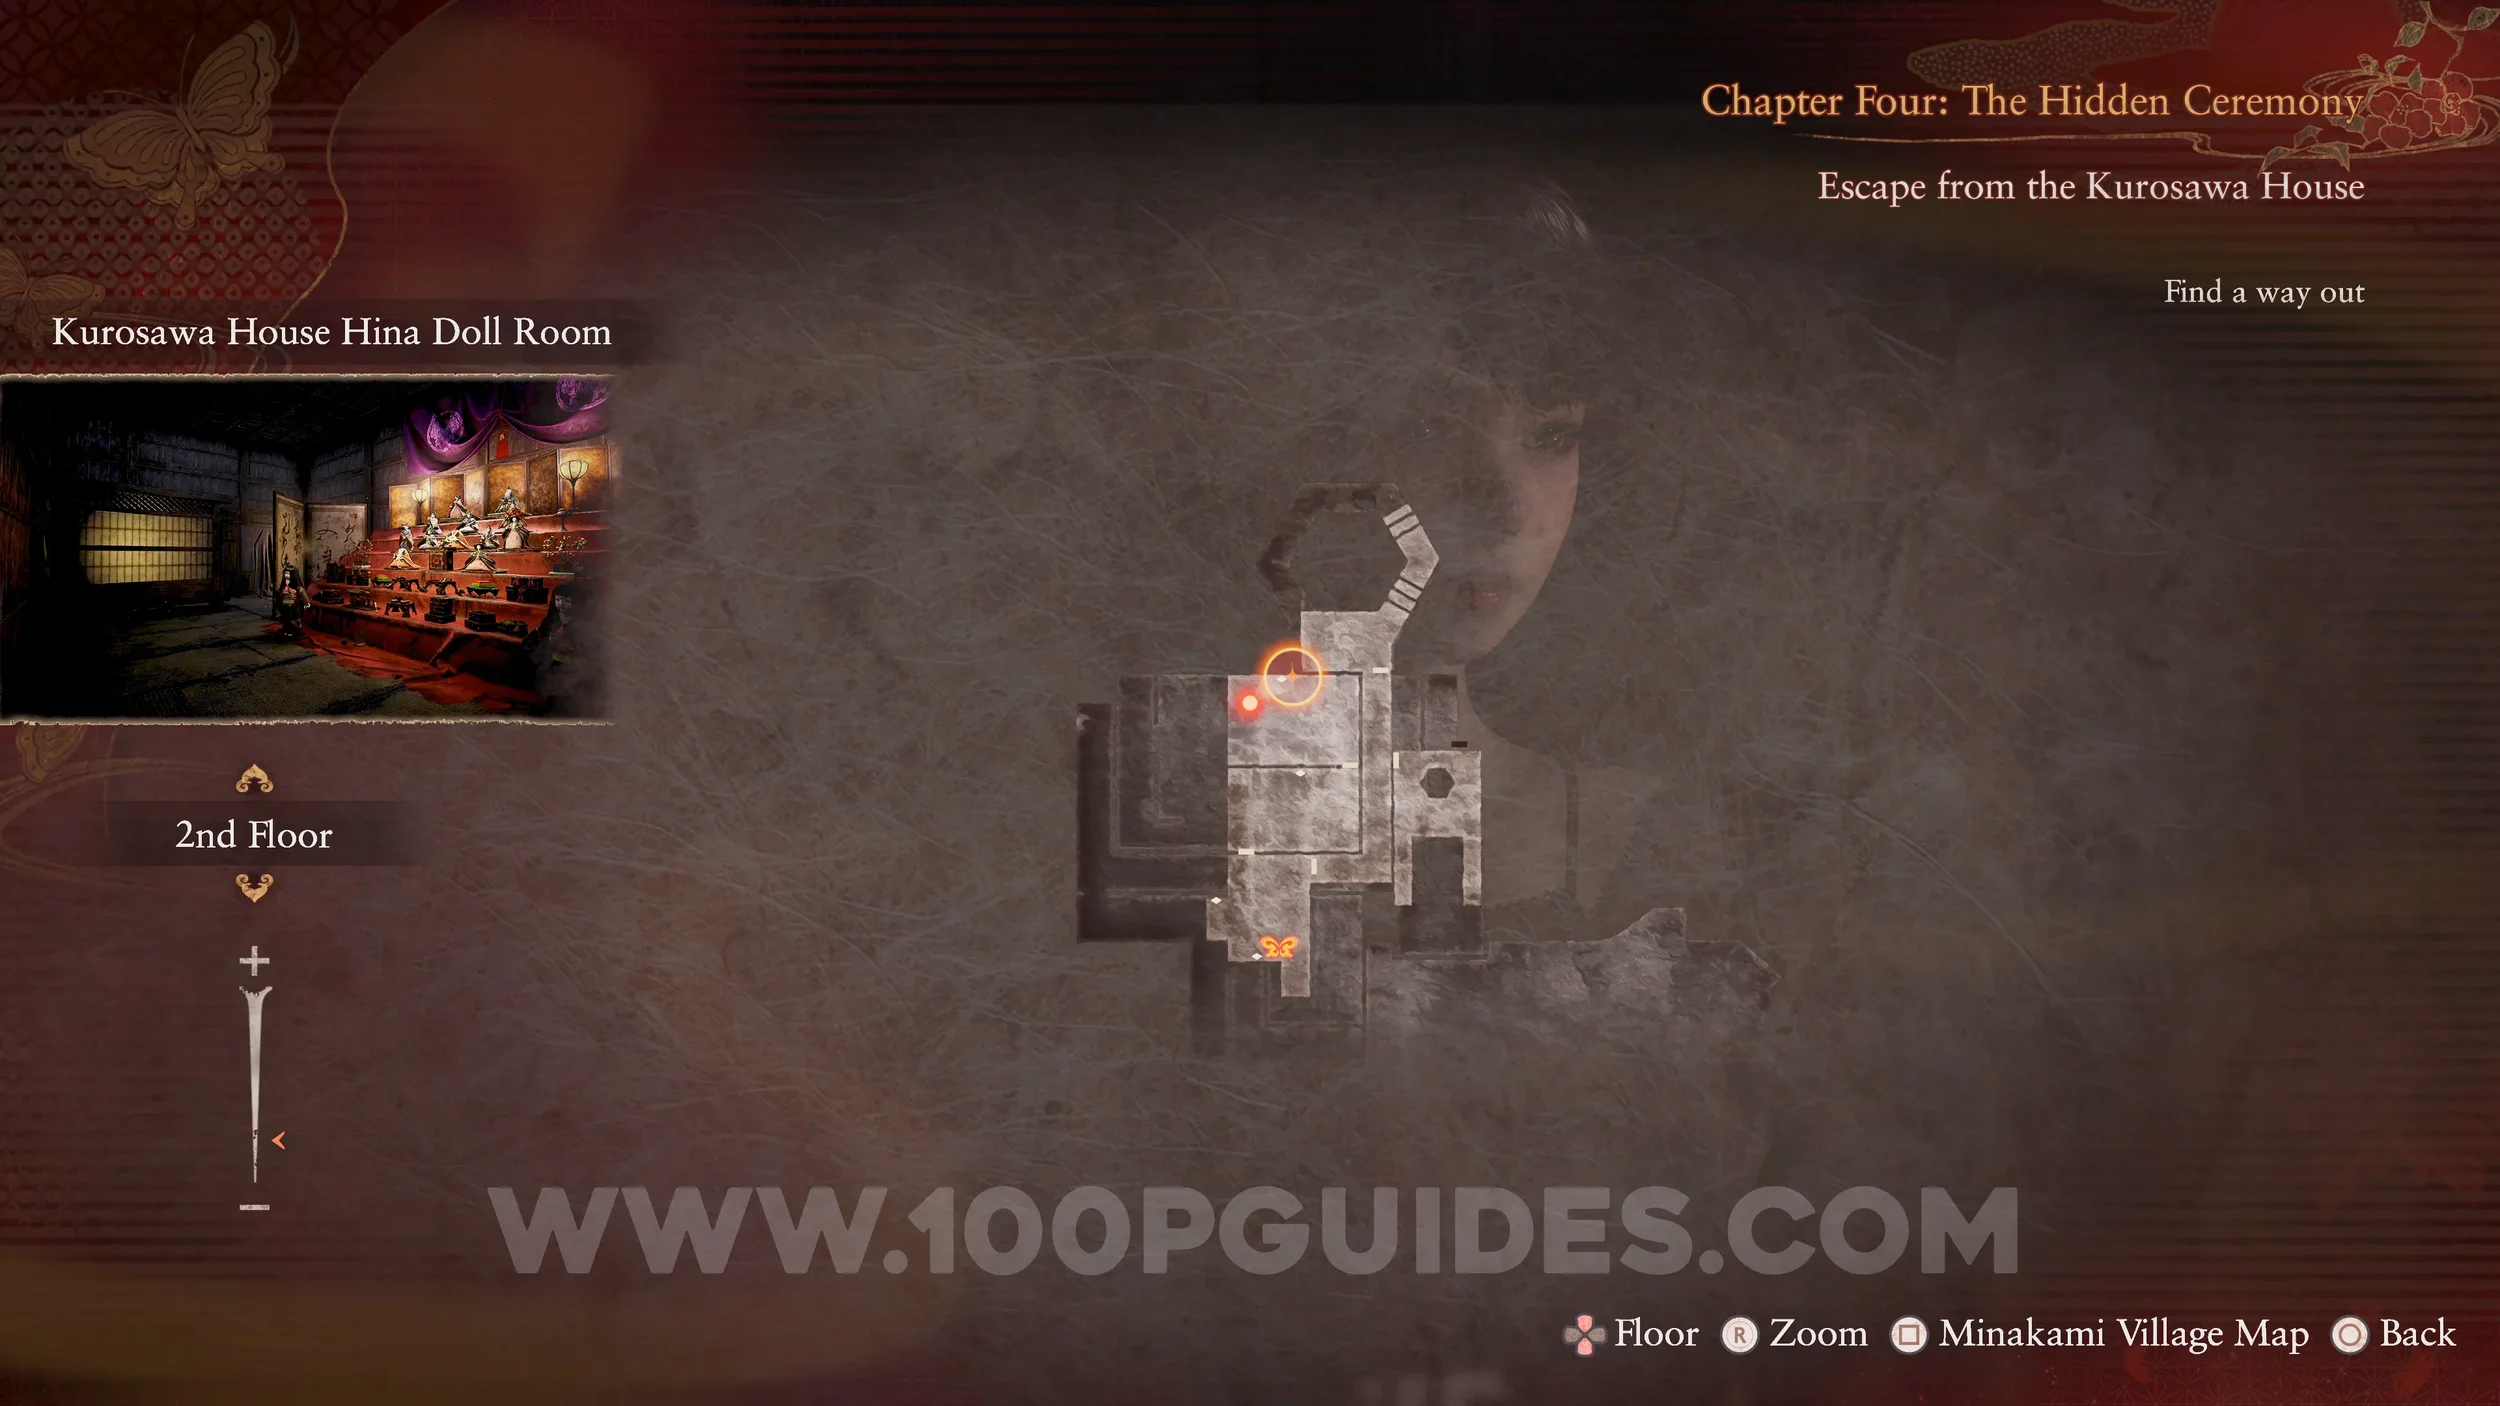
Phantom Expose #3 - Hina Doll Room. Obtained automatically during the story while solving the Doll Puzzle.
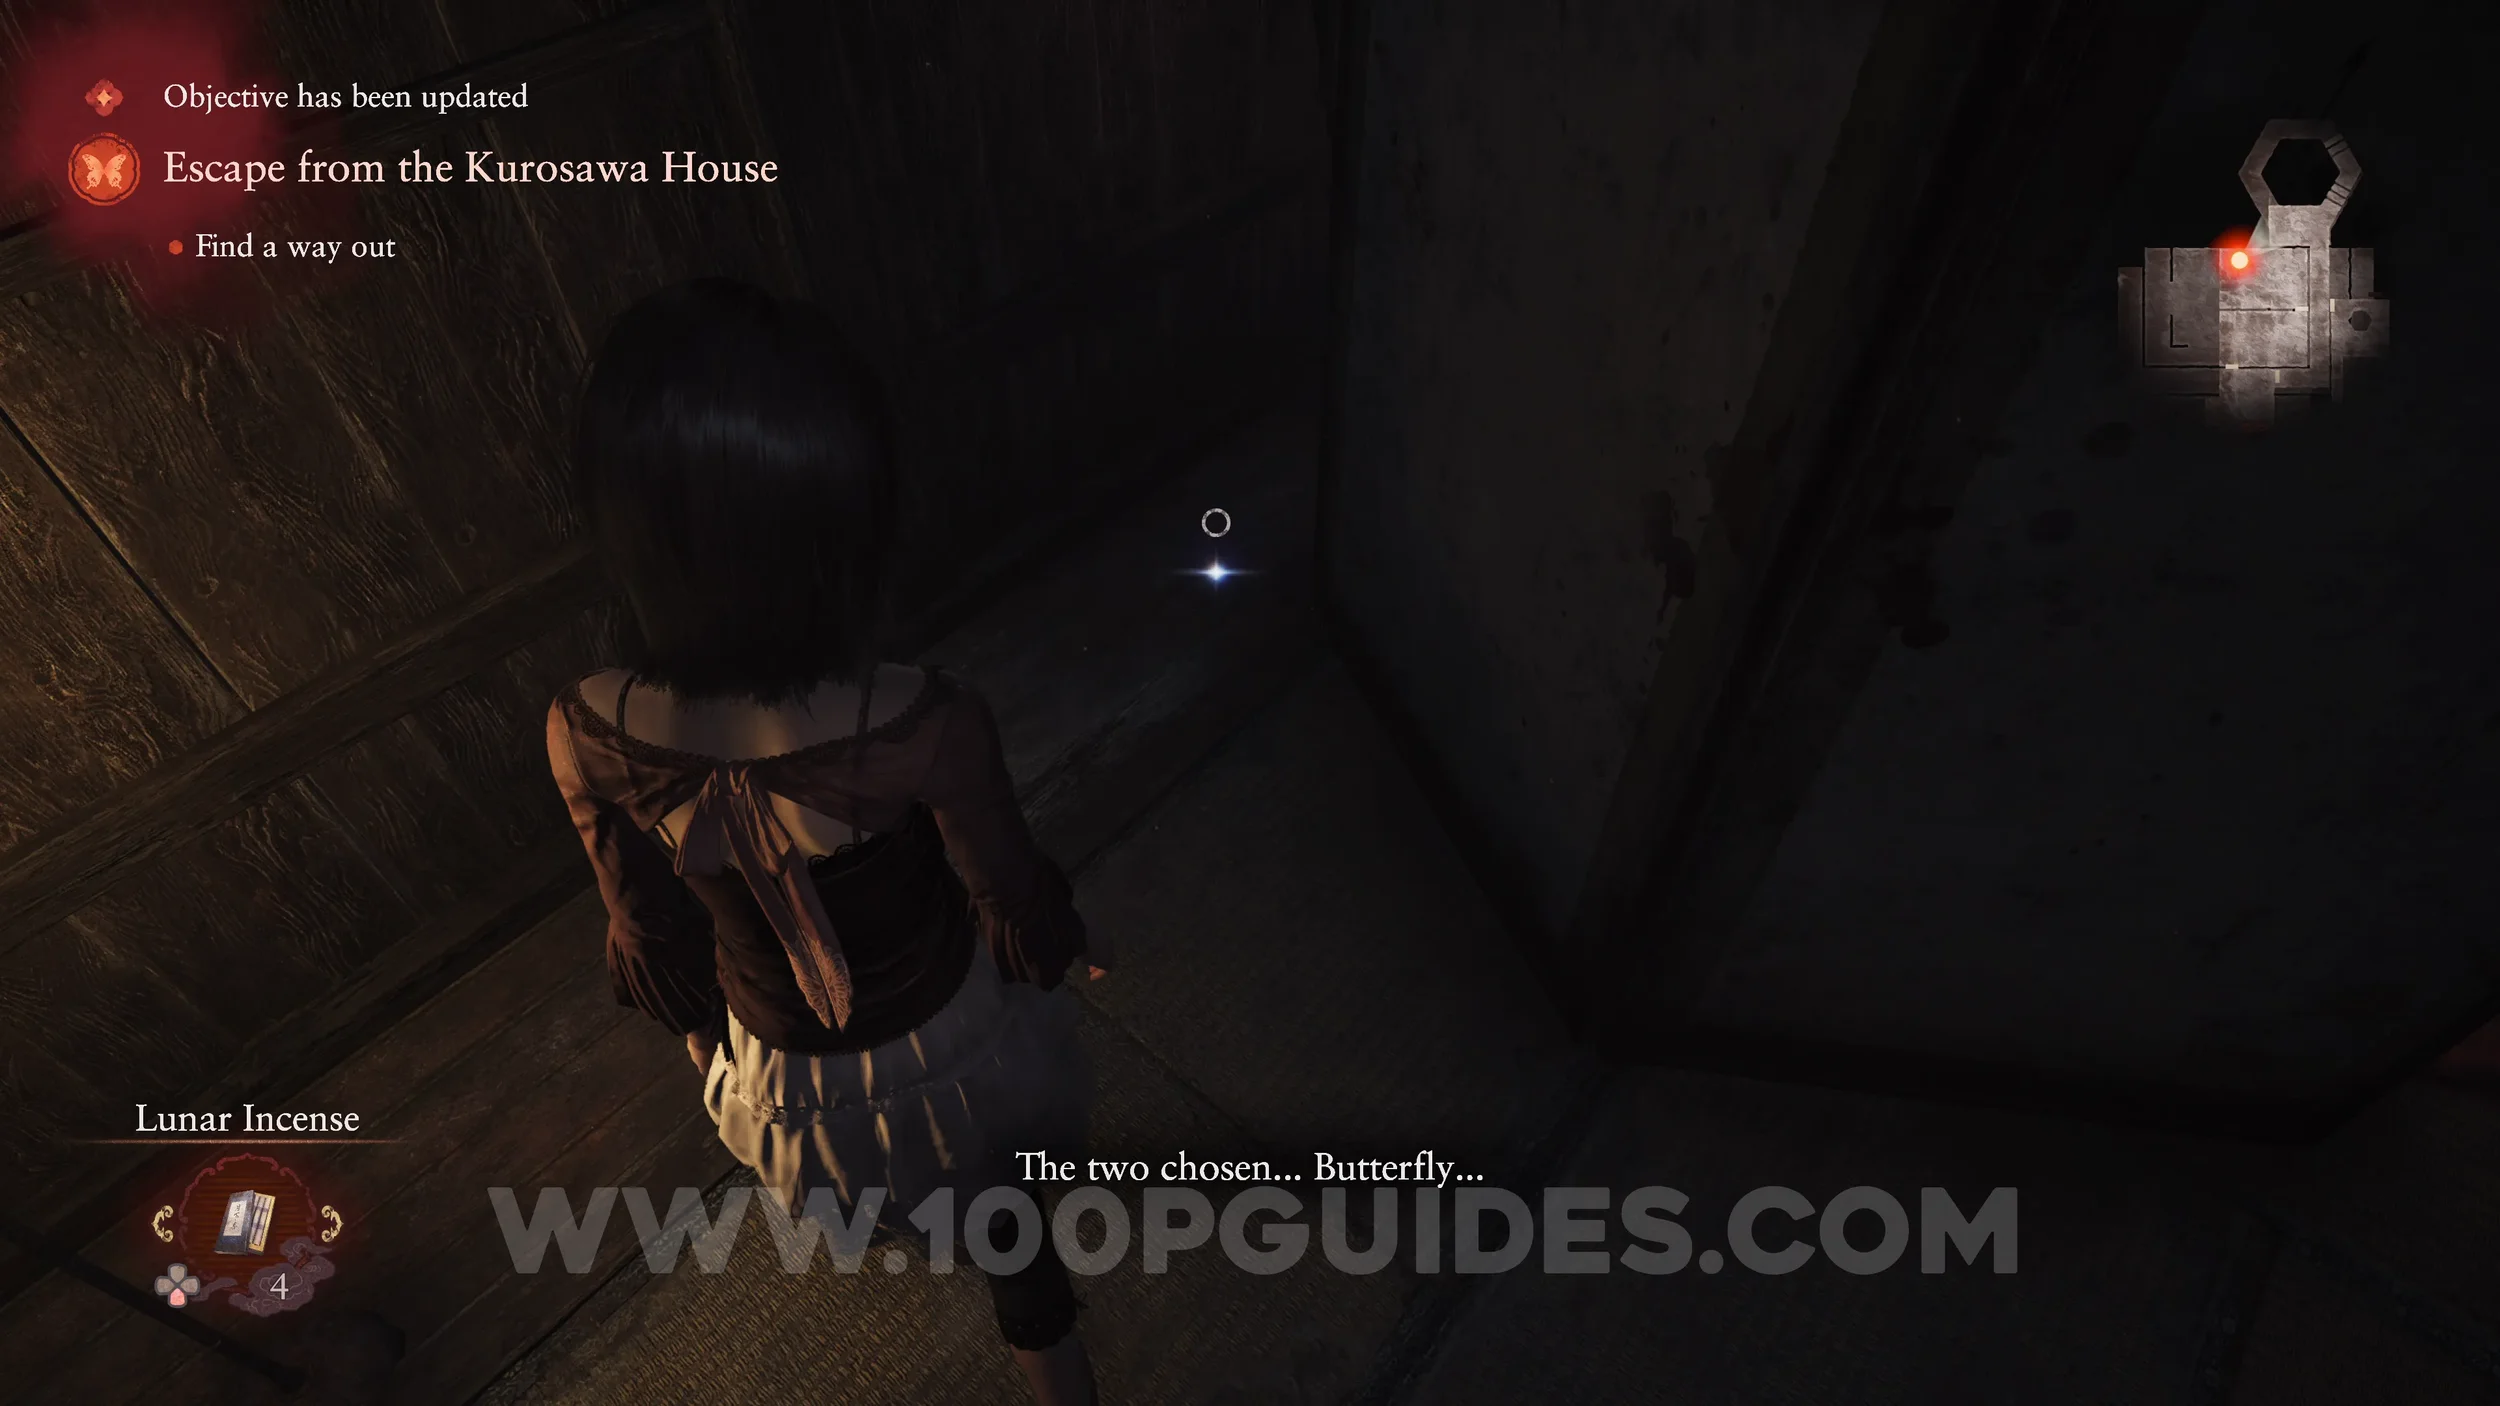
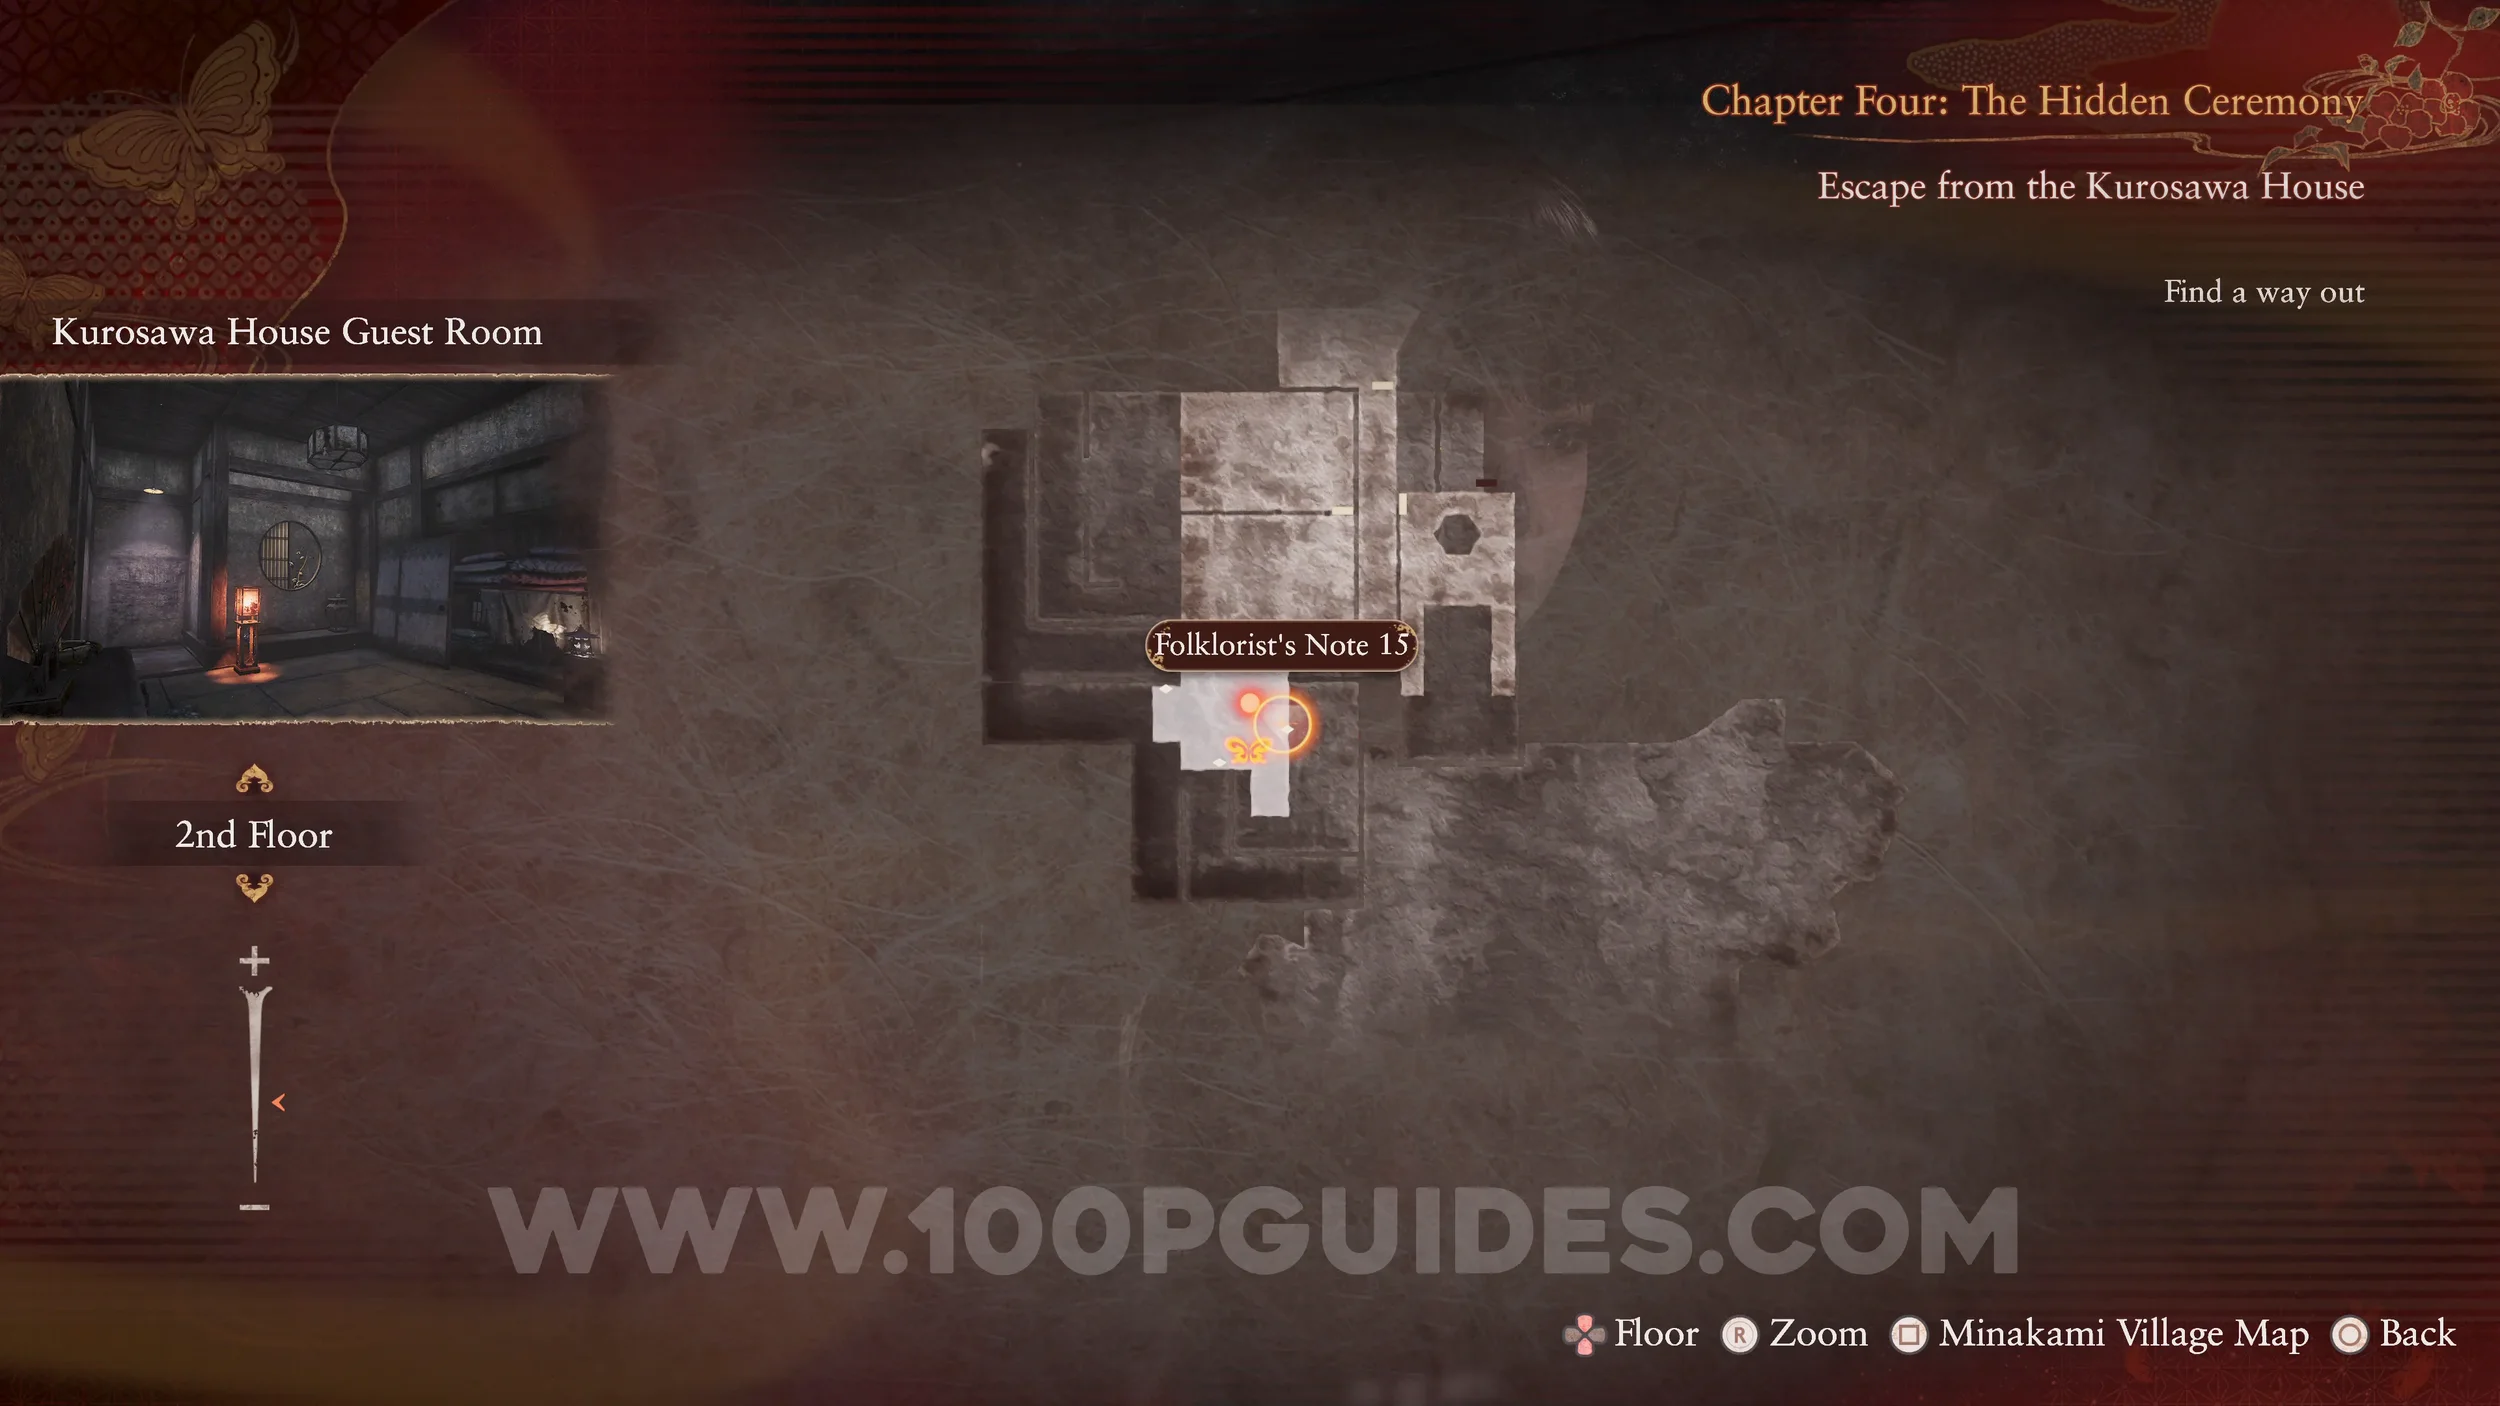
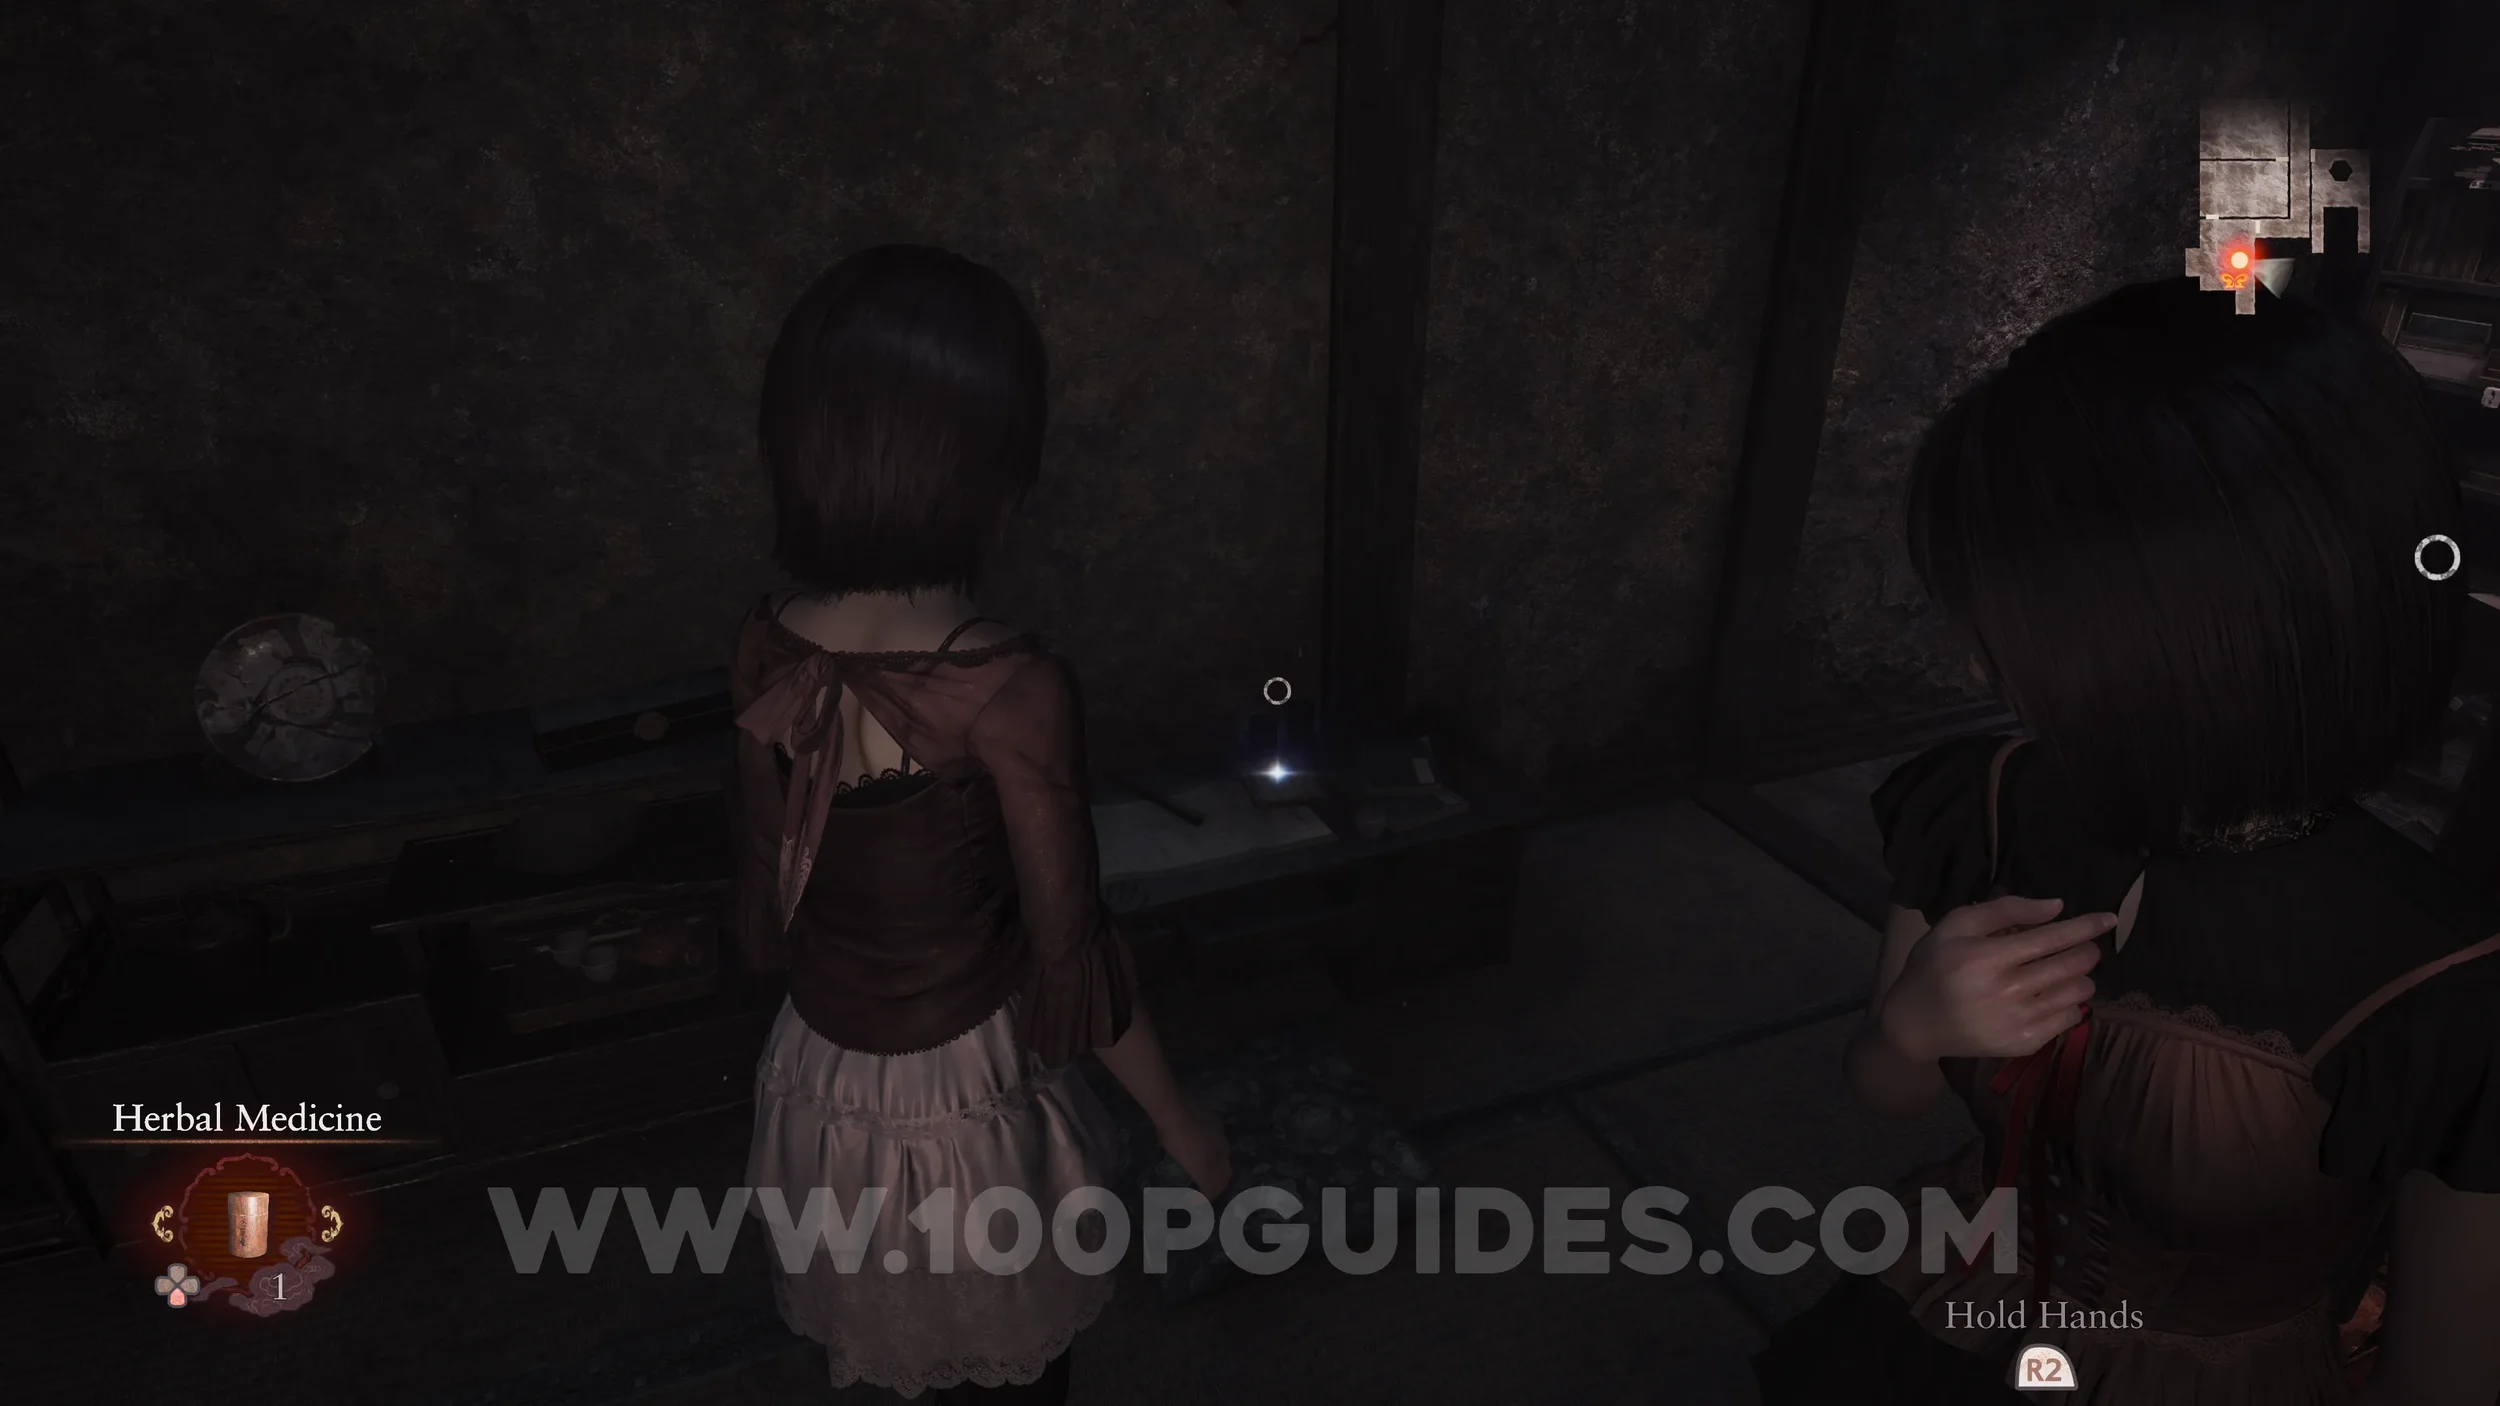
Document #33 - Folklorist’s Note 15. In the save room at the start of the chapter.
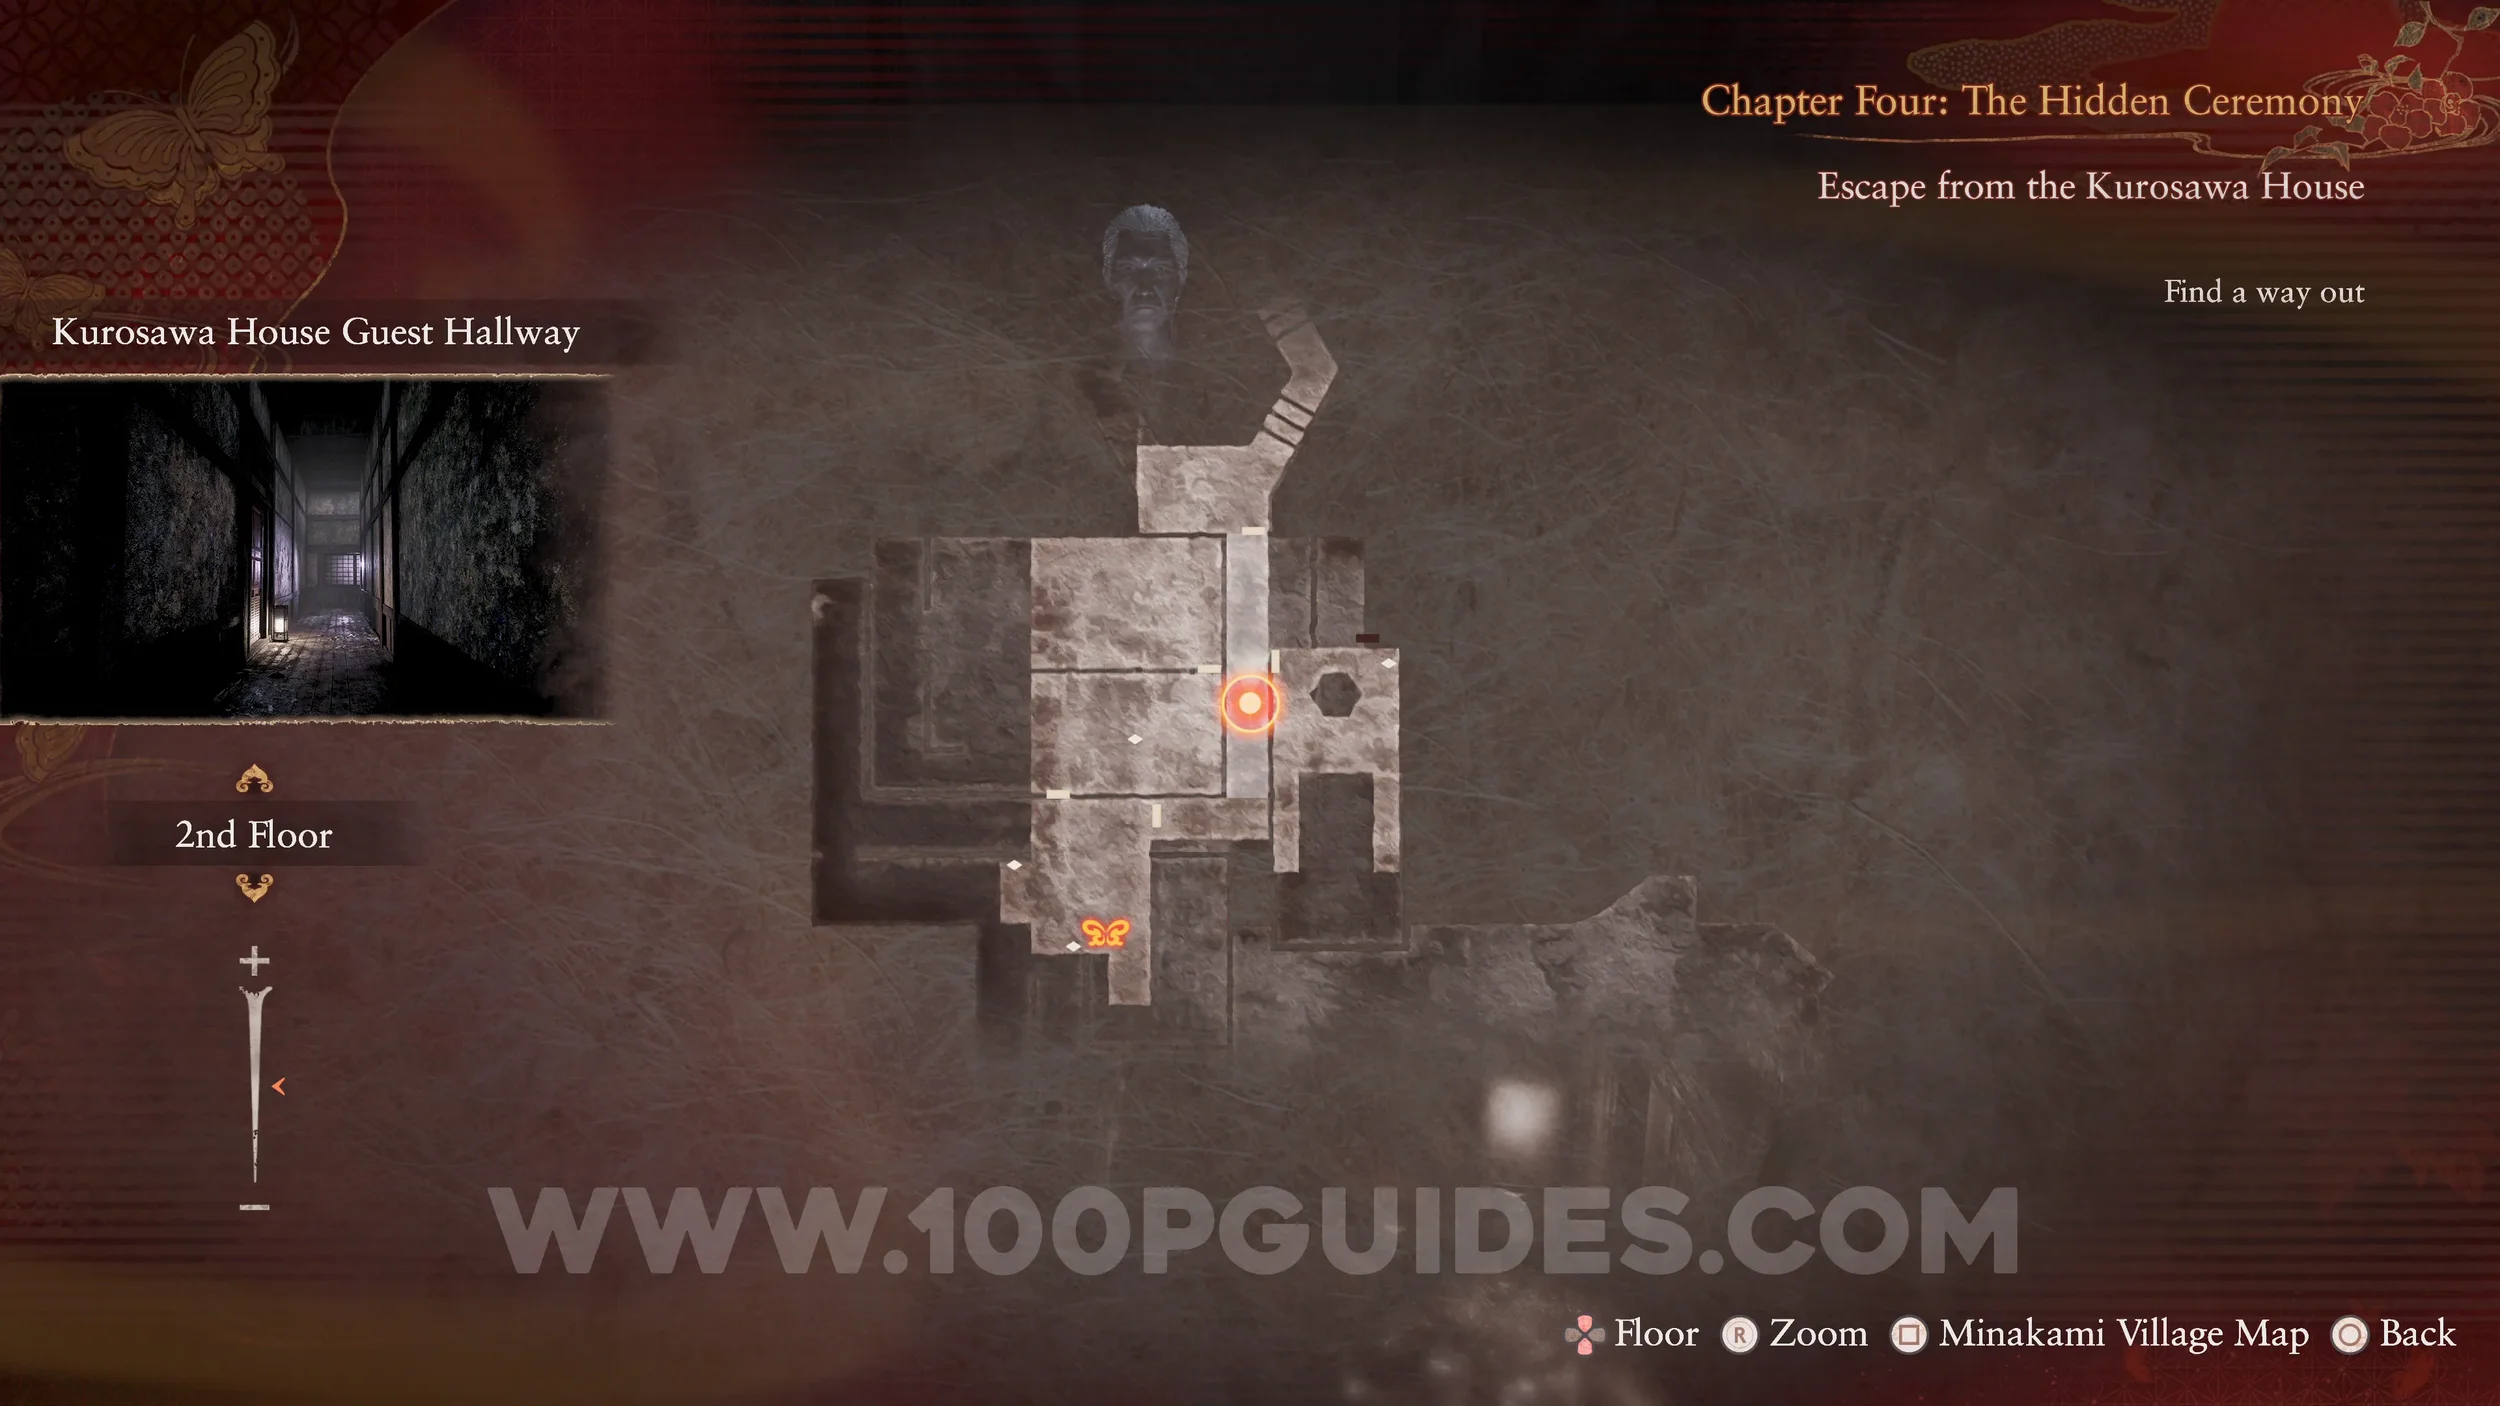
Specter #56 - 042 The Shamed. In the hall just after the safe room.
Specter #57 - 043 The Beckoning Man. Will appear in the area above you once you get to the bottom of the circular stairs.
Prayer Beads #13. Found in the room where Kusabi chased you for the first time.
Specter #58 - 044 Lurking Man. Try to exit the house through the front door, then turn around and go down the corridor. Then turn around again and look back towards the door to see the specter.
Specter #59 - 045 Man Ascending Stairs. Found going up the stairs in the room after opening the Double Diamond Door.
Prayer Beads #14. Also in the room after using the Double Diamond Key.

Specter #60 - 046 Boy Peering Down Hole. In the room at the top of the stairs where Specter 57 appeared.
Document #34 - Ritual Host’s Note 3. Also found in the room at the top of the stairs.

Specter #61 - 047 Peeping Boy. Return downstairs and go through the door to the south.
Prayer Beads #15. In the same room as the Peeping Boy specter.
Specter #62 - 048 Boy Running Off. This specter will run past you as you make your way down the hall after the Peeping Boy specter.
Specter #63 - 049 Storehouse Investigator. Right in front of you as soon as you enter the save room at the end of the long hall.
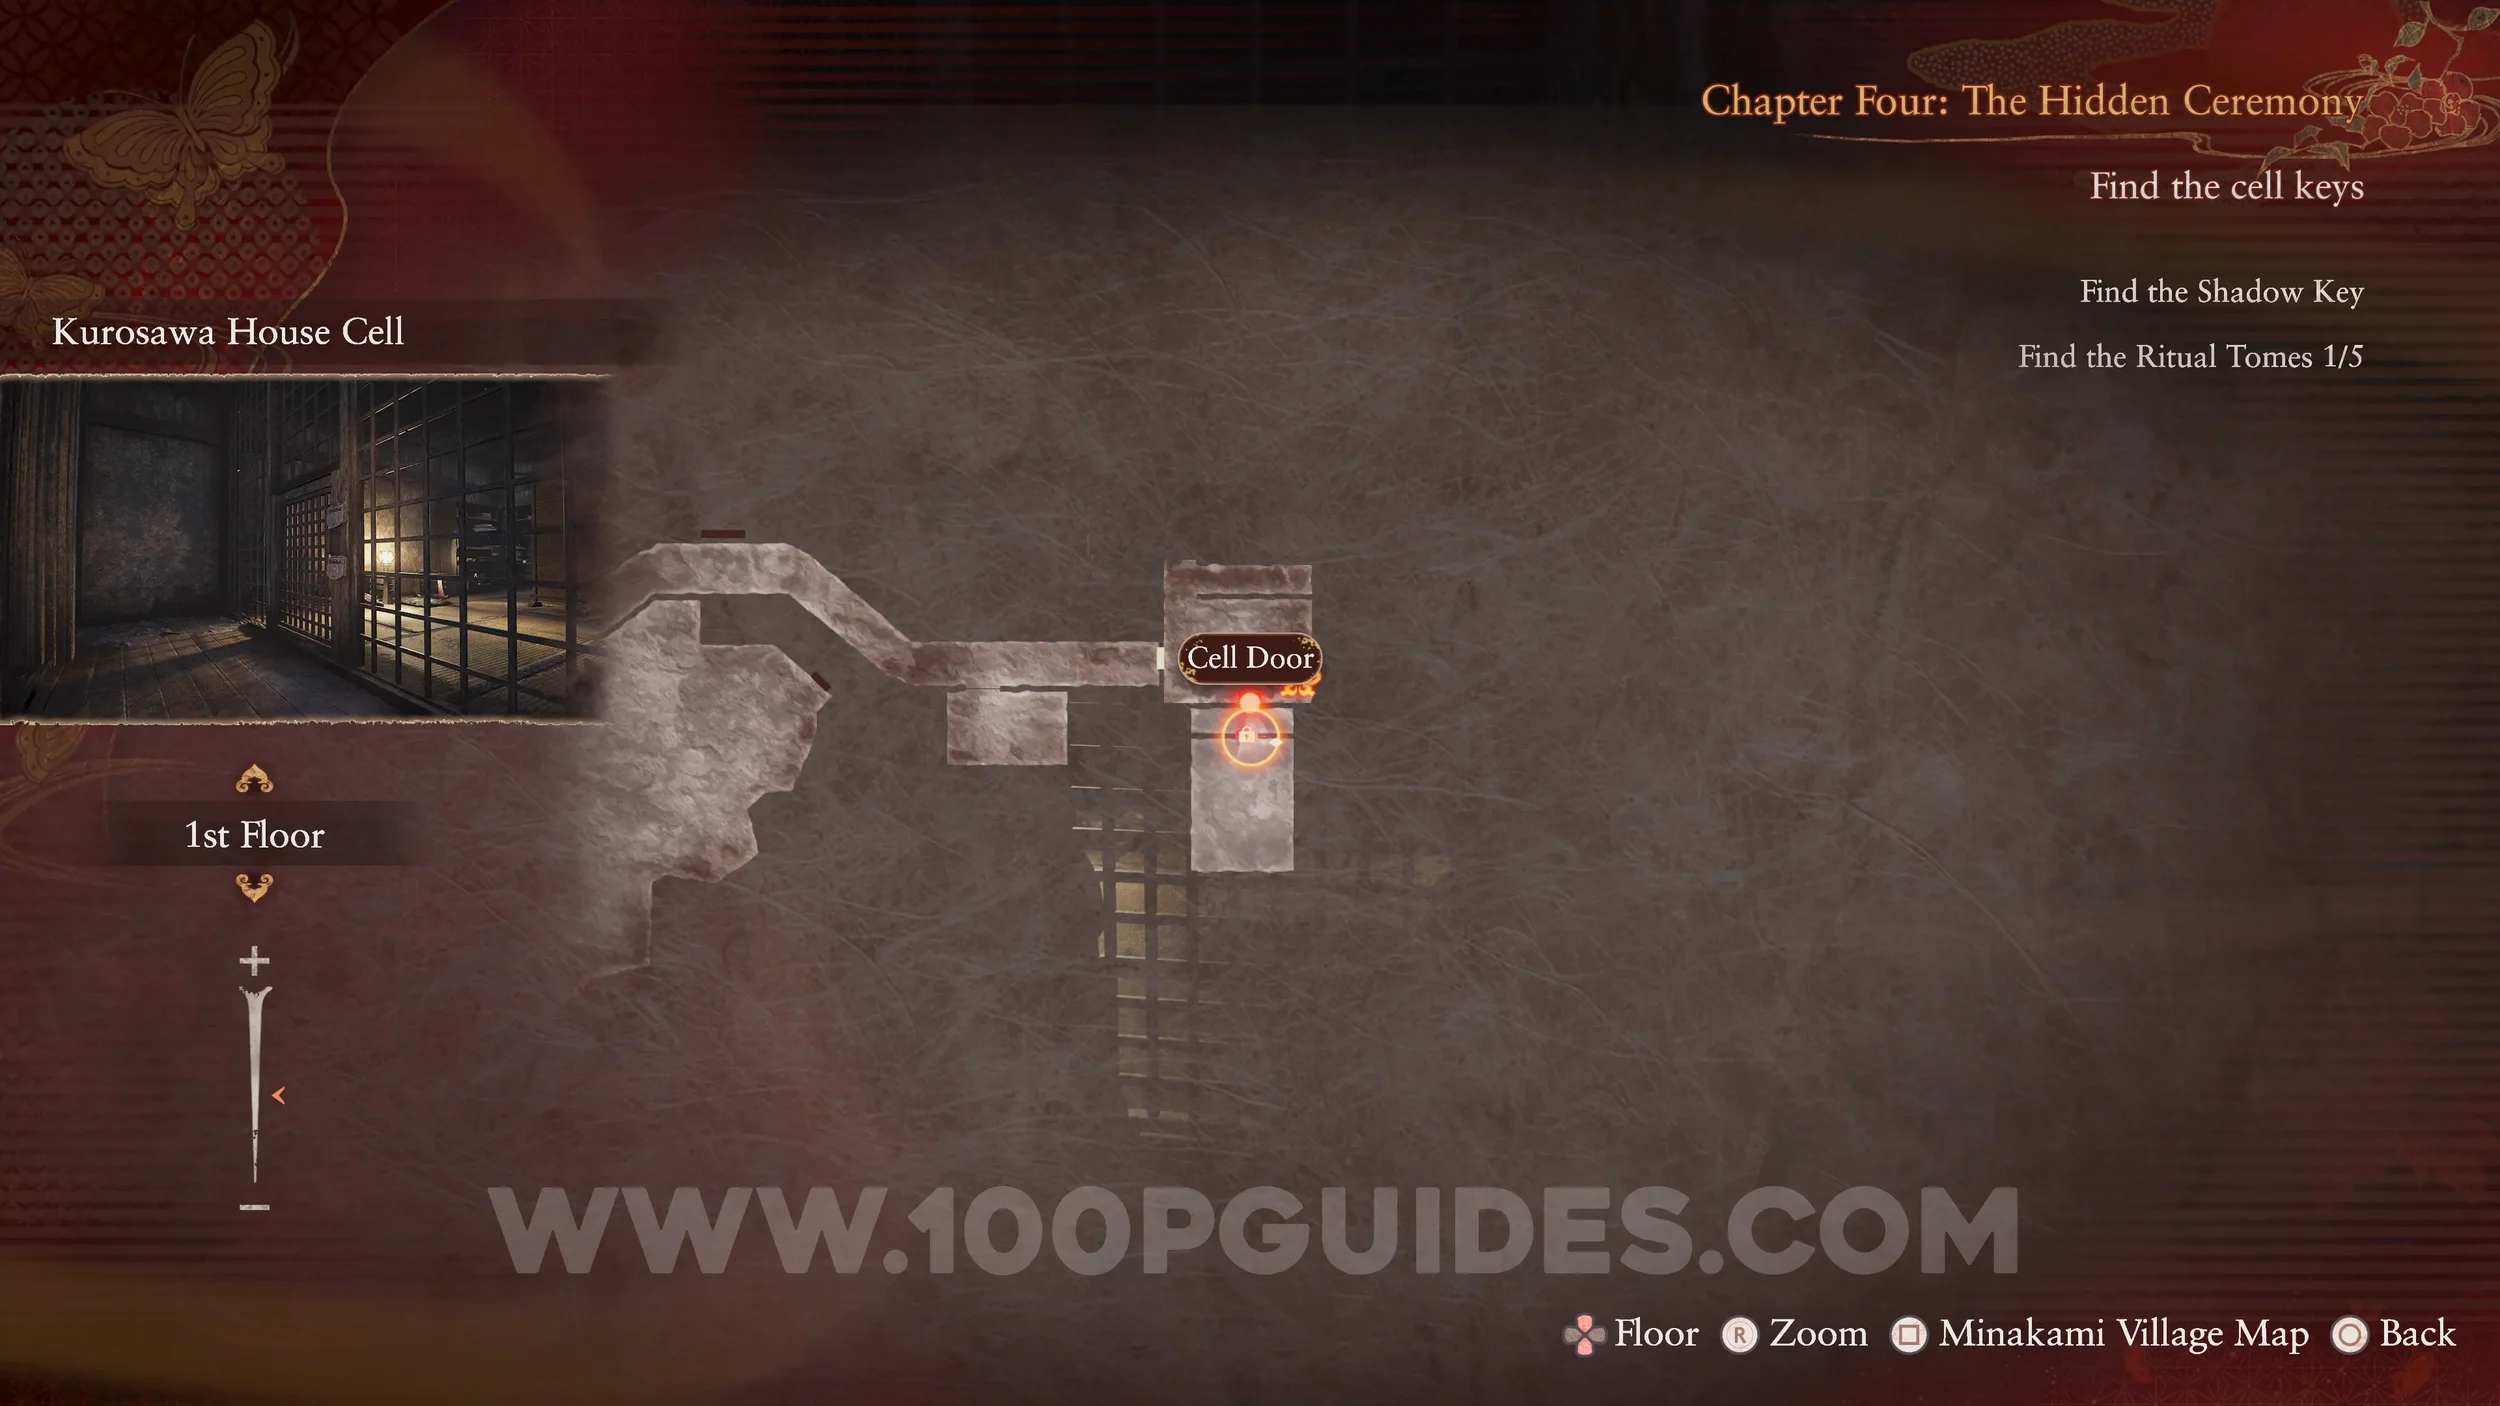
Document #35 - Ritual Host’s Note 4. On the table in the save room.
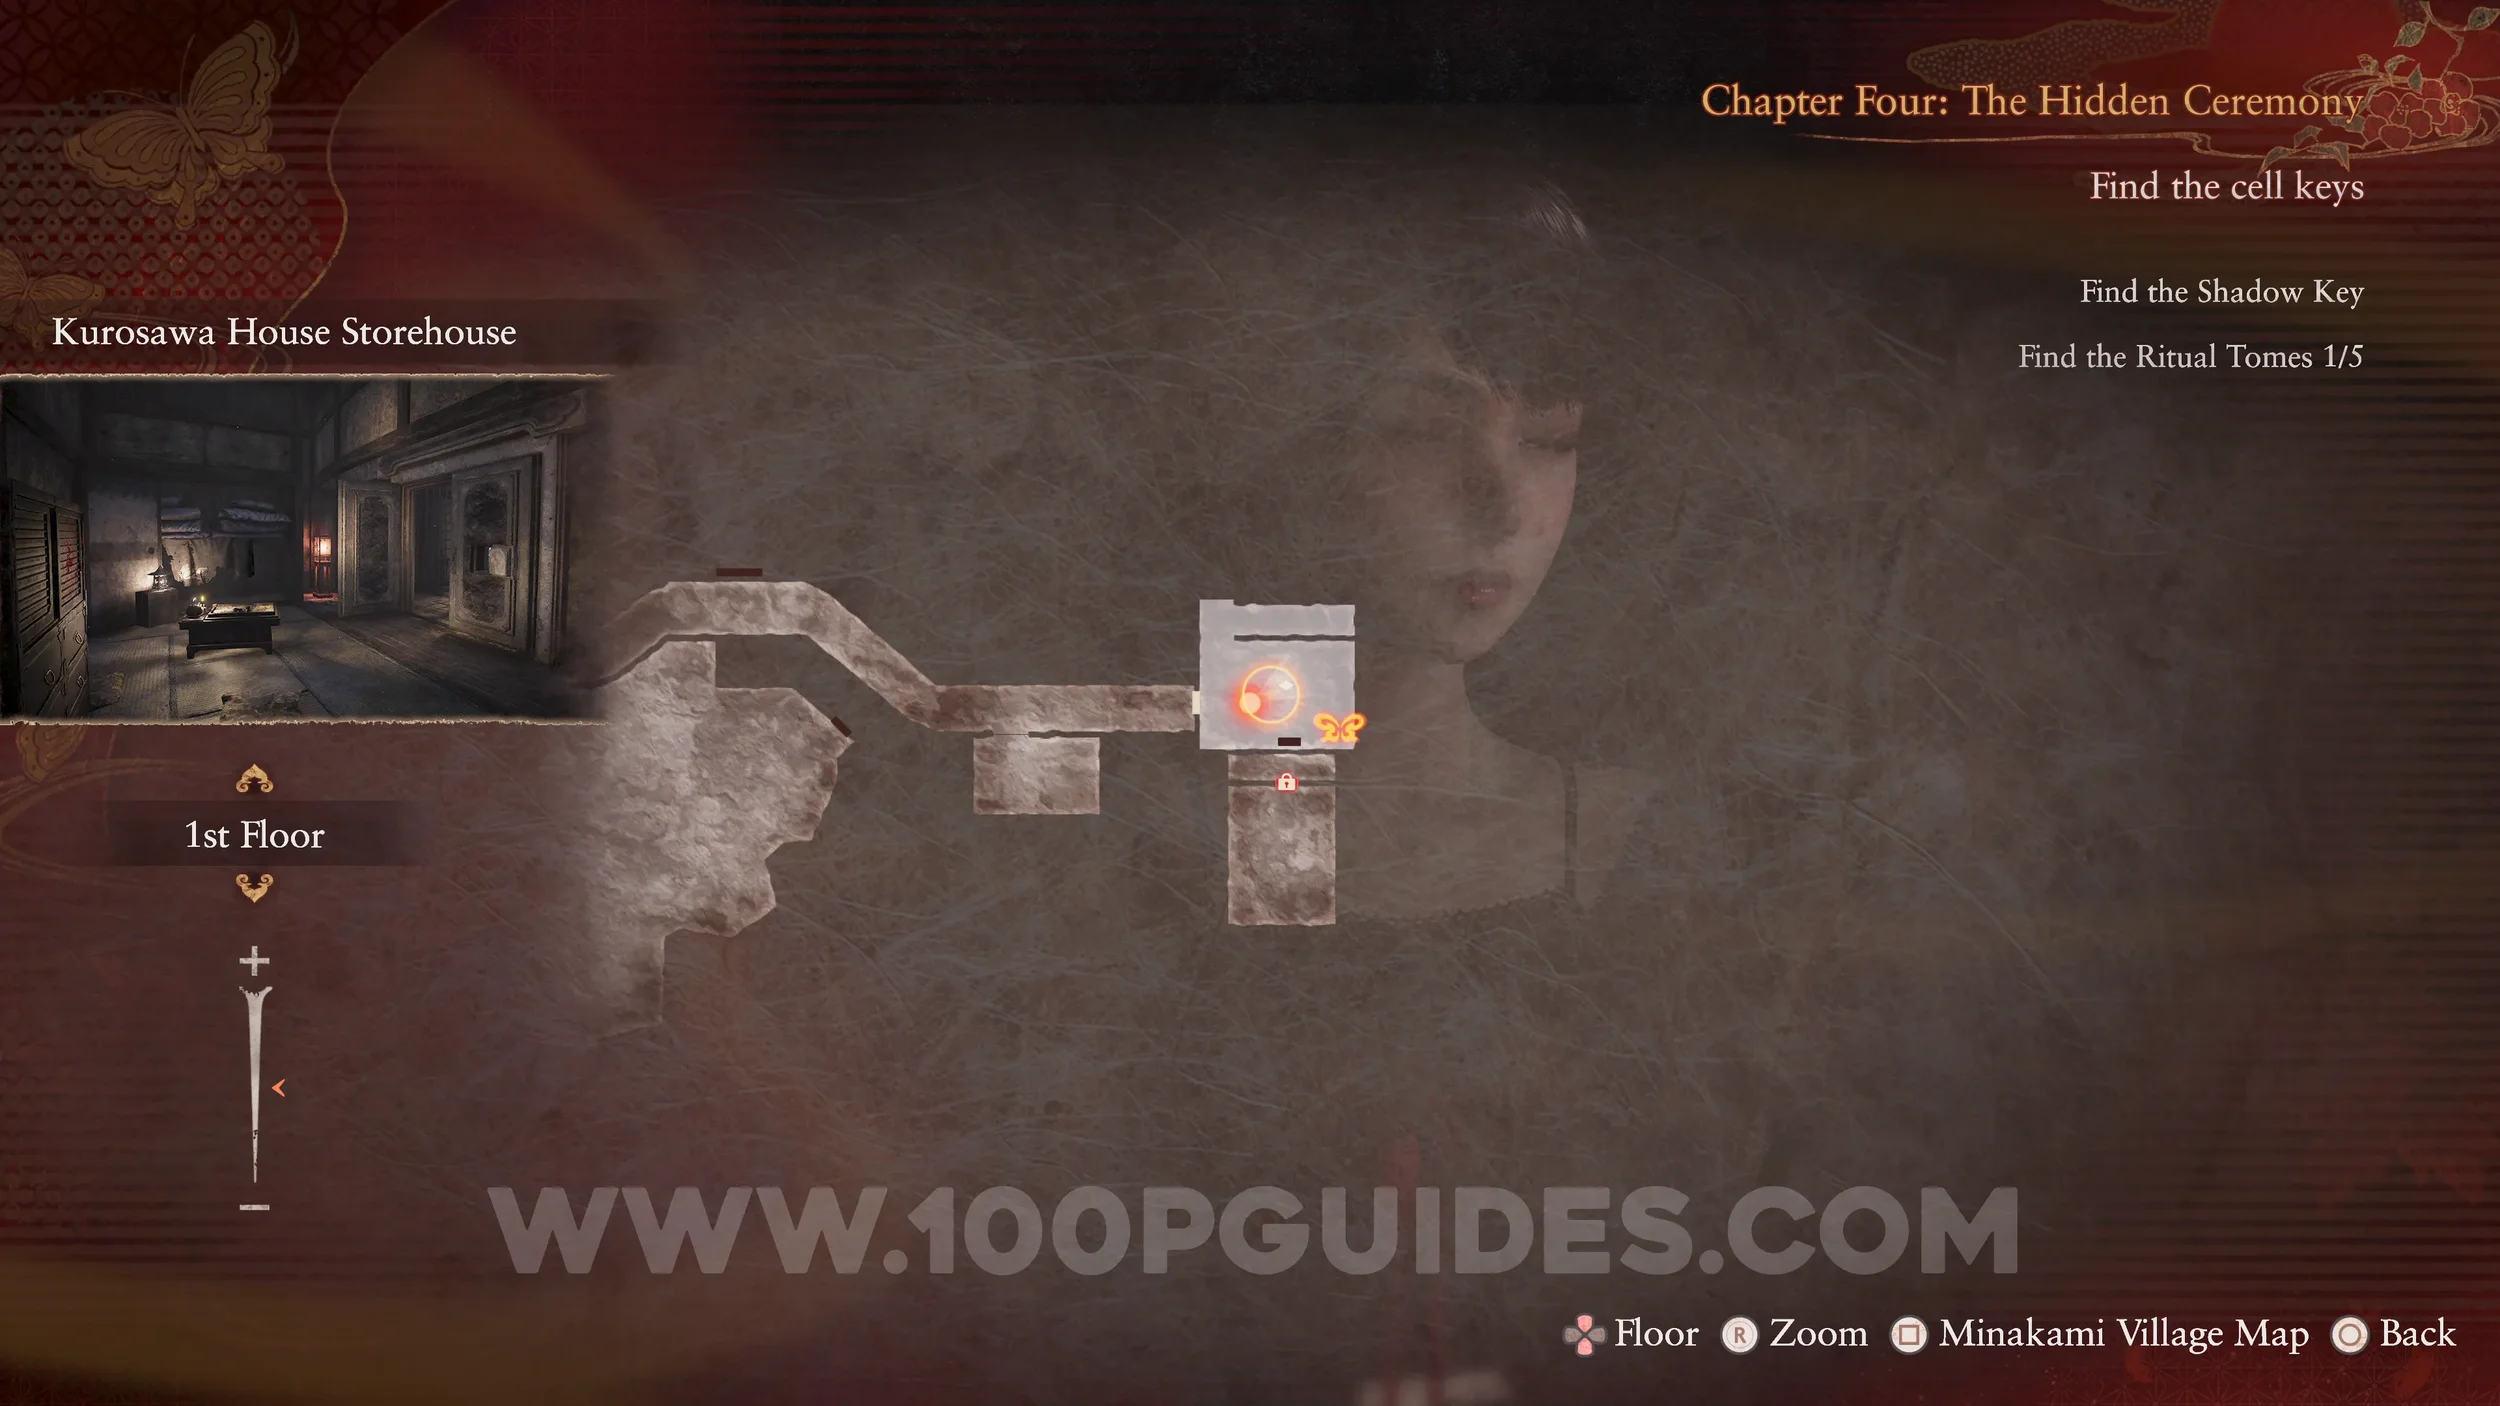

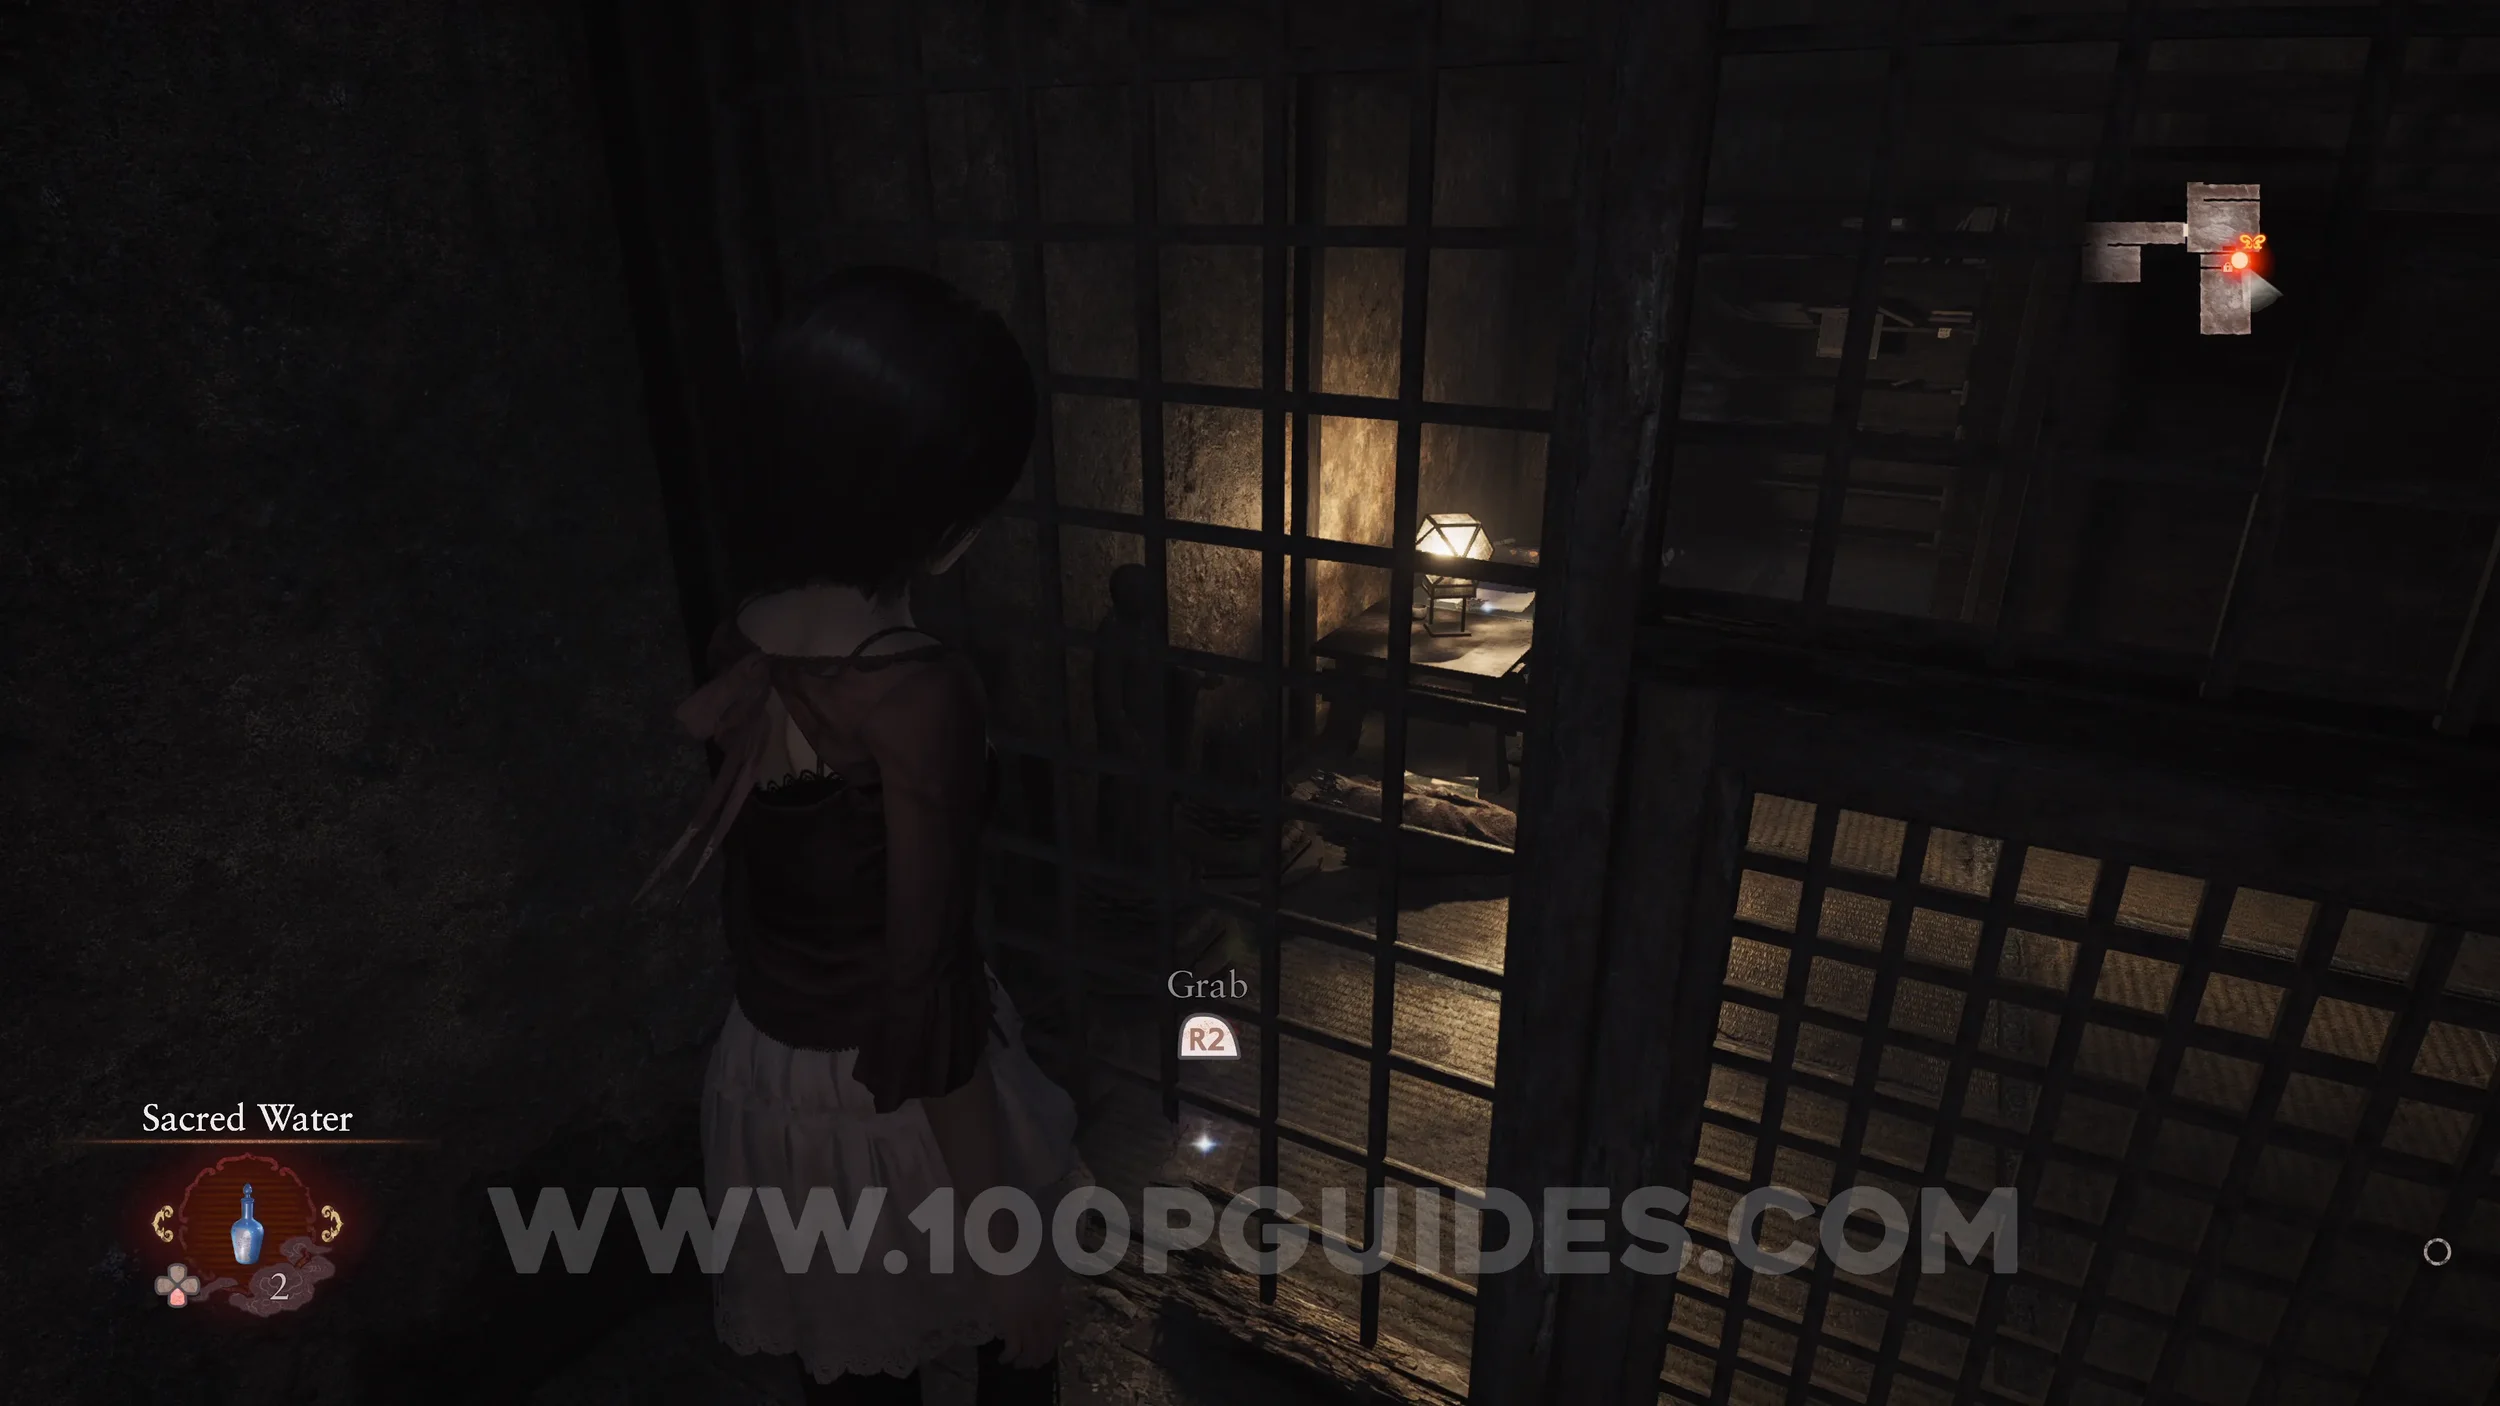
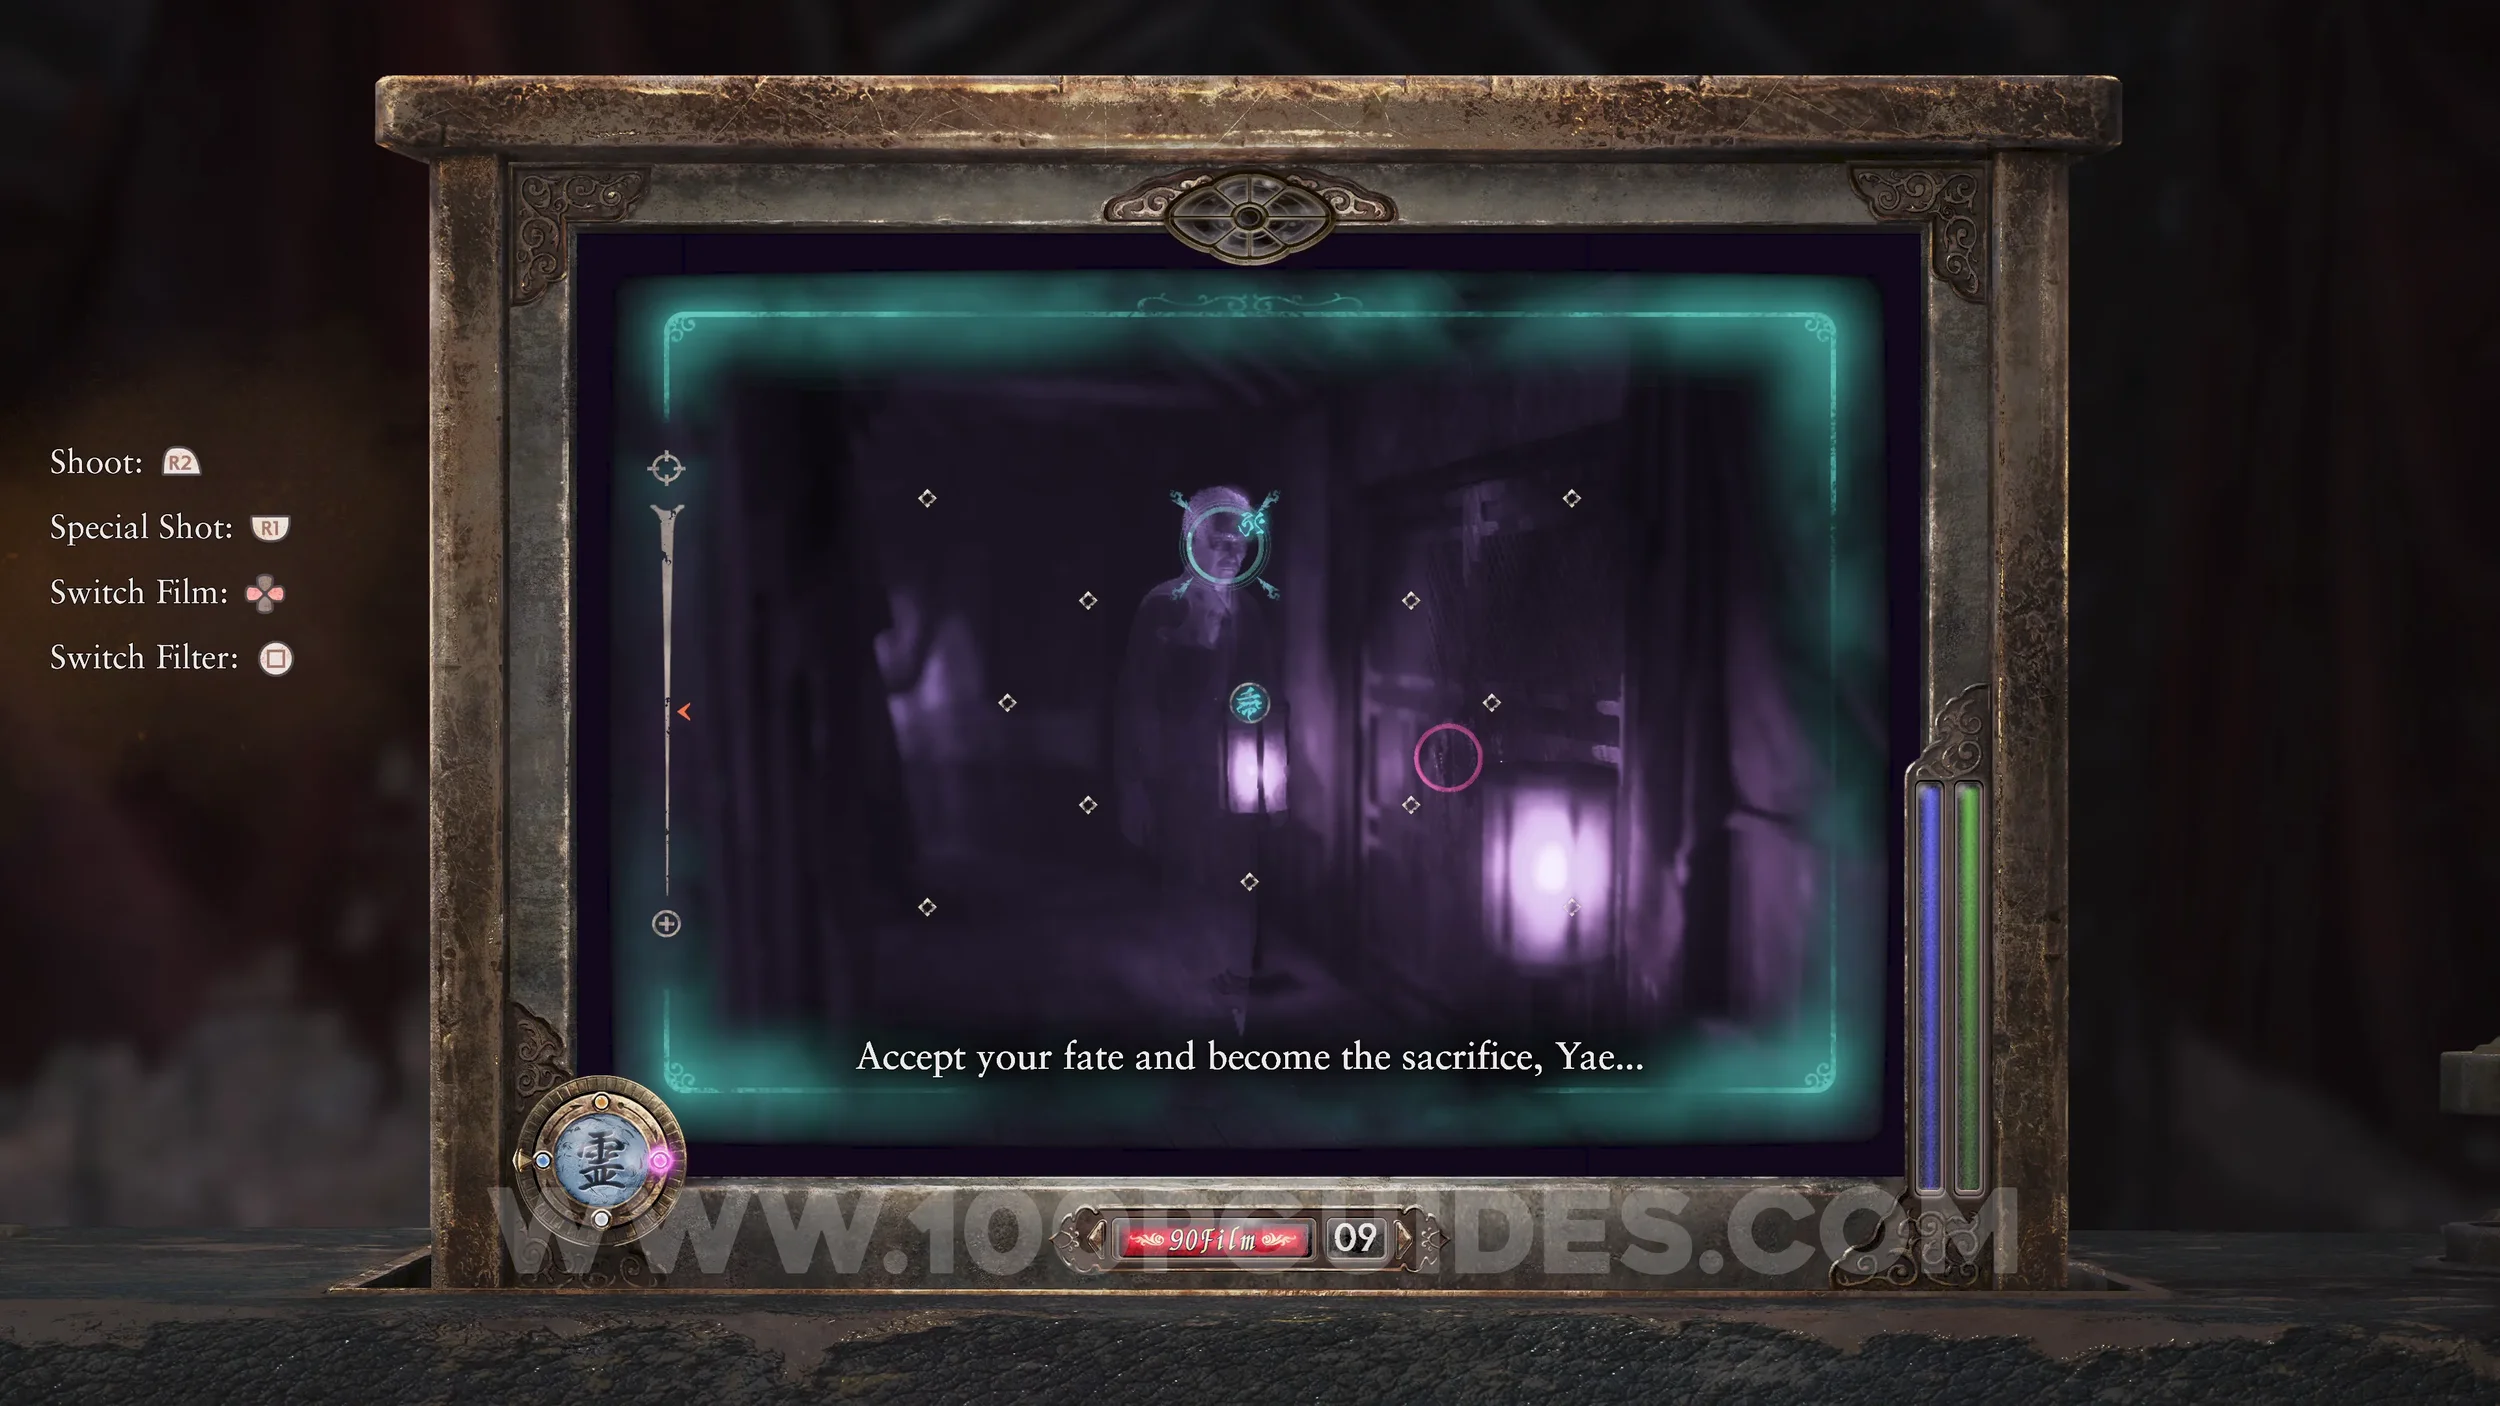
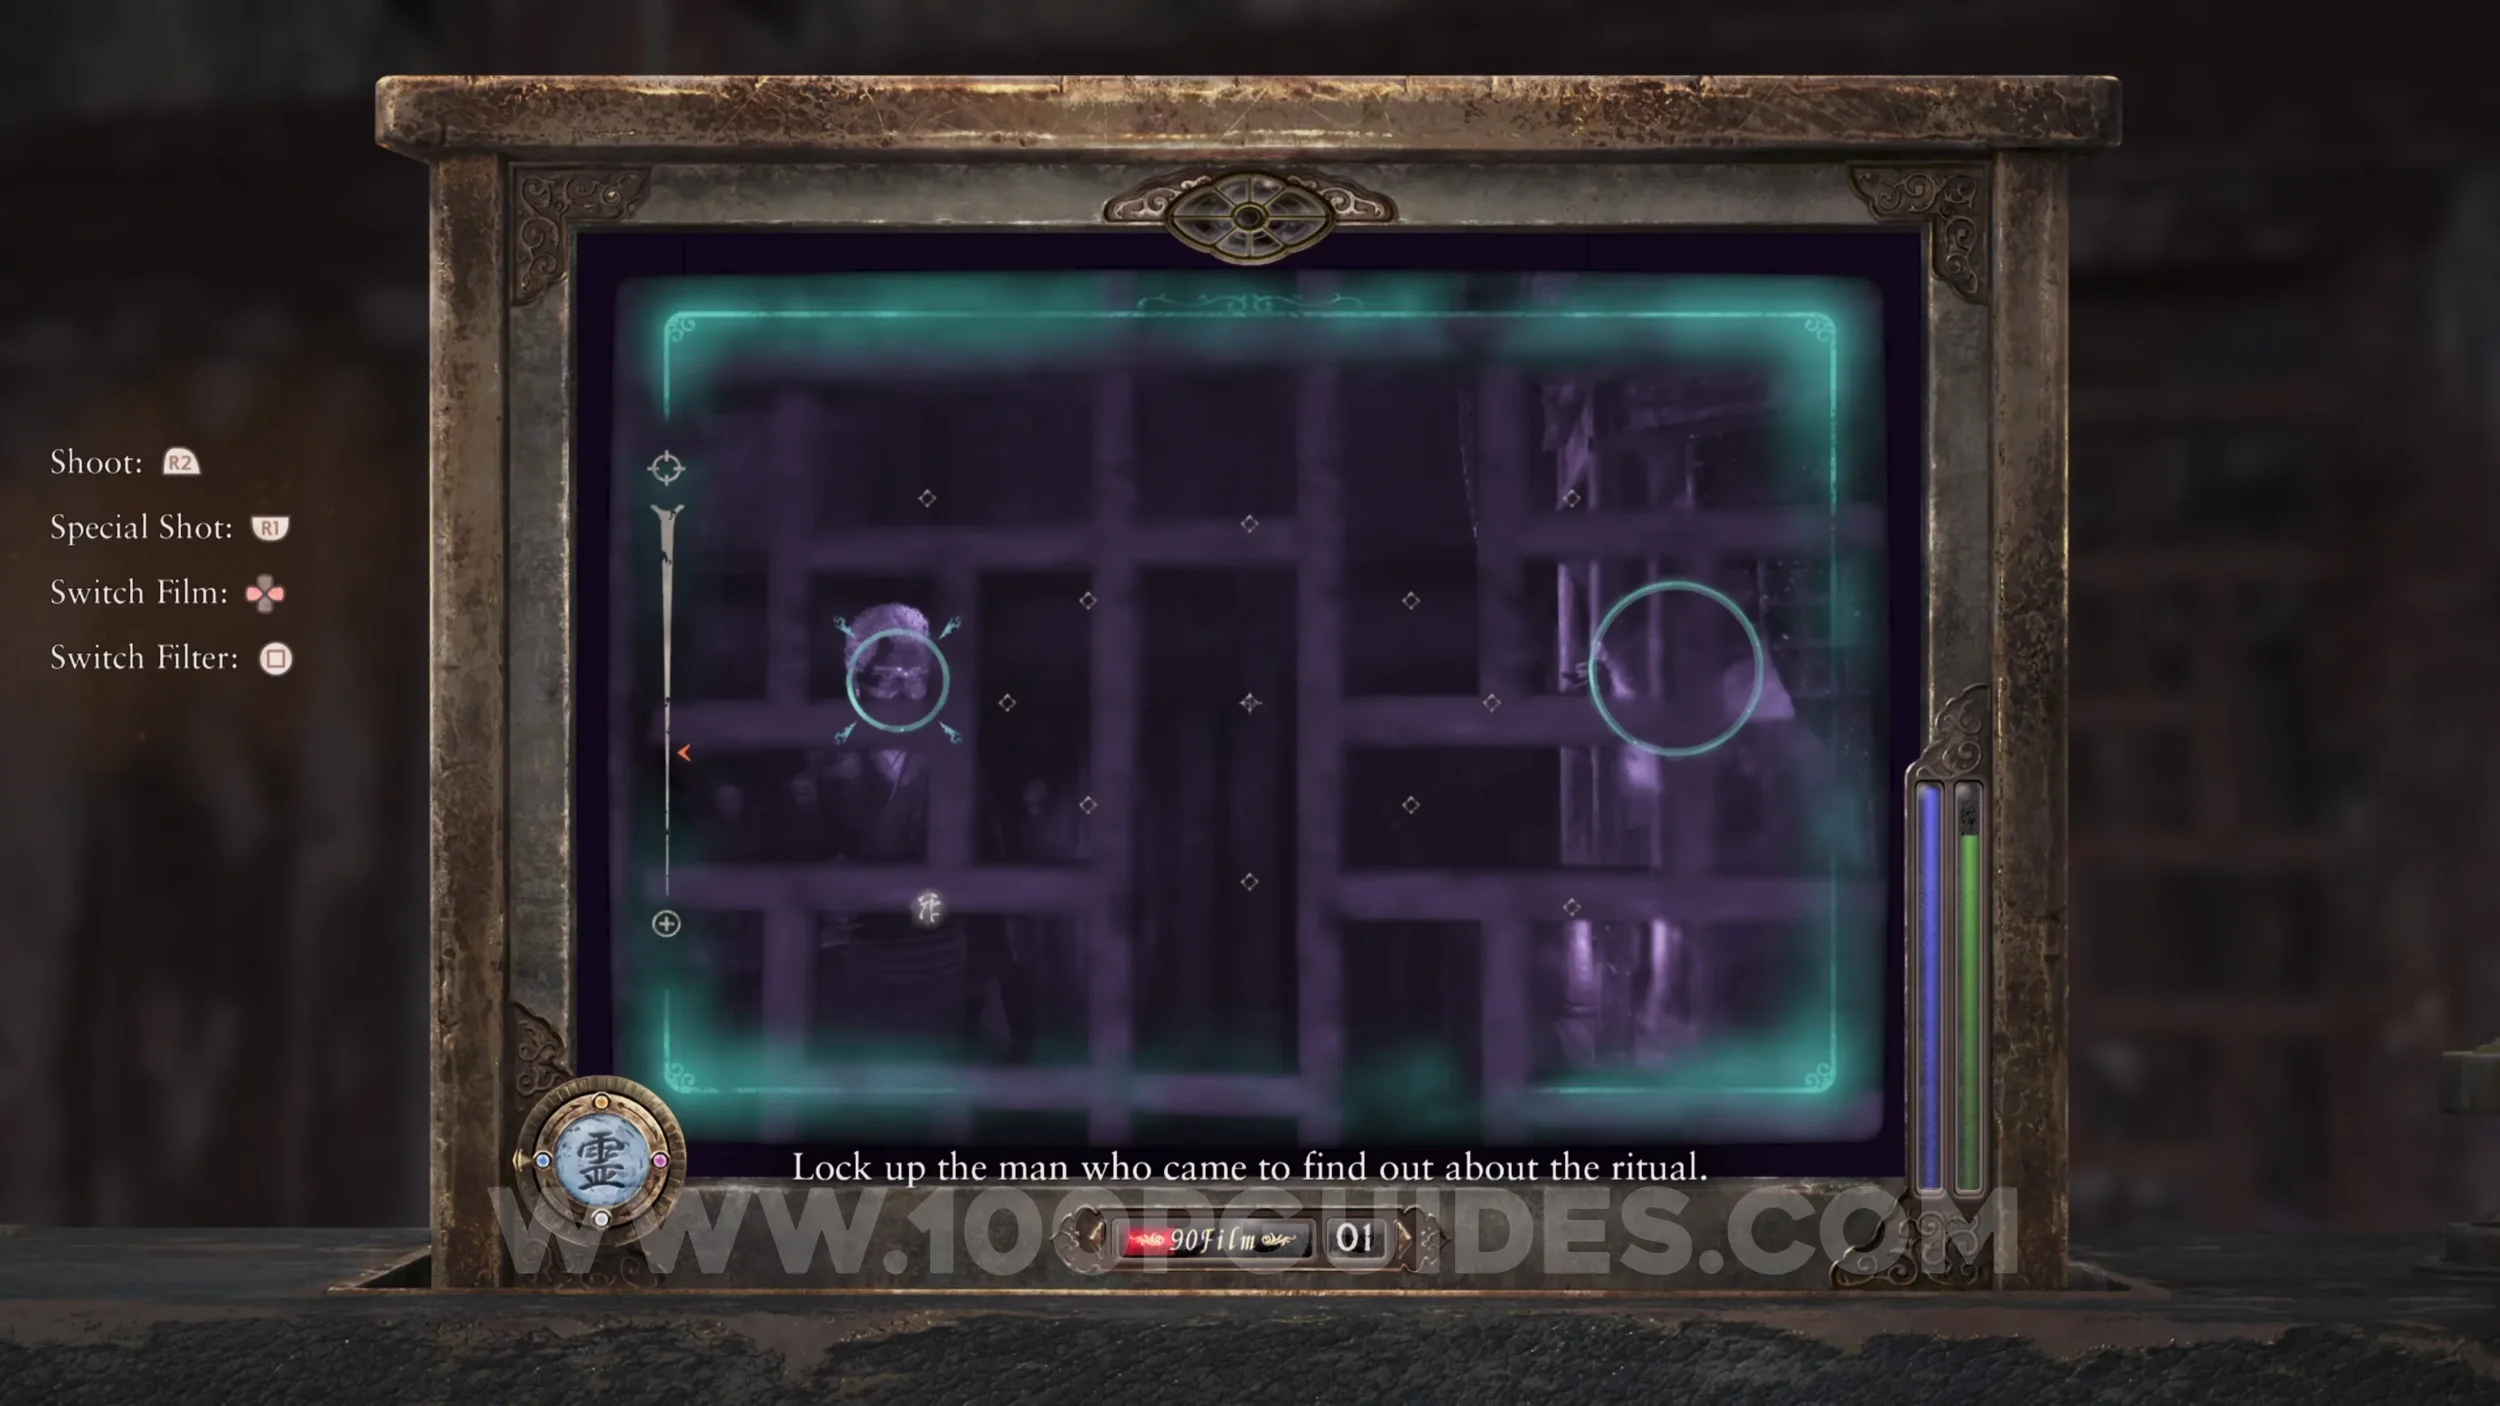
Specter #64 - 050 Imprisoned Man. Appears on the other side of the cell door after examining the locks in the room to the south of the save room.
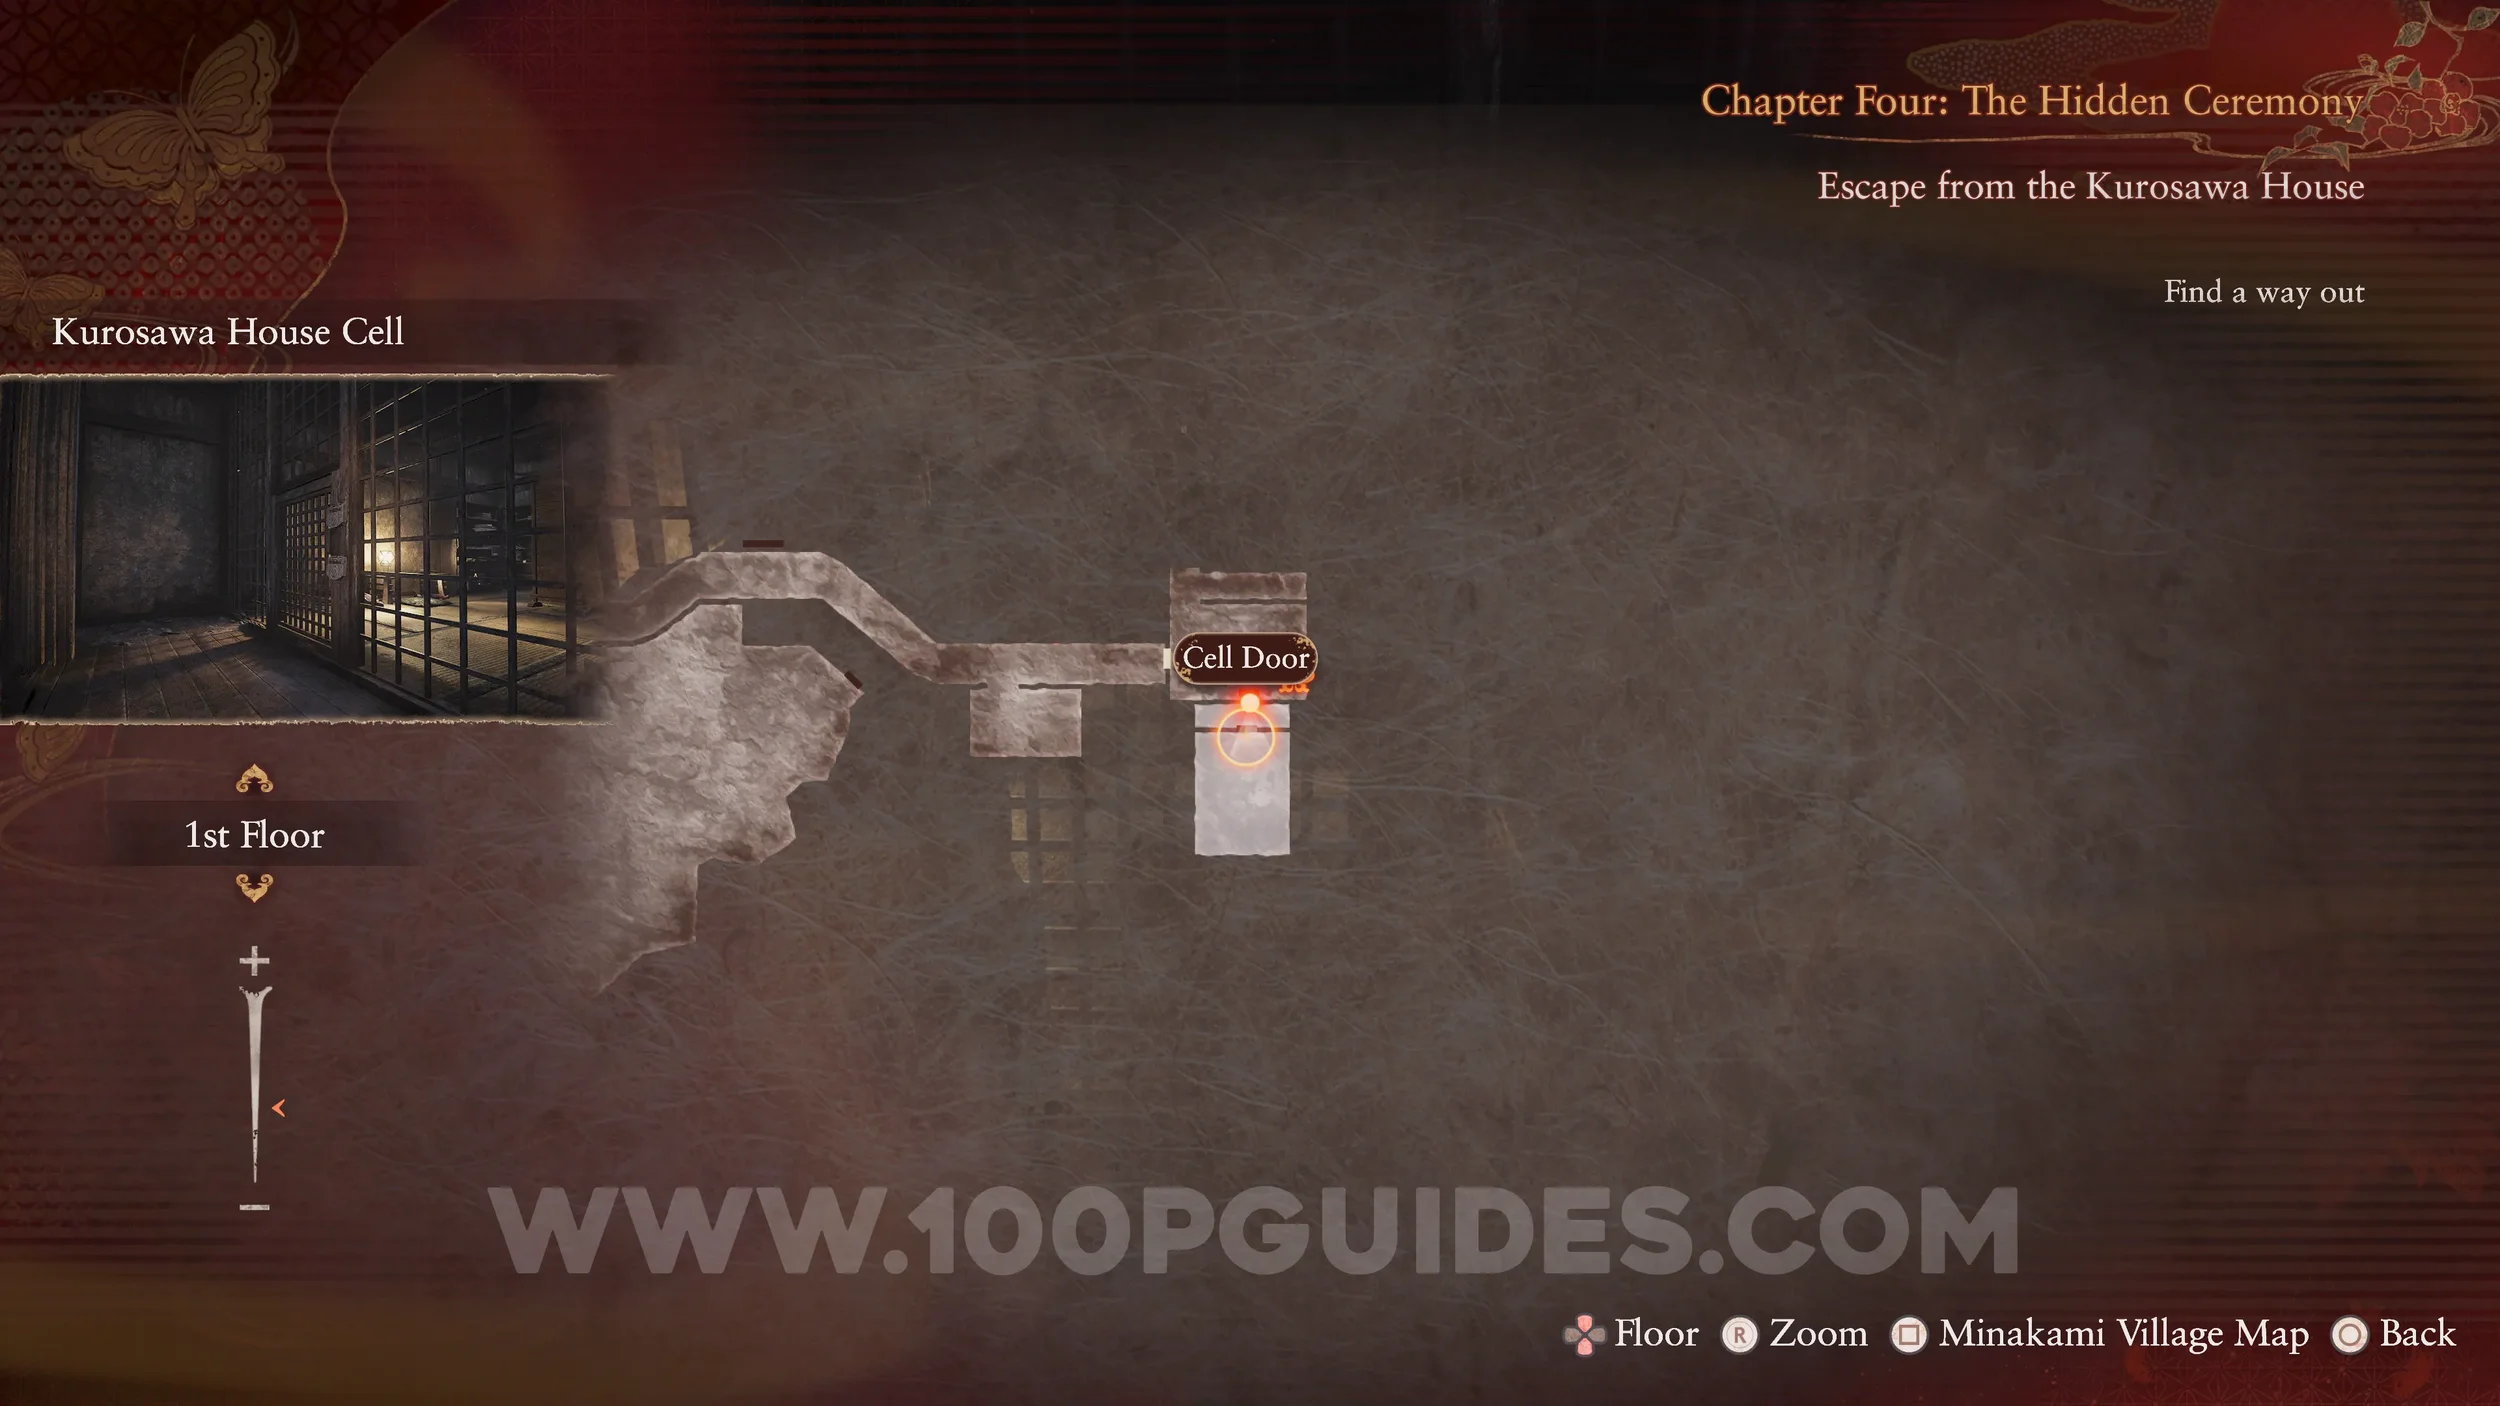
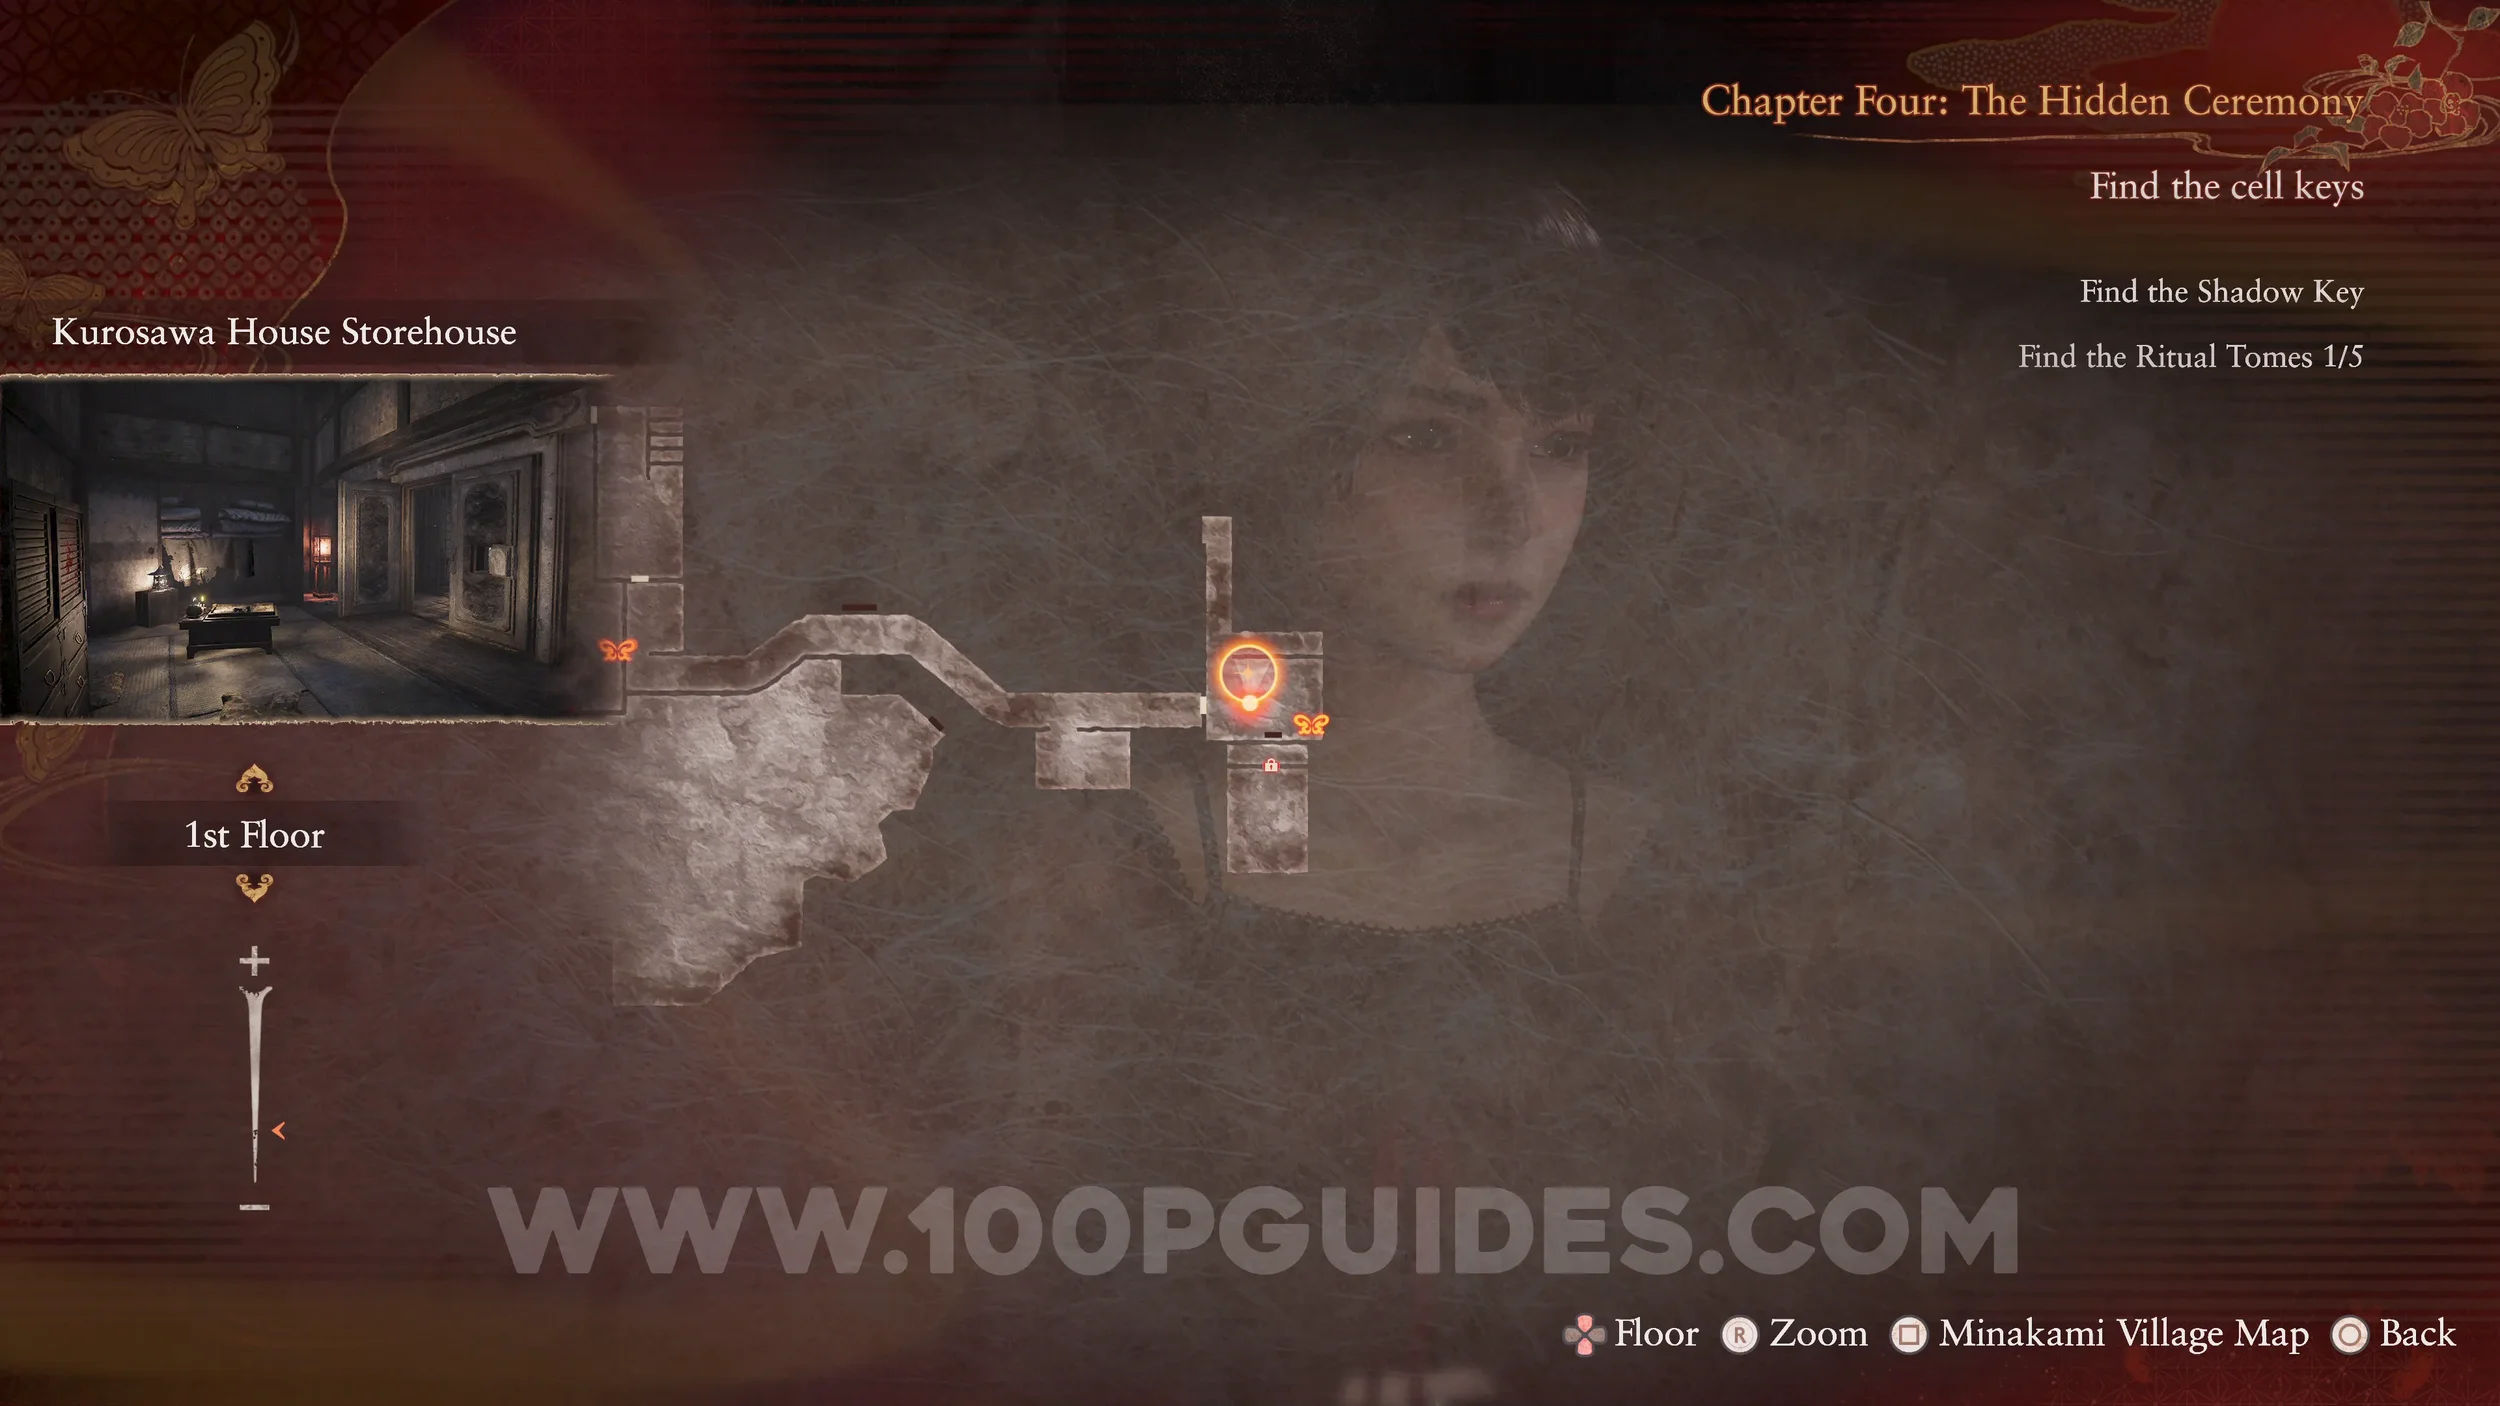
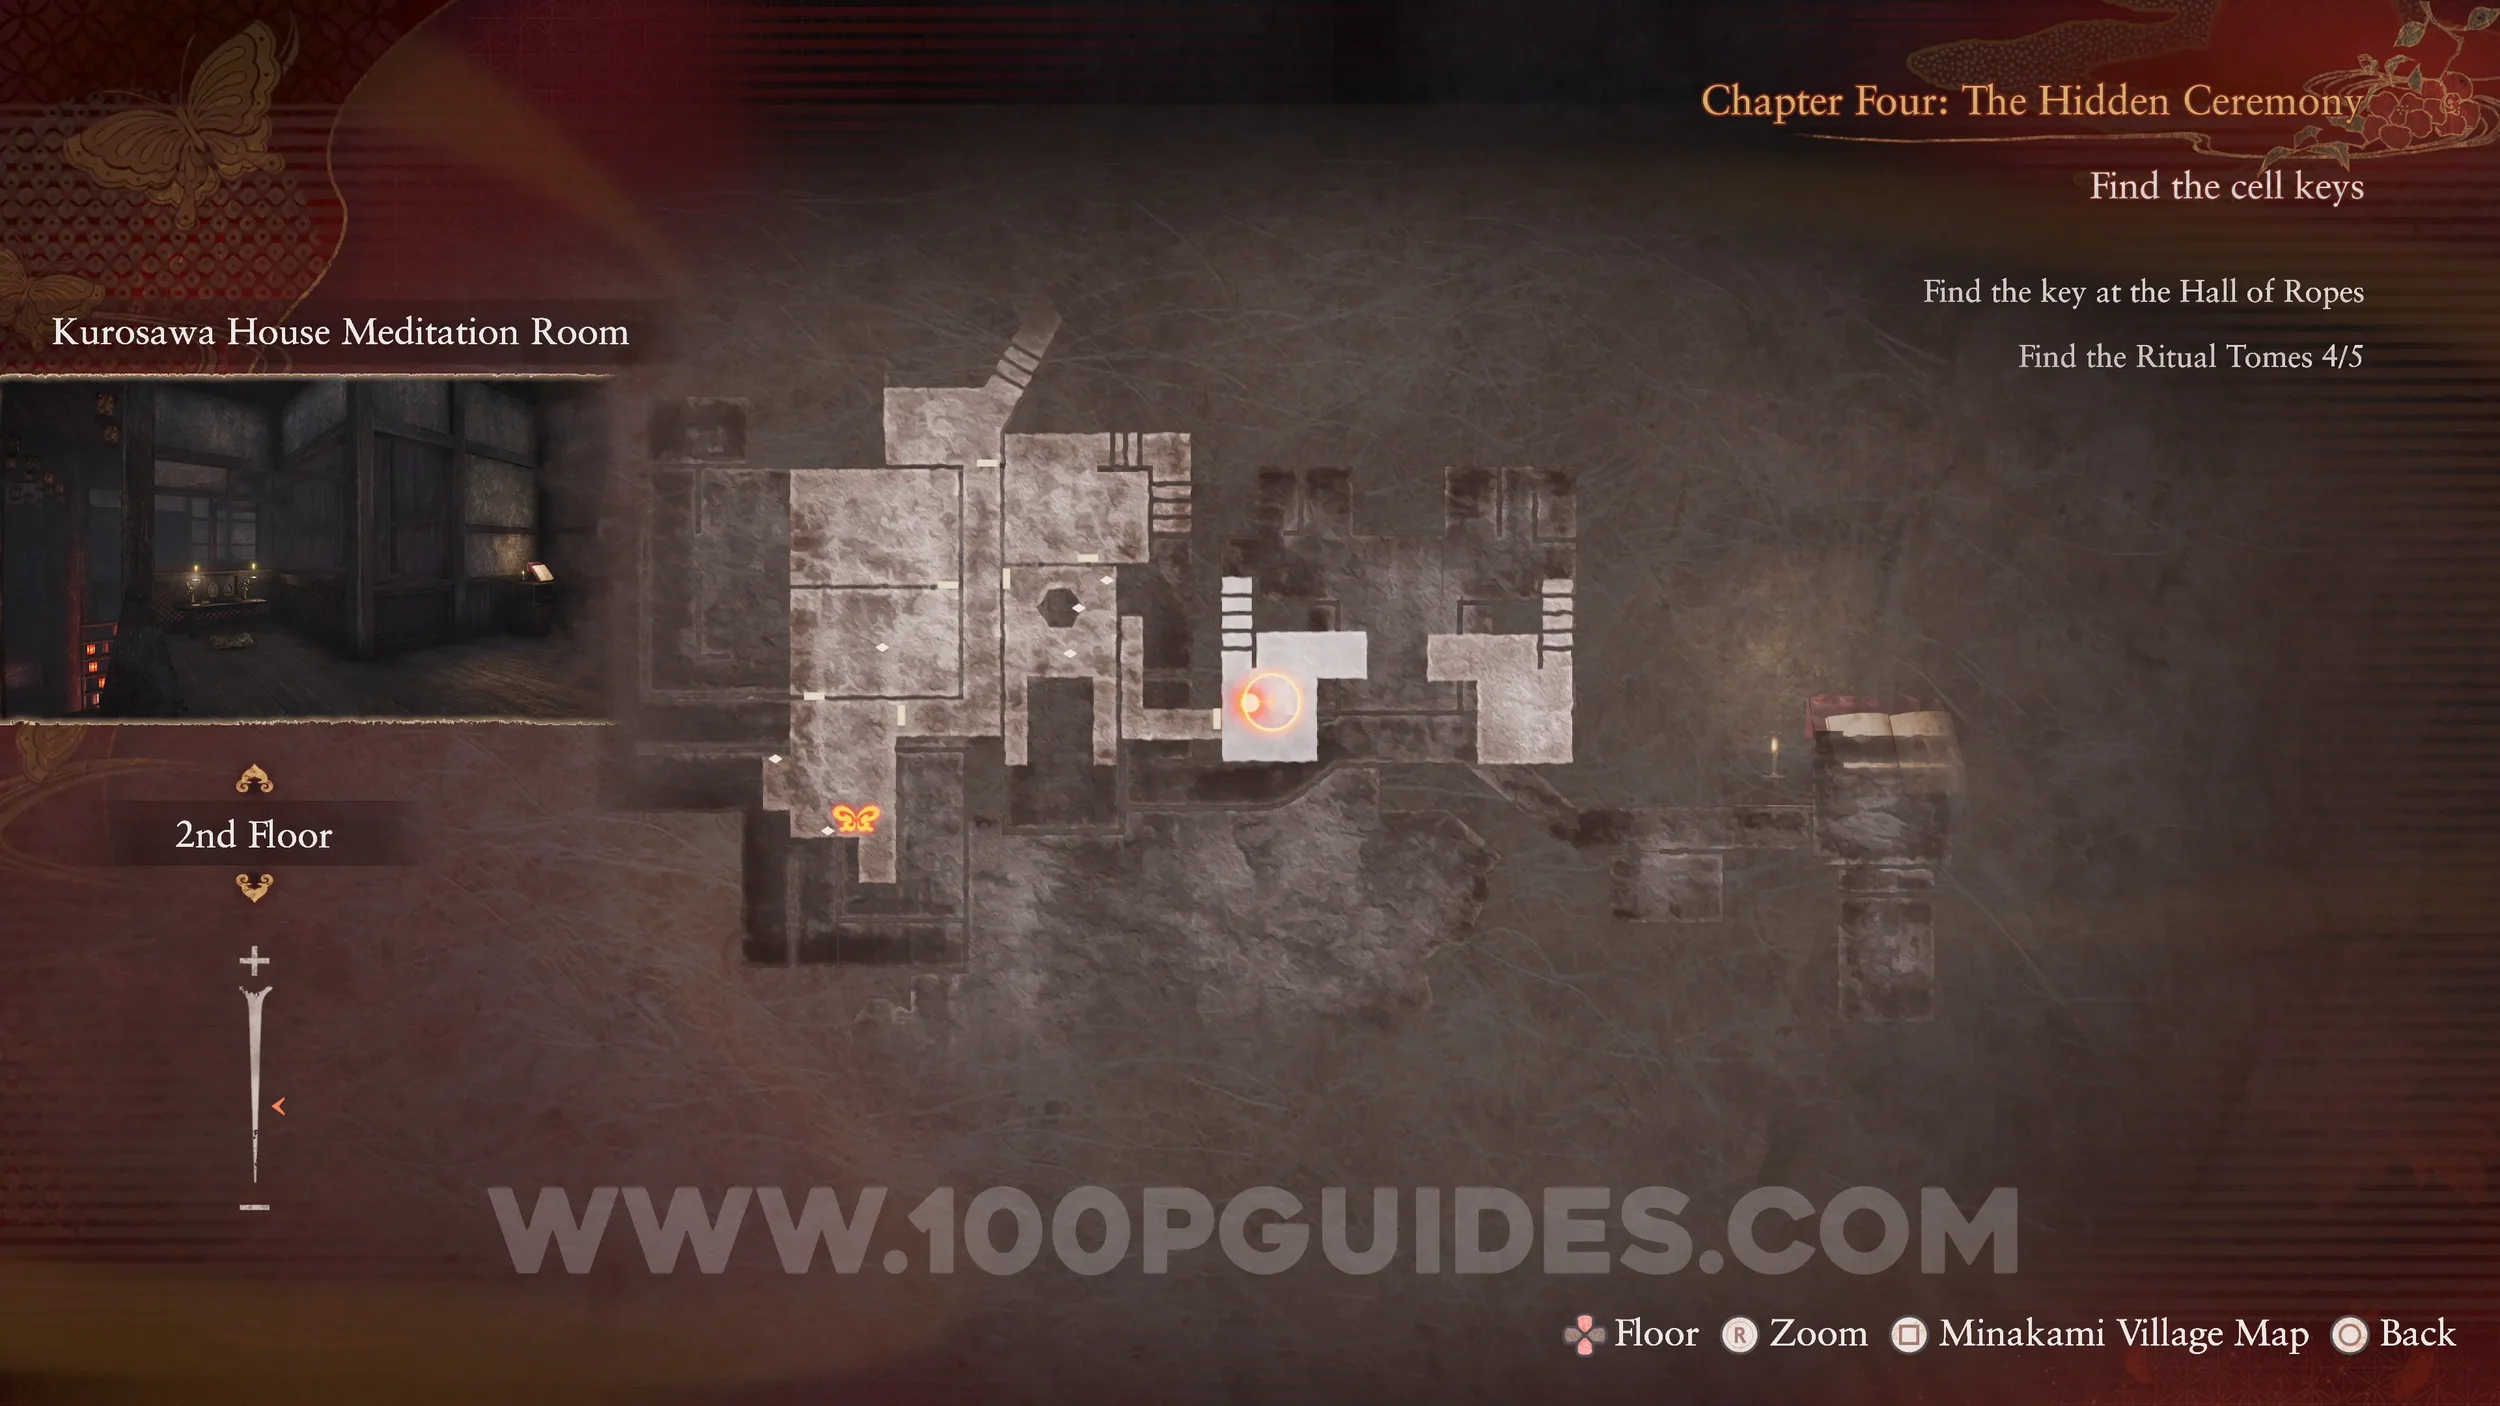
Document #36 - Radiant Filter Memo. To the left of the locked cell gate.
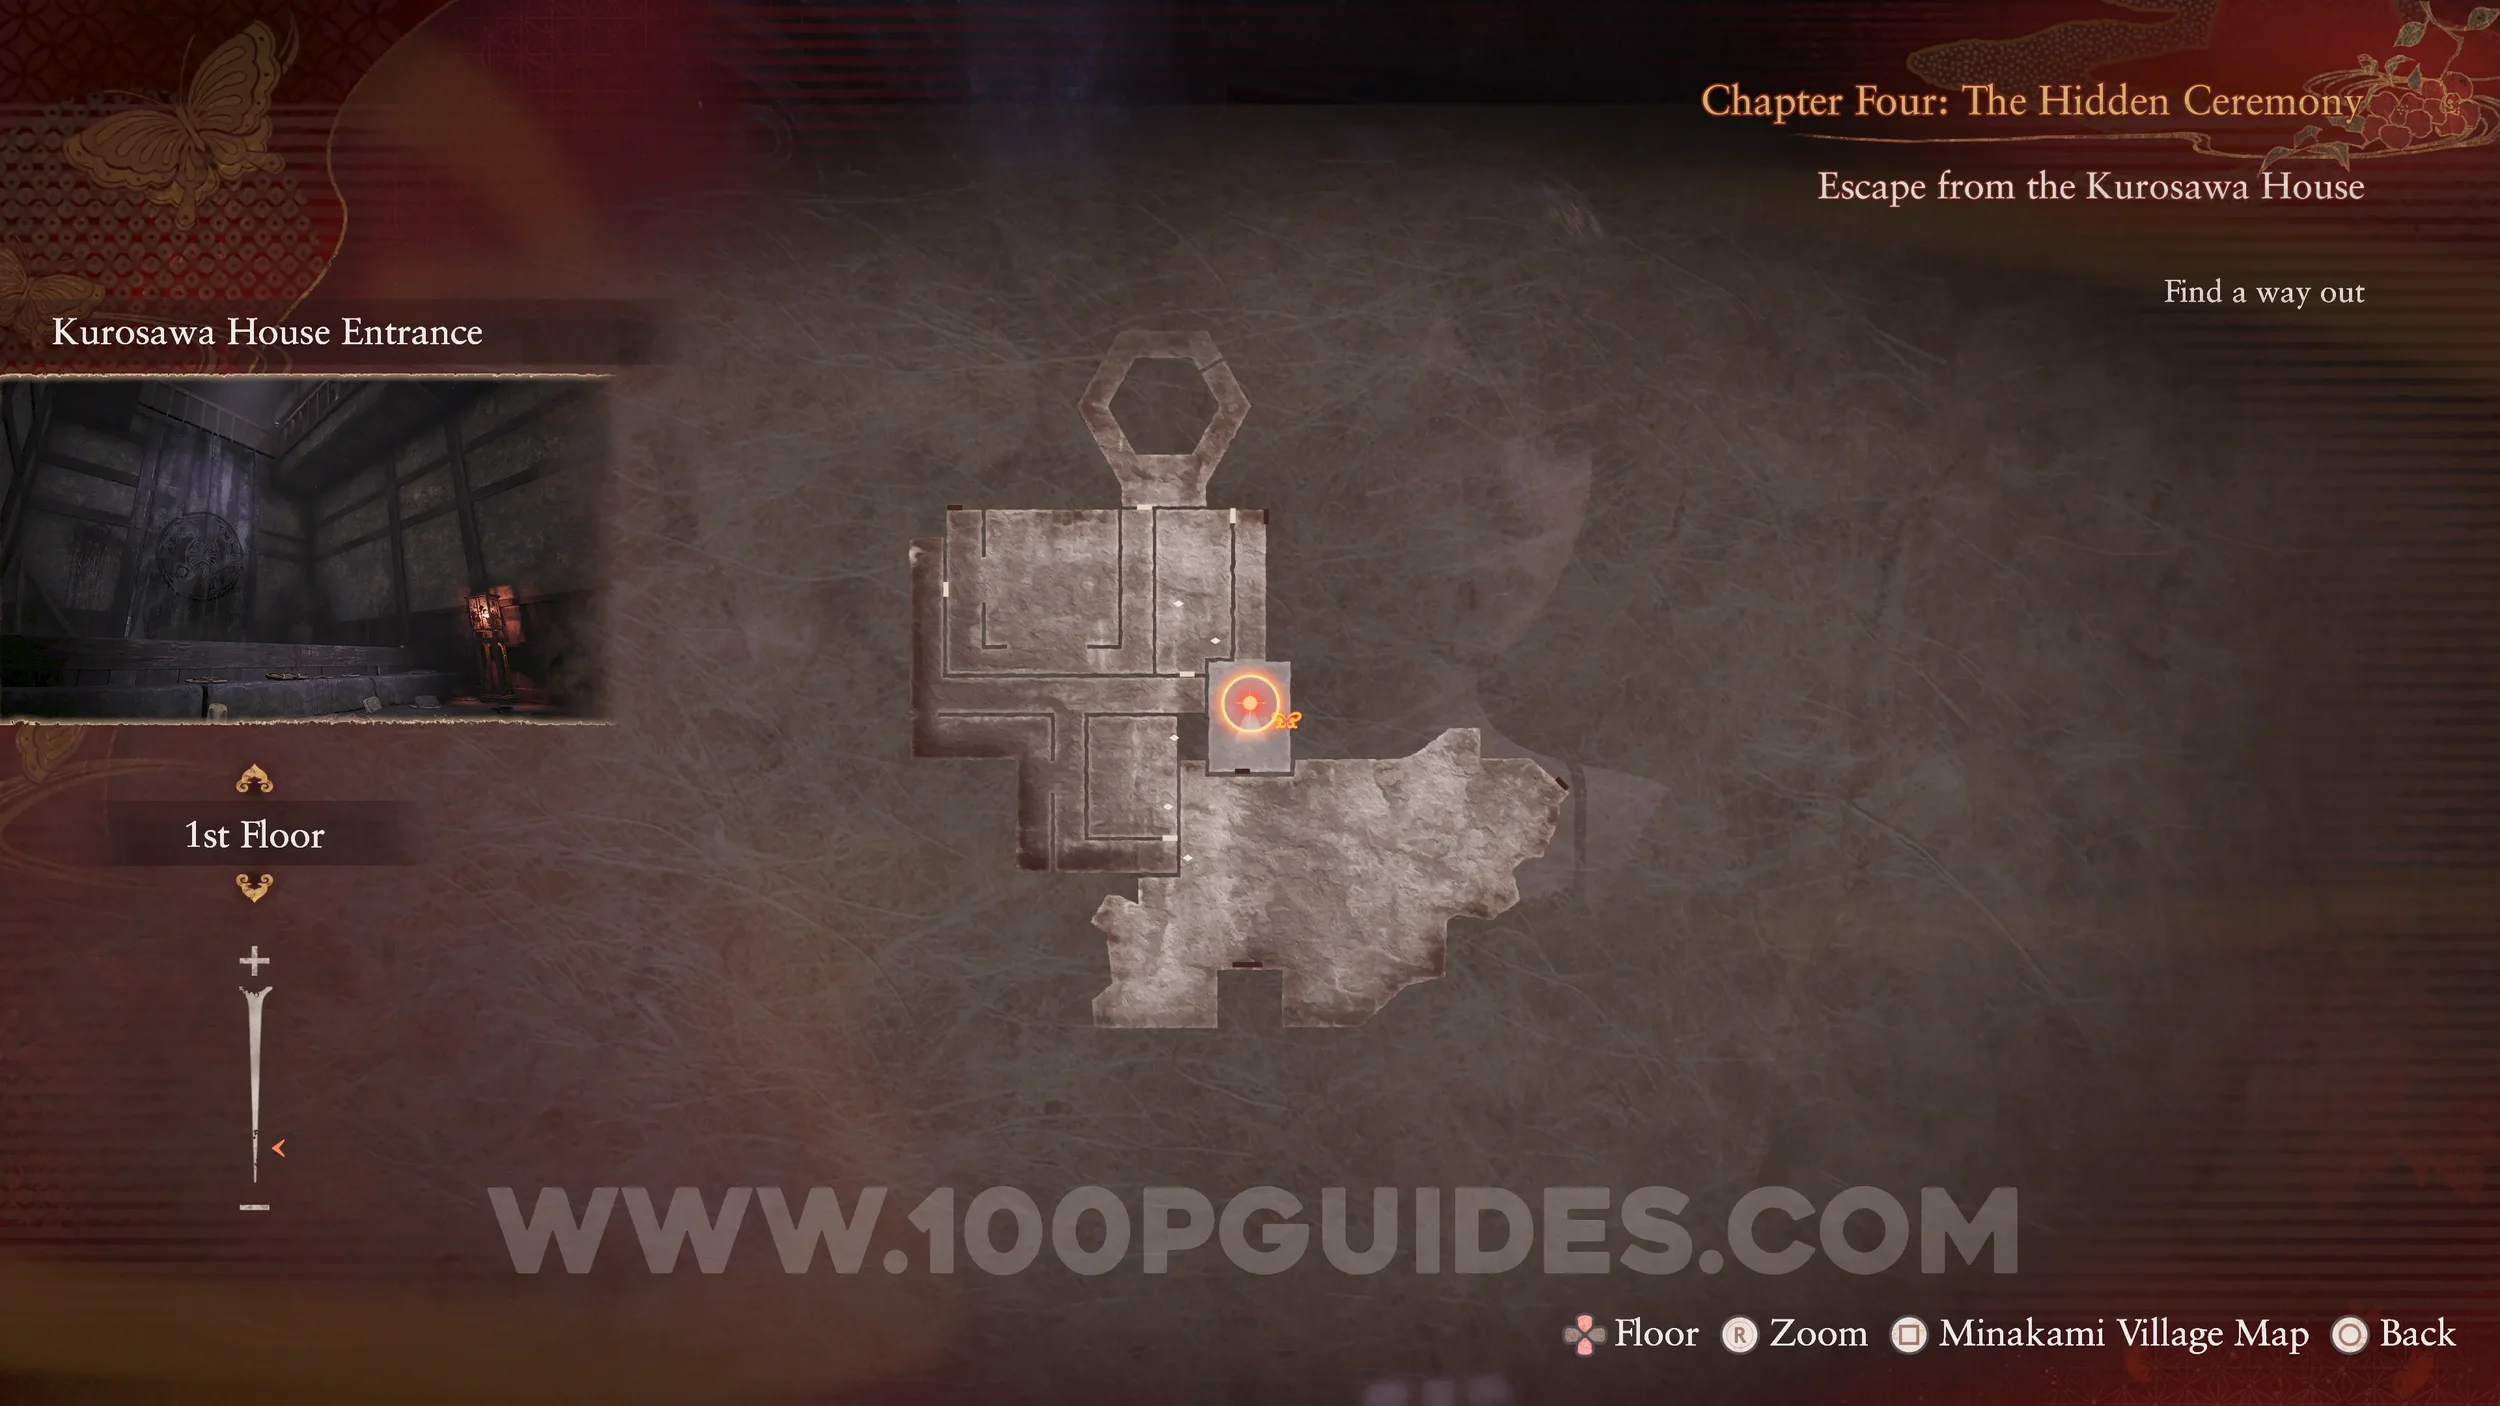
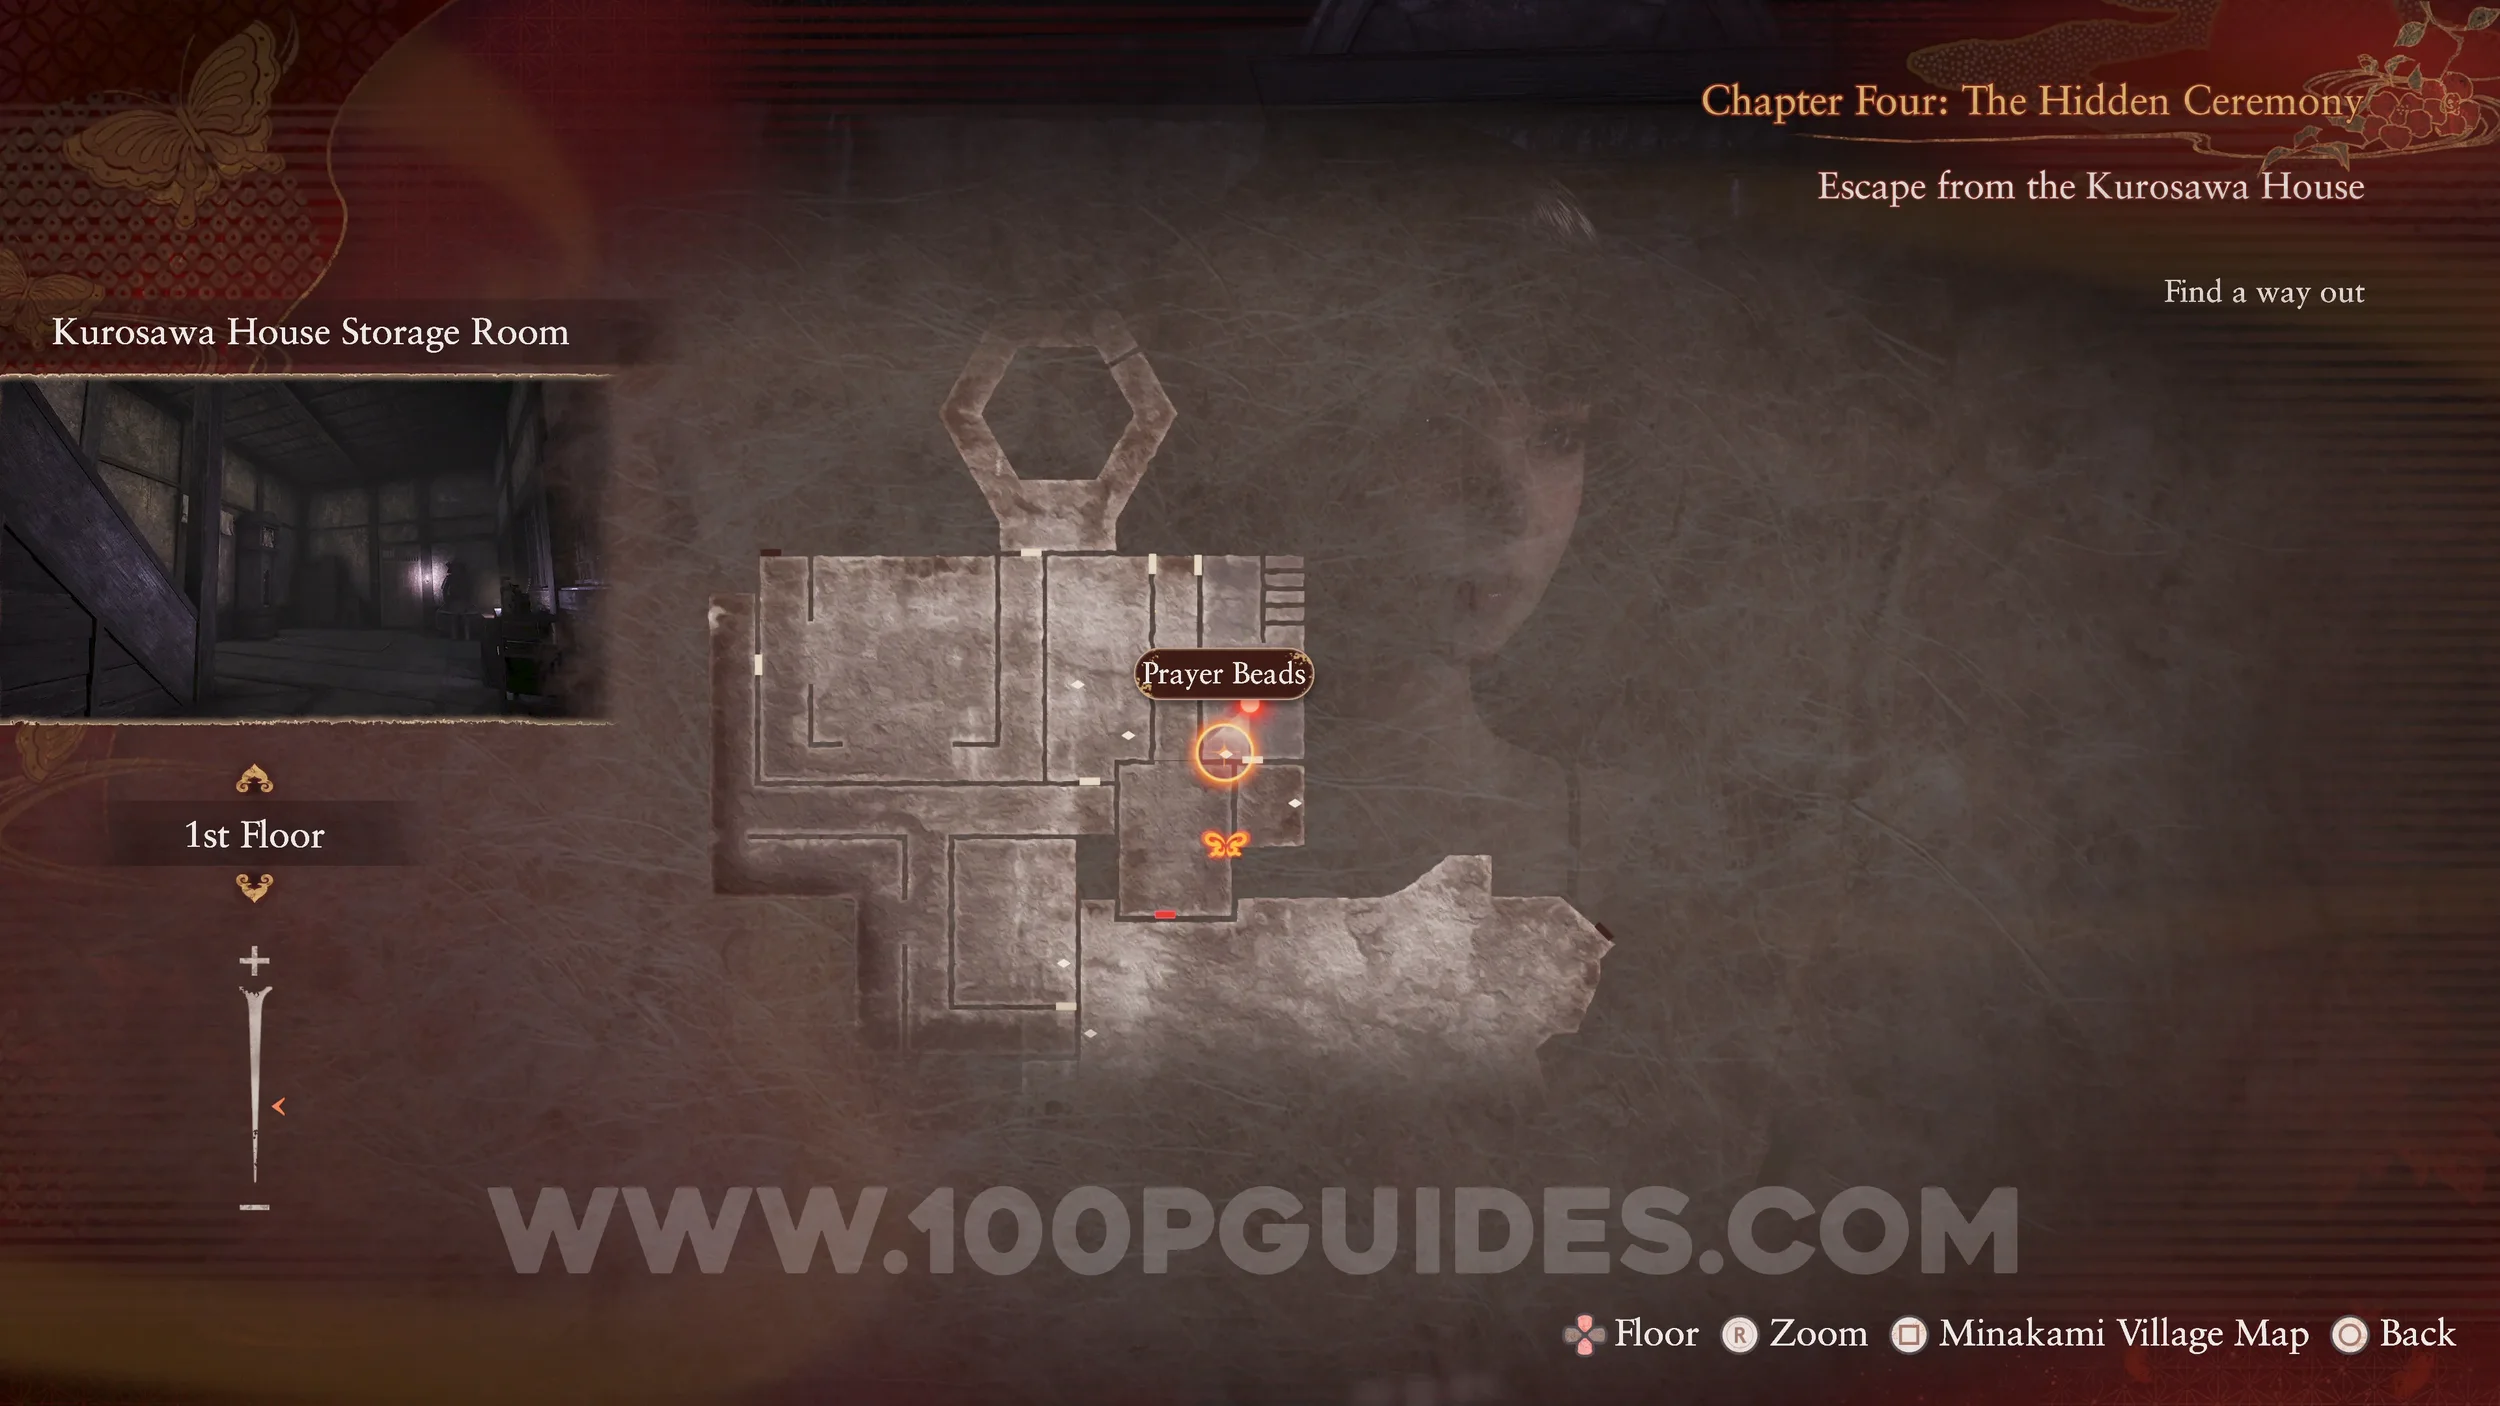
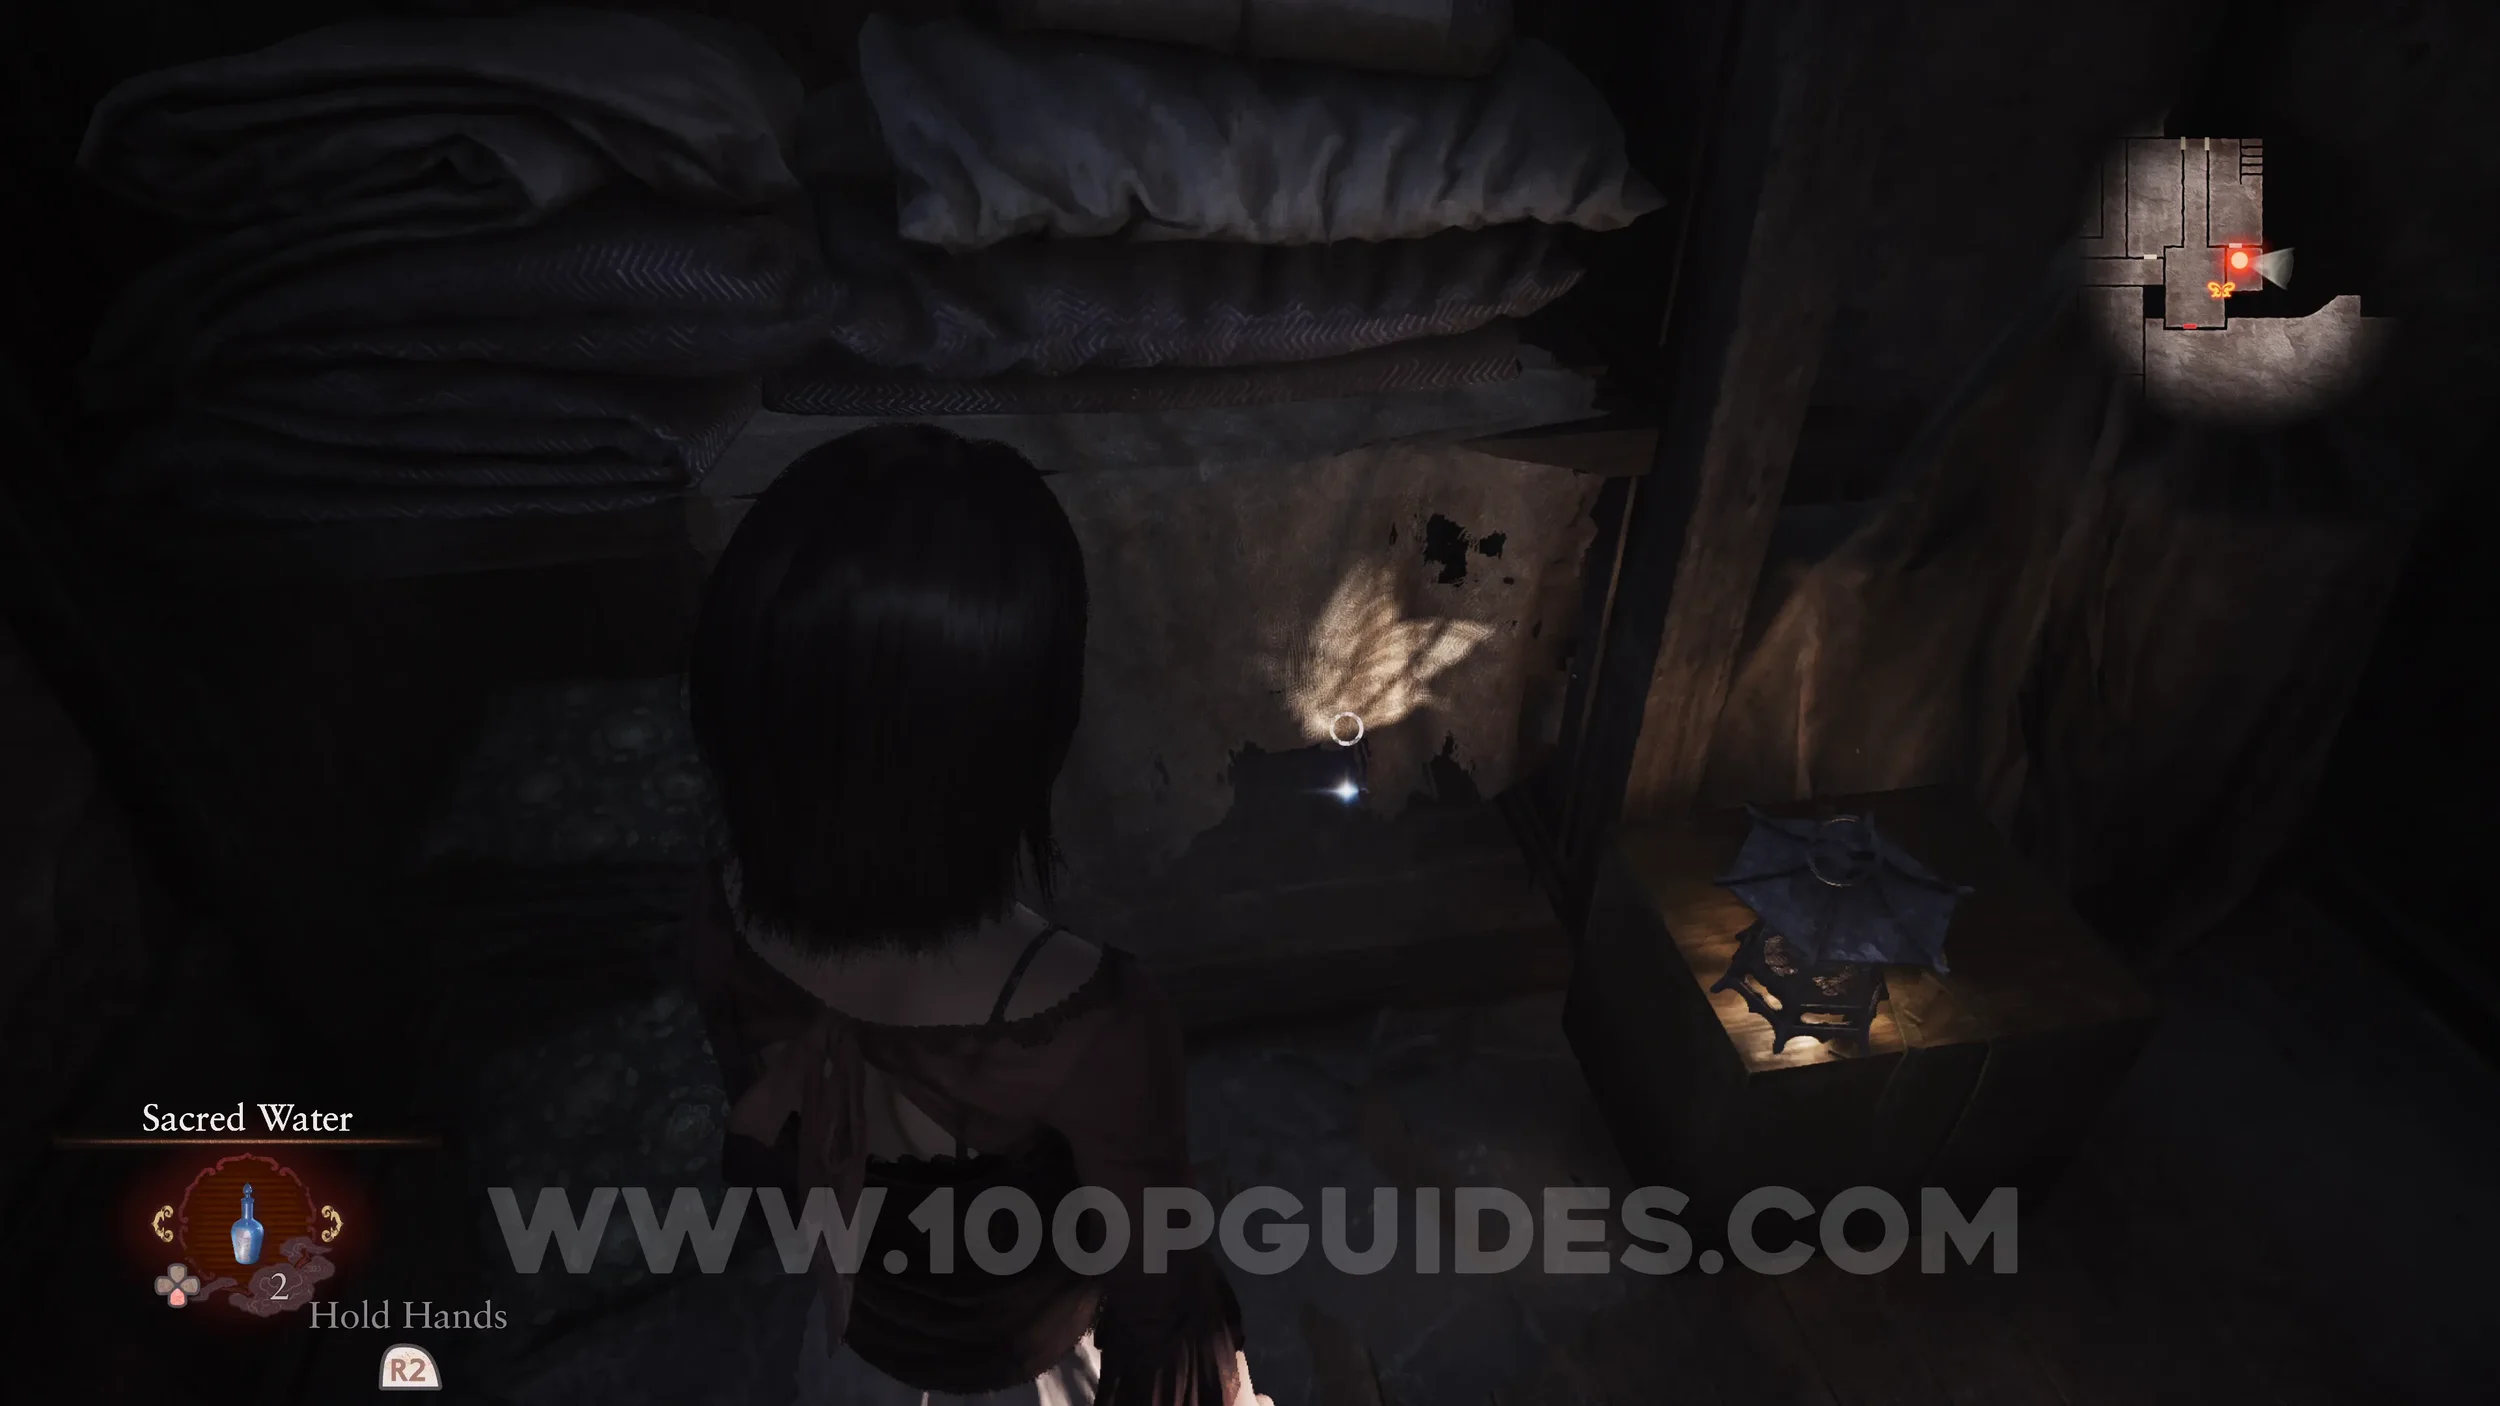
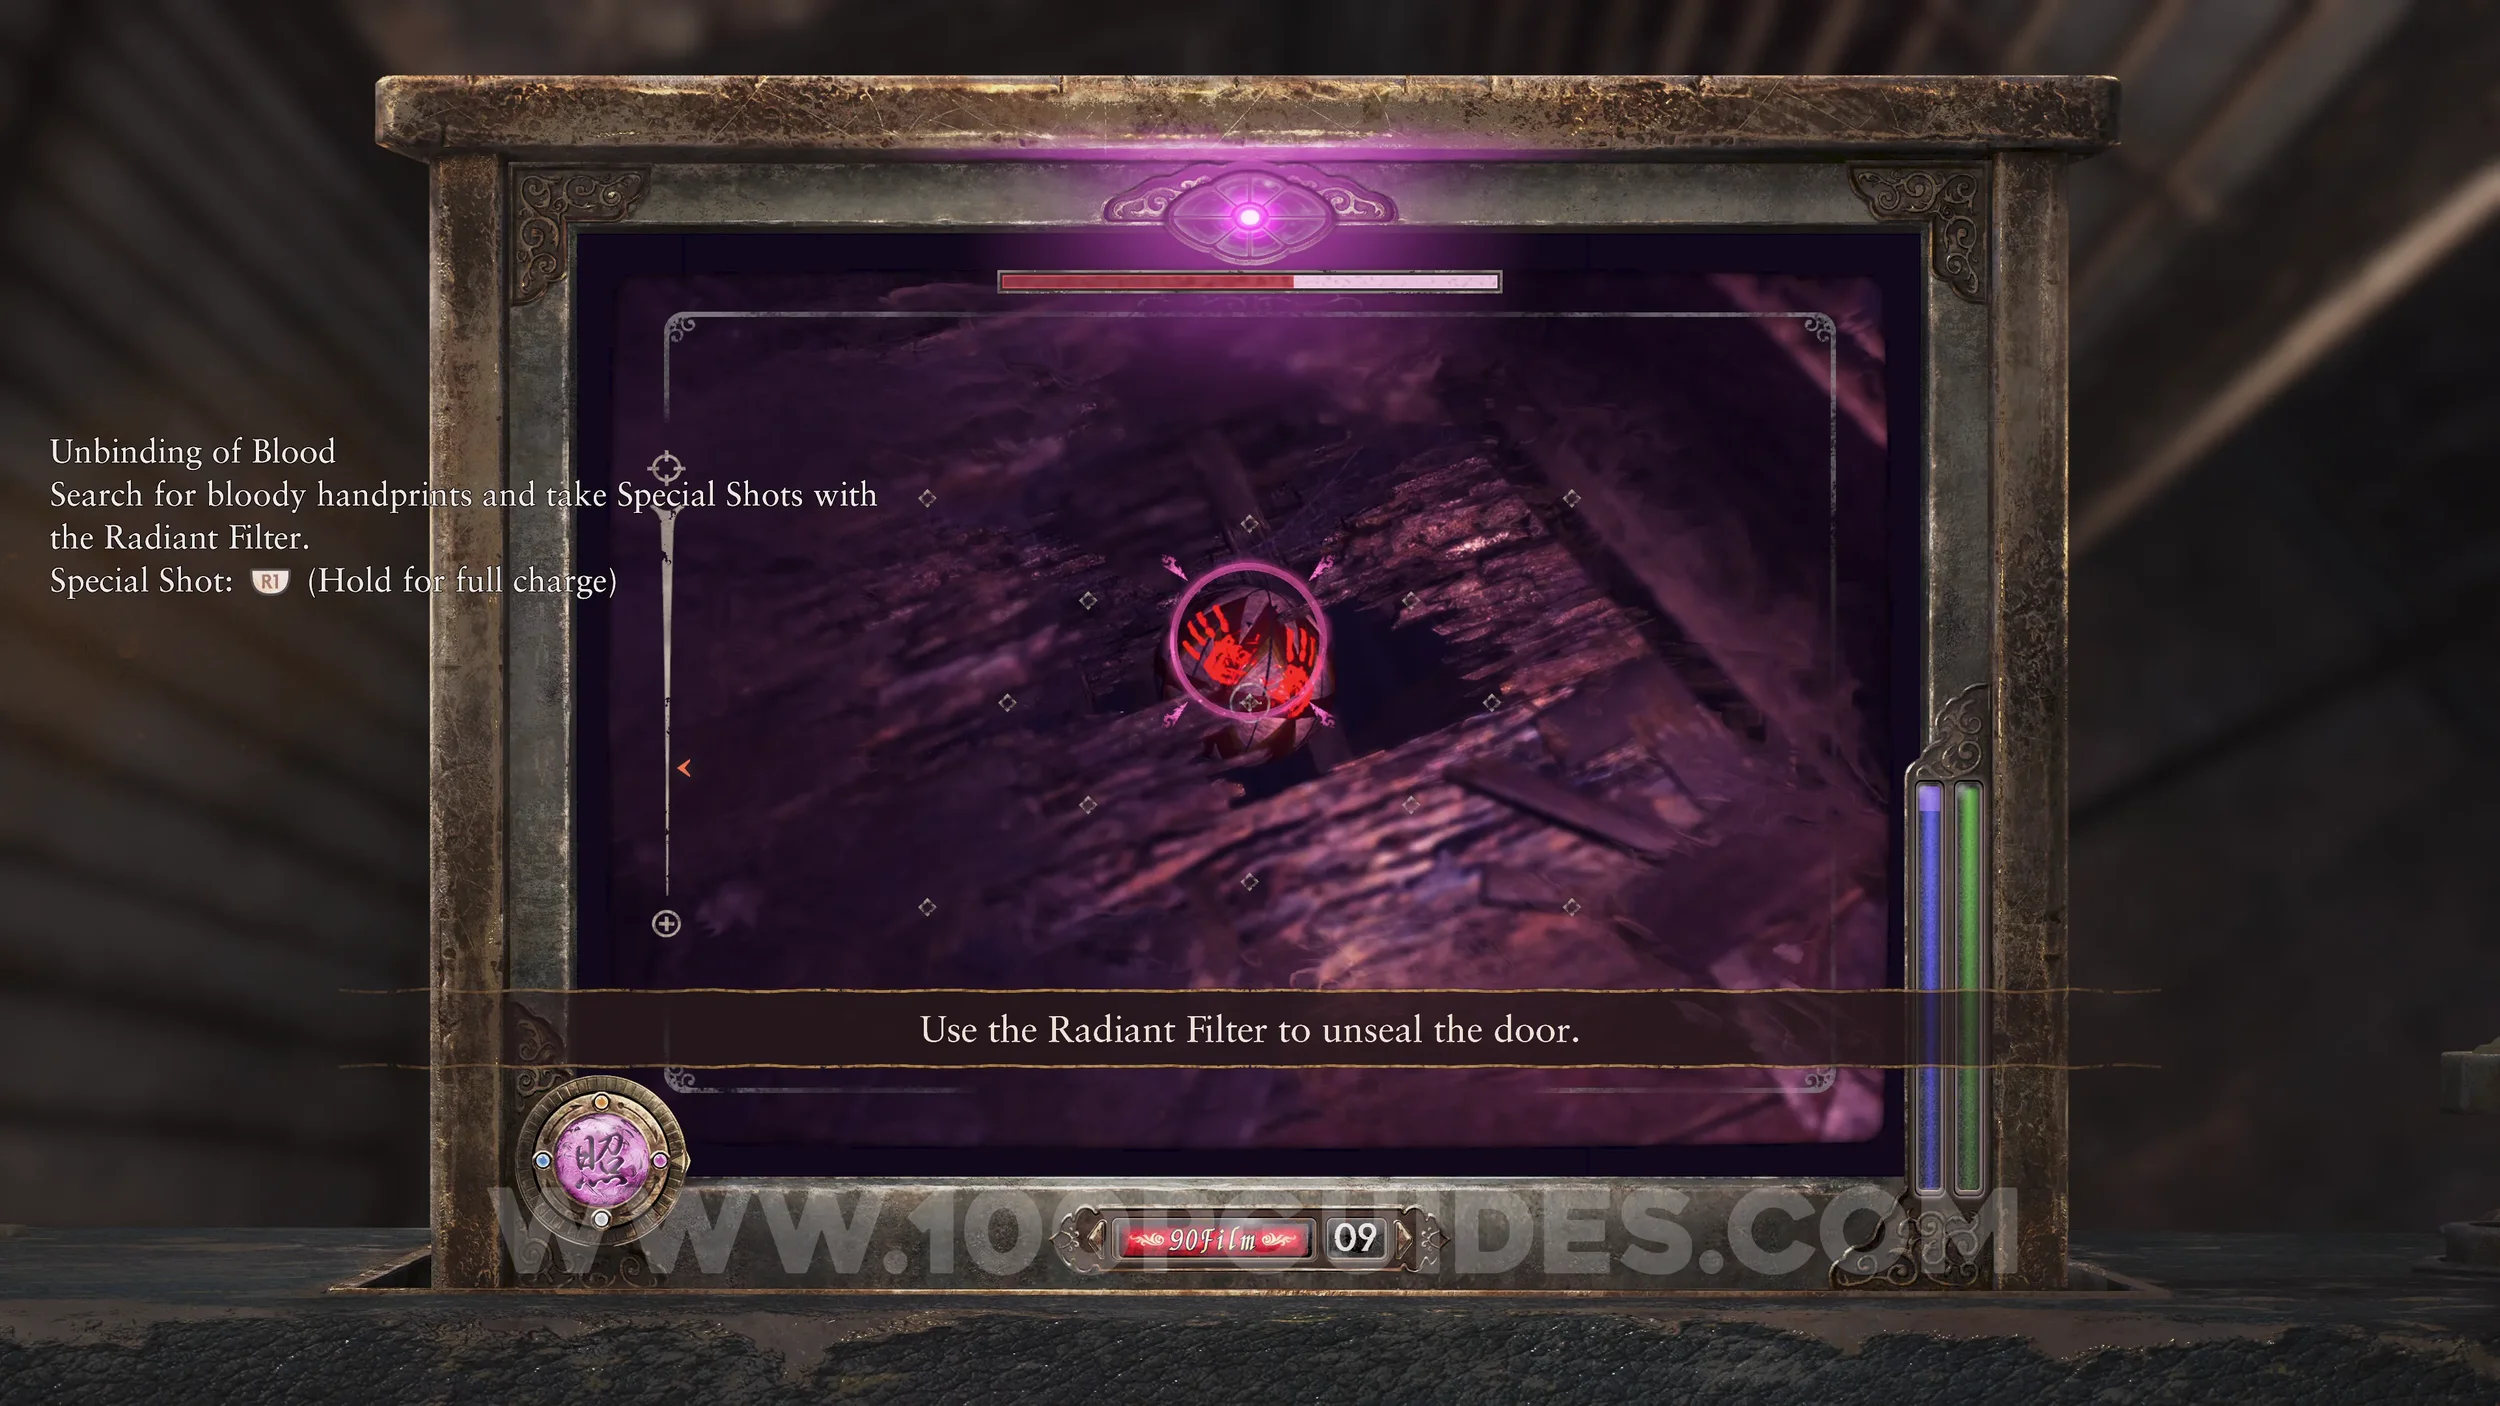
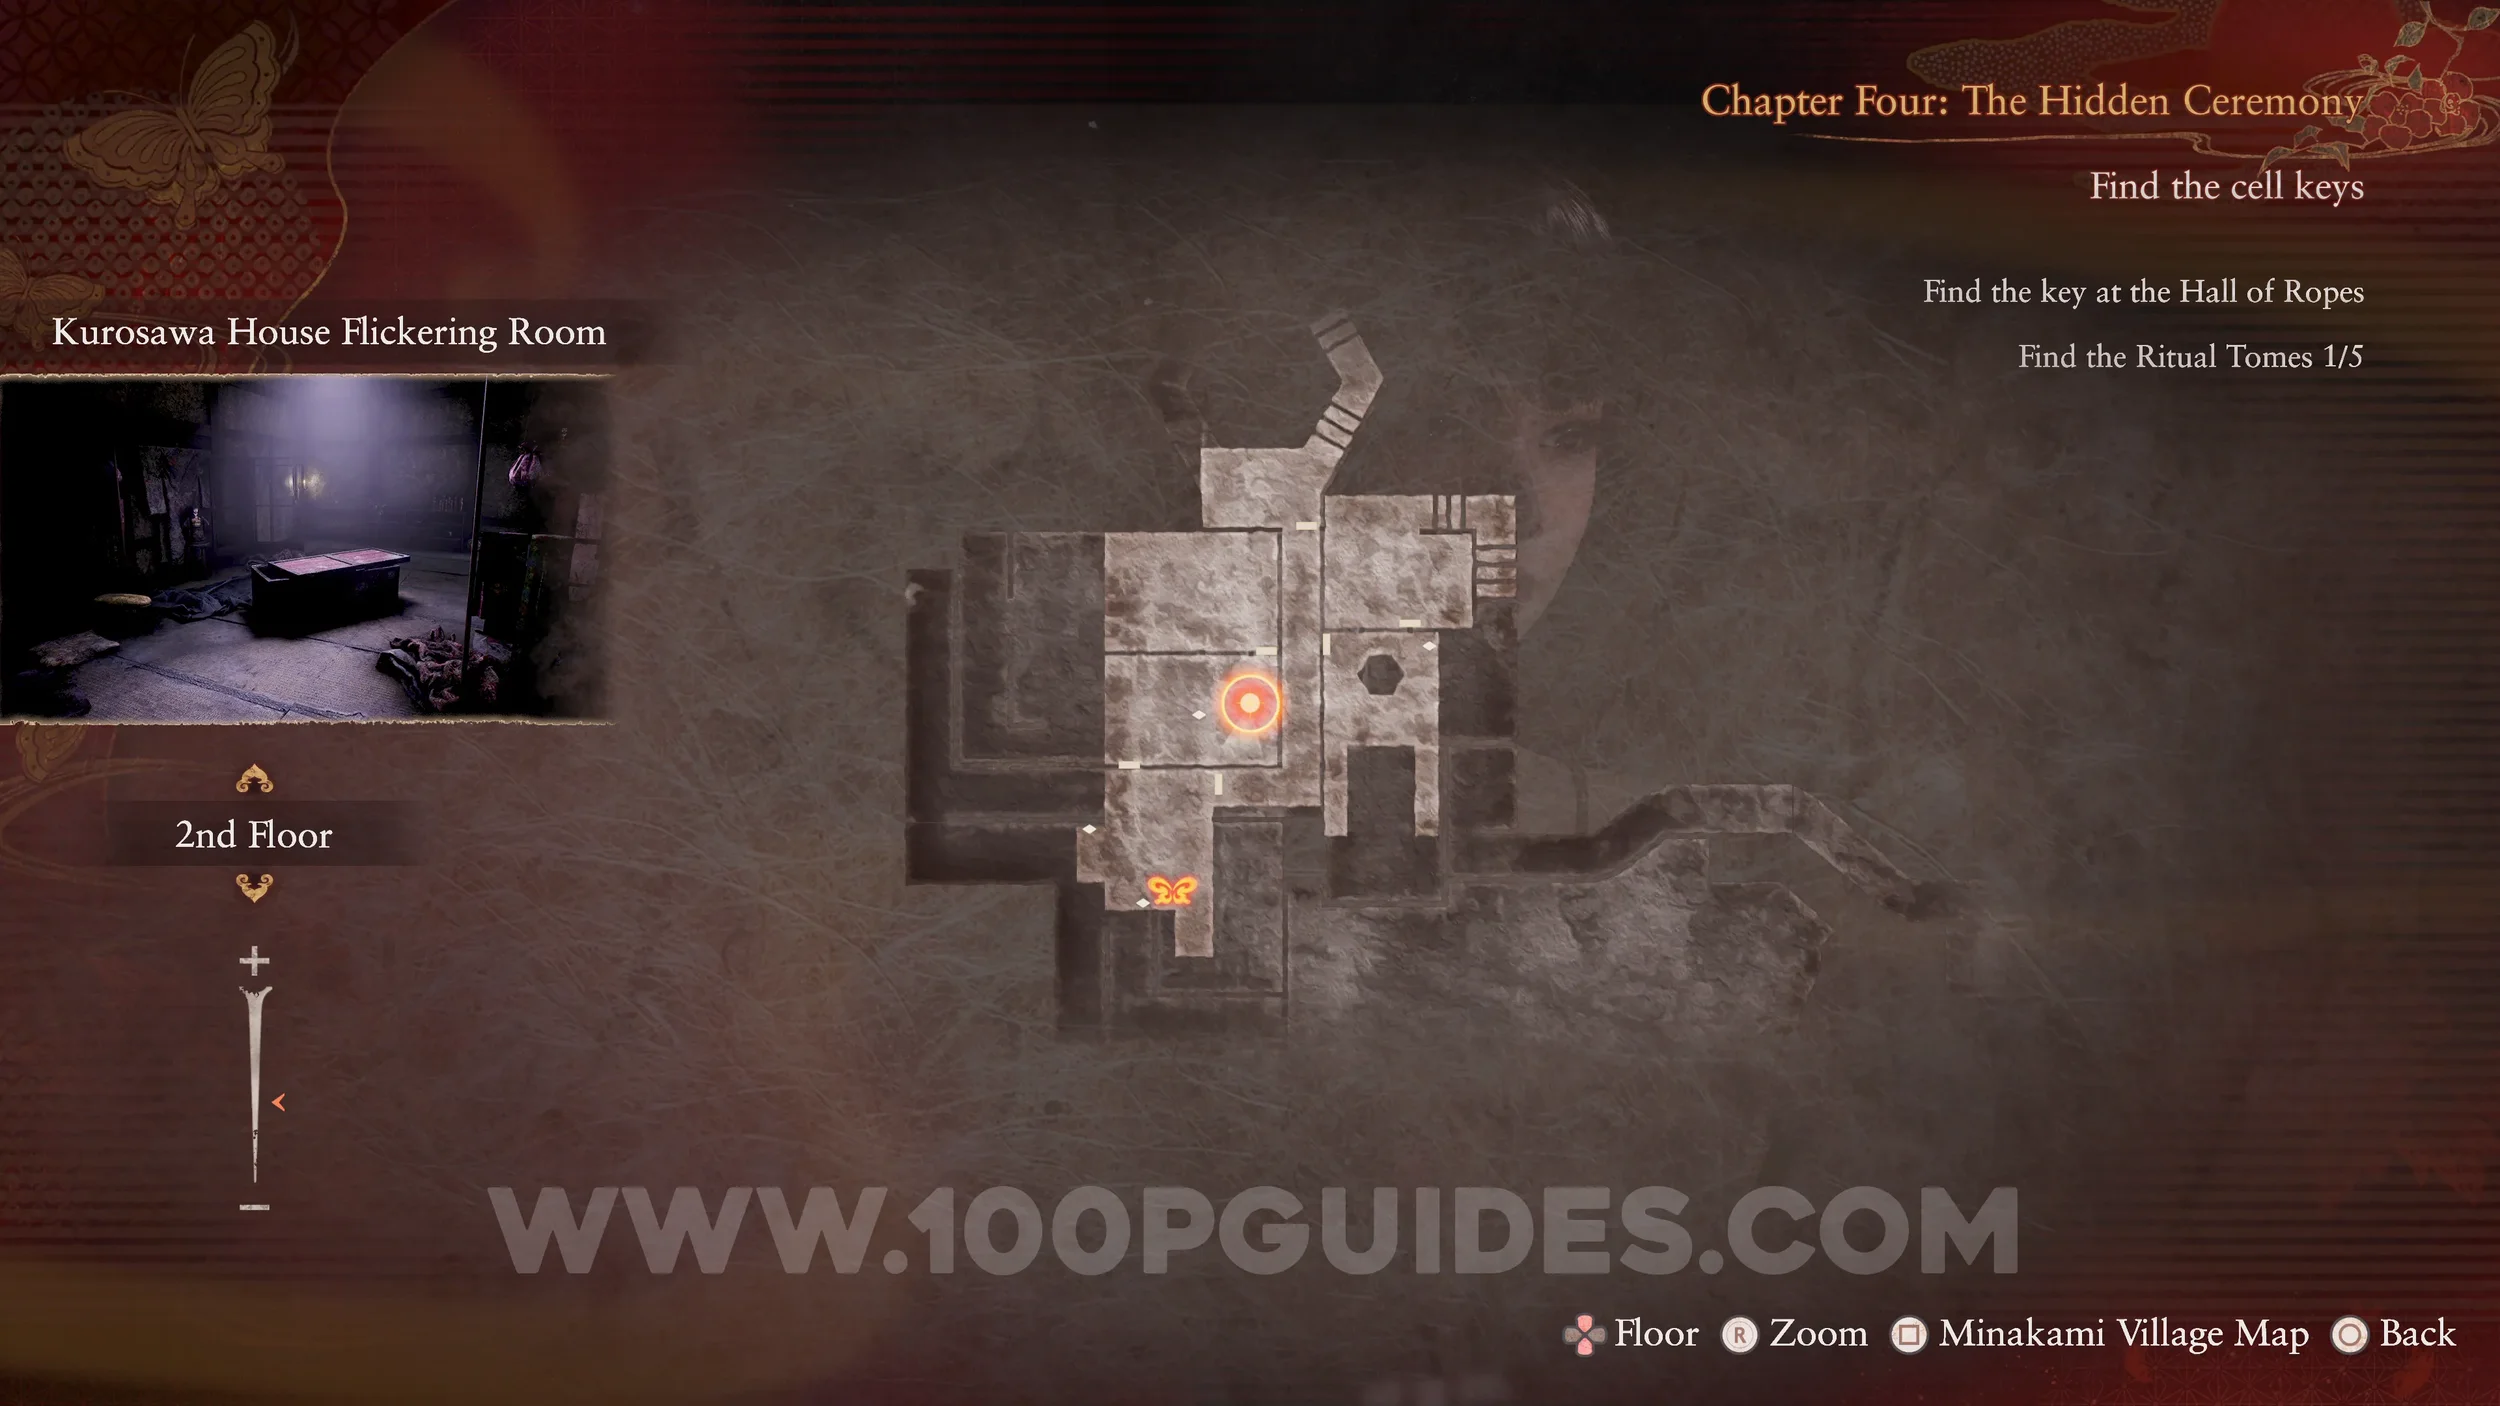
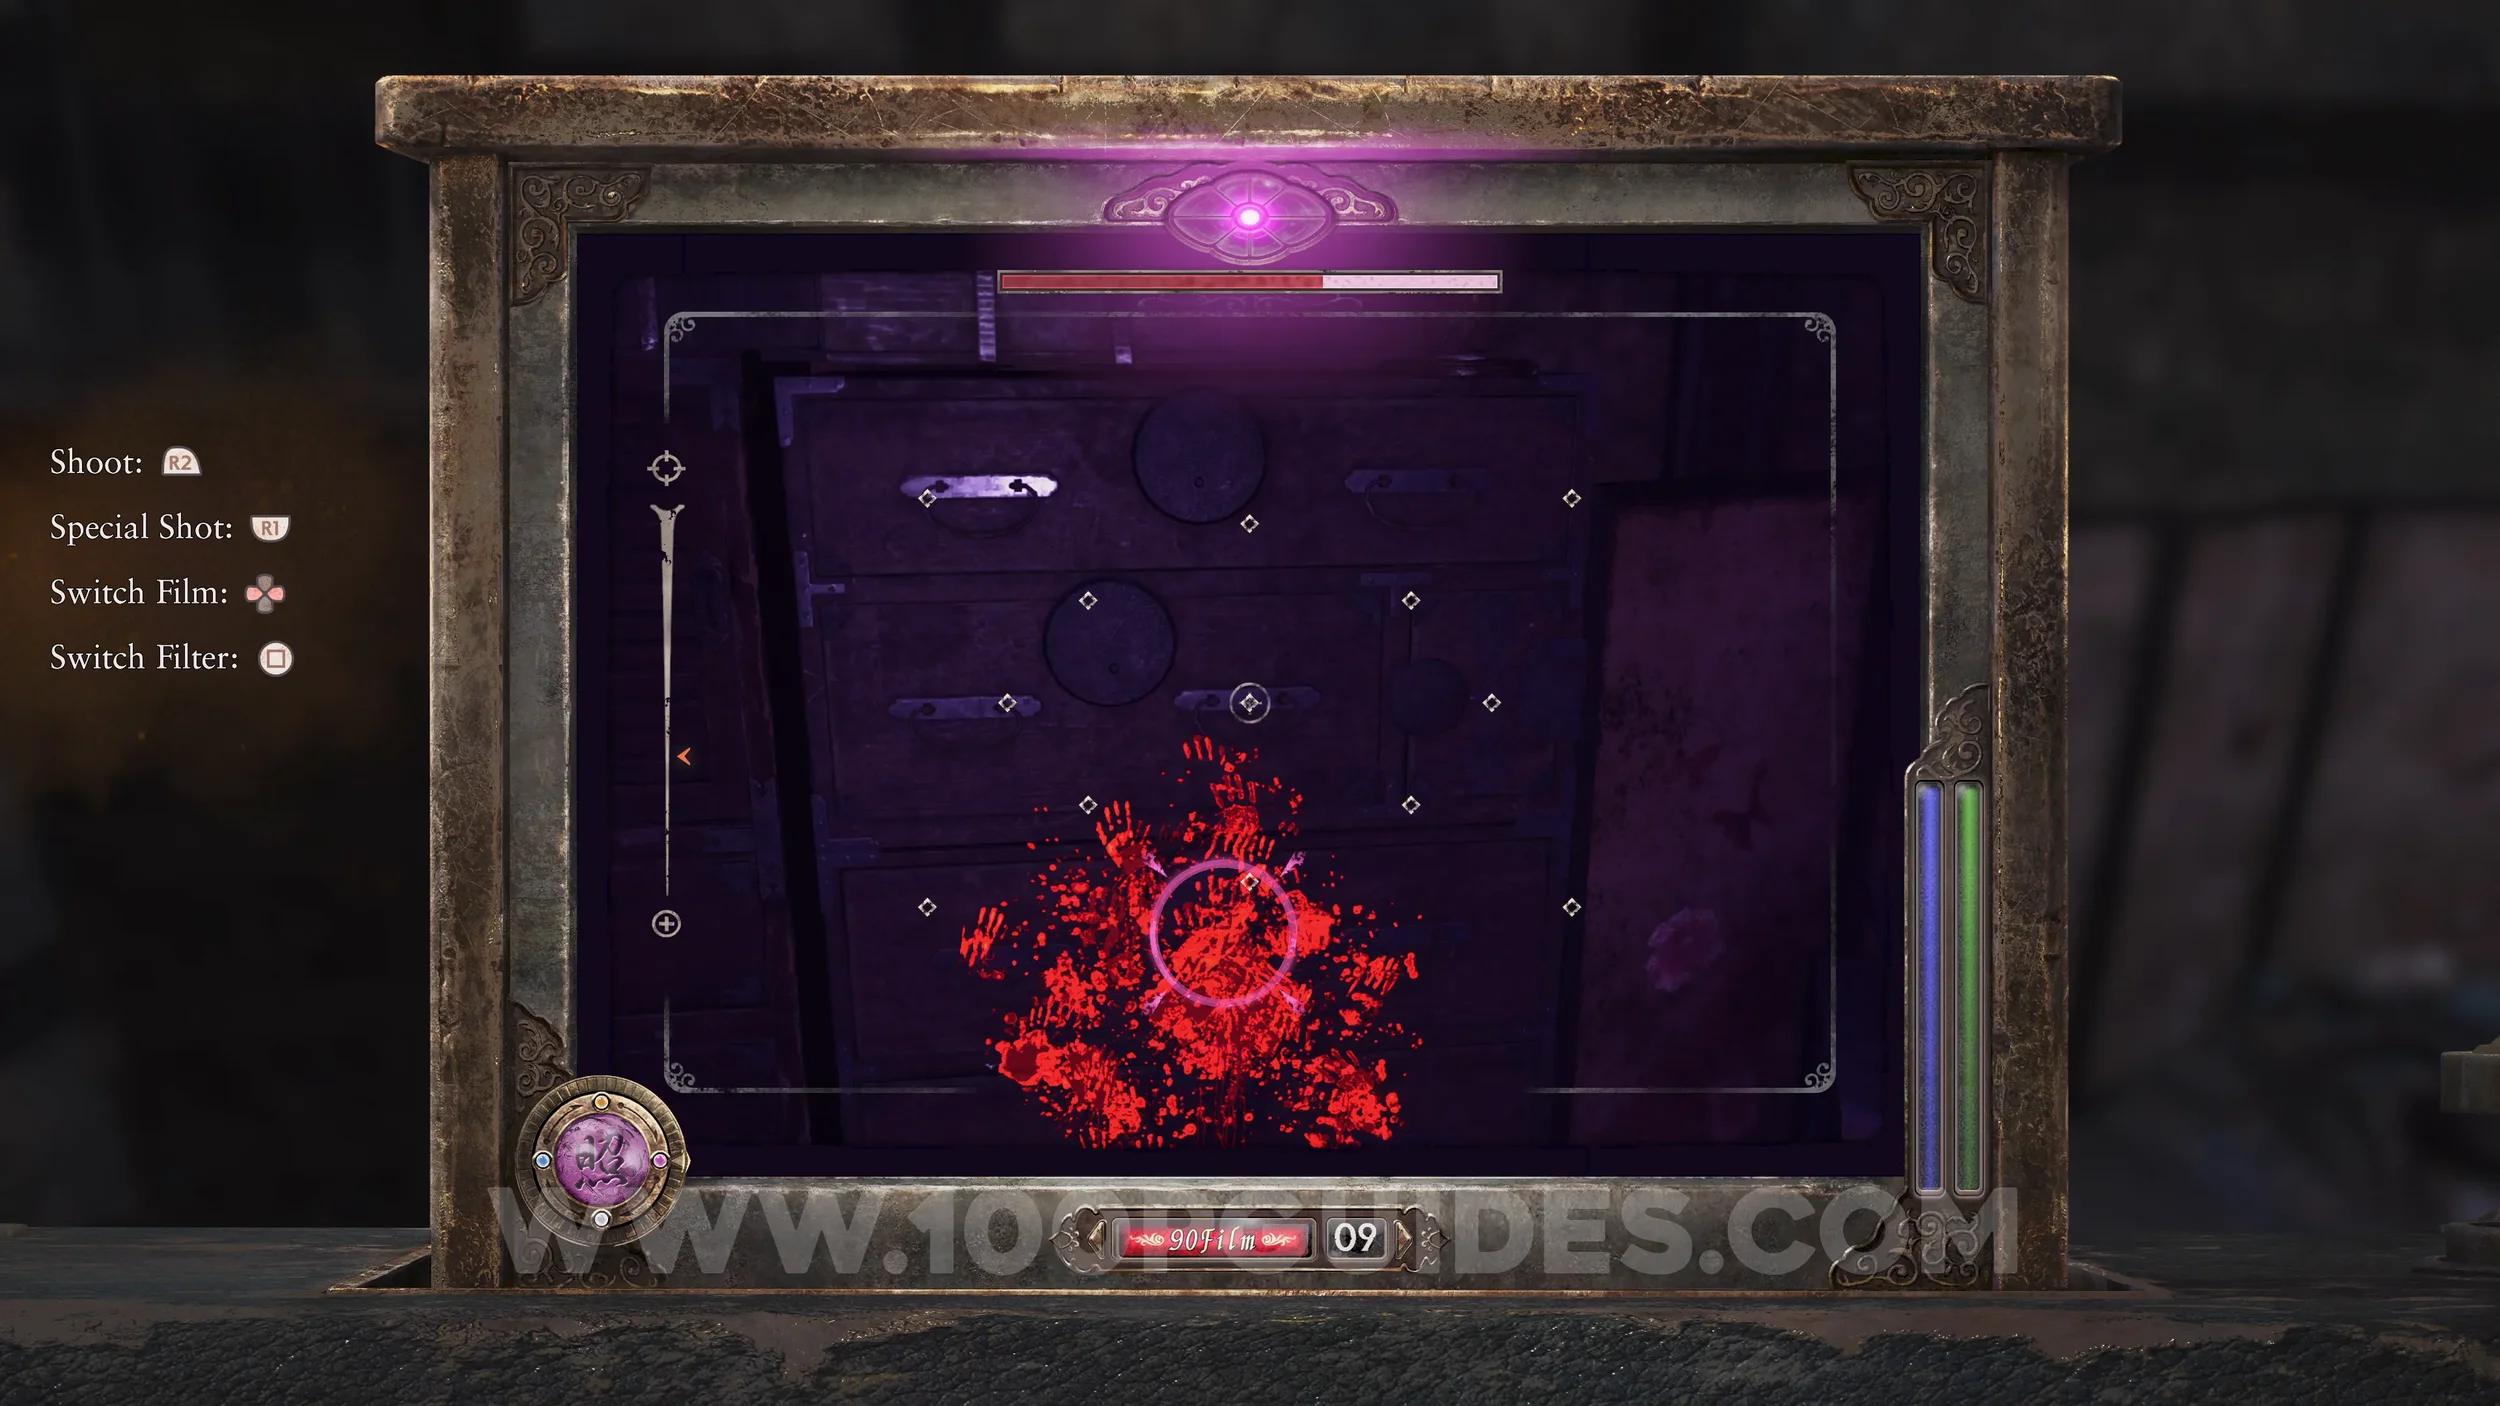
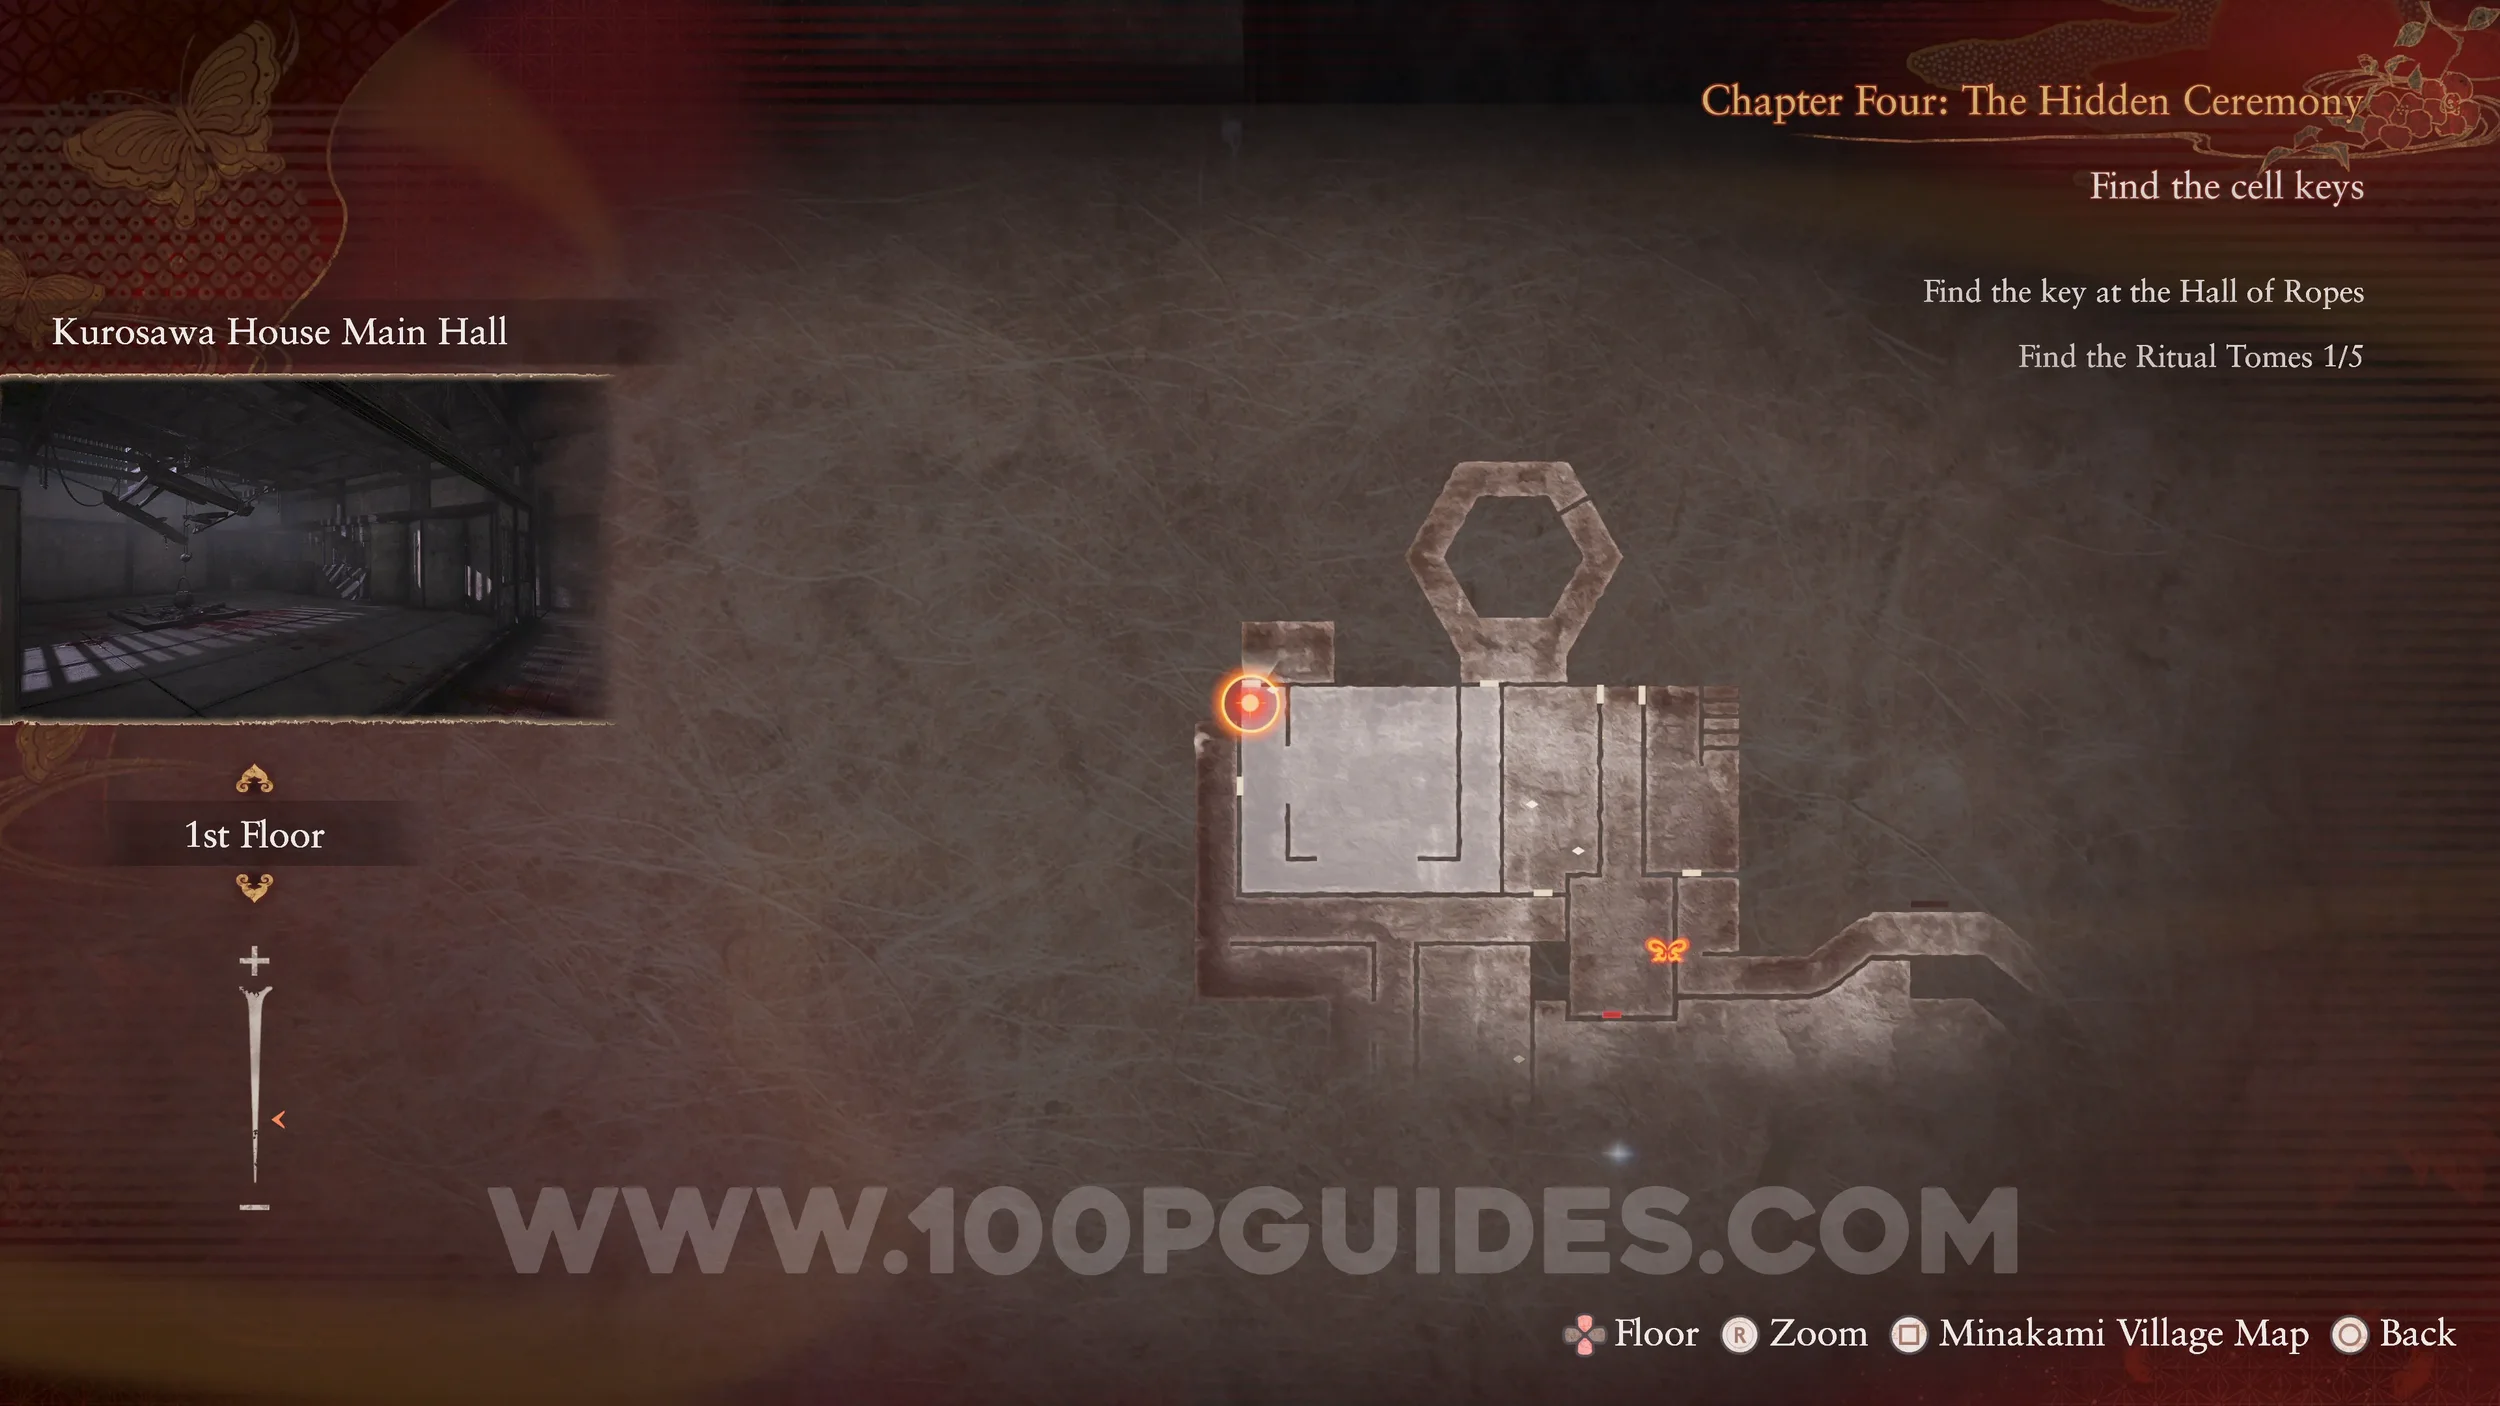
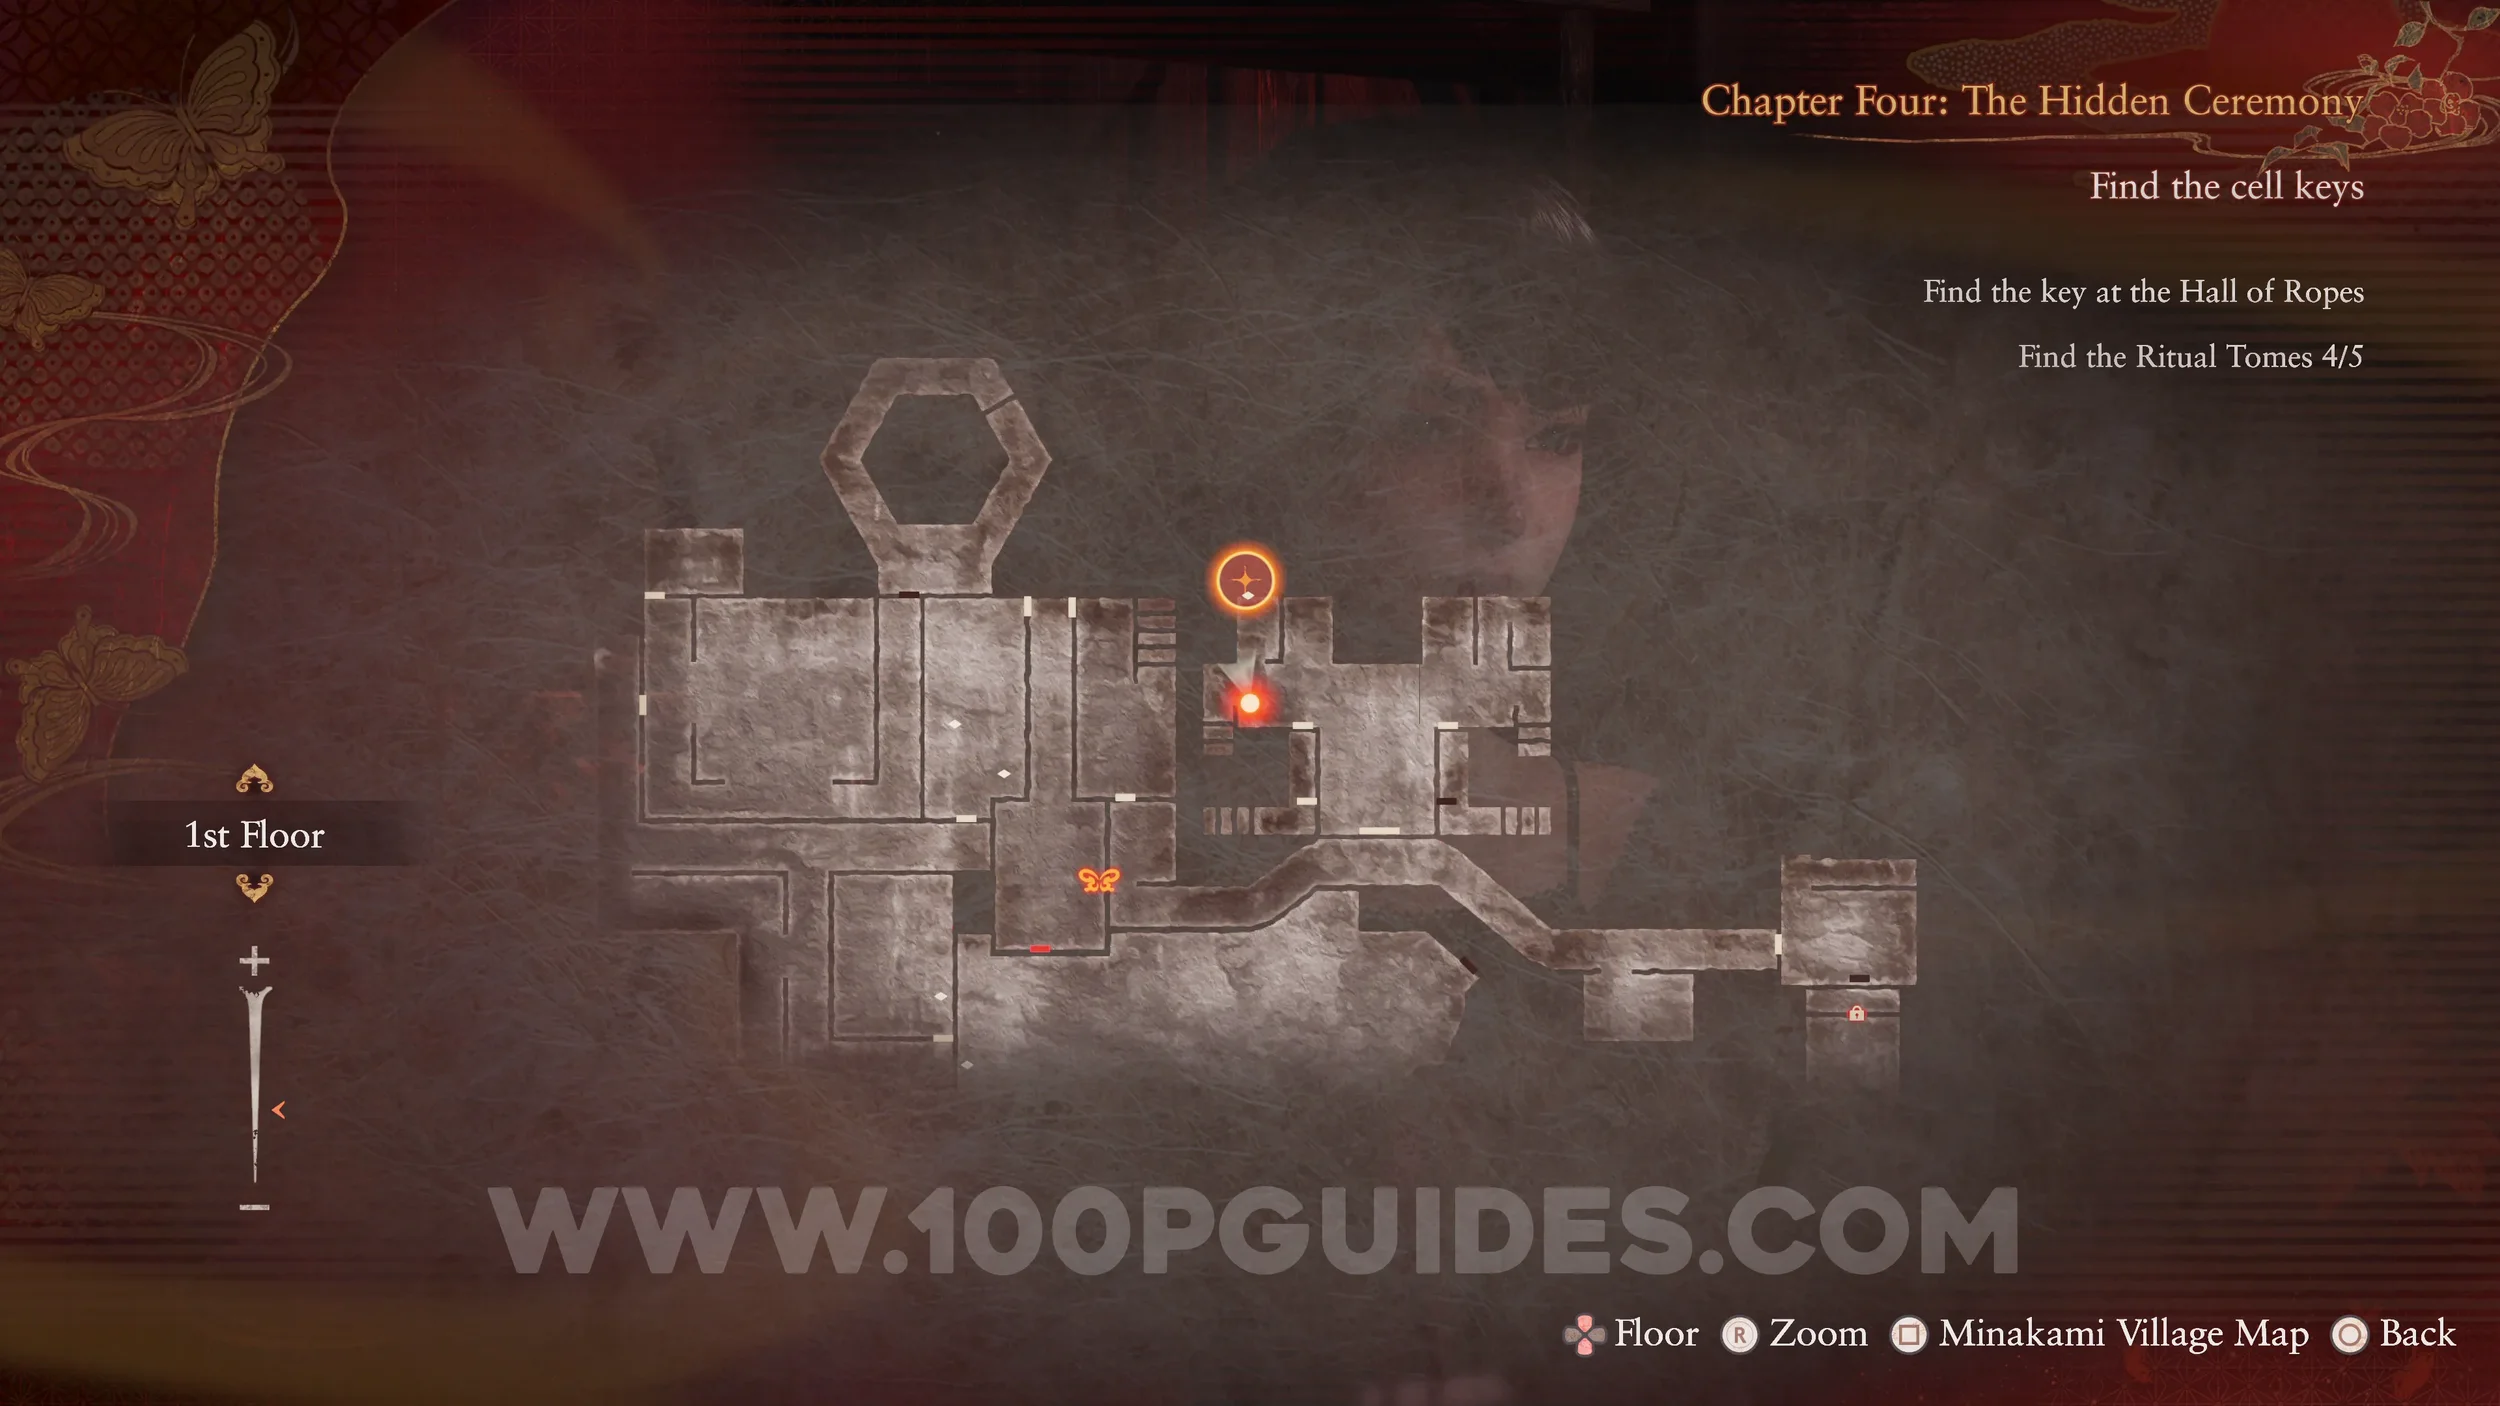
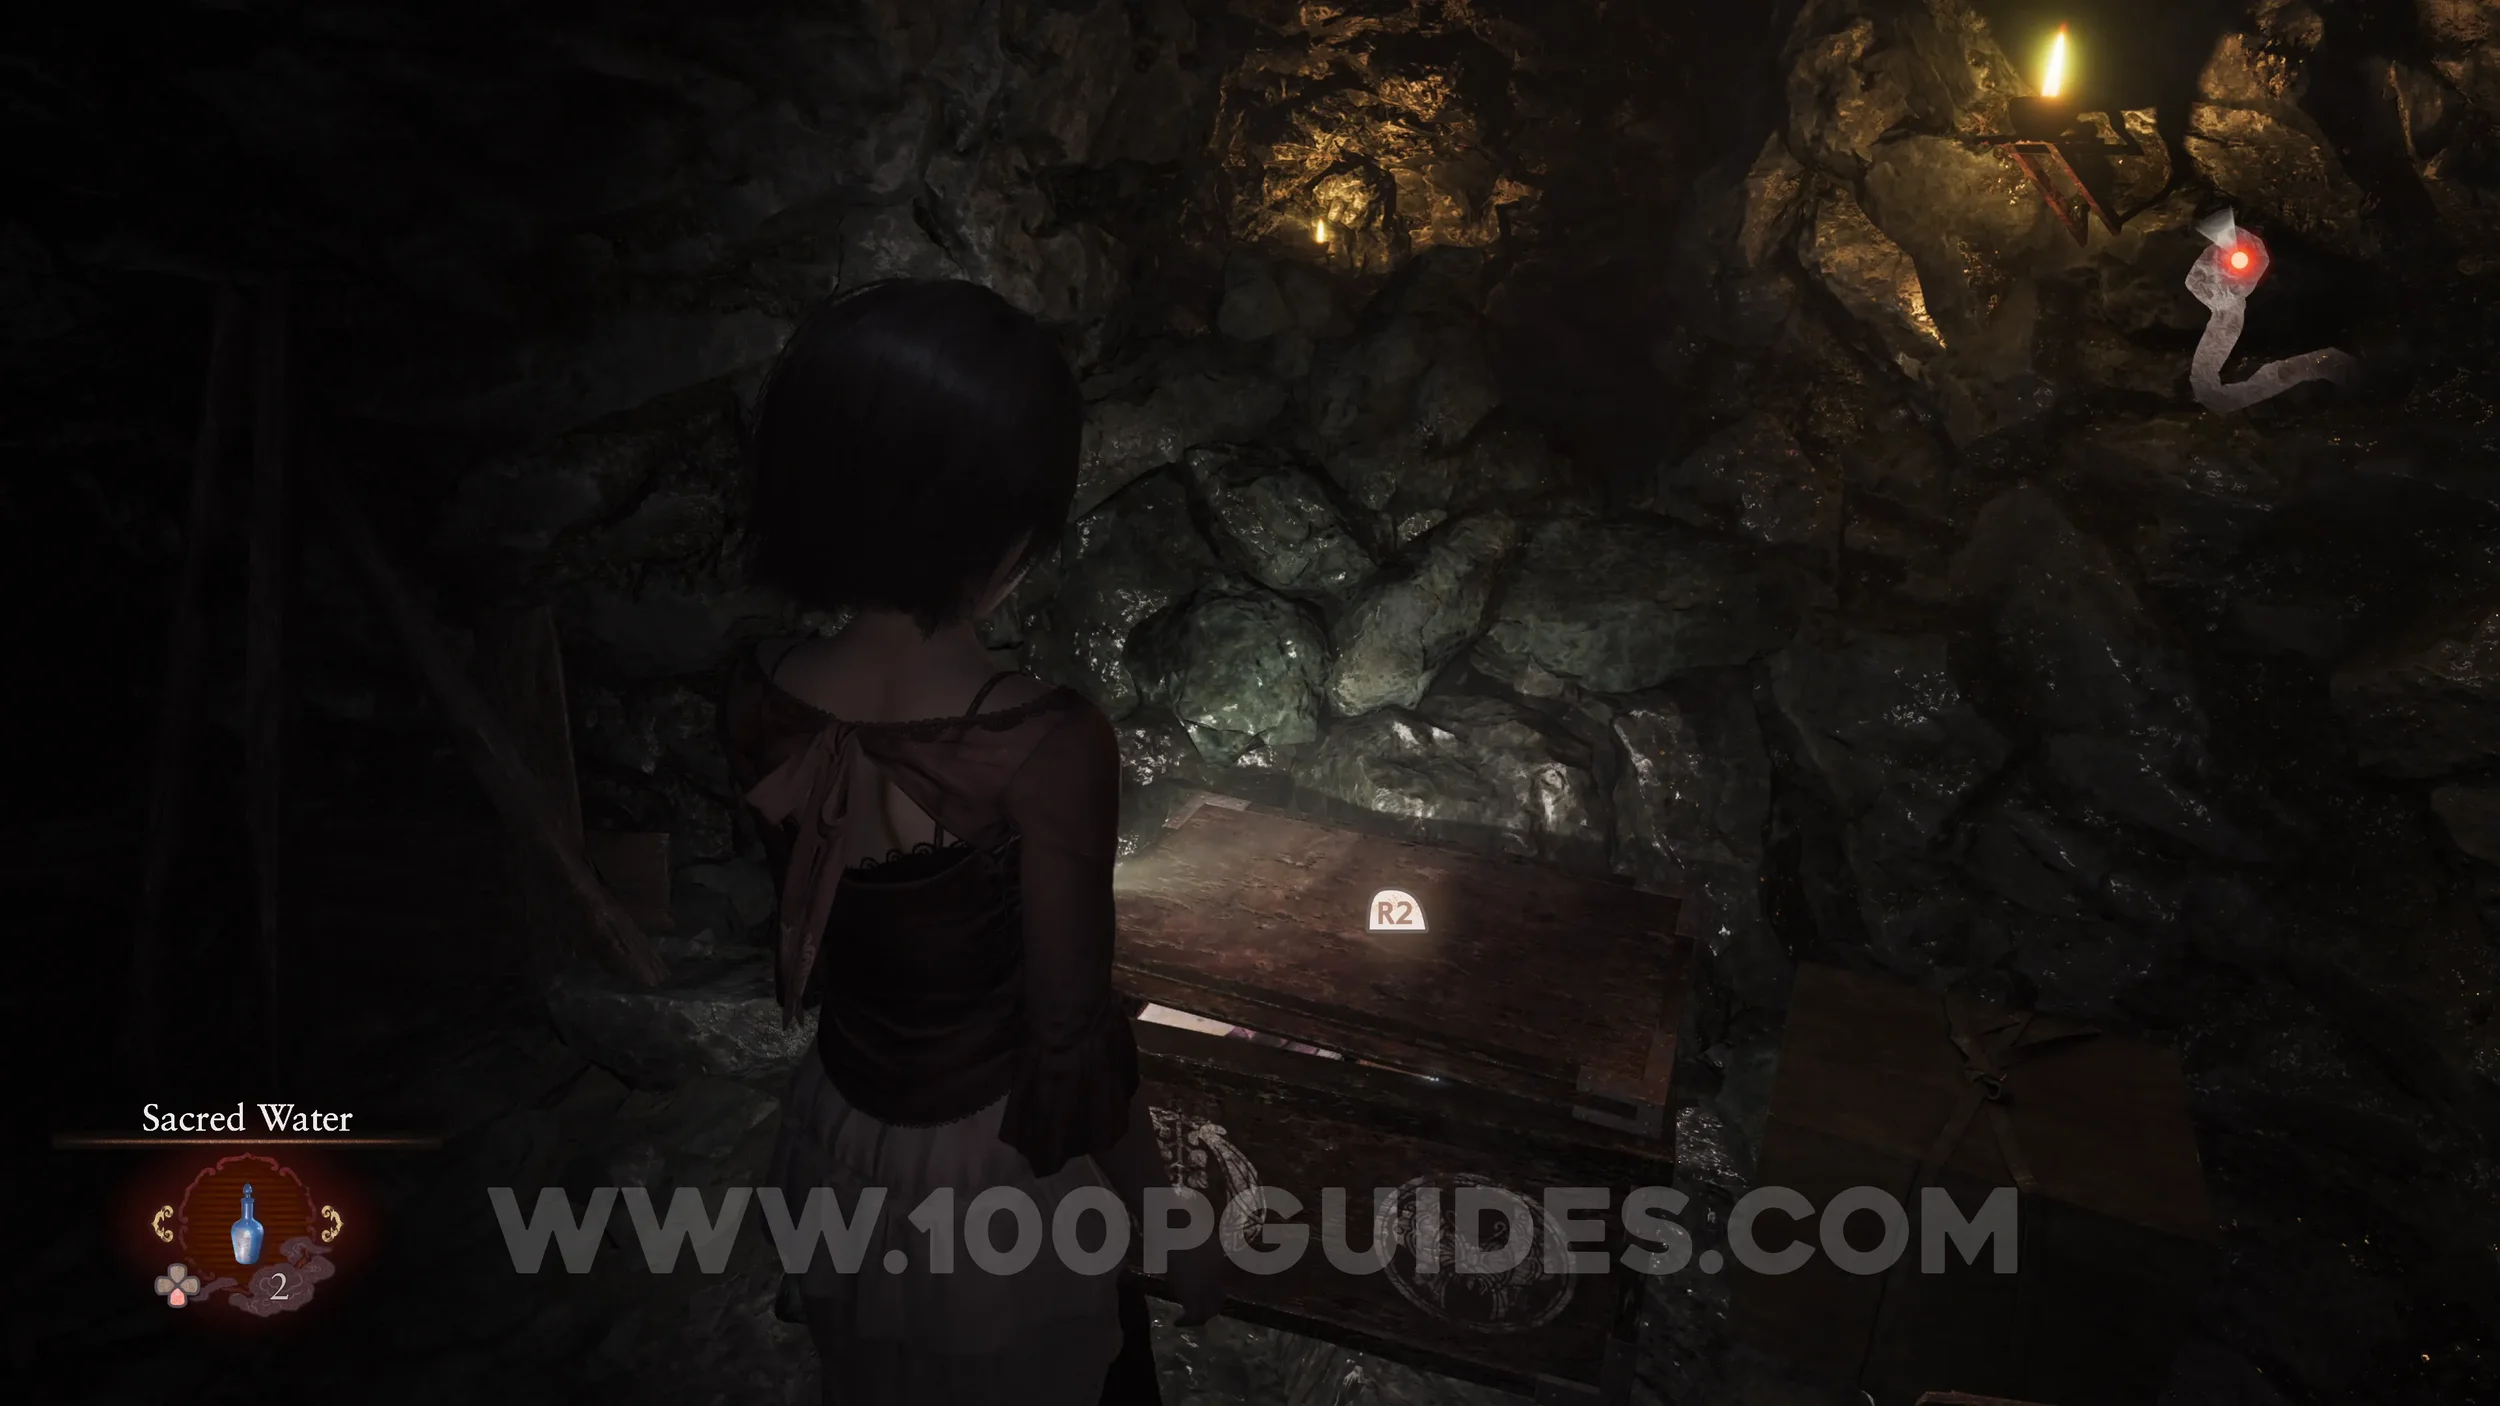
Unbinding of Blood #1 and Document #37 - Butterfly Diary 2. Now that you have the Radiant Filter, you can remove bloodstains from doors and other objects you can open. Aim the camera with the Radiant Filter at the cupboard in the save room and hold R1 until its HP bar is depleted, then take the shot to open it.

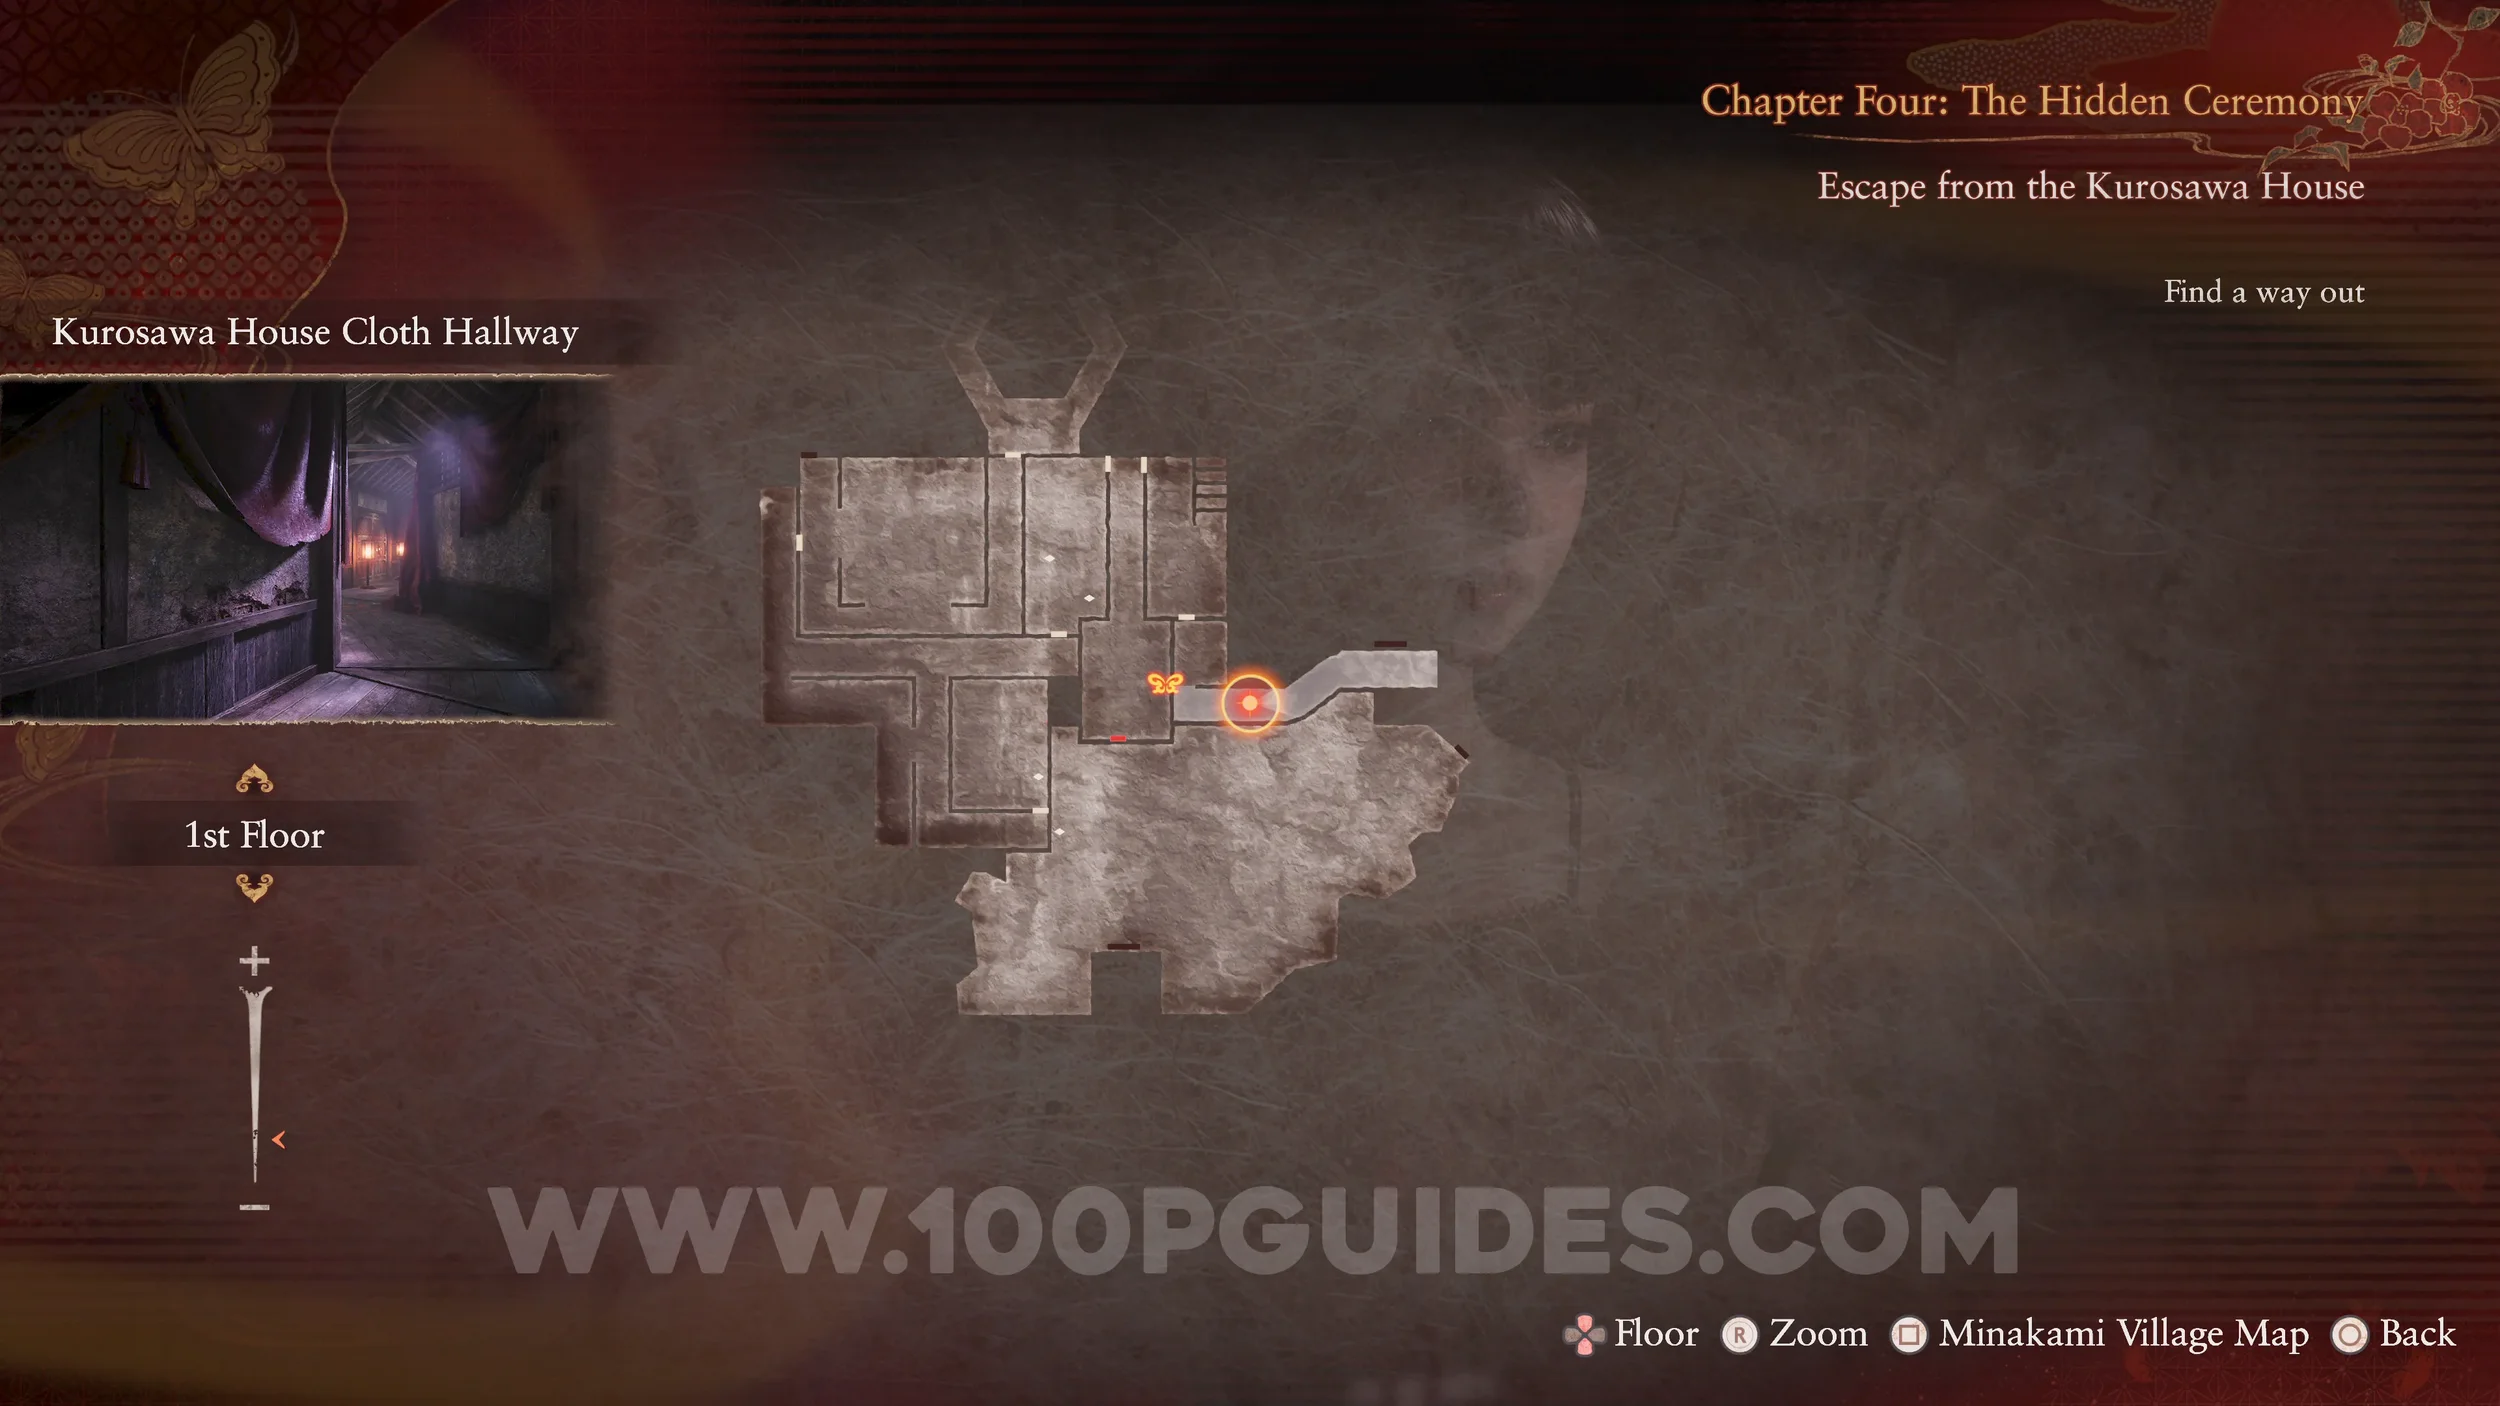
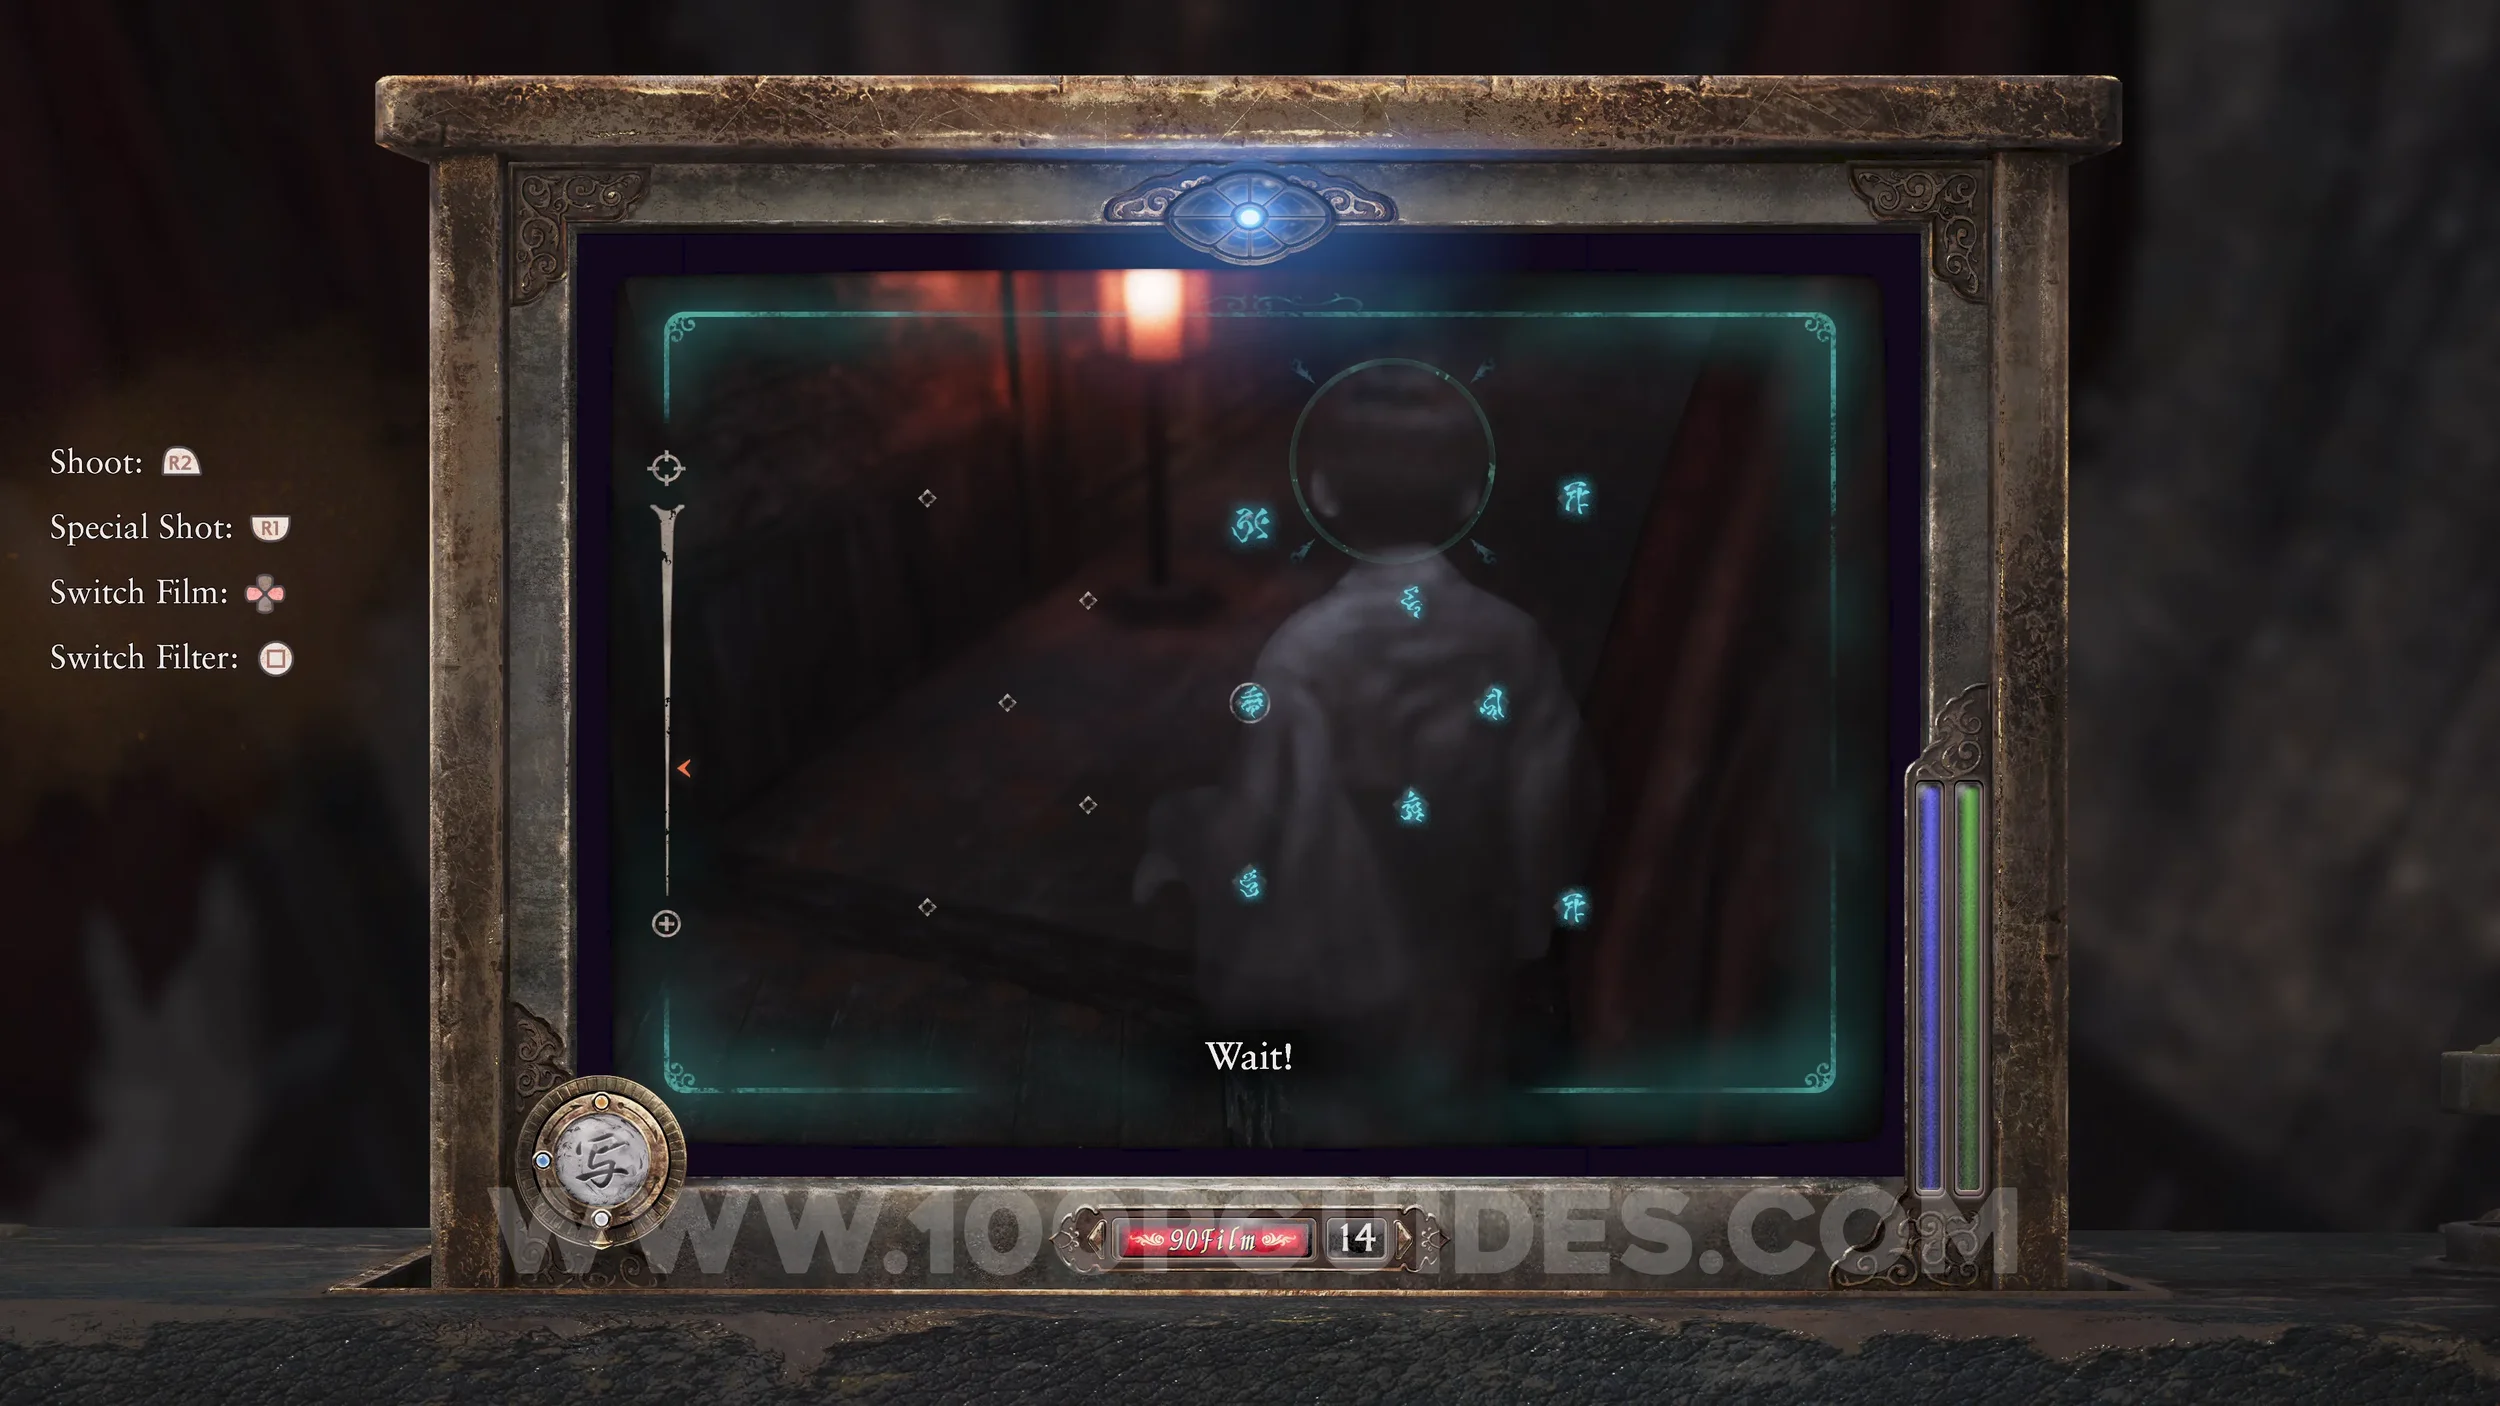
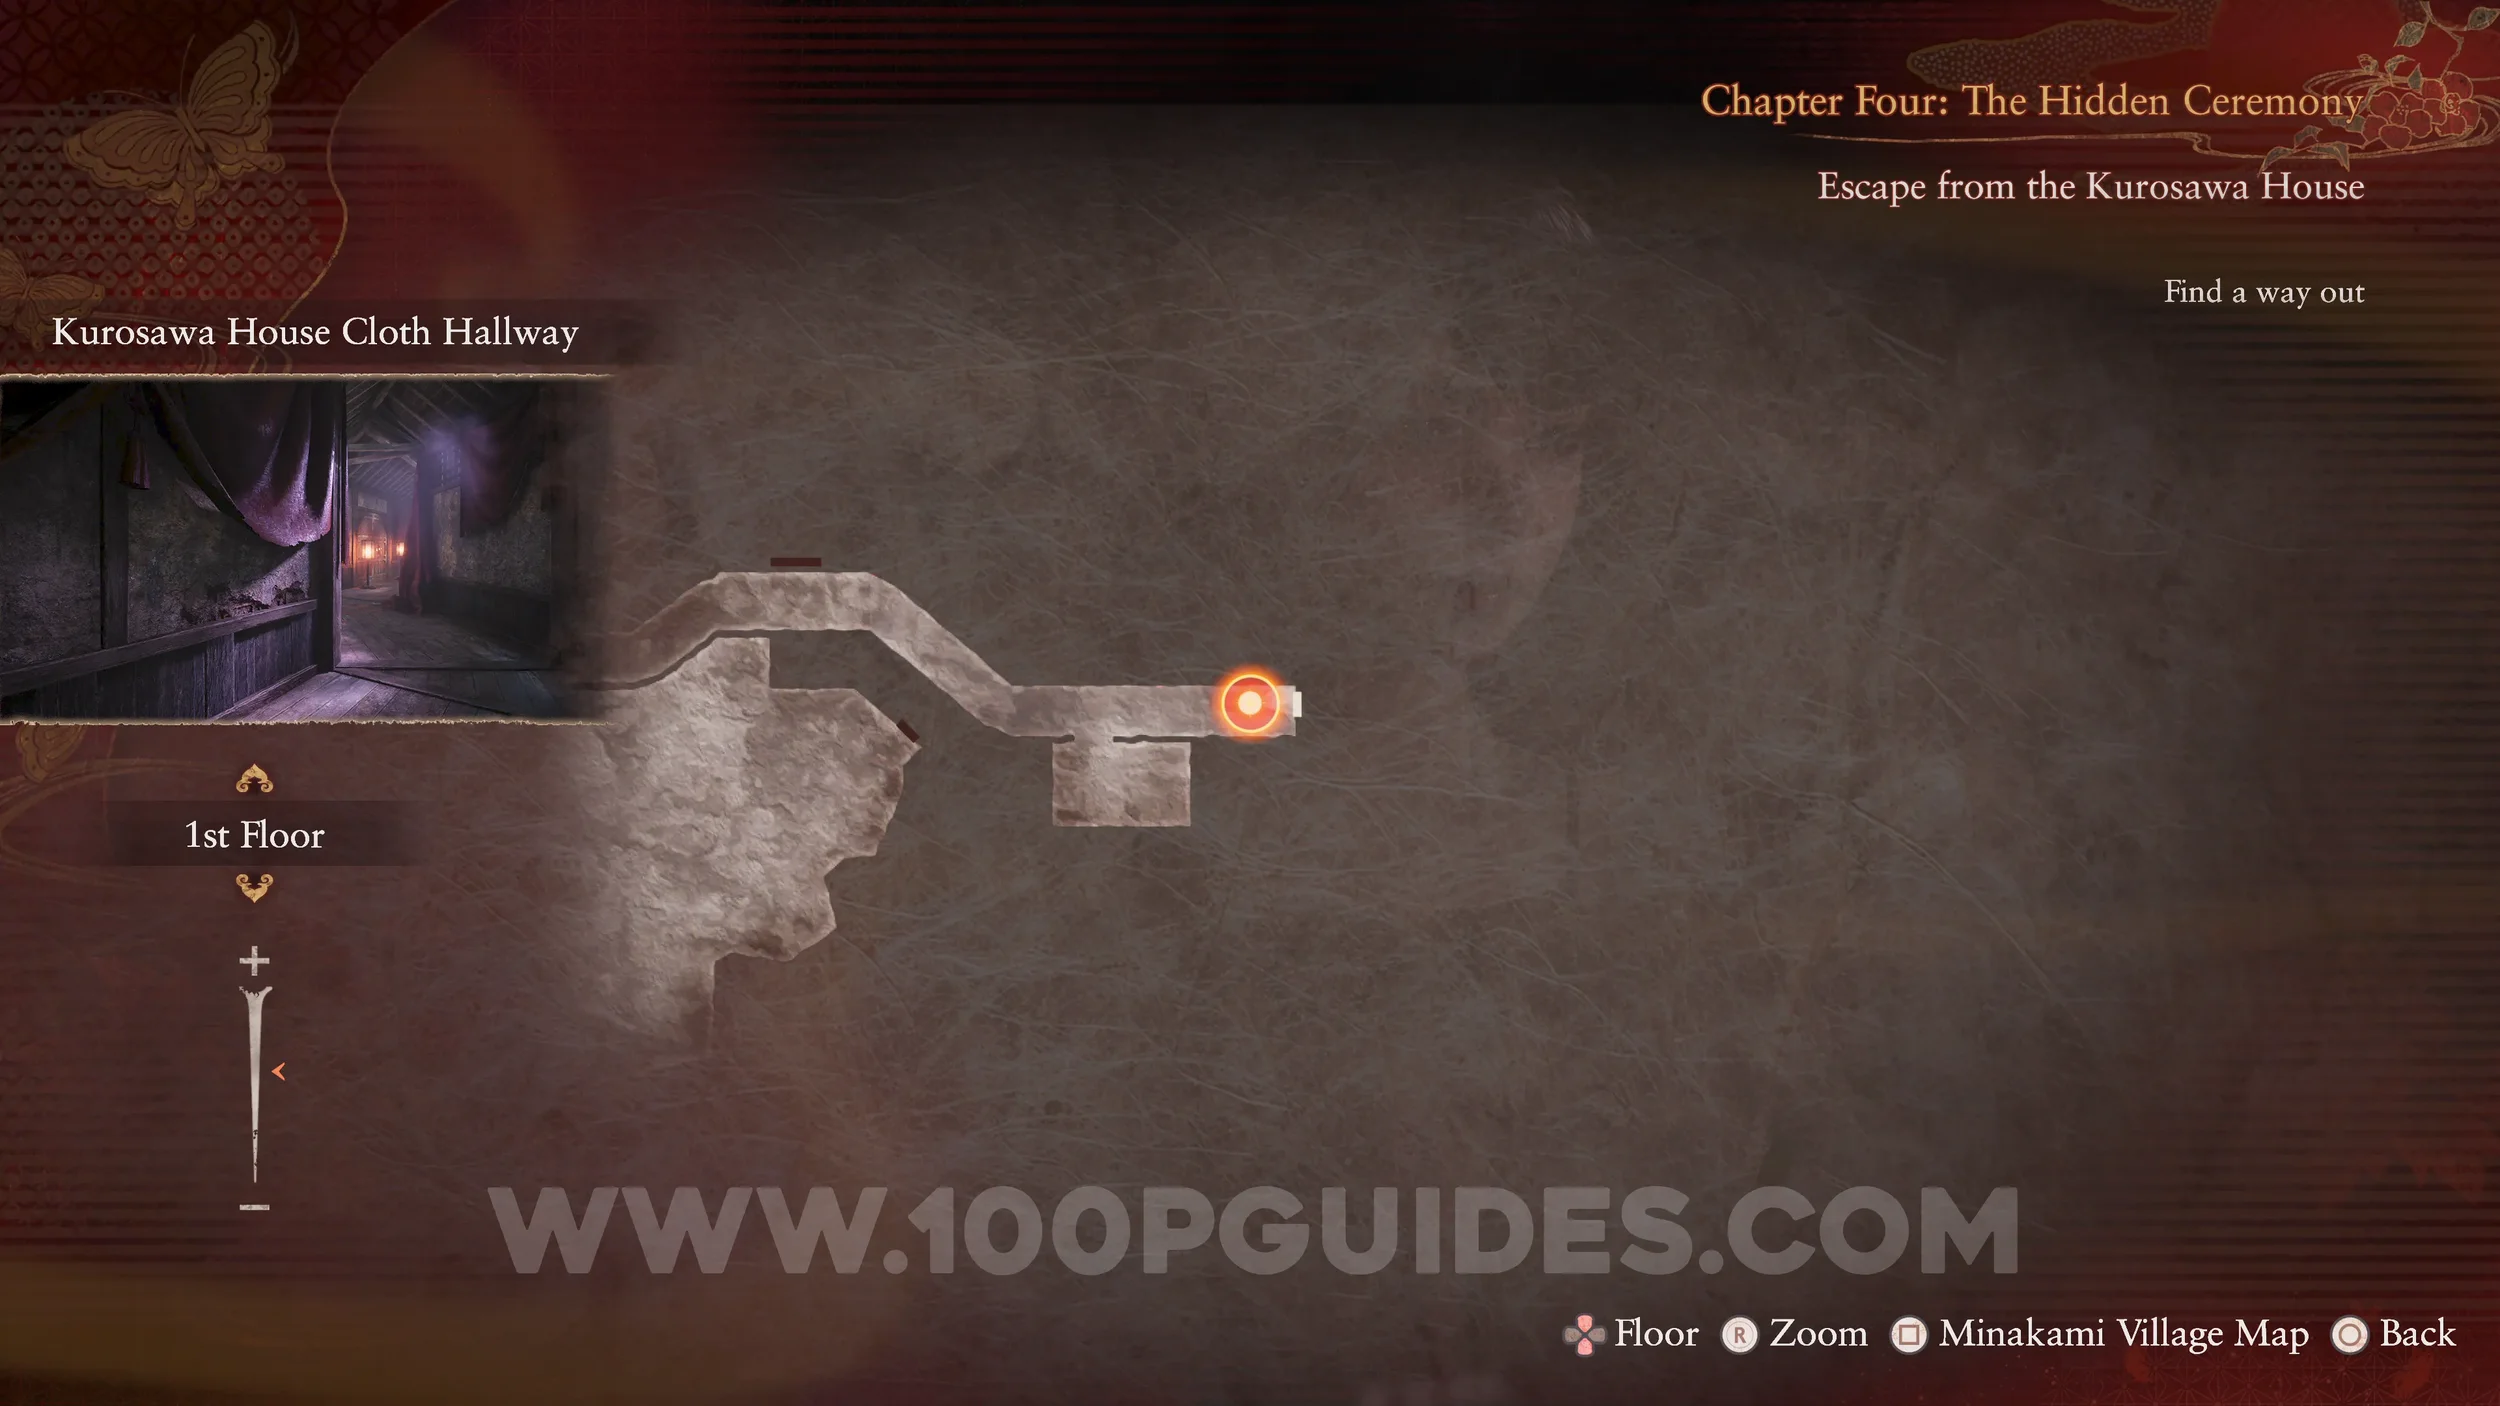
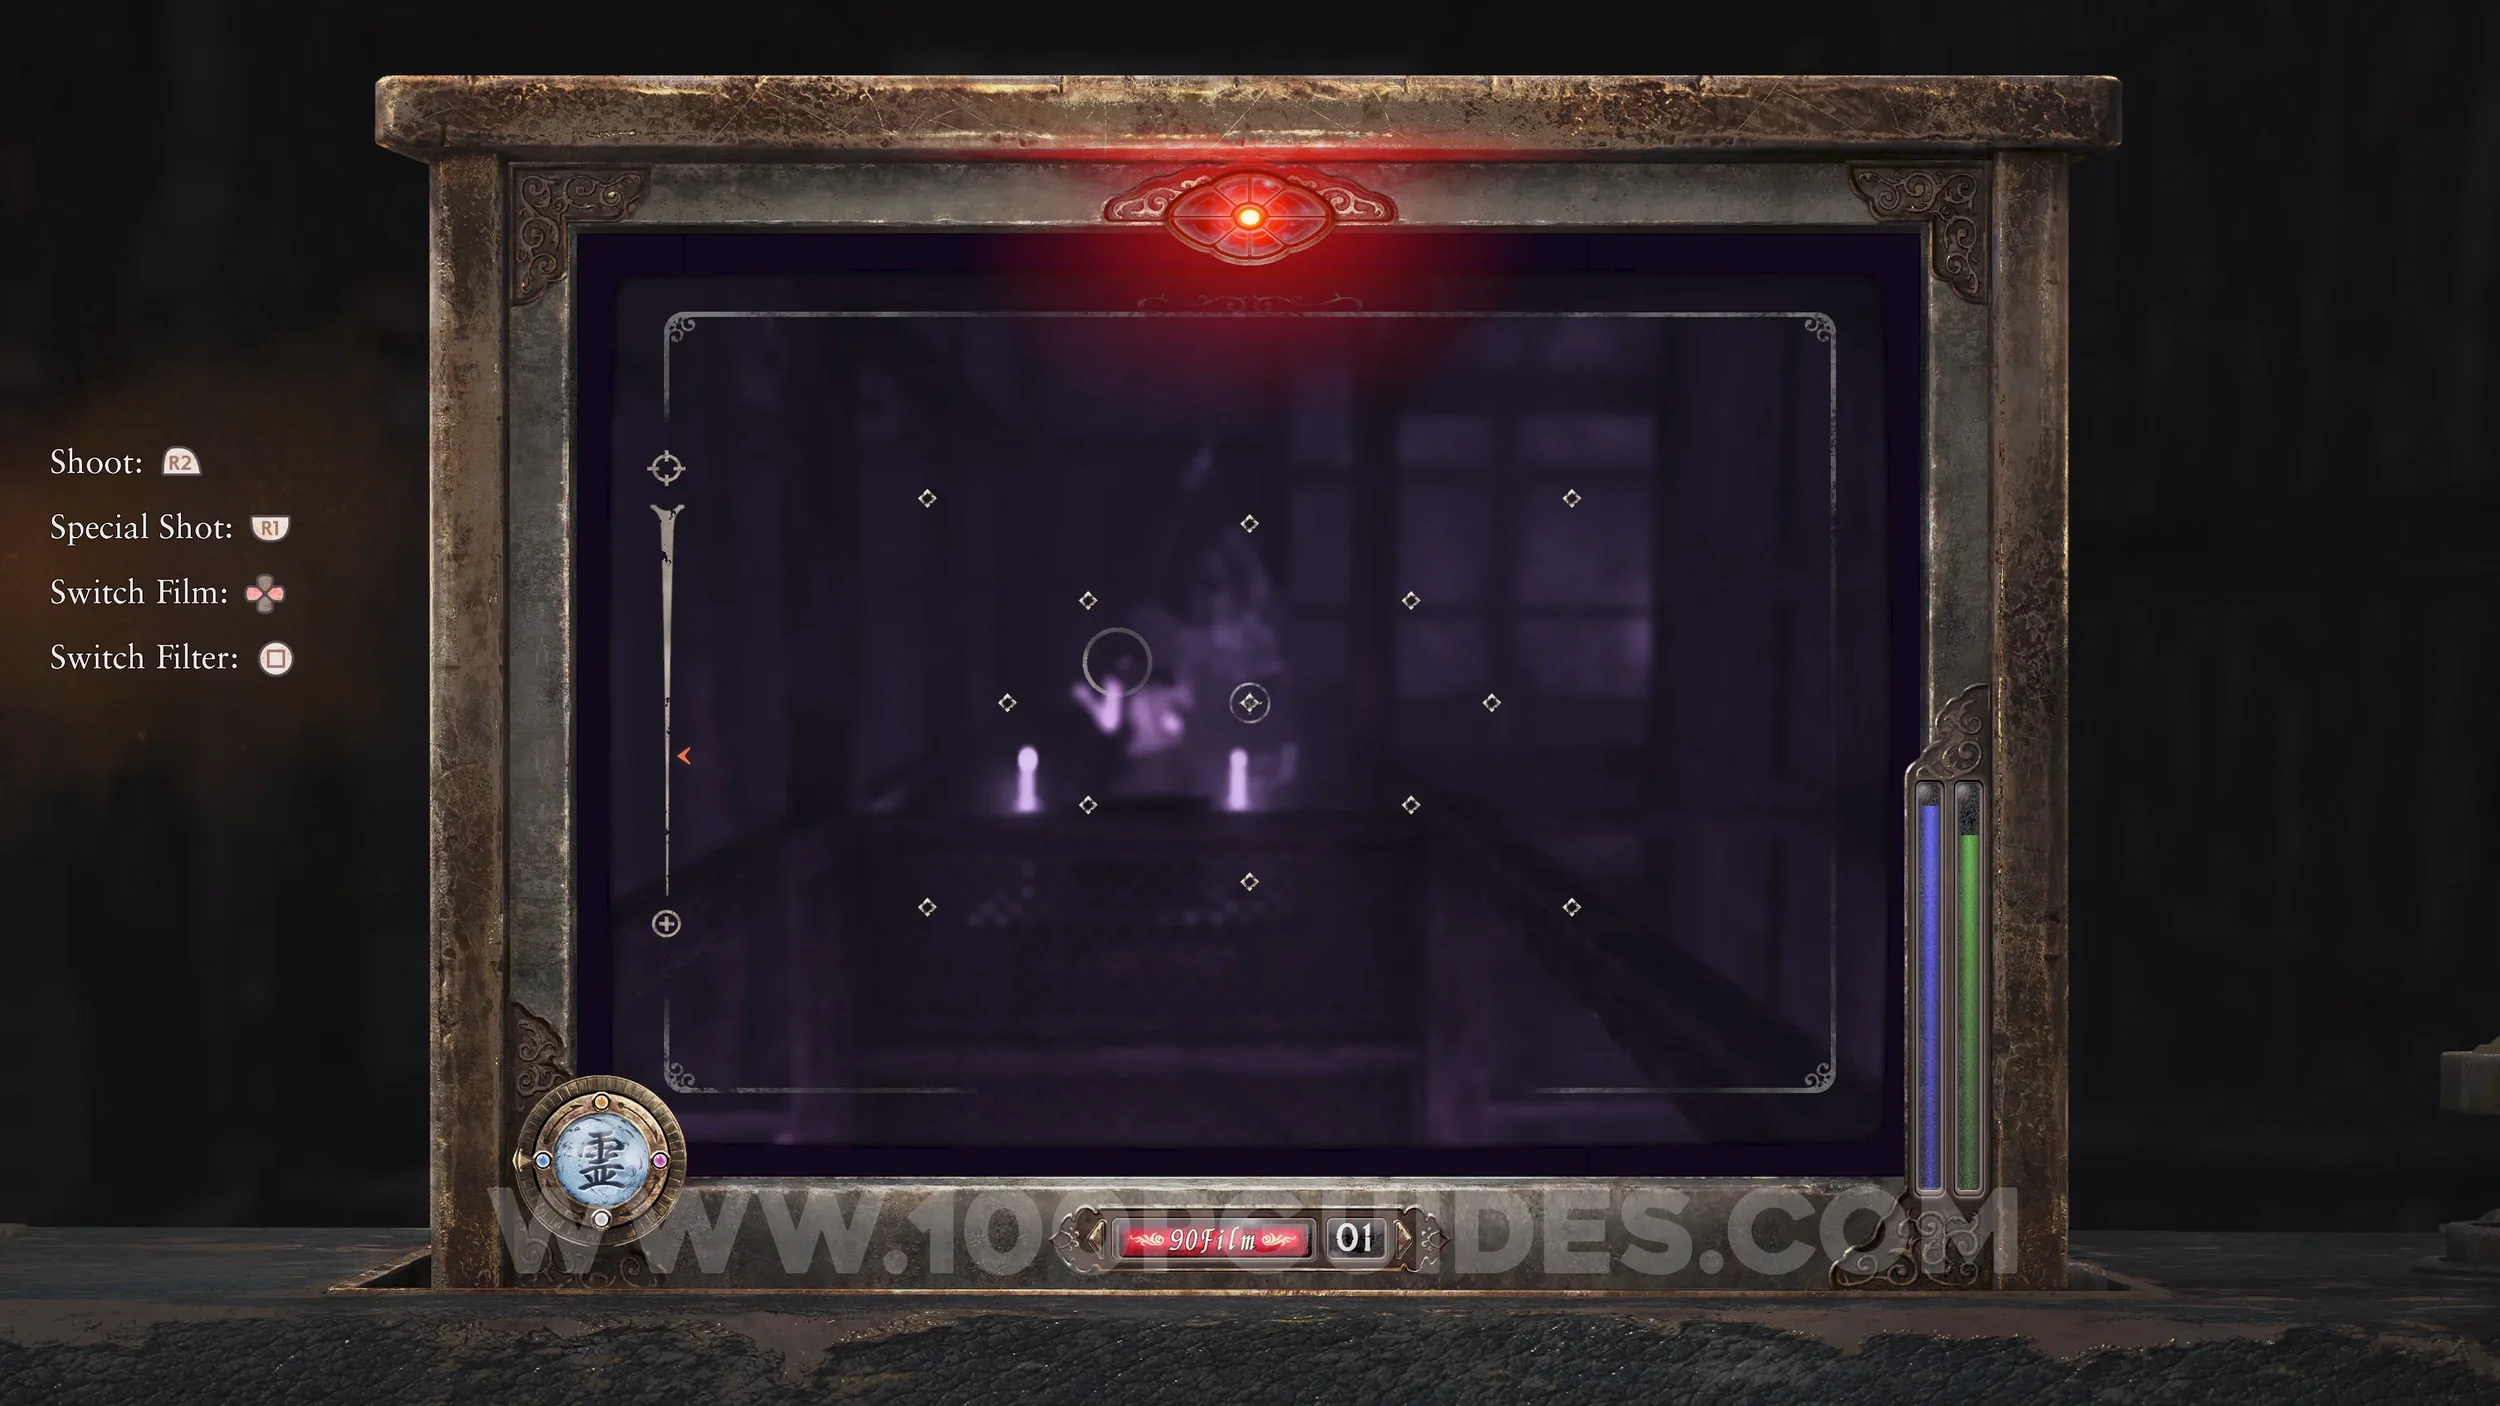
Specter #65 - 051 The Ritualist. Backtrack through the long hall and the specter will spawn when you reach the bloodstained door.
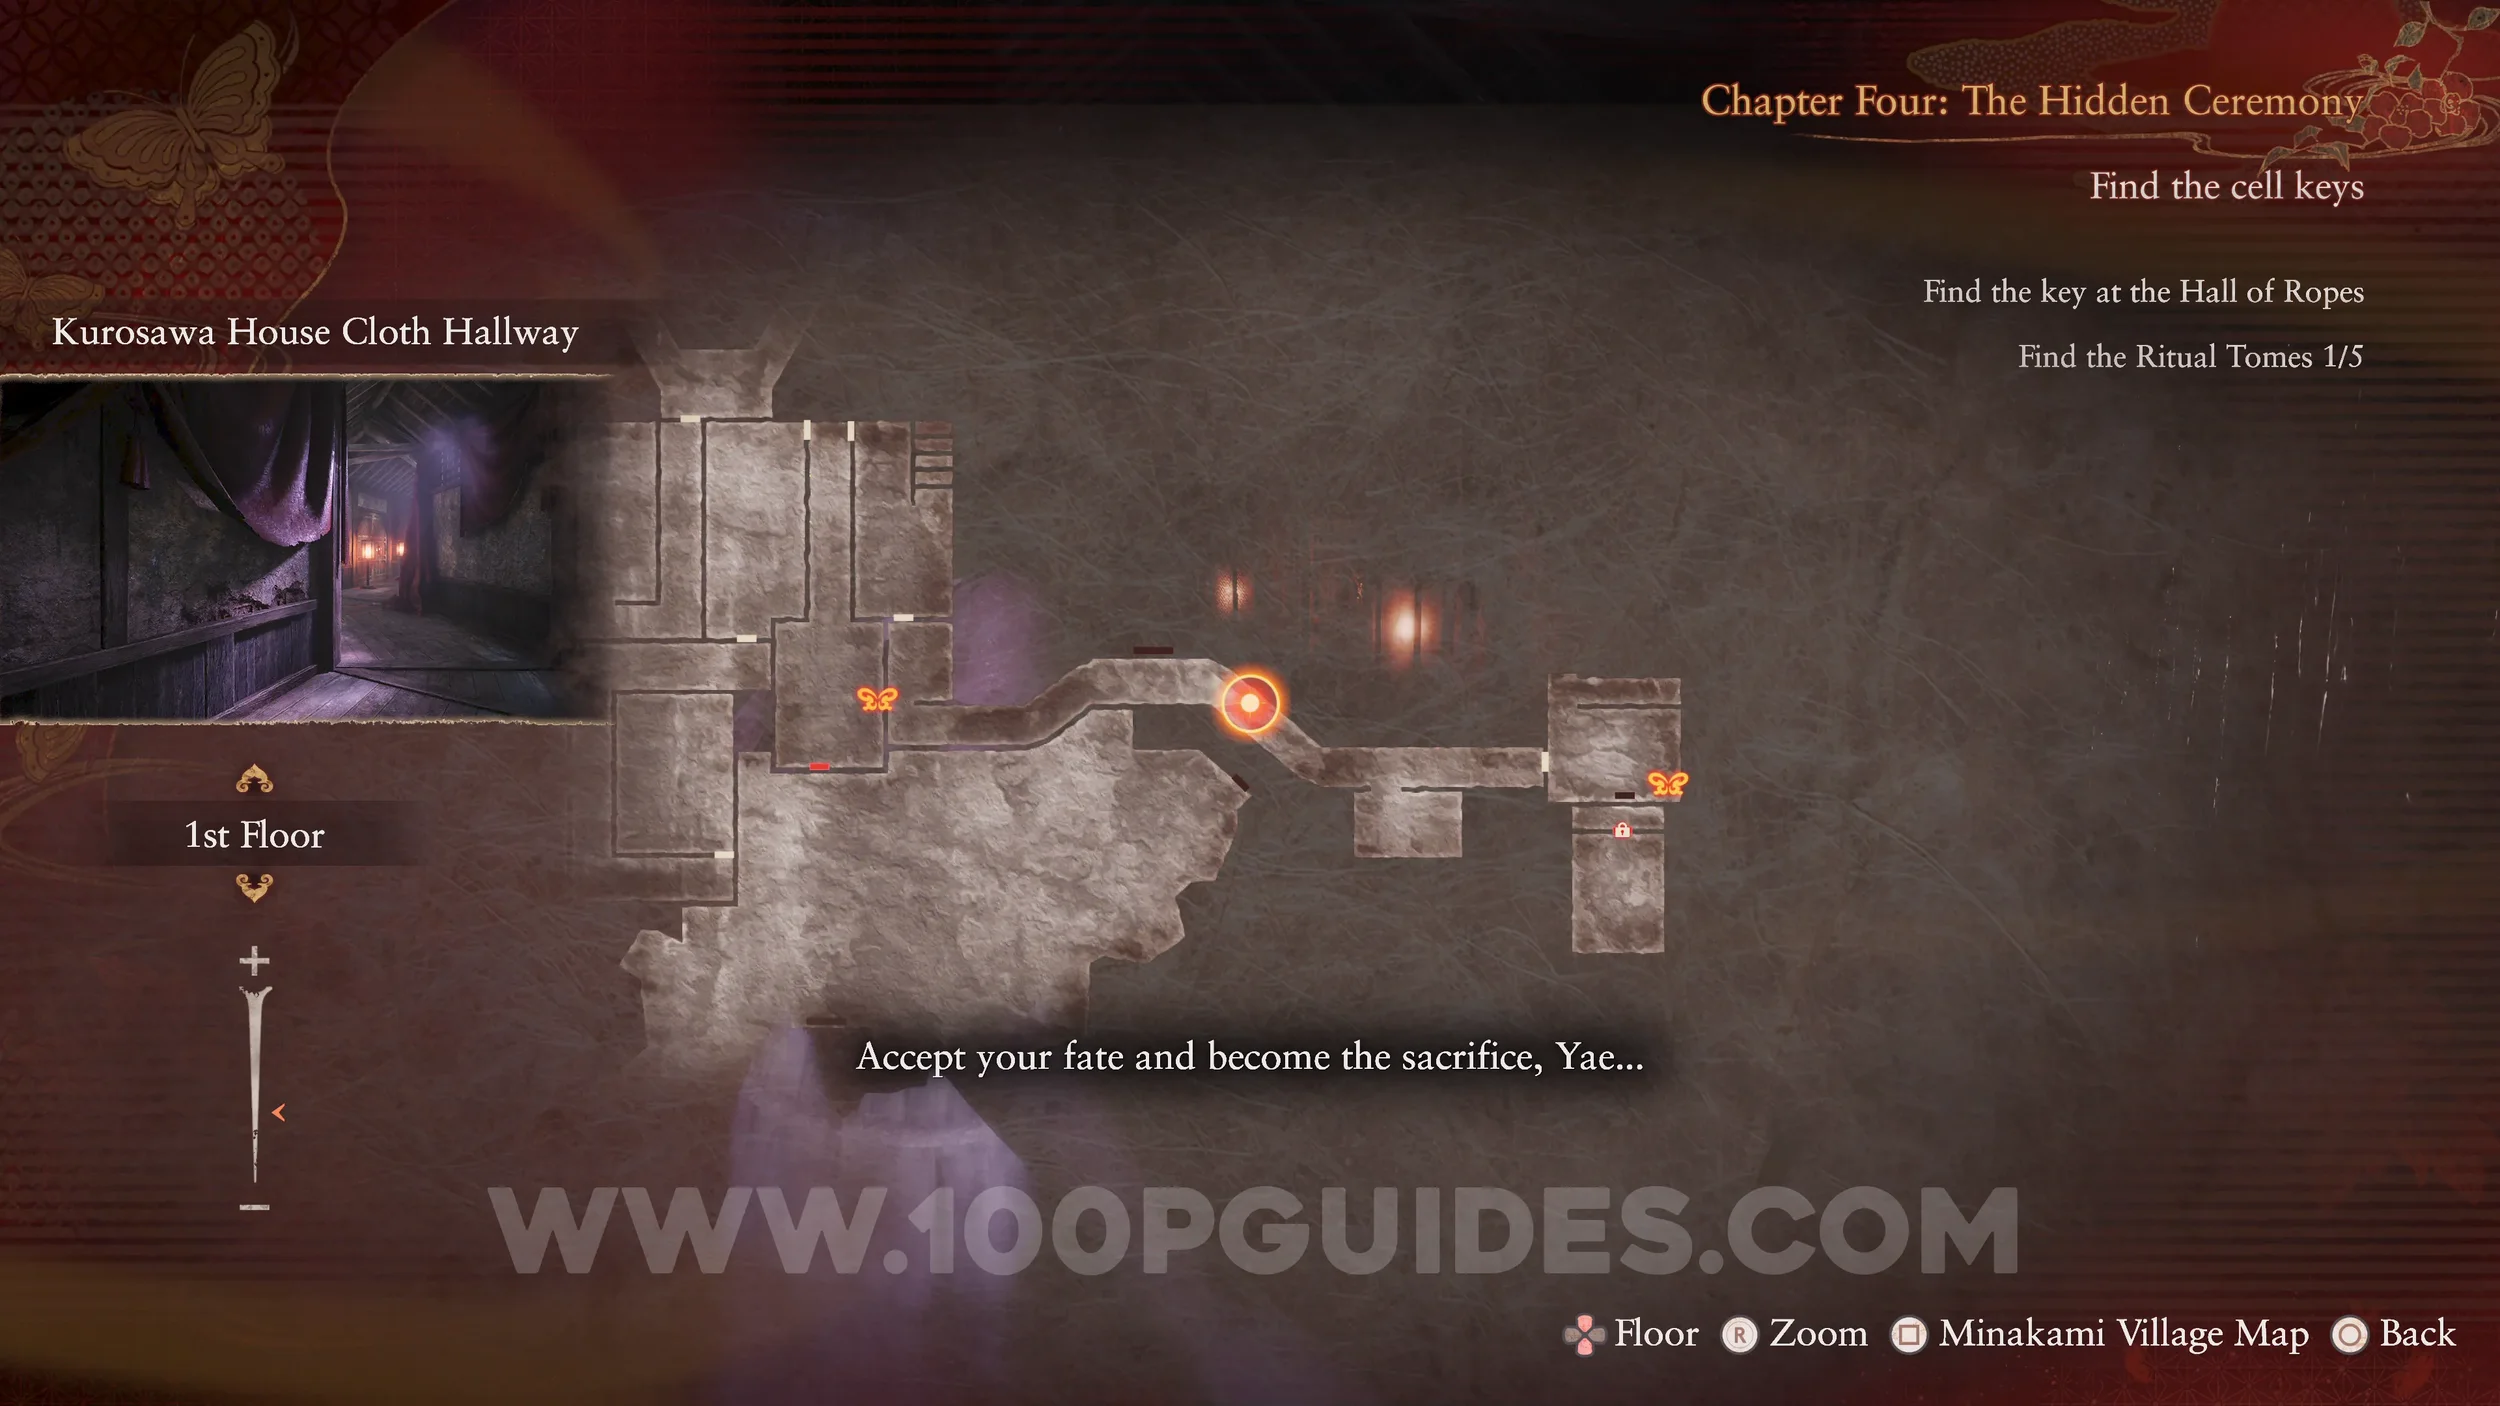
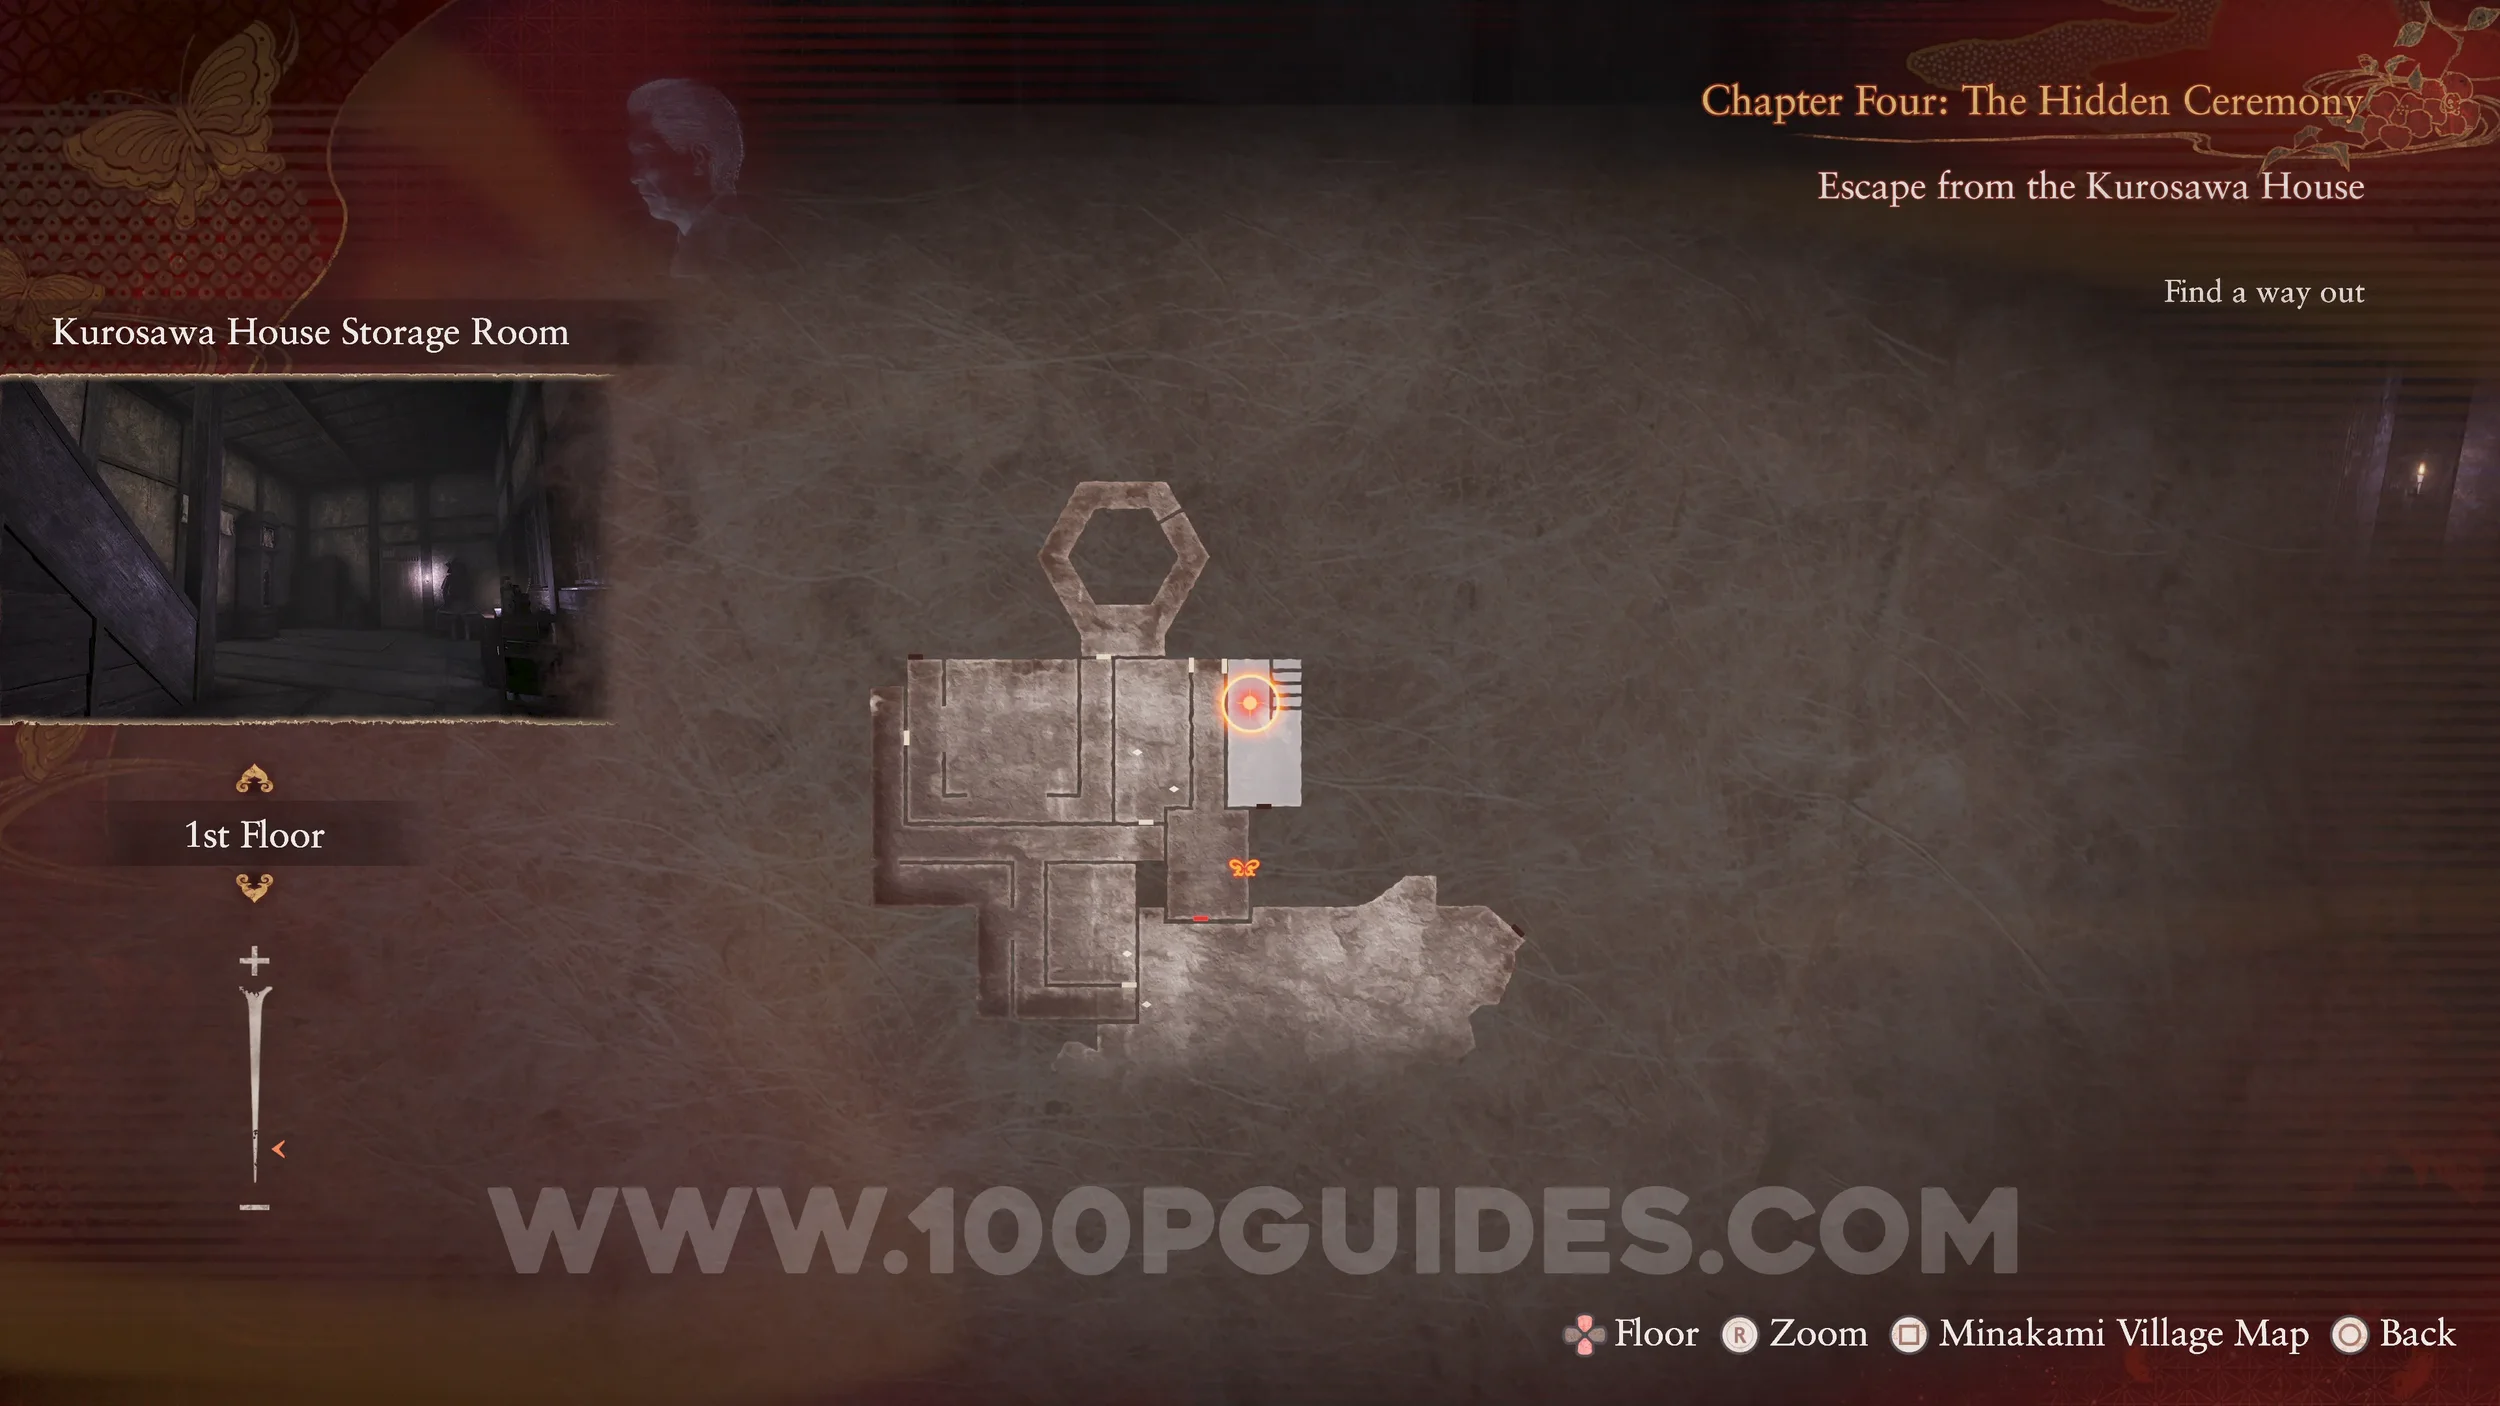
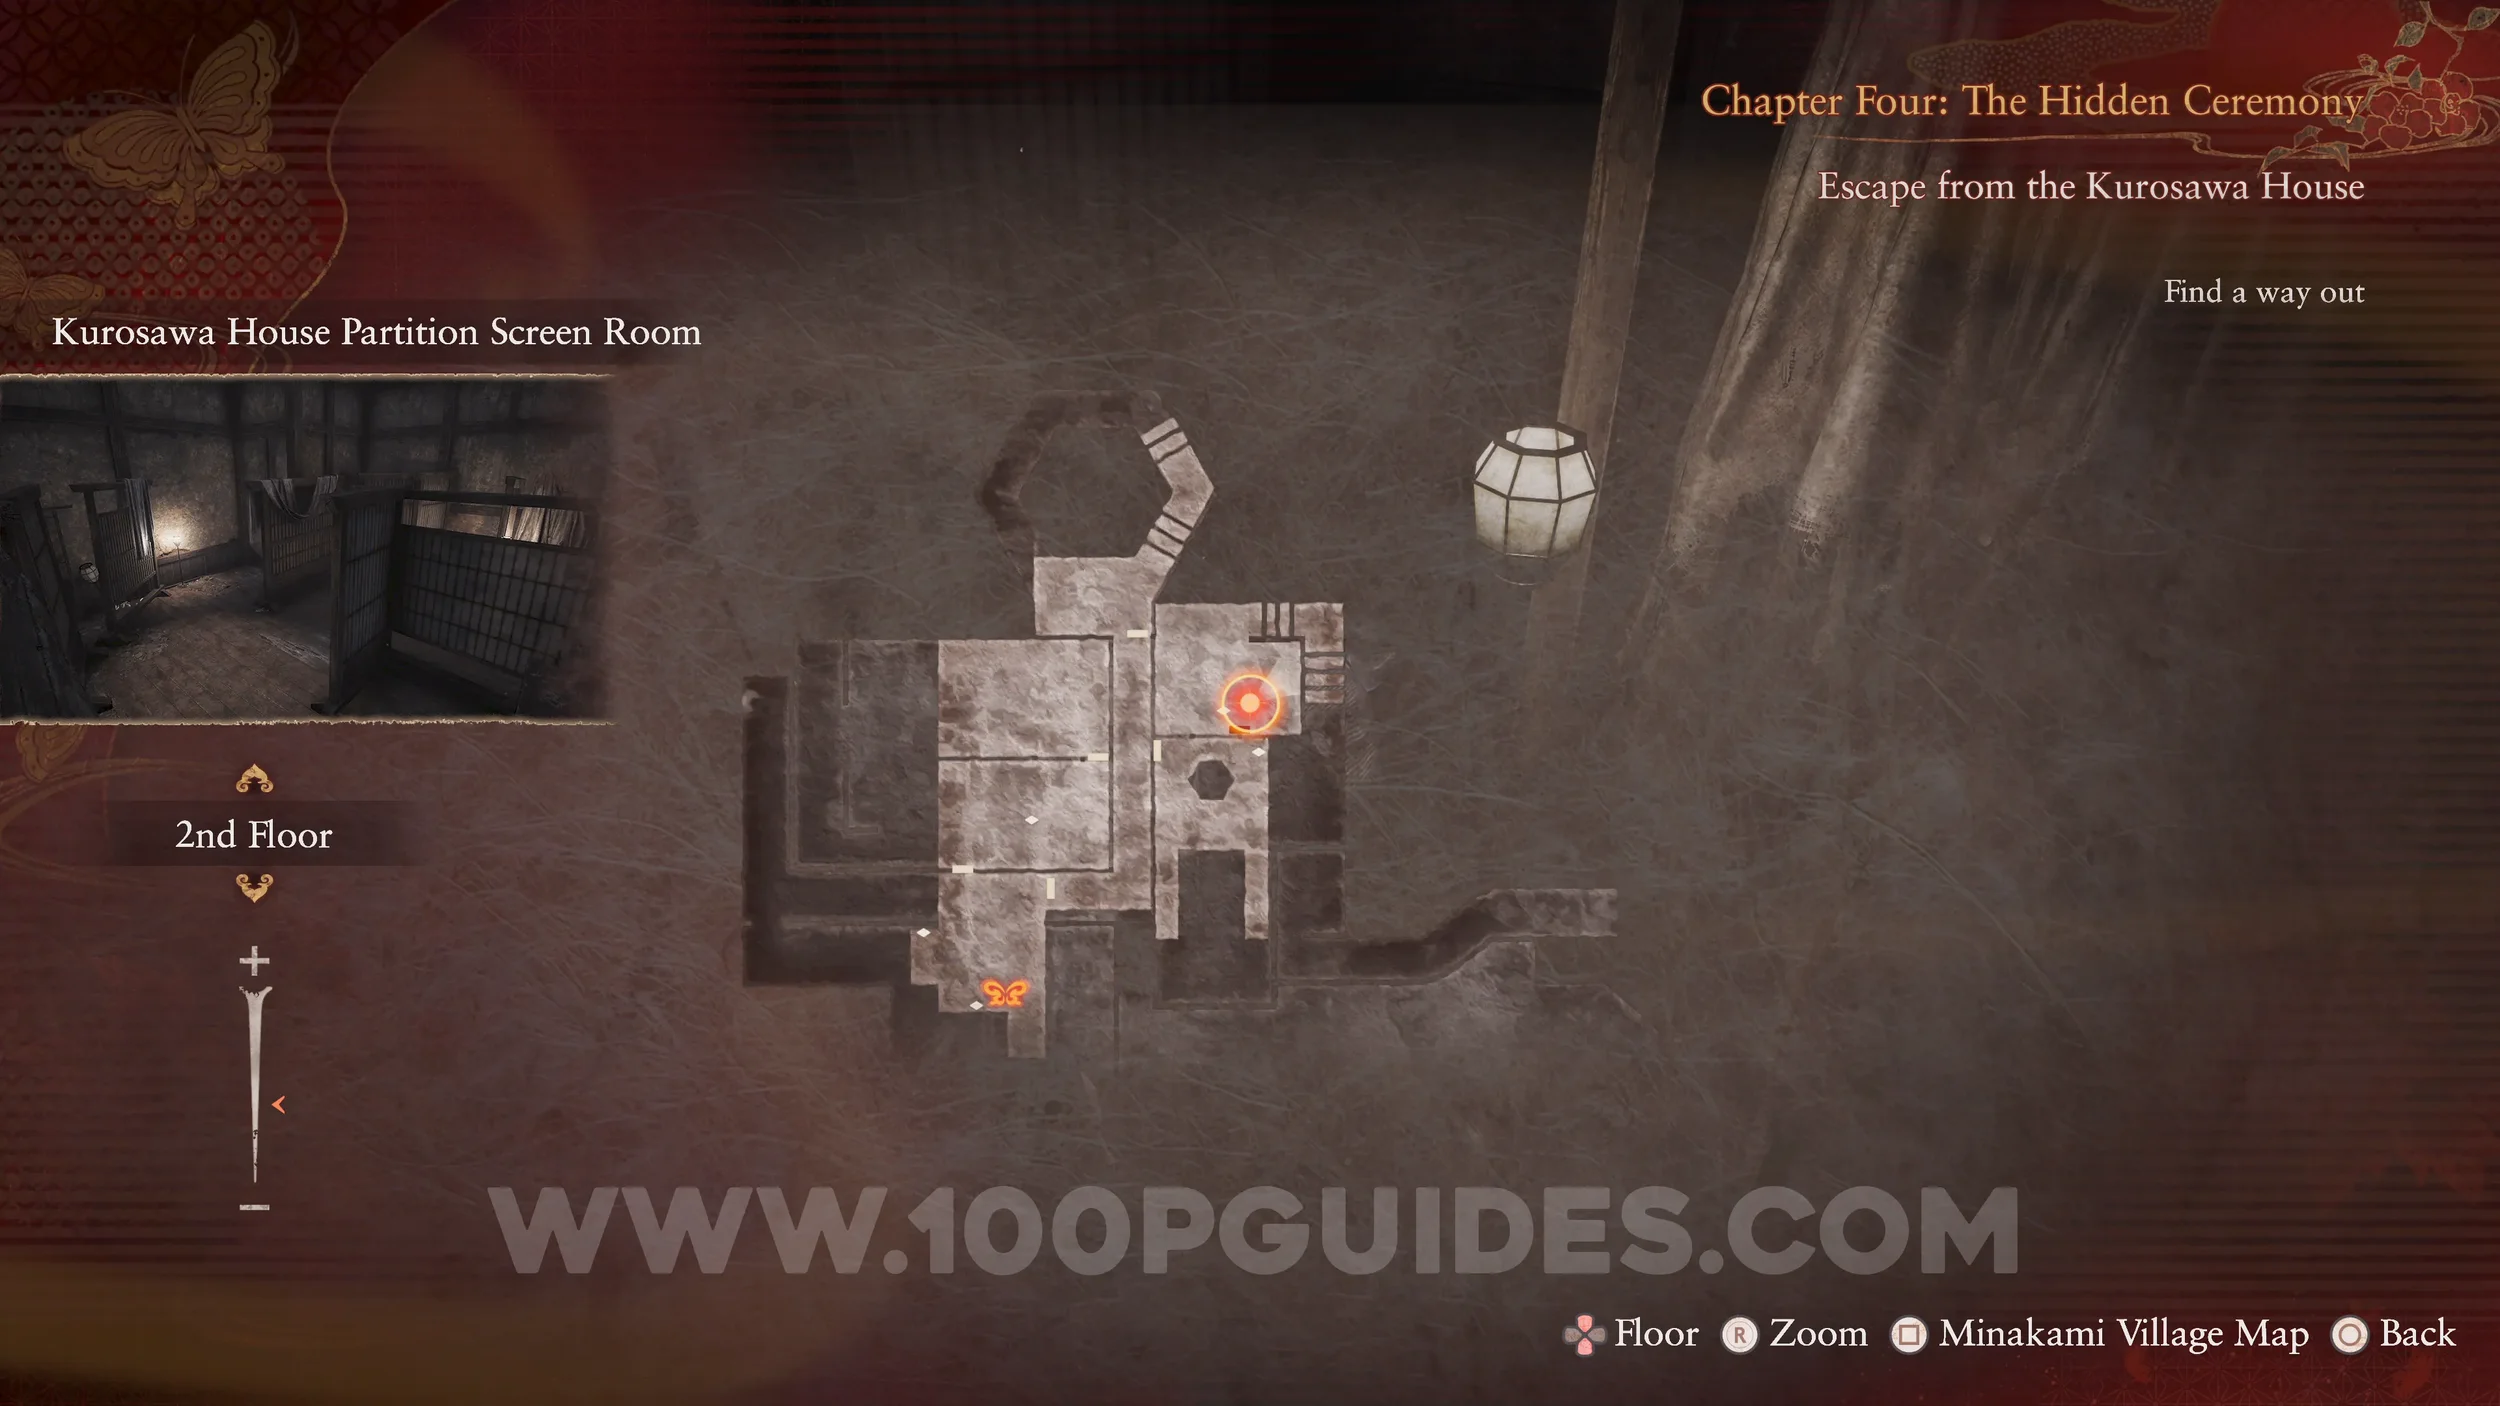
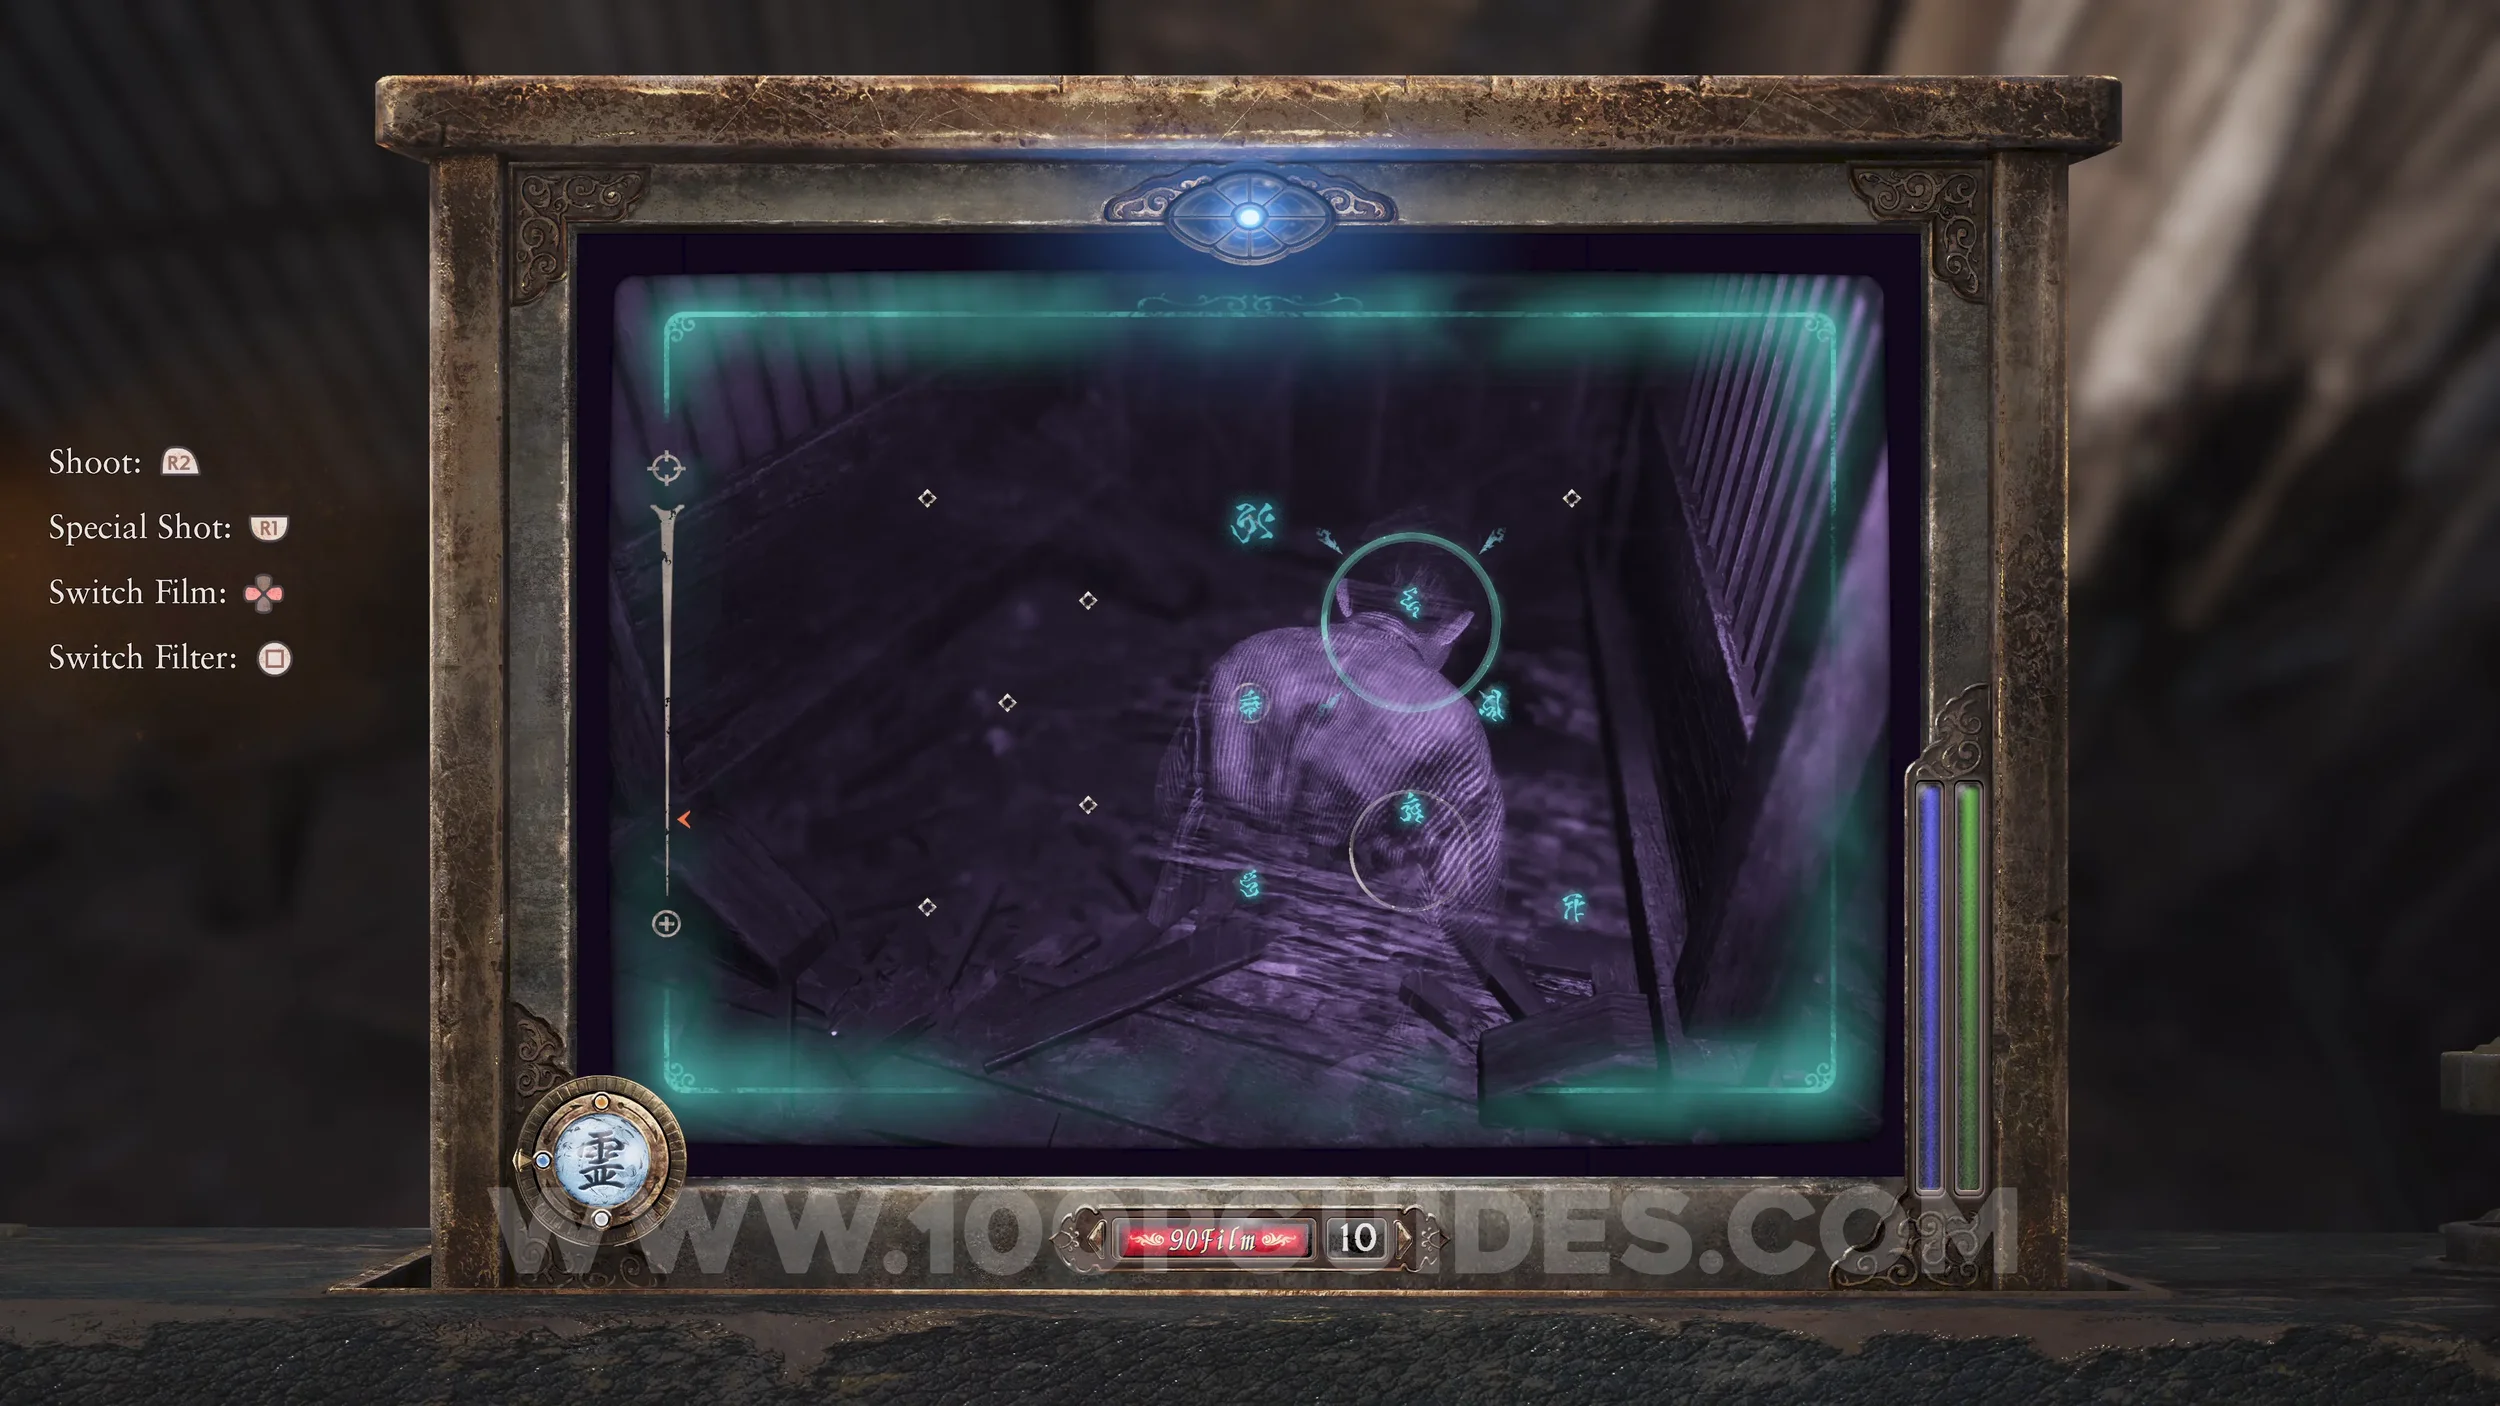
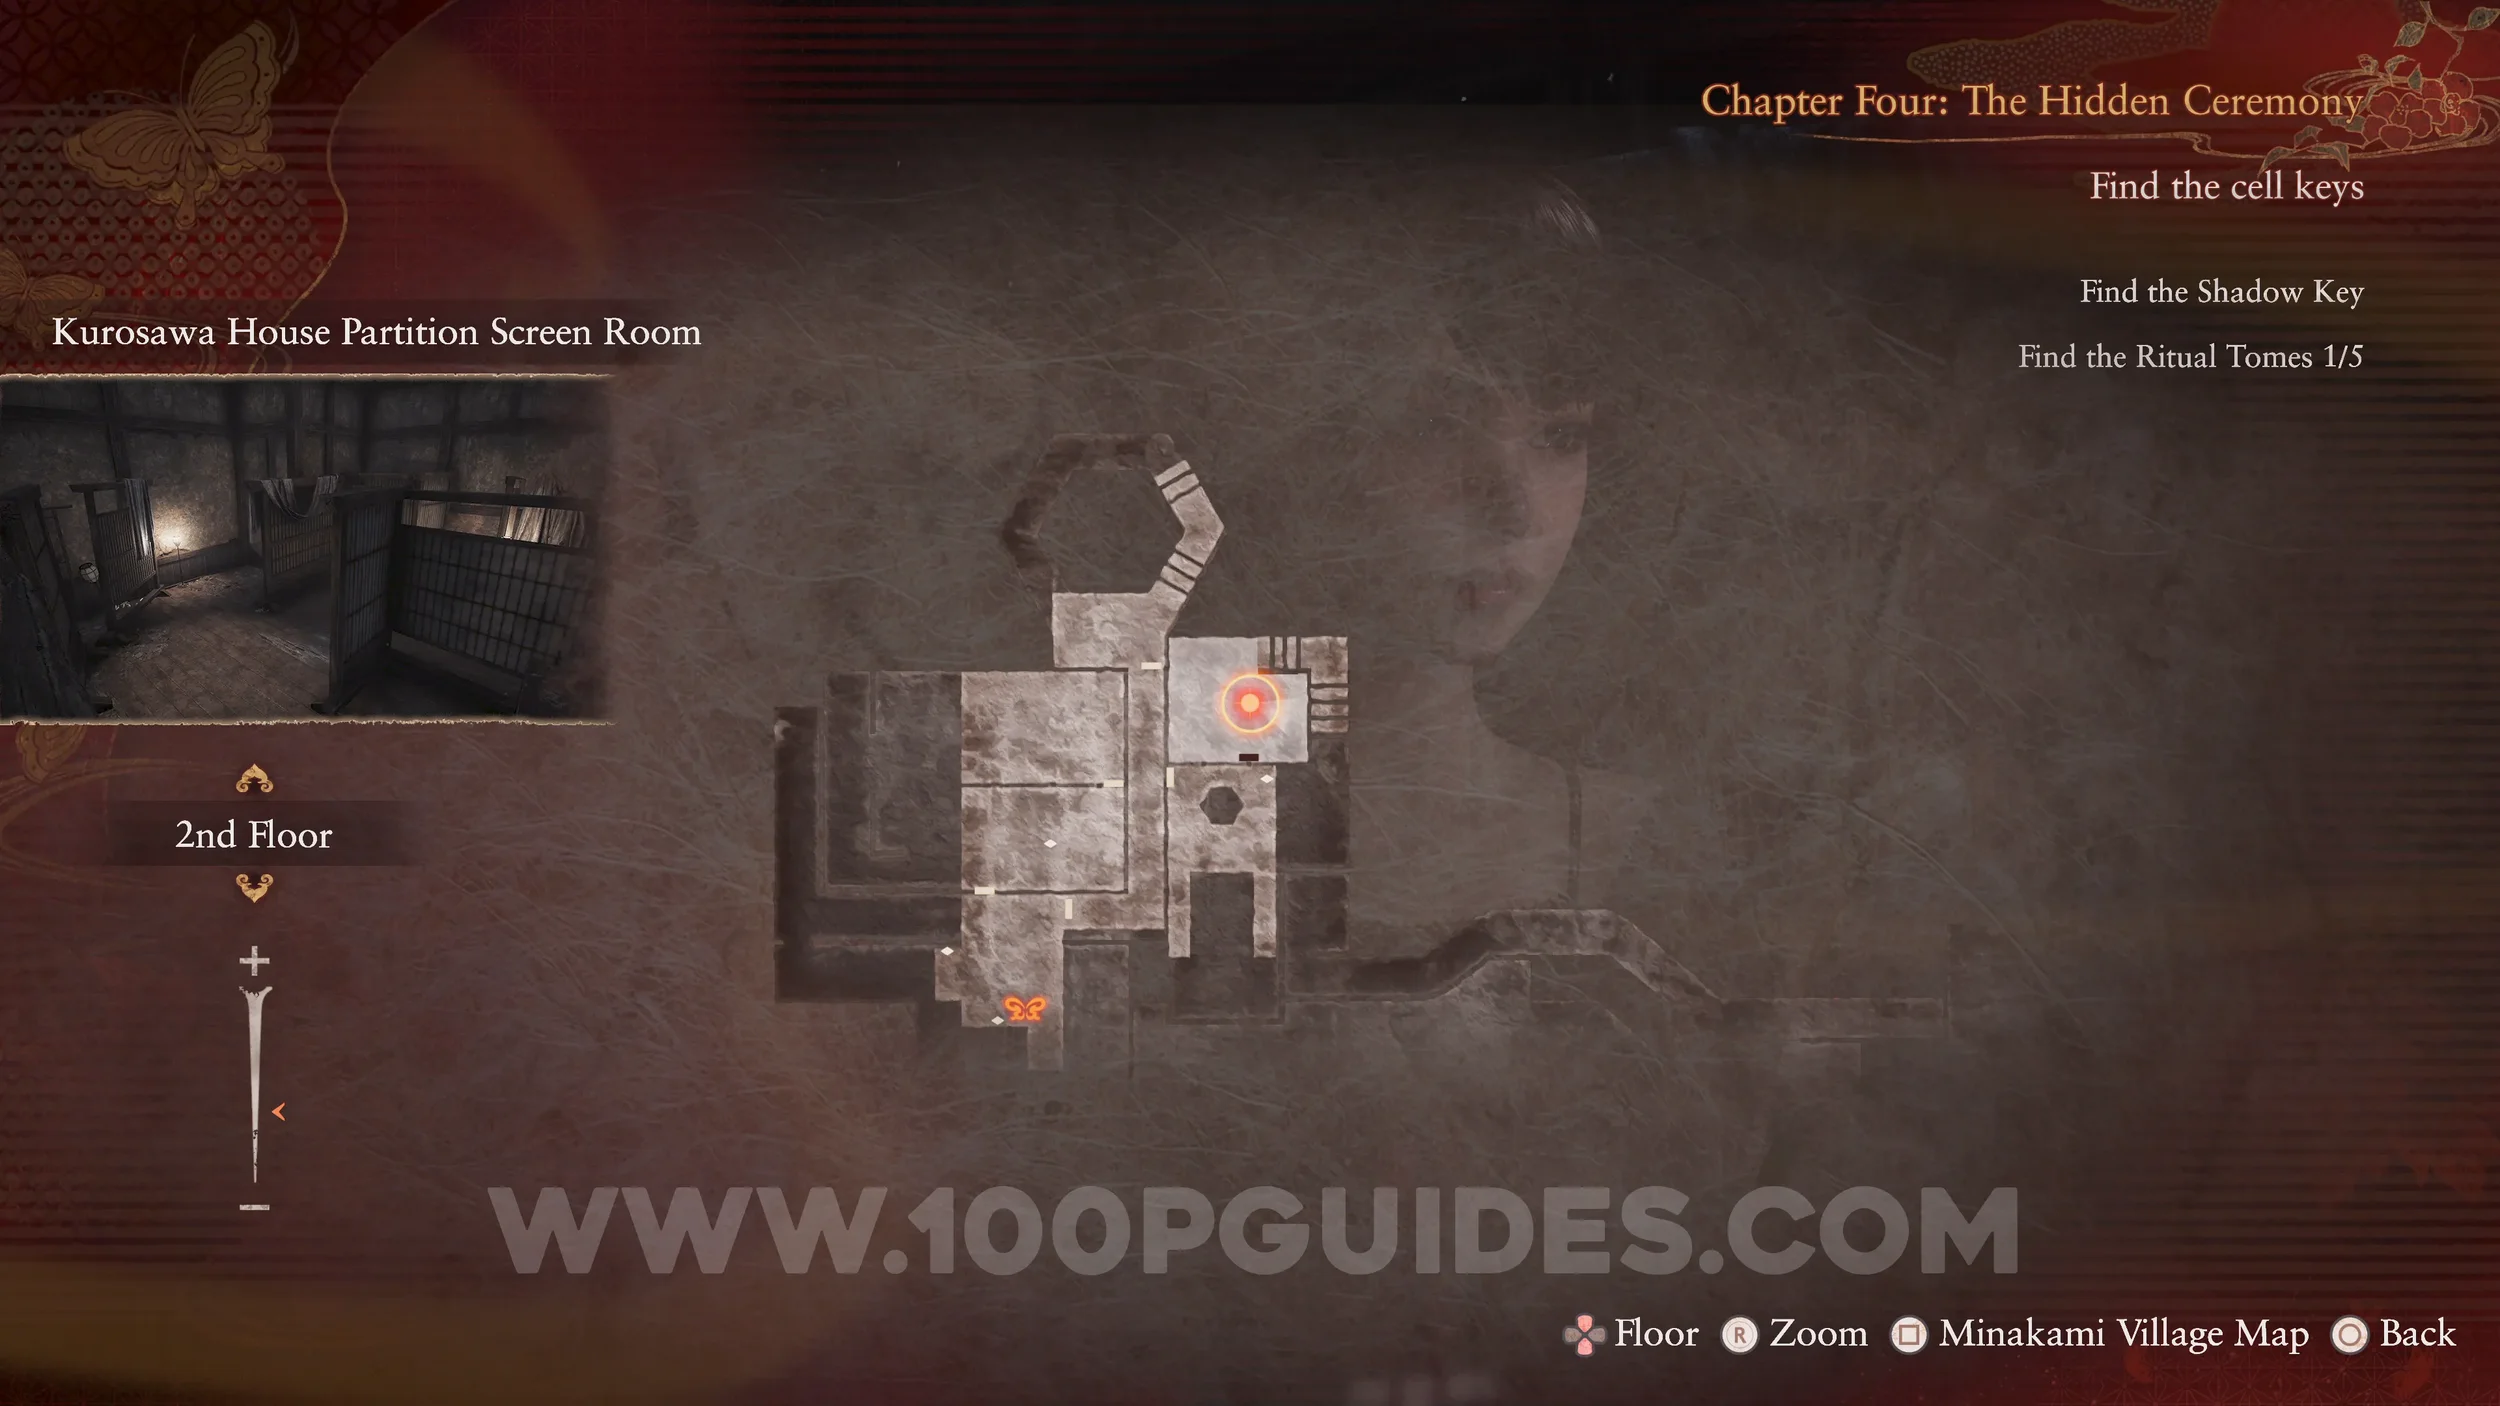
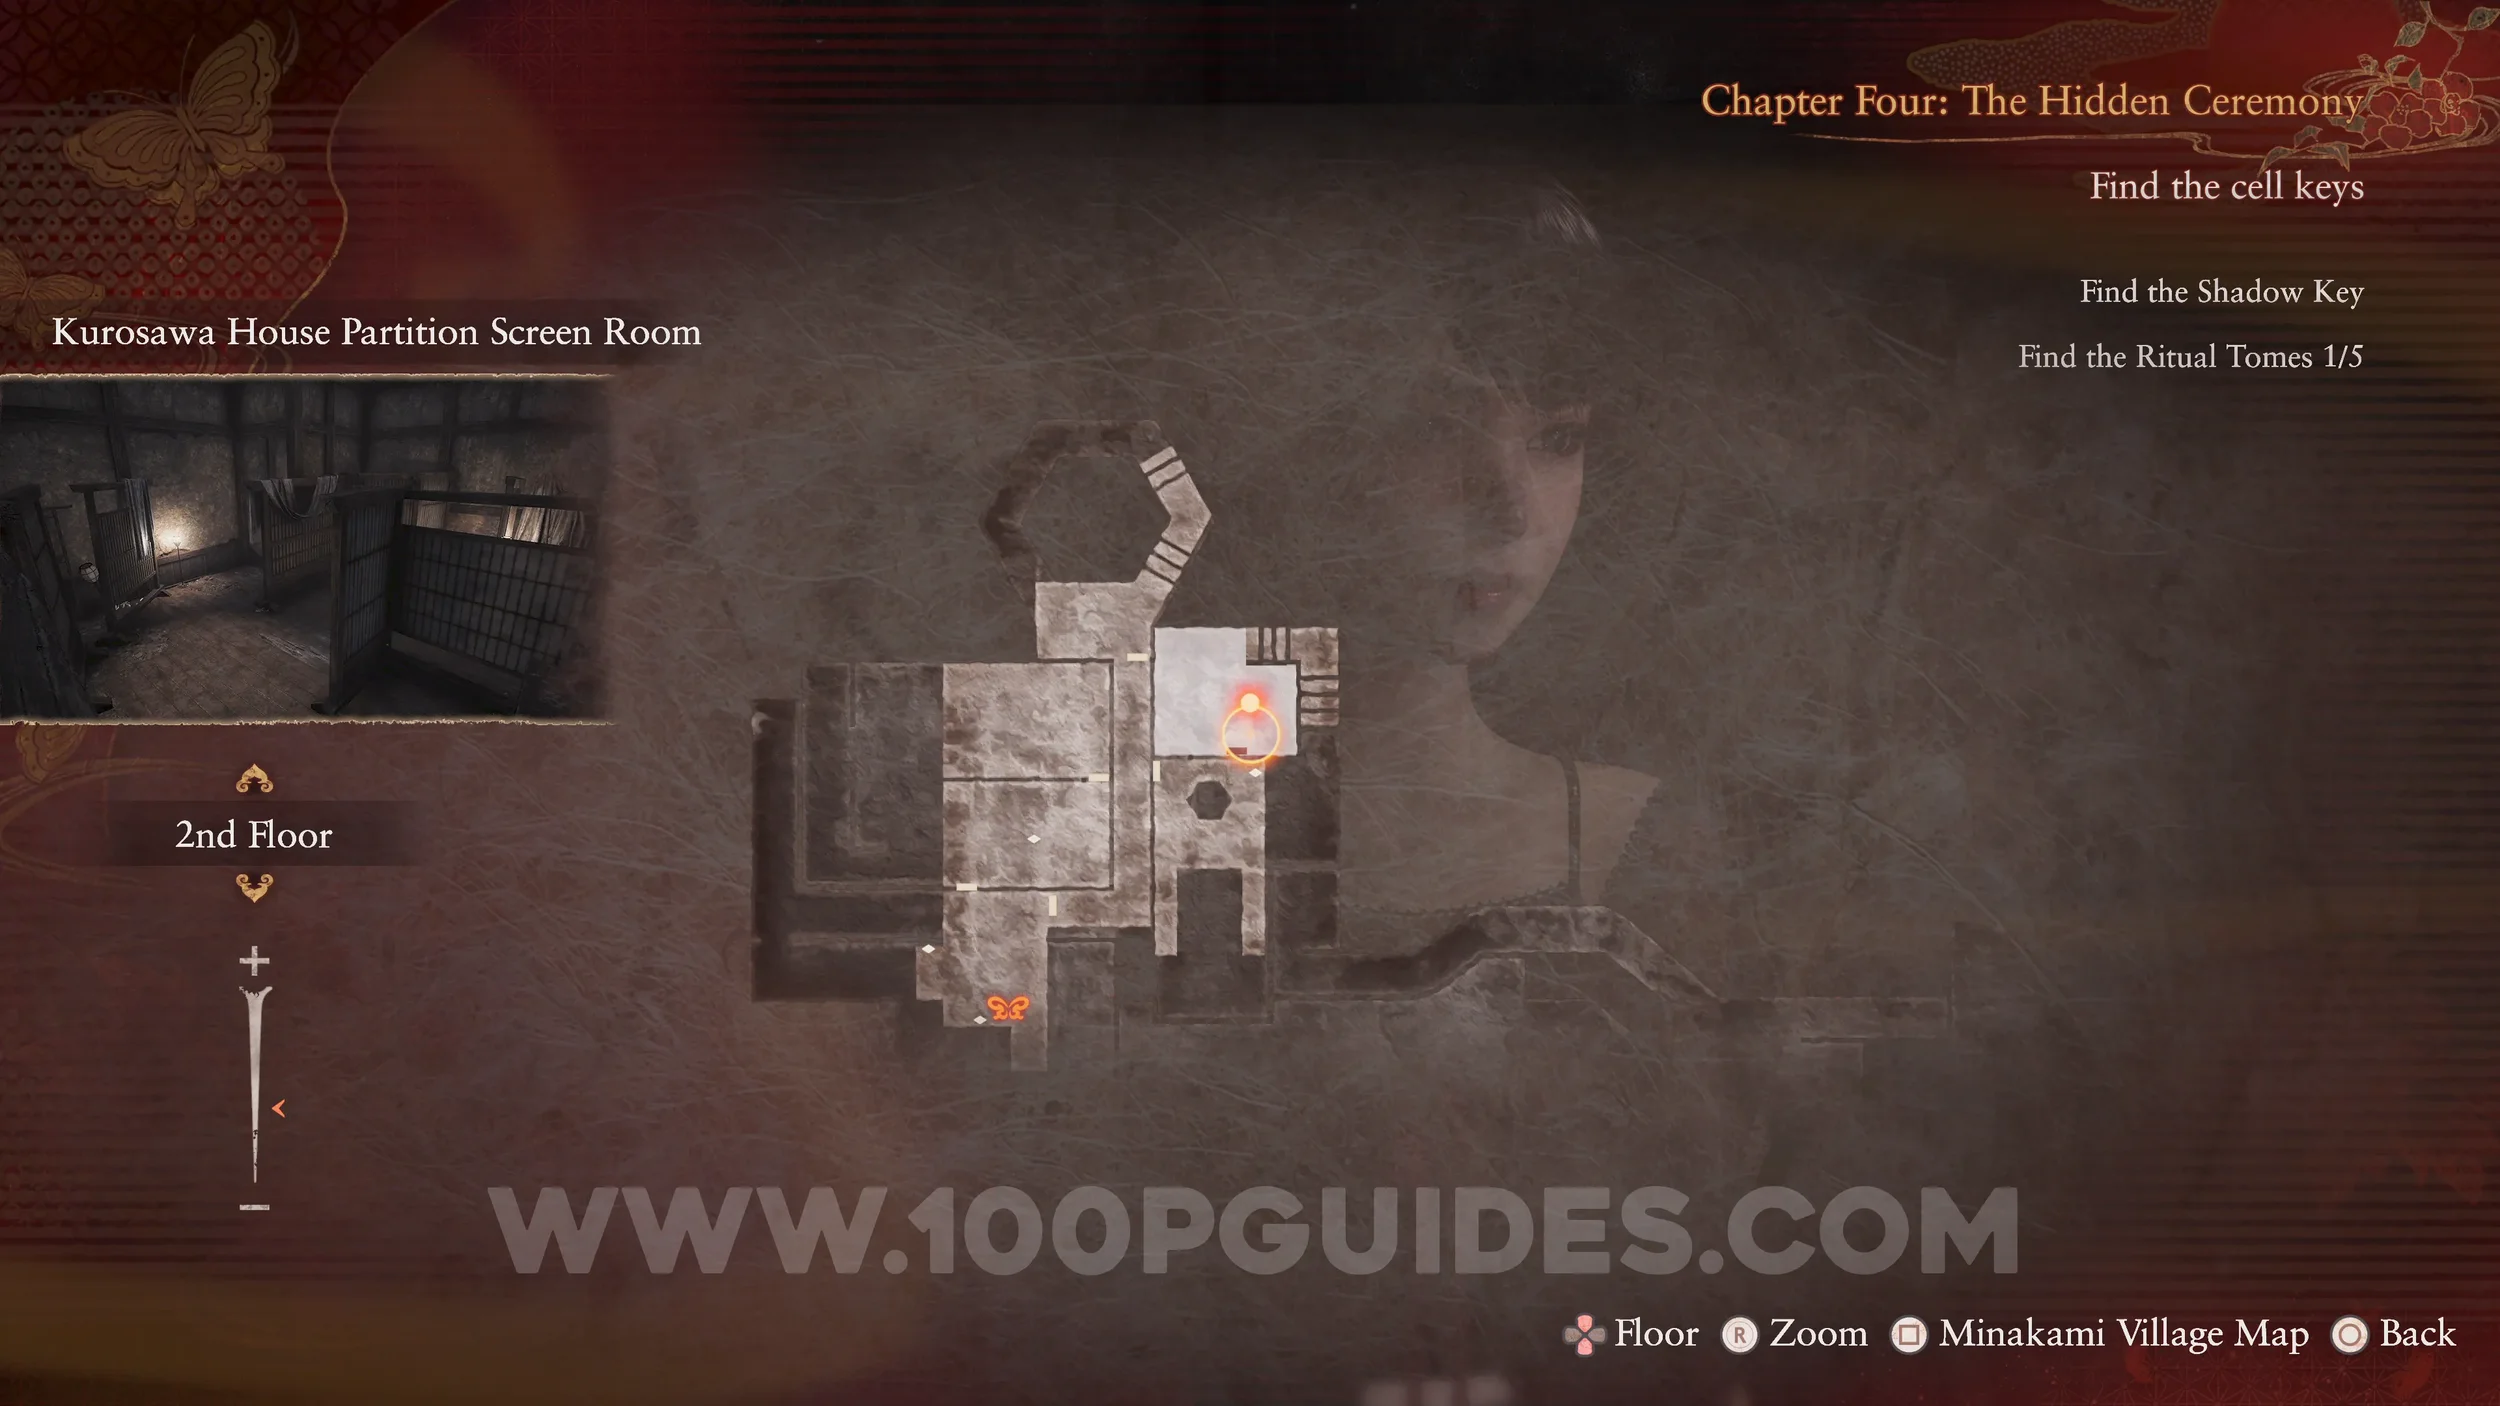
Unbinding of Blood #2. Continue down the long hall until you reach the Partition Screen Room, the room with the stairs on the right. Go up the stairs and look for the hole where a previous specter was looking down. Use the Radiant Filter on the ball, then return to the previous room to obtain the Type-00 Film.
Unbinding of Blood #3. Go back up the stairs and open the door with the Radiant Filter.
Unbinding of Blood #4 and Prayer Beads #16. Now that you have the Radiant Filter, backtrack to the room just before the Doll Room where the chapter began. Use the Radiant Filter to open the drawer and find the beads inside.
Unbinding of Blood #5 Revenant #2 - 019 Exhausted Man. Return to the room where you are first chased by Kusabi and use the Radiant Filter to open the door in the northwest corner. In the next small room, use the Exposure Filter to reveal the Revenant.
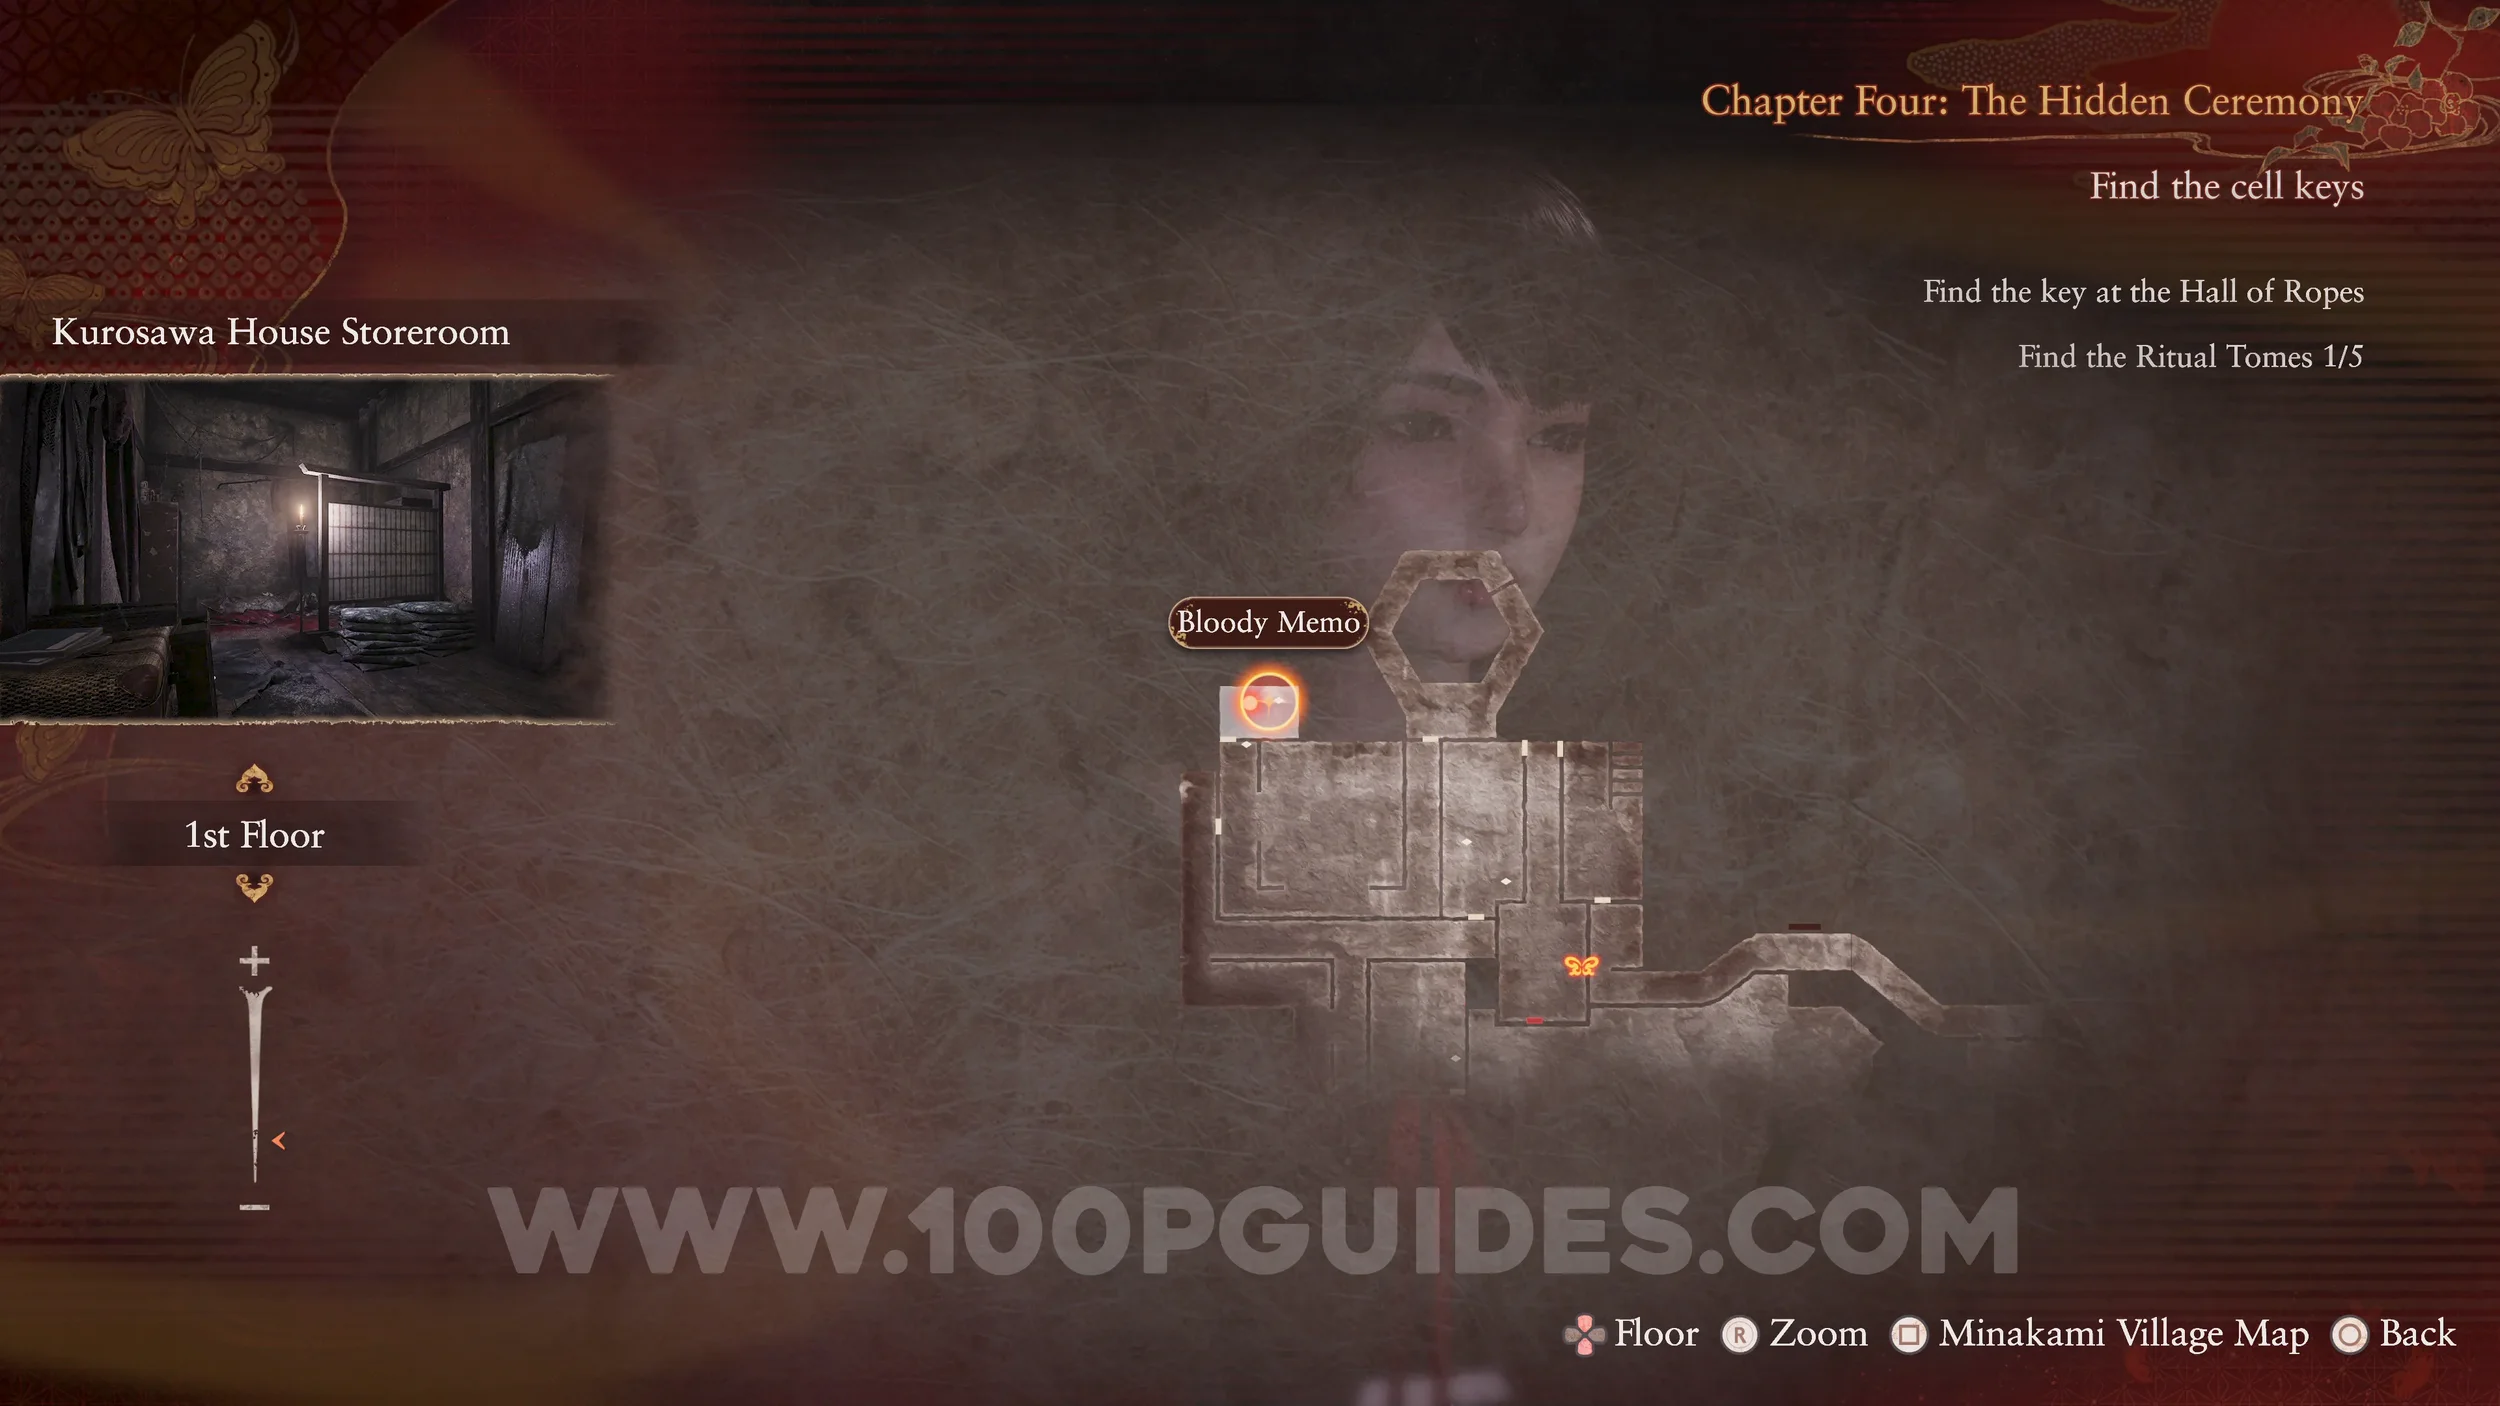
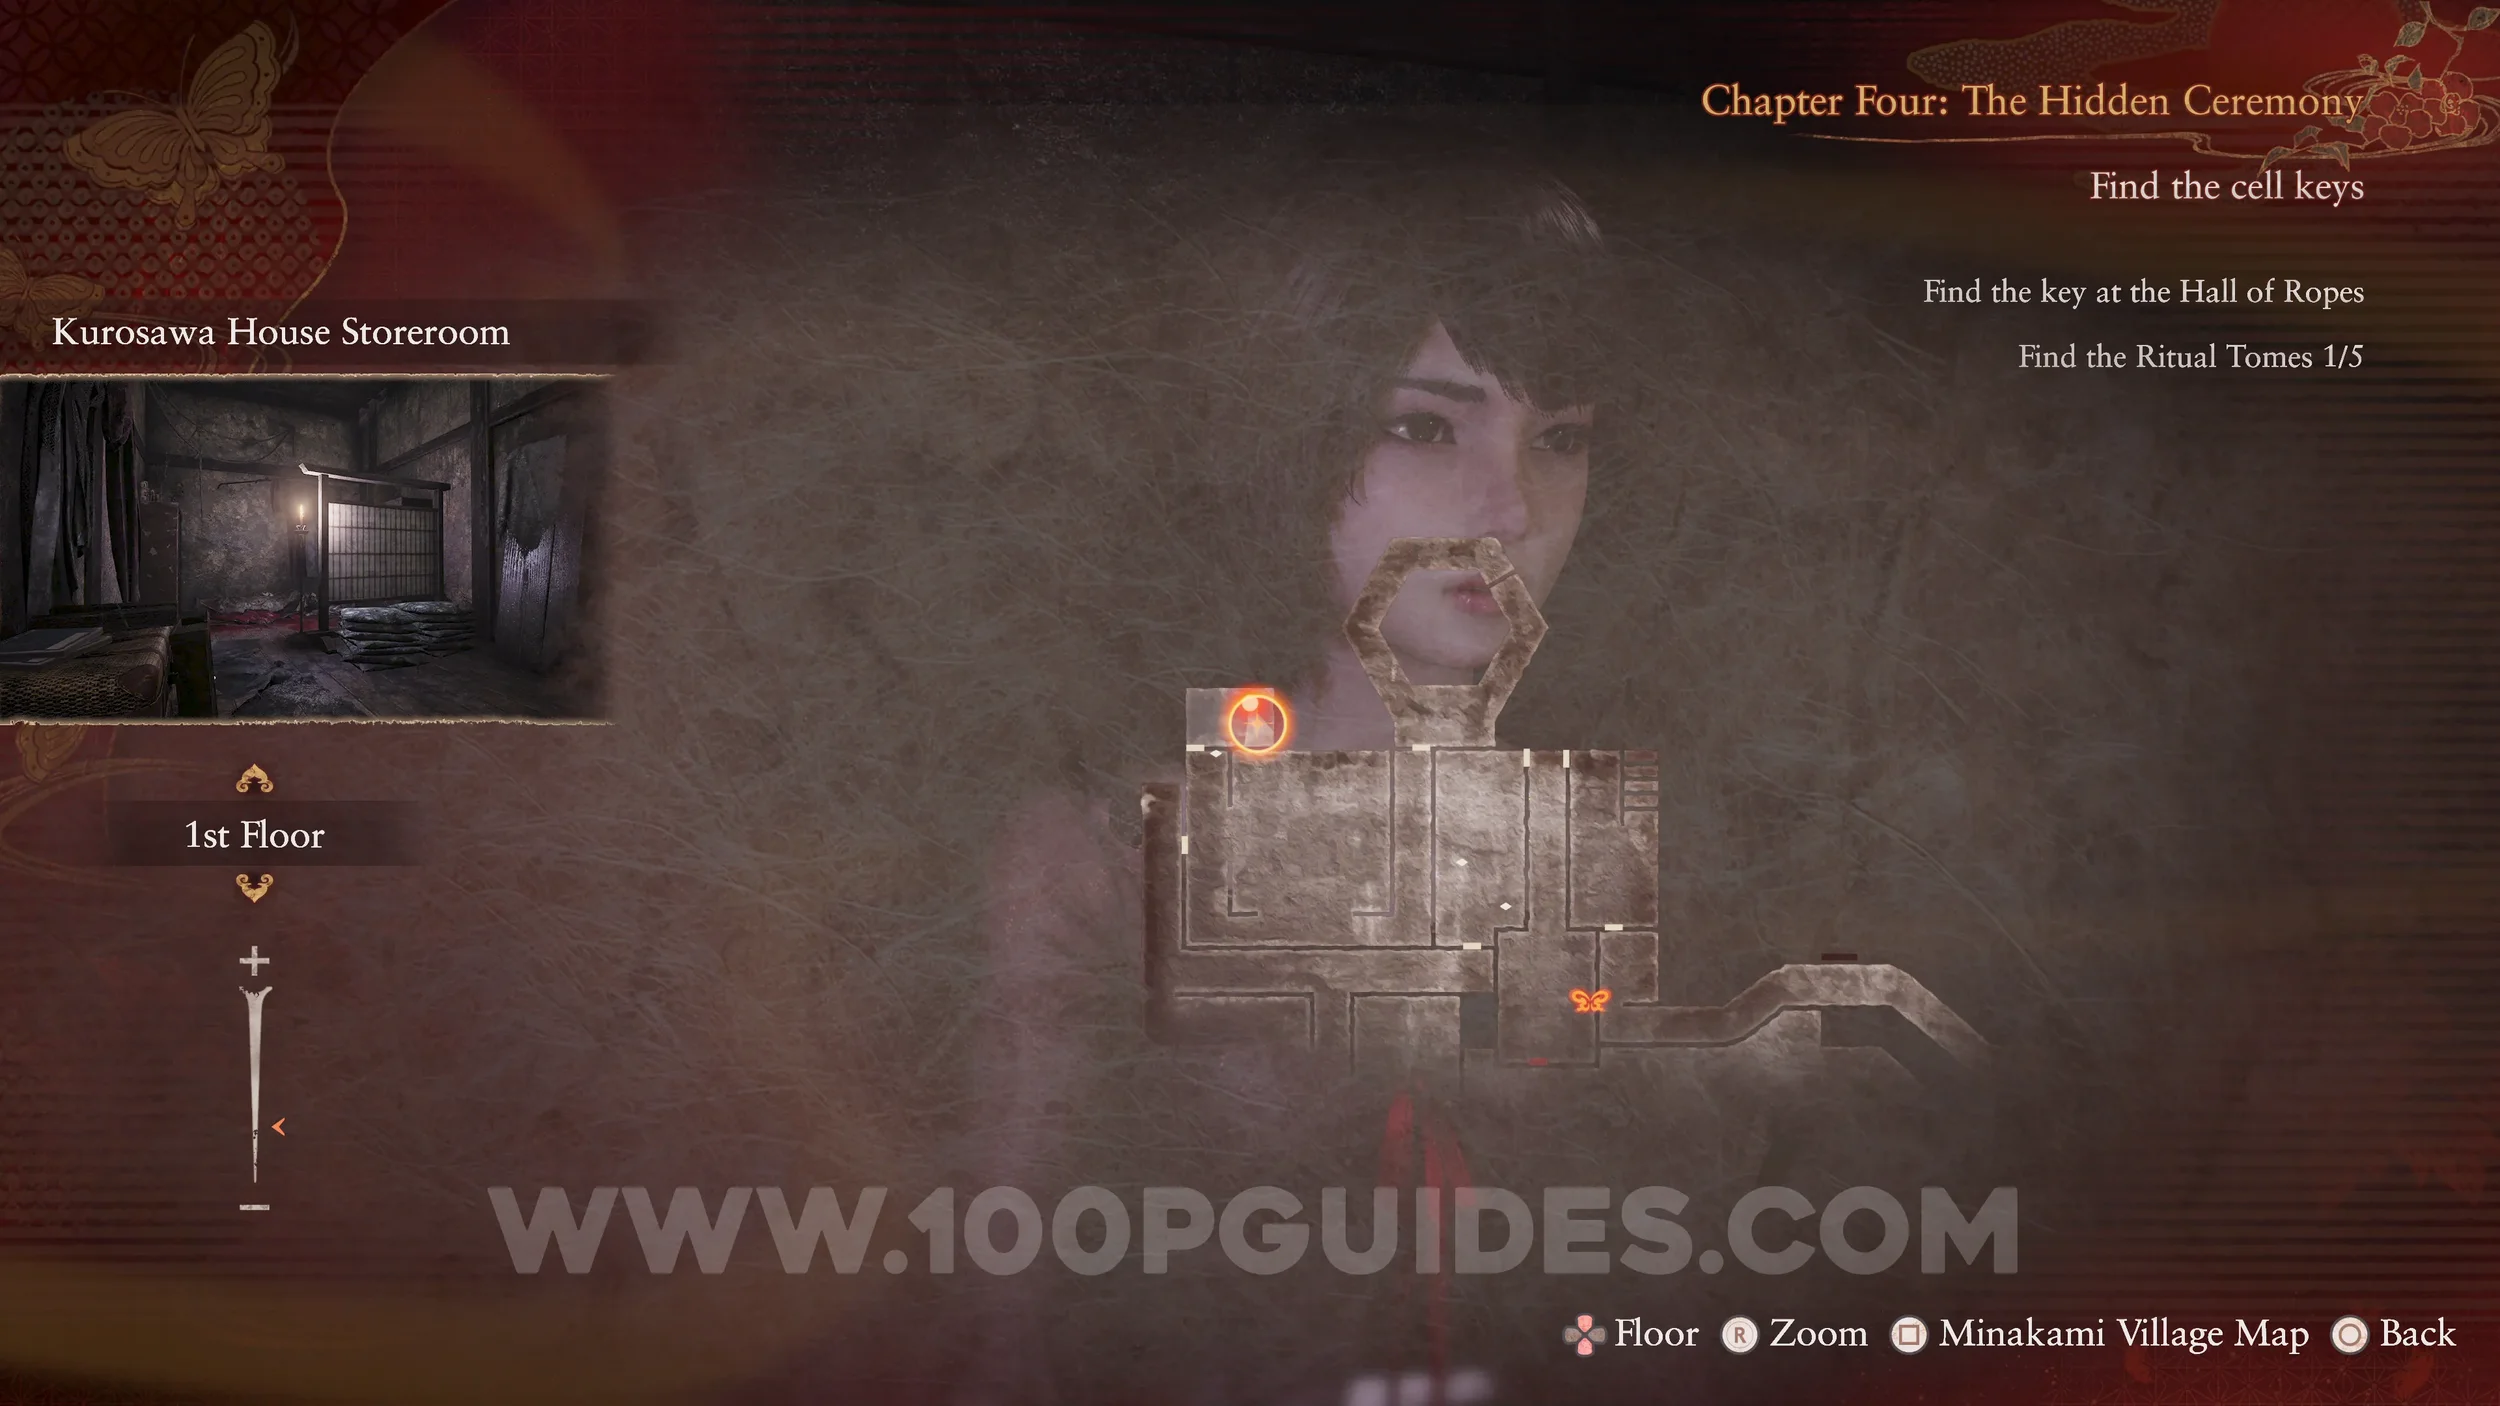
Document #38 - Bloody Memo. In the same location as the Revenant.
Prayer Beads #17. In a drawer in the same room as the Revenant.
Wraith #11 - 011 The Shredded. This wraith will attack you as soon as you leave the room with the Revenant and will continue the “Masumi Makimura” side quest.
Unbinding of Blood #6 and Specter #66 - 052 Waiting Priest. Return to the bloodstained door in the long hall where you saw the “Ritualist” specter. Open the door and go through to encounter the specter.
Document #39 - Crimson Wing Tome. In the same location as the specter.
Spirit Stone #15 - Glowing Red Crystal. On a table to the right of the previous collectible.

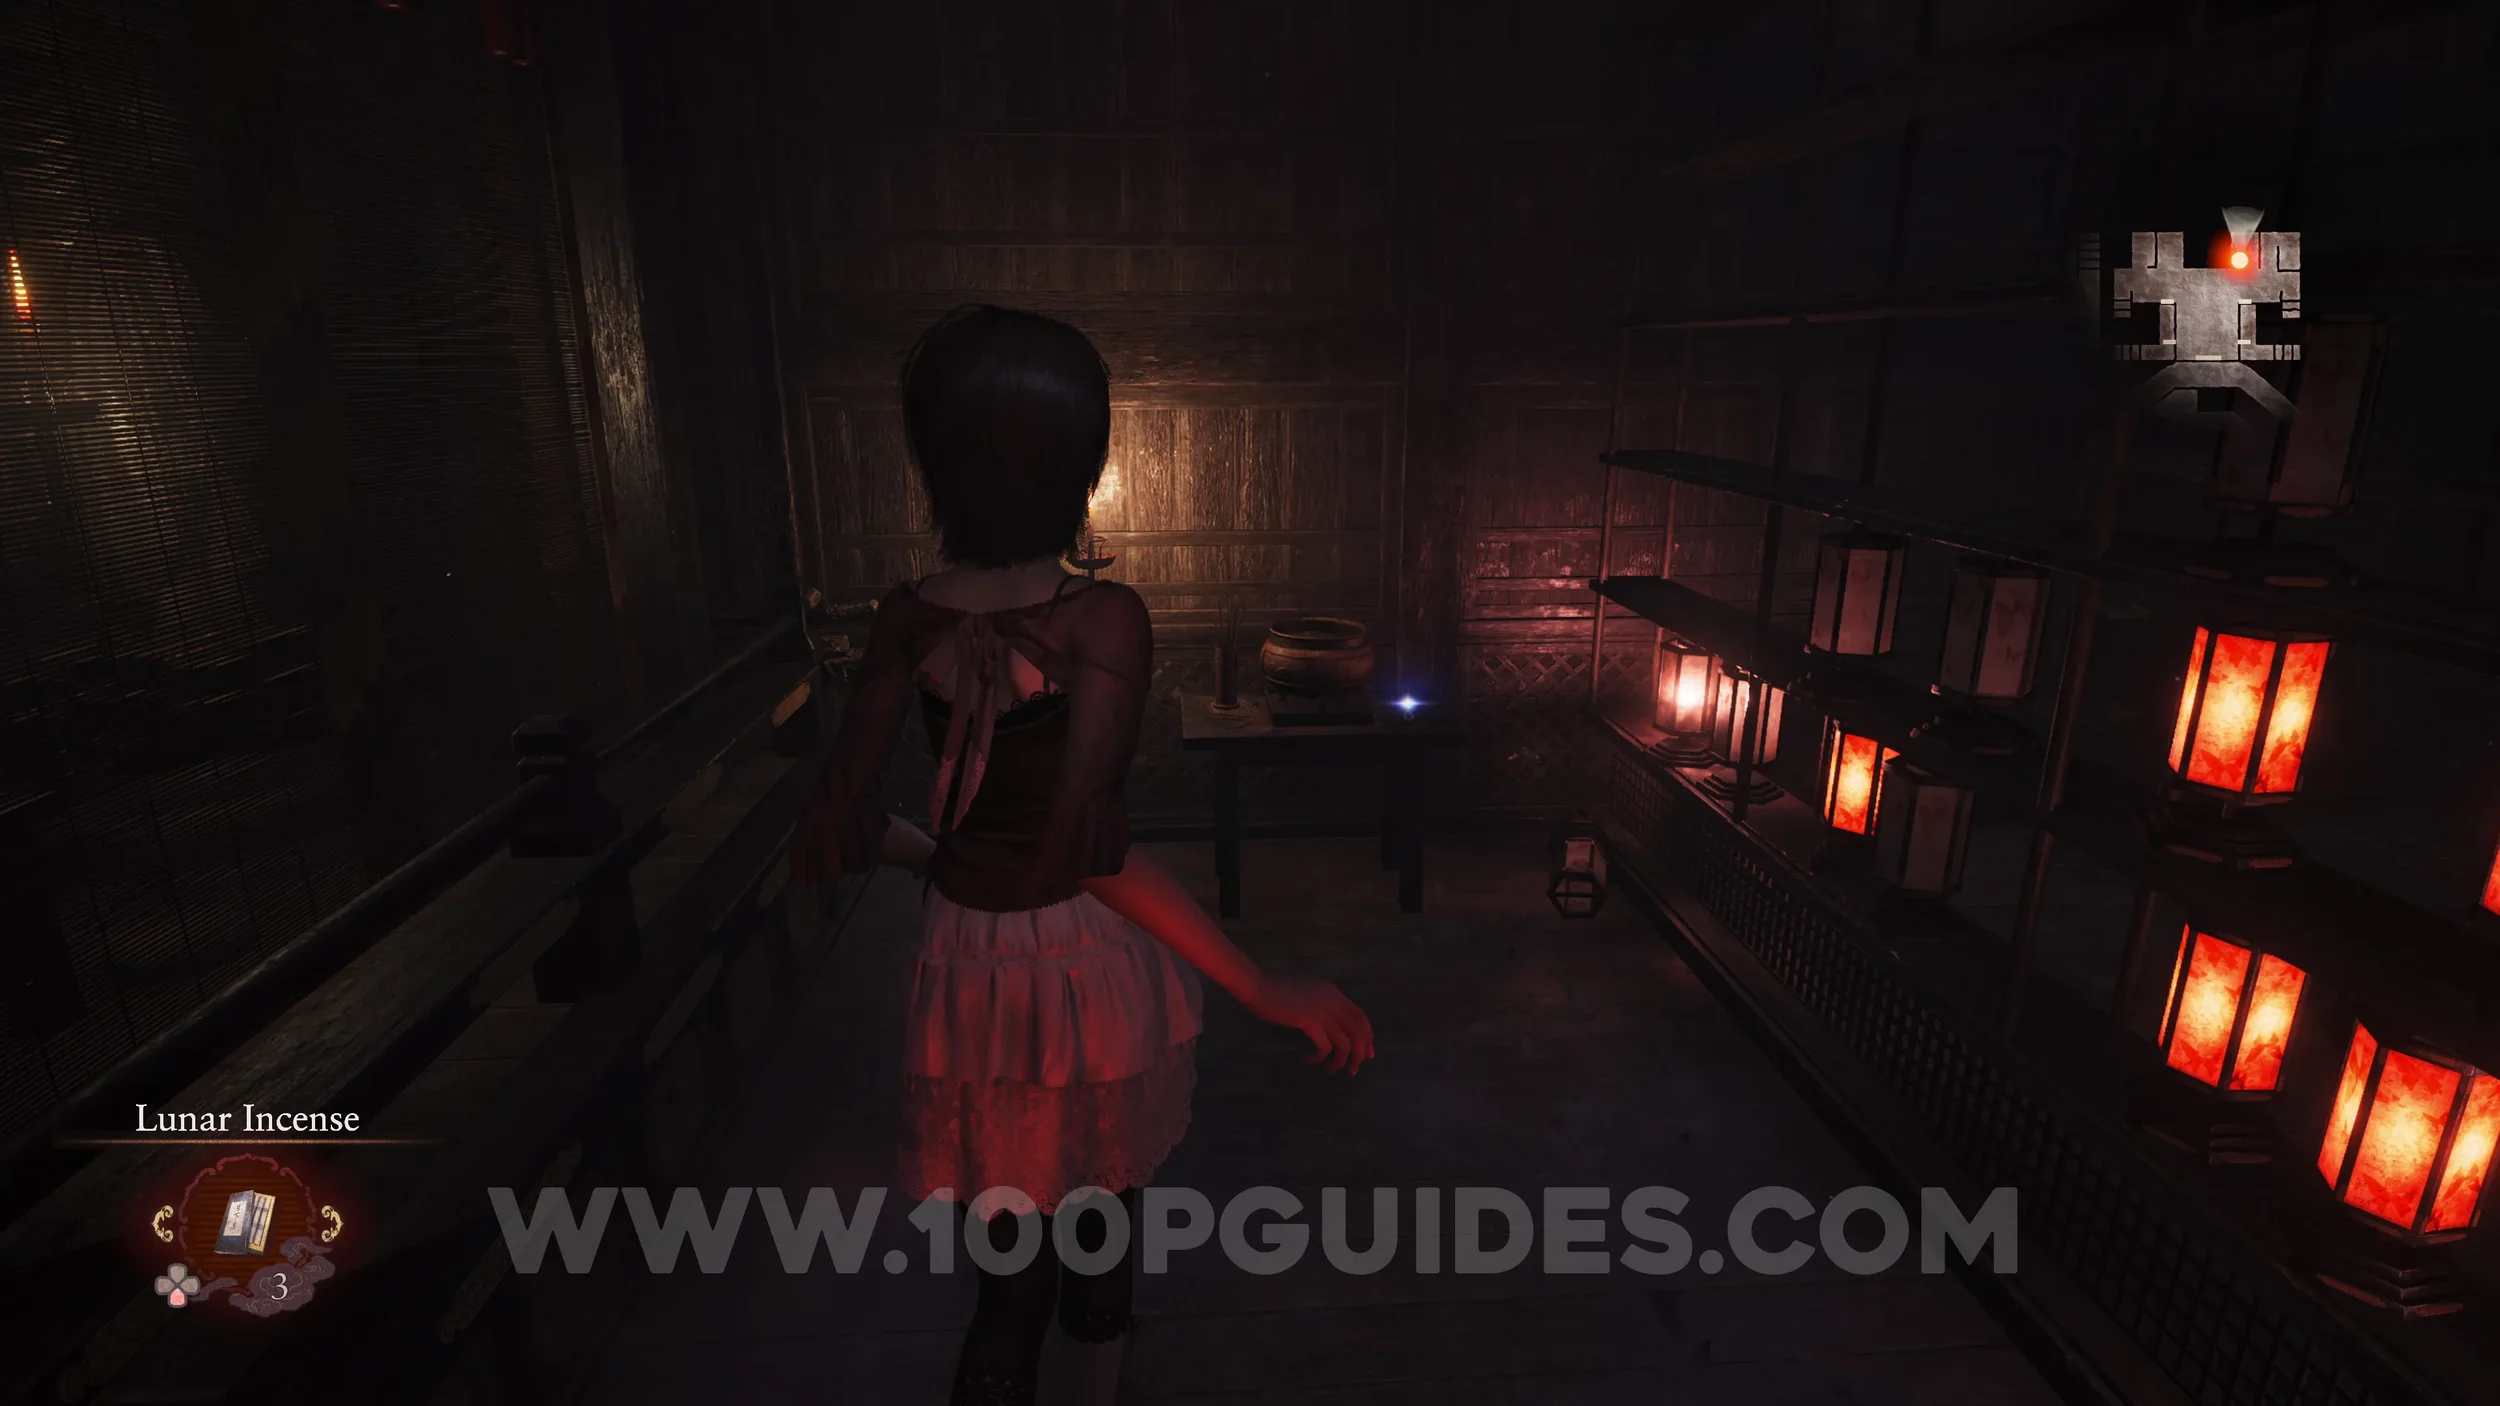
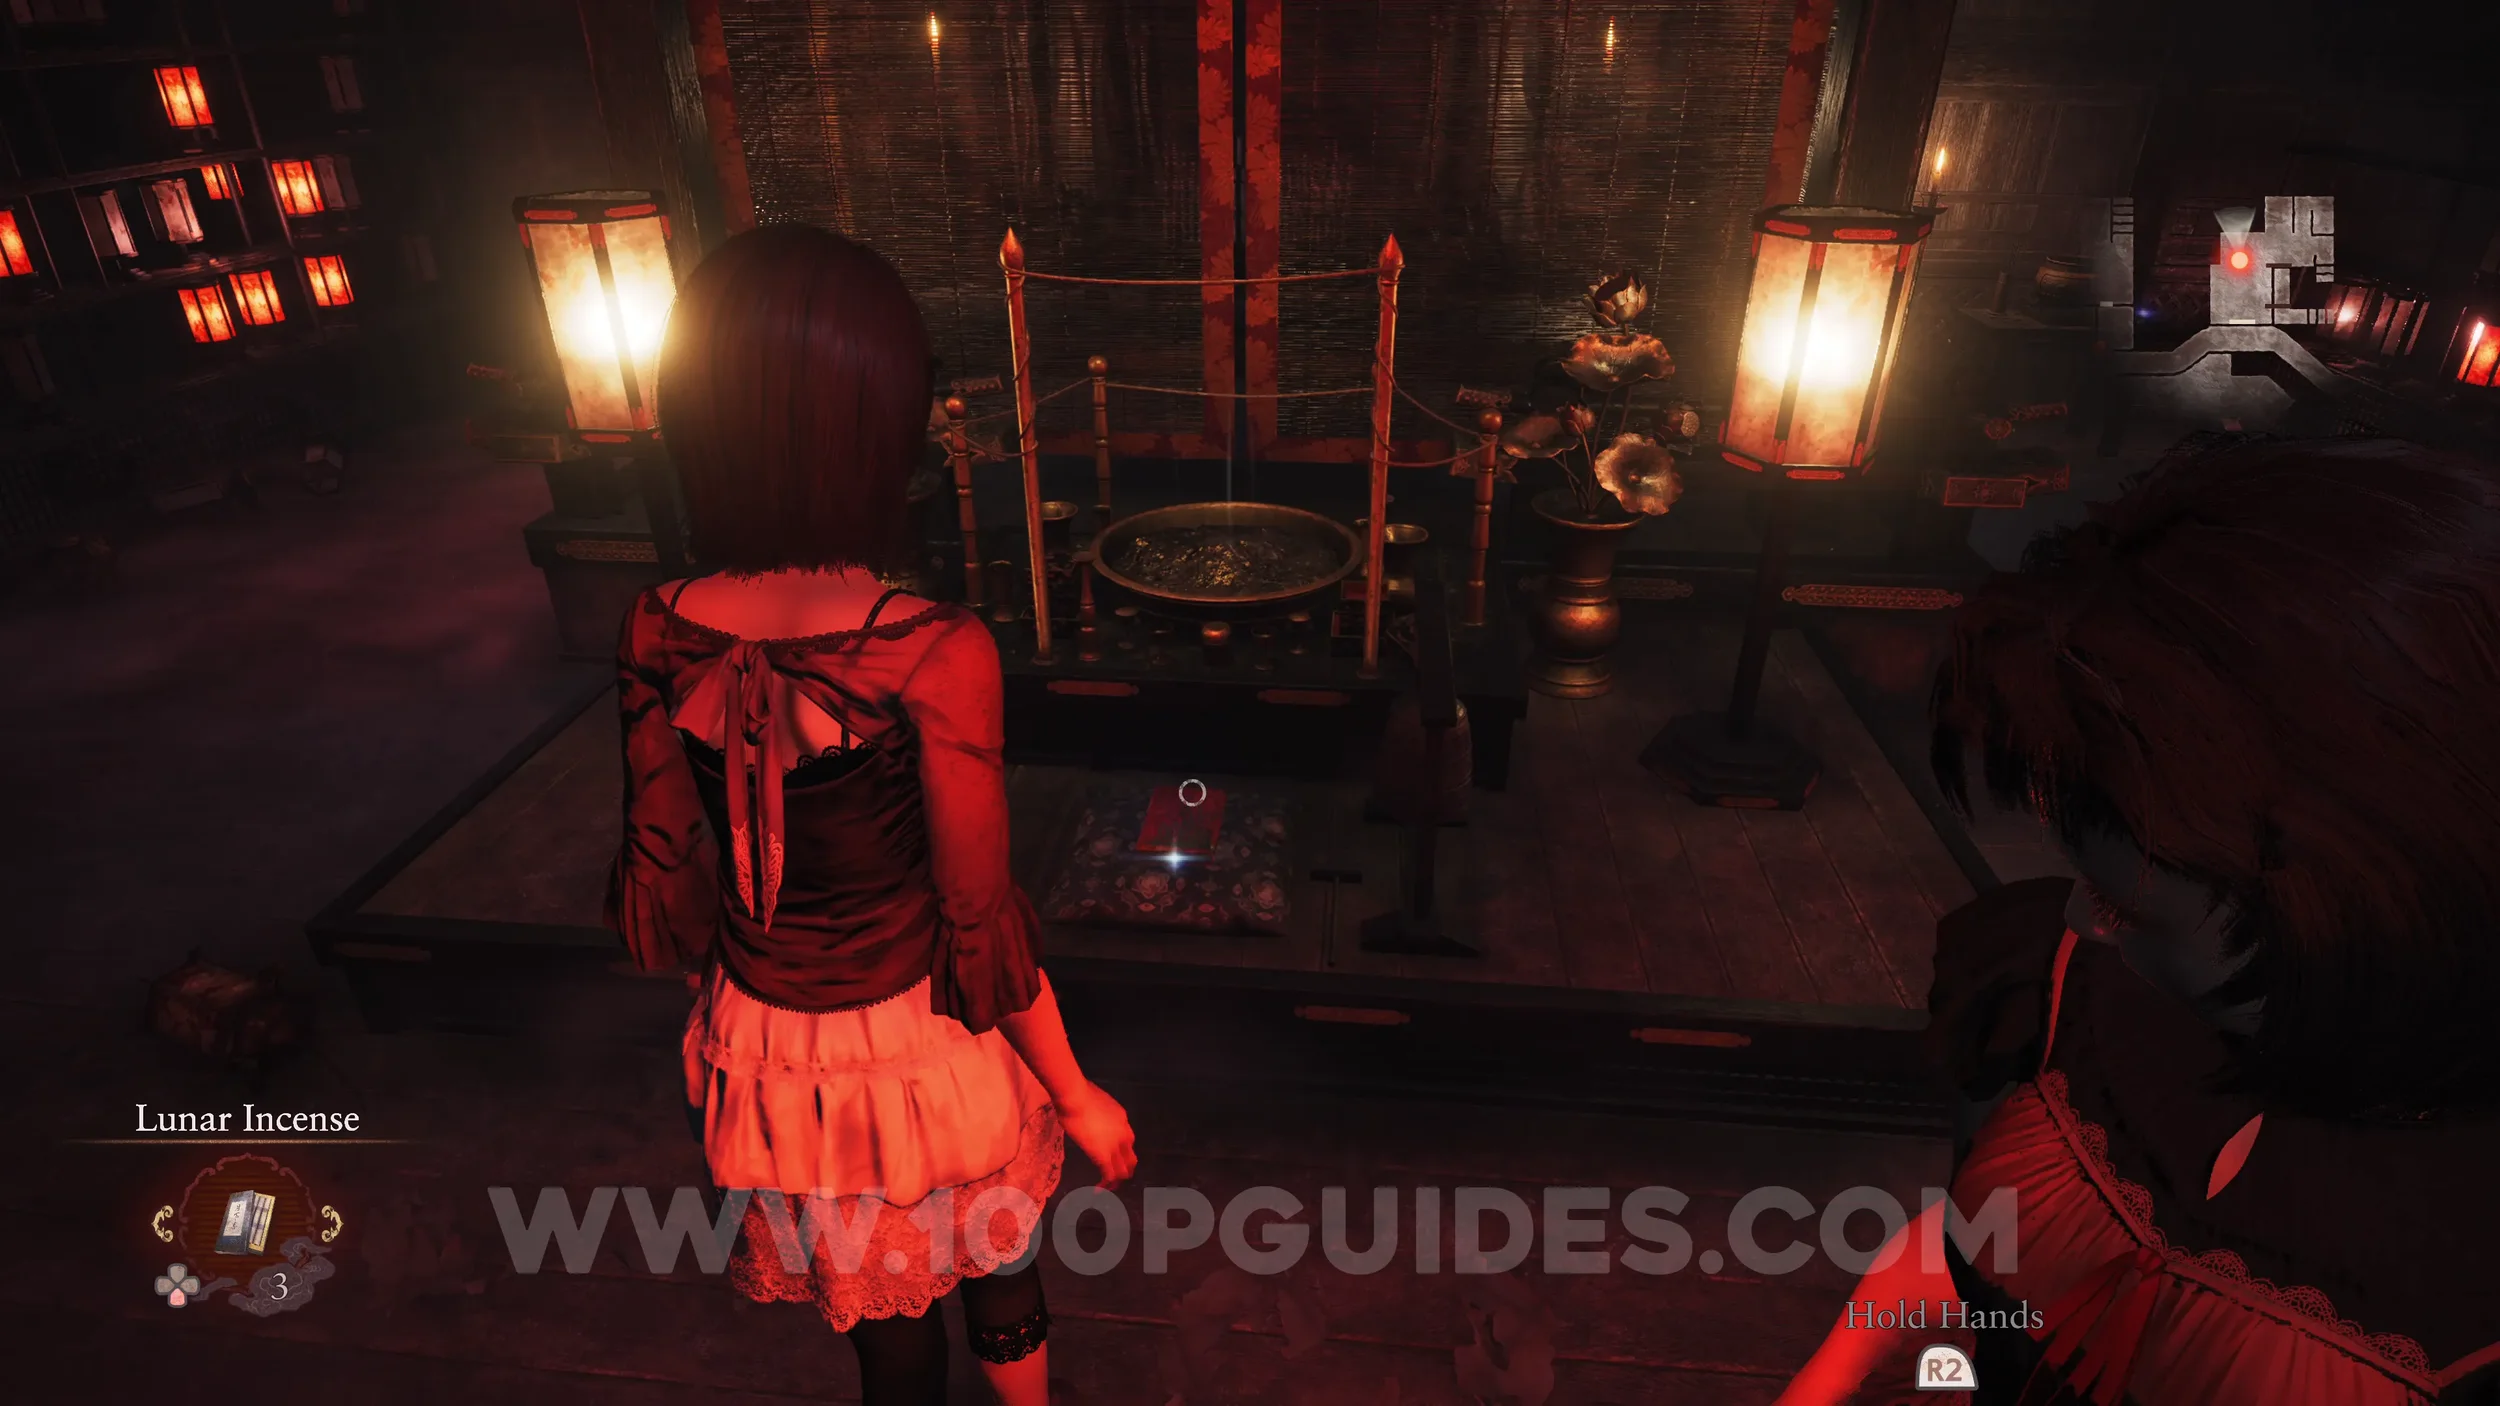
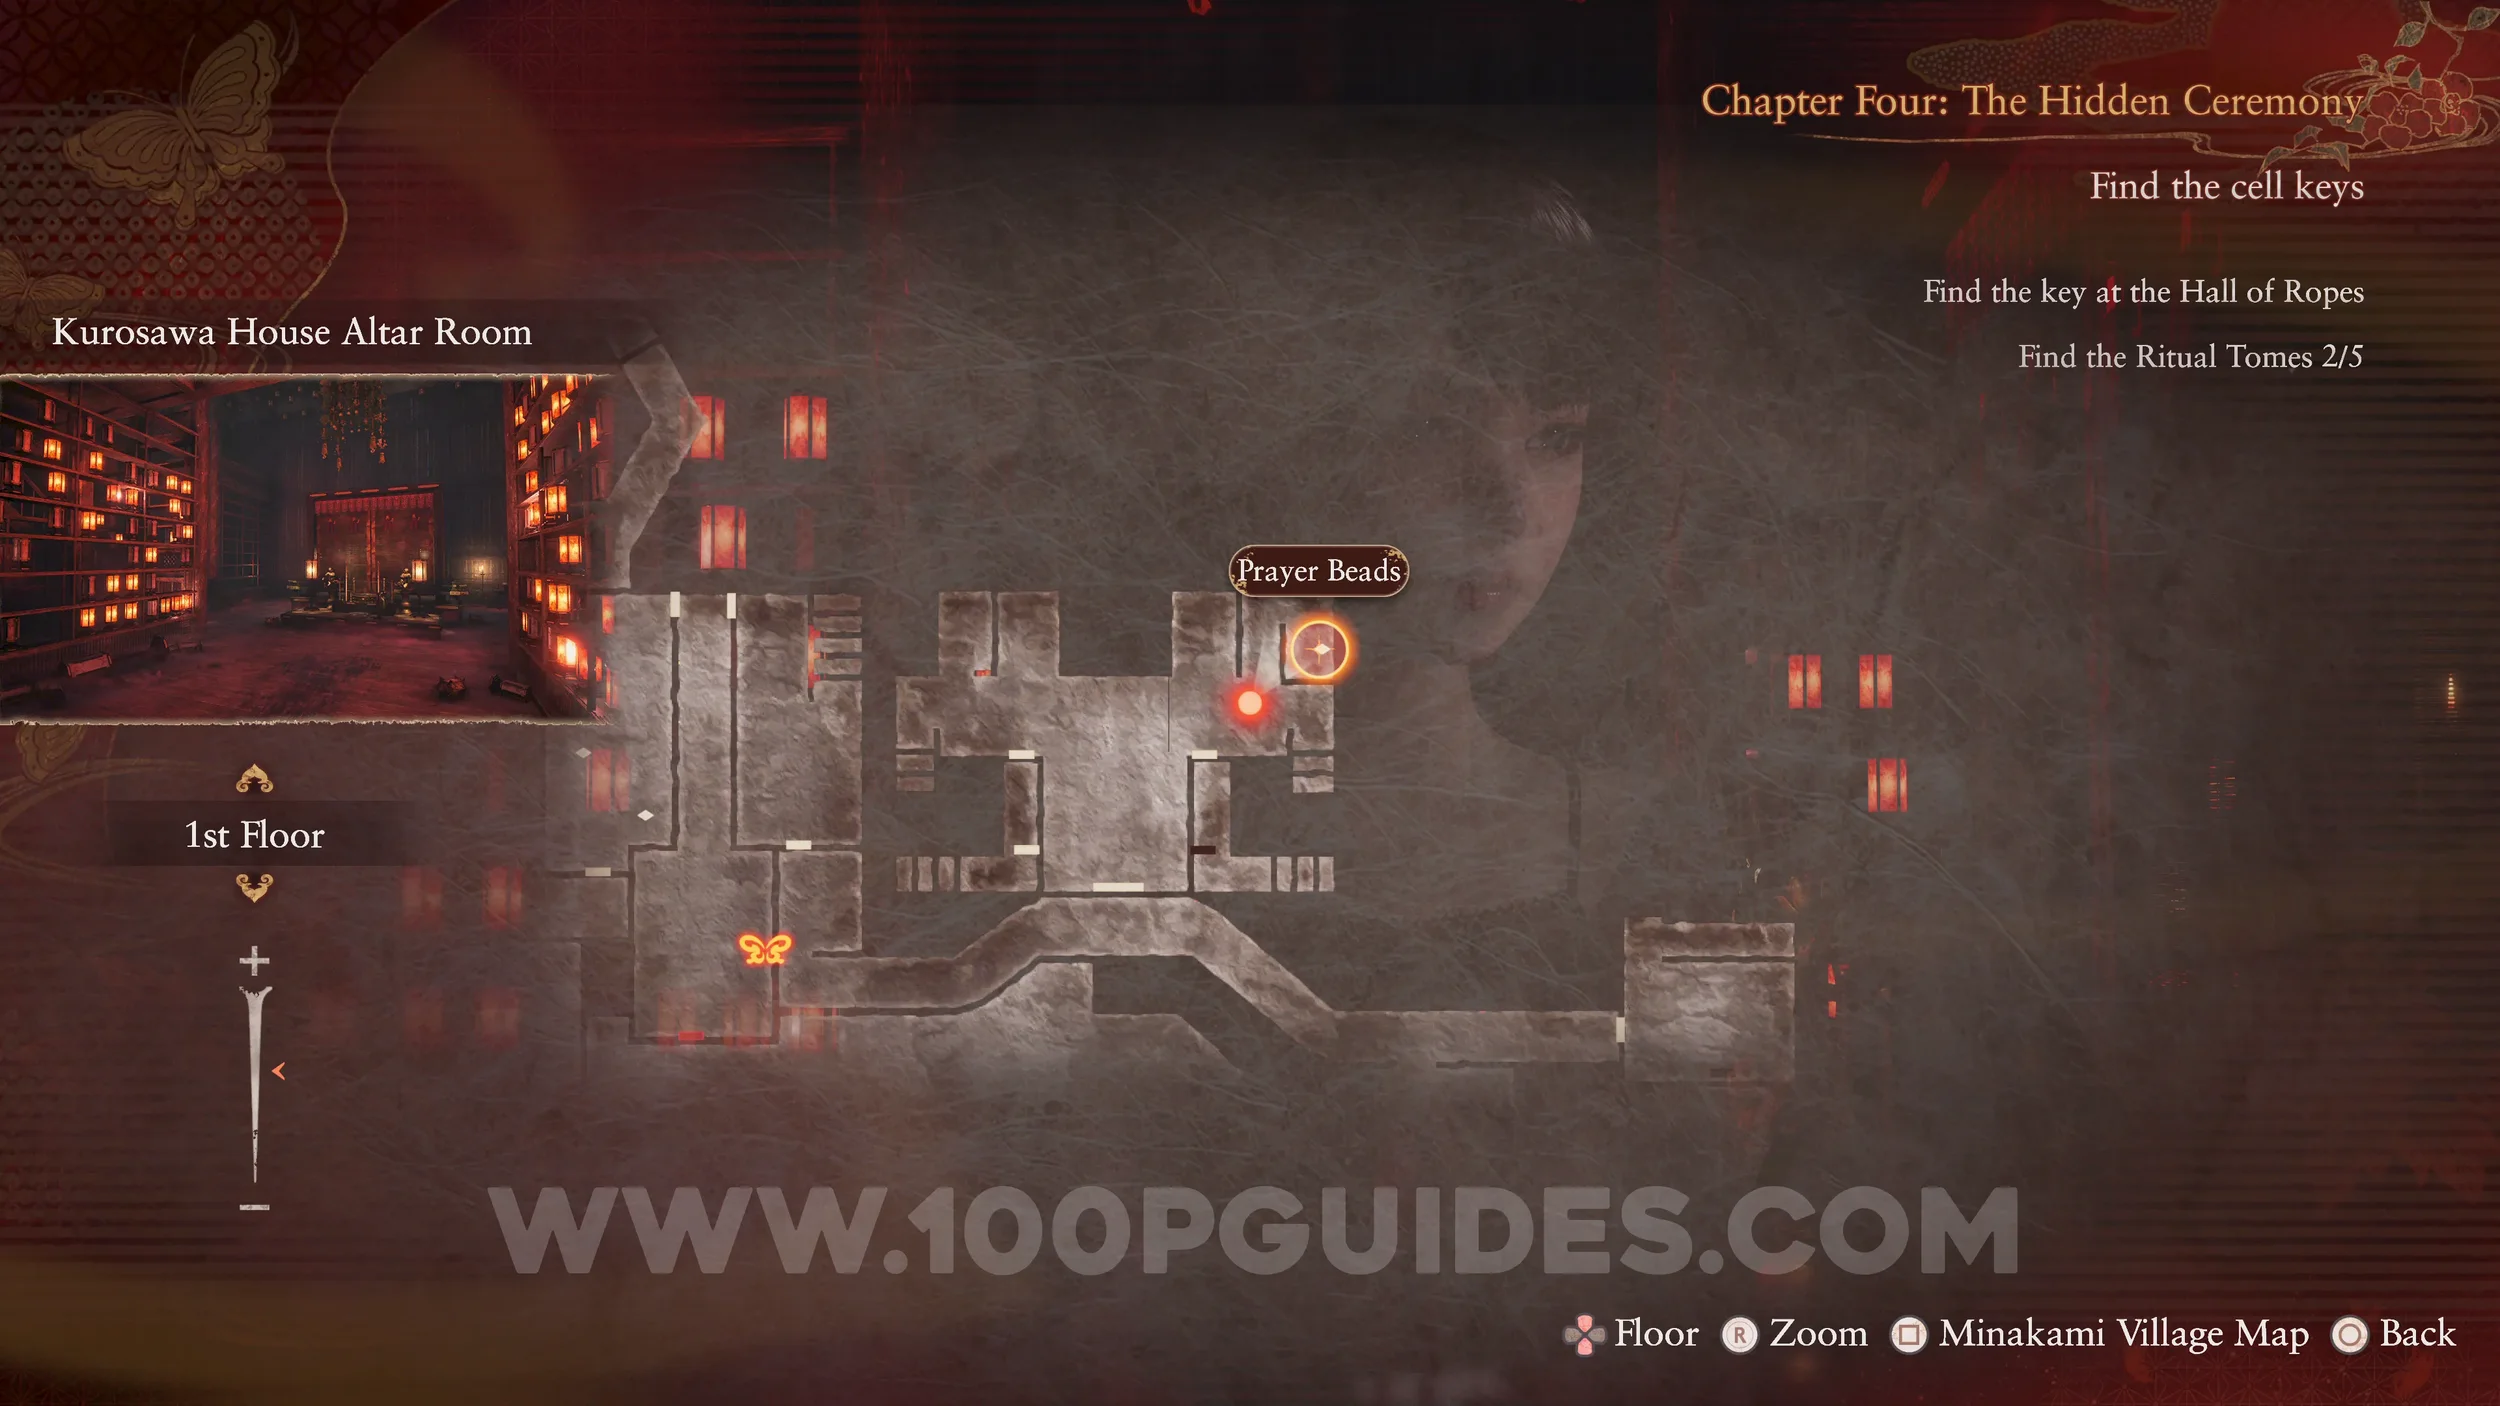
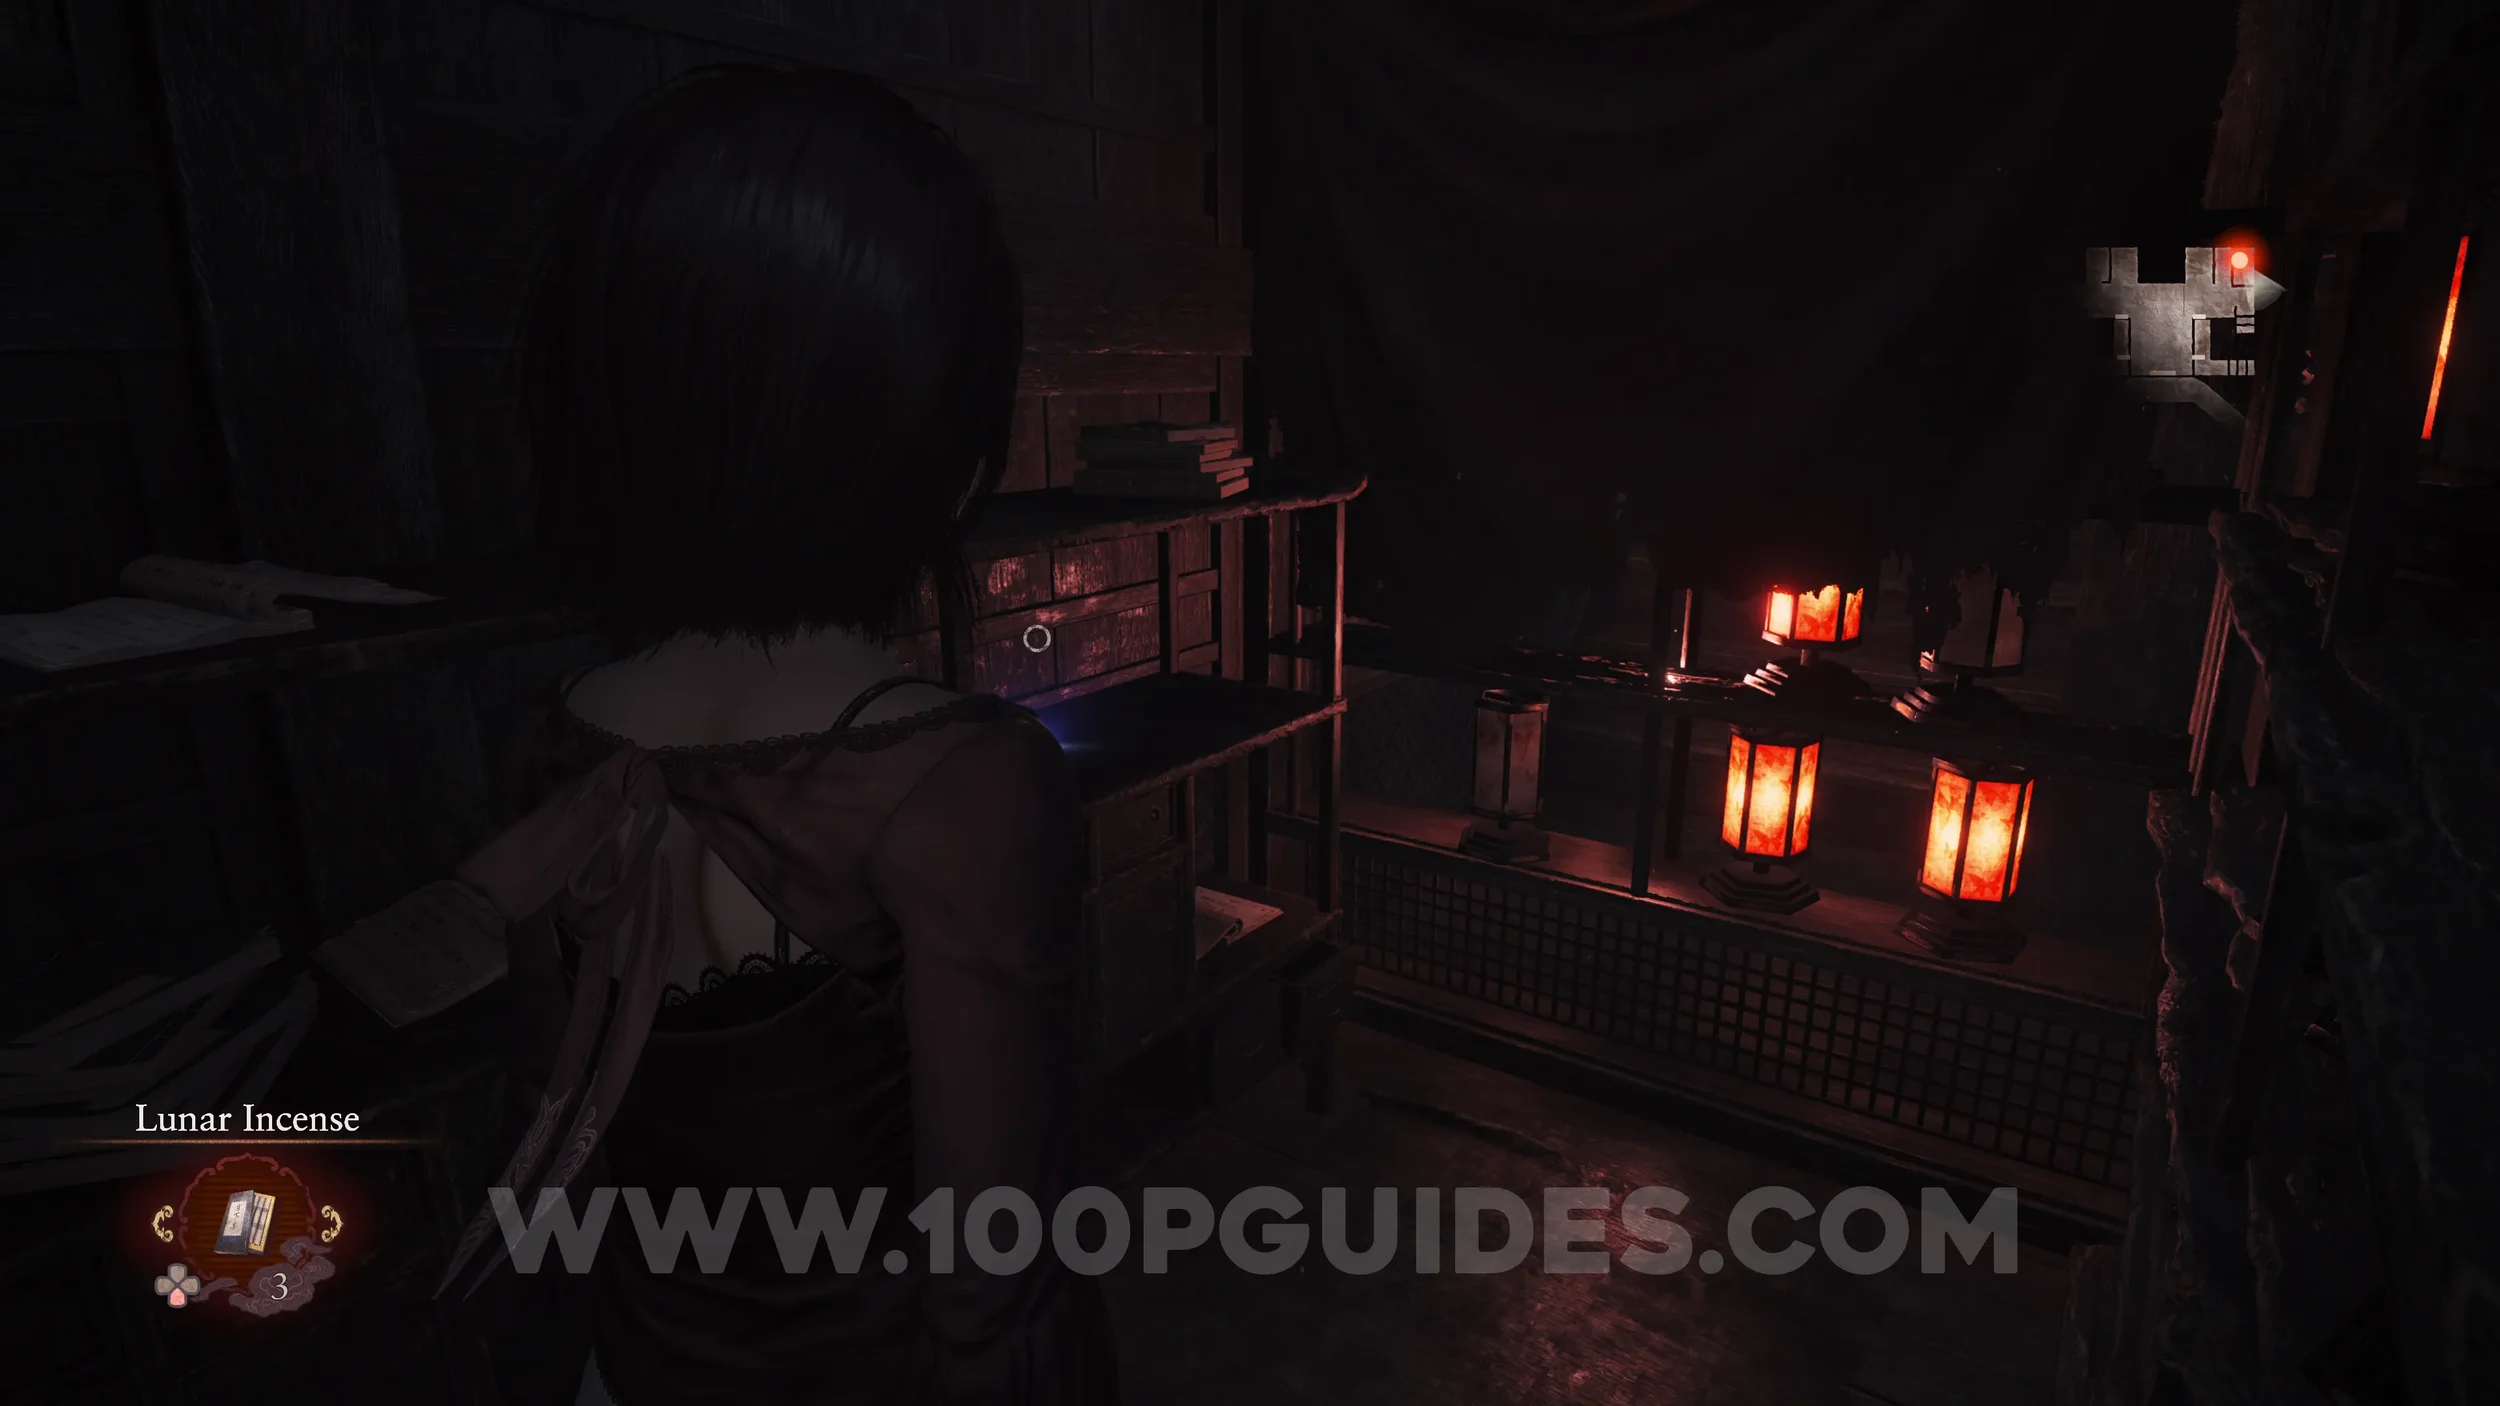
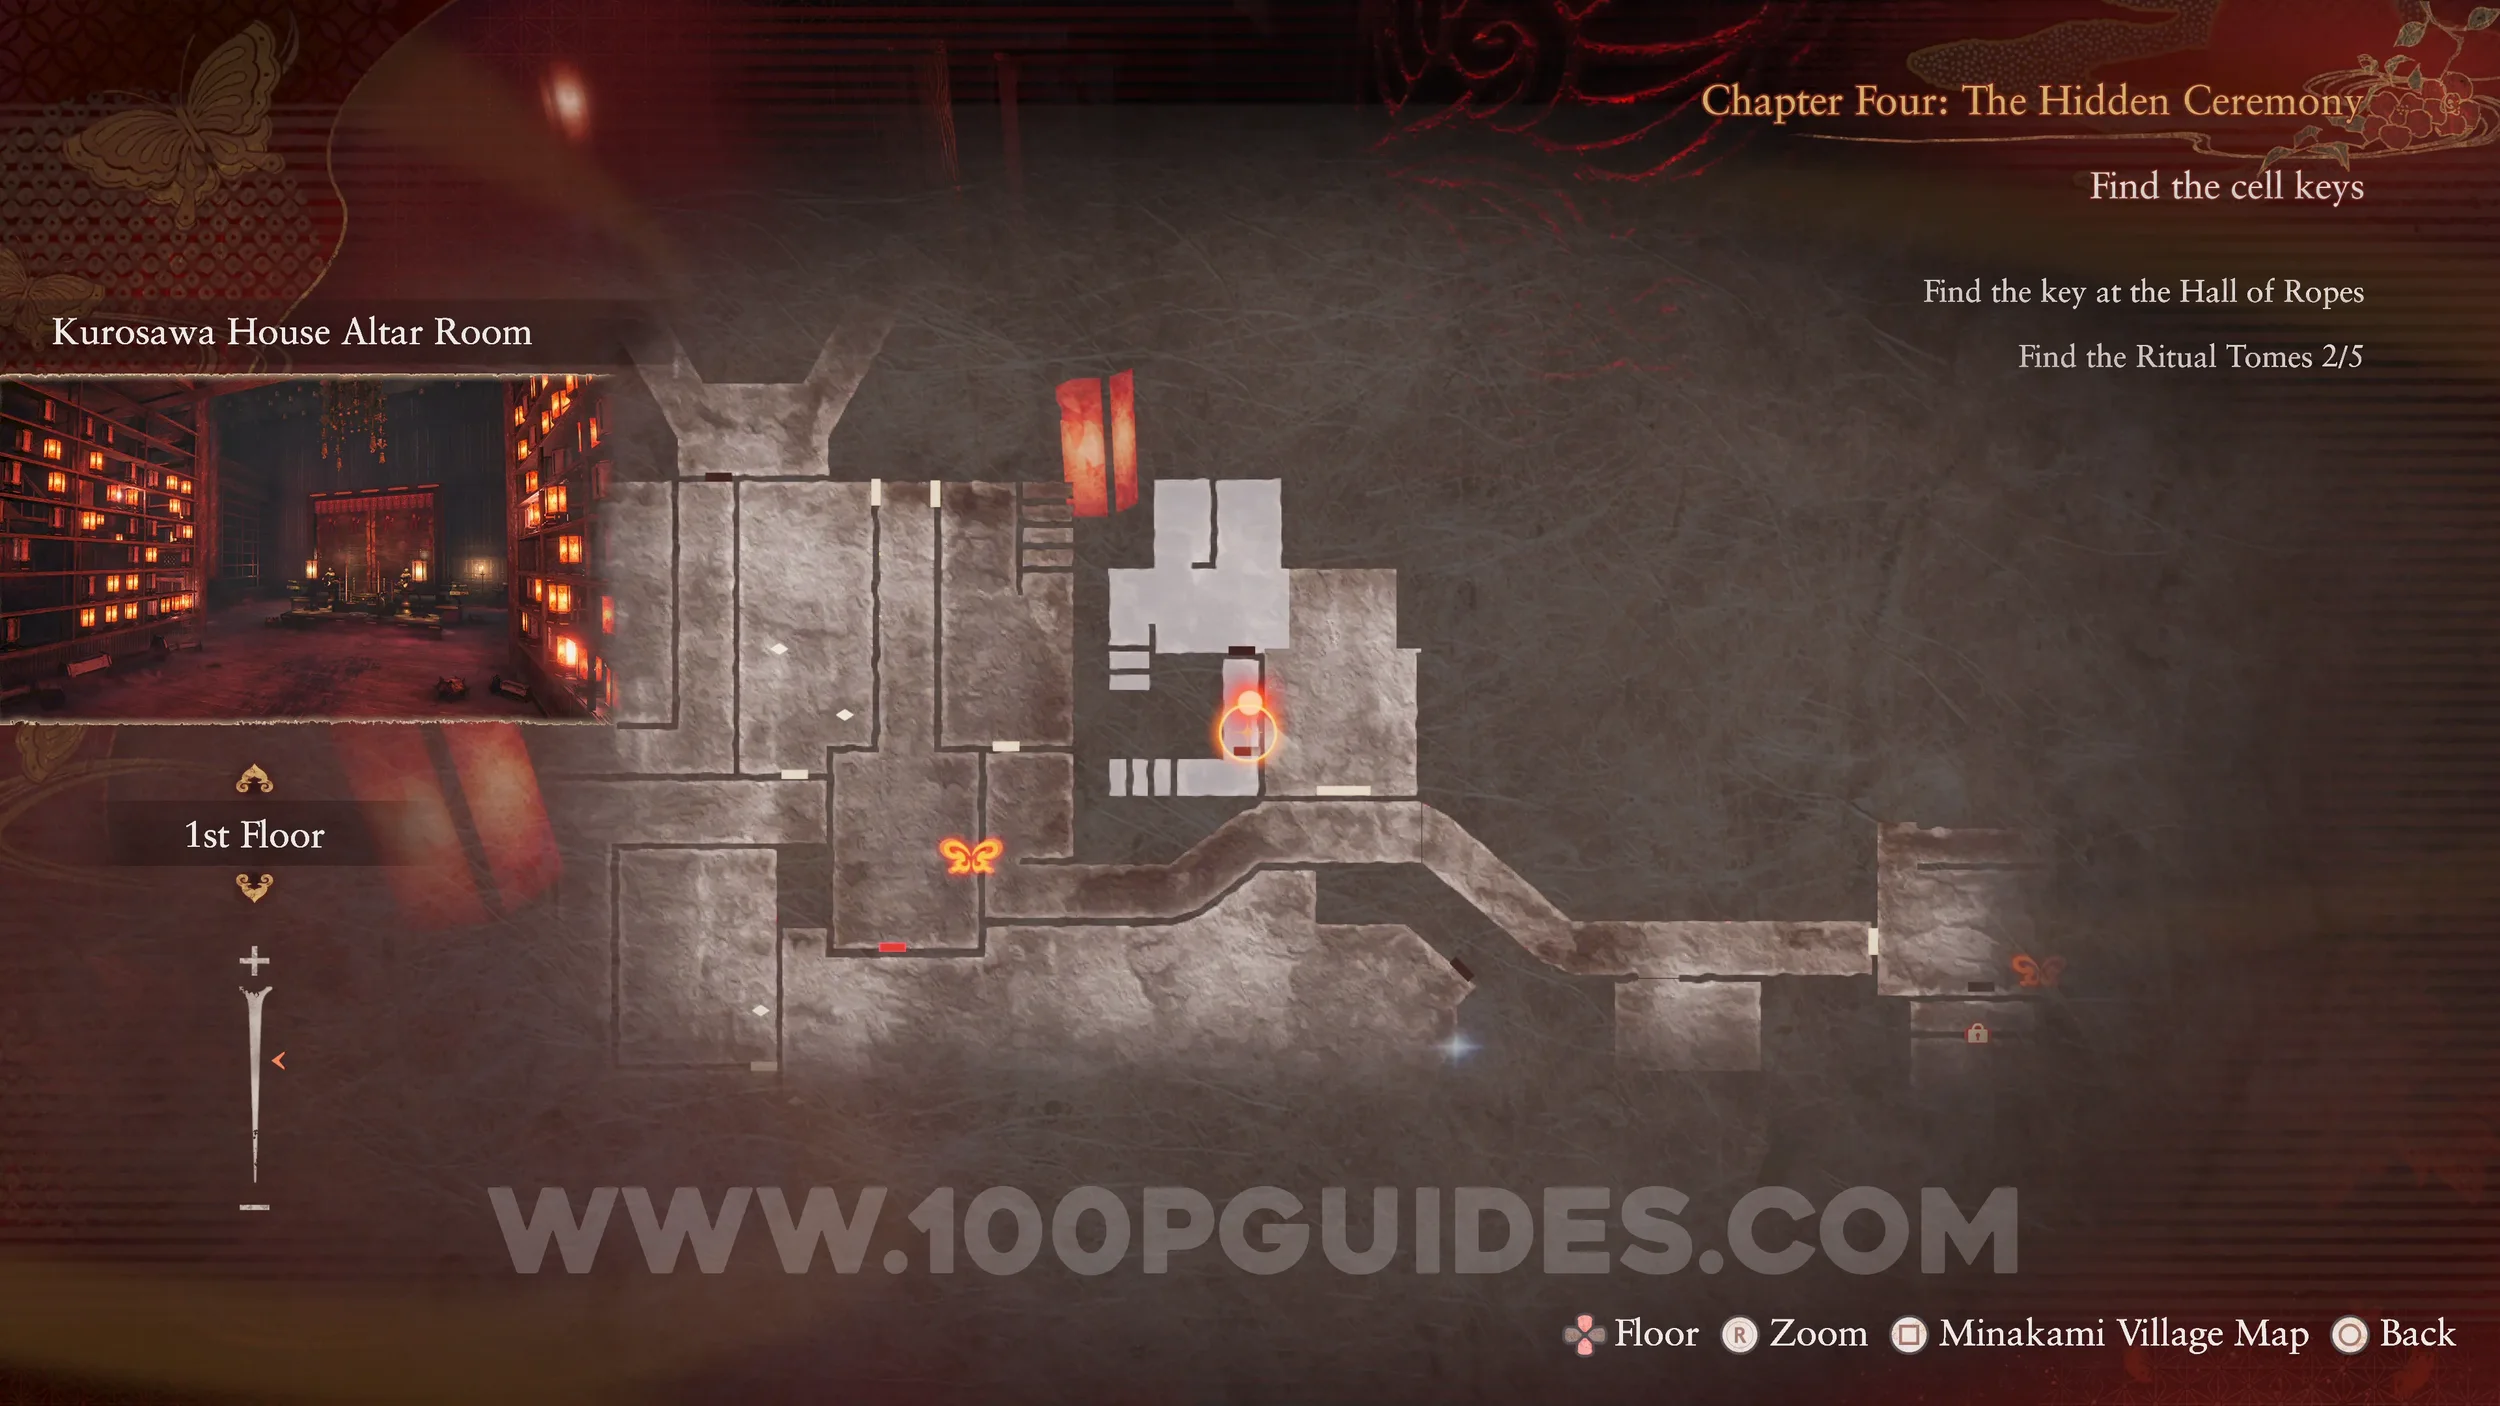
Prayer Beads #18. Go through the hole in the shelf in the northeast corner of the Altar Room.
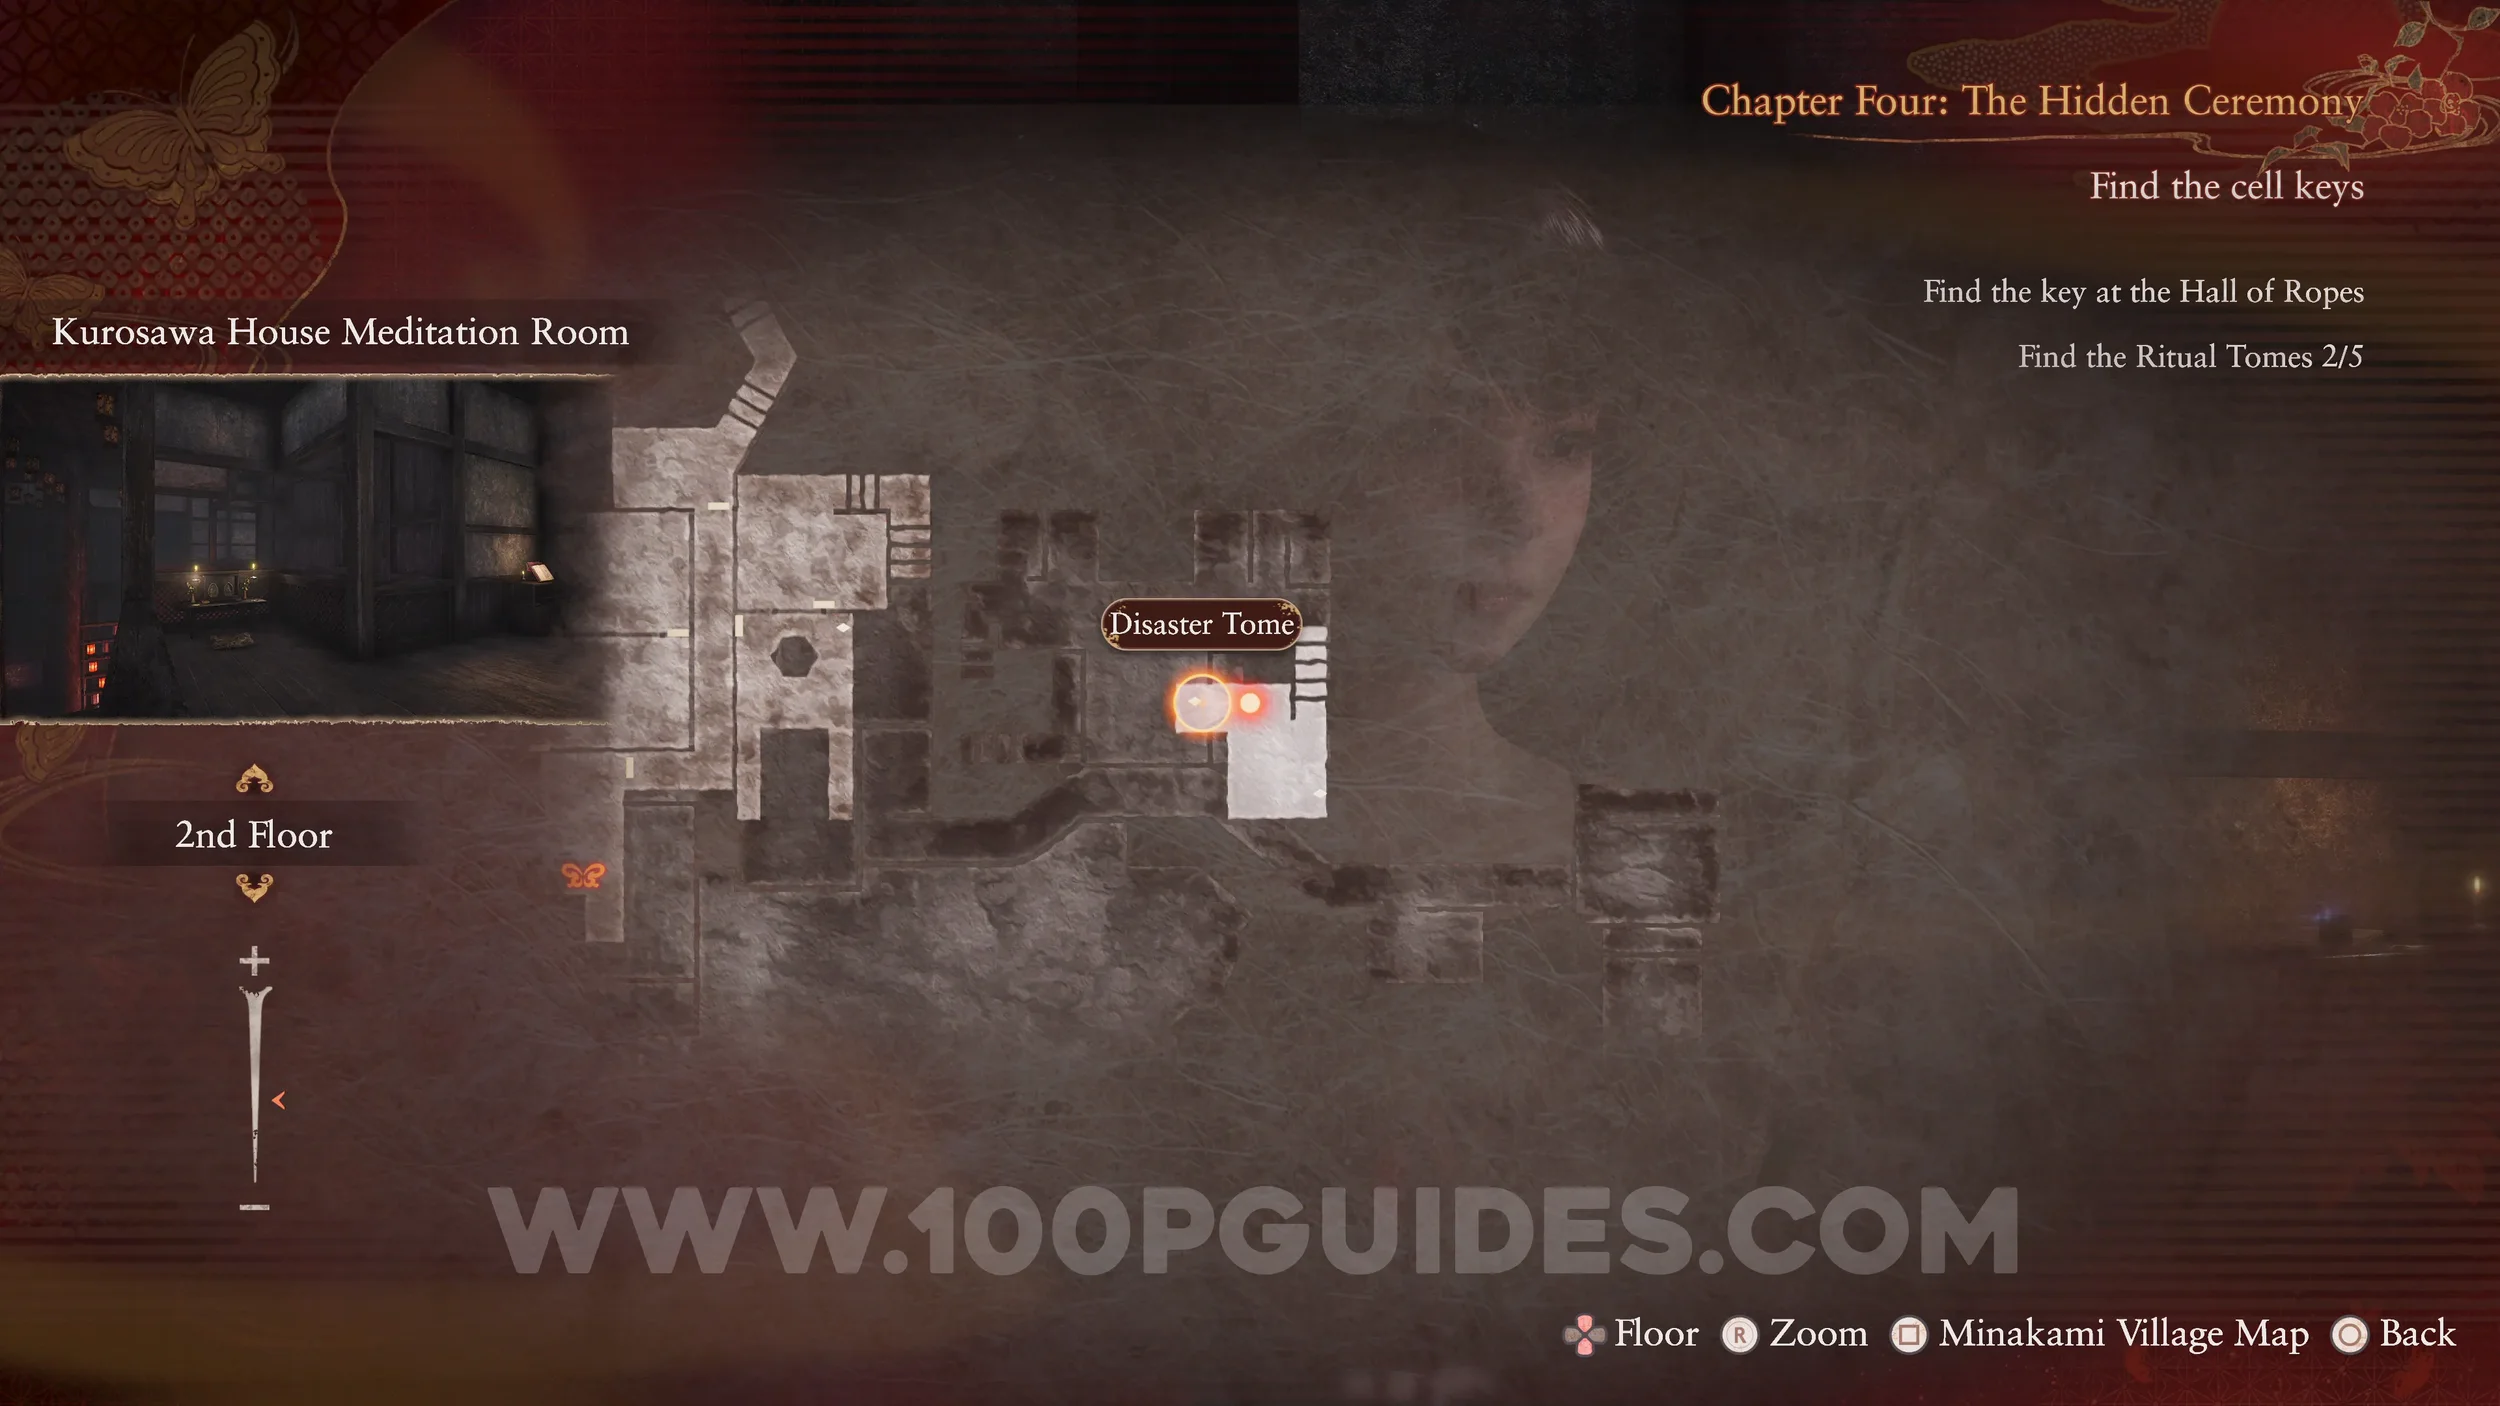
Document #40 - Disaster Tome. Go up the stairs on the right side of the Altar Room to find it under a small table. Mayu should stay on the switch and keep the door open on the other side of the room.
Twin Dolls #24 (9). Head up the stairs on the other side of the Altar Room and look toward Mayu. If you stay to the right side, you should be able to see both dolls on the wooden beams between you.
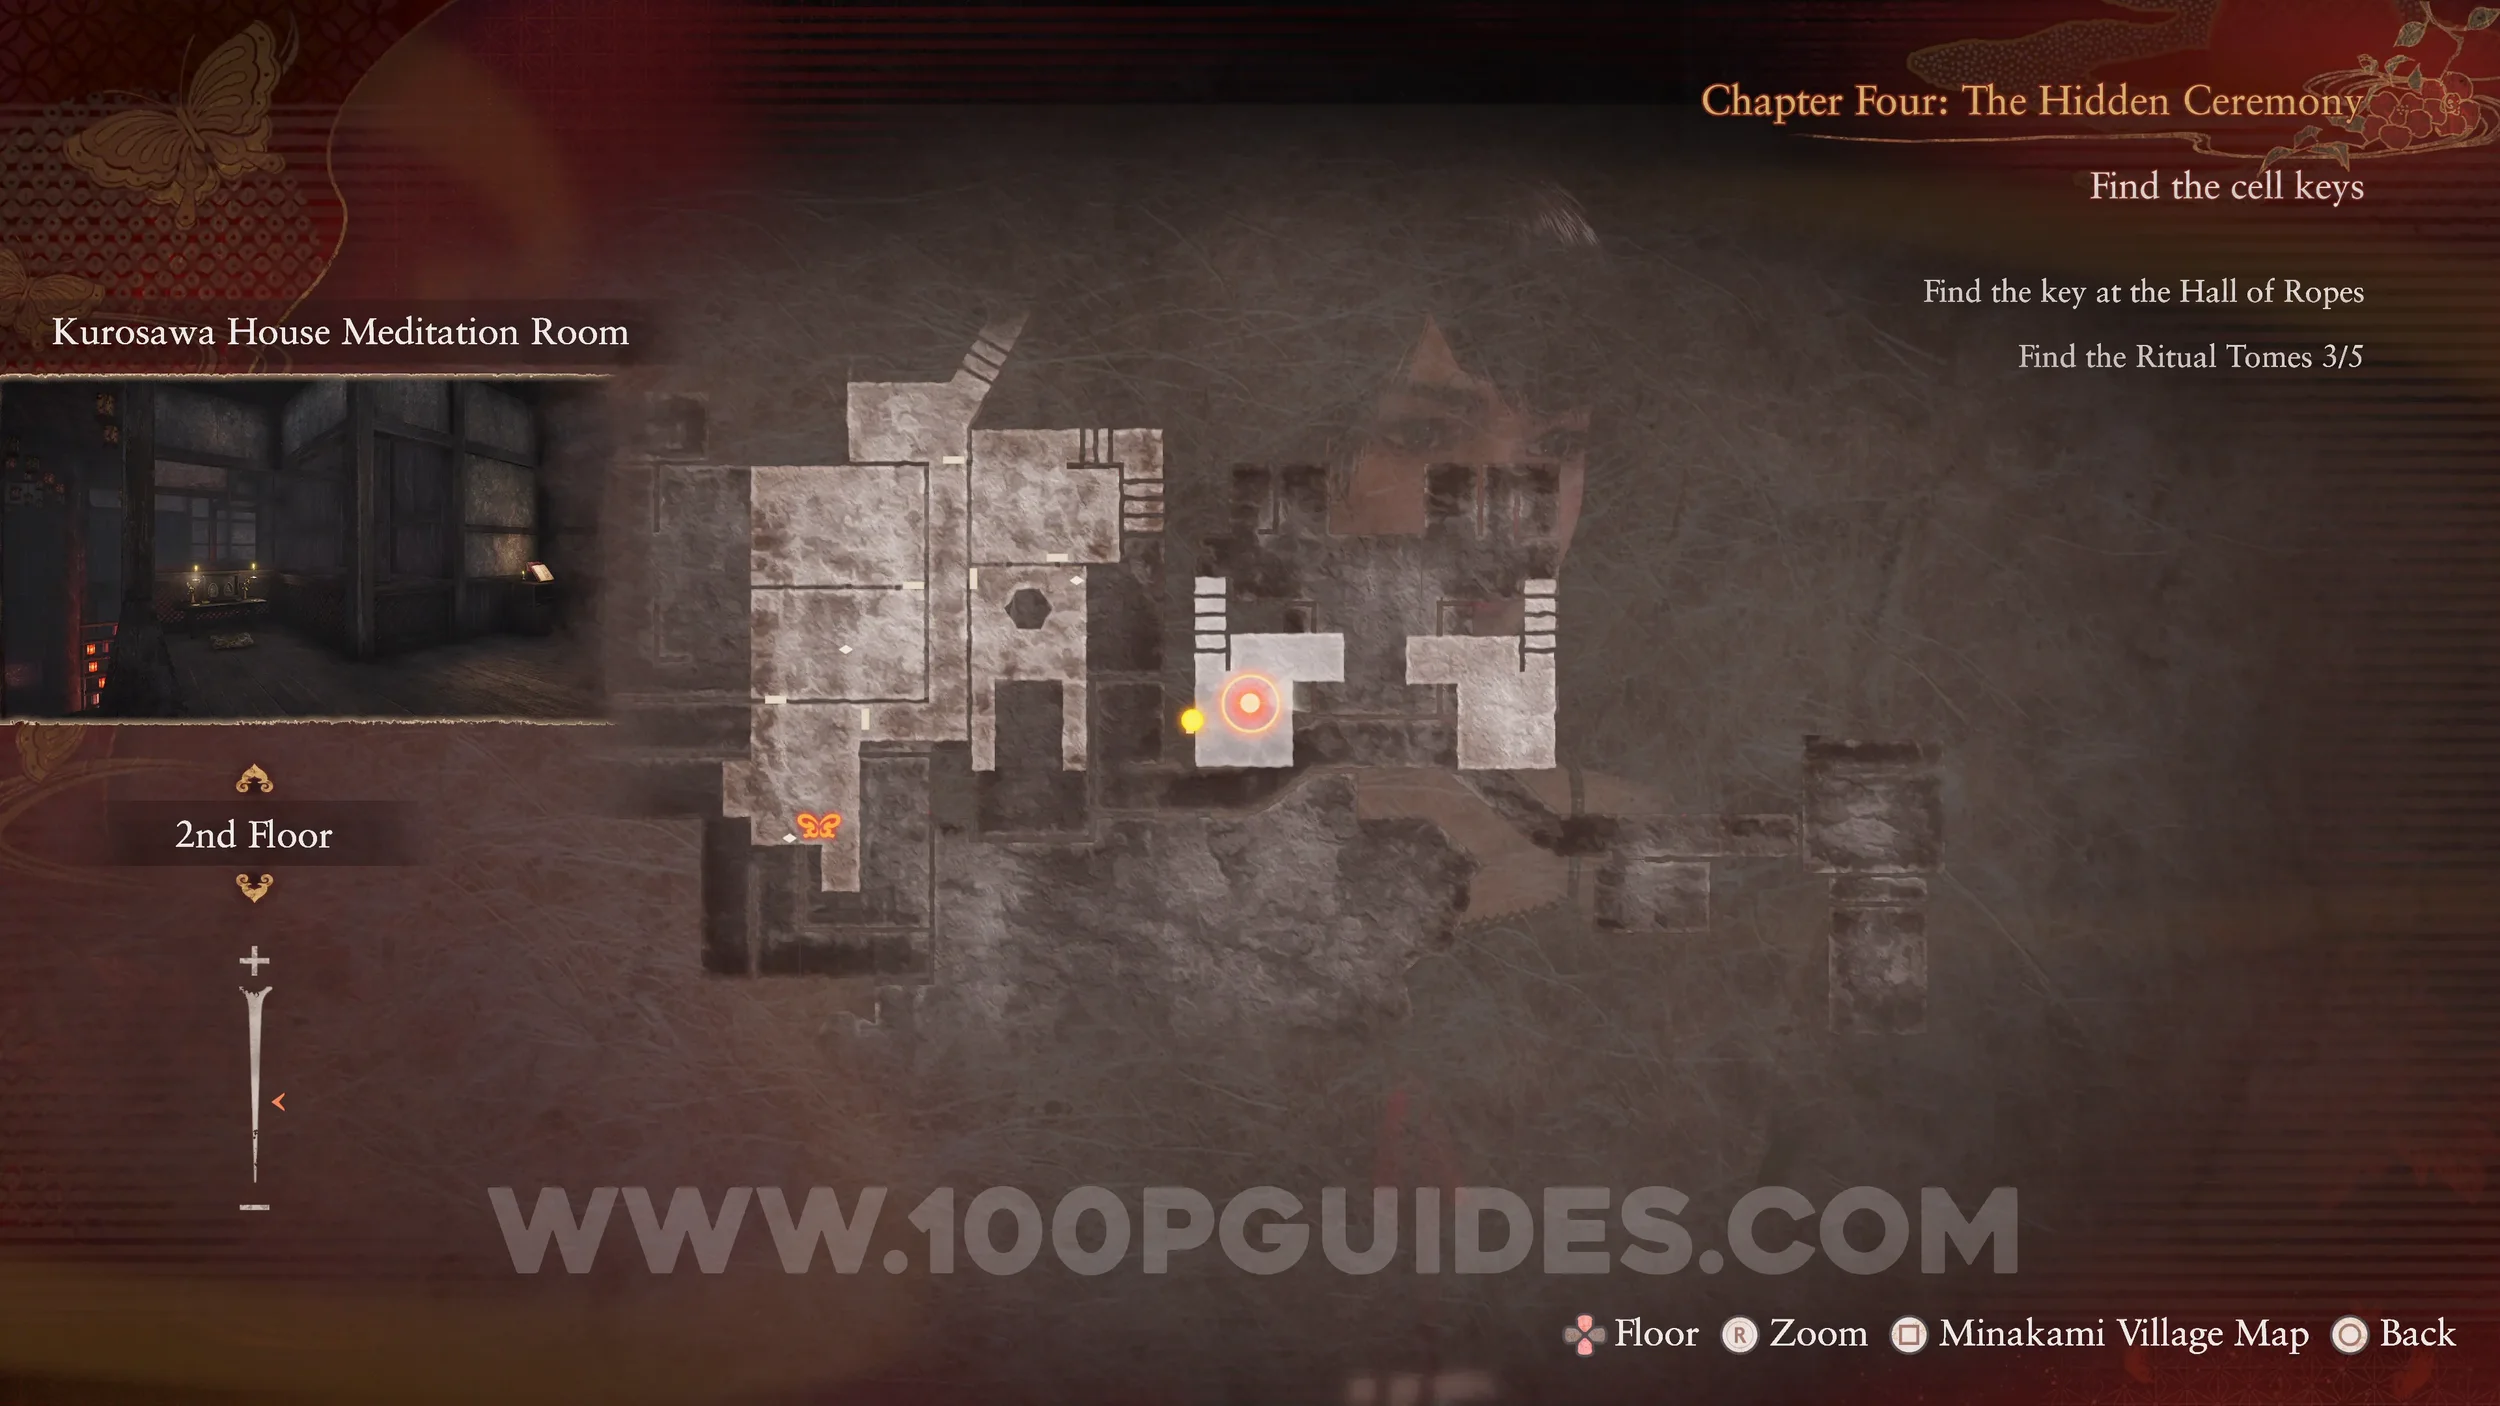
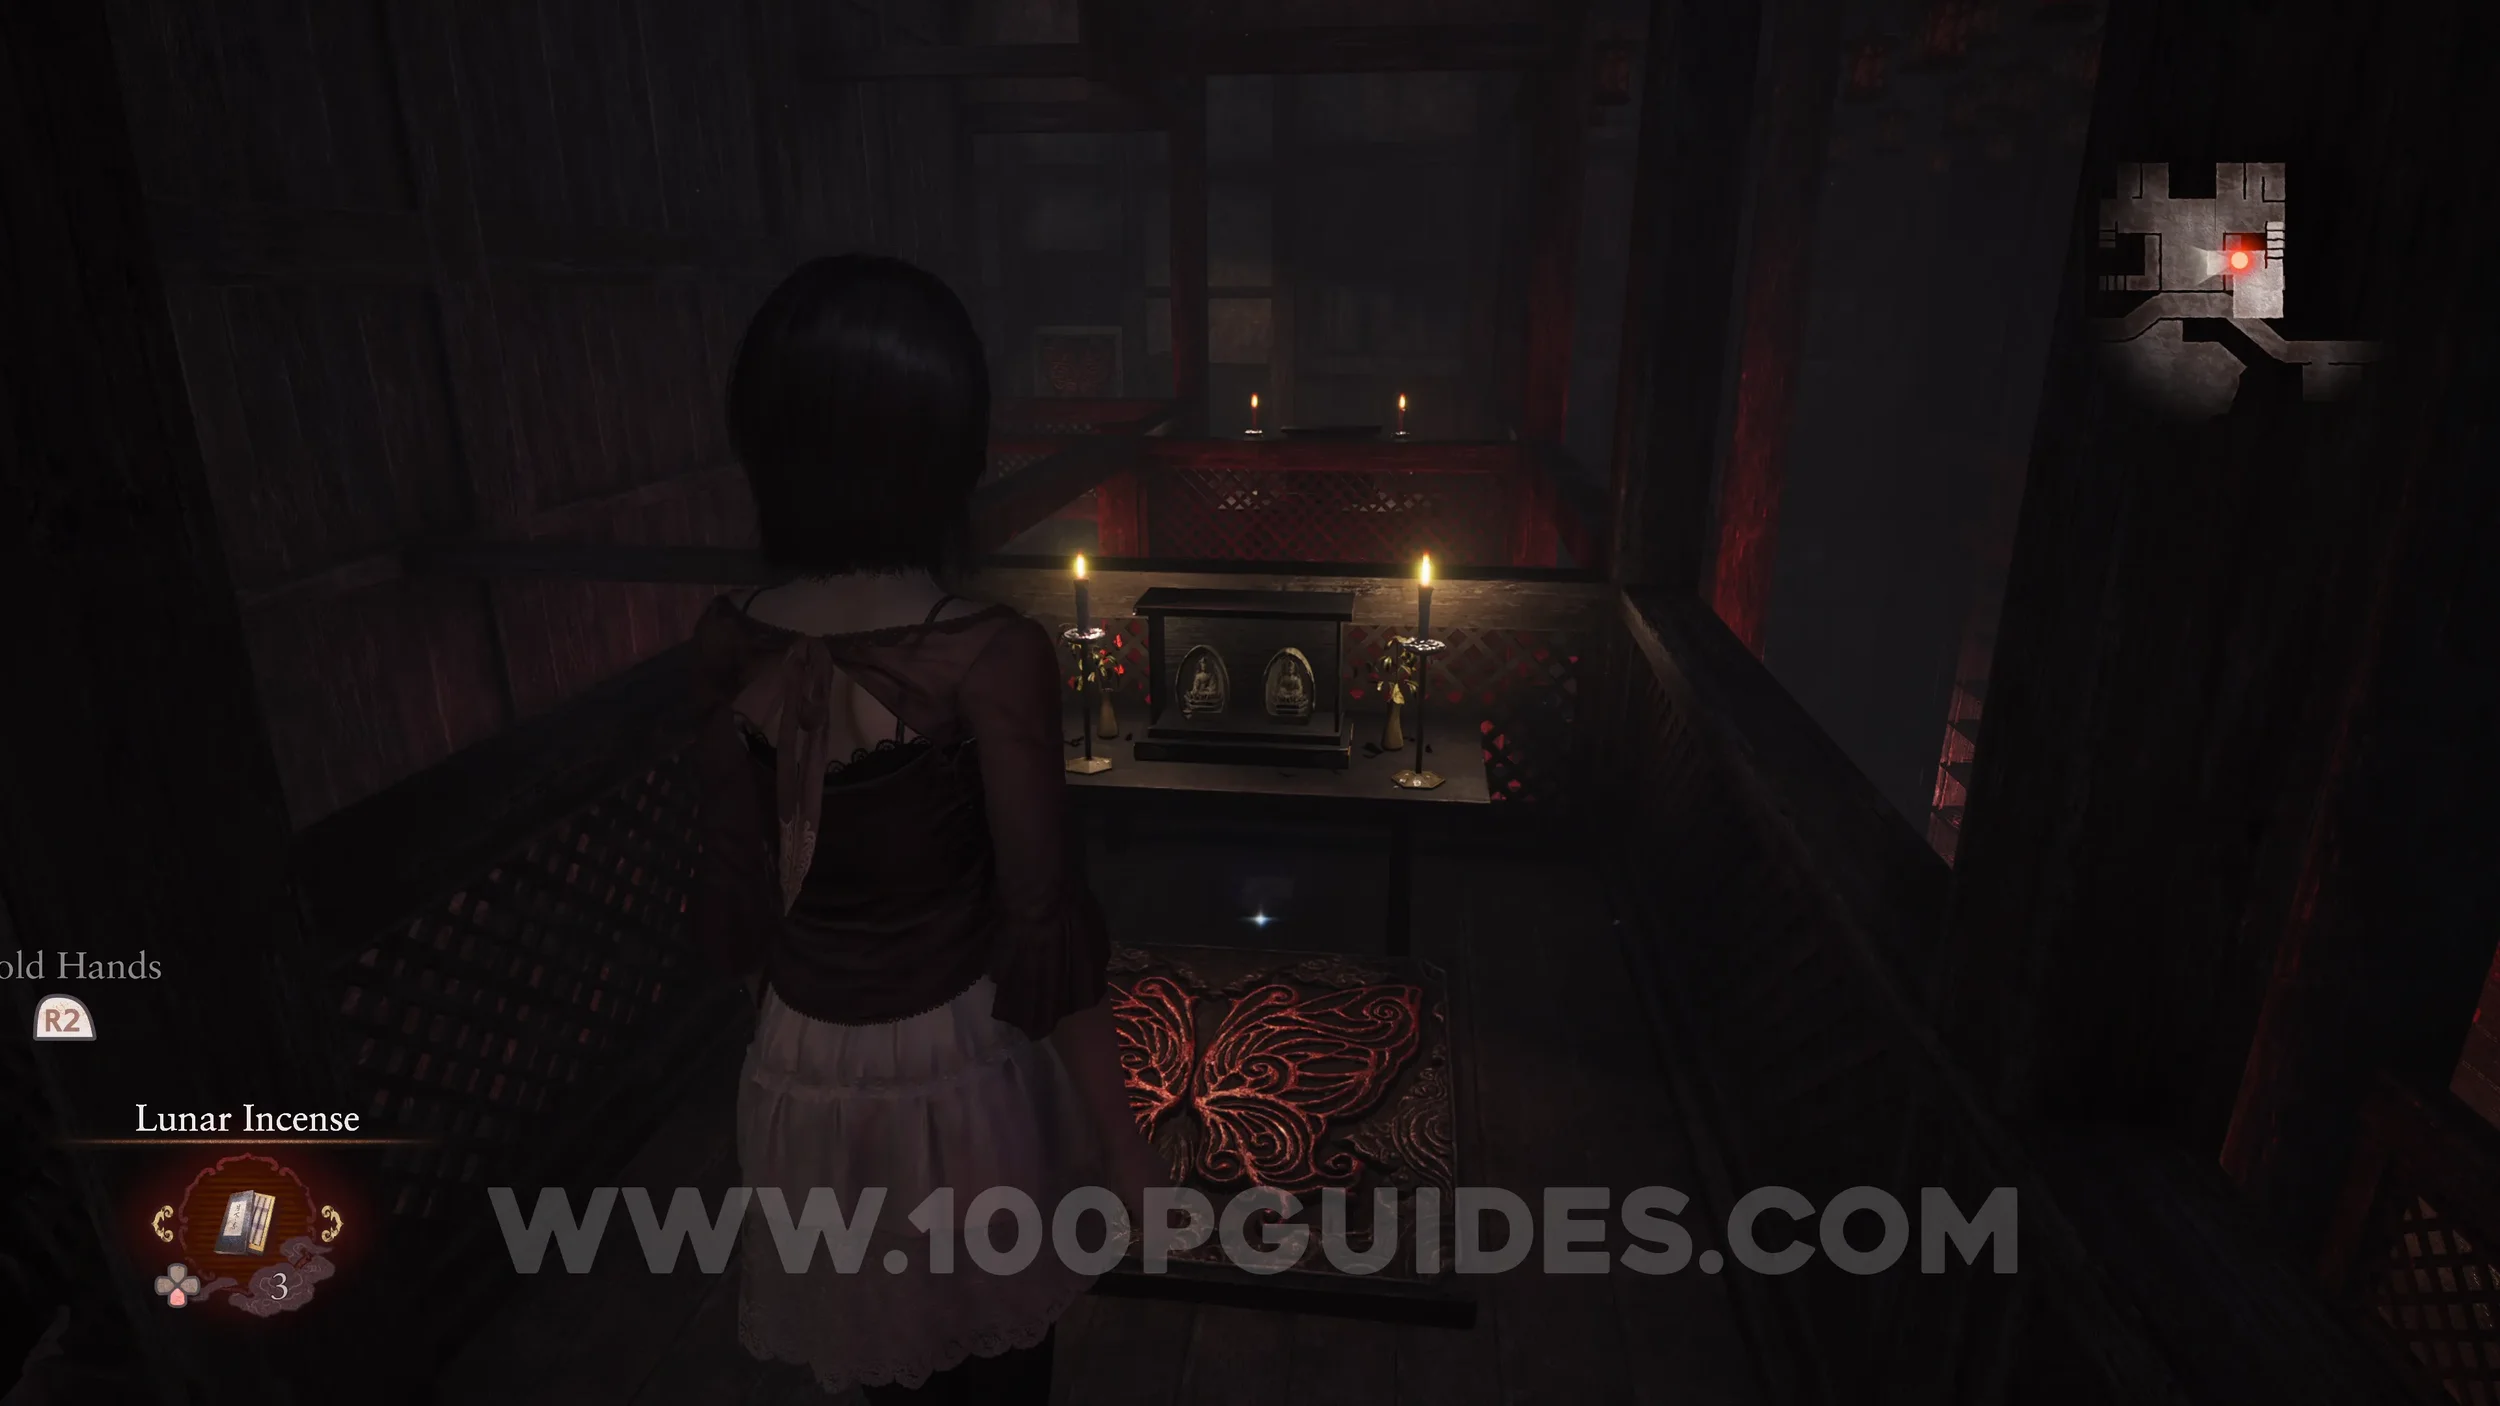
Document #41 - Twin Tome. Head through the door on the upper floor on the western side of the Altar Room (Mayu must be standing on the switch on the other side). Inside you will find the document.
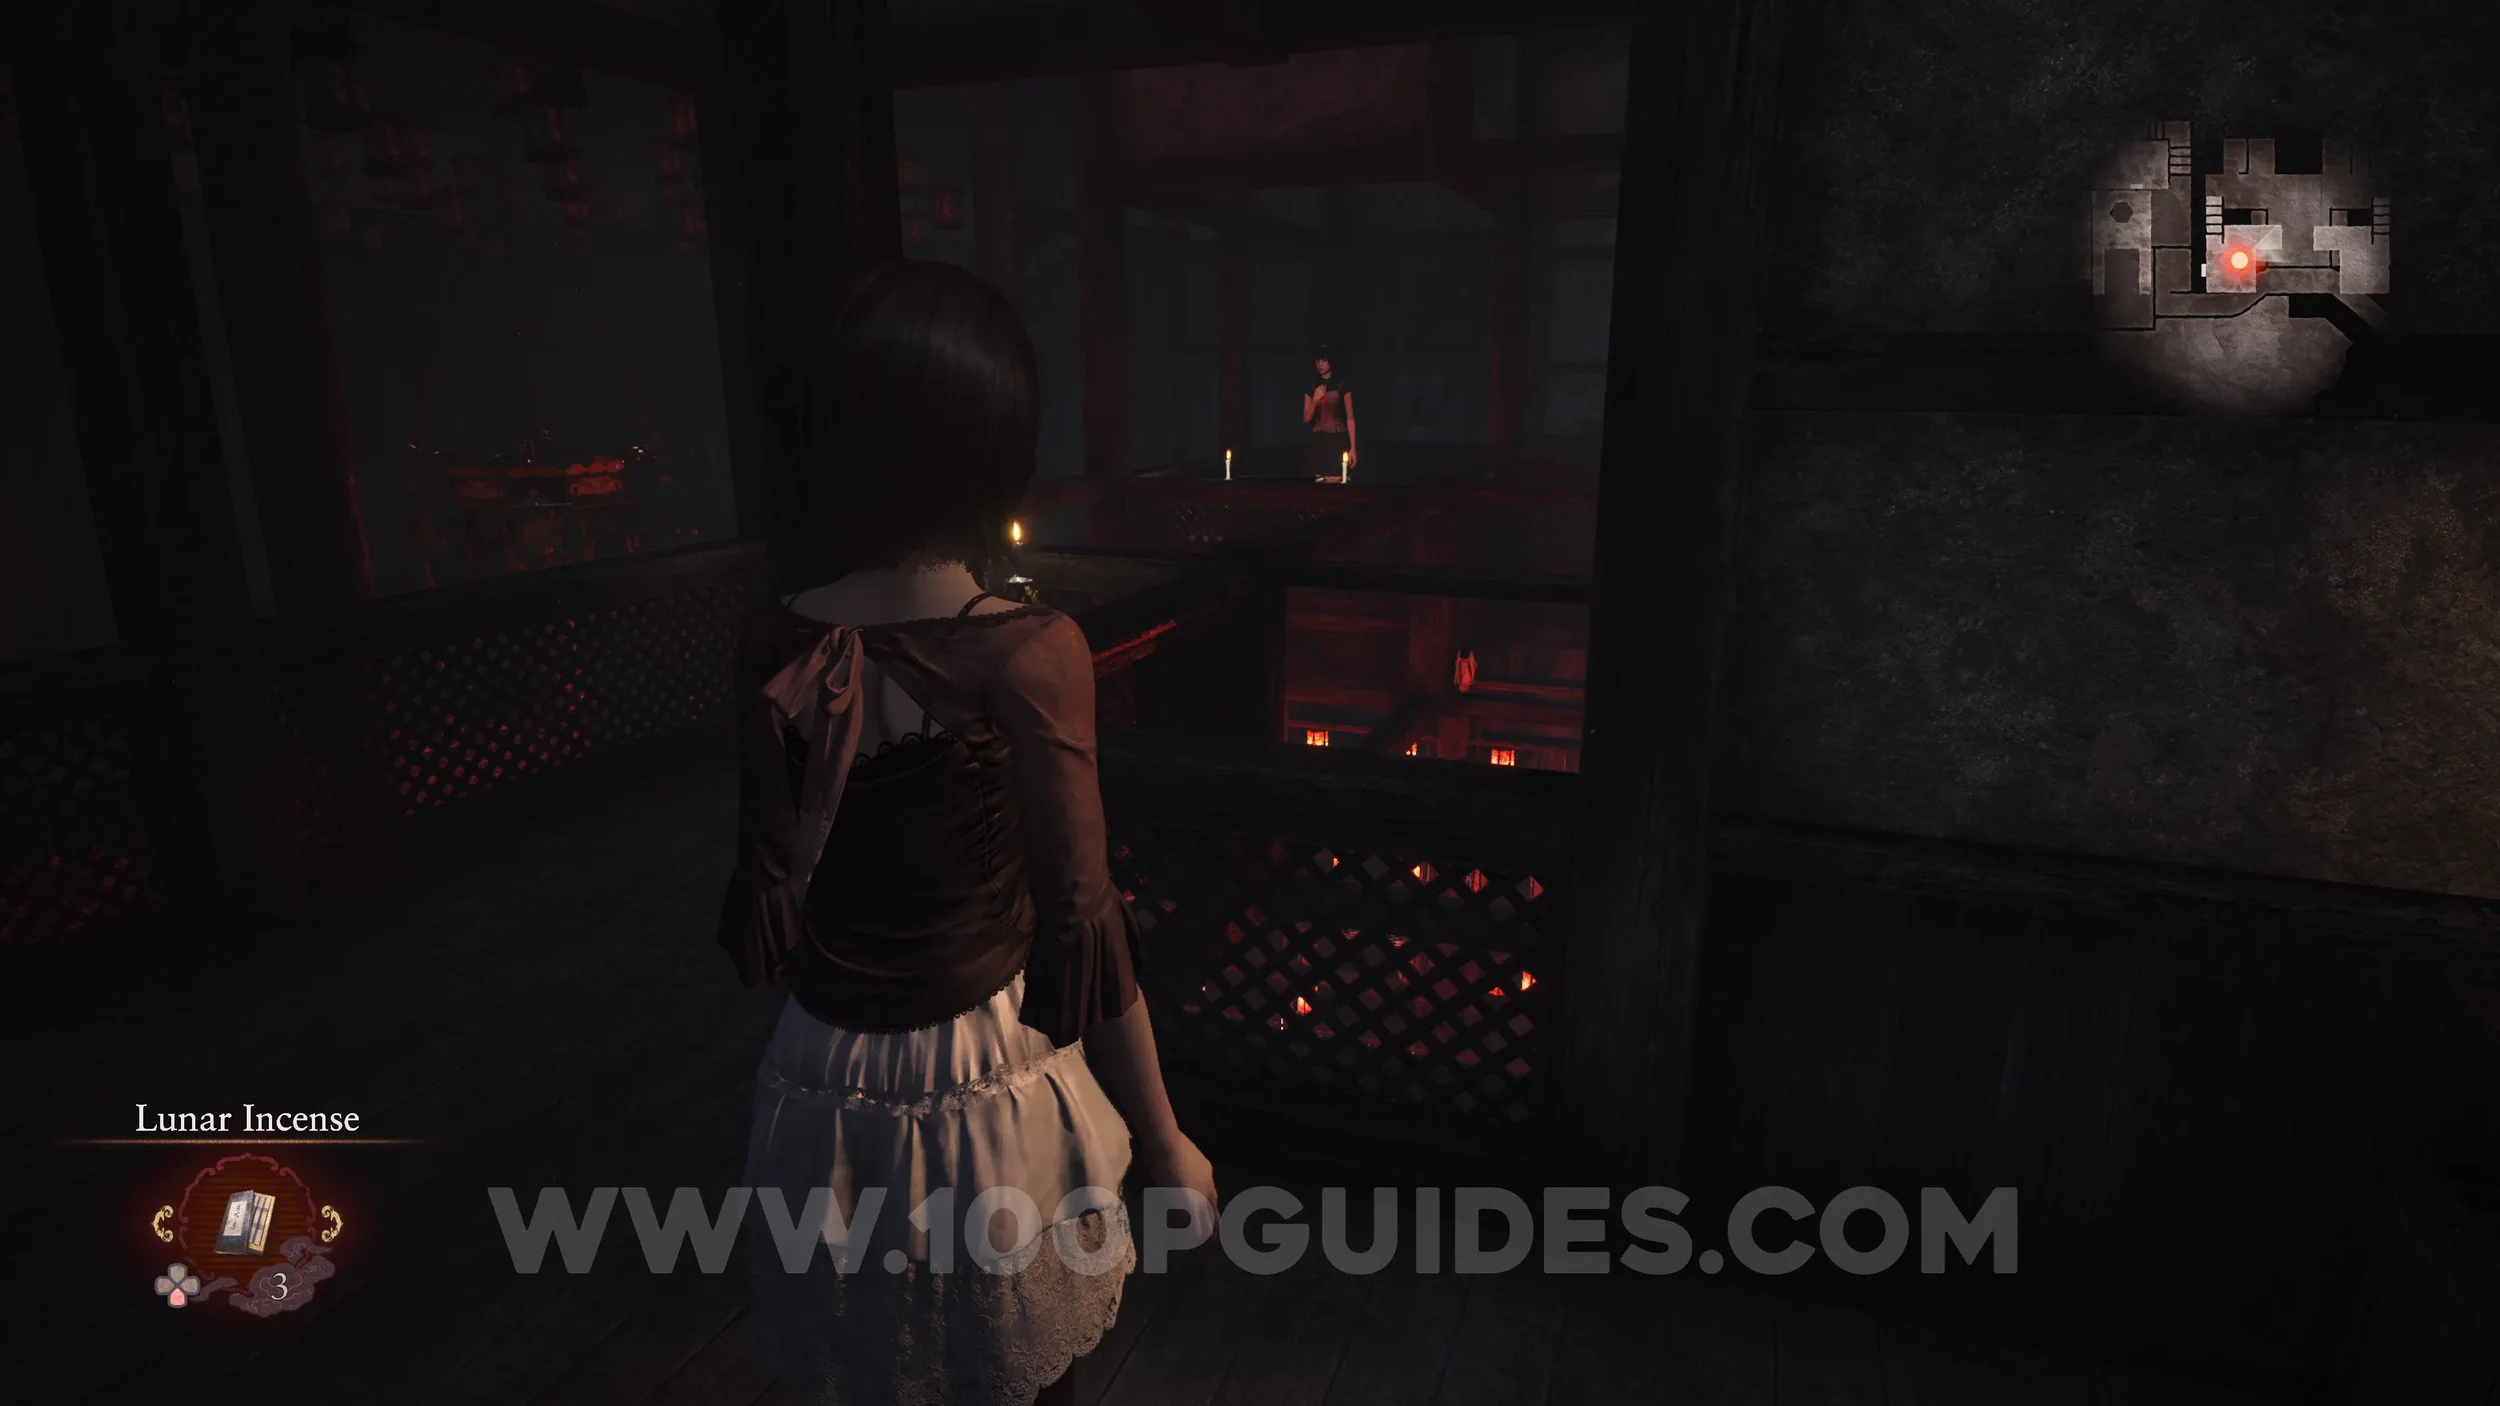
Specter #67 - 053 Man Conversing Privately, Specter #68 - 054 Priest Speaking and Specter #69 - 055 Pair Talking Secretively. After picking up the previous file, look to your left and take a photo of both specters at once.
Wraith #12 - 010 Veiled Priest. This wraith will be attacking Mayu after you leave the tunnel where the previous document was found.
Document #42 - Ritual Host’s Note 1. Go through the hole in the shelf on the left side of the Altar Room.
Specter #70 - 056 Mayu Heading Underground. In the same room, look for an item that requires you to crouch to reach. As you approach it, you will trigger a switch that shuts the door. As soon as this happens, look left and take a photo of Mayu.
Document #43. Butterfly Diary 3. In front of you after the switch.
Specter #71 - 057 Mayu Proceeding Through Corridor. Go through the tunnel until you emerge into a courtyard. Look toward the path on the other side and take a photo of Mayu.
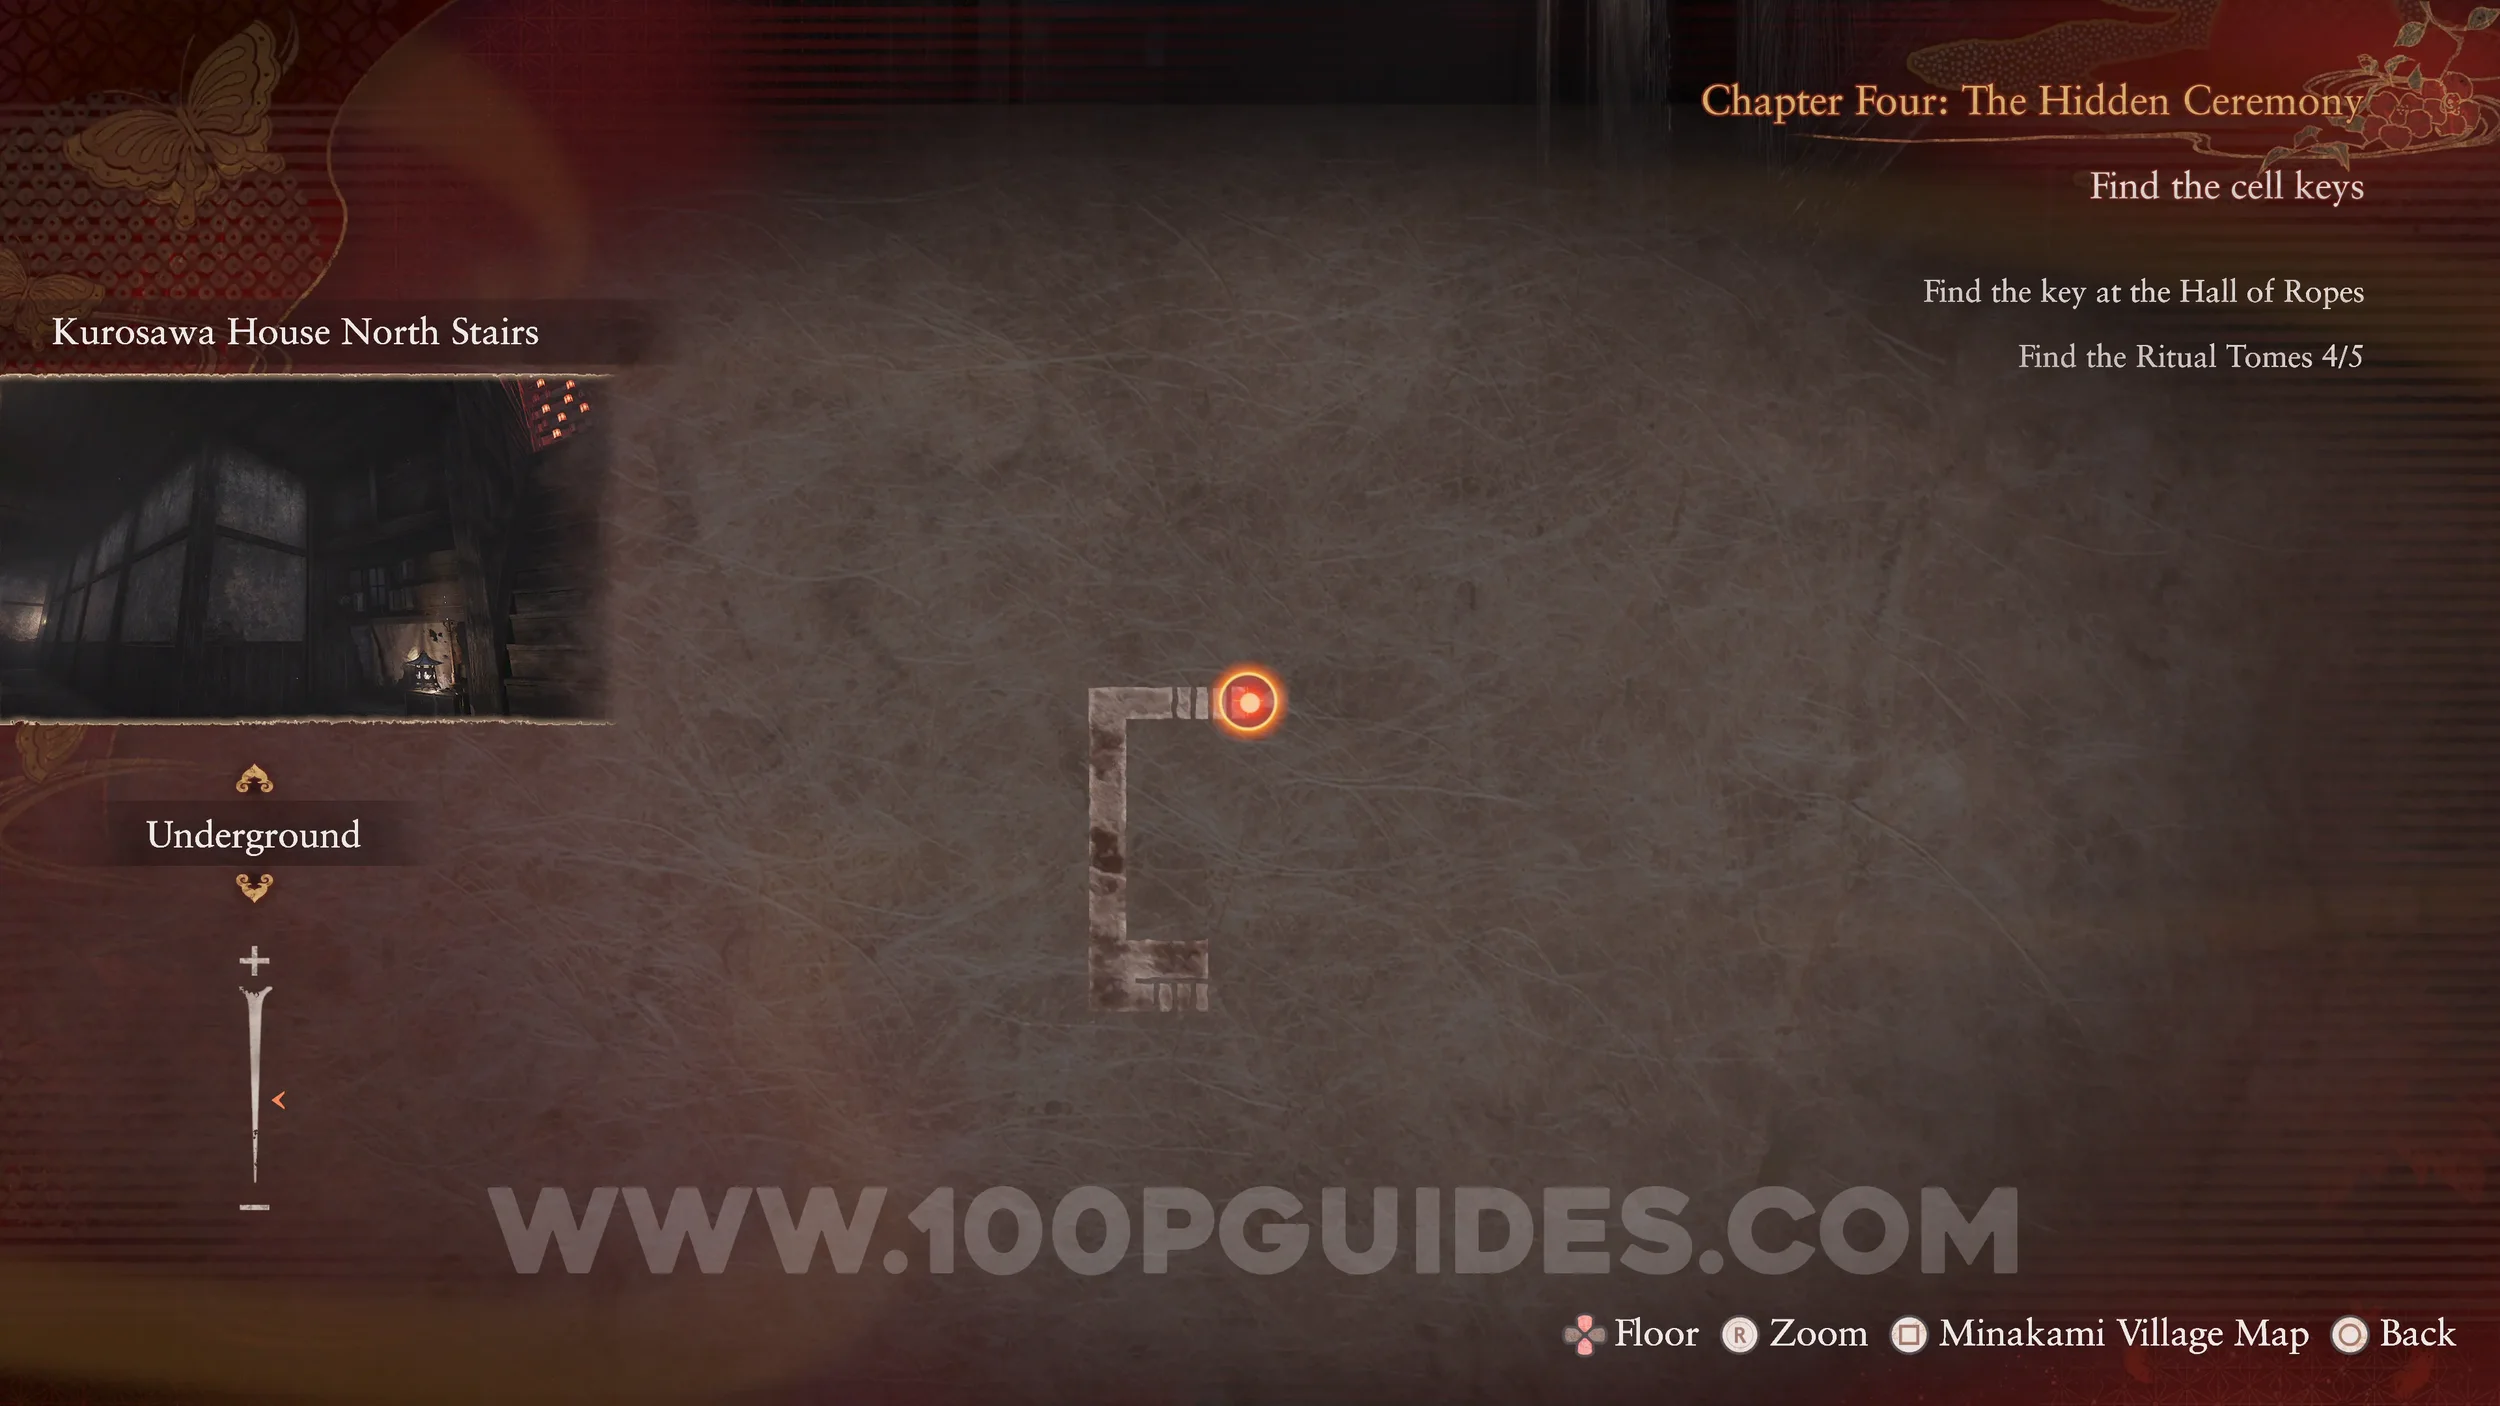
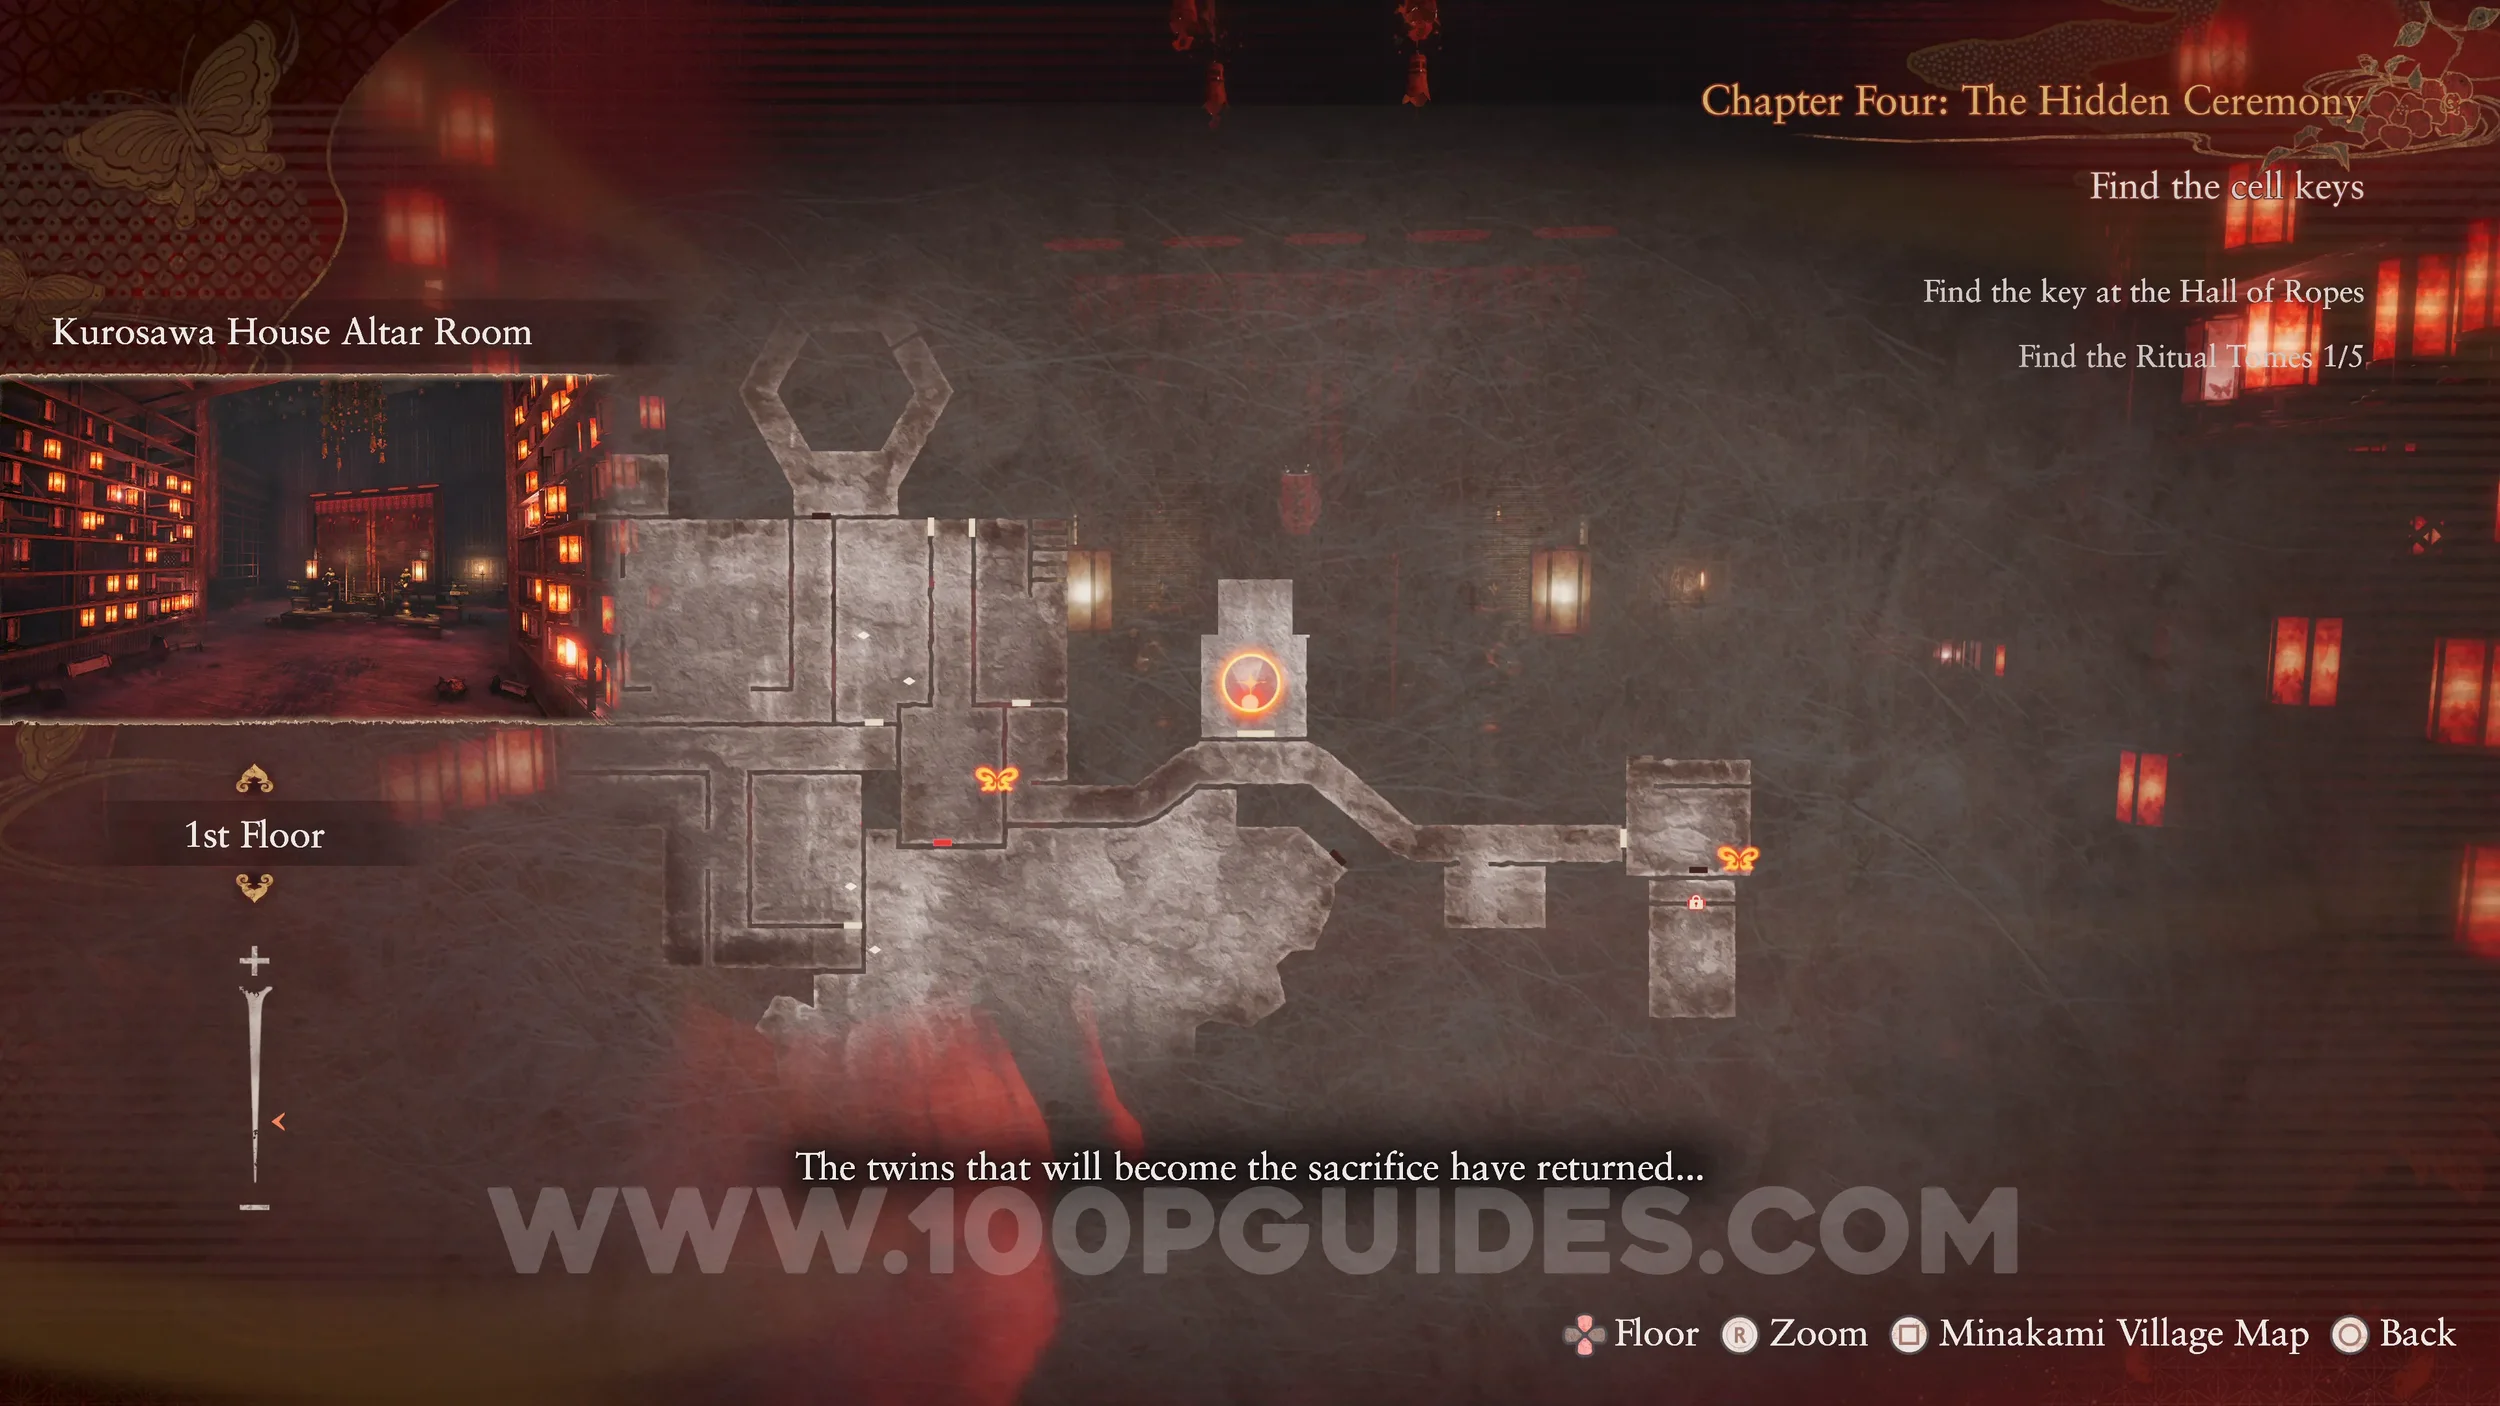
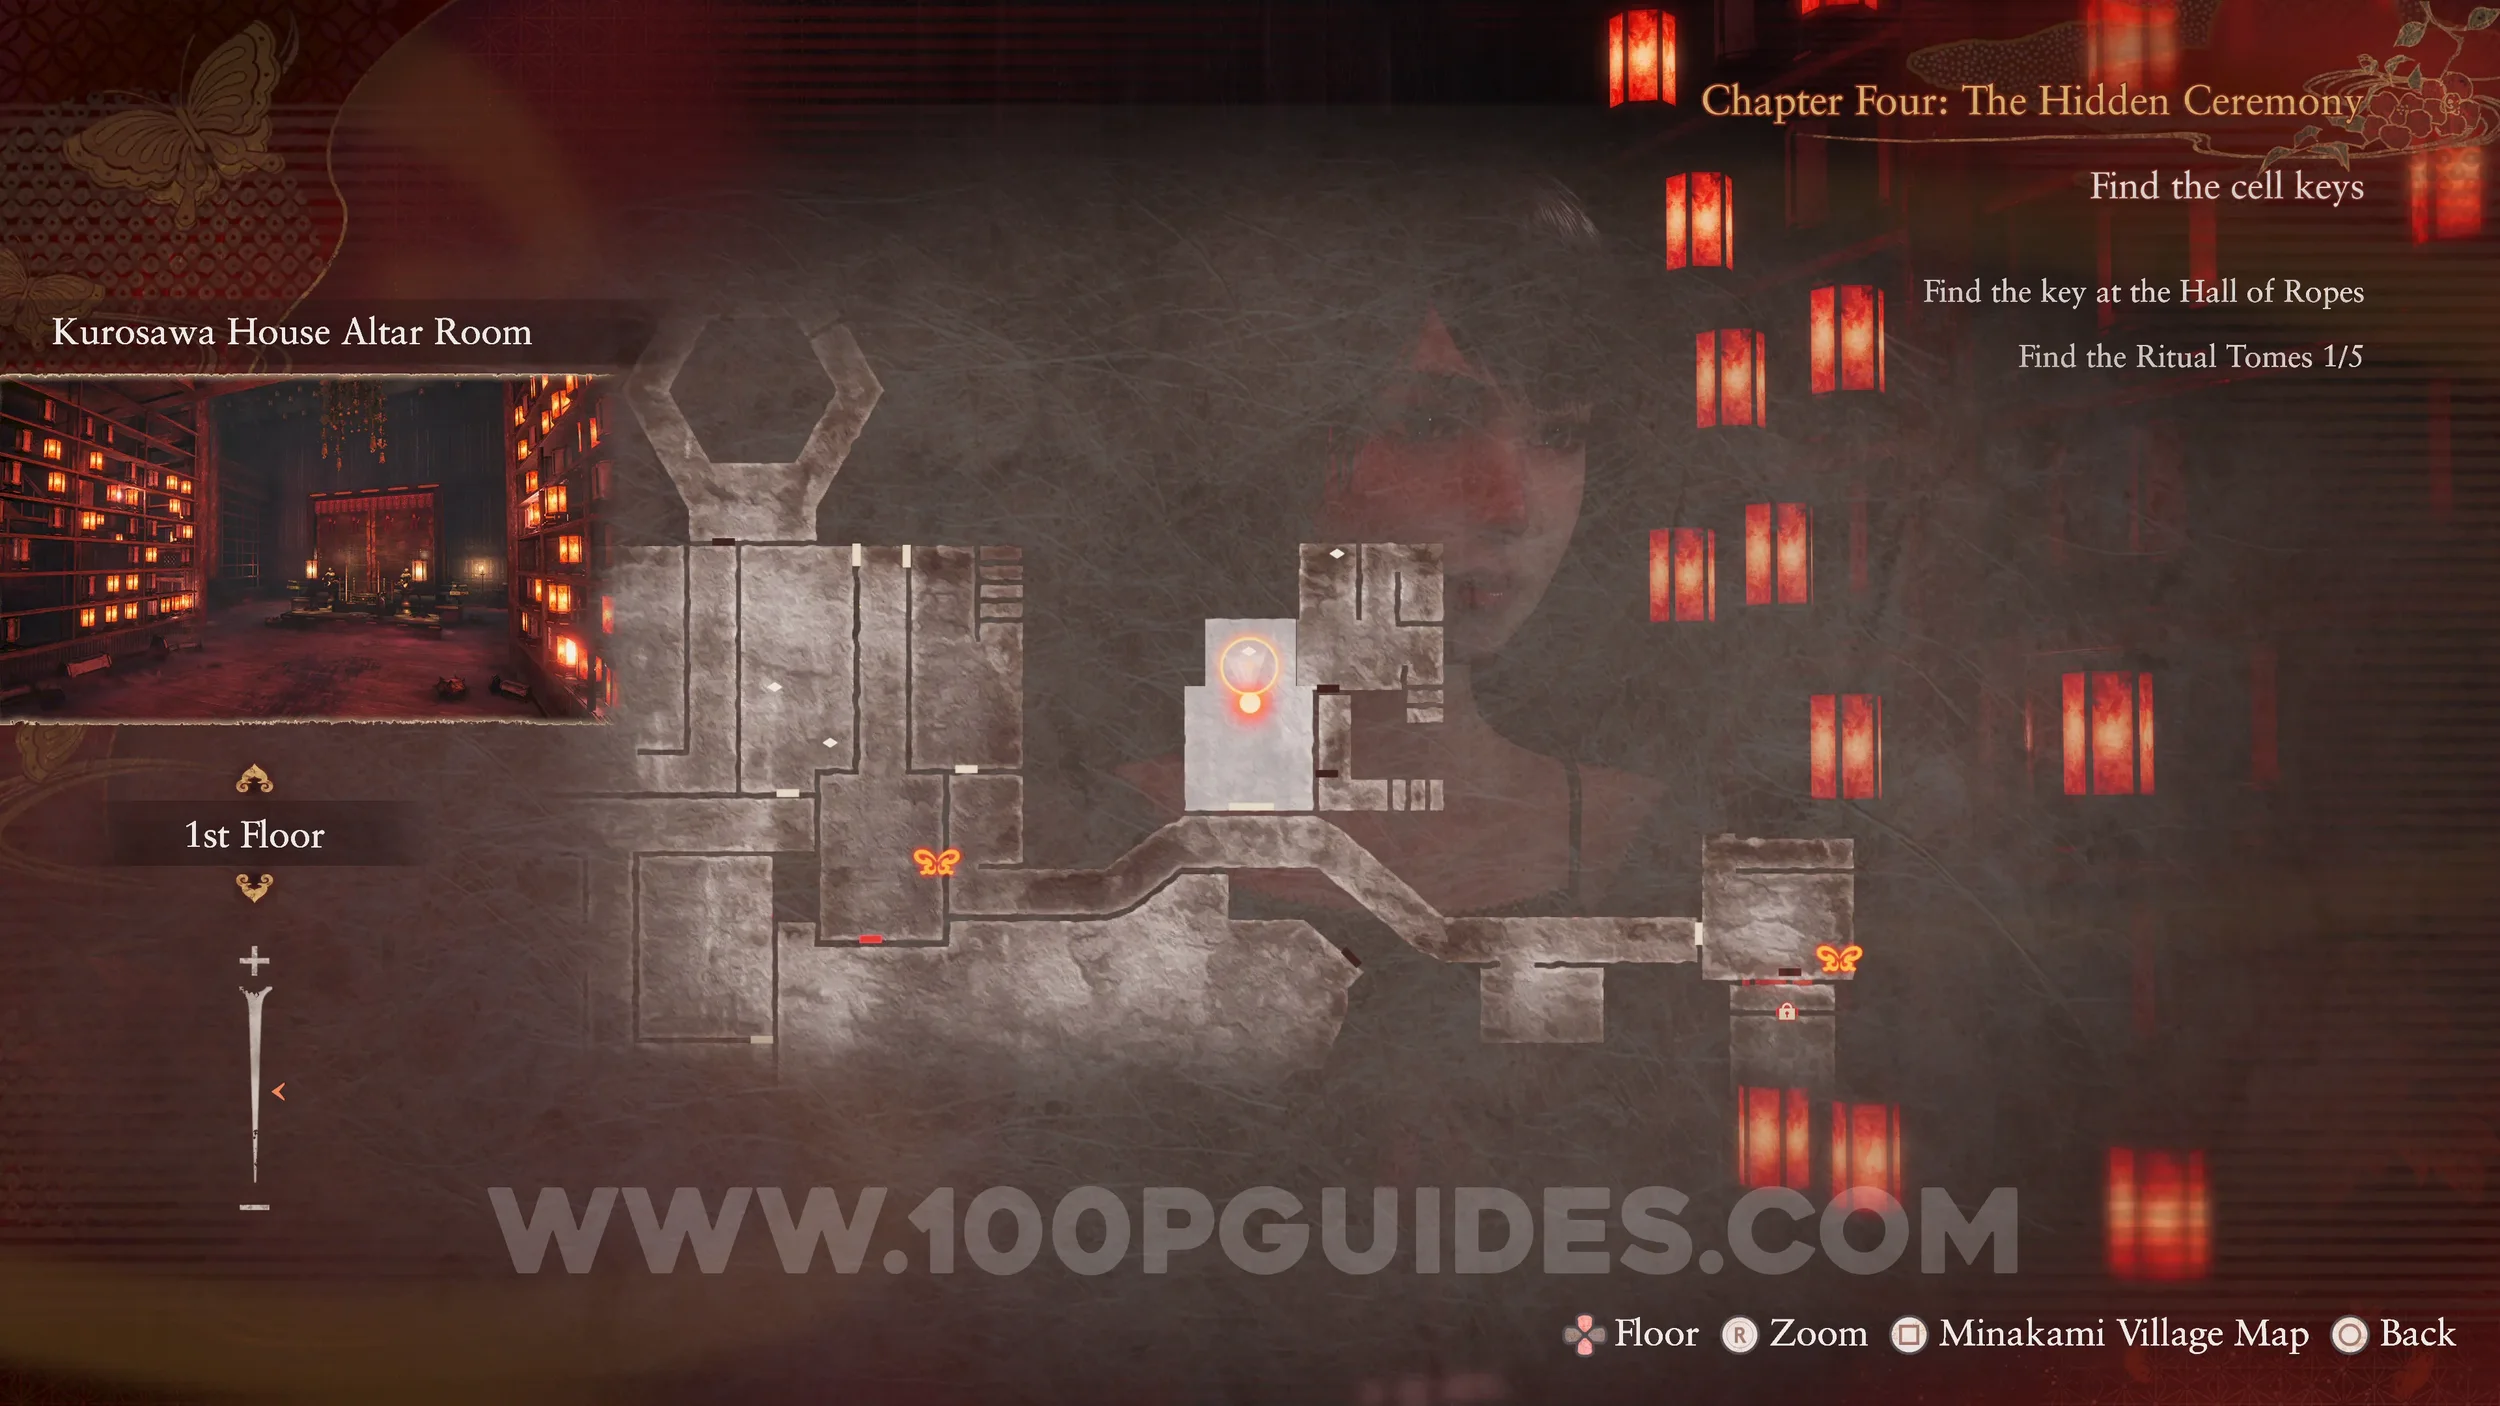
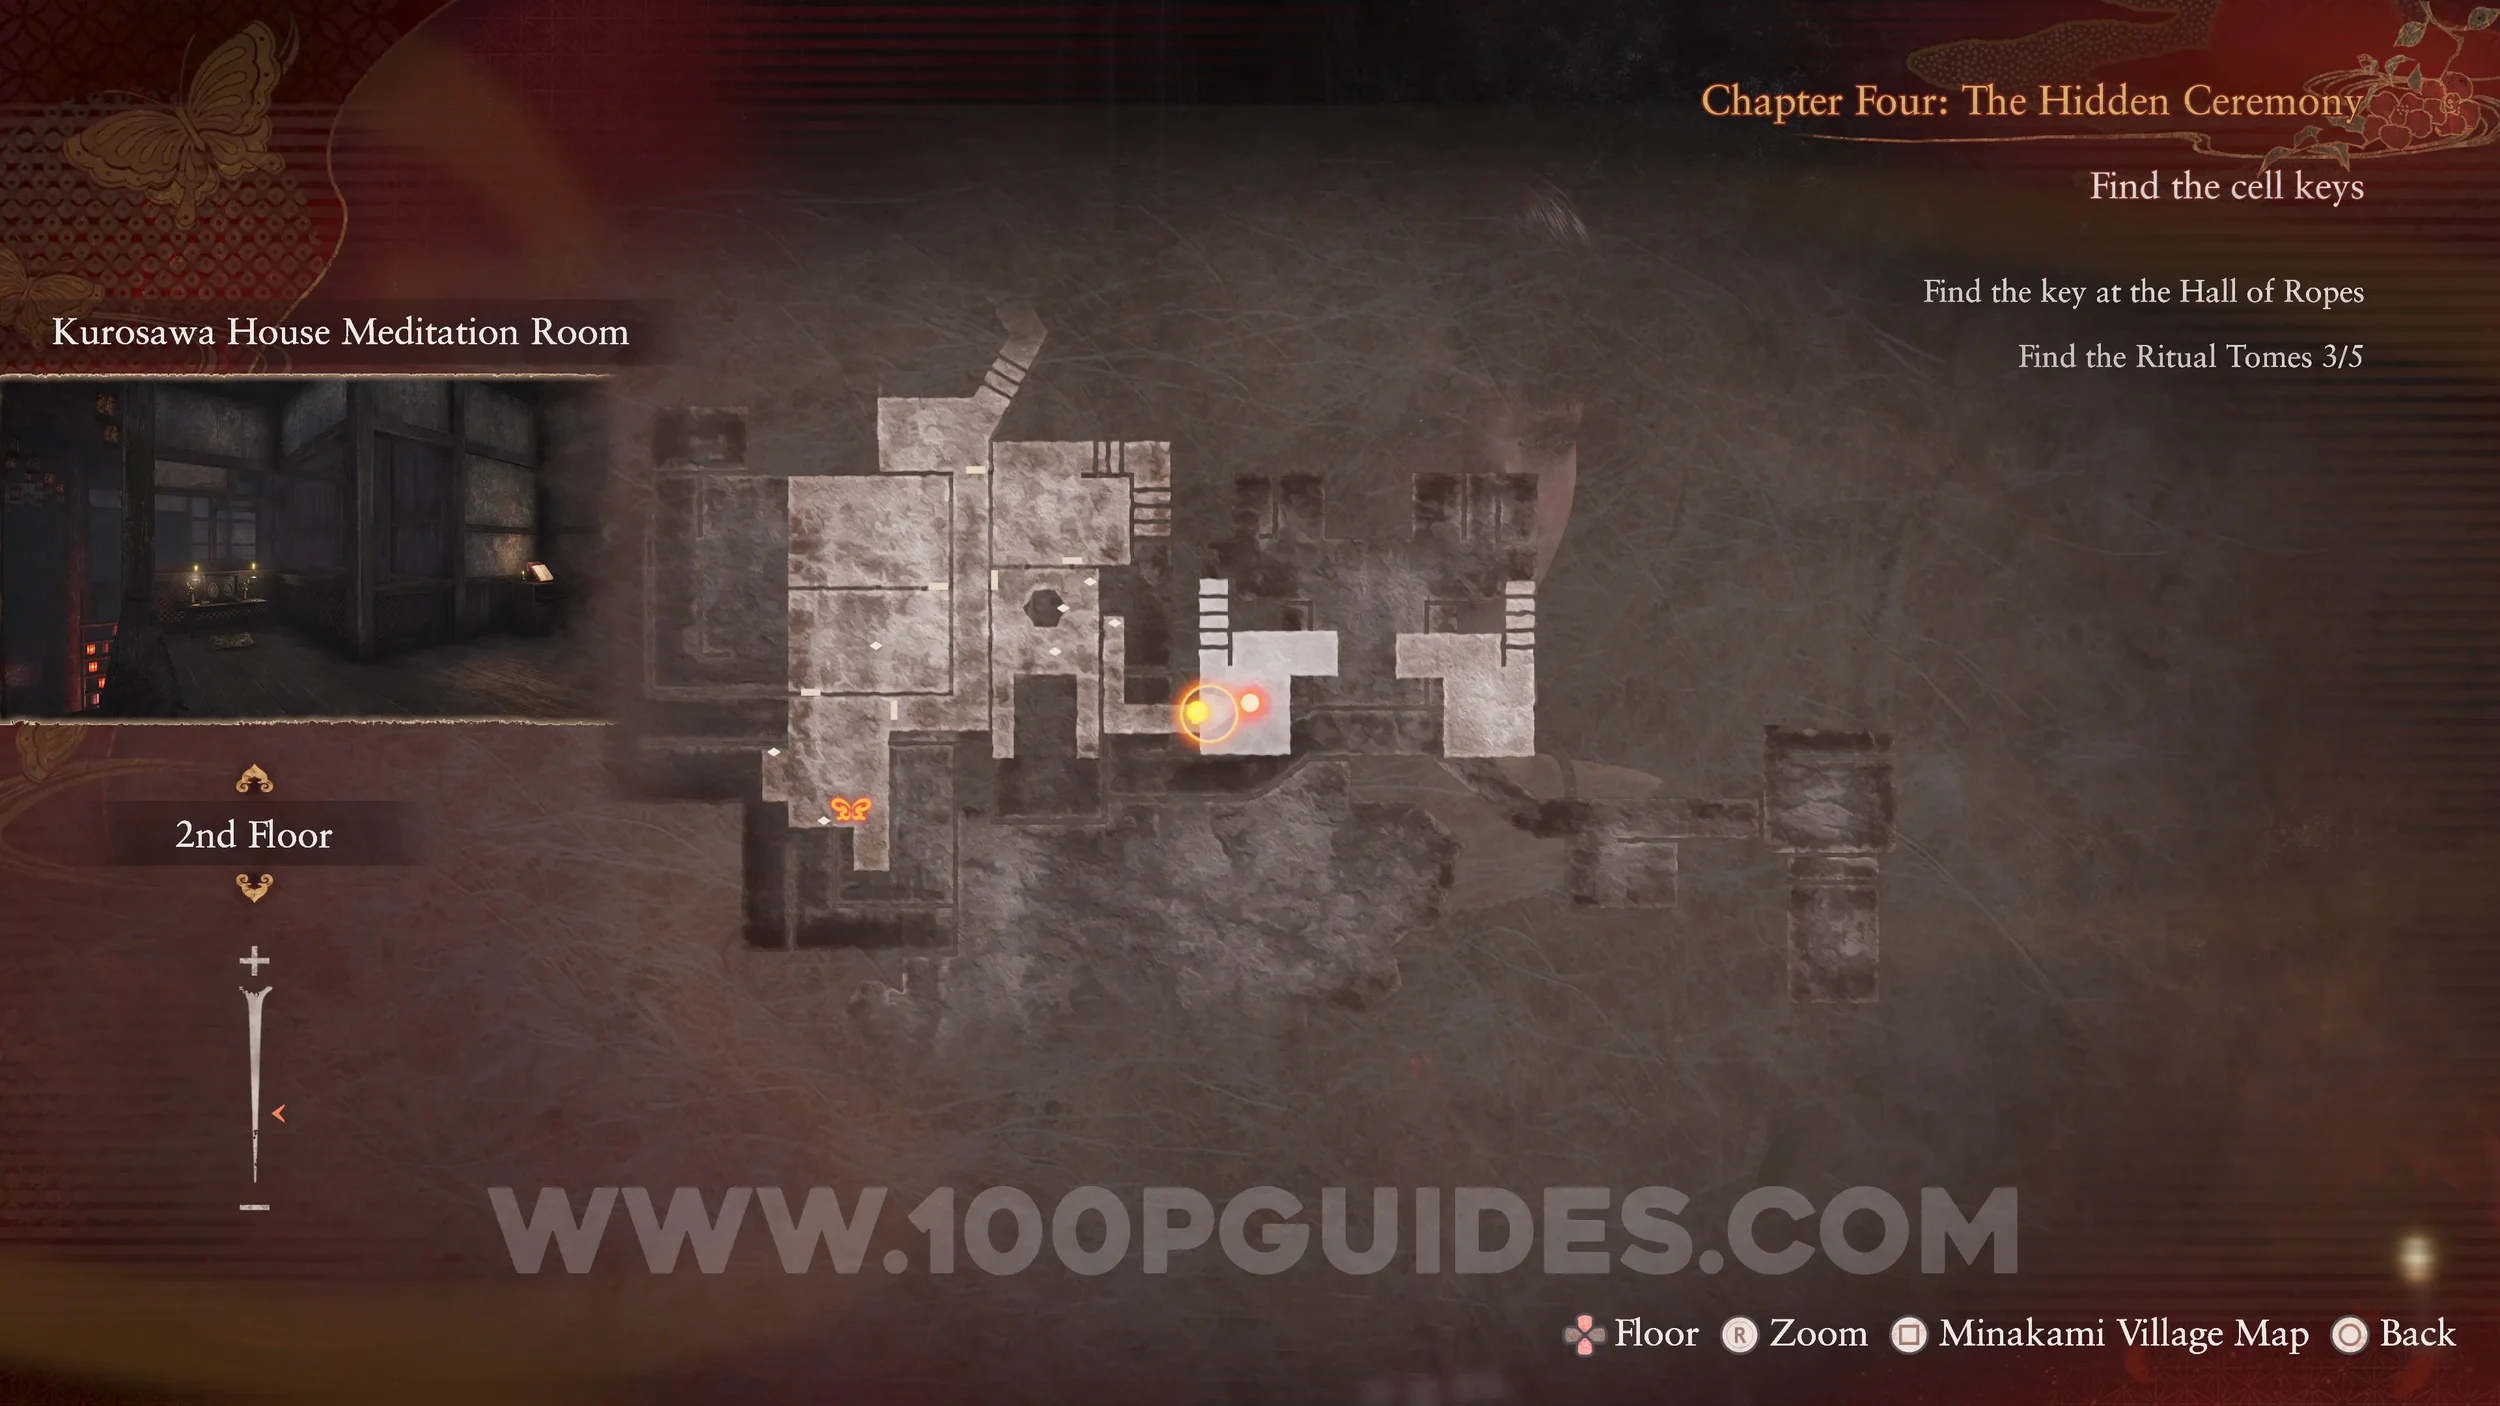
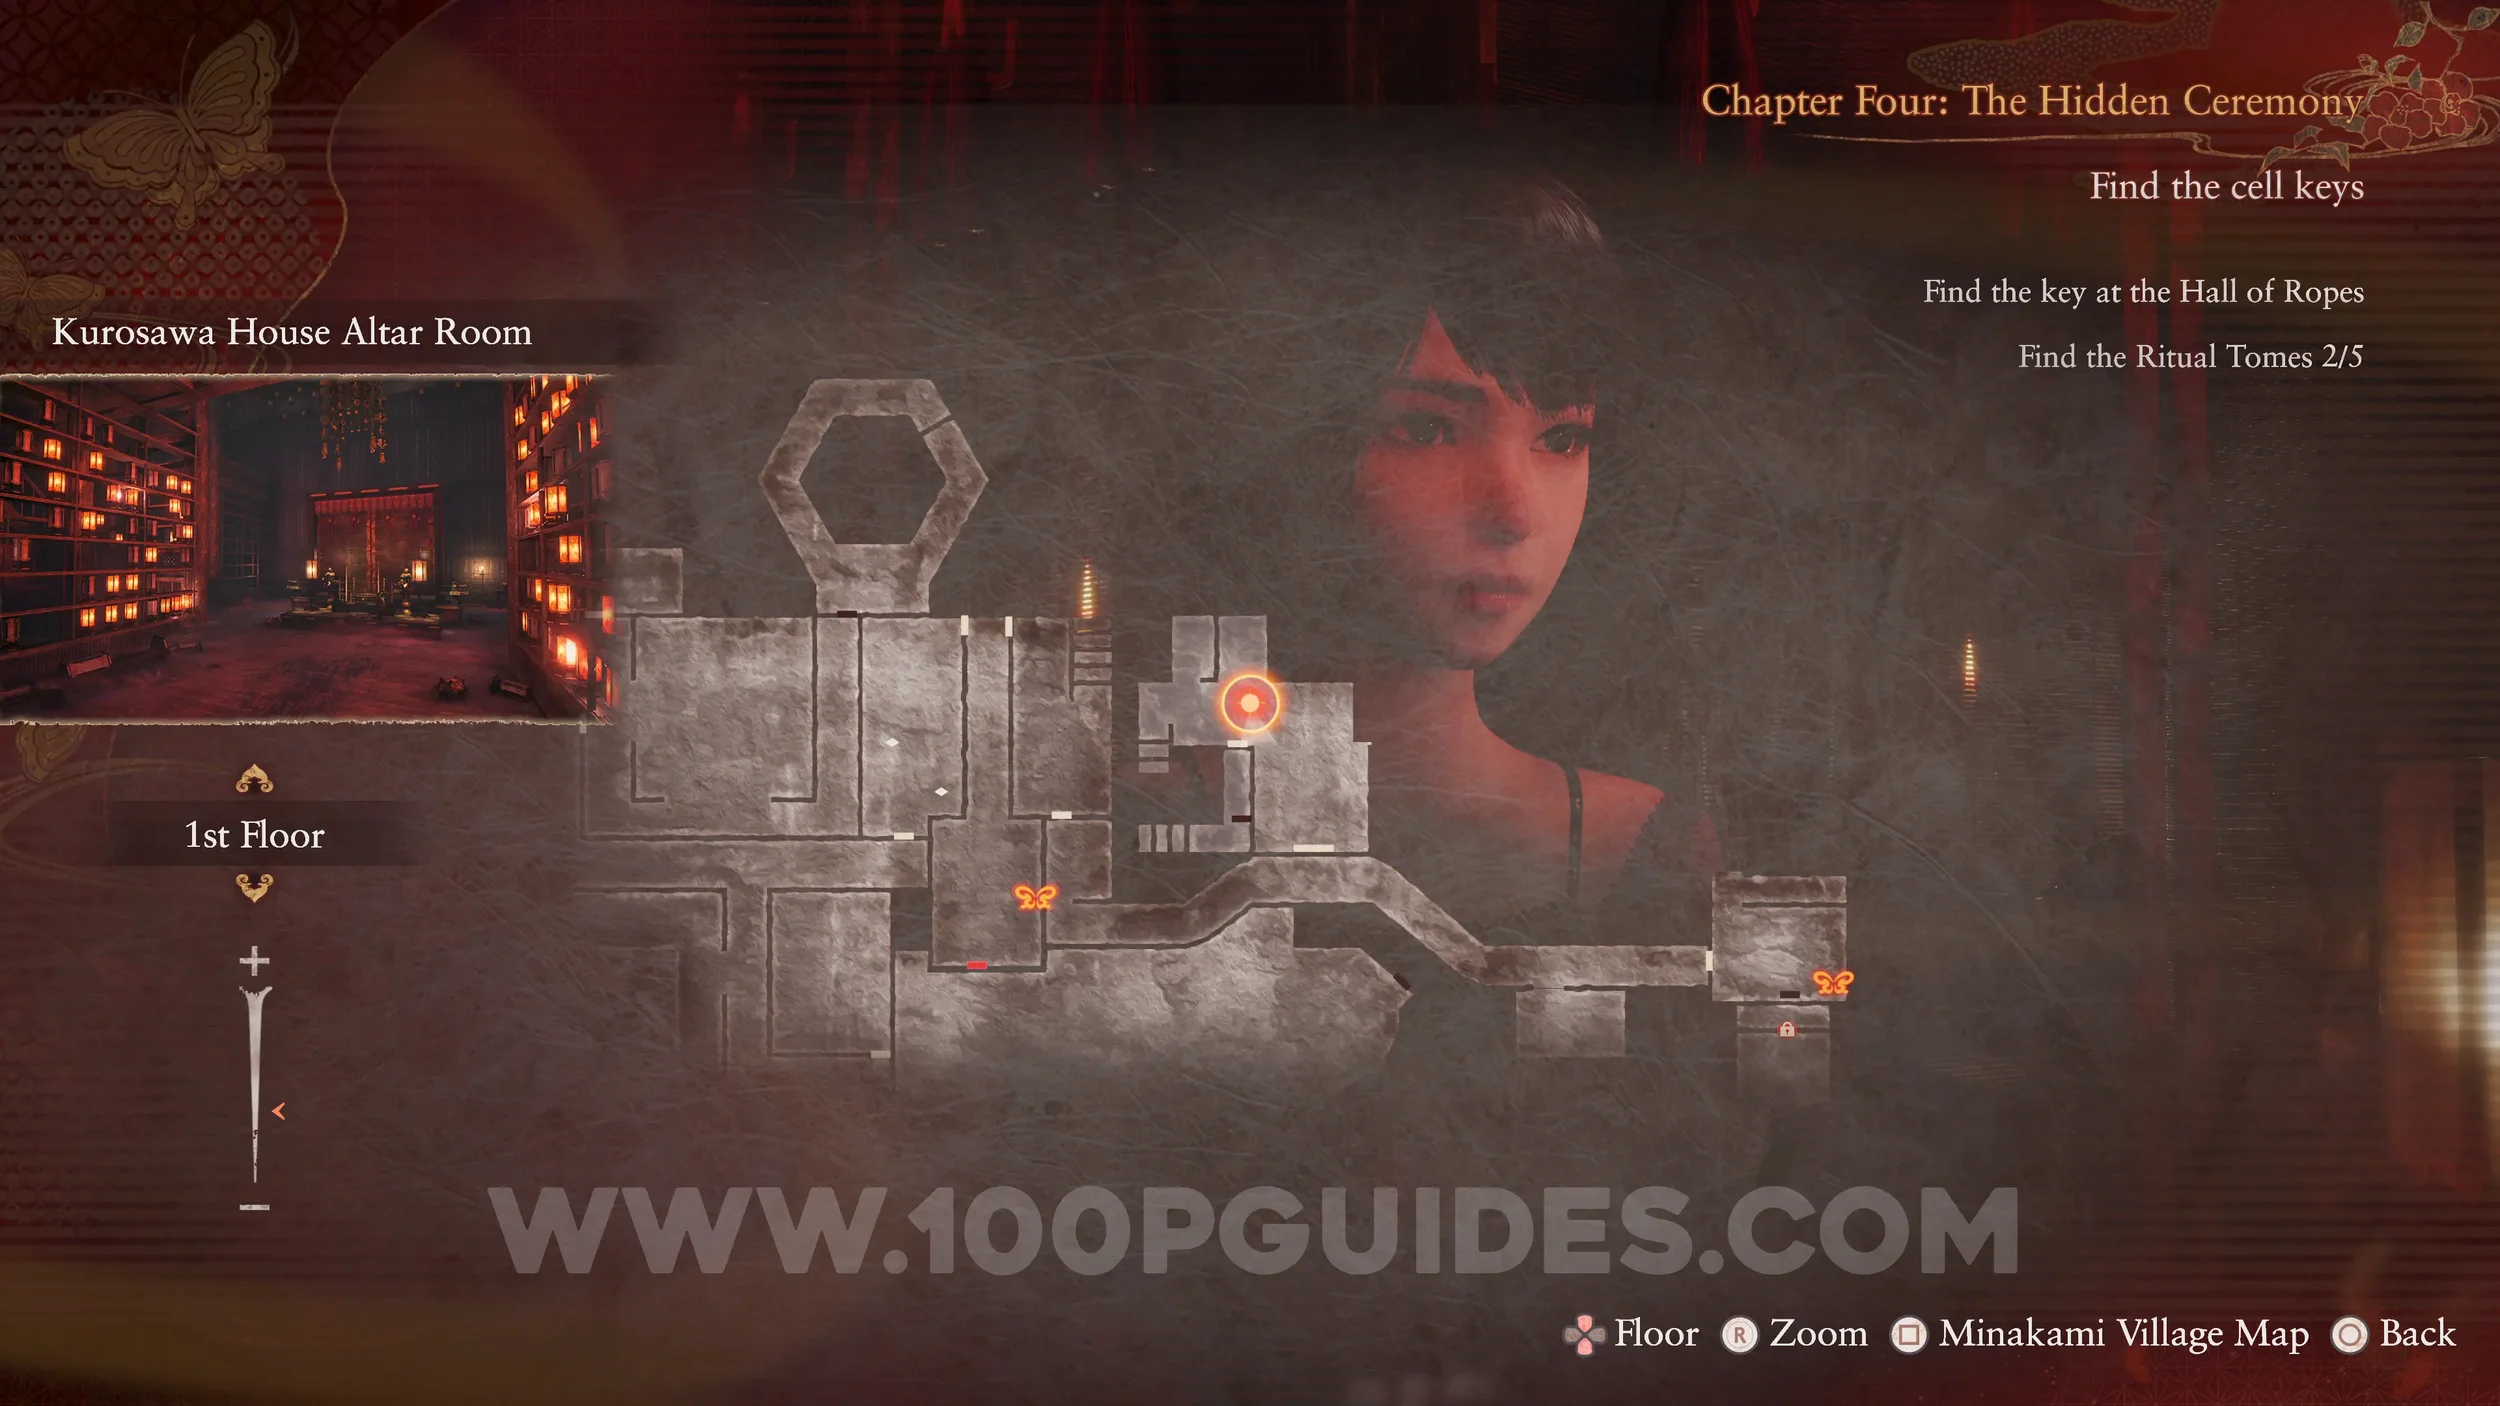
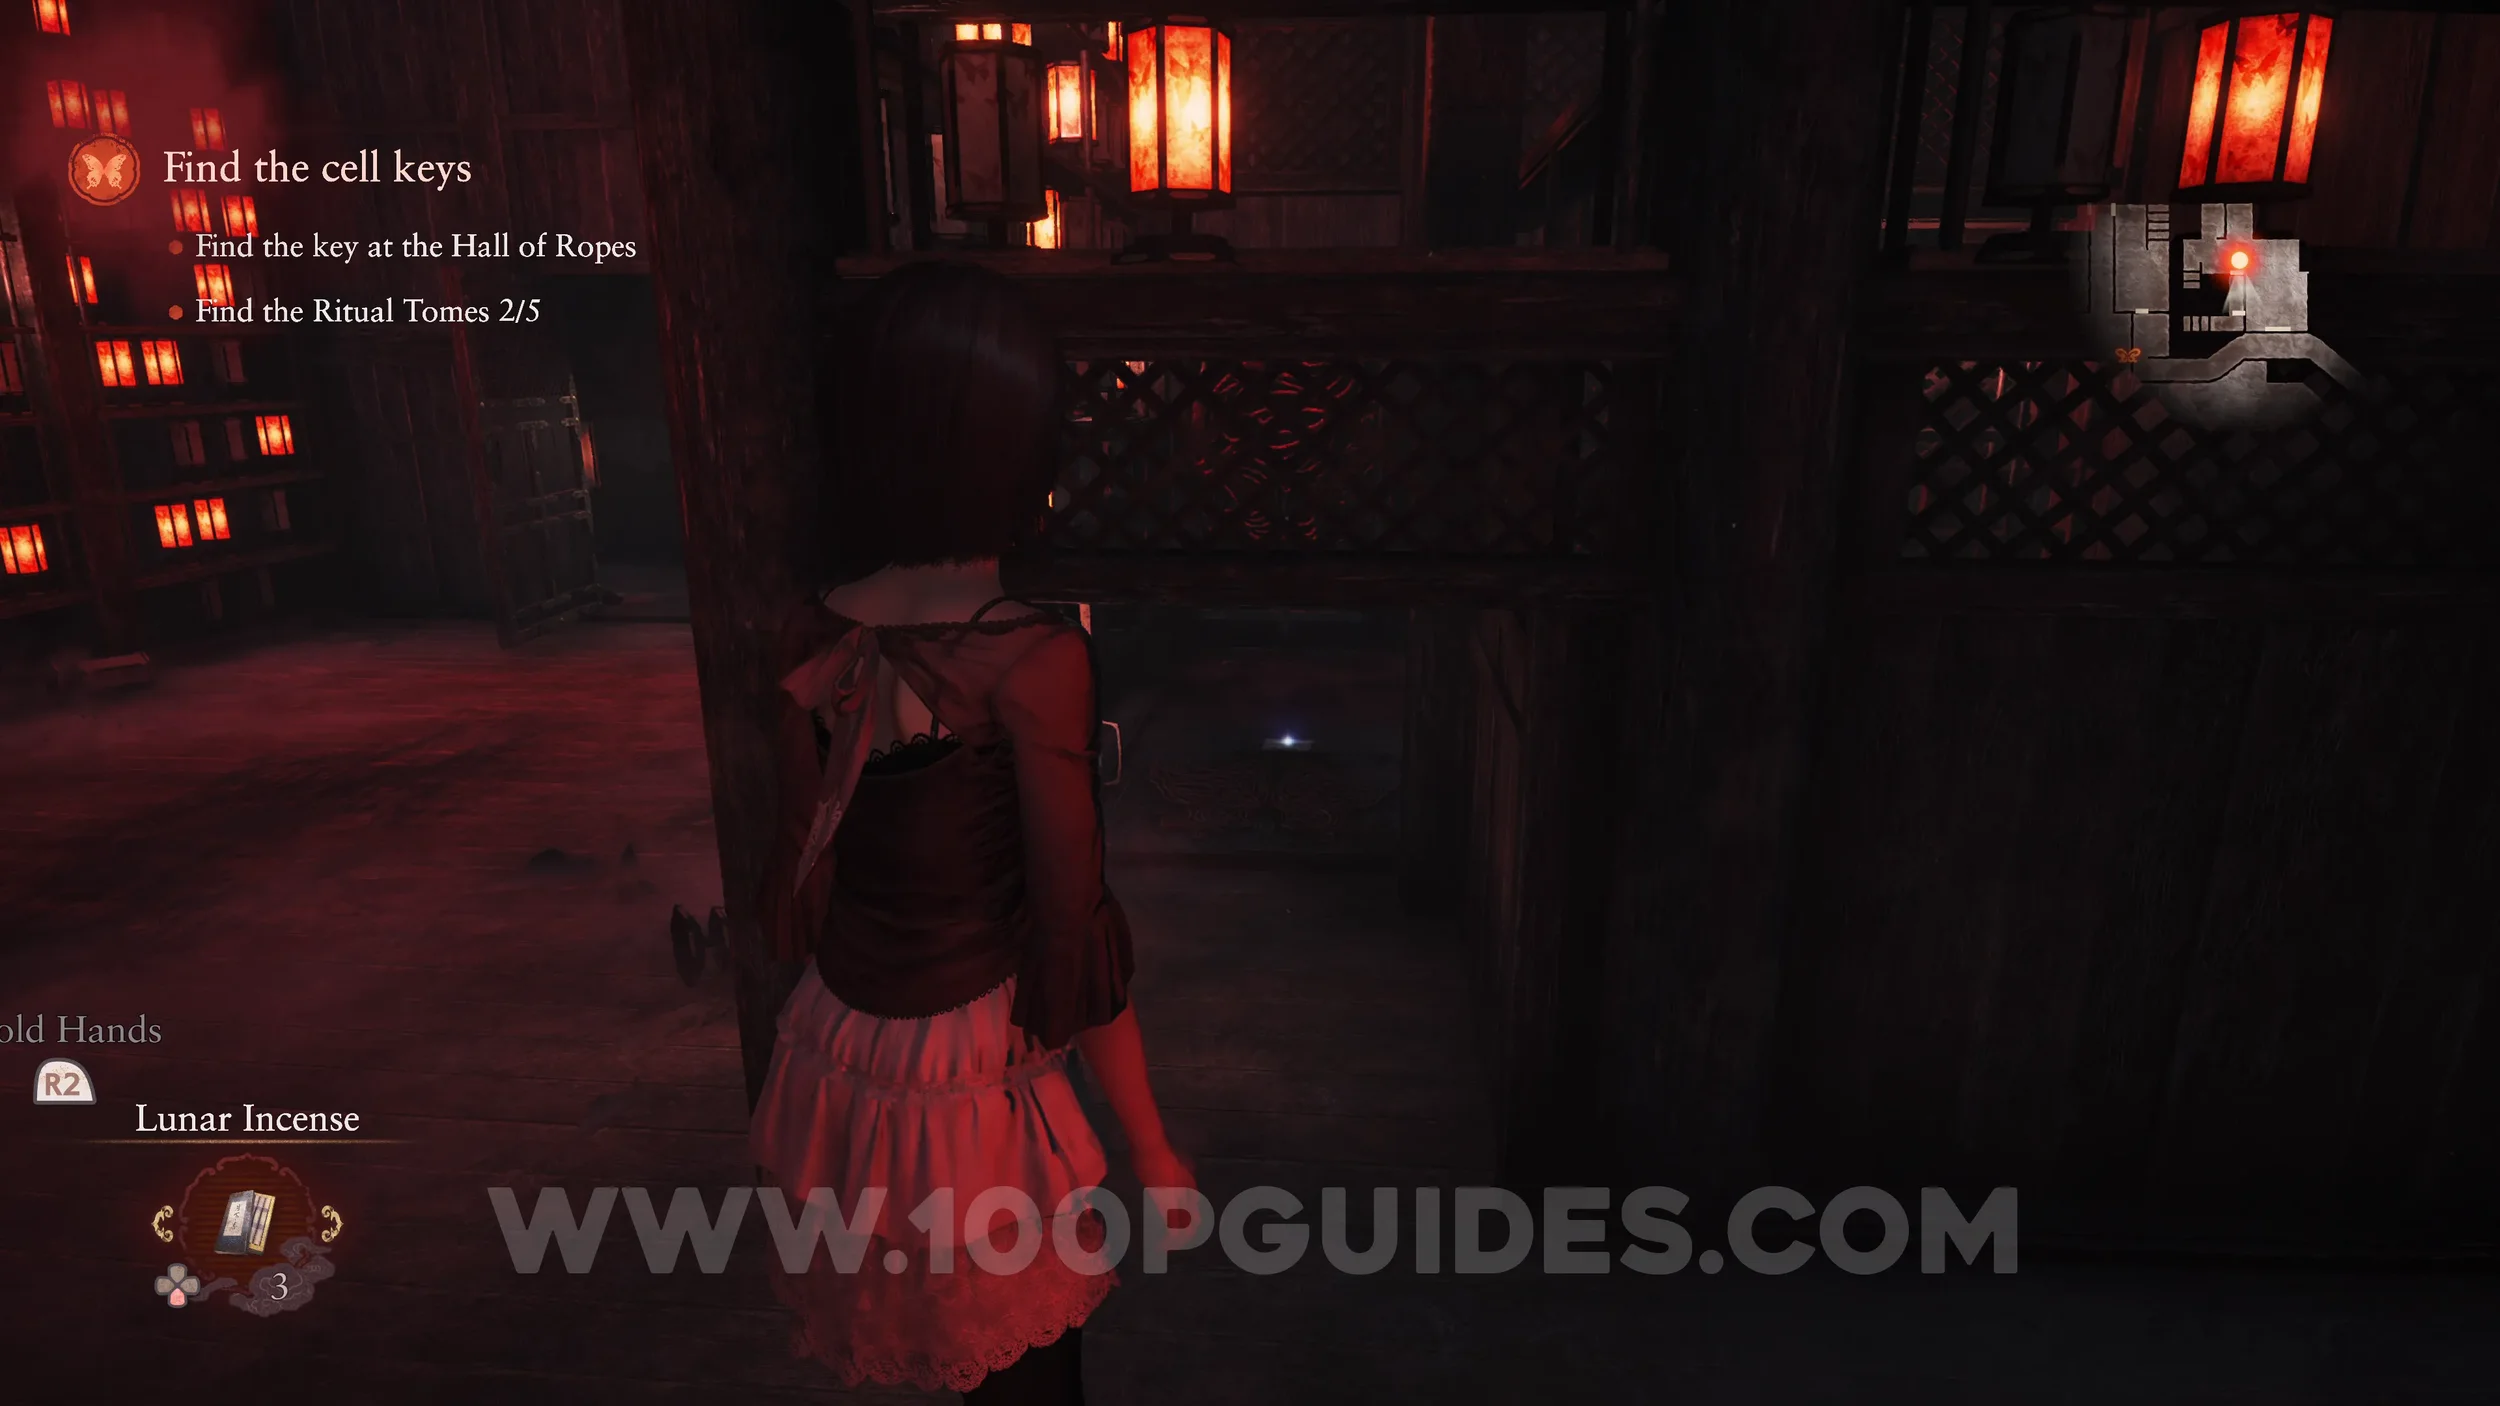
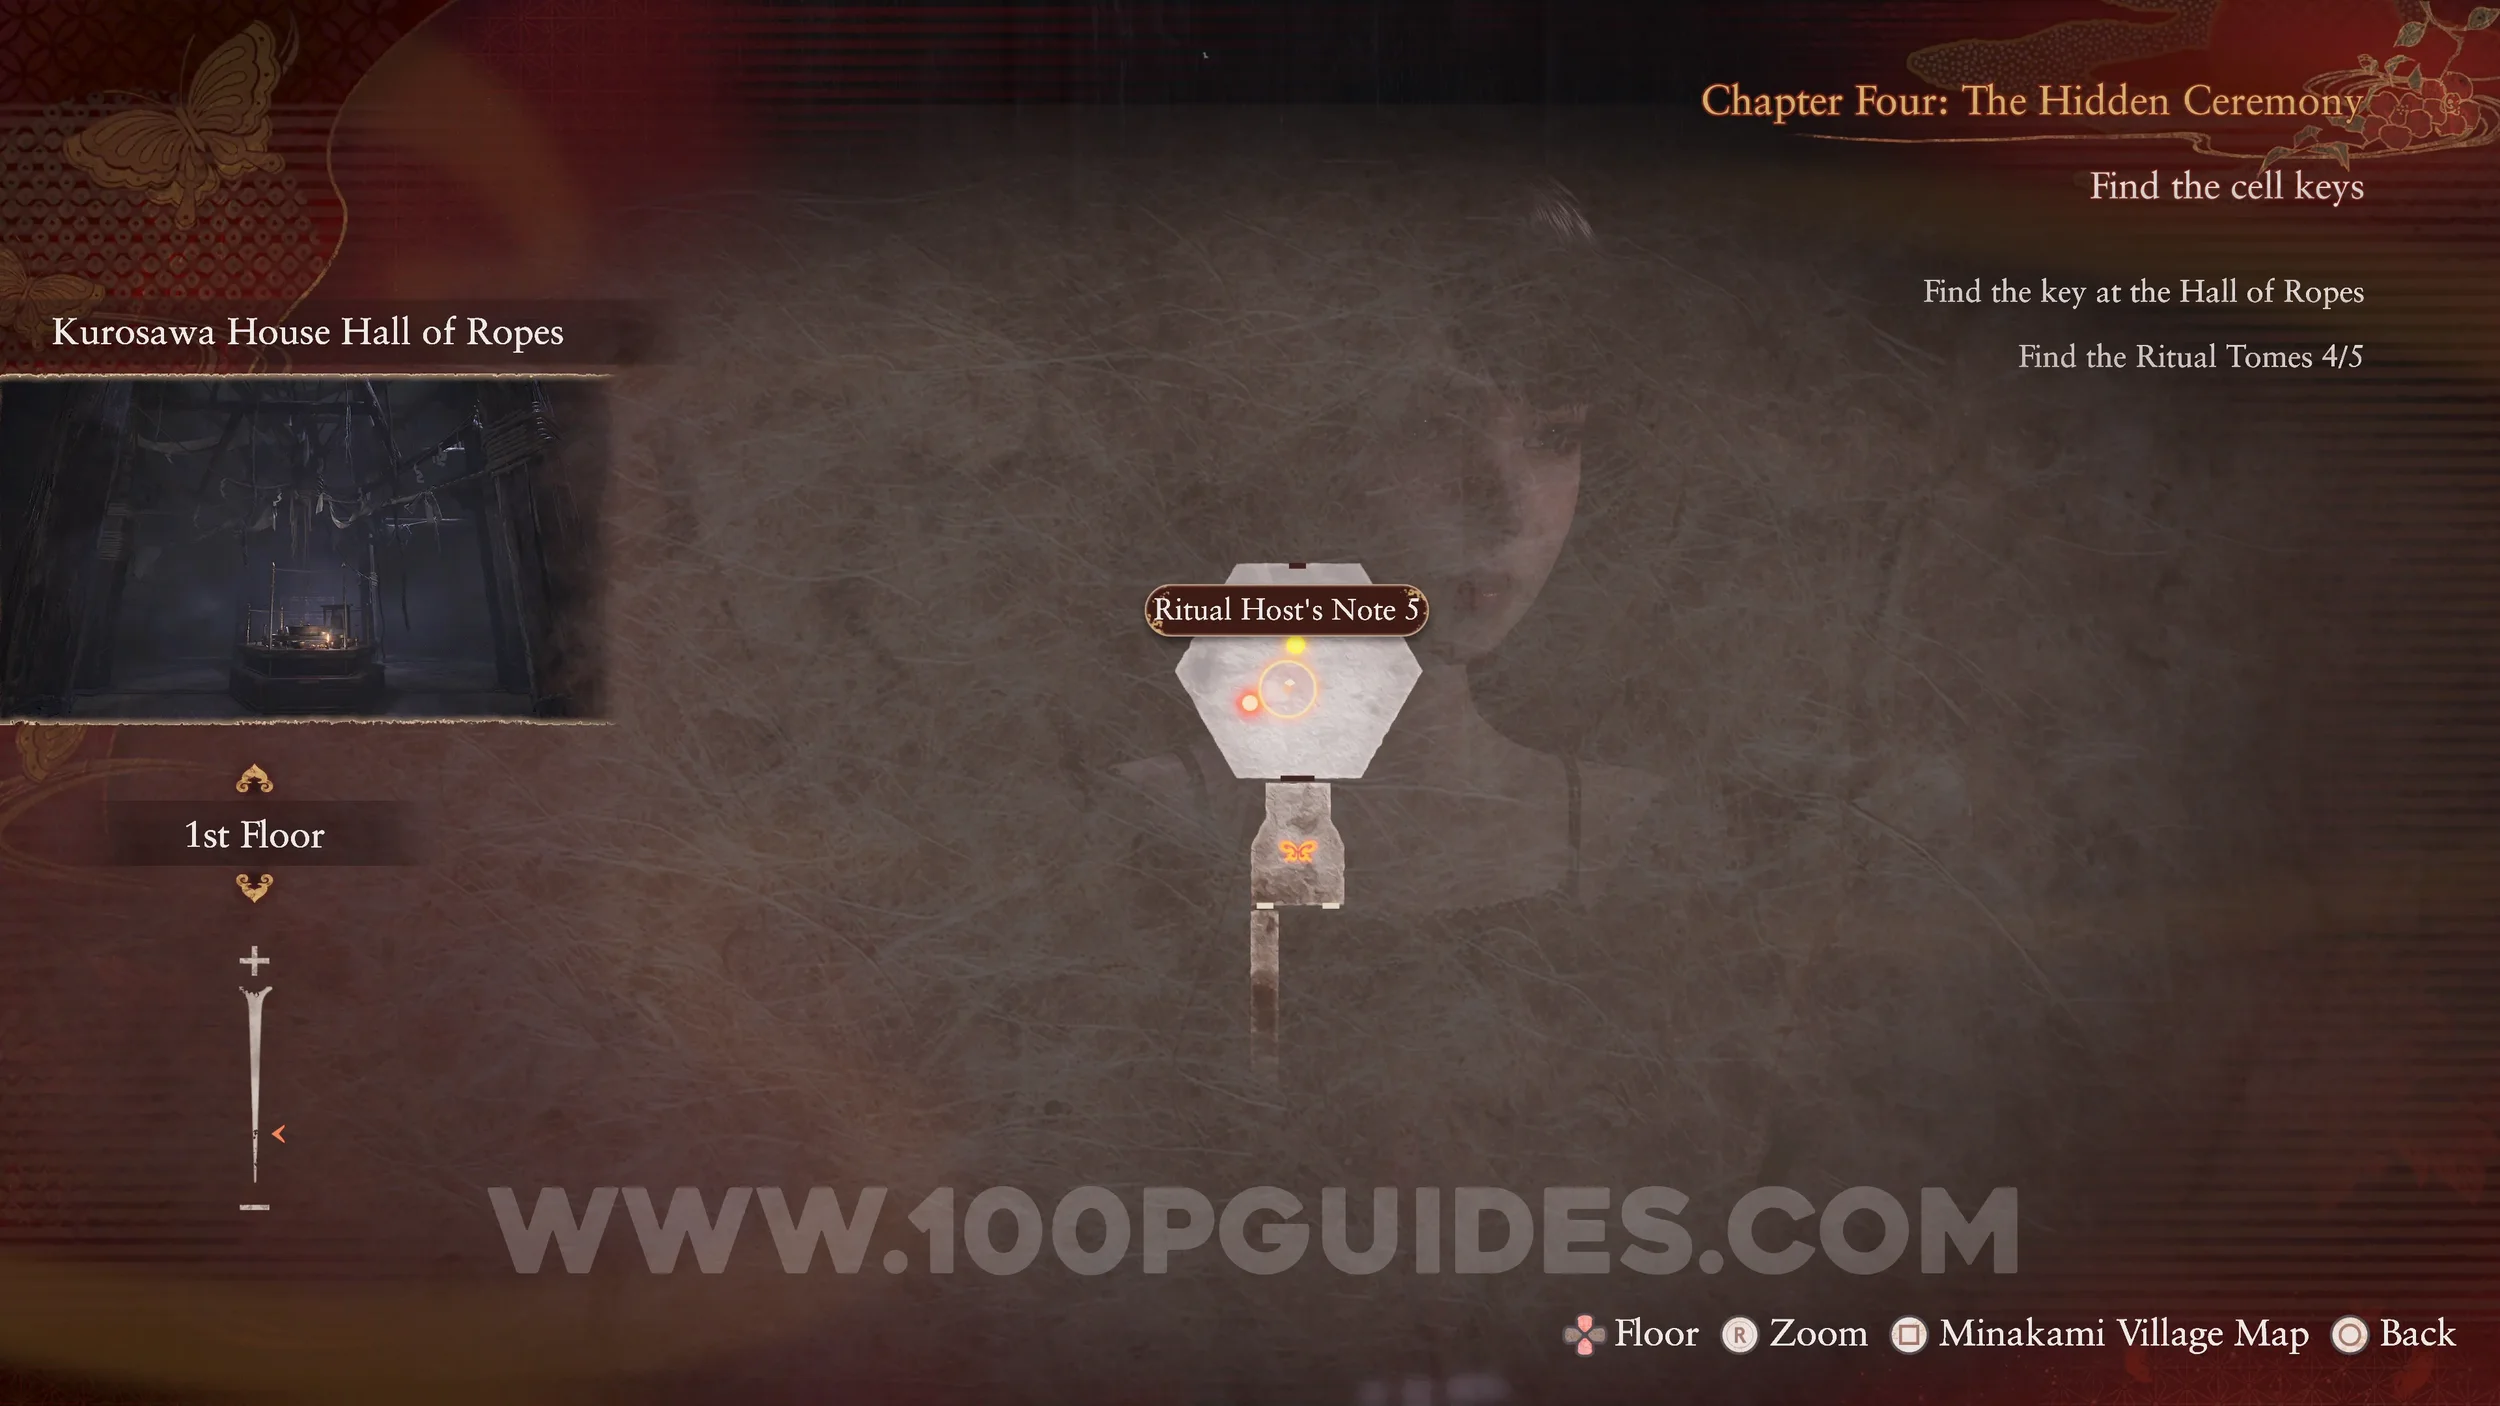
Unbinding of Blood #7 - Document #44 - Ritual Host’s Note 5. After reuniting with Mayu, you will enter the Hall of Ropes, the circular room. The document can be found in the center. After that use the radiant filter to open the box and get the key.

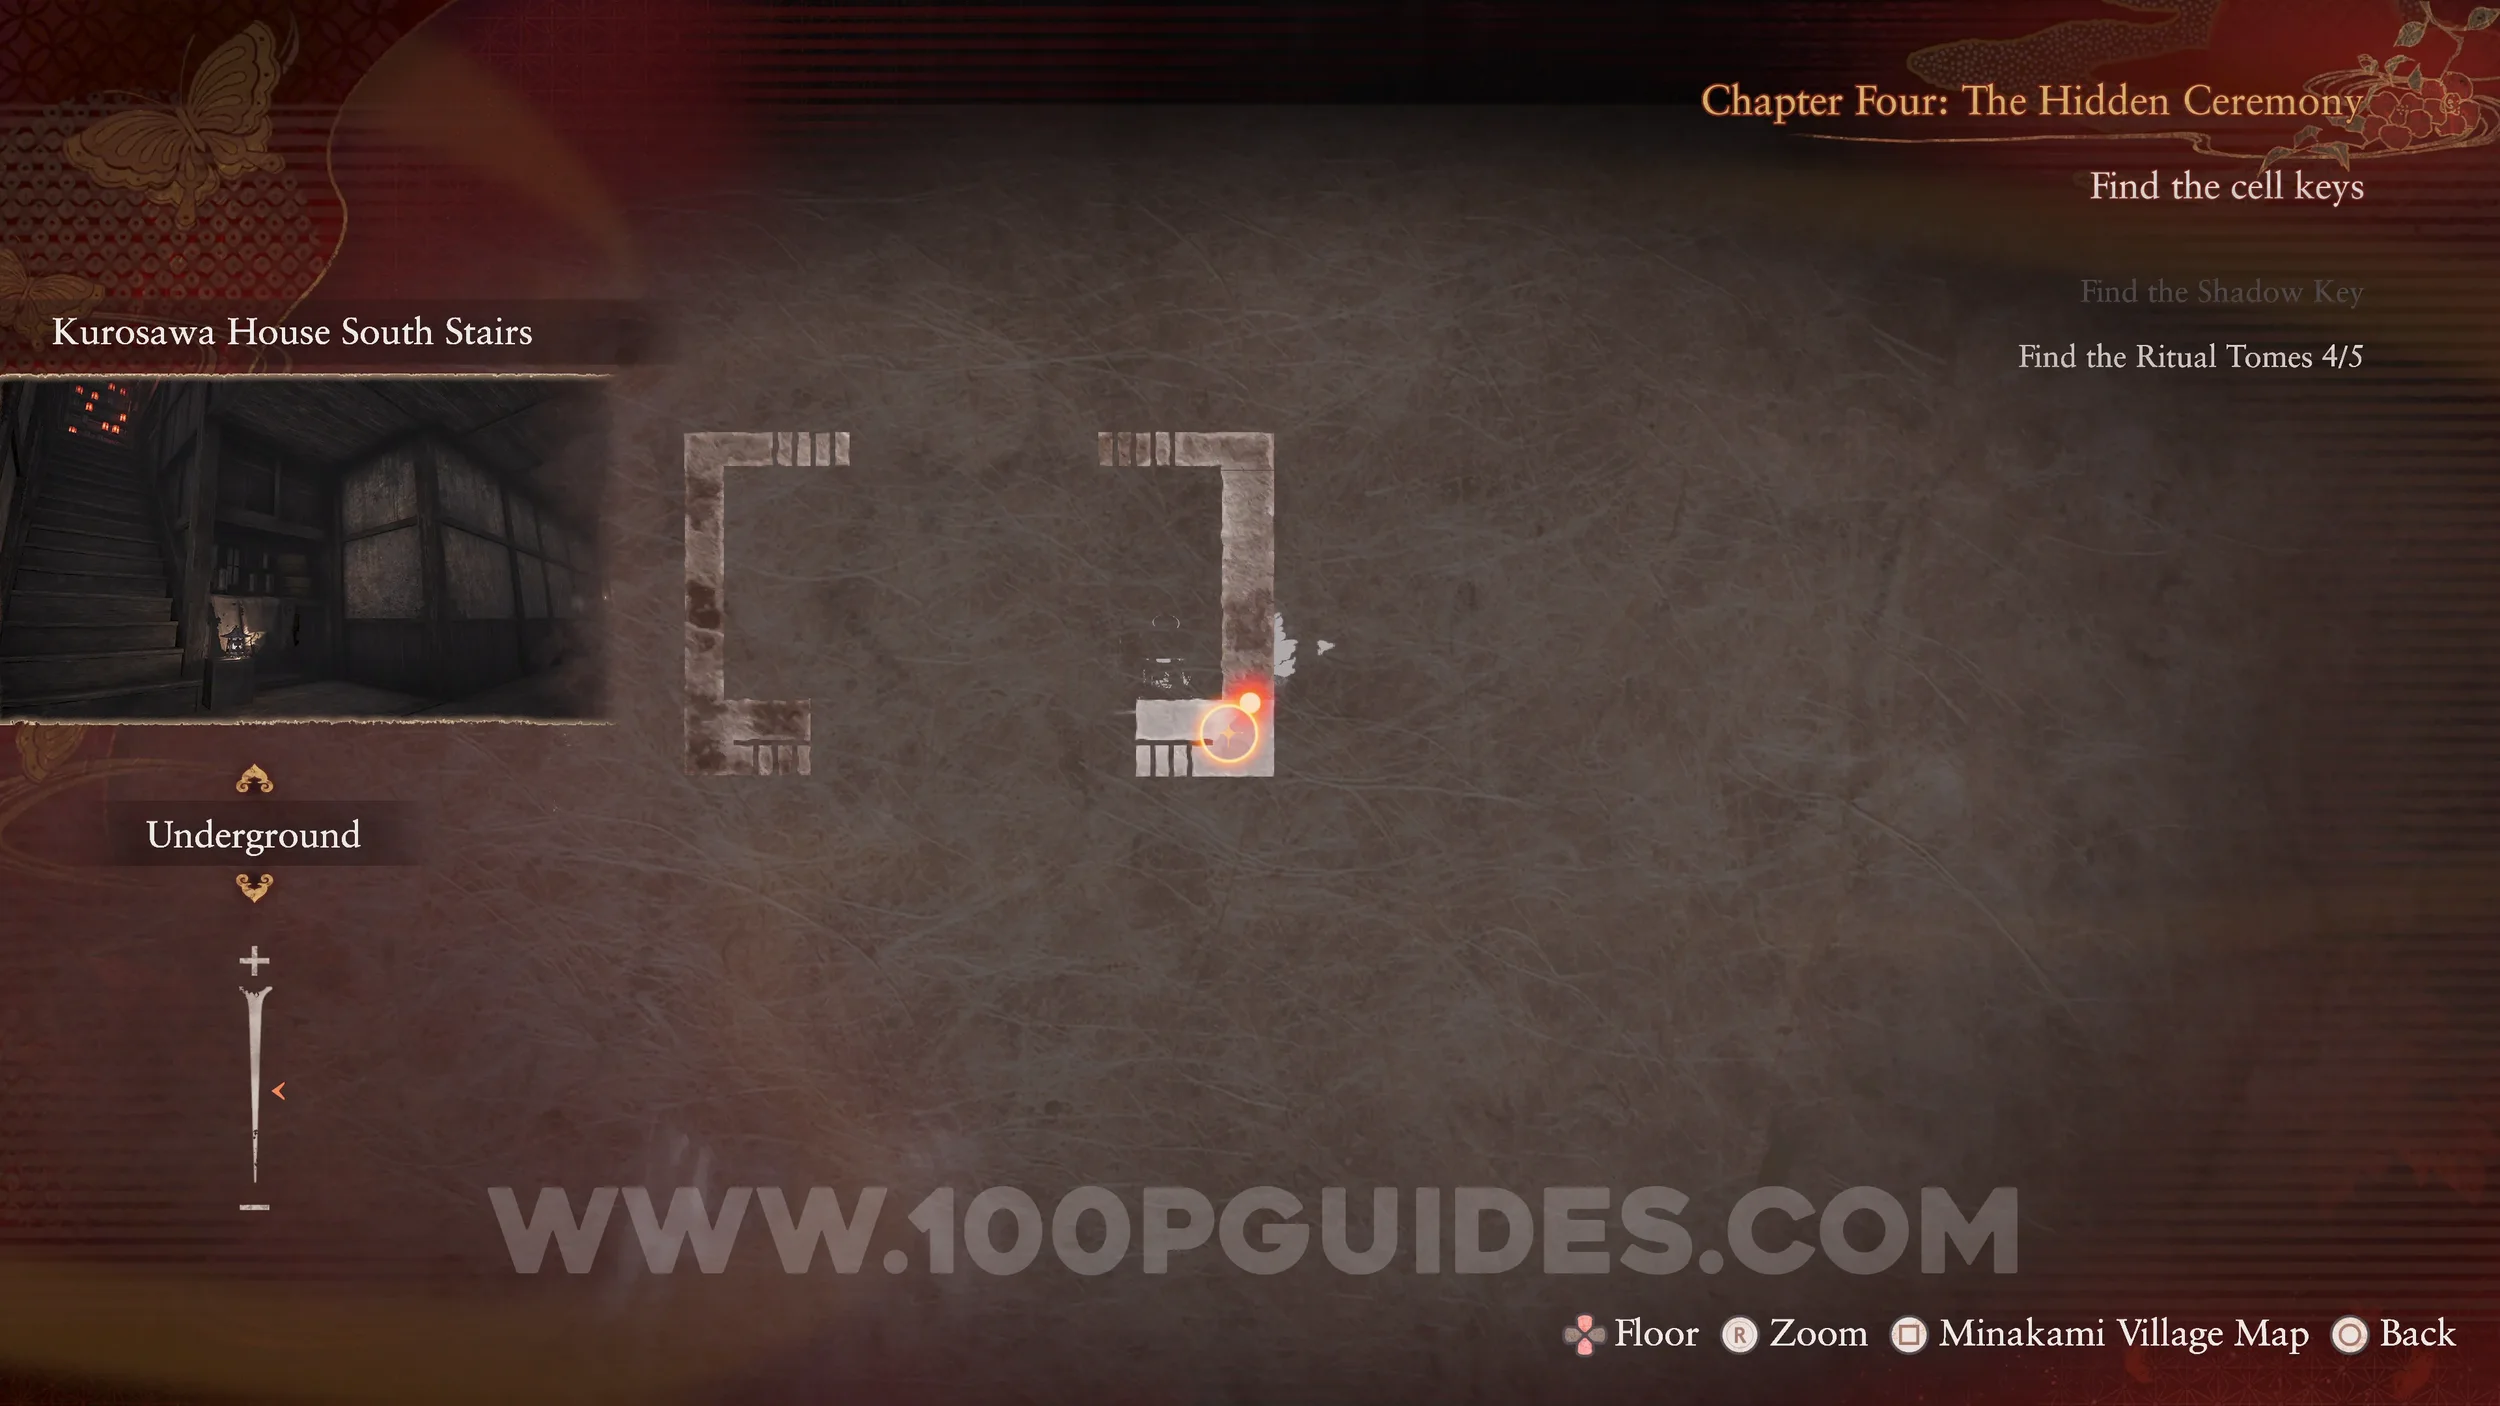
Prayer Beads #19. Head back toward the main house by taking the path on the left side of the courtyard, the one Mayu used to get here. At the end, just before going up the stairs, the beads will be in a hidden spot.
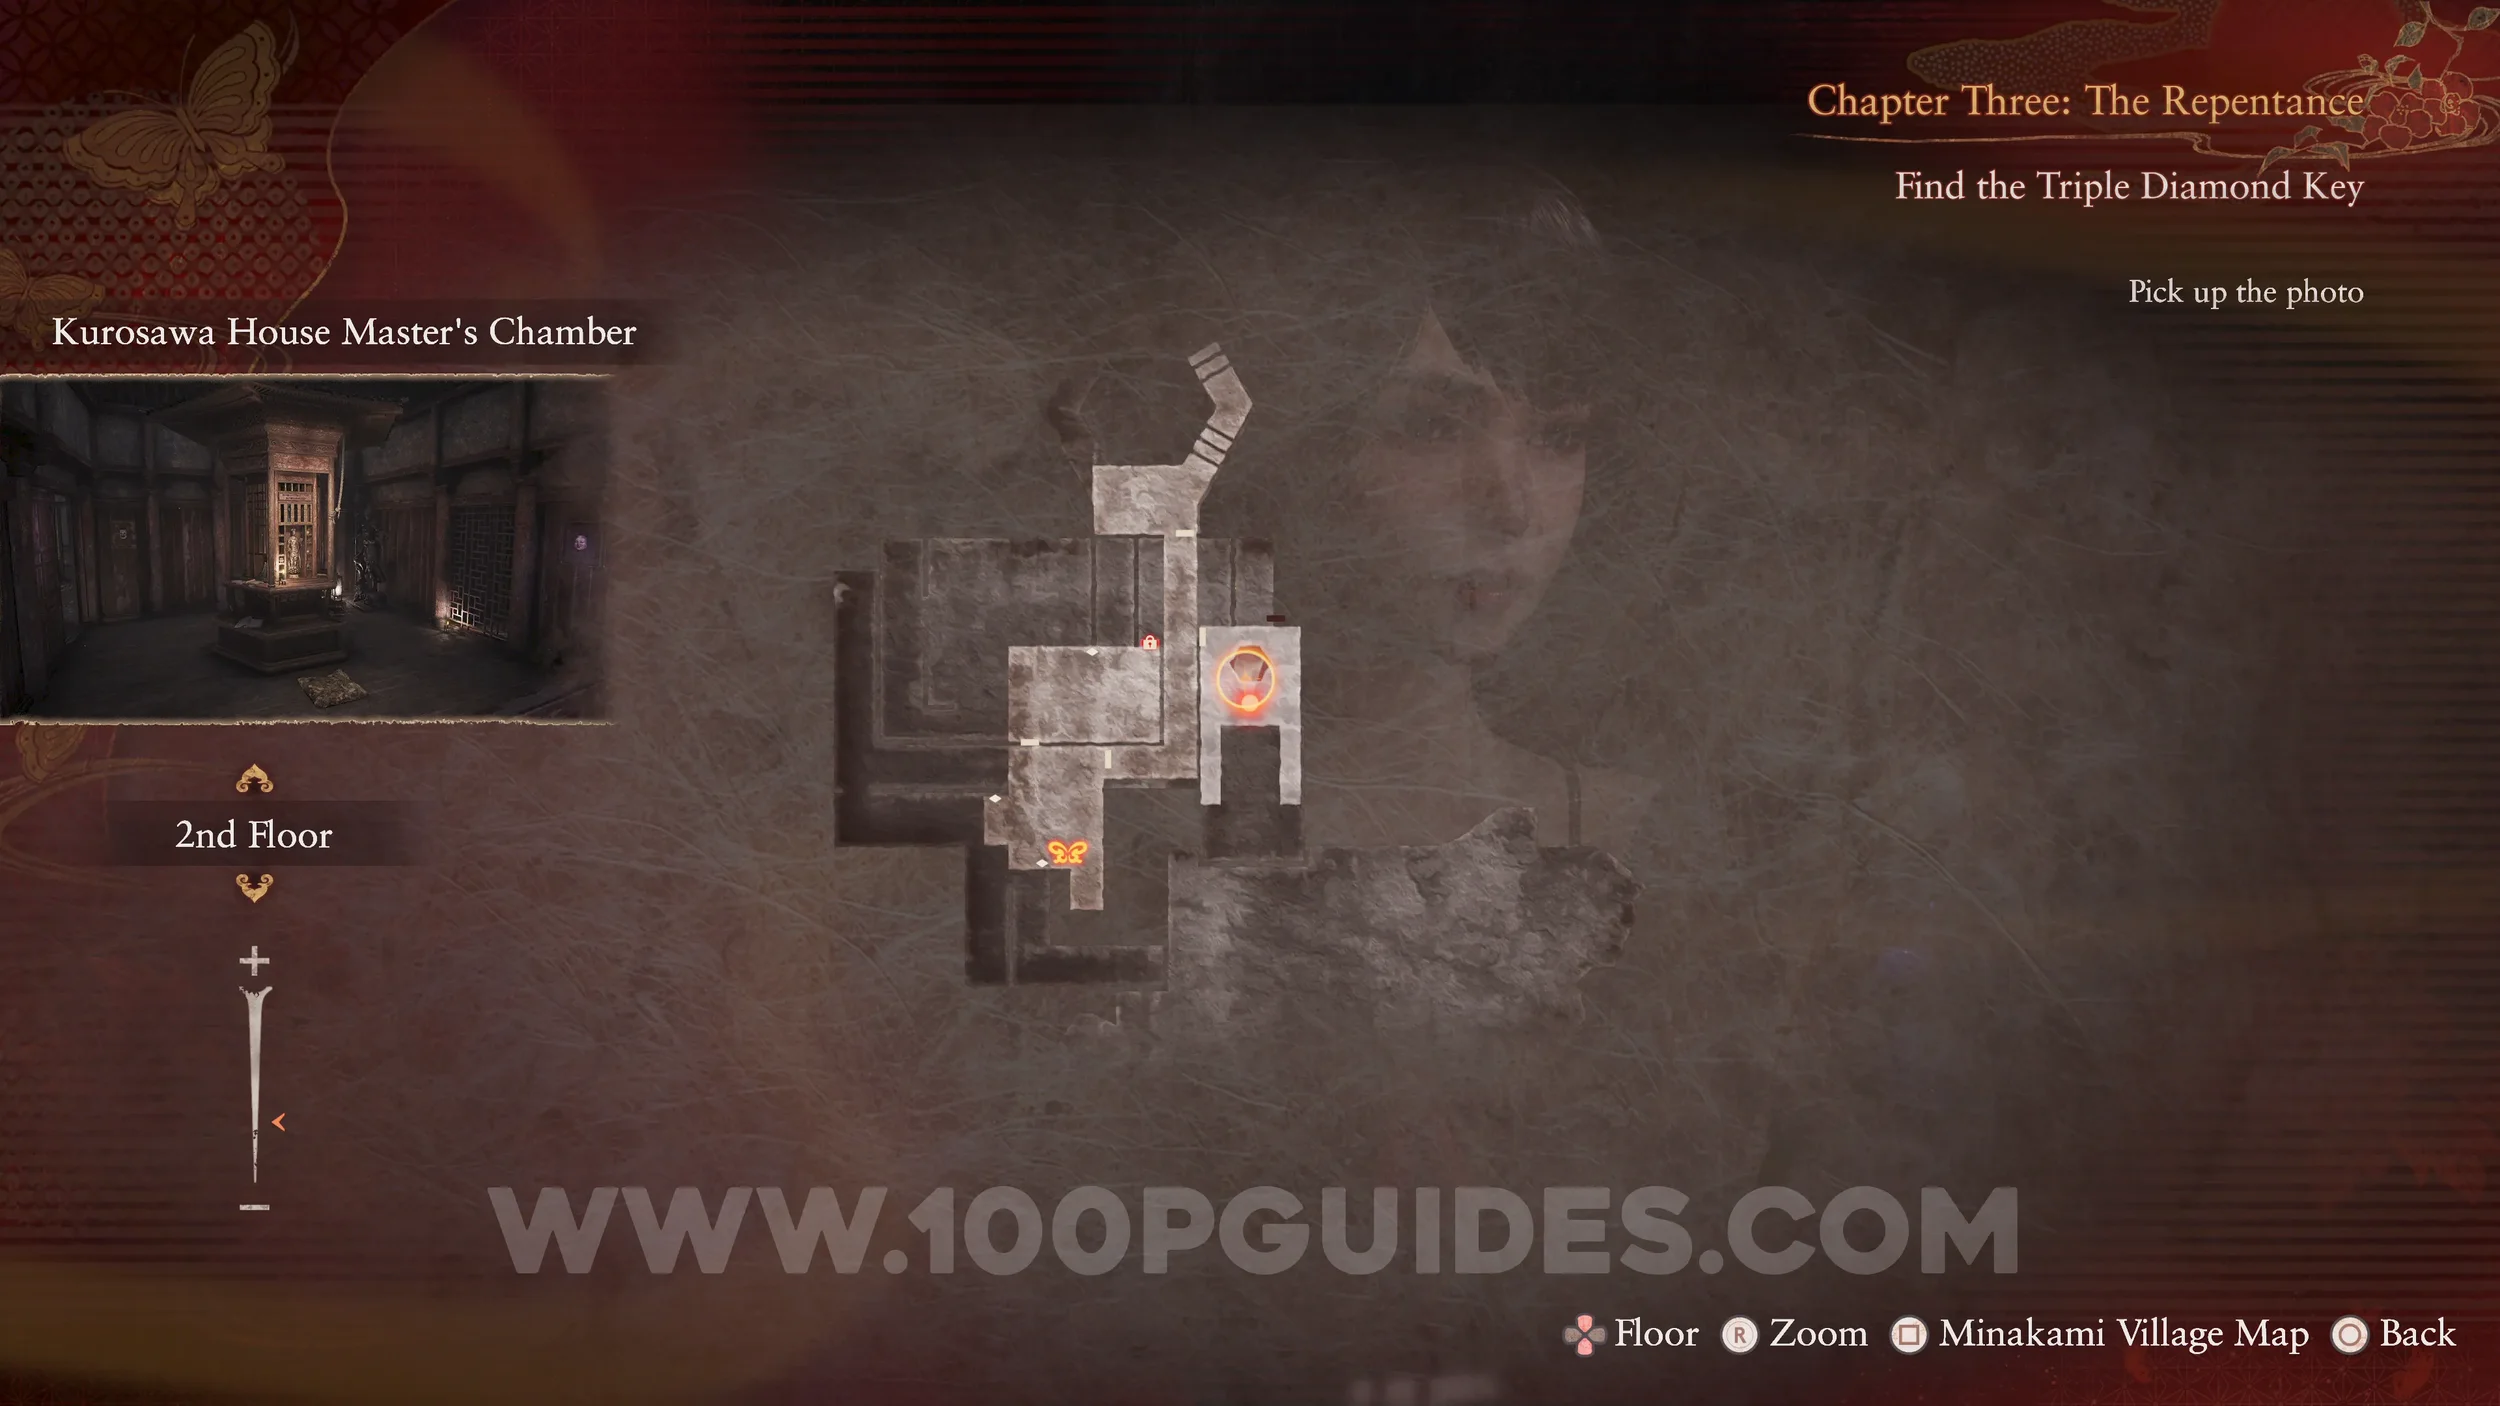
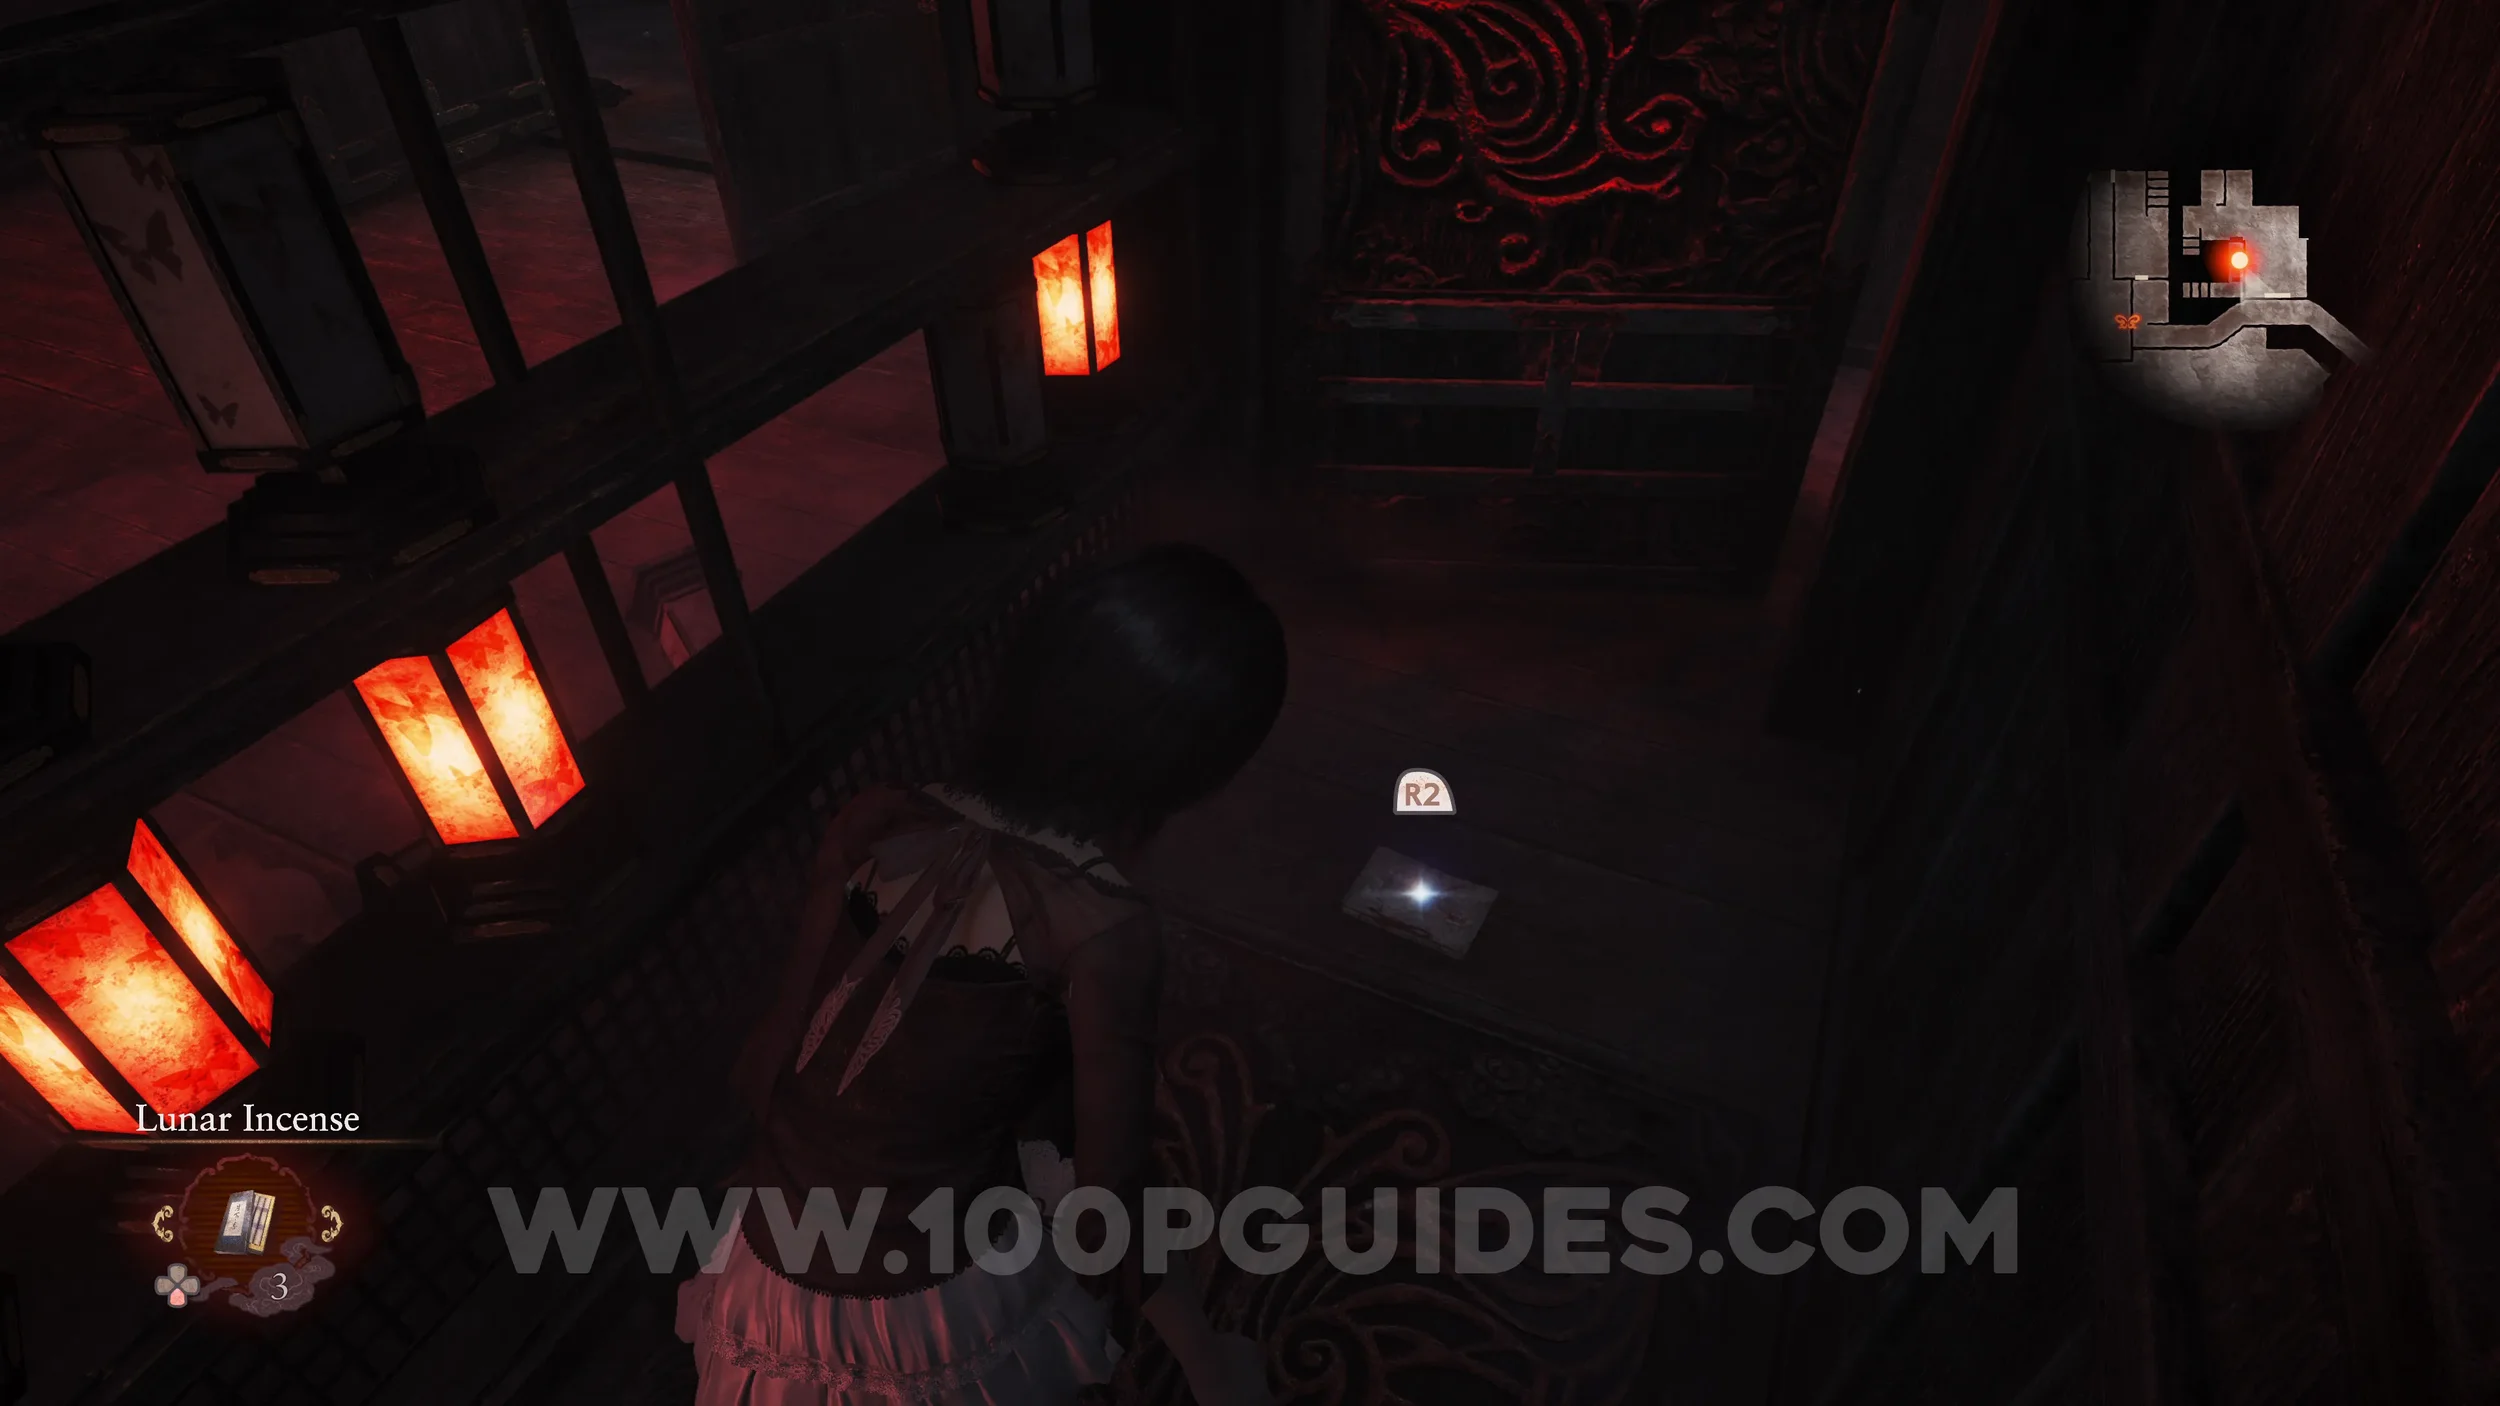
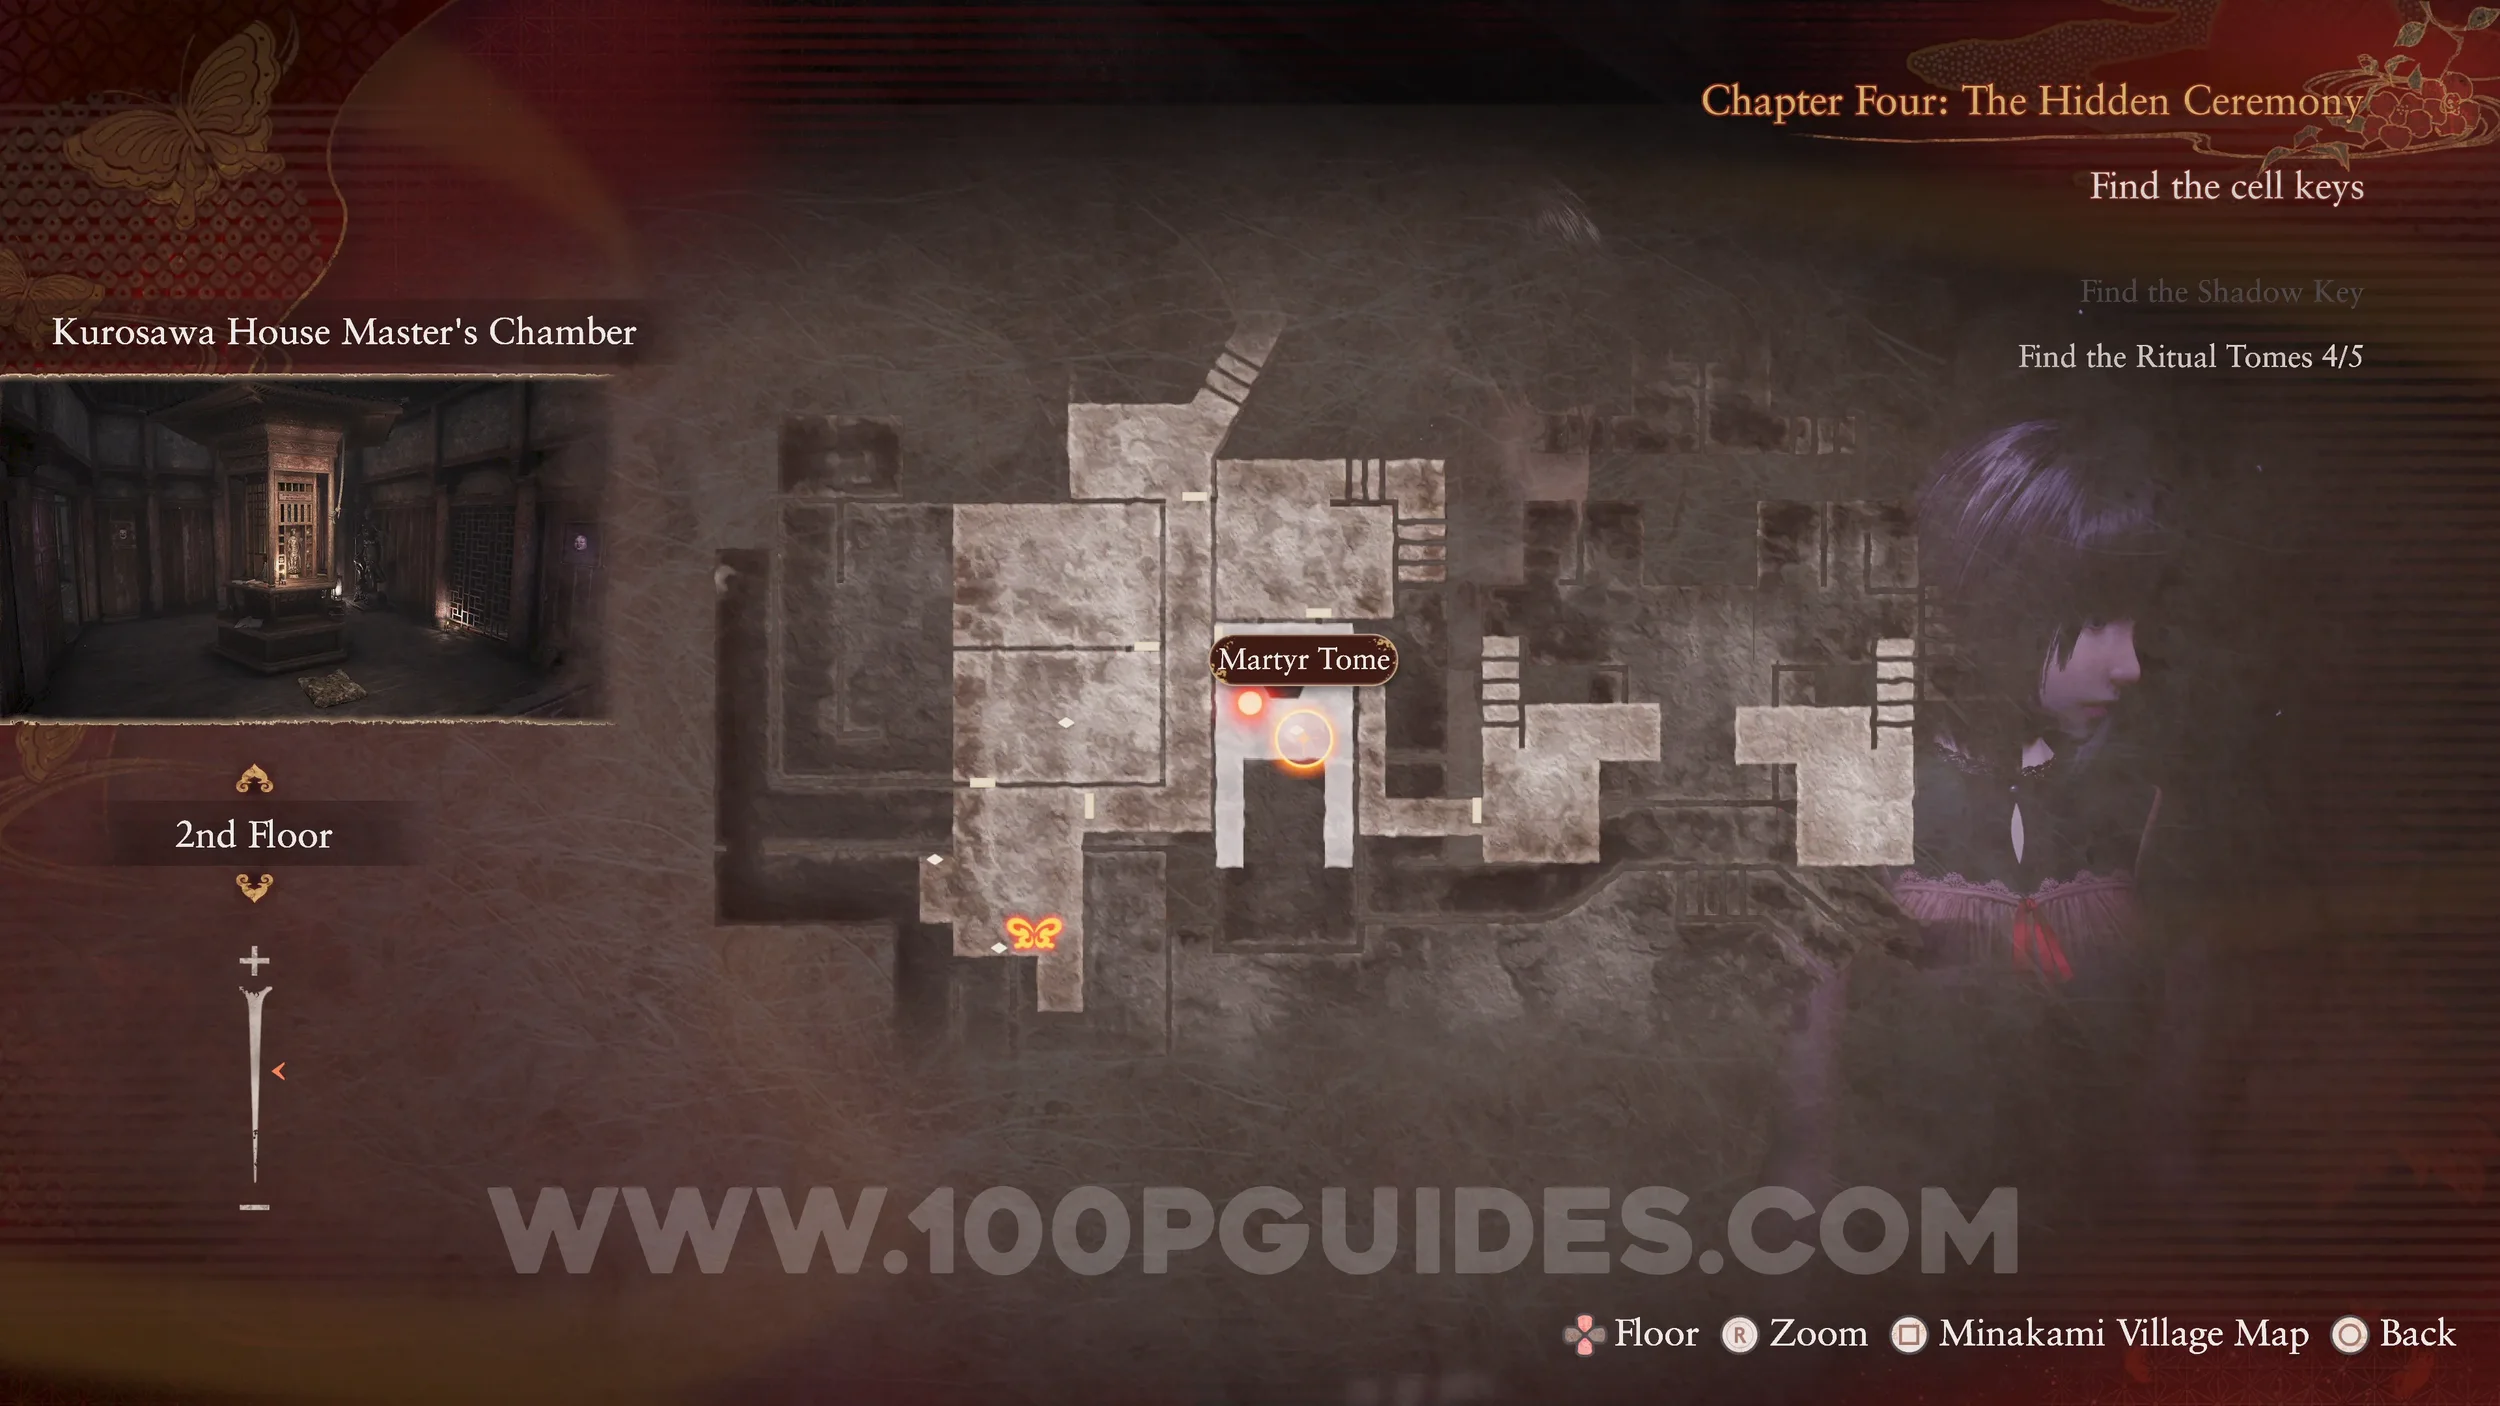
Document #45 - Martyr Tome. Return to the Master’s Chamber on the top floor, the room where you must use the Tomes, to find the final Tome on the floor.
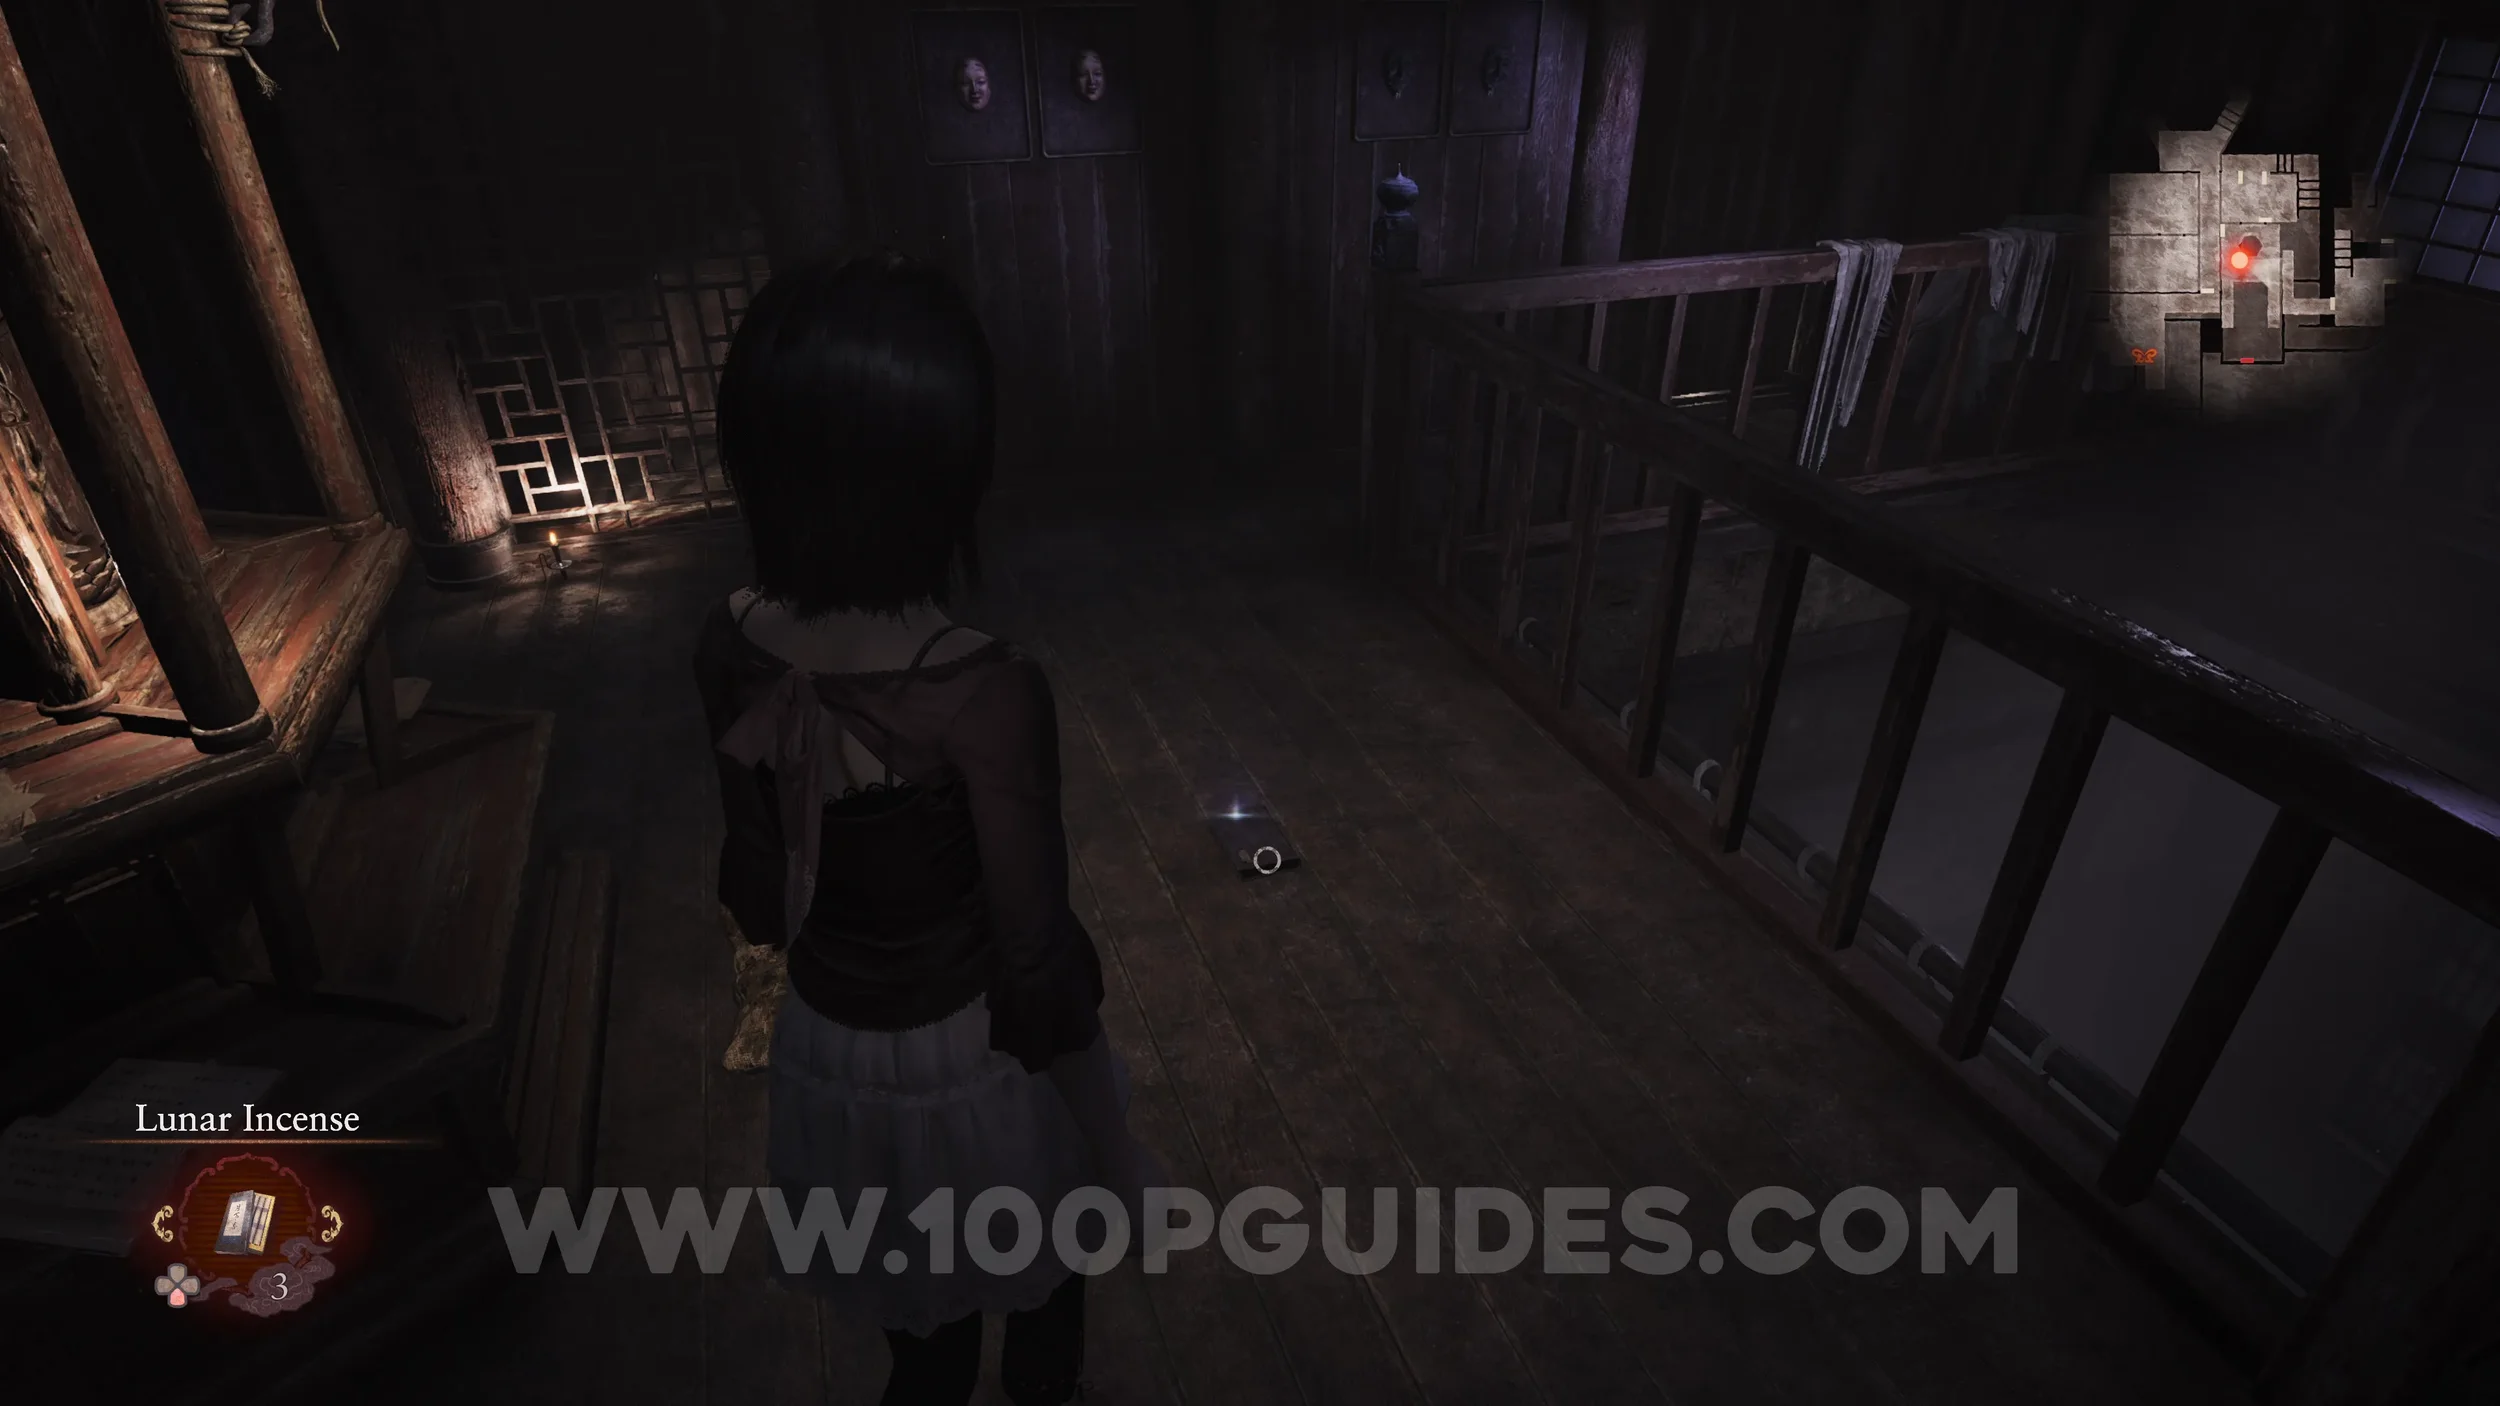
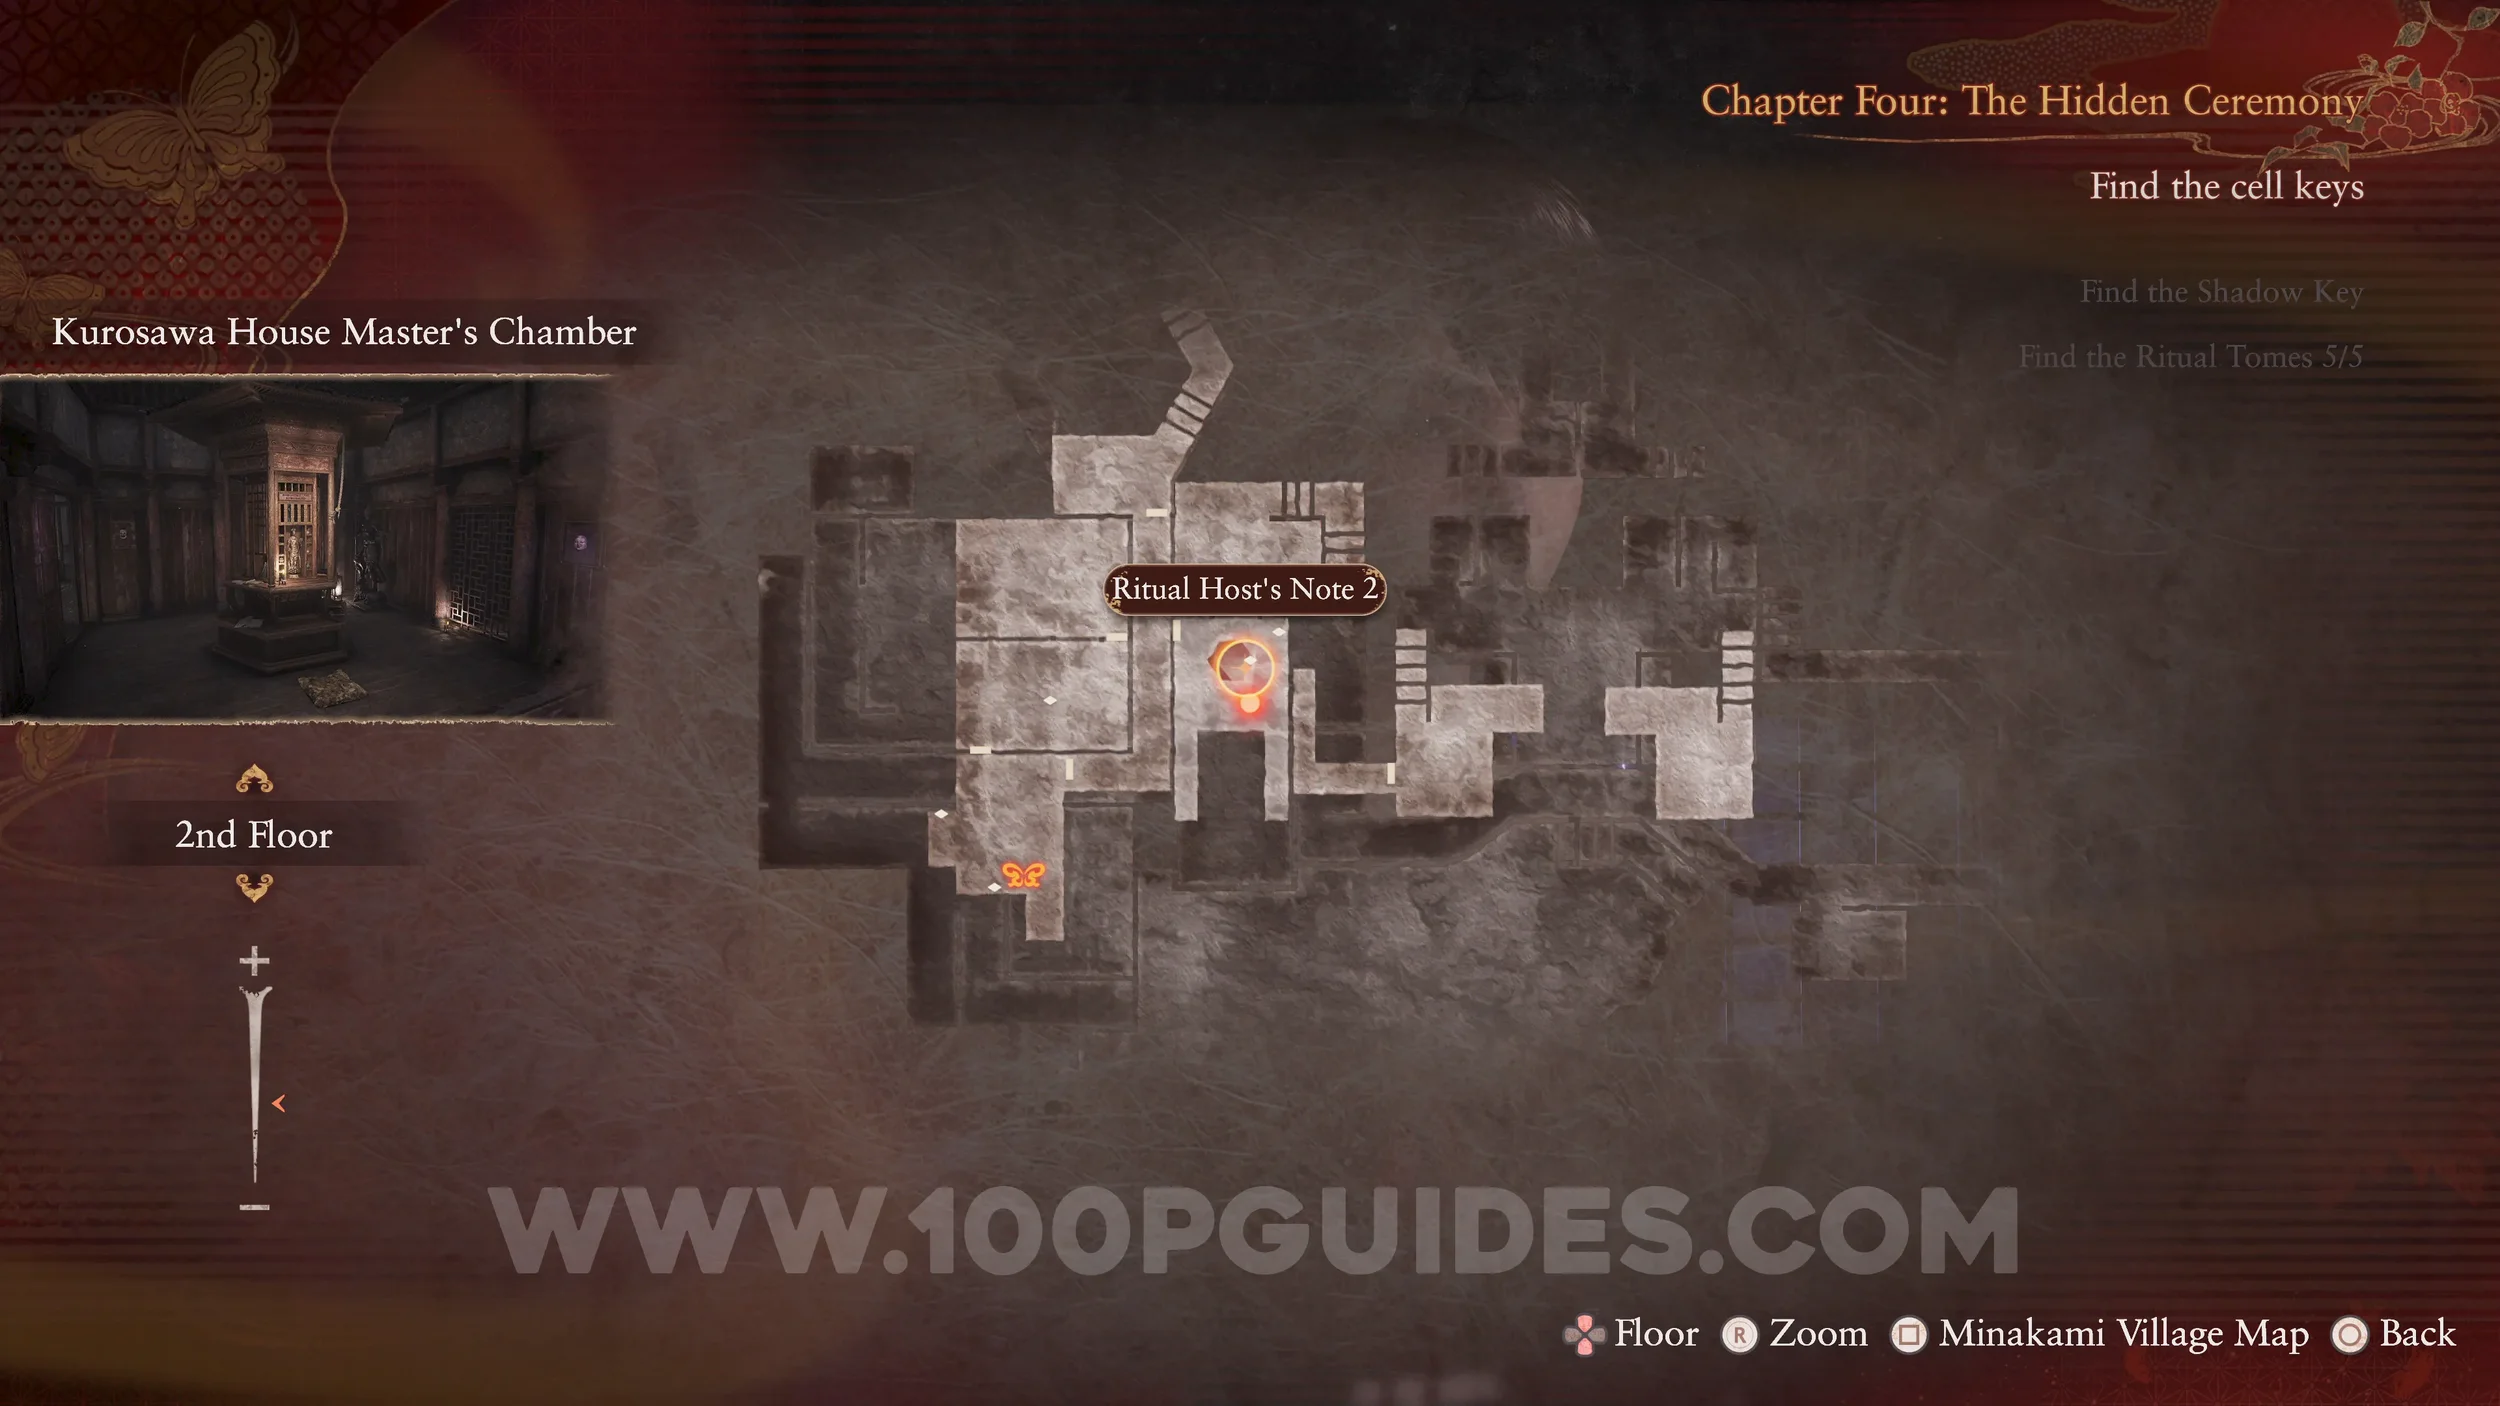
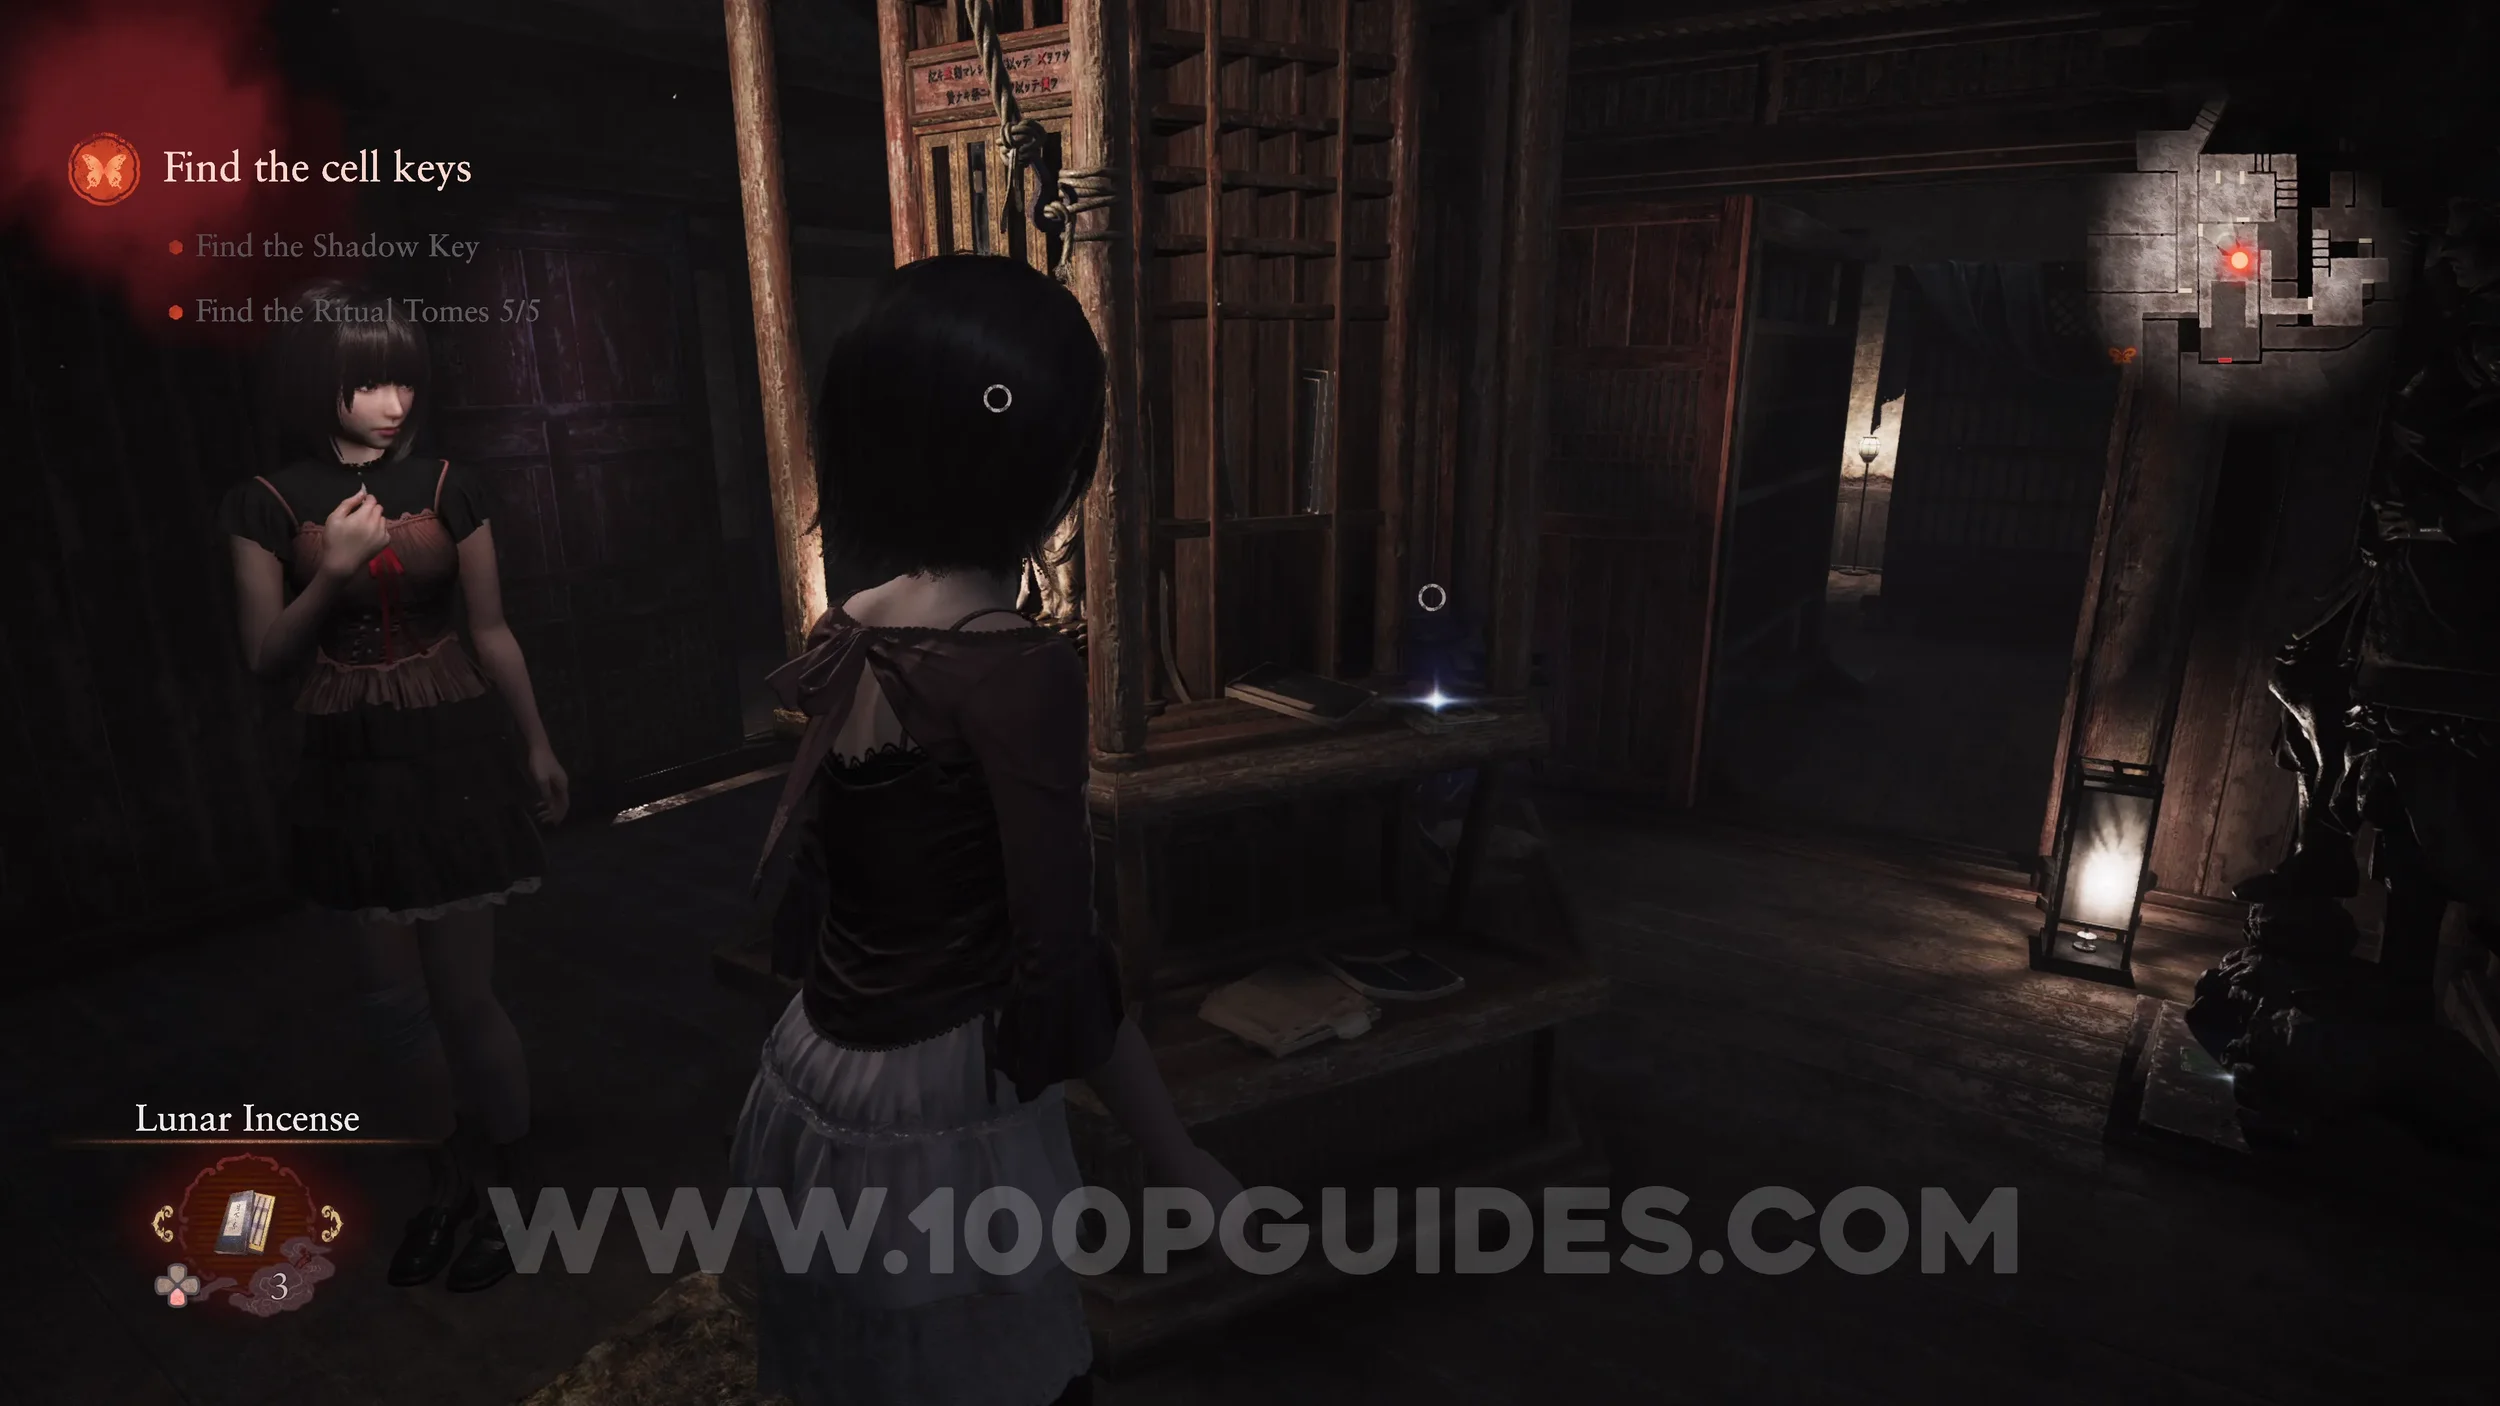
Document #46 - Ritual Host’s Note 2. Also in the Master’s Chamber.
Specter #72 - 058 Ritual Investigator. After using the Shadow and Light Keys to open the cell, go to the back of the cell to find the specter.
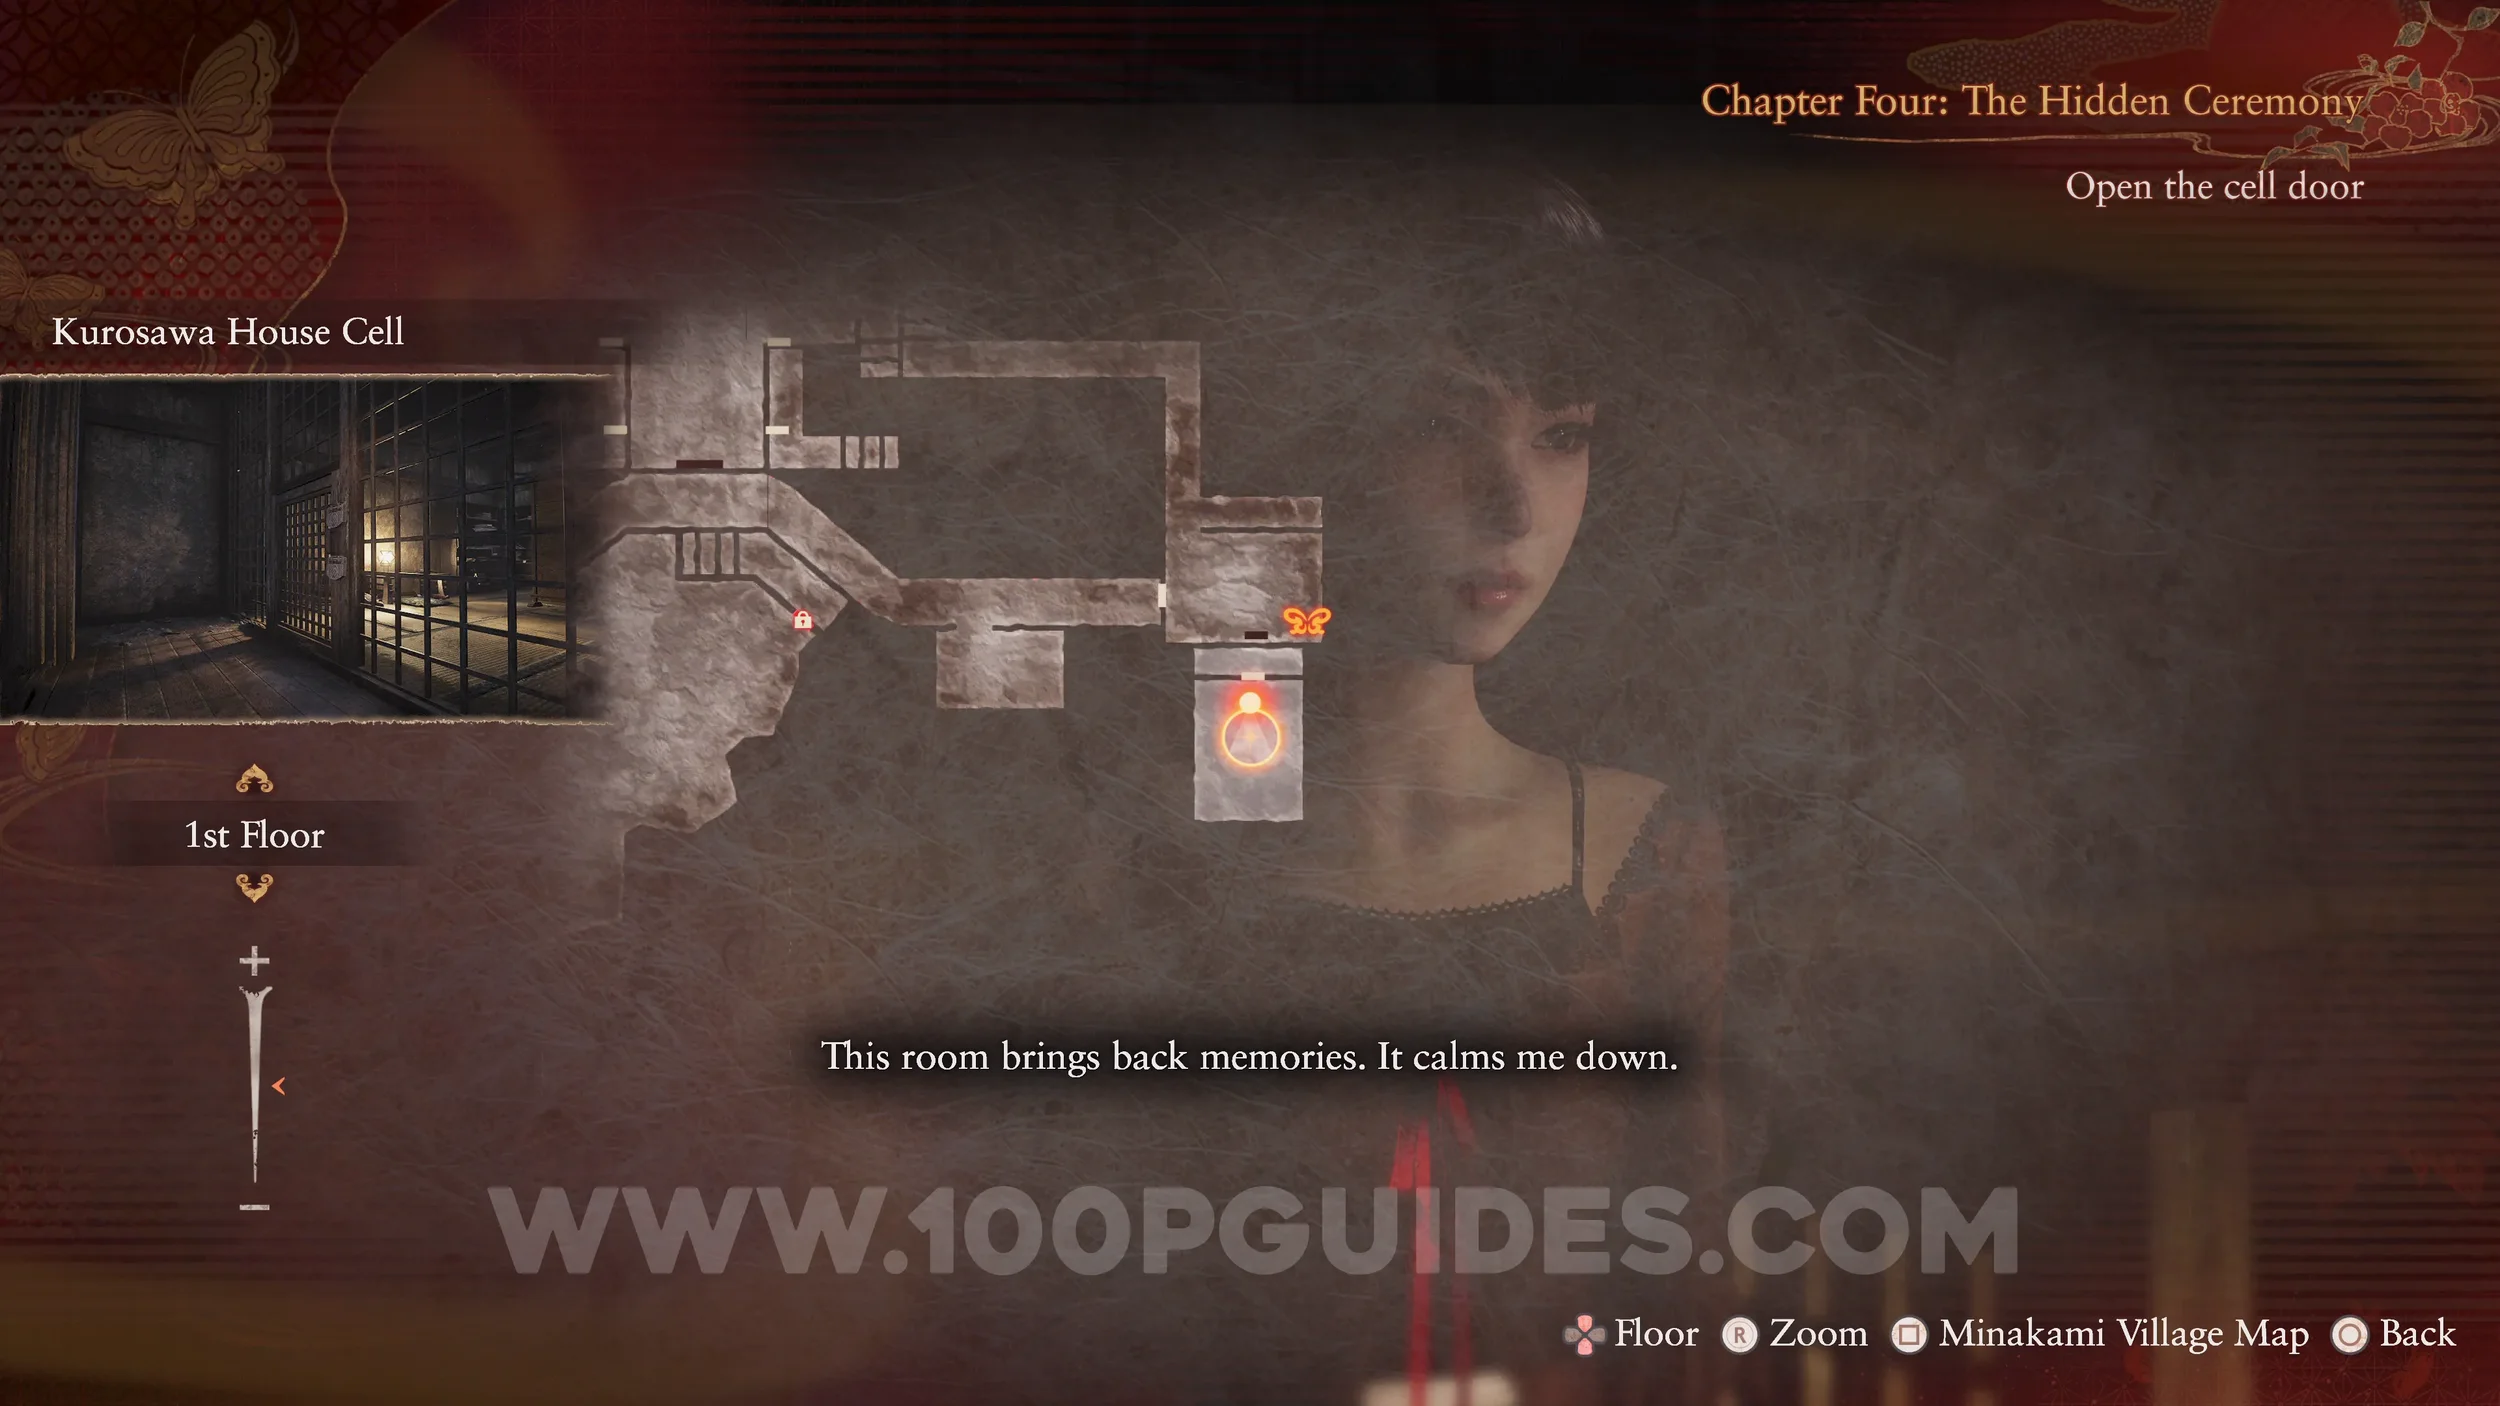
Document #47 - Folklorist’s Note 17. Also found in the cell.
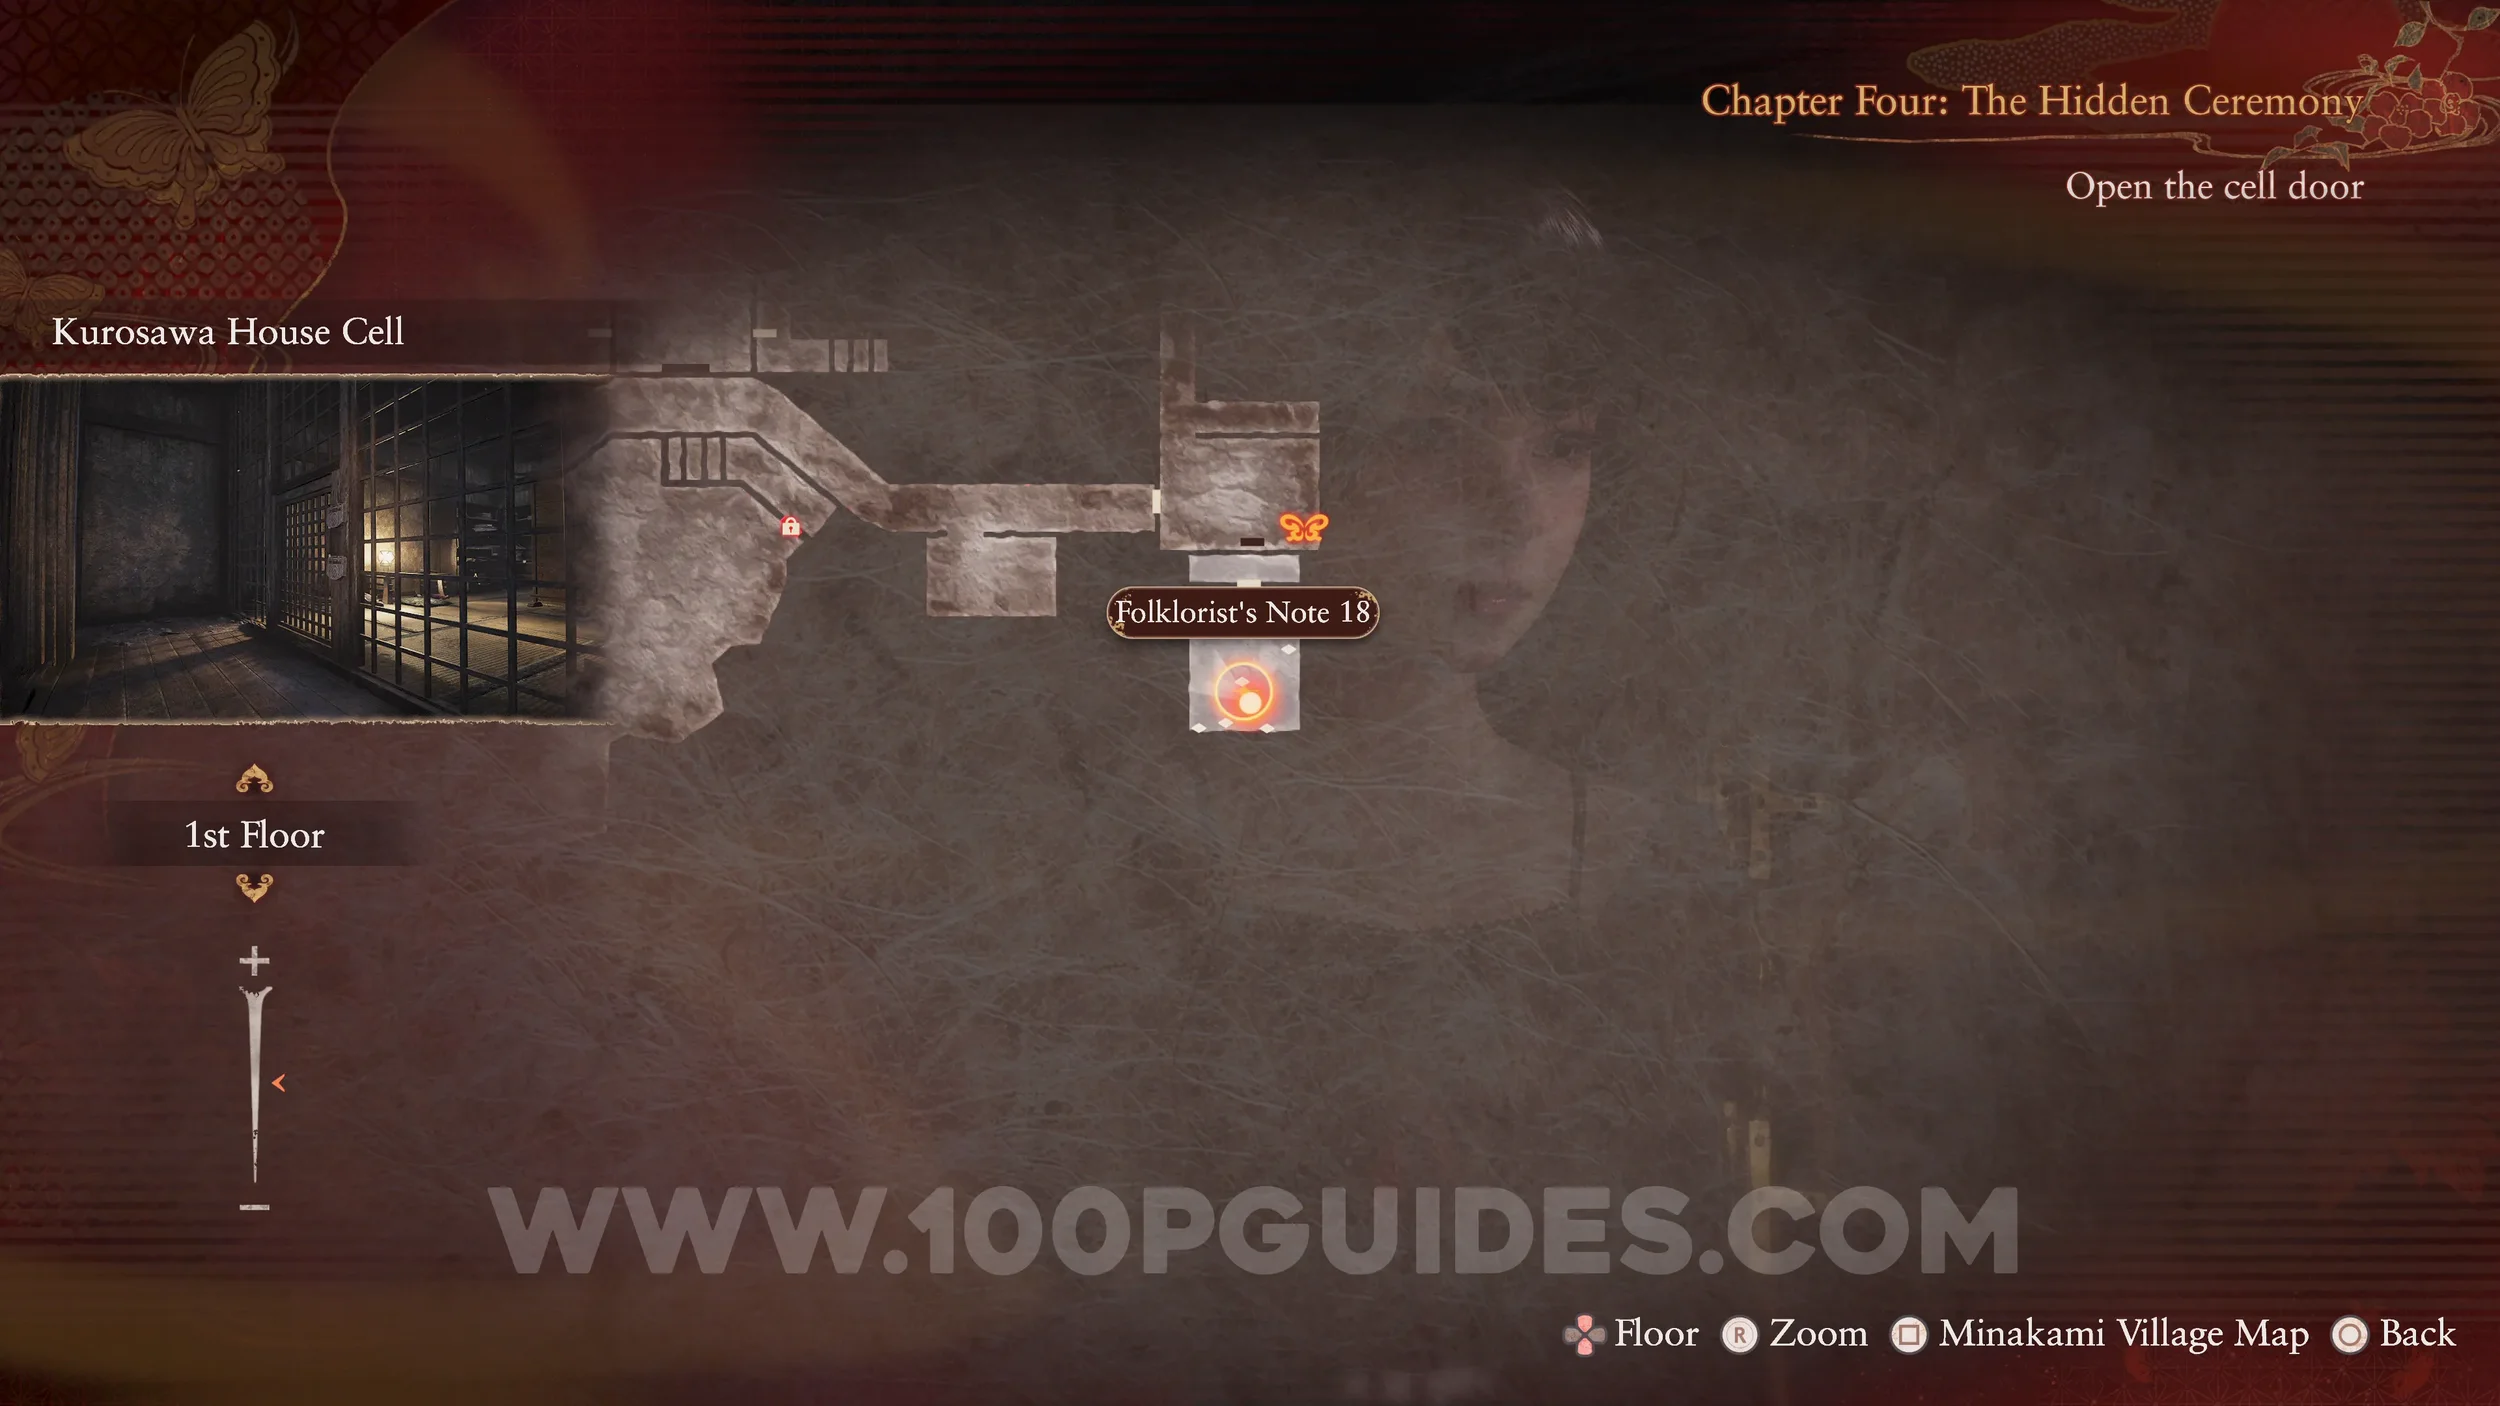

Document #48 - Folklorist’s Note 18. Also found in the cell.
Document #49 - Folklorist’s Note 19. Also found in the cell.
Prayer Beads #20. Found under the drawer in the cell.
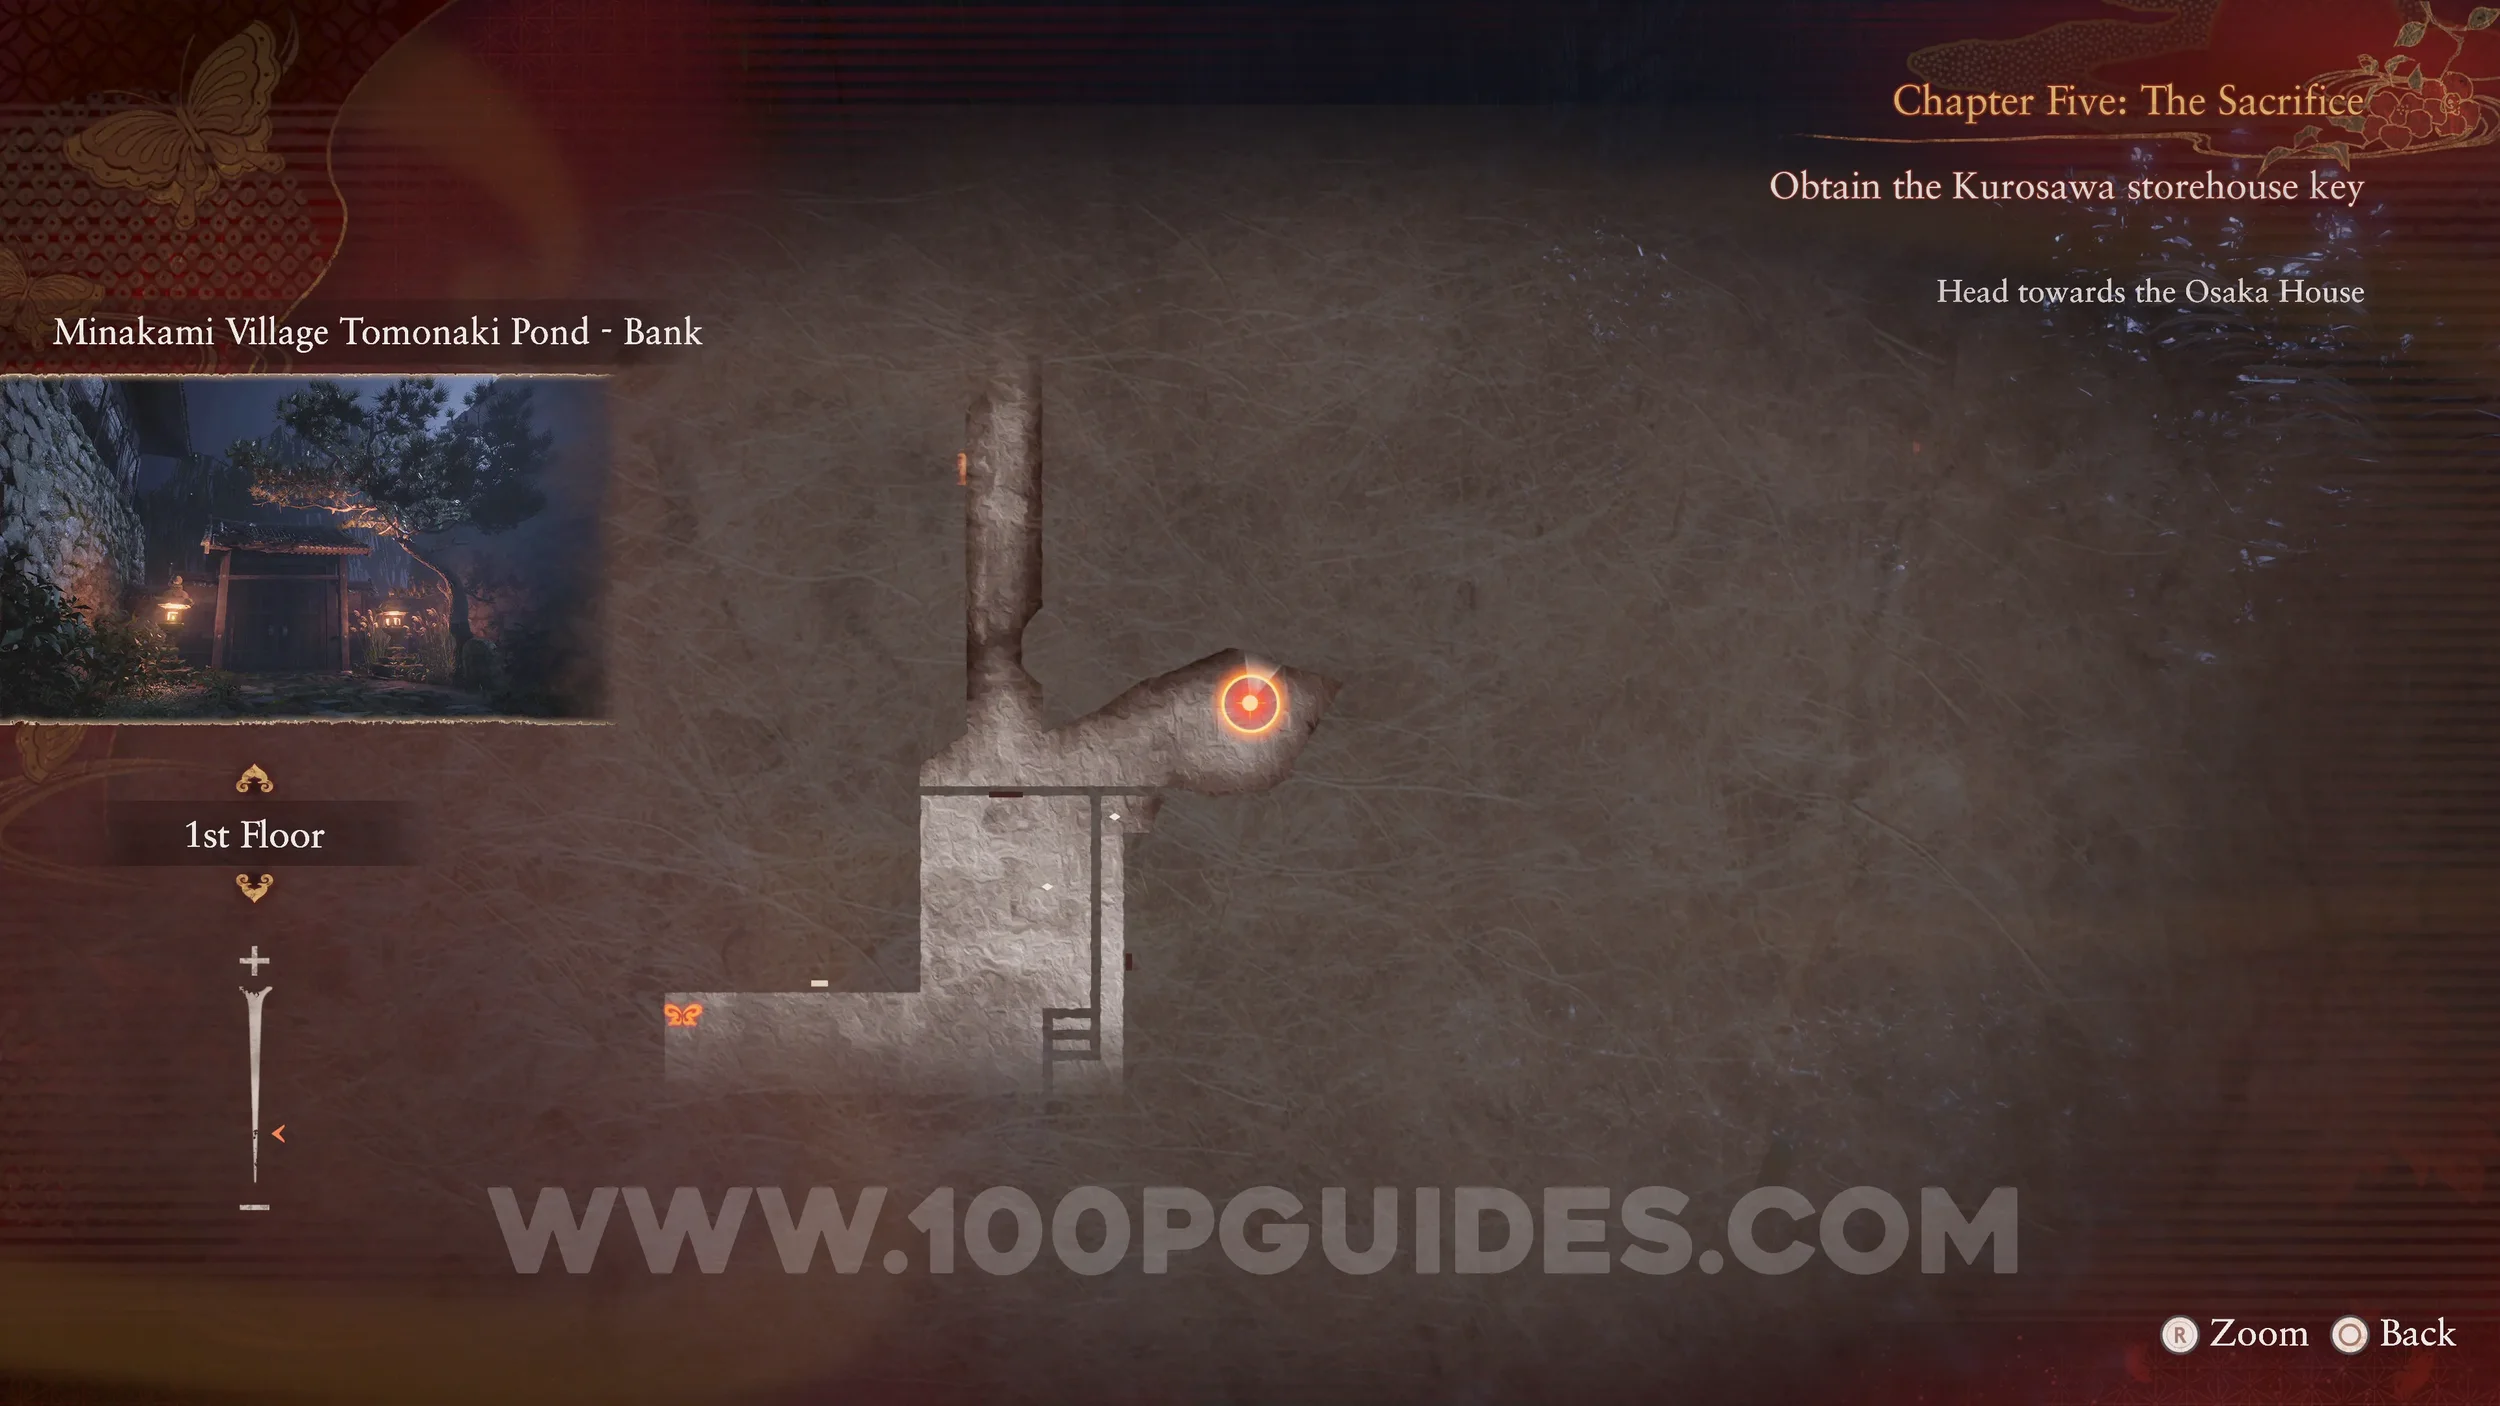
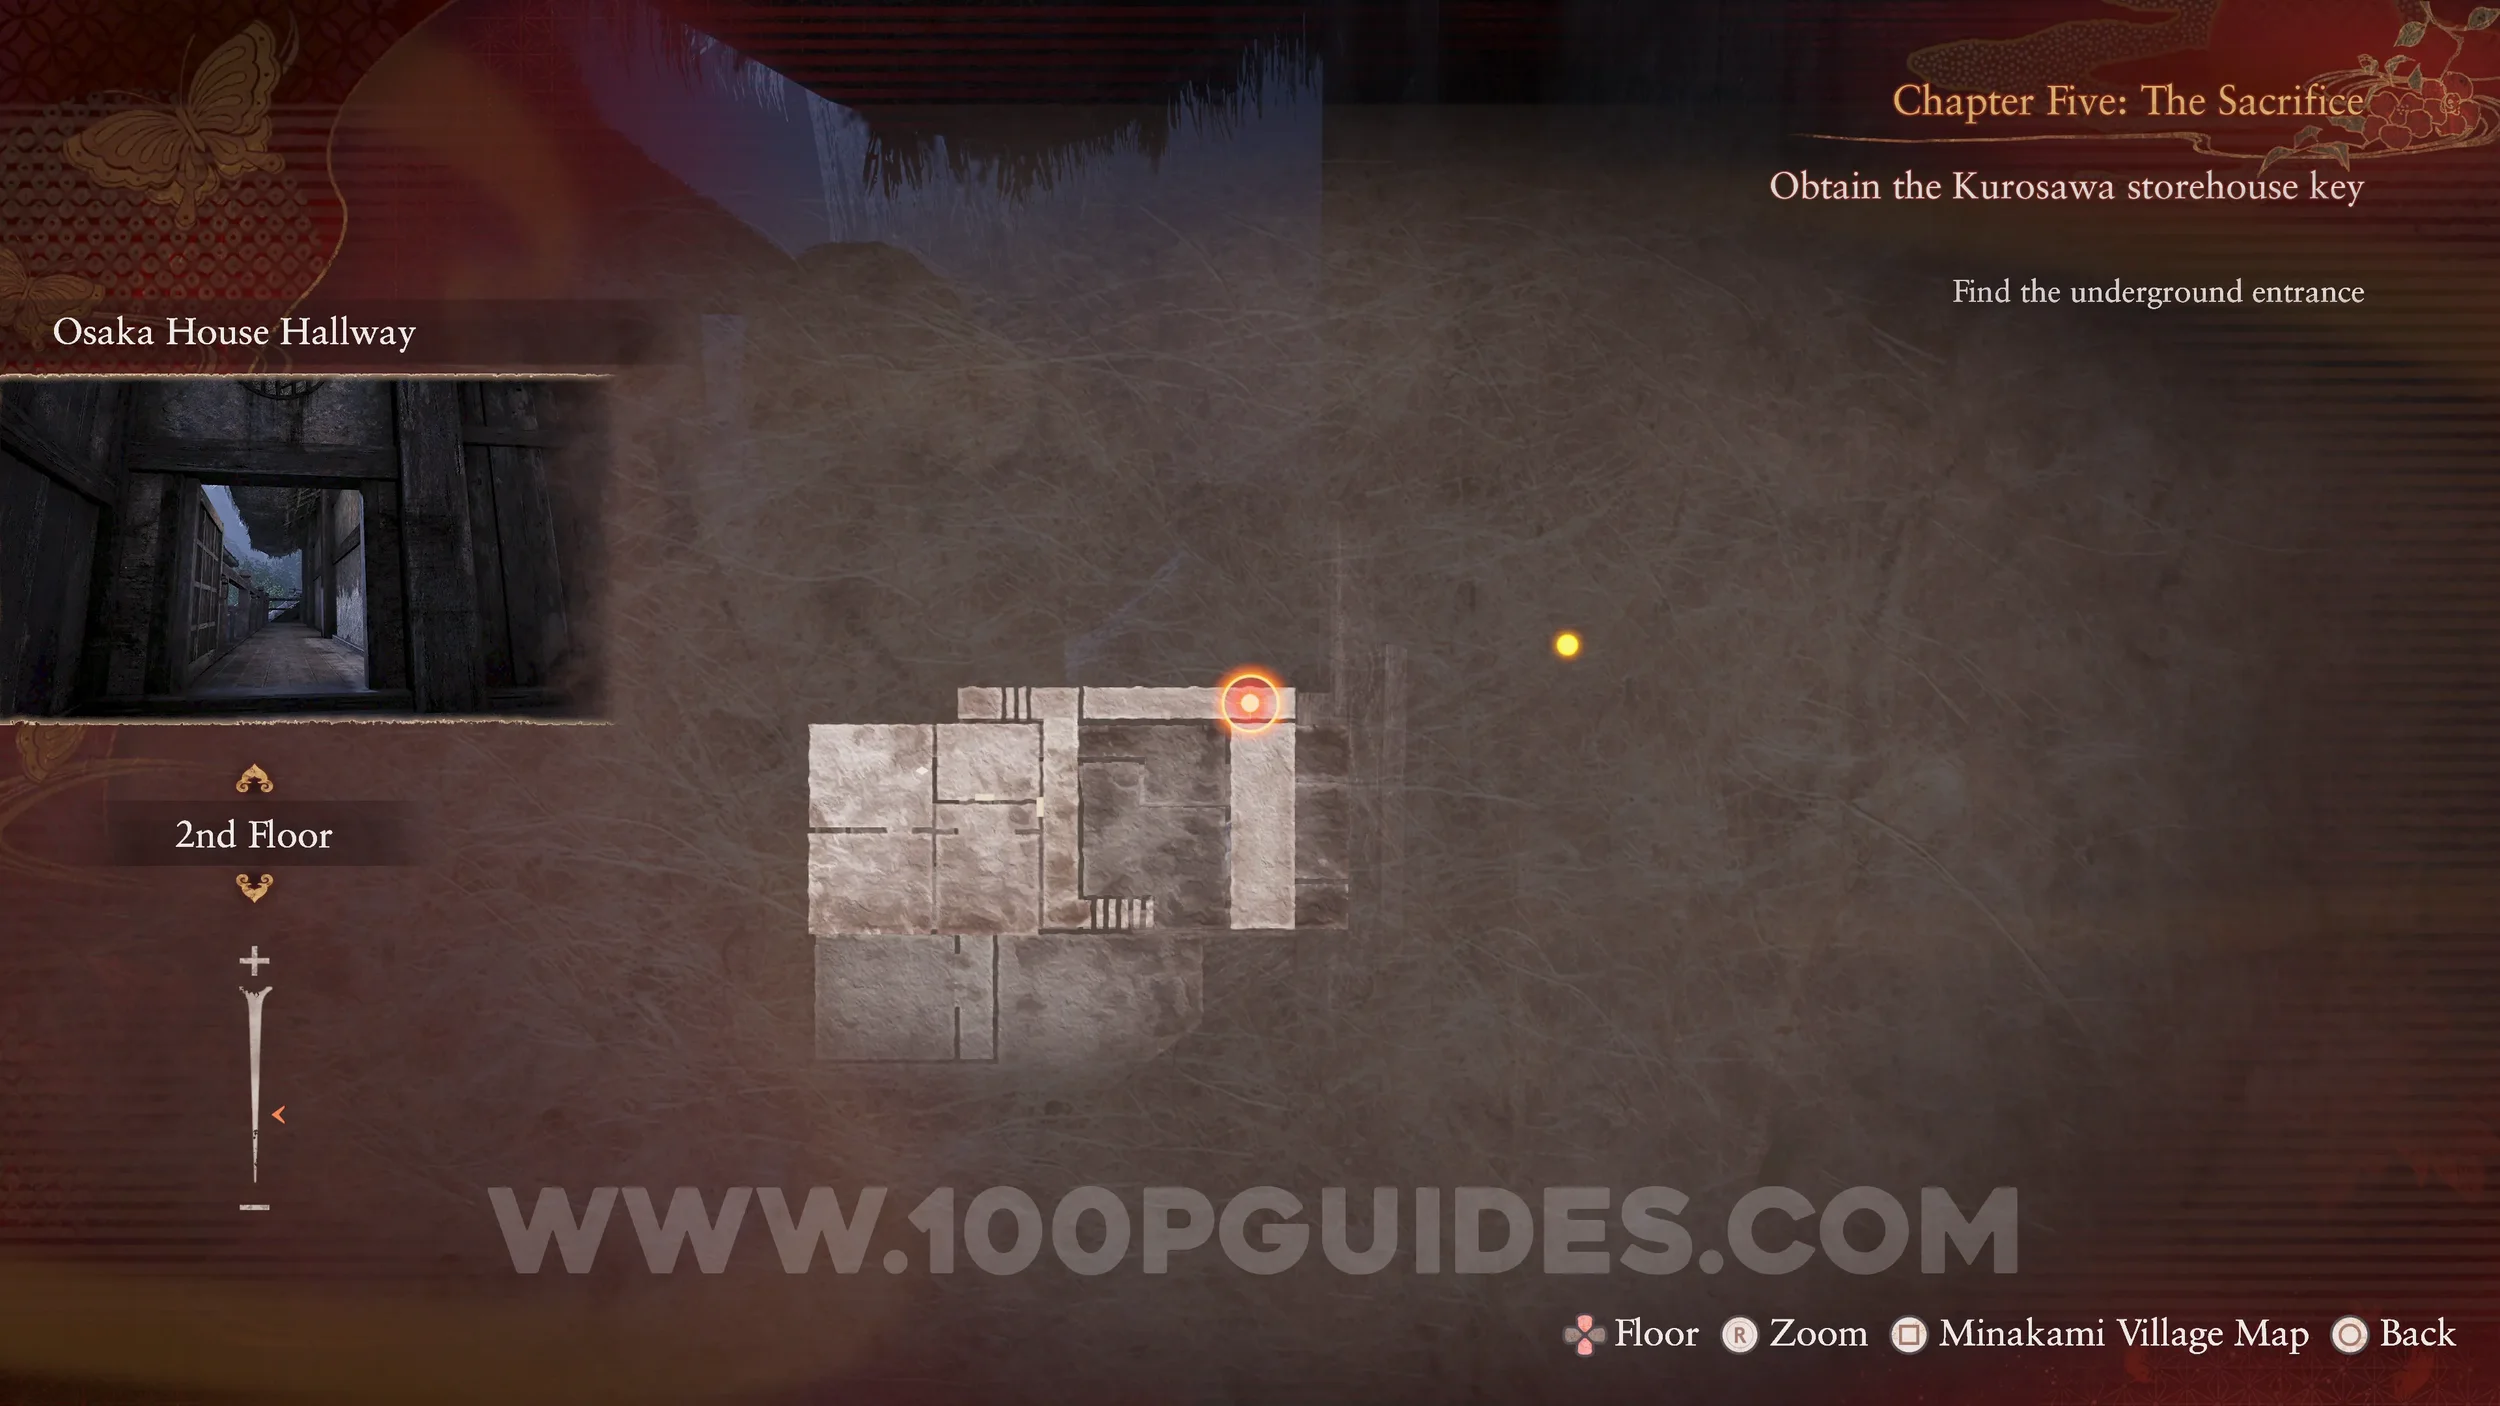
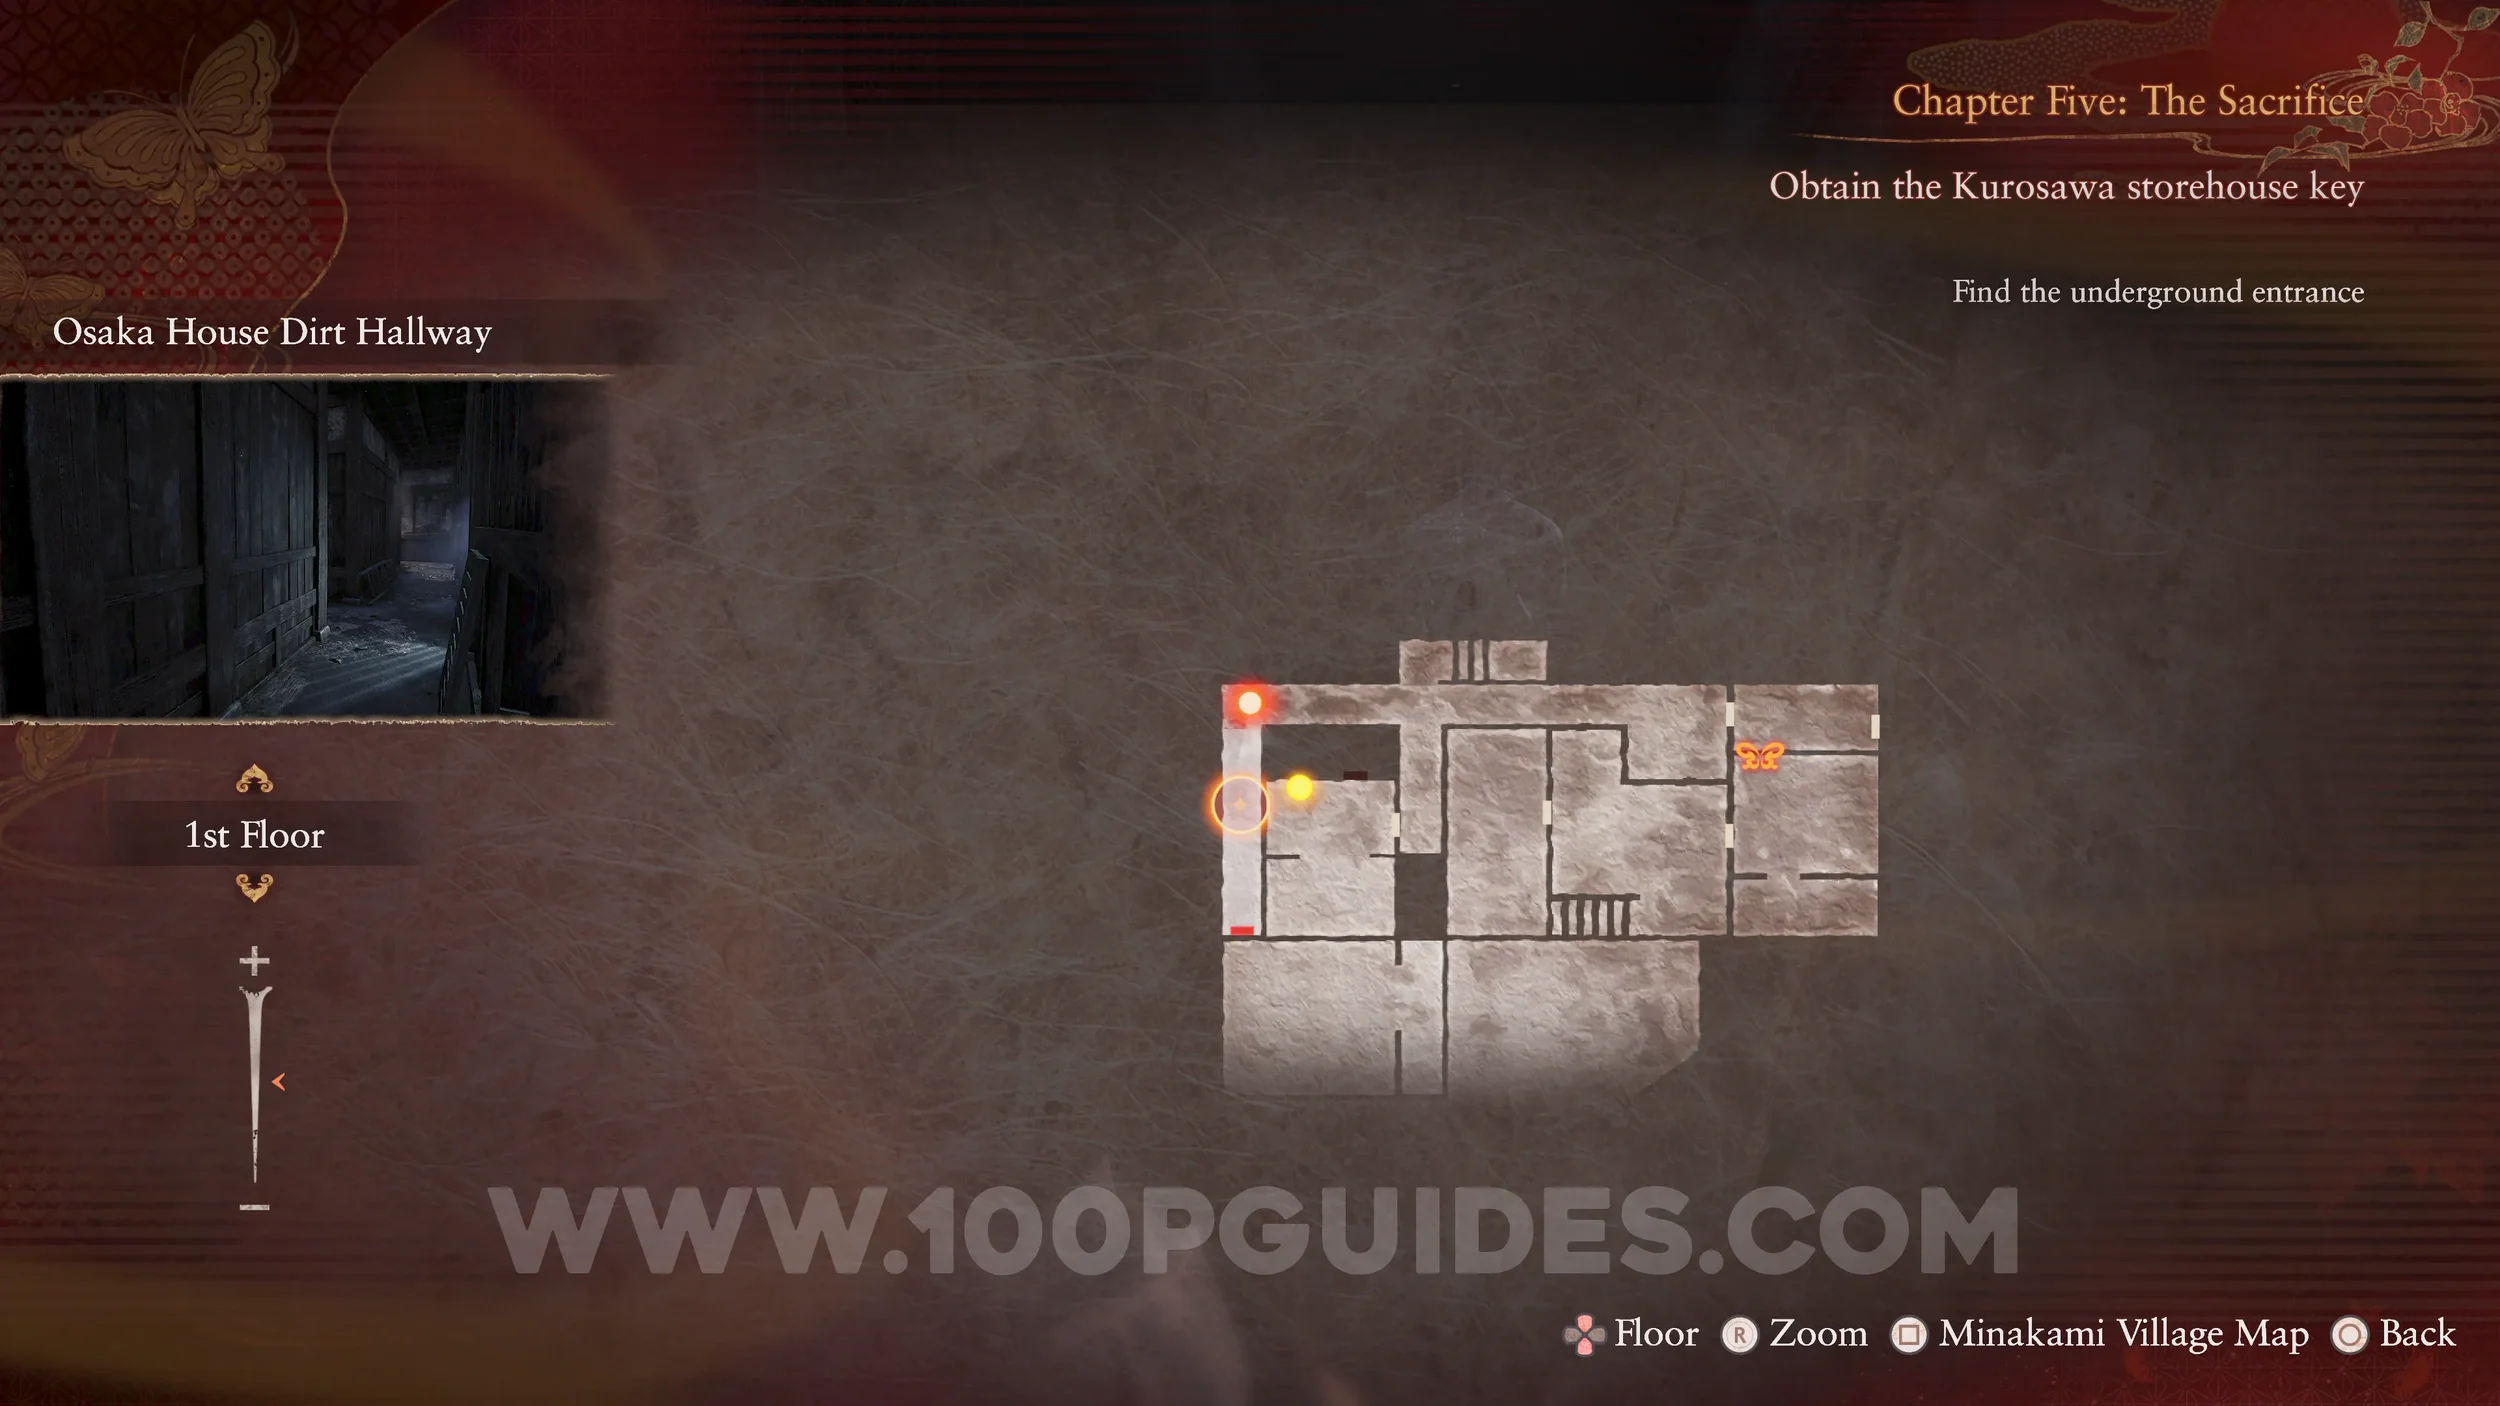
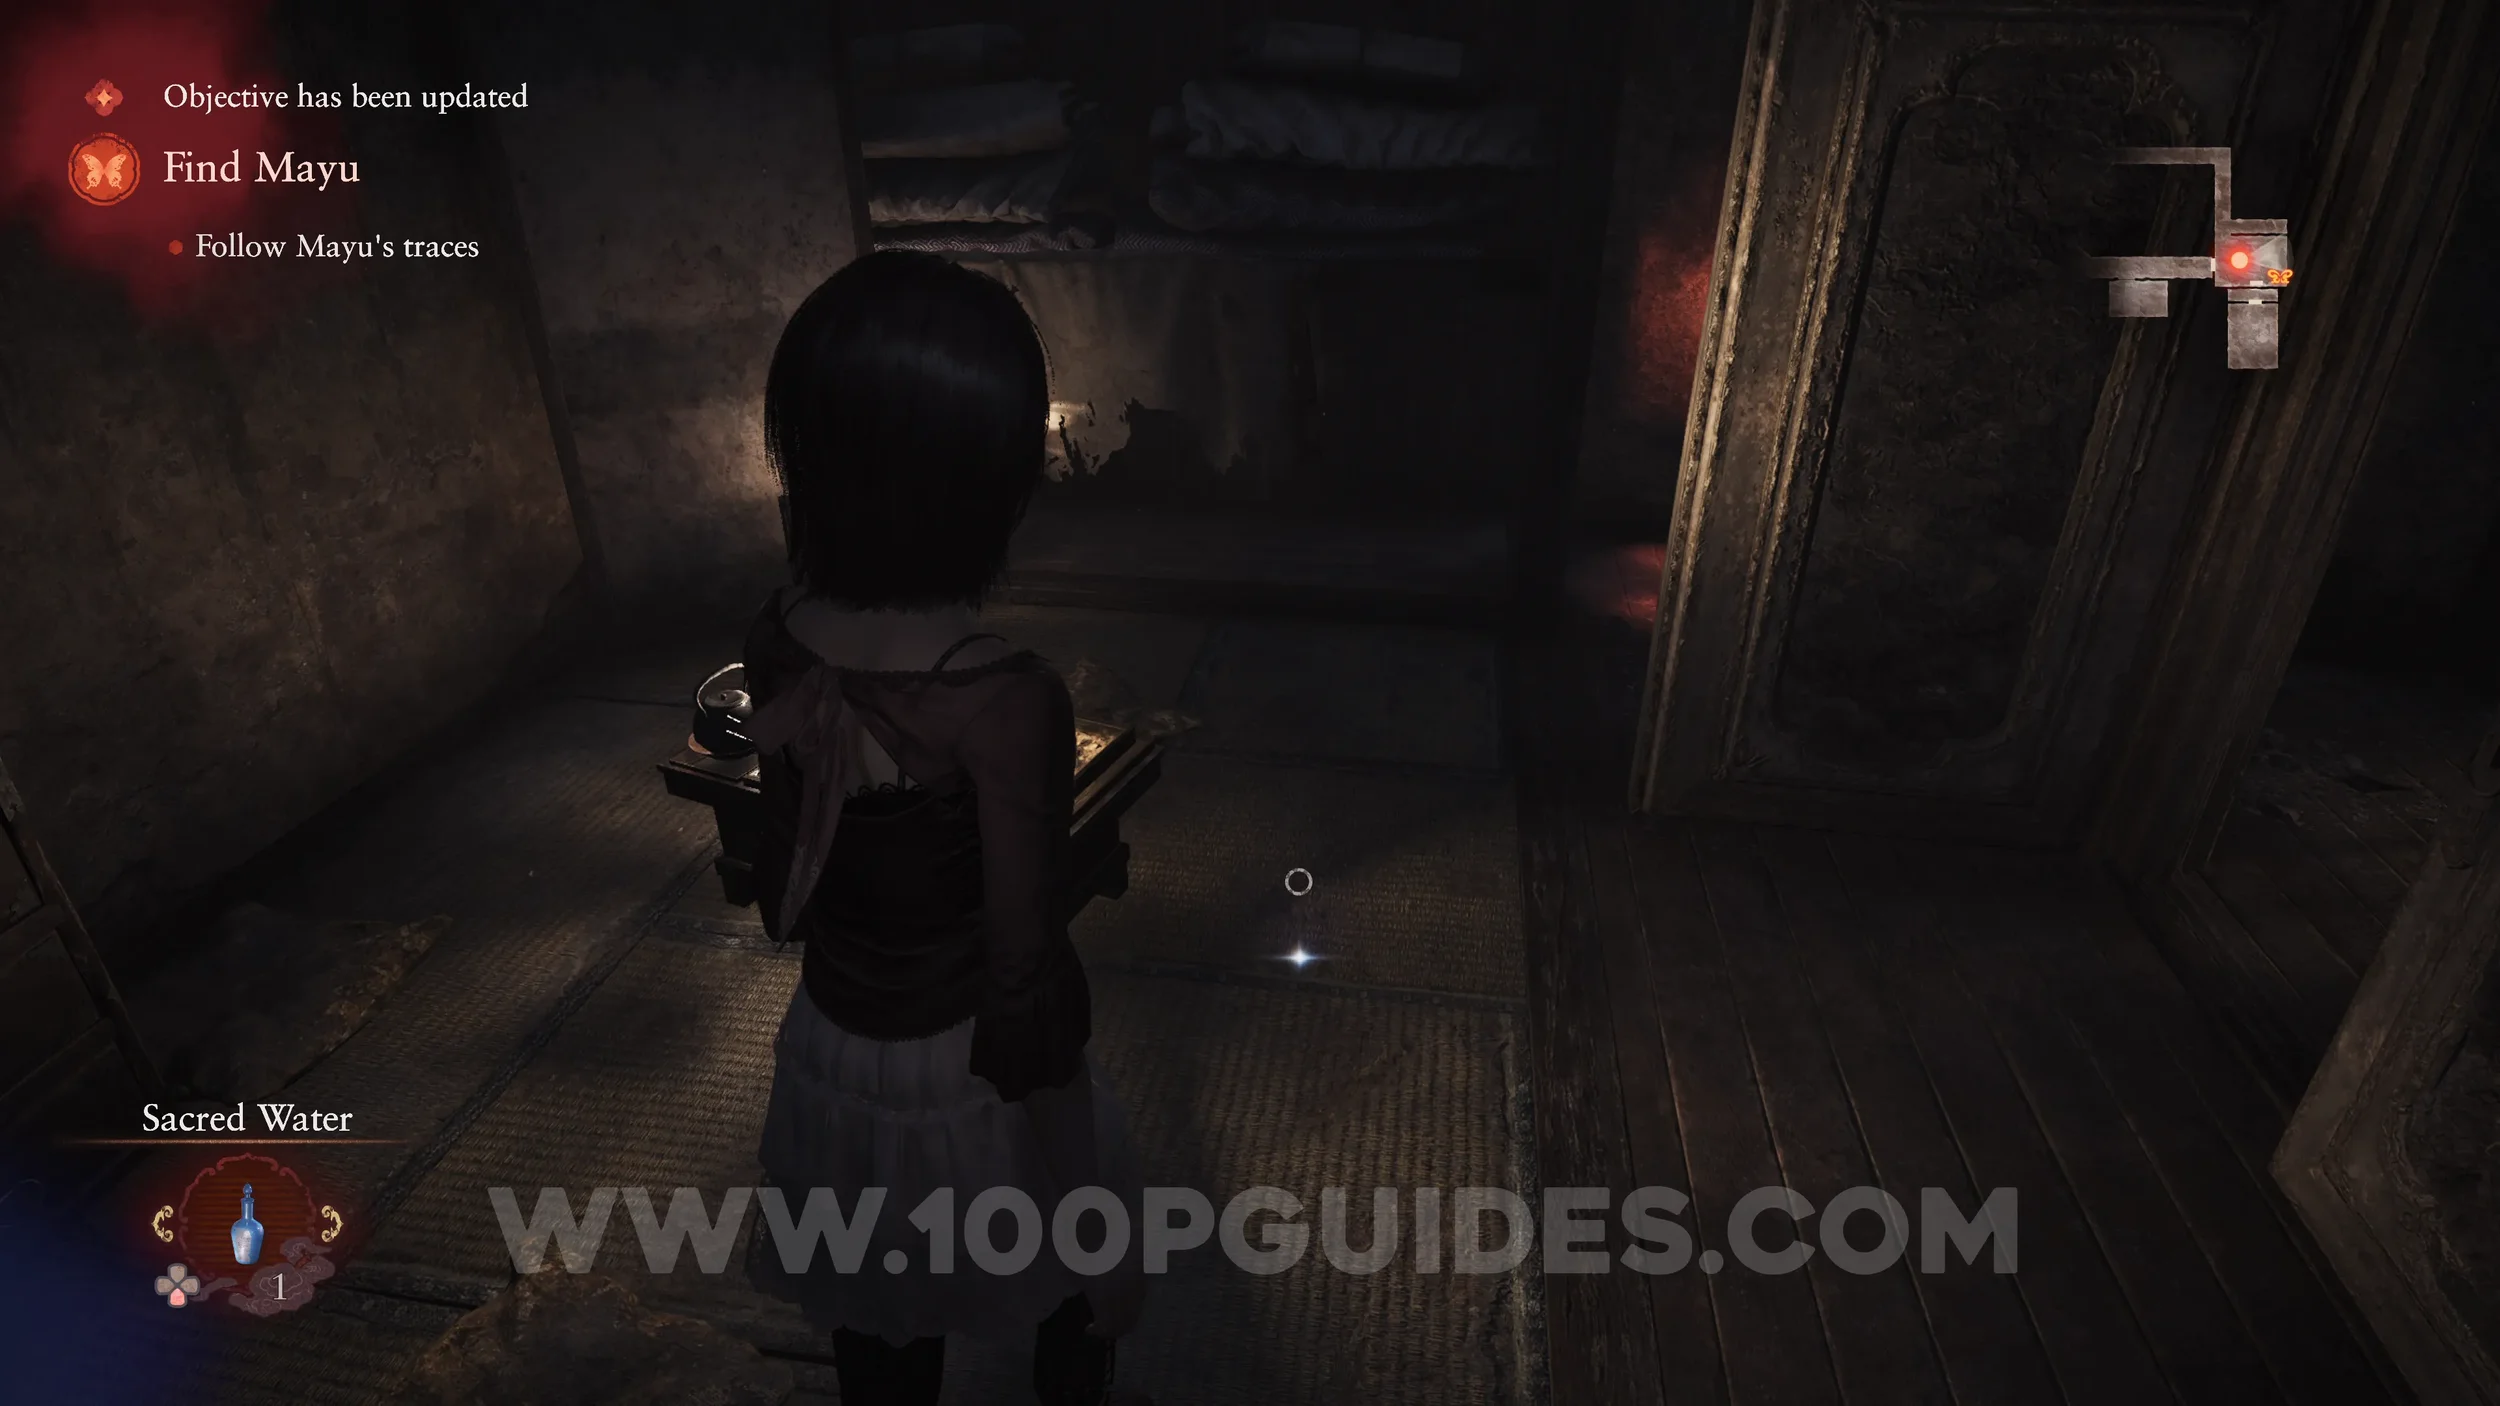
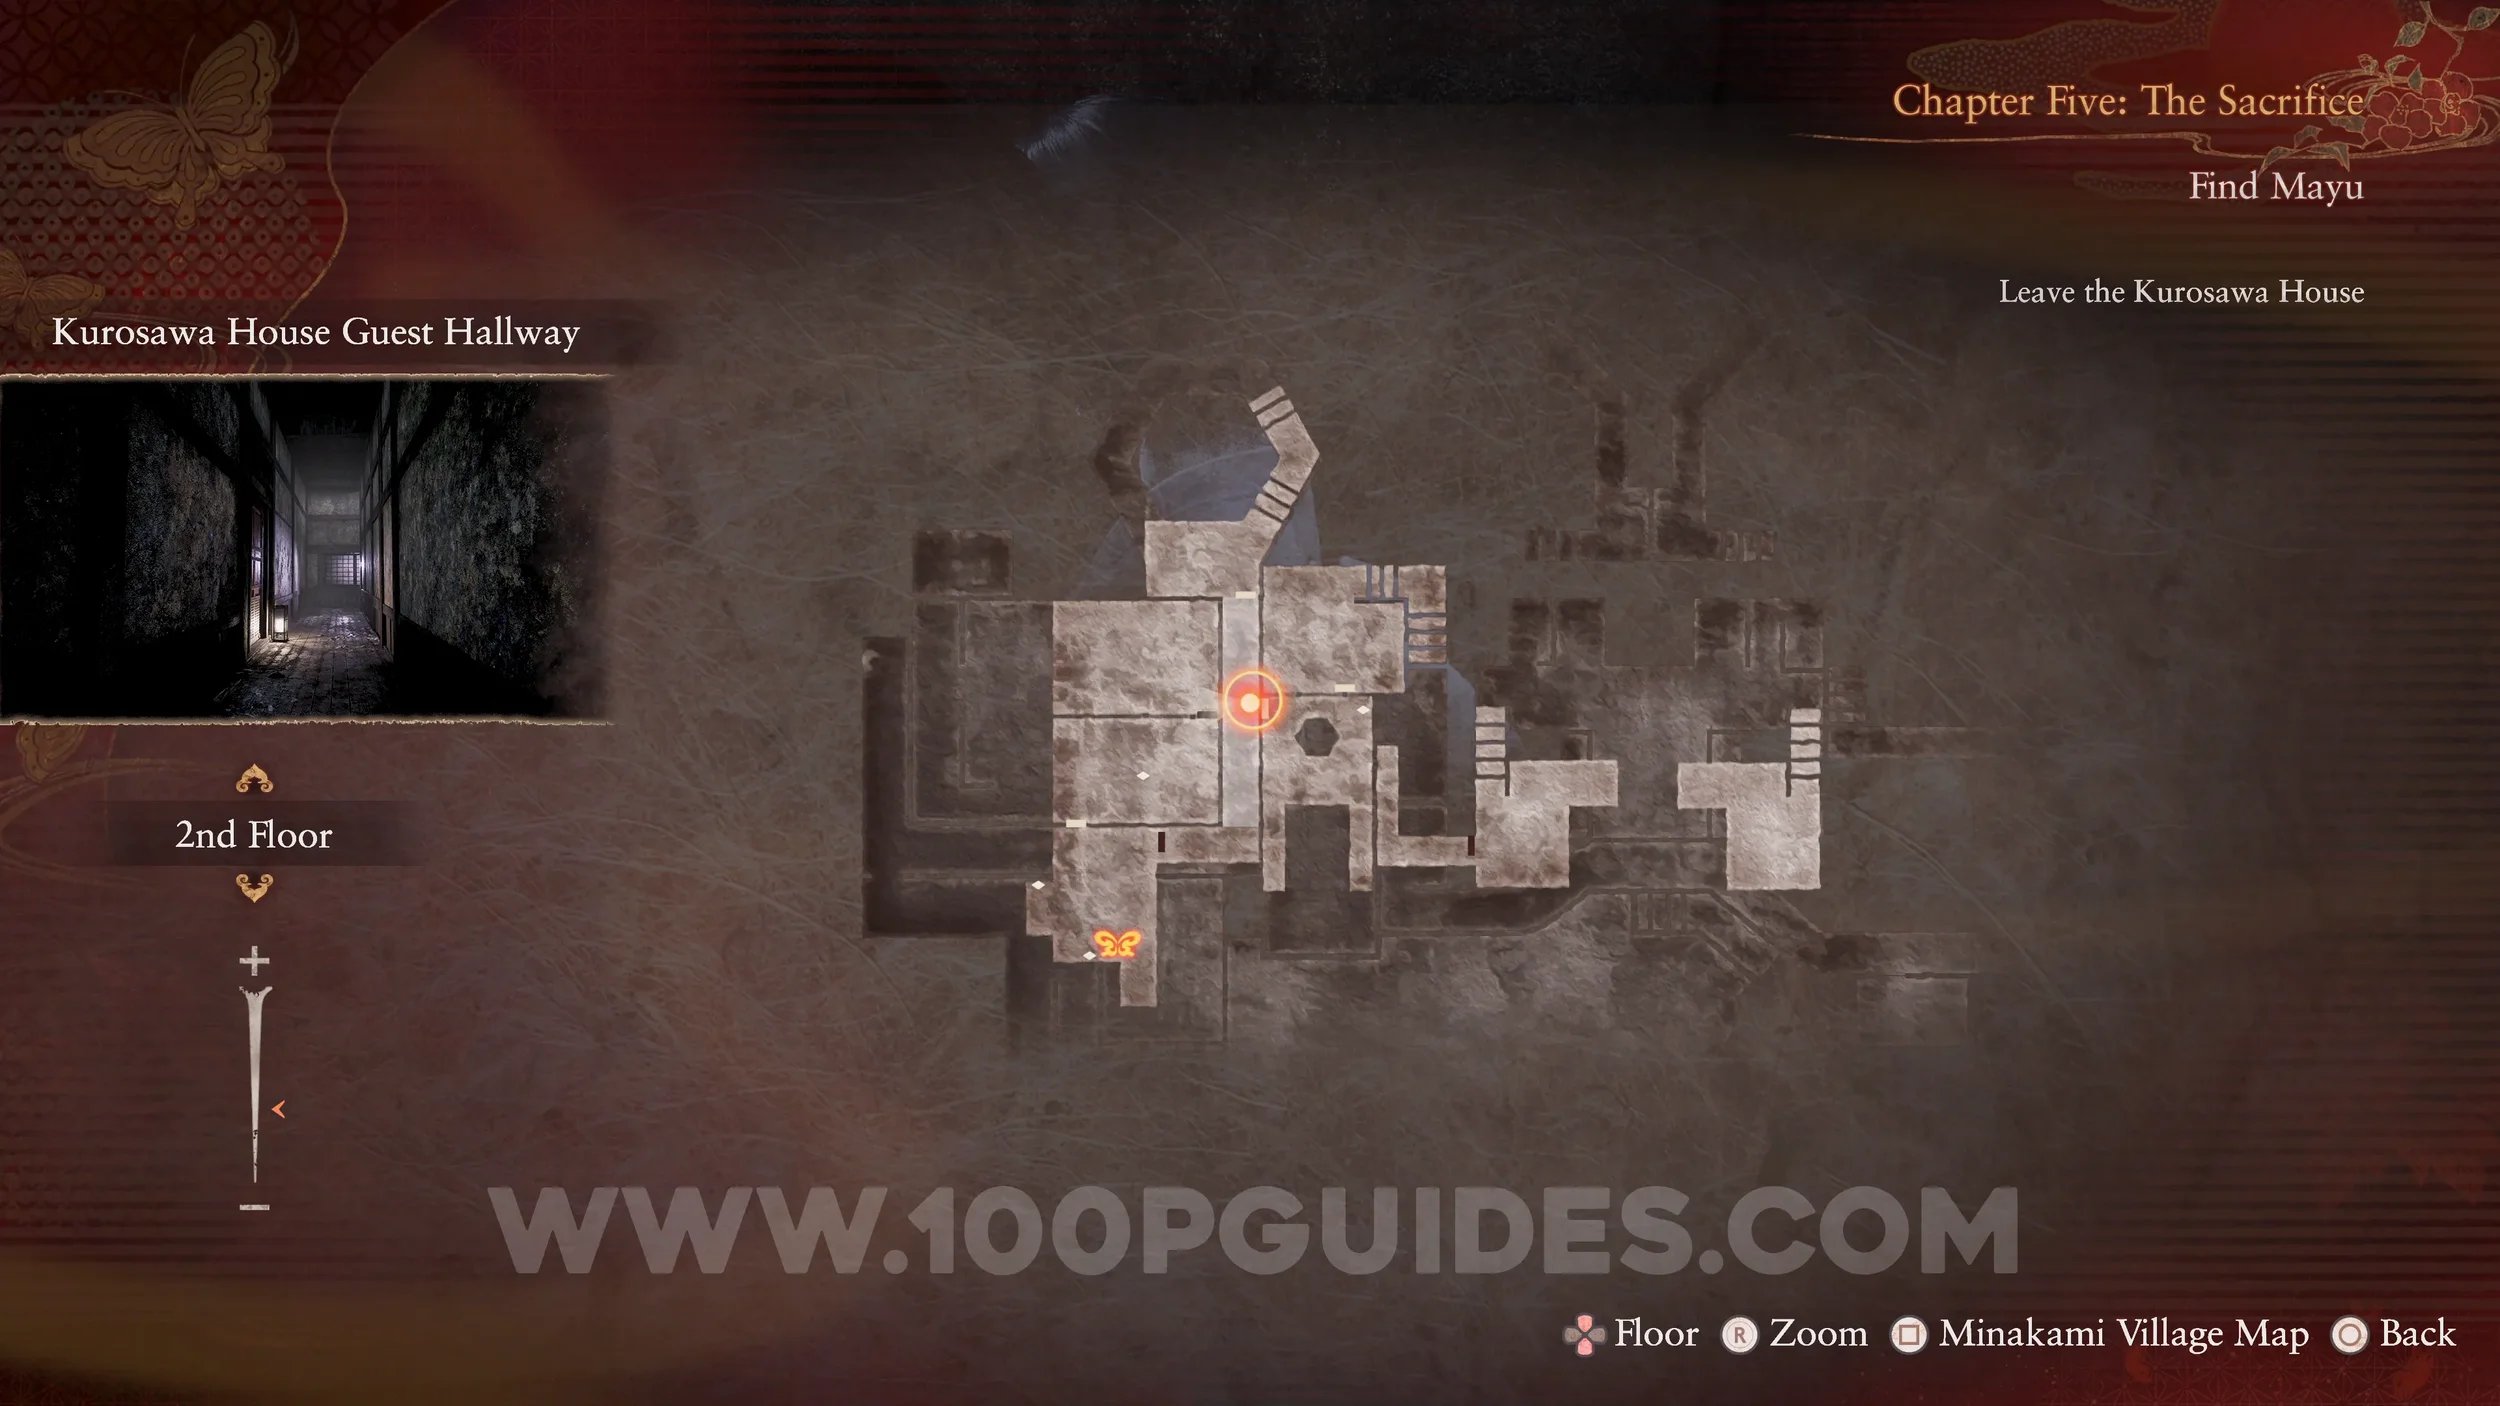
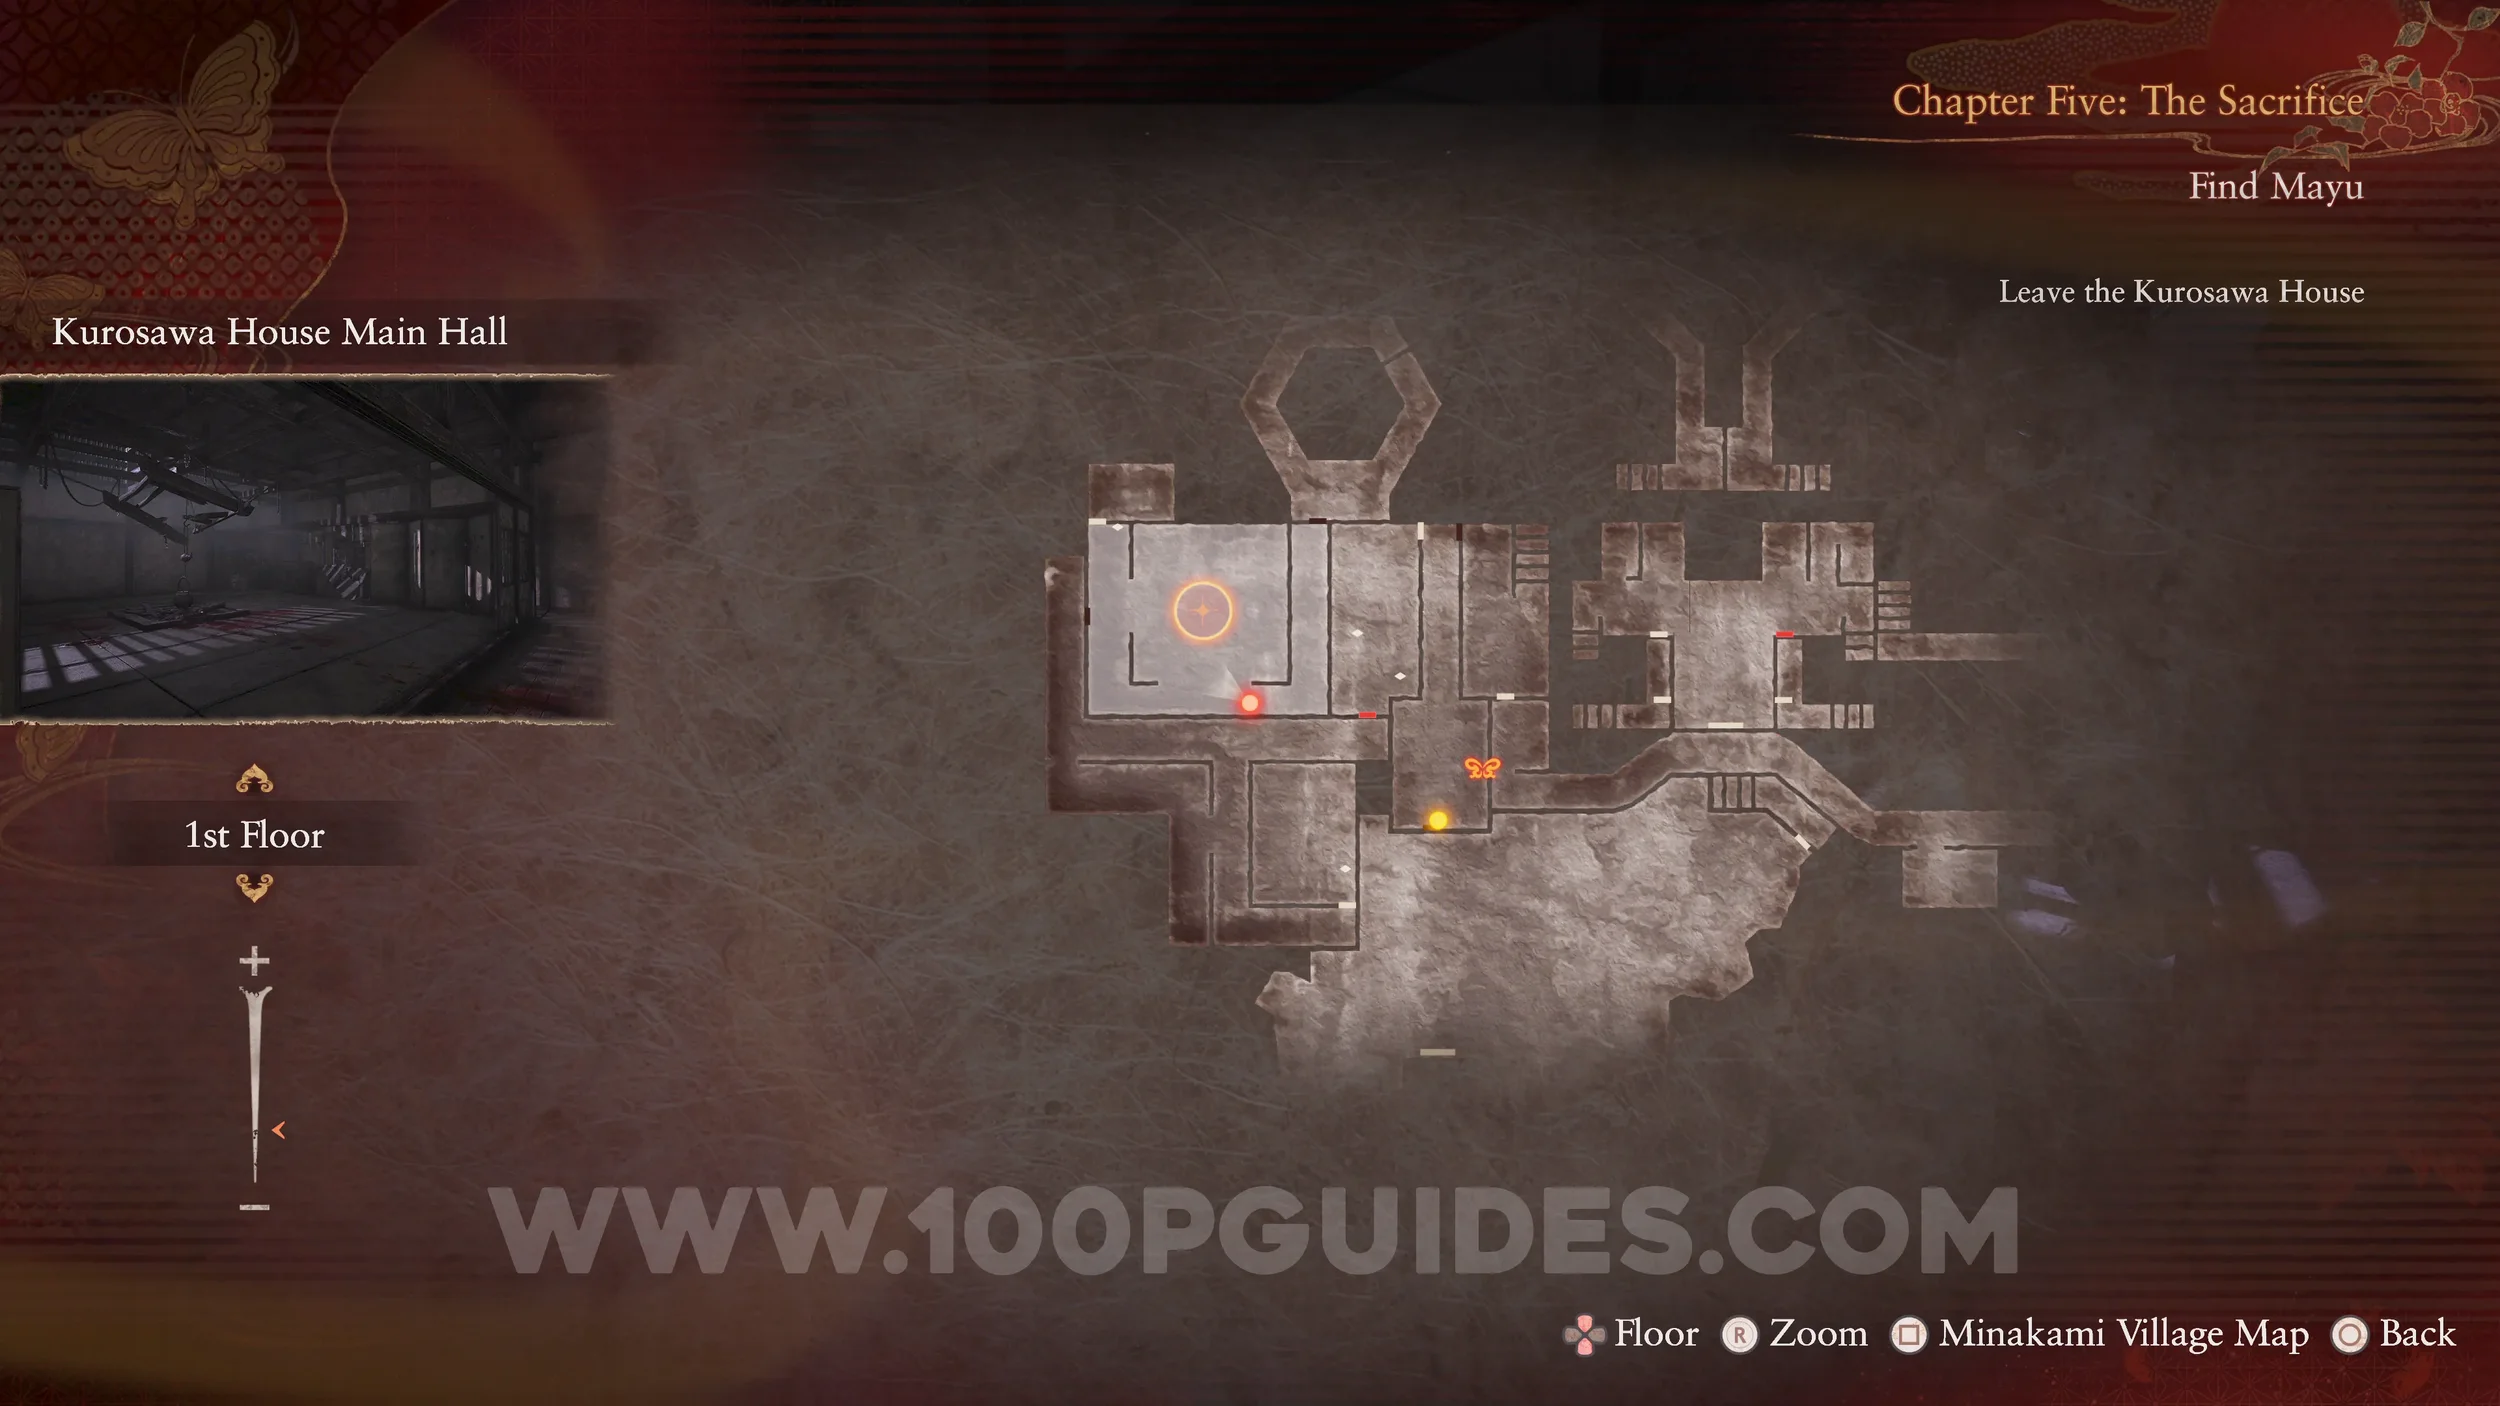
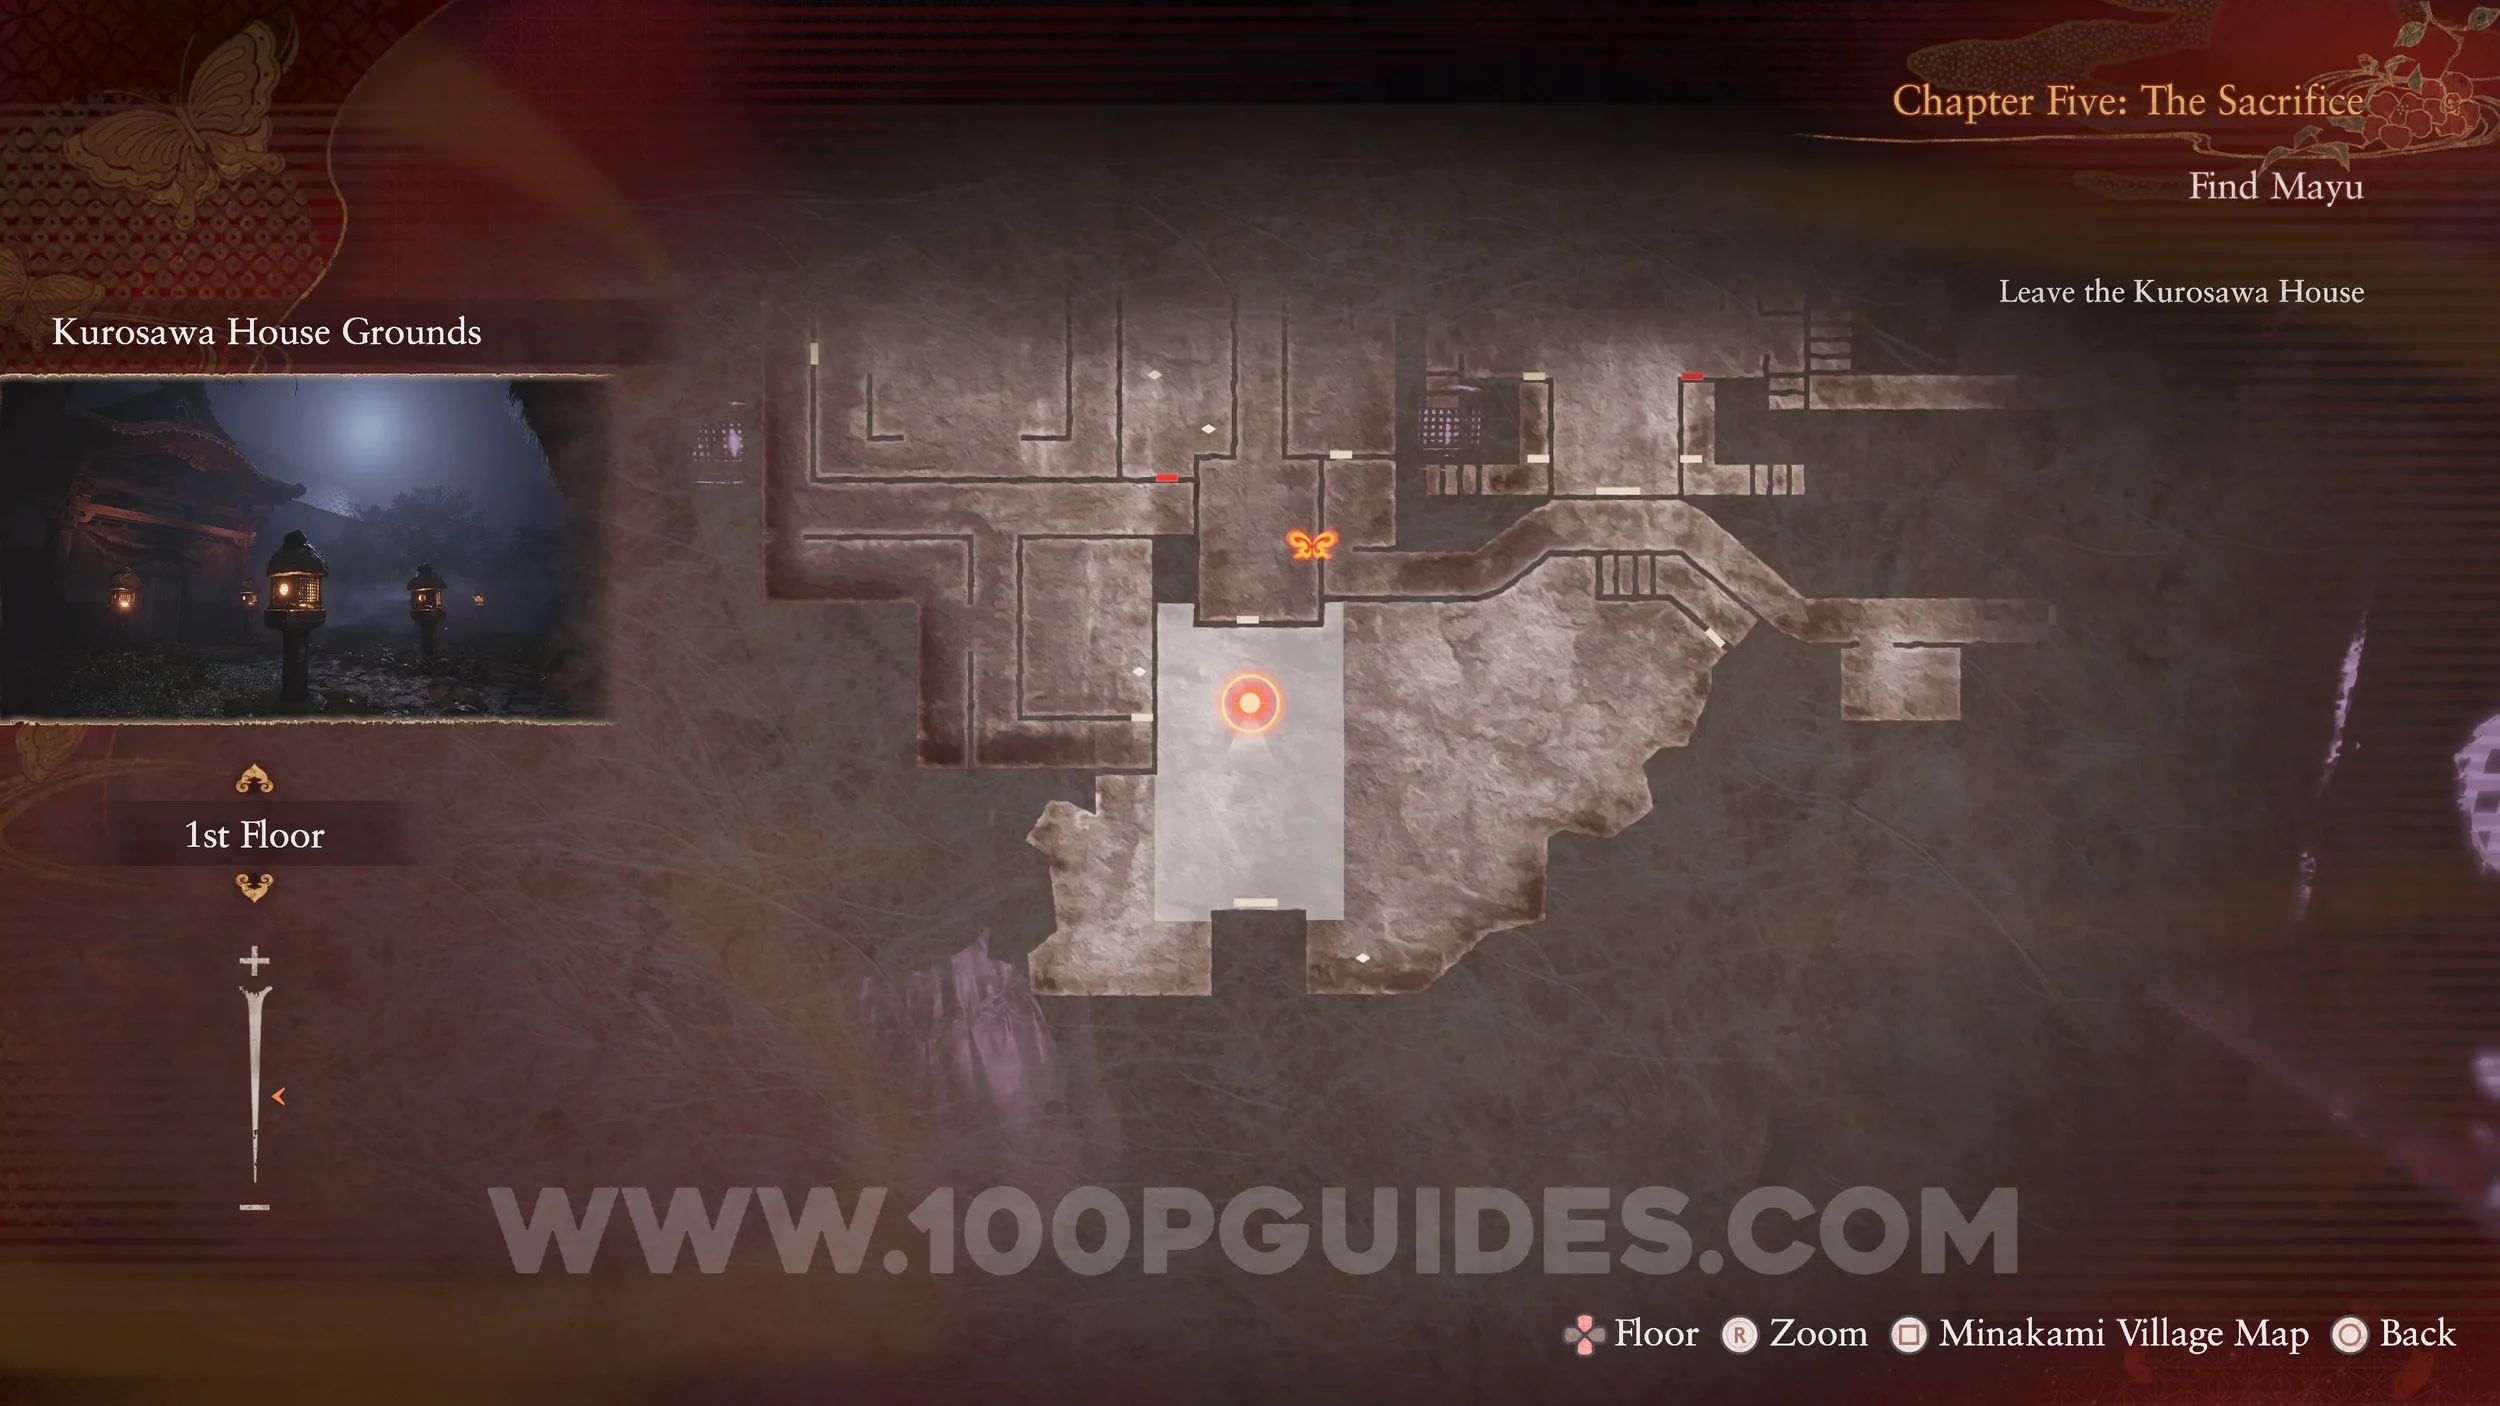
Chapter 5
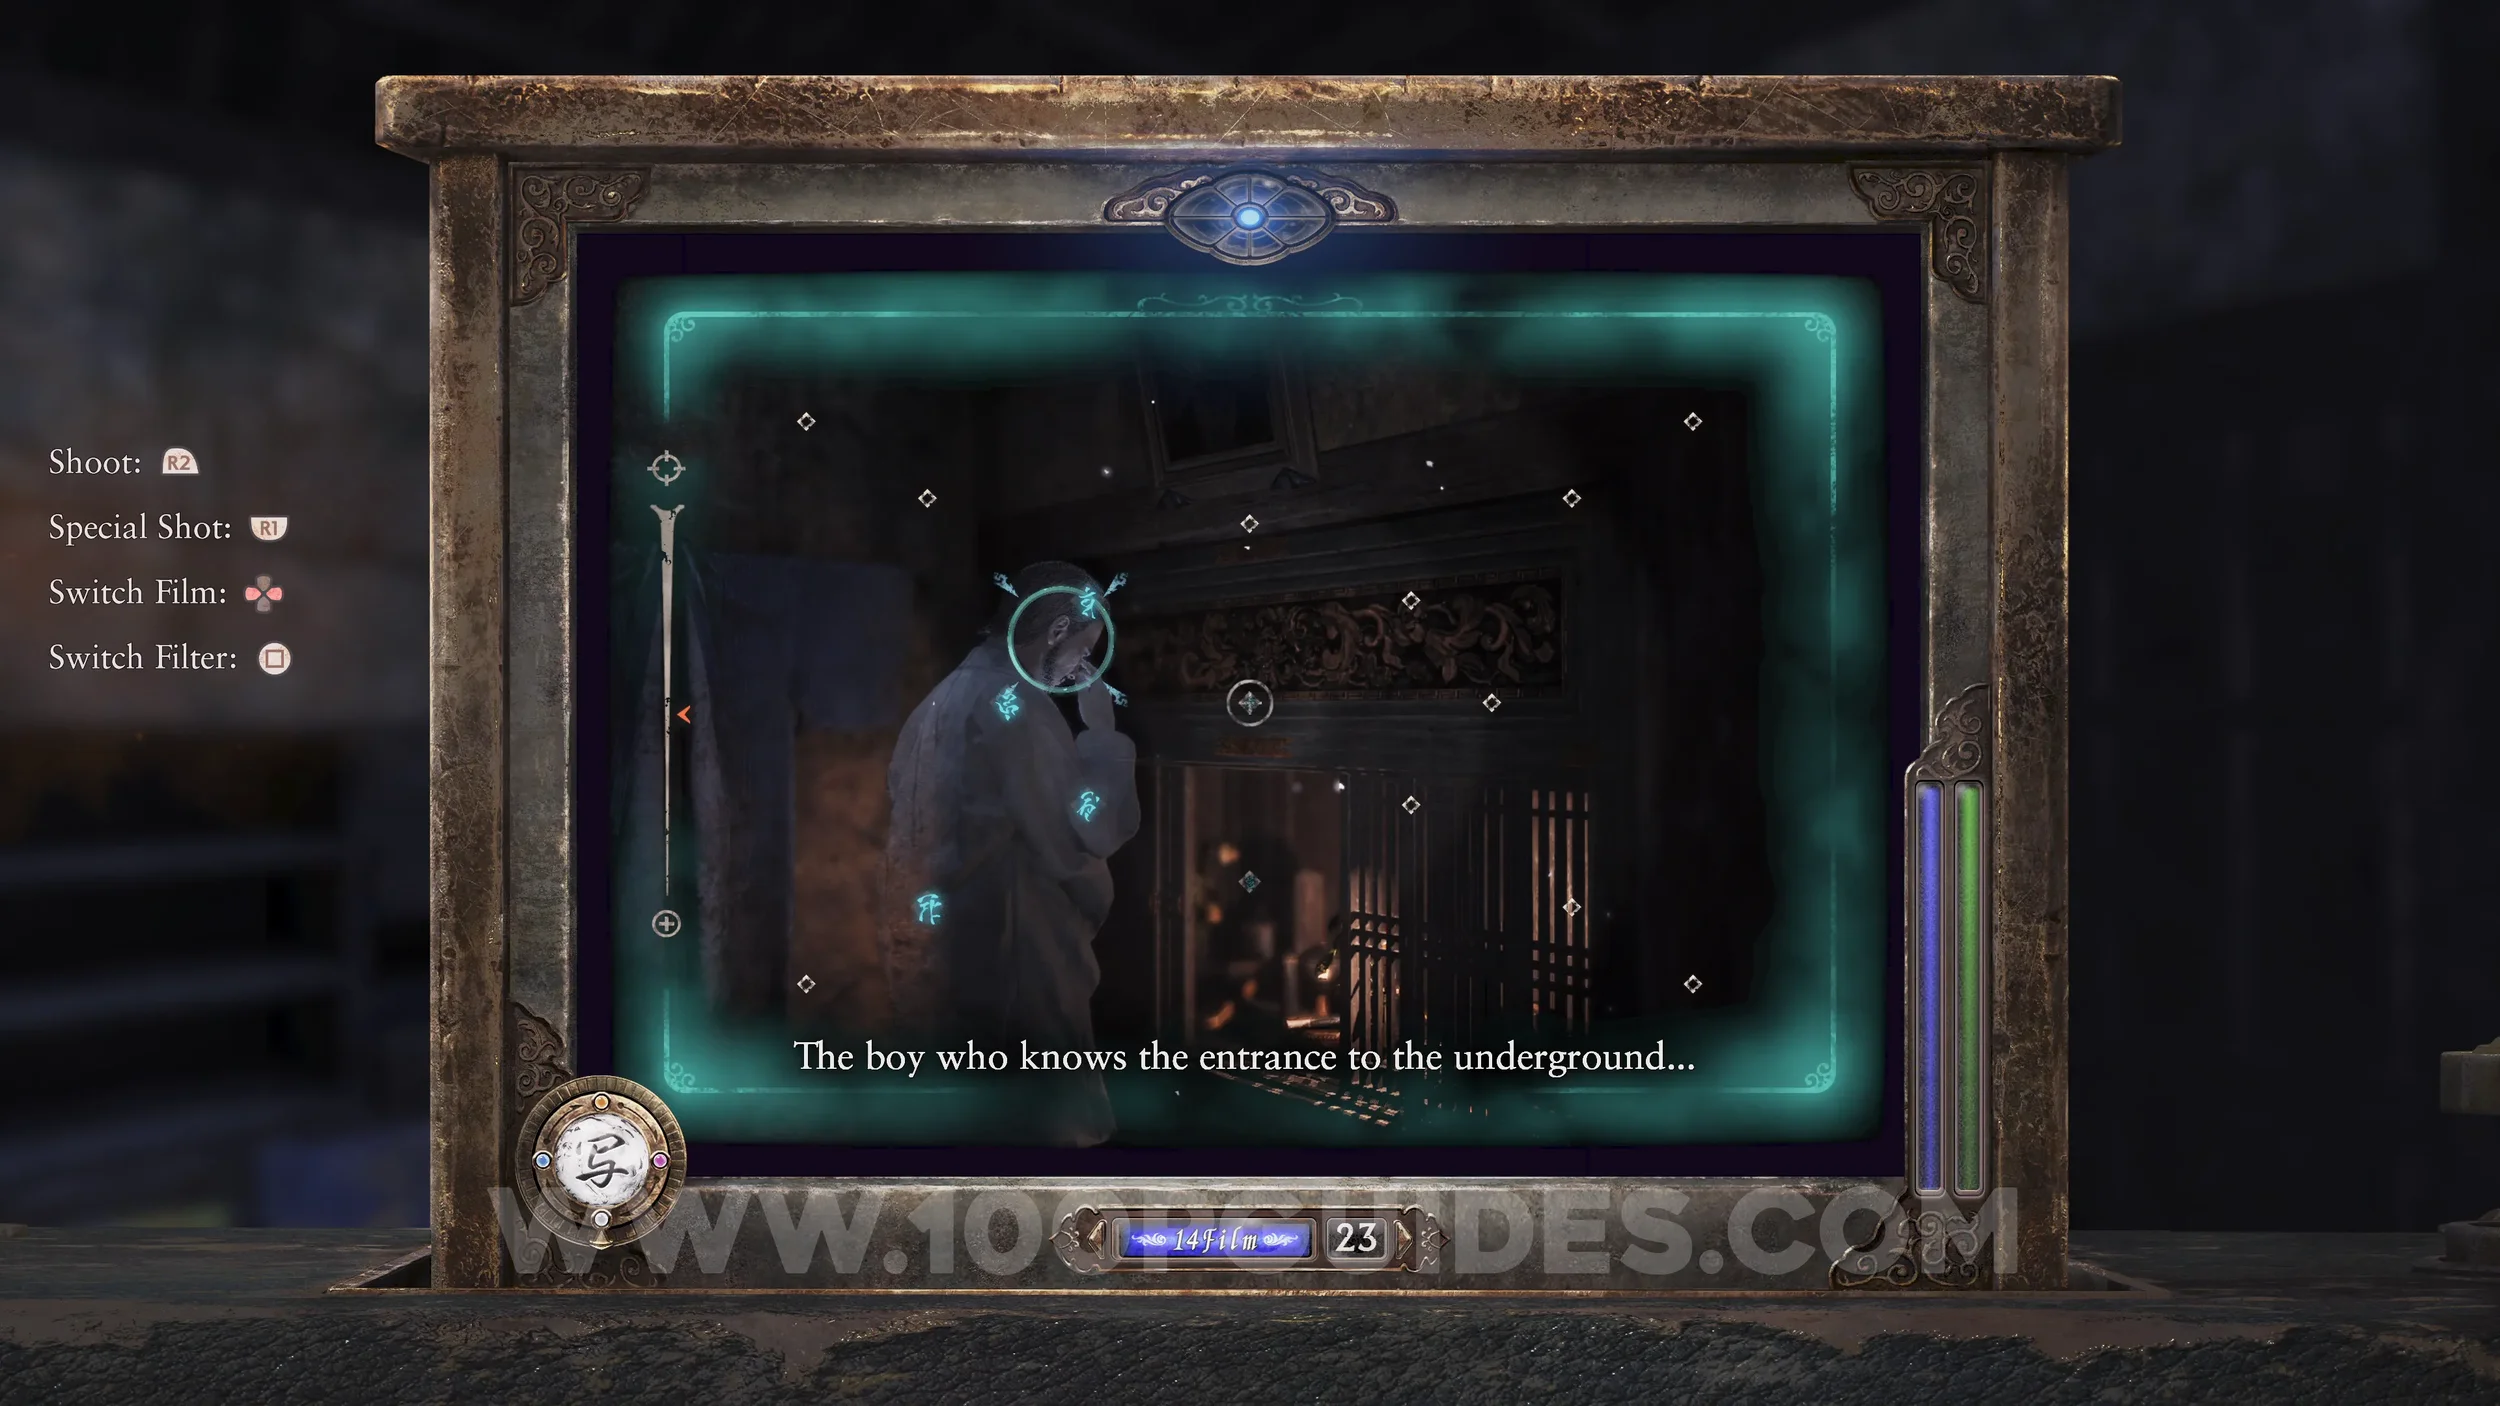
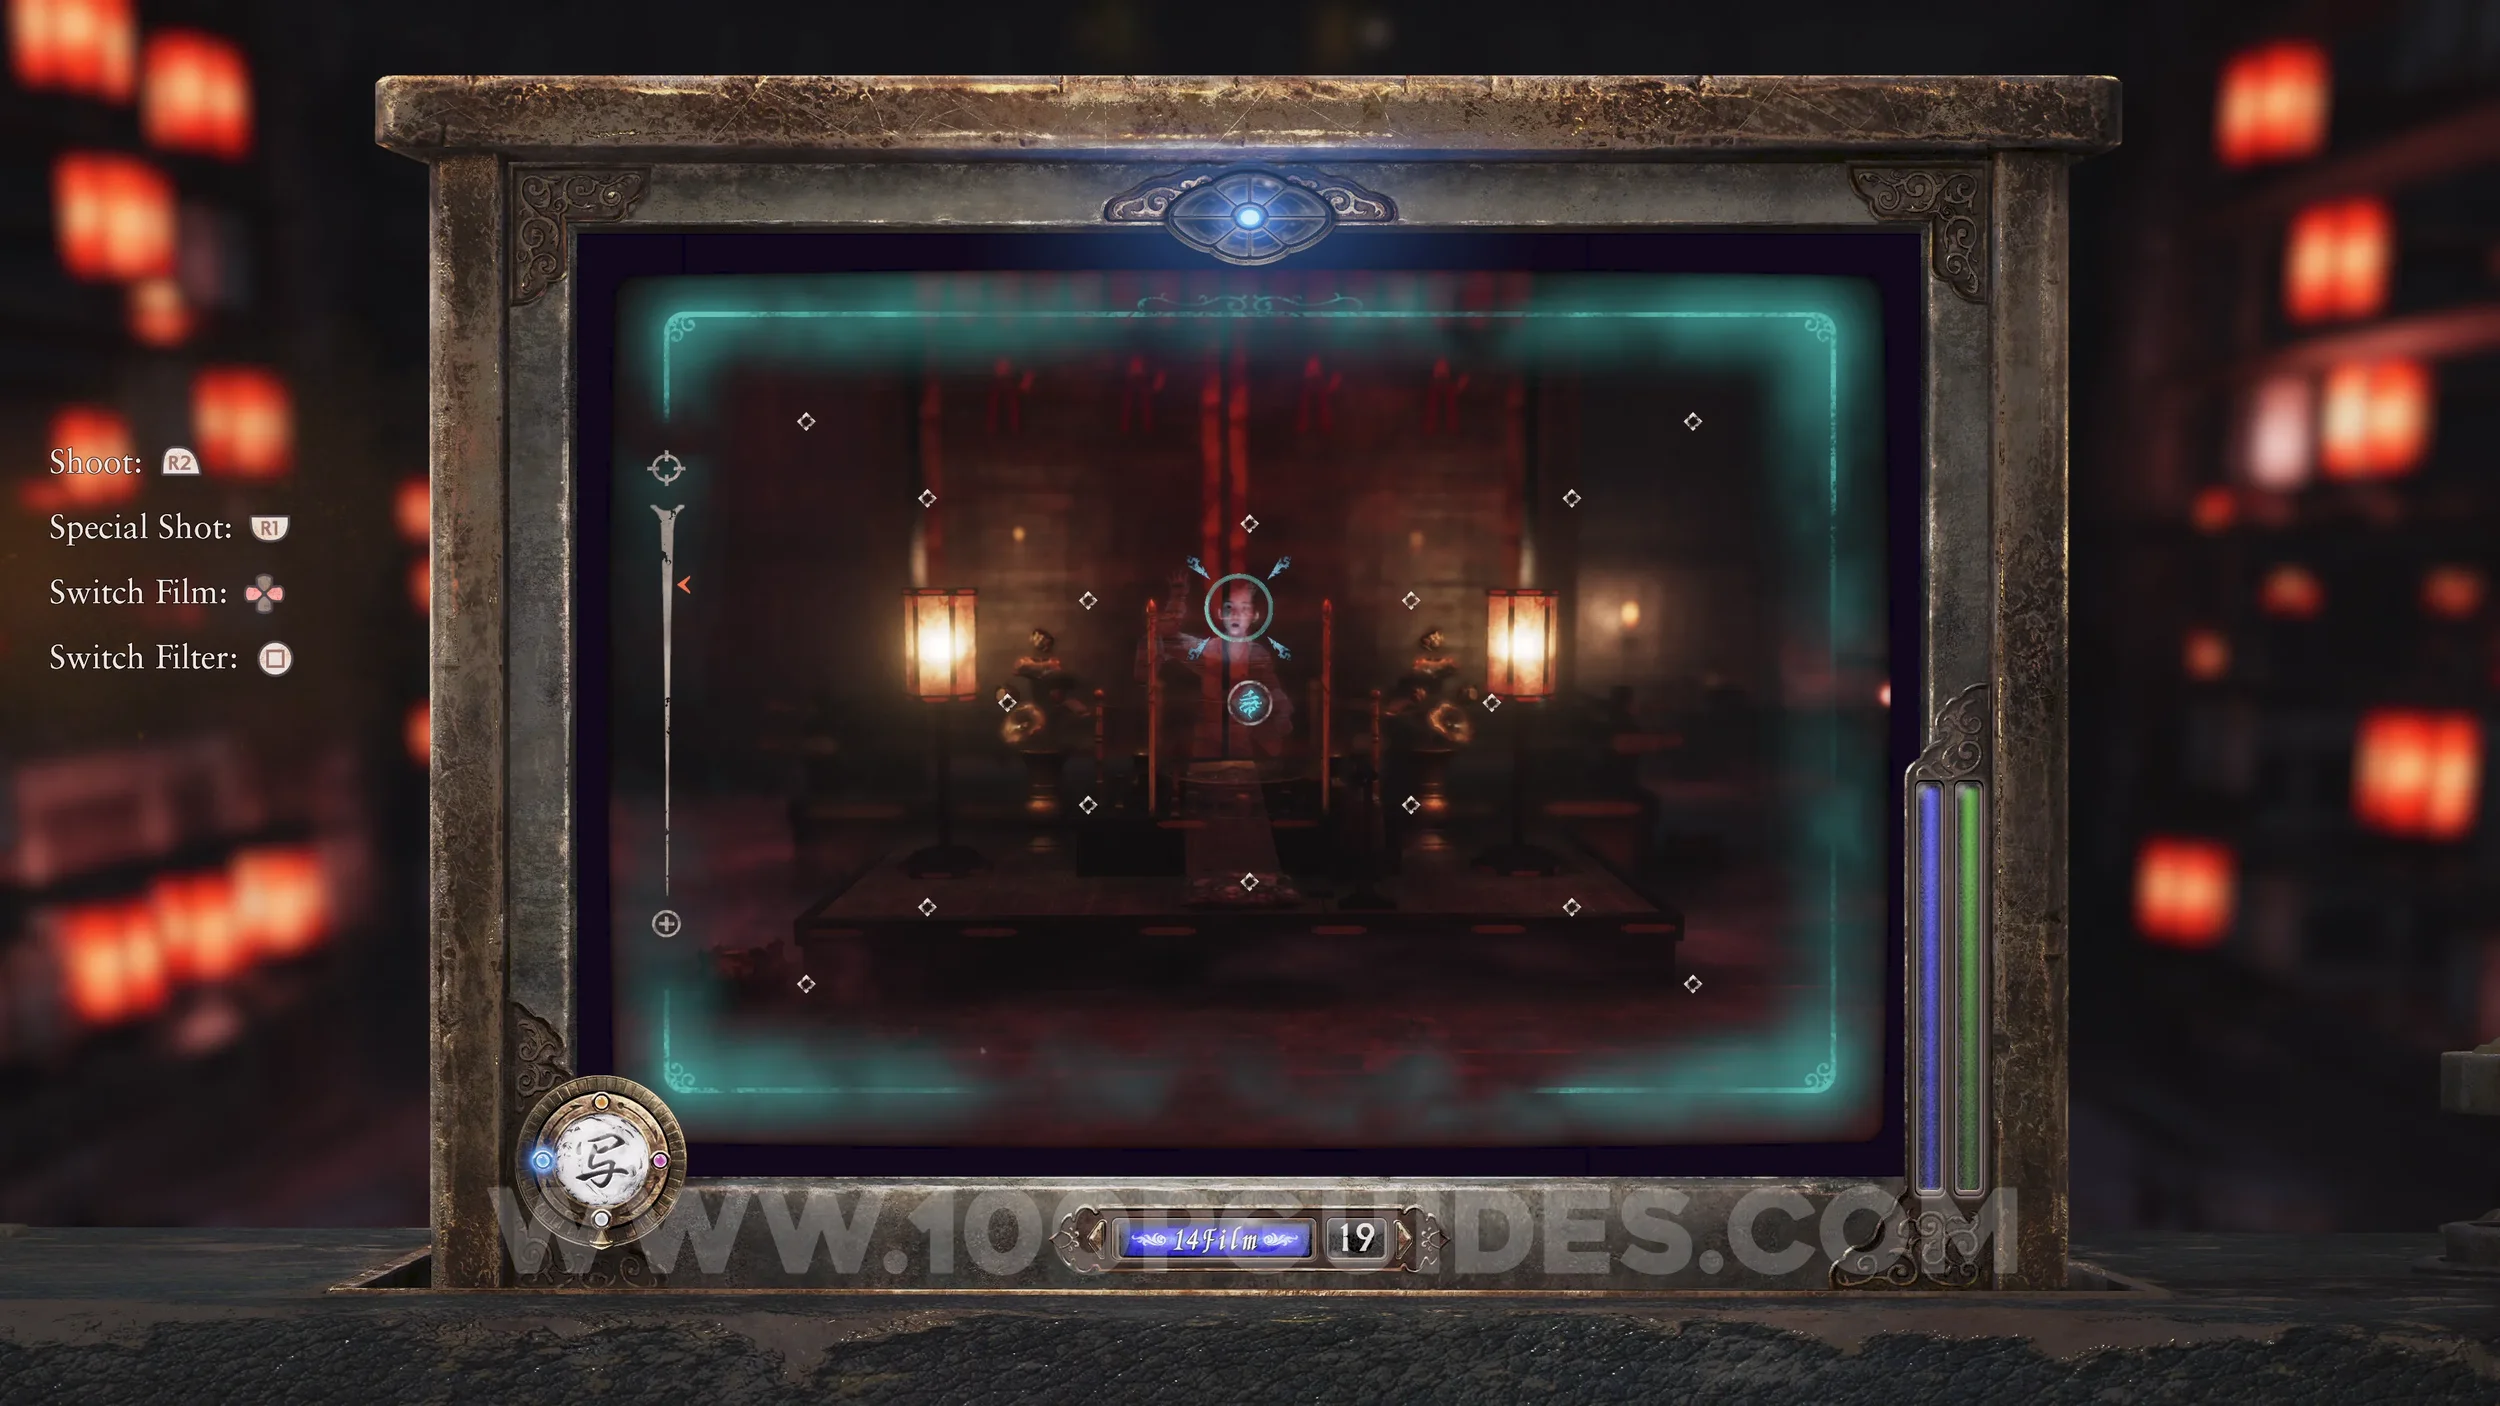
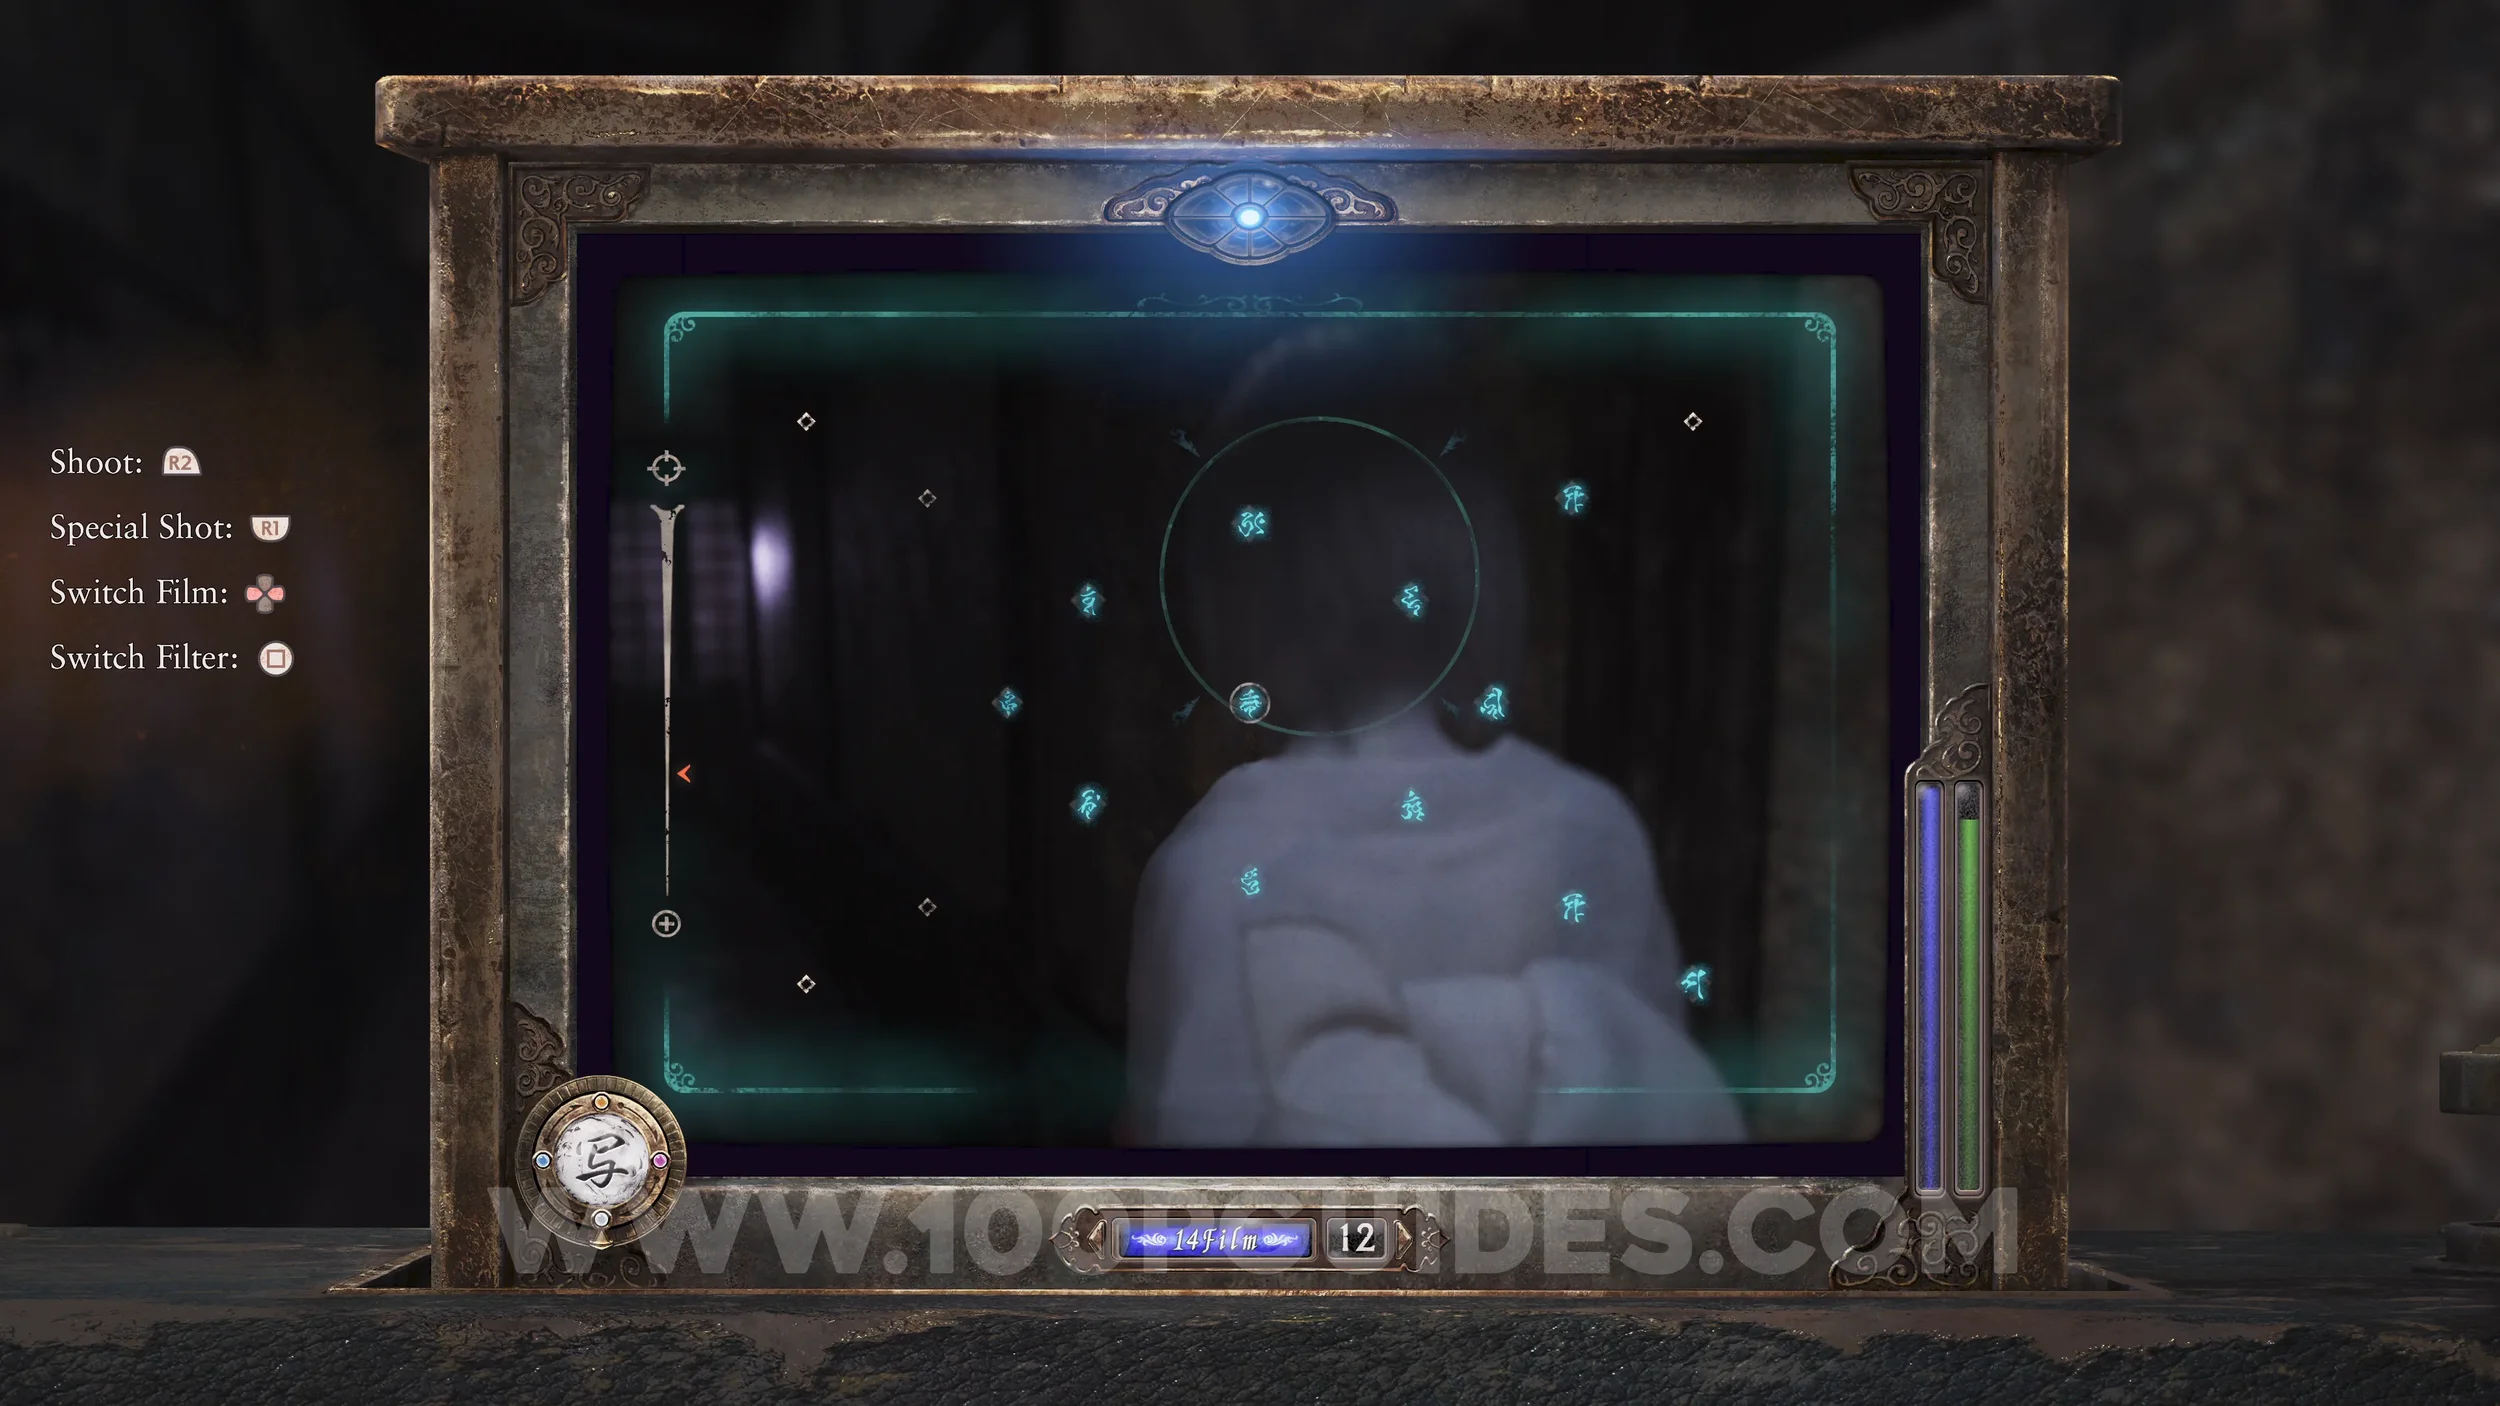
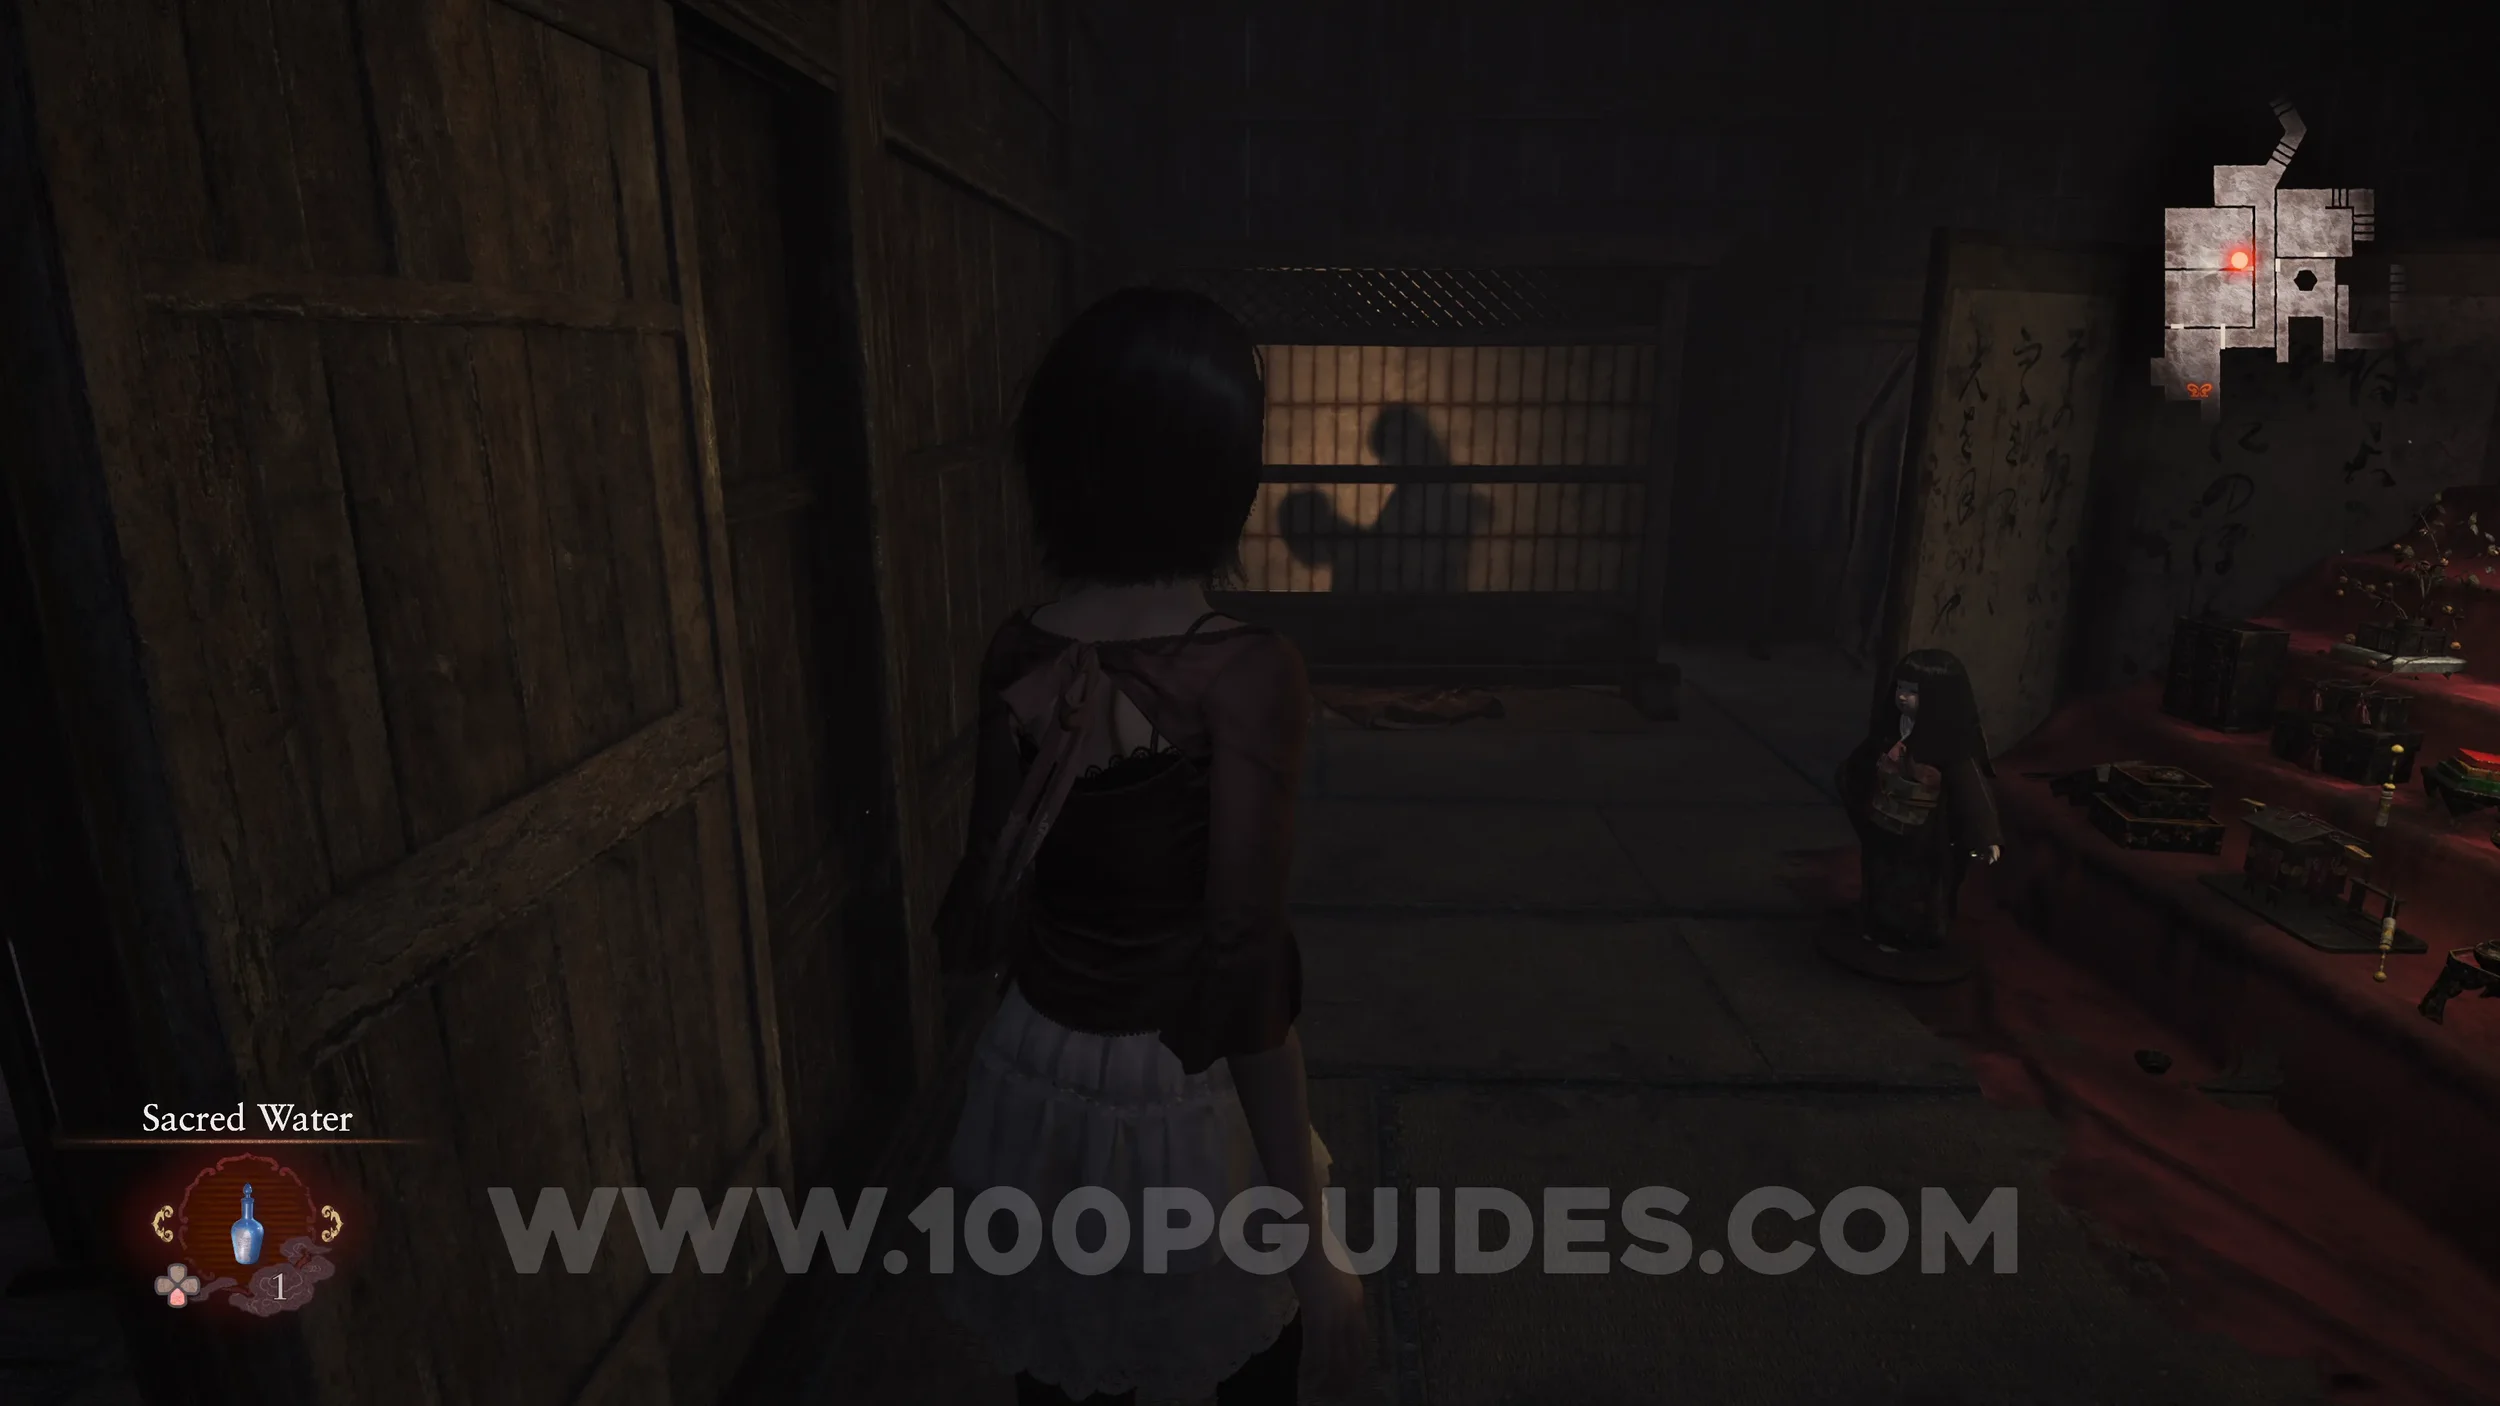
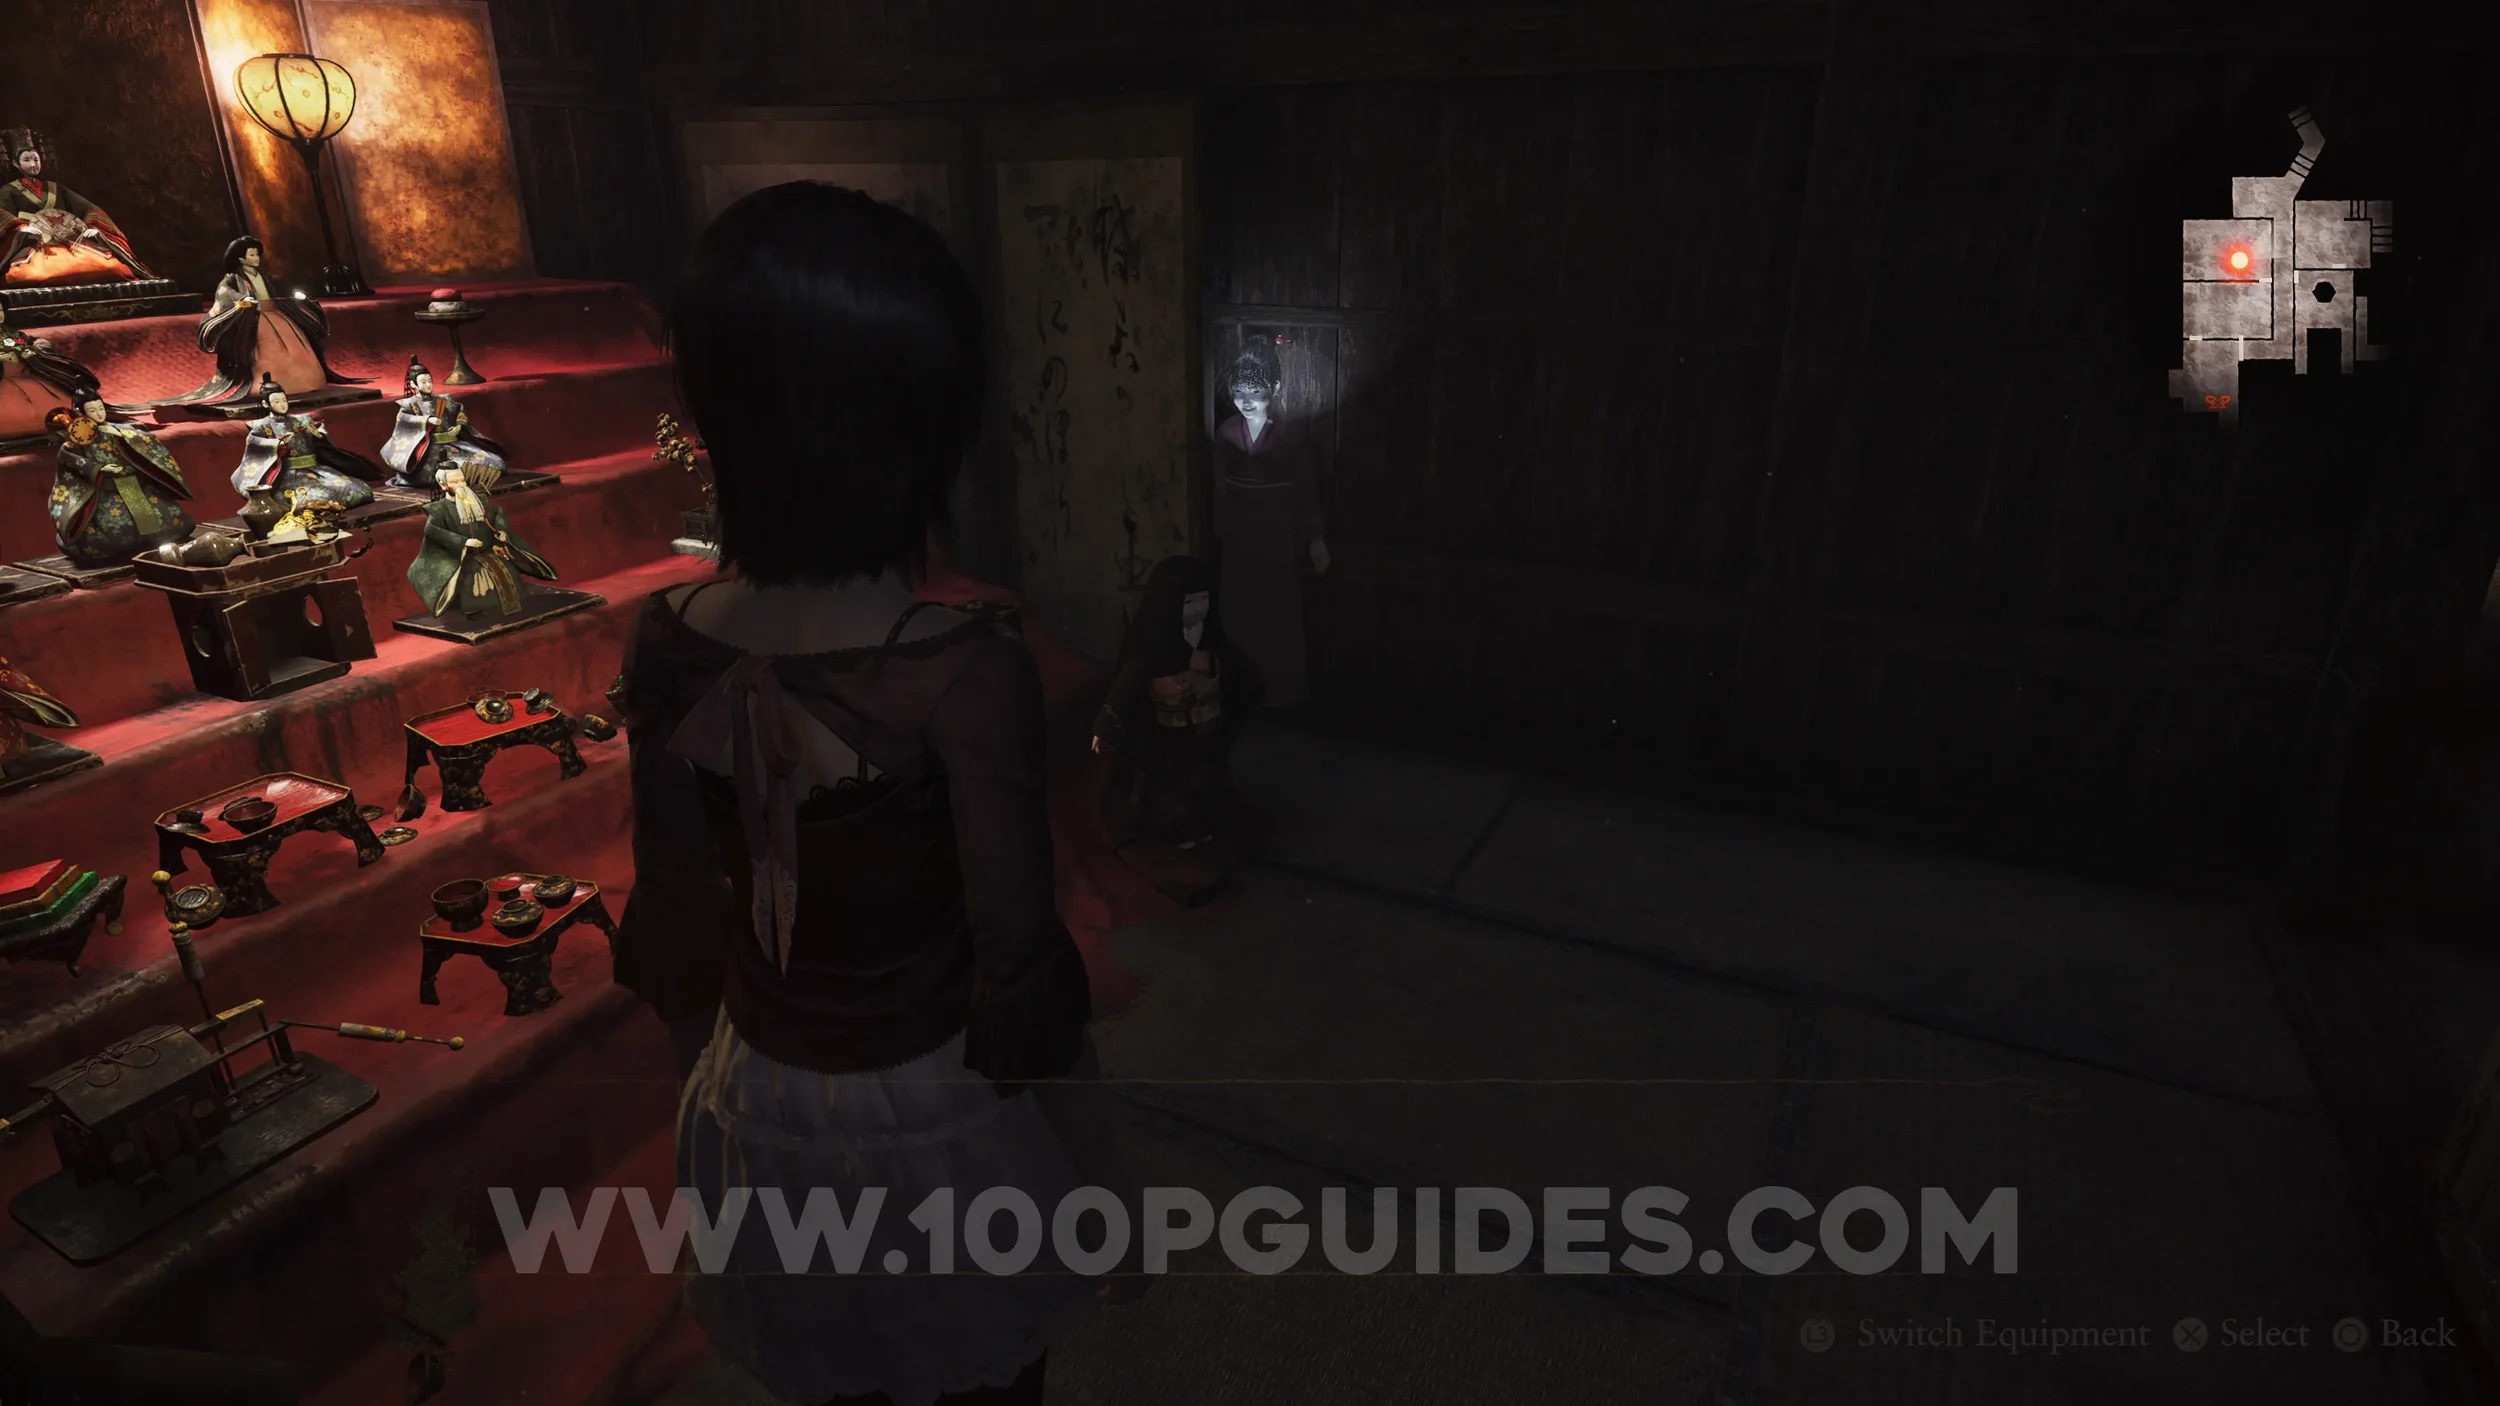
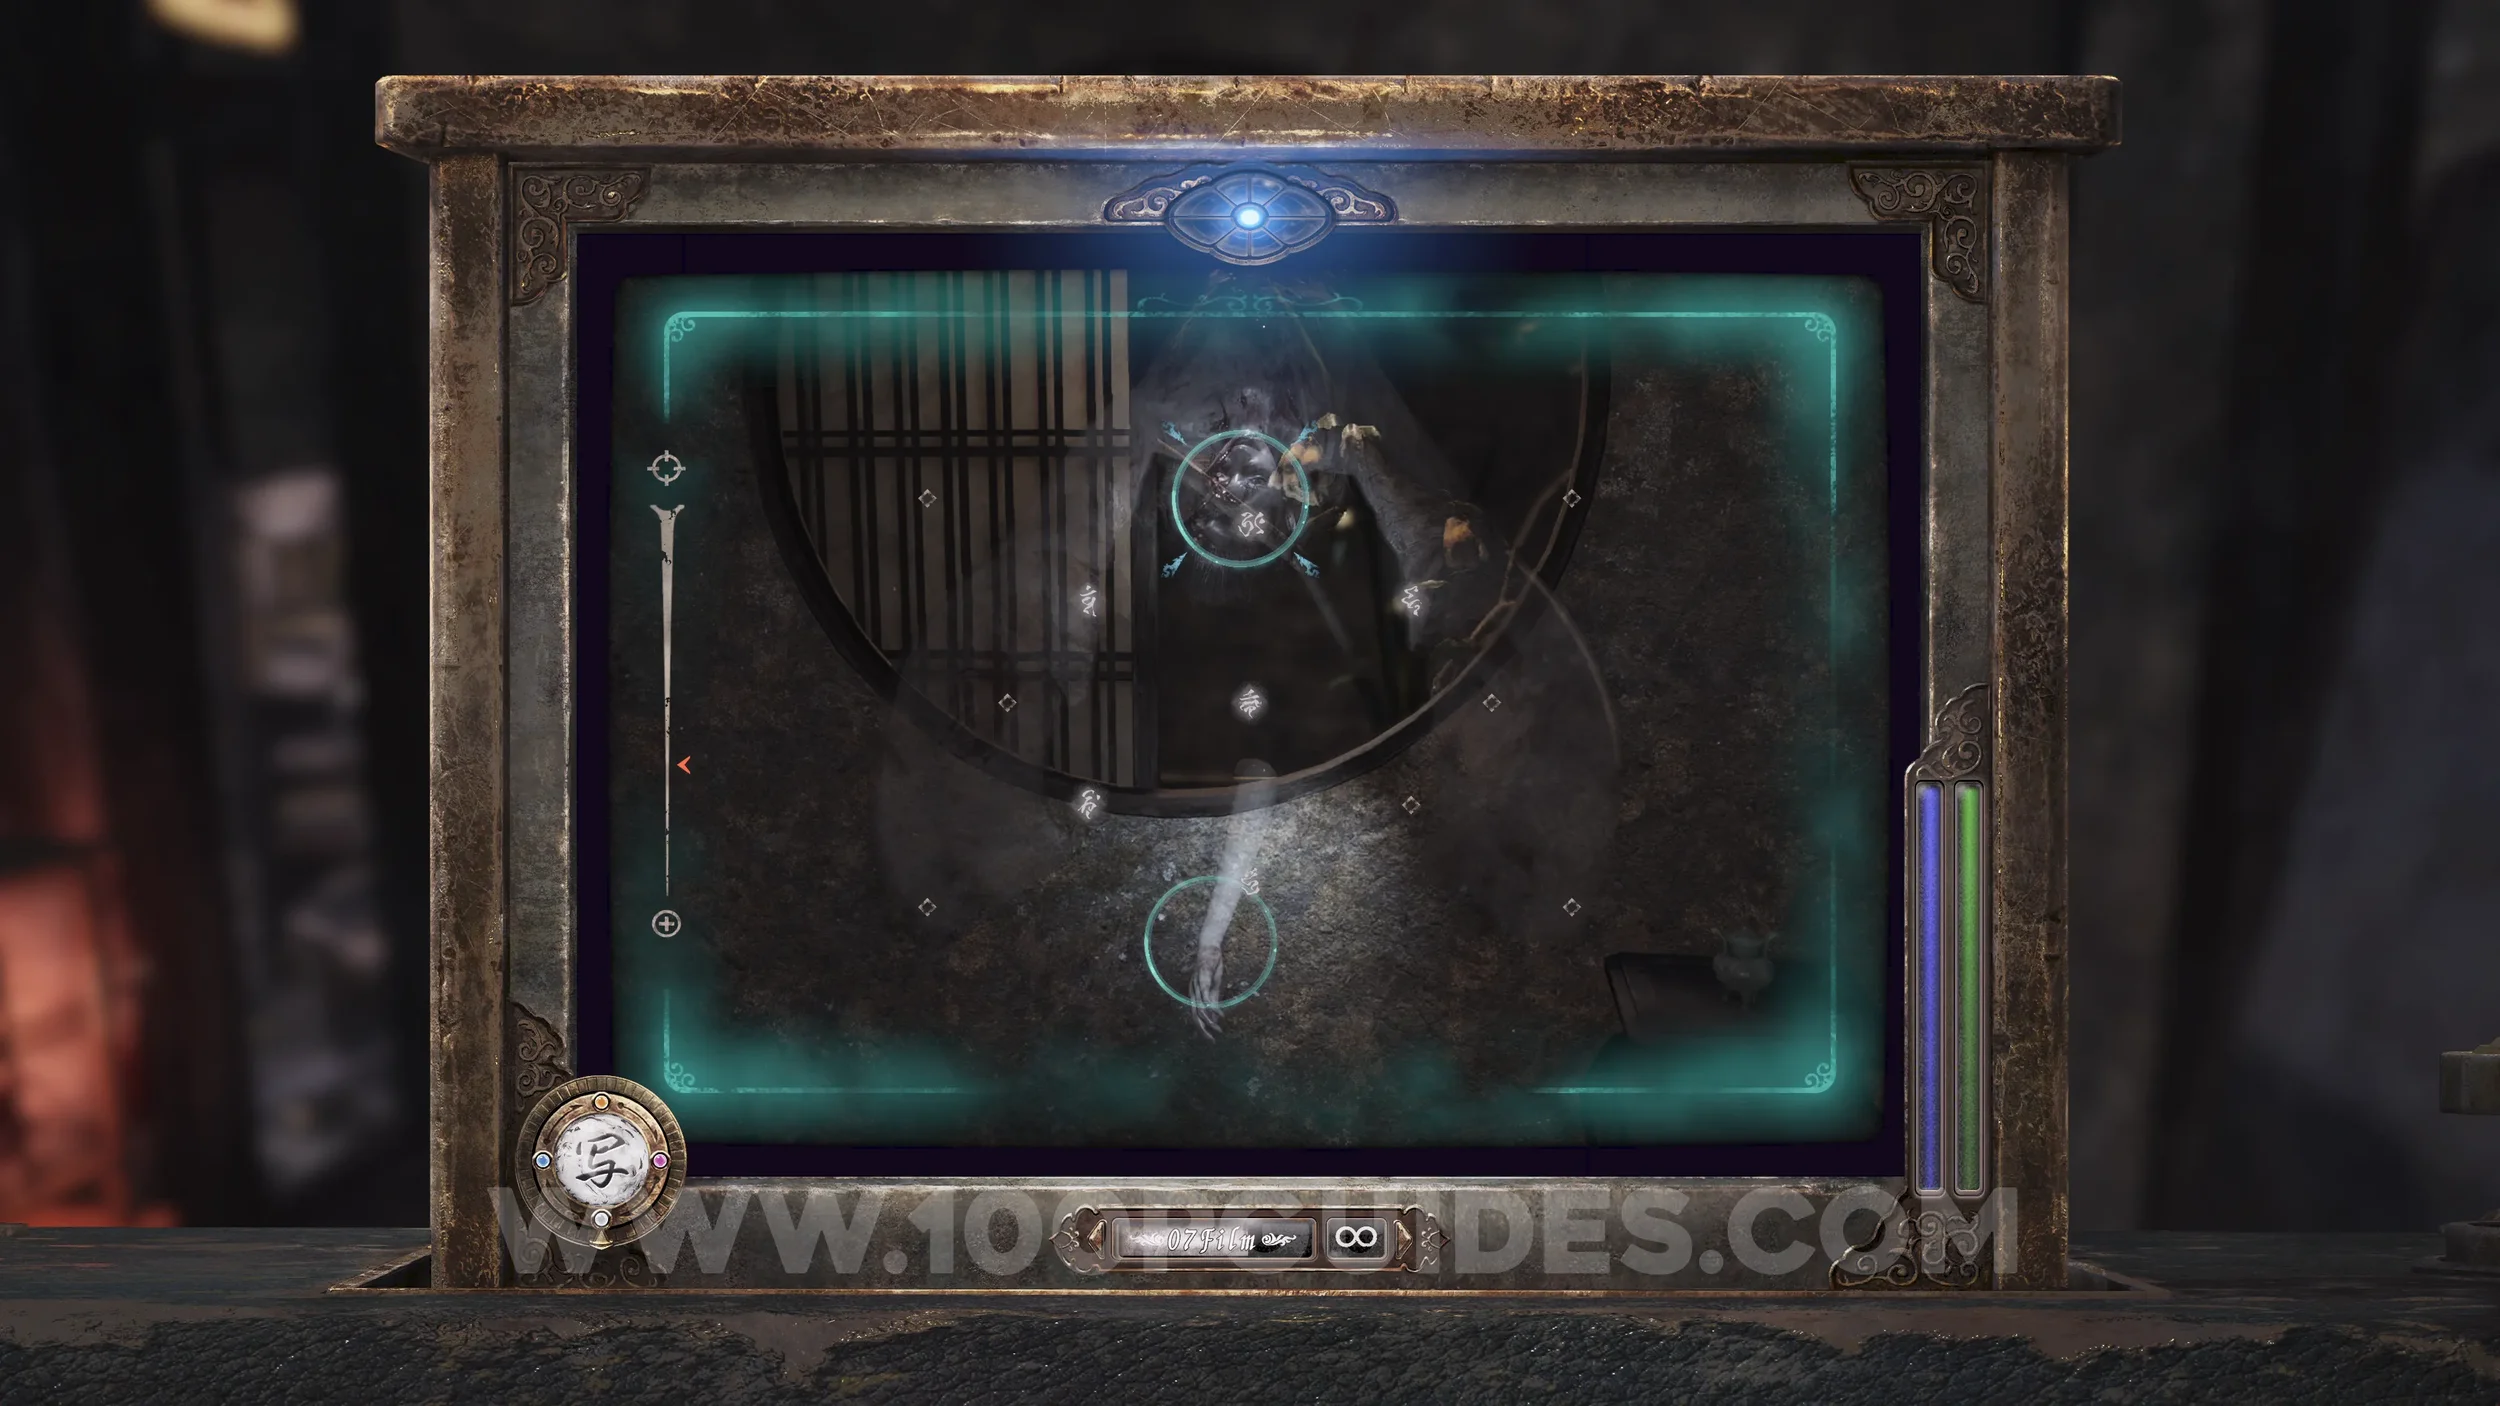
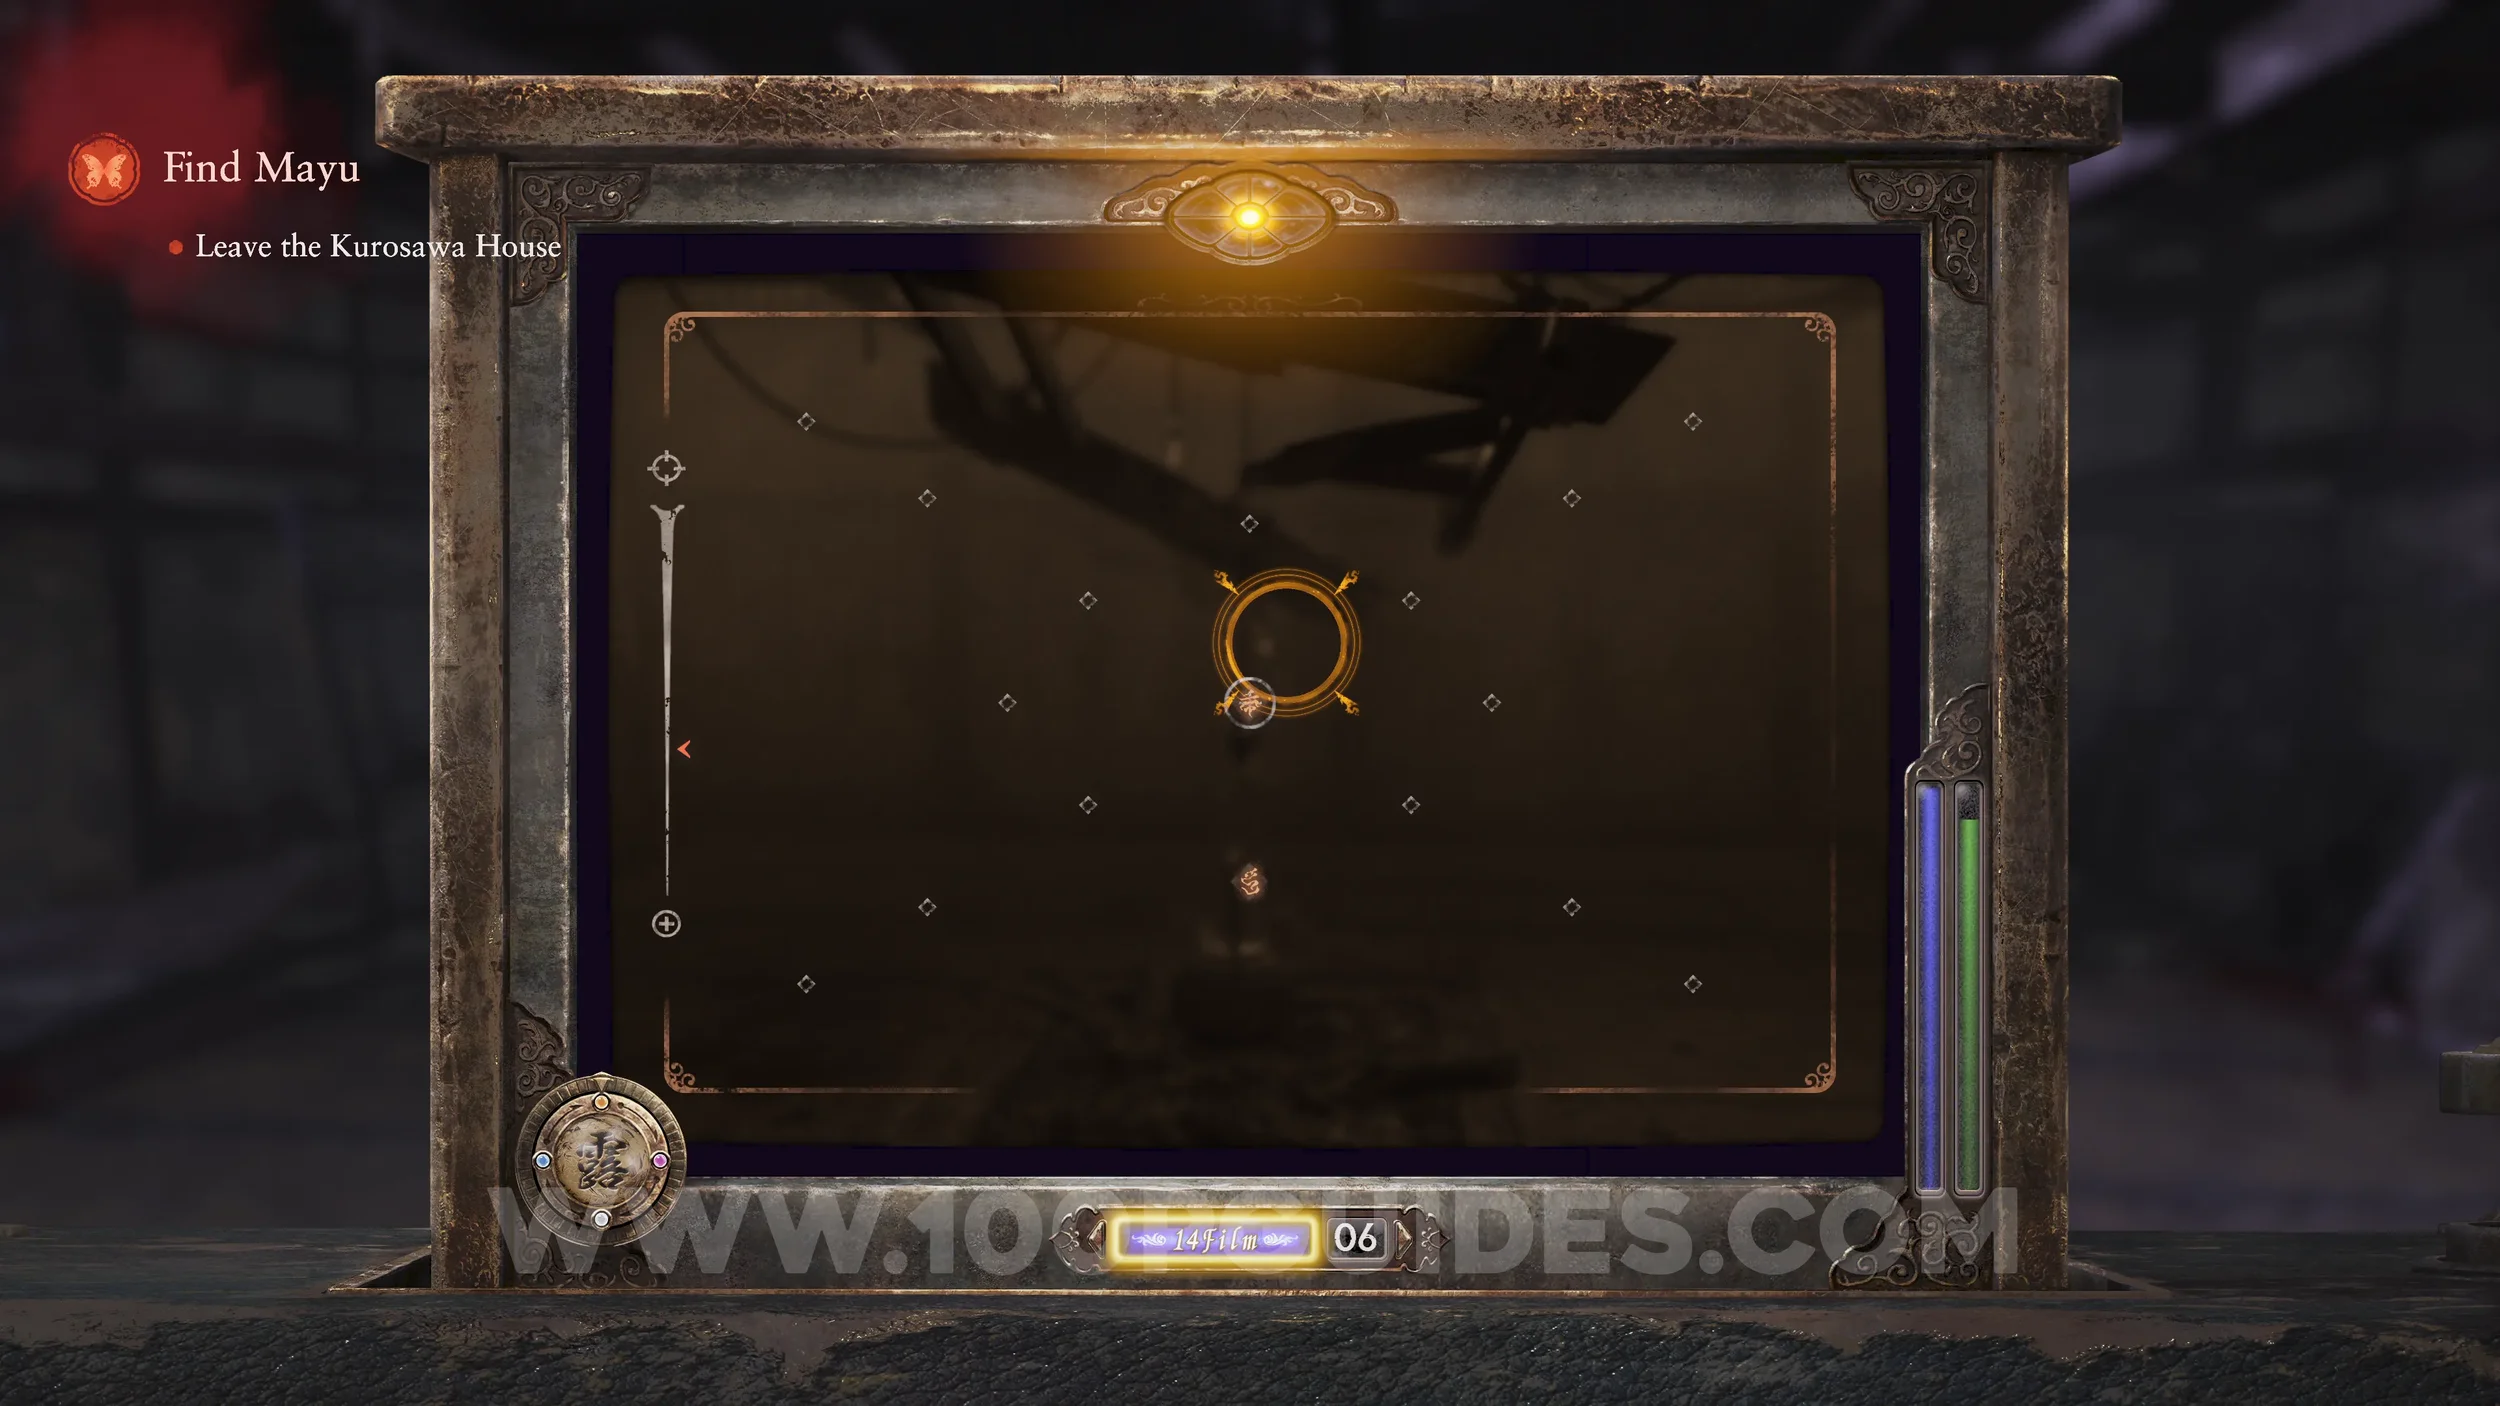
Specter #73 - 059 Confined Mayu. As soon as the chapter begins, look through the hole in the door and take a photo of Mayu.
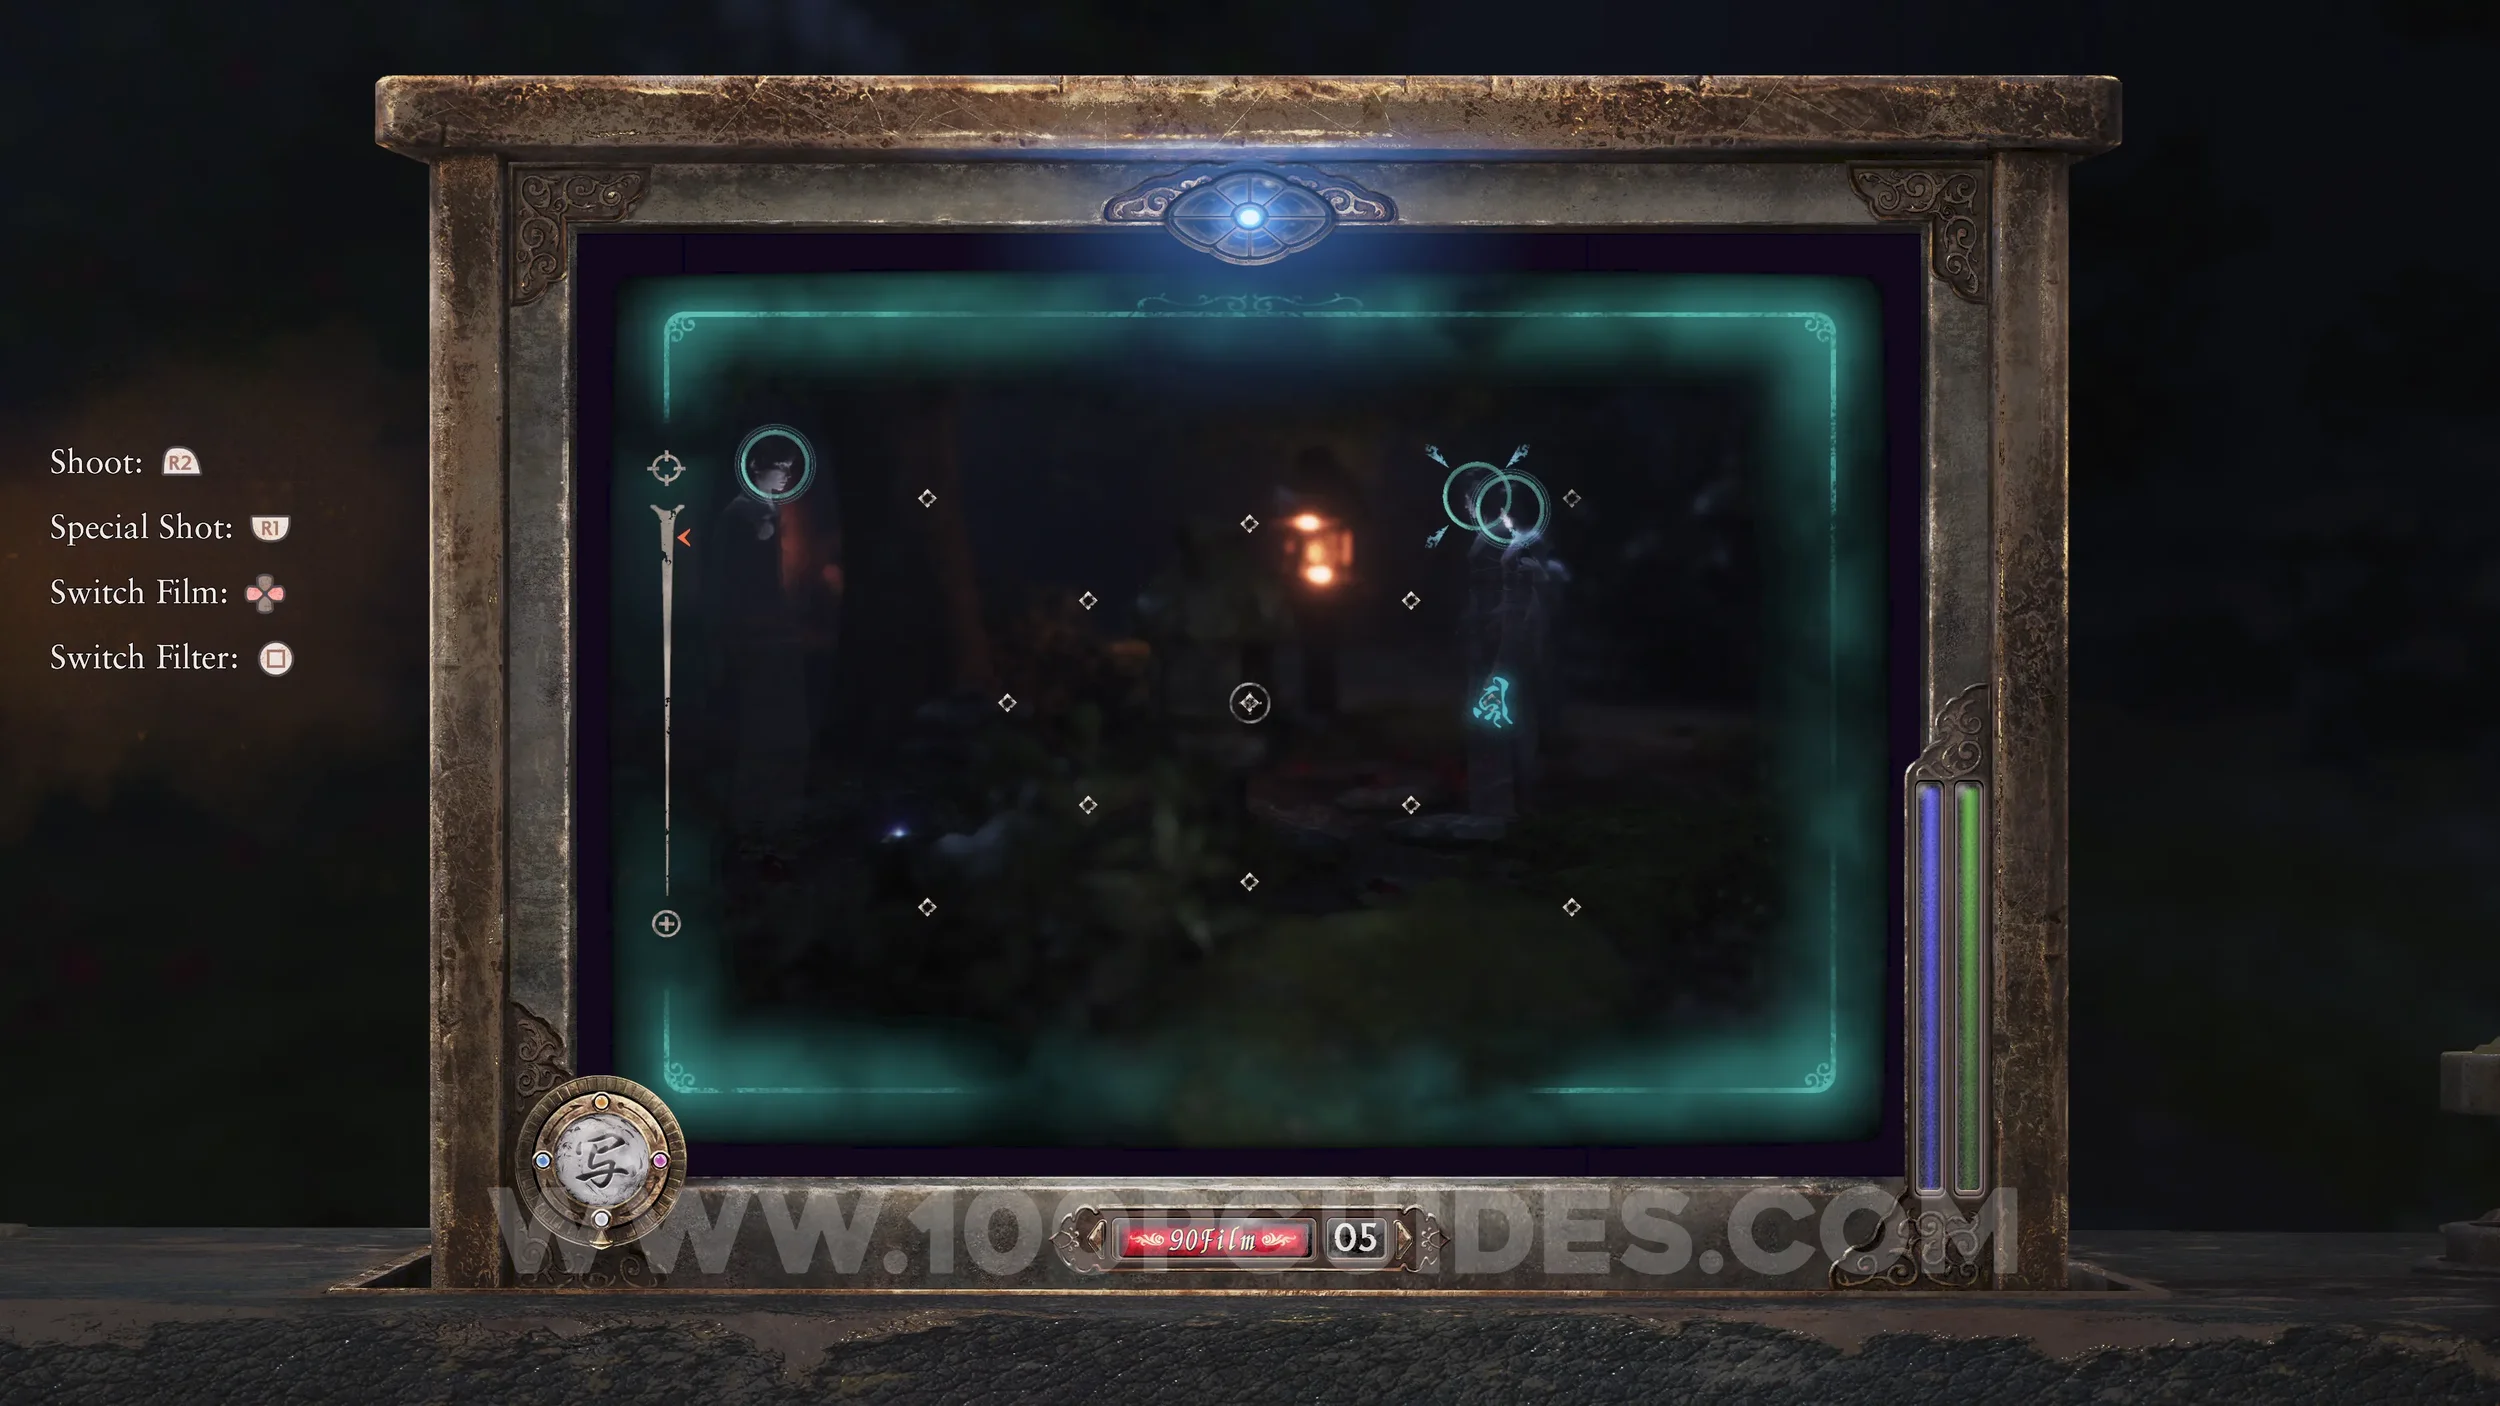
Specter #74 - 188 Reunited Youth, Specter #75 - 189 Reunited Sae, Specter #76 - 190 Reunited Yae and Specter #77 - 191 Reuinited Trio. After being chased across the bridge by Kusabi and hiding in the grass, backtrack across the bridge to the courtyard outside the Kurosawa House. Here, look right to find the three specters. Get a photo of all 3 to register the fourth.
Document #50 - Green Diary 1, Spirit Stone #16 - Phosphophyllite (1/2) and Side Quest #5 - Ryozo Munakata. The document can be found on the ground near the previous specters. This will also start the “Ryozo Munakata” side quest.
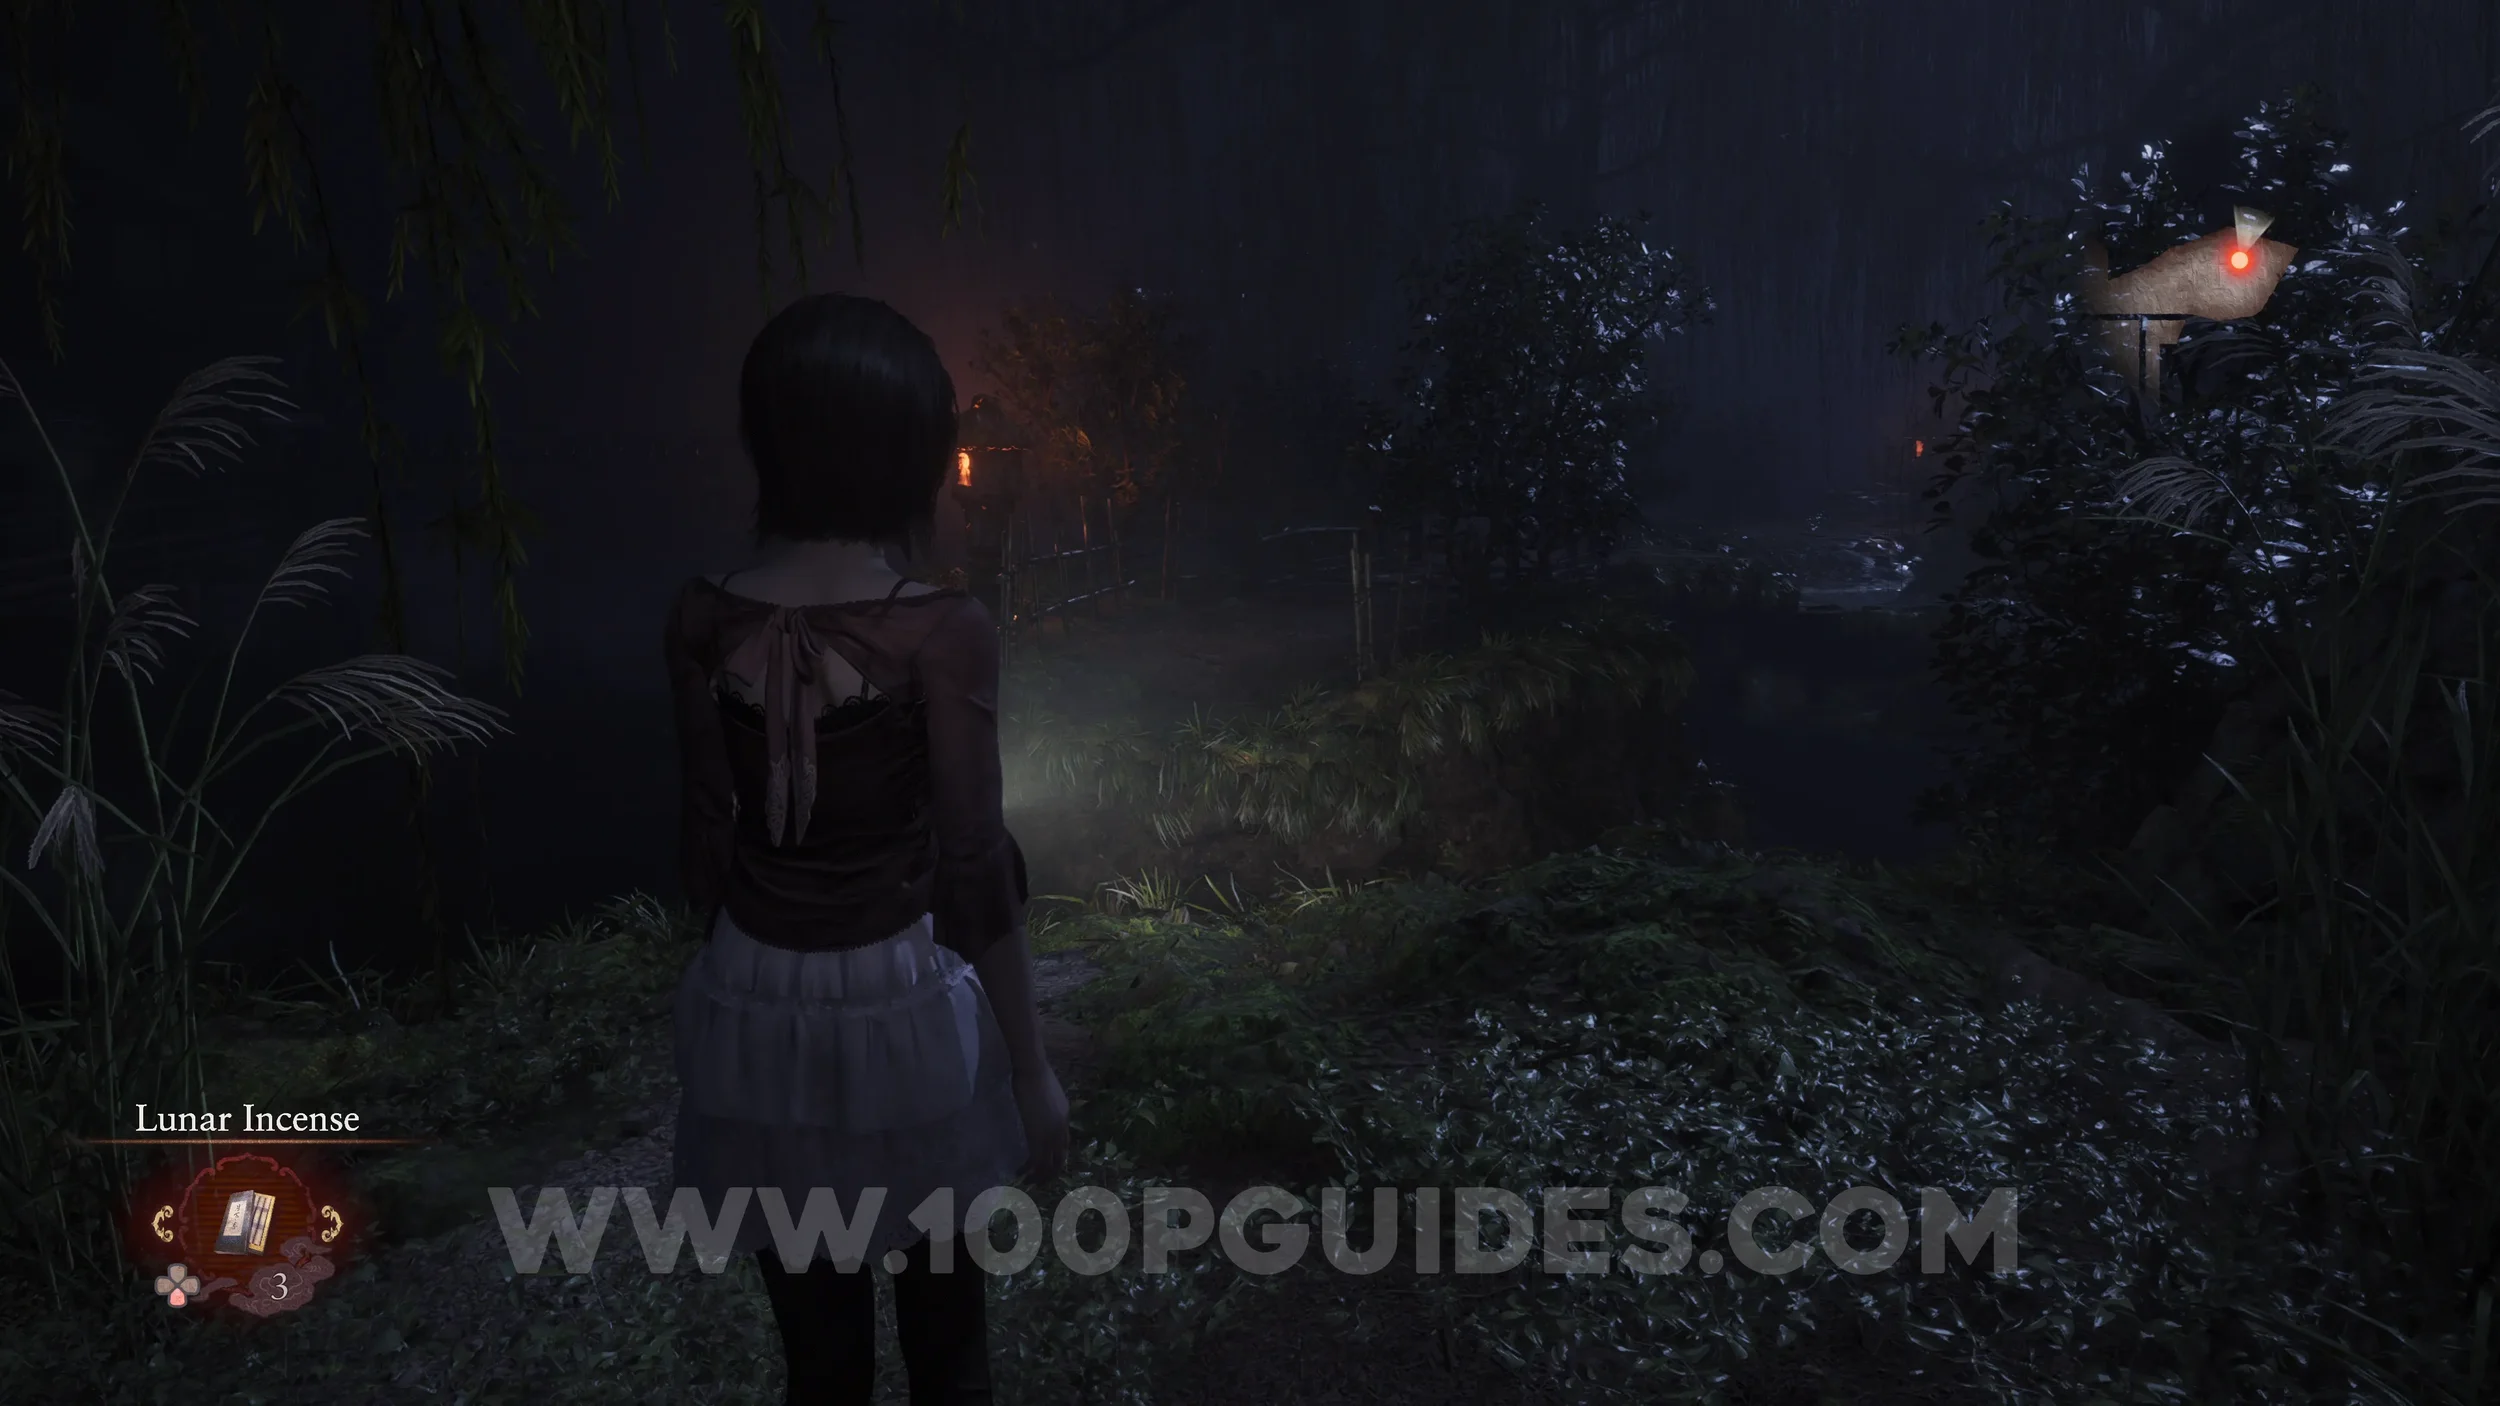
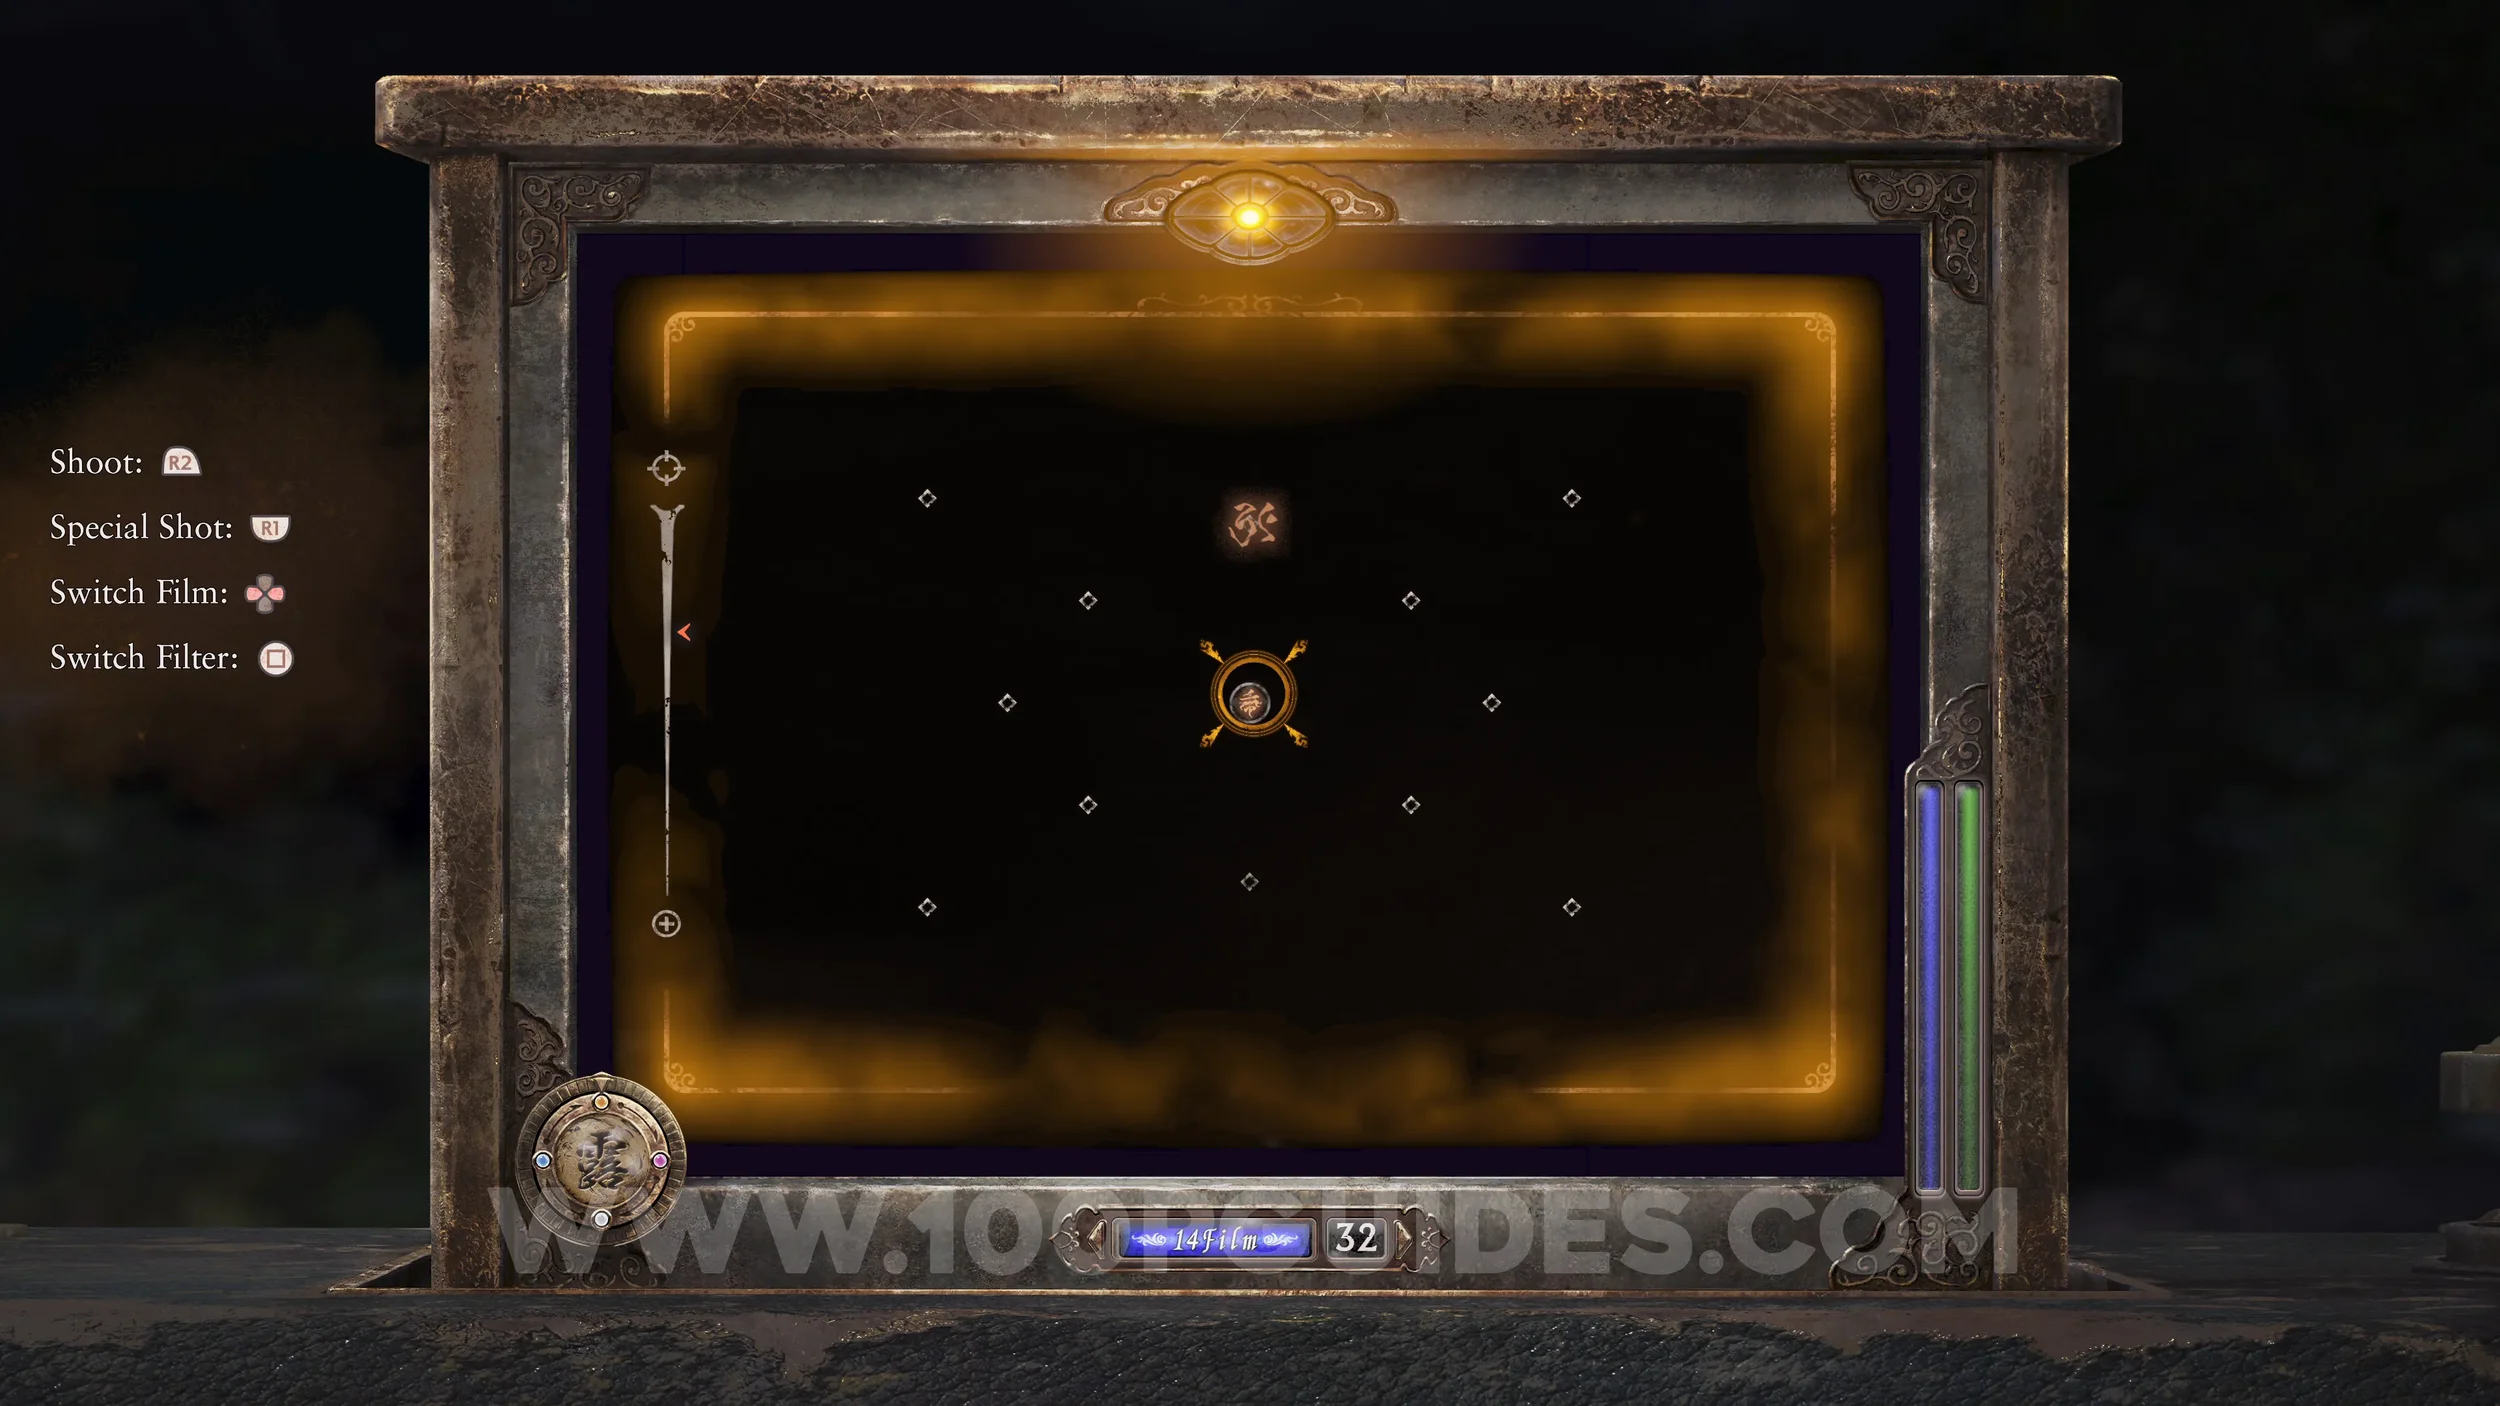
Phantom Expose #4 - Ukishima, Revenant #3 - 003 Drowned Woman. Go back across the wooden bridge and turn left at the end, where the tall grass is. At the end of this path, use the Exposure Filter to take a photo of the gap between your position and the small island to create a bridge. If you have followed this guide, you should already have the required photo. This will create a wooden bridge that allows you to cross to the island. As you cross the second wooden bridge, look down into the water on your left with the Exposure Filter and take a photo of the revenant in the water.
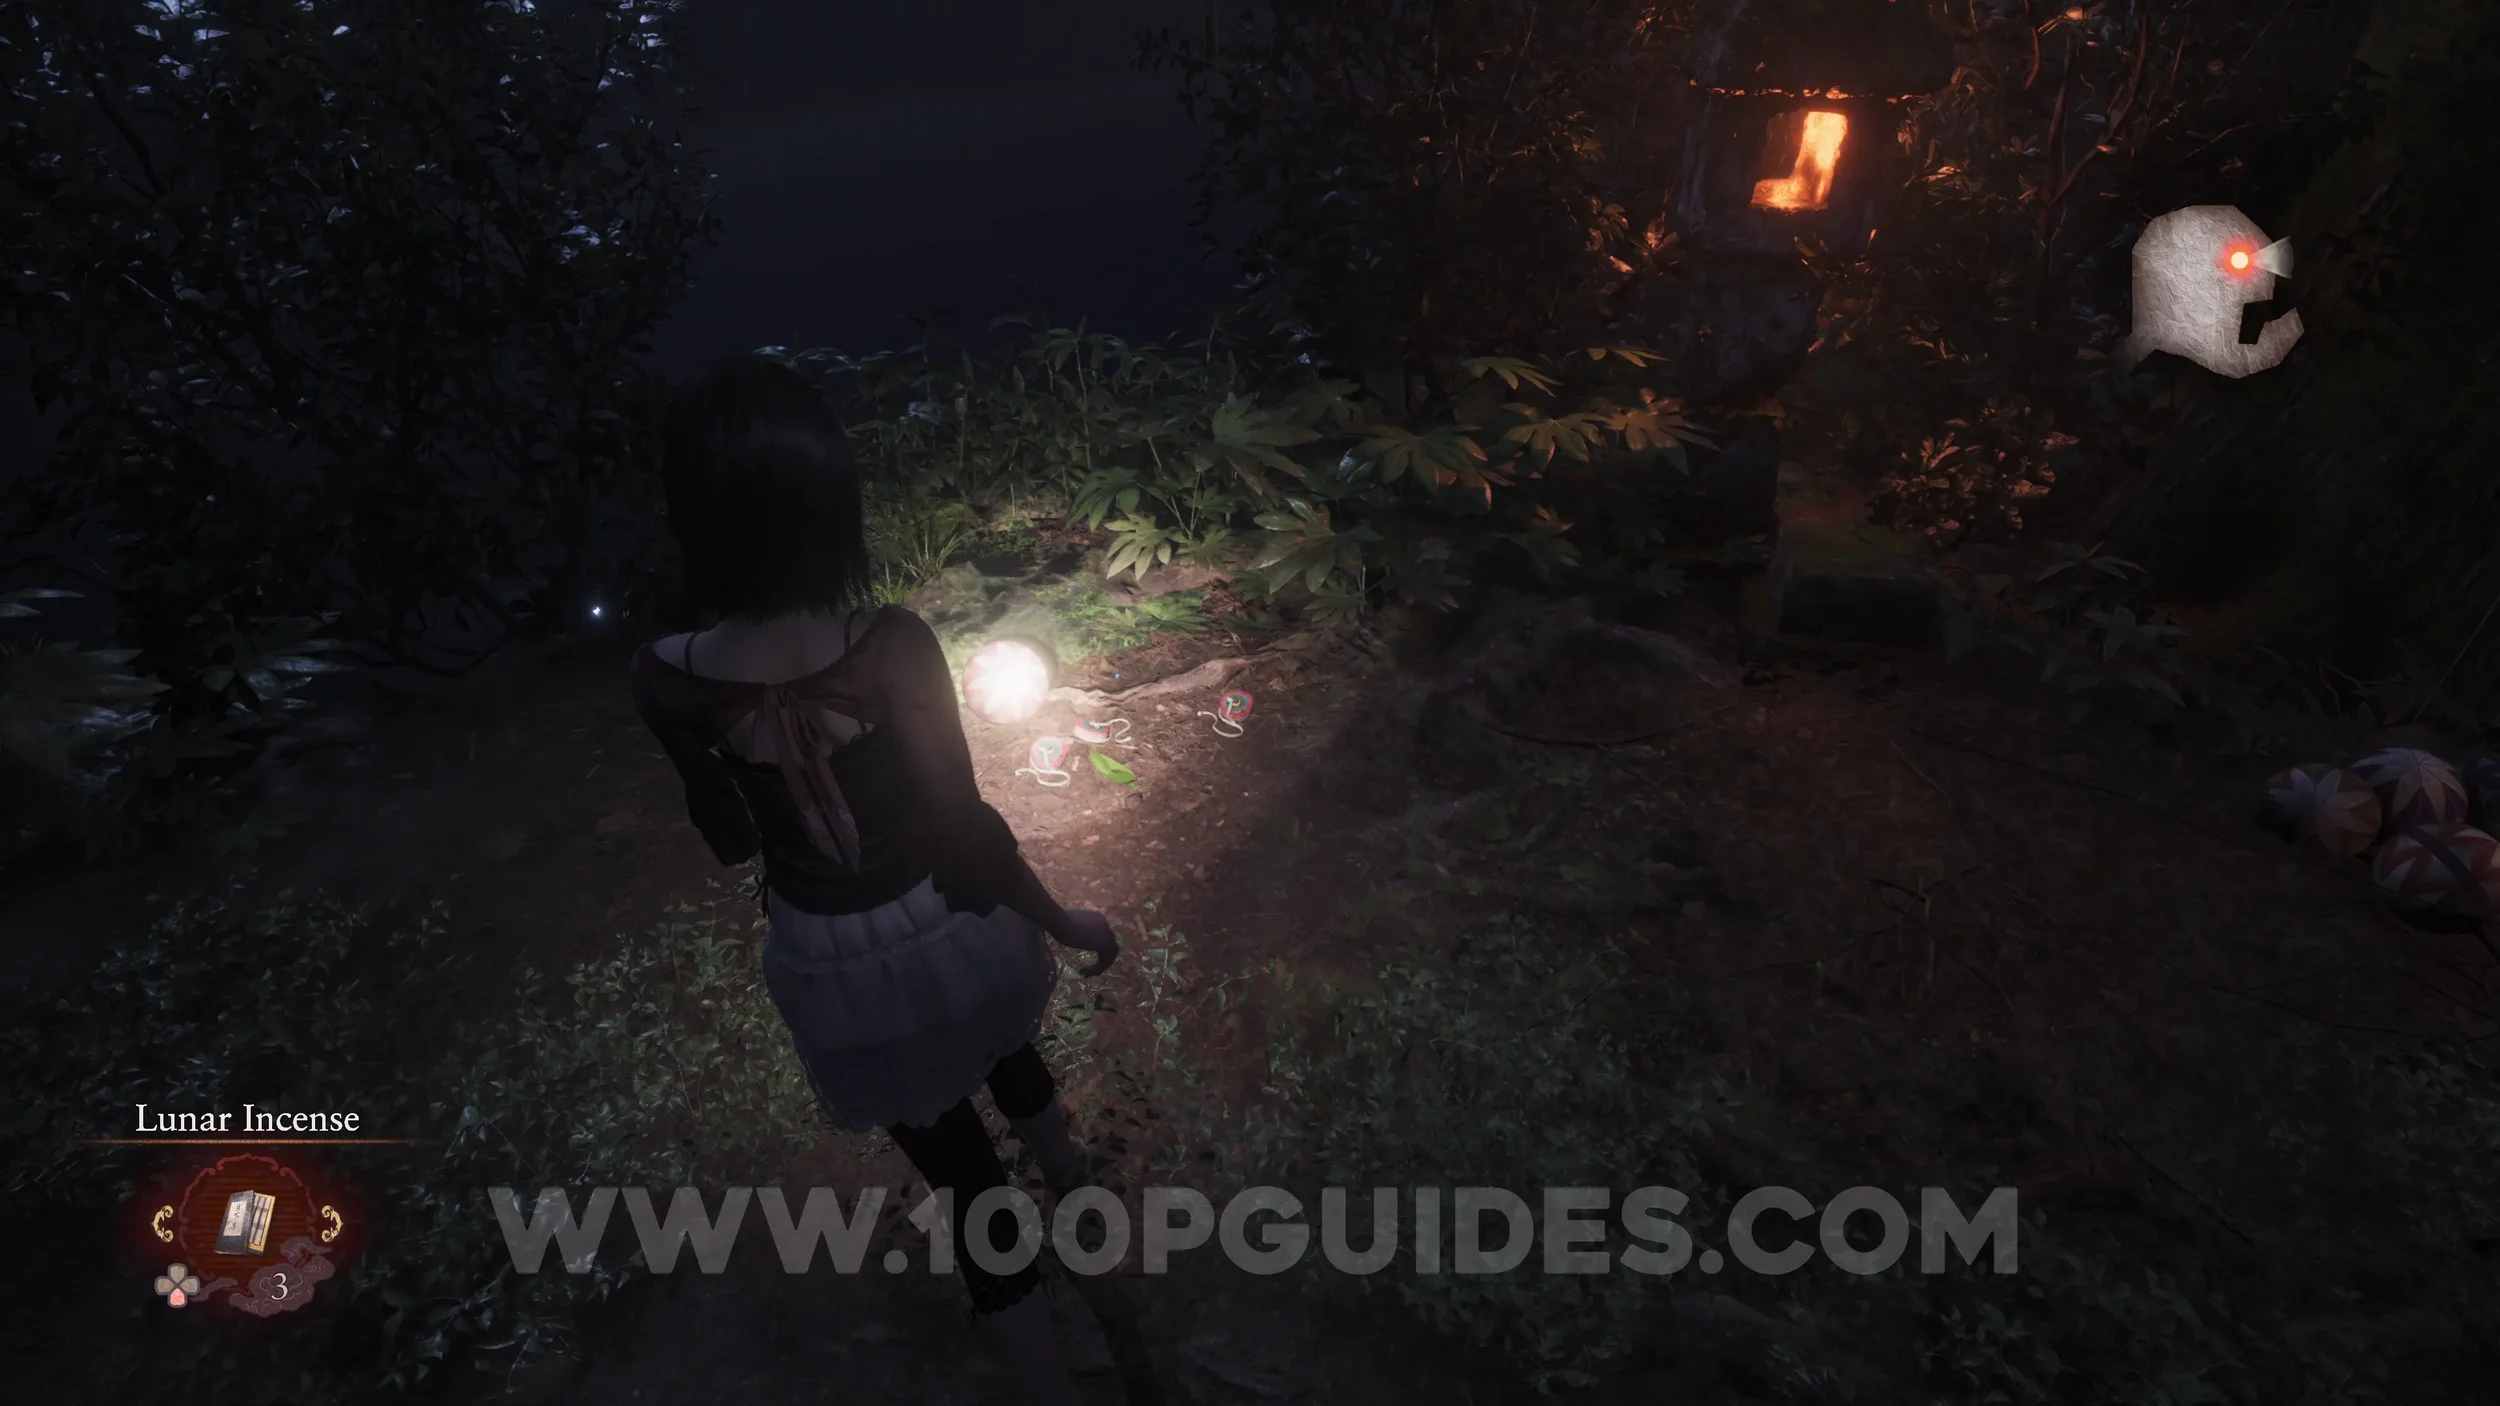
Document #51 - Drenched Memo. Will spawn on the second wooden bridge after taking the photo of the revenant.
Prayer Beads #21. After the previous collectible, continue onto the island to find it near a gravestone.
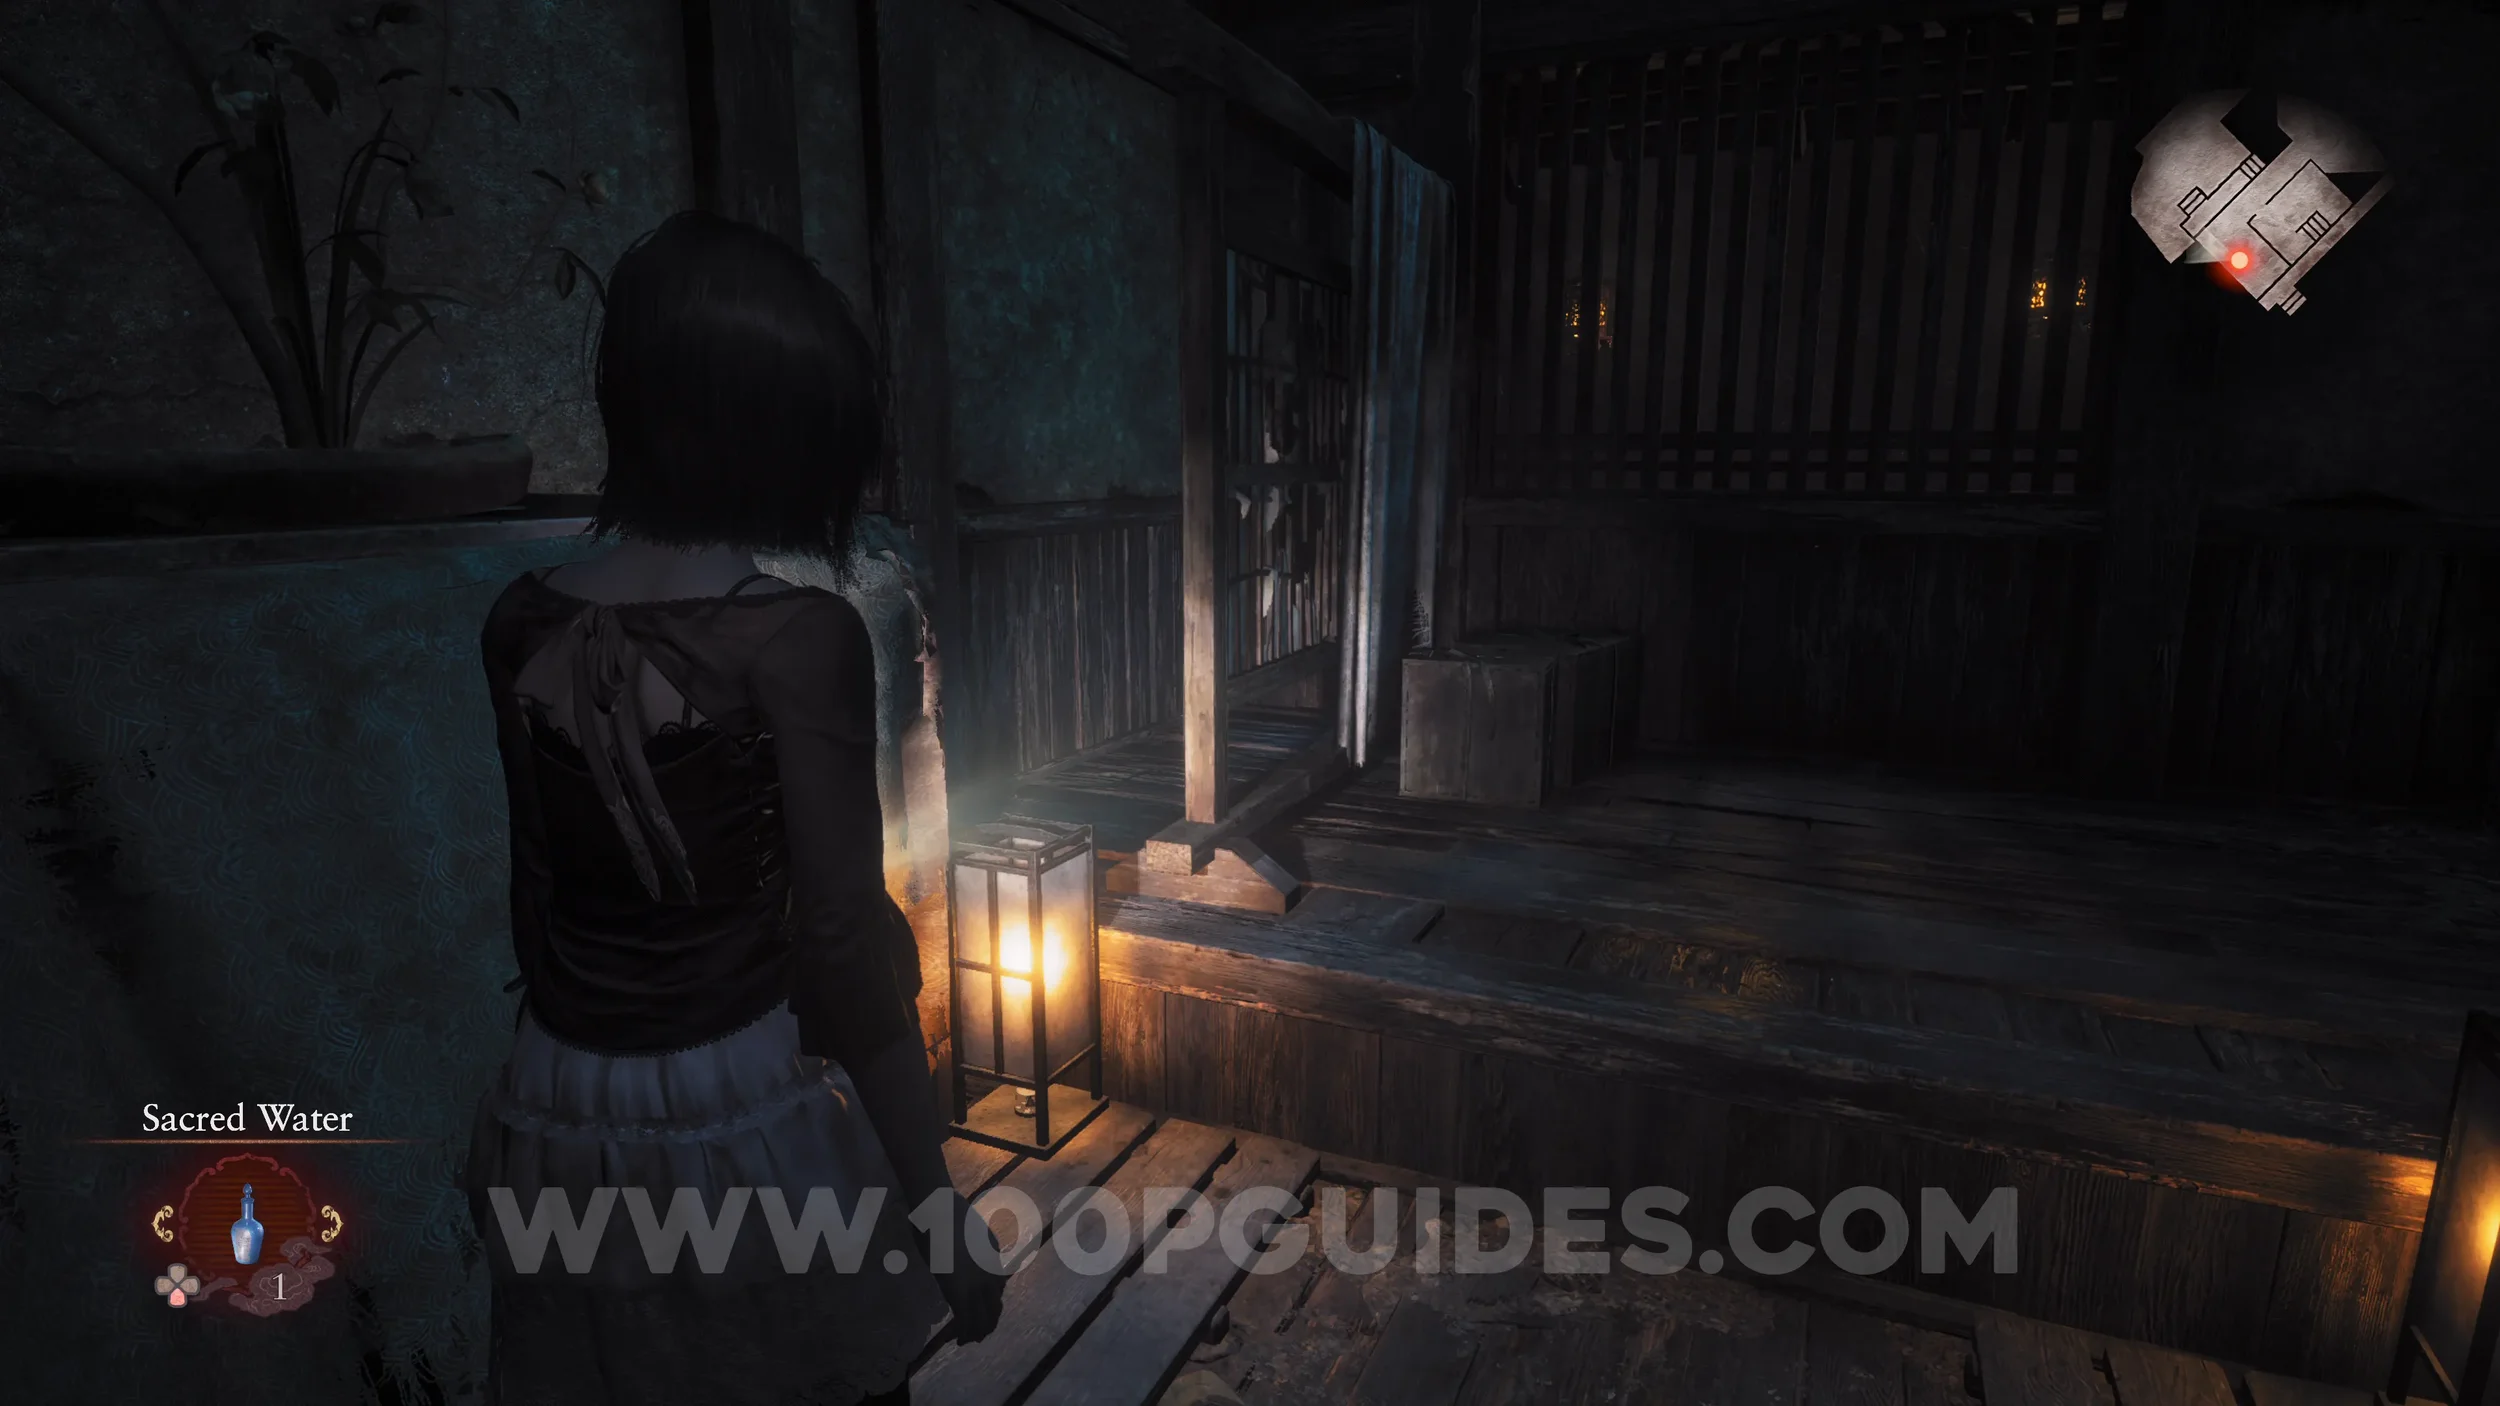
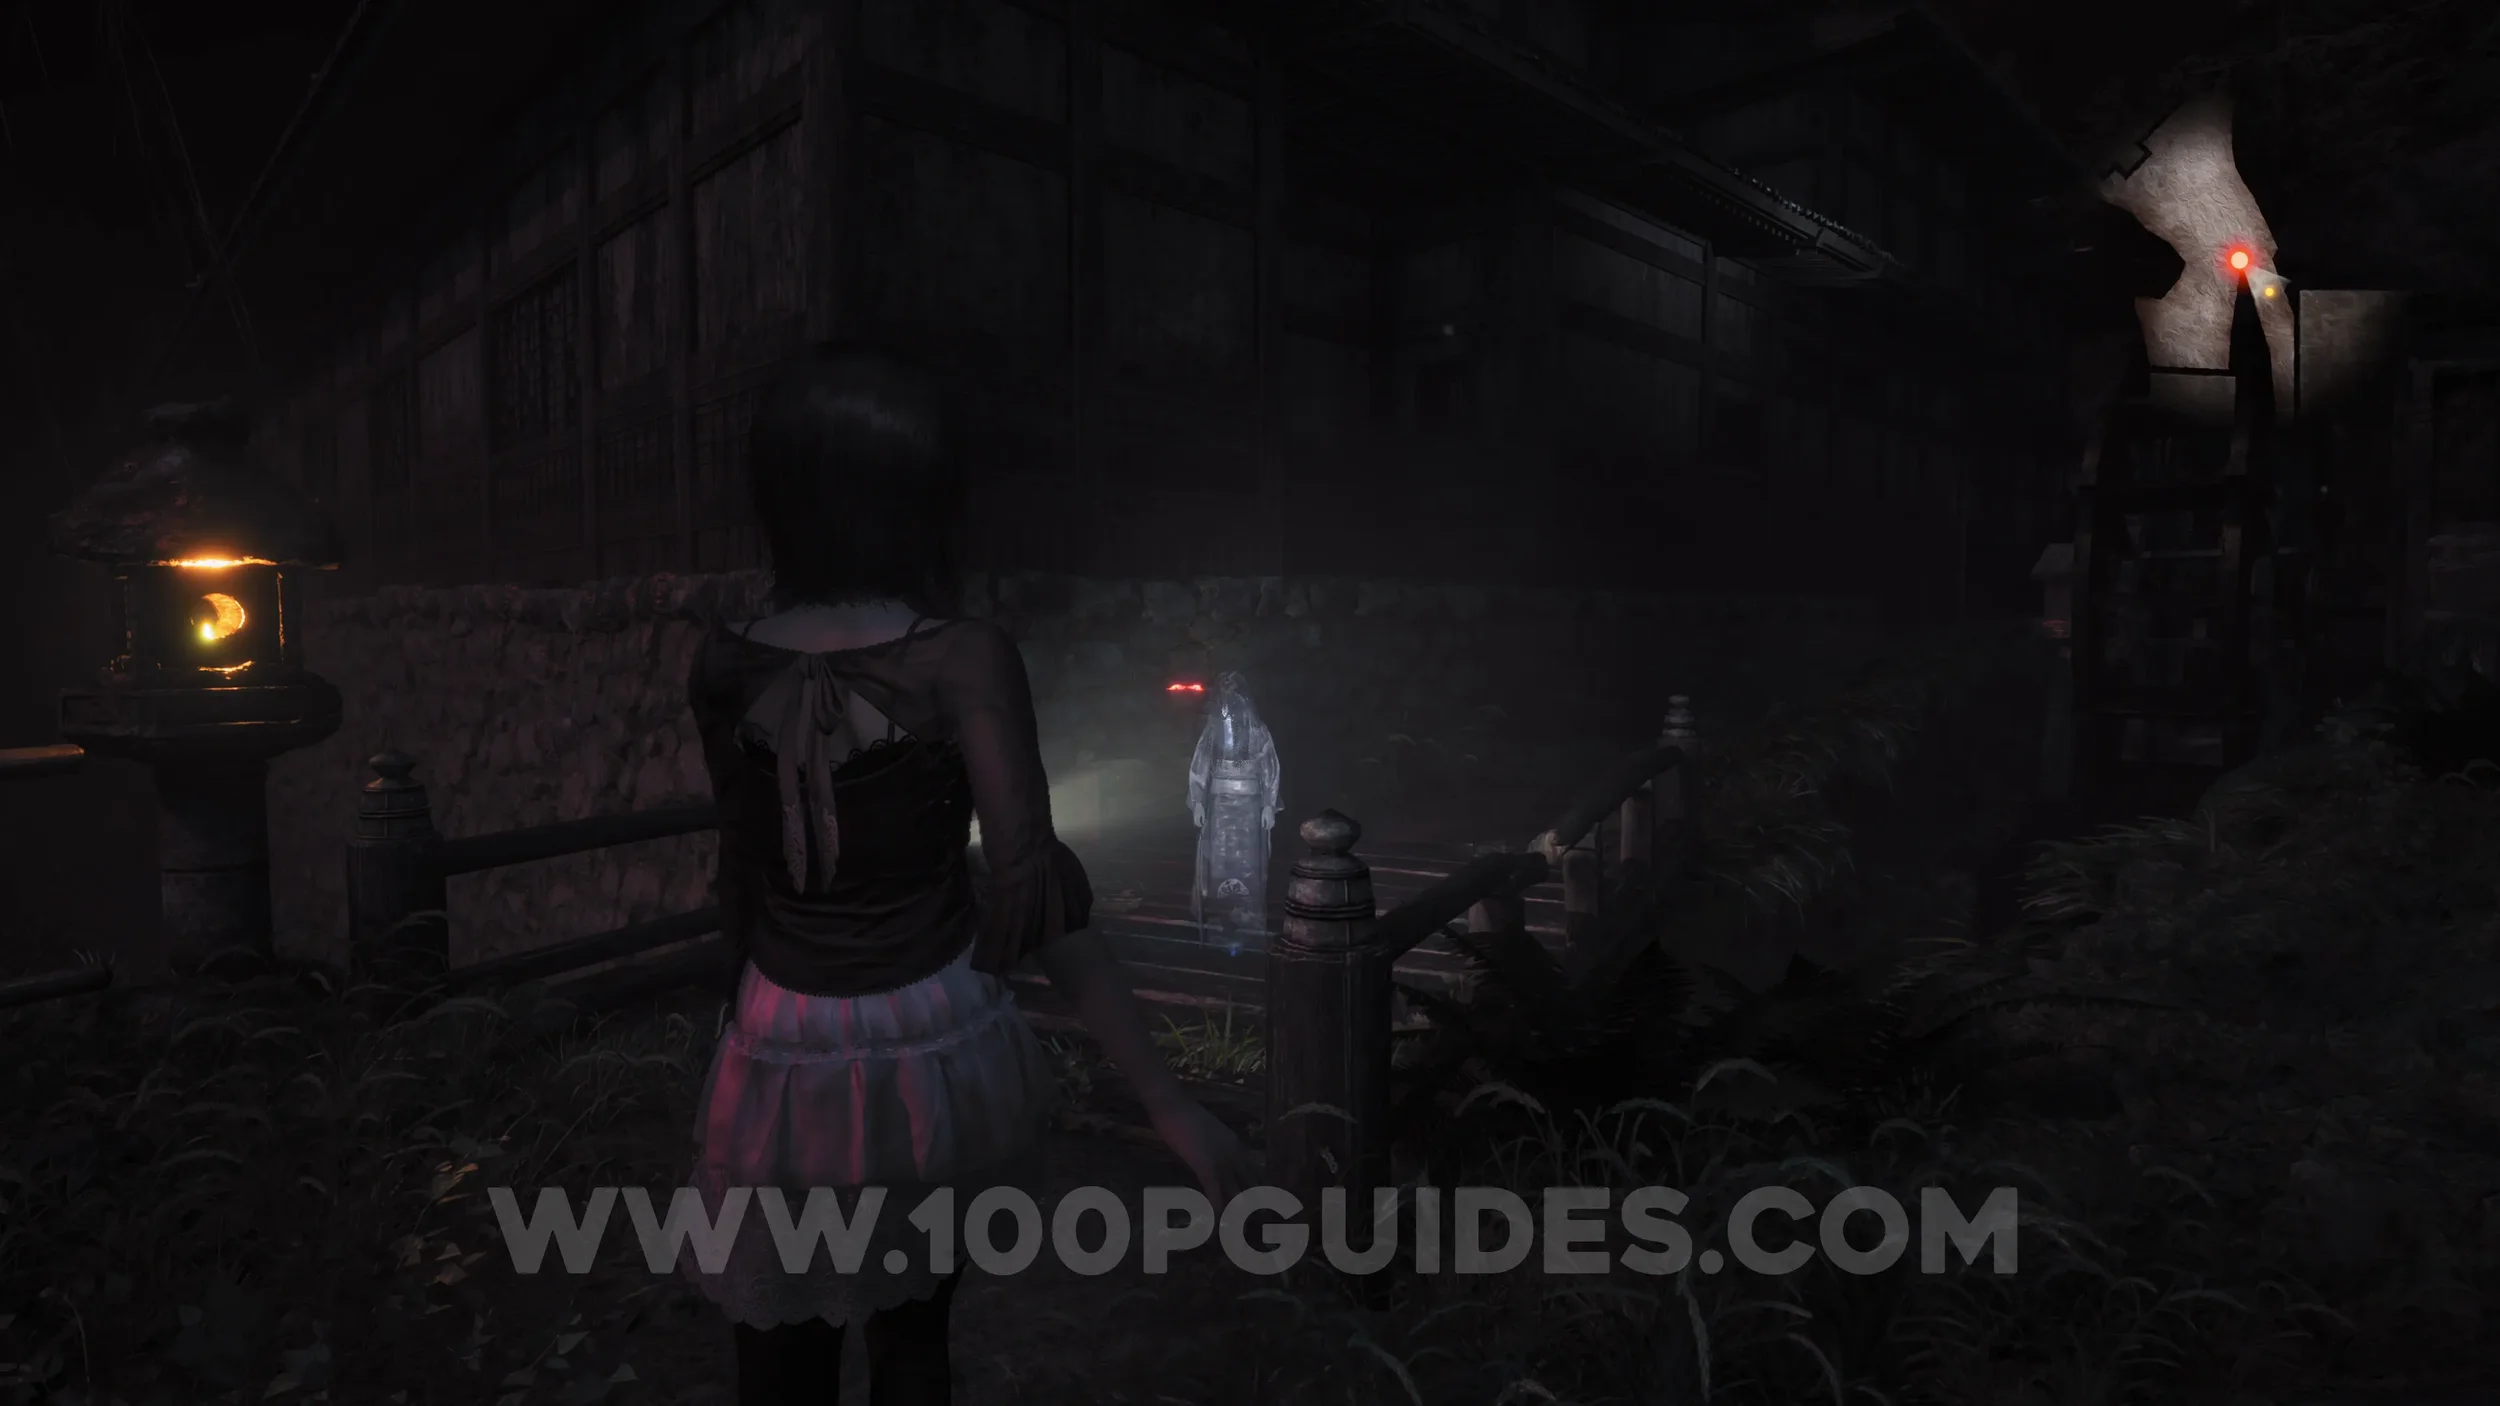
Specter #78 - 060 Fallen Woman. As you make your way up the stairs to the save point in Minakami Village, the specter will fall from above and land in front of you.

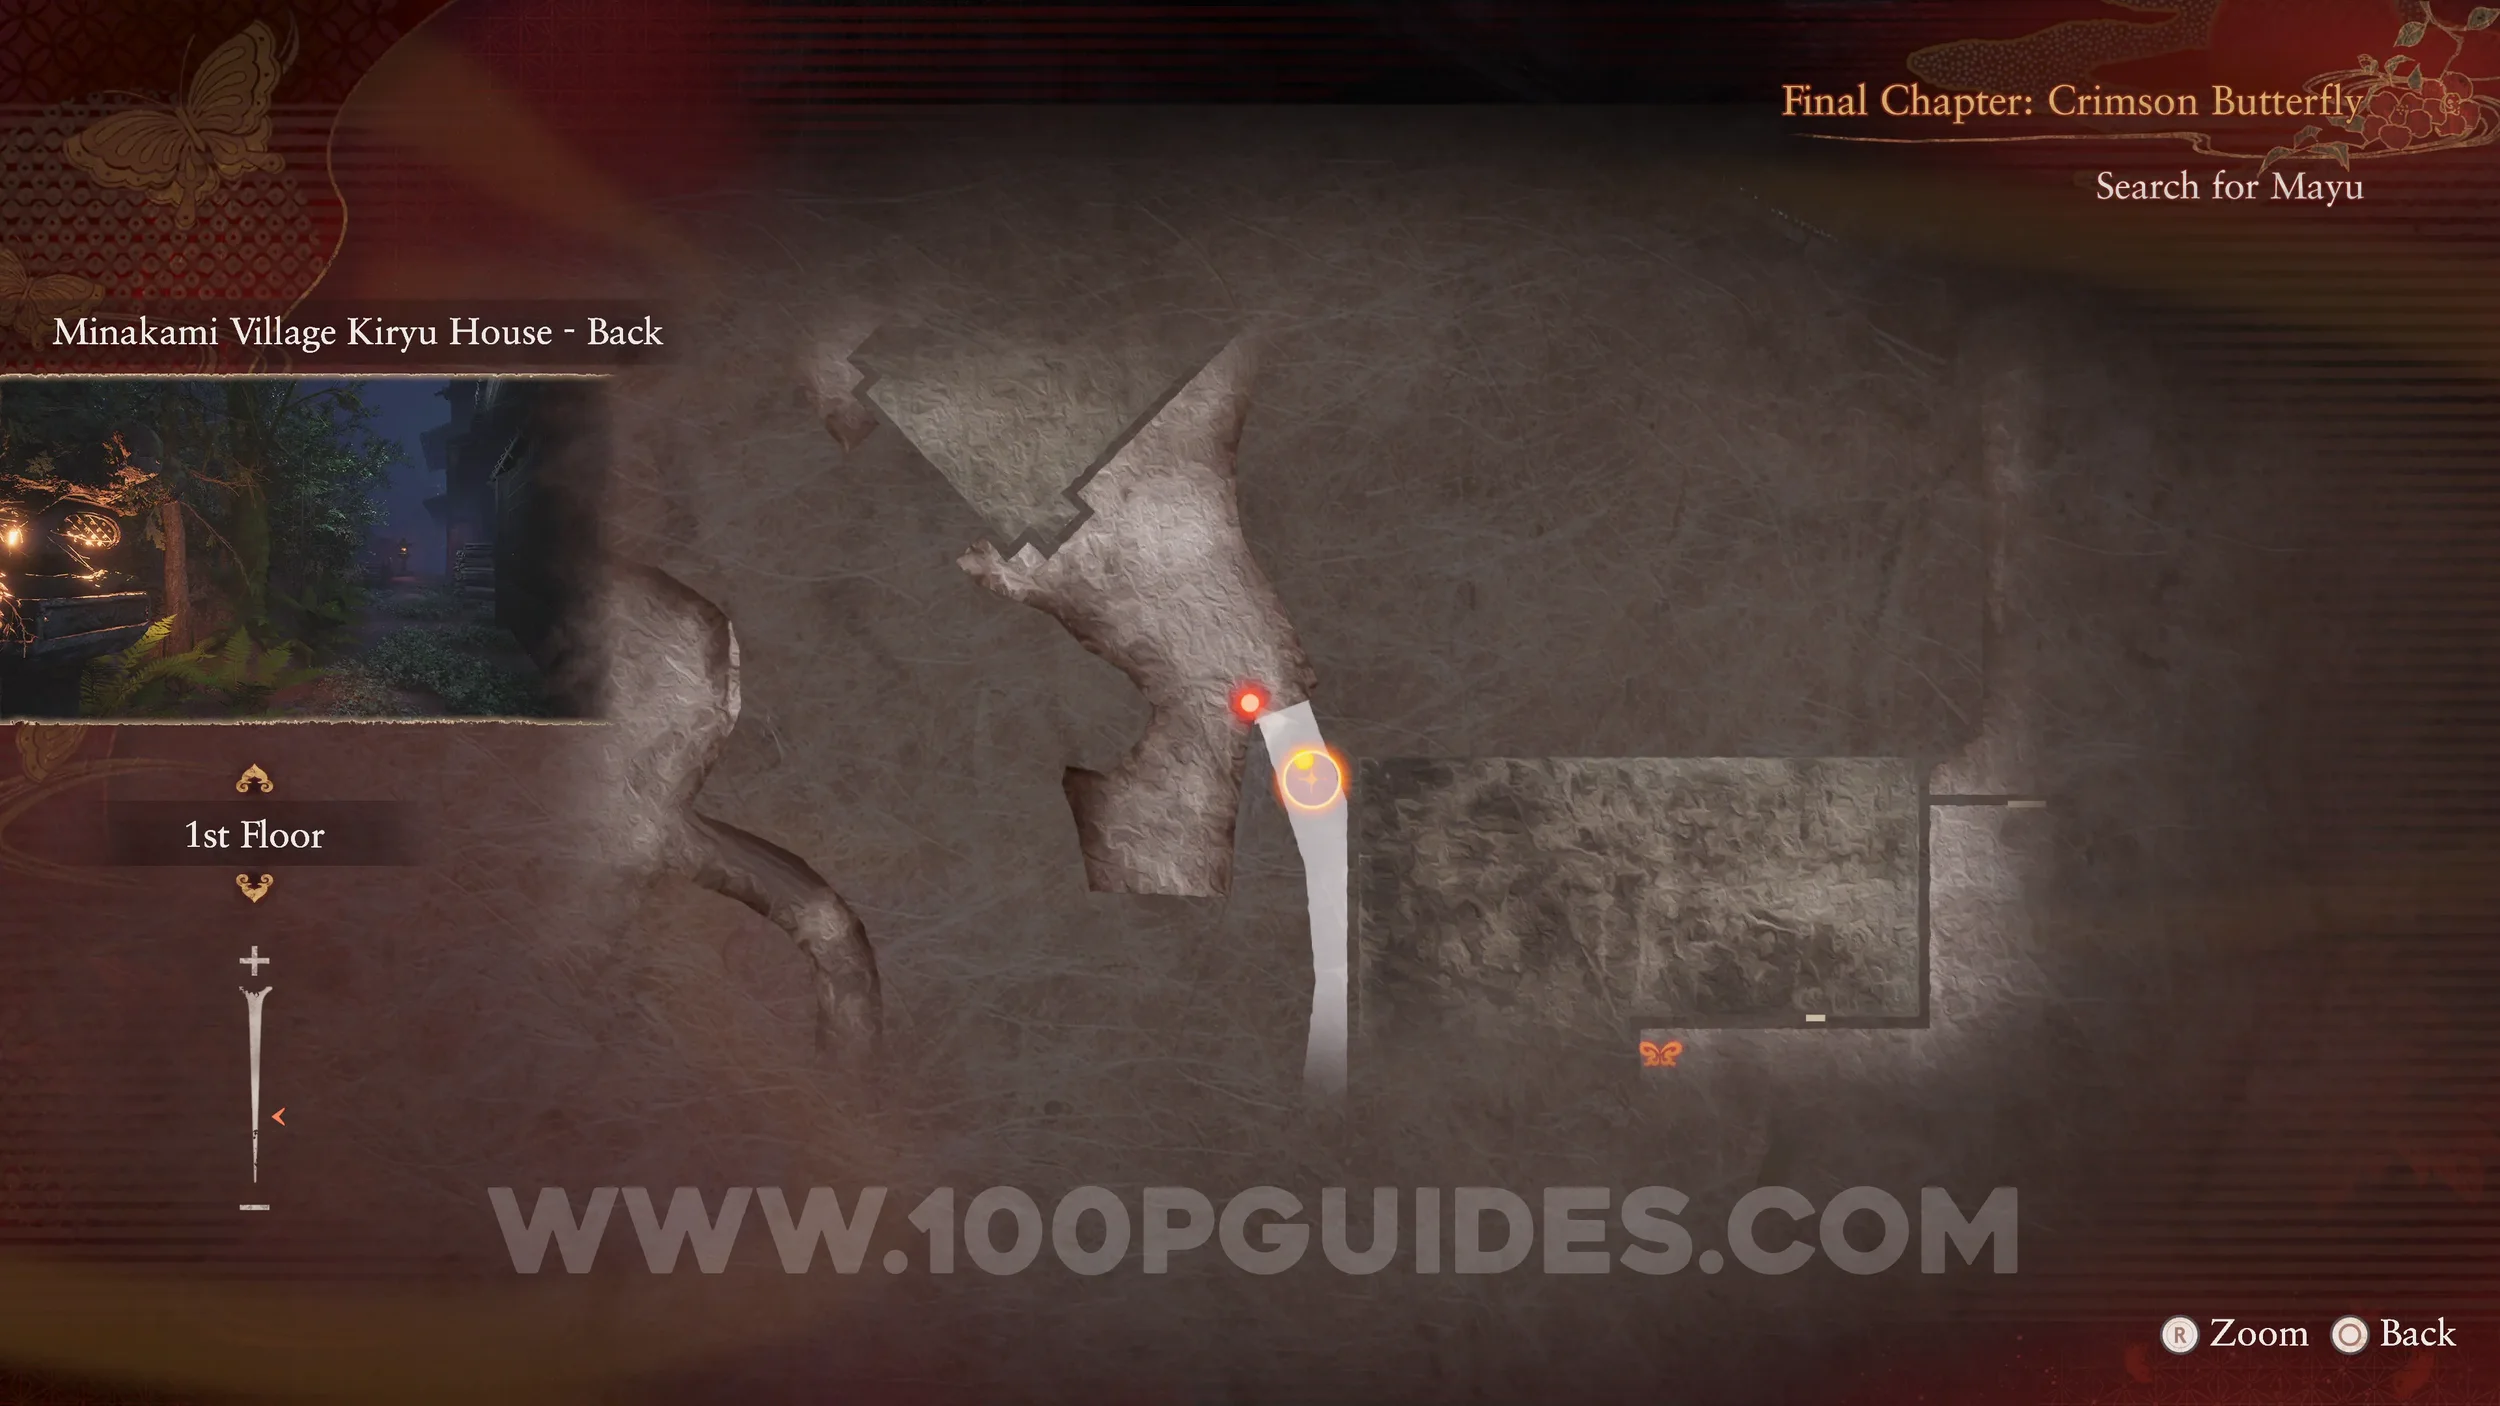
Prayer Beads #22. Found in the top floor of the Kiryu House next to the save point.
Specter #79 - 061 Fluttering Crimson Butterfly. On the main path heading towards the Osaka House in plain sight after the save point.
Prayer Beads #23. On a box to your right just where the butterfly spawns.
Specter #80 - 079 Priest Approaching Shirne, Specter #81 - 080 Priest Ascending Stairs, Specter #82 - 081 Priest Traversing Path and Specter #83 - 082 Priest Approaching Shrine. From where the butterfly spawns, follow the path on your right toward the temple, then cross the wooden bridge on your left. As you go up the stairs on your right, three specters will appear. Take a photo of all three together to register the fourth entry.
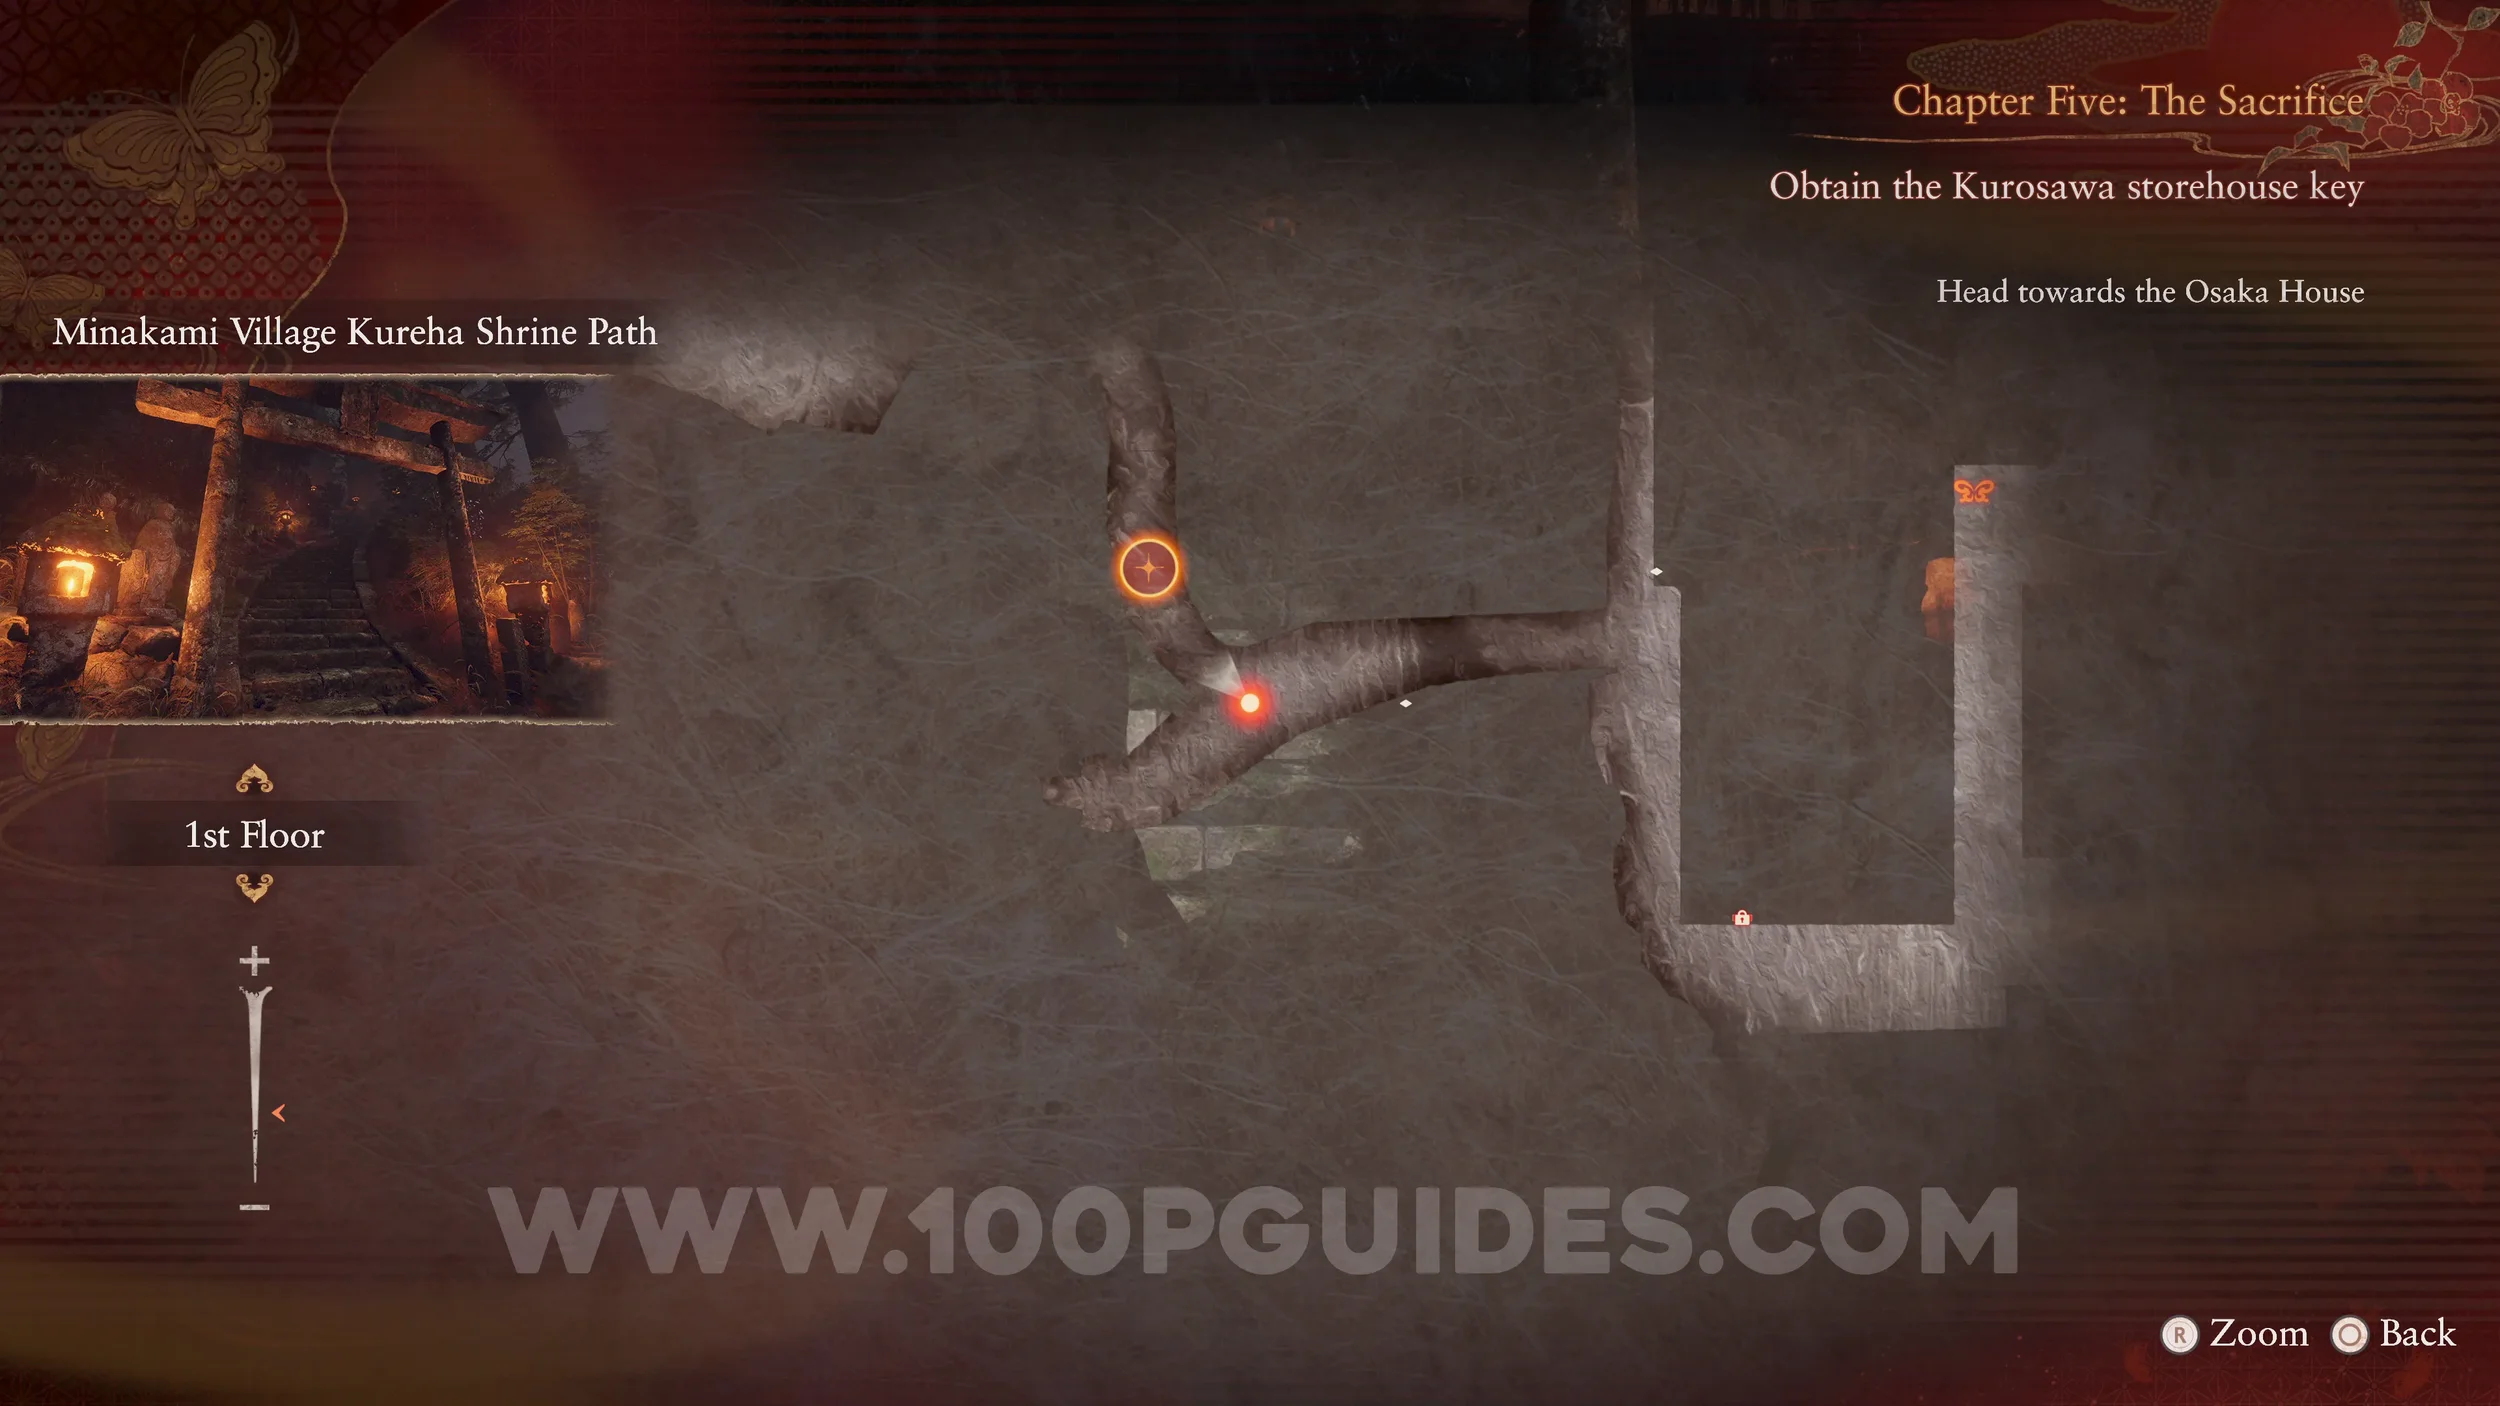
Specter #84 - 192 Boy Searching Shrine. Continue up the stairs to the temple, then go around the left side until you reach a gravestone. From here, look to your right to spot the specter on the wooden path around the temple.
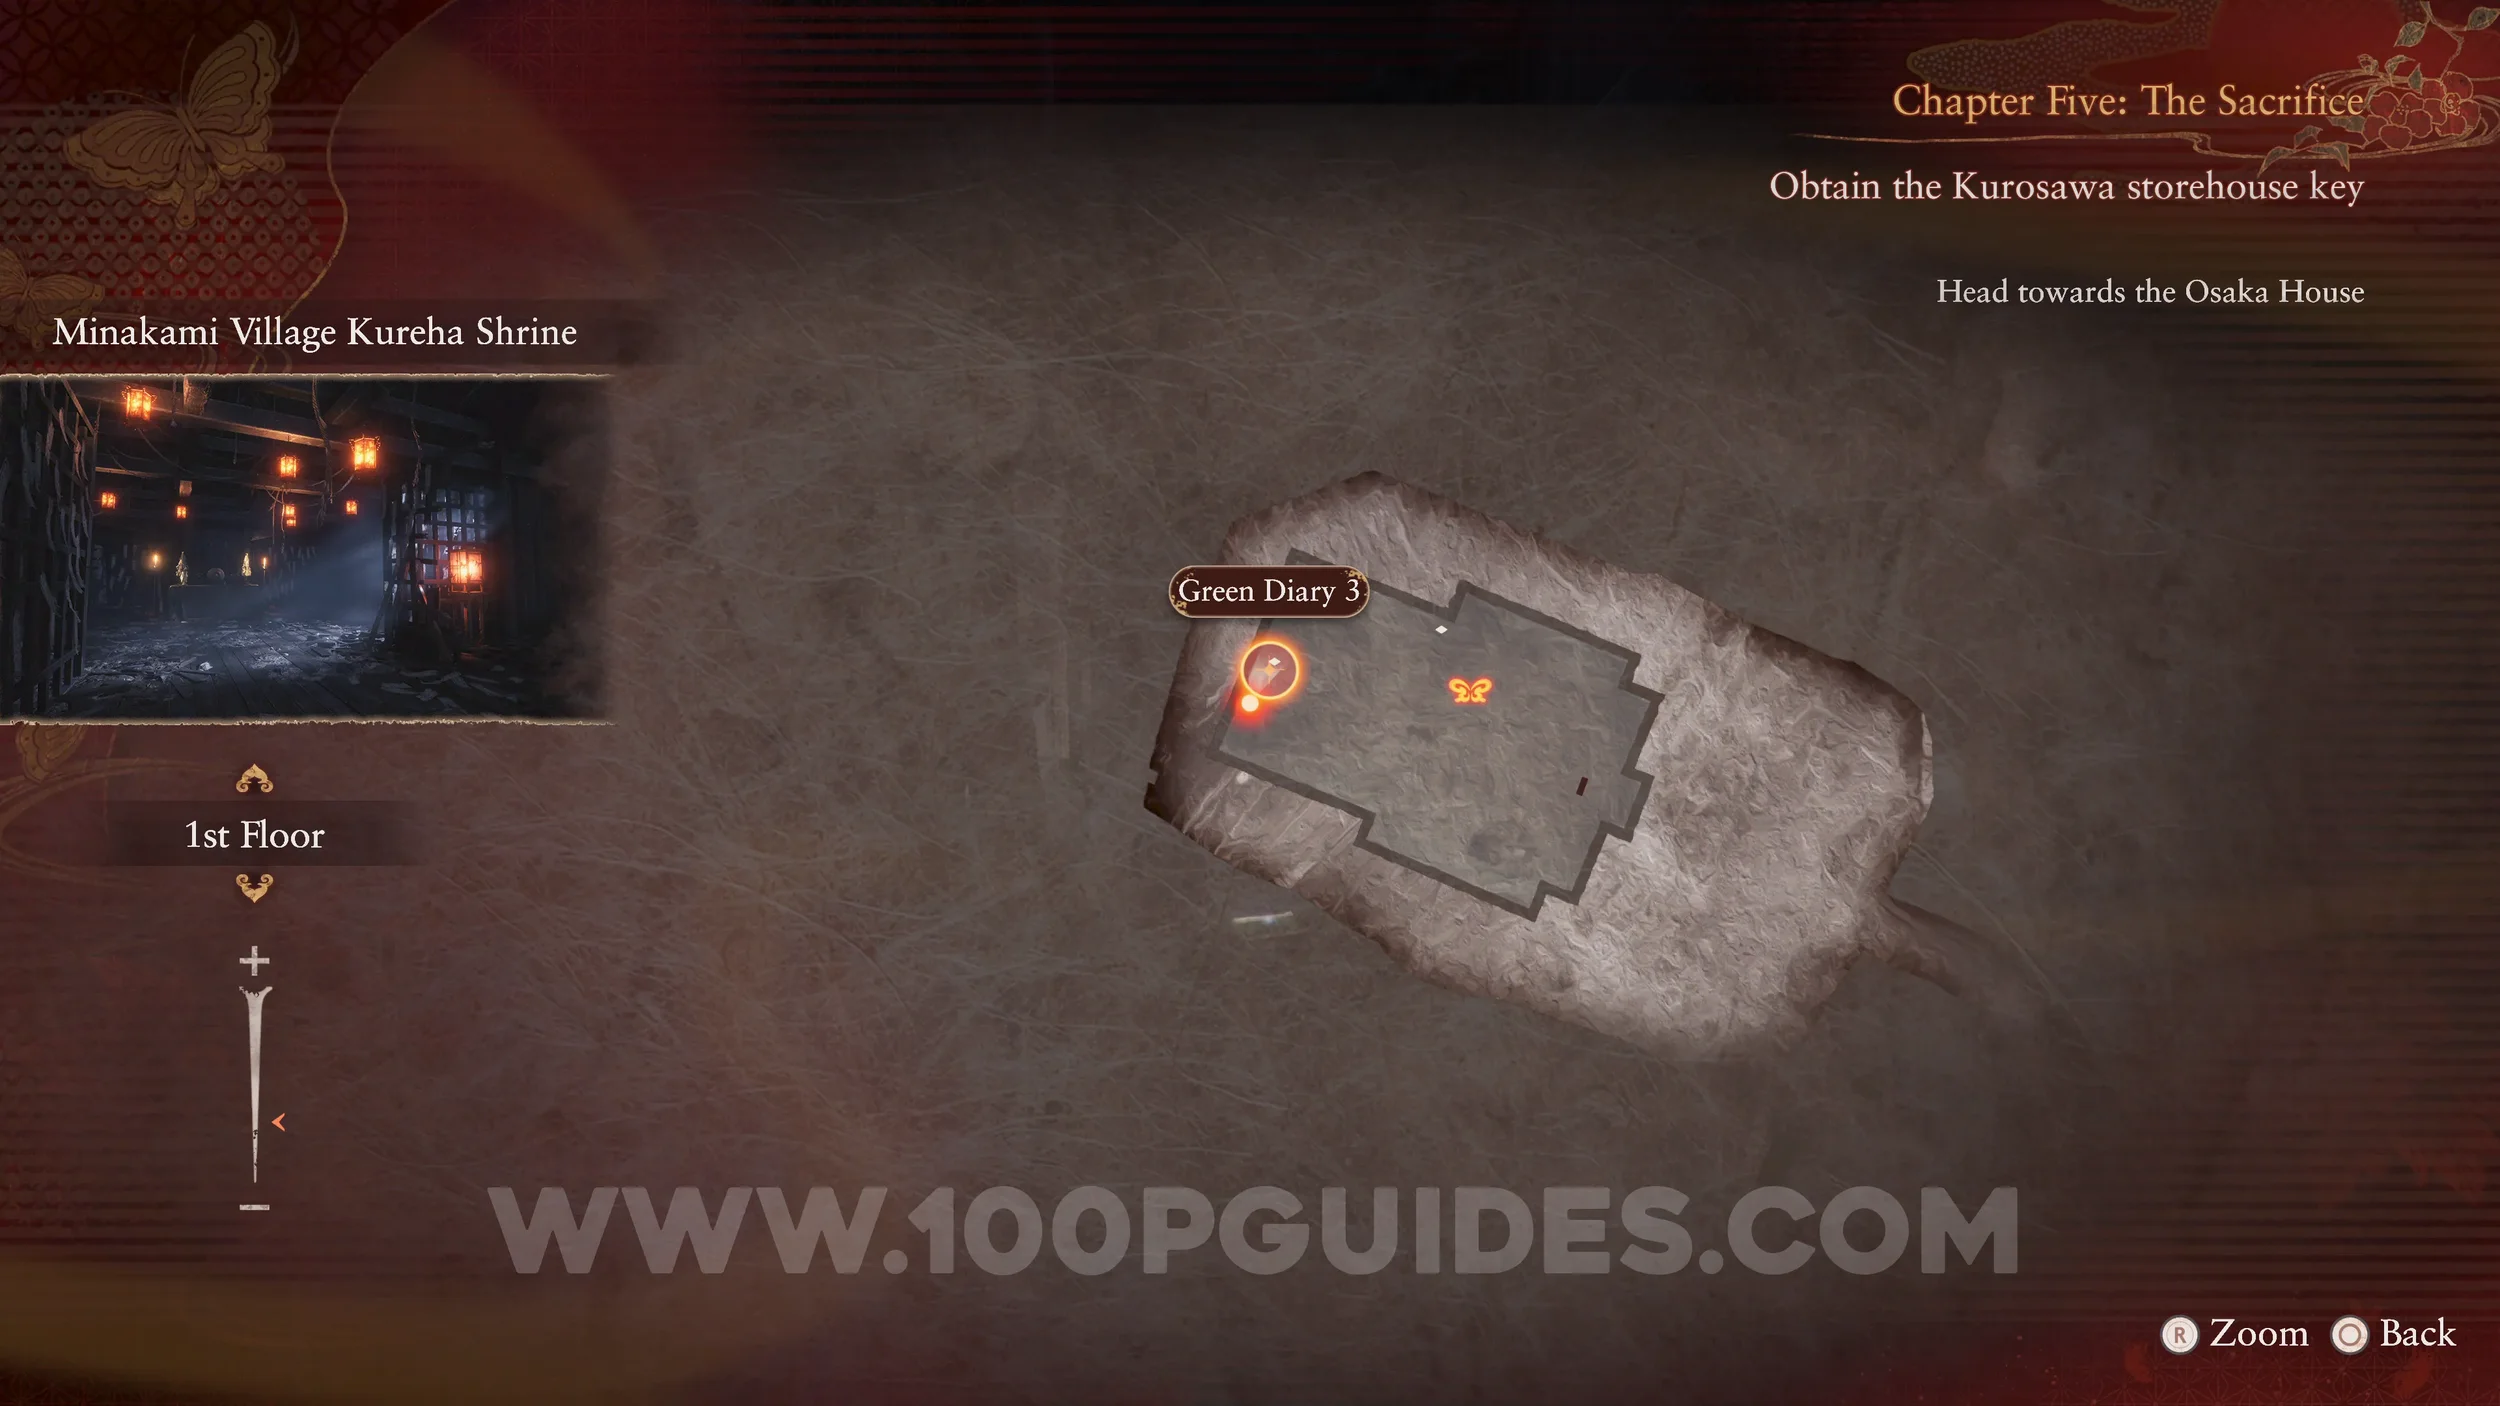
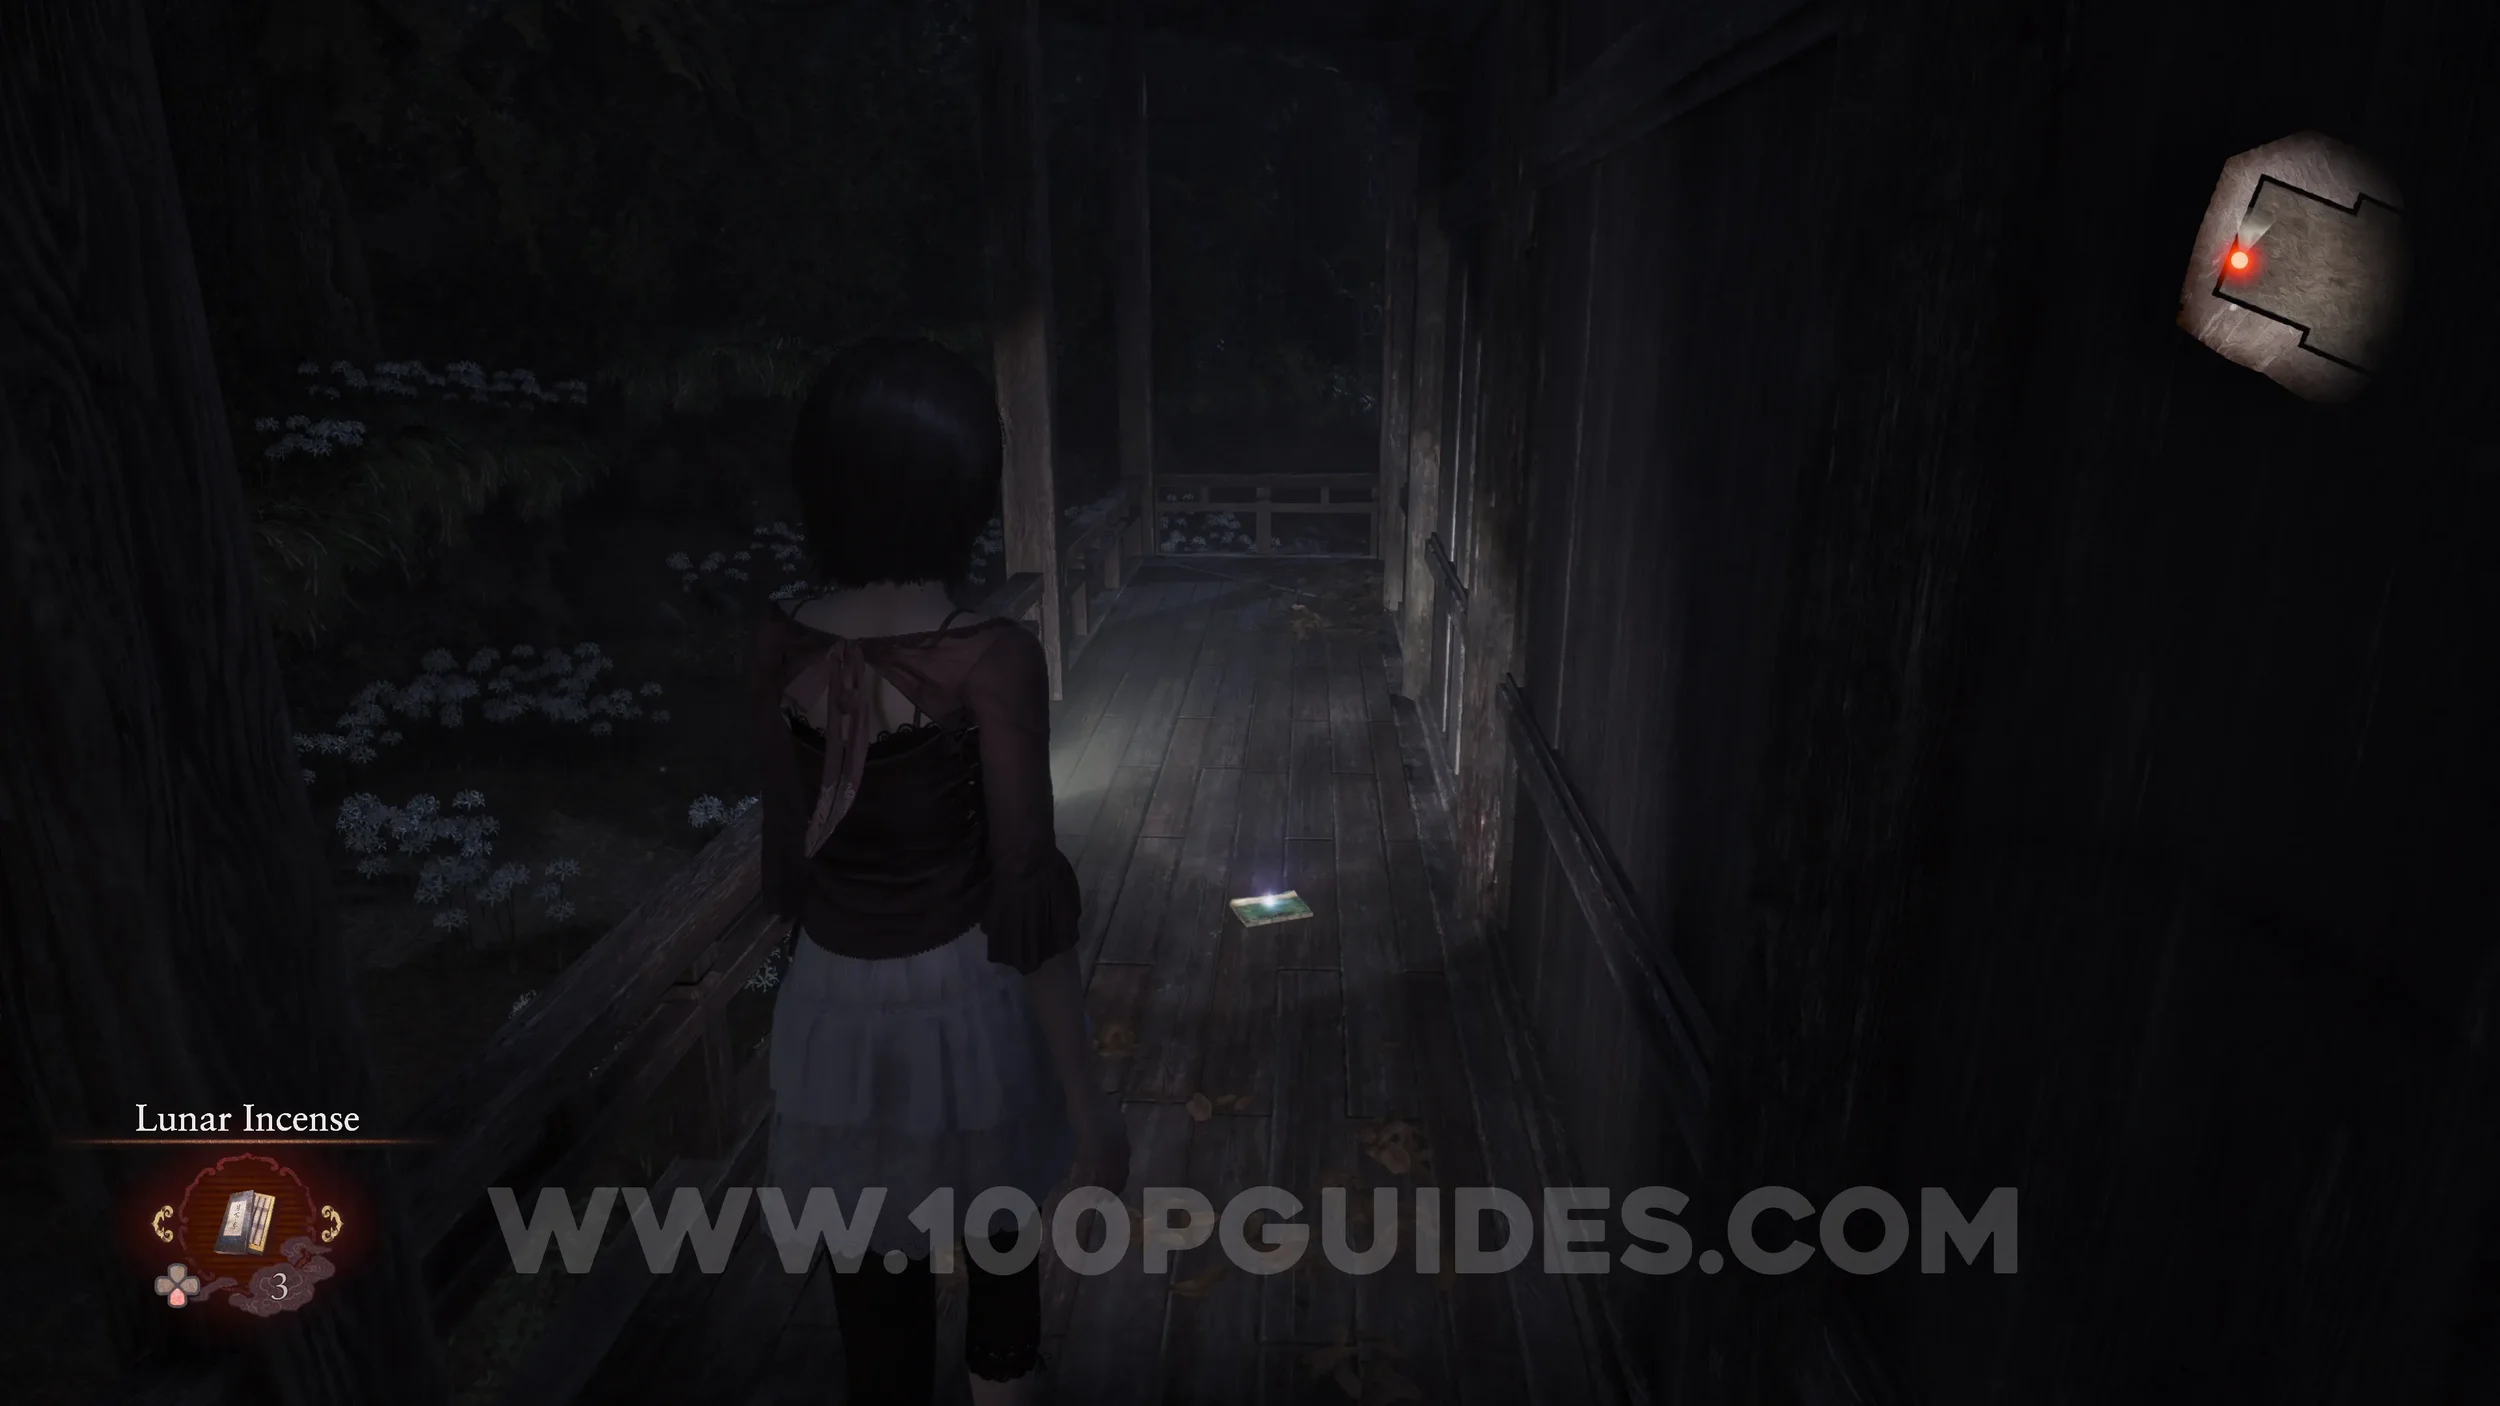
Document #52 - Green Diary 3. Dropped by the previous specter.


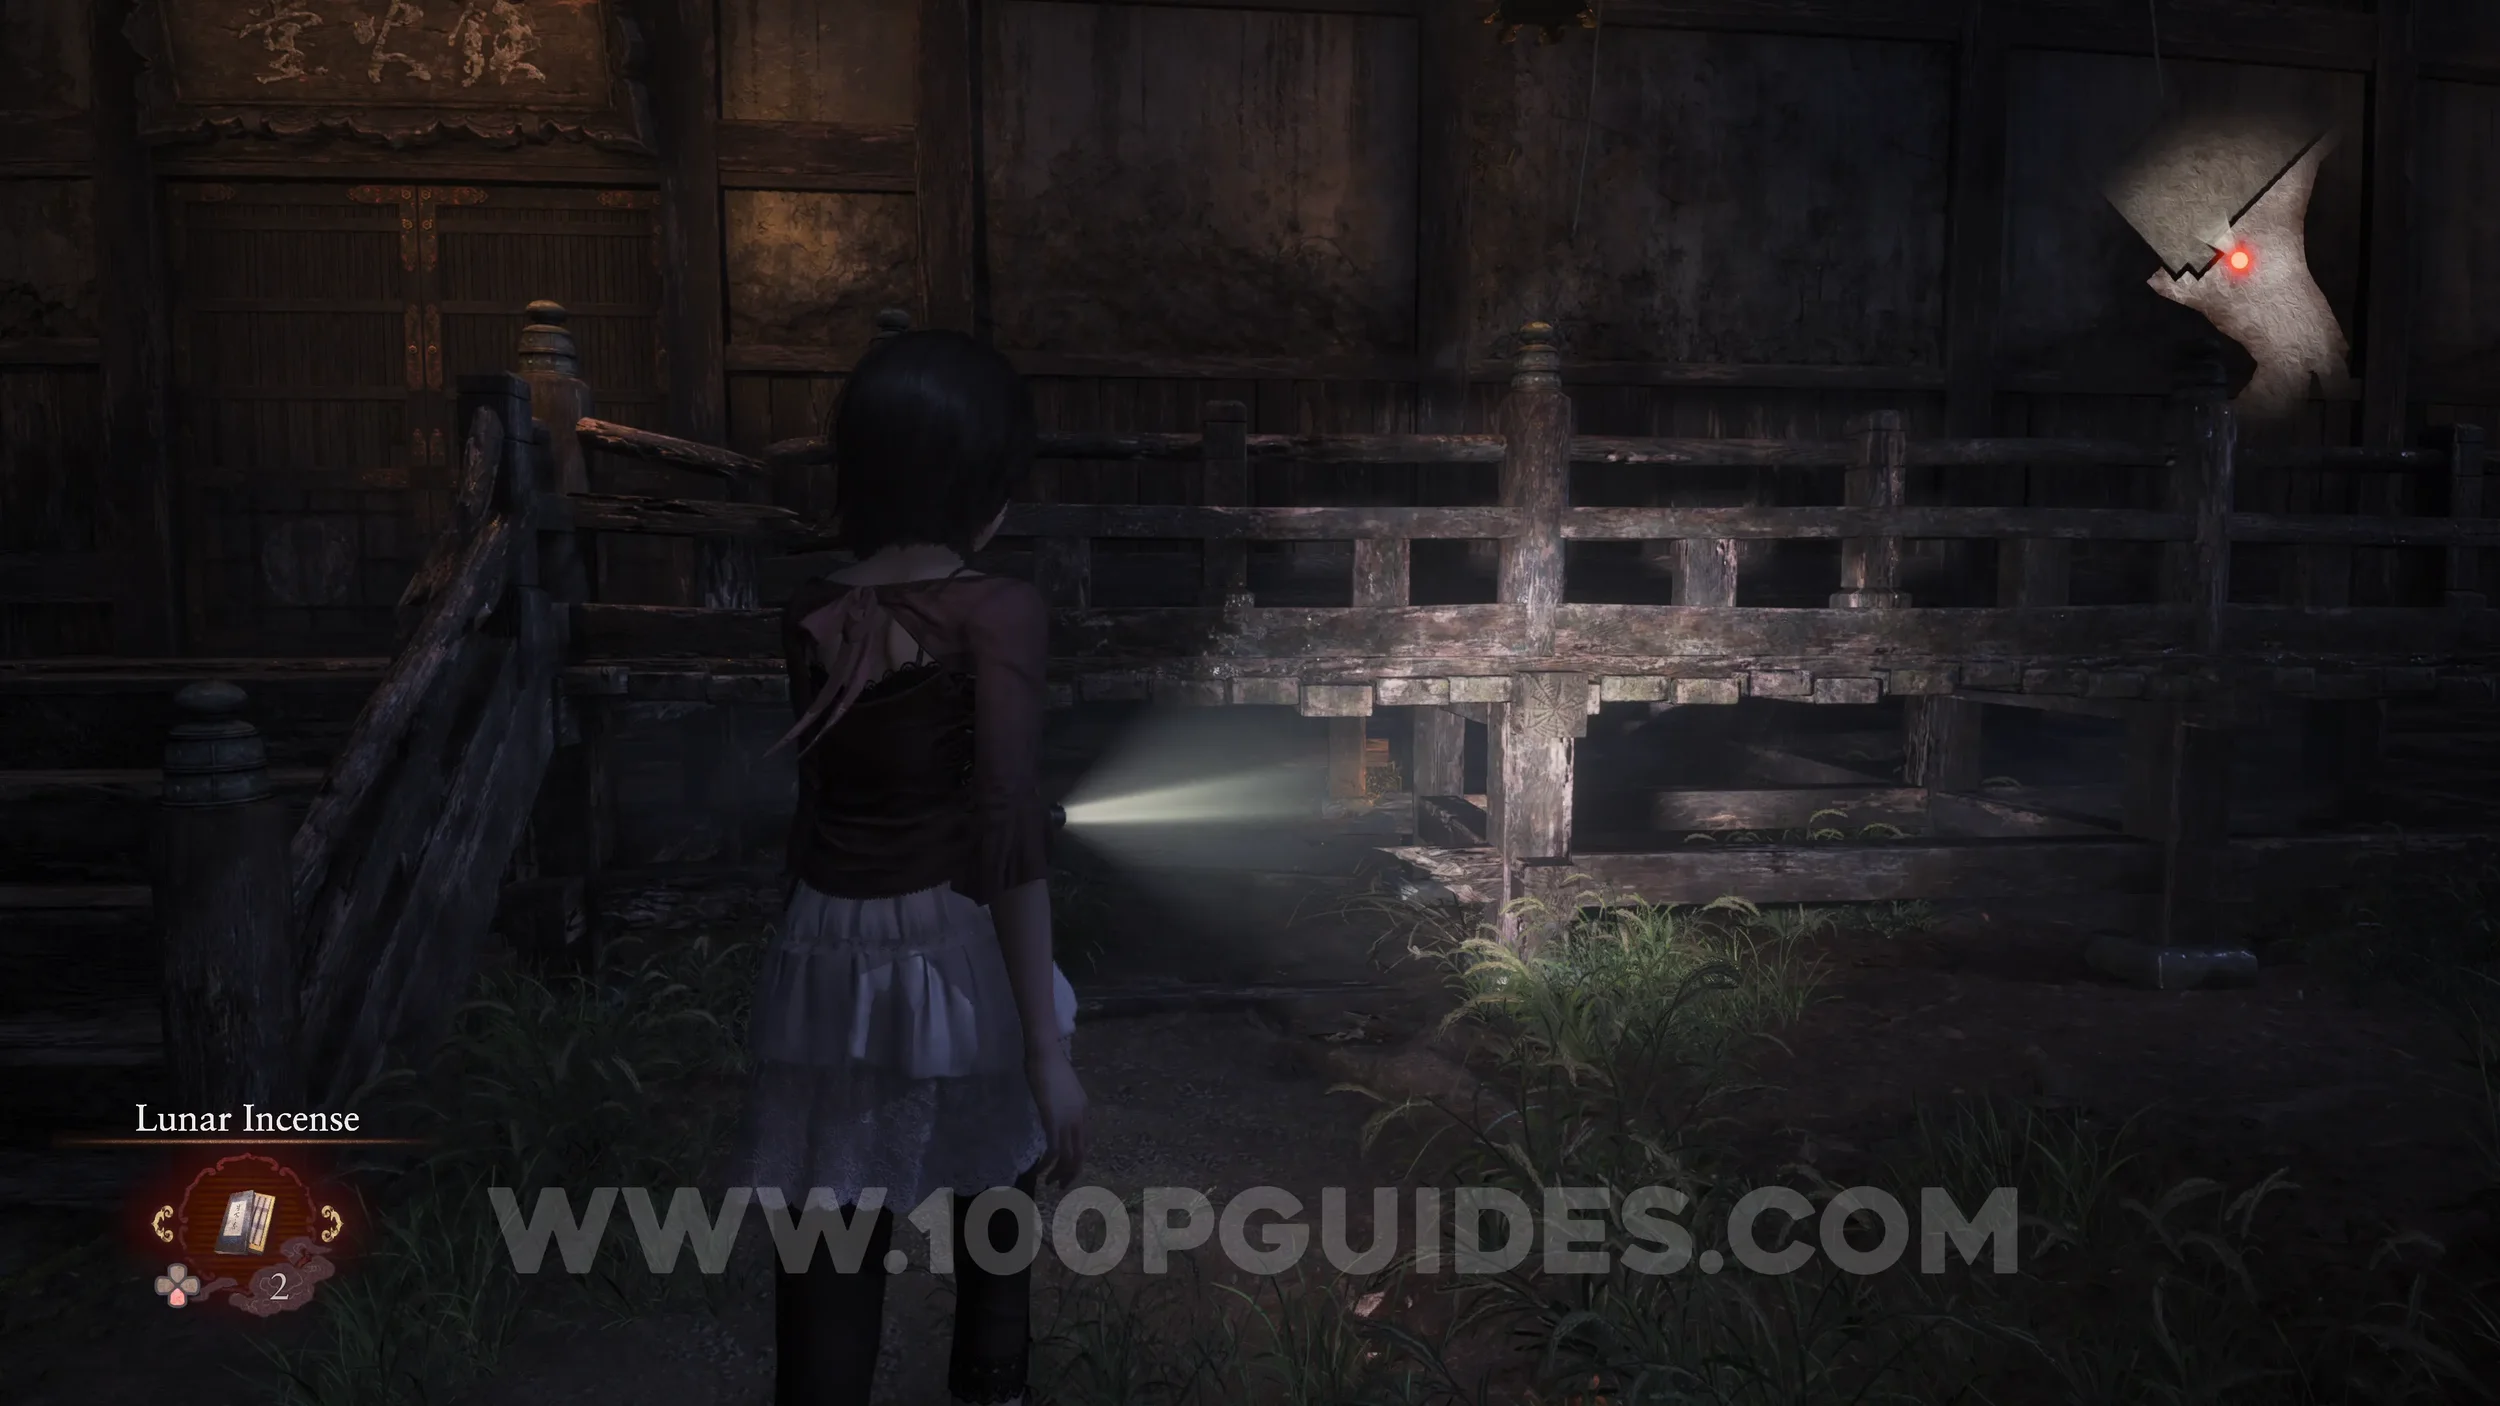
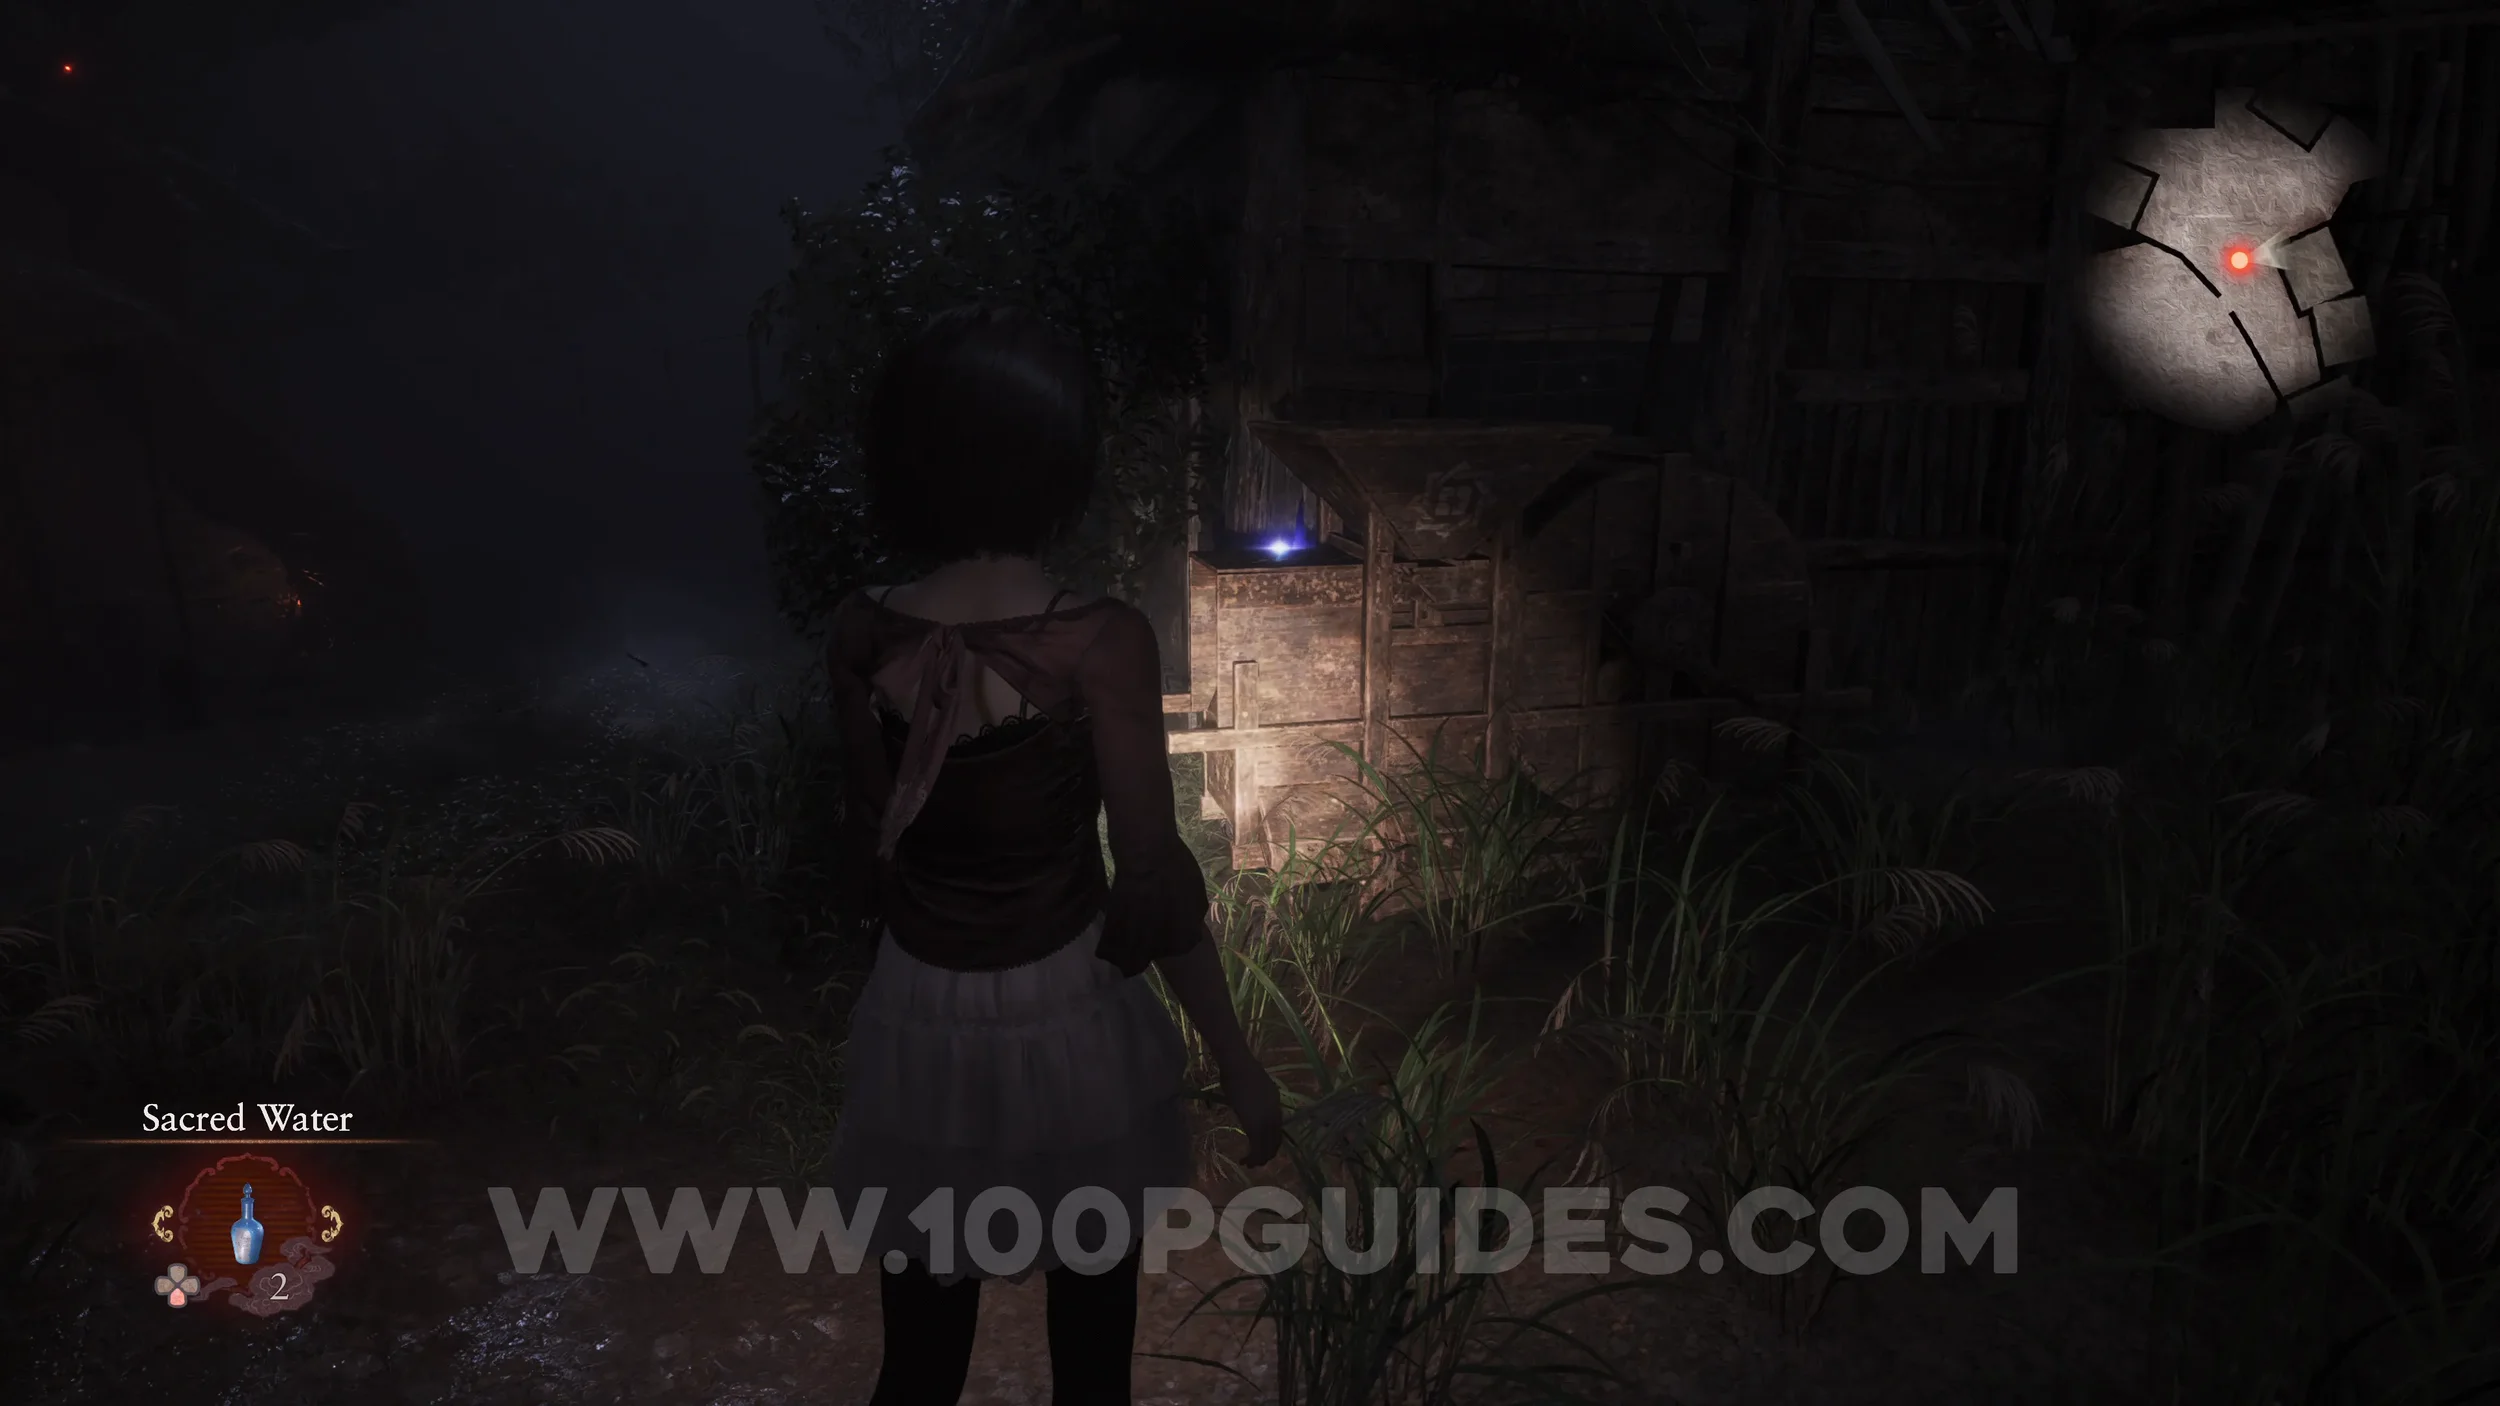
Unbinding of Blood #8 and Prayer Beads #24. Enter the temple and defeat the wraith that attacks you to advance the side quest. Then use the Radiant Filter to open the vase on your left. The Prayer Beads will be inside.
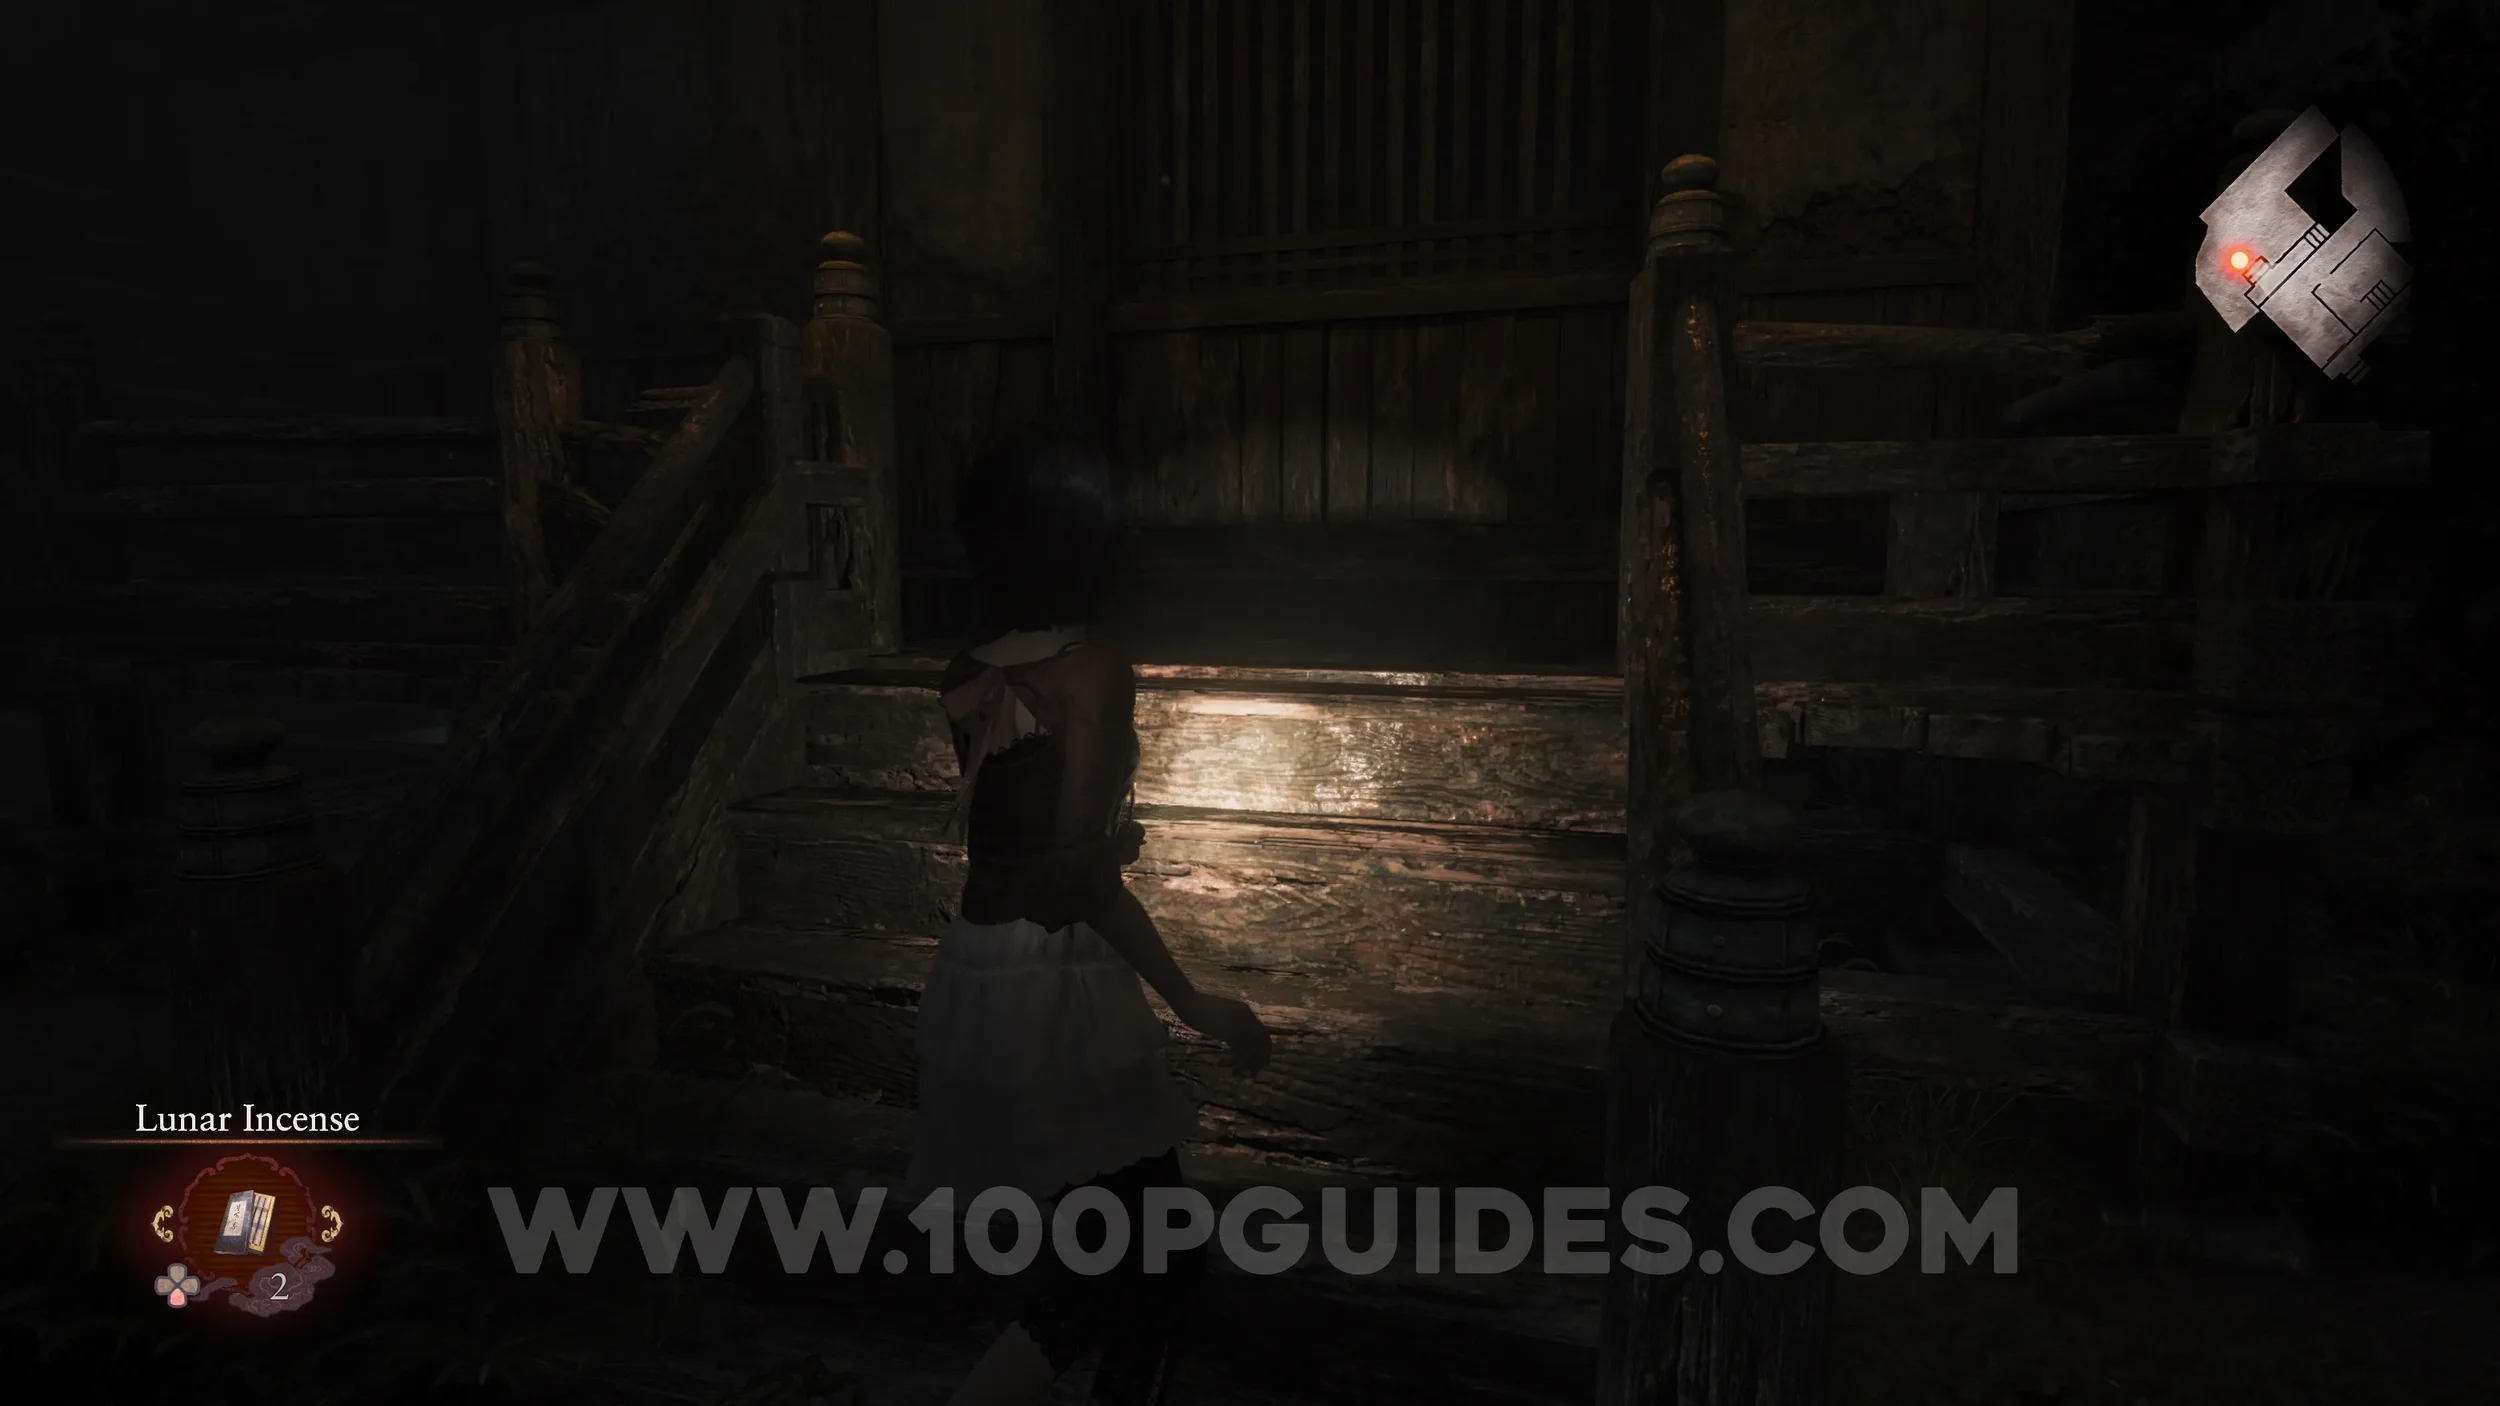
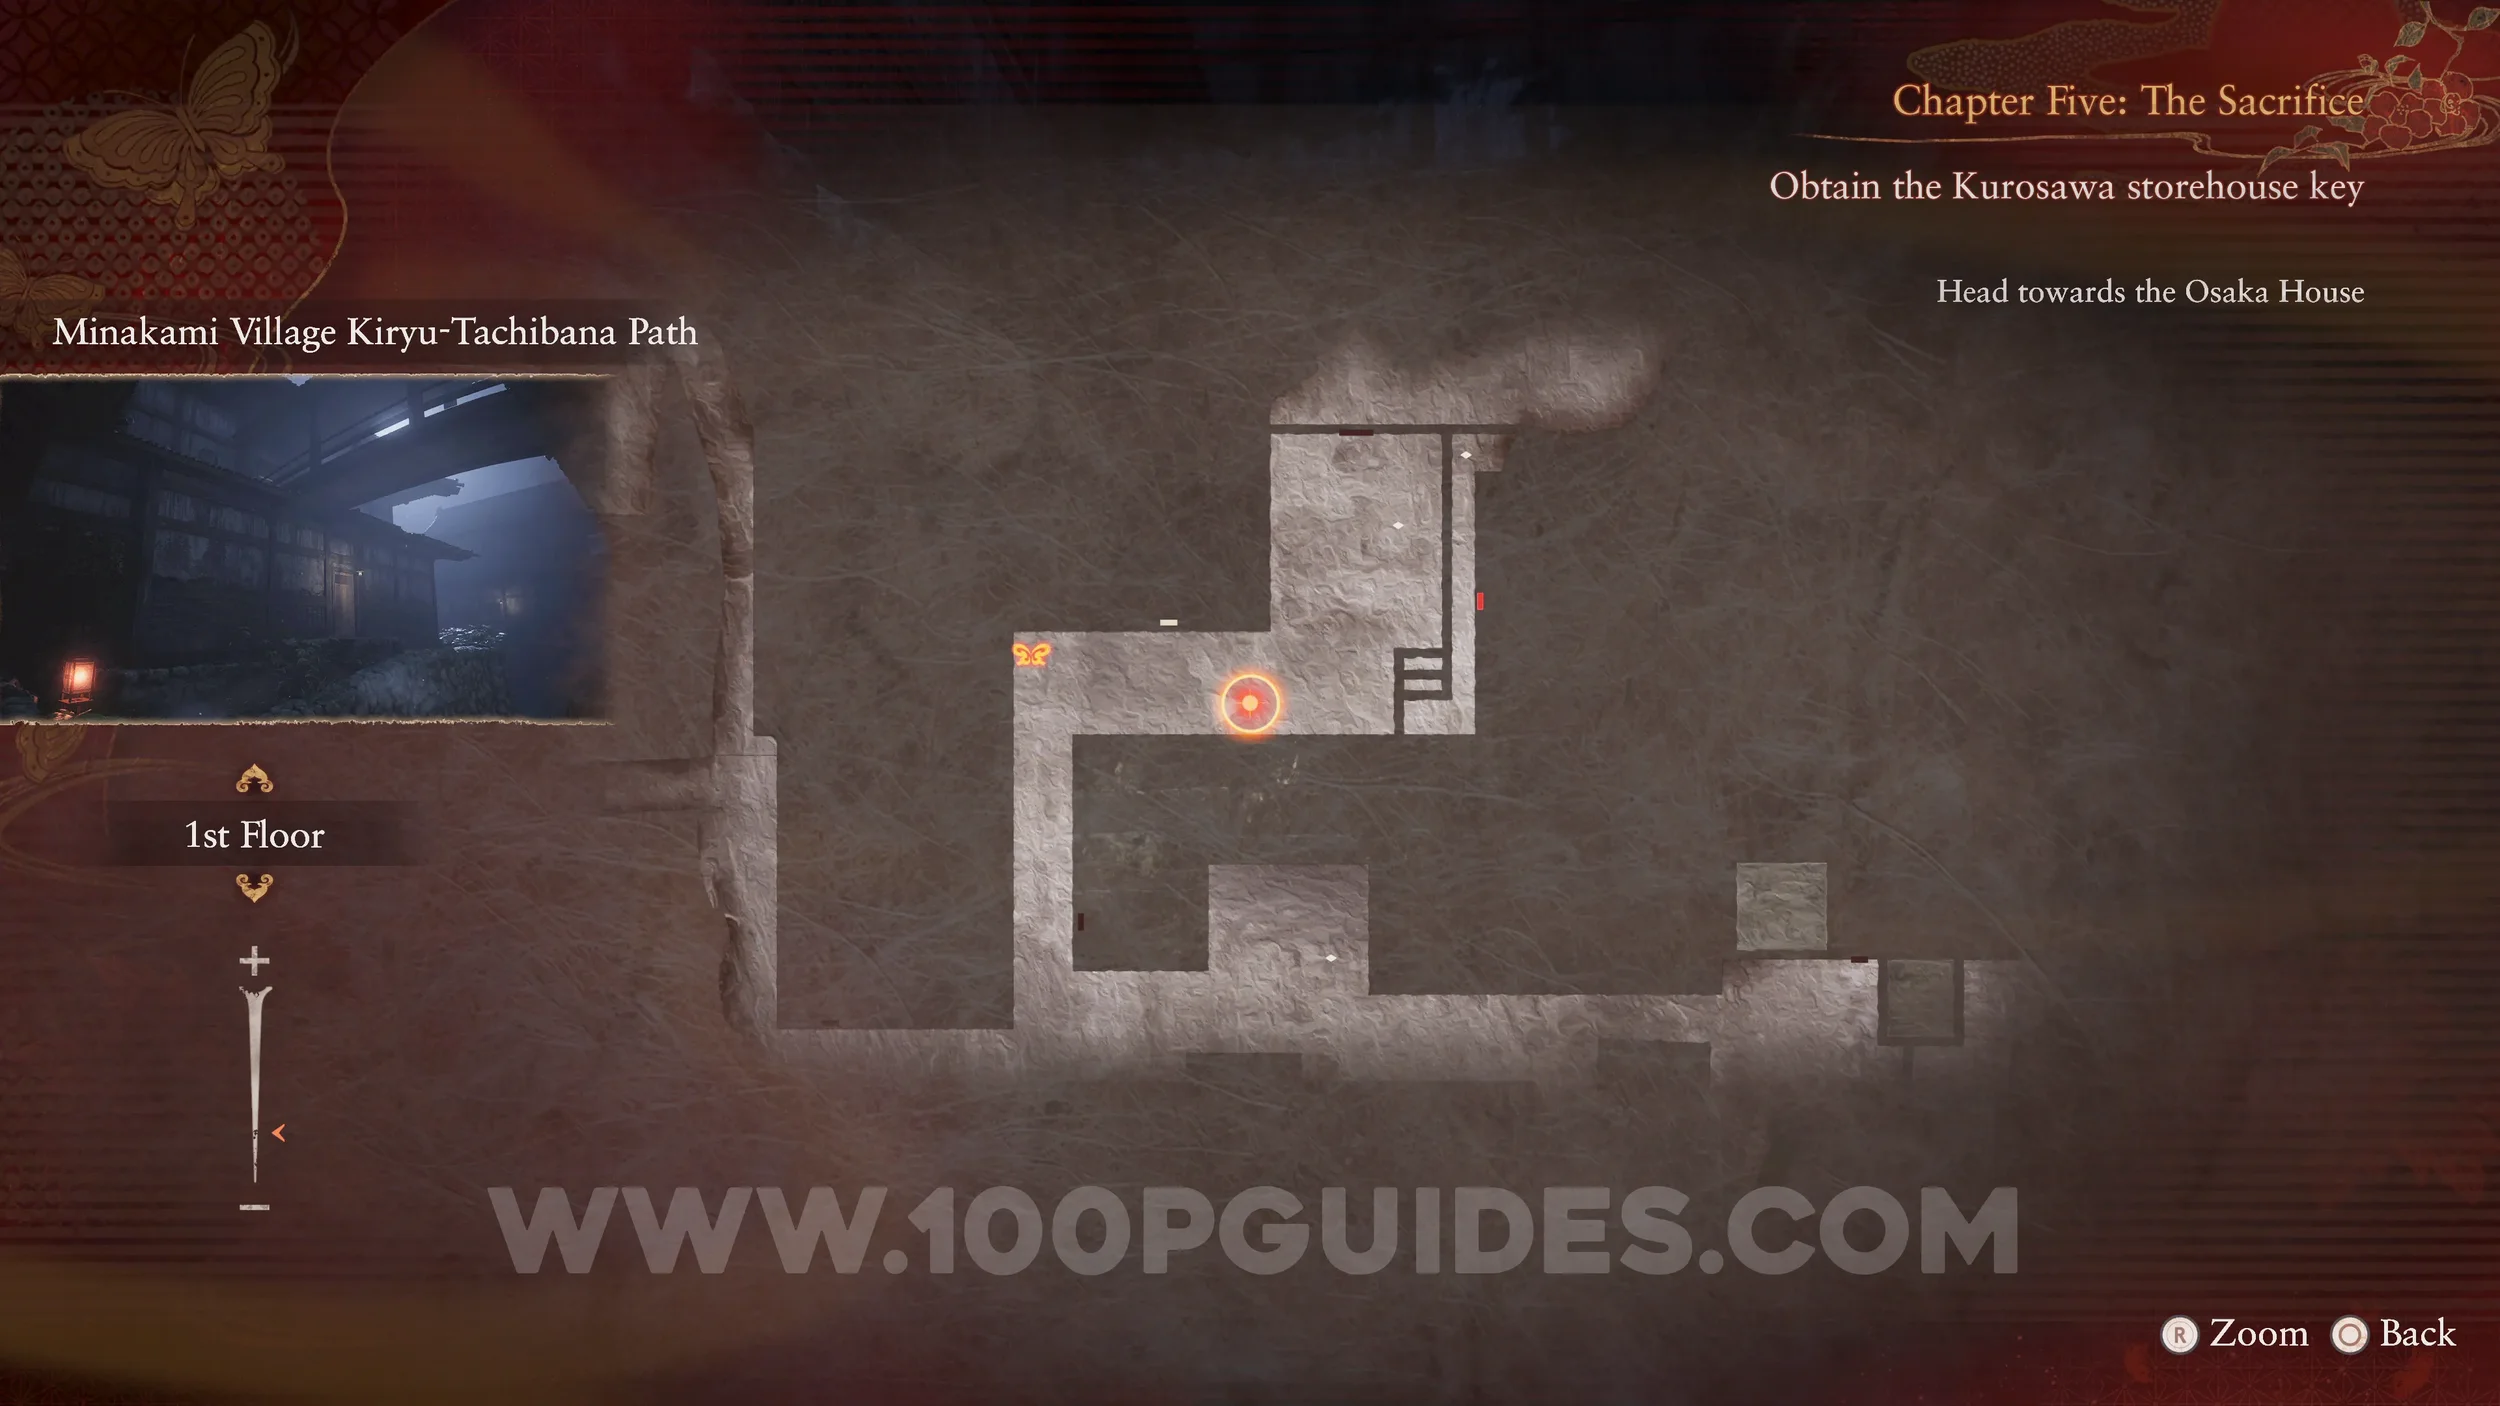
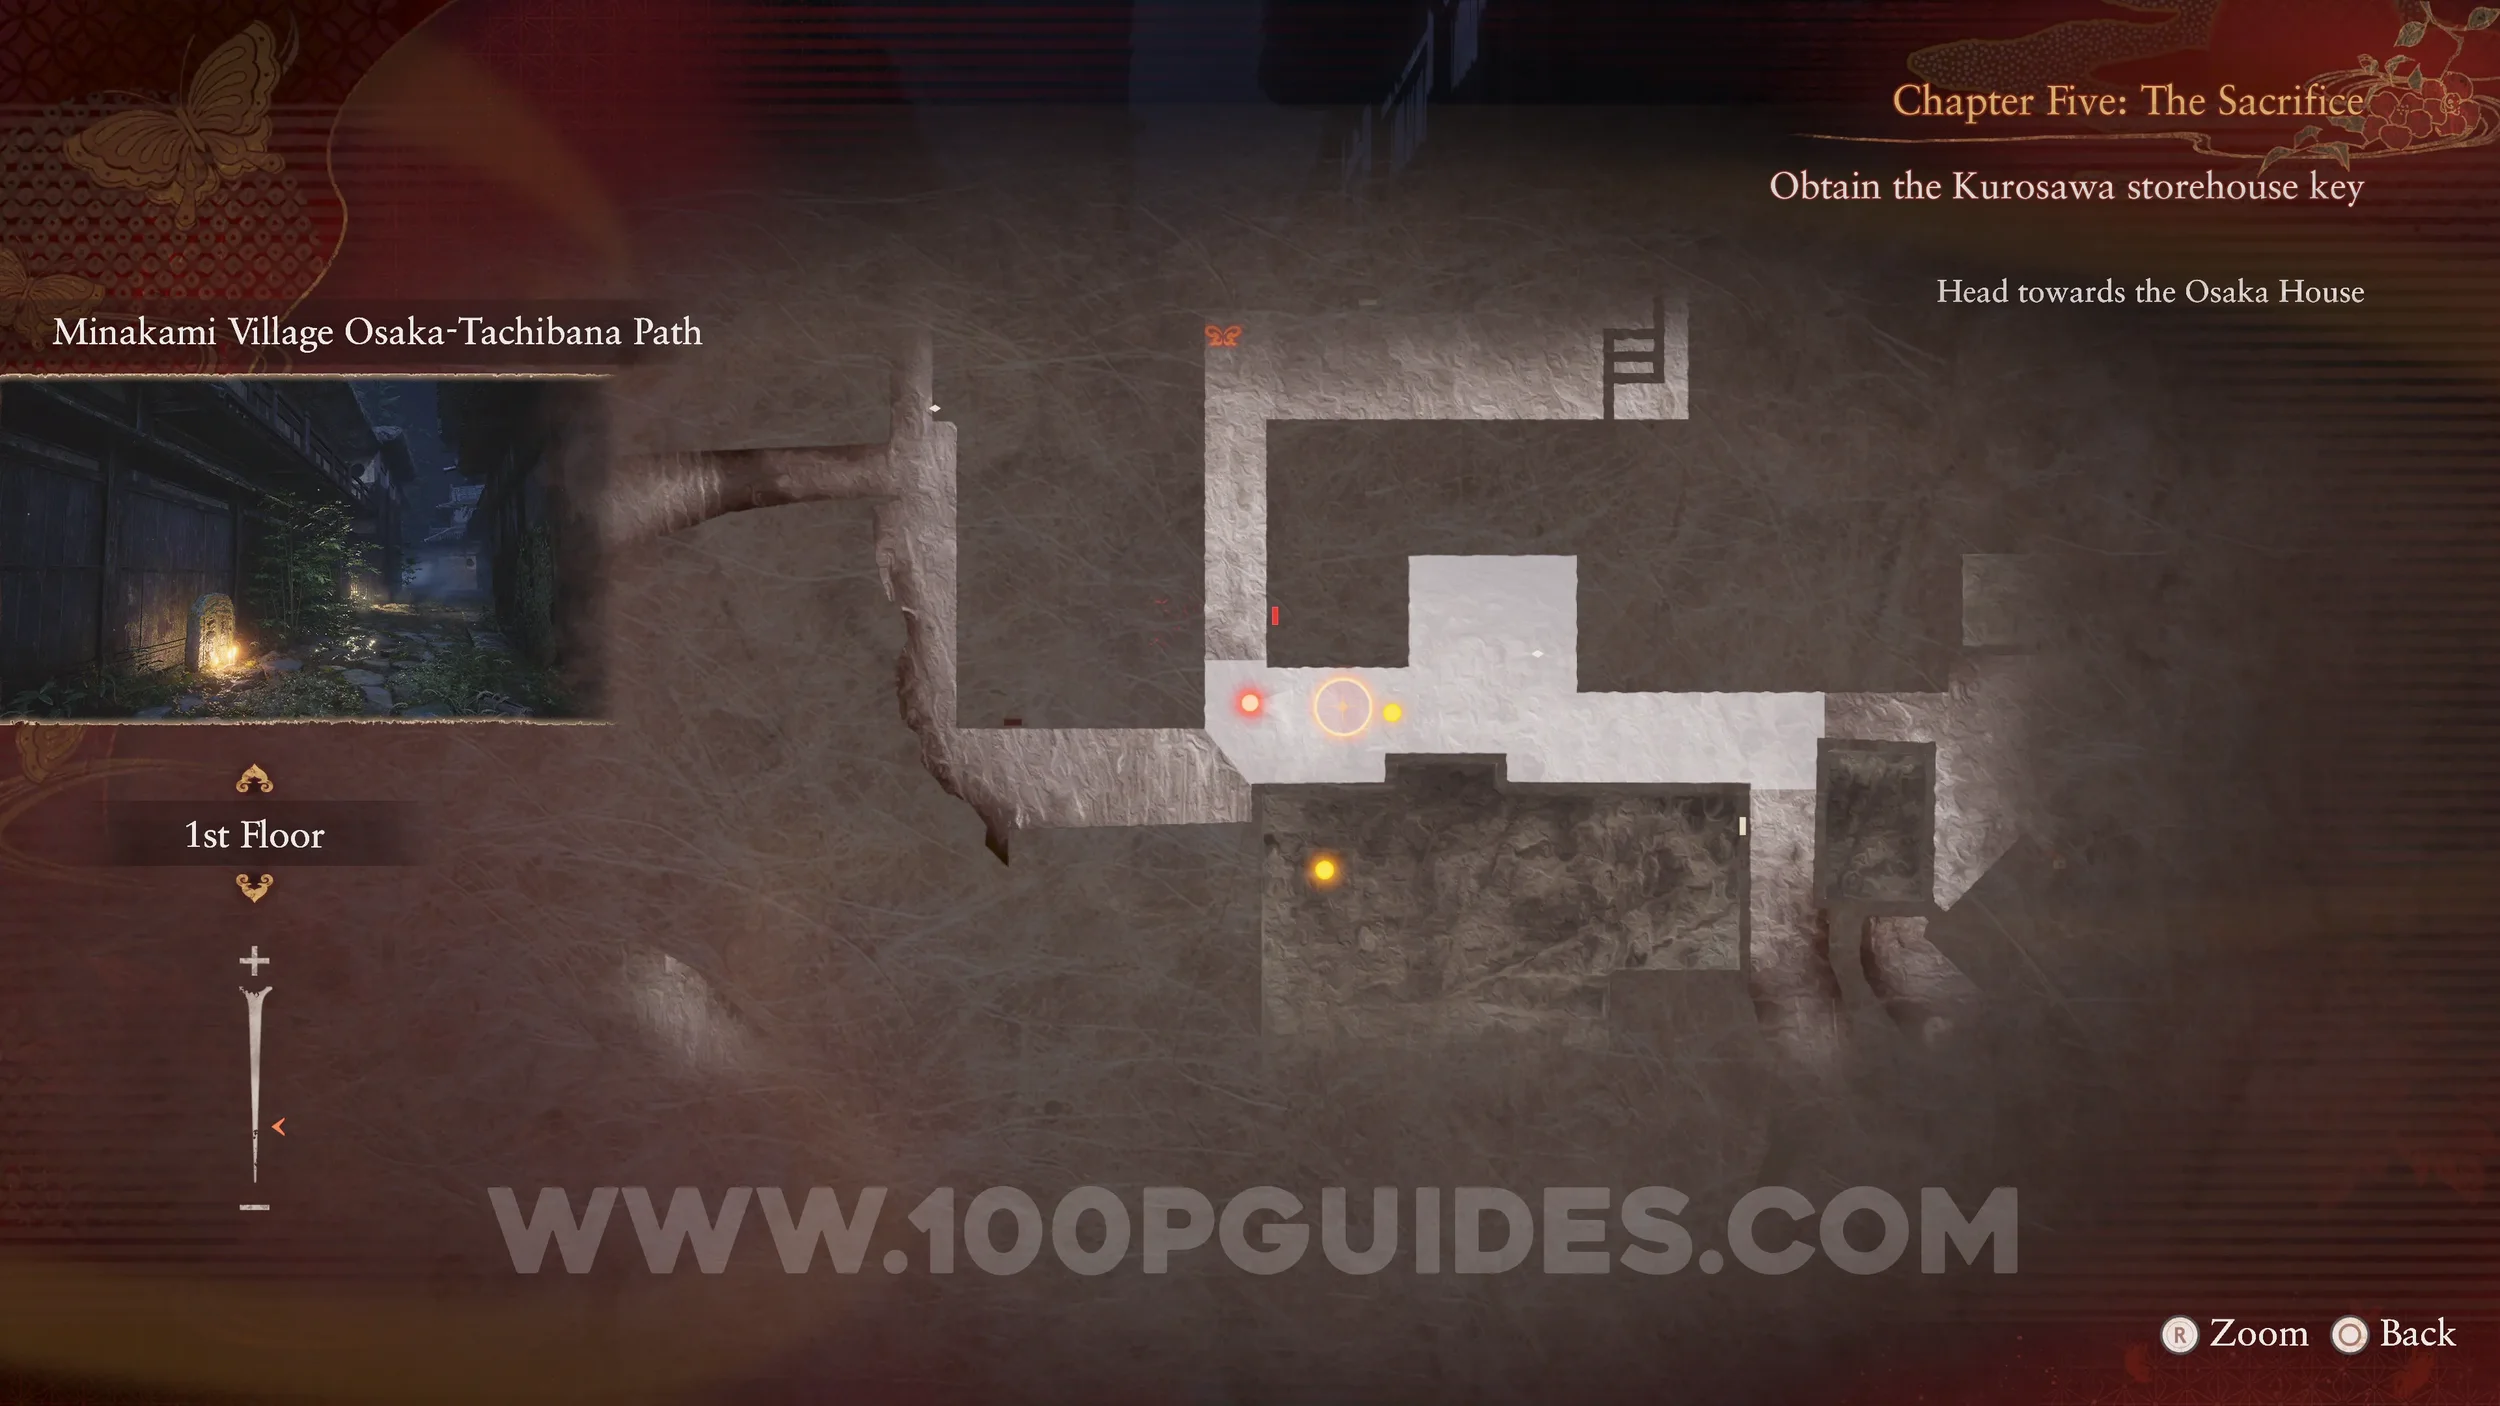
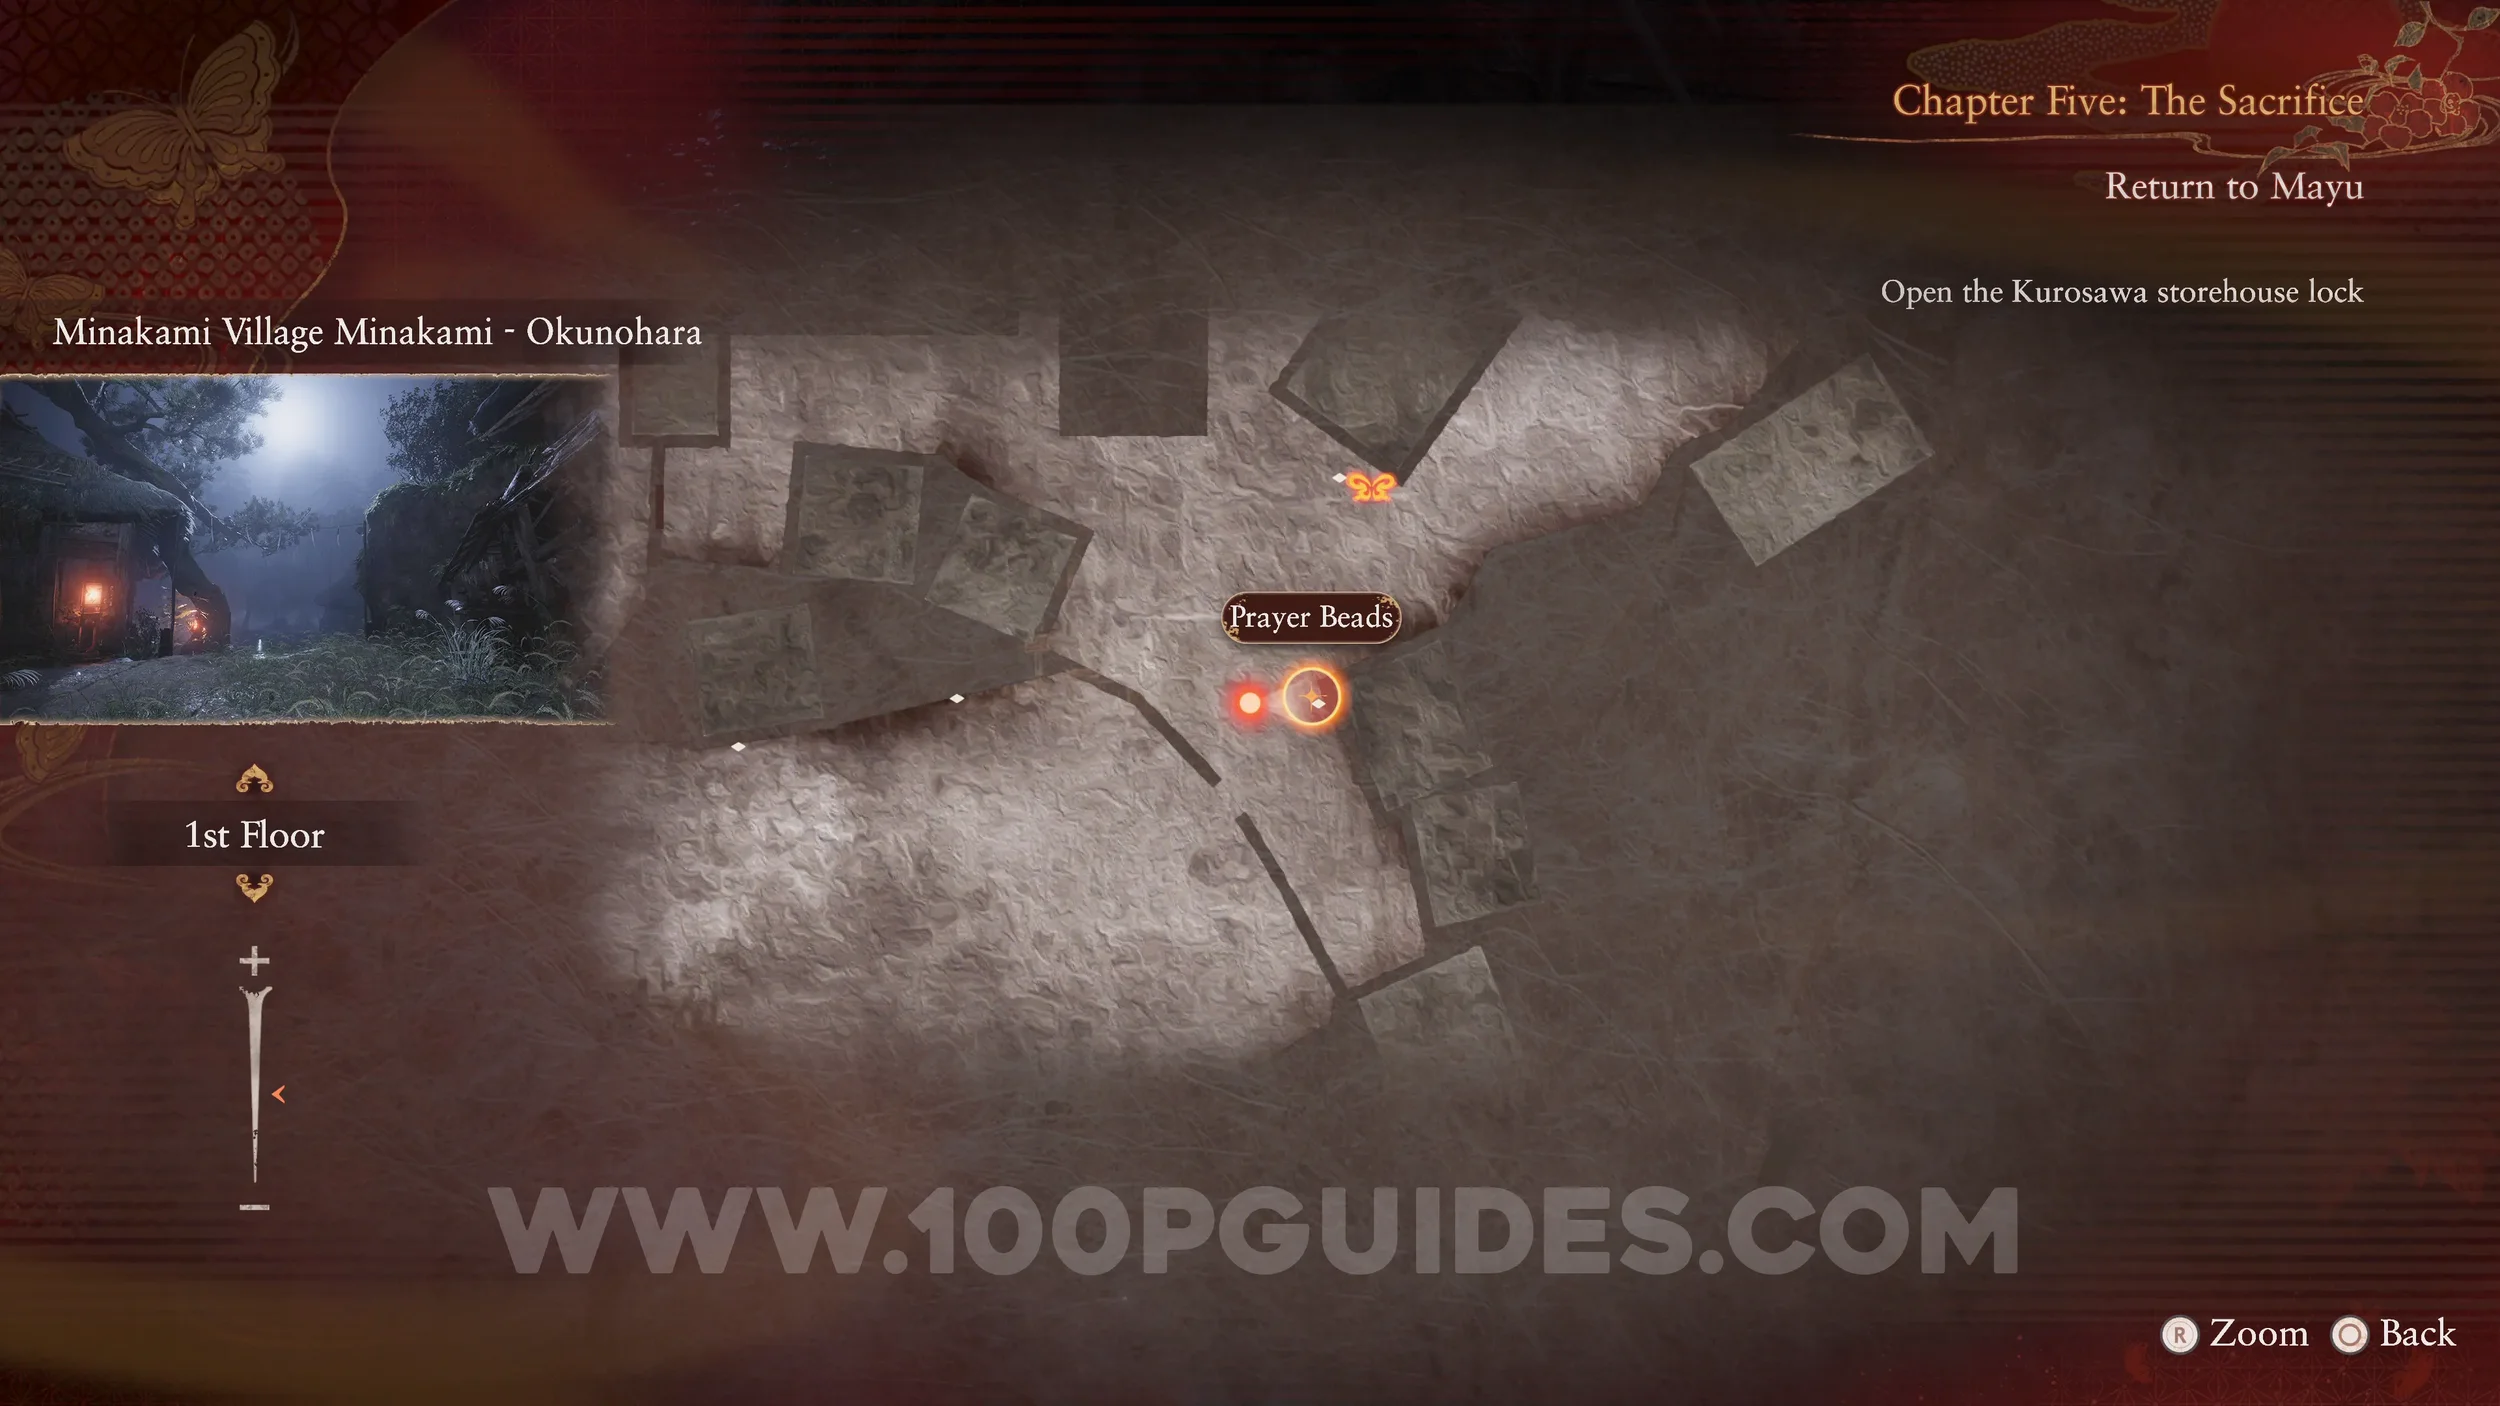
Prayer Bead #25. Exit the temple, go down the hill, and cross the wooden bridge. On the other side, turn left and head toward the temple. Go underneath the temple and come out the other side. Here you can find the Prayer Beads under the stairs.
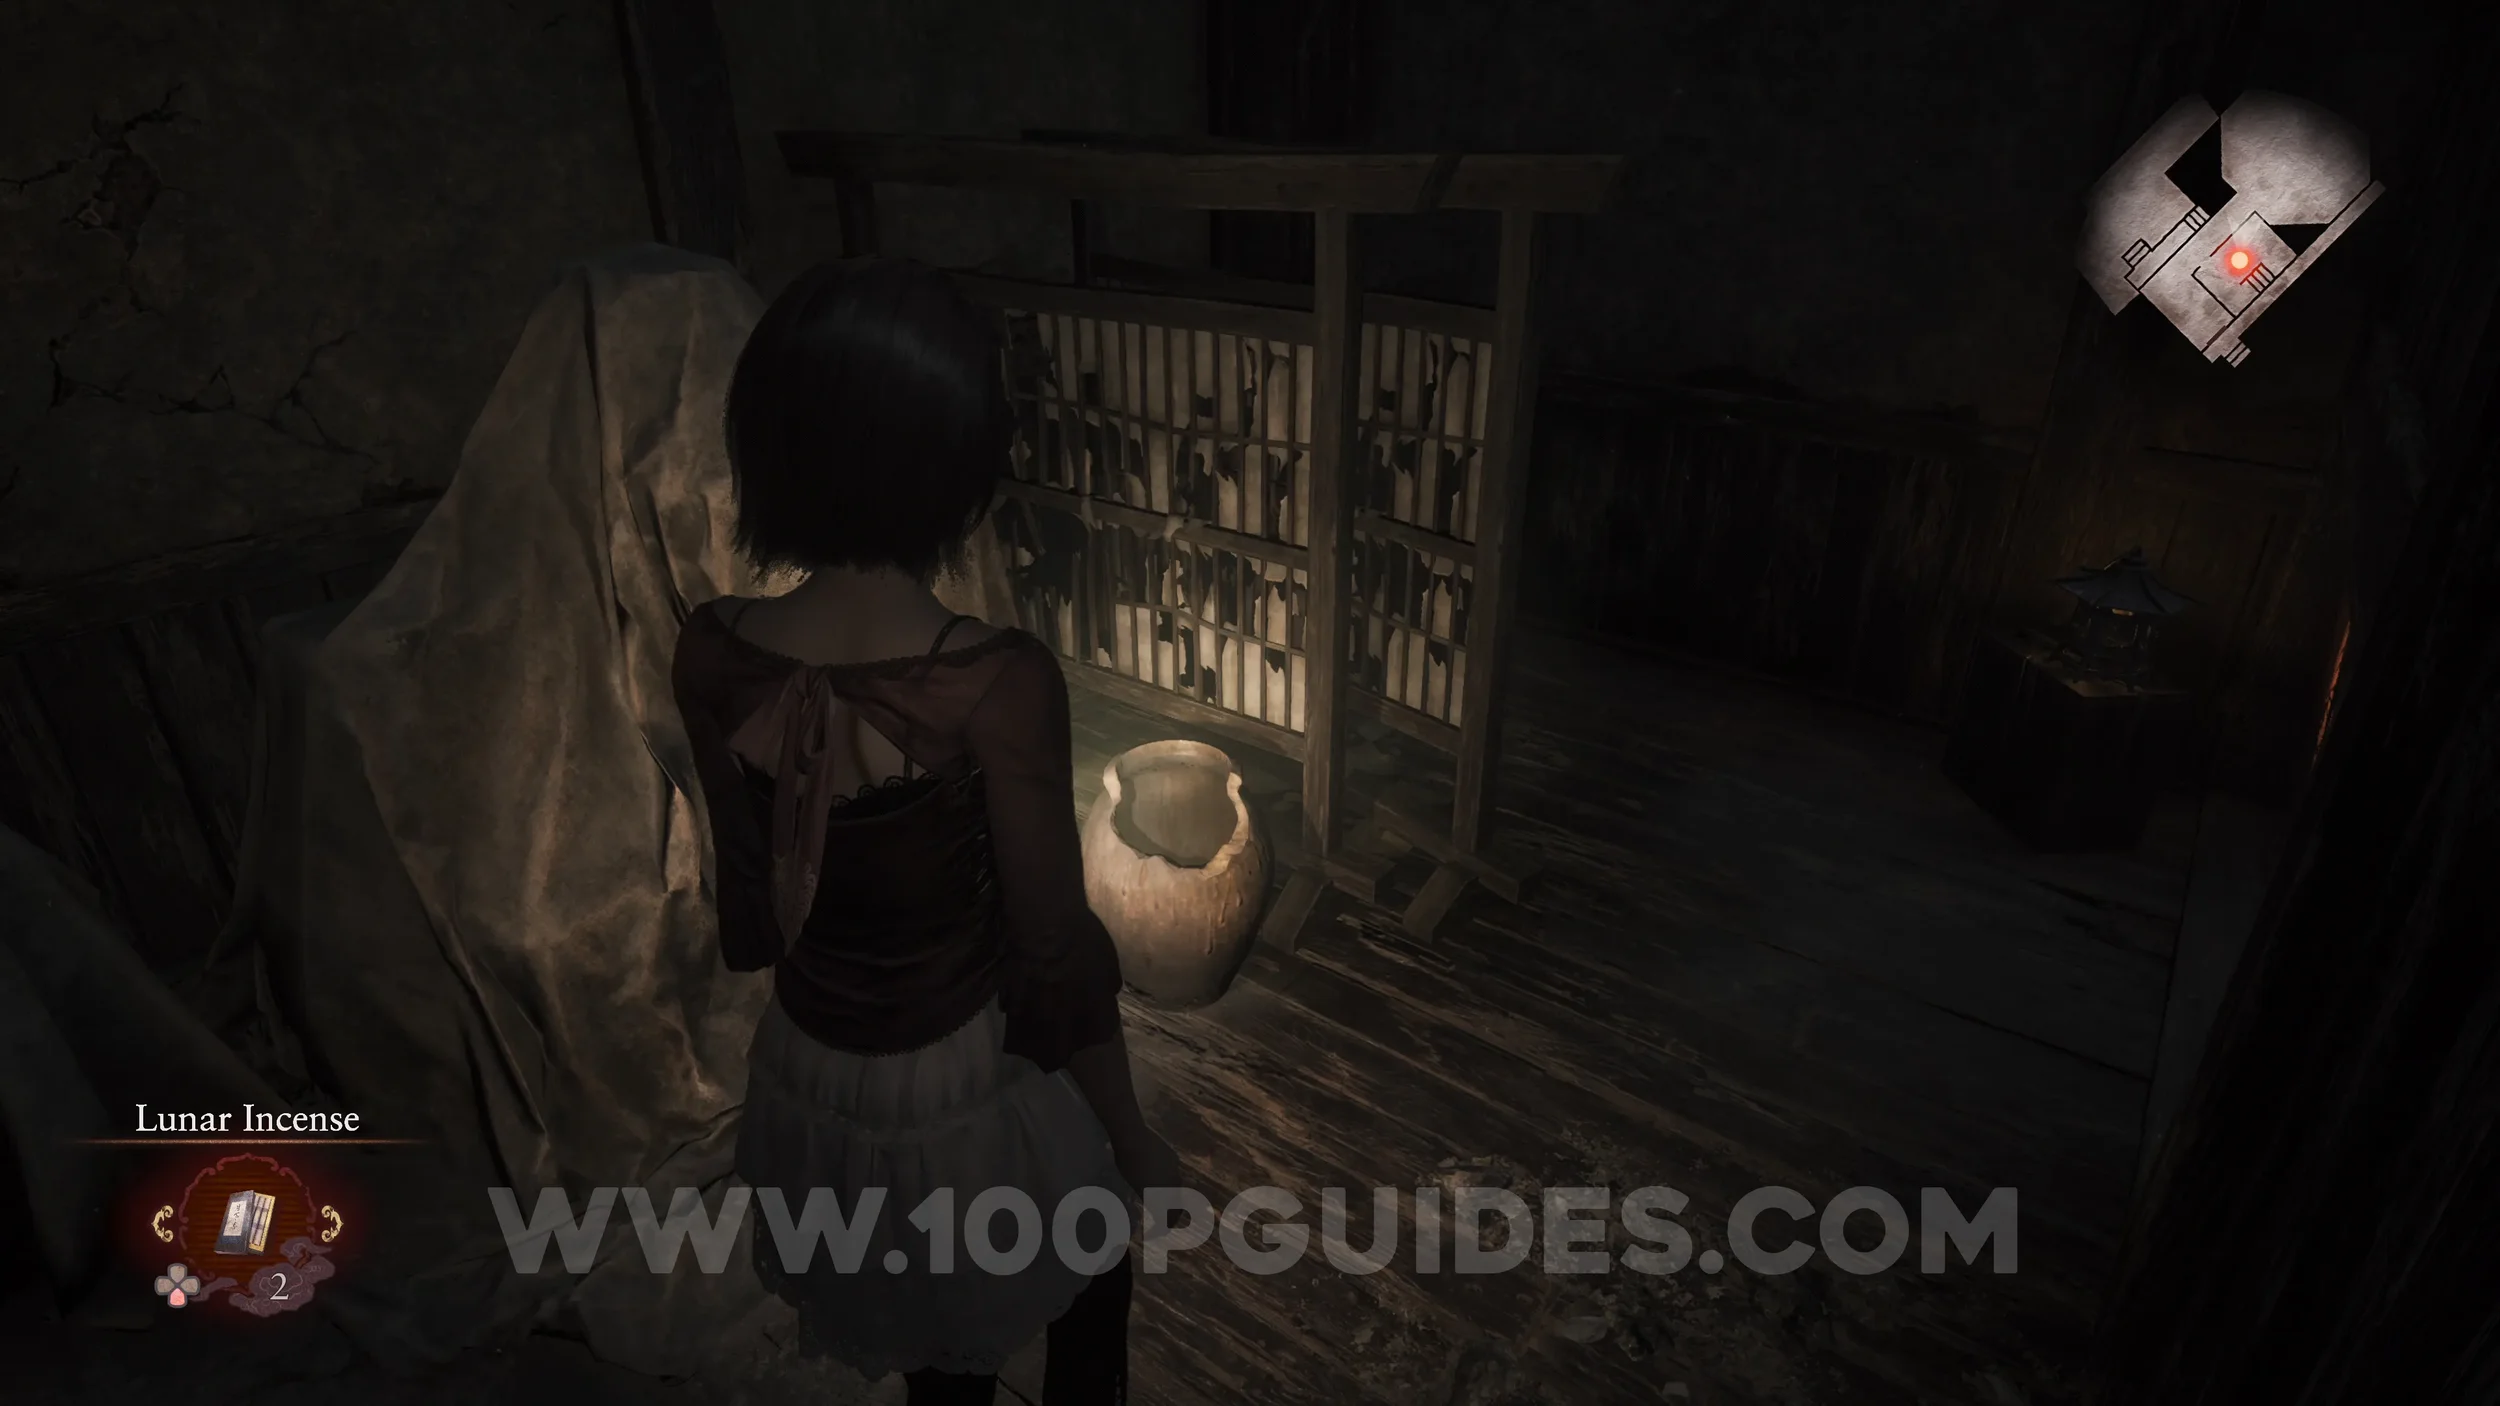
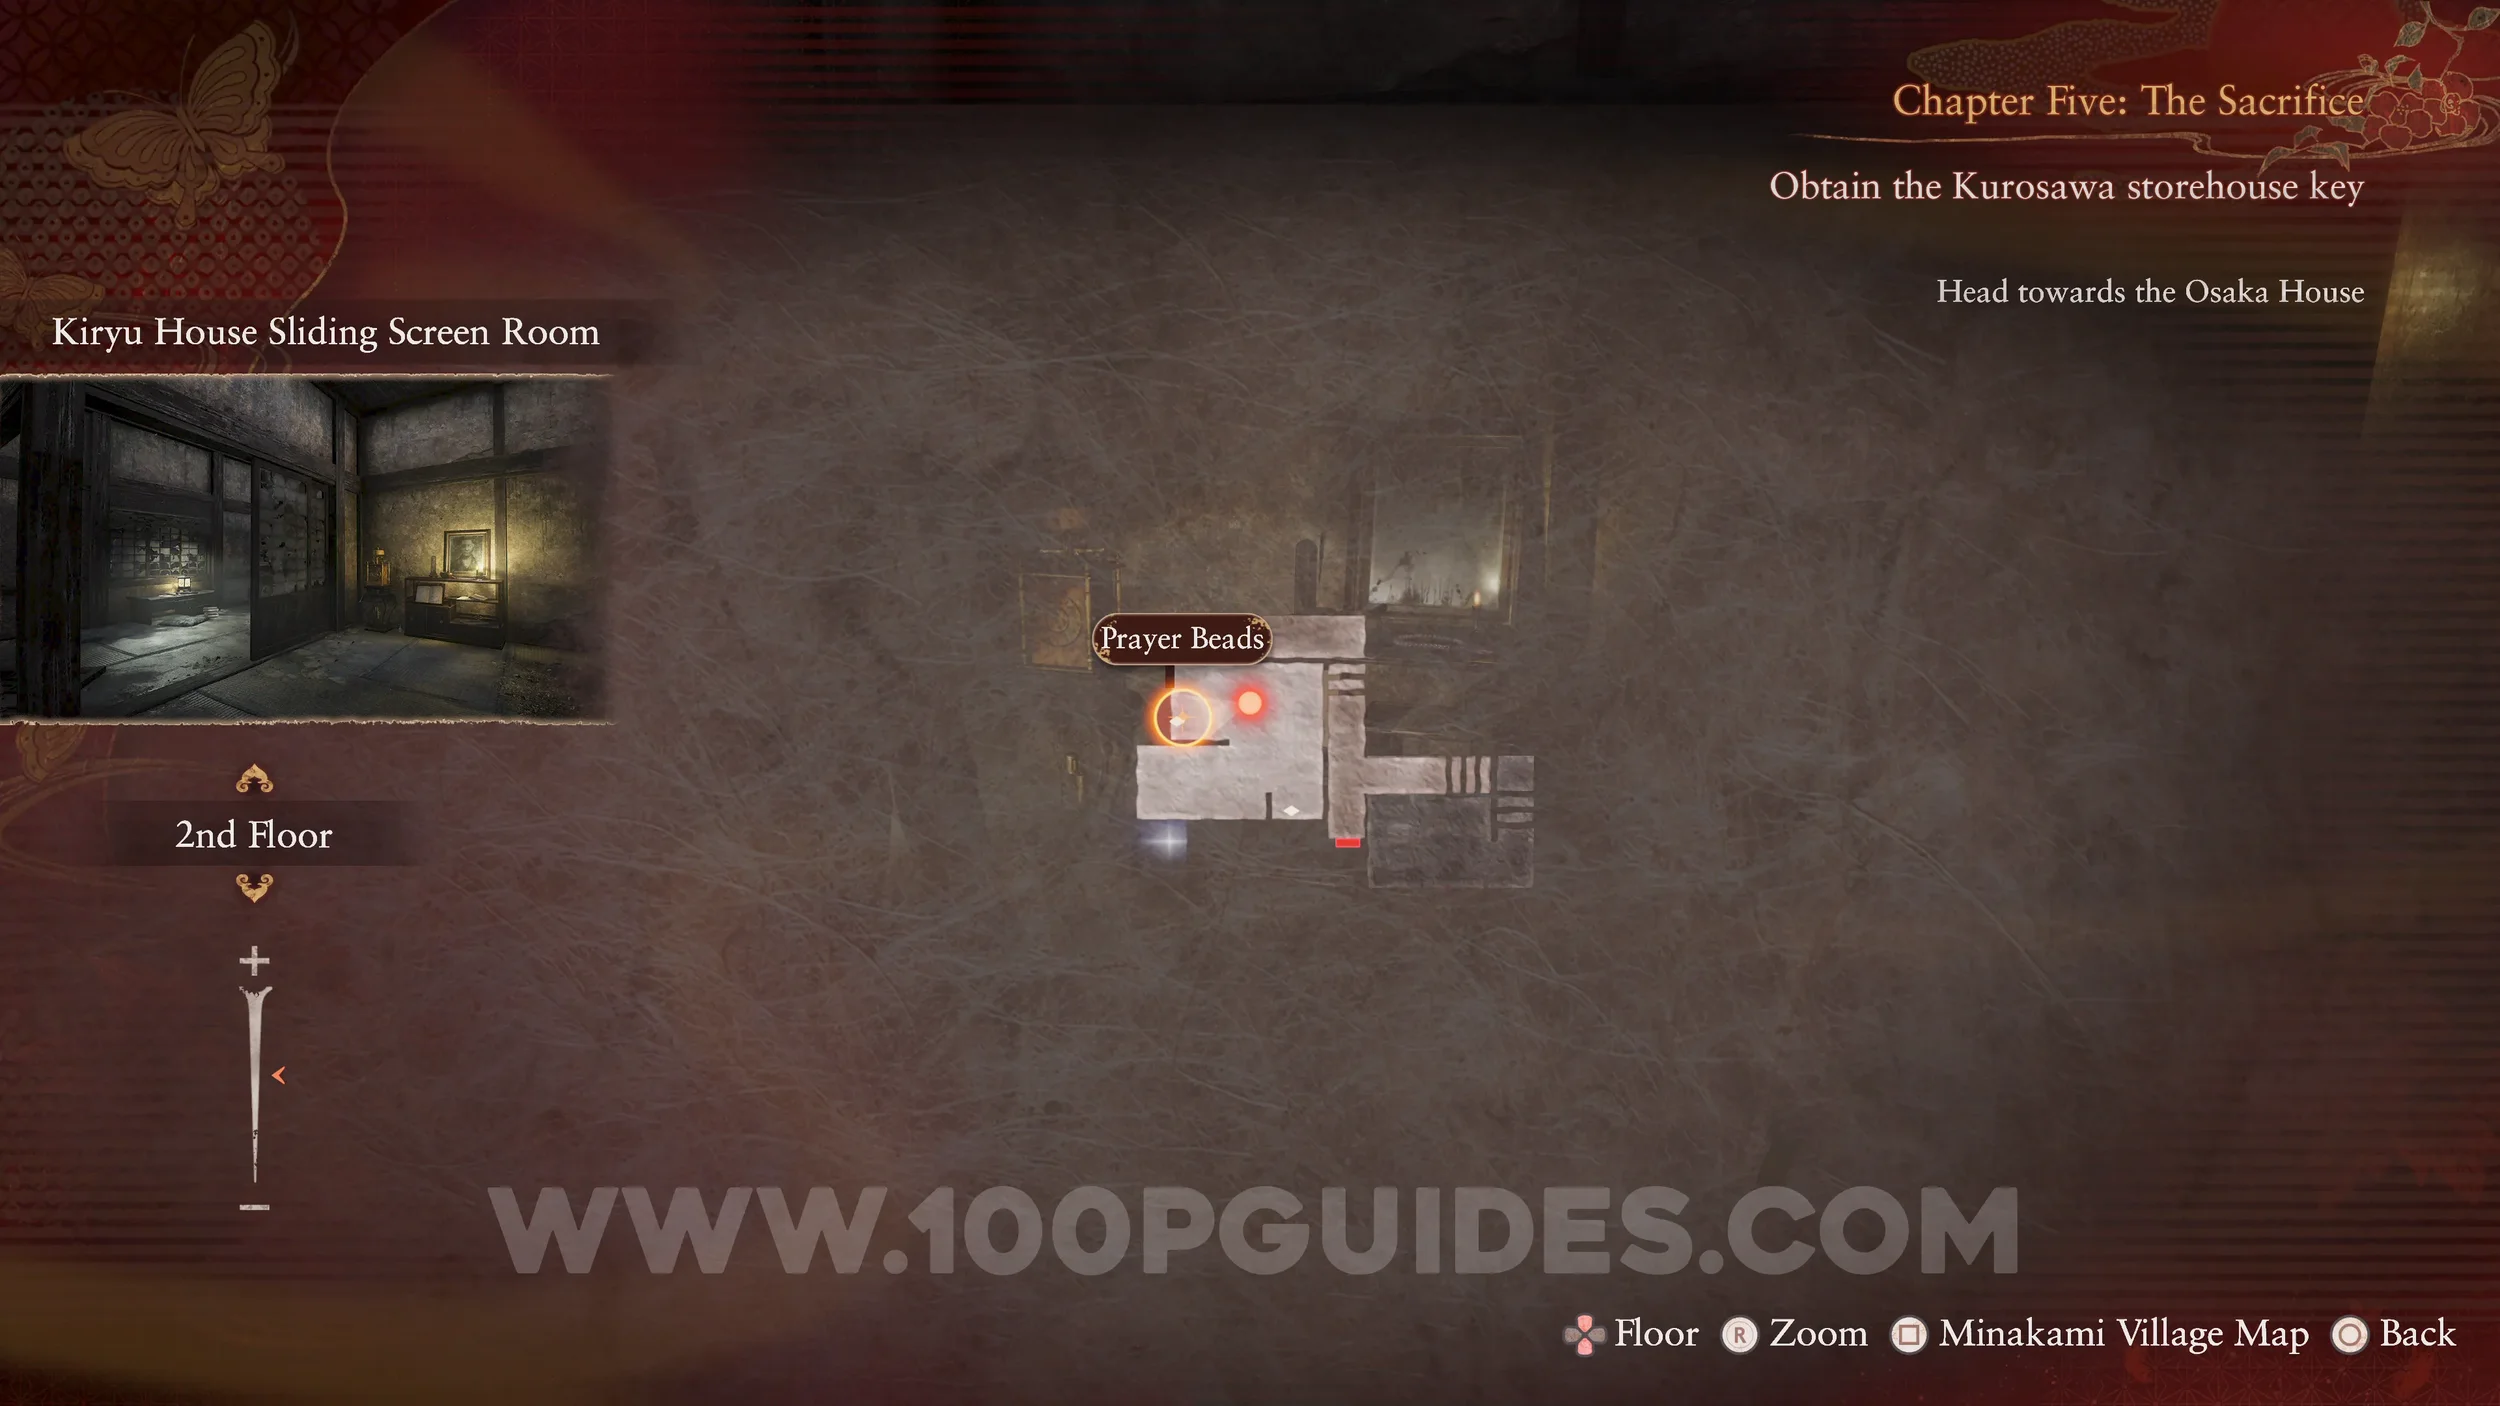
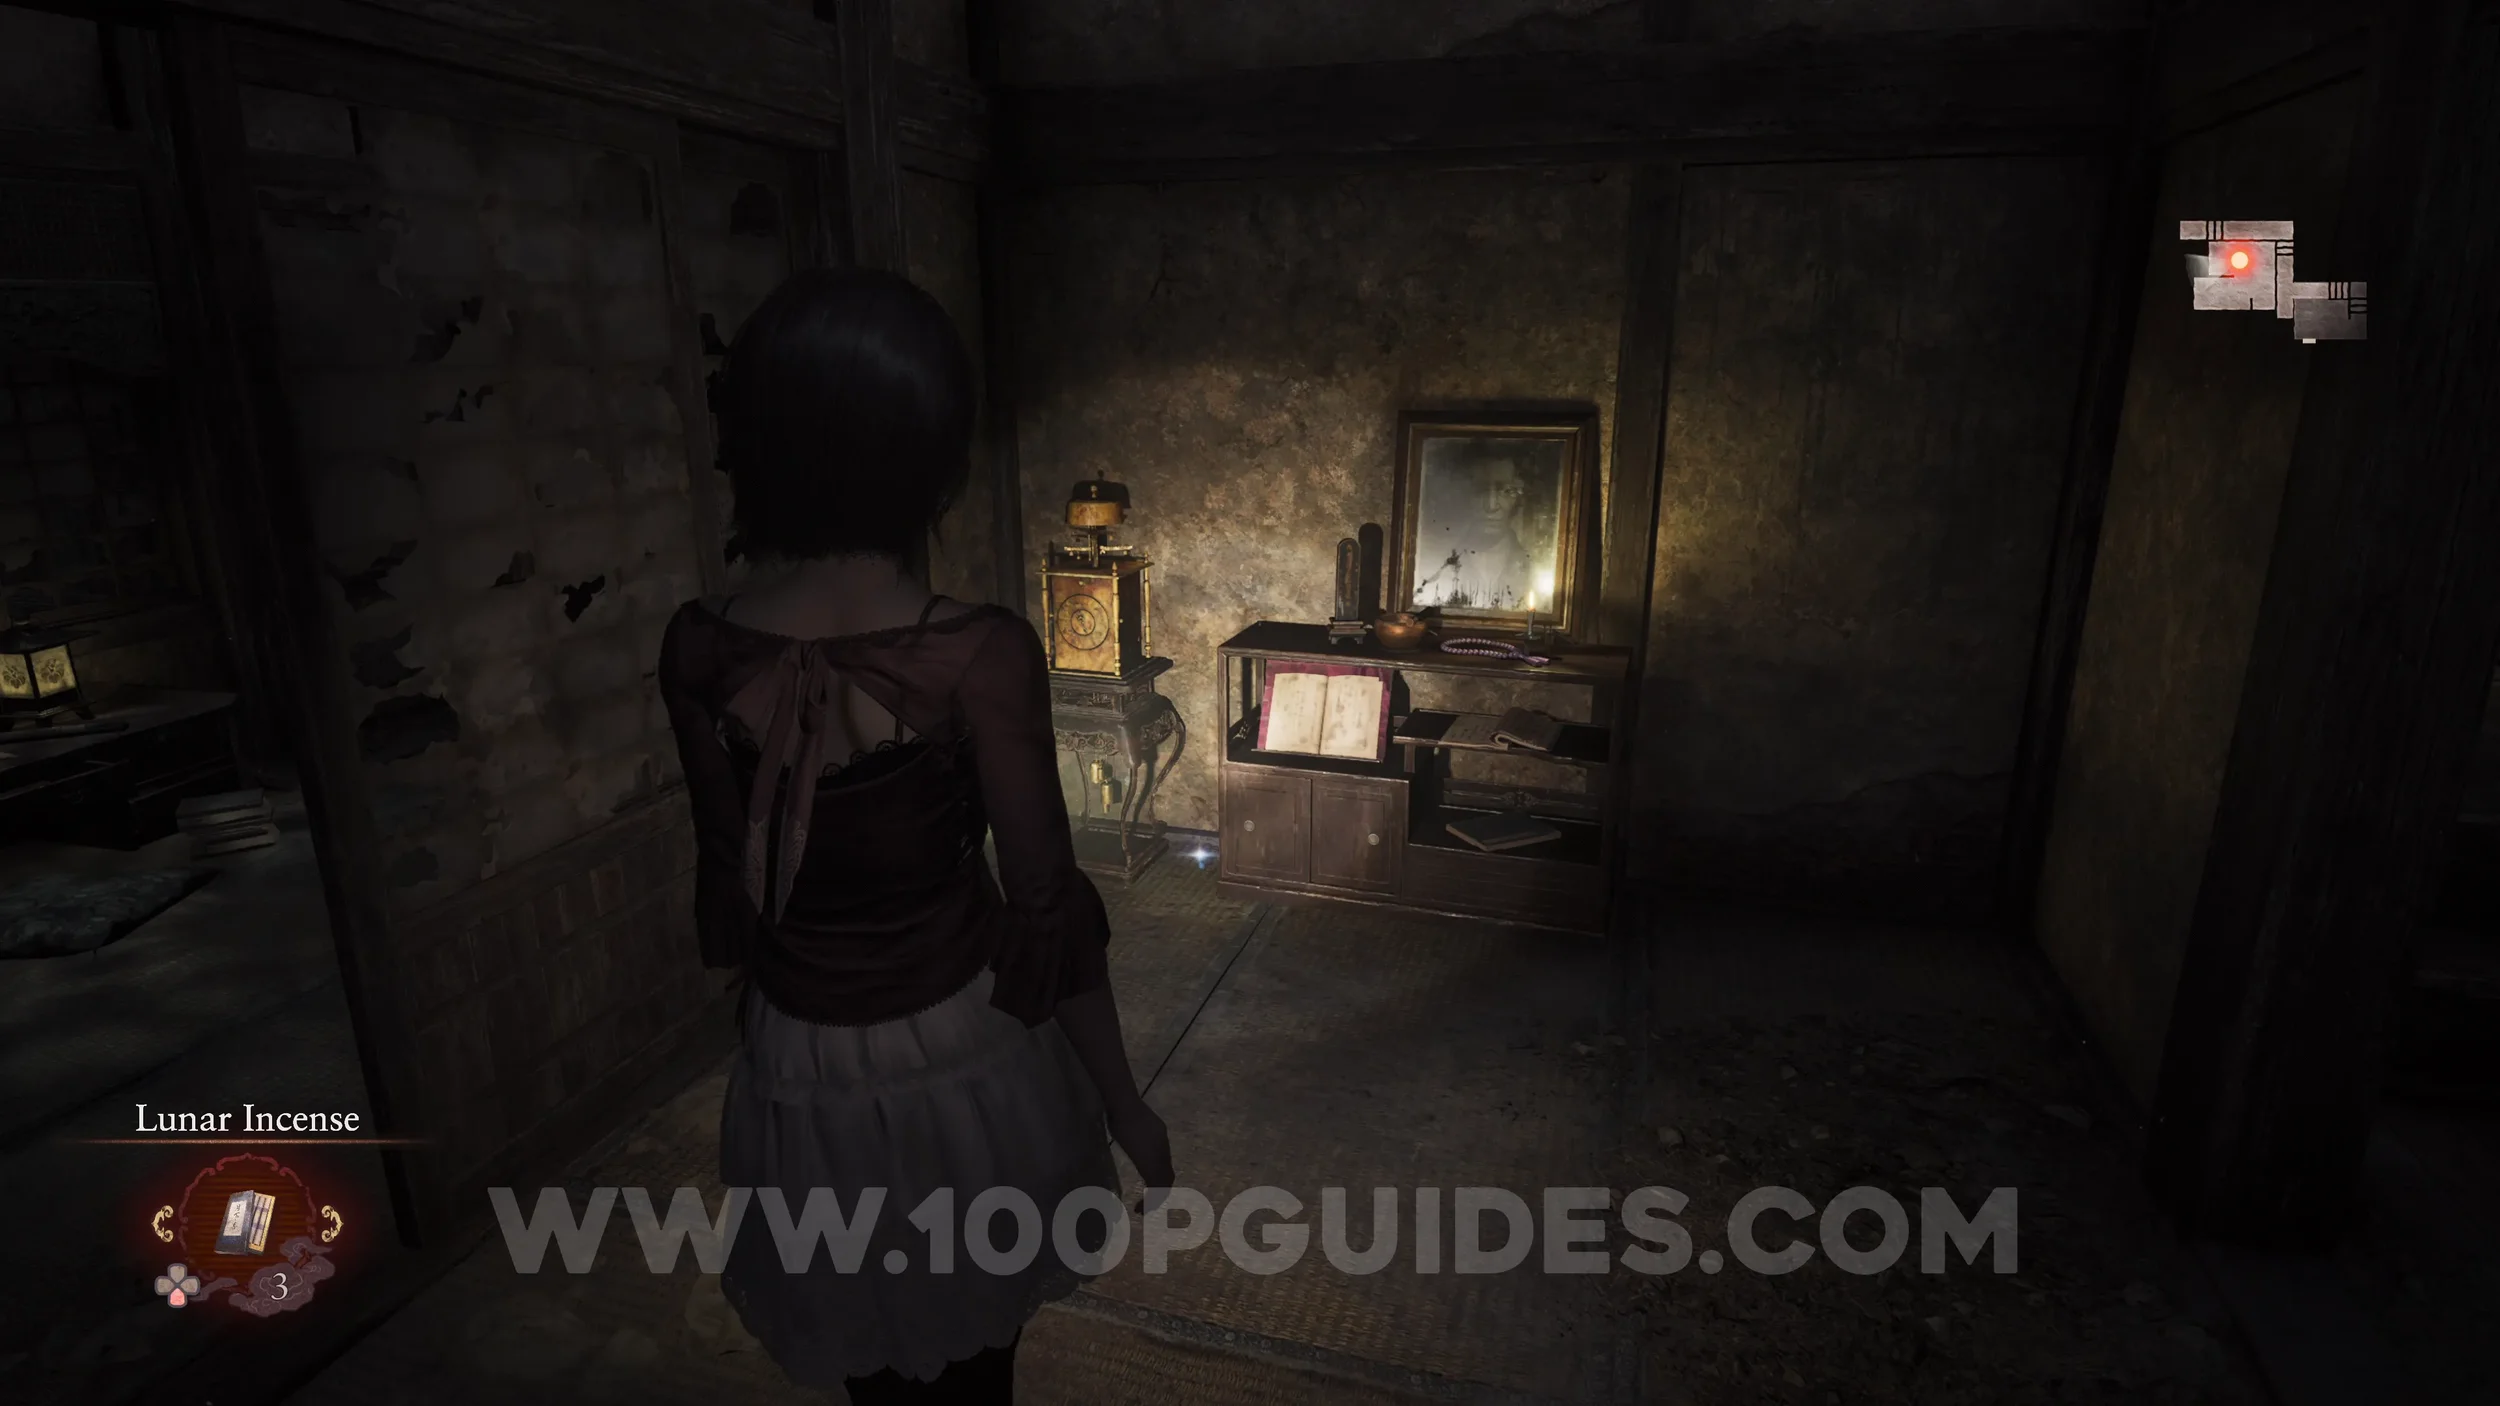
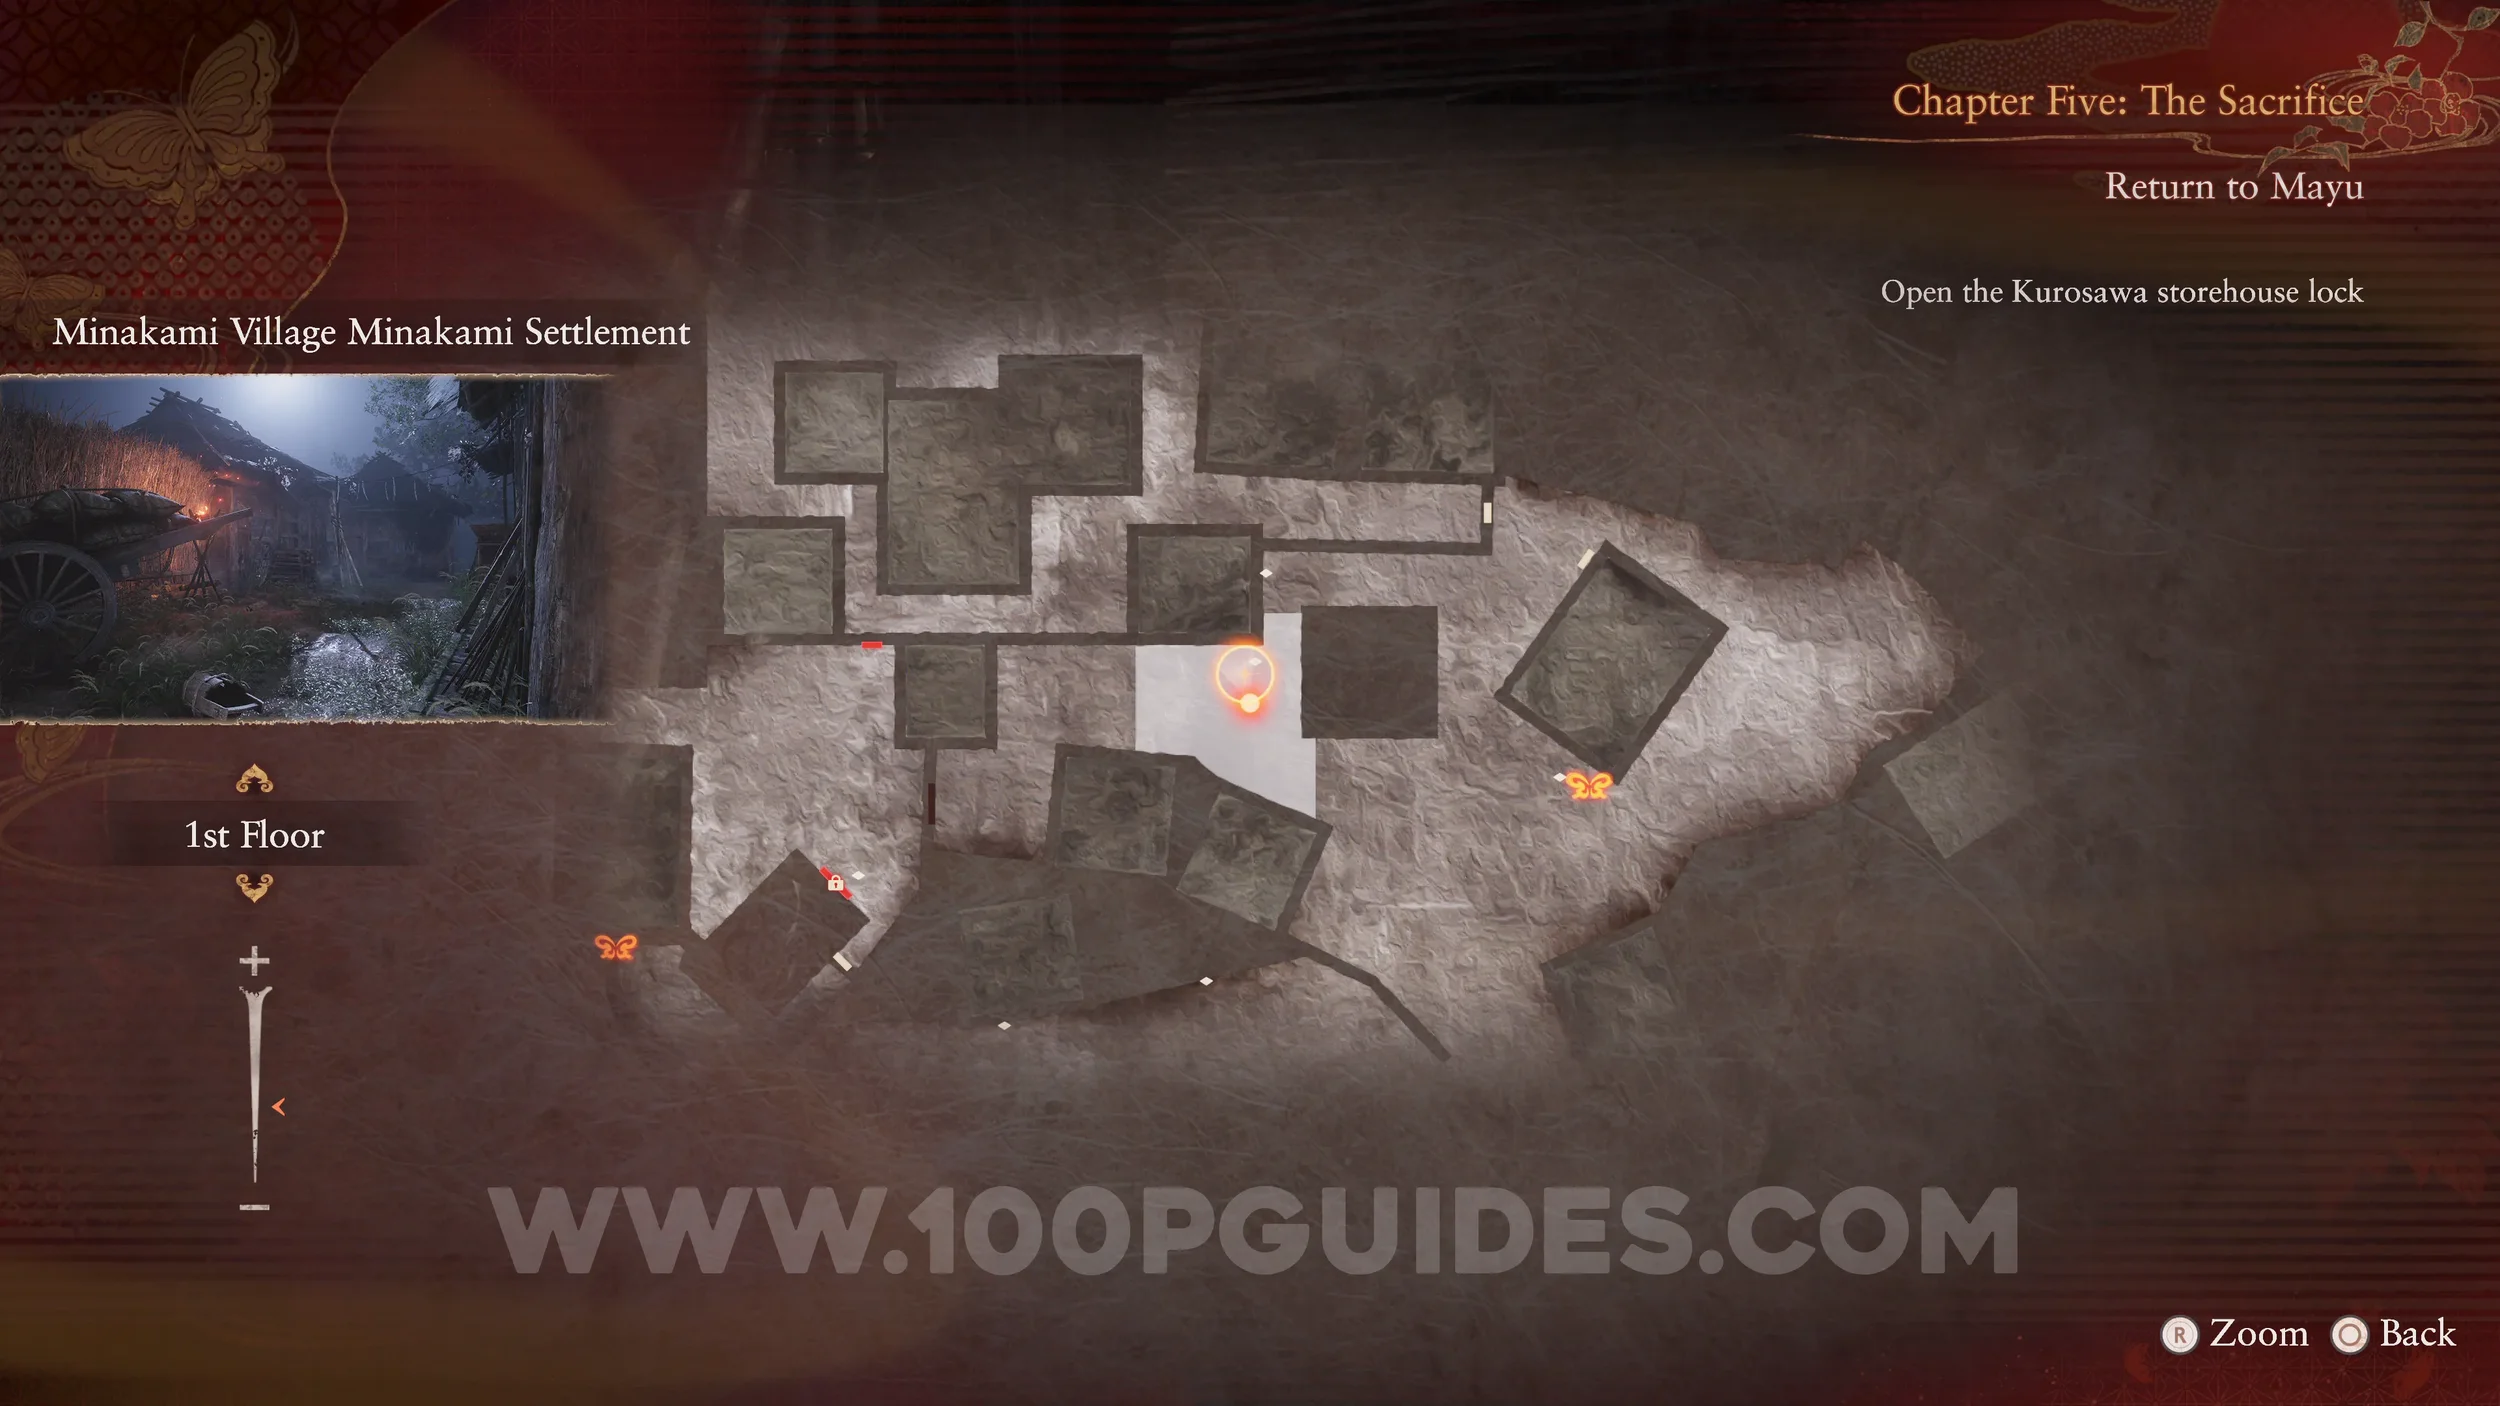
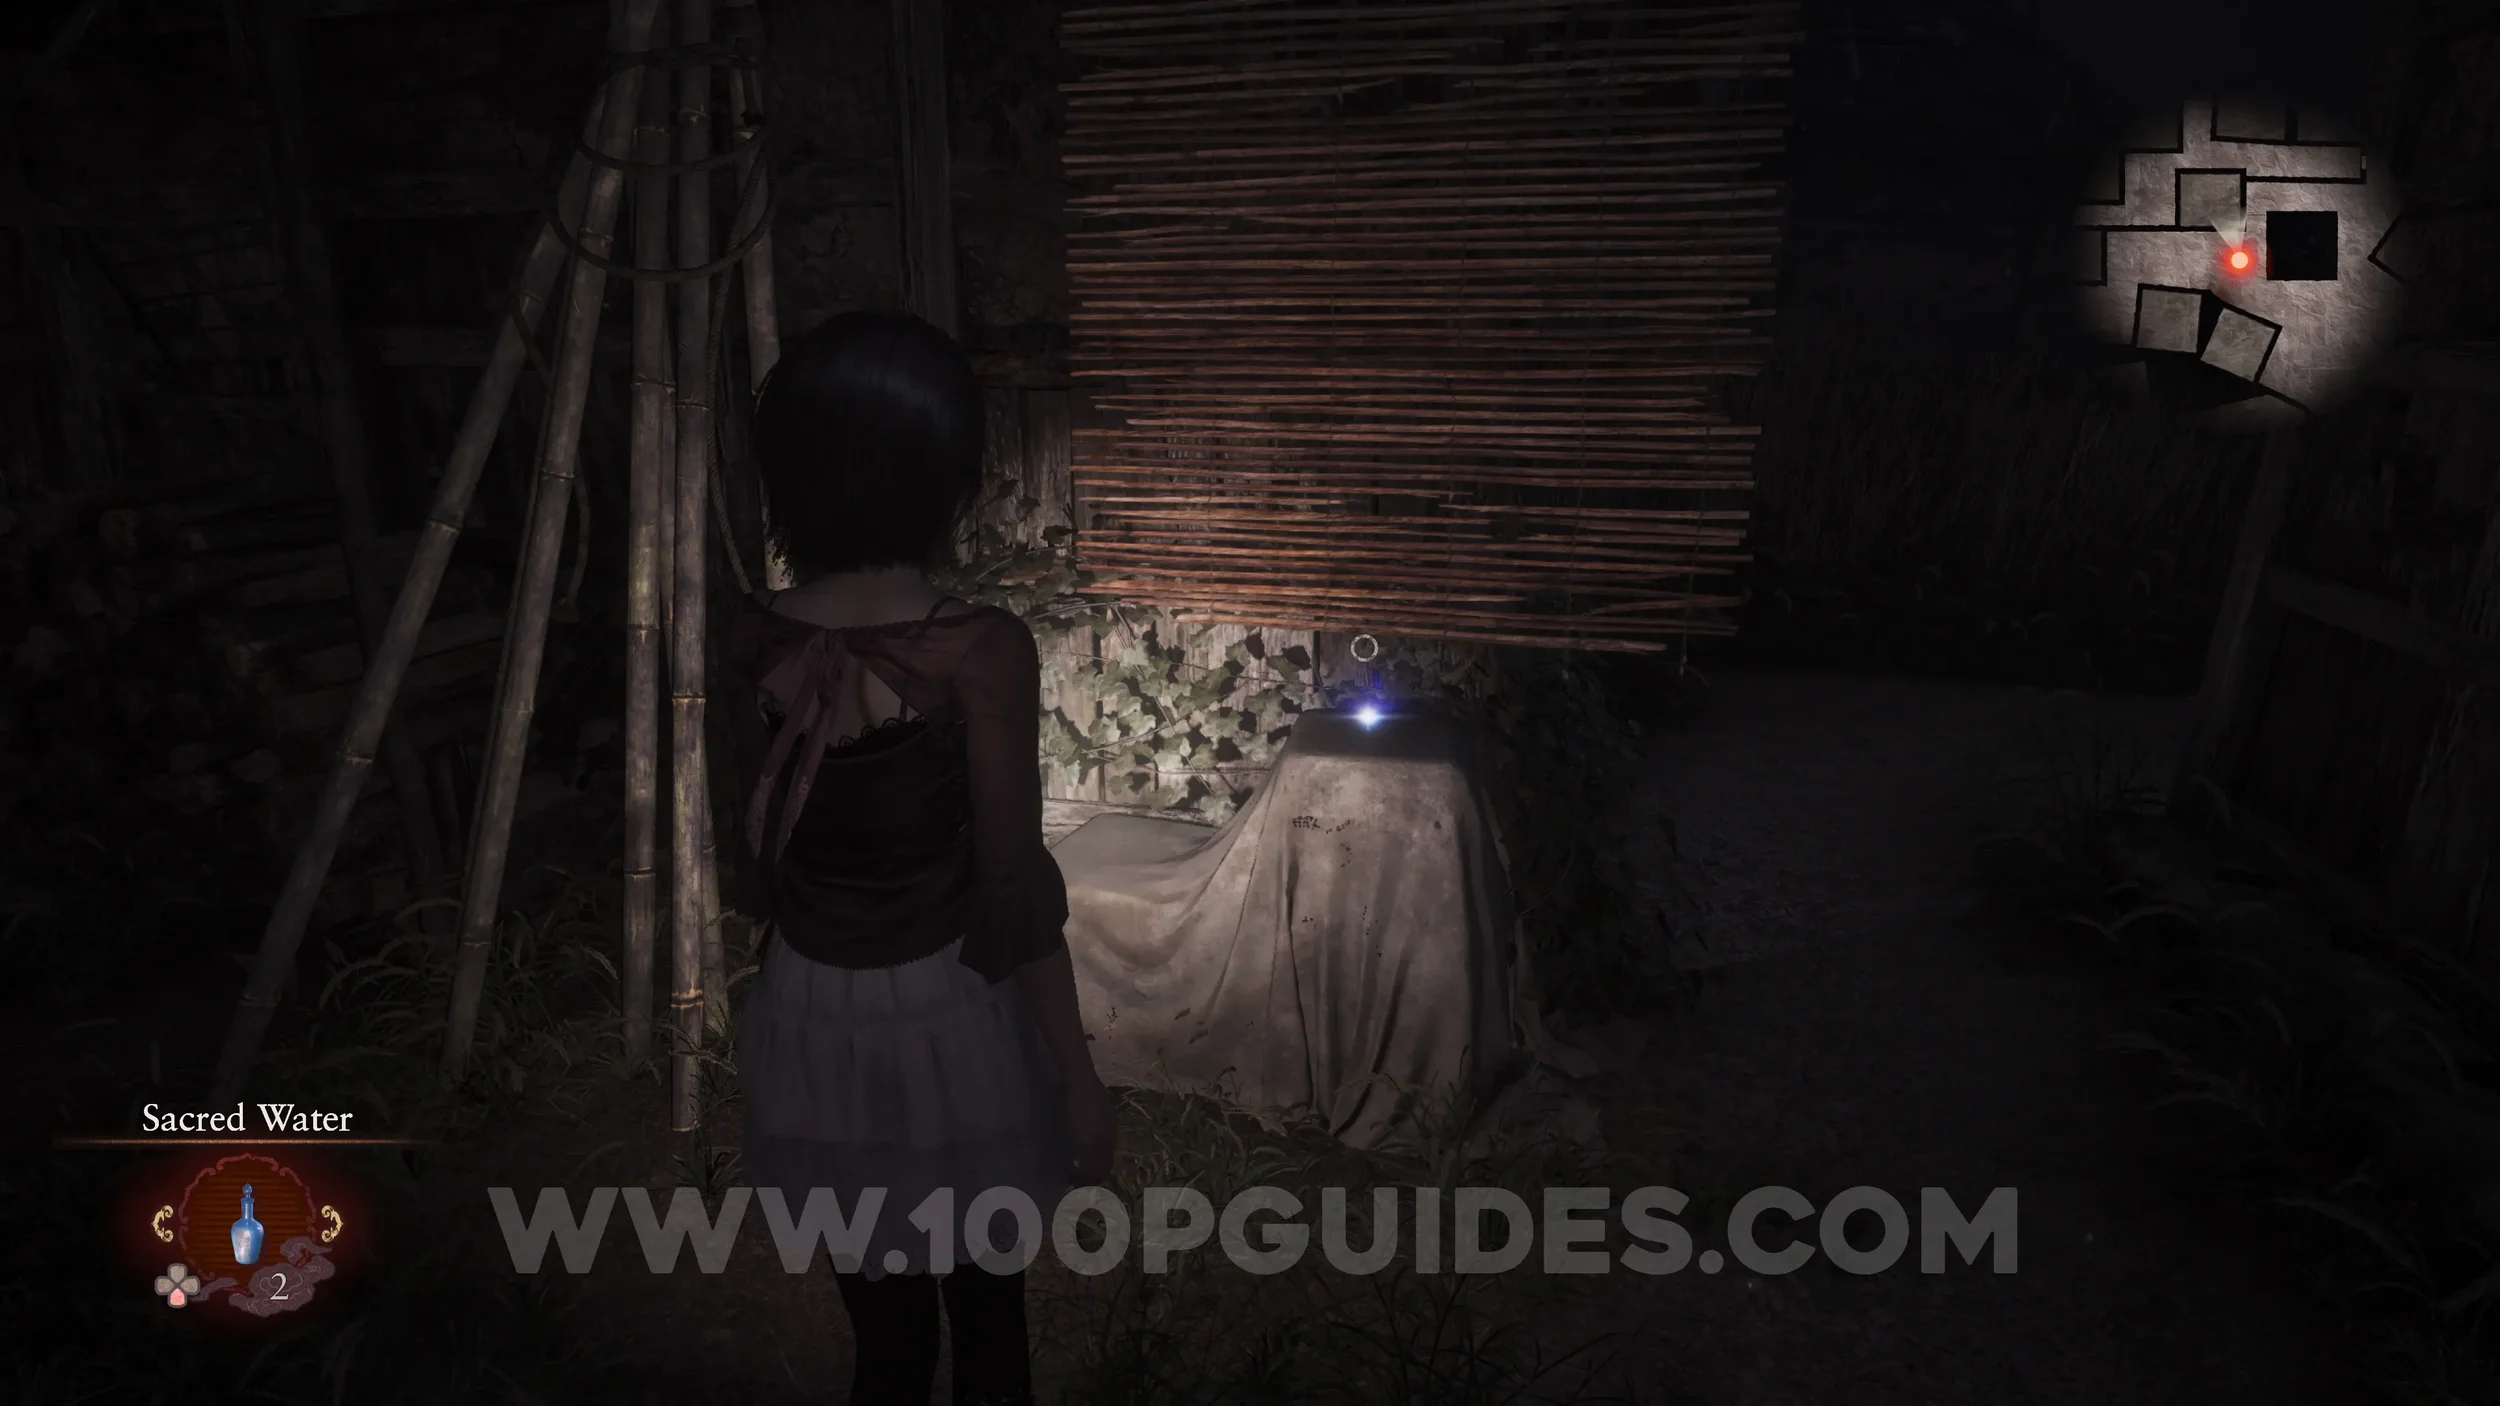
Prayer Beads #26. Now, head up the stairs and go inside. After going down the stairs, turn left through the hall to reach the Temple Entrance Room, the same room as the previous dolls. Here you can find the beads on the cupboard on your right.
Unbinding of Blood #9. Use the Radiant Filter to open the door in the same room.
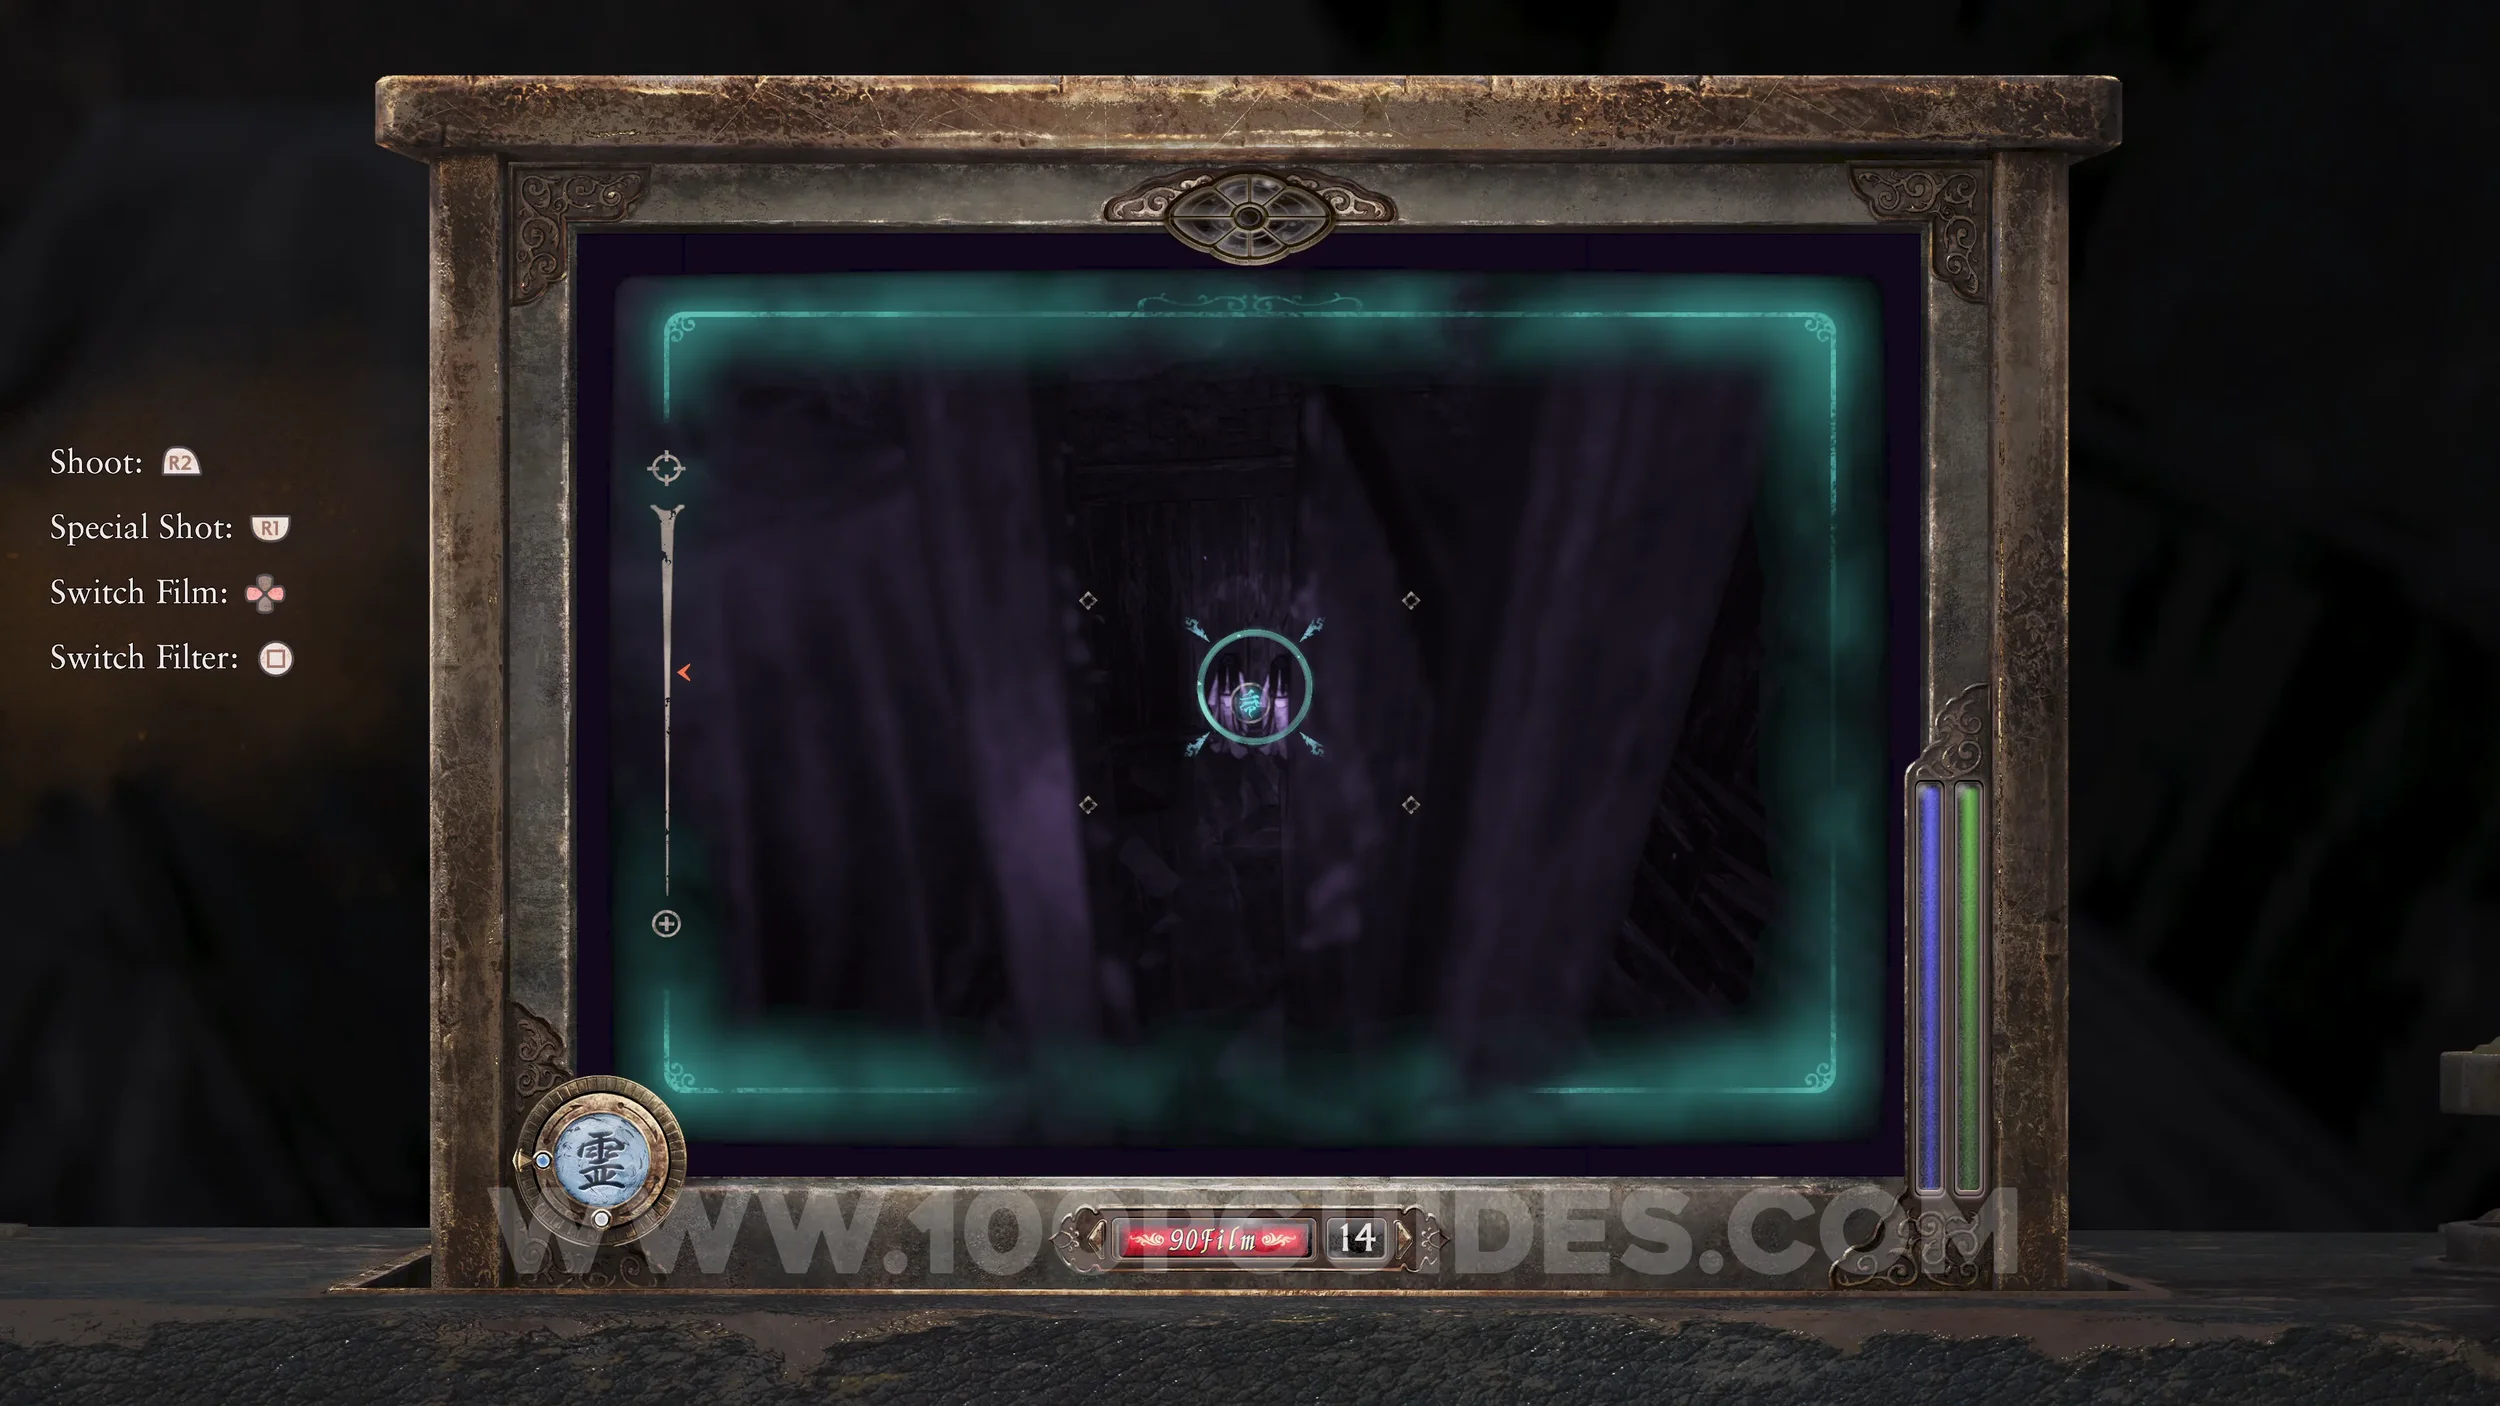
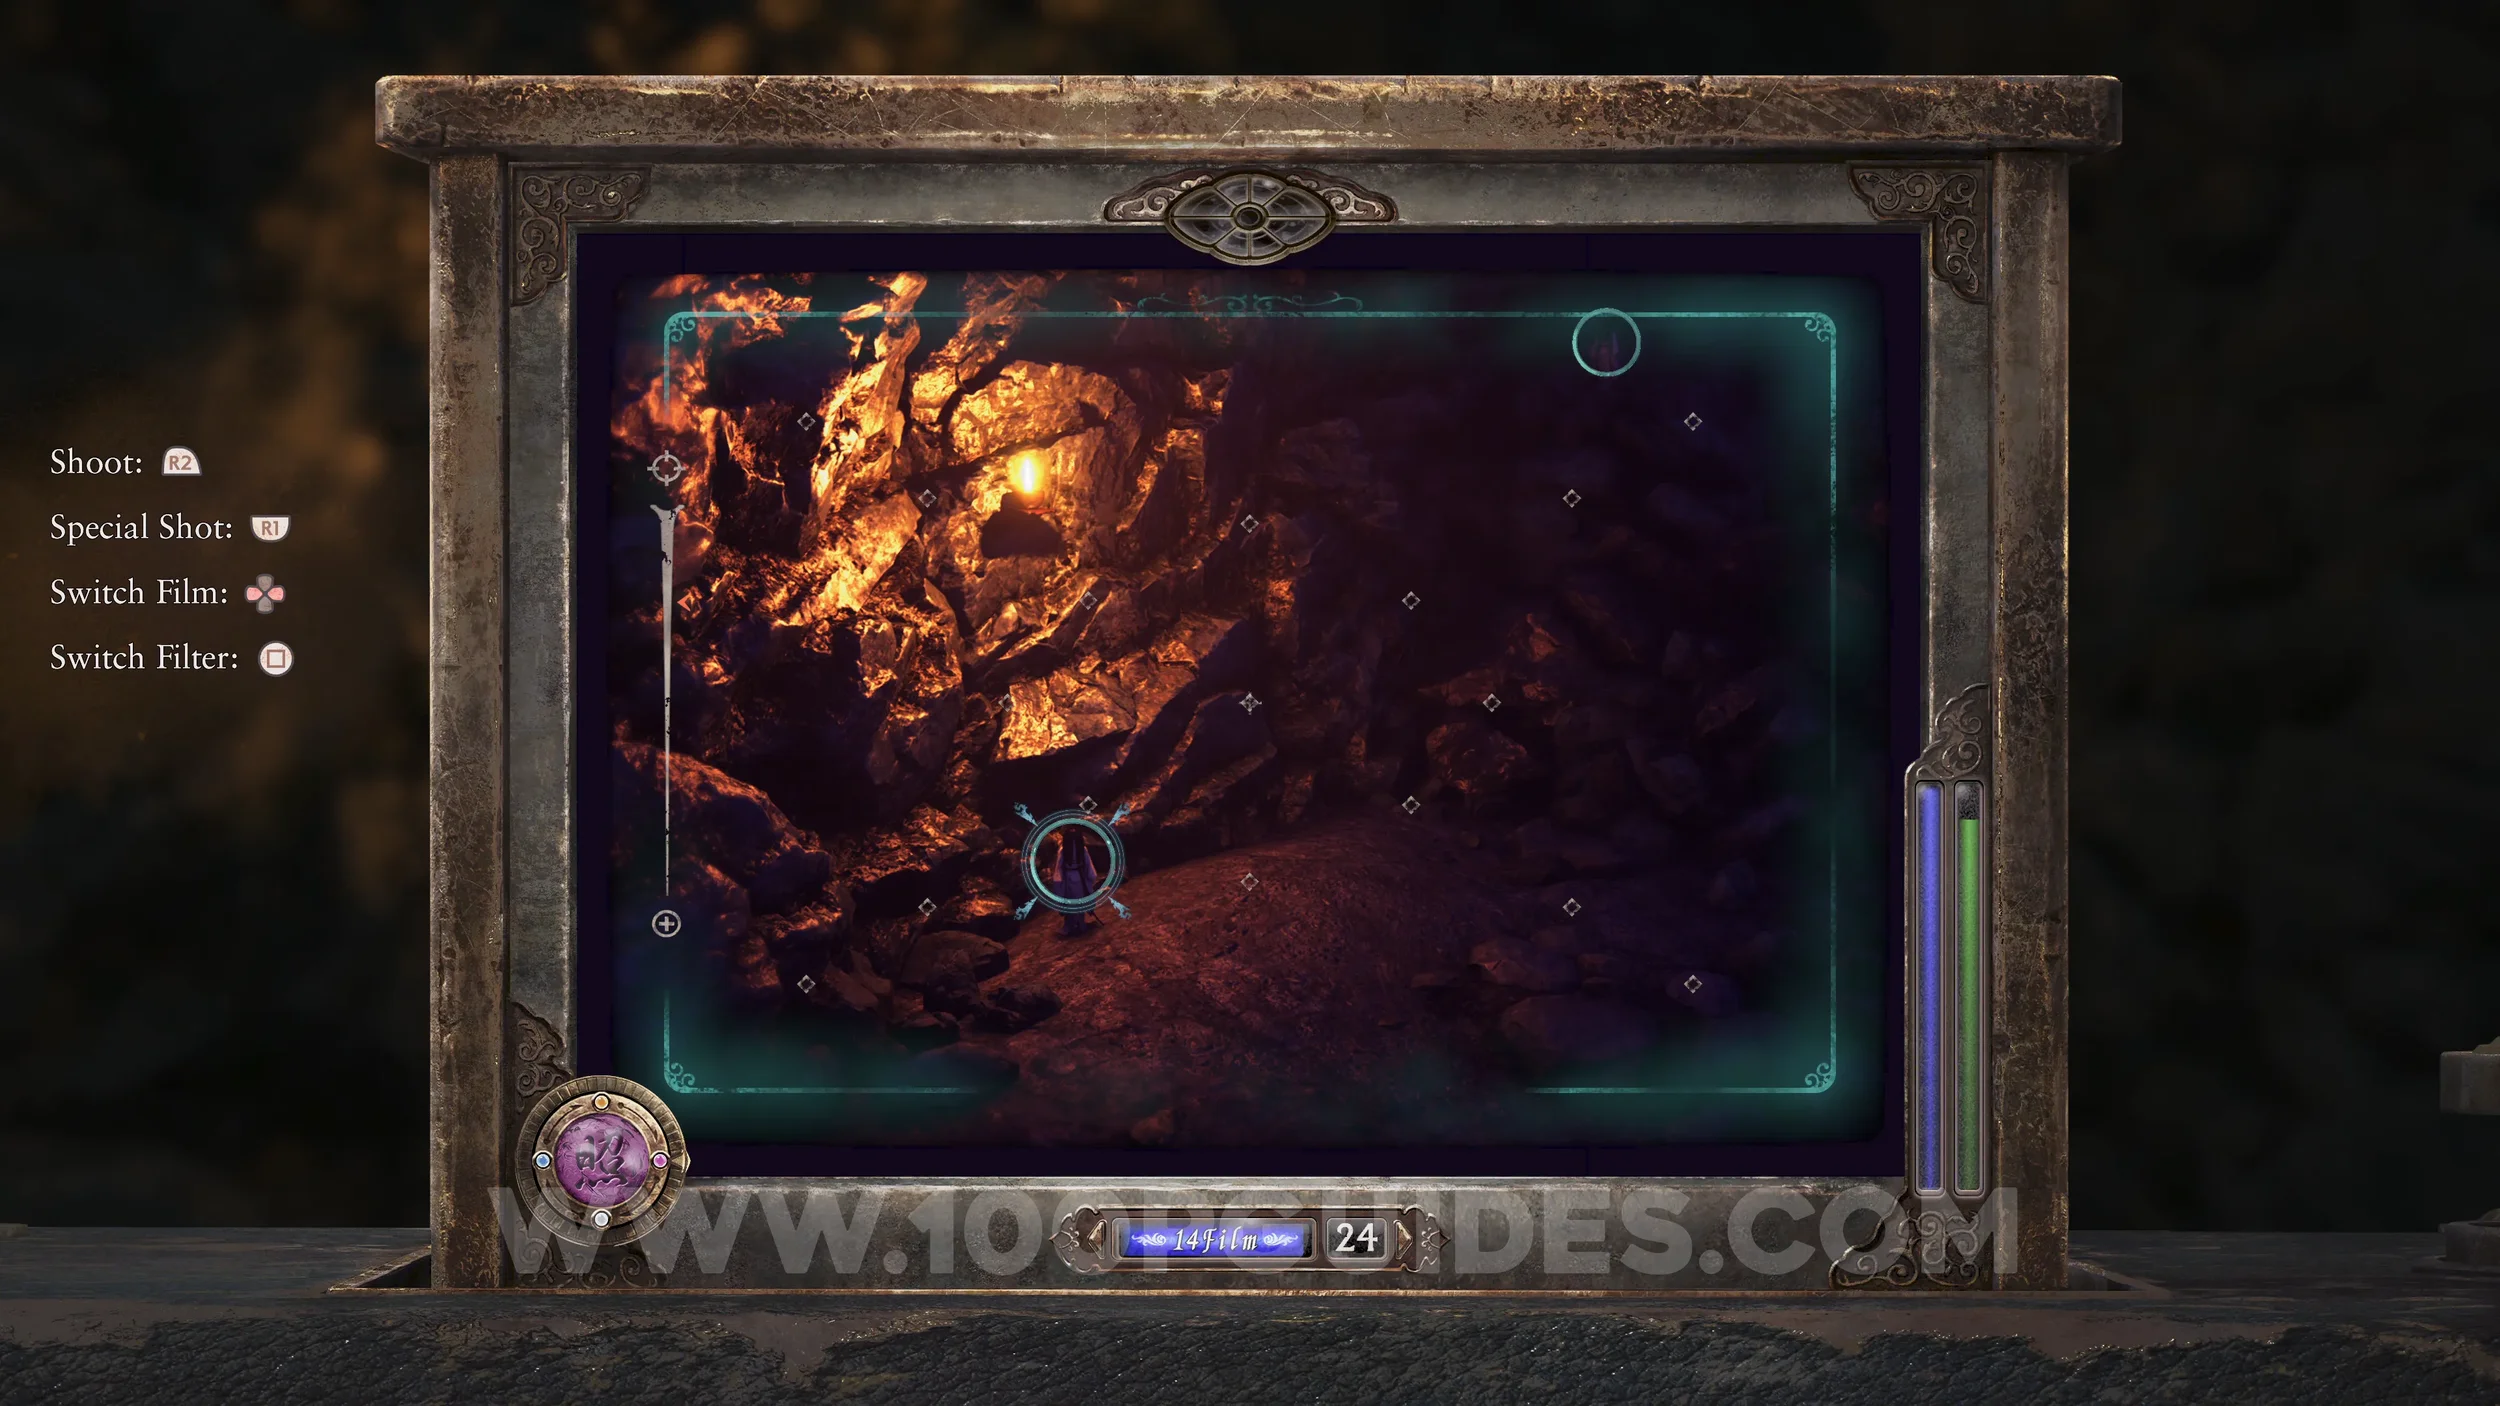
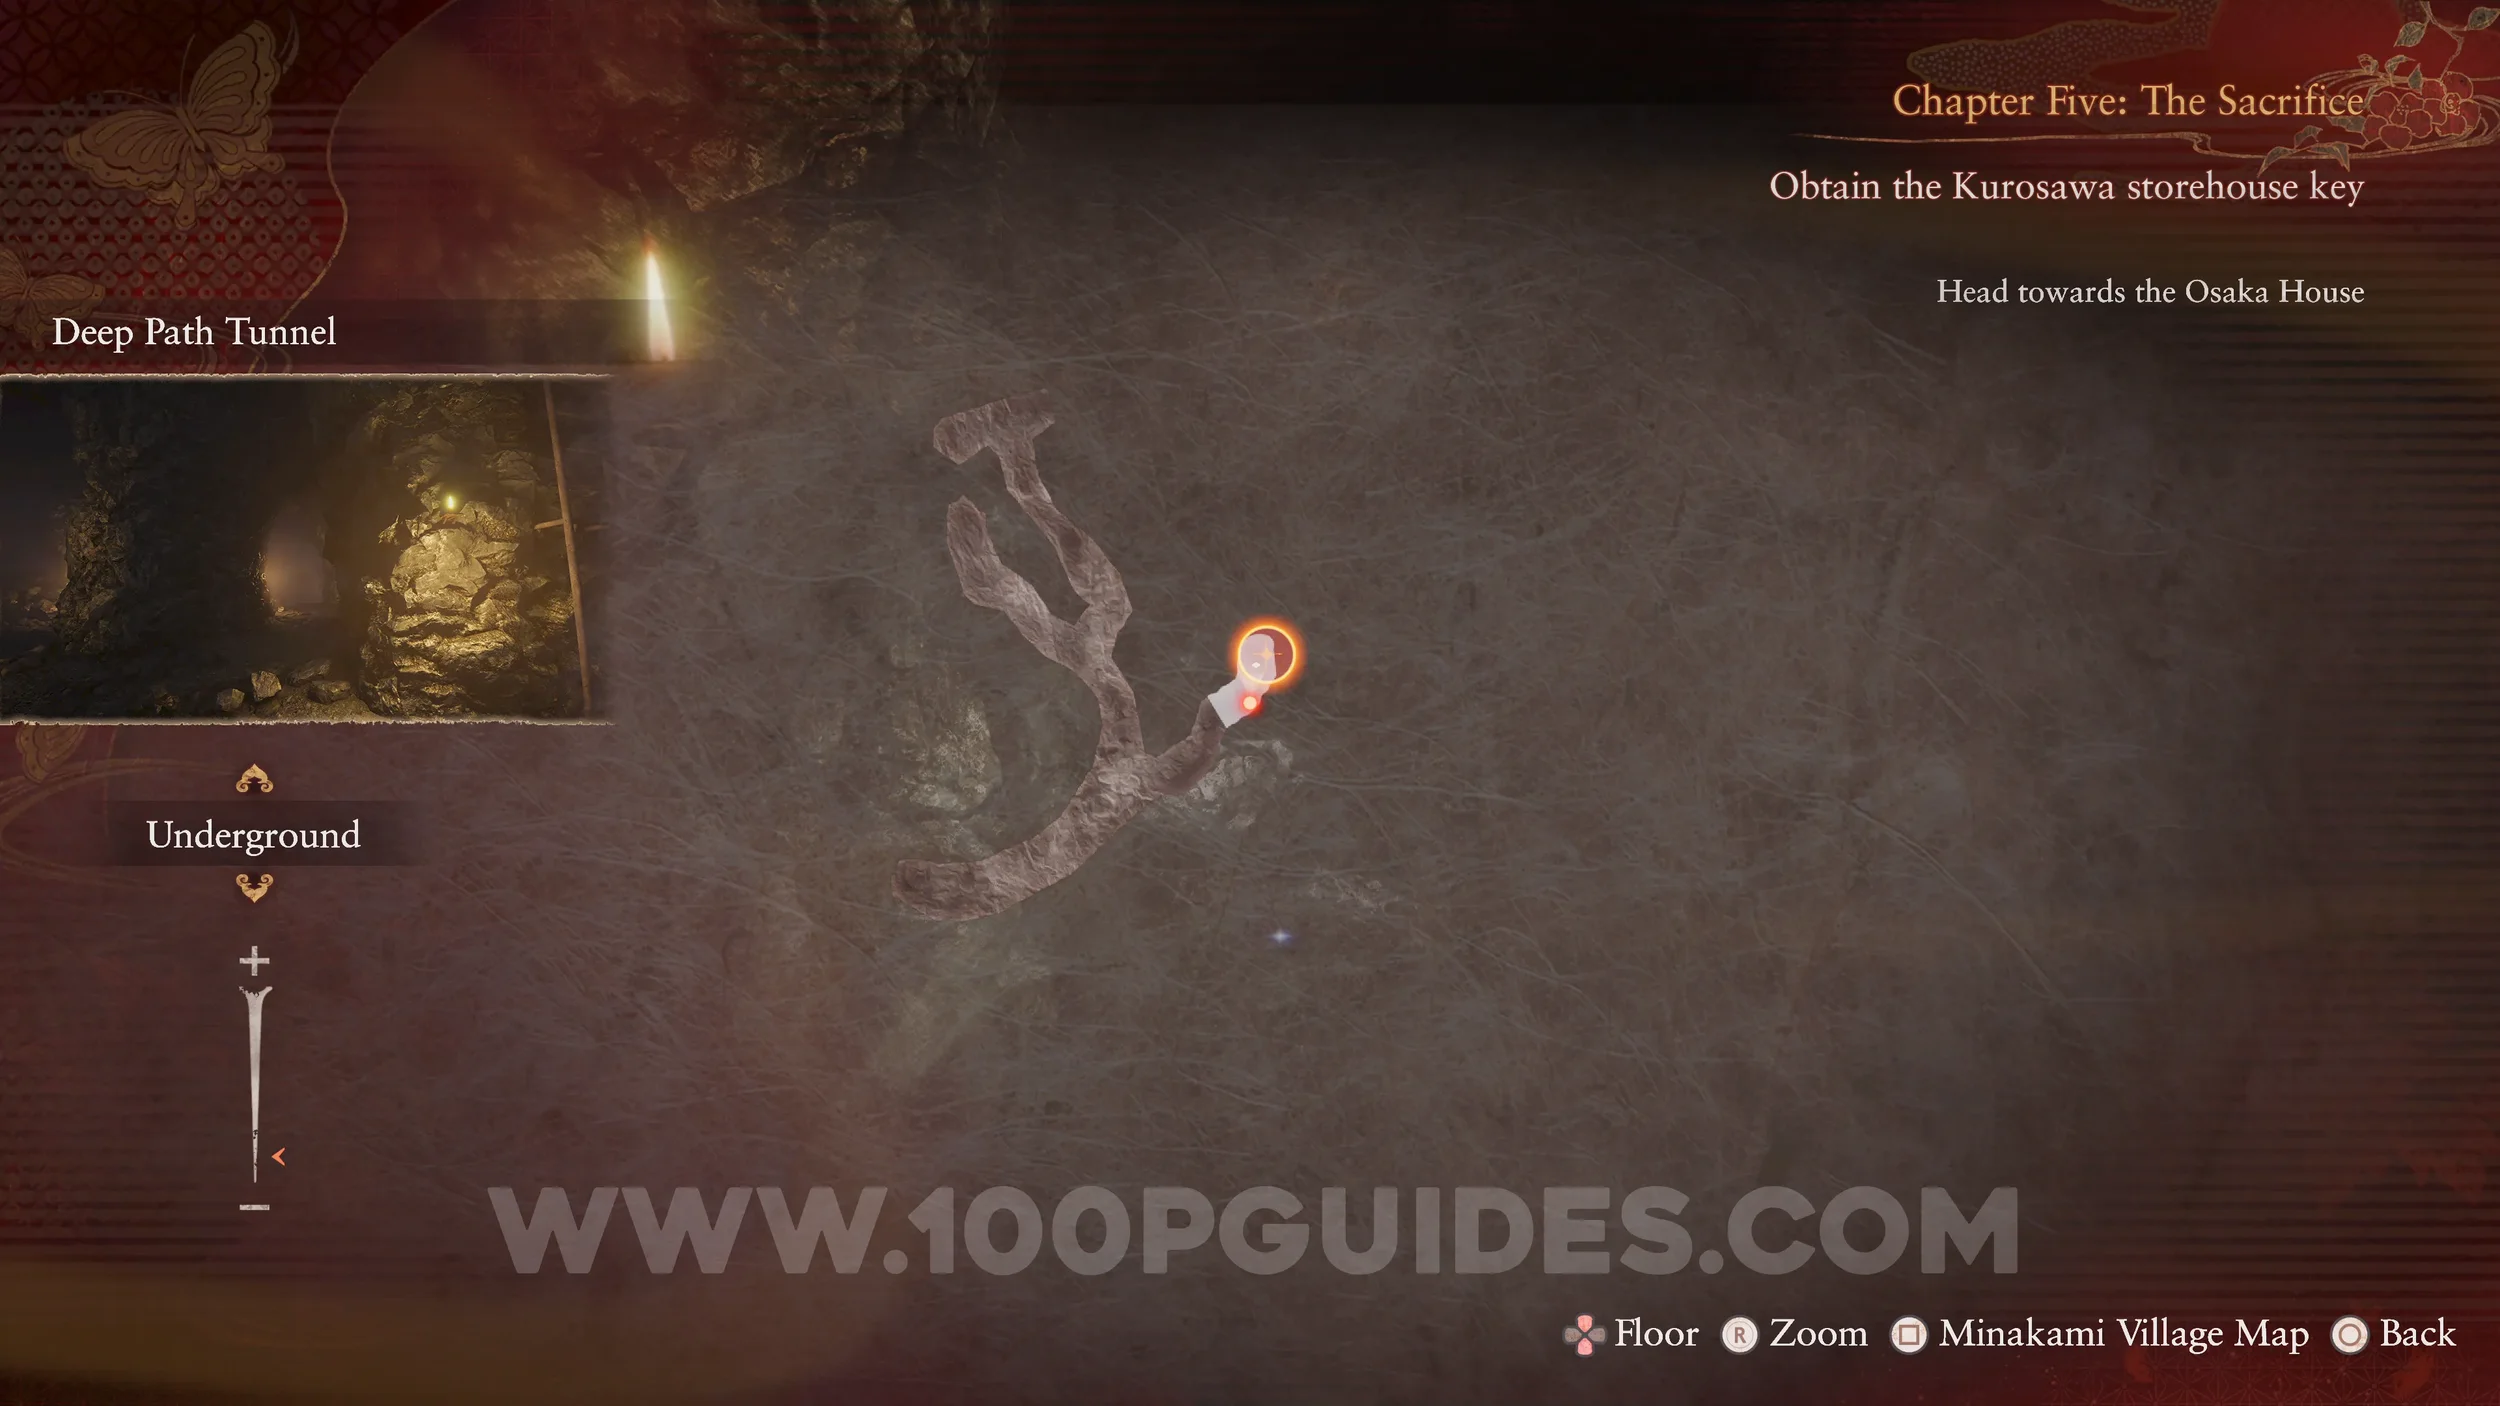
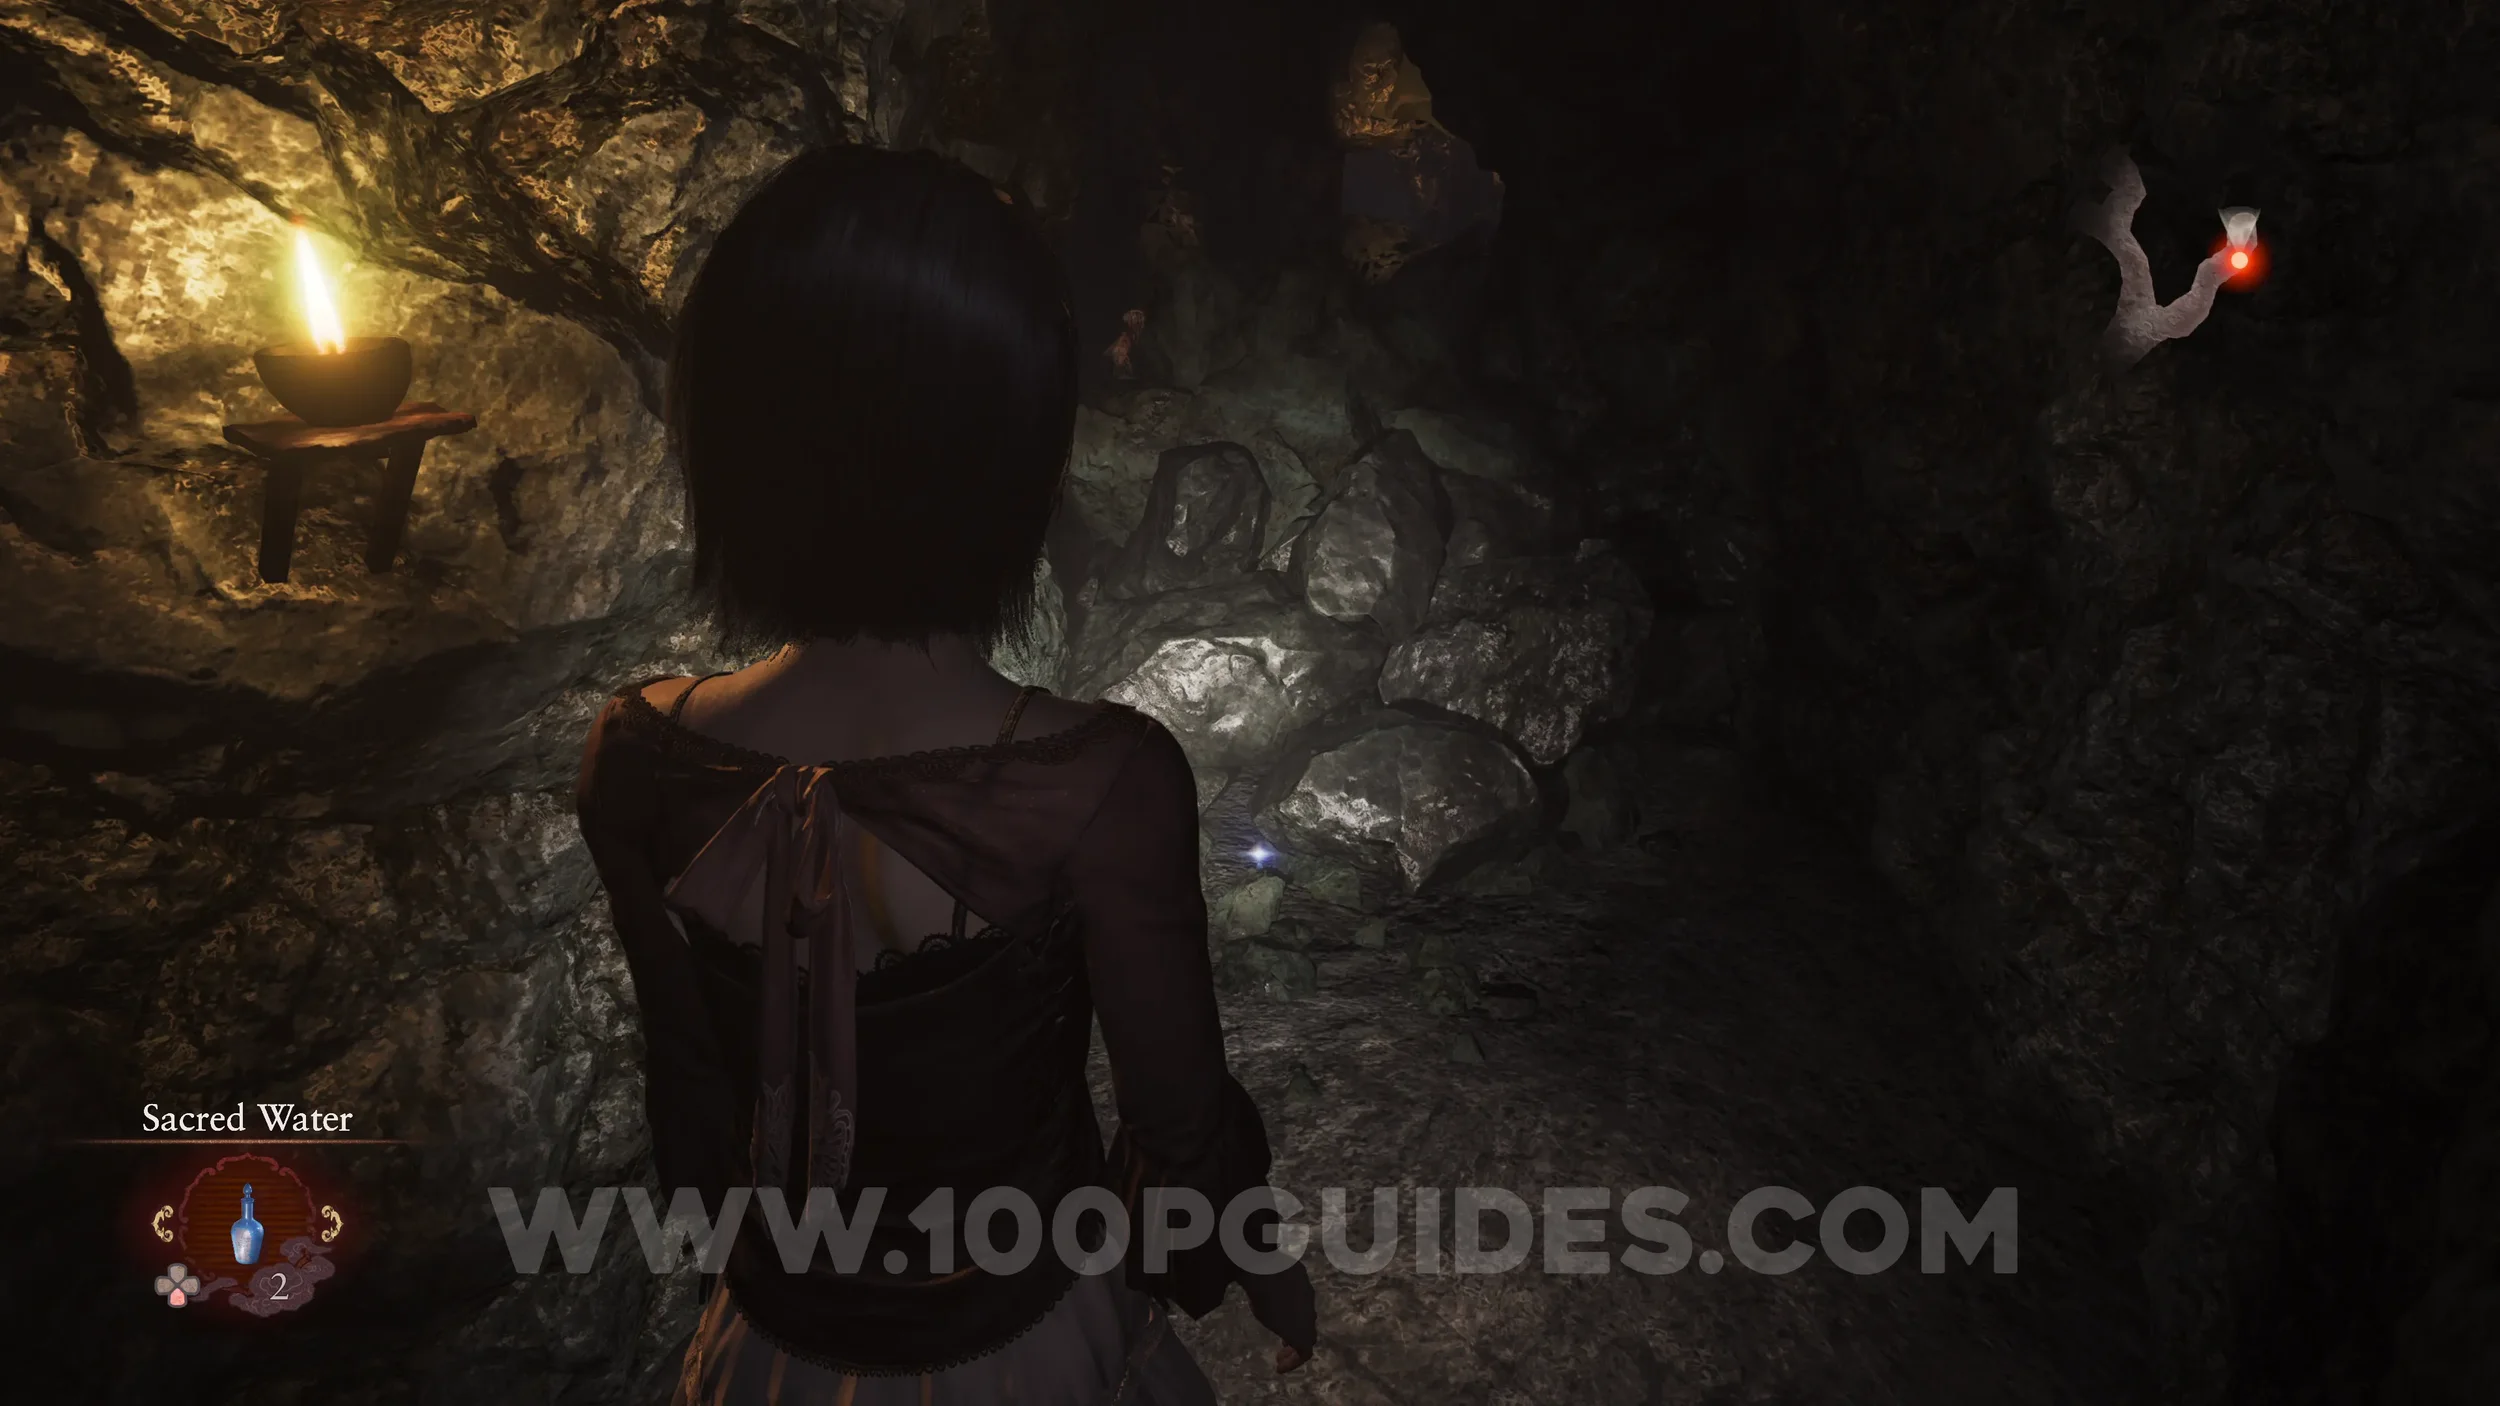
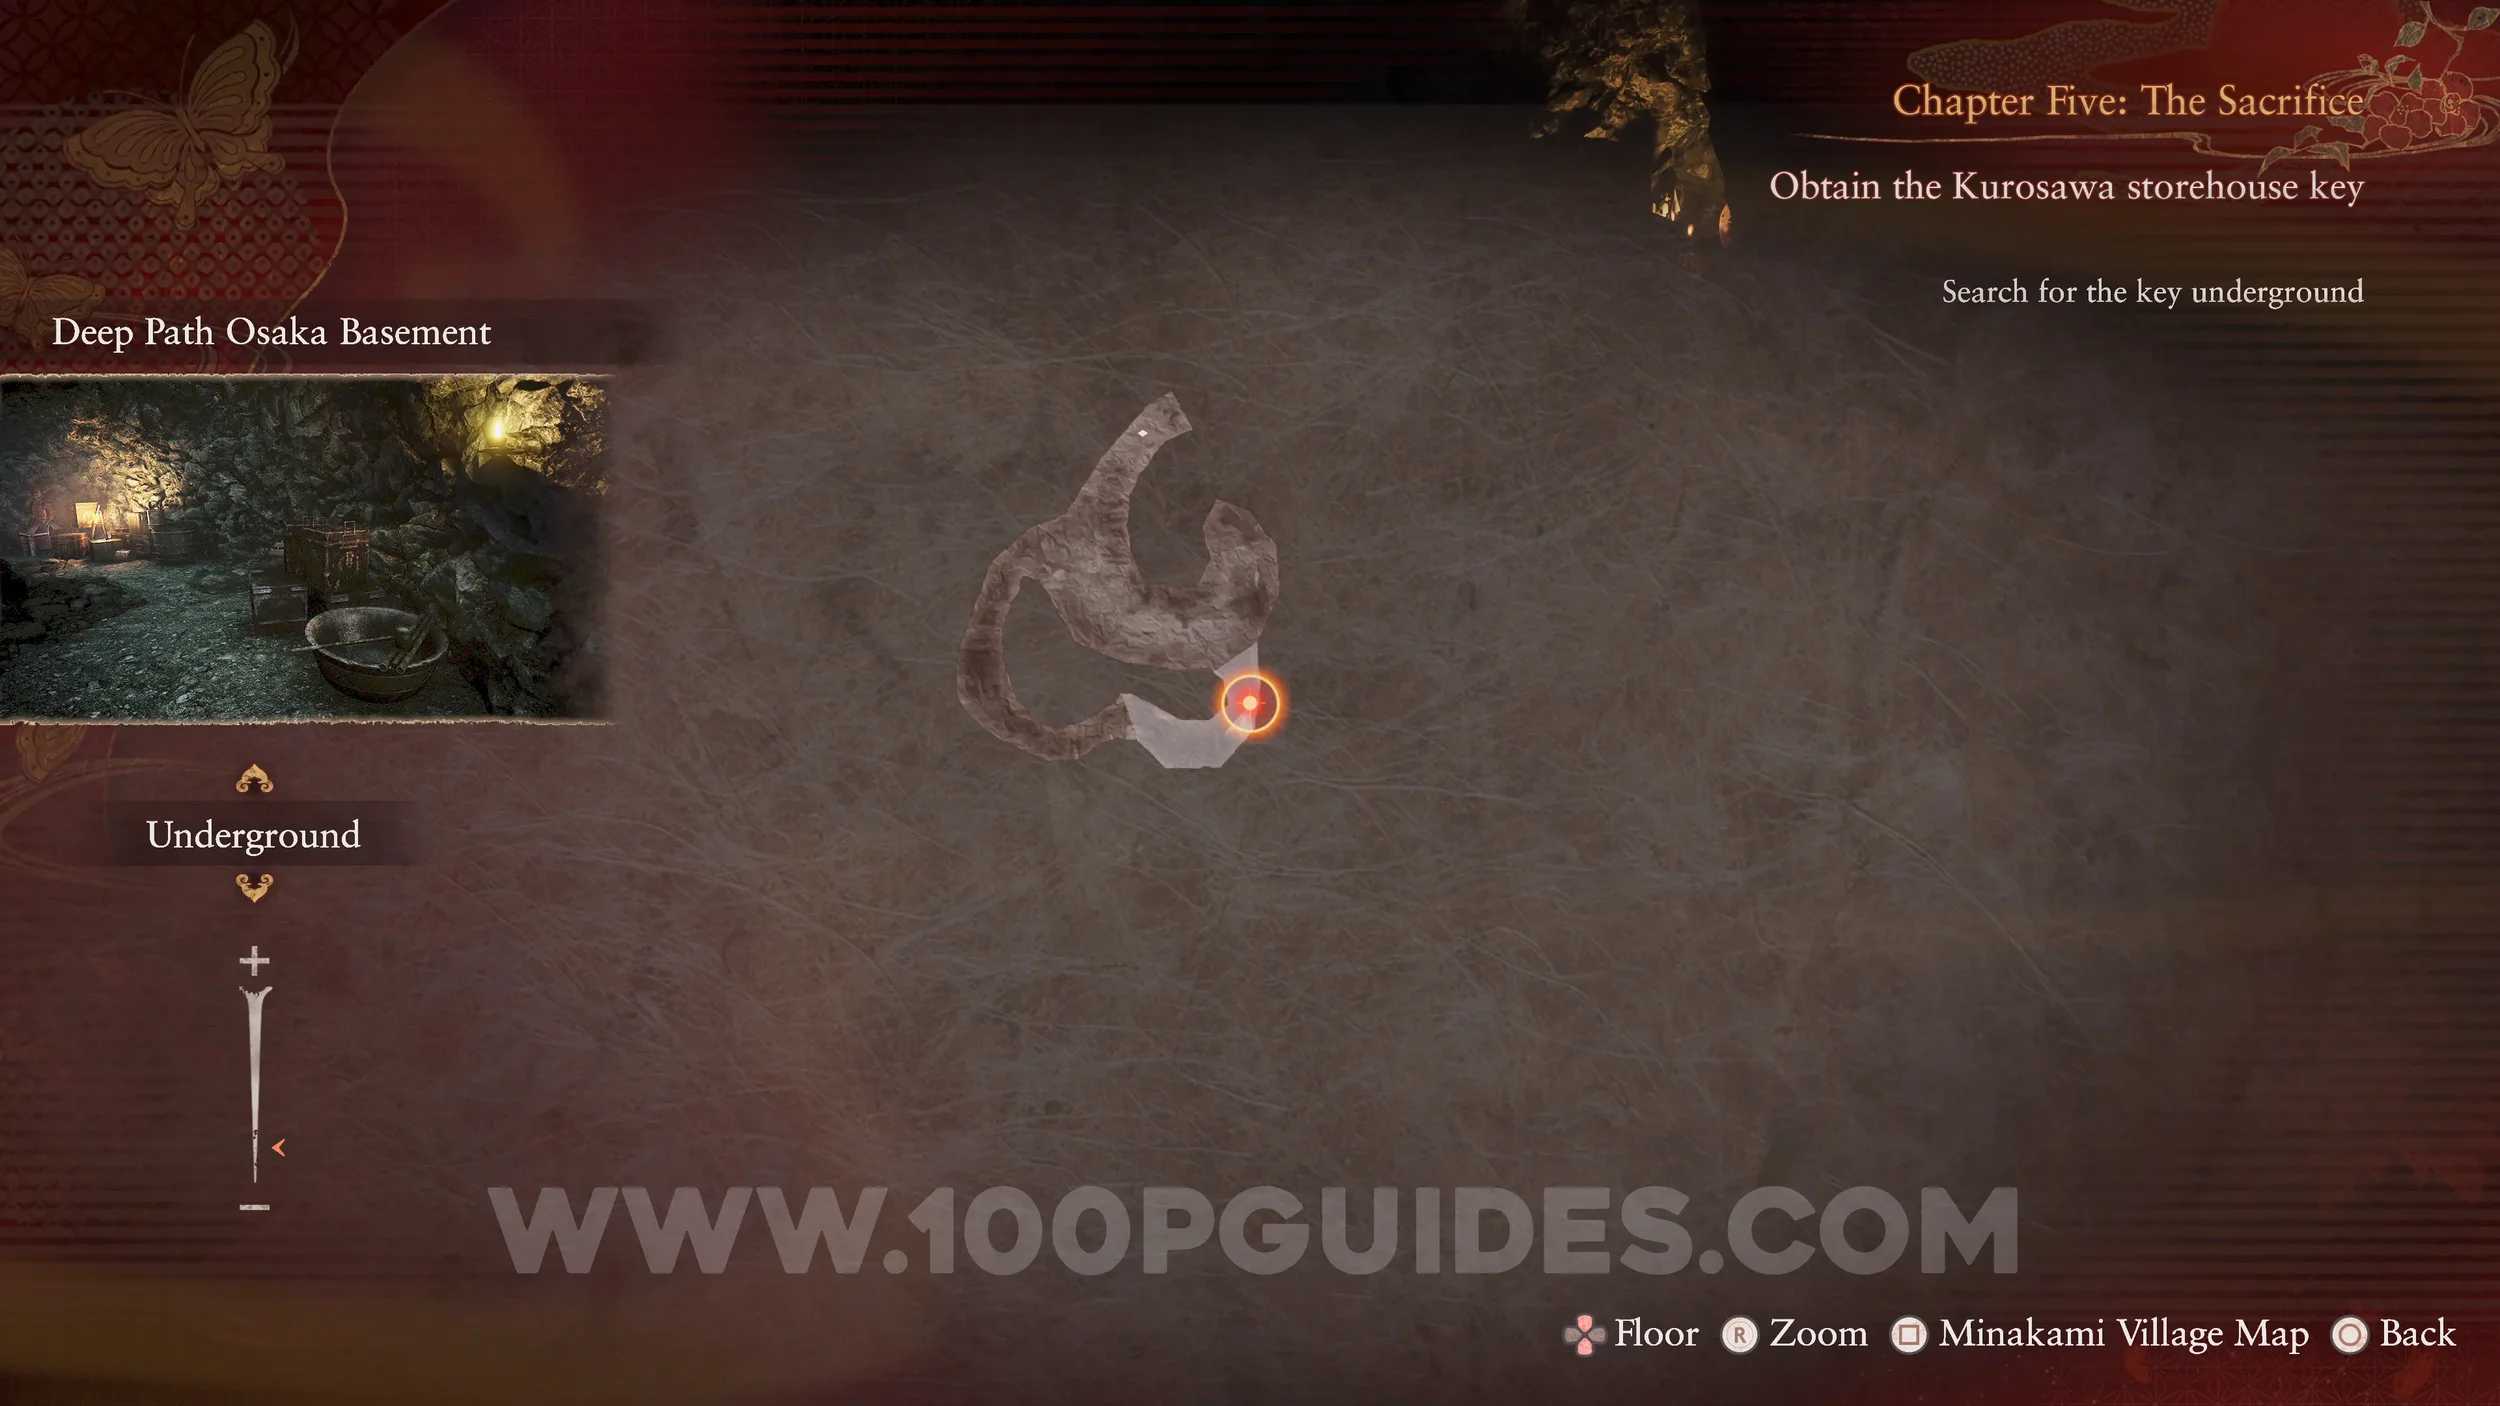
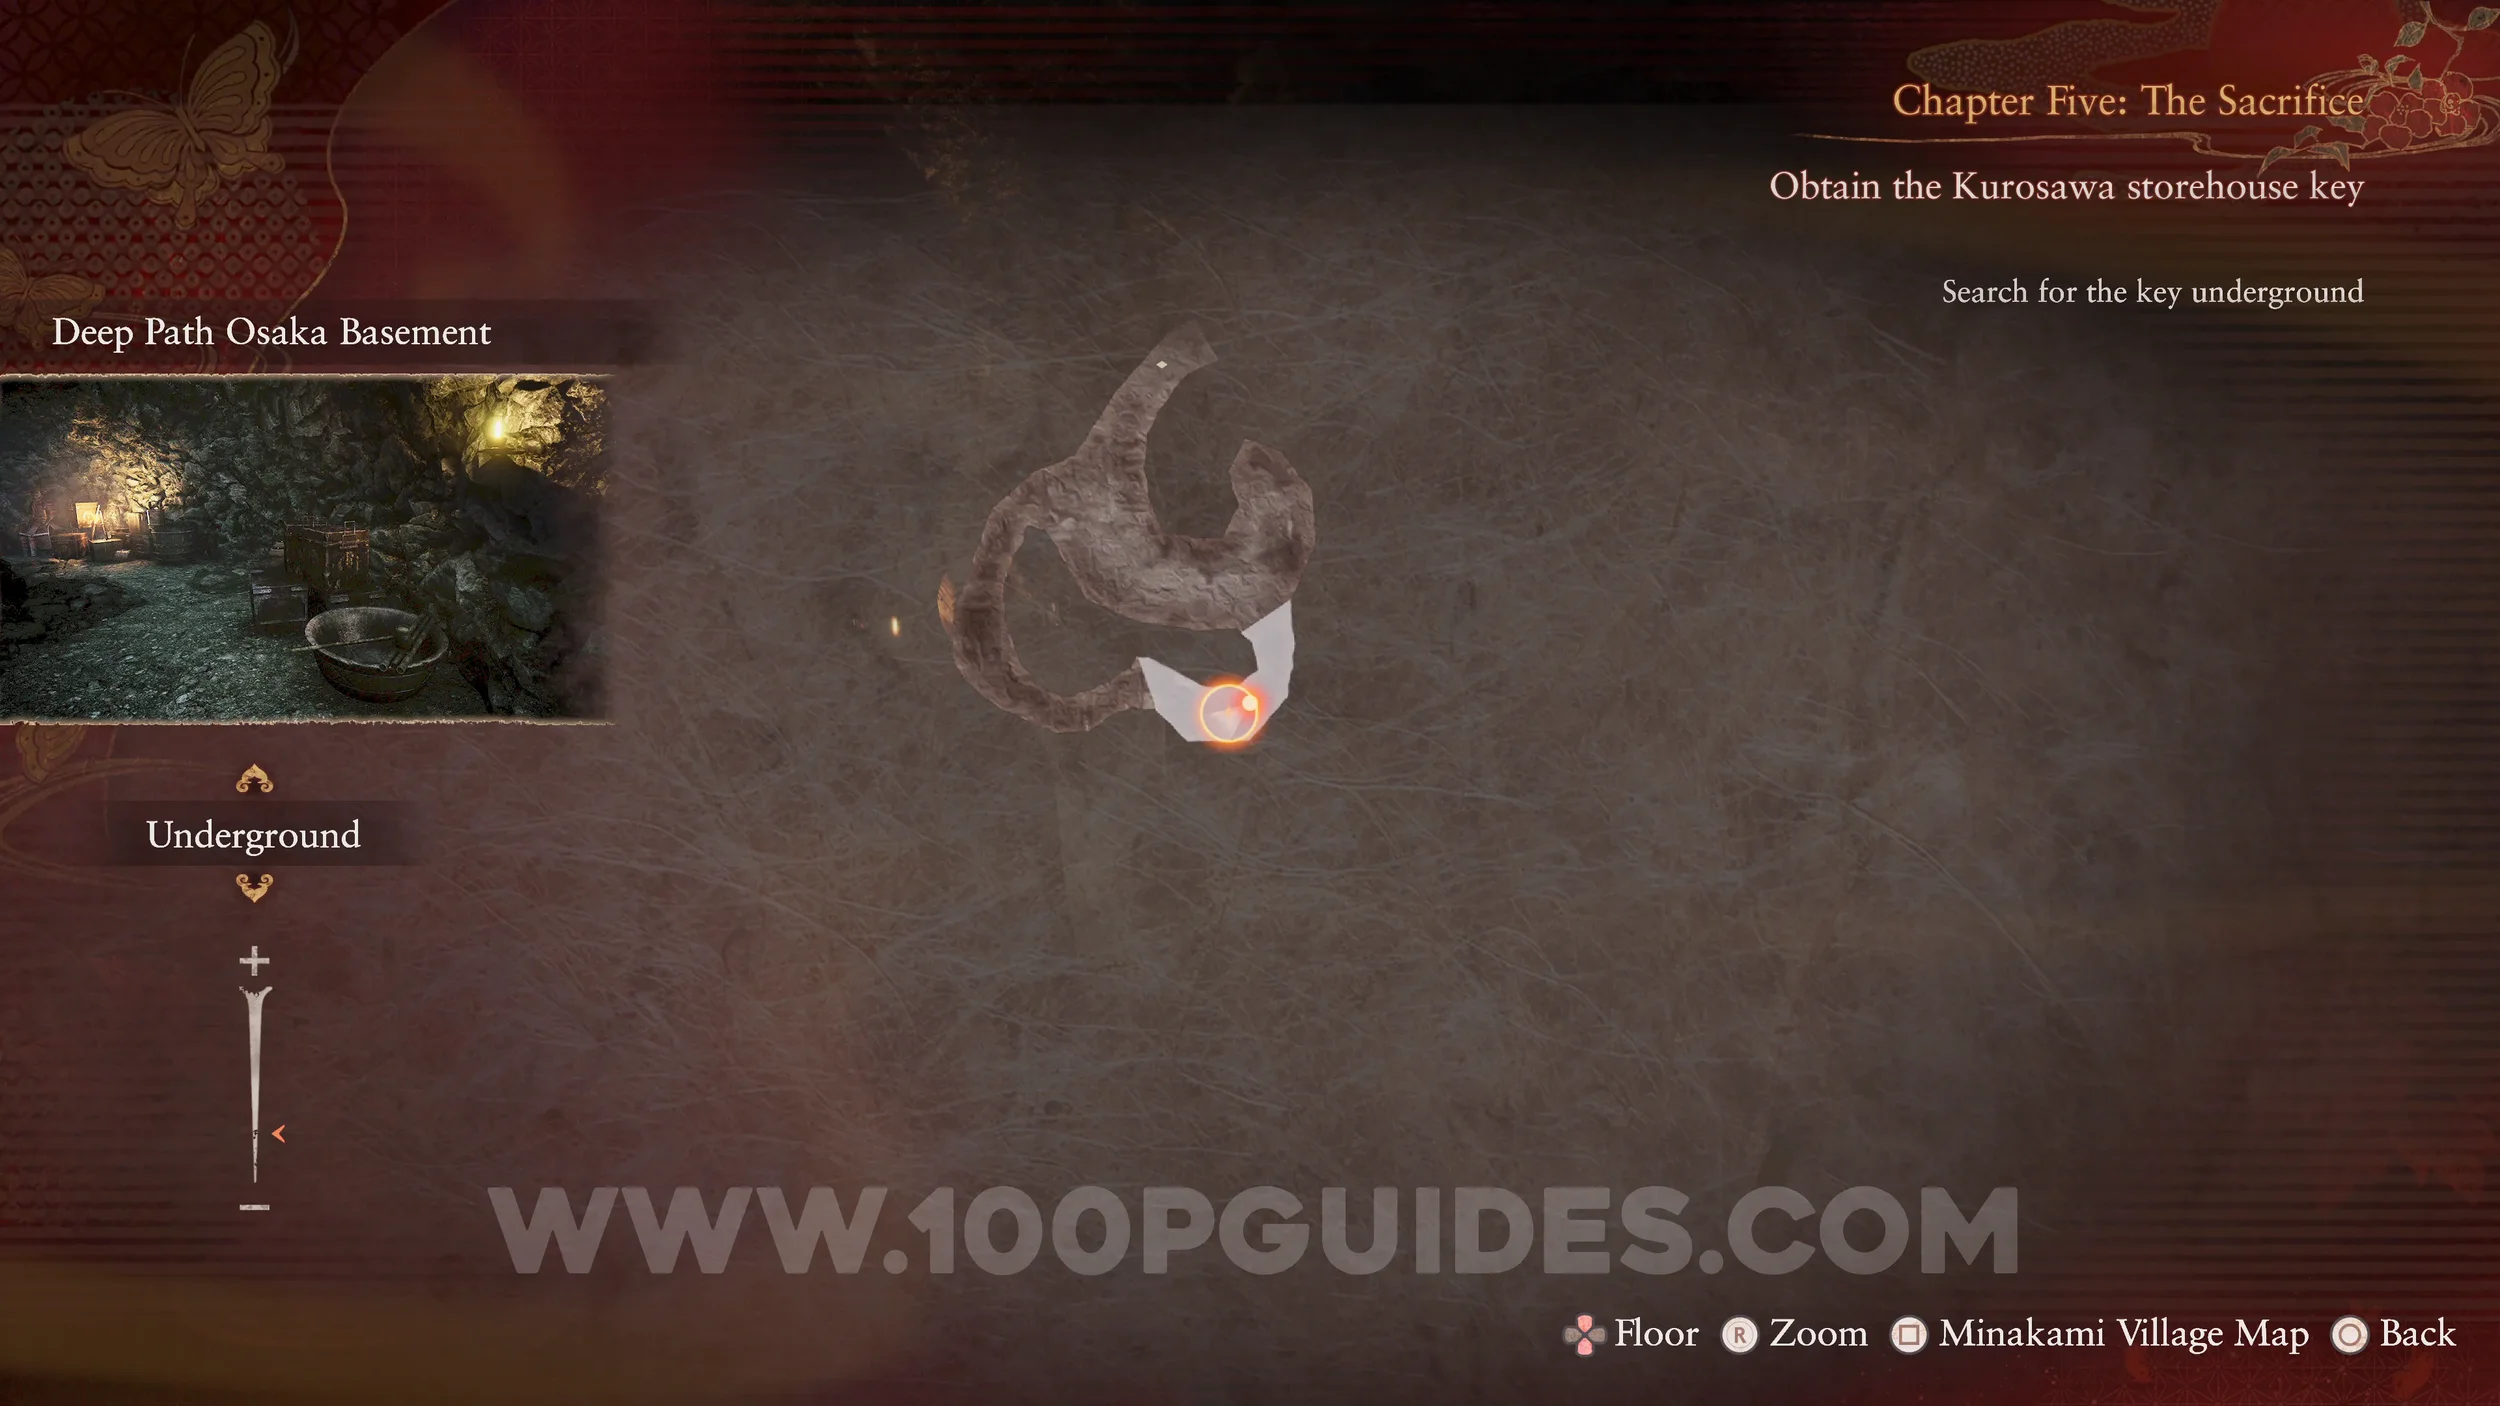
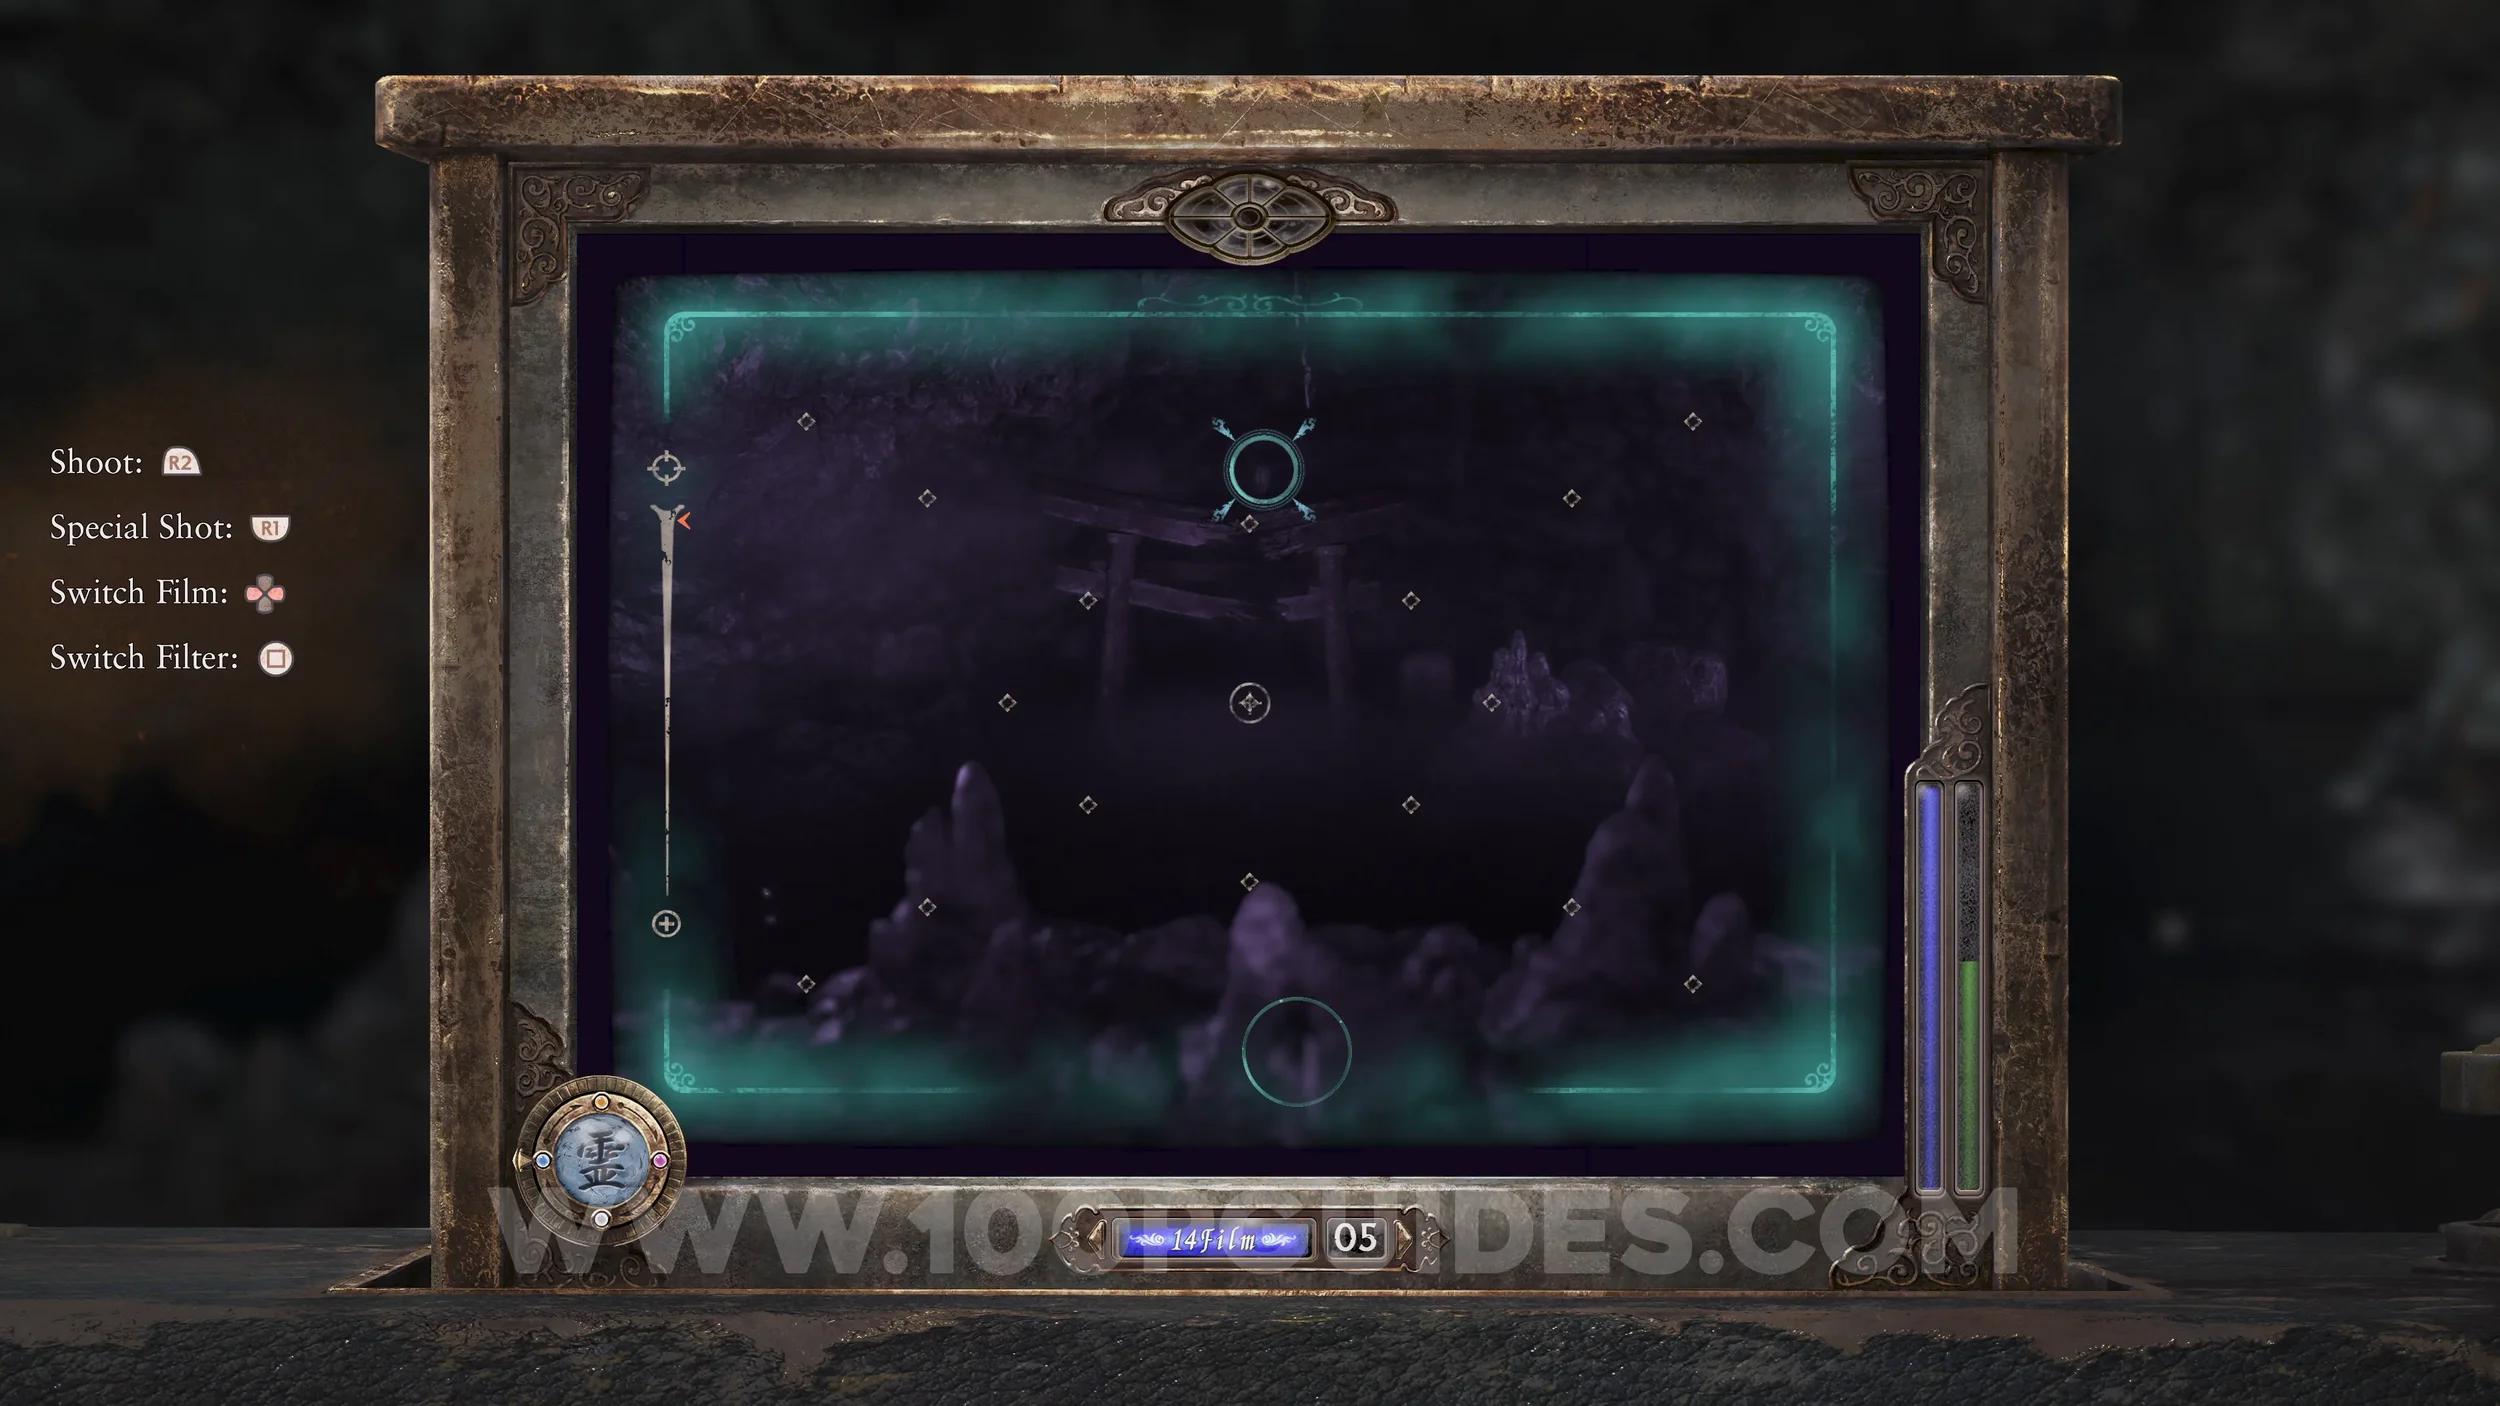
Phantom Expose #5 - Deep Path Entrance. Do not leave the temple. Turn around and go down the hall to the large room with statues at the far end. Go around the left side and use the Exposure Filter to open the trapdoor.
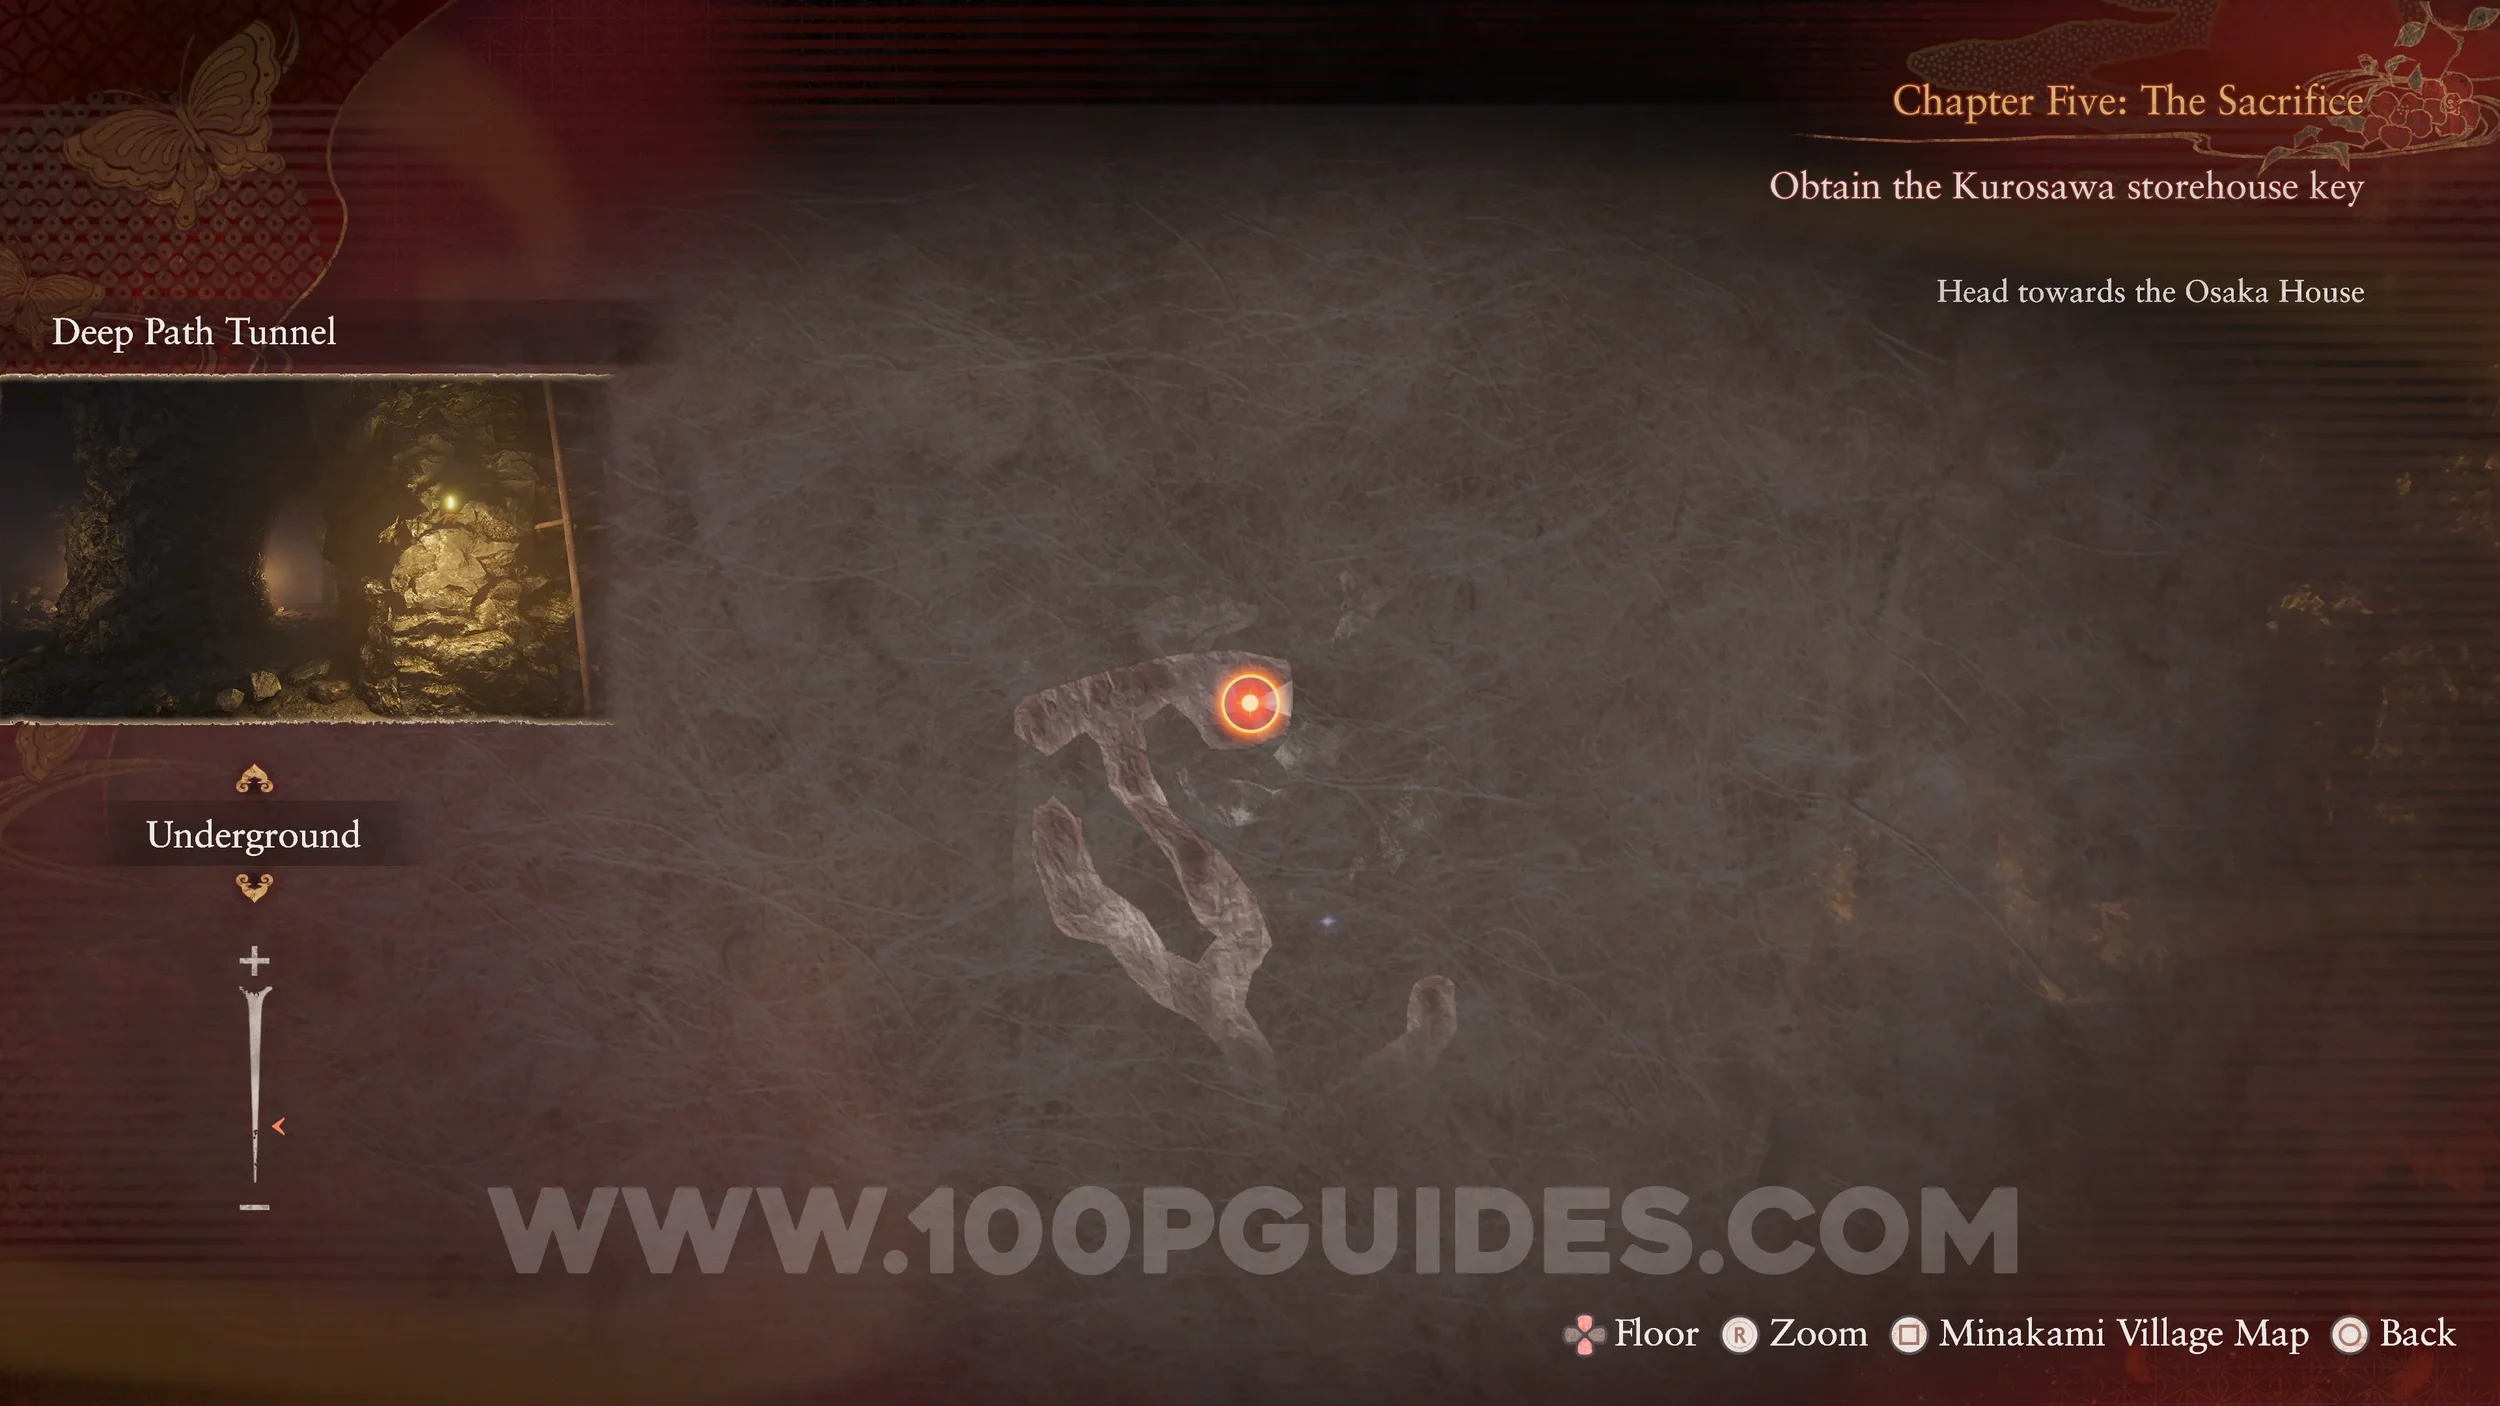
Spirit Stone #17 - Glowing Yellow Crystal. In the Deep Path Tunnel, take the path on the right and then right again to find the stone.
Twin Dolls #25 (28). From the previous collectible, turn around and continue straight down the path until you reach a dead end where you will see the dolls.
Prayer Beads #27. From the dolls, turn around and take the path on the right.
Prayer Beads #28. Return to the start of the tunnels and turn right.
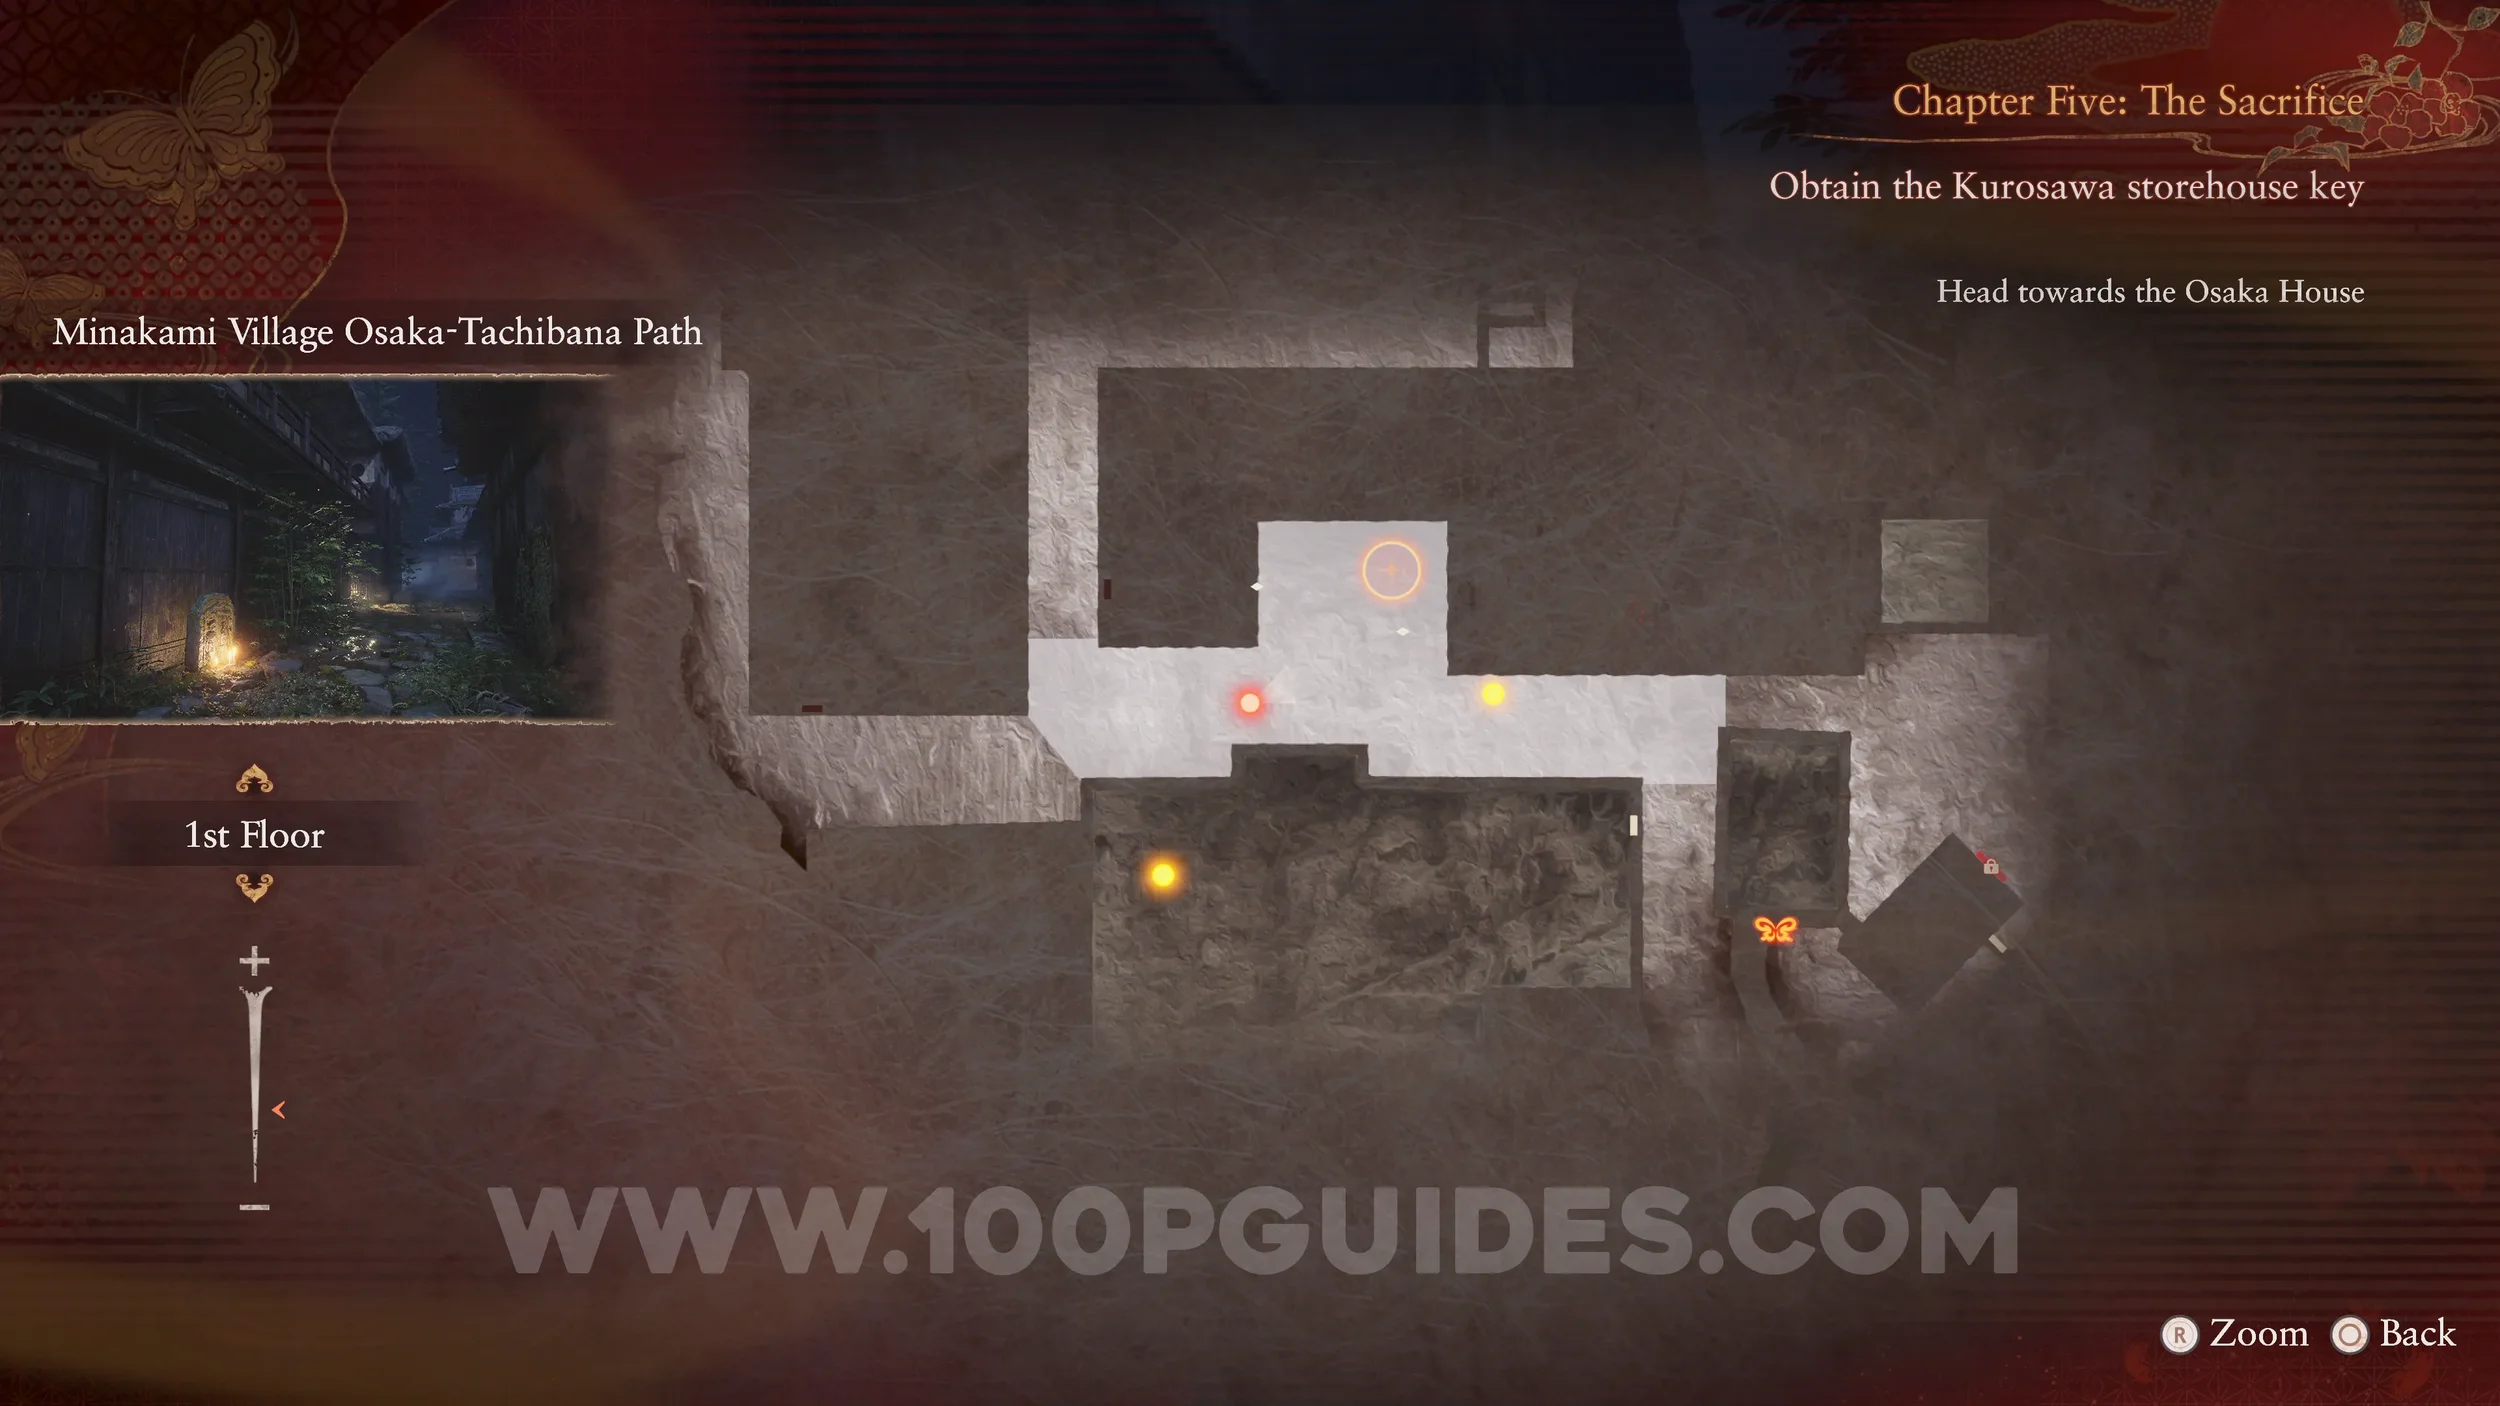
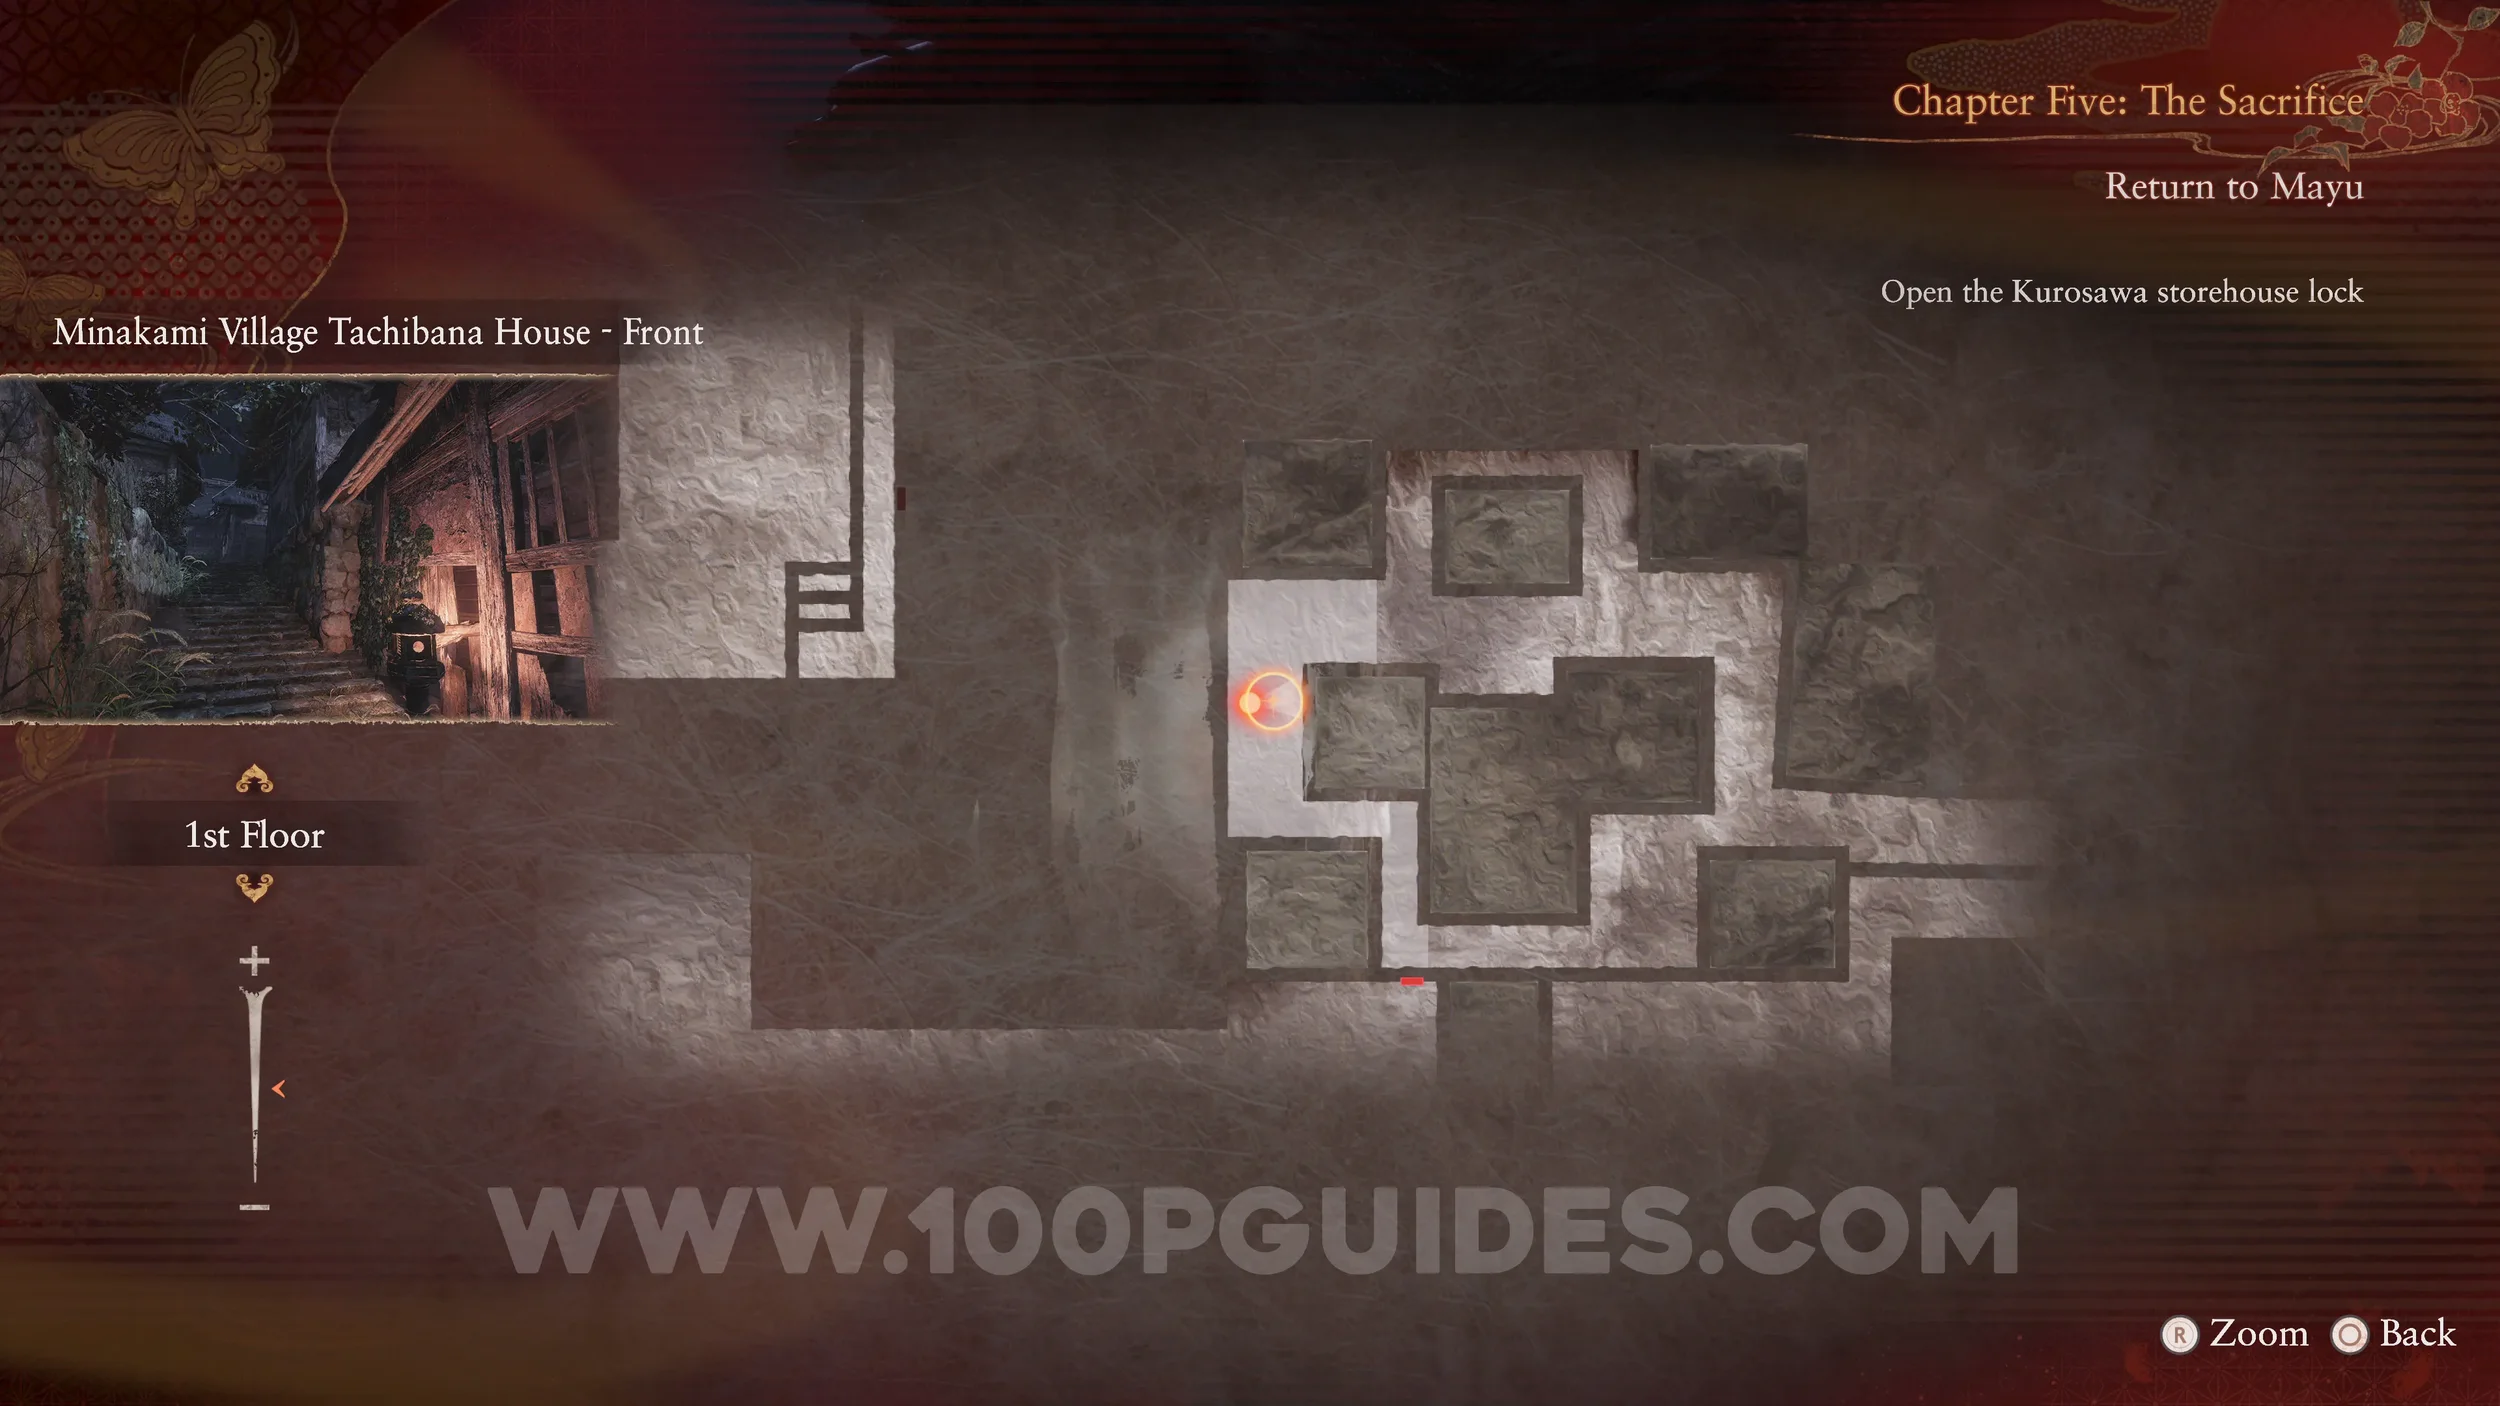
Unbinding of Blood #10. Backtrack to the village to Tachibana Path, where the butterfly was. On this street, look for a small area on the left. One of the cupboards can be opened with the Radiant Filter.
Specter #85 - 180 Man Returning to His Beloved. Now it is time to backtrack to the village and head toward the Osaka House, the first house you visit in the game. Just as you turn the corner at the entrance, you will see this specter heading inside.
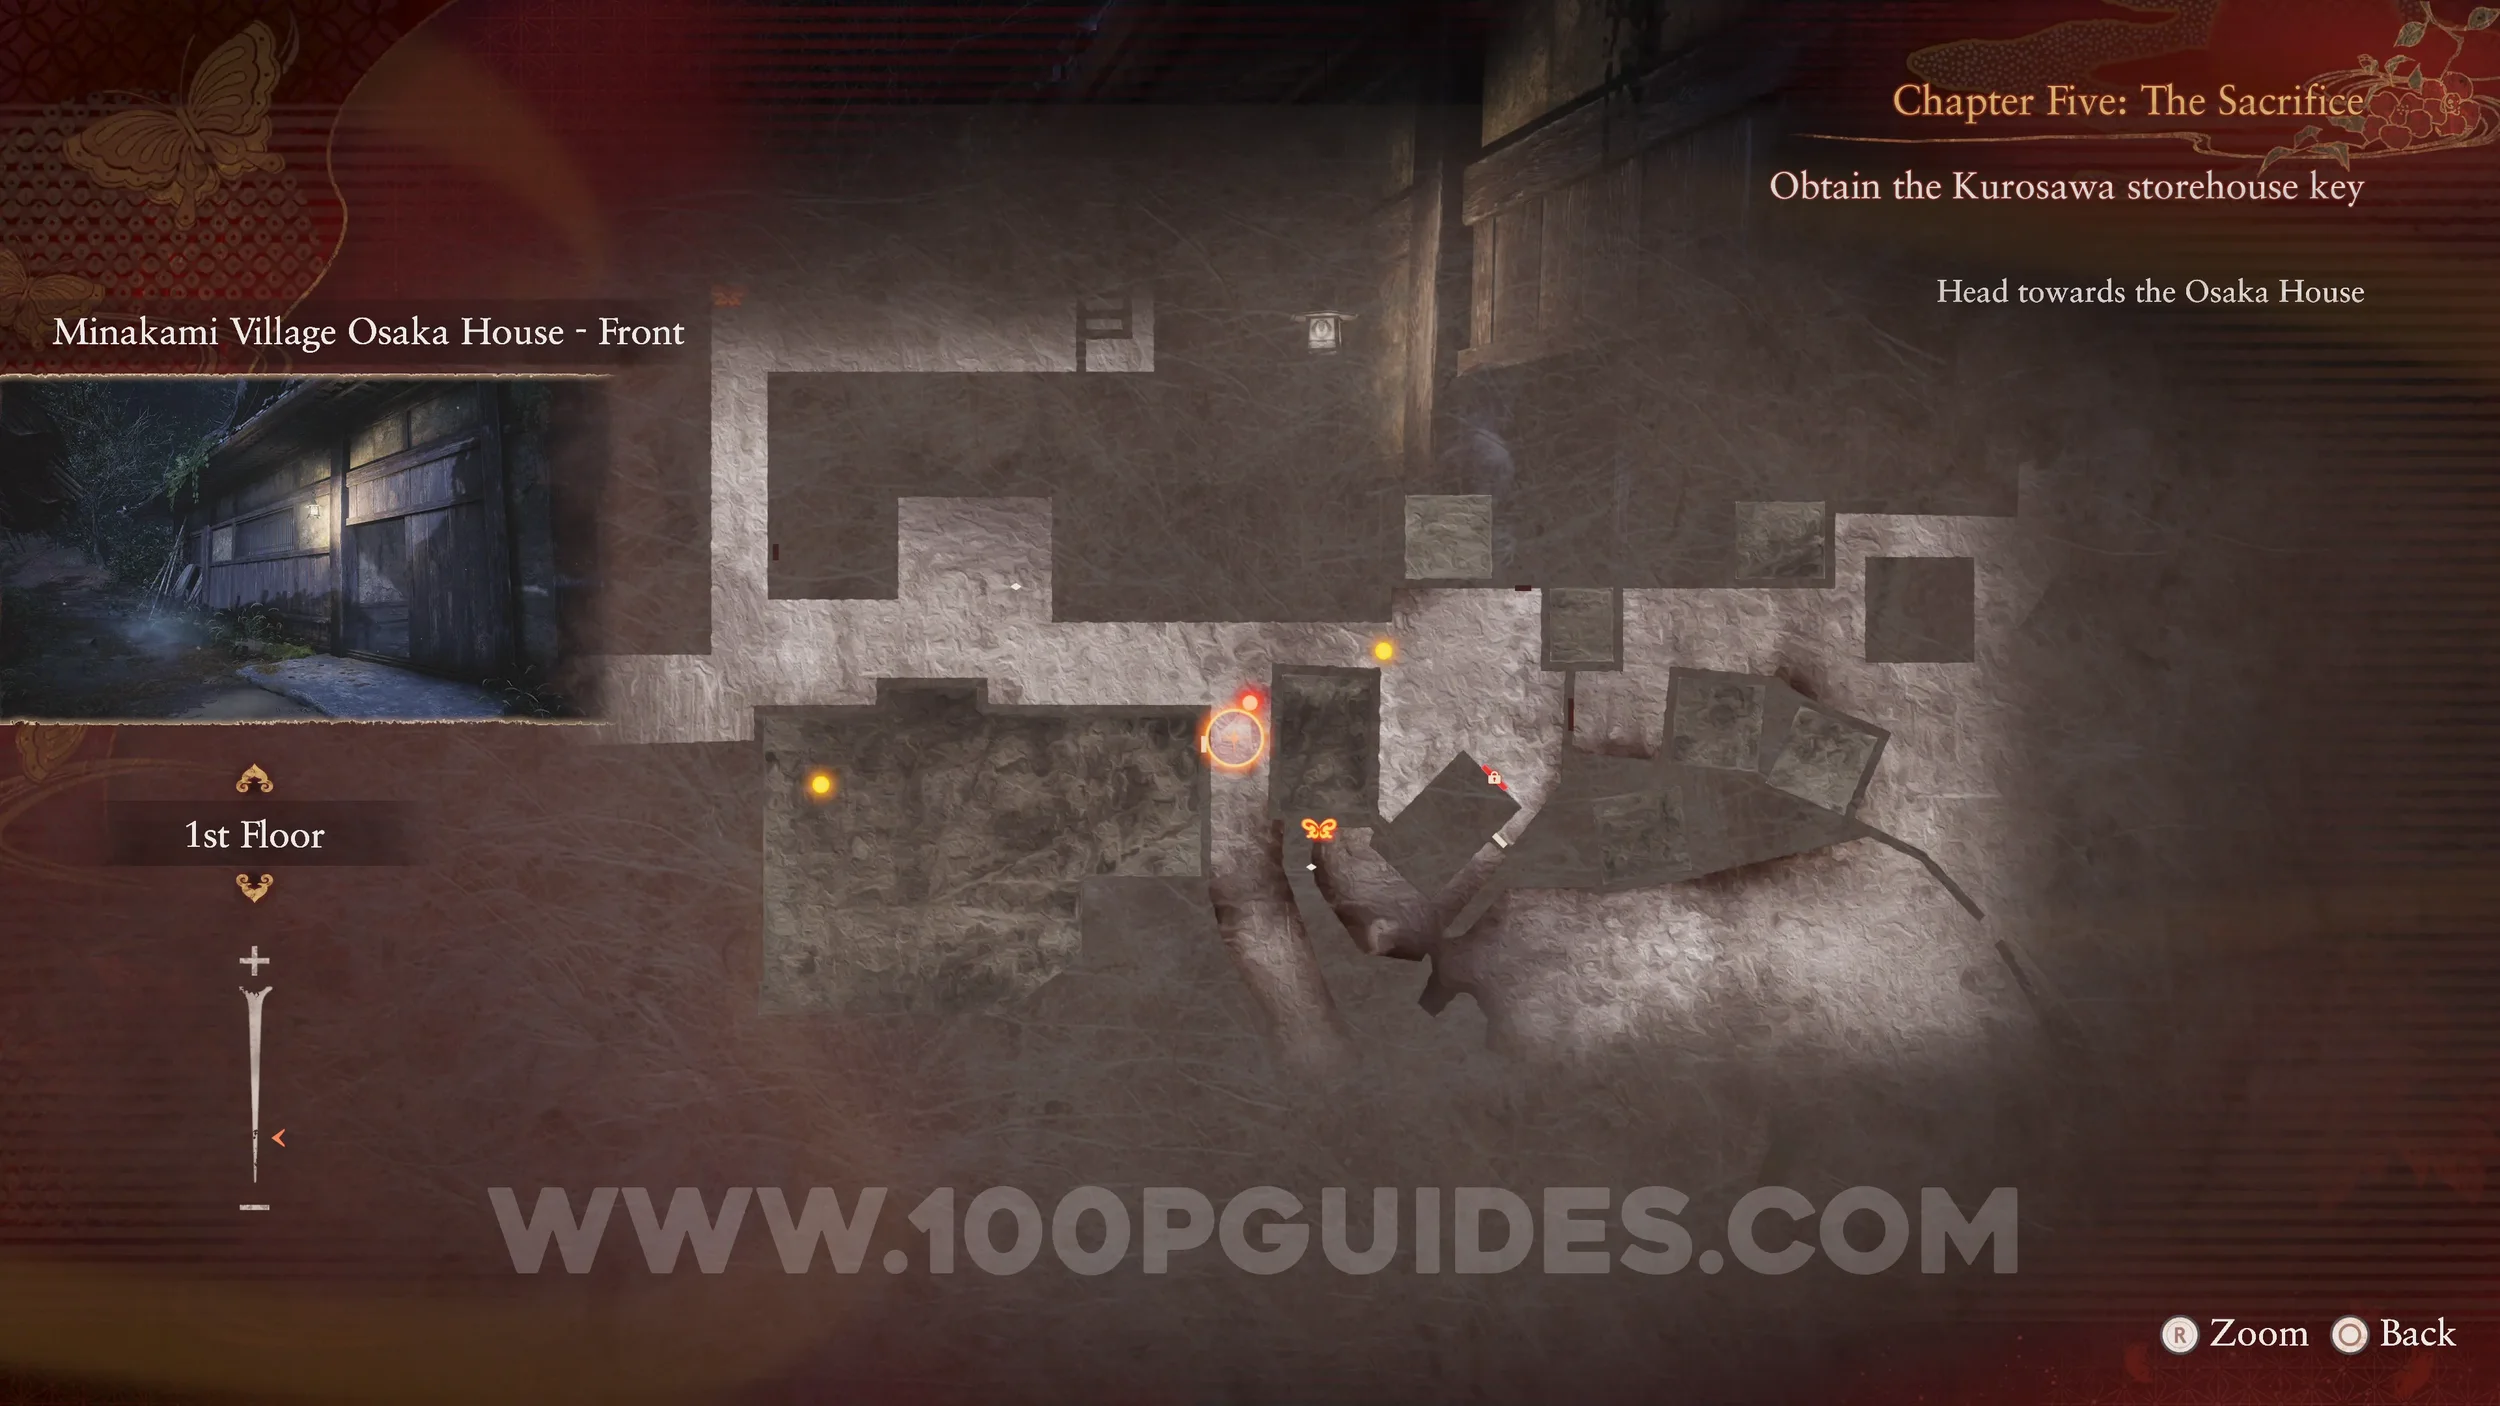
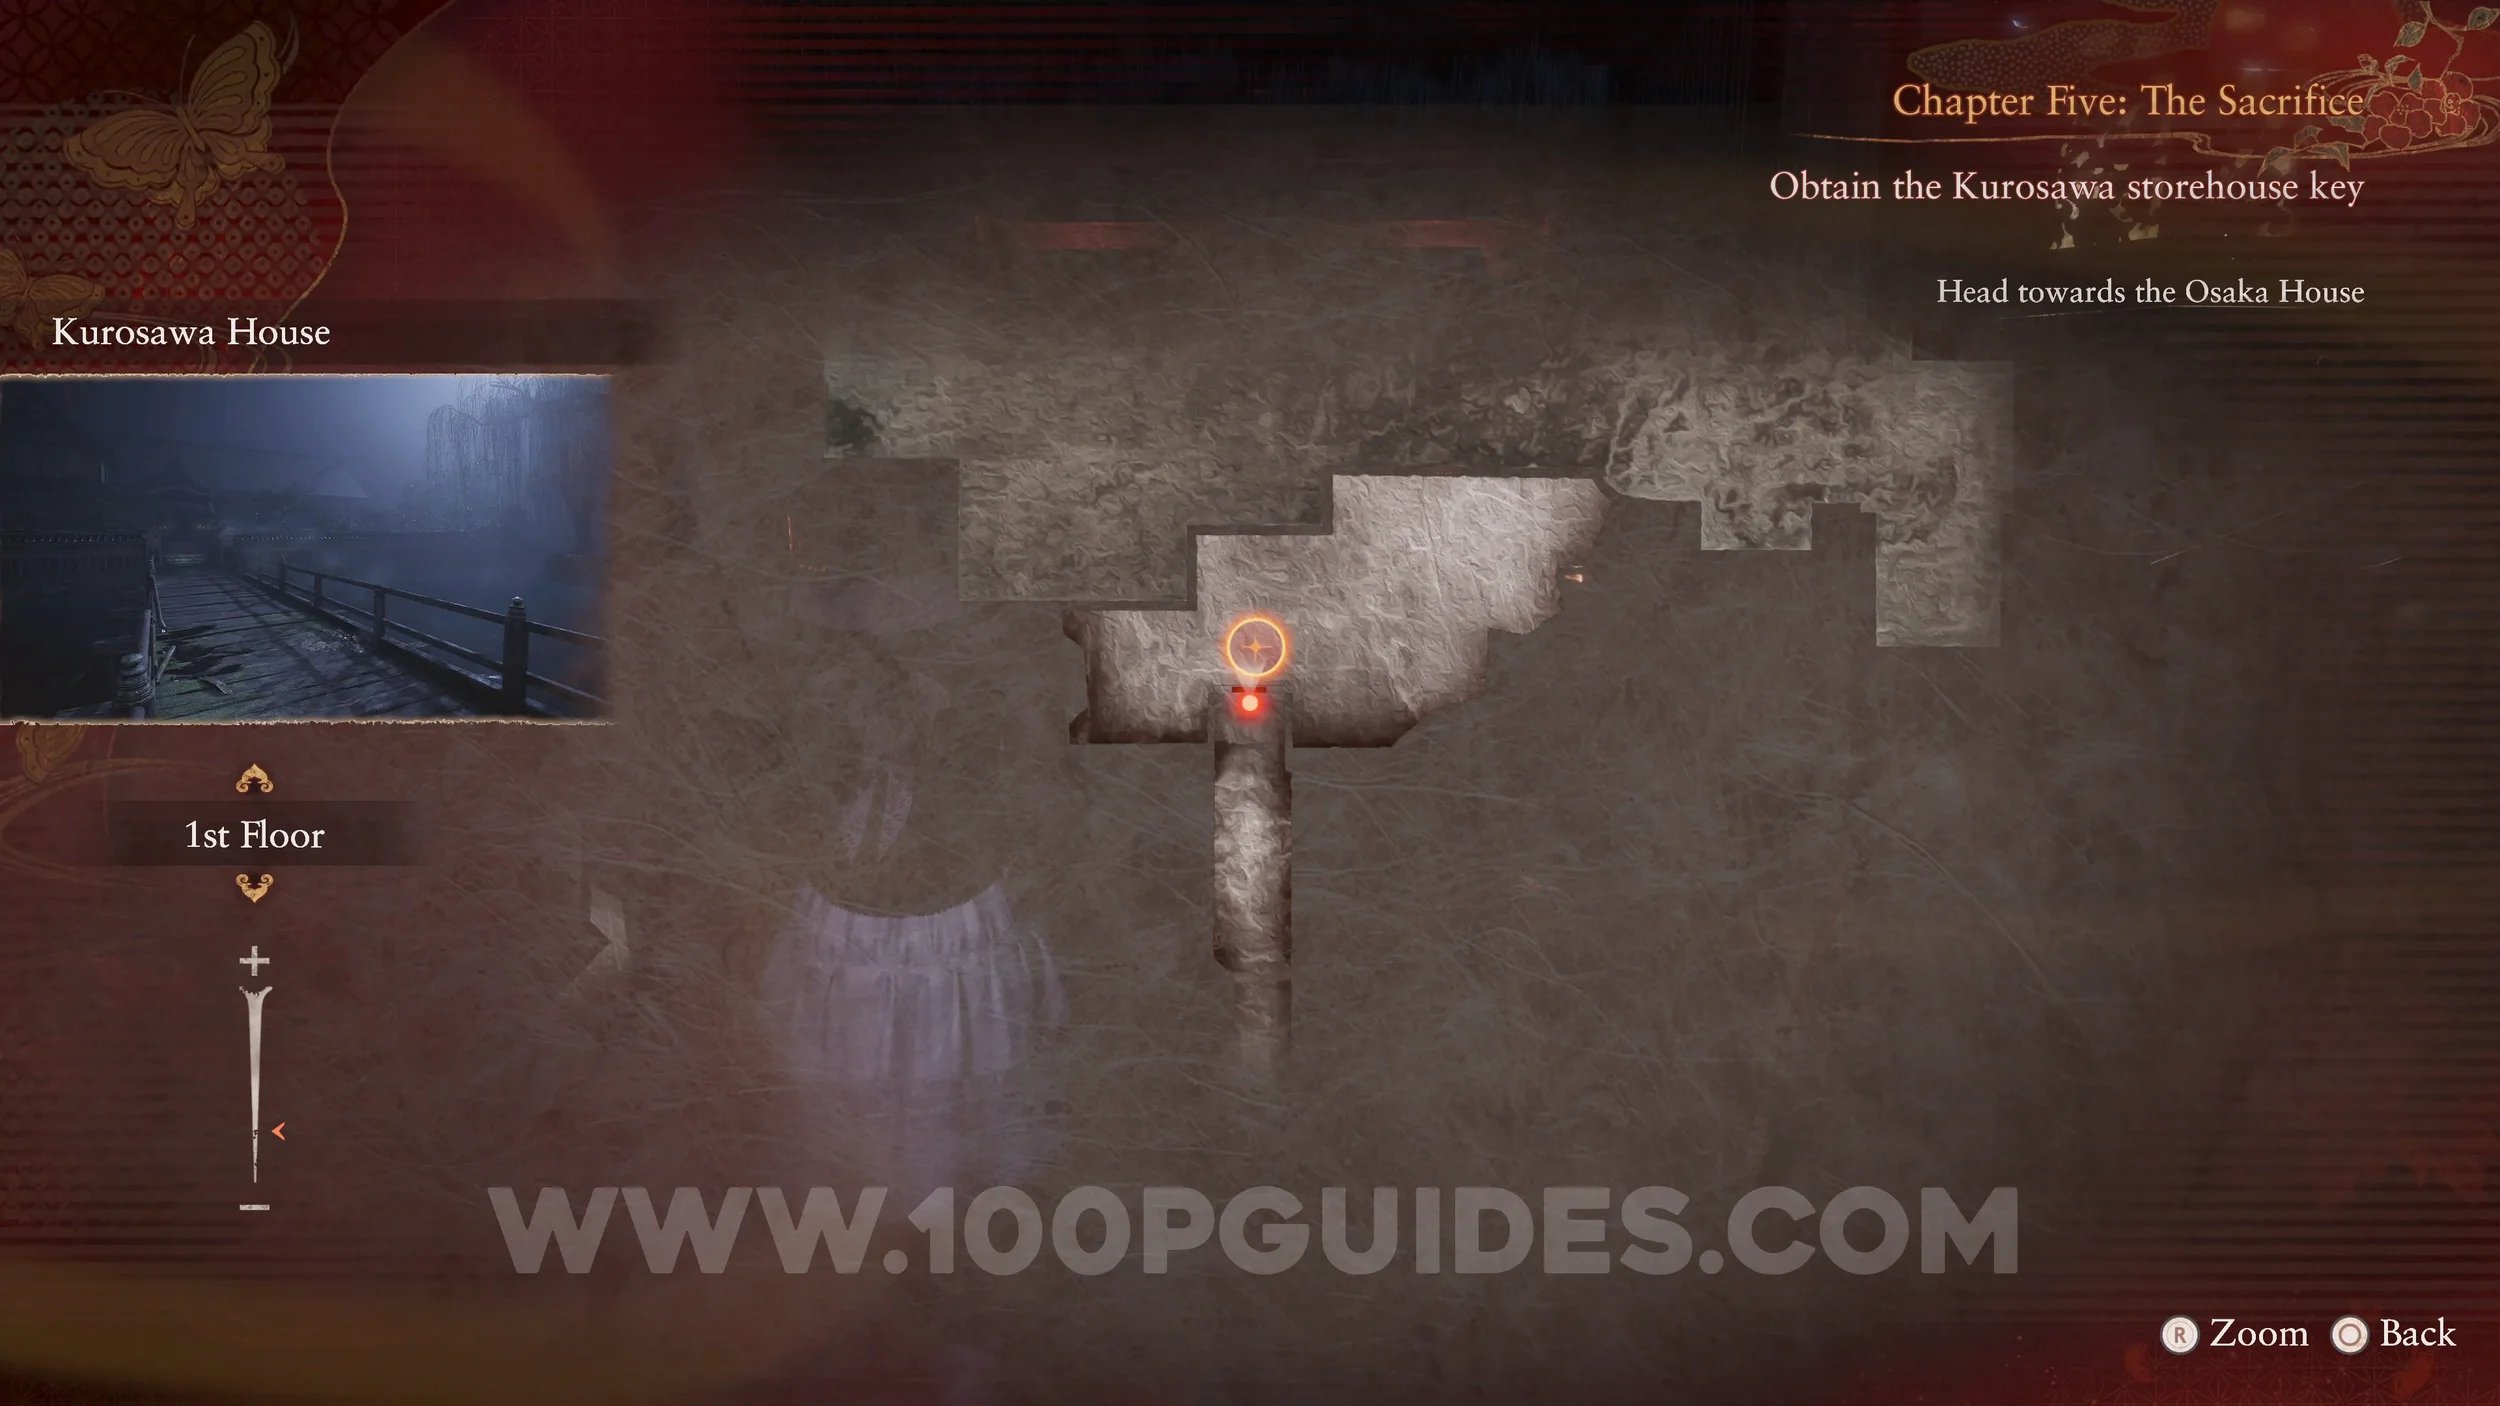
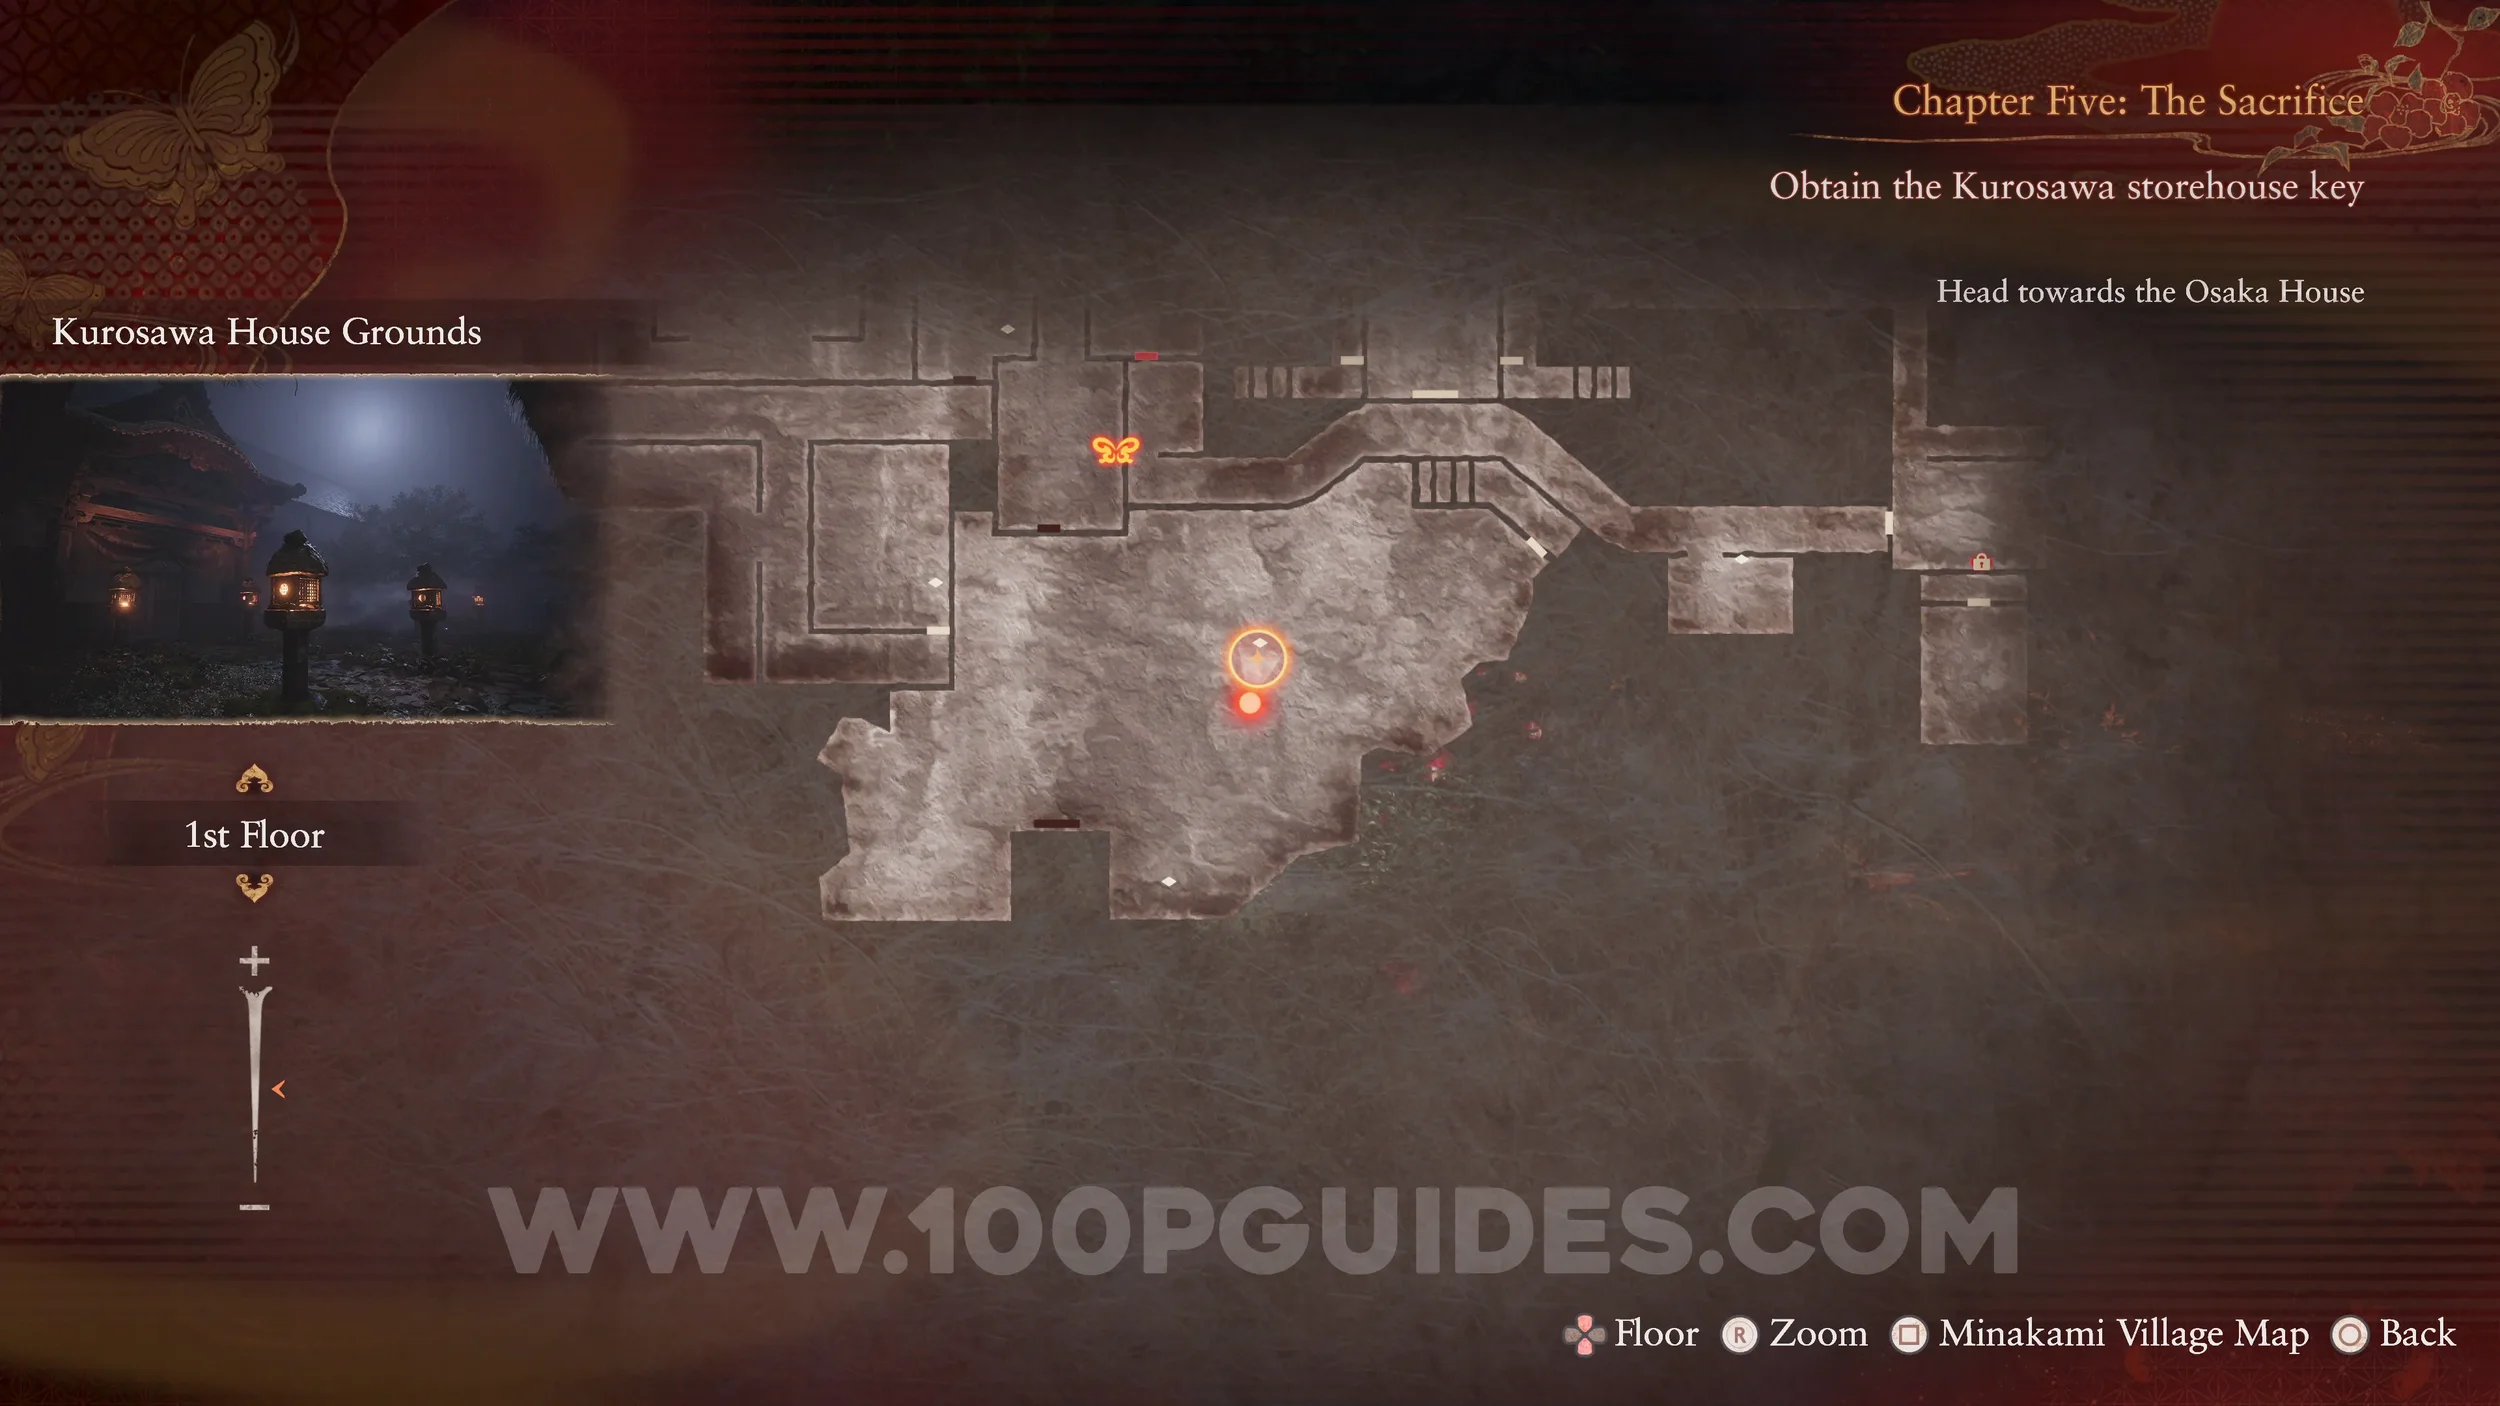
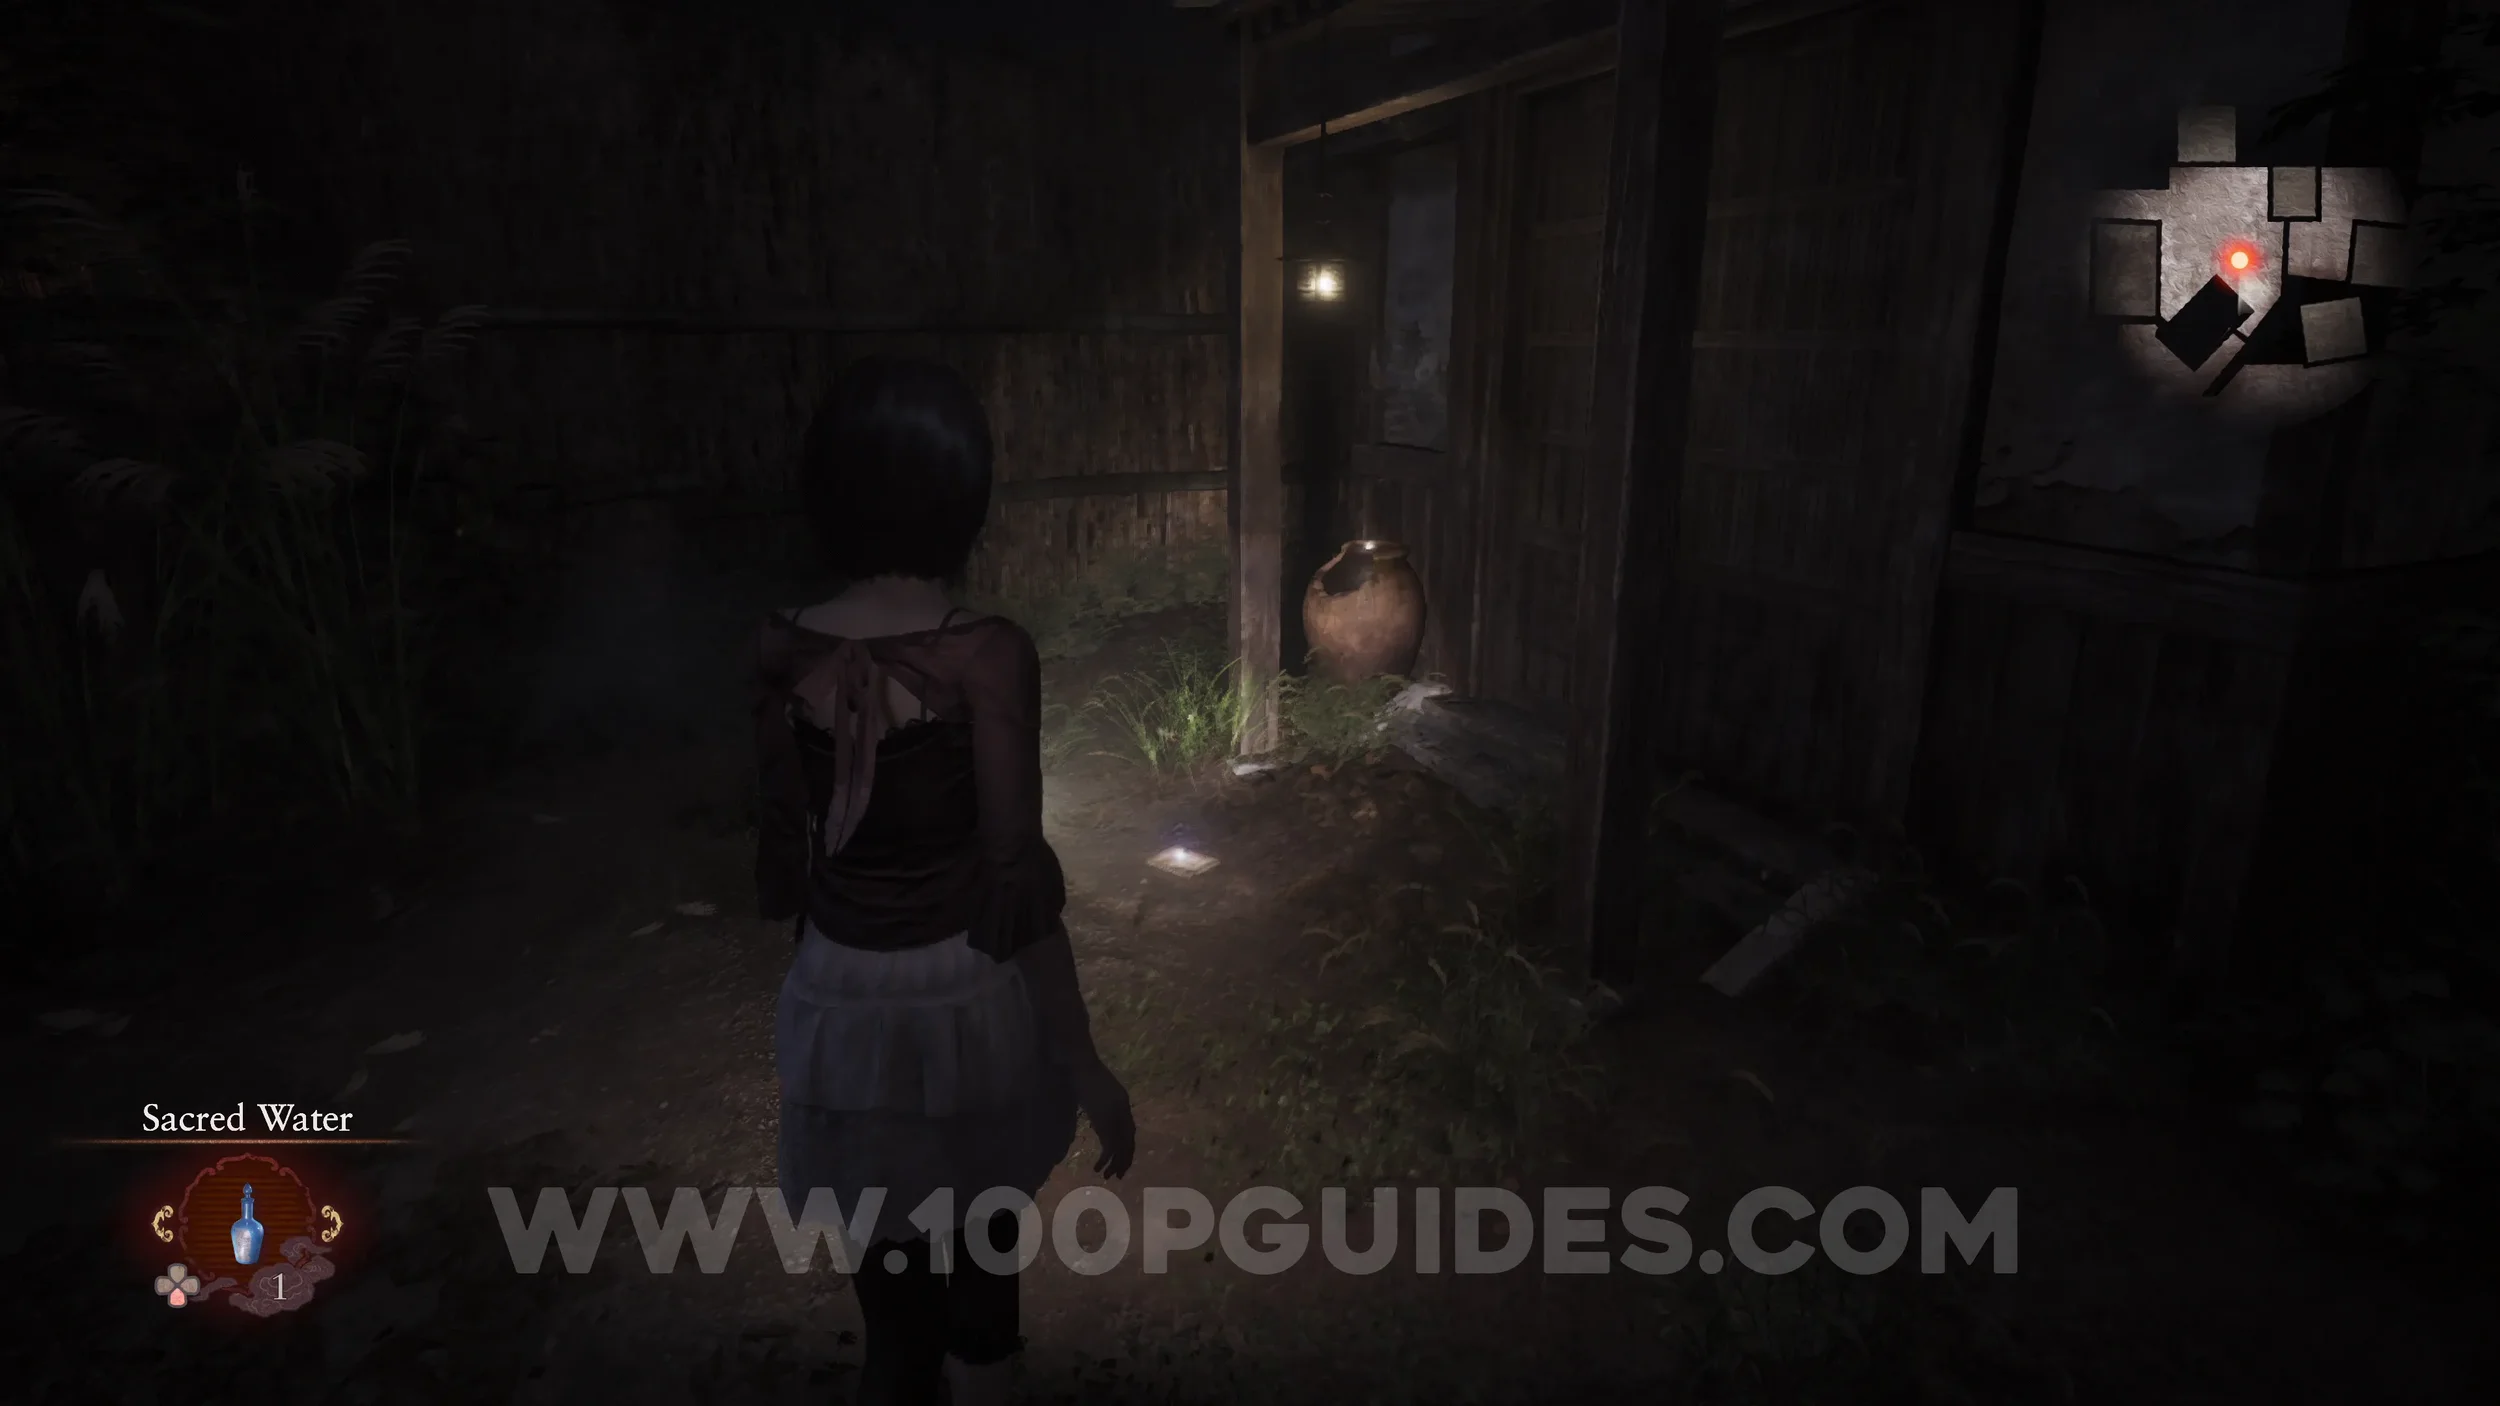
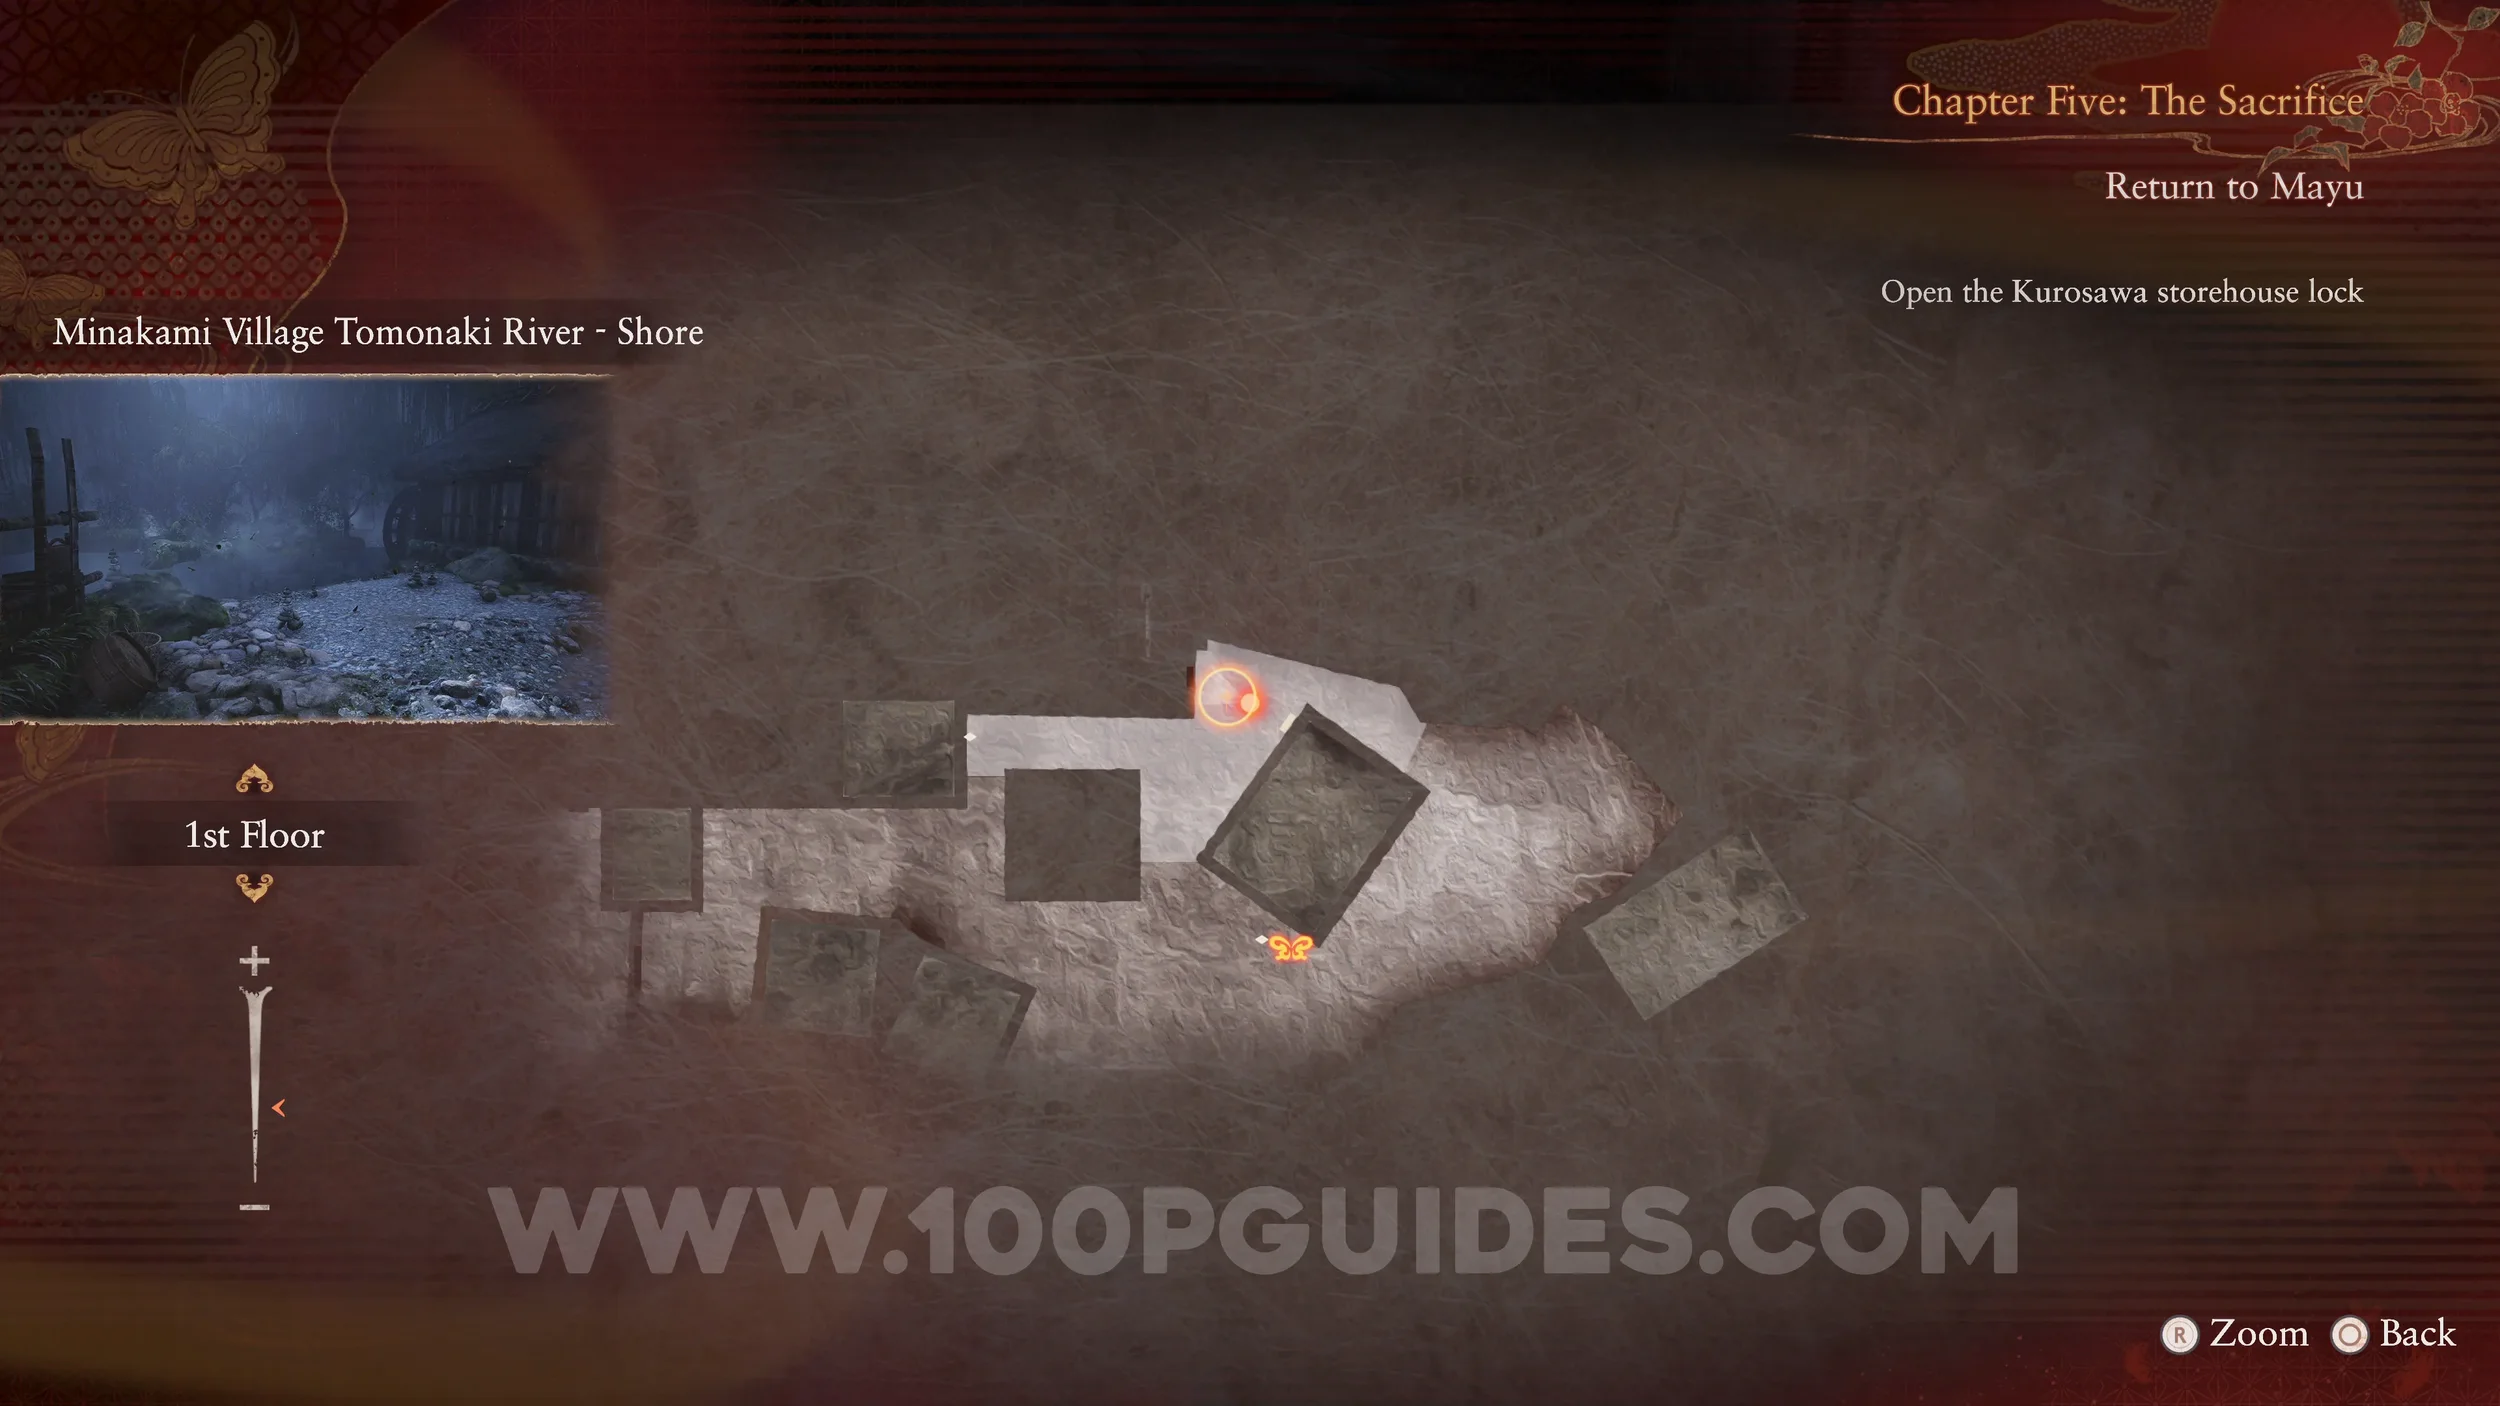
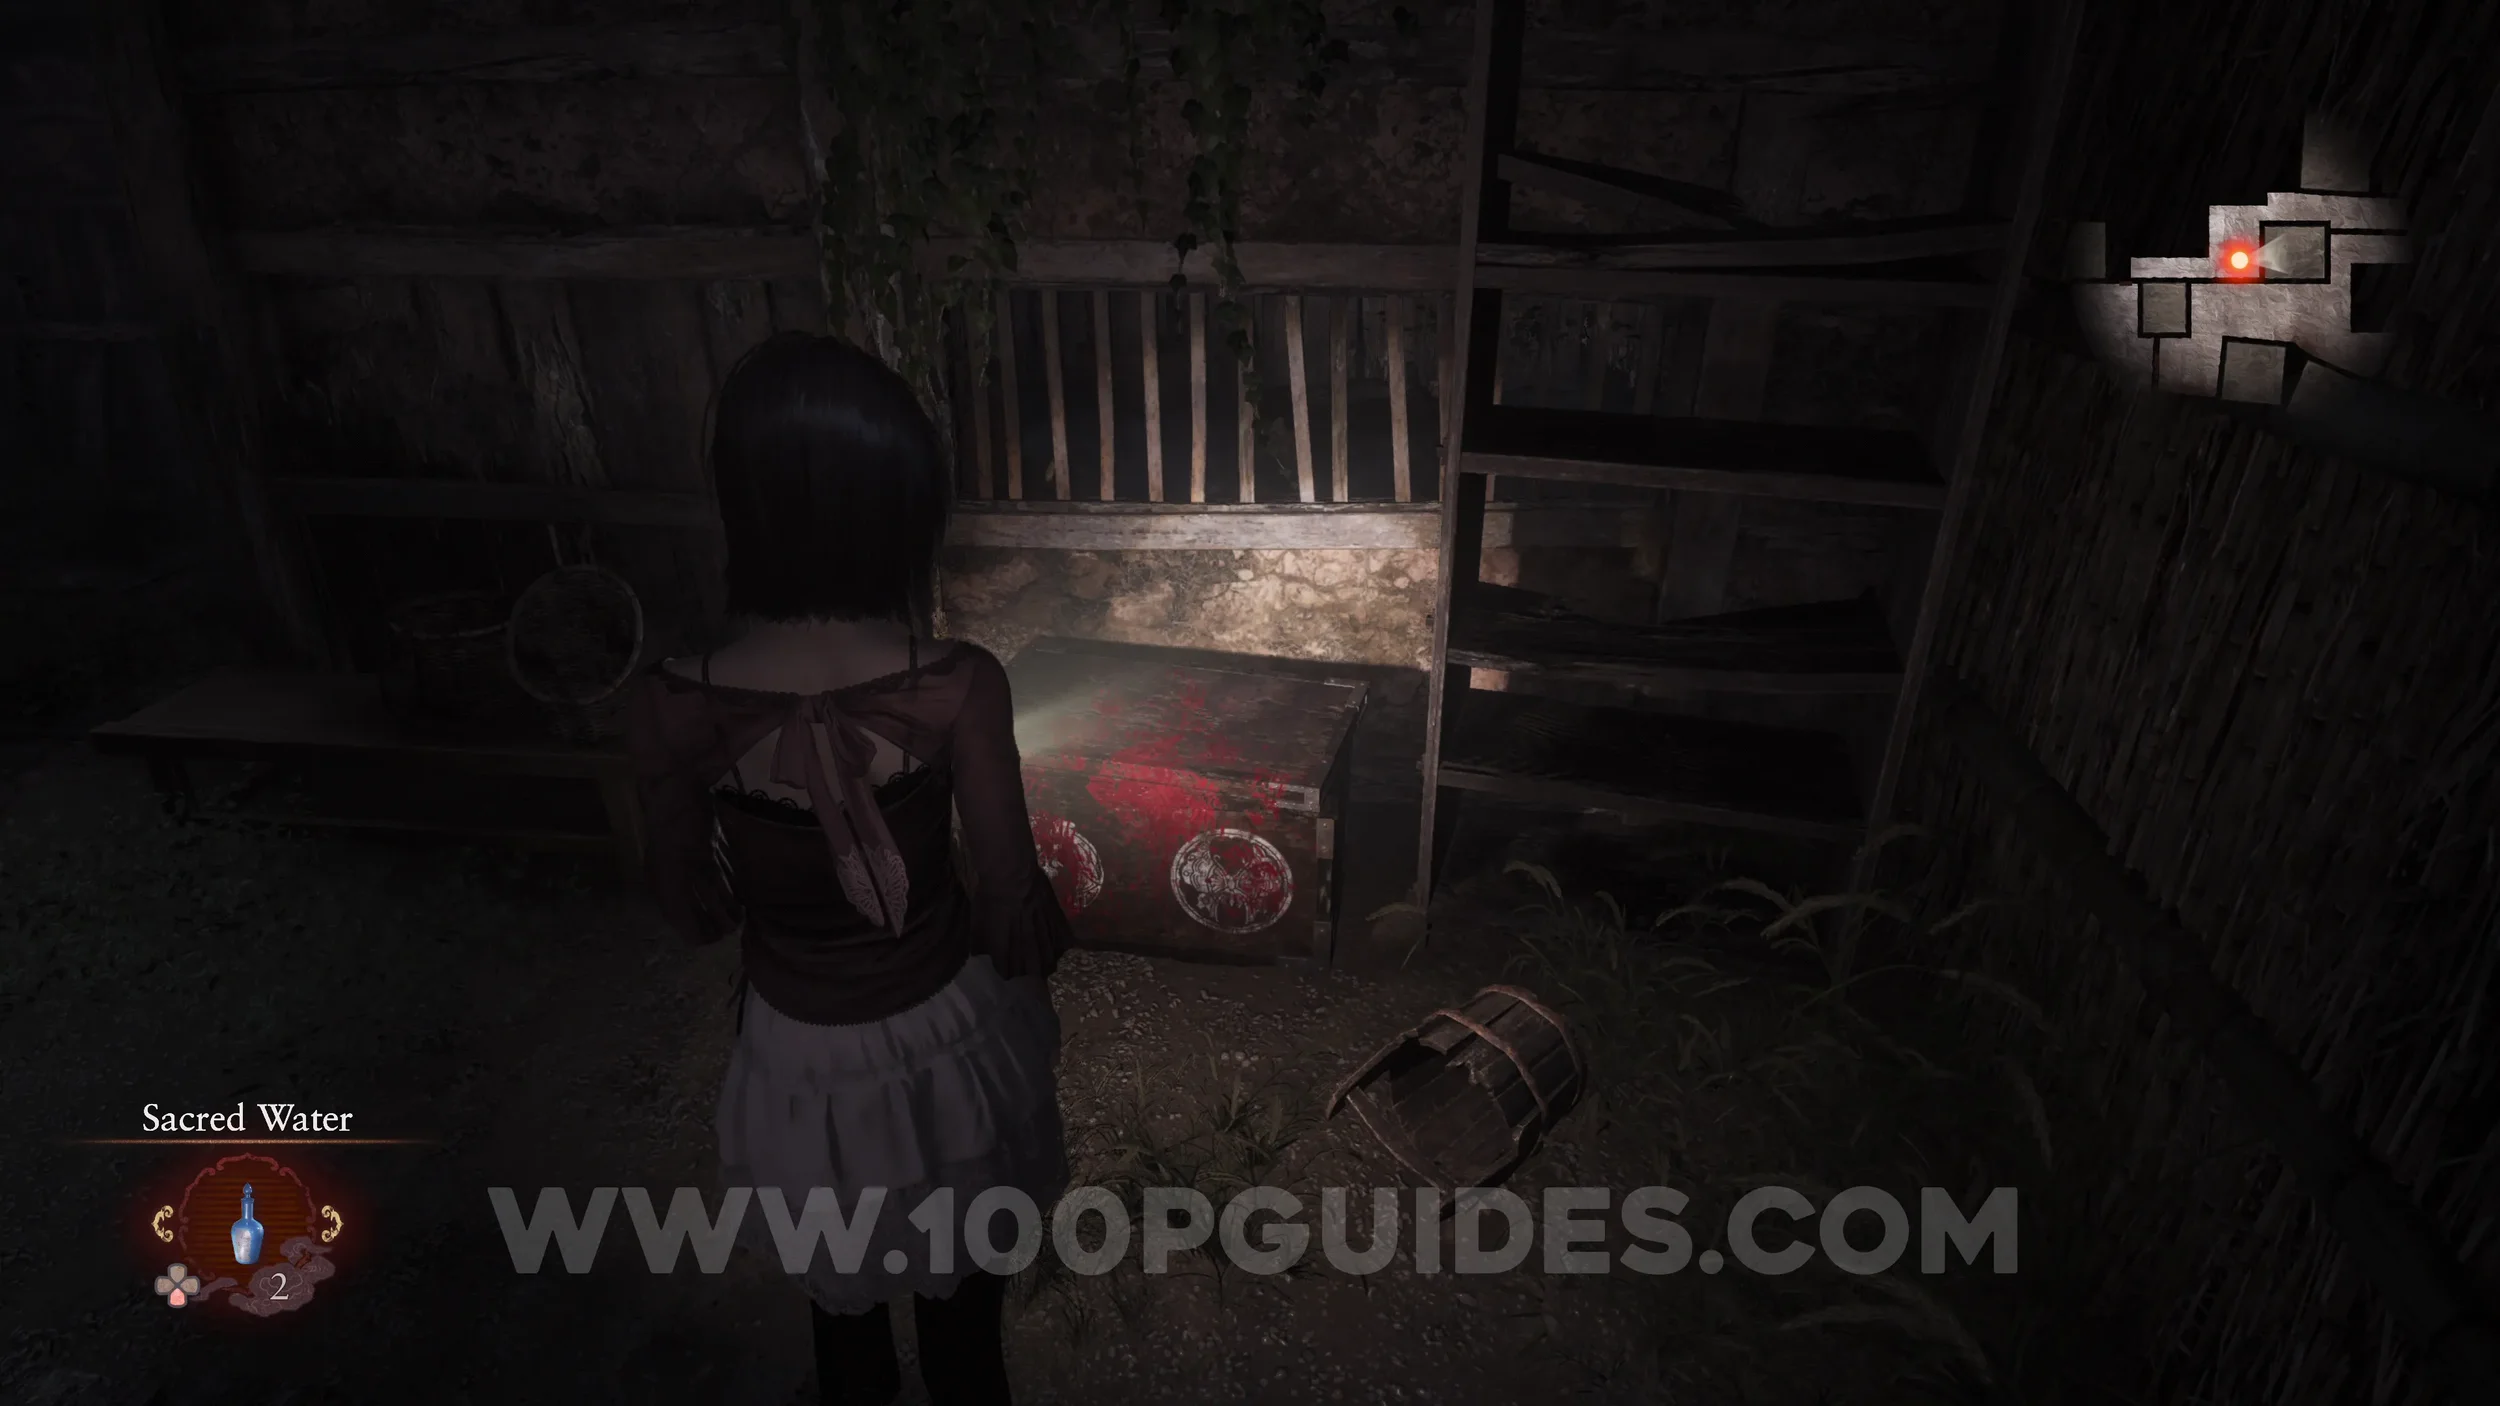
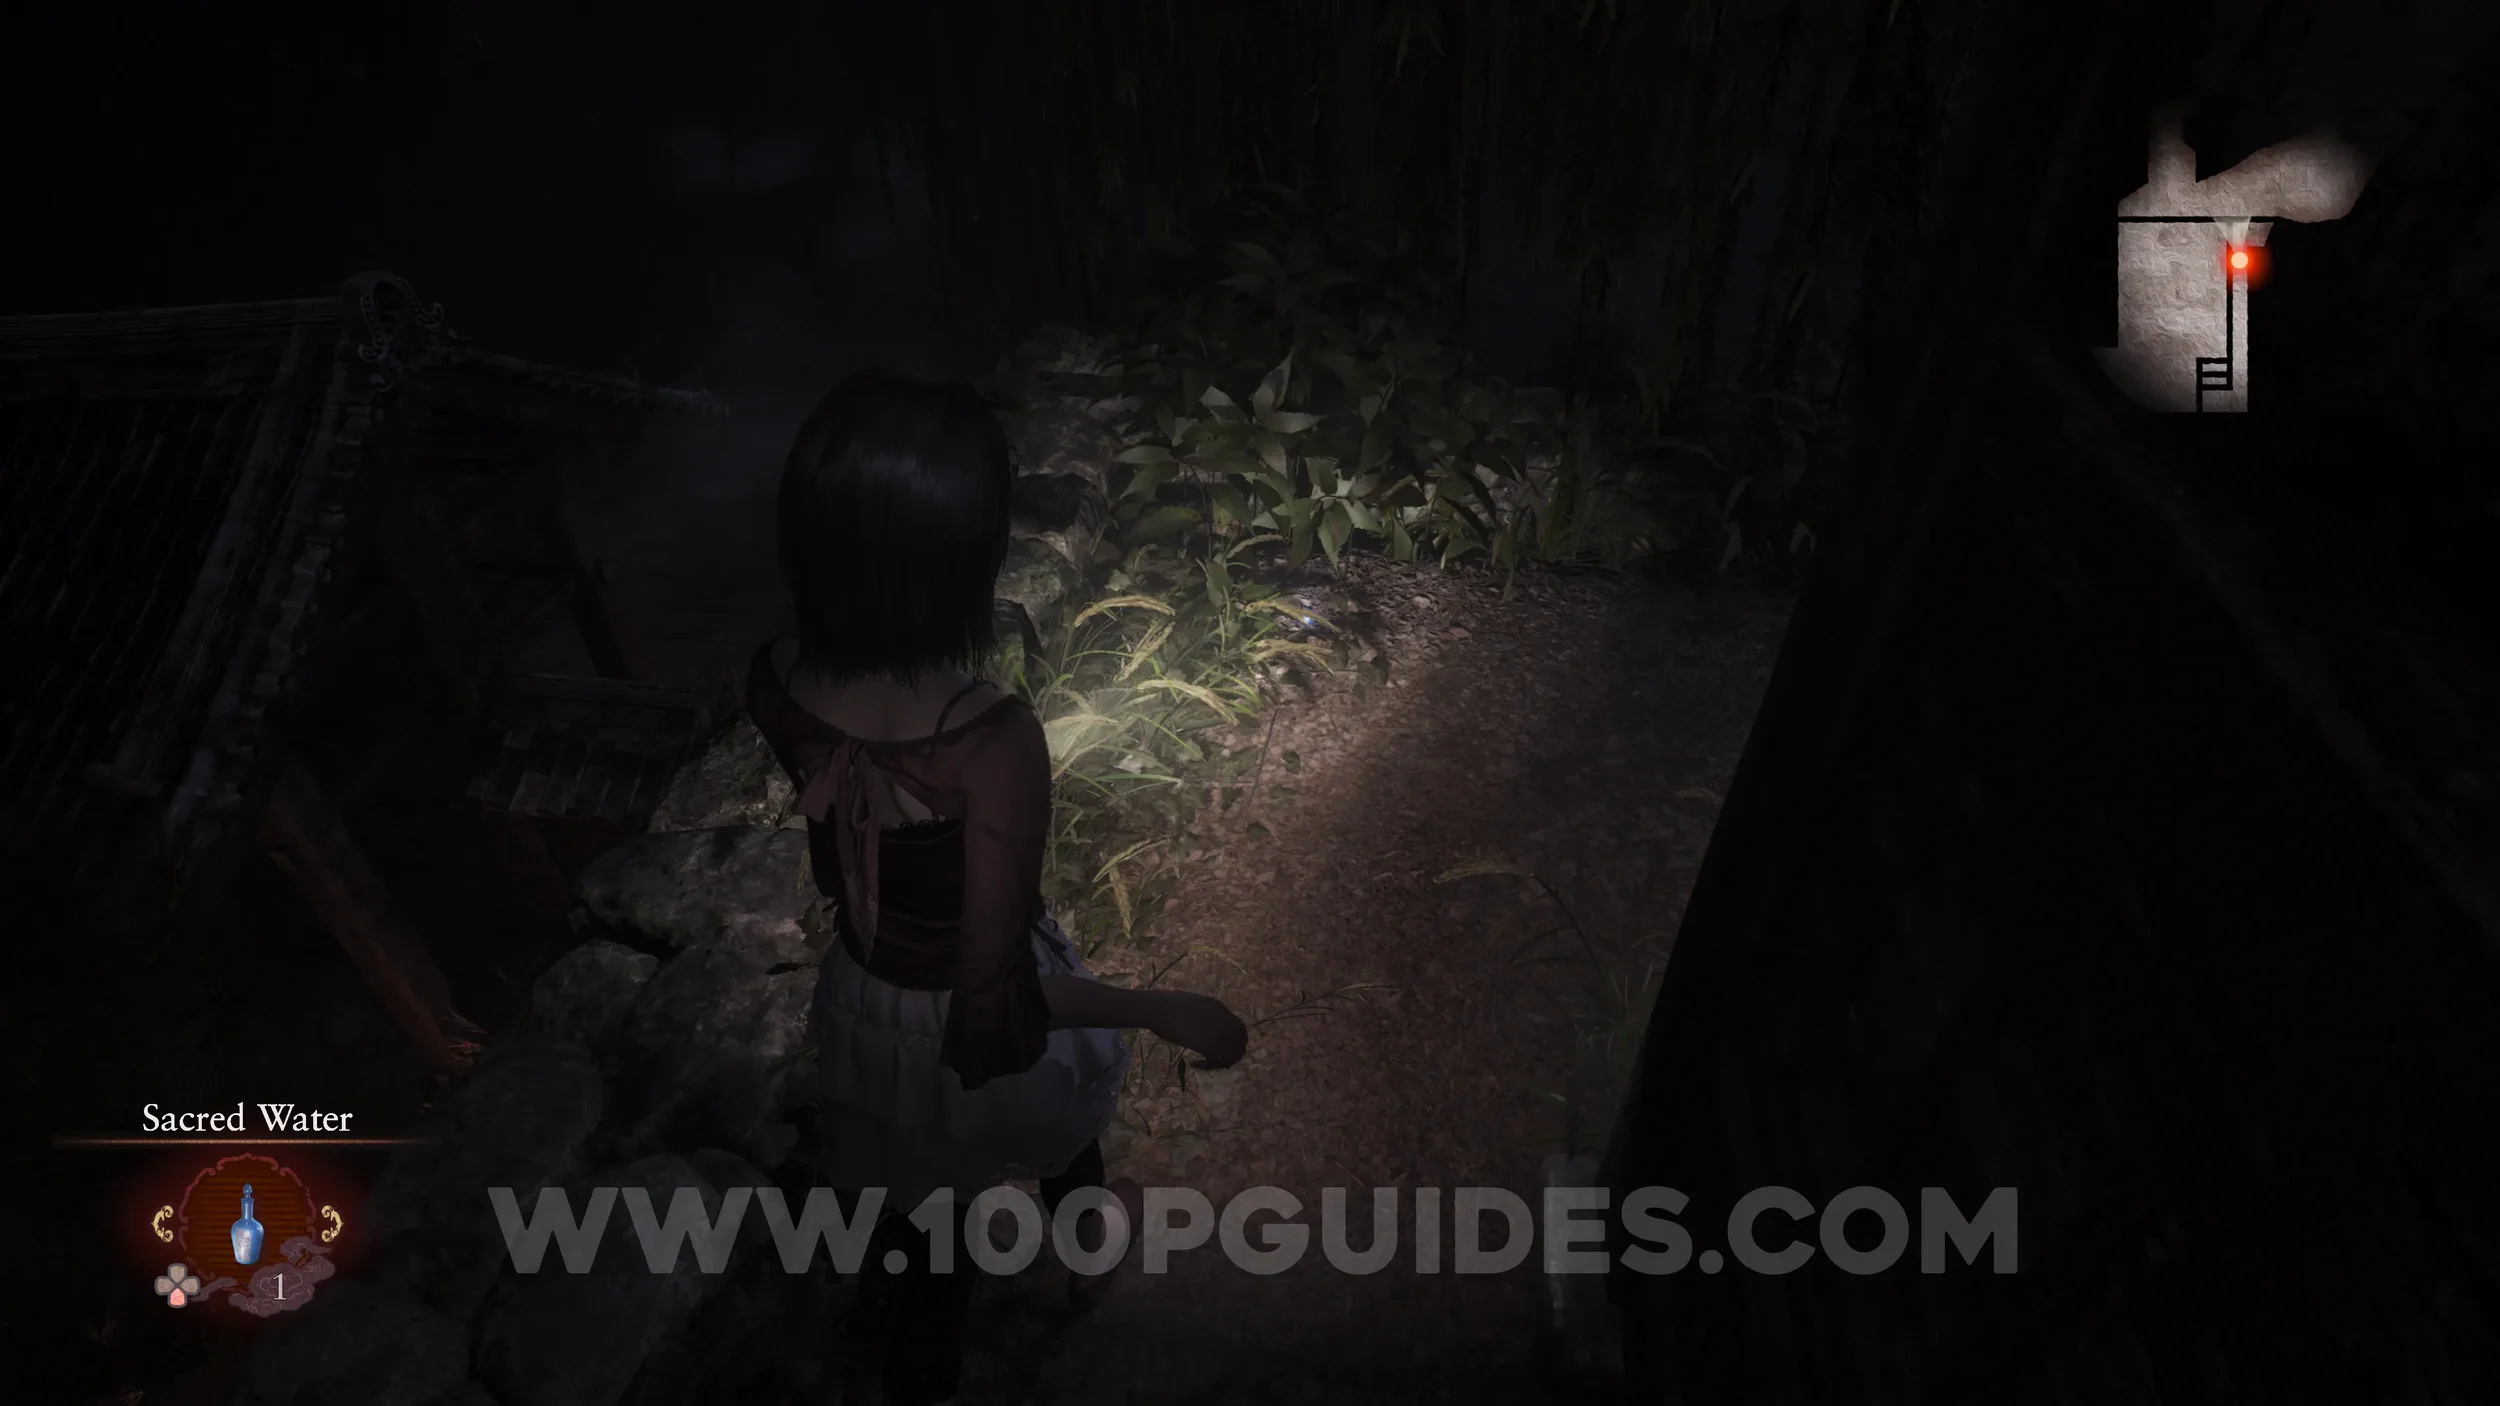
Specter #86 - 062 Weeping Woman. Now continue following the butterfly to the east. You will see the specter in front of the Storehouse.
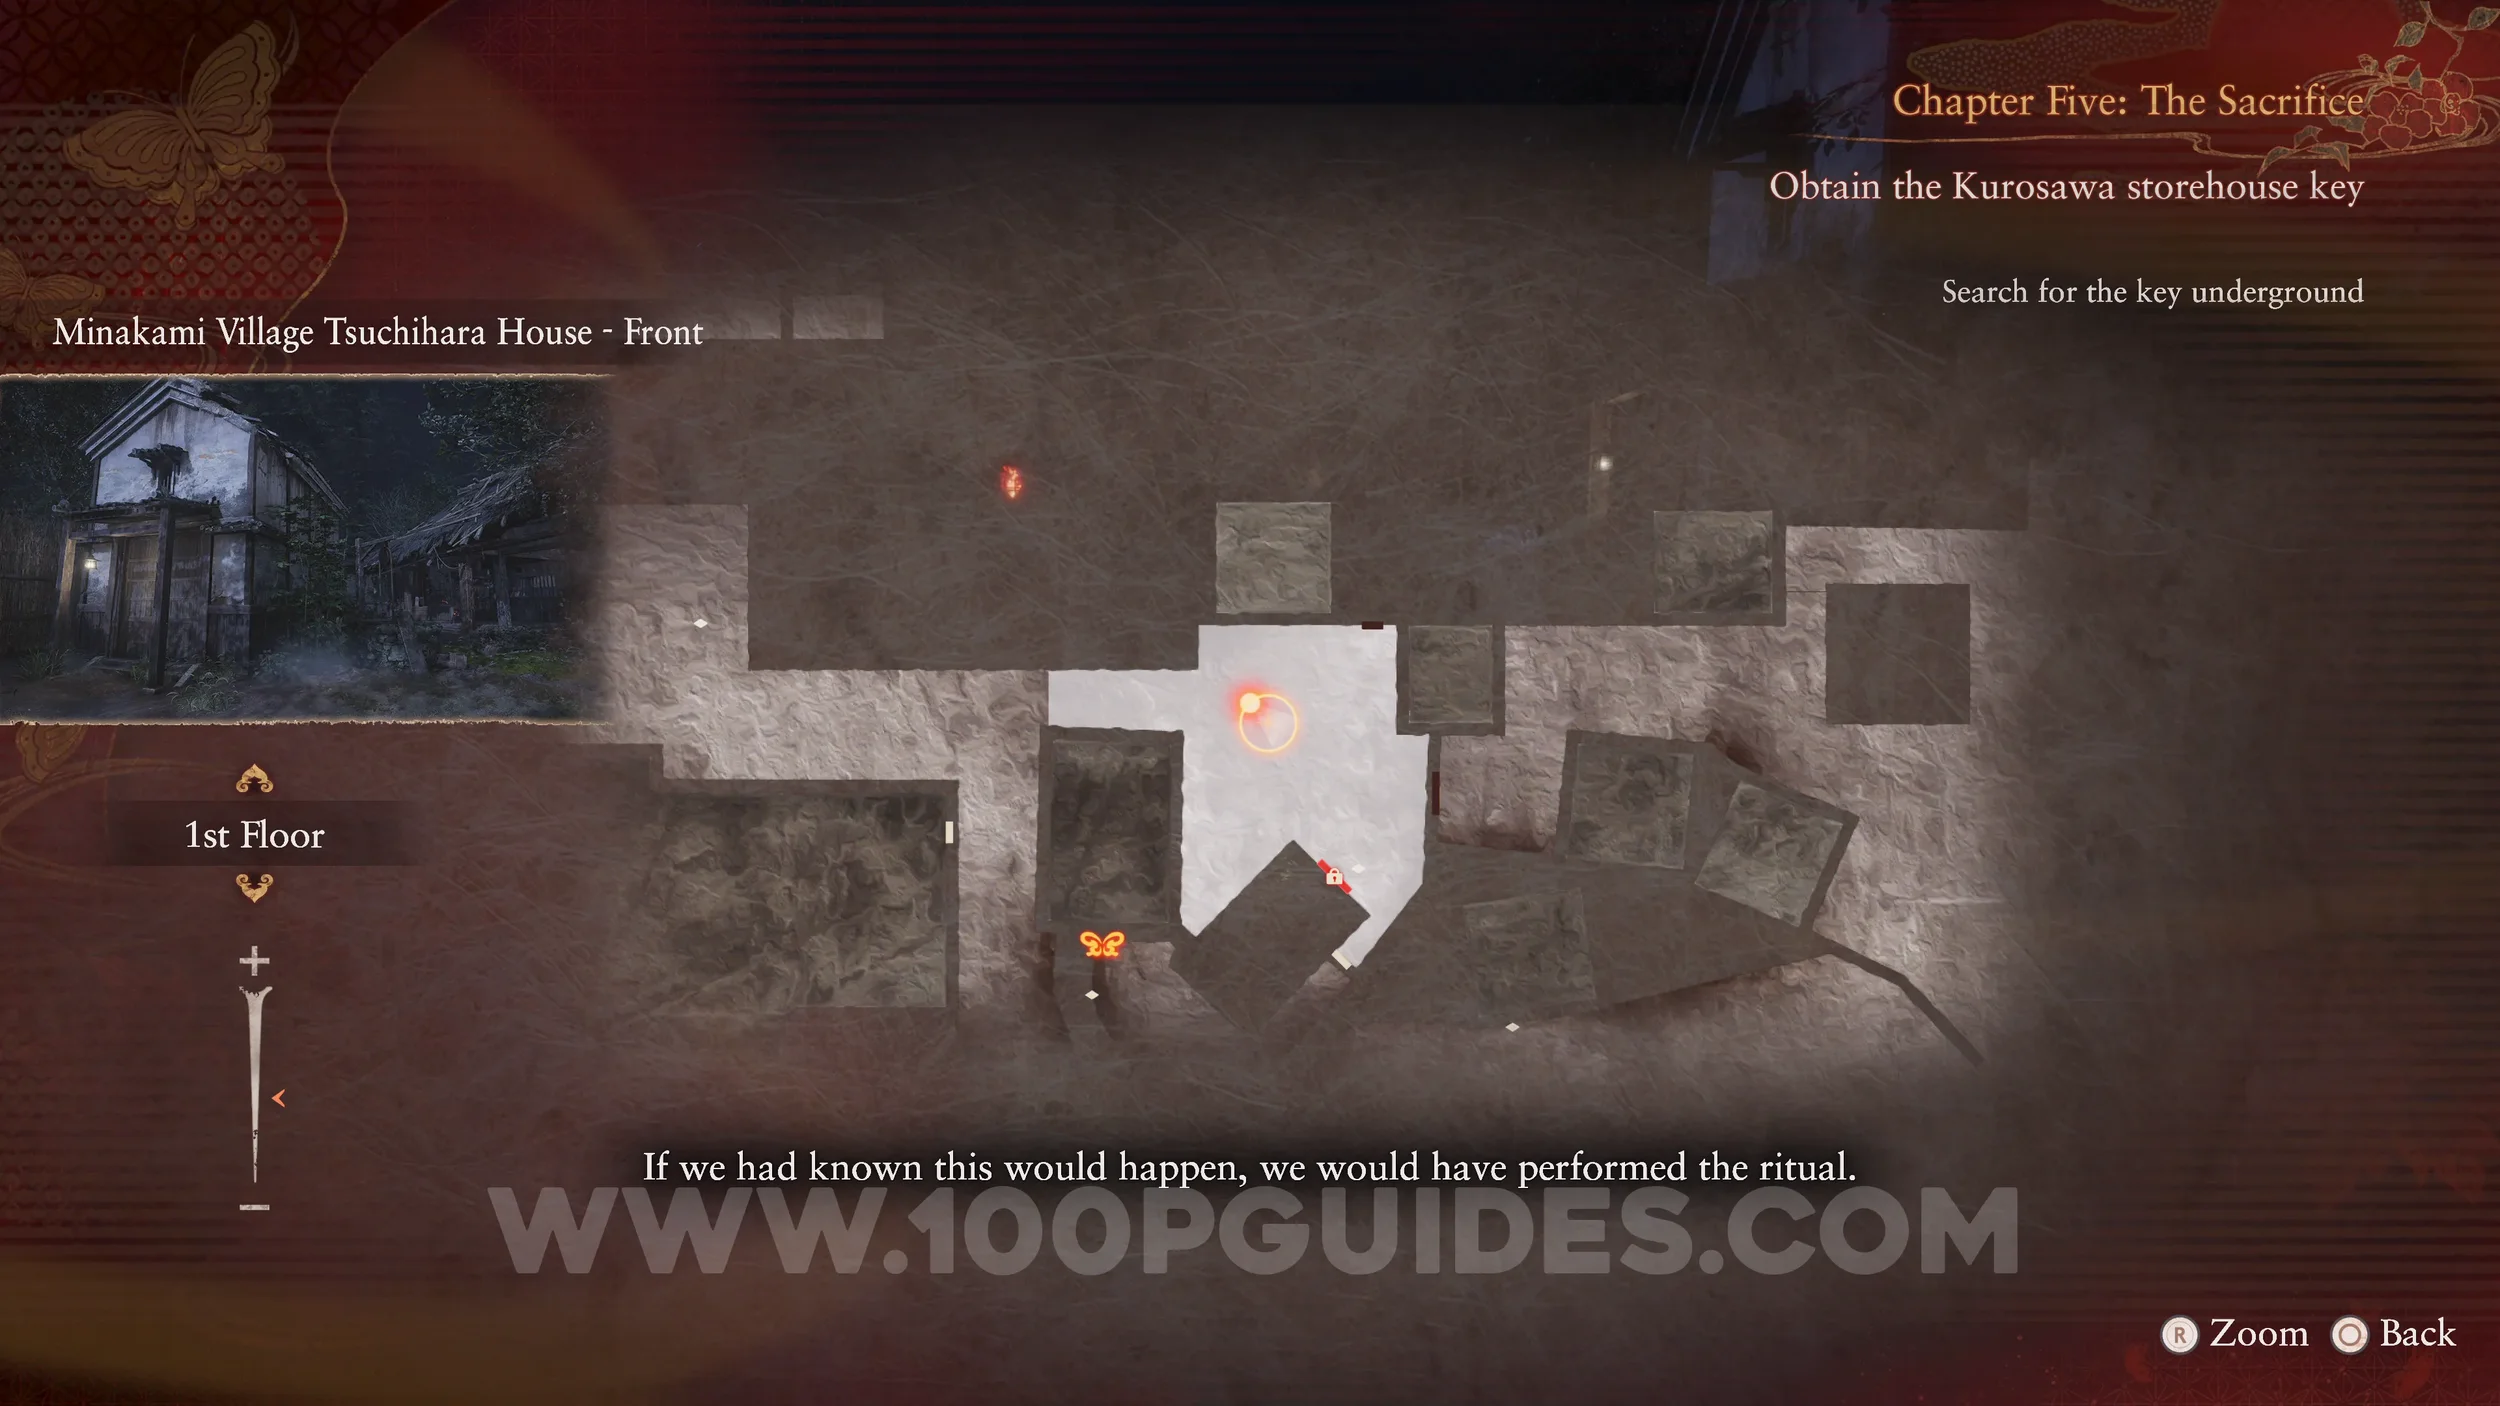
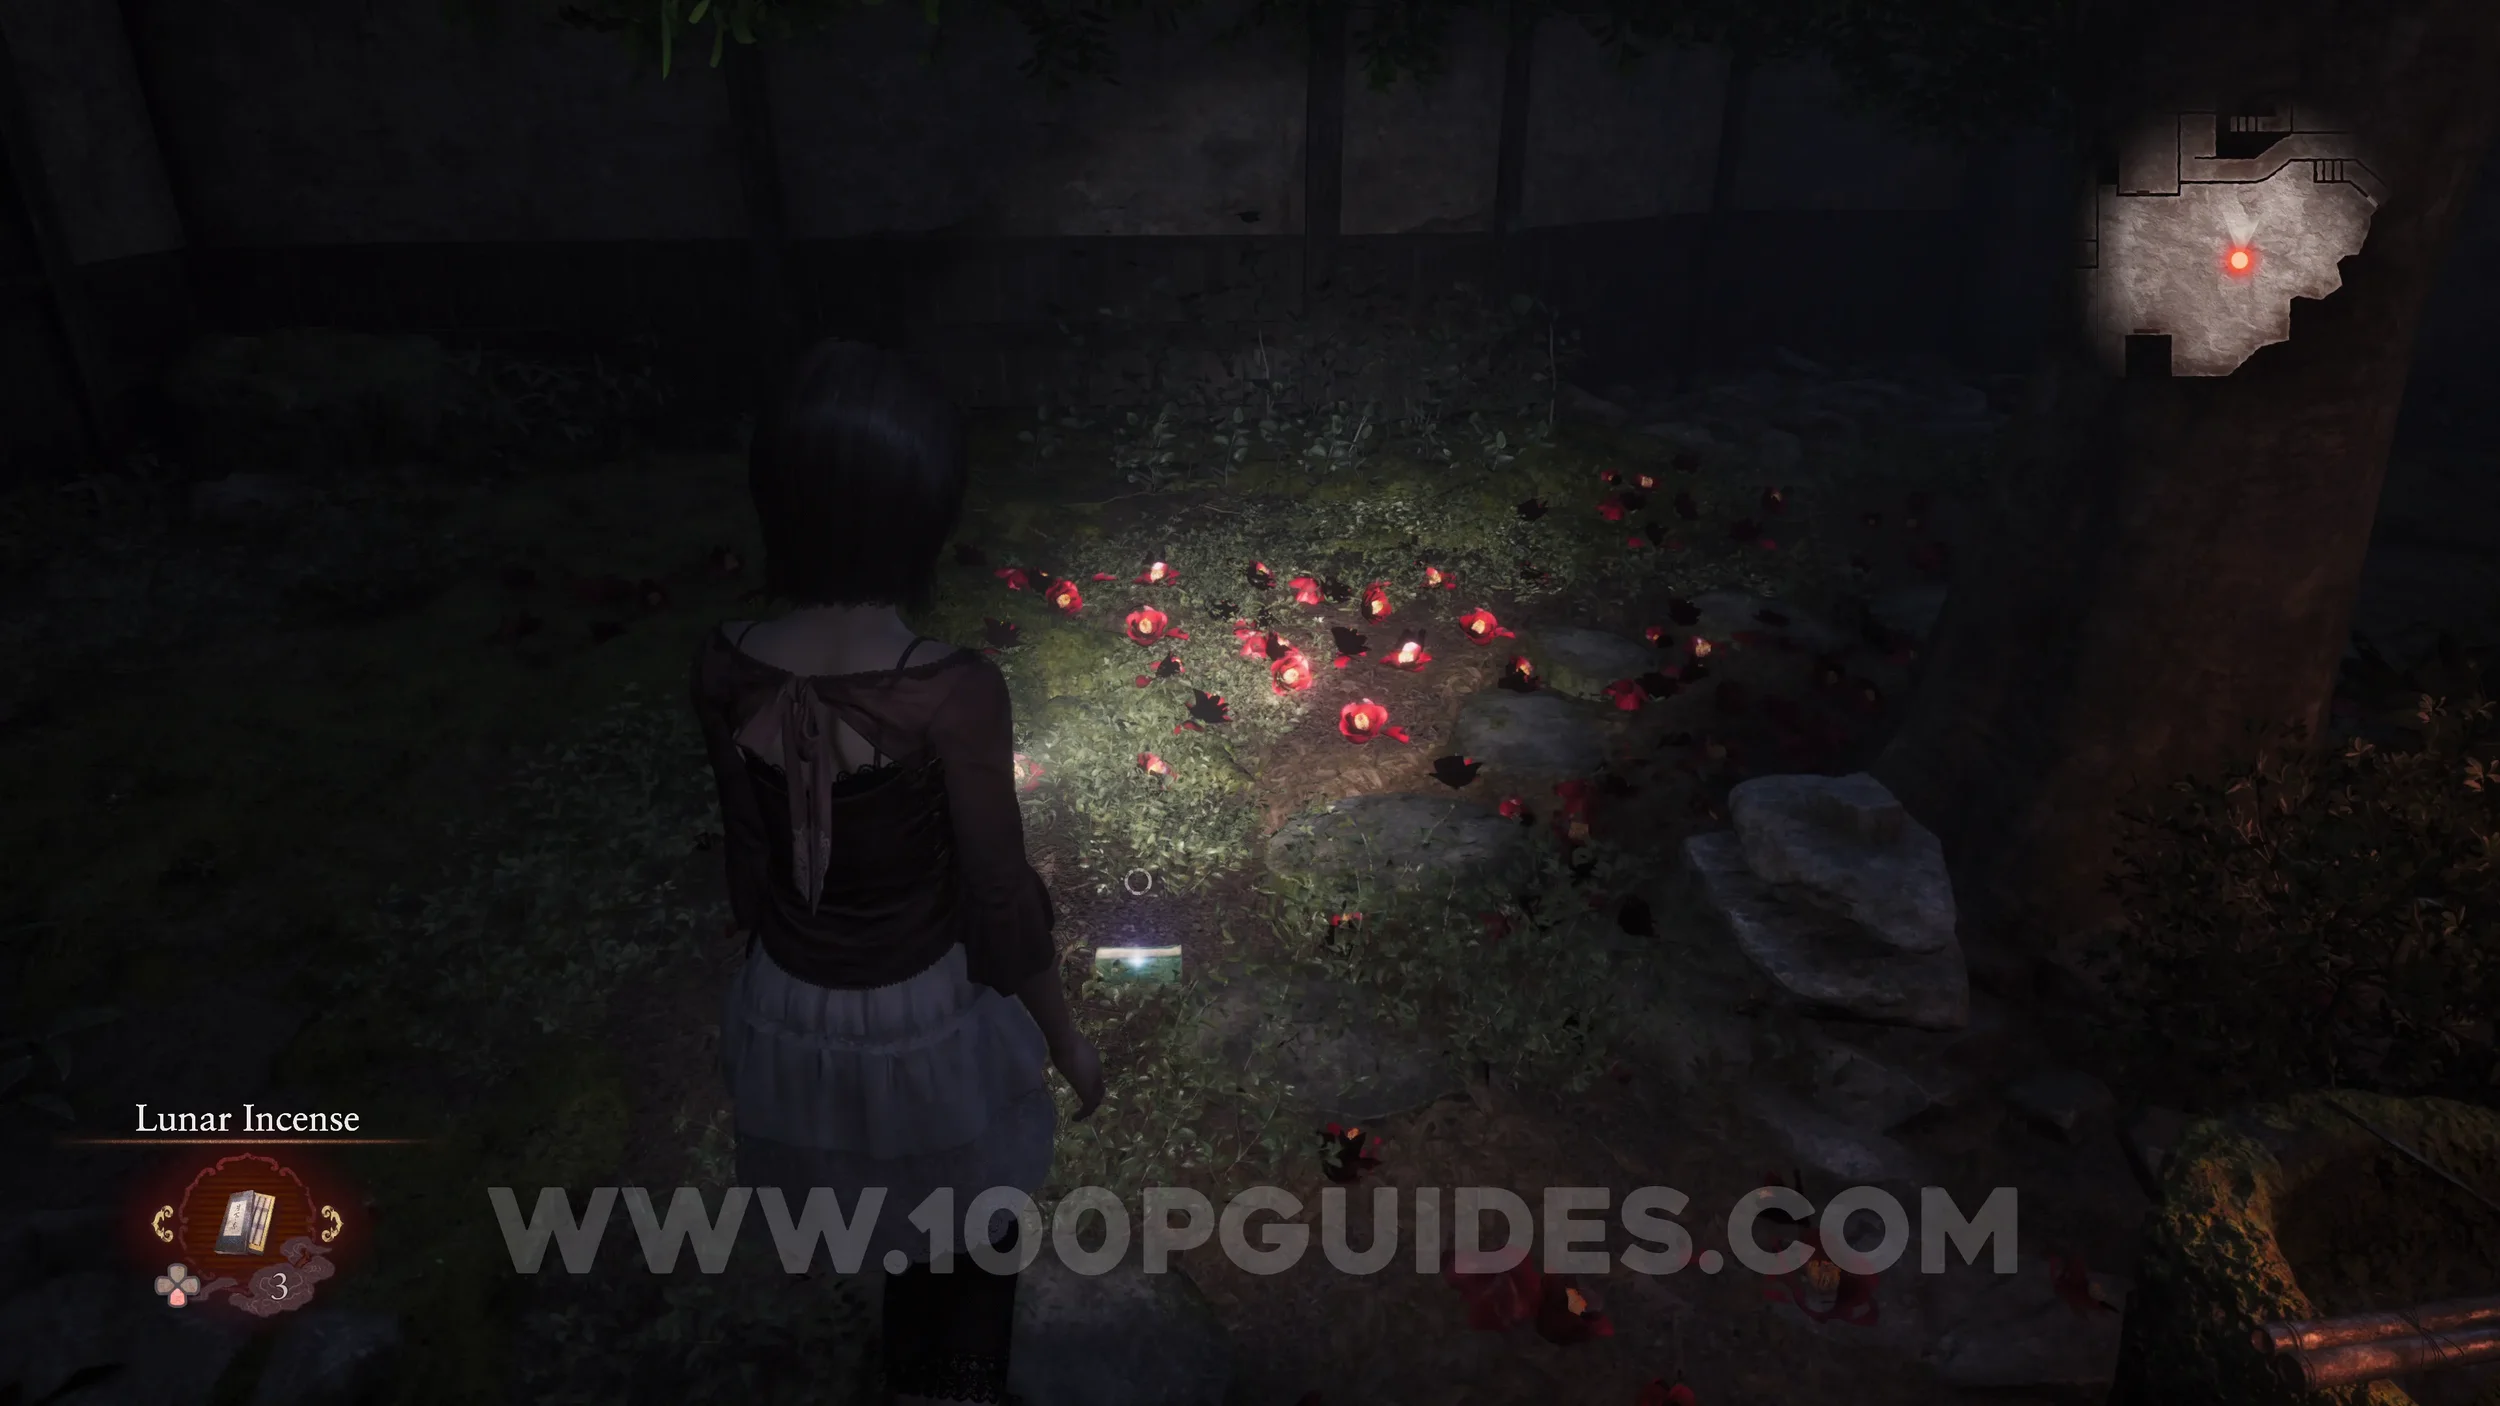
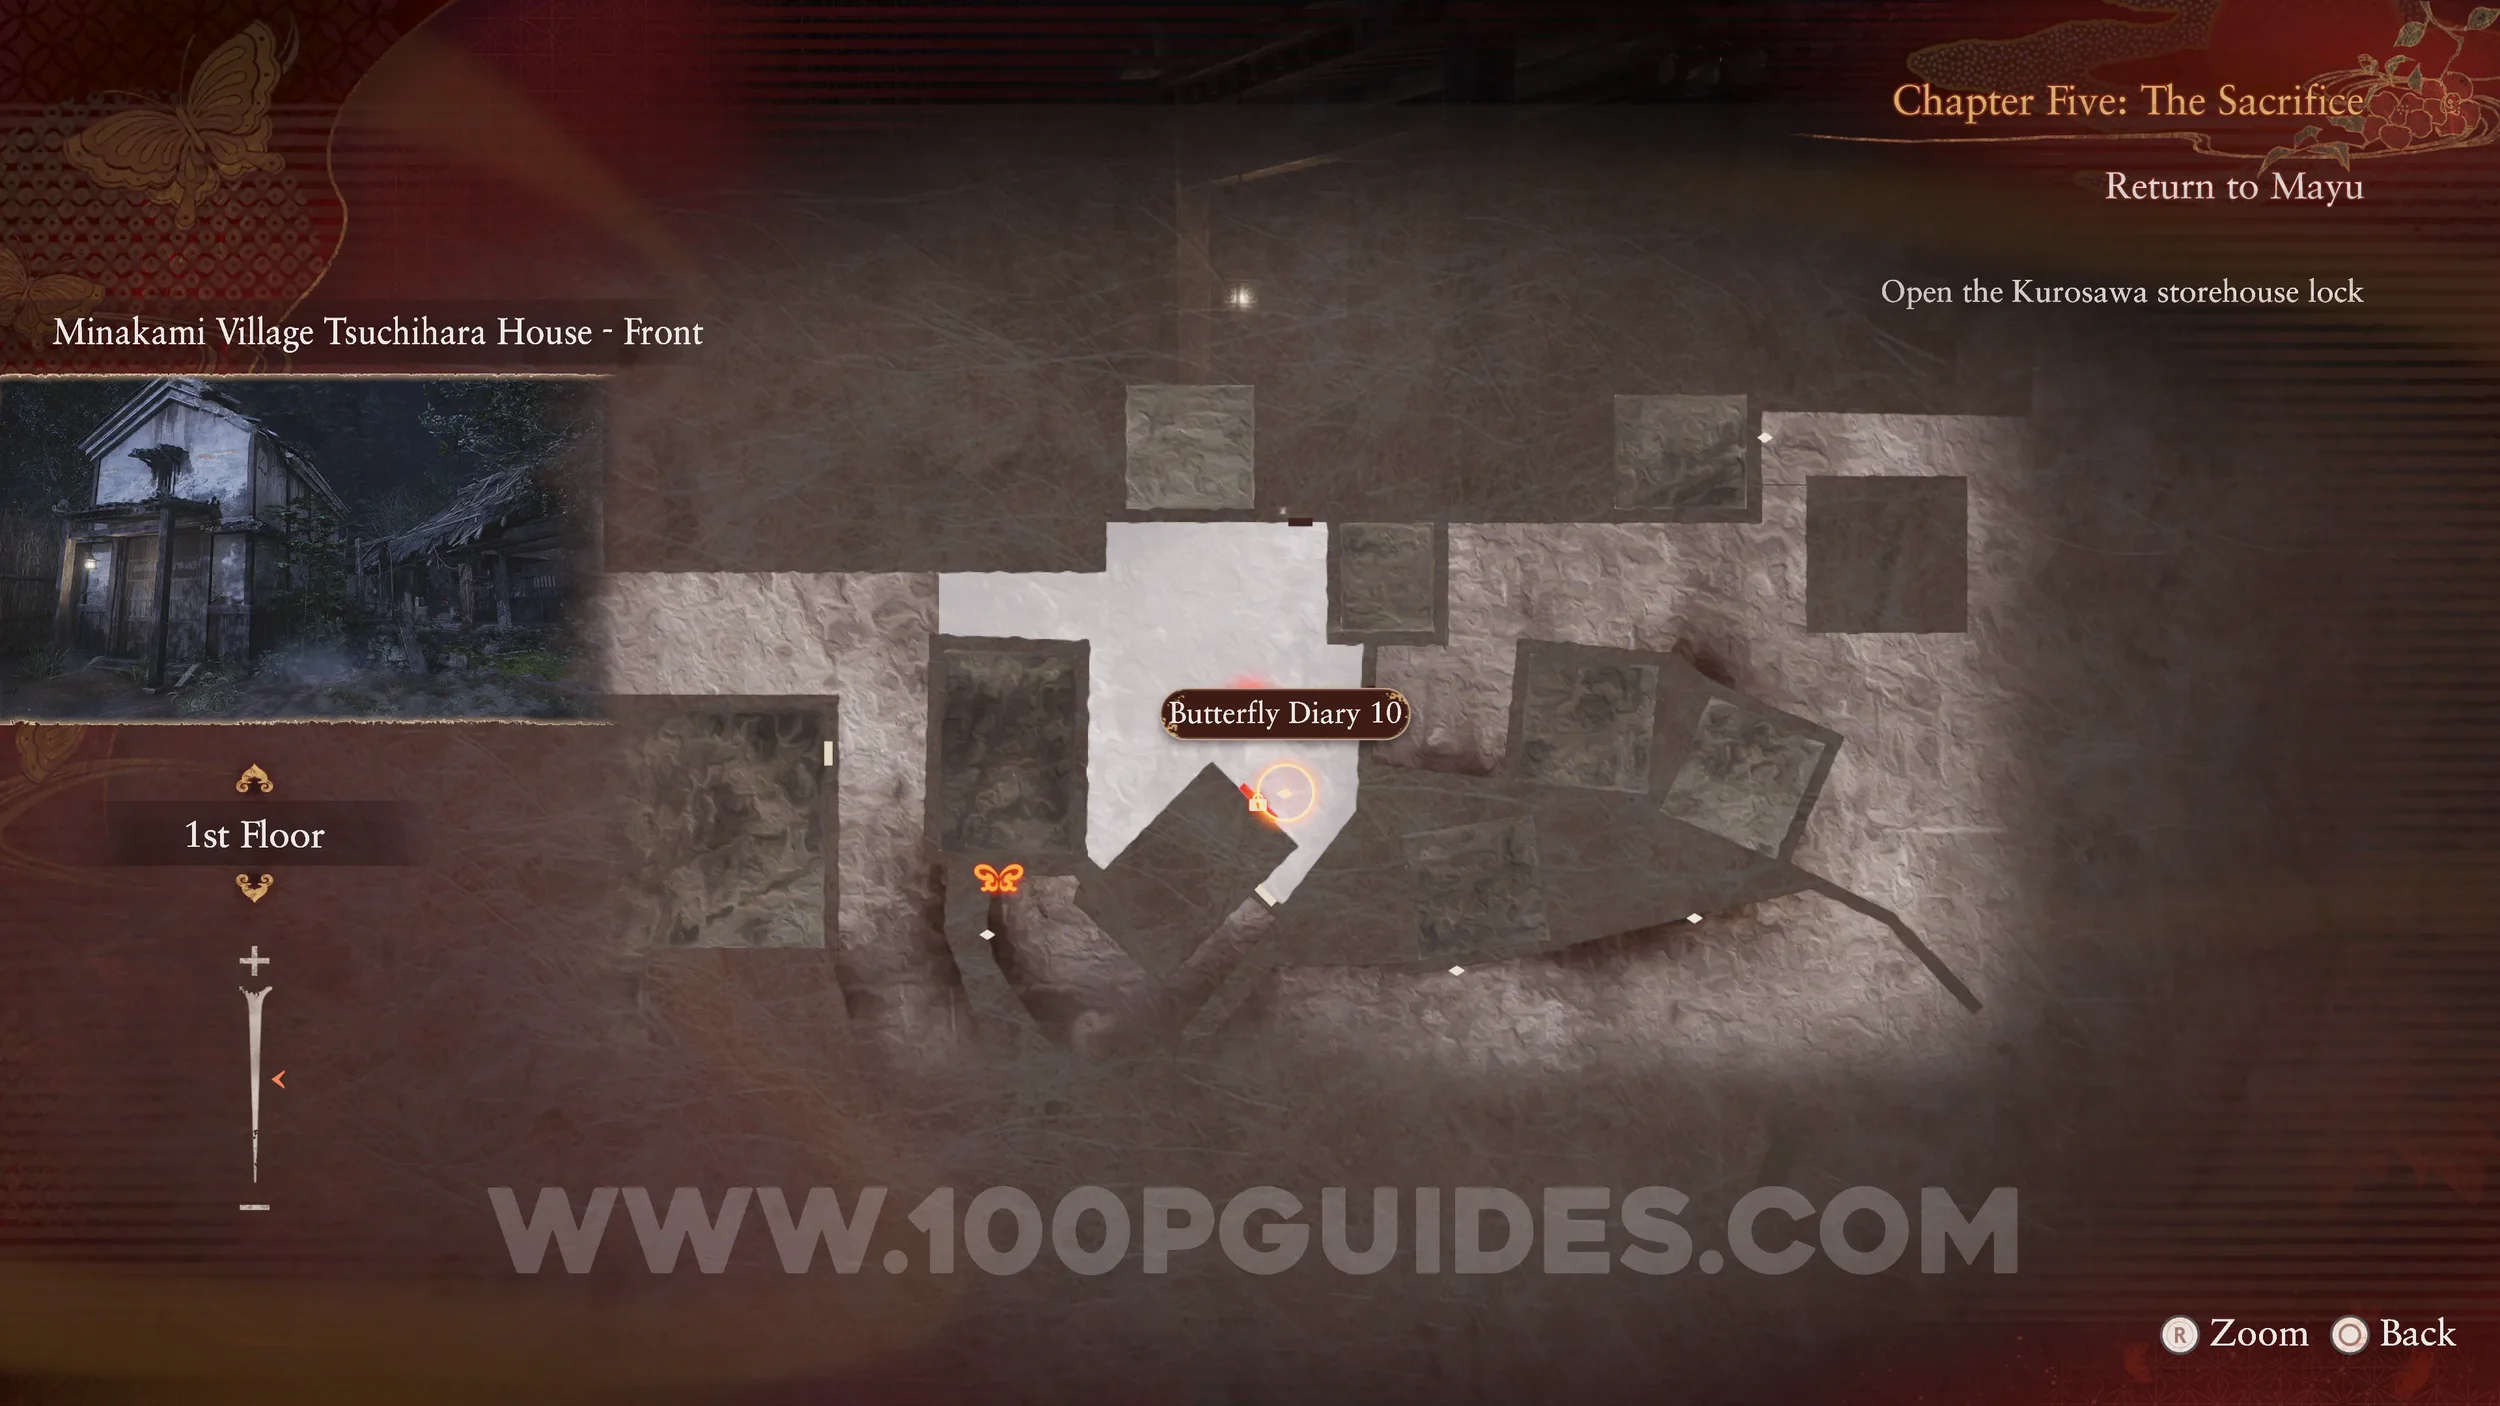
Document #53 - Butterfly Diary 10 and Spirit Stone #18 - Fluorite. Found in the same place as the previous specter.
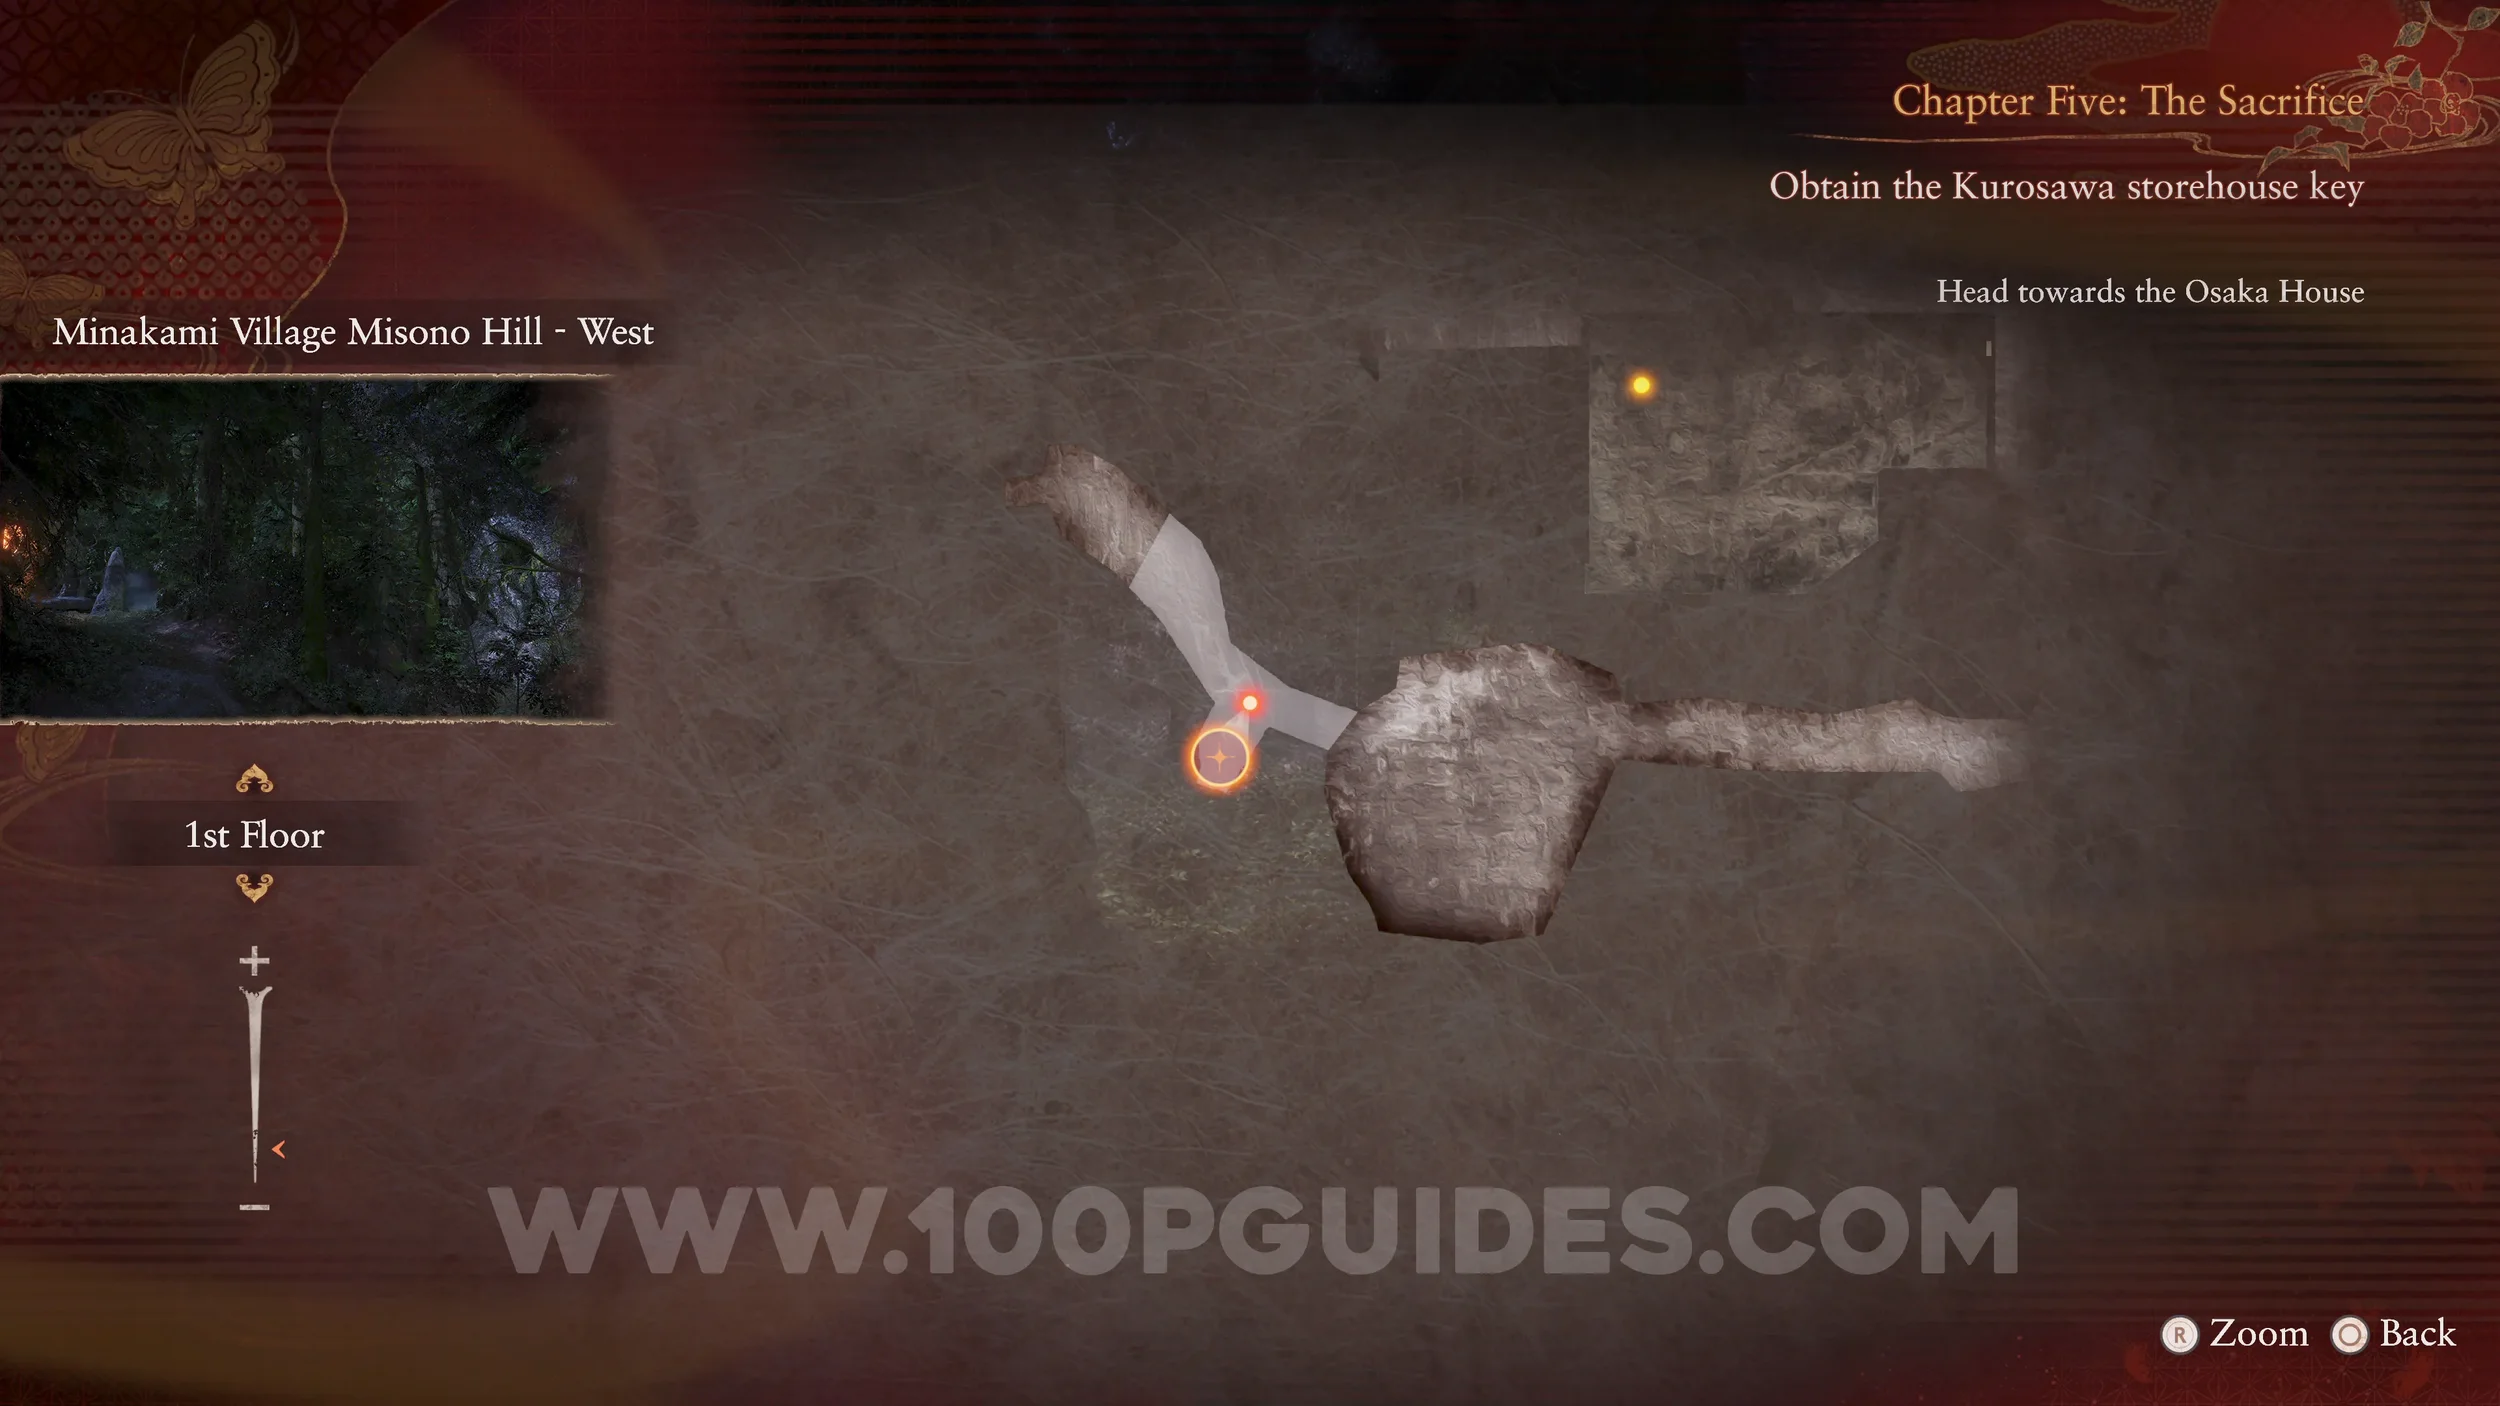
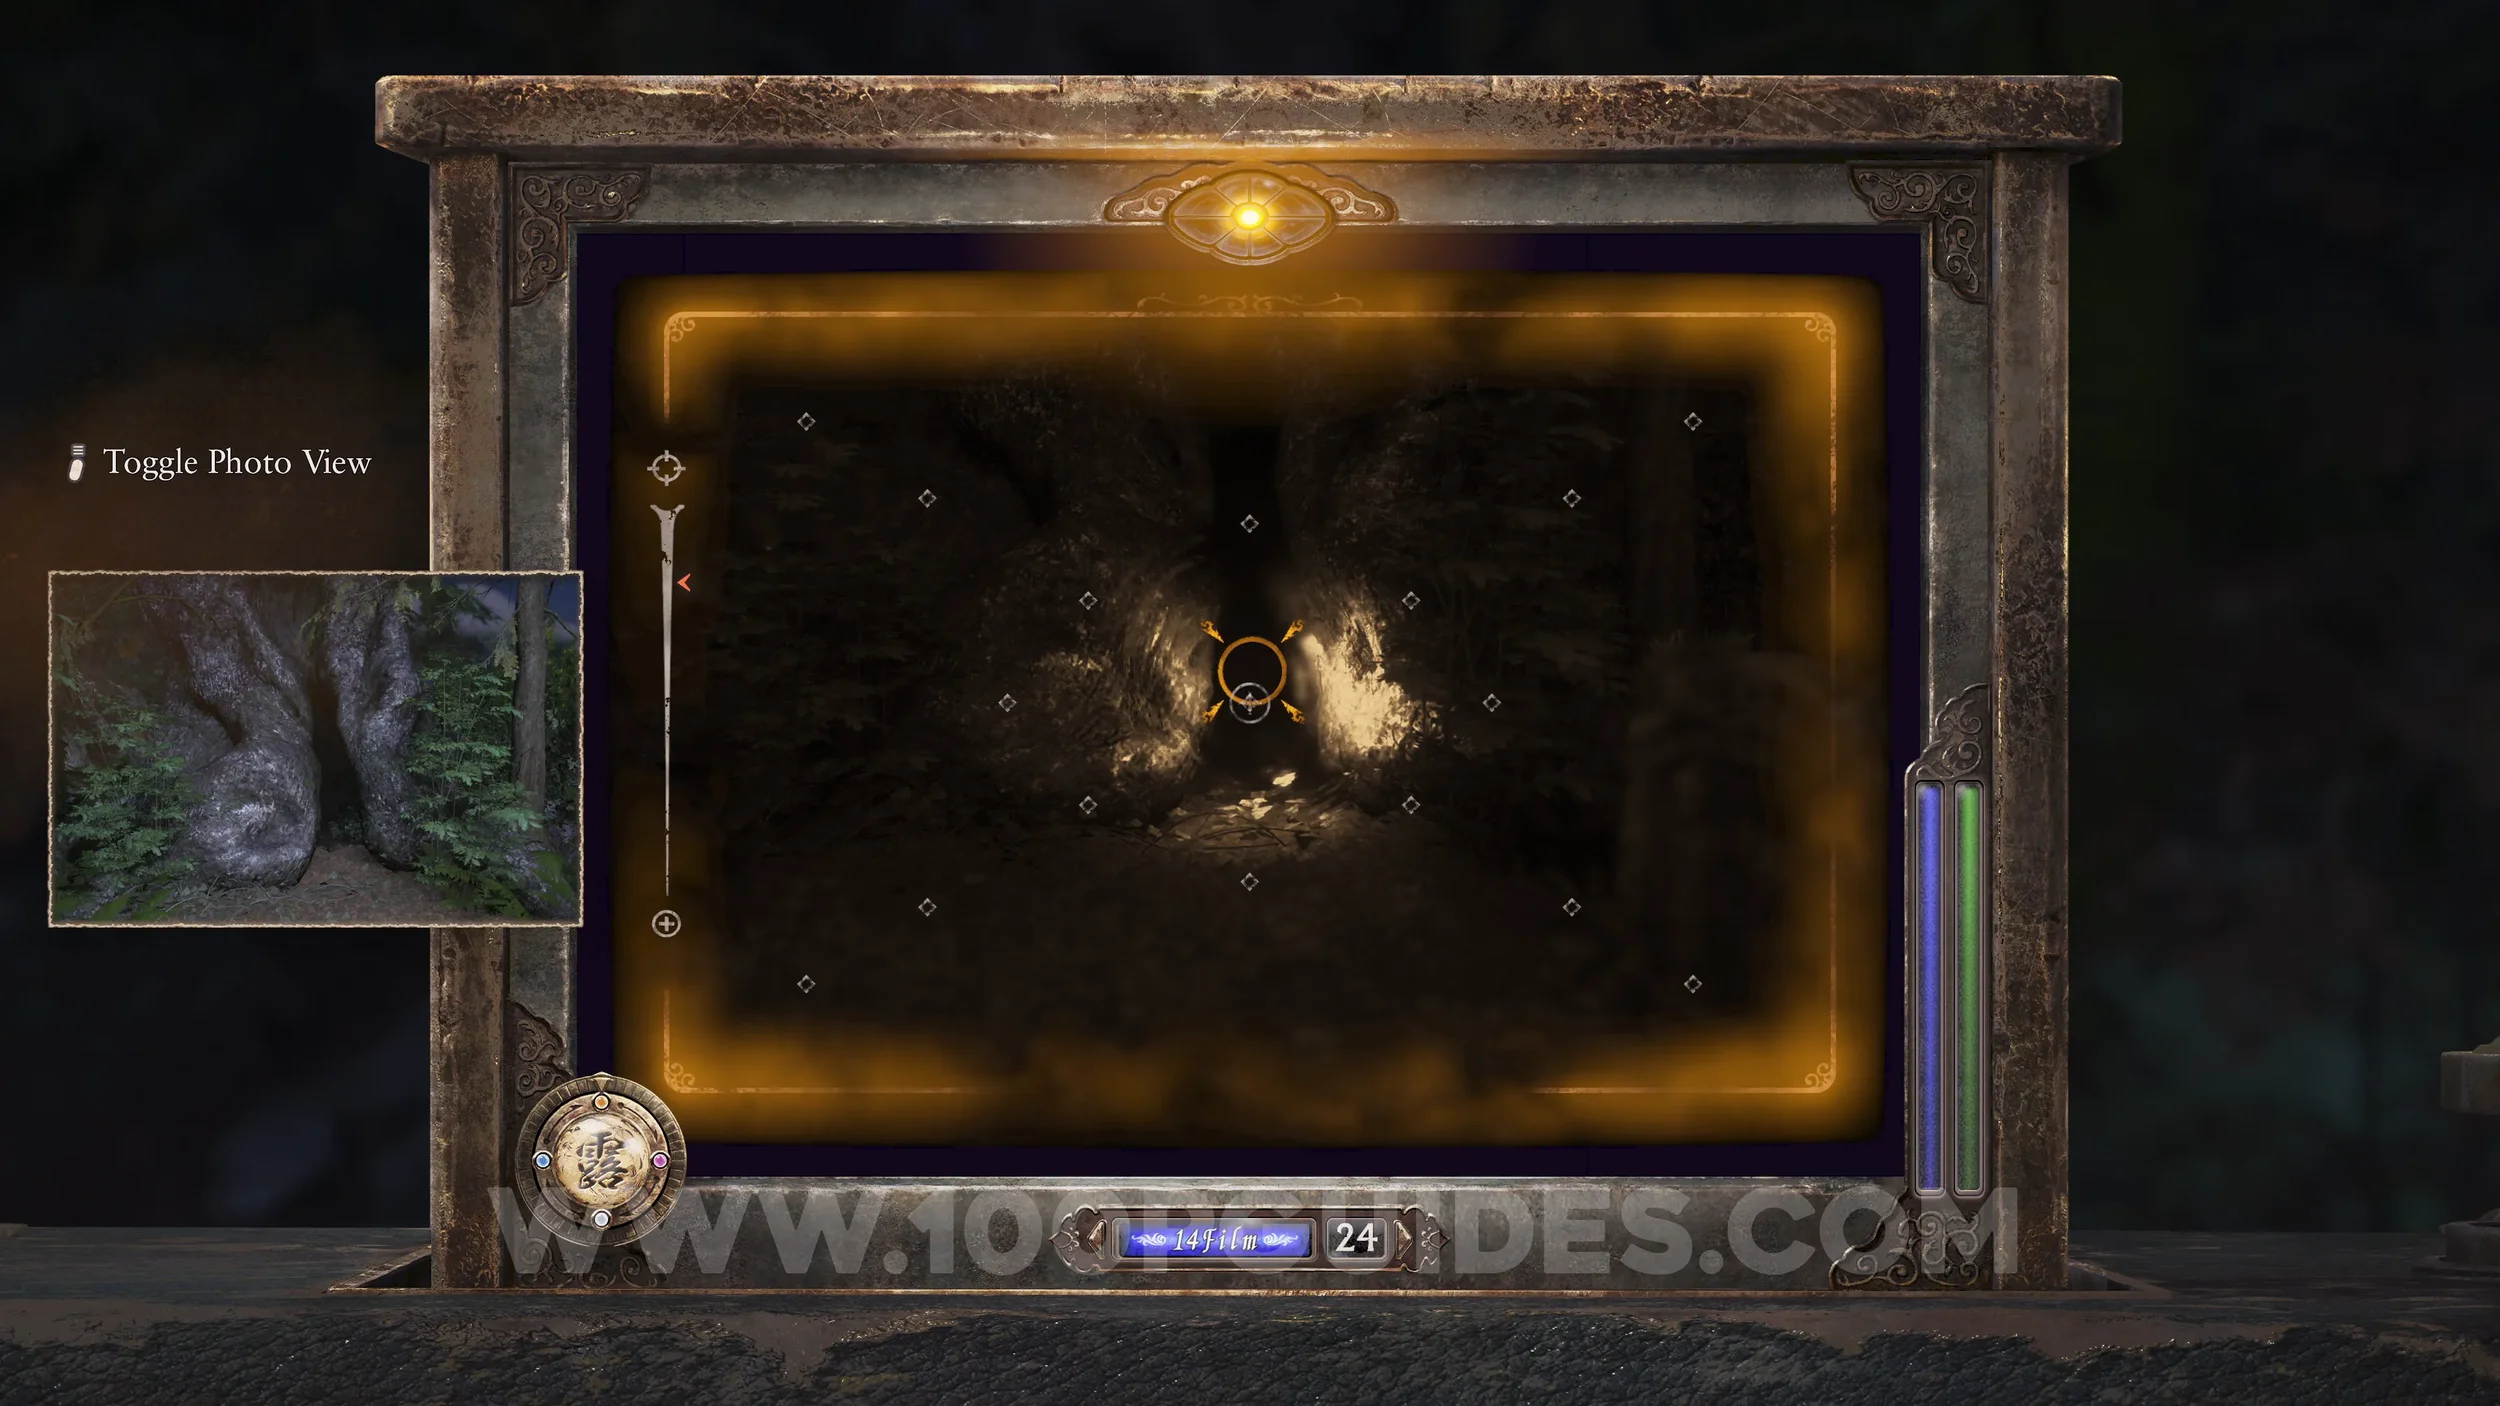
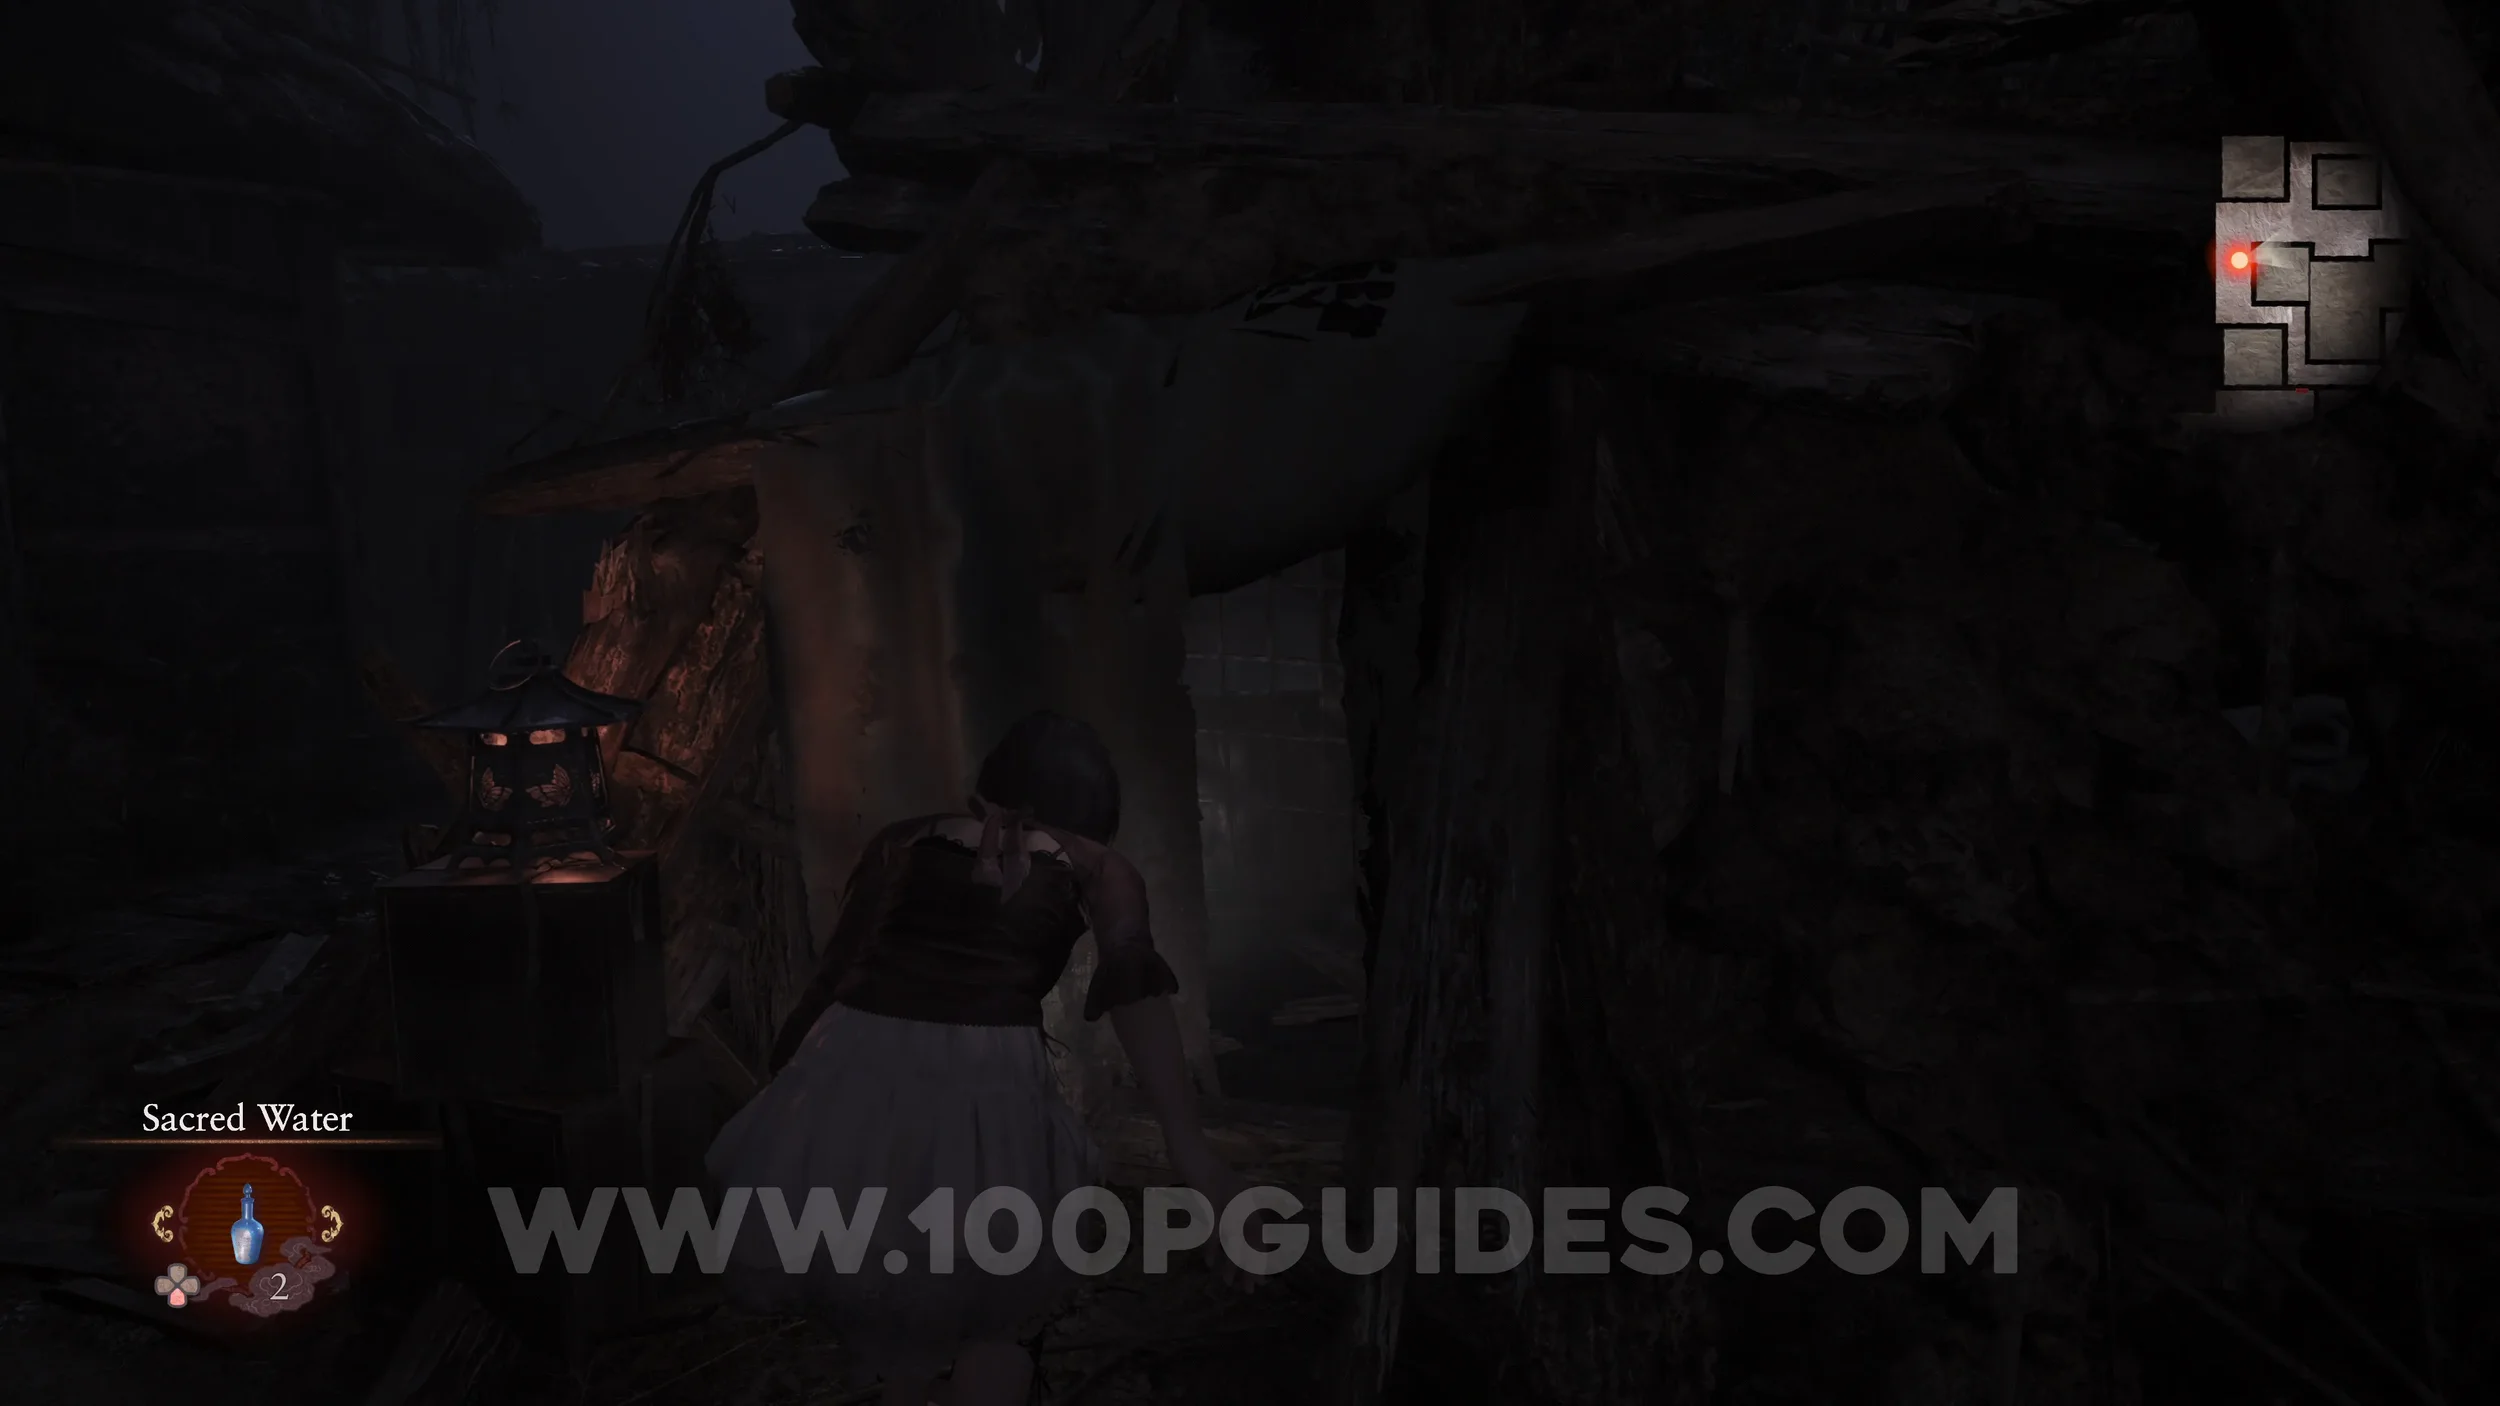
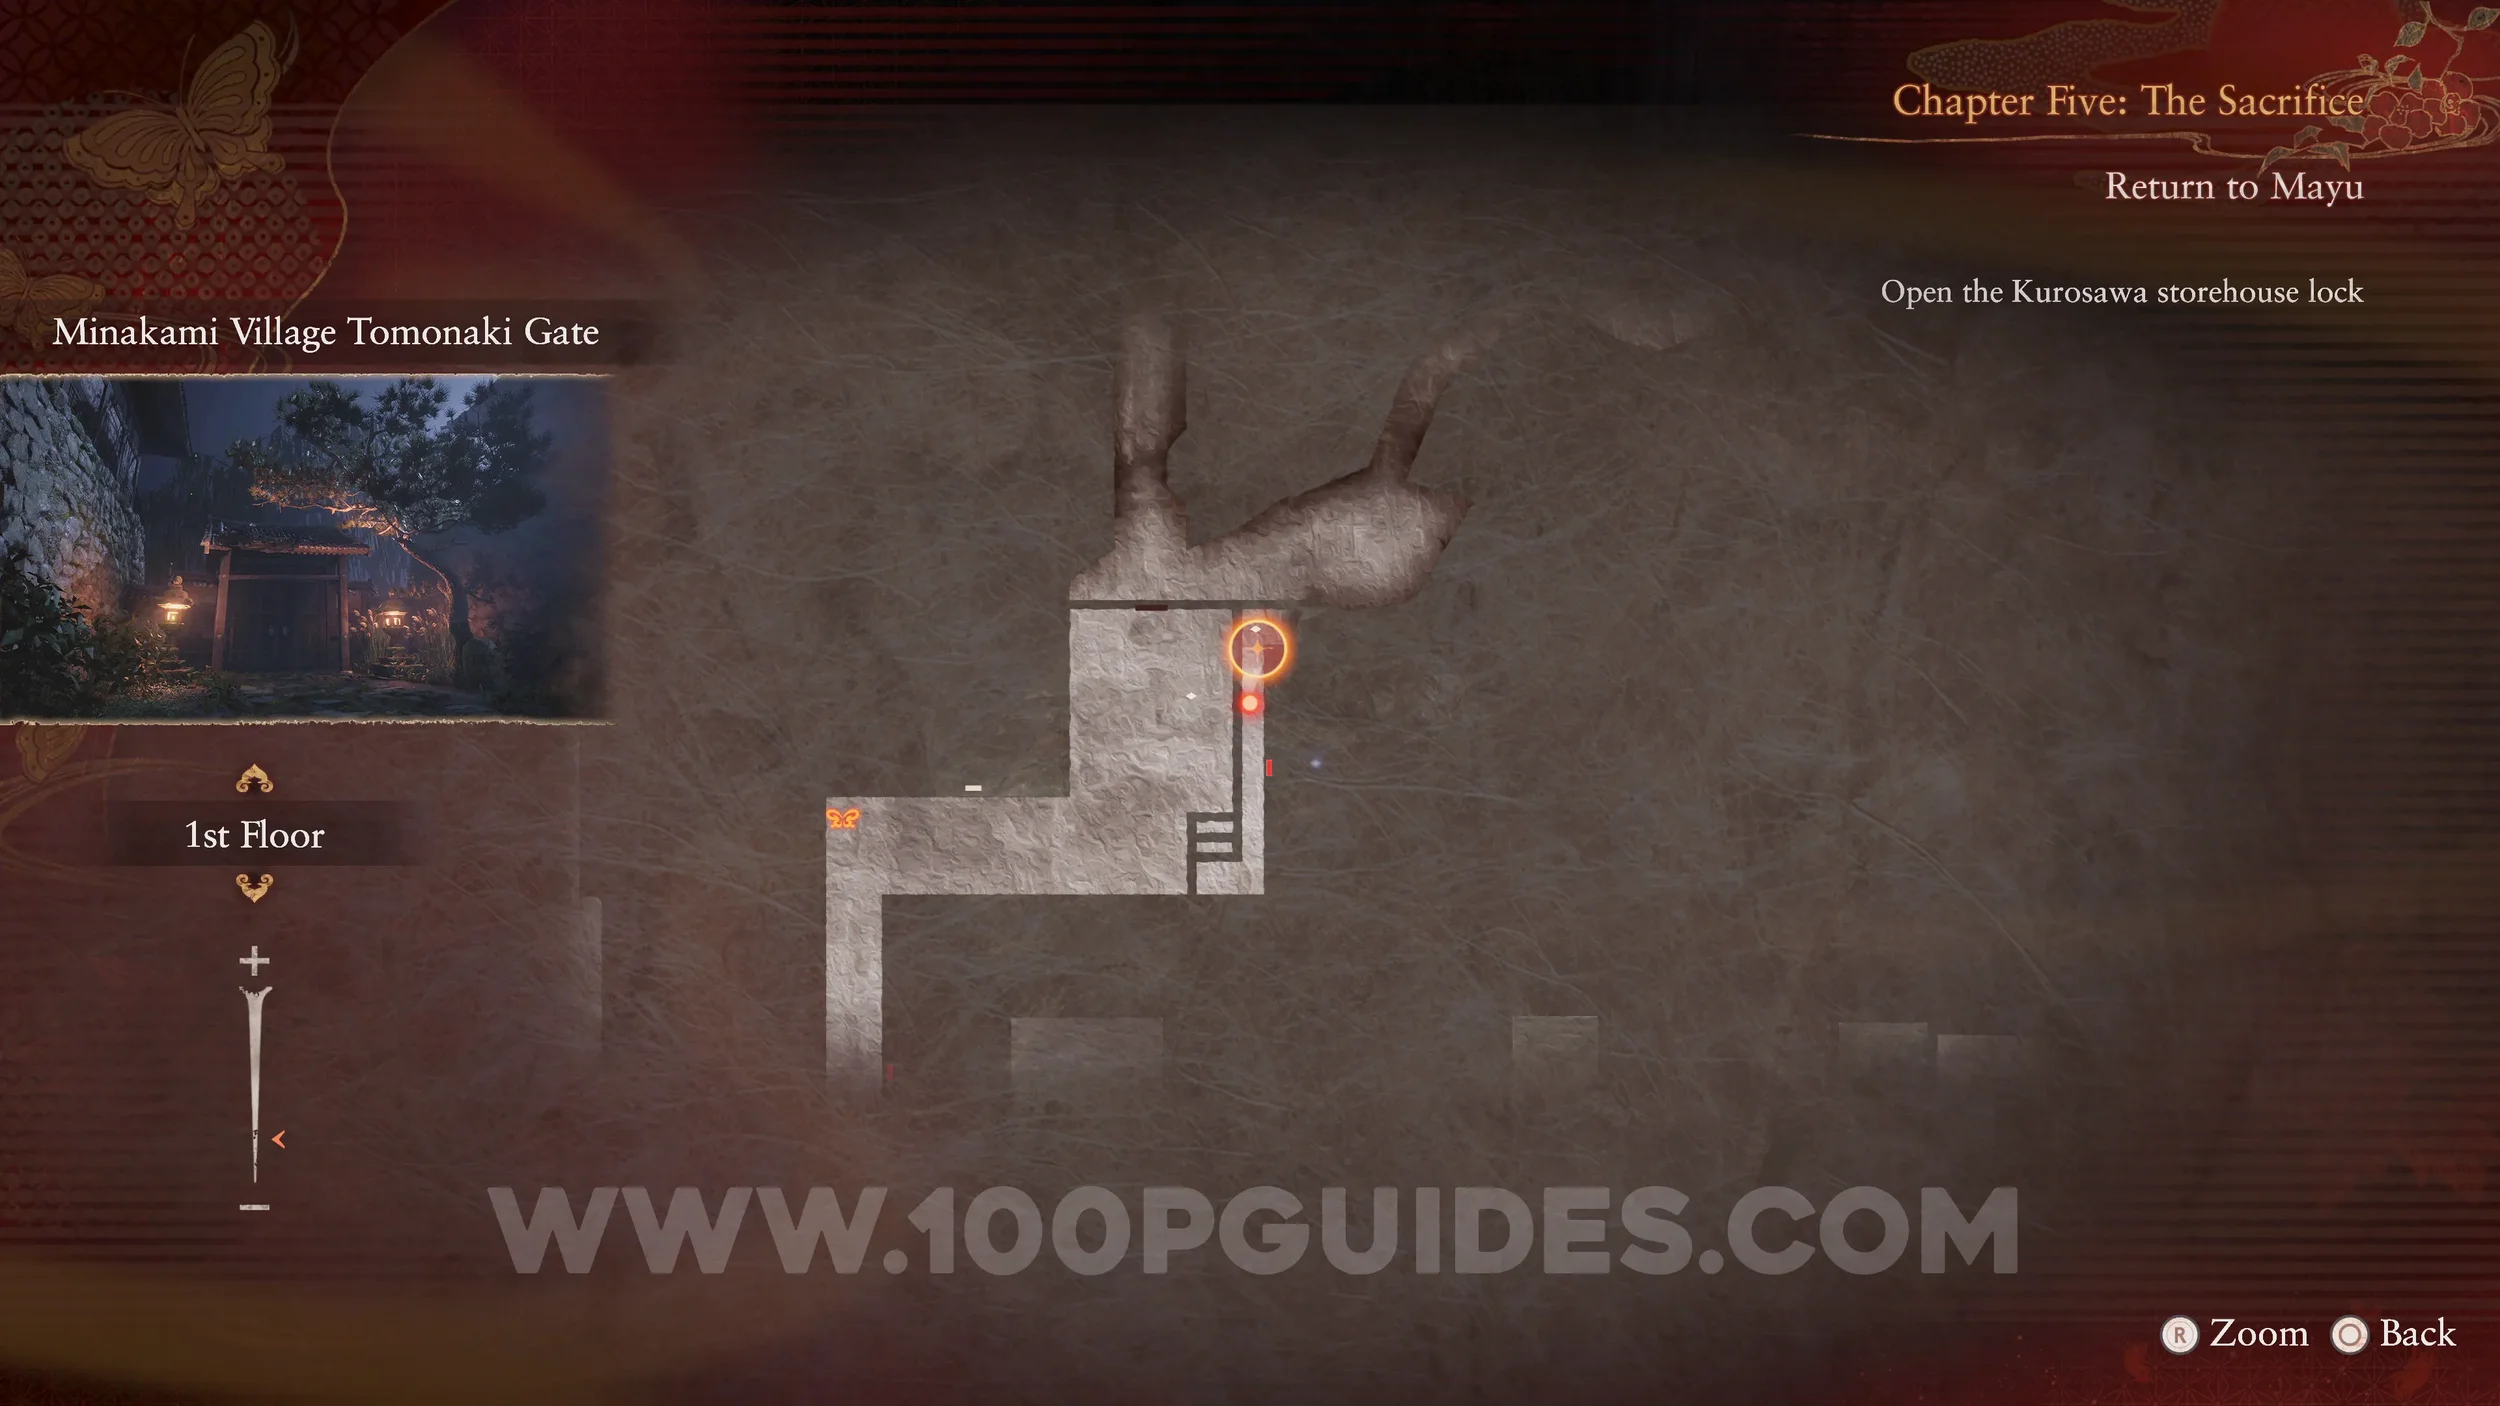
Phantom Expose #6 - West Misono Hill and Prayer Beads #29. Before heading into the Osaka House, continue up the area where the game began. After the open area, follow the path to the west and look for a strange-looking tree on your left. Use the Exposure Filter to register the Expose and make the beads spawn.
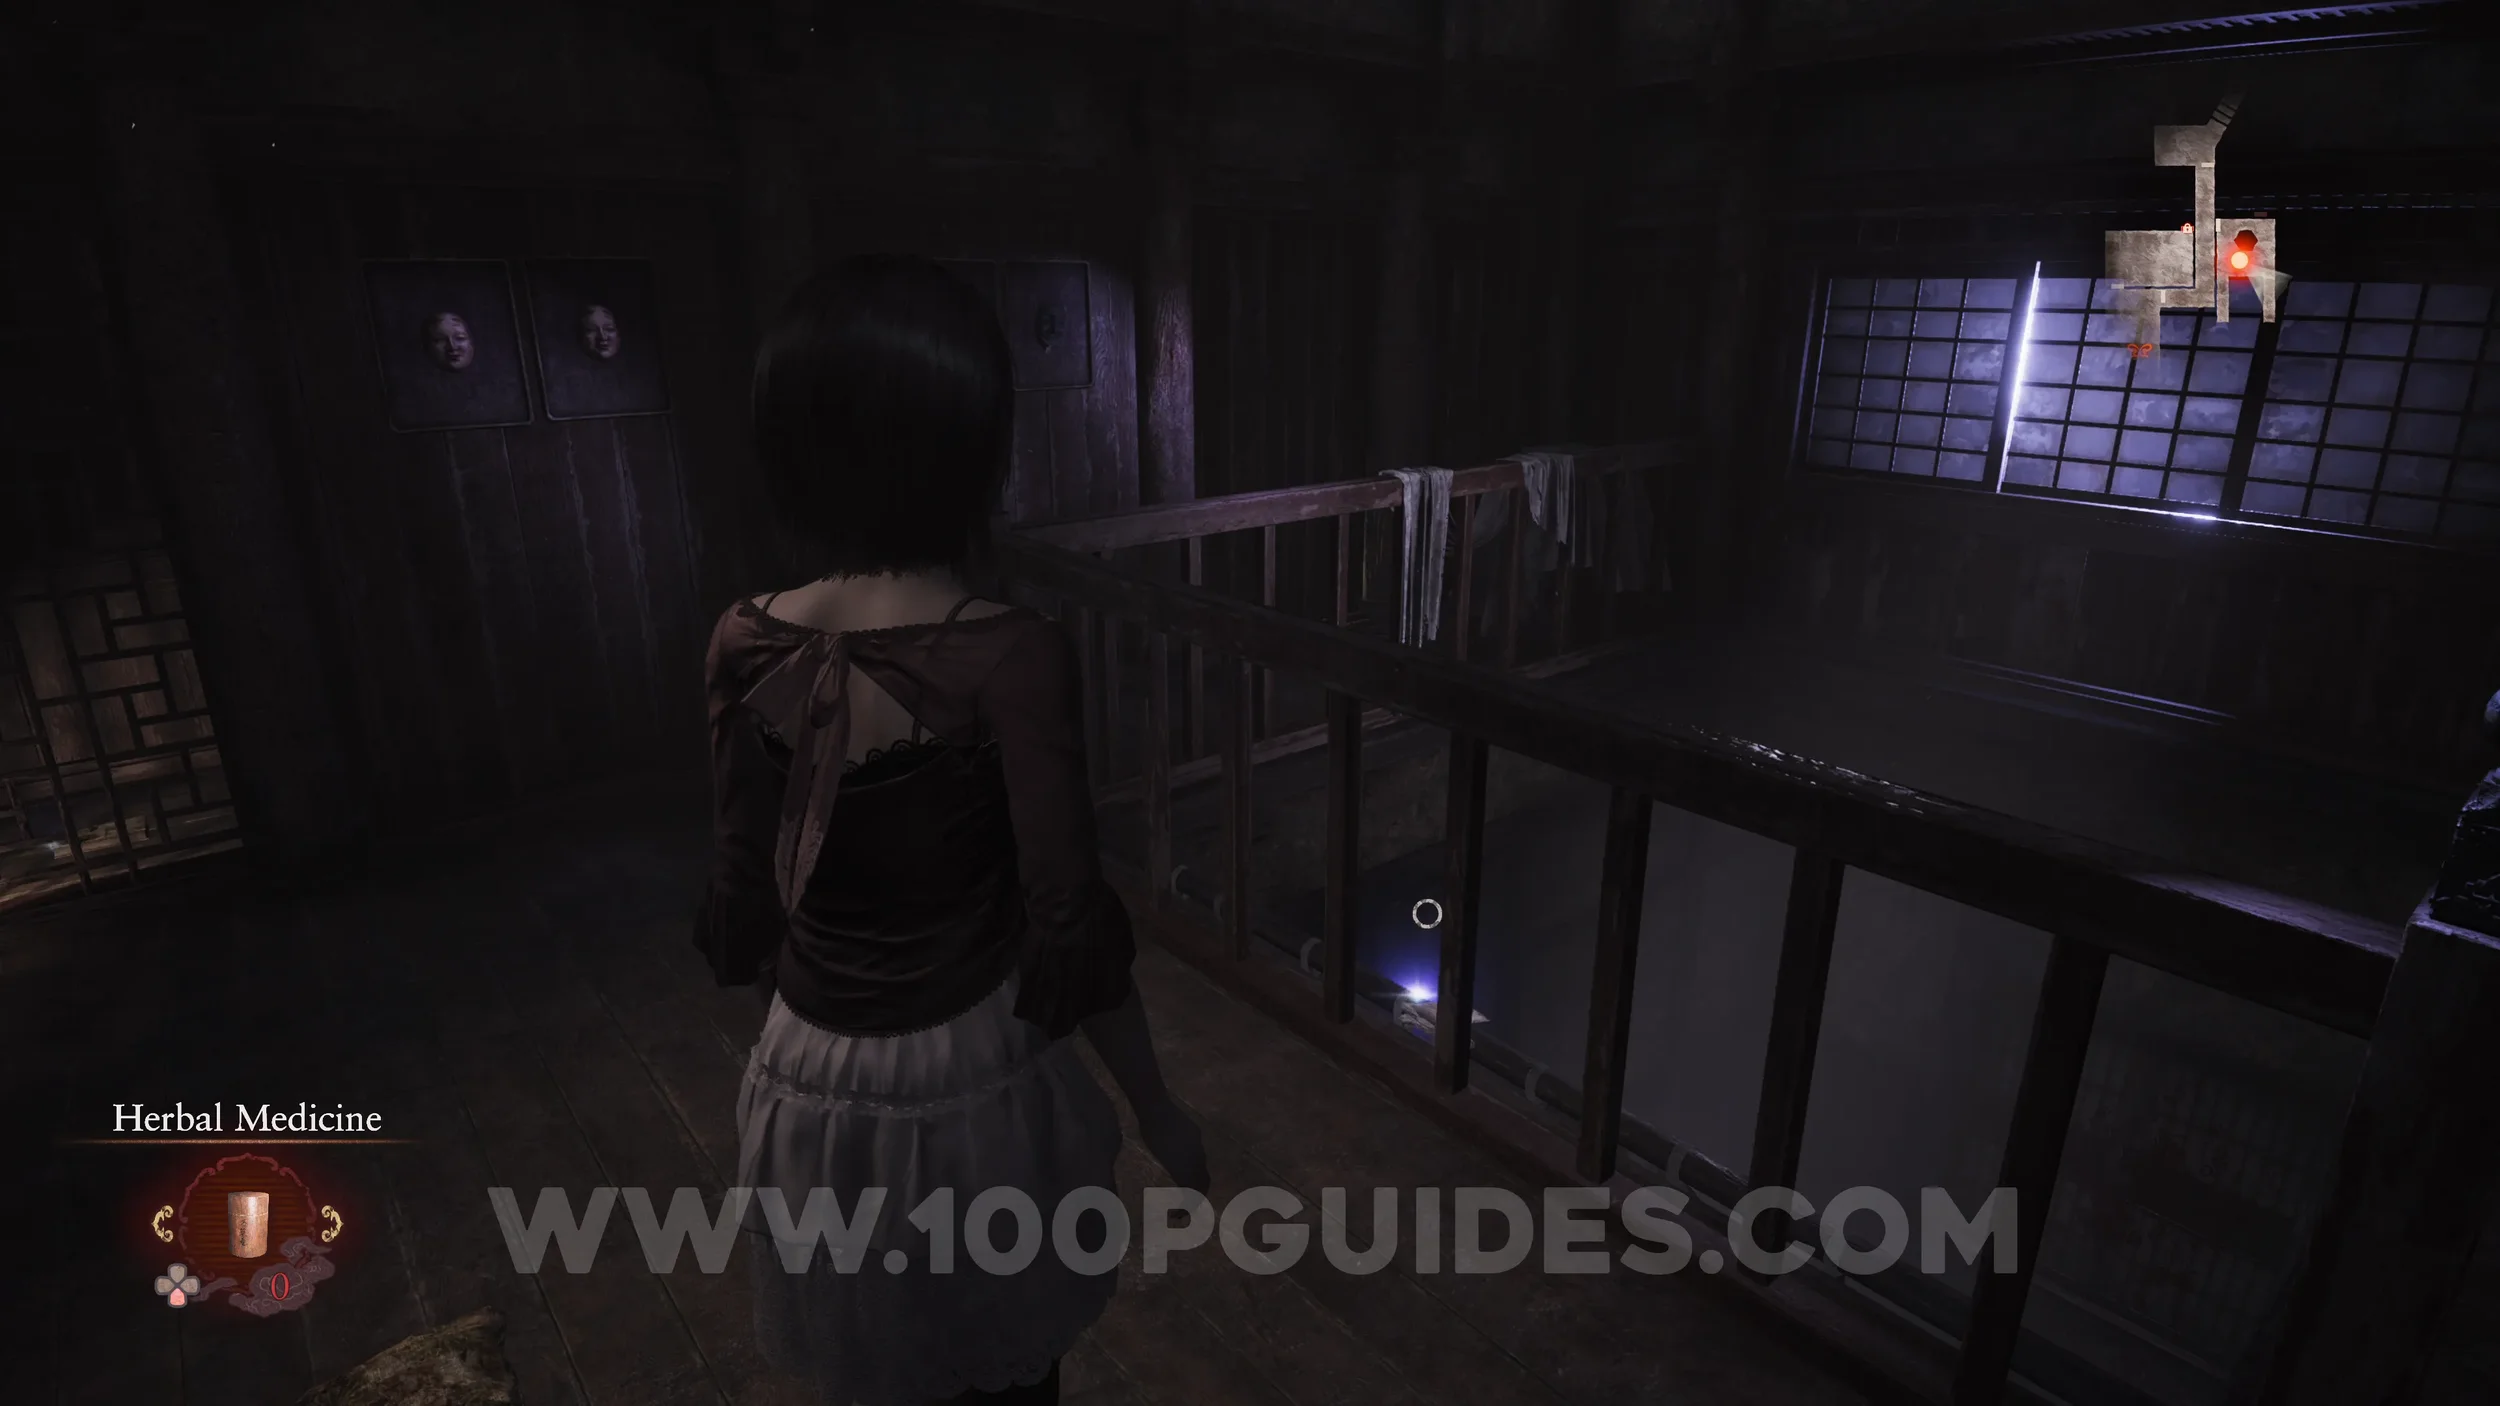
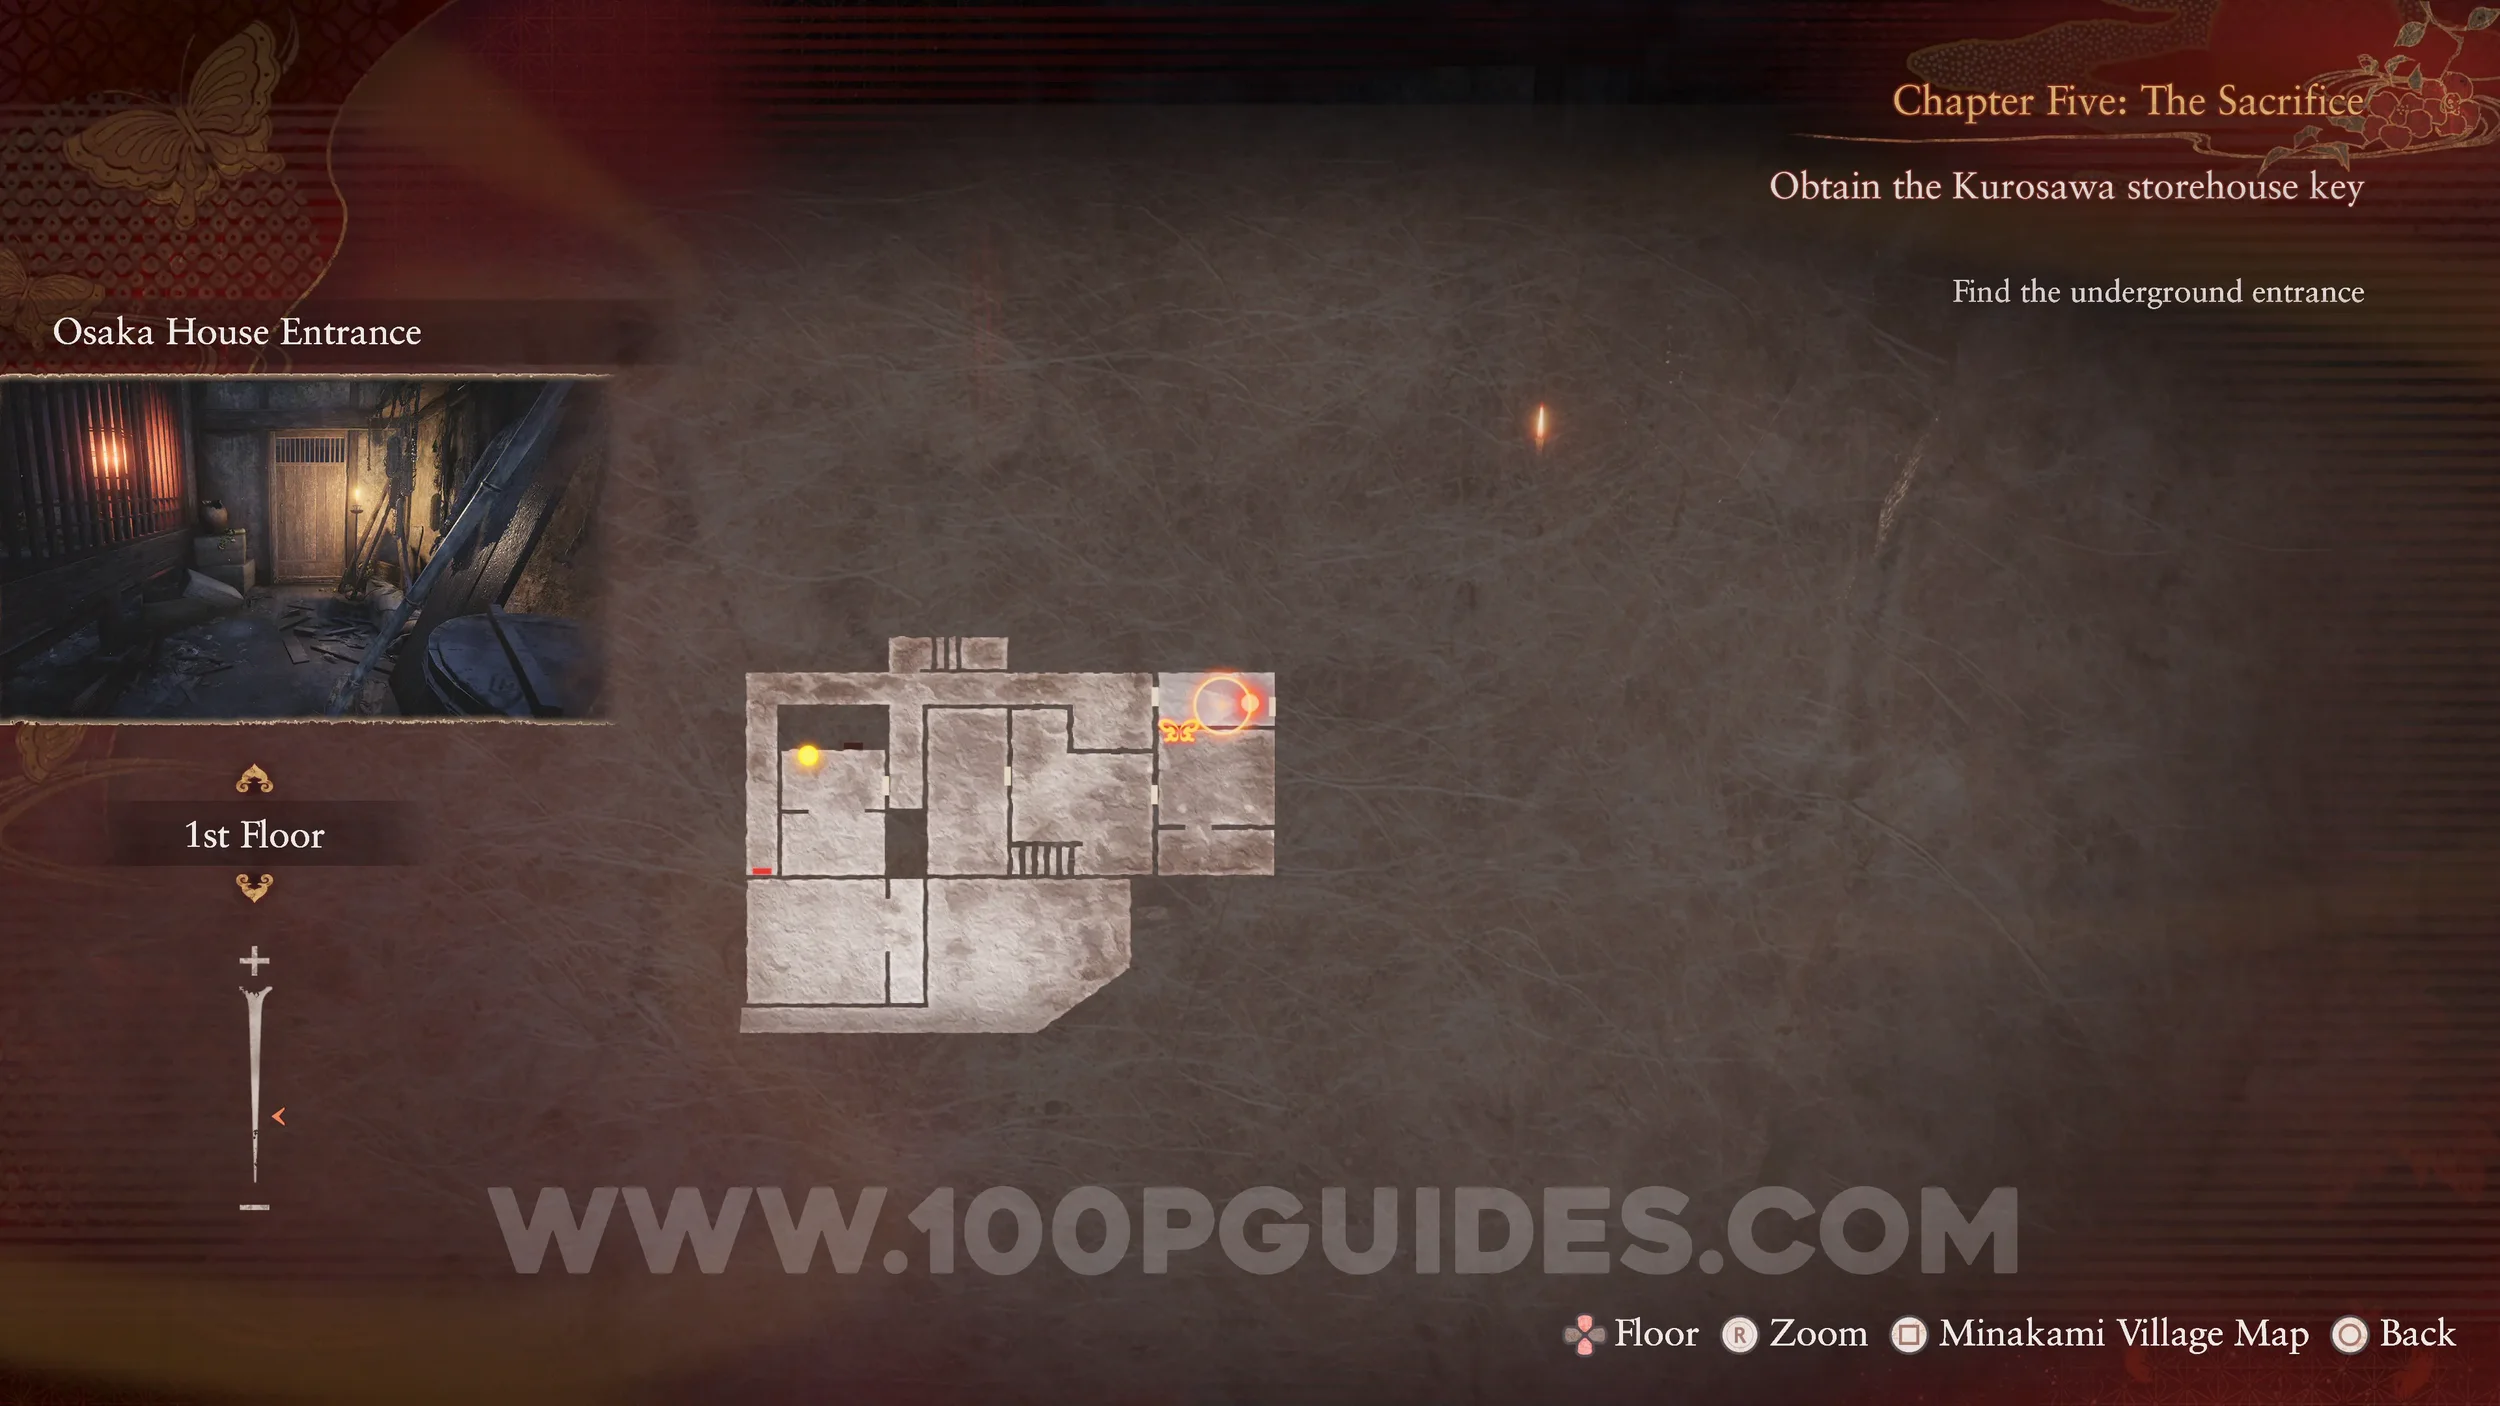
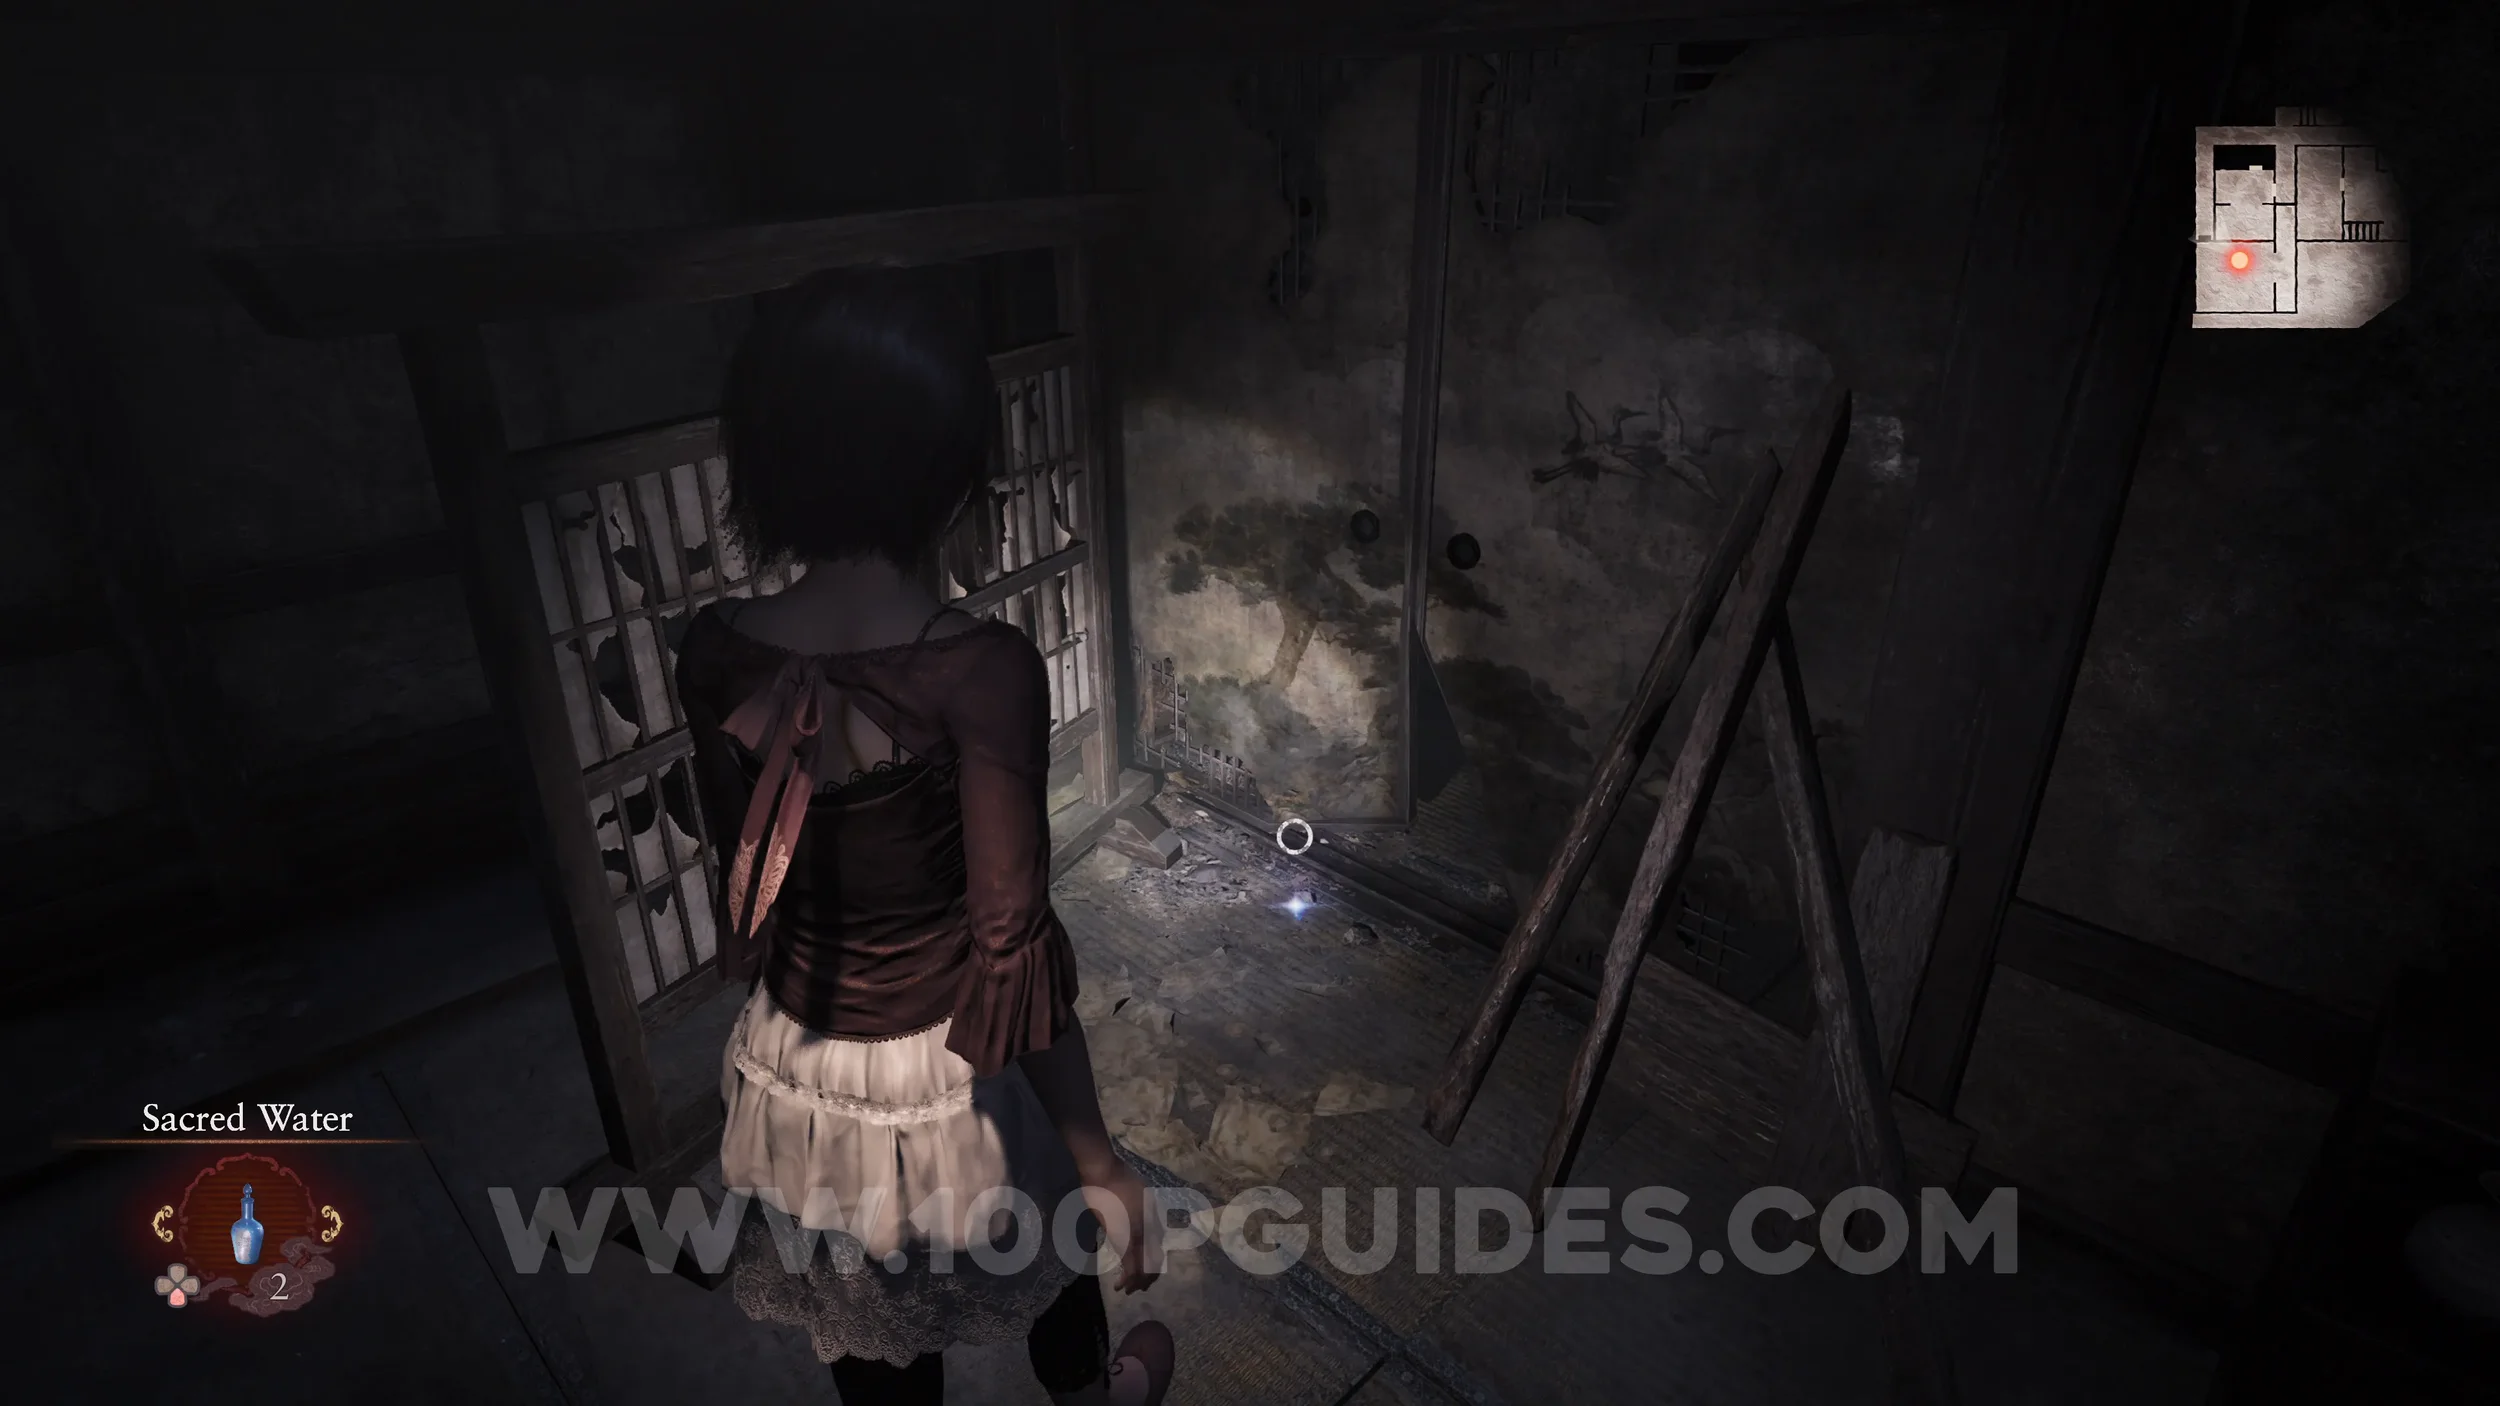
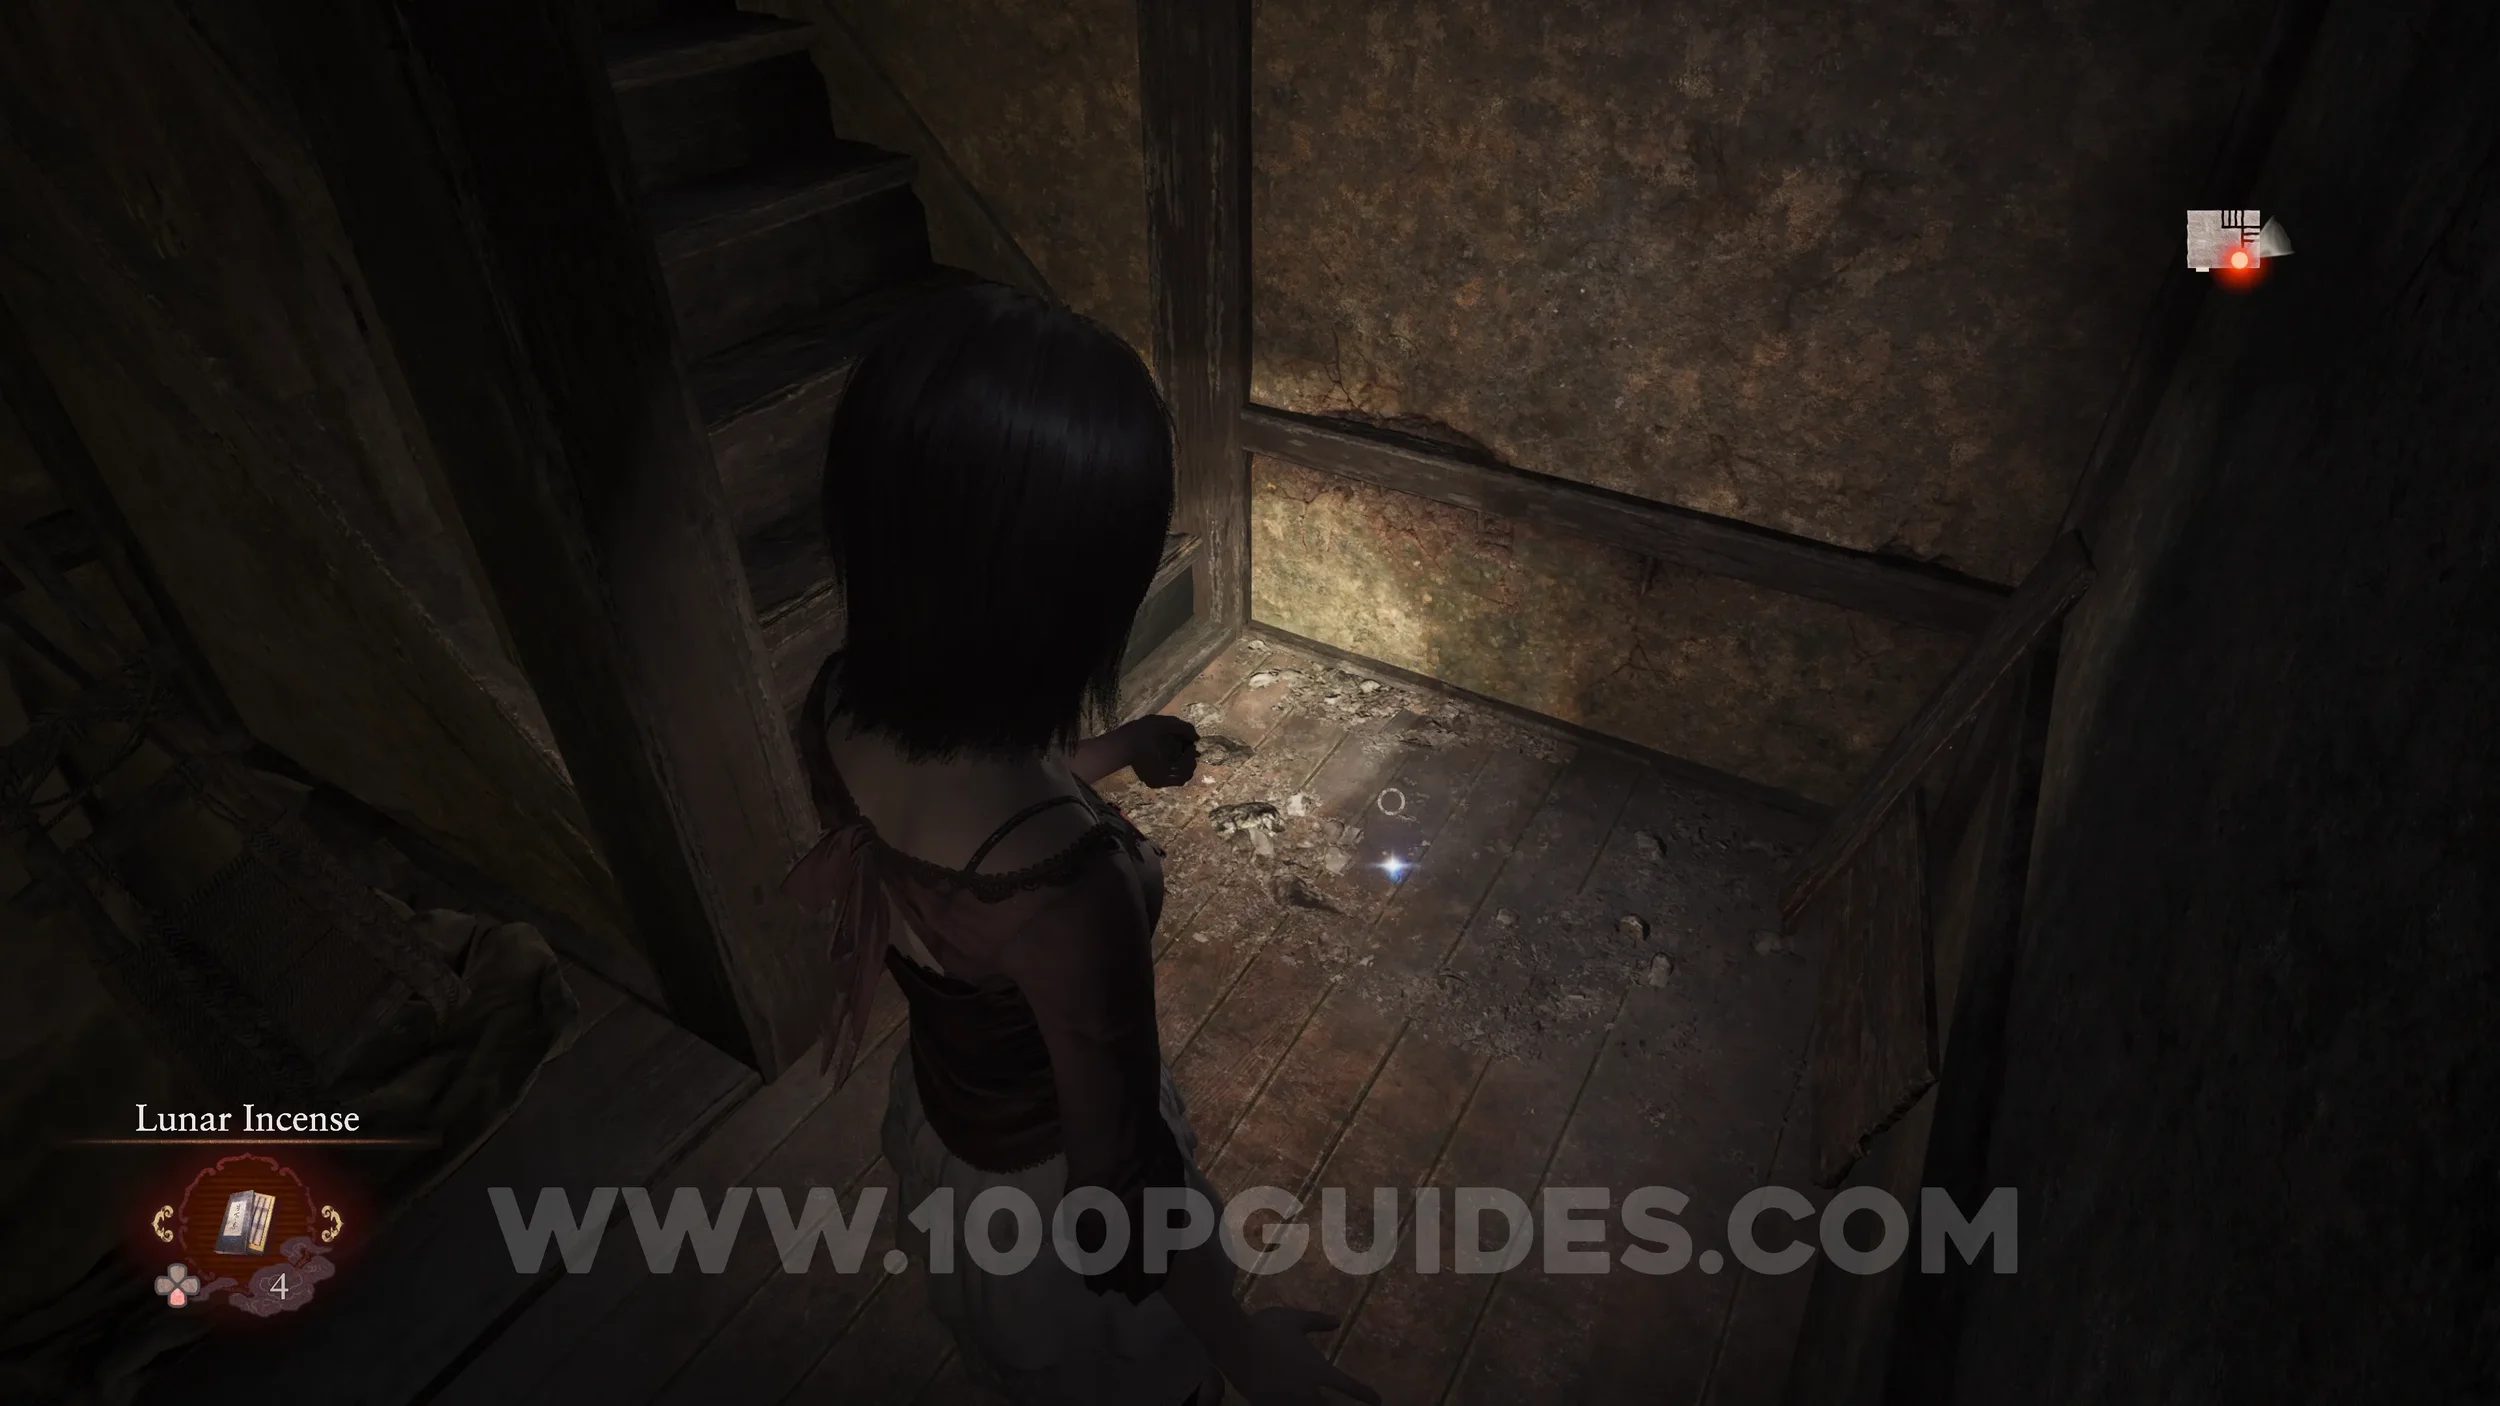
Revenant #4 - 015 Girl Lost in Play. Return to the Osaka House and in the very first room use the Exposure Filter to see the revenant hidding under the wooden floor on your left.
Unbinding of Blood #11 and Prayer Beads #30. Return to the Osaka House and enter the small room next to the save room. Here, use the Radiant Filter on the cupboard.
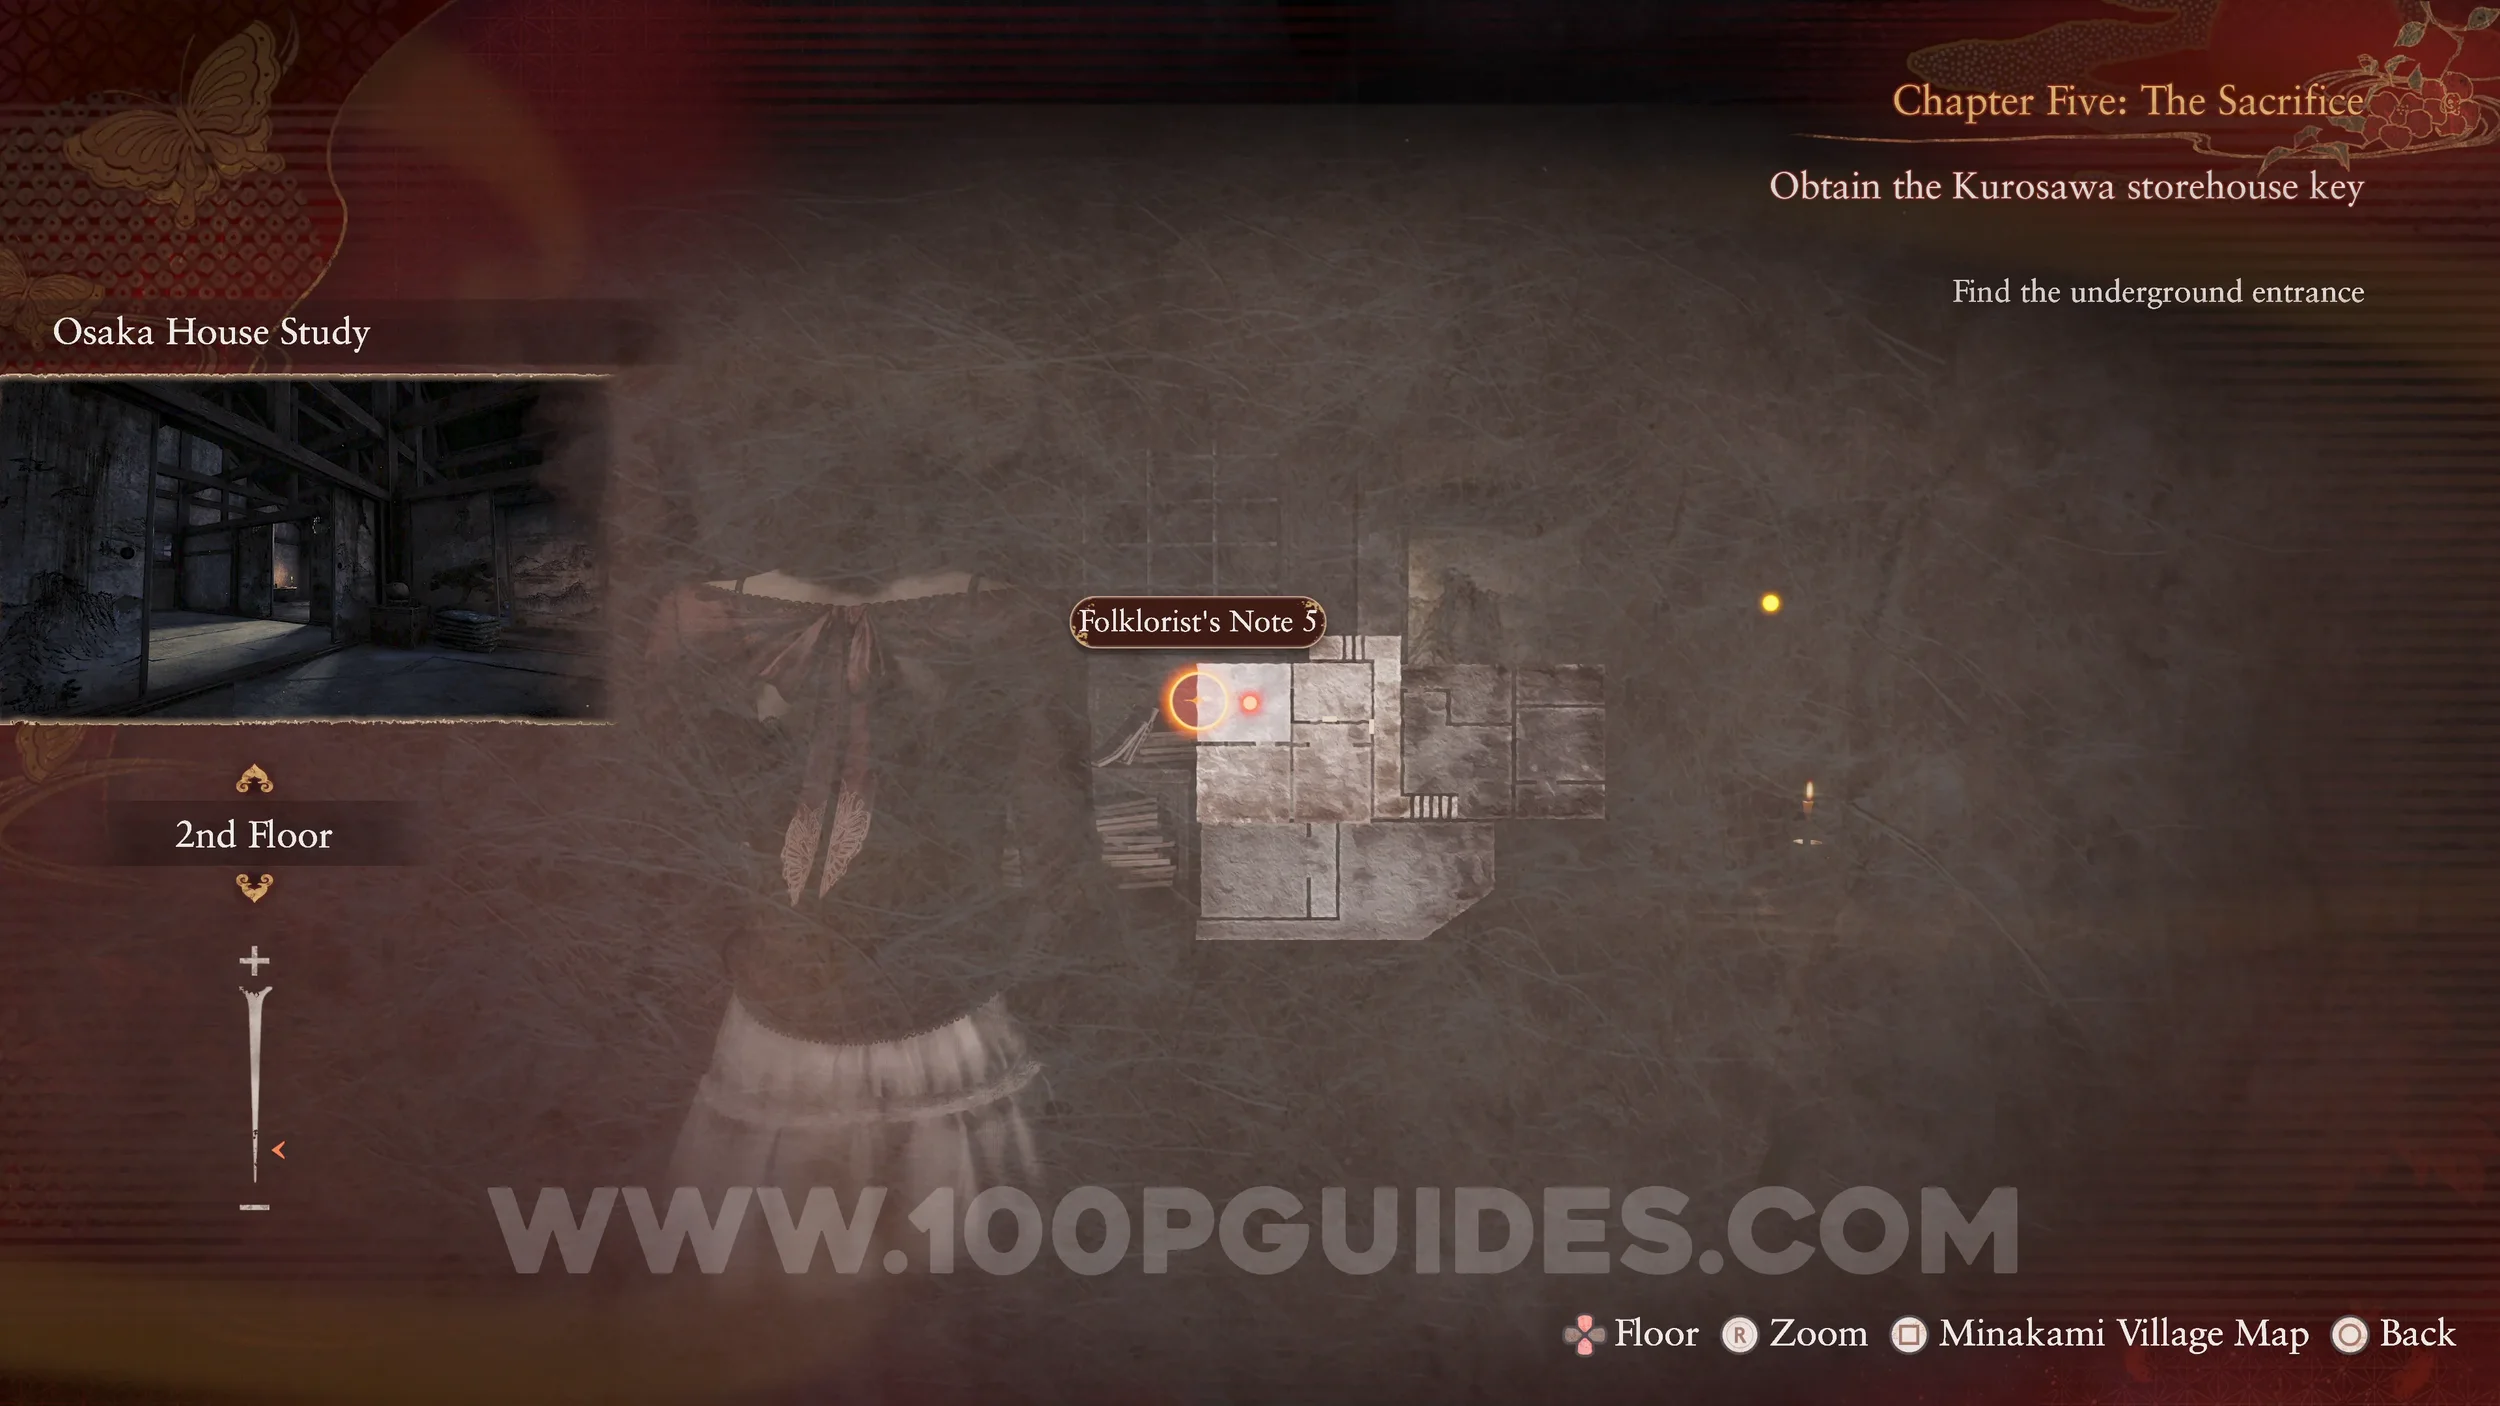
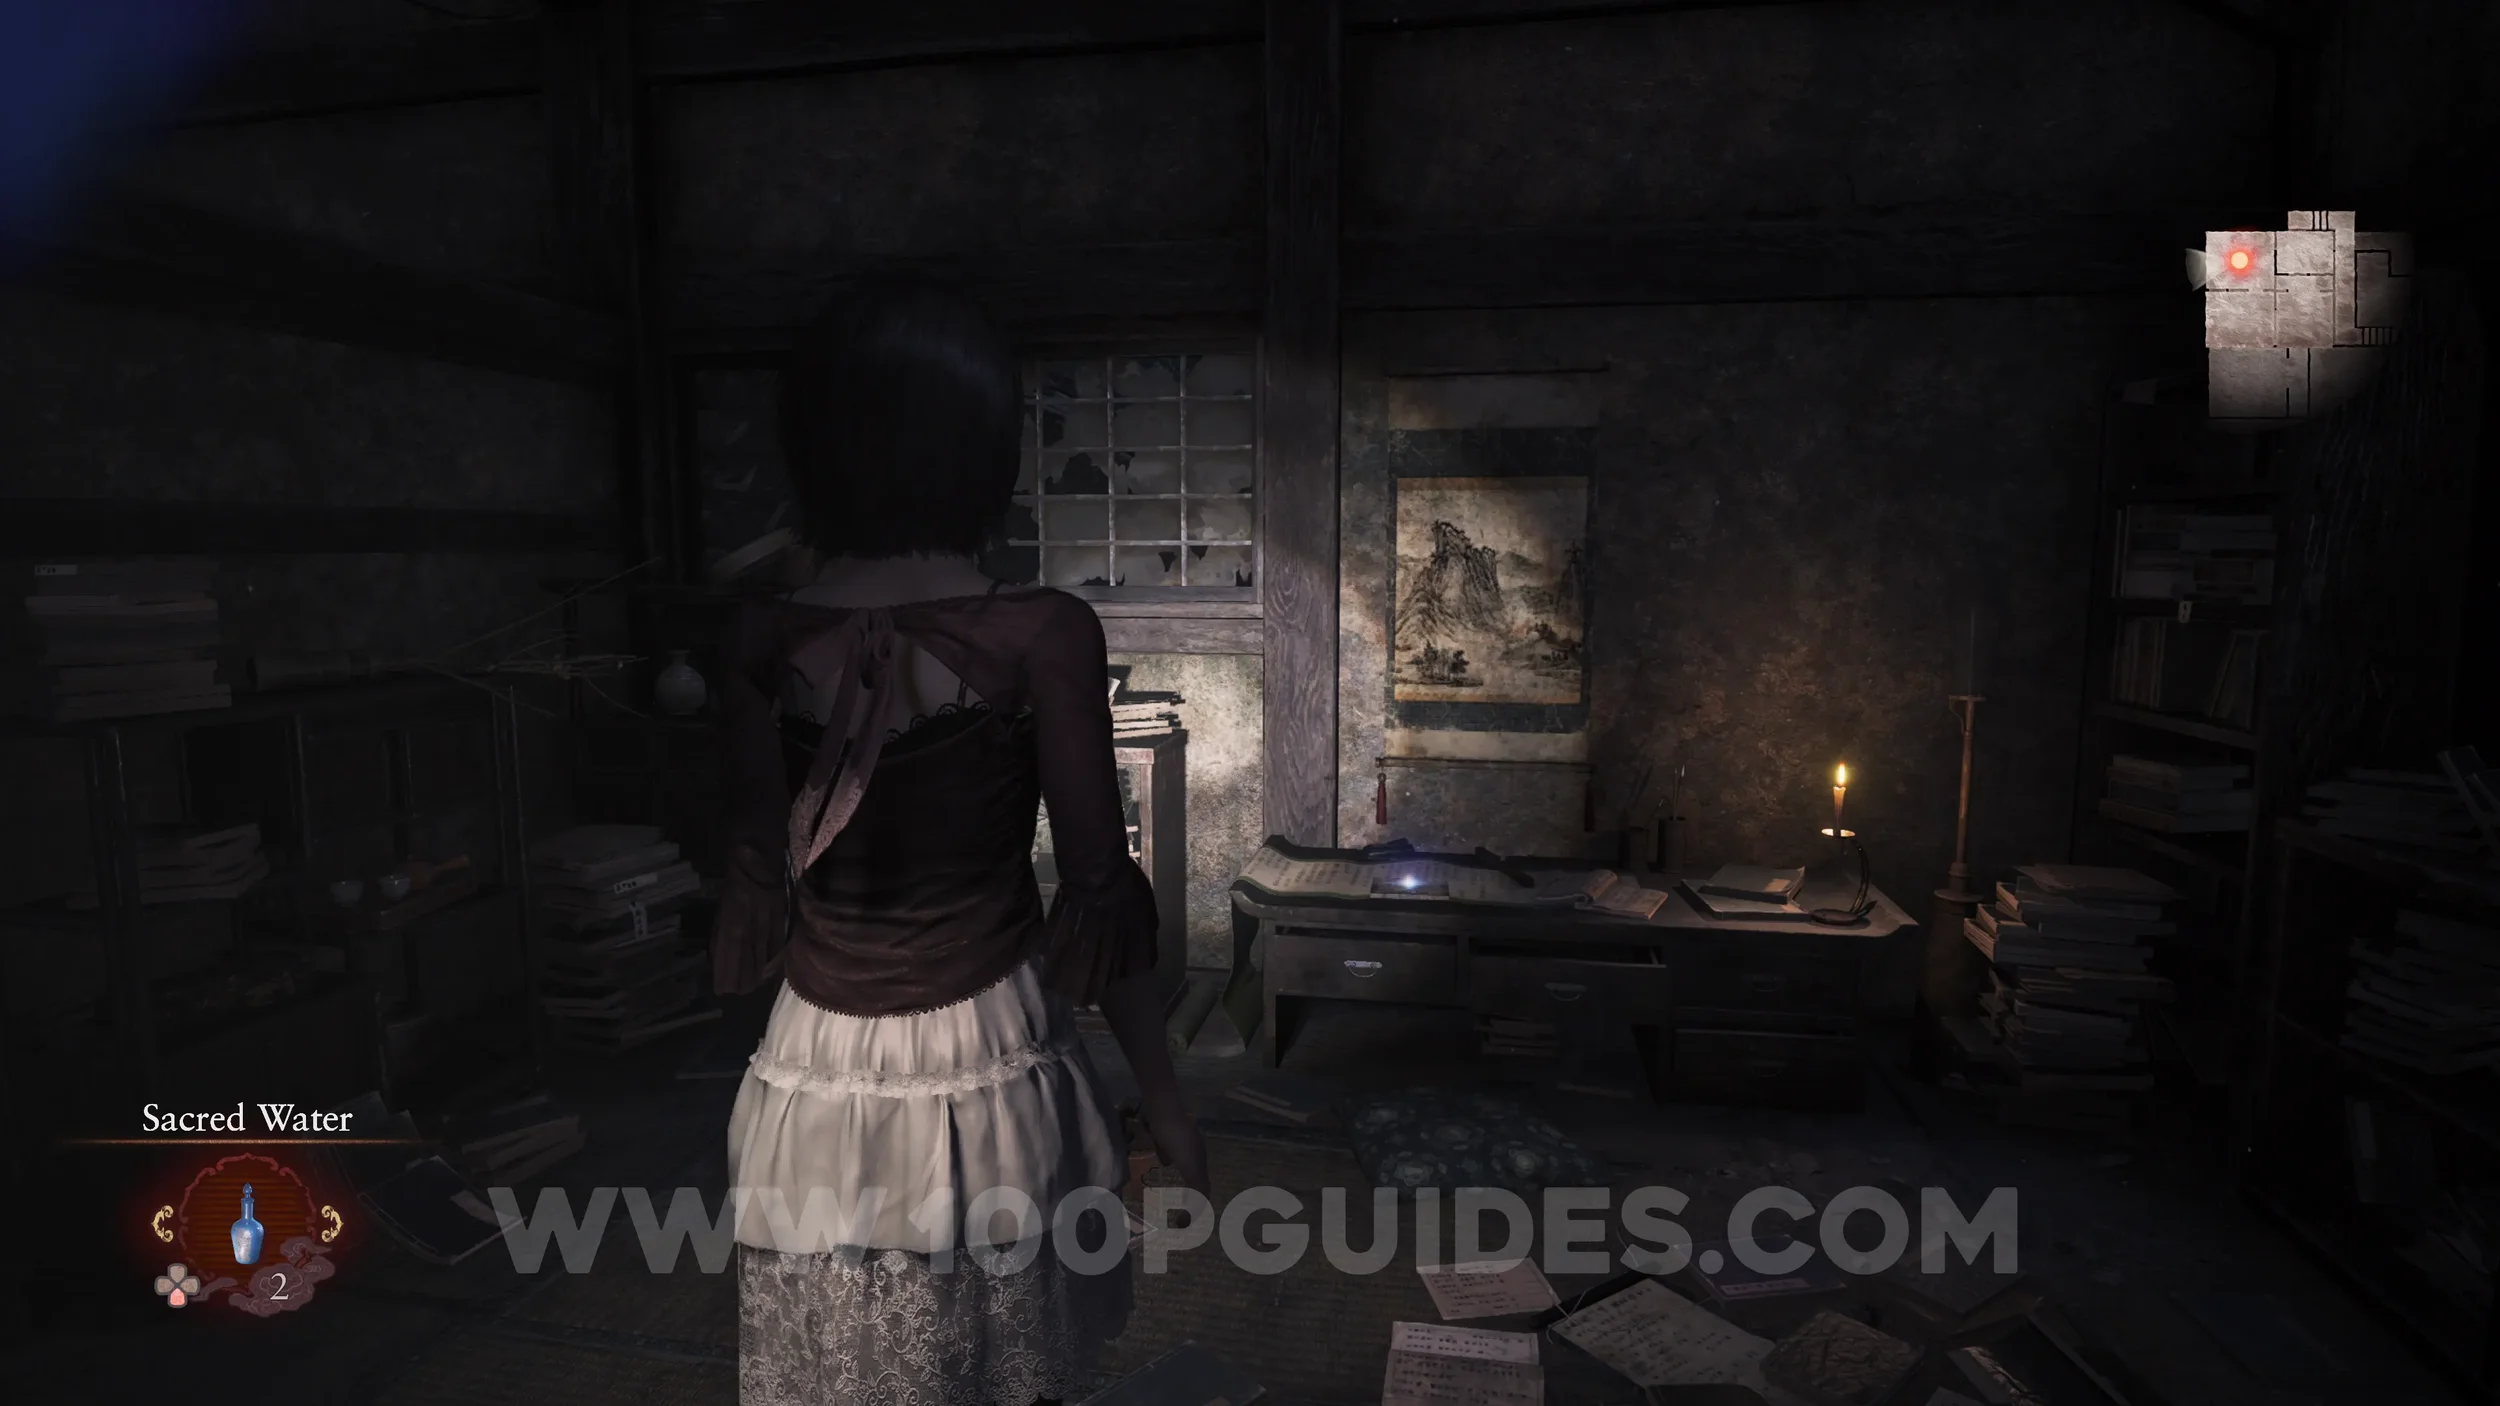
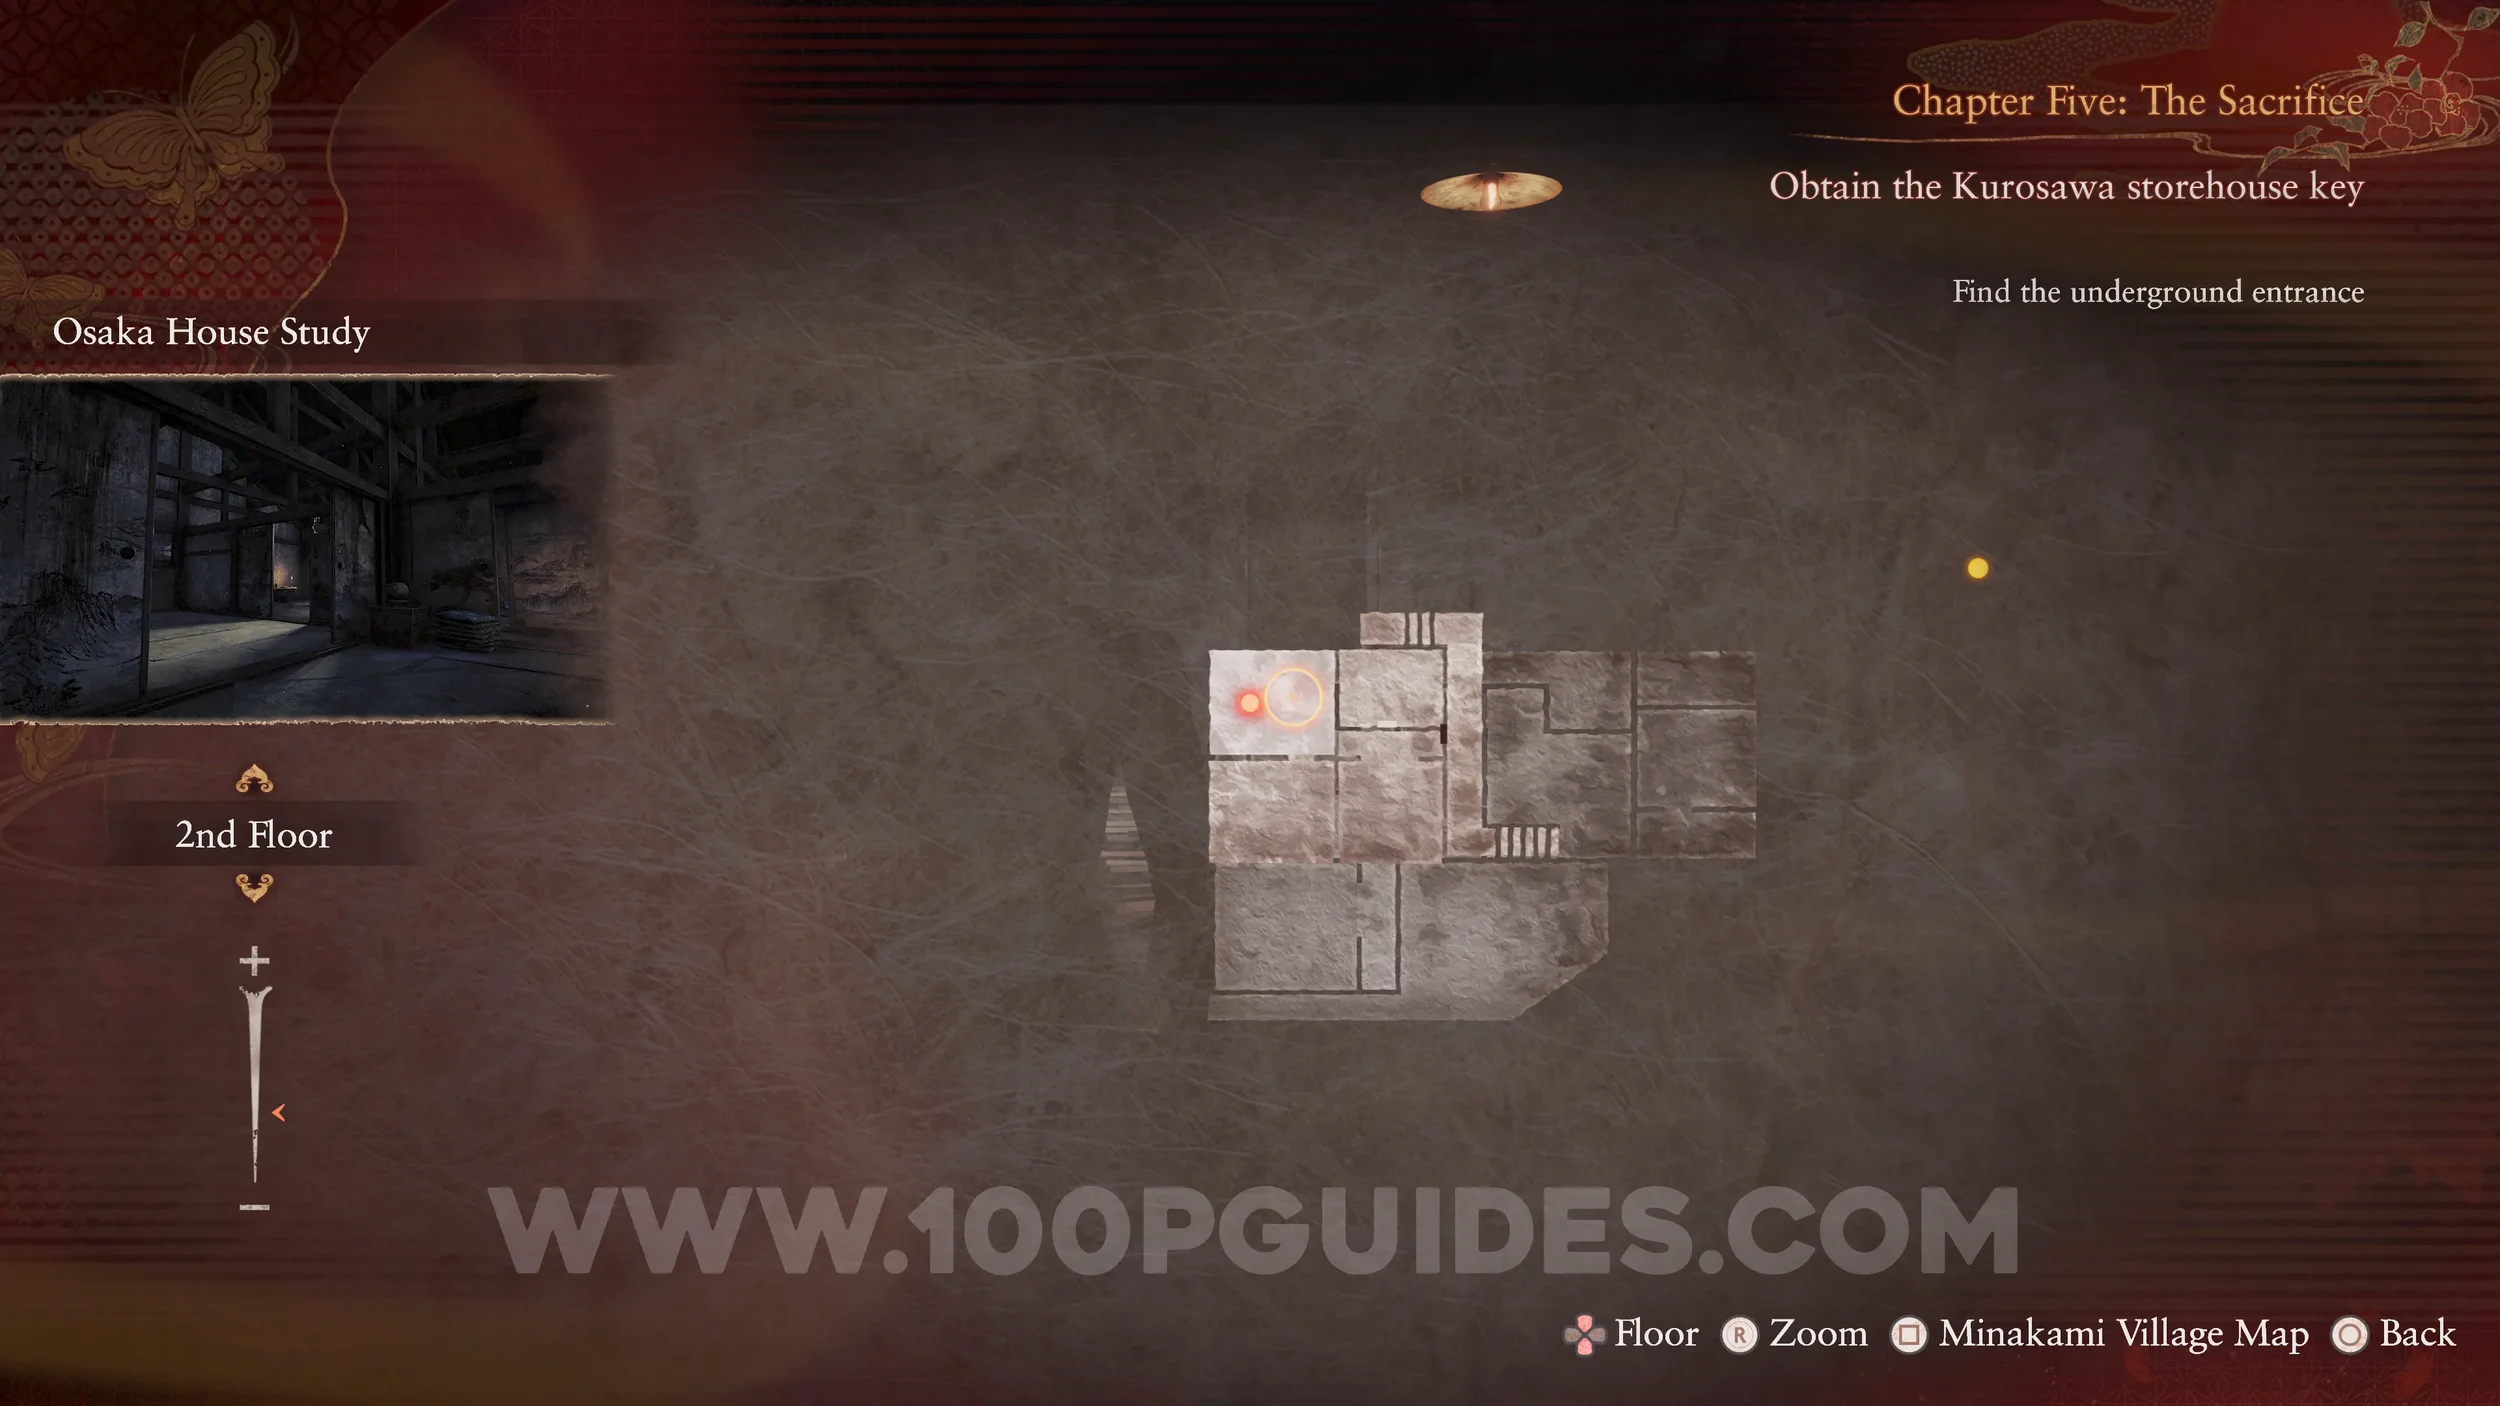
Specter #87 - 185 Man Checking Study. Exit the save room and head upstairs. Enter the door on the left and go to the last room to find the specter.
Document #54 - Folklorist’s Note 5. Found on the desk where the previous specter was.
Revenant #5 - 014 Watching Boy. Also found in the same room as the previous collectibles. Use the Exposure Filter to reveal it.
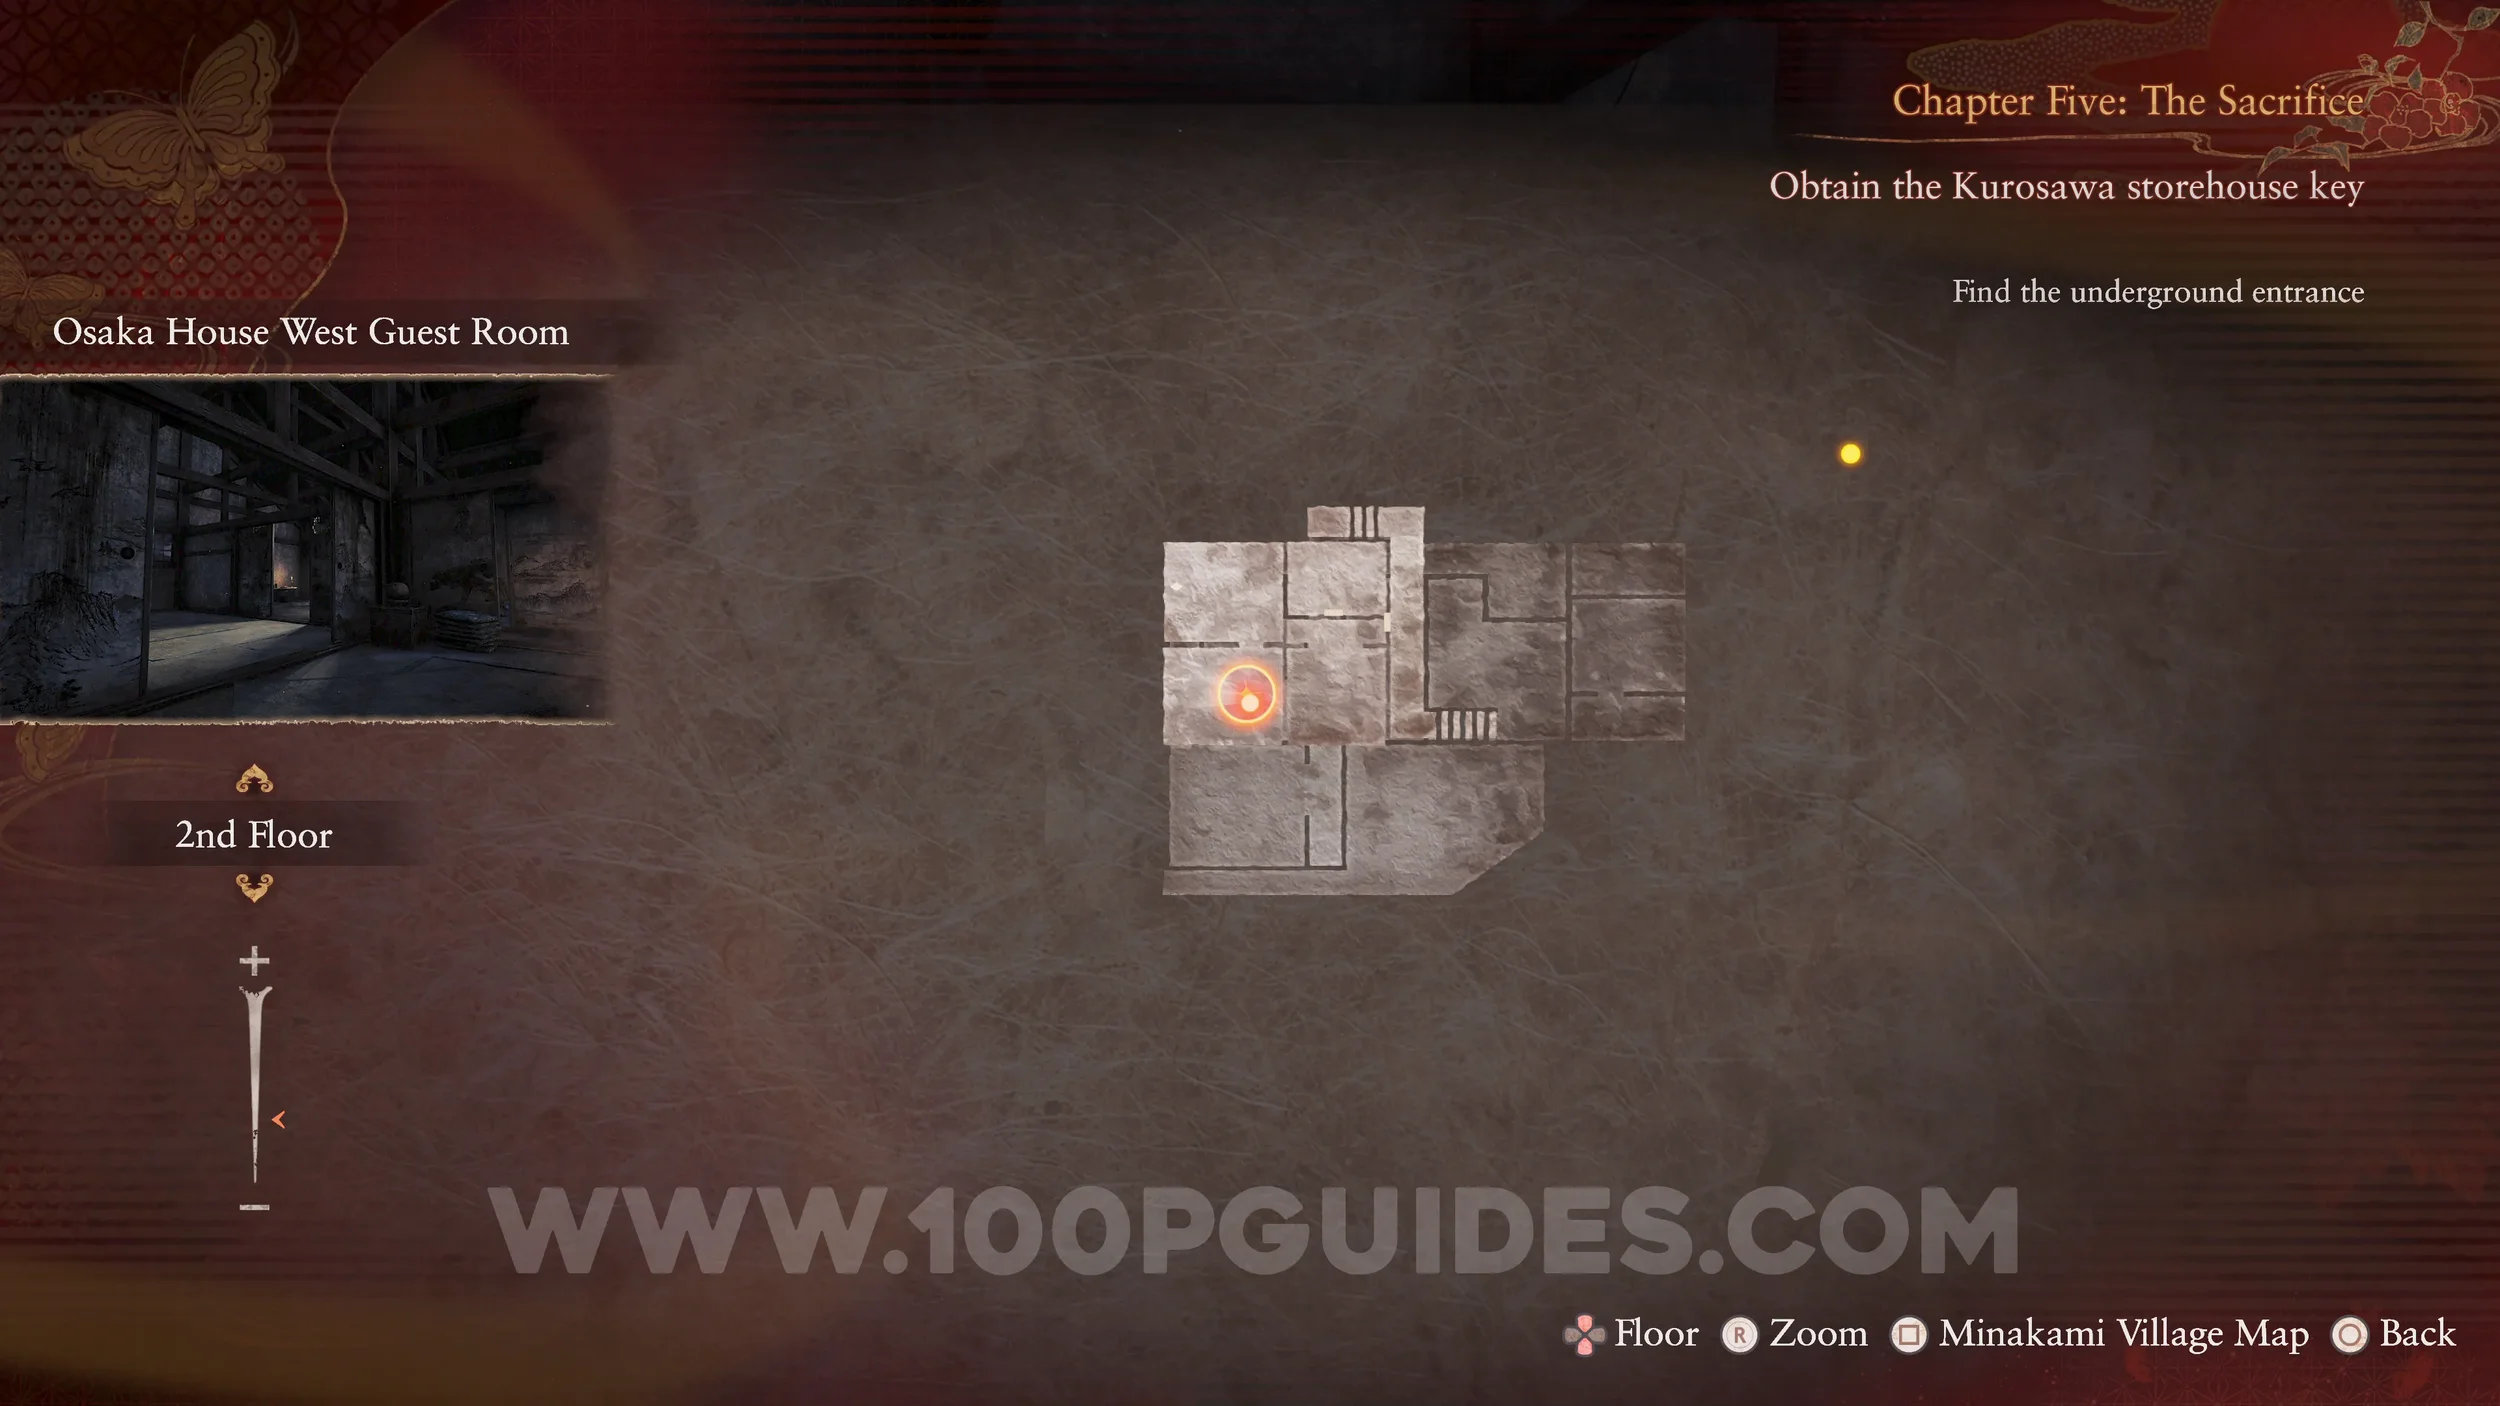
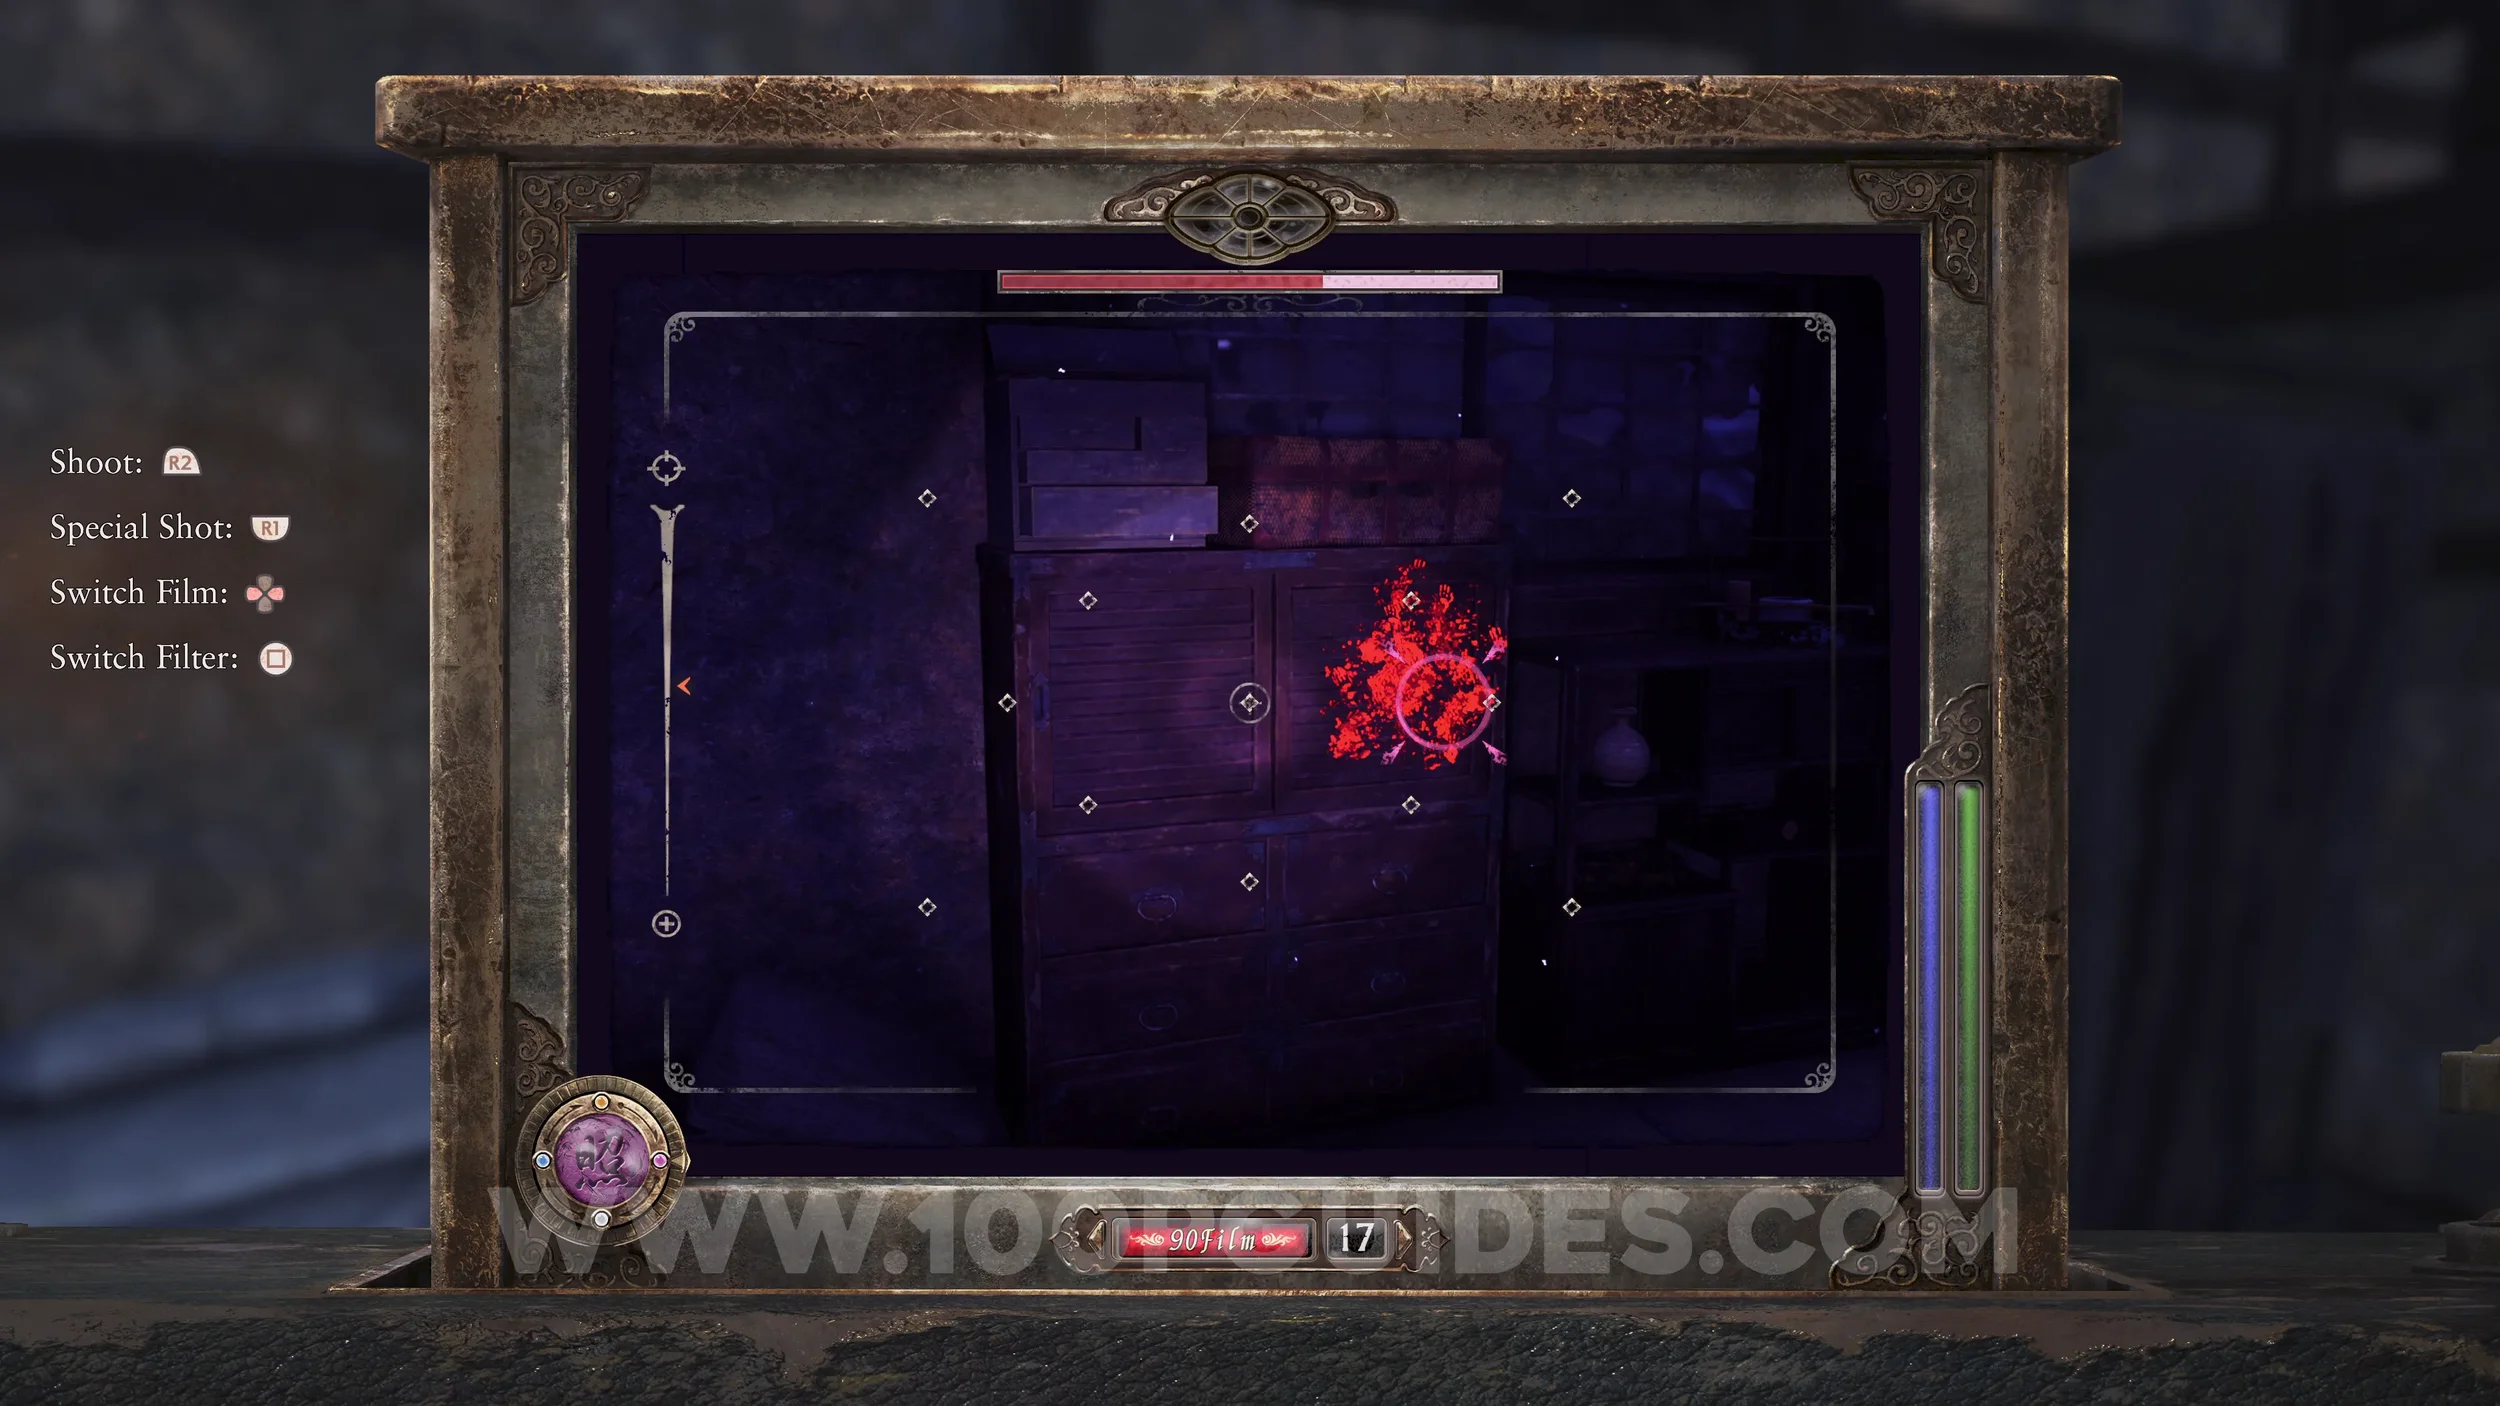
Unbinding of Blood #12 and Prayer Beads #31. Use the Radiant Filter on the cupboard in the West Guest Room.
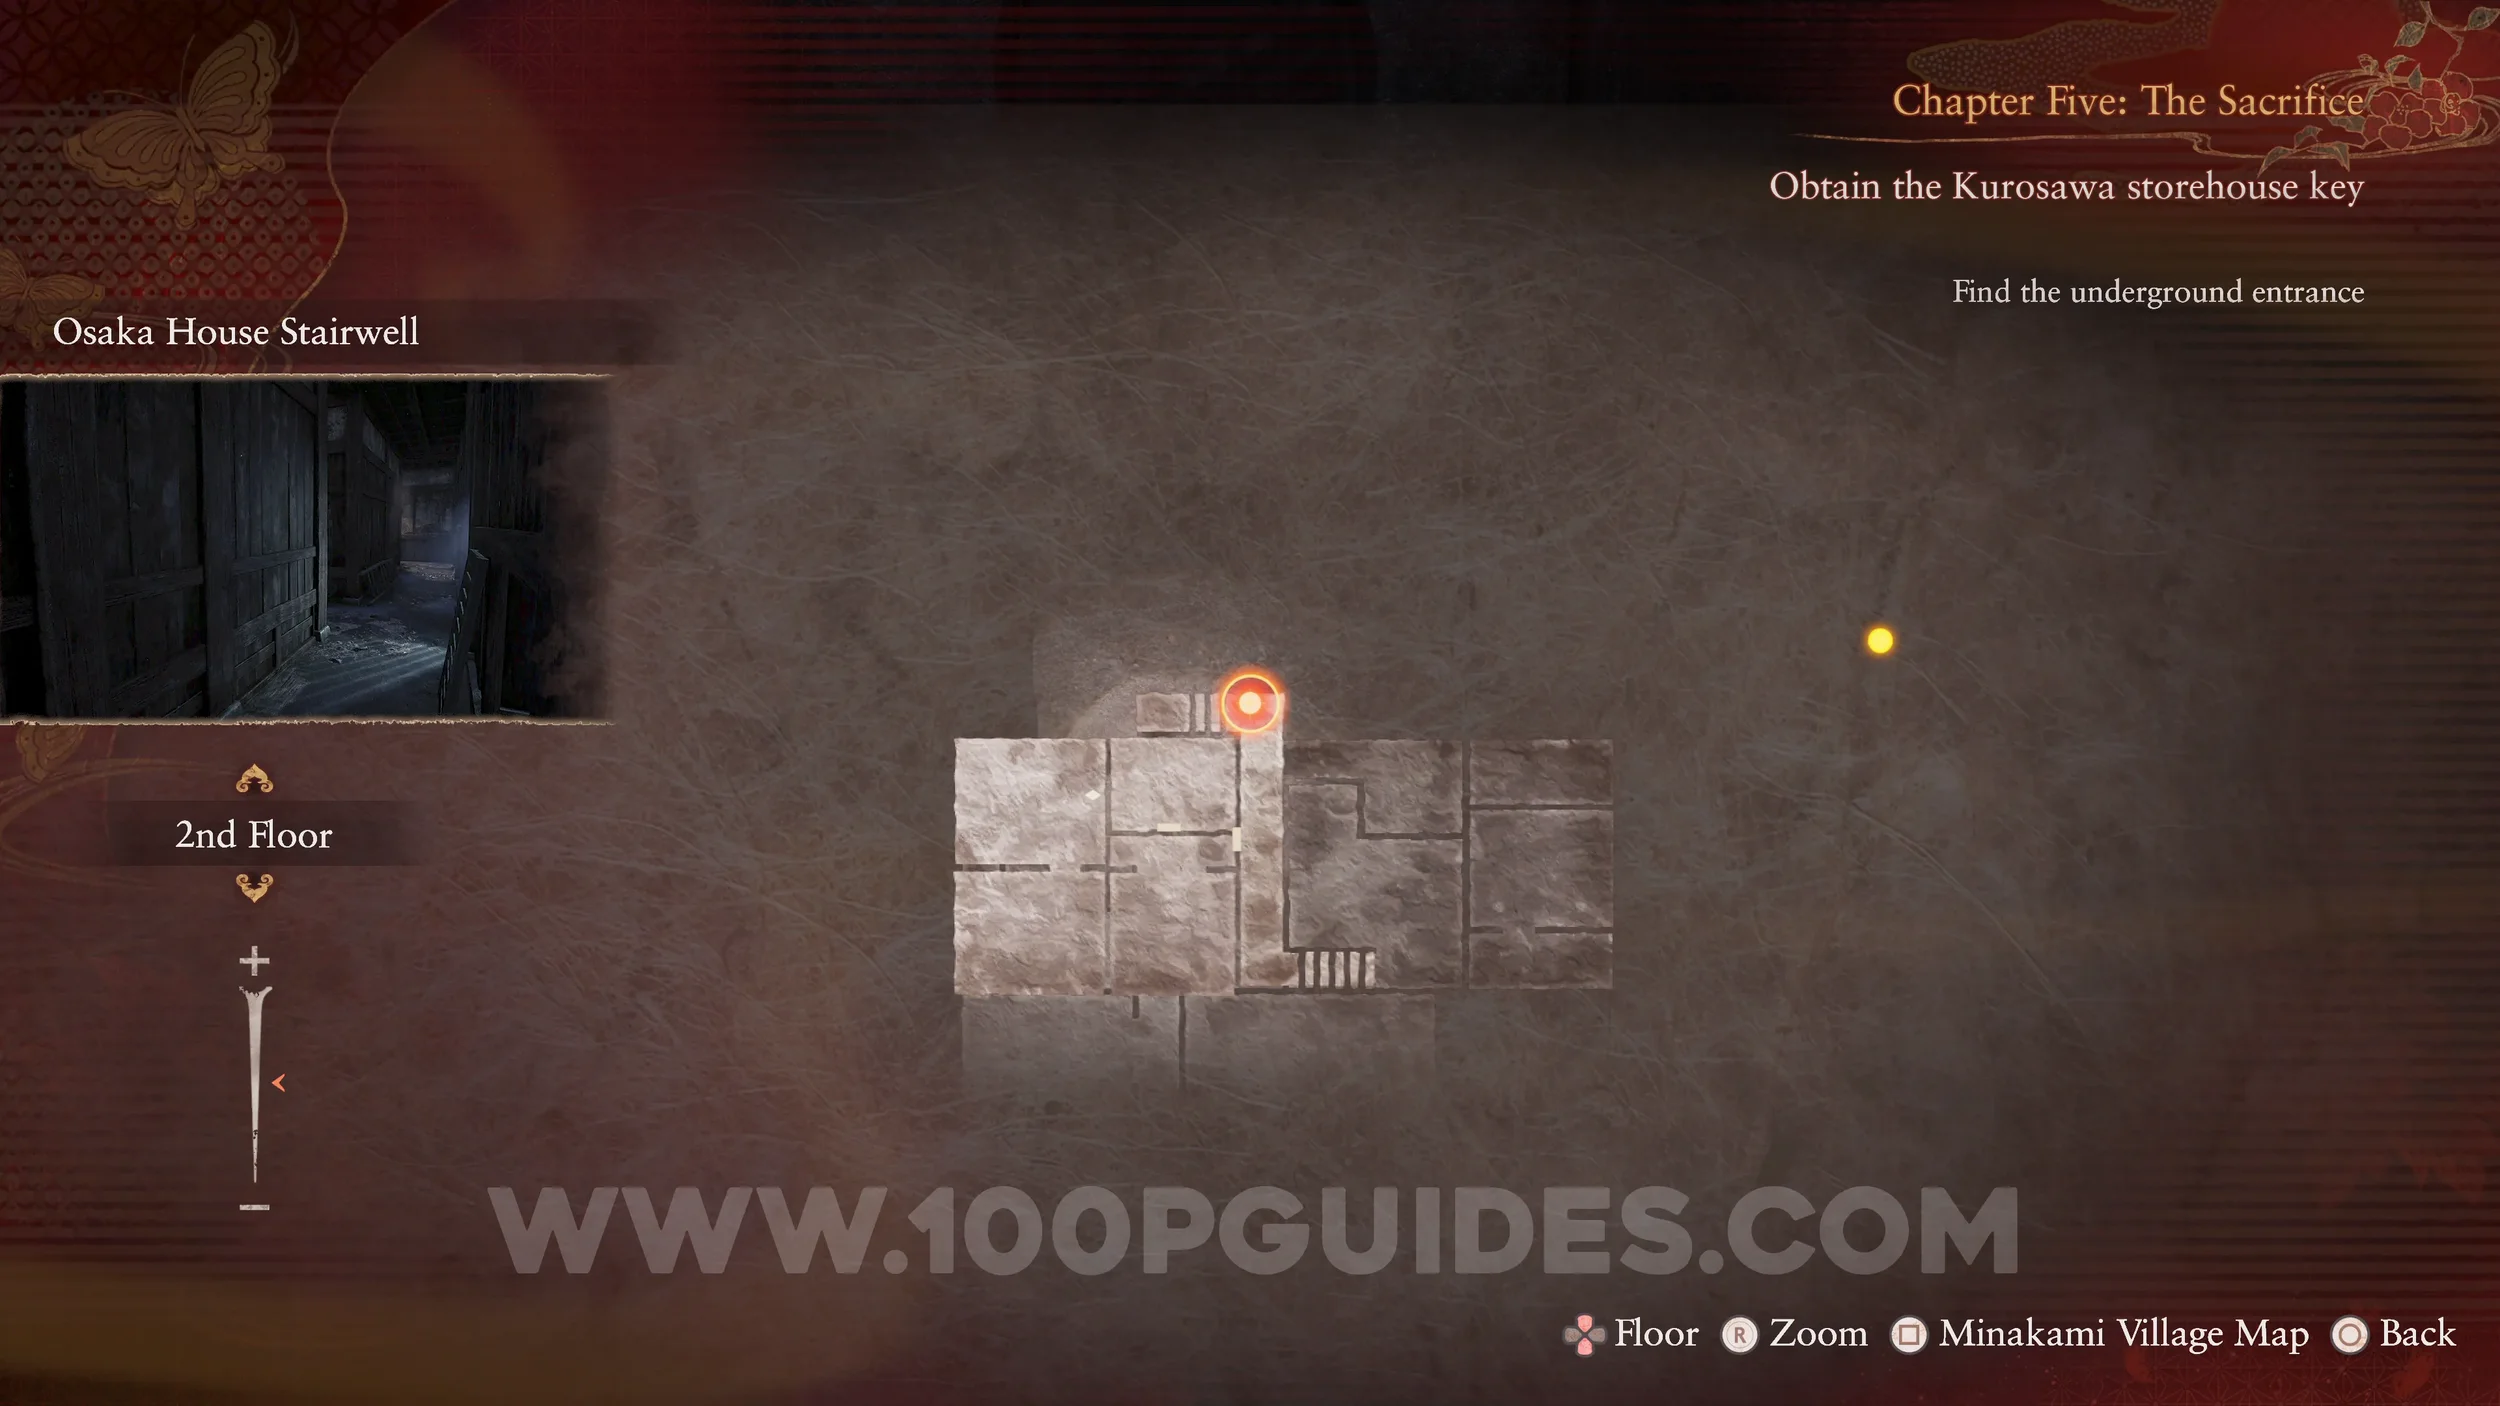
Phantom Expose #7 - Top of the Stairs and Wraith #13 - 016 The Frolicker. Exit to the hall and turn left. At the end, use the Exposure Filter and aim at the wall beneath the circular window. Go through the hole, then pass through another hole on the balcony. Here, the wraith will attack you.
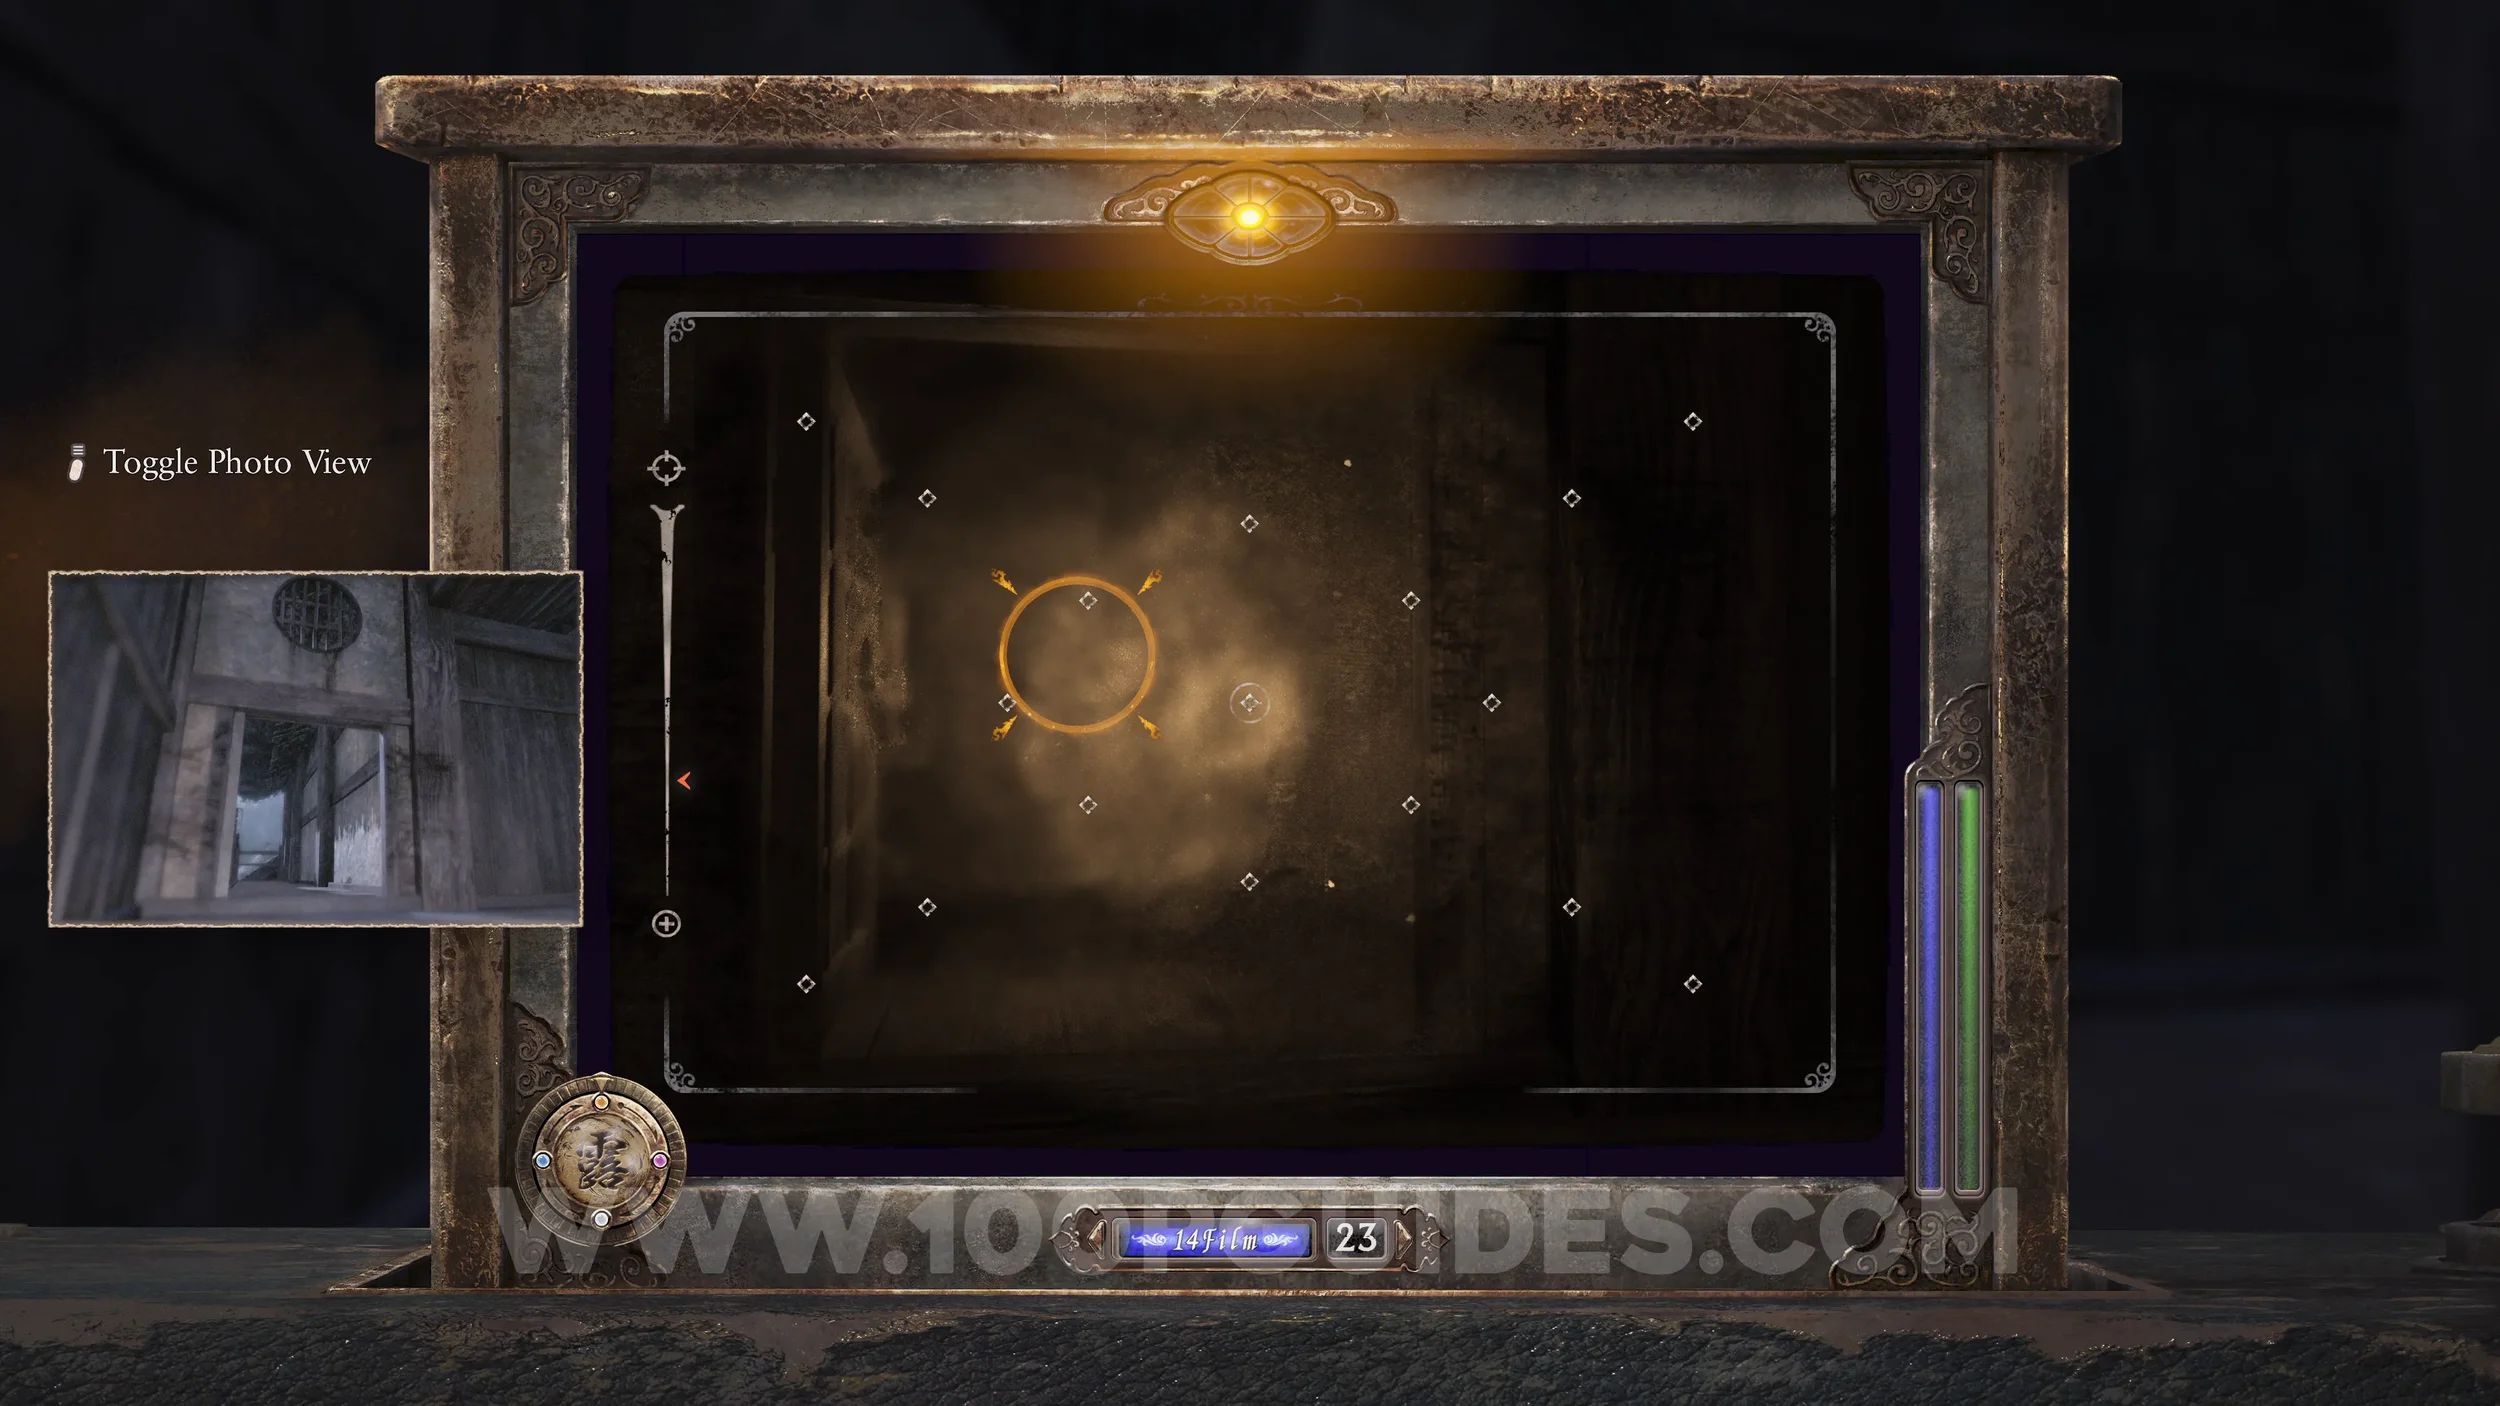
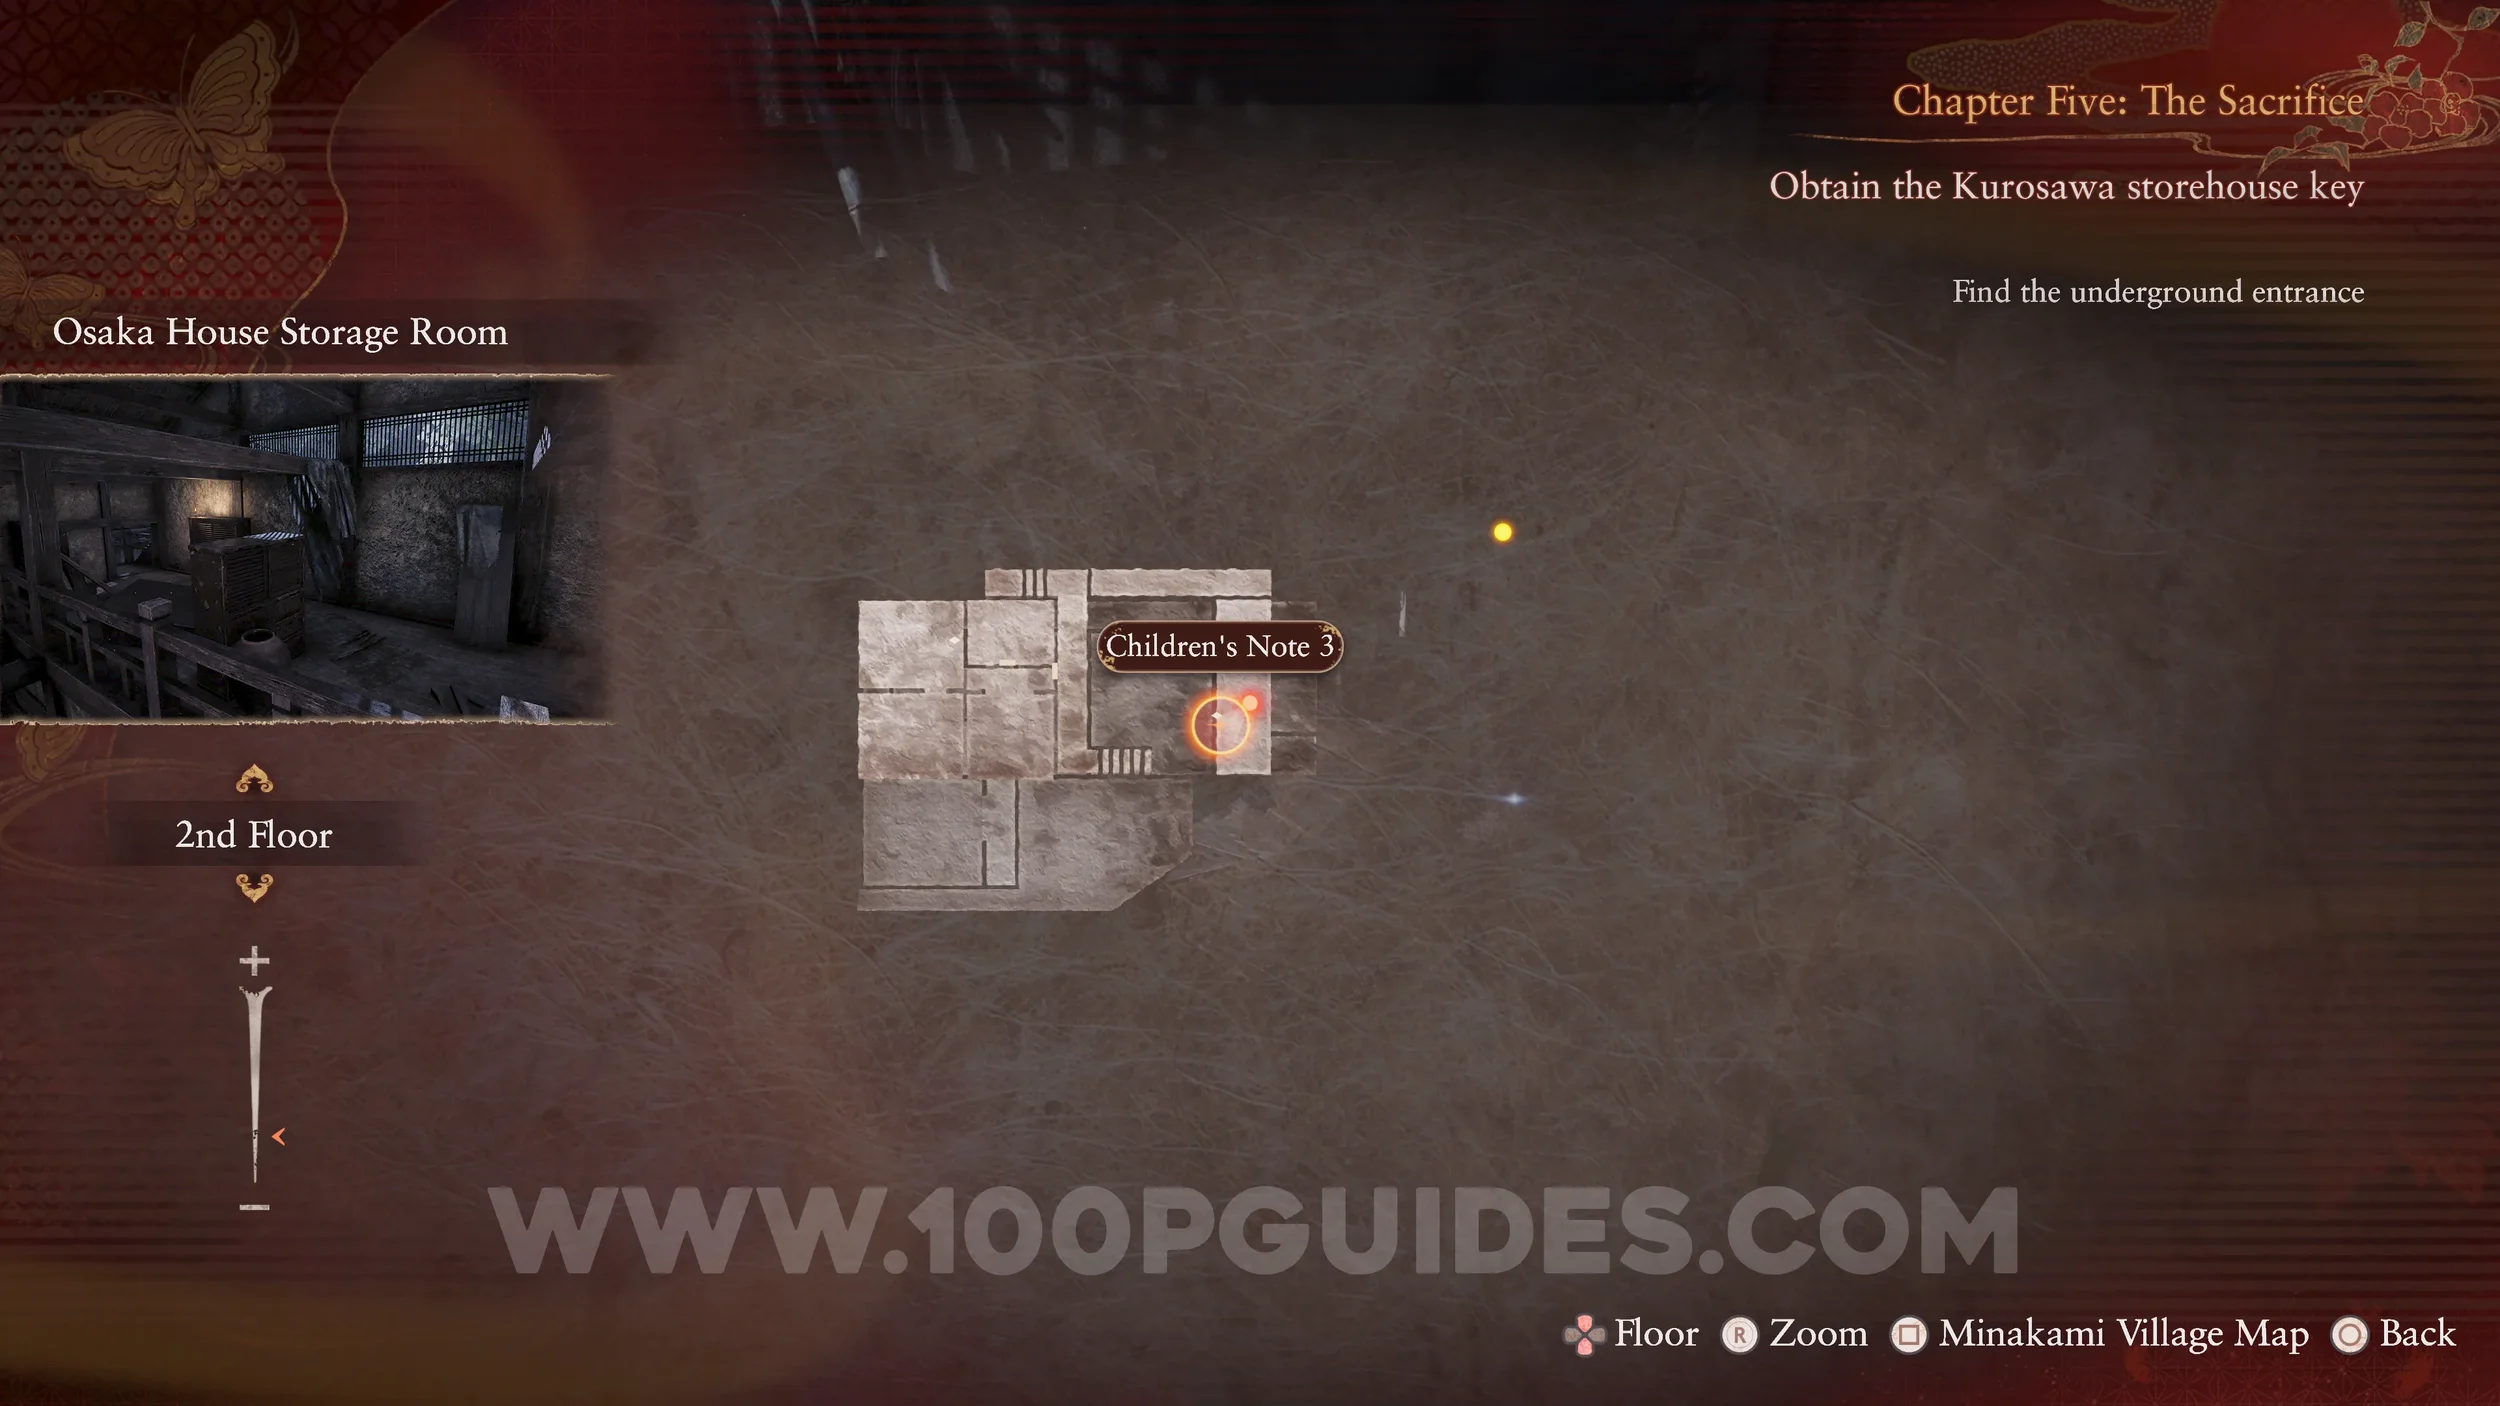
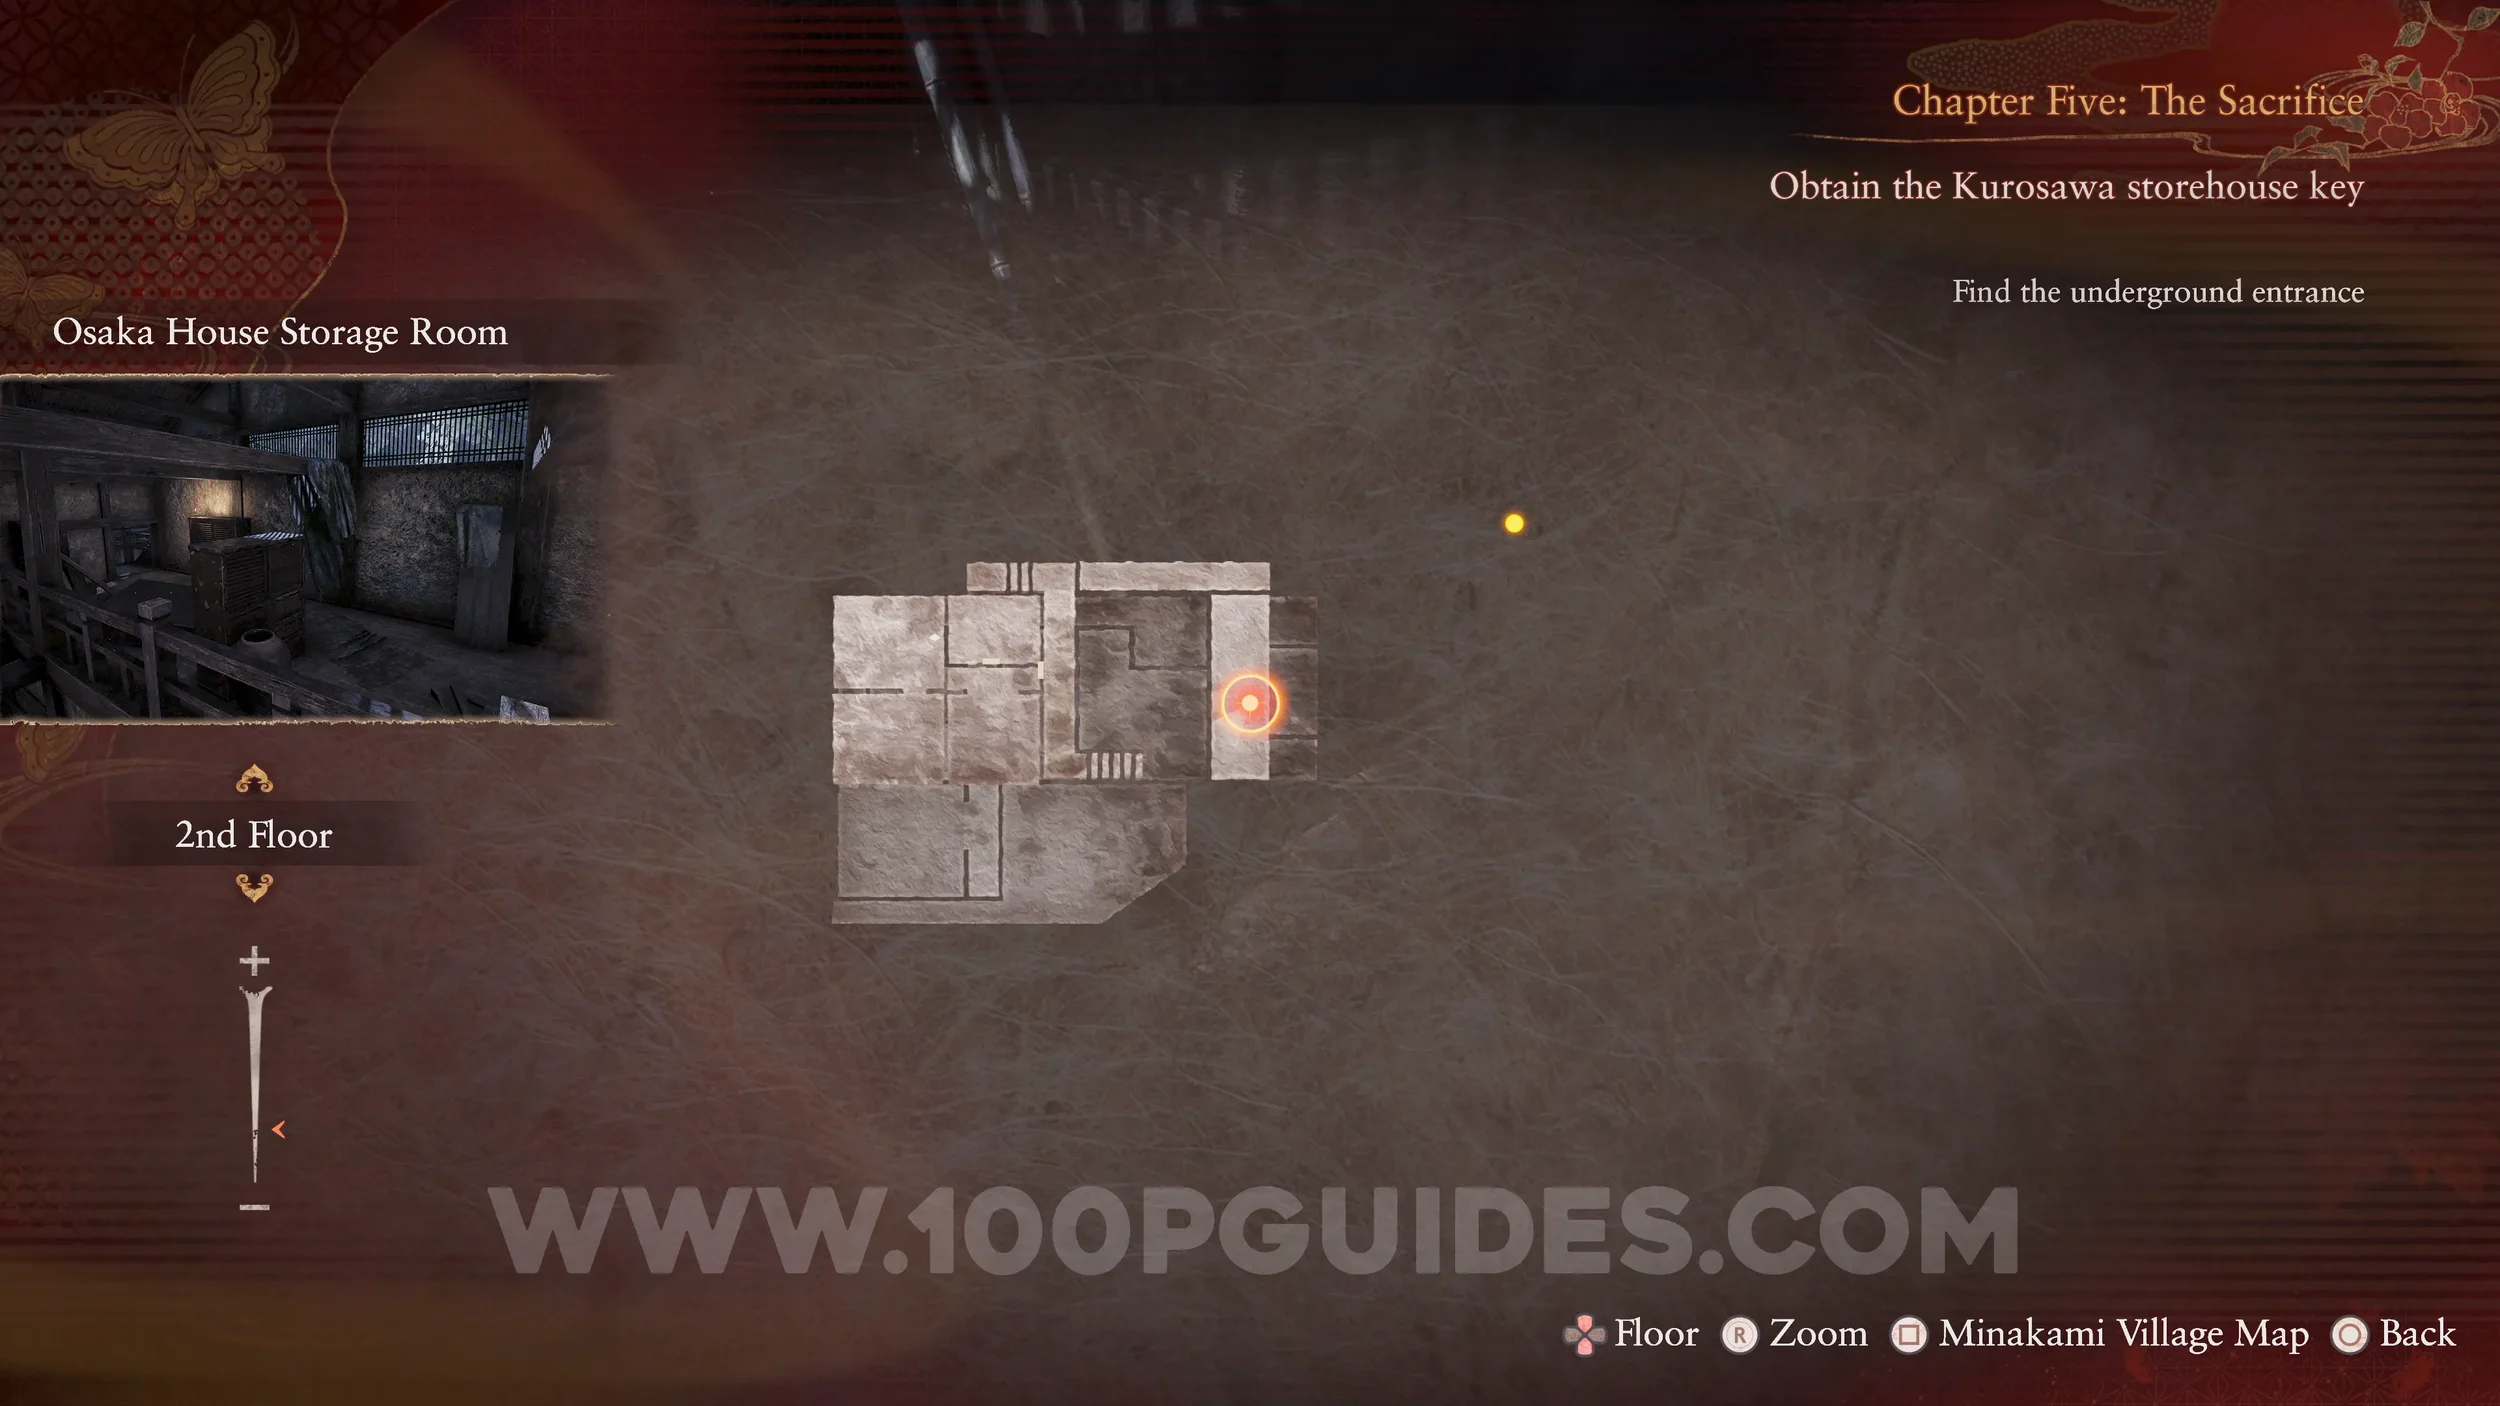
Document #55 - Children’s Note 3 and Spirit Stone #19 - Aragonite. On the floor in the same location where the previous wraith appeared.
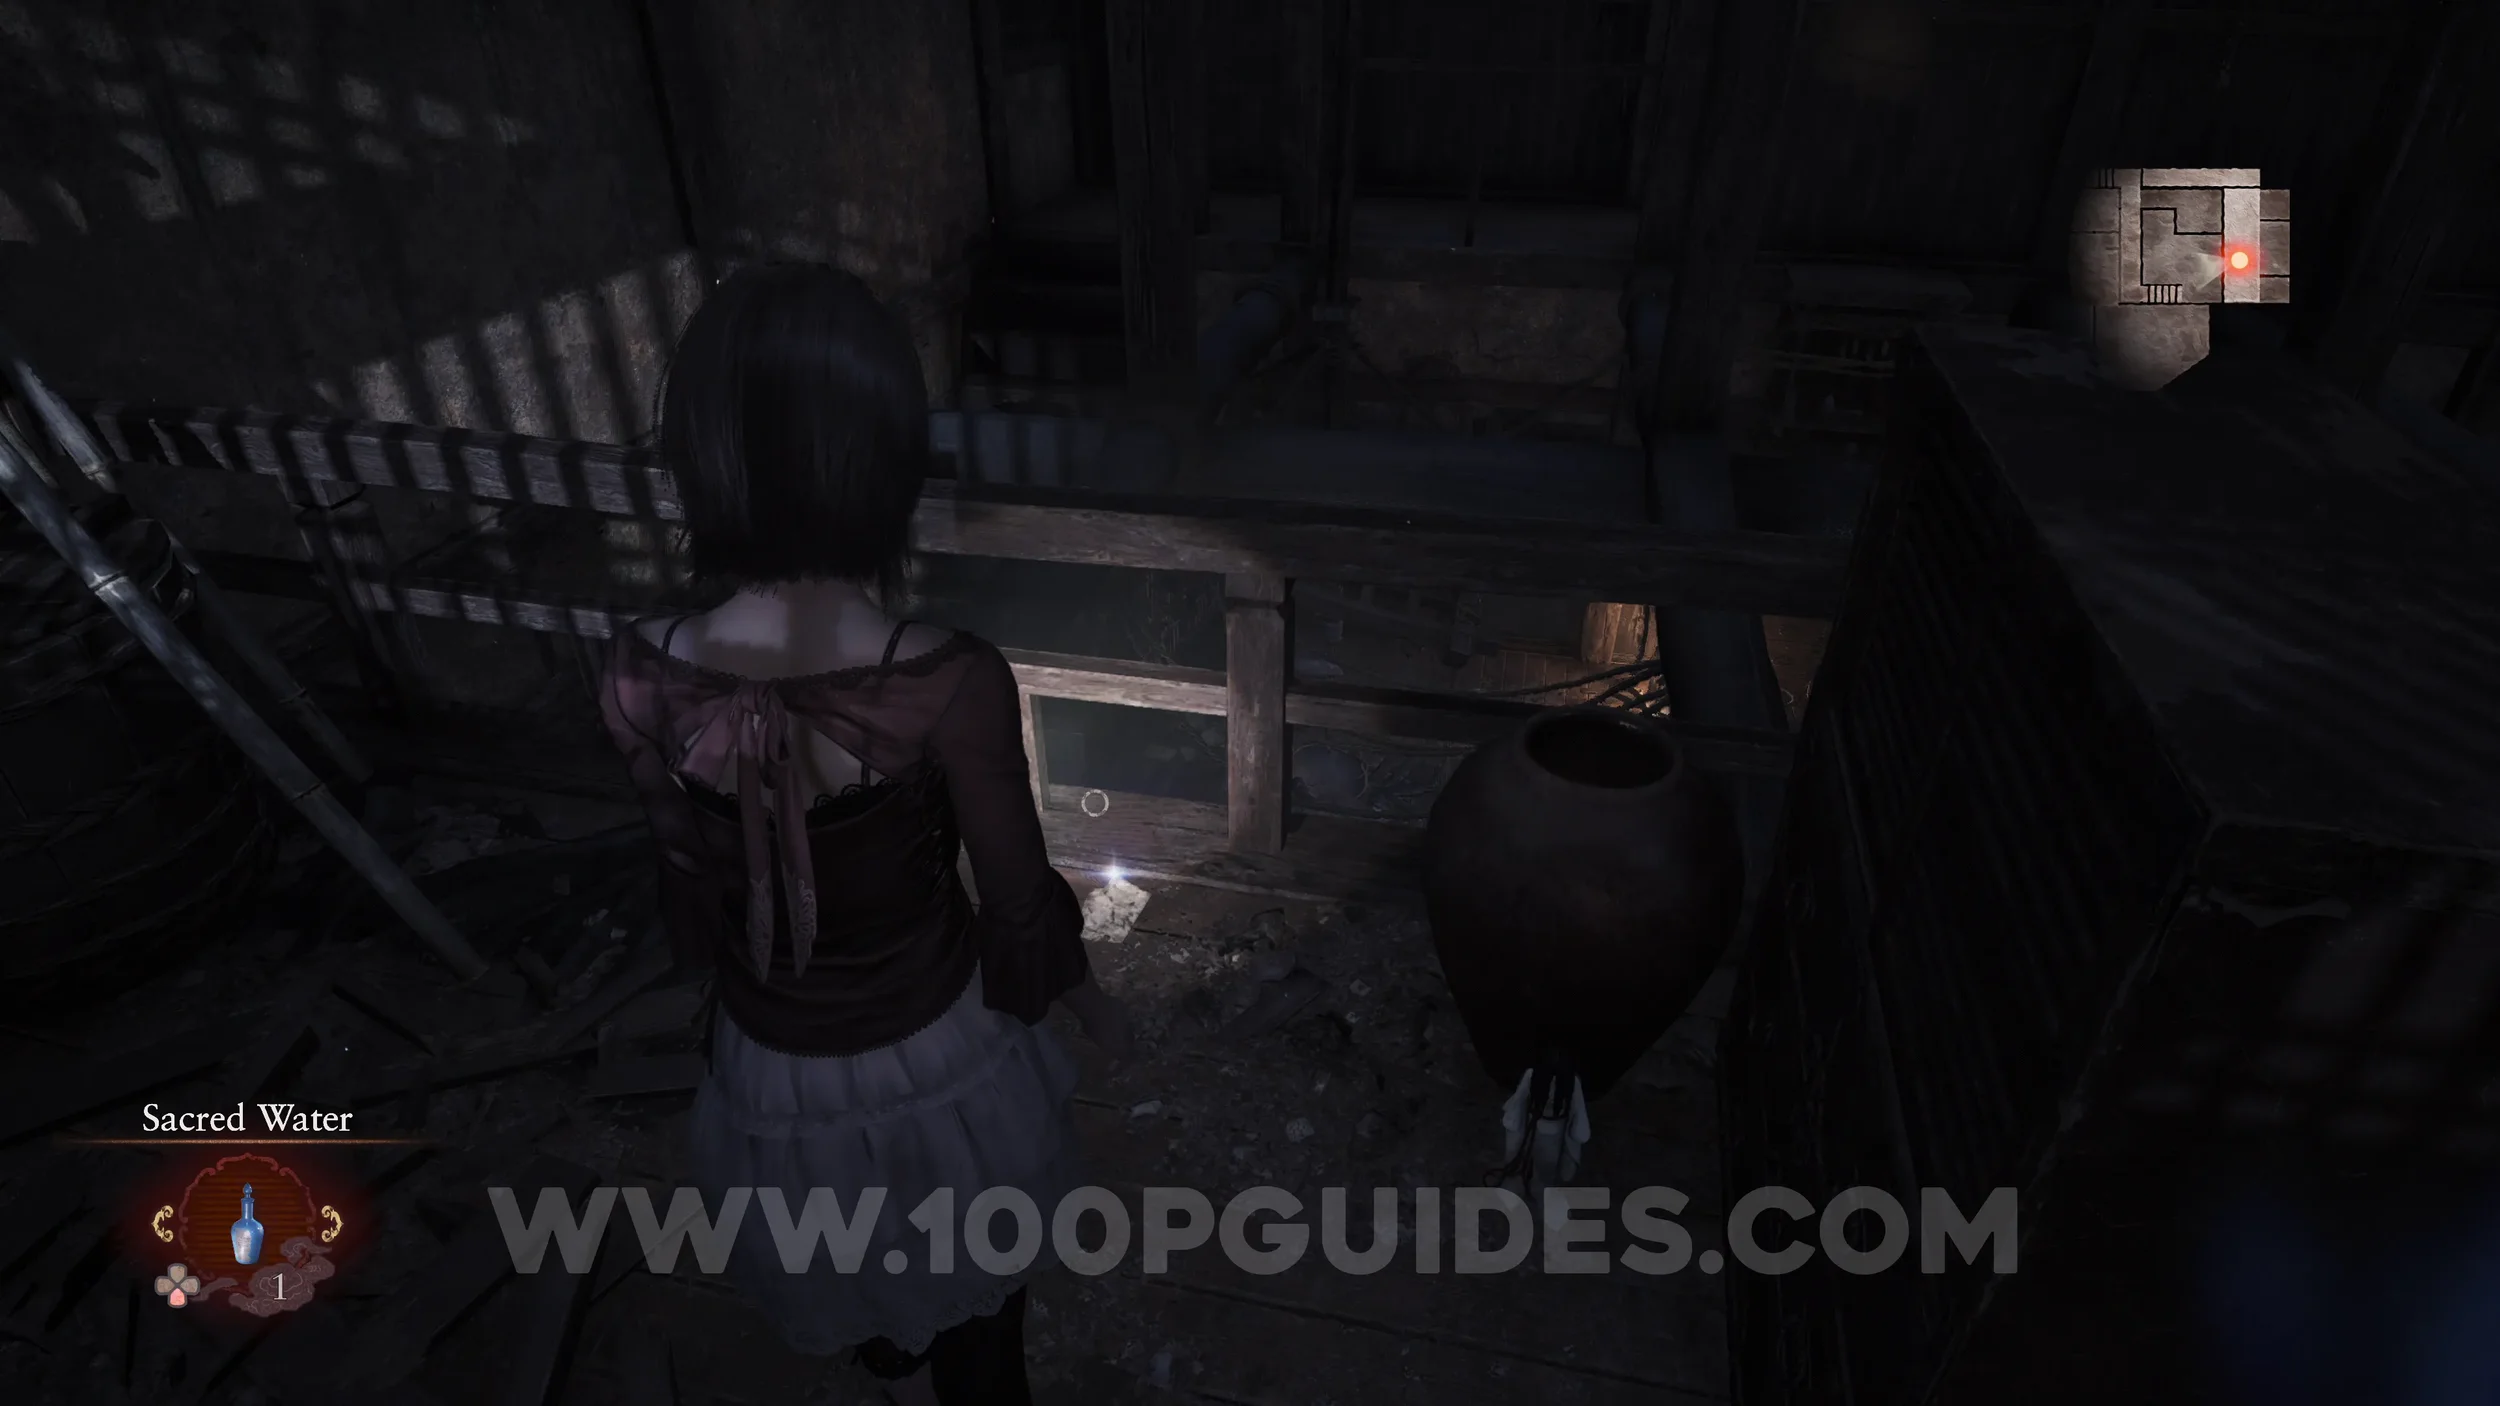
Twin Dolls #26 (18). In the same location as the previous collectibles. One will be next to the file, and the other will be on the wooden beam below.
Twin Dolls #27 (19). Return to the balcony and look through the camera while standing at the eastern end to spot the dolls on the roof.
Specter #88 - 181 Man Venturing Onward. Now head down the northern stairs, then quickly go to the hall to the west to see the specter walking down it.
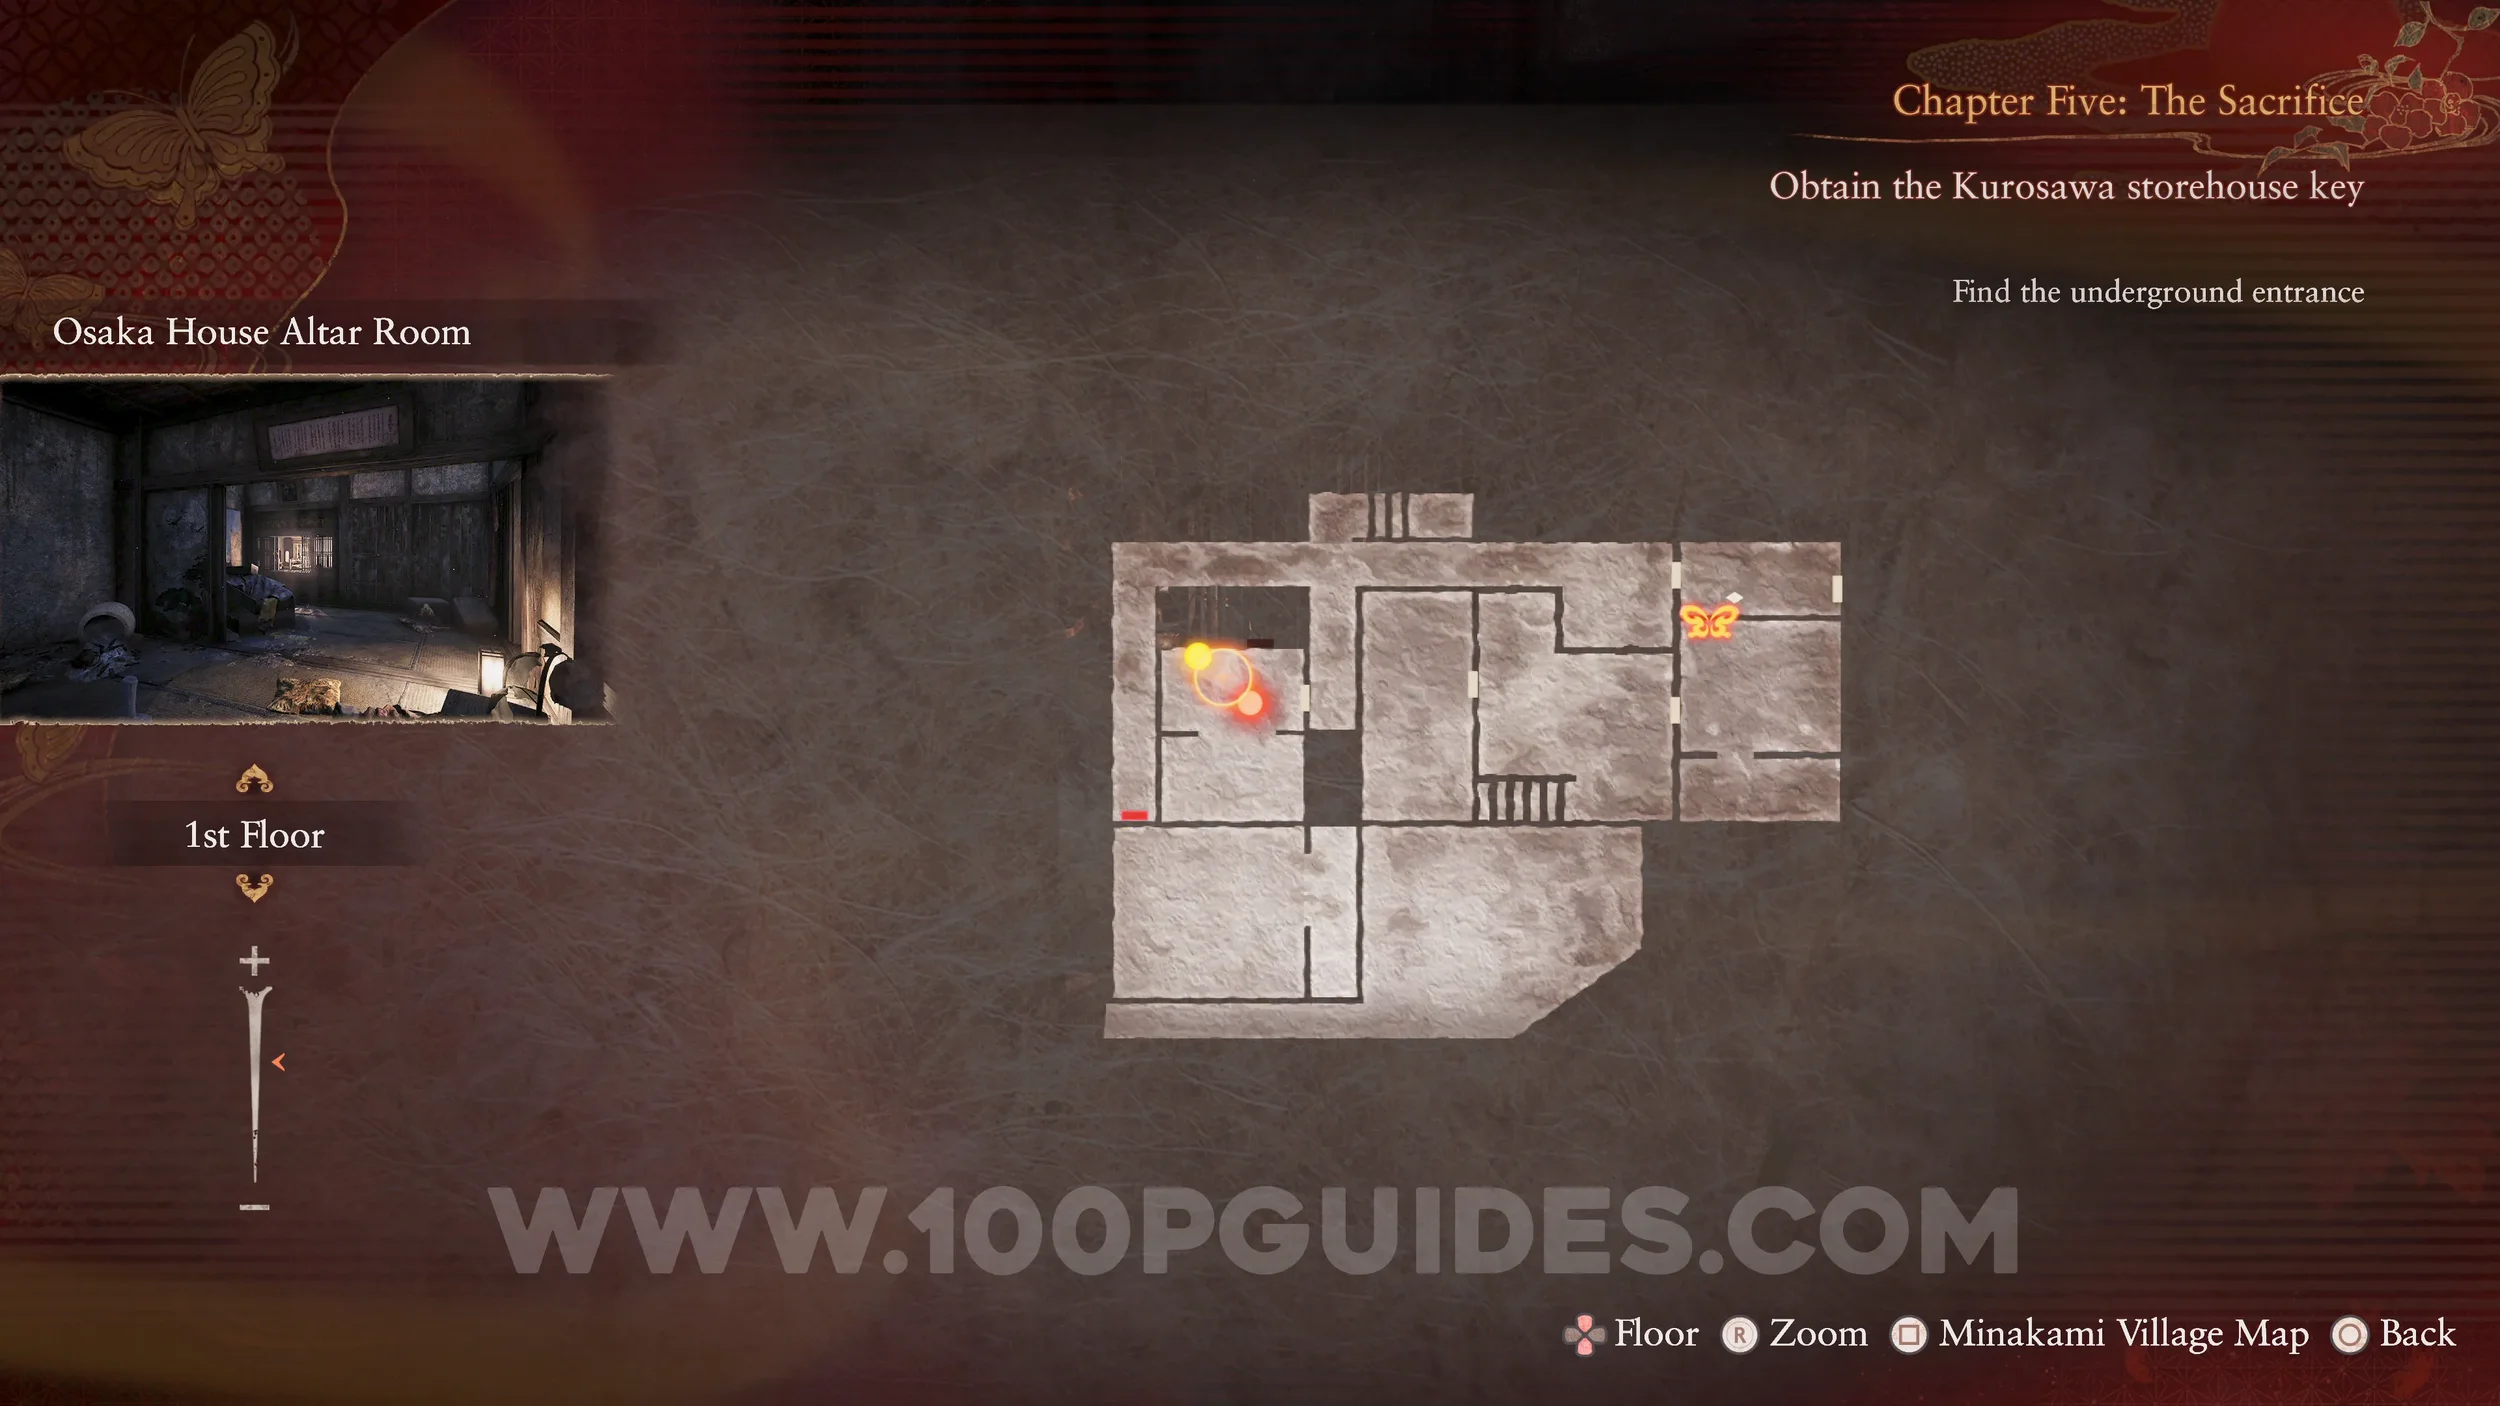
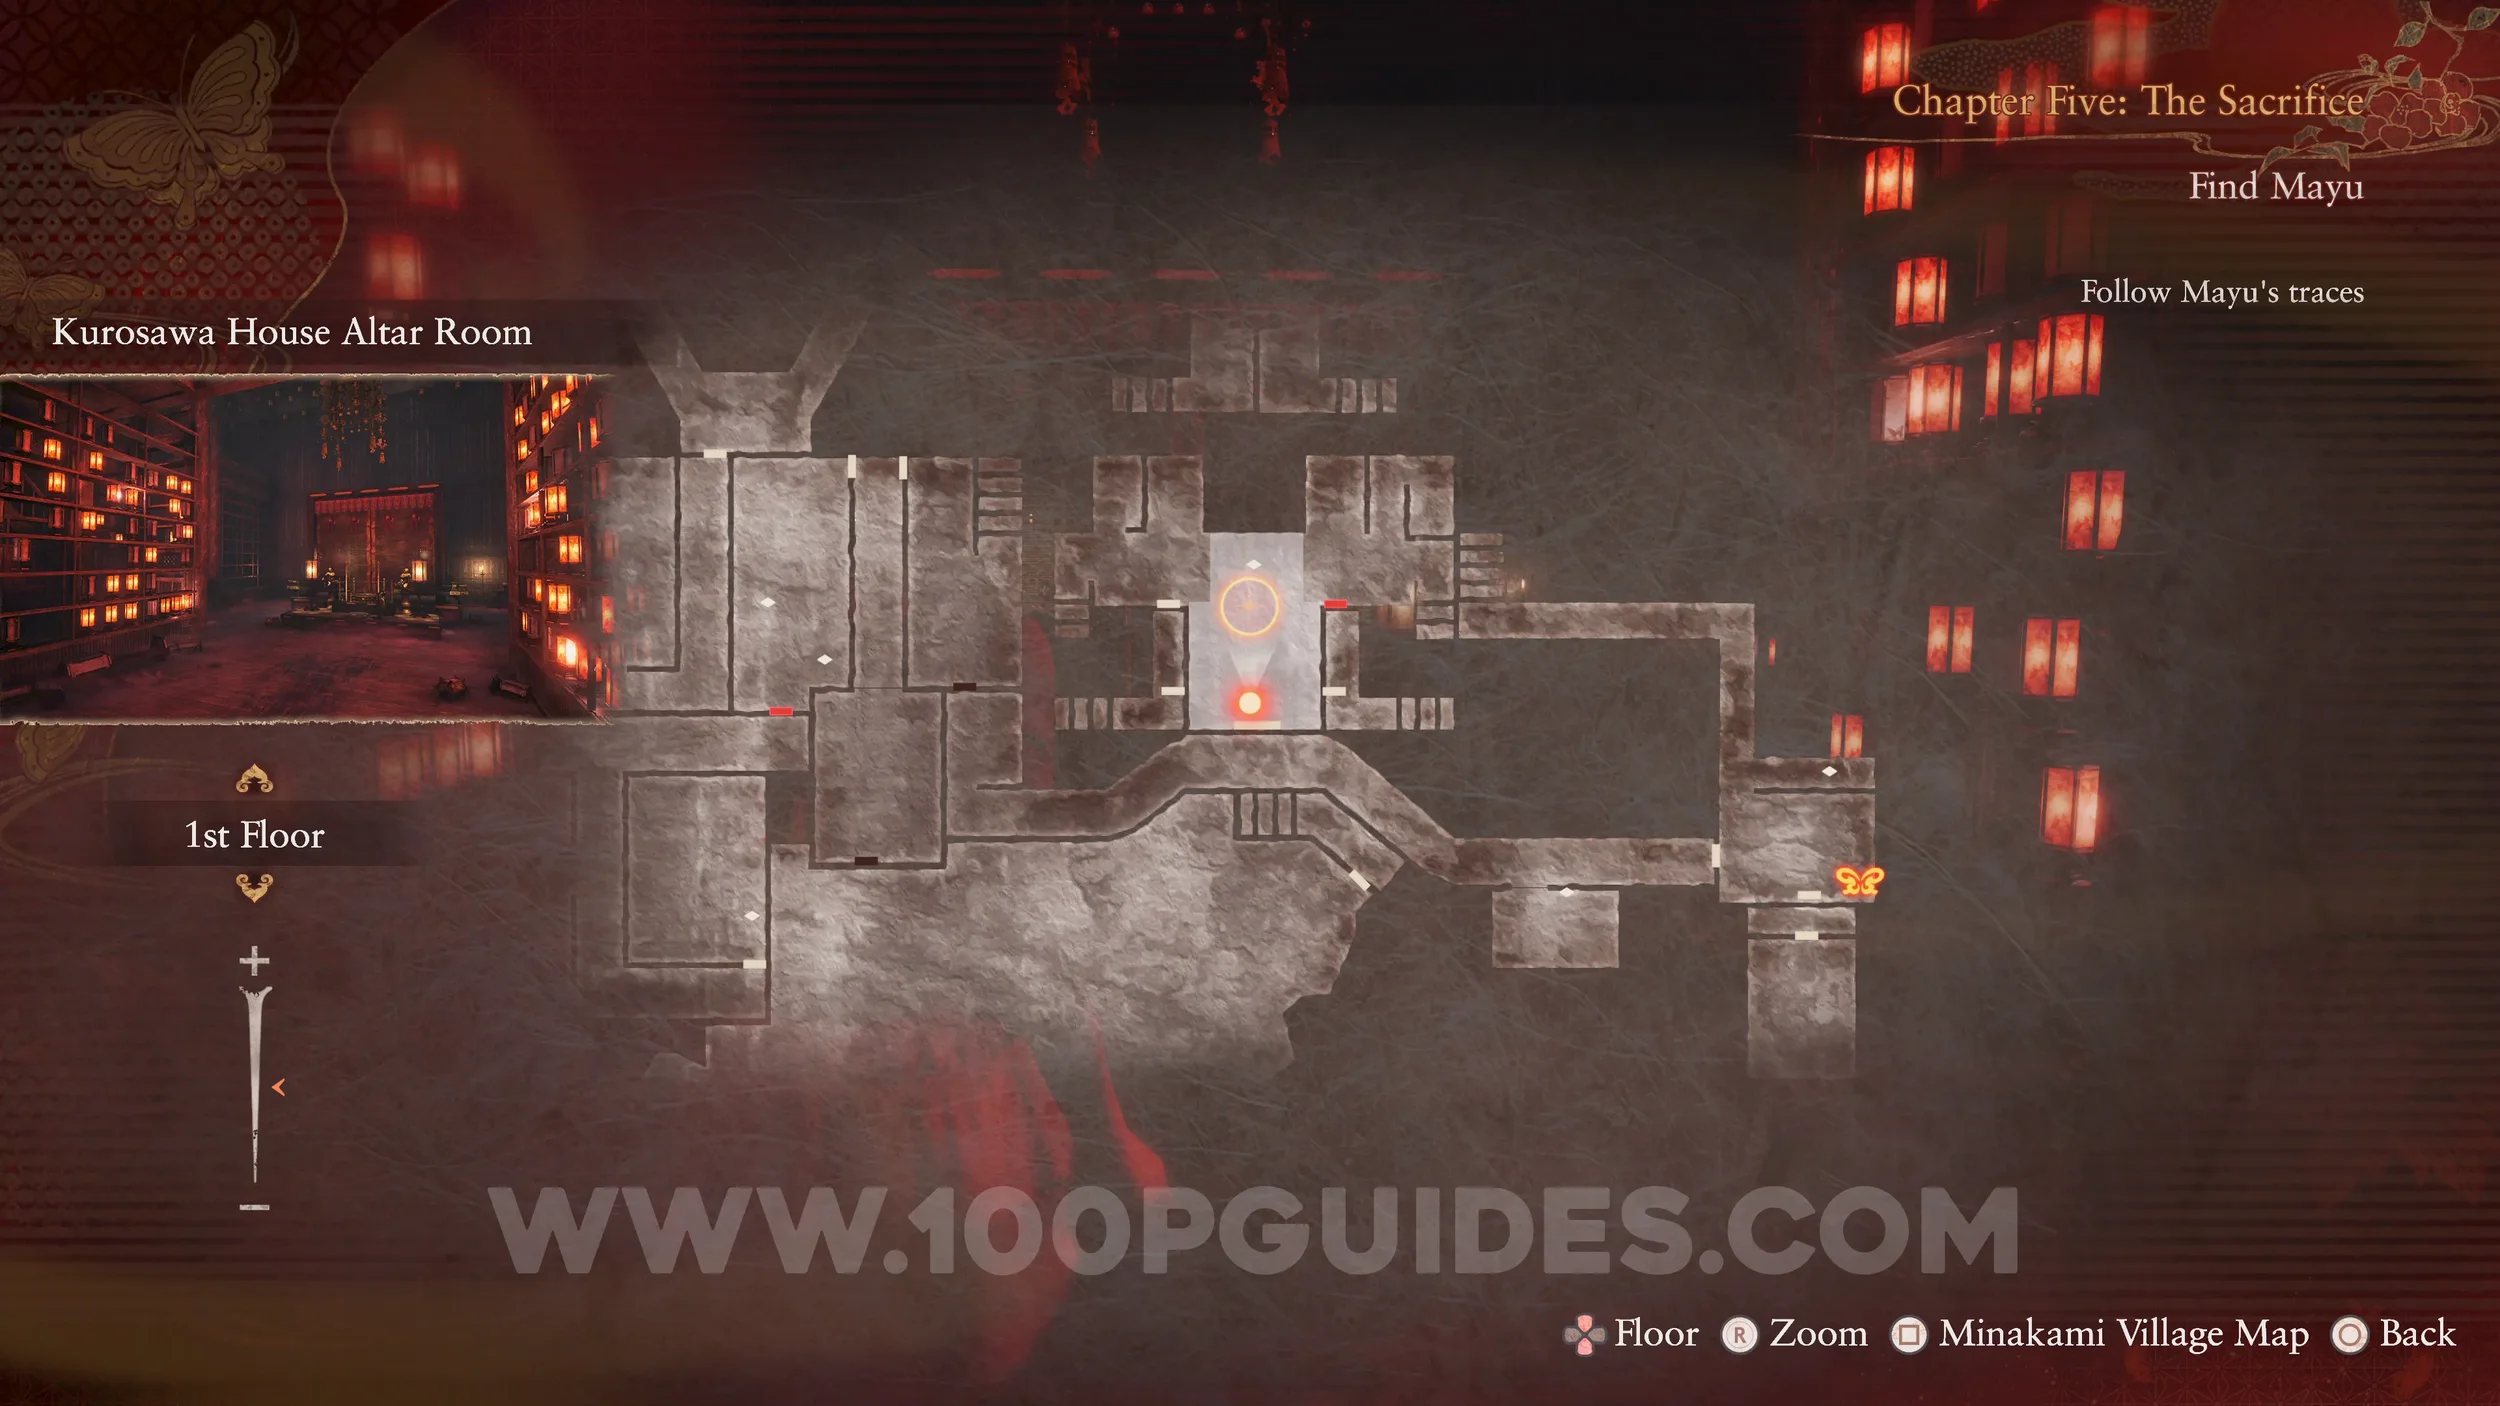
Specter #89 - 063 Searching Man, Specter #90 - 182 Strangled Woman, Specter #91 - 183 Strangler and Specter #92 - 184 Reunited Lovers. Head into the Altar Room as part of the main objective. Look to the right to see the Searching Man specter, then quickly look to the left near the broken door to spot the other two specters. Make sure both are in the photo to register the first.
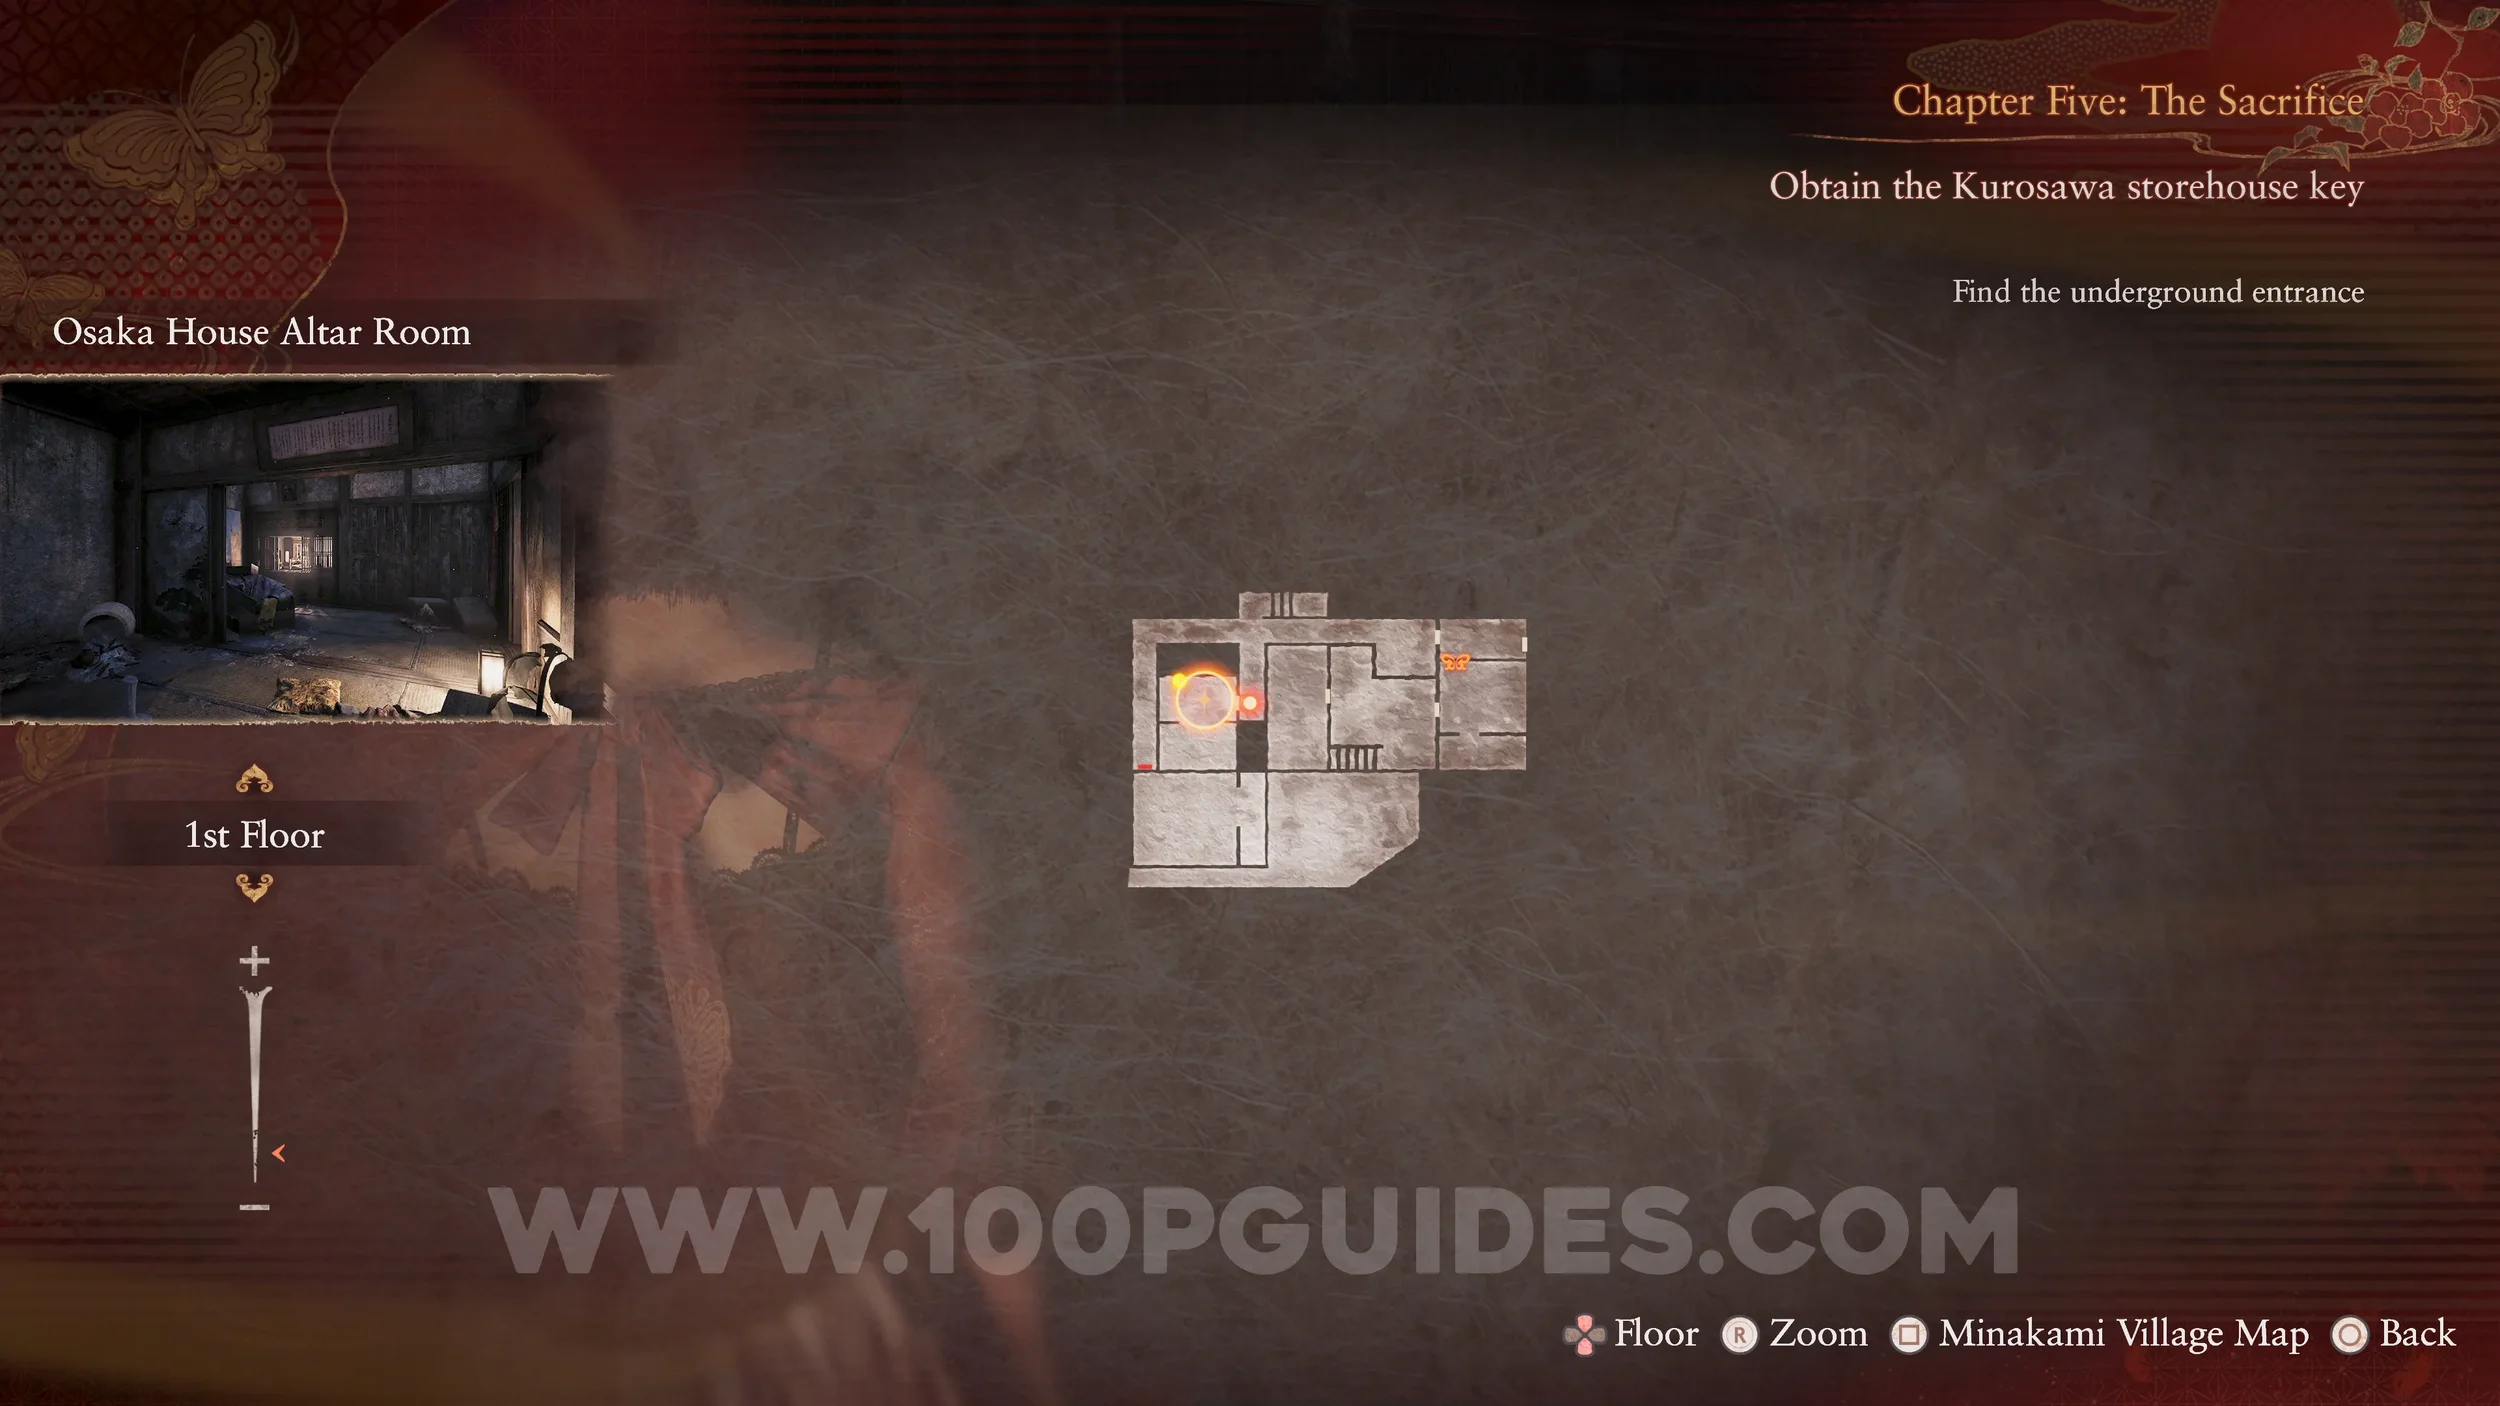
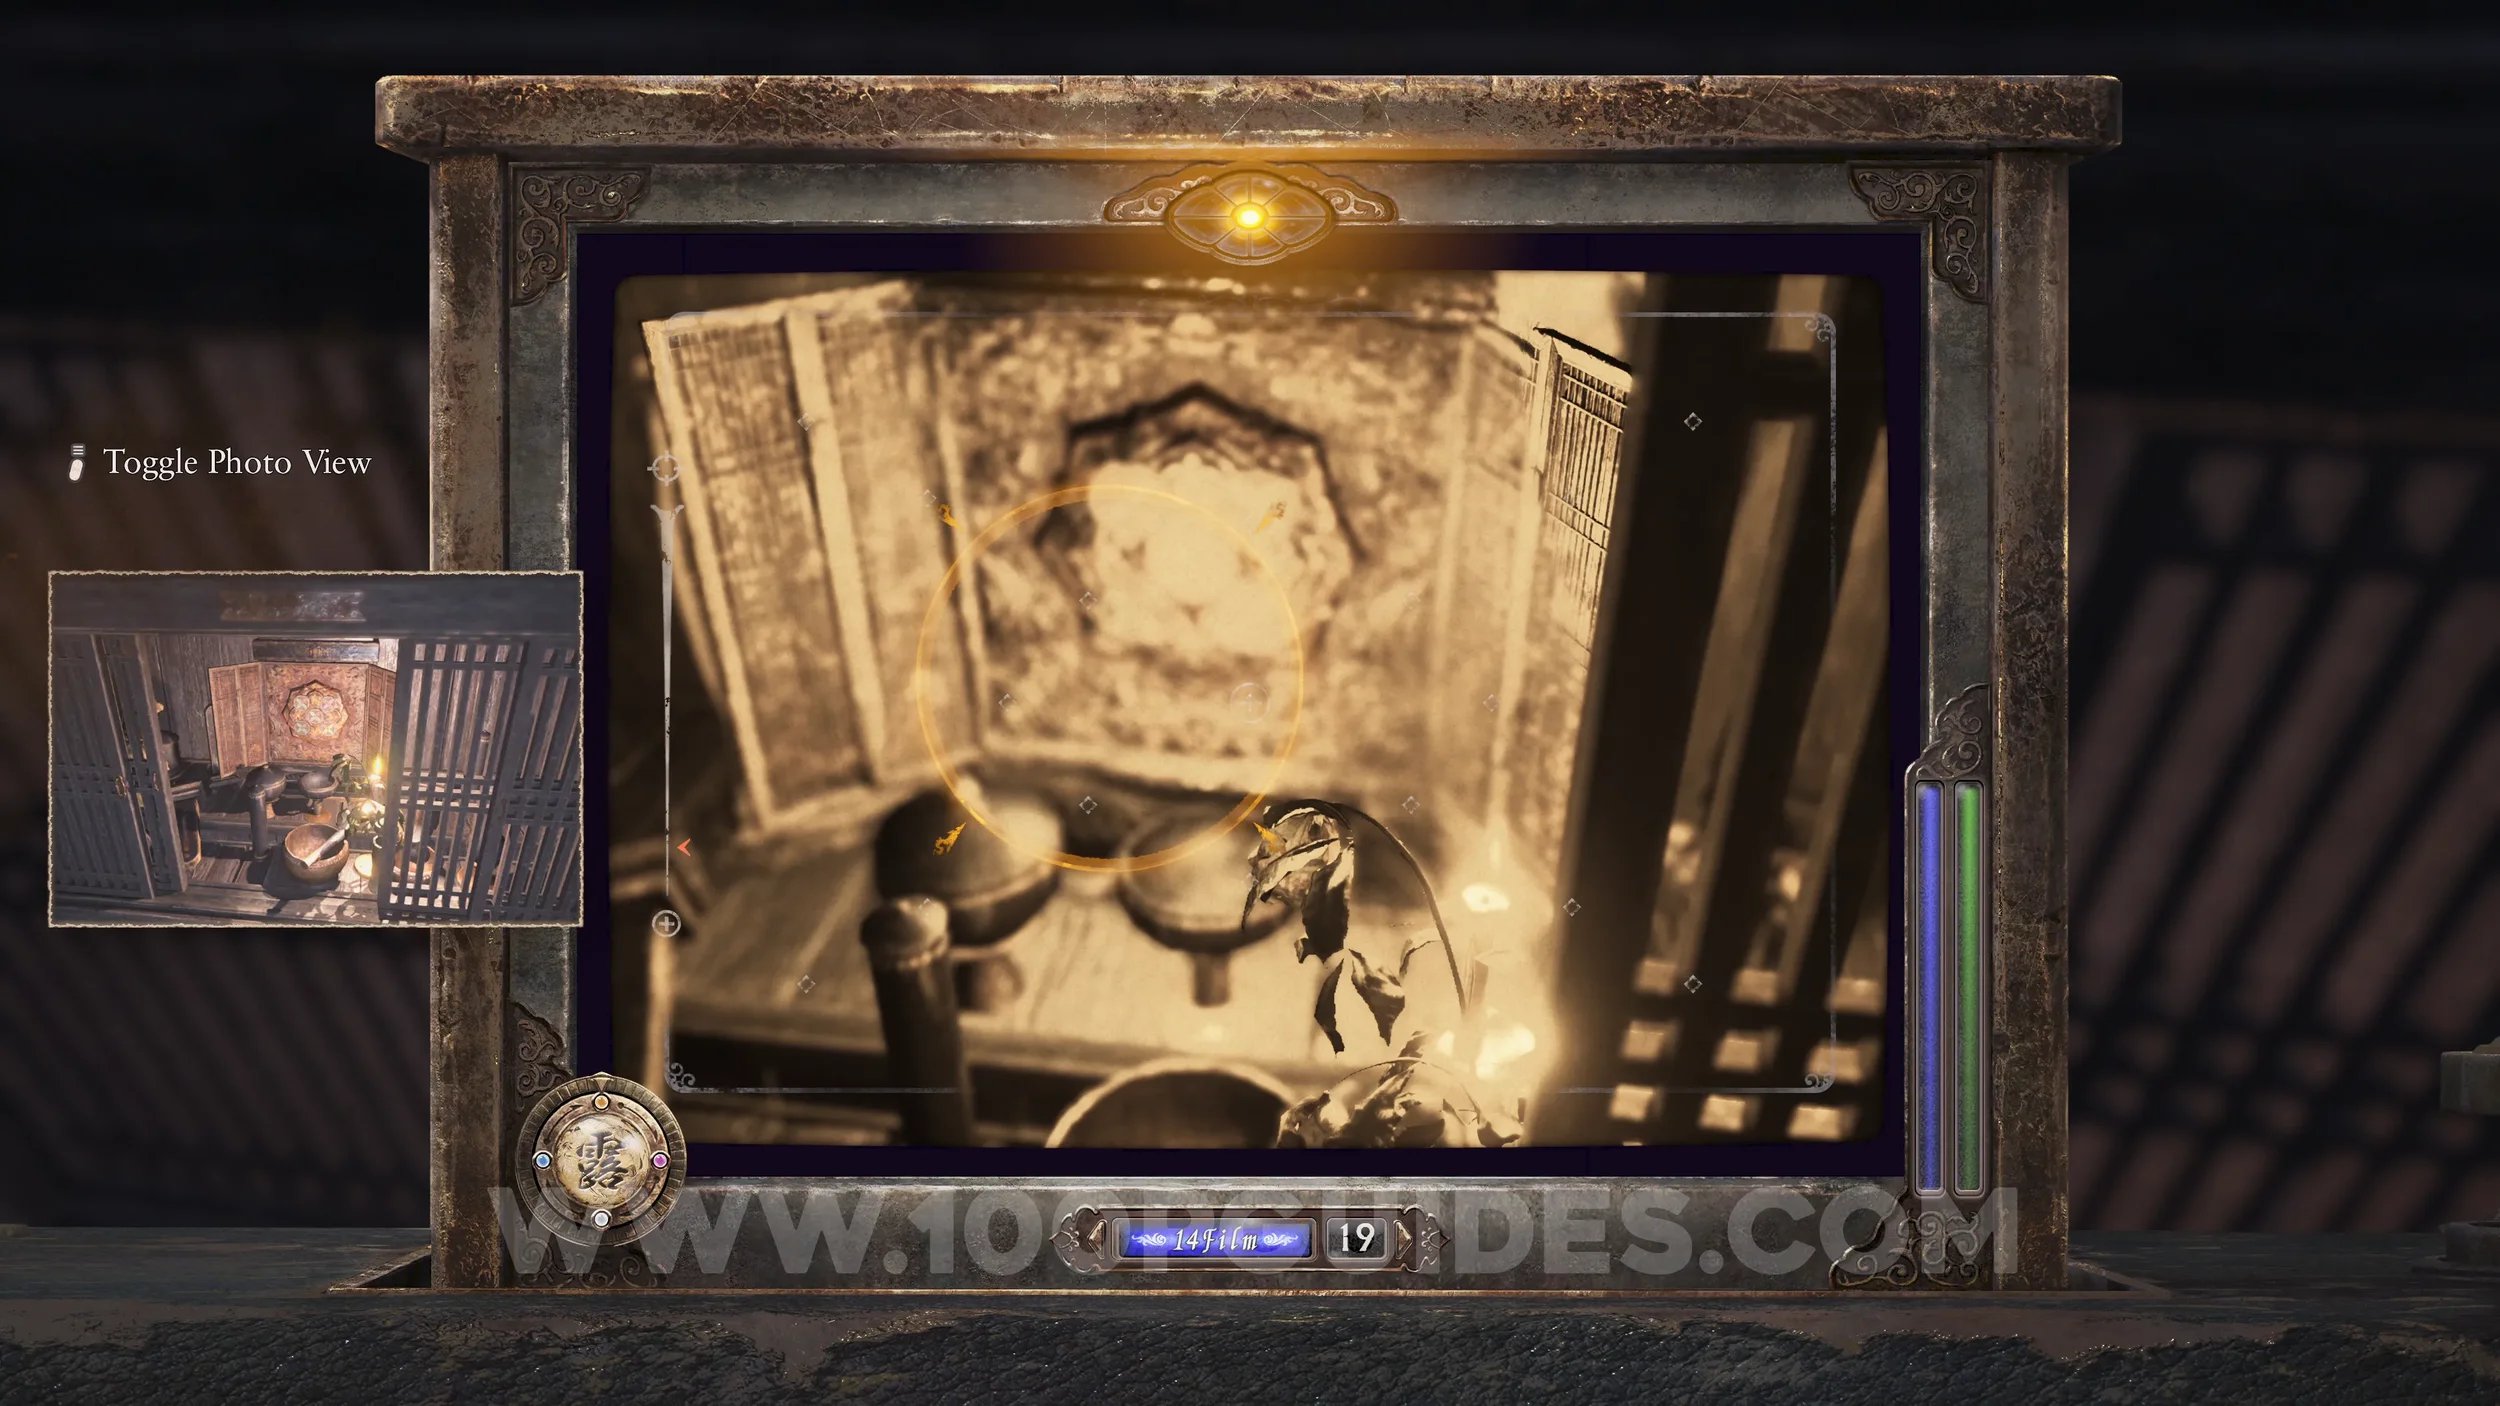
Phantom Expose #8 - Altar Room. Take a photo of the altar in the Altar Room using the Exposure Filter.
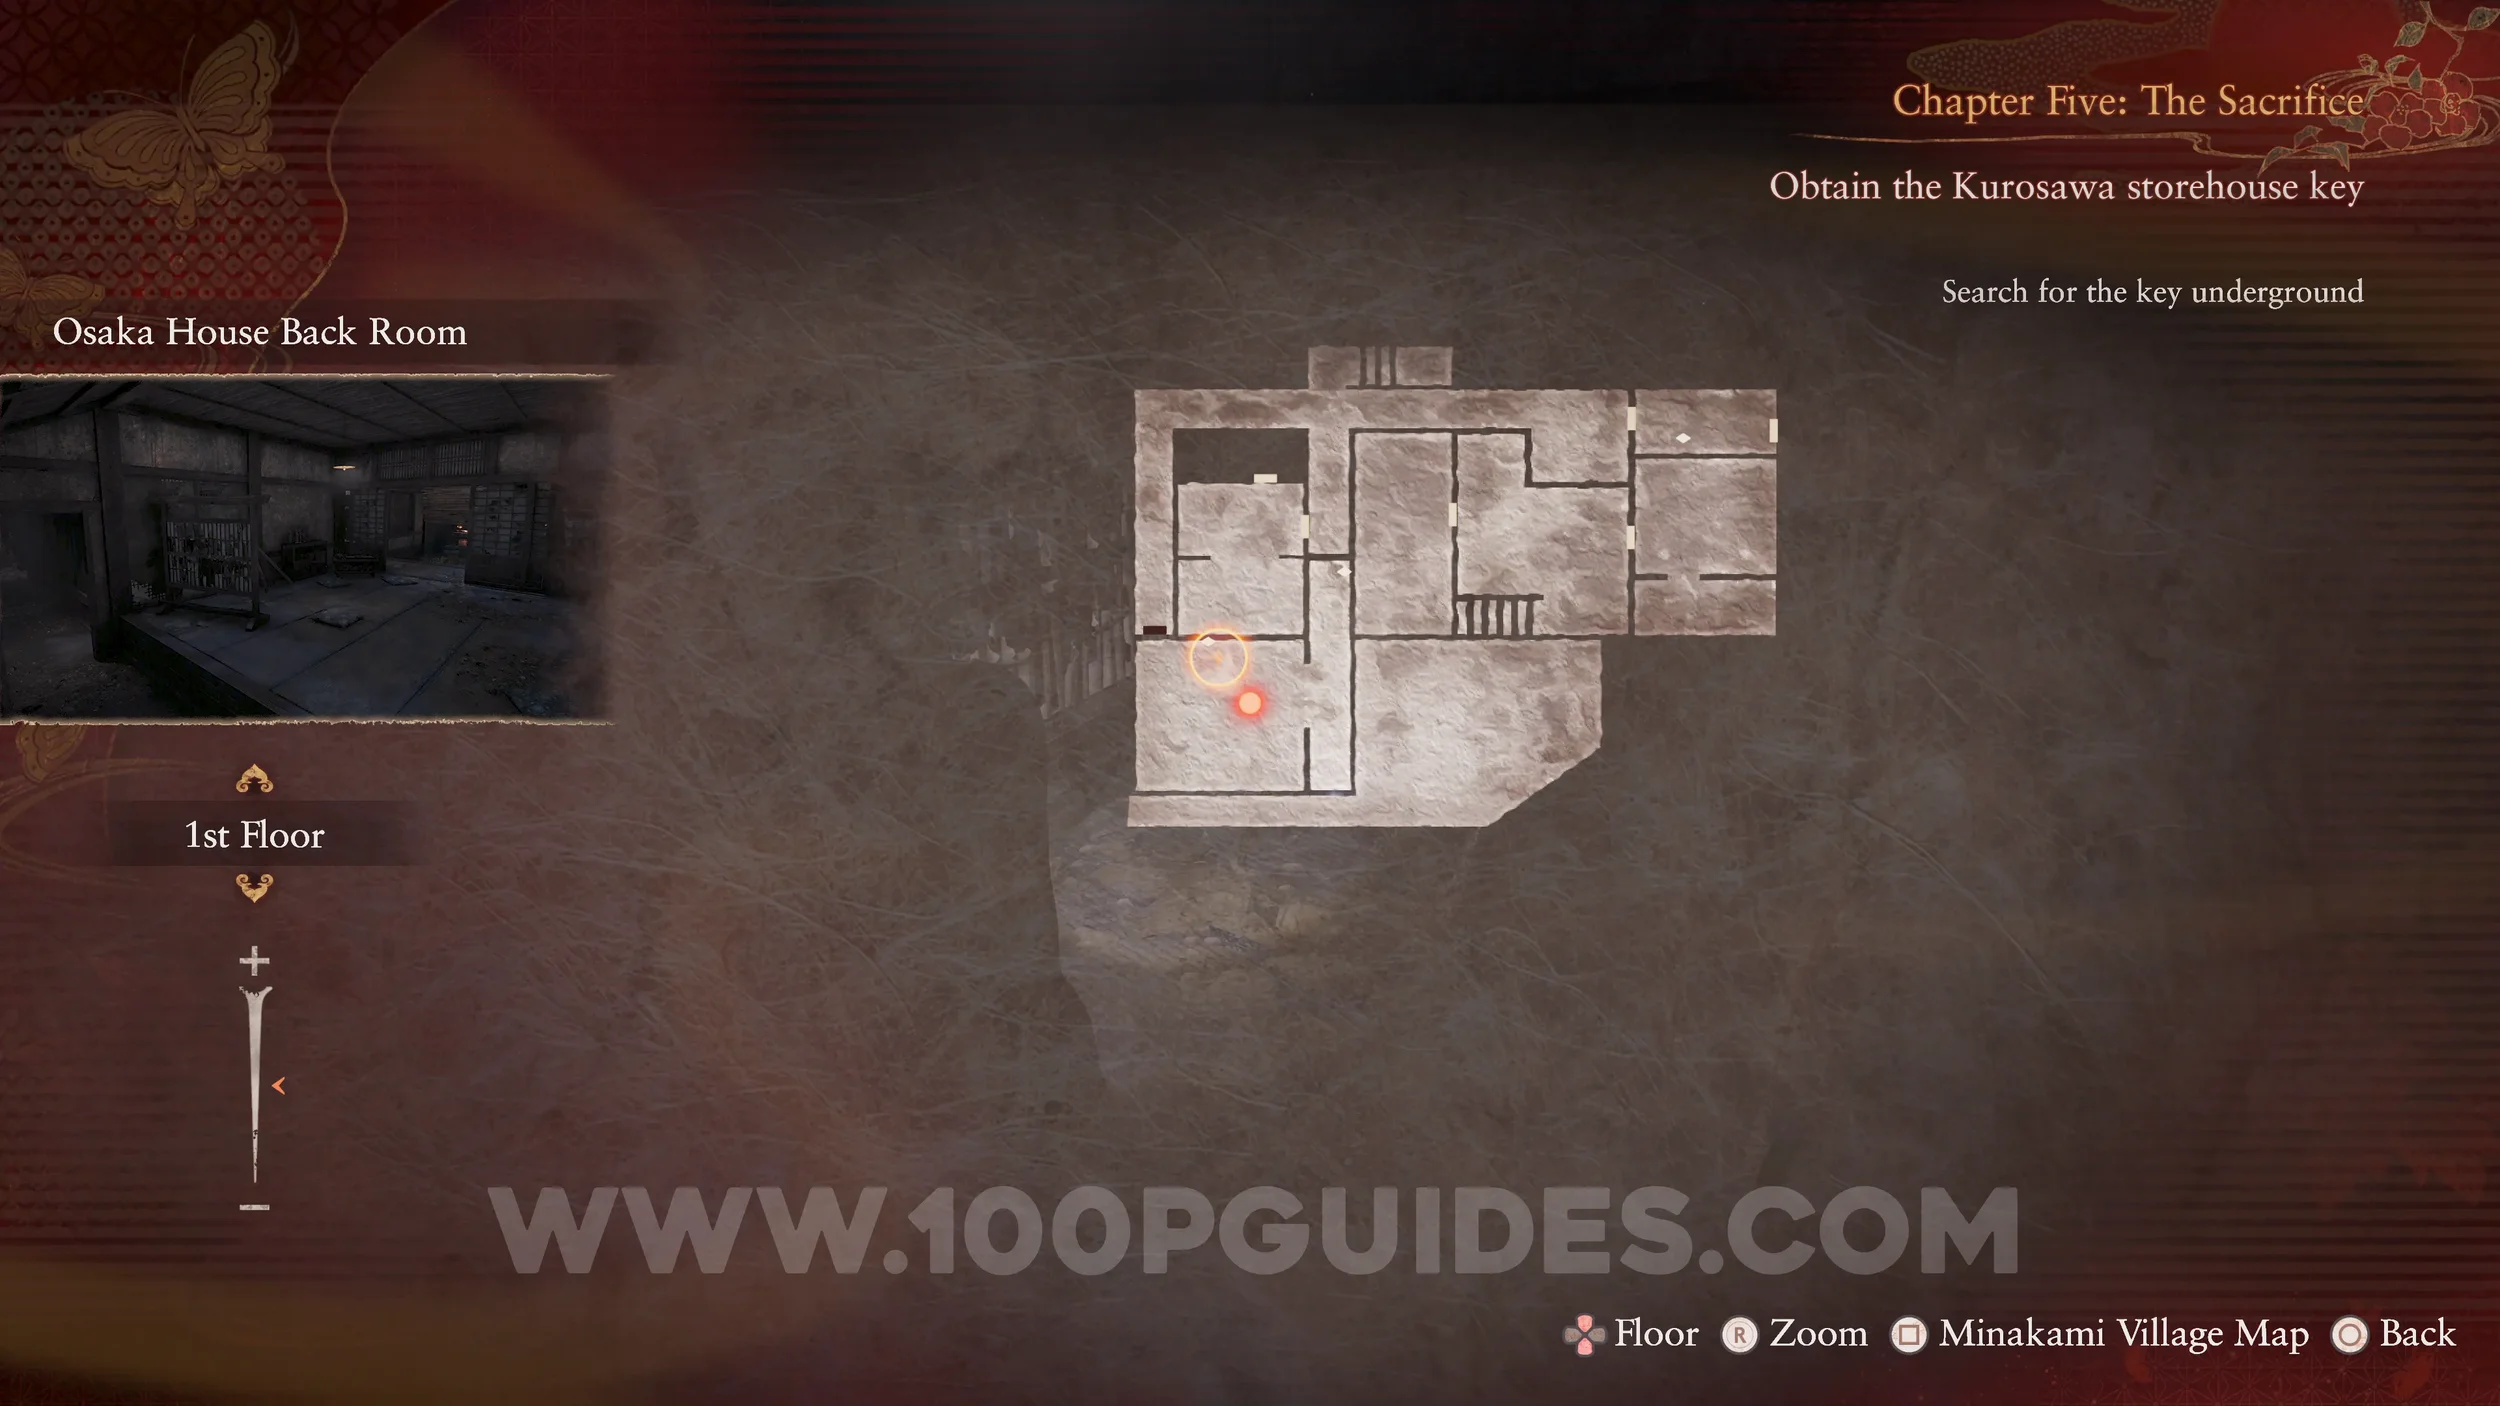
Spirit Stone #6 - Broken Sard (2/2). Before heading down into the underground area in the Altar Room, go down the hall to the west and enter the Back Room. Defeat the two wraiths and pick up the other half of the Broken Shard.
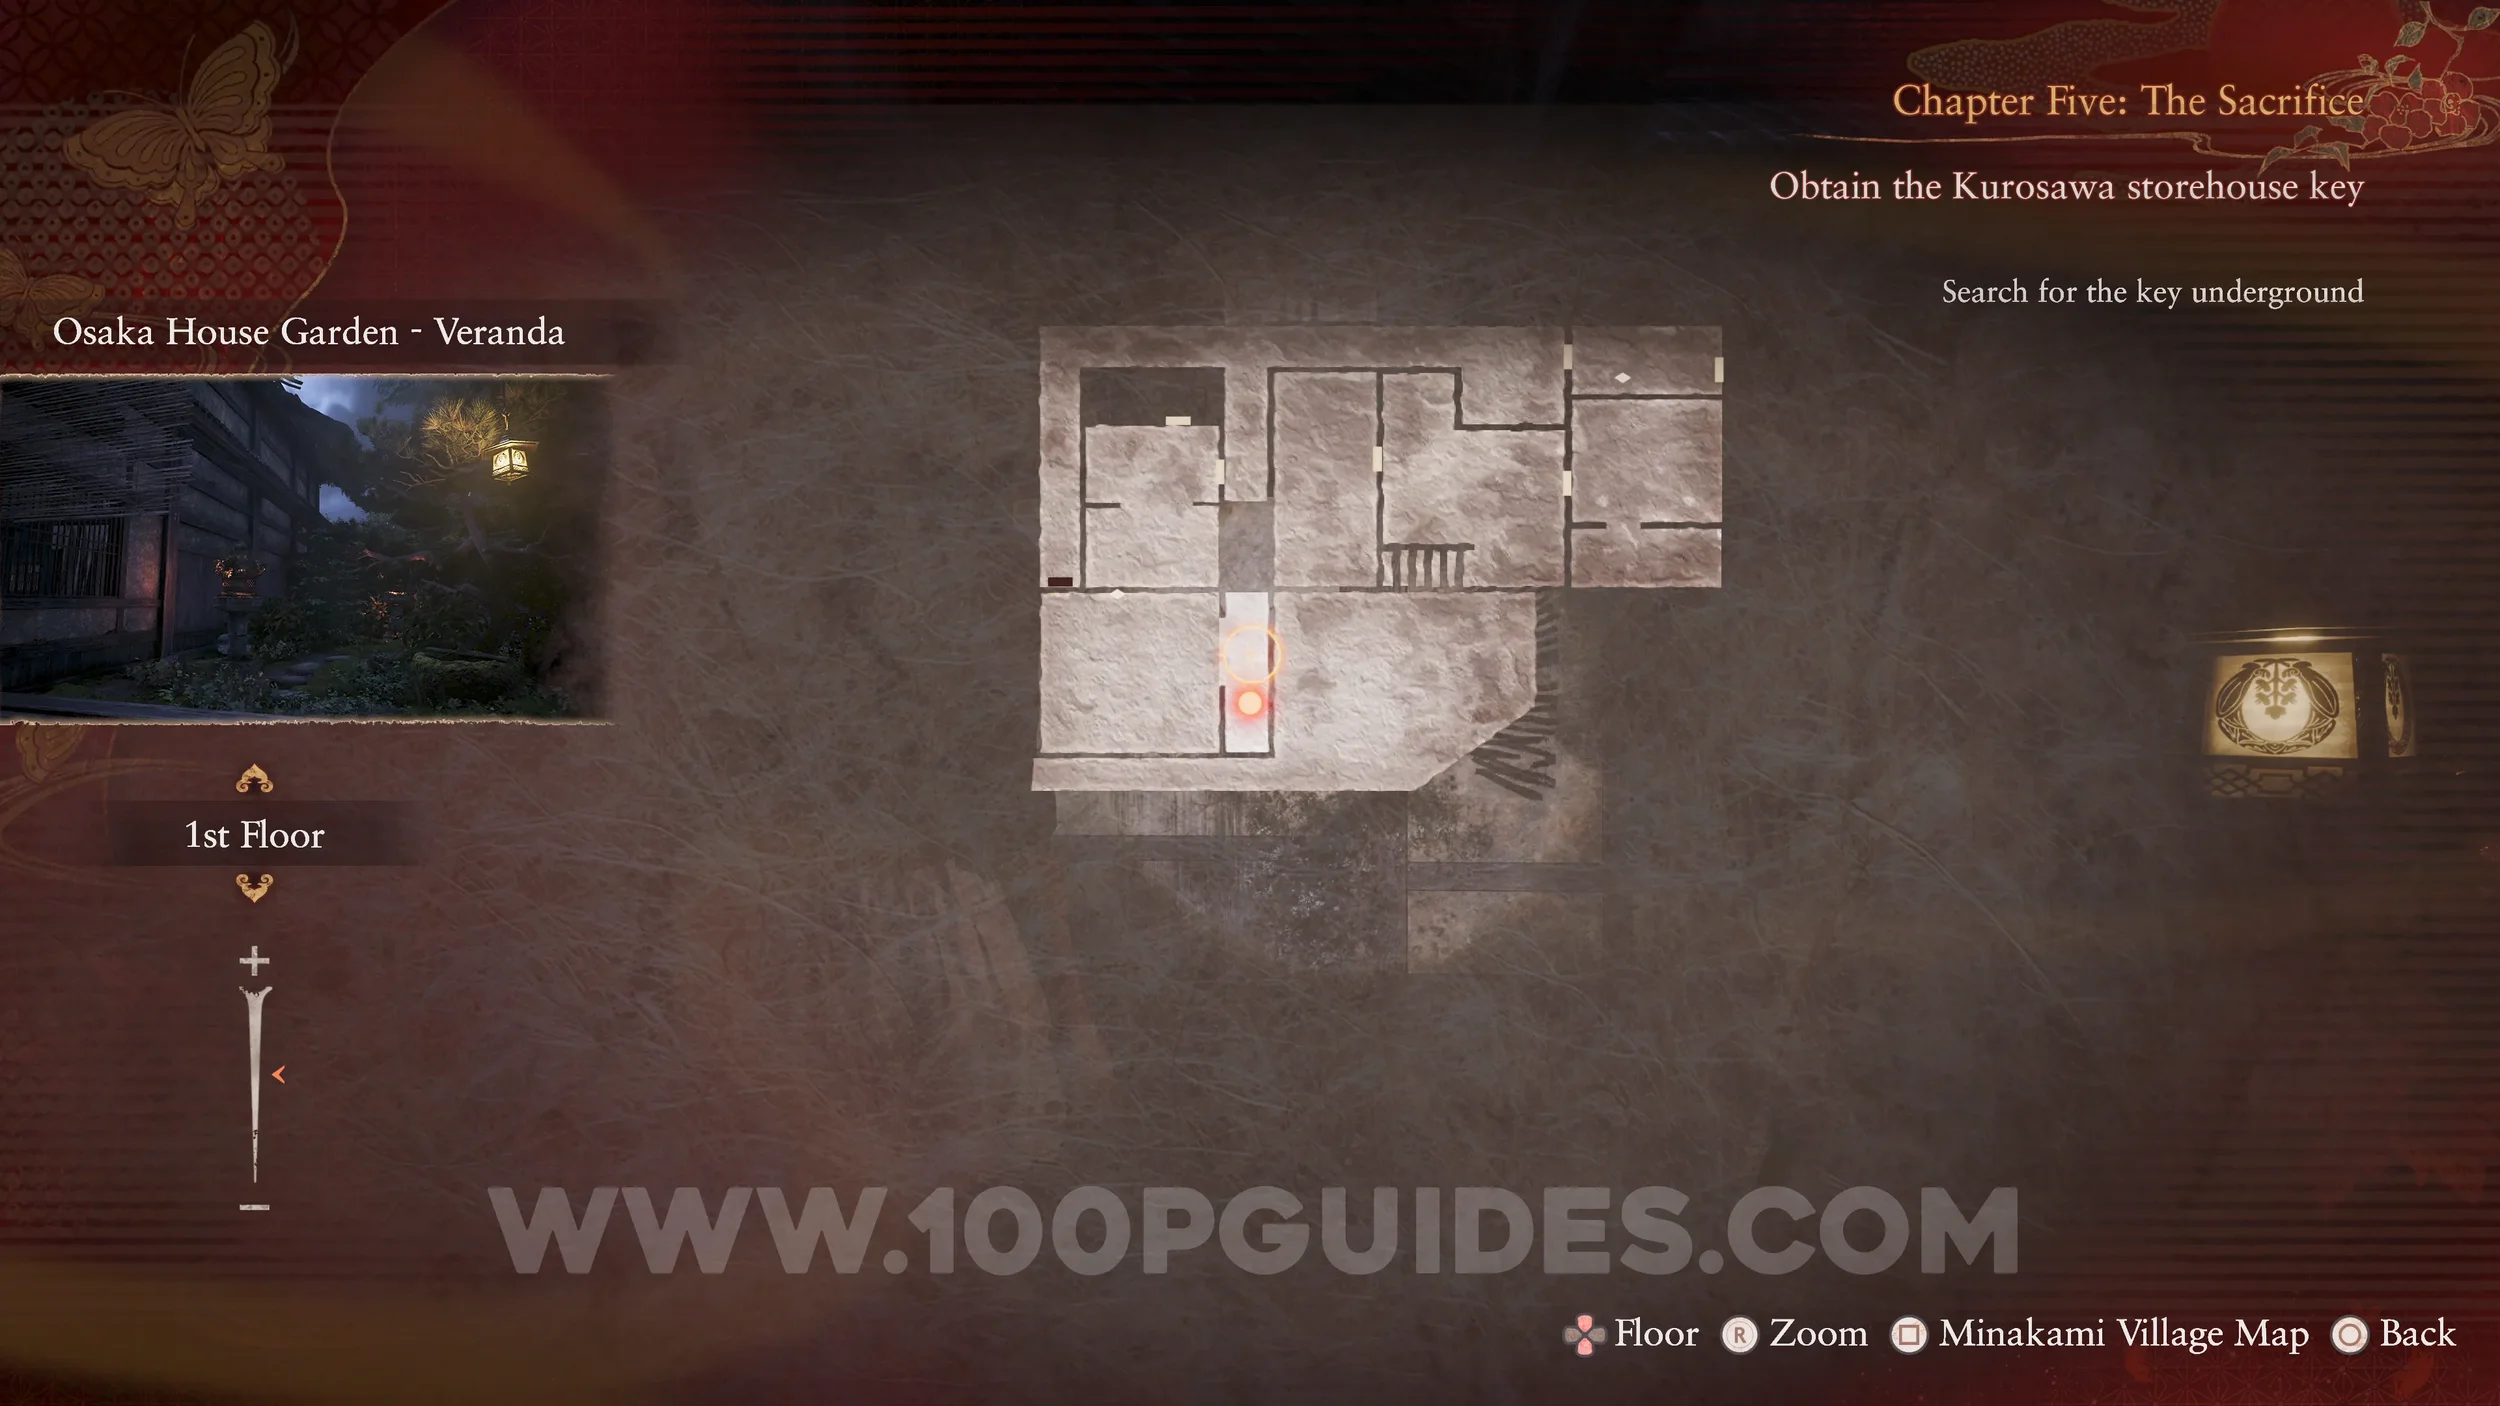
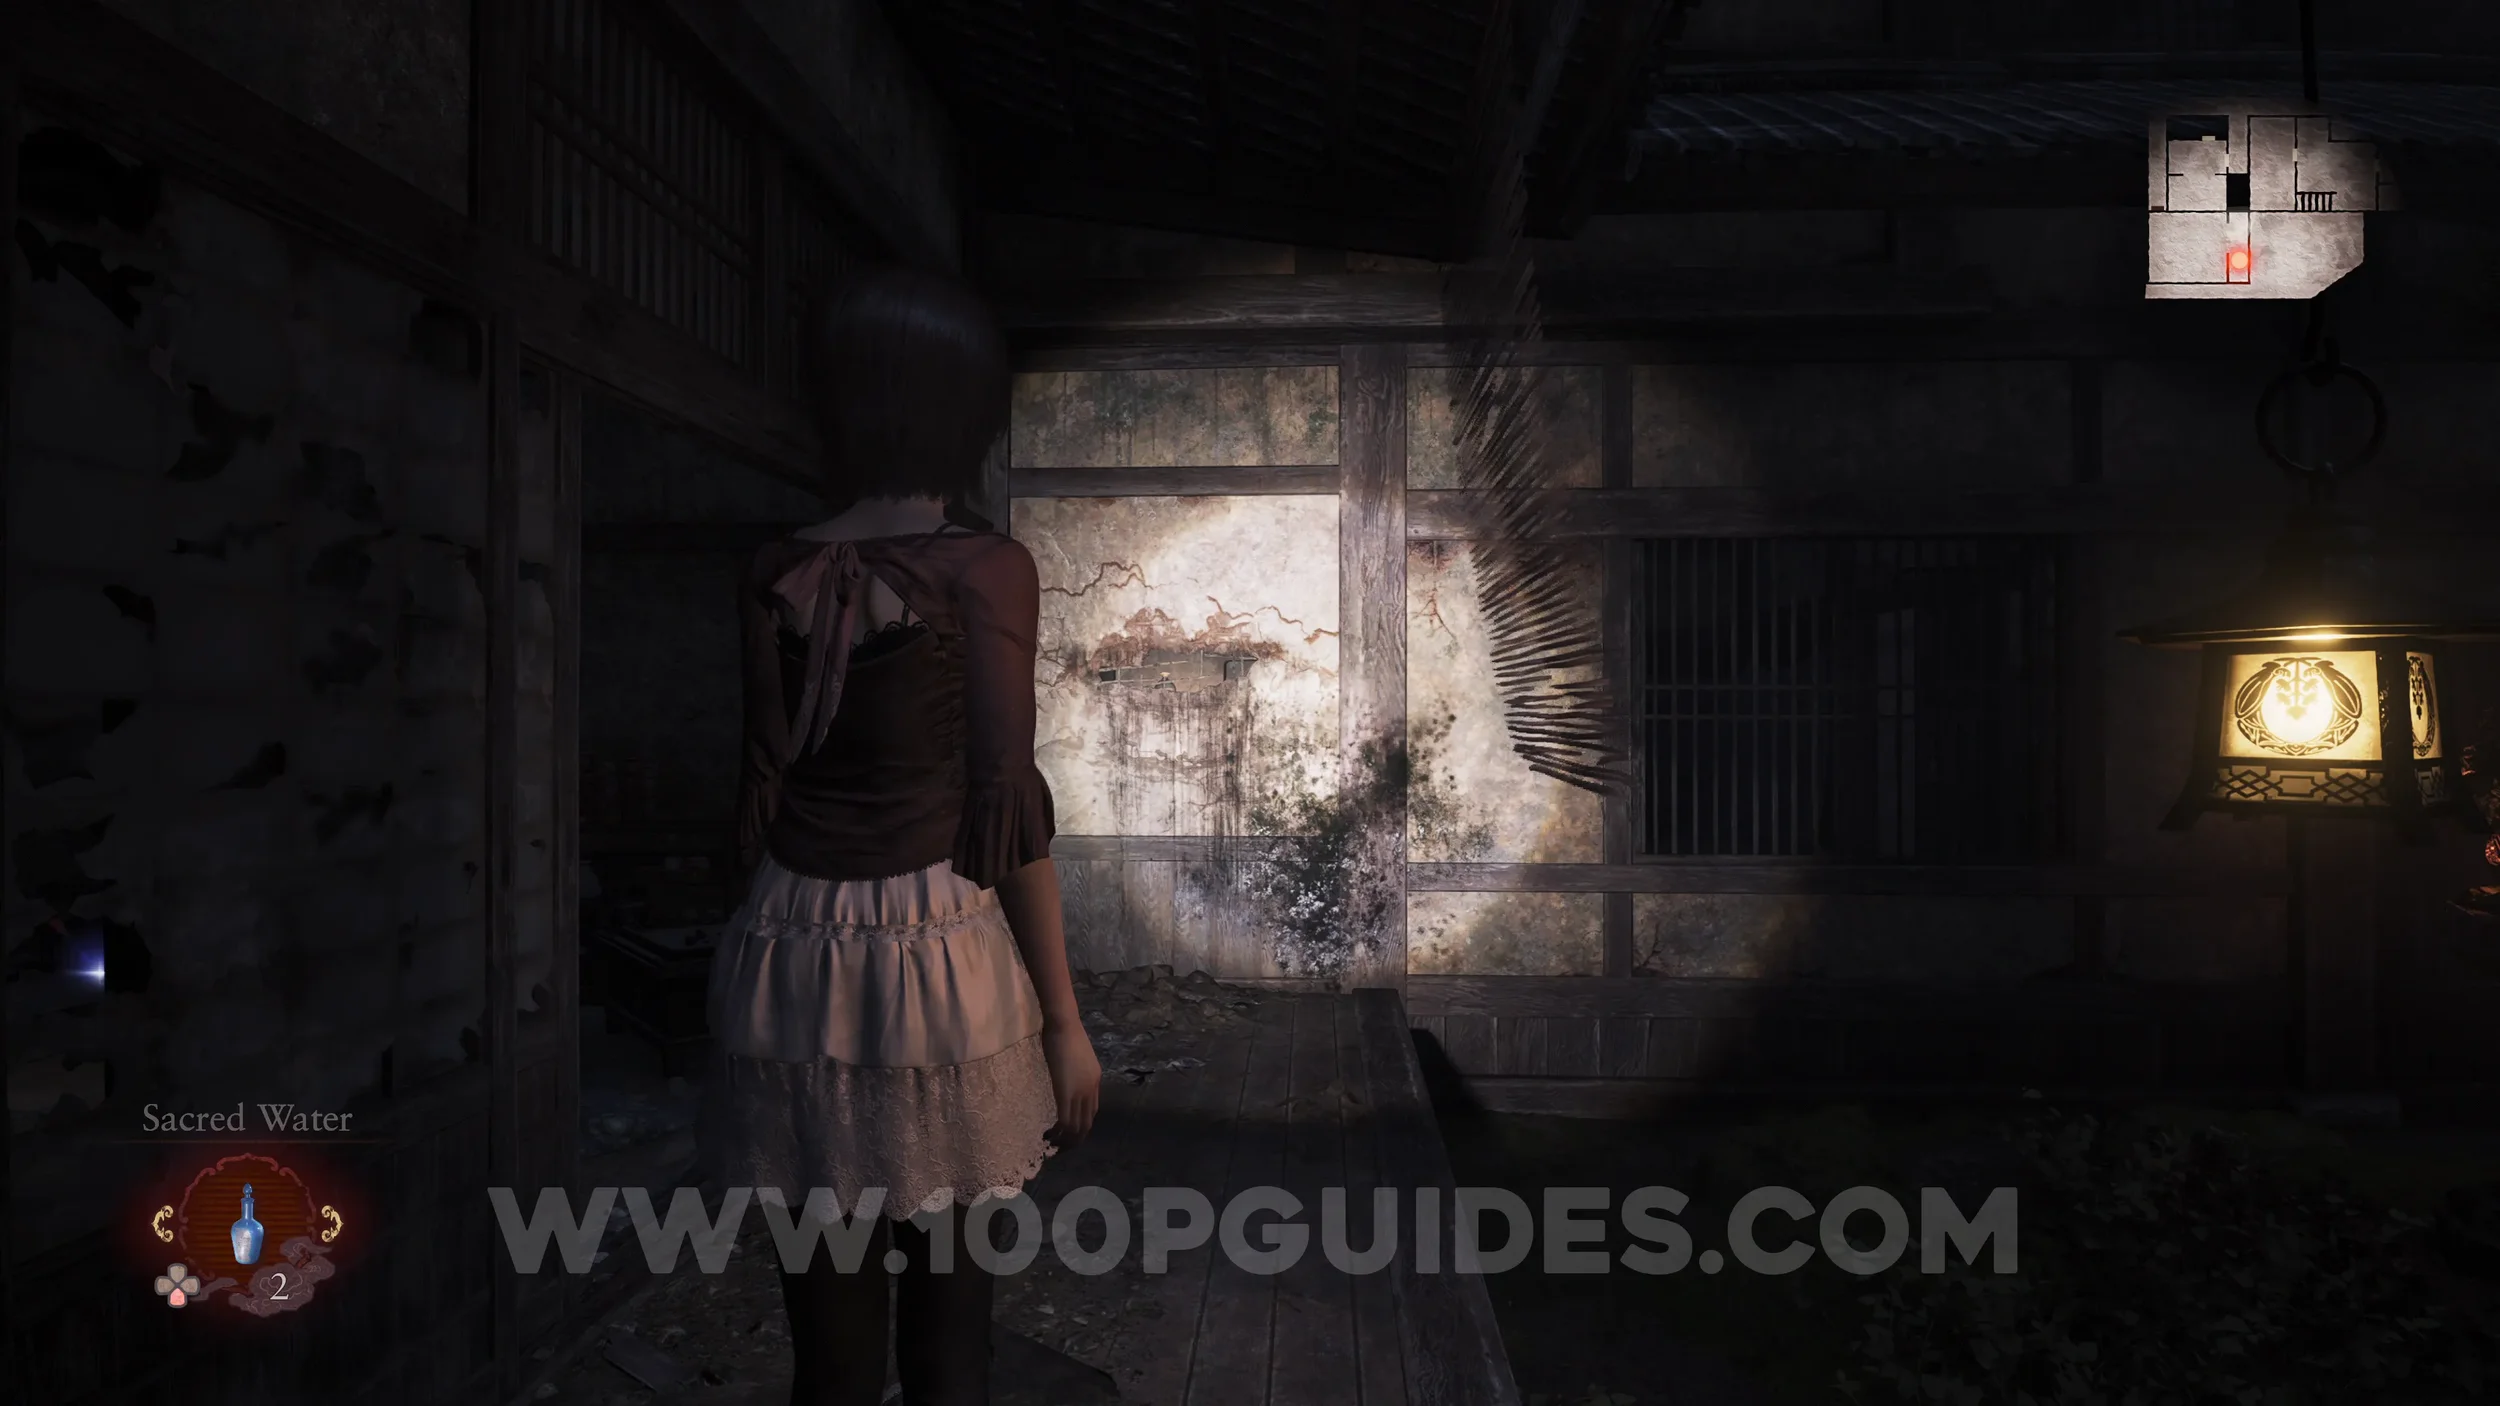
Phantom Expose #9 - Garden Veranda and Prayer Beads #32. Go out to the Garden Veranda and use the Exposure Filter to take a photo of the wall to reveal a hidden room with the bead inside.
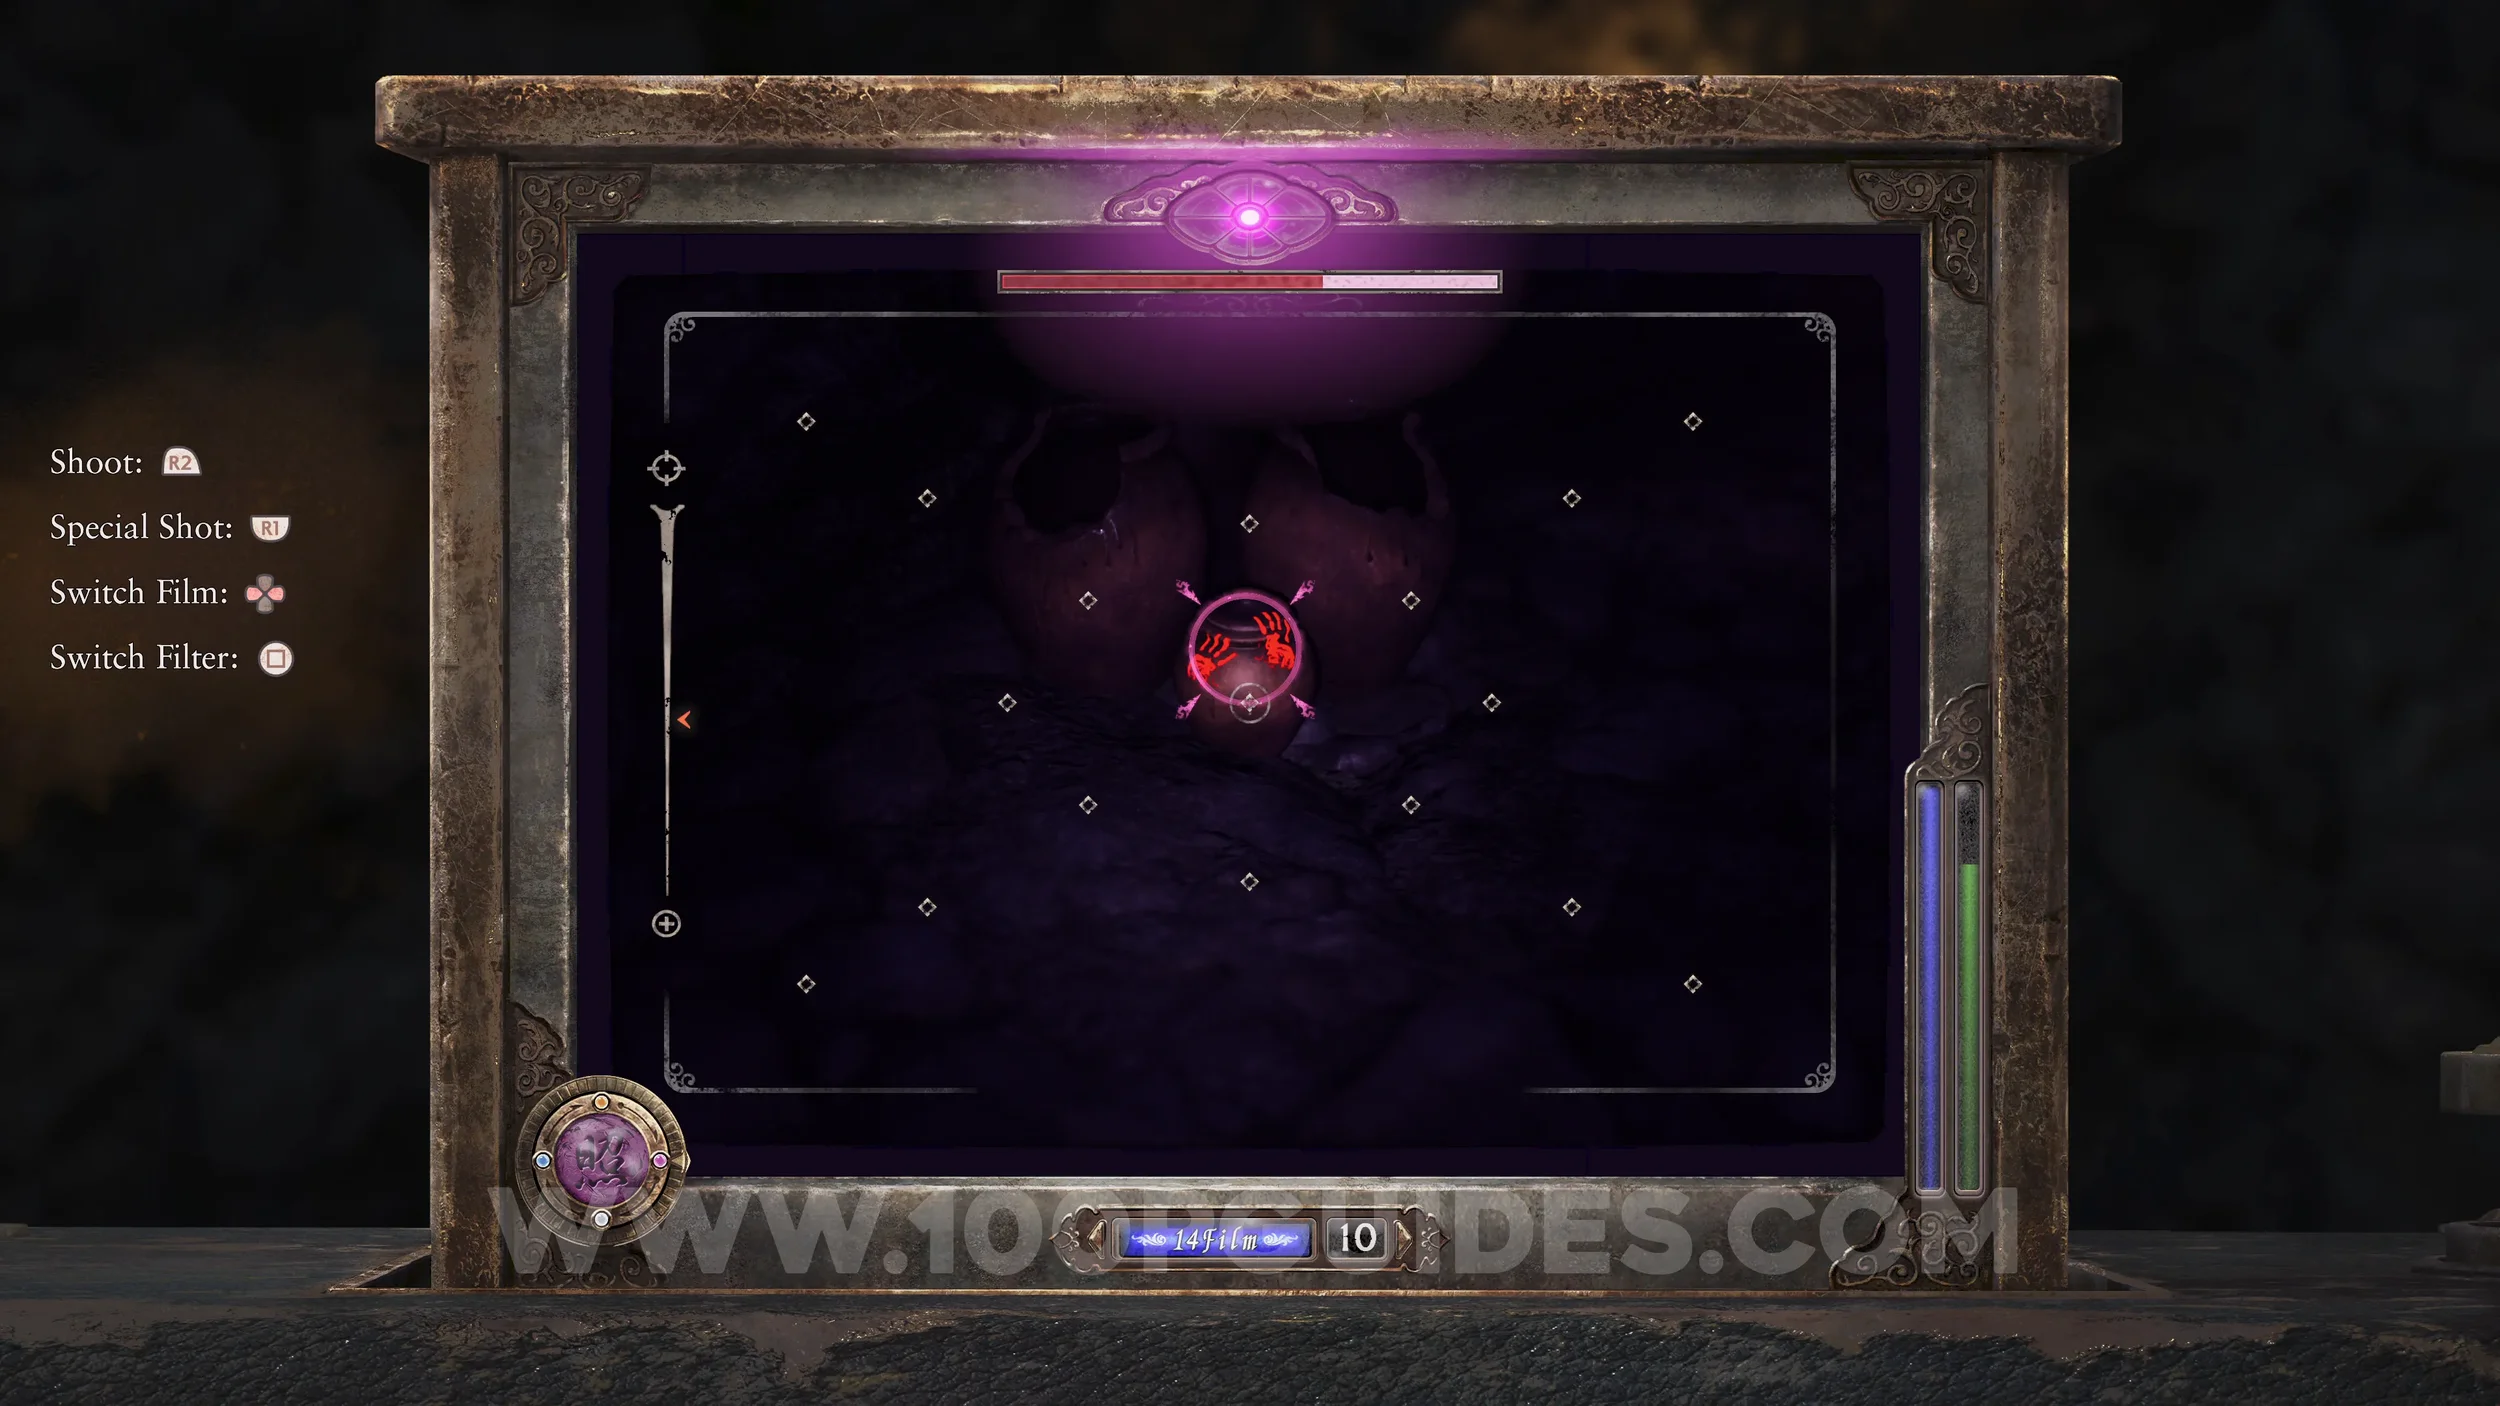
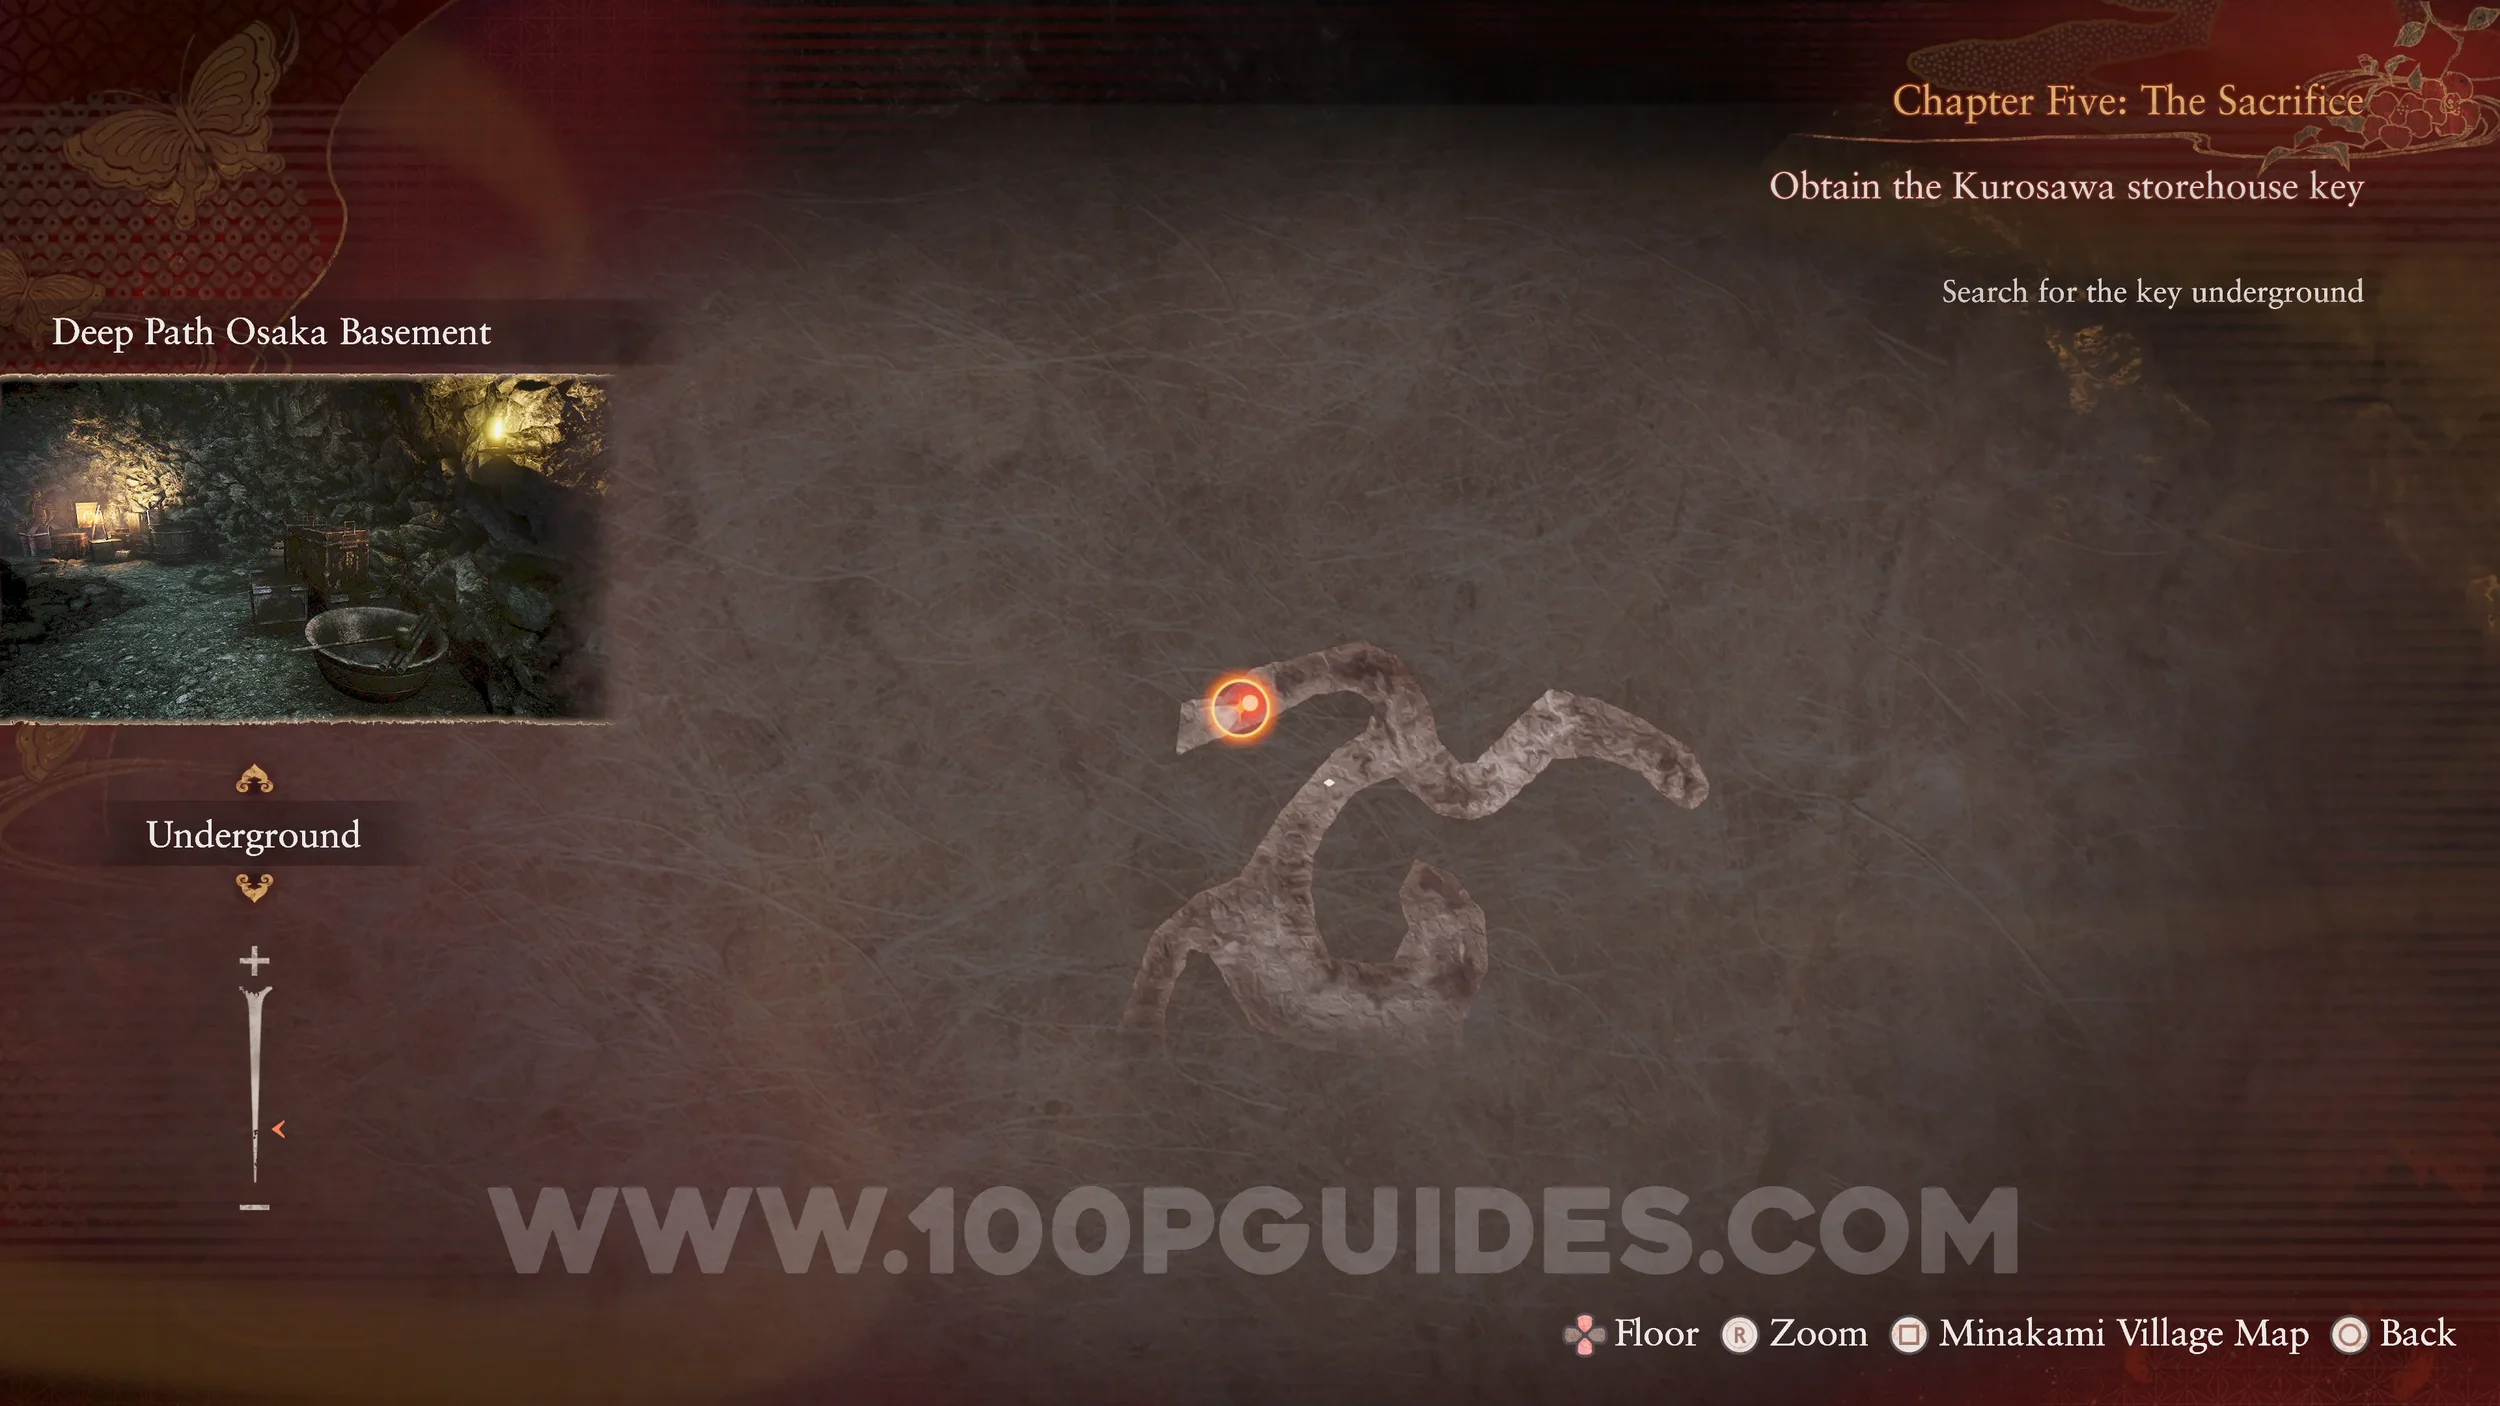
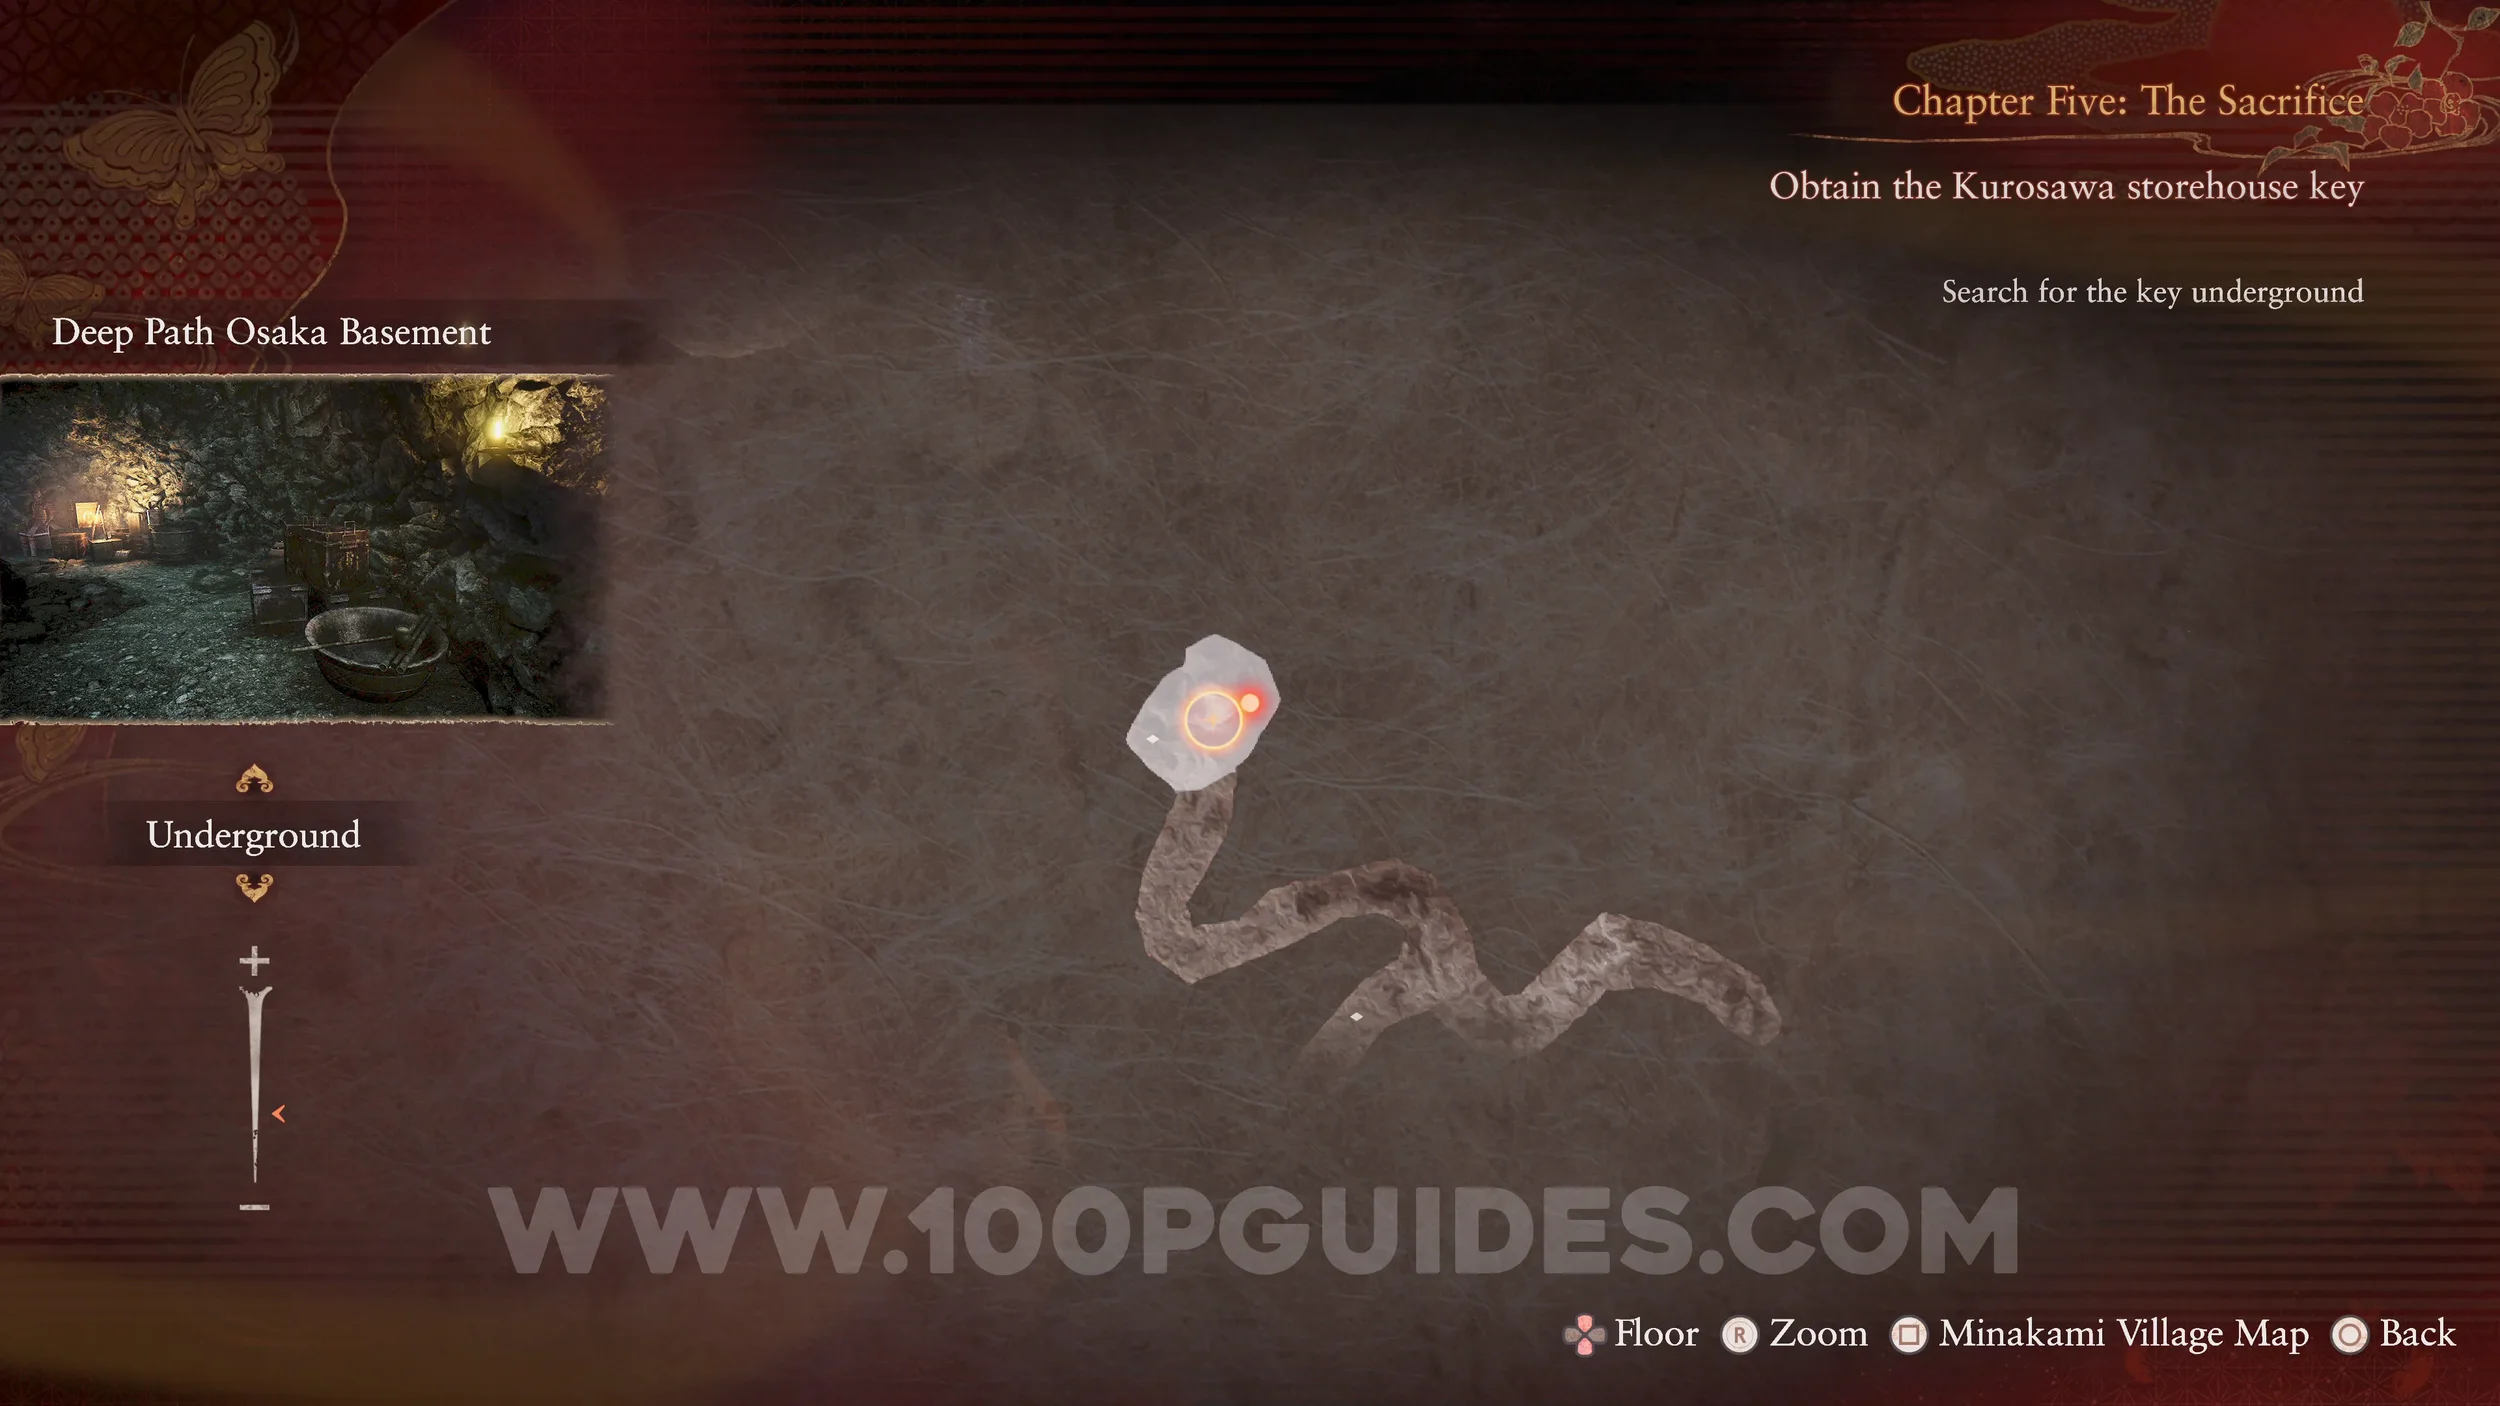
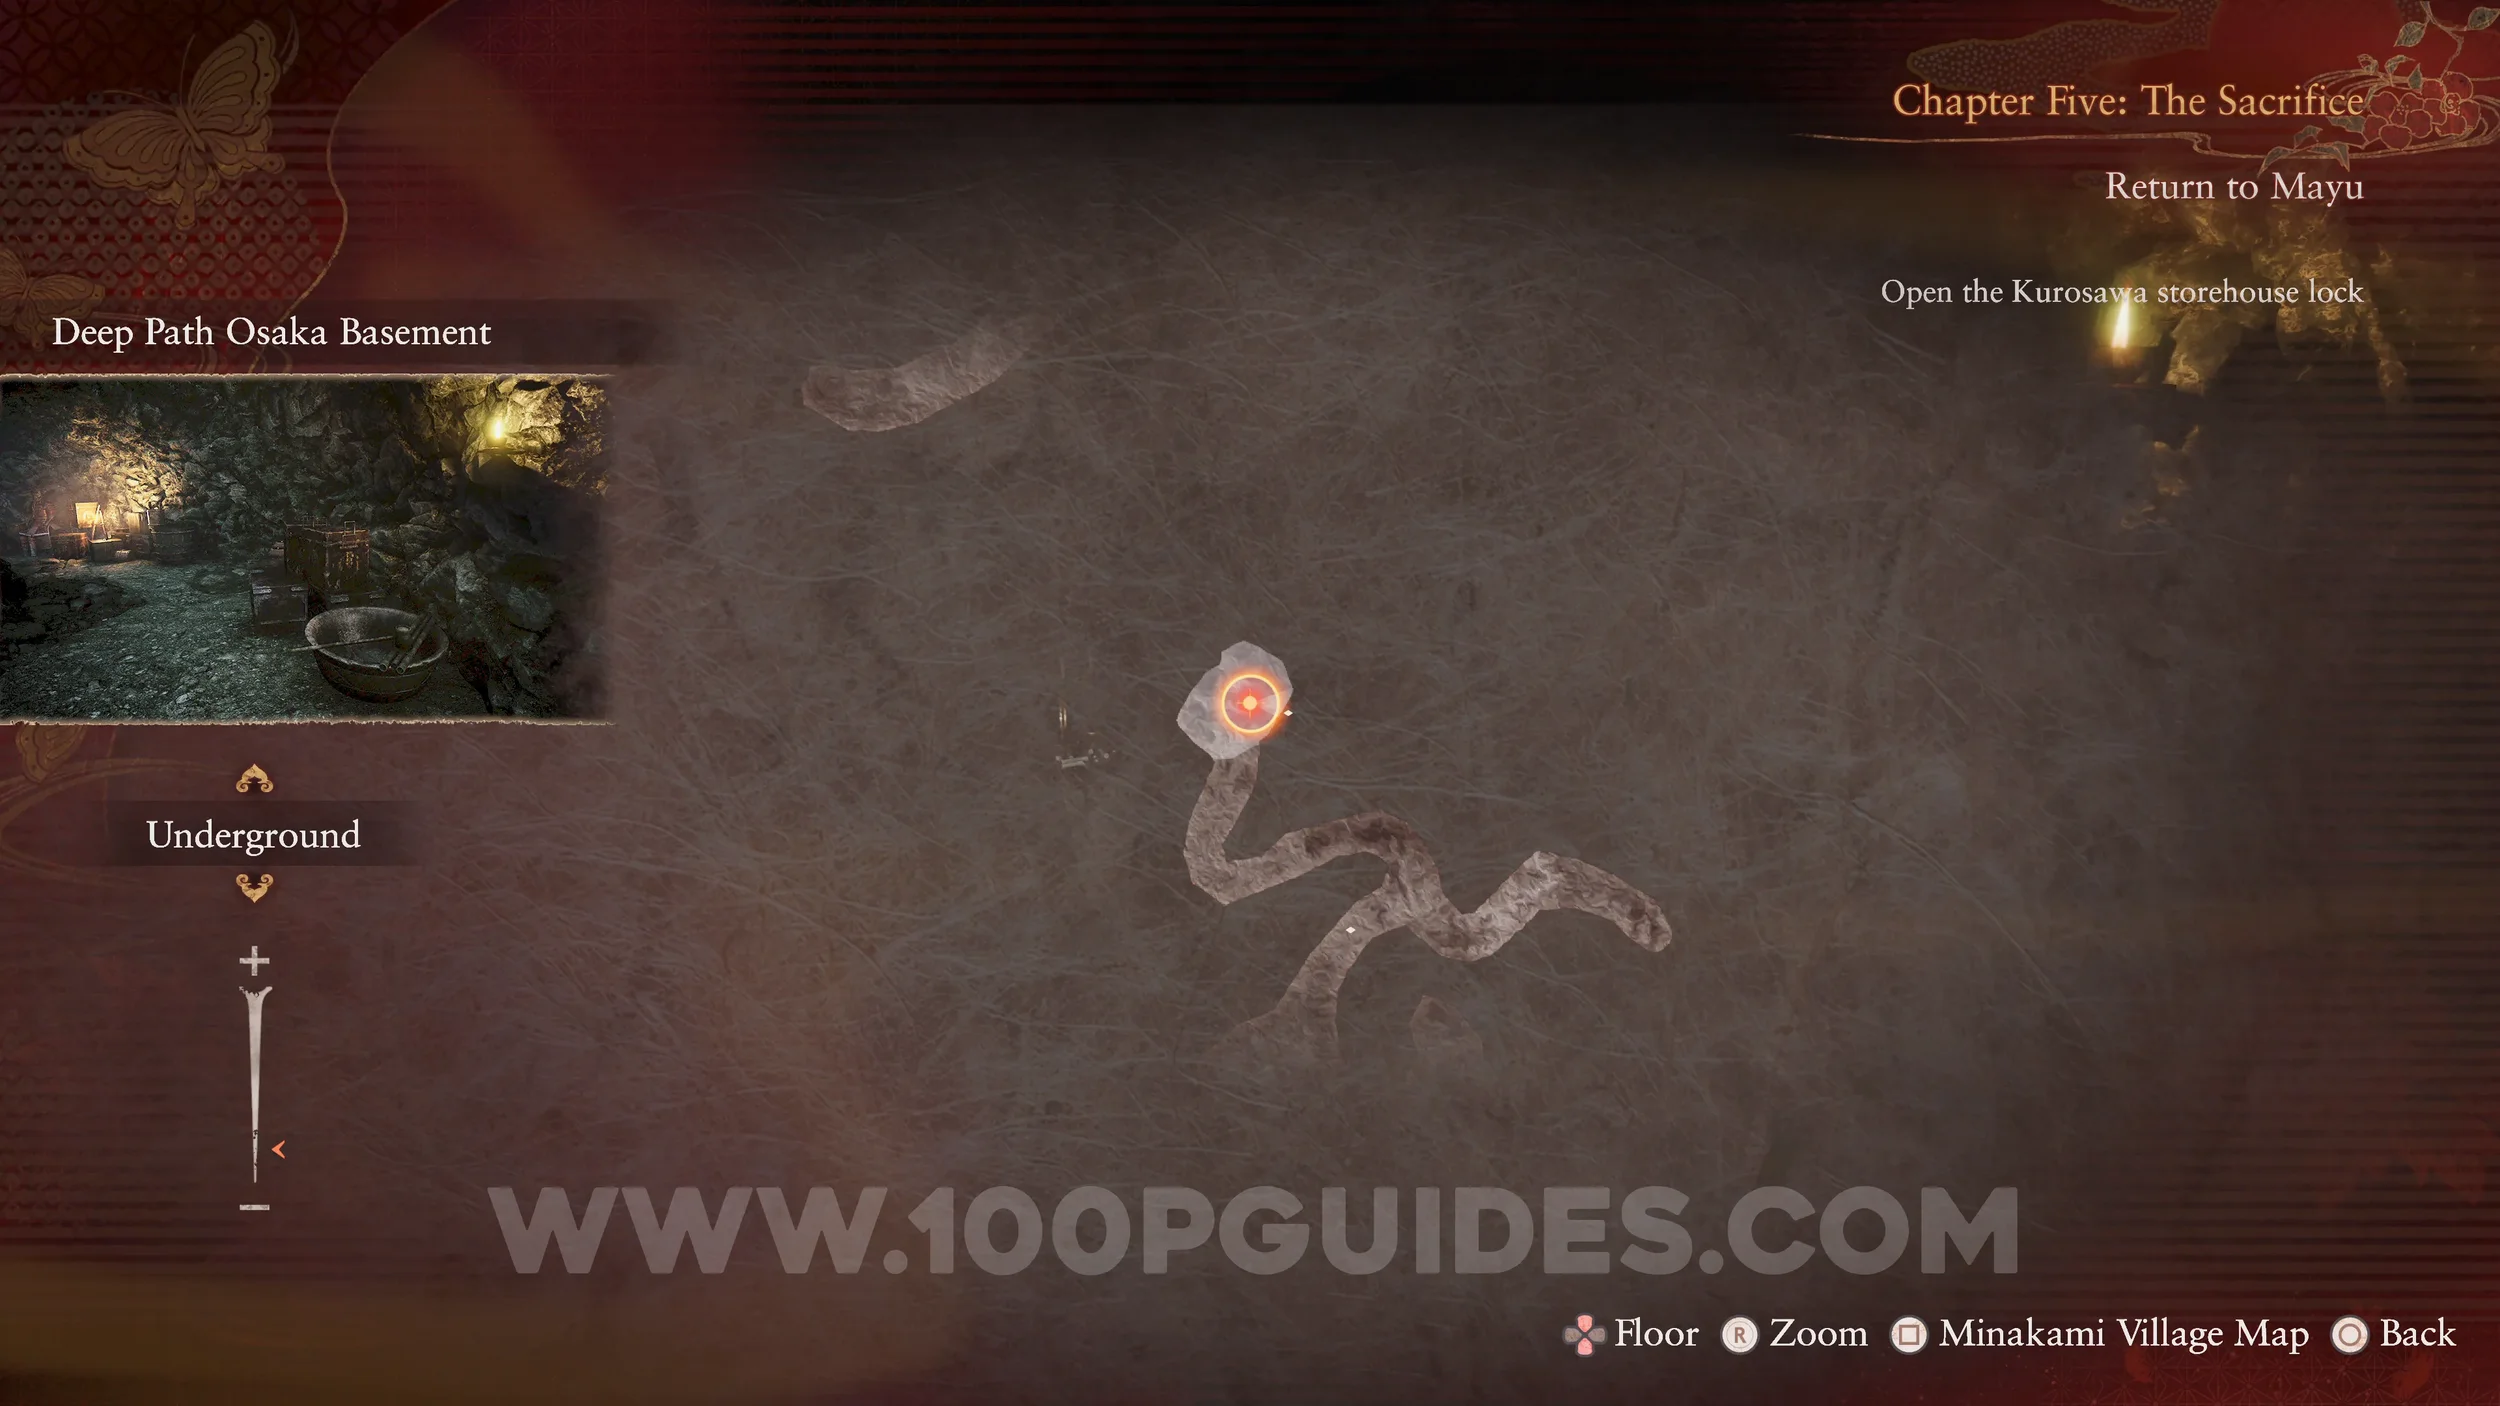
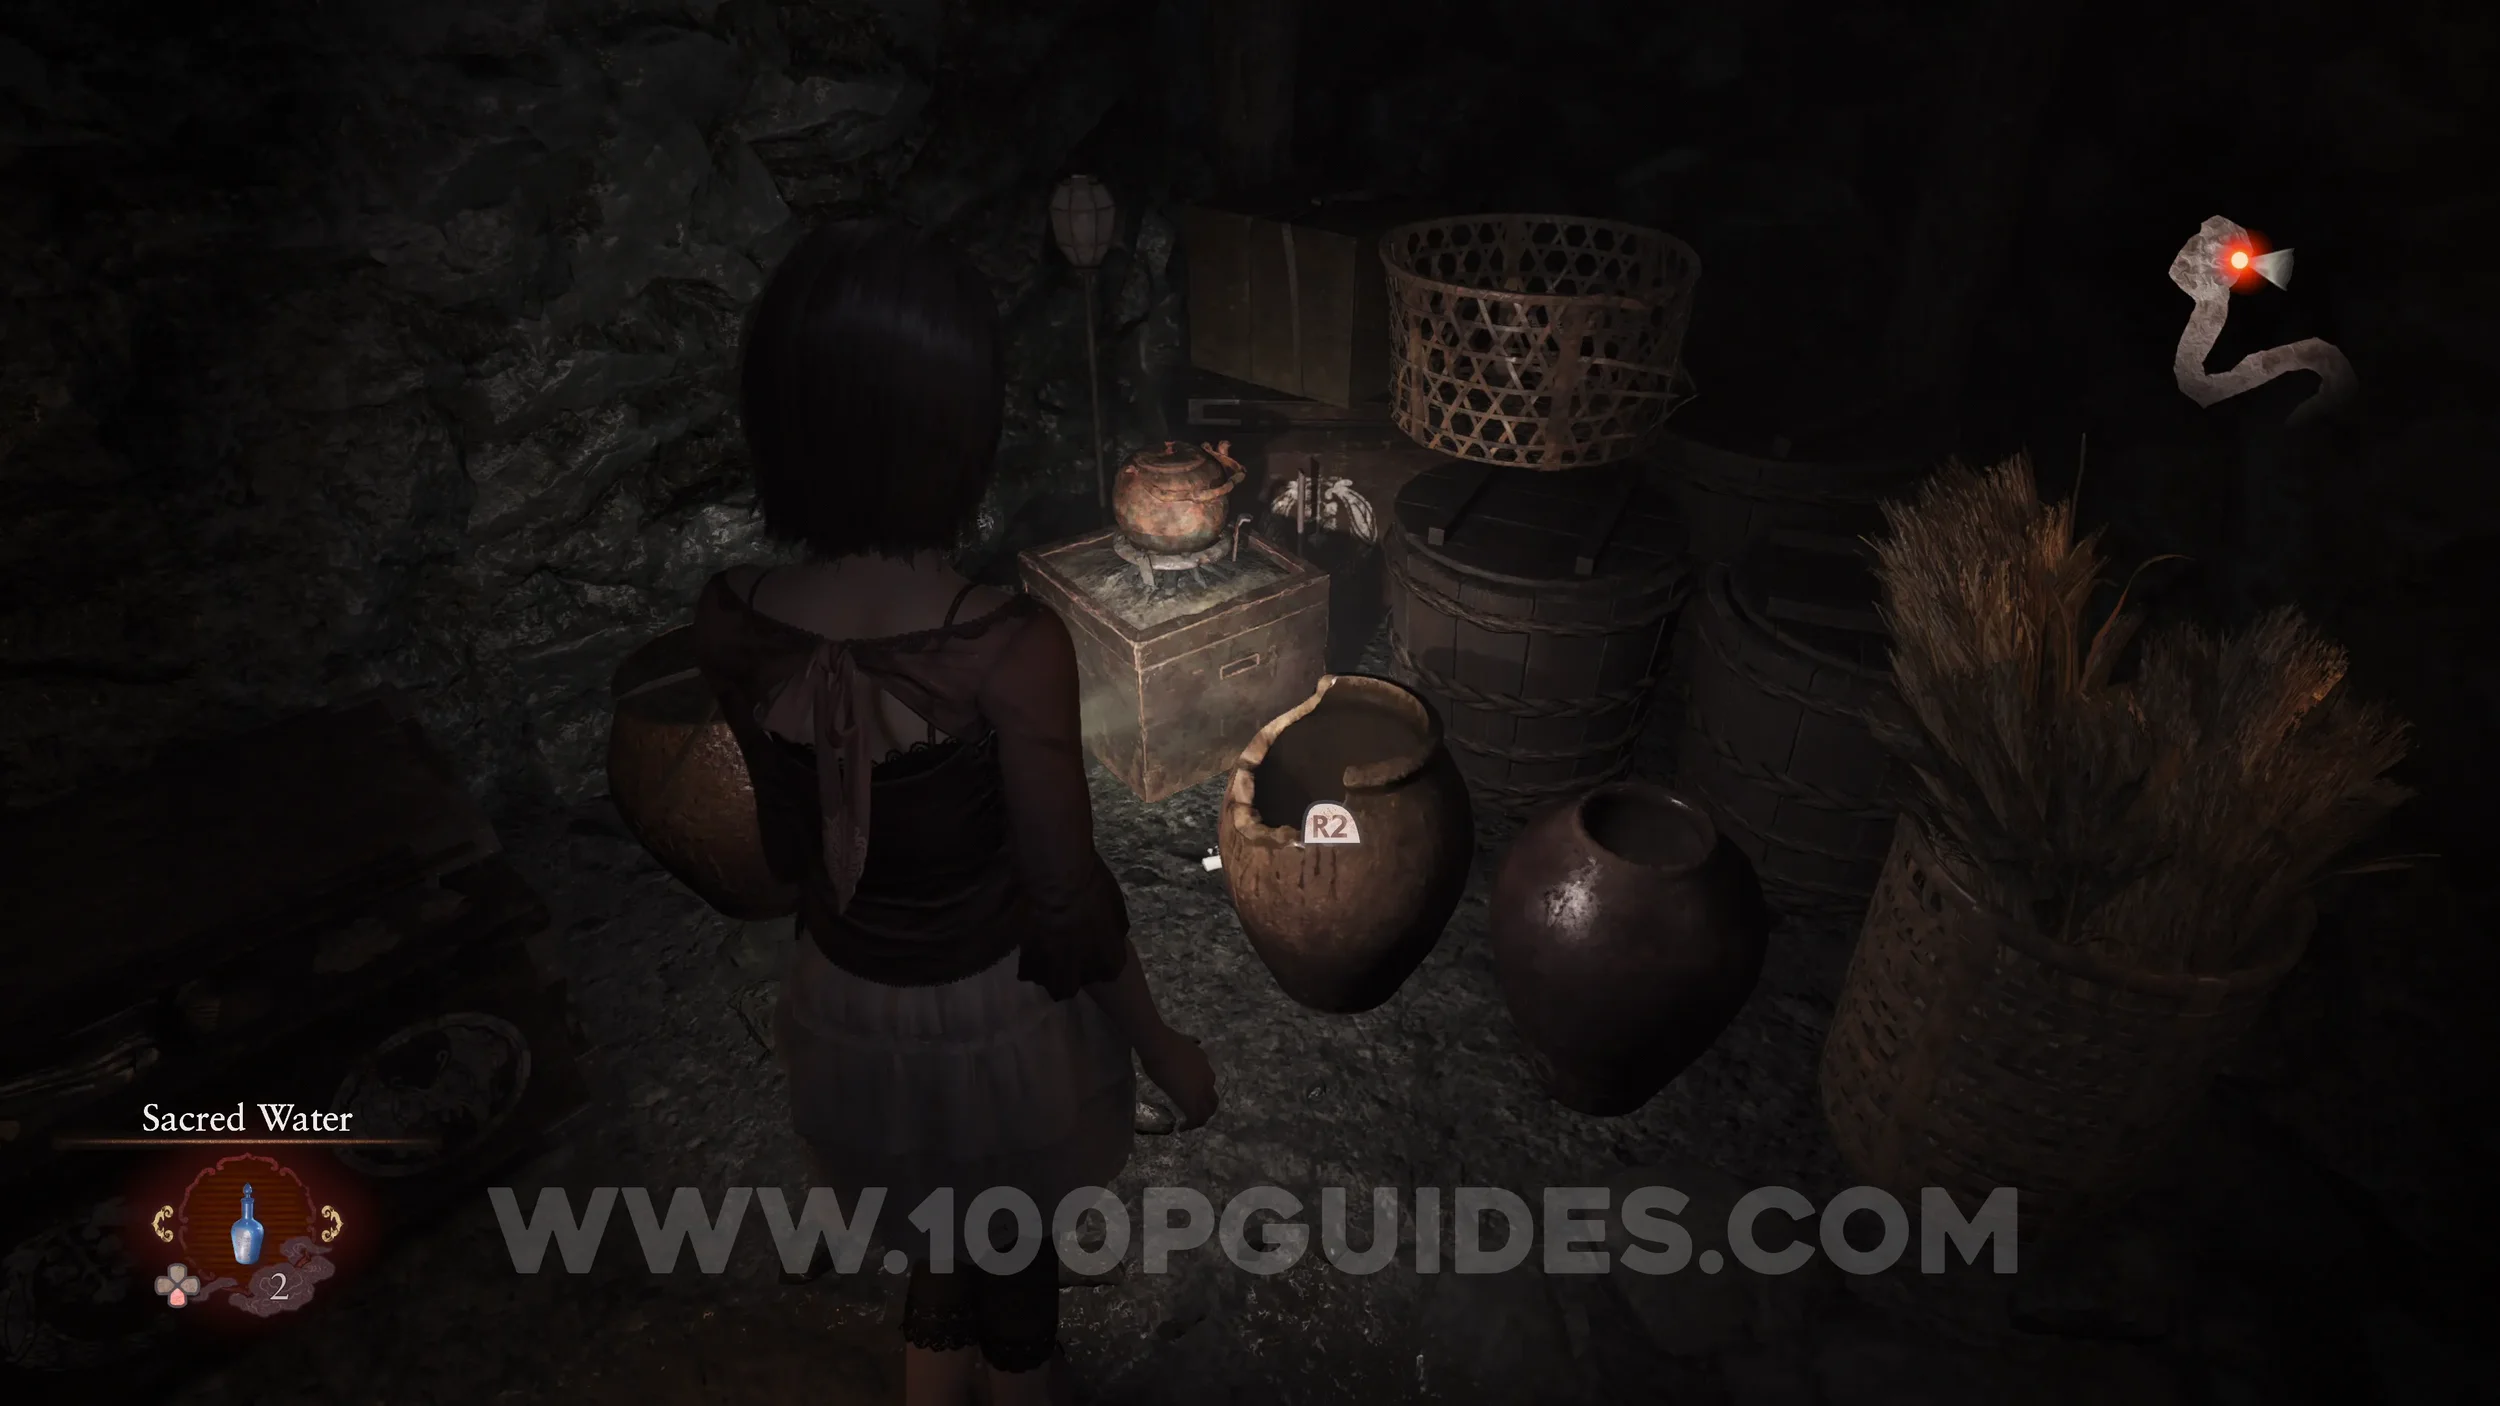
Unbinding of Blood #13 and Prayer Beads #33. Go to the underground area below the Altar Room. Then take the path on the left and use the Radiant Filter to take a photo of the pot.
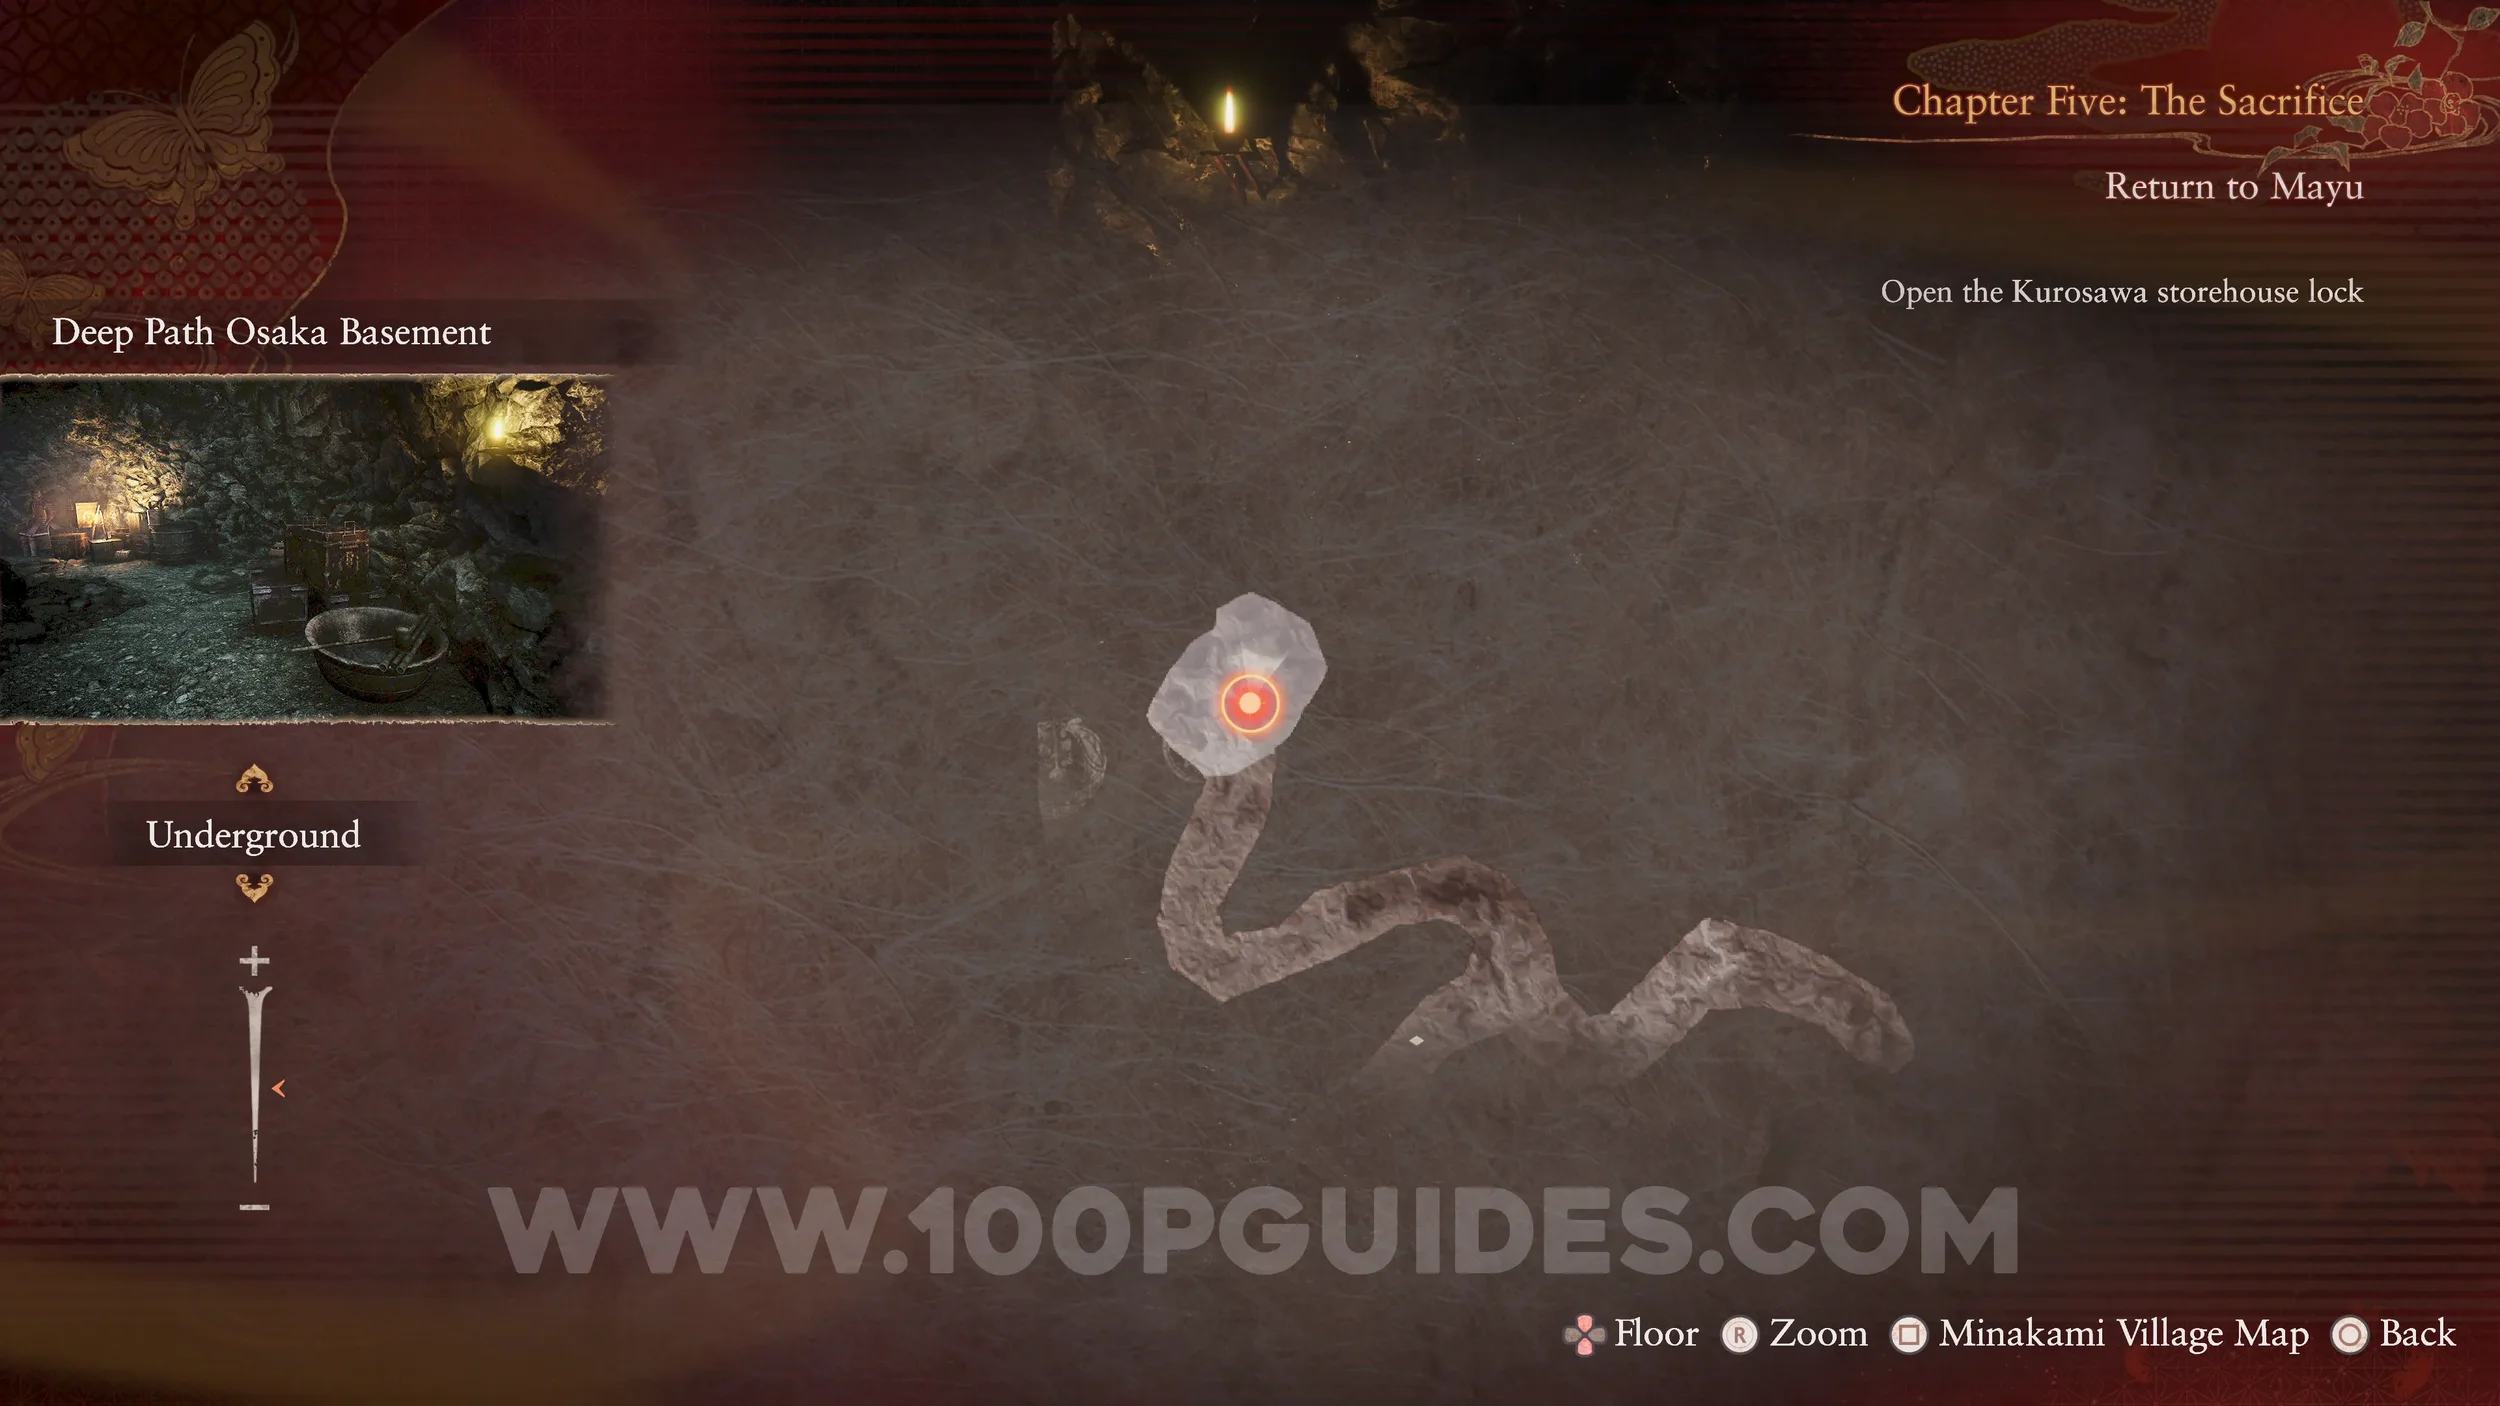
Twin Dolls #28 (29). Also found down the left path in the underground area, just past the previous pot.
Prayer Beads #34. Continue north through the tunnels. After seeing the Type-61 Film on the ground, take the path on the right to find the beads at the end.
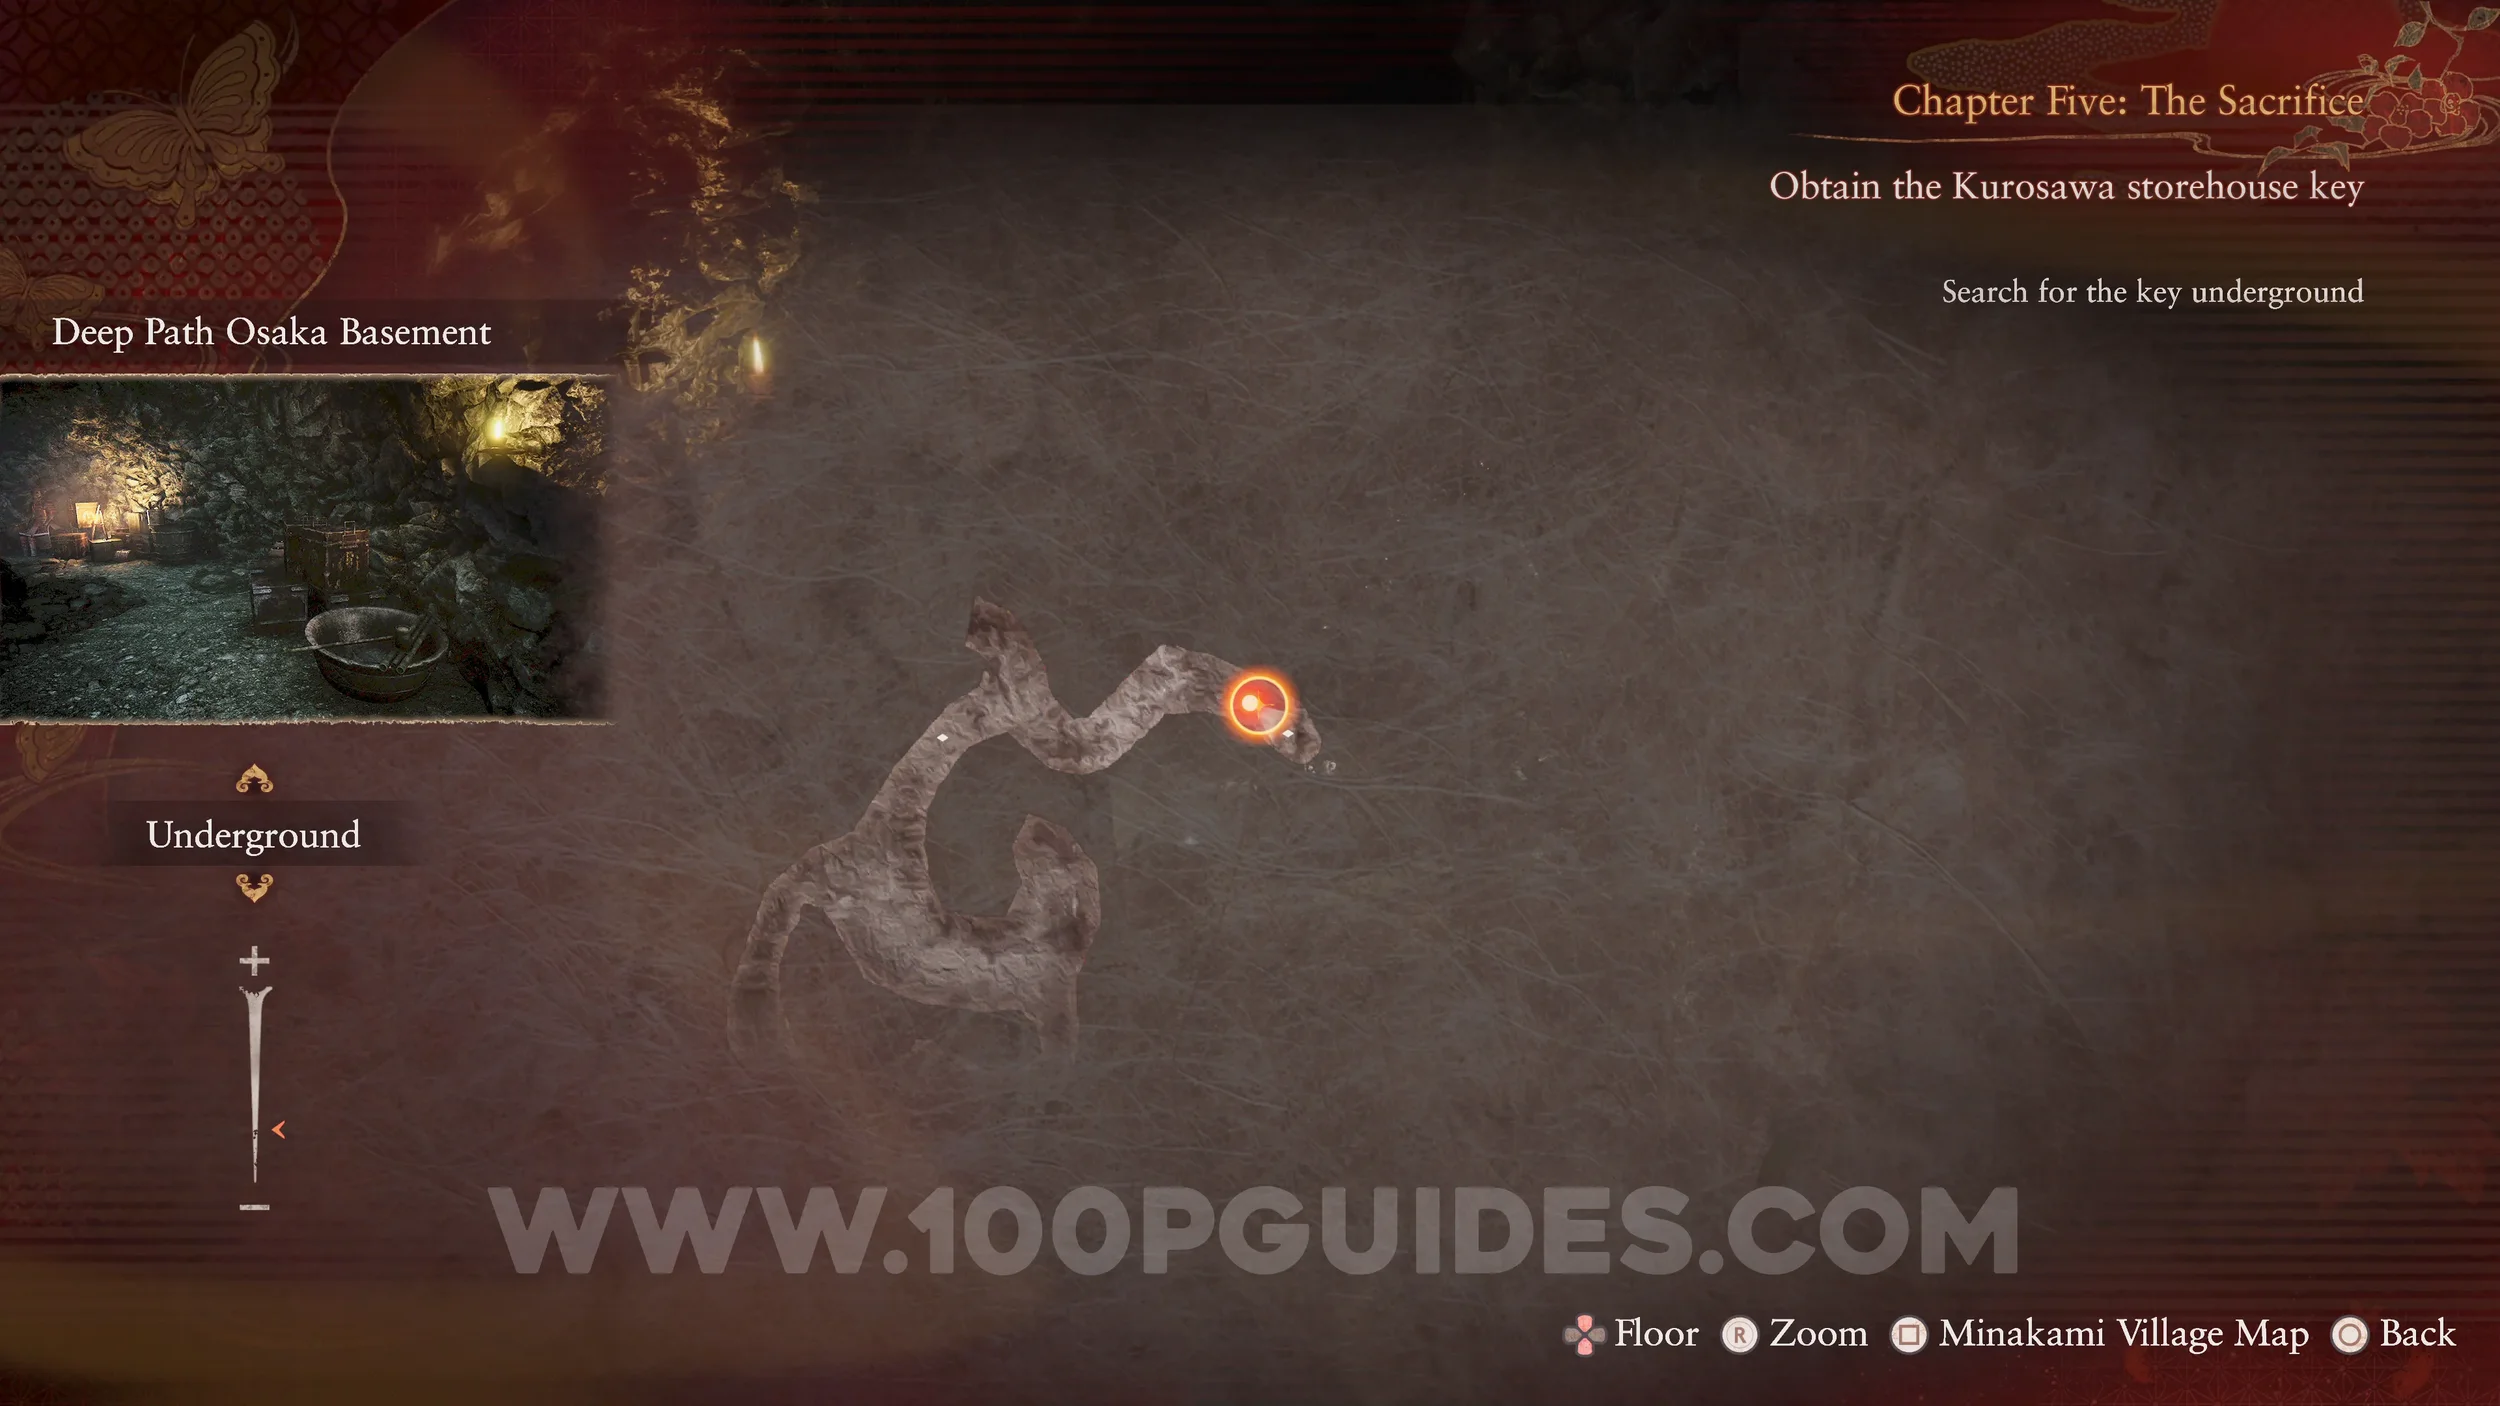

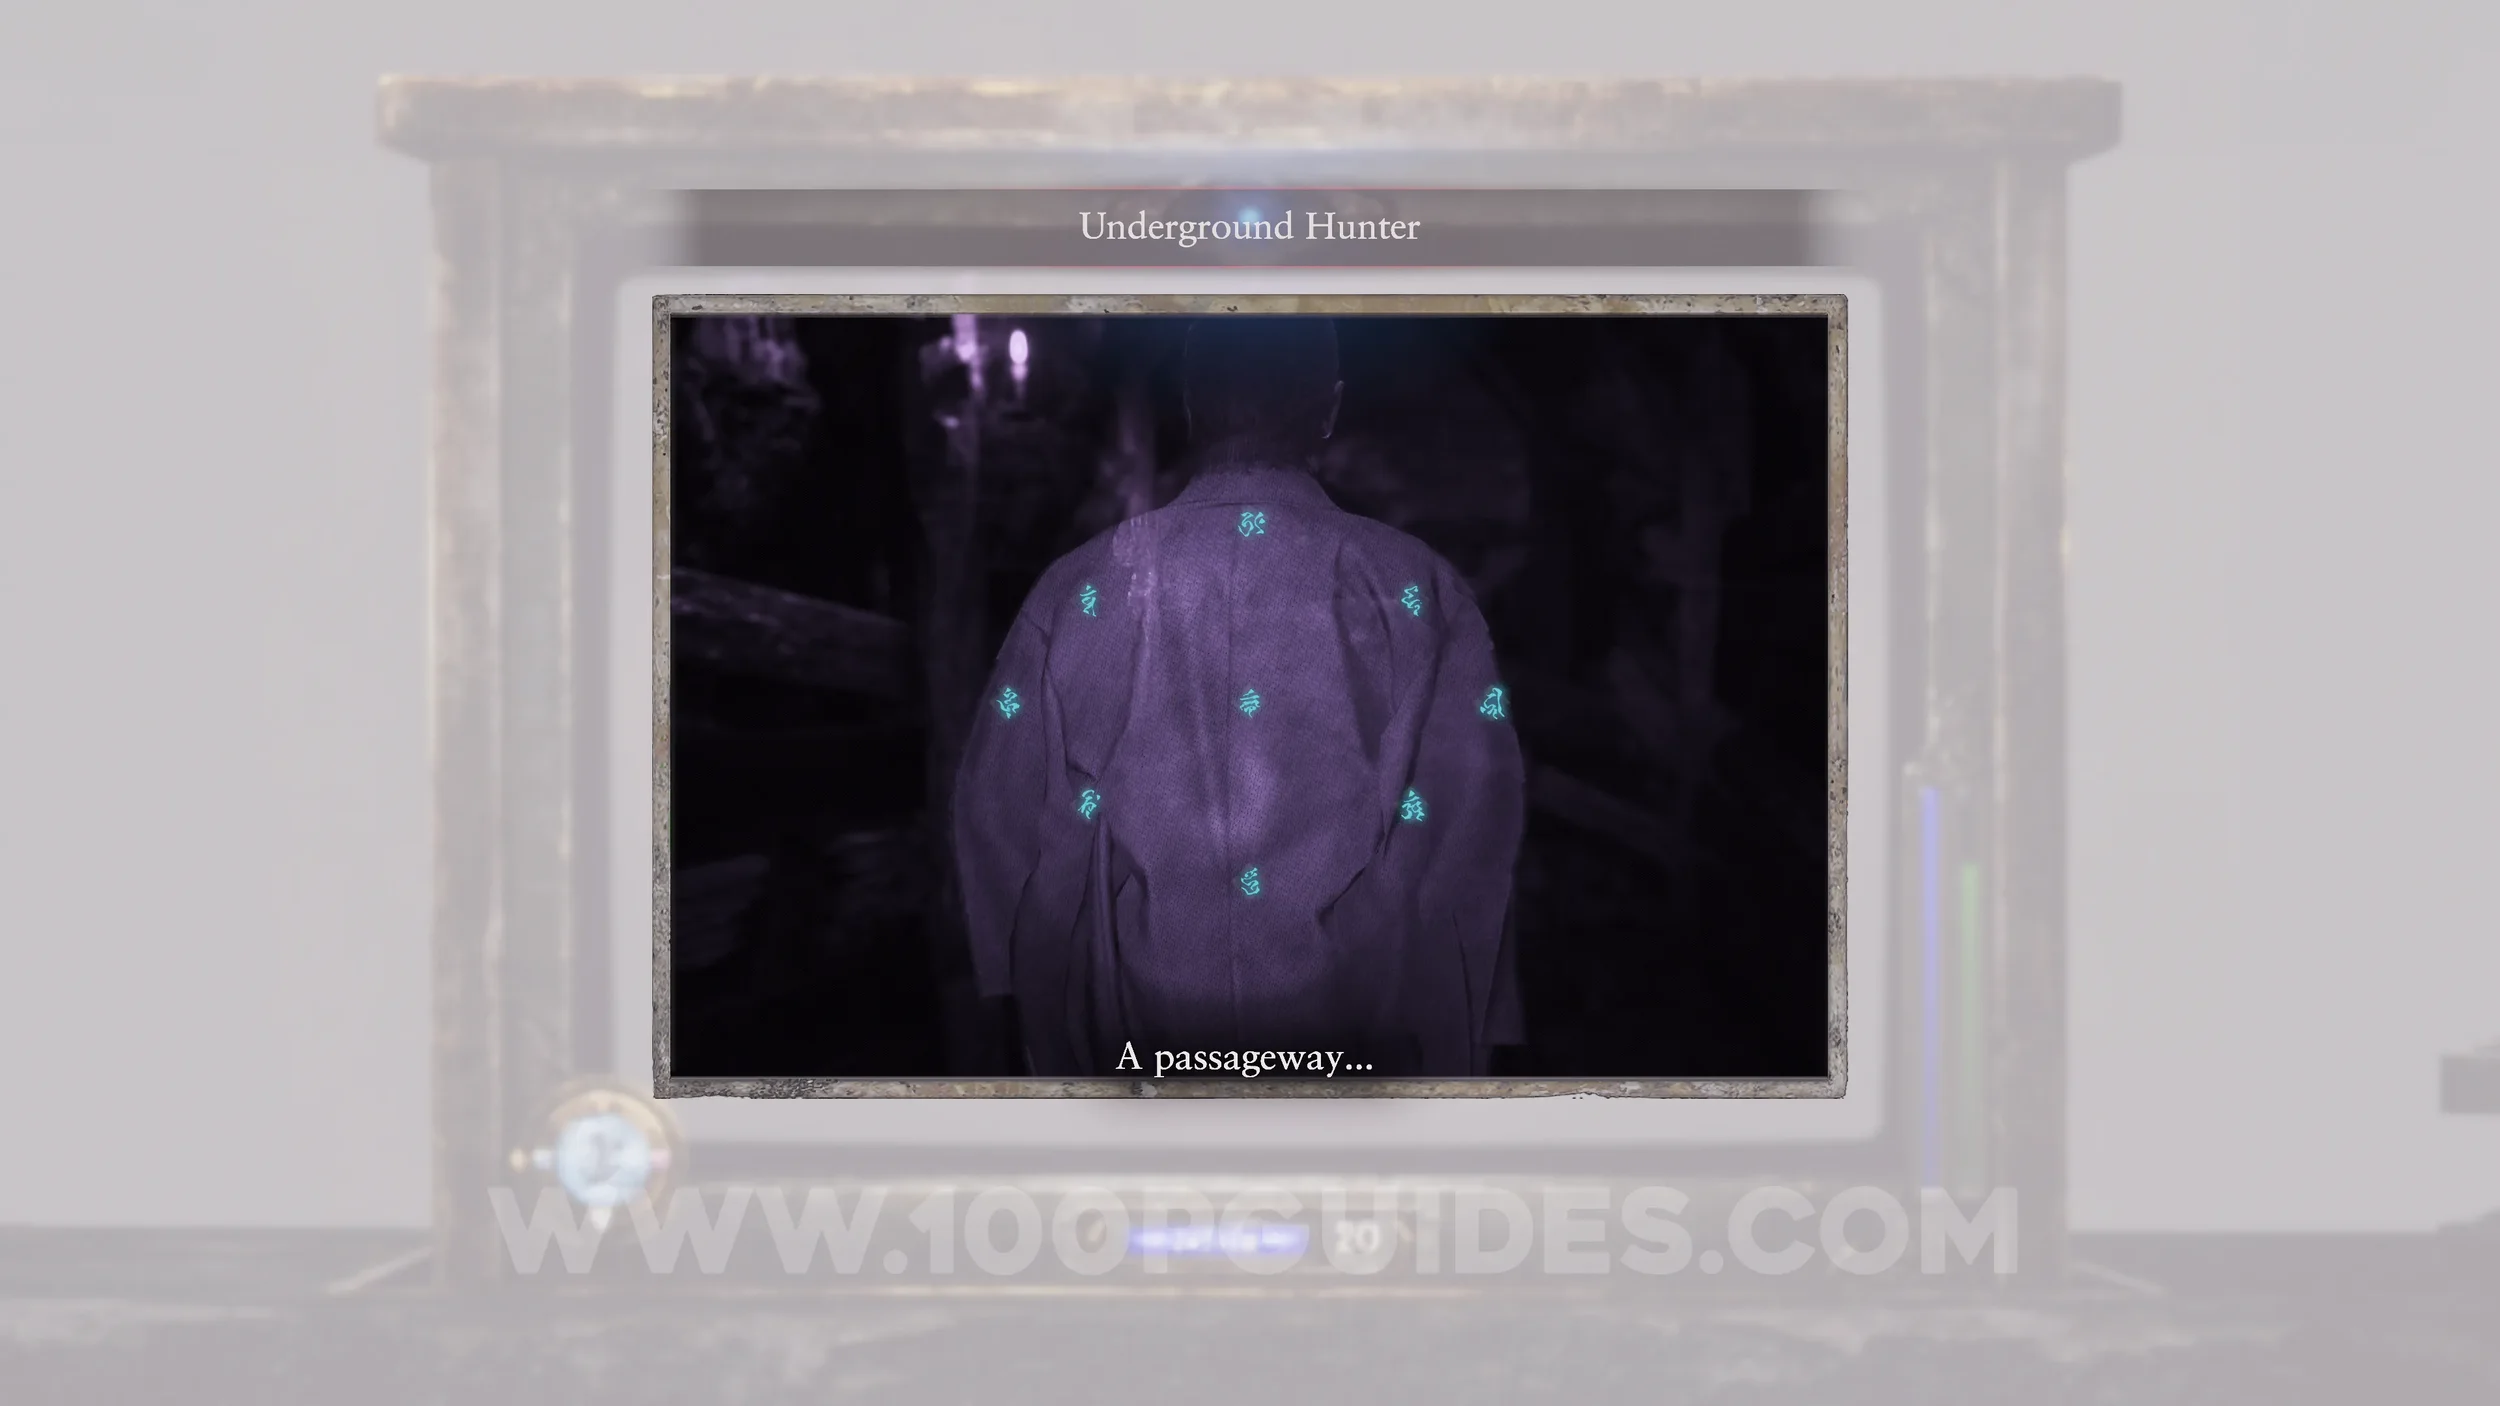
Specter #93 - 064 Underground Hunter. In plain sight as you make your way through the tunnels.
Wraith #14 - 012 The Mourner. Will attack you once you pick up the Rustly Key (story objective).
Prayer Beads #35. In a pot in the same area as the previous wraith.
Film Reel #1 (3). In one of the wooden boxes in the same area as the previous collectible.
Specter #94 - 065 Dragged Shadow. Climb back up to the Altar Room, then head down the hall toward the Osaka House Entrance. You will see the specter on the floor at the end of the hall.
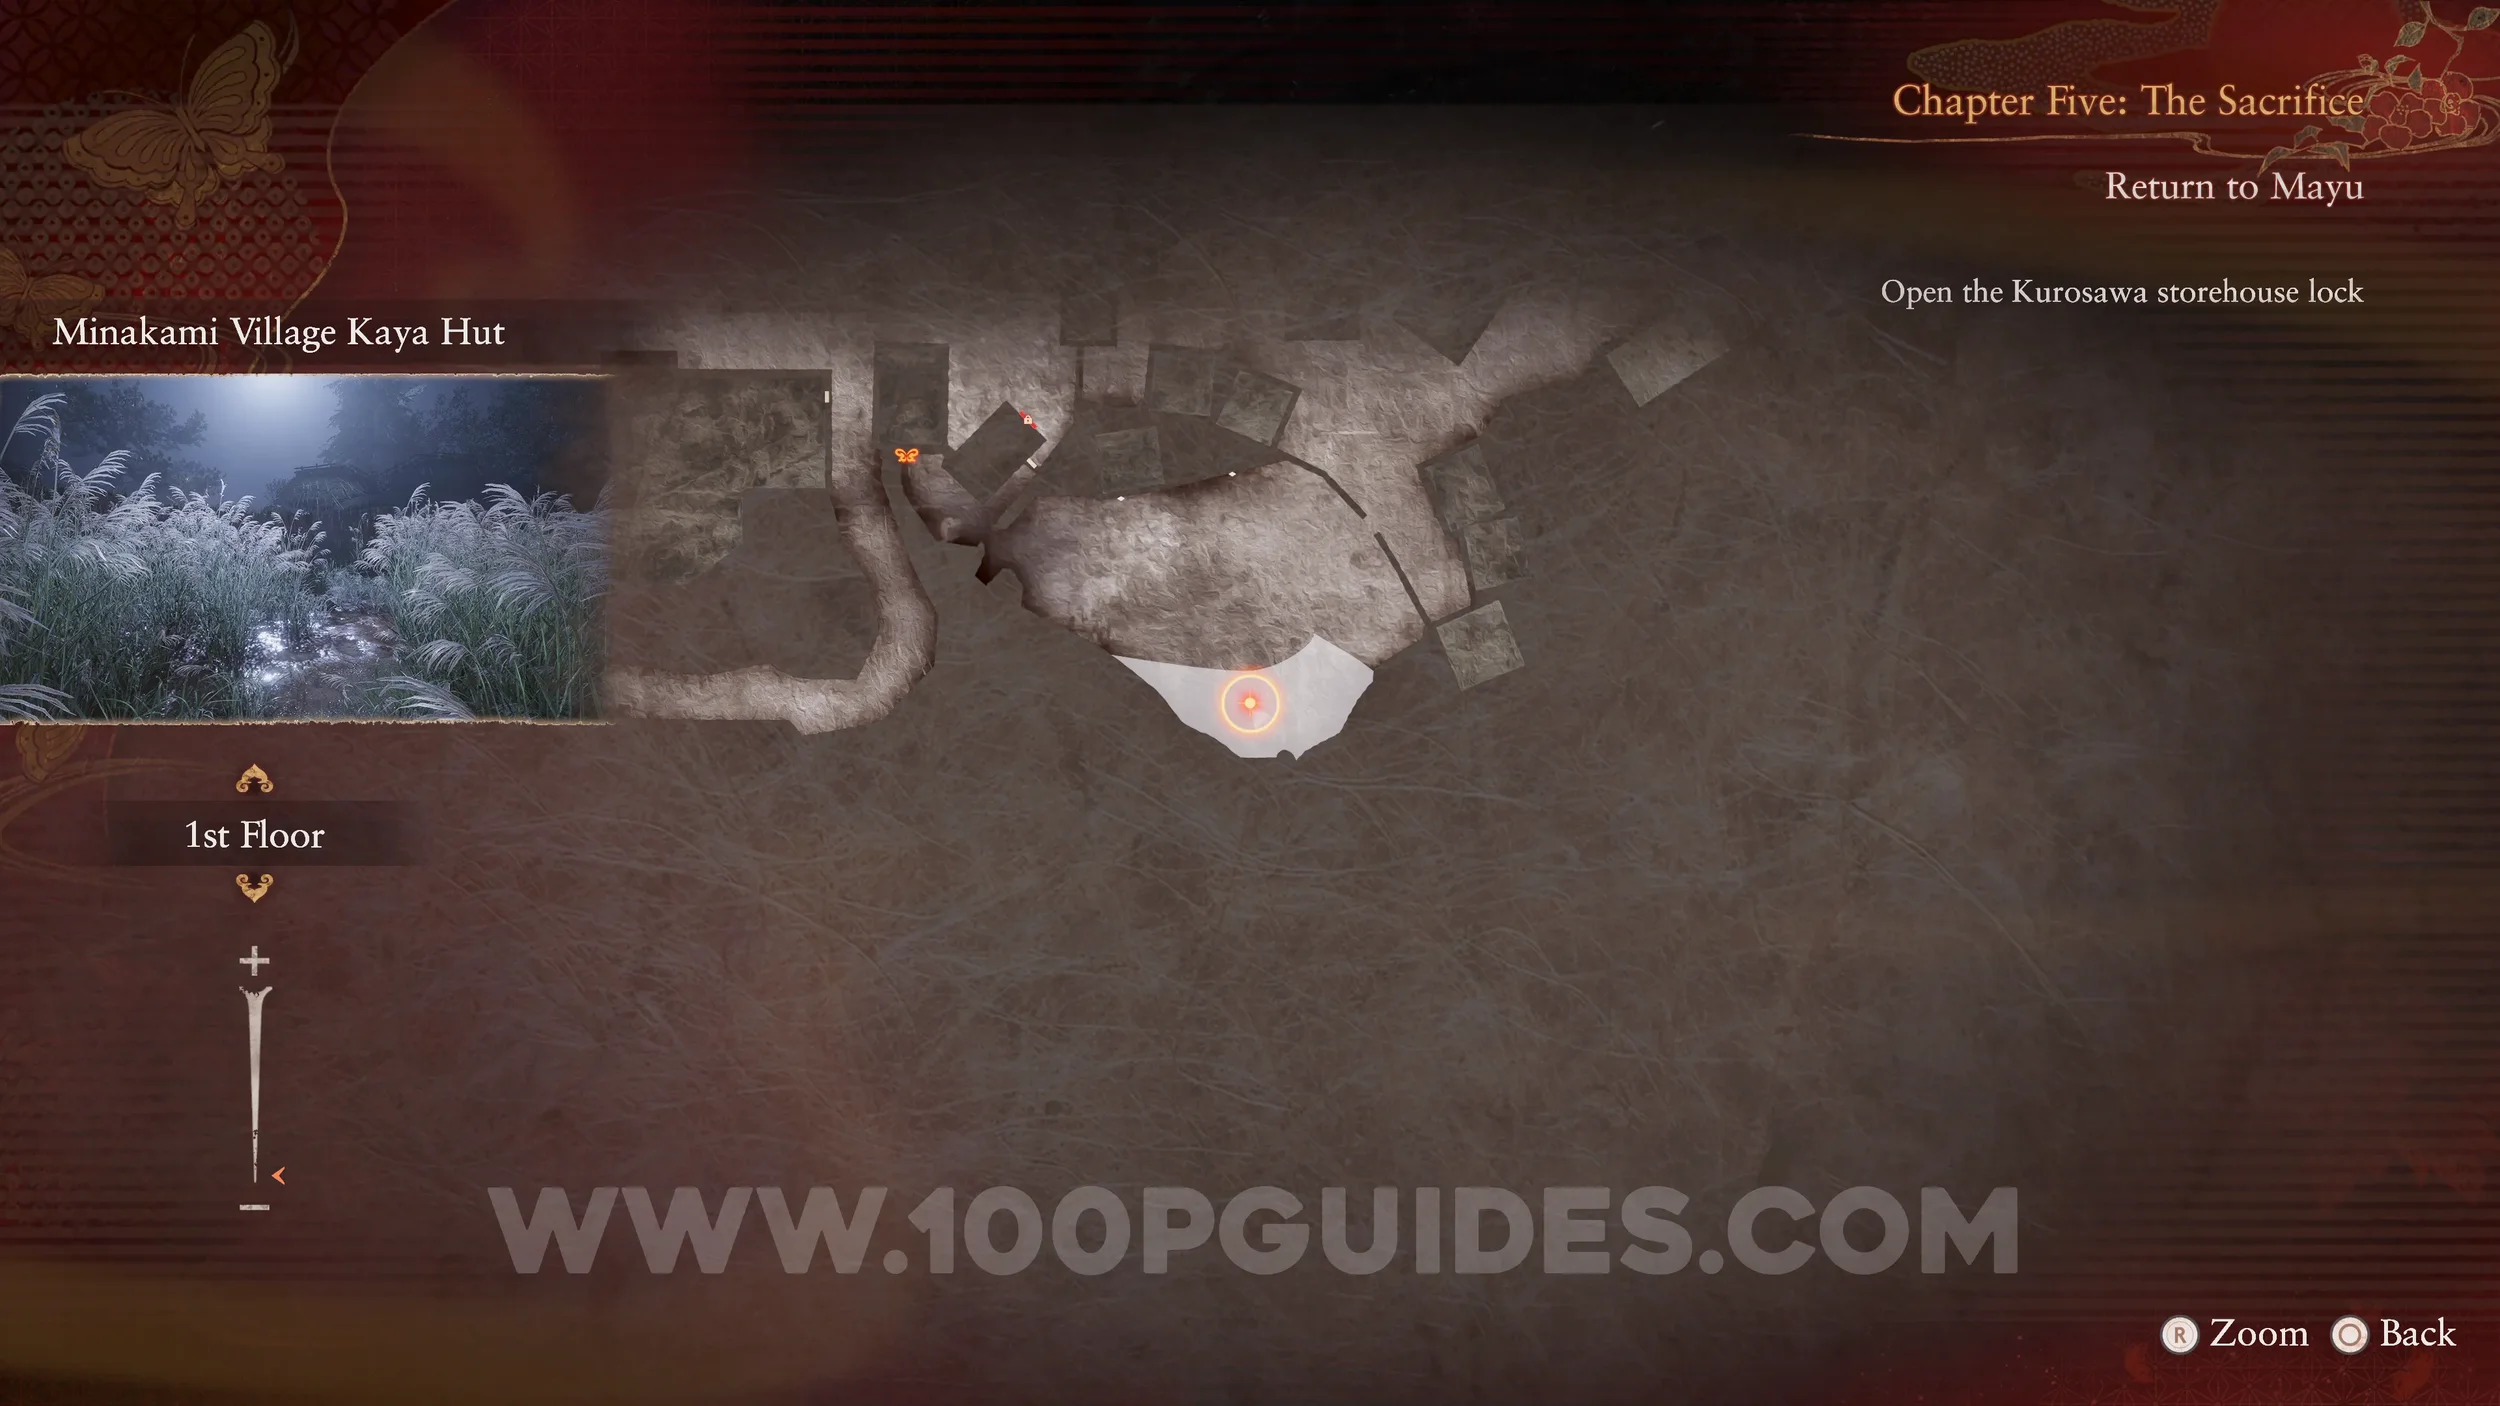
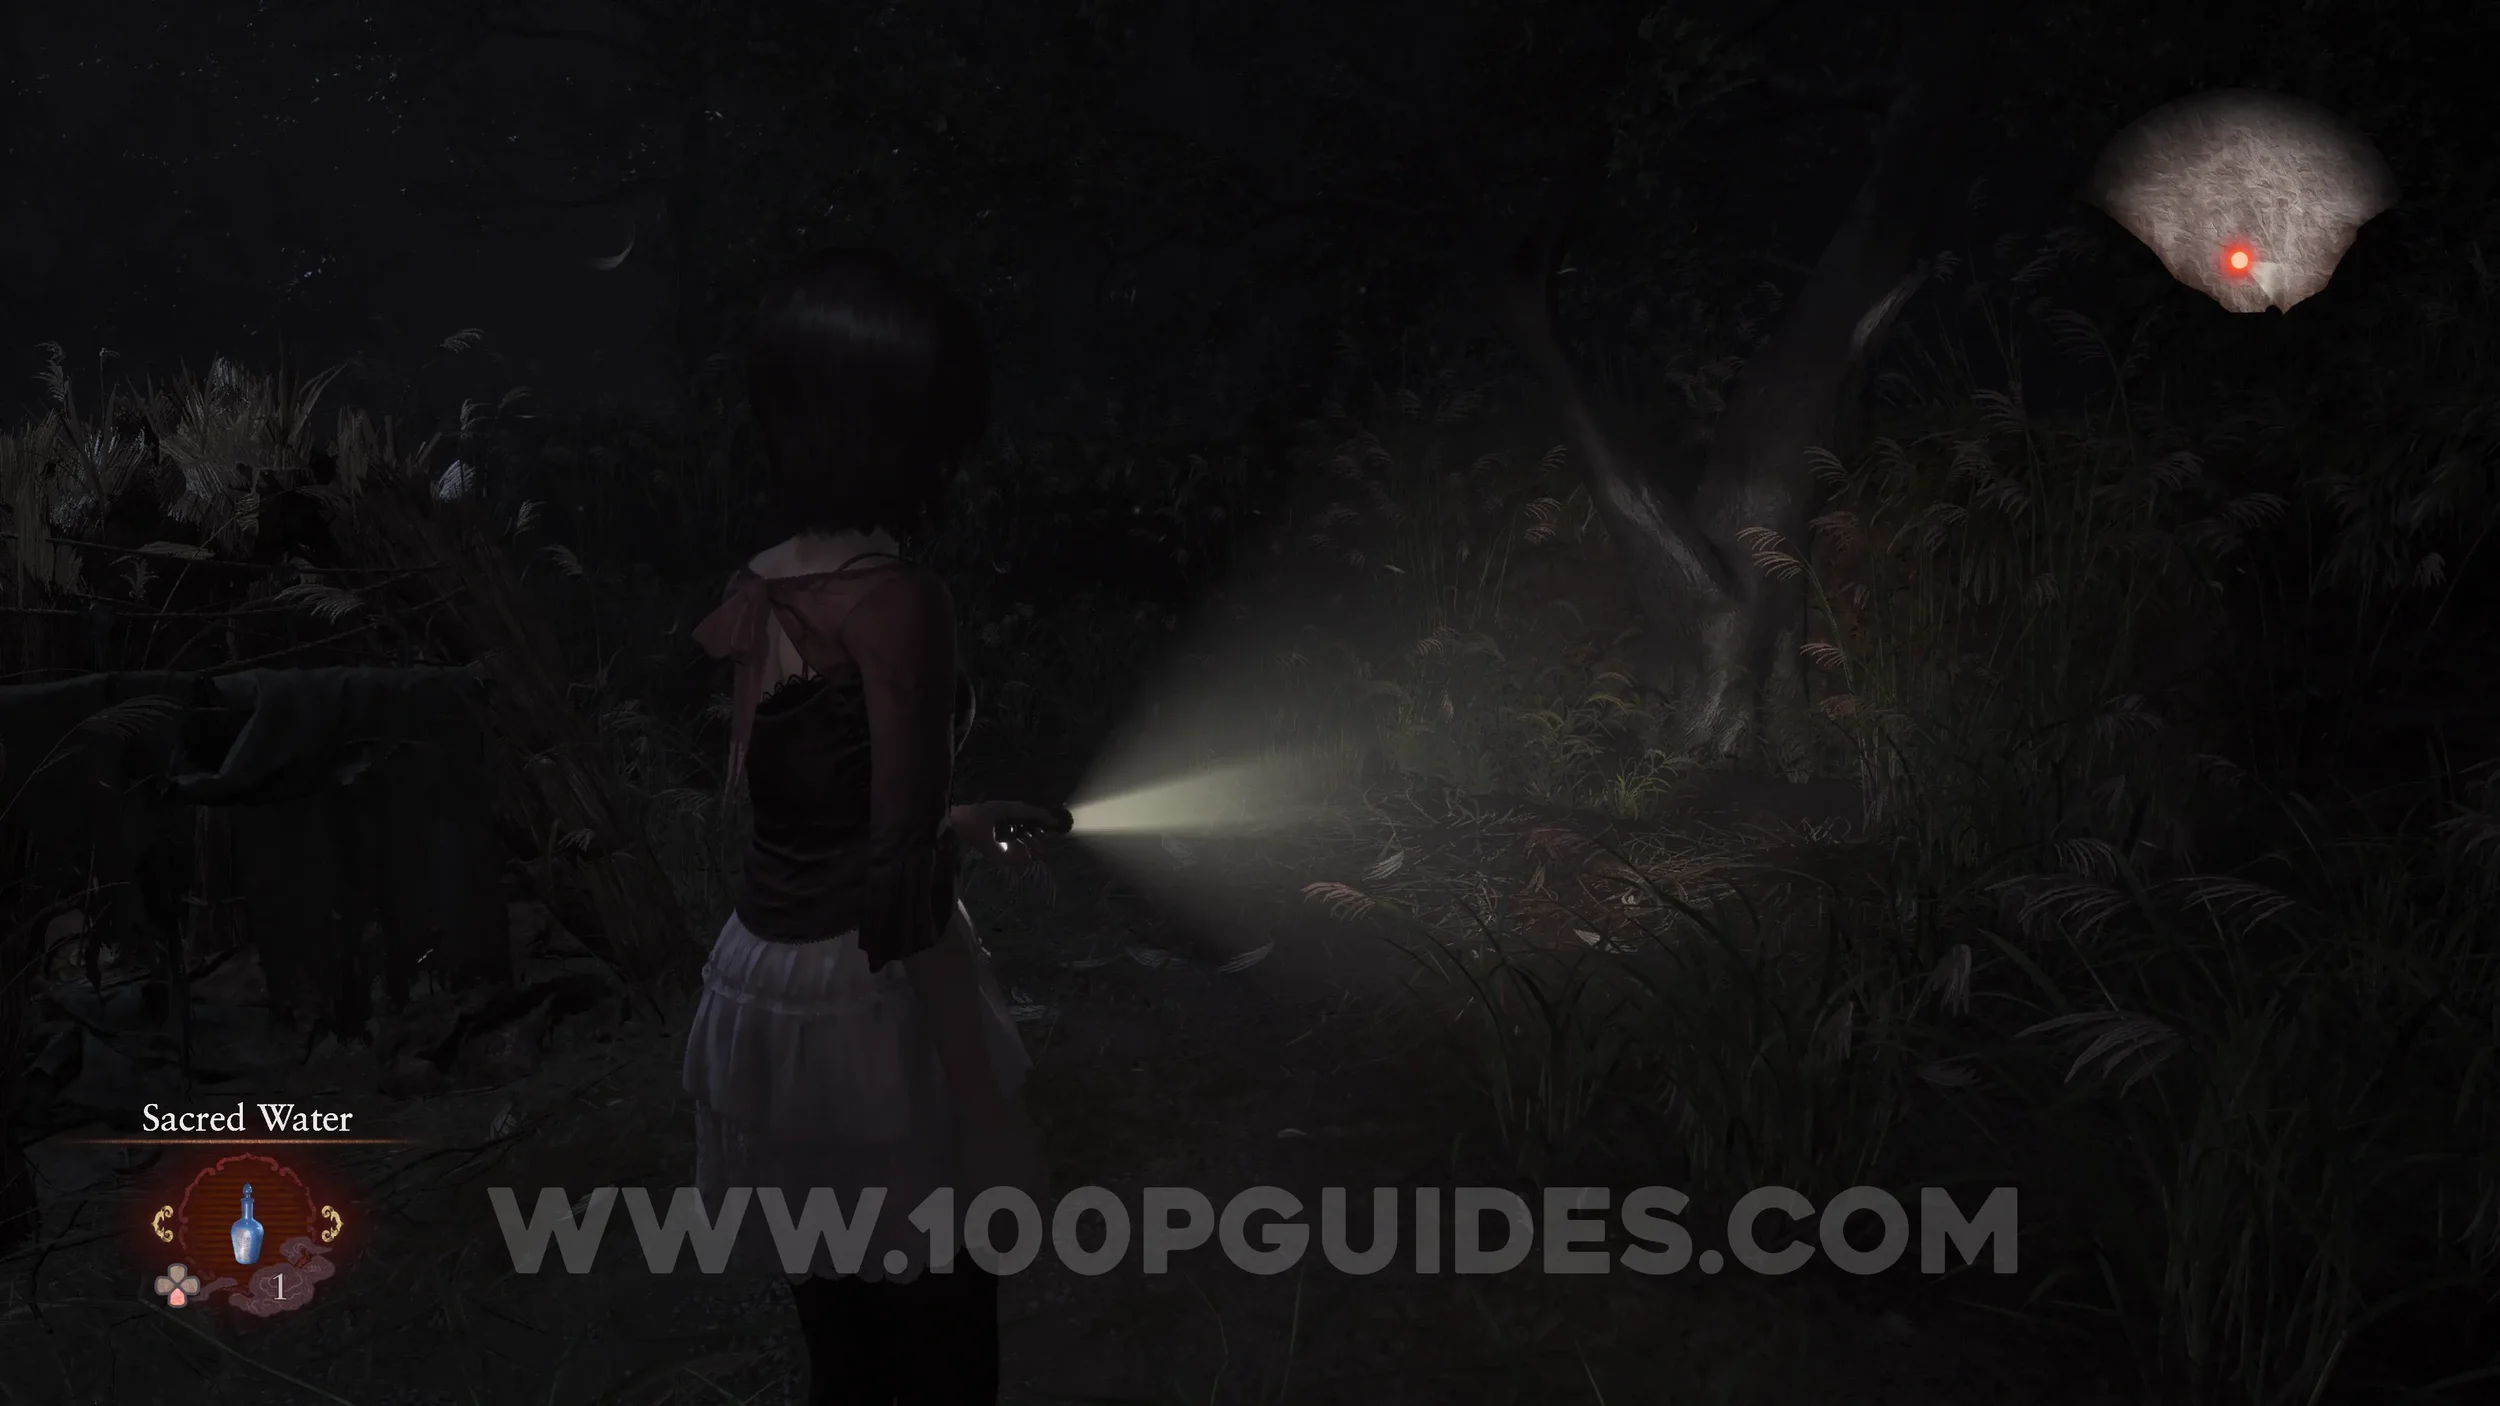
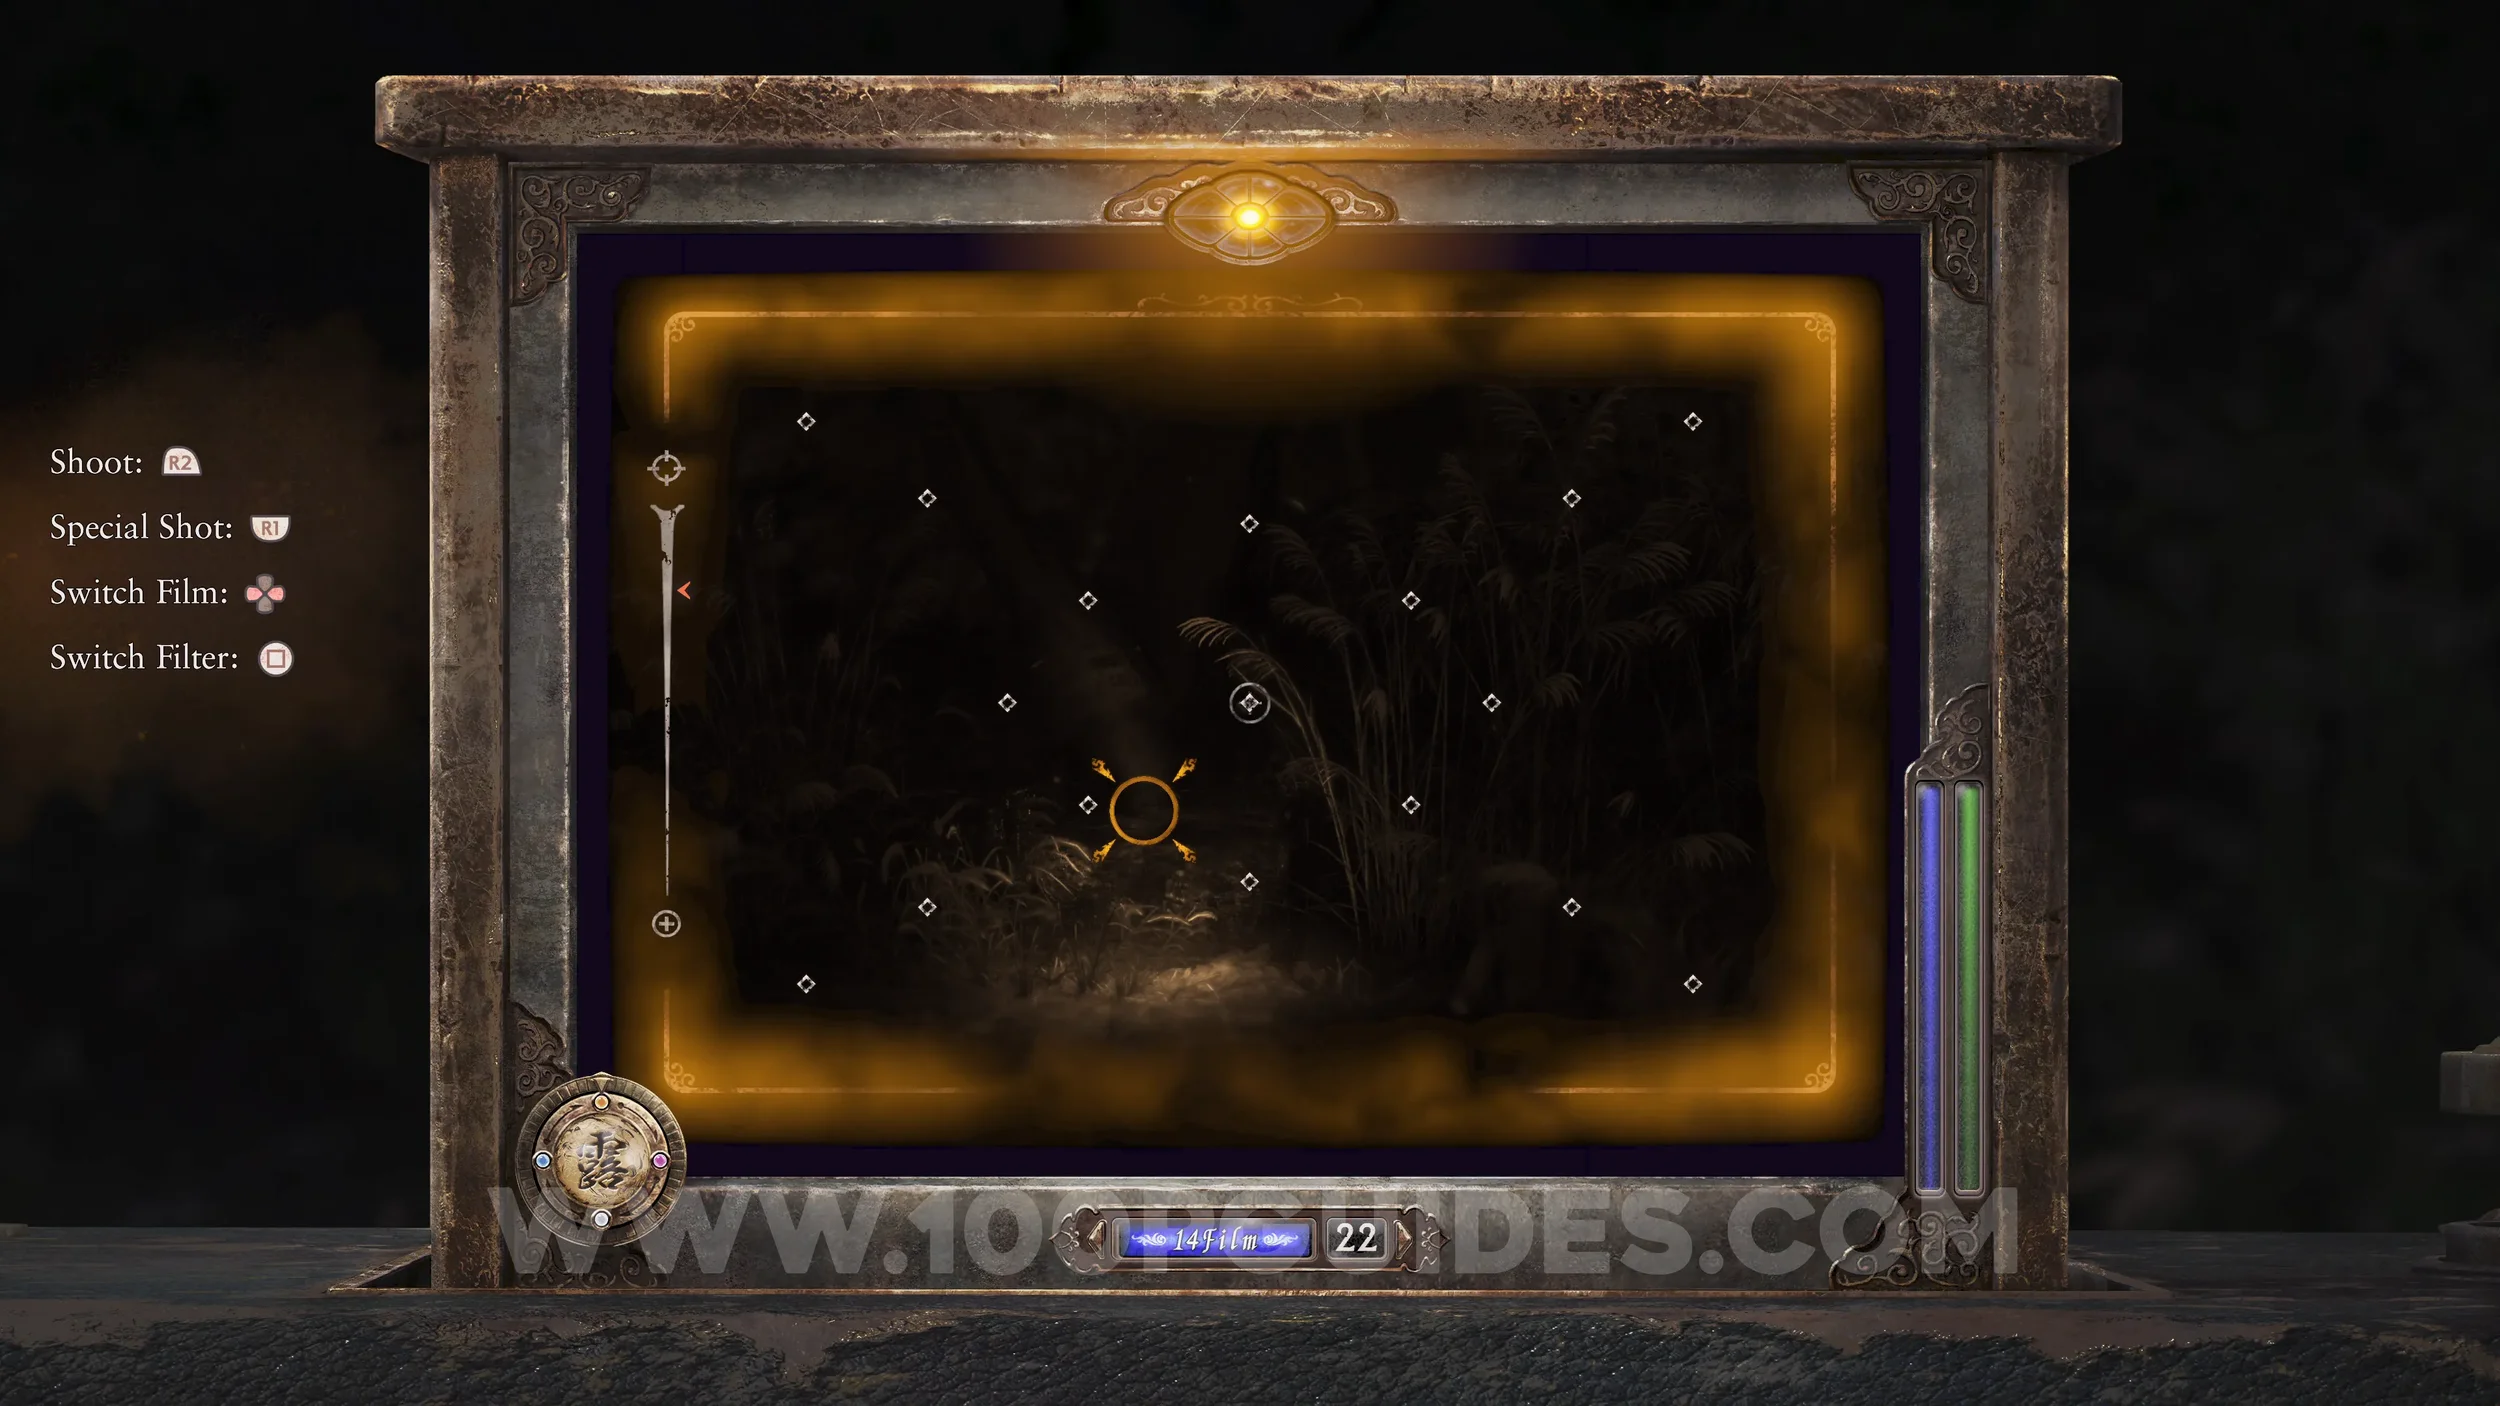
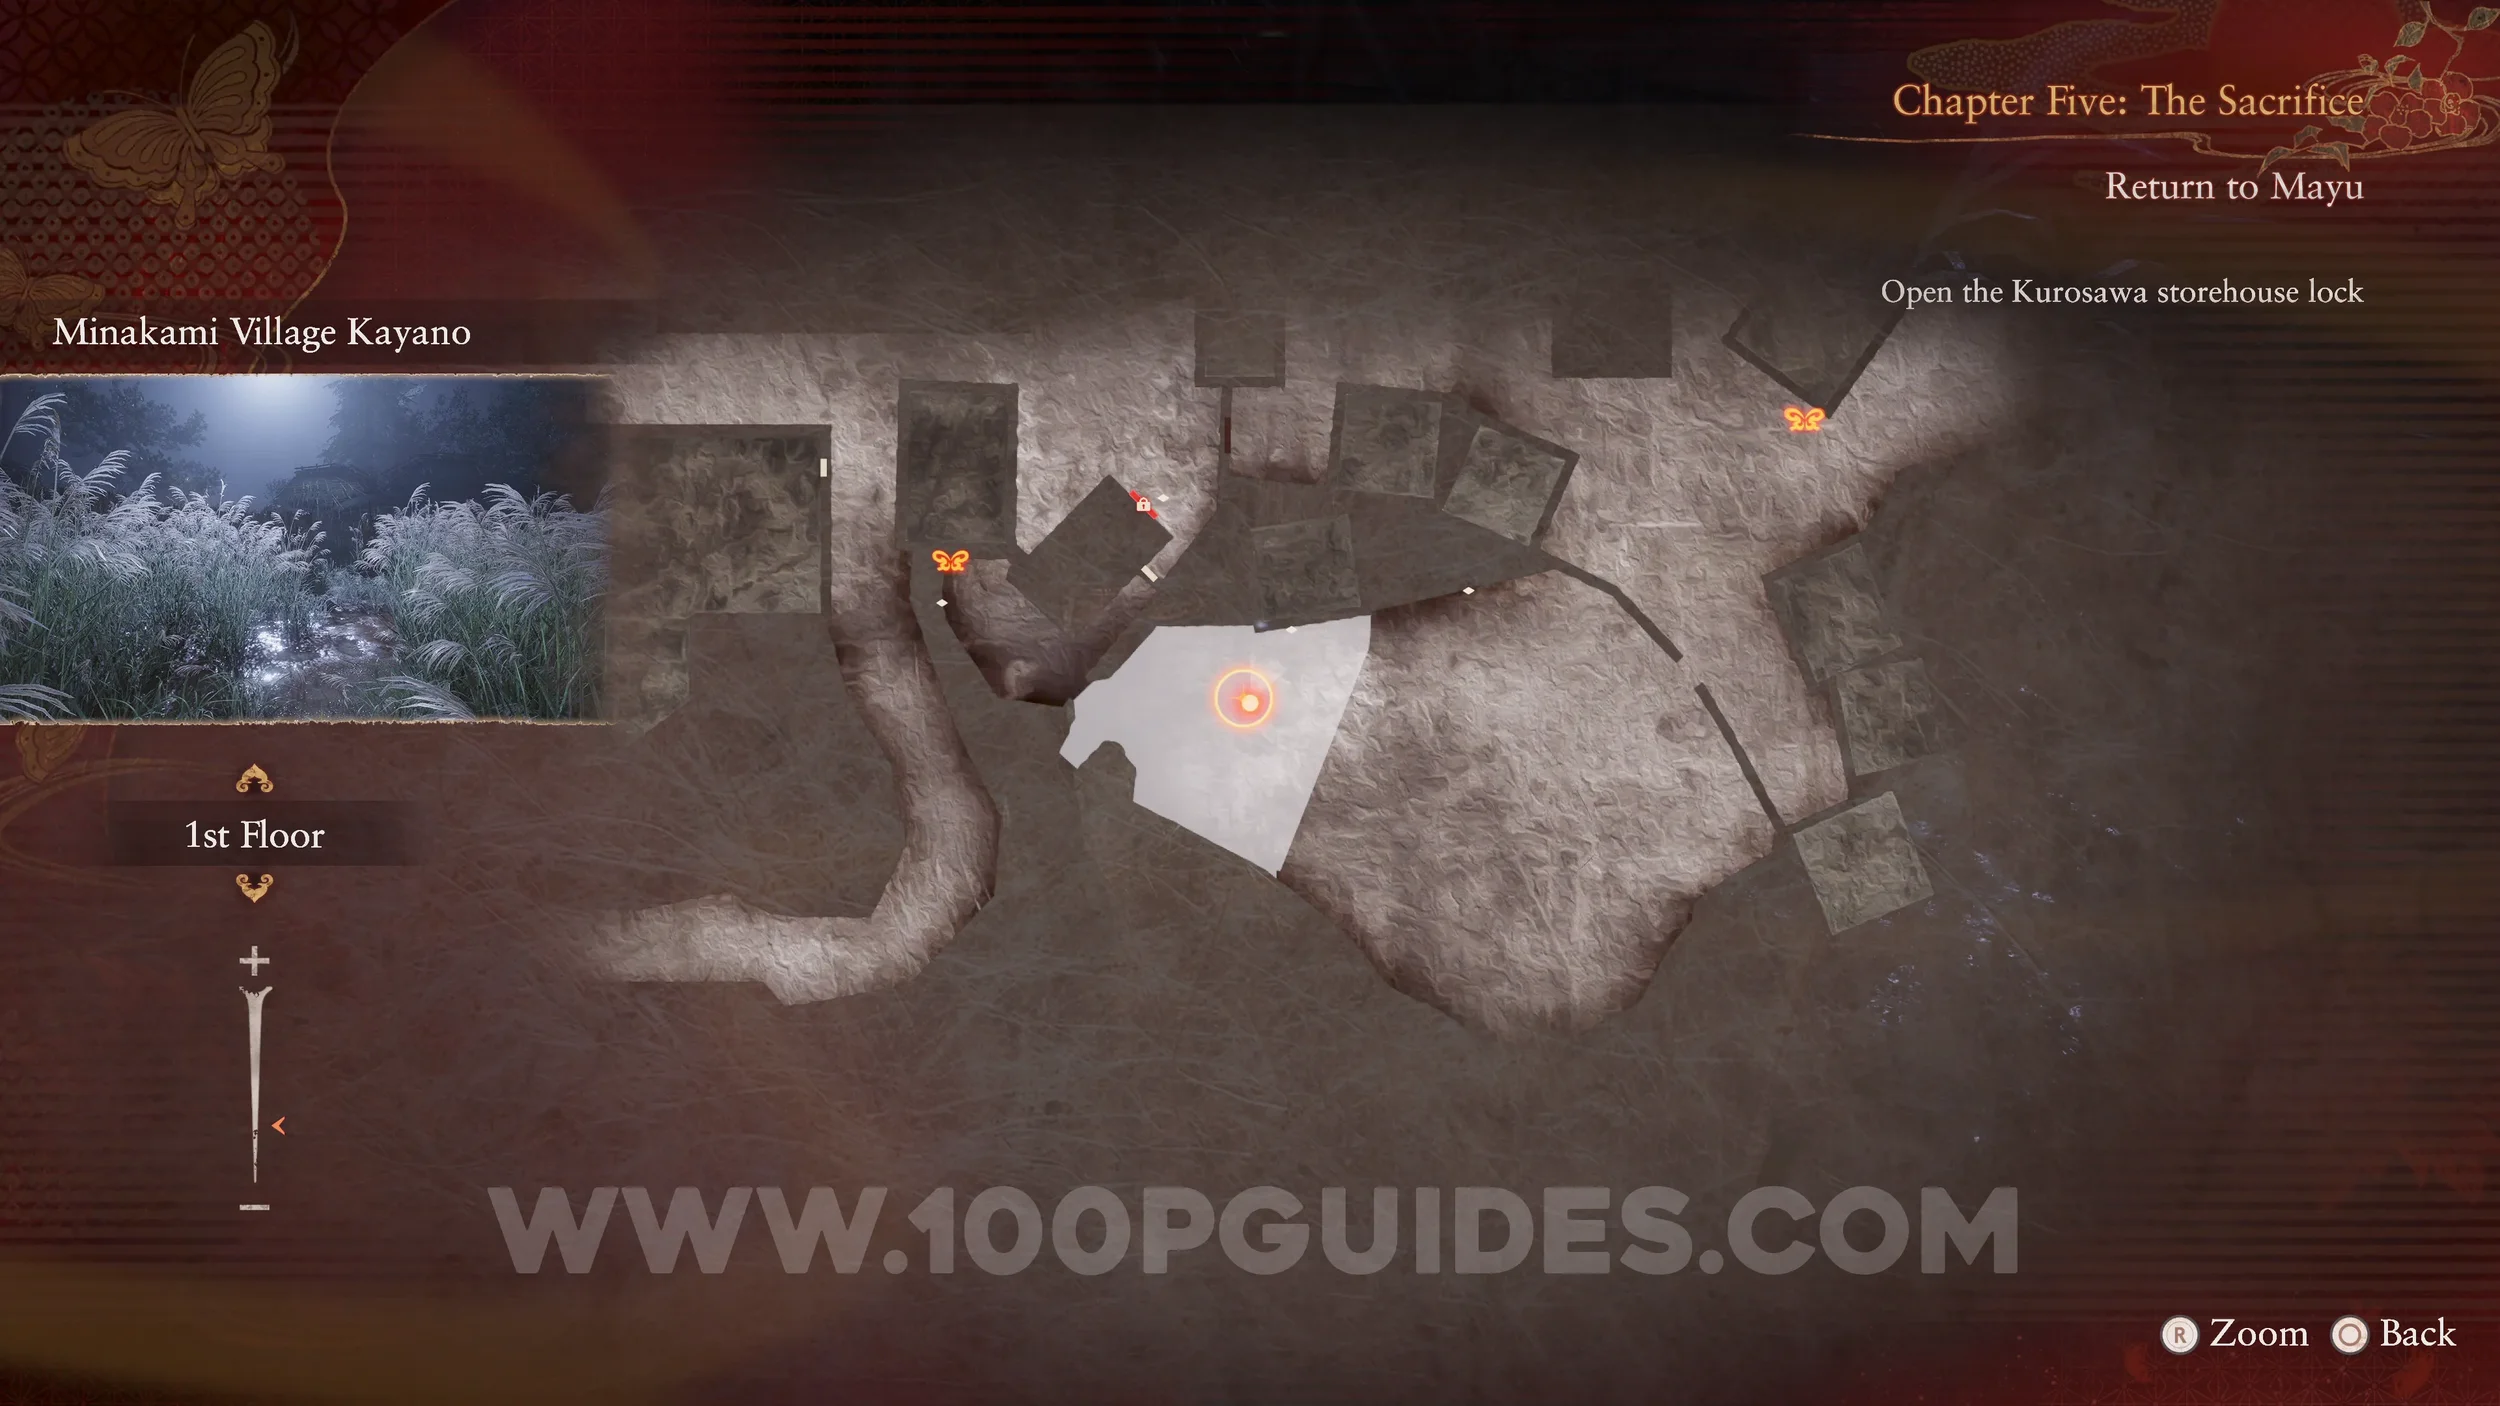
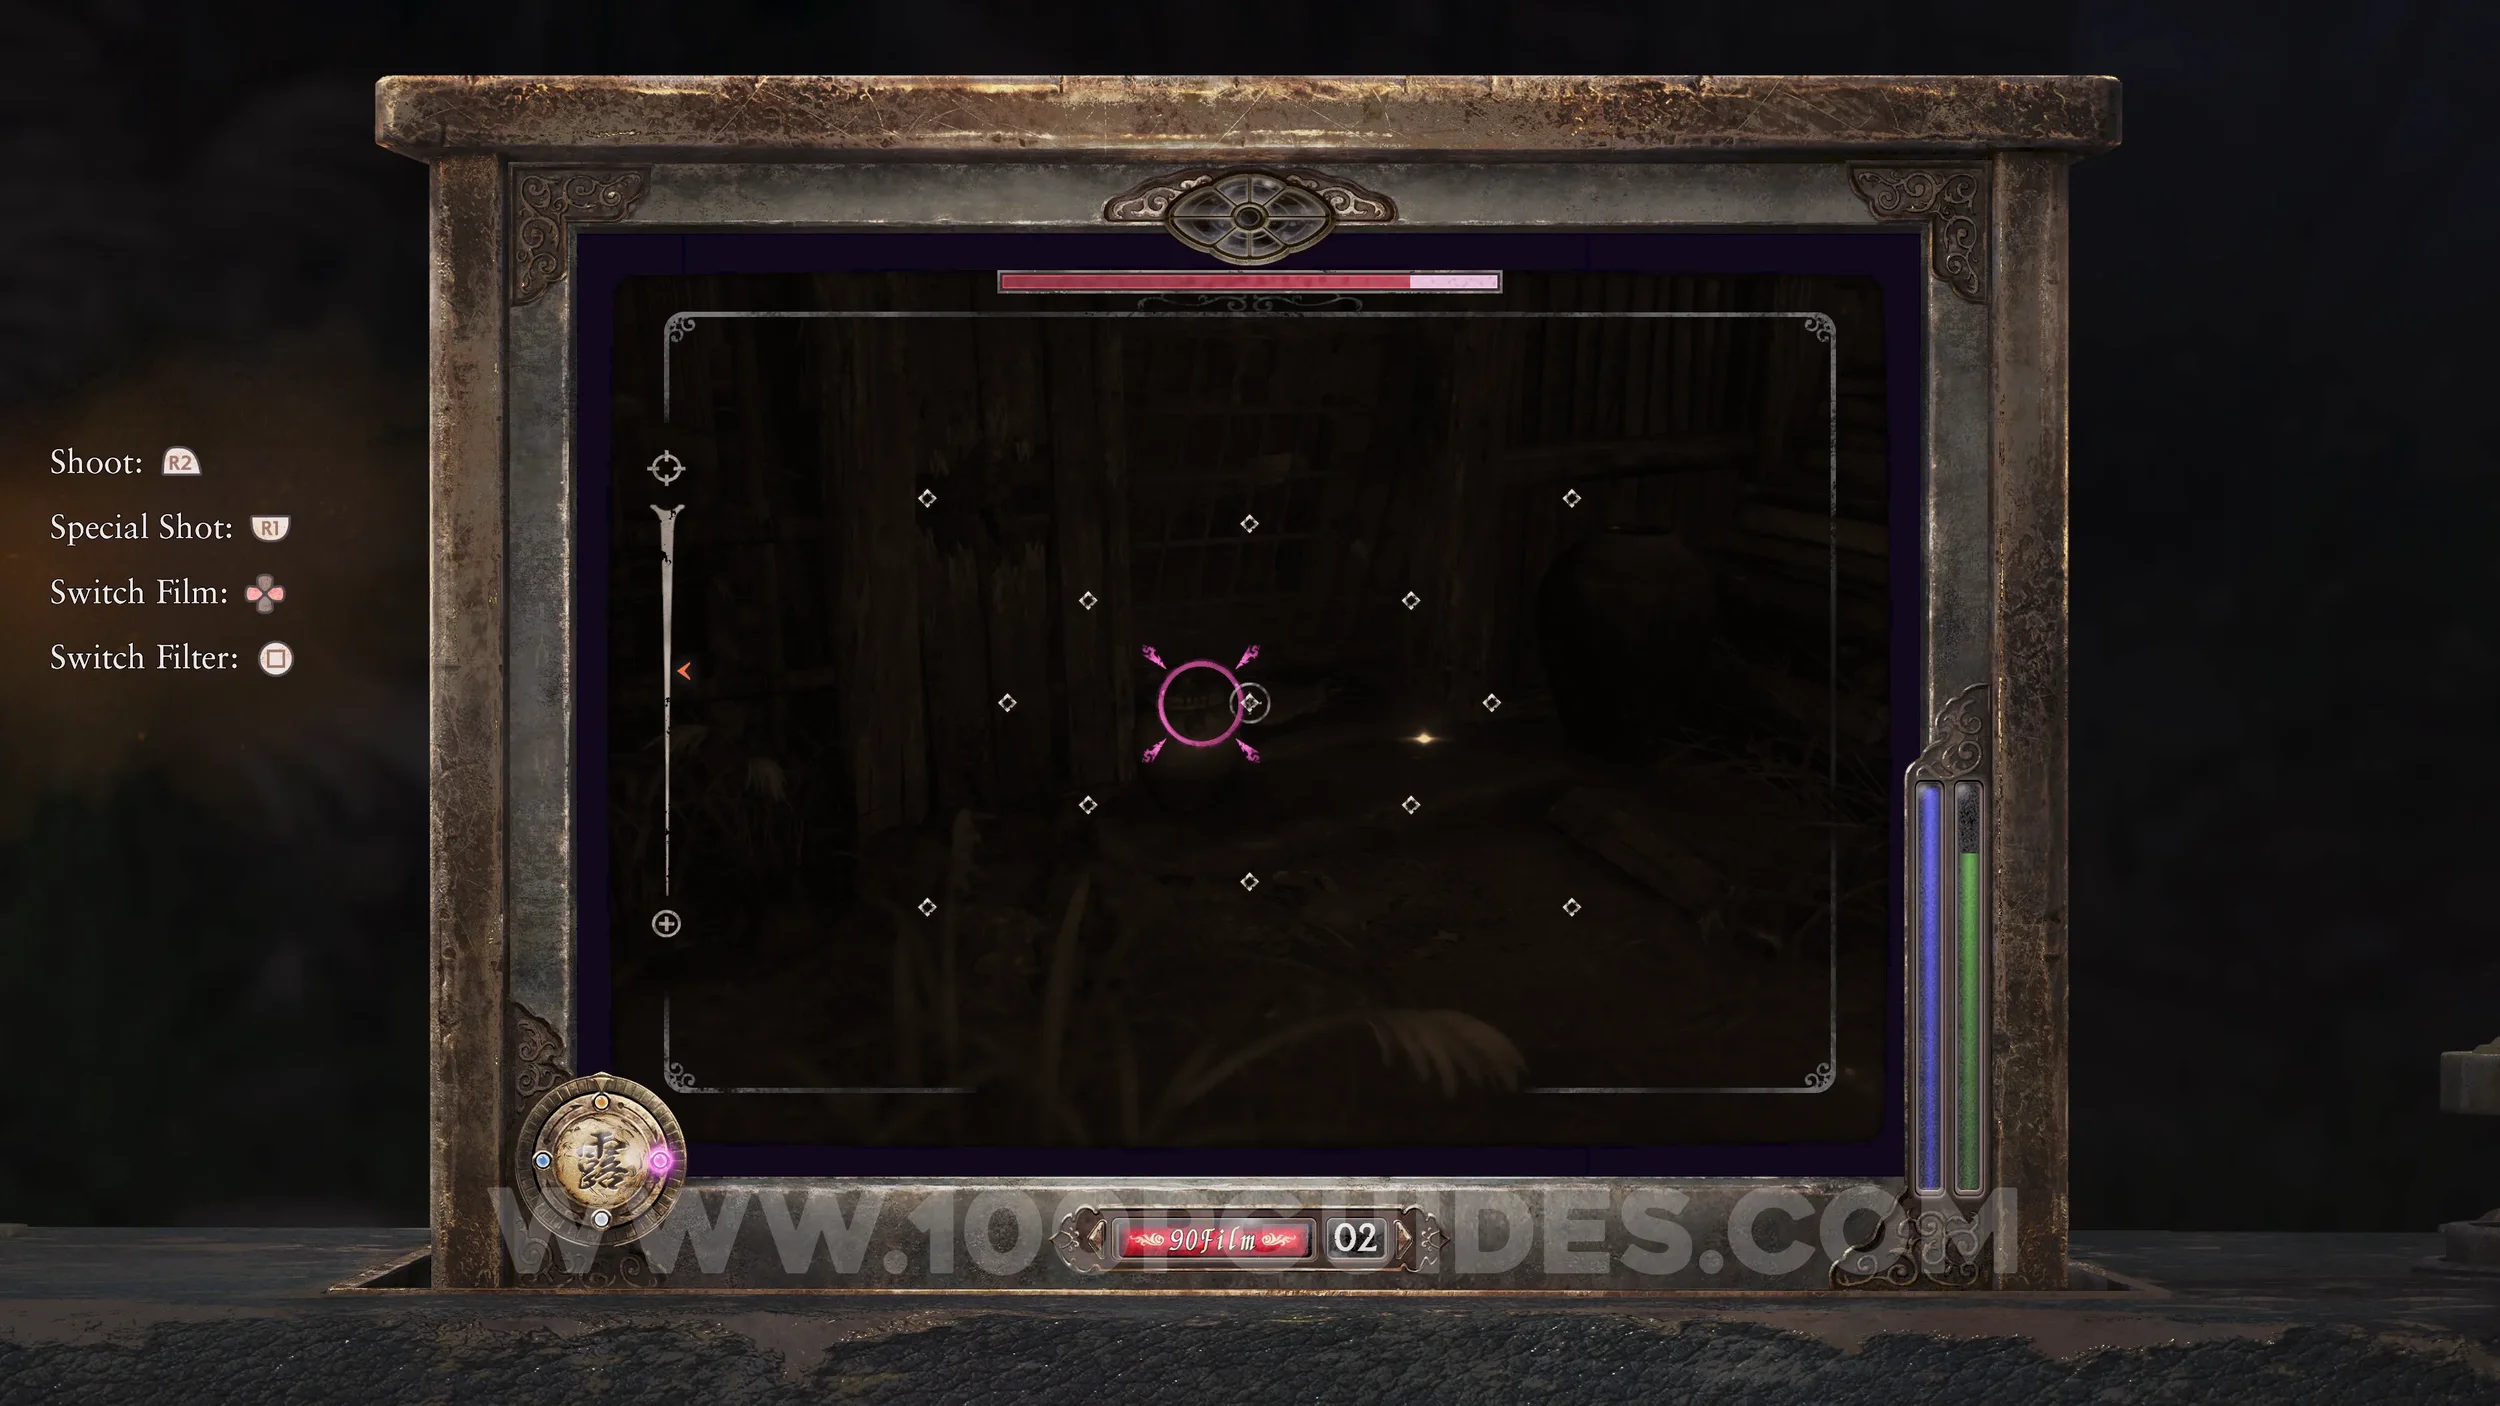
Phantom Expose #10 - Kayato and Prayer Beads #36. Before heading back to the Storeroom, go east to Minakami Village Kayano, the field with tall grass you visit in Chapter 2. Here, go to the hut and use the Exposure Filter to take a photo of the tree. This will spawn a chest with a bead inside.
Unbinding of Blood #14 and Prayer Beads #37. Also found in the tall grass area. Look for a pot near the northern building.
Prayer Beads #38. Leave the tall grass field through the gap to the east. Here, look for the beads on a milling machine.
Prayer Beads #39. From the previous beads, head west to find them on some boxes covered with a blanket.
Unbinding of Blood #15. In the same area as the previous collectibles. Look for a door with blood on it just west of the building where you found one of the keys during chapter 2.
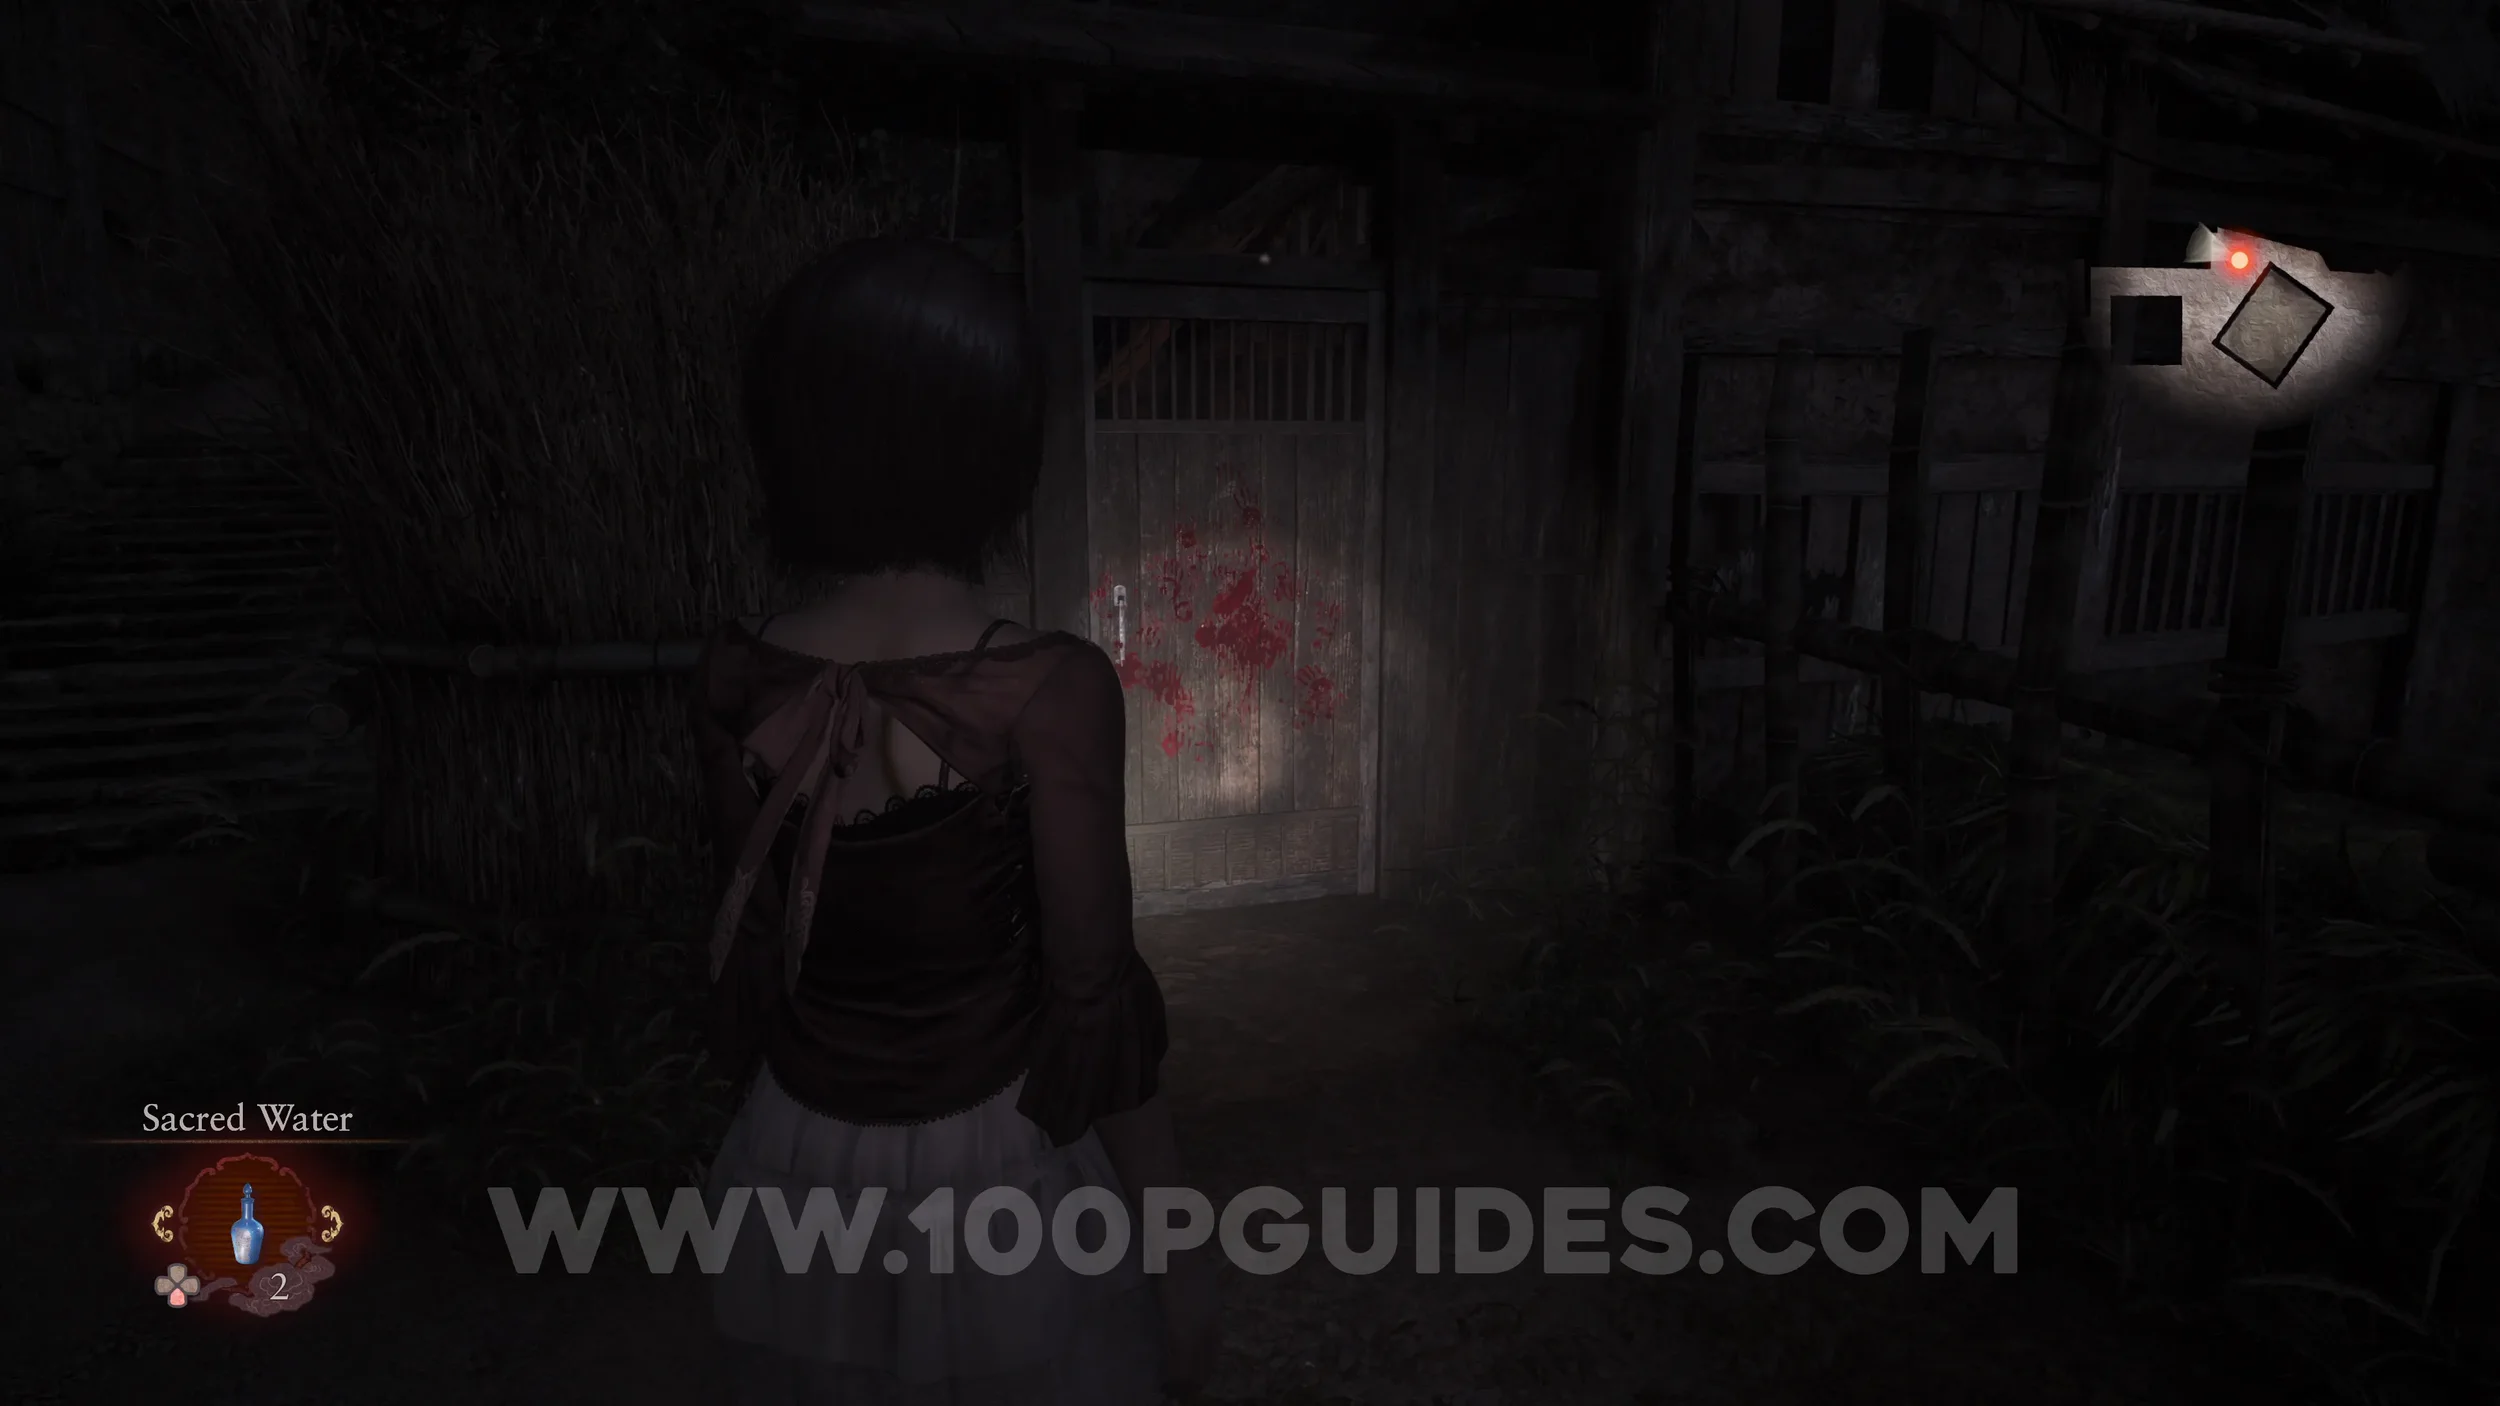
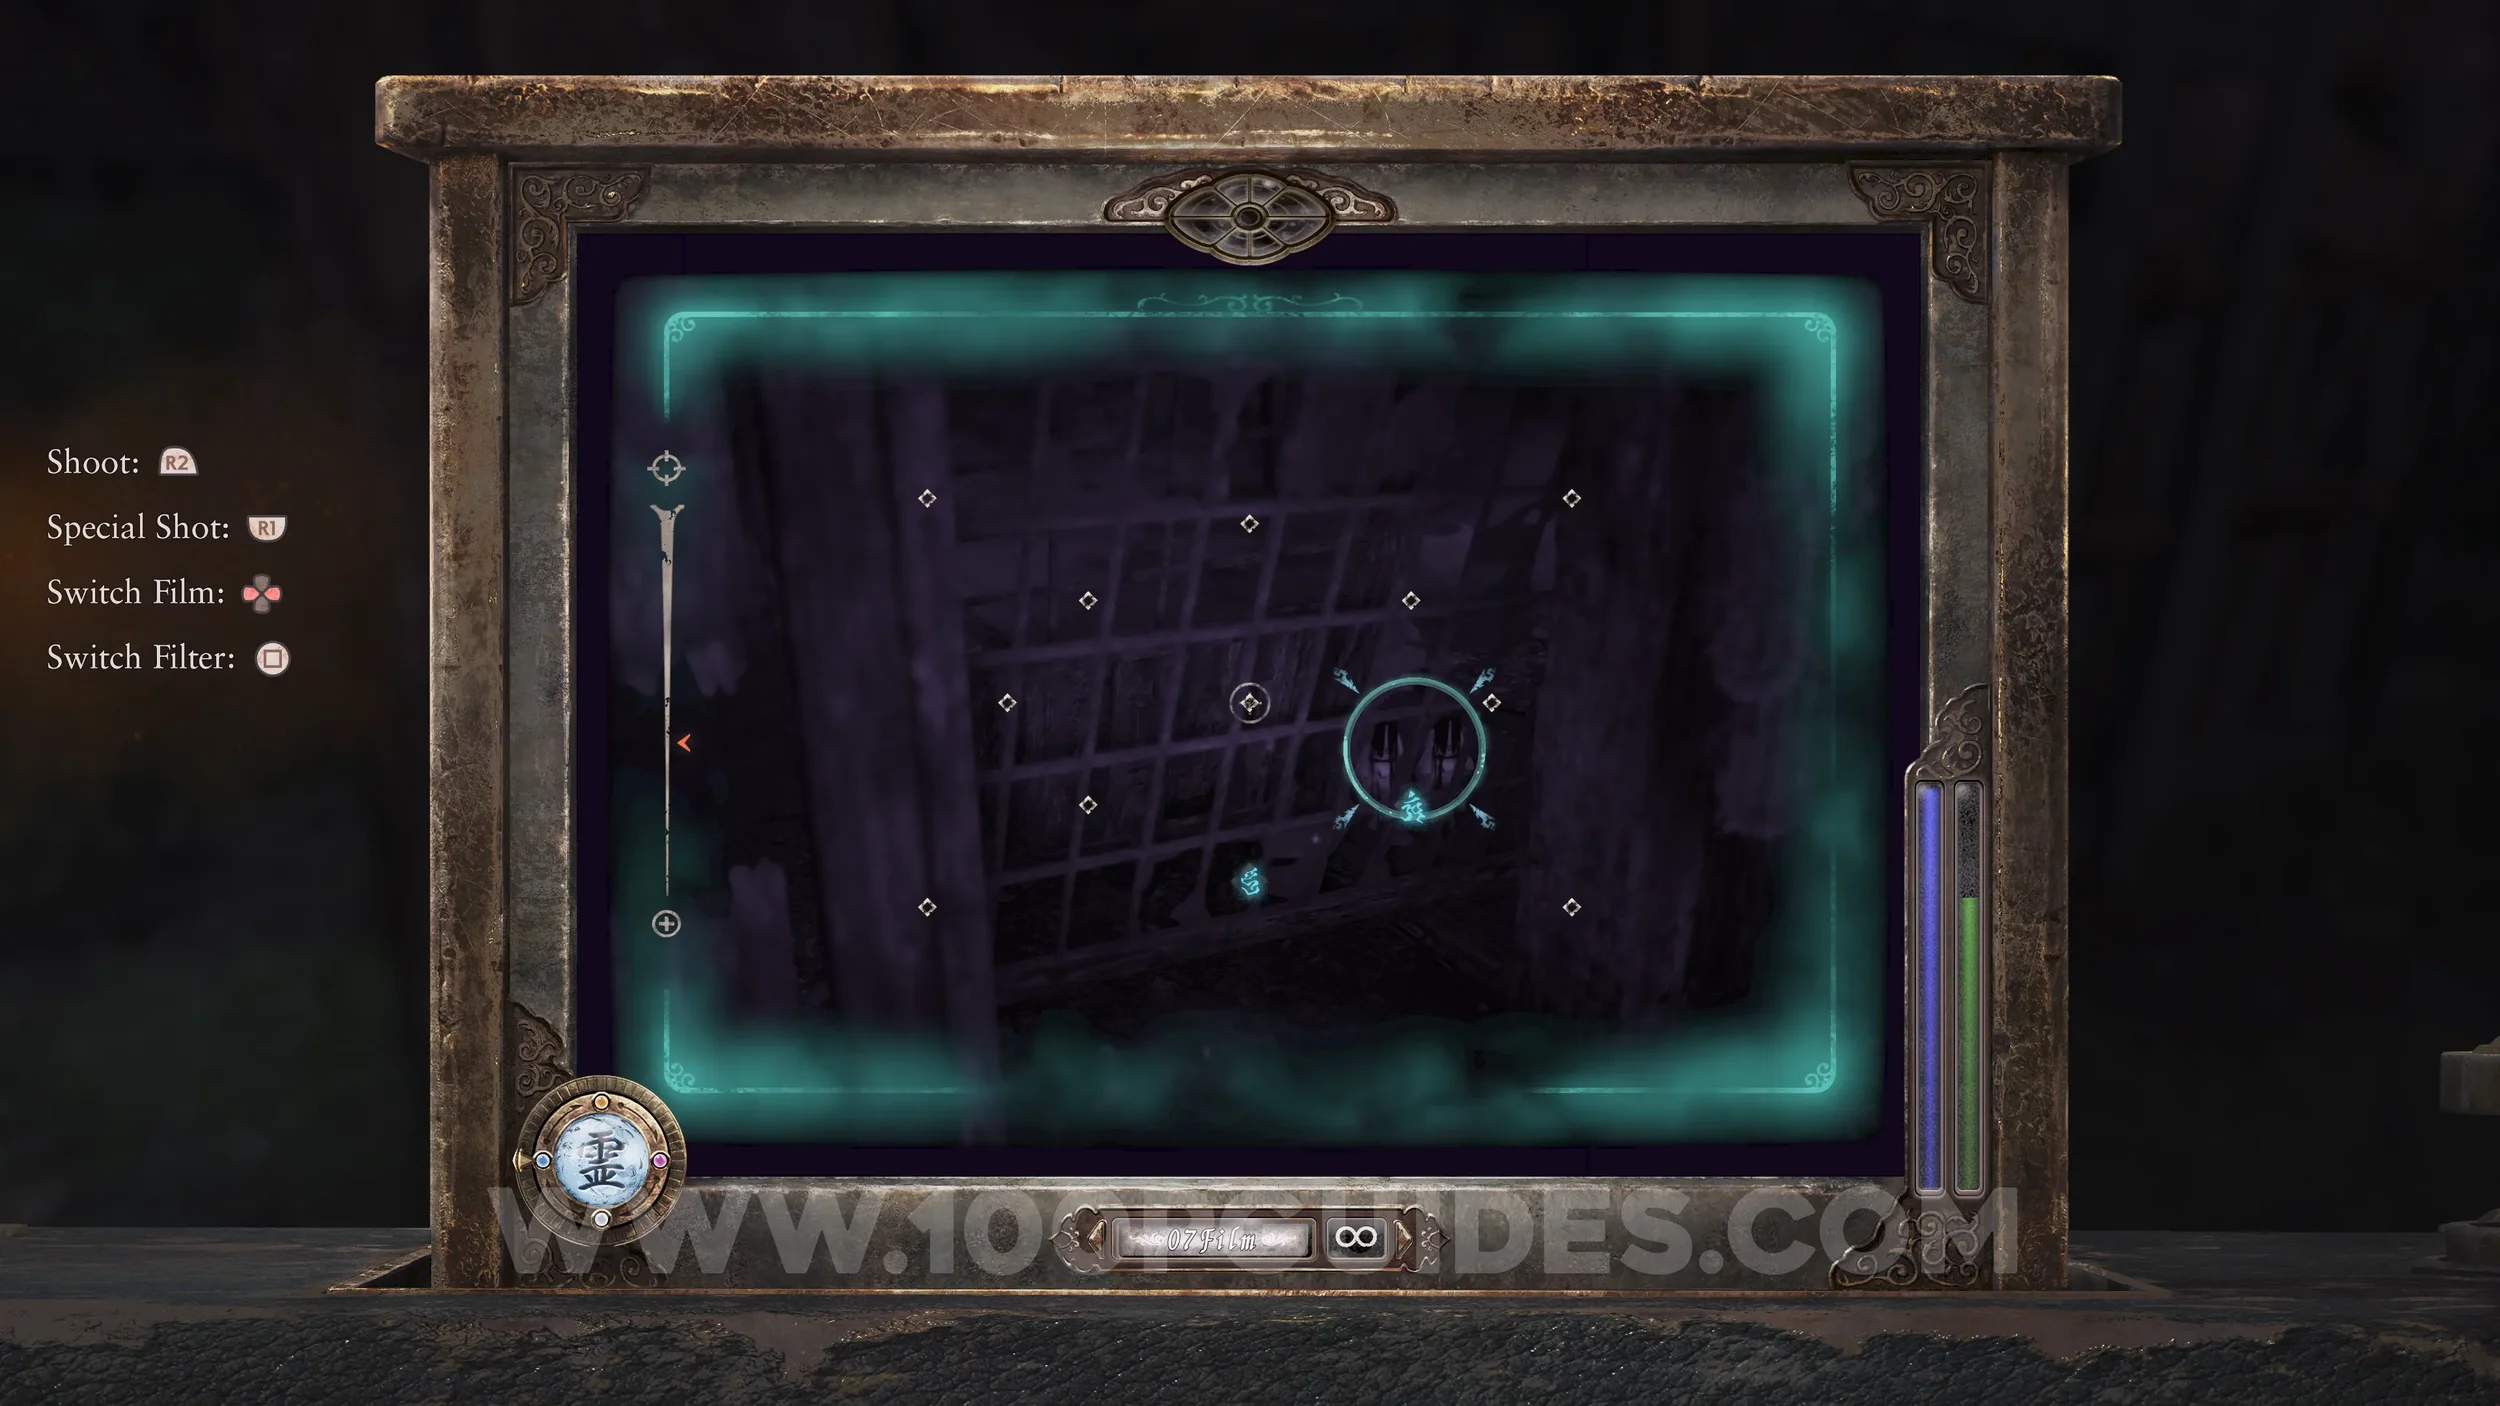
Twin Dolls #29 (38). Go through the previously mentioned bloodstained door and continue forward until the path splits. Here, look through the metal grate straight ahead.
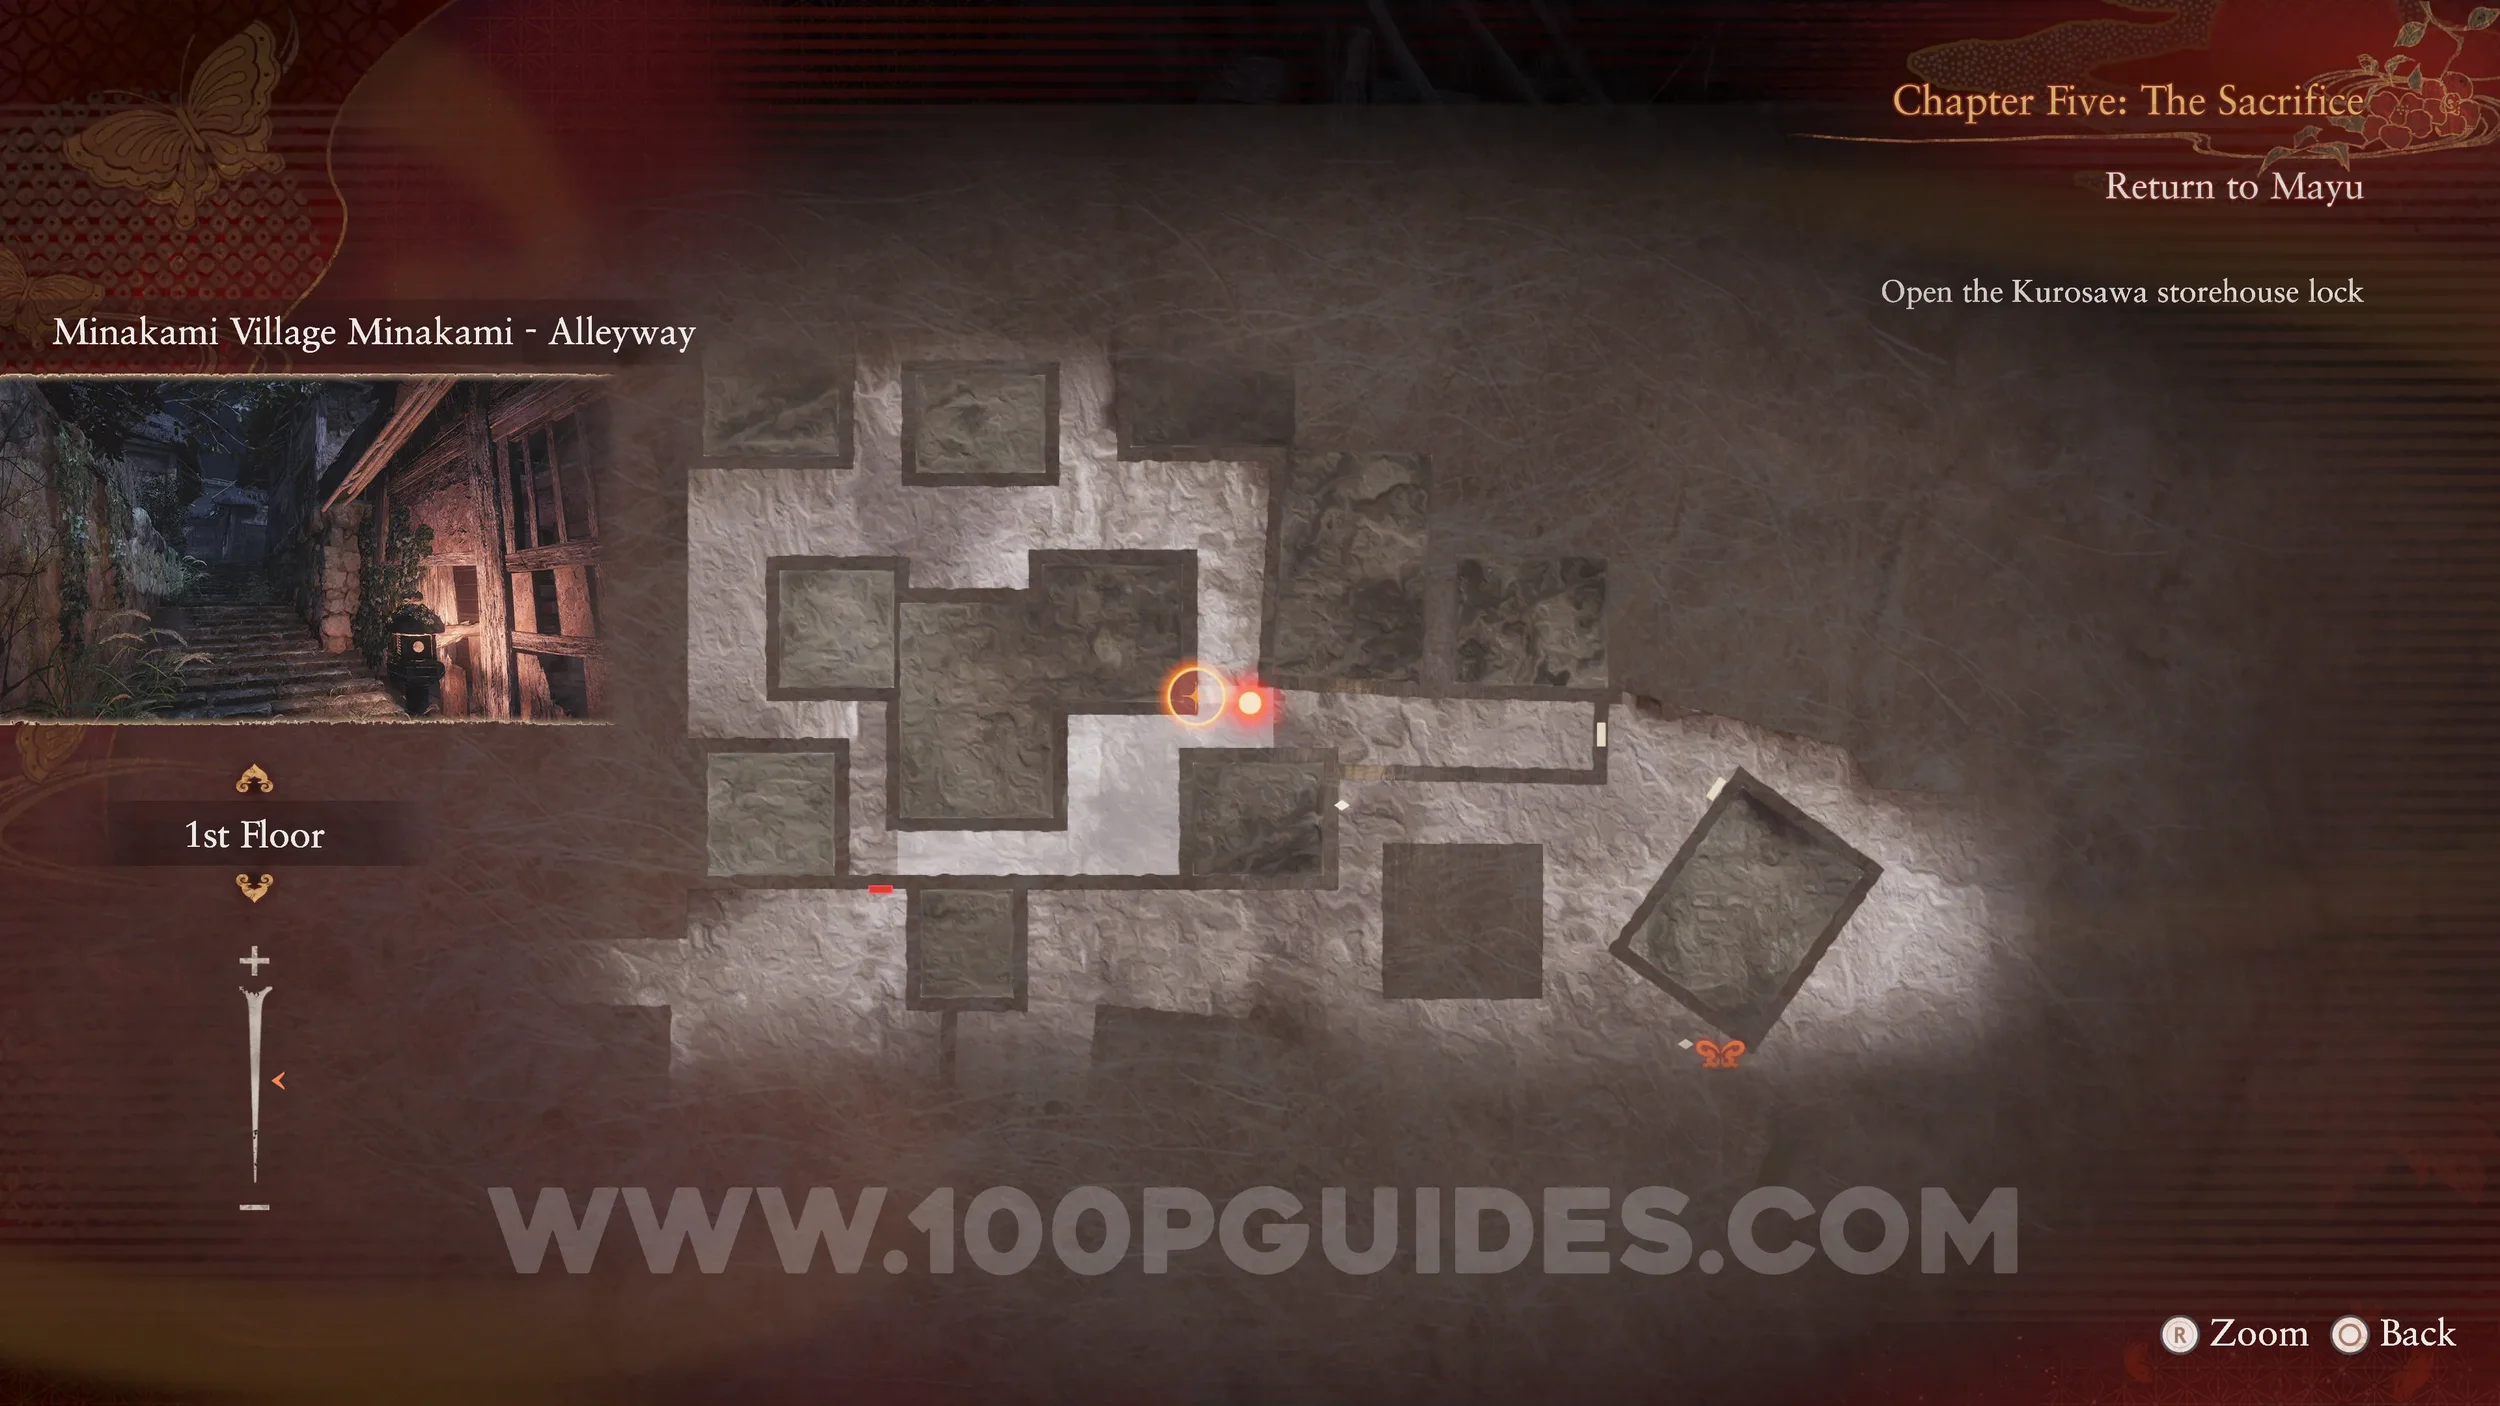
Unbinding of Blood #16 and Prayer Beads #40. Now follow the path on the left to find a box that can be opened with the Radiant Filter.
Twin Dolls #30 (45). Also found in the area behind the bloodstained door. Go all the way to the western side and look for a small space you can enter by crouching. Once inside, the dolls will be directly in front of you.

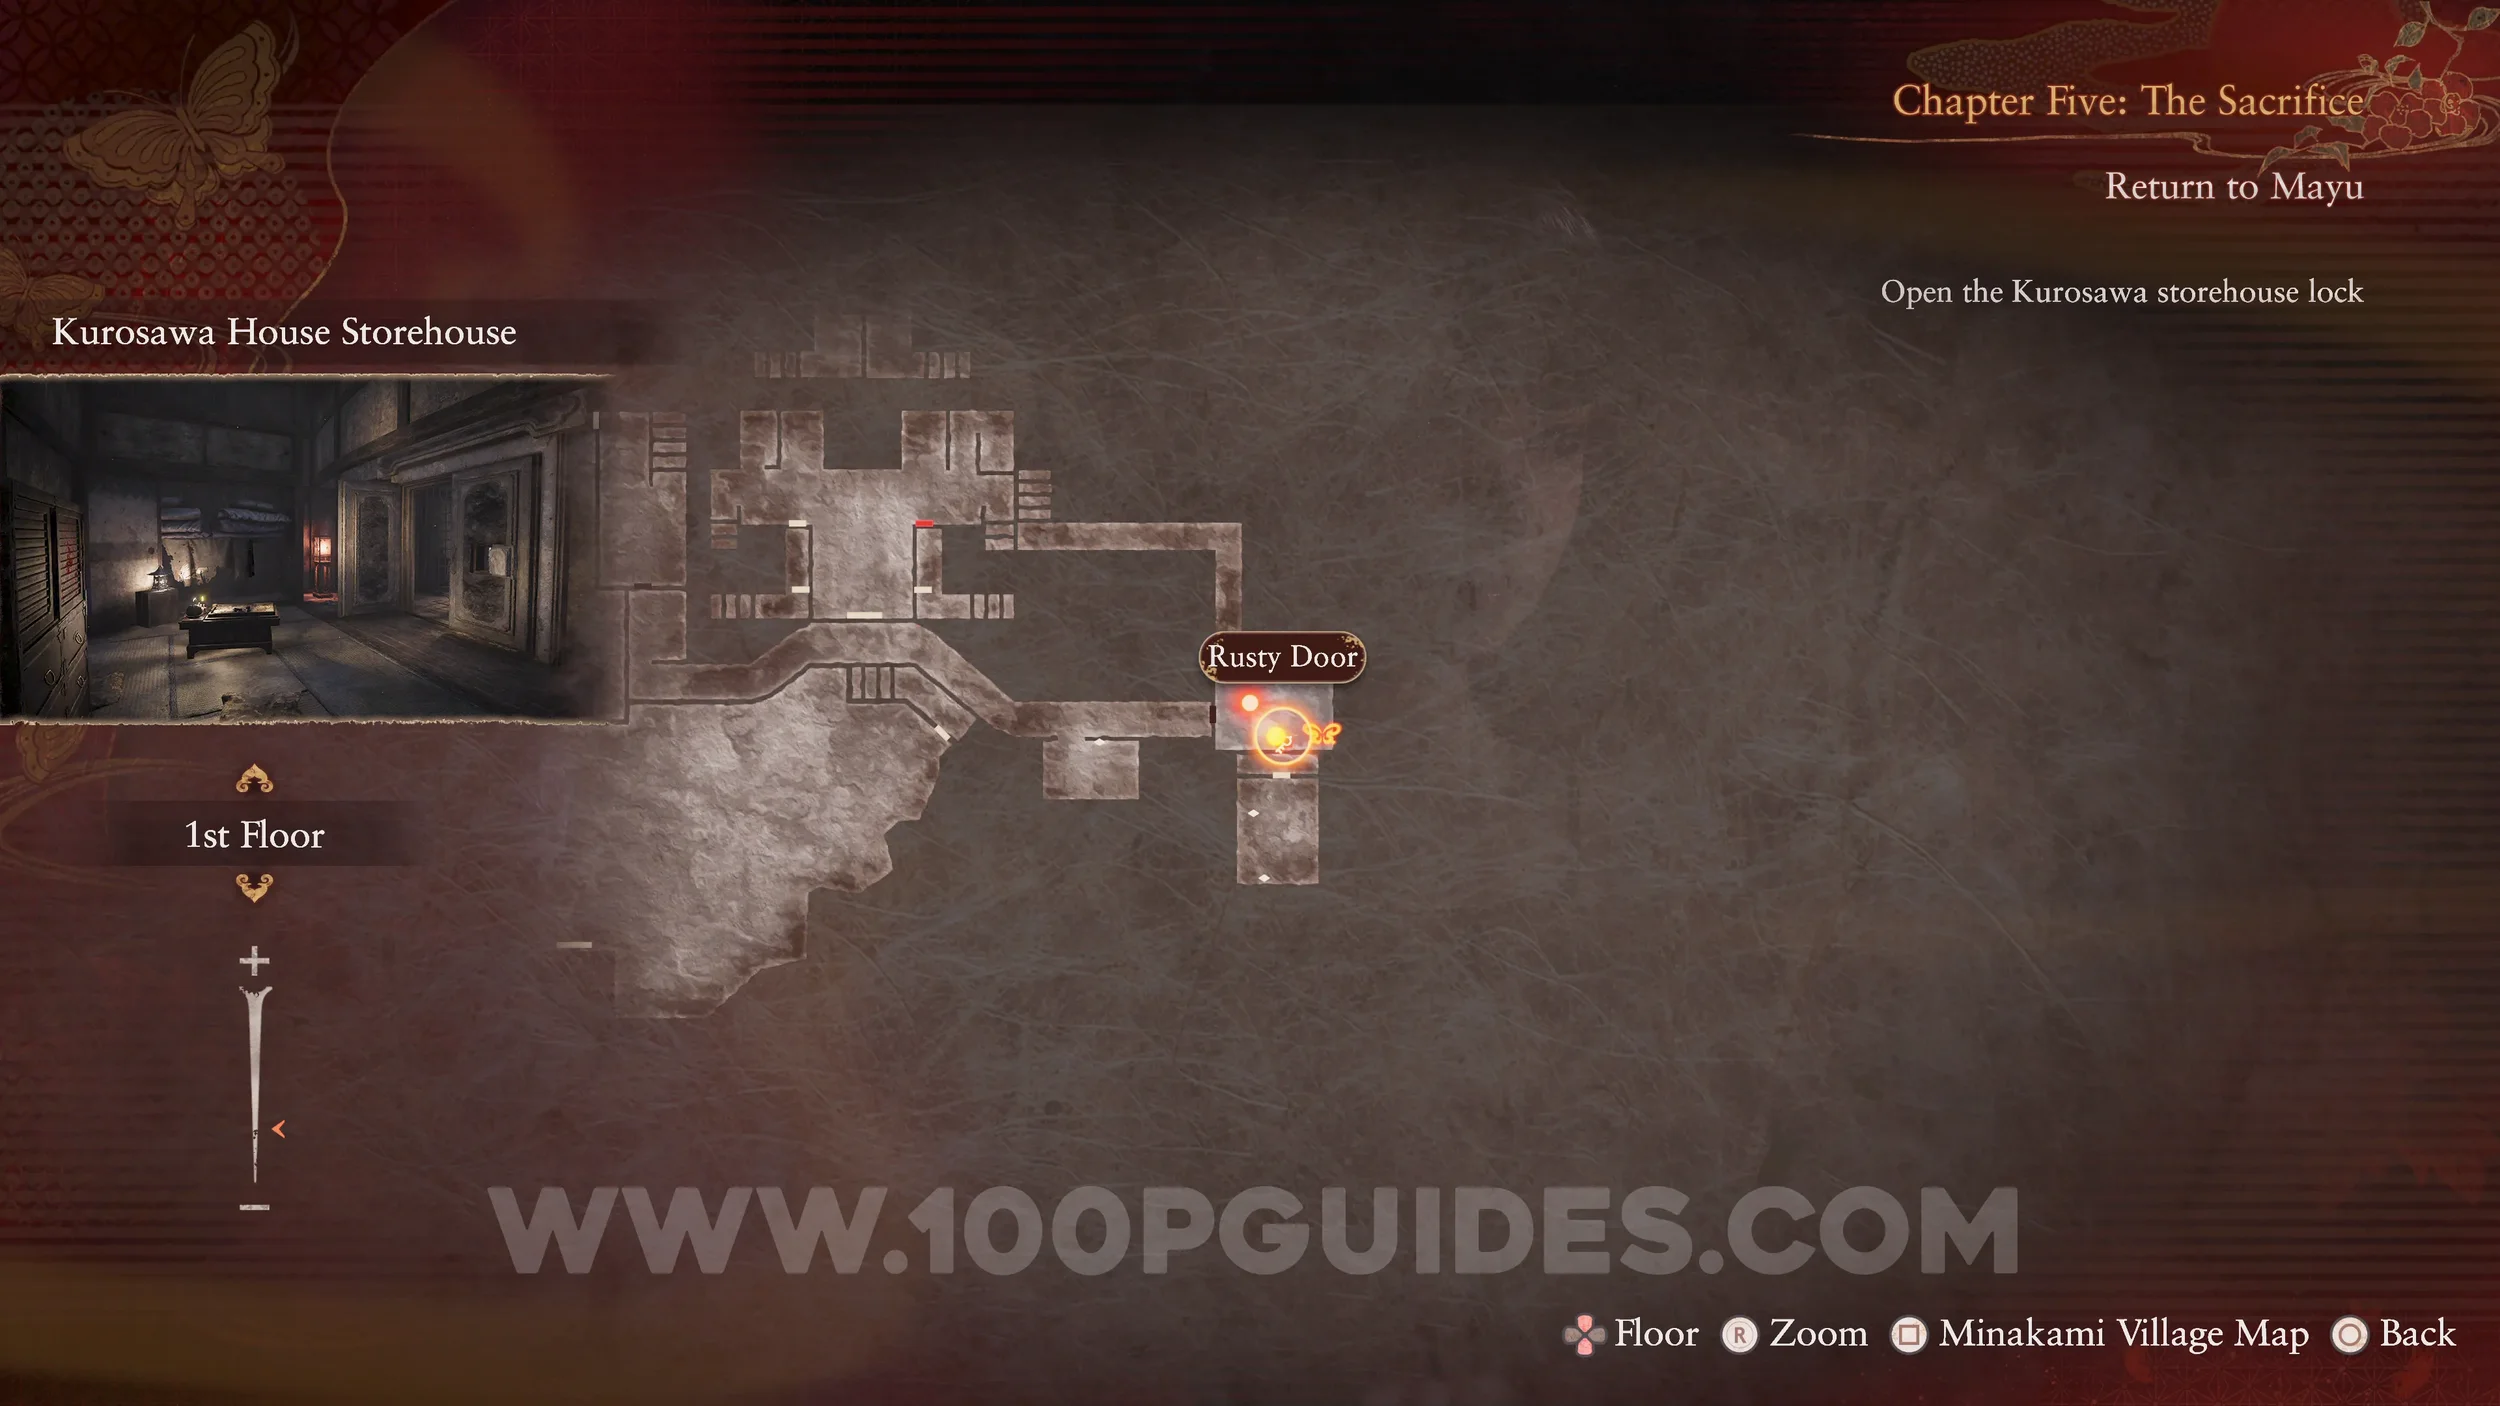
Prayer Beads #41. Just before heading back across the wooden bridge toward the Kurosawa House, go up the stairs on the right before the gate.
Specter #95 - 066 Mayu Writing Note. In the cell after using the Rusty Key.
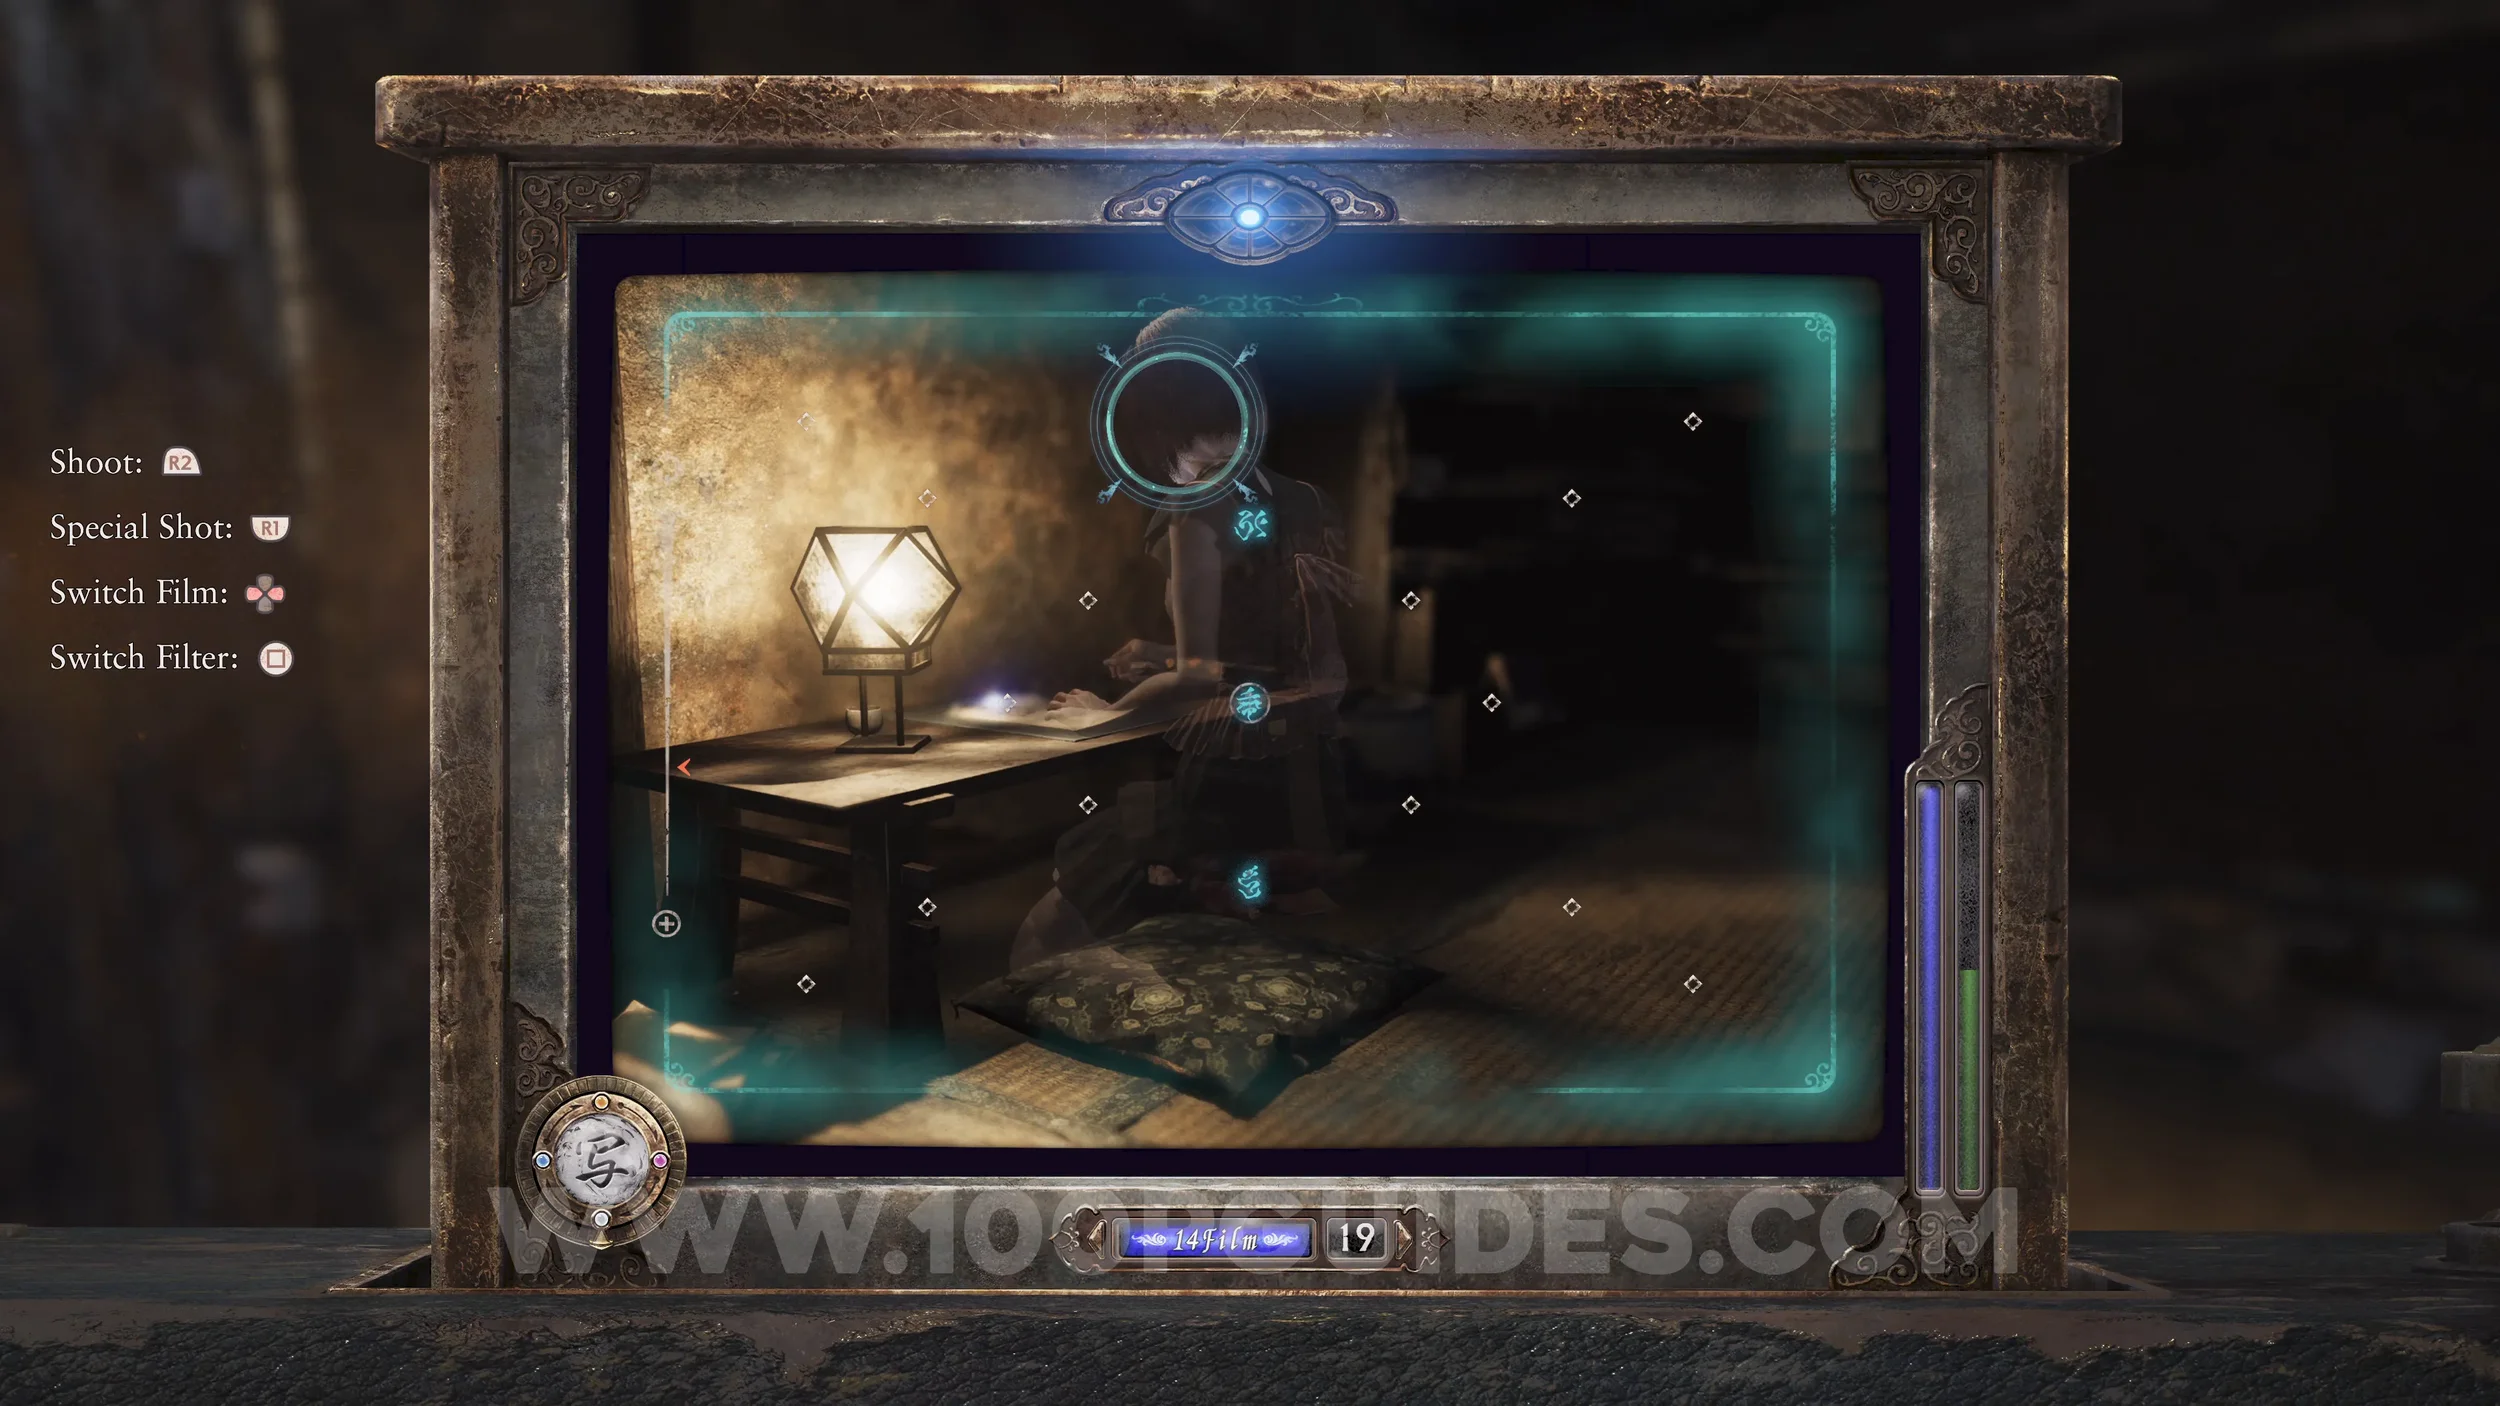
Document #56 - Mayu’s Note. On the desk where the previous specter was.
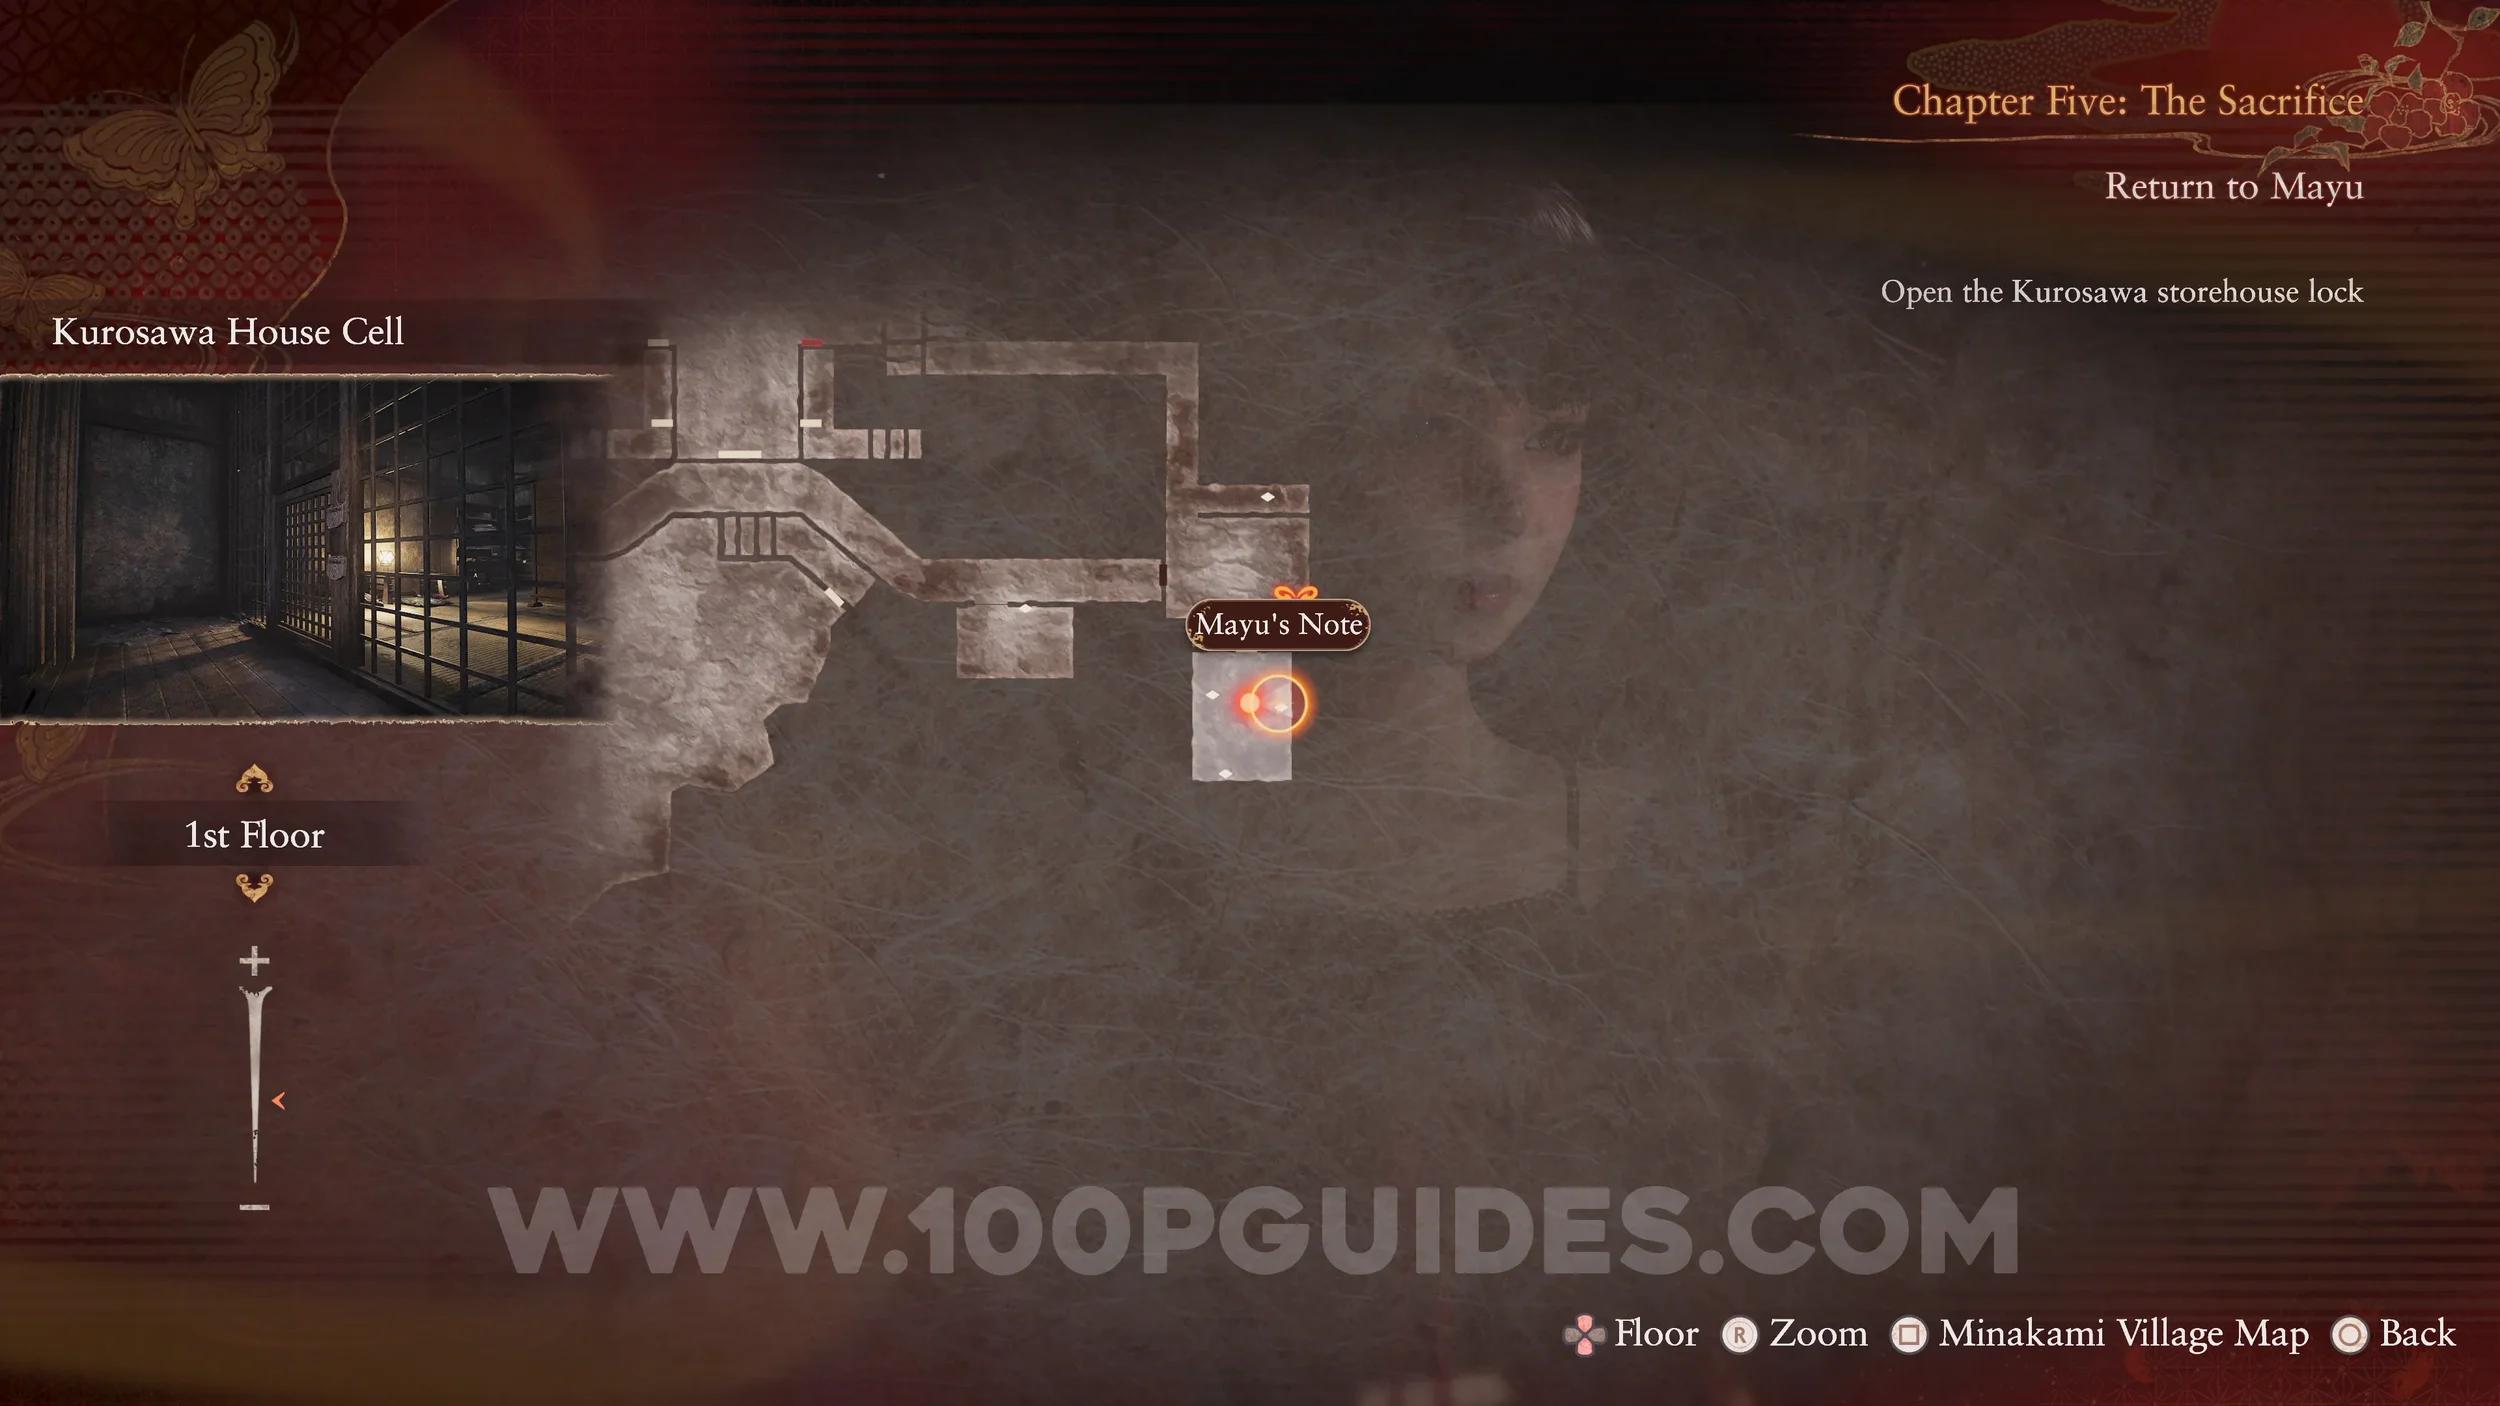
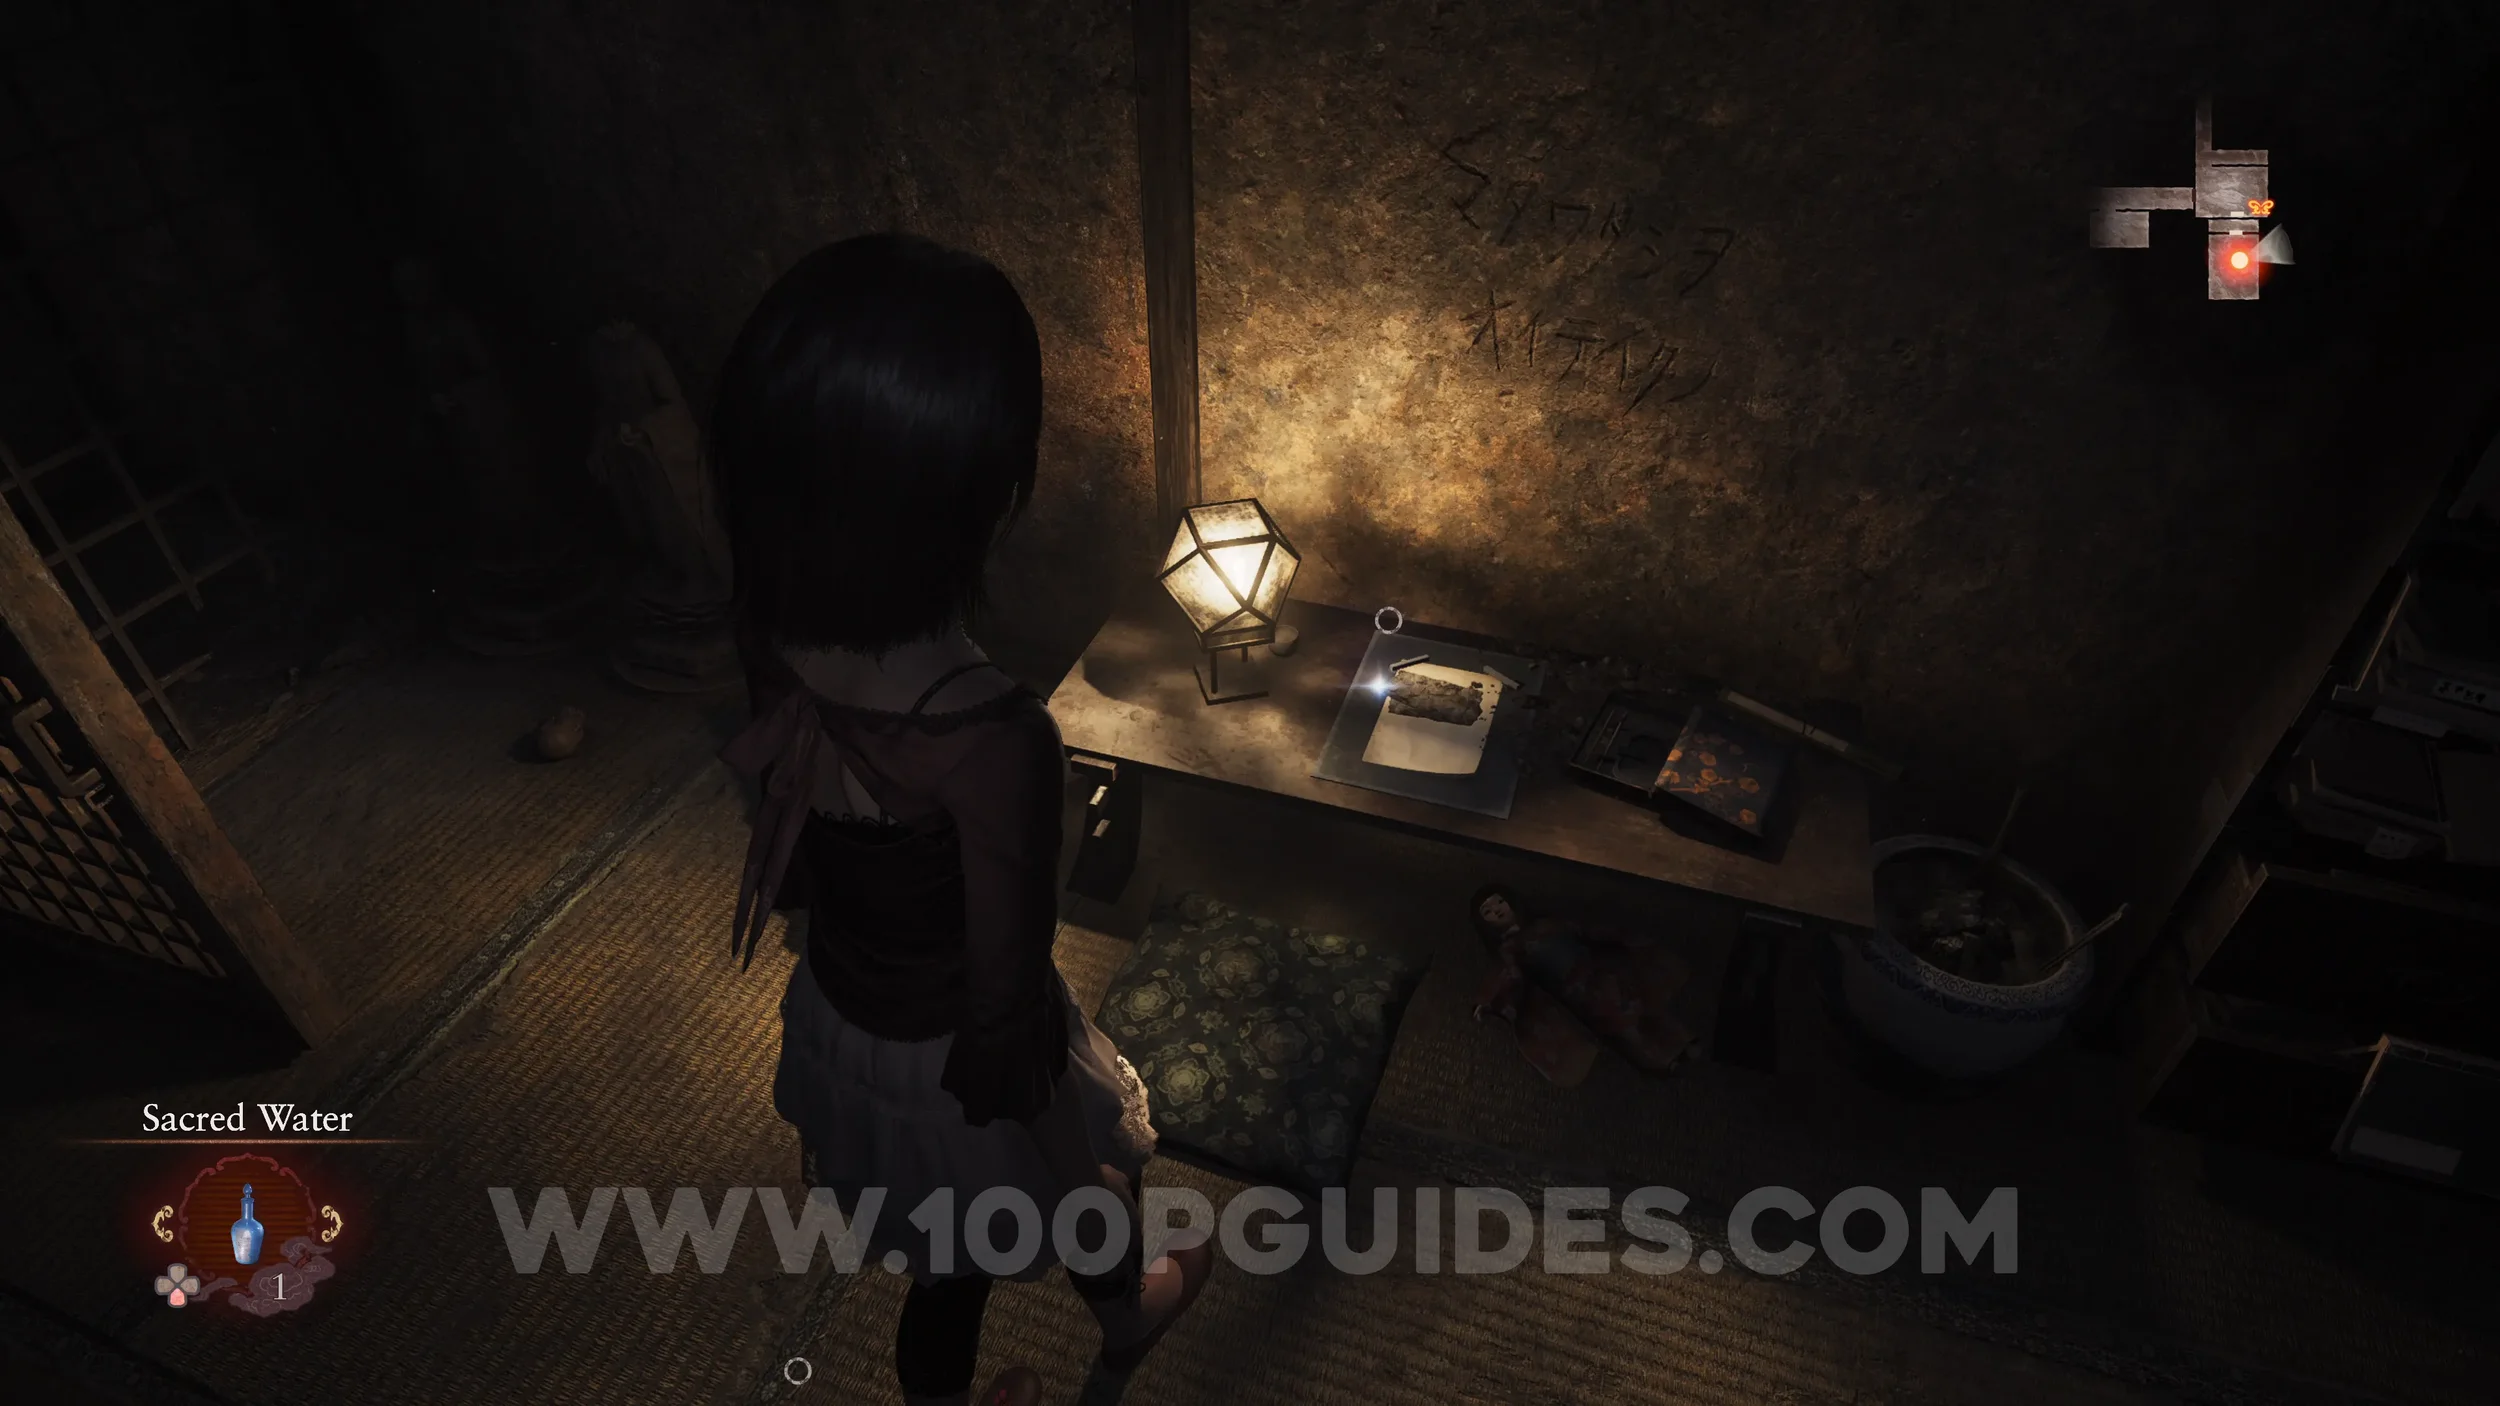
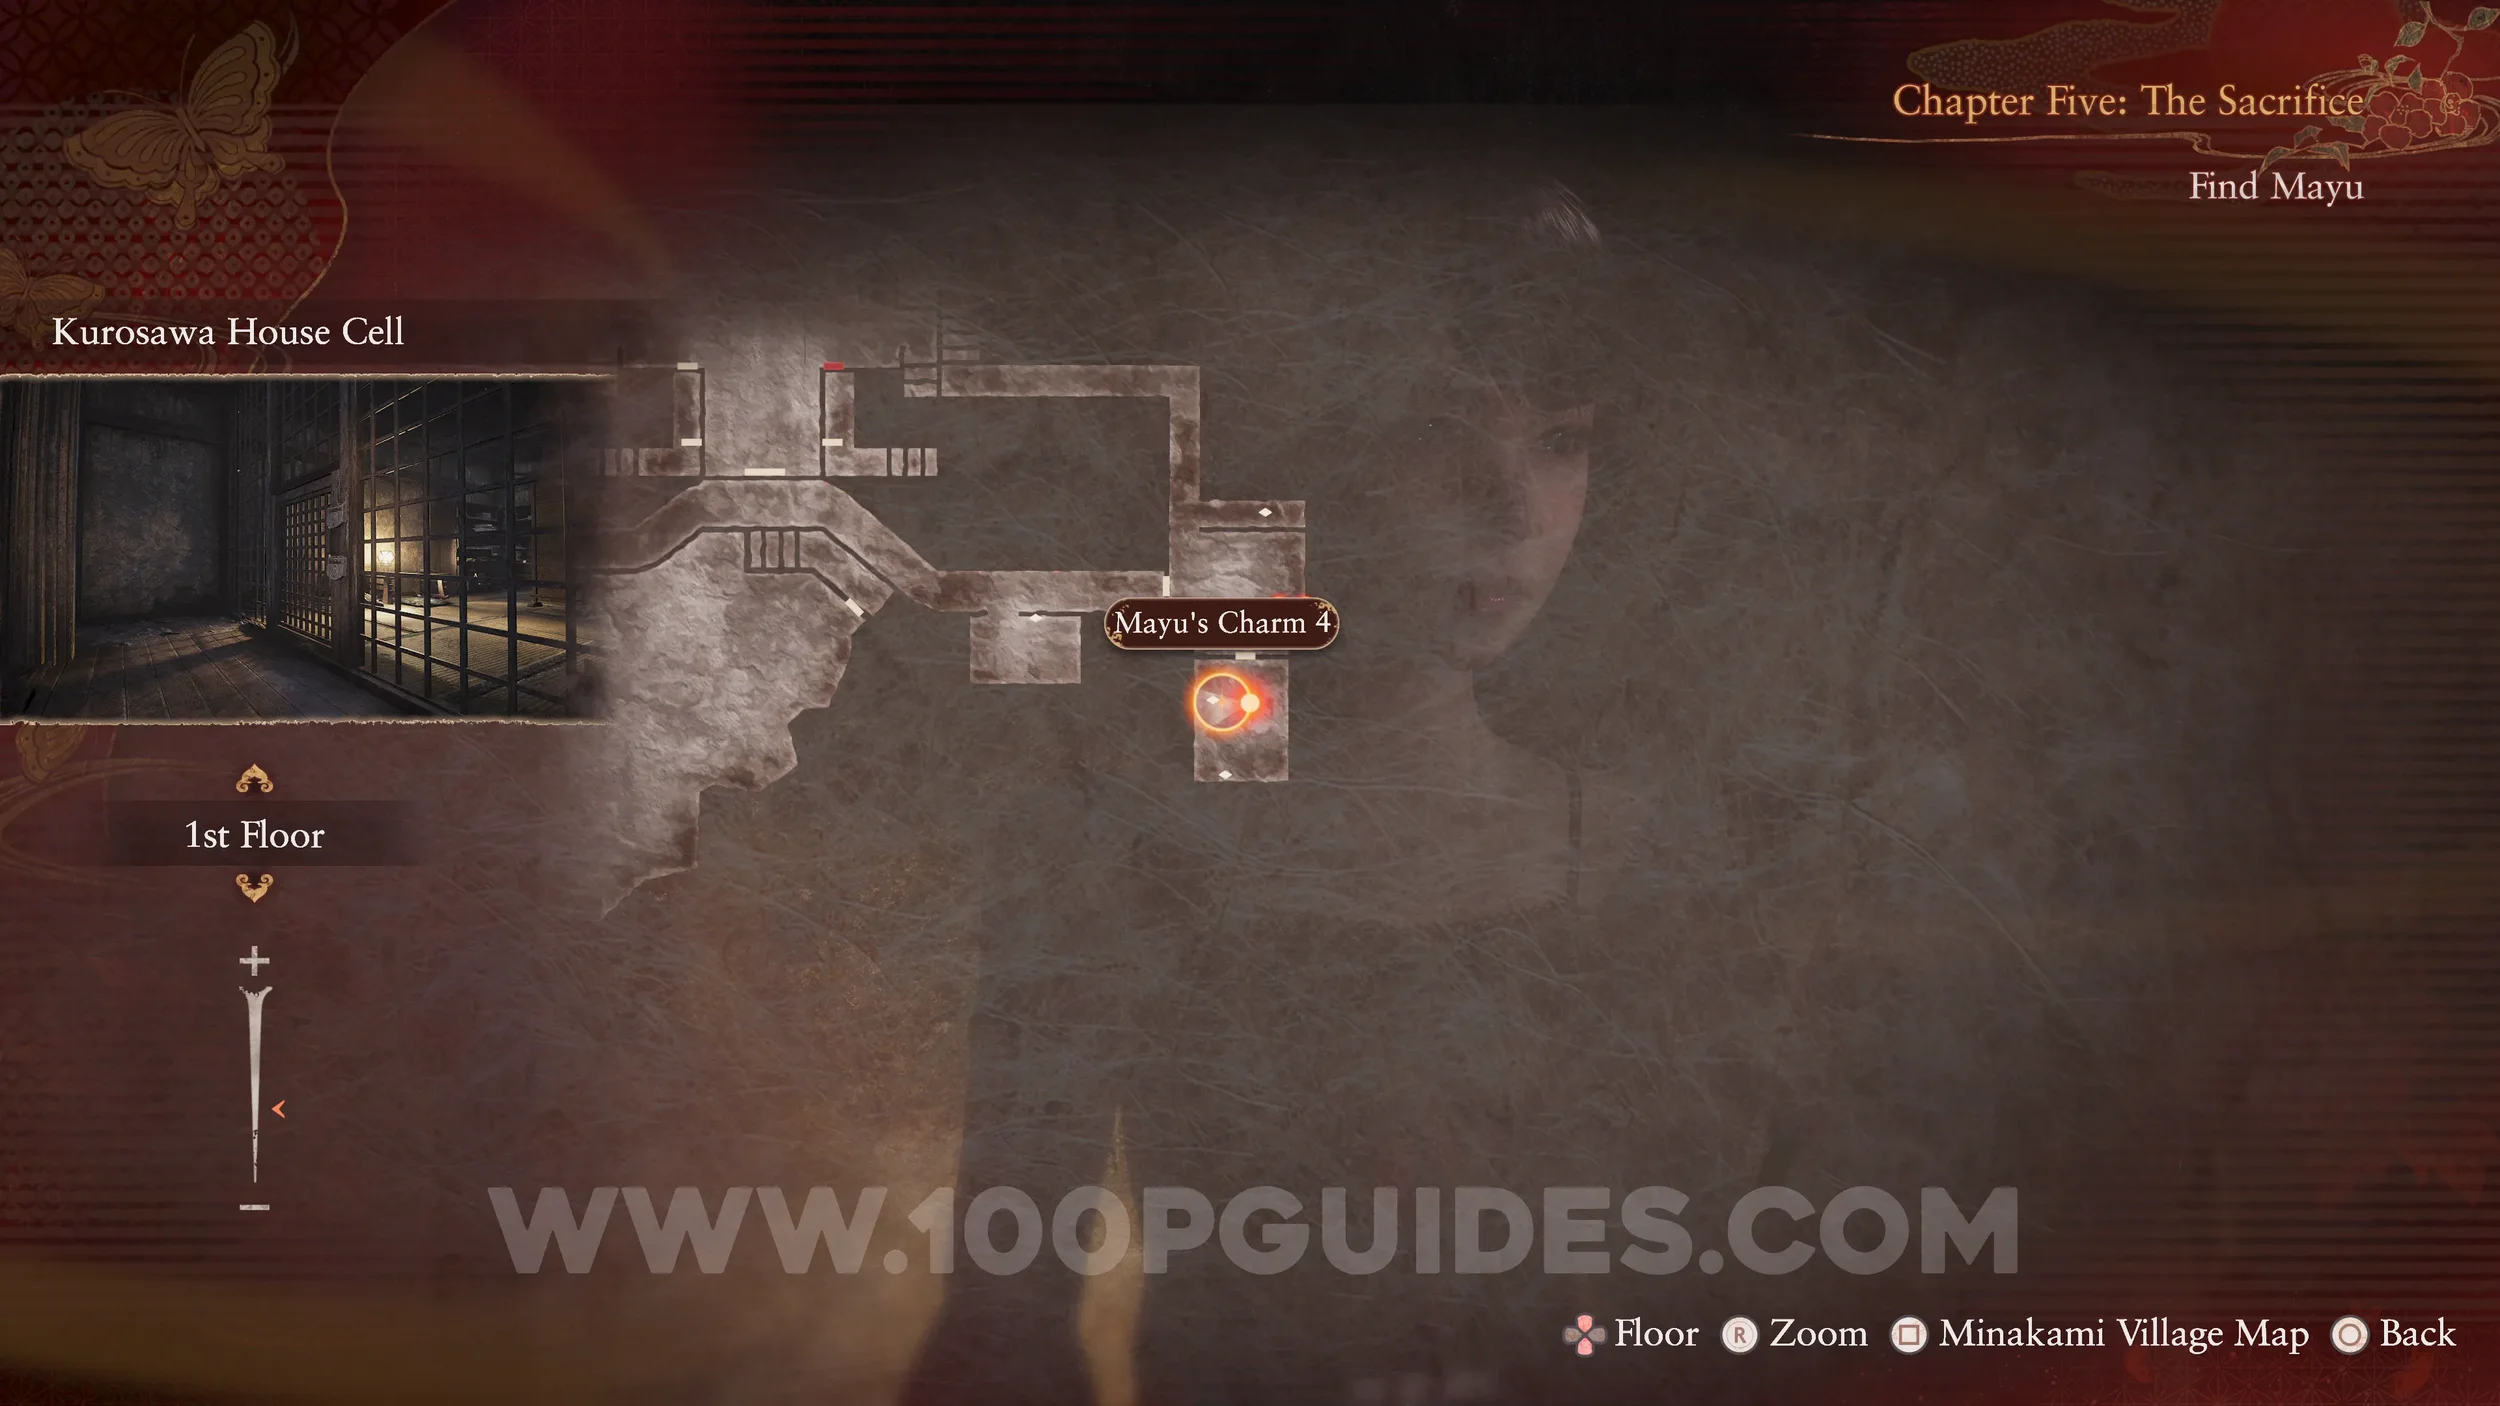
Spirit Stone #20 - Mayu’s Charm 4. Also in the cell.
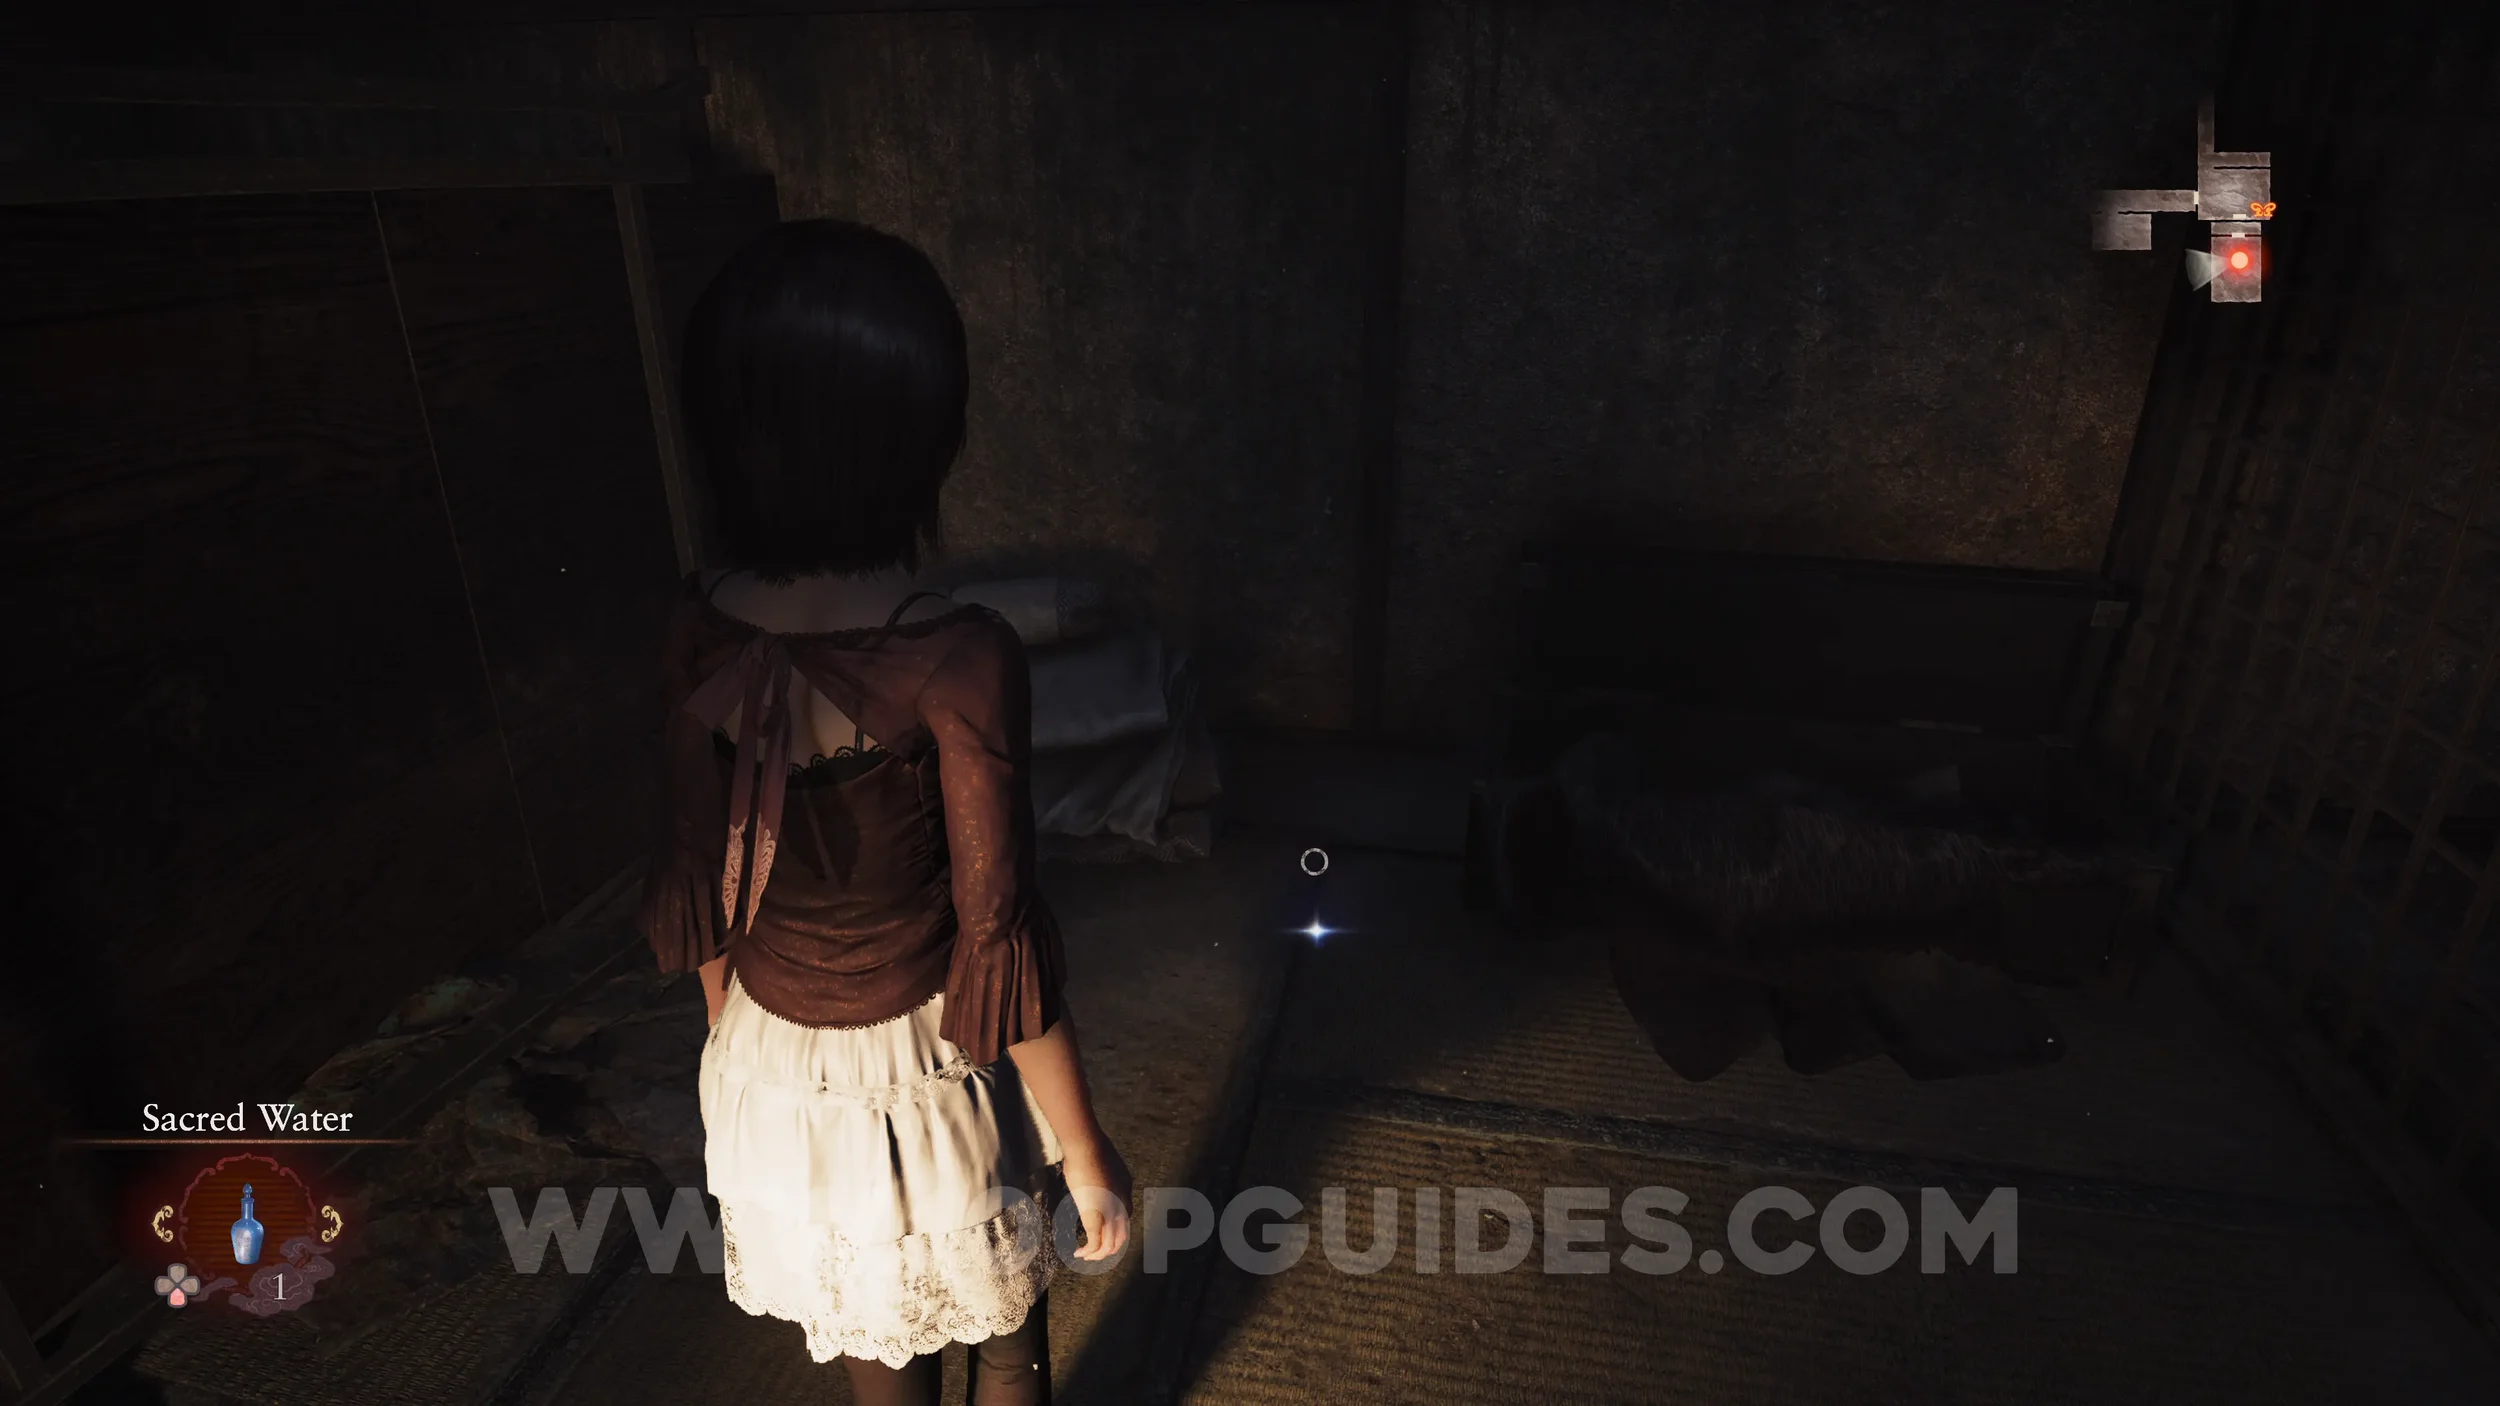
Specter #96 - 197 Woman by the Storehouse. Will be right in front of you after leaving the cell.
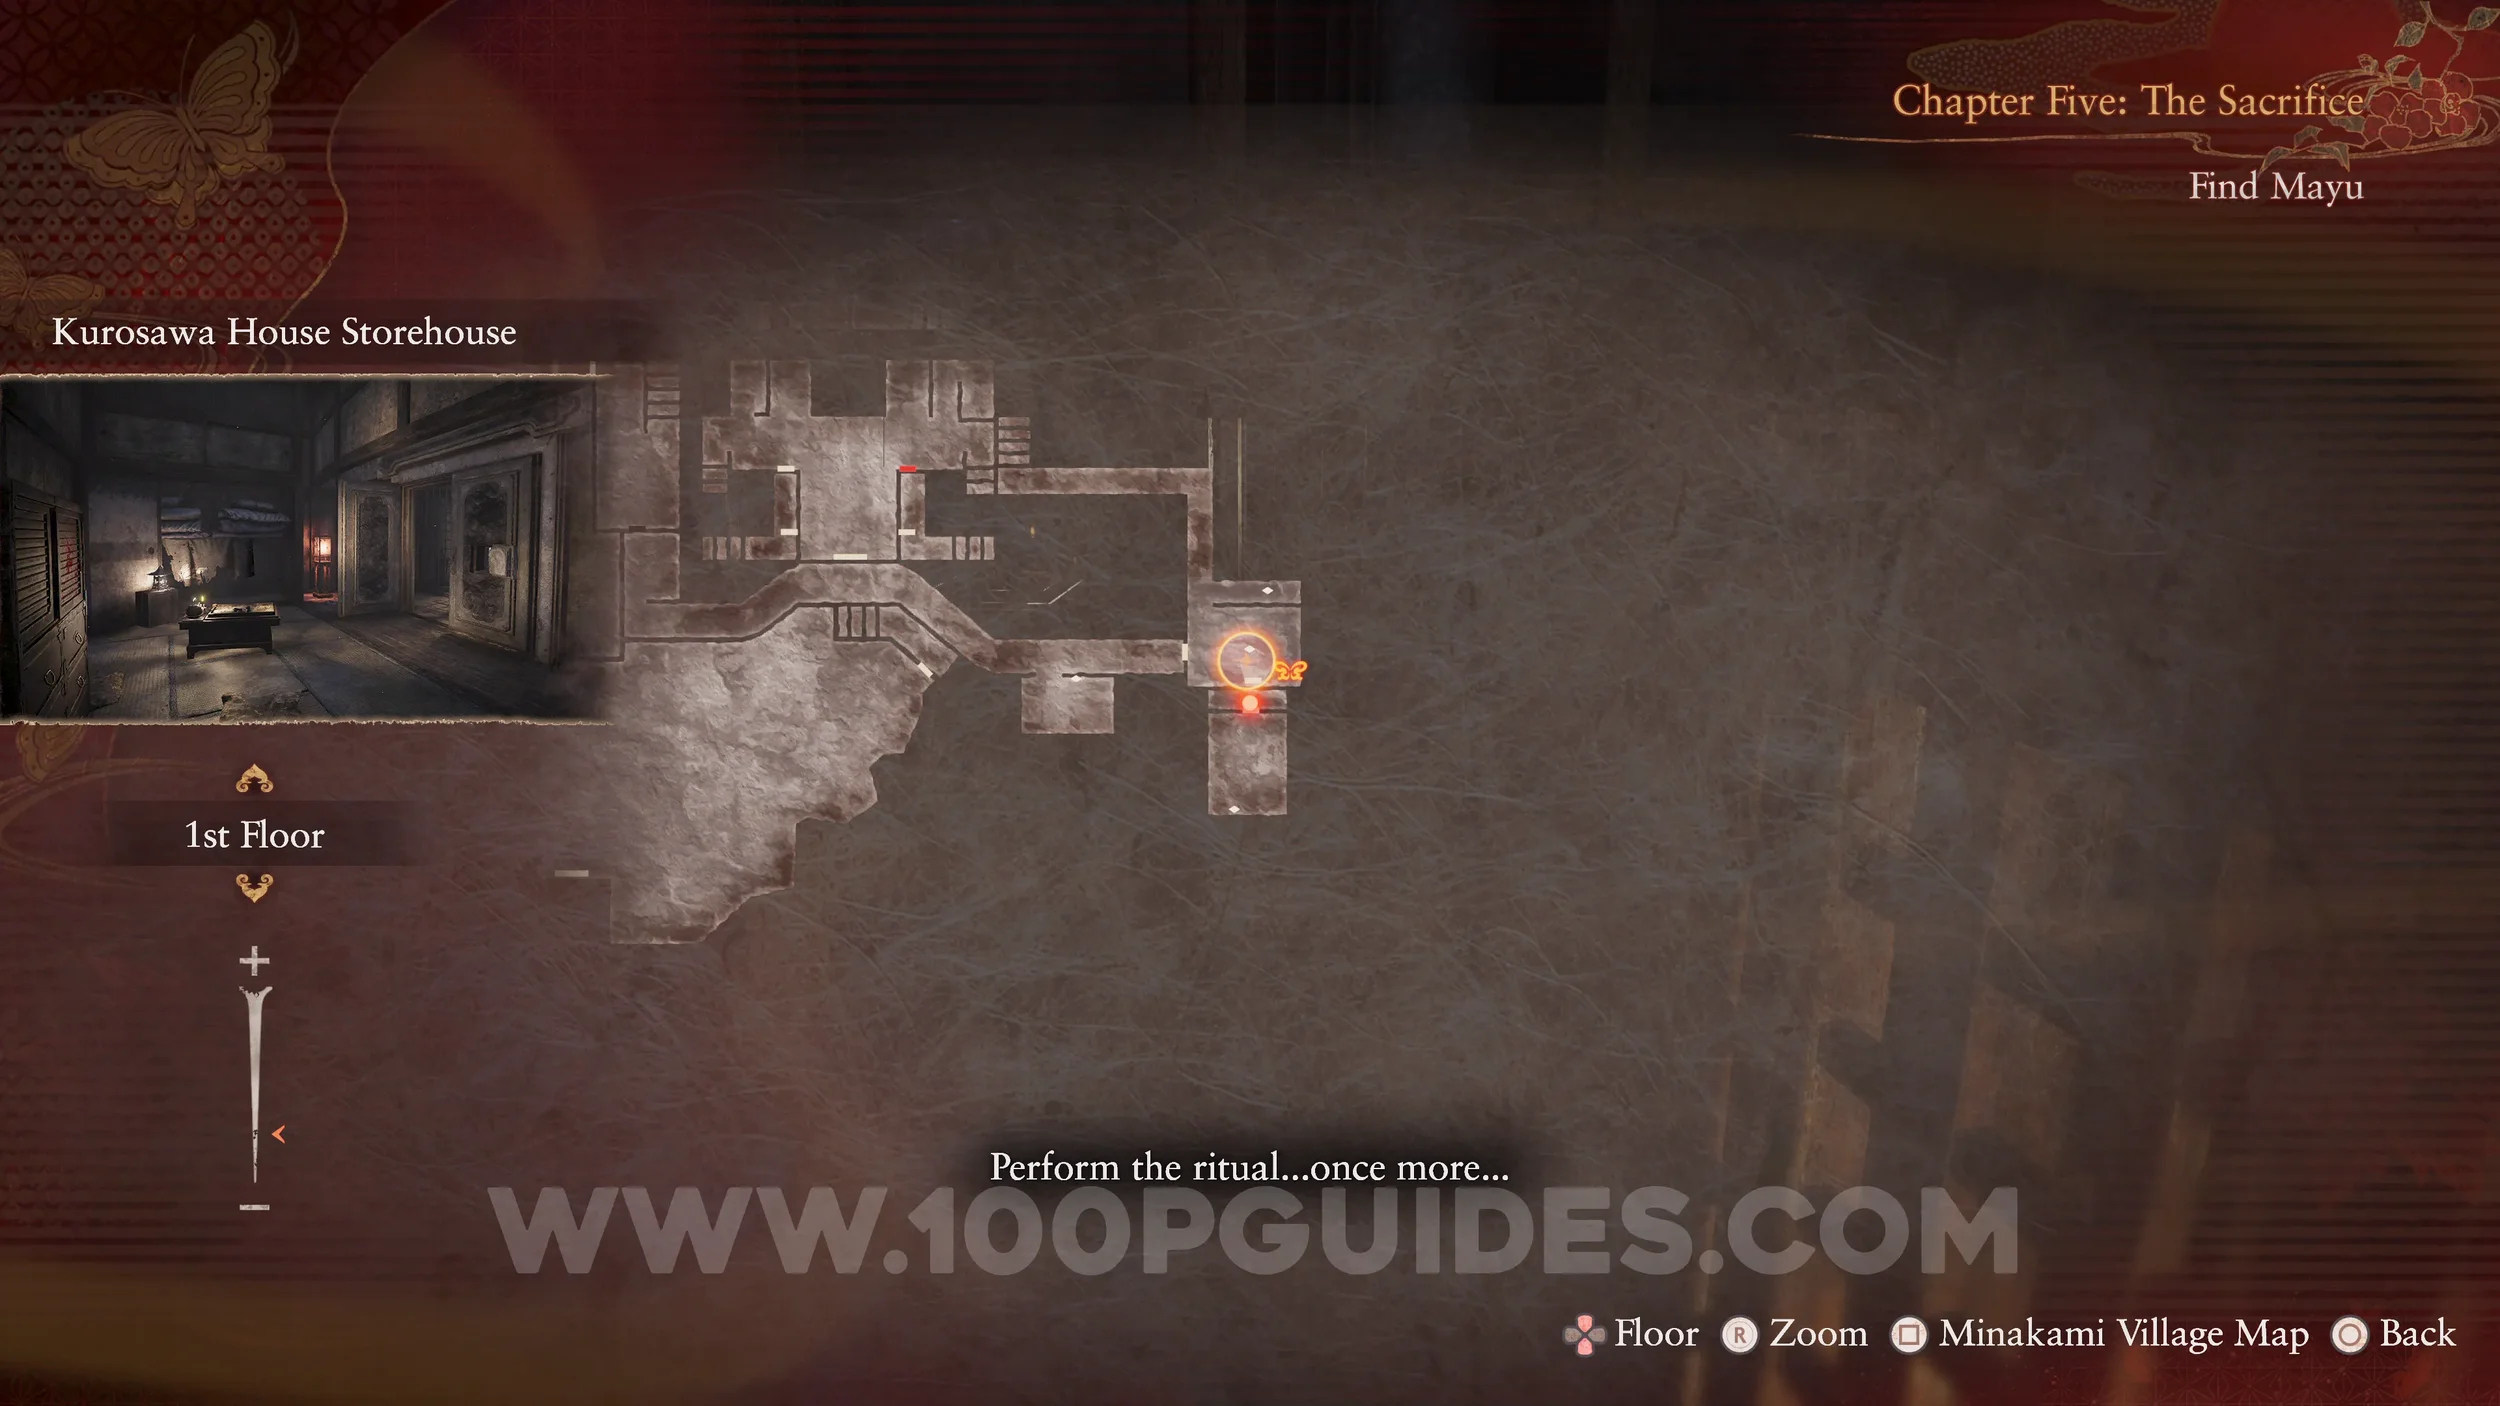
Specter #97 - 067 Mayu Exiting Storehouse. In plain sight as you go down the hall on your left after leaving the cell.
Spirit Stone #21 - Broken Fluorite (1/2) and Side Quest #6 - Sae Kurosawa. On the floor in the save room after exiting the cell. This will start the “Sae Kurosawa” side quest.
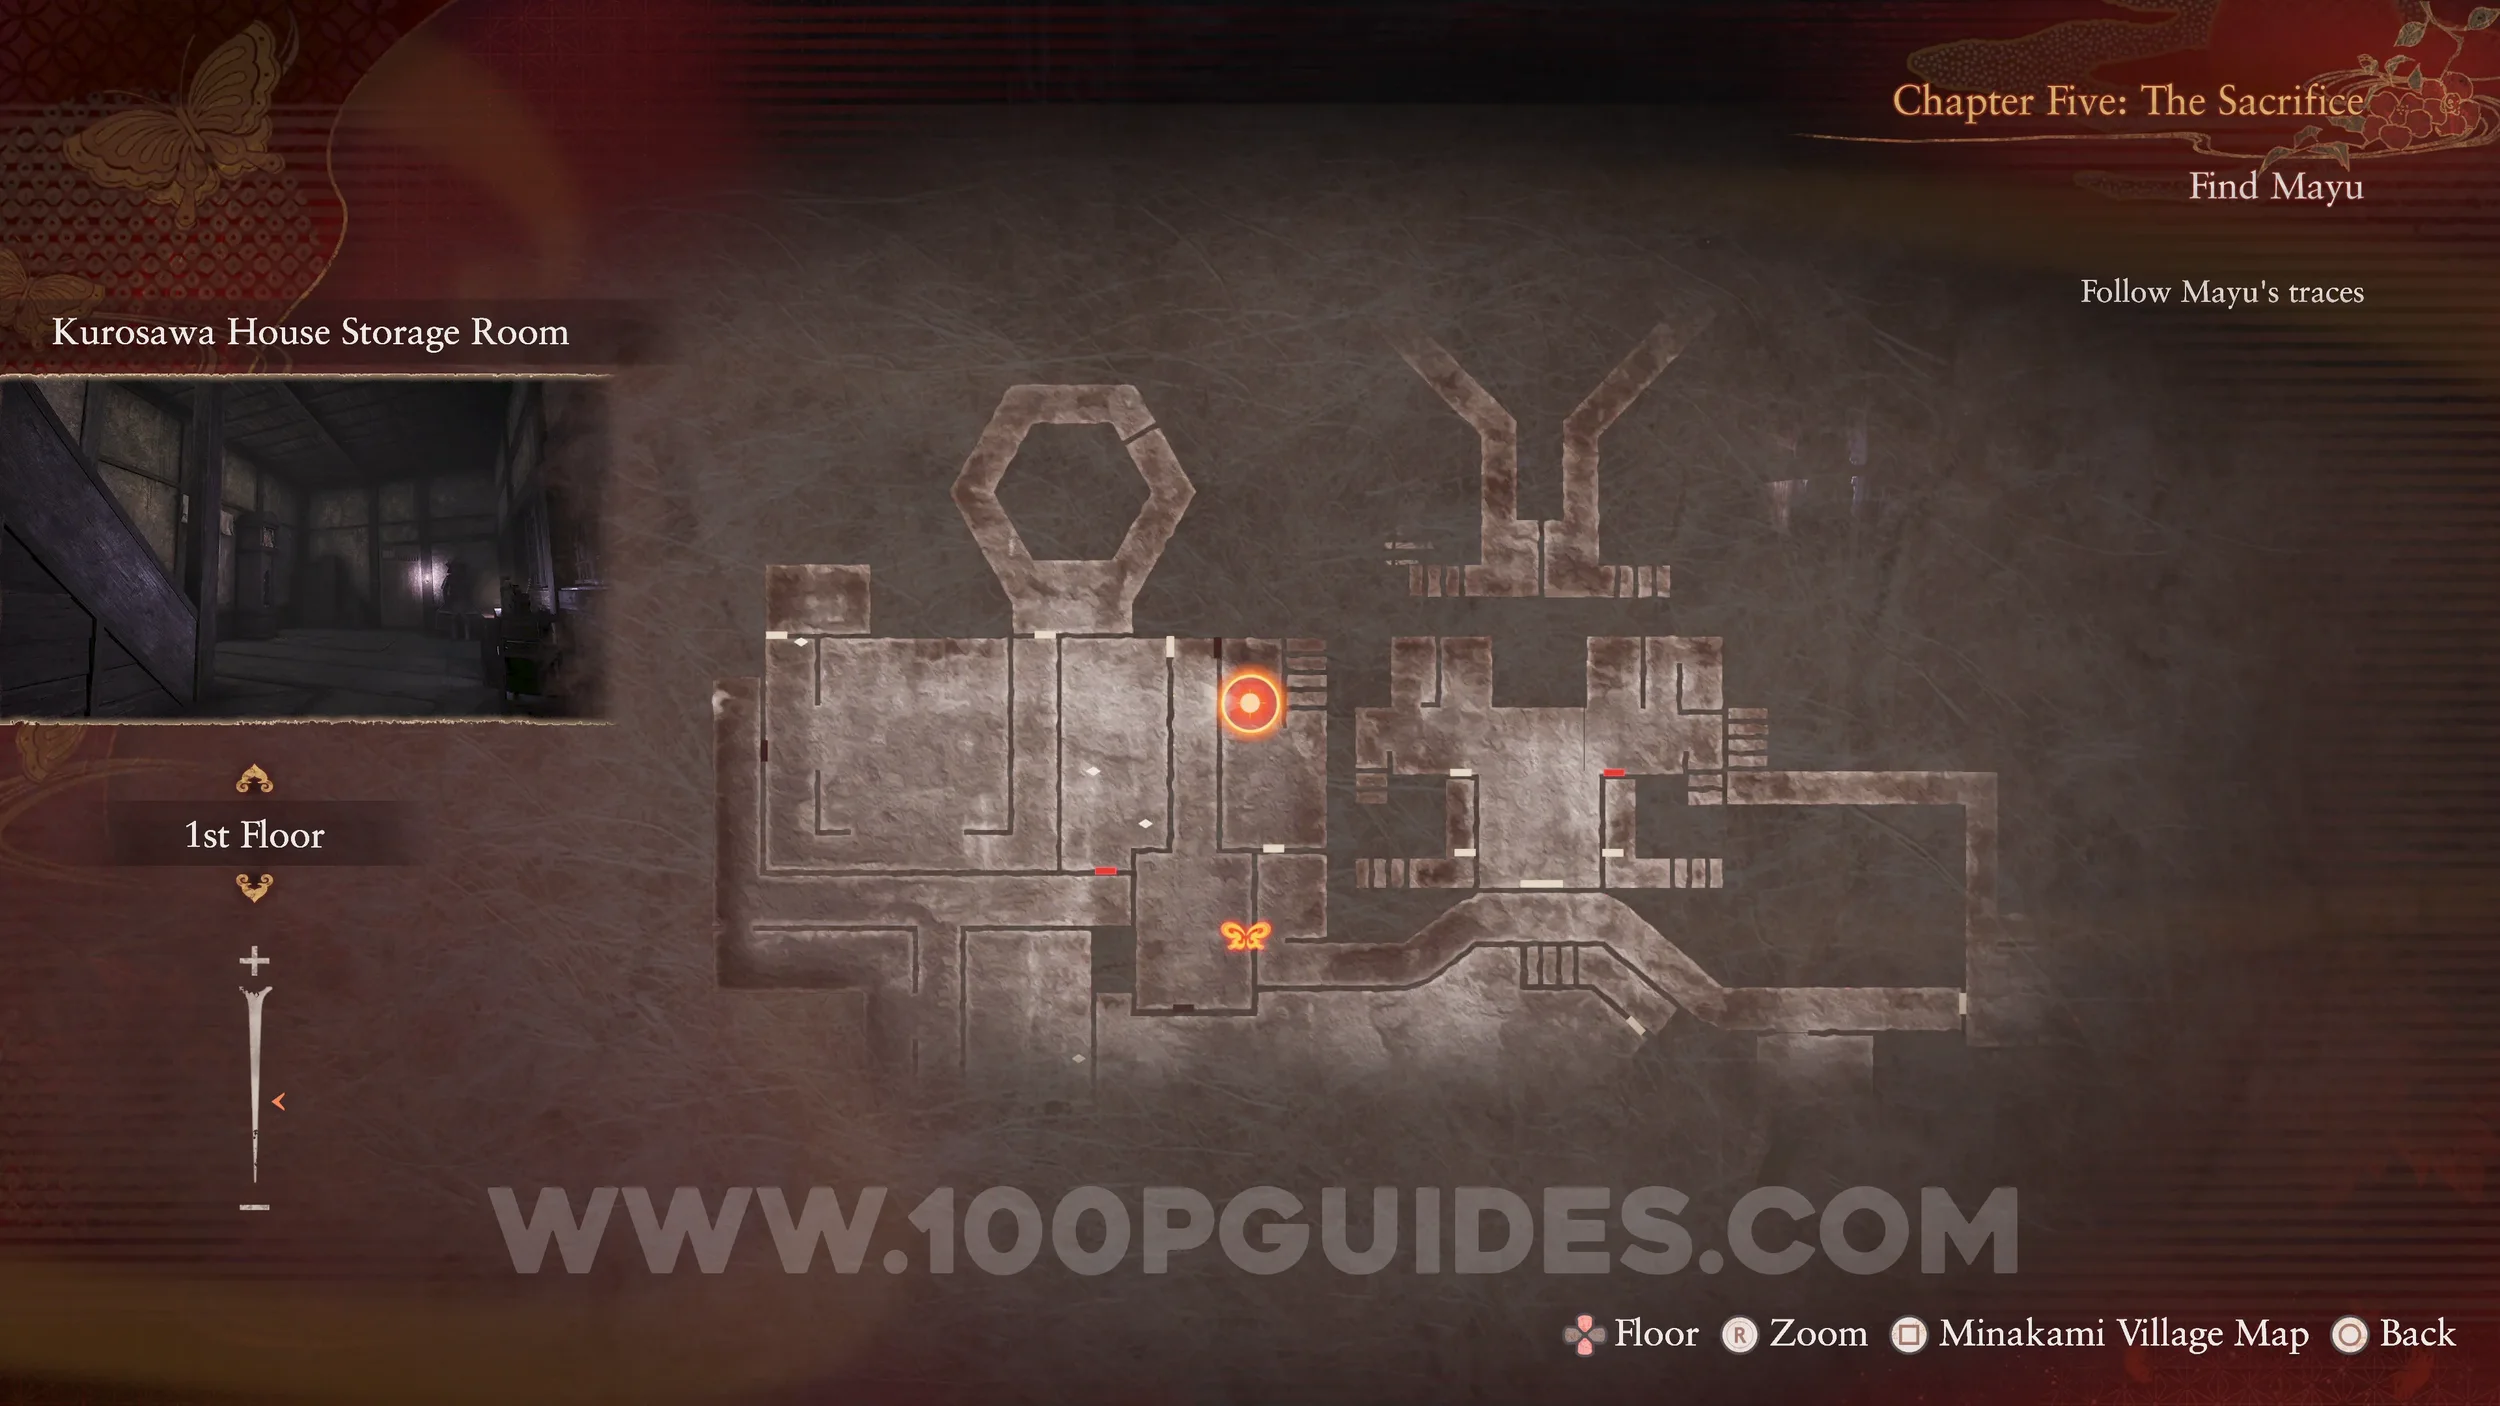
Specter #98 - 160 Beckoning Boy, Document #57 - Children’s Note 2, Spirit Stone #22 - Prehinite and Wraith #15 - 15 The Chased. While going down the long hall to the west of the Storehouse, go through the door on your right to enter the Altar Room. Inside, take a photo of the specter. A note will spawn in the same location with the Spirit Stone, after which the wraith will attack you.
Specter #99 - 068 Mayu Heading to Entrance. After the long hall, look through the torn paper wall on your left and take a photo of Mayu on the other side.
Specter #100 - 198 Woman Returning to Room. Before heading to the exit, go up the stairs in the room where you took the previous specter photo and use the shortcut door to reach the Master Chamber. As soon as you enter the next hall, the specter will appear.
Specter #101 - 199 Sae Practicing, Specter #102 - 200 Yae Practicing and Specter #103 - 201 Practicing Twins. Follow the specter, go through the save room, and continue into the Doll Room. Inside, take a photo through the screen on your left.

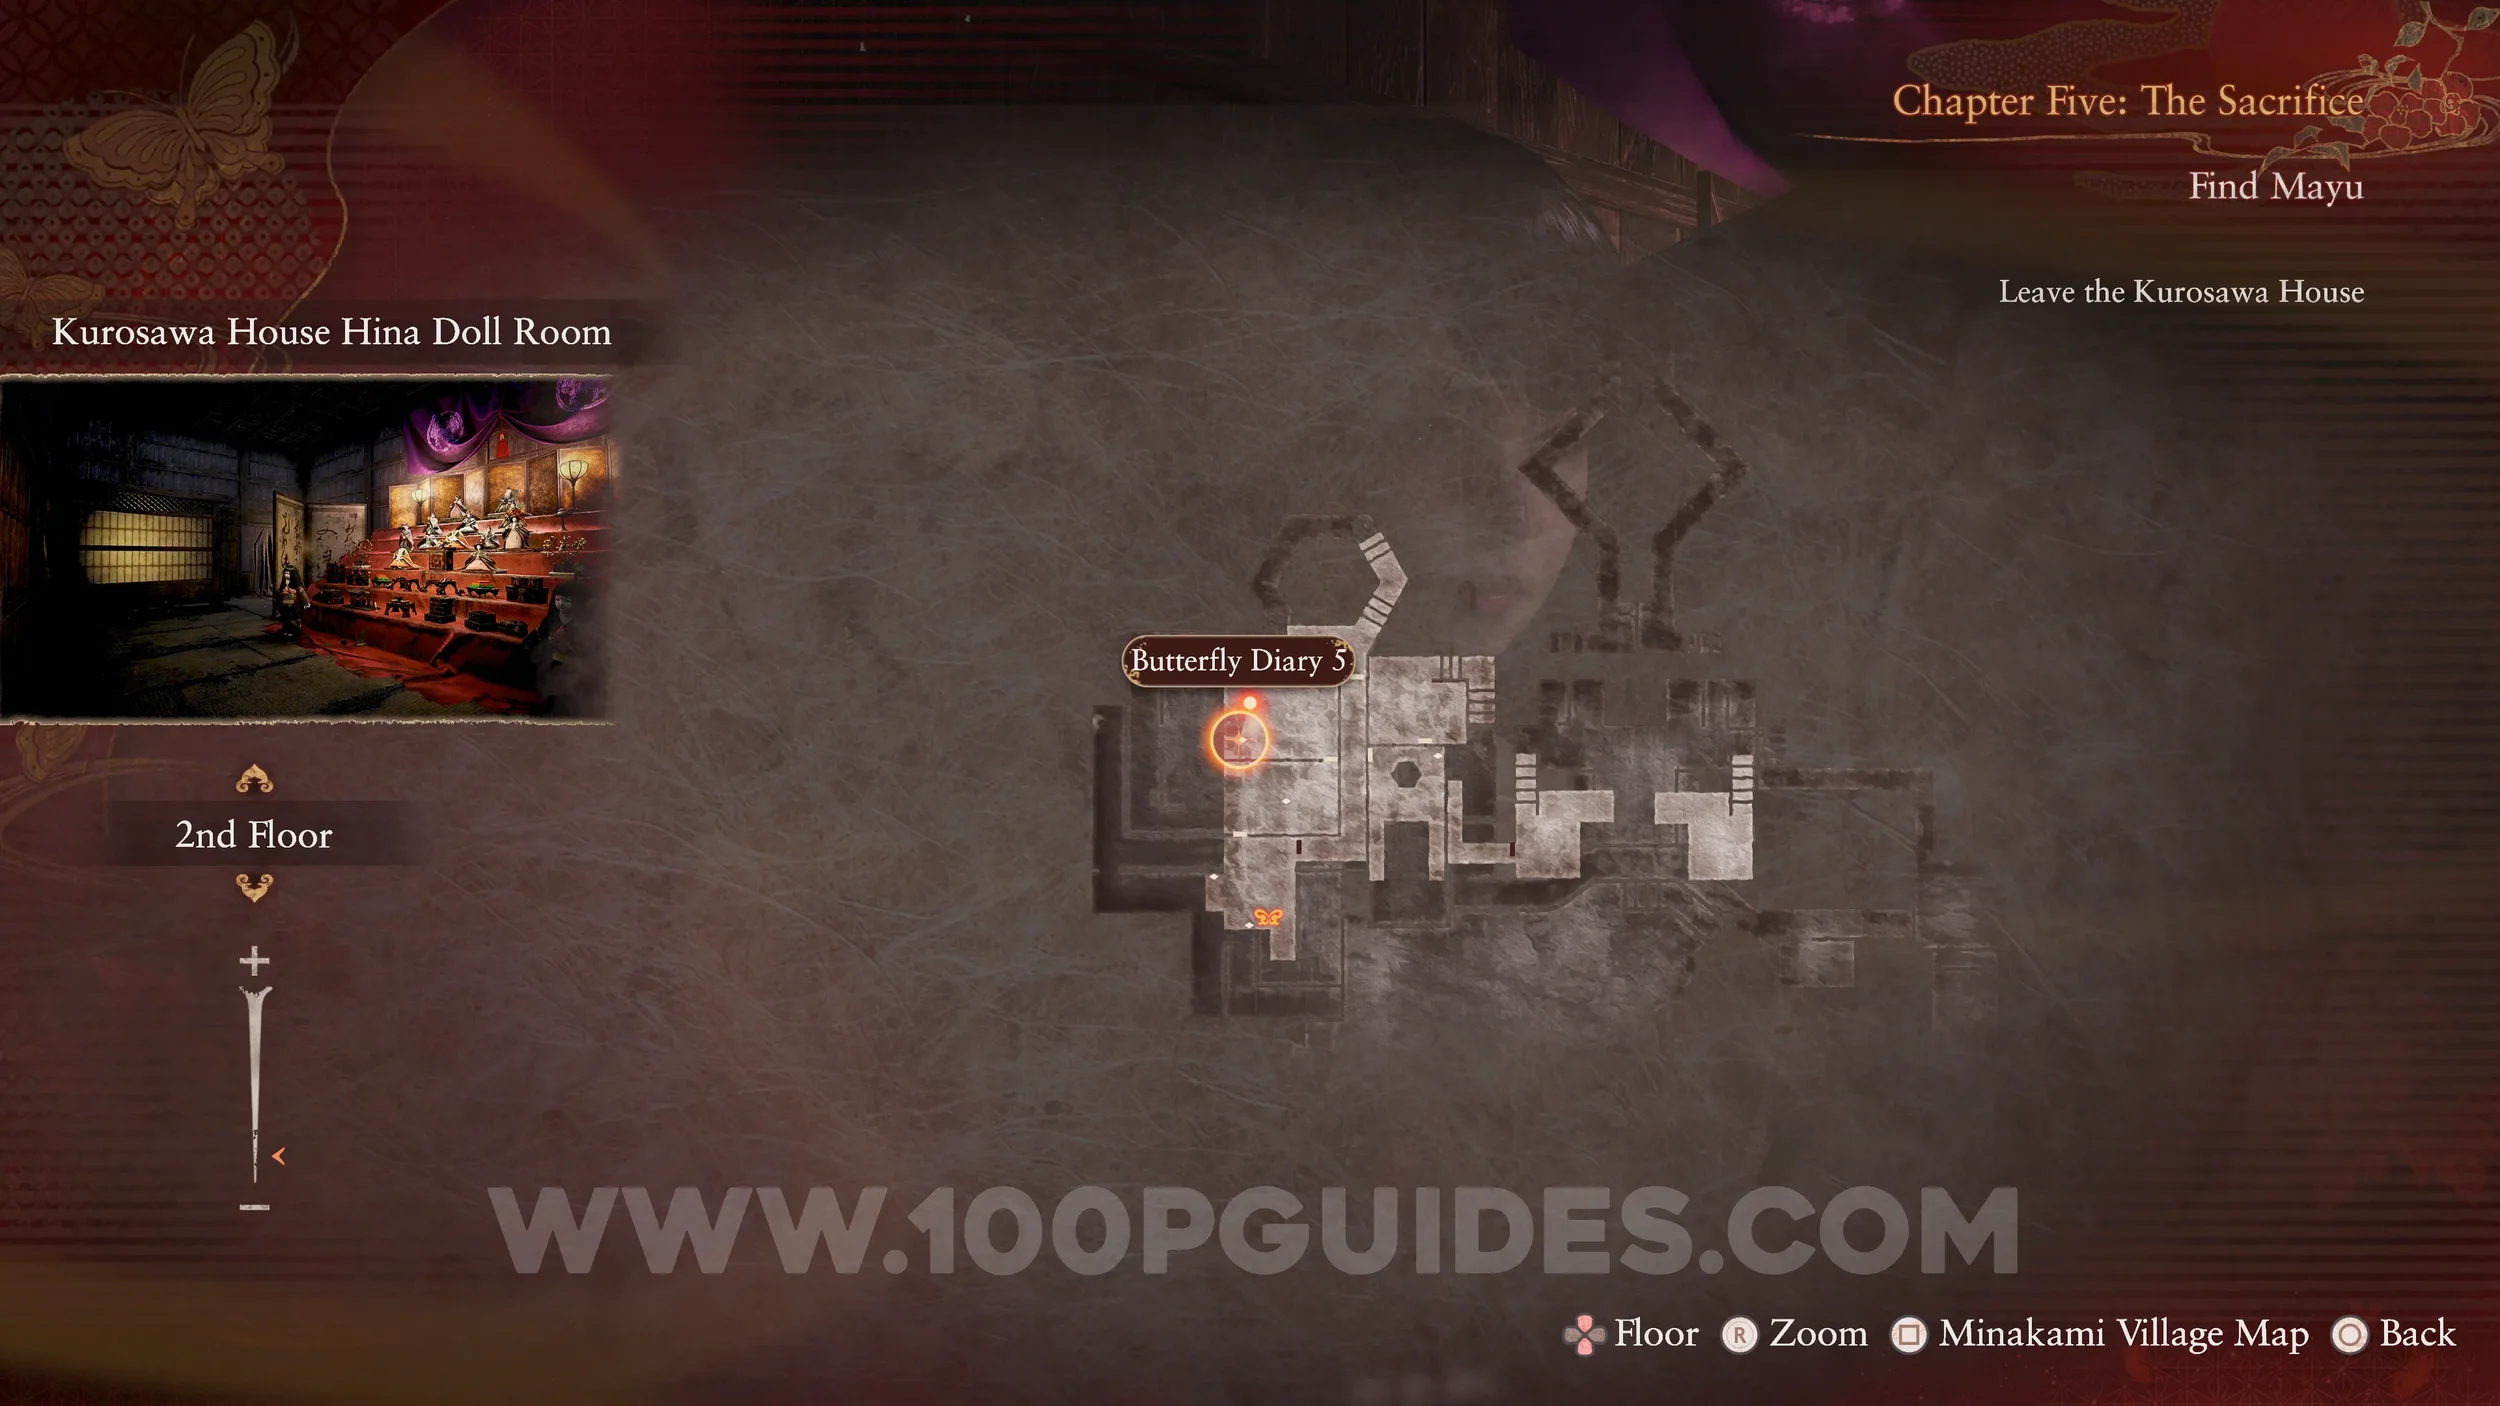
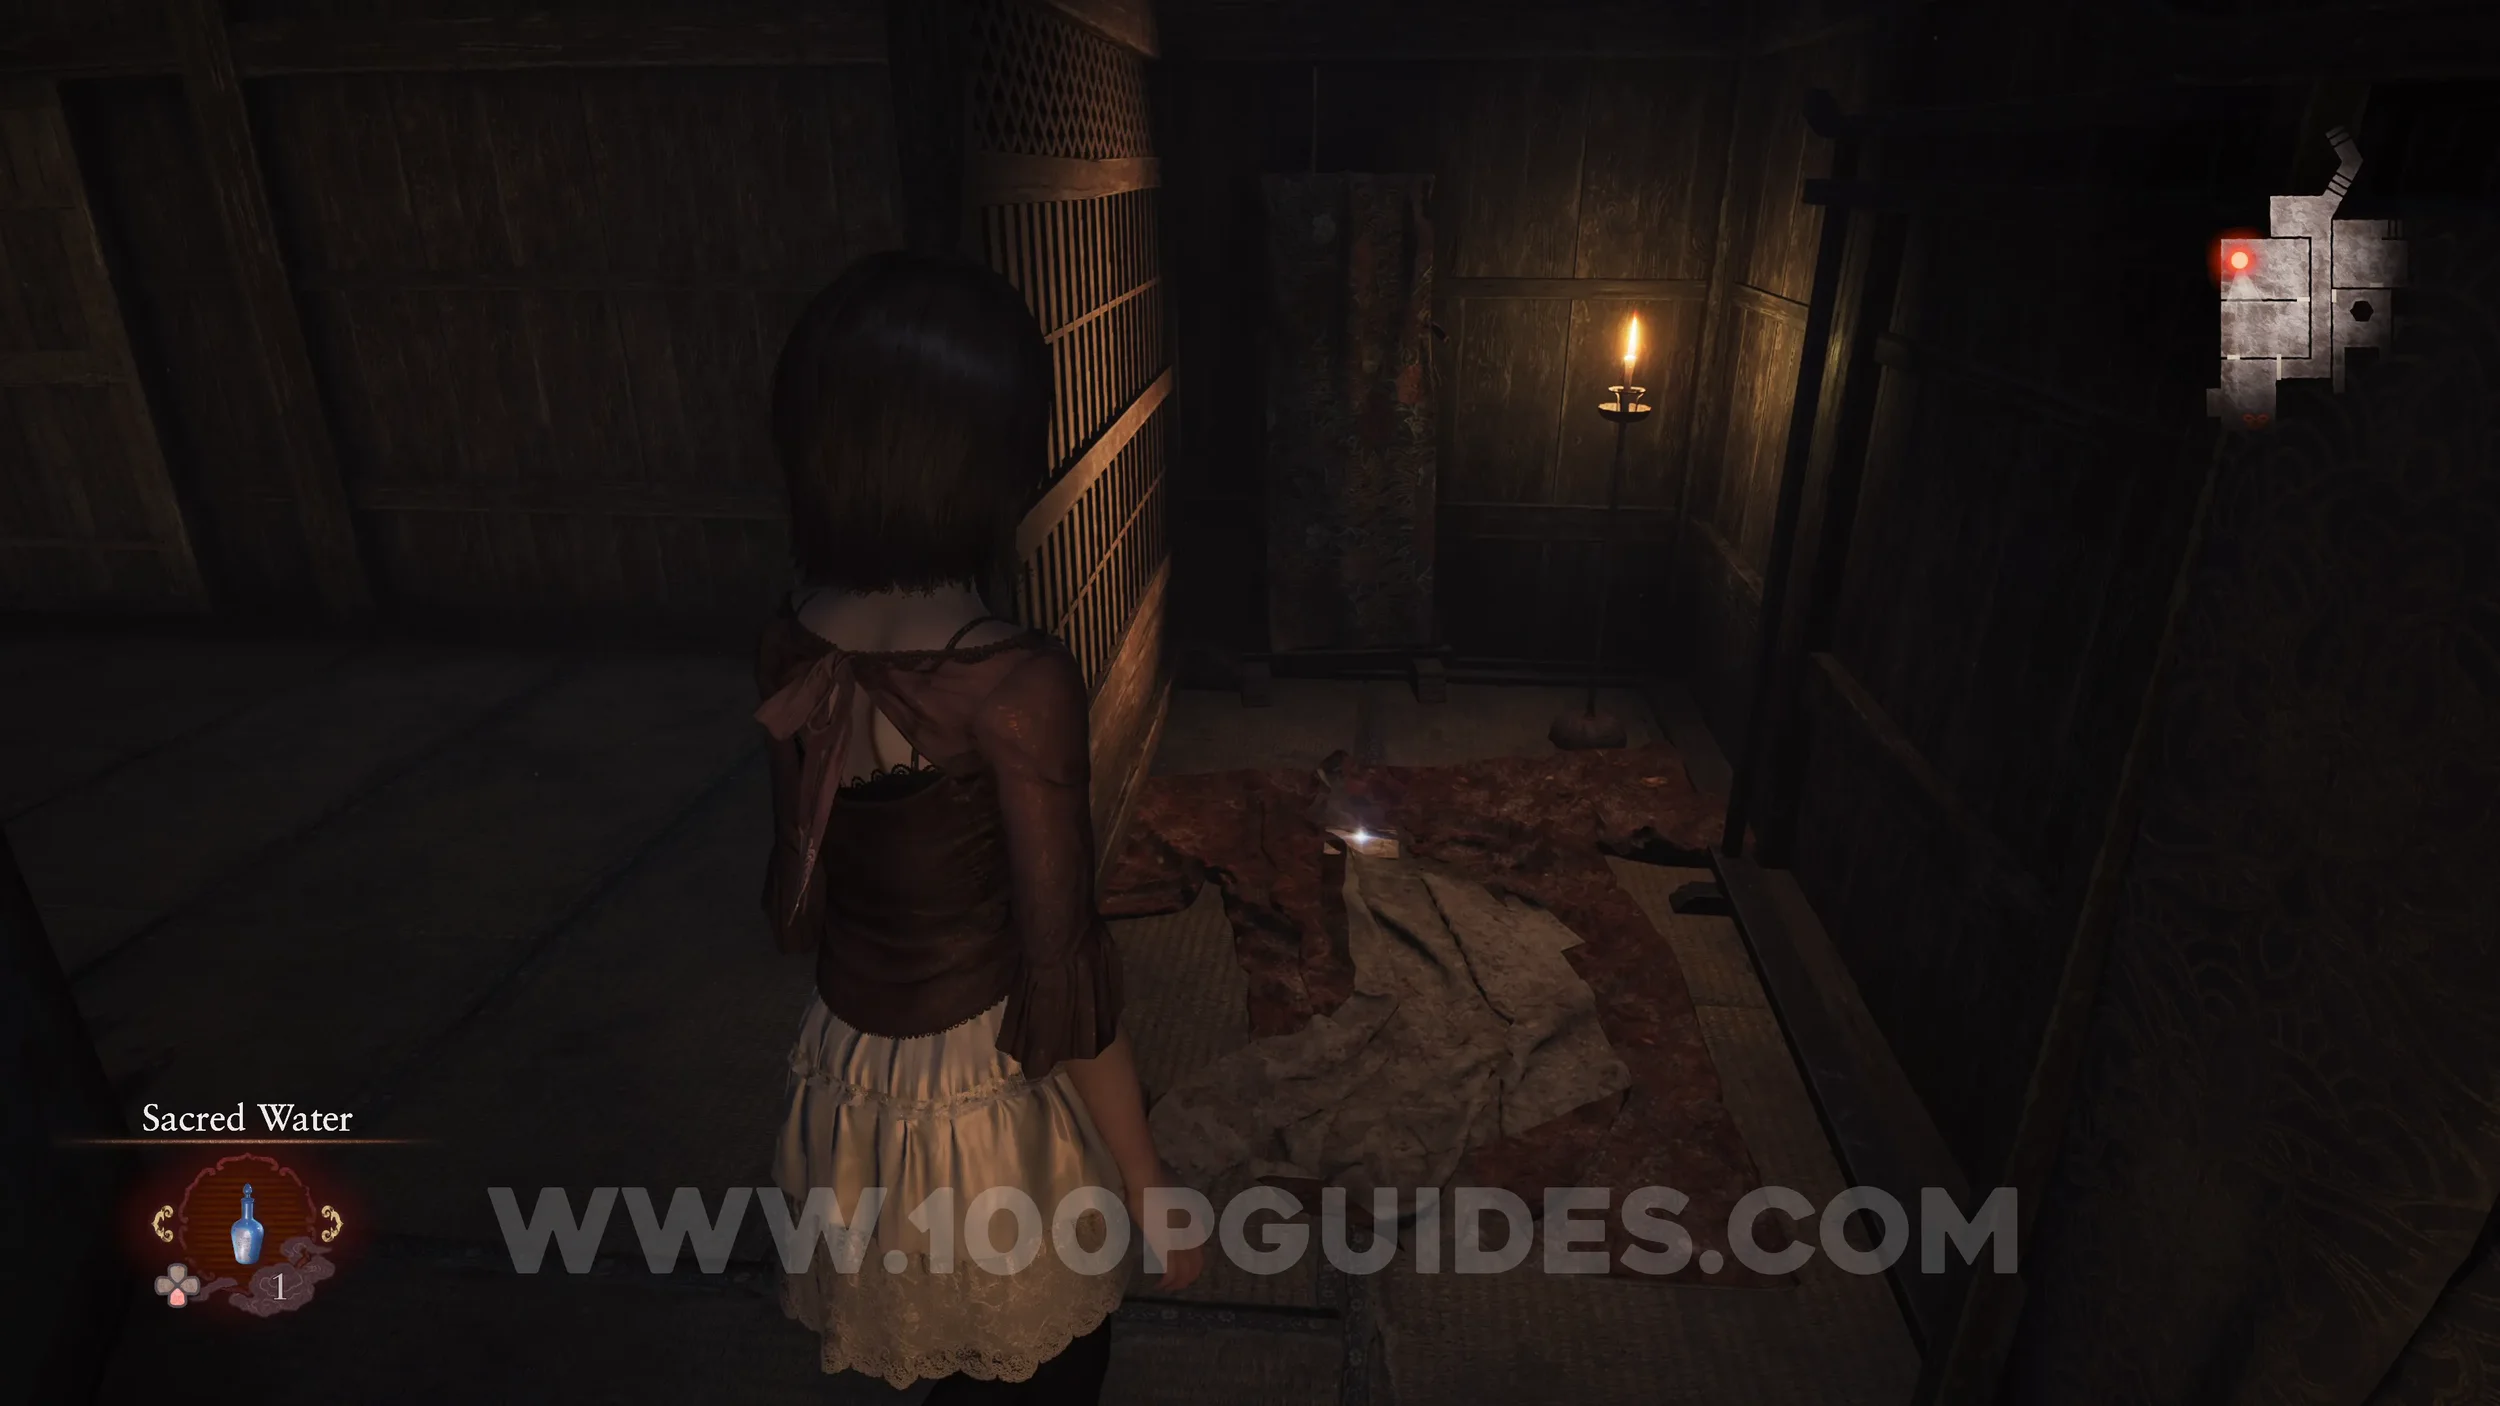
Document #58 - Butterfly Diary 5. Behind the screen where the previous specters were.
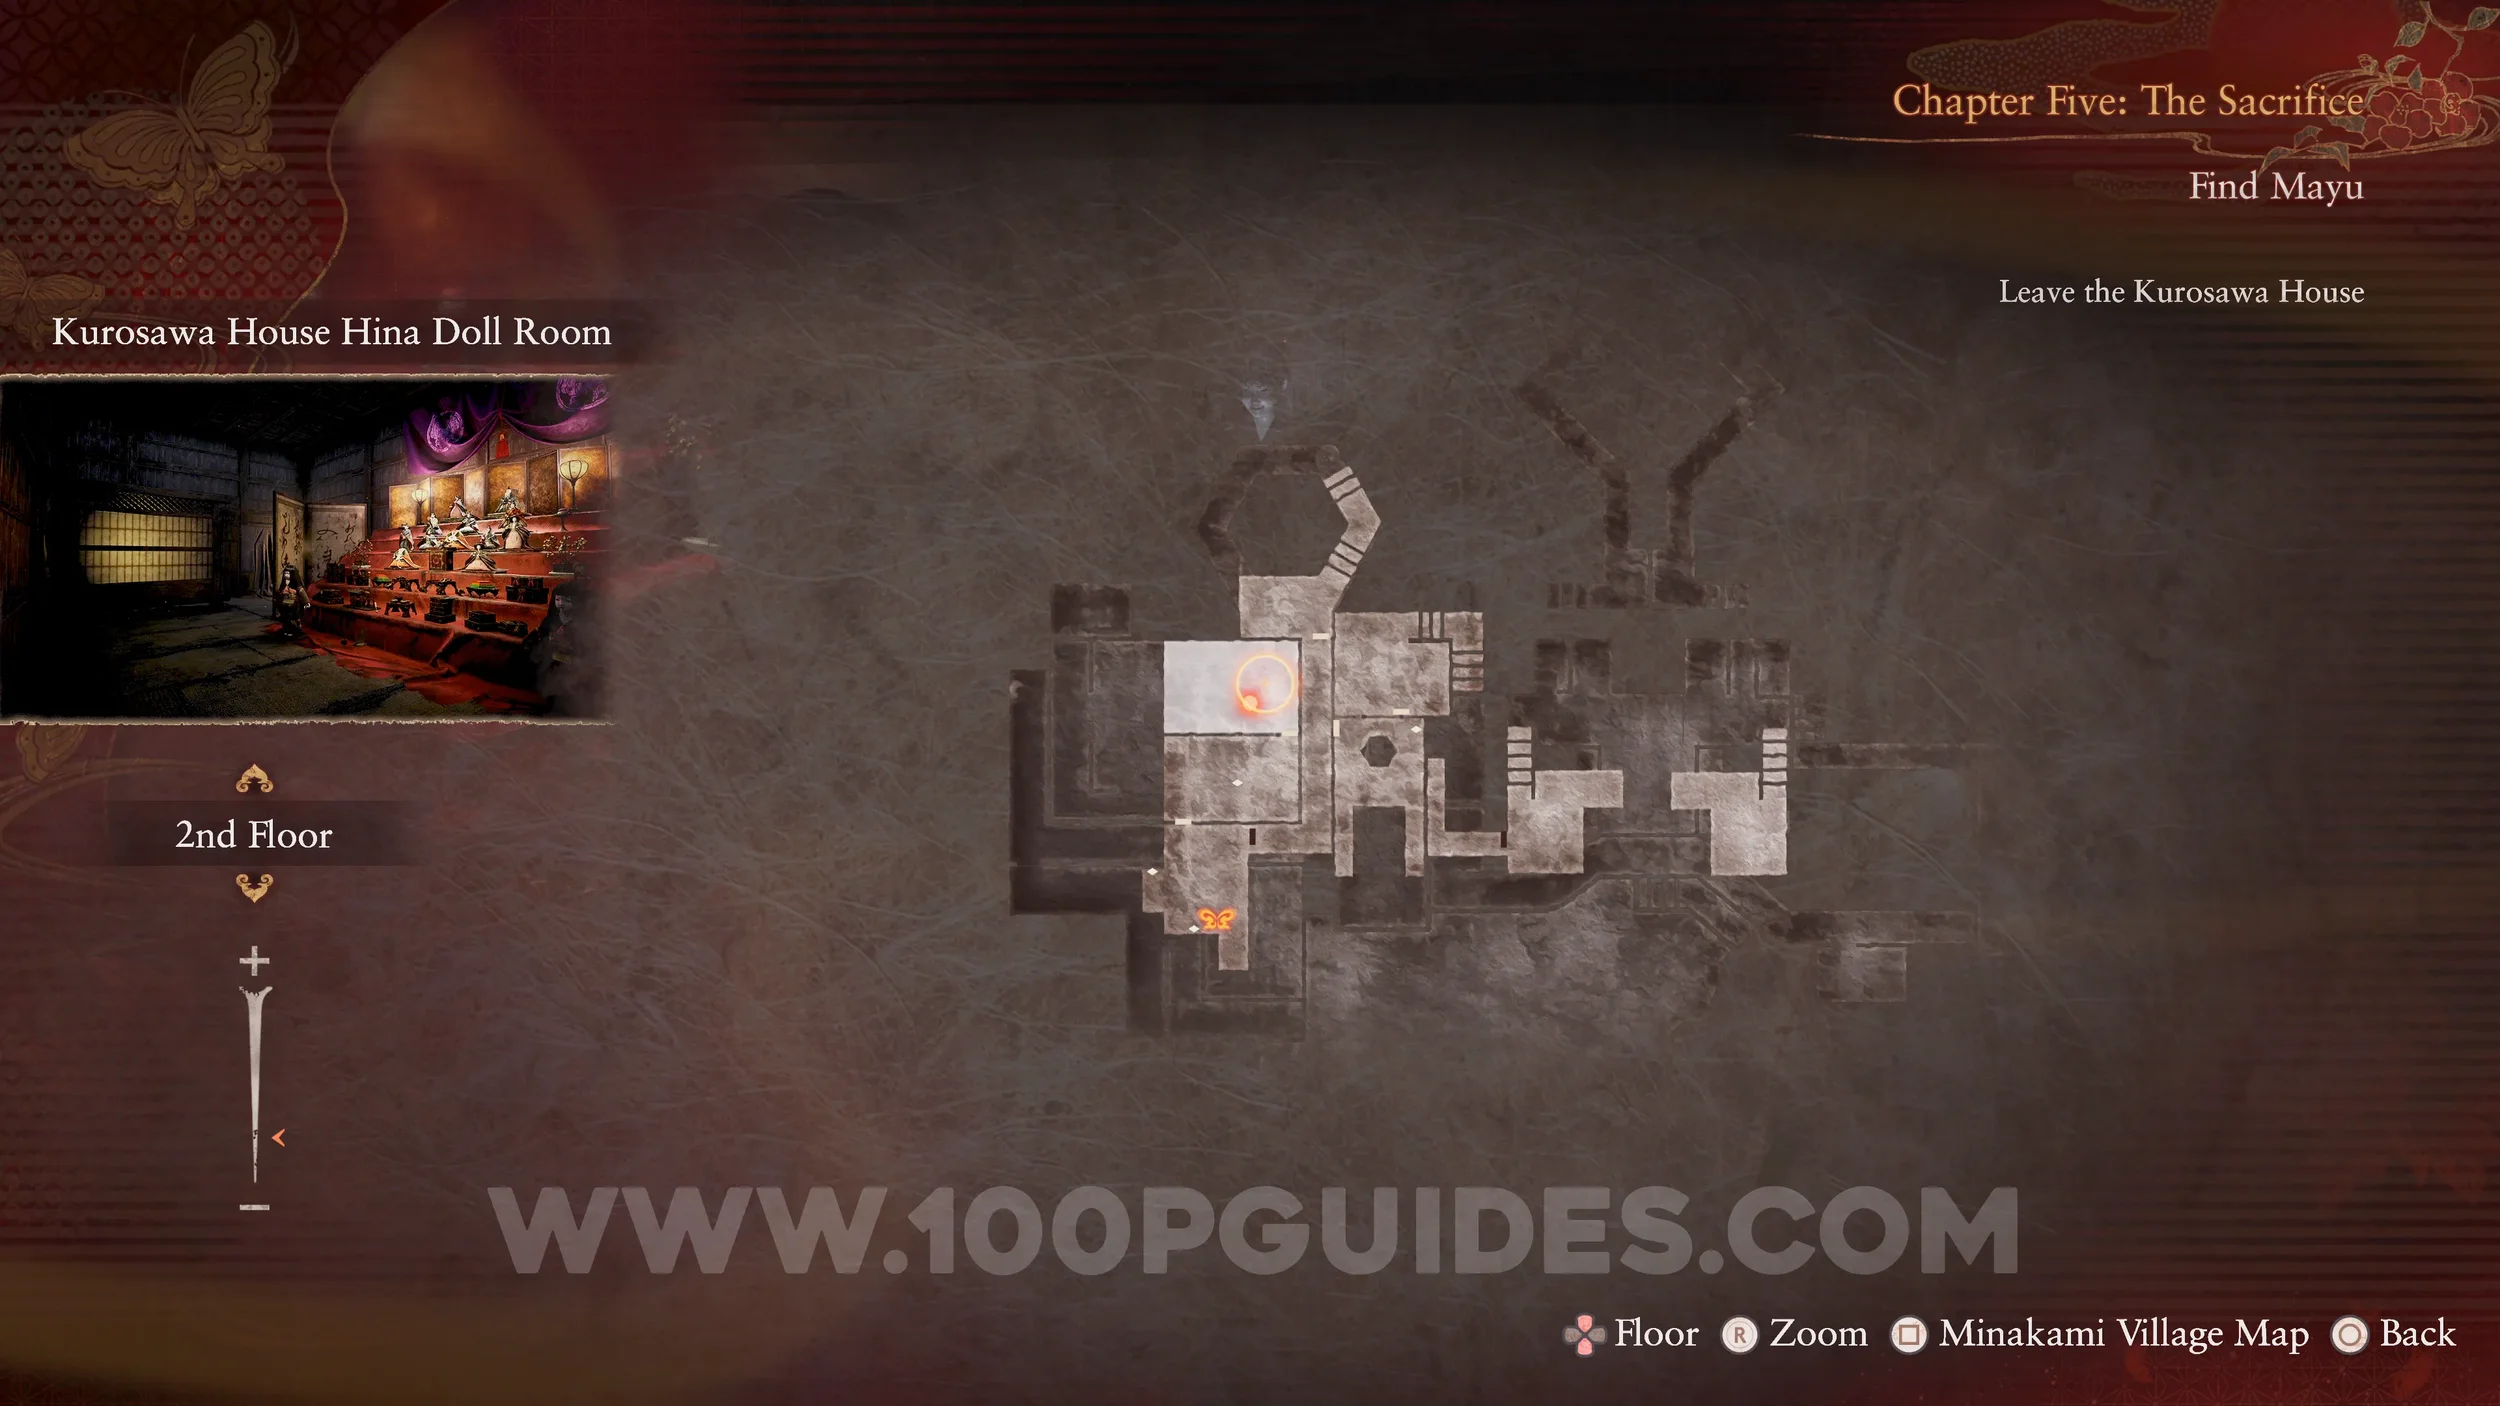
Specter #104 - 202 Girl in Shadow. Also in the Doll Room. She appears near the doll stand after picking up the previous document.
Specter #105 - 203 Hanging Hand, Specter #106 - 204 Left Behind and Specter #107 - 205 Hand-Seeking Woman. After leaving the Doll Room, you will pass through a save room. In the save room, look through the round window and take a photo of the hand. Then wait for the head to appear and take another photo with both in the frame.
Revenant #6 - 022 Downcast Woman and Spirit Stone #21 - Broken Fluorite (2/2). Go to the Main Hall, where Kusabi attacks you for the first time, and defeat the wraith. Afterwards, use the Exposure Filter to reveal the revenant in the middle of the room. Take a photo to obtain the other half of the Broken Fluorite, completing Fluorite 4 and finishing the “Sae Kurosawa” side quest.
Unbinding of Blood #17. Make your way back to the entrance hallway where the exit door is. Here, use the Radiant Filter to open the door on the eastern side.

Unbinding of Blood #18. Story related. Open the main door to leave the Kurosawa House.
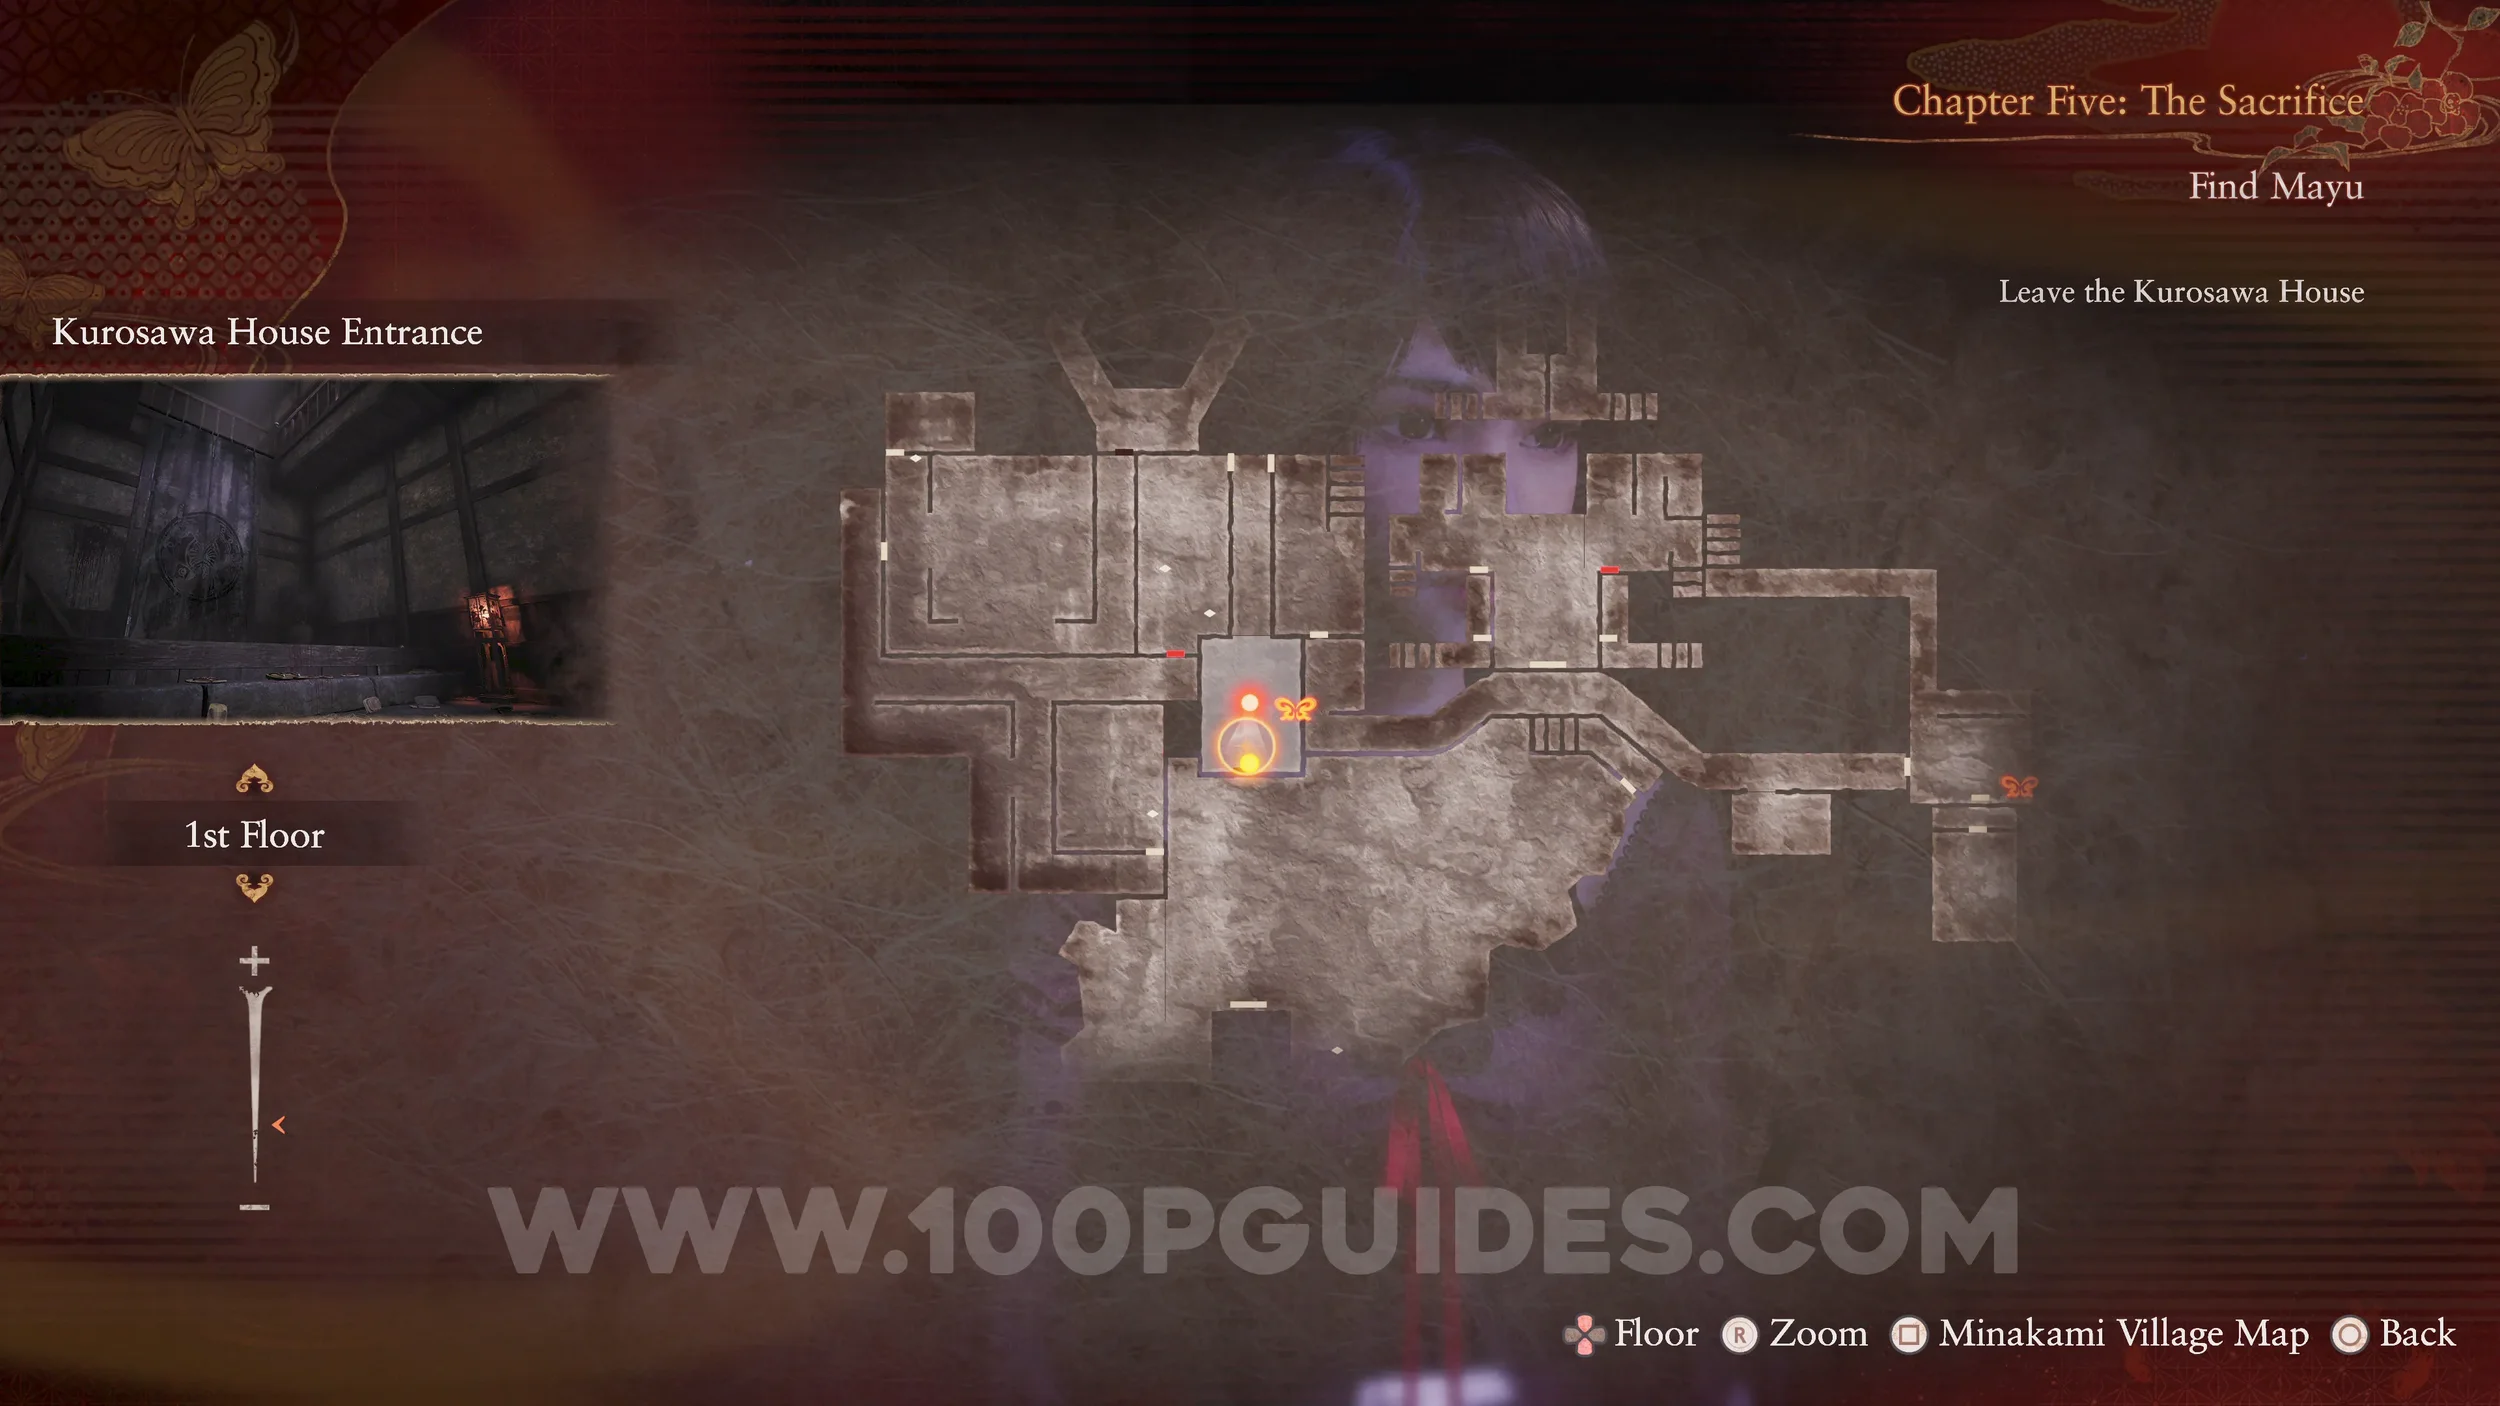
Specter #108 - 069 Wandering Mayu. In front of you, after leaving Kurosawa House.
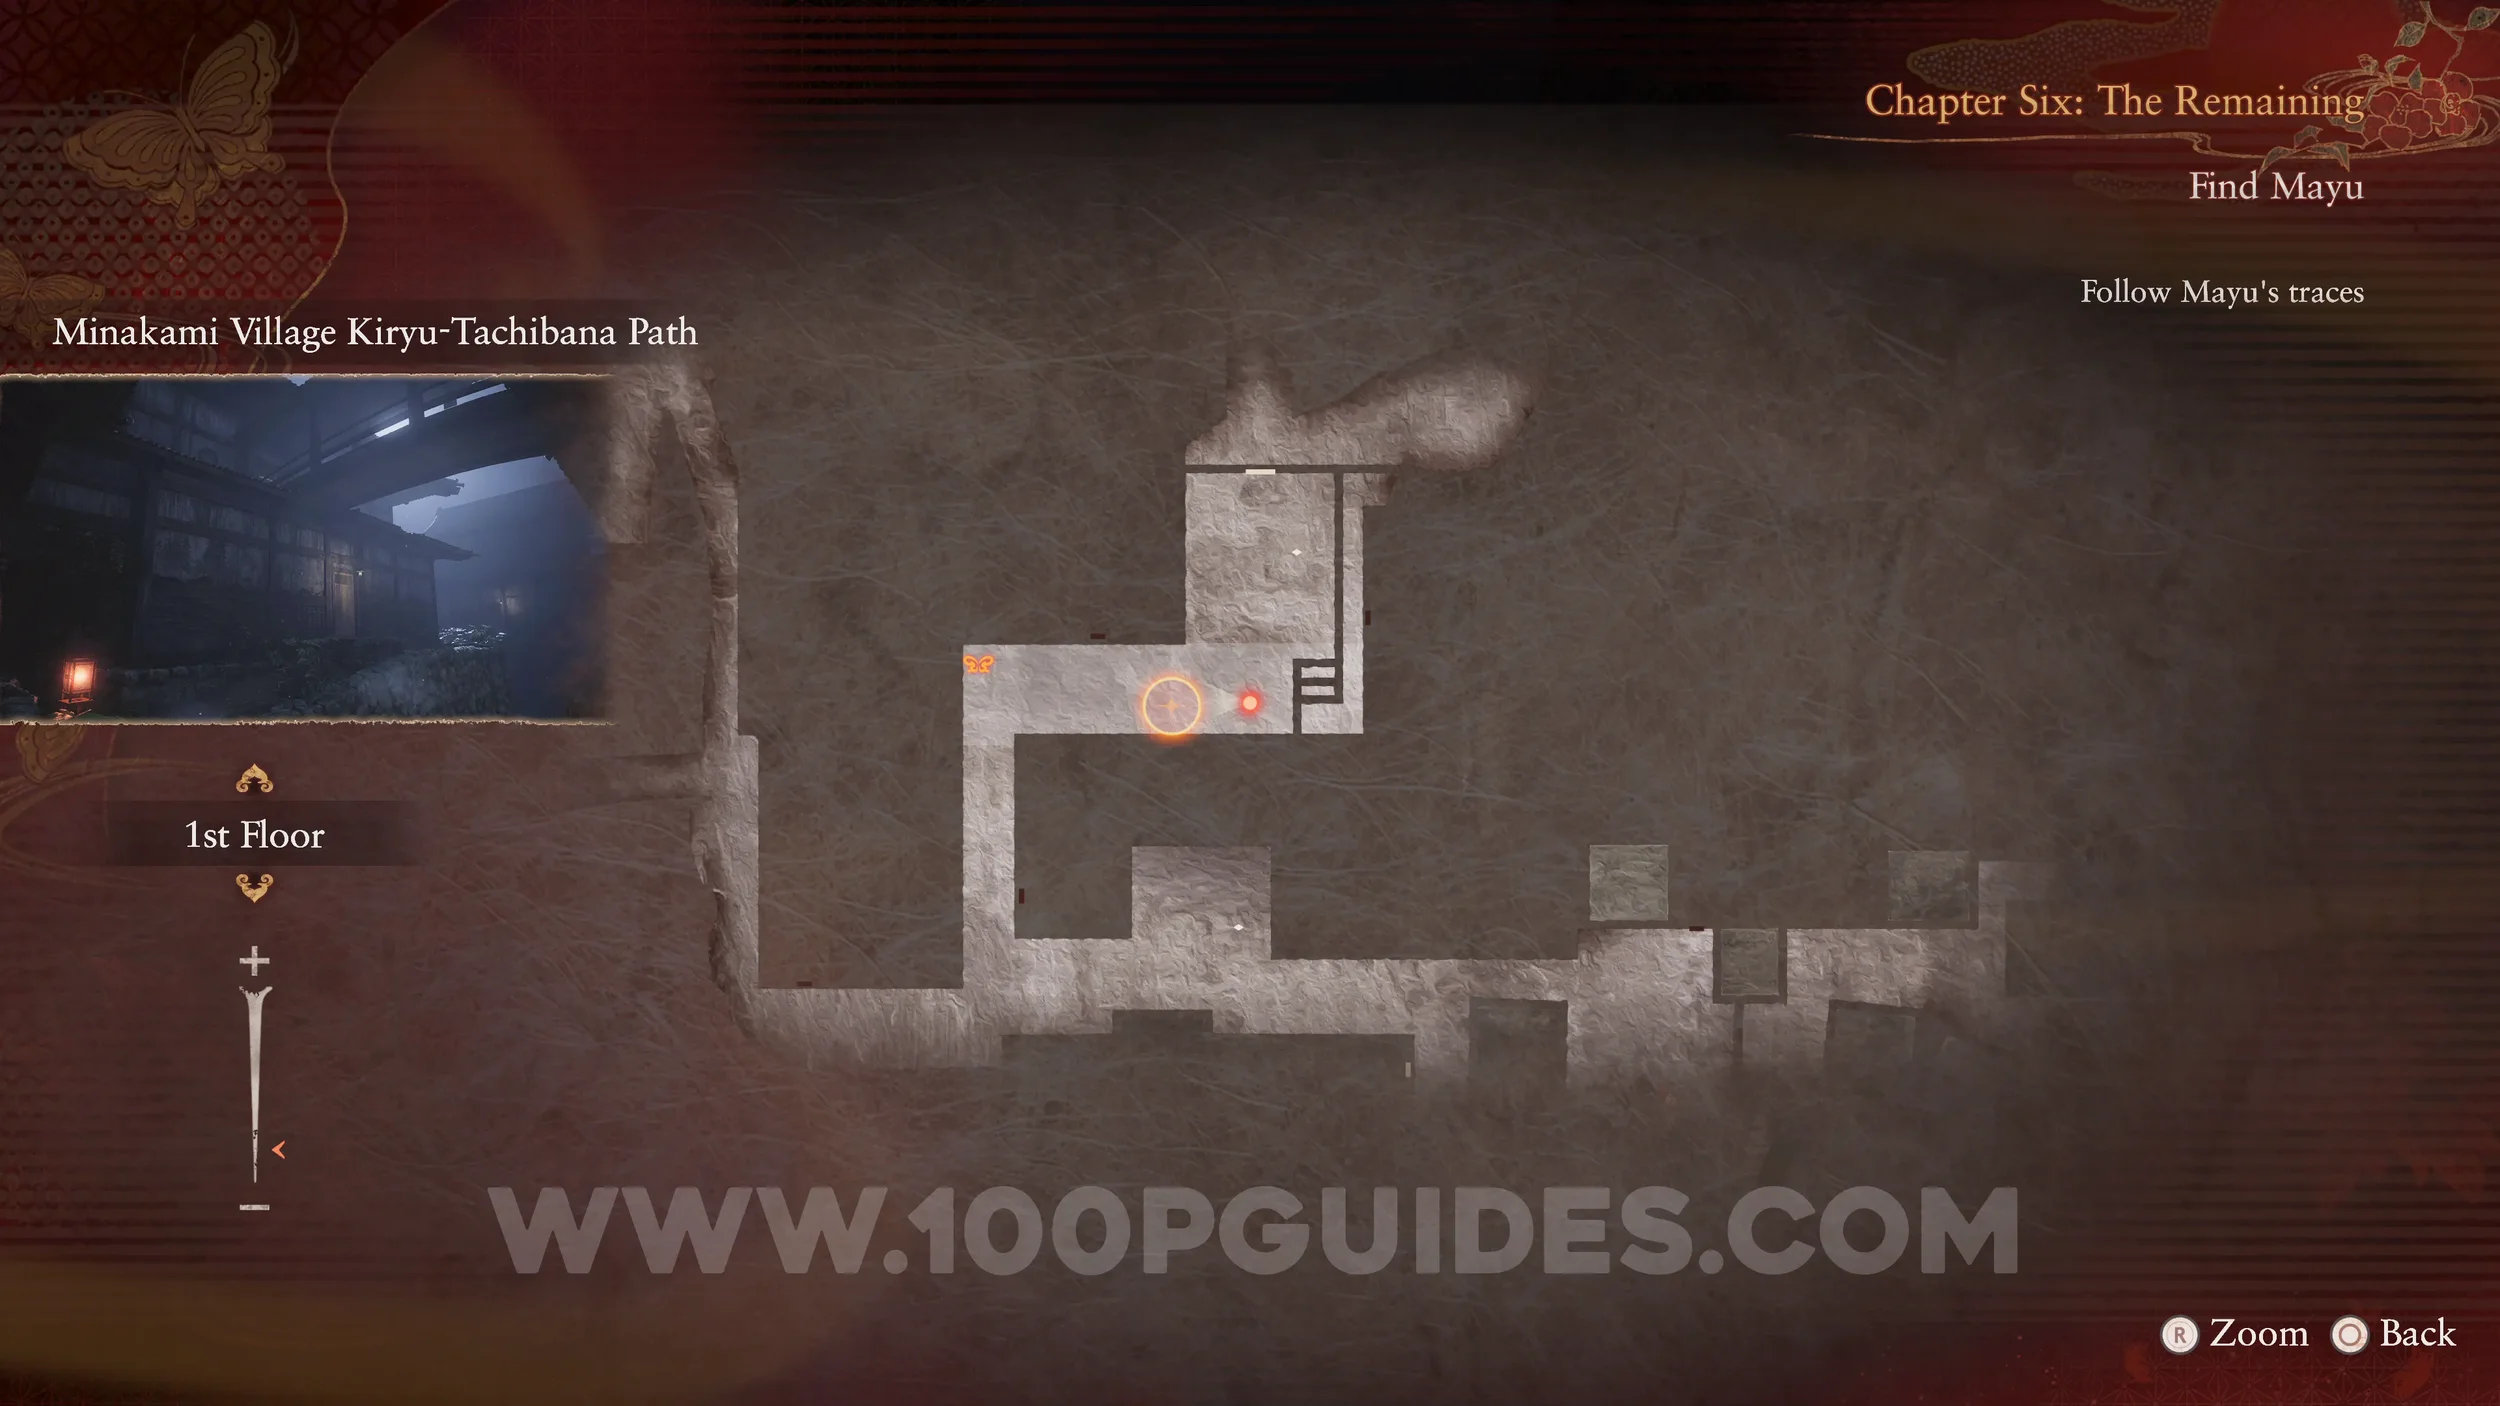
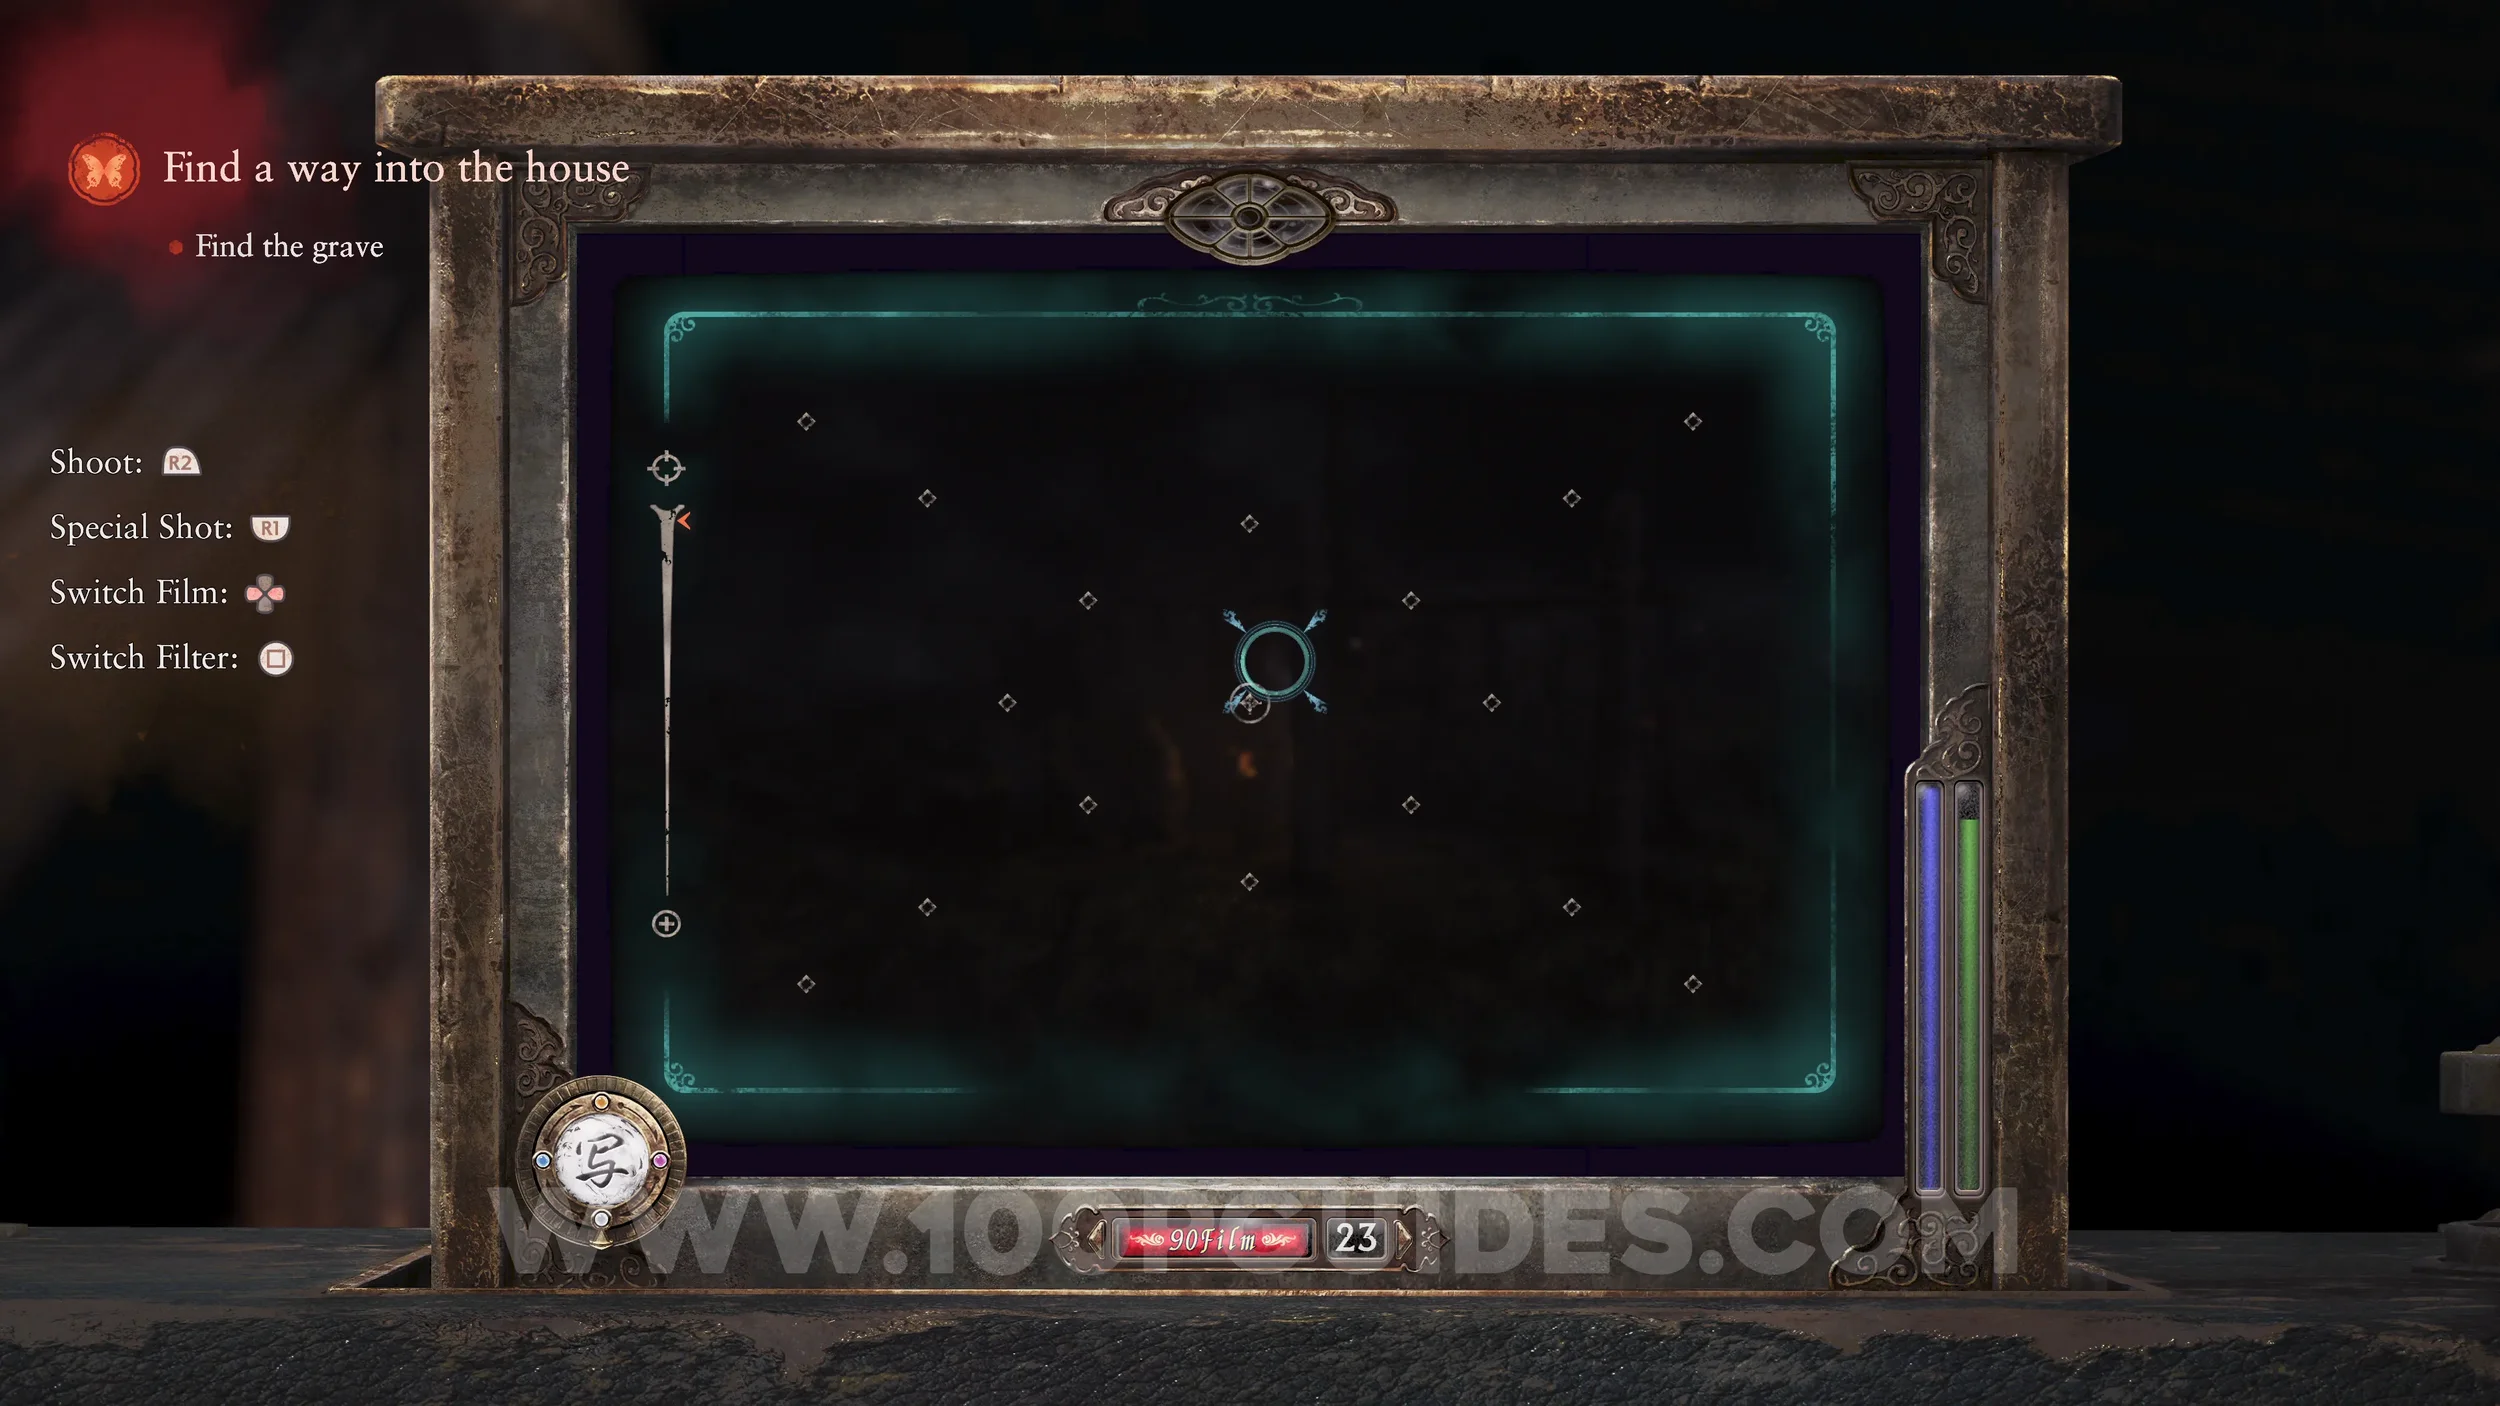
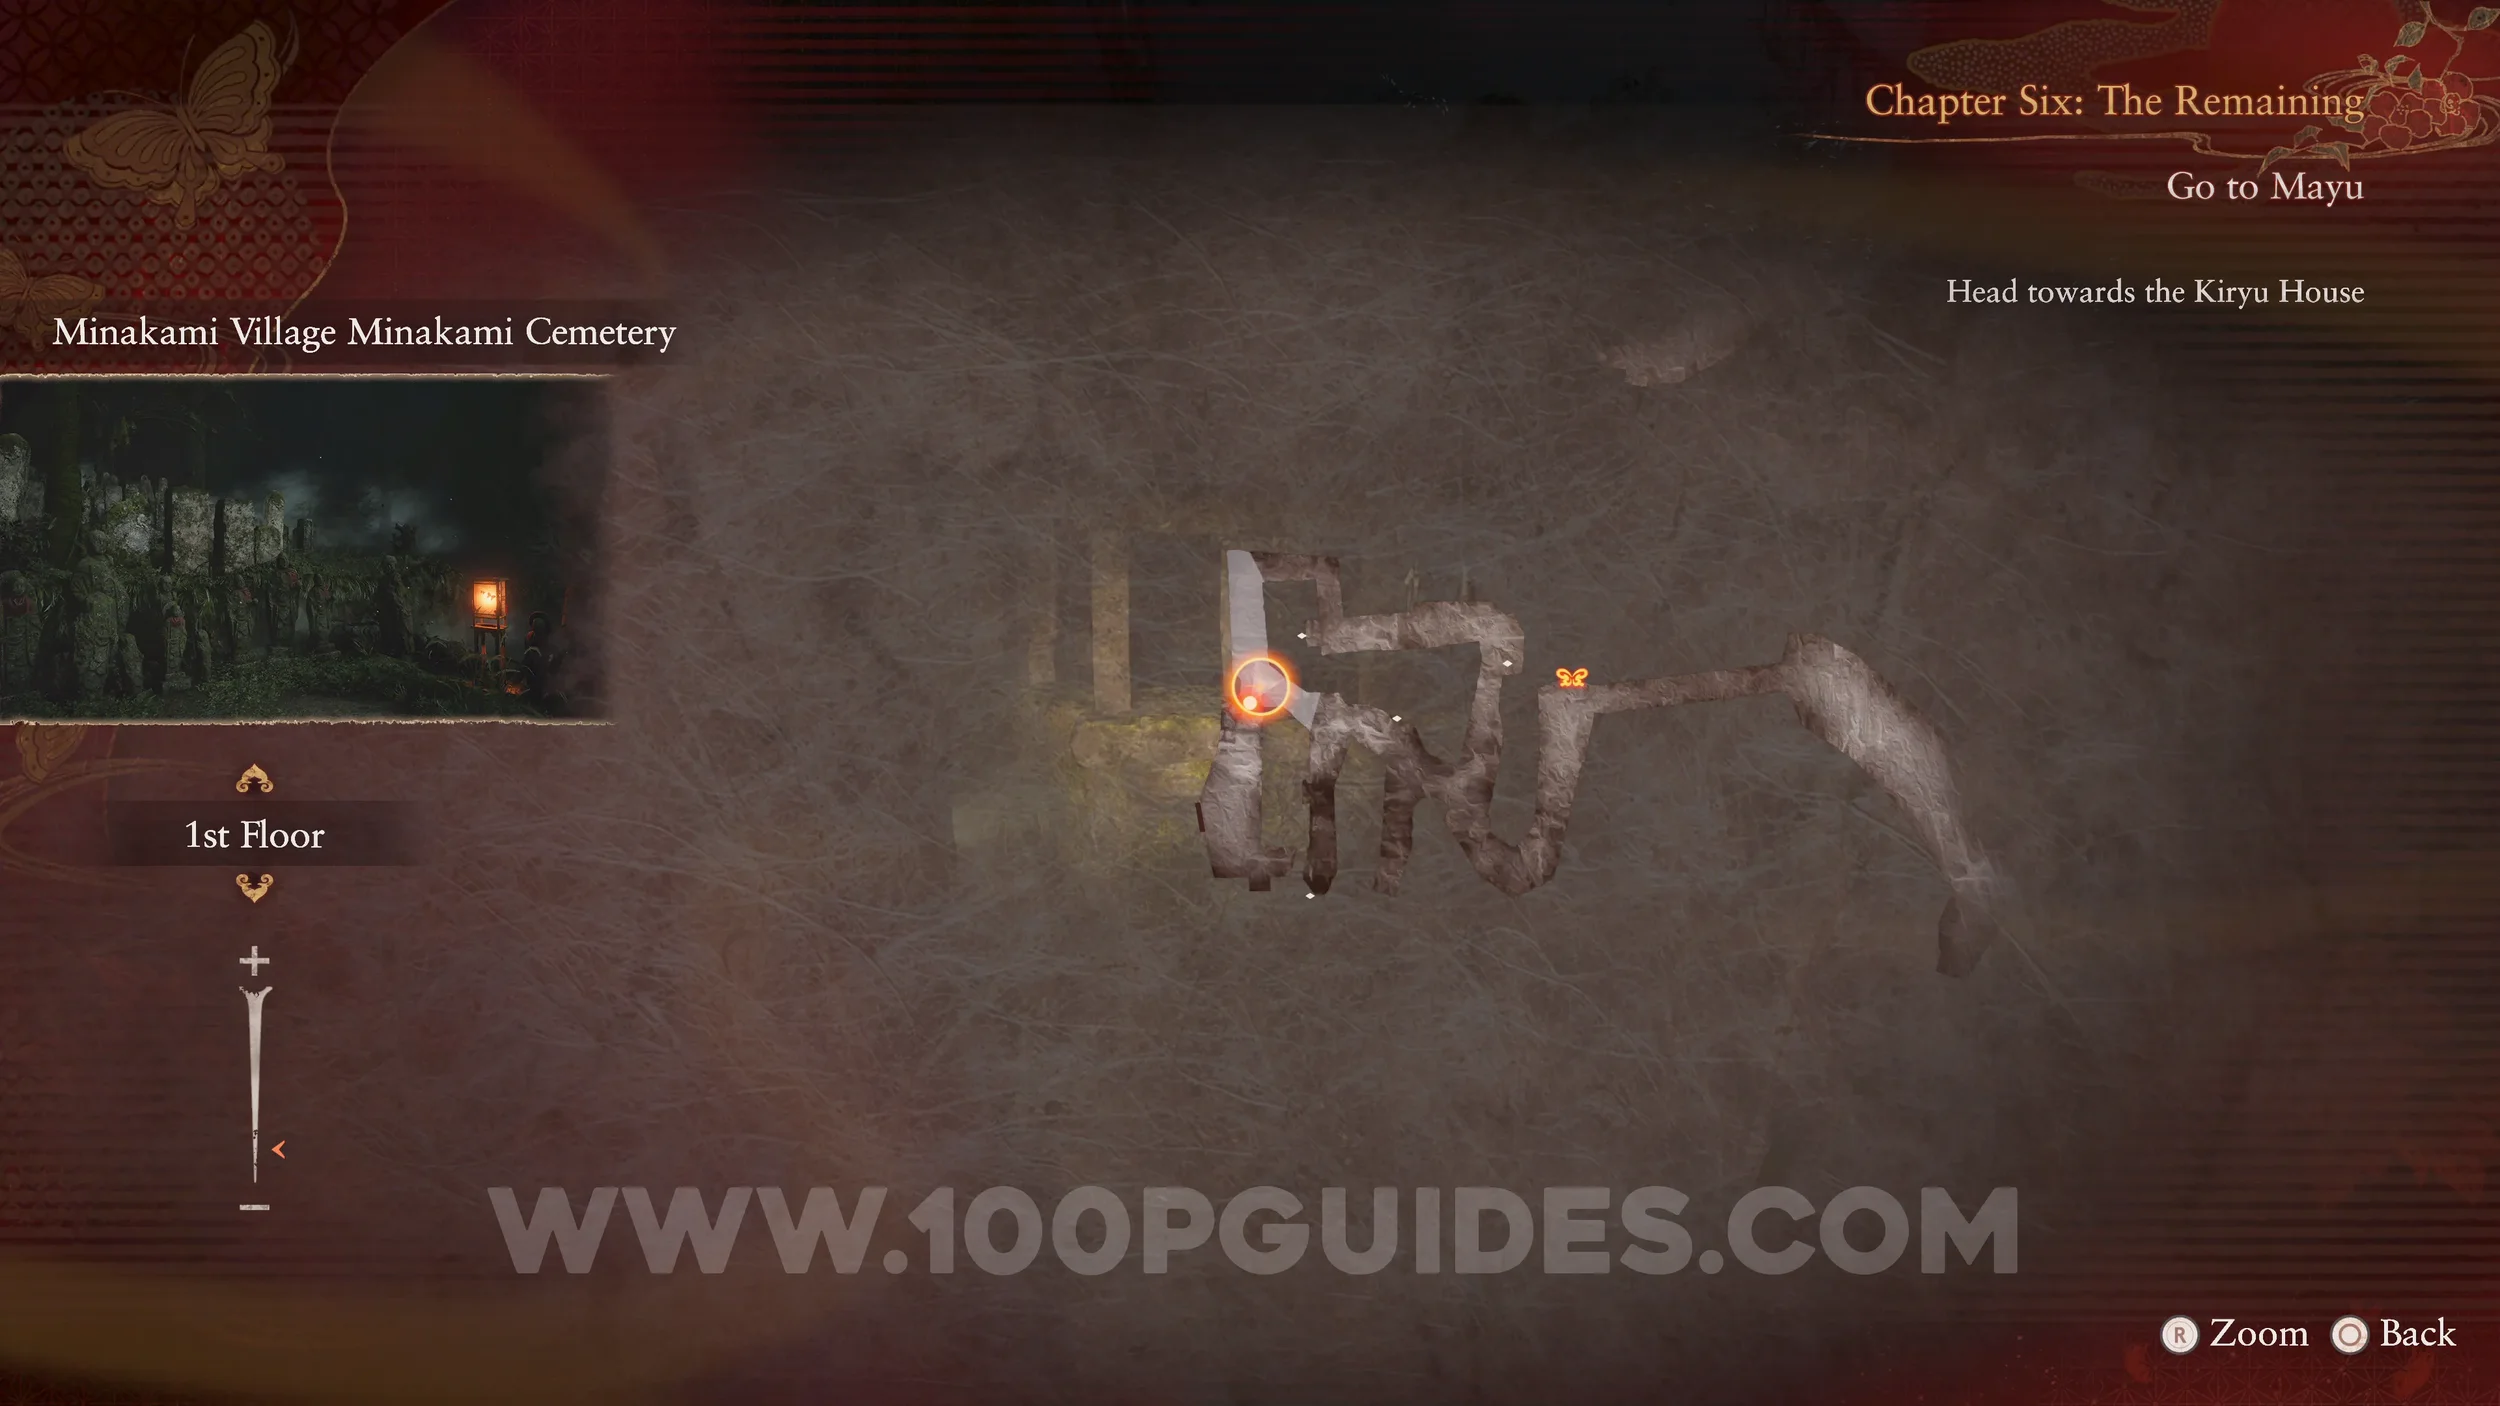
Chapter 6
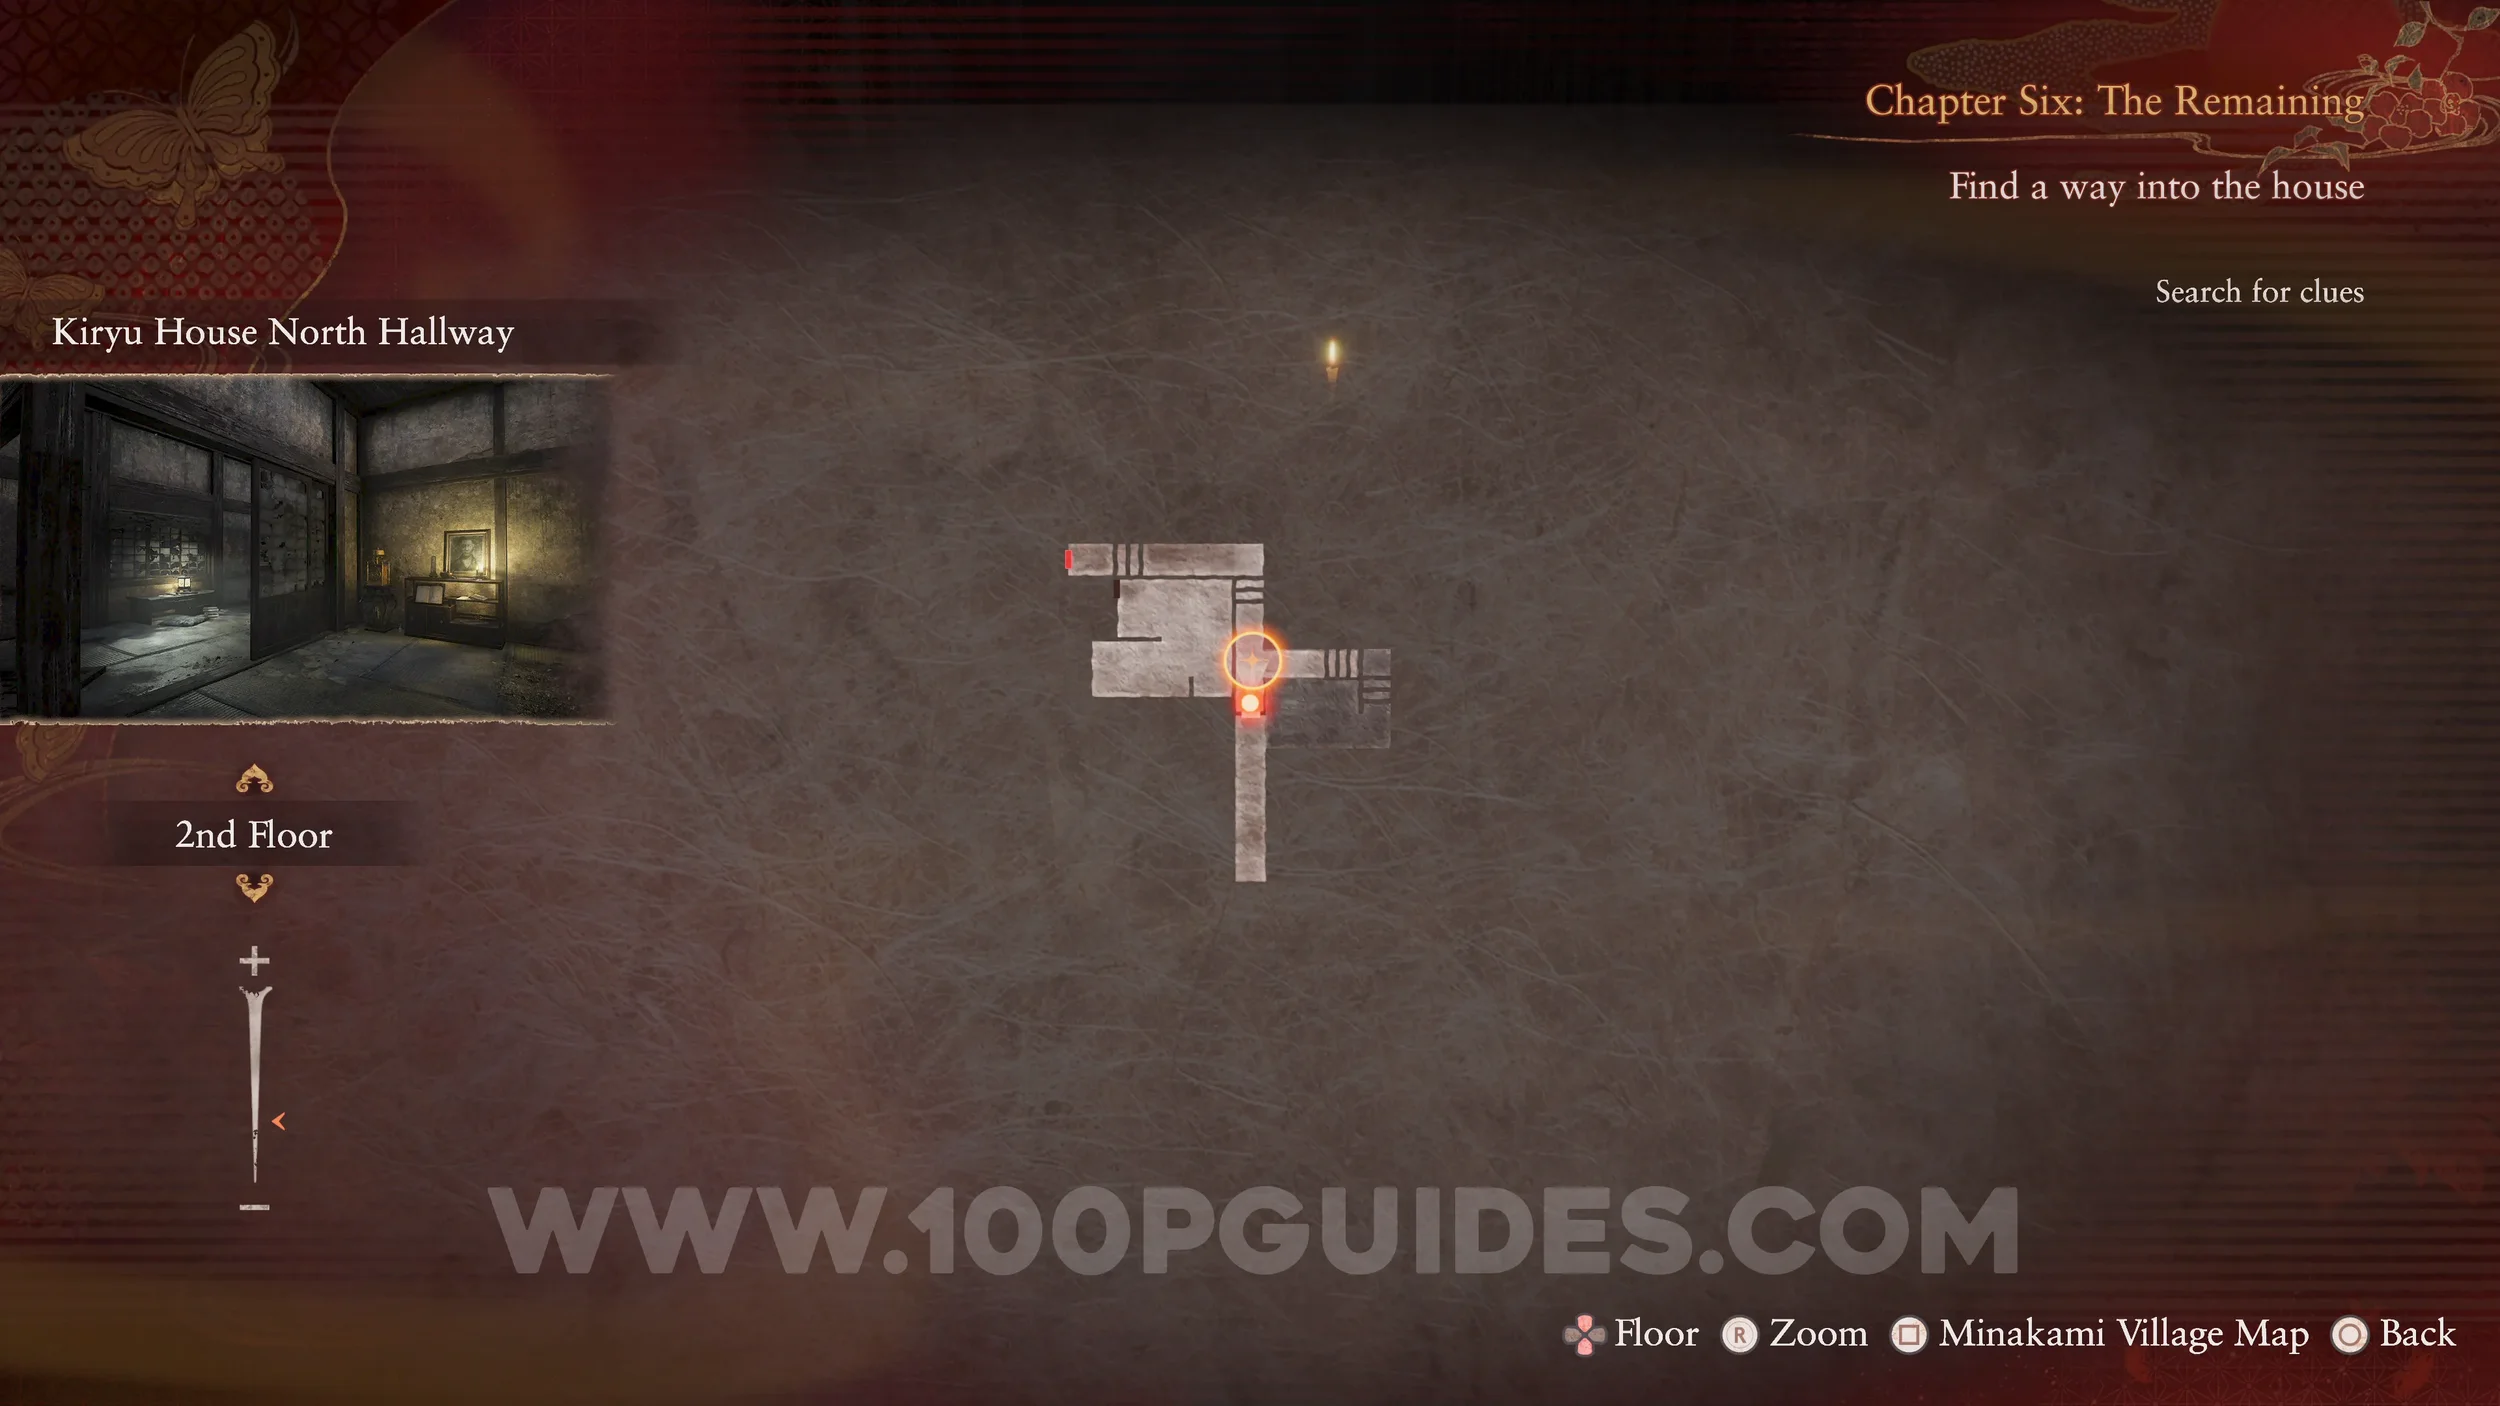
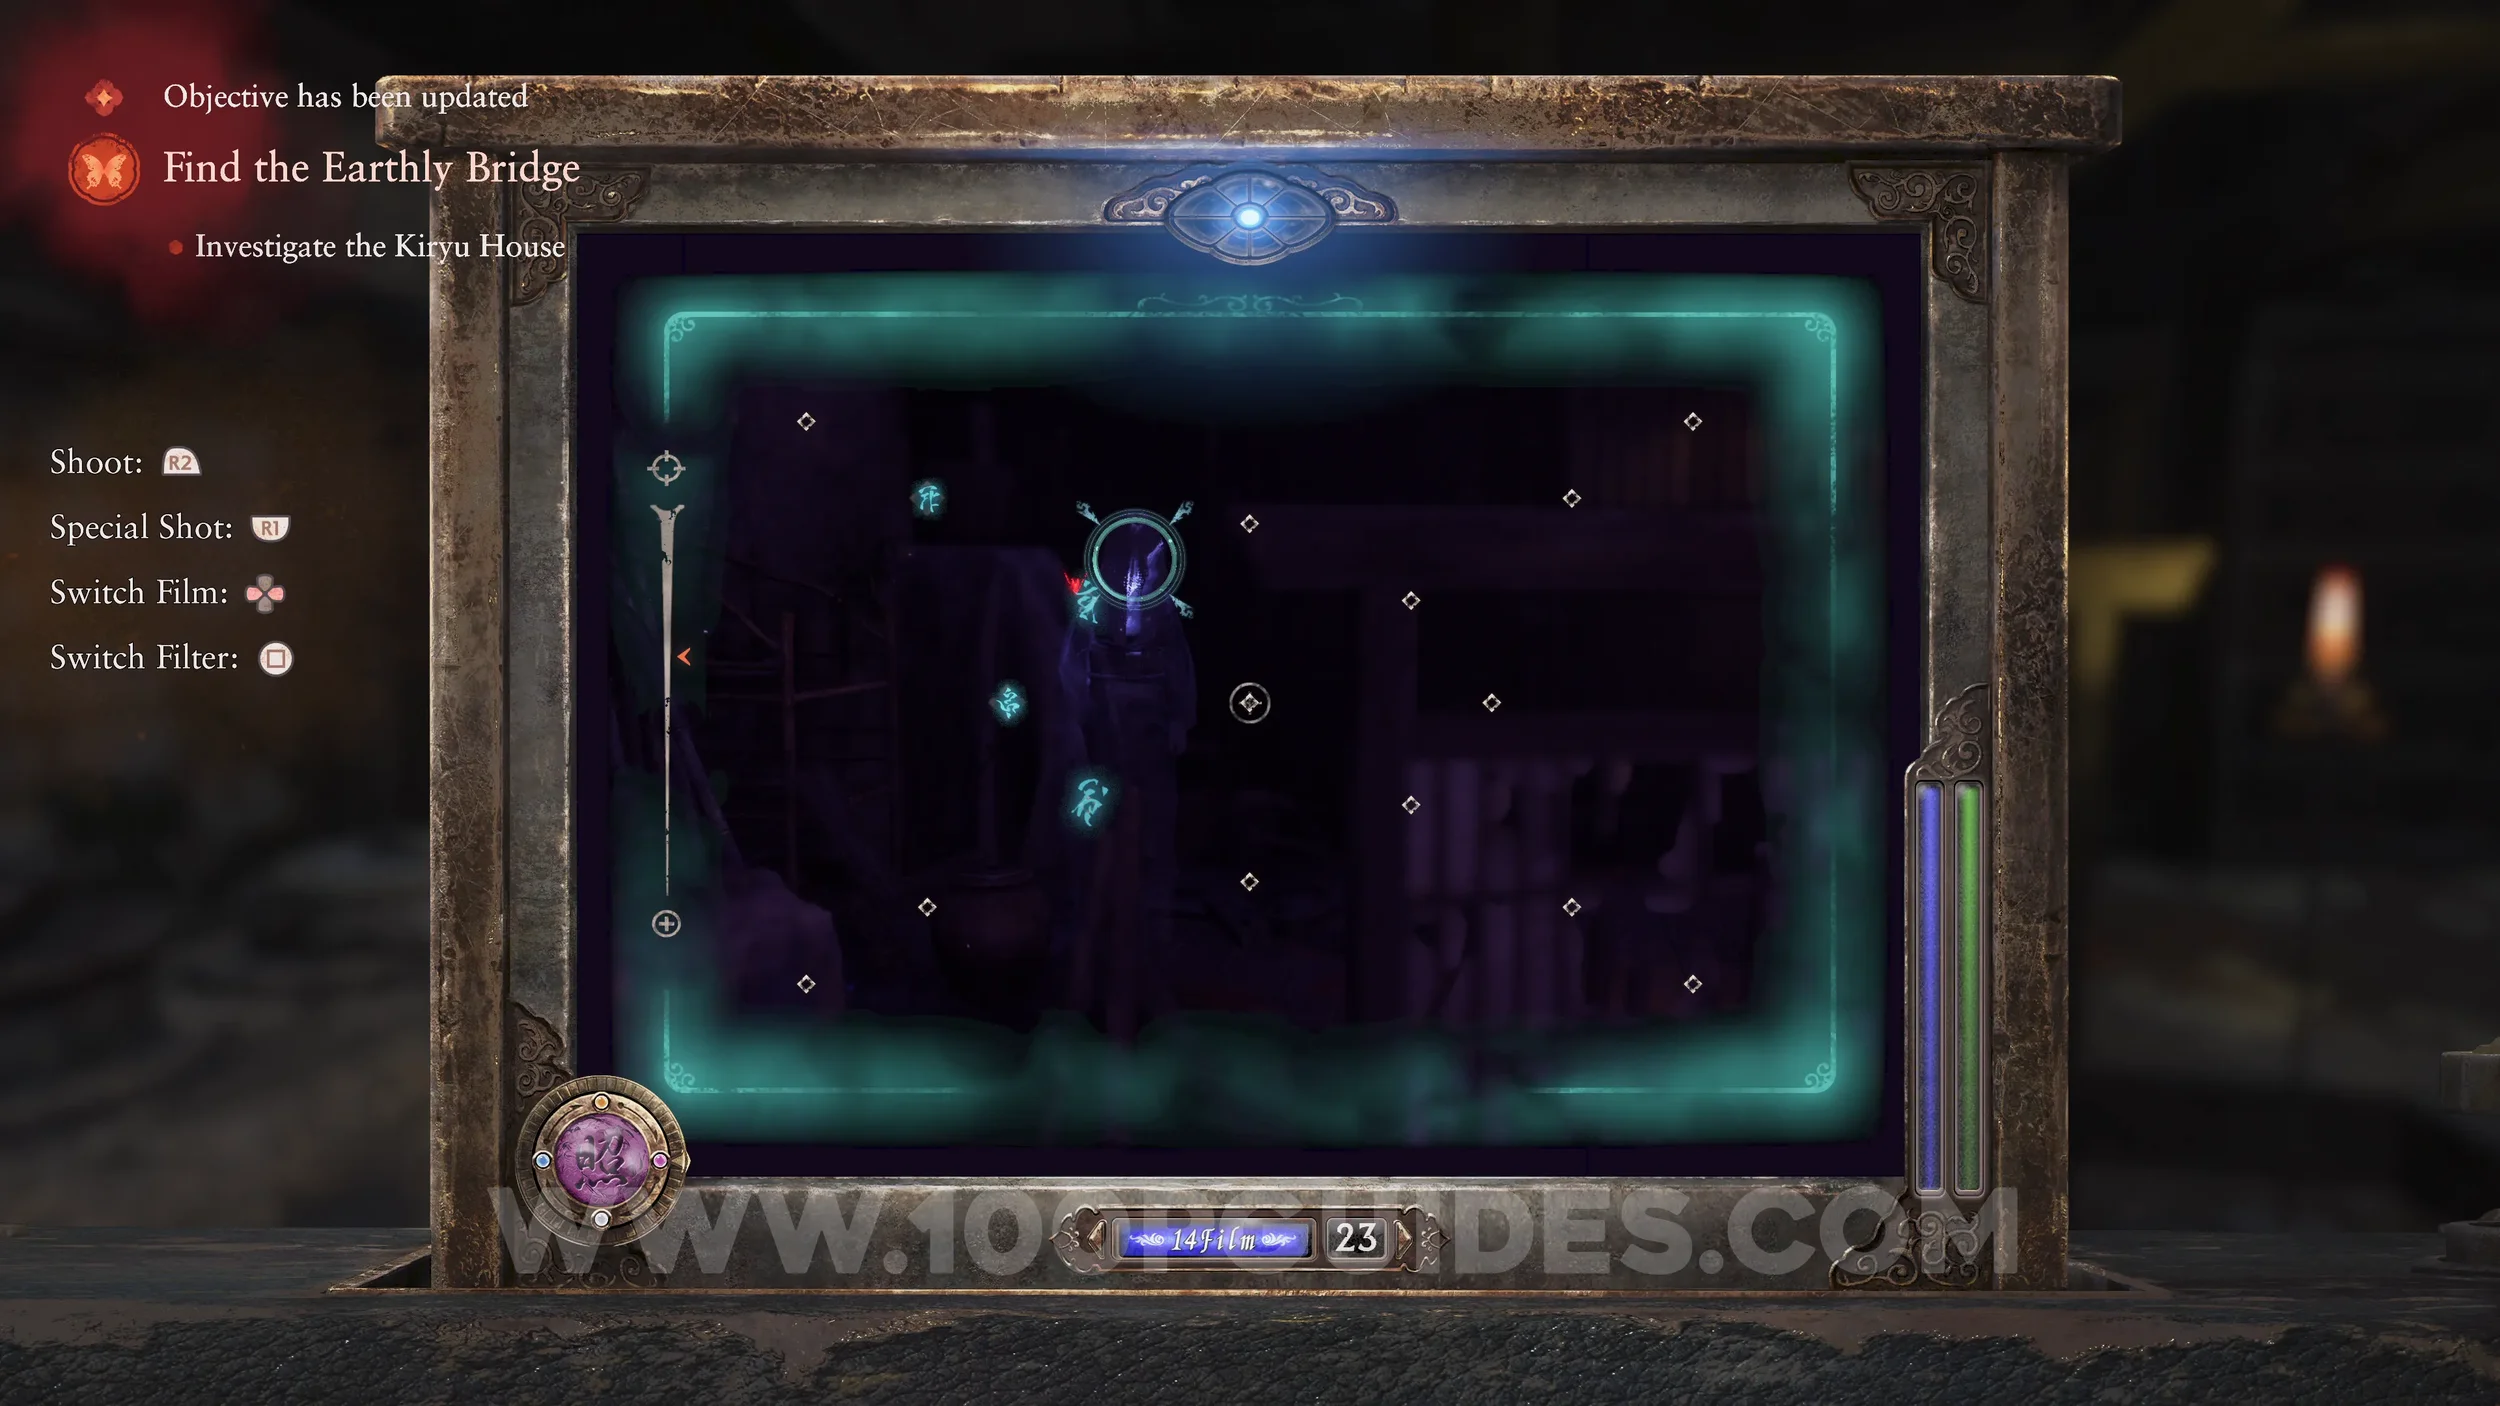
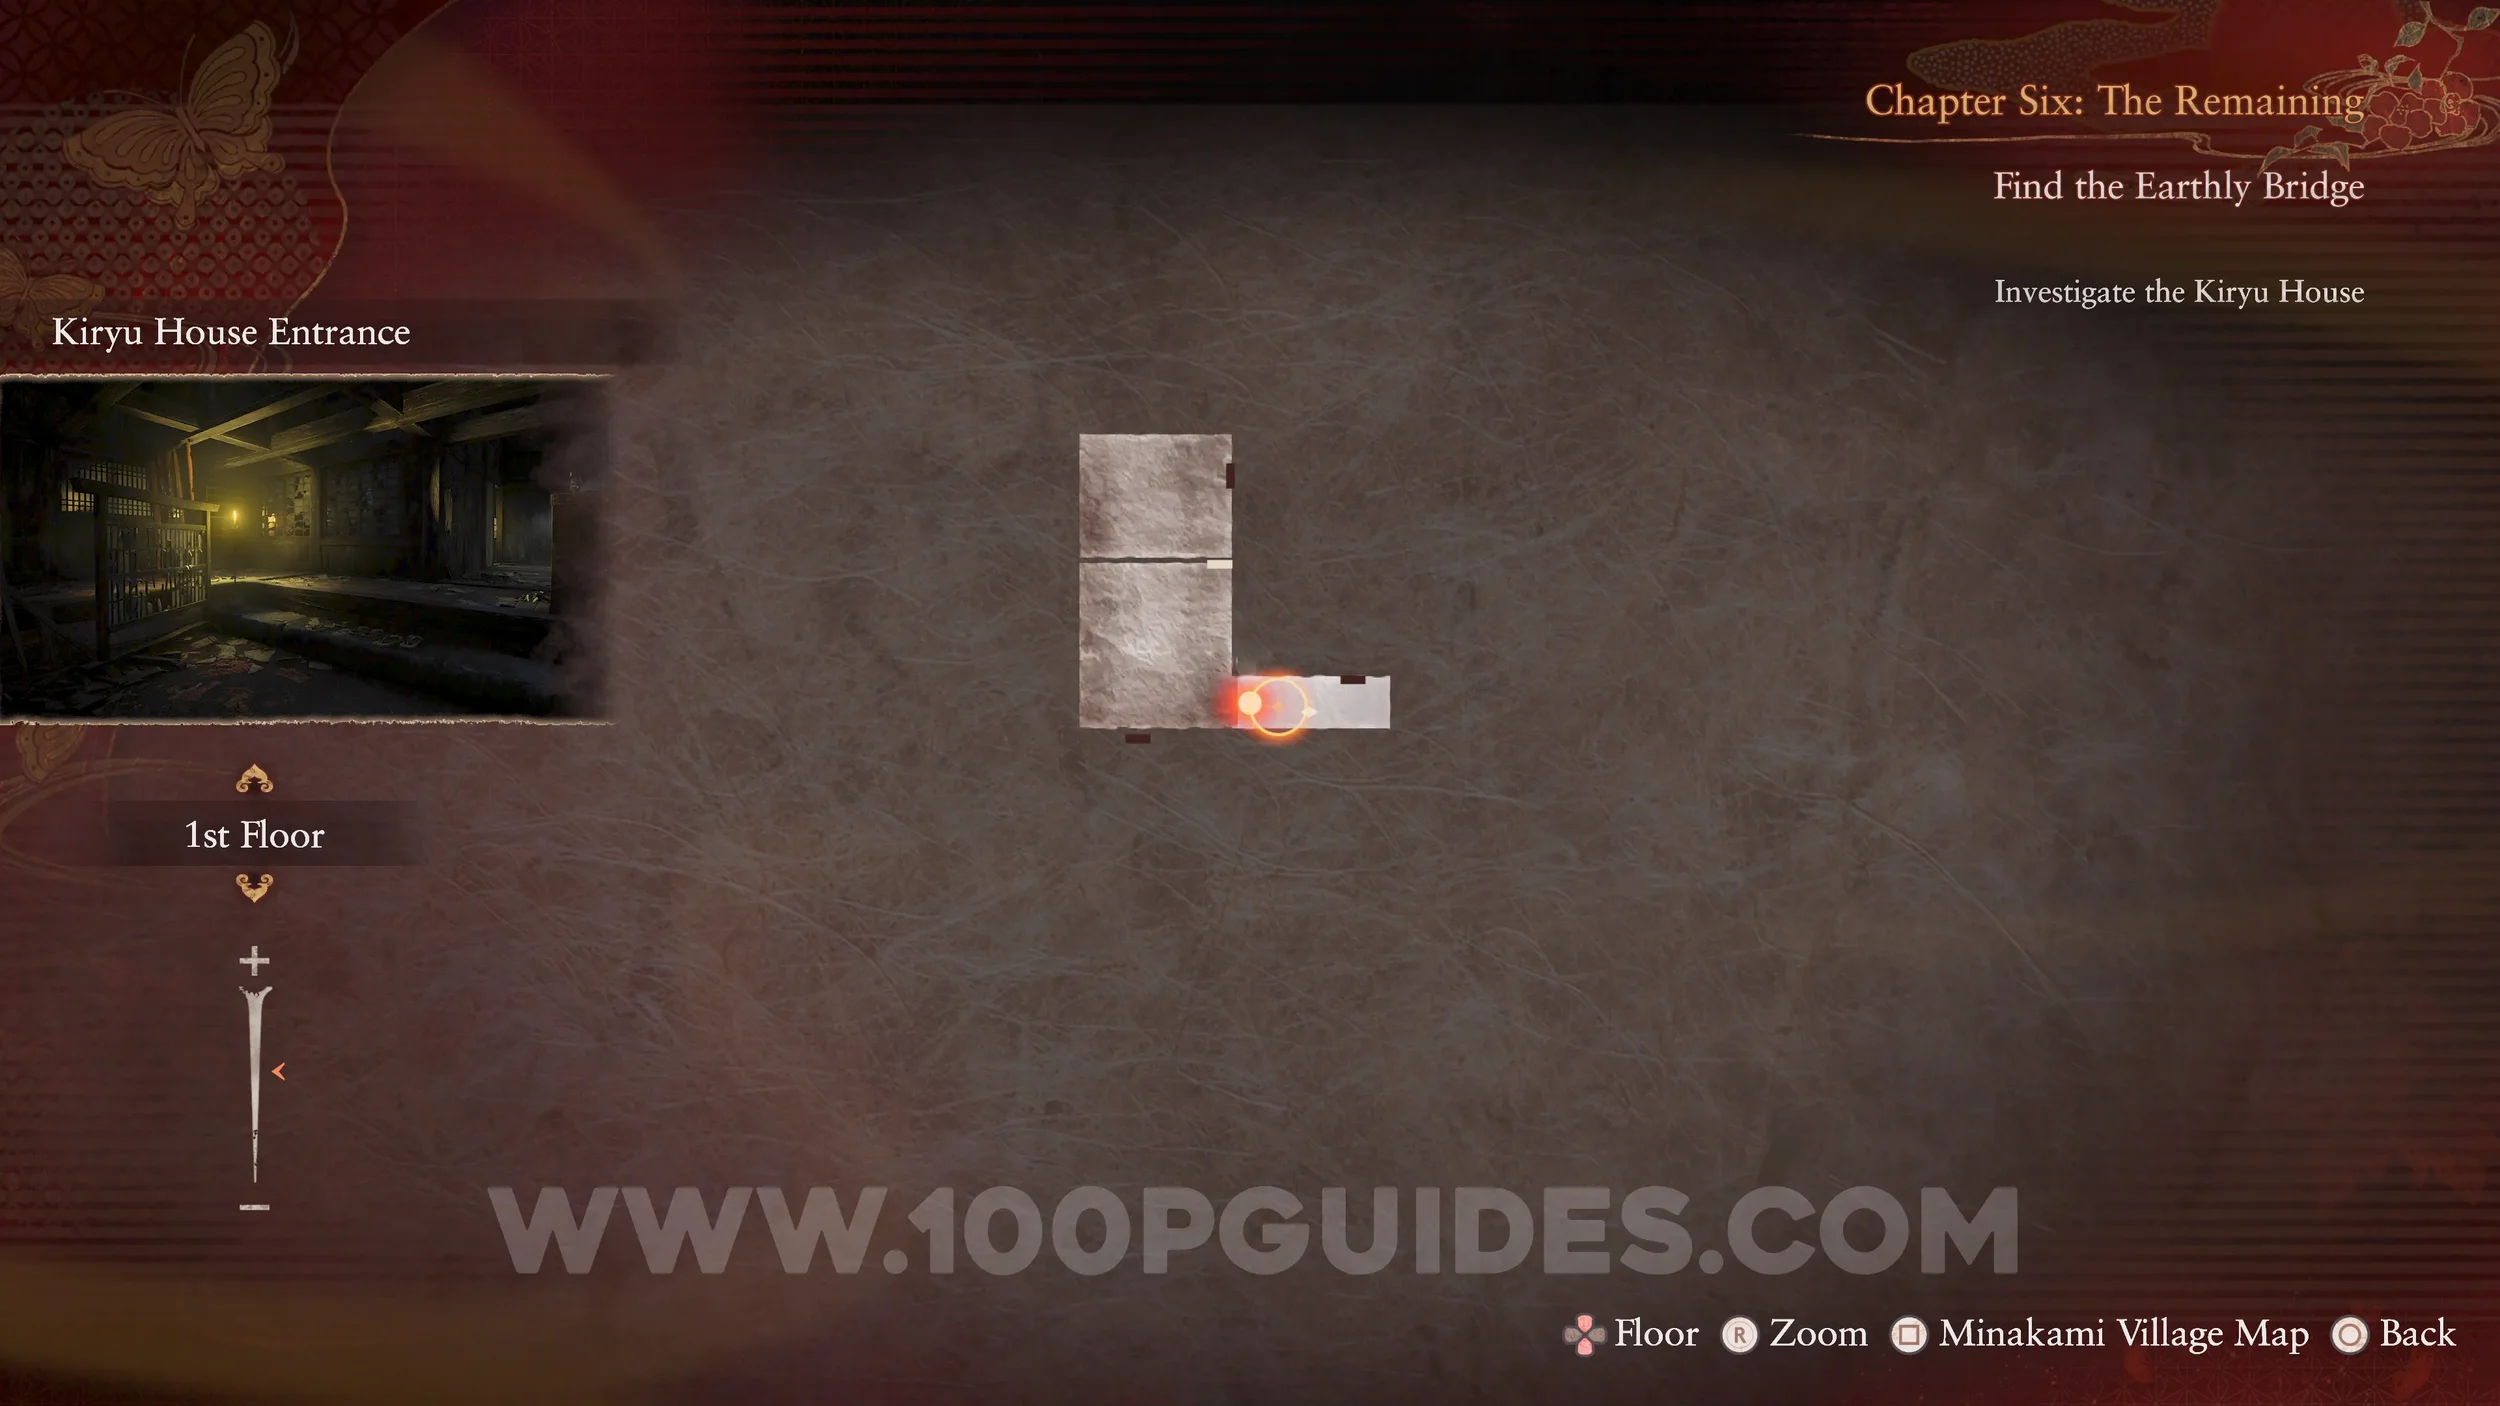
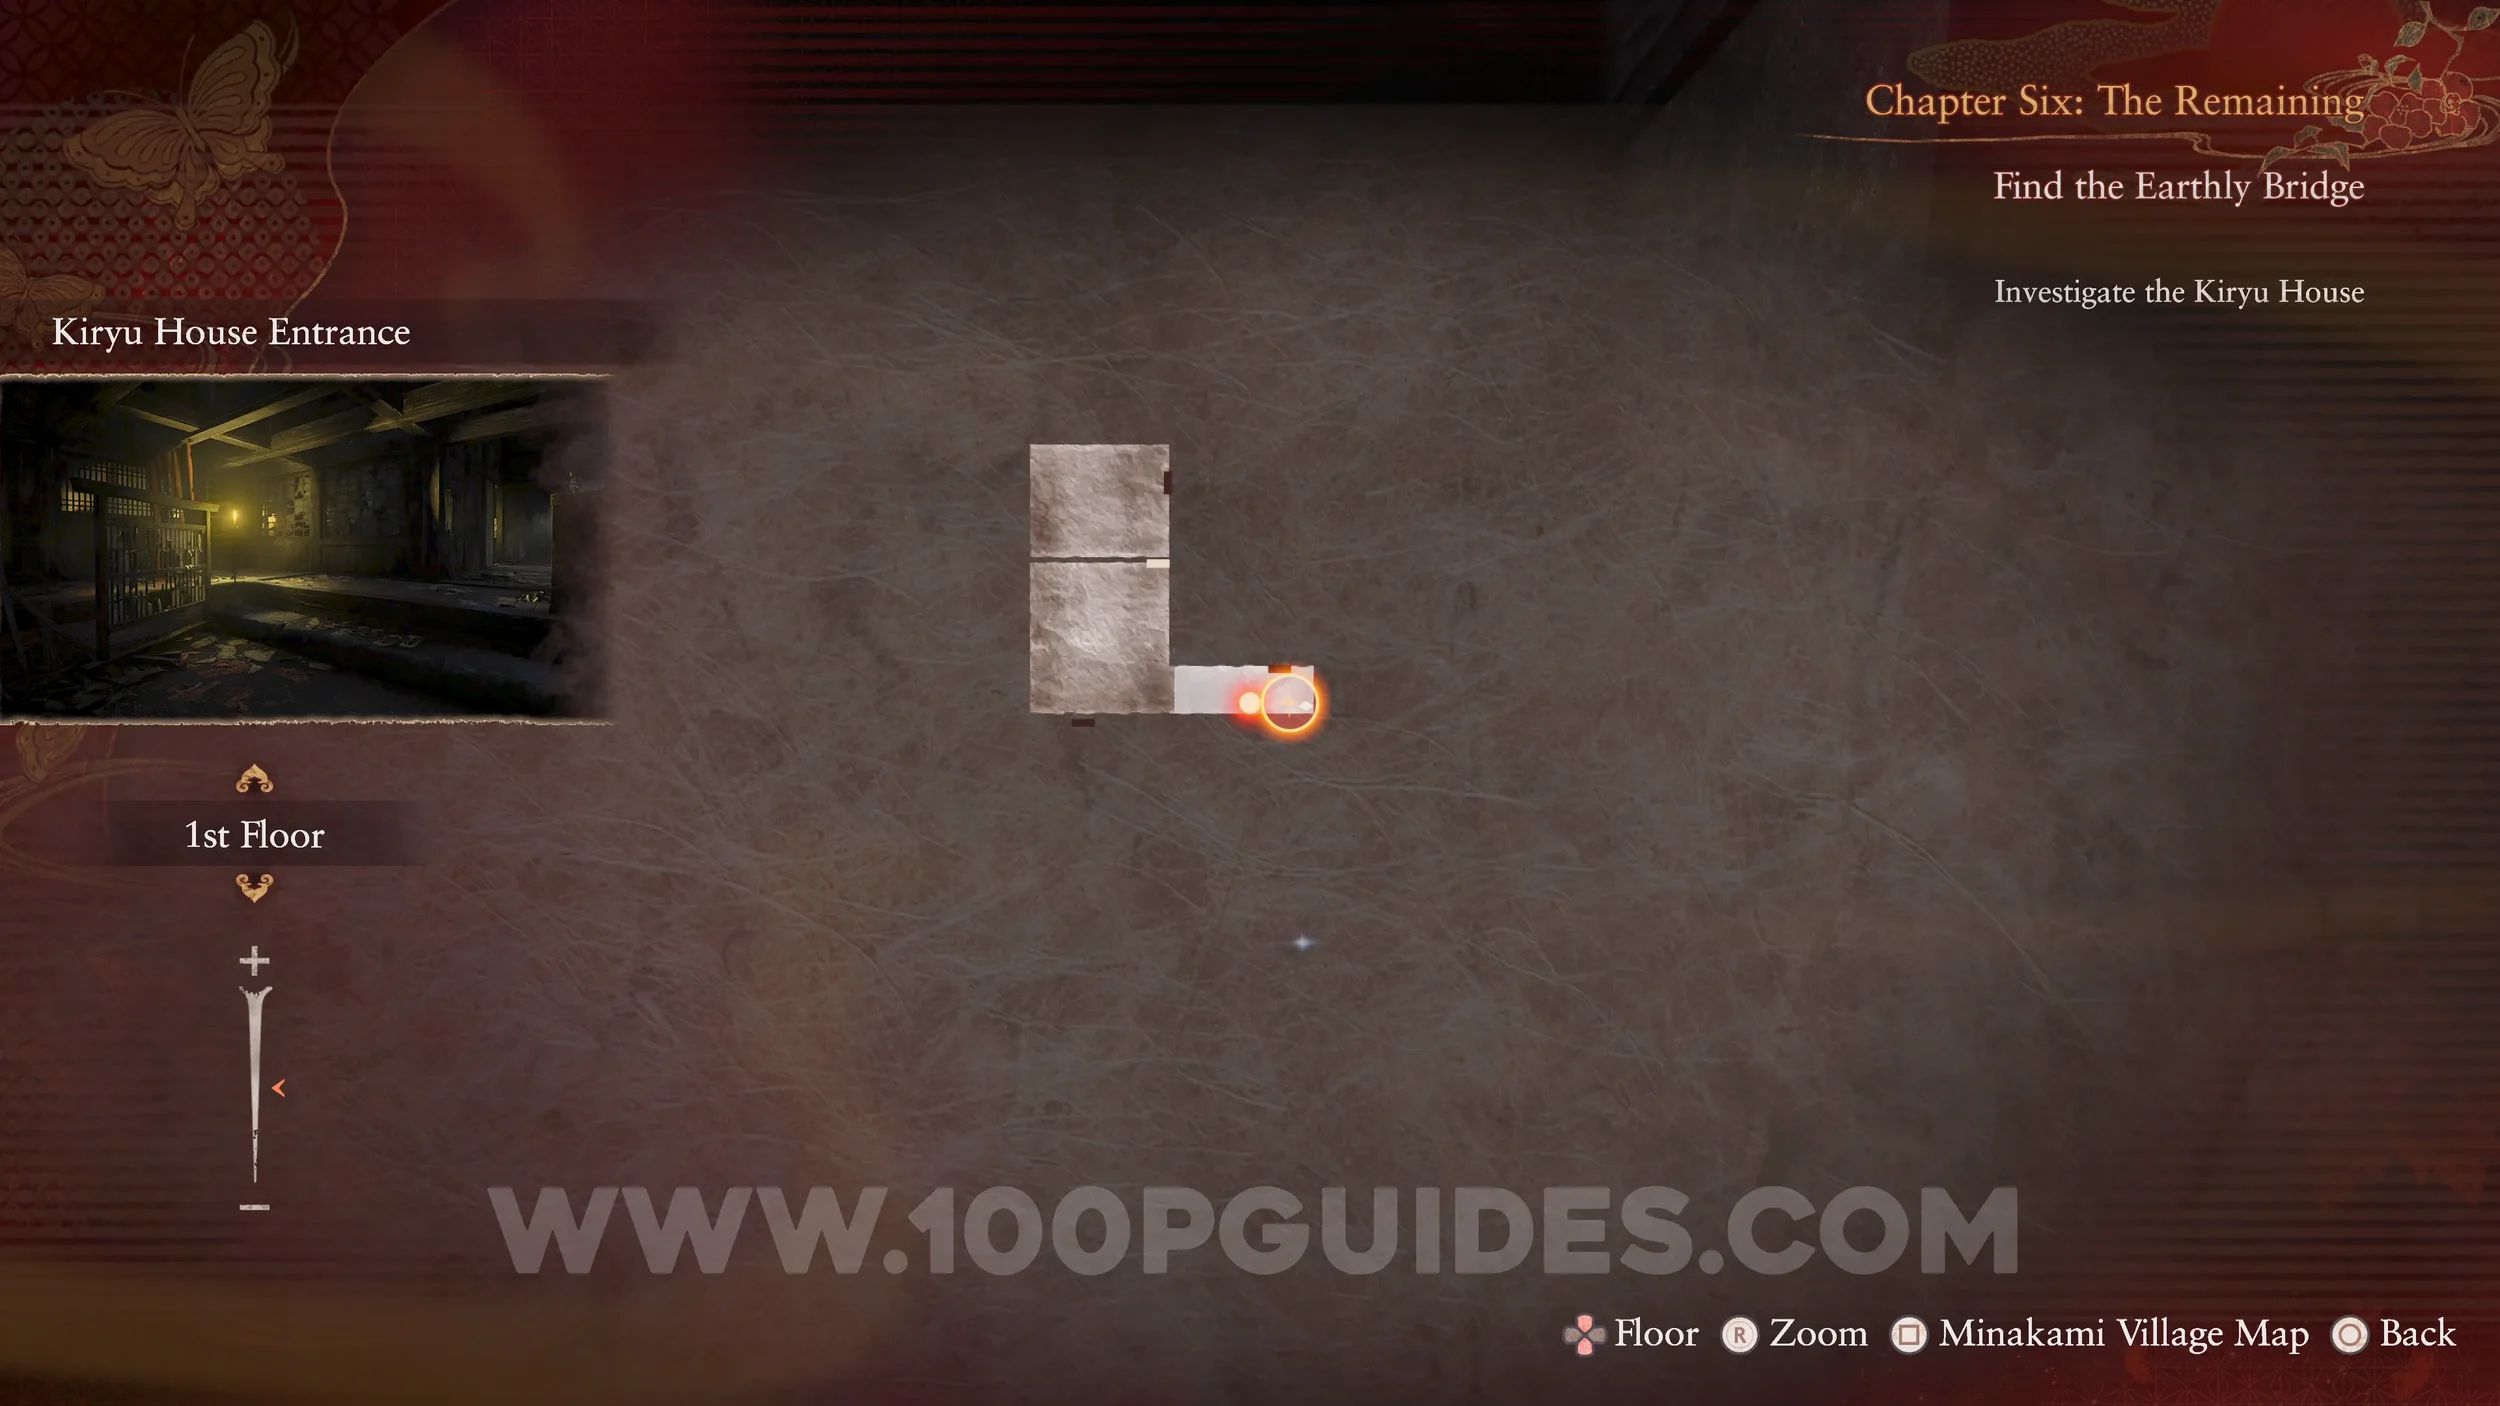
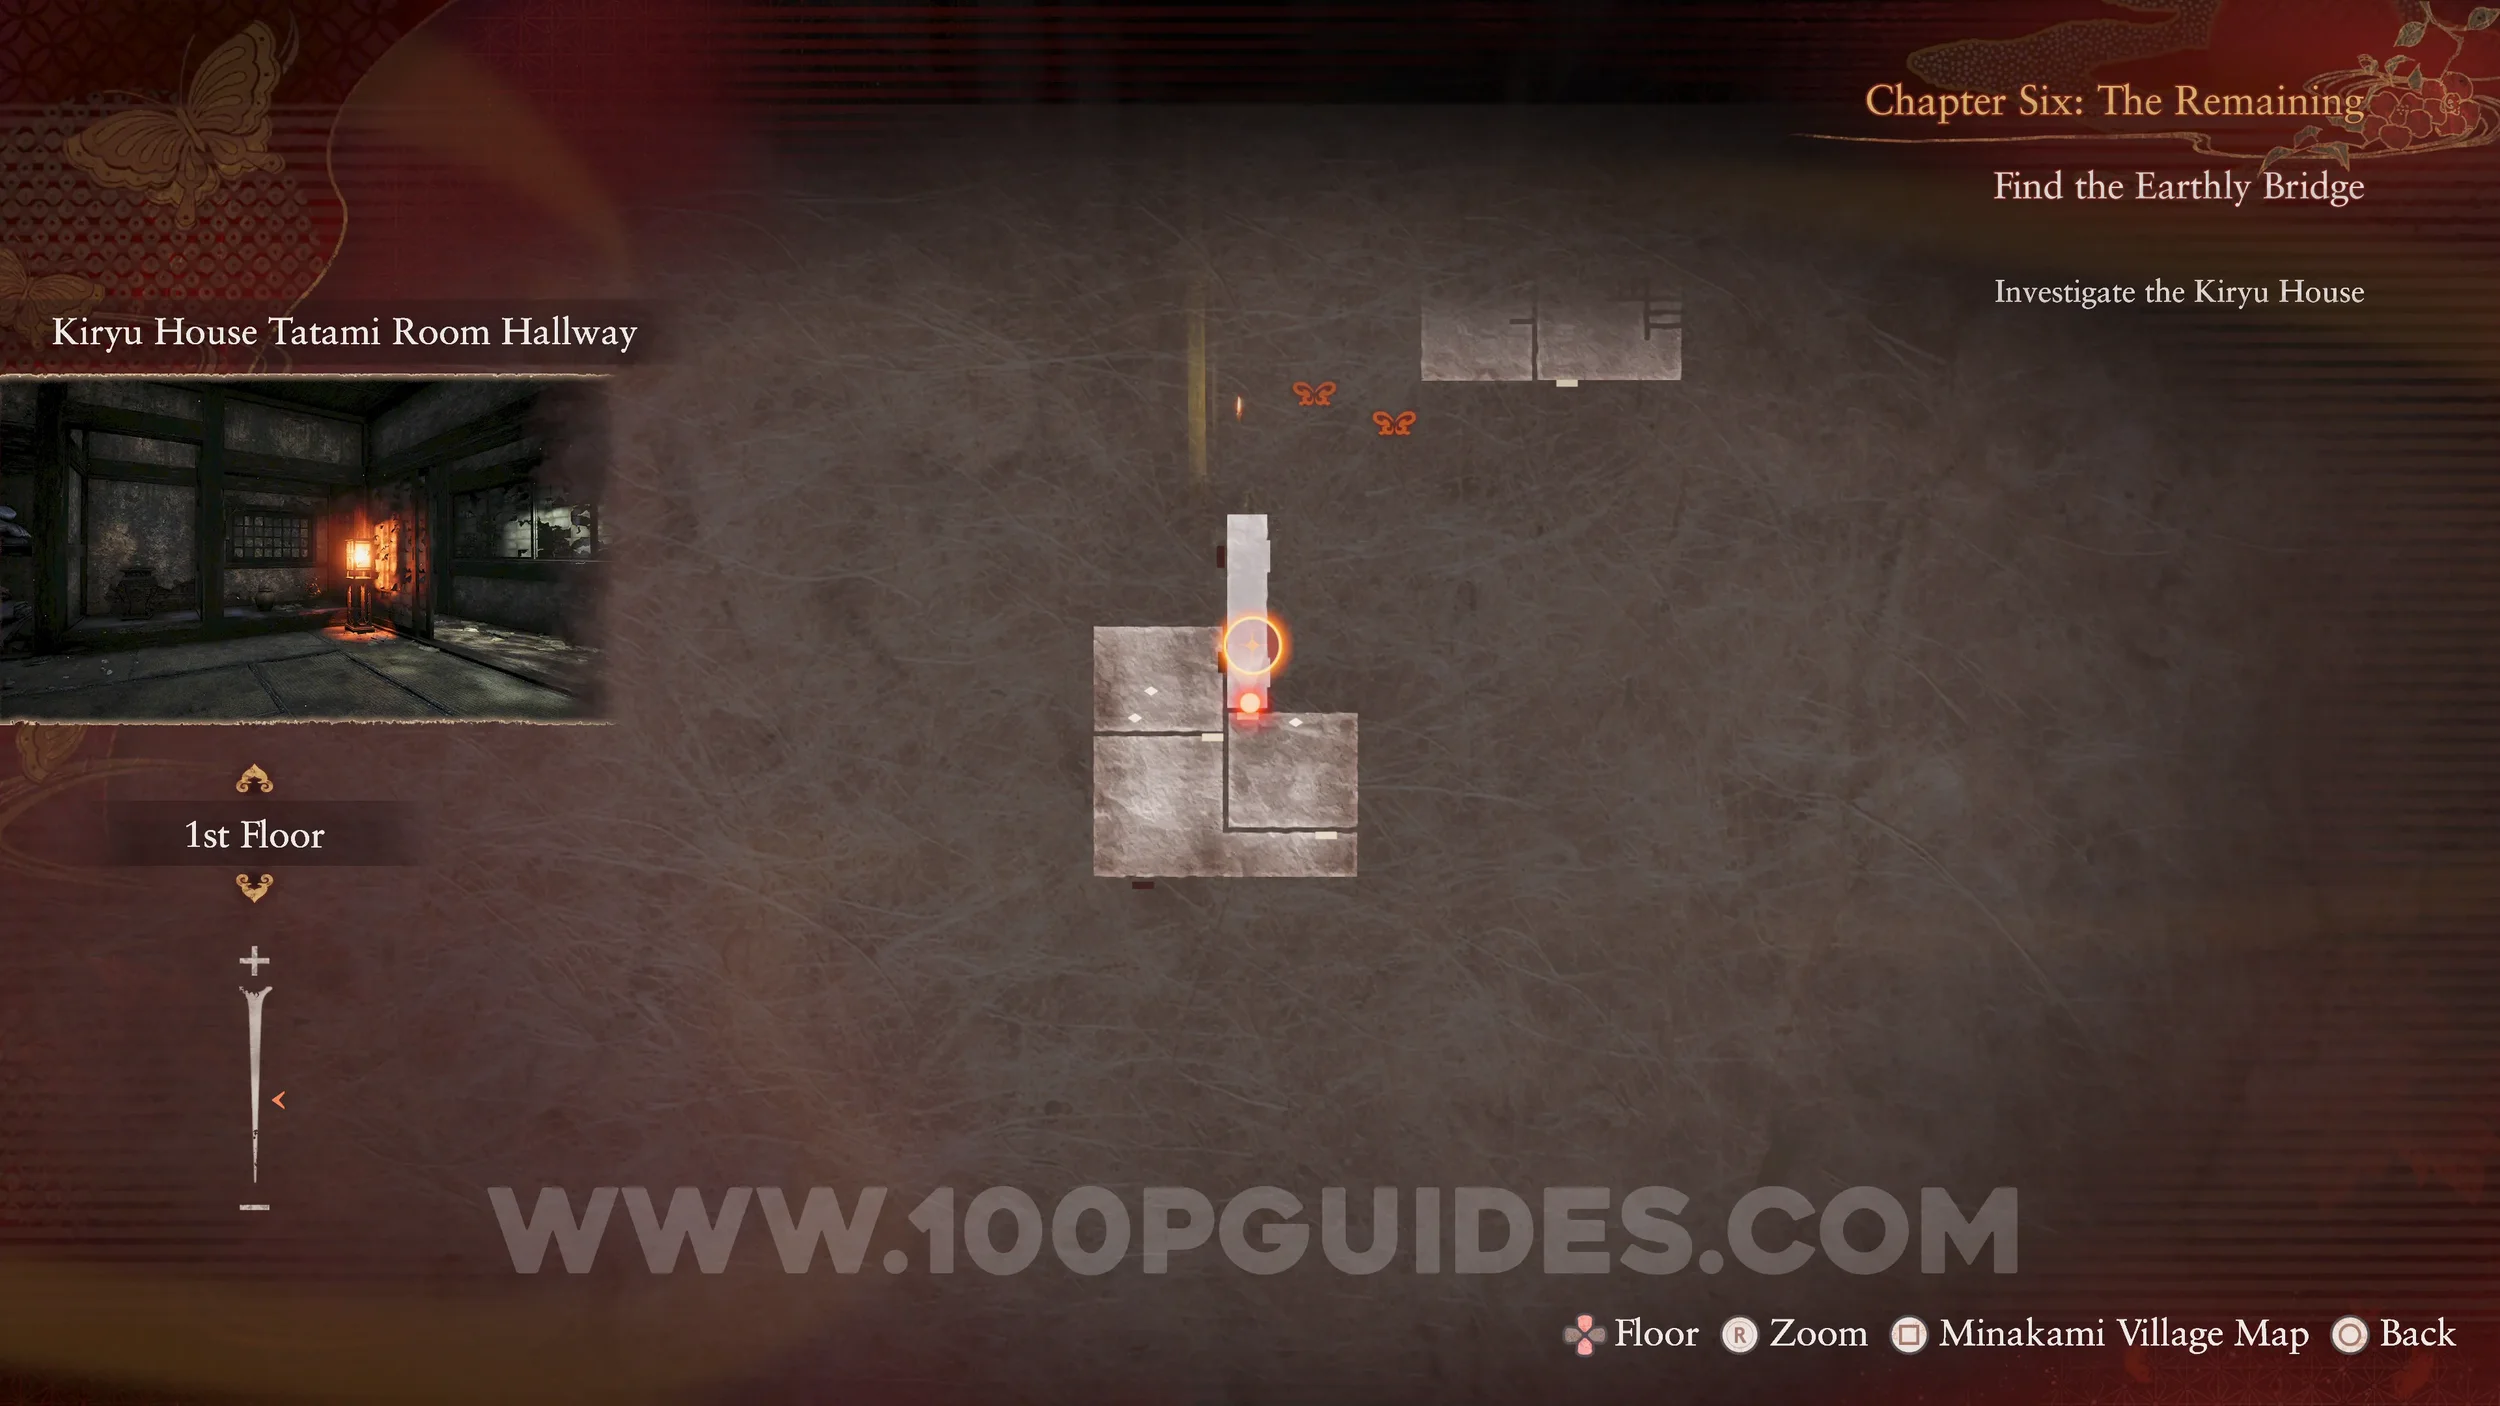
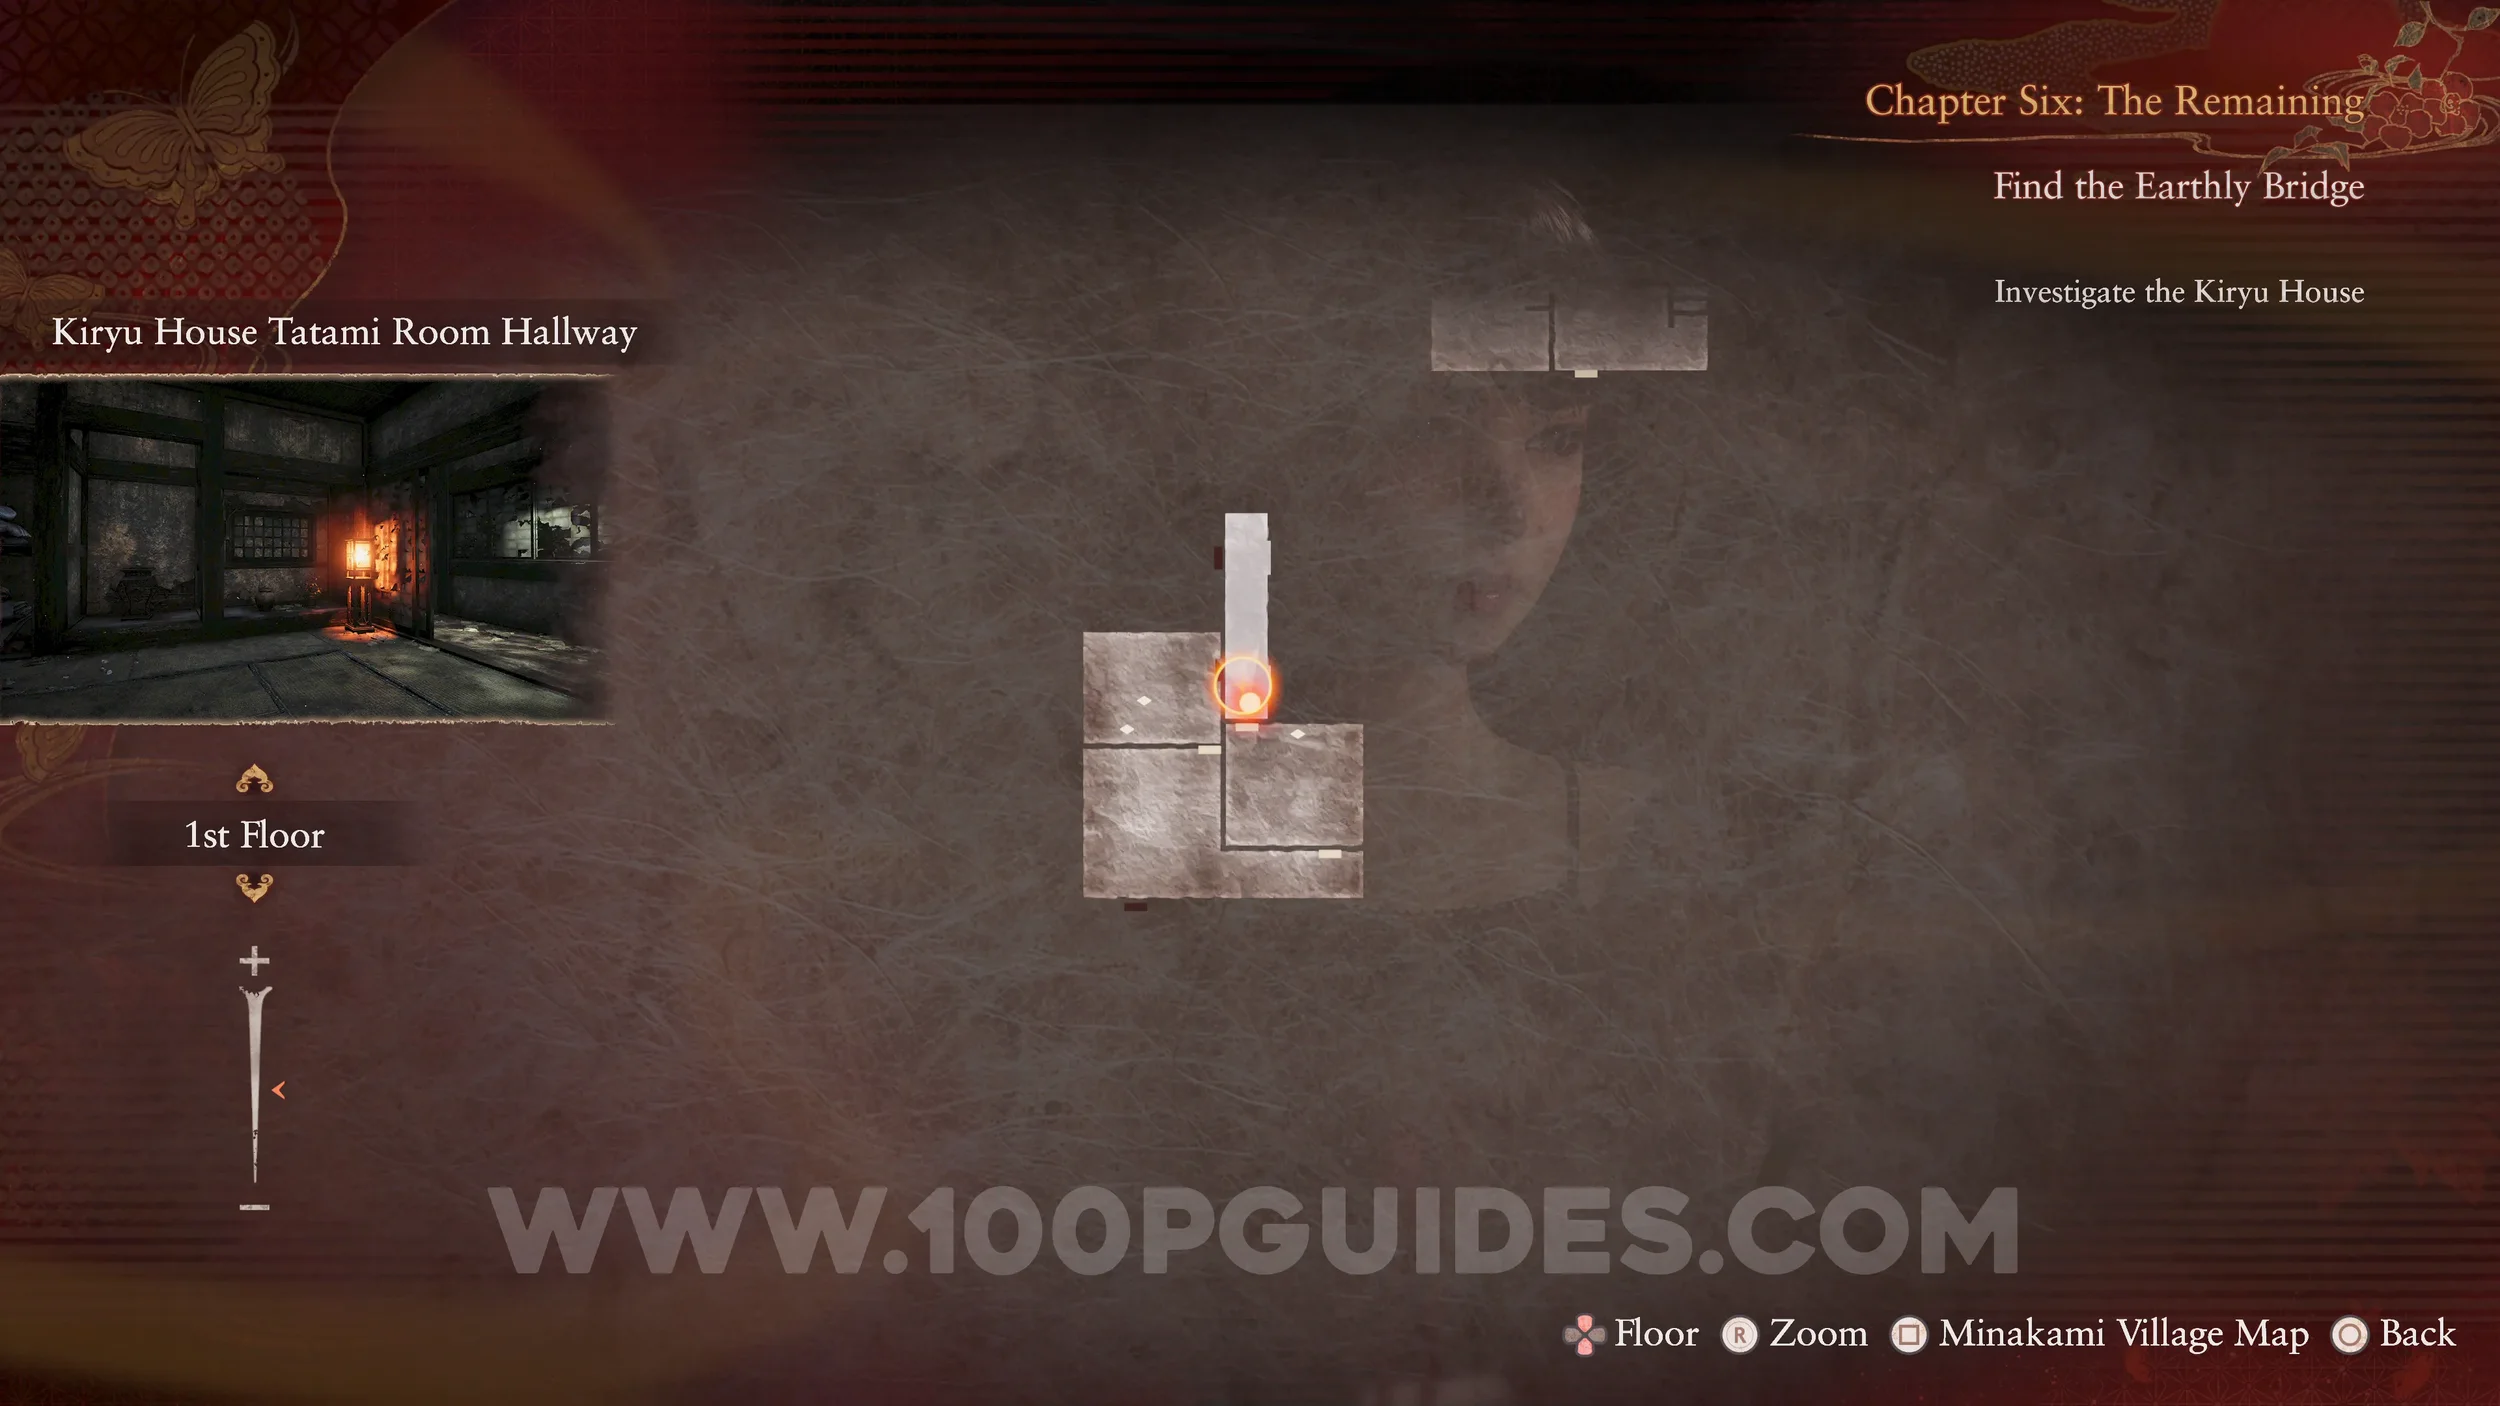
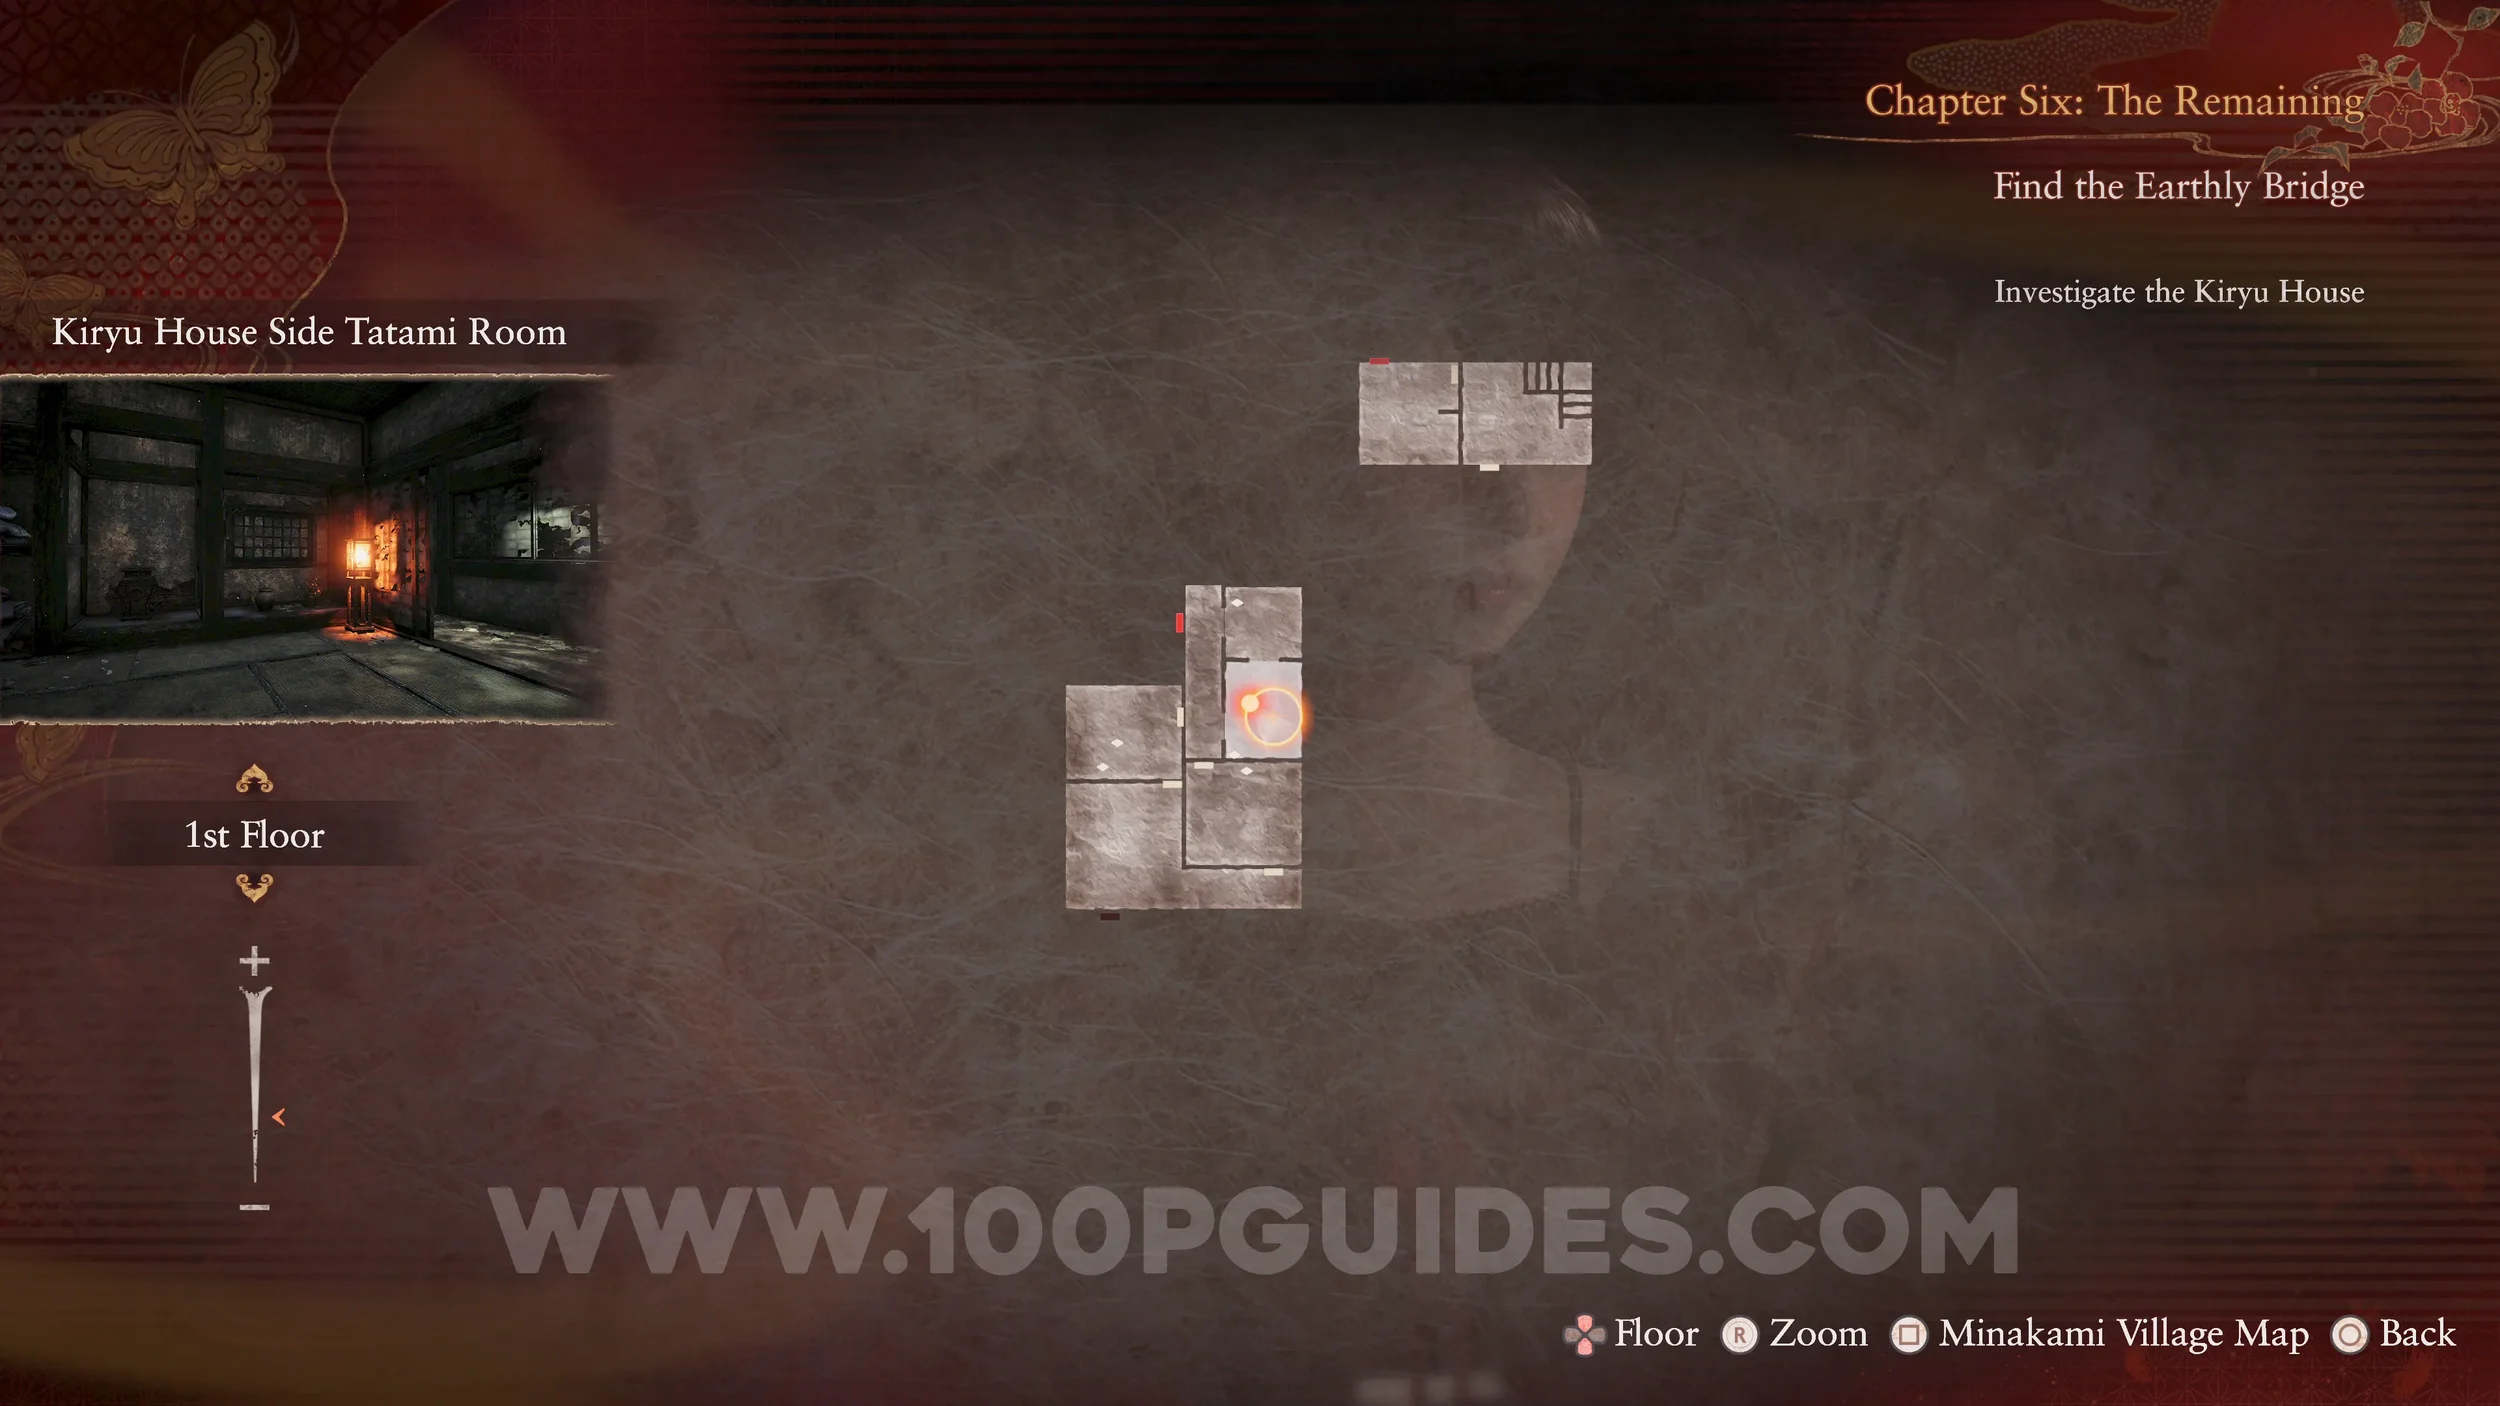
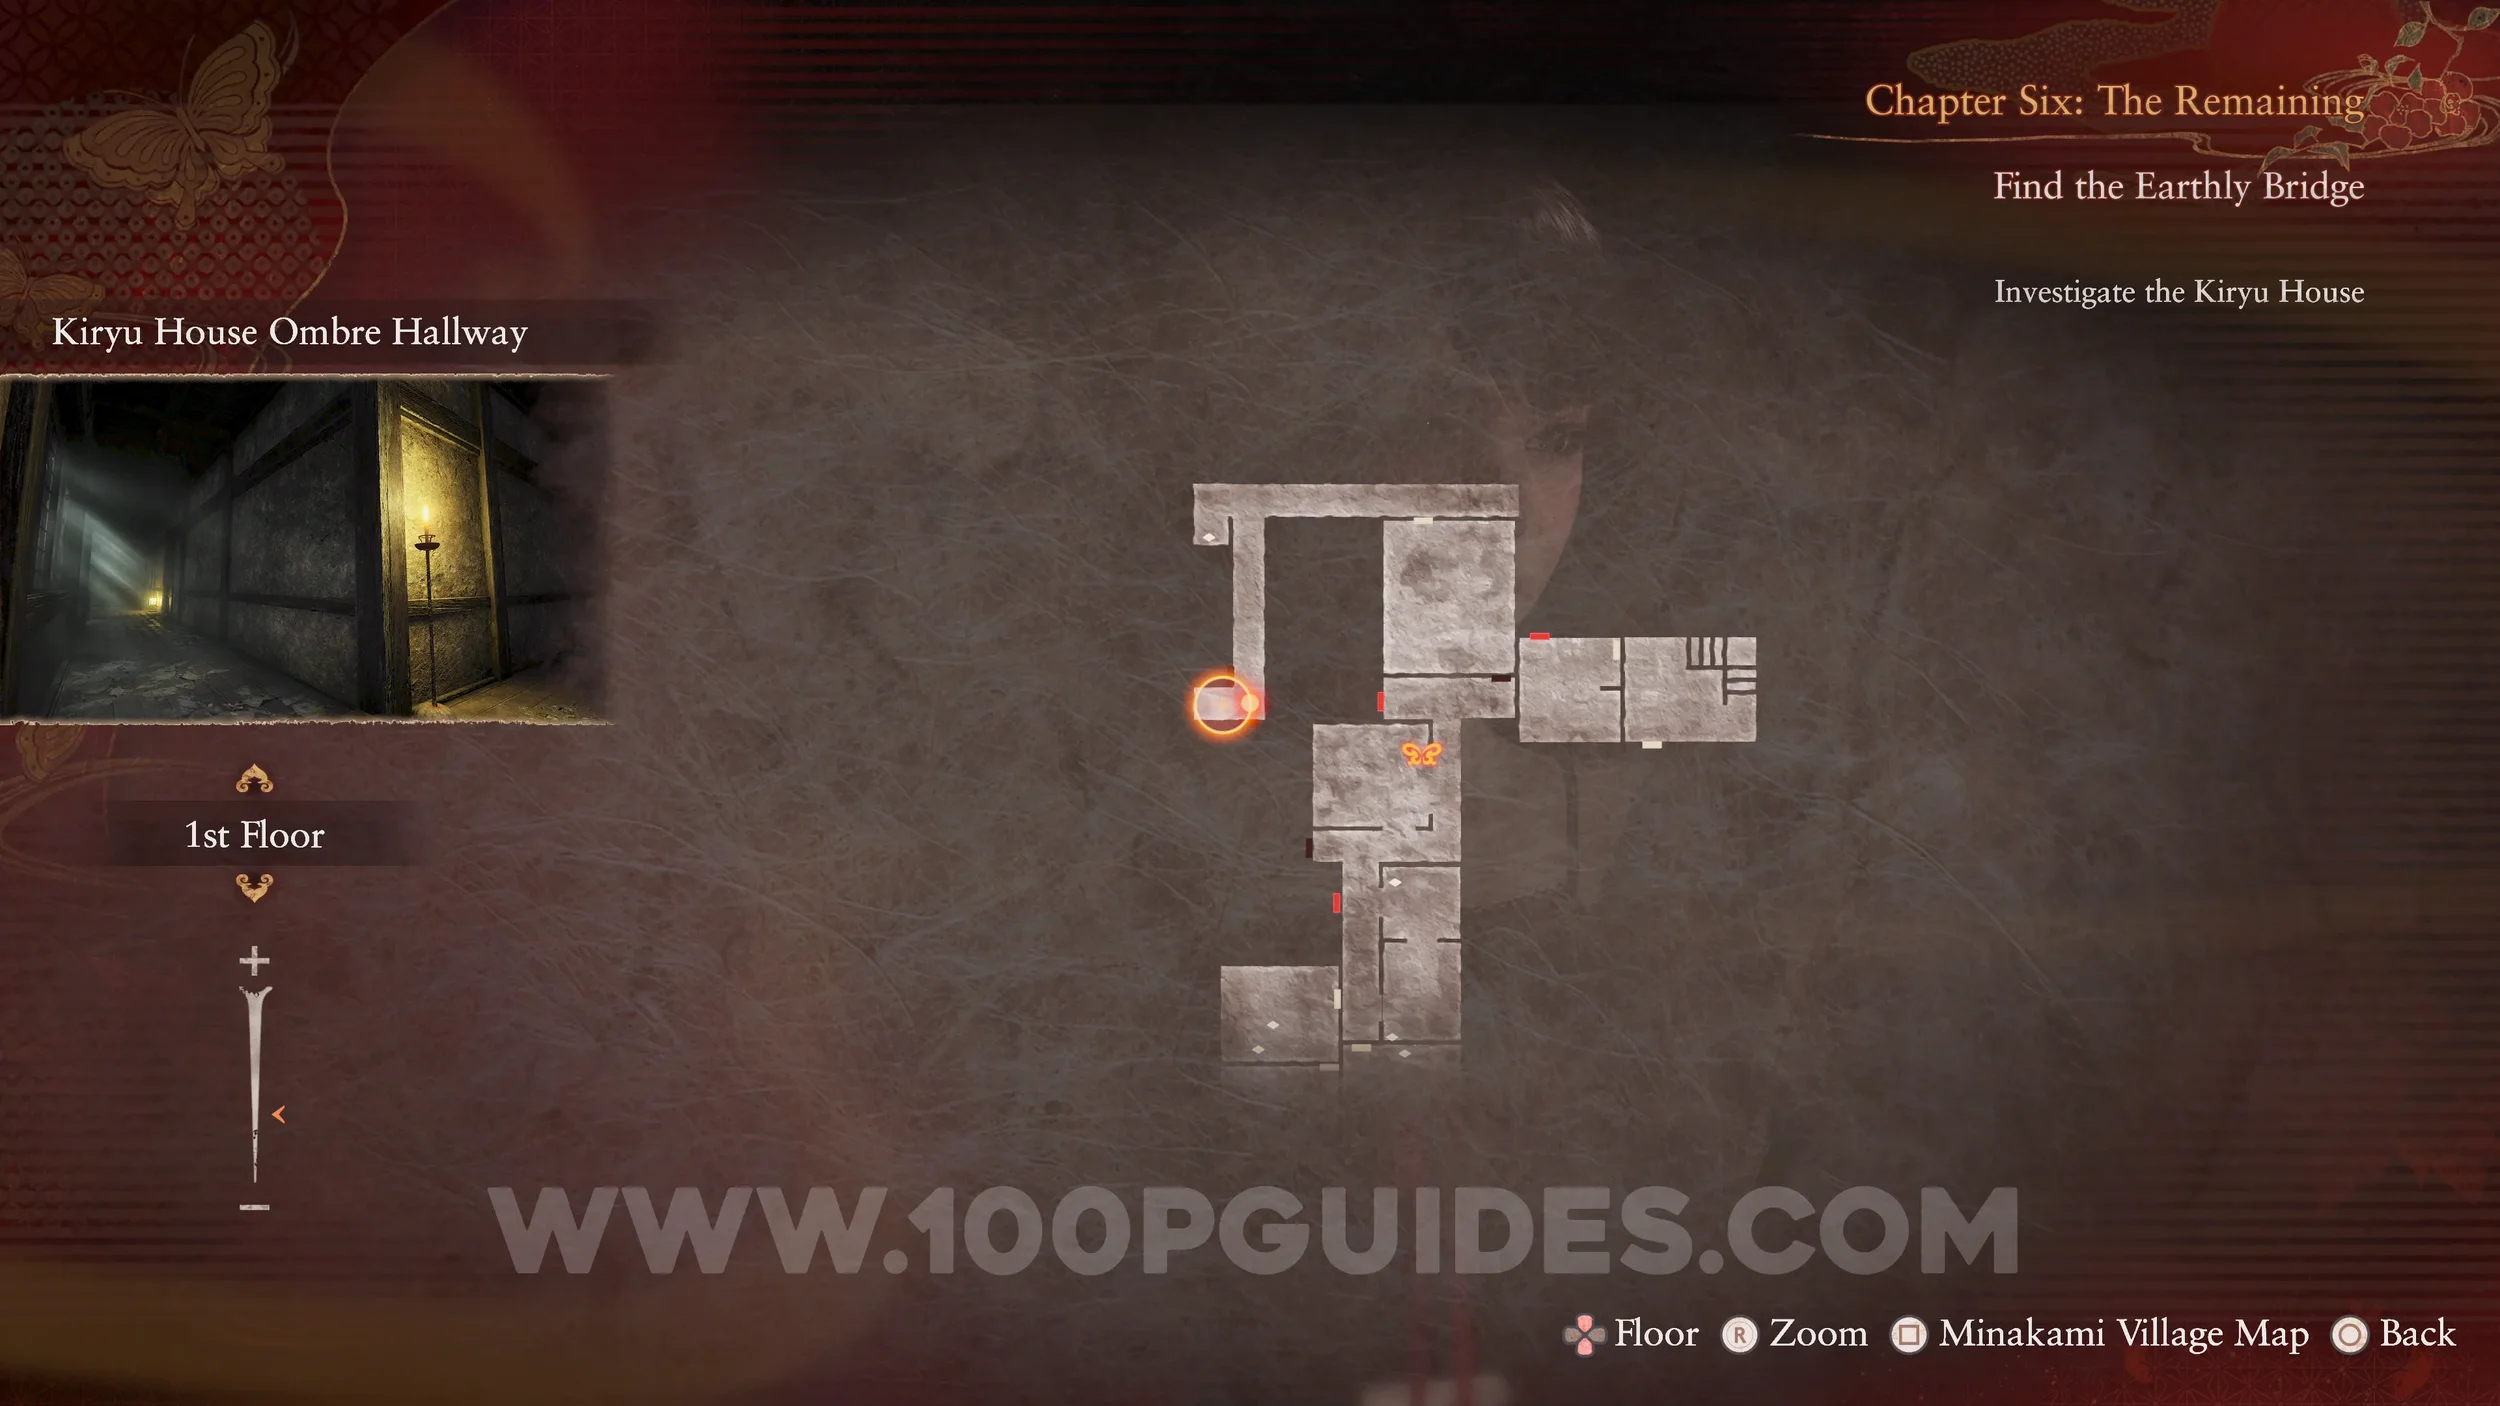
Specter #109 - 070 Woman in the Corridor. Look up to the bridge in front of you as soon as the chapter starts.
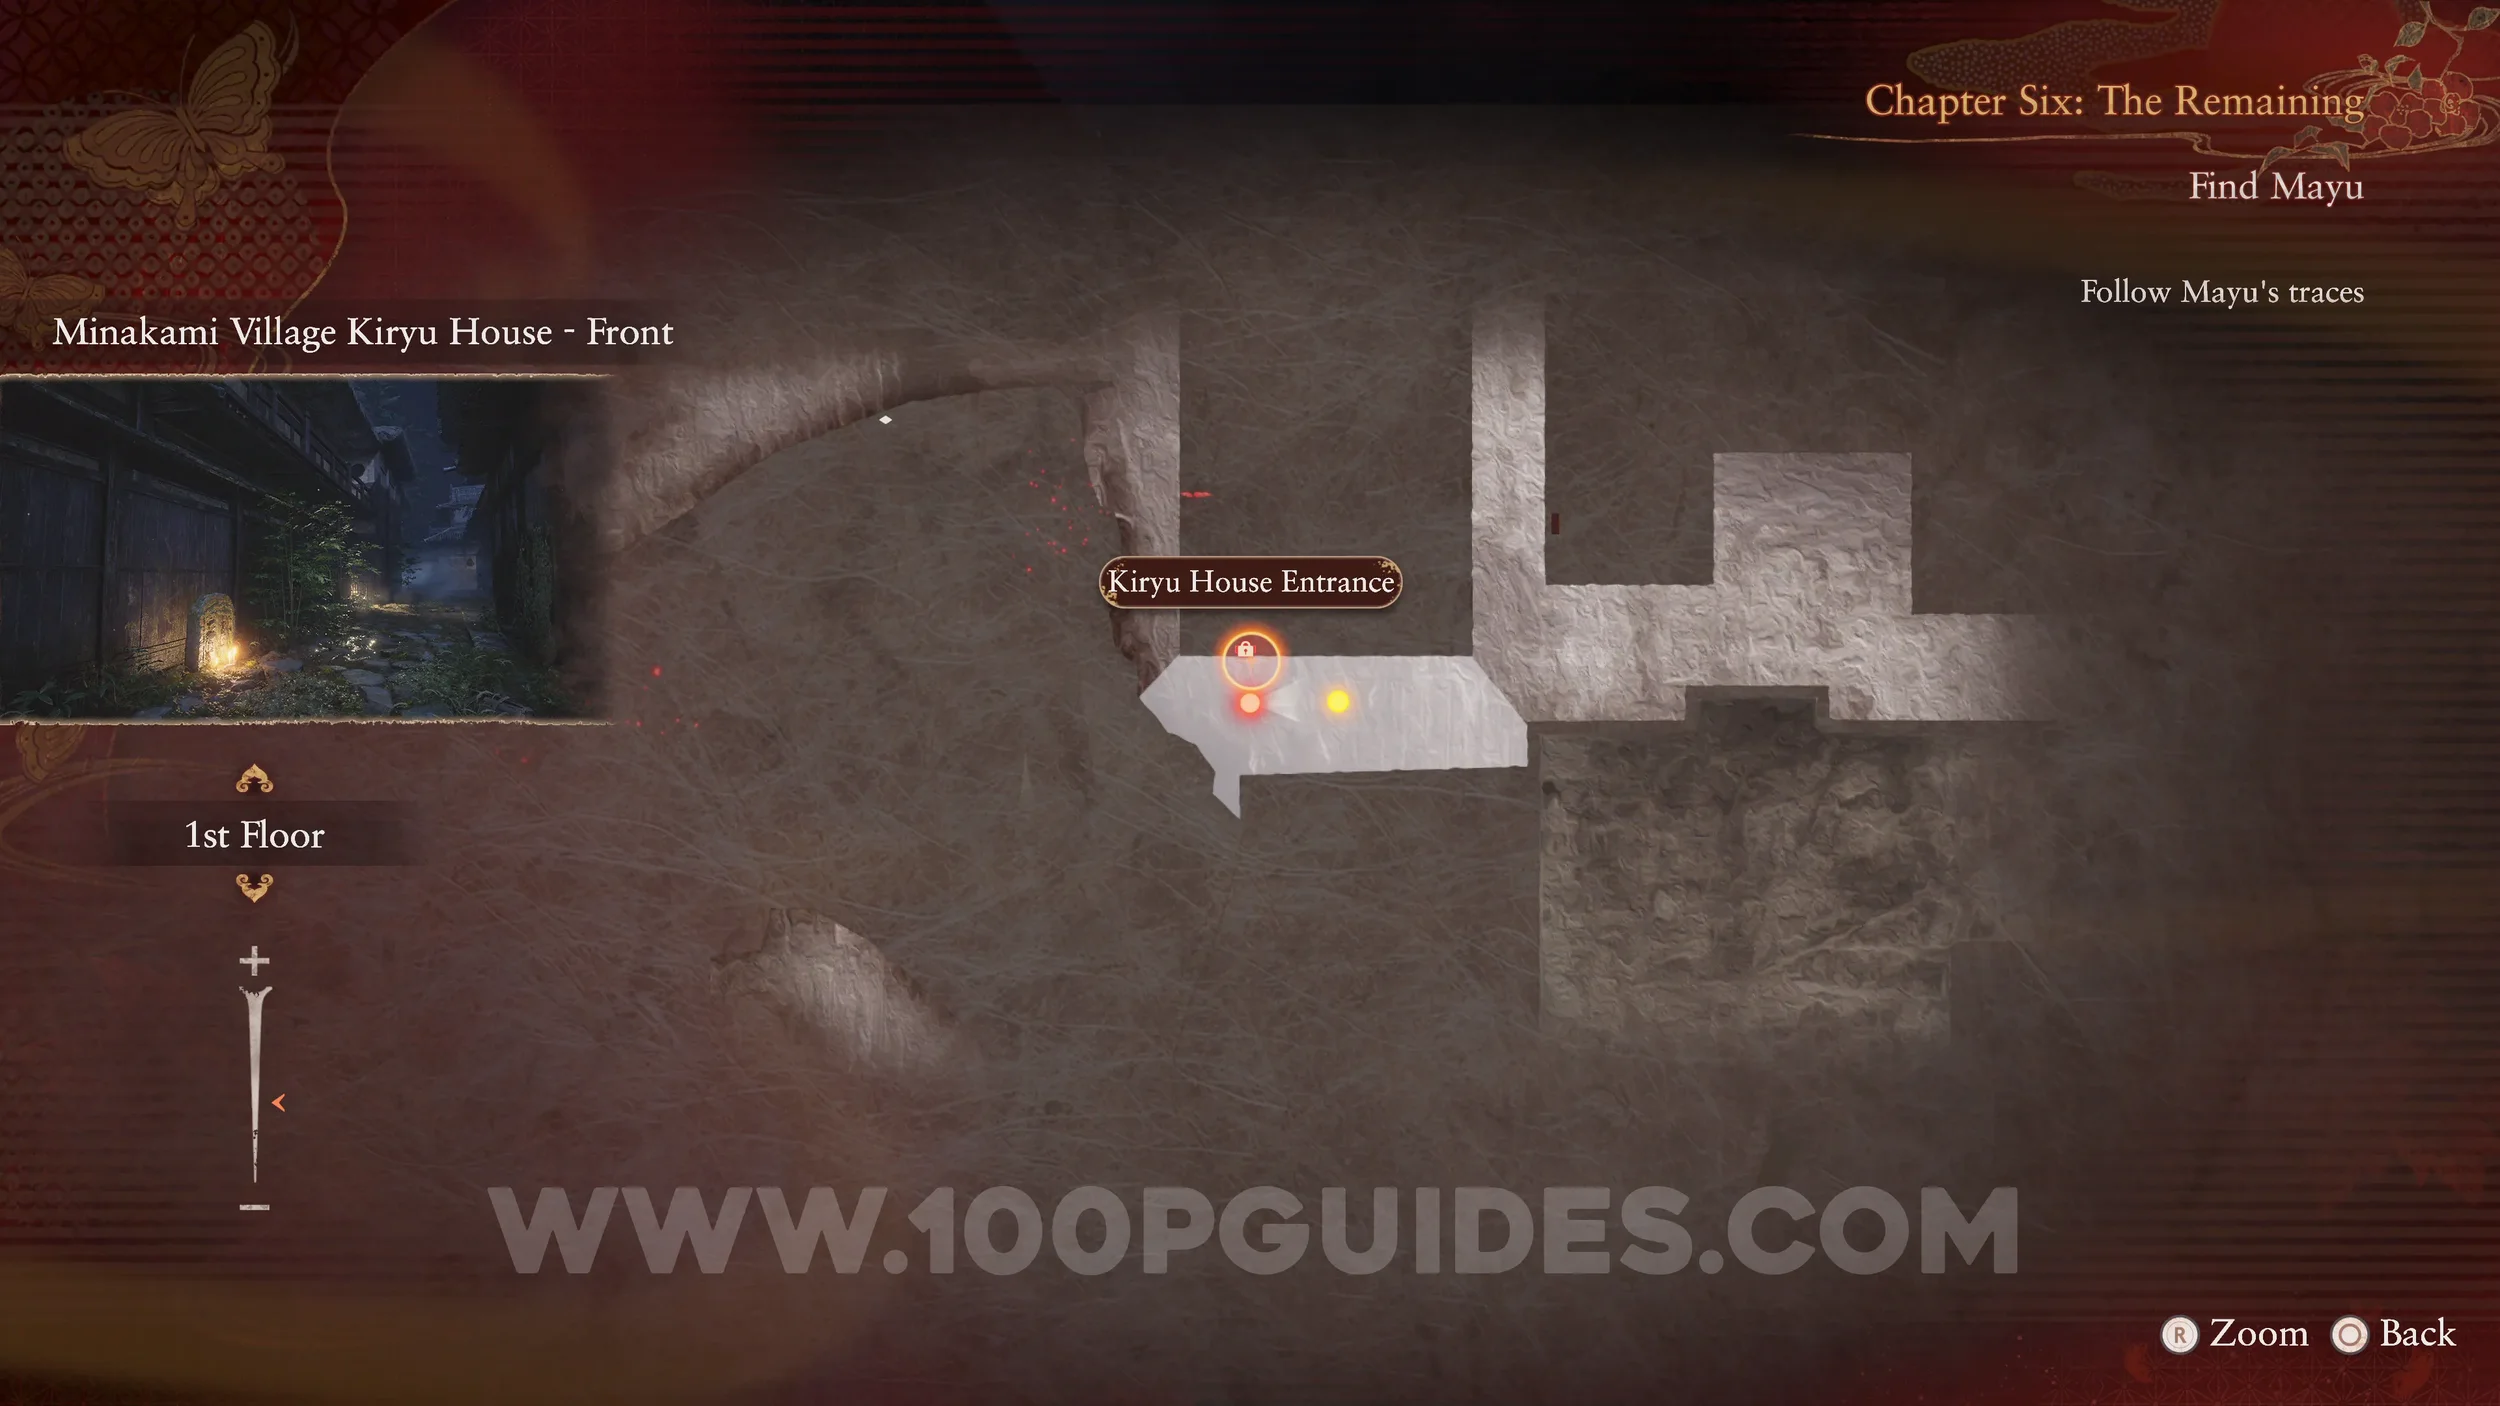
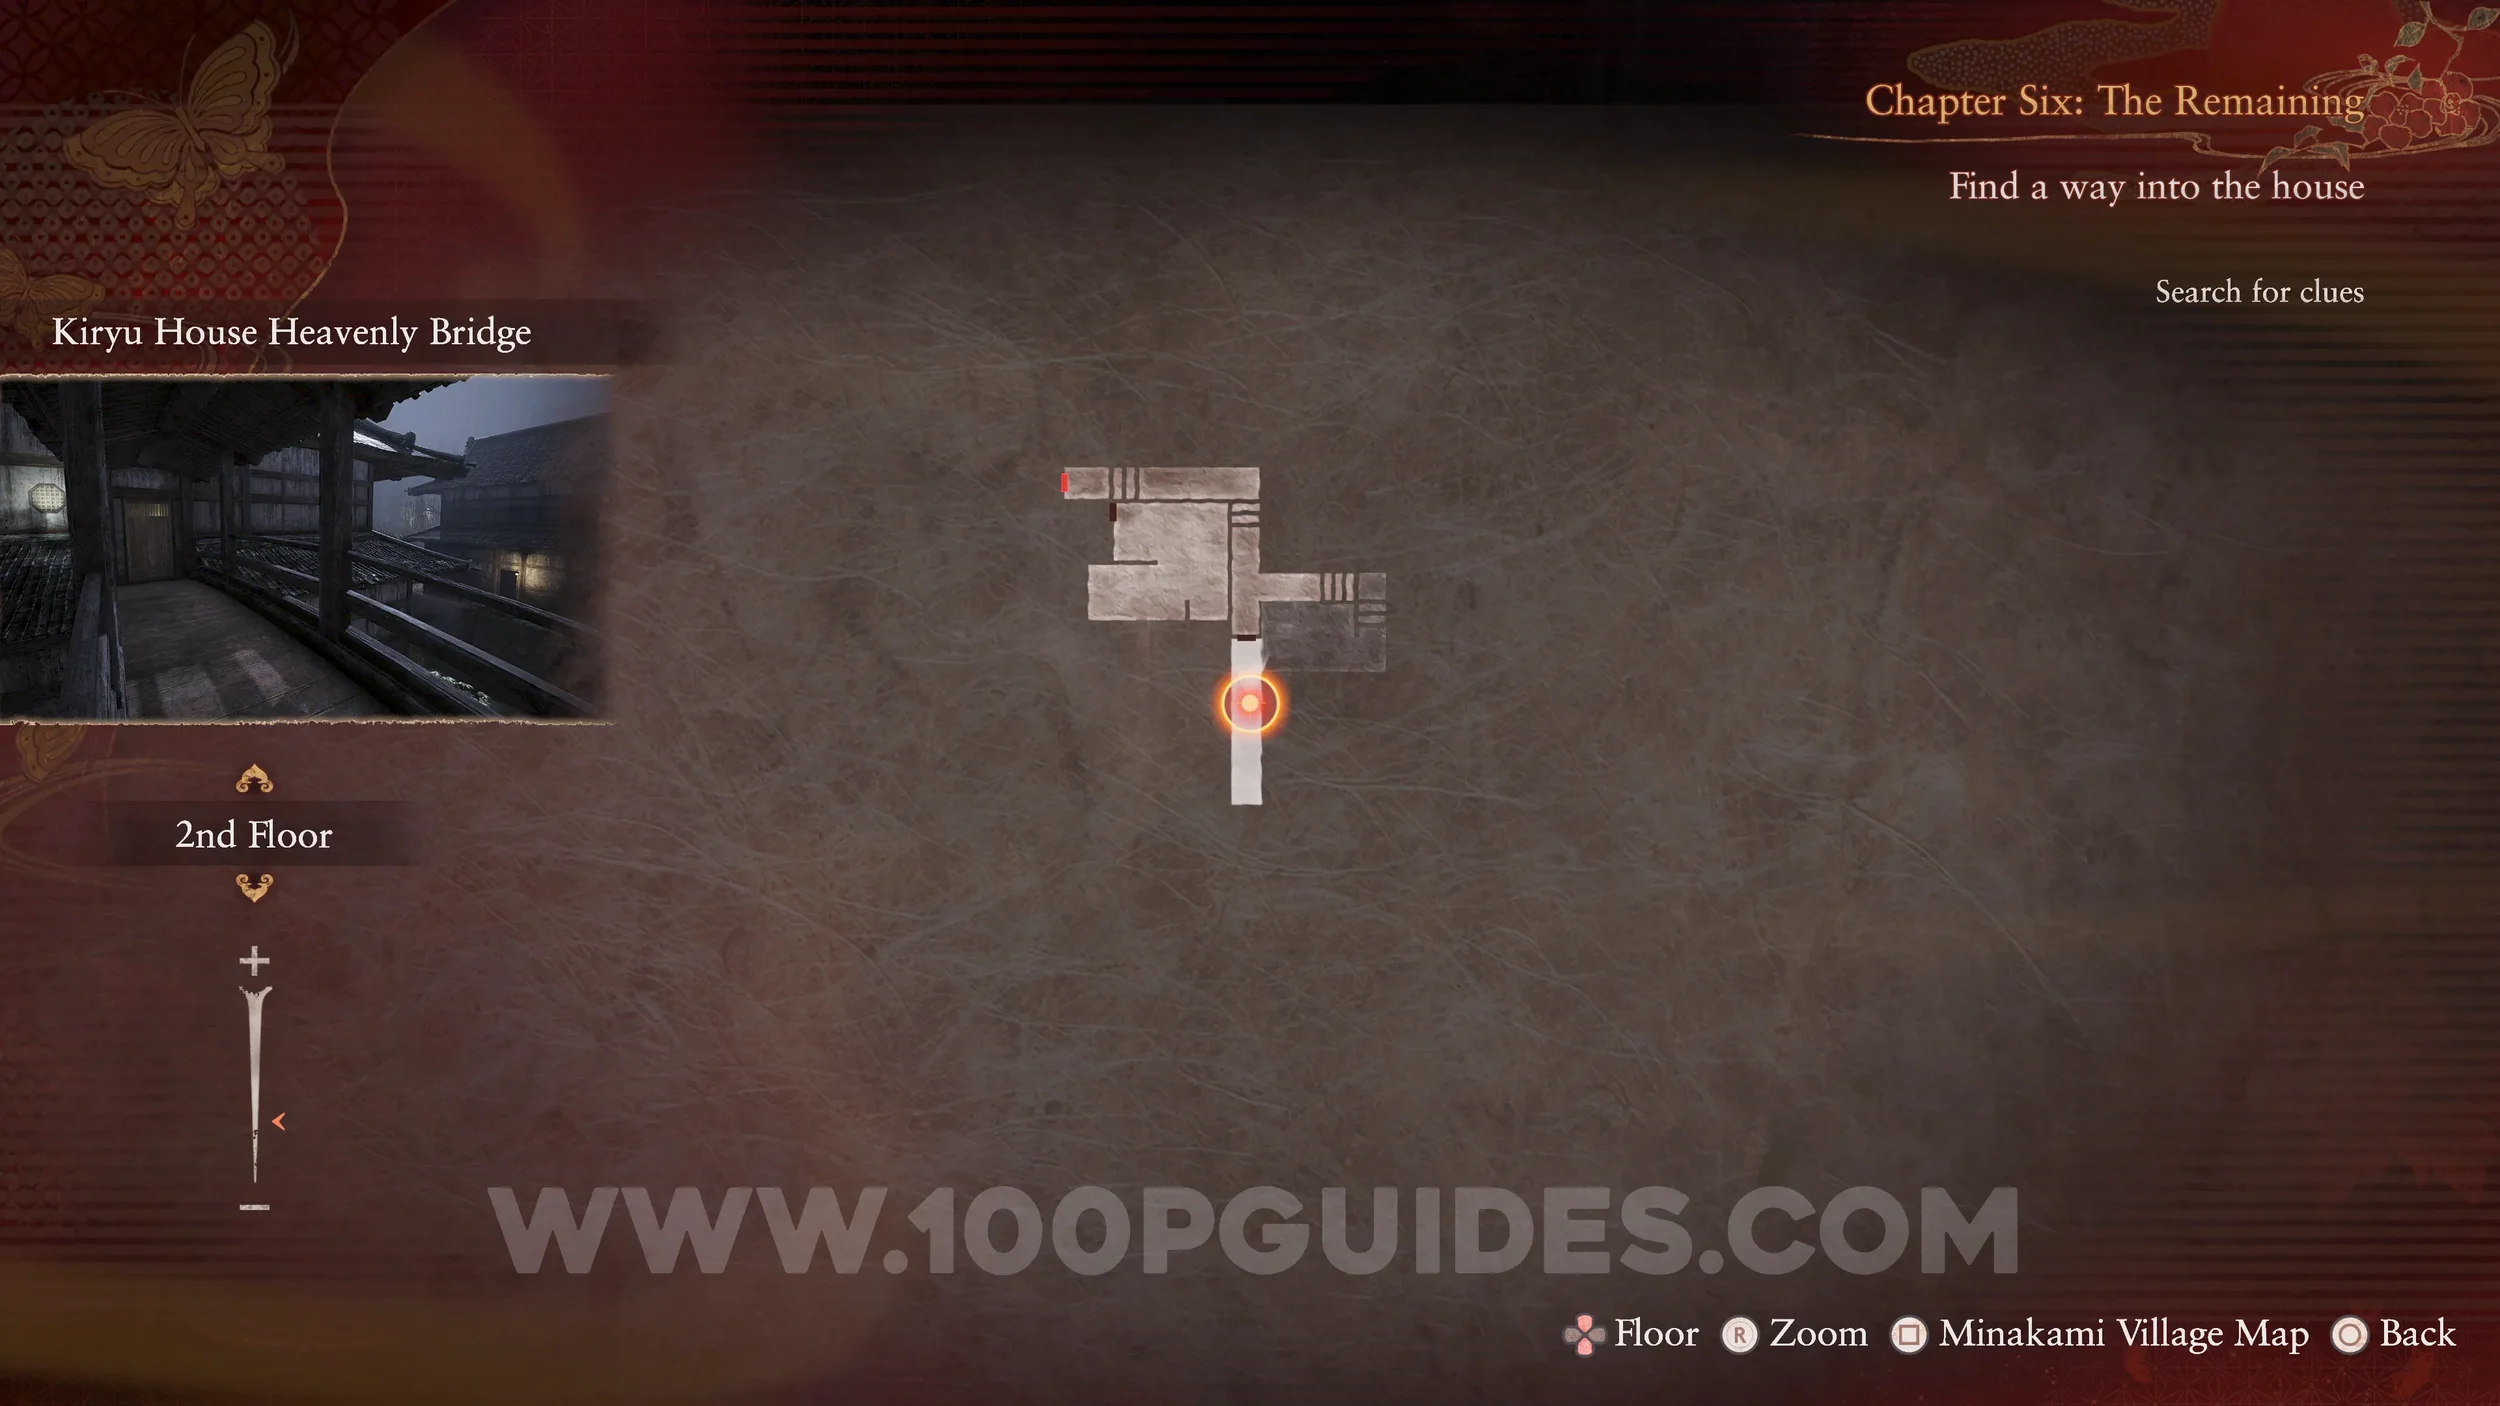
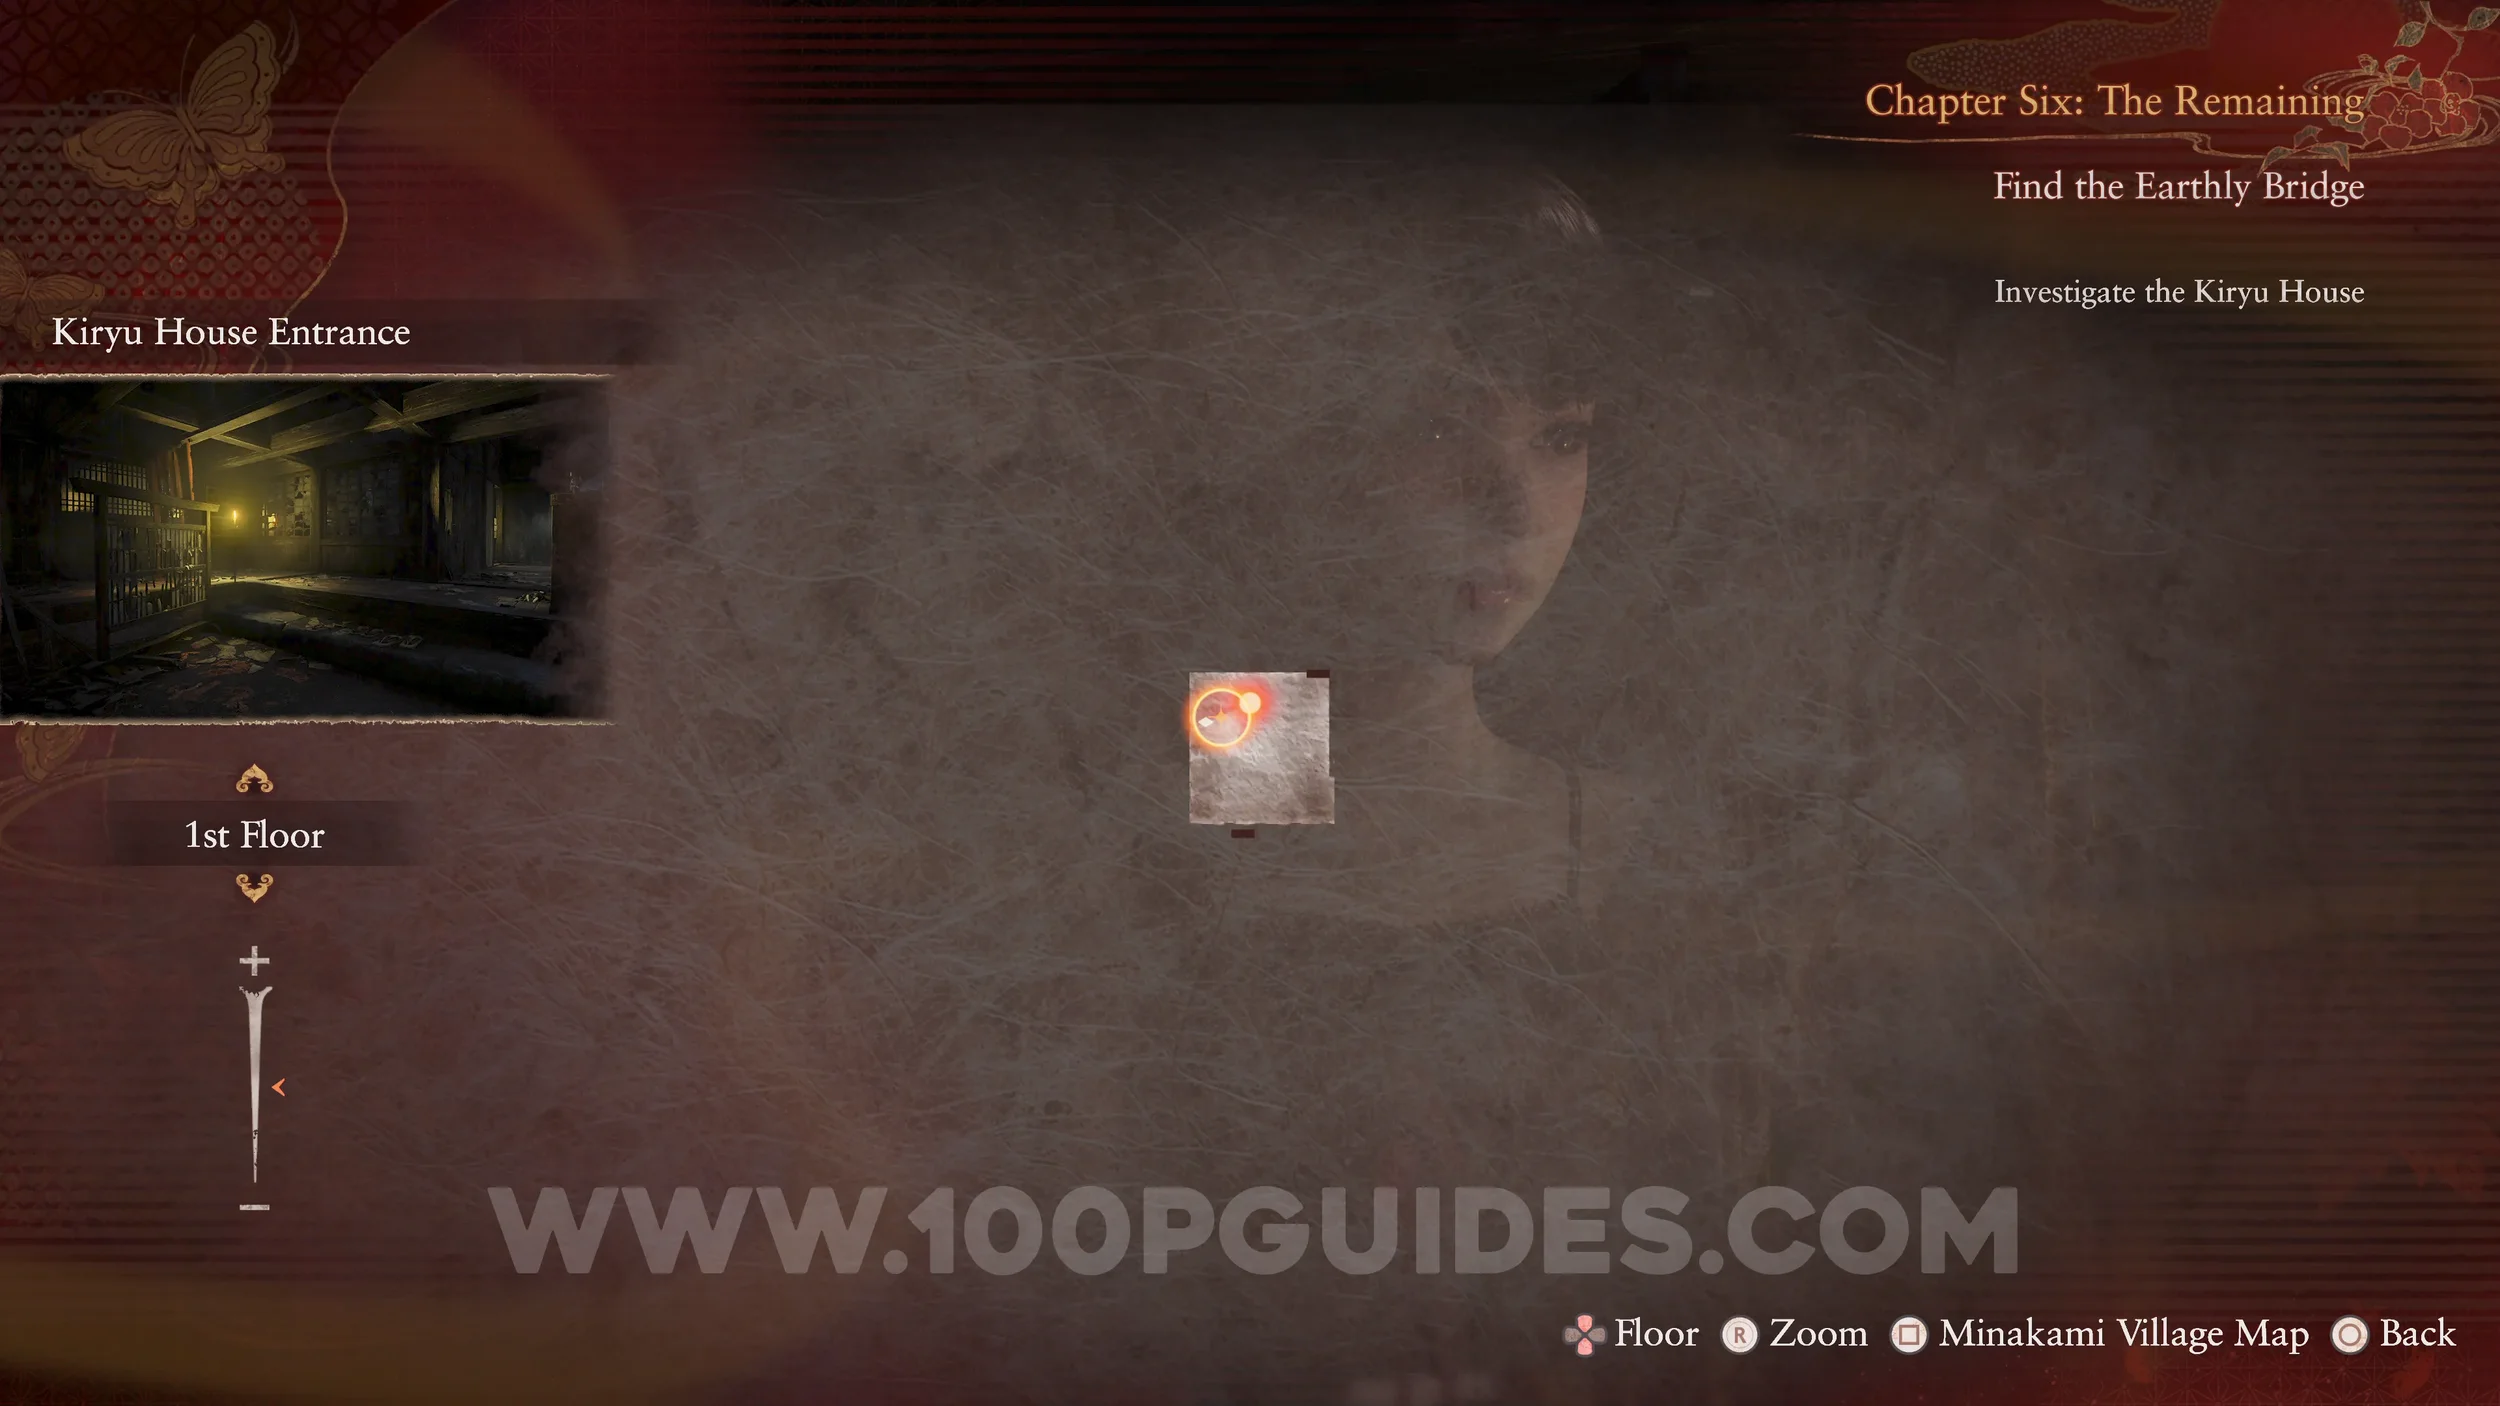
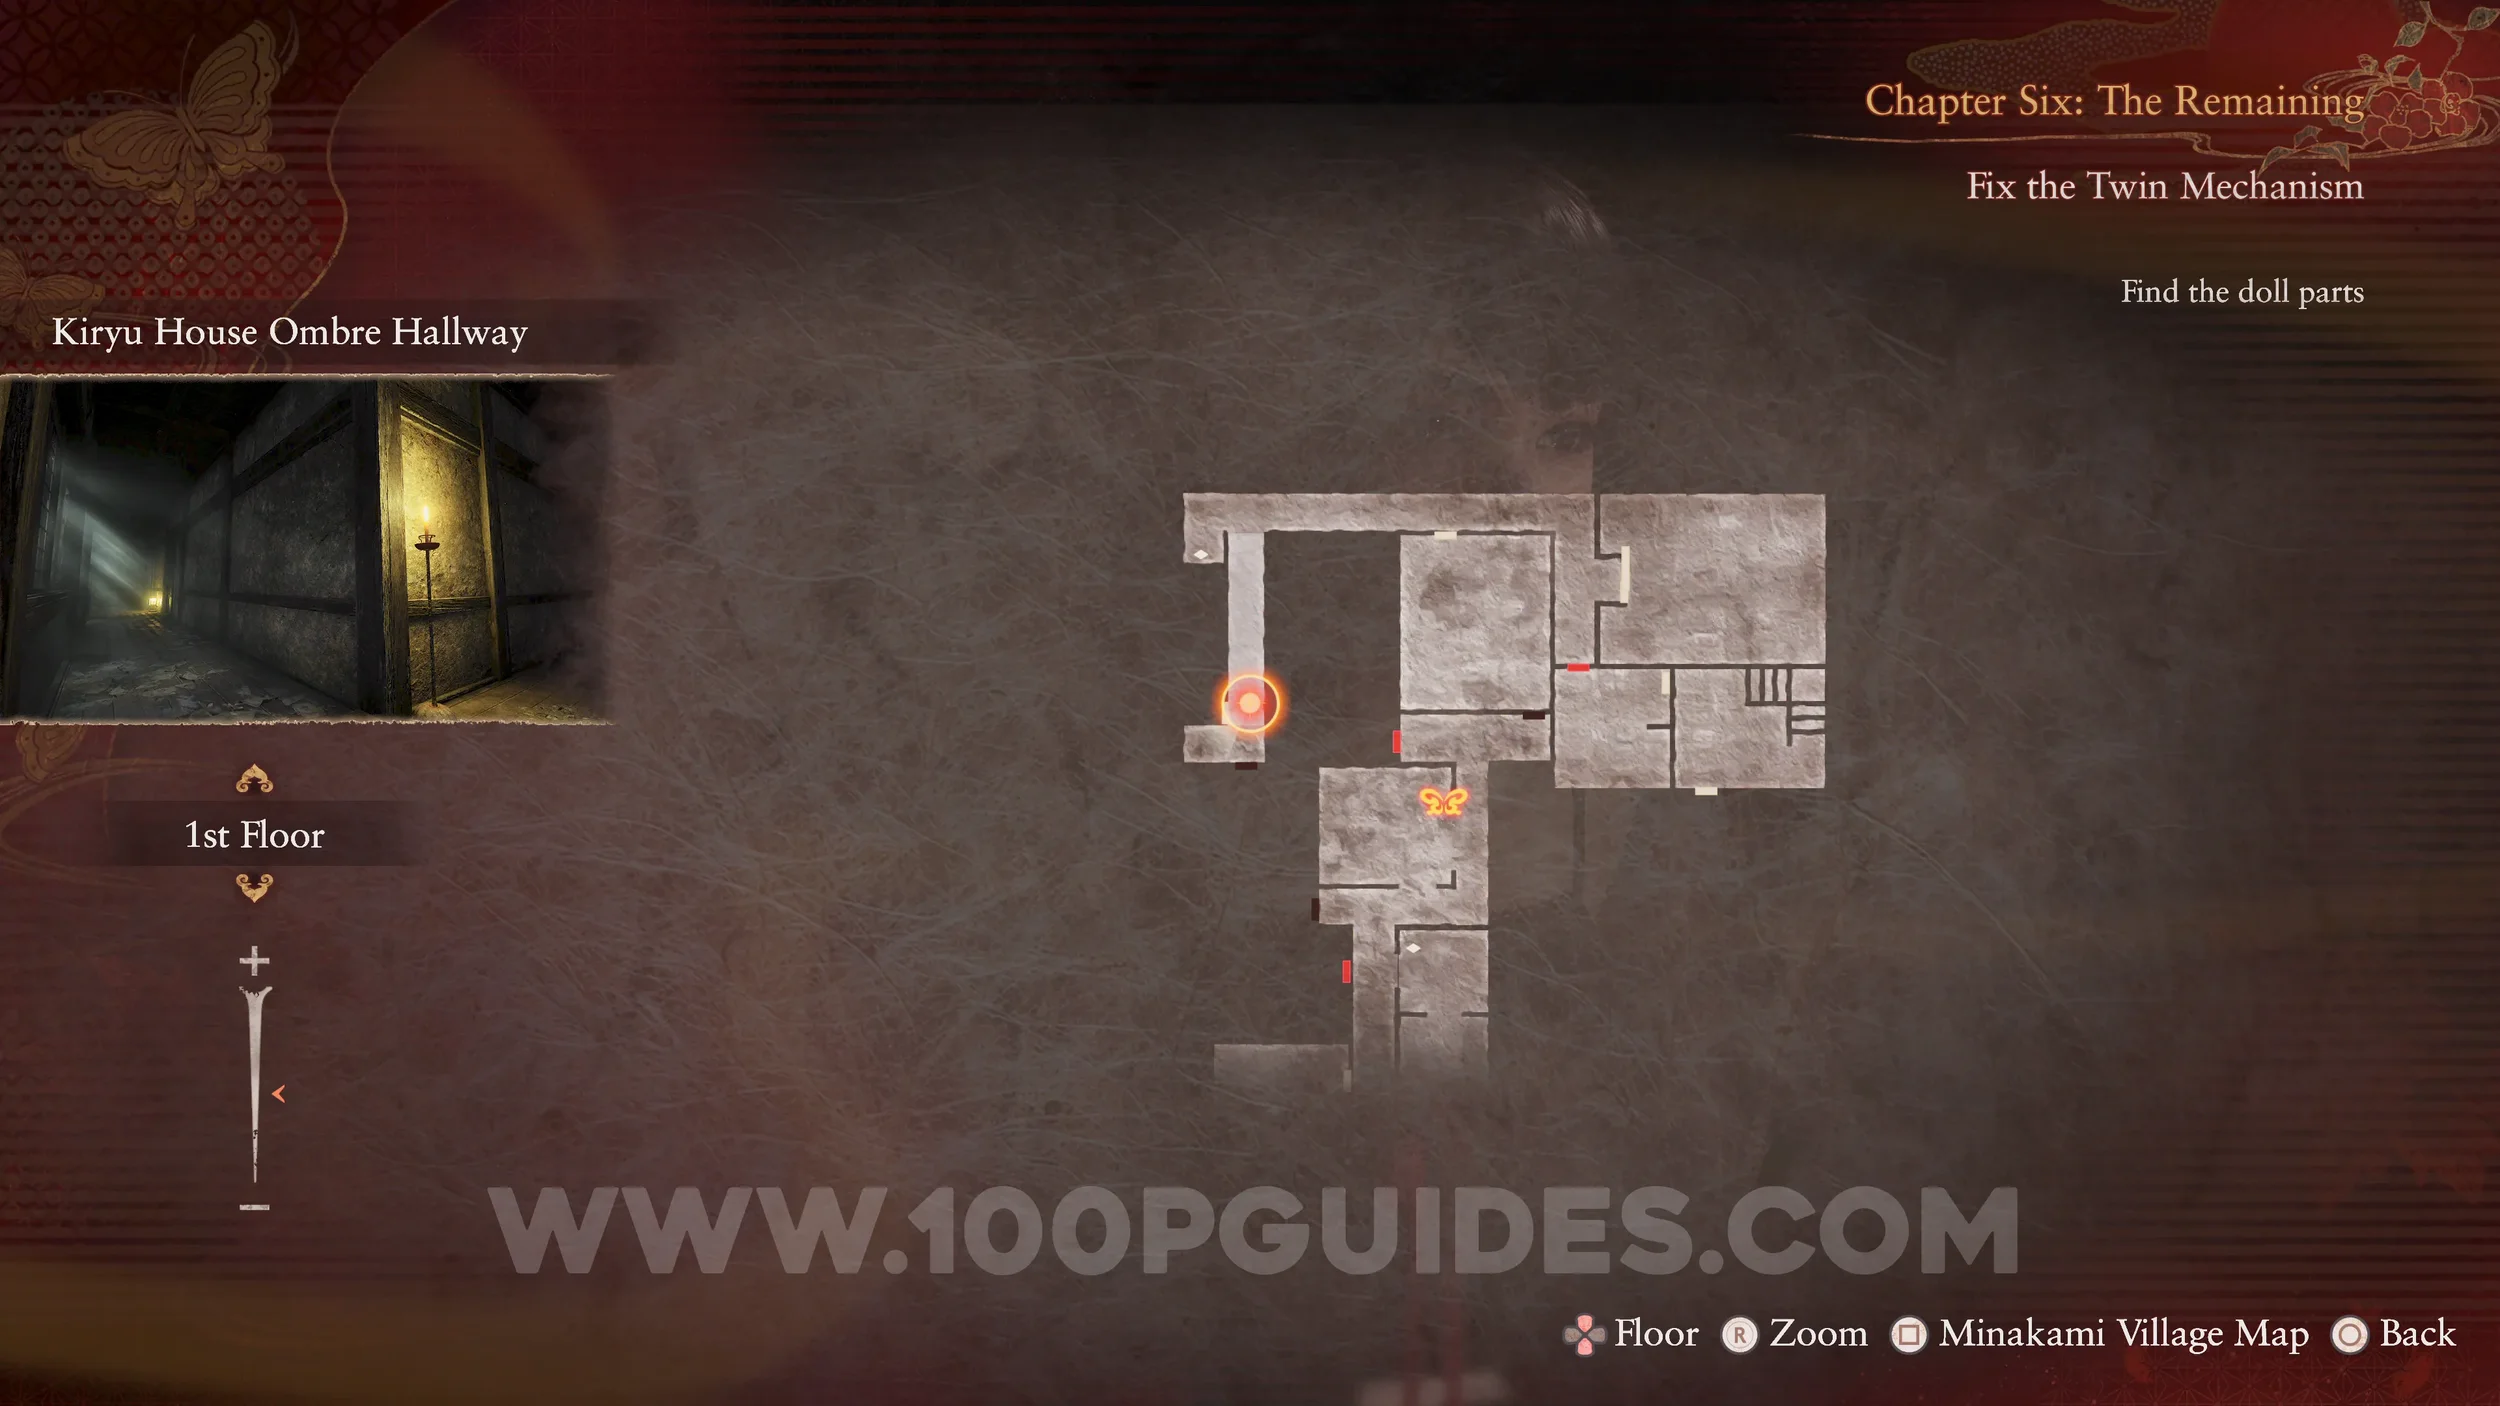
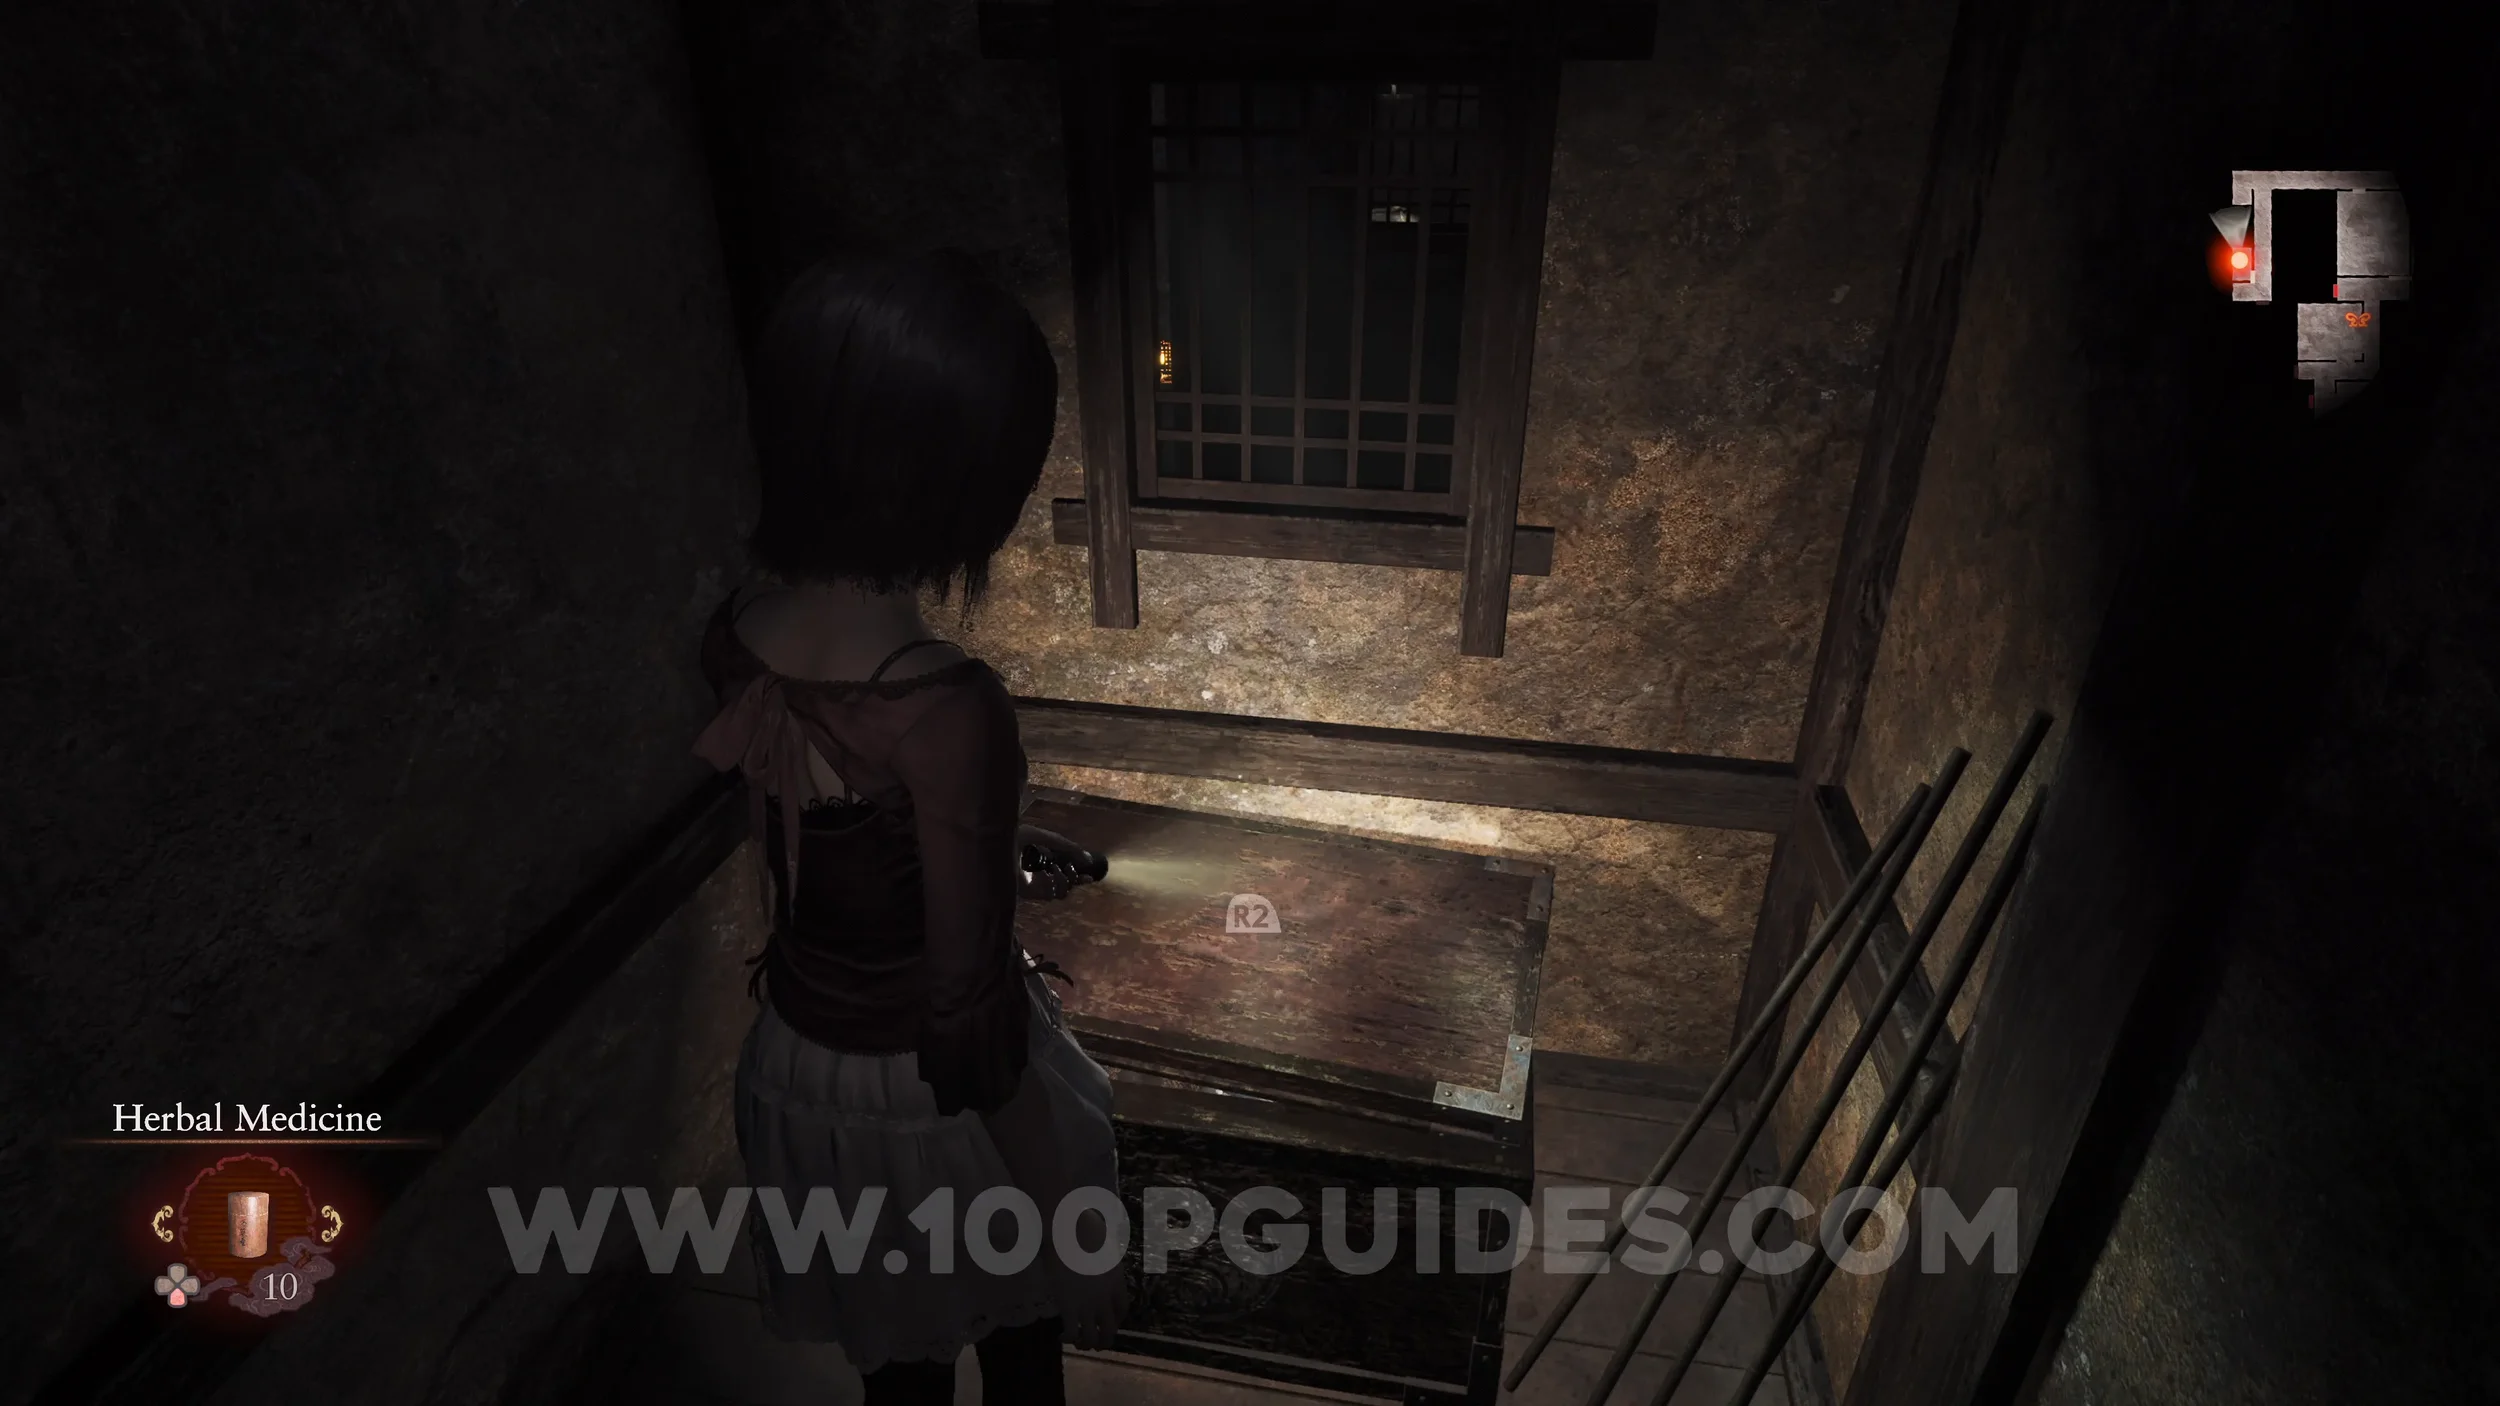
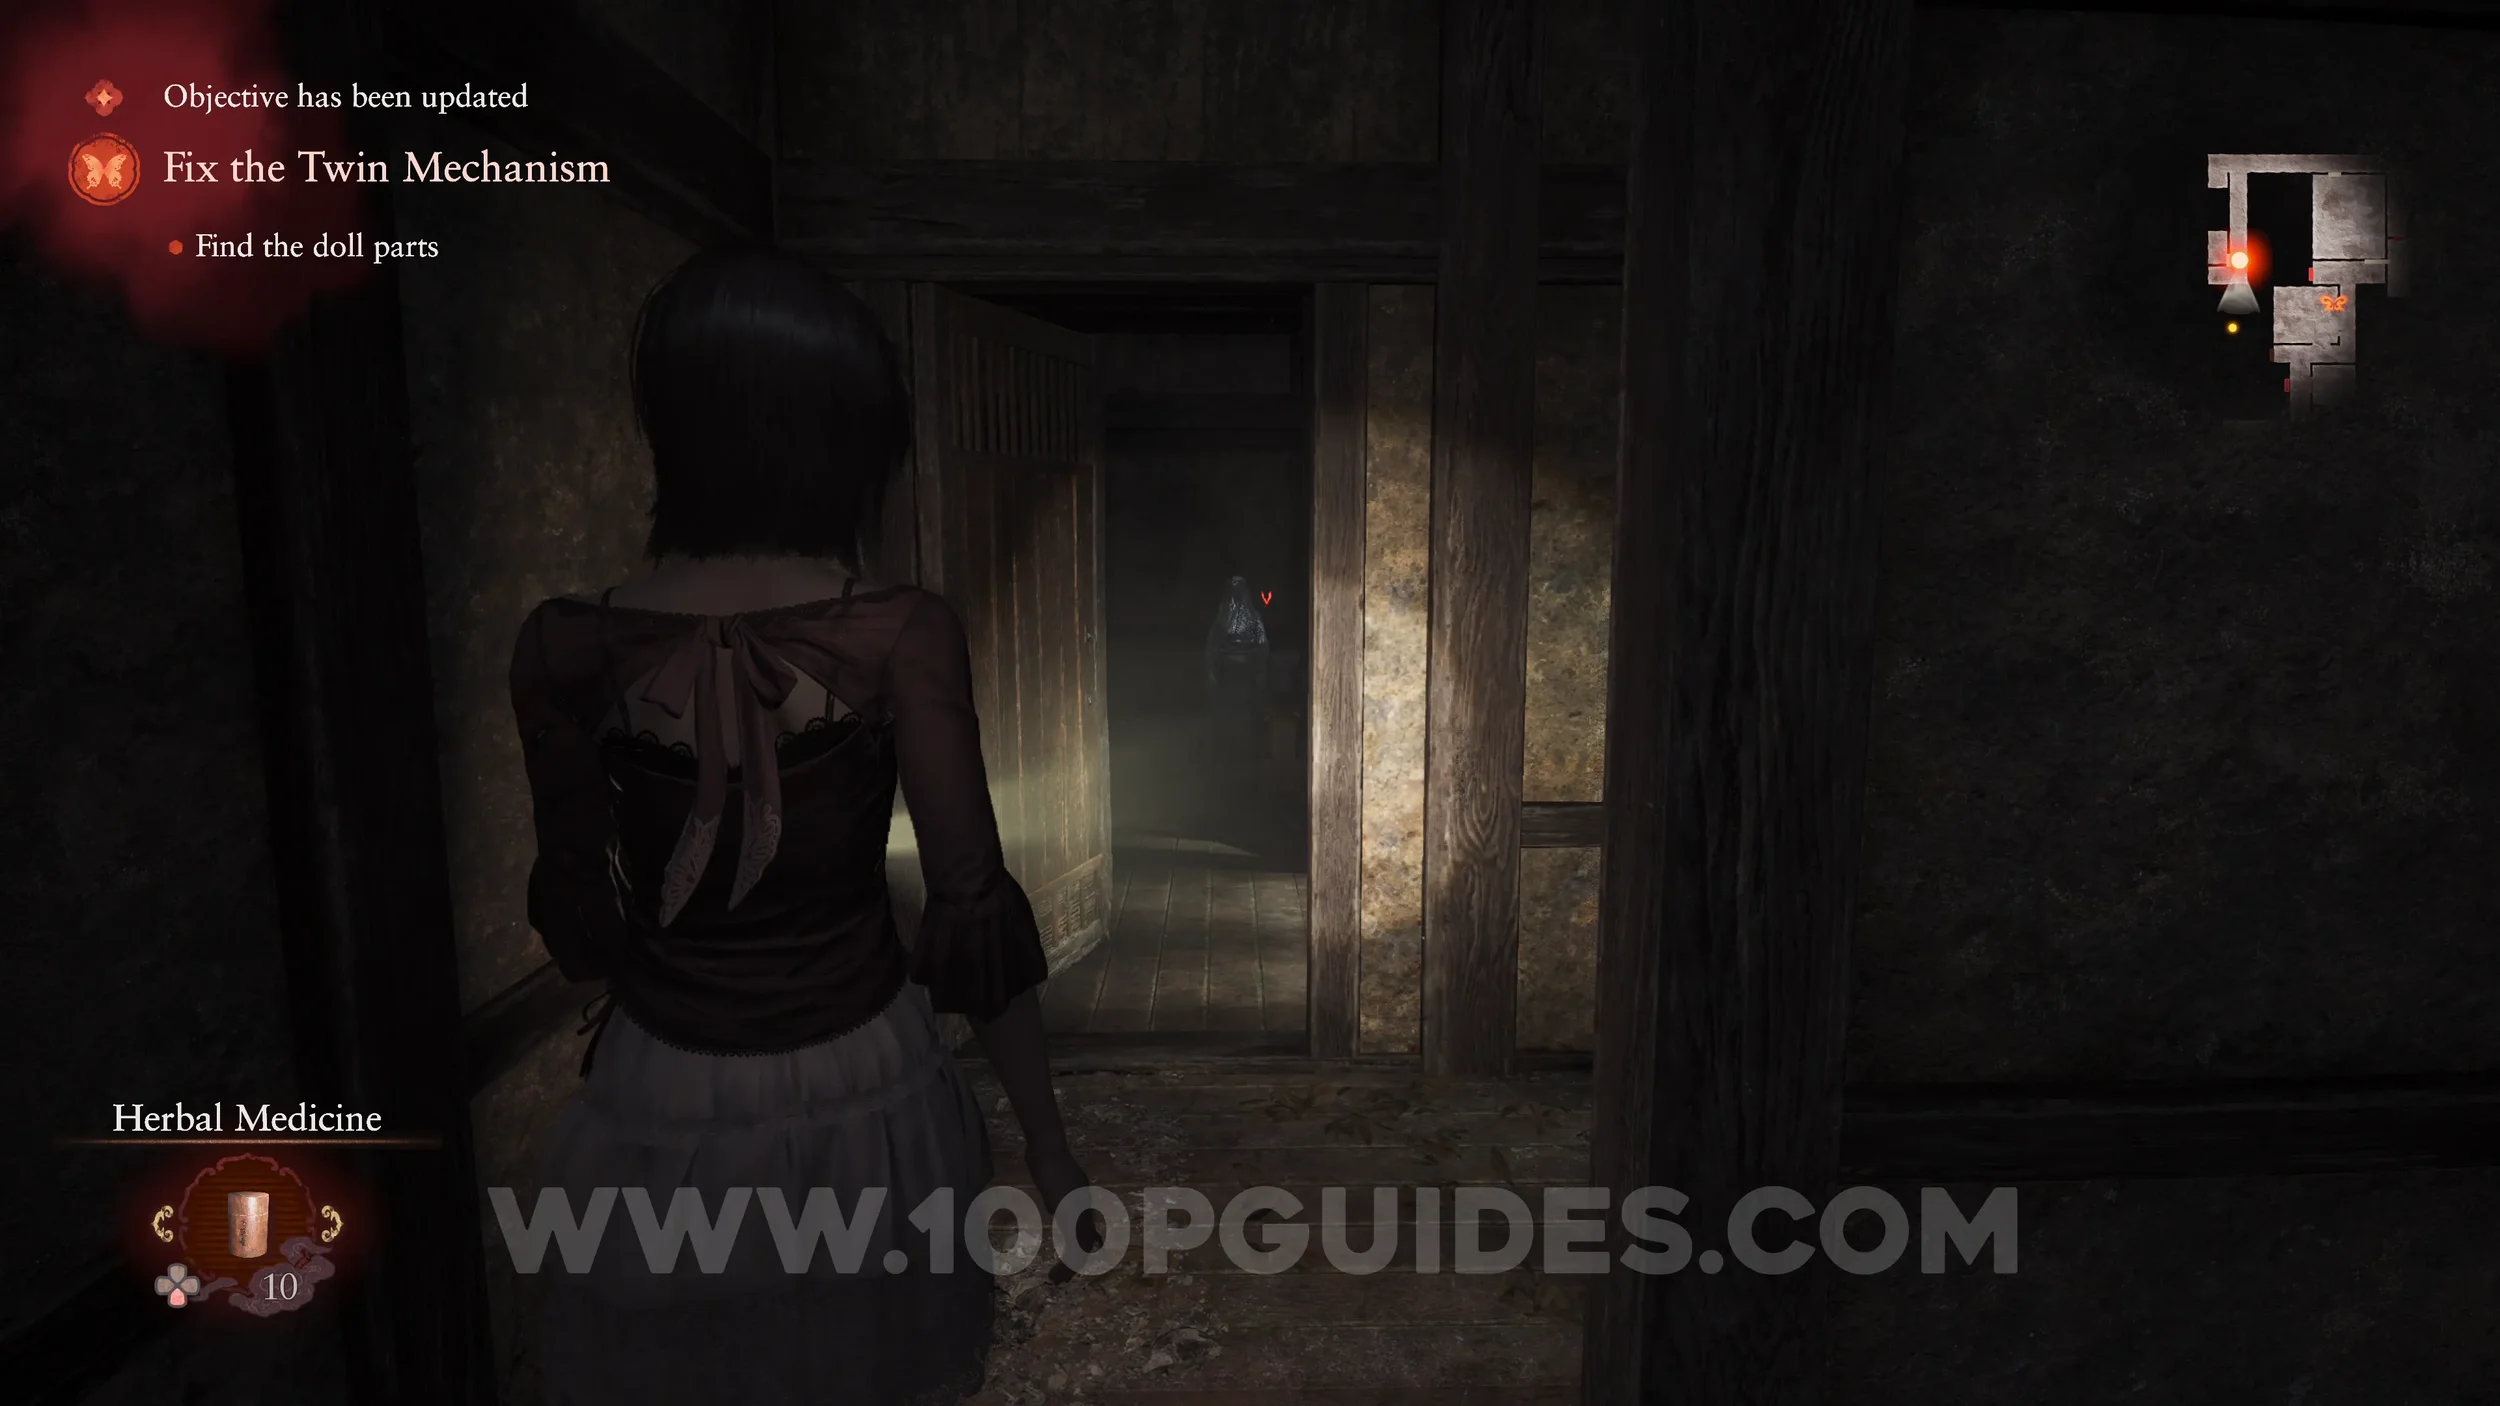
Specter #110 - 071 Crimson Butterfly Seeking Aid. Will spawn directly in front of you after examining the locked door at Kiryu House.
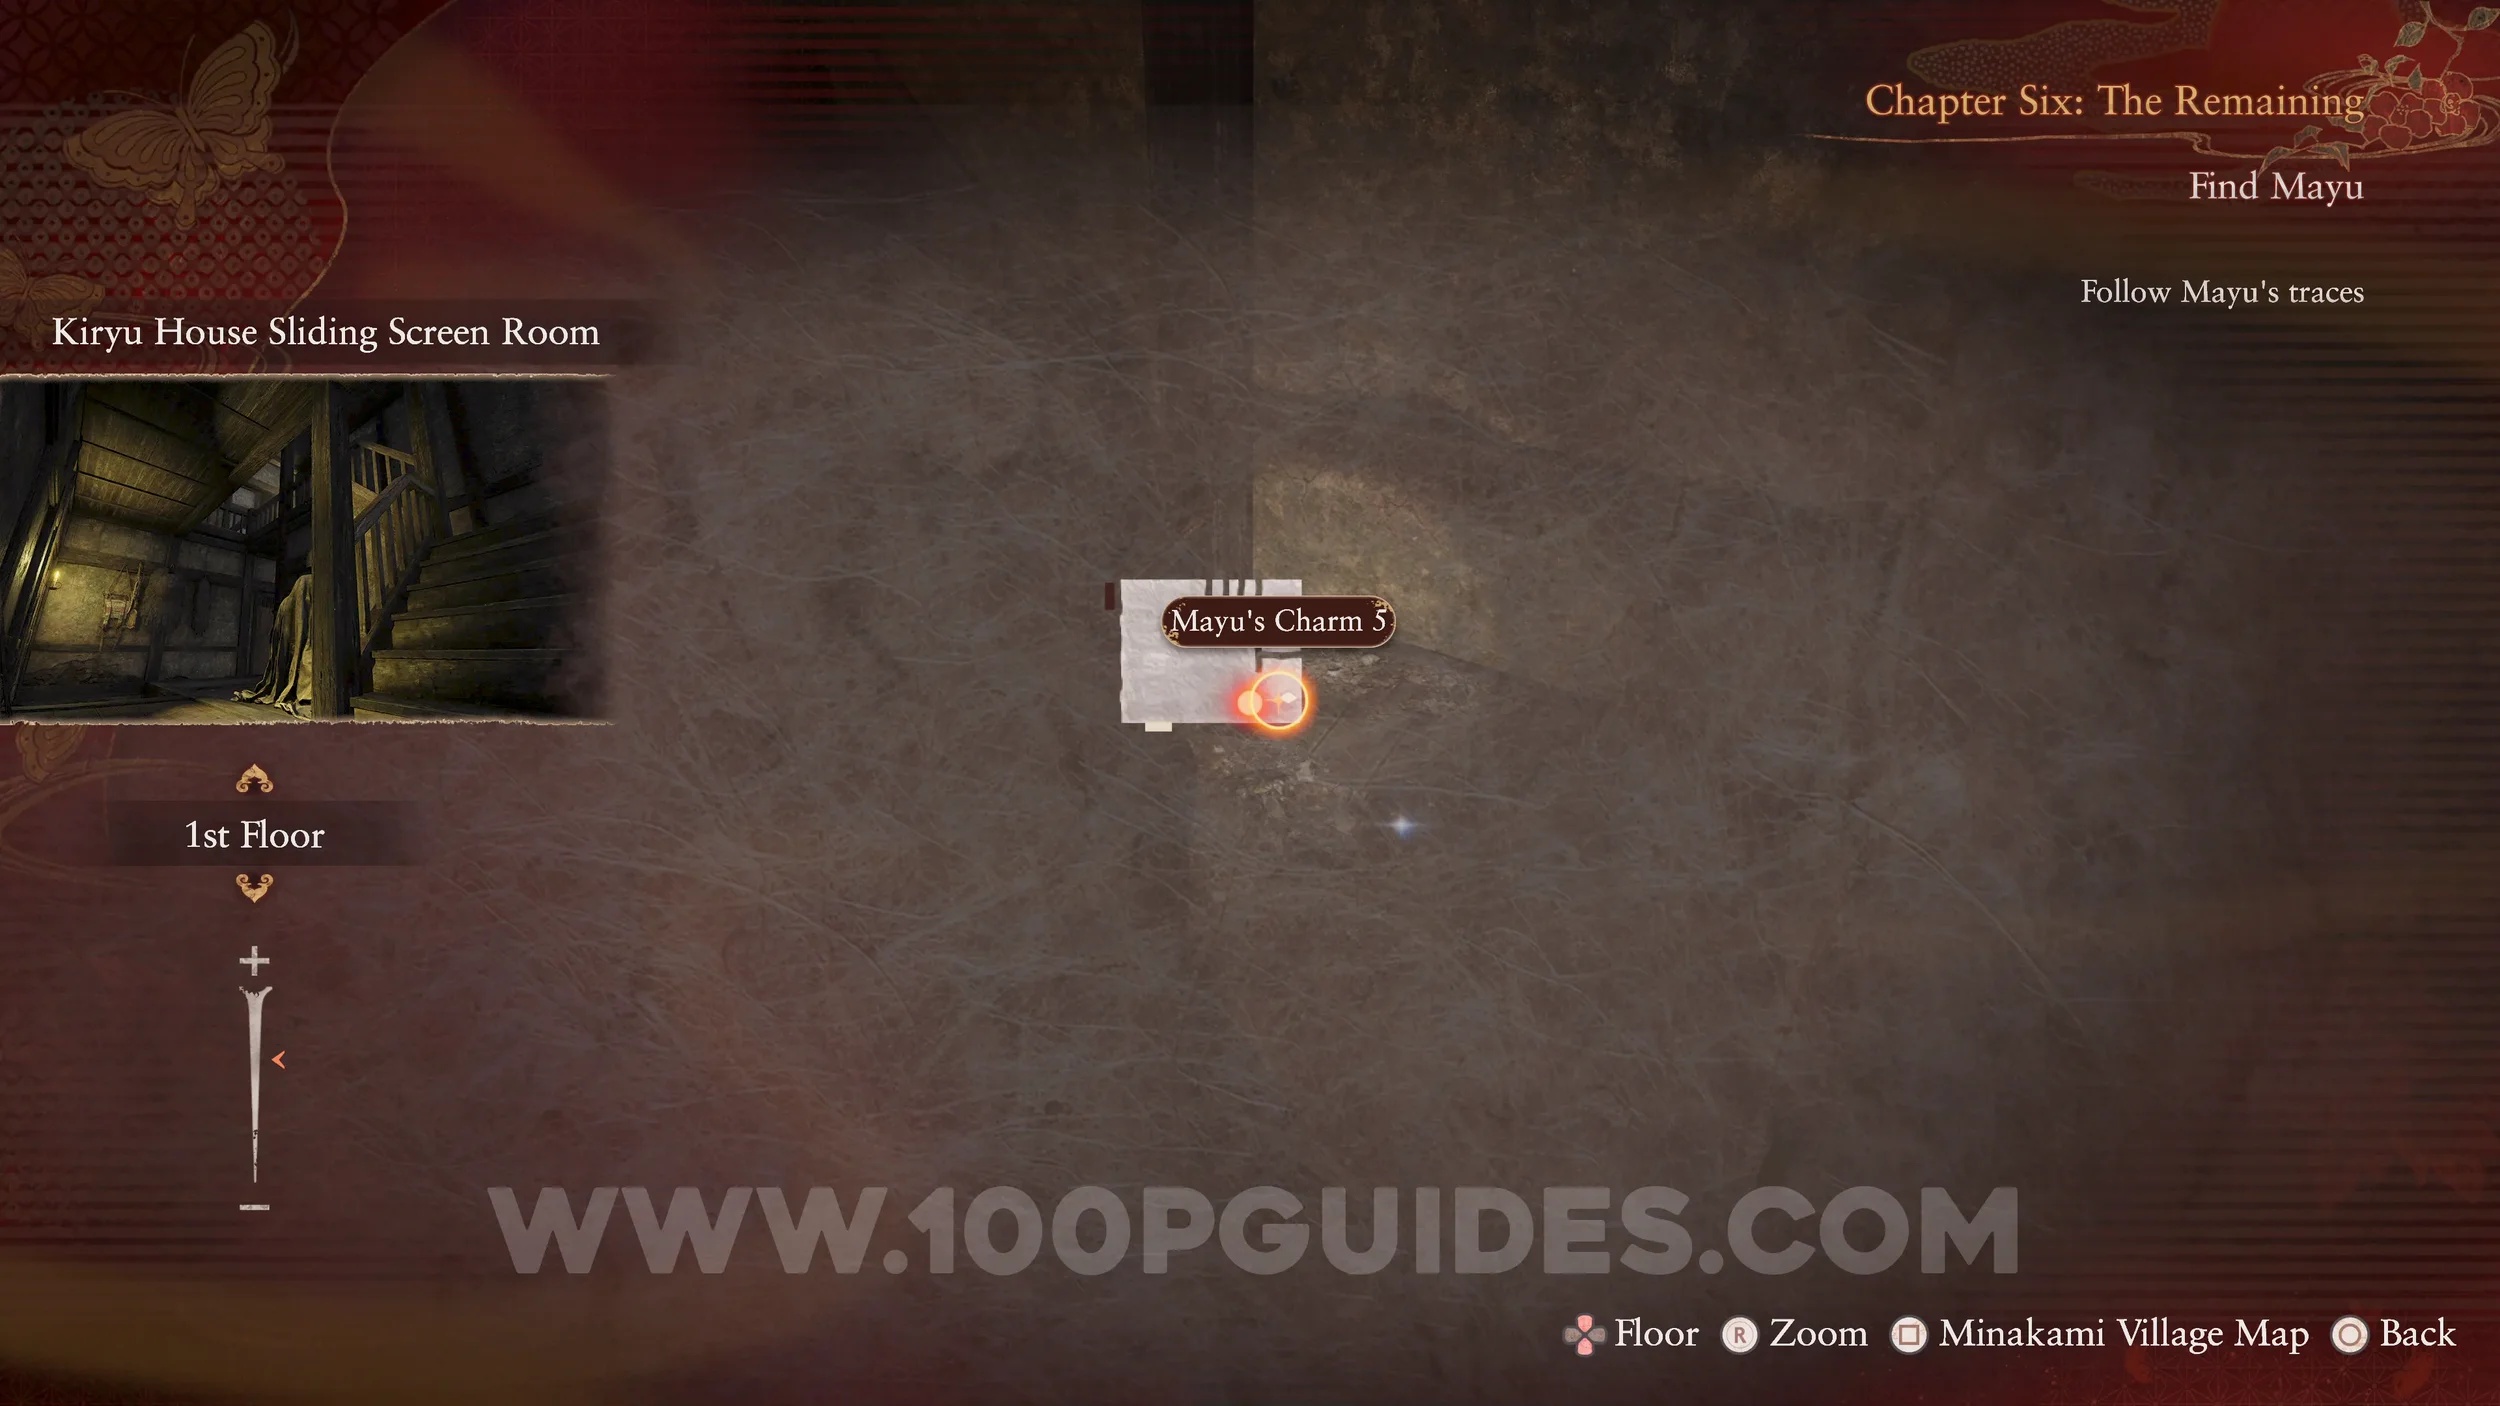
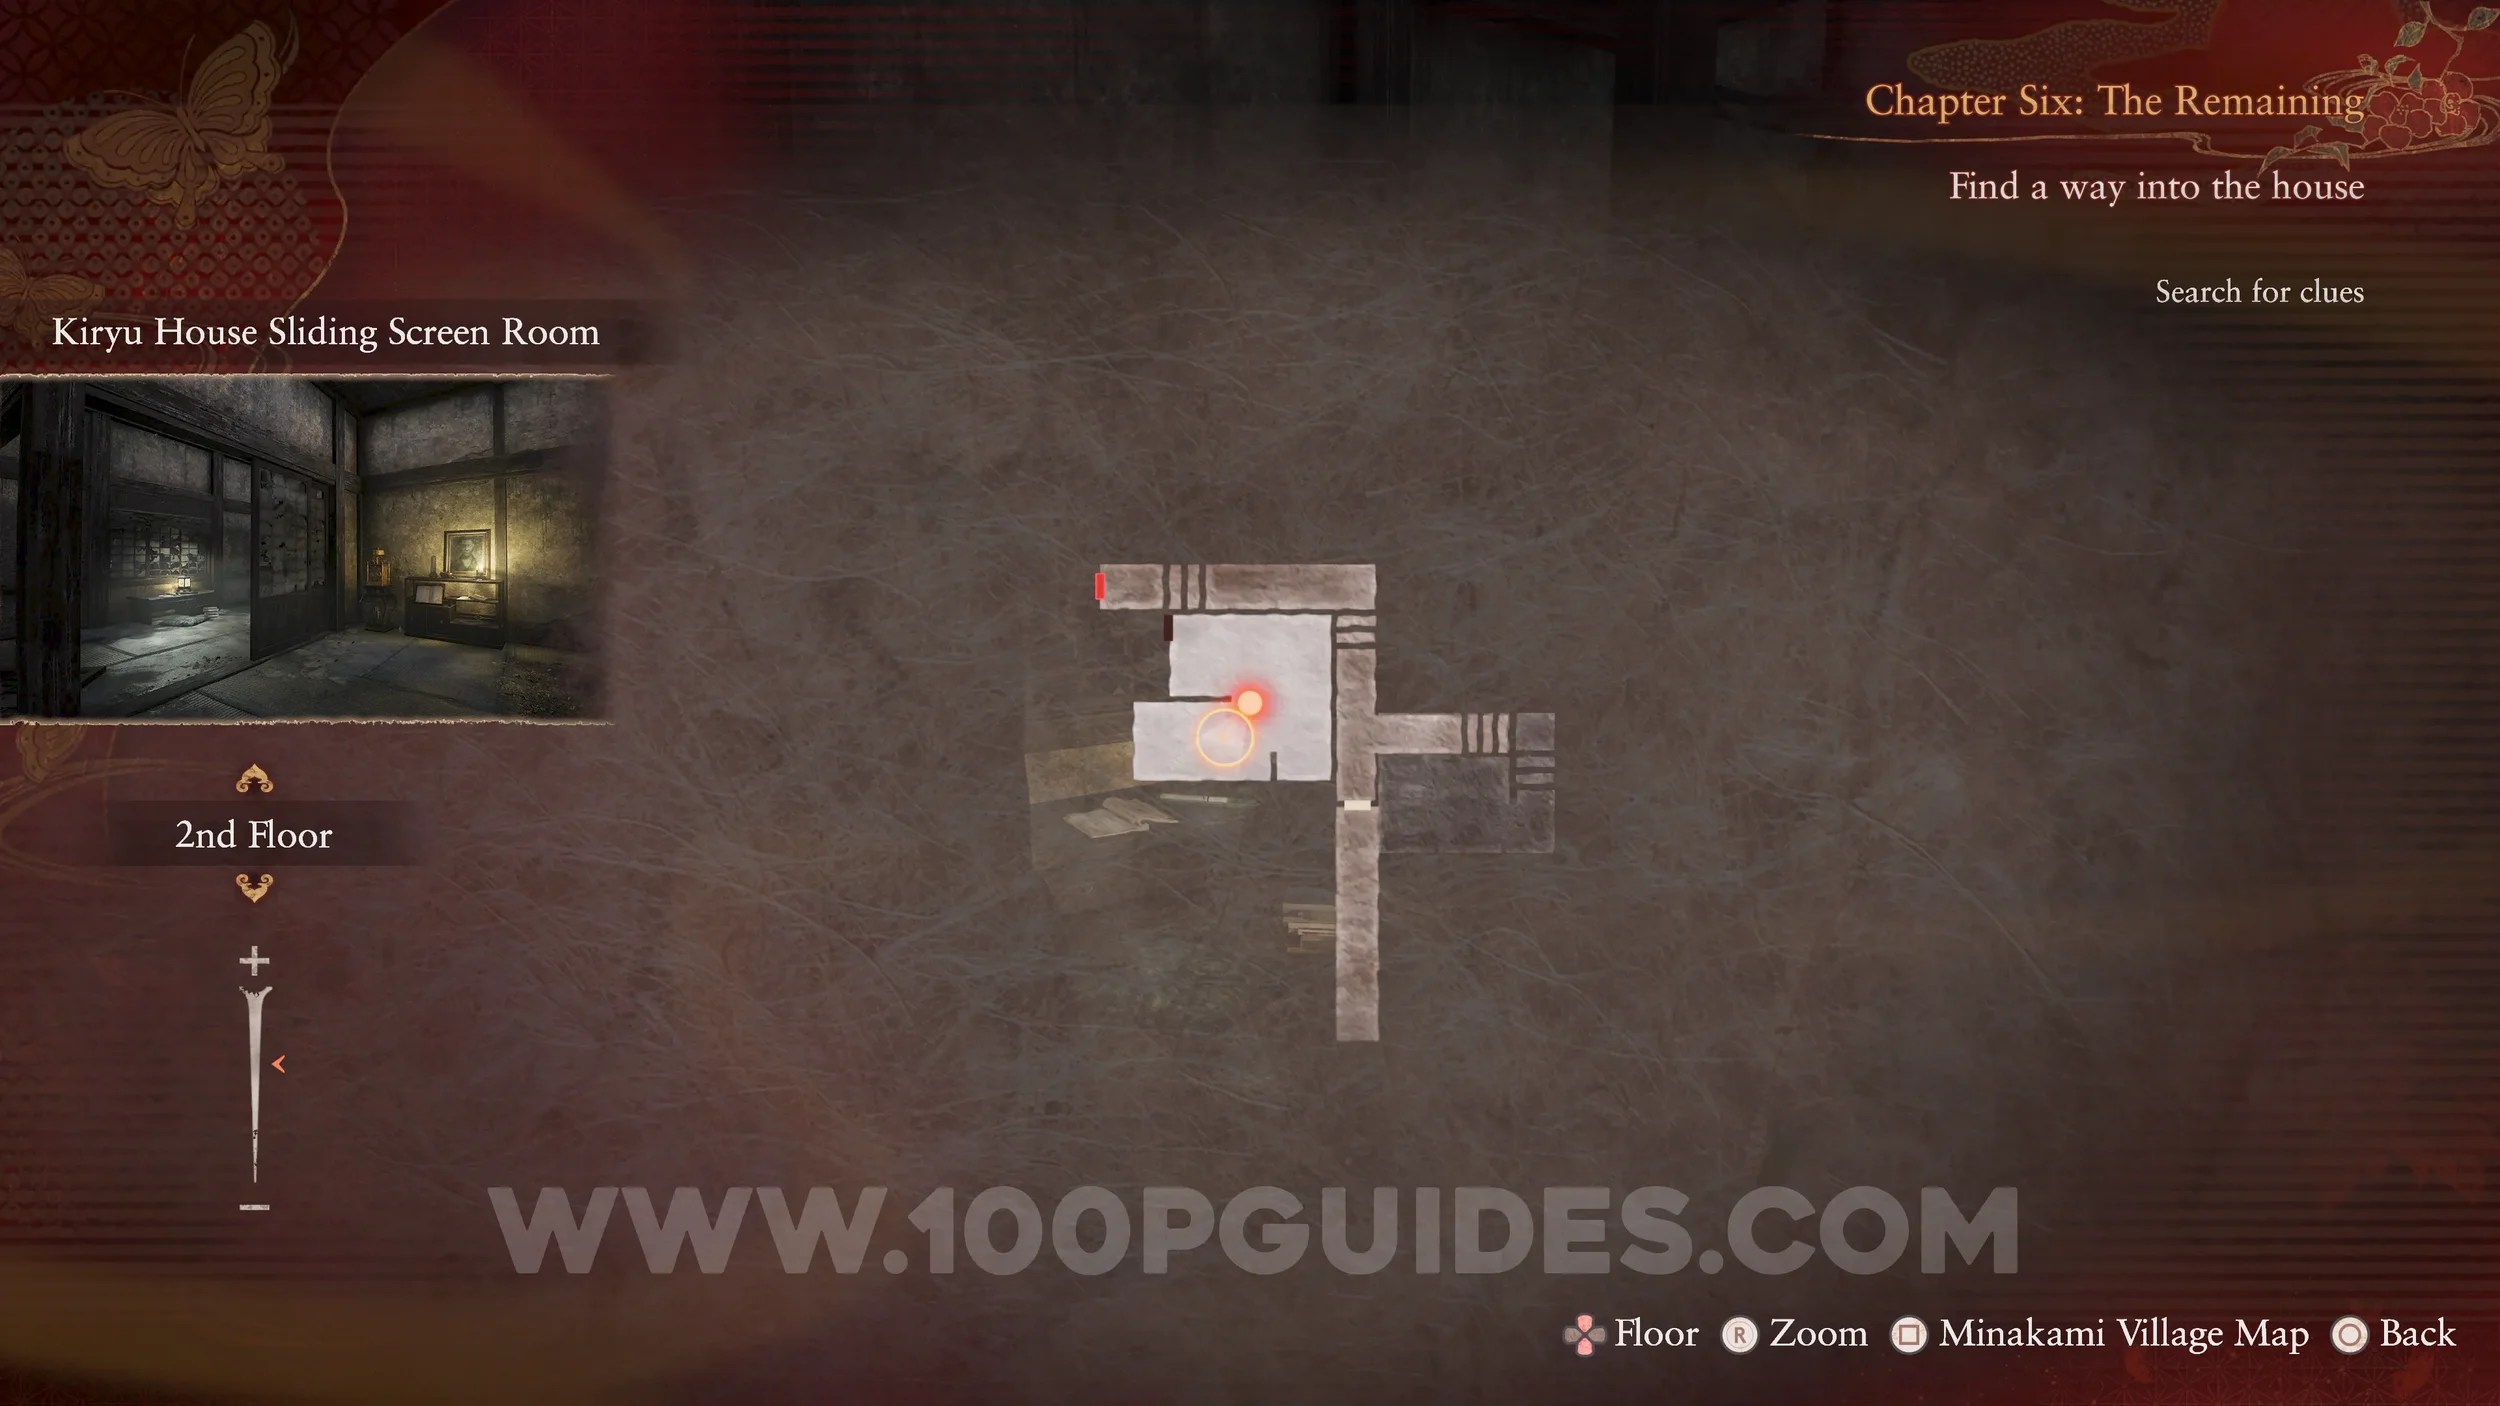
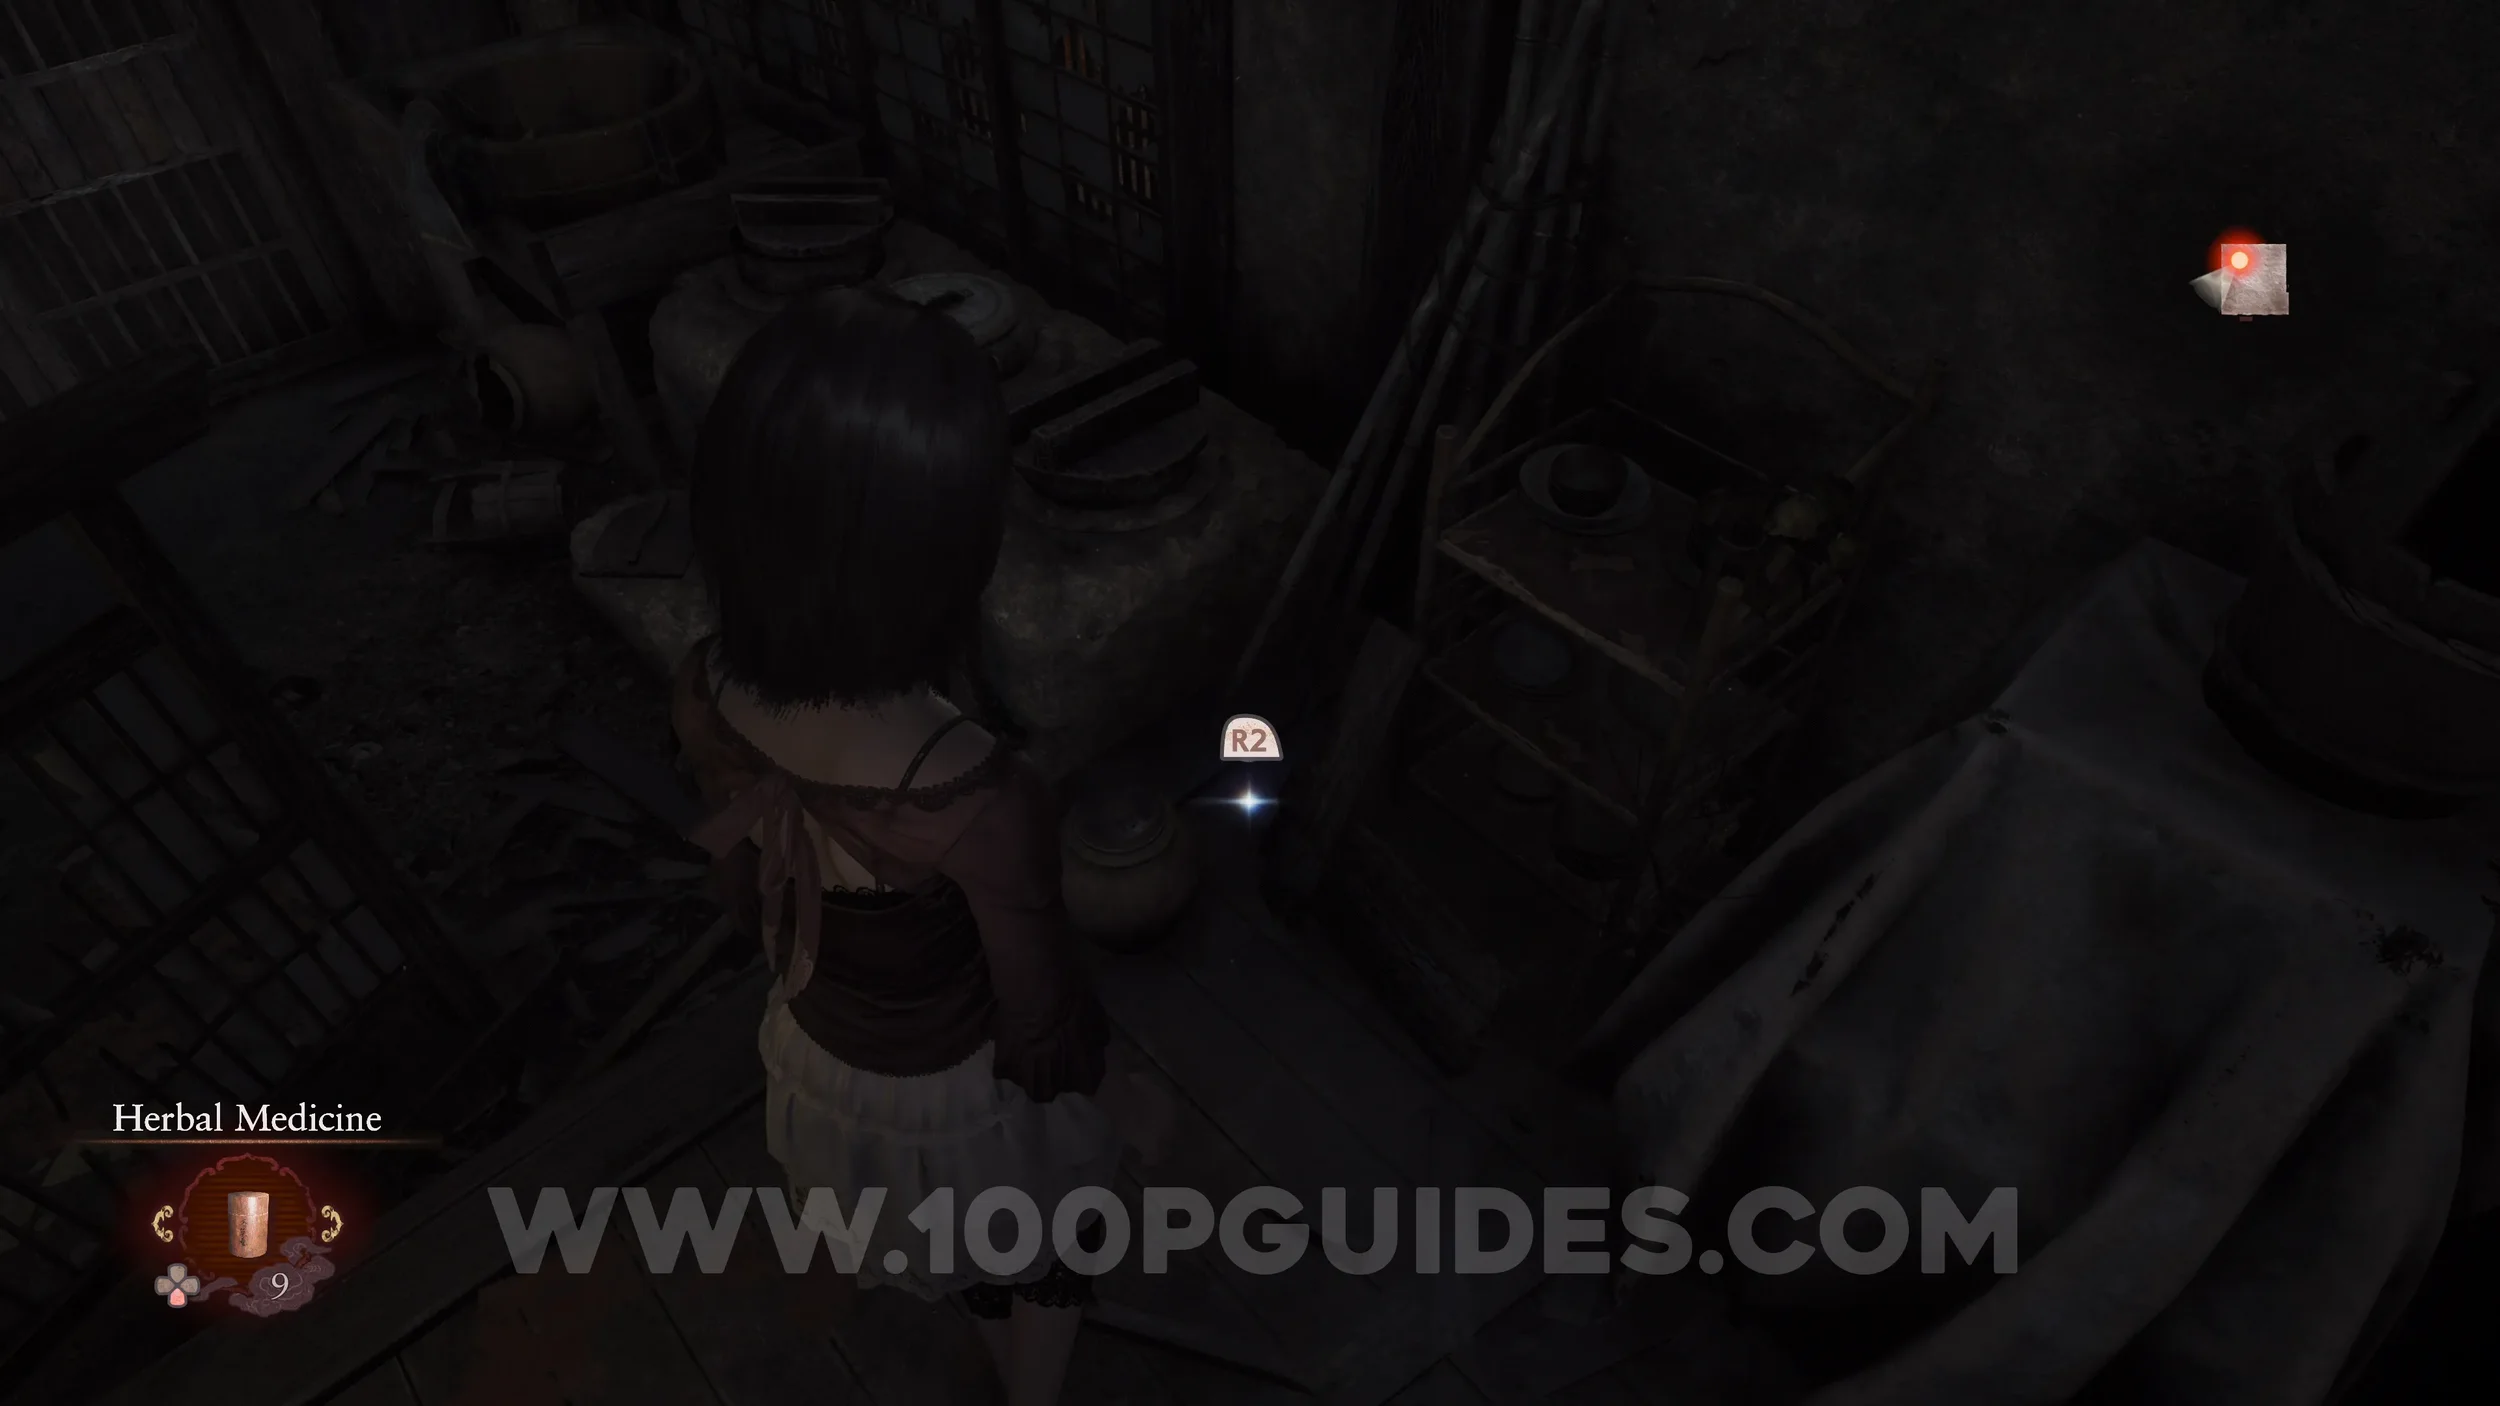
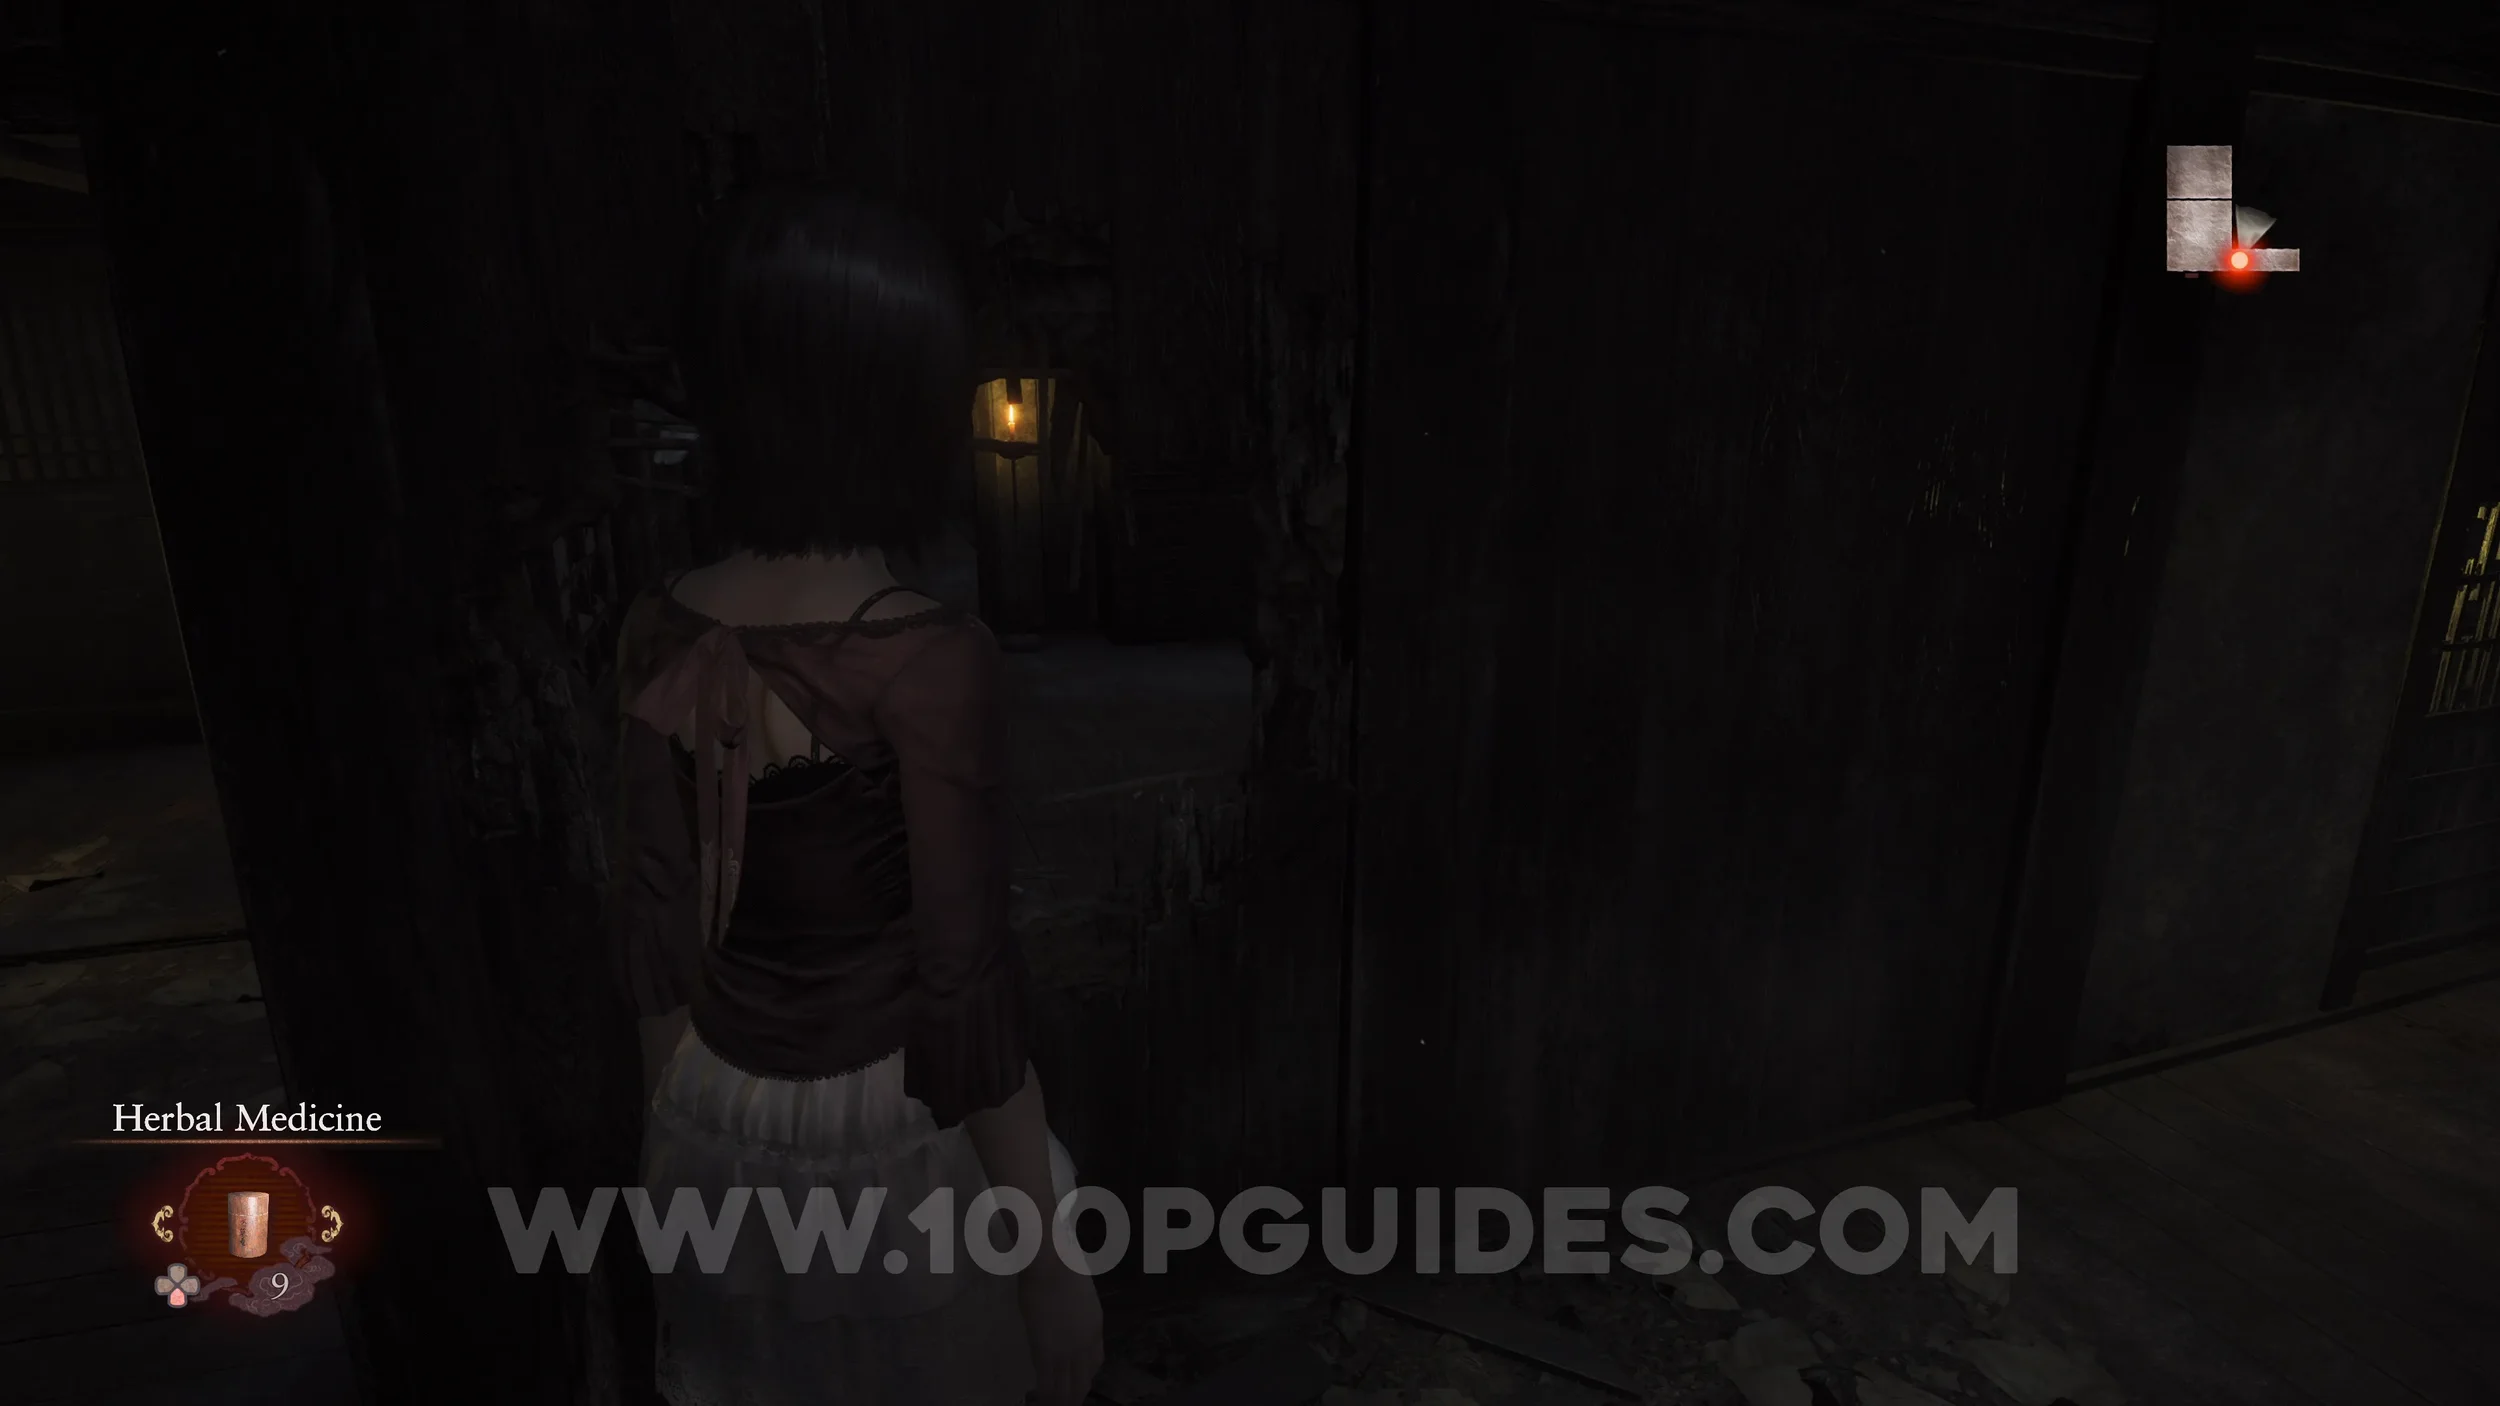
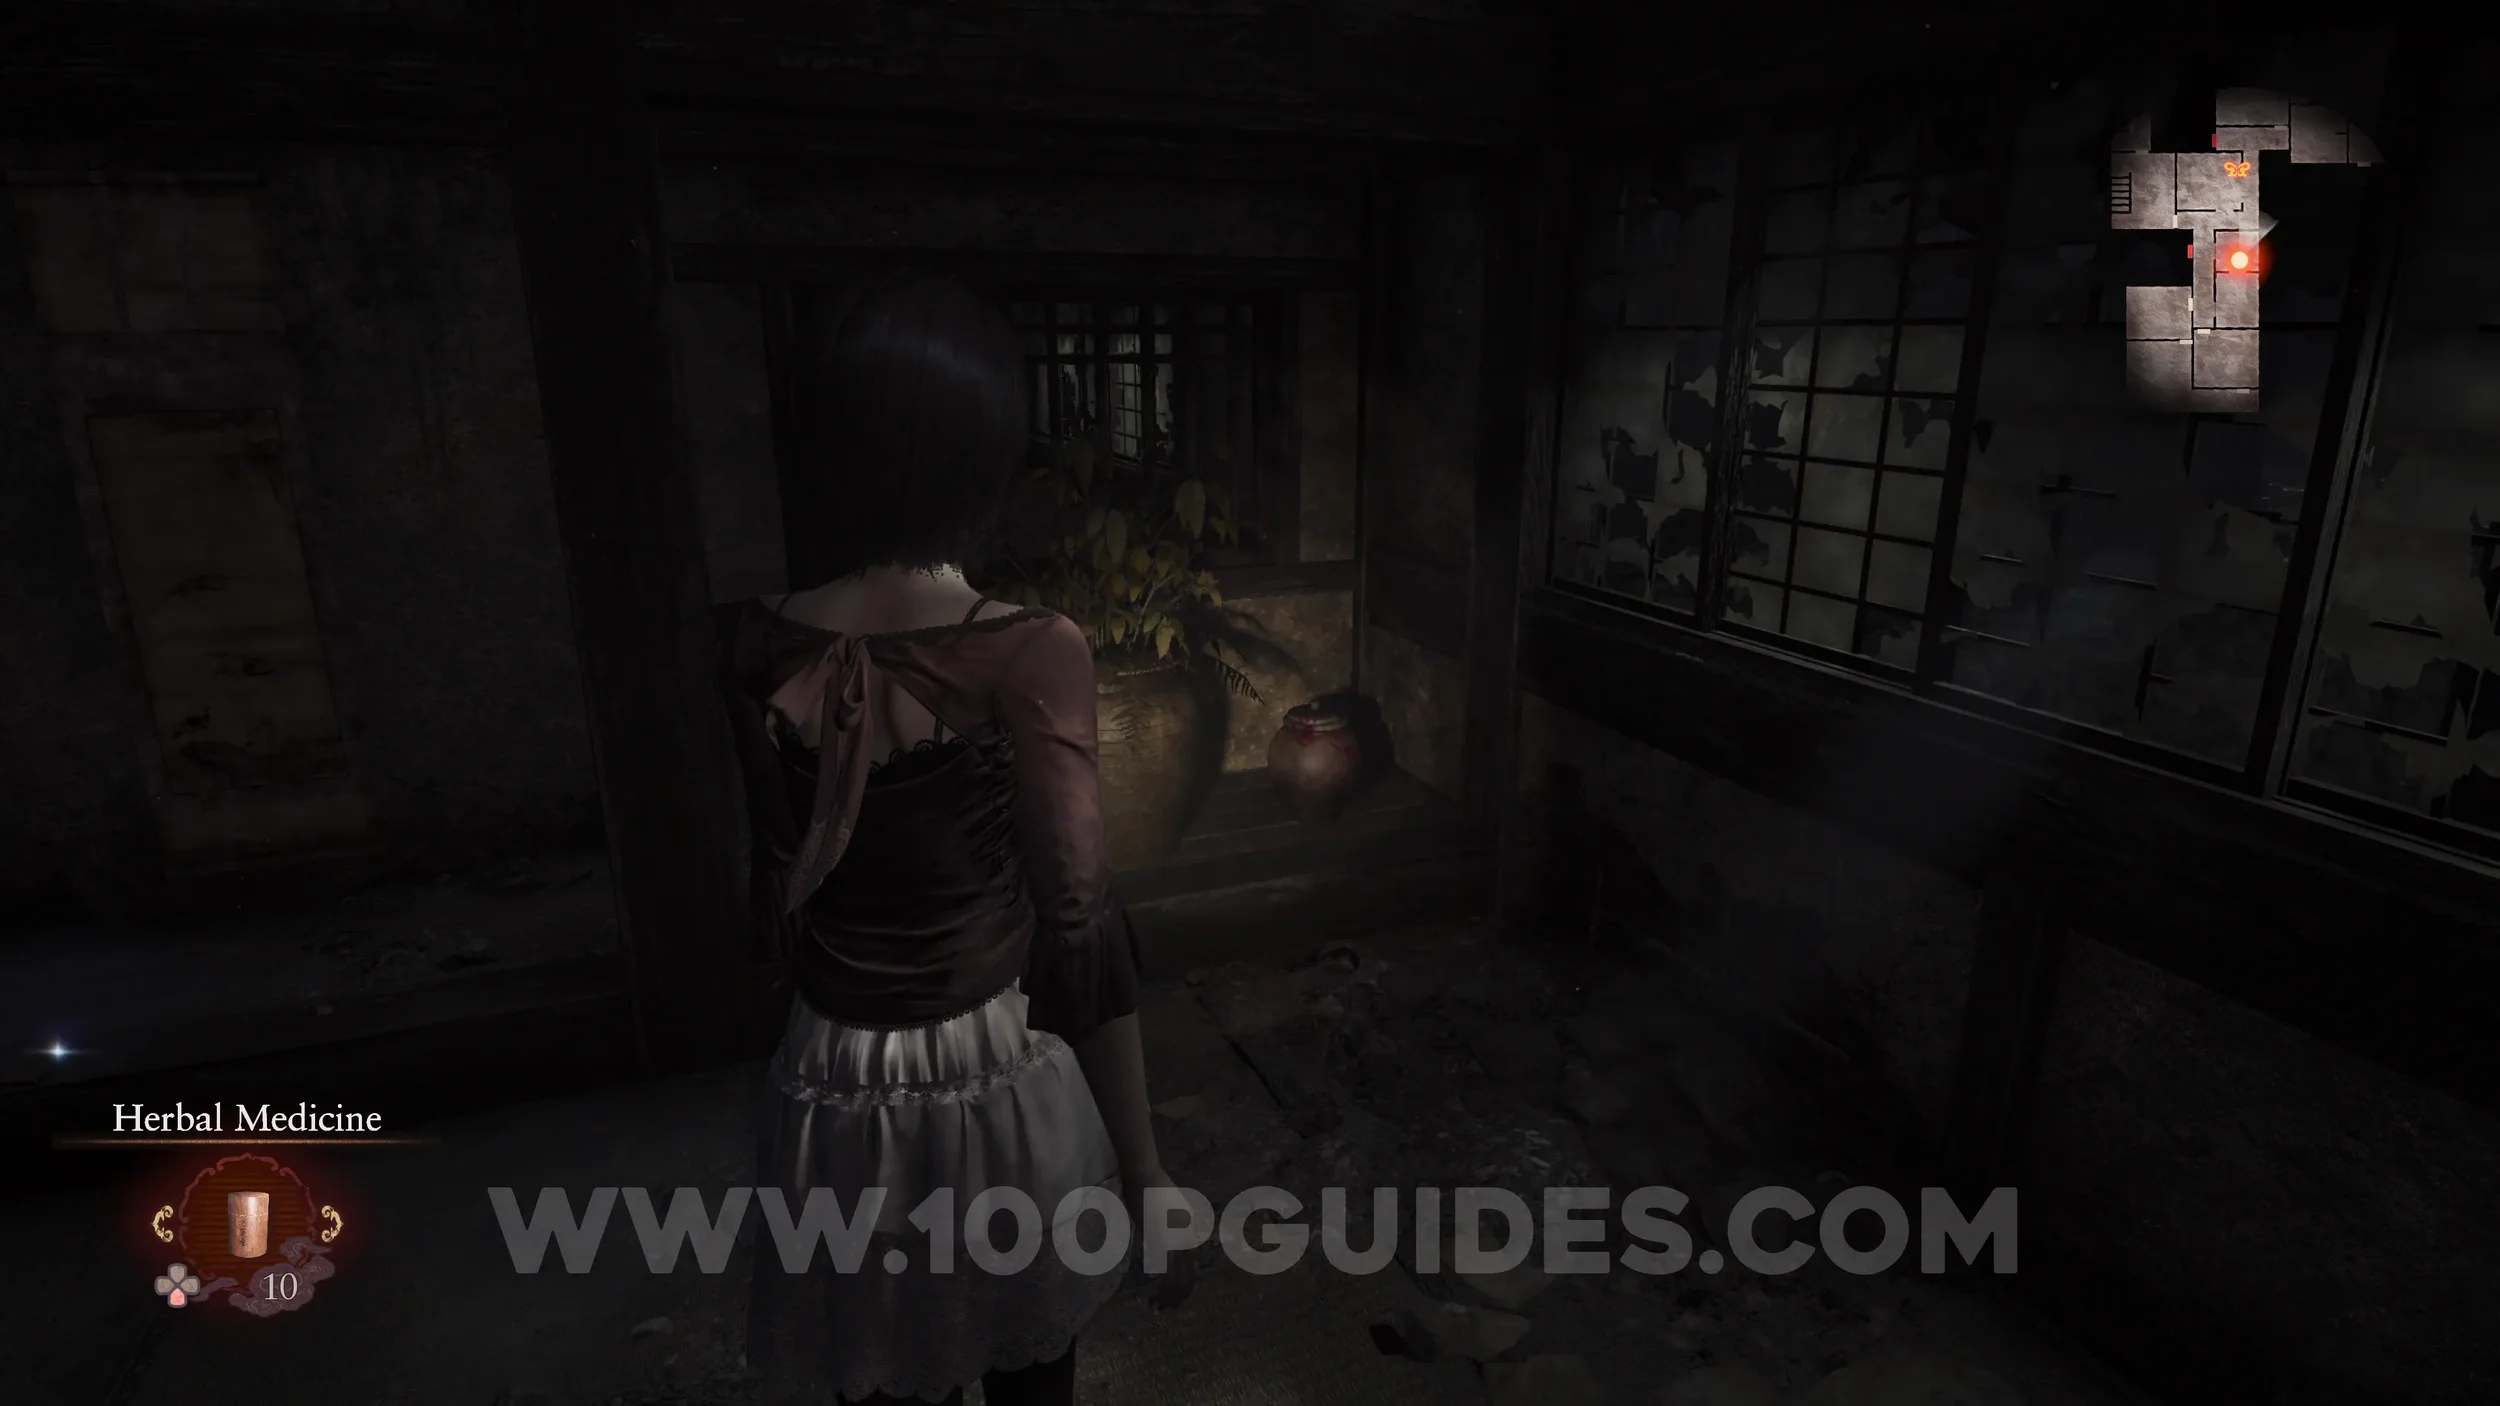
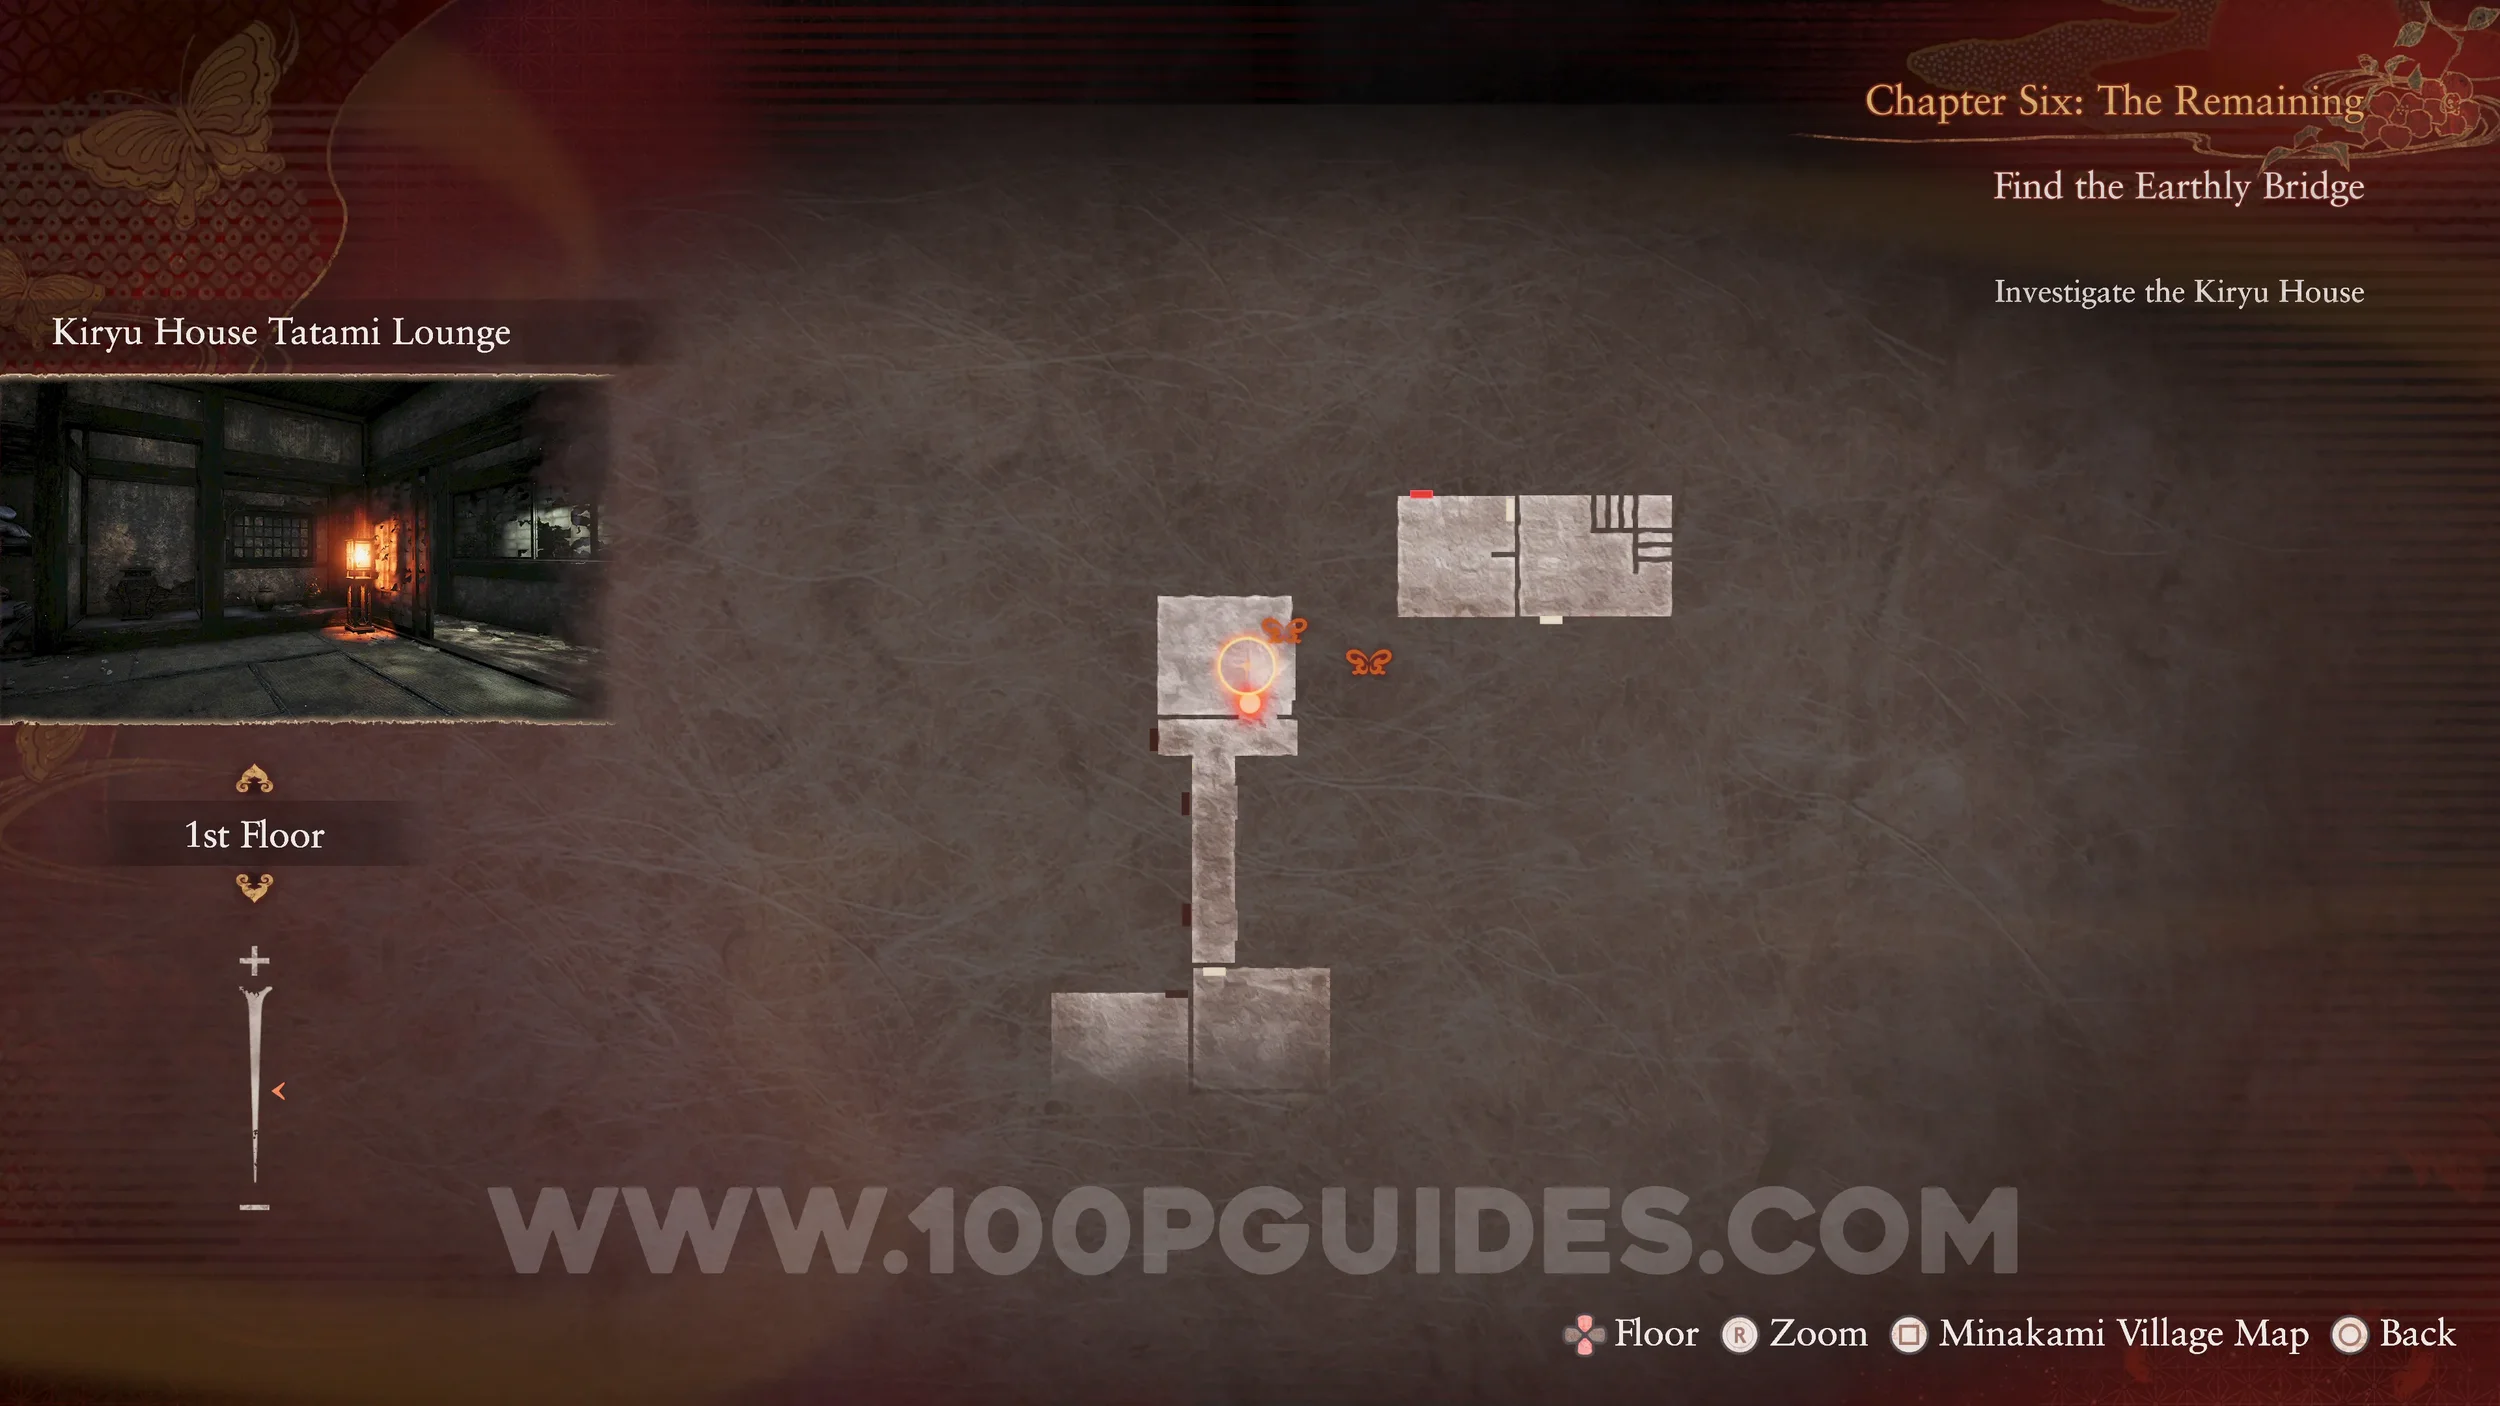
Spirit Stone #23 - Mayu’s Charm 5. On the bottom floor of Kiryu House. You will go here on the story path after following the butterfly.
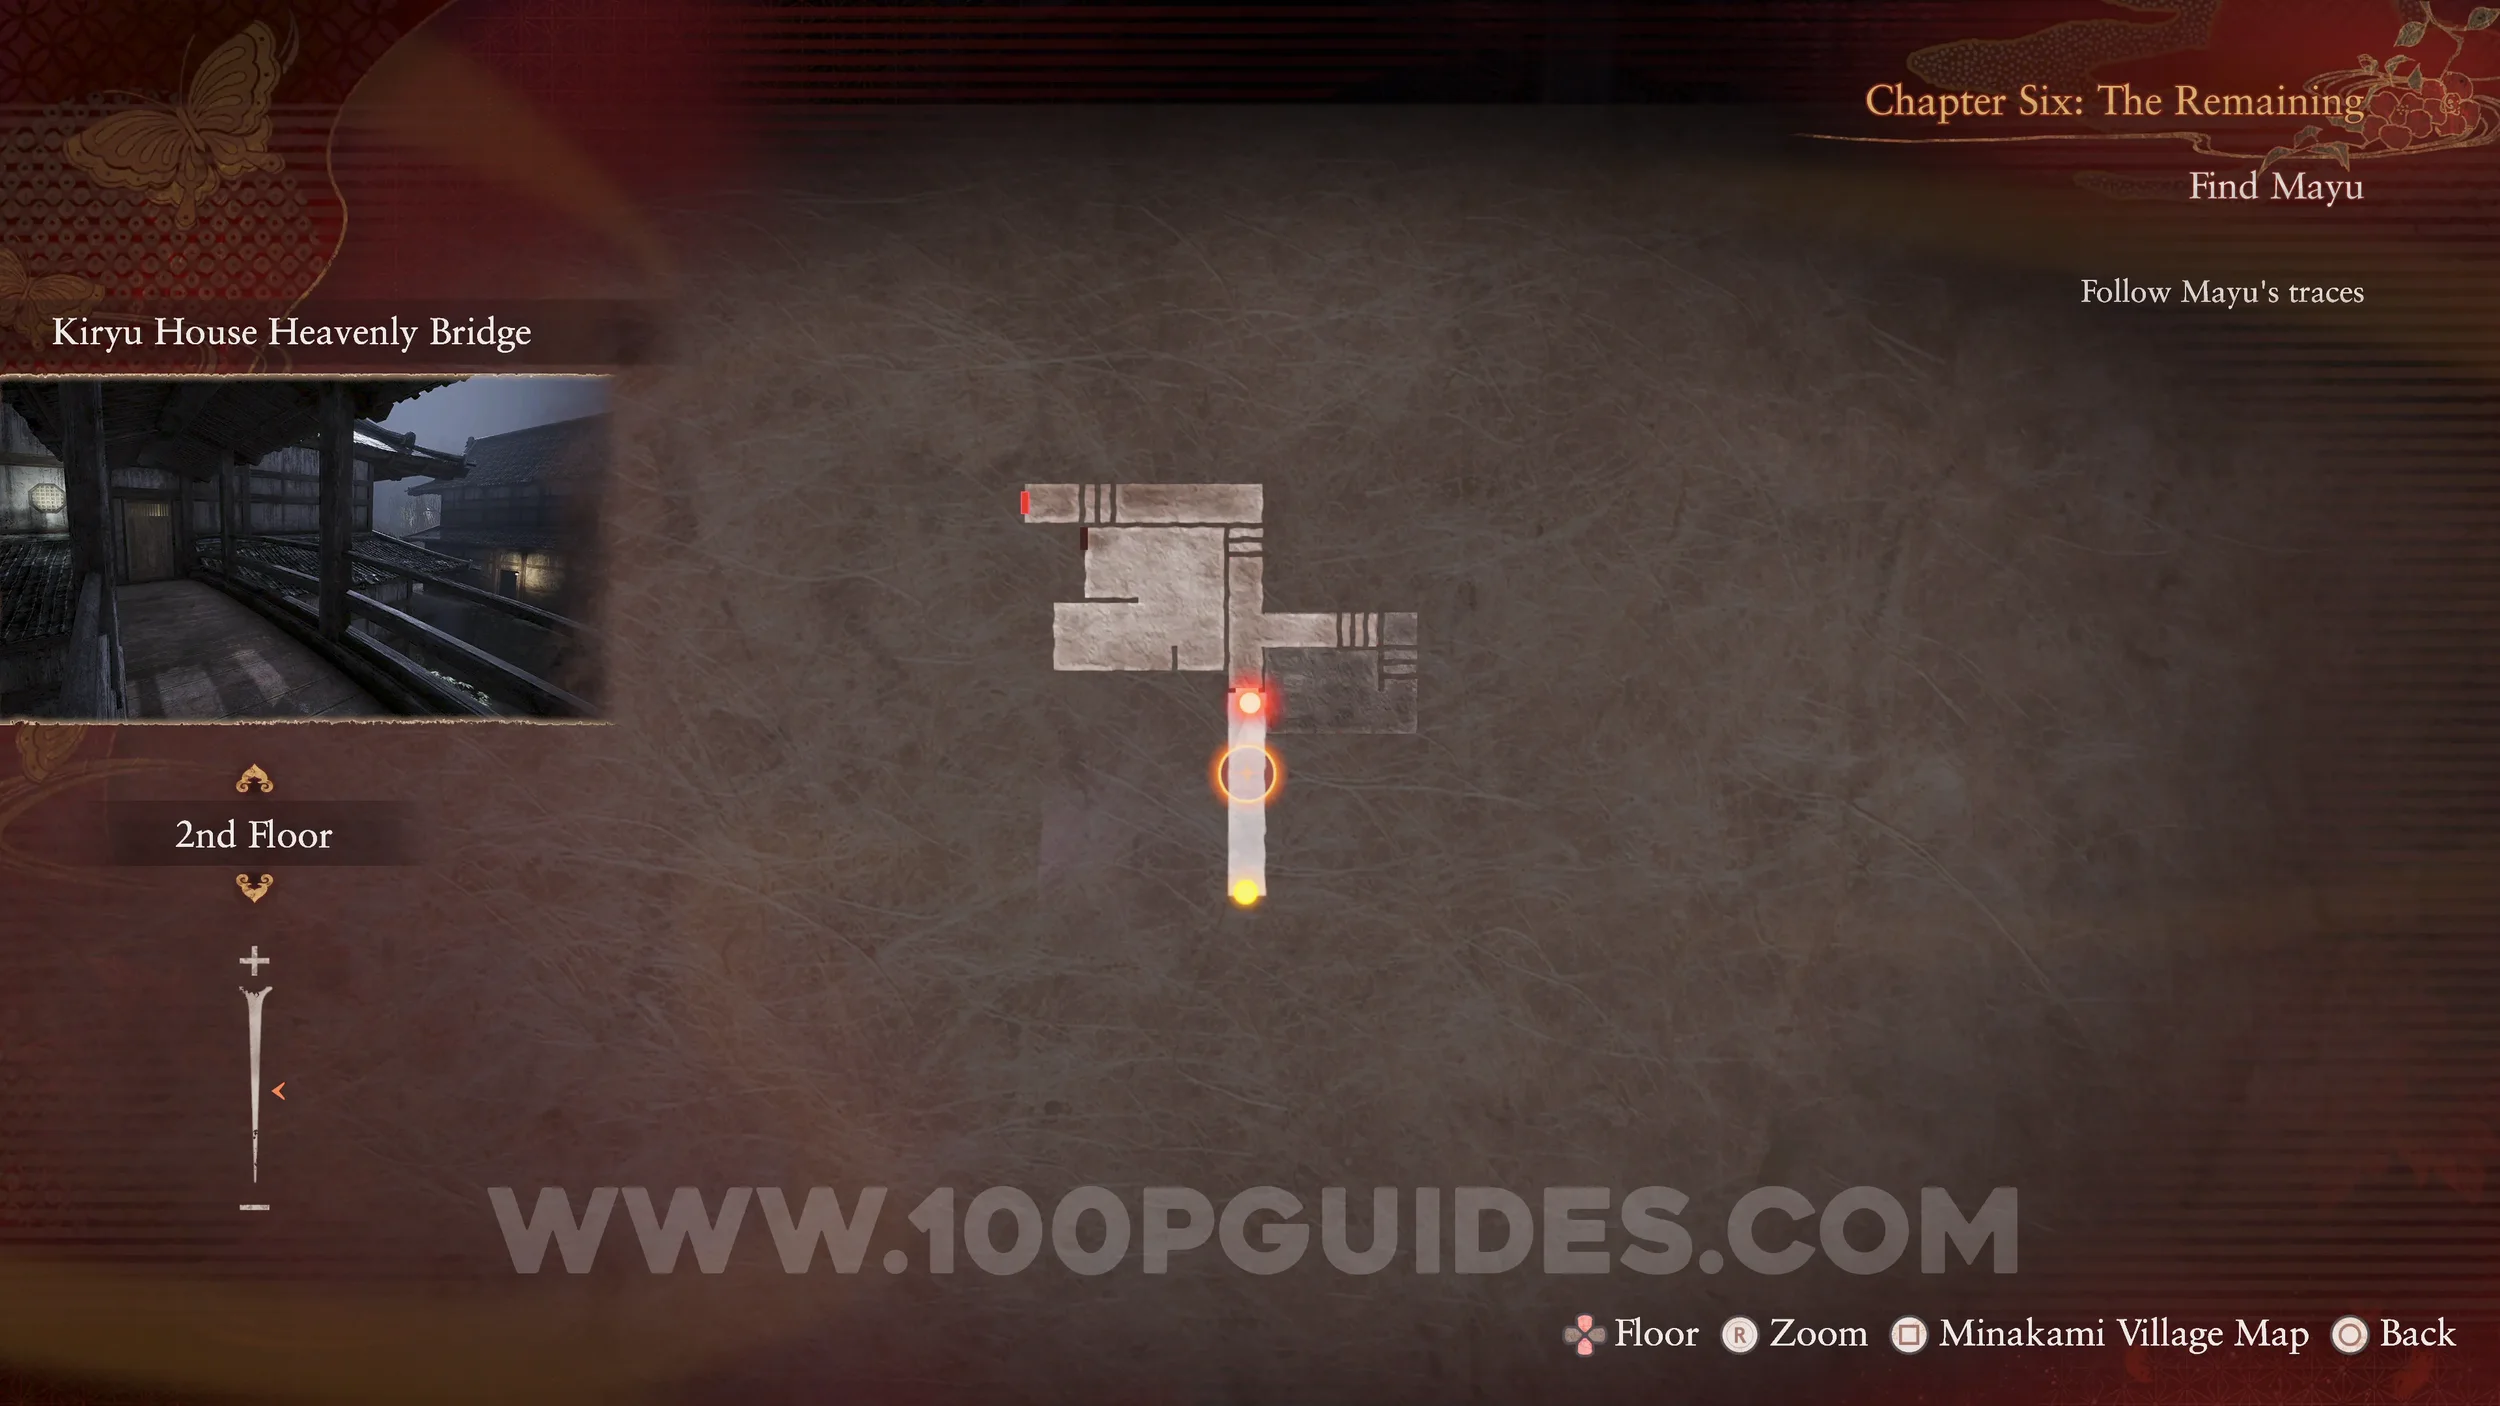
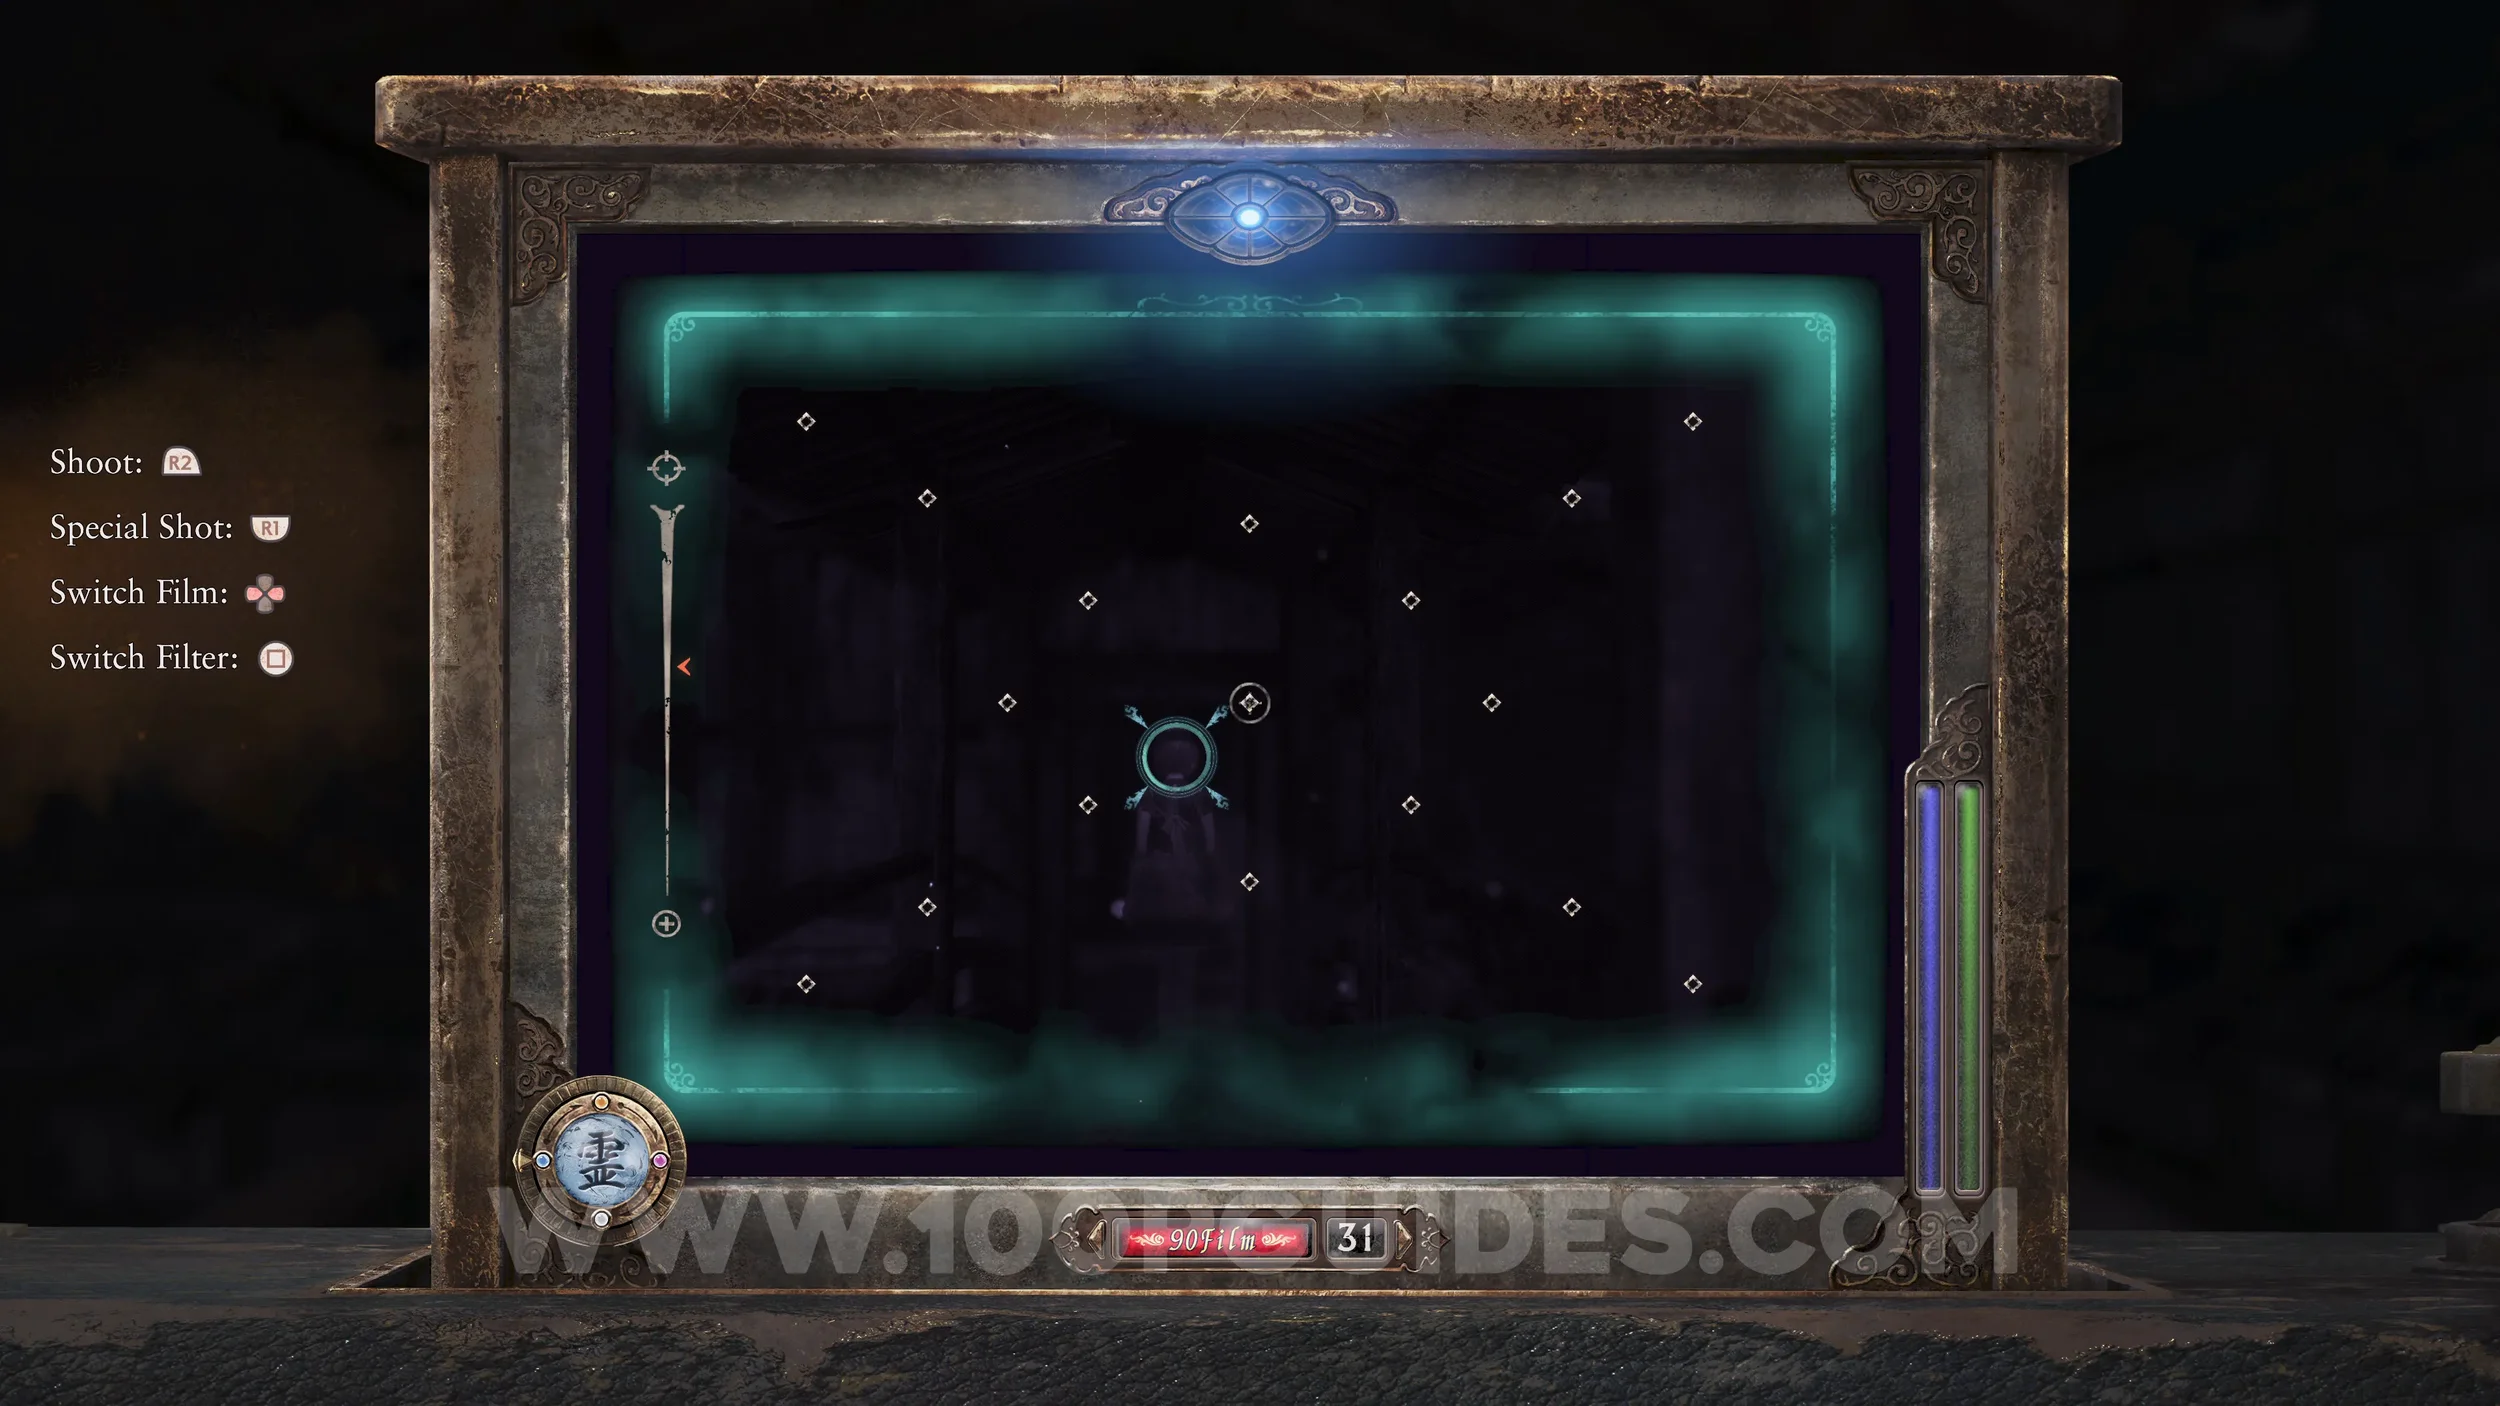
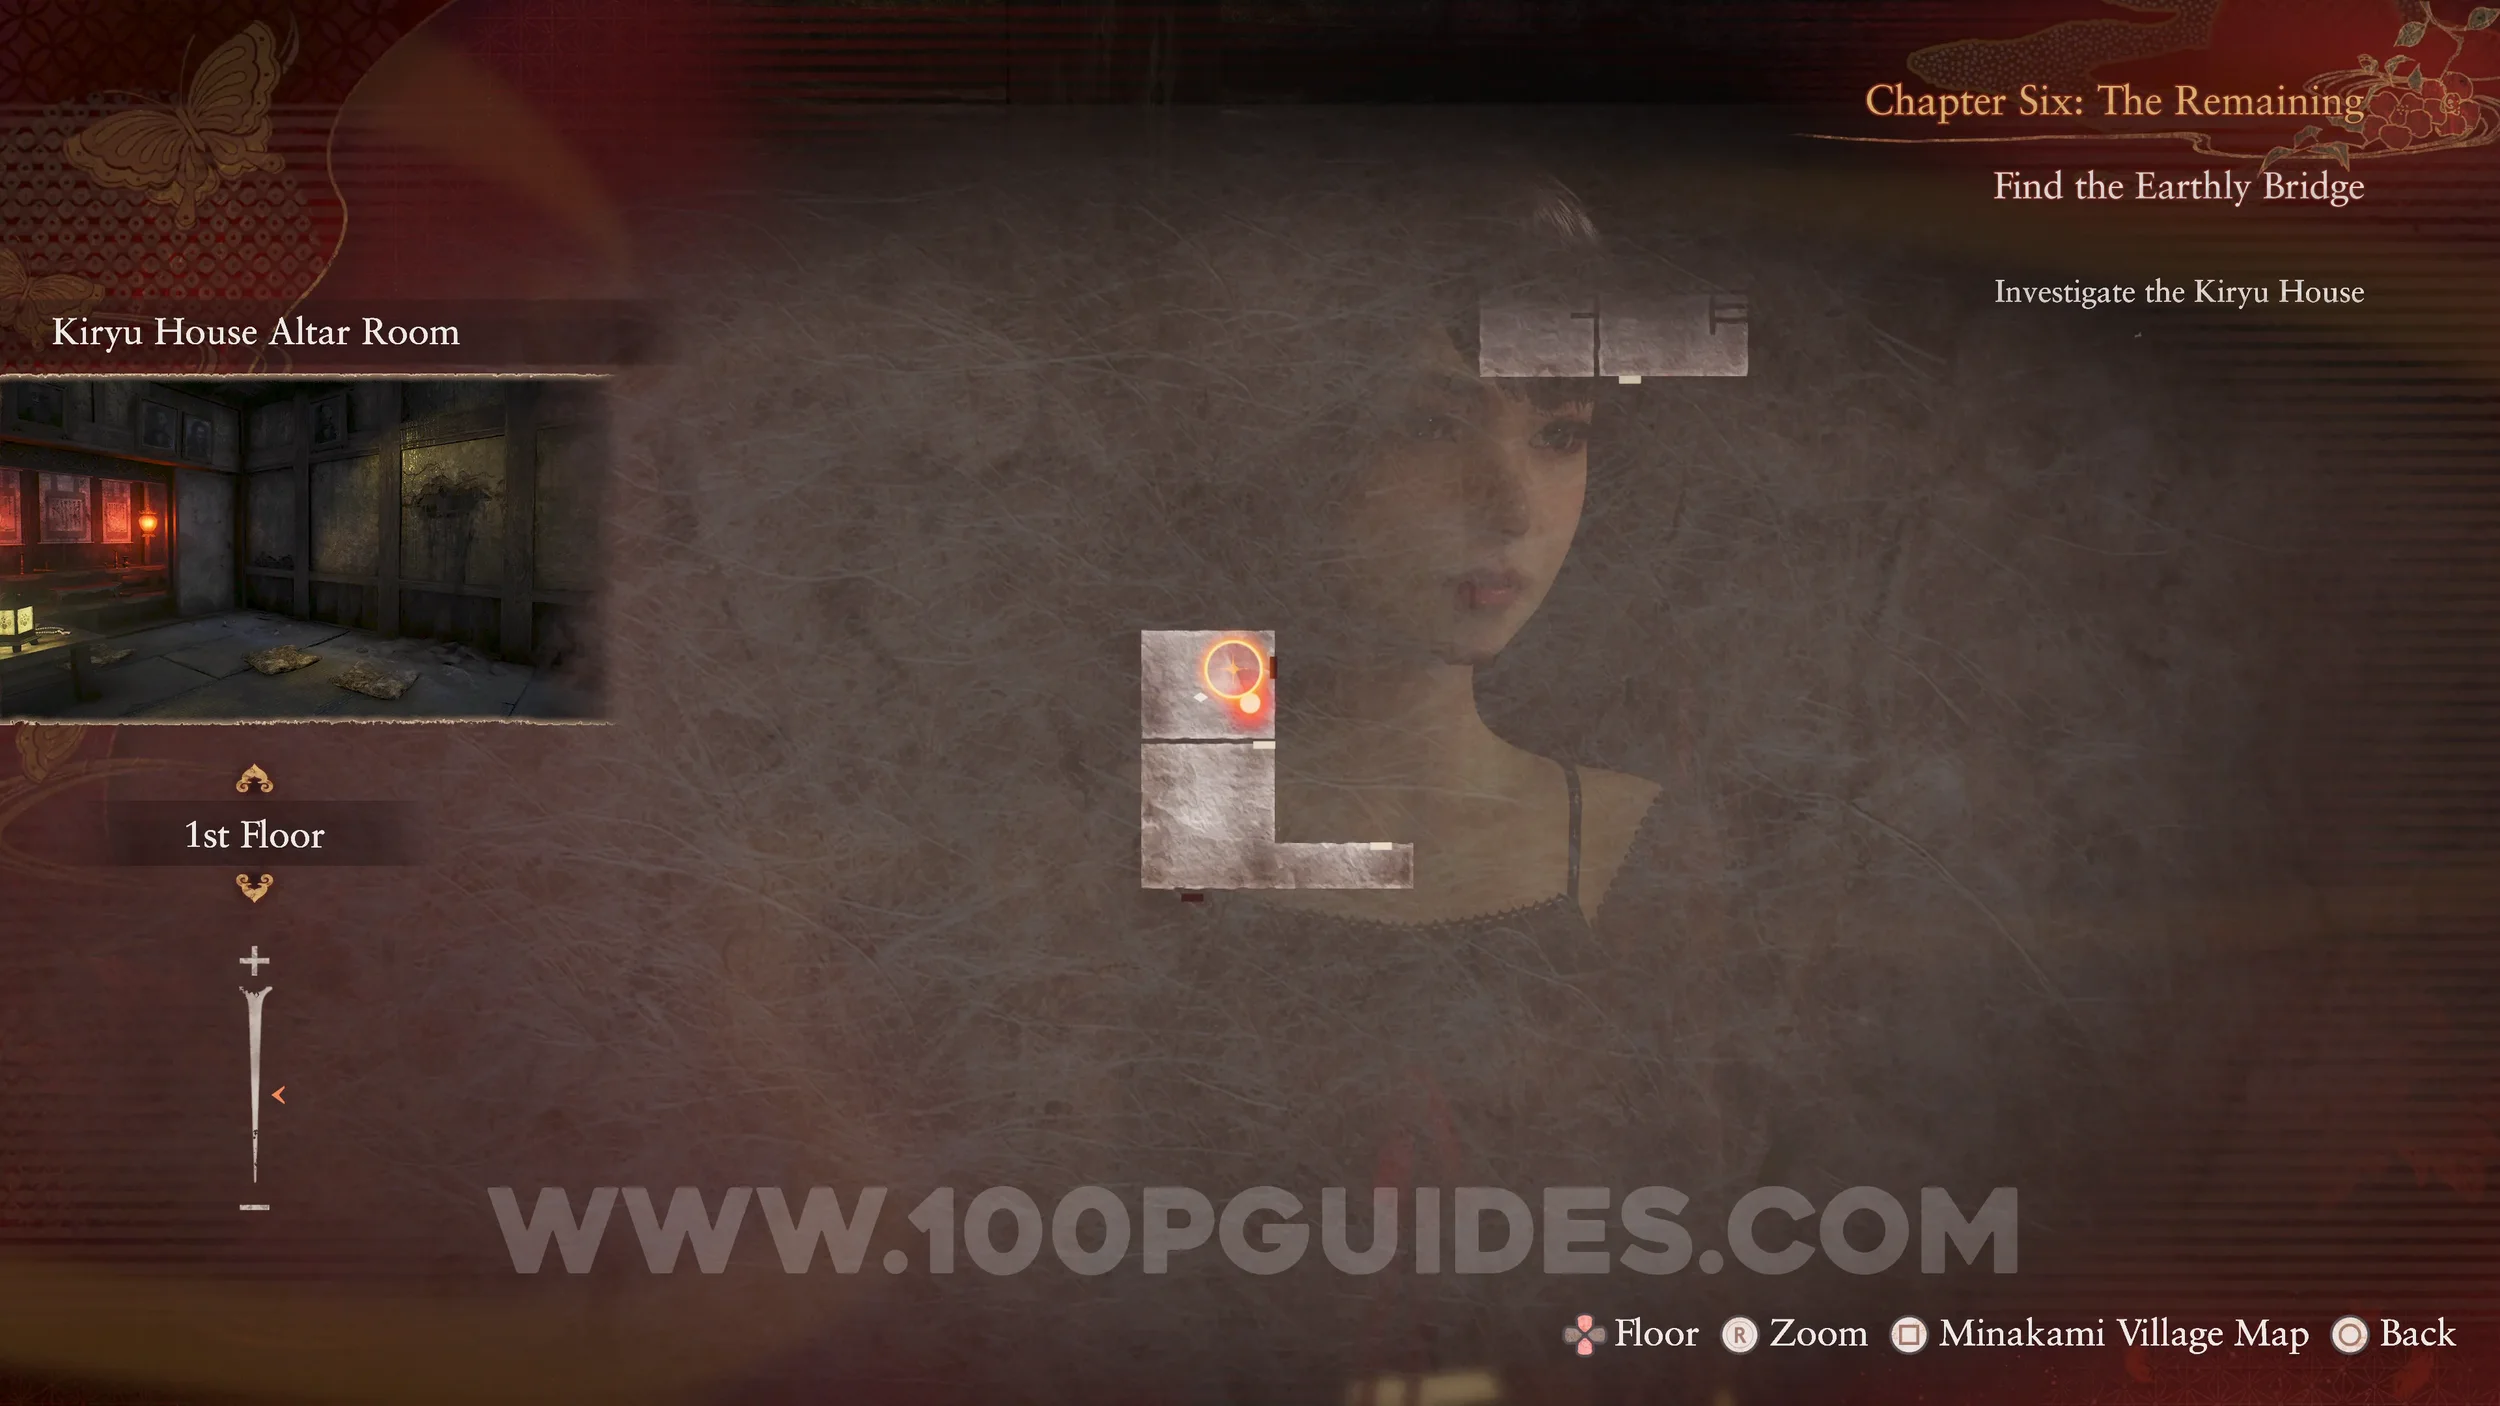
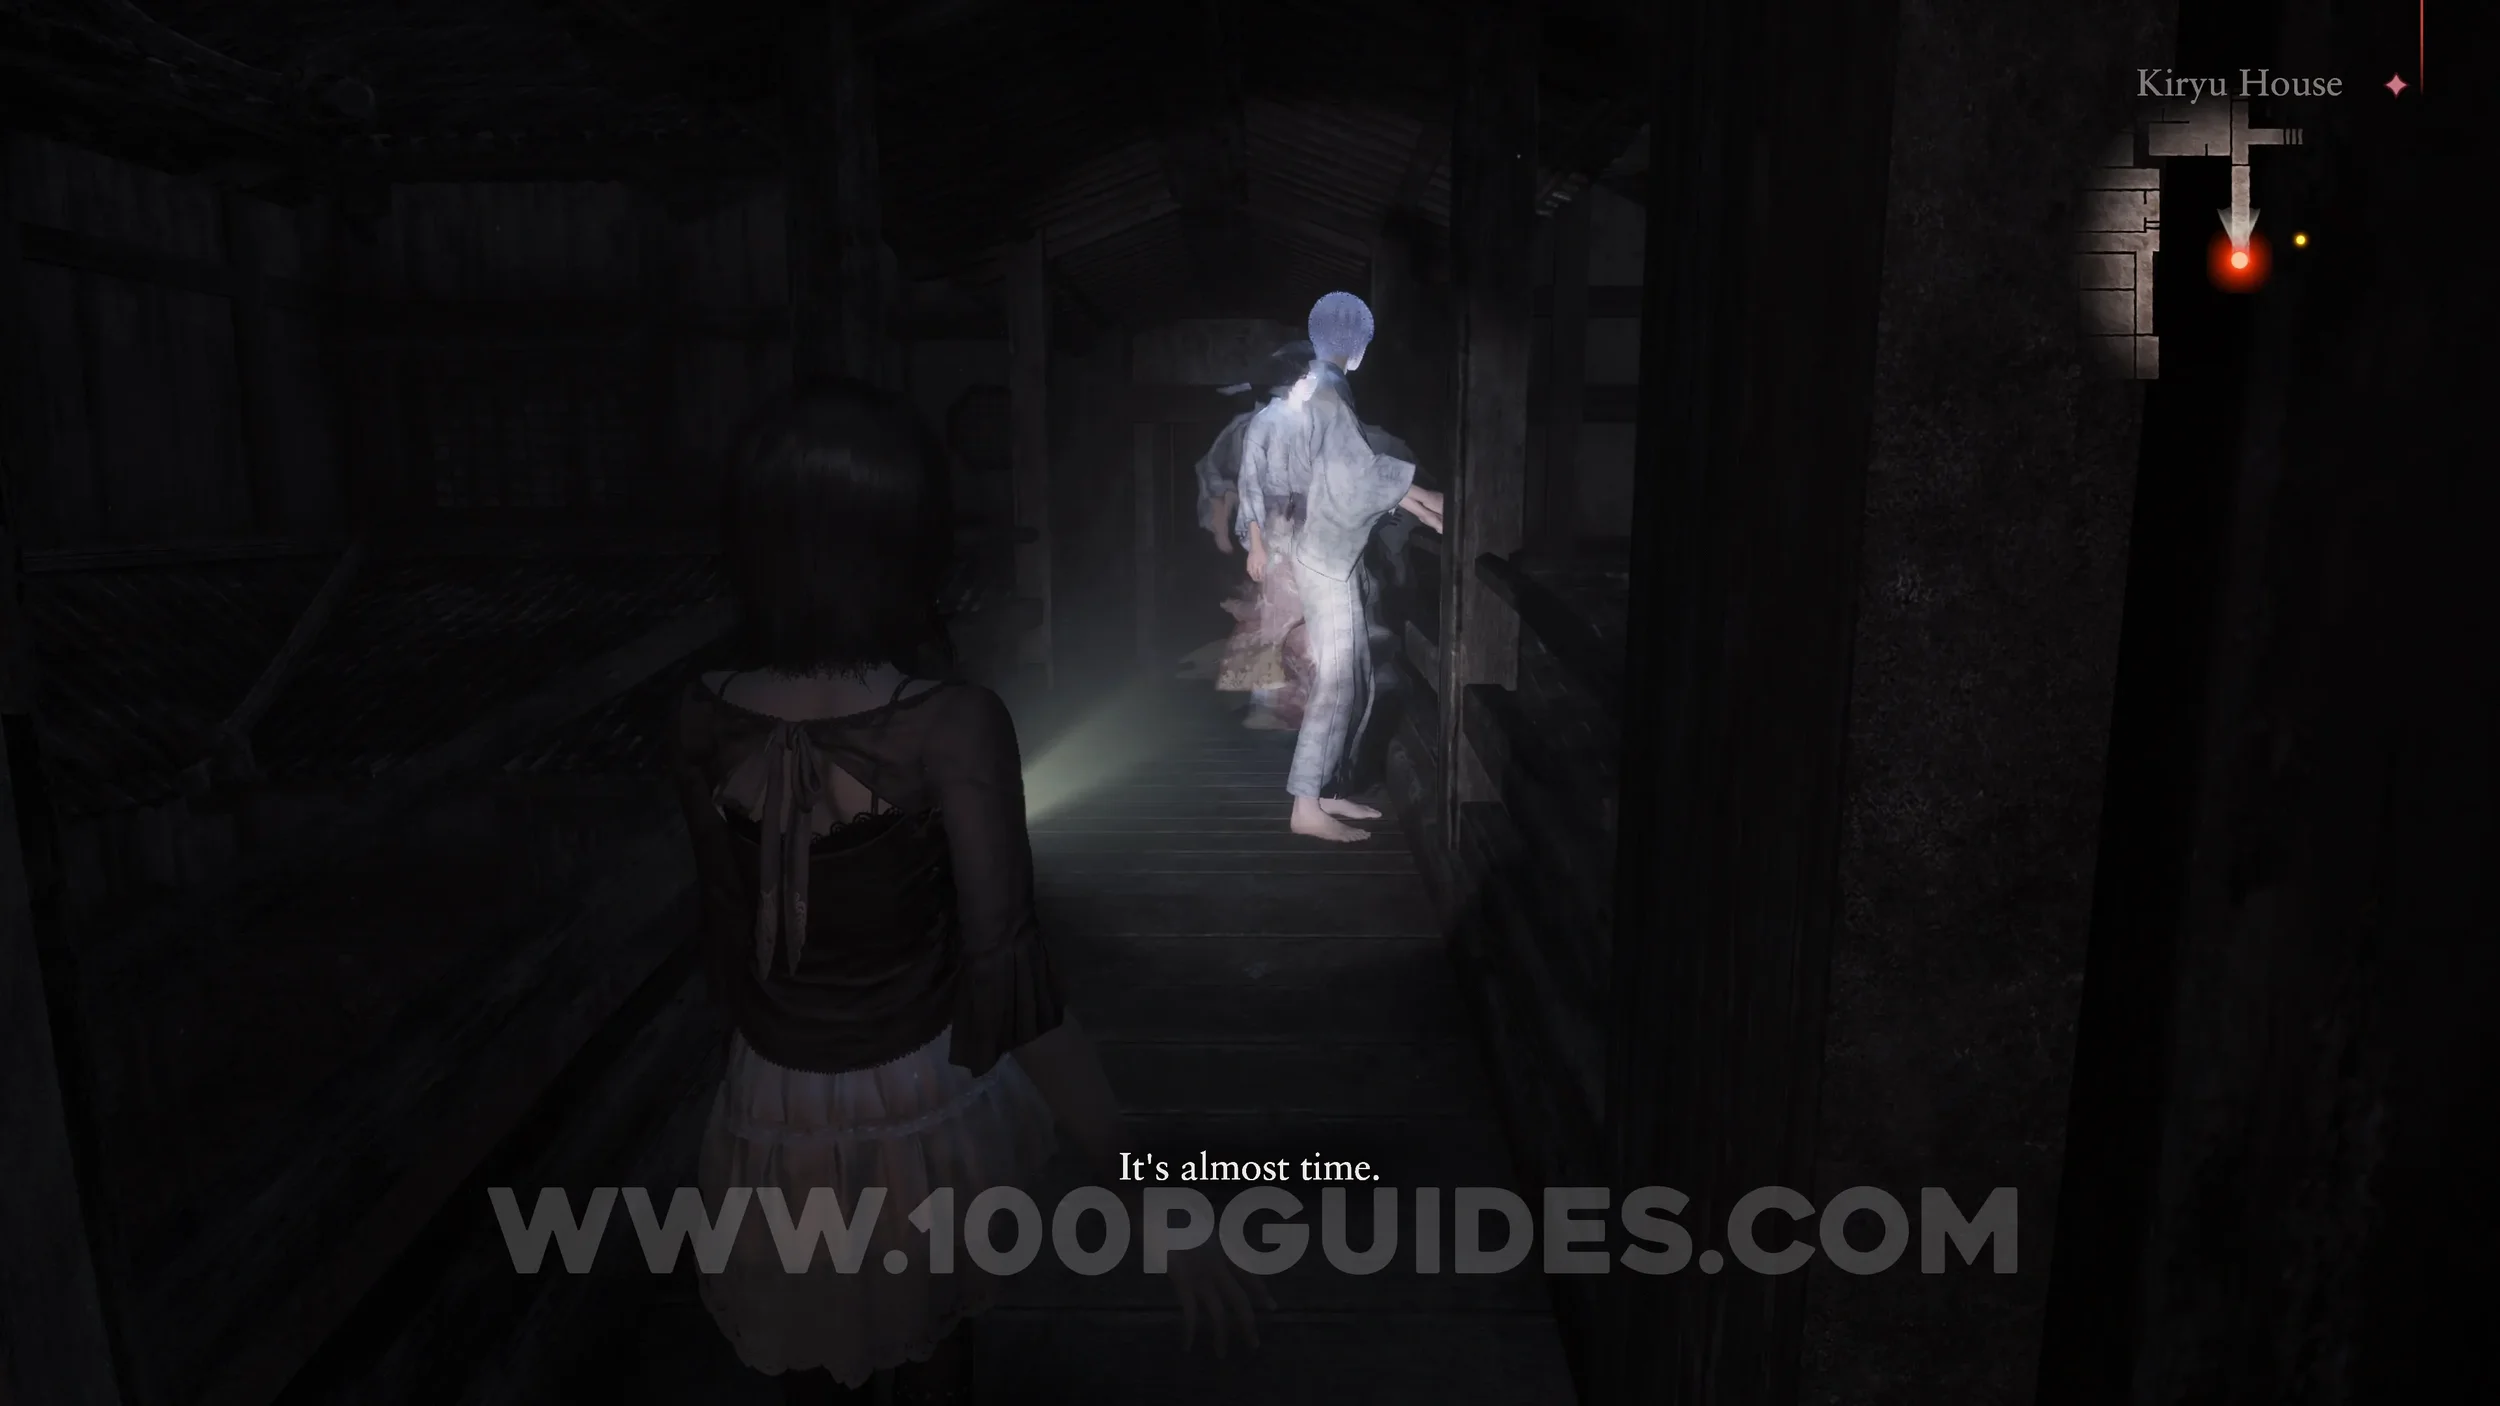
Specter #111 - 072 Mayu on the Heavenly Bridge. Will be in front of you after going through the now-open door on the top floor of Kiryu House.
Wraith #16 - 013 Broken-Necked Woman. Story related. She will attack after you try the locked door on the bridge and then go back through the door behind you.
Specter #112 - 073 Man Approaching Study. After defeating the wraith, go through the door and look into the room on your left.
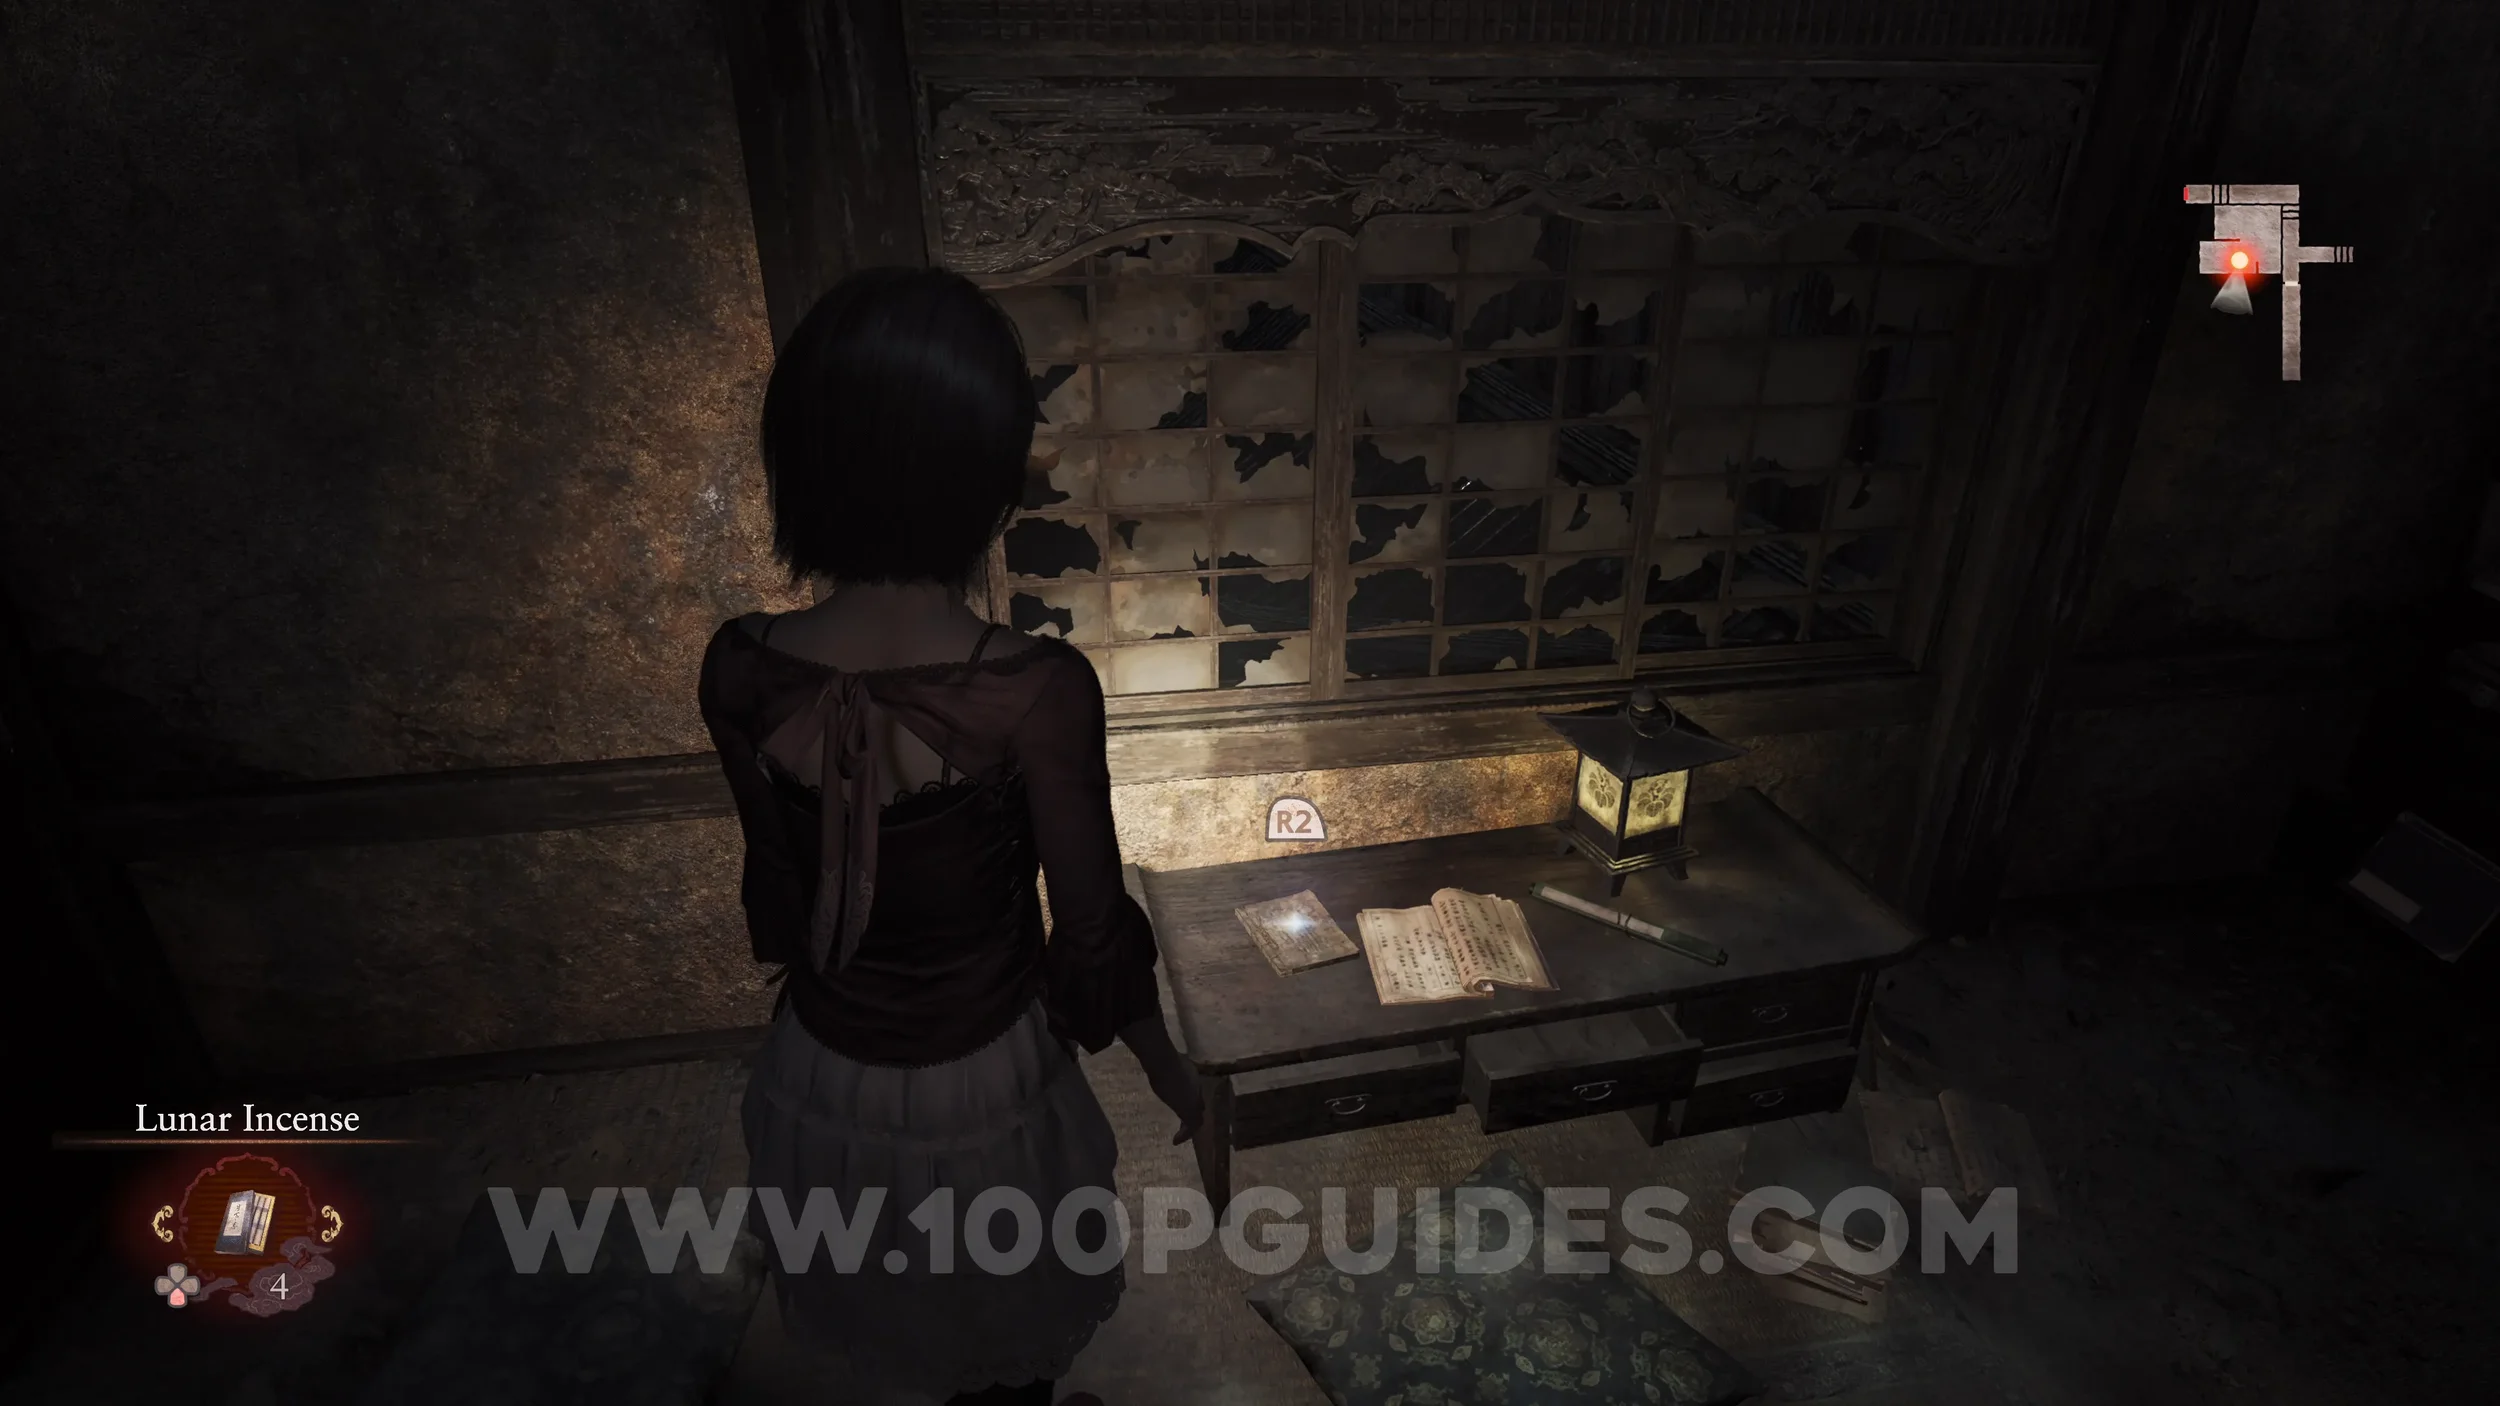
Revenant #7 - 002 Man in Study. On the table in the same location as the previous specter.
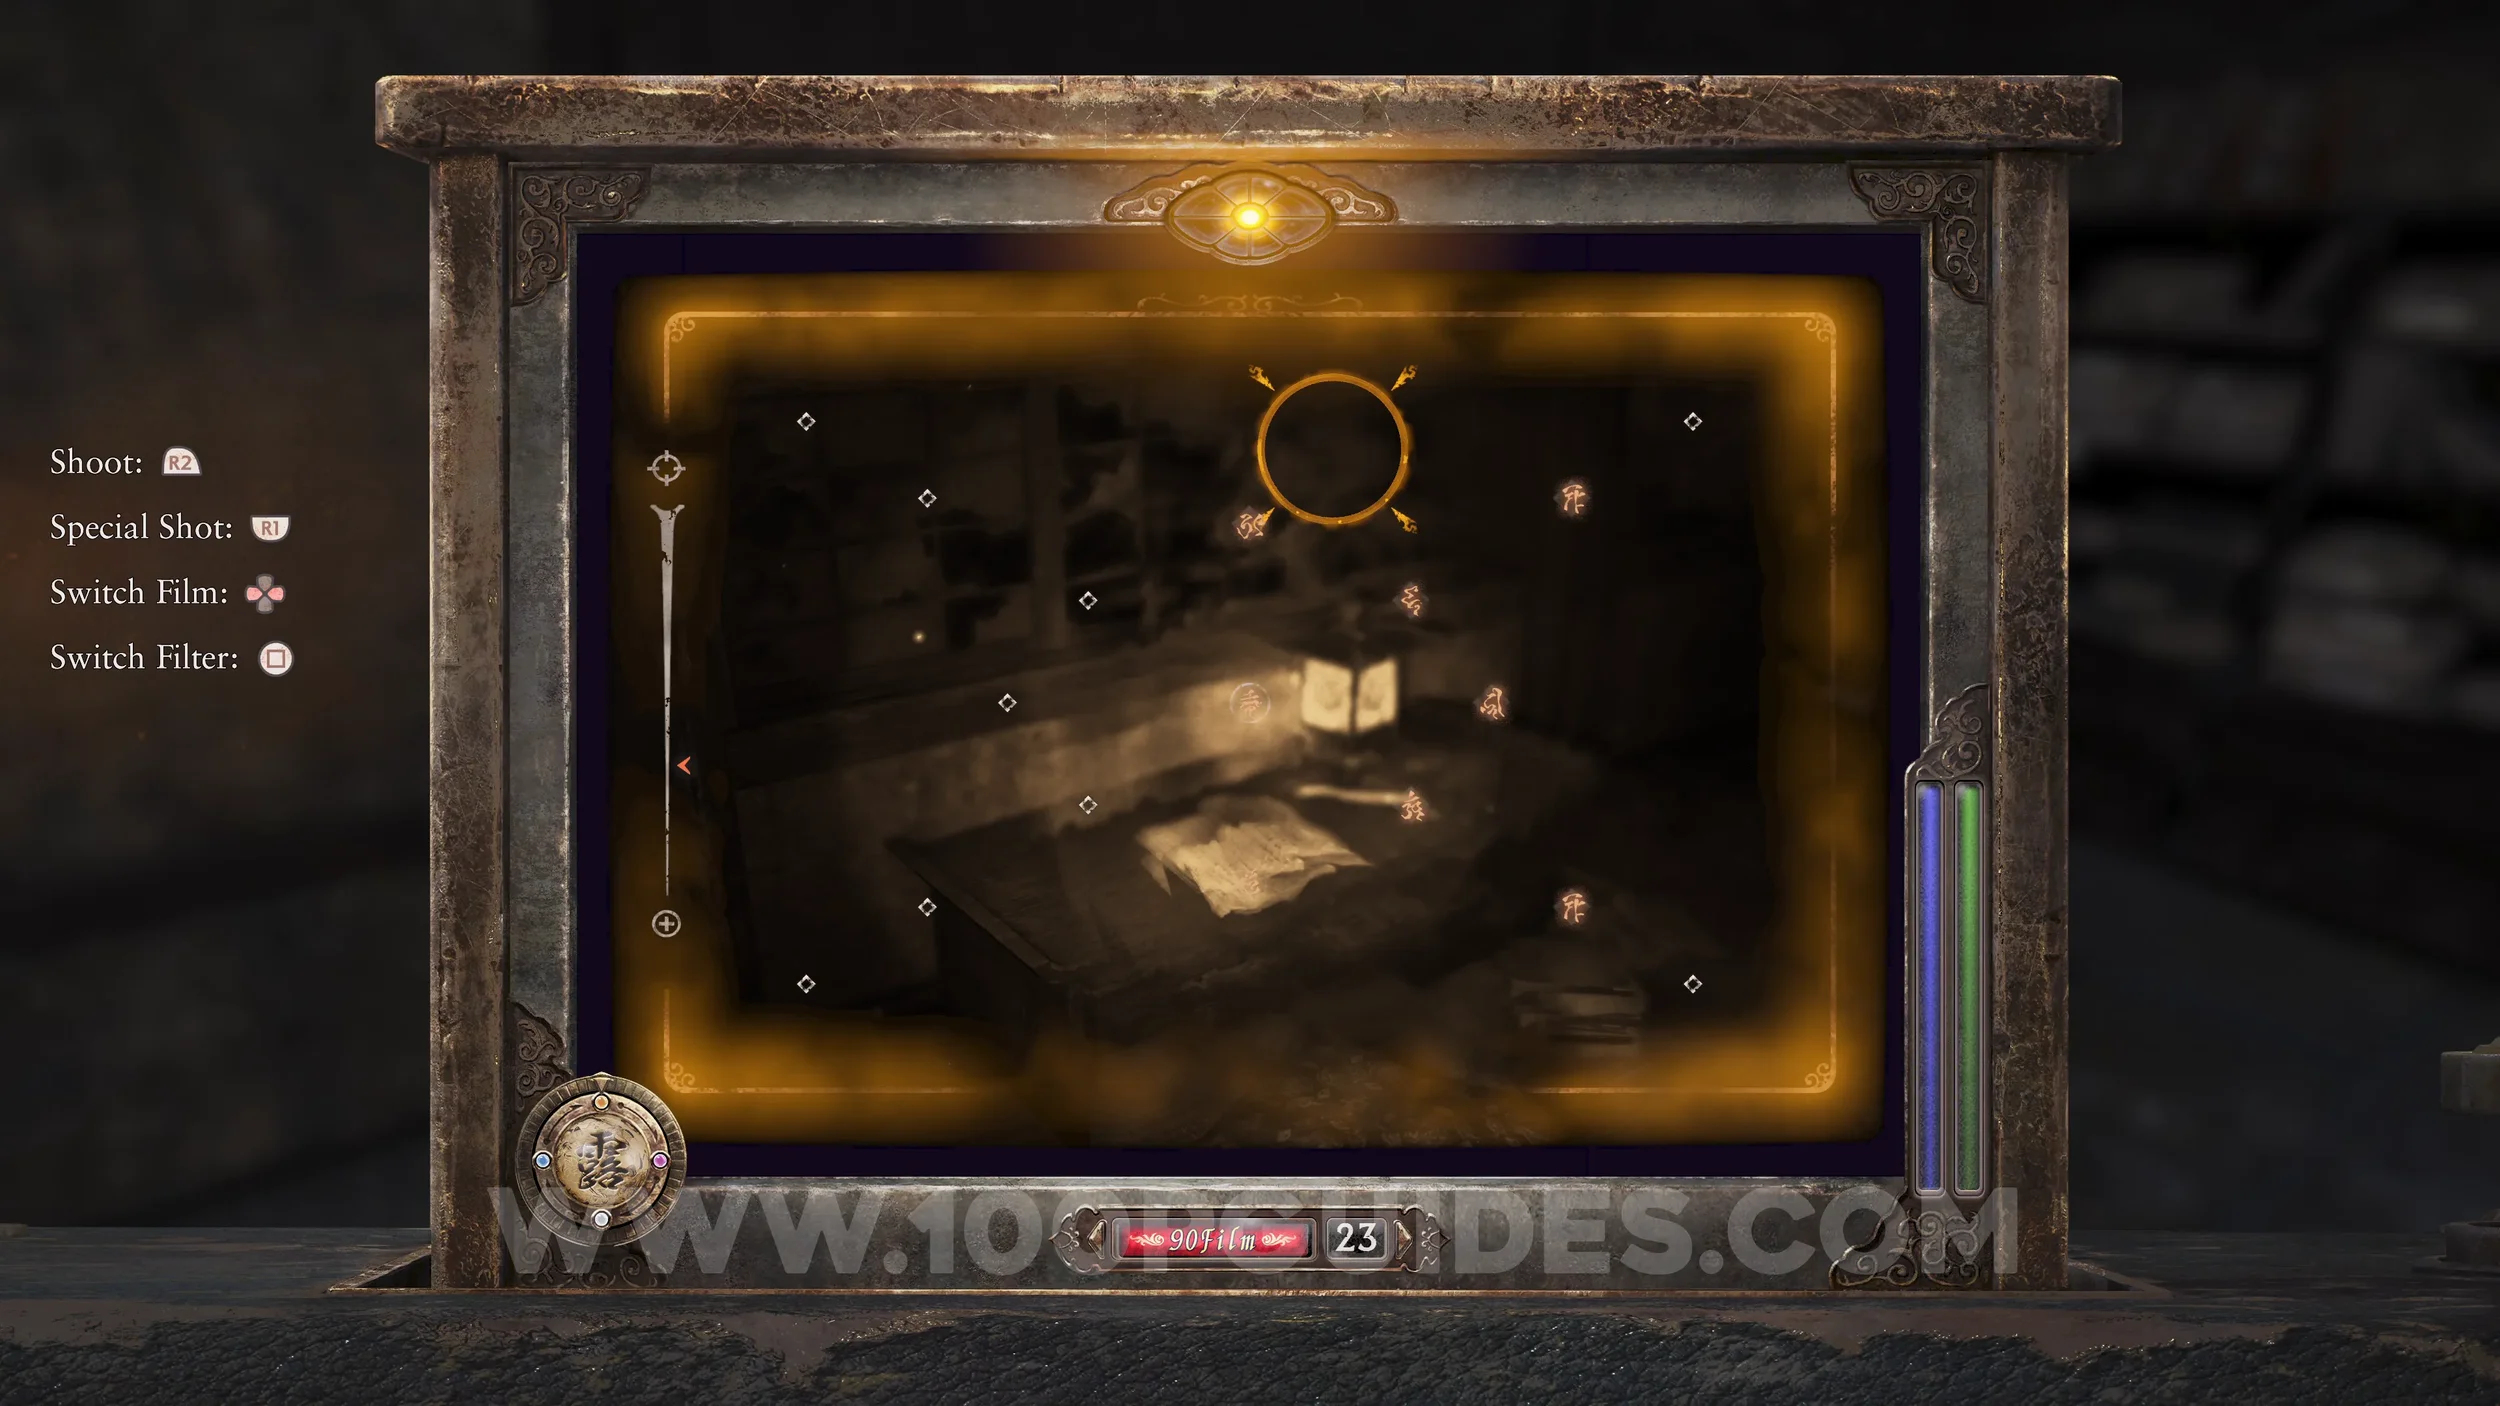
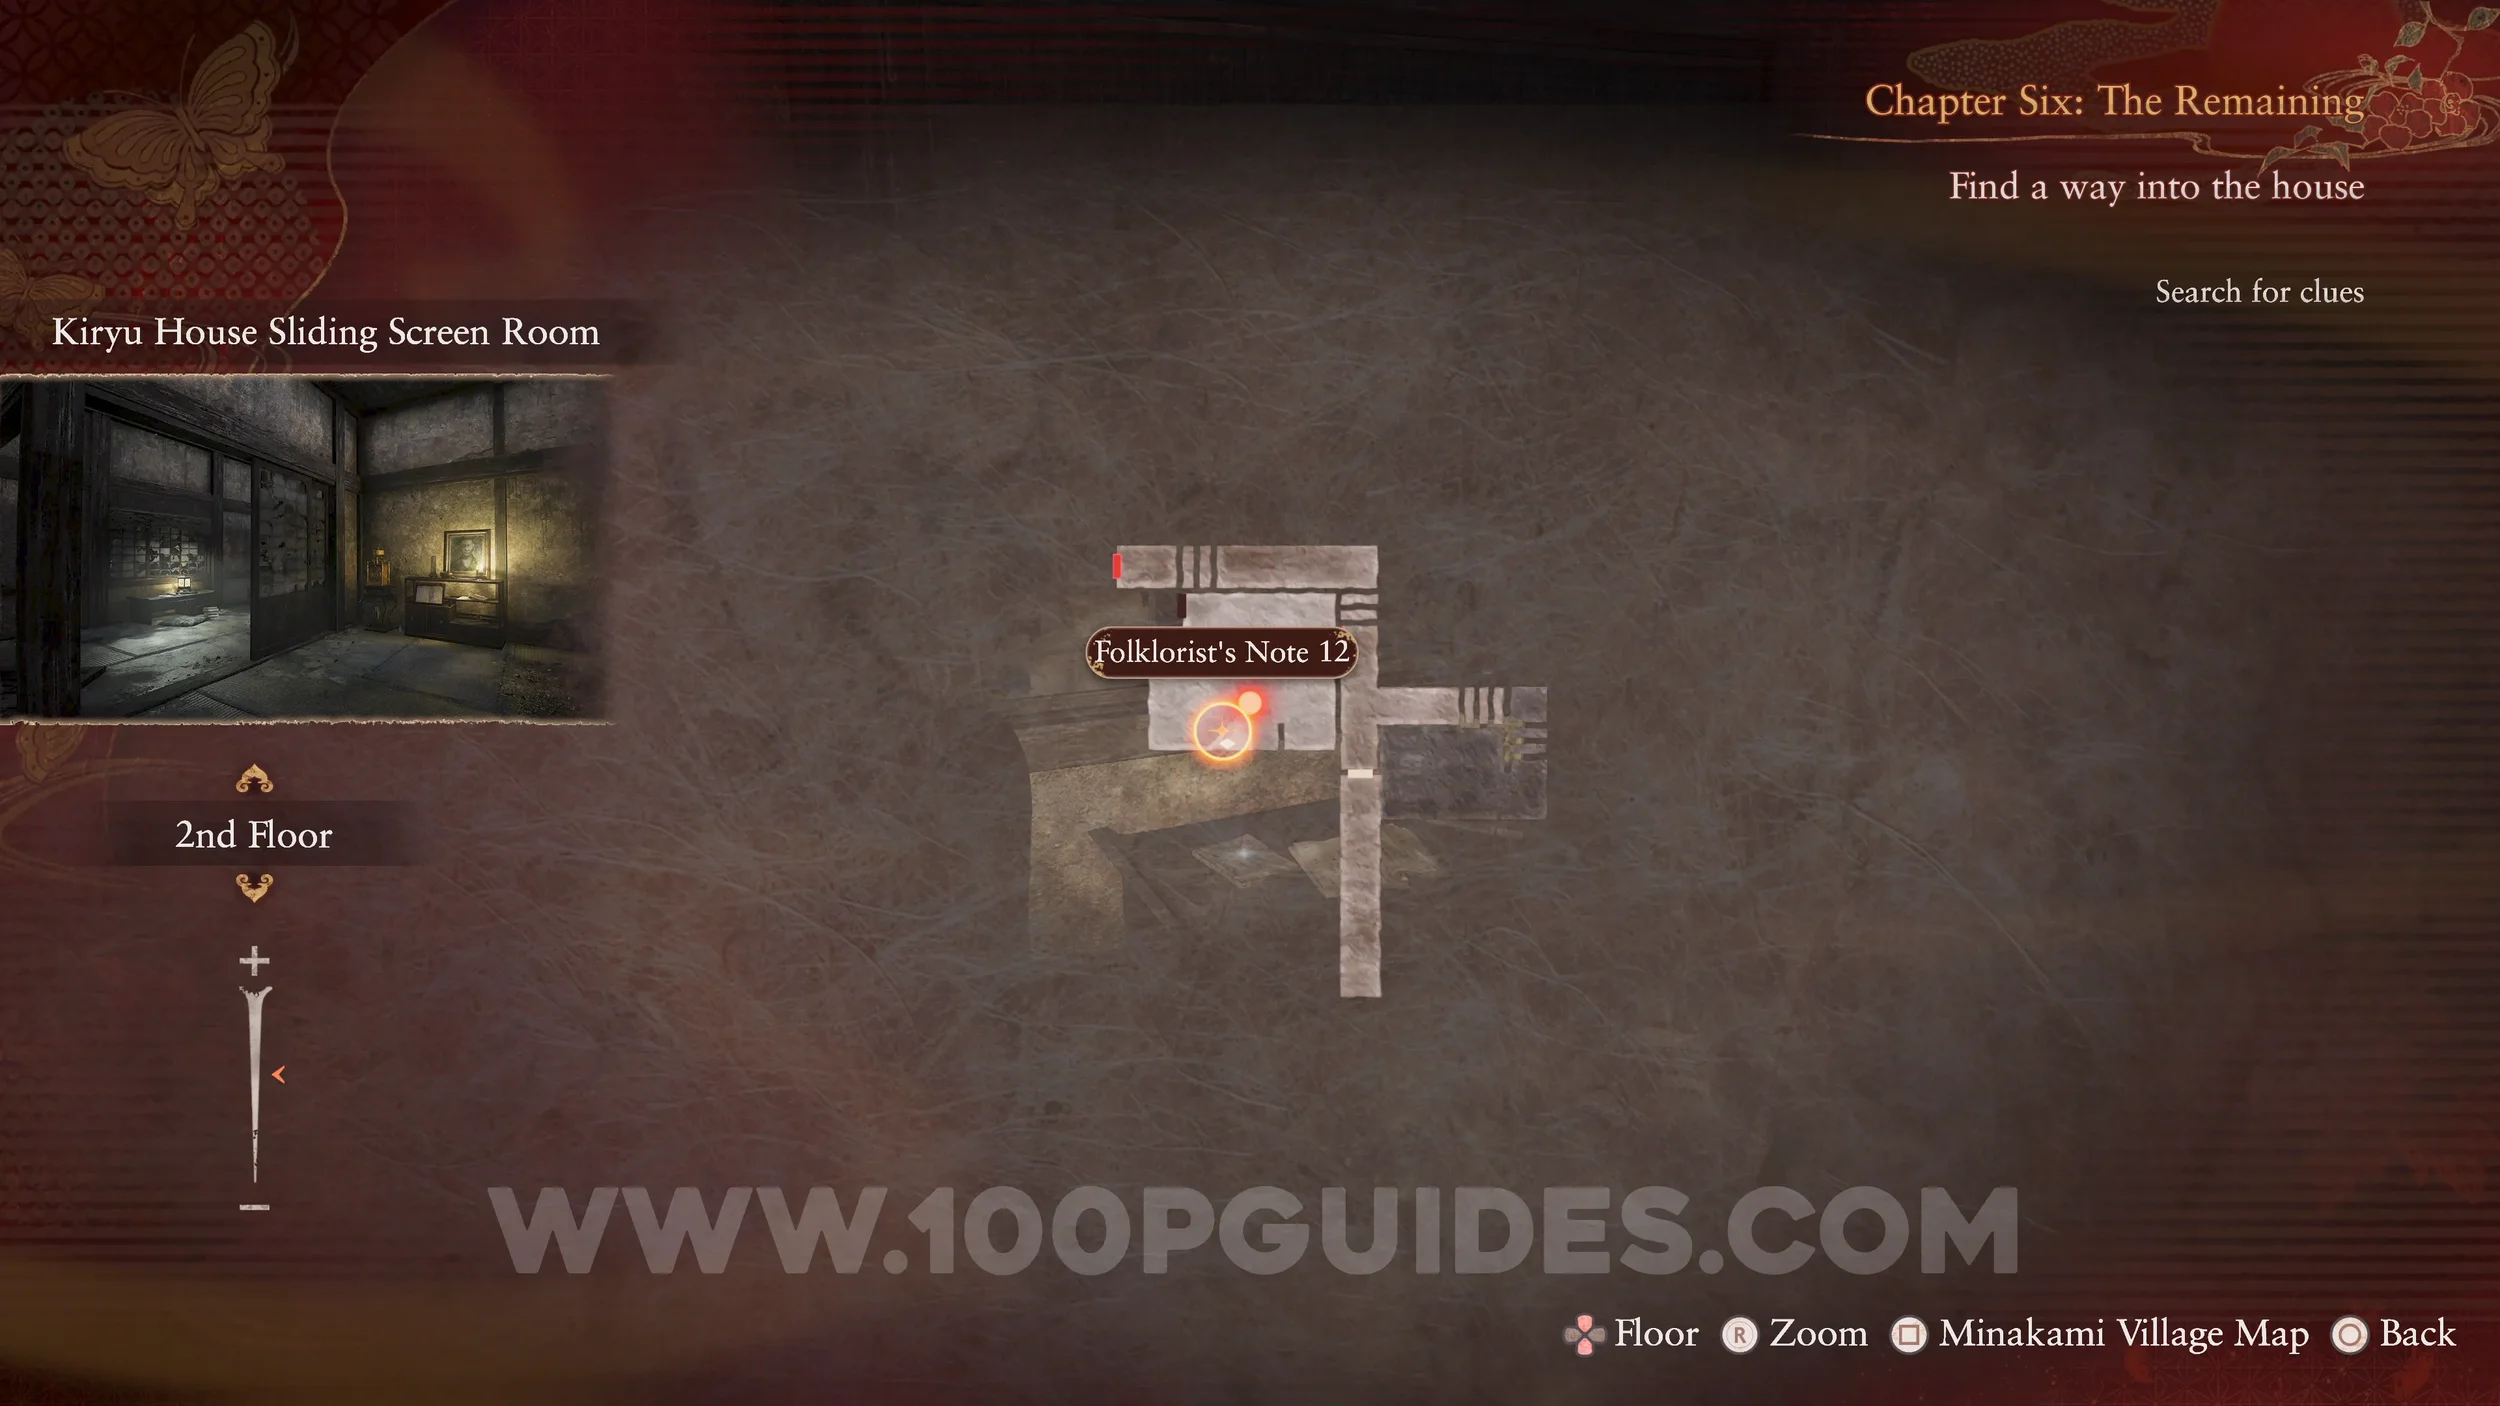
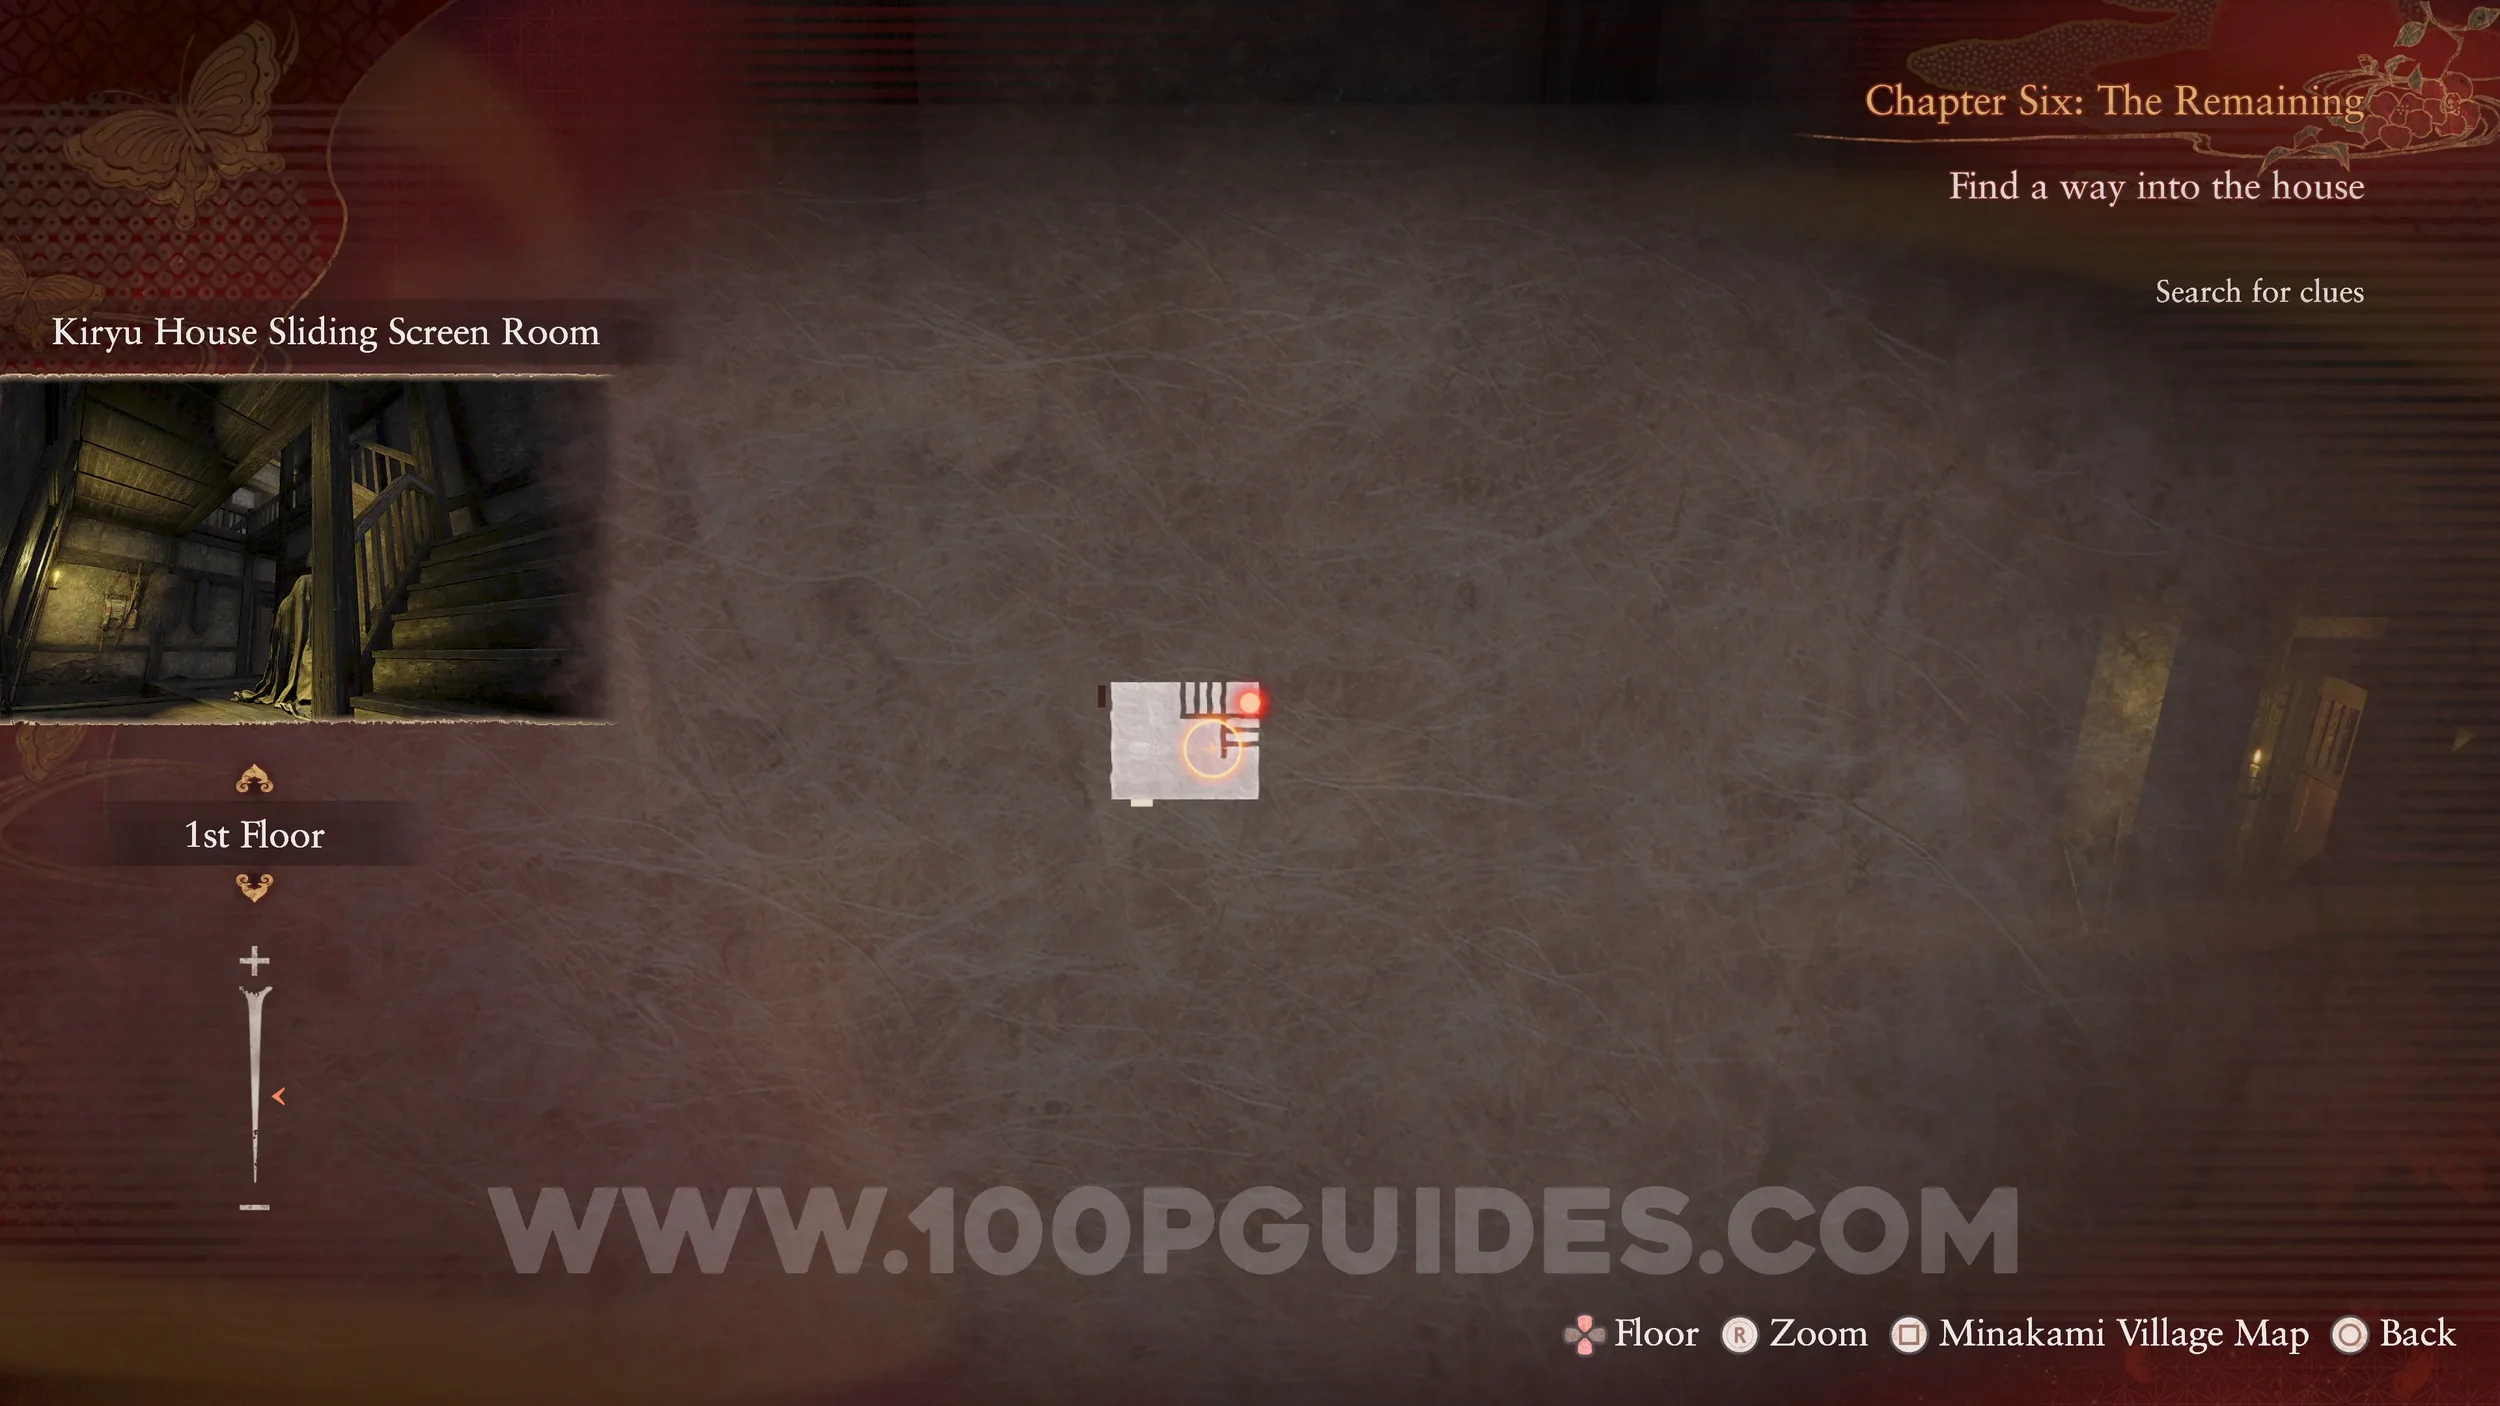
Document #59 - Folklorist’s Note 12 and Film Reel #2 (8). On the table where the previous revenant was.
Specter #113 - 074 Youth Venturing Onward. Go back downstairs and the specter will appear in front of you.
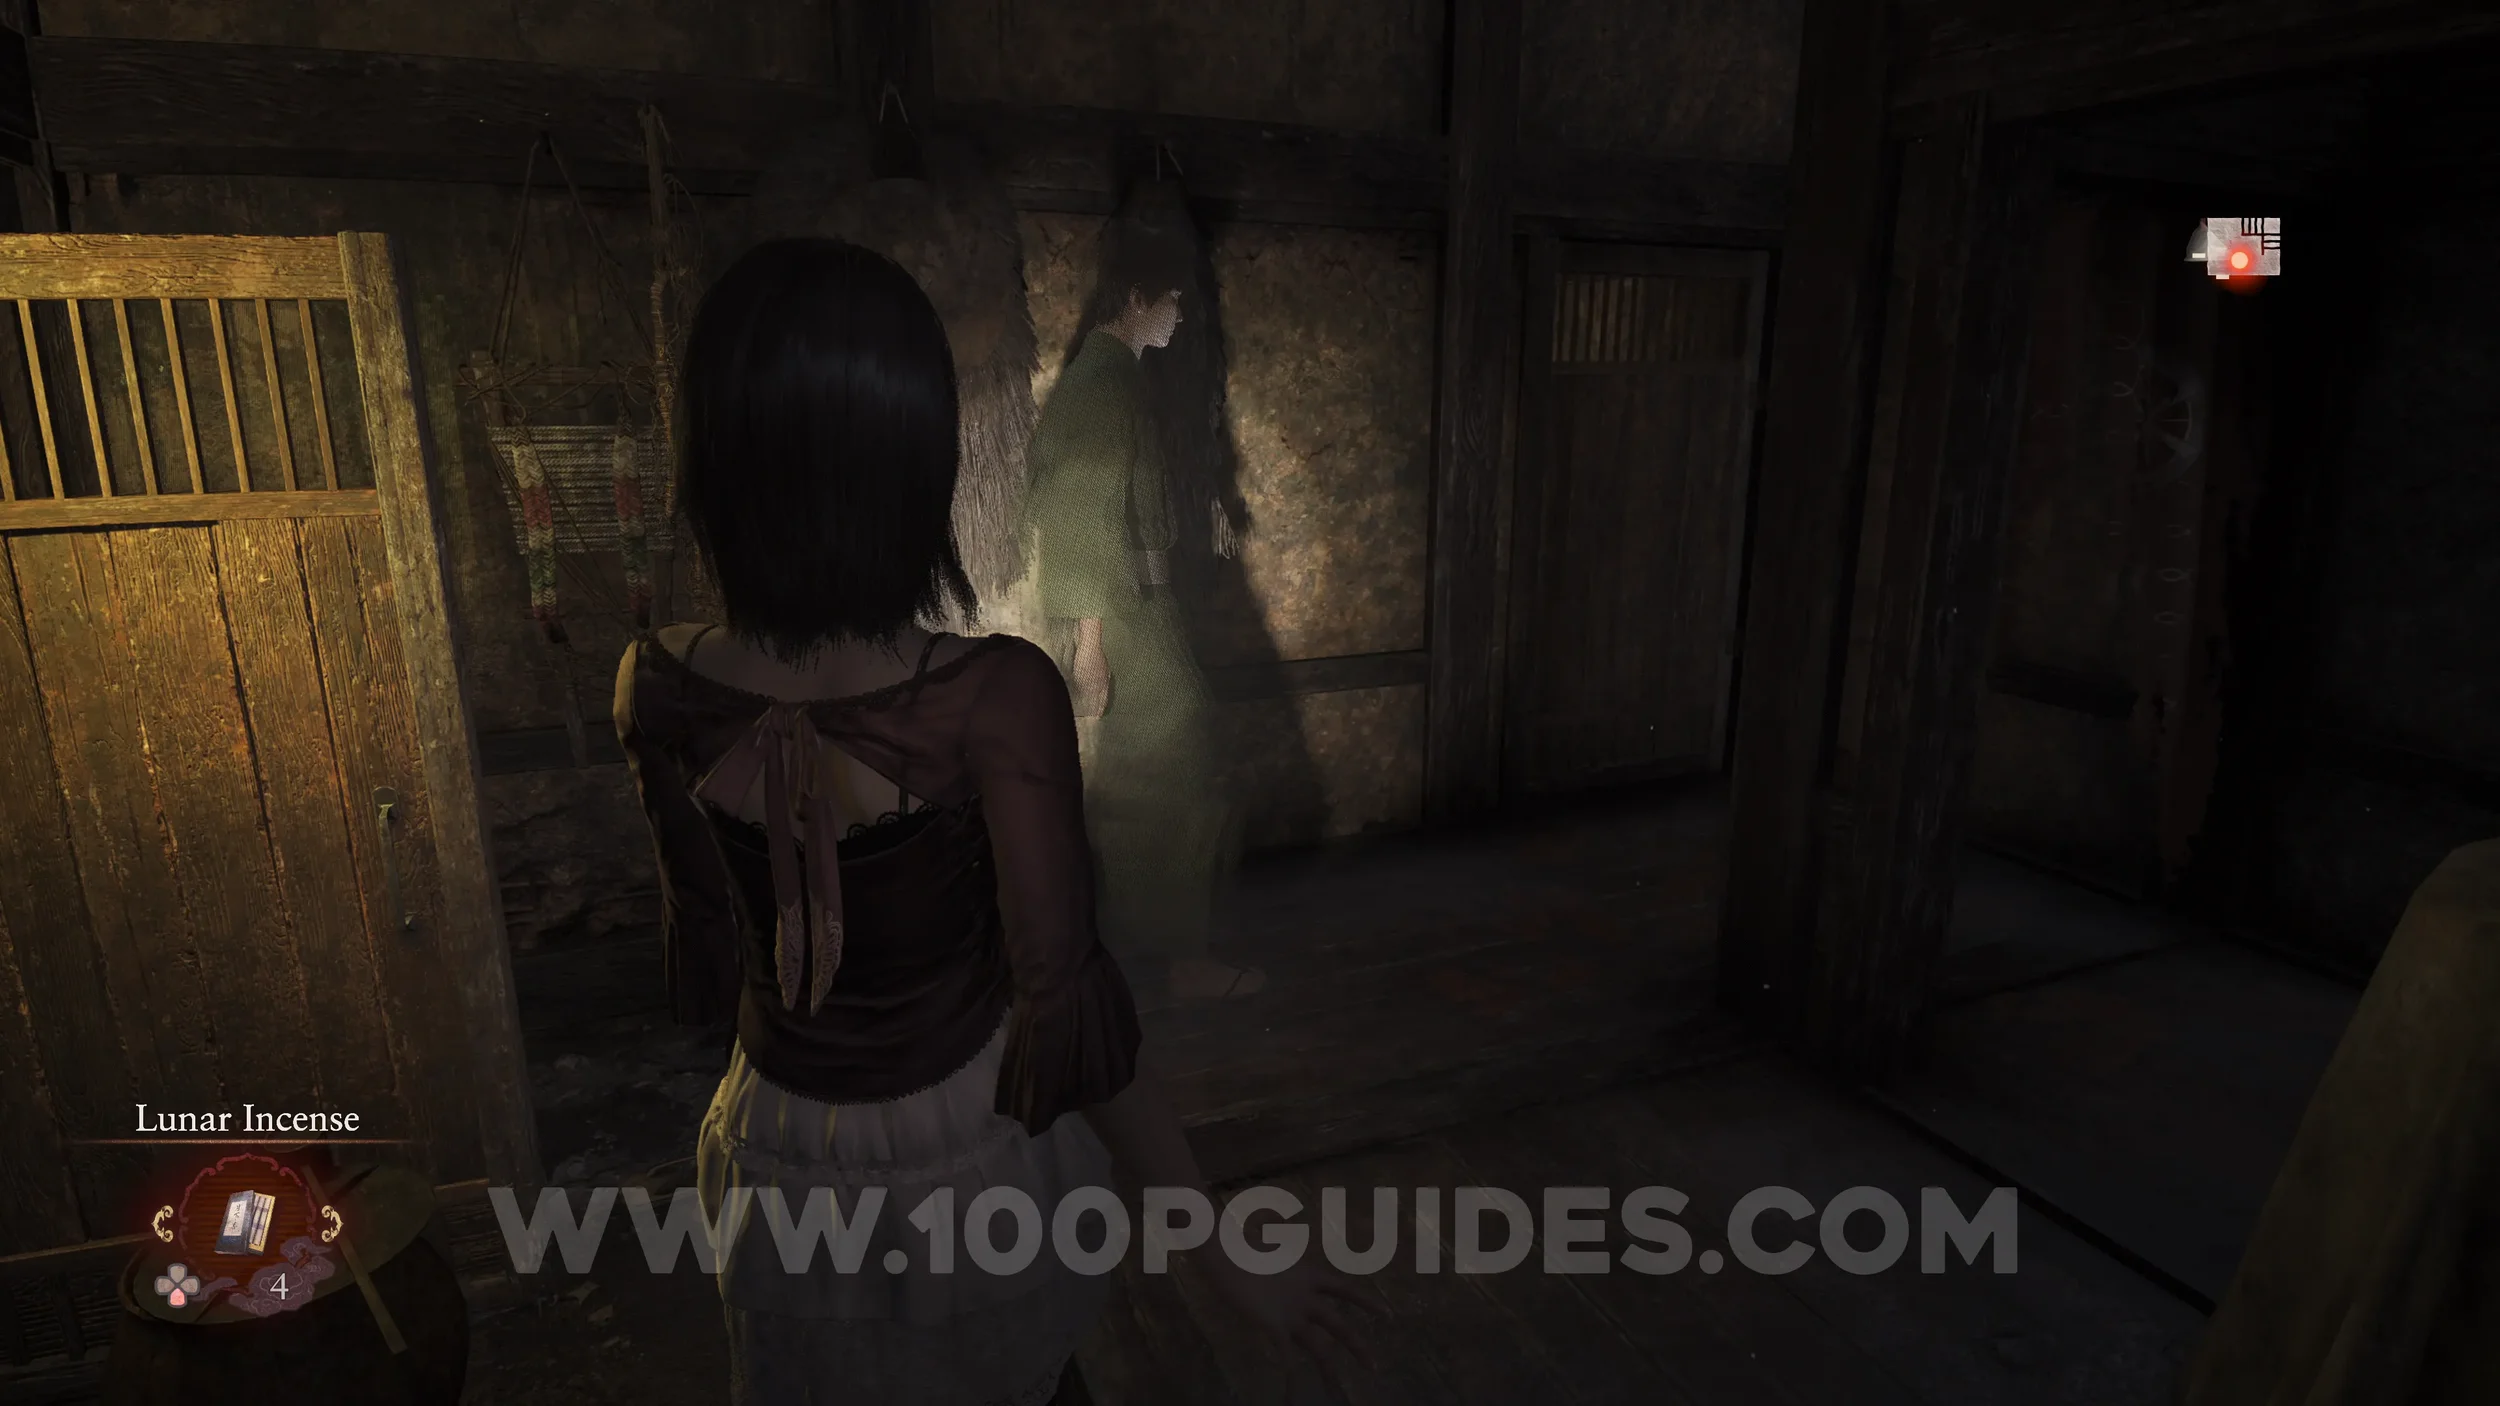
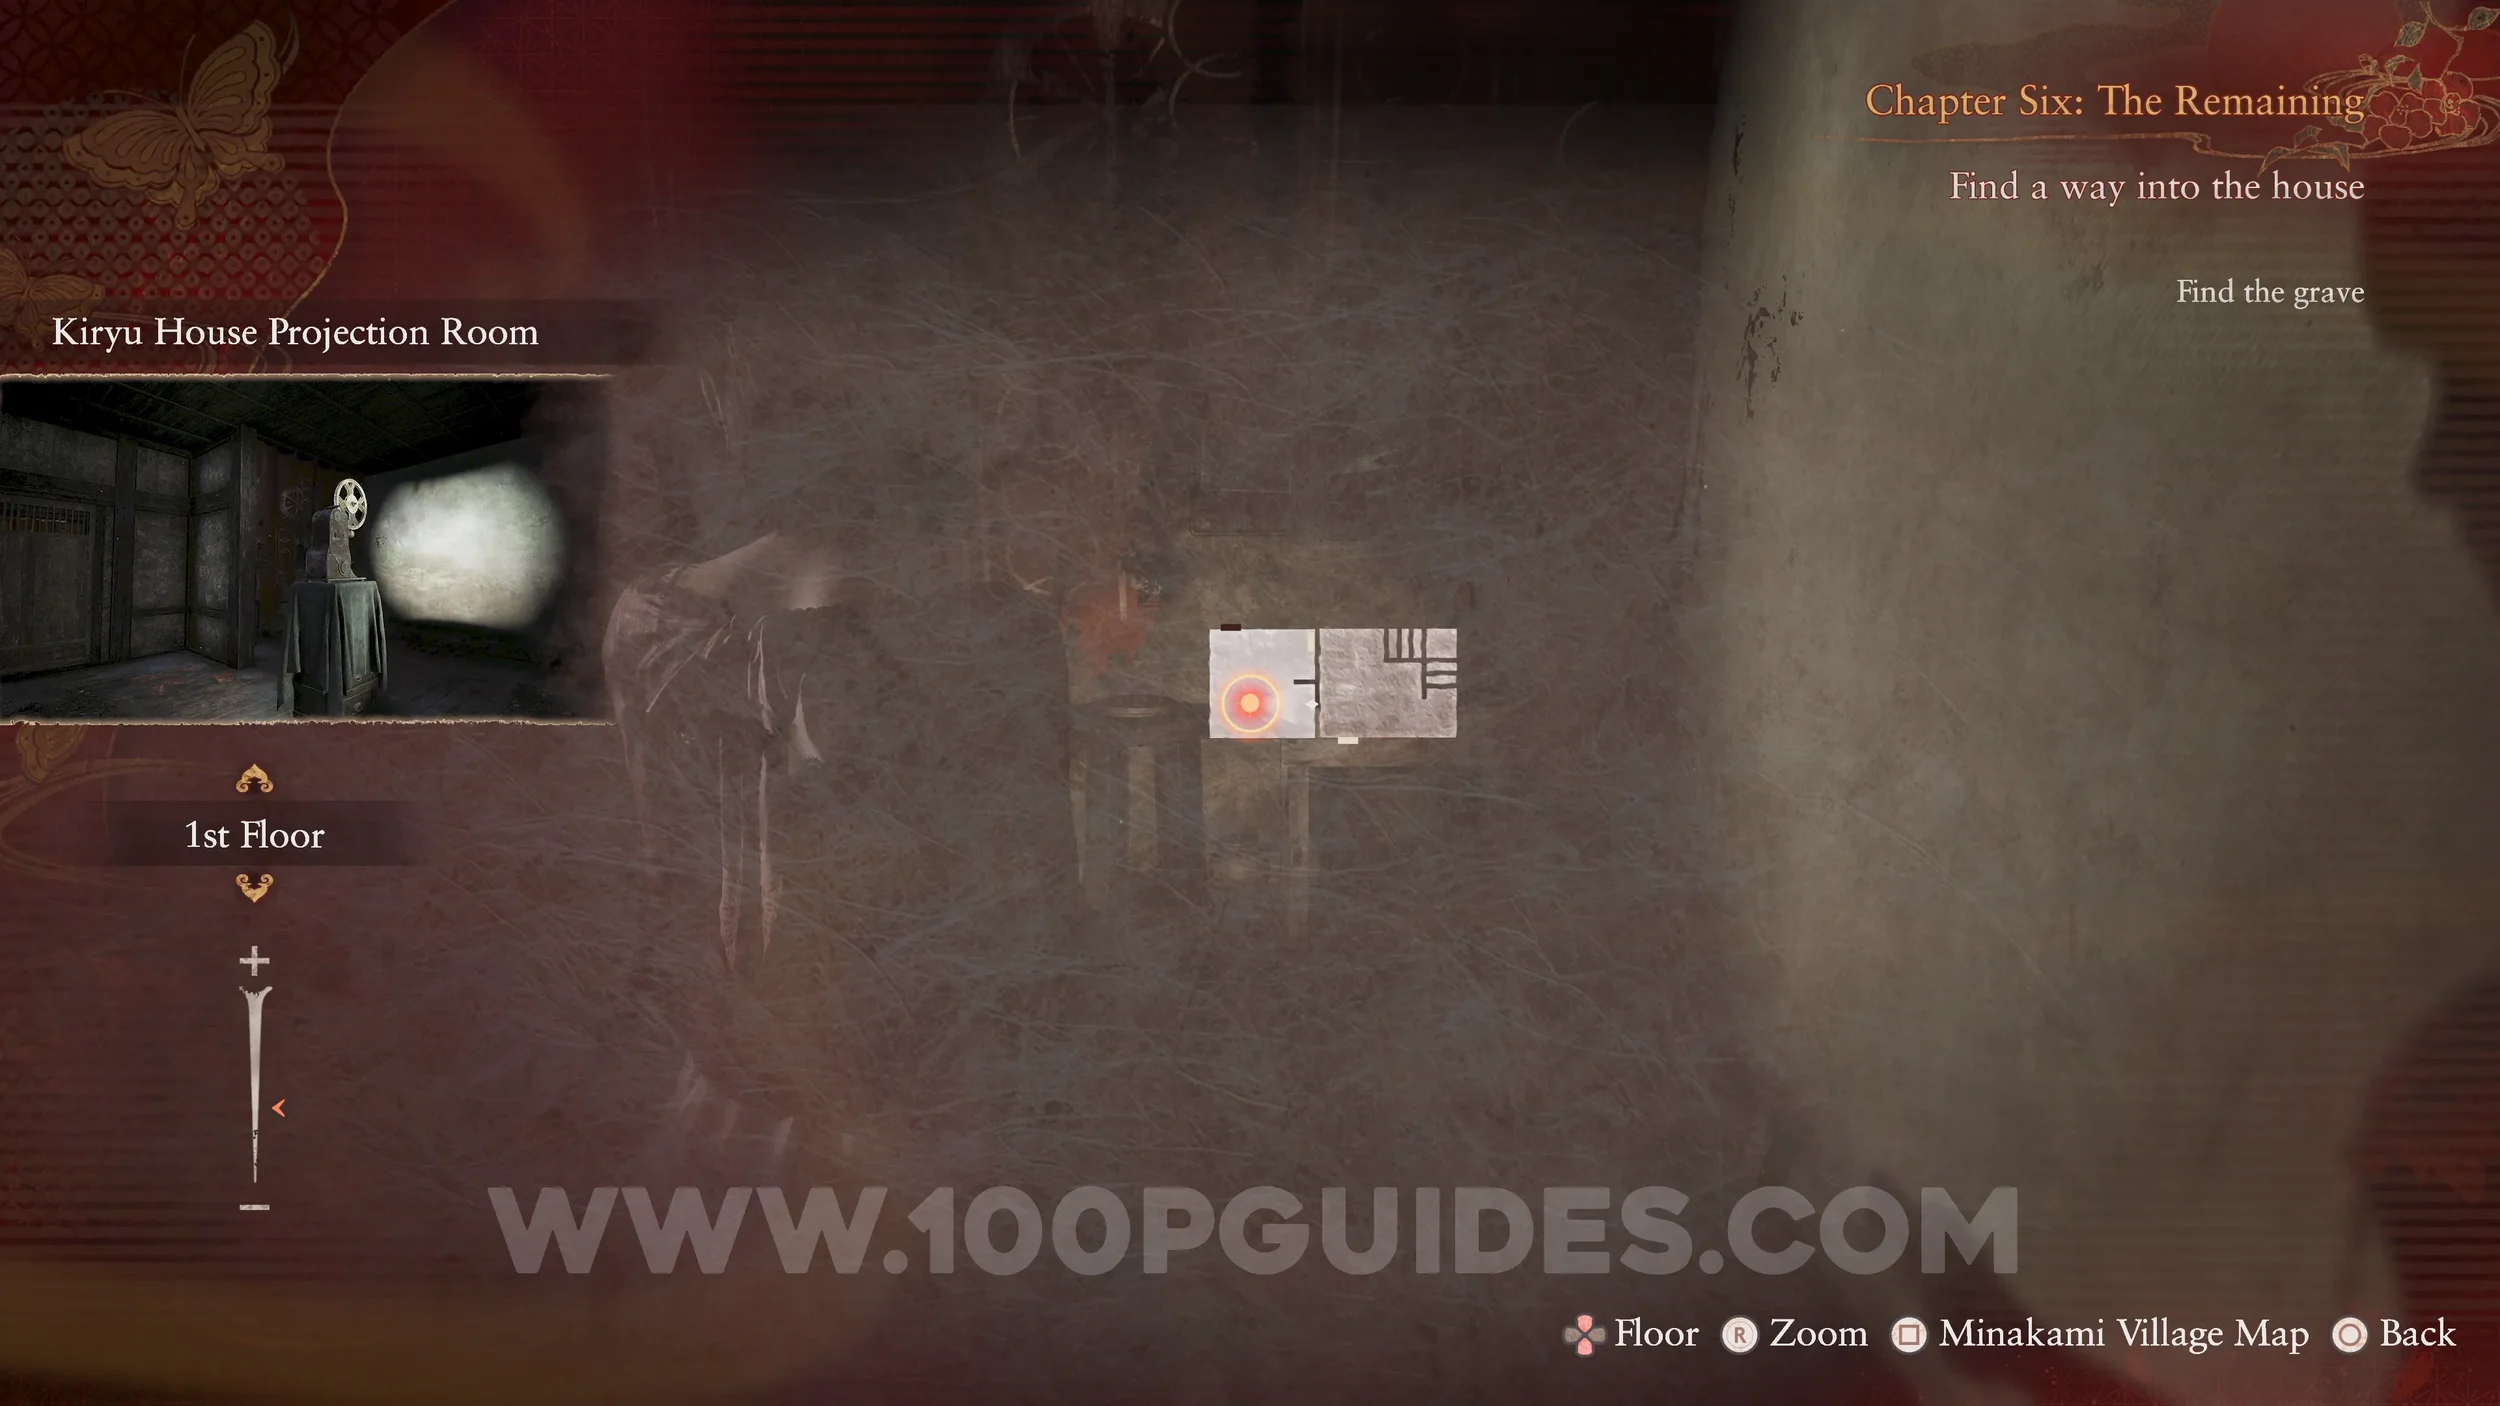
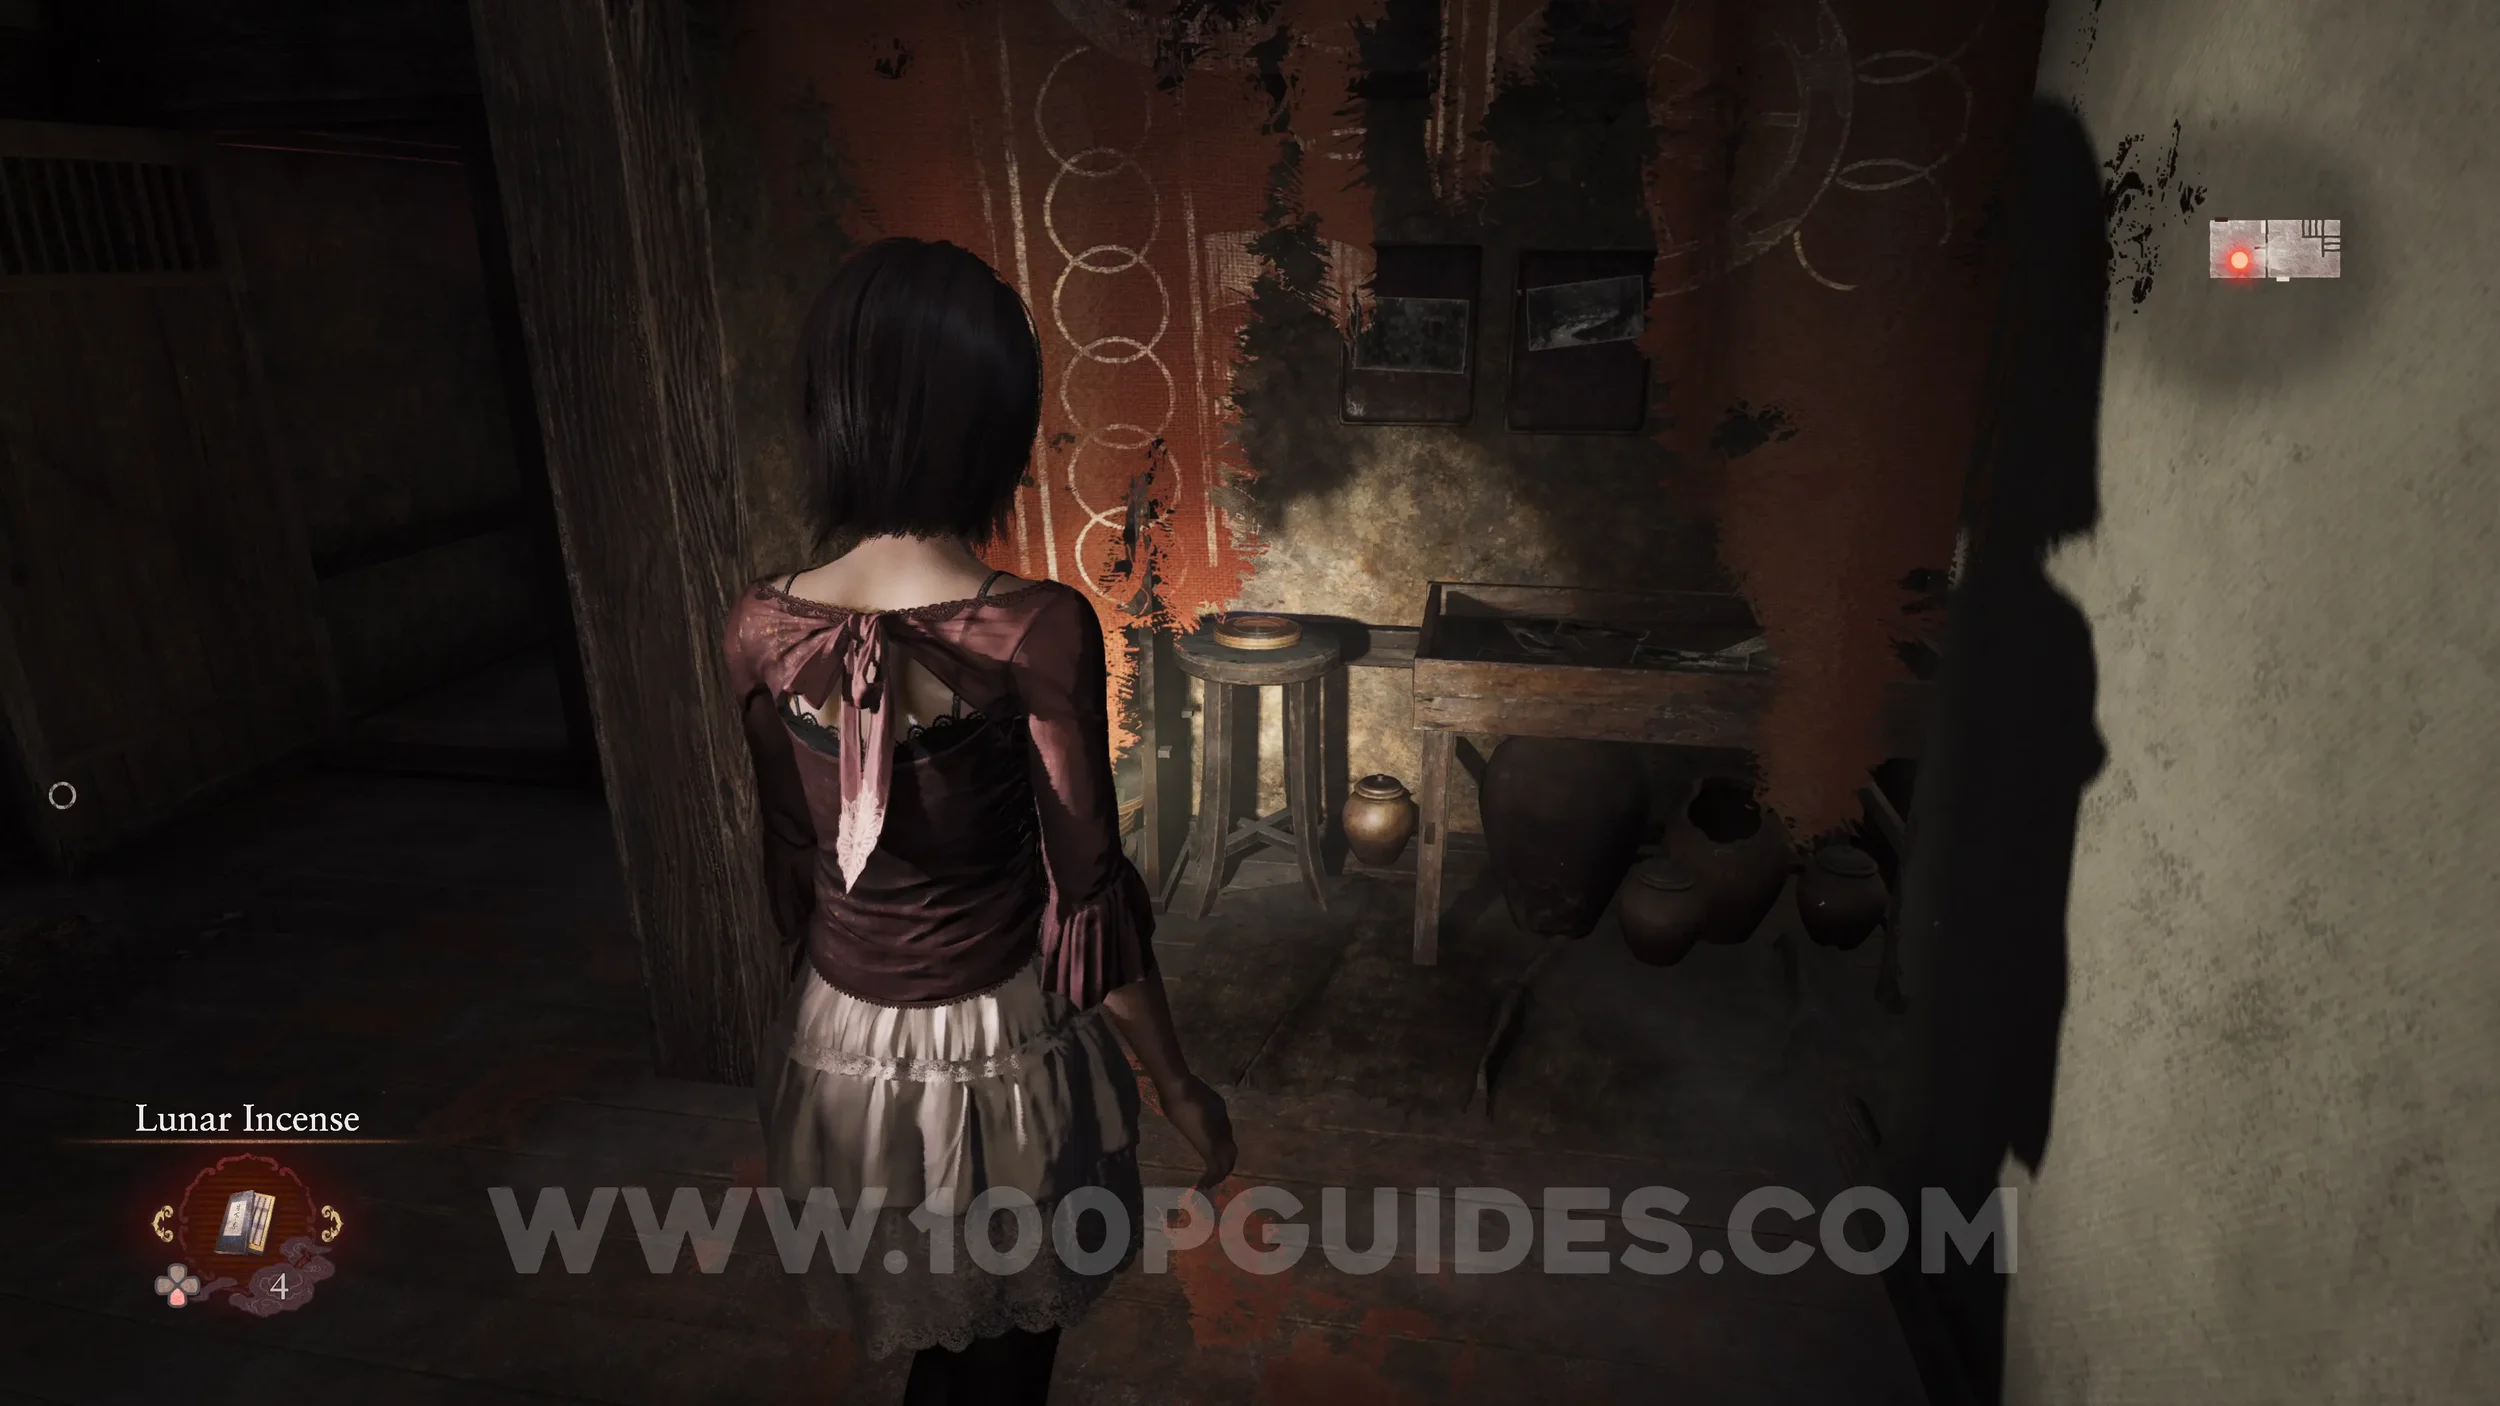
Specter #114 - 075 Youth Operating Projector. Follow the previous specter into the next room.
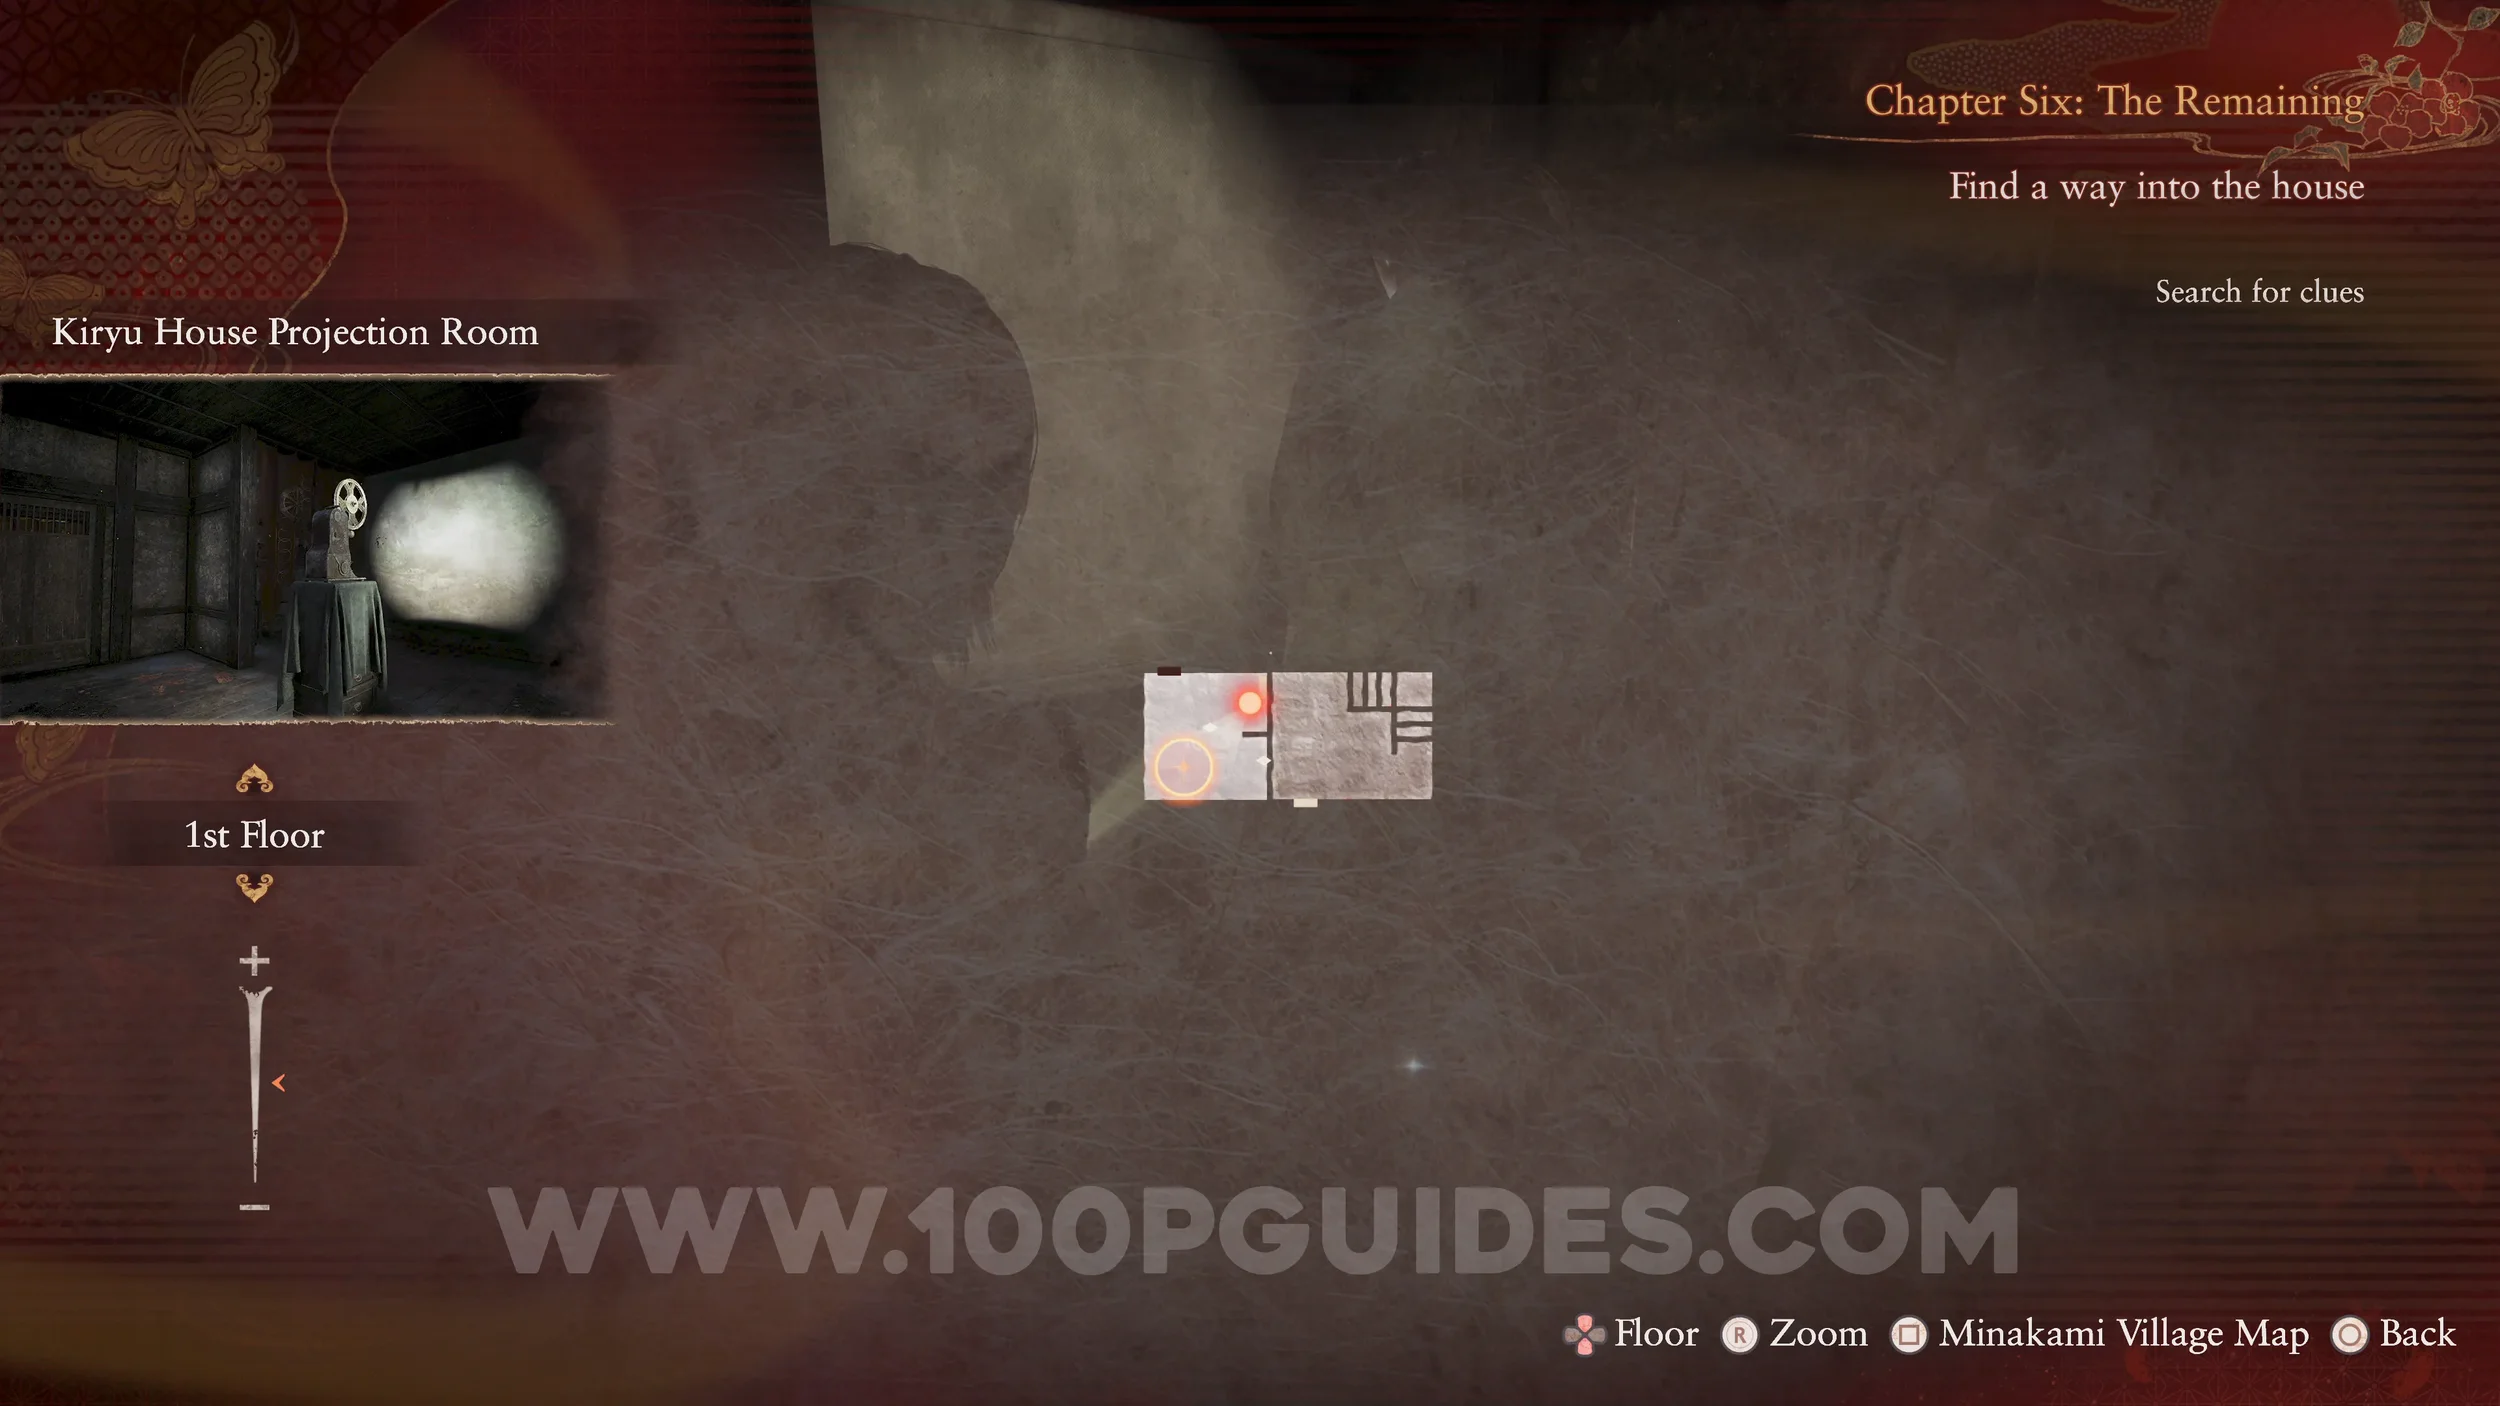
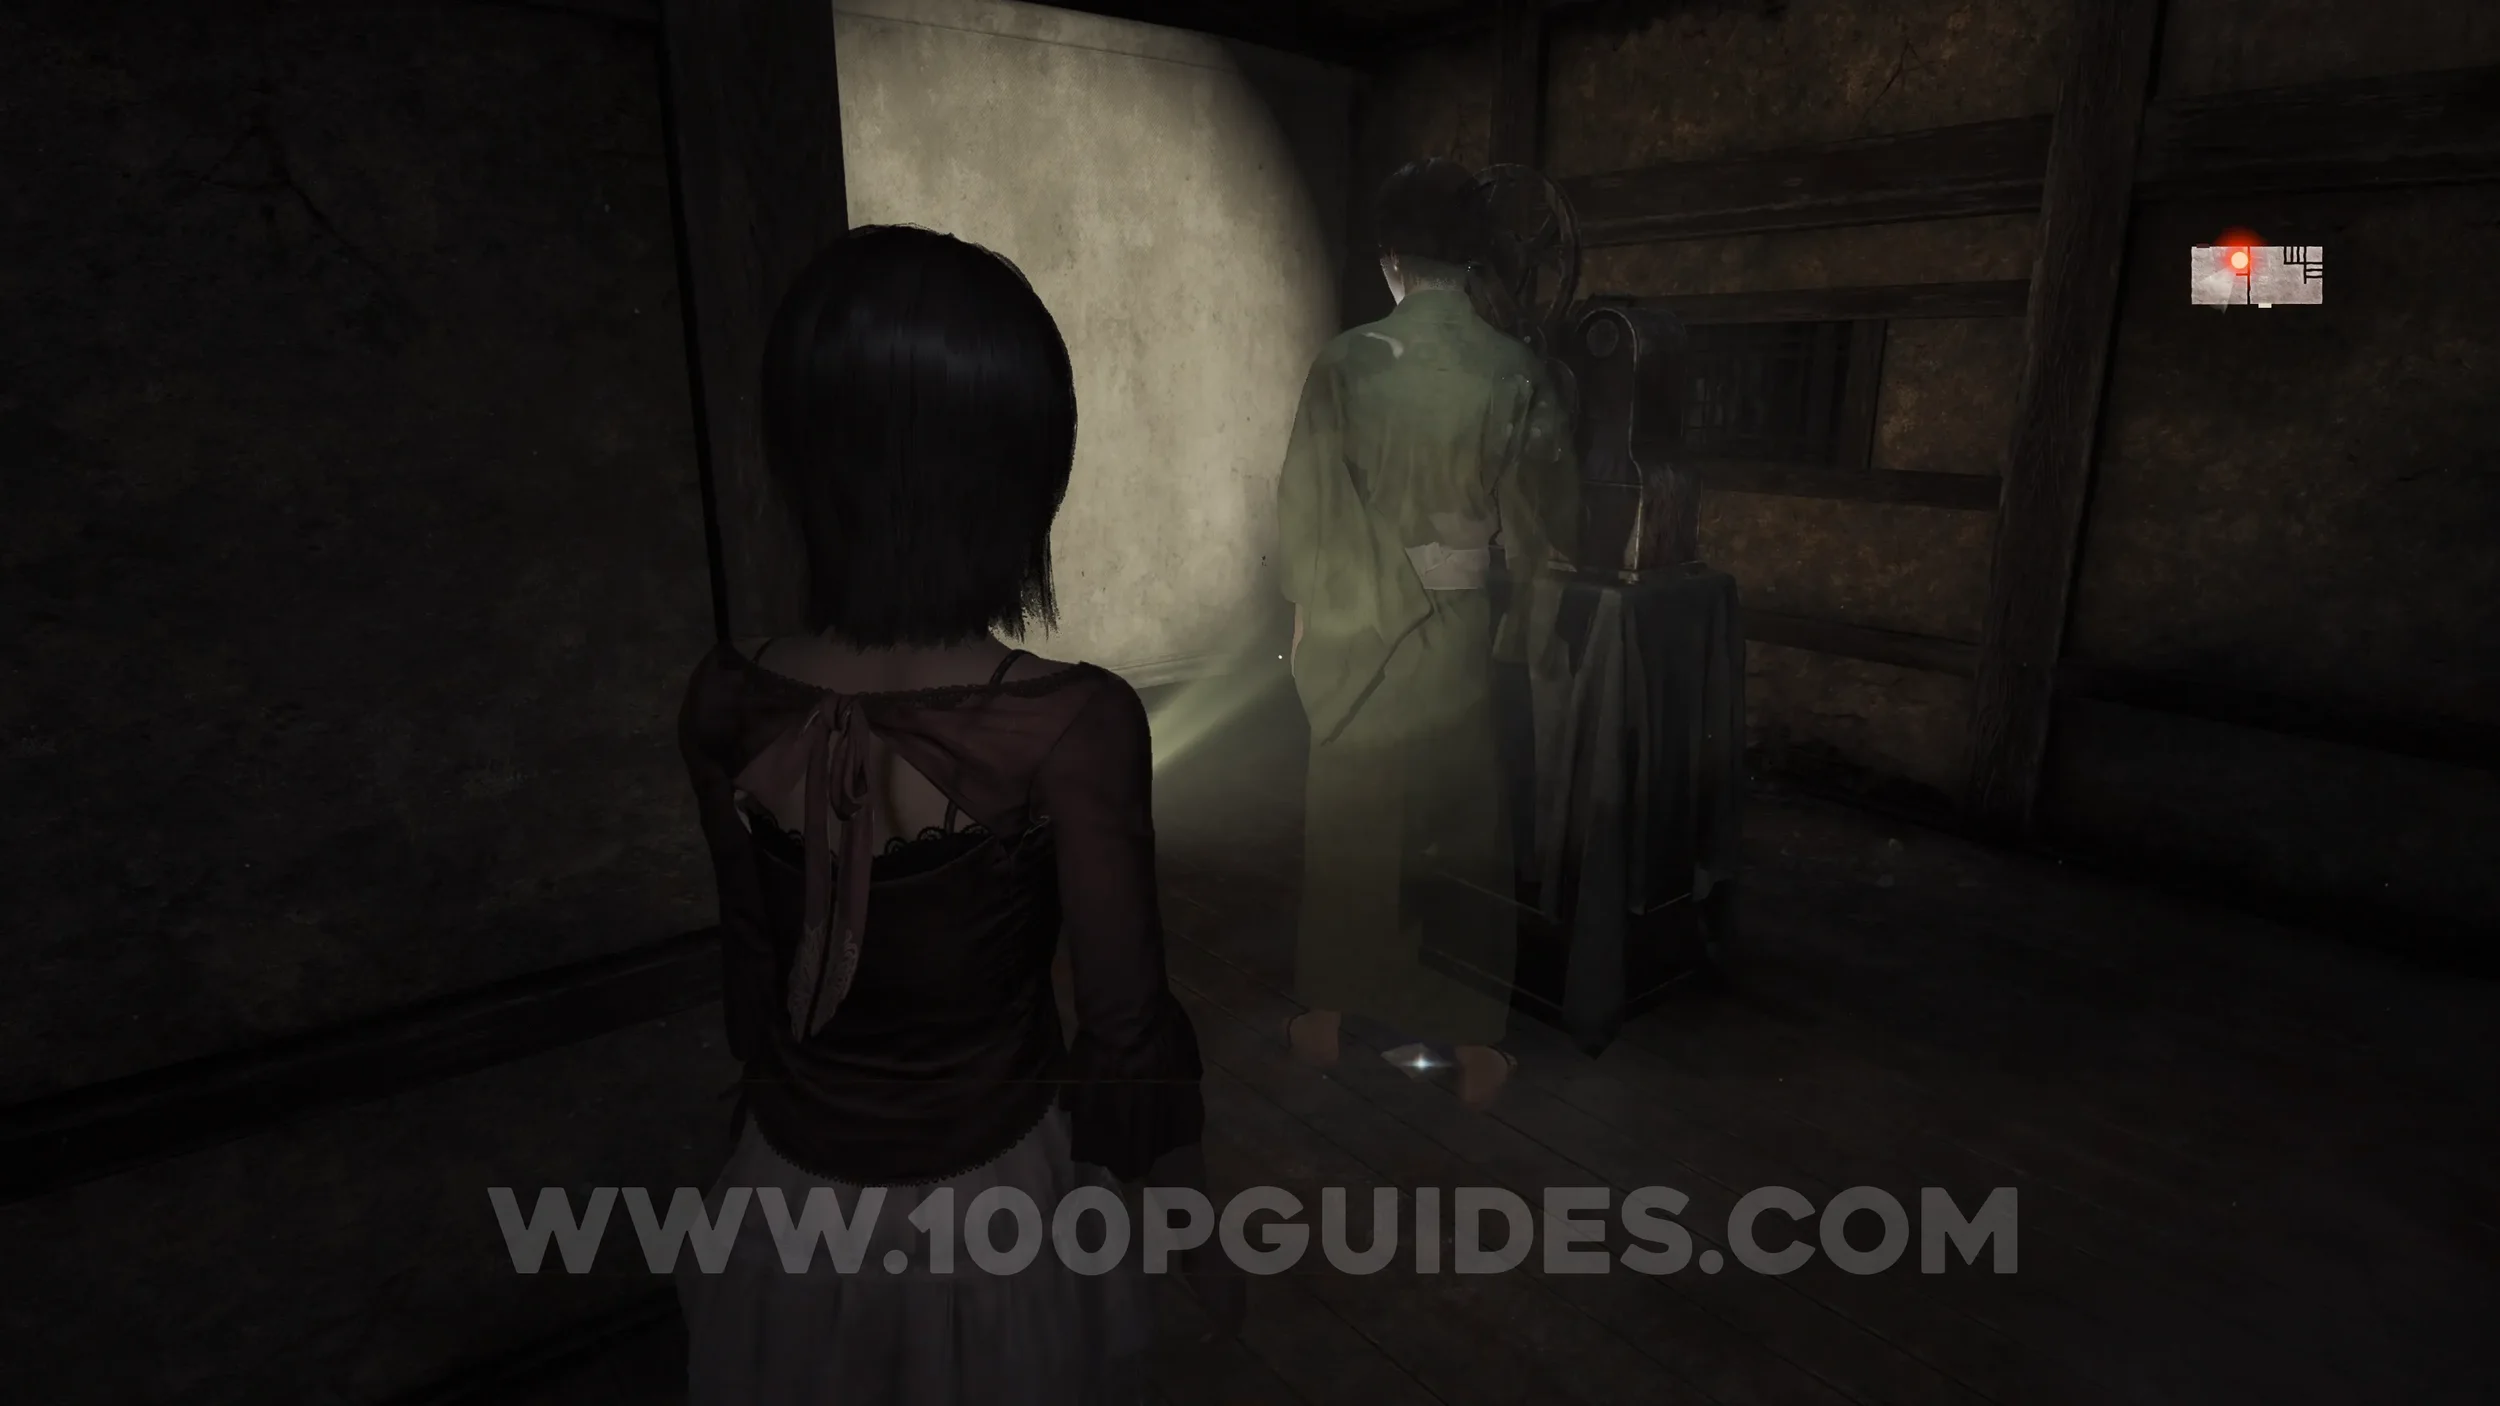
Prayer Beads #42. Under the table in the room with the projector.
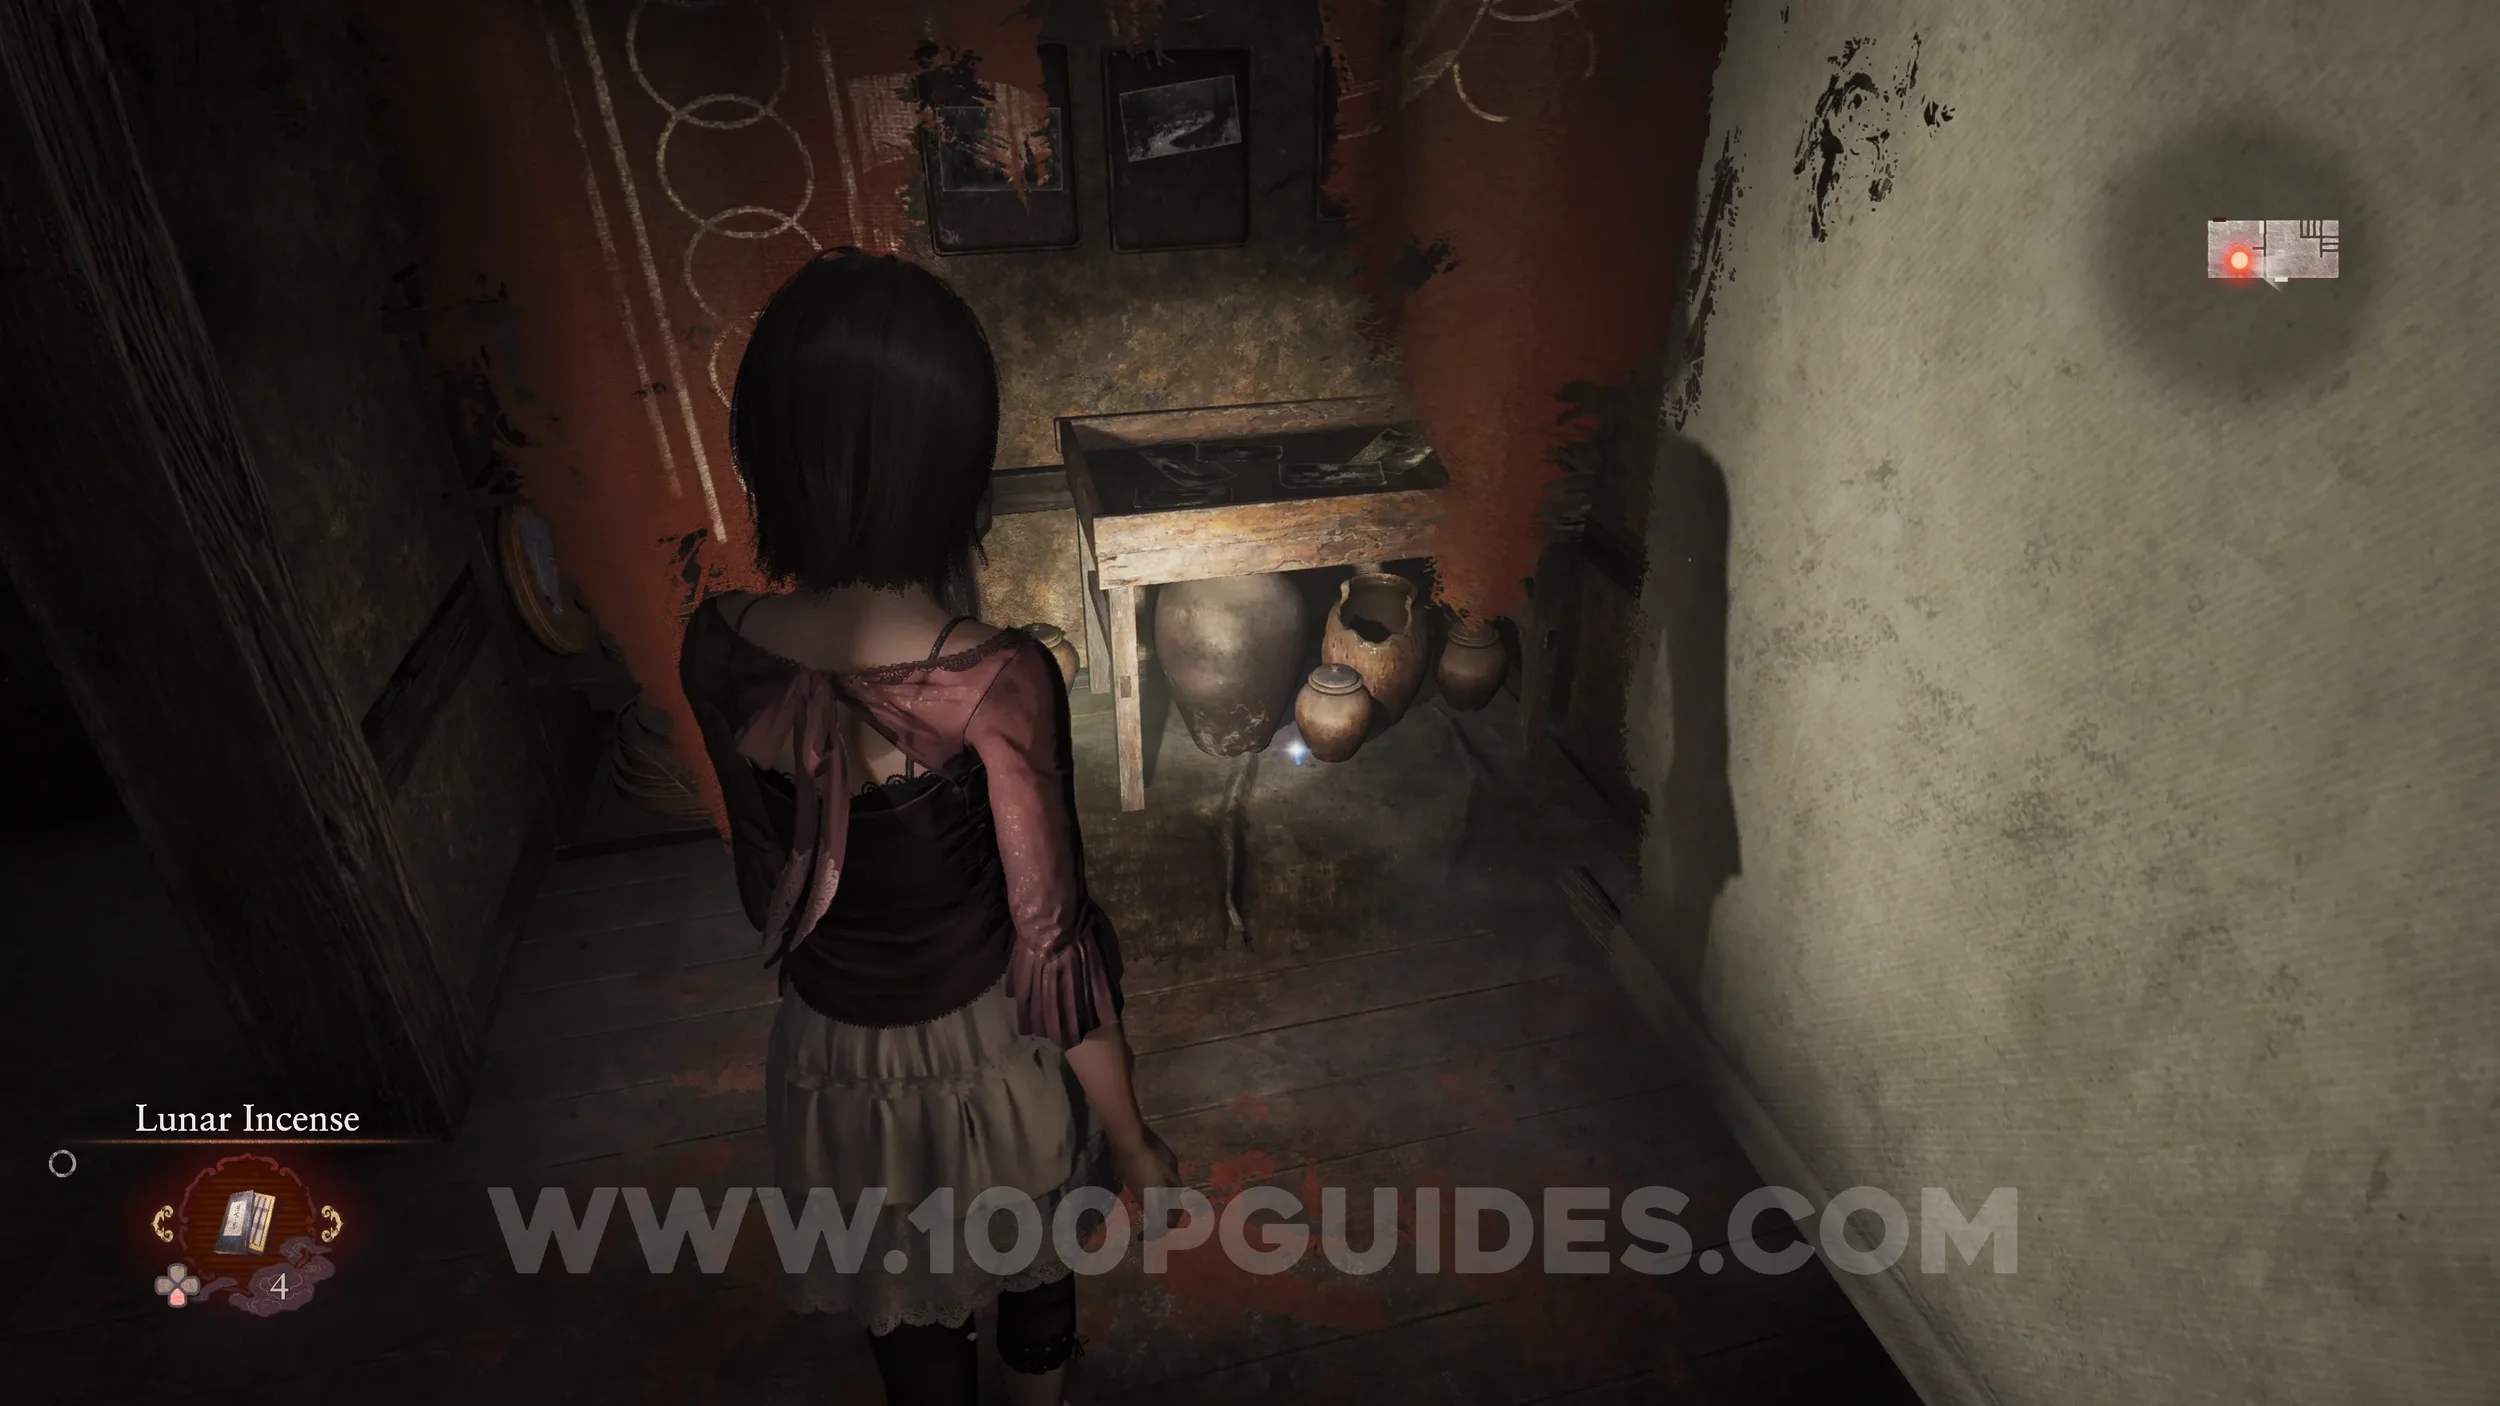
Film Reel #3 (1). Also found in the projector room. You can use the projector to watch the films.
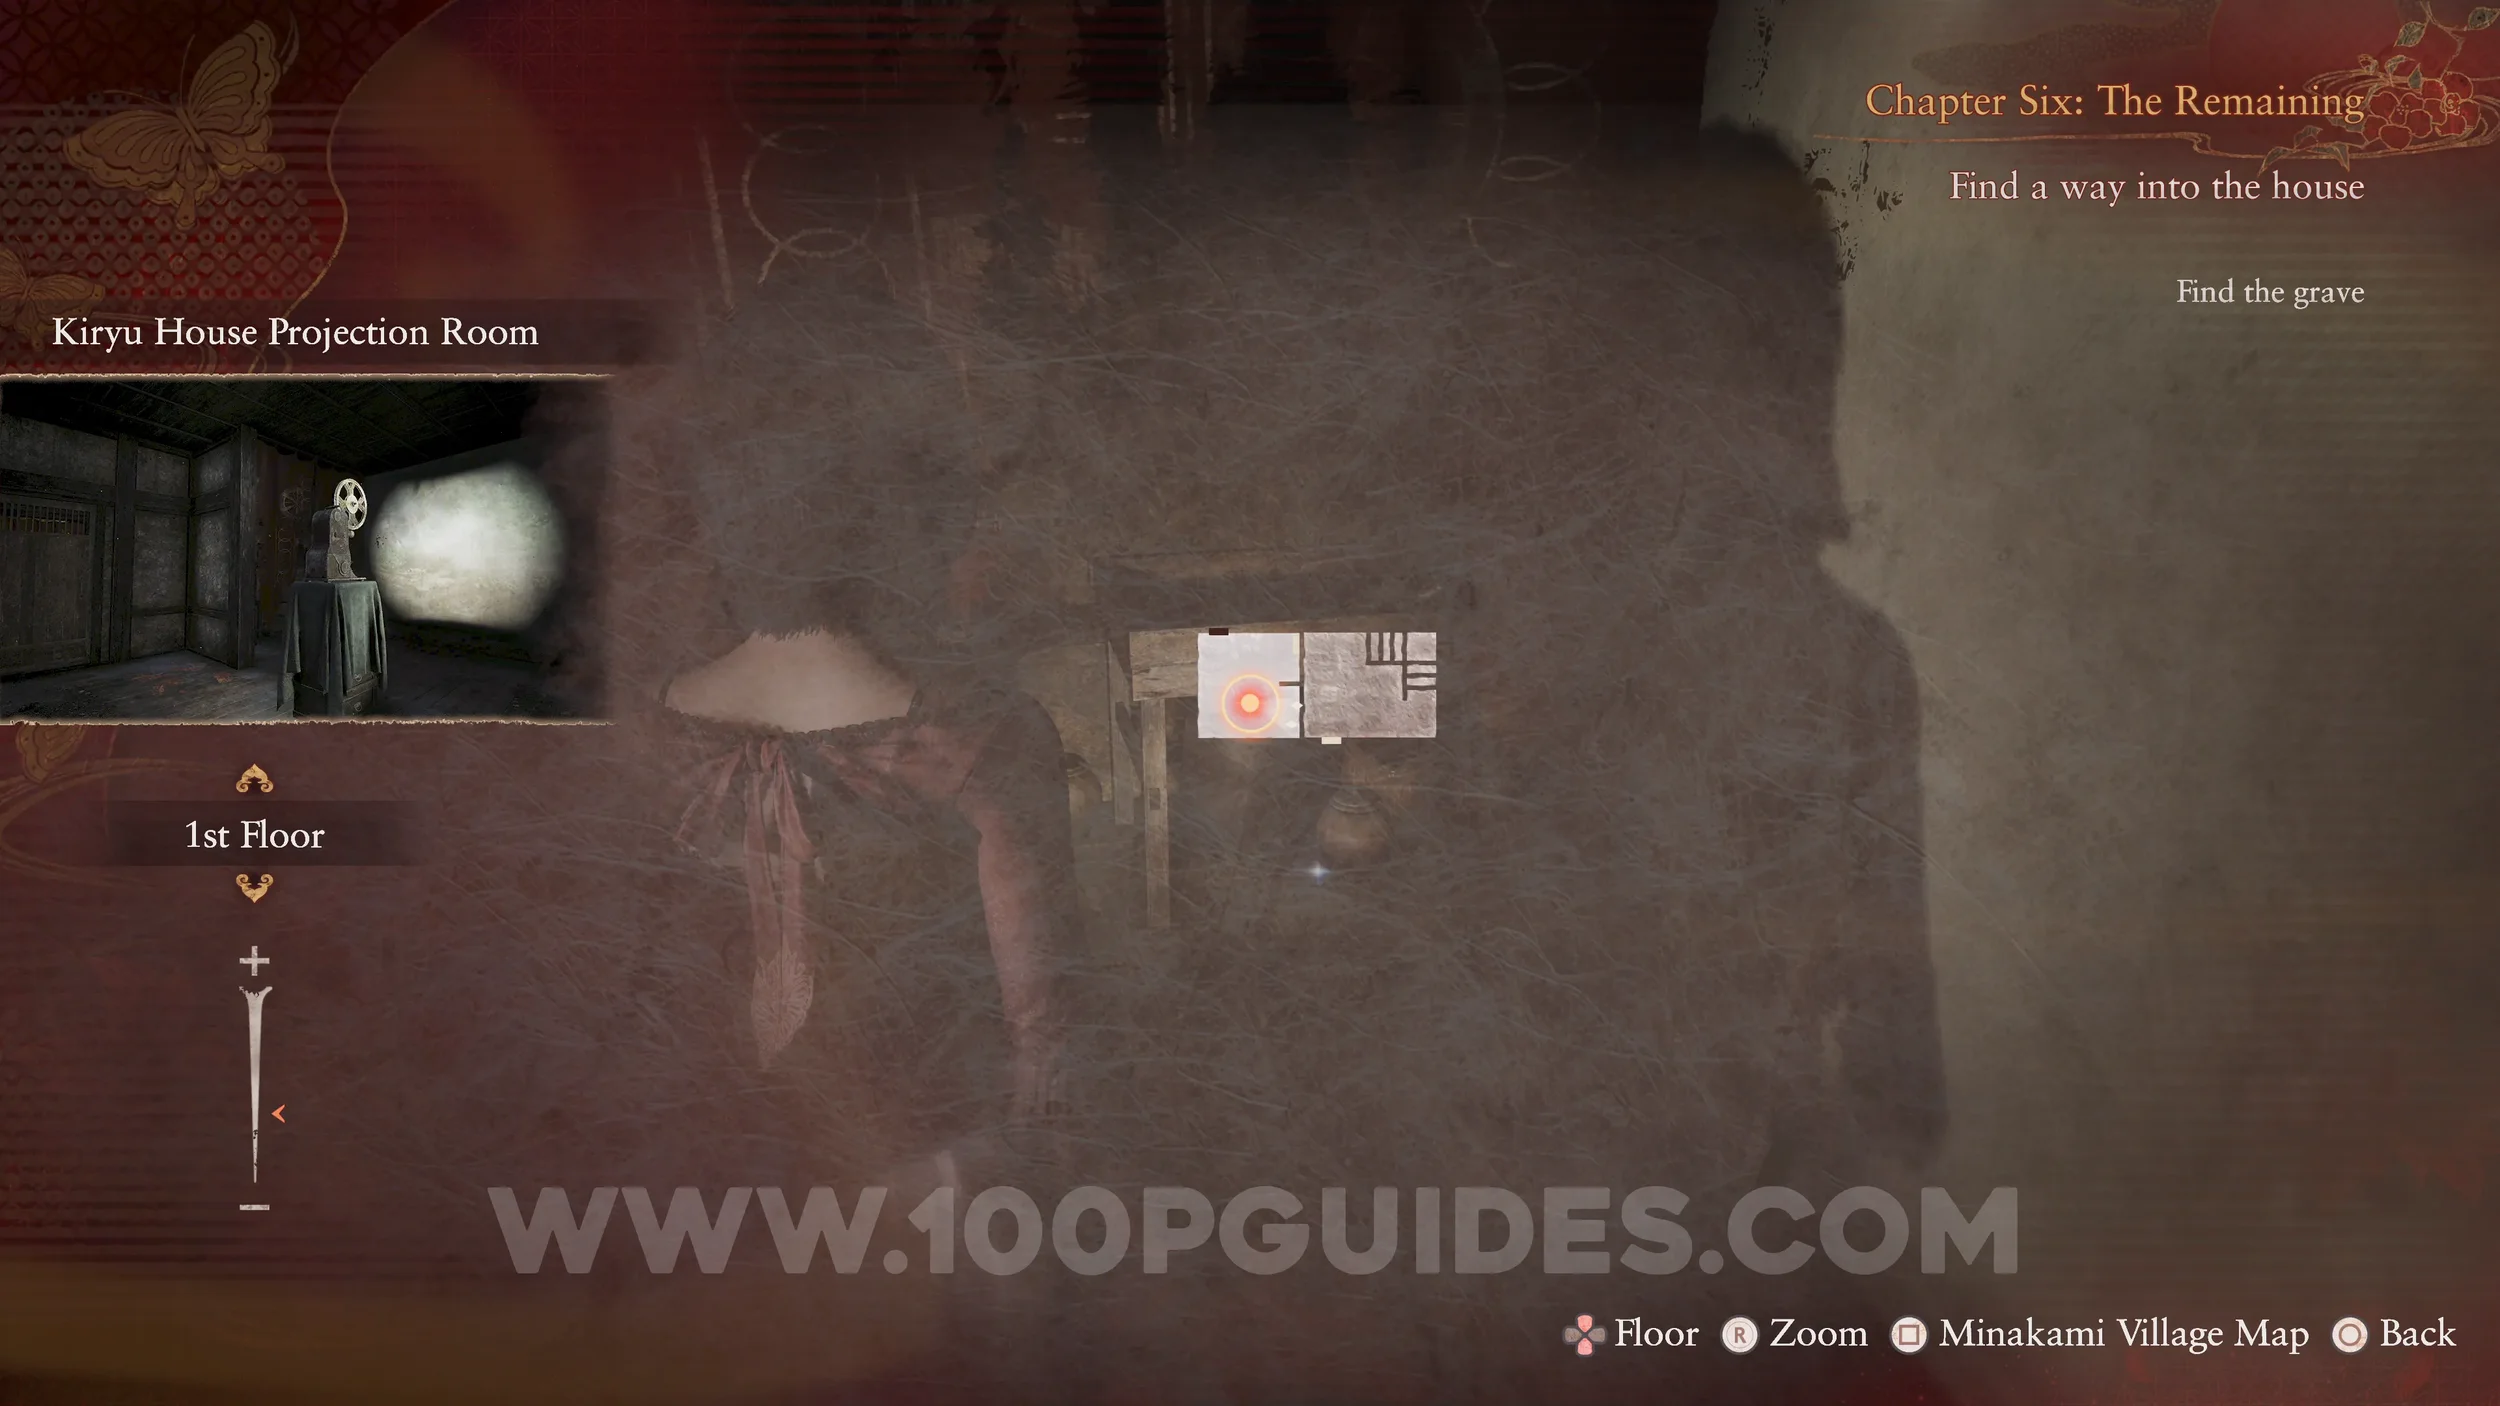
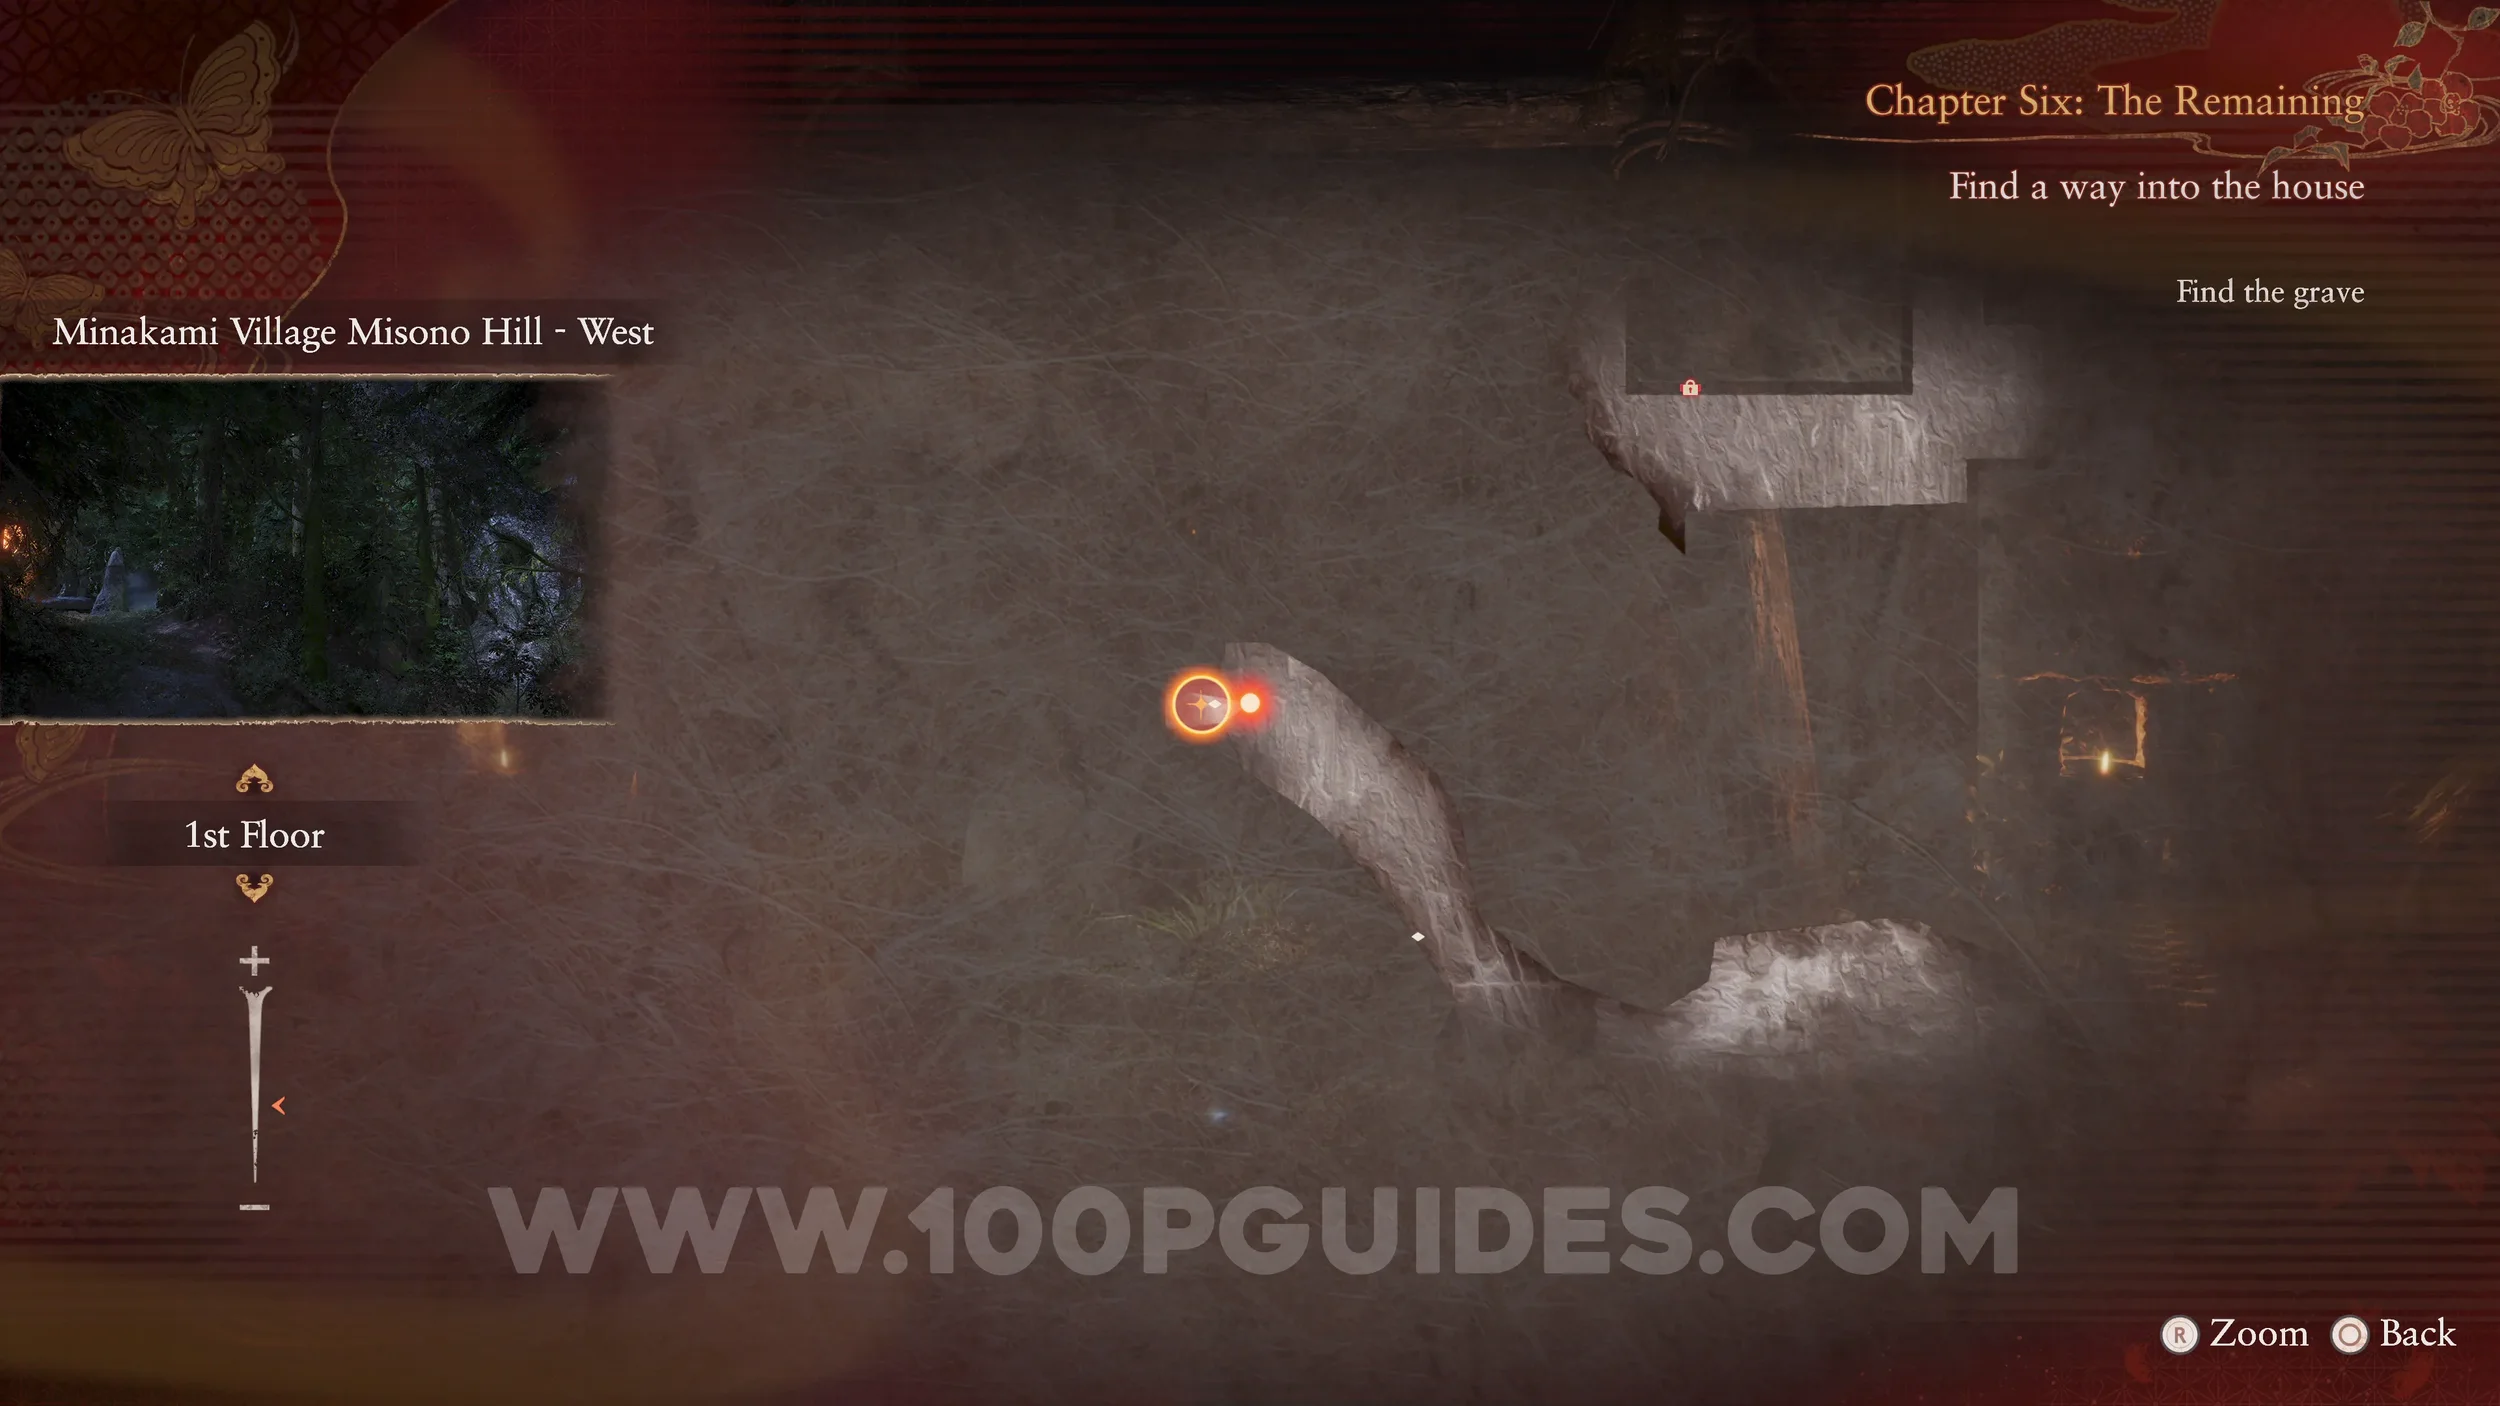
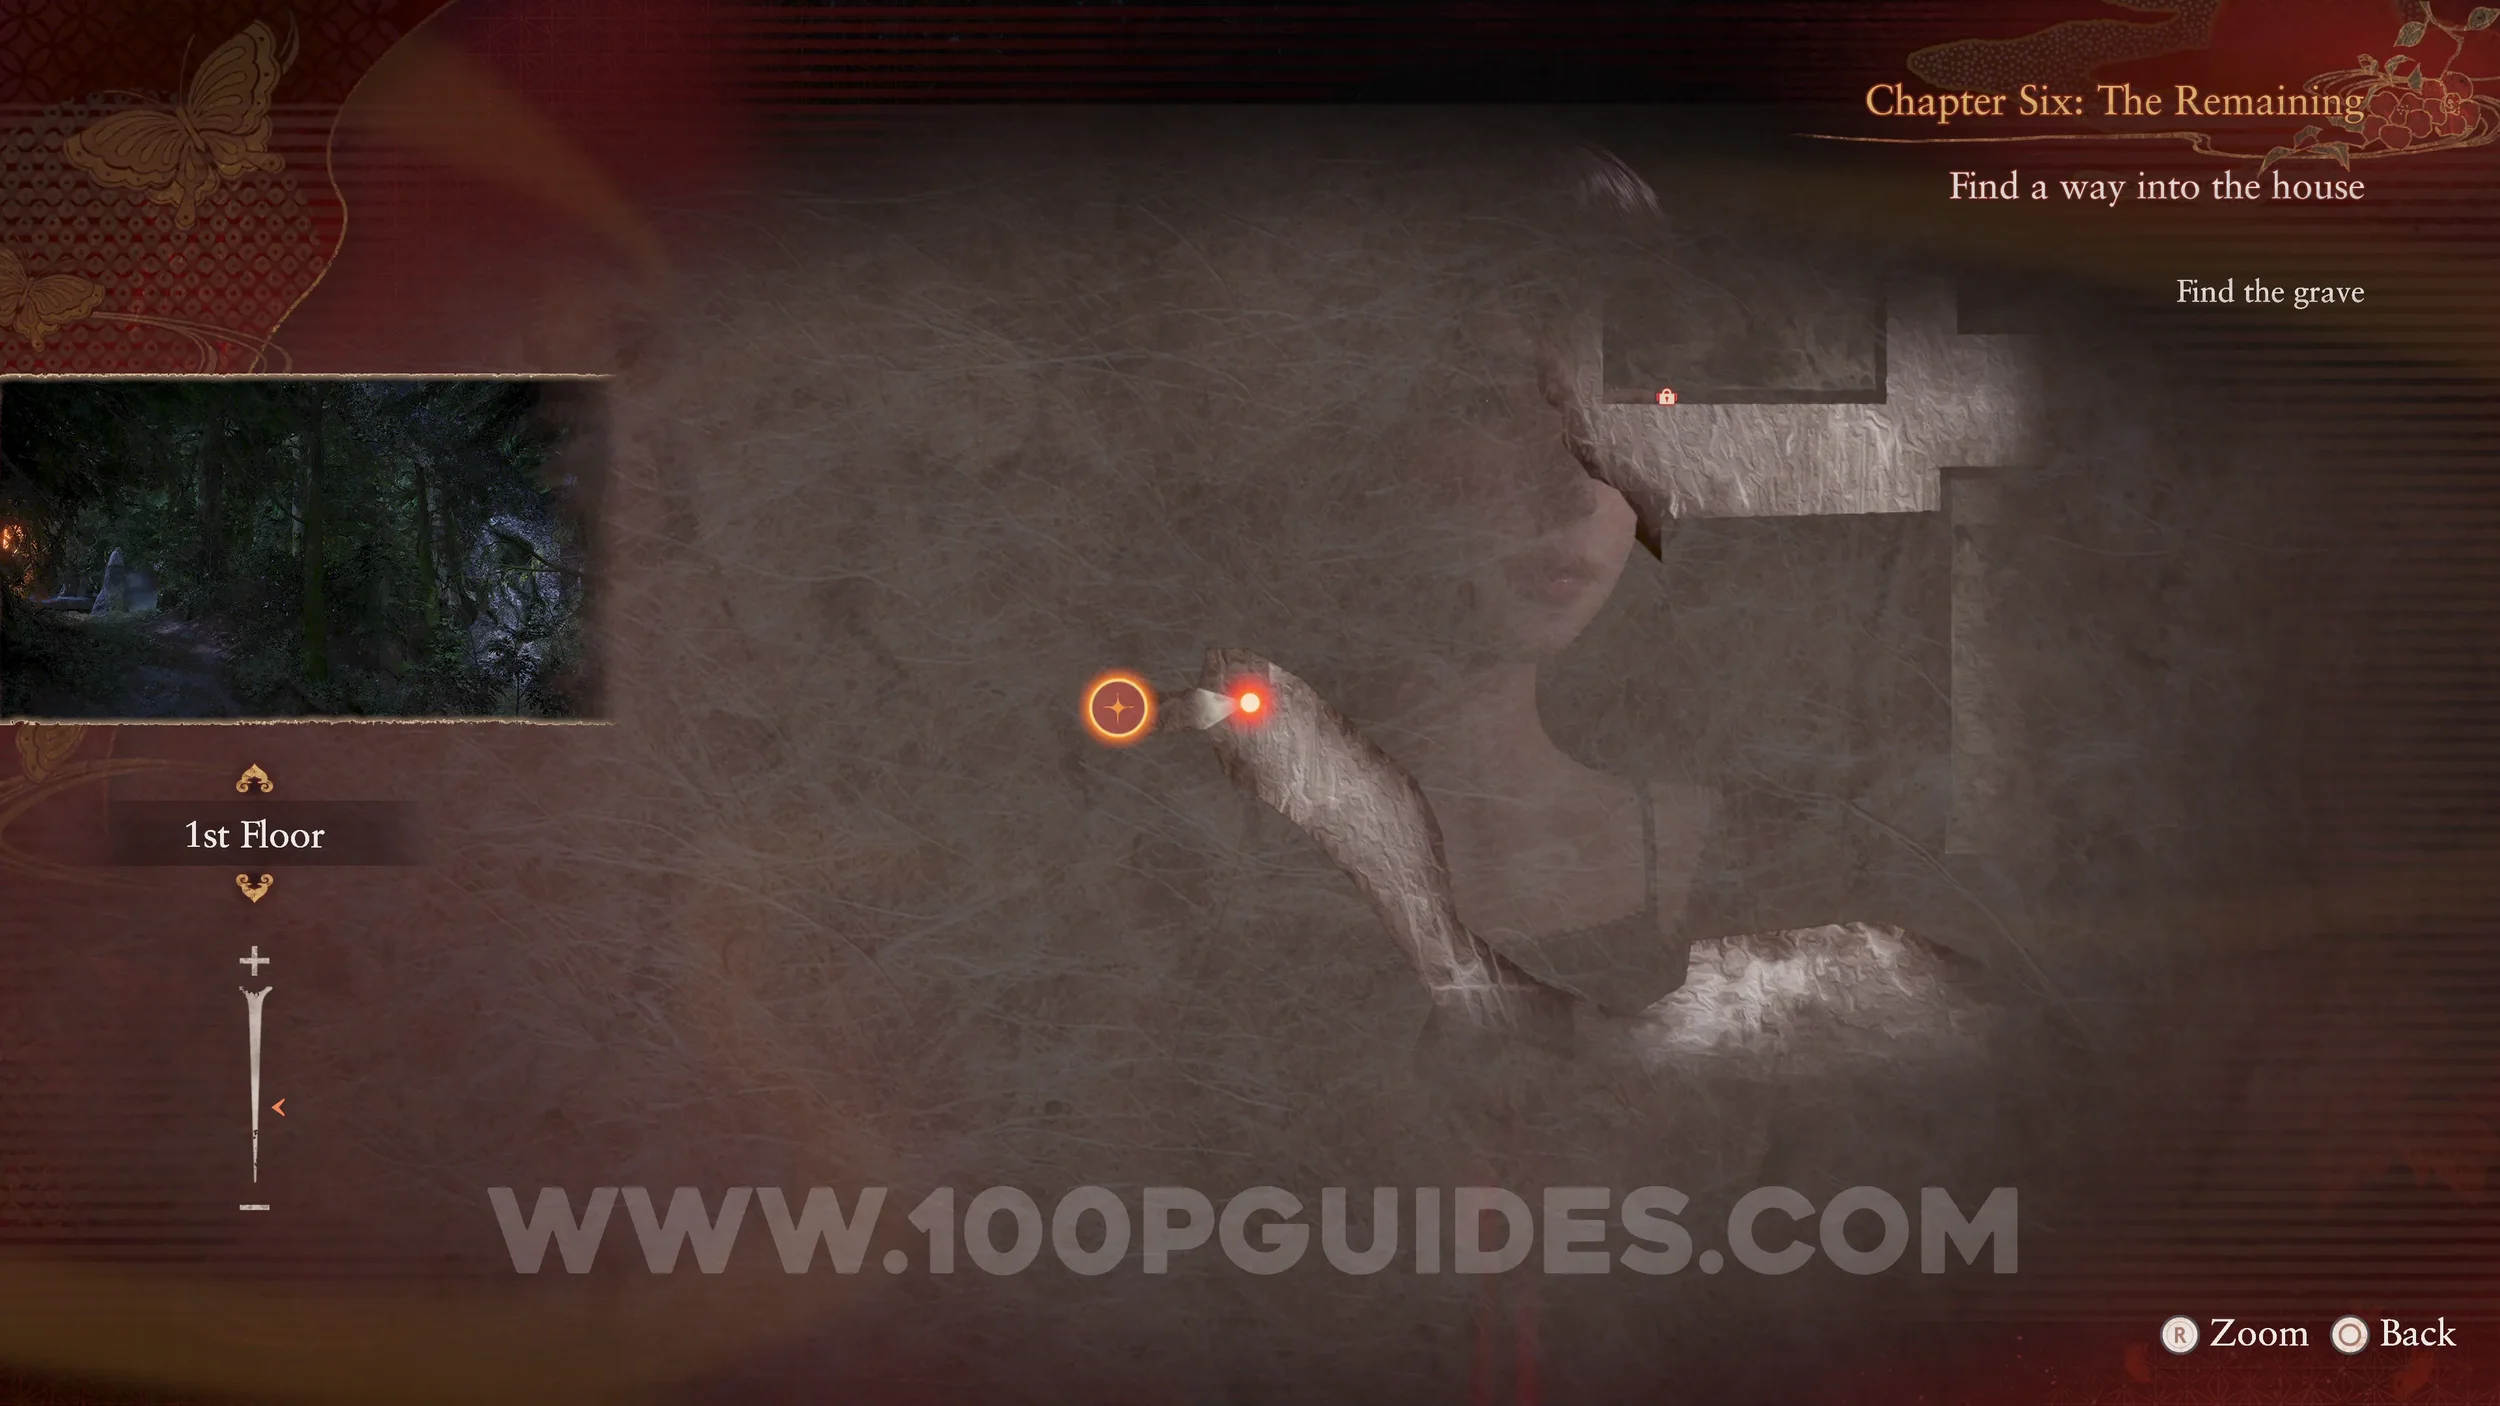
Specter #115 - 076 Man Heading to Cemetery. After picking up the photo in the projector room, head back to where the game started. Once you reach the gap with the broken bridge, the specter will be on the other side.
Phantom Expose #11 - Minakami Bridge. Story related. Use the Exposure Filter on the broken bridge at the start of the game.

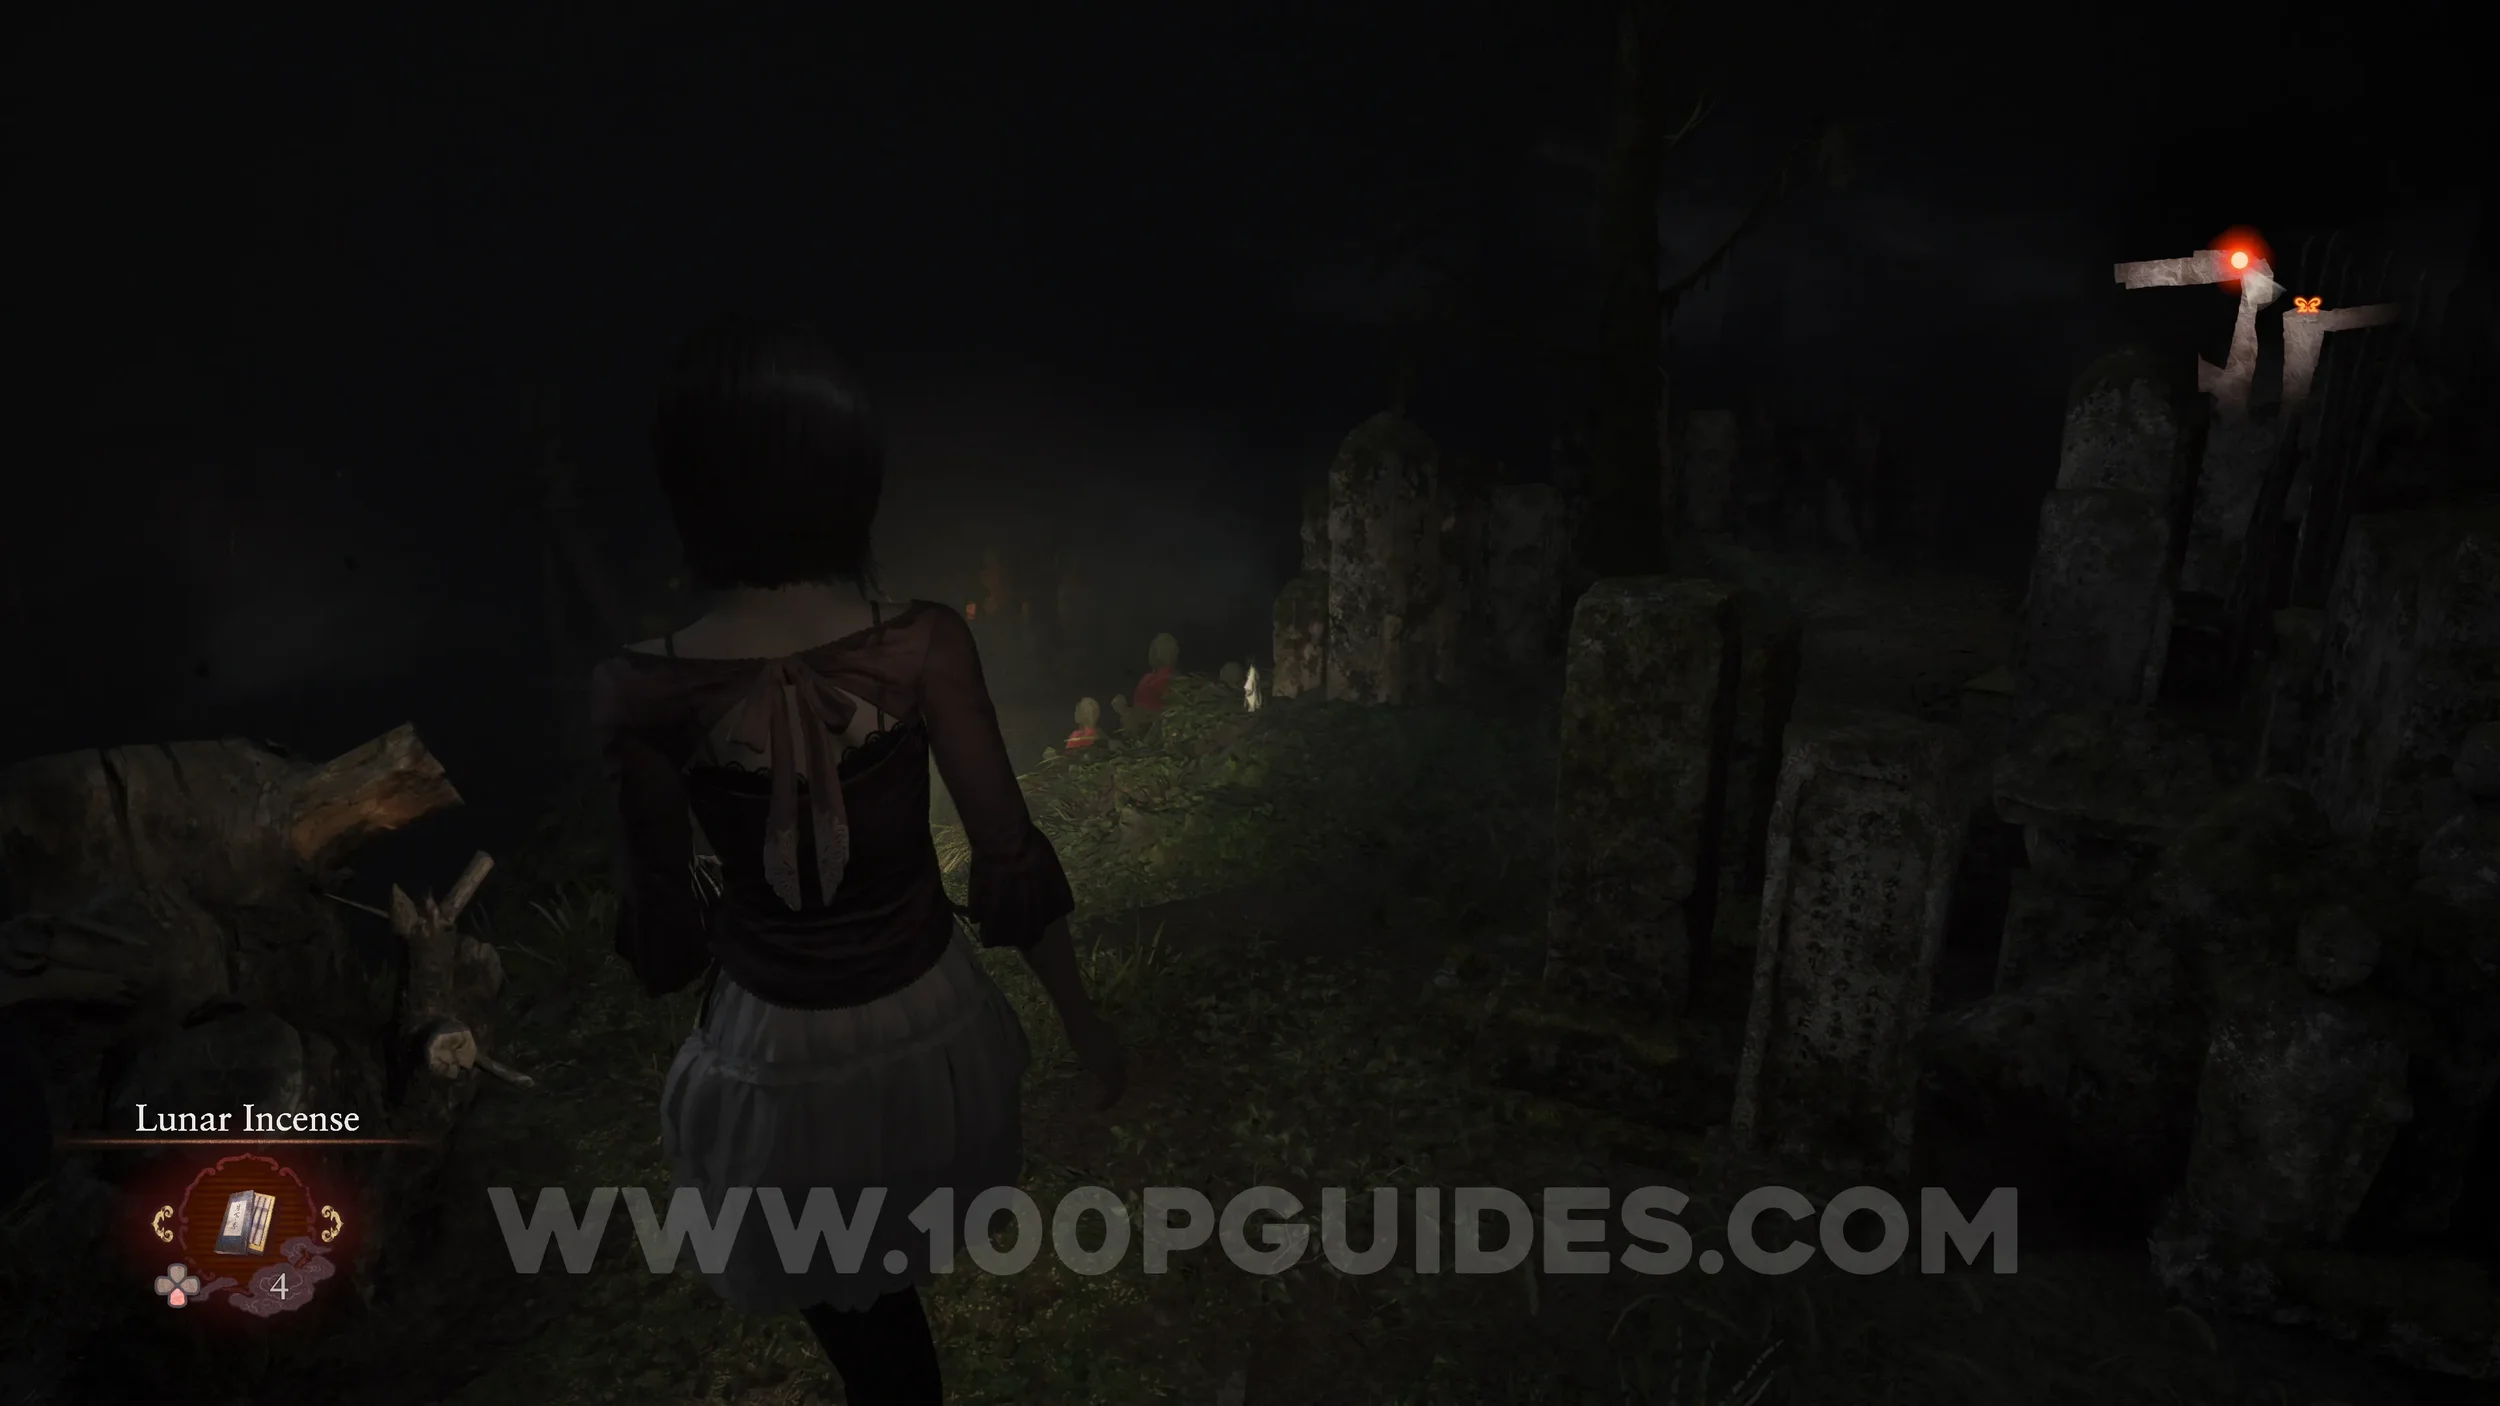
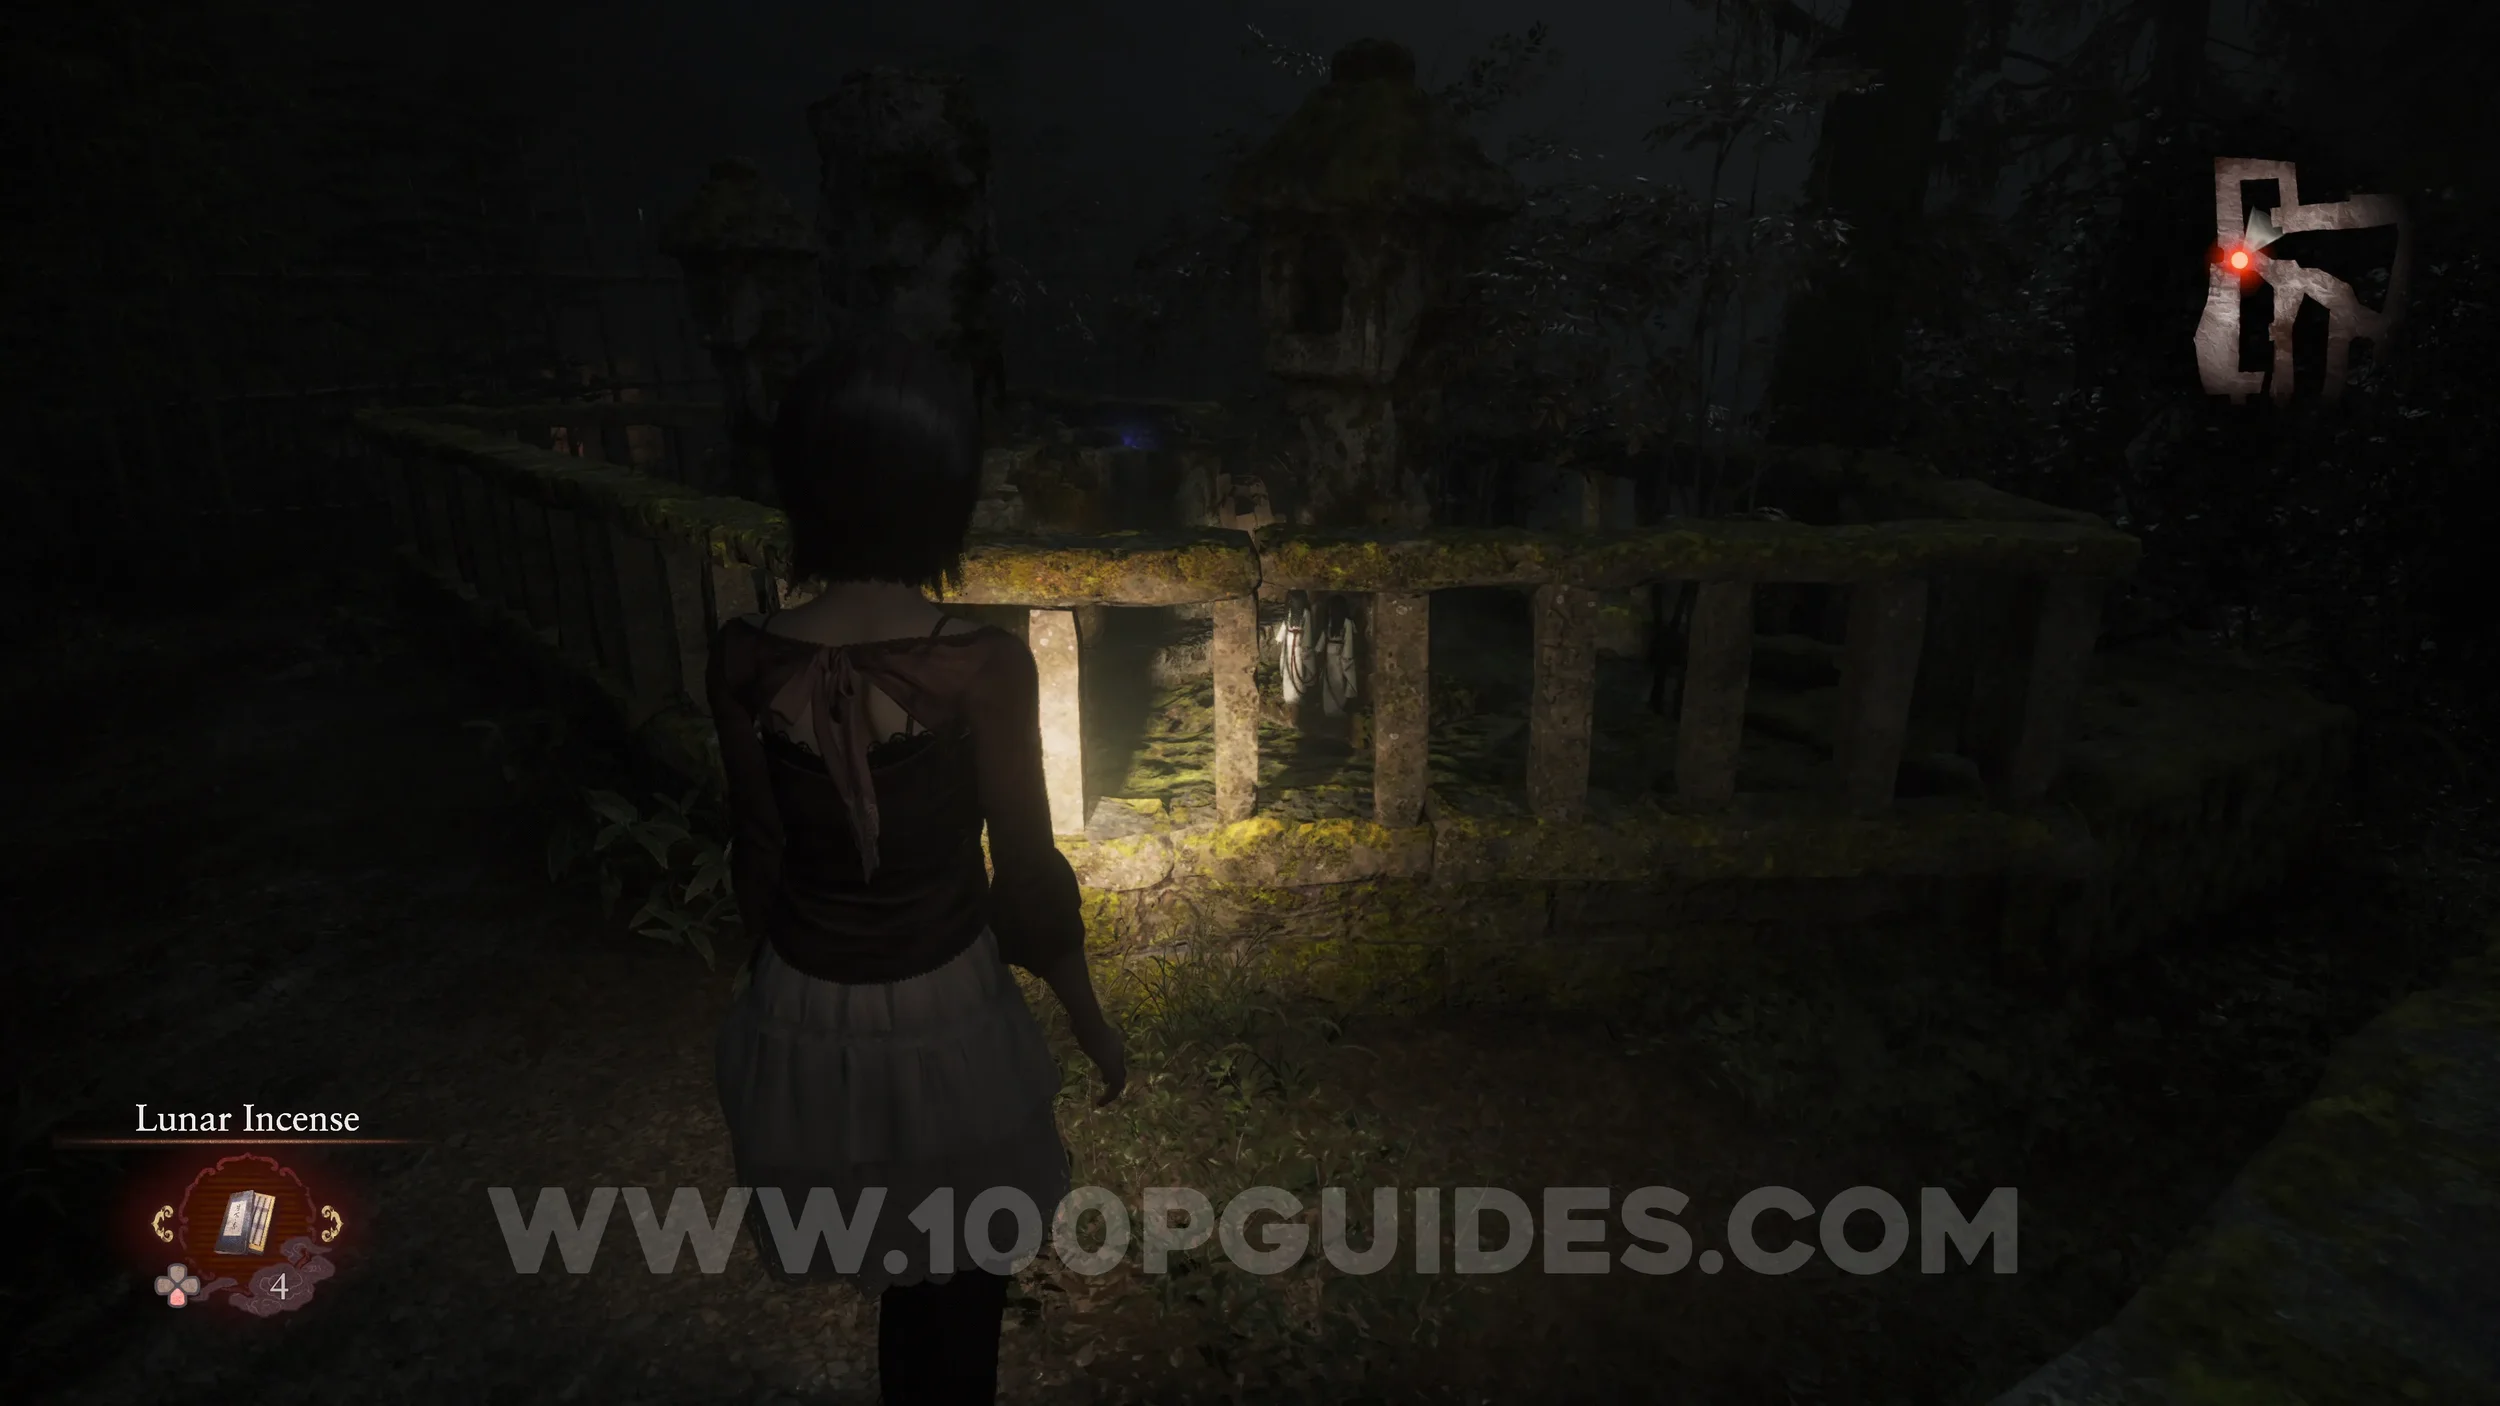
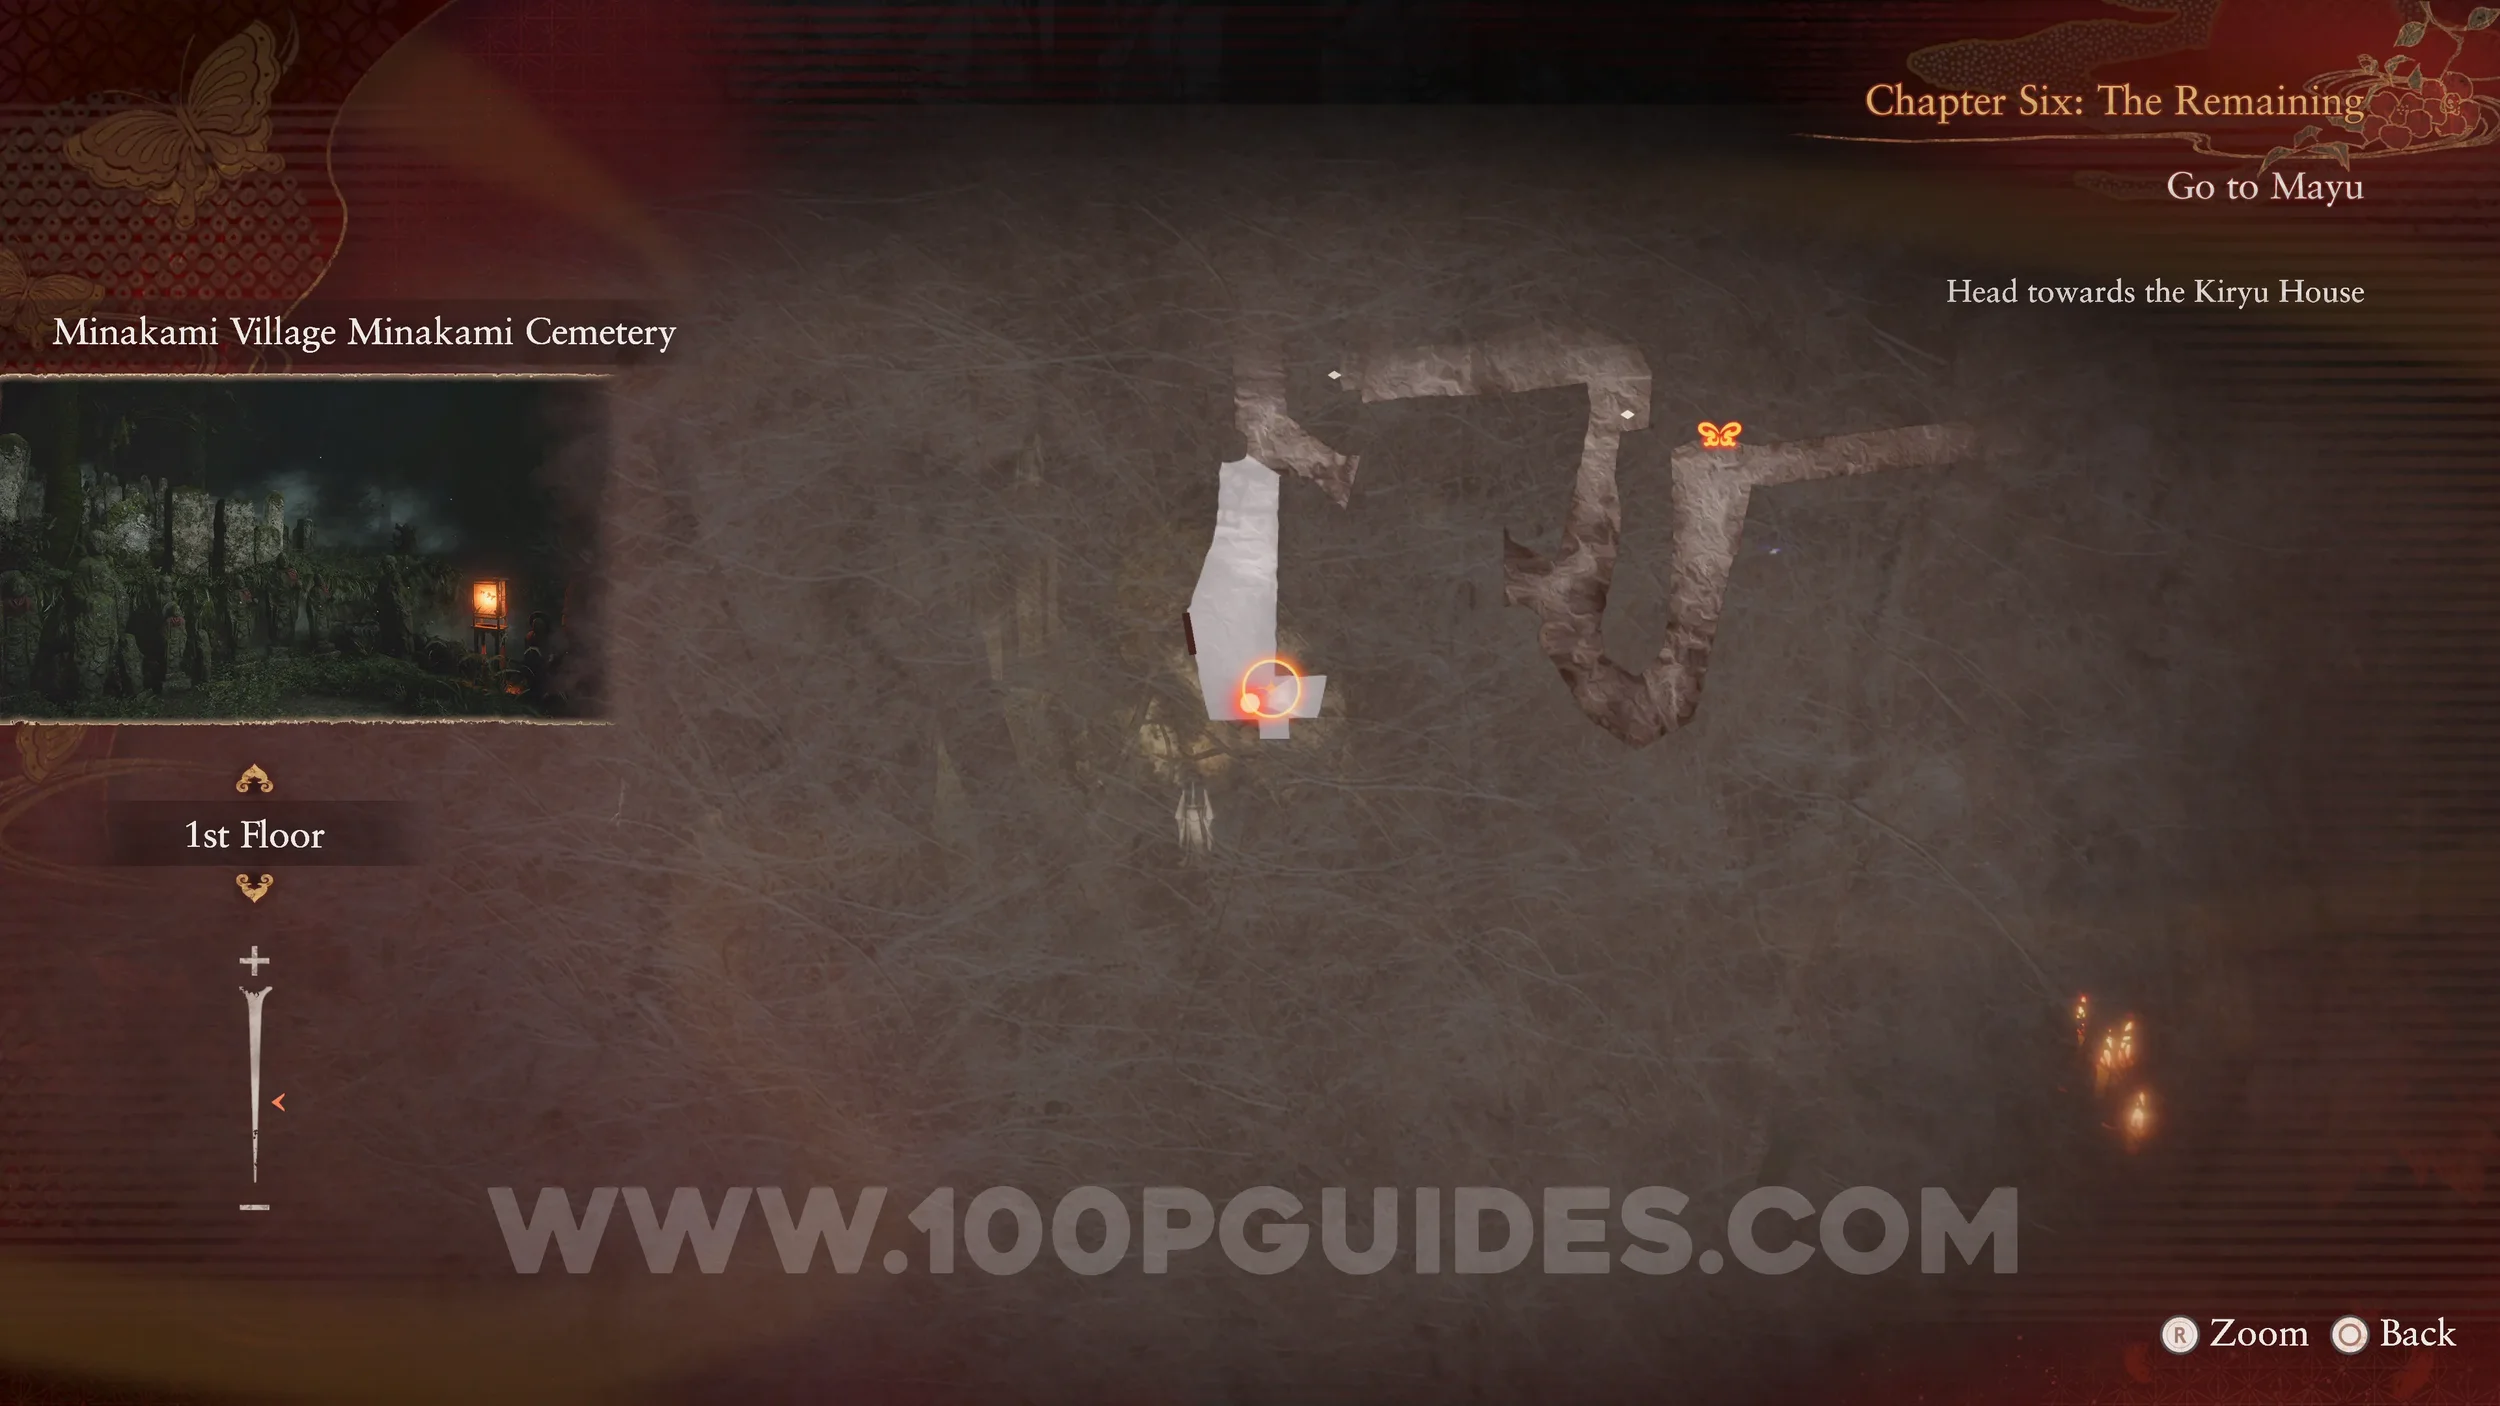
Twin Dolls #31 (31). After the save point in the graveyard, continue north along the path until the corner. Here, turn around to see two dolls.
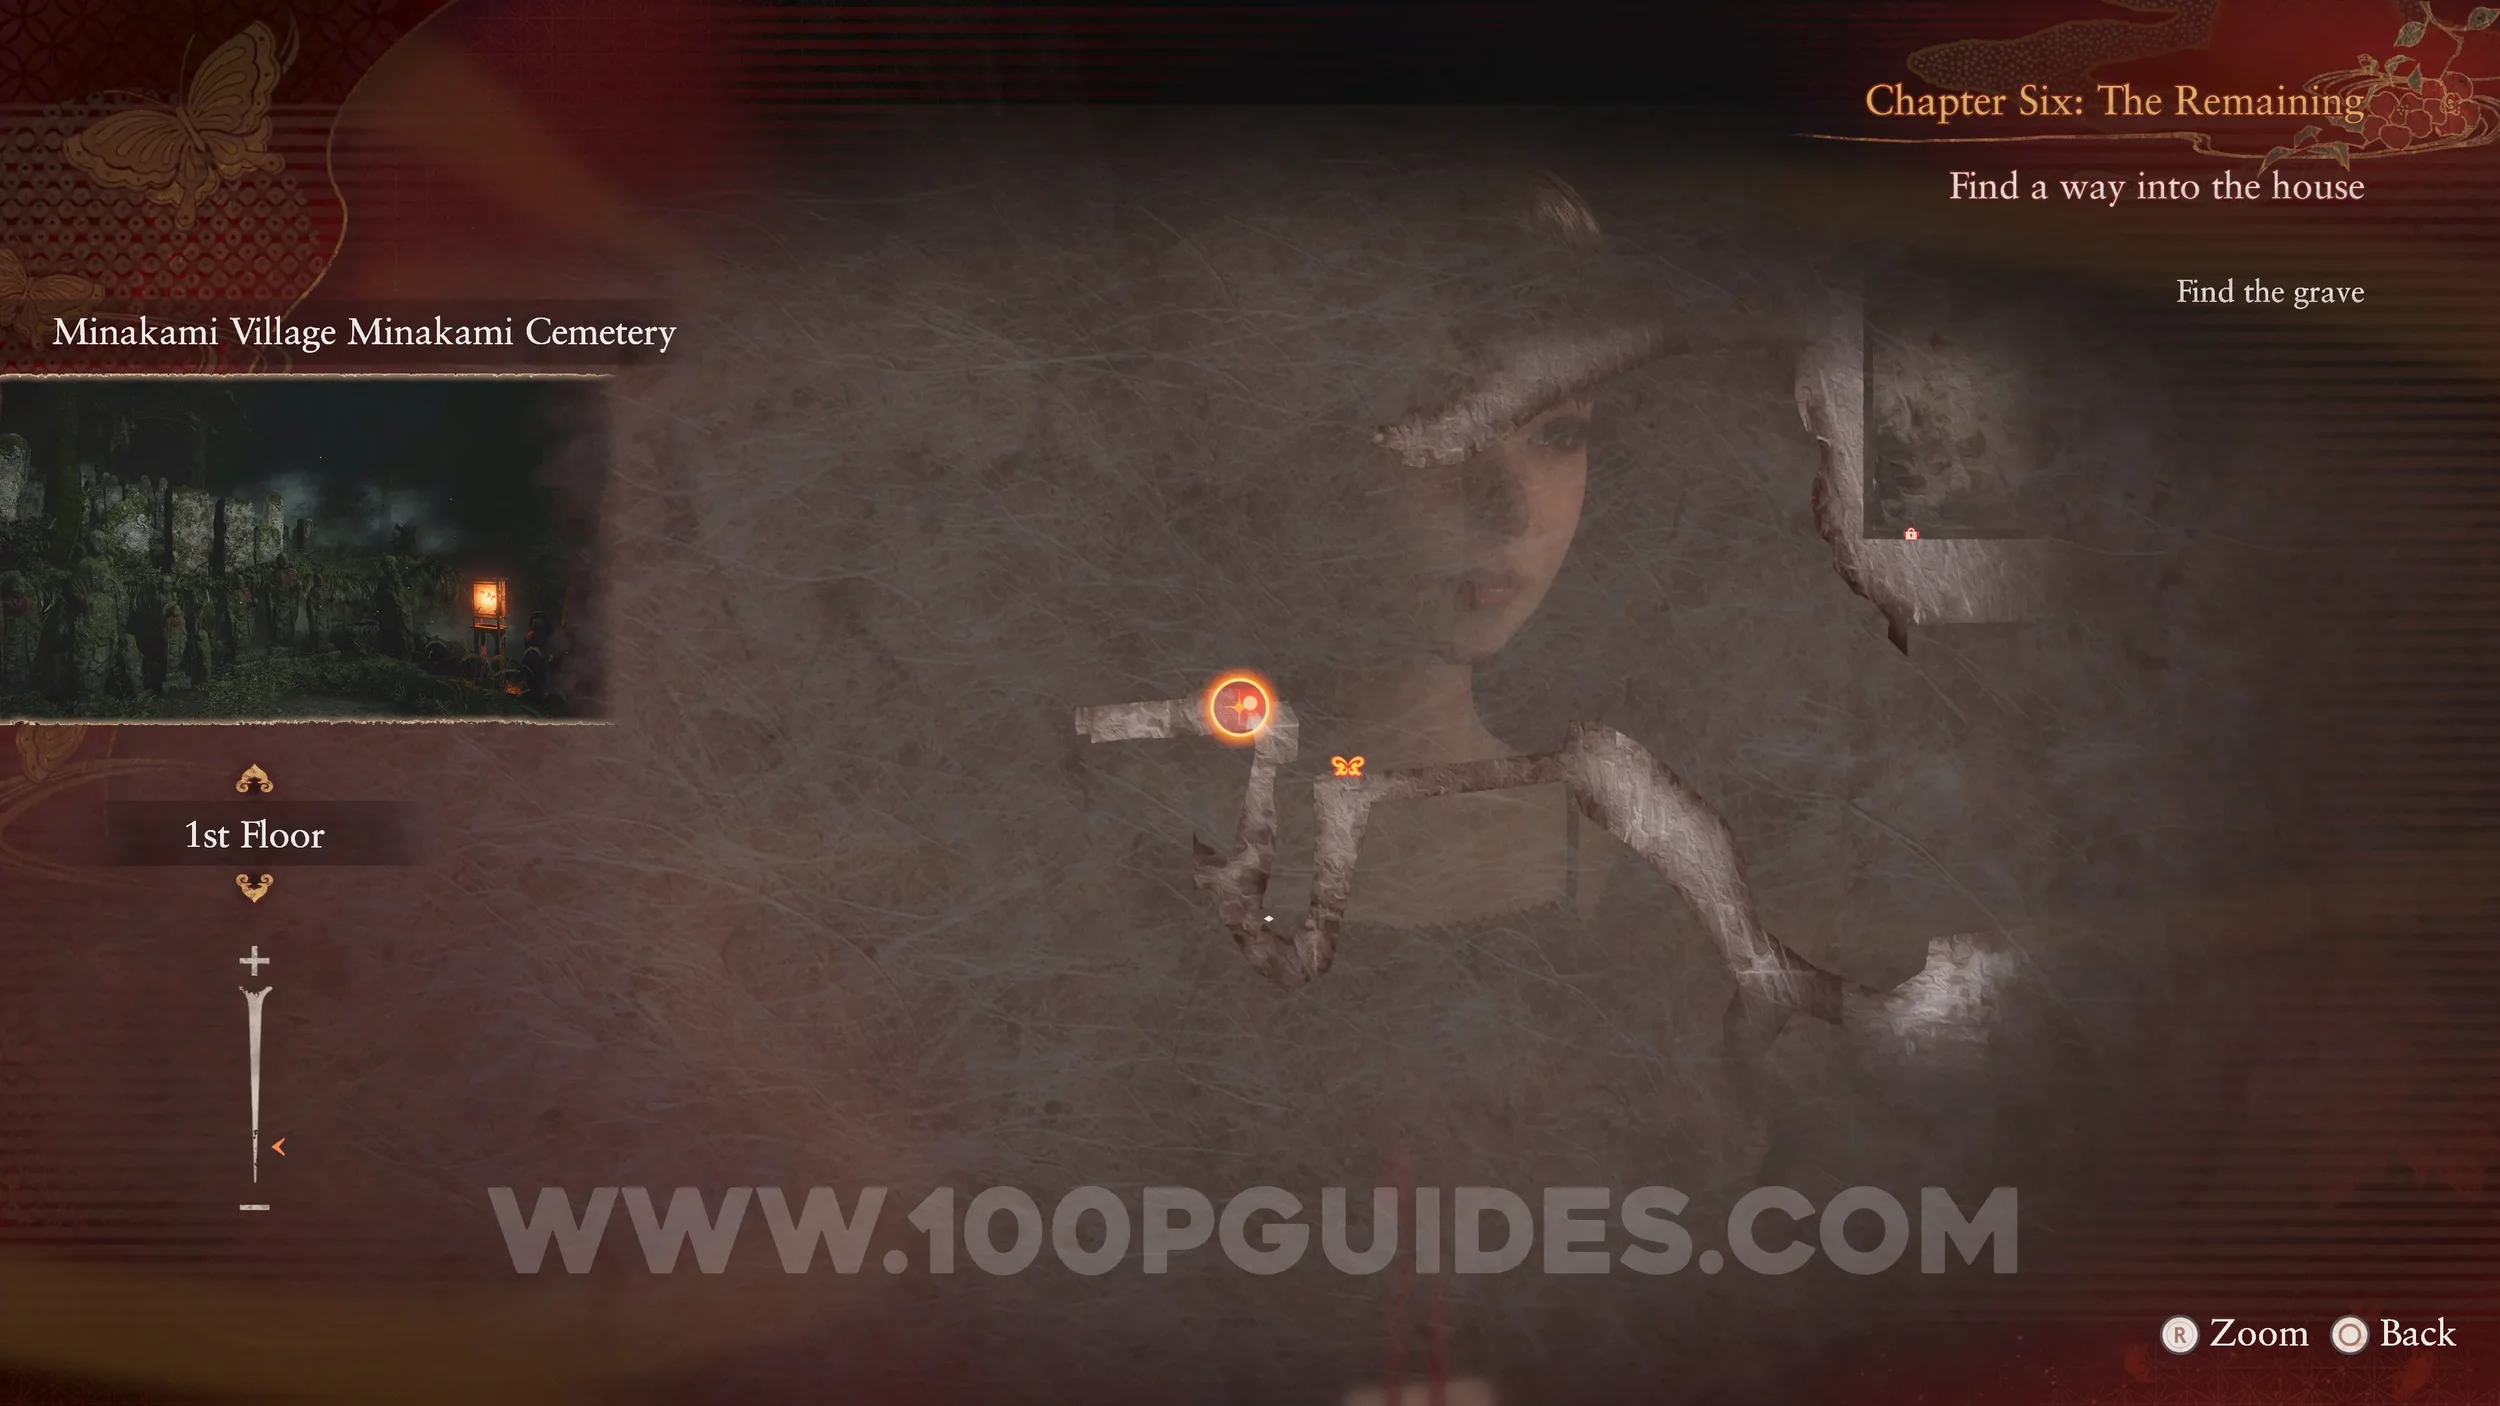
Unbinding of Blood #19 and Prayer Beads #43. From the previous dolls, head west. You will see a sealed pot on your right before the grave.

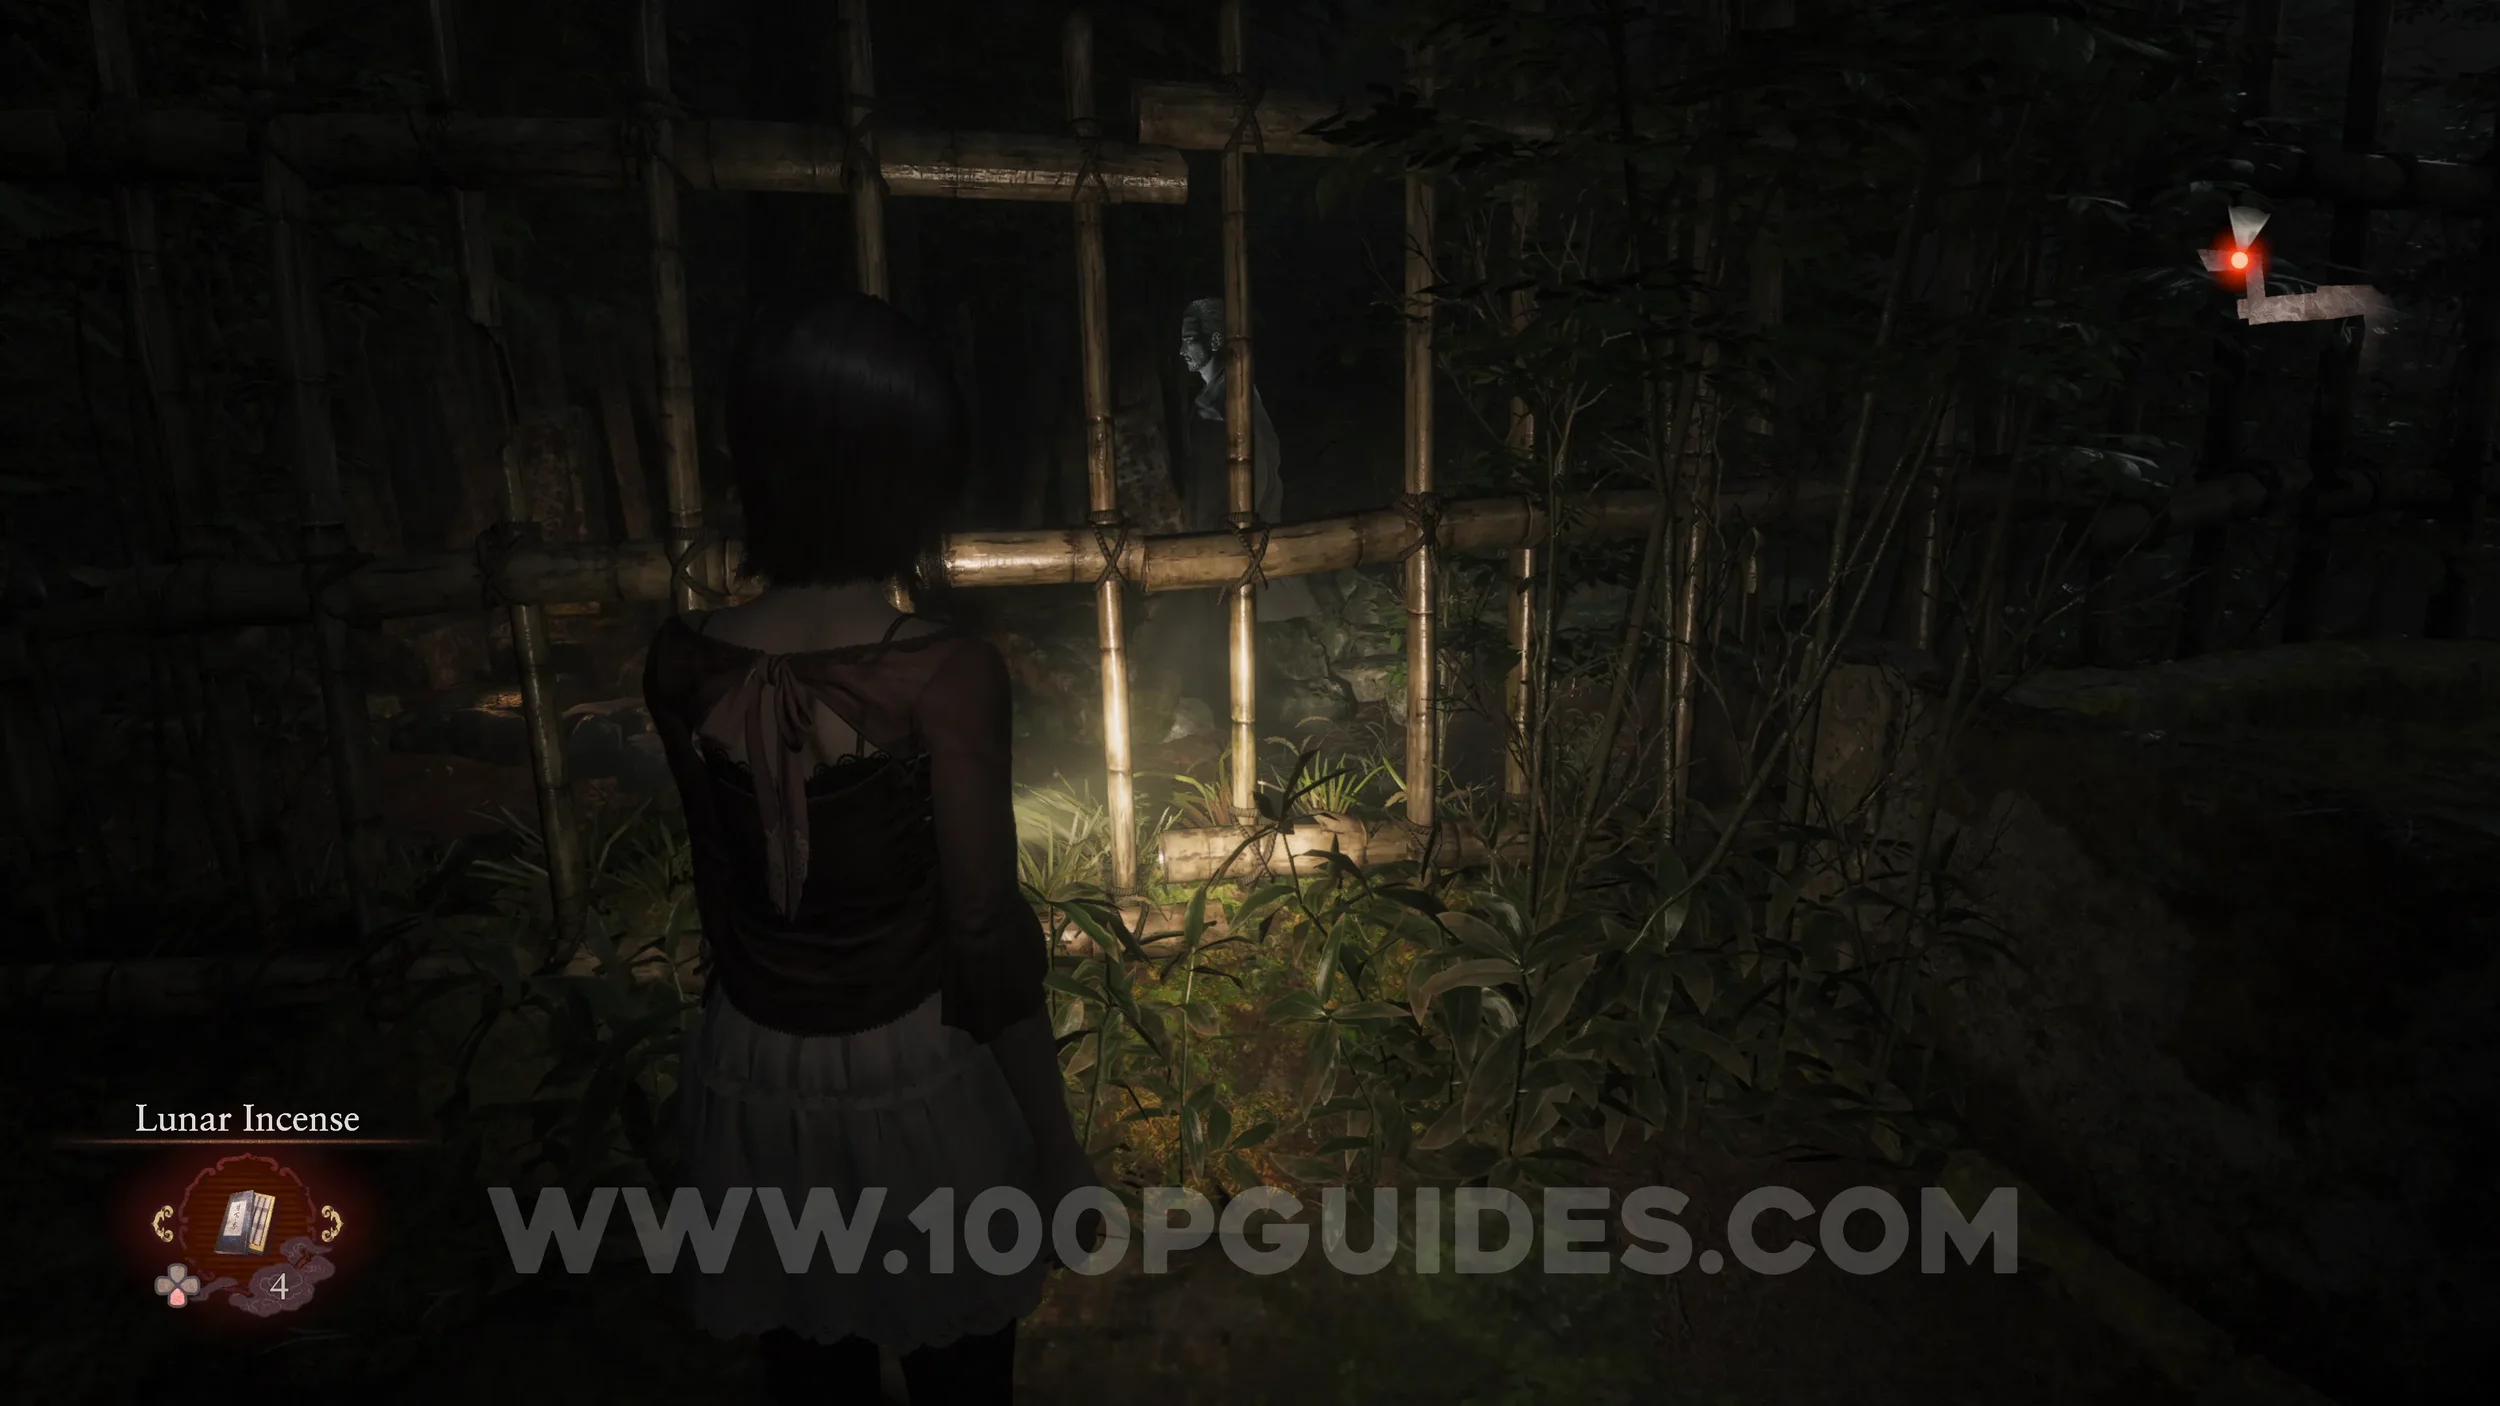
Specter #116 - 077 Man Inspecting Cemetery. At the large grave near the previous collectible, head north and look straight ahead to see the specter on the other side of the fence.
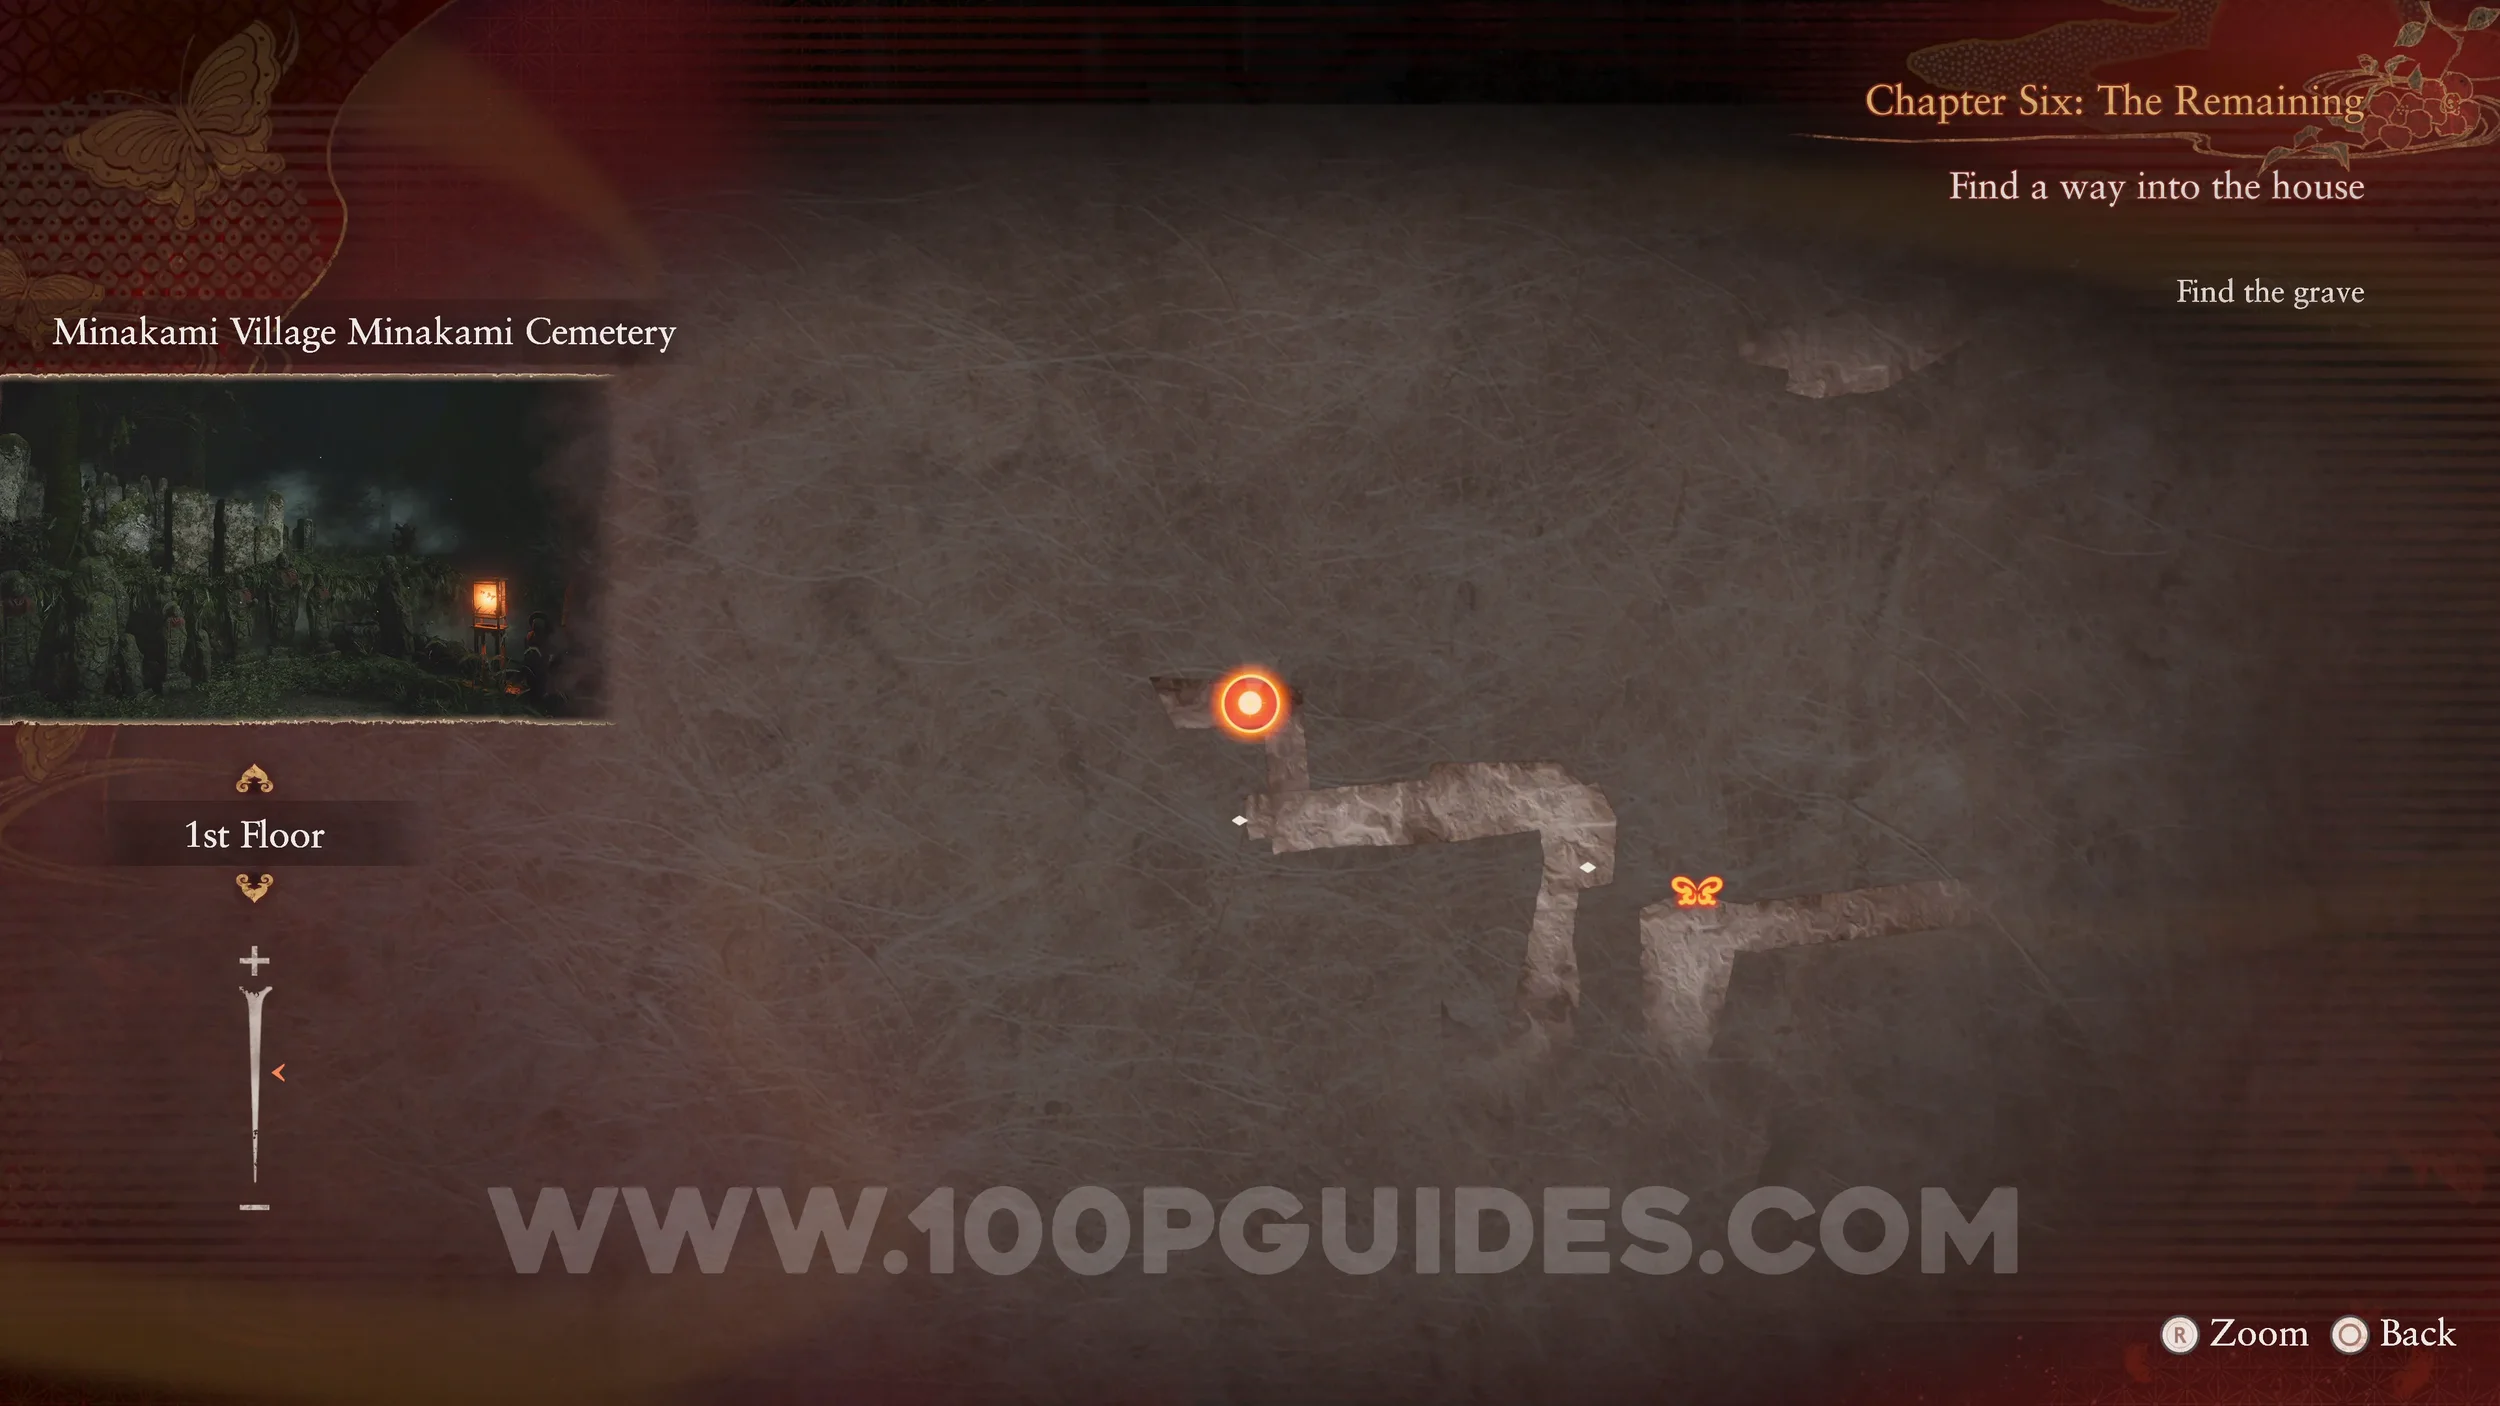
Twin Dolls #32 (33). Head south towards the tree trunk you must go under to reach the main objective. Just before going under it, turn around to see the dolls near the stone shrines.
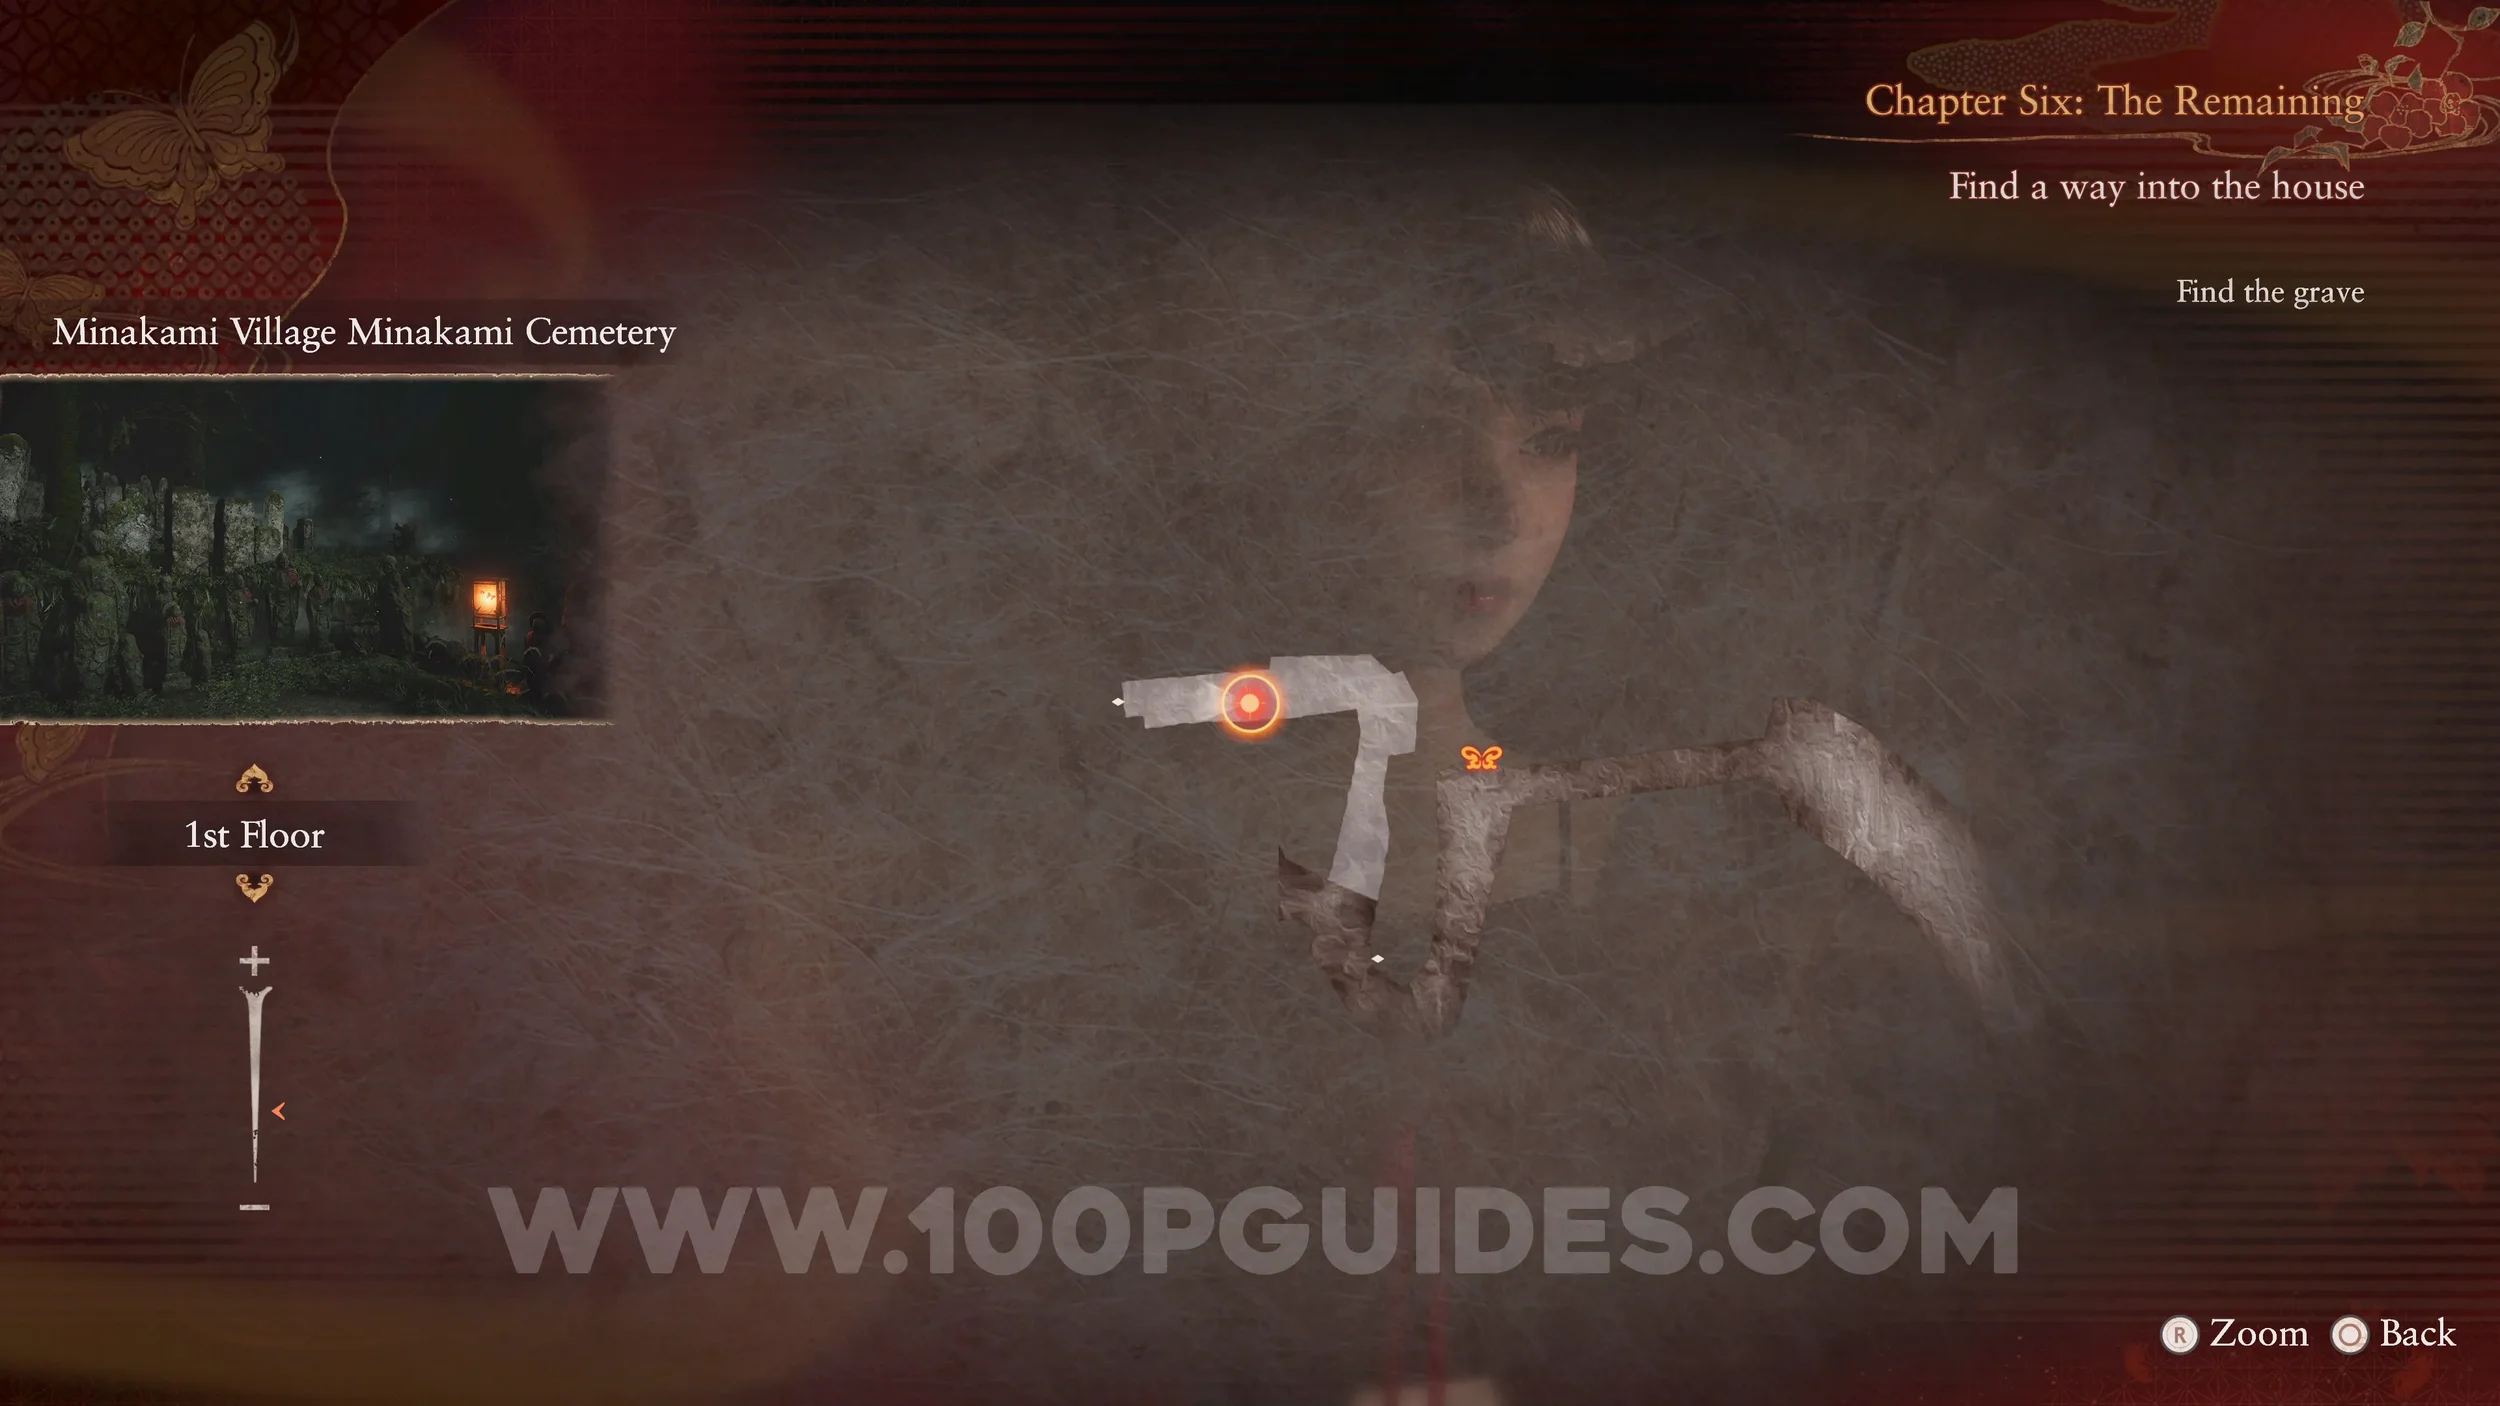
Specter #117 - 078 Man Hiding Key. Follow the path south in the cemetery and go under the tree trunk. The specter will appear at the grave where the key is.
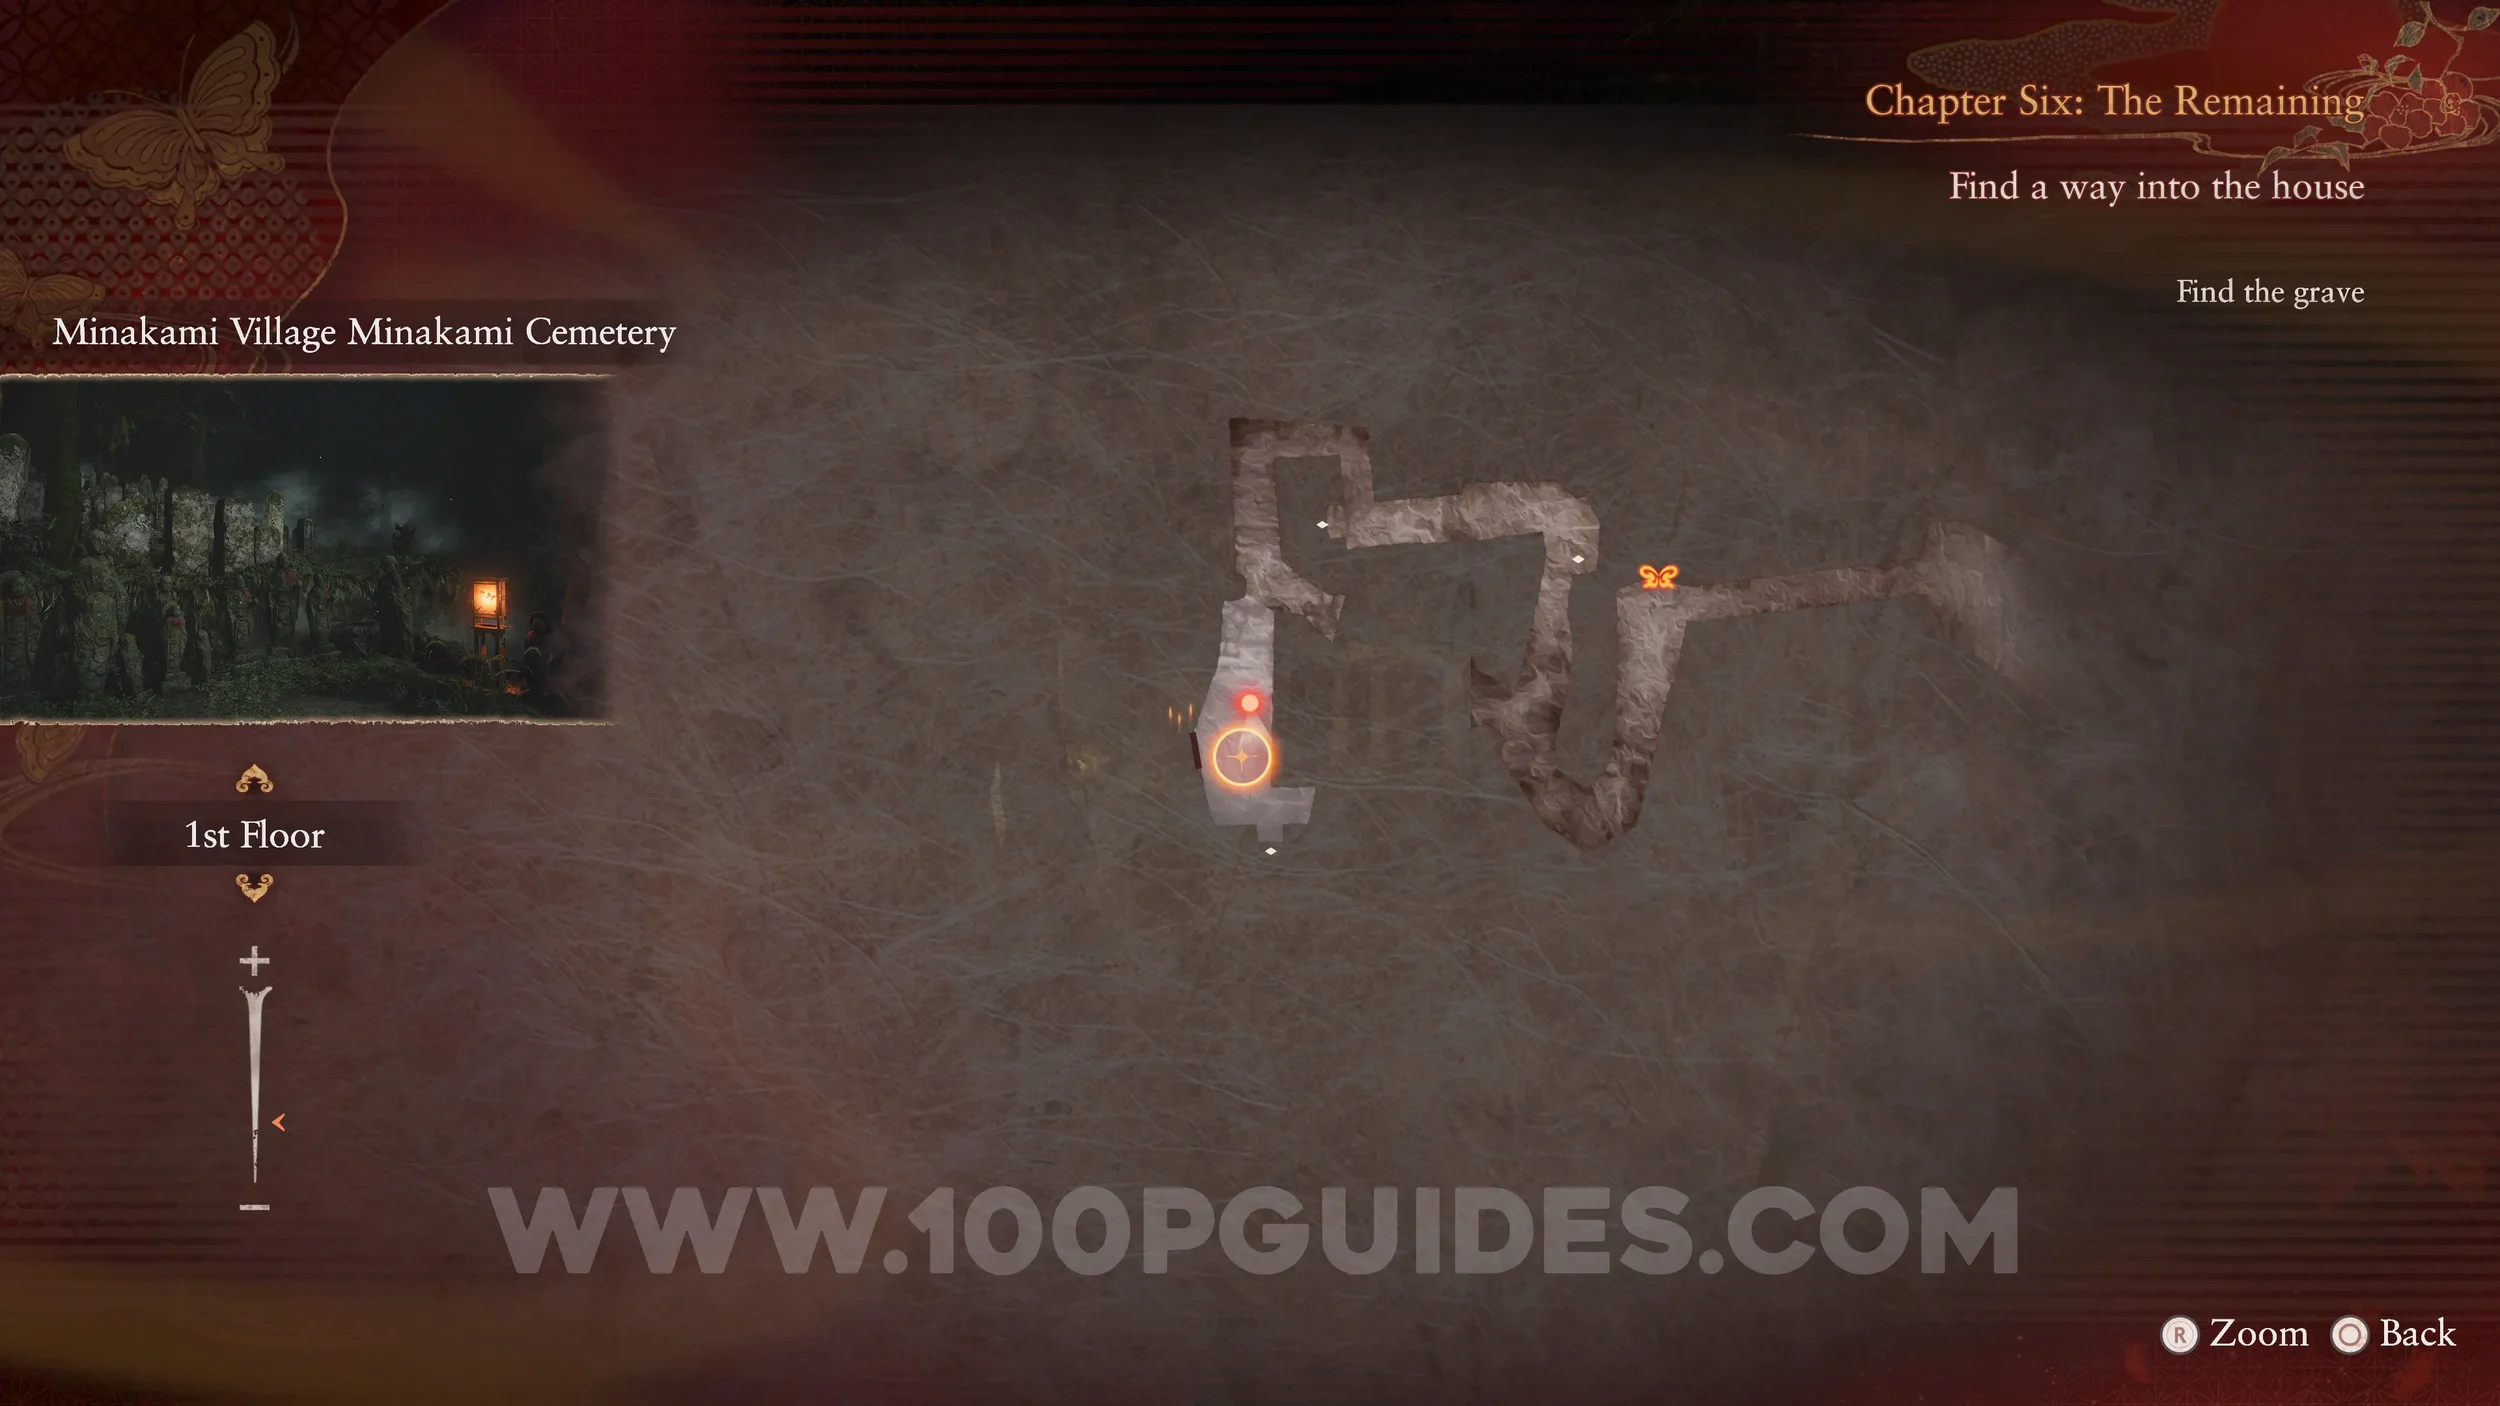
Twin Dolls #33 (32). To your left at the grave with the key.
Prayer Beads #44. Go back under the tree, turn right and then right again. You will see the beads on a grave.

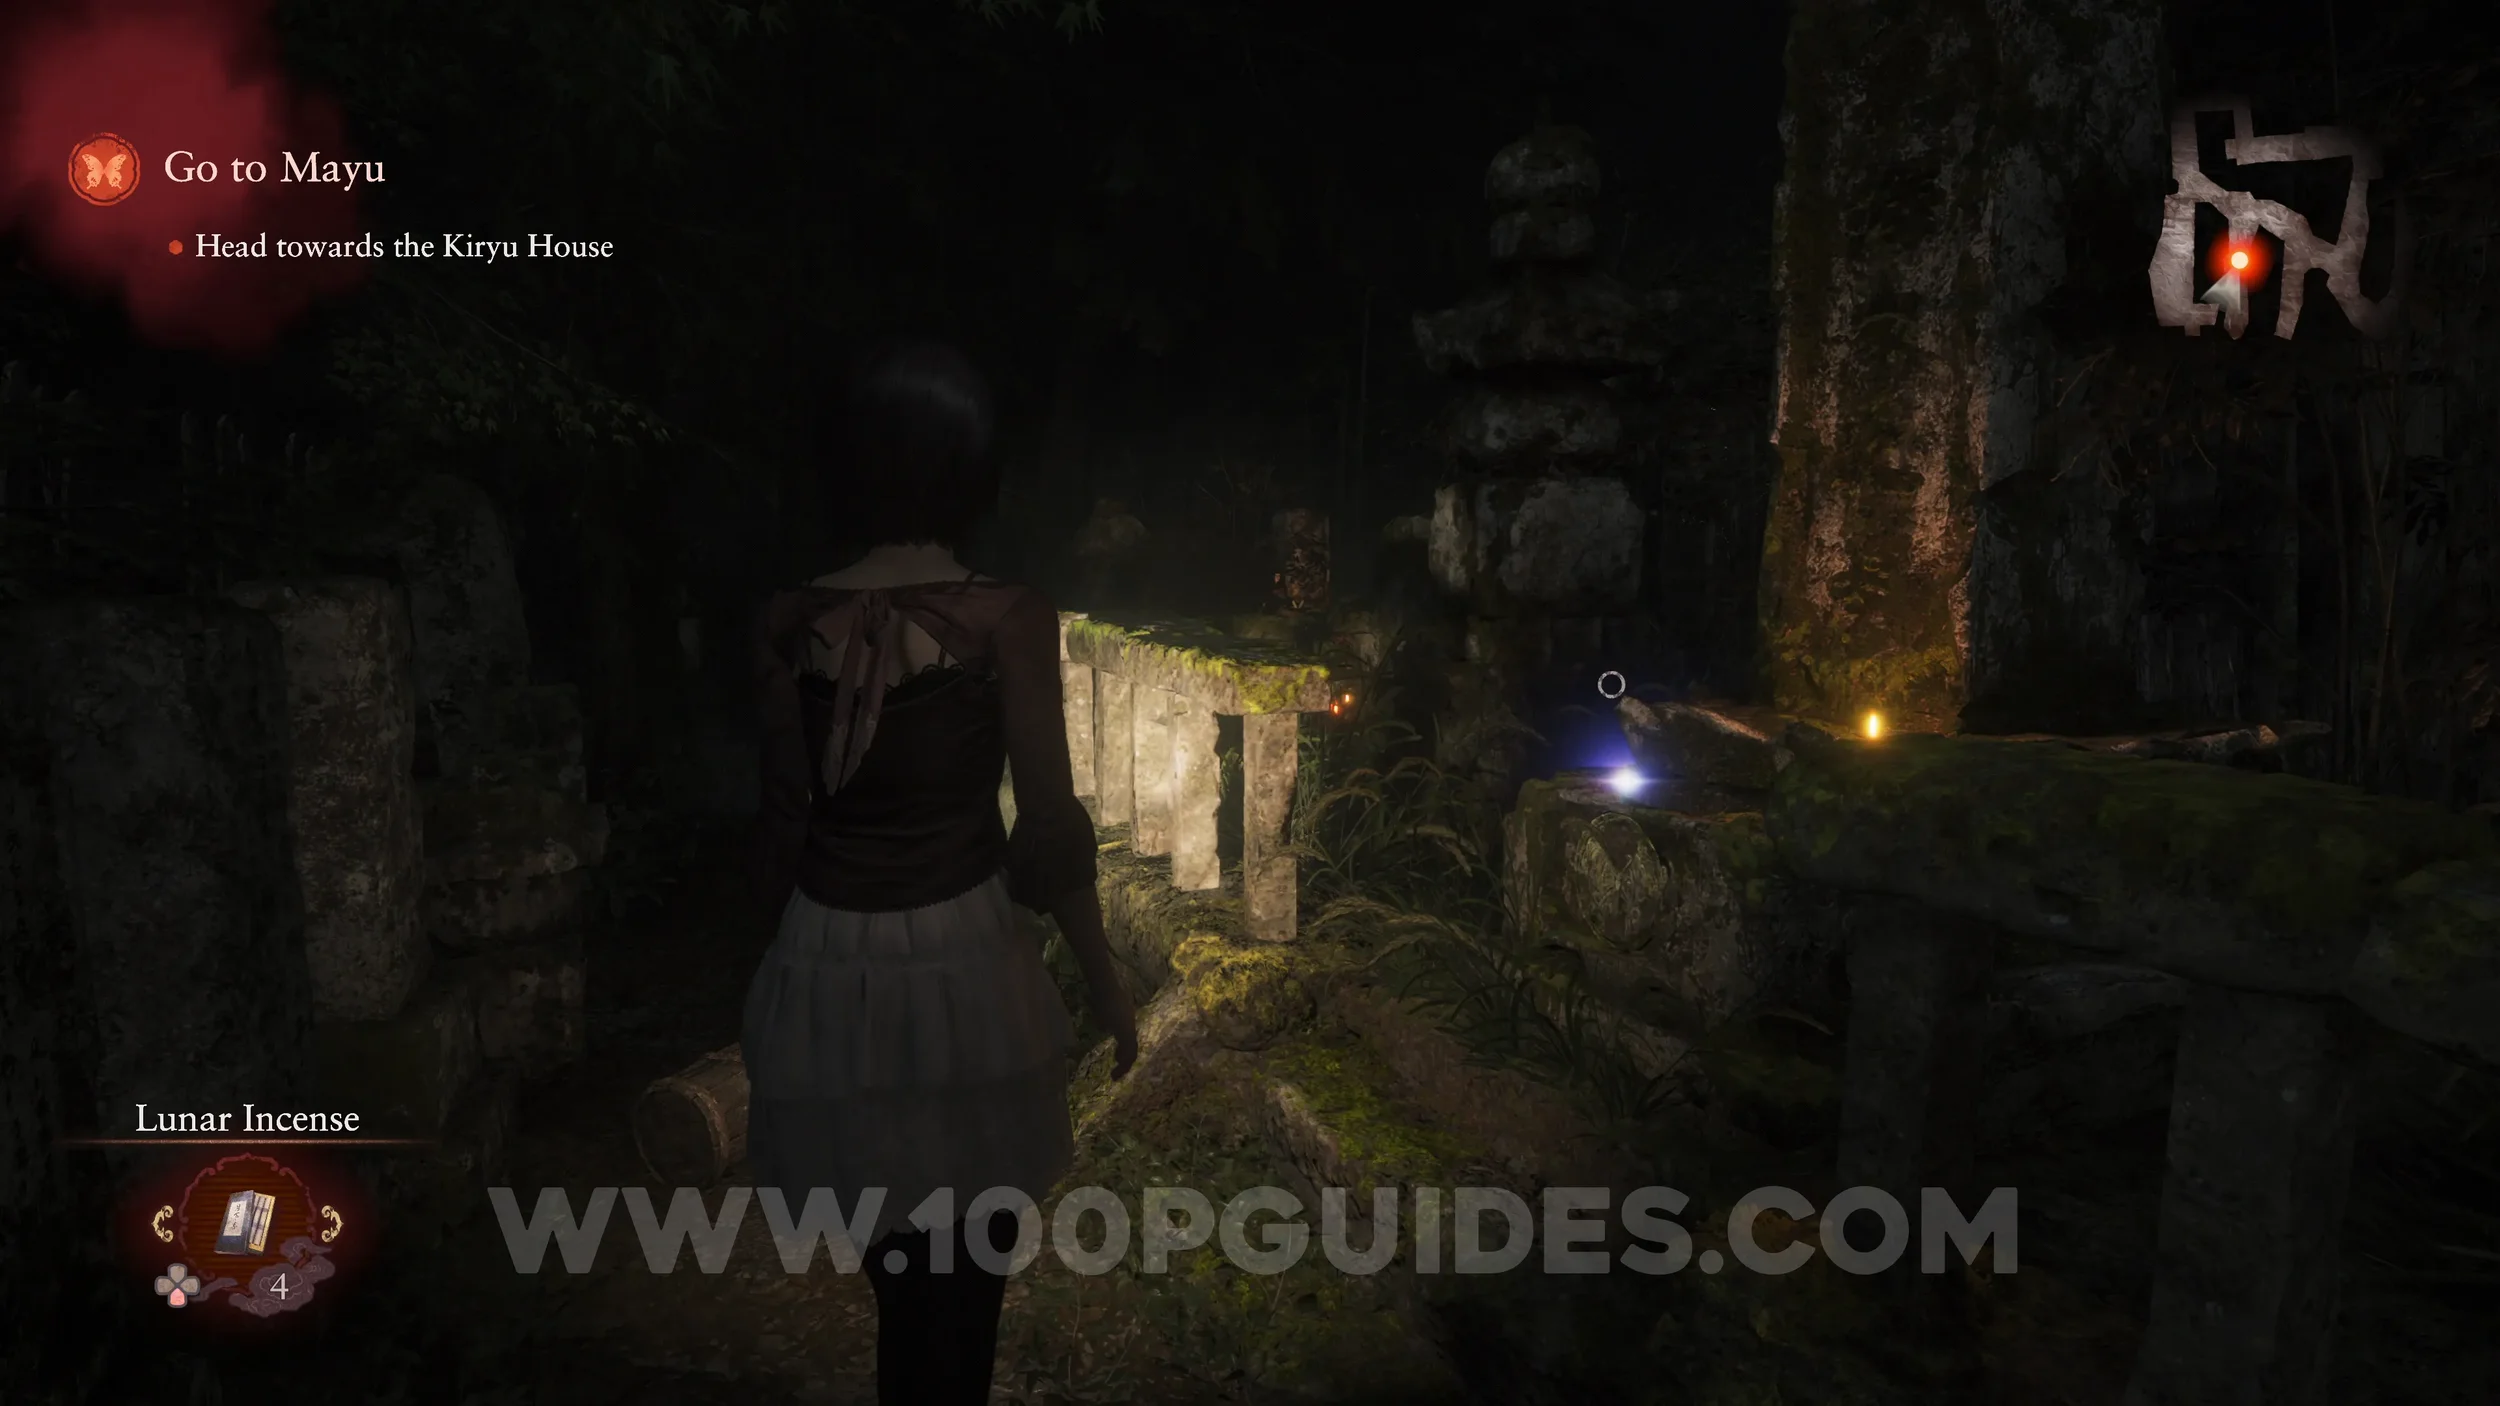
Specter #118 - 083 Girl Clad in Butterflies. Will be in front of you after entering Kiryu House with the key from the graveyard.
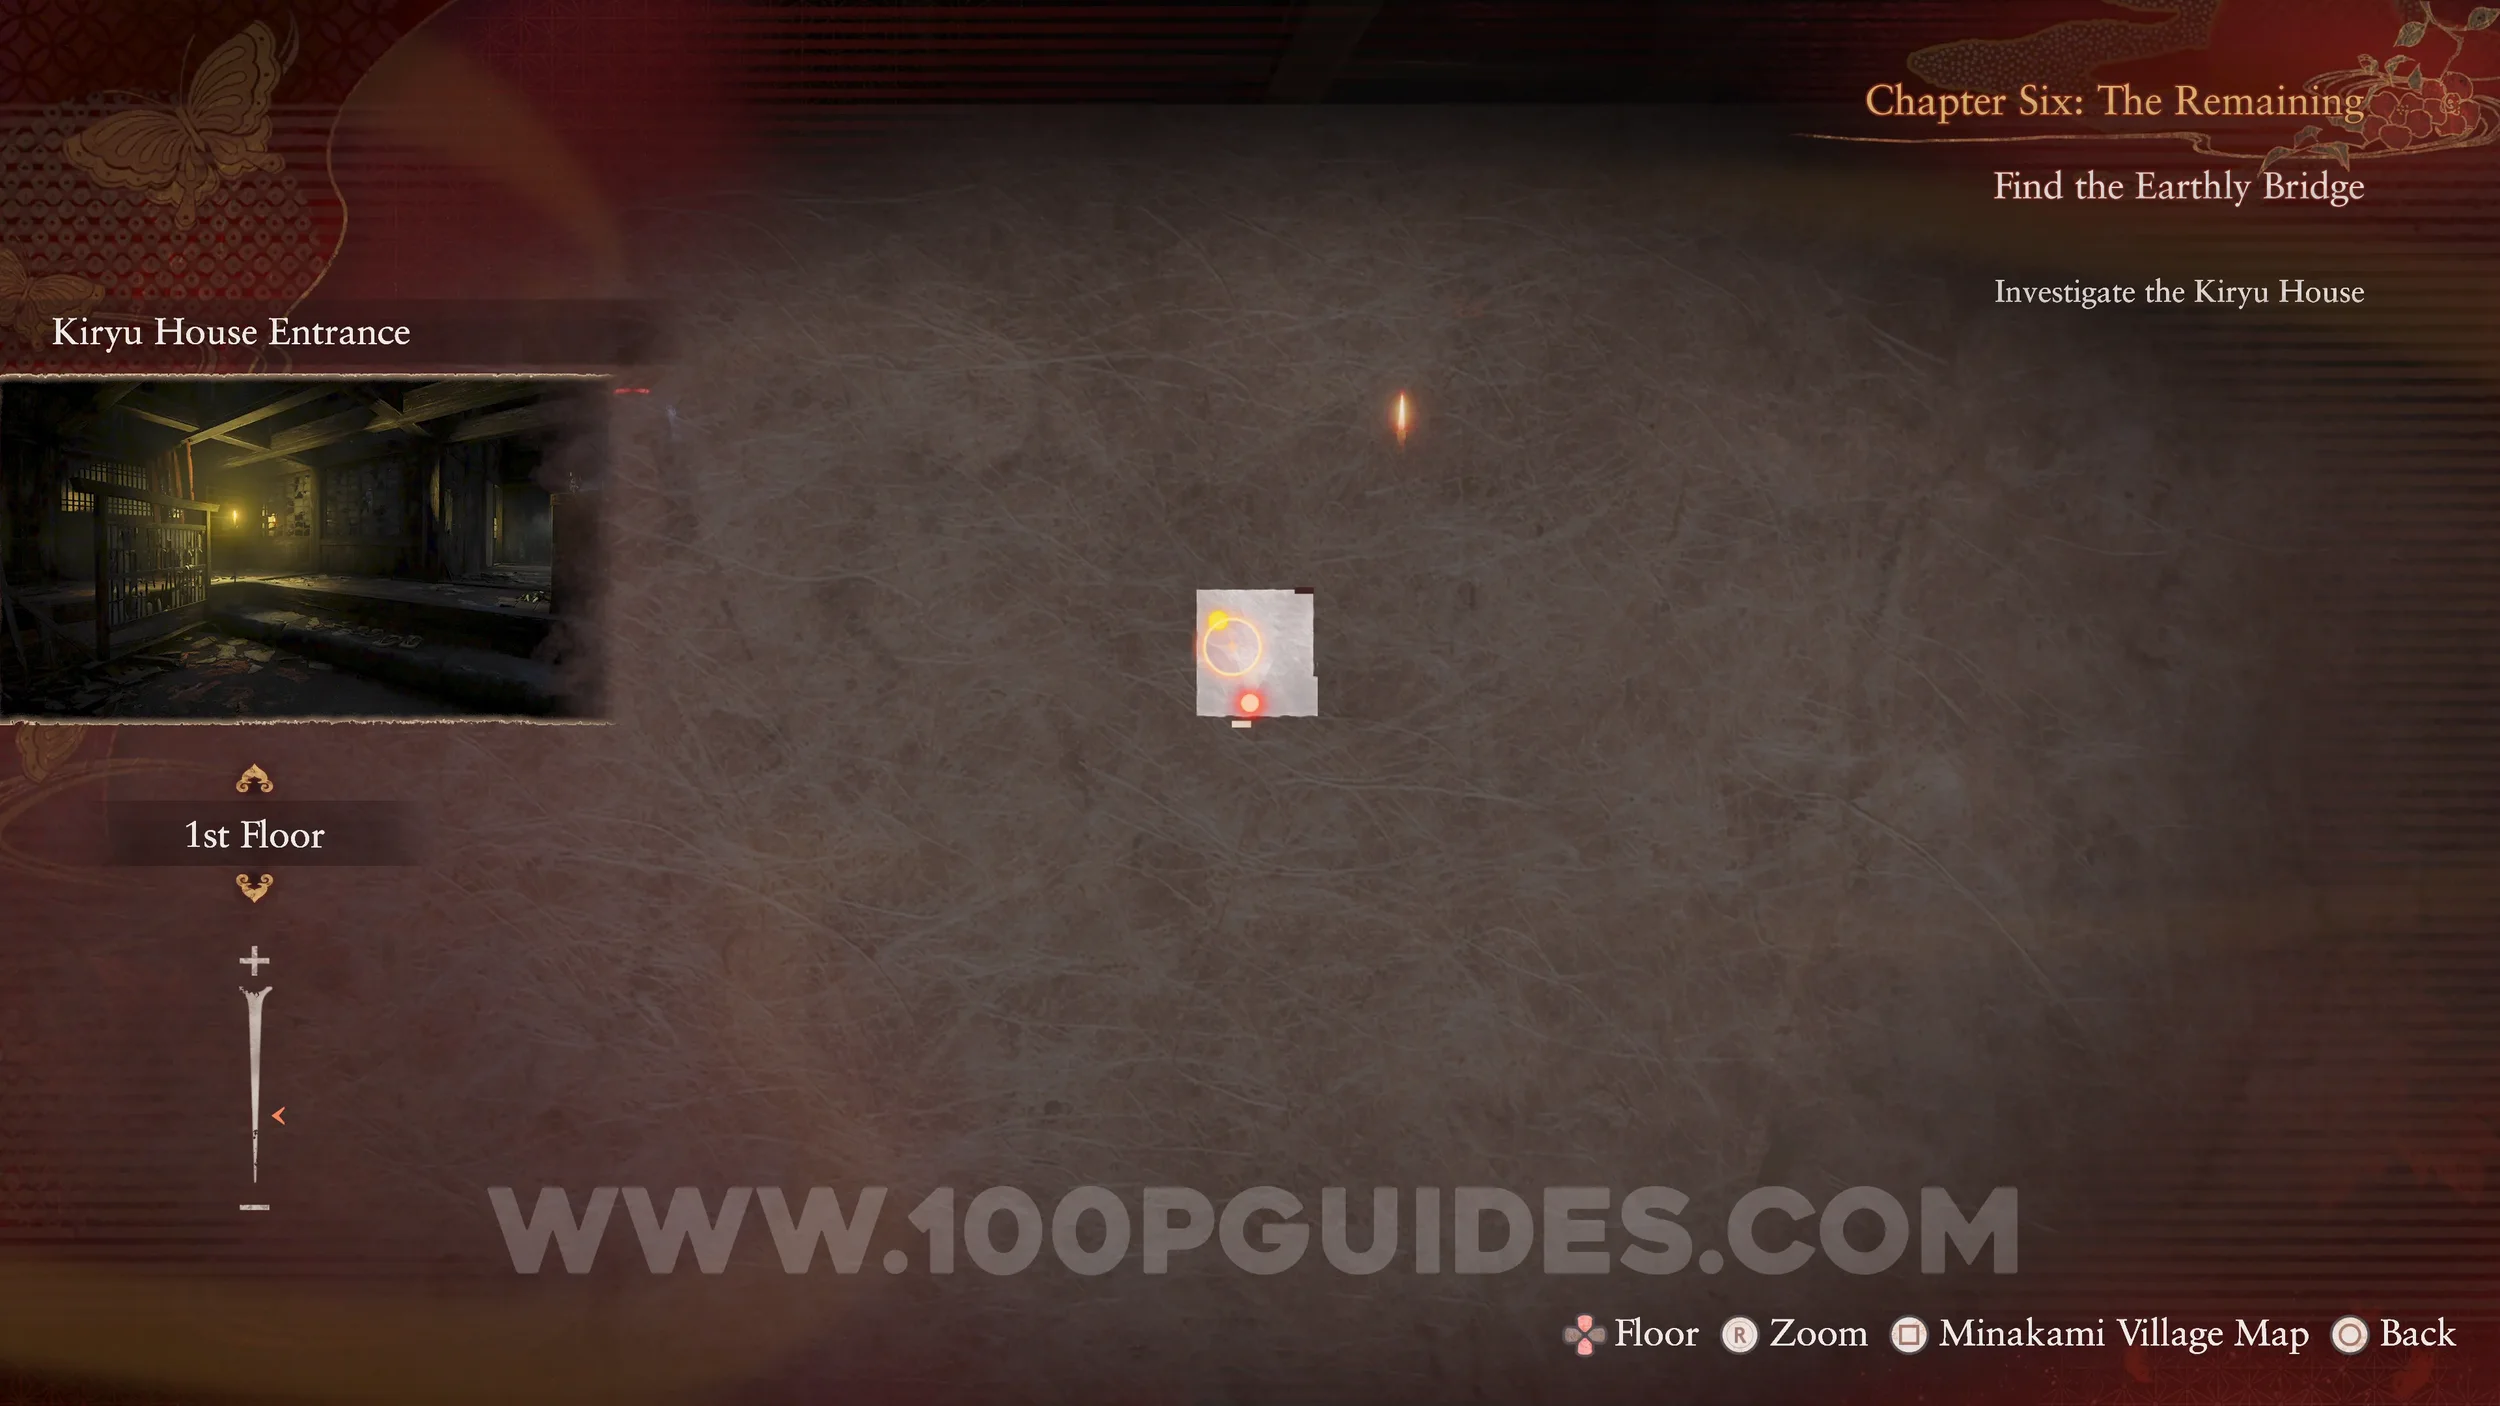
Prayer Beads #45. In the same place as the previous specter.
Twin Dolls #34 (16). From the previous collectible, head into the room to the north. You will see a doll in plain sight on the altar. The other is in the room further north. Stand as far away as possible from the first doll with your back against the eastern wall and zoom out with your camera. You should be able to see the other doll through the hole in the wall at the same time.
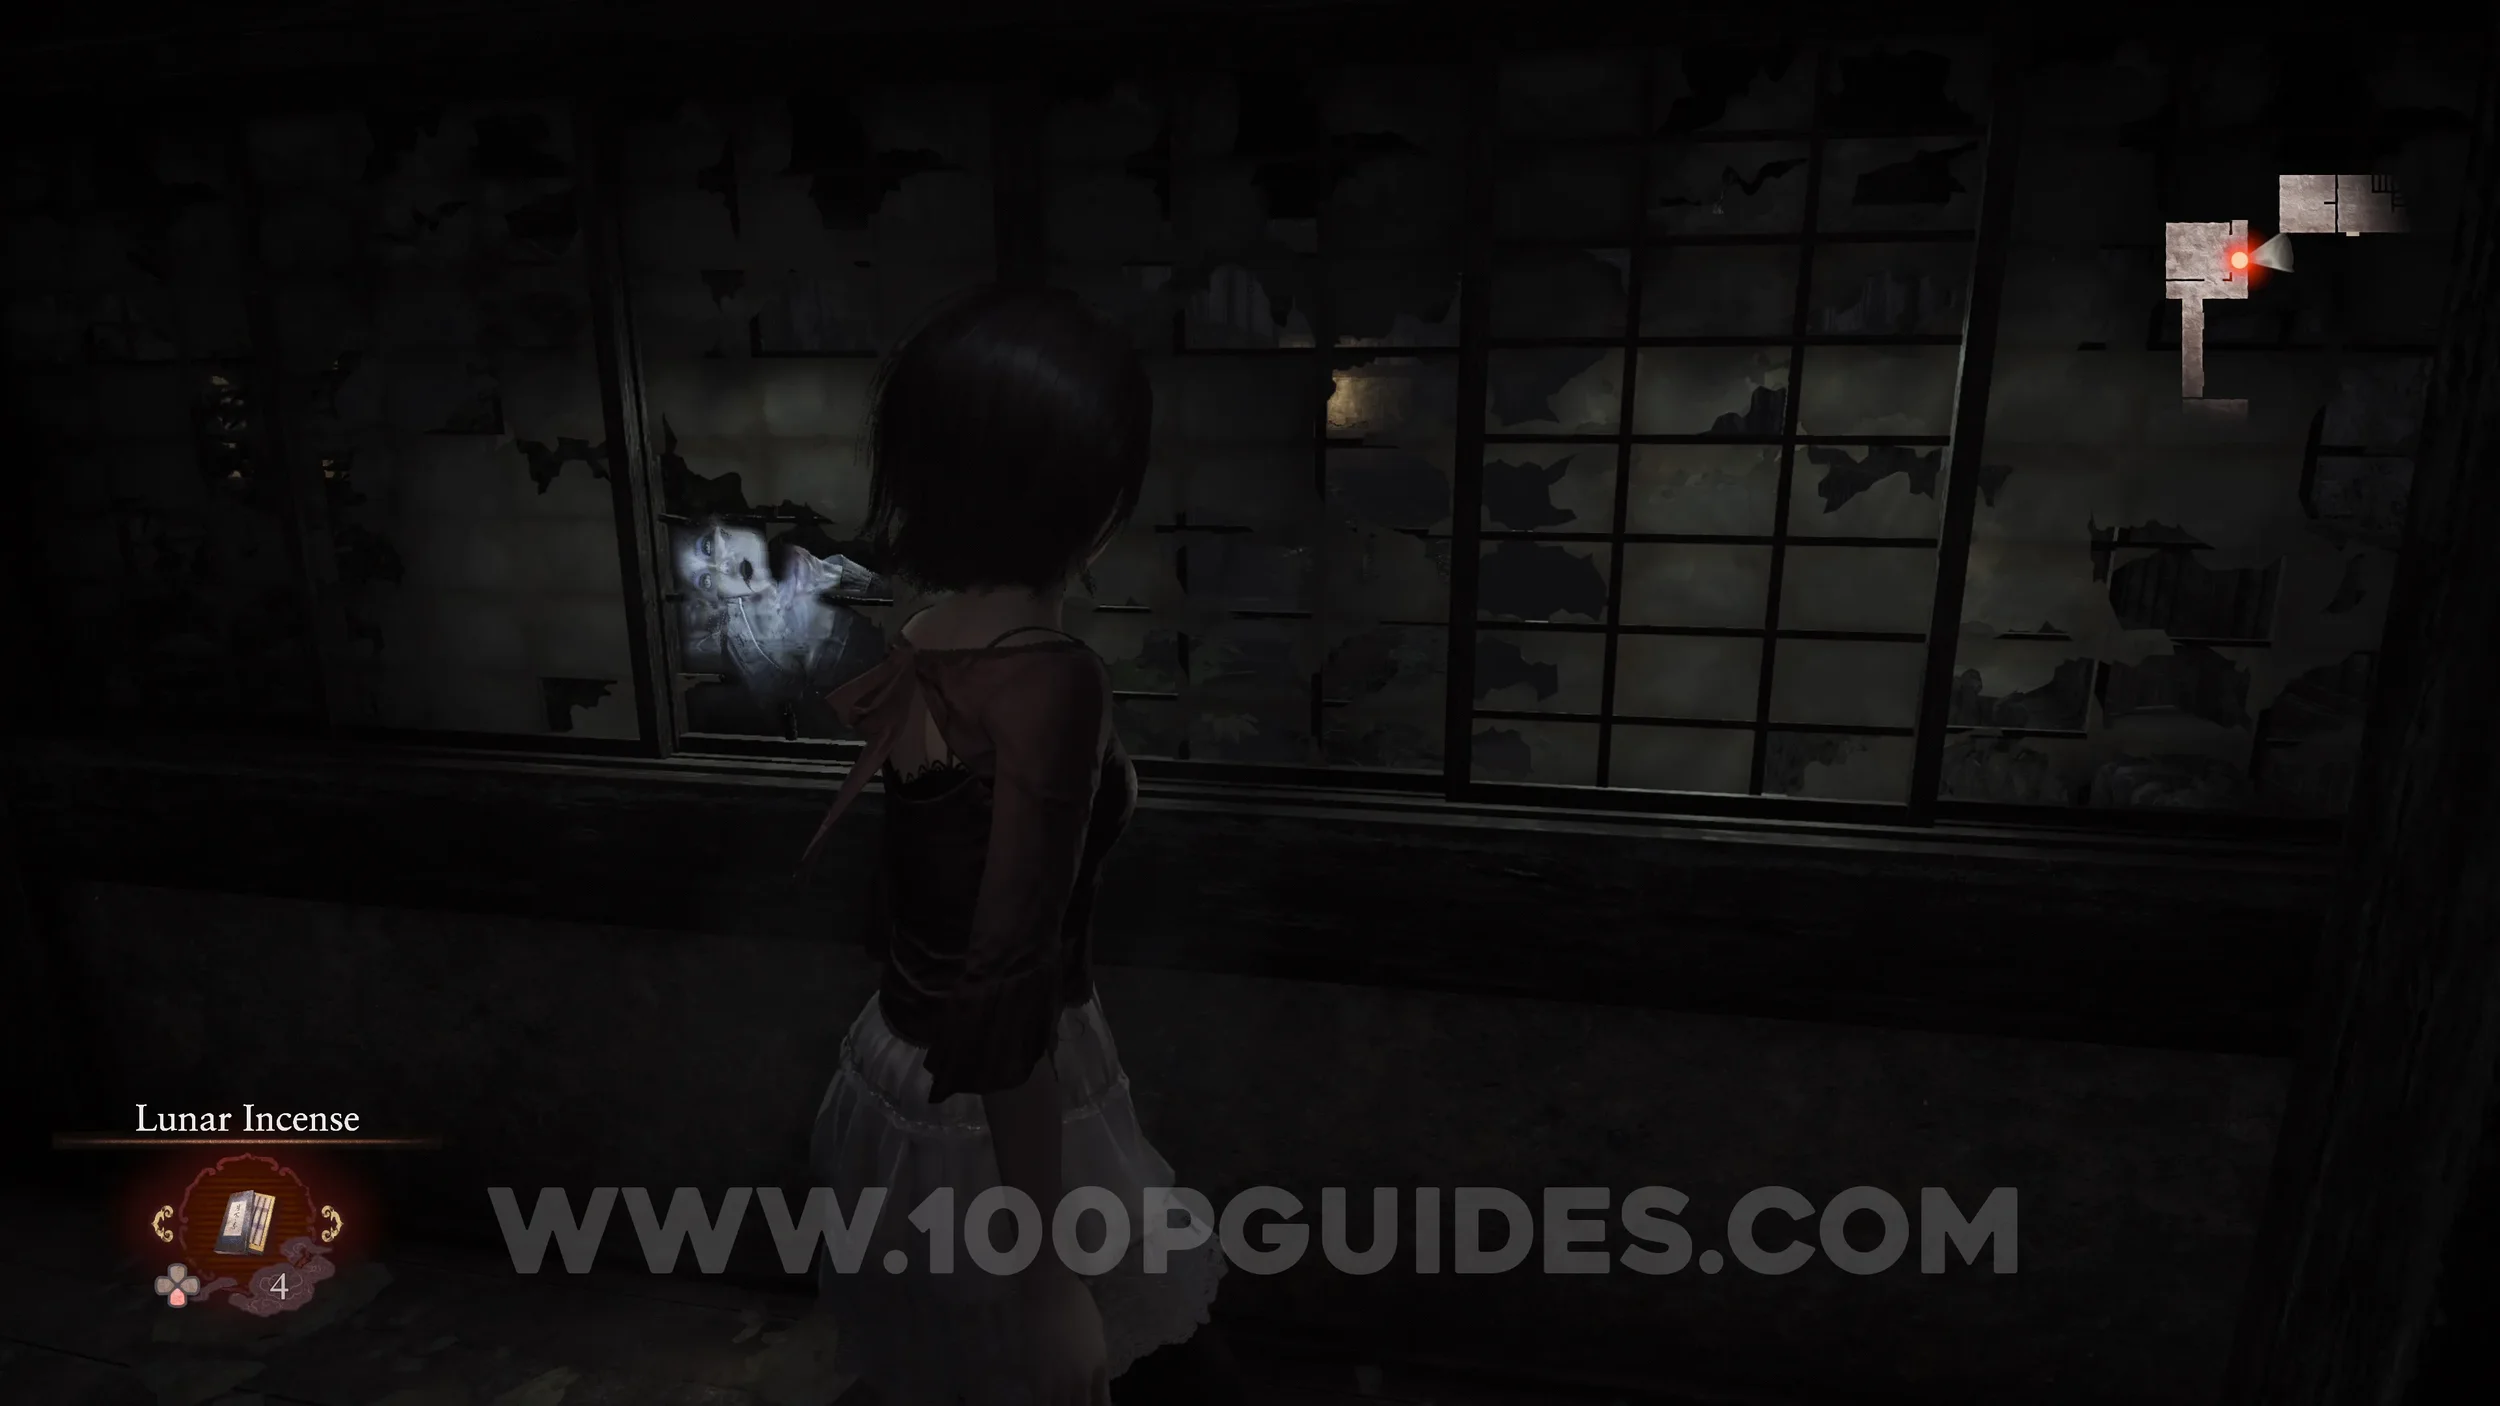
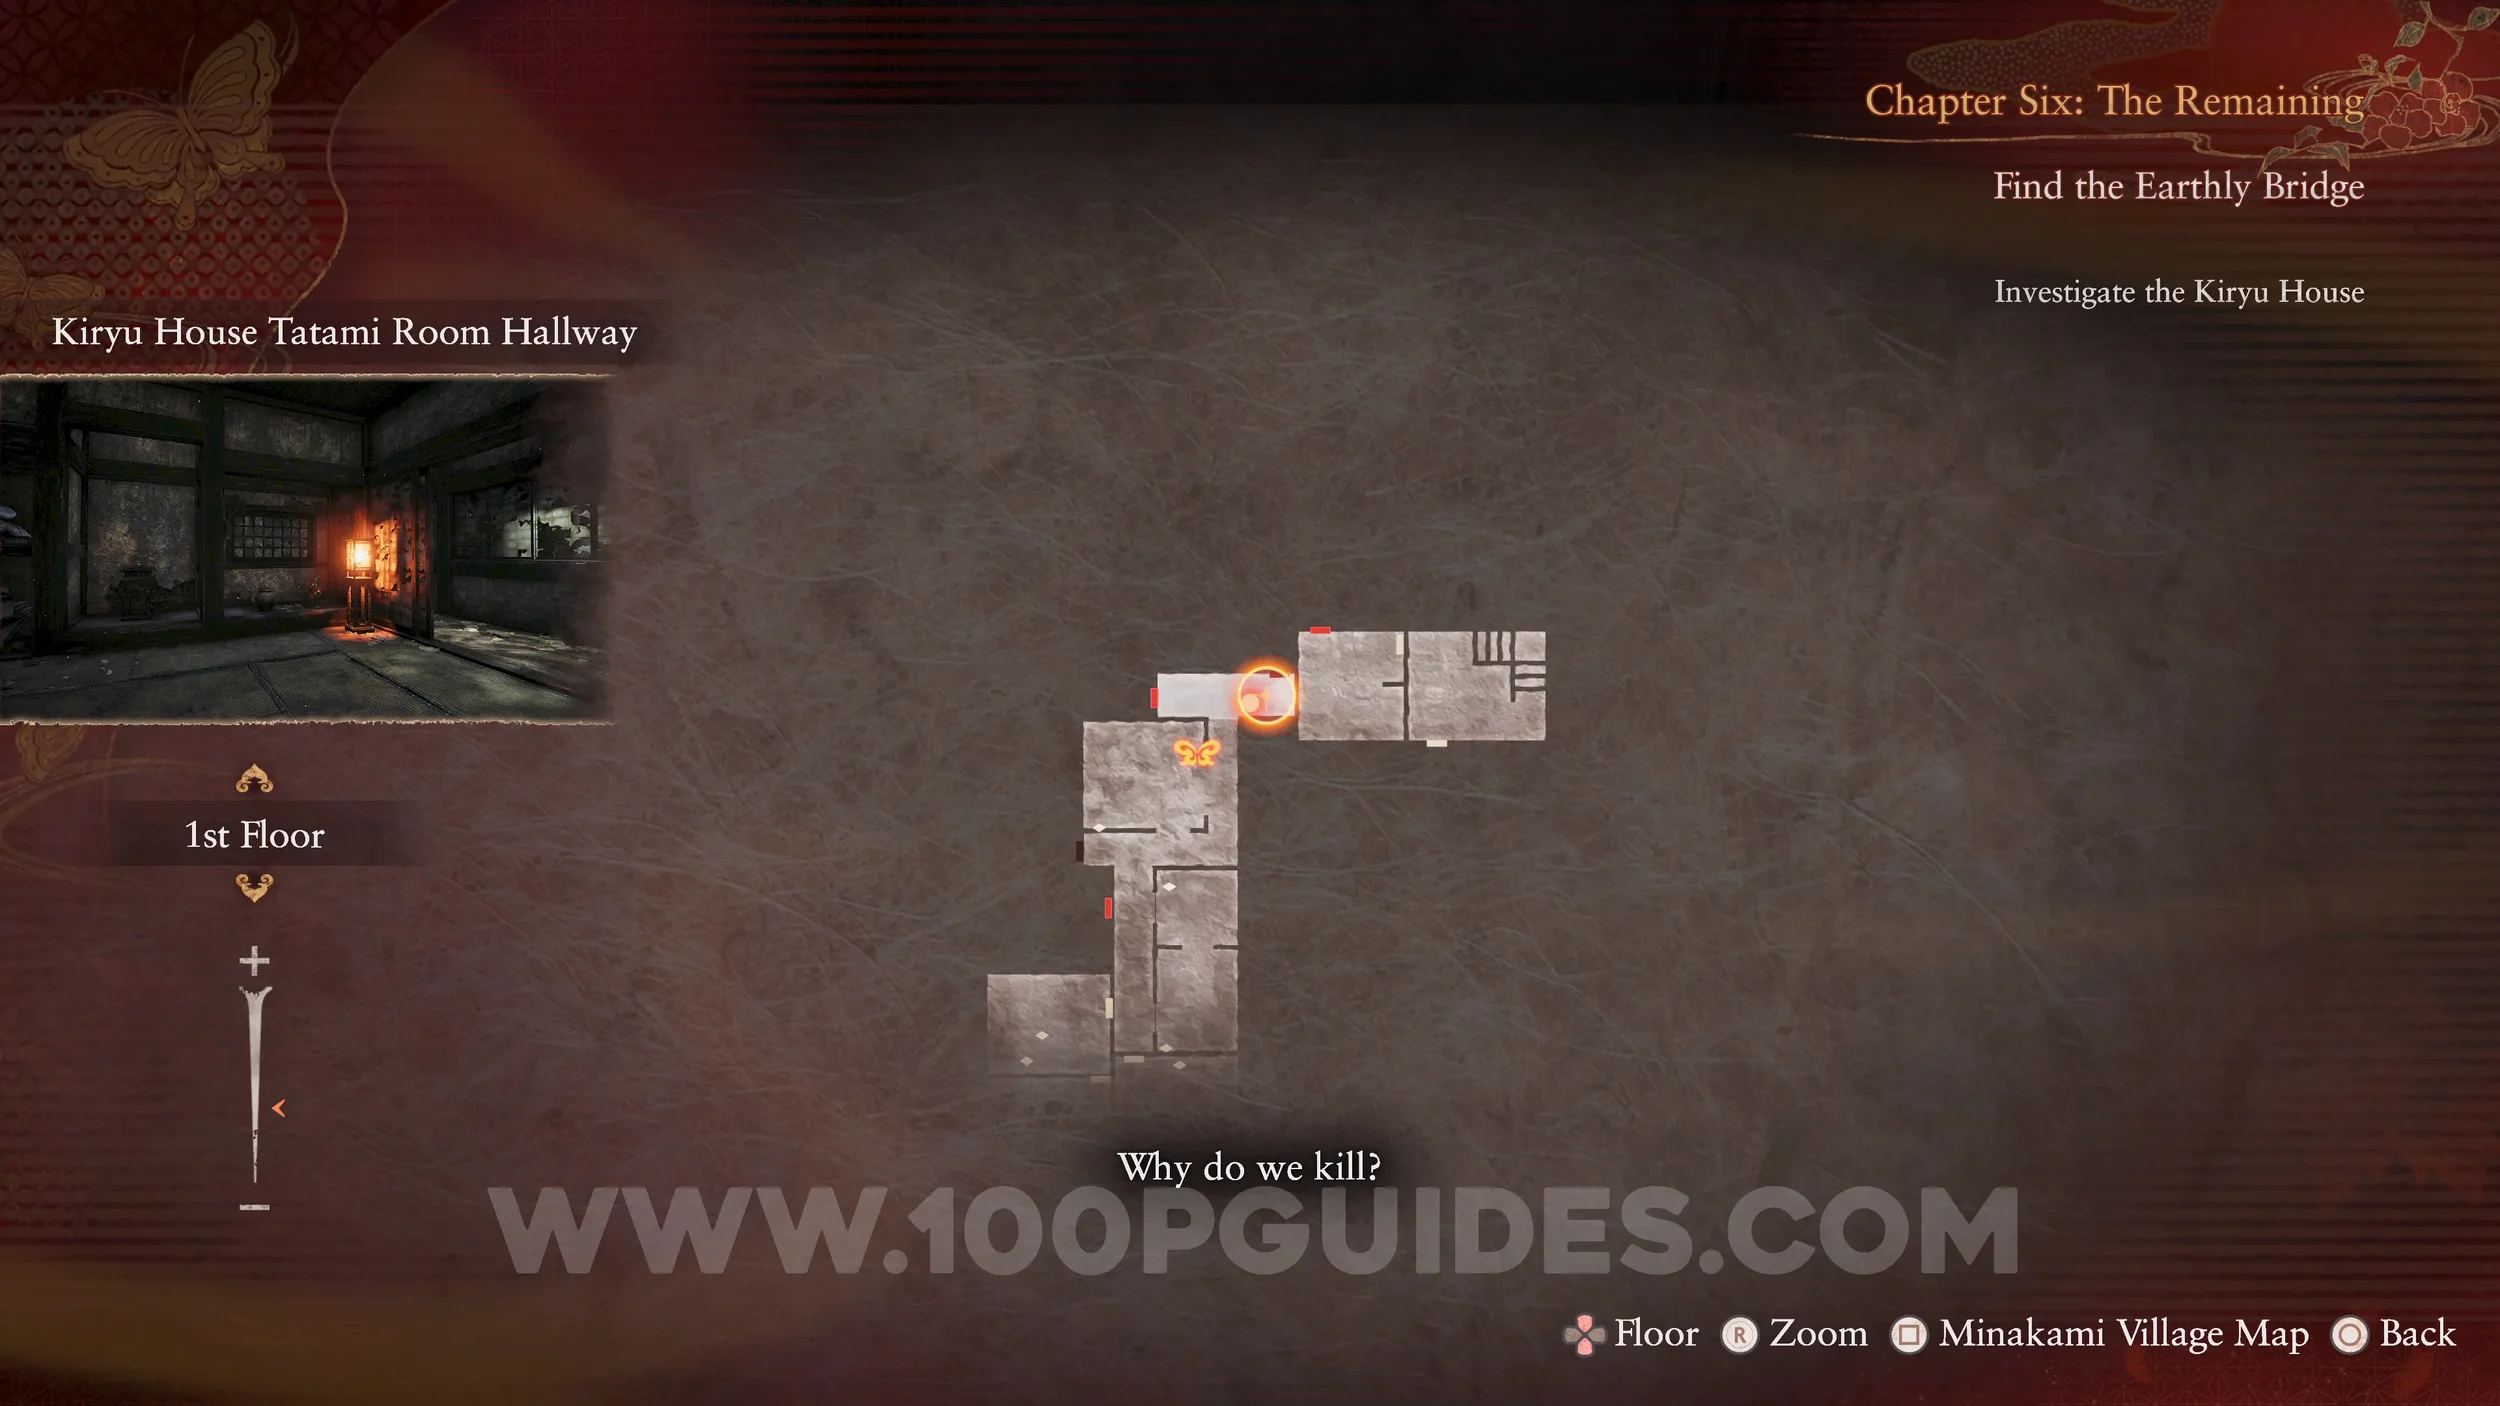
Specter #119 - 084 Peering Doll. Go down the hall east of the room with the previous specter and look through the hole in the wall on your left.
Spirit Stone #24 - Mayu’s Charm 6. In the same hall as the previous specter.
Prayer Beads #46. Open the door at the end of the same hall.
Specter #120 - 085 Vanishing Girl, Specter #121 - 086 Vanishing Doll and Specter #122 - 087 Vanishing Twins. Will be in front of you in the corridor after the room with the hanging dolls.
Unbinding of Blood #20. In the same hall as the previous specters, look for a door on your left with a bloodstain.
Twin Dolls #35 (10). Enter the room to the right of the previous hall and open the closet to the south to find the dolls.
Unbinding of Blood #21 and Prayer Beads #47. In a blood-sealed pot in the room just north of the previous dolls.
Specter #123 - 088 Woman Watching Through Lattice. Once you get to the save room, quickly look through the window on your right.
Specter #124 - 206 Girl Viewing Footage. Can be seen through the small window at the end of the hall north of the next save point.
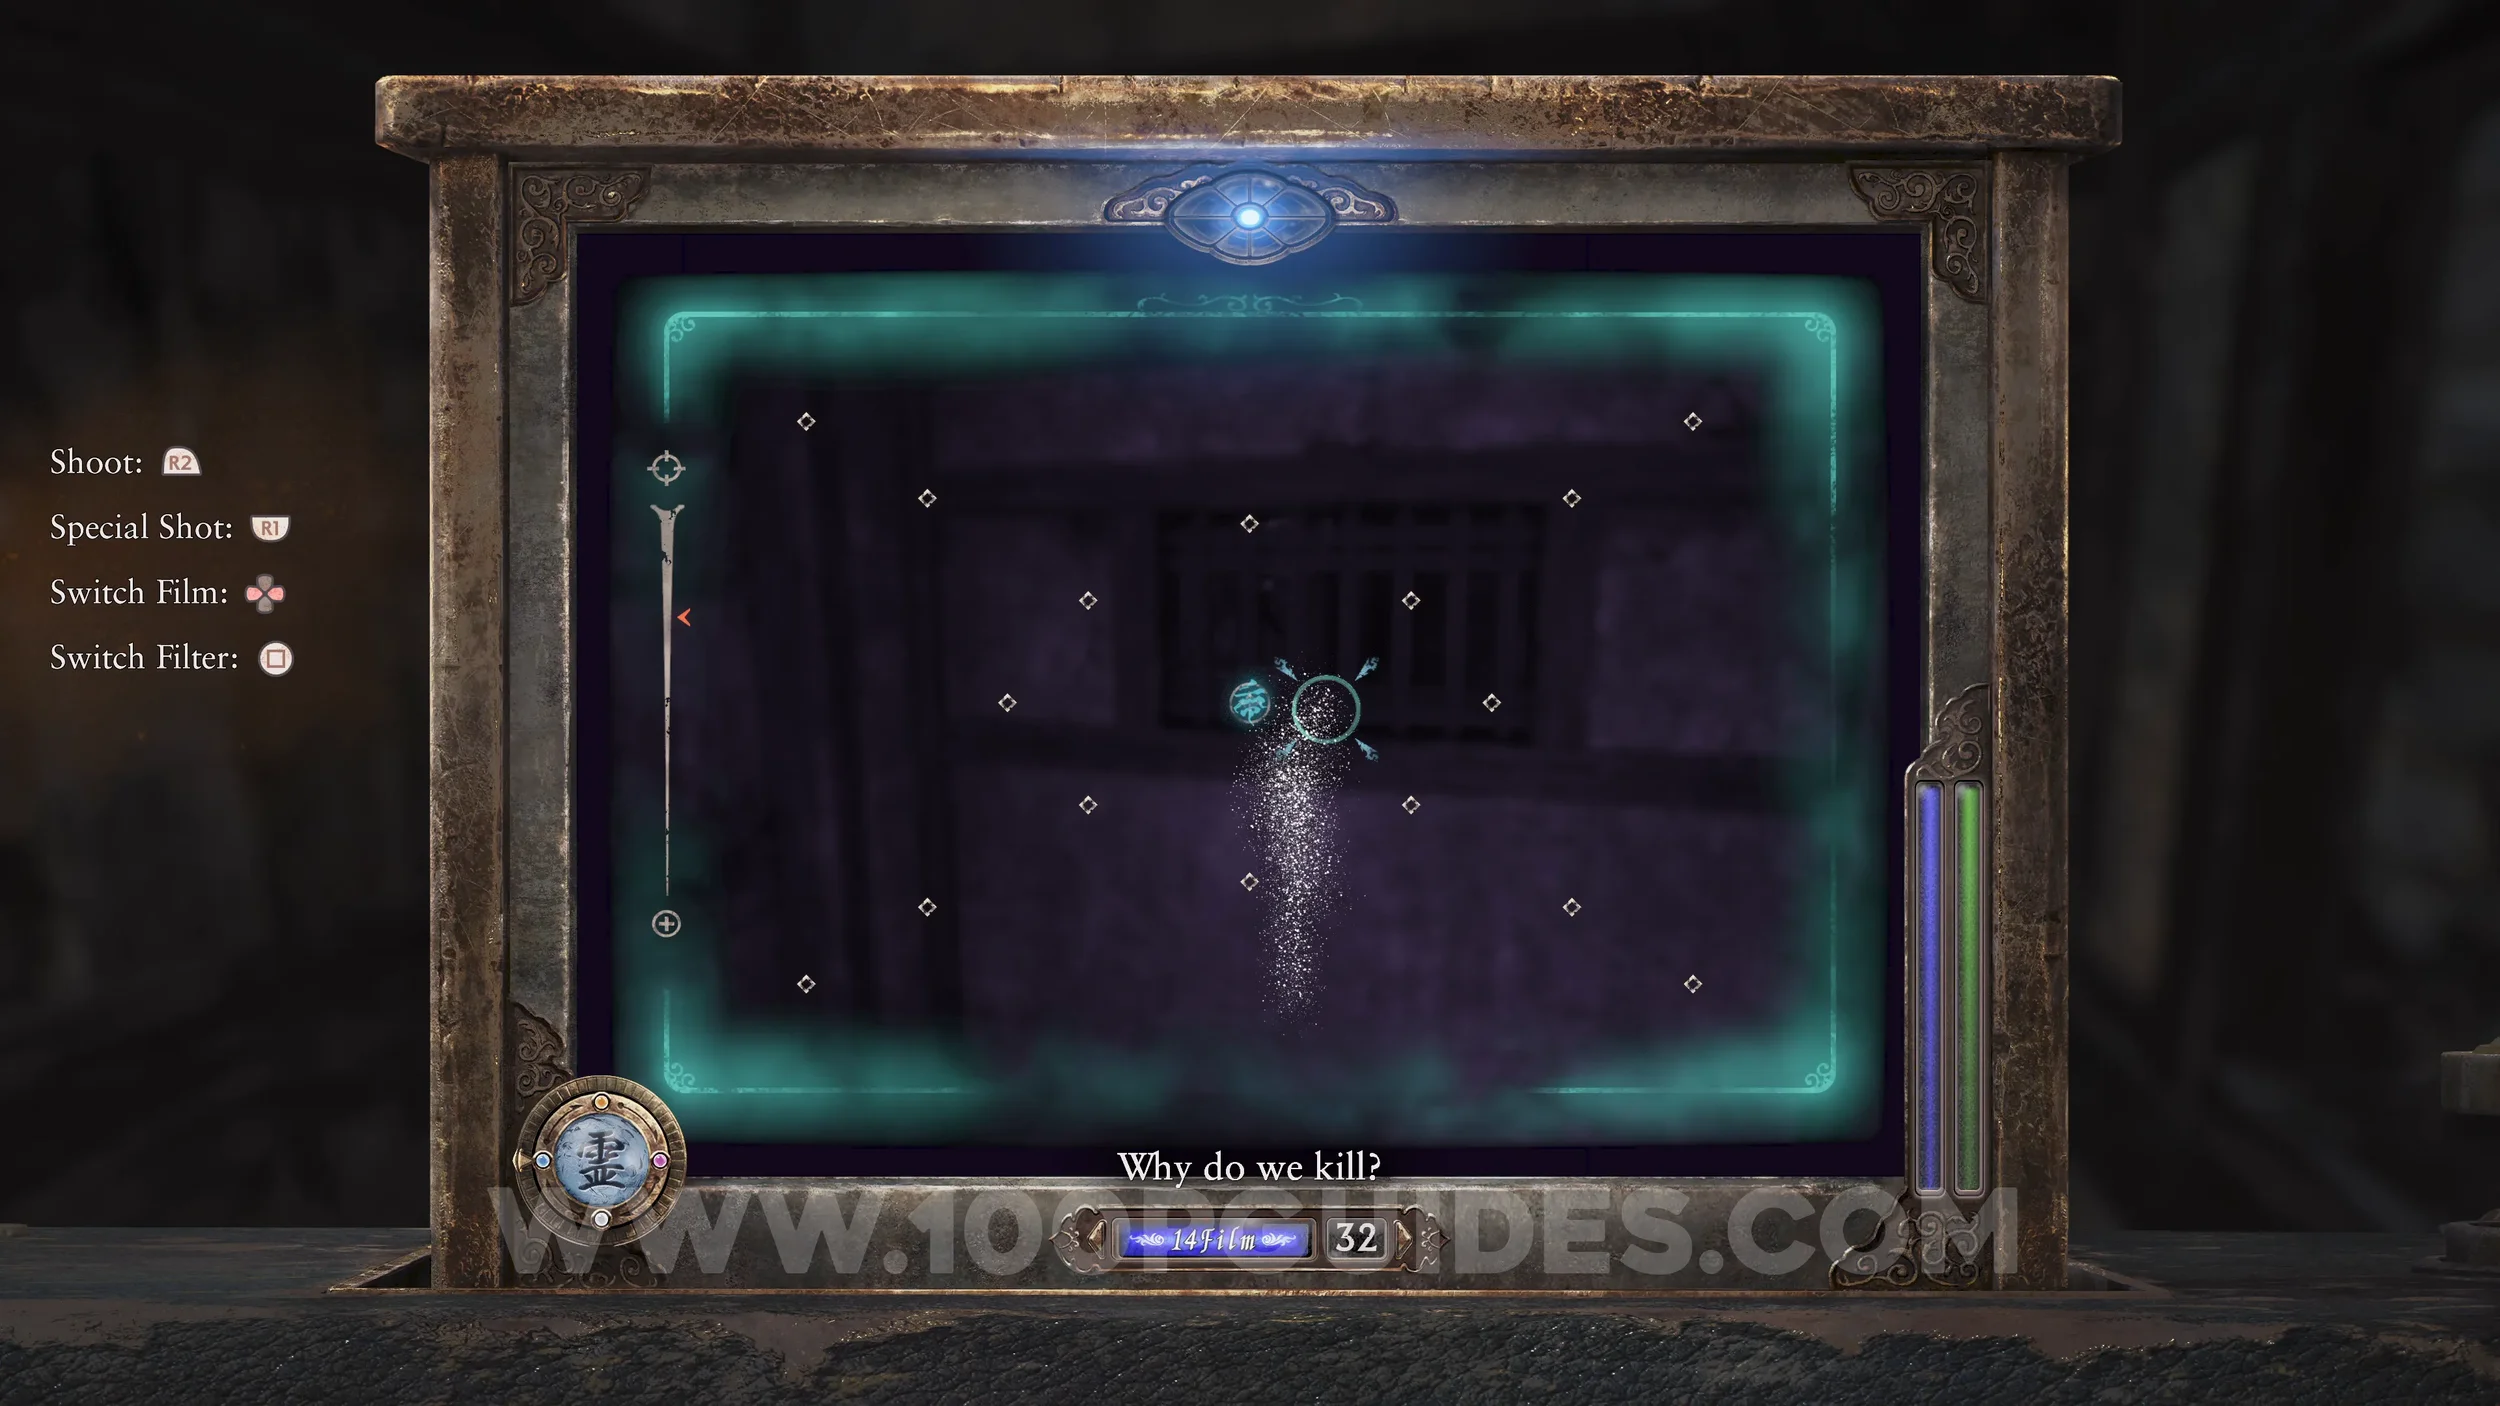
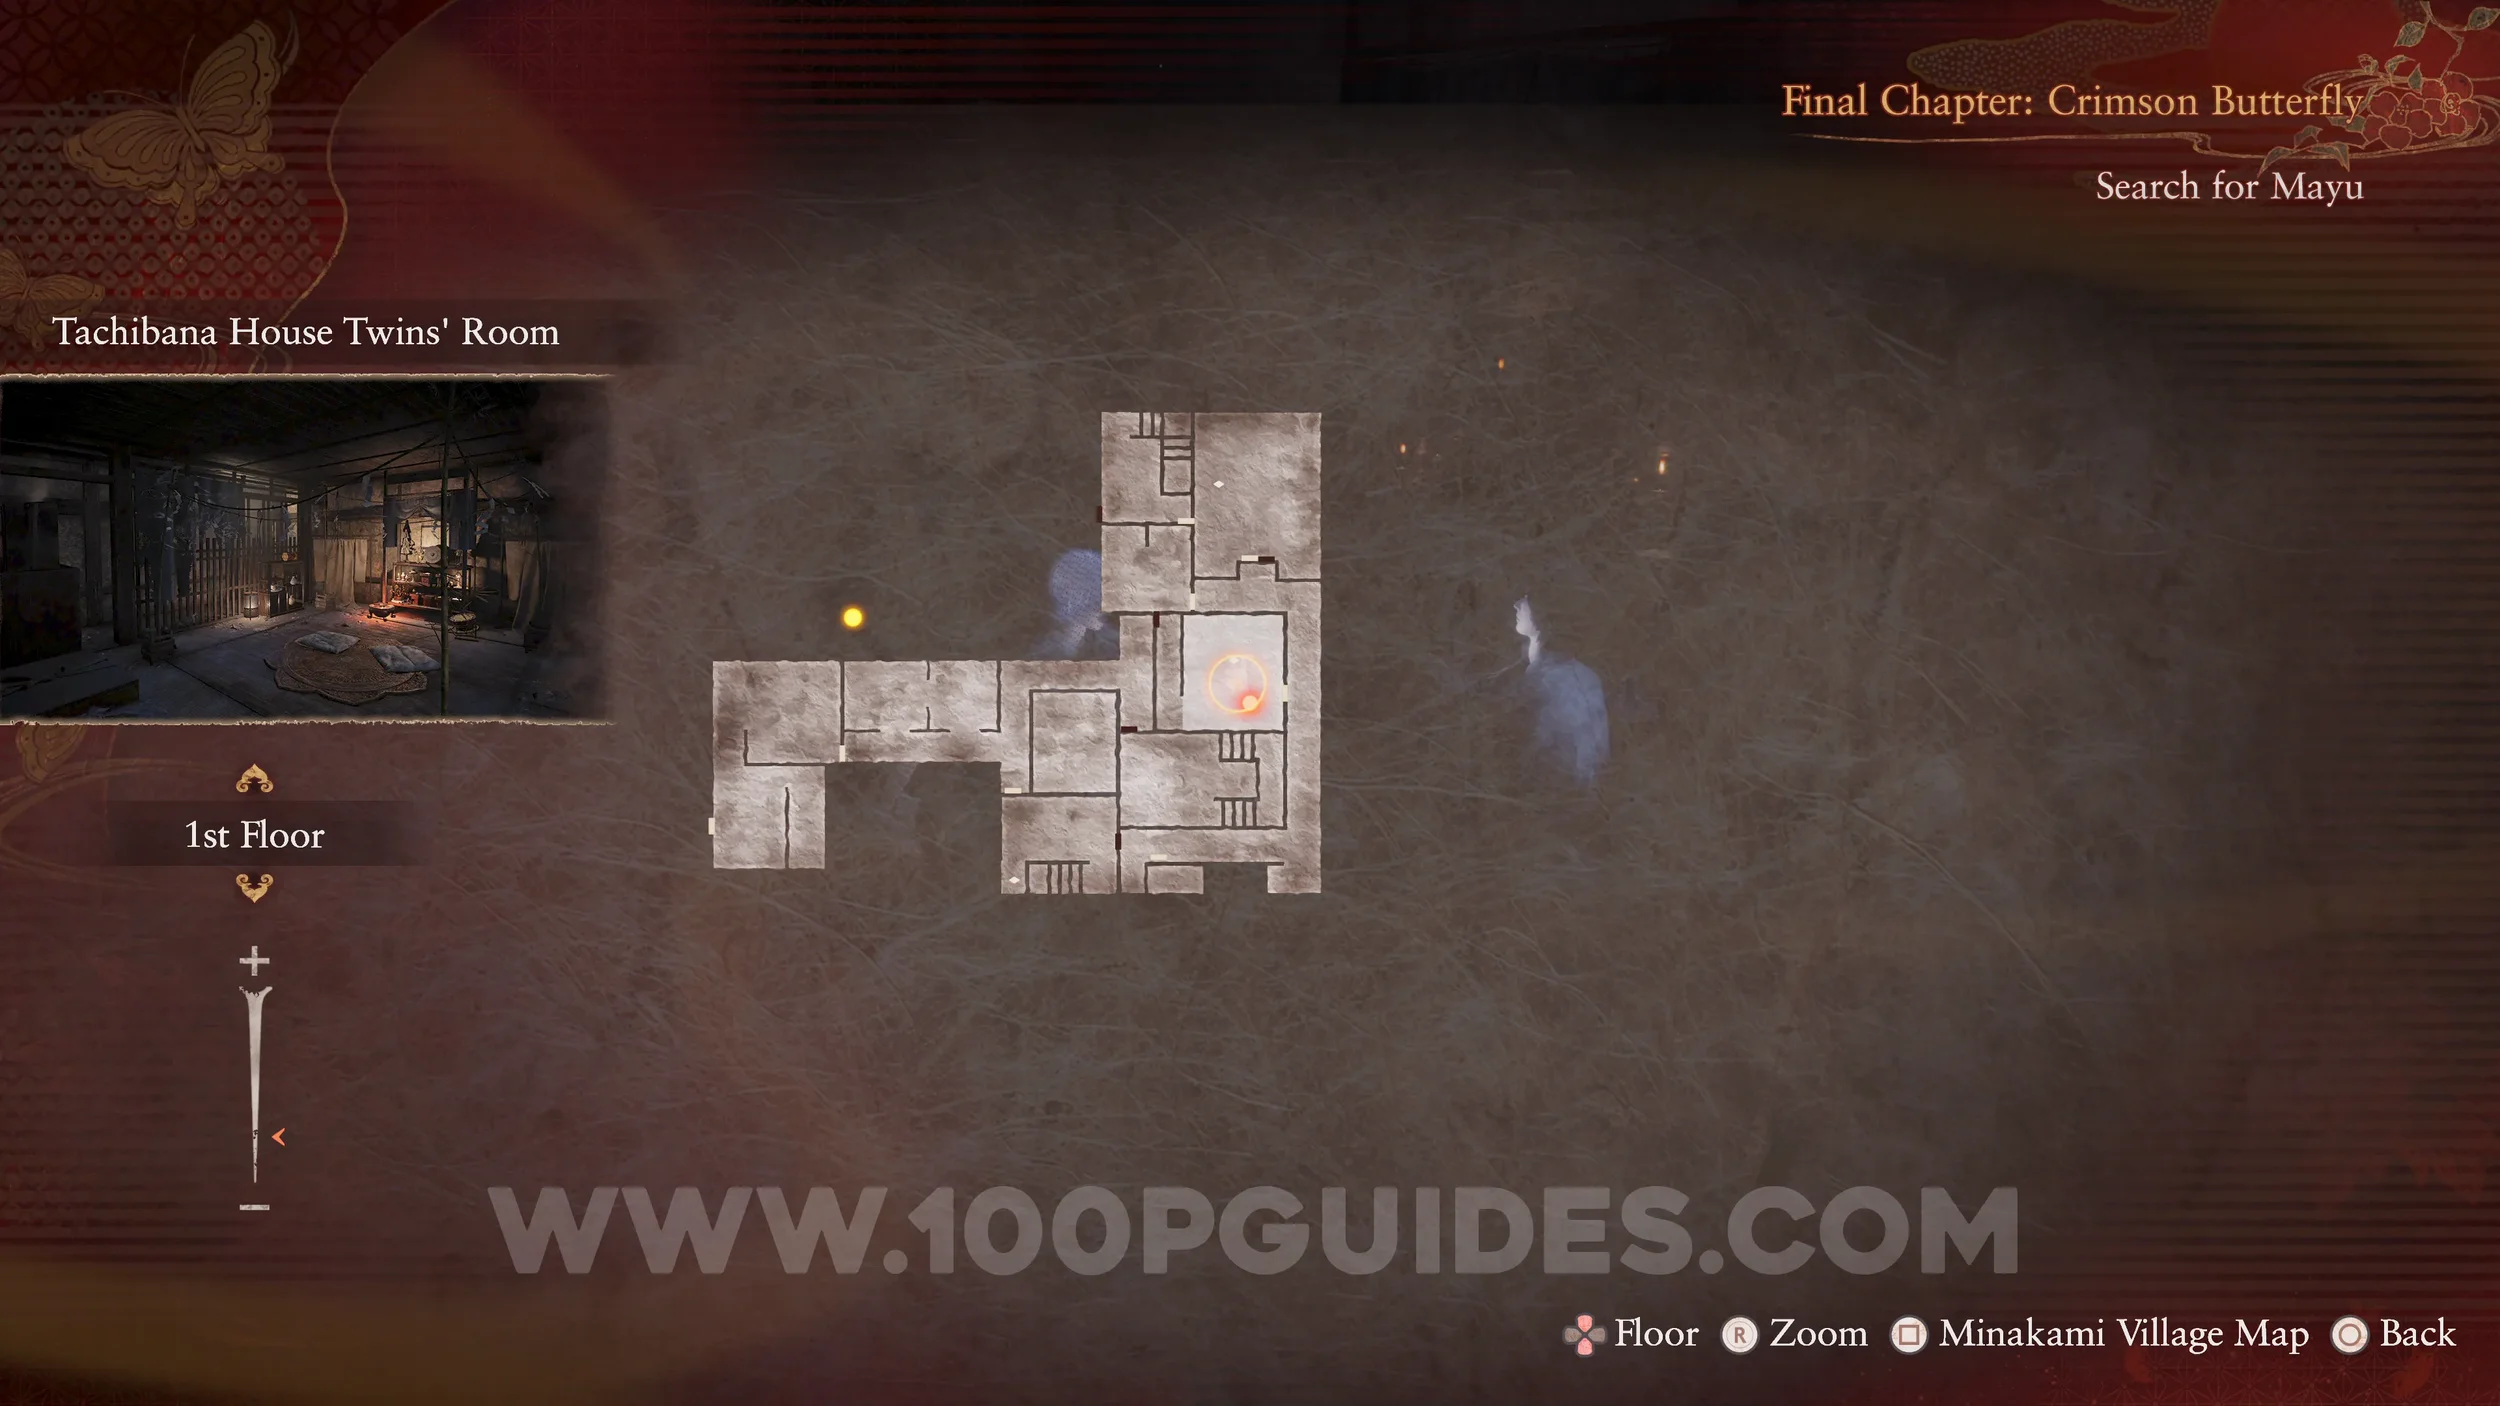
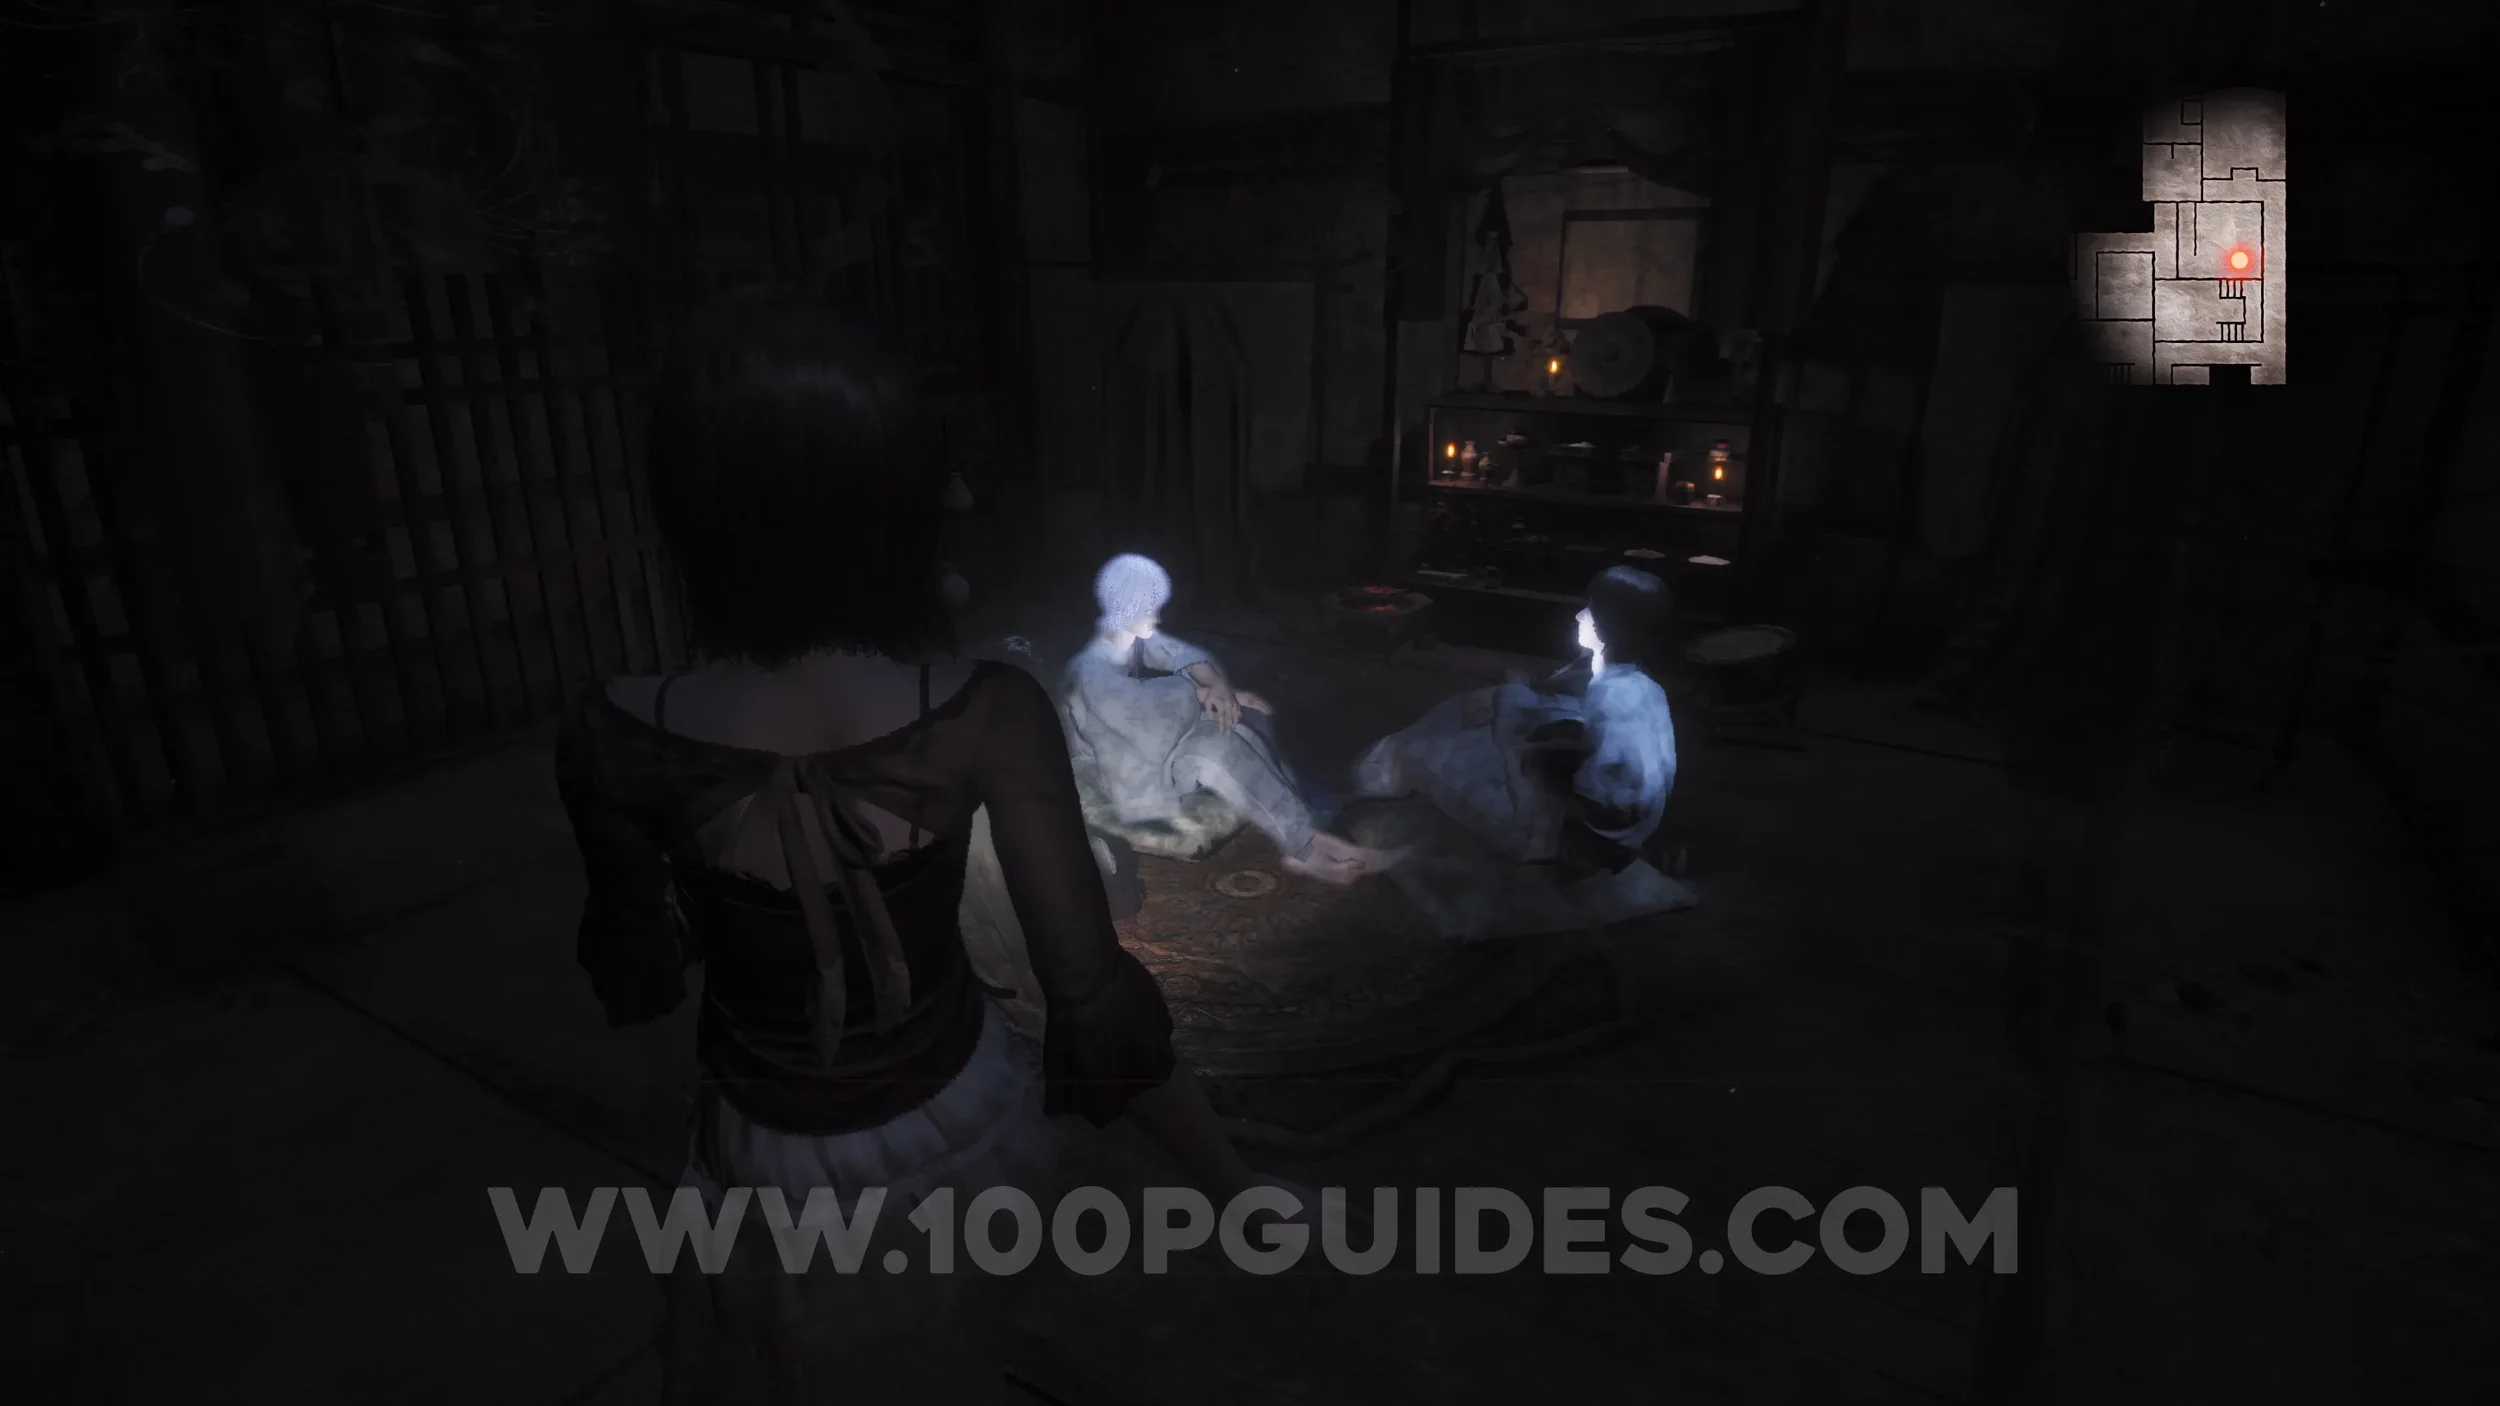
Specter #125 - 089 Sitting Big Sister, Specter #126 - 090 Sitting Little Sister and Specter #127 - 091 Sitting Twins. Found in the room north of the save point. Make sure both are in the shot to get the third entry.
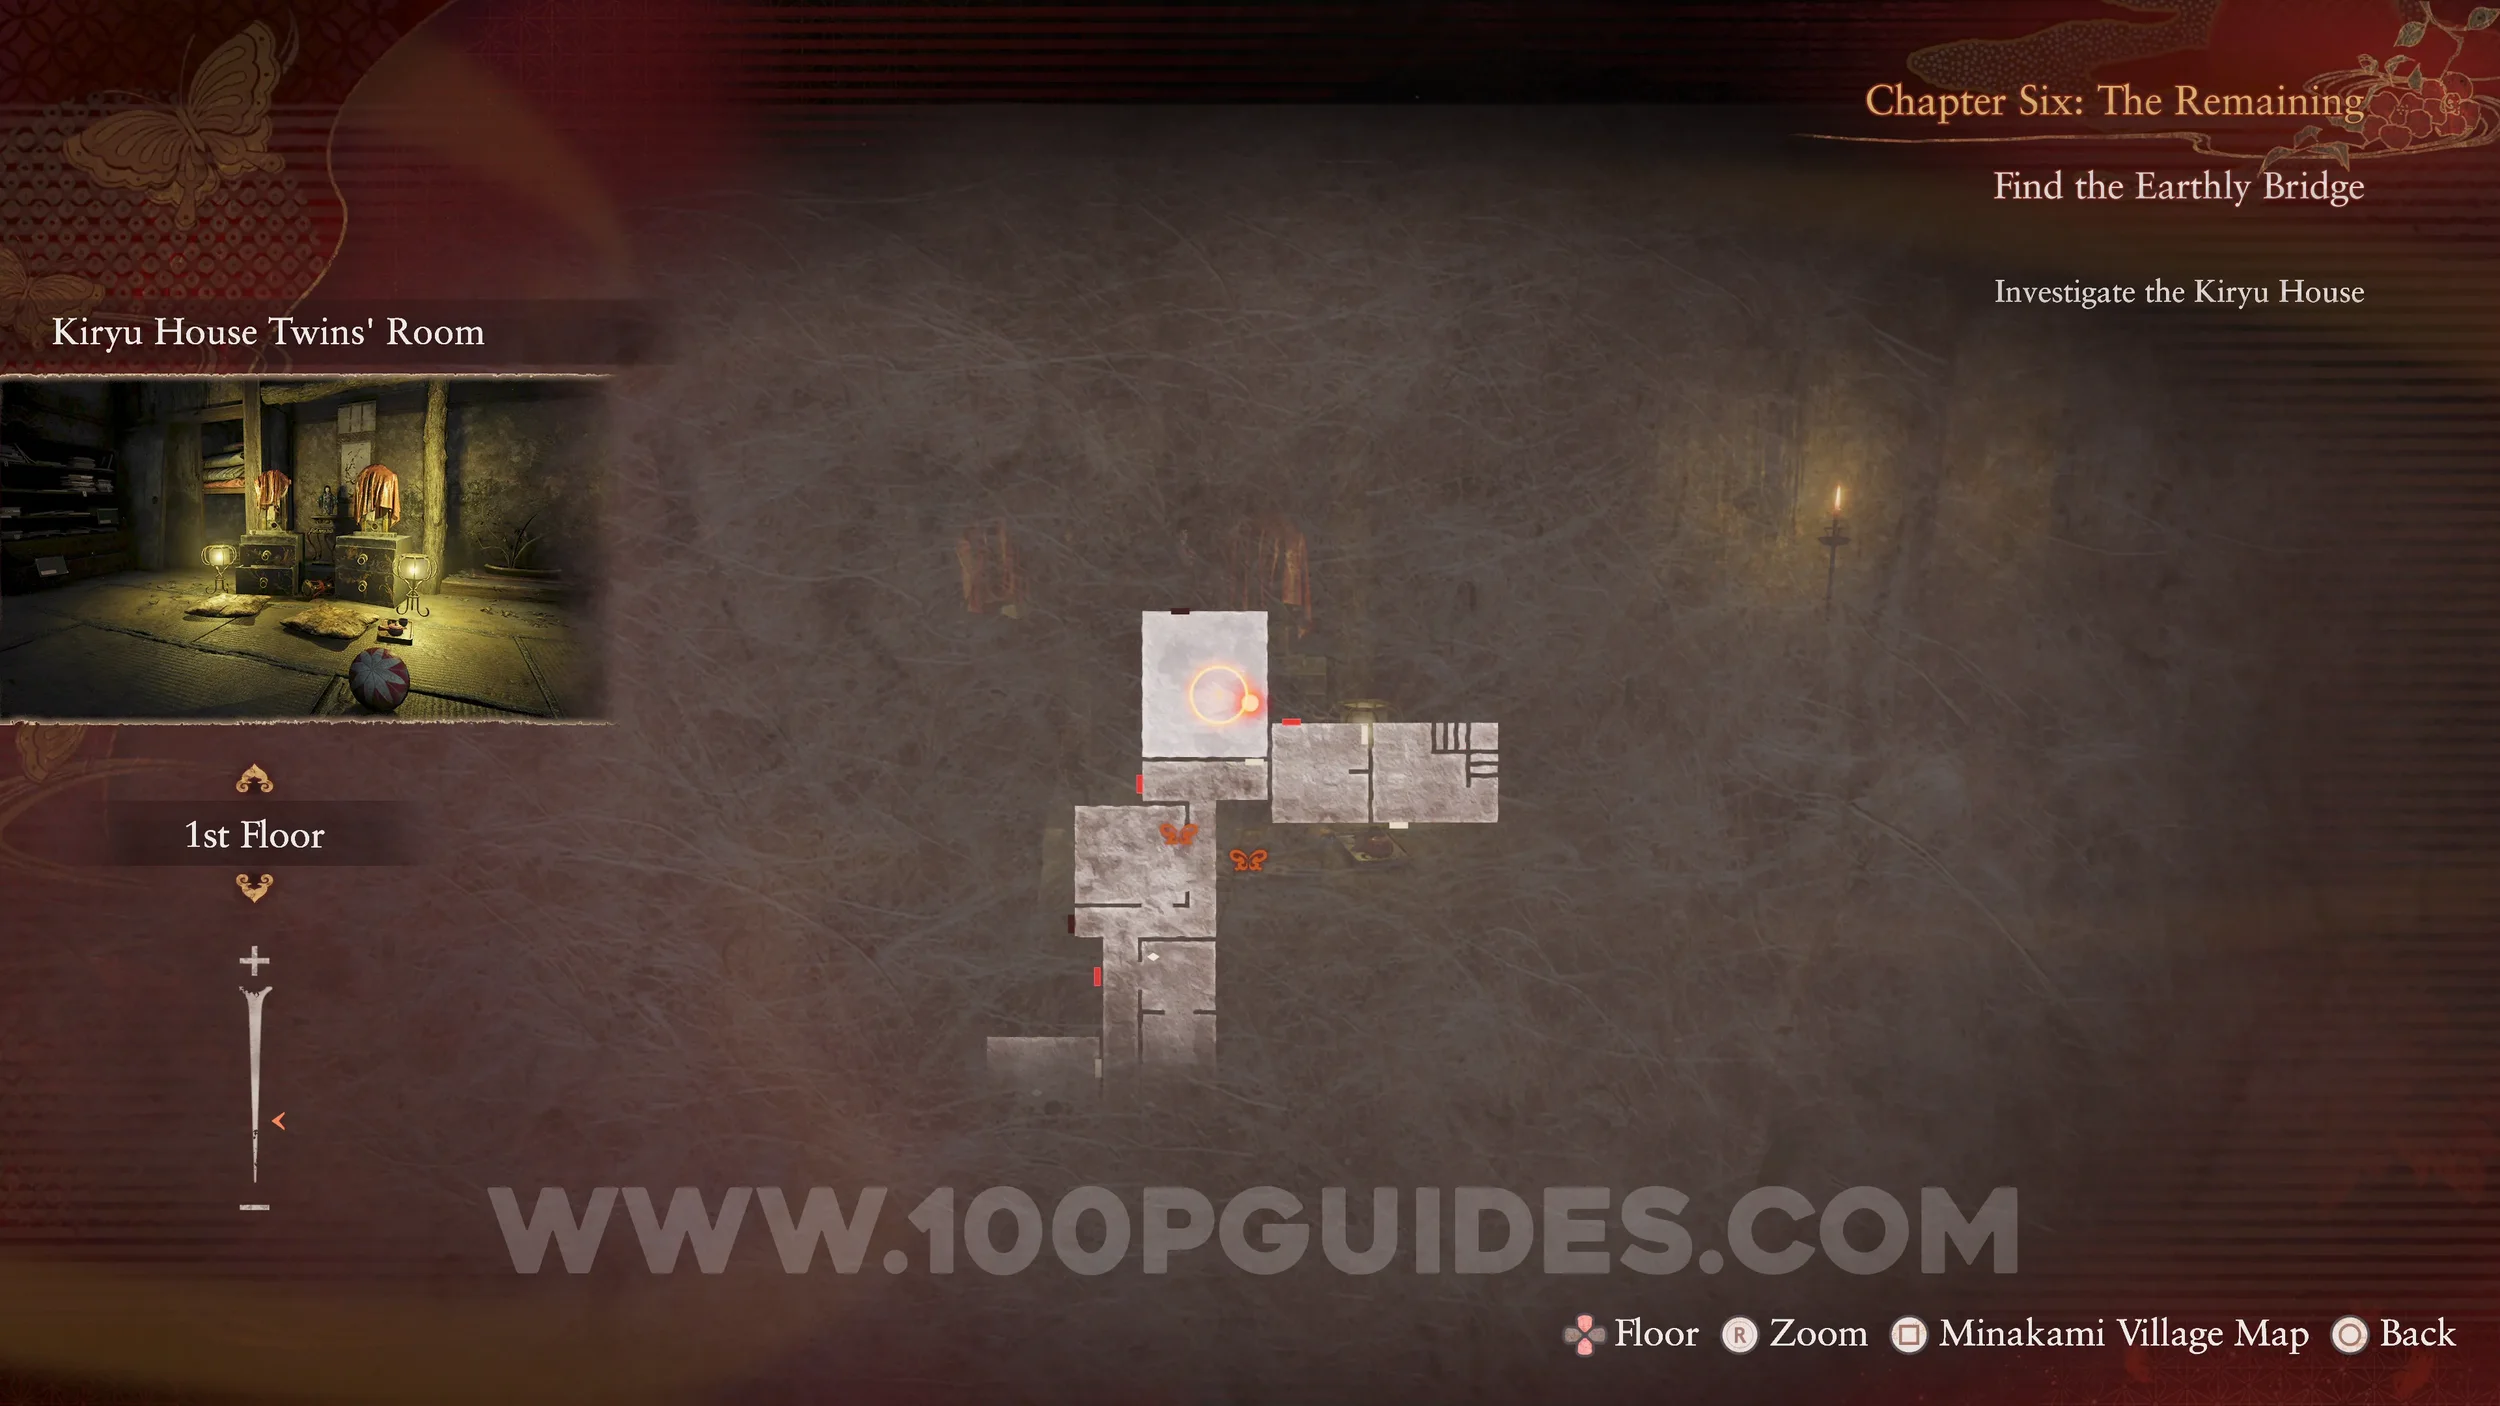
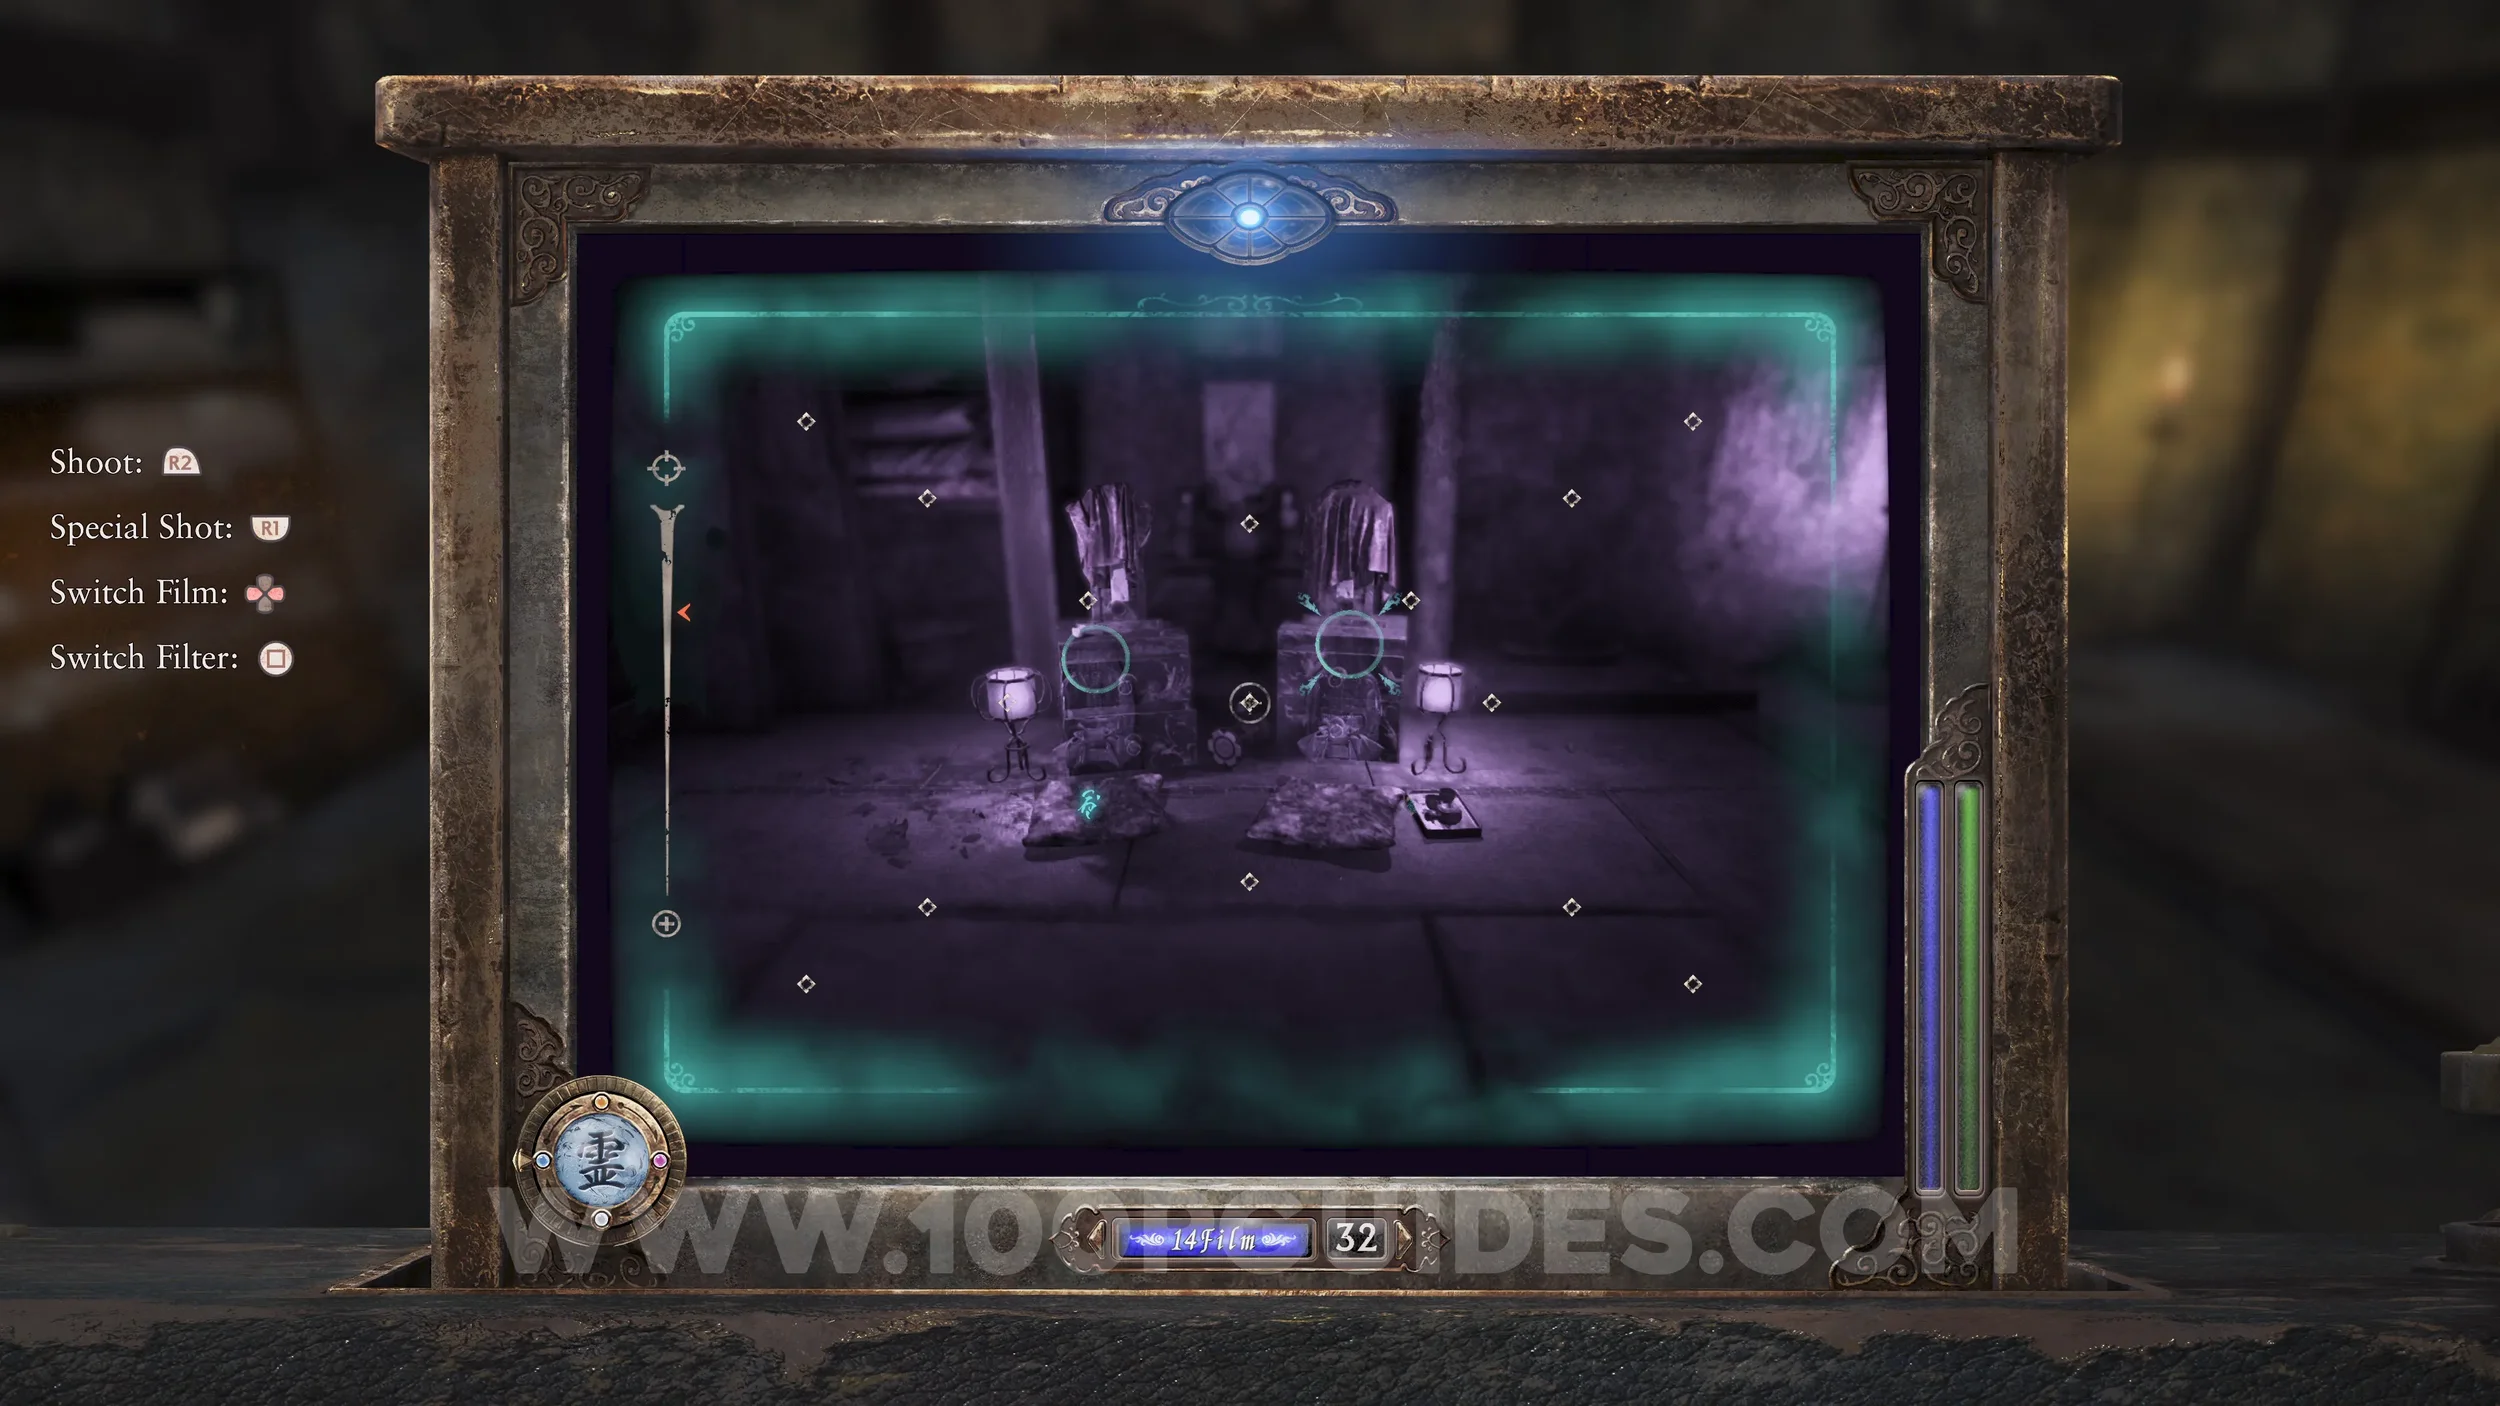
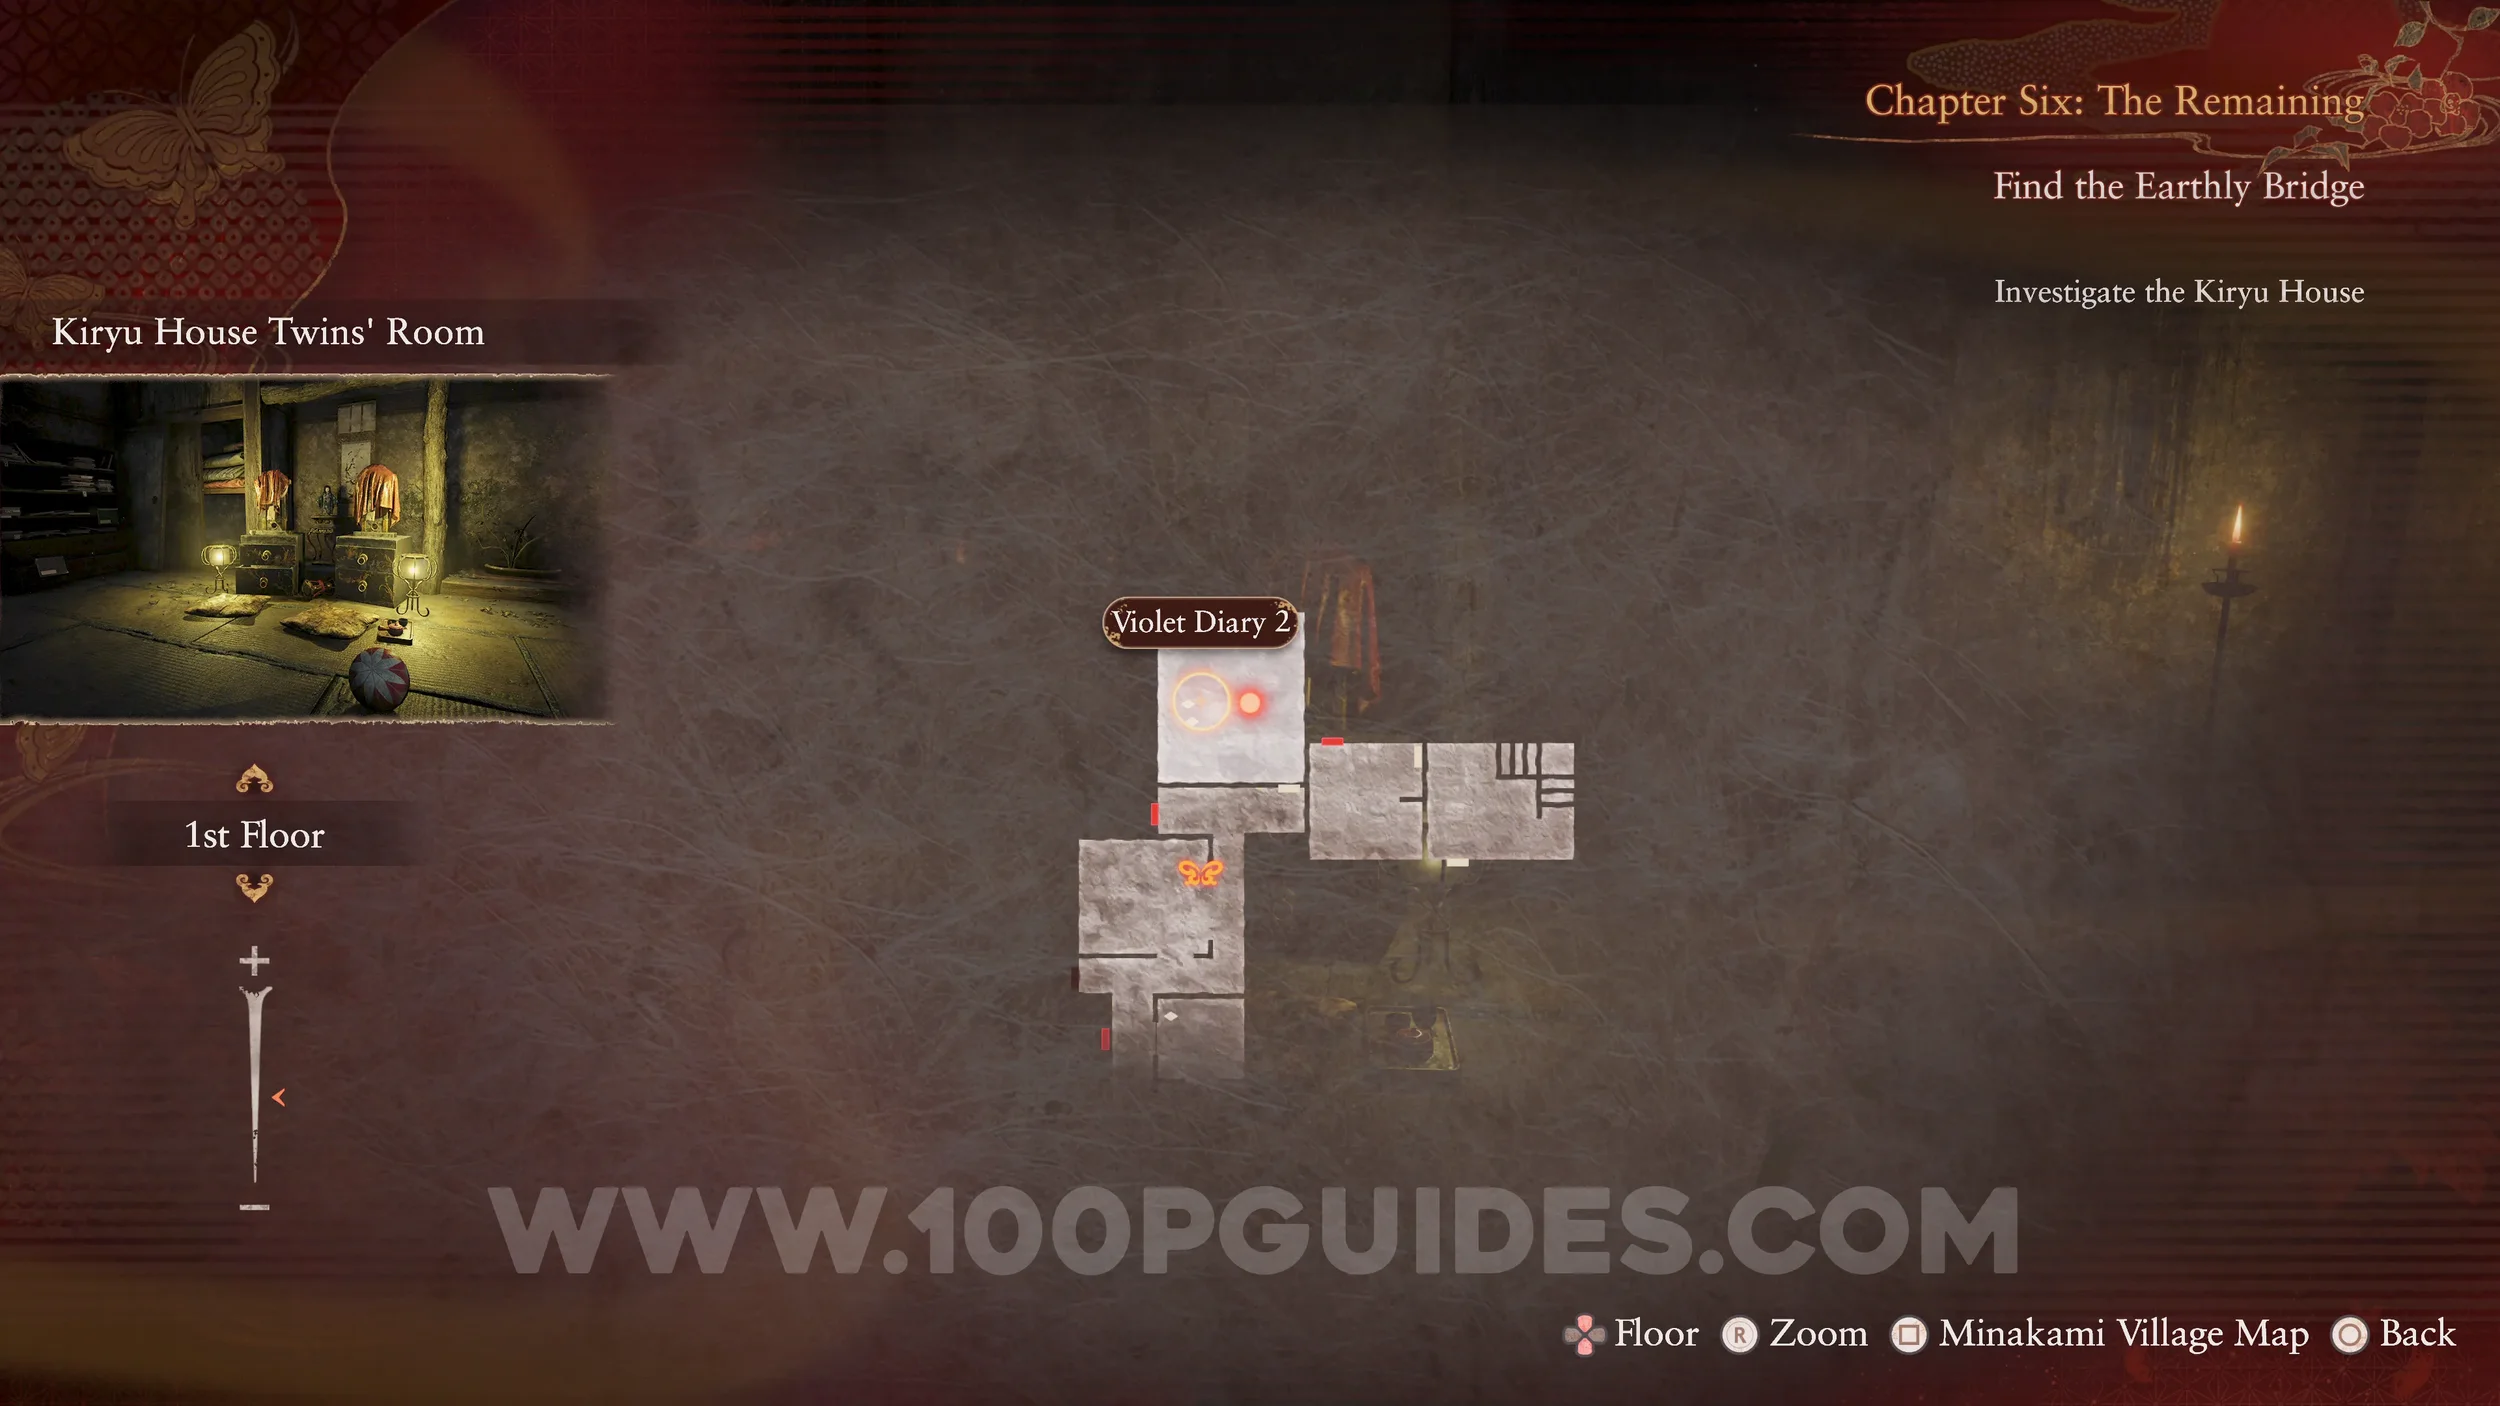
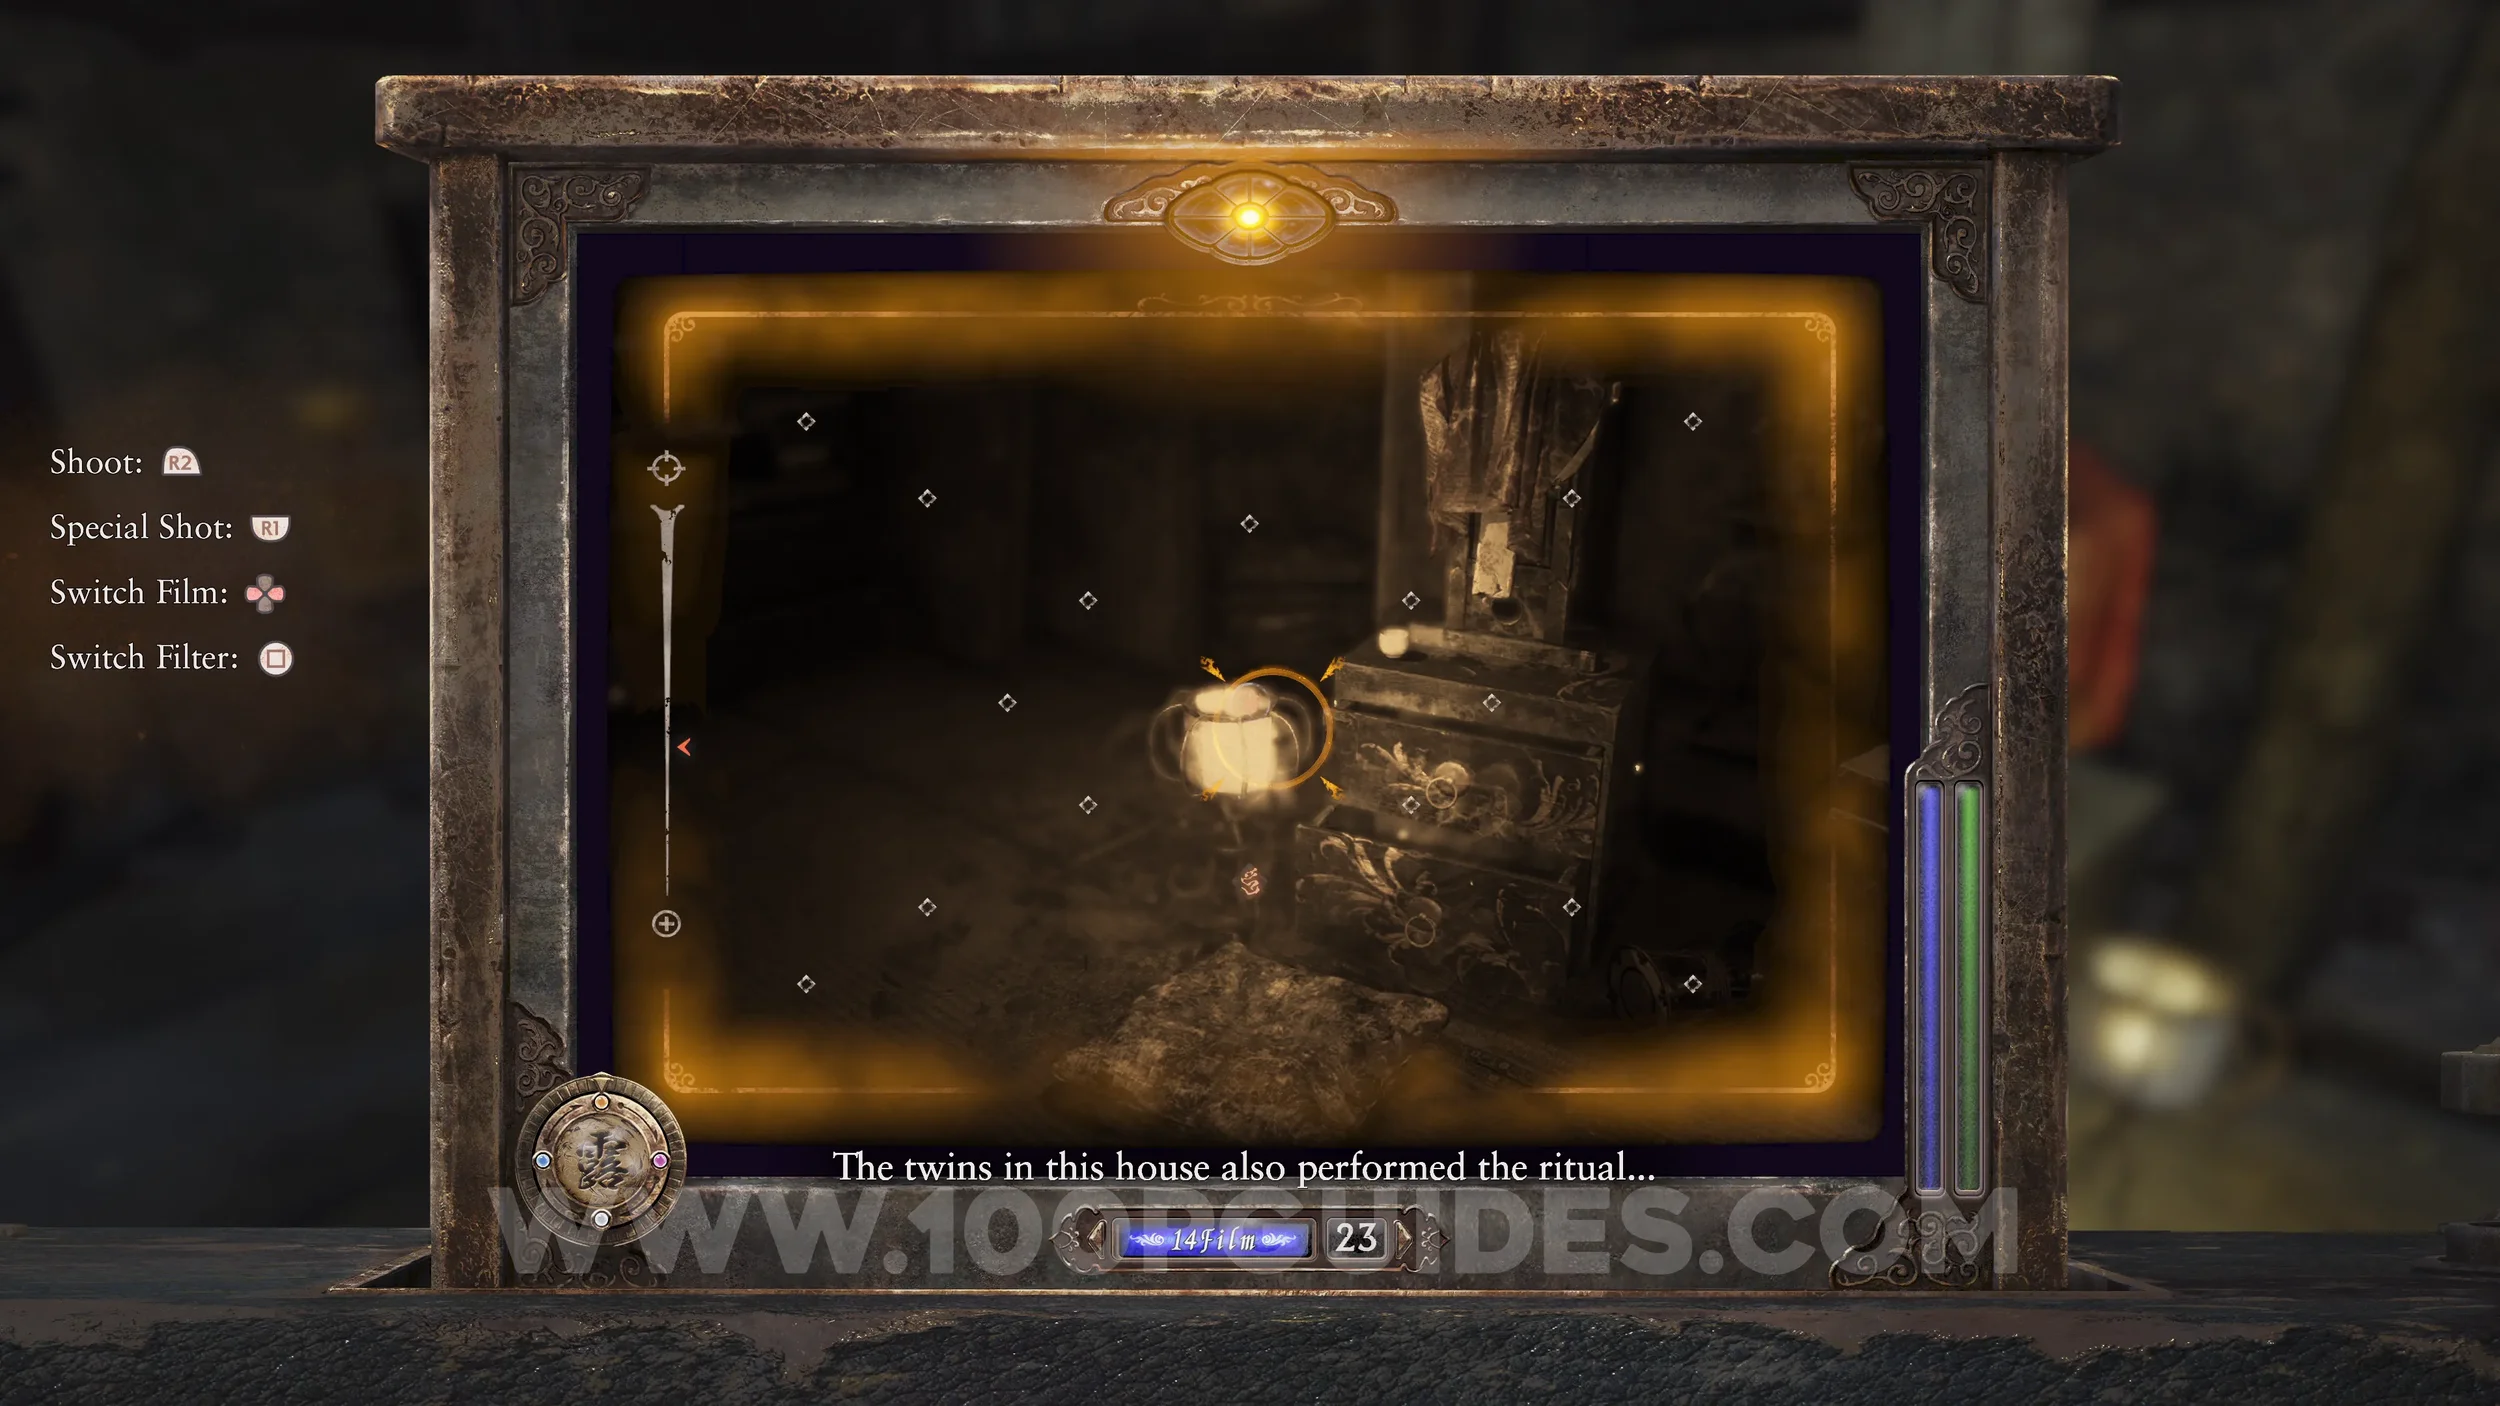
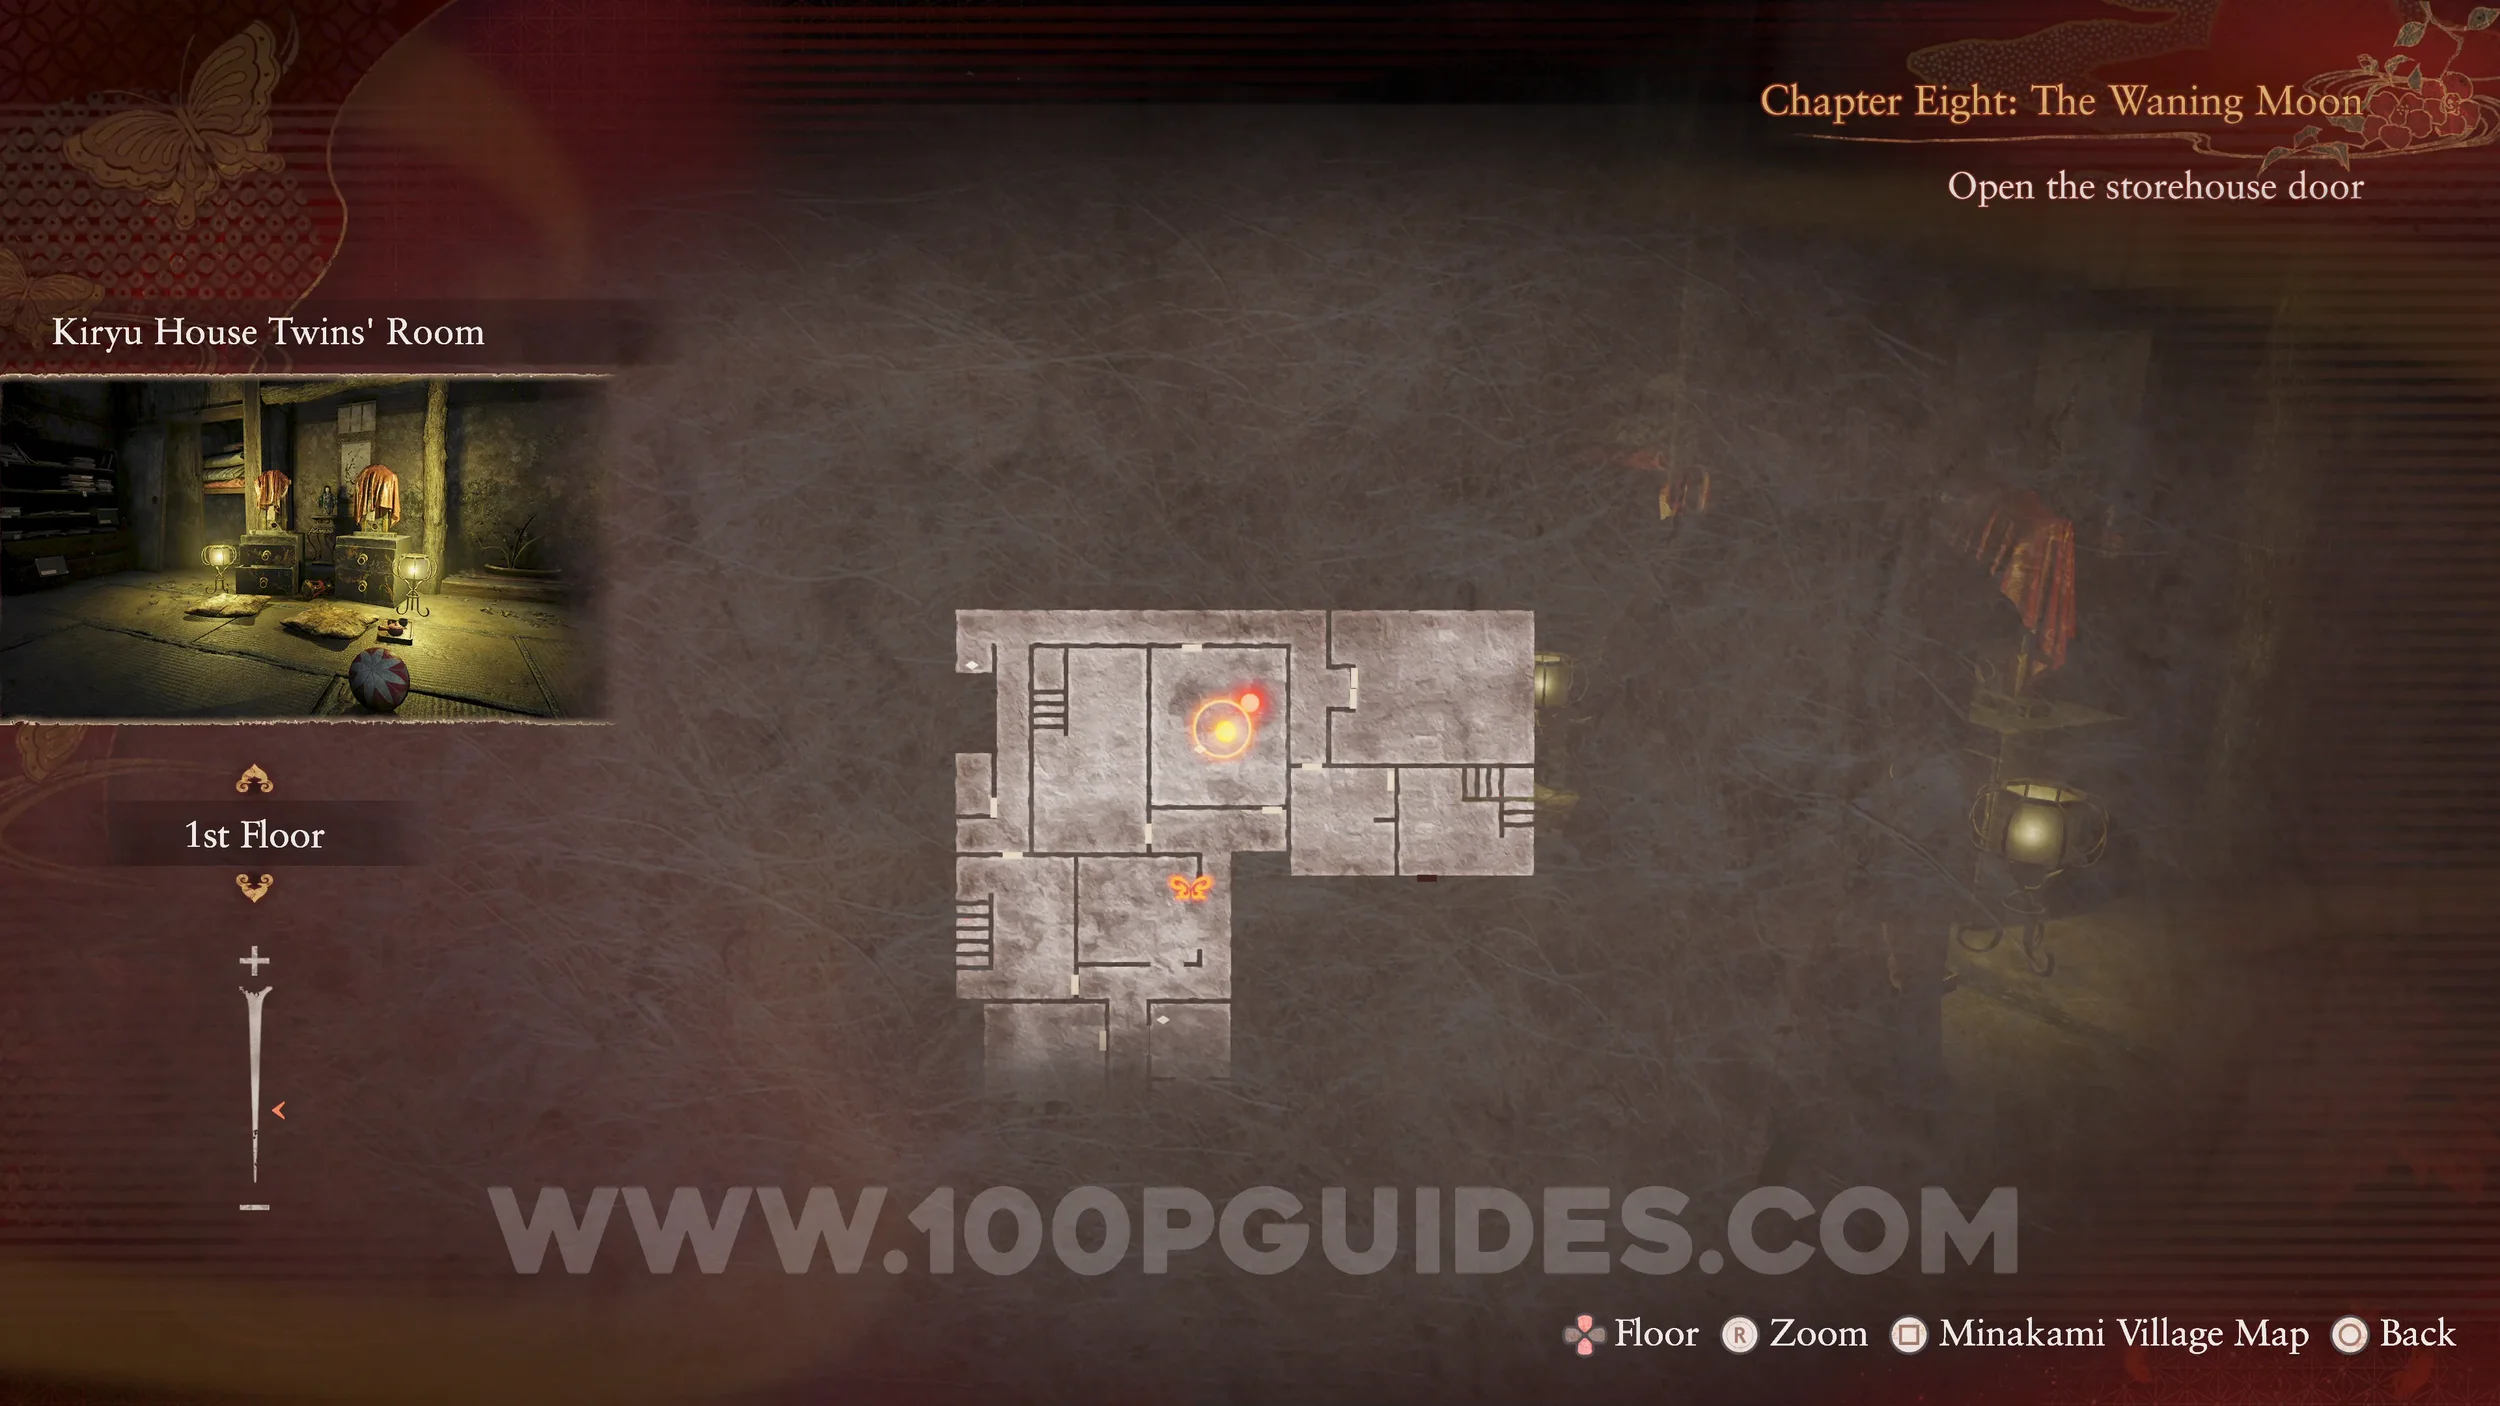
Document #60 - Violet Diary 2. In the same room as the previous specters.
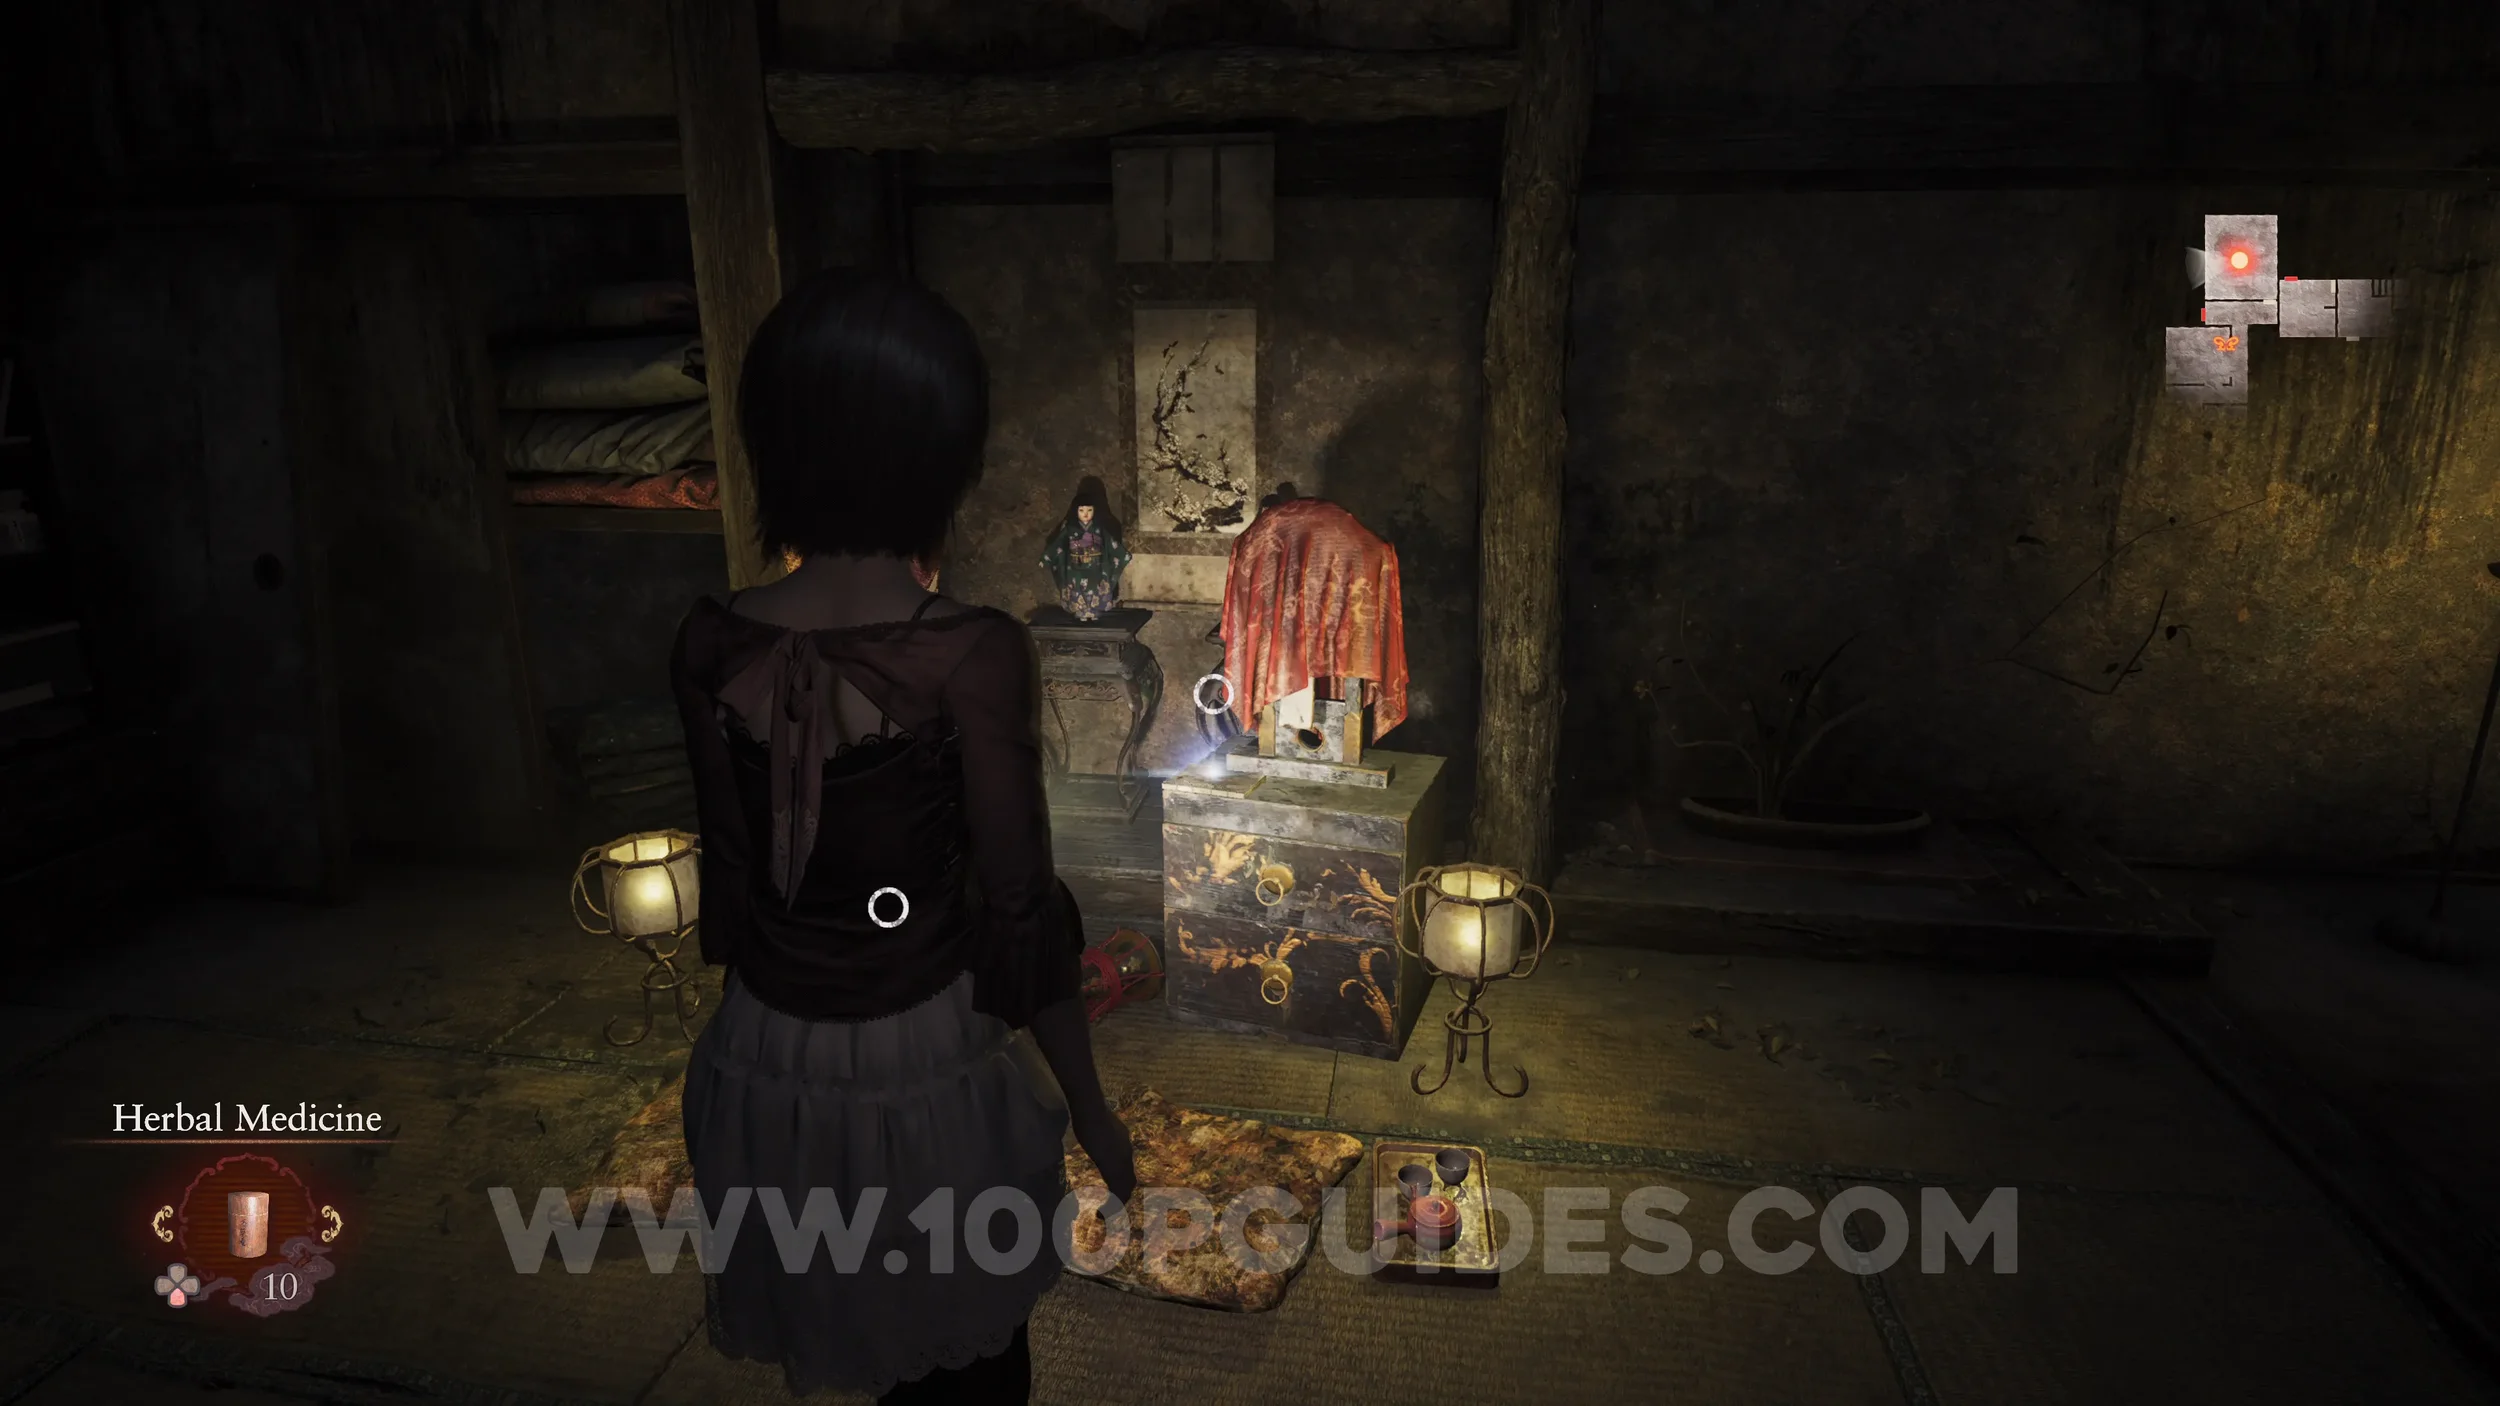
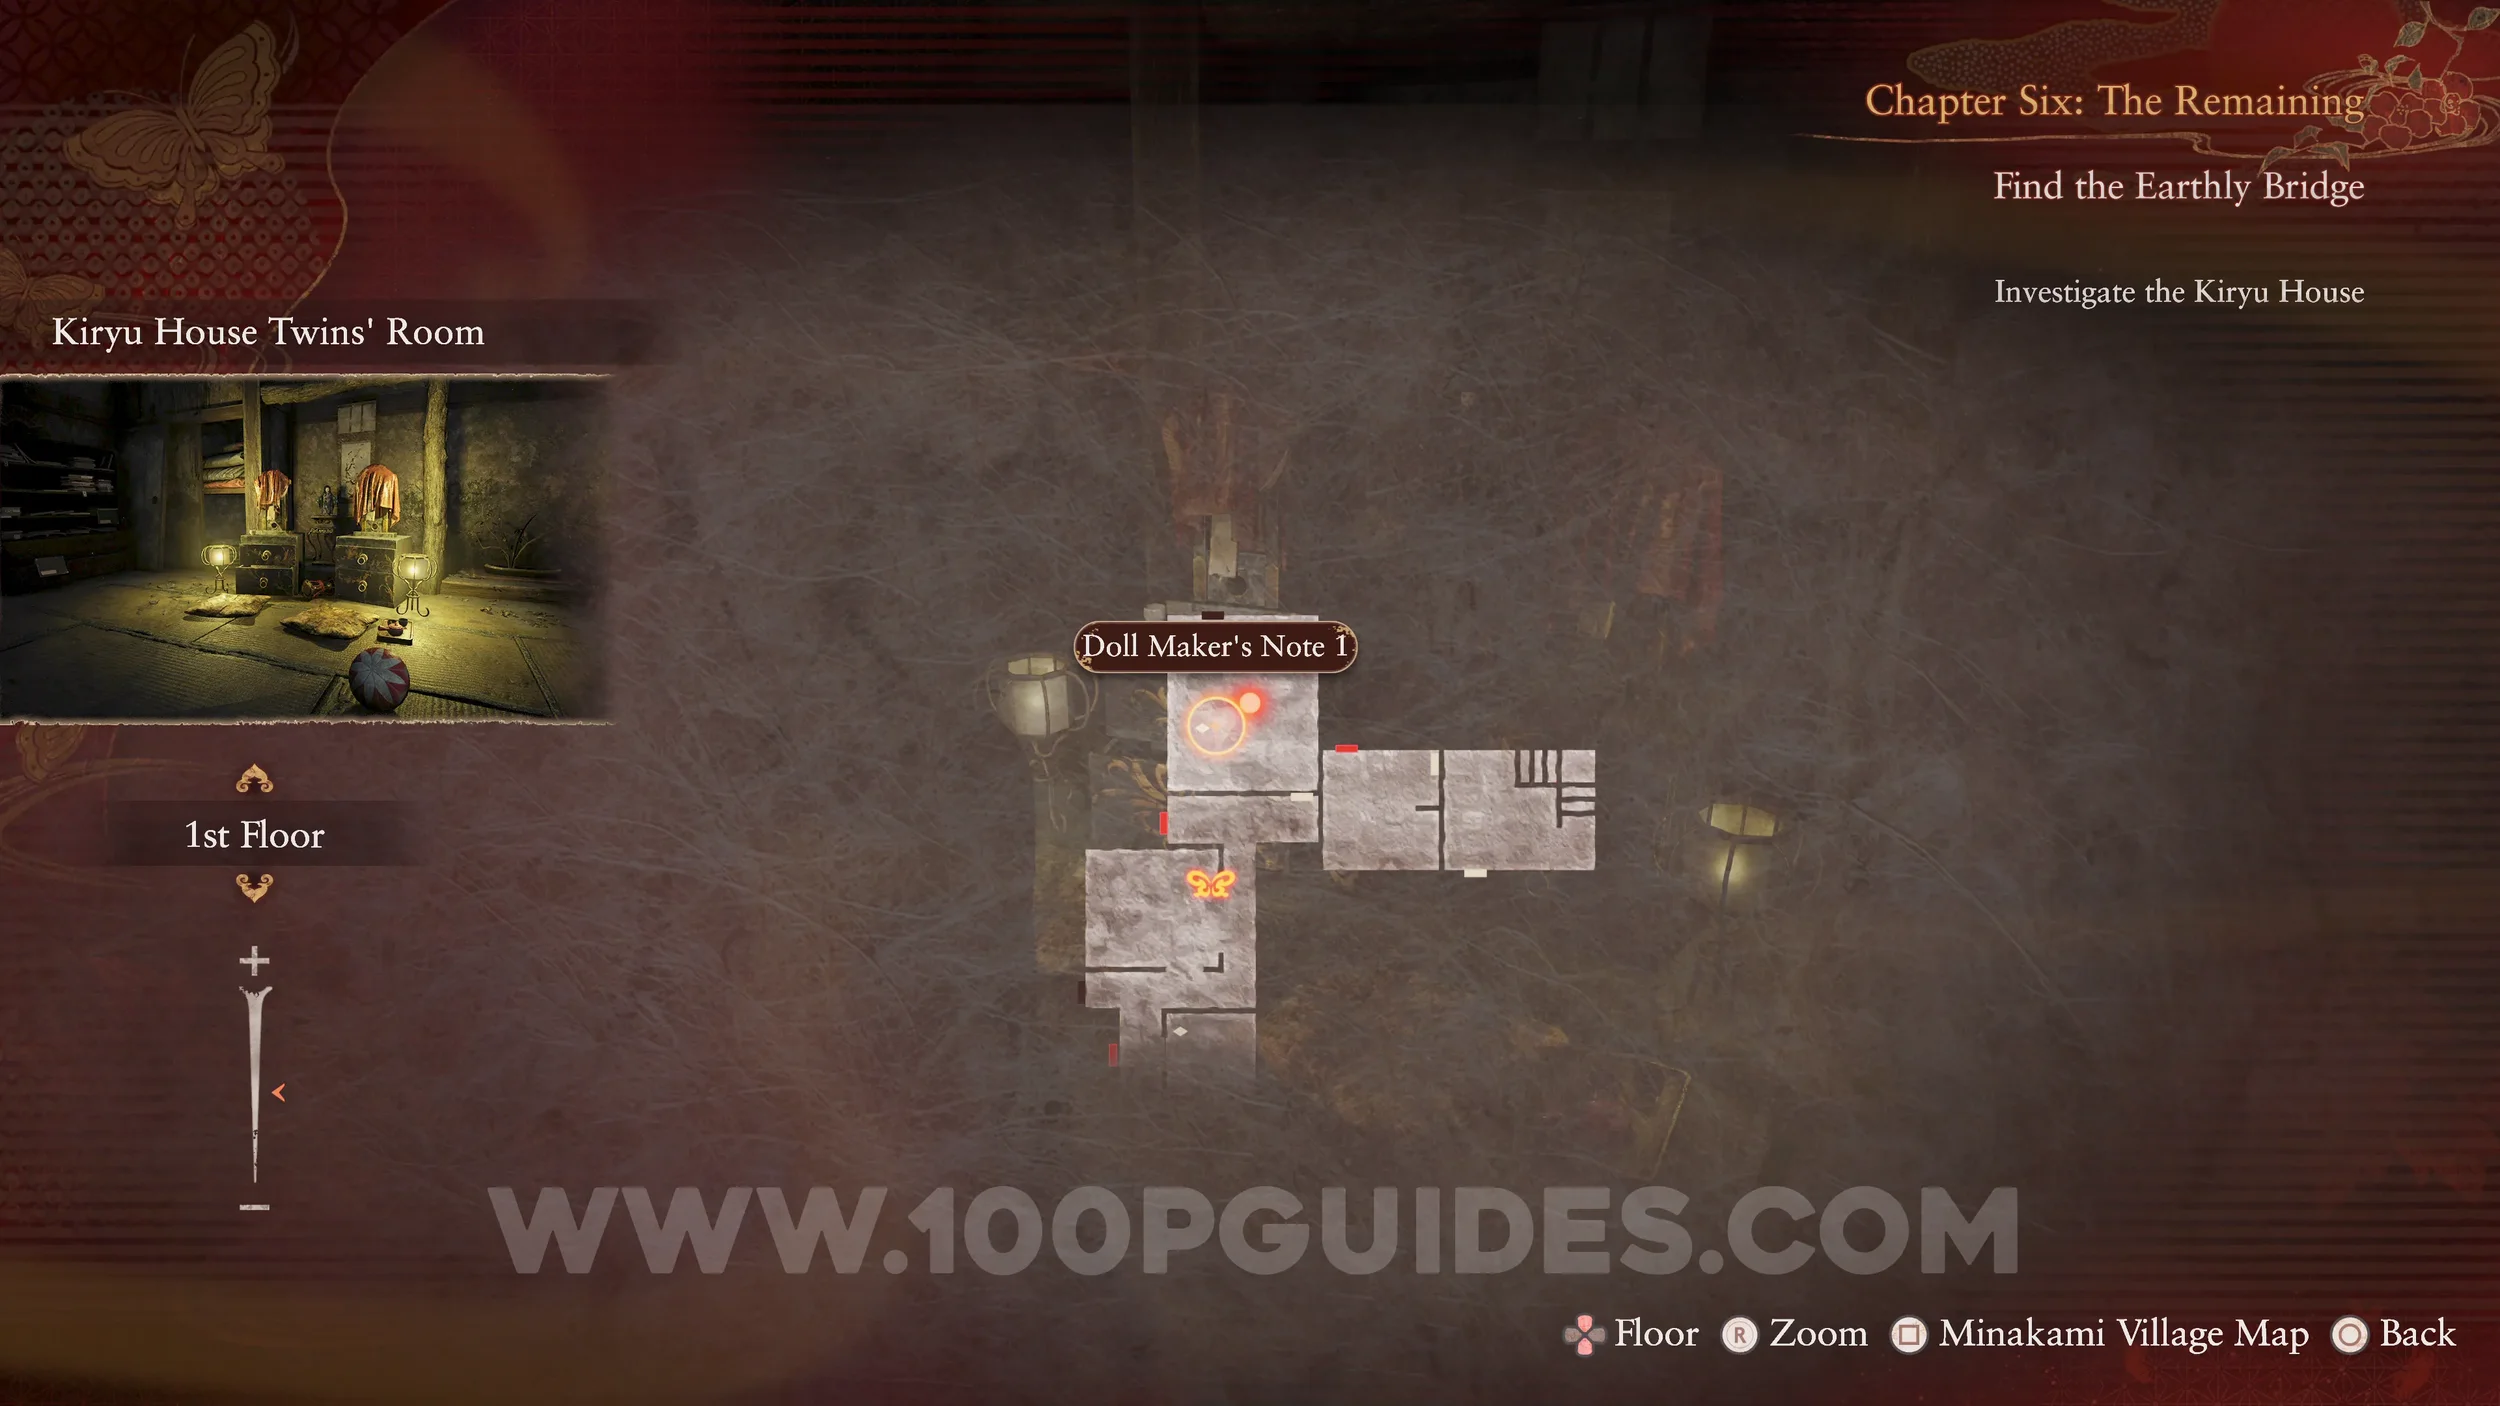
Document #61 - Doll Maker’s Note 1. In a drawer near the previous specters.

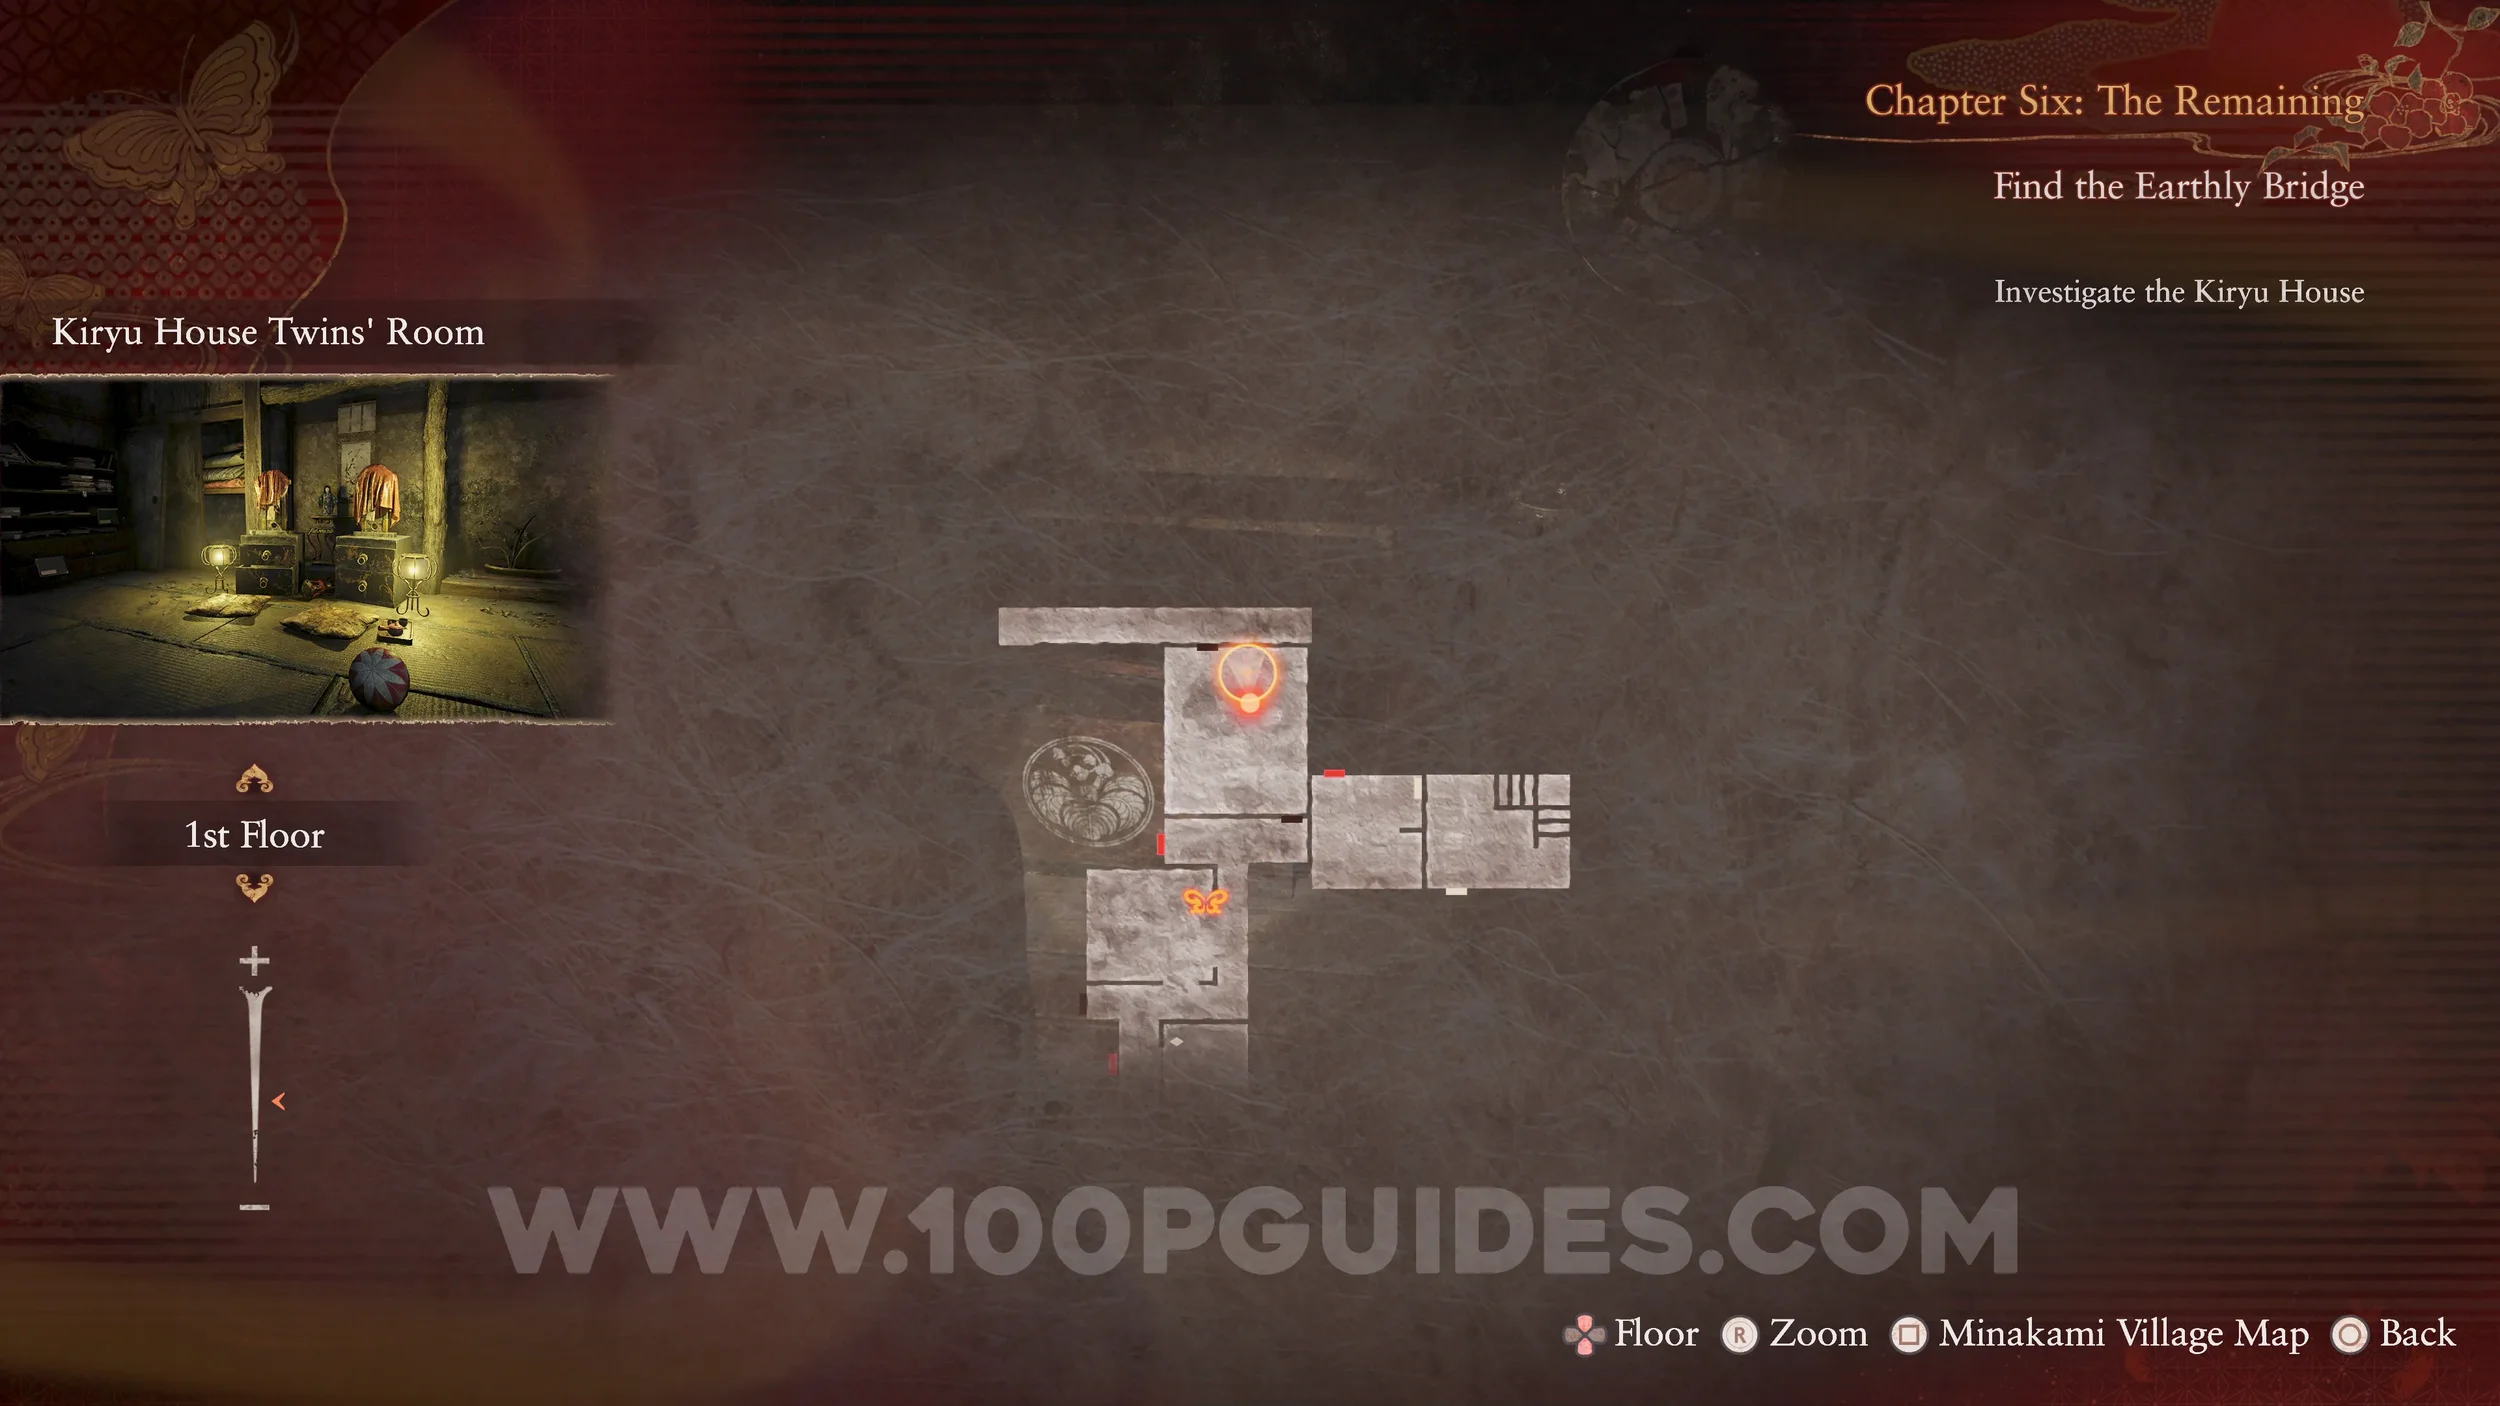
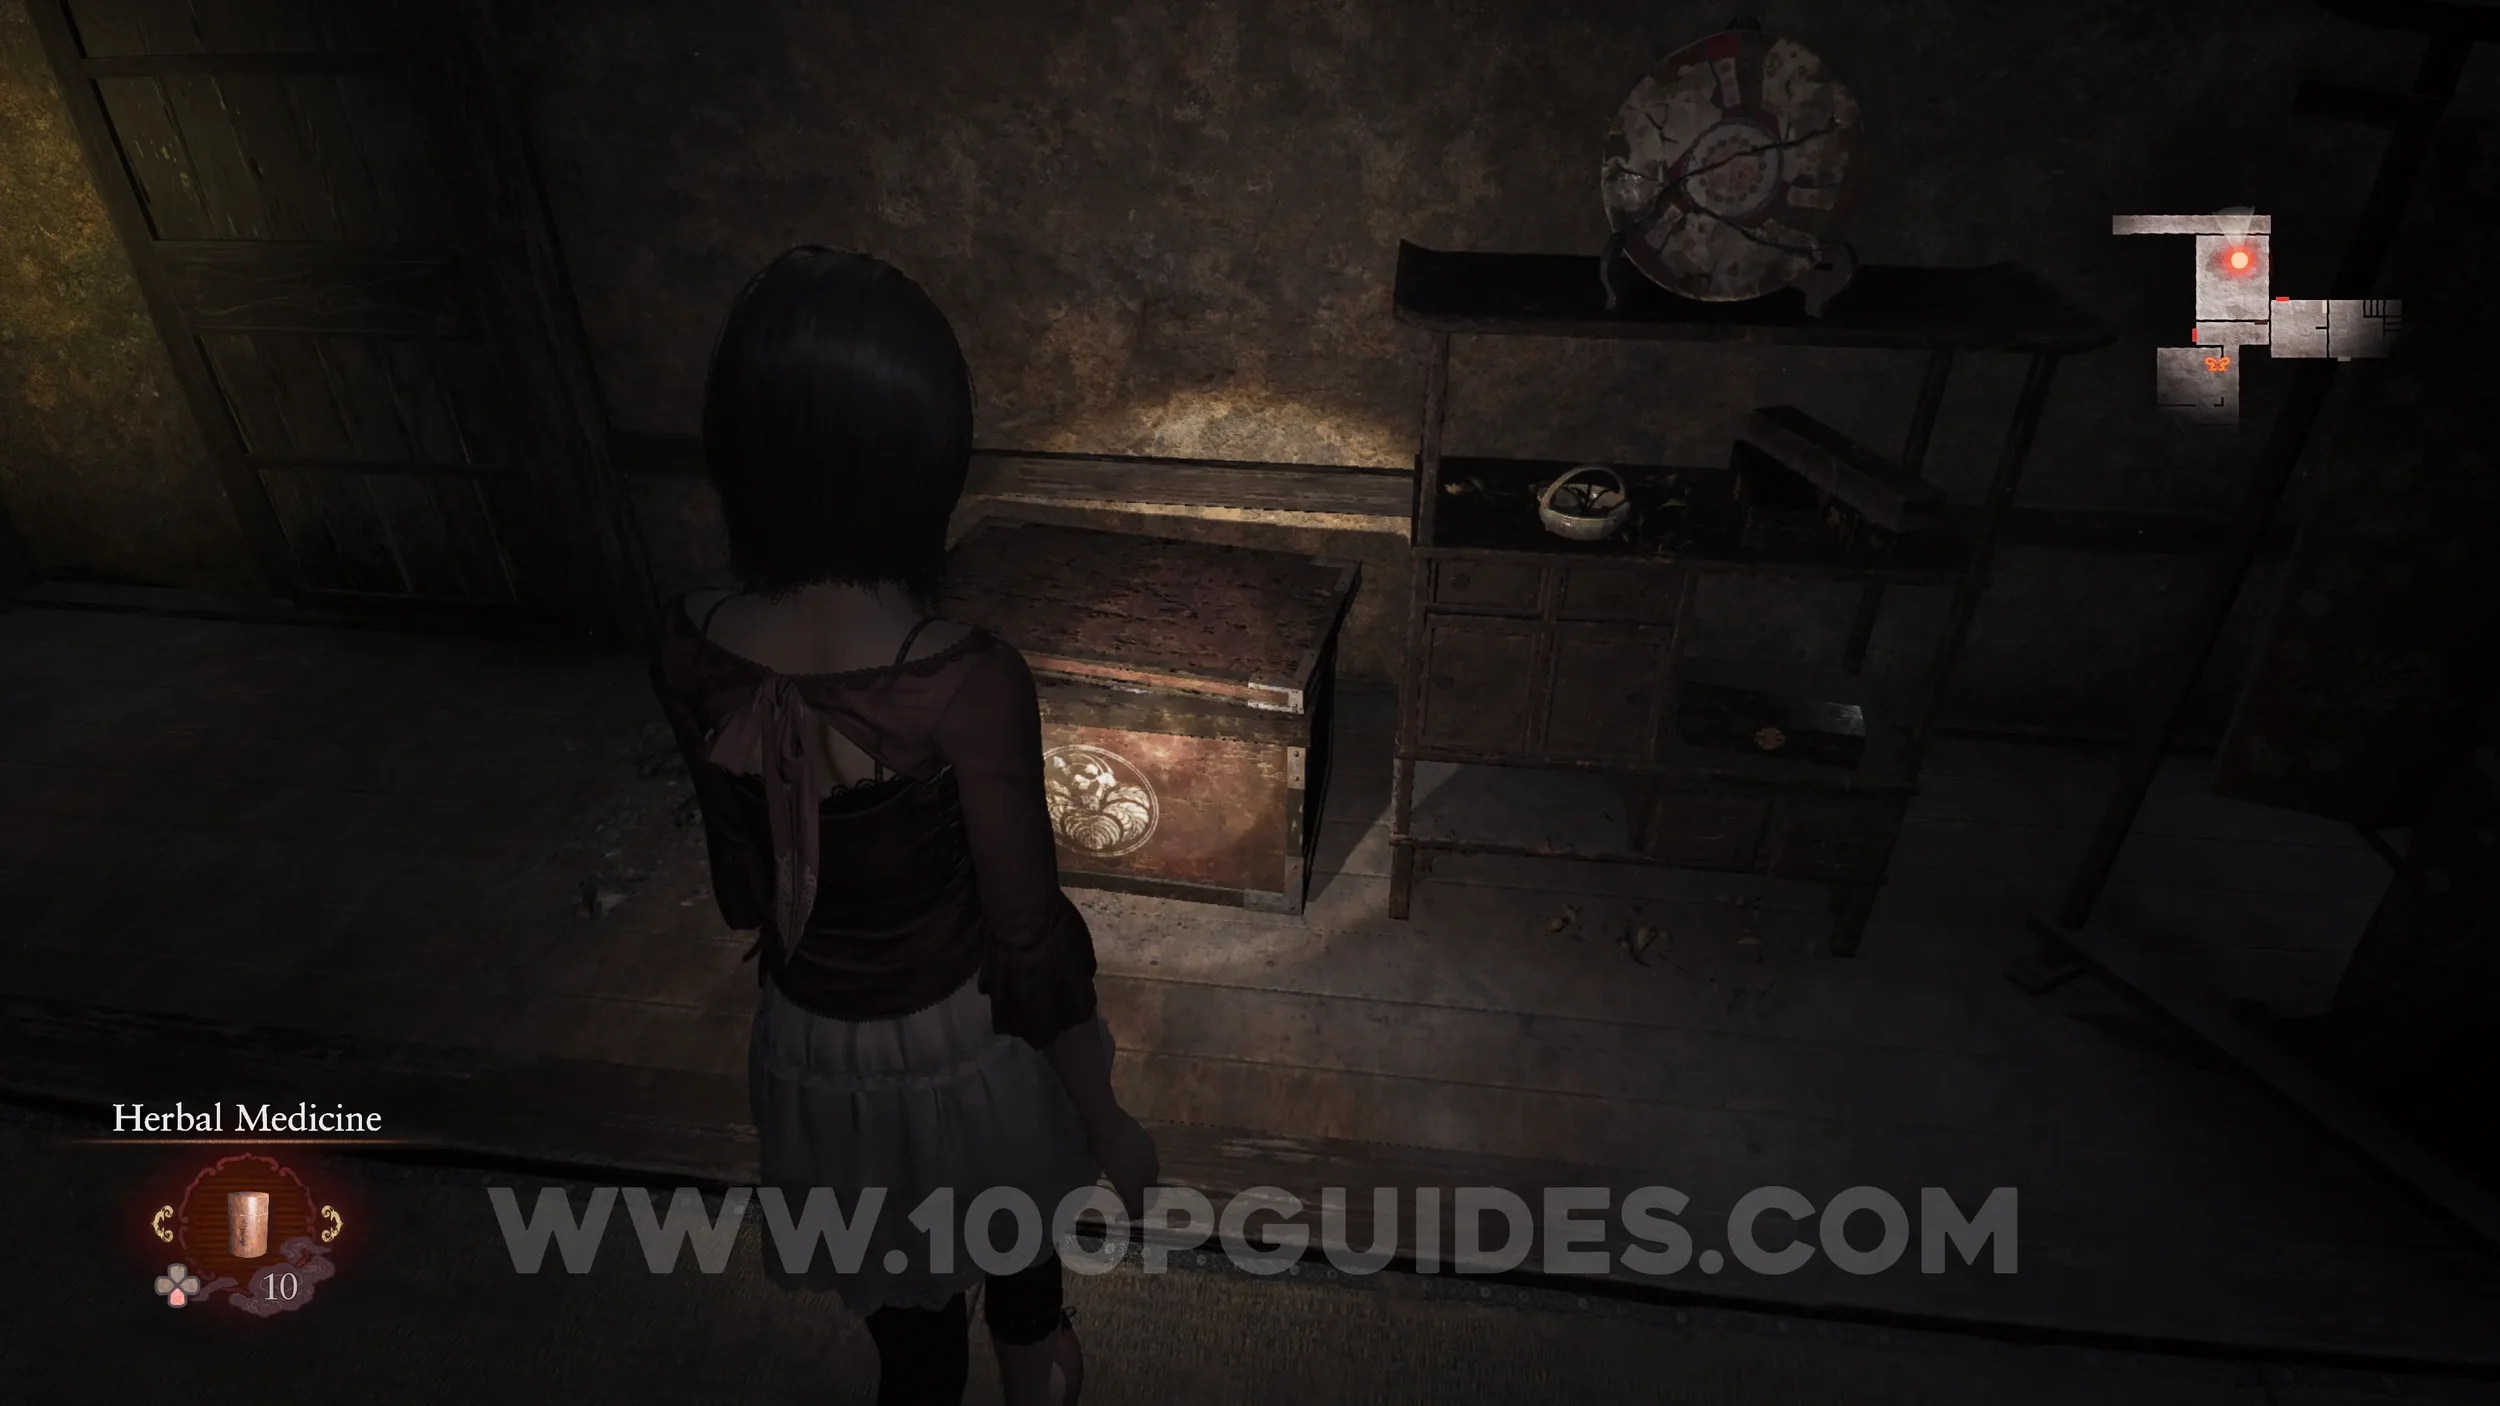
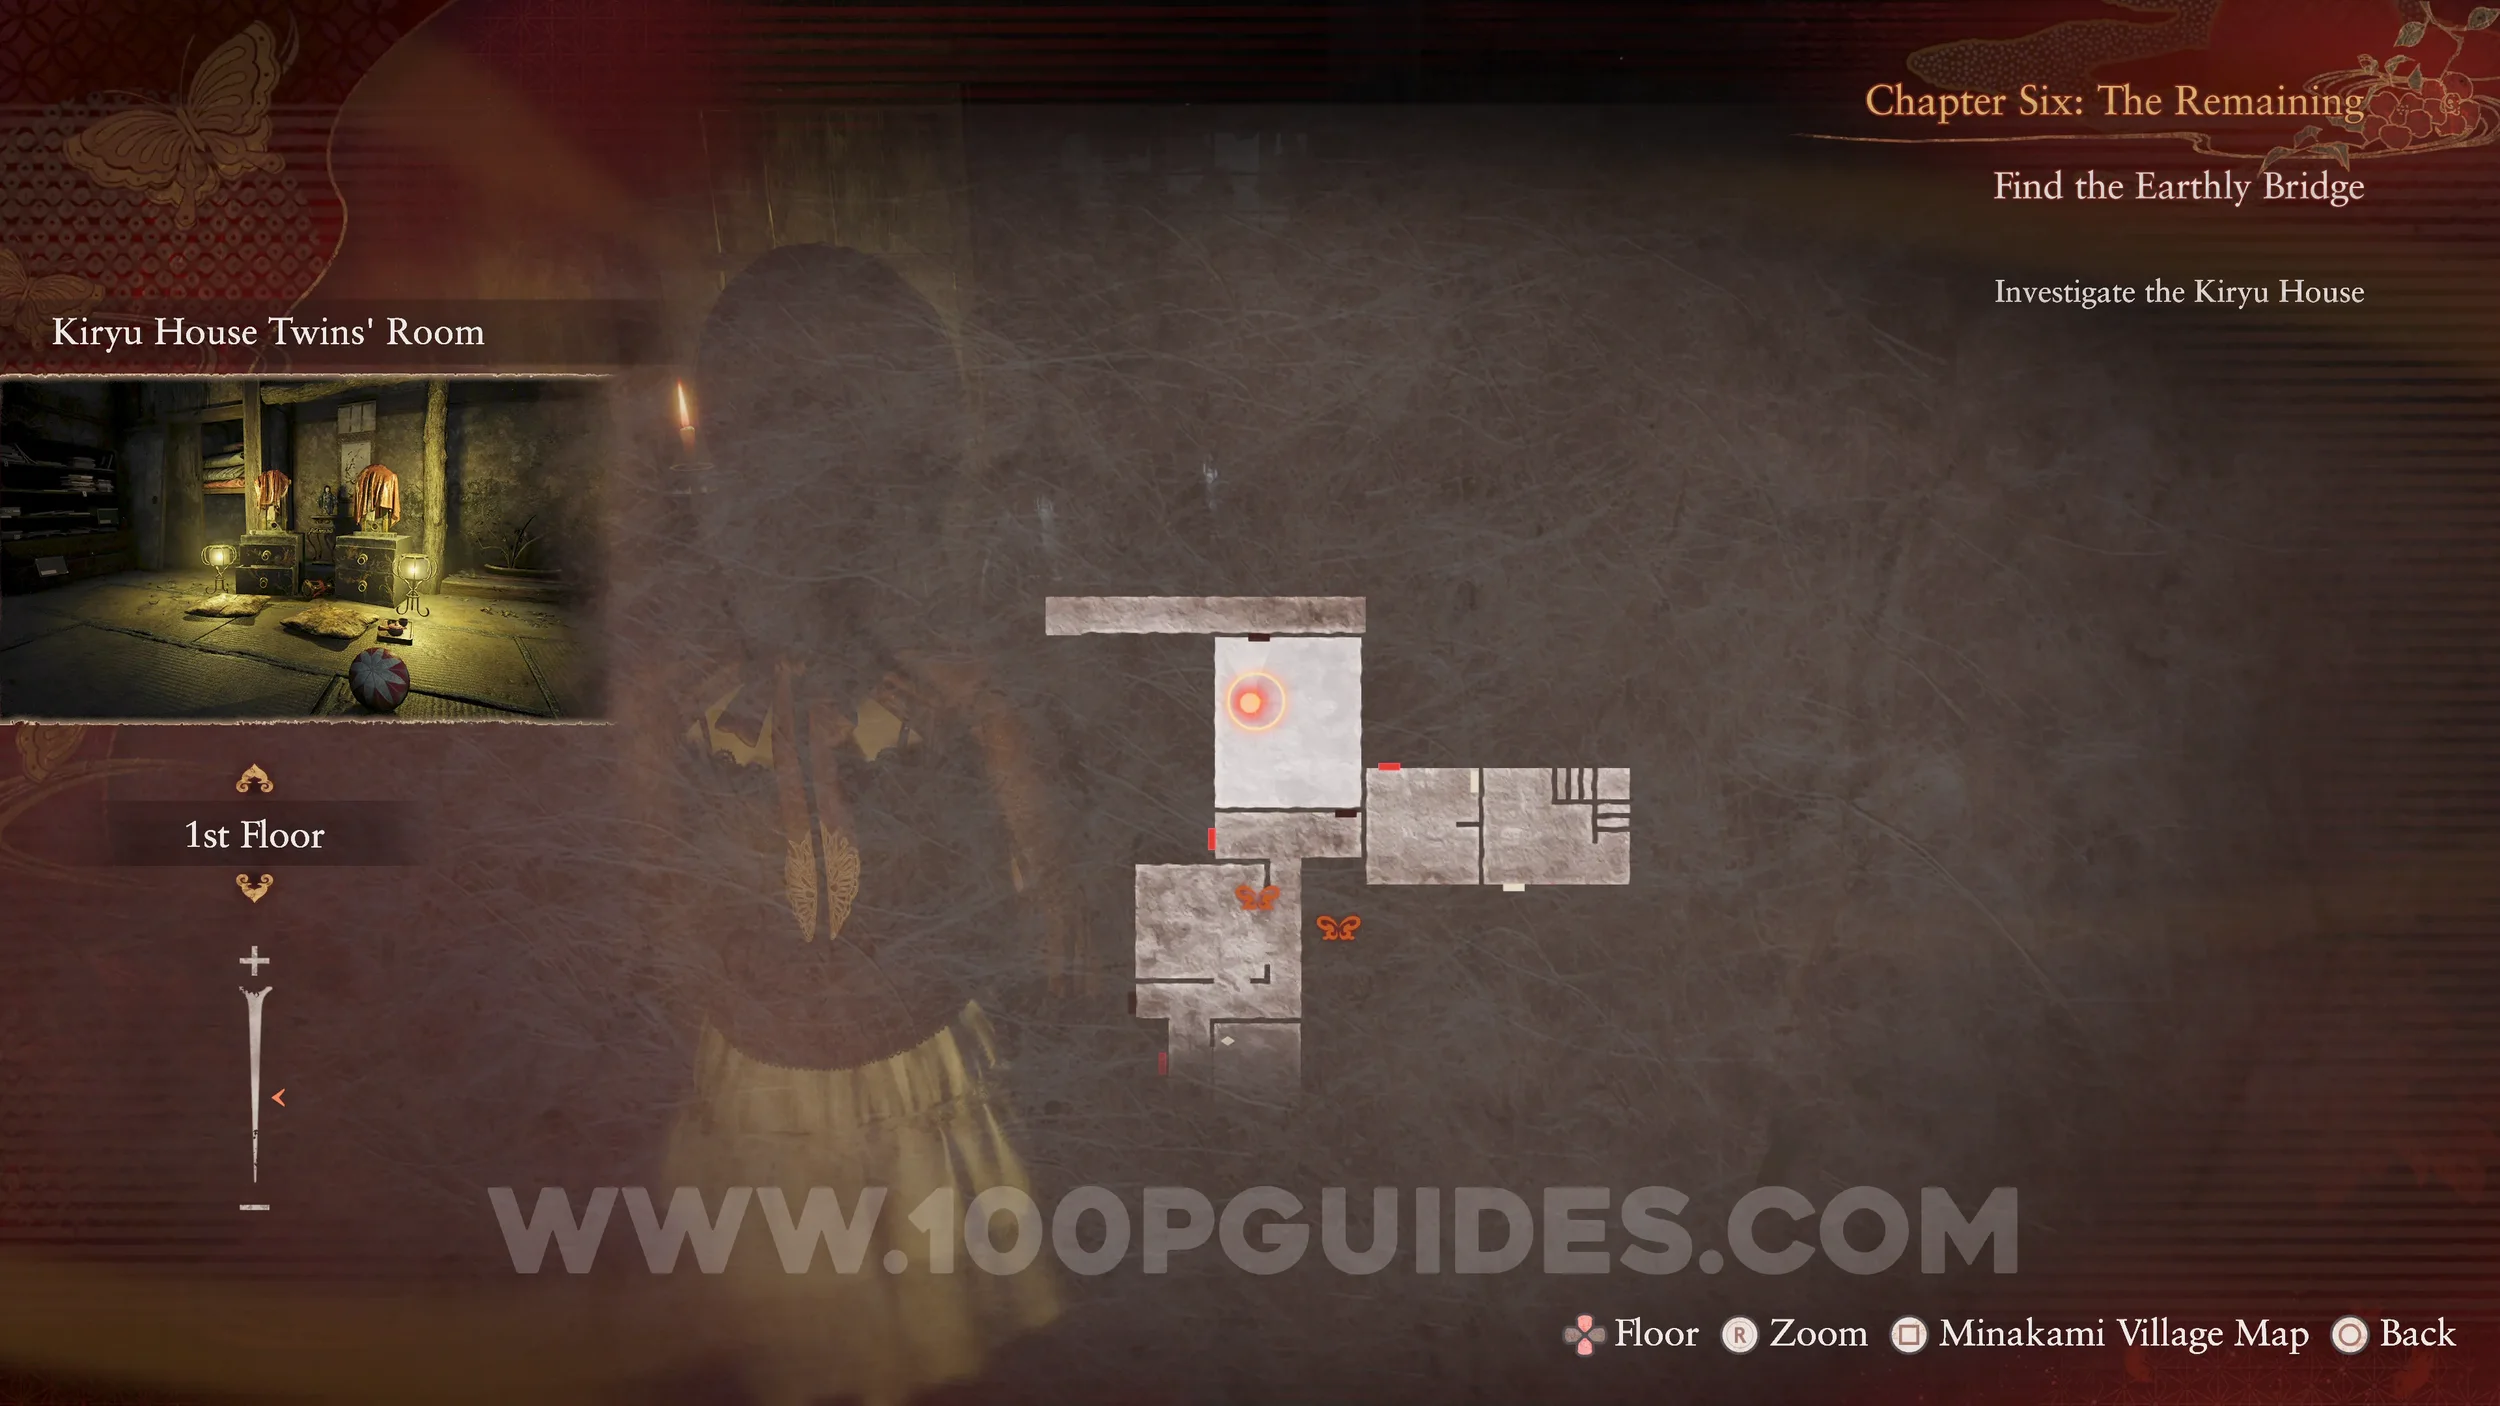
Prayer Beads #48. In a chest in the Twins’ Room.
Wraith #17 - 017 Twin Doll and Wraith #18 - 018 Twin Spirit. Story related after going through the Twins’ Room.

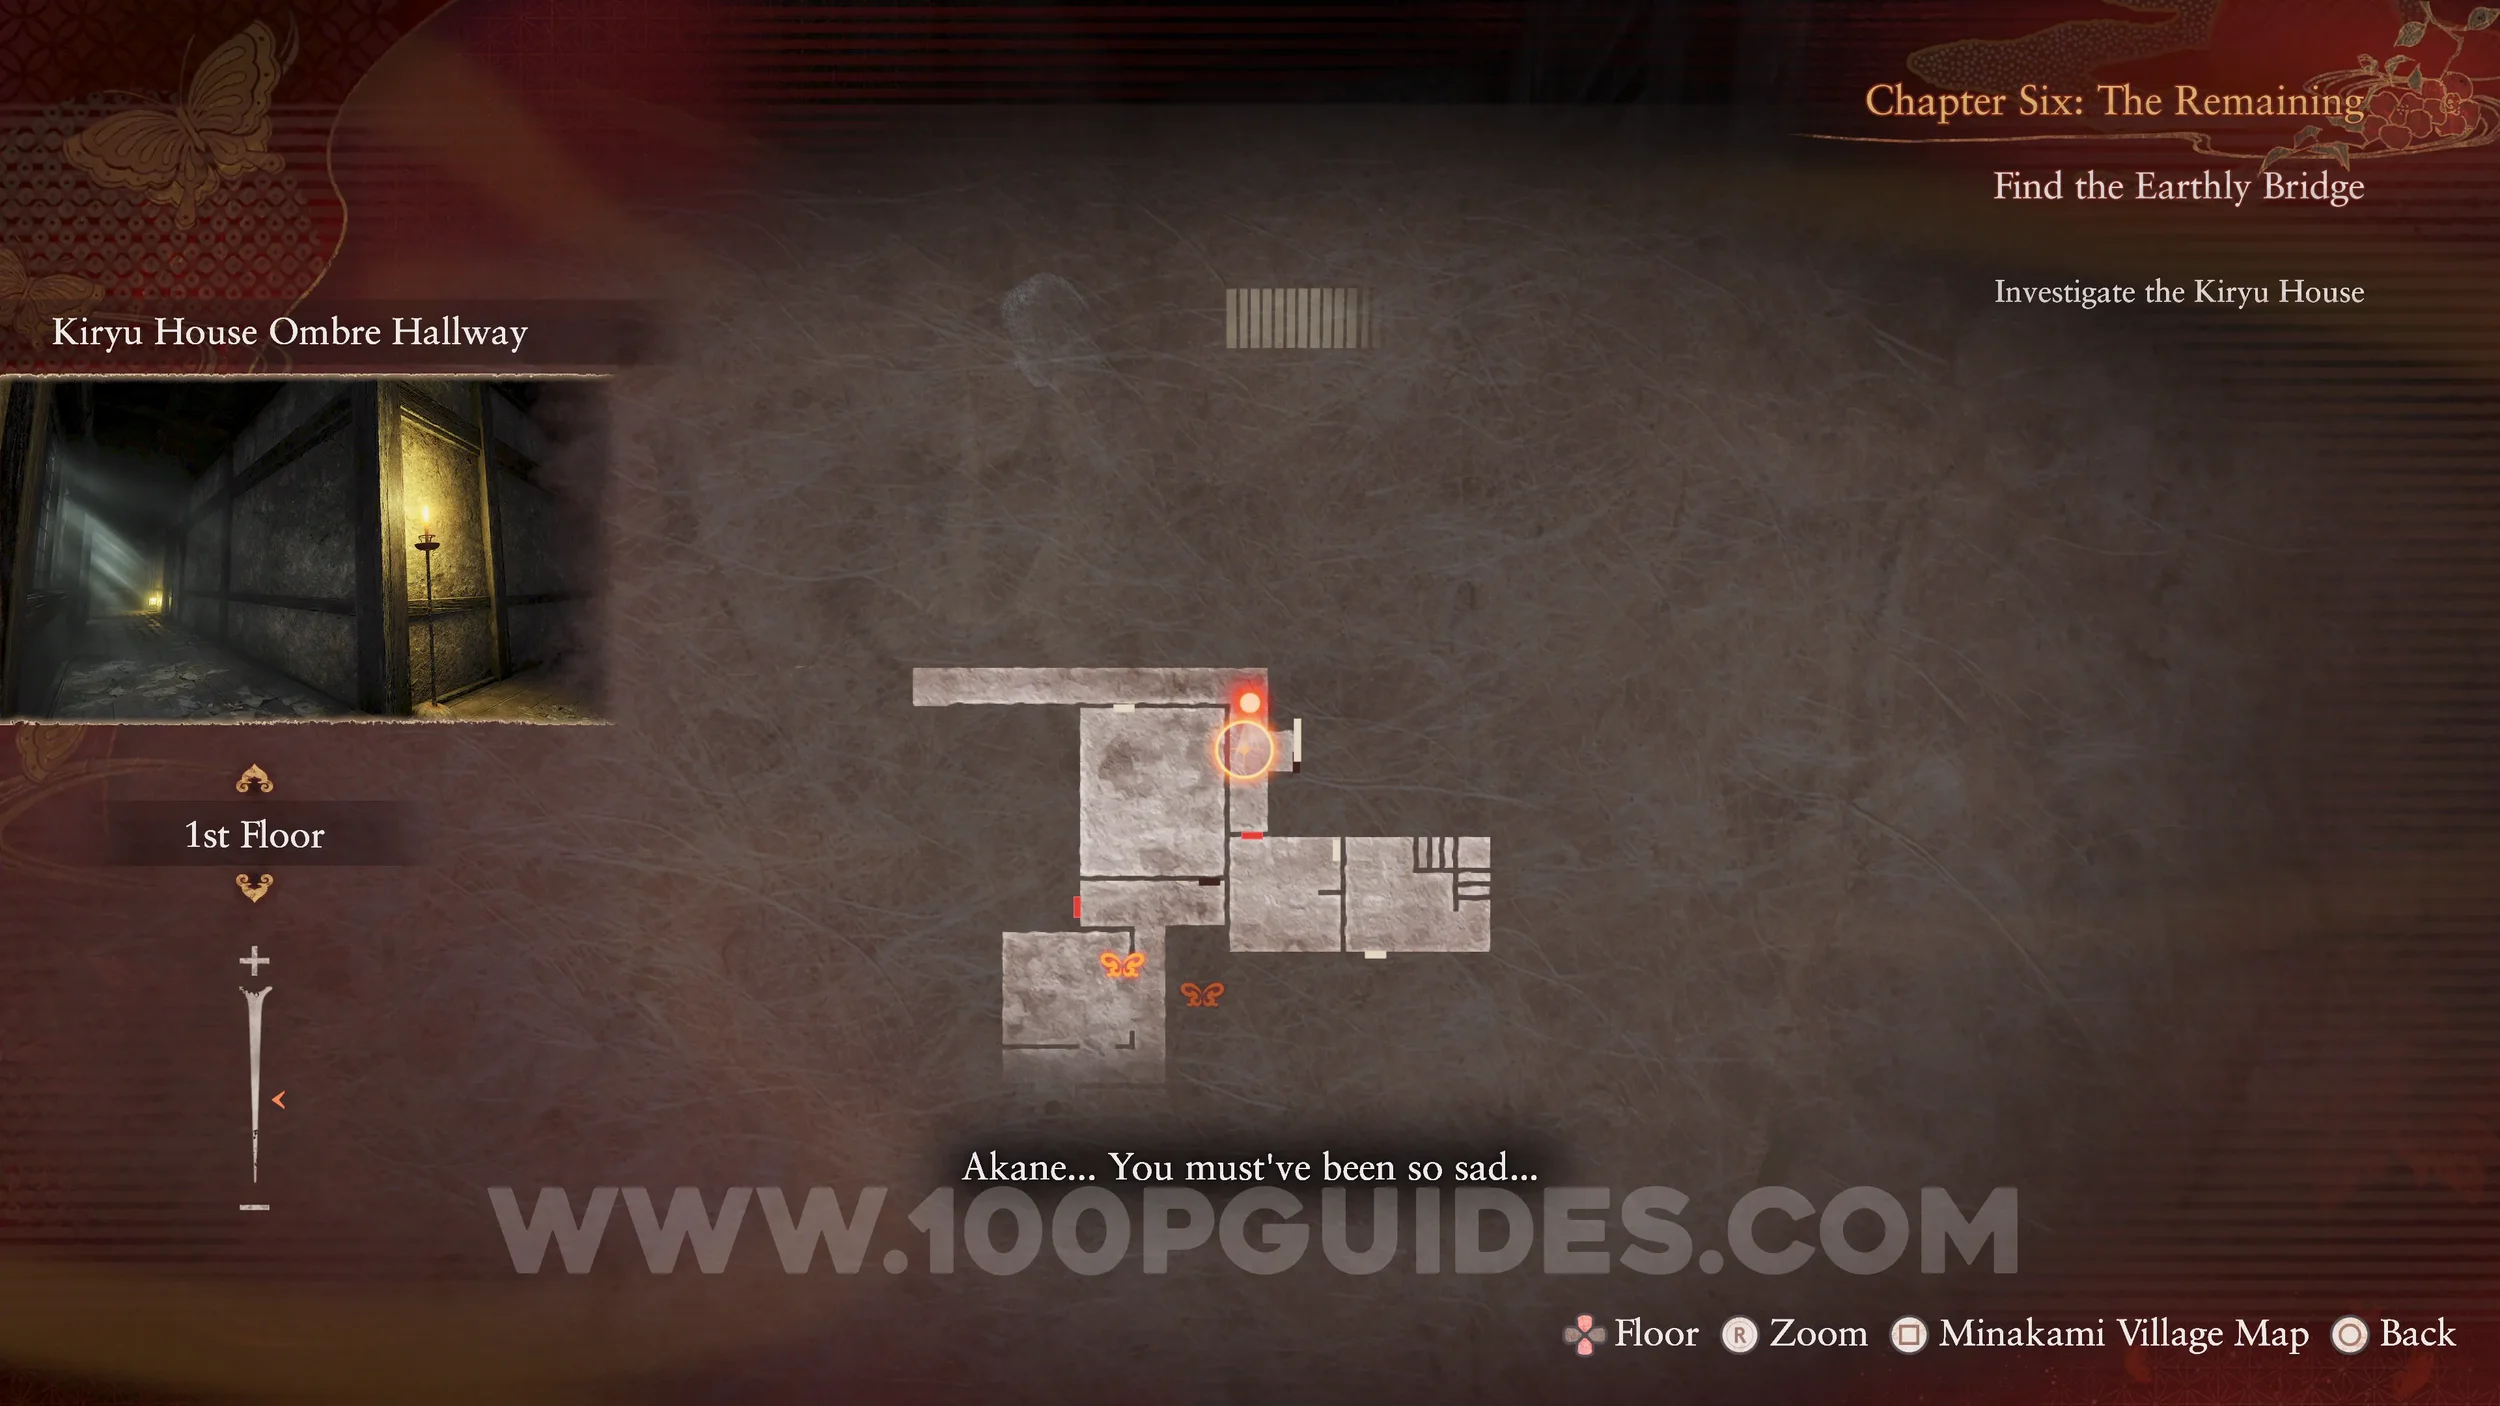
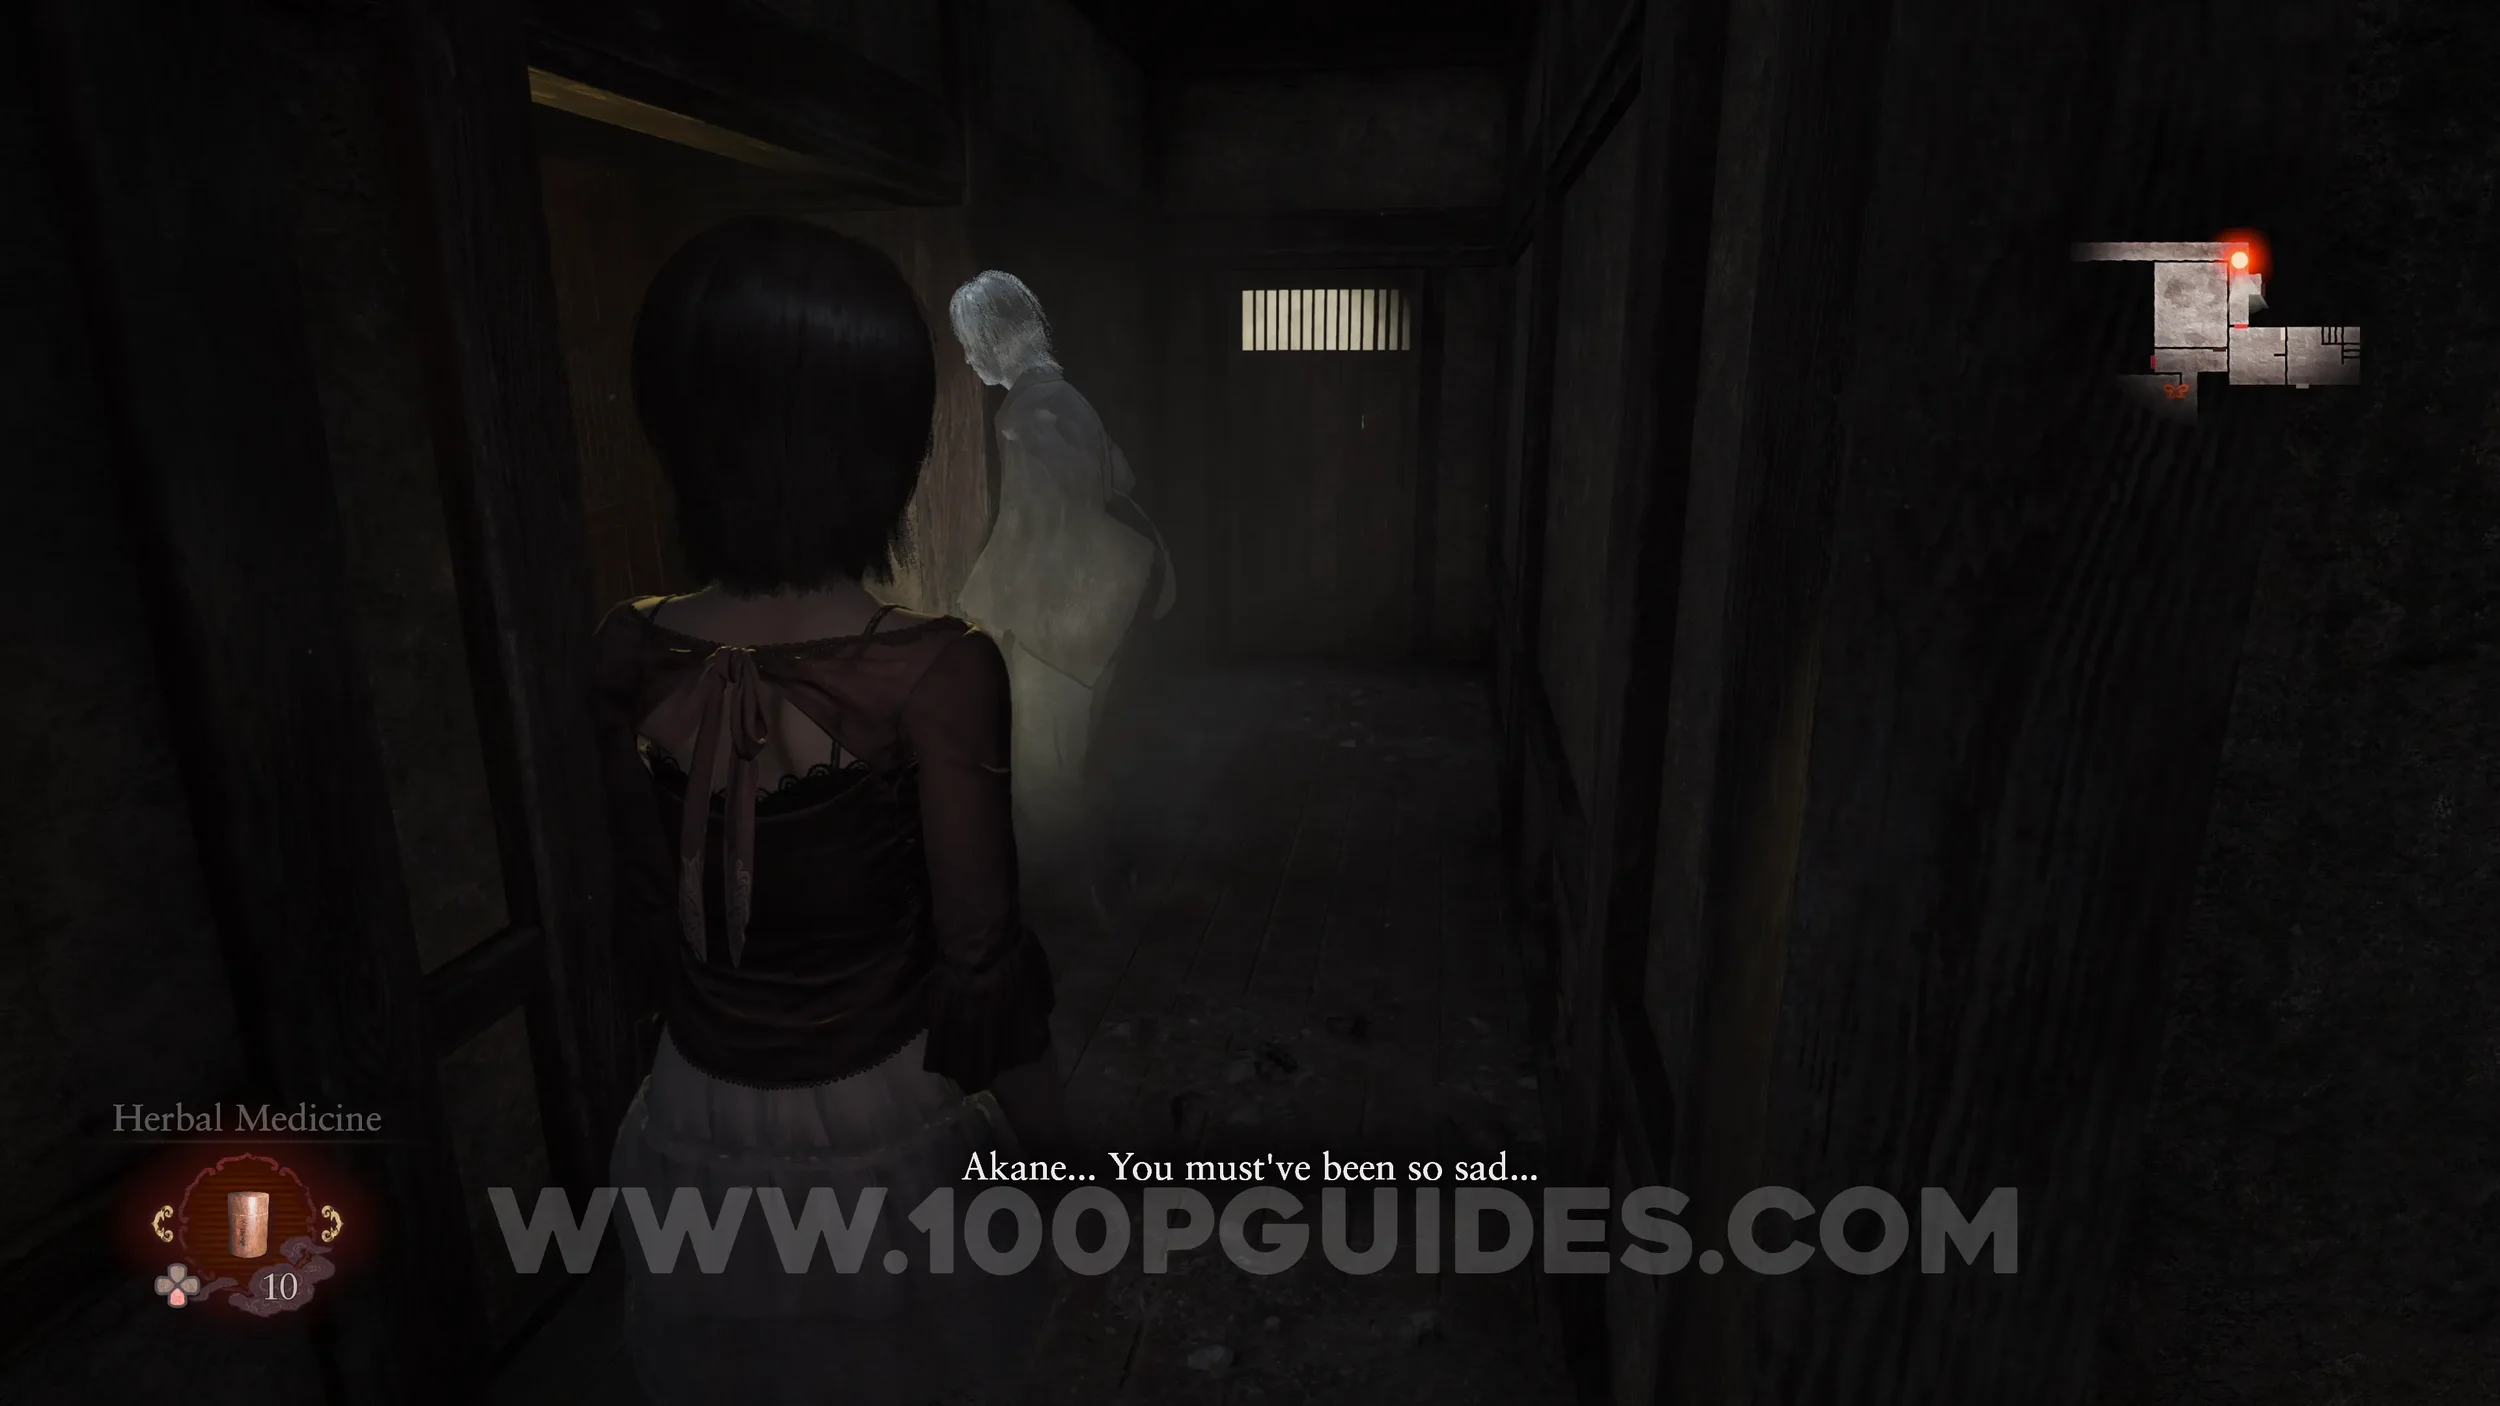
Specter #128 - 092 Brooding Man. After the Twins’ Room, go right and then right again. Here you will see the specter.
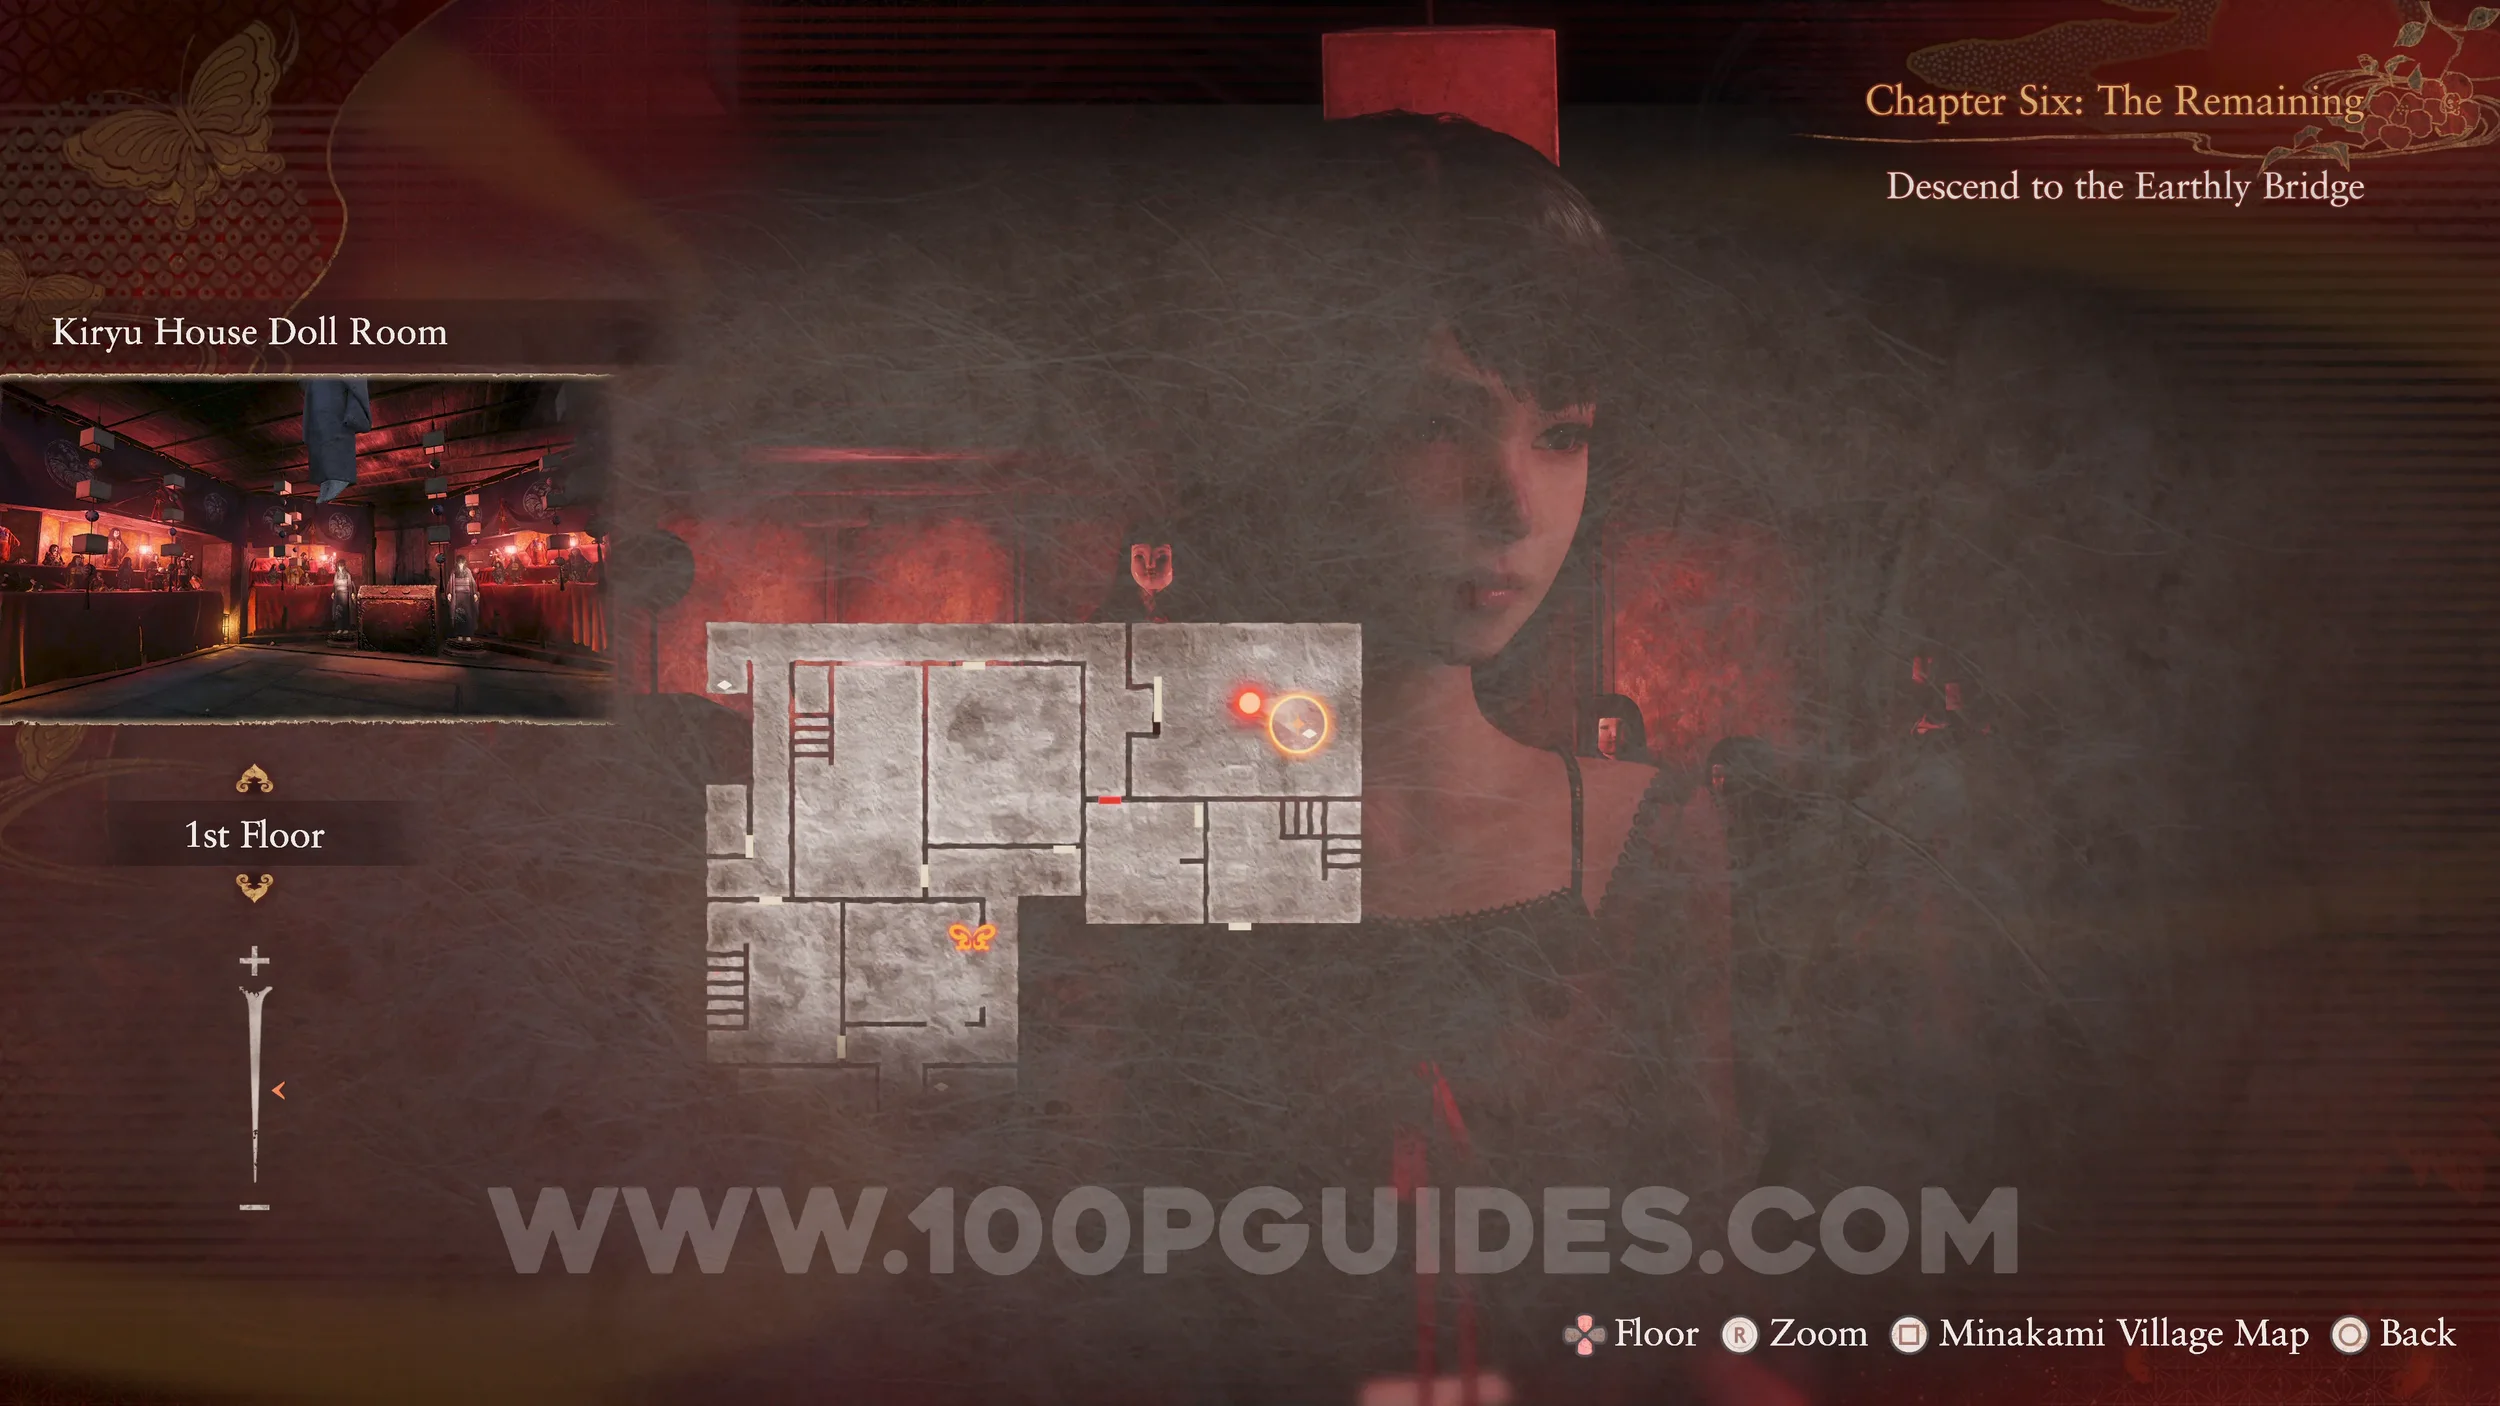
Document #62 - Doll Maker’s Note 3. Story related. In Kiryu House Doll Room.
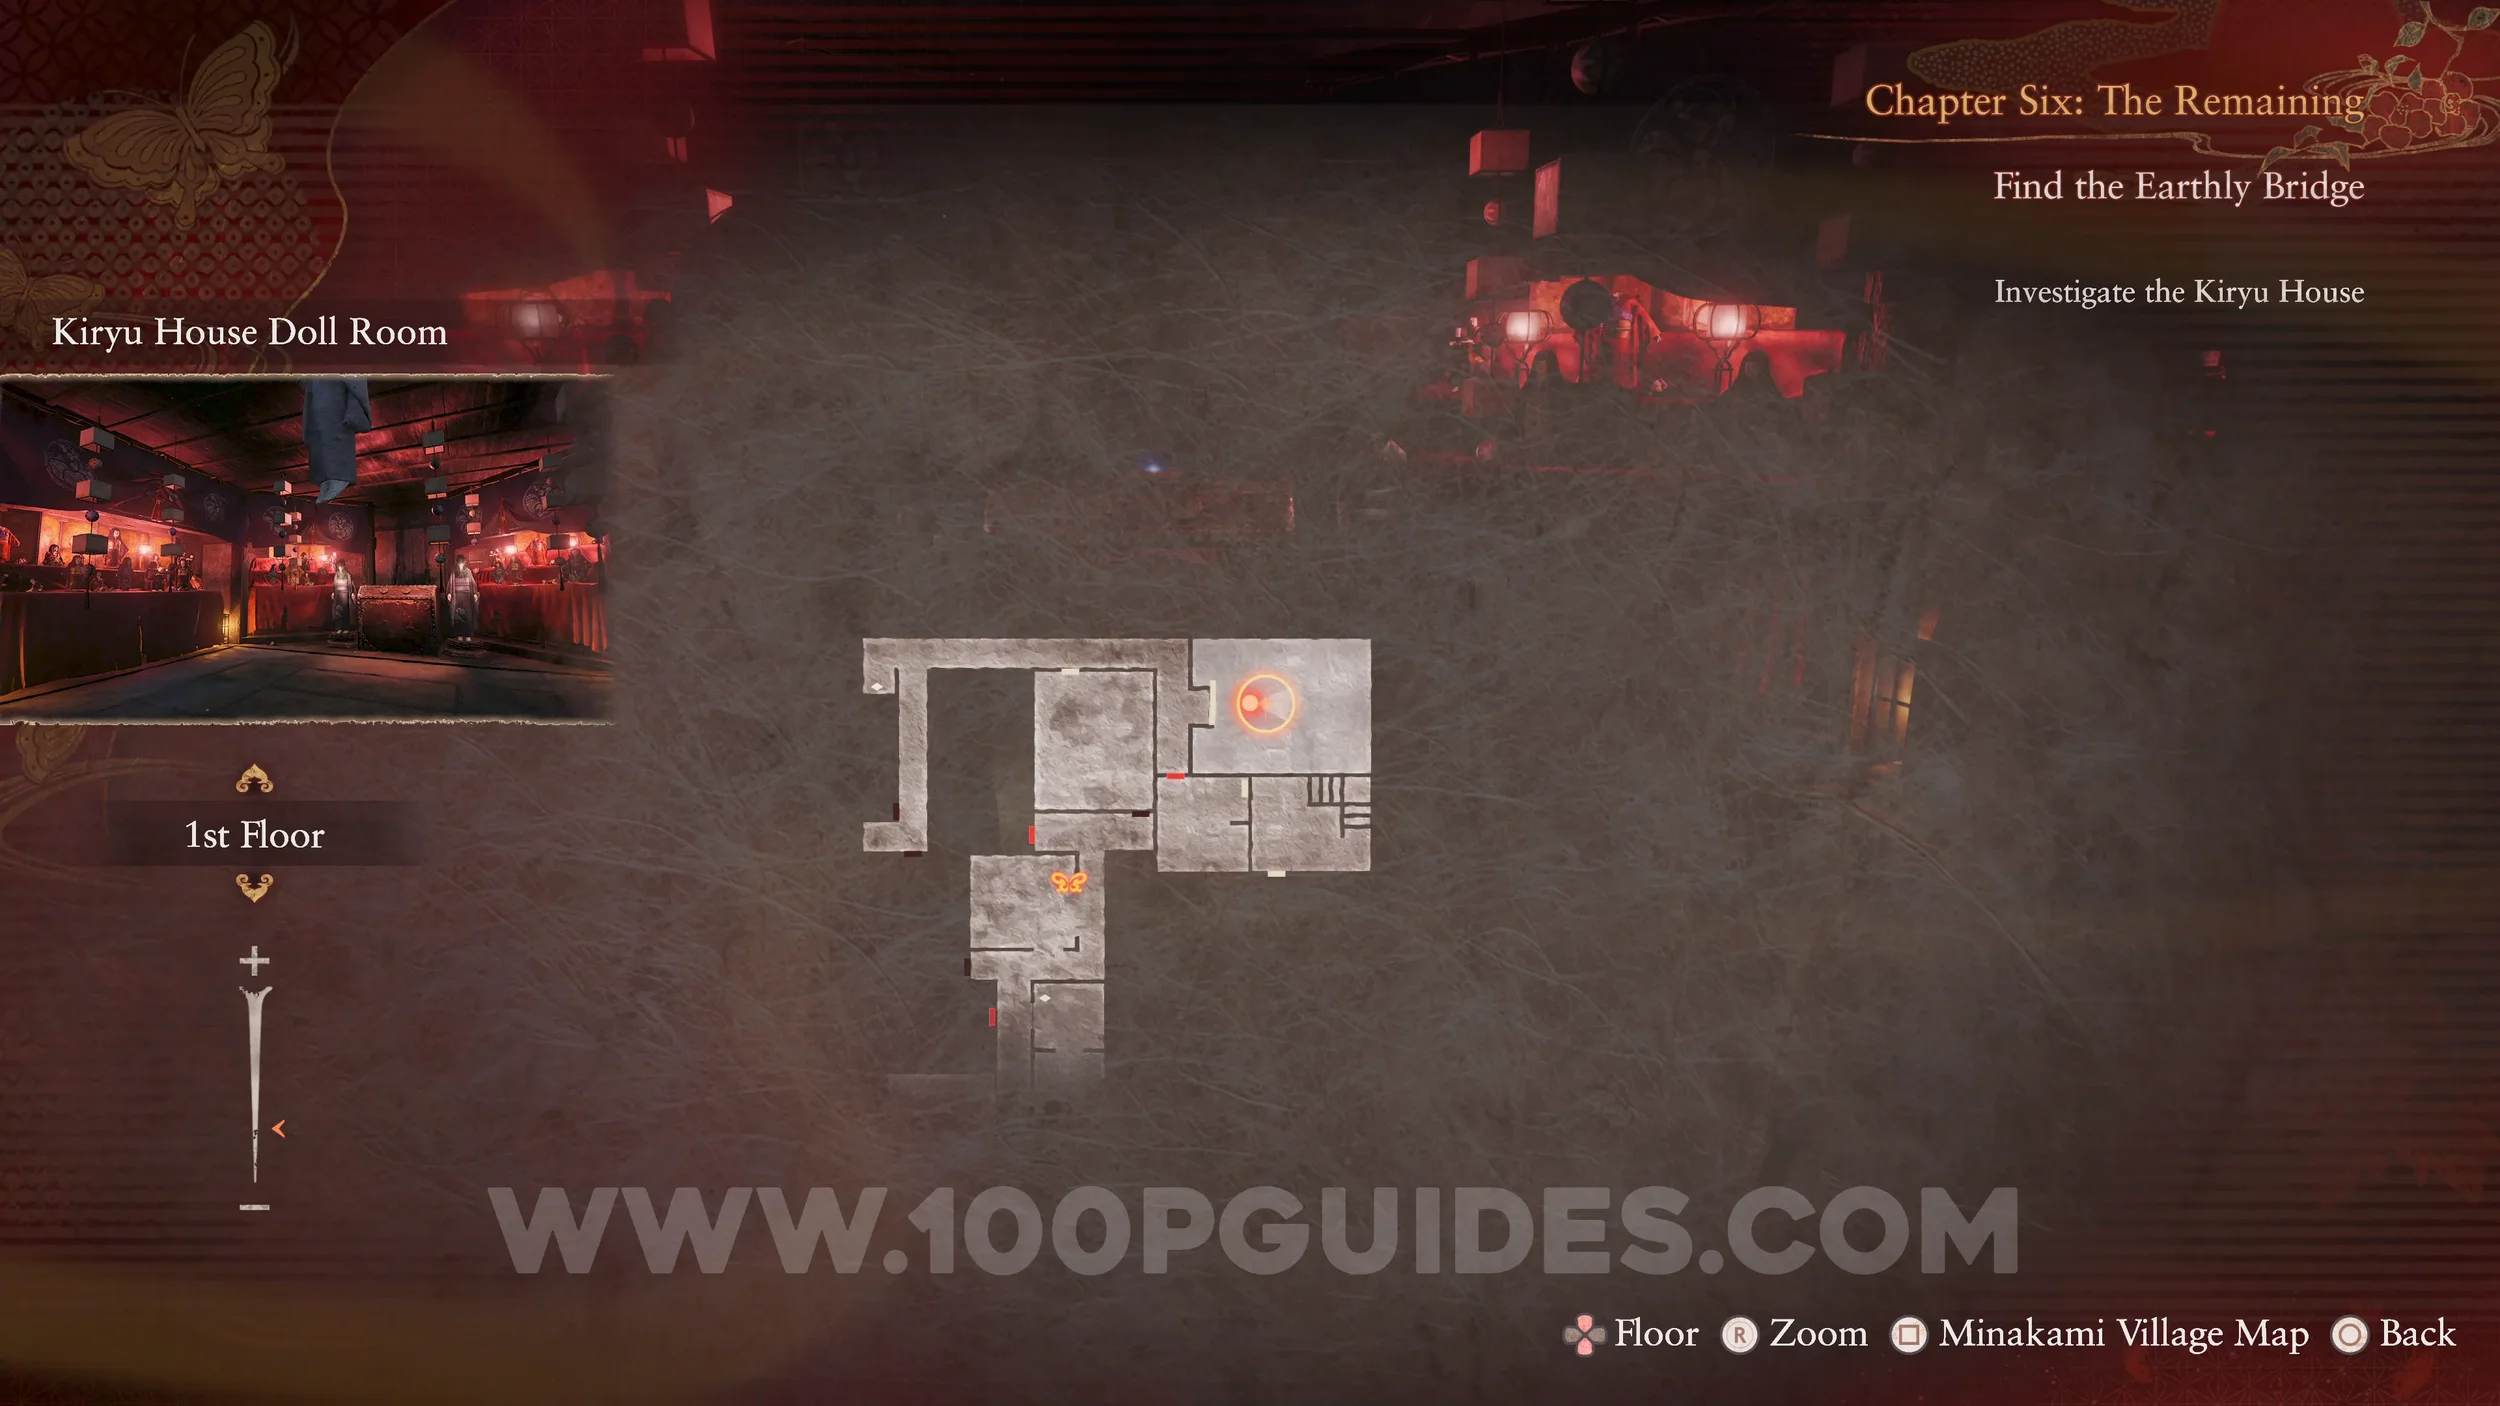
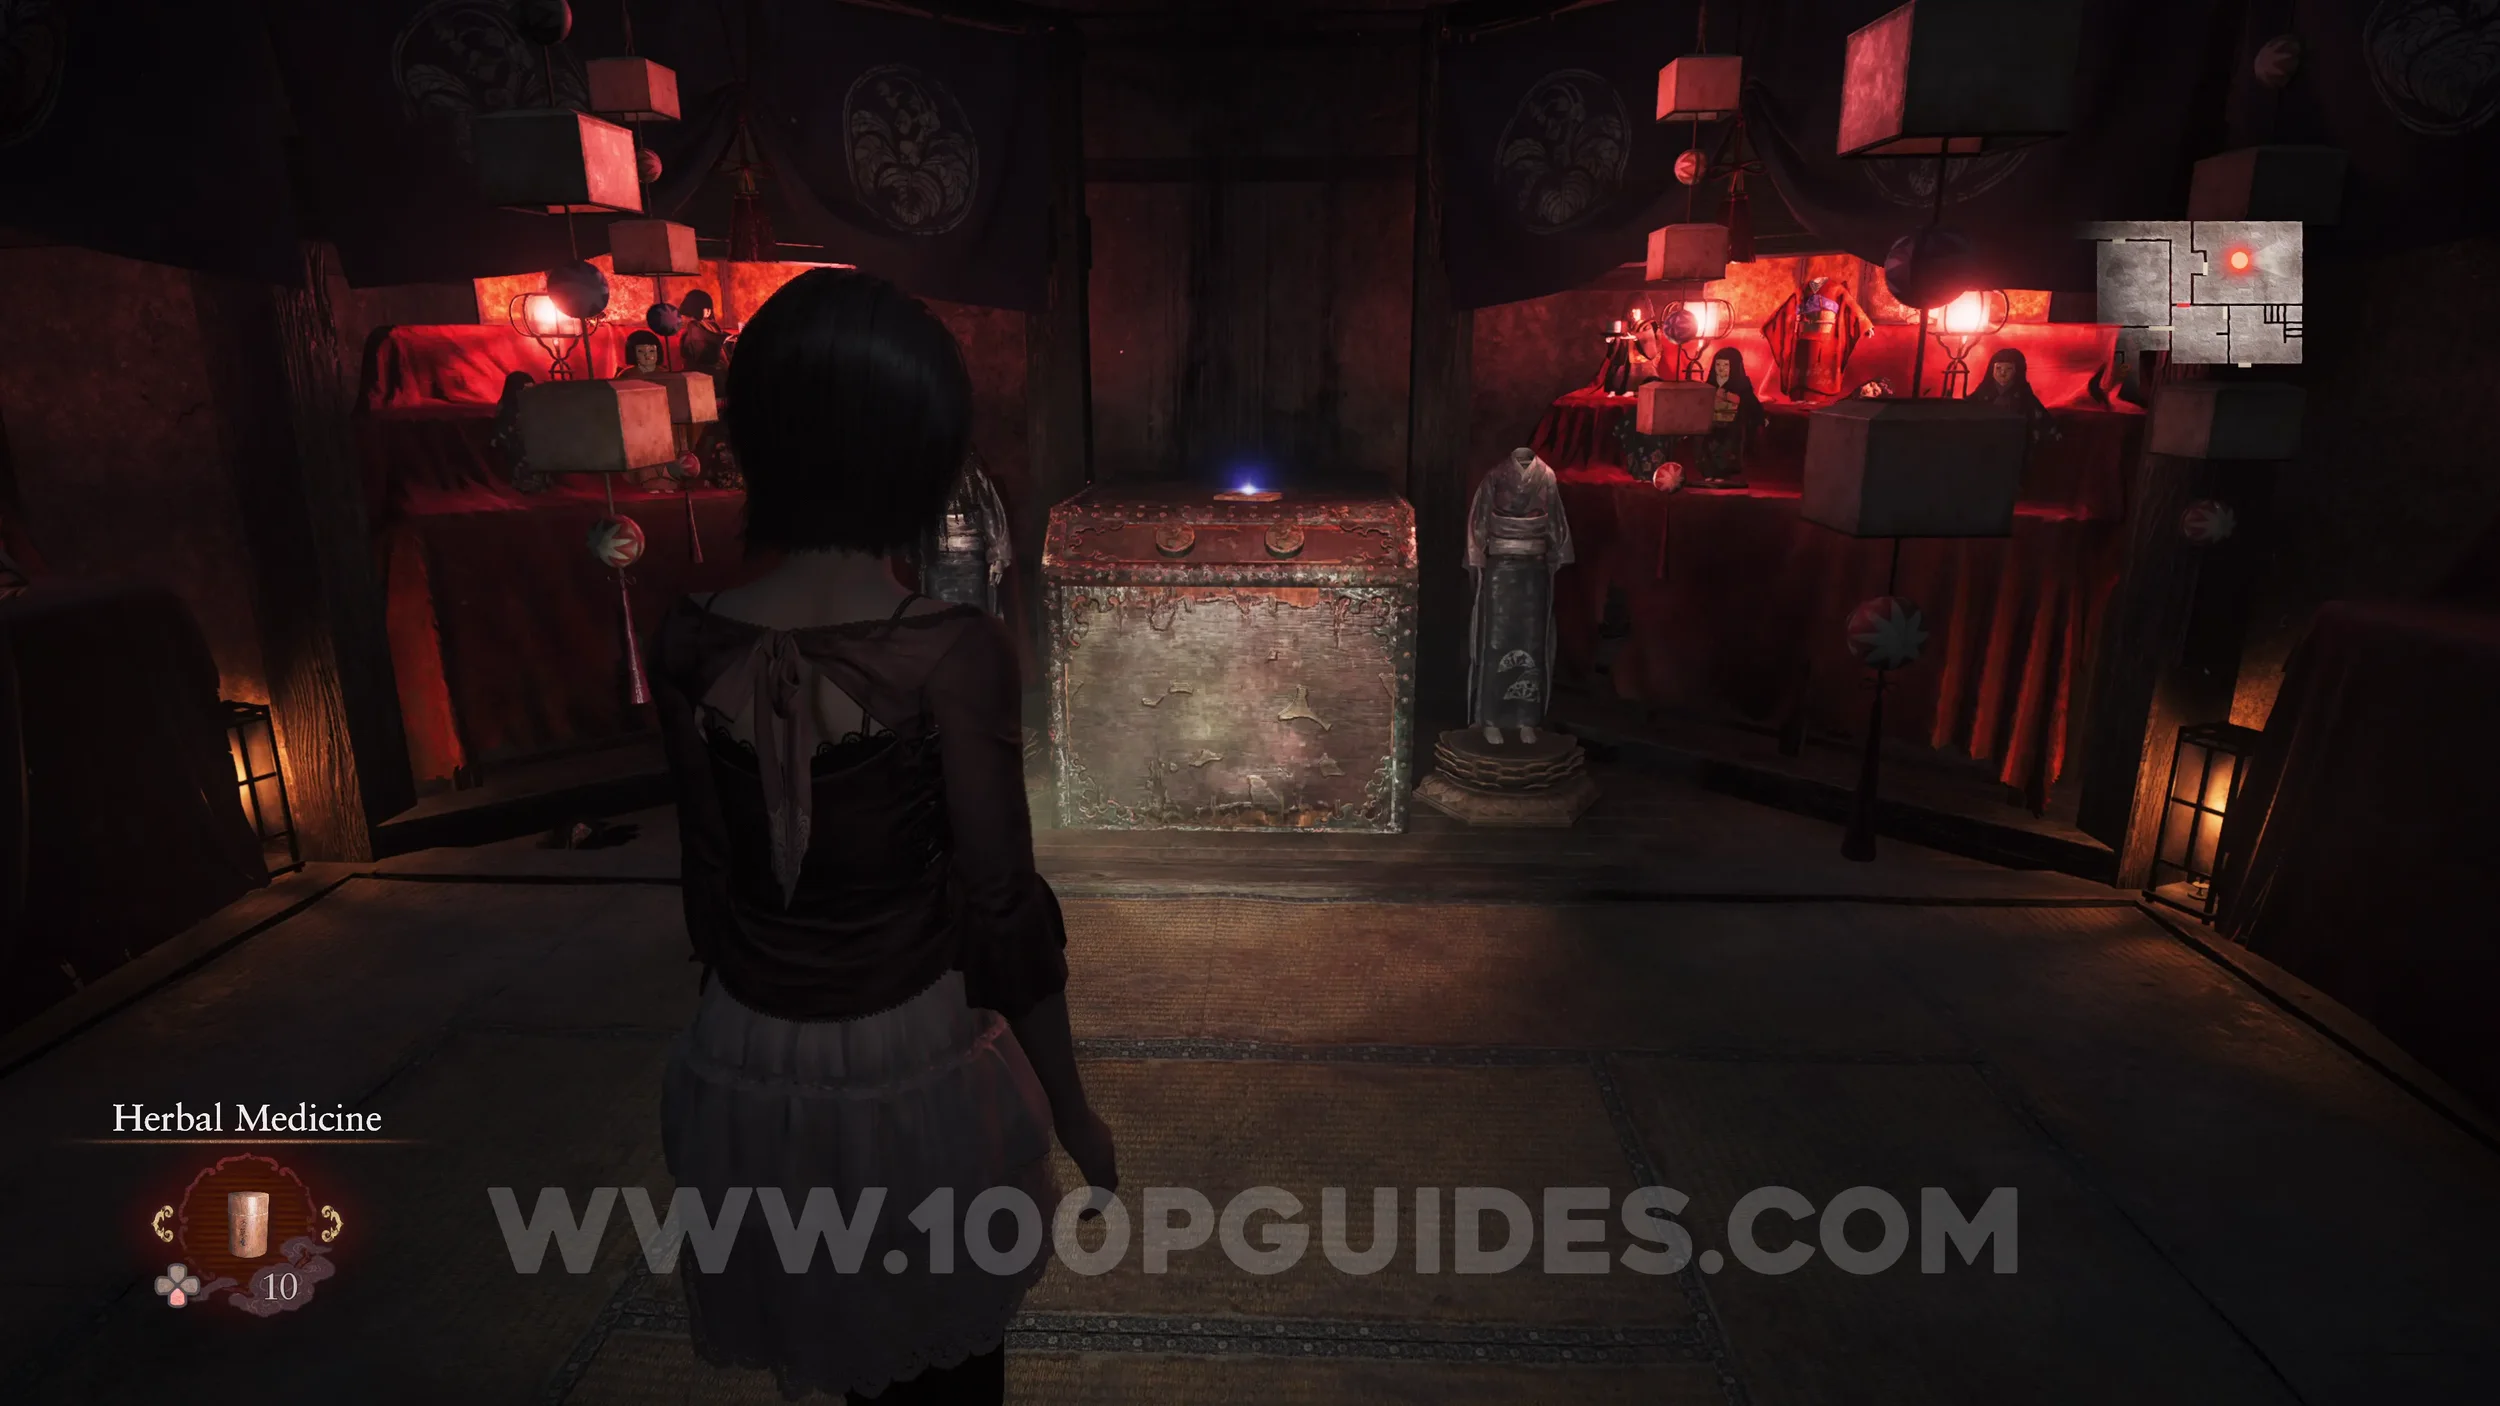
Specter #129 - 093 Death’s Wish. Will spawn in the Doll Room after picking up the previous document.
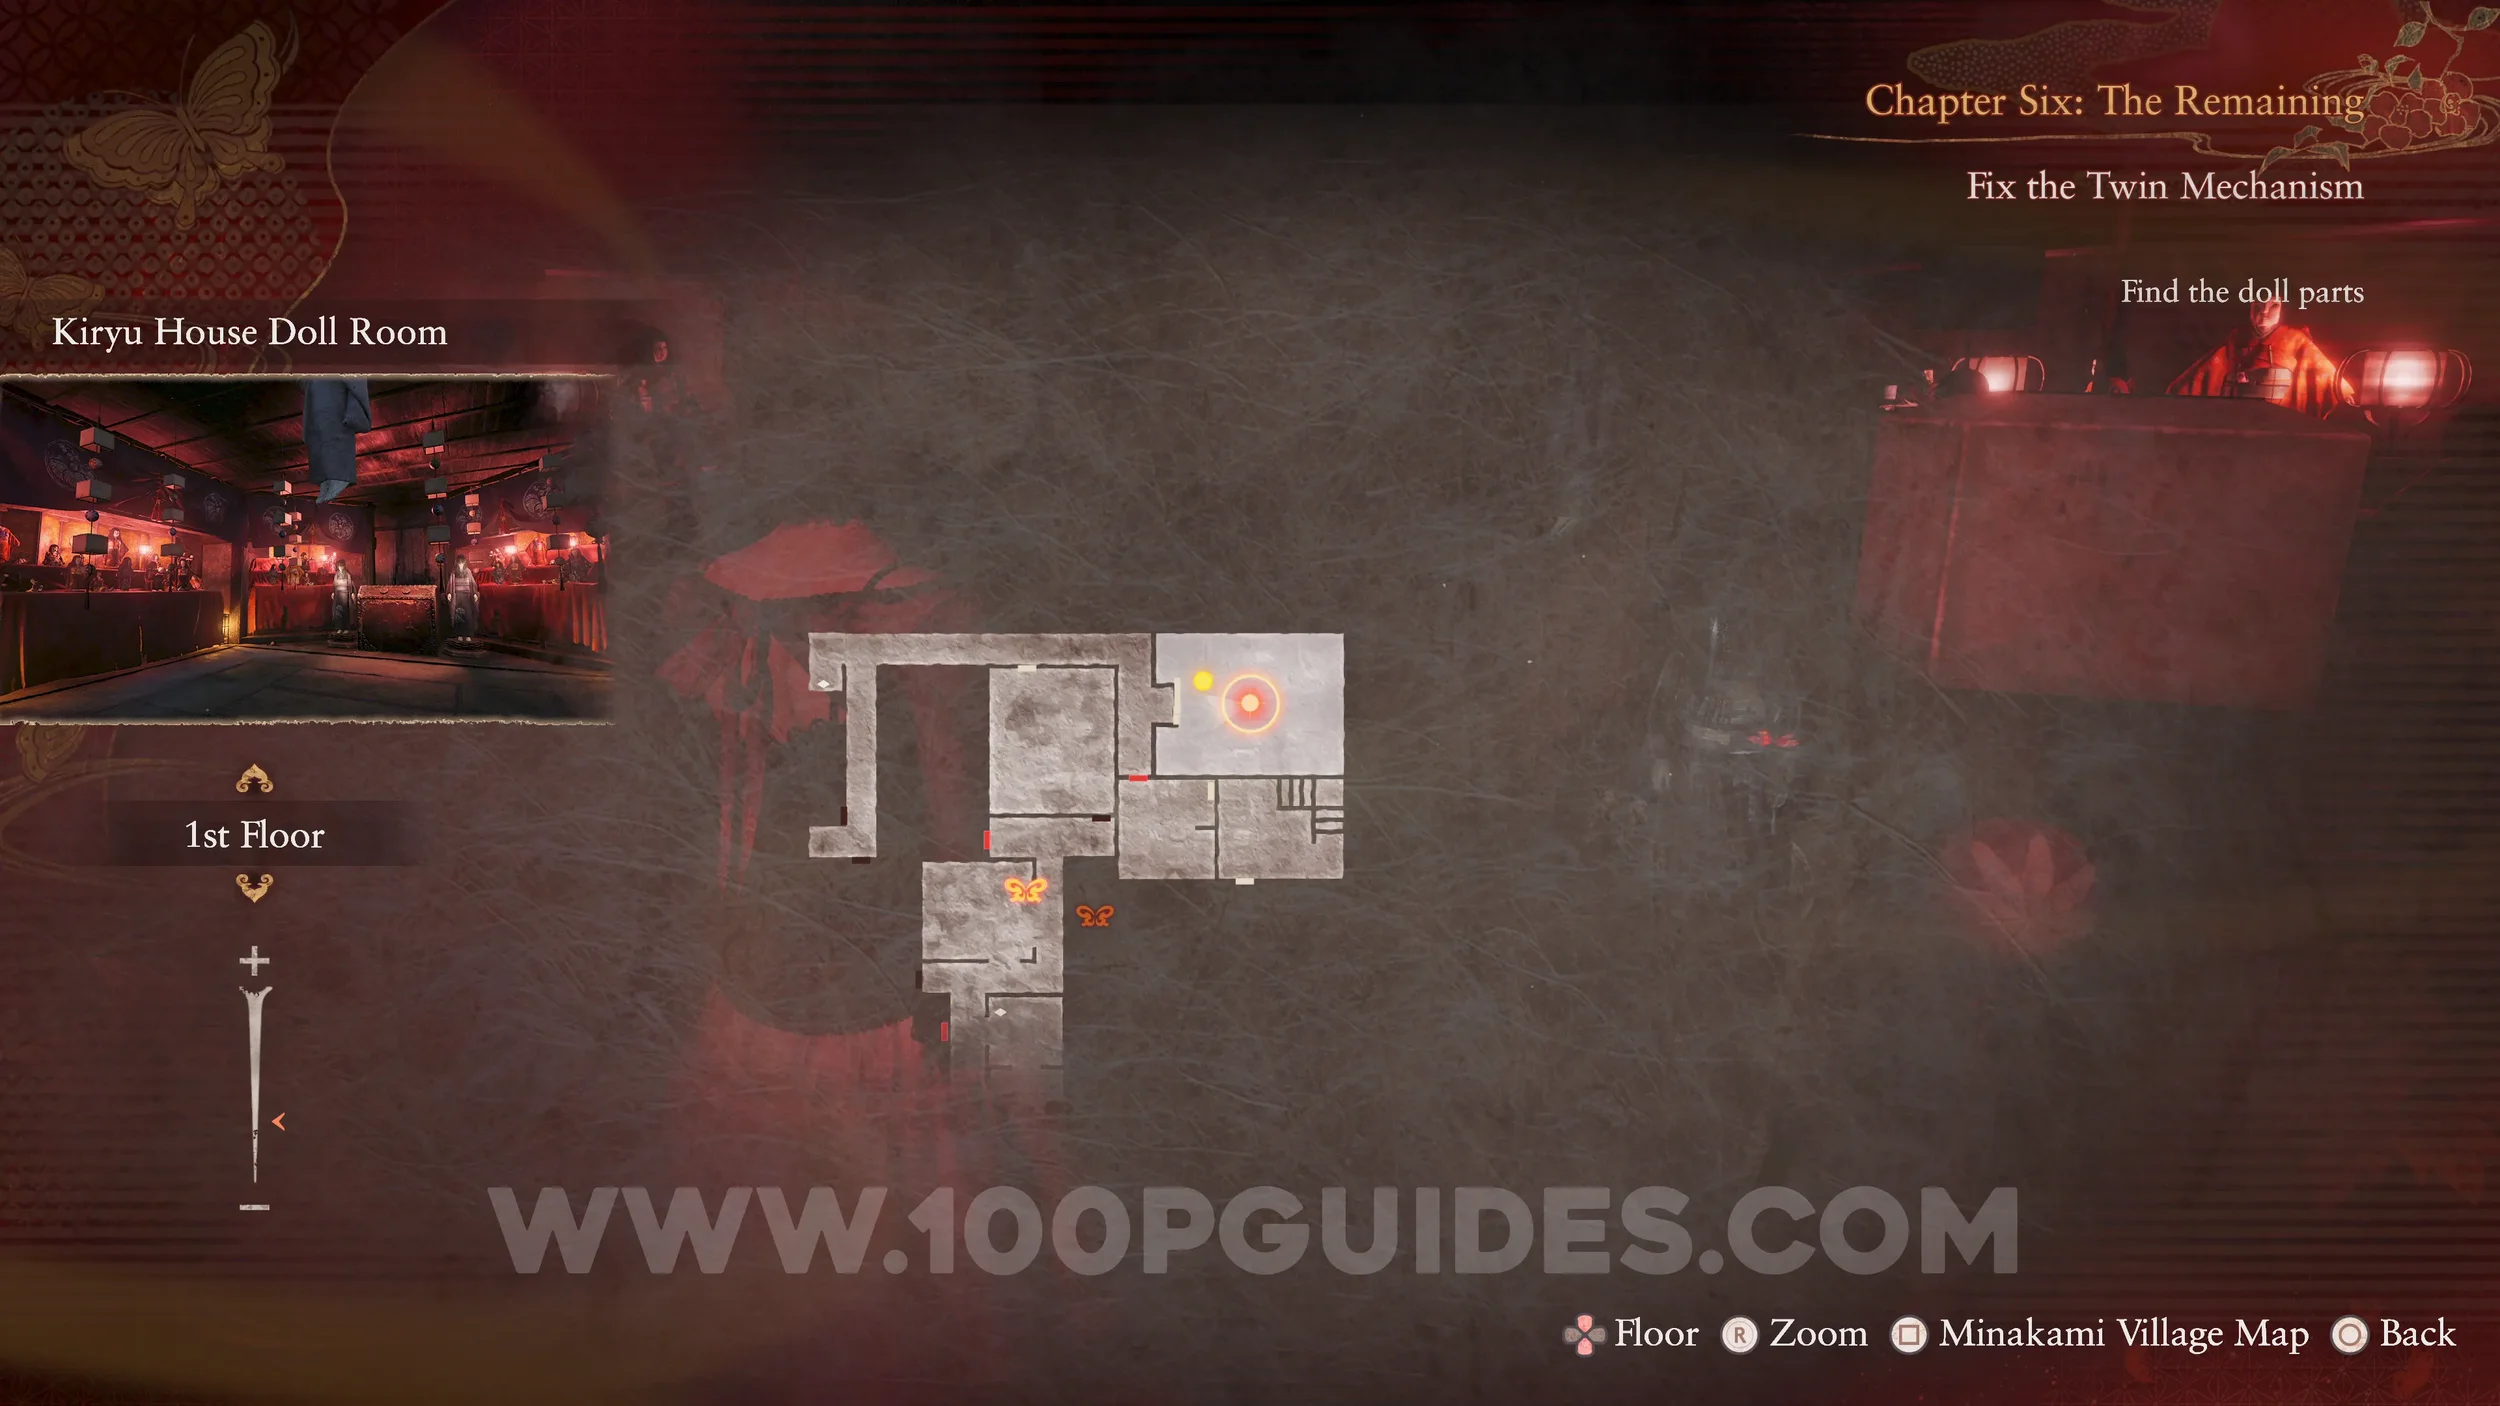
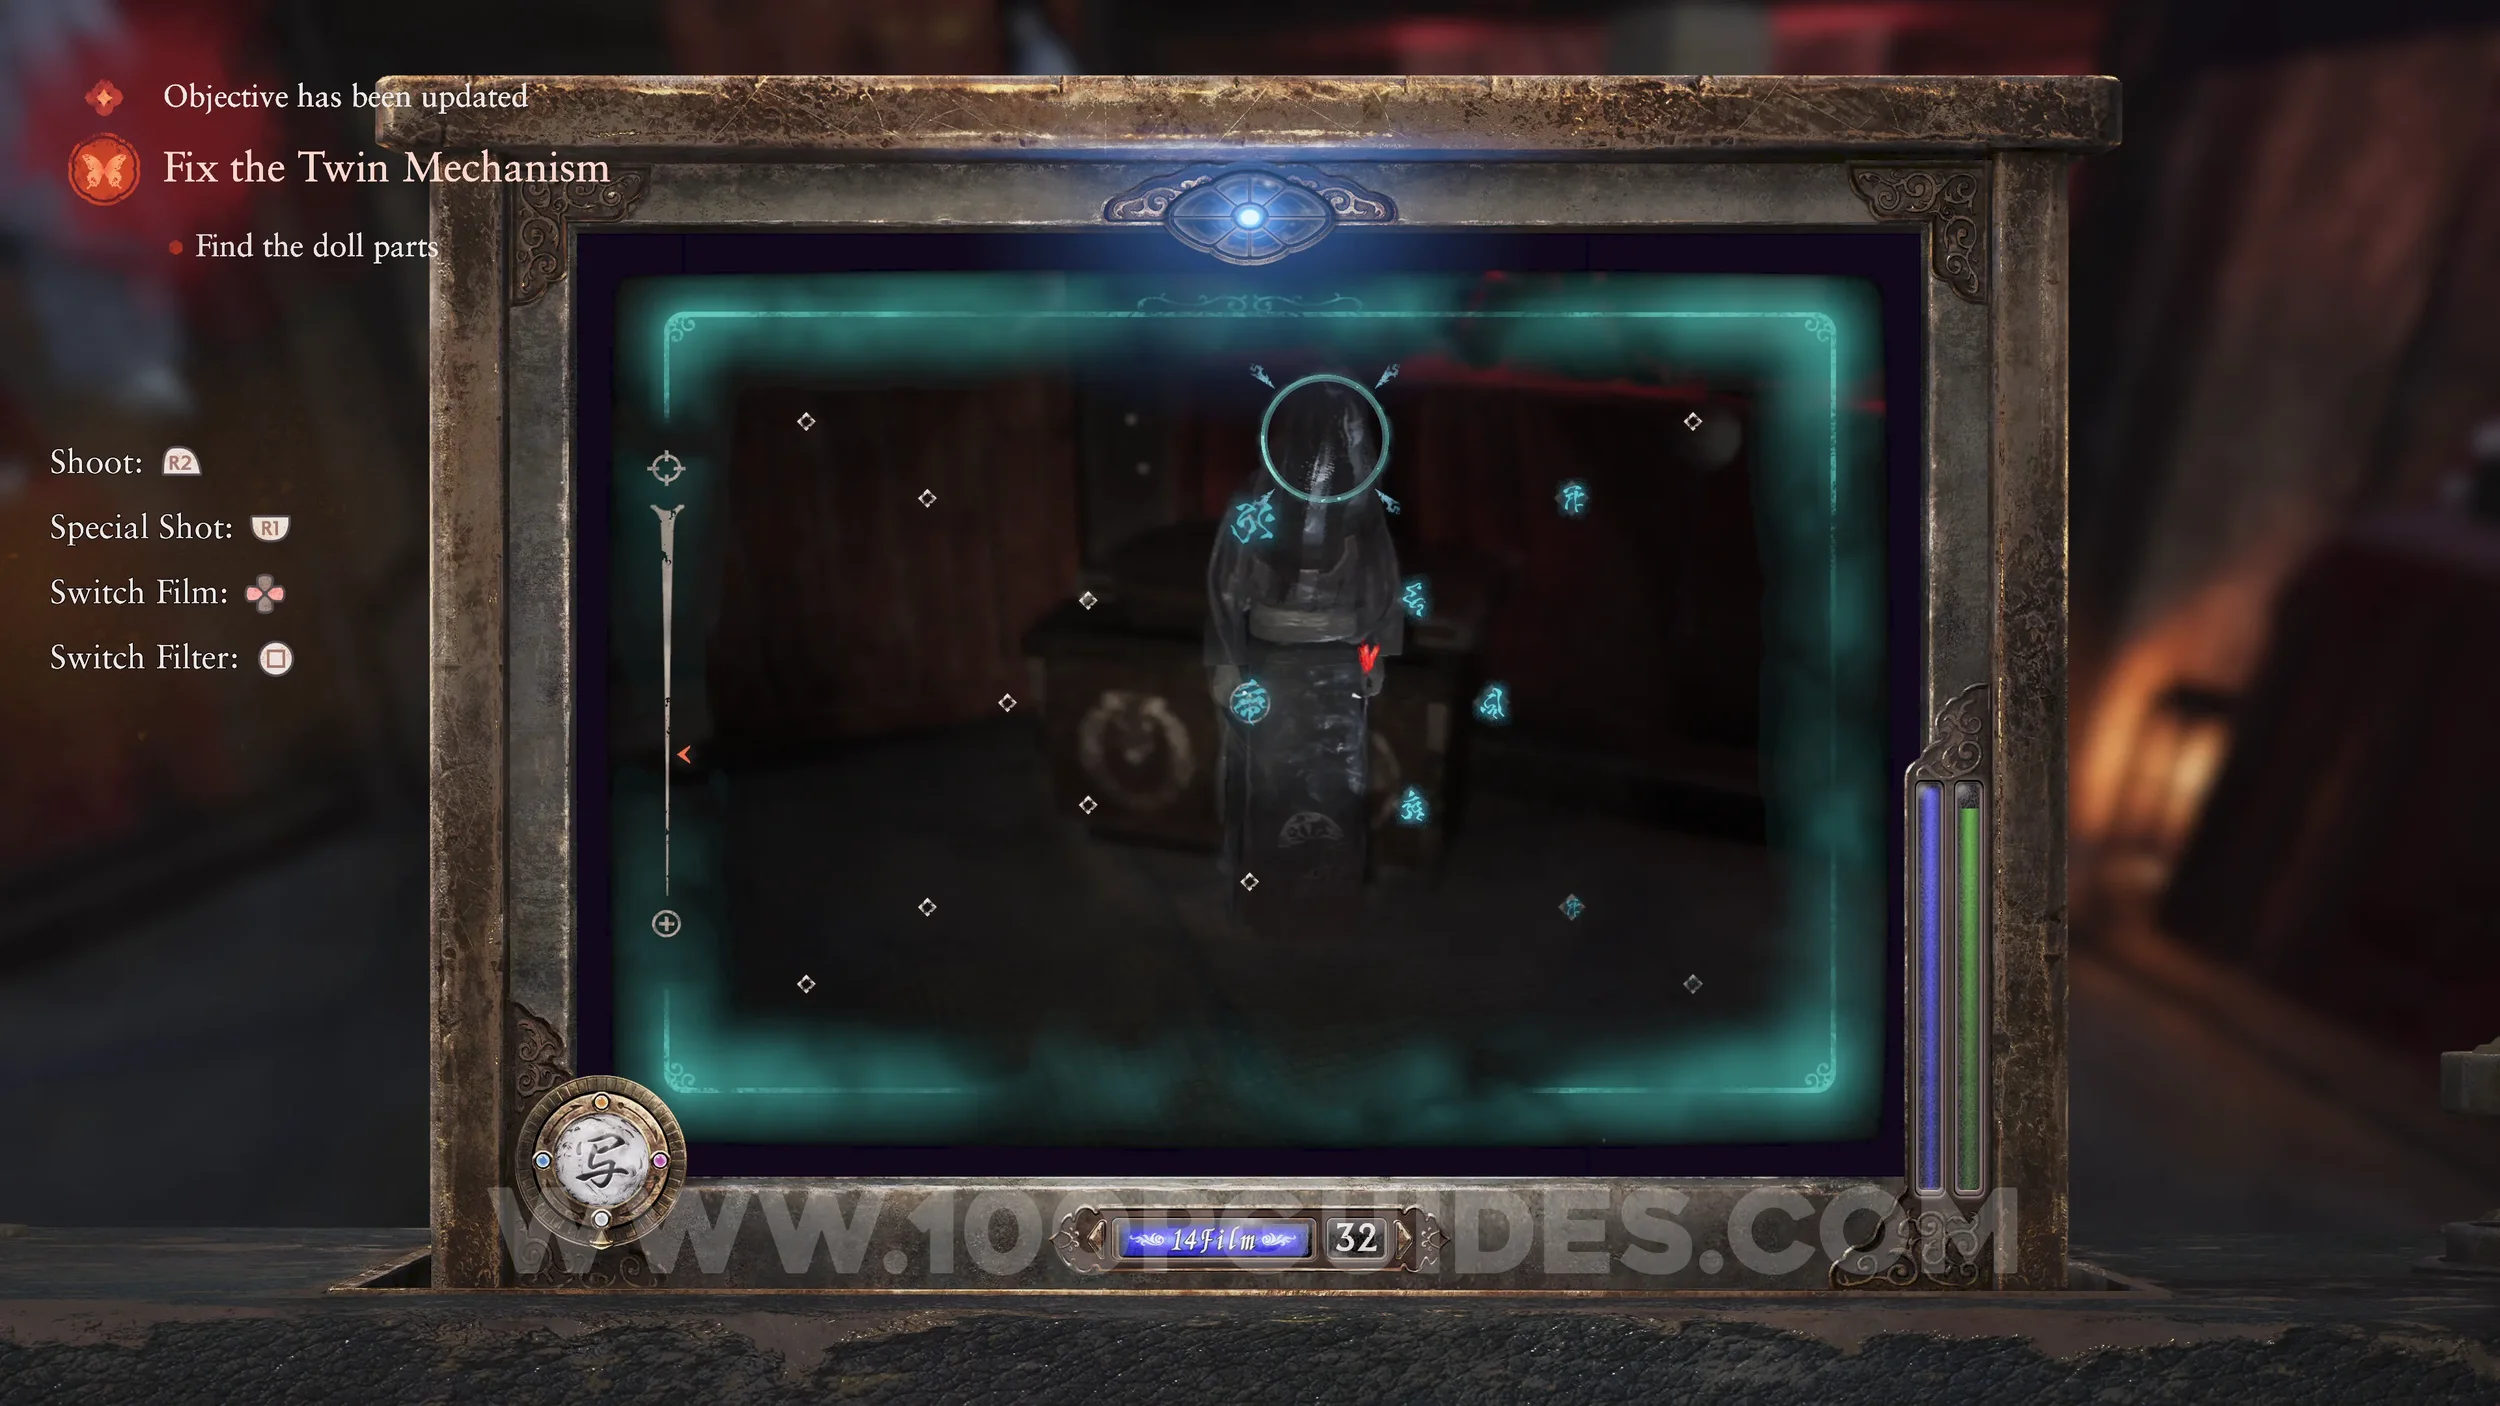
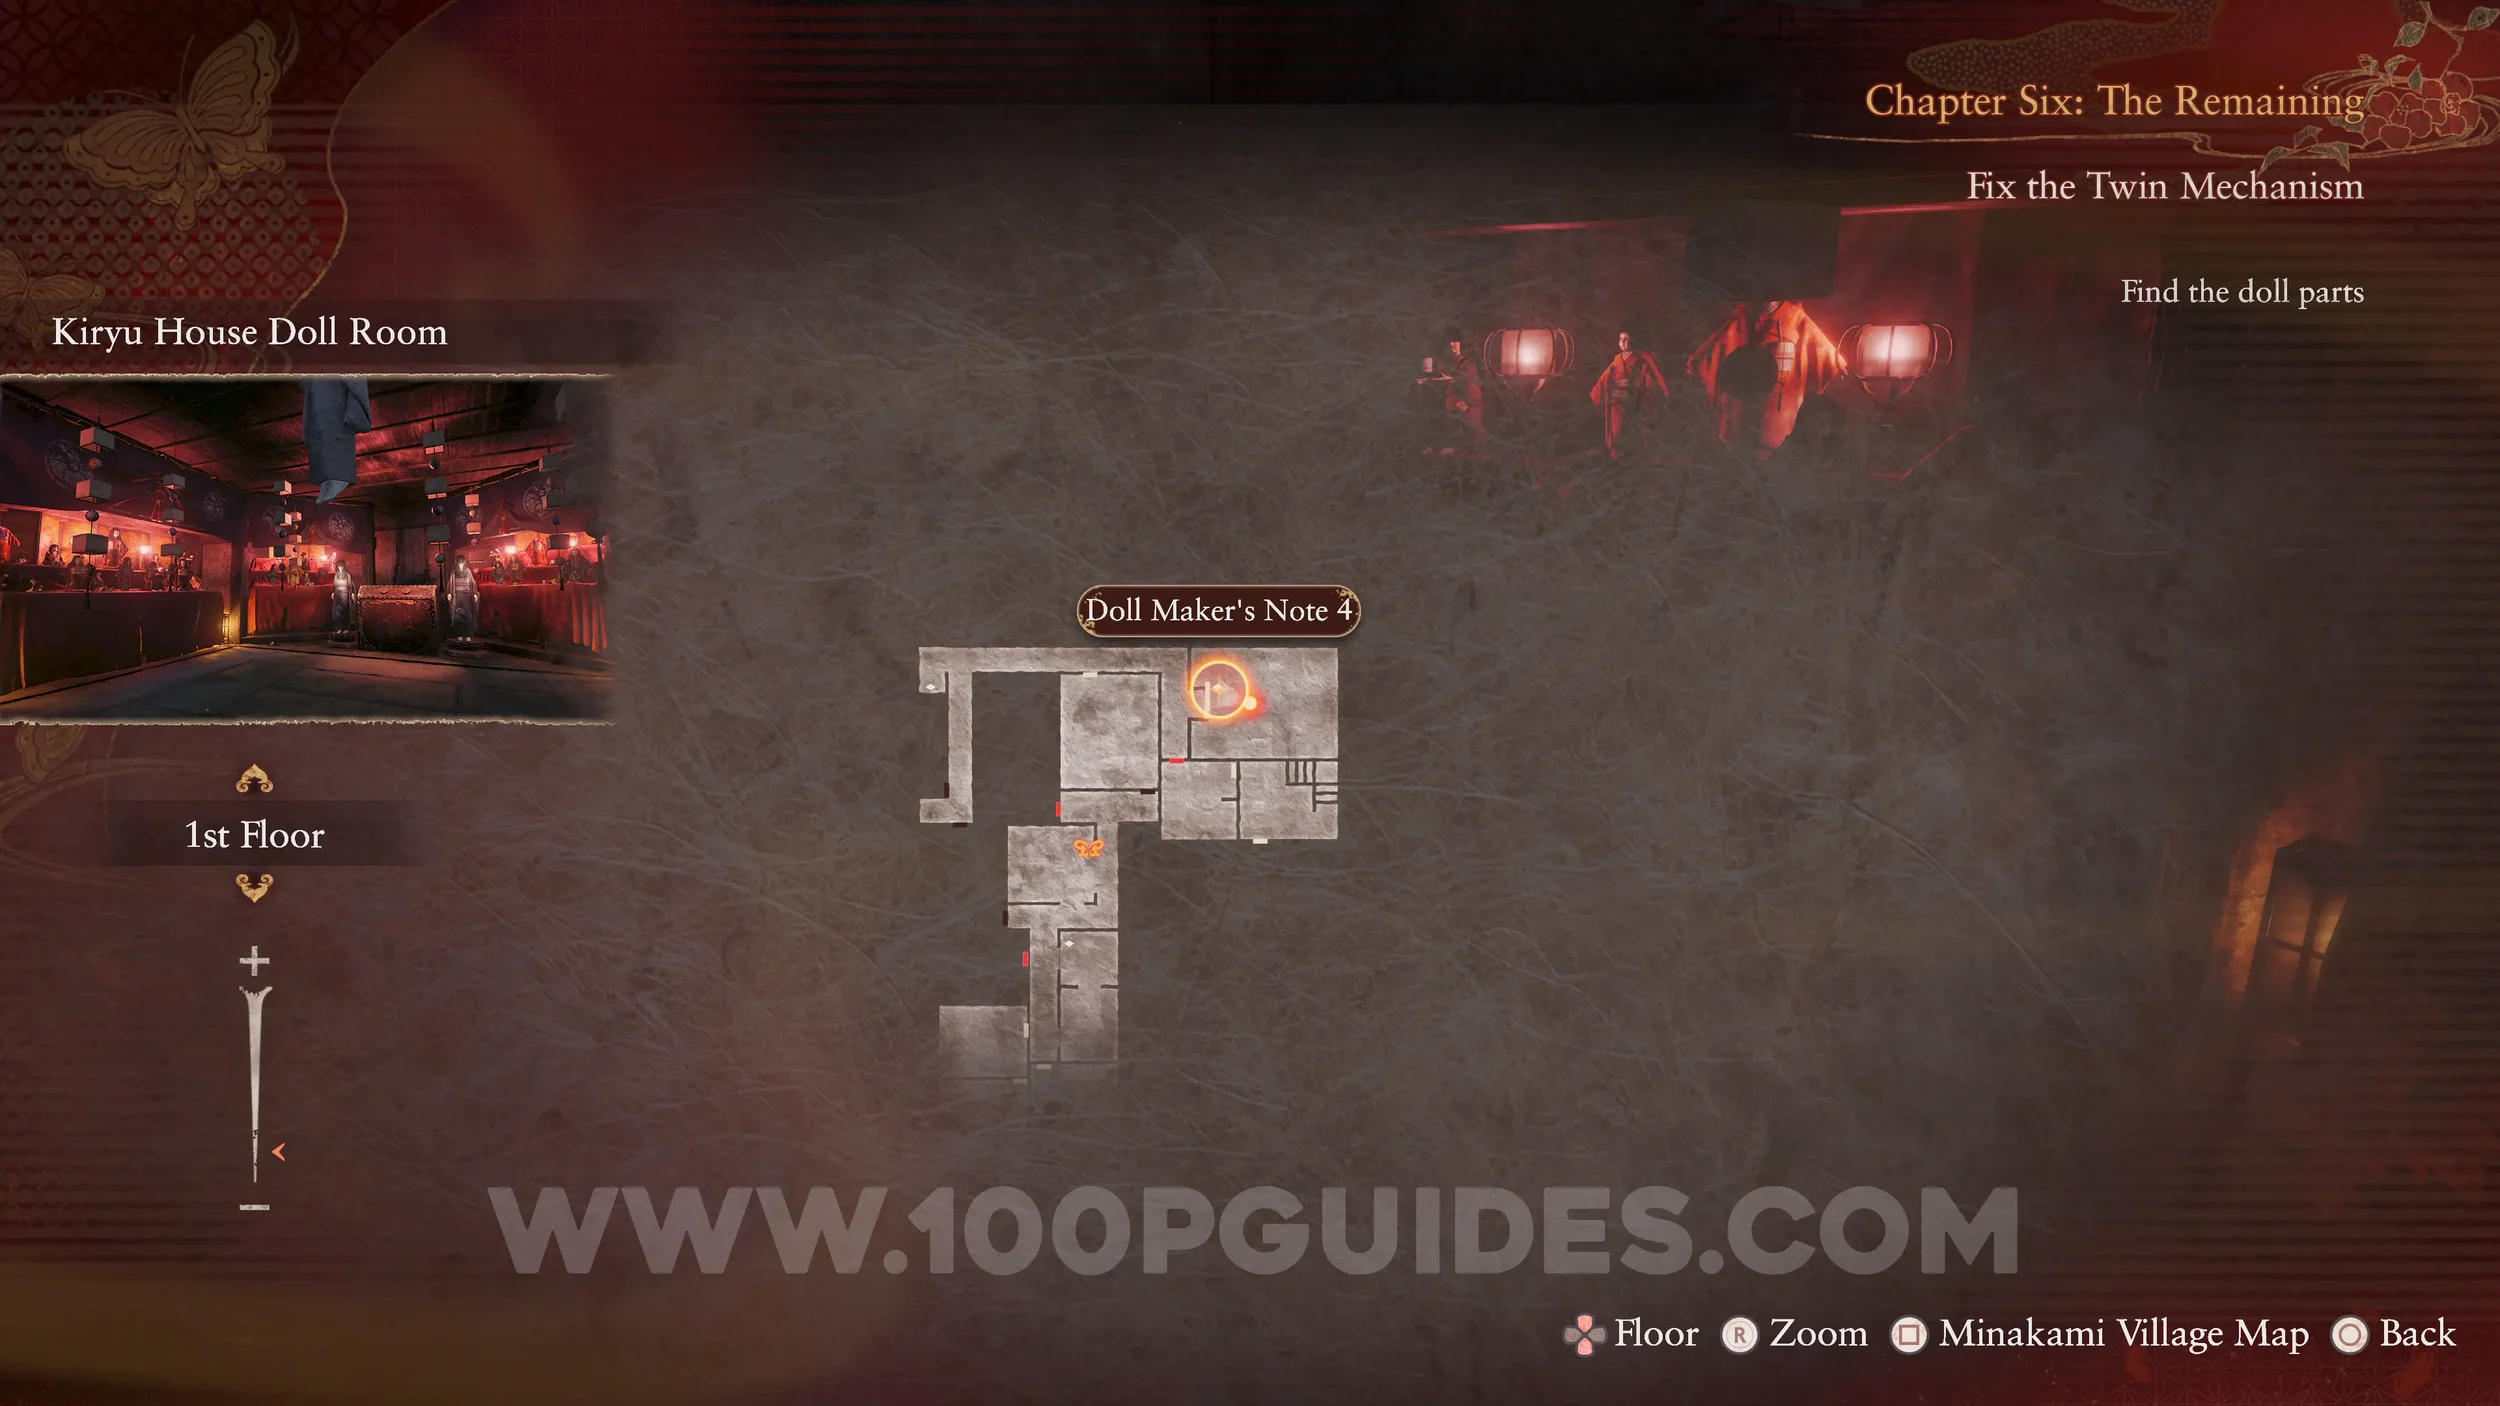
Document #63 - Doll Maker’s Note 4. In the chest behind the previous specter.
Specter #130 - 094 The Parts Seeker. Exit the Doll Room and go down the hall all the way west. As you turn south, you will see the specter at the end of the hall.
Twin Dolls #36 (11). In the small room where the two halls join.

Specter #131 - 095 Girl Opening Door. Where the previous specter was, go through the door on the right and pick up the doll’s arm. Then return to the hall and the door will open with the specter behind it.
Specter #132 - 096 Gazing Boy. Before heading through the door at the southern end of the hall, look right through the window where the waterwheel is and the boy will appear.
Specter #133 - 097 Man Beyond the Wall. Go through the door at the end of the hall. Before heading up the stairs, go forward and look through the hole in the wall.

Unbinding of Blood #22. Open the bloodstained door to the left of the hole in the wall.
Prayer Beads #49. Go upstairs, down the hall and turn left, then left again to enter the room with a doll sitting in front of an incense vase. The beads are behind her.

Document #64 - Doll Maker’s Note 5. In the small room to the right of the doll near the incense vase.
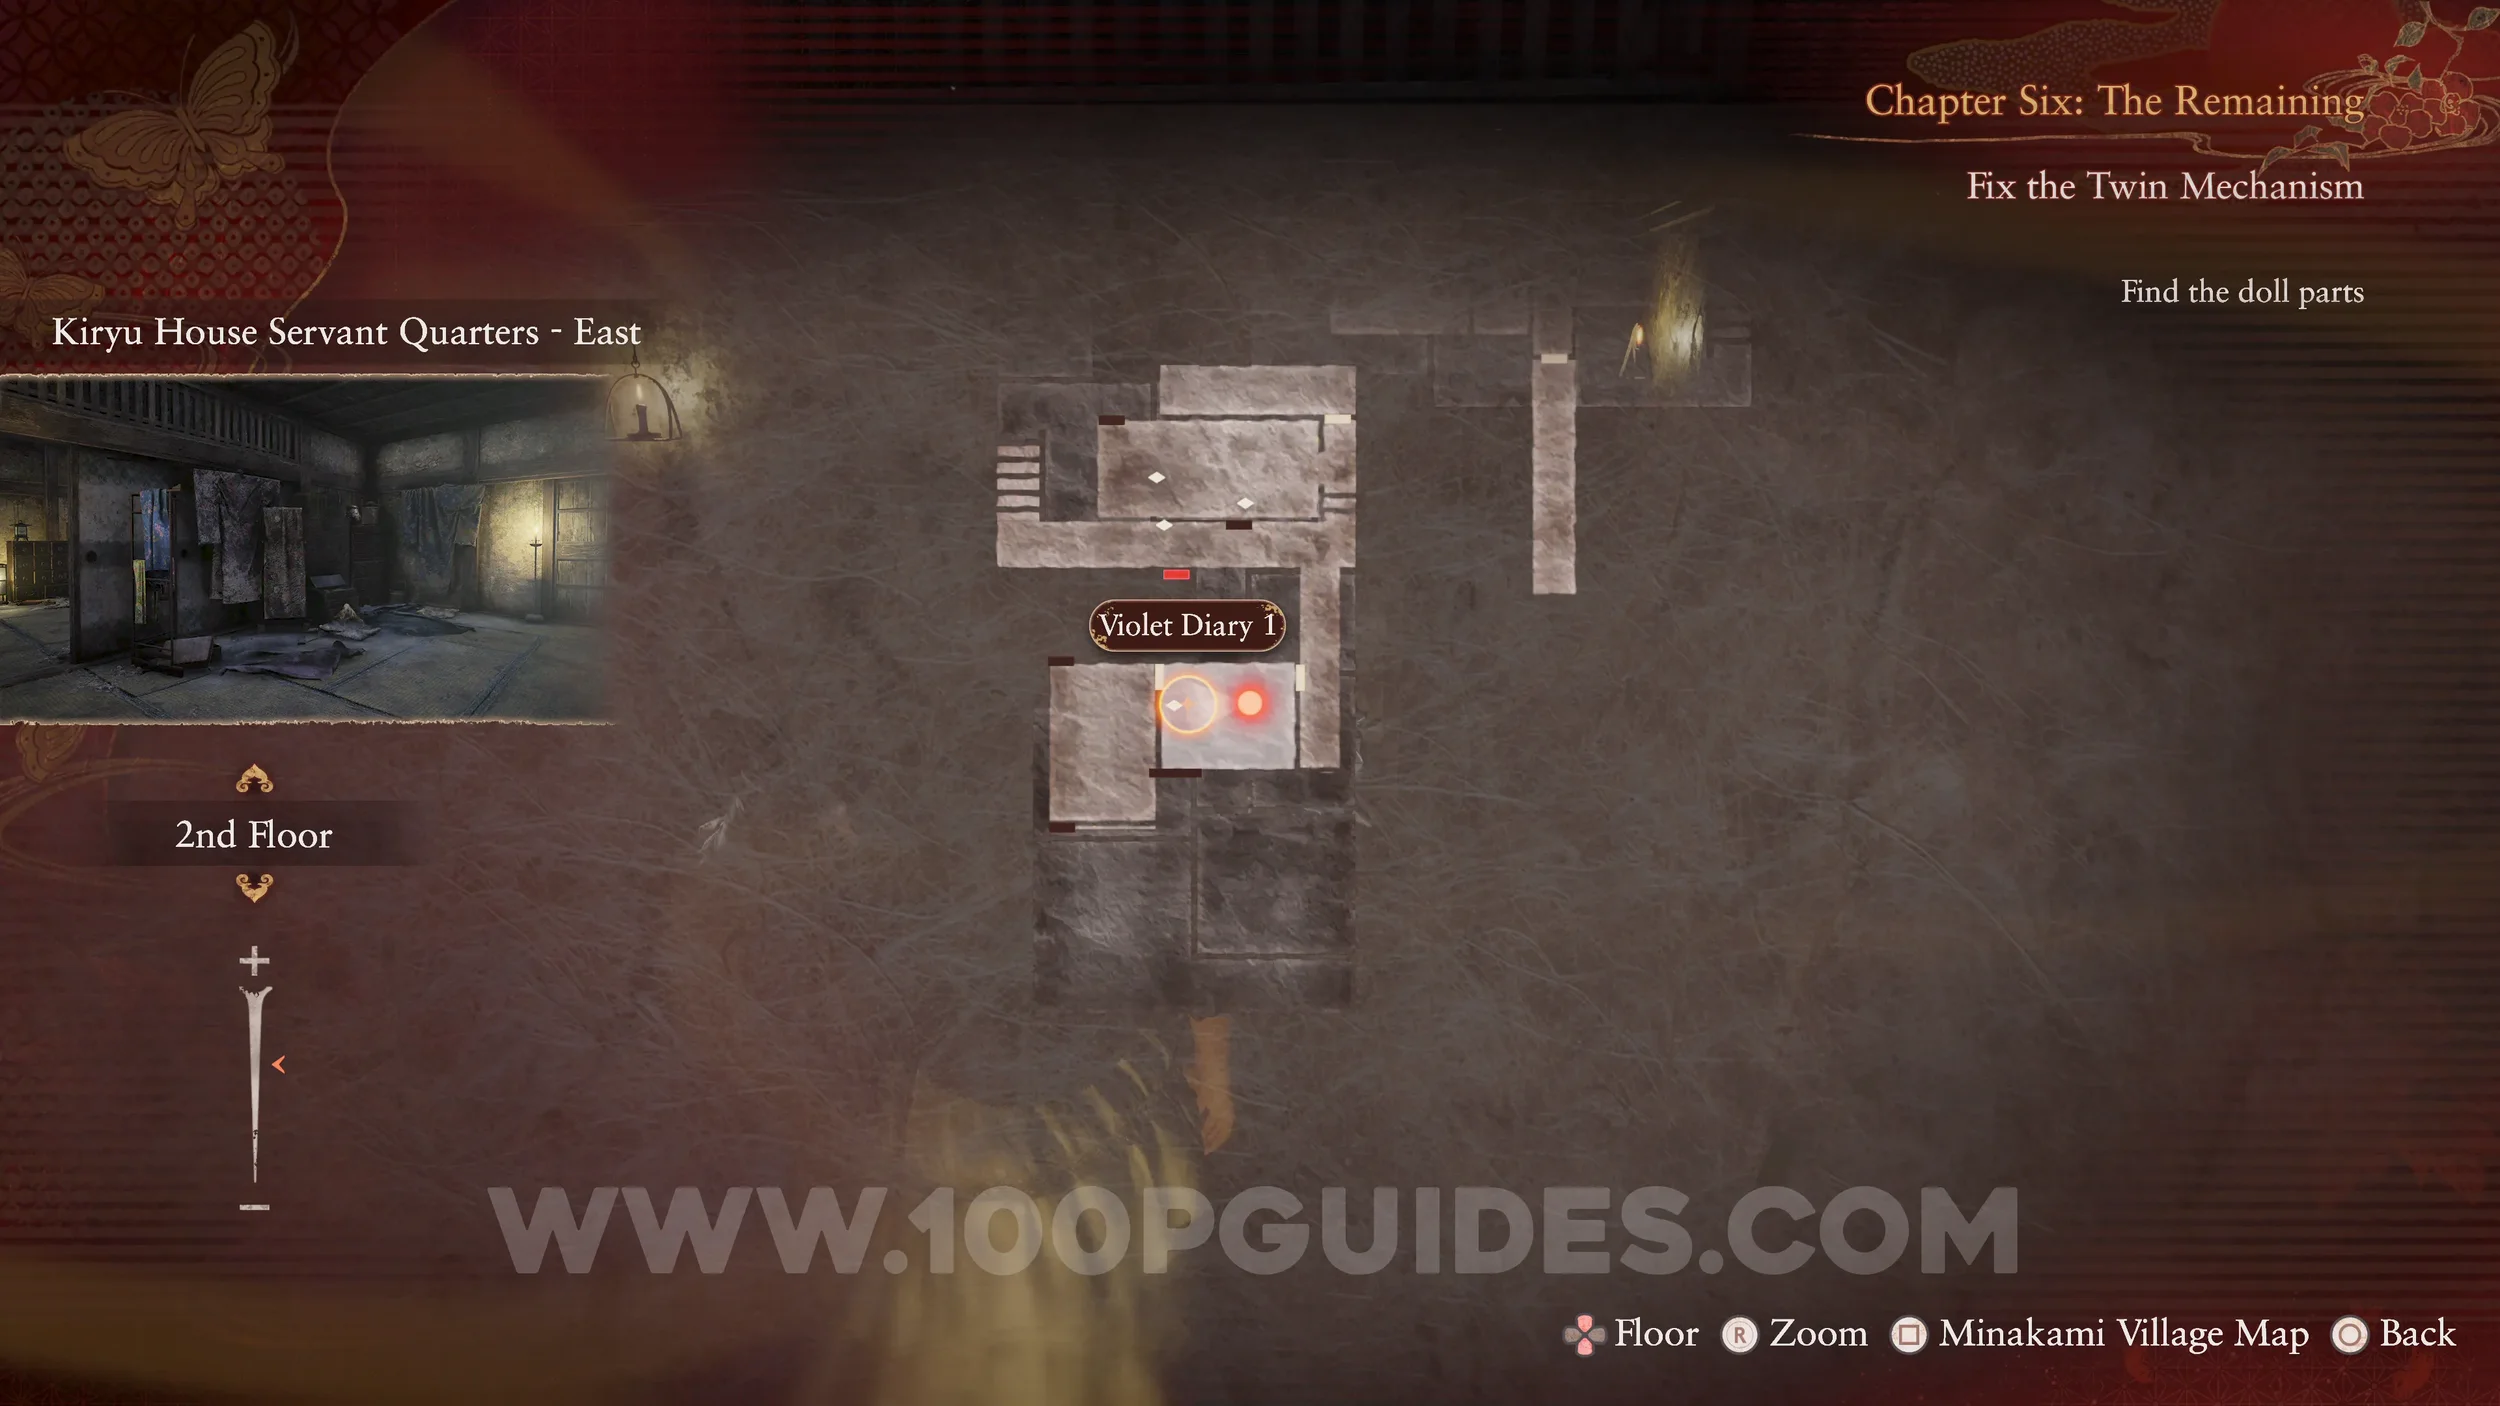
Document #65 - Violet Diary 1. Now head south and go through the door on the right. The document will be on the floor in the next room.
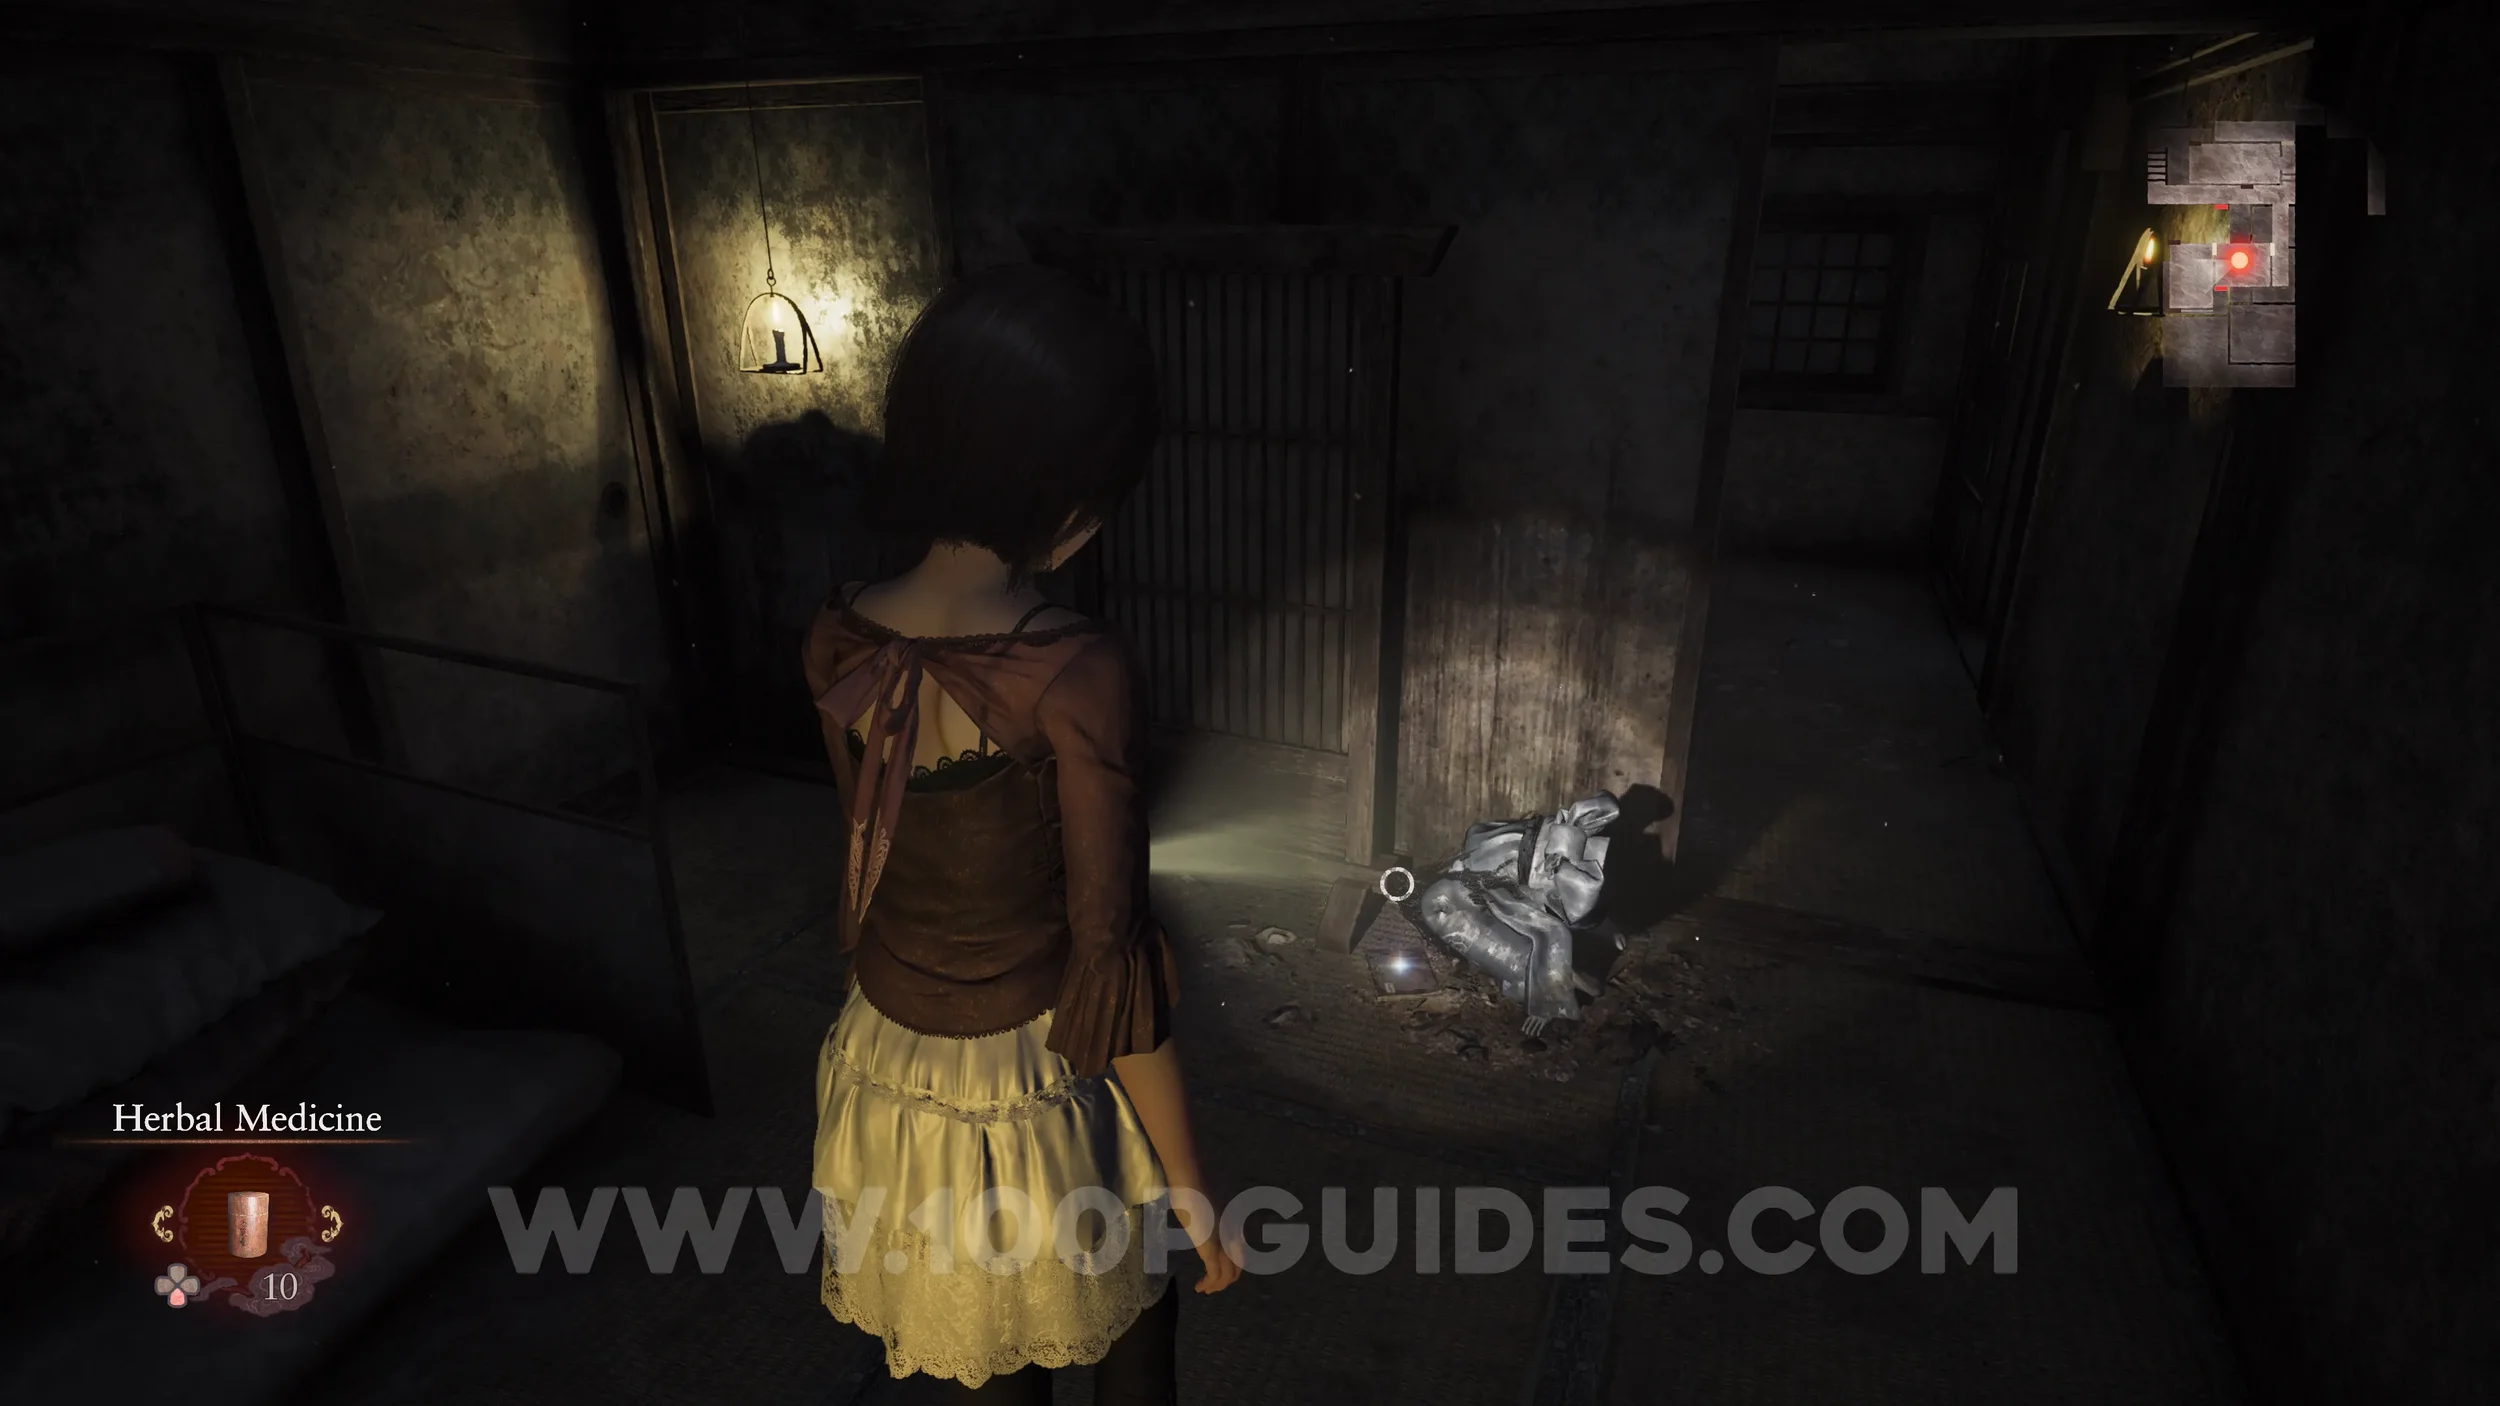
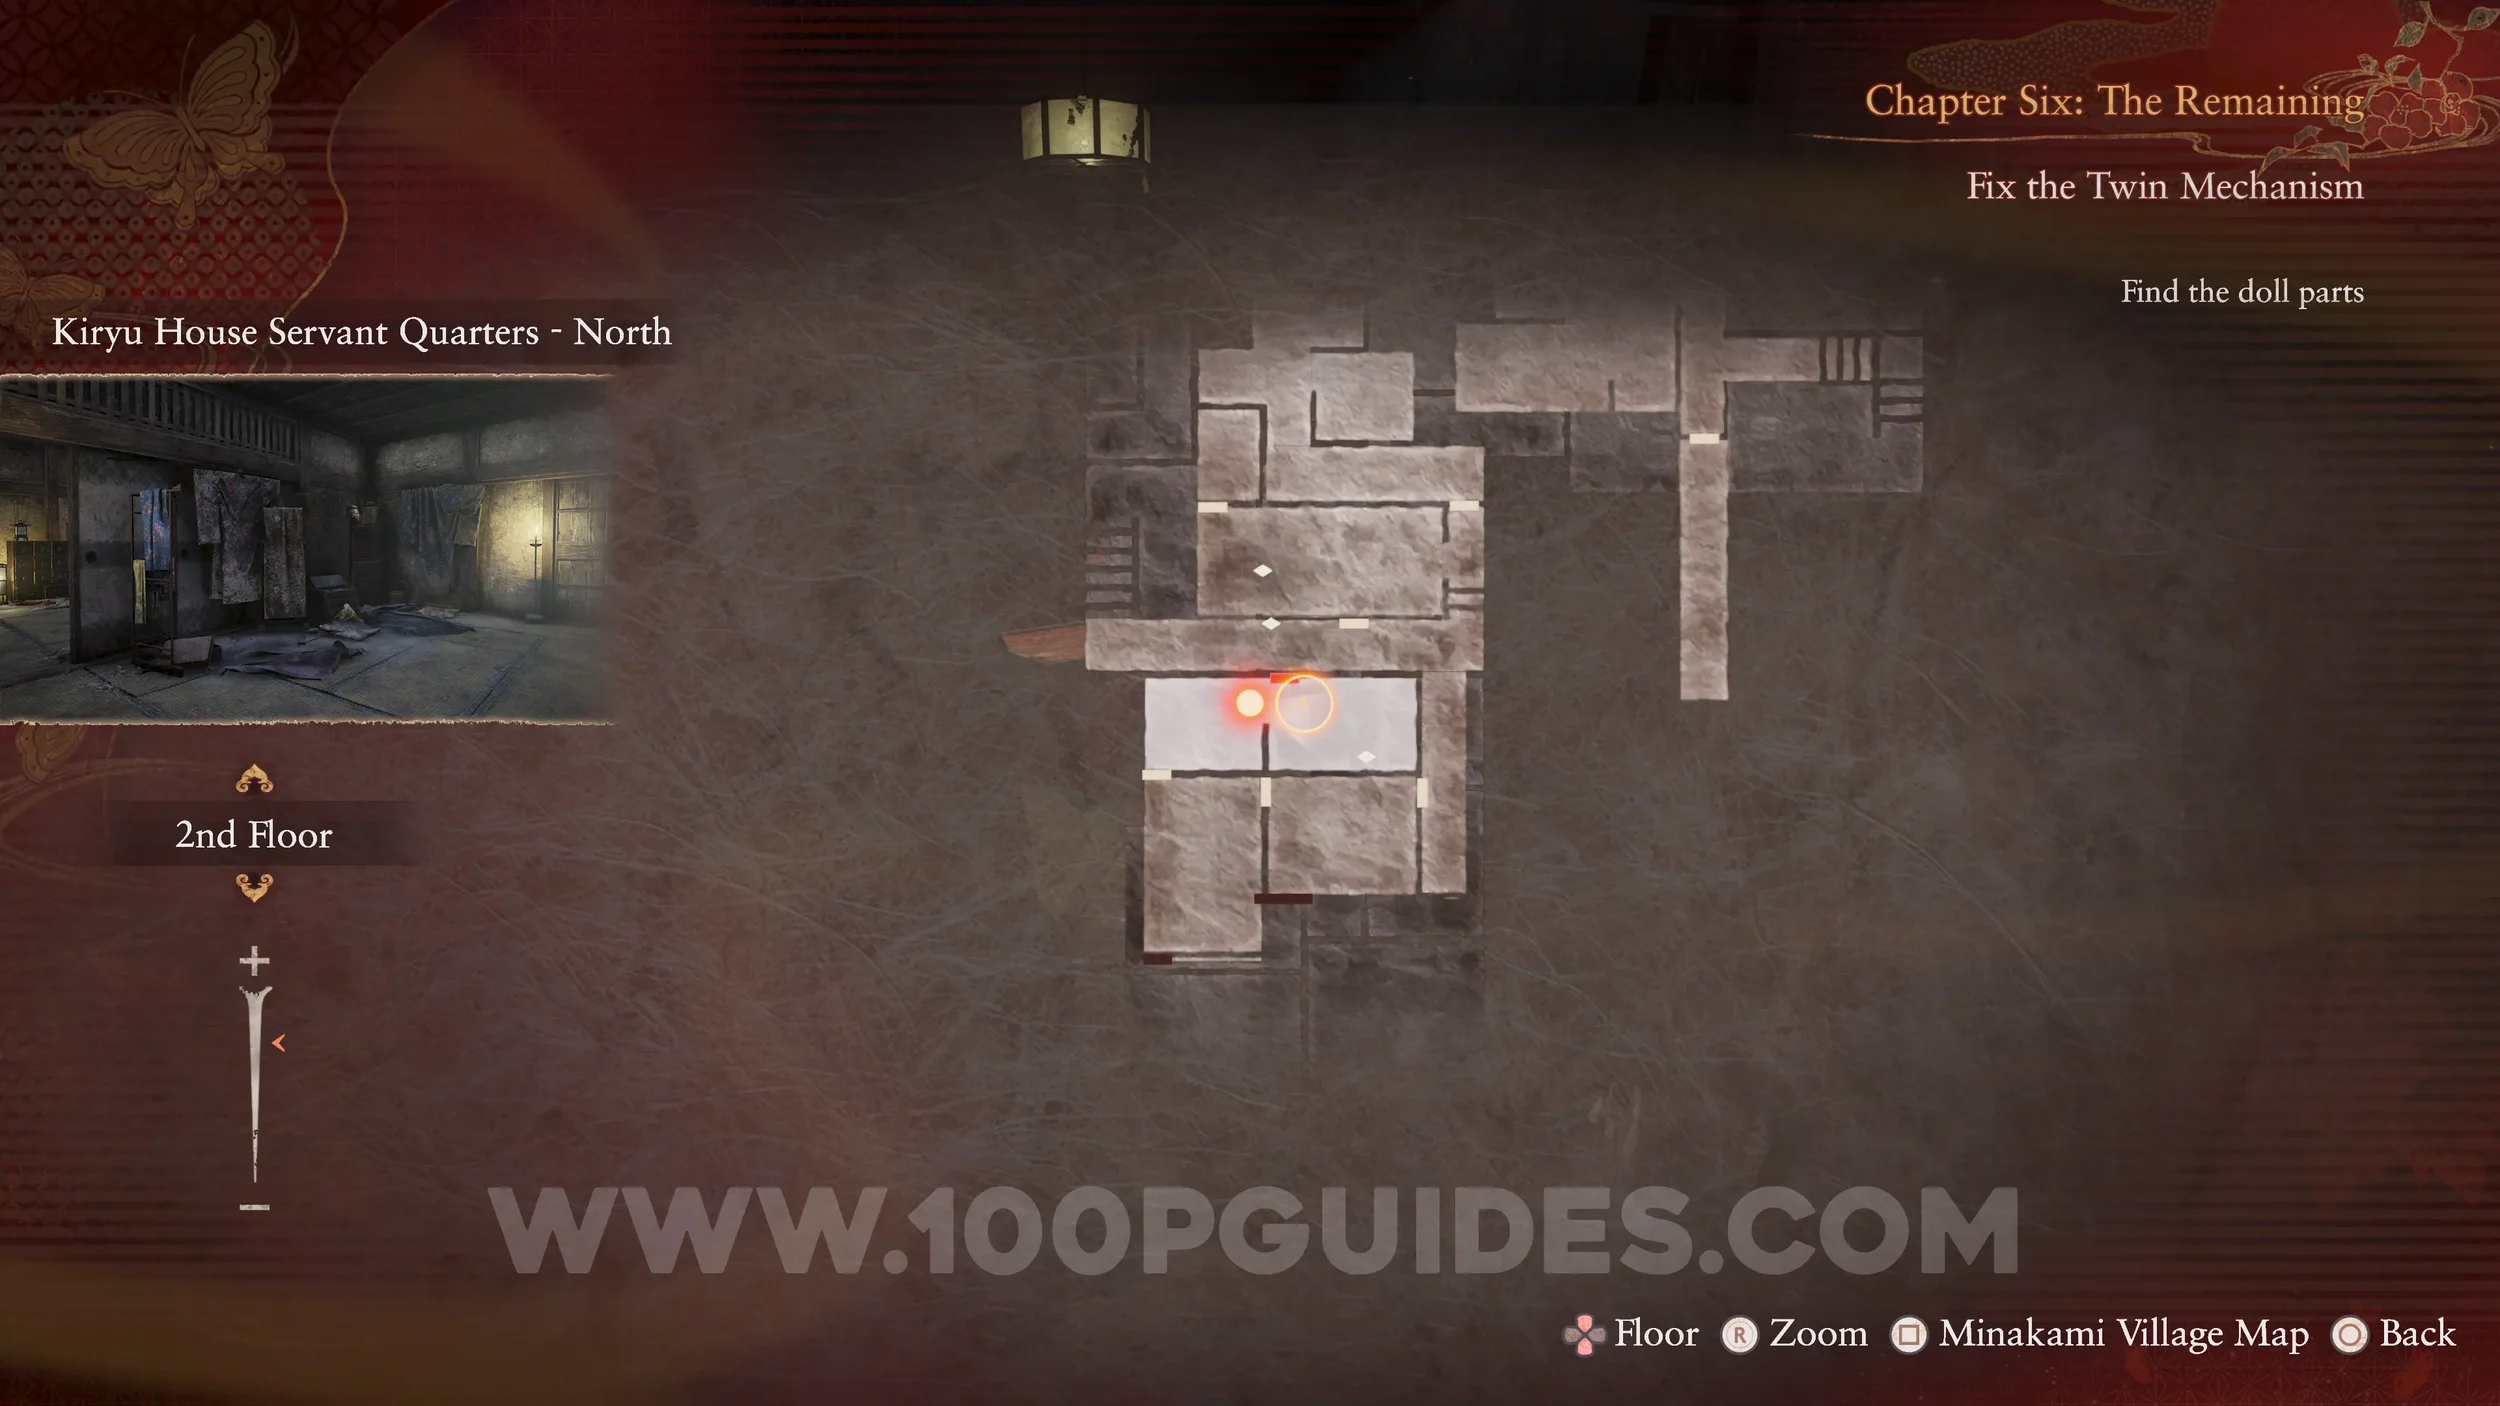
Prayer Beads #50. Go into the next room and then through the door on your right. You can find the Prayer Beads in a drawer in this room.
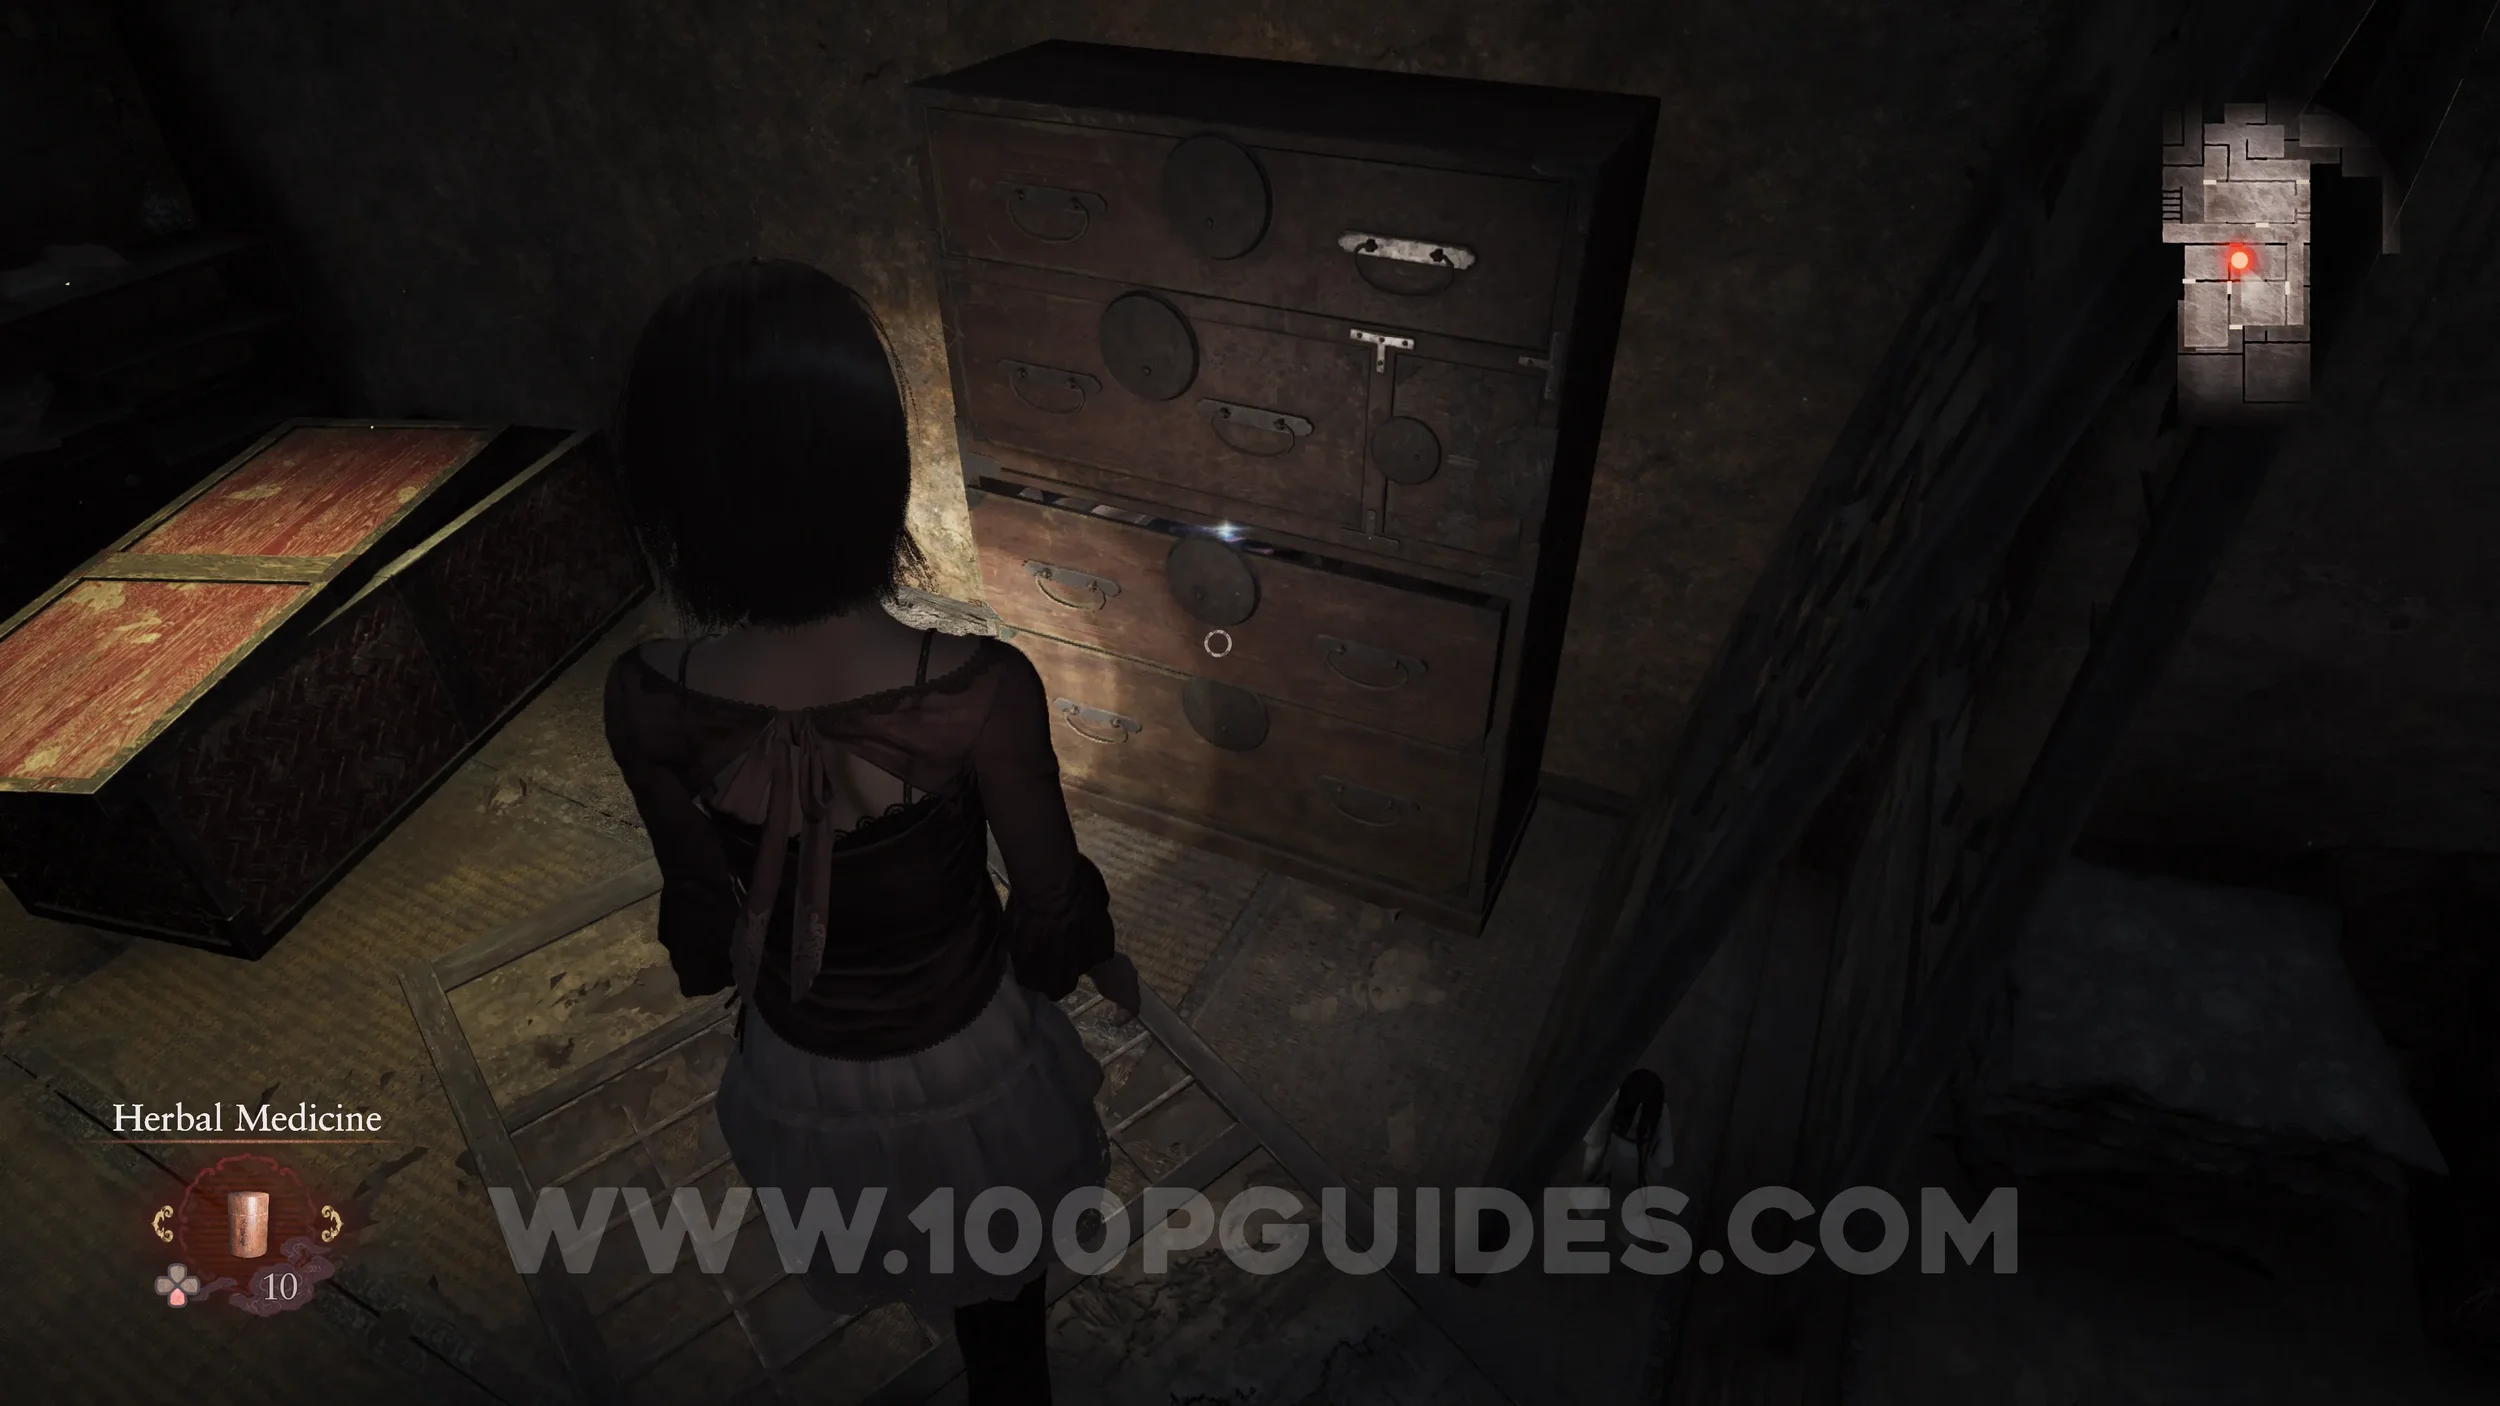
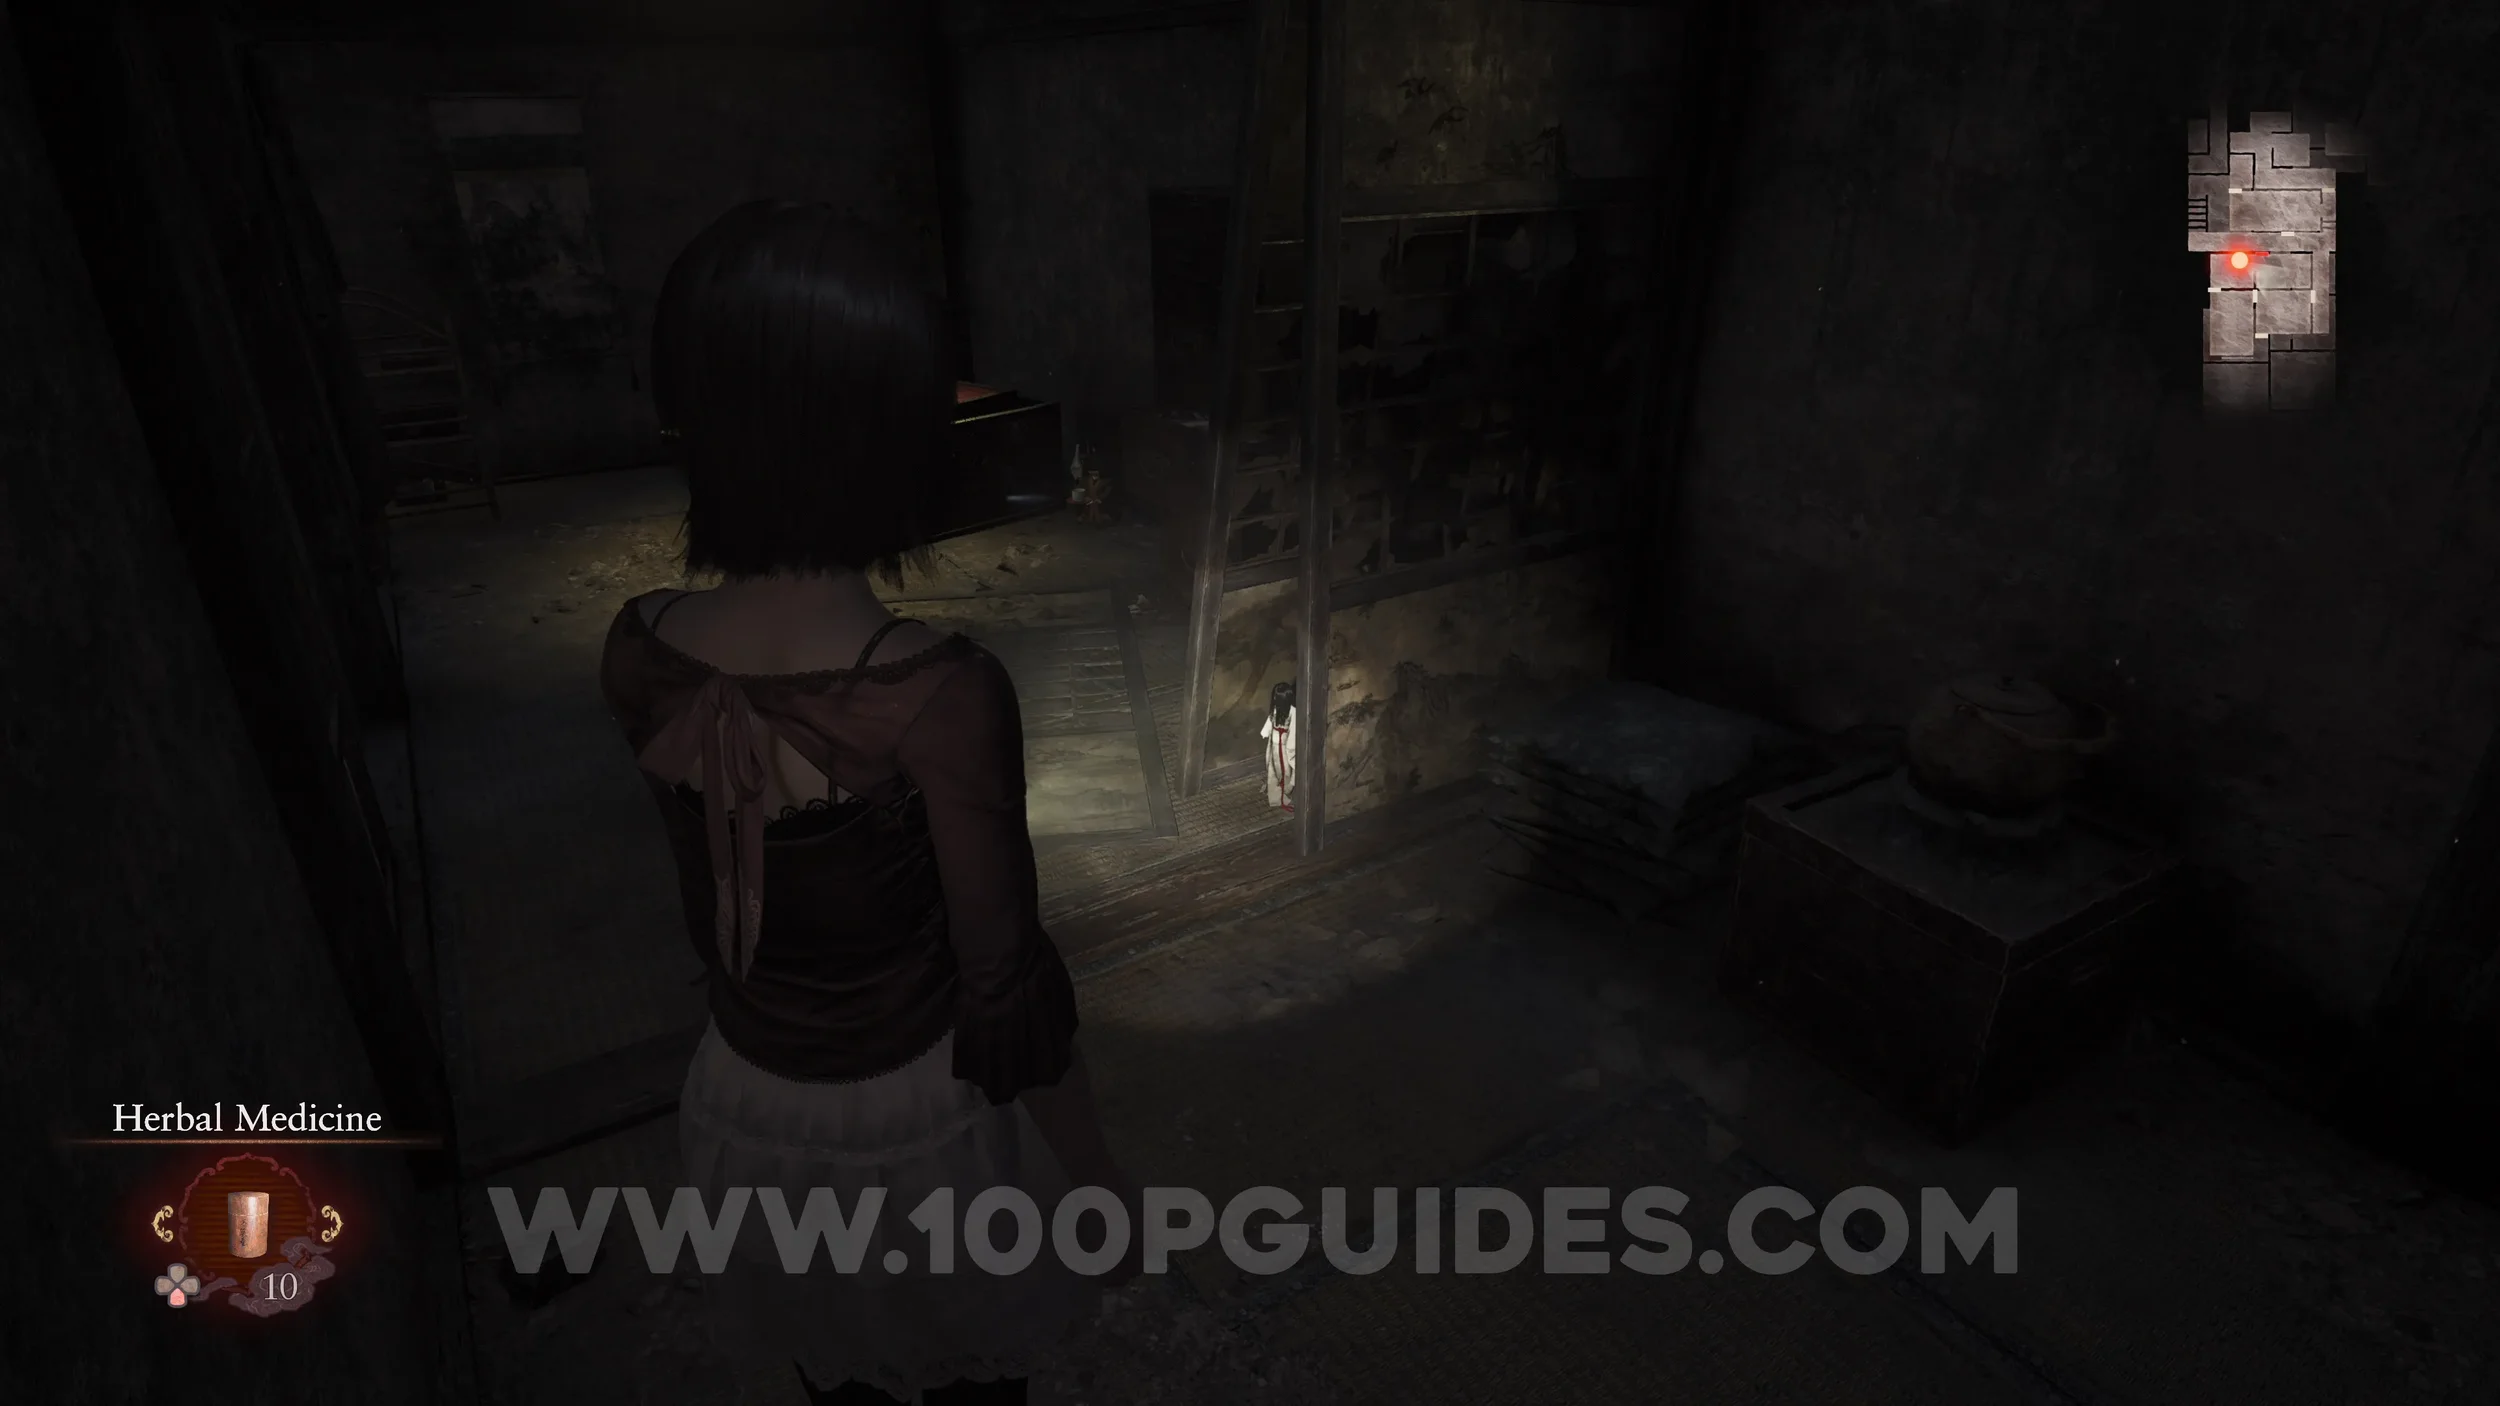
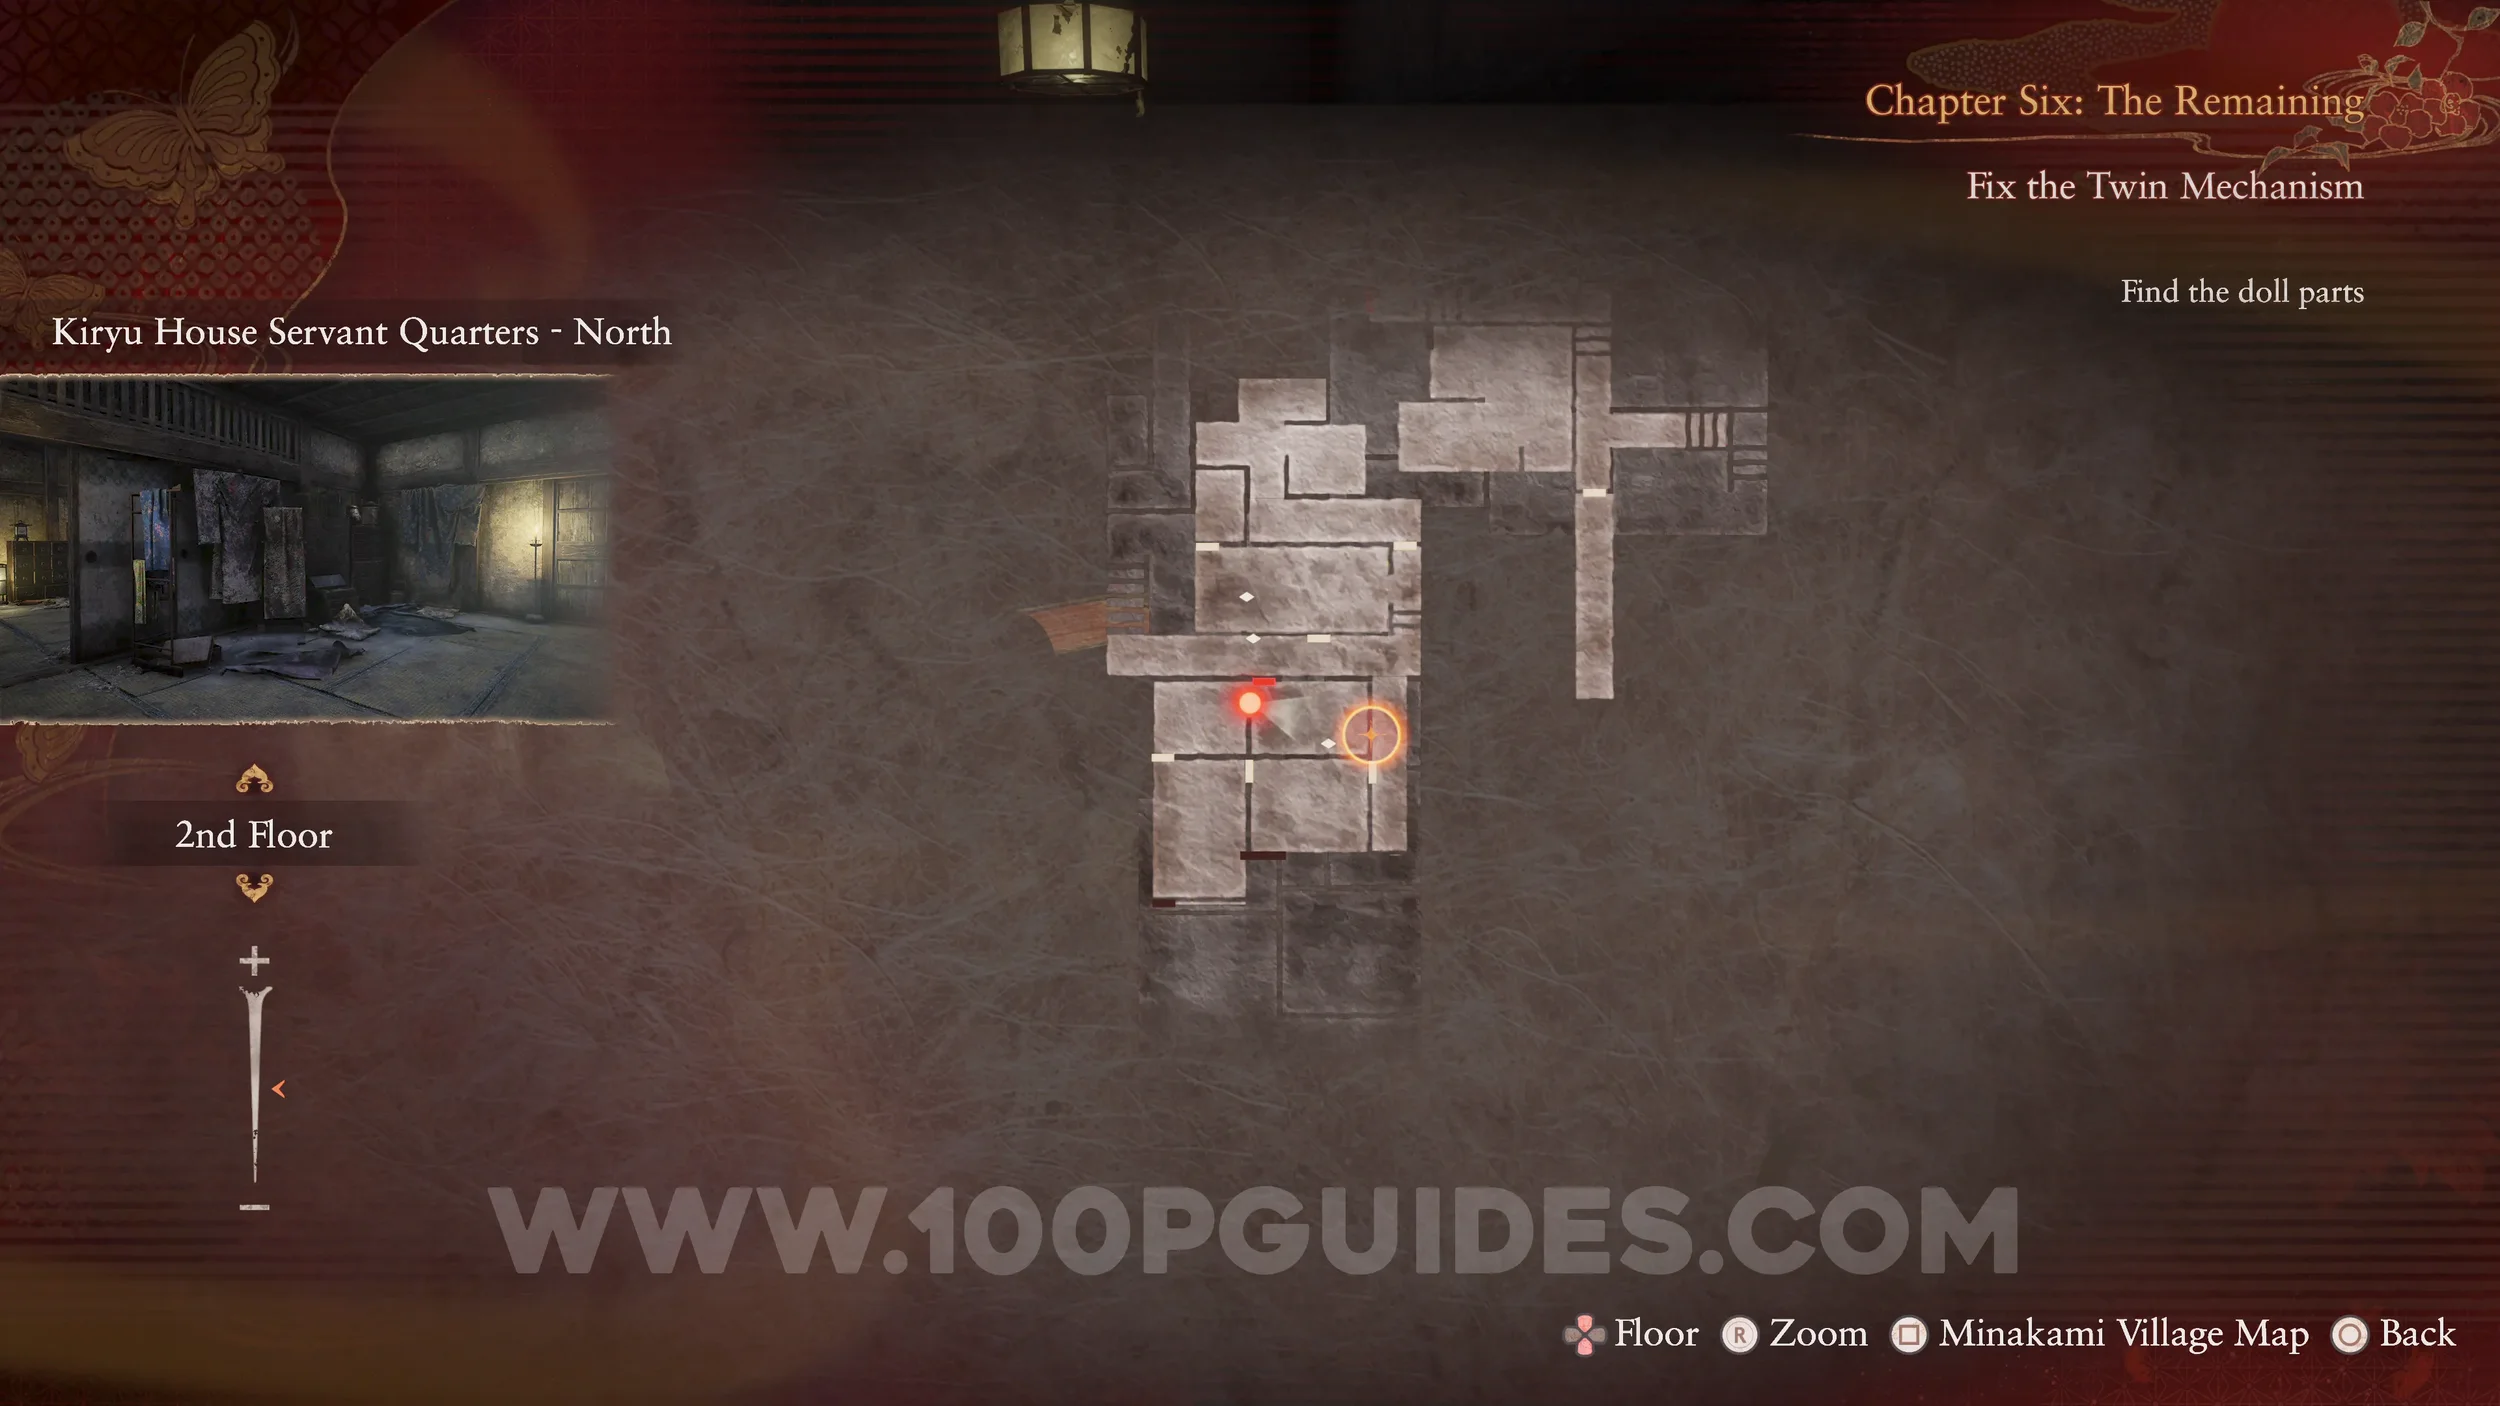
Twin Dolls #37 (17). Also in the Servant Quarters - North.
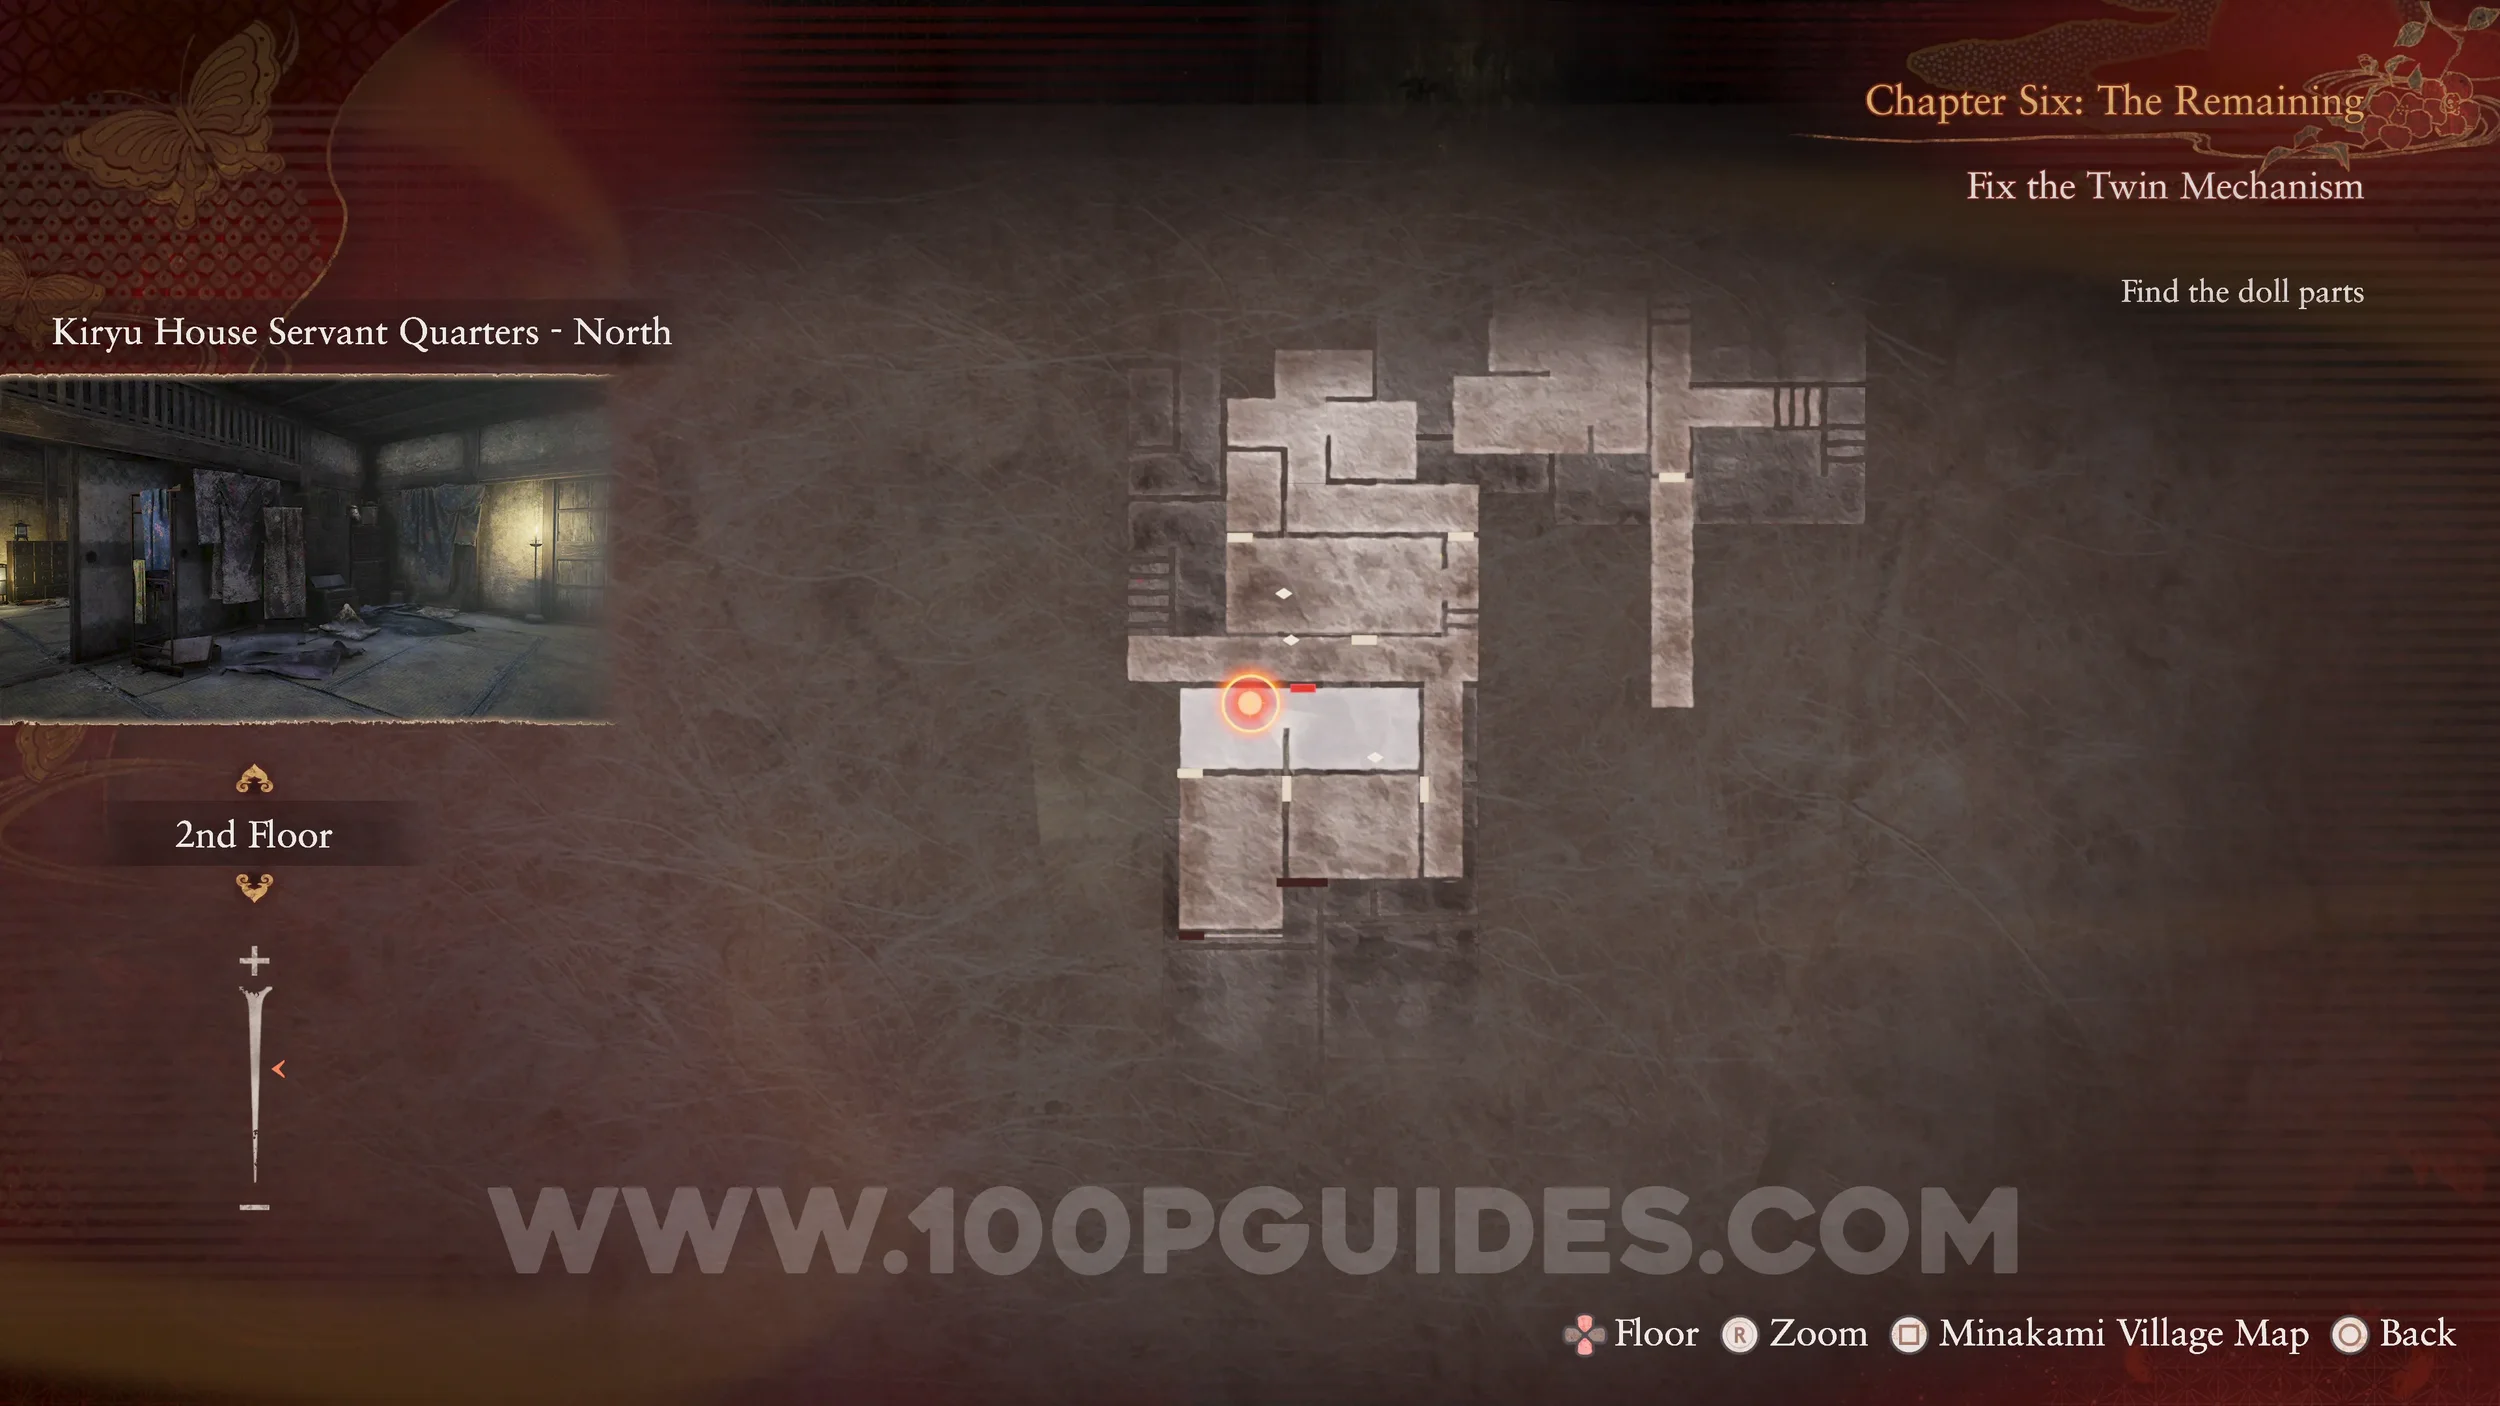

Film Reel #4 (6). Inside the large box in the same room.
Document #66 - Maidservant’s Note. Return to the previous room and then go through the door to the south. The document can be found inside the chest.
Specter #134 - 186 Man Perusing Bookshelf. Return to the Servant Quarters East where you found document 65 and go through the door to the south. The specter will be inside.
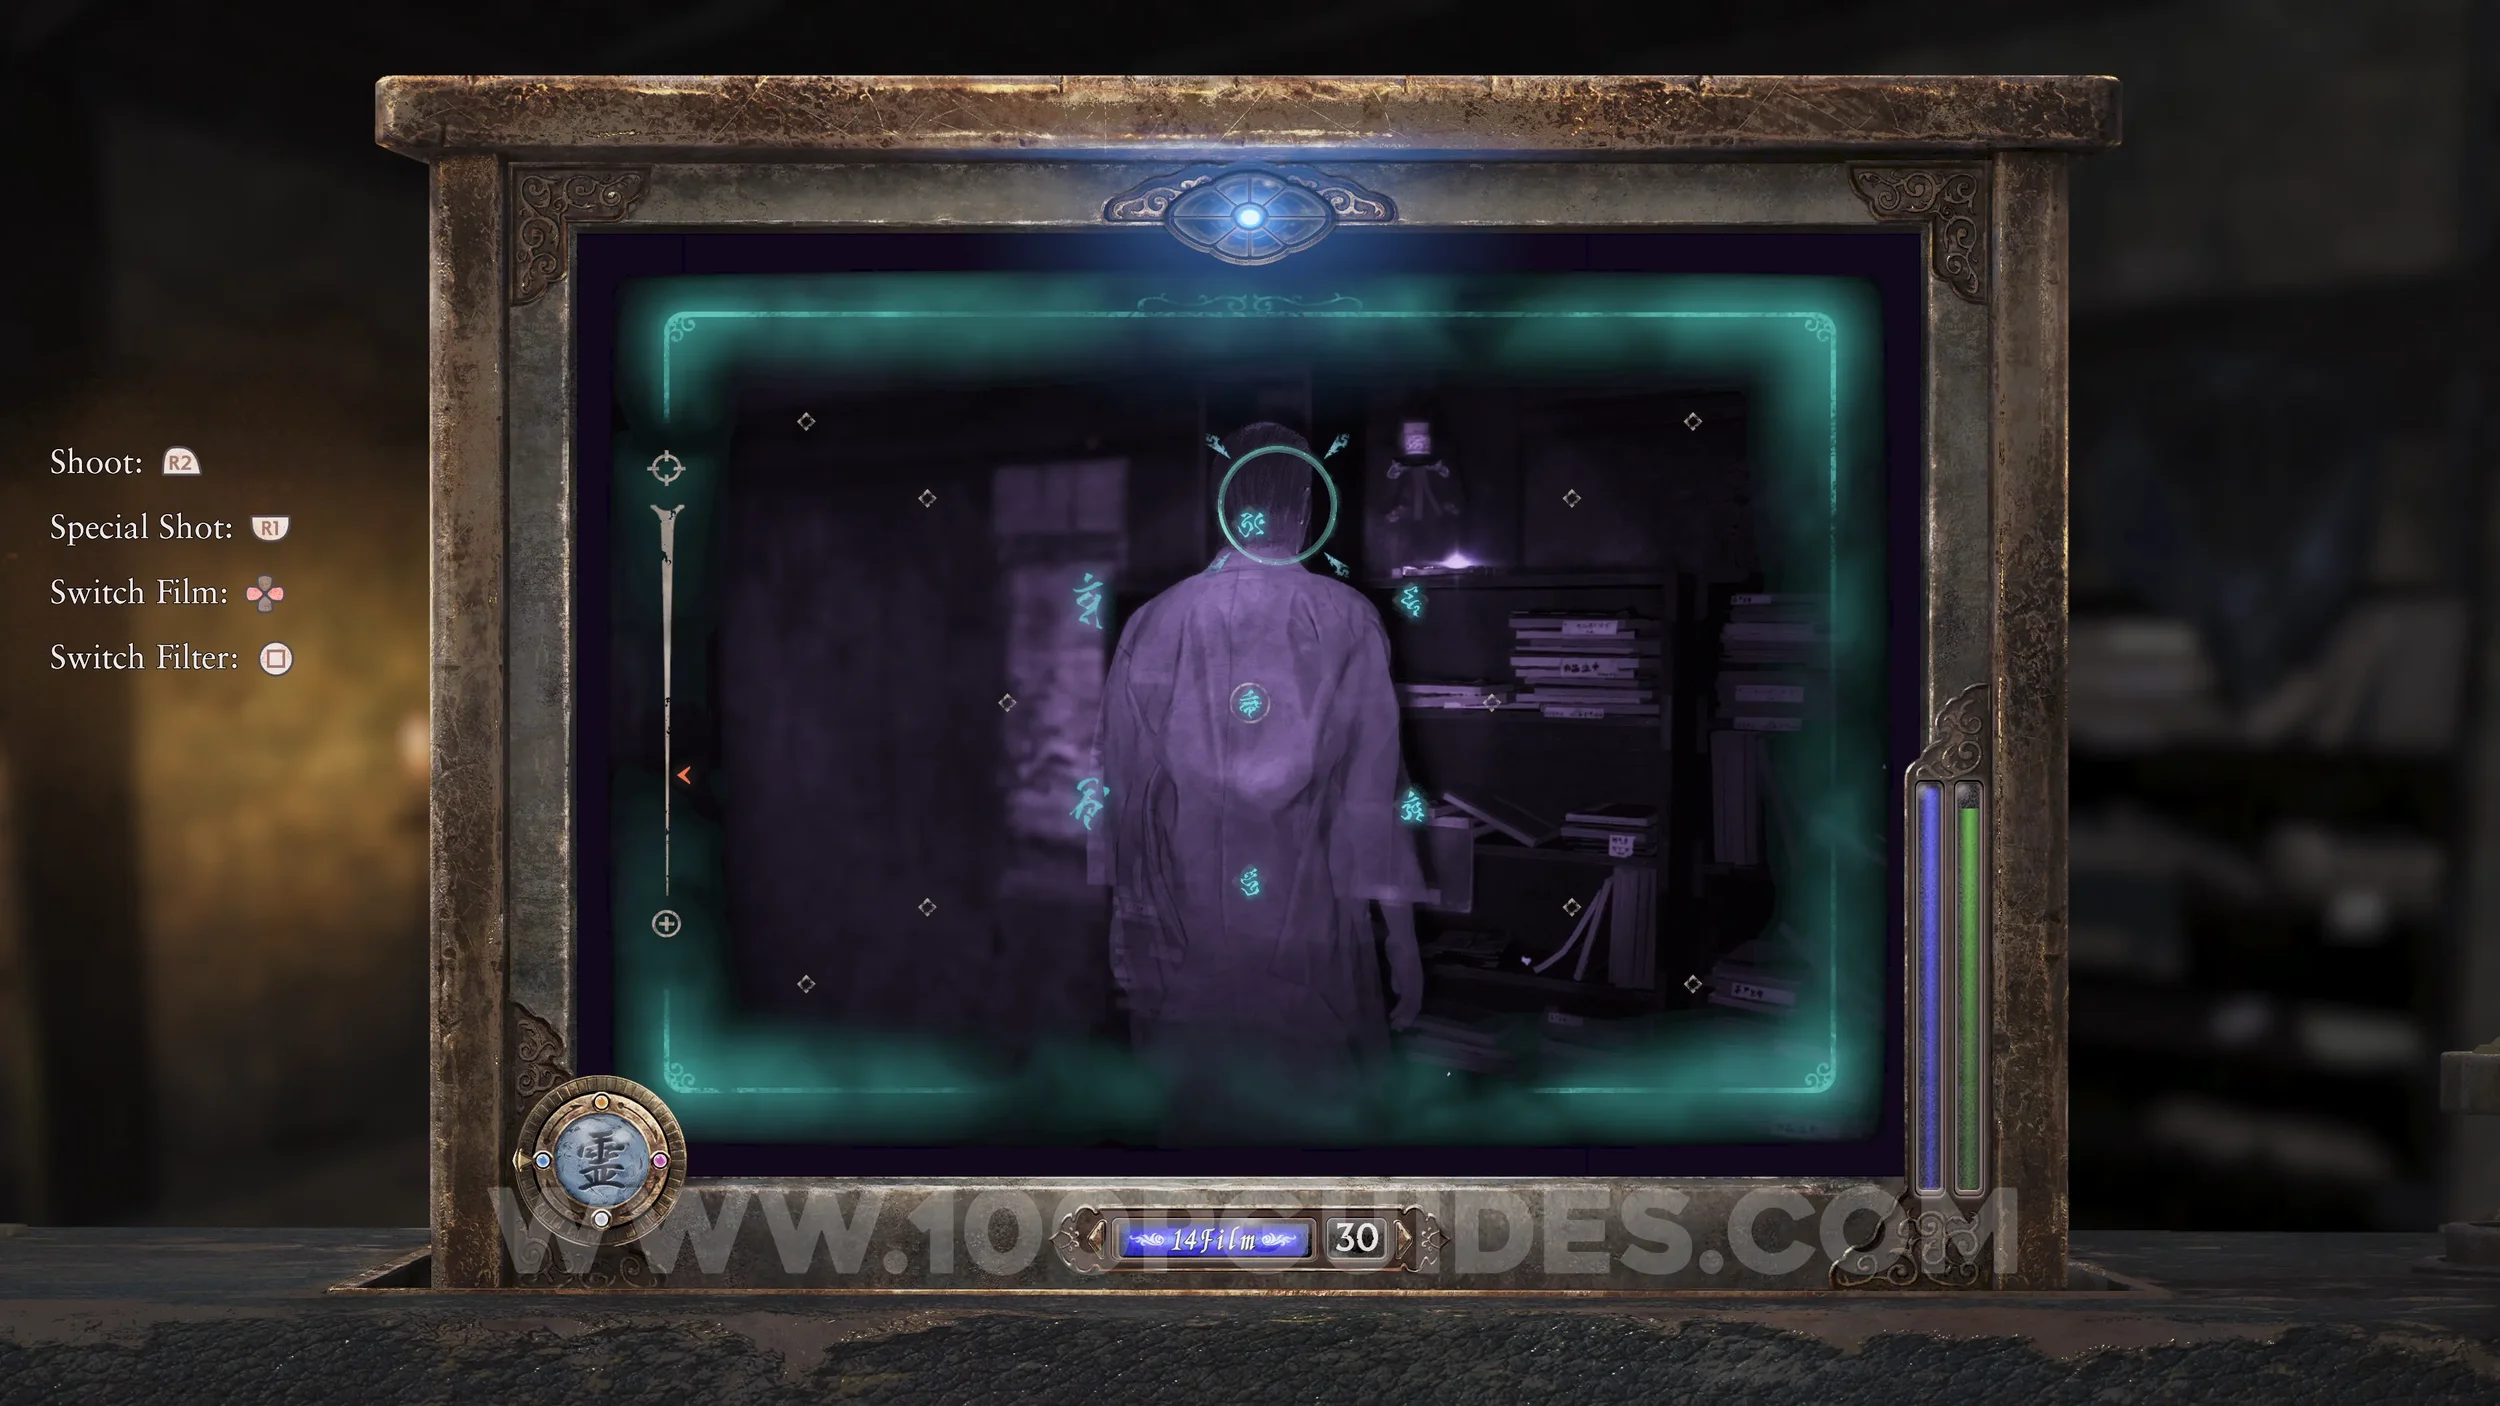
Document #67 - Folklorist’s Note 7. In the same location as the specter.
Specter #135 - 098 Girl by Box. Continue through the door on your left to find the specter inside.

Document #68 - Doll Maker’s Note 2 and Spirit Stone #25 - Dolomite. In the same room as the previous specter.
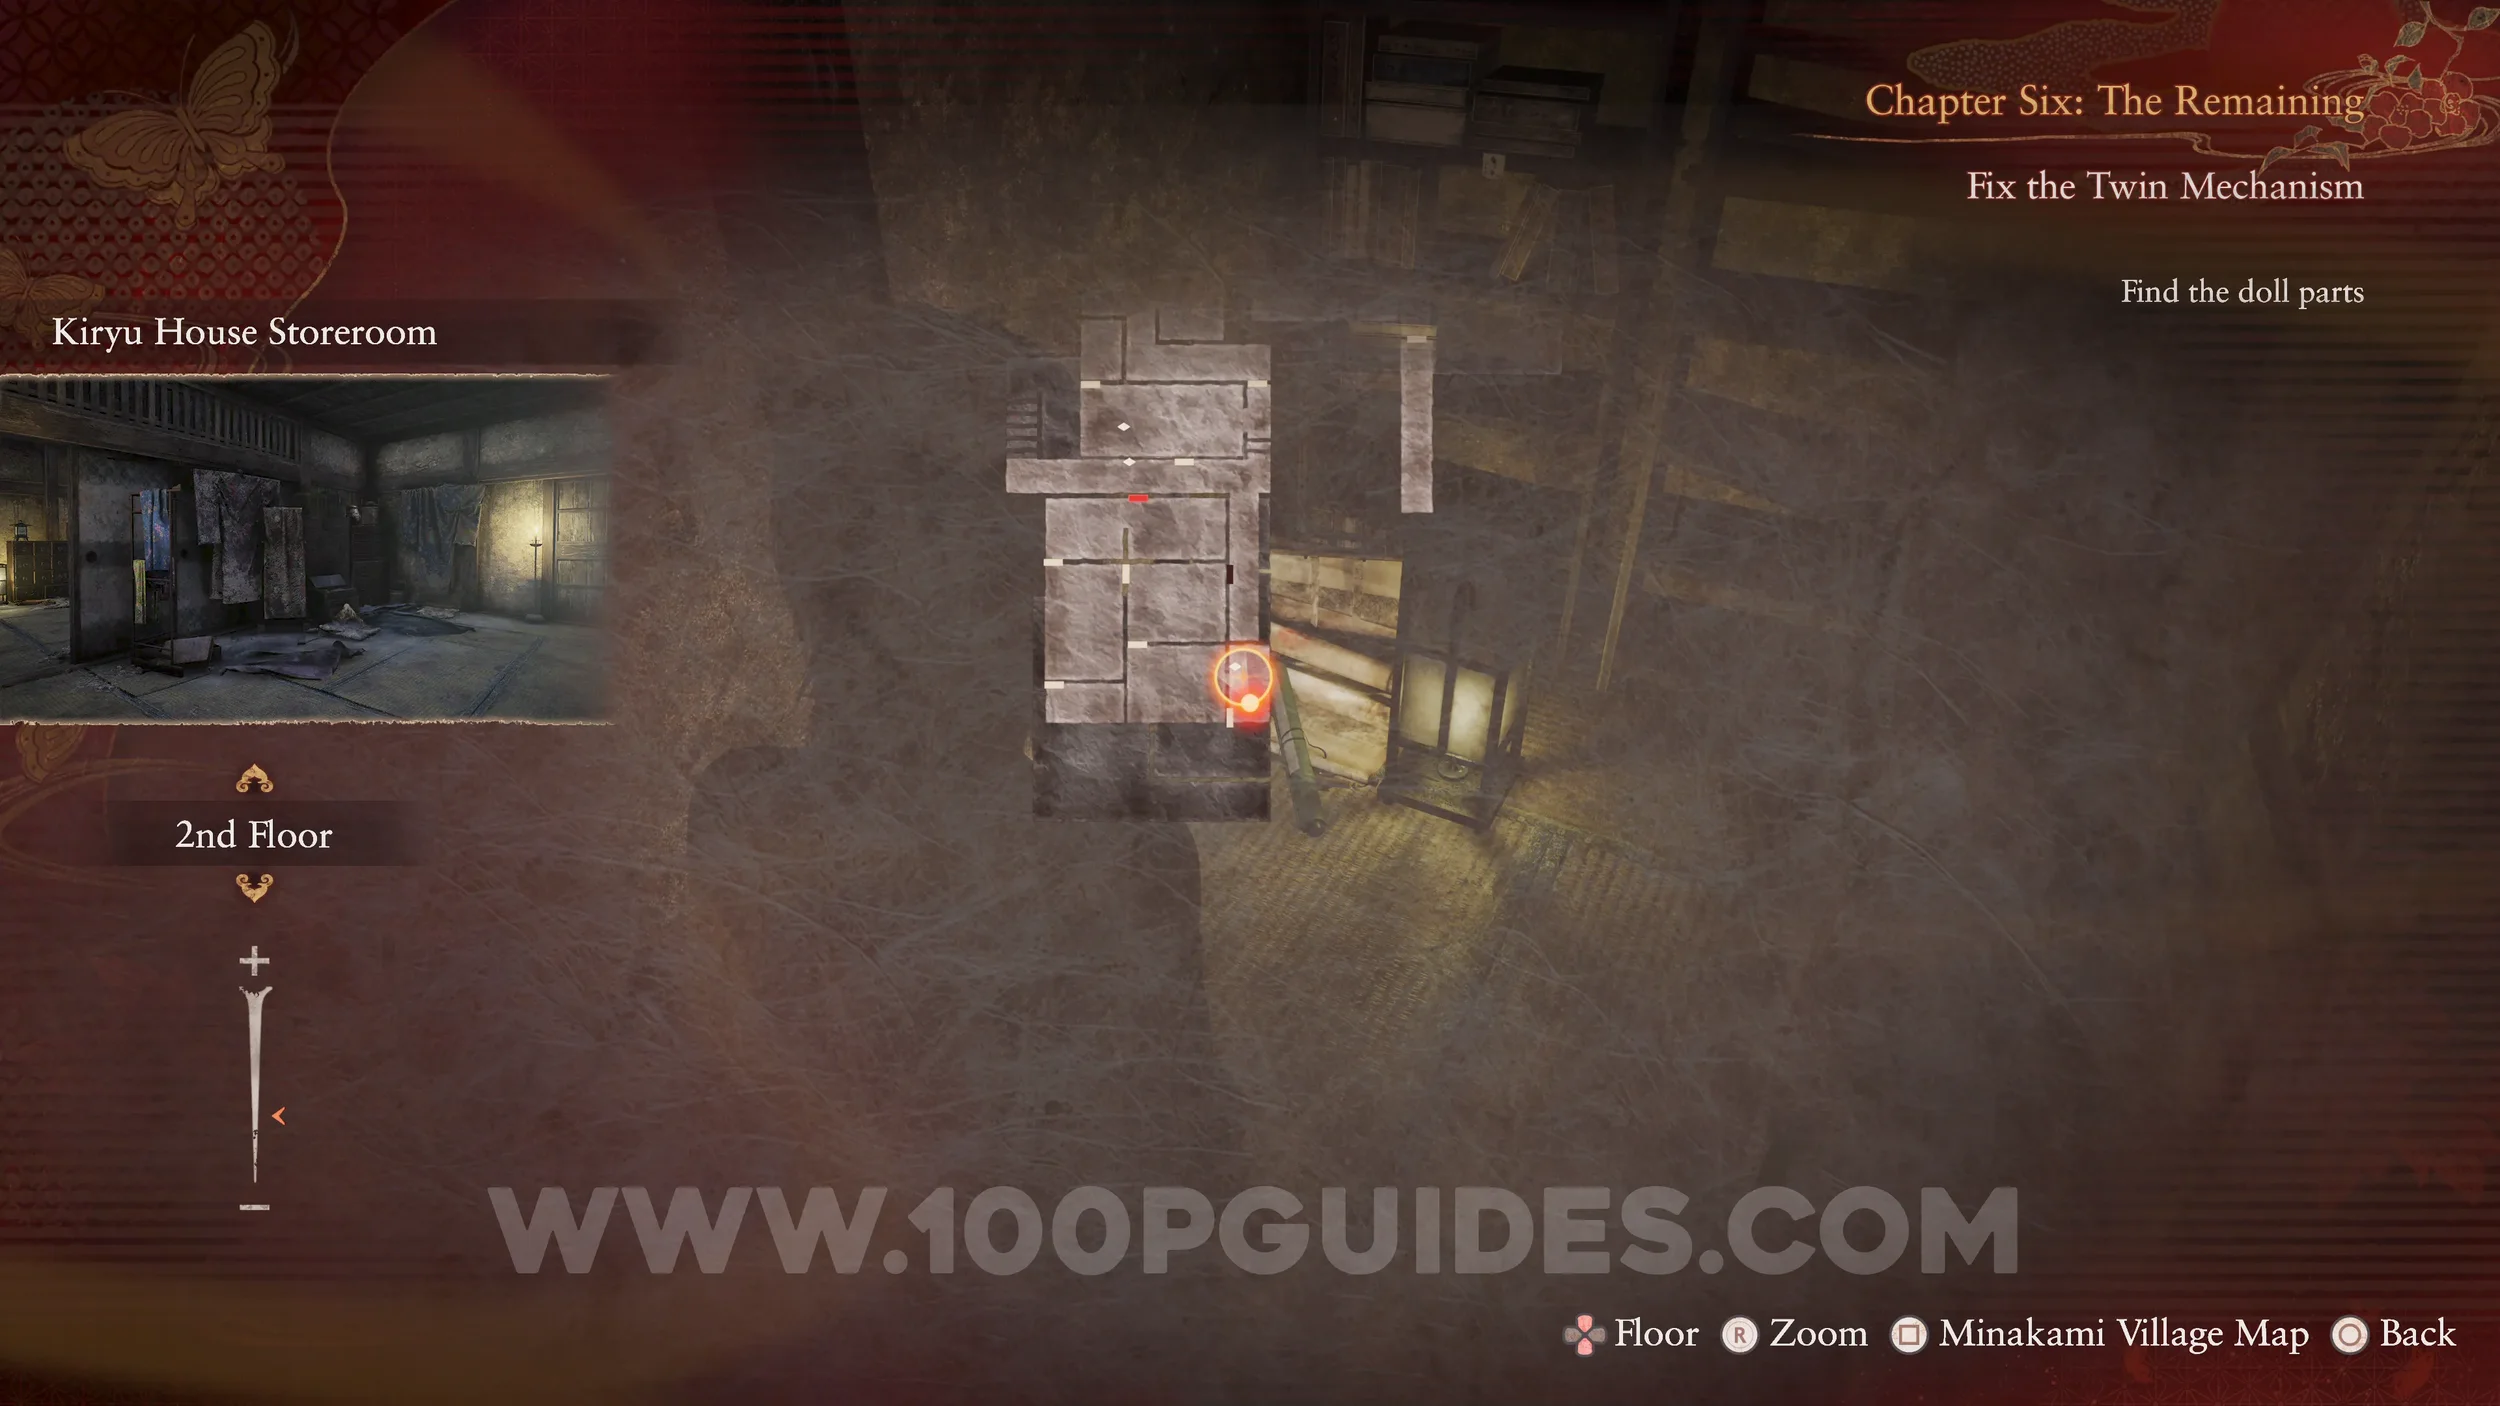
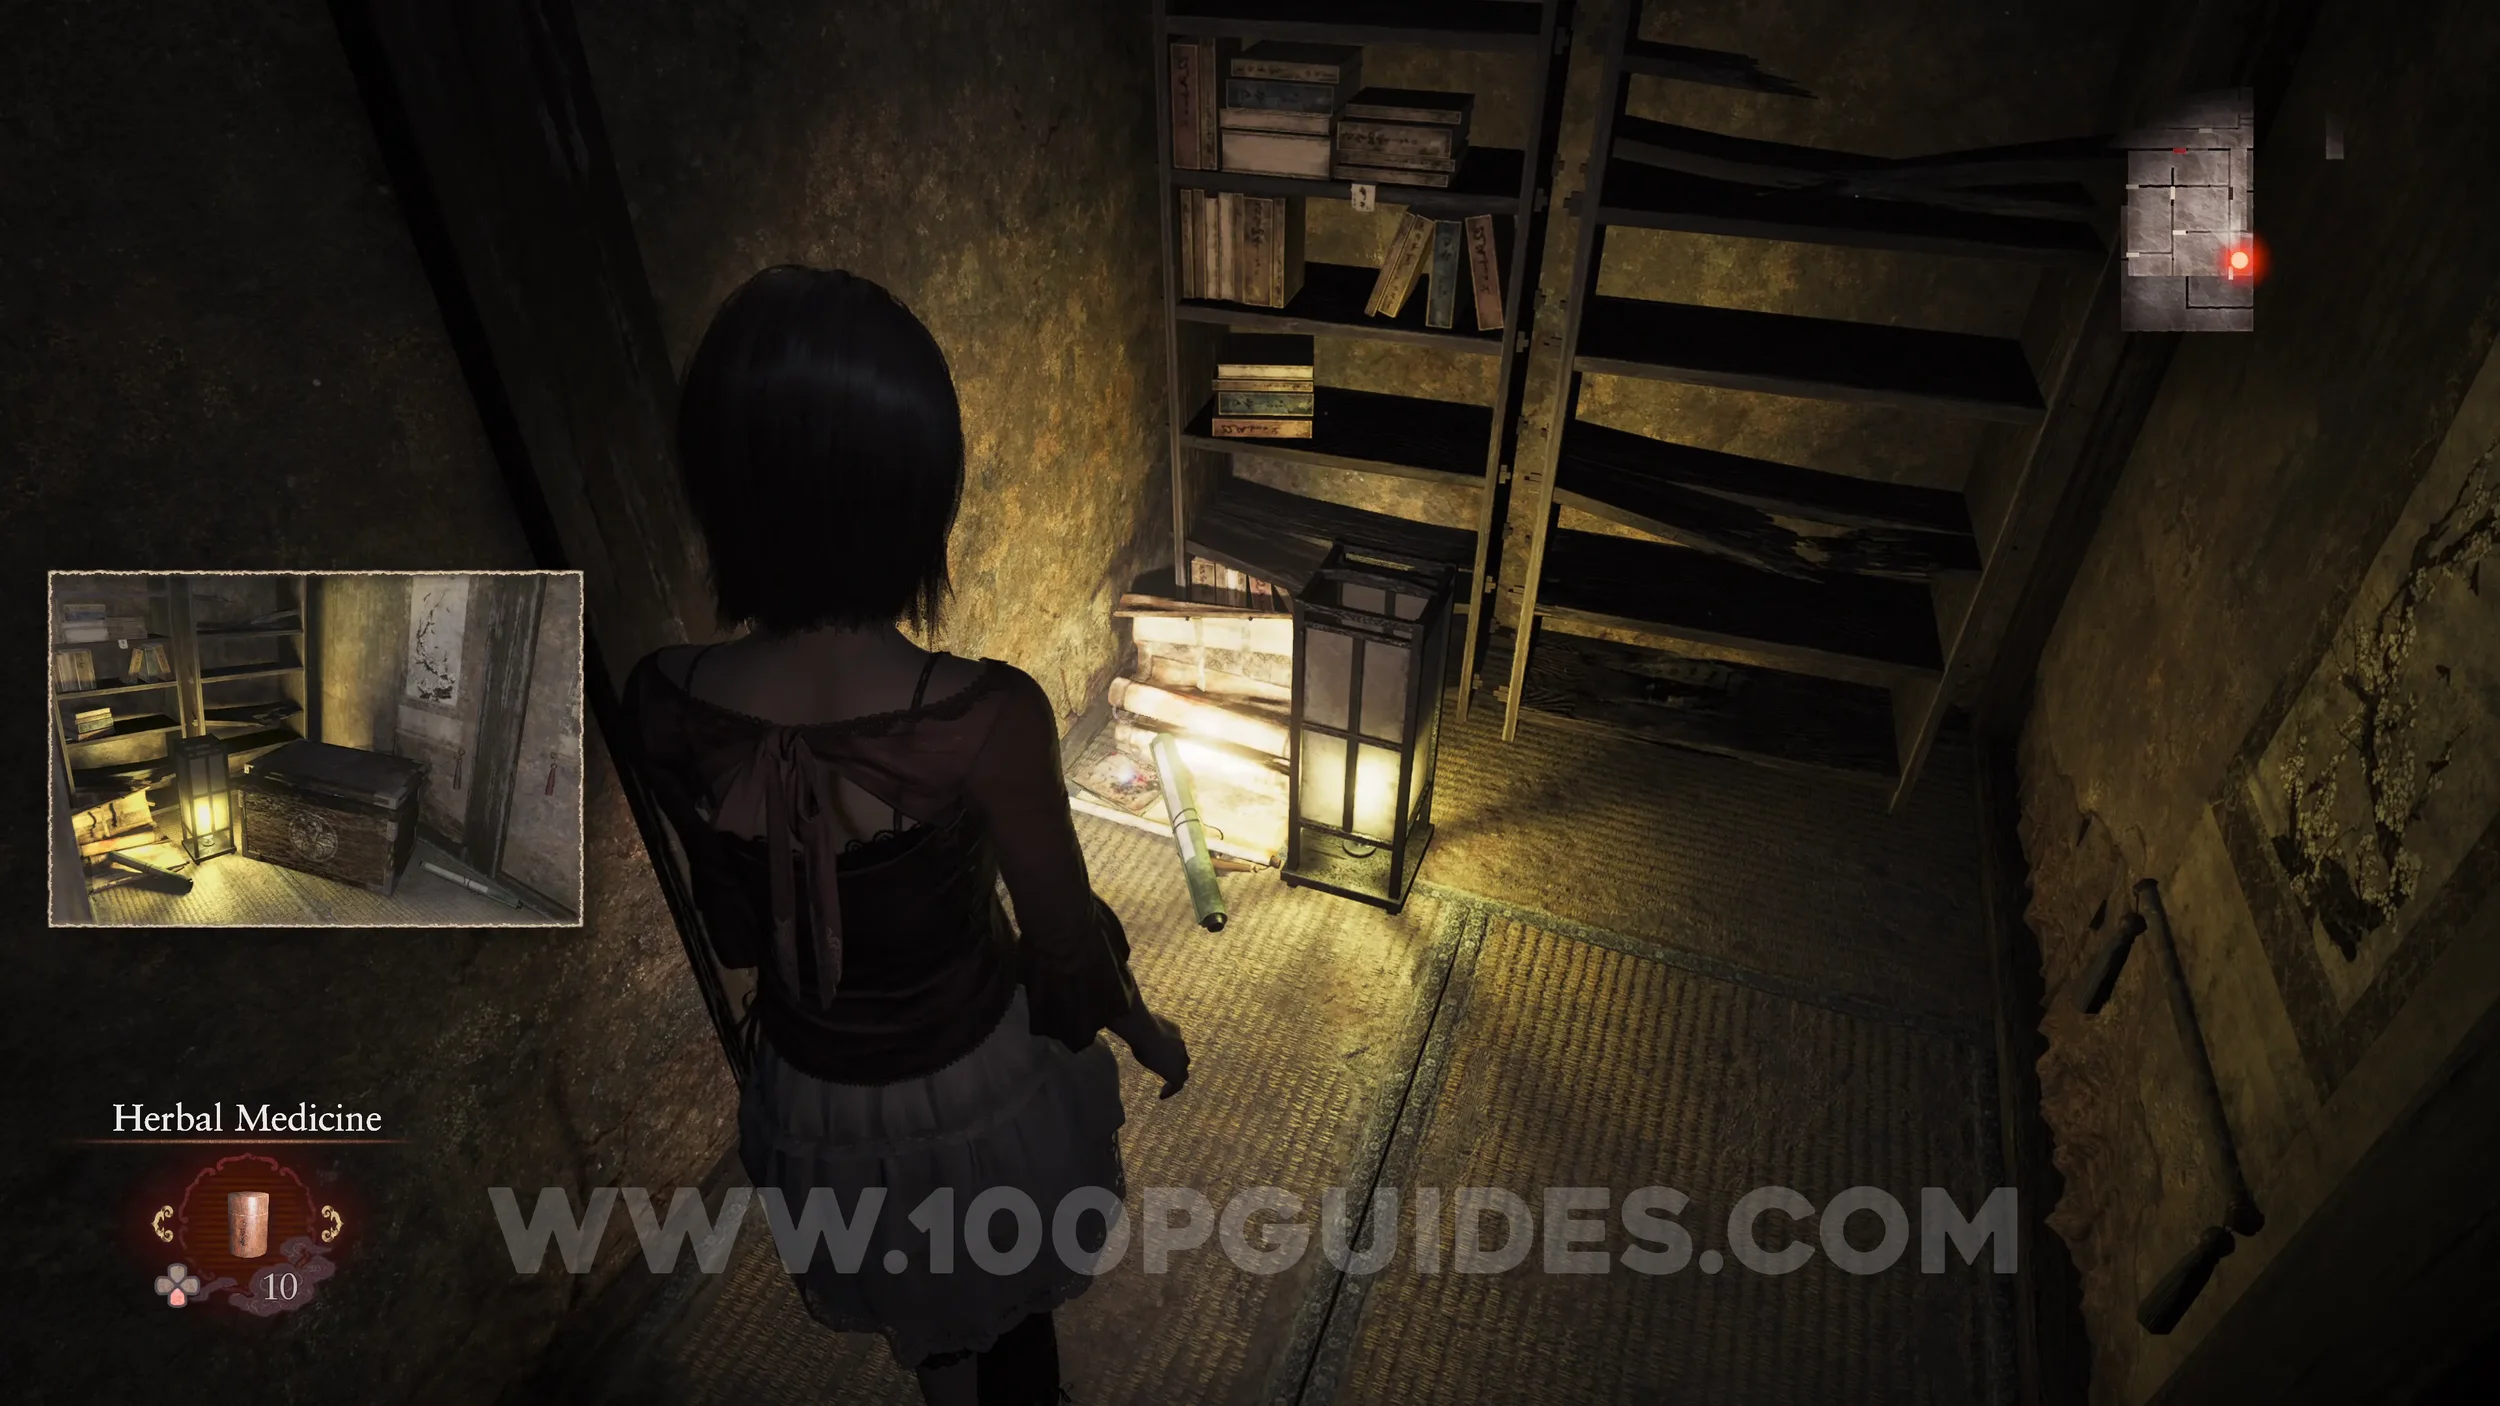
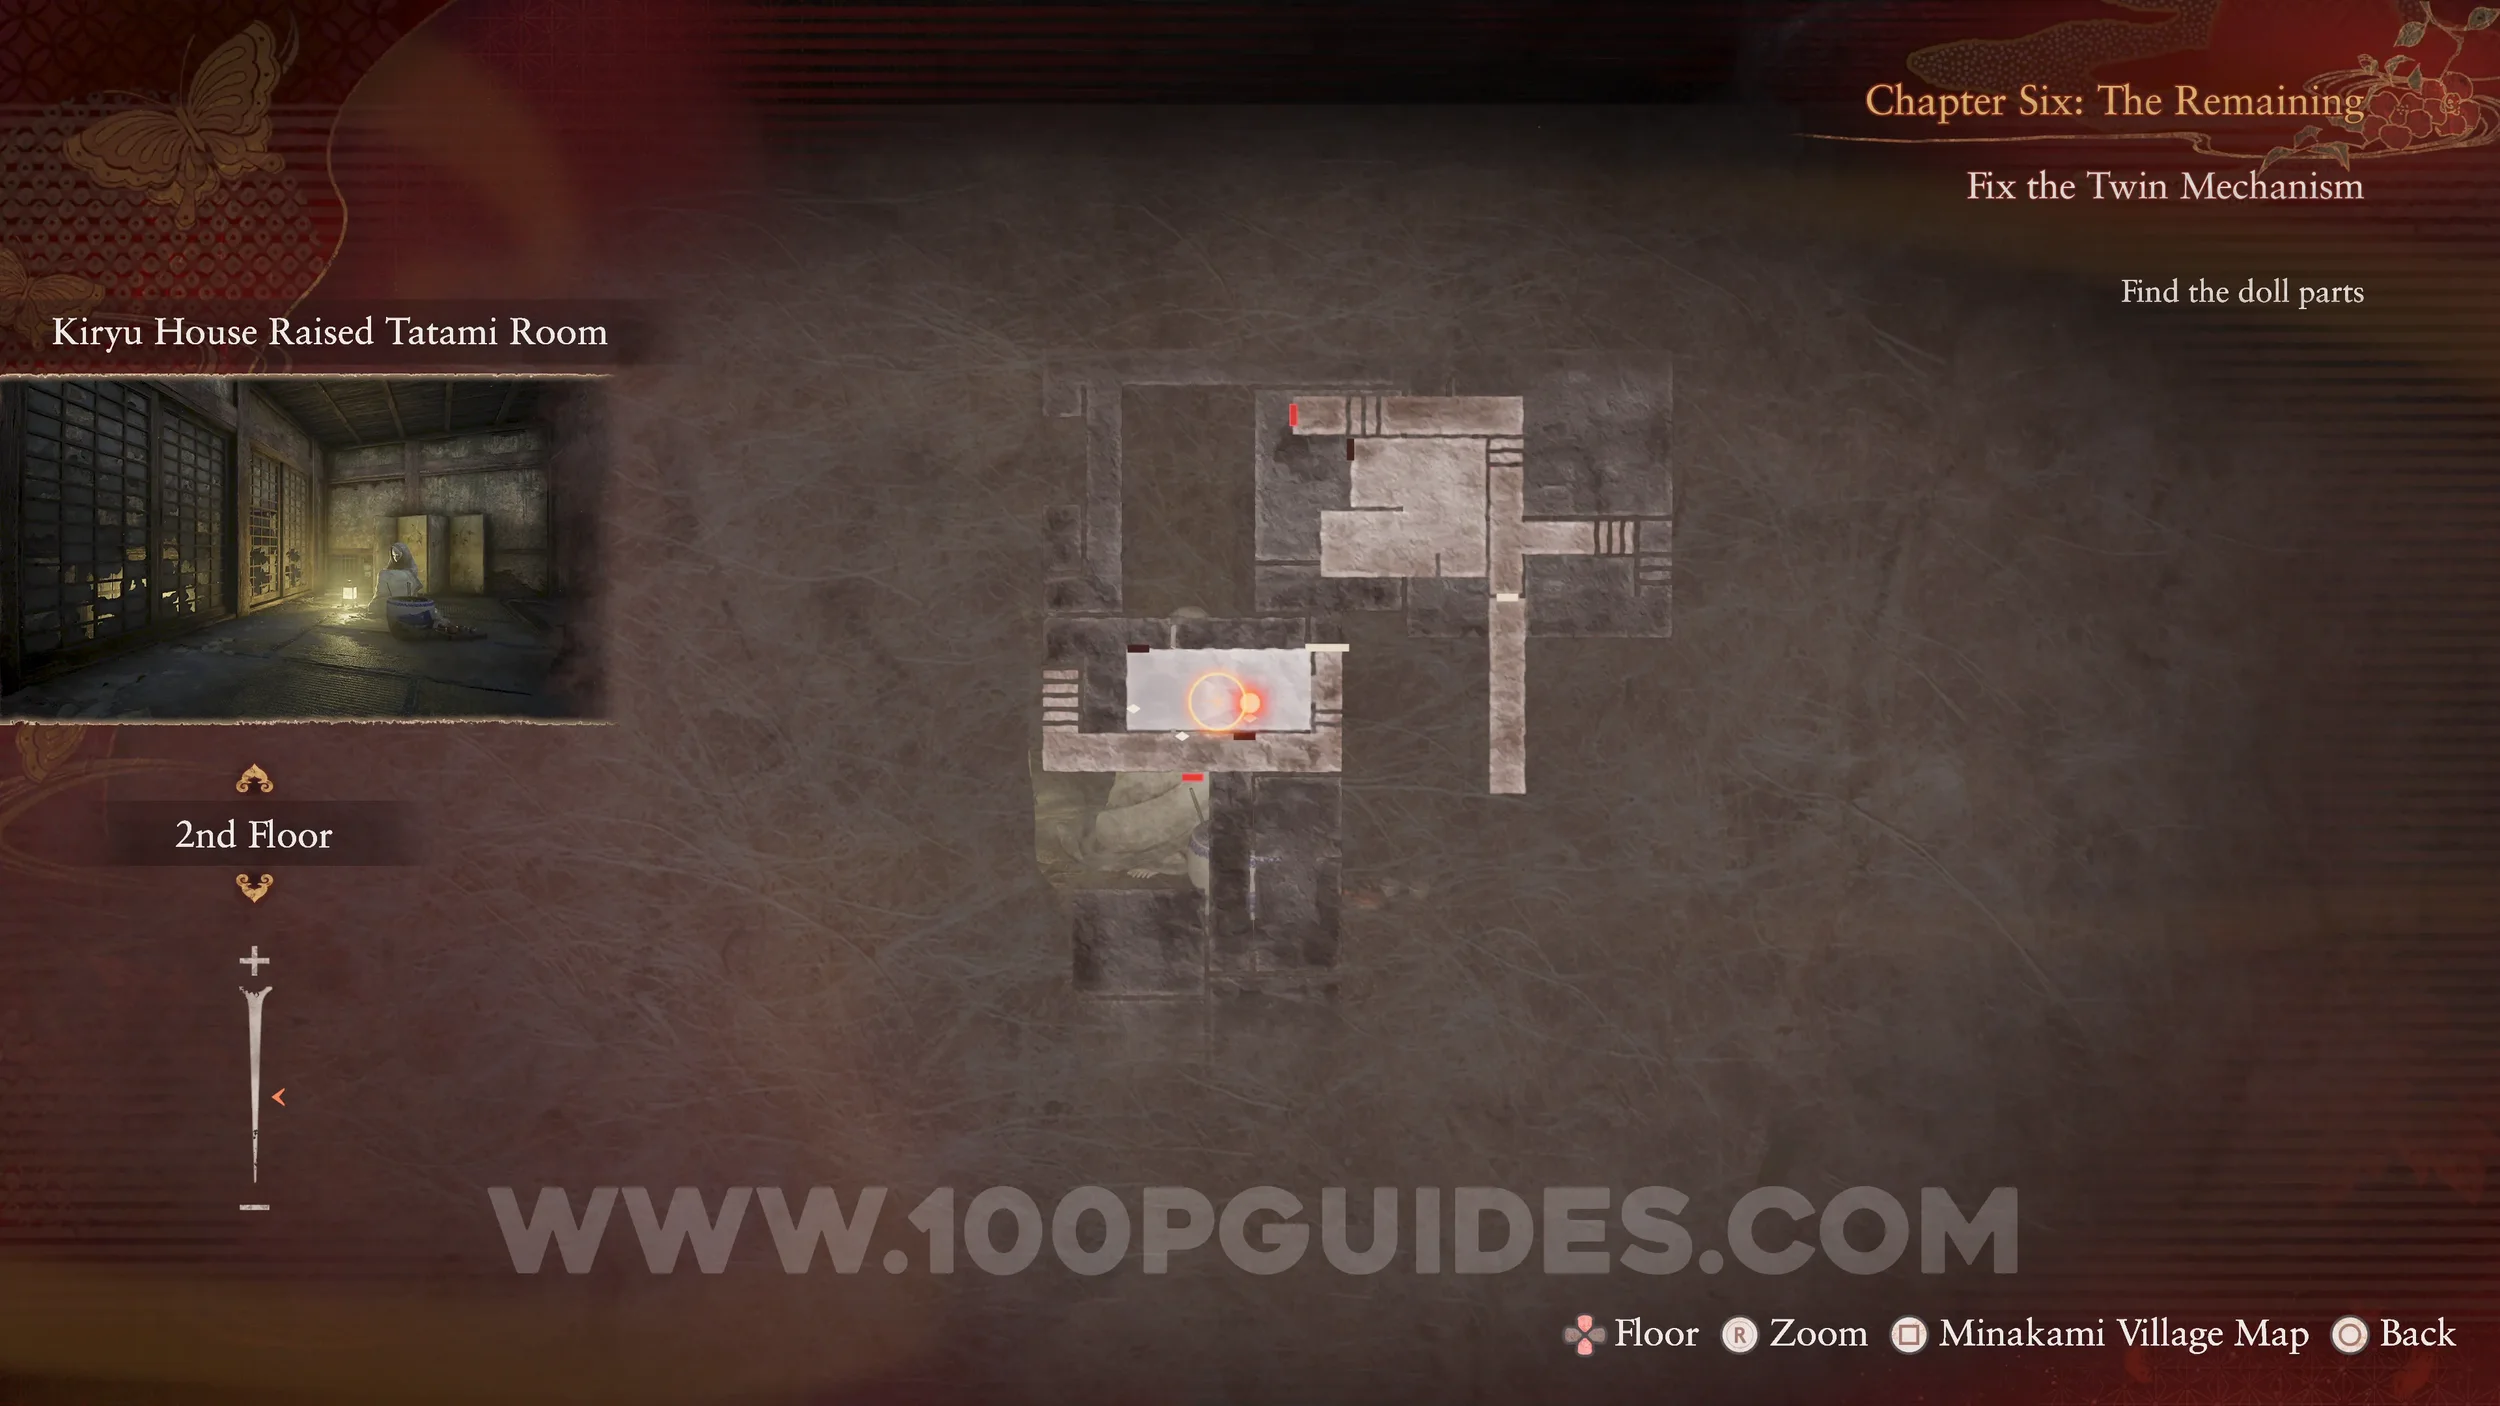
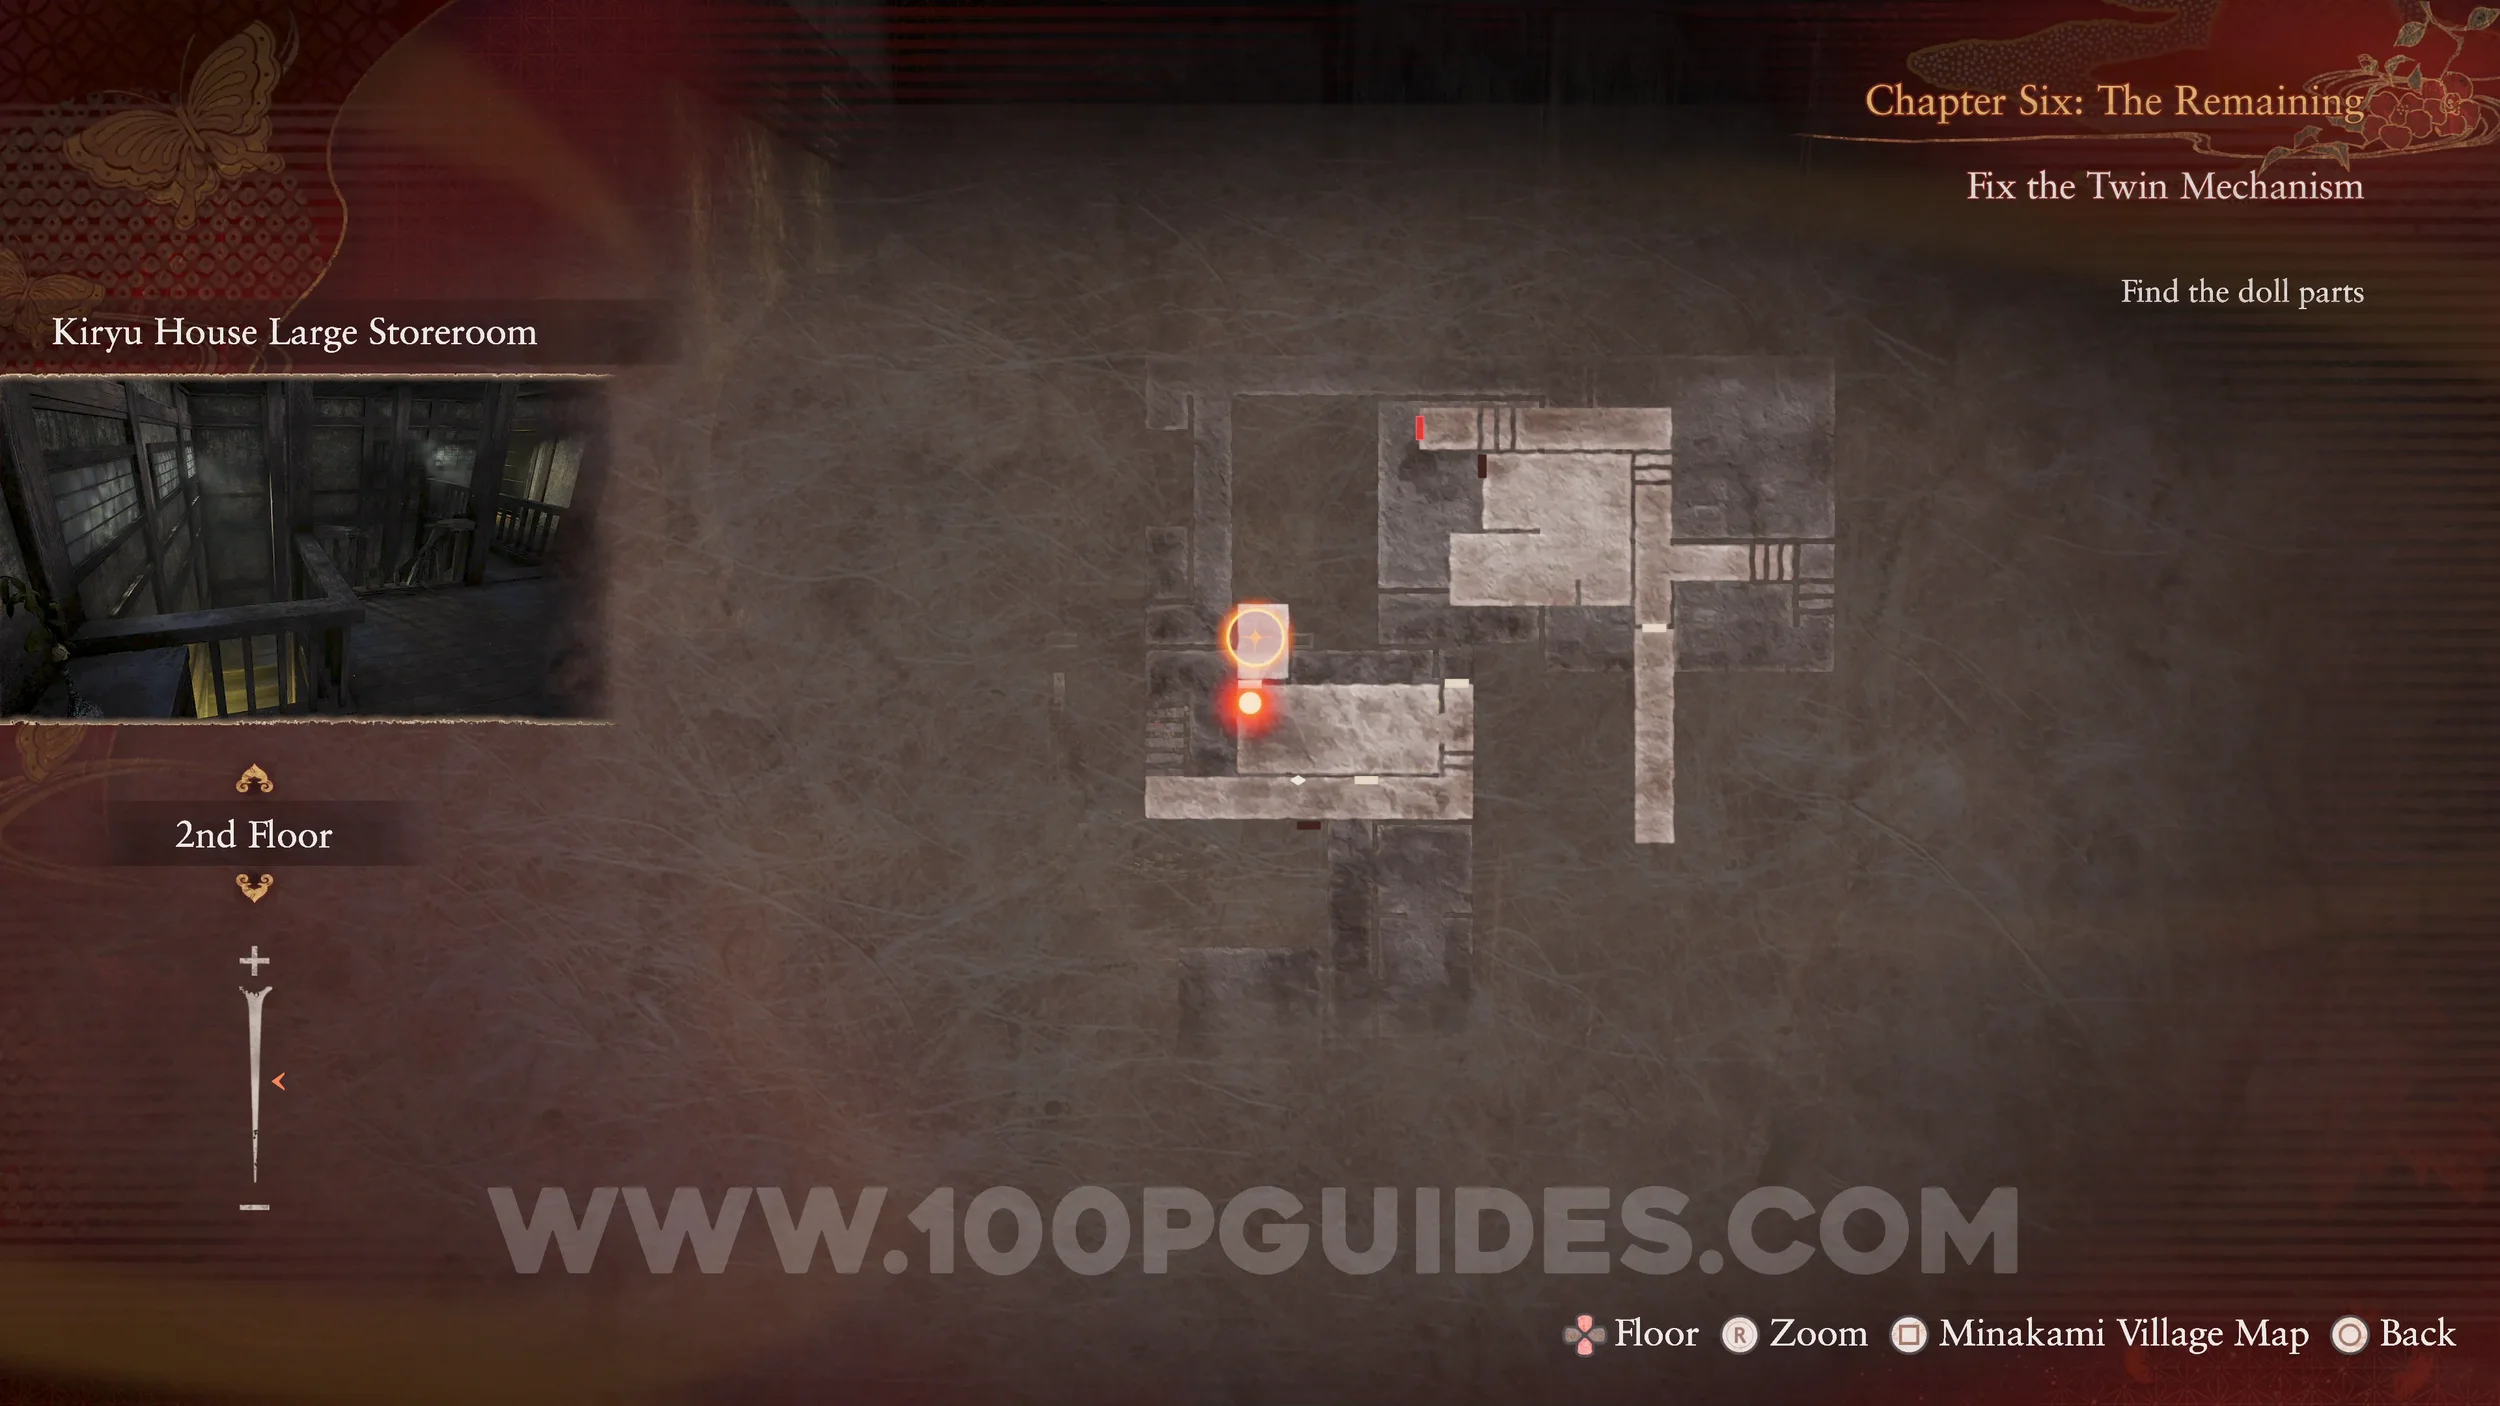
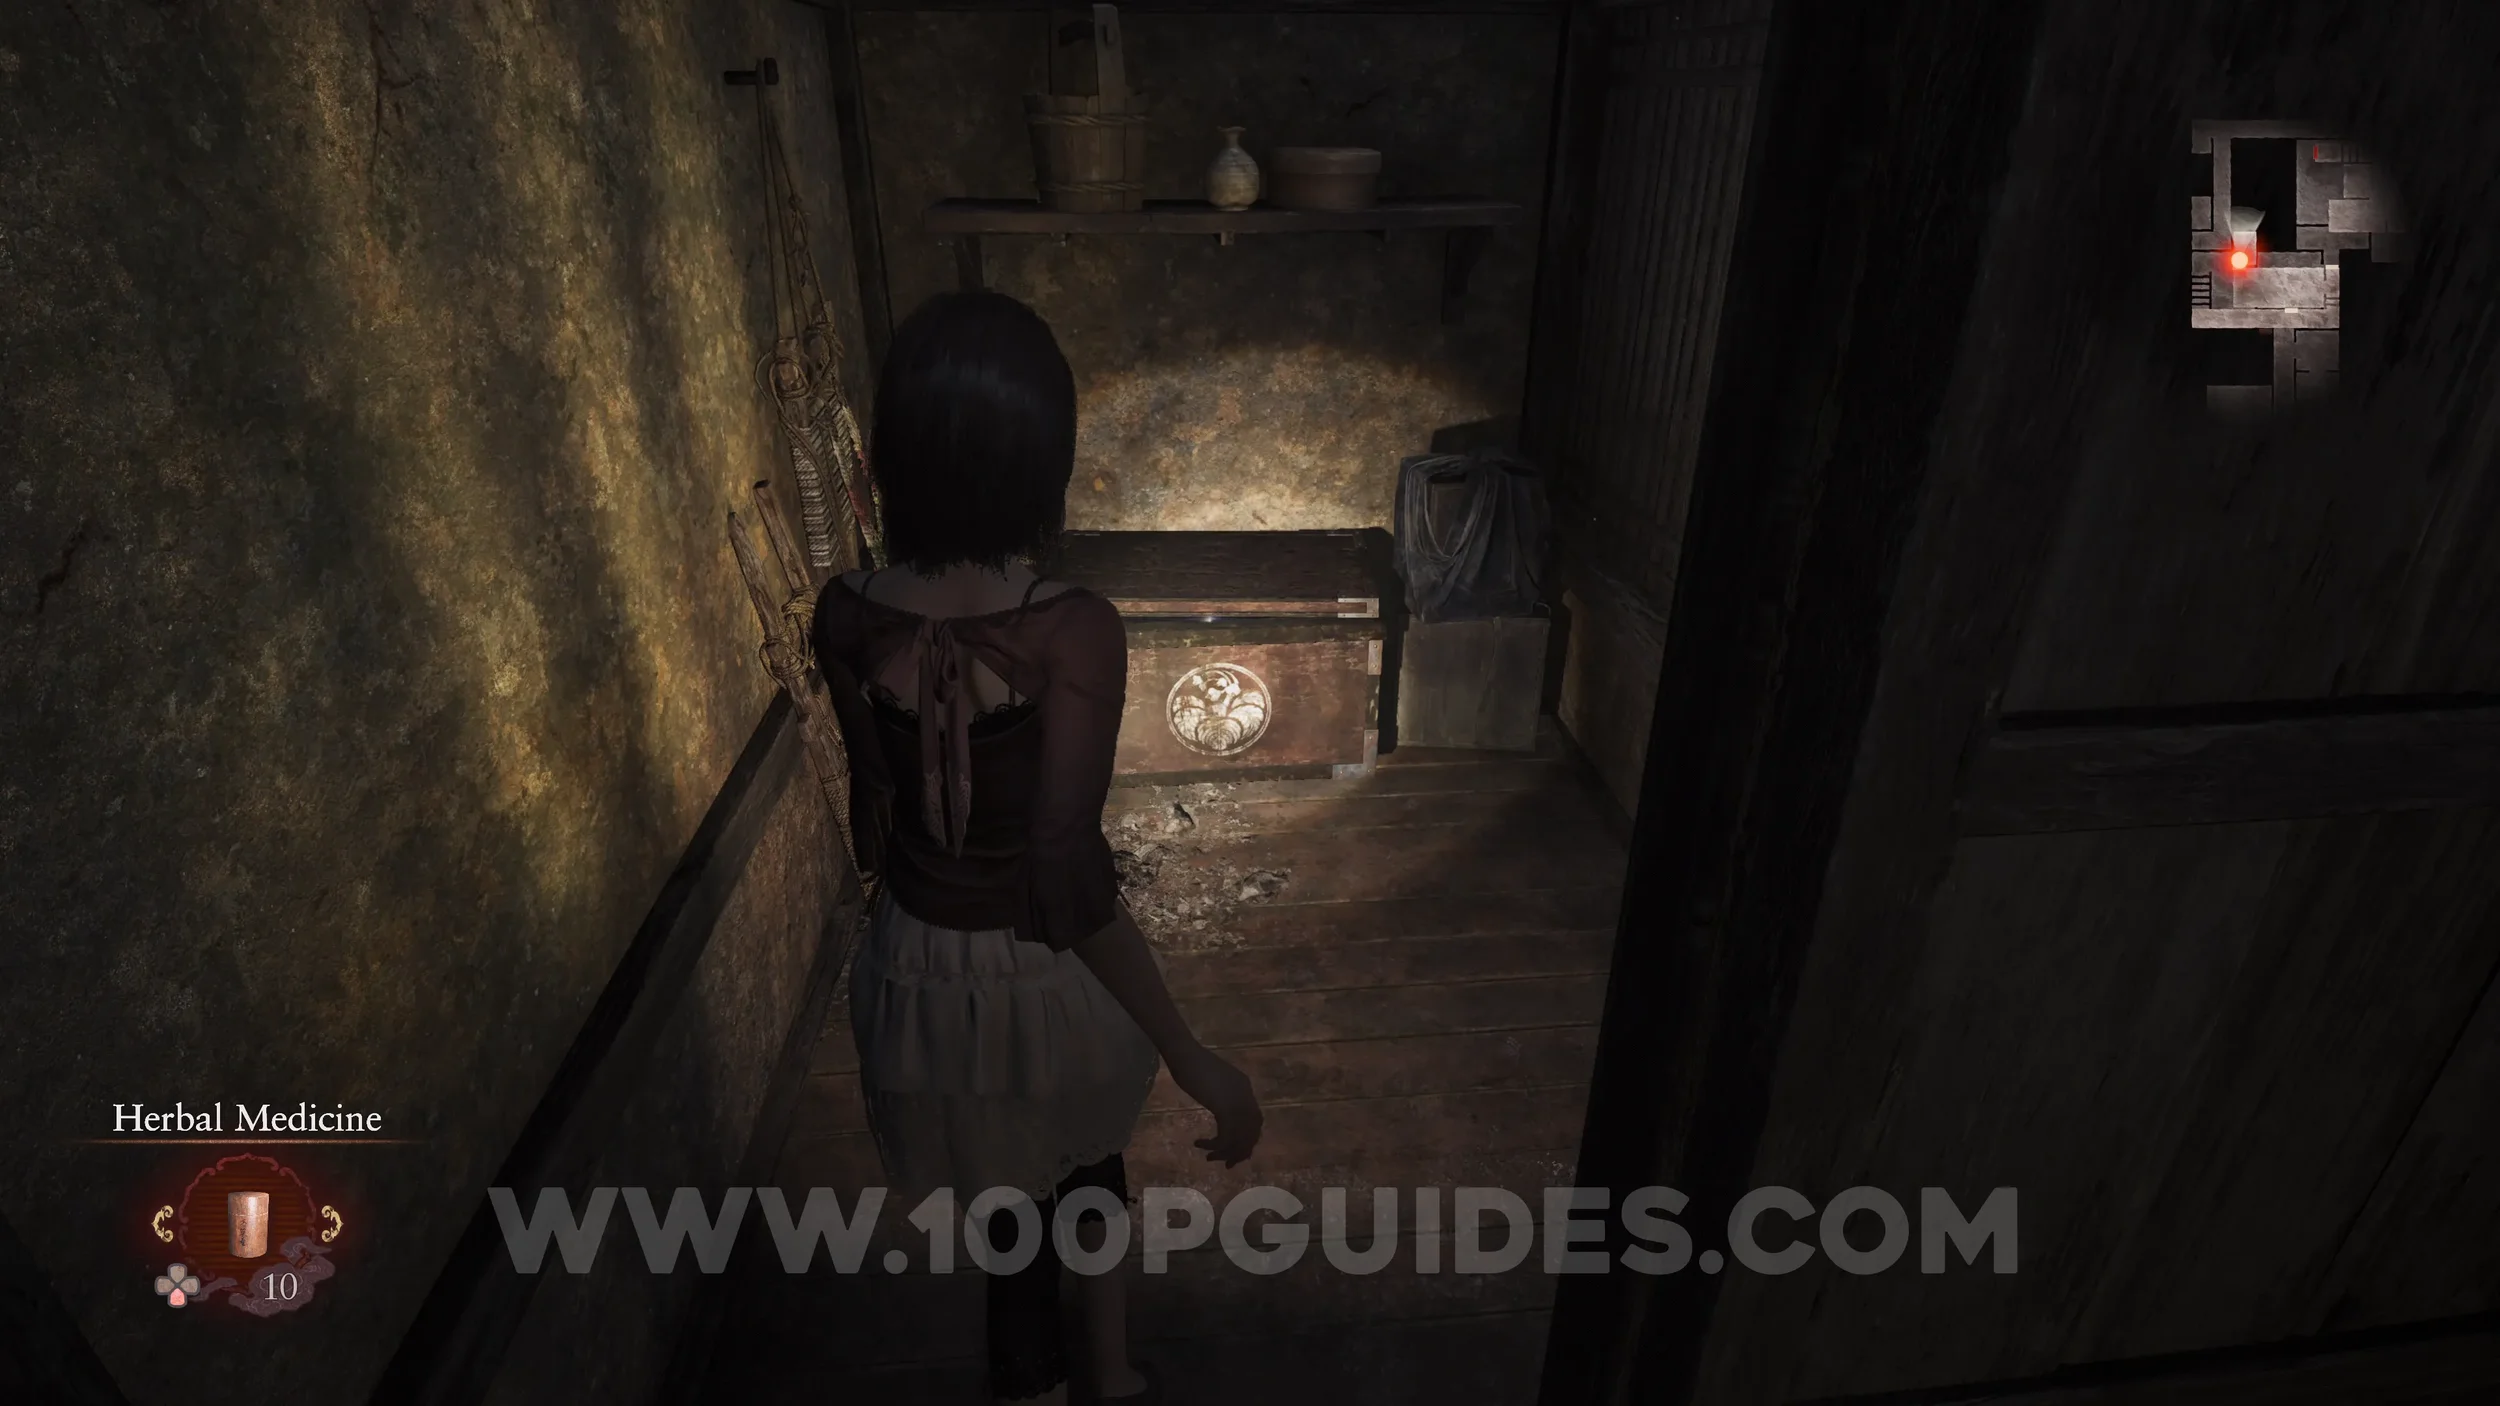
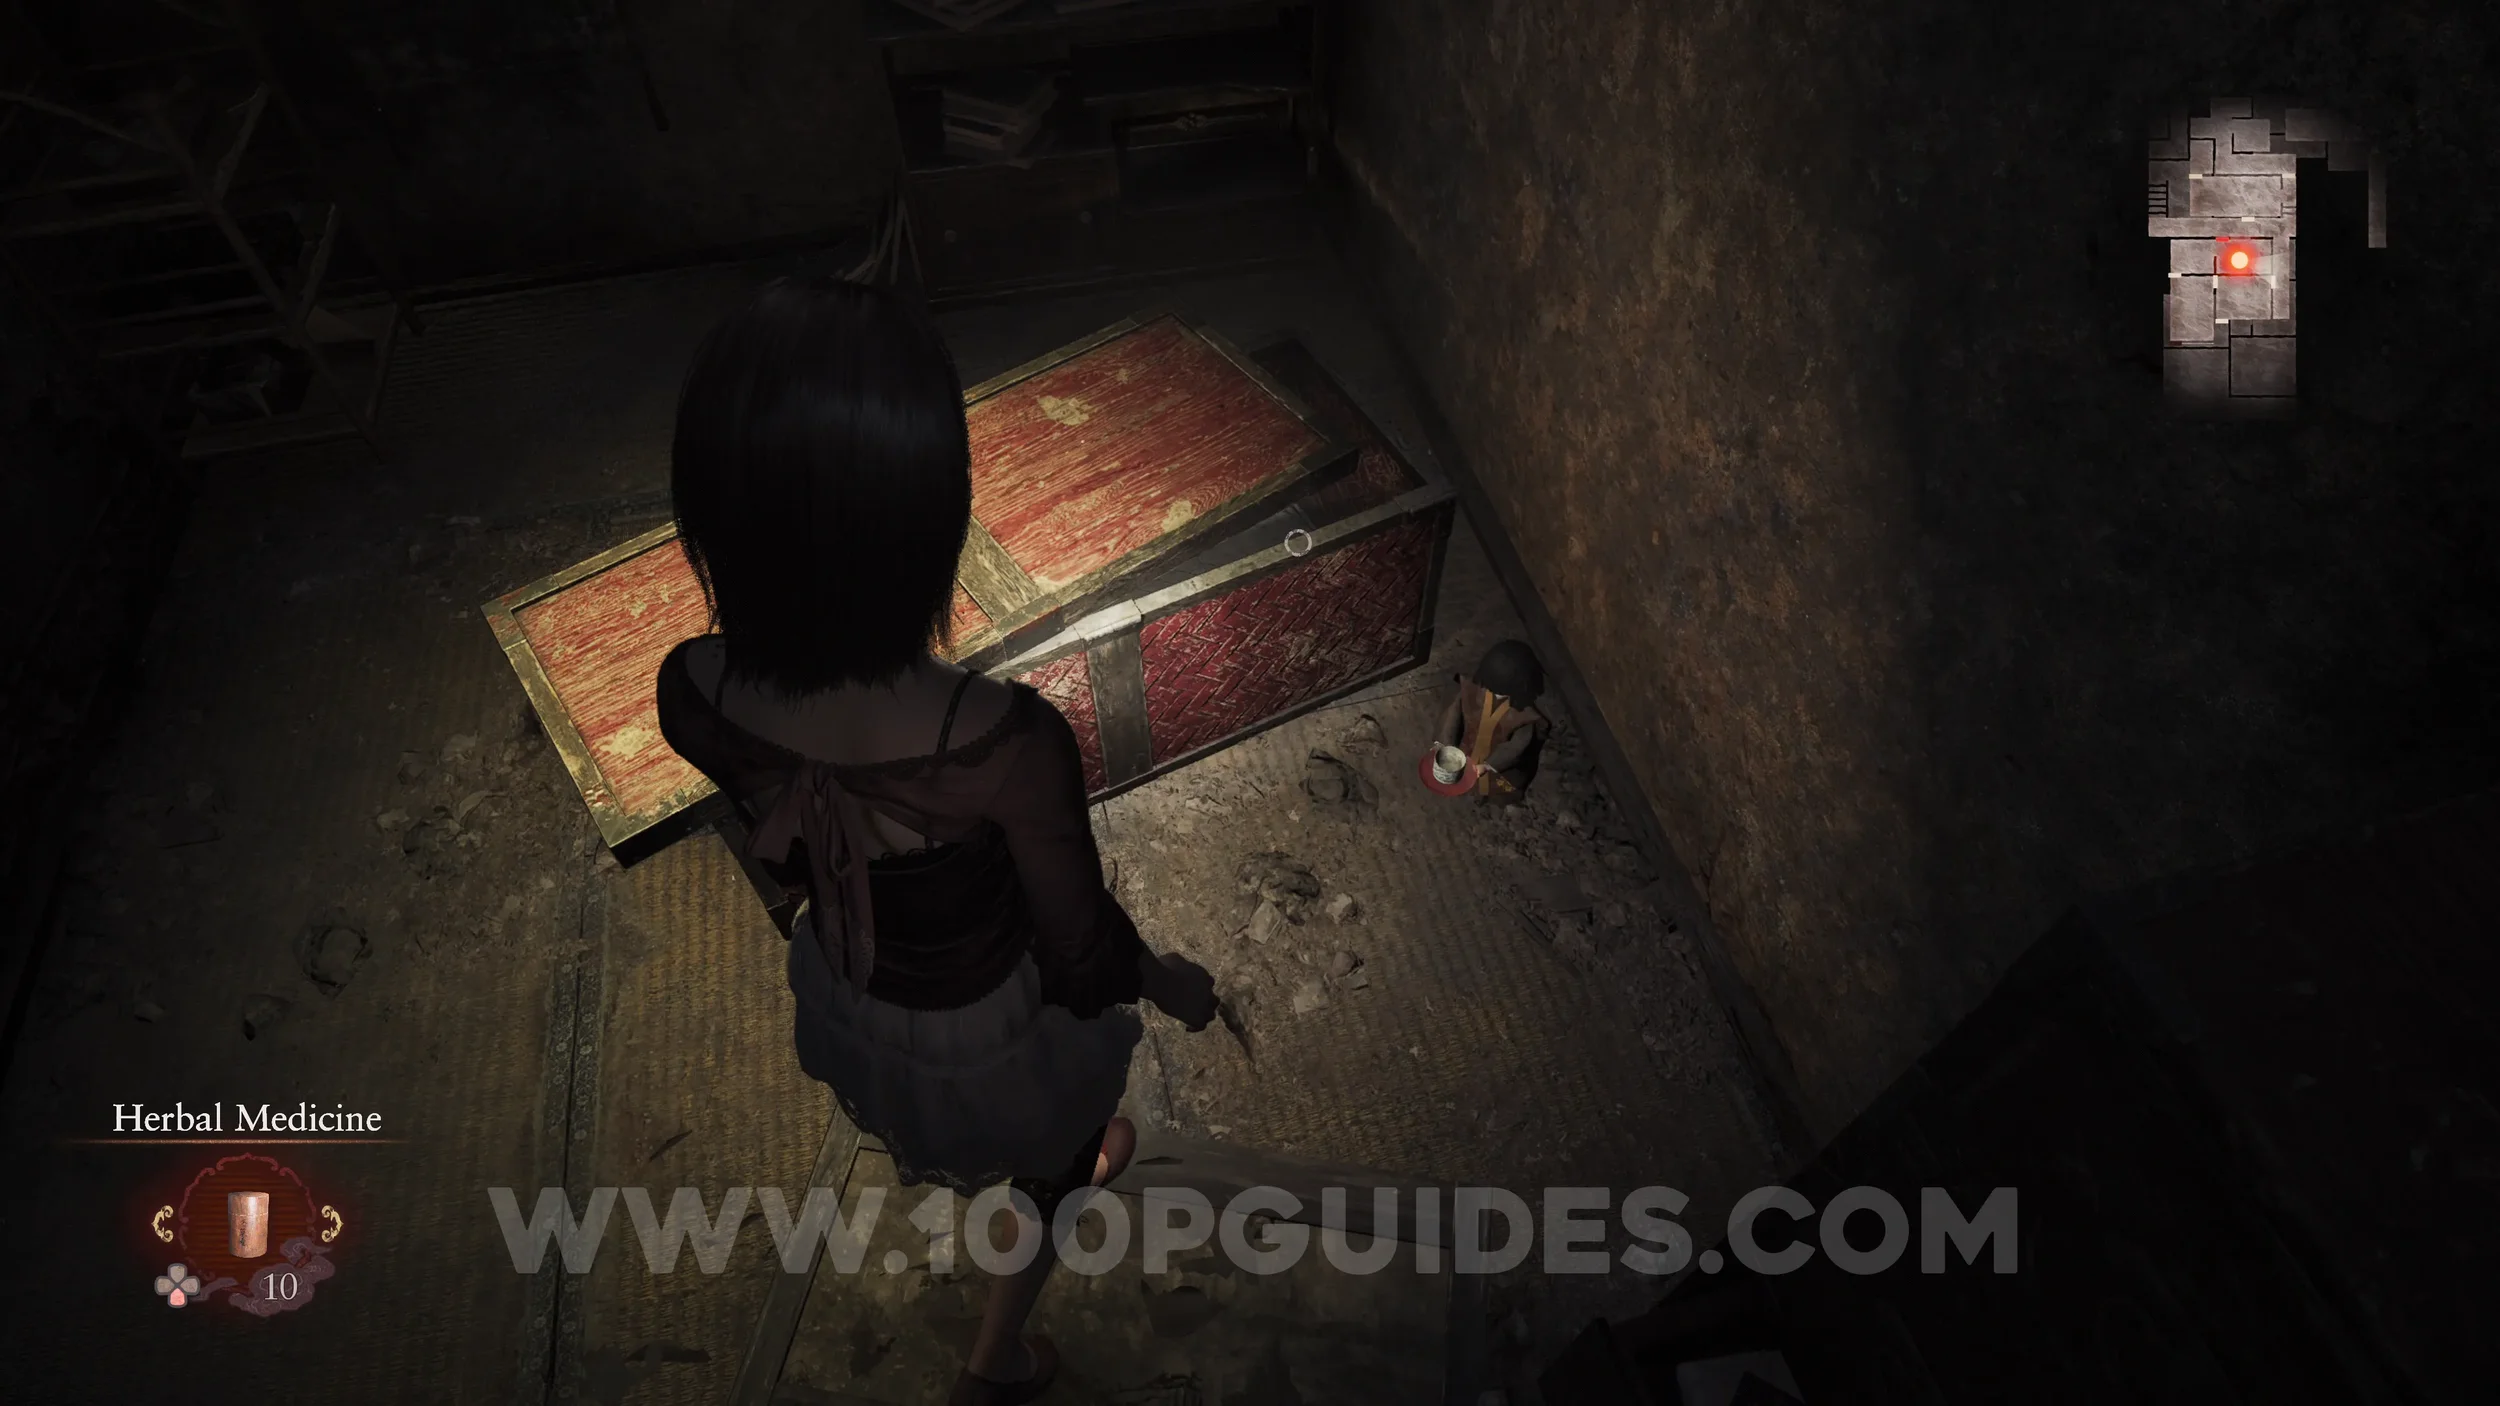
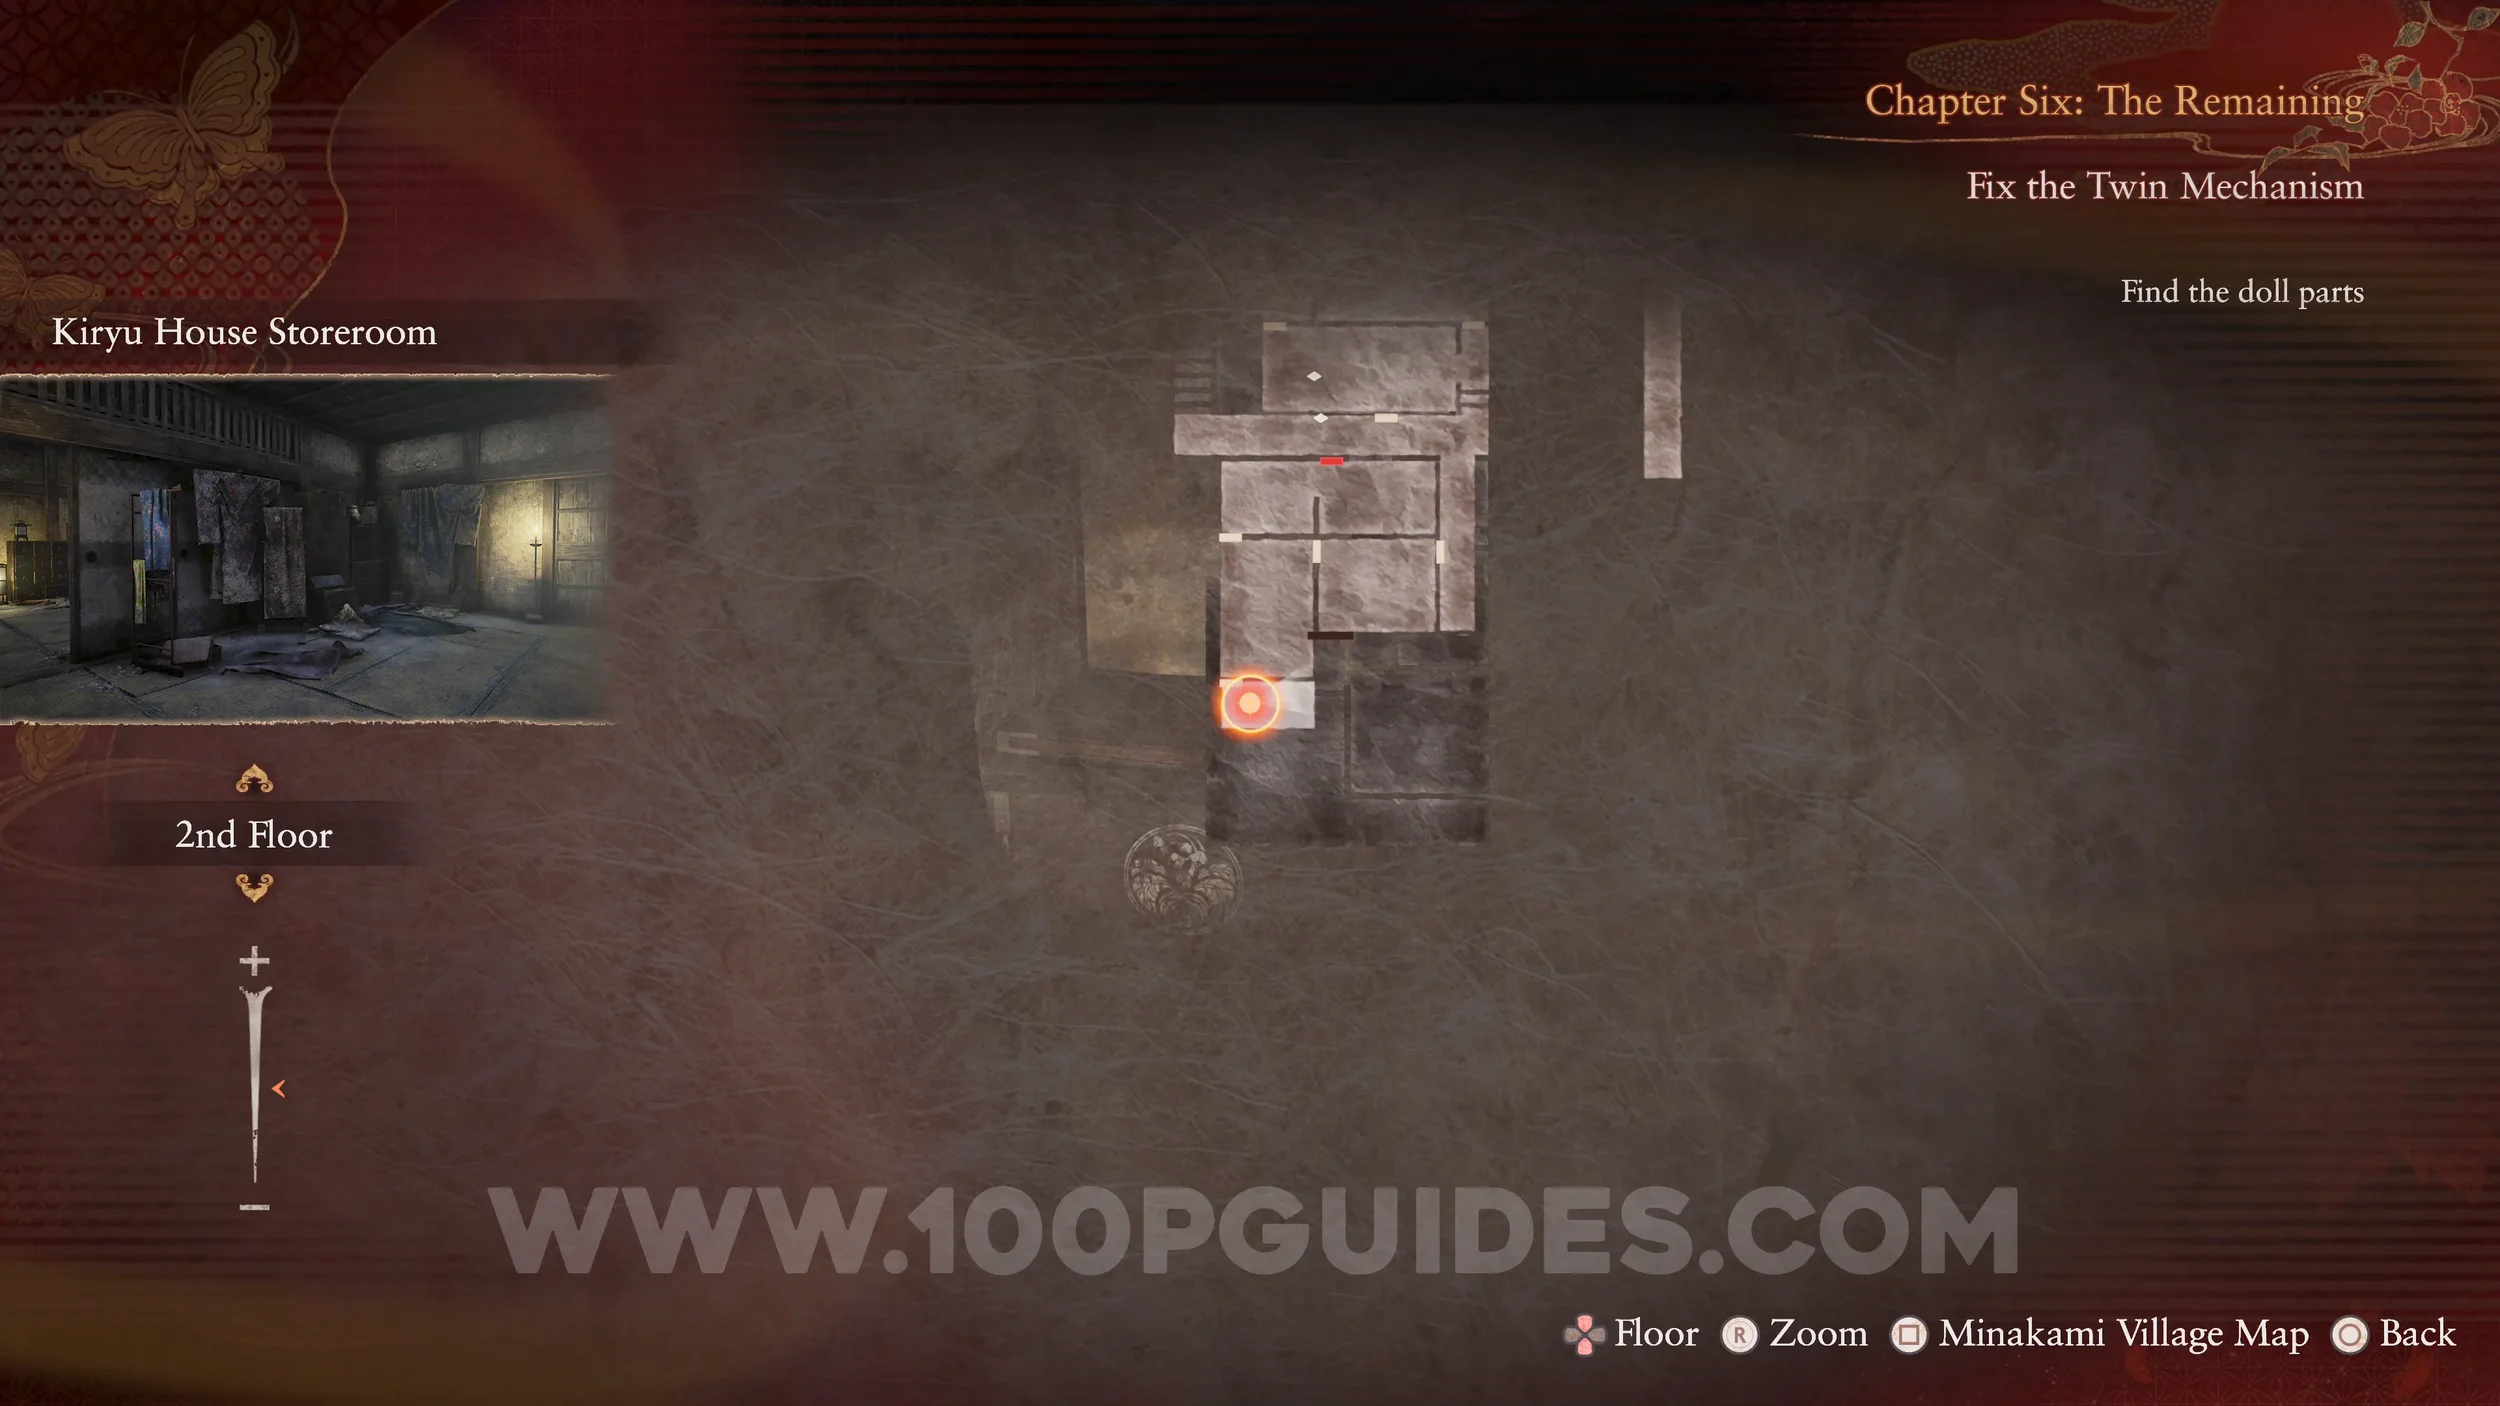
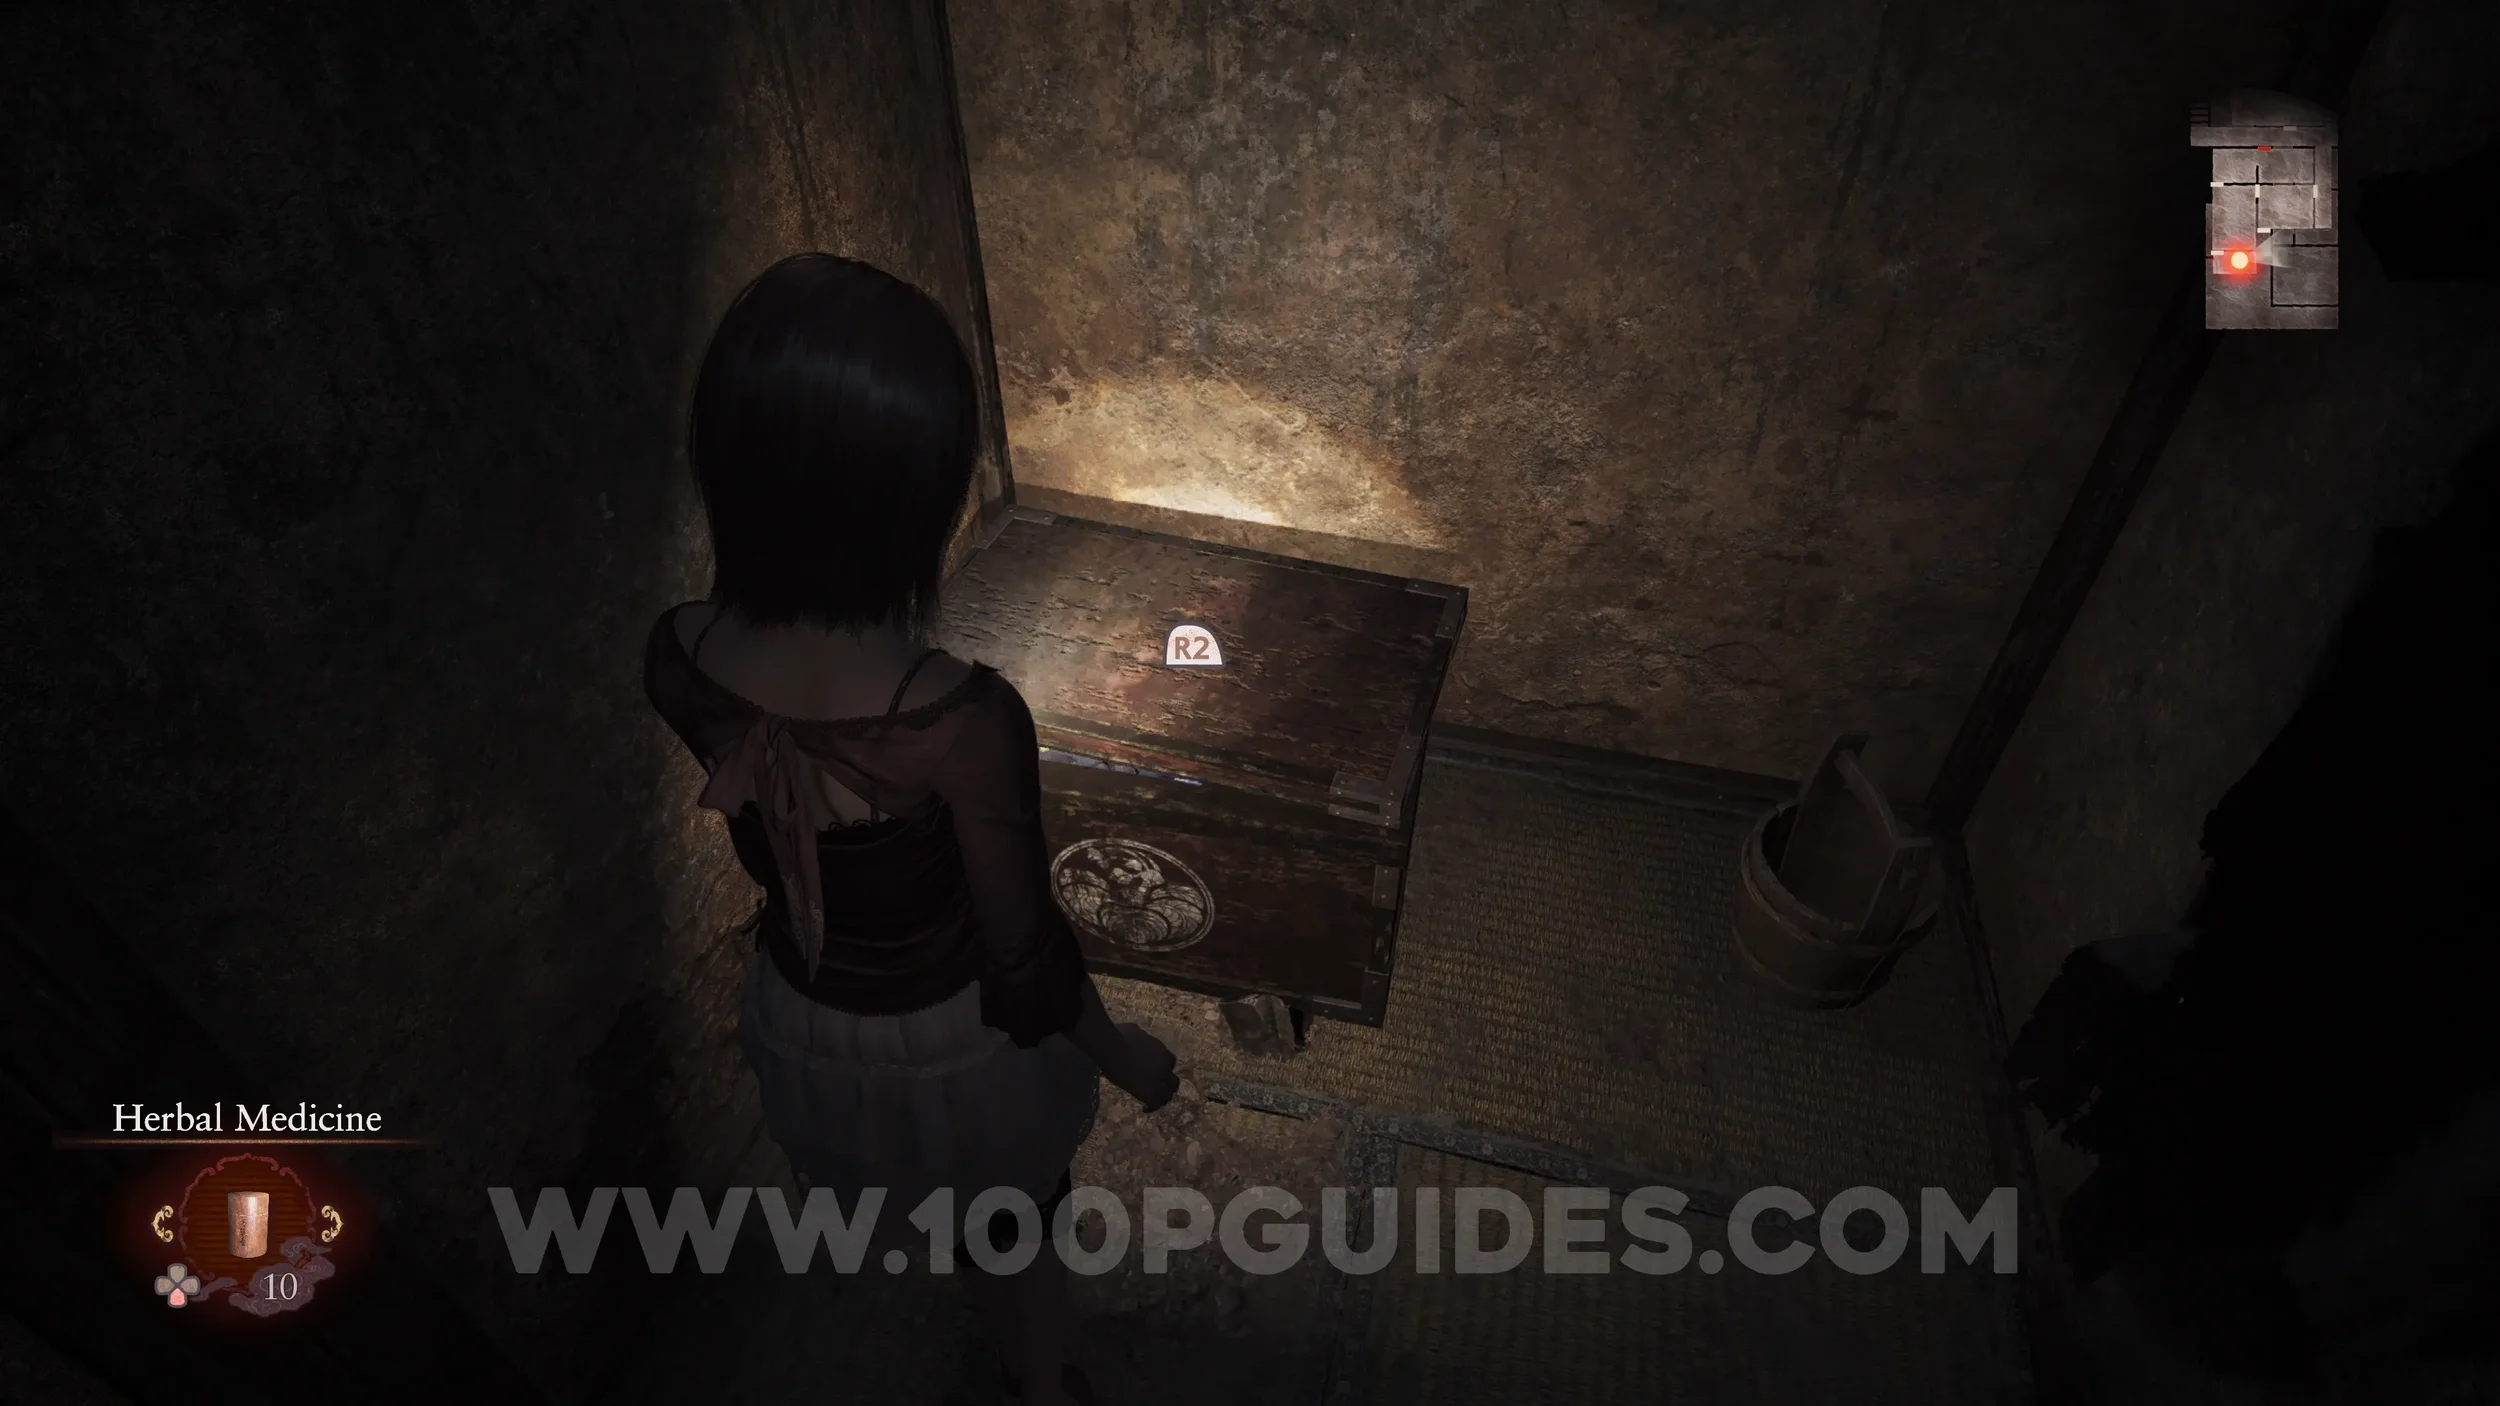
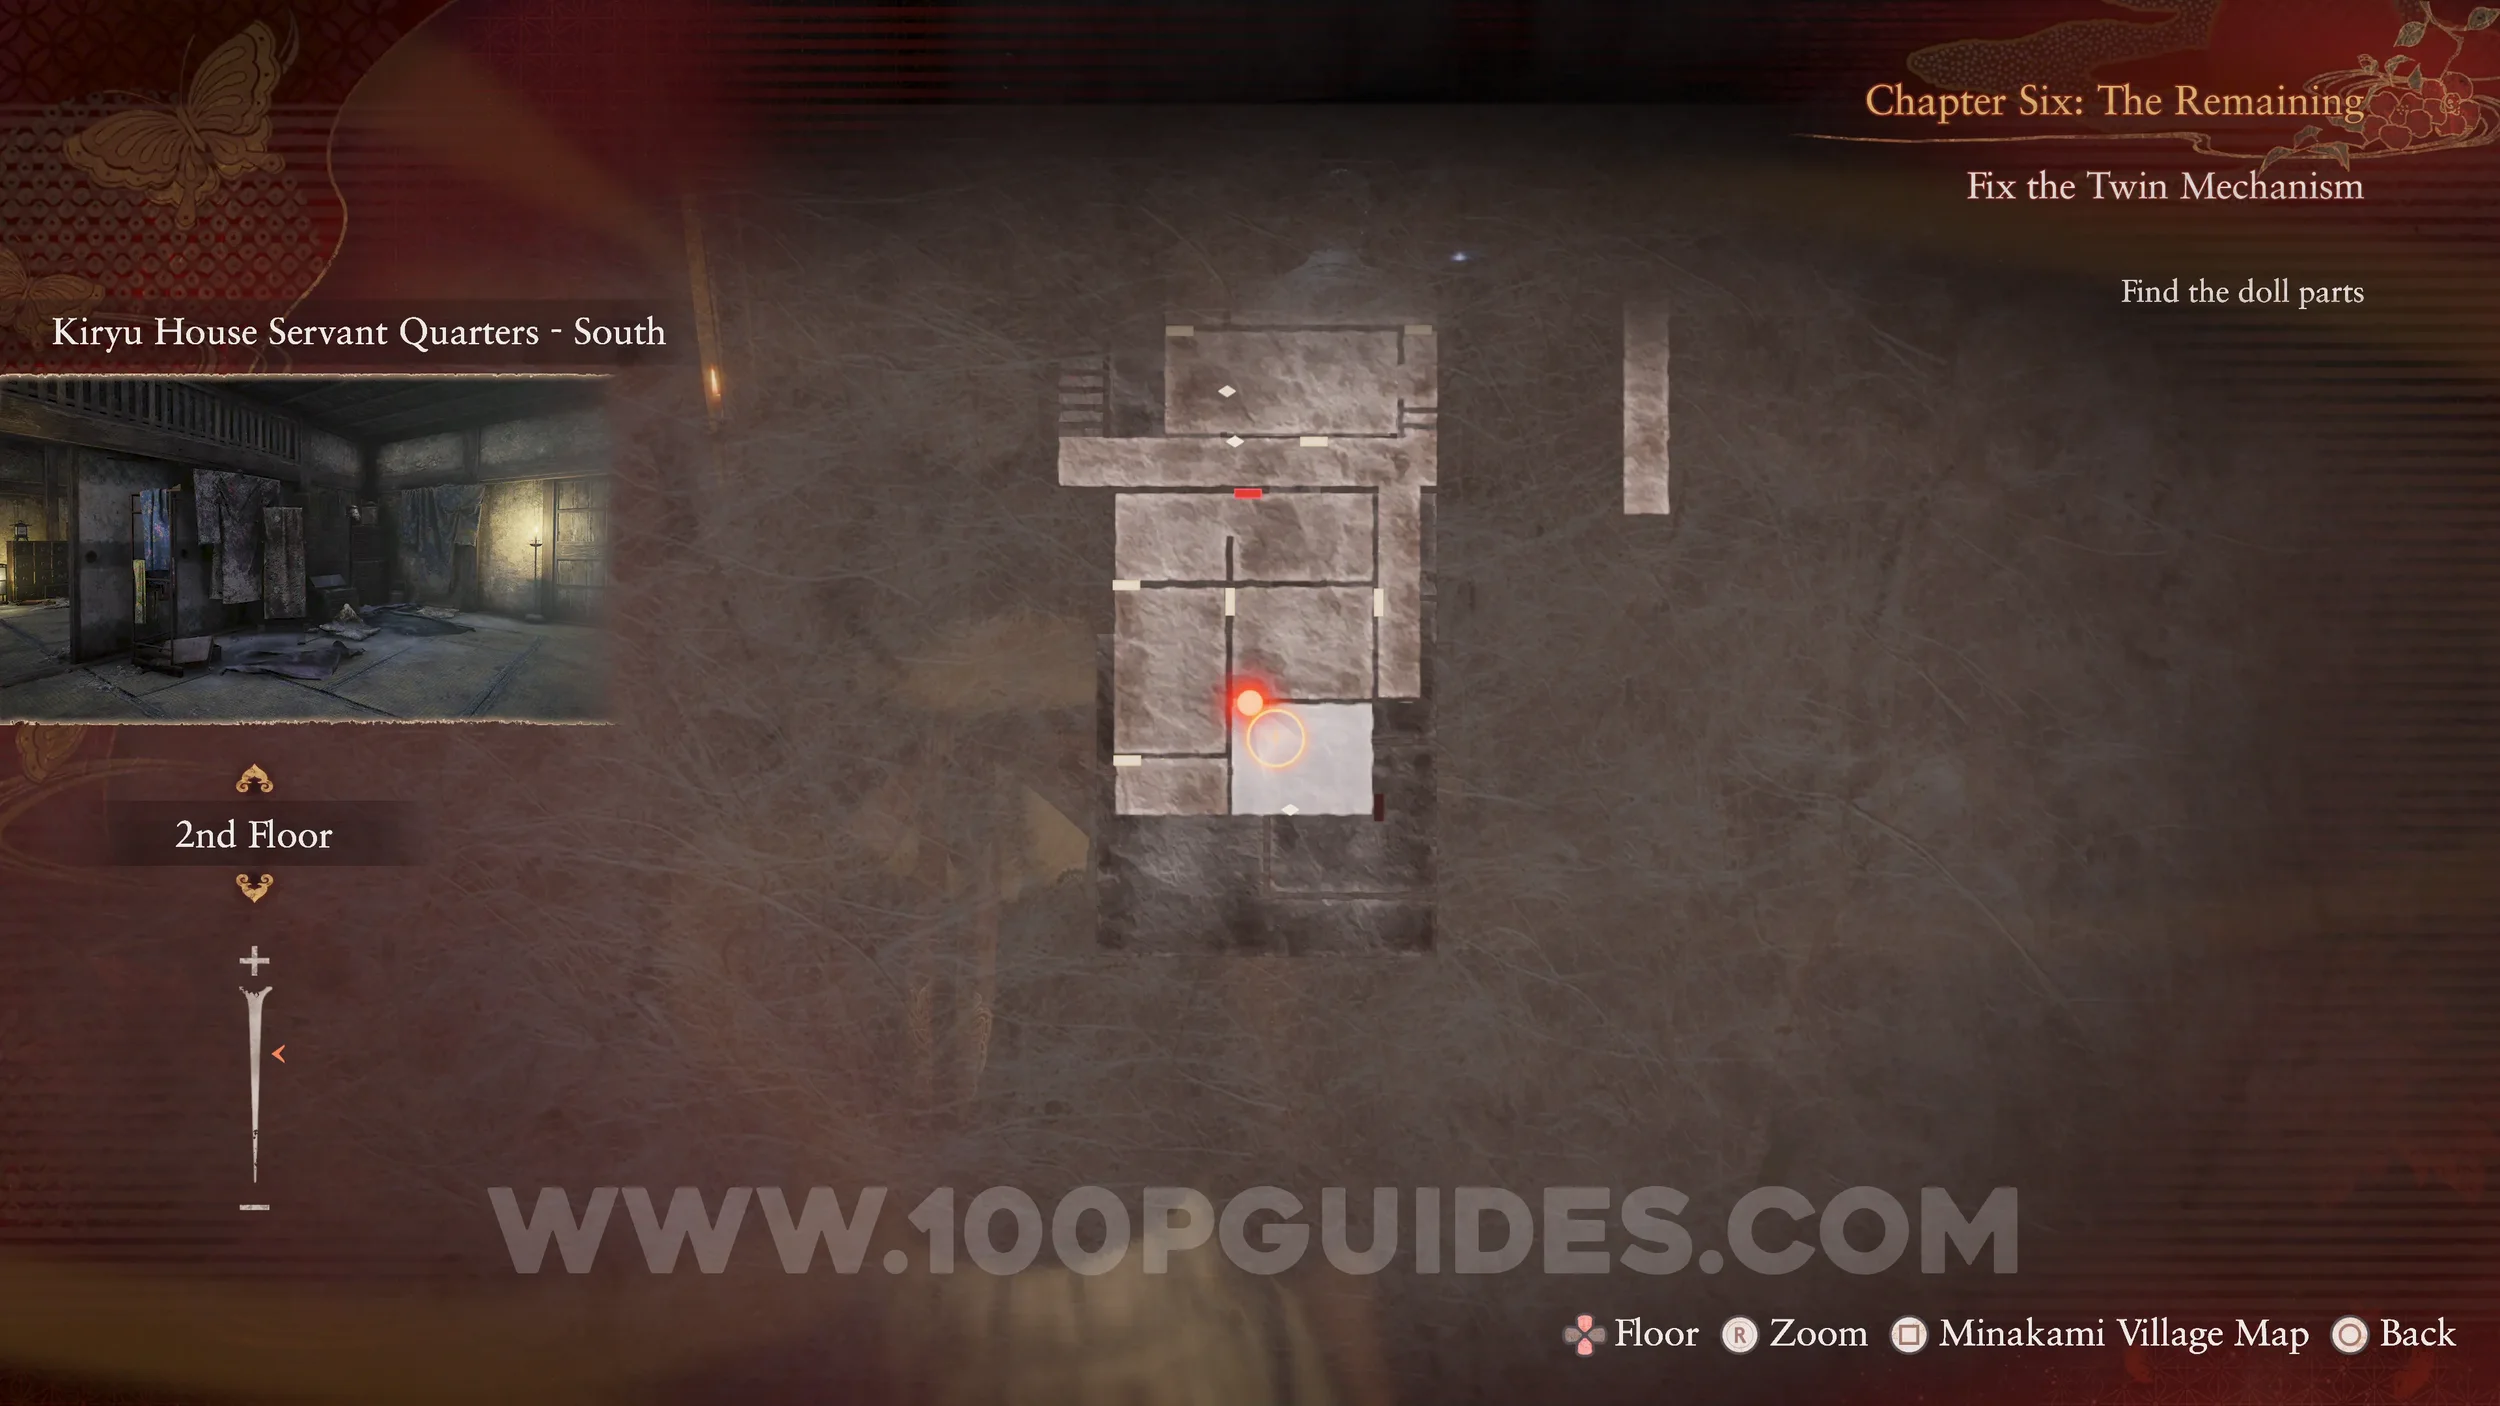
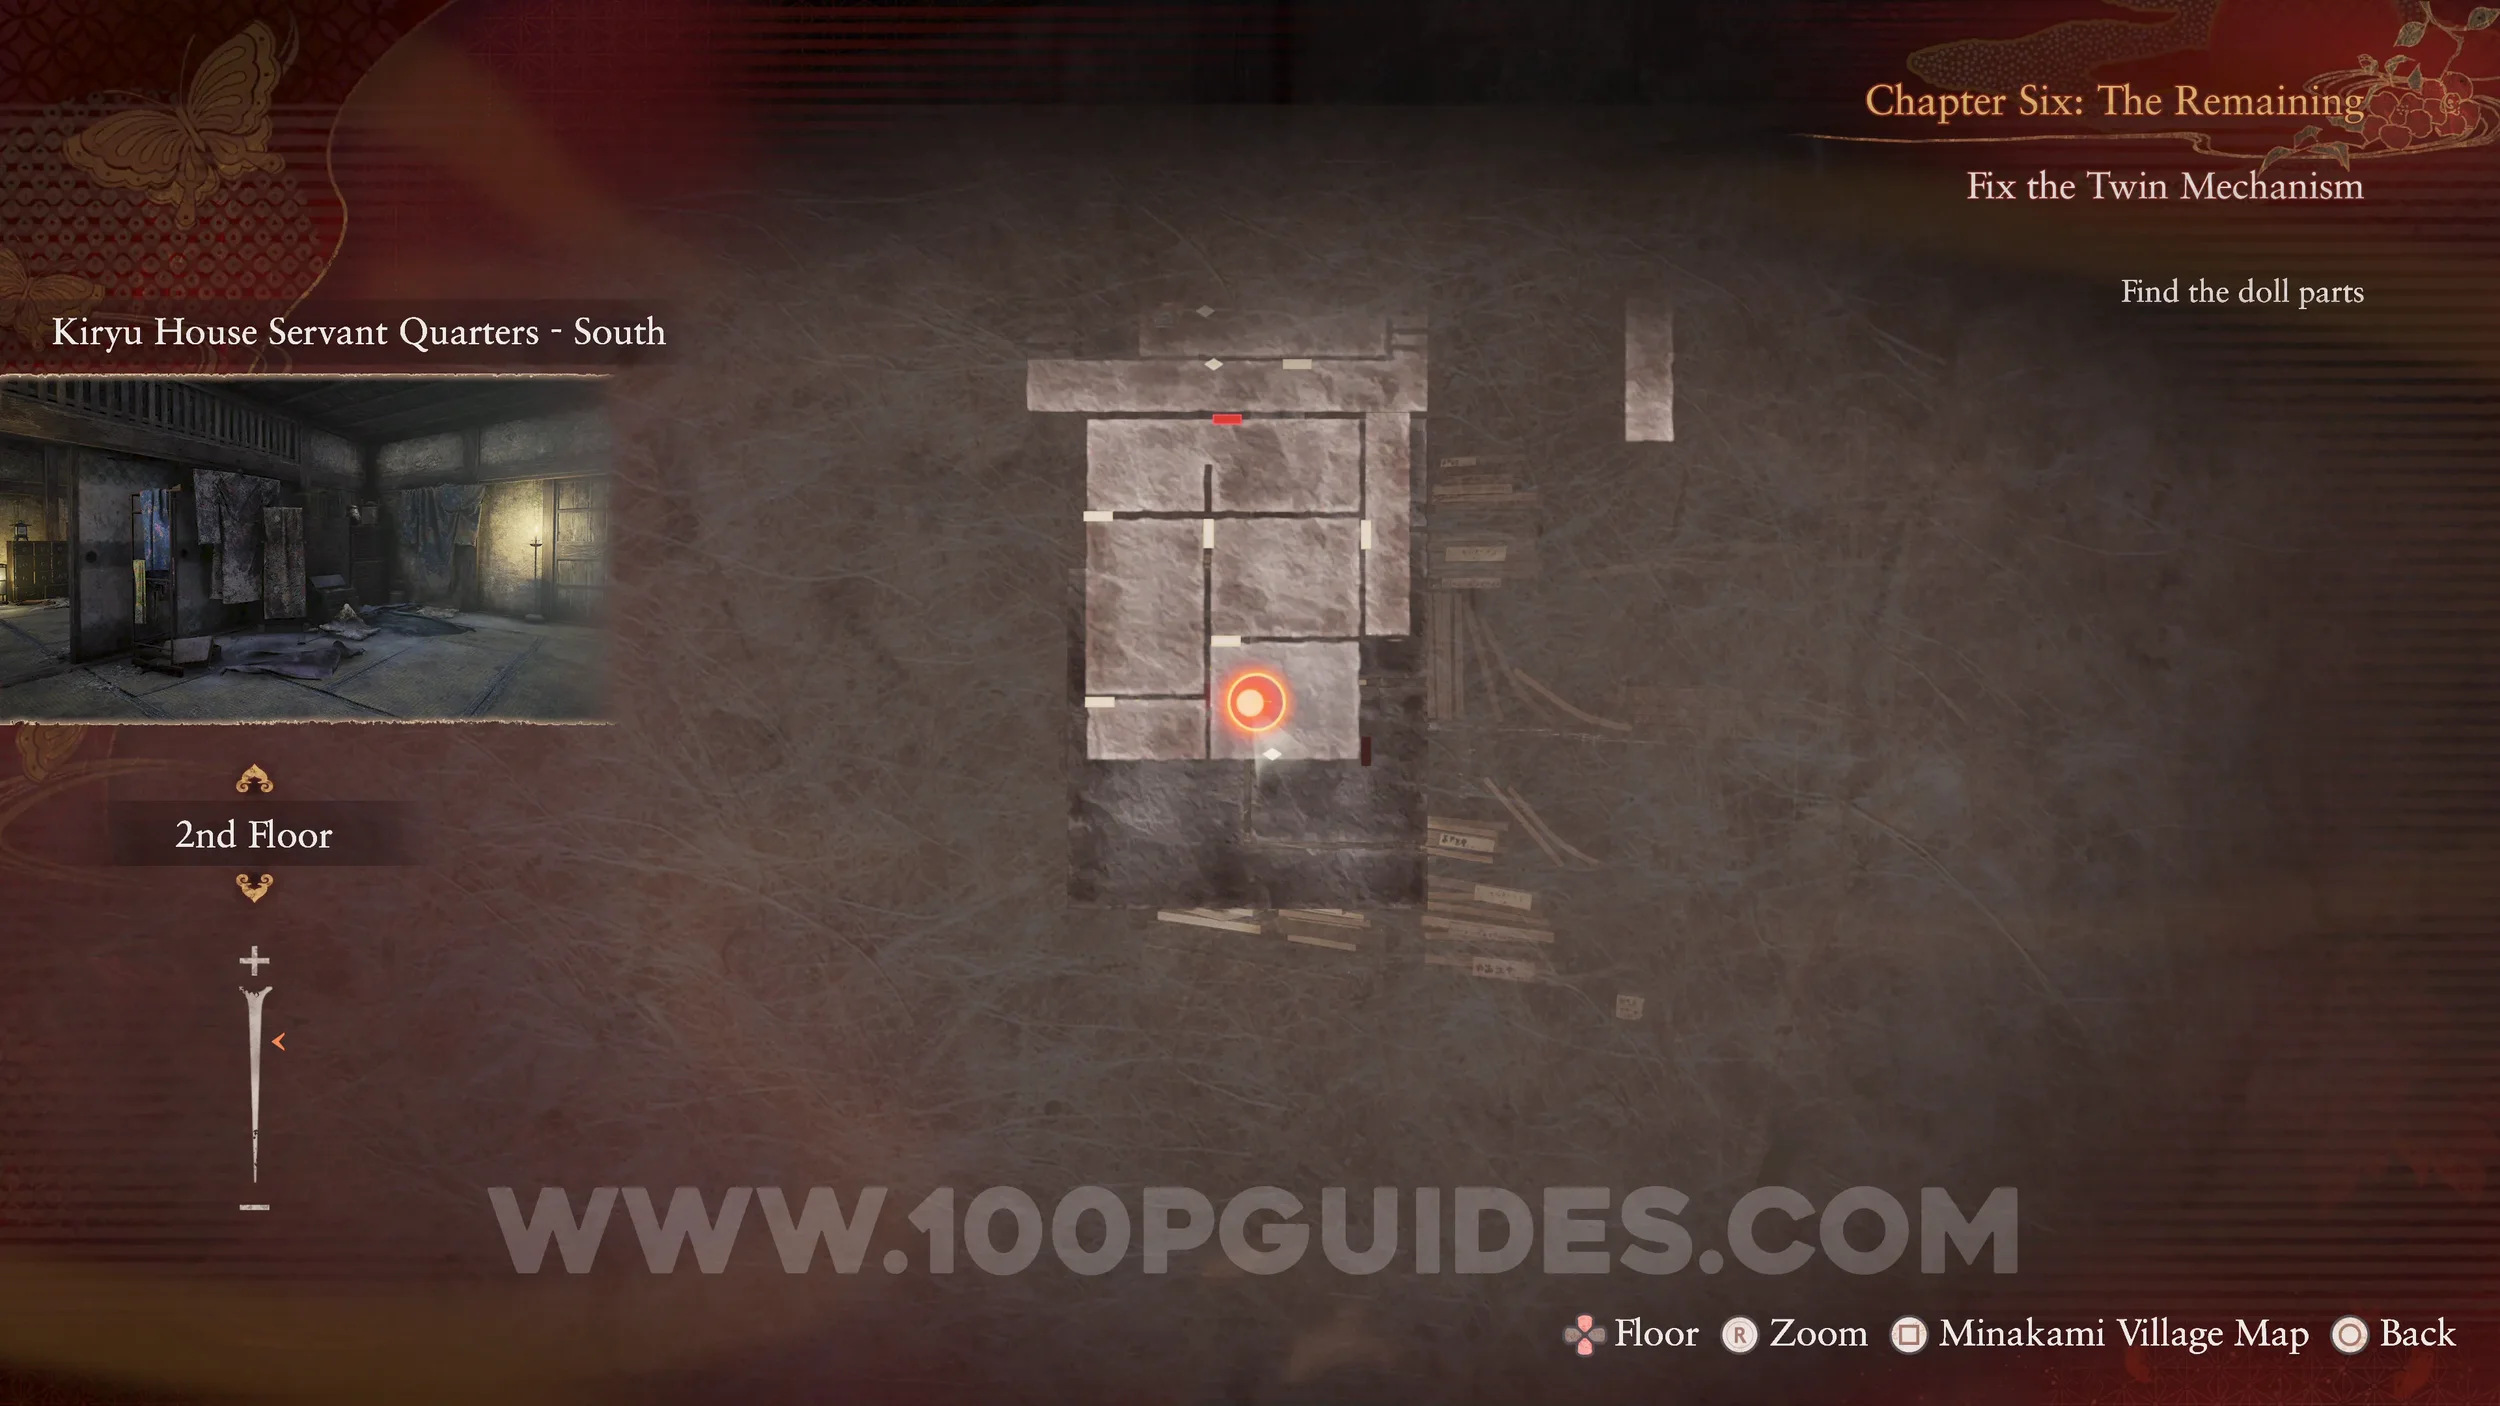
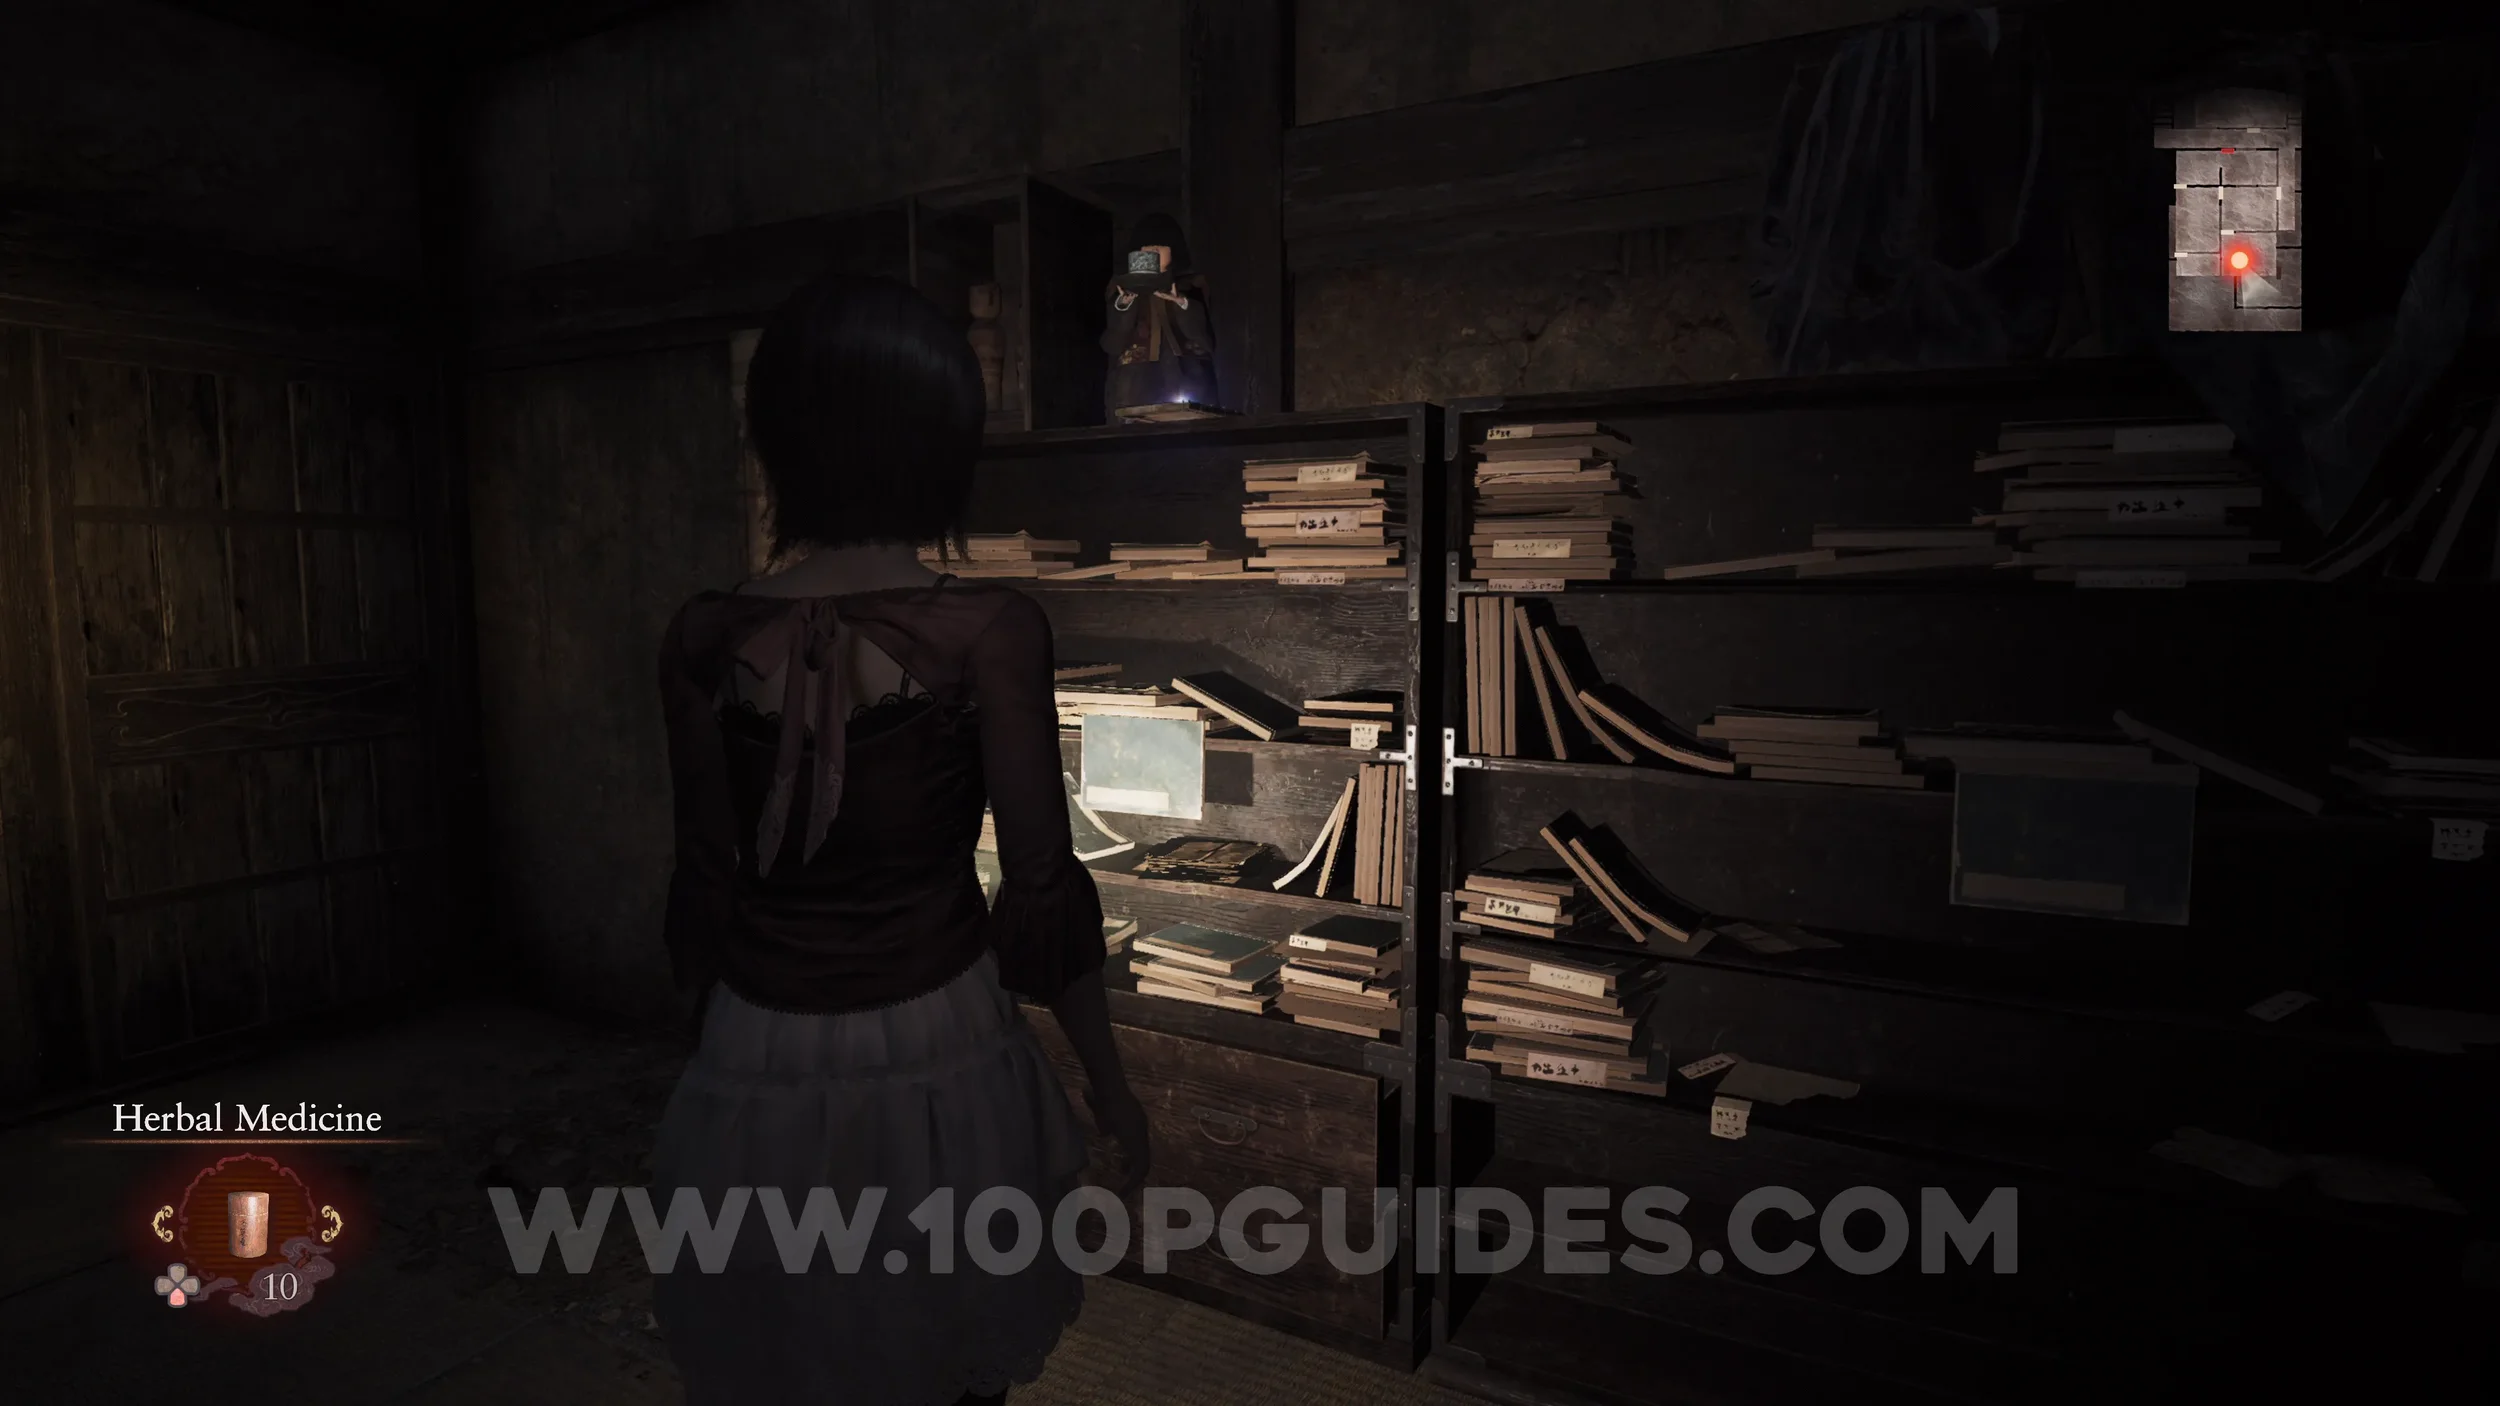
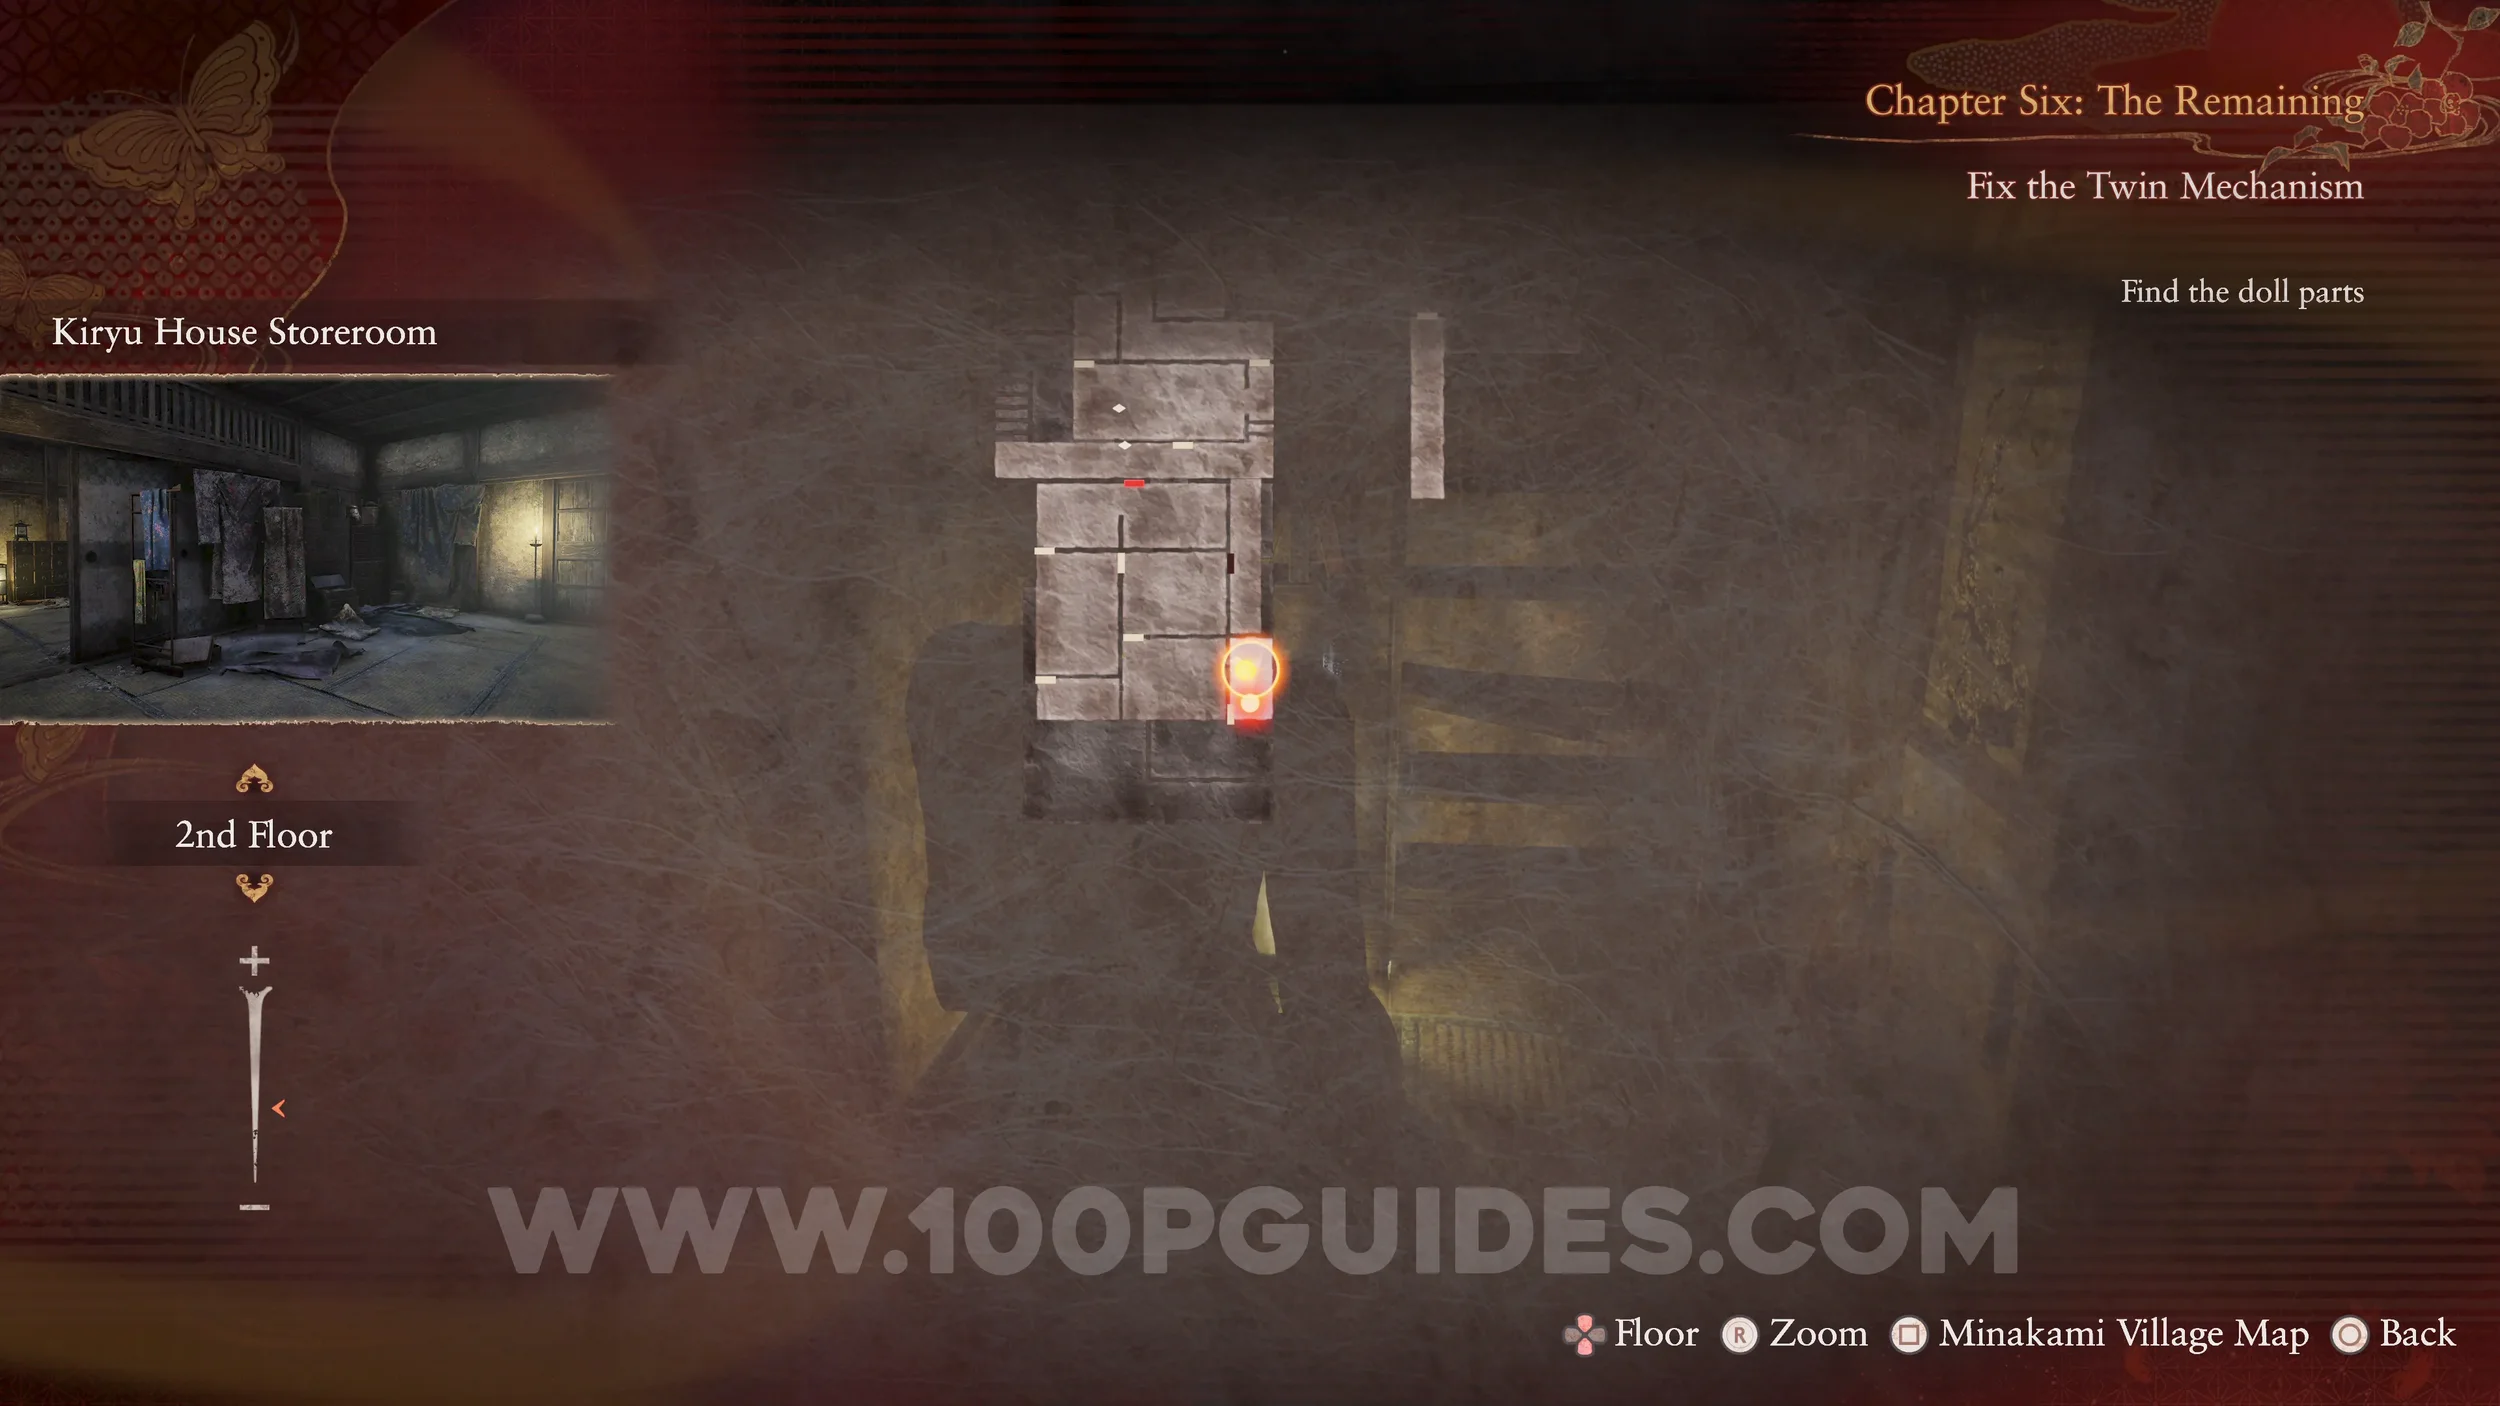
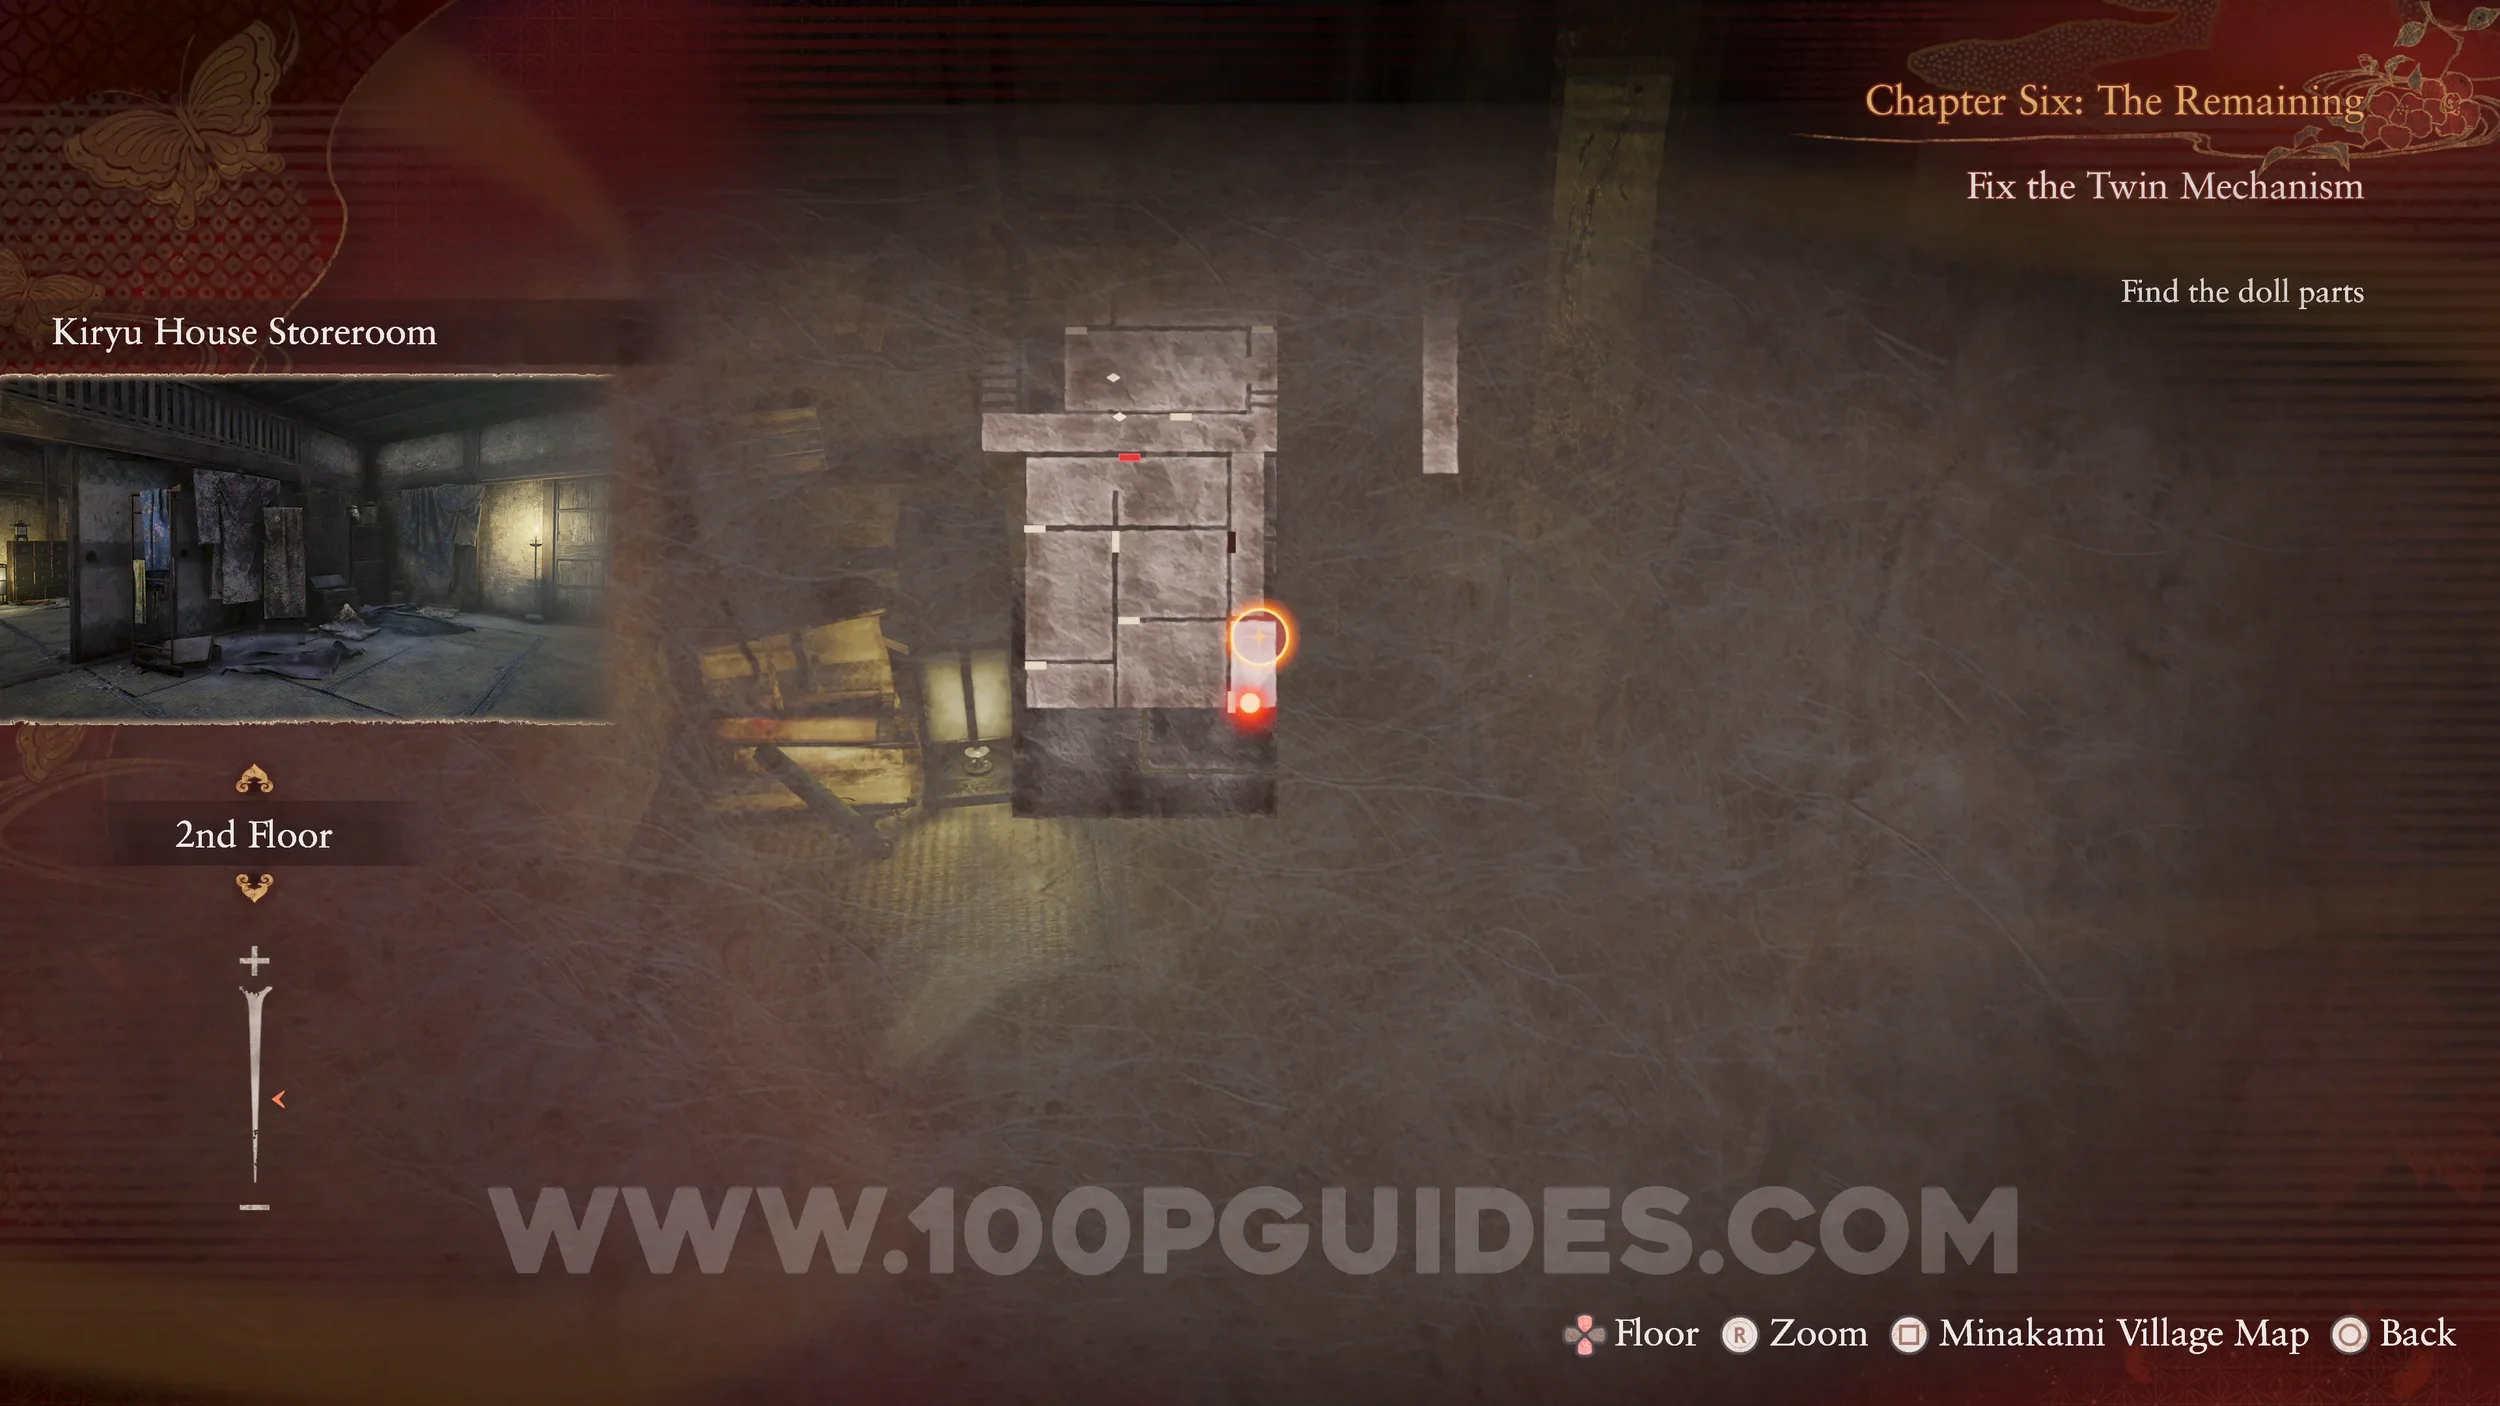
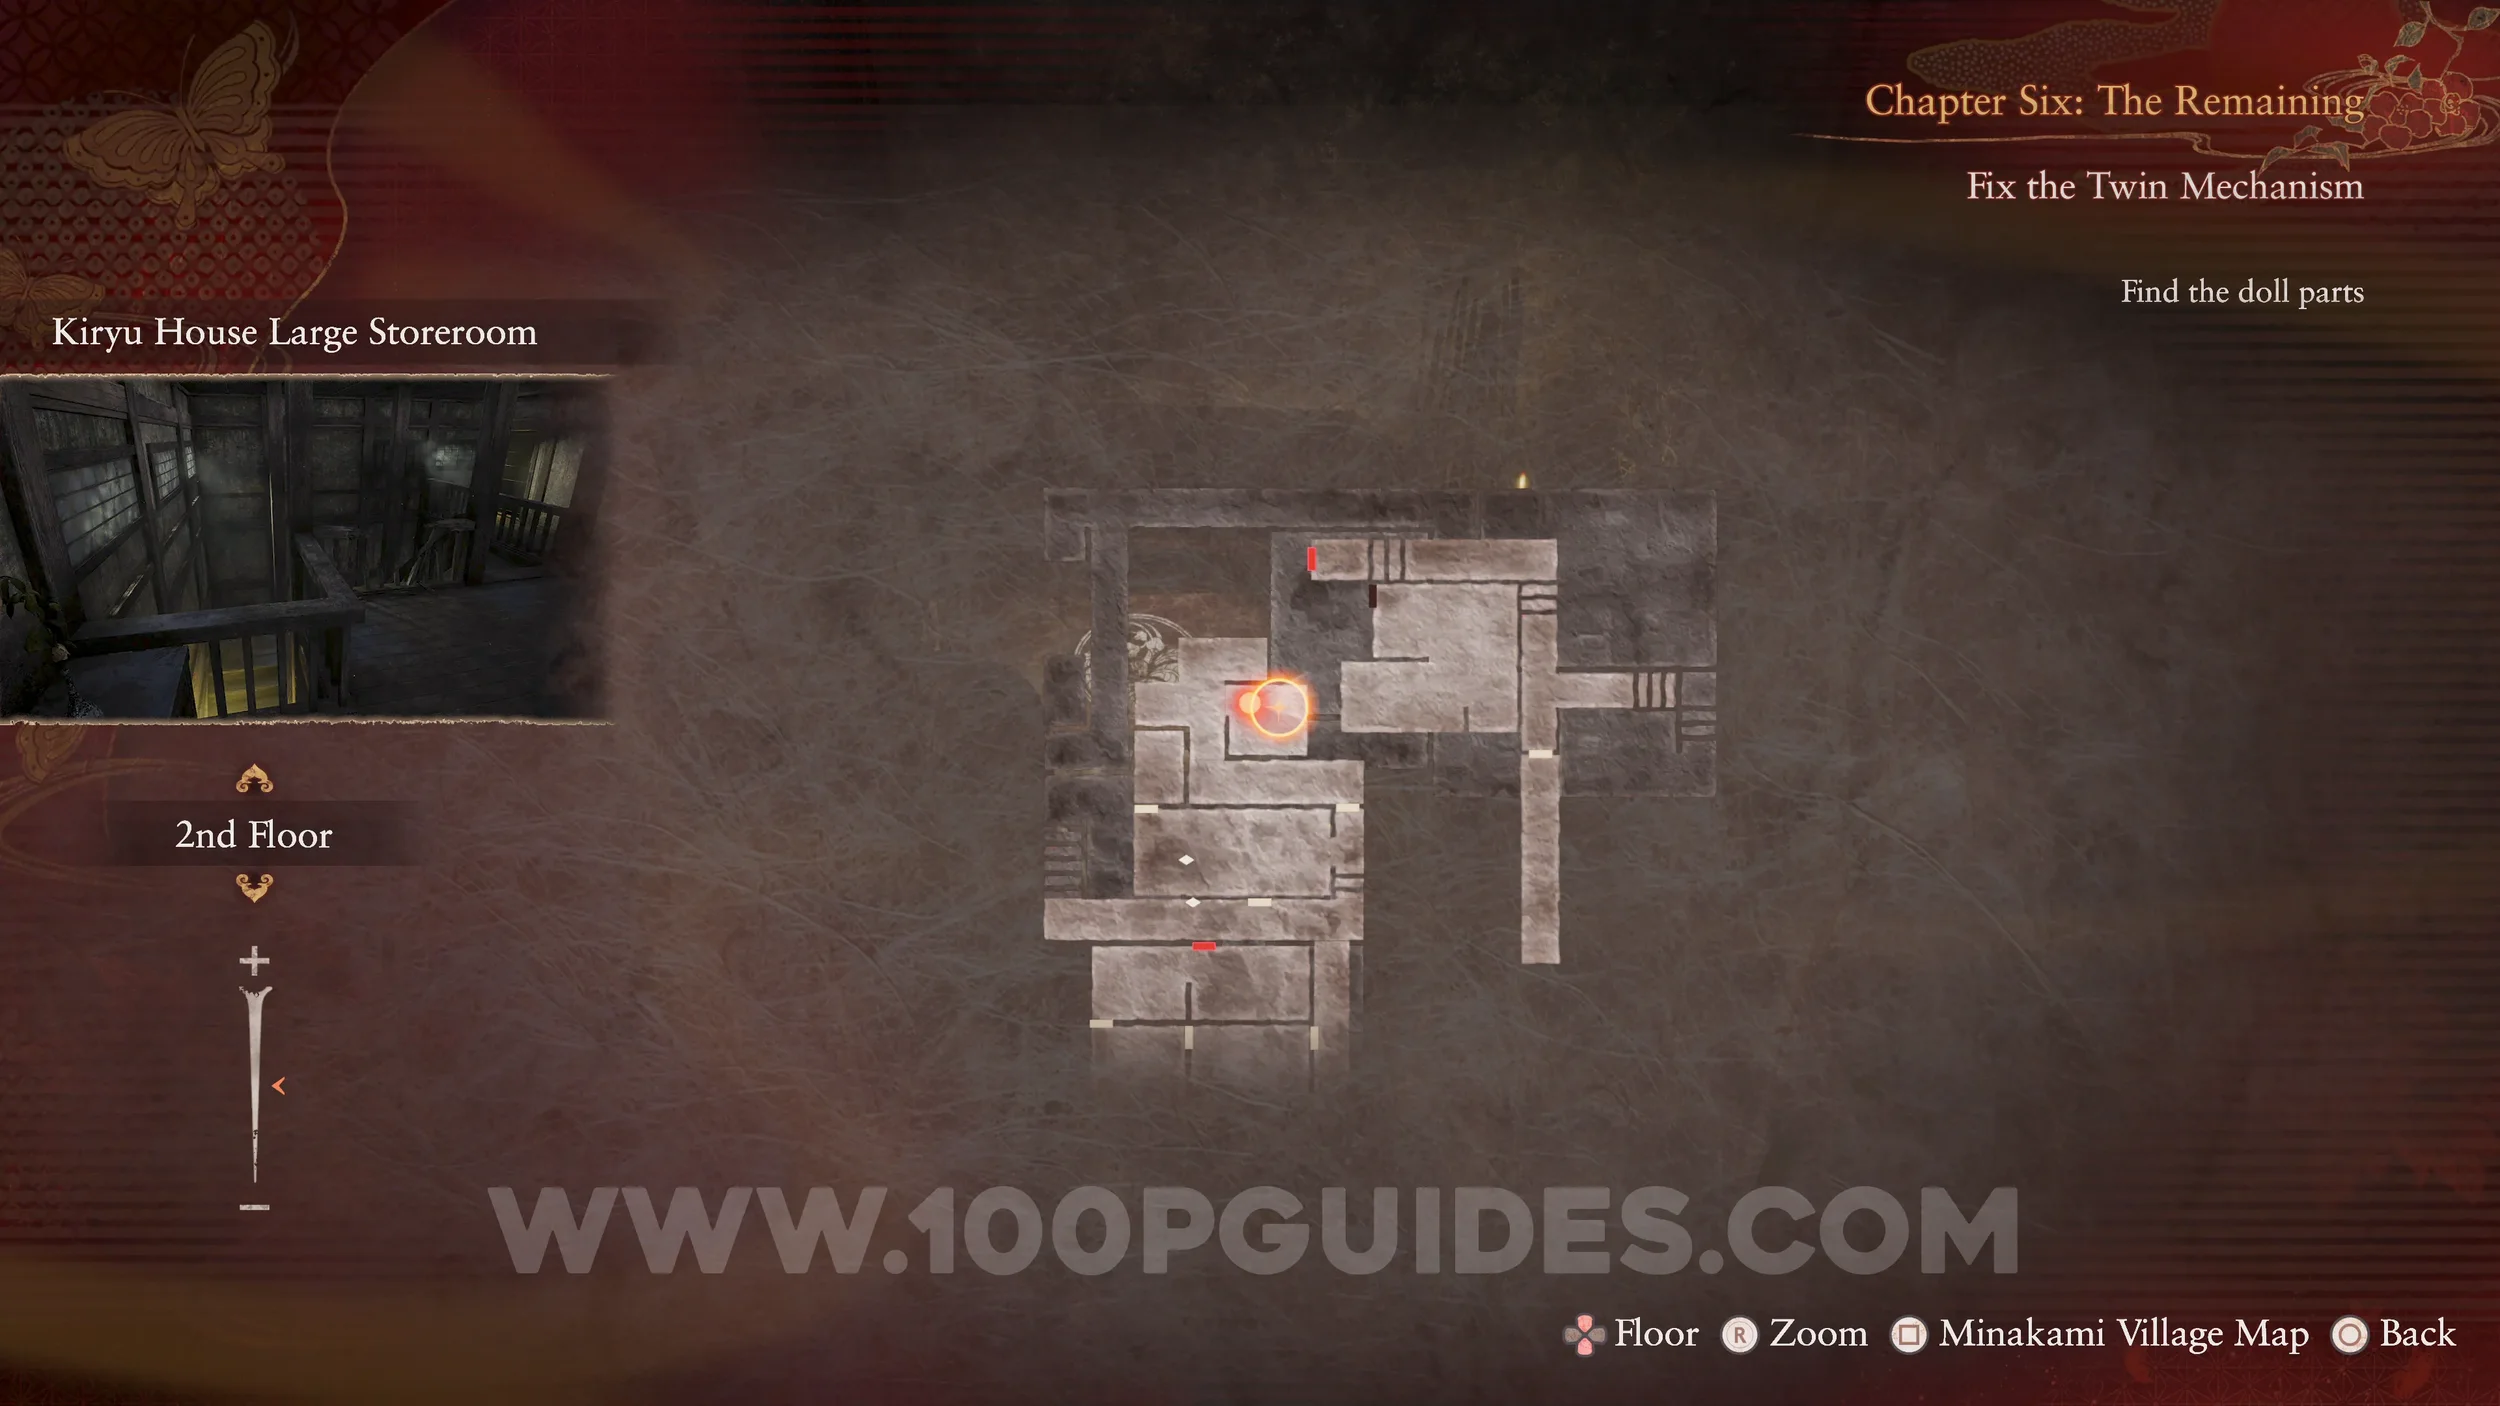
Phantom Expose #12 - Storeroom. Use the Exposure Filter in the same room to reveal a chest containing one of the doll parts.

Specter #136 - 099 Leading Girl. Now, backtrack and head north through the hall until you reach some stairs that go down. Look down the stairs to see the specter.
Document #69 - Violet Diary 3. Before heading down the stairs, enter the small room on the right and get the document from the chest.

Wraith #19 - 019 The Fallen and Specter #137 - 100 Girl Staring at Box. As you go downstairs, a cutscene will play and you will then face a new wraith. As soon as you defeat her, the specter will be standing near the box.
Spirit Stone #26 - Spodumene. In the clock in the same room.
Specter #138 - 101 Lamenting Man. After placing all three doll parts onto the doll in the Doll Room, go back through the hall to see the specter entering the Twins’ Room.
Specter #139 - 102 Man Killed by Daughter, Specter #140 - 103 Girl Murdering Father and Specter #141 - 104 Kiryu Clan Father and Daughter. Go south and return to the Altar Room. Then look through the hole in the northern wall to see the specters. Make sure both are in the shot.

Unbinding of Blood #23. Look through the hole in the Altar Room again and use the Radiant Filter to open the door.
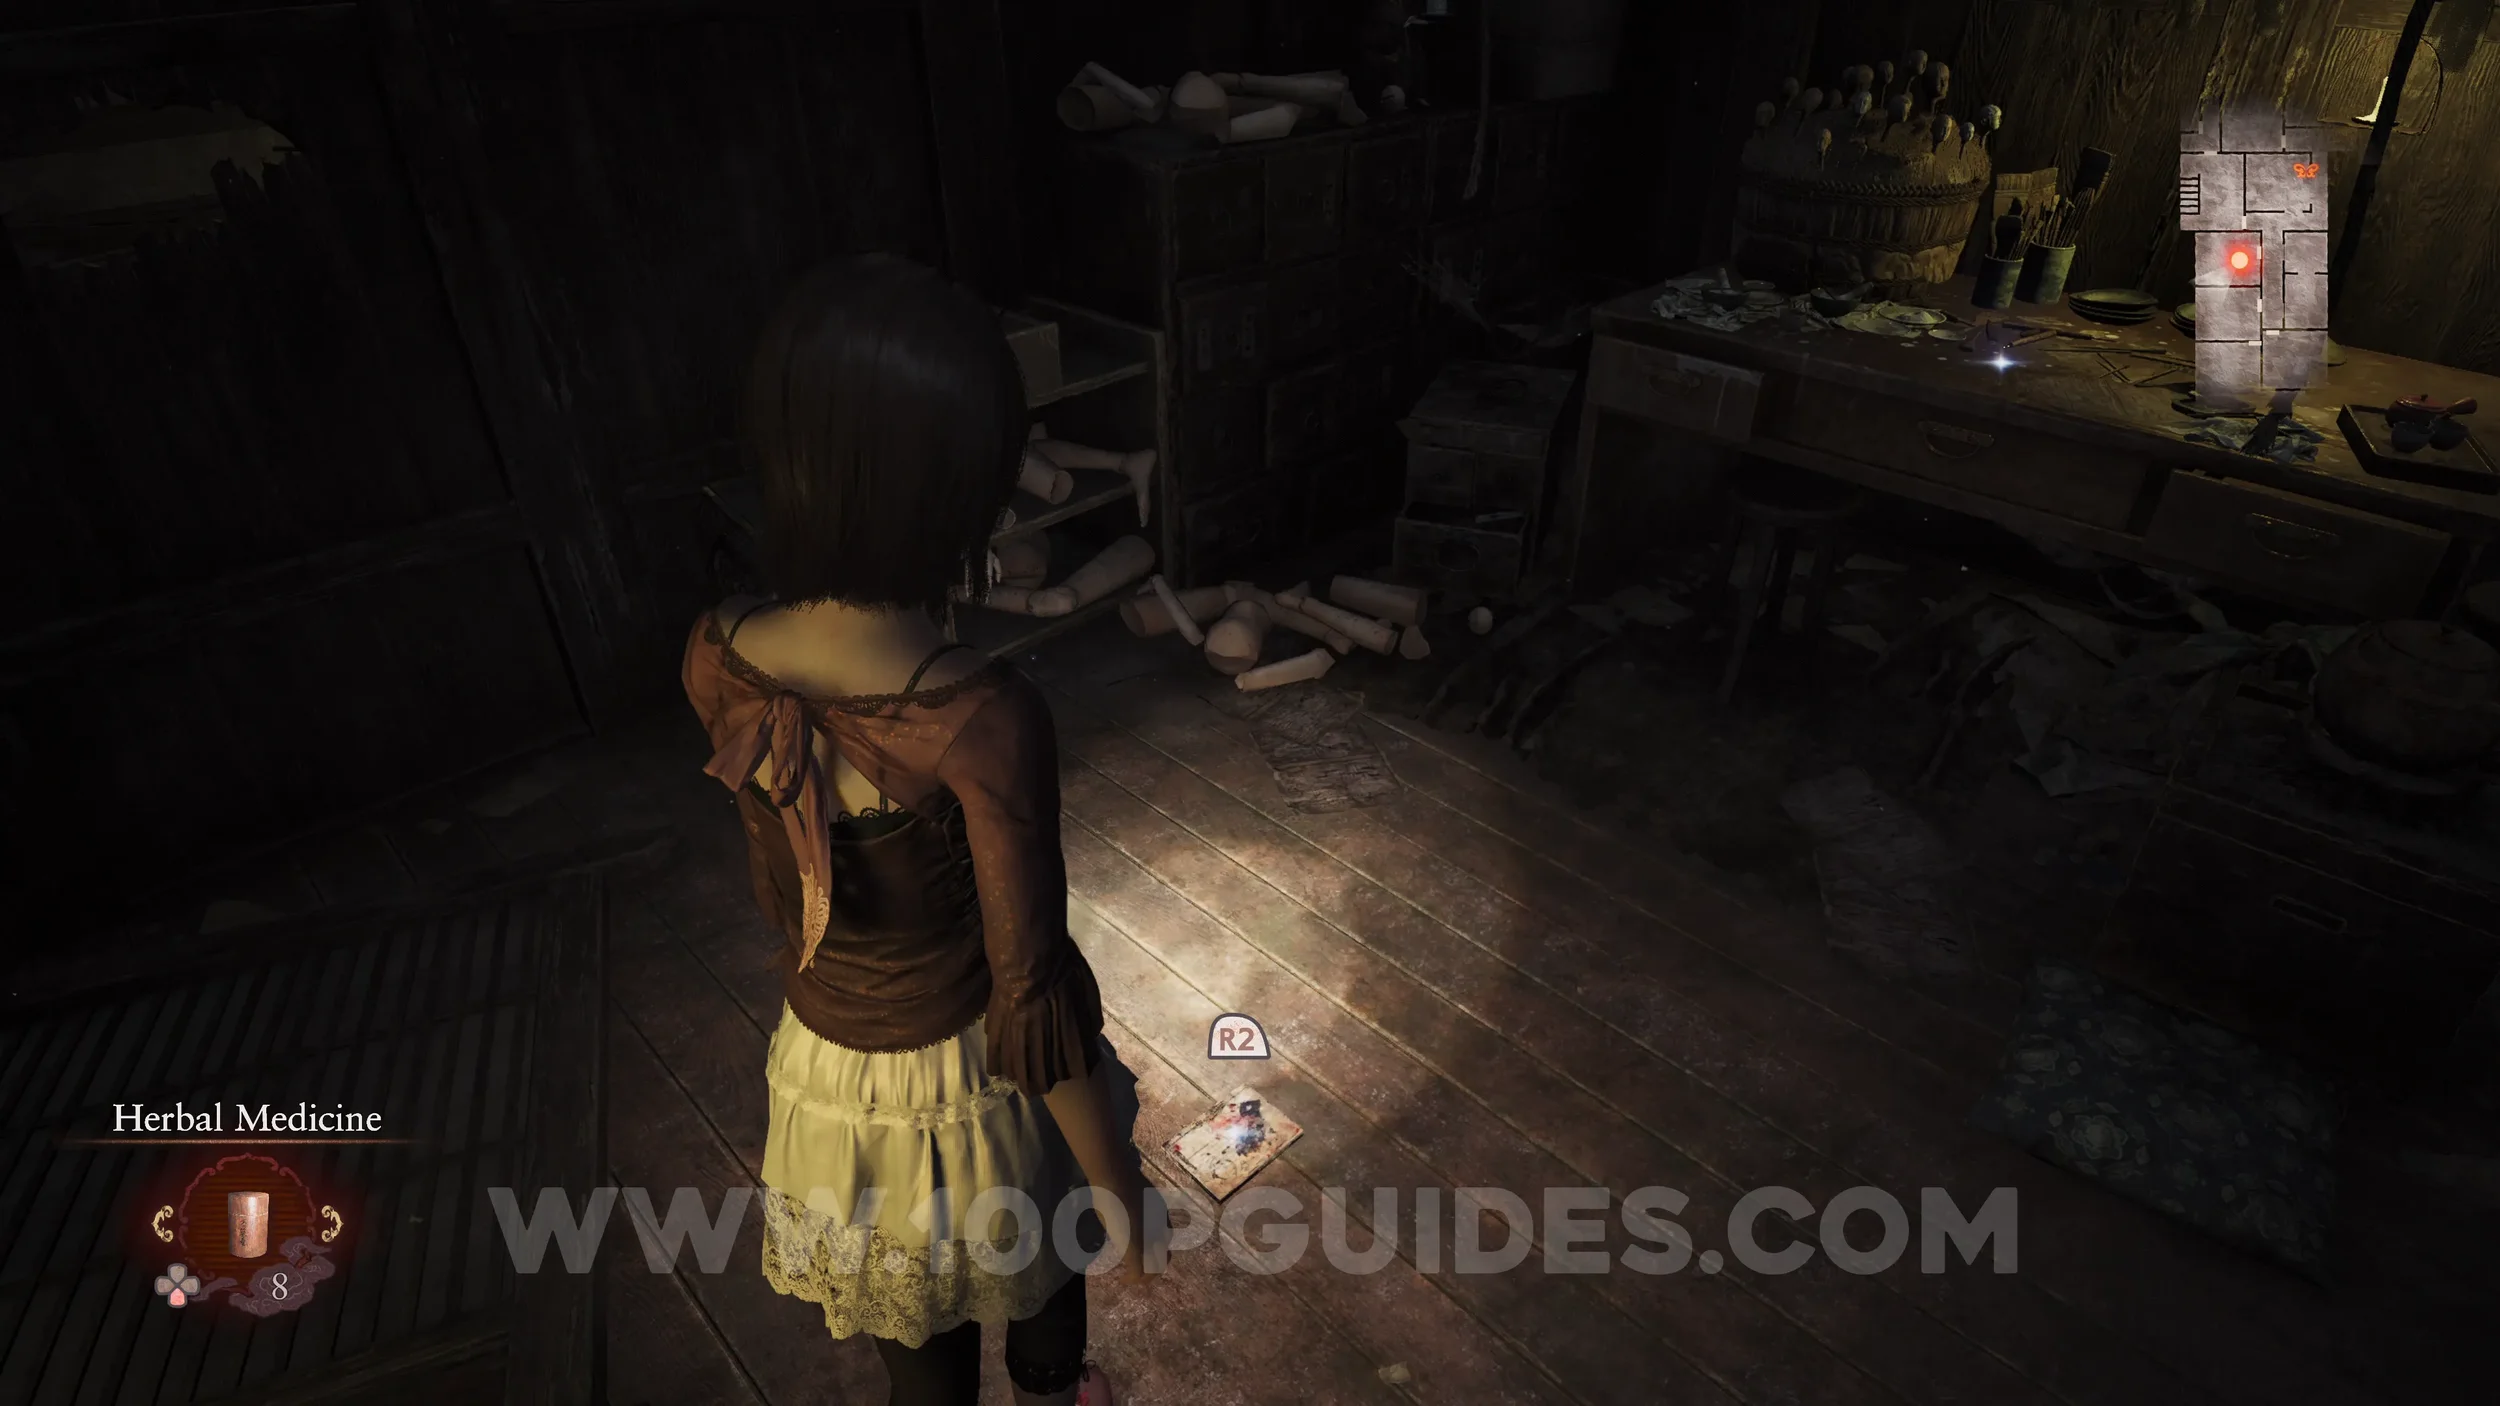
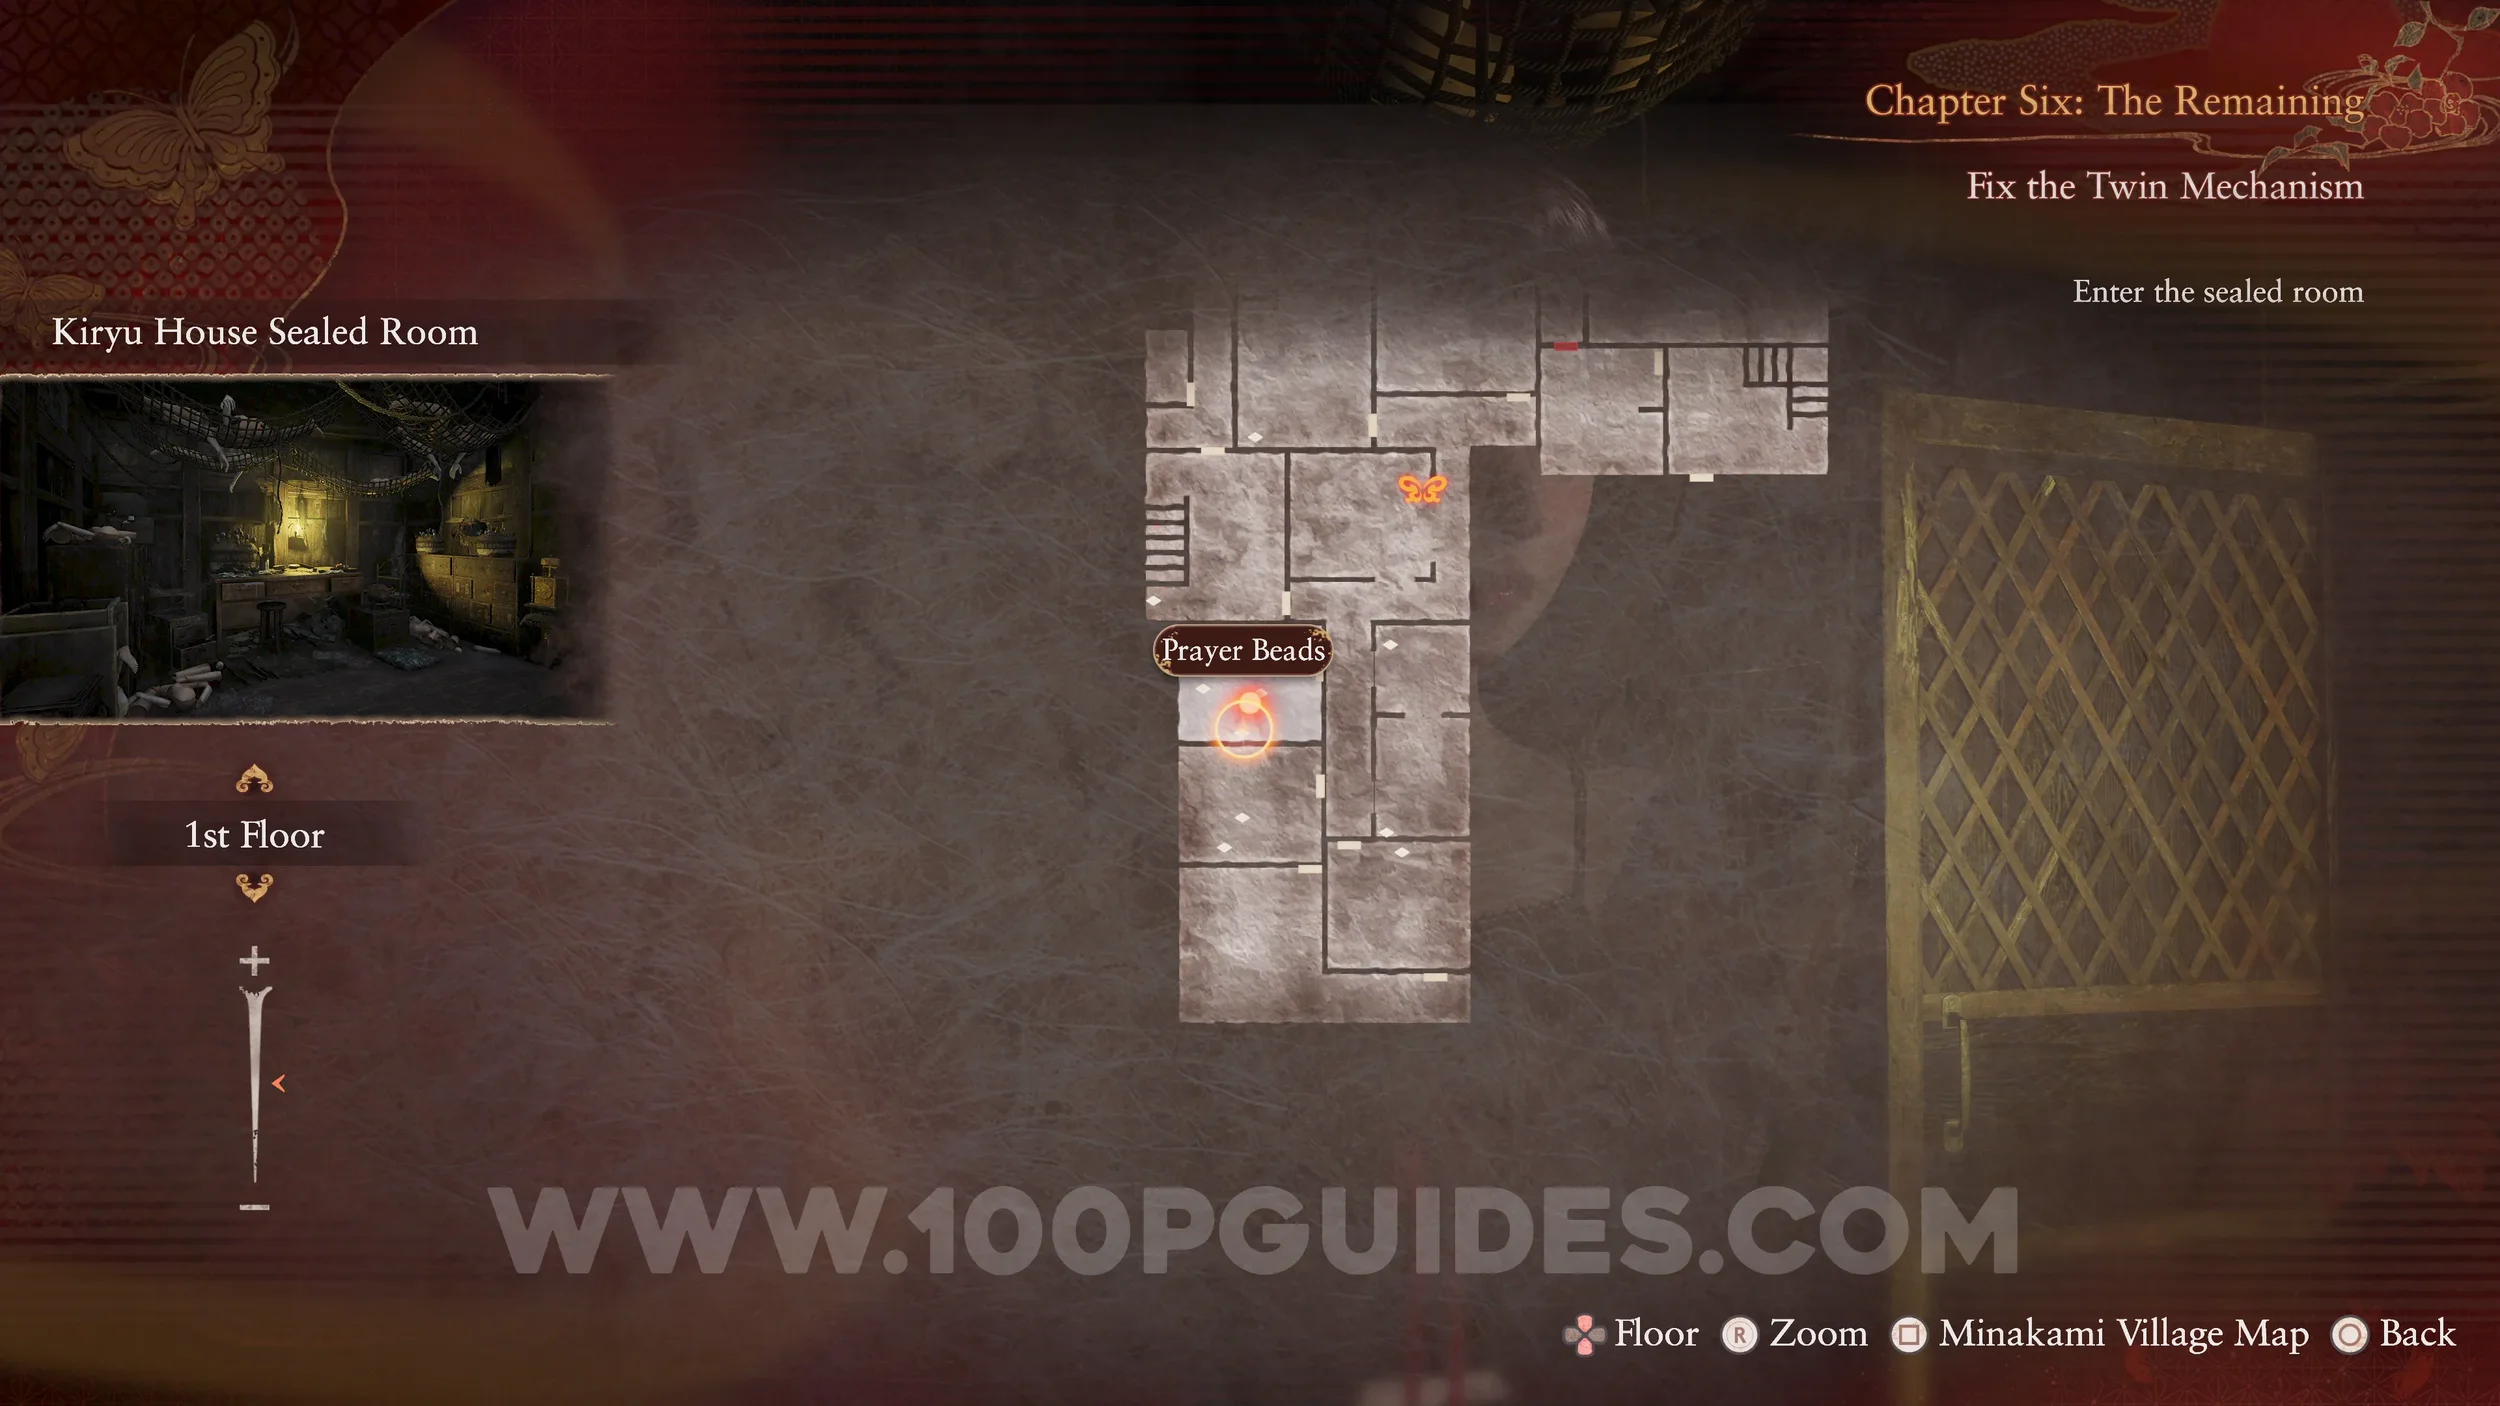
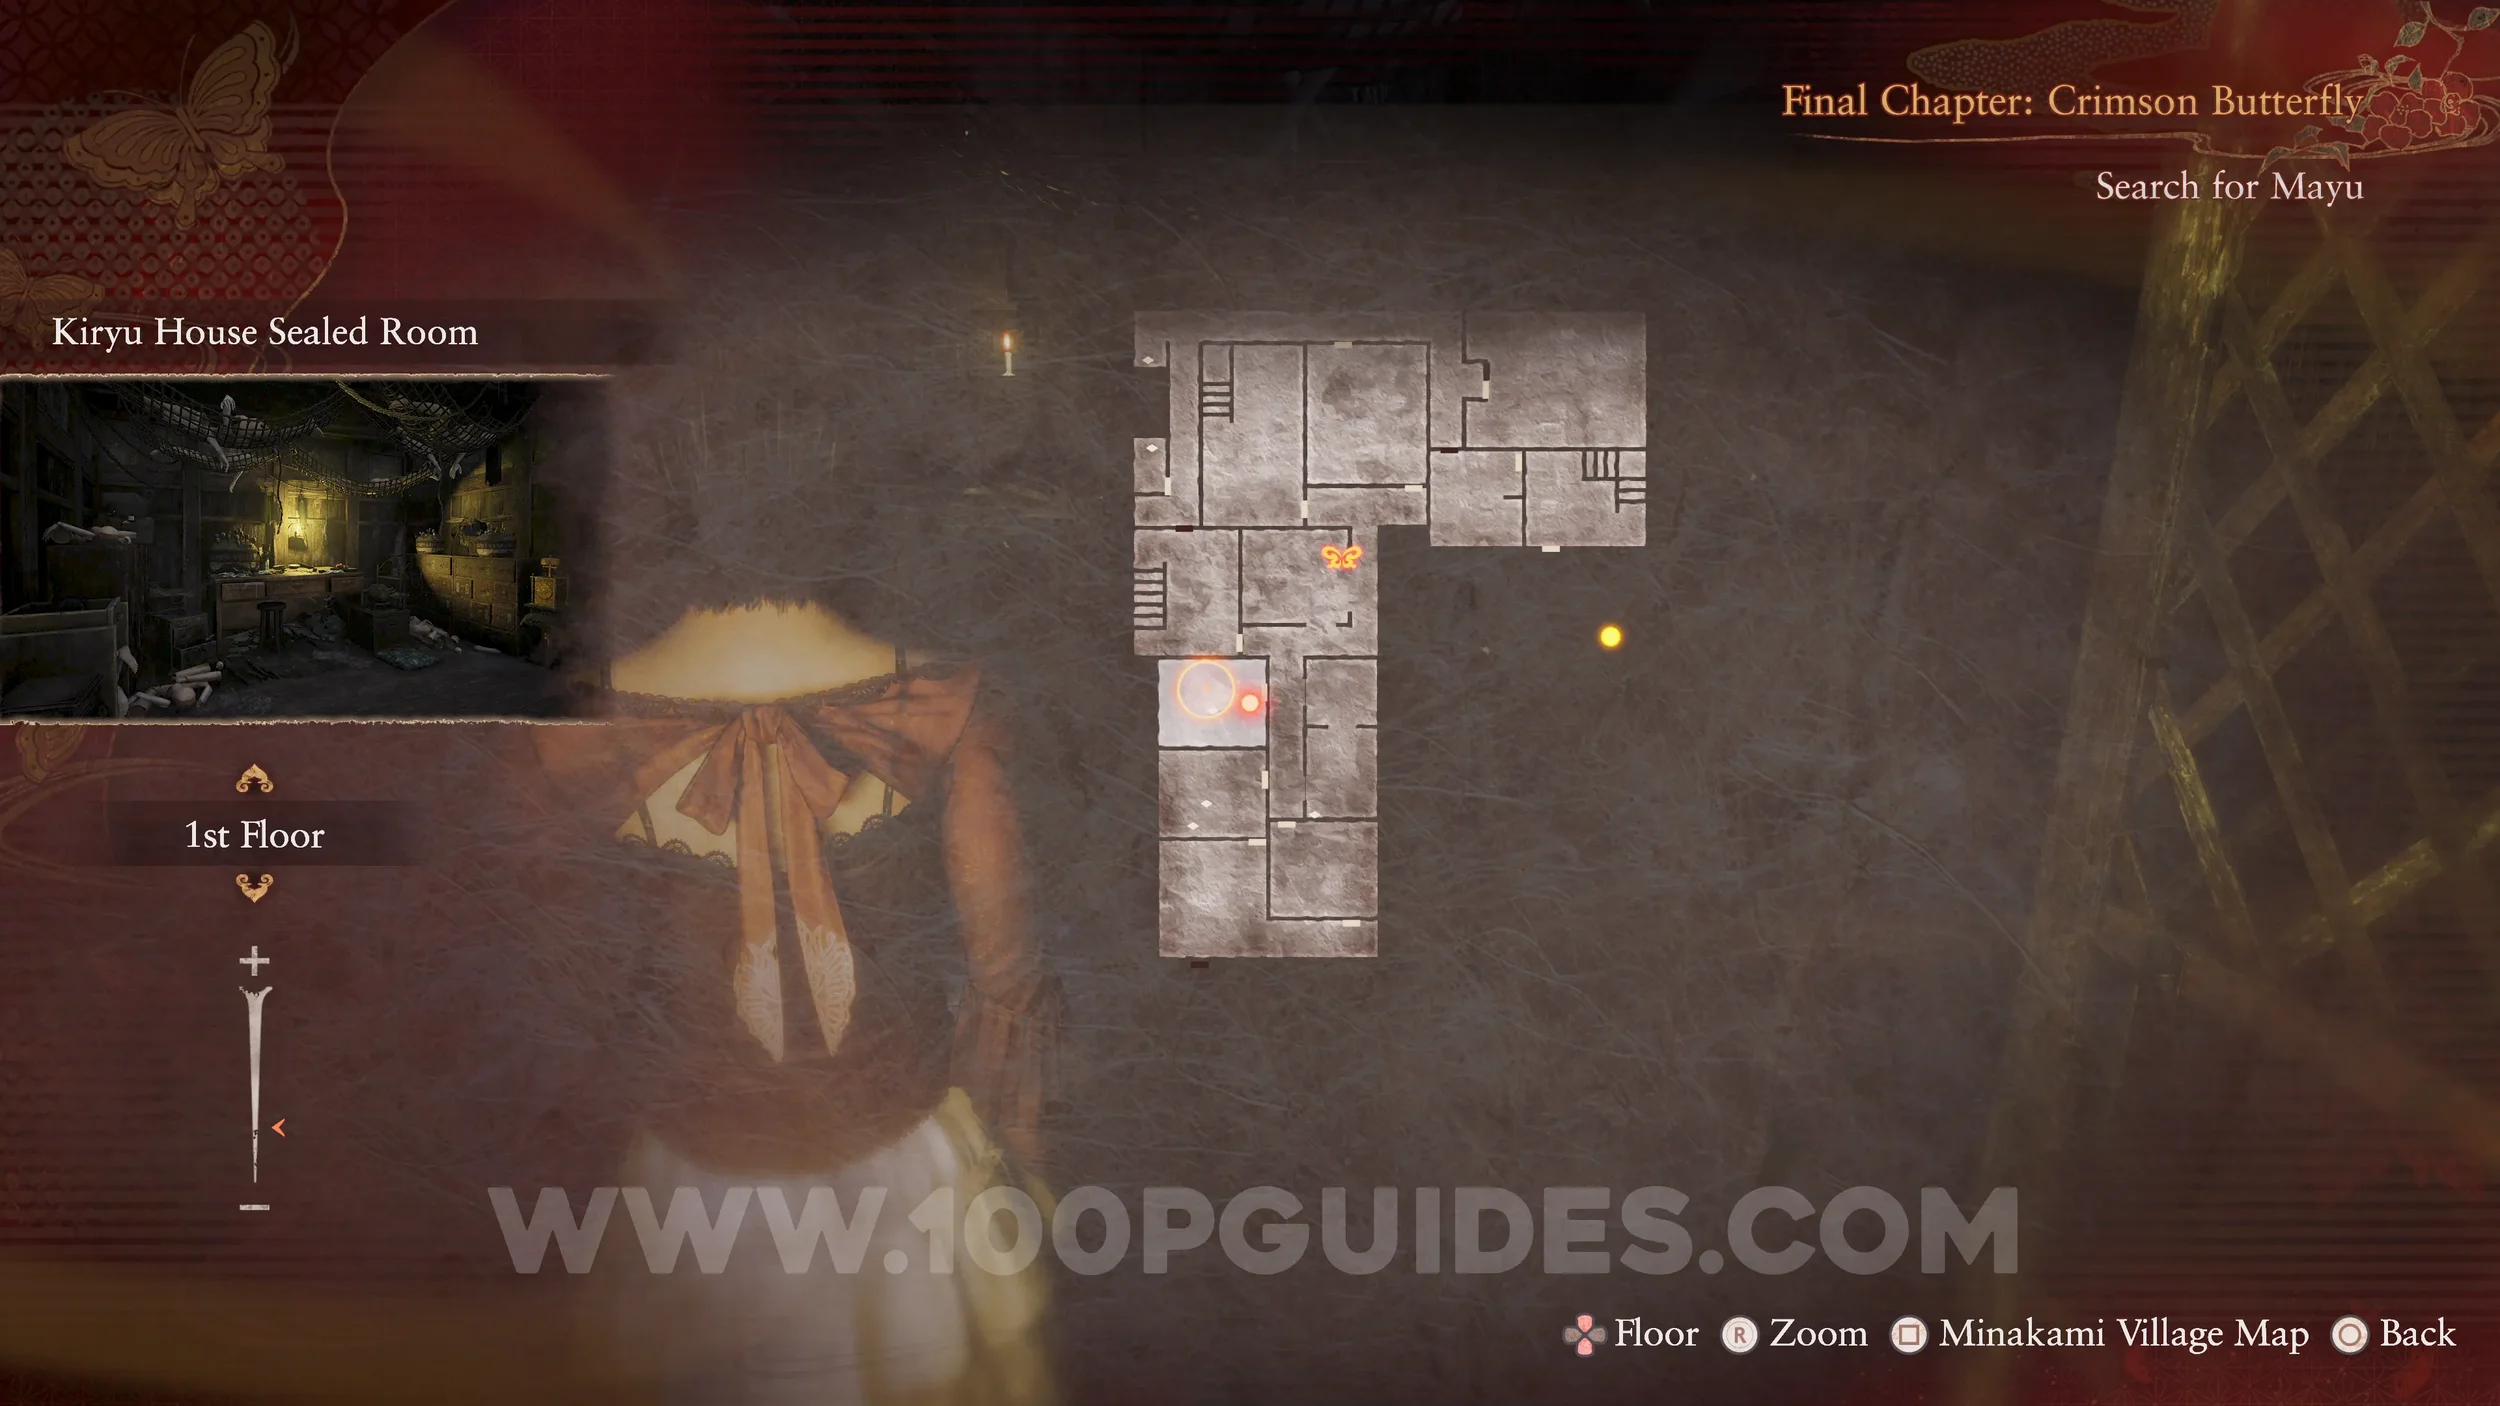
Document #70 - Doll Maker’s Note 7. On the floor in the Sealed Room you just opened.
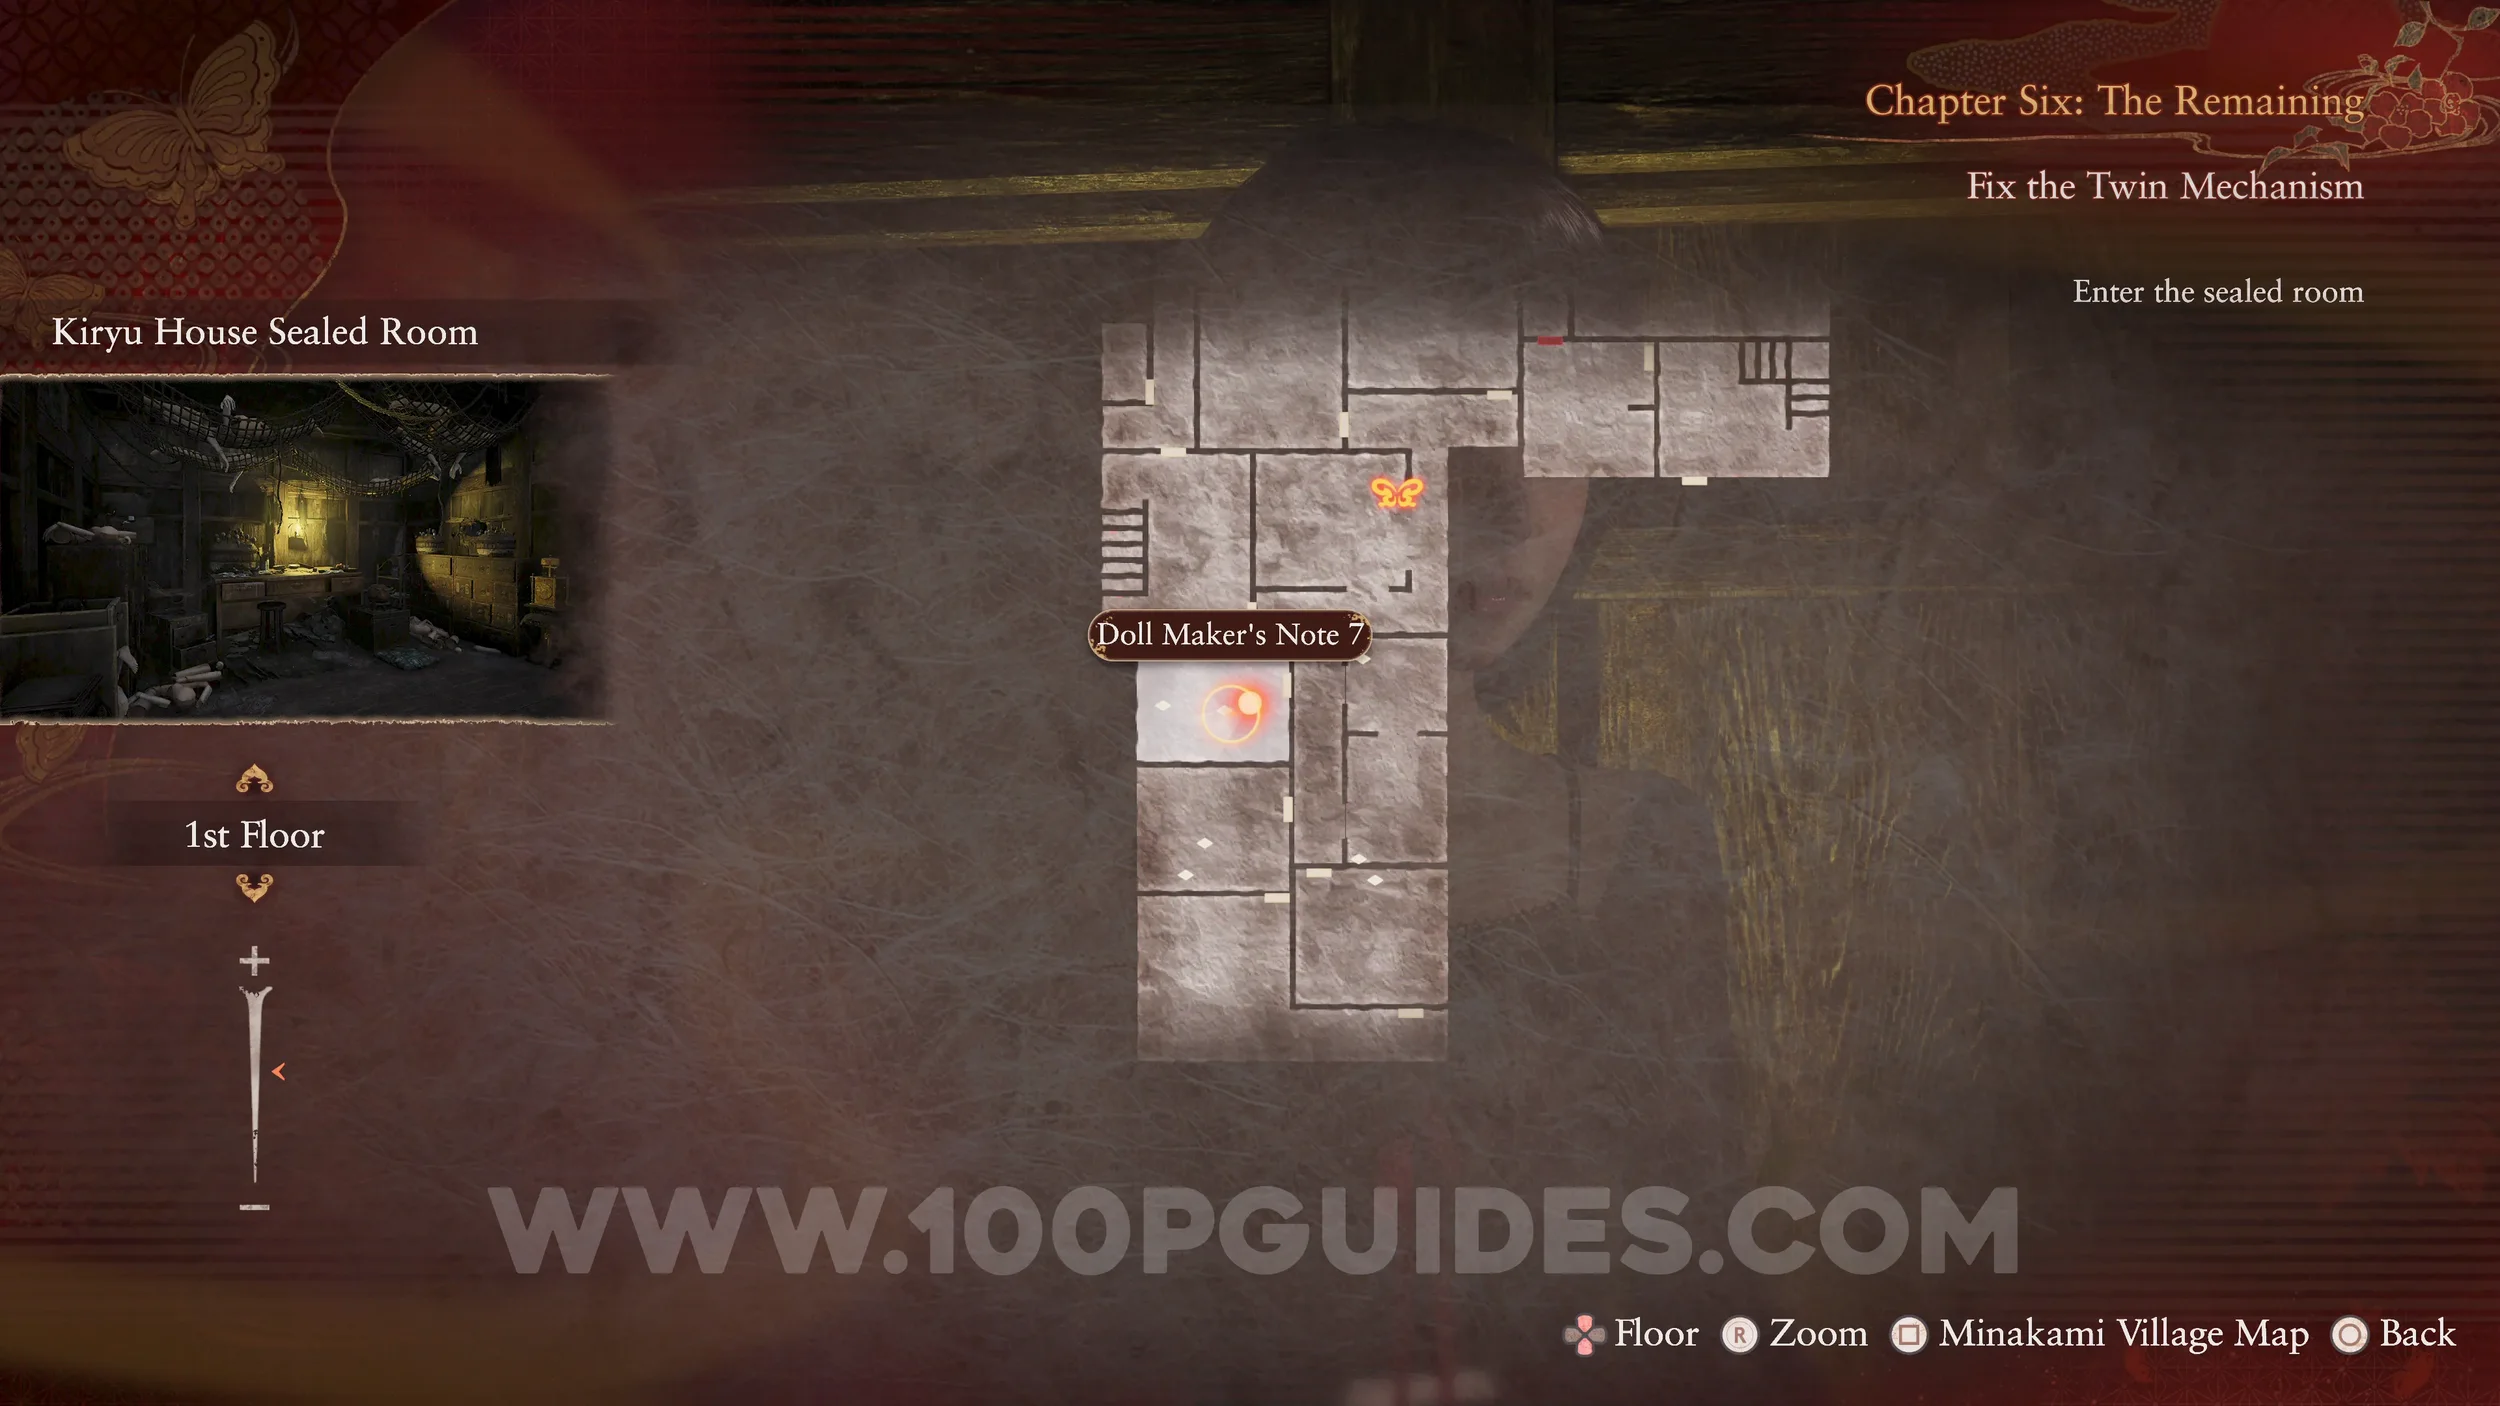
Document #71 - Doll Manual. Also in the Sealed Room.
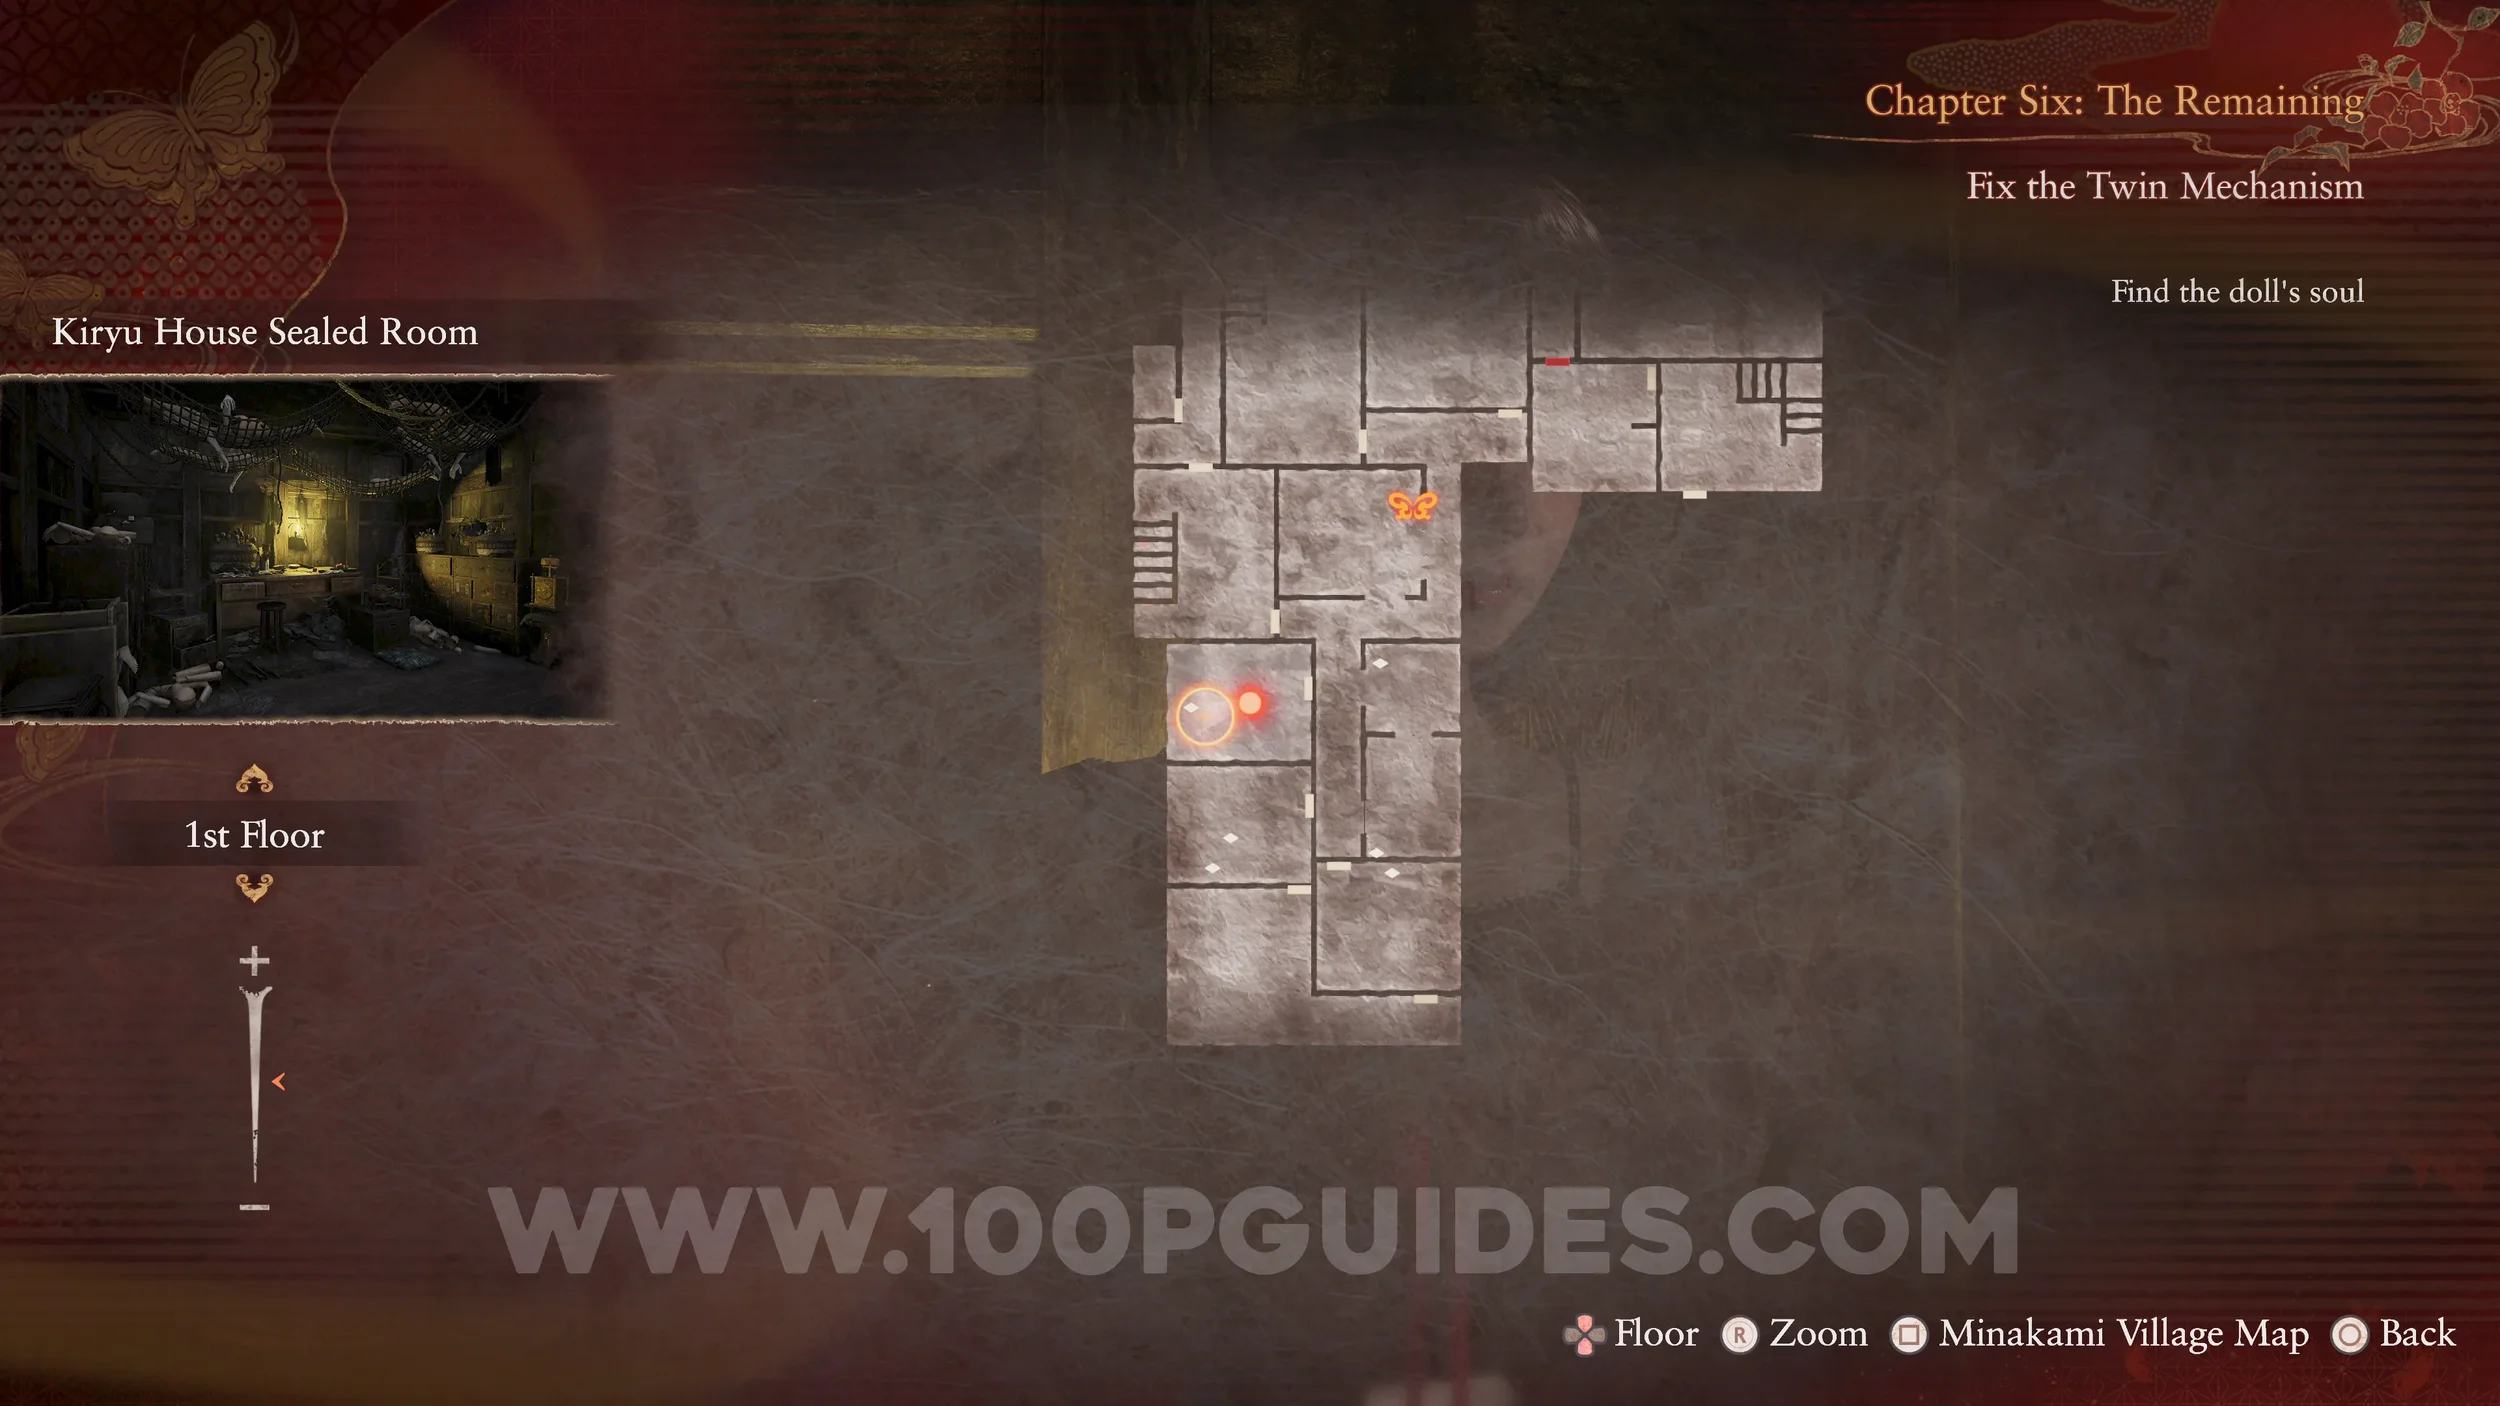
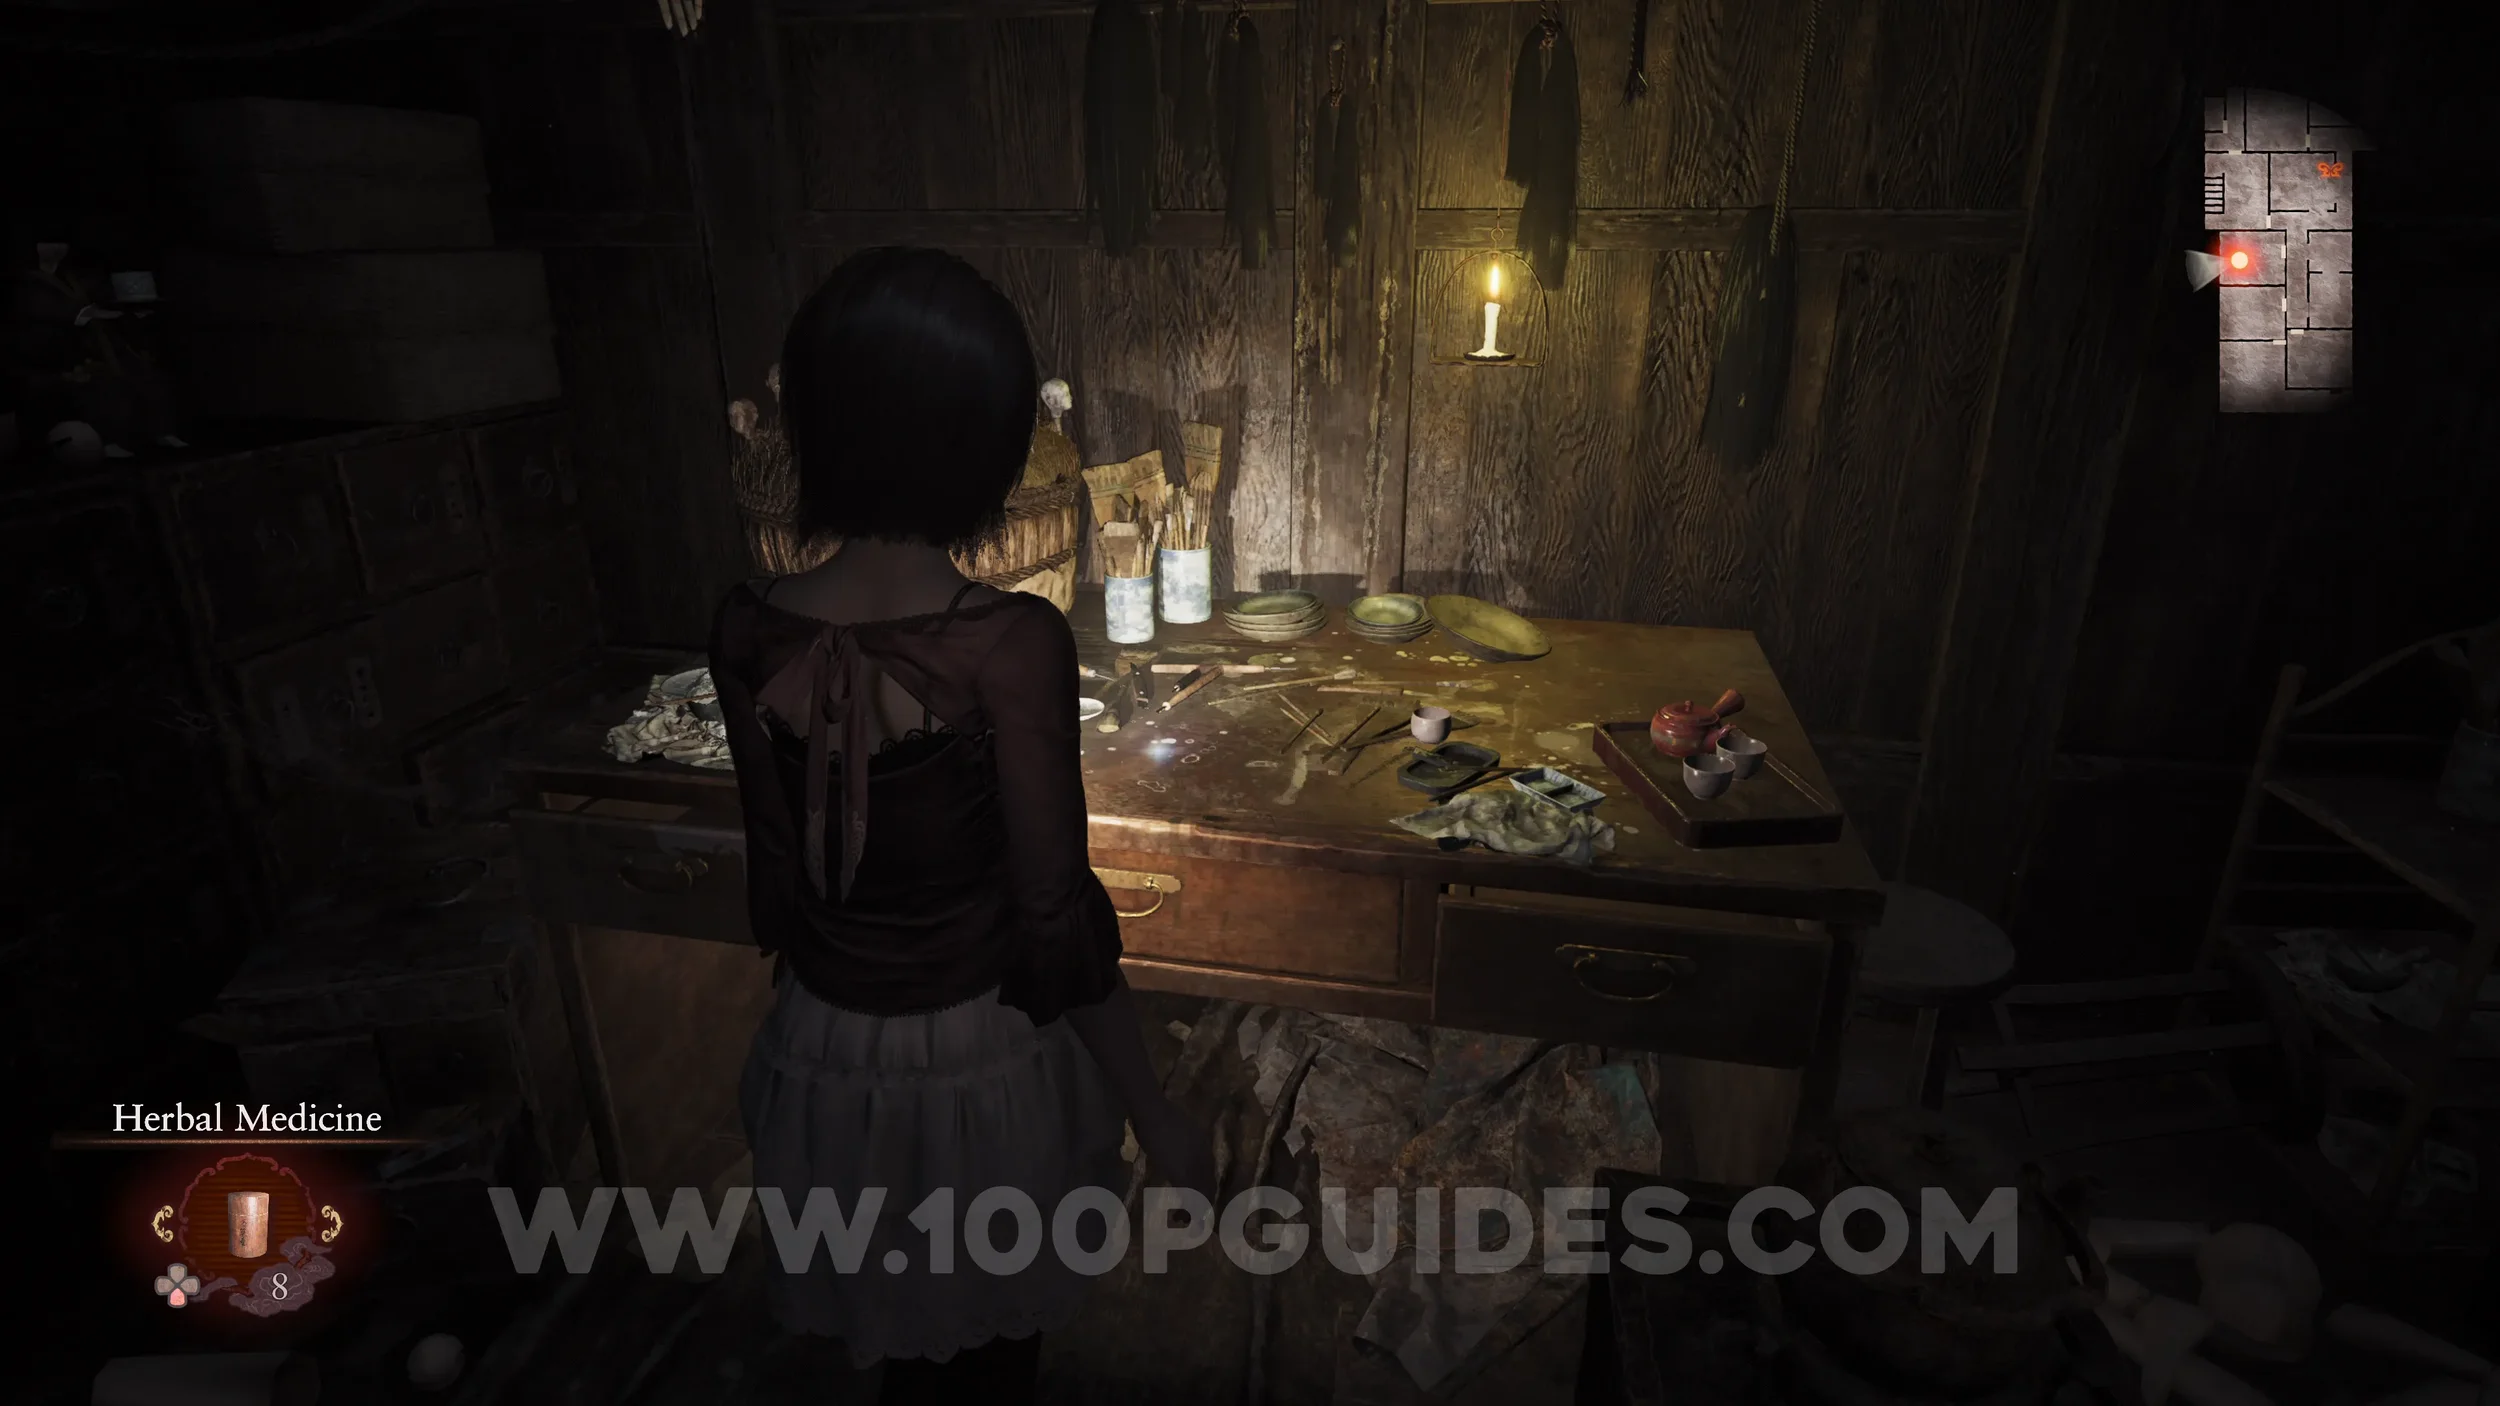
Prayer Beads #51. Also in the Sealed Room.
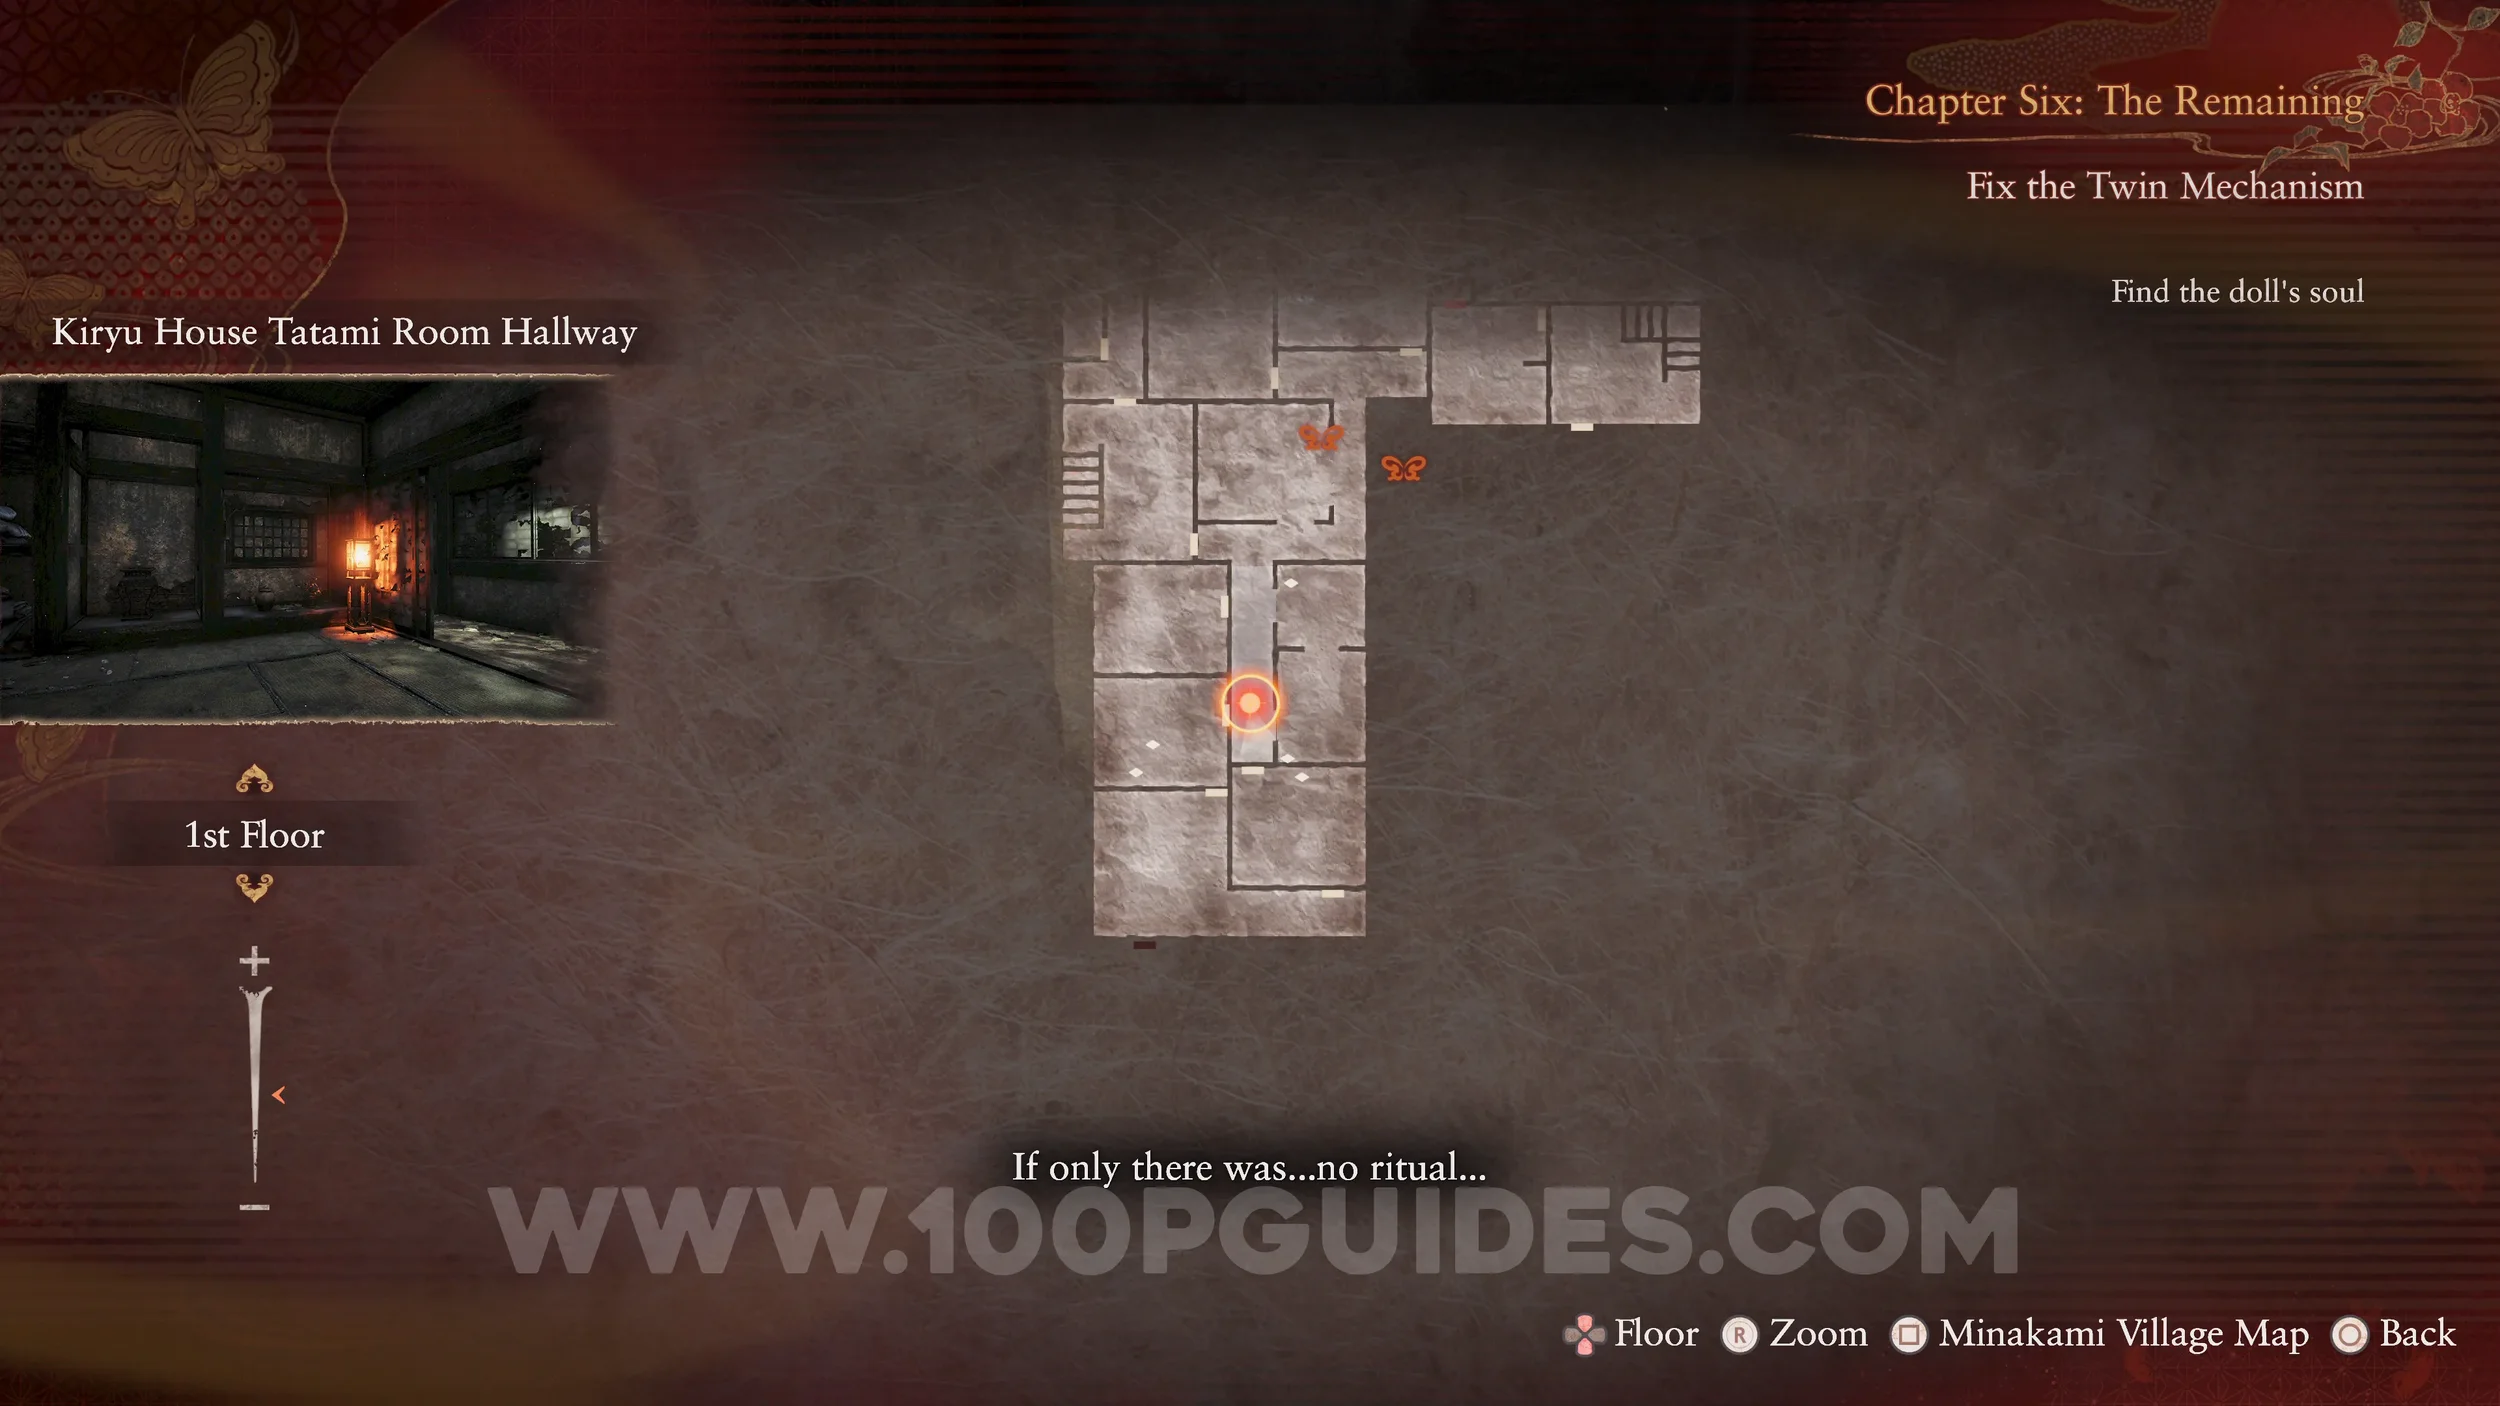
Specter #142 - 105 Ritual-loathing Man. Exit the sealed room and go down the hall to the south. The specter will appear just before entering the room at the end.

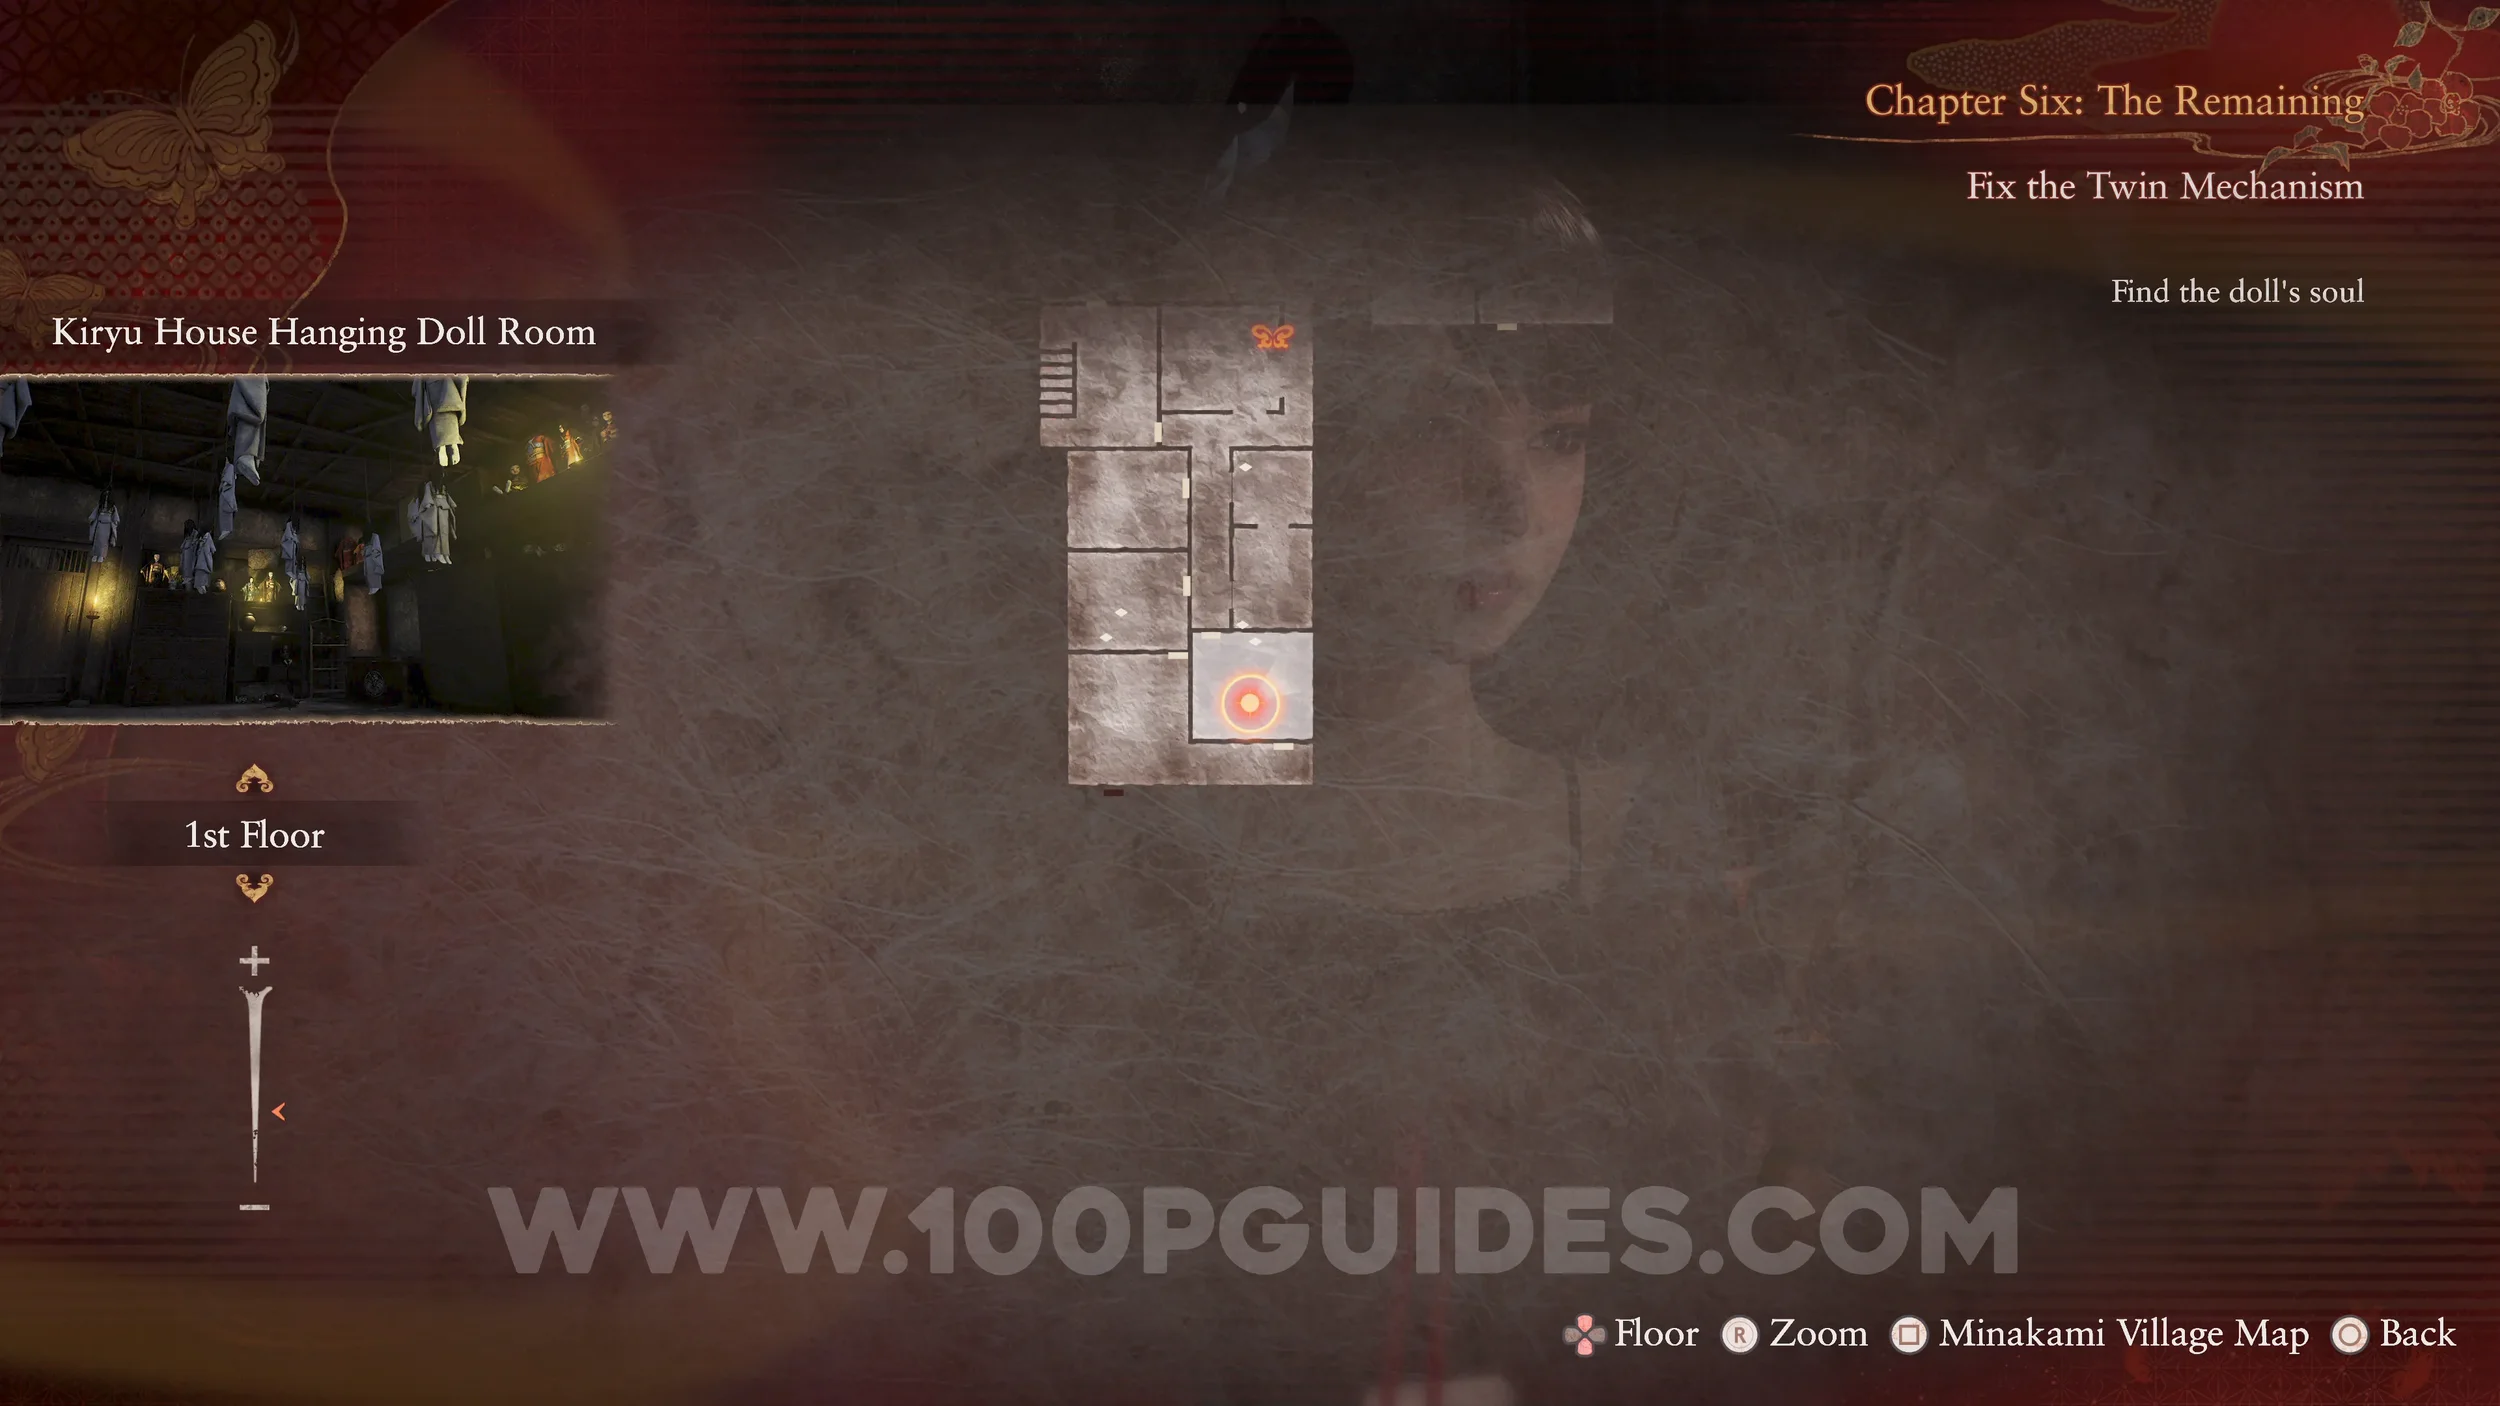
Unbinding of Blood #24 and Wraith #20 - 020 Doll Maker. Use the Radiant Filter on one of the hanging dolls in the Hanging Doll Room. This wraith will attack as you go to pick up the eyes.
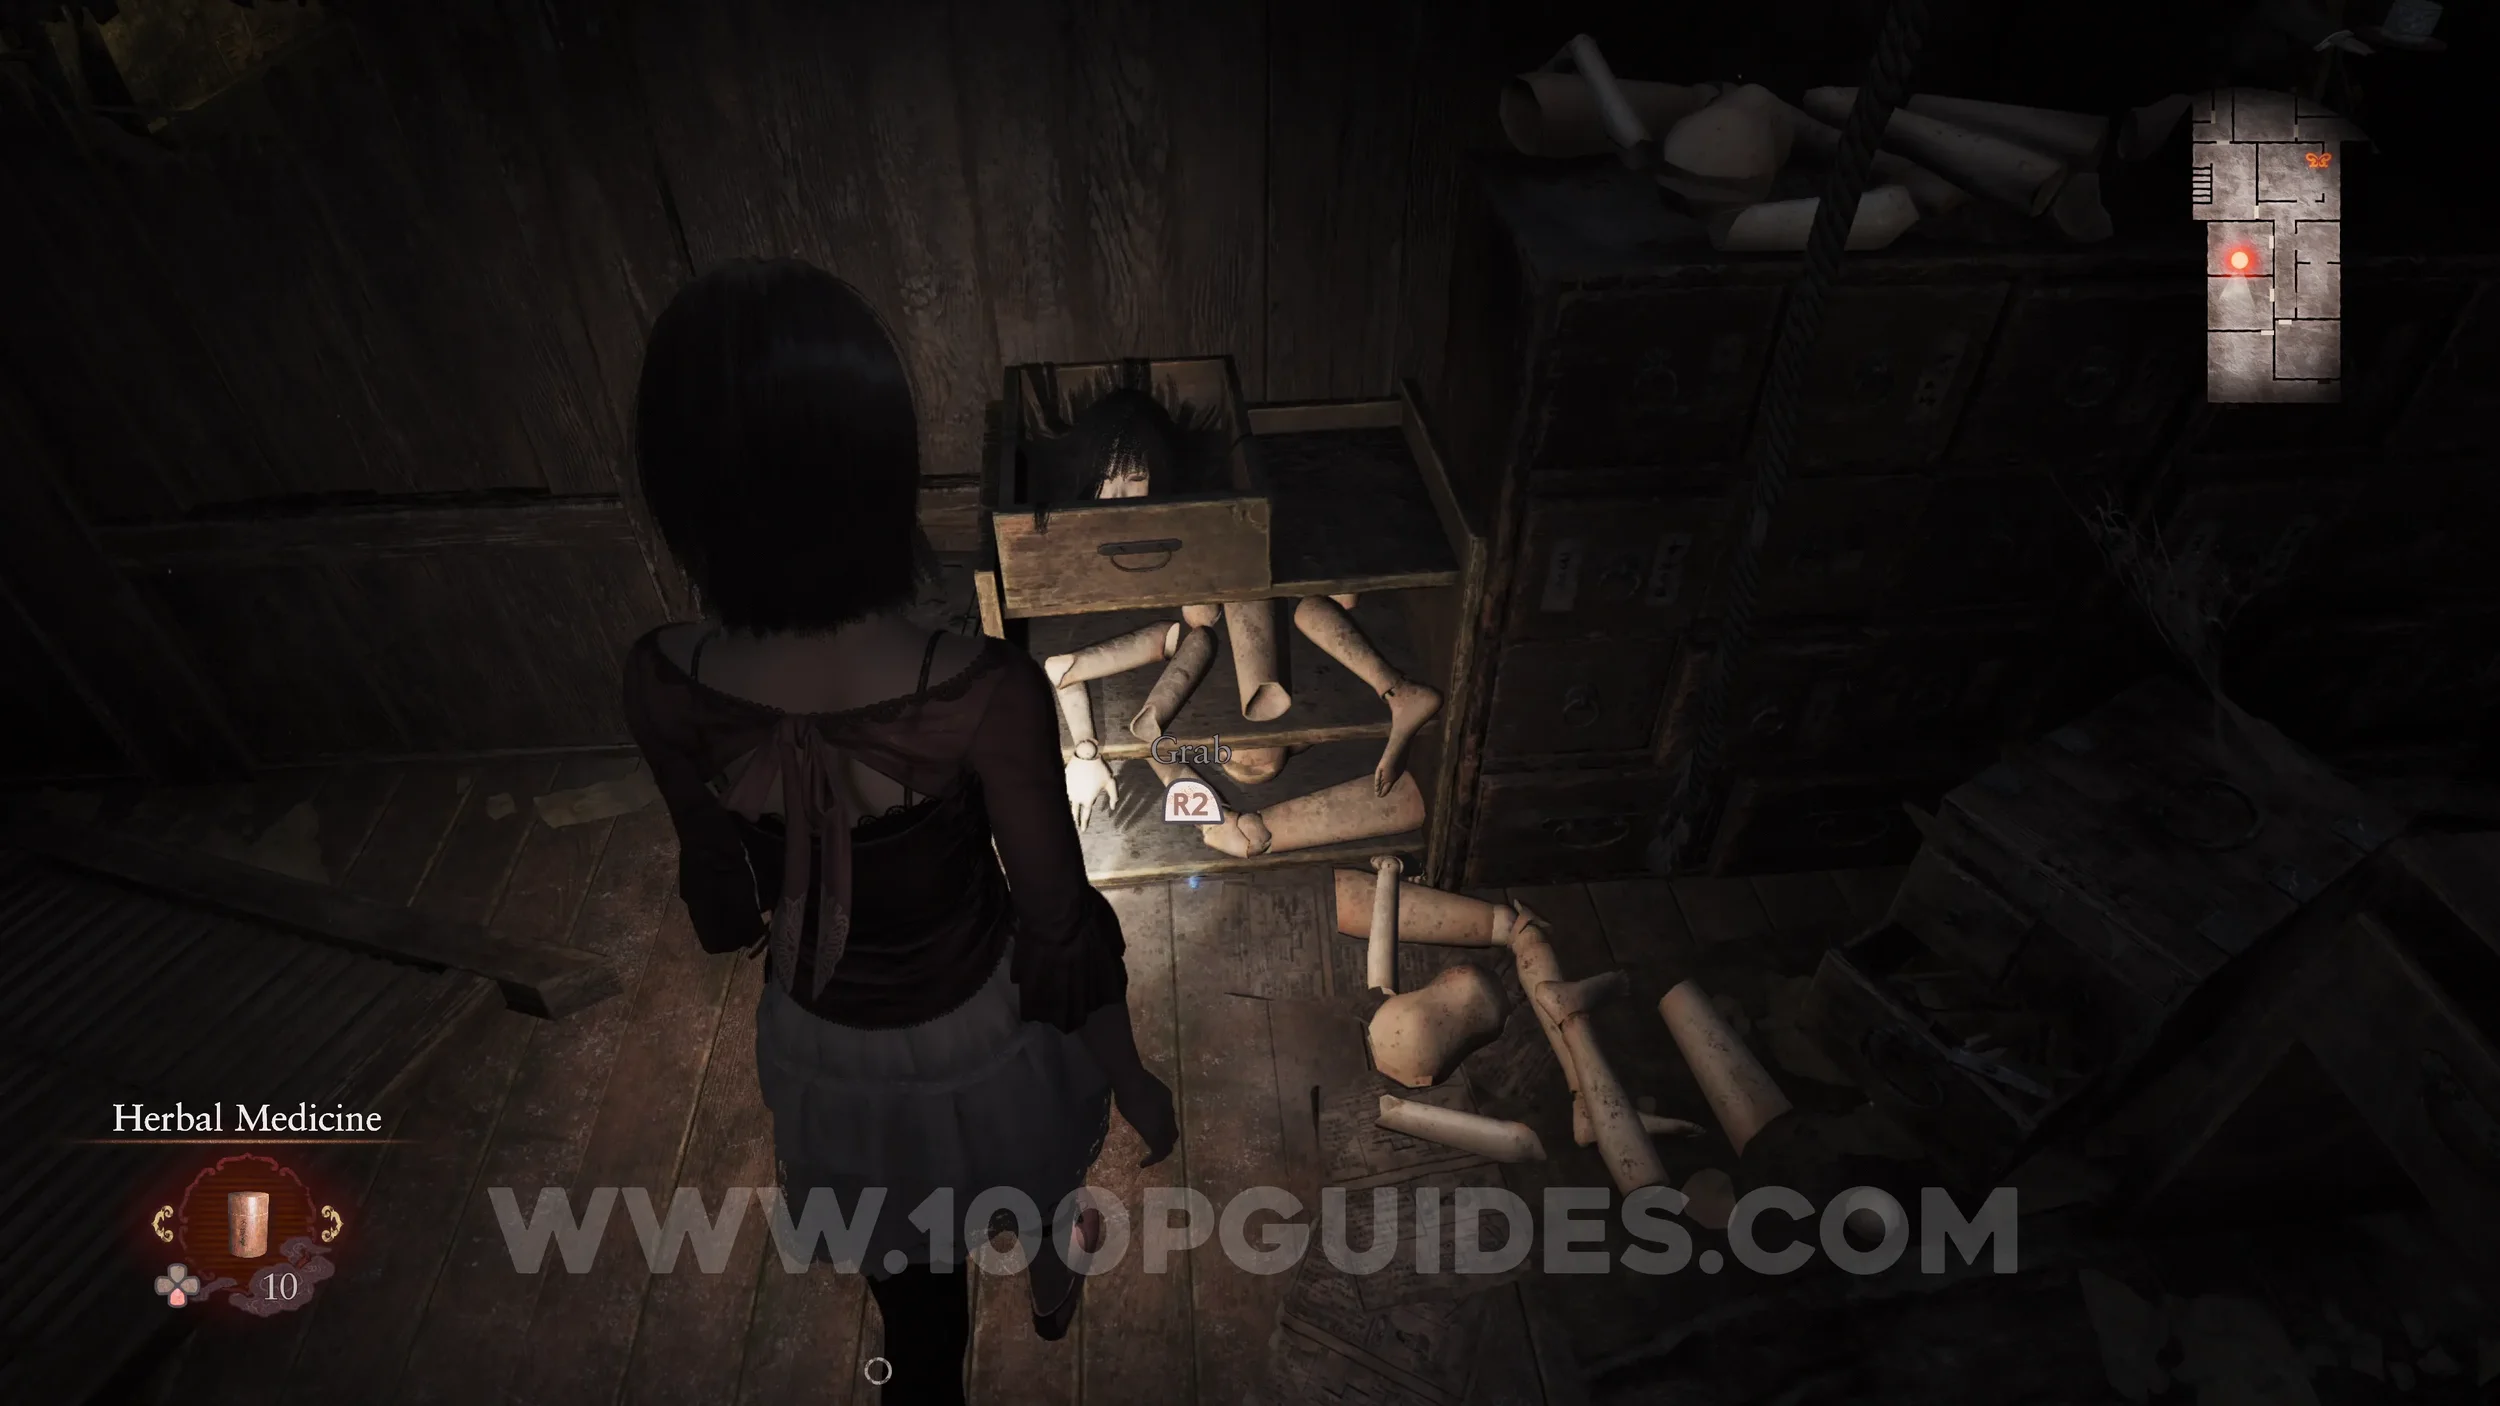
Miscellaneous. After placing the eyes on the doll and defeating the dolls, pick up the photo before heading down the hole.
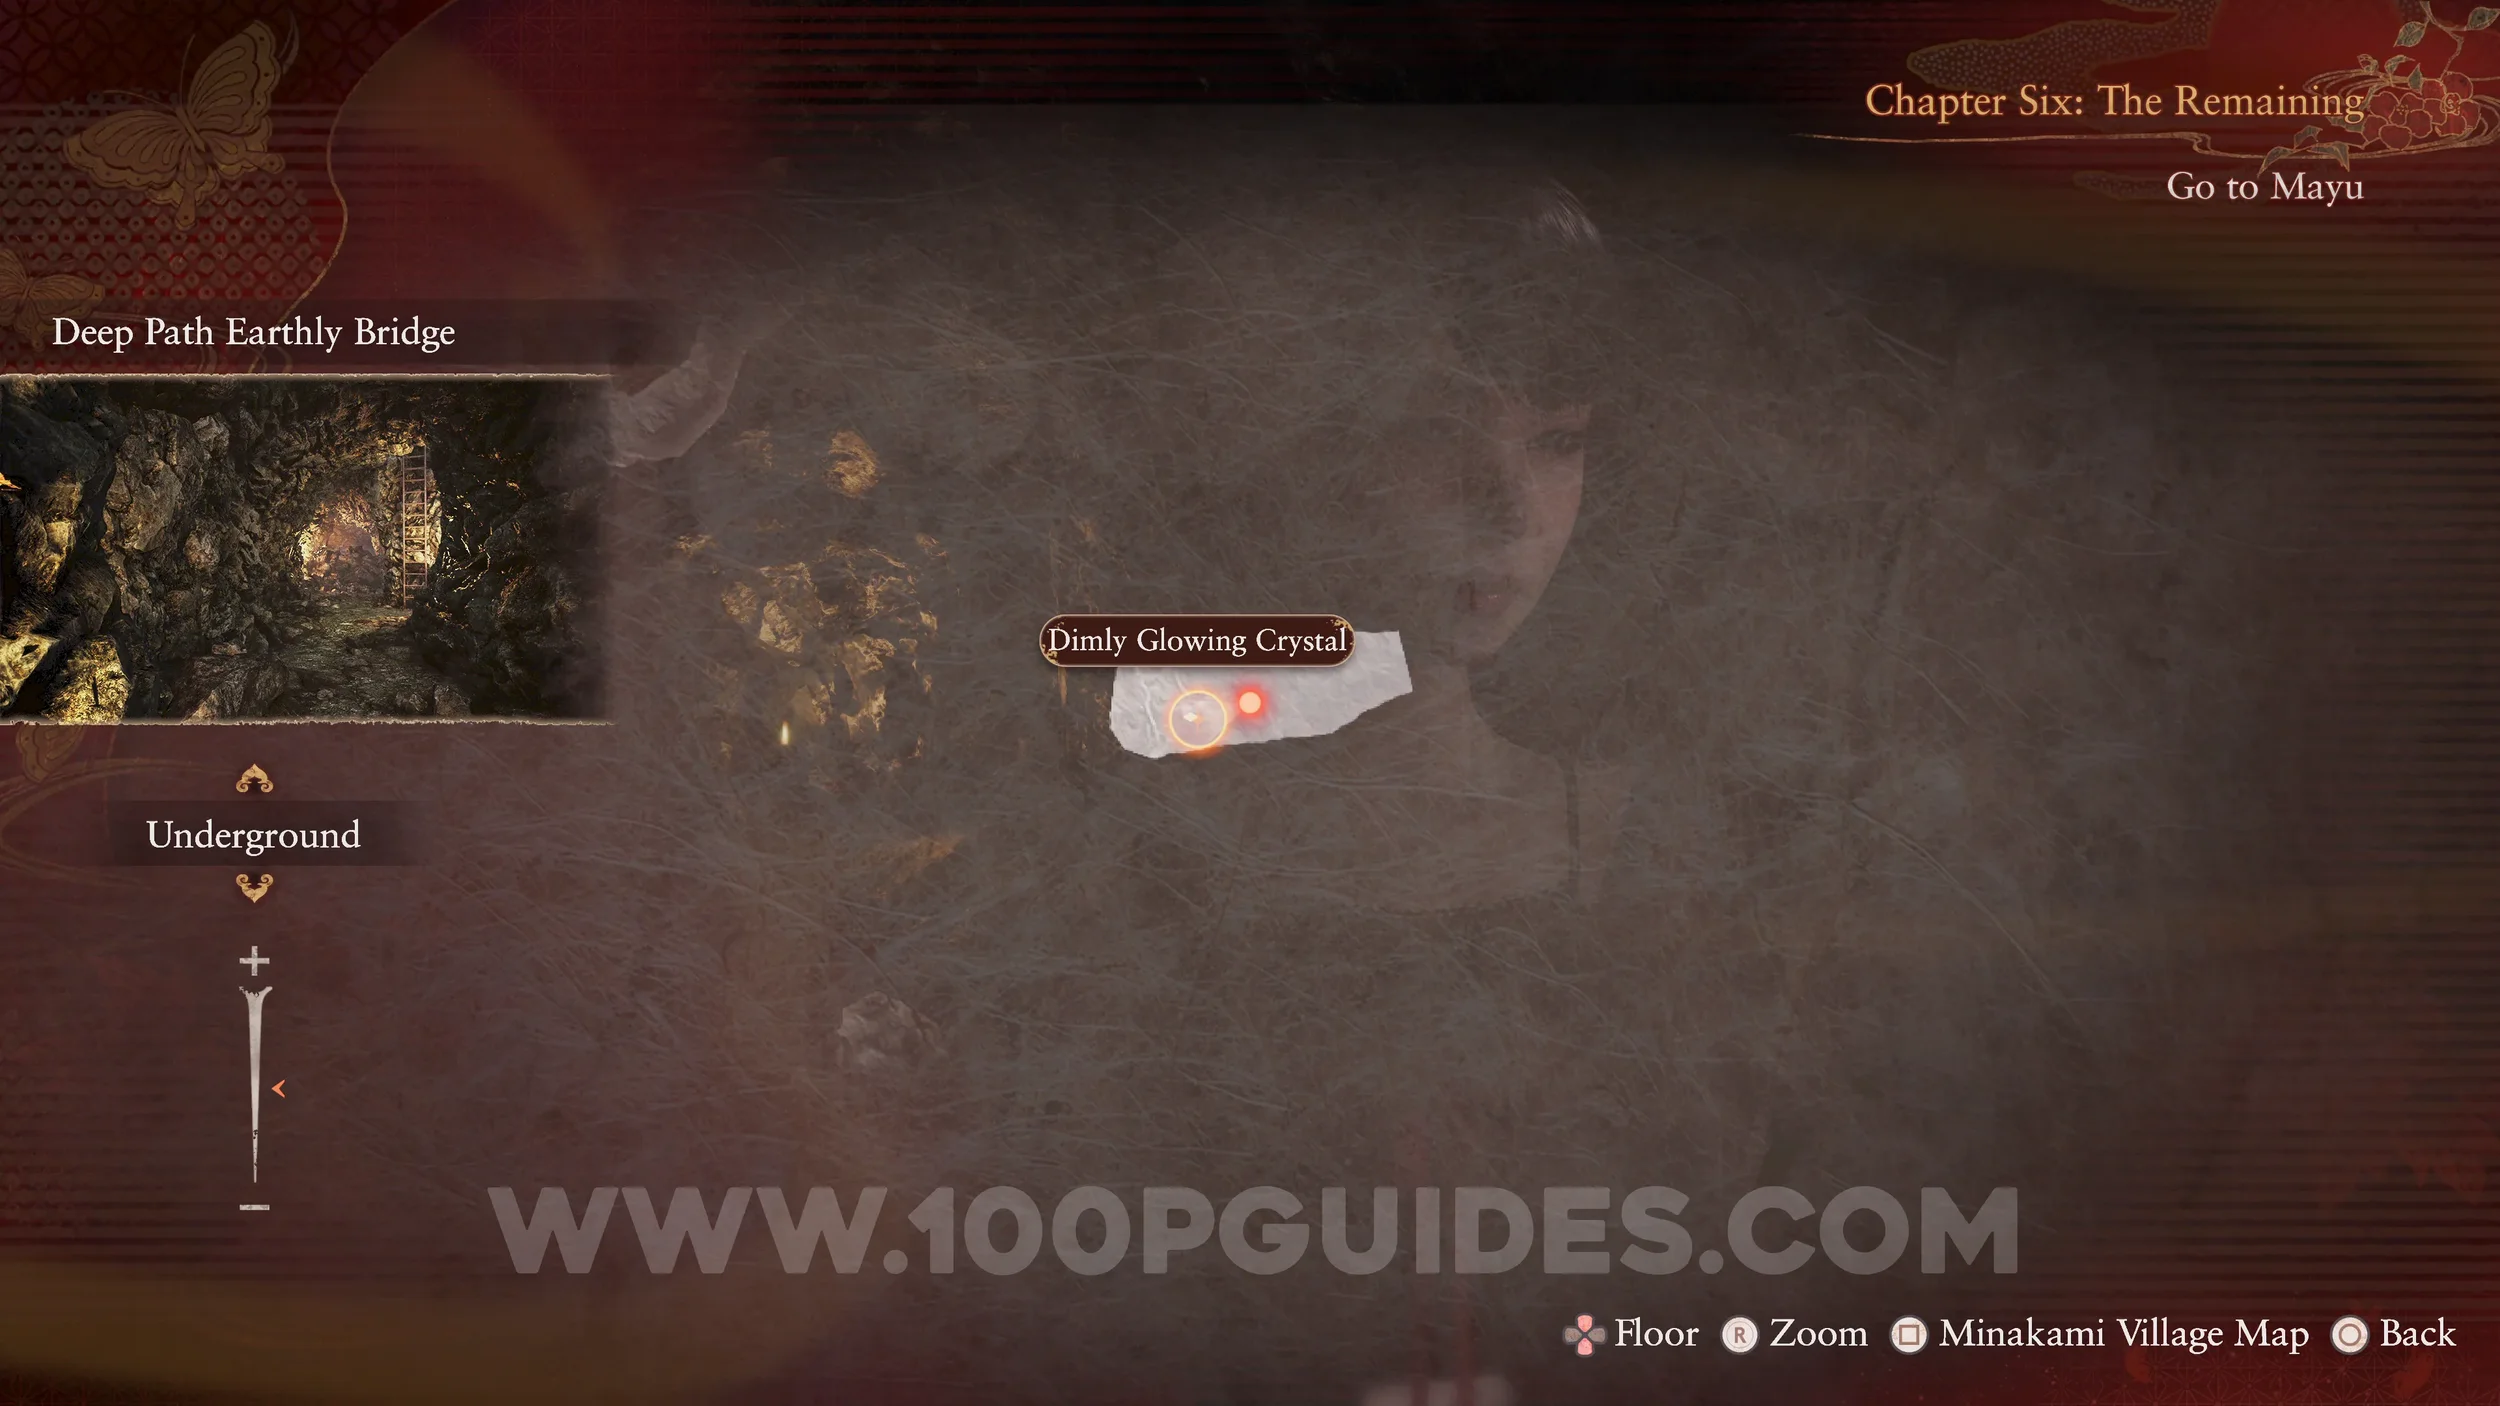
Spirit Stone #27 - Dimly Glowing Crystal. At the start of the underground cave area after defeating the dolls.
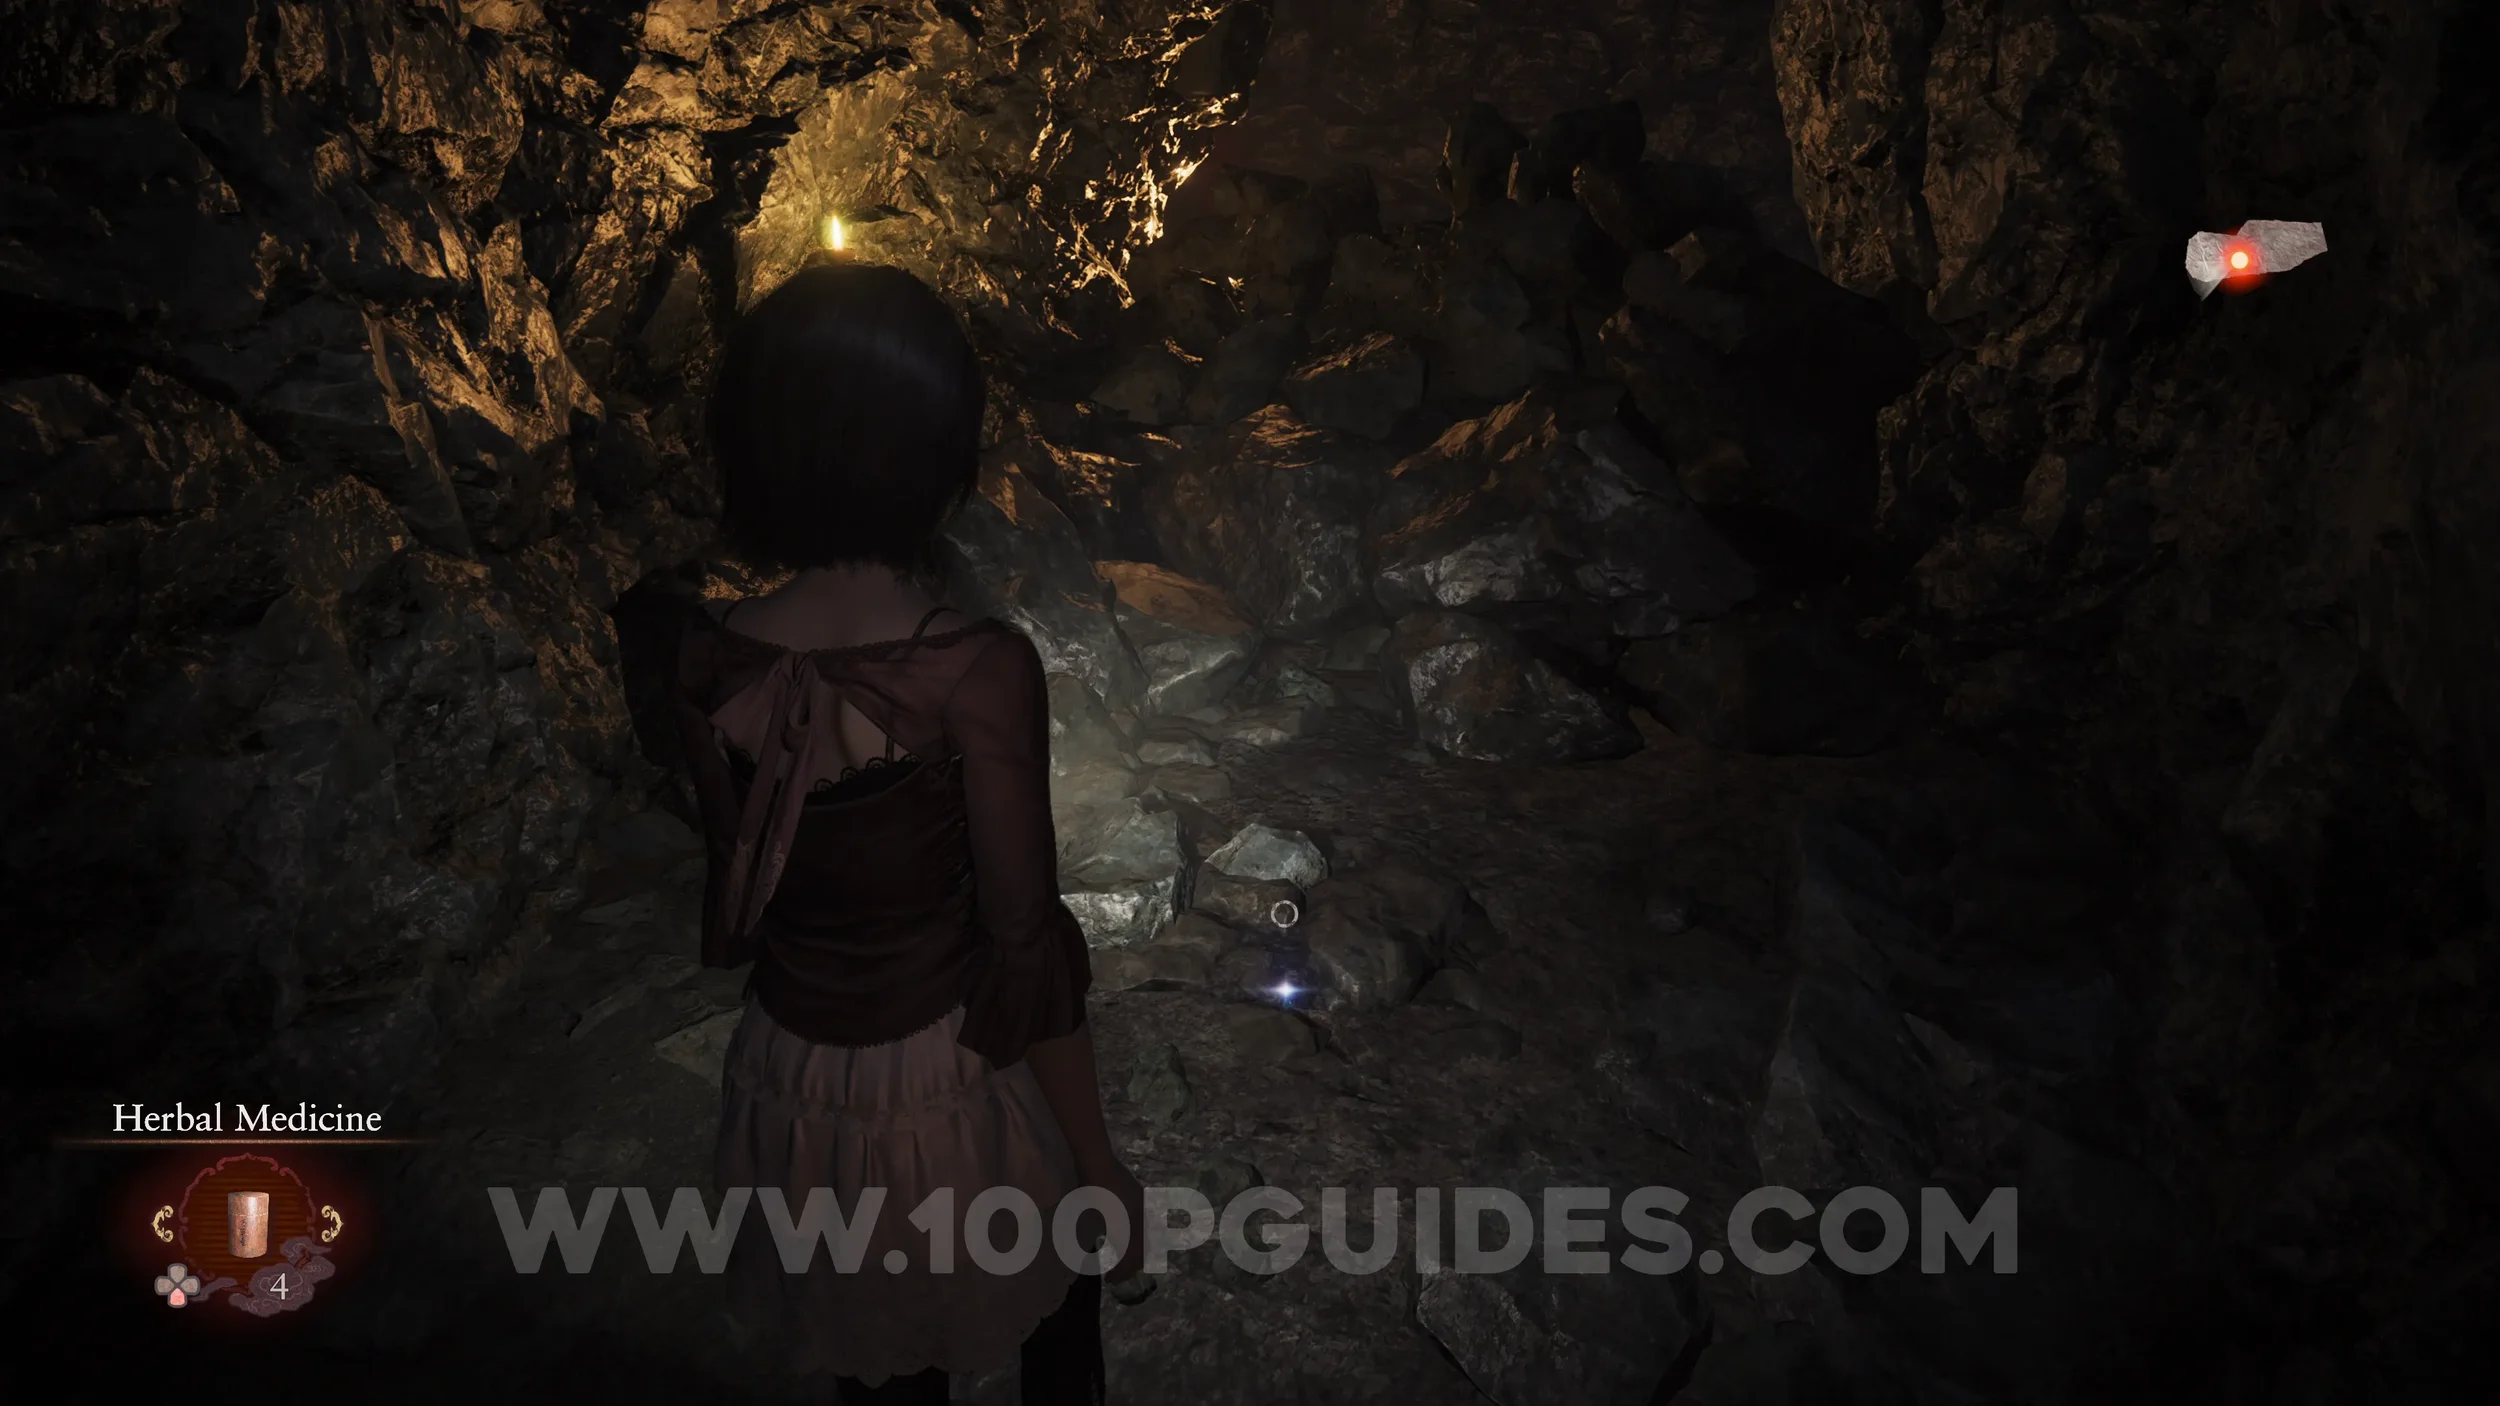
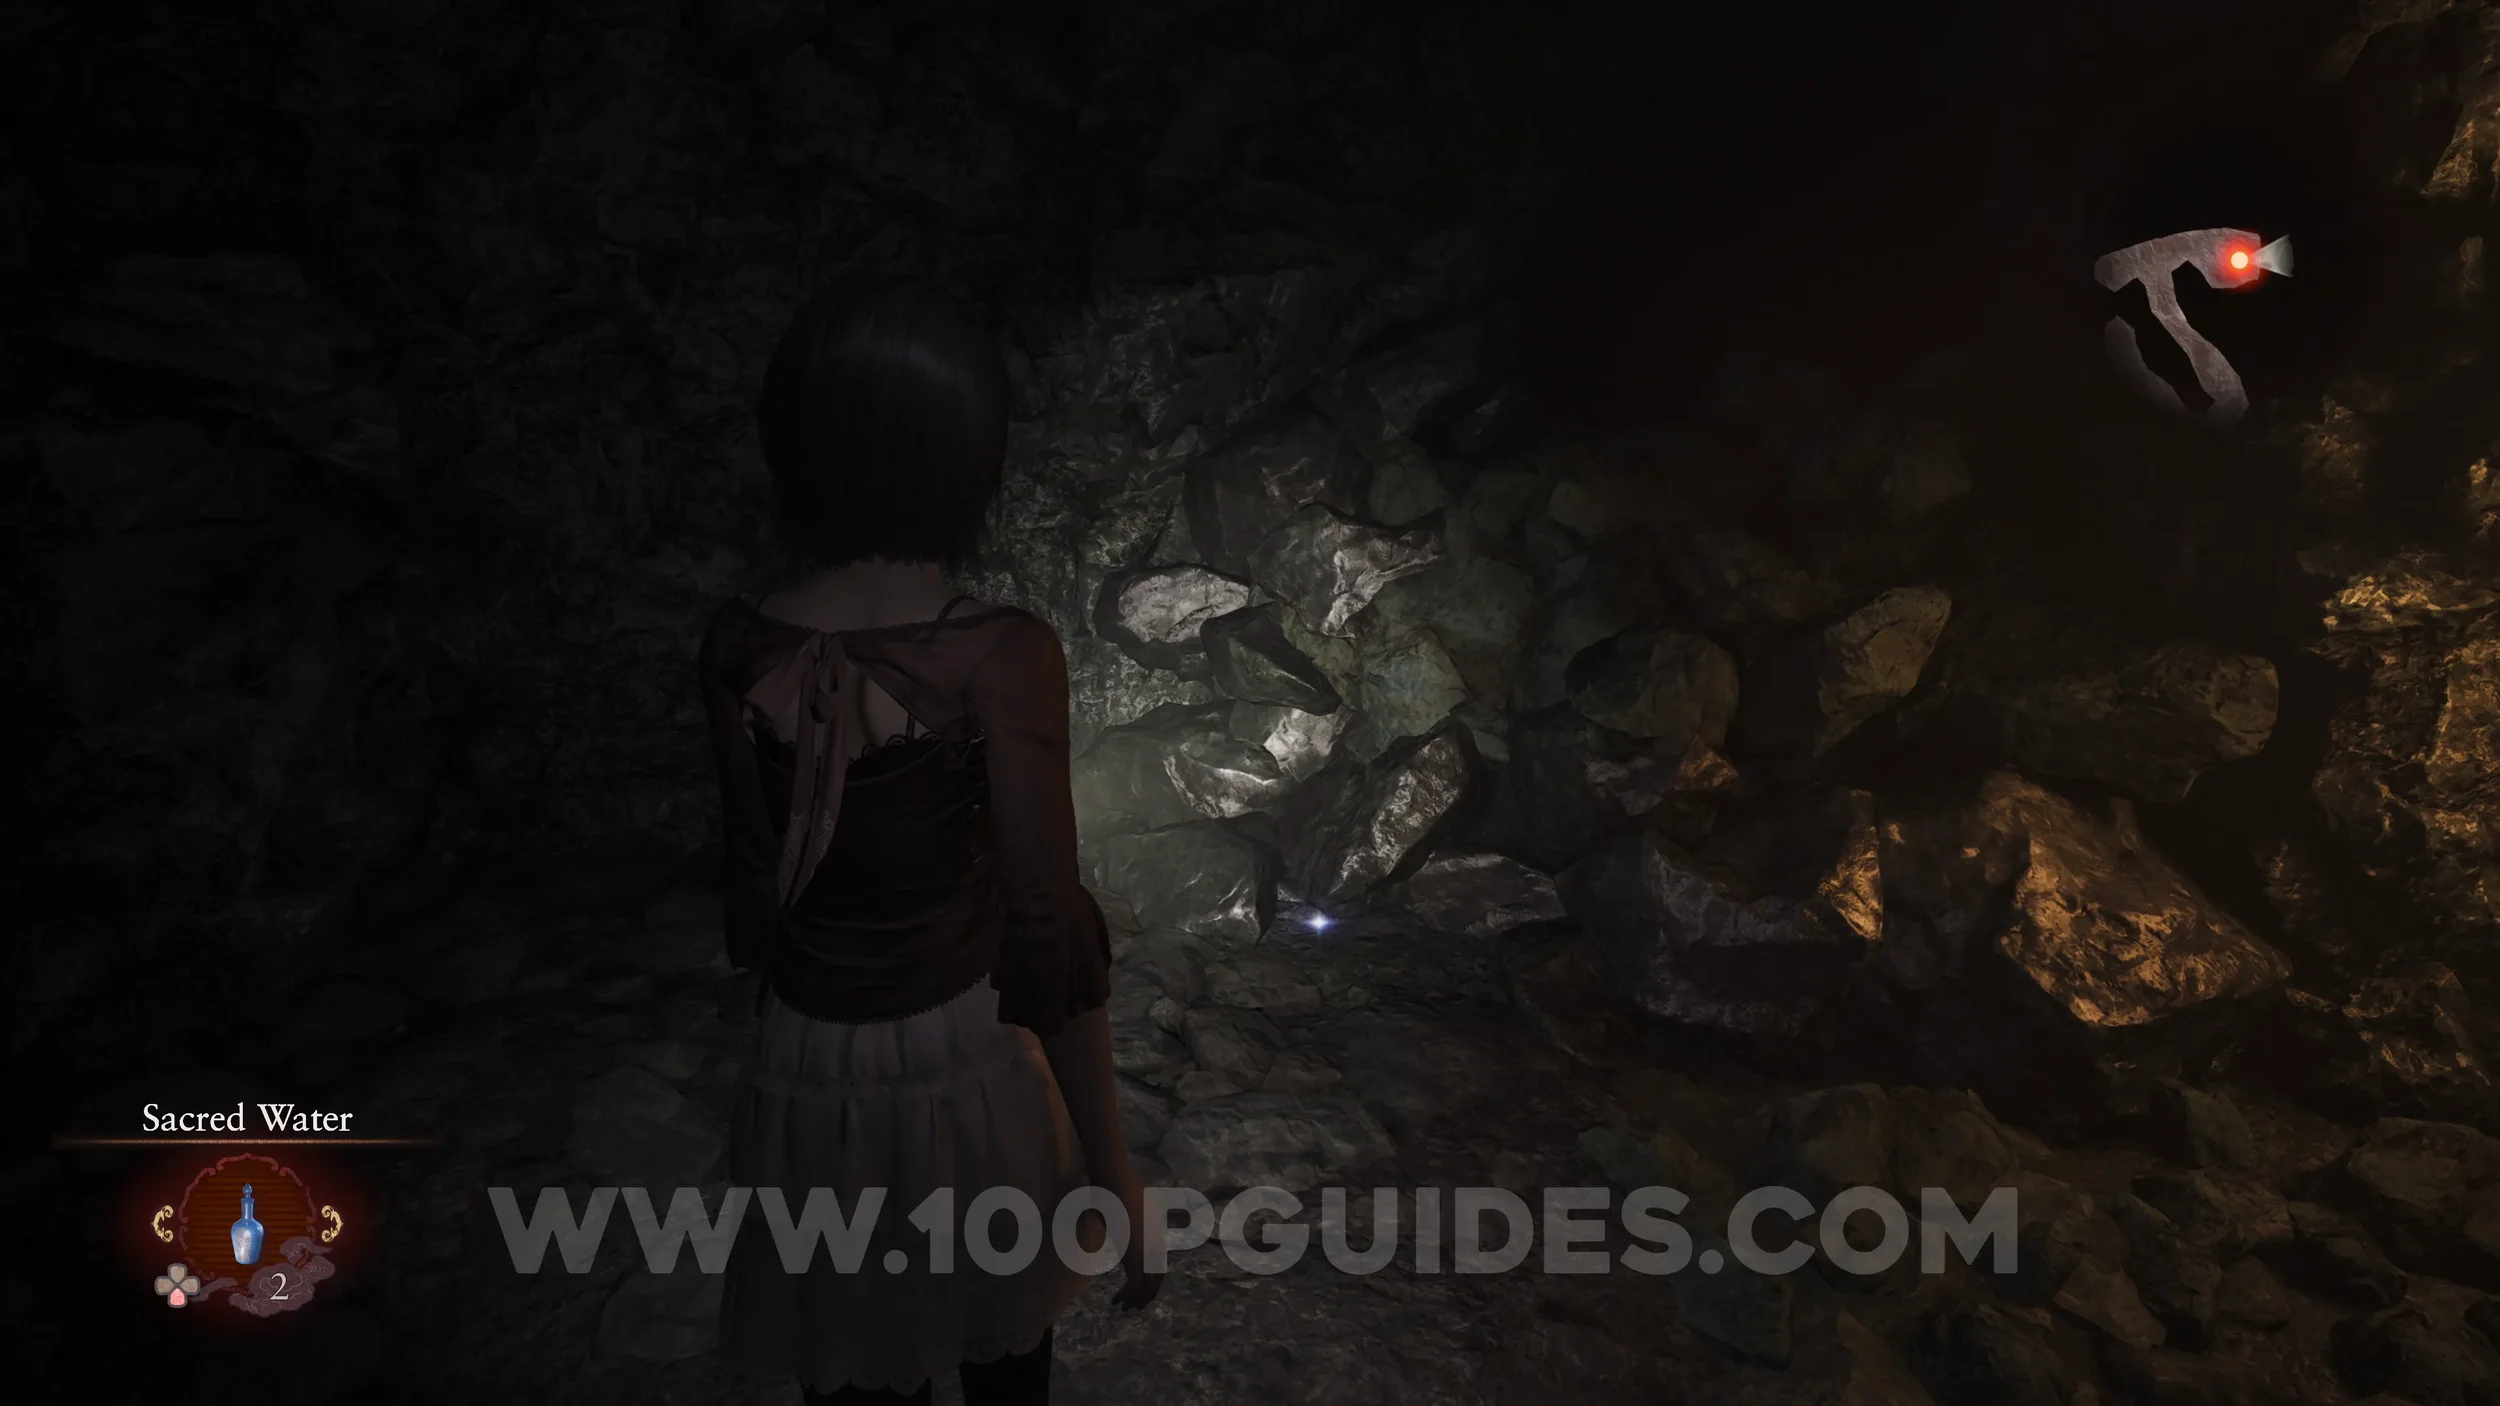
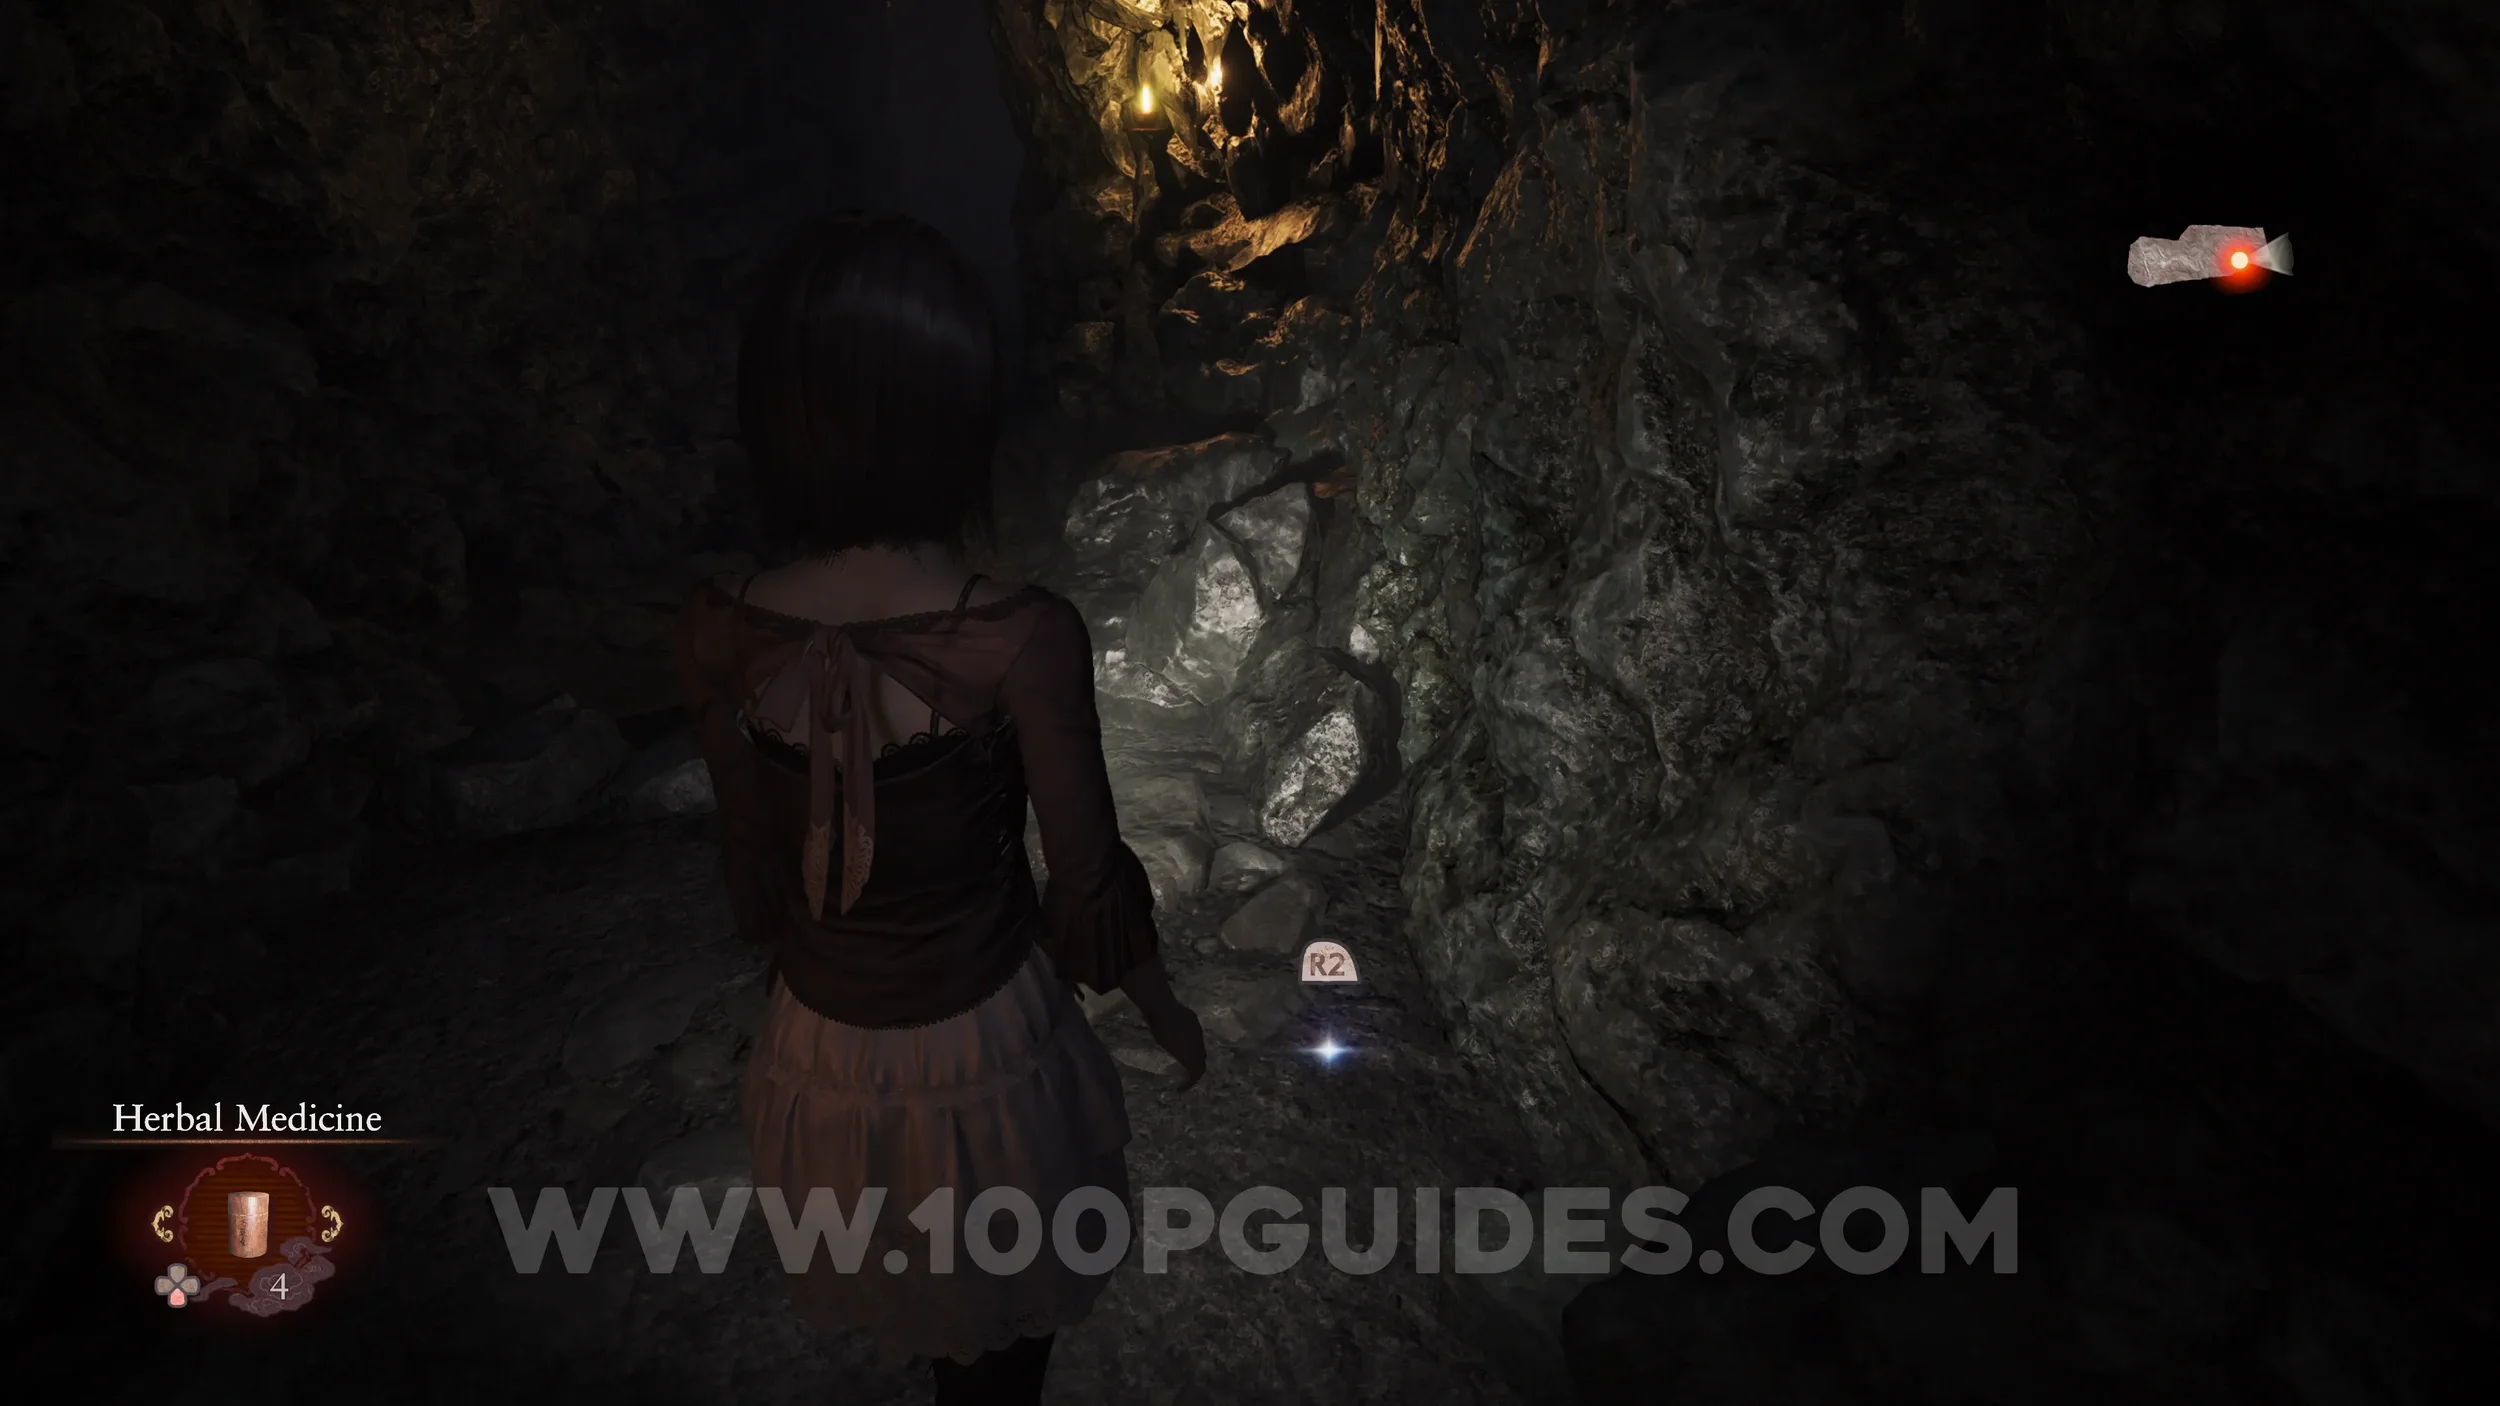
Prayer Beads #52. On the ground at the start of the underground cave area.
Chapter 7
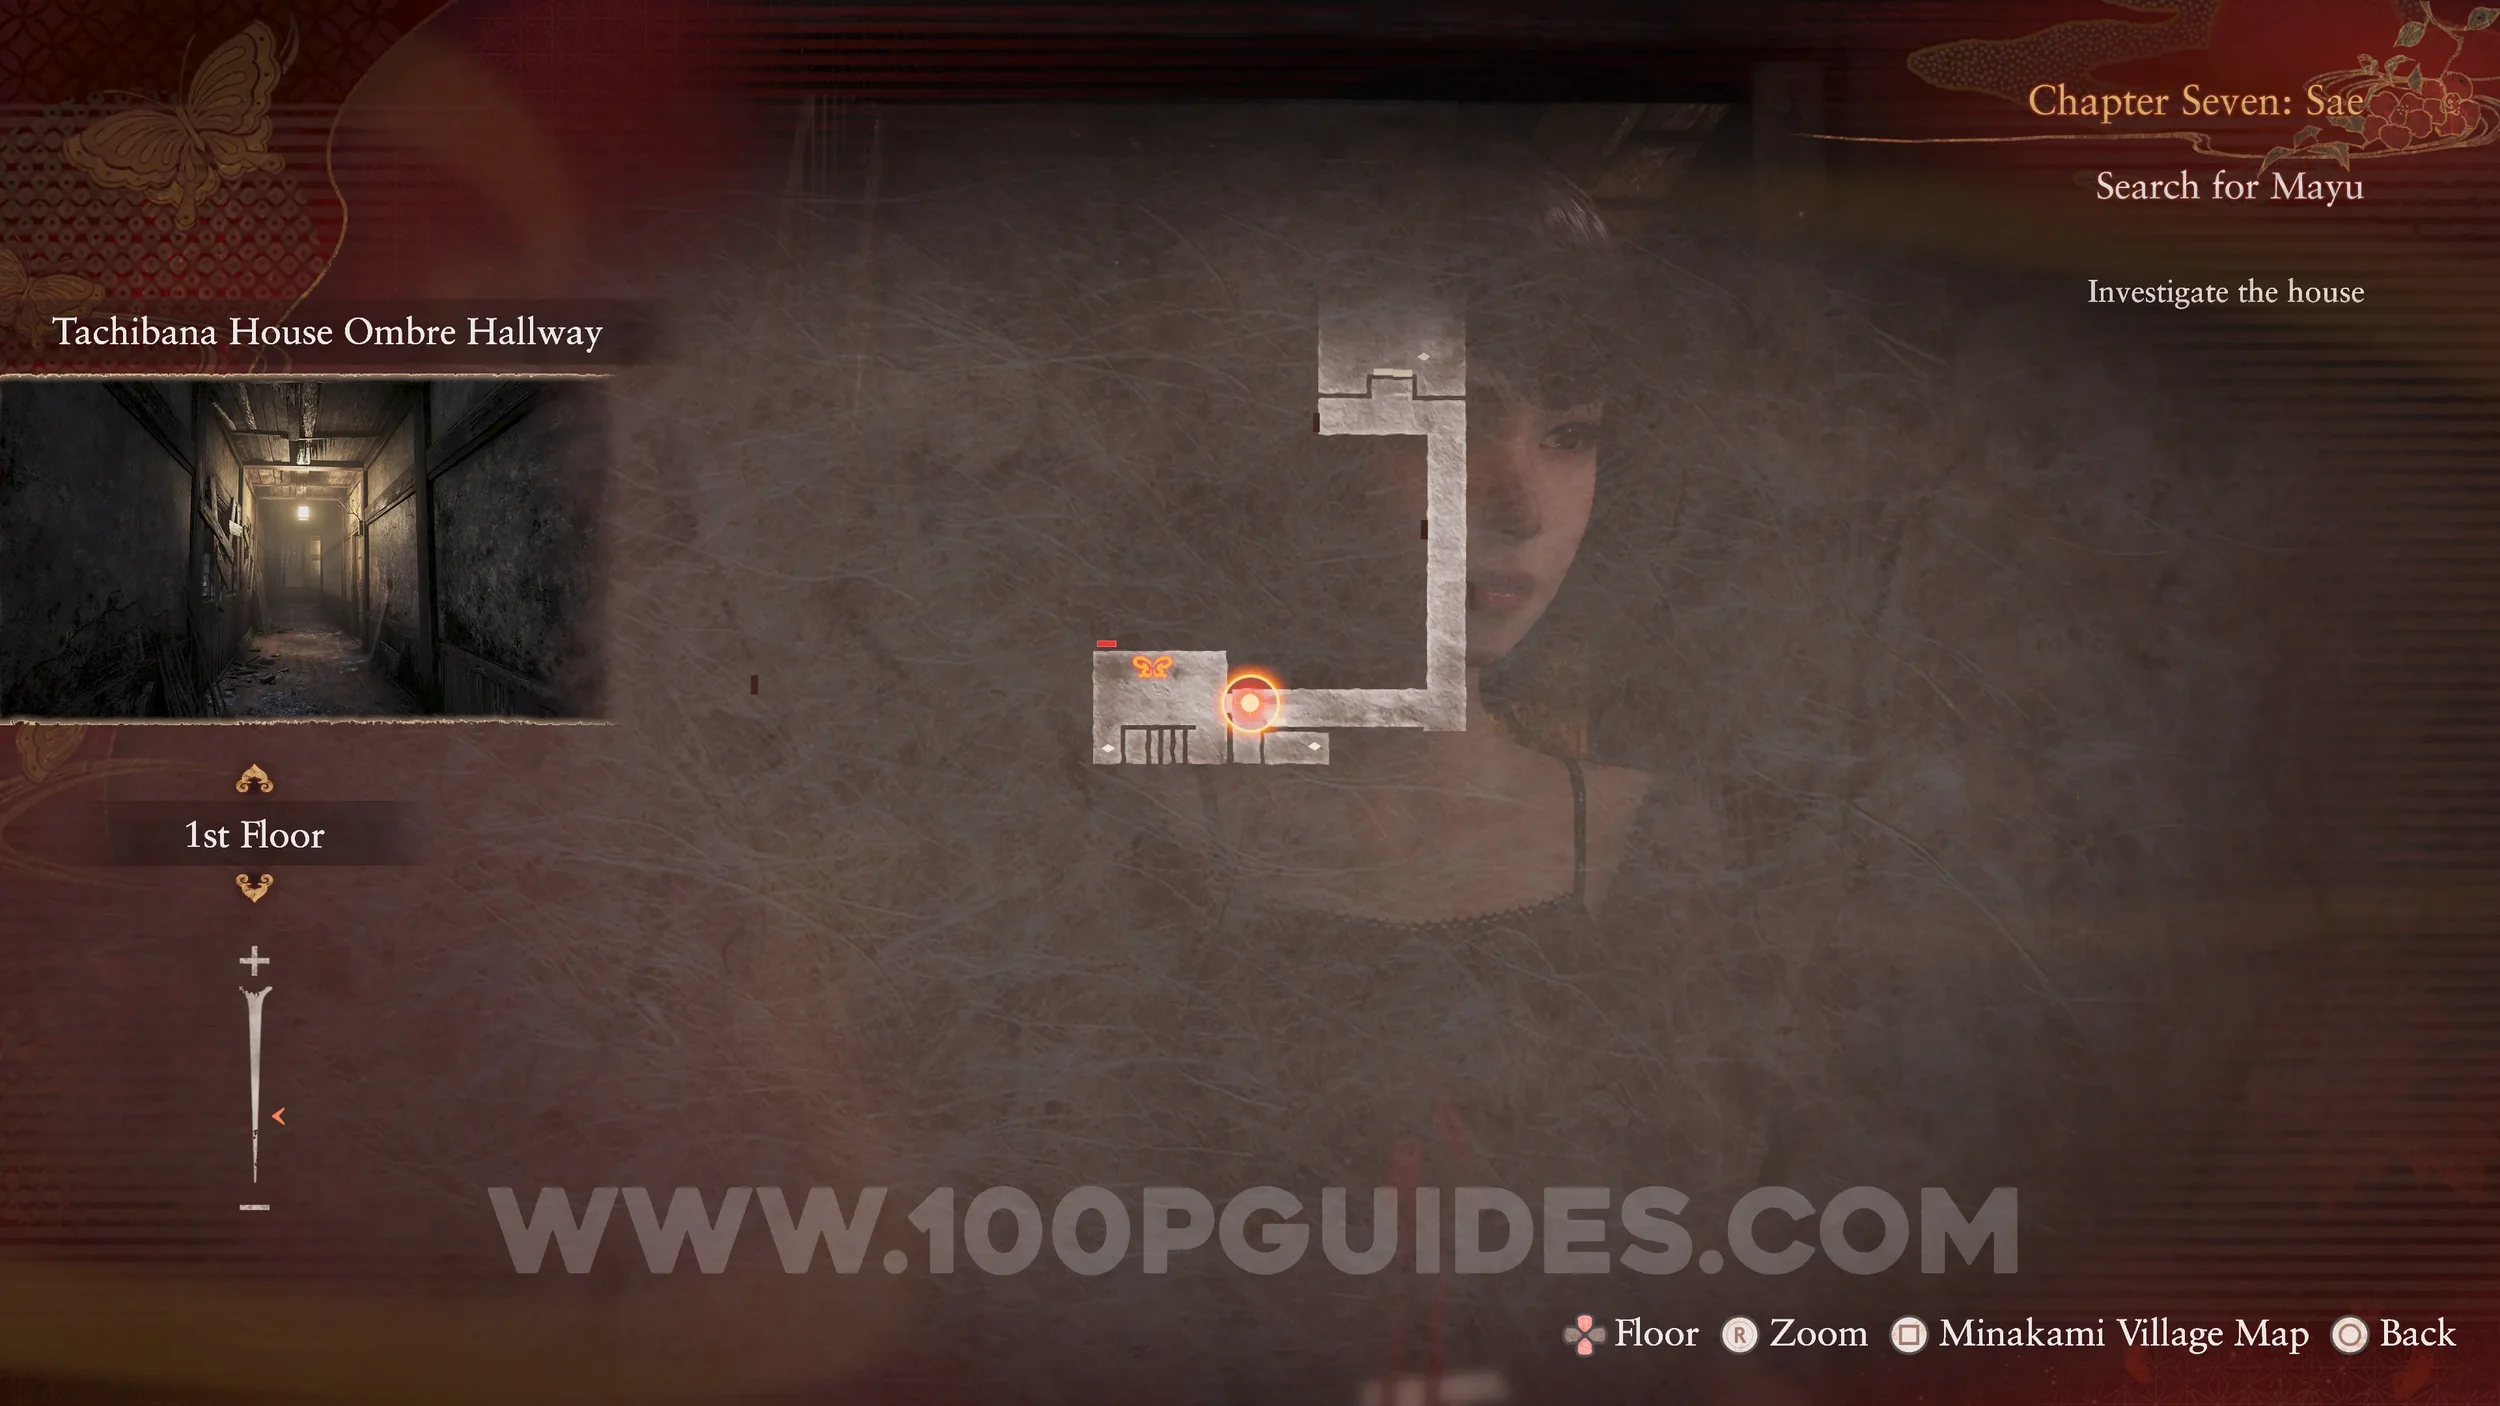
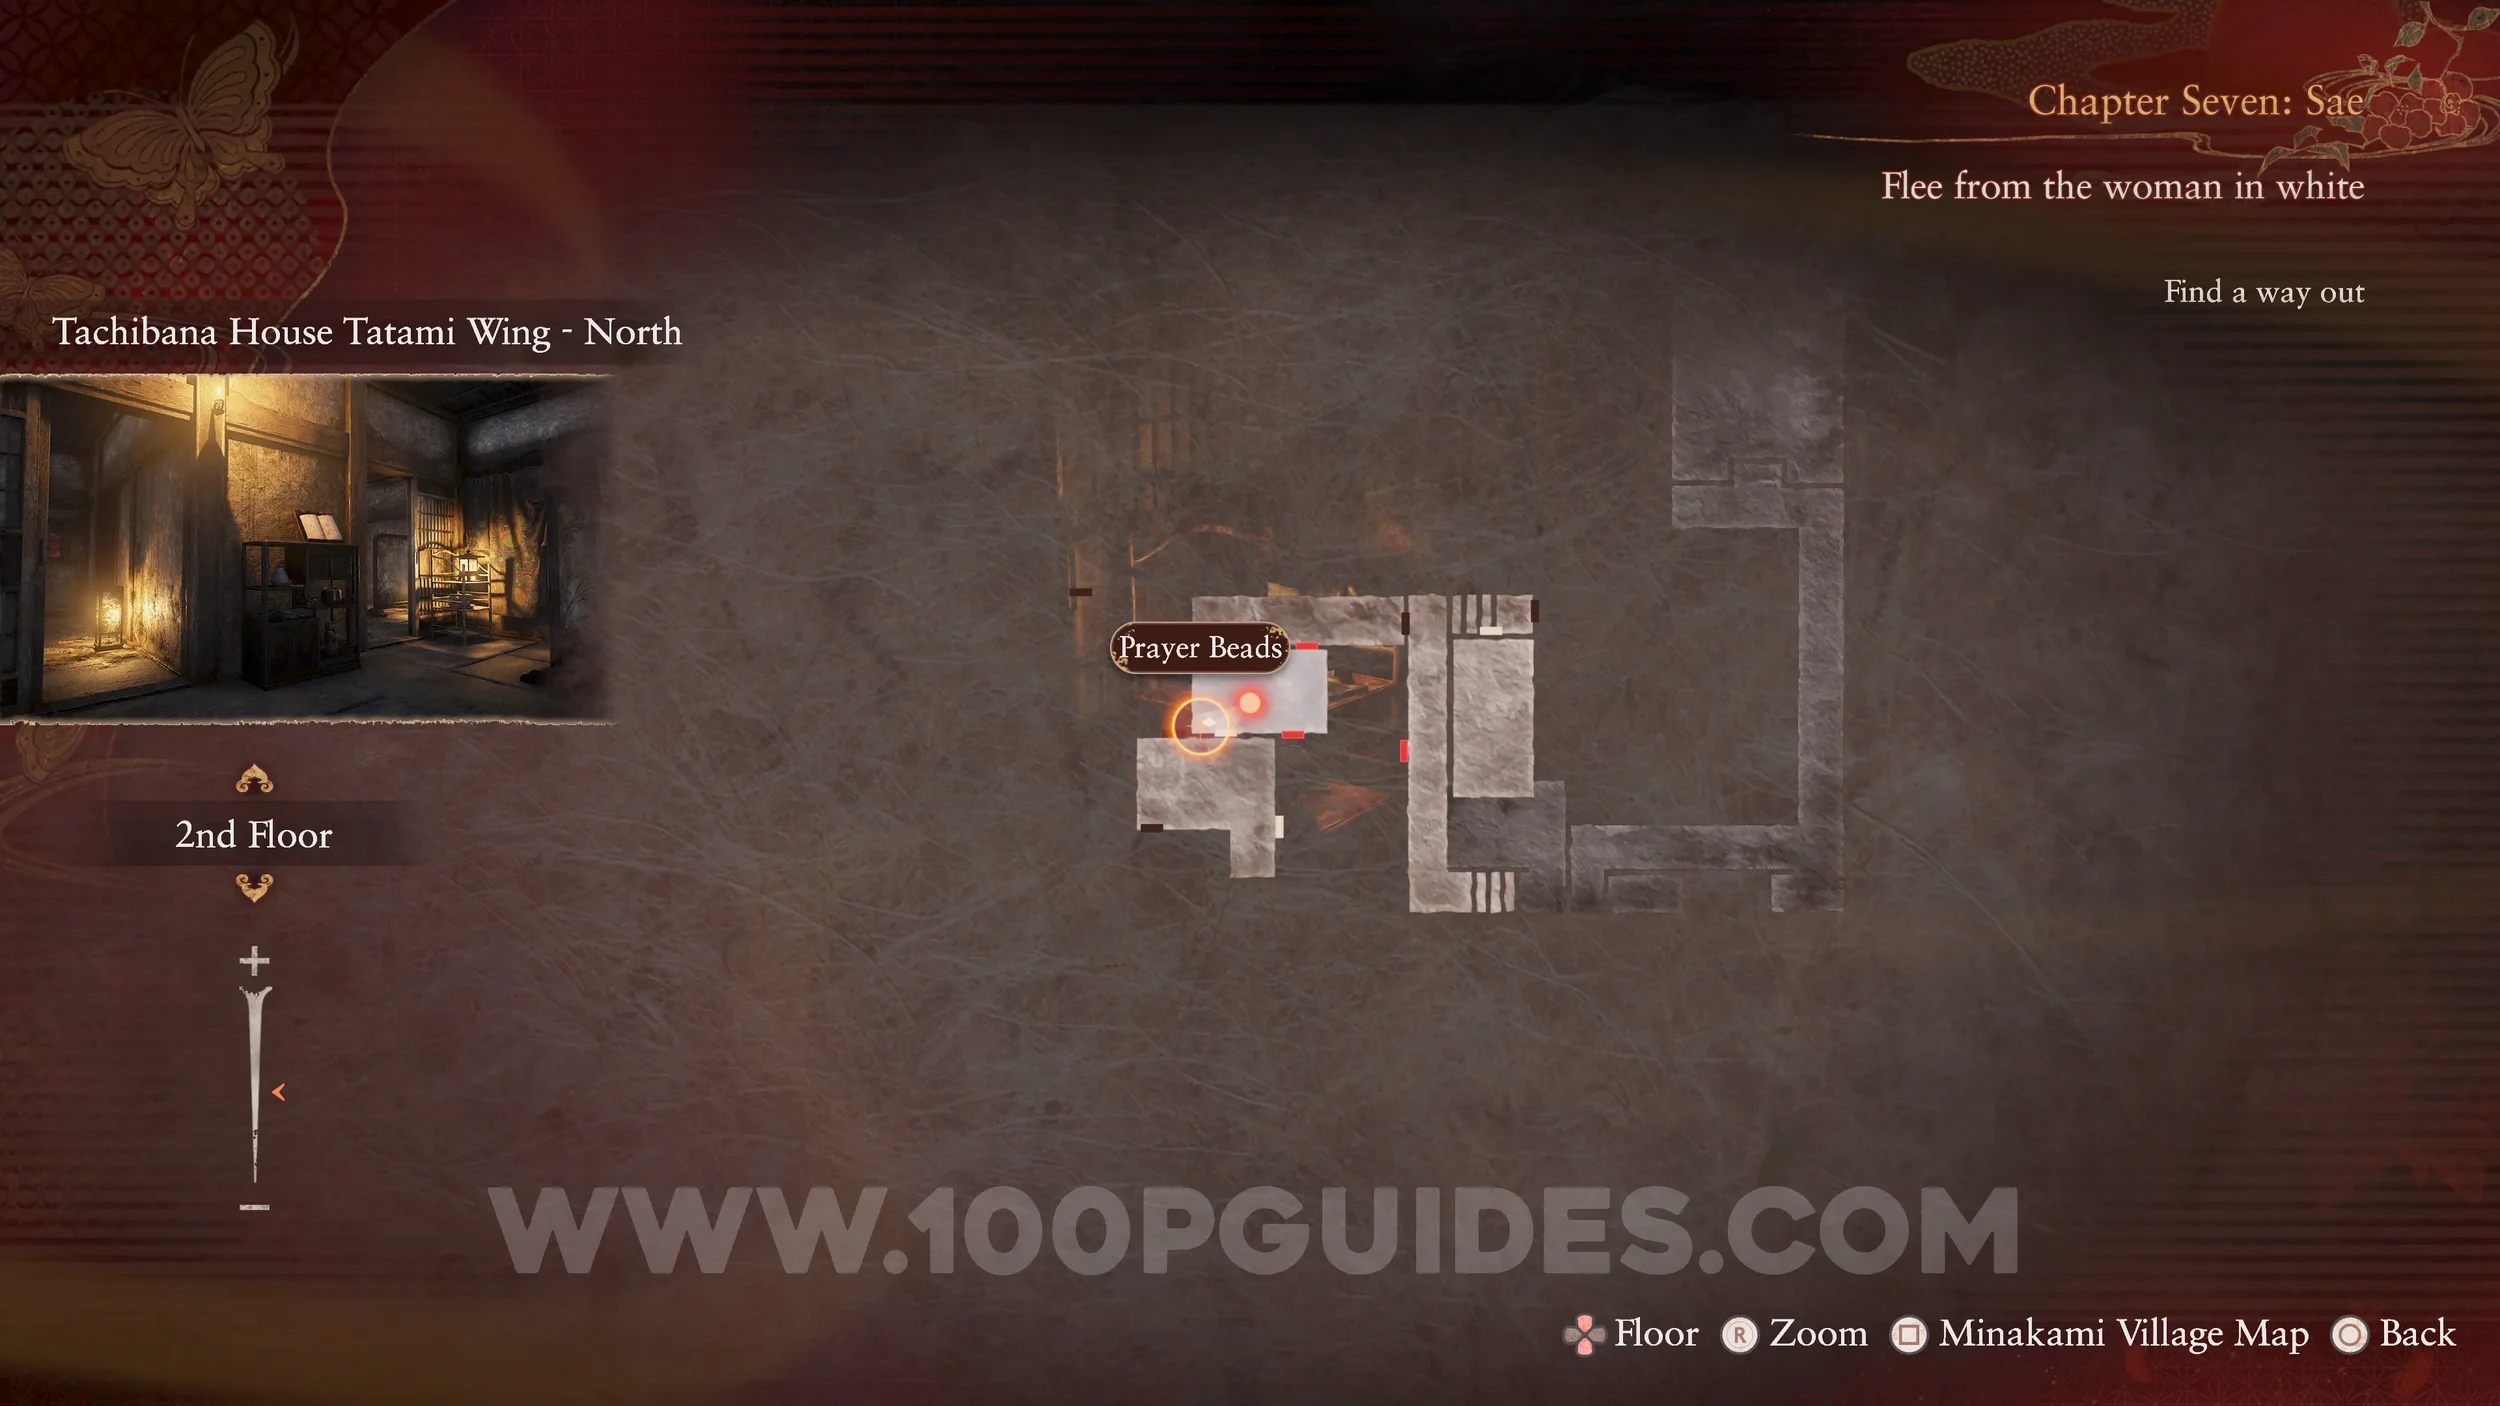
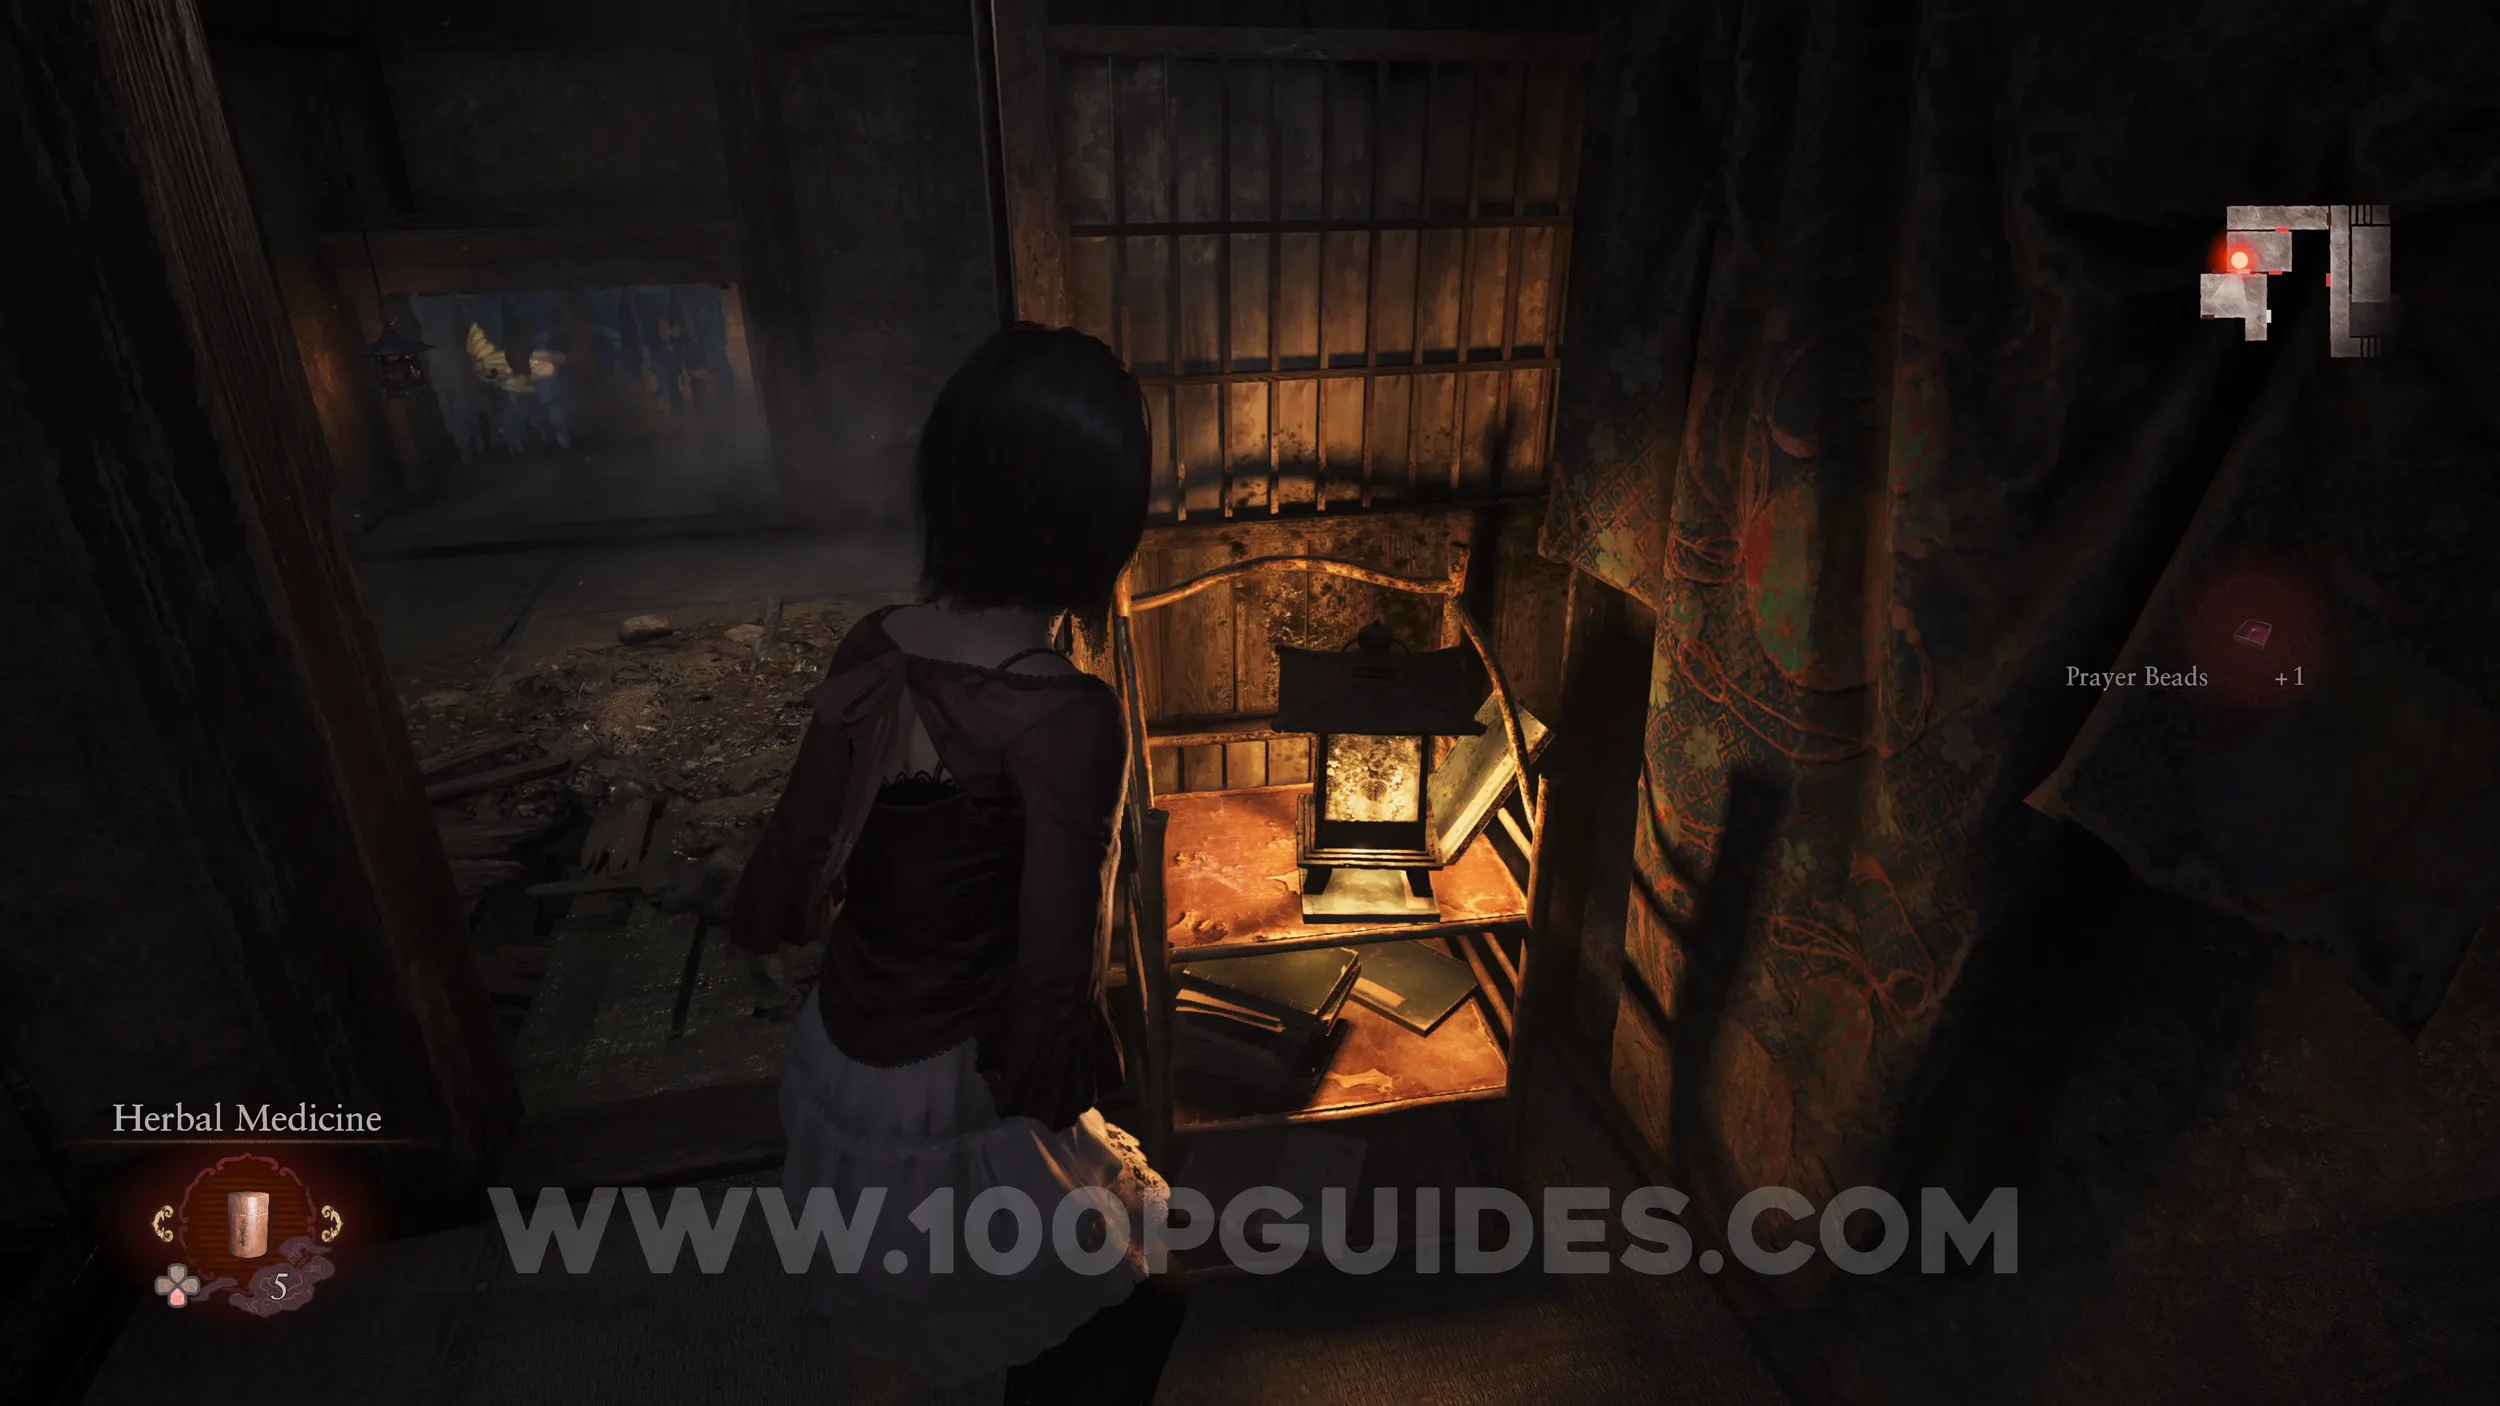
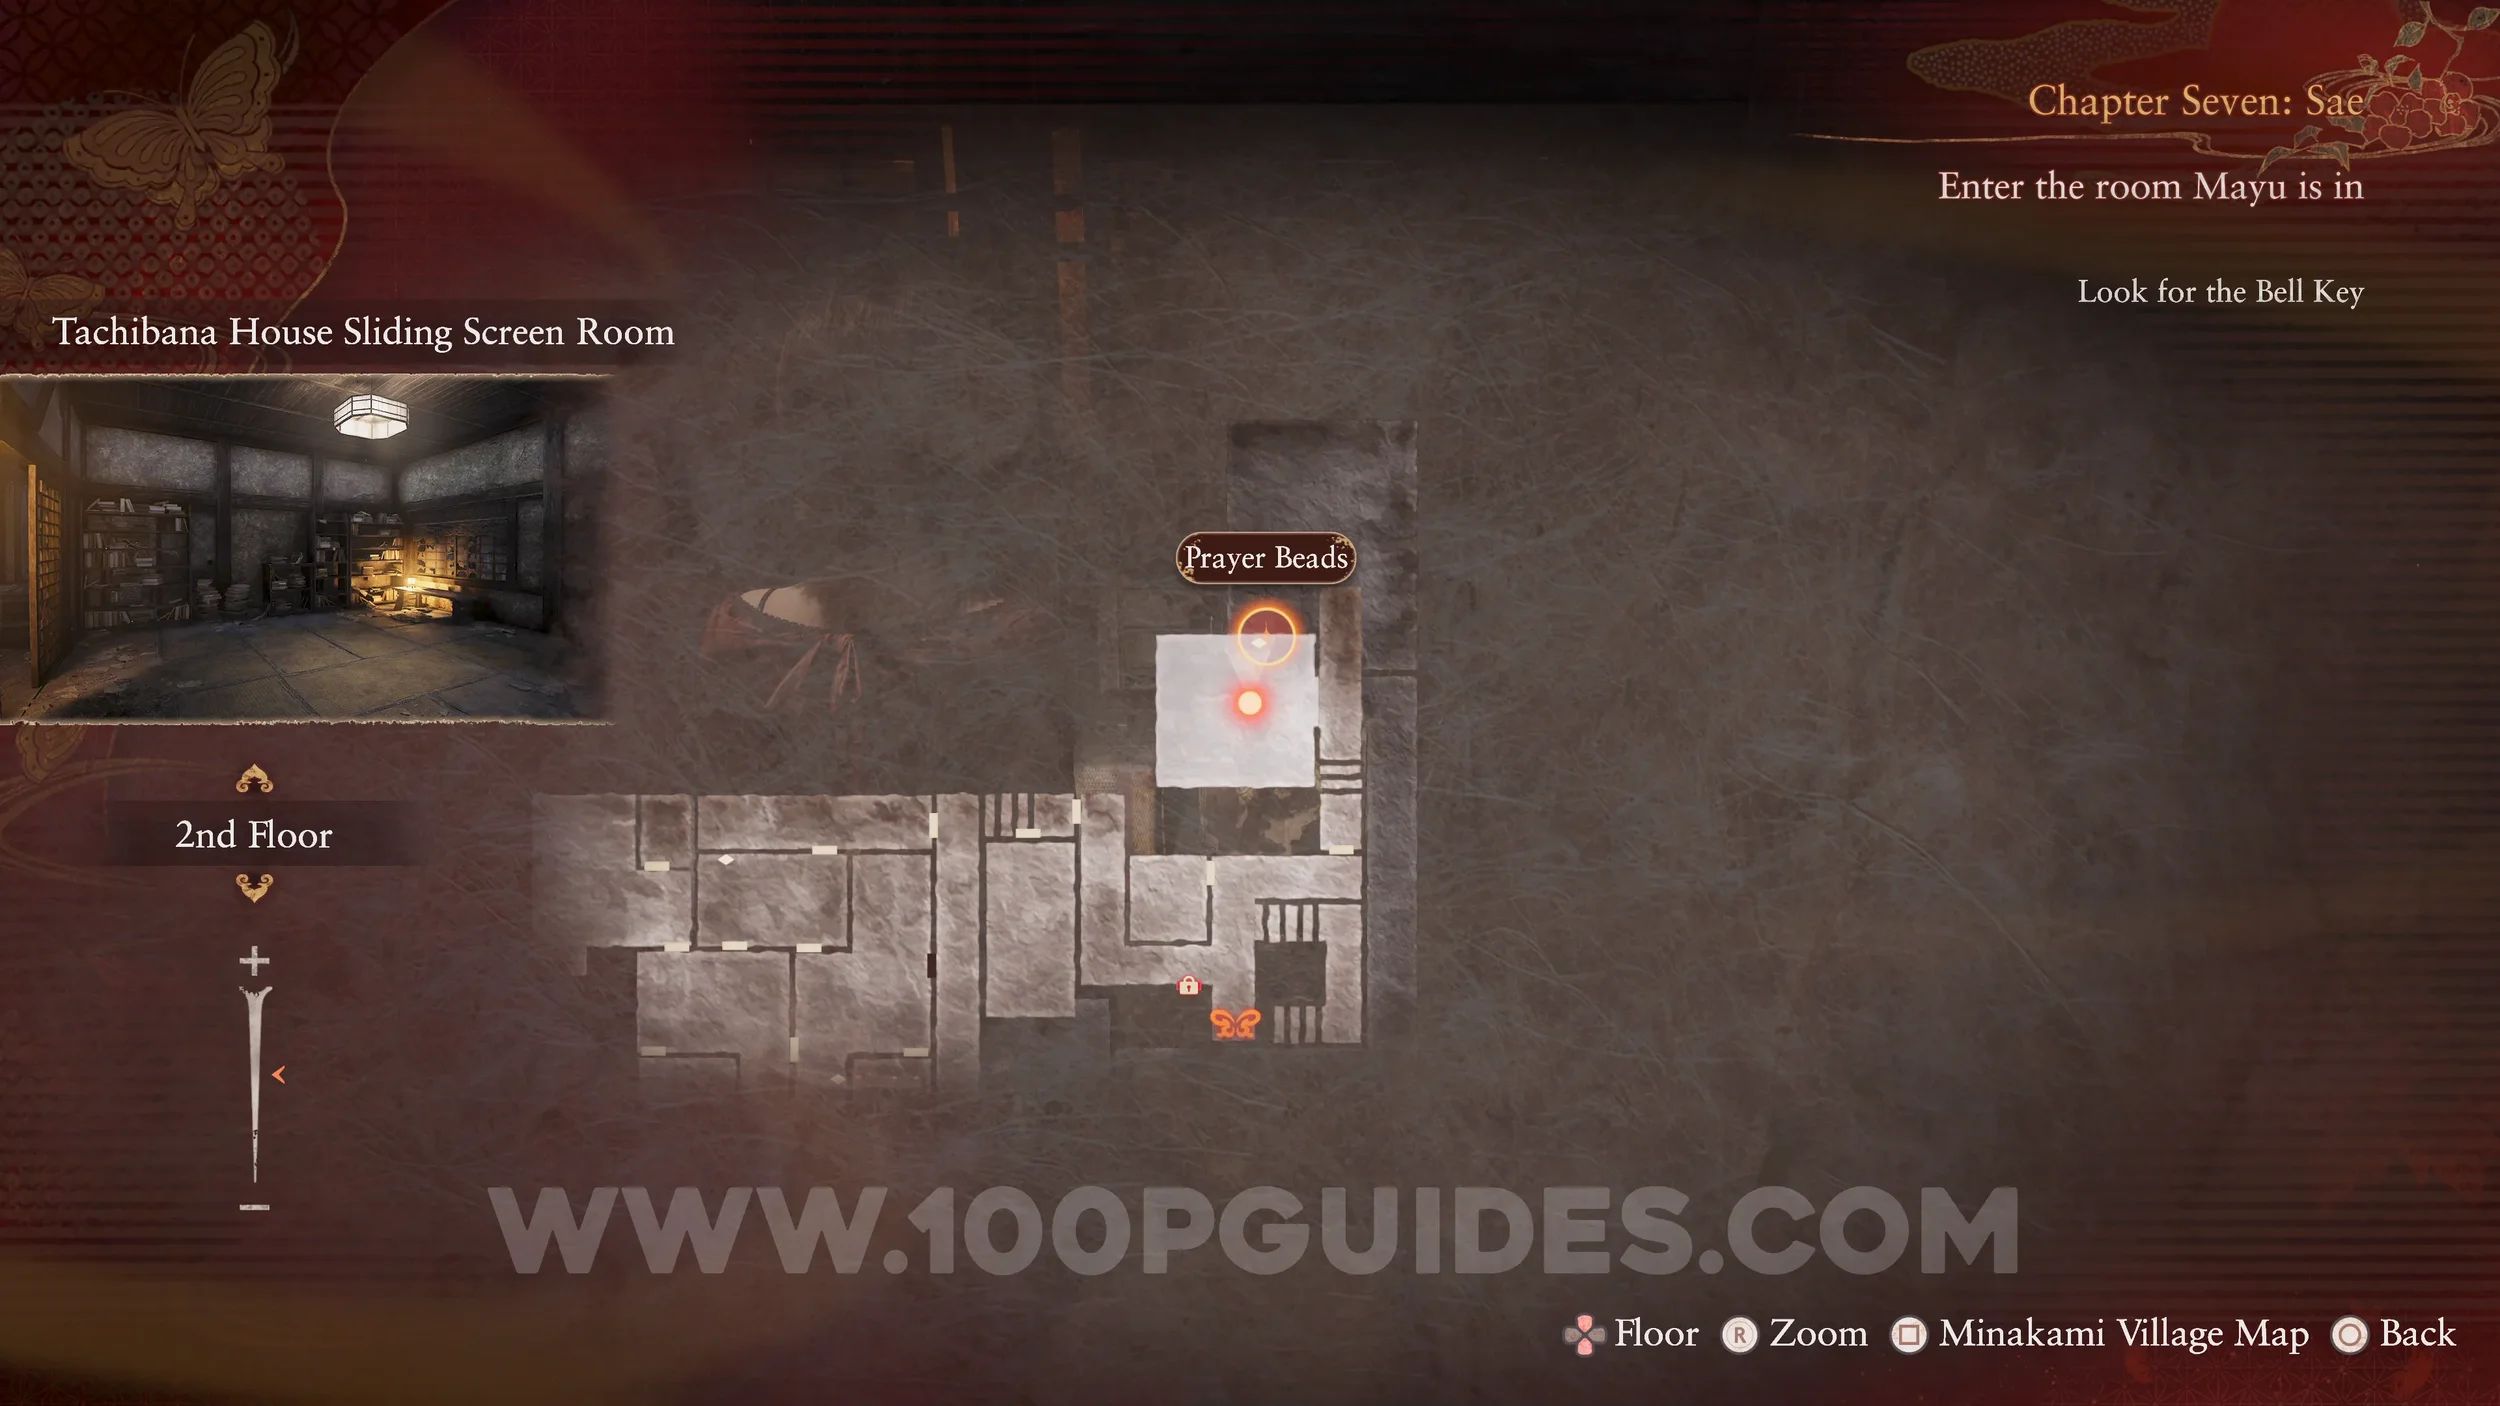
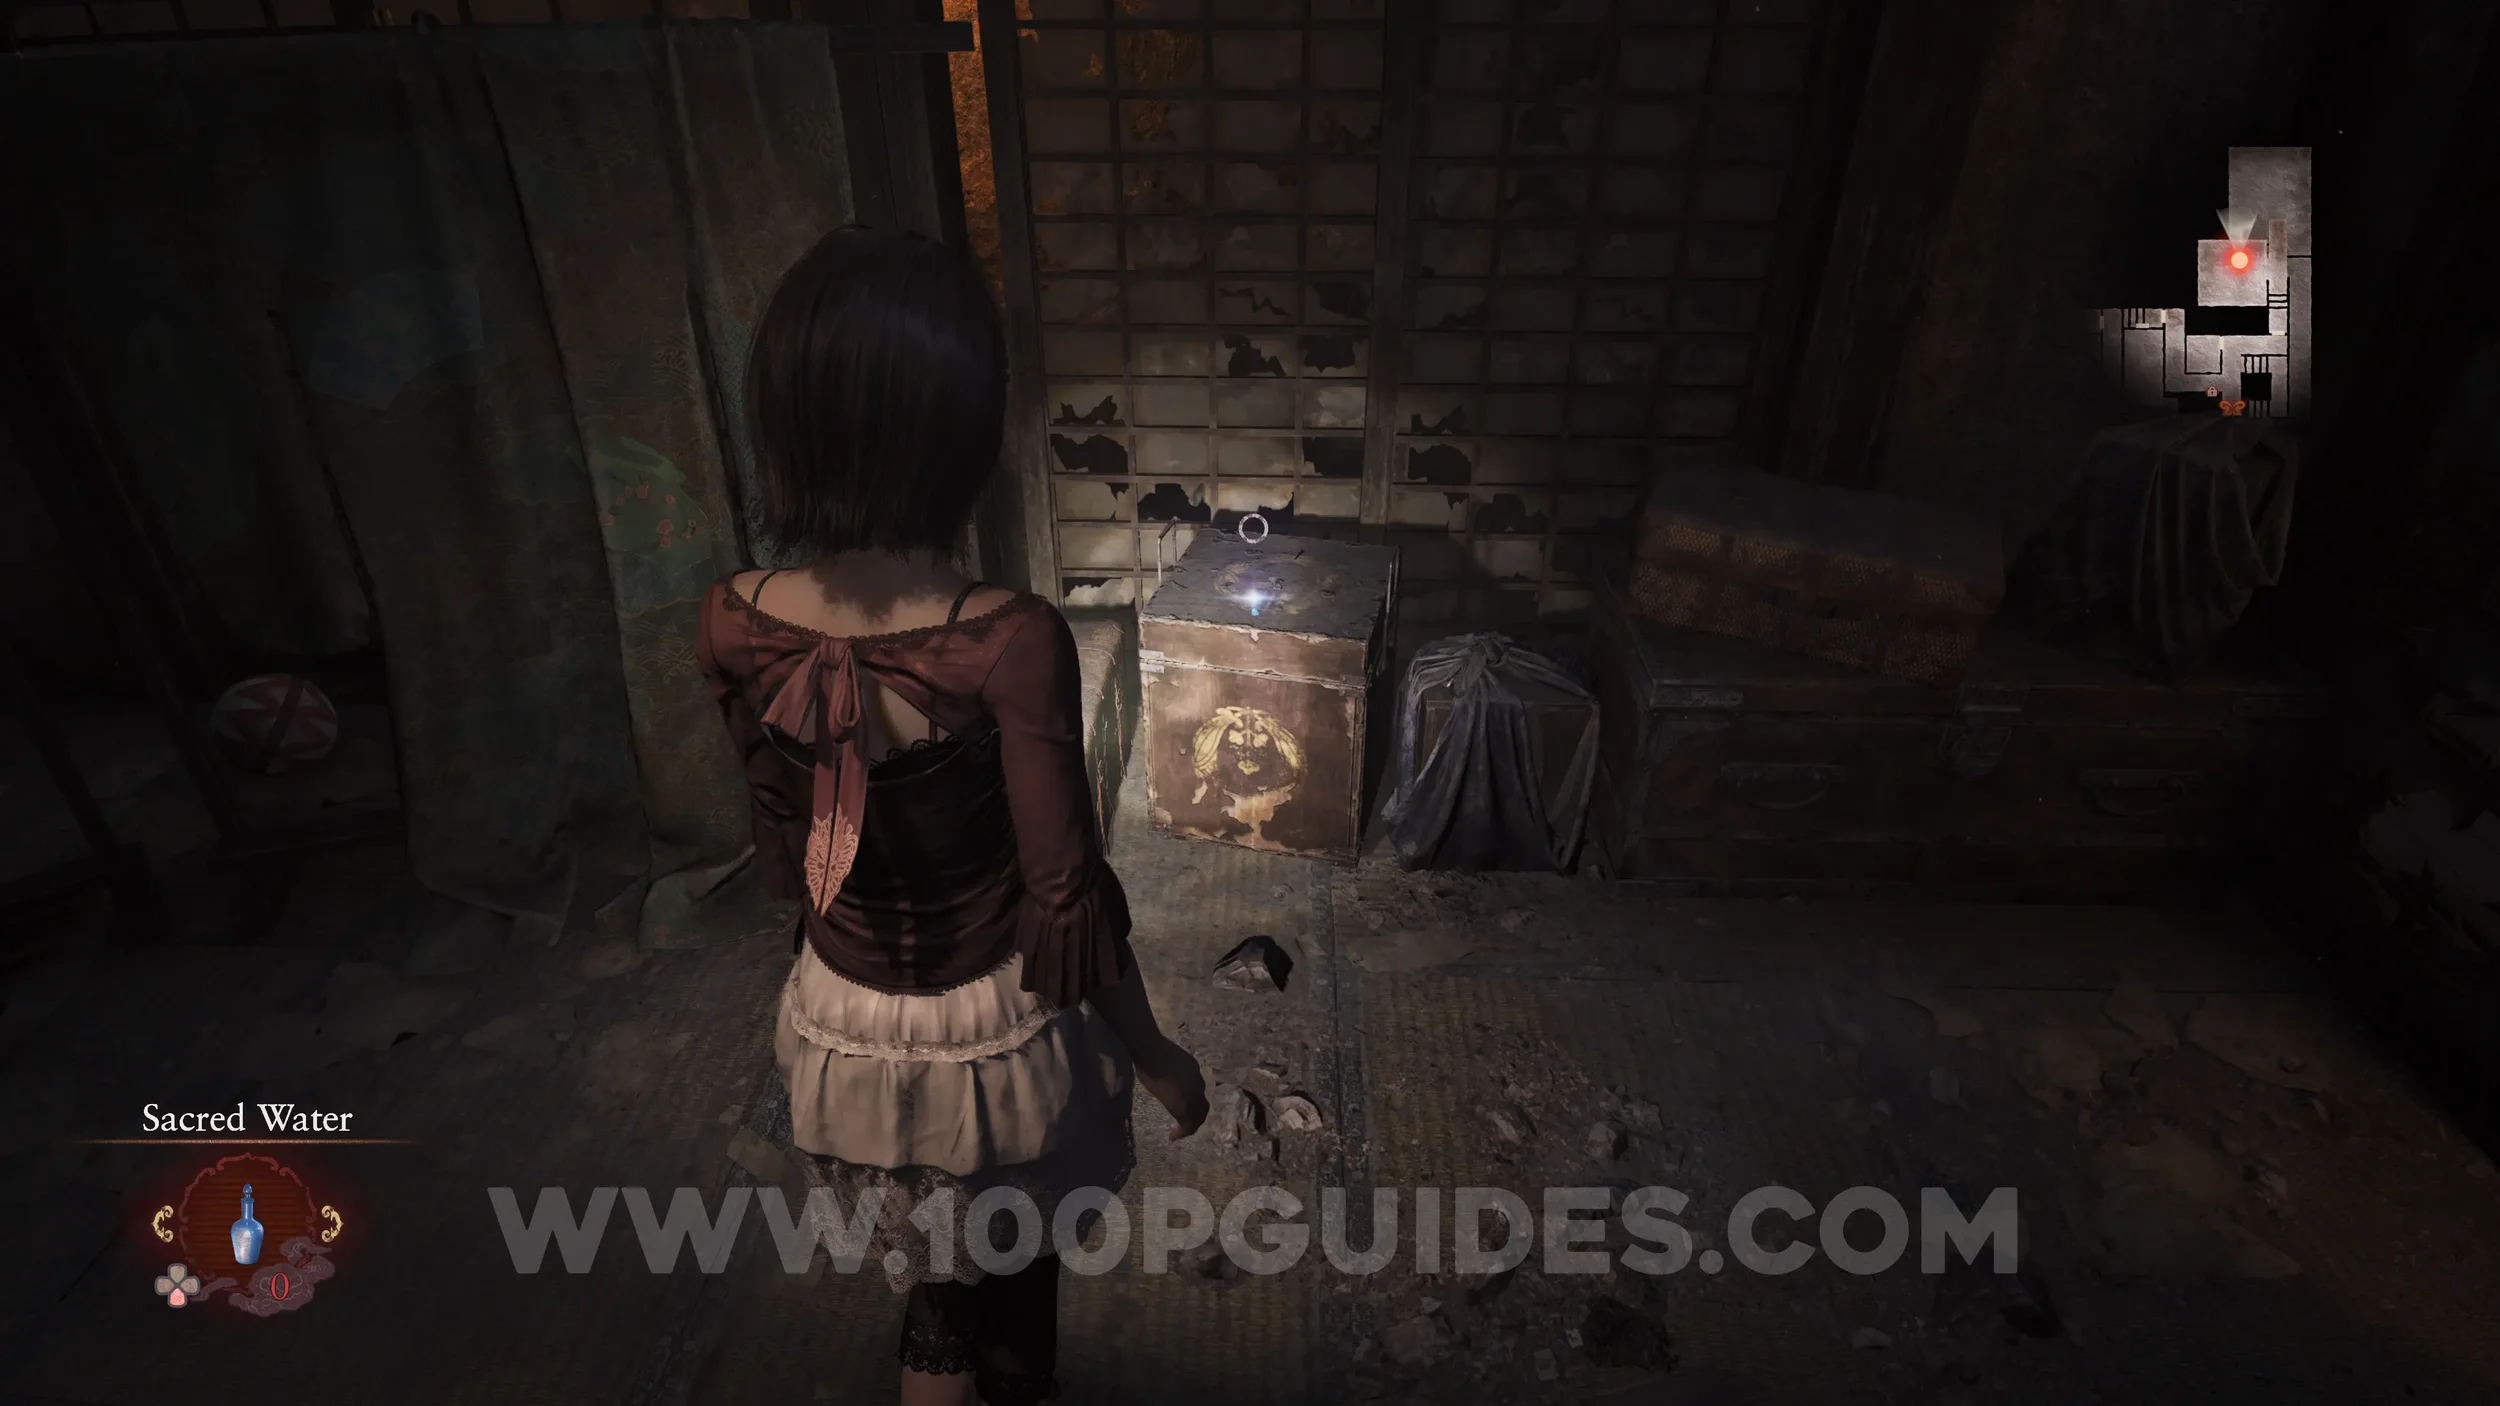
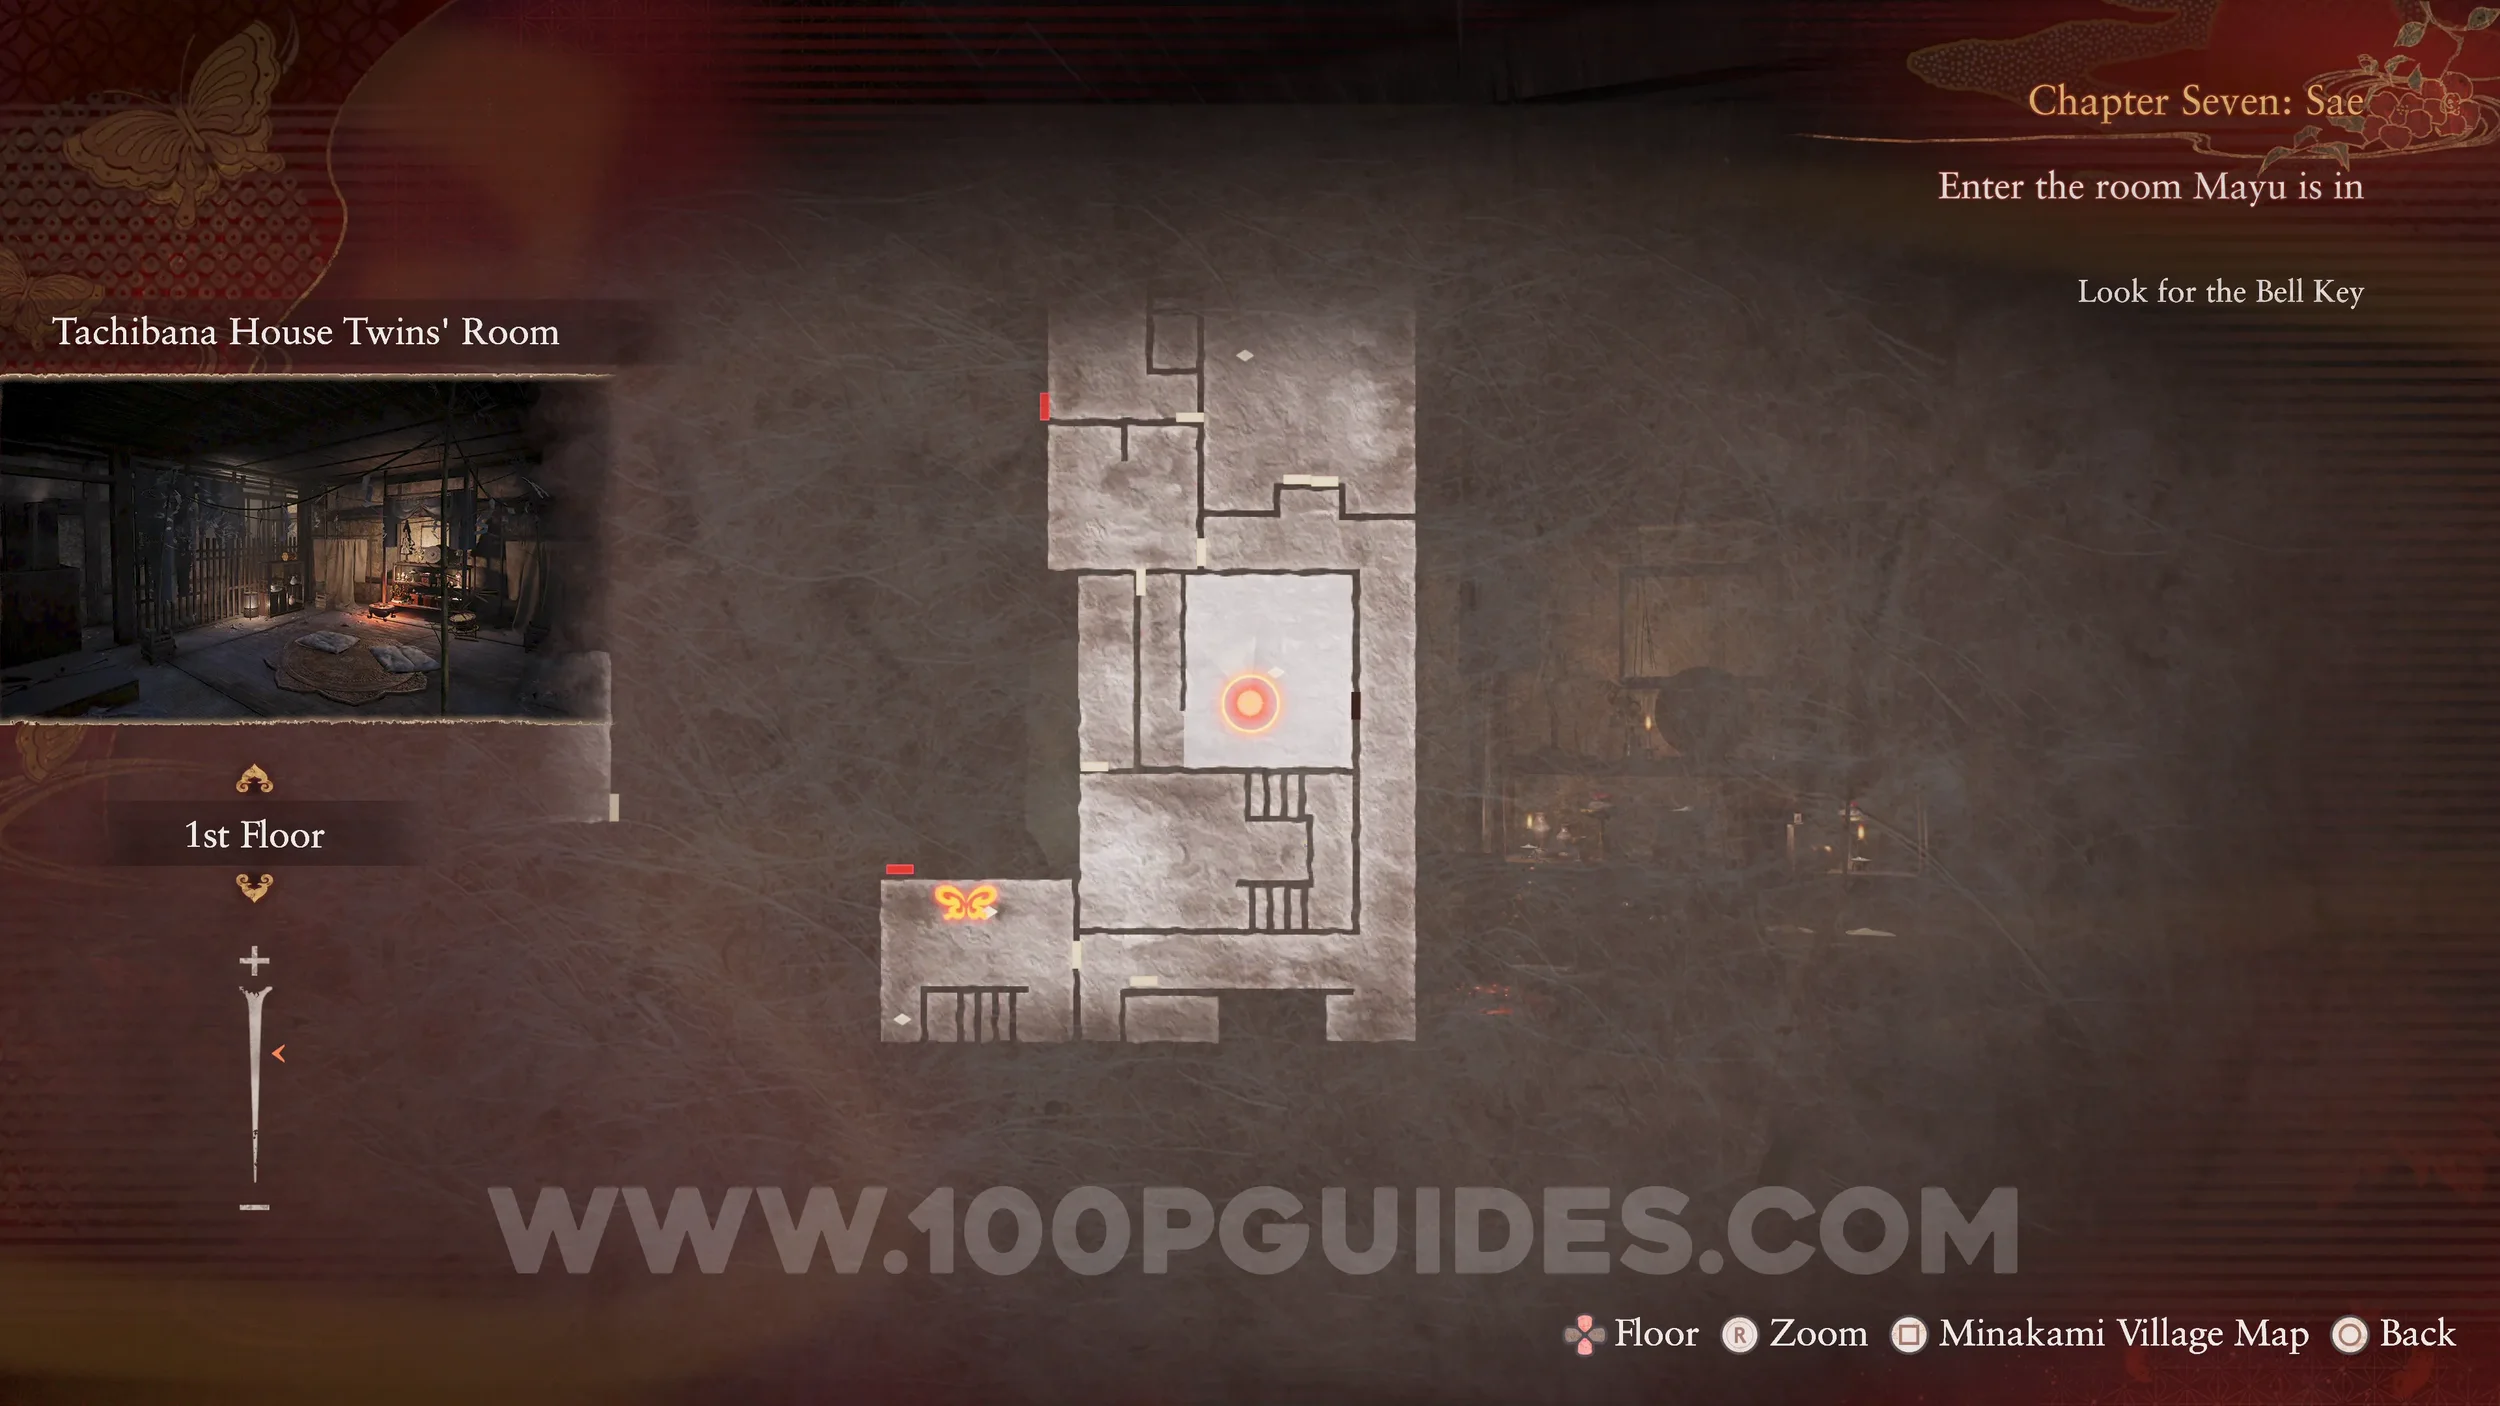
Prayer Beads #53. Once you reach the save point, head back into the previous corridor and enter the small room on the right.

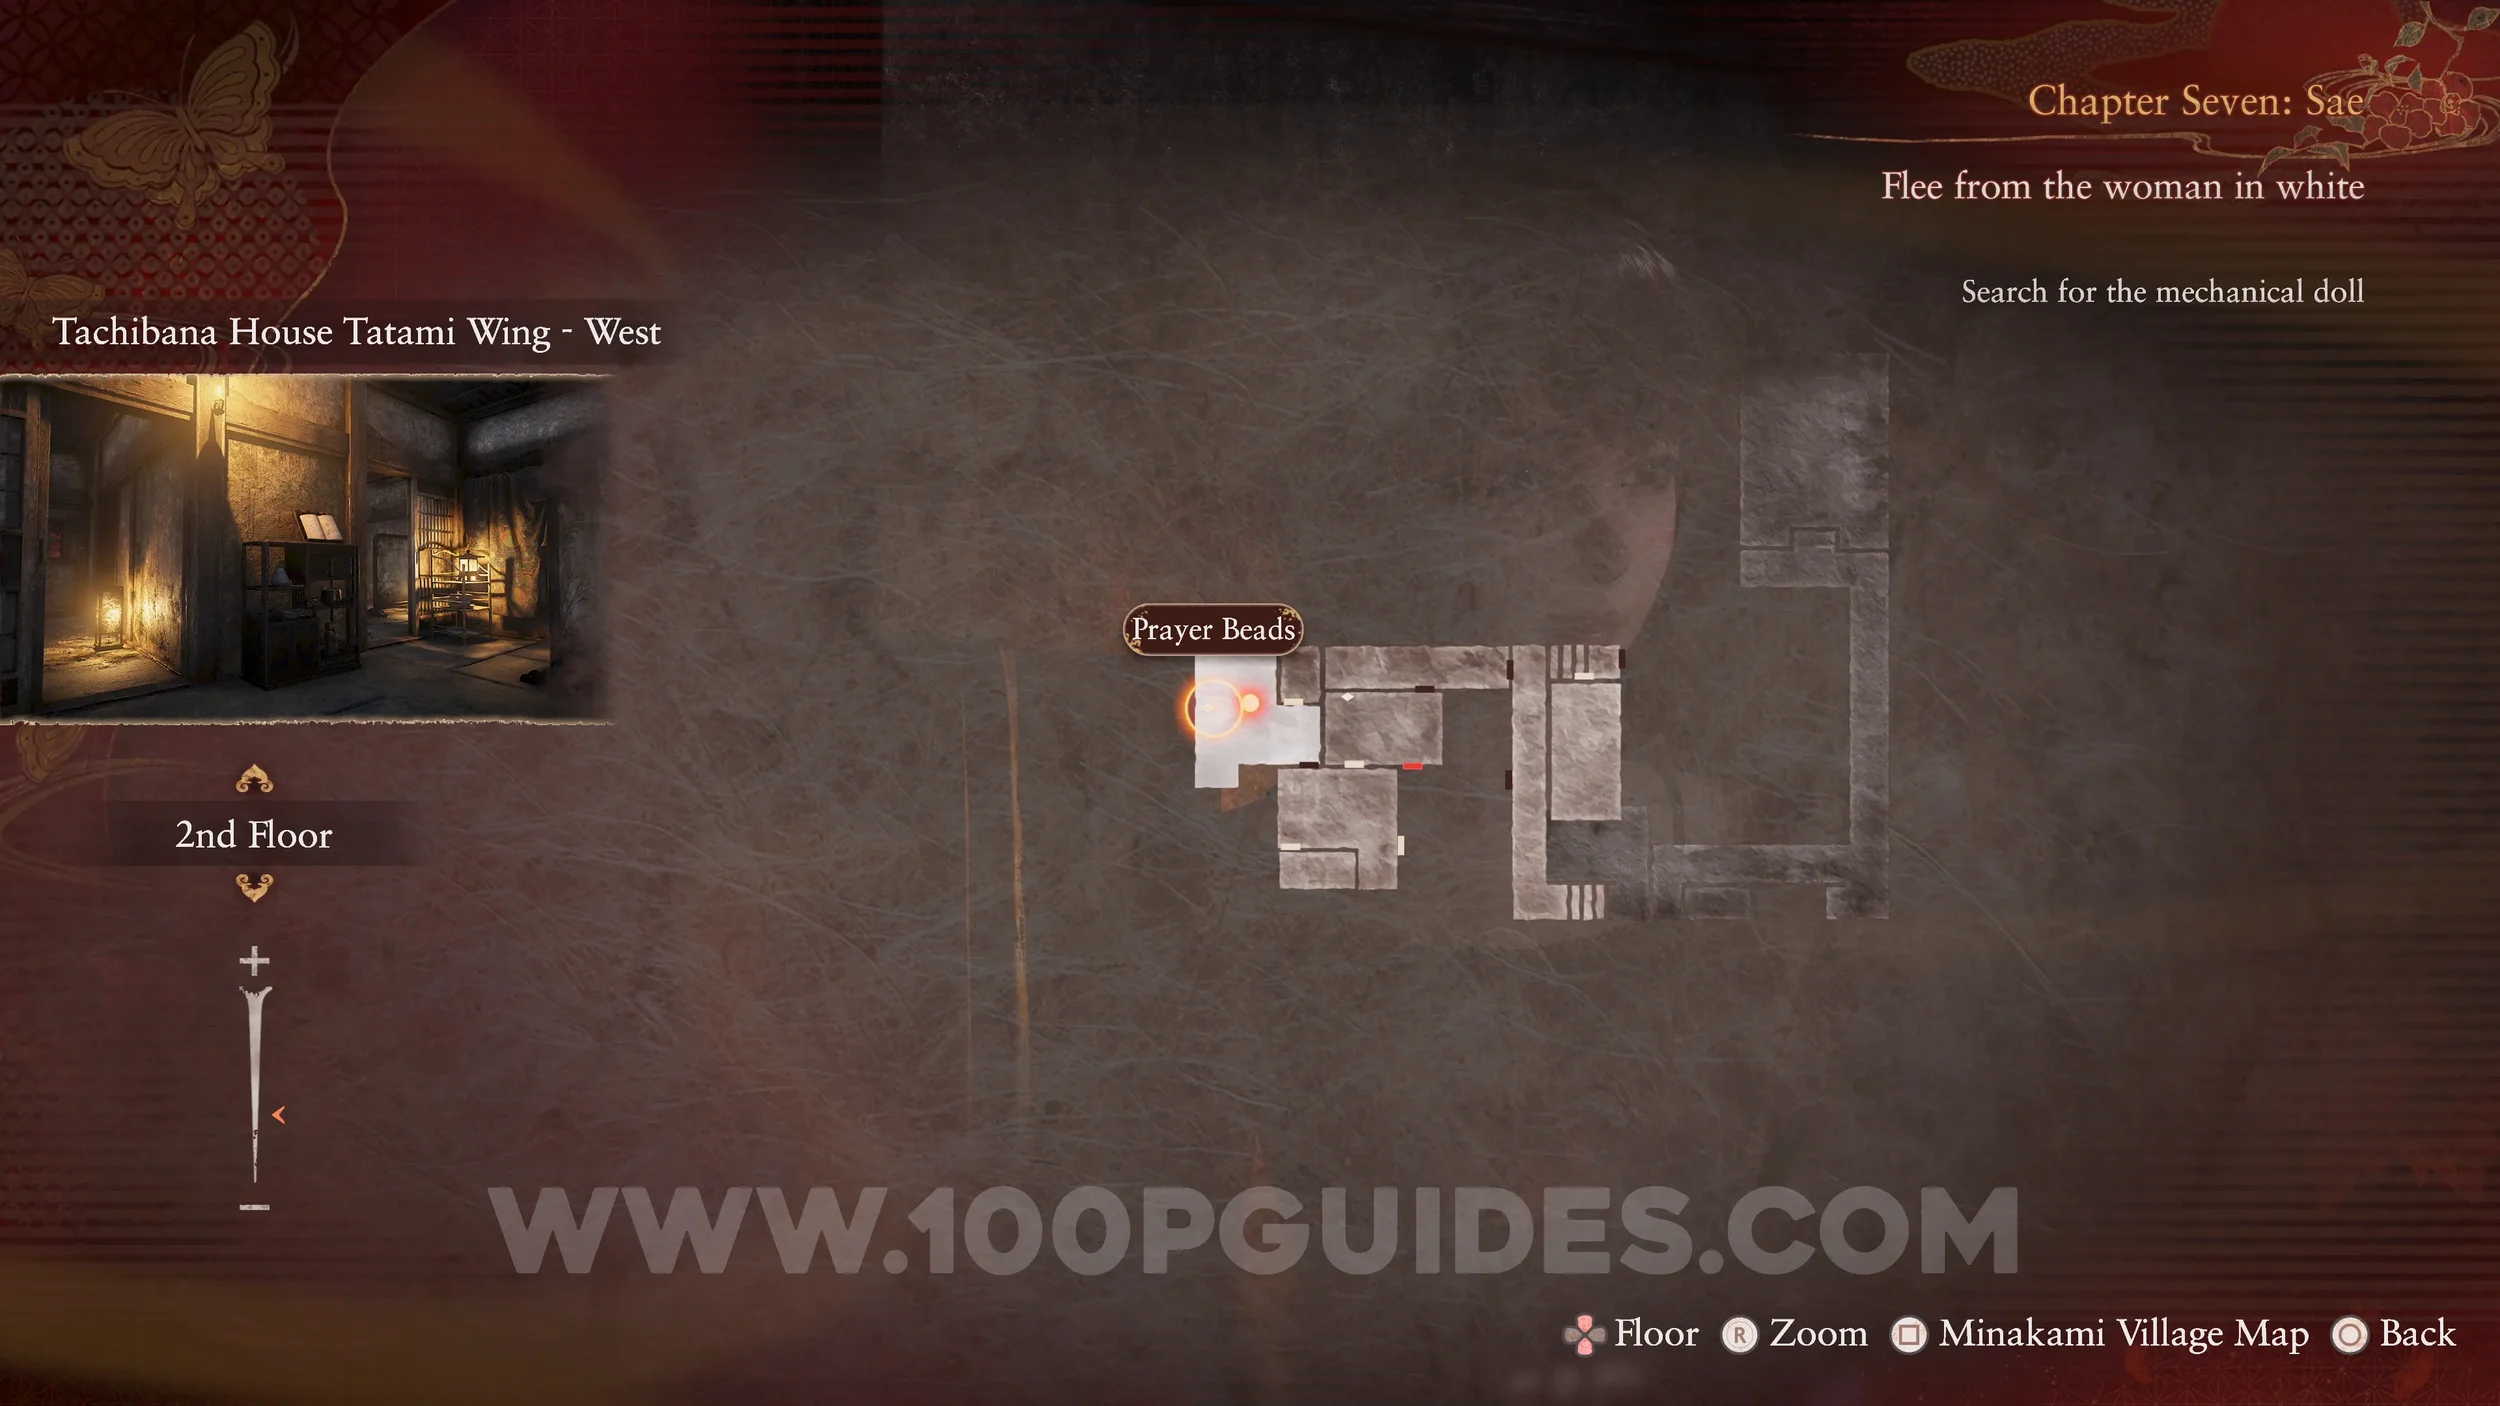
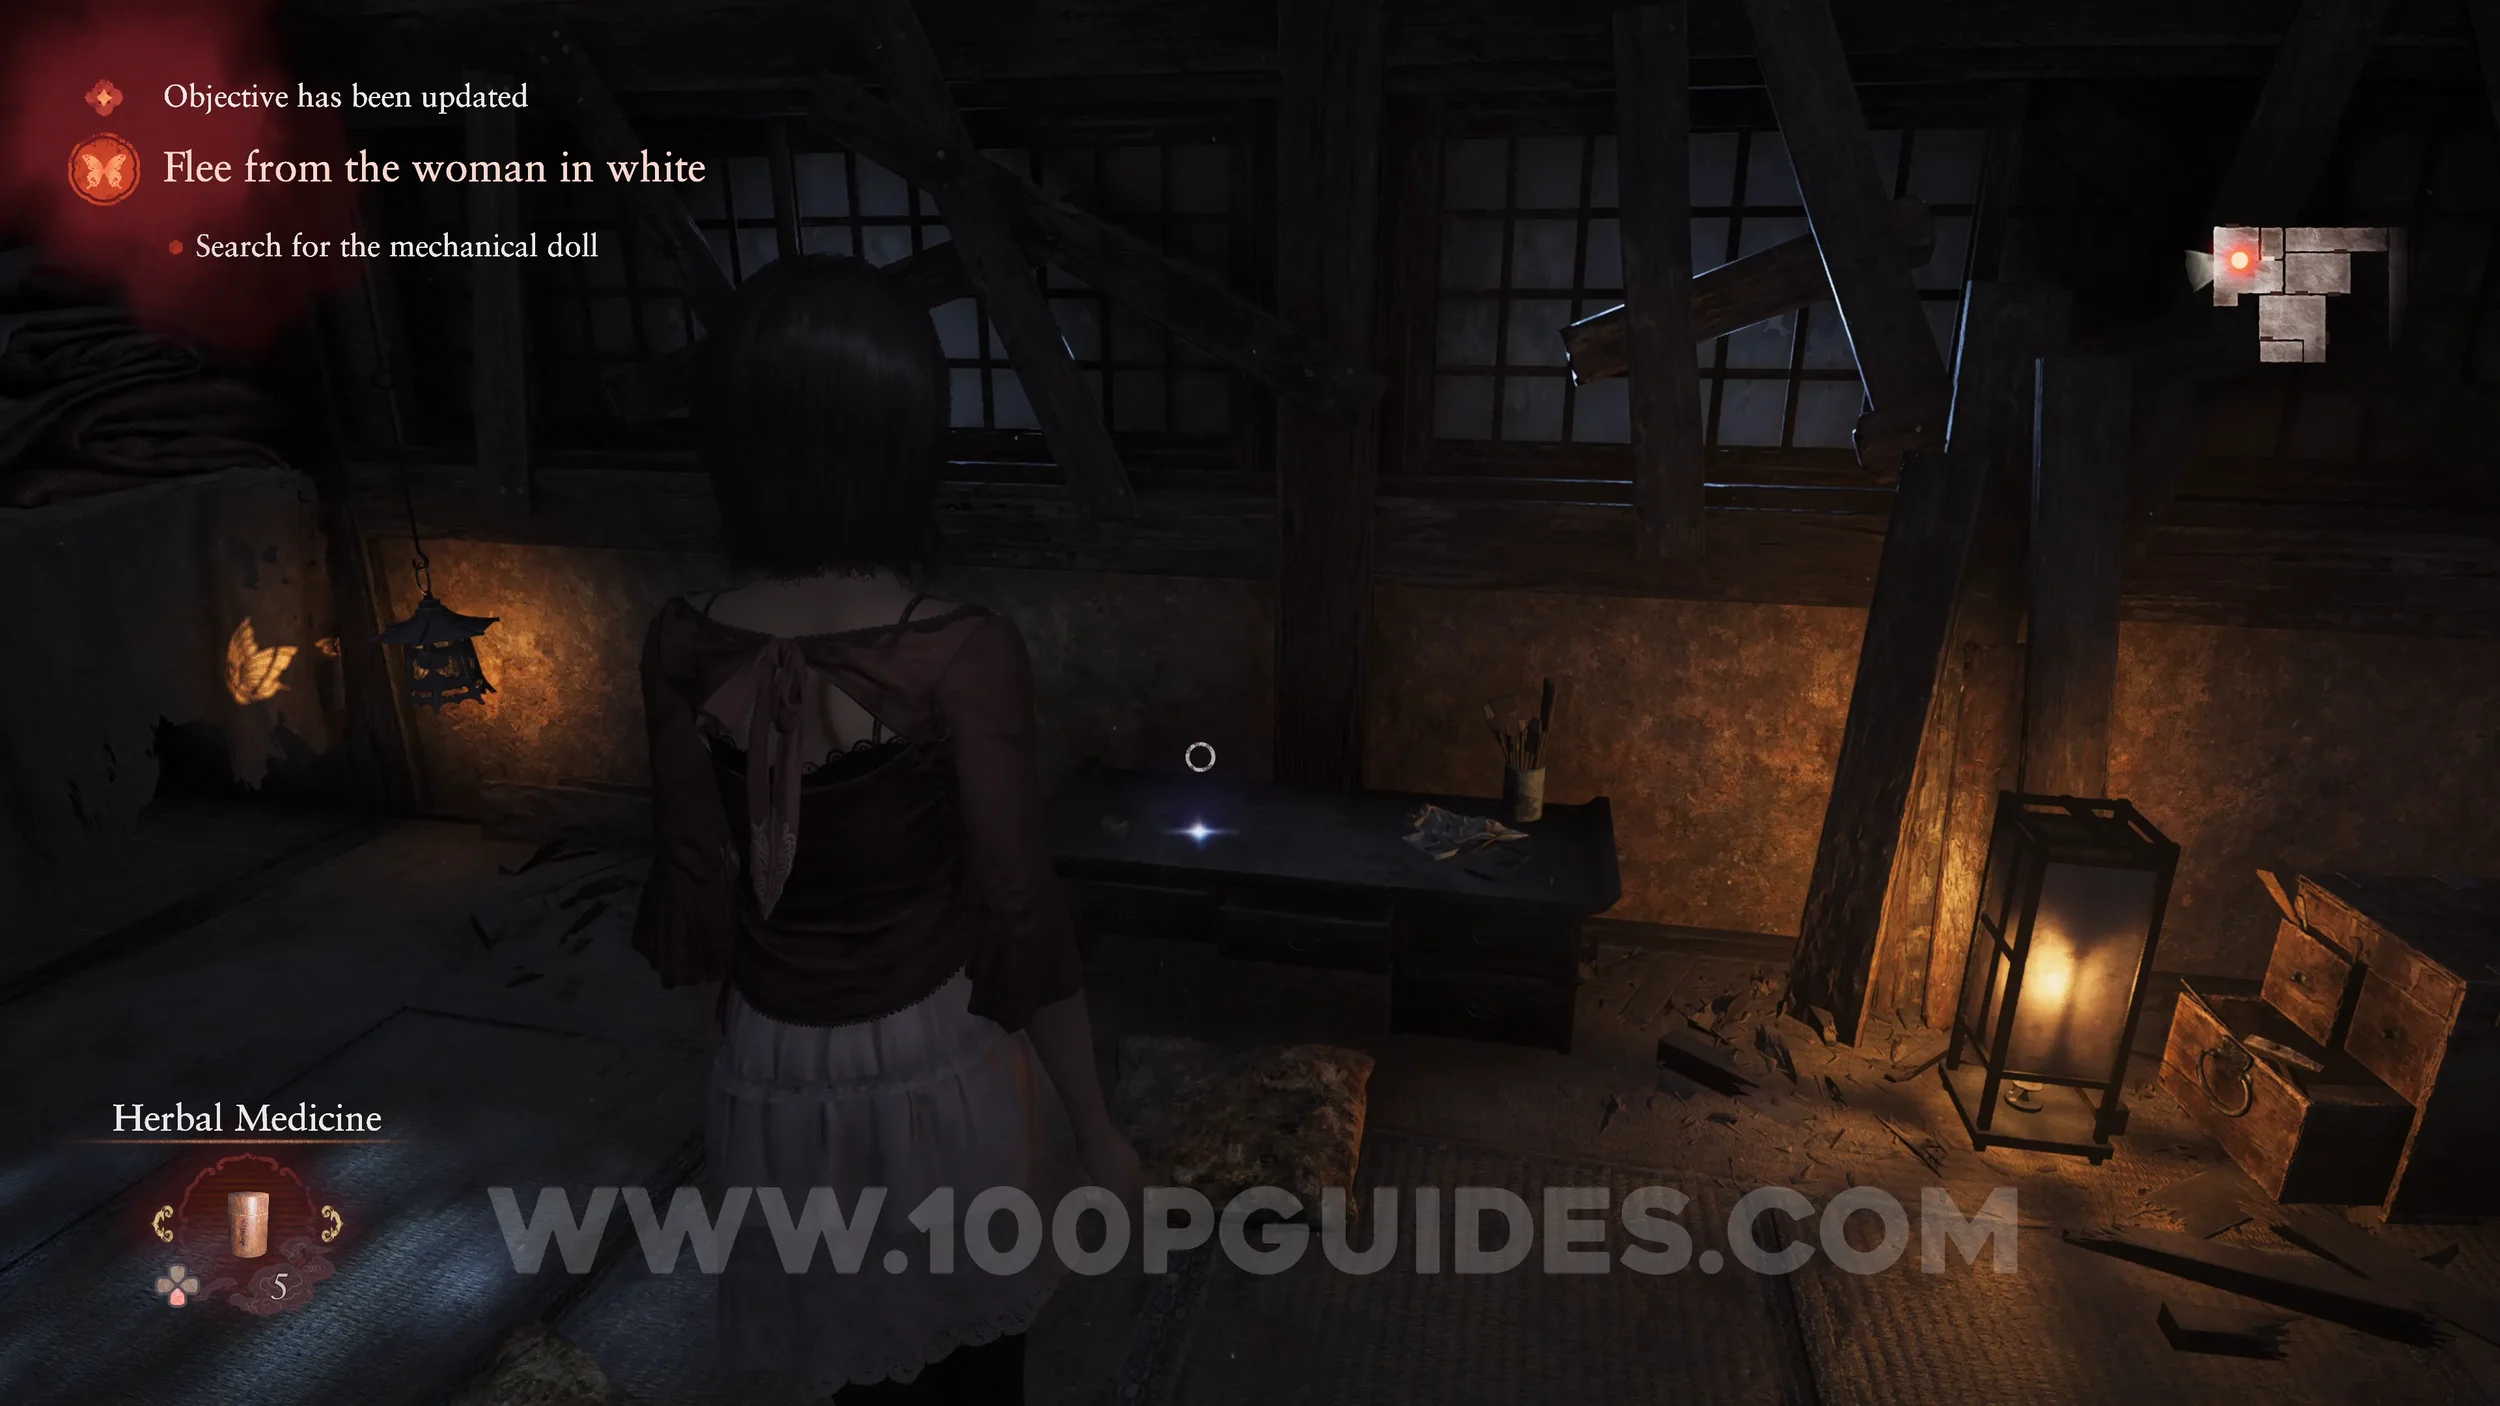
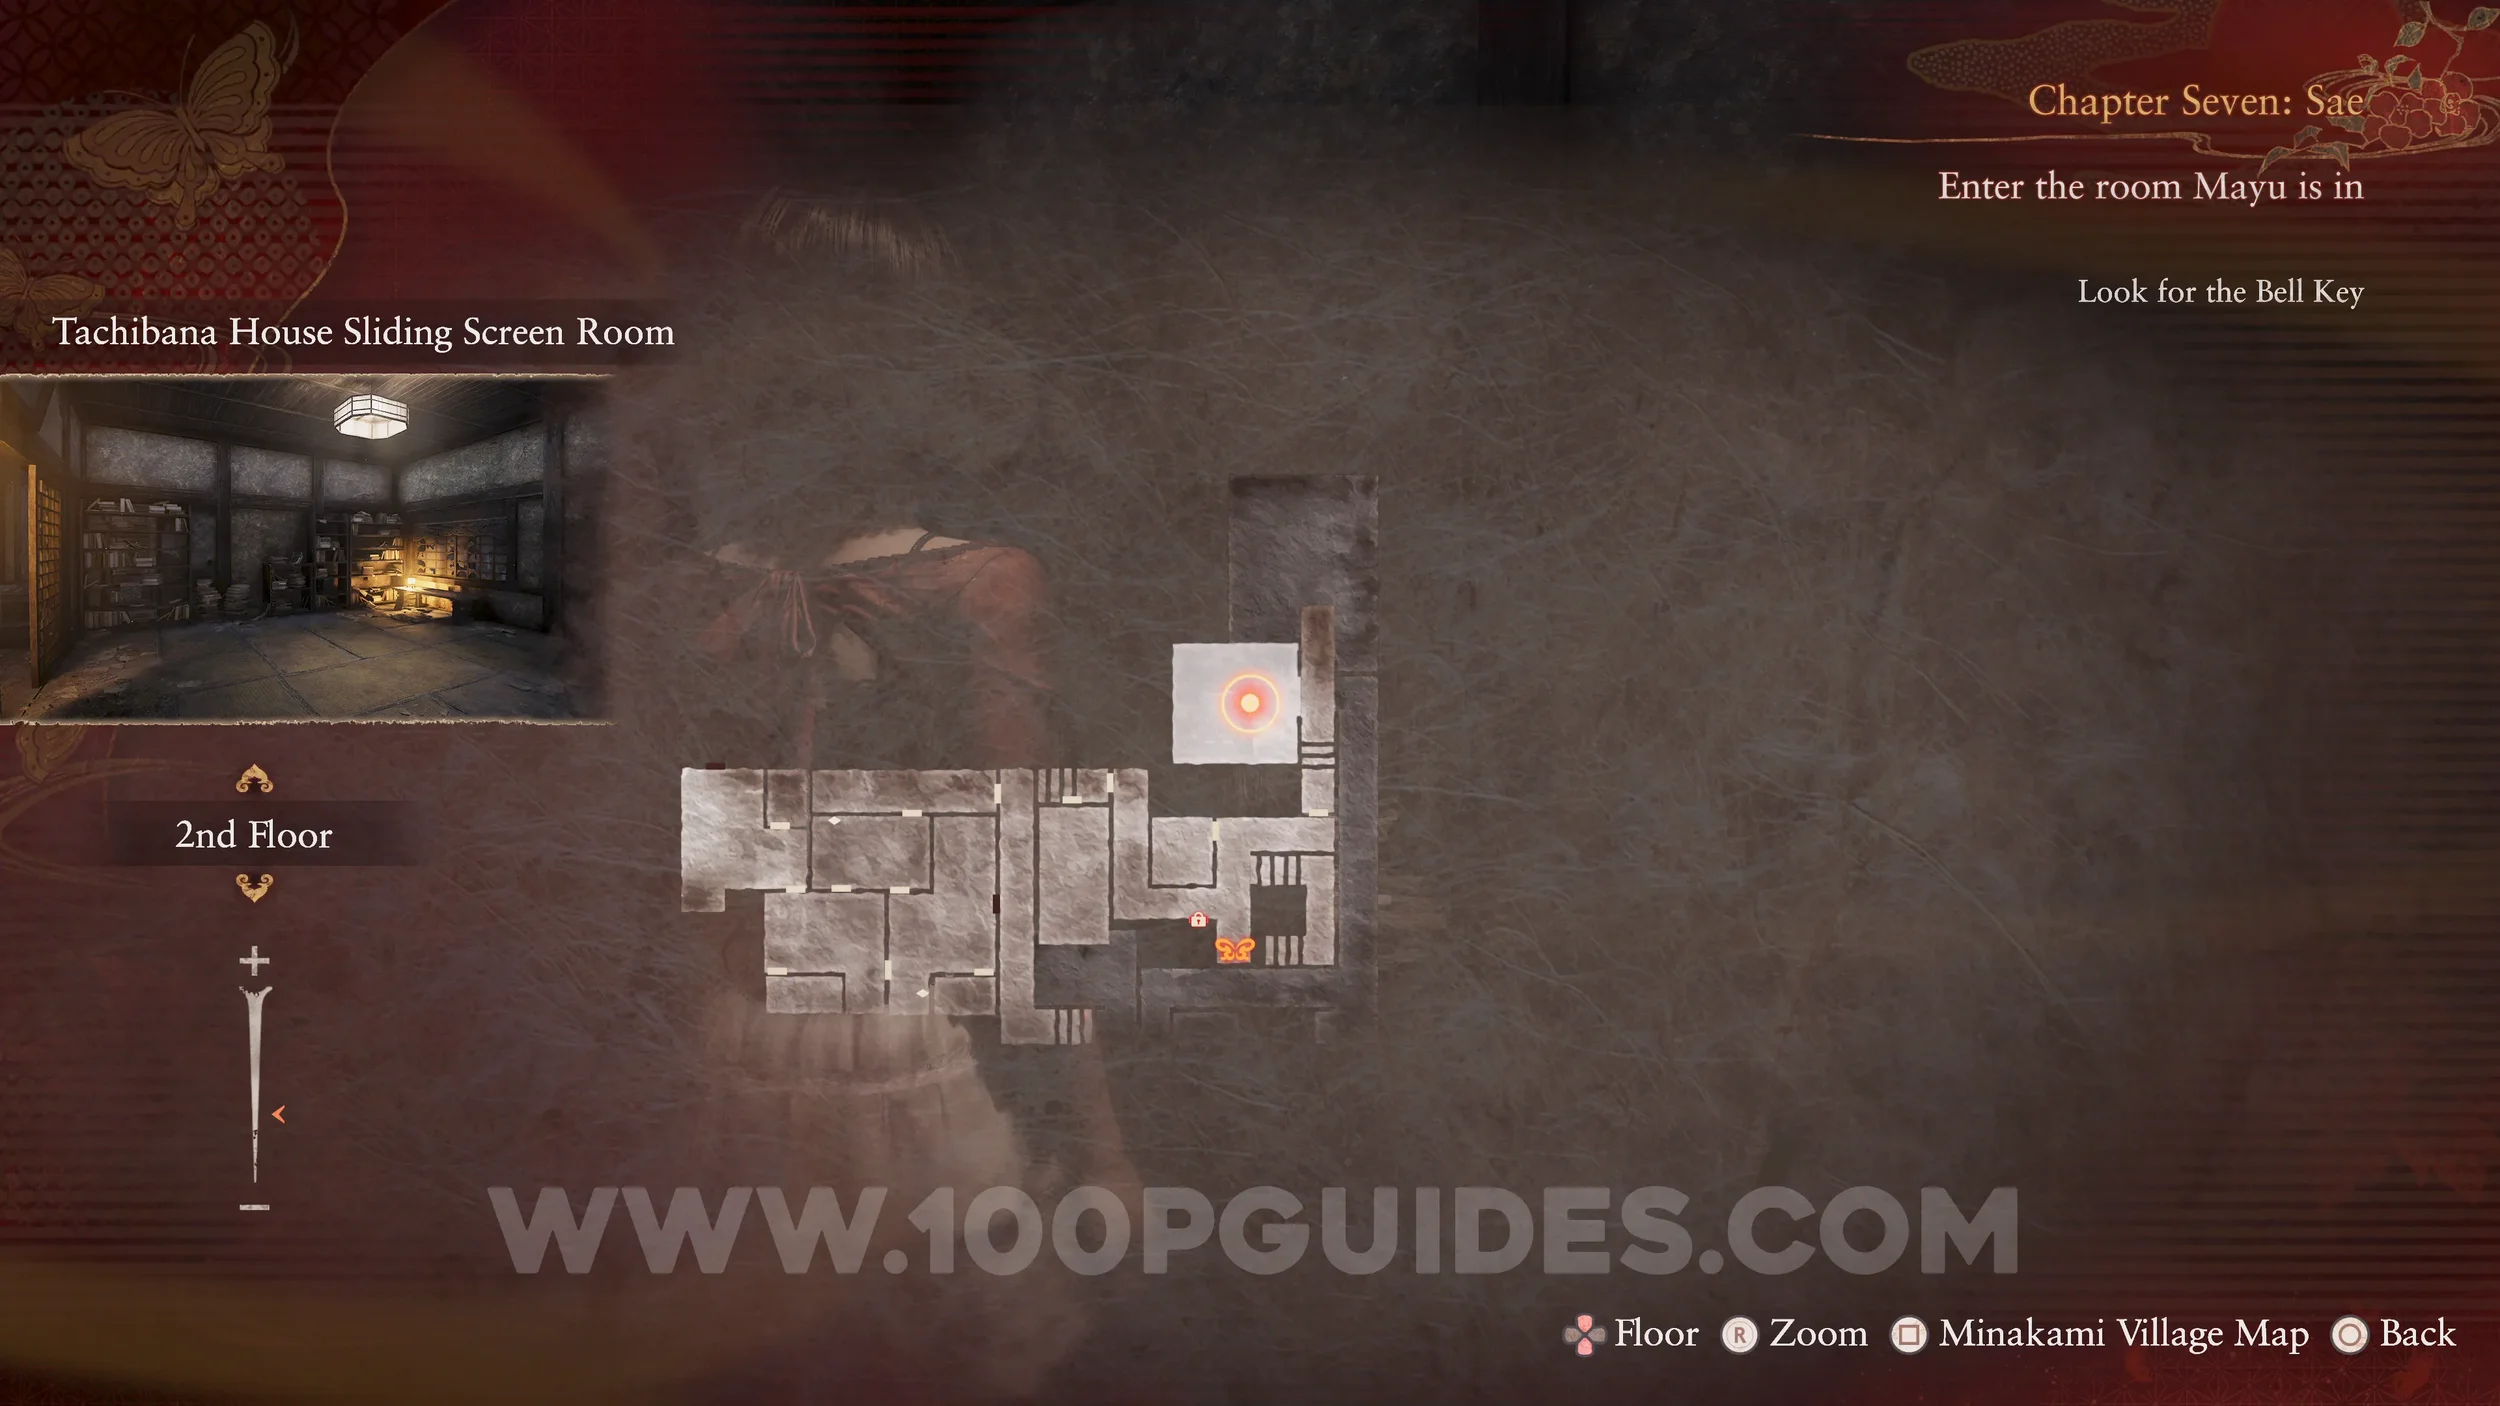
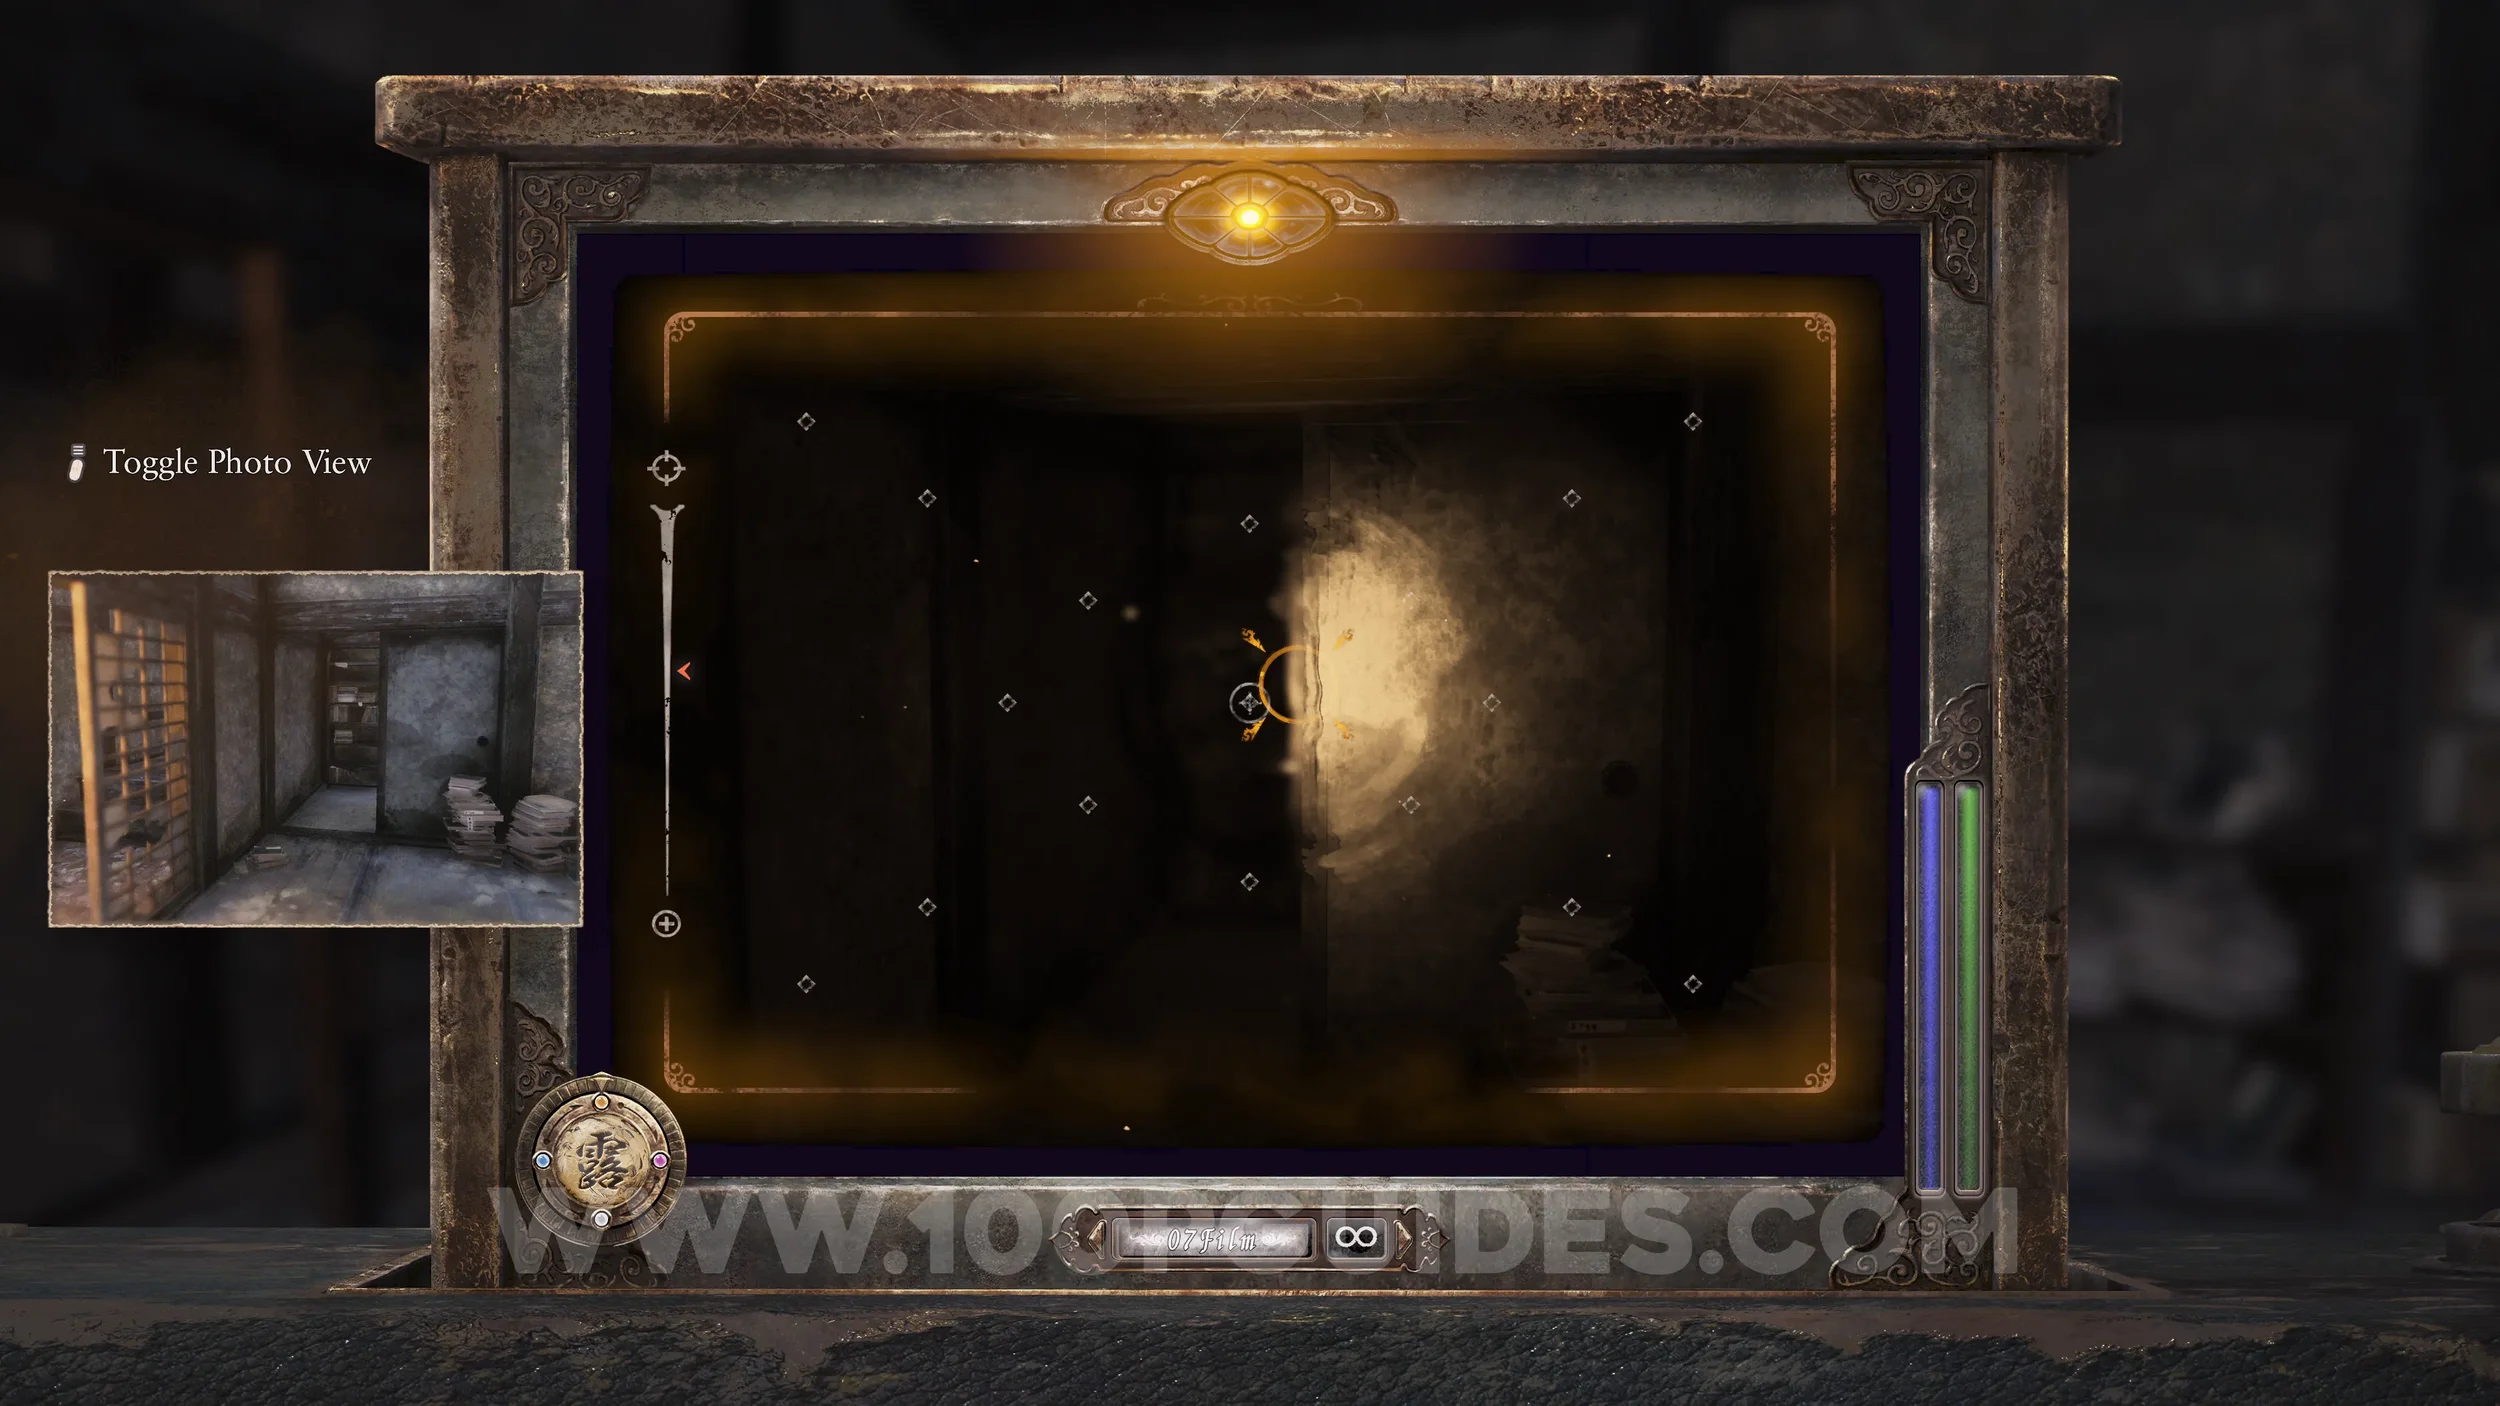
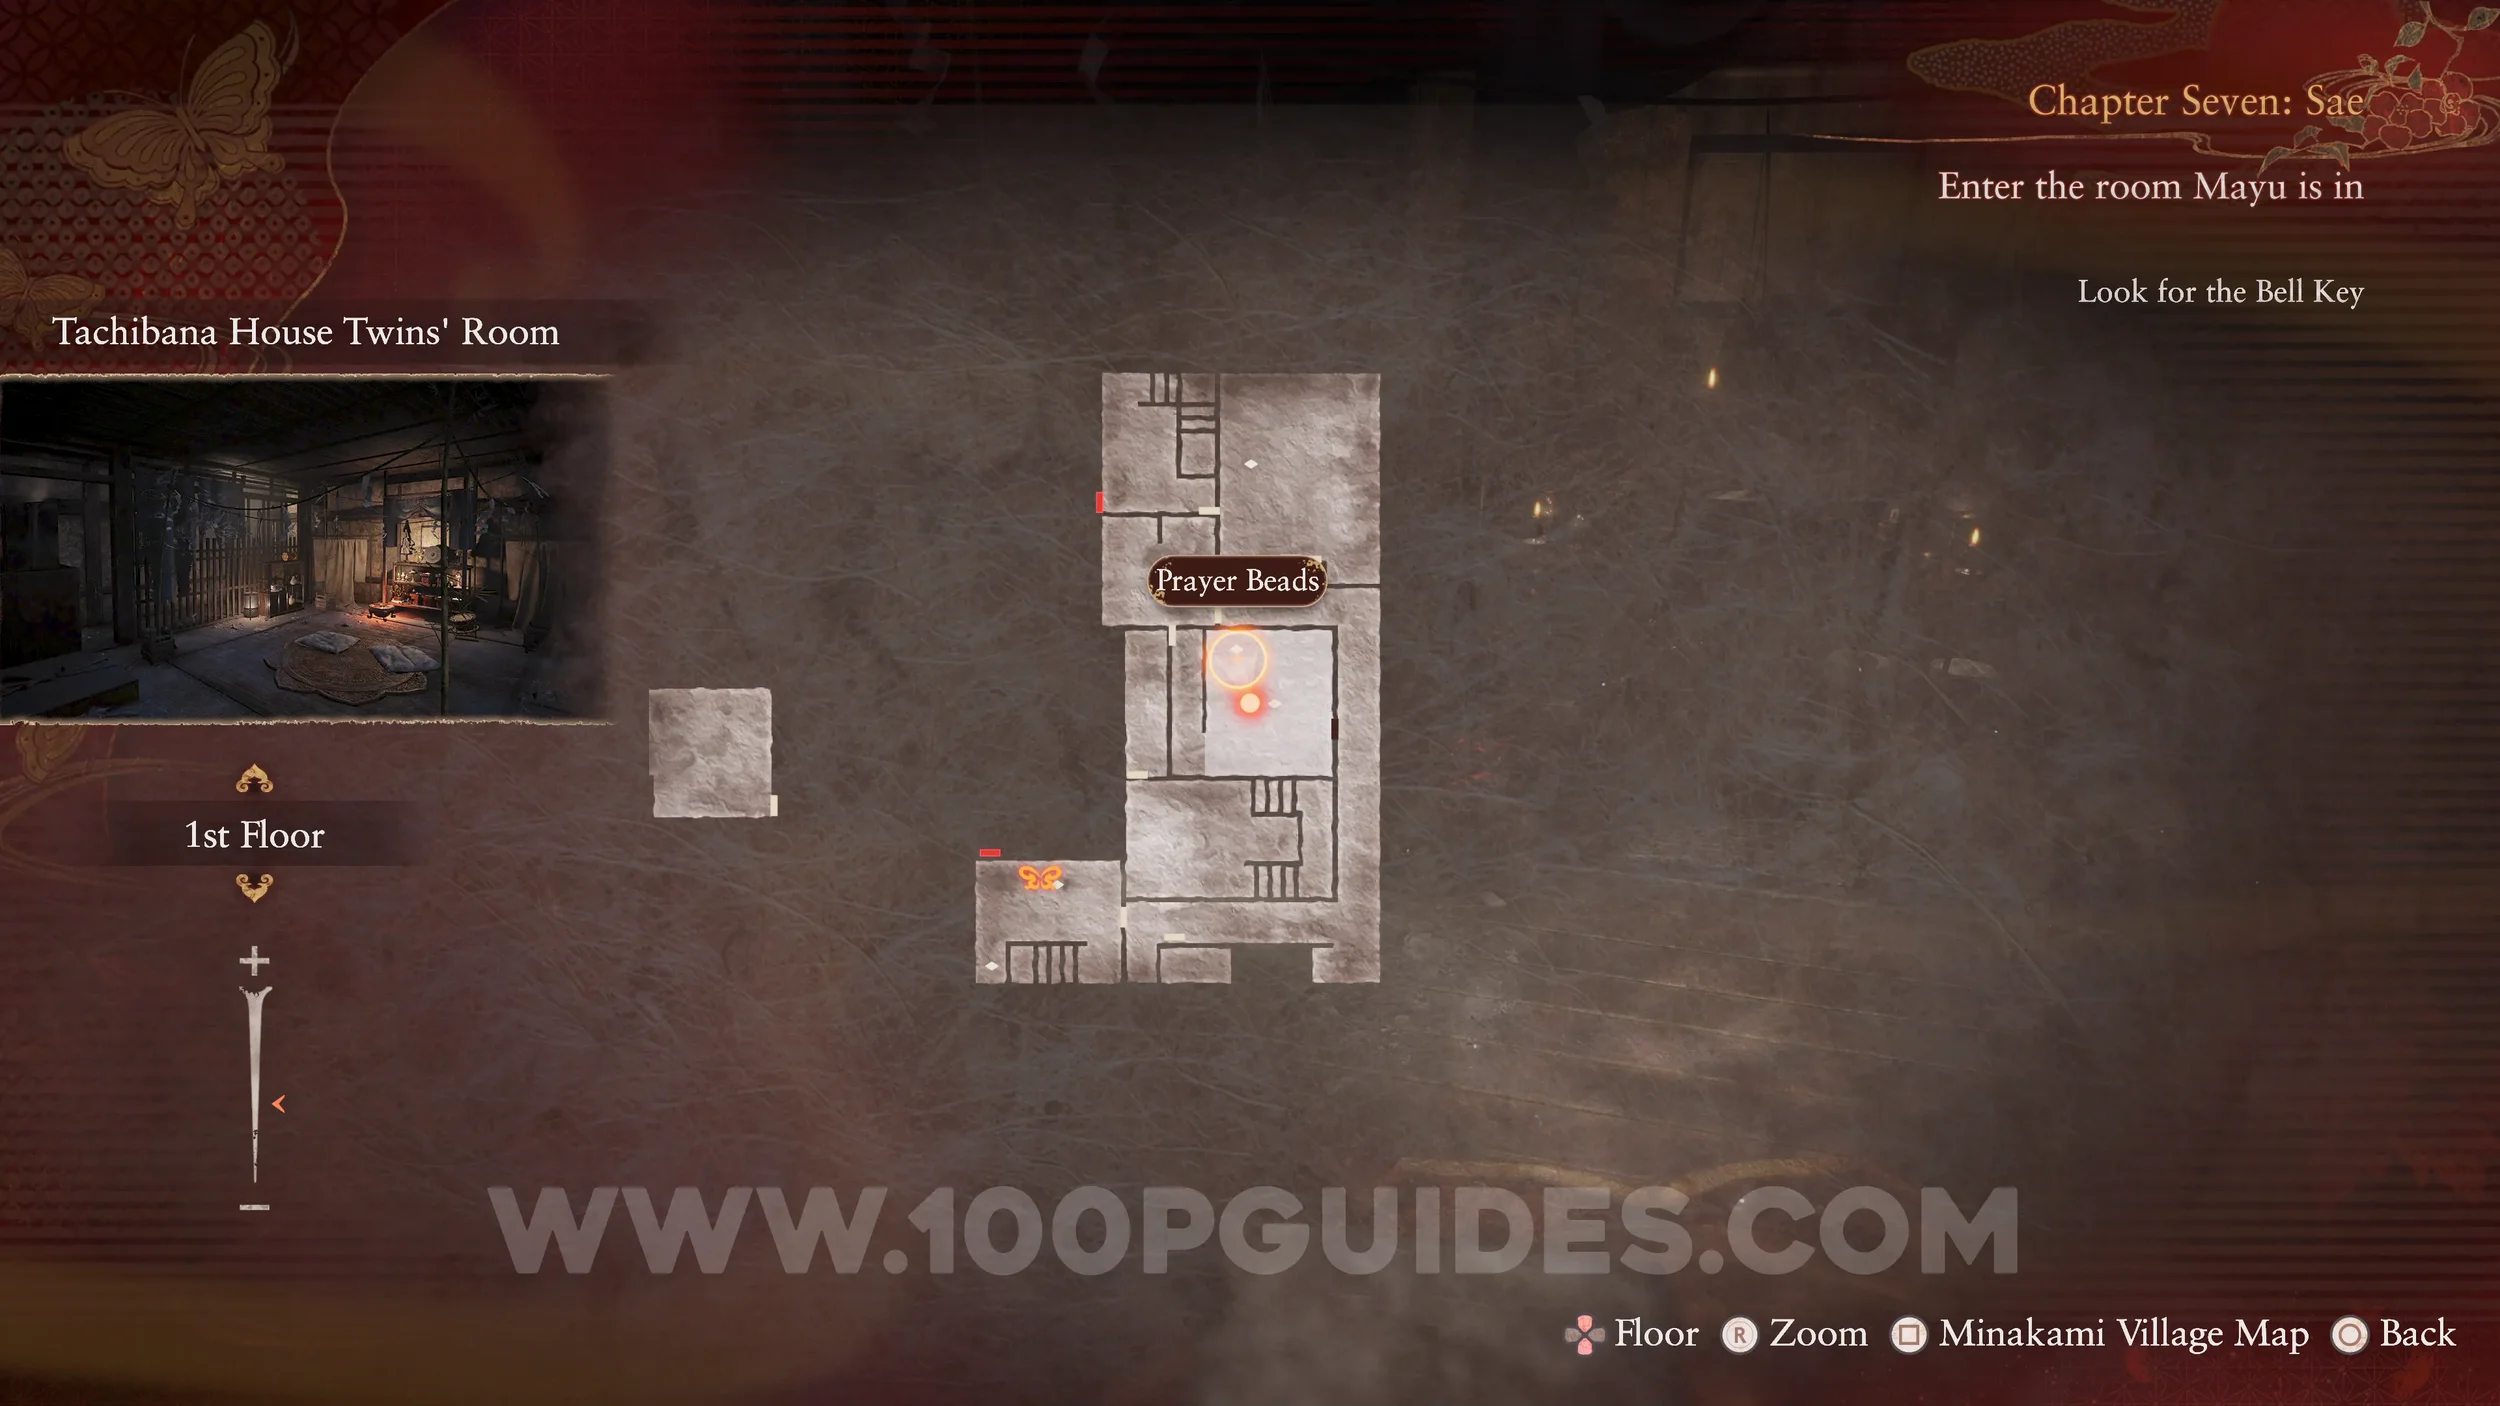
Prayer Beads #54. Go up the stairs in the save room, then look for two small gaps you can crawl into on your right. The Prayer Beads are in the second gap.
Prayer Beads #55. Go to the end of the hall and head up the stairs on your right. Then enter the room on your right and open the cupboard inside.
Prayer Beads #56. After interacting with Mayu and triggering the chase with Sae, run into the room on the left. The beads will be on the shelves inside.
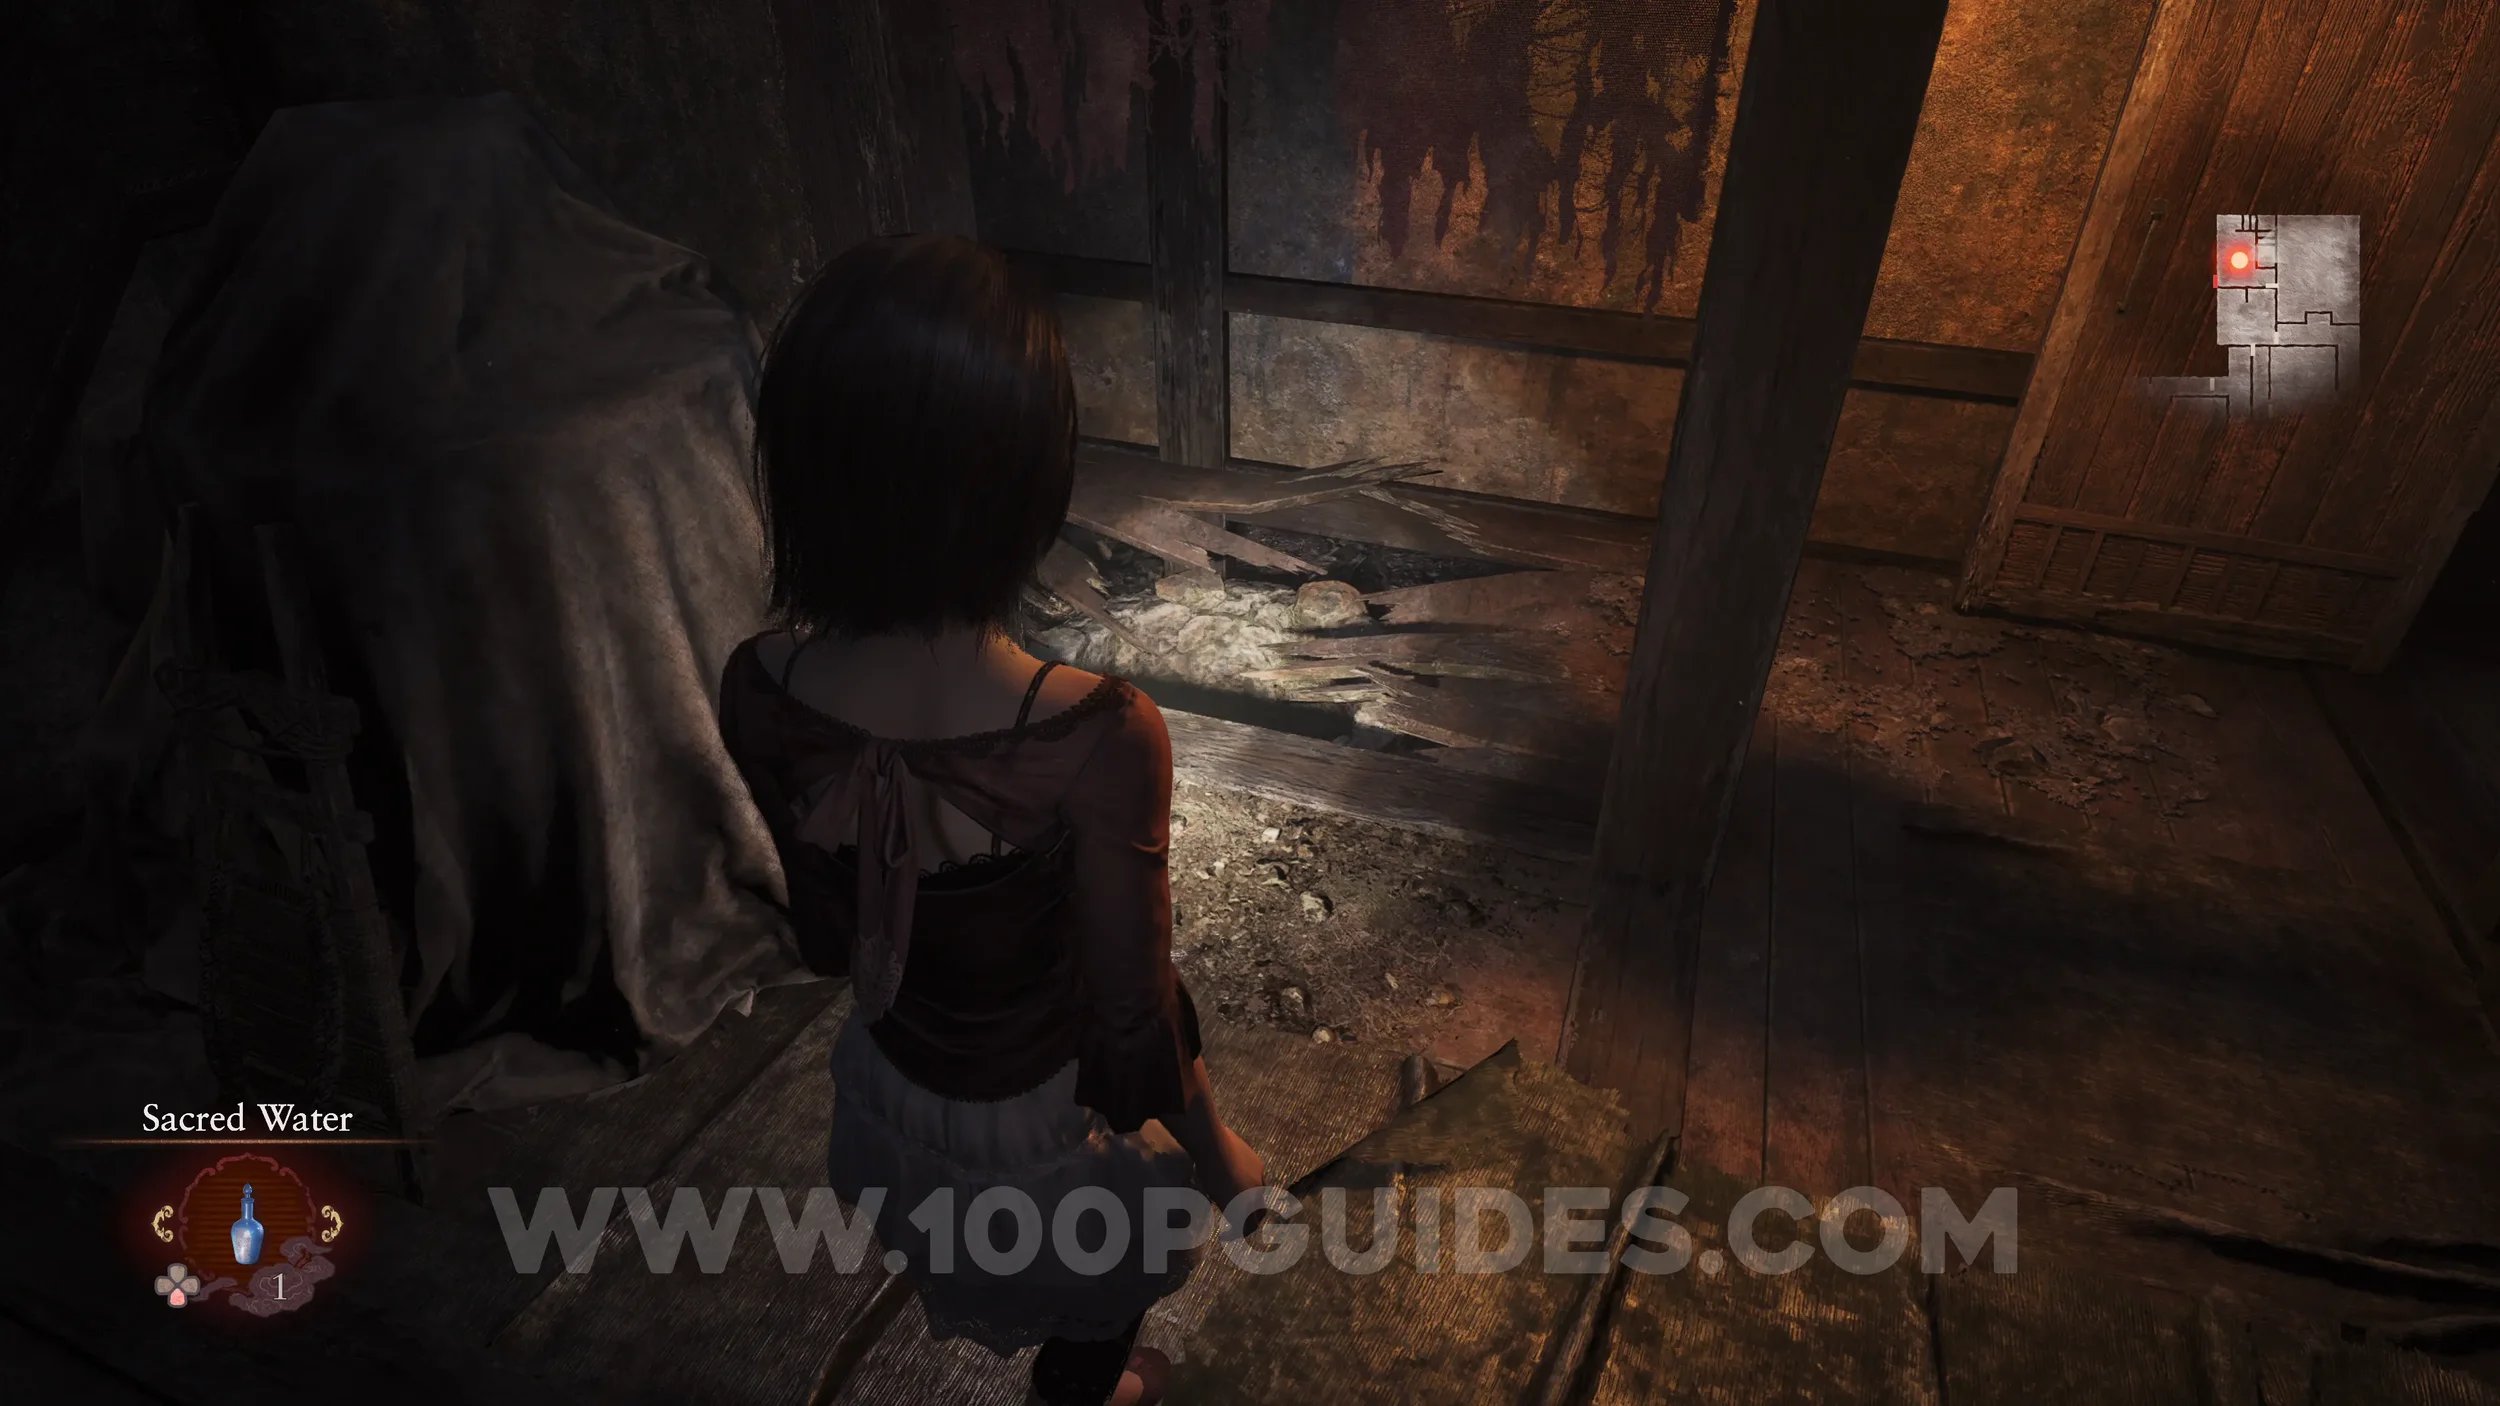
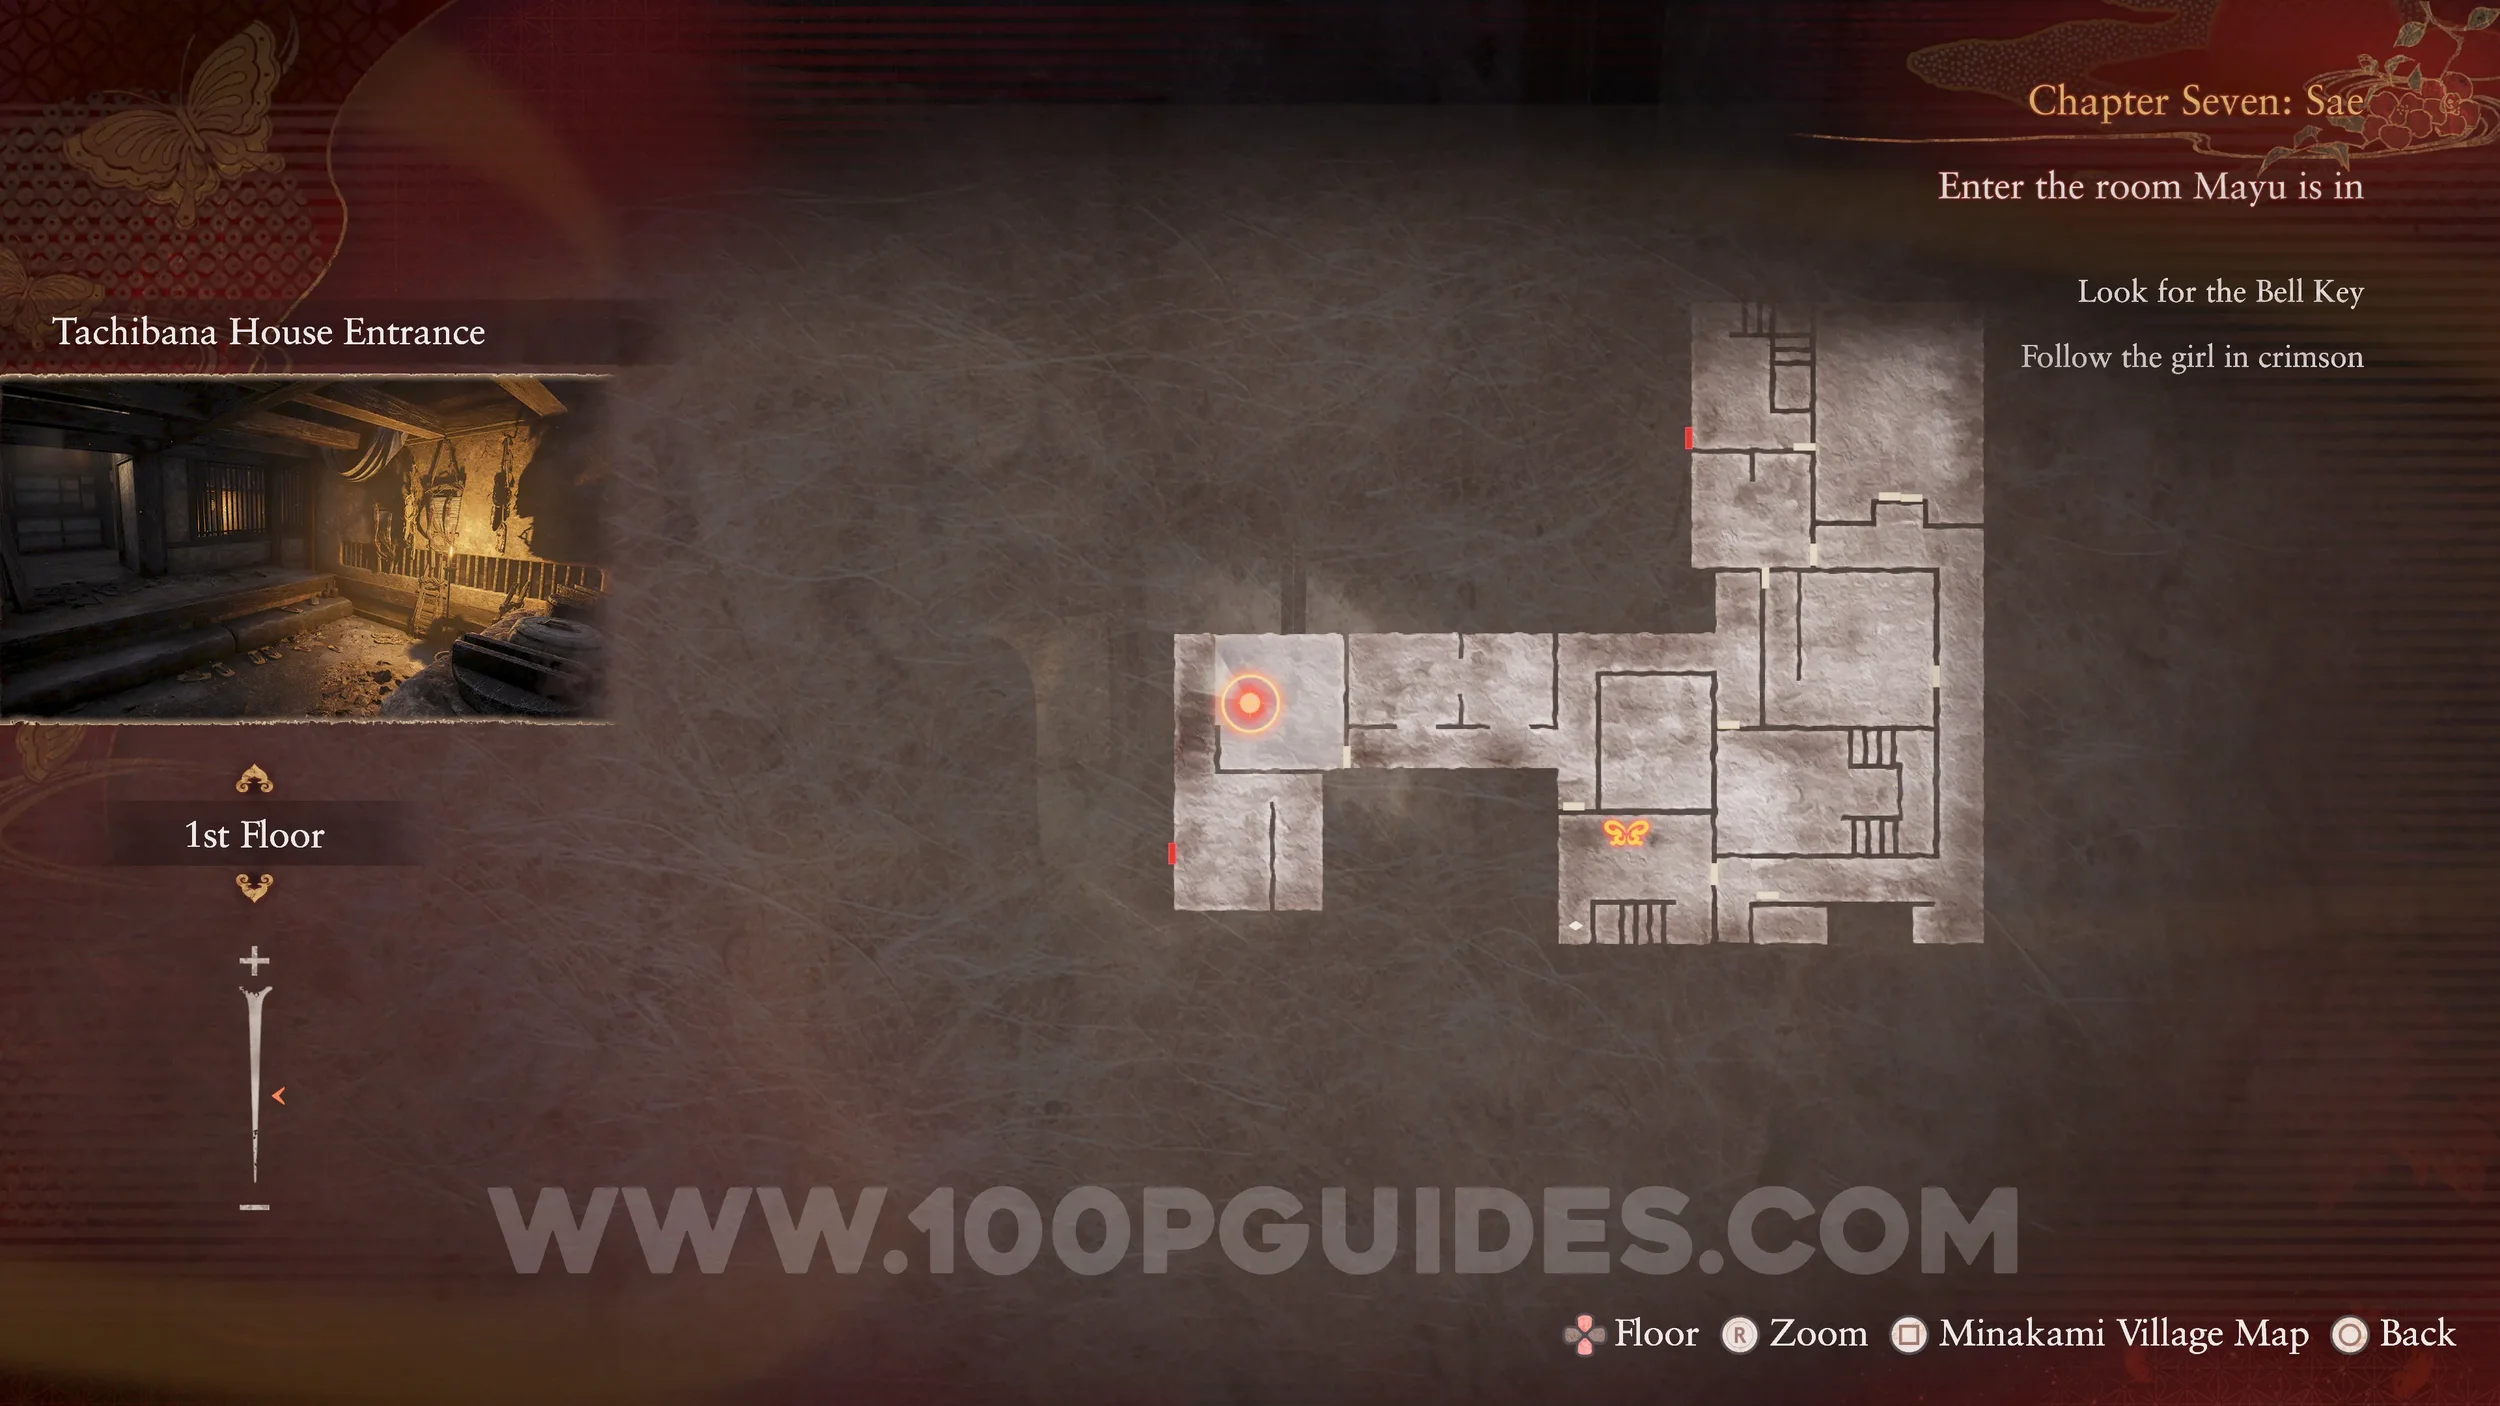
Prayer Beads #57. After using the Butterfly Key and watching the cutscene, exit the closet and turn right to find the beads on the table.
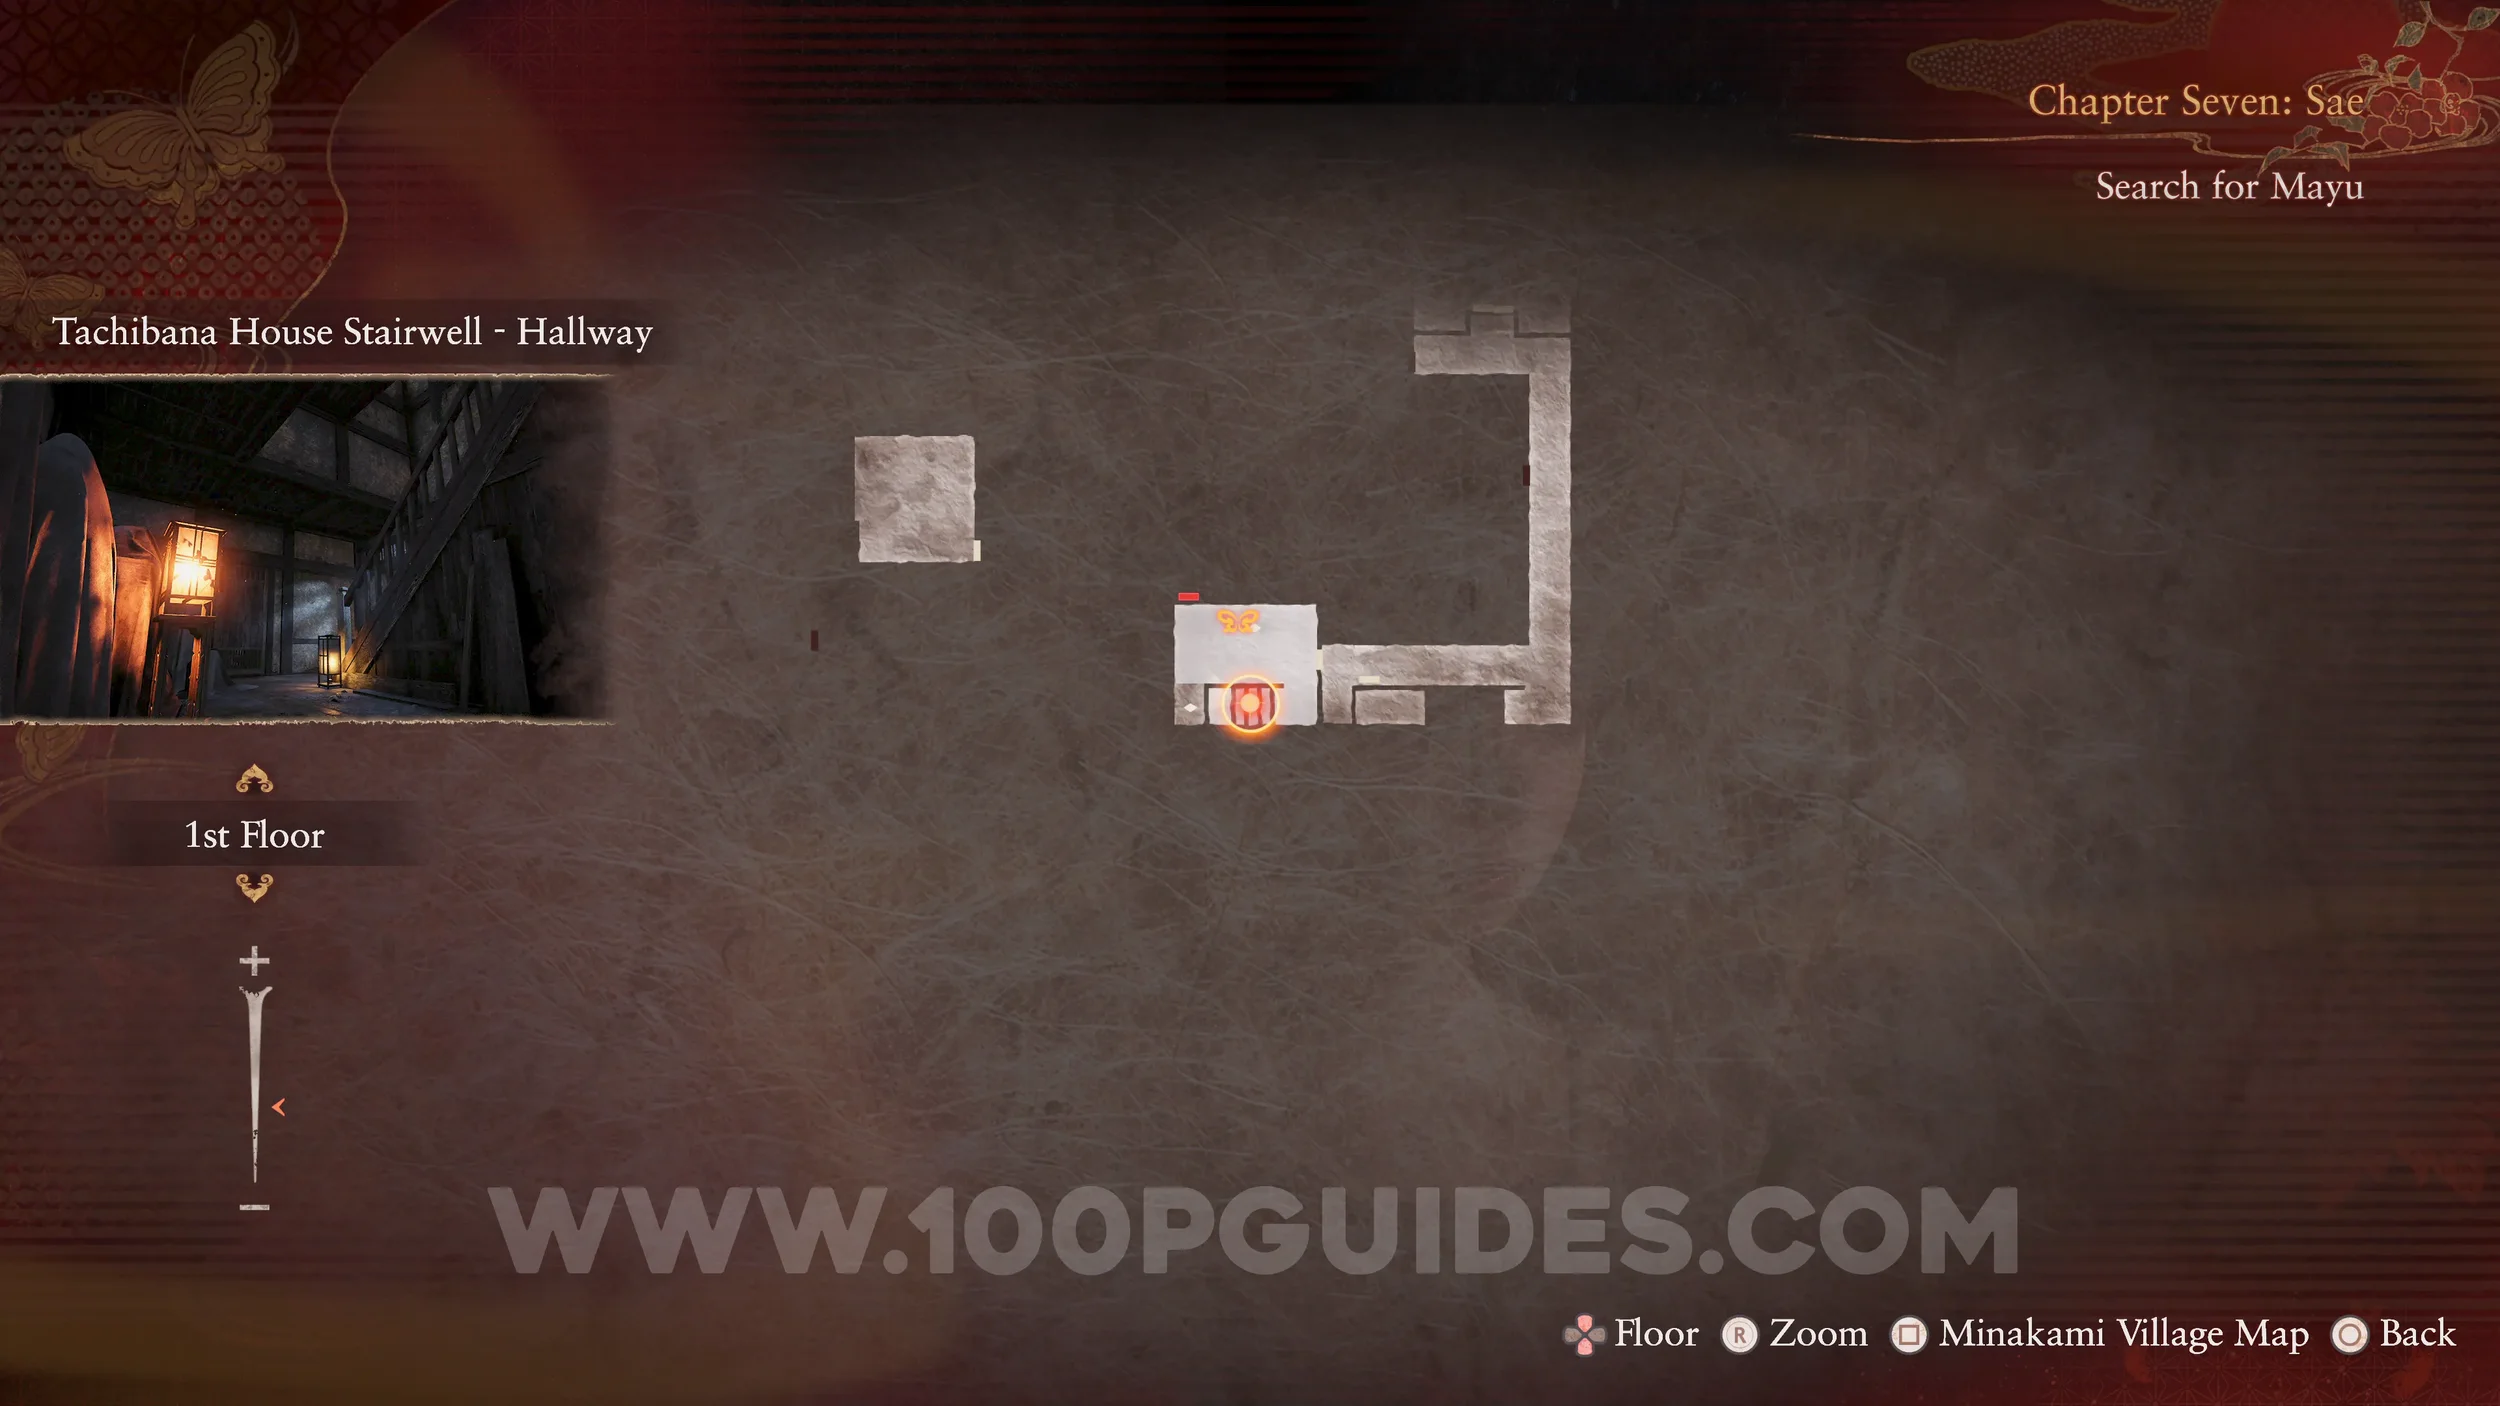
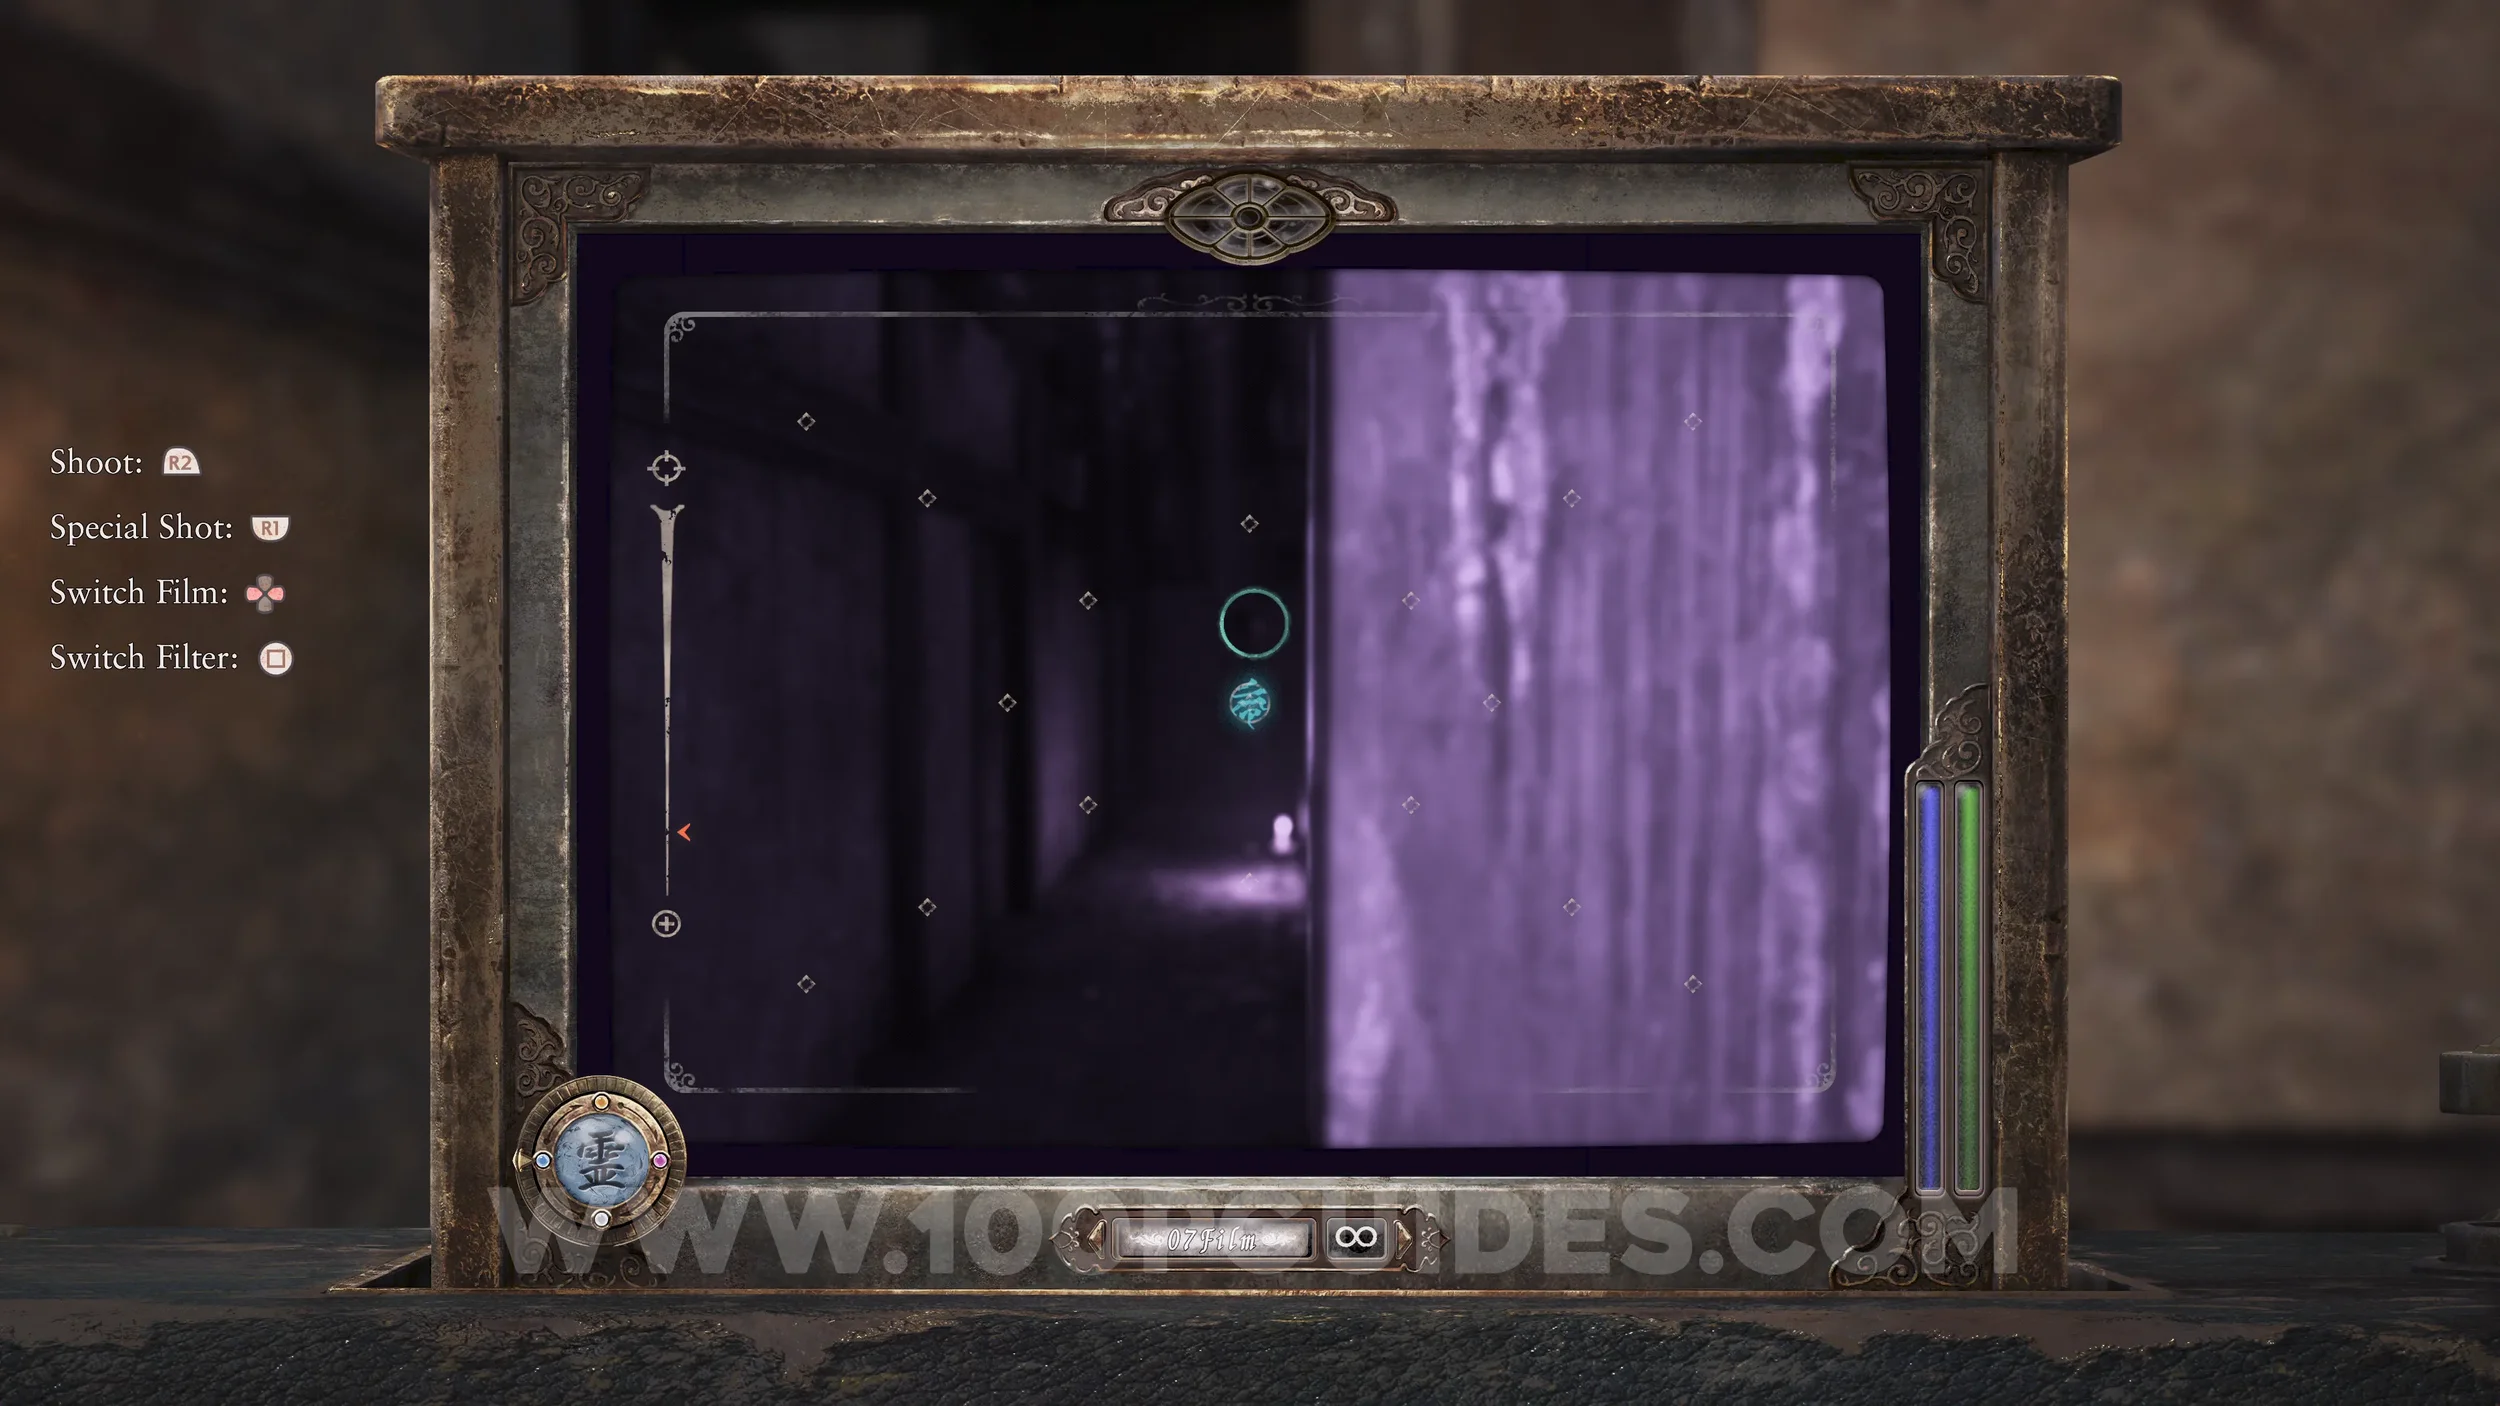
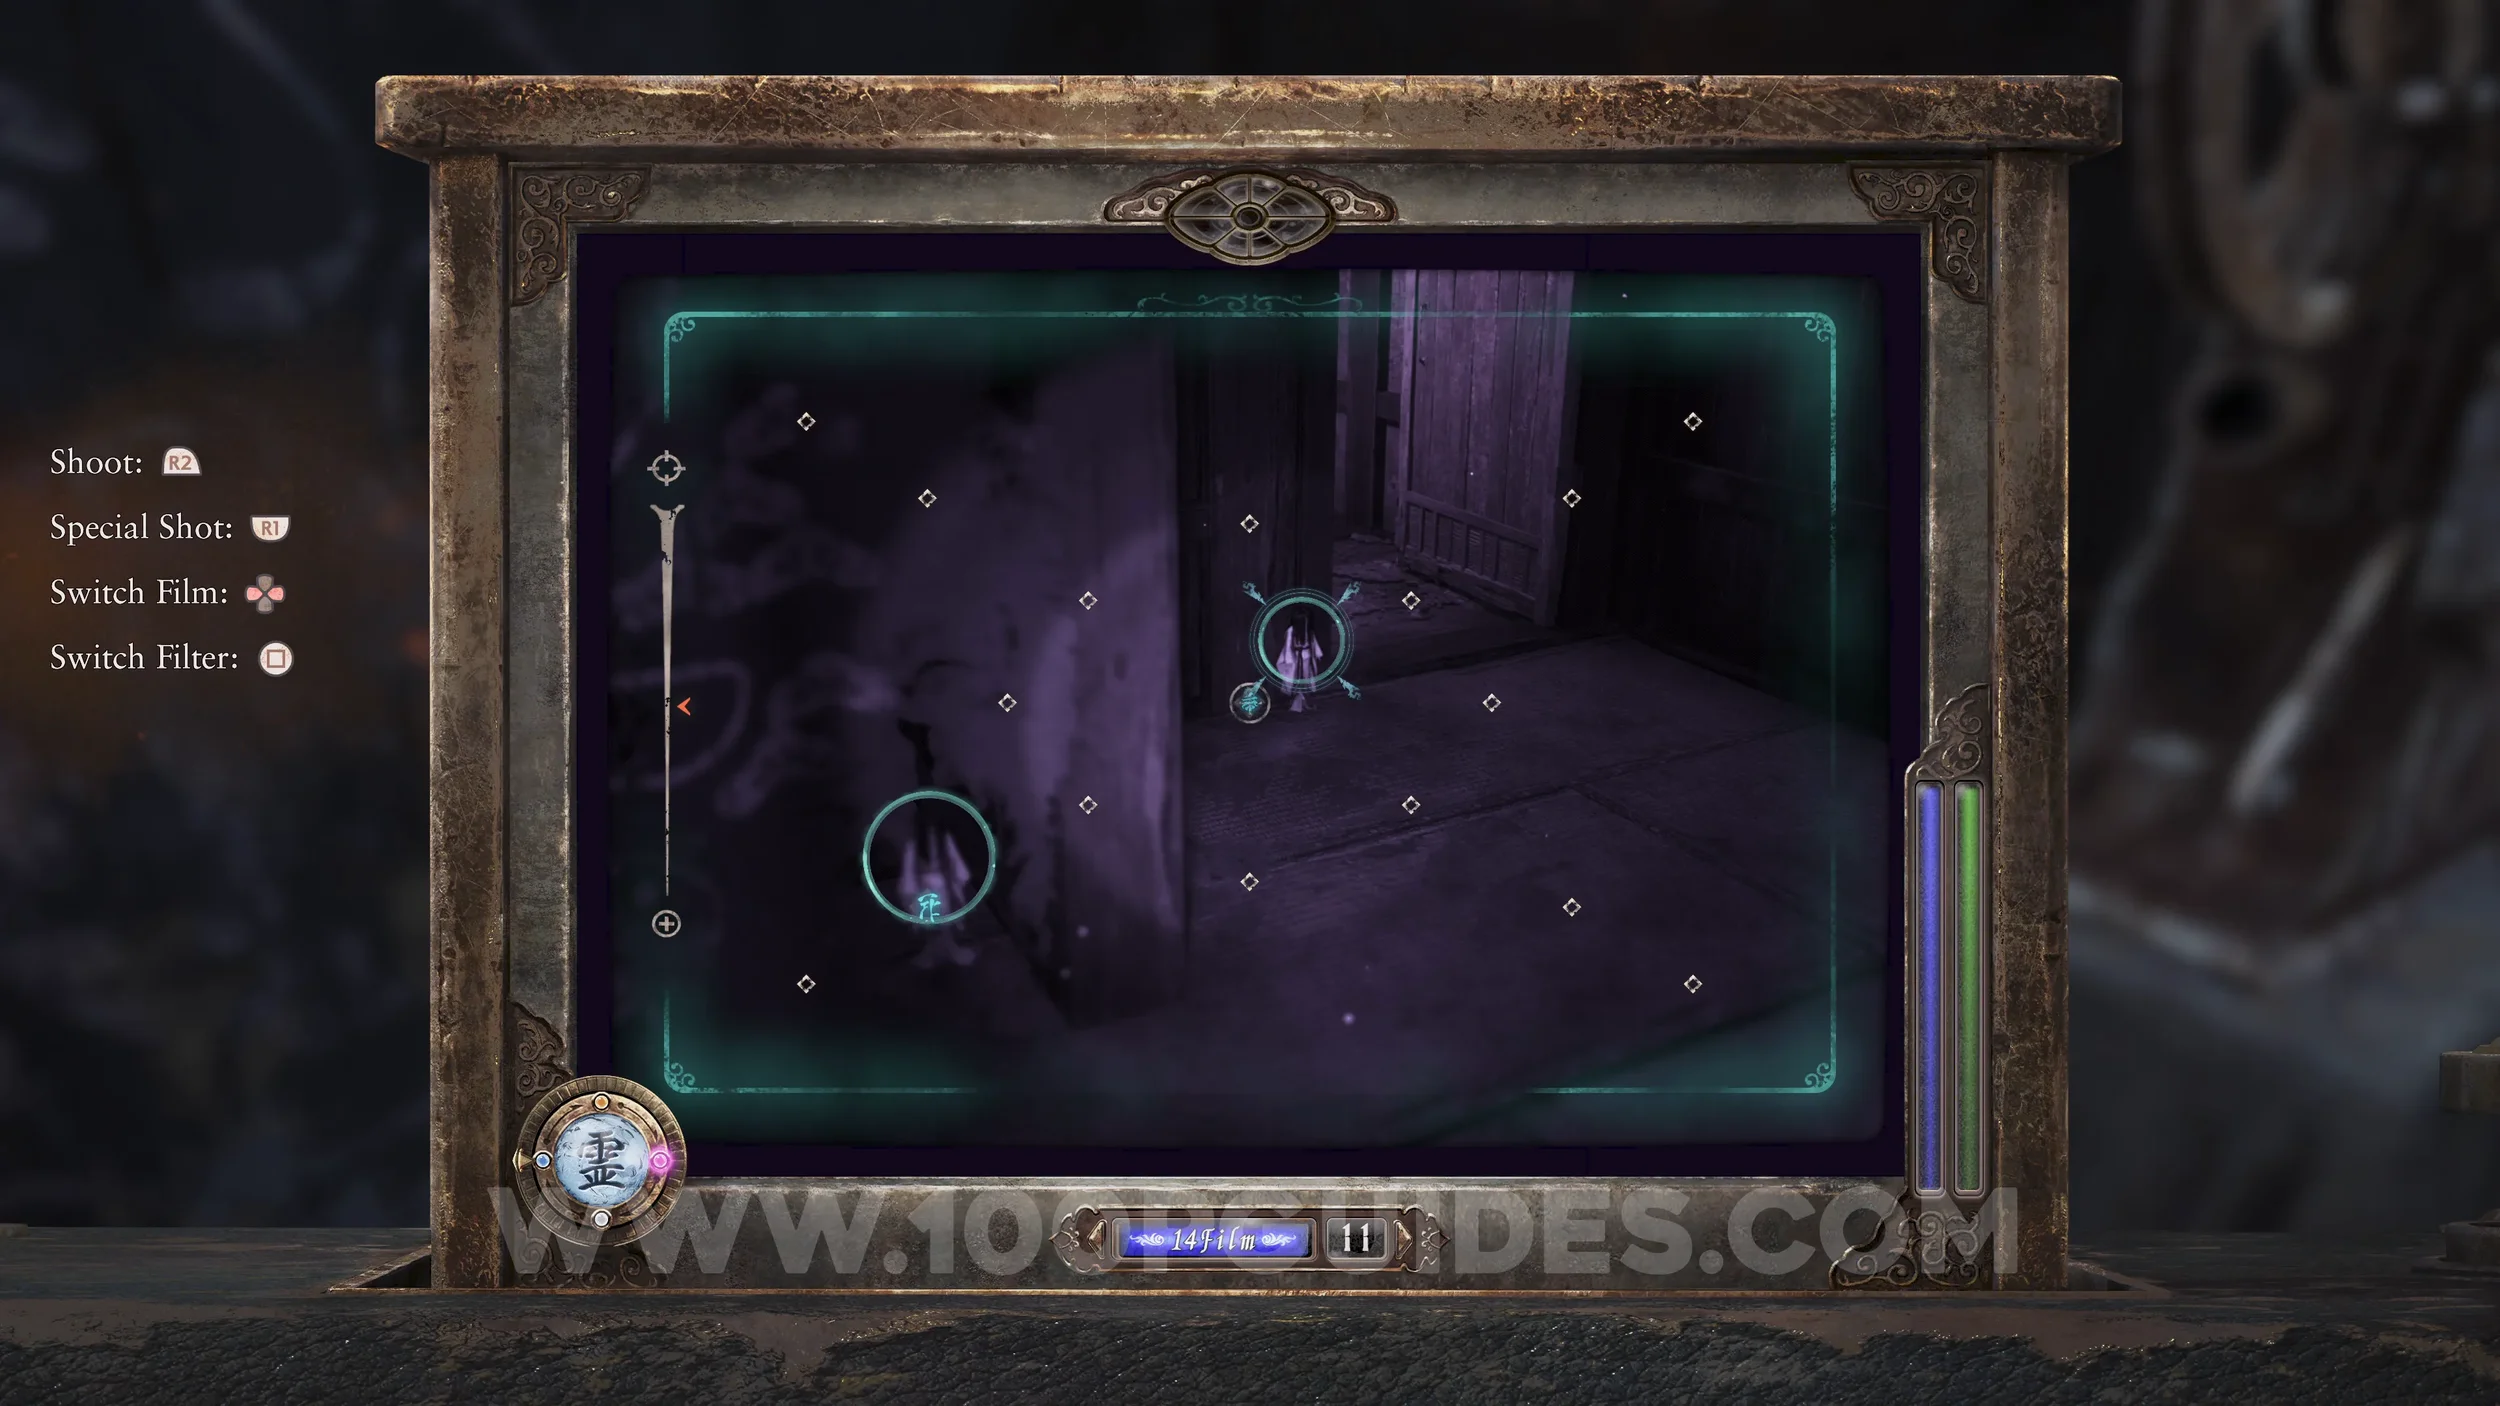
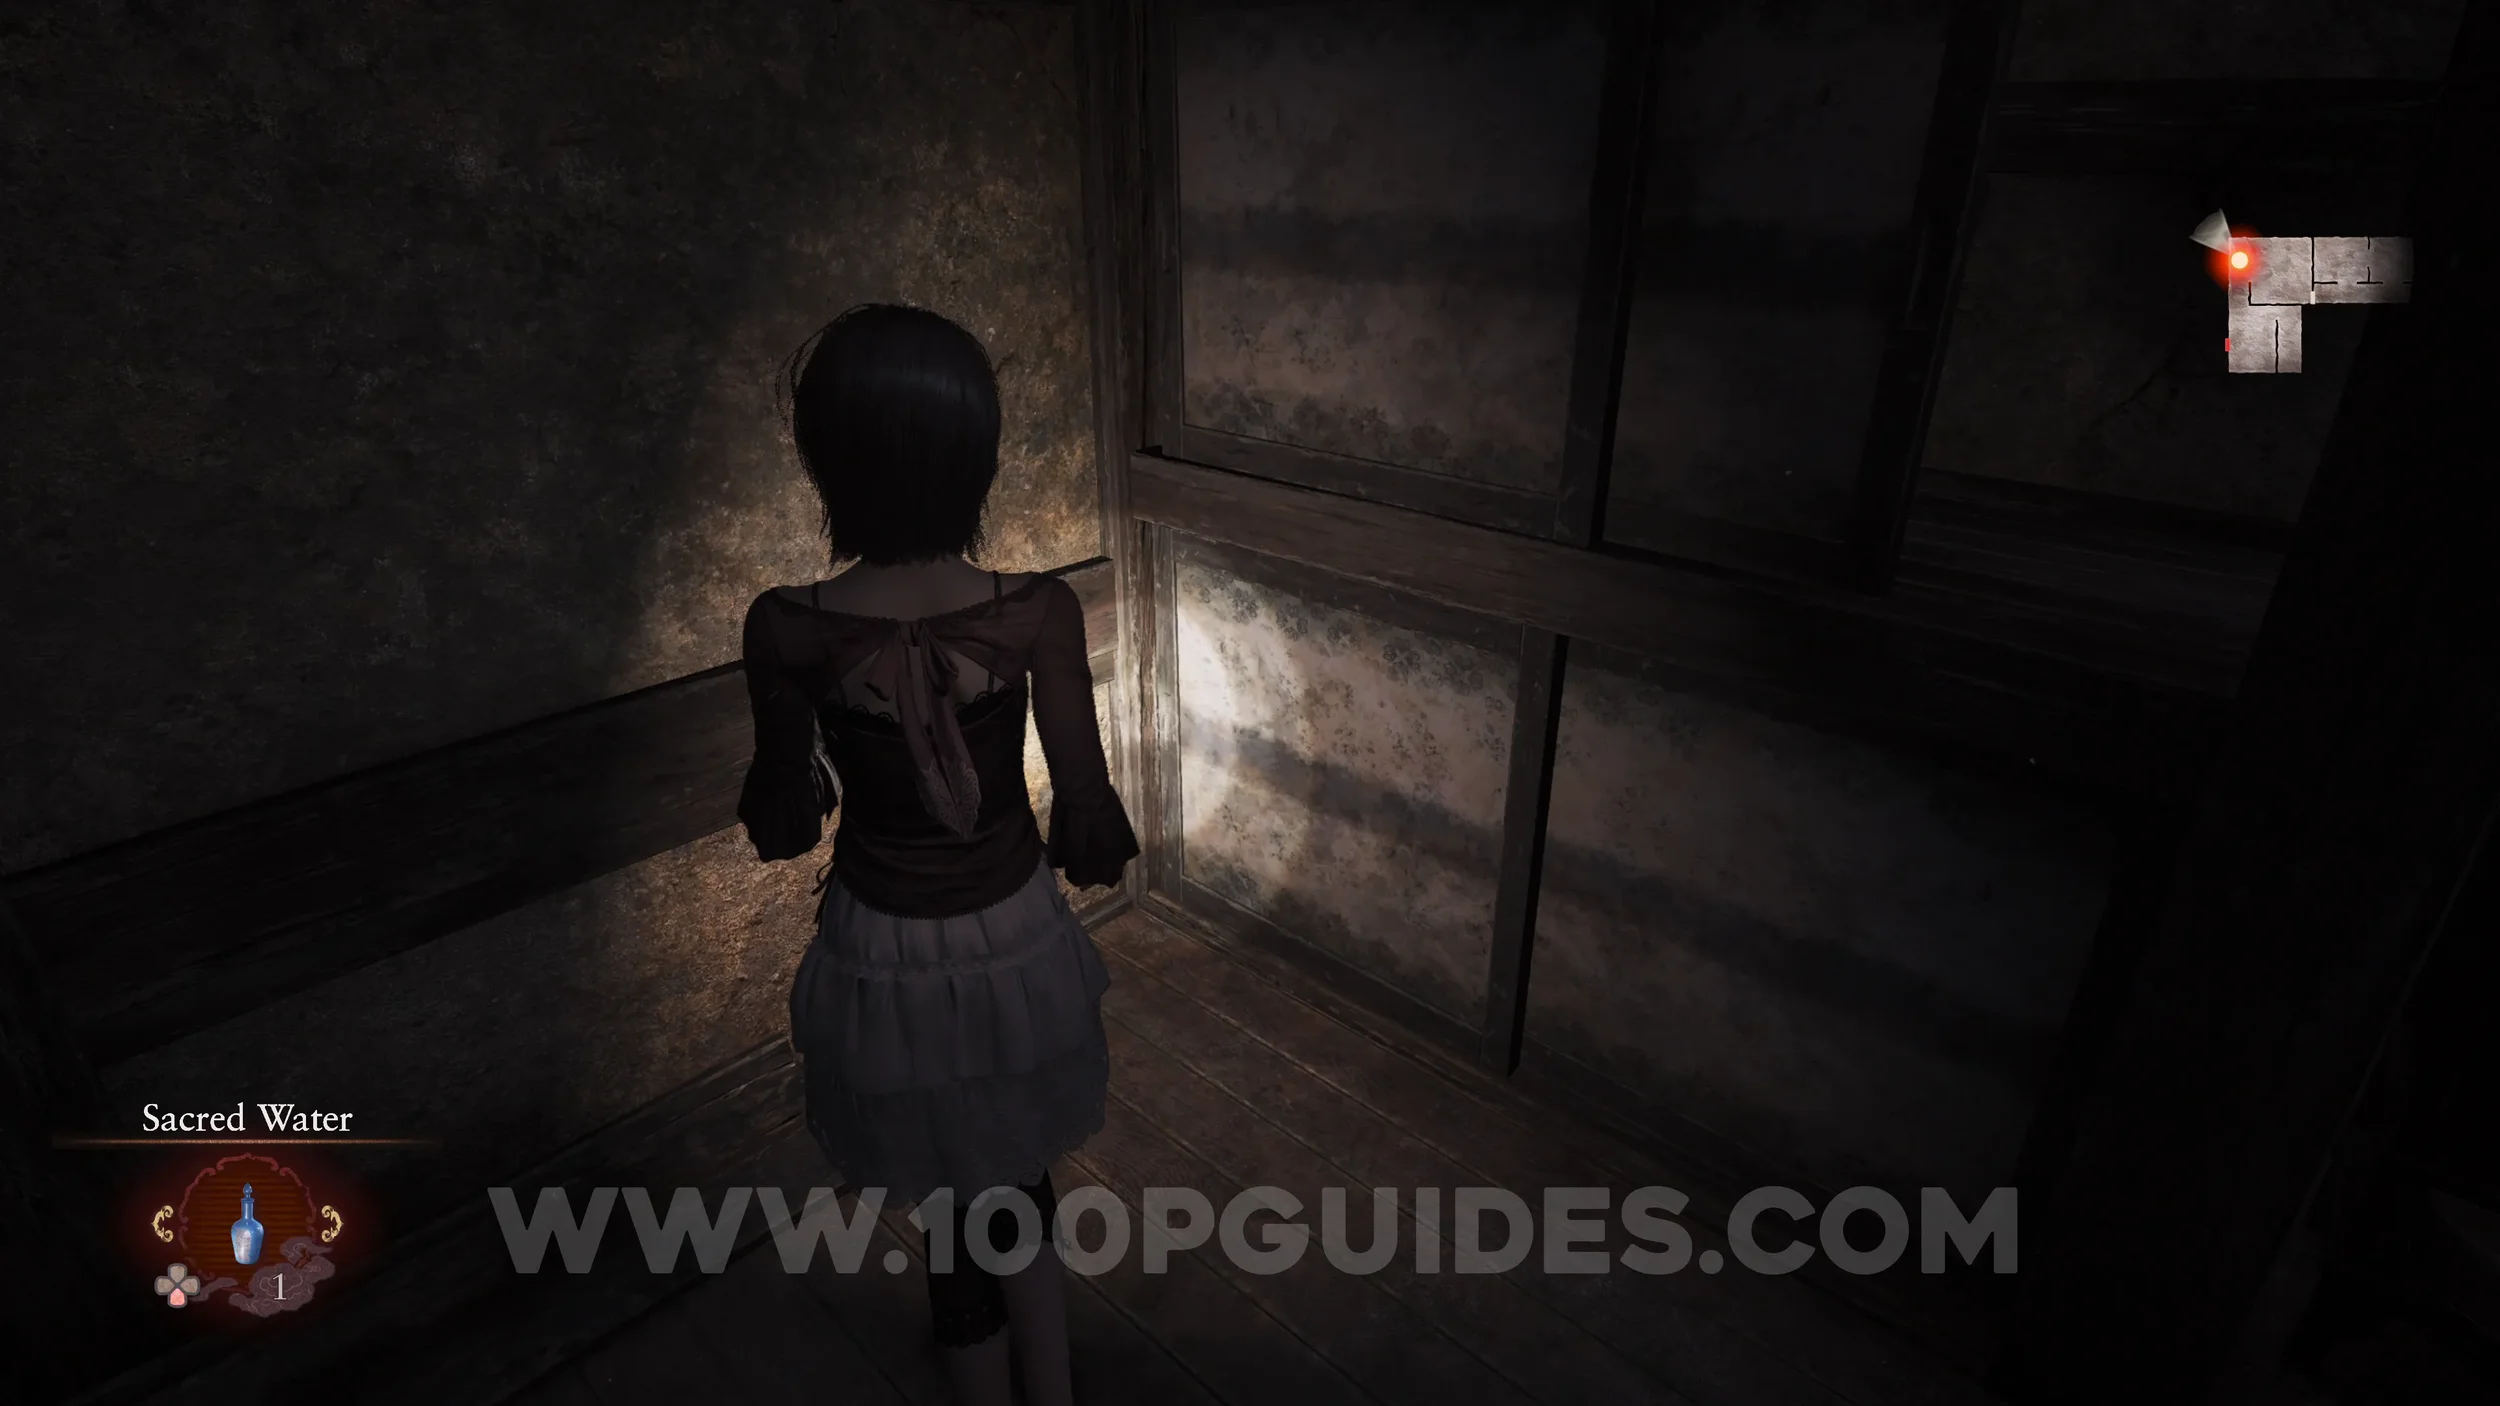
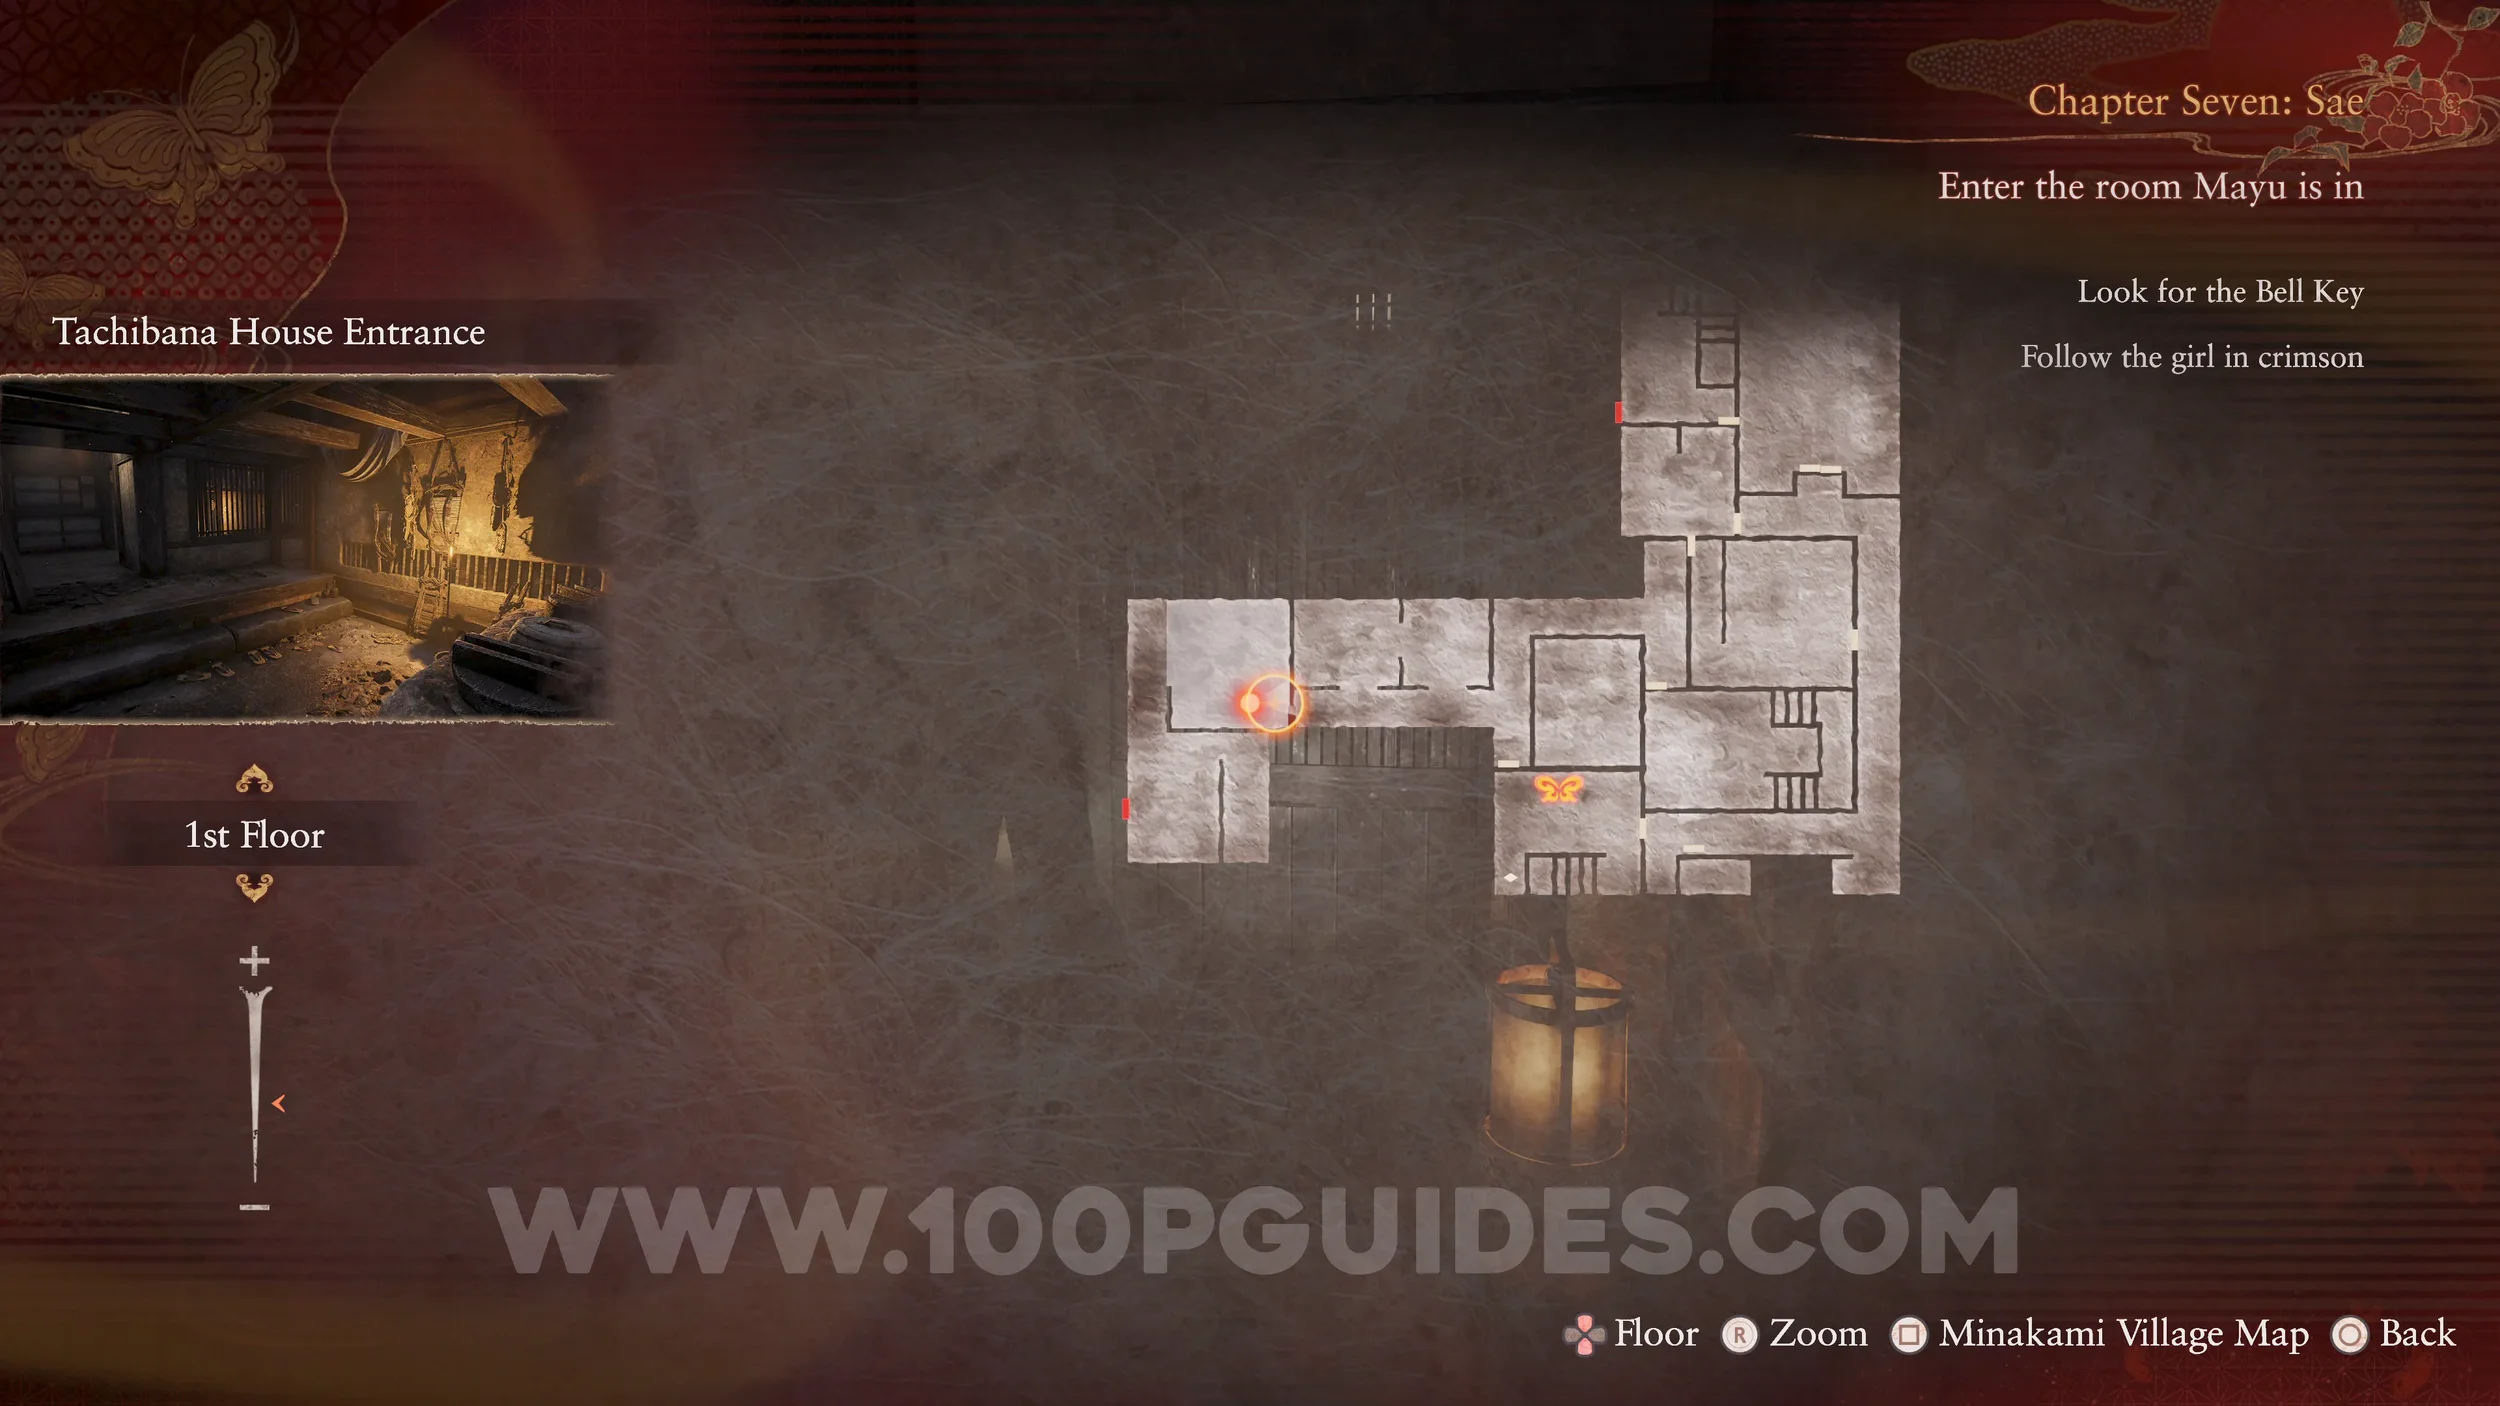
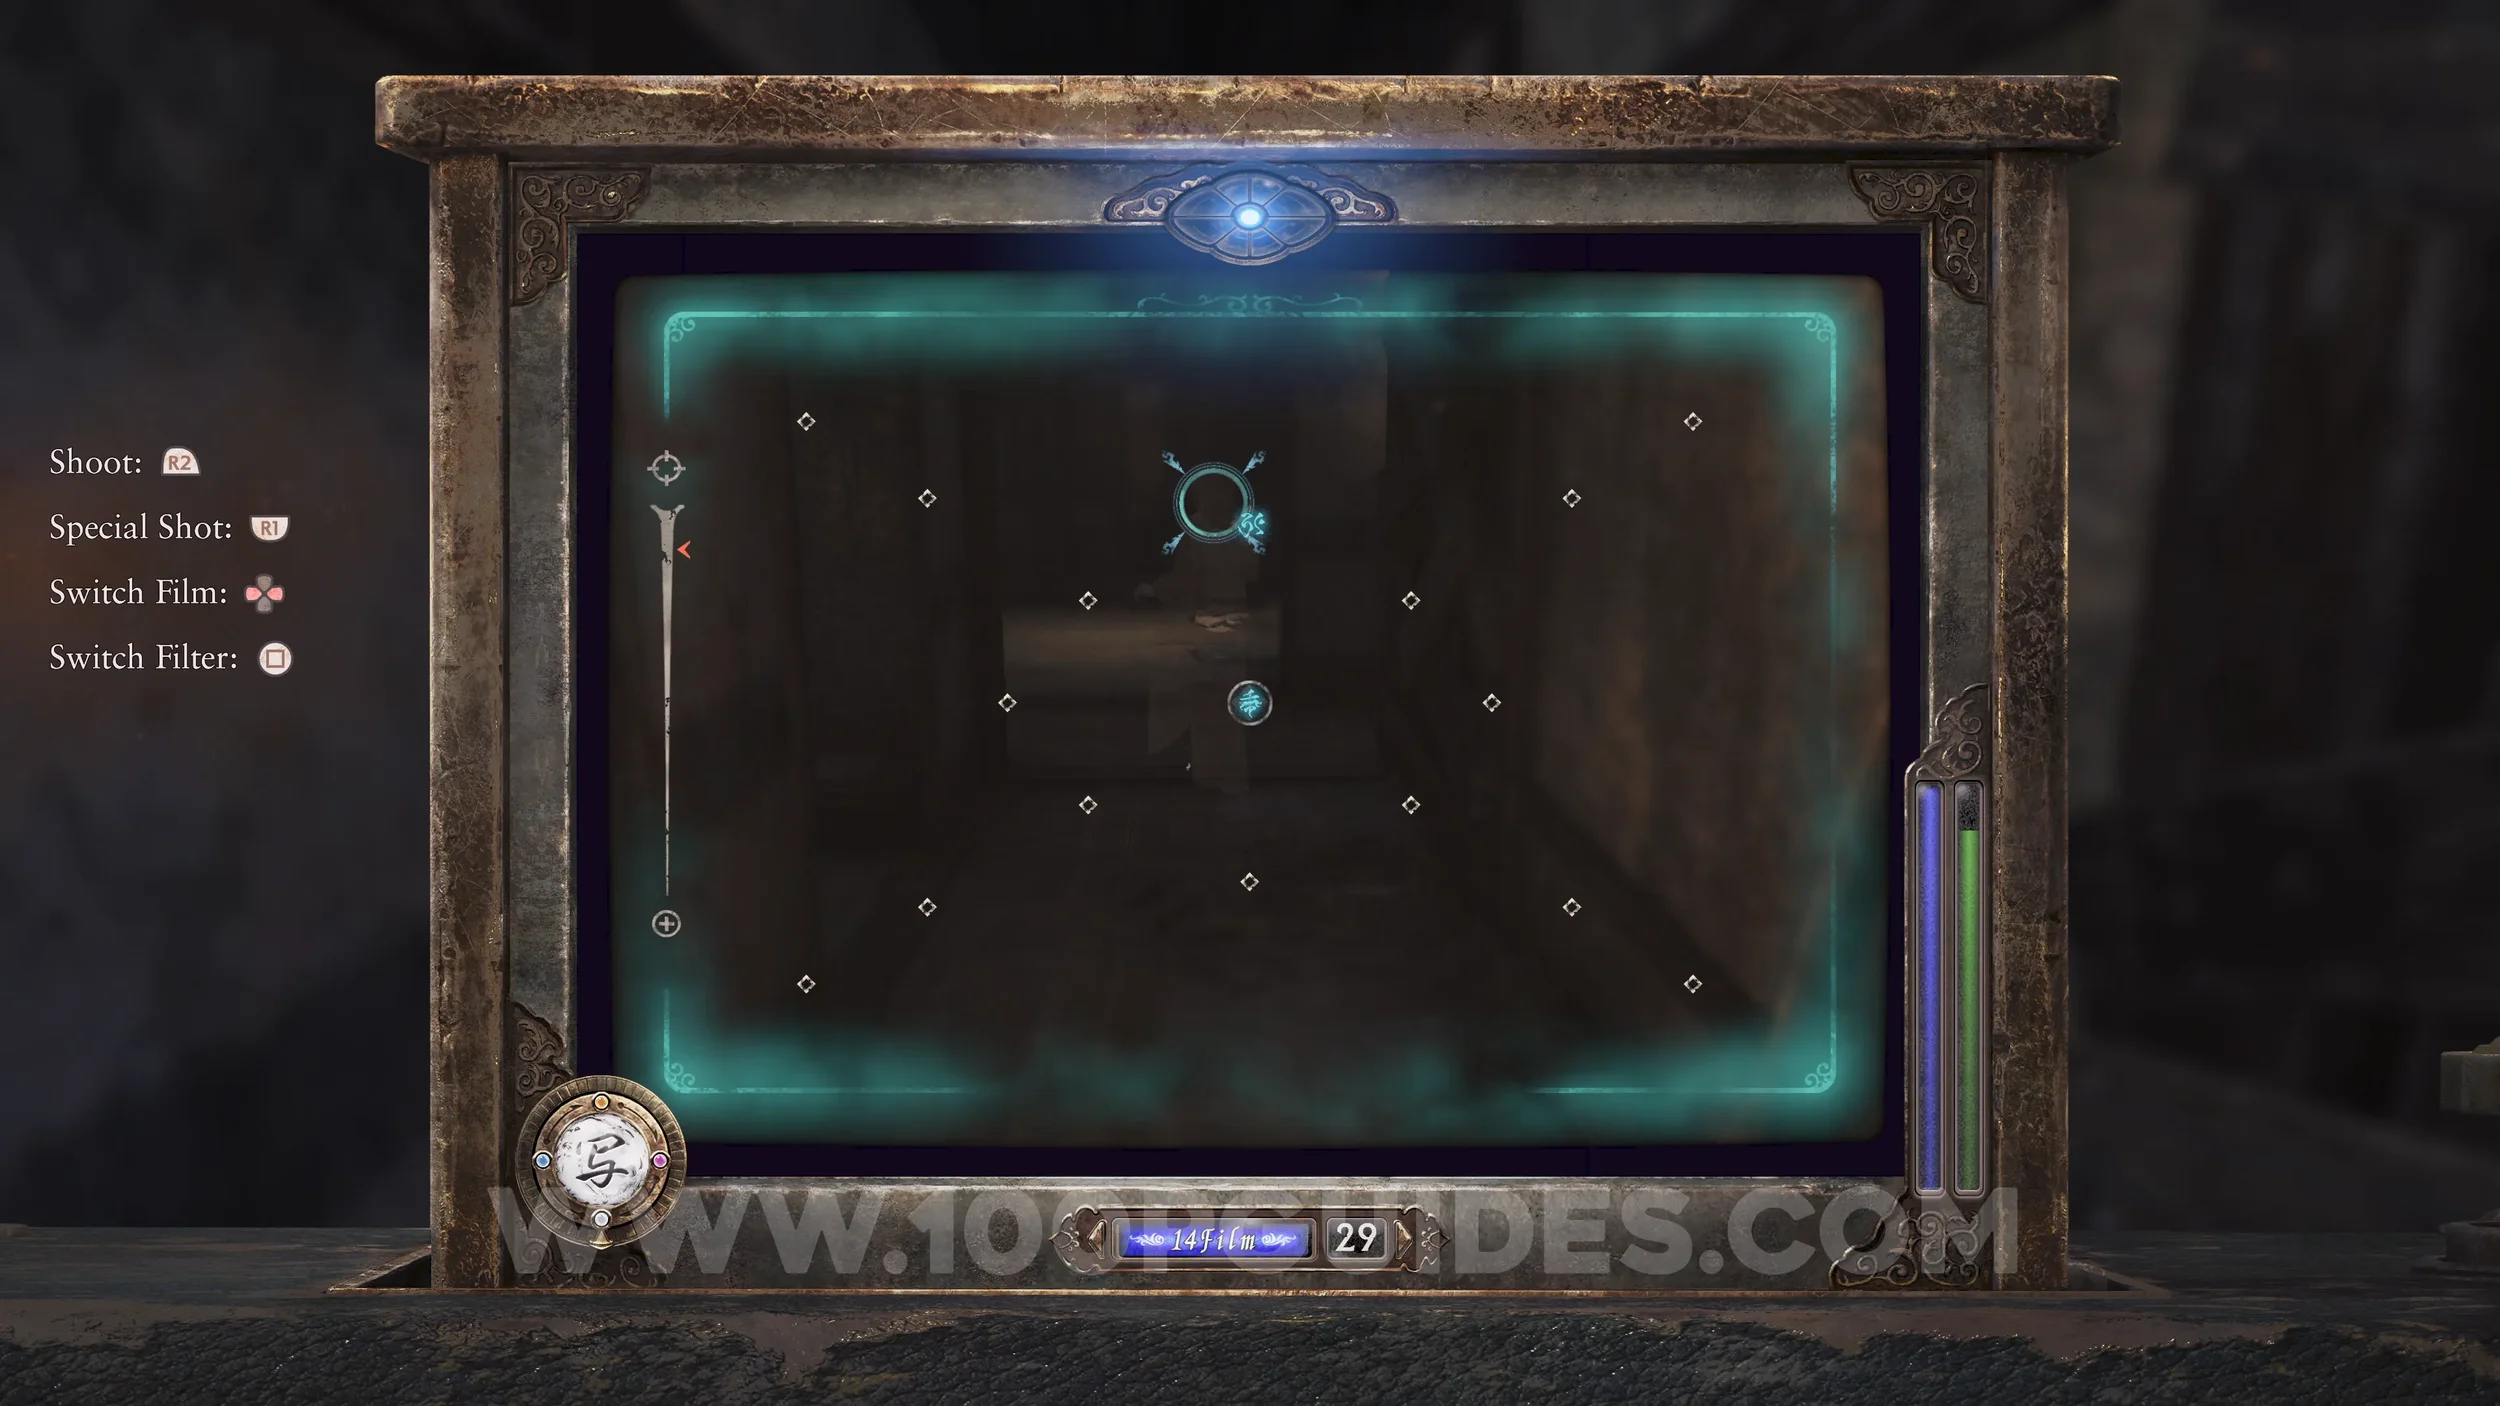
Specter #143 - 106 Wandering Mayu. After getting the camera back, head to the save room in Tachibara House. Then go up the stairs and, at the top, look right to see Mayu at the end of the corridor (make sure you have the Blue Filter equipped and ready, as this specter disappears very quickly).
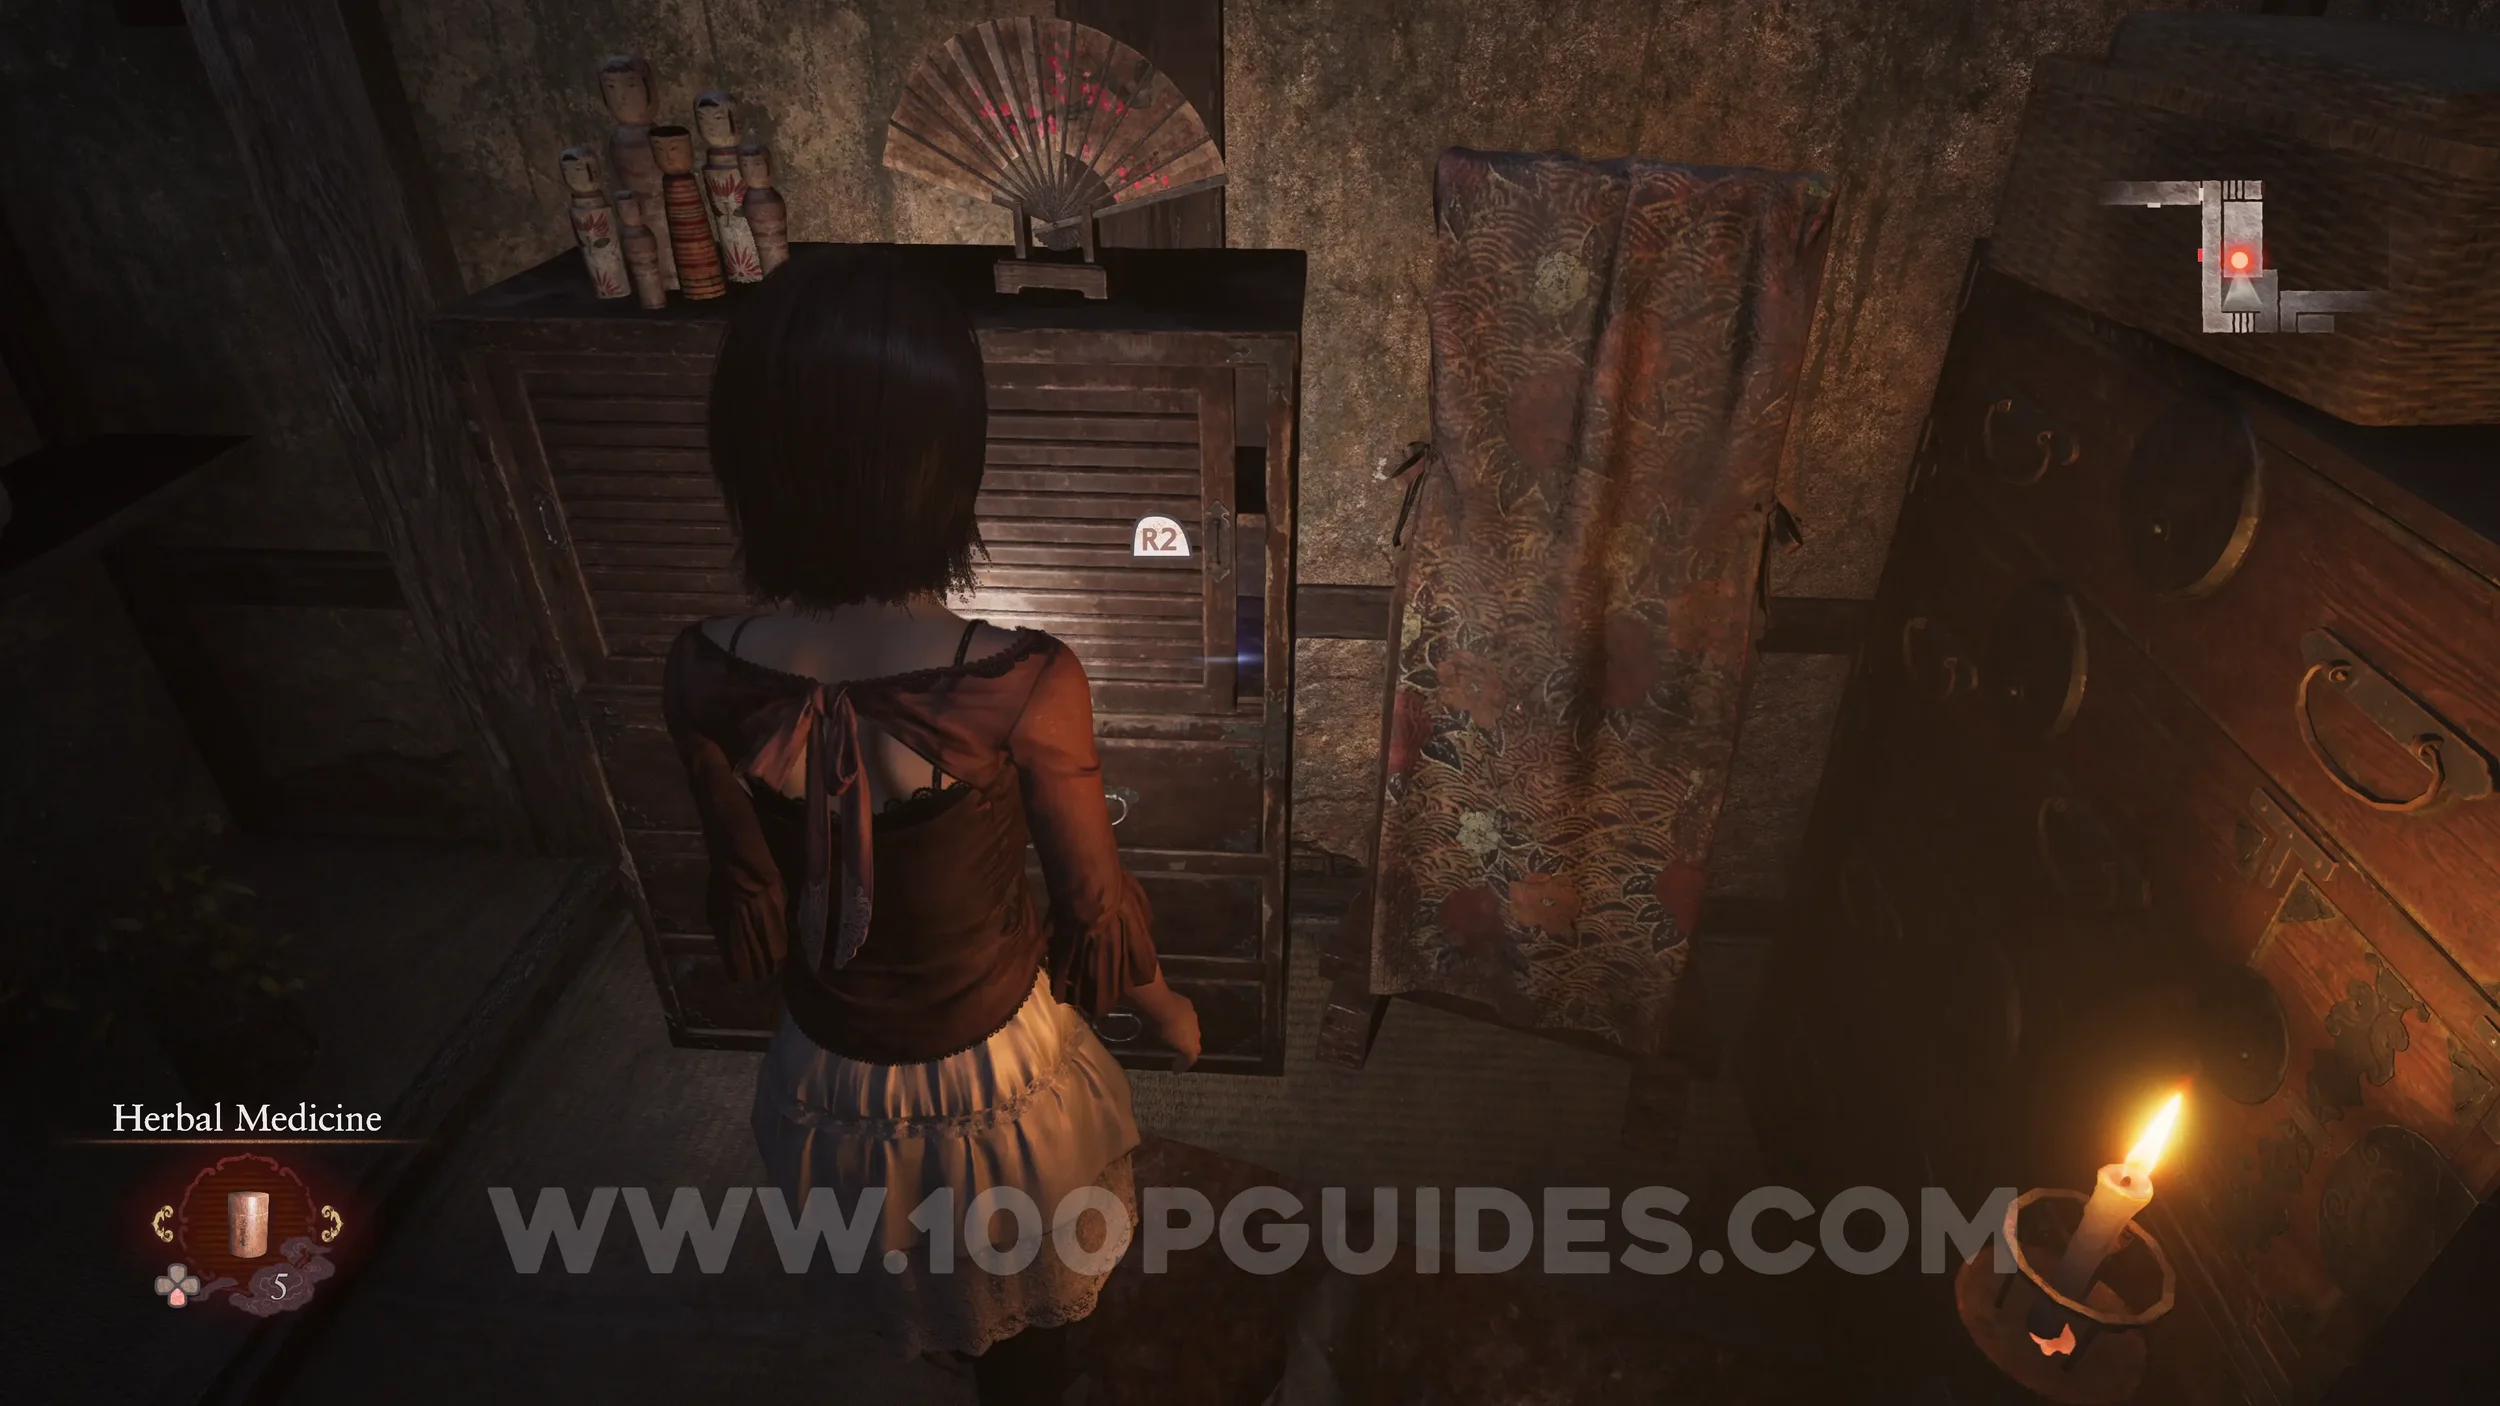
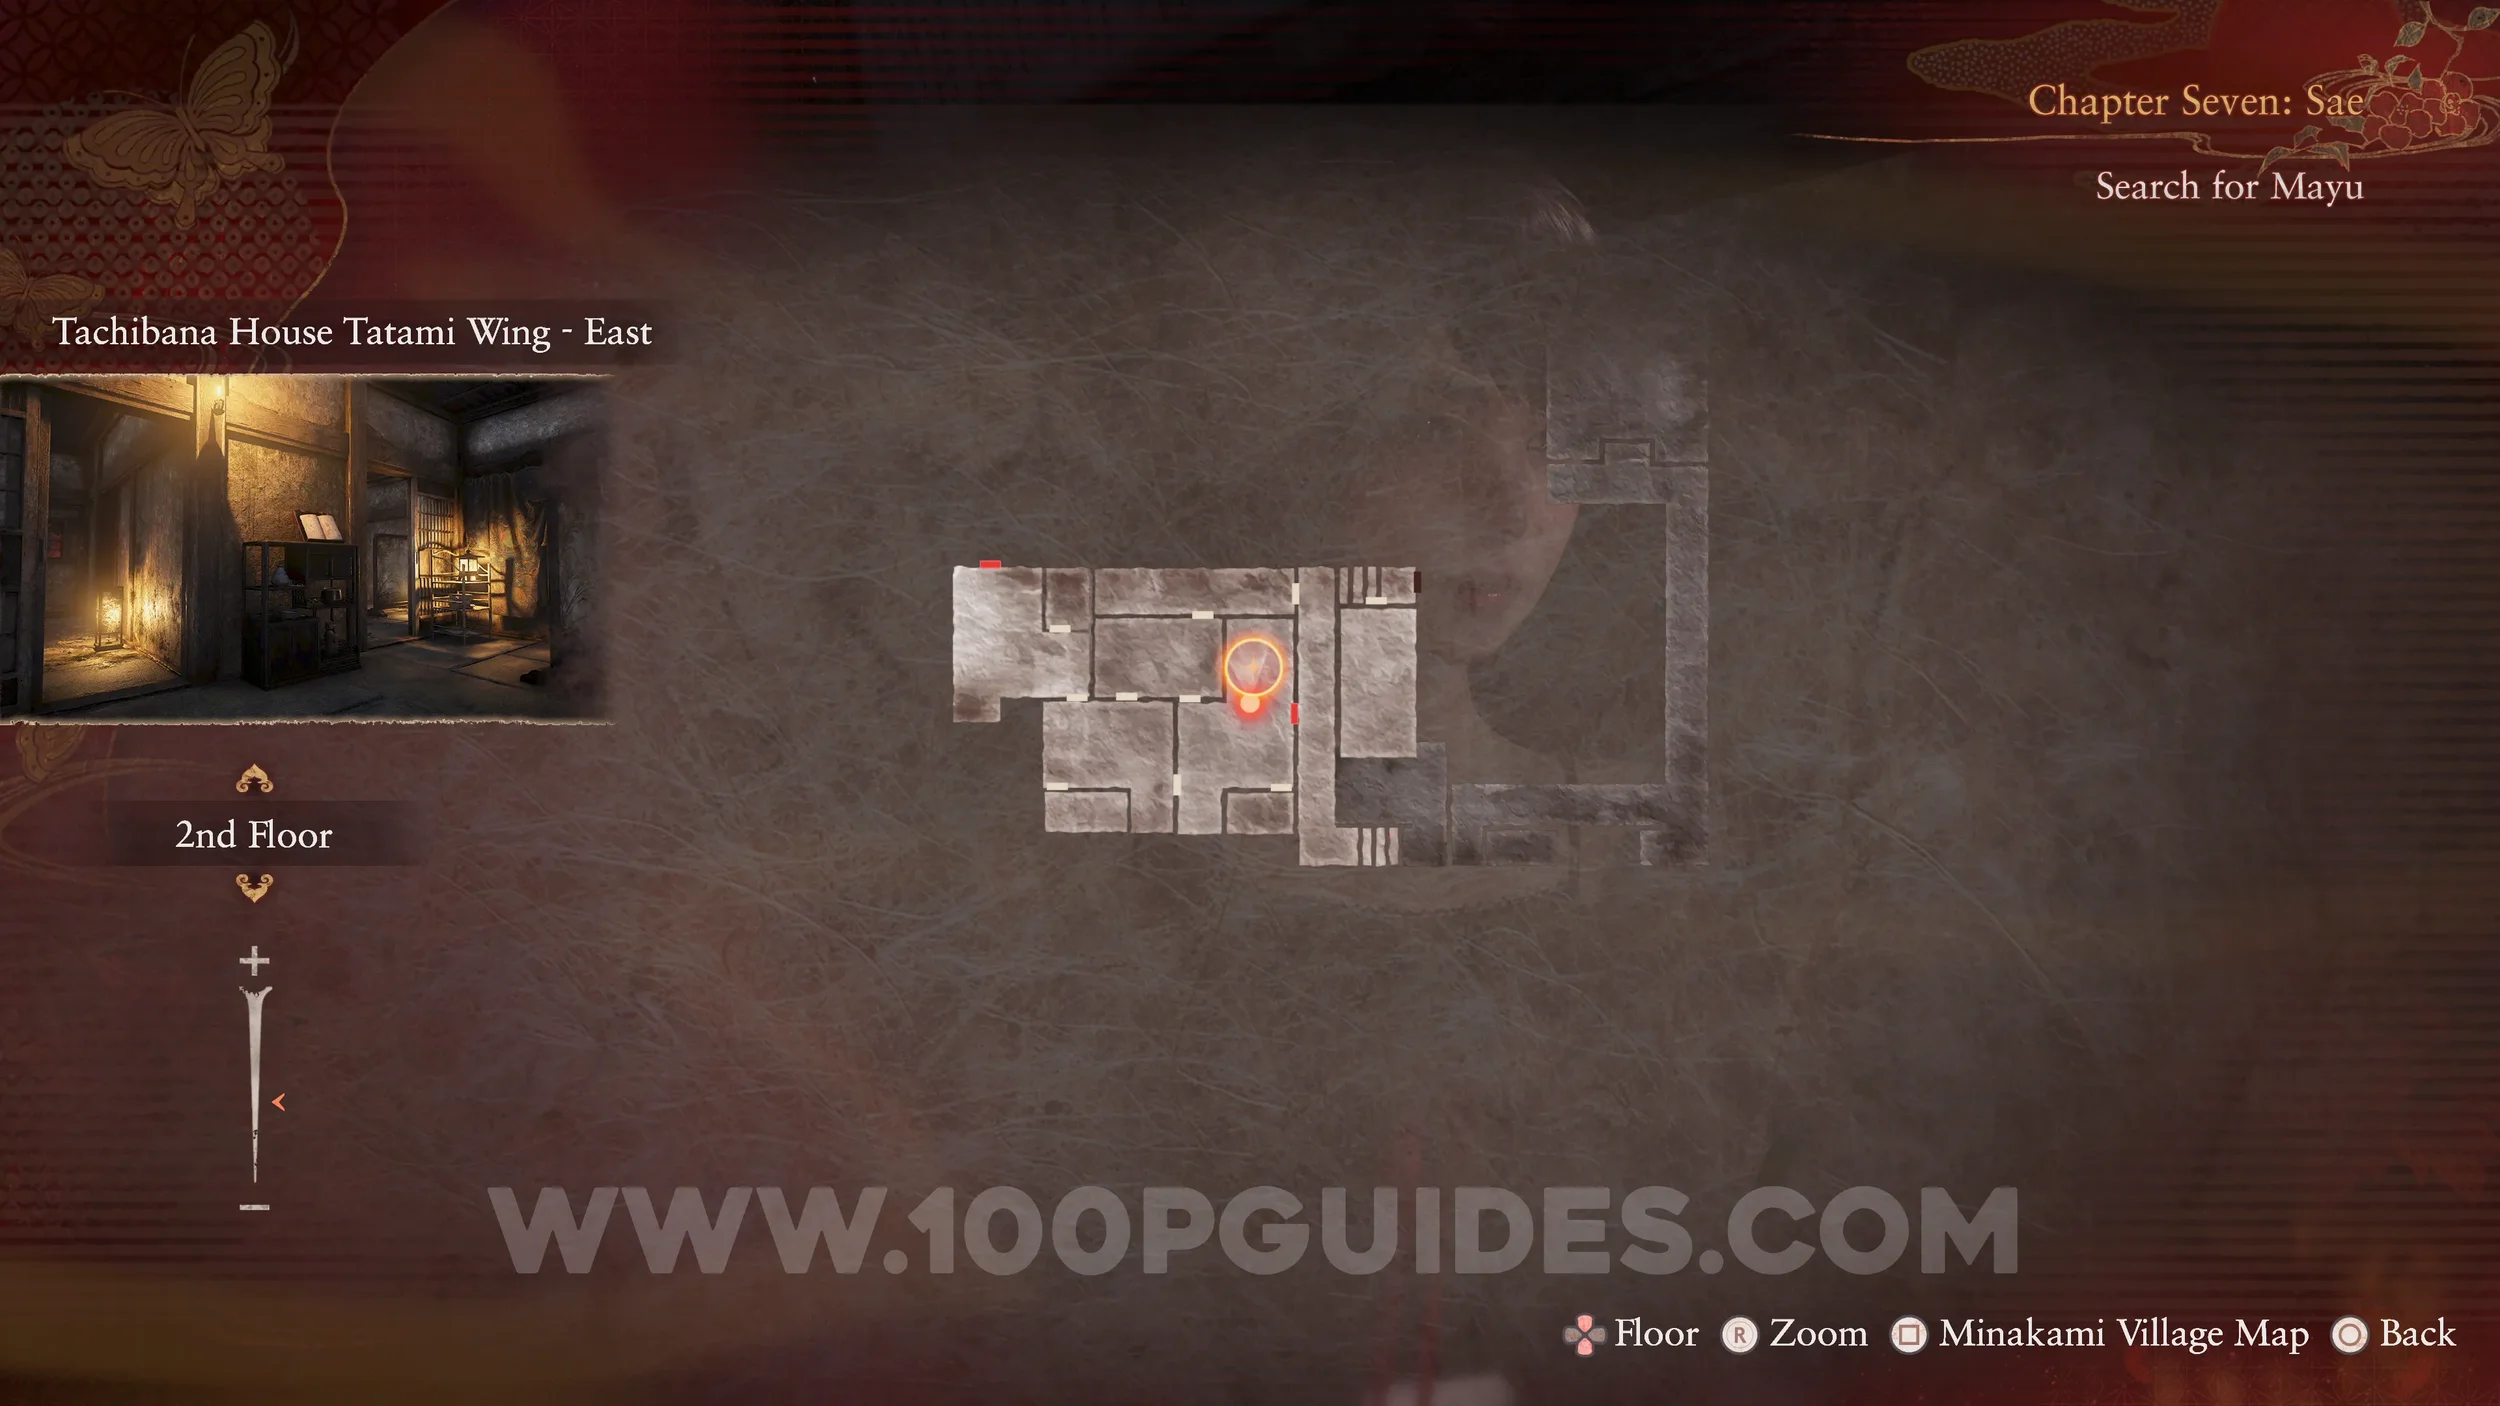
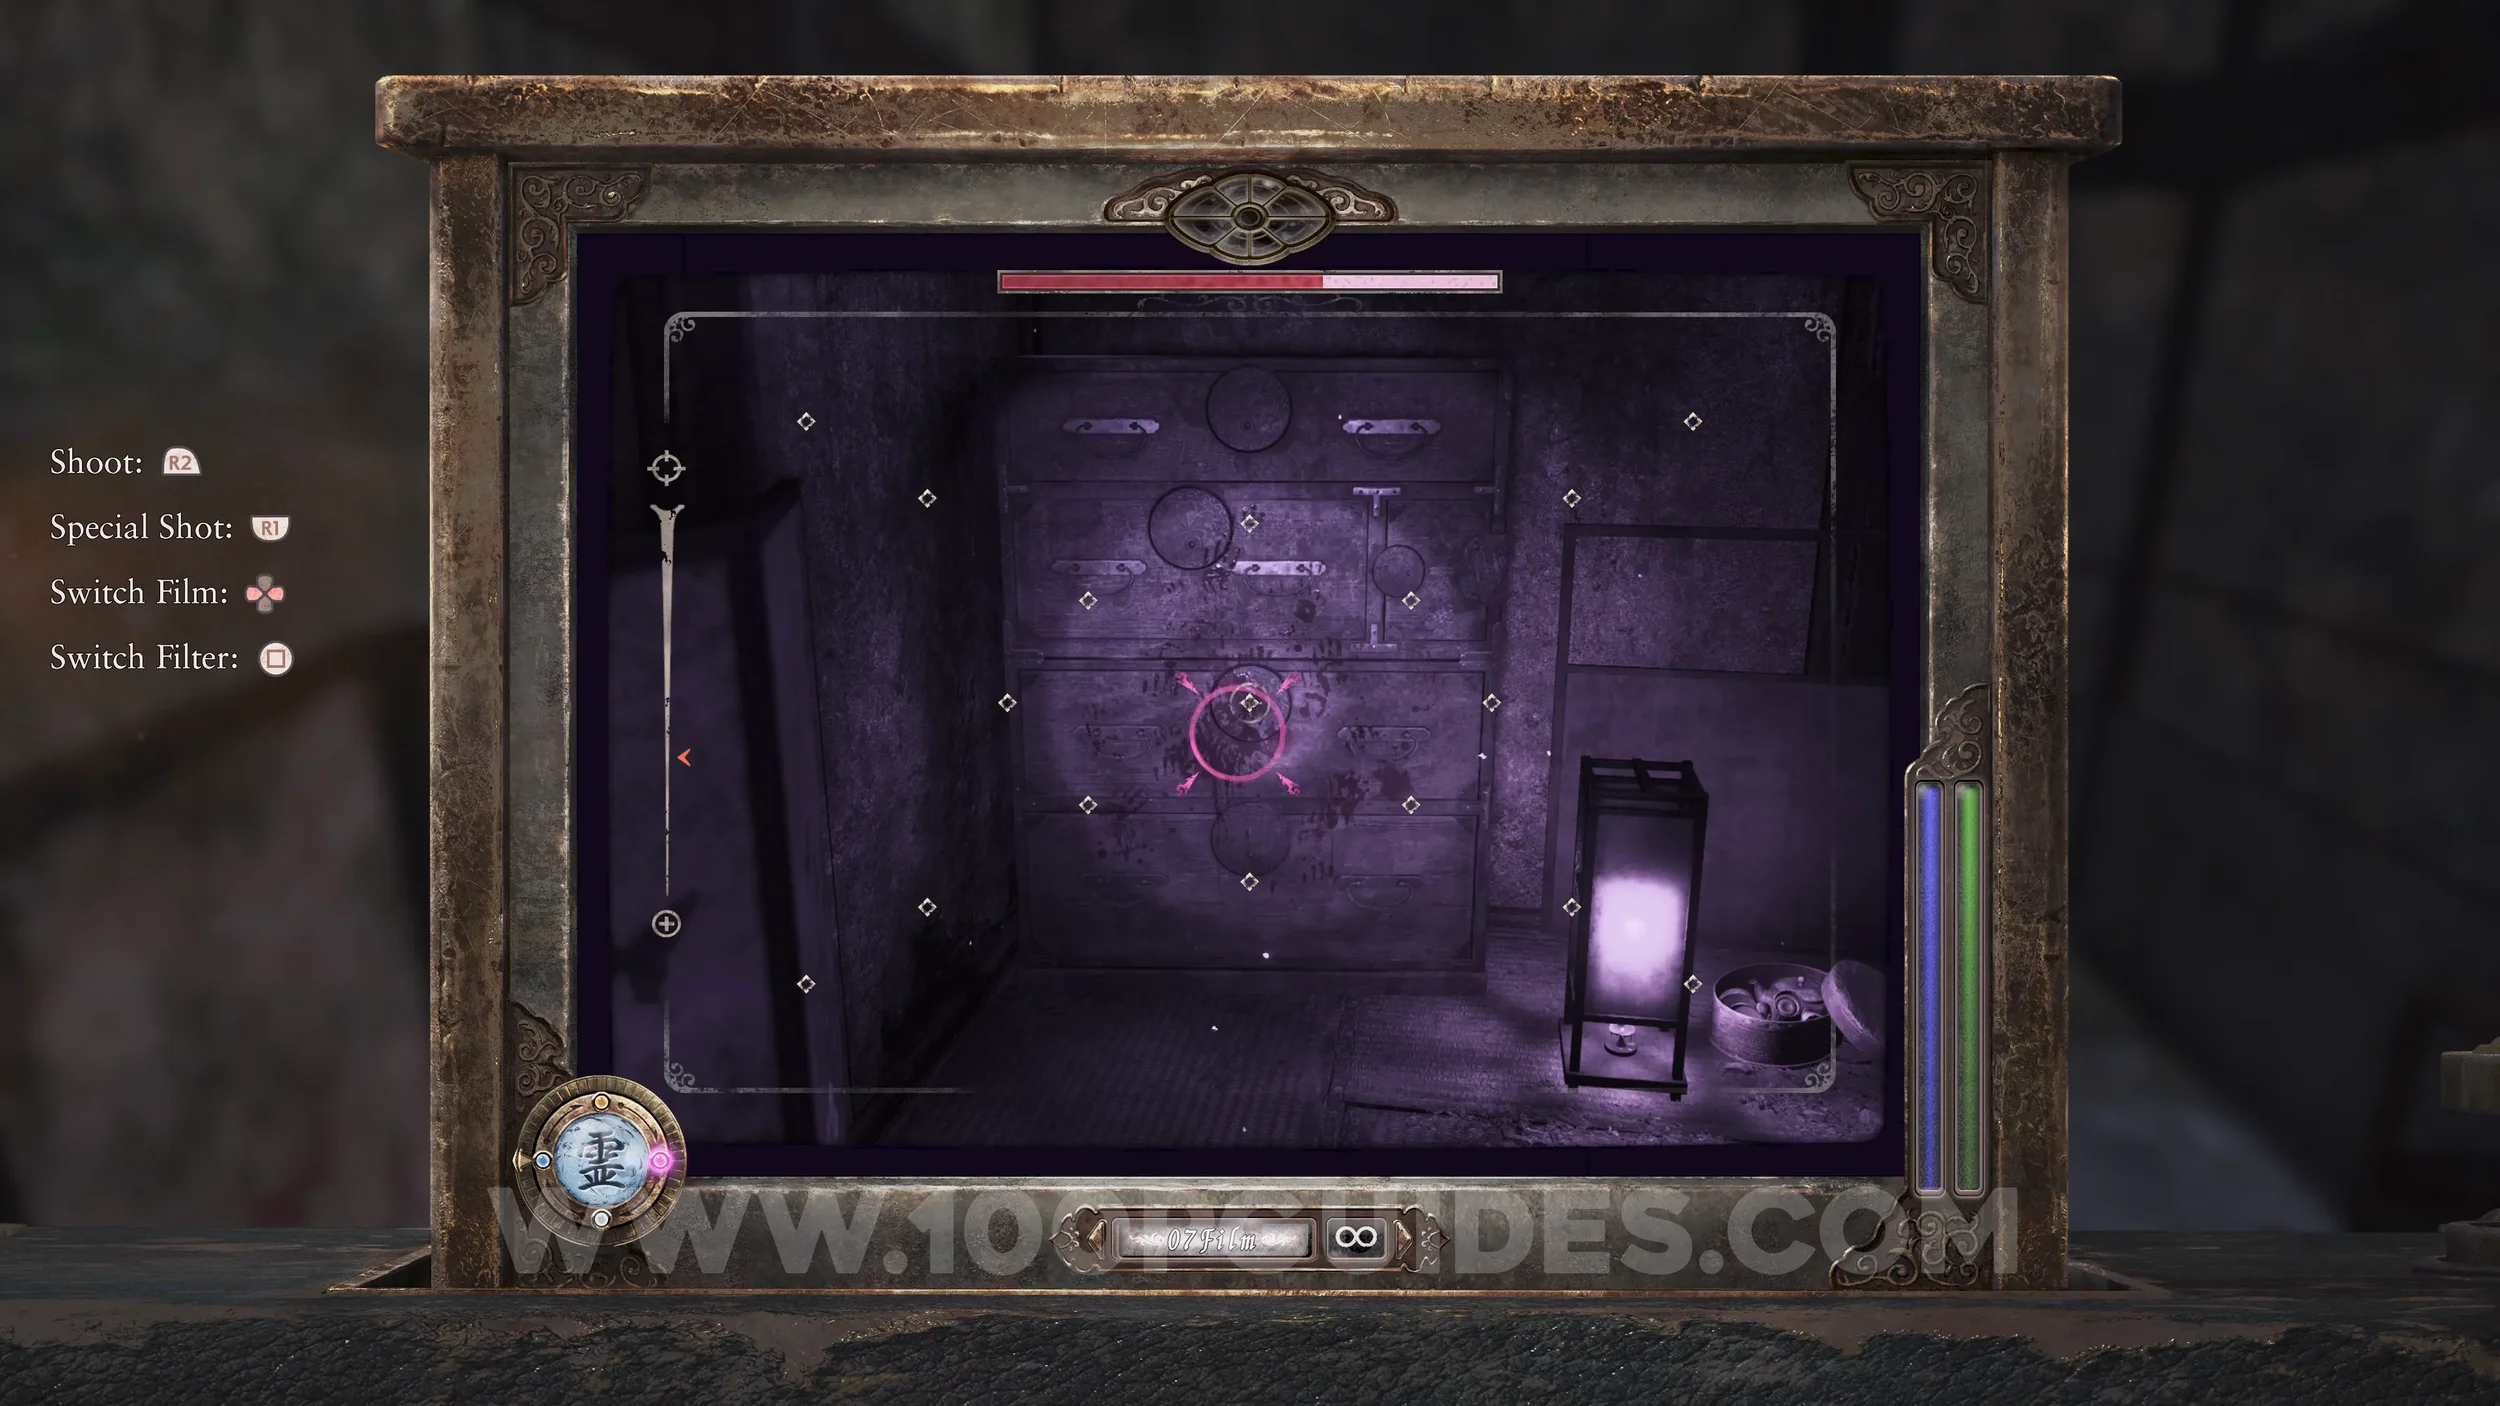
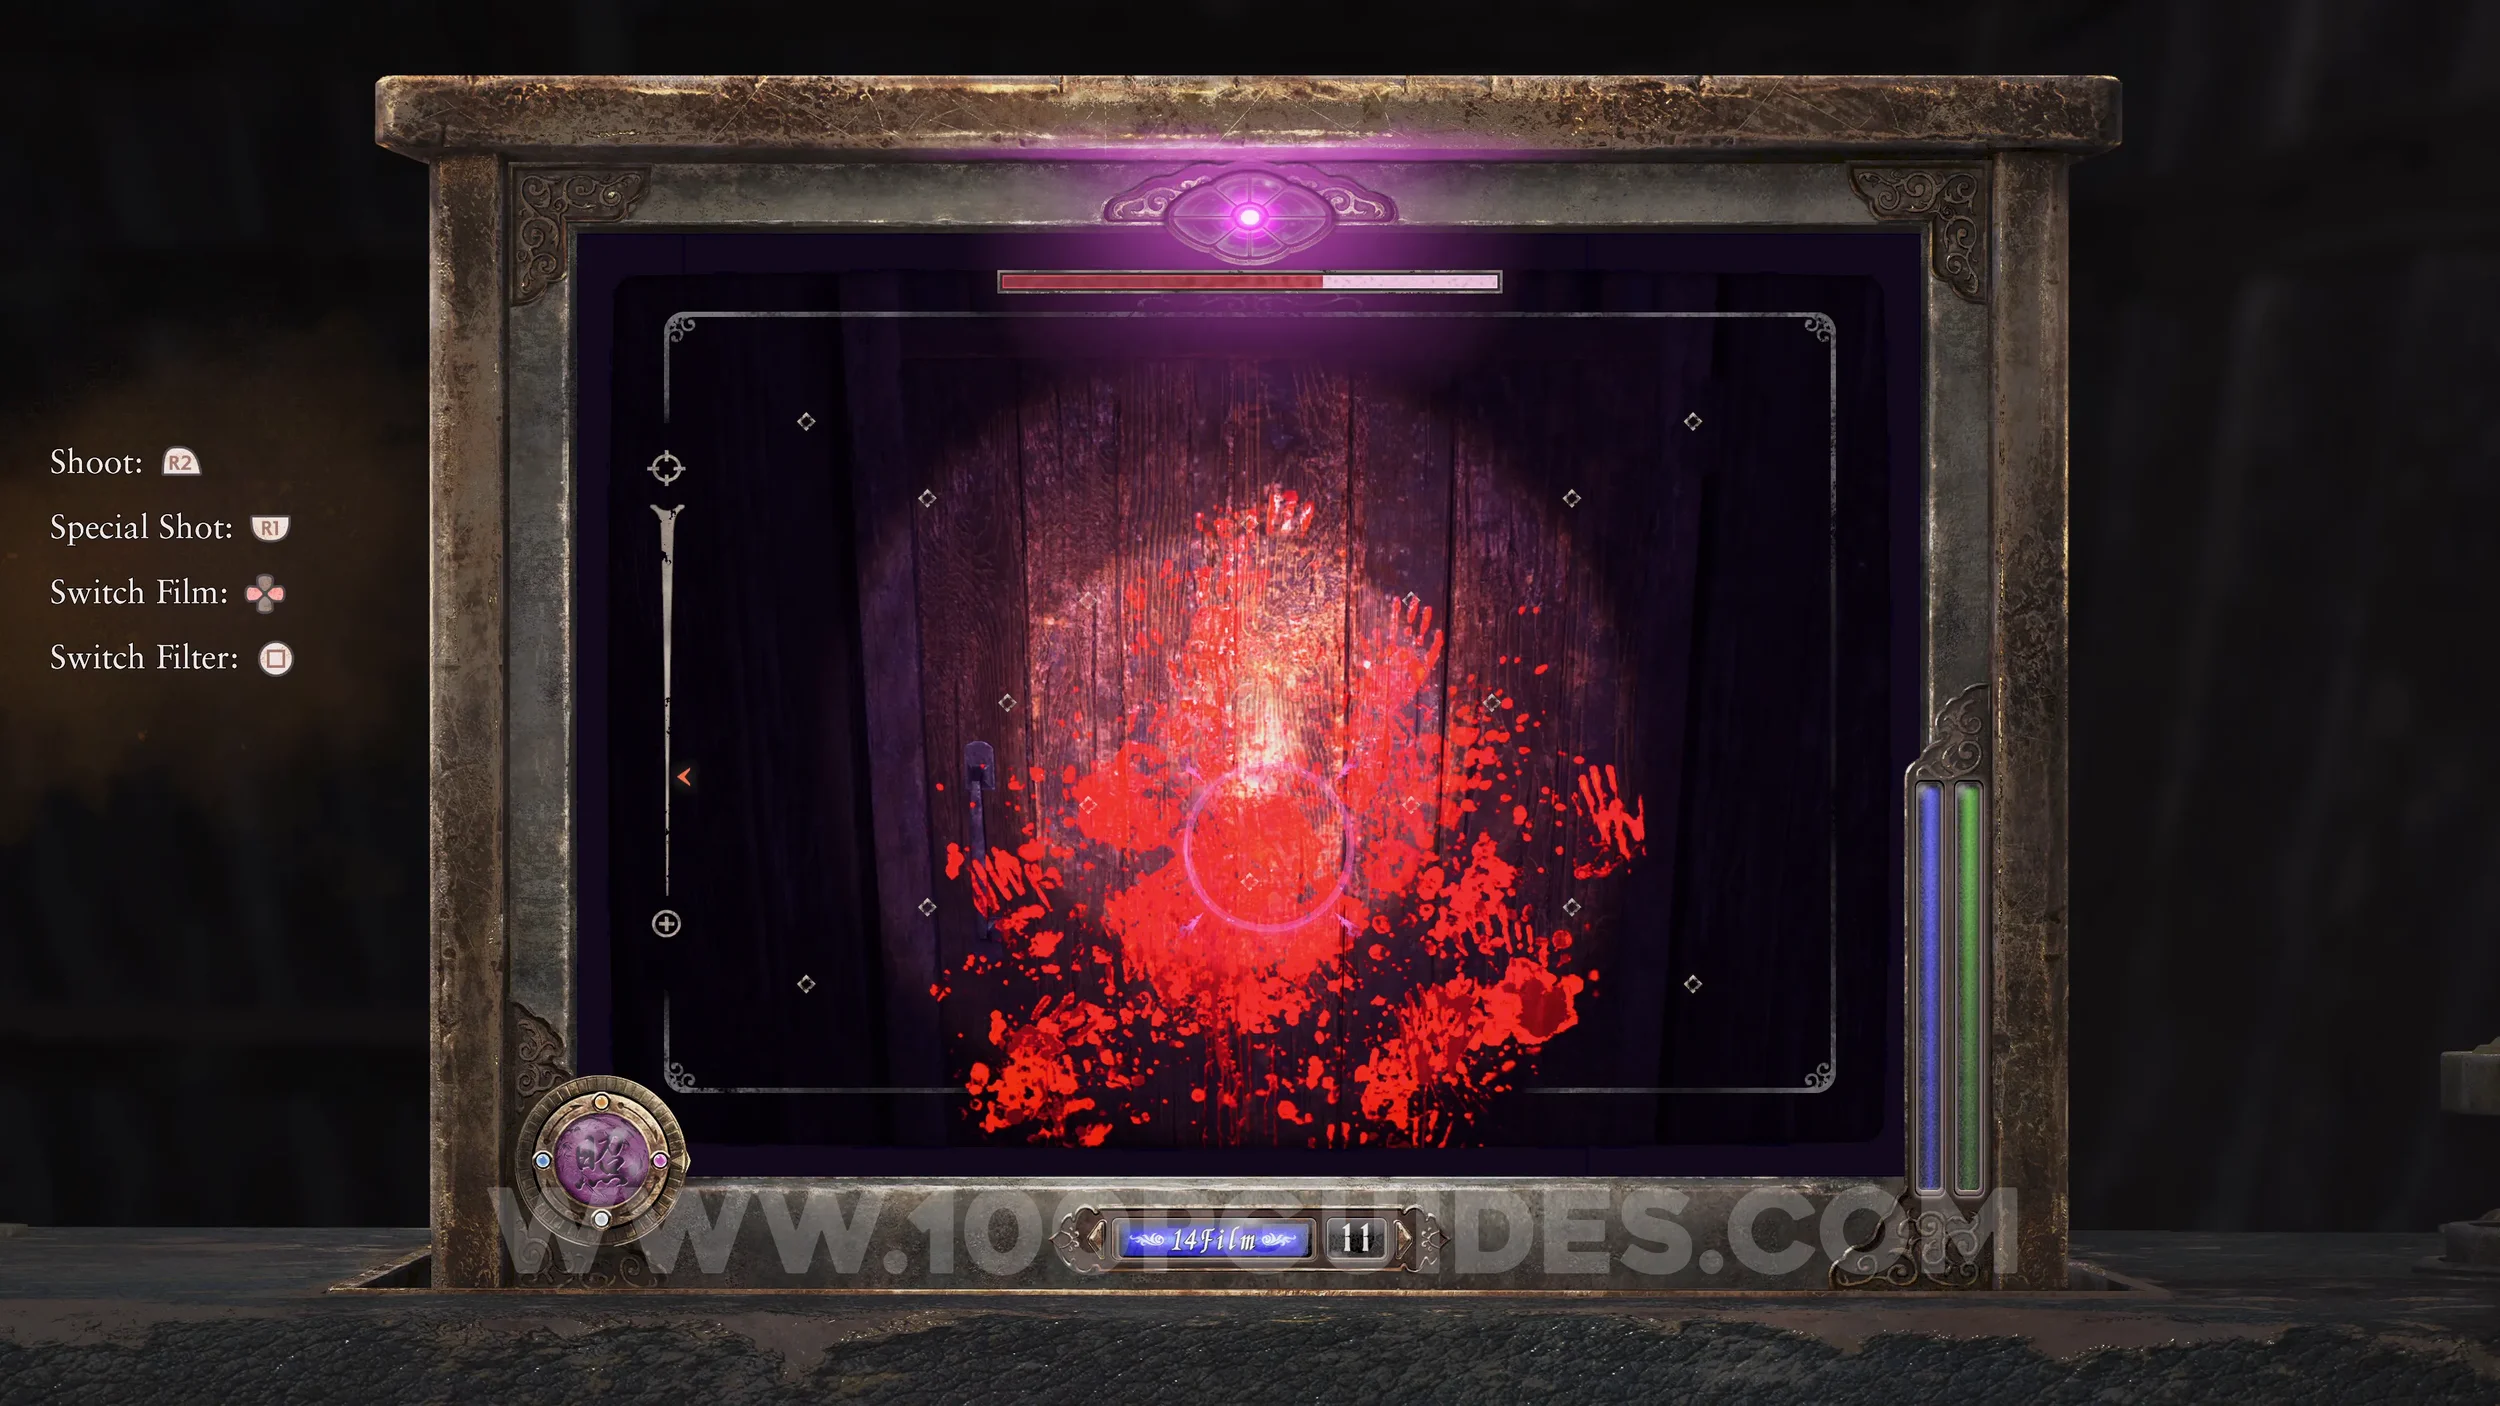
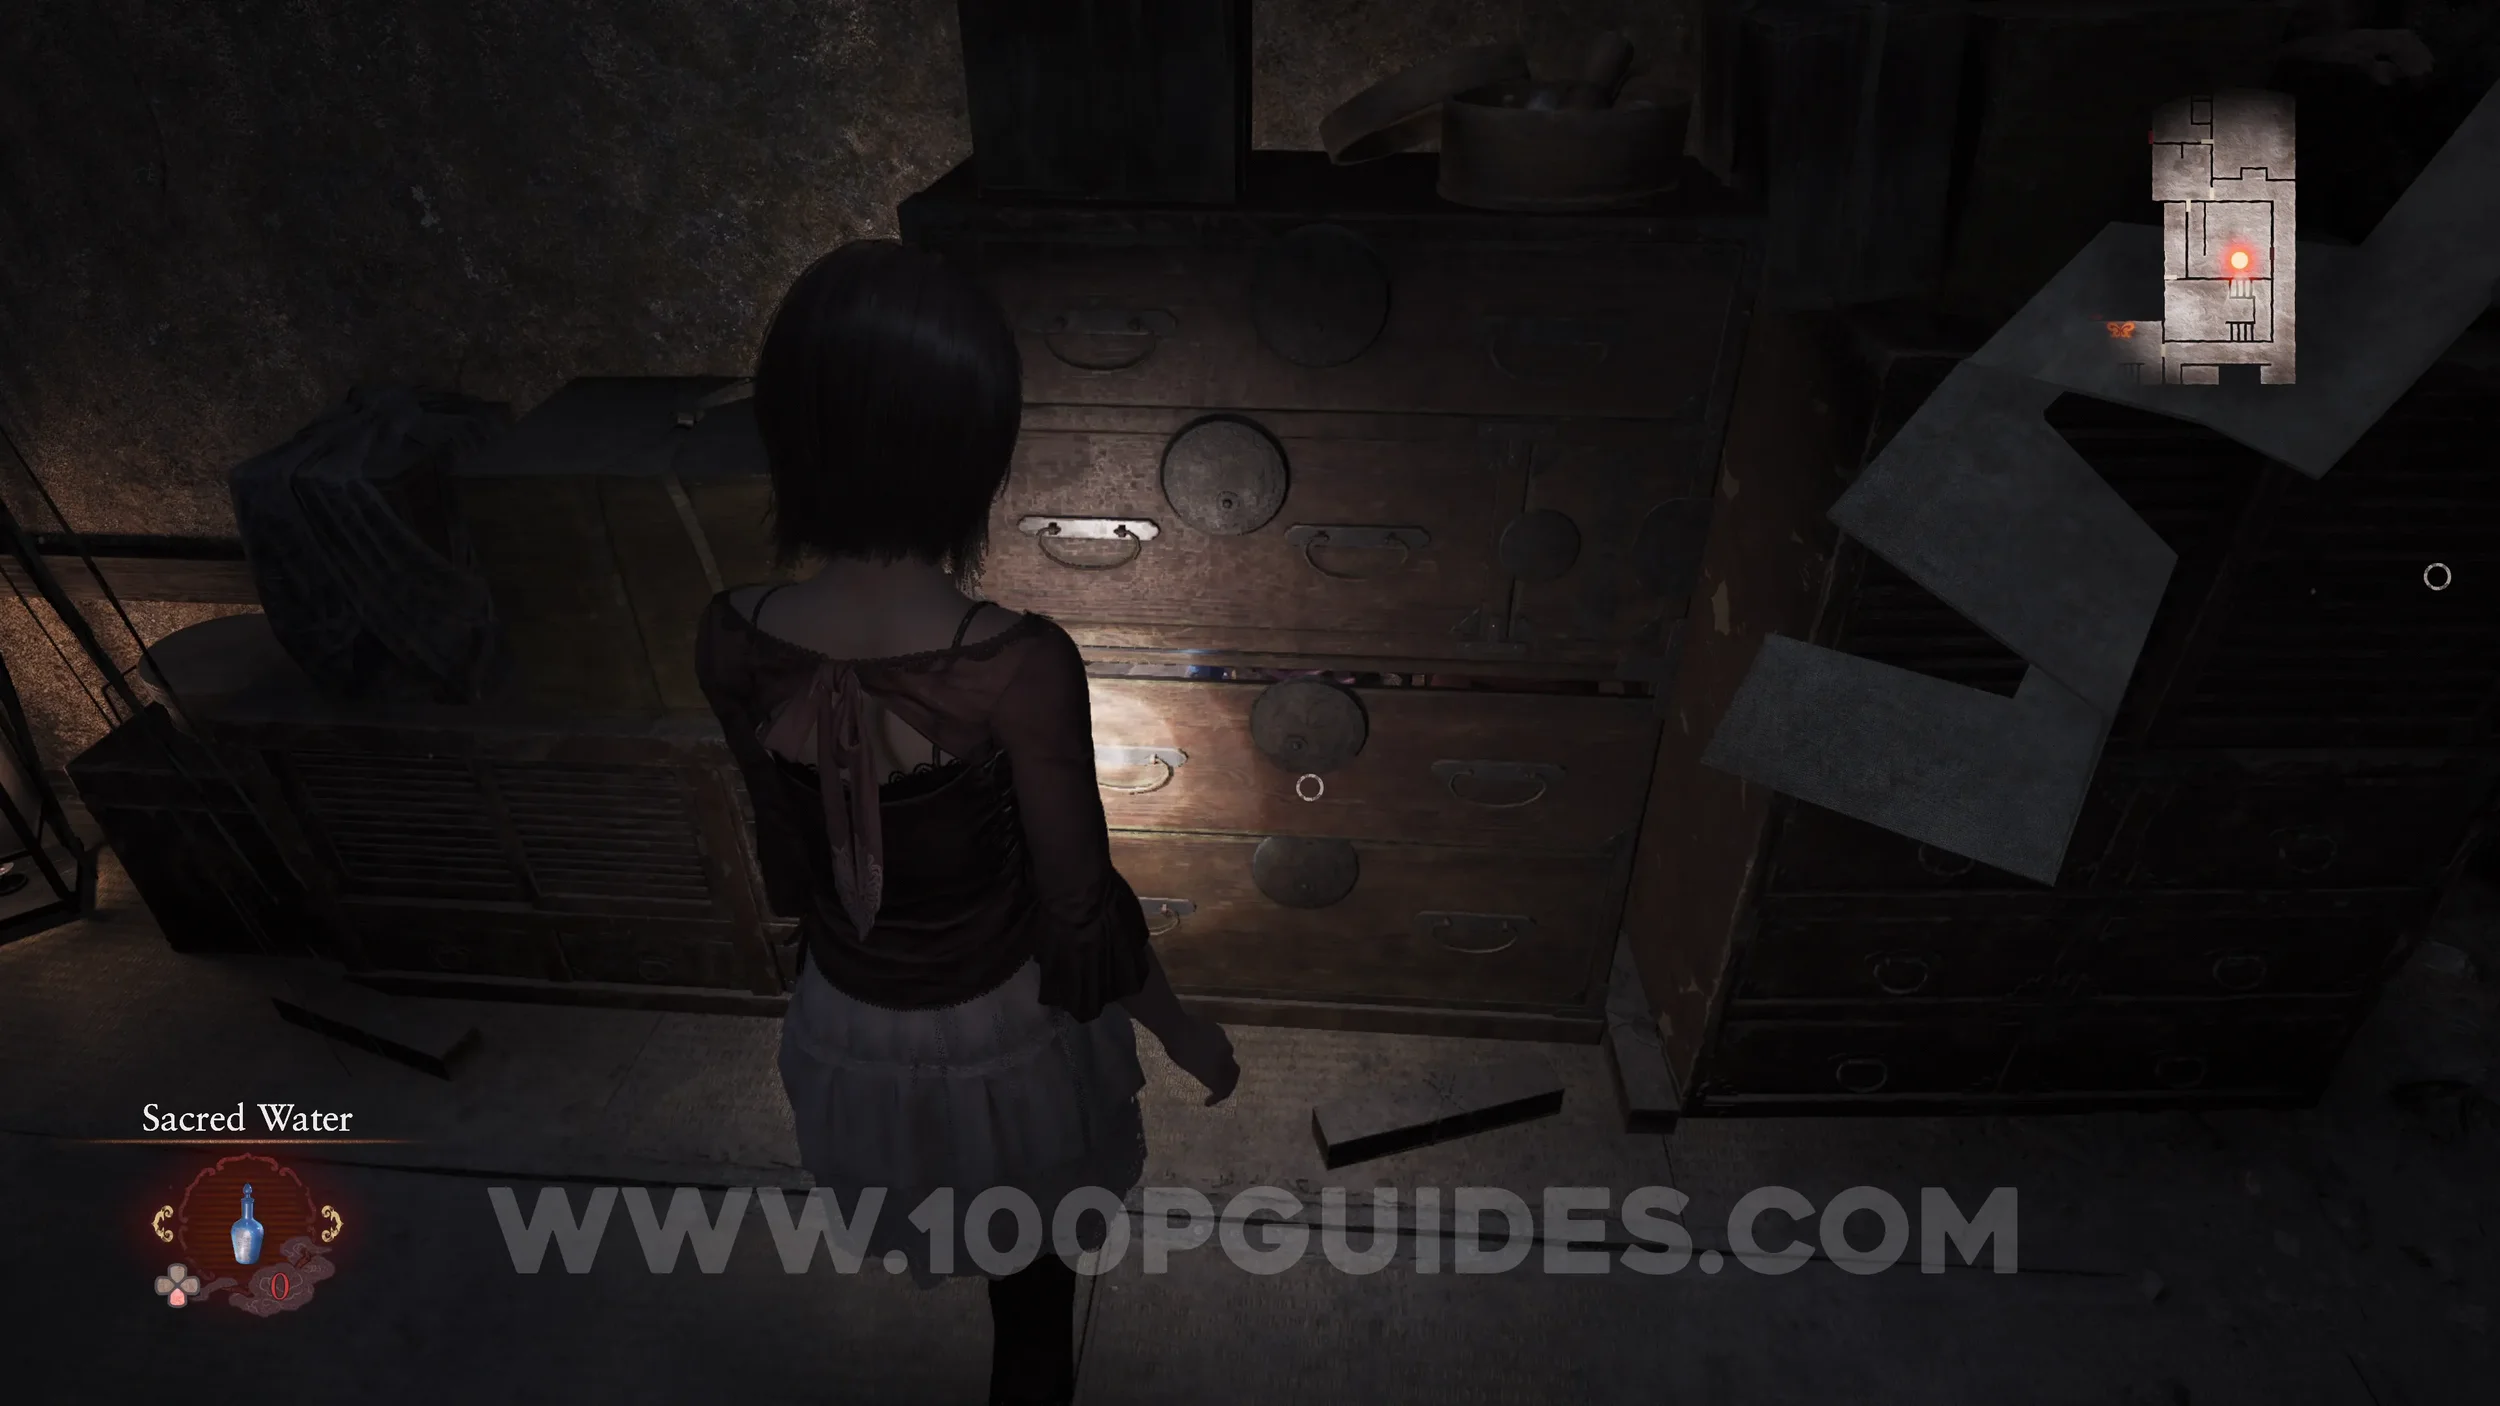
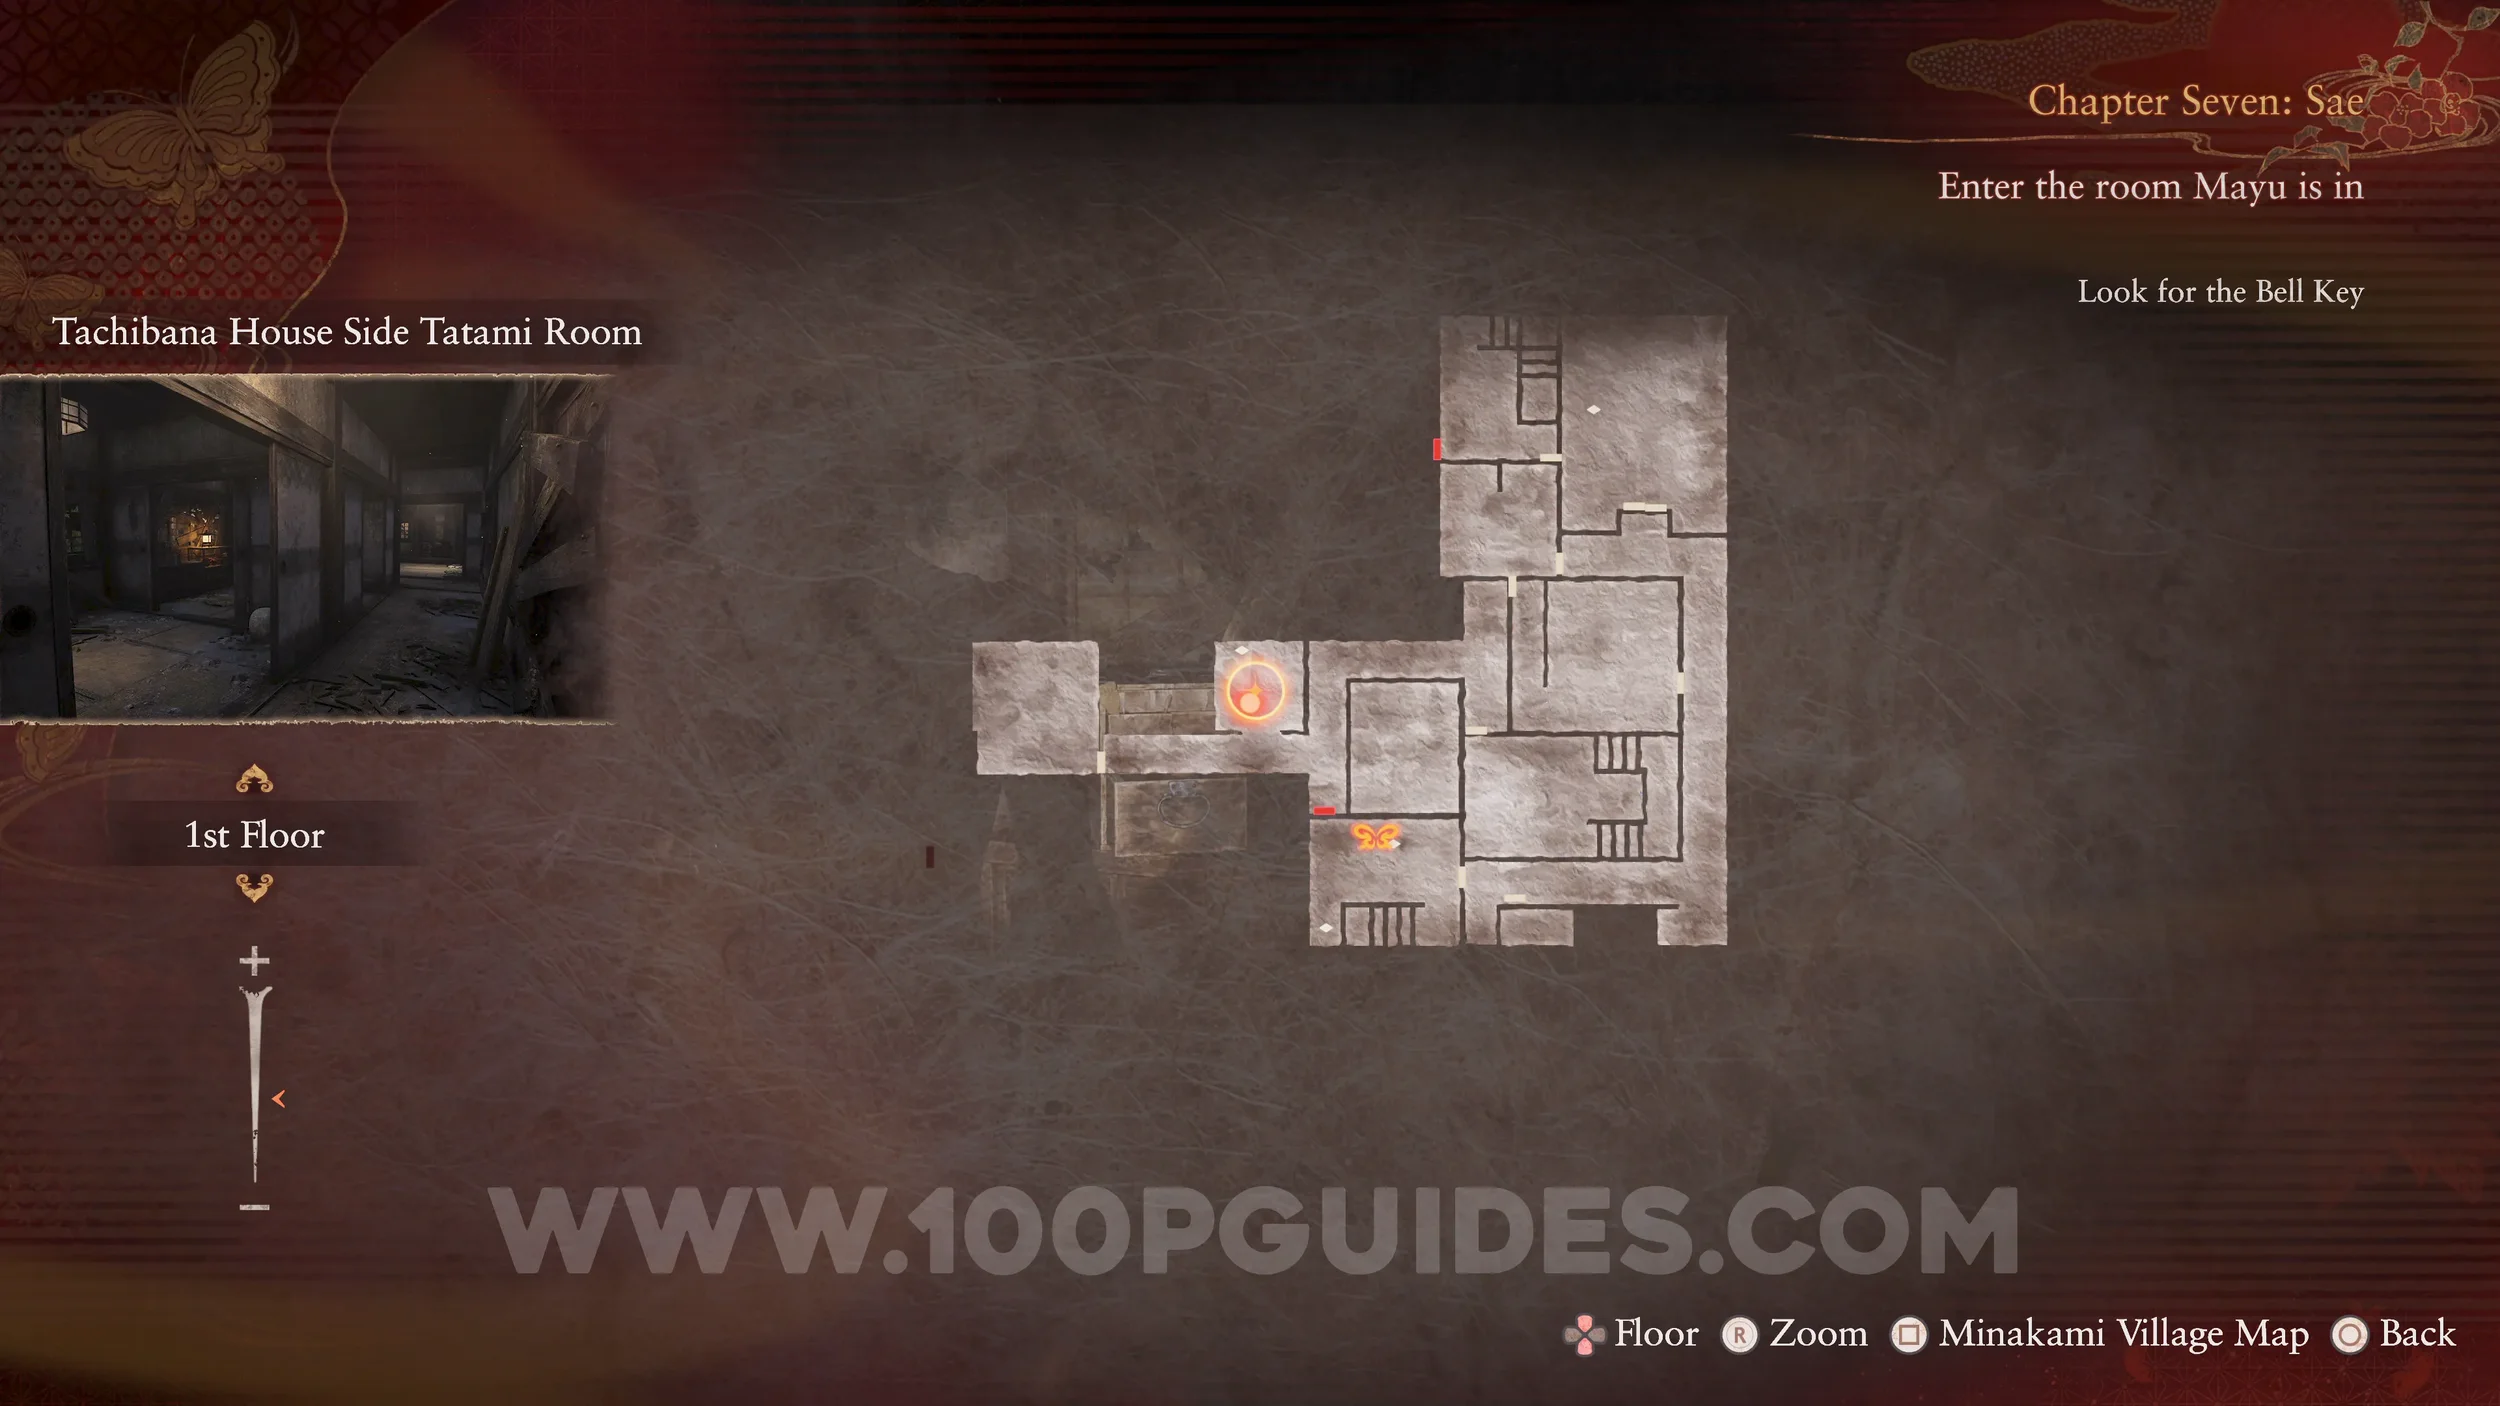
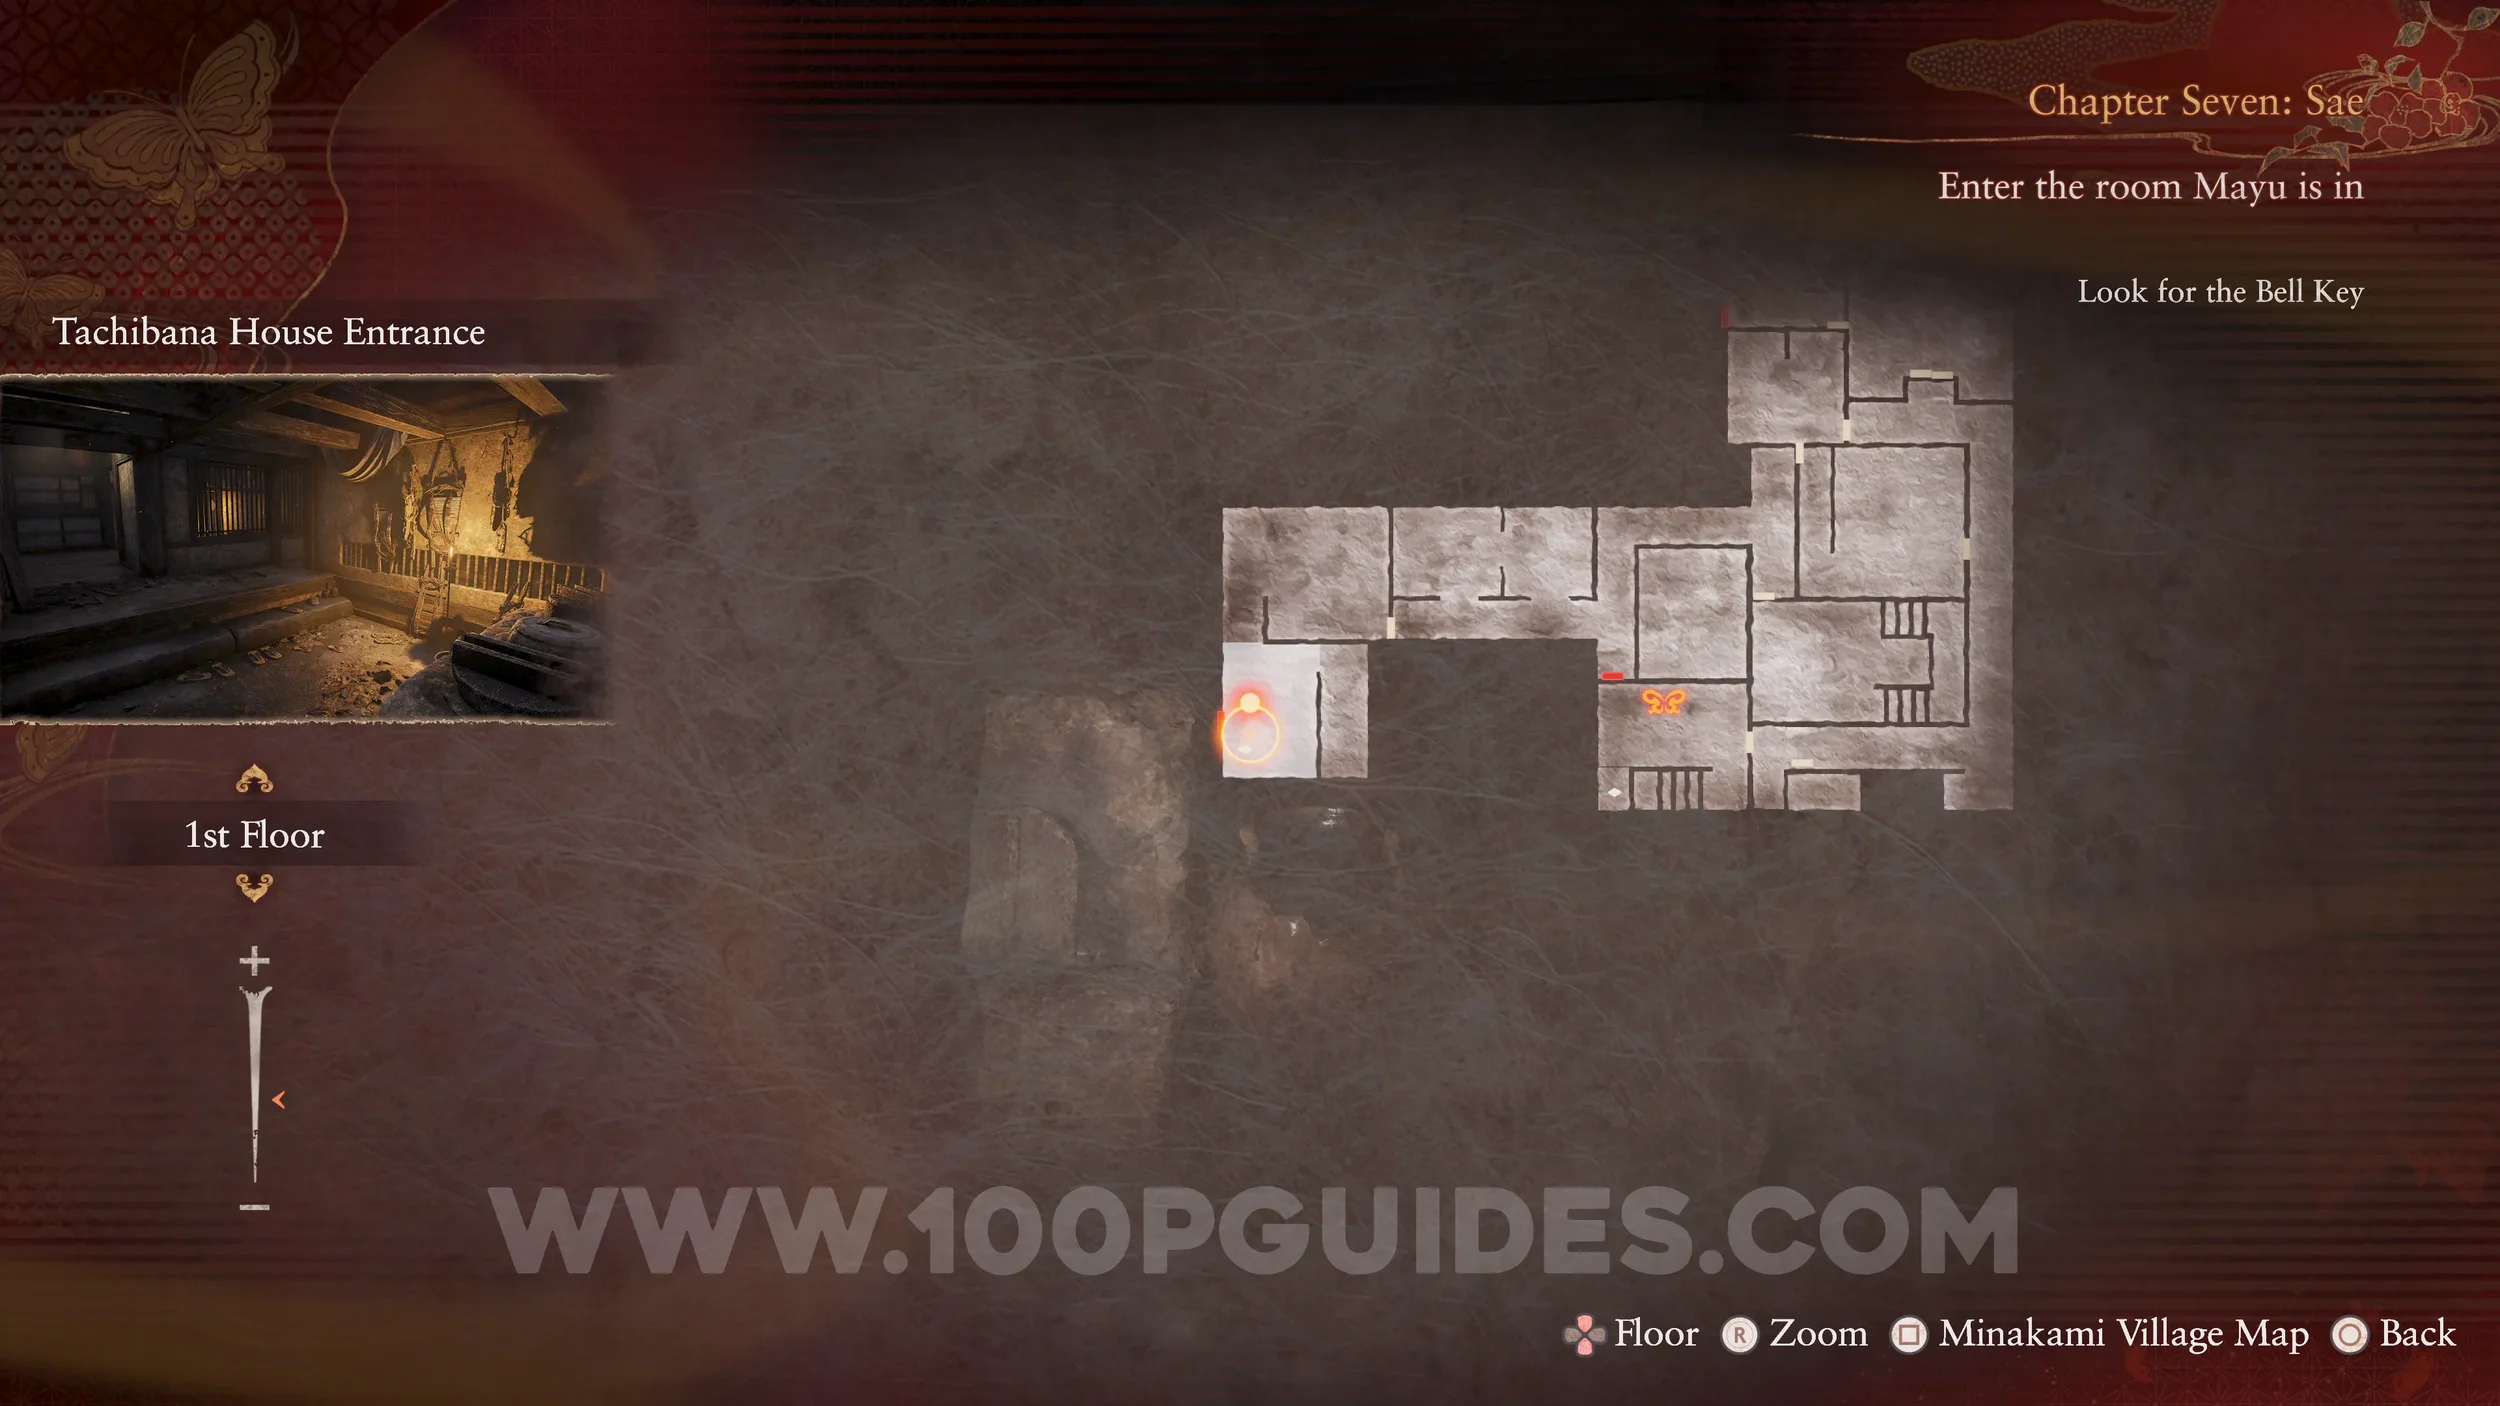
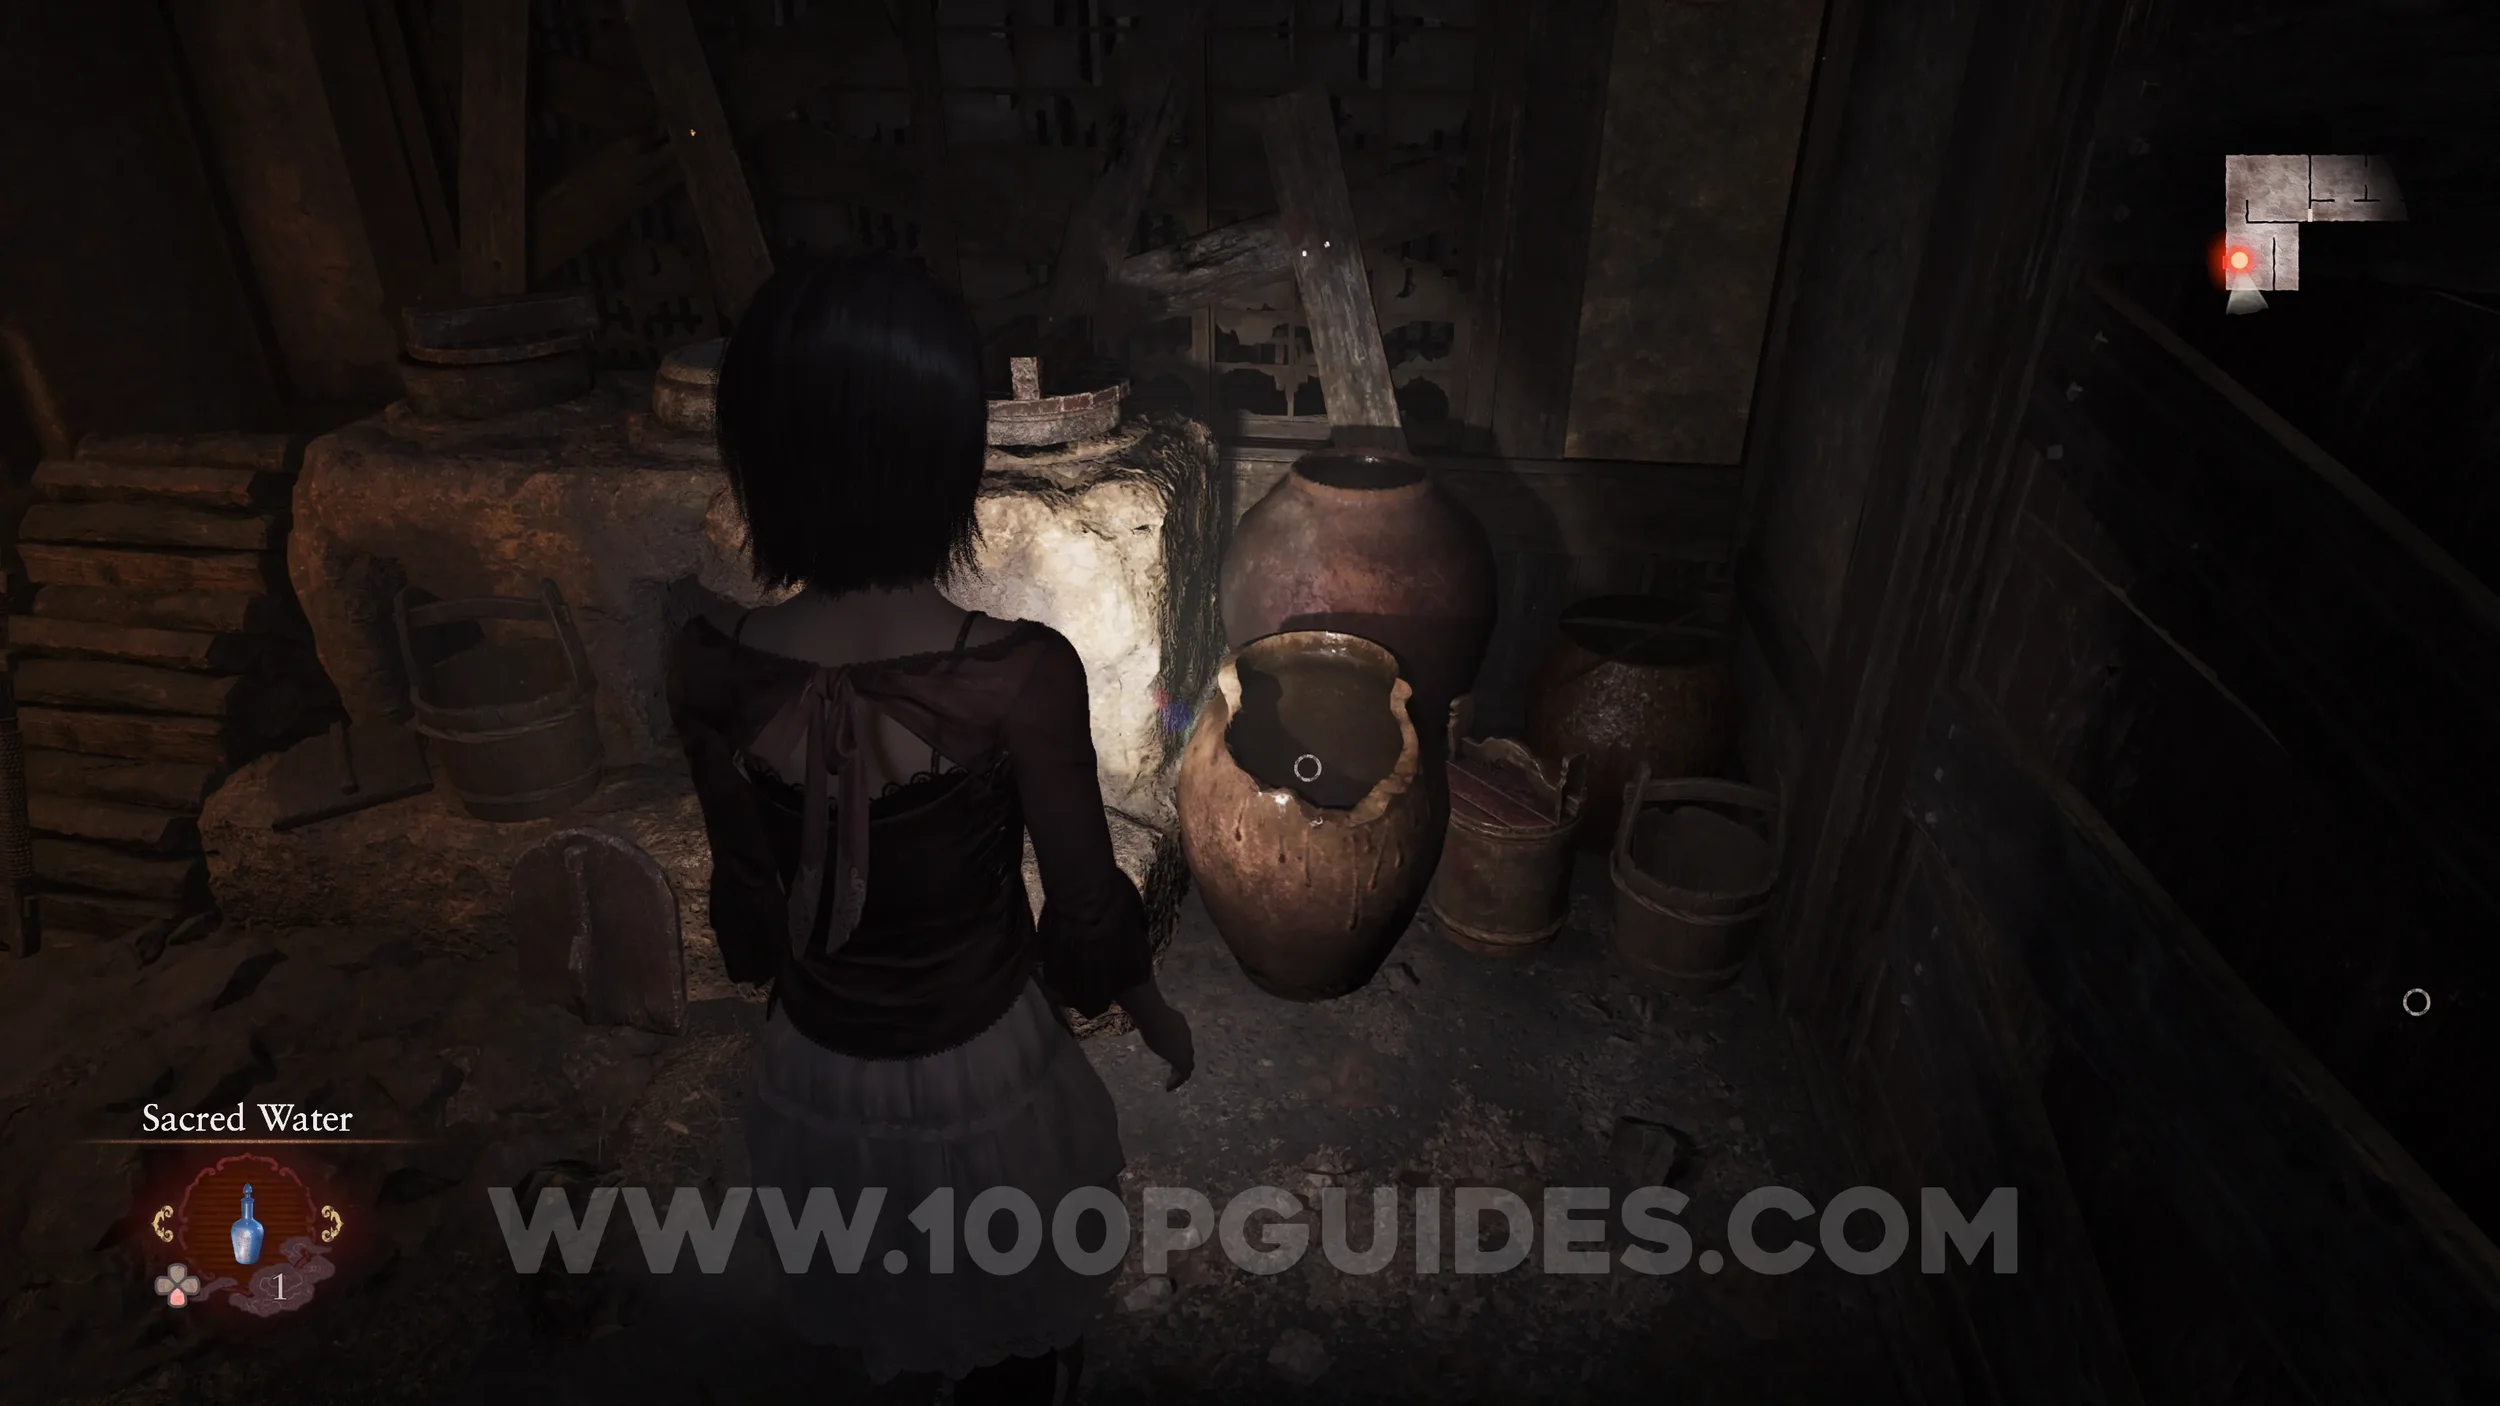
Unbinding of Blood #25 and Prayer Beads #58. Go to the end of the corridor where Mayu was and turn left. Then continue through to Tatami Wing – East. Here, use the Radiant Filter on the drawers.
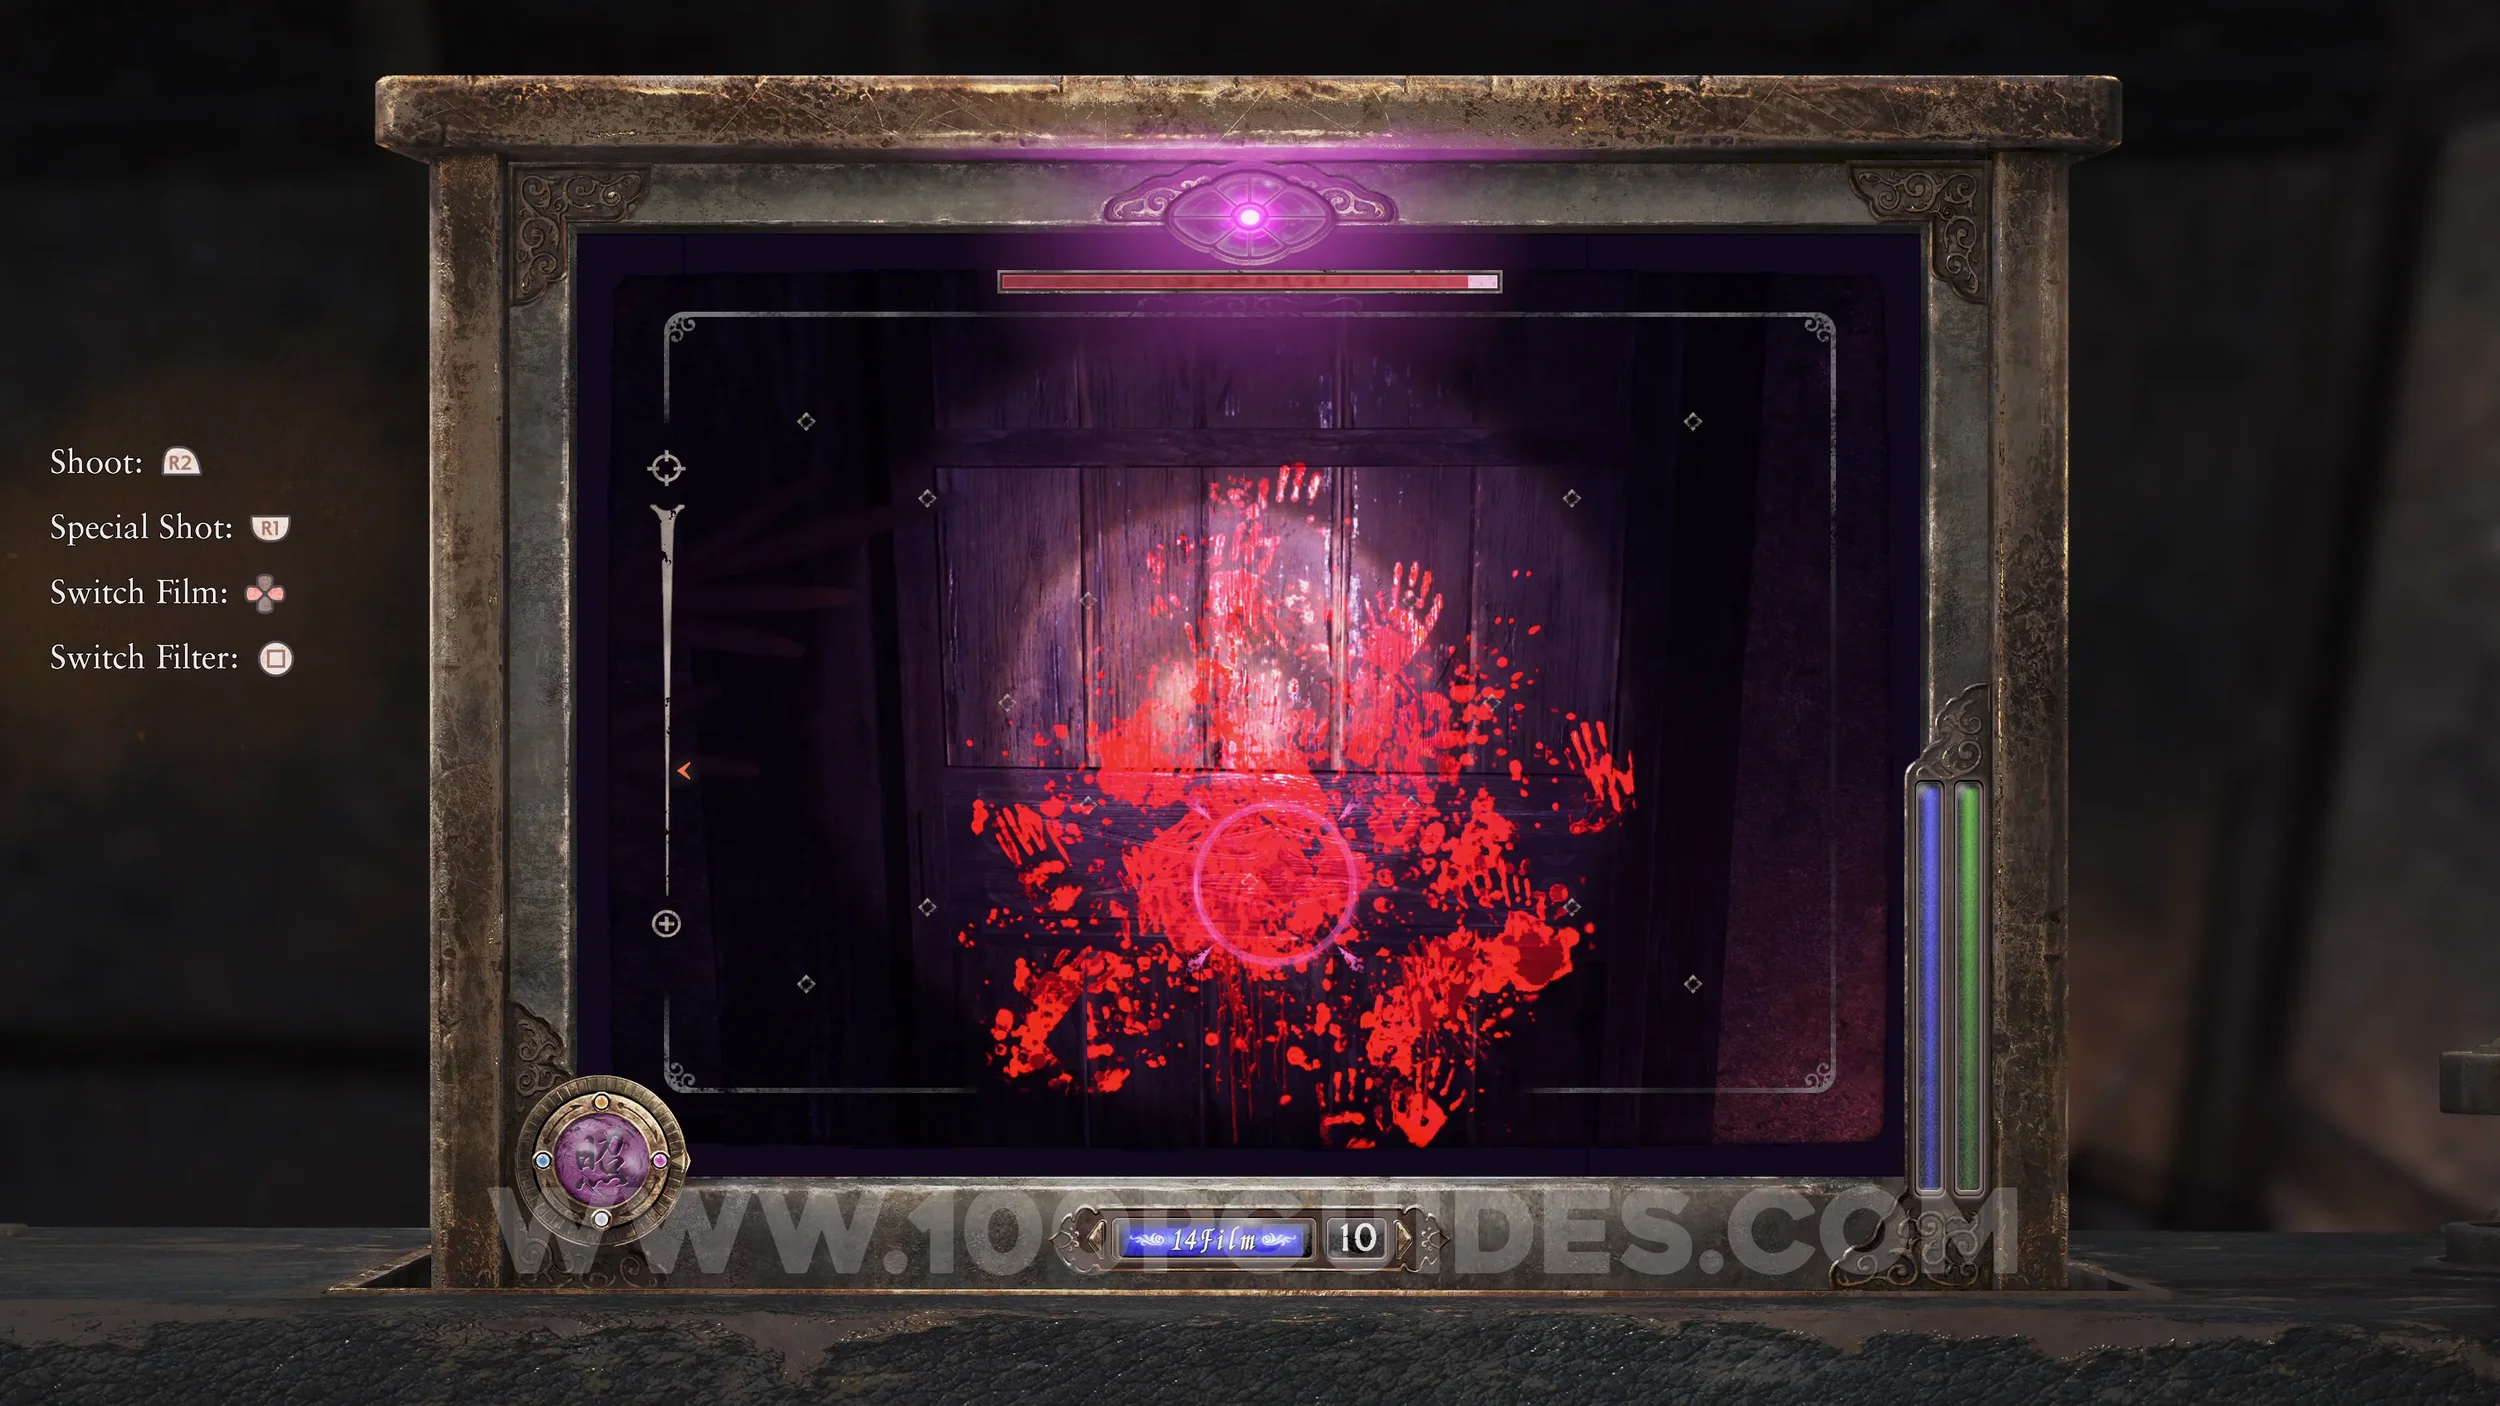
Unbinding of Blood #26. Return to the end of the corridor where Mayu was. Then go up the stairs and use the Radiant Filter to open the door.
Specter #144 - 107 Girl Heading Toward Room. As soon as you go through the previously bound door, look right to spot the specter at the end of the corridor.
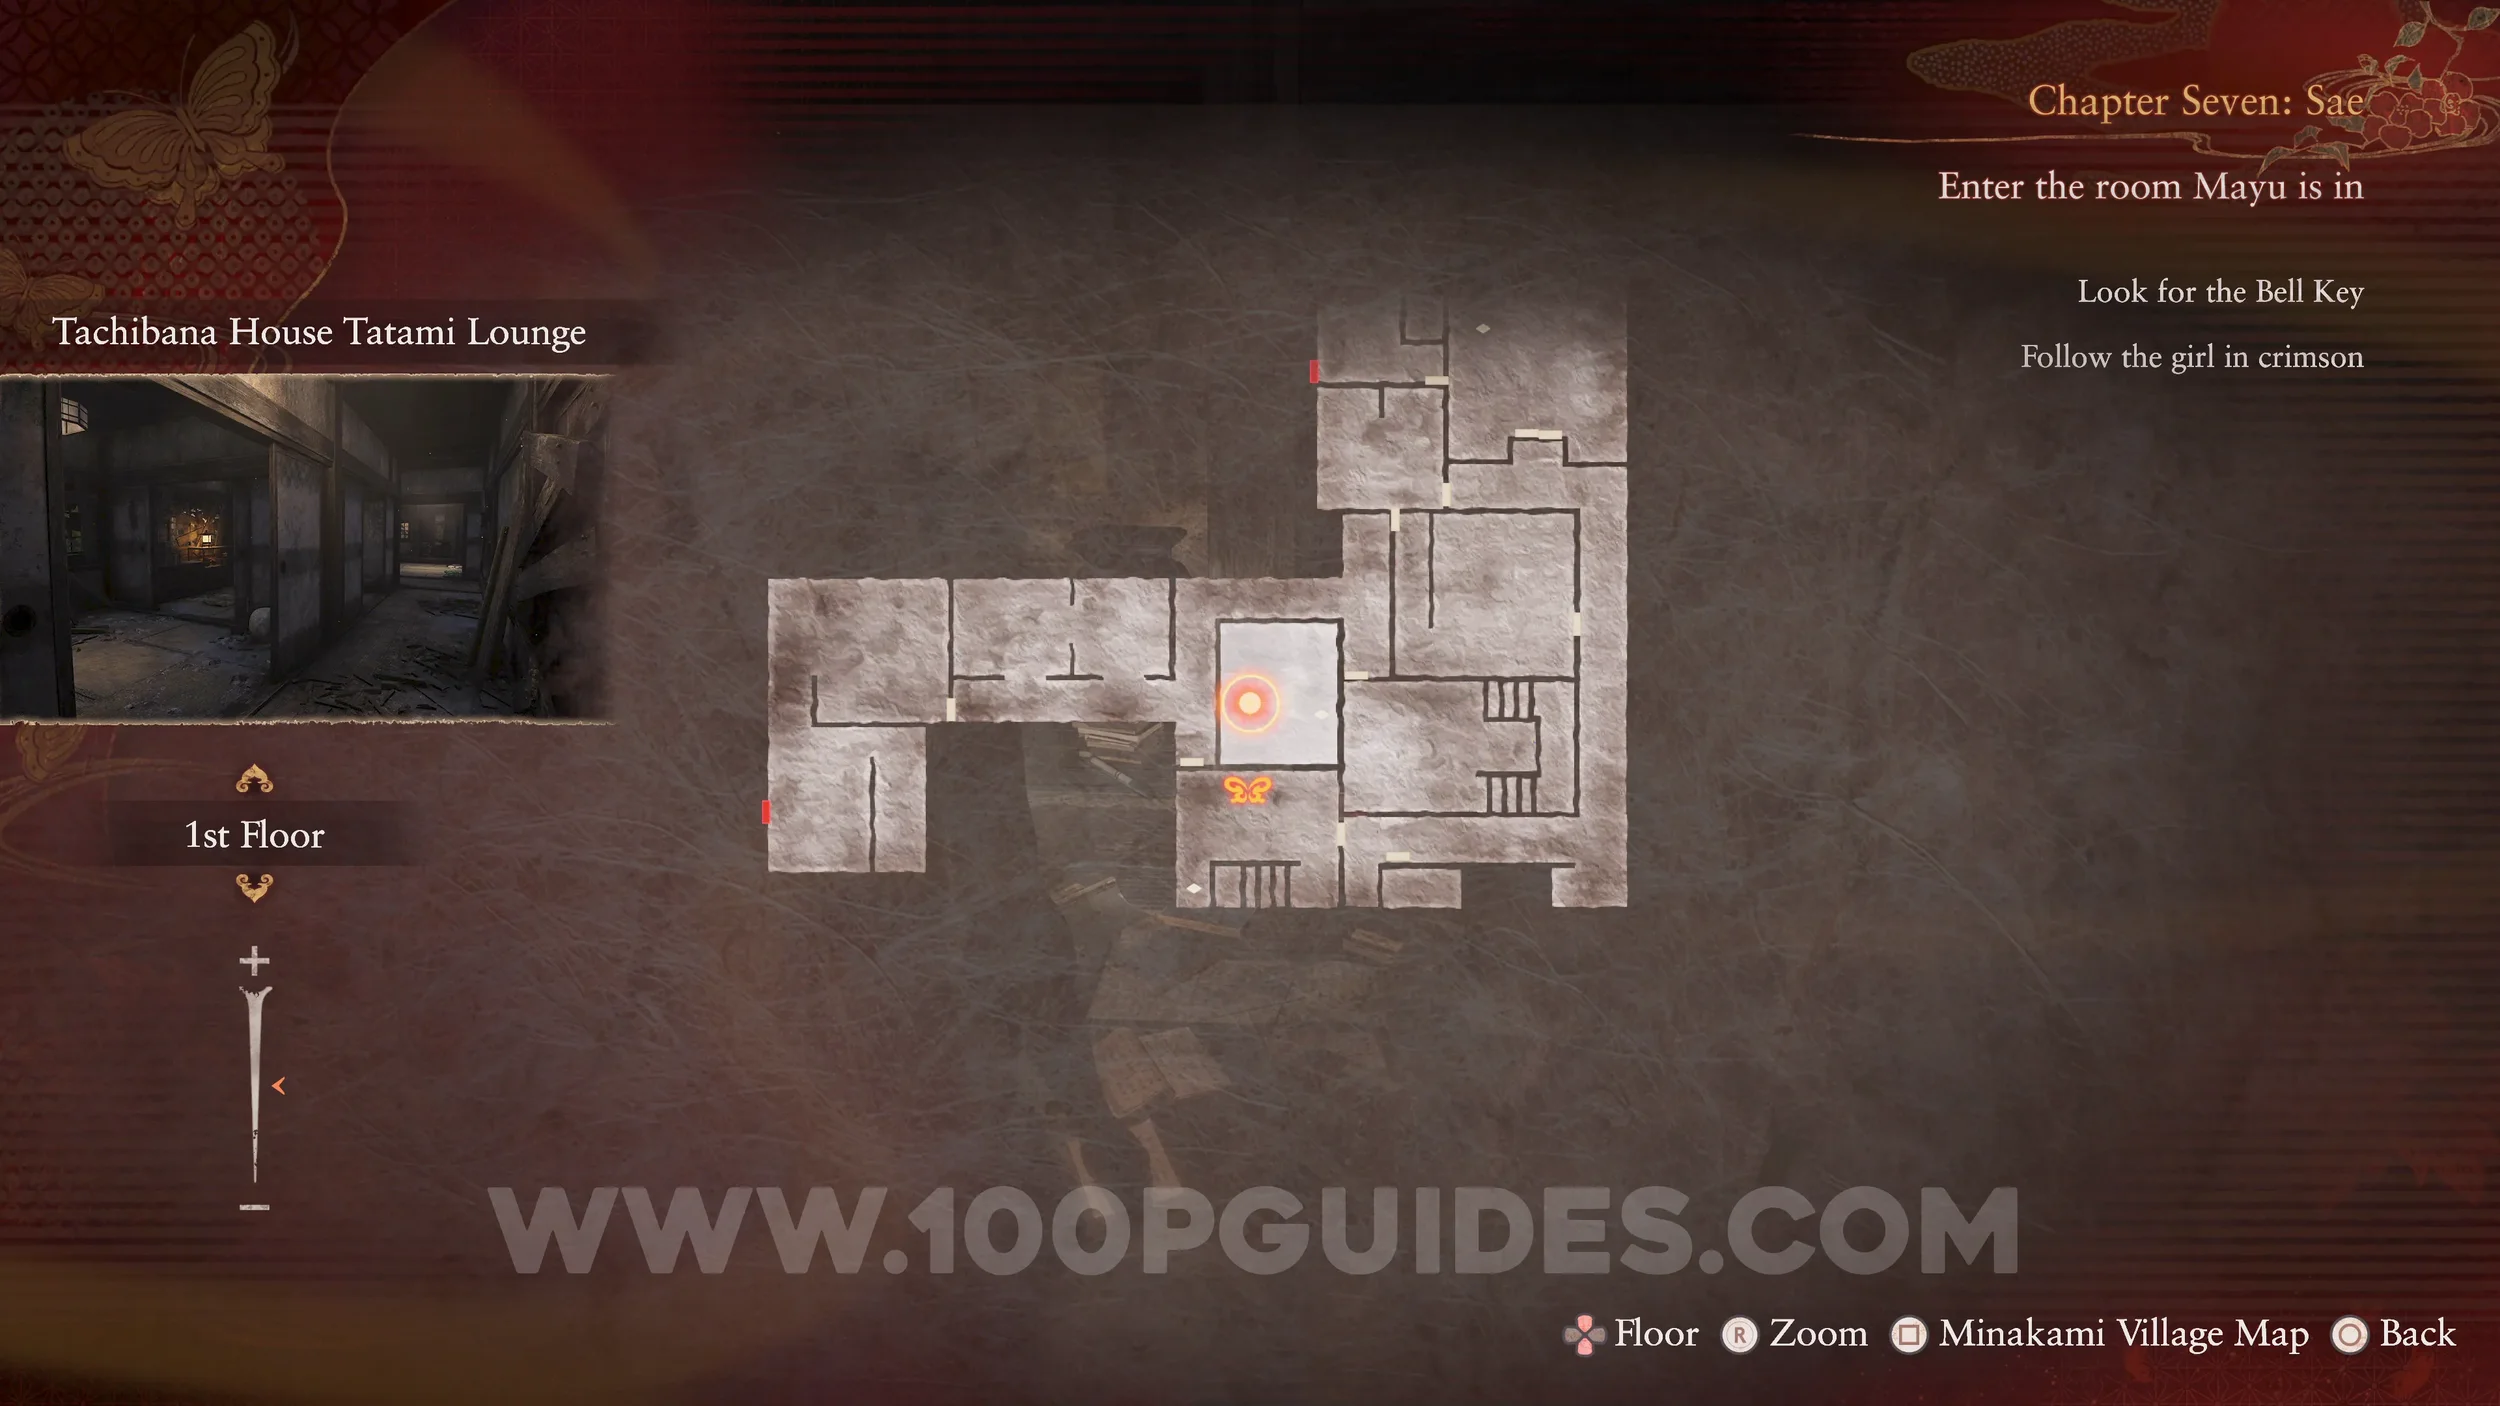
Specter #145 - 108 Crying Mayu. As soon as you reach the corner in the corridor where the previous specter appeared, look into the room on your right to see Mayu.
Specter #146 - 109 Hiding Girl. Interact with the locked door that leads to the room where Mayu is, and this specter will spawn behind you.
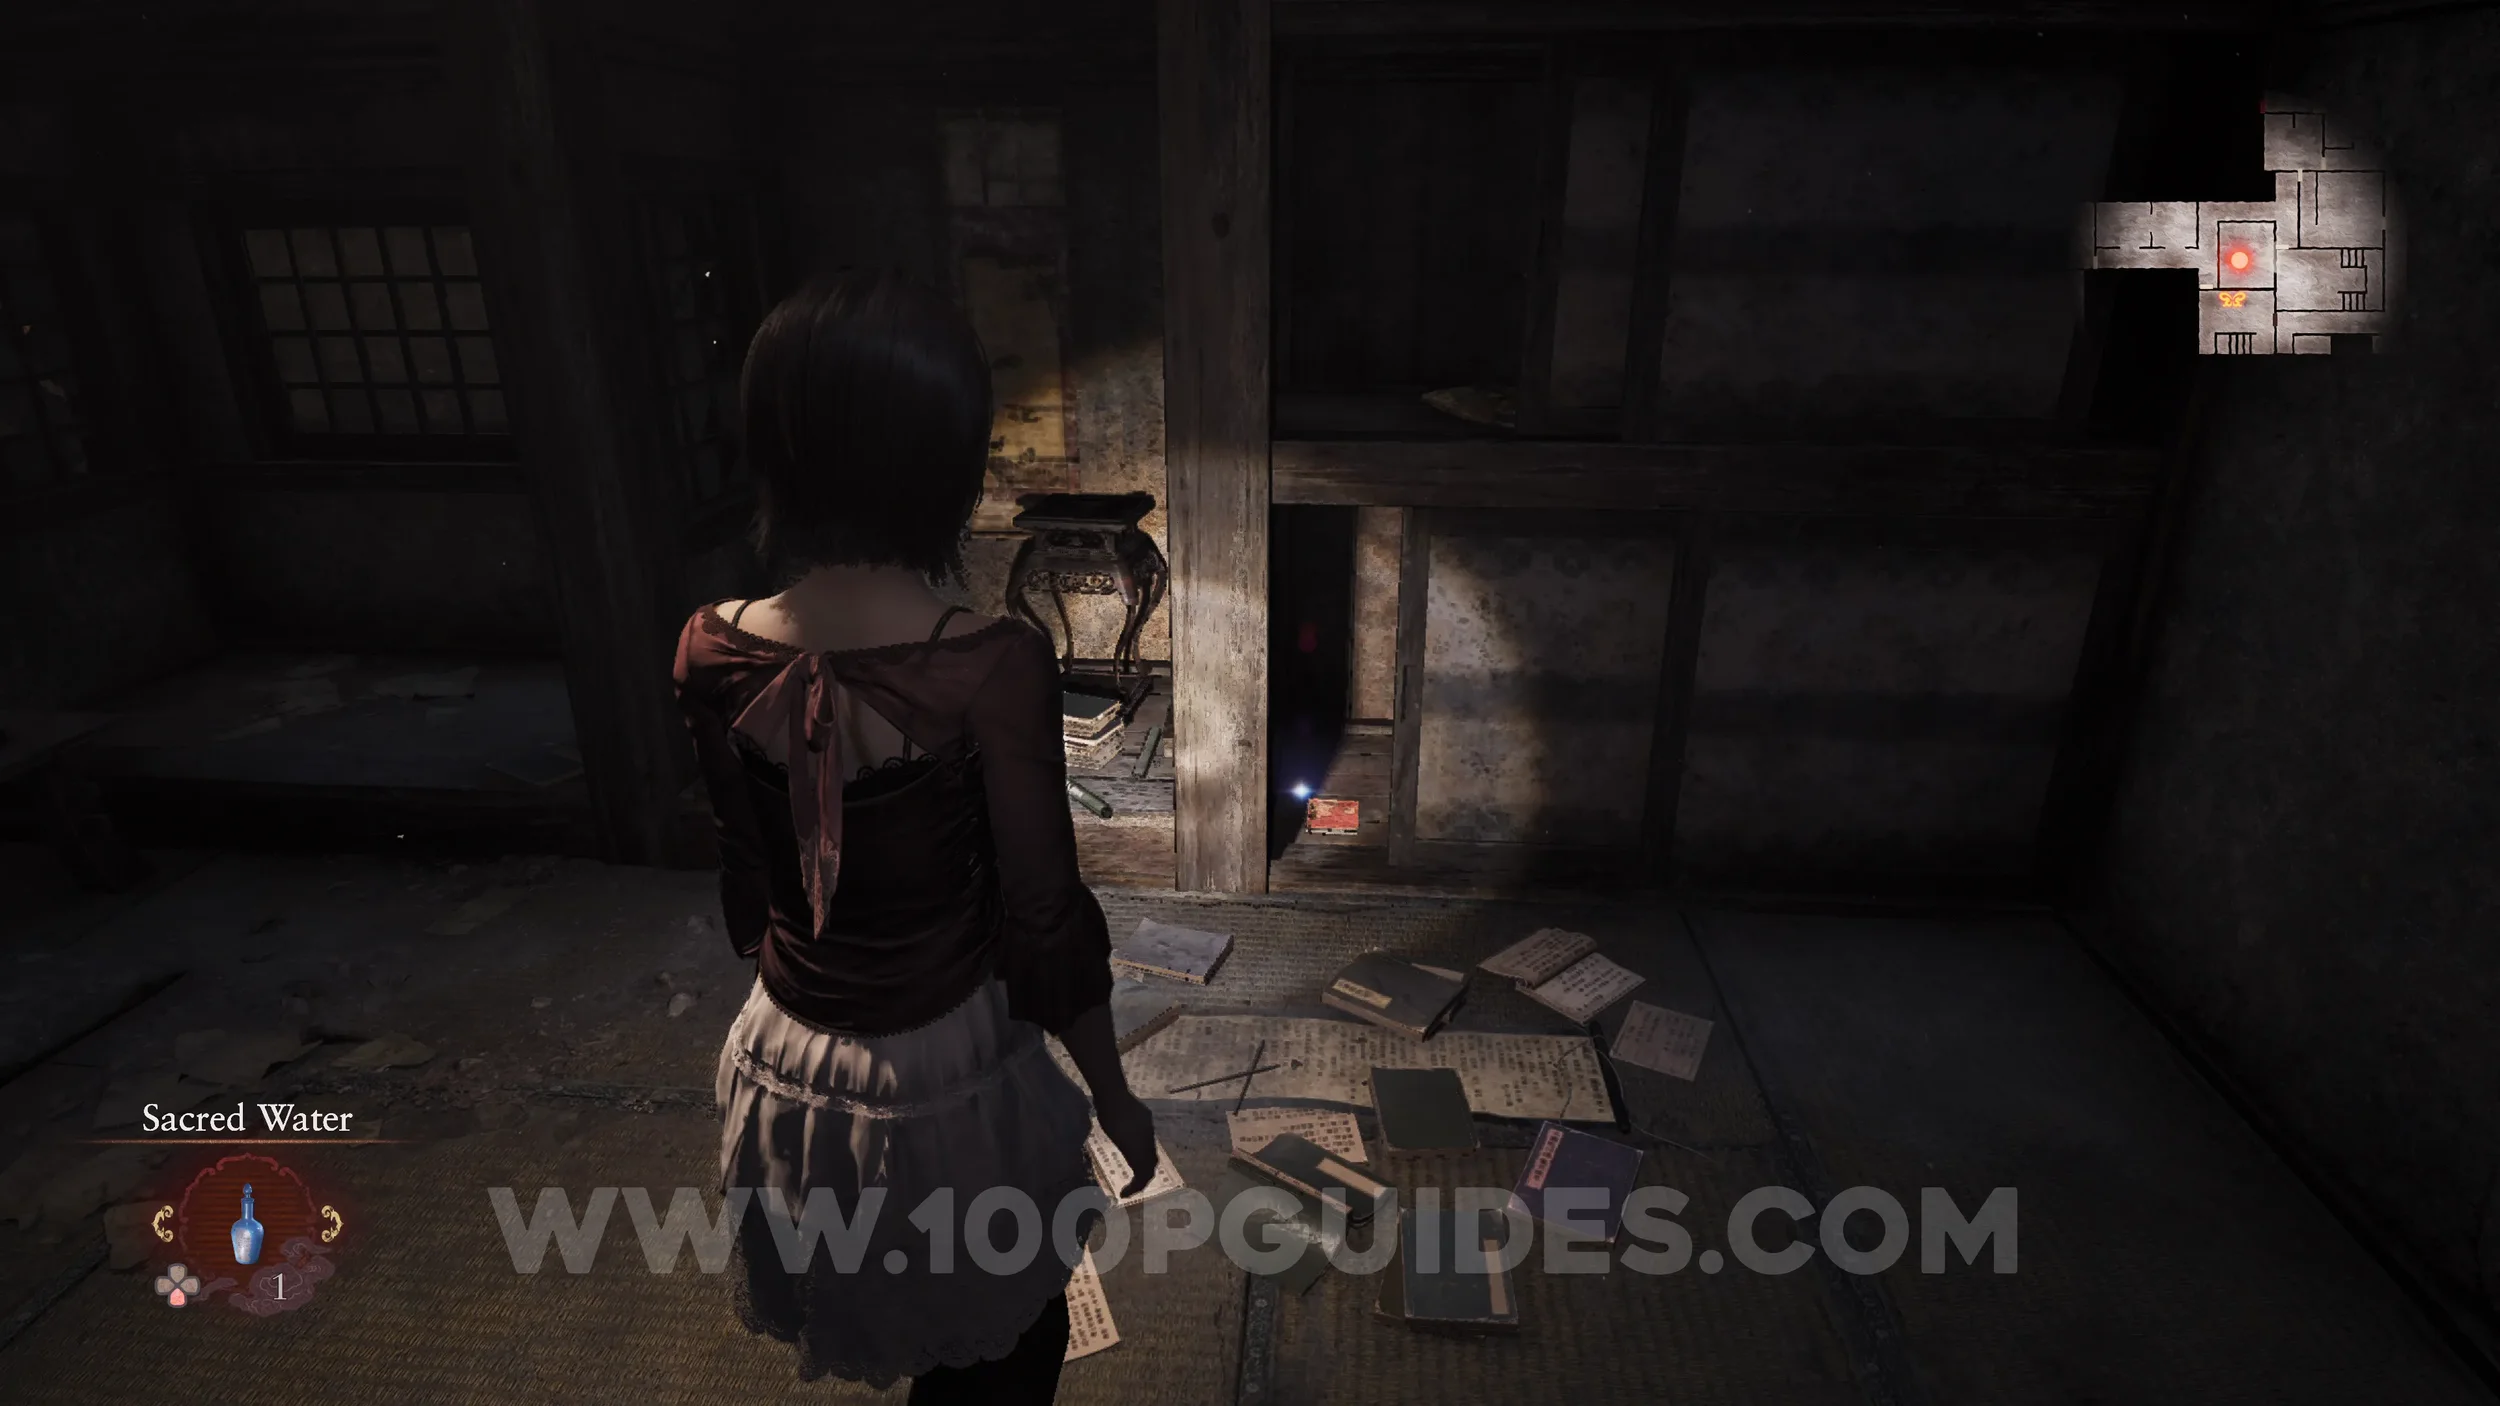
Prayer Beads #59. Before following the girl, head into the small room to the north to find some Prayer Beads.
Film Reel #5 (8). Inside the chest in the same room.
Brayer Beads #60. Go into the hall to the north and enter the room on the left to find the beads on a box.
Phantom Expose #13 - Sliding Screen Room, Specter #147 - 187 Man Investigating Twins, Document #72 - Folklorist’s Note 8 and Prayer Beads #61-62. In the same room as the previous collectible, use the Exposure Filter and examine the wall in the southeast corner. Line it up with the photo to open a secret room. Inside, you’ll find a specter, a document, and two Prayer Beads.
Specter #148 - 115 Arms Emerging from Hell. Head down the stairs to the north, then look down the hole in the floor that resembles a well to see the specter.
Film Reel #6 (4). Head down the stairs to the north, then go through the southern door to reach the projection room. You can find the film reel on the other side of the curtain.

Twin Dolls #38 (20). Also found in the Projection Room.
Unbinding of Blood #27. Use the Radiant Filter to open the door in the Projection Room.
Twin Dolls #39 (22). Return to the save point next to the room where Mayu is and go down the stairs. At the bottom, you can find the dolls behind some cloth.
Revenant #8 - 005 Twin Boy. From the previous collectible, head north and then east to get to the Twins’ Room. Use the Exposure Filter to reveal the Revenant.
Prayer Beads #63. In the same location as the previous Revenant.
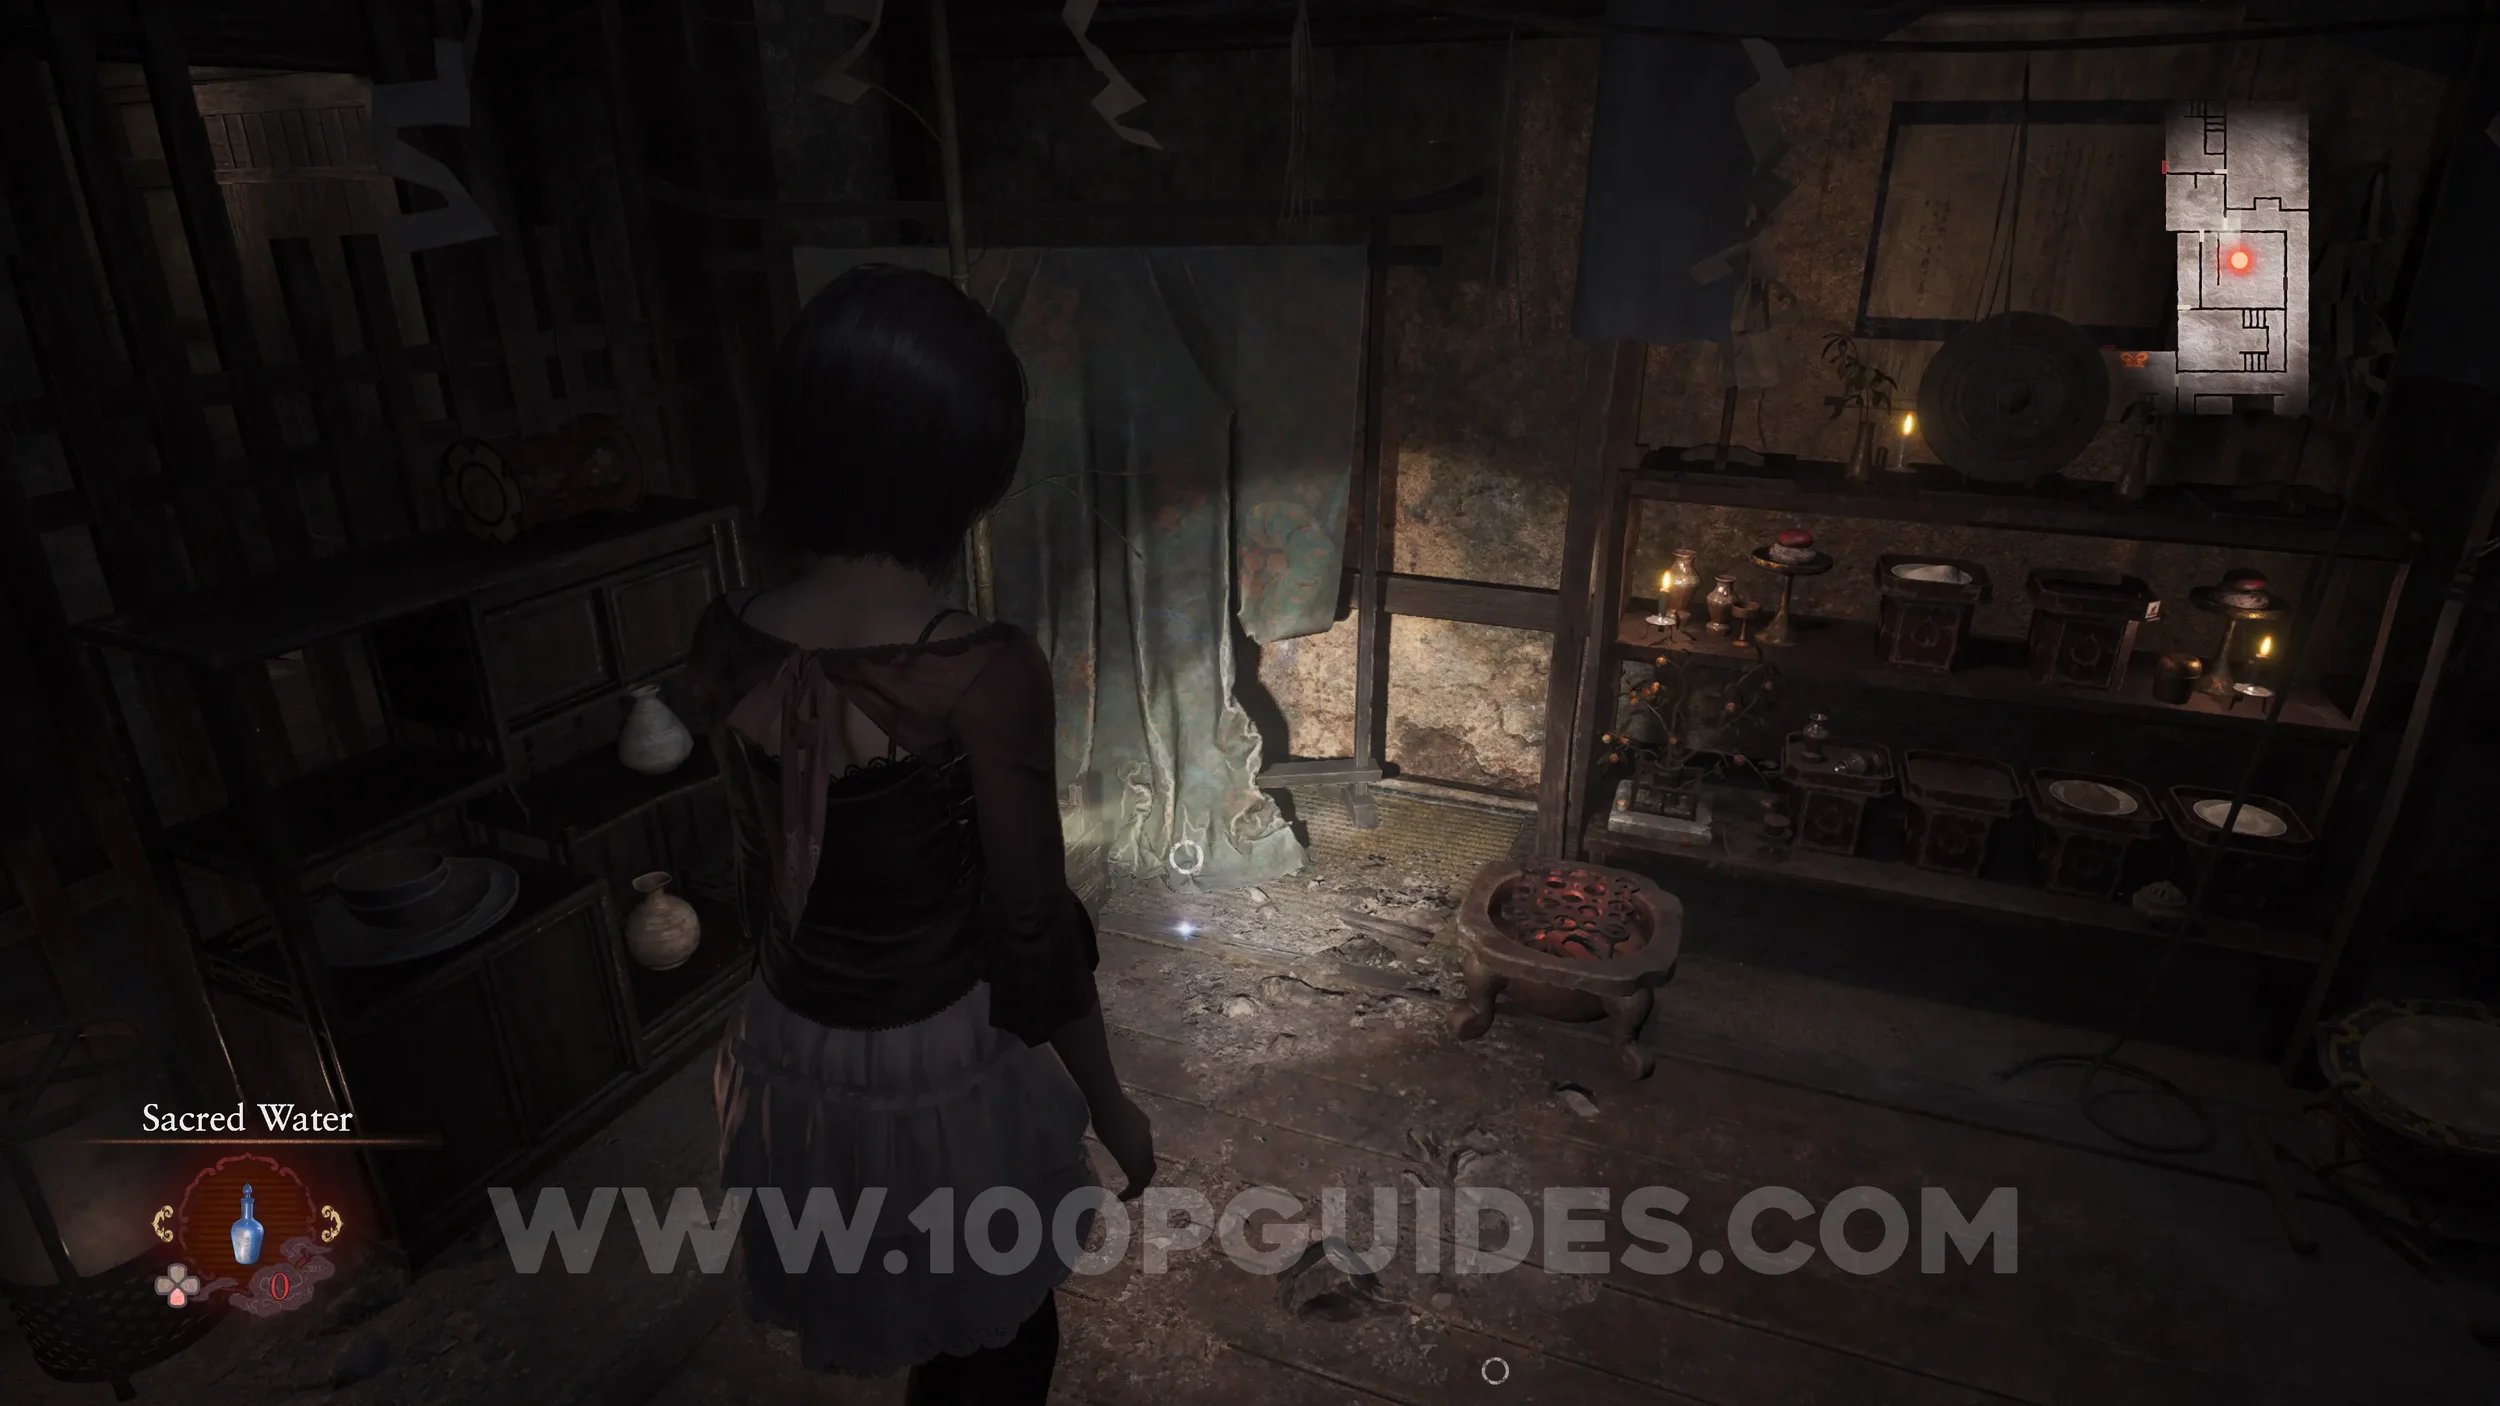
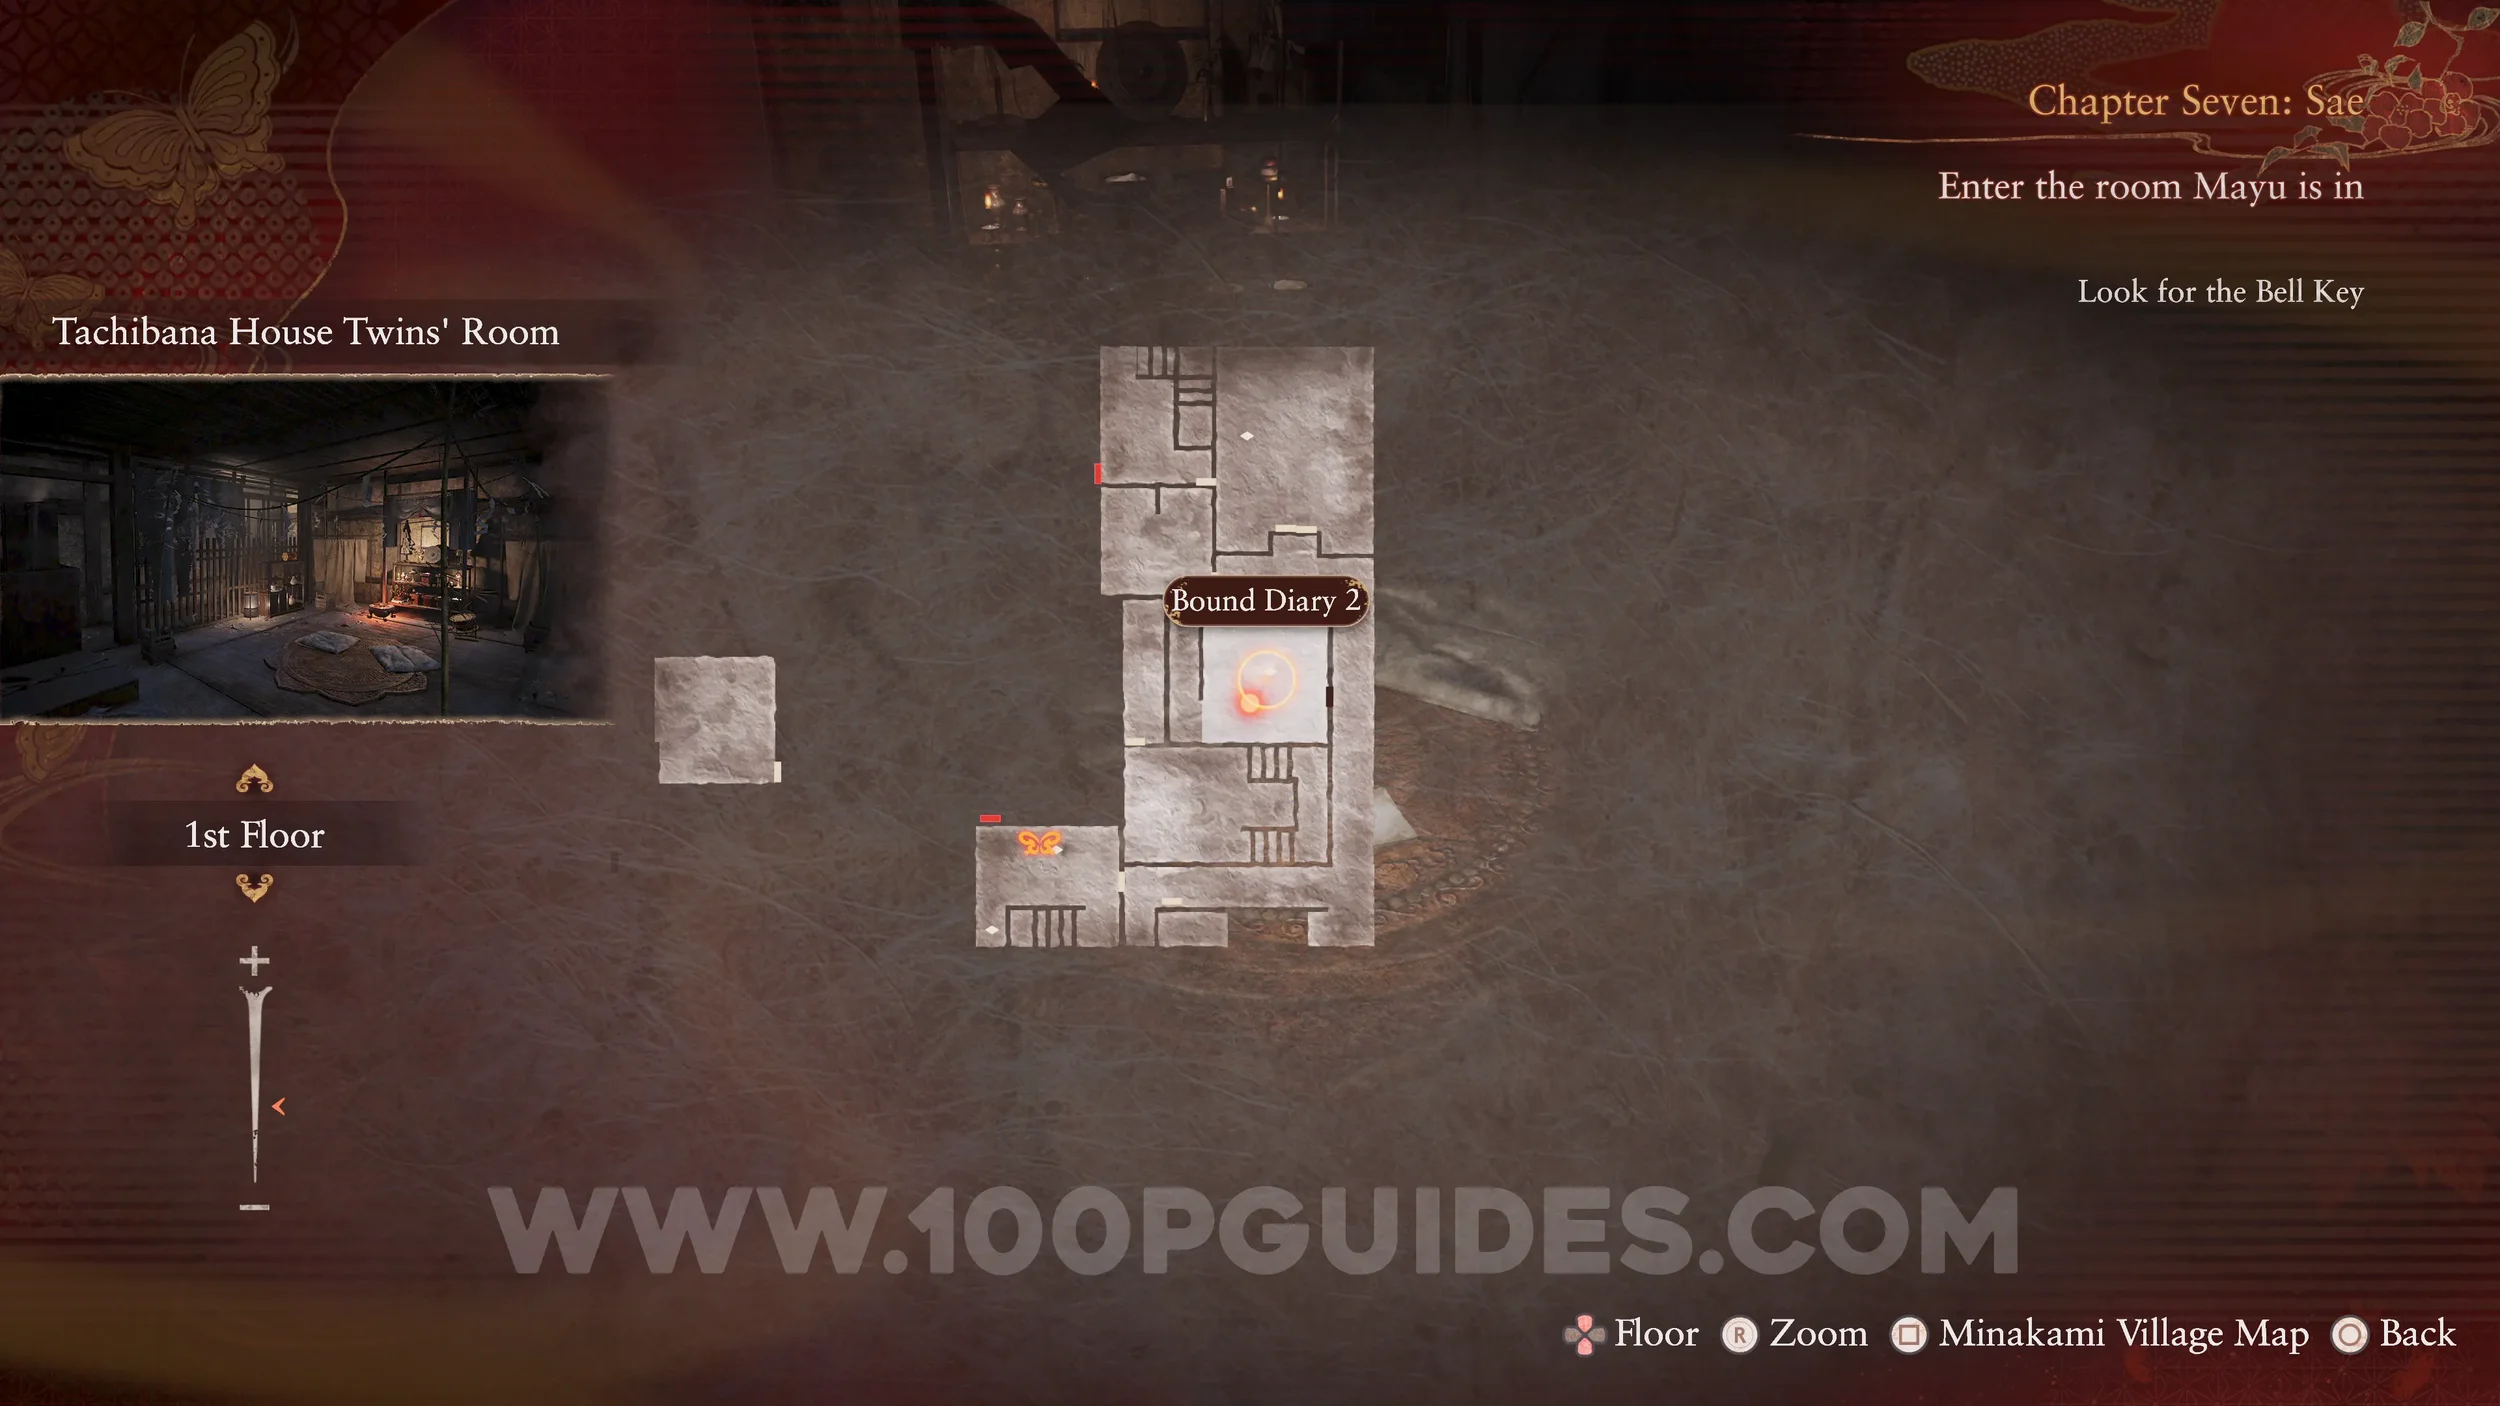
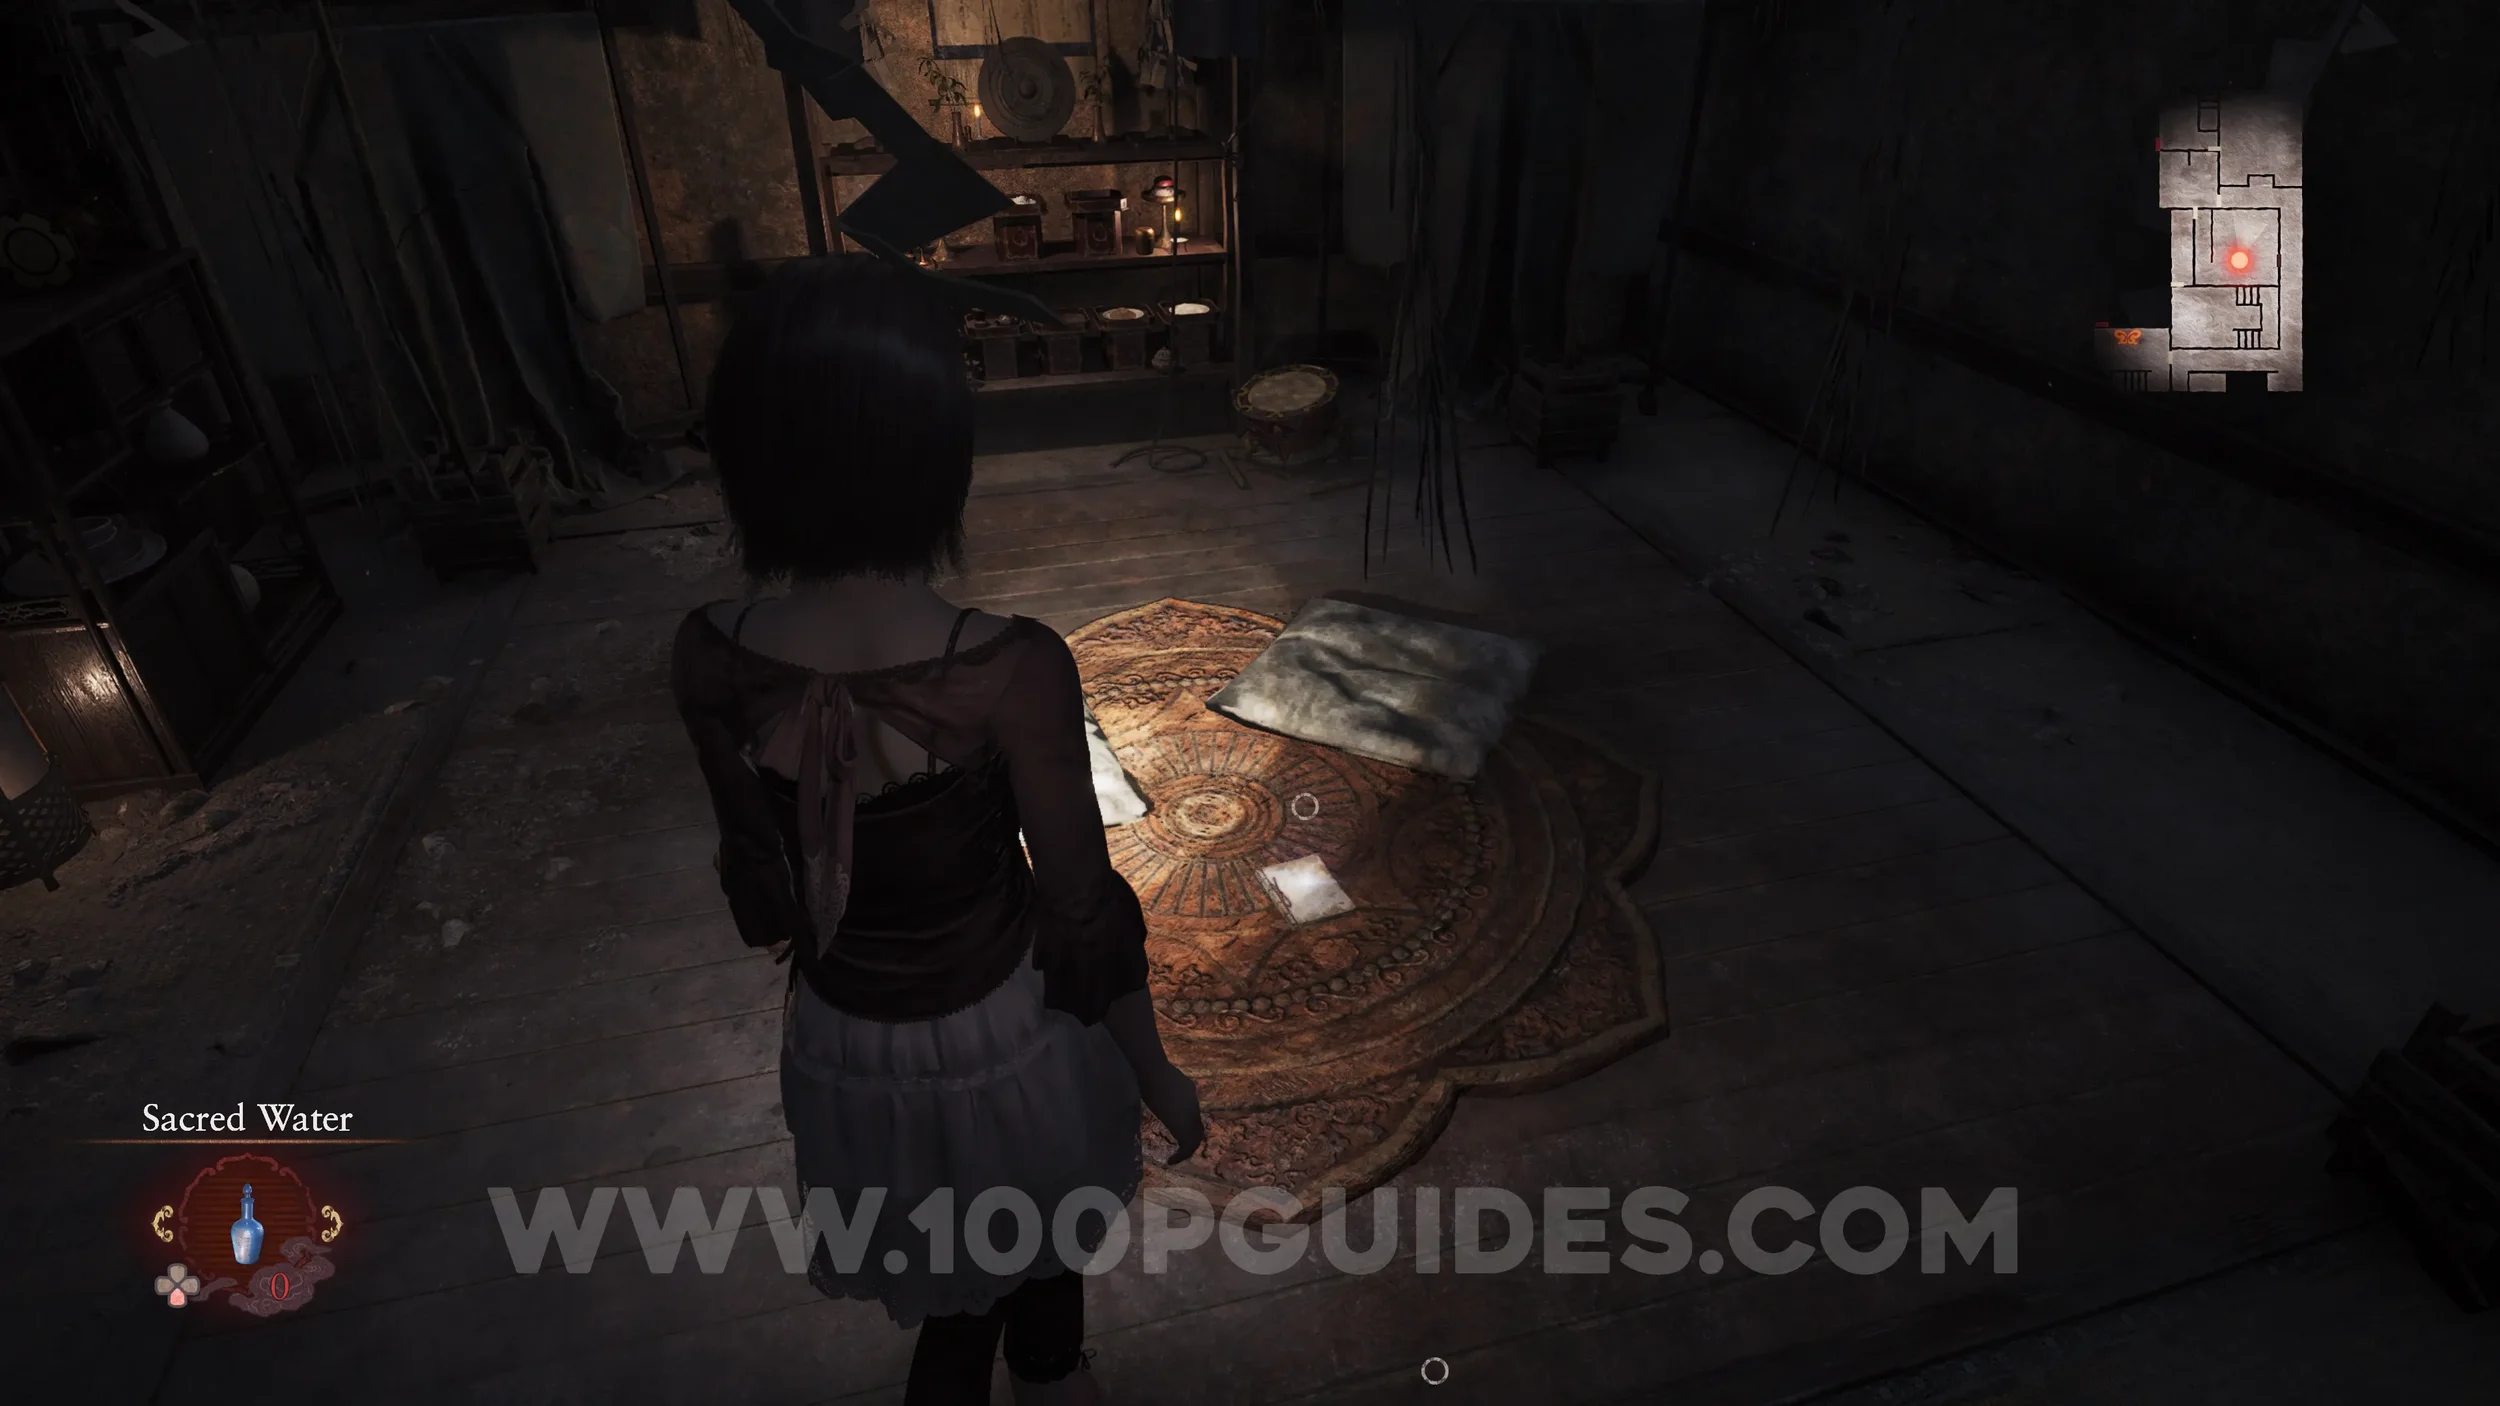
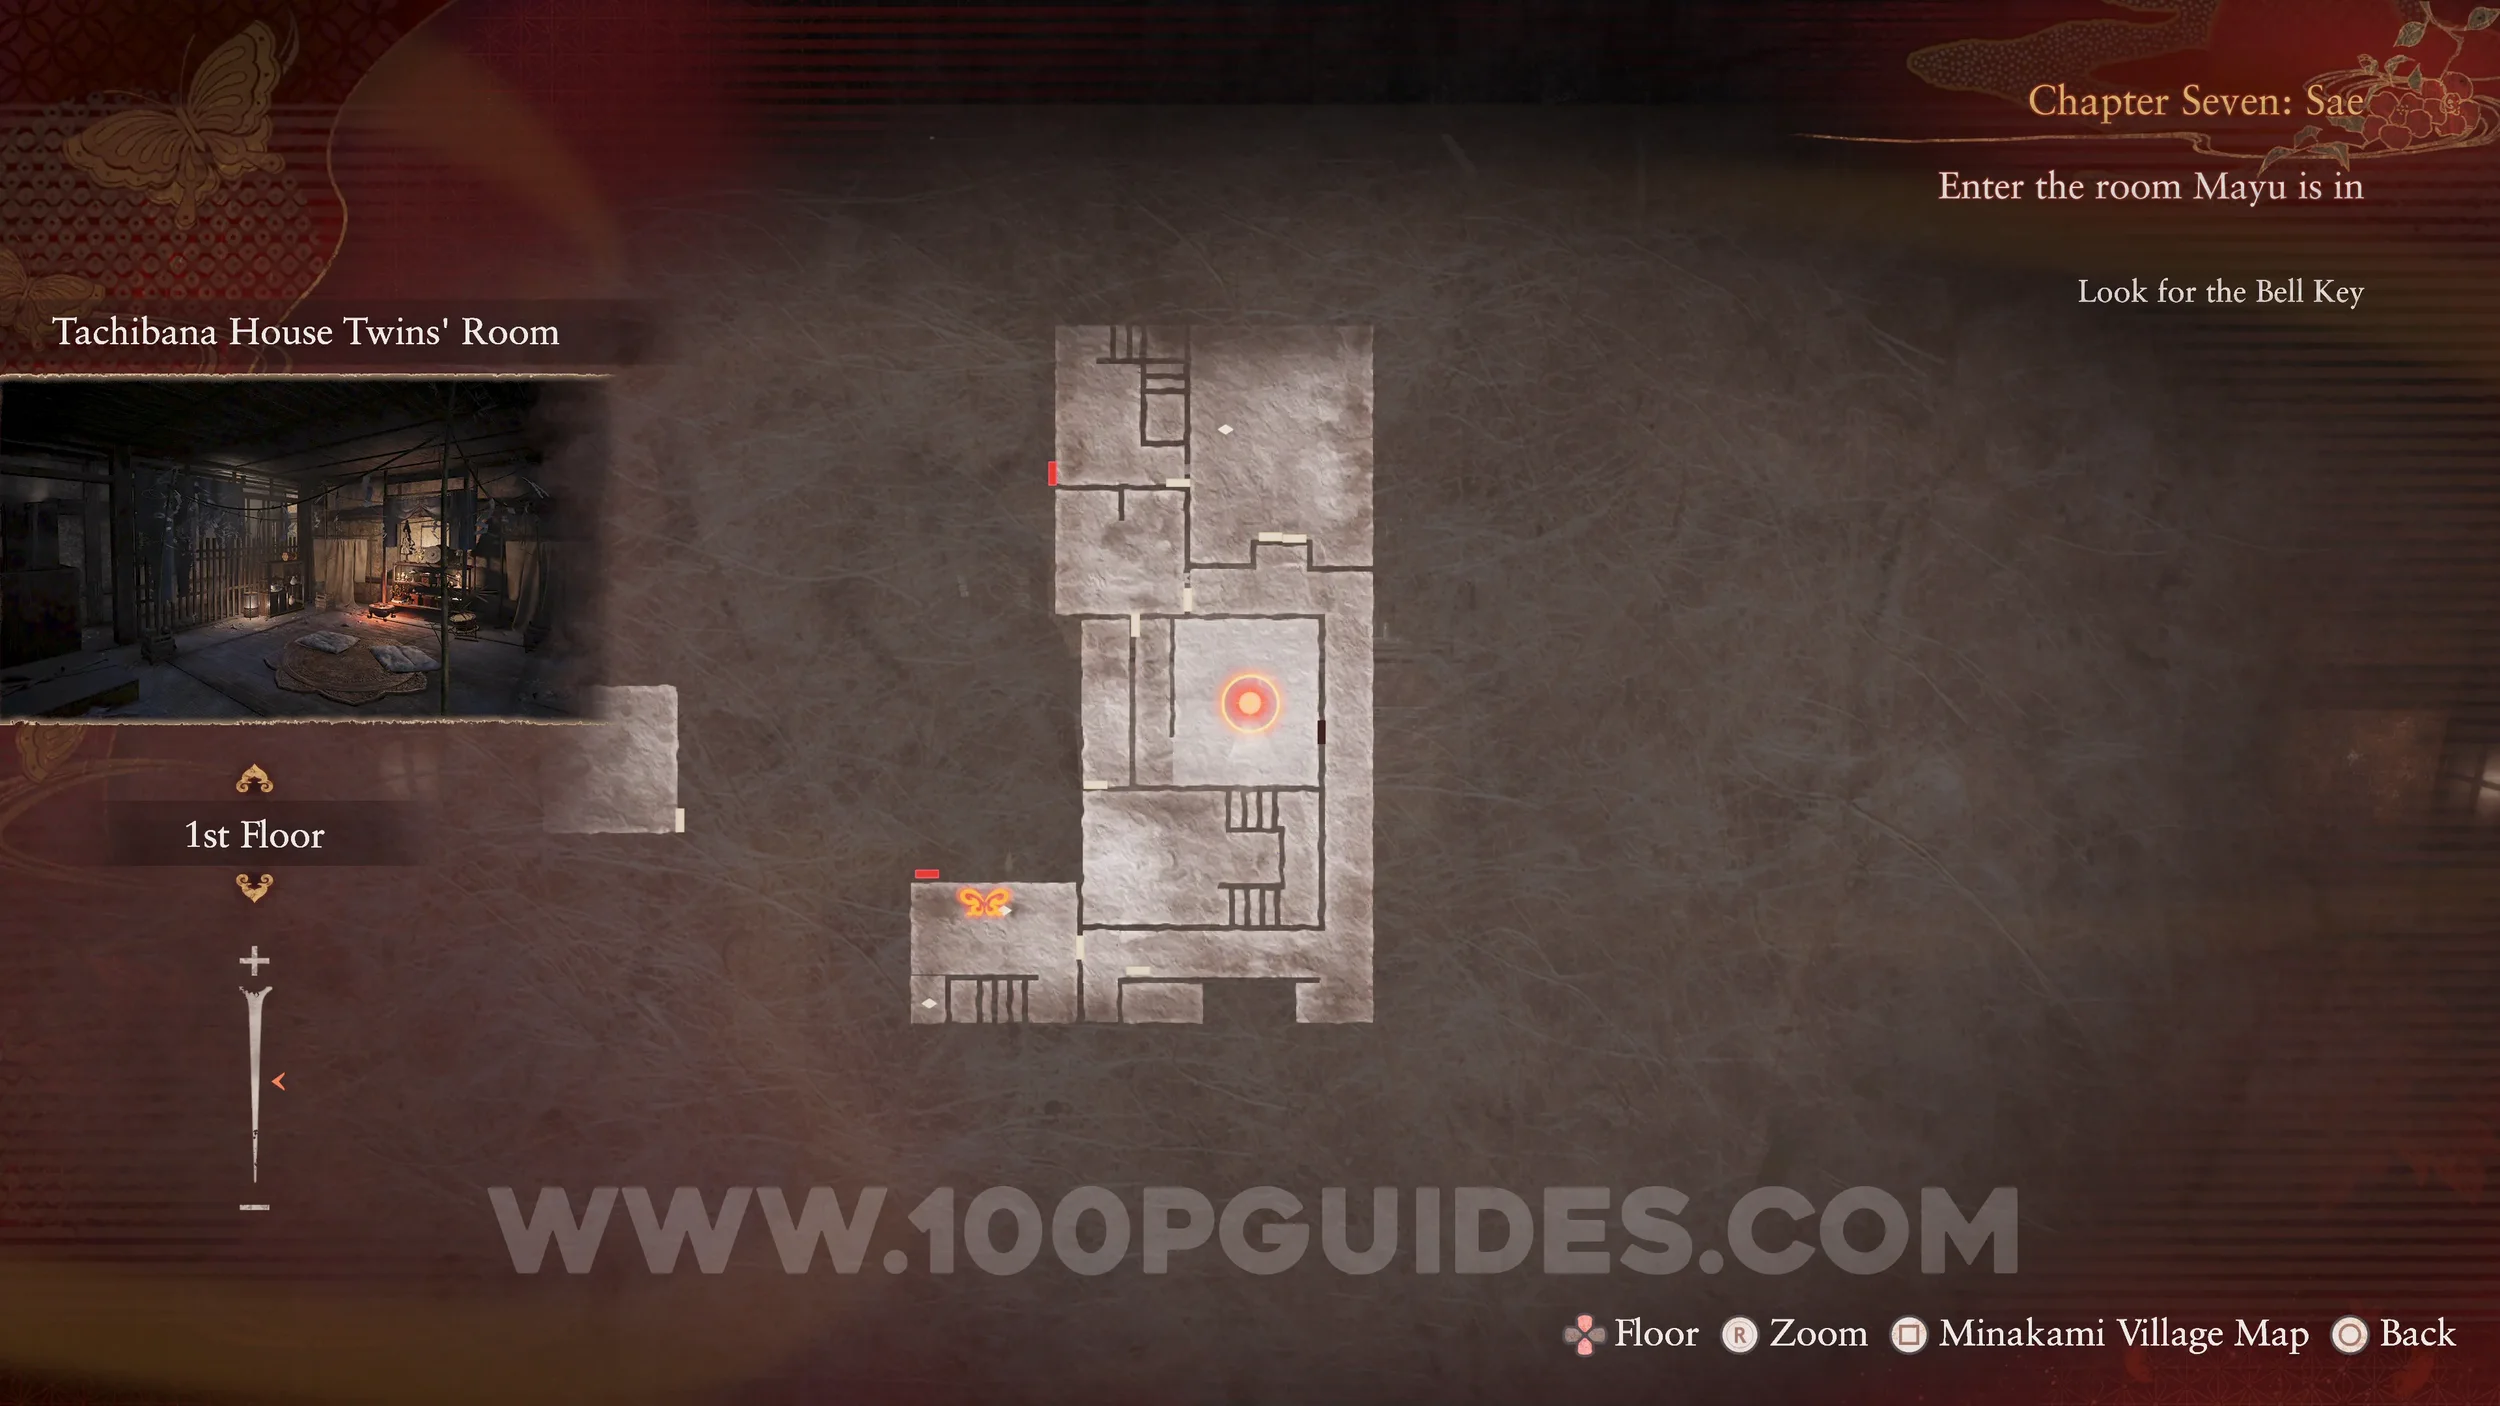
Document #73 - Bound Diary 2. Also in the Twins’ Room.
Prayer Beads #64. In a drawer in the Twins’ Room.
Unbinding of Blood #28. Use the Radiant Filter on the door in the Twins’ Room.
Document #74 - Green Diary 2. From the Twins’ Room, go down the corridor to the west. Then enter the small room to the north to find the document inside.
Revenant #9 - 004 Crushed Man. Return to the room where you started the chapter and head down into the tunnels. The Revenant can be found right next to you as soon as you get down.
Prayer Beads #65. Dropped by the revenant.

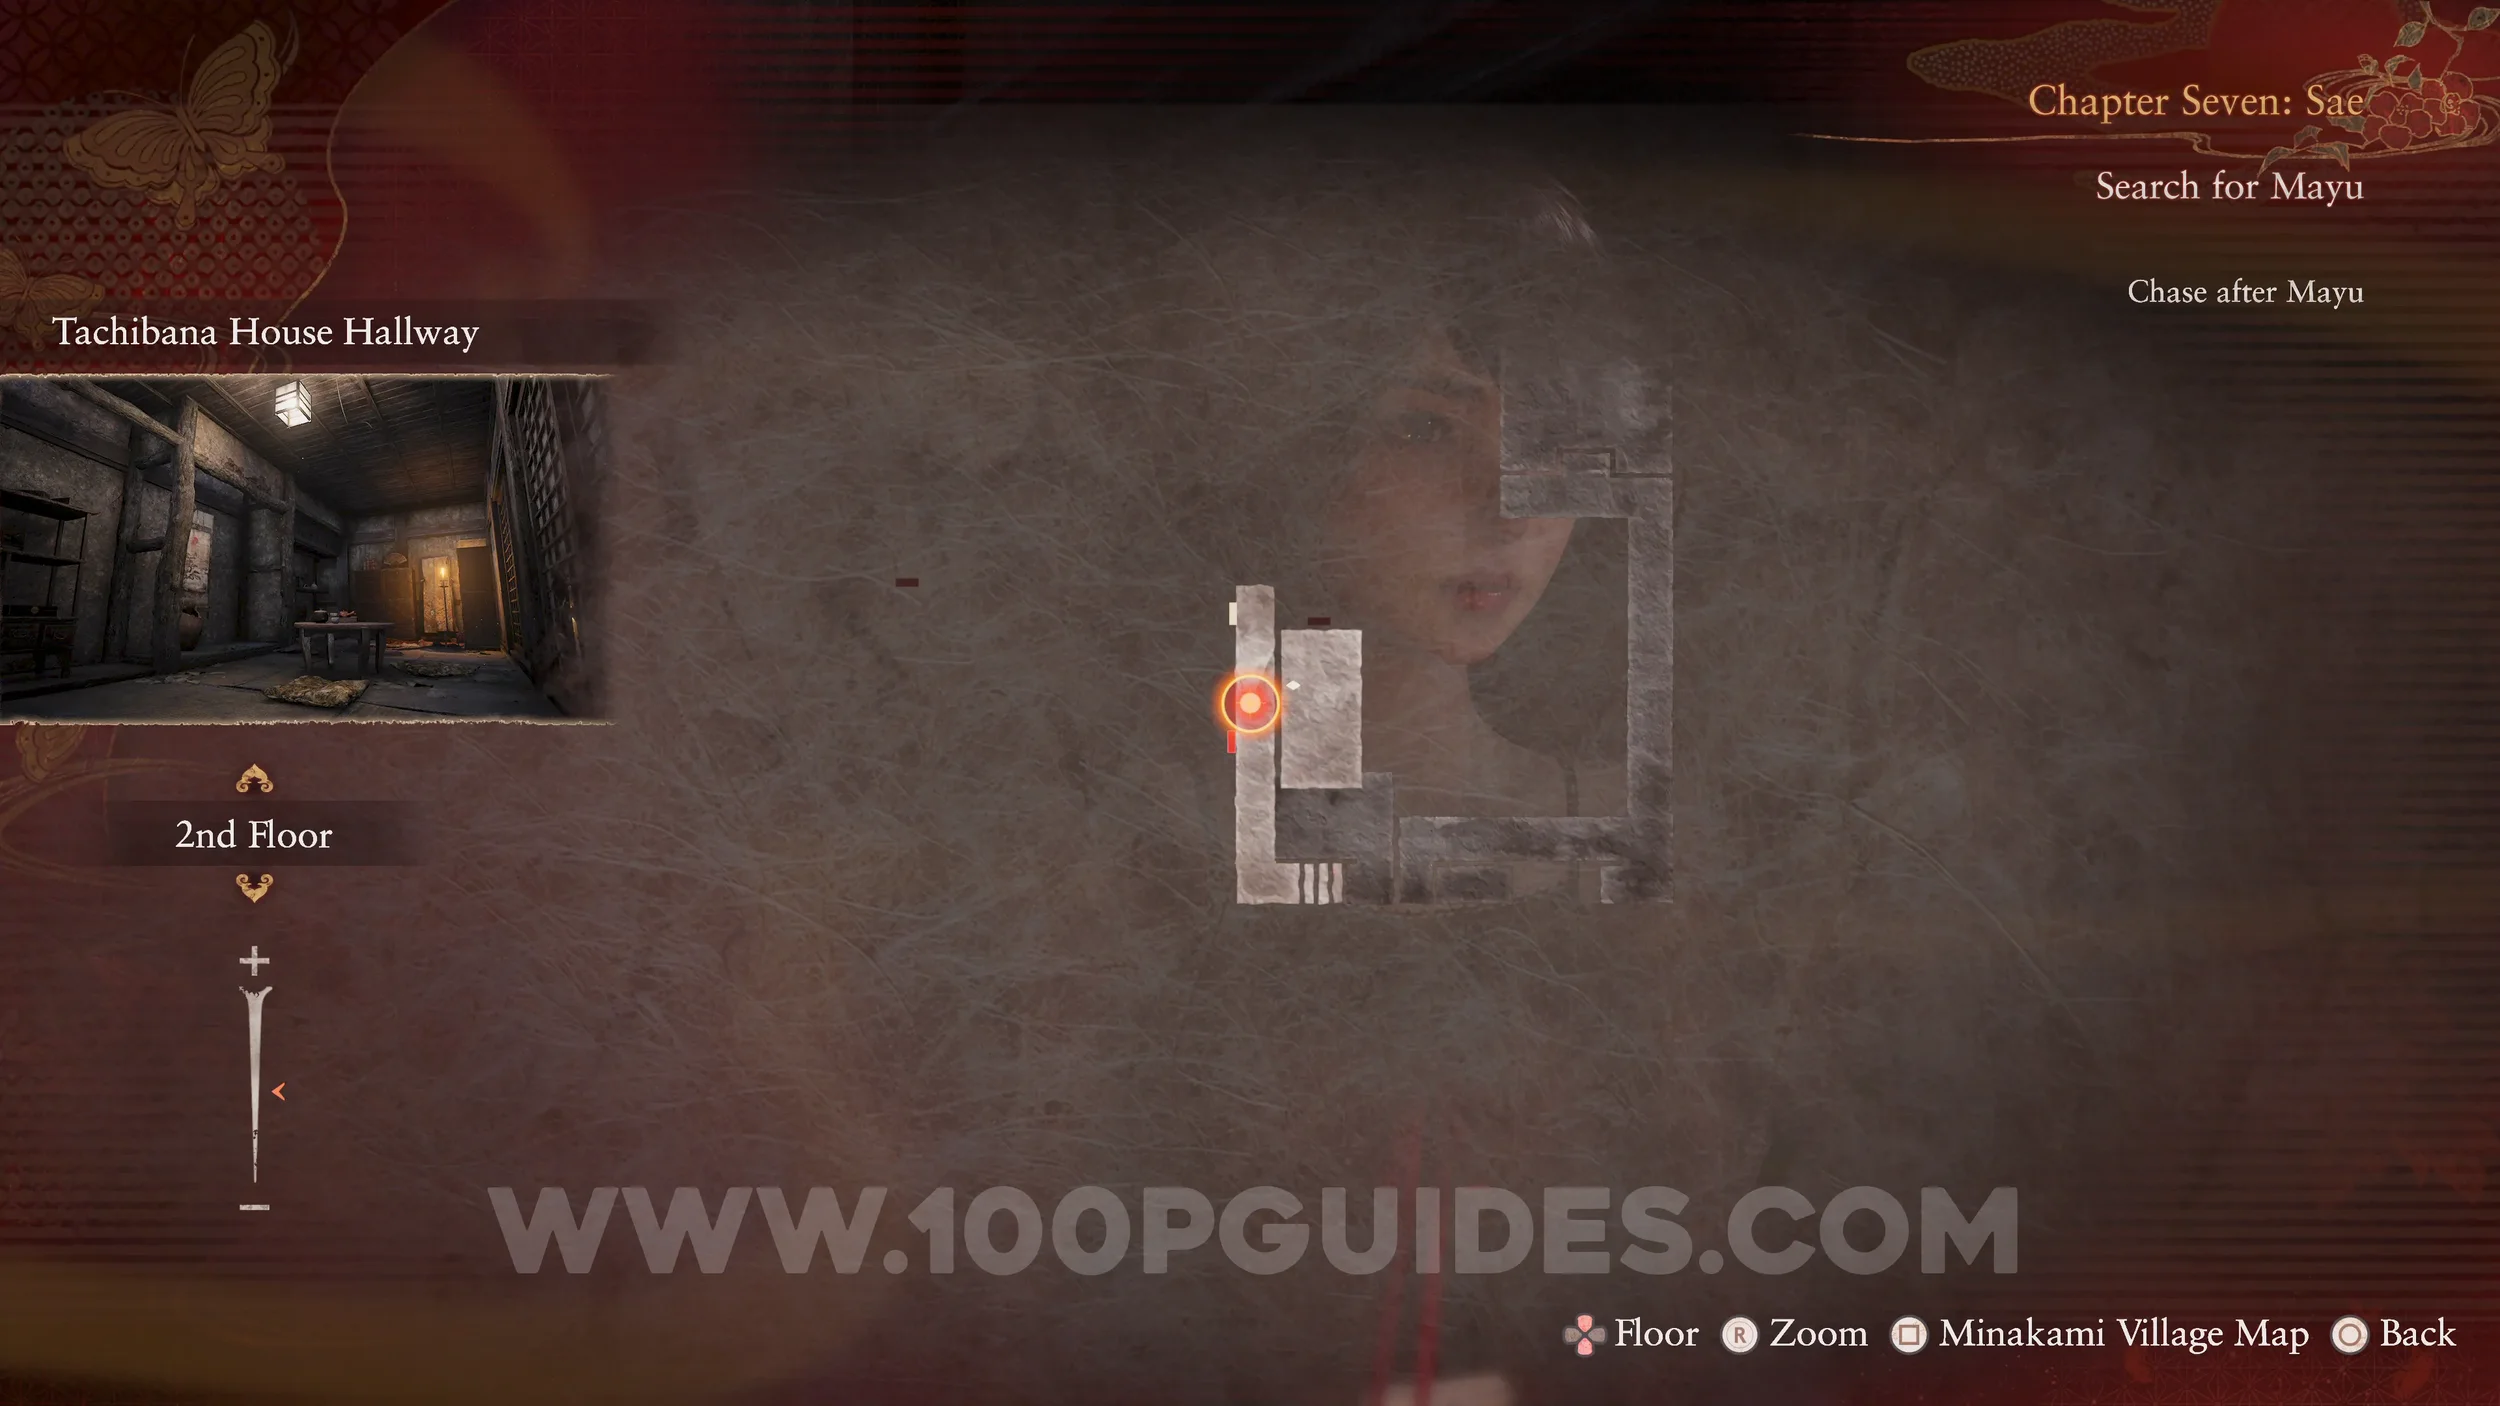
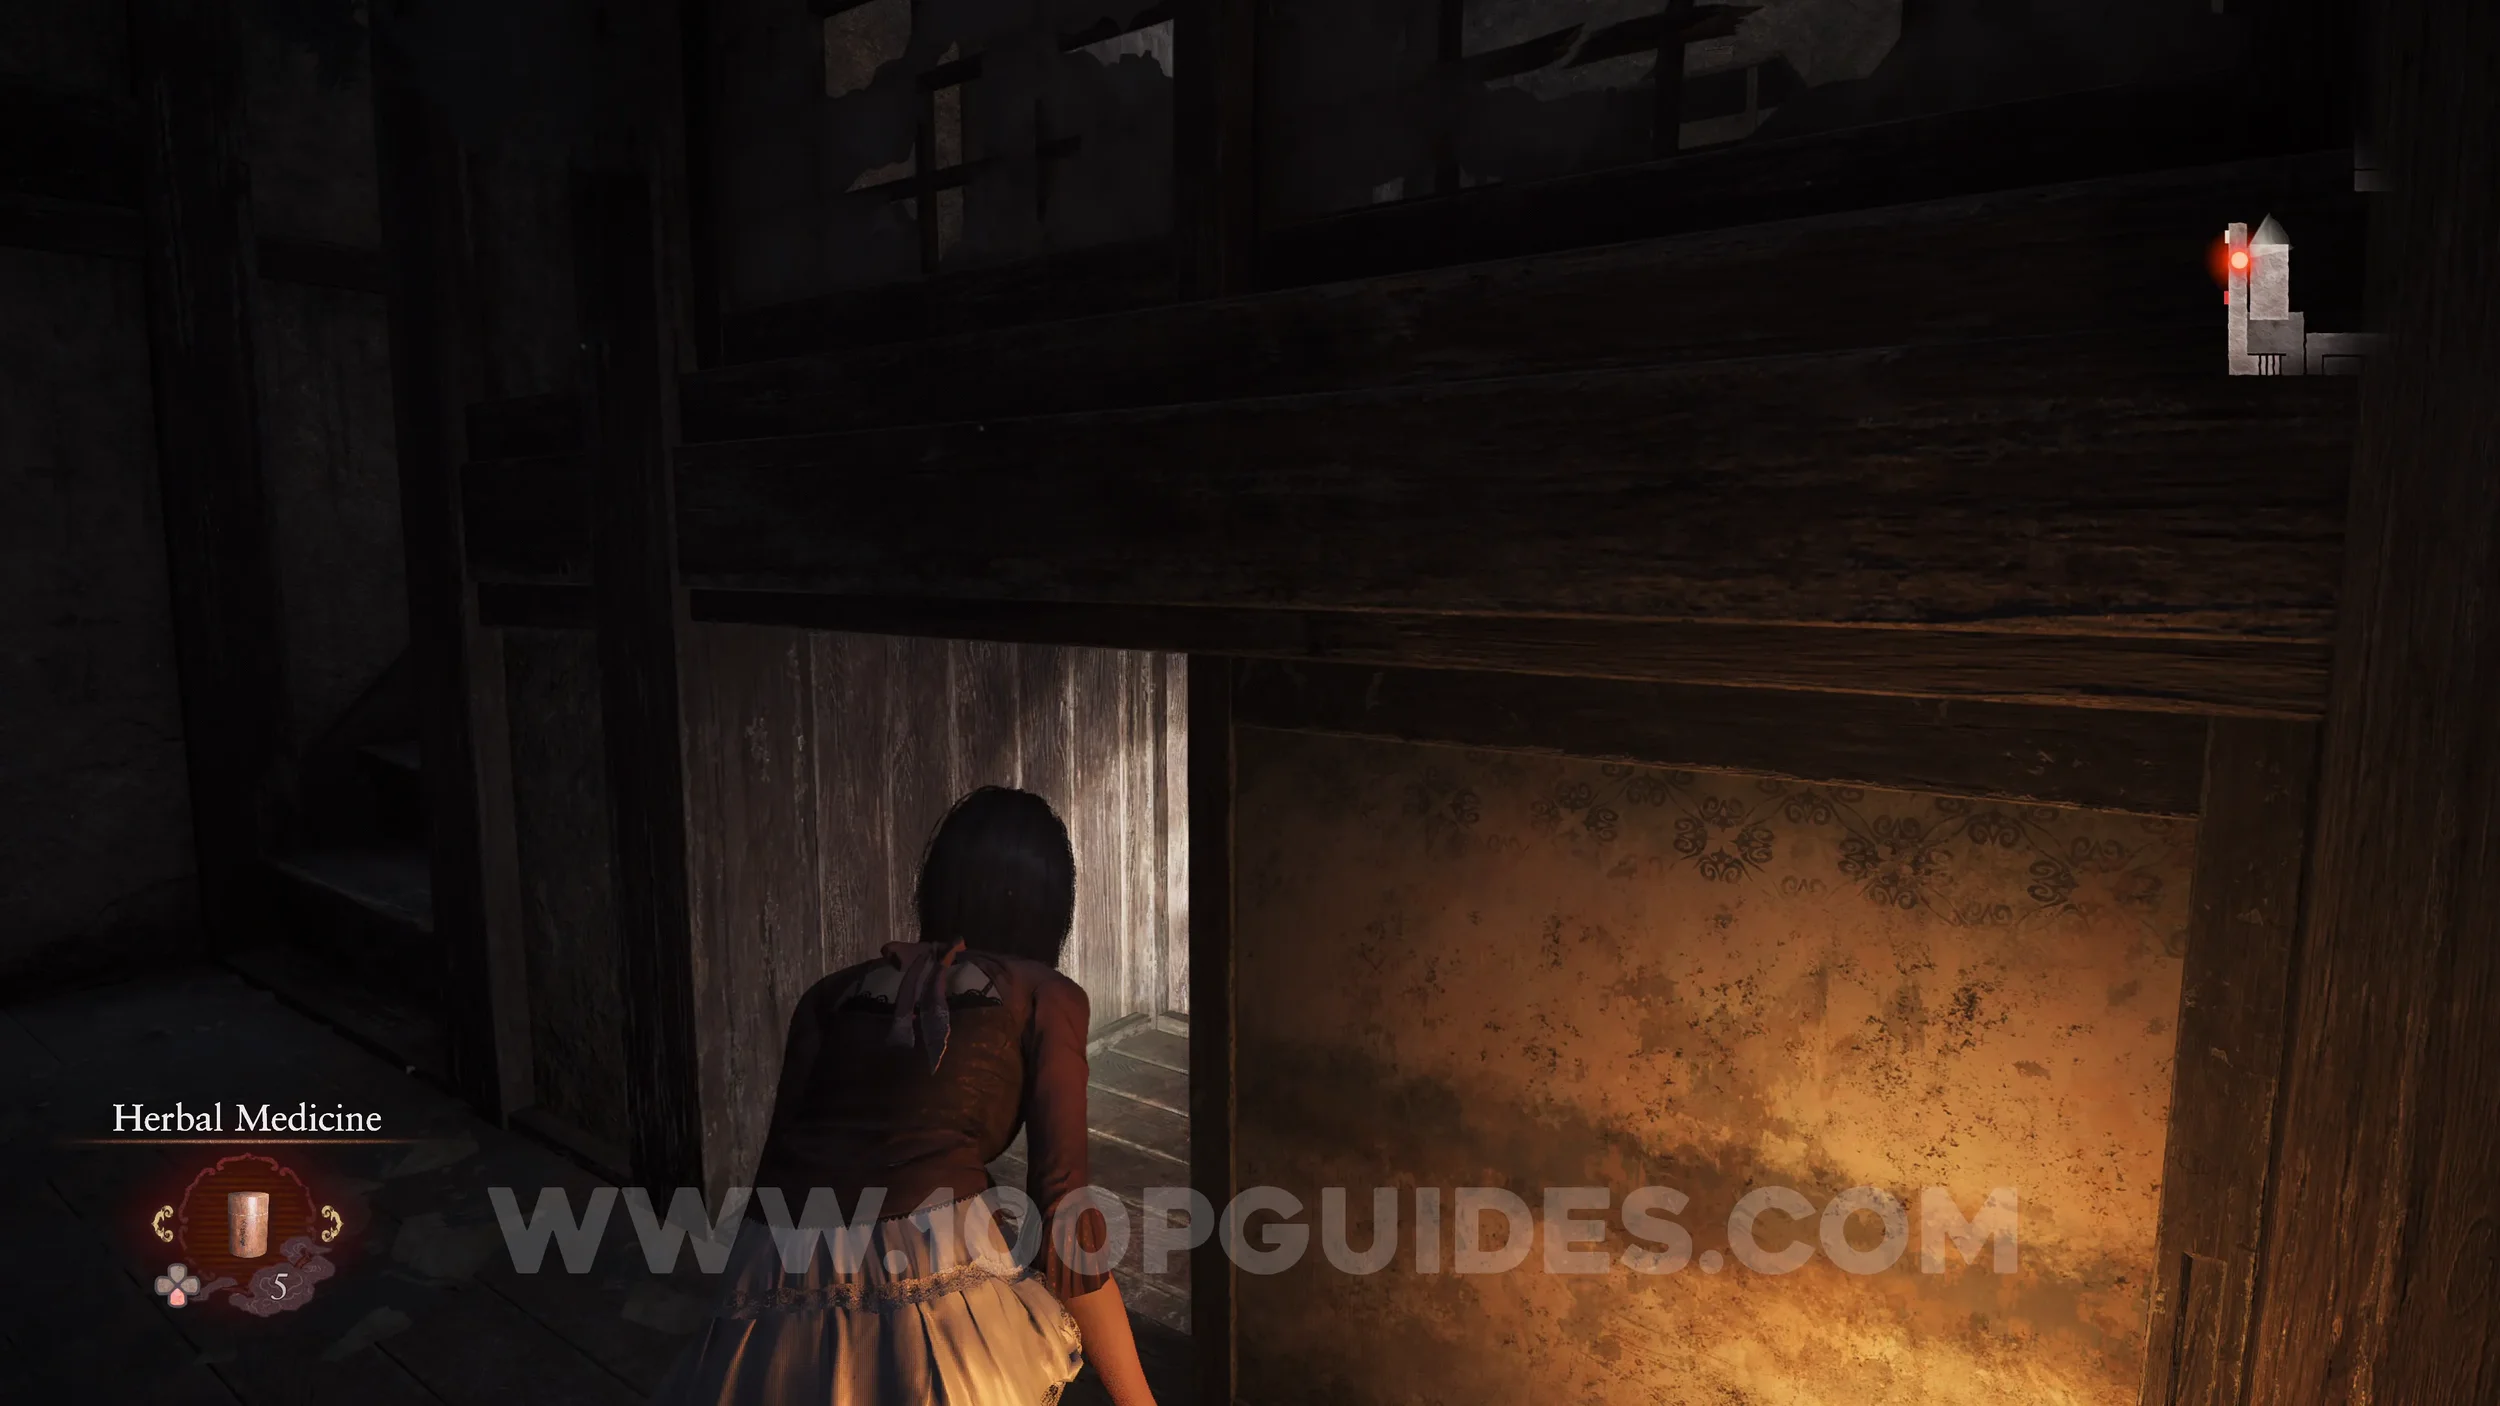
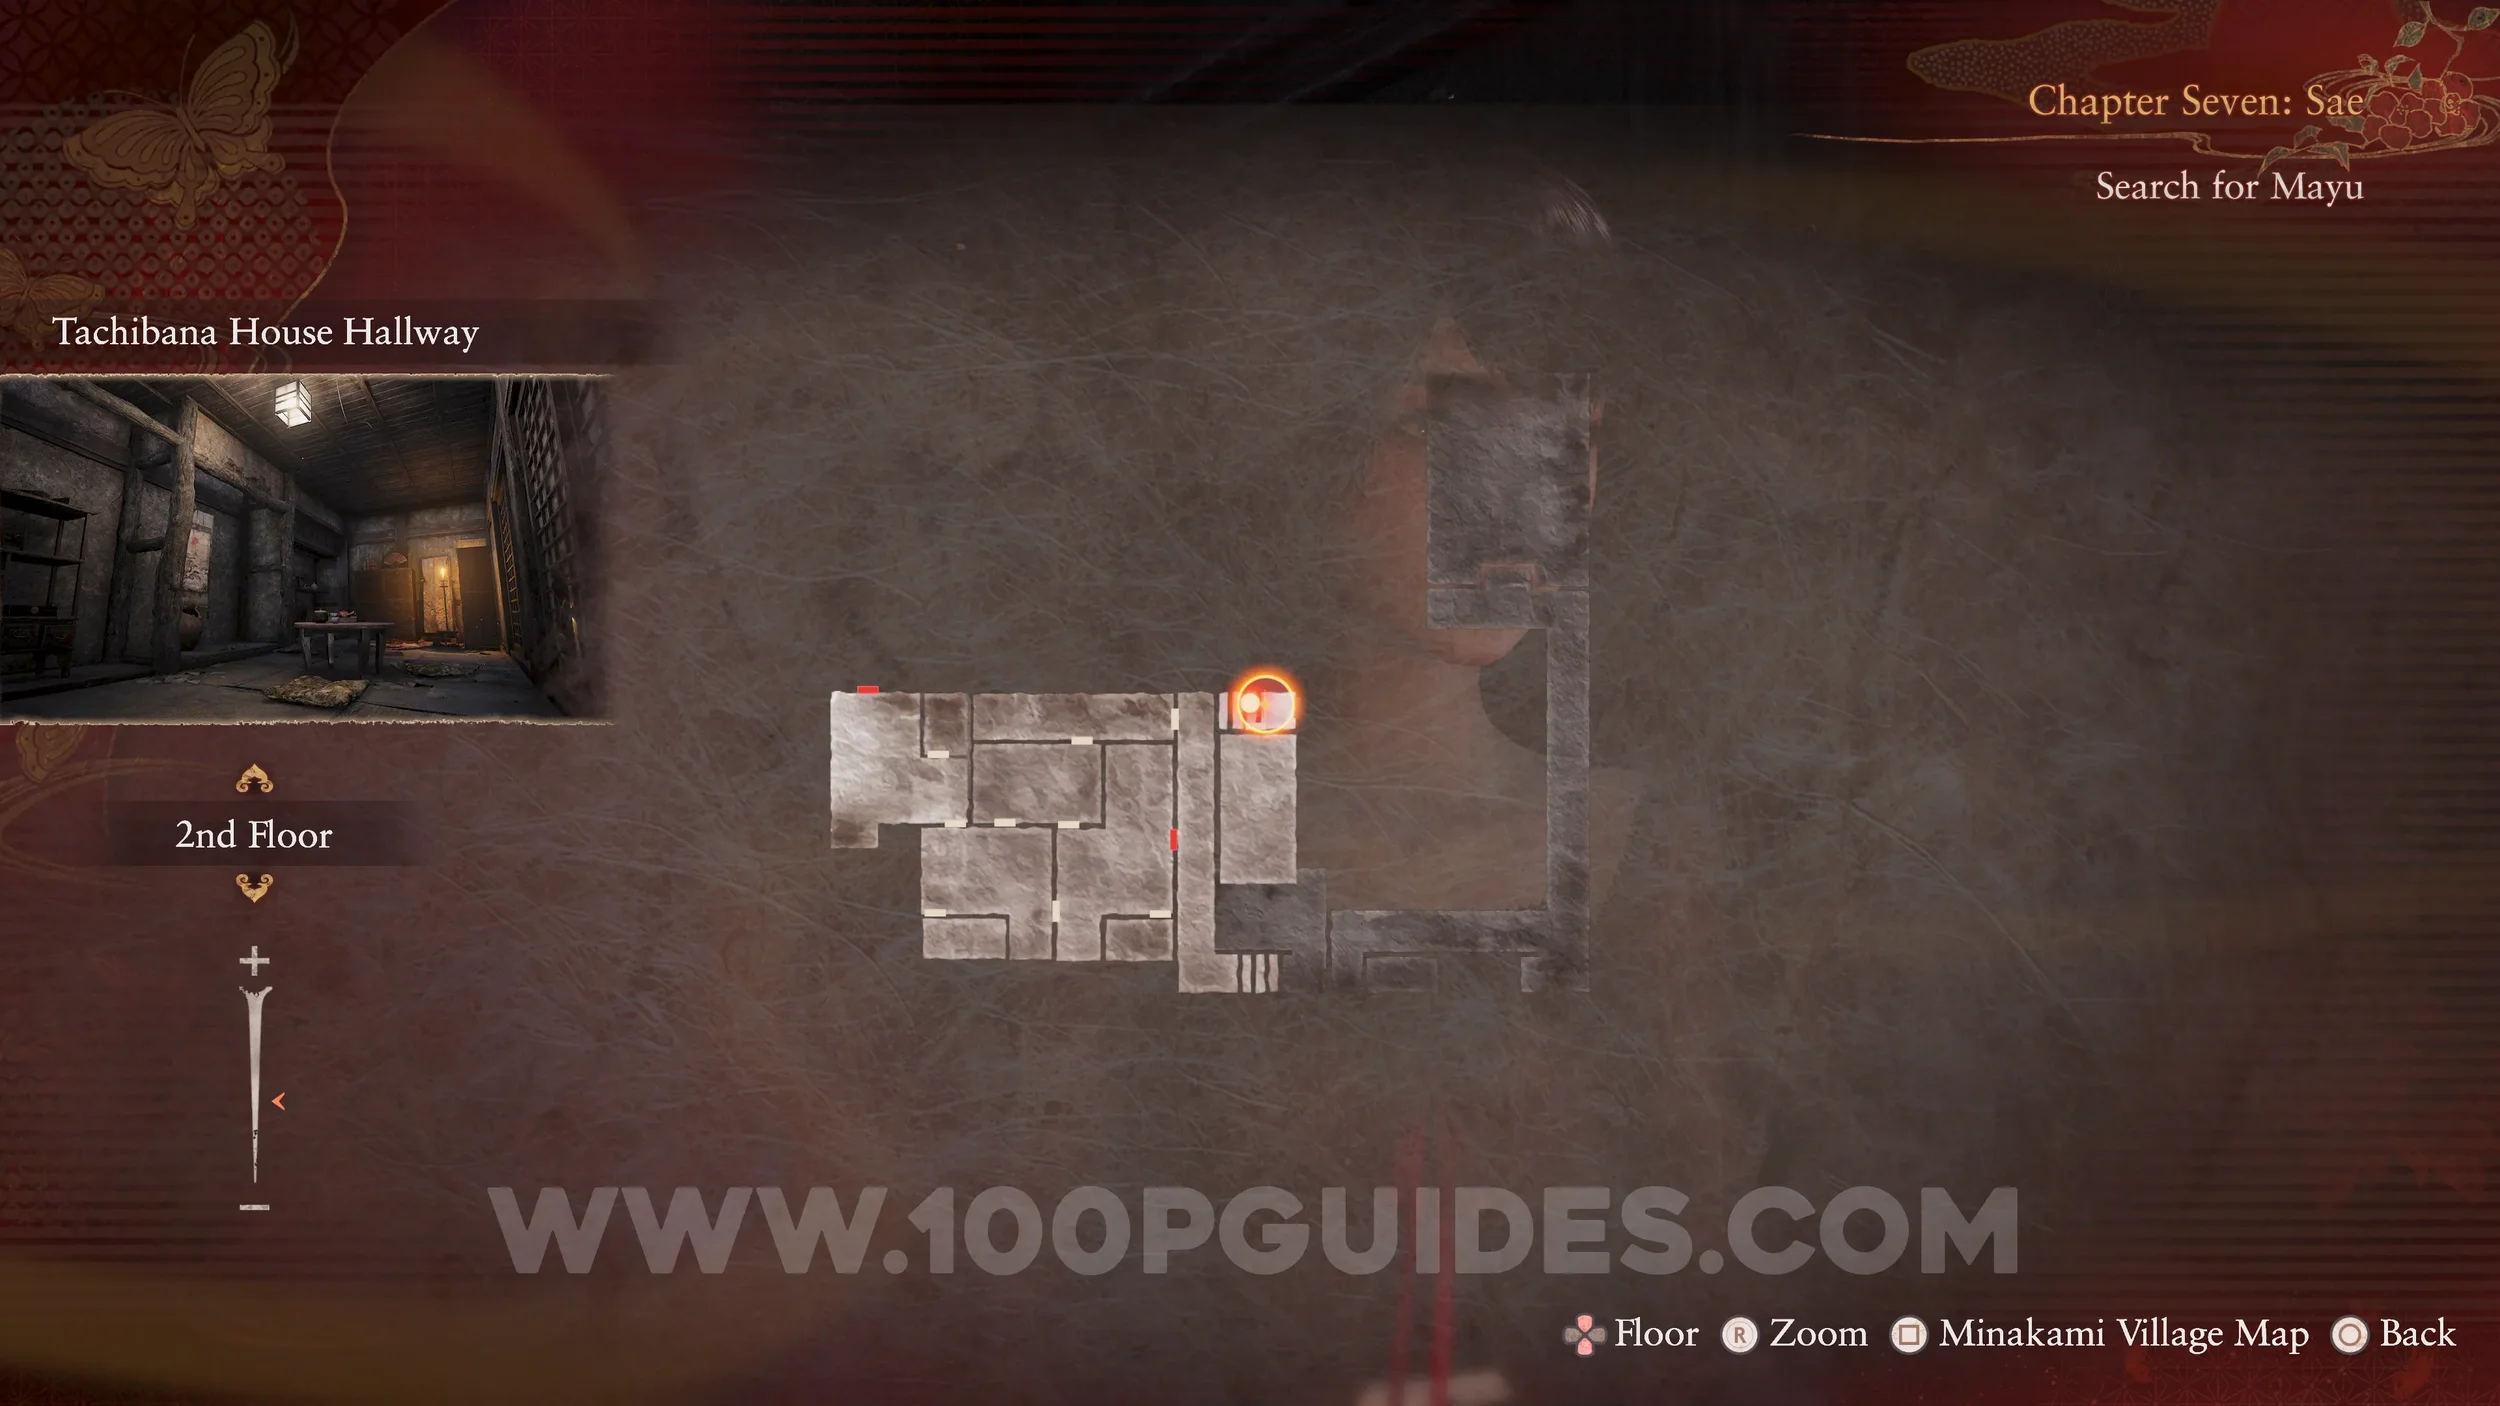
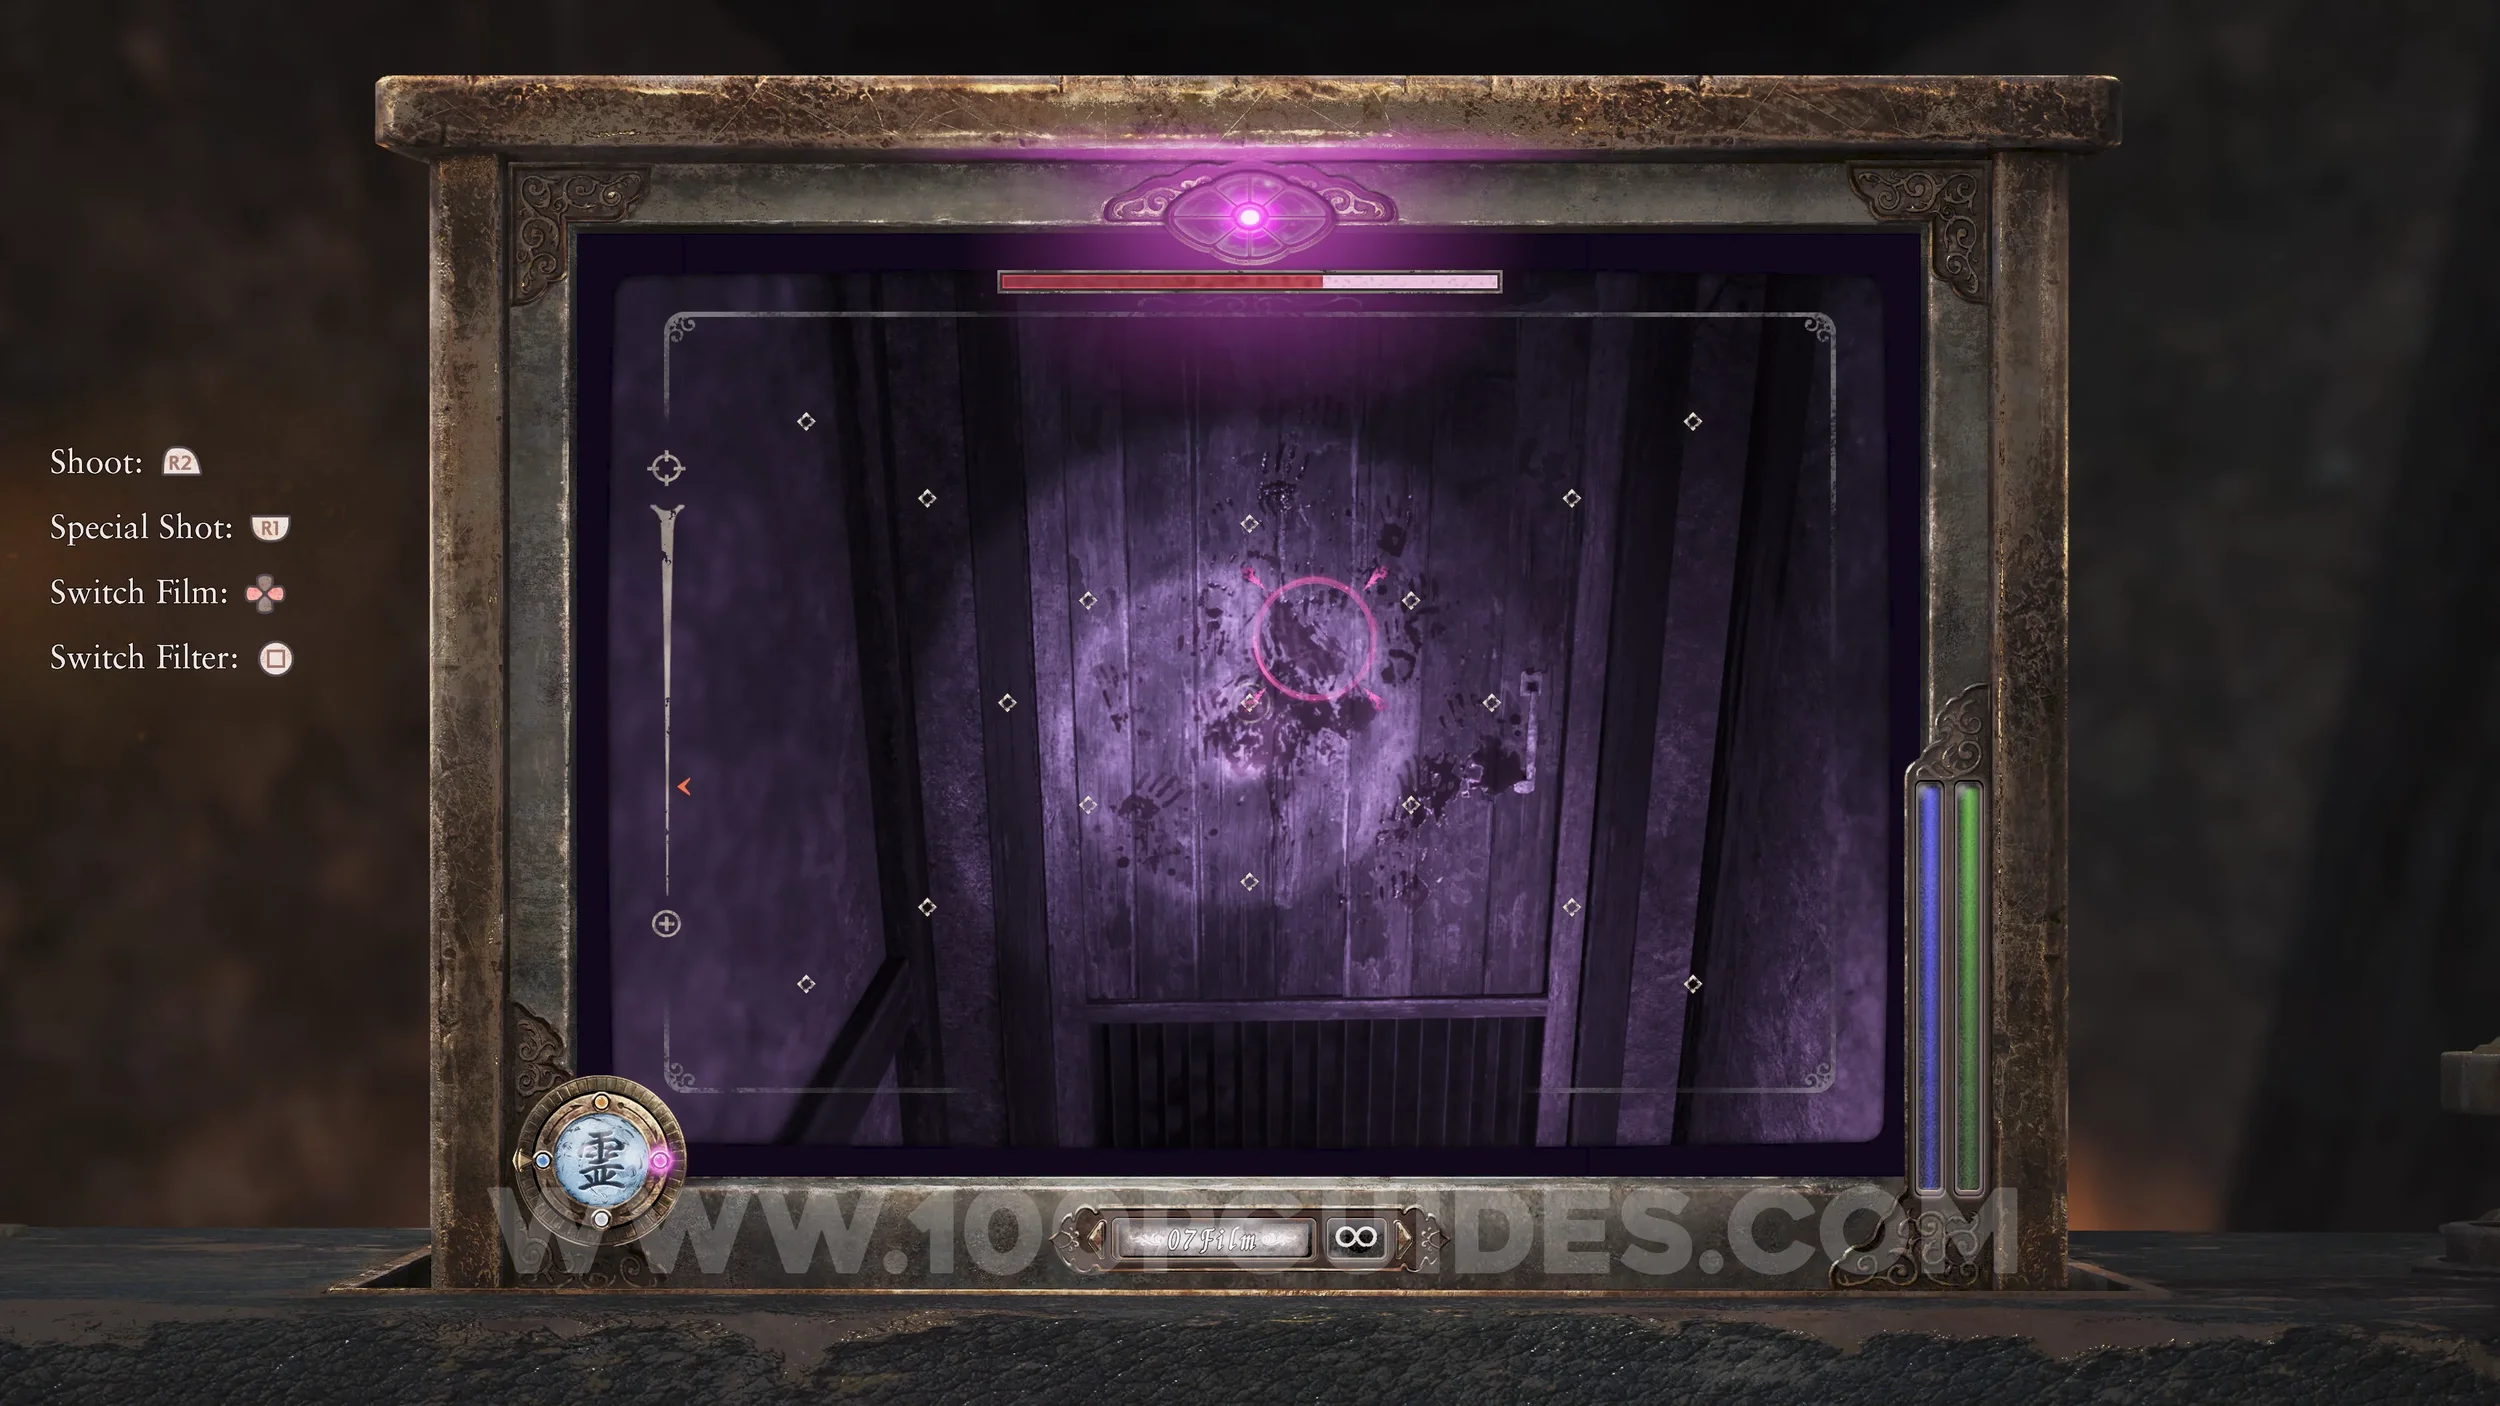
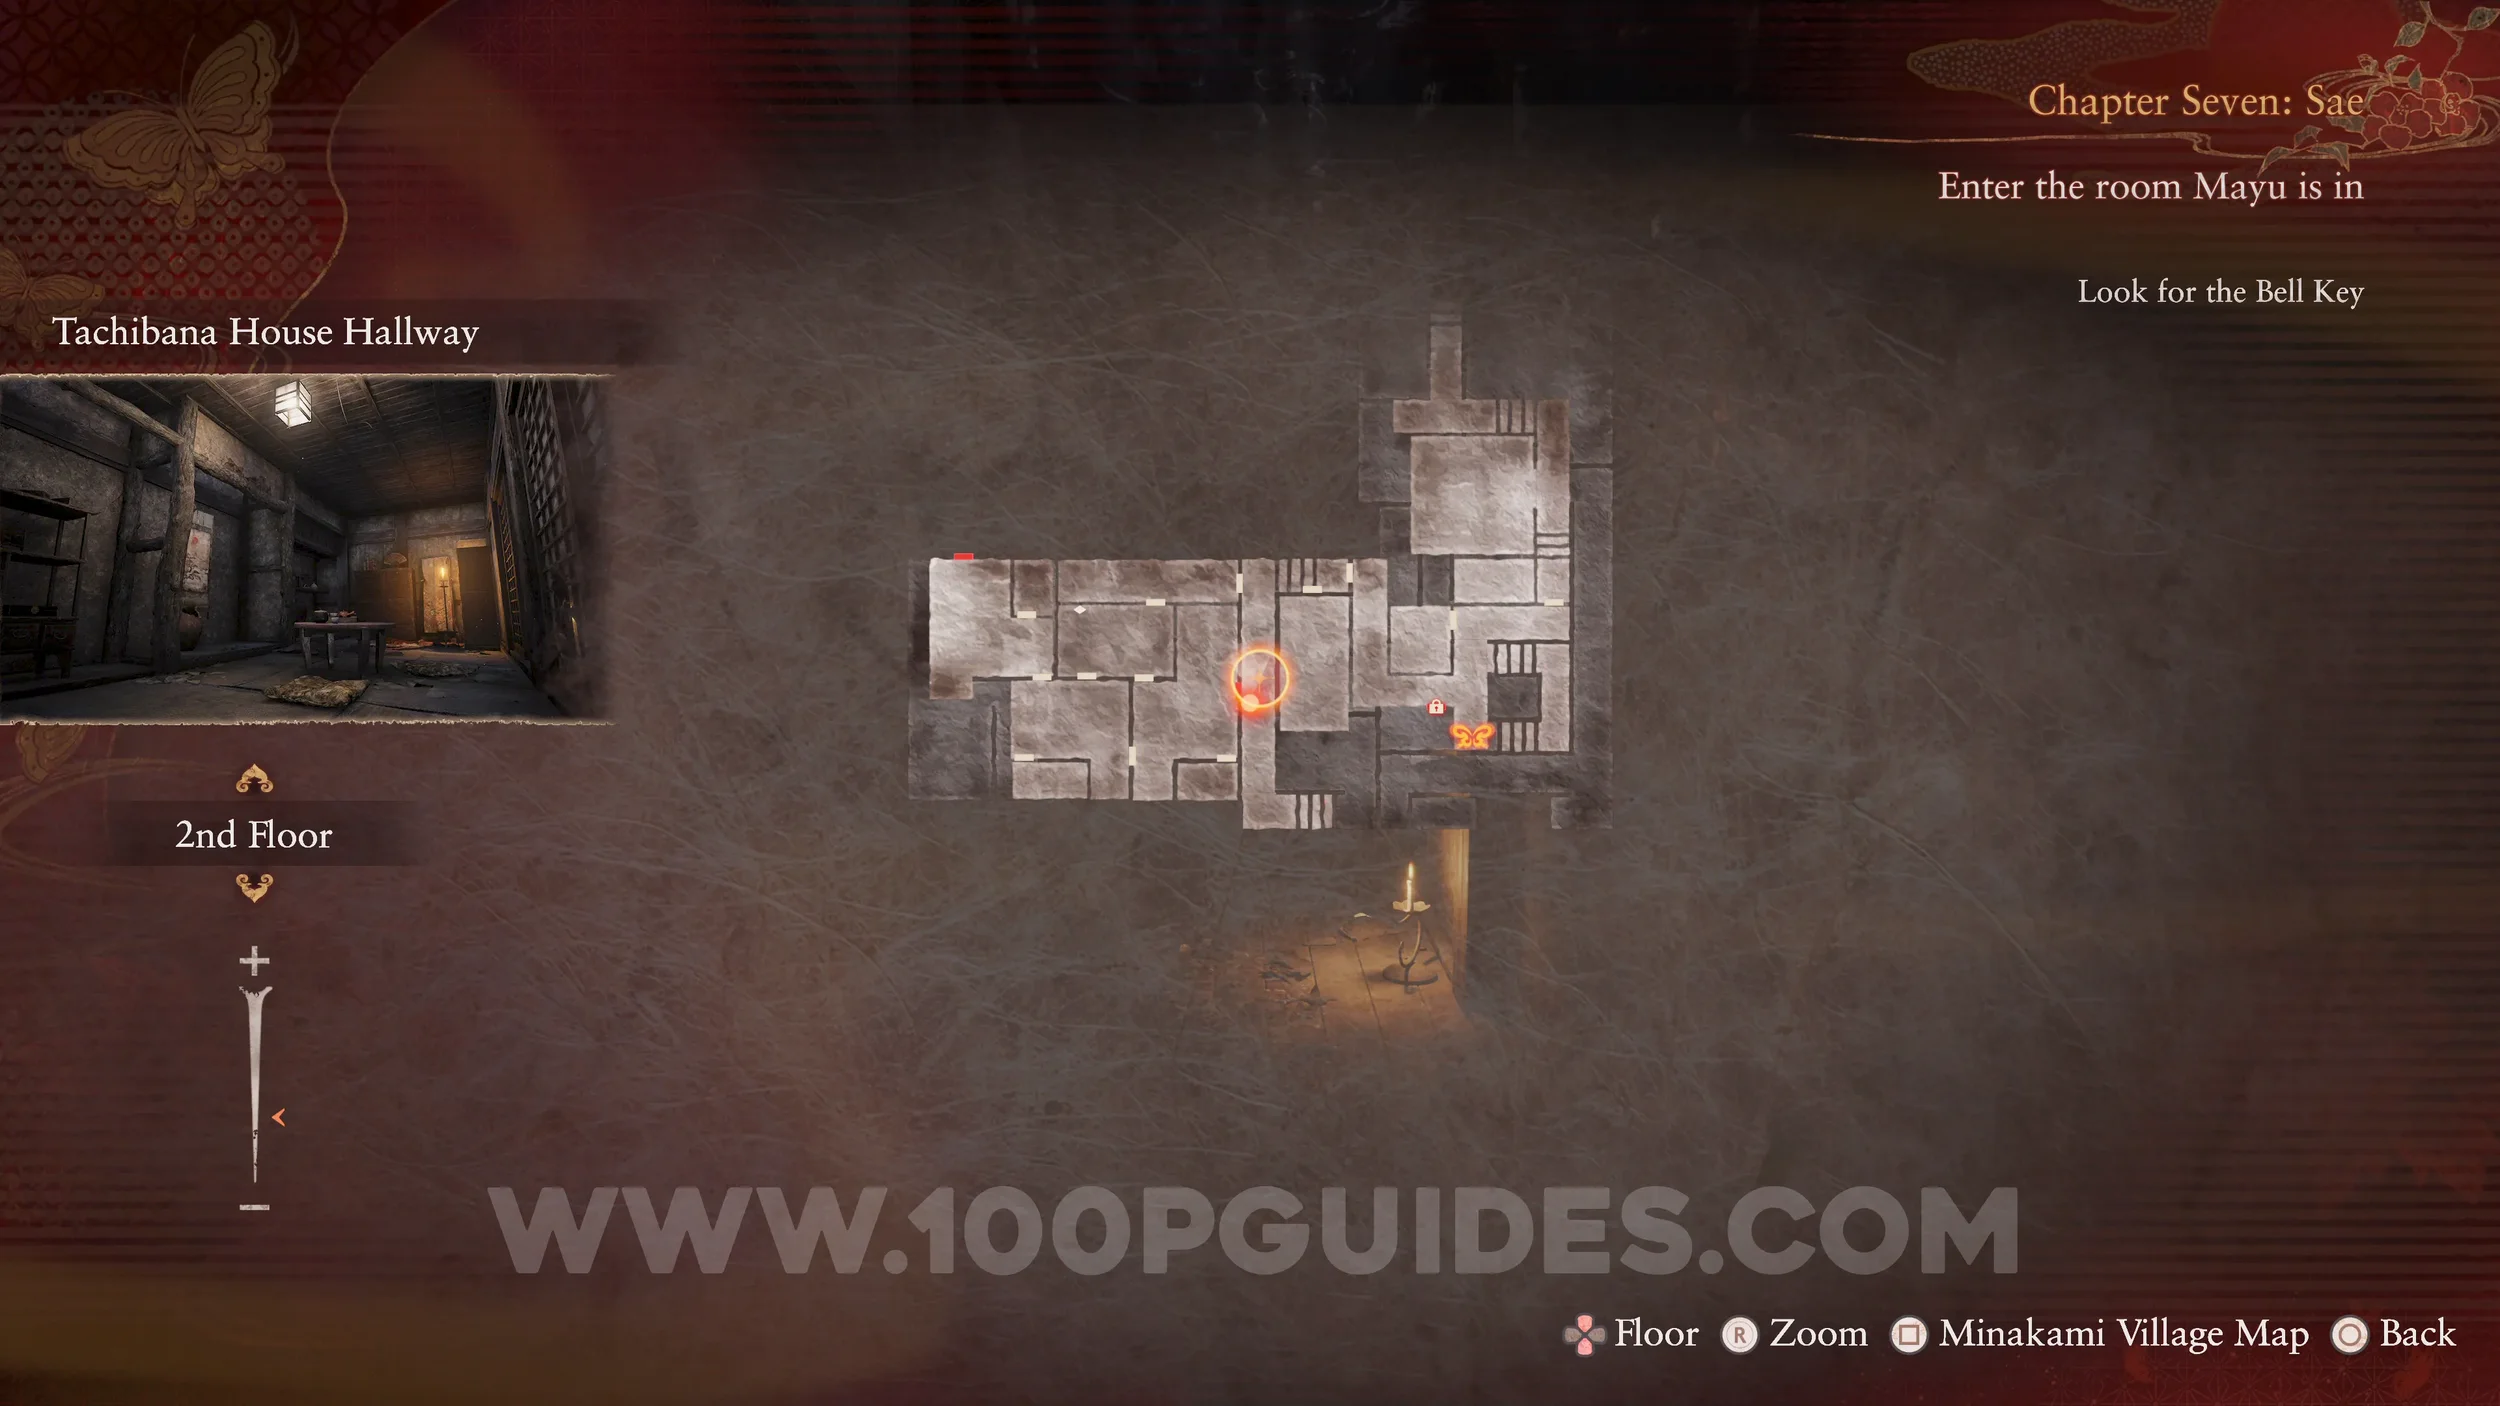
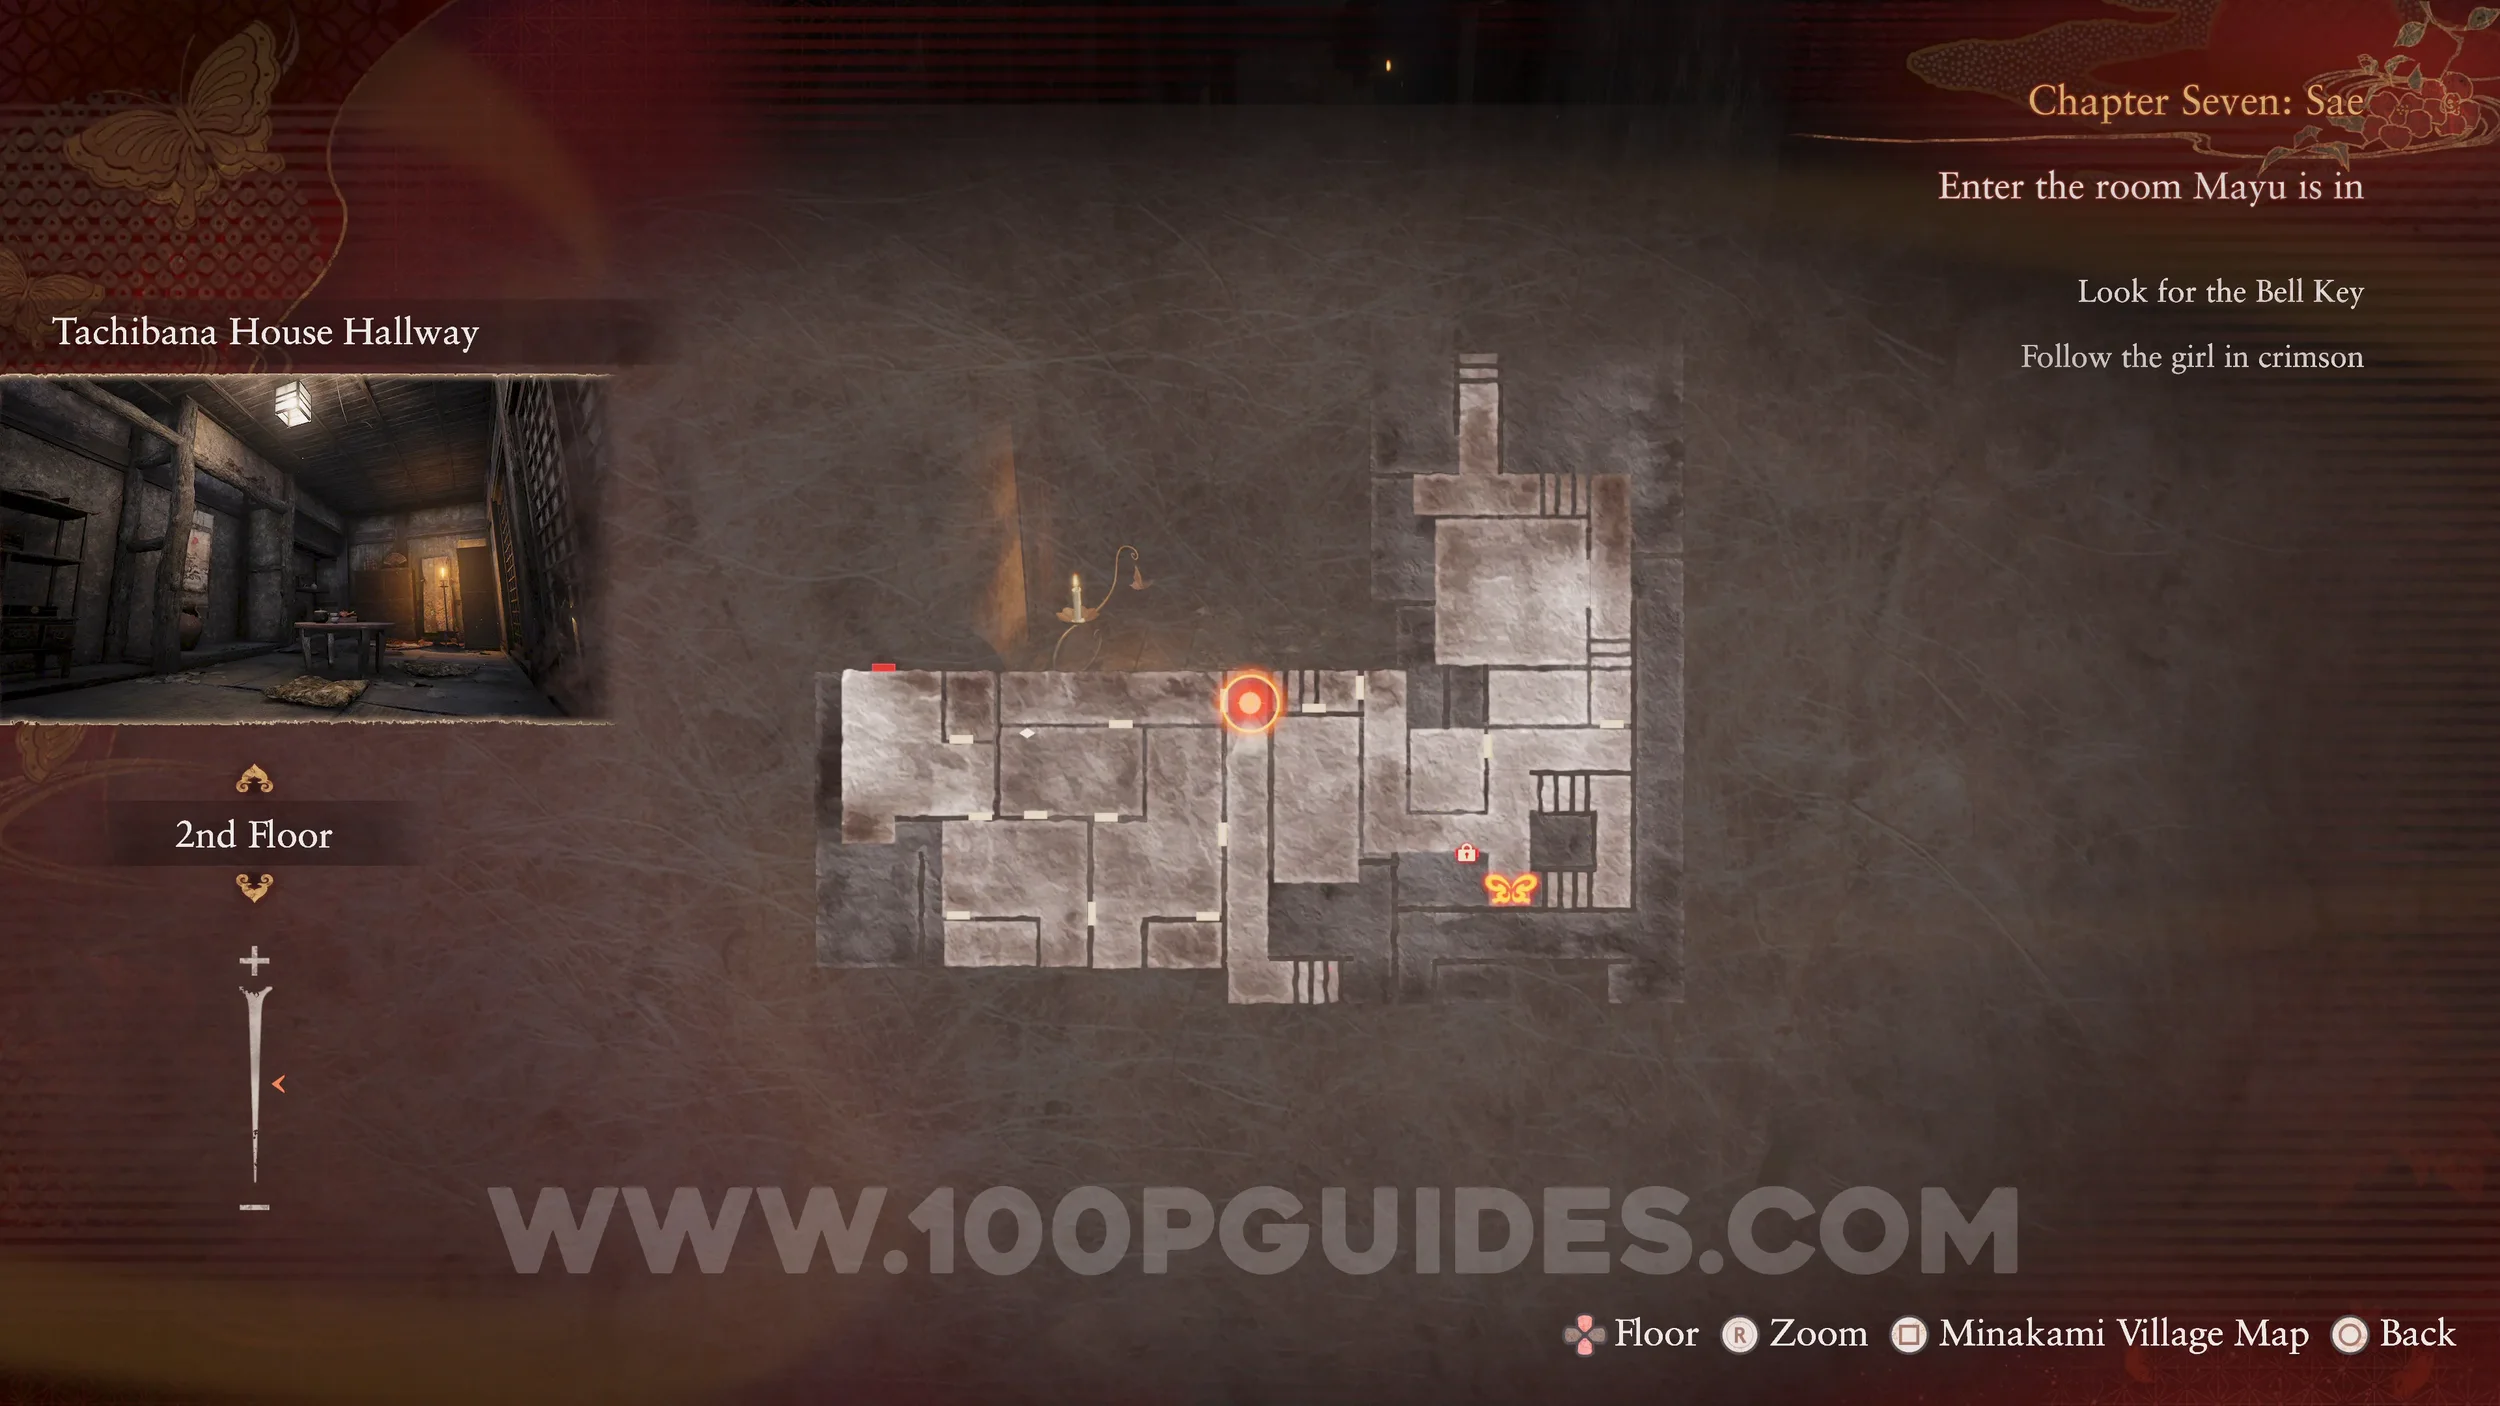
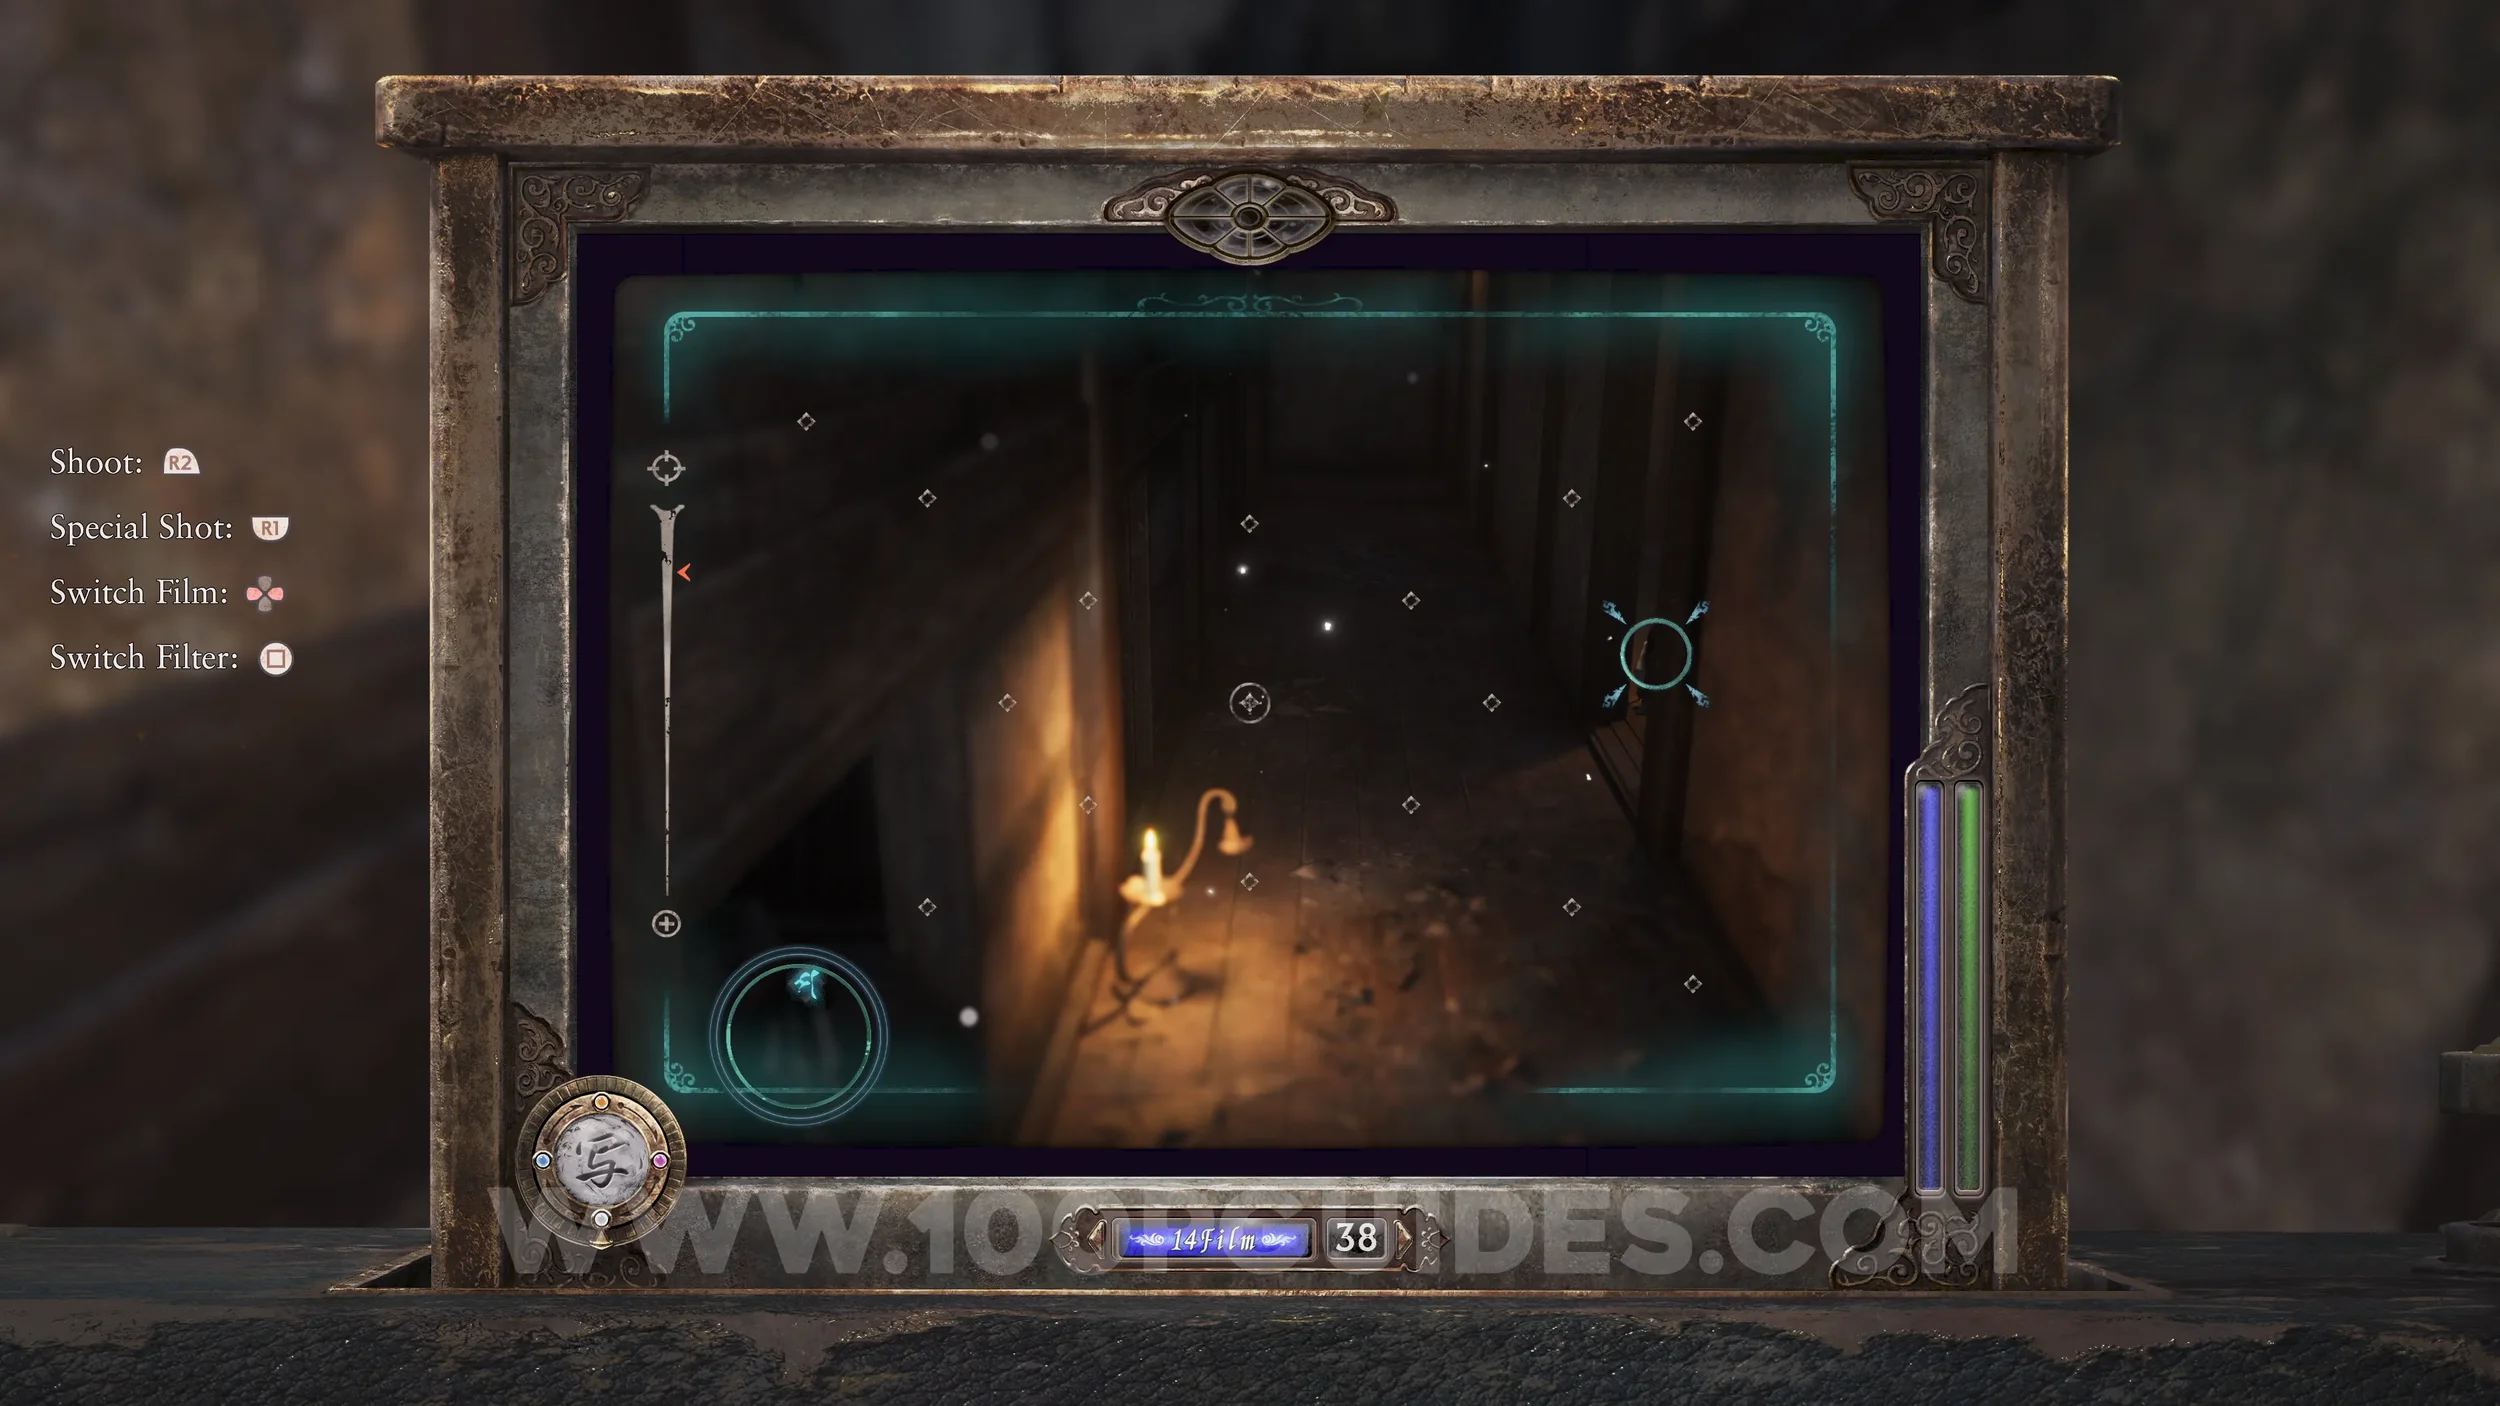
Specter #149 - 110 Fleeing Girl. Now return to the Tachibana House Hallway (the main hall with the small side spaces). You’ll notice that one of these spaces is now closed. Open it, and the specter will run out.
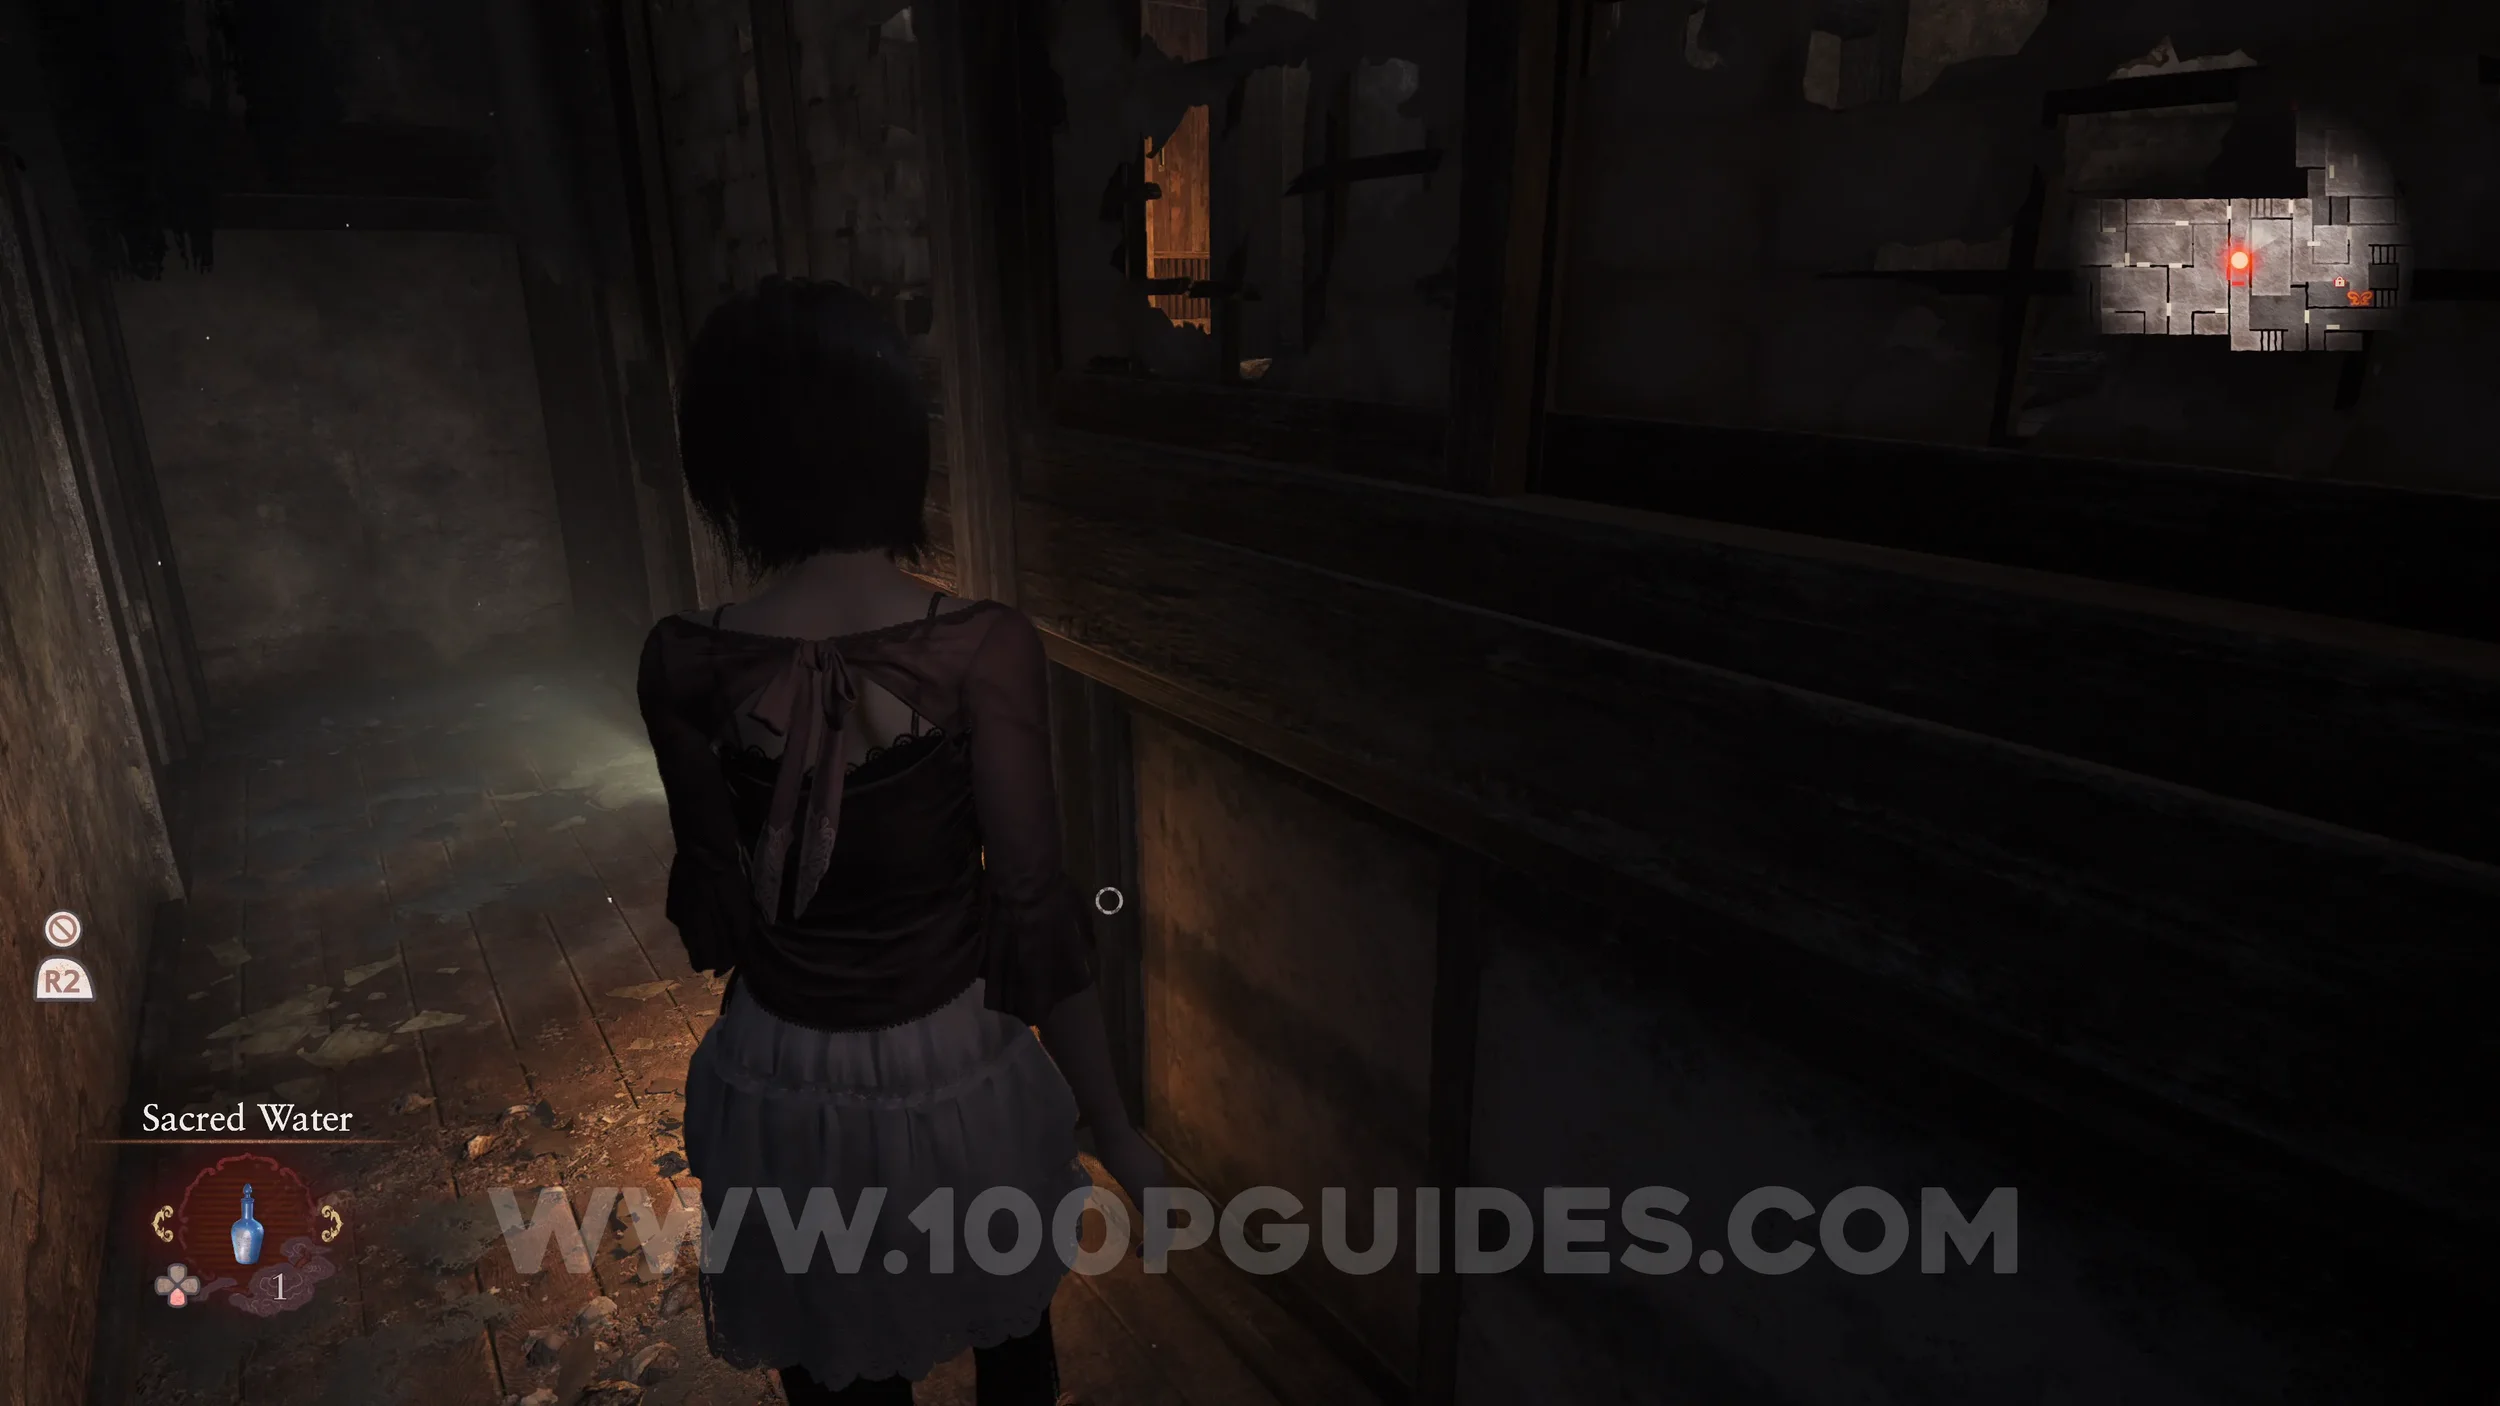
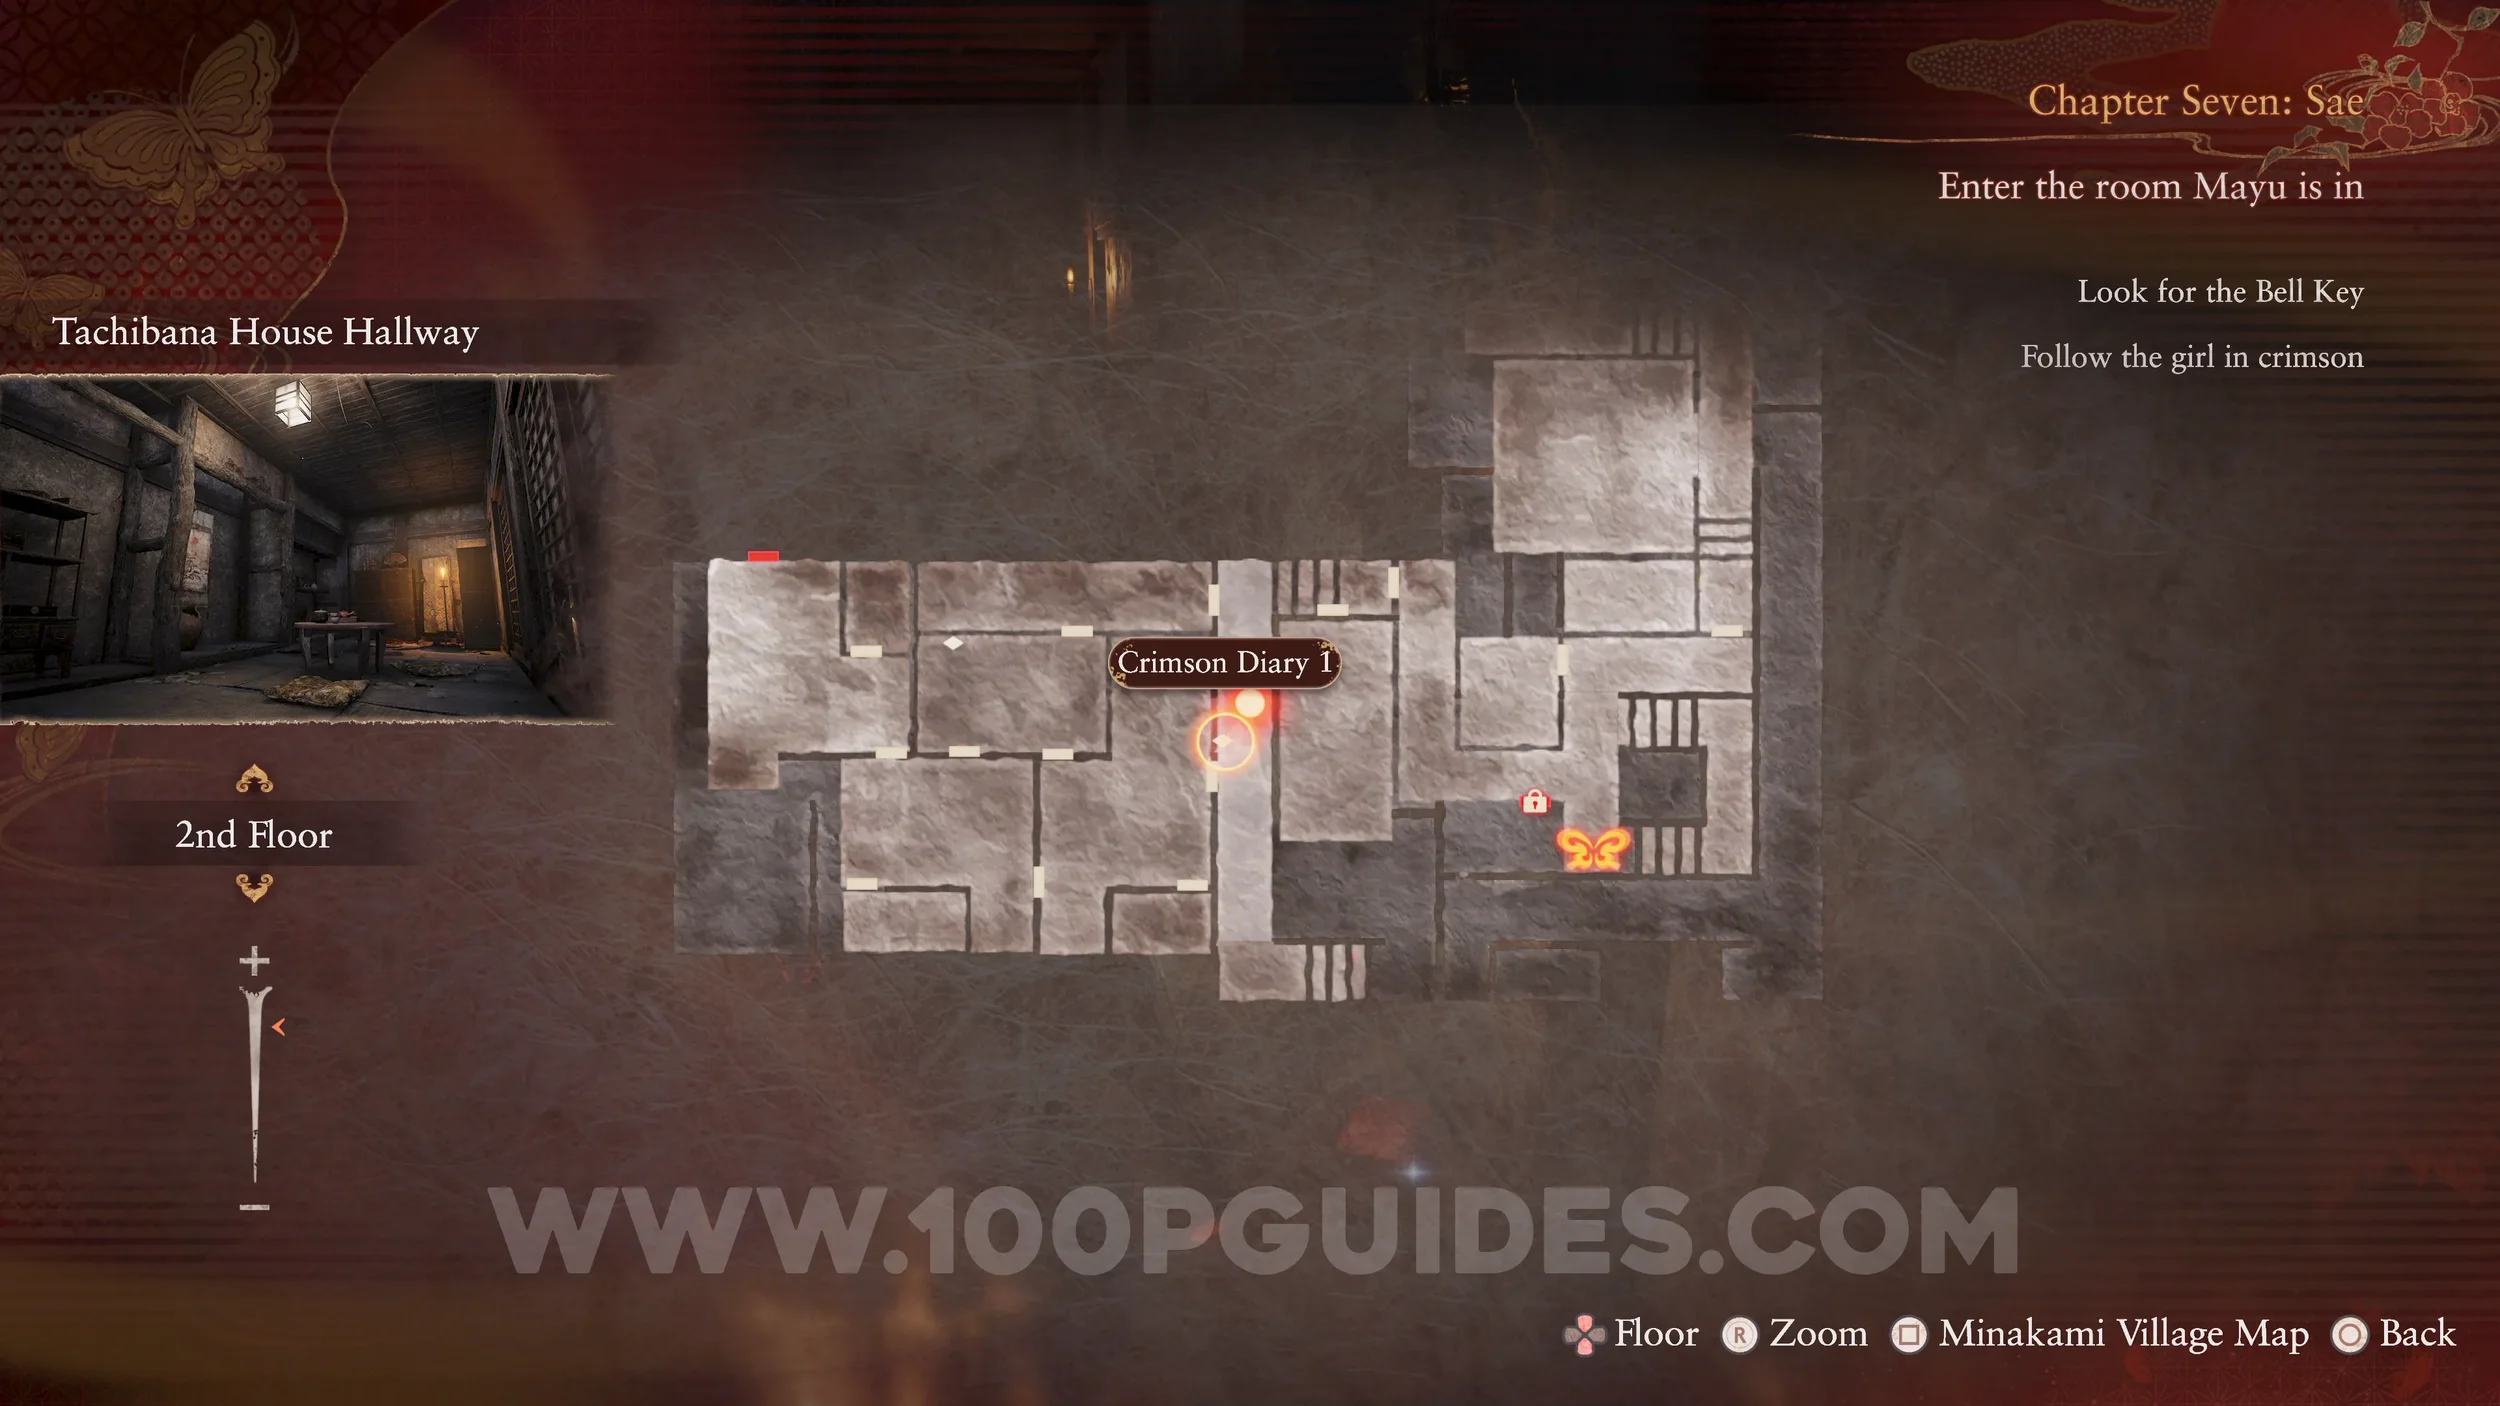
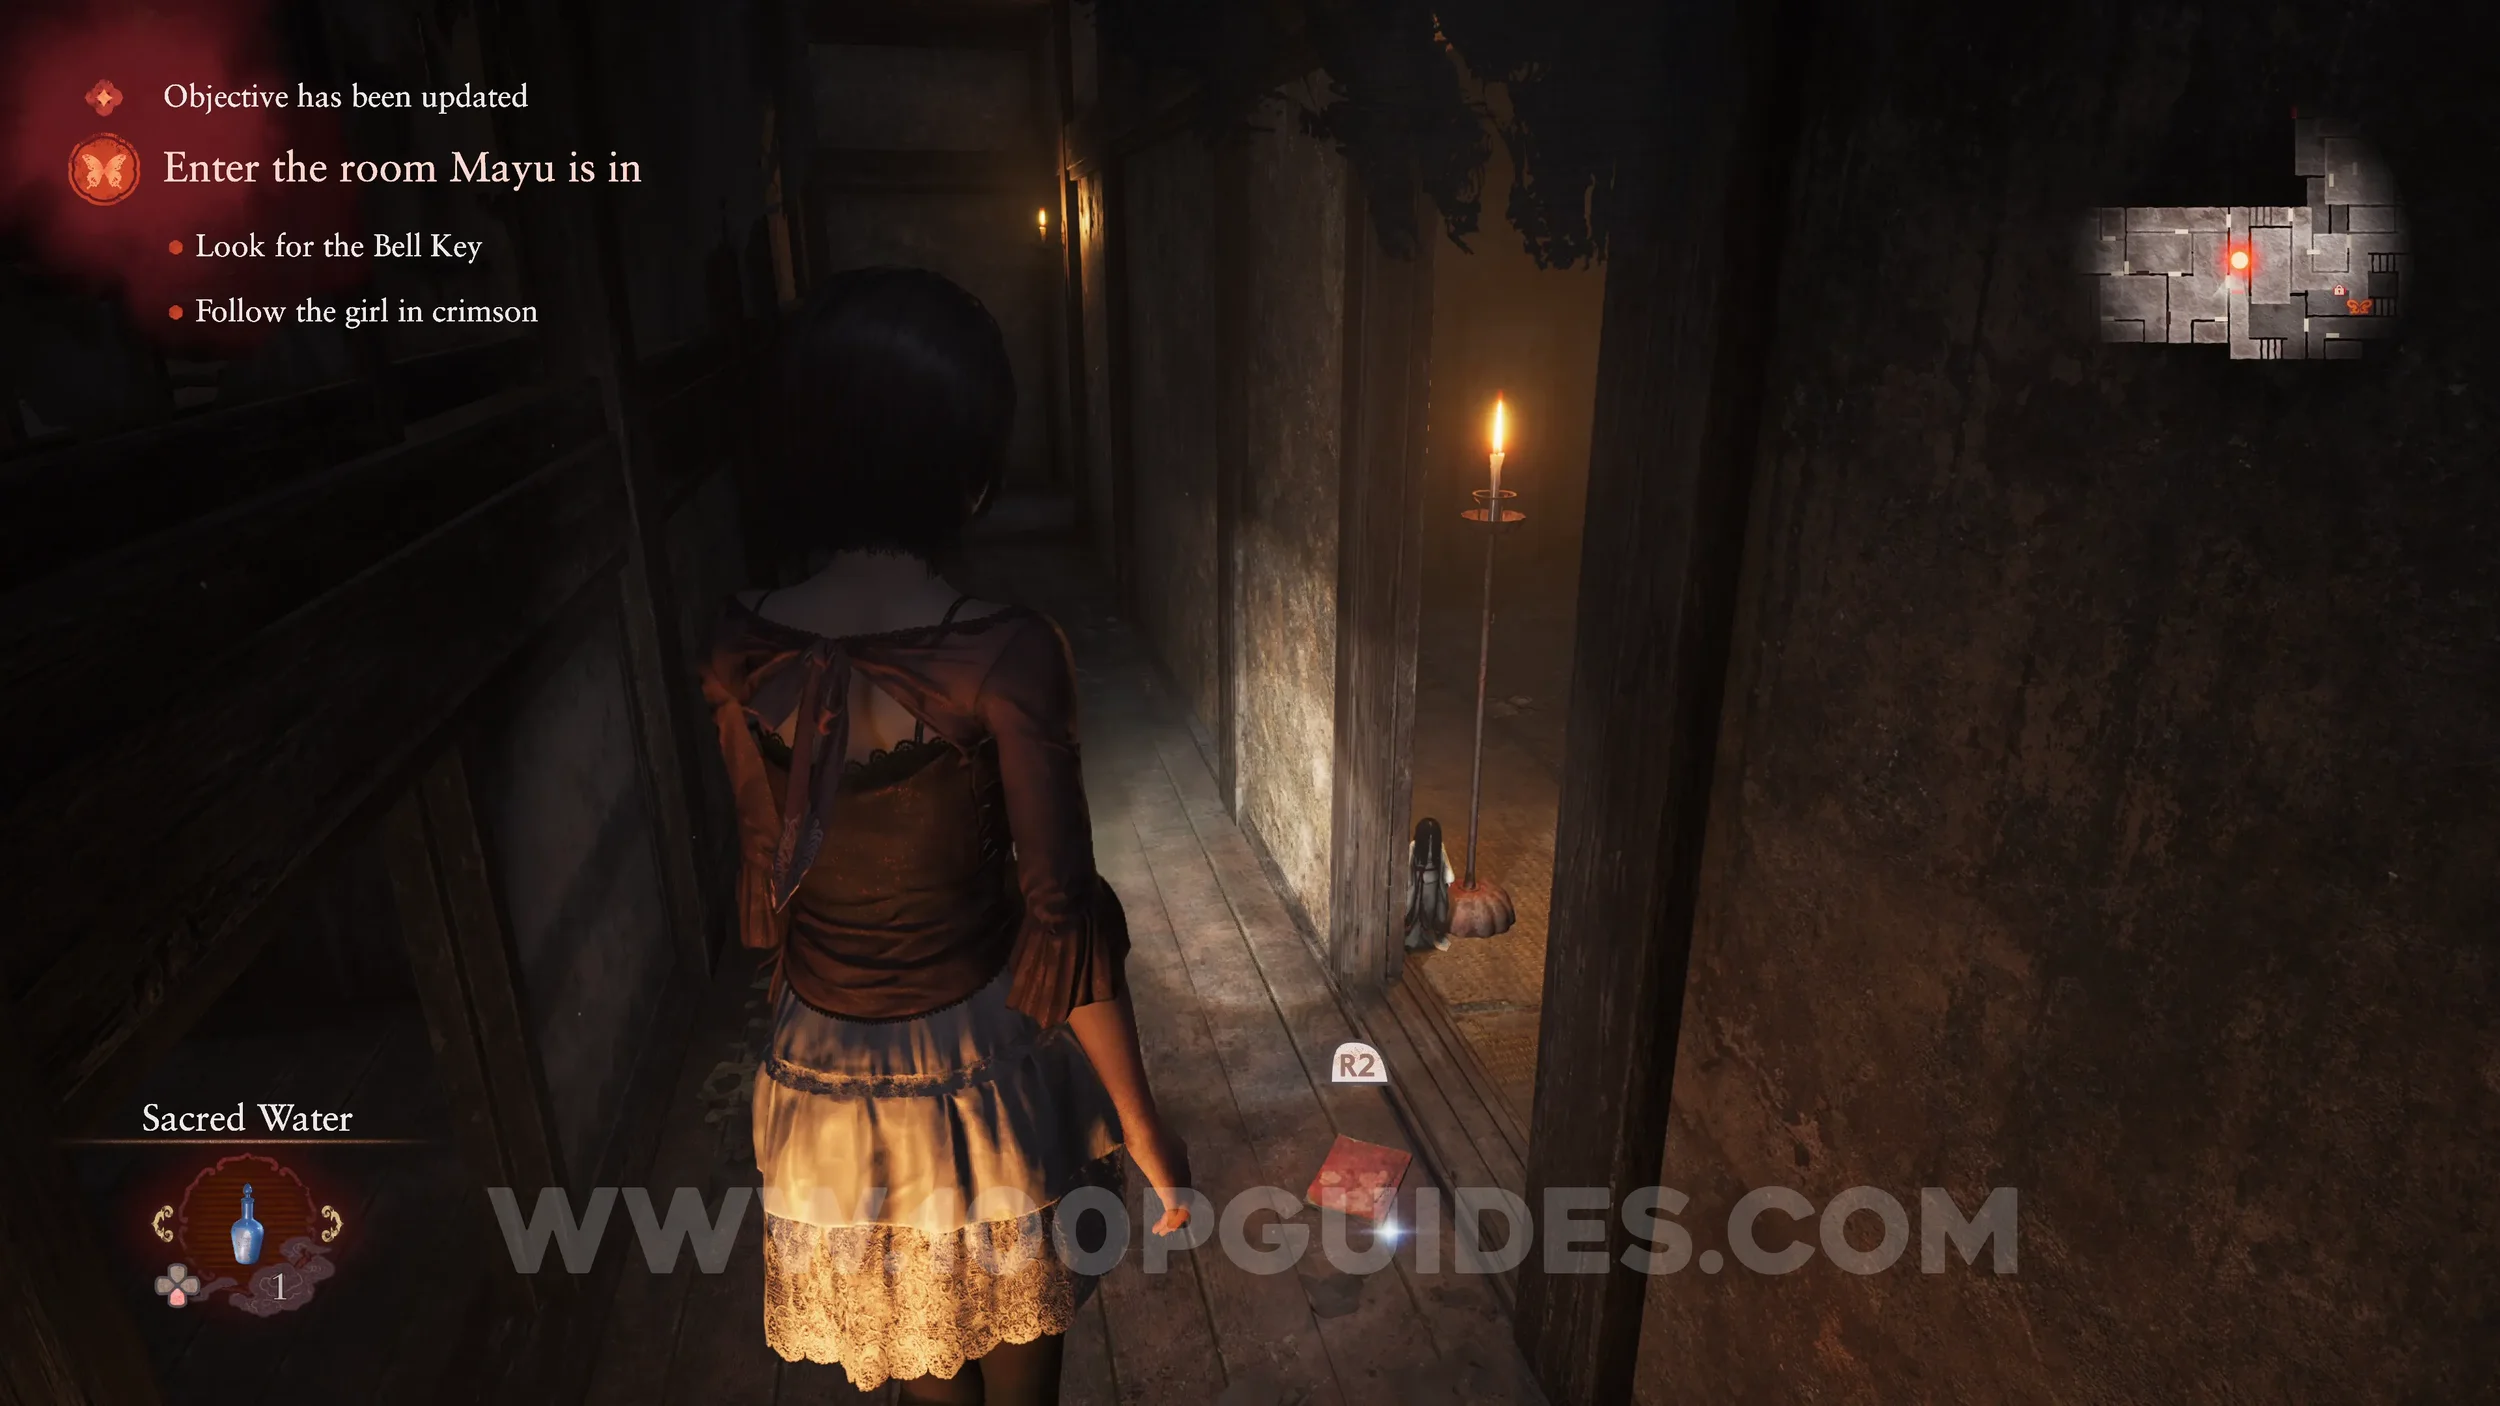
Document #75 - Crimson Diary 1. Dropped by the previous specter.
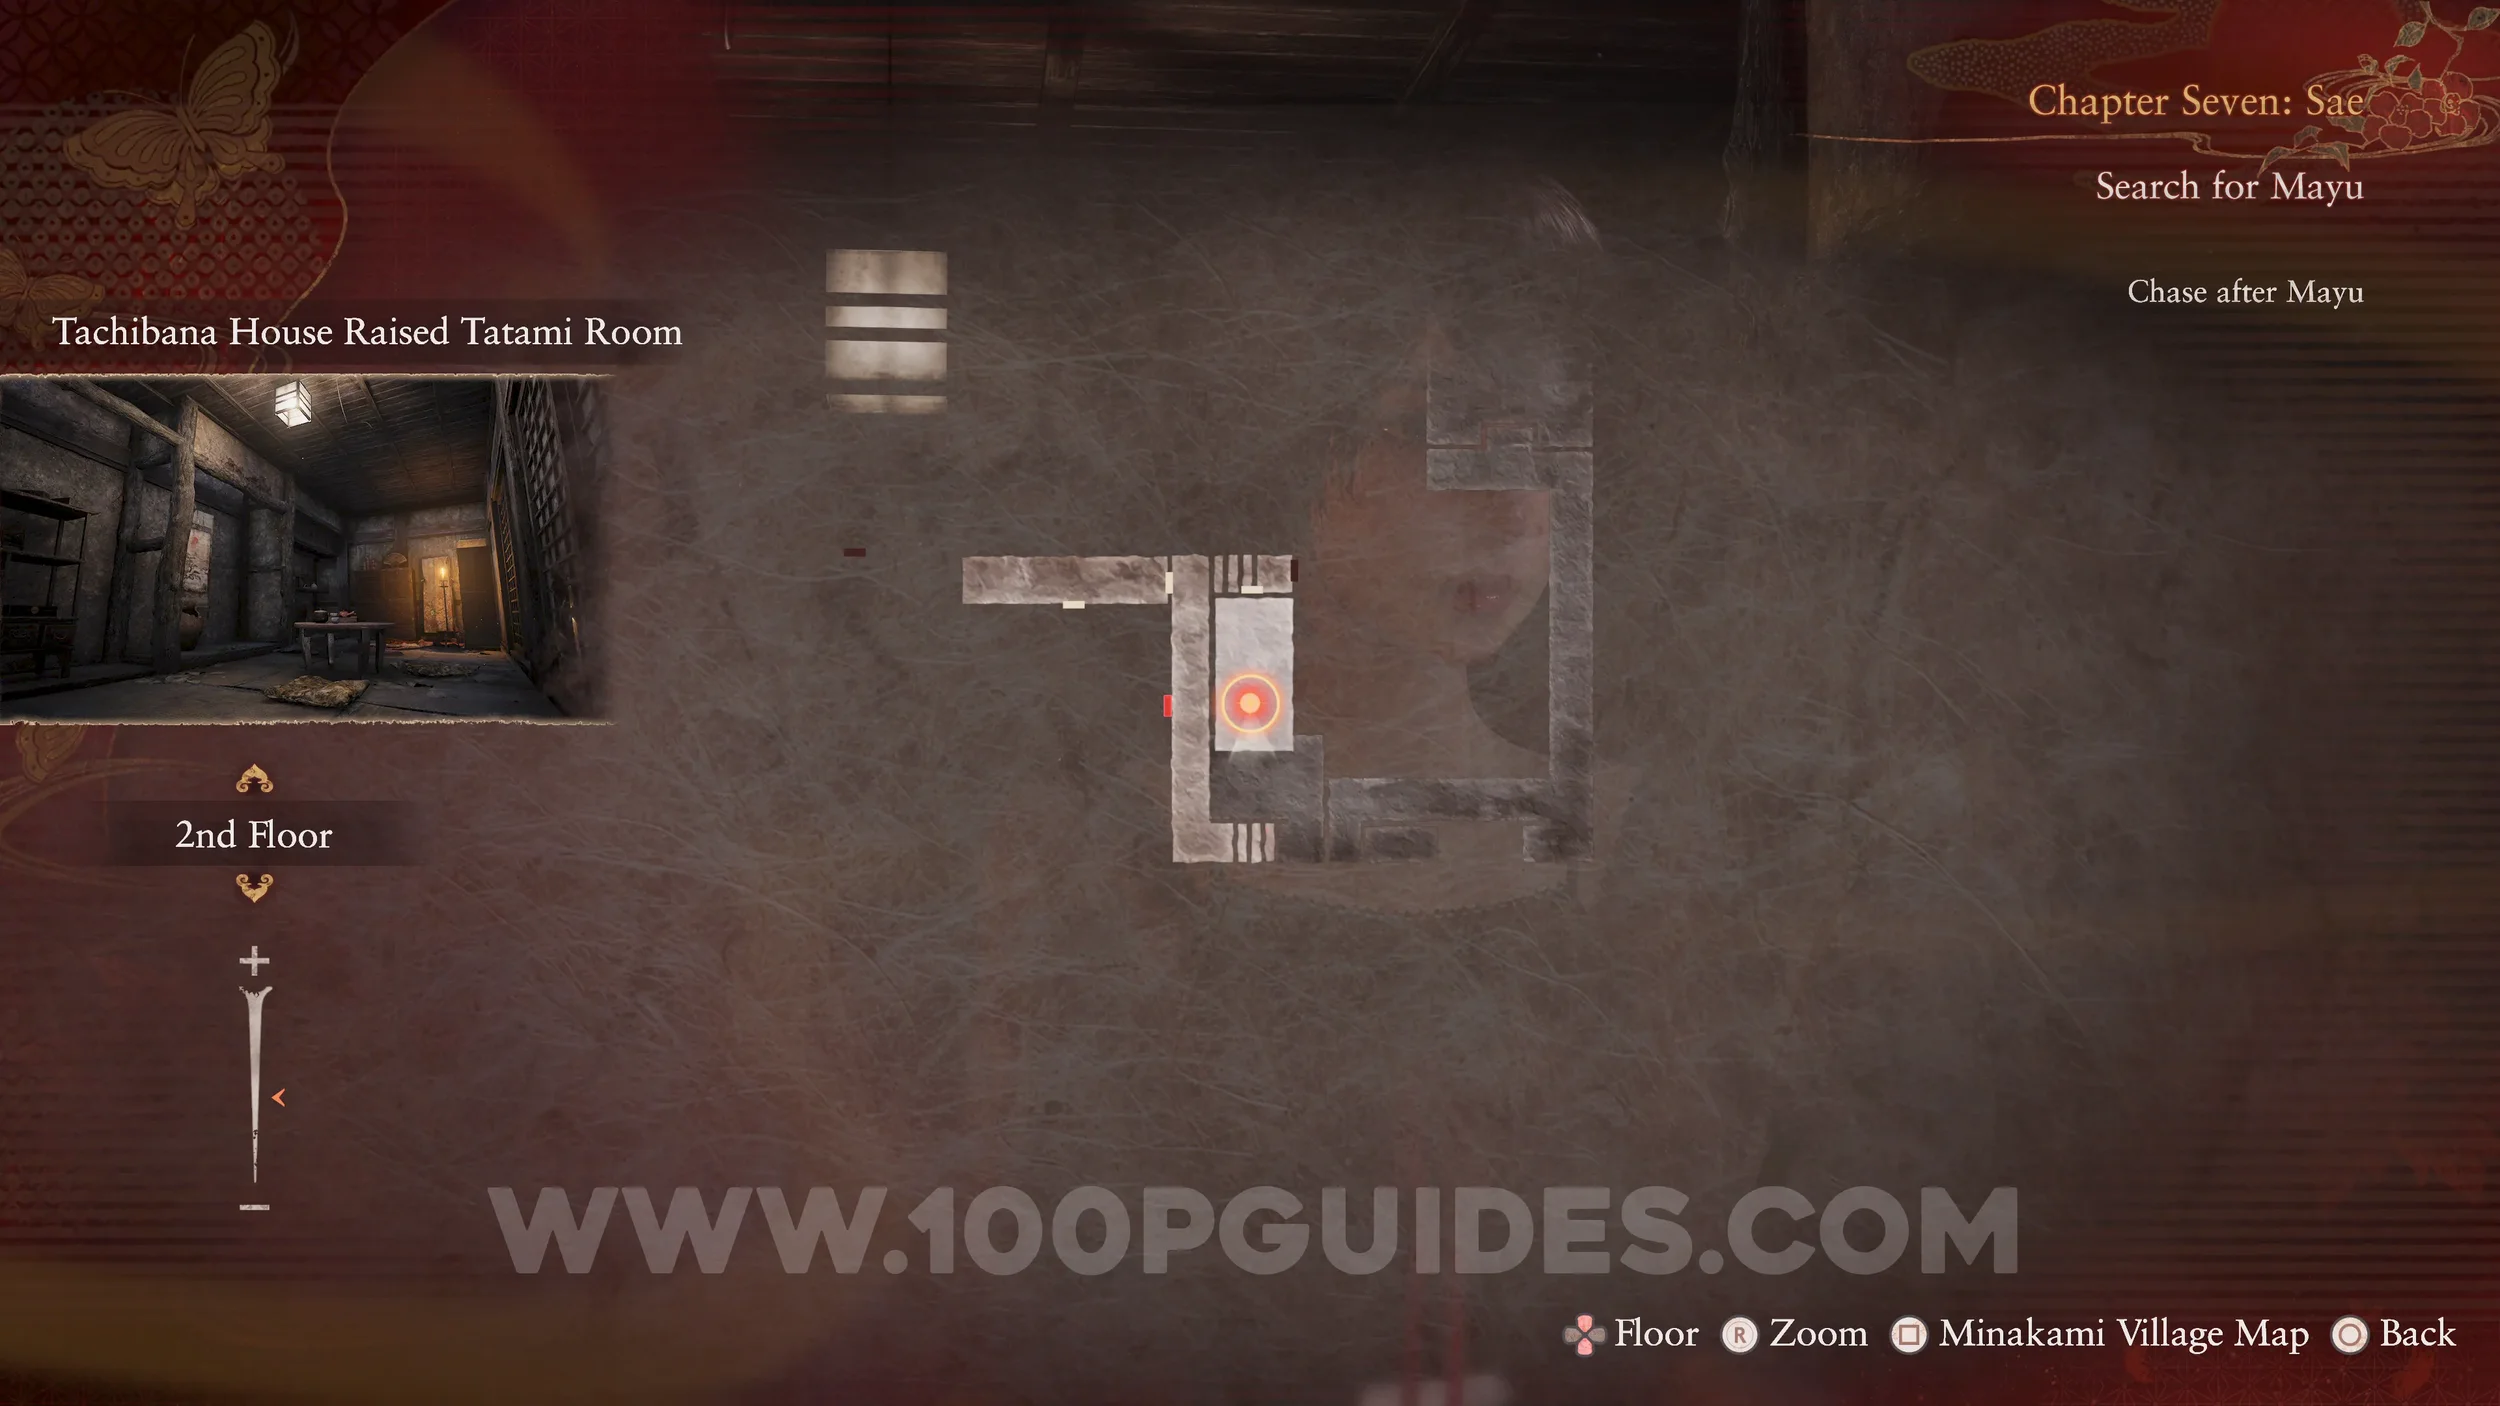
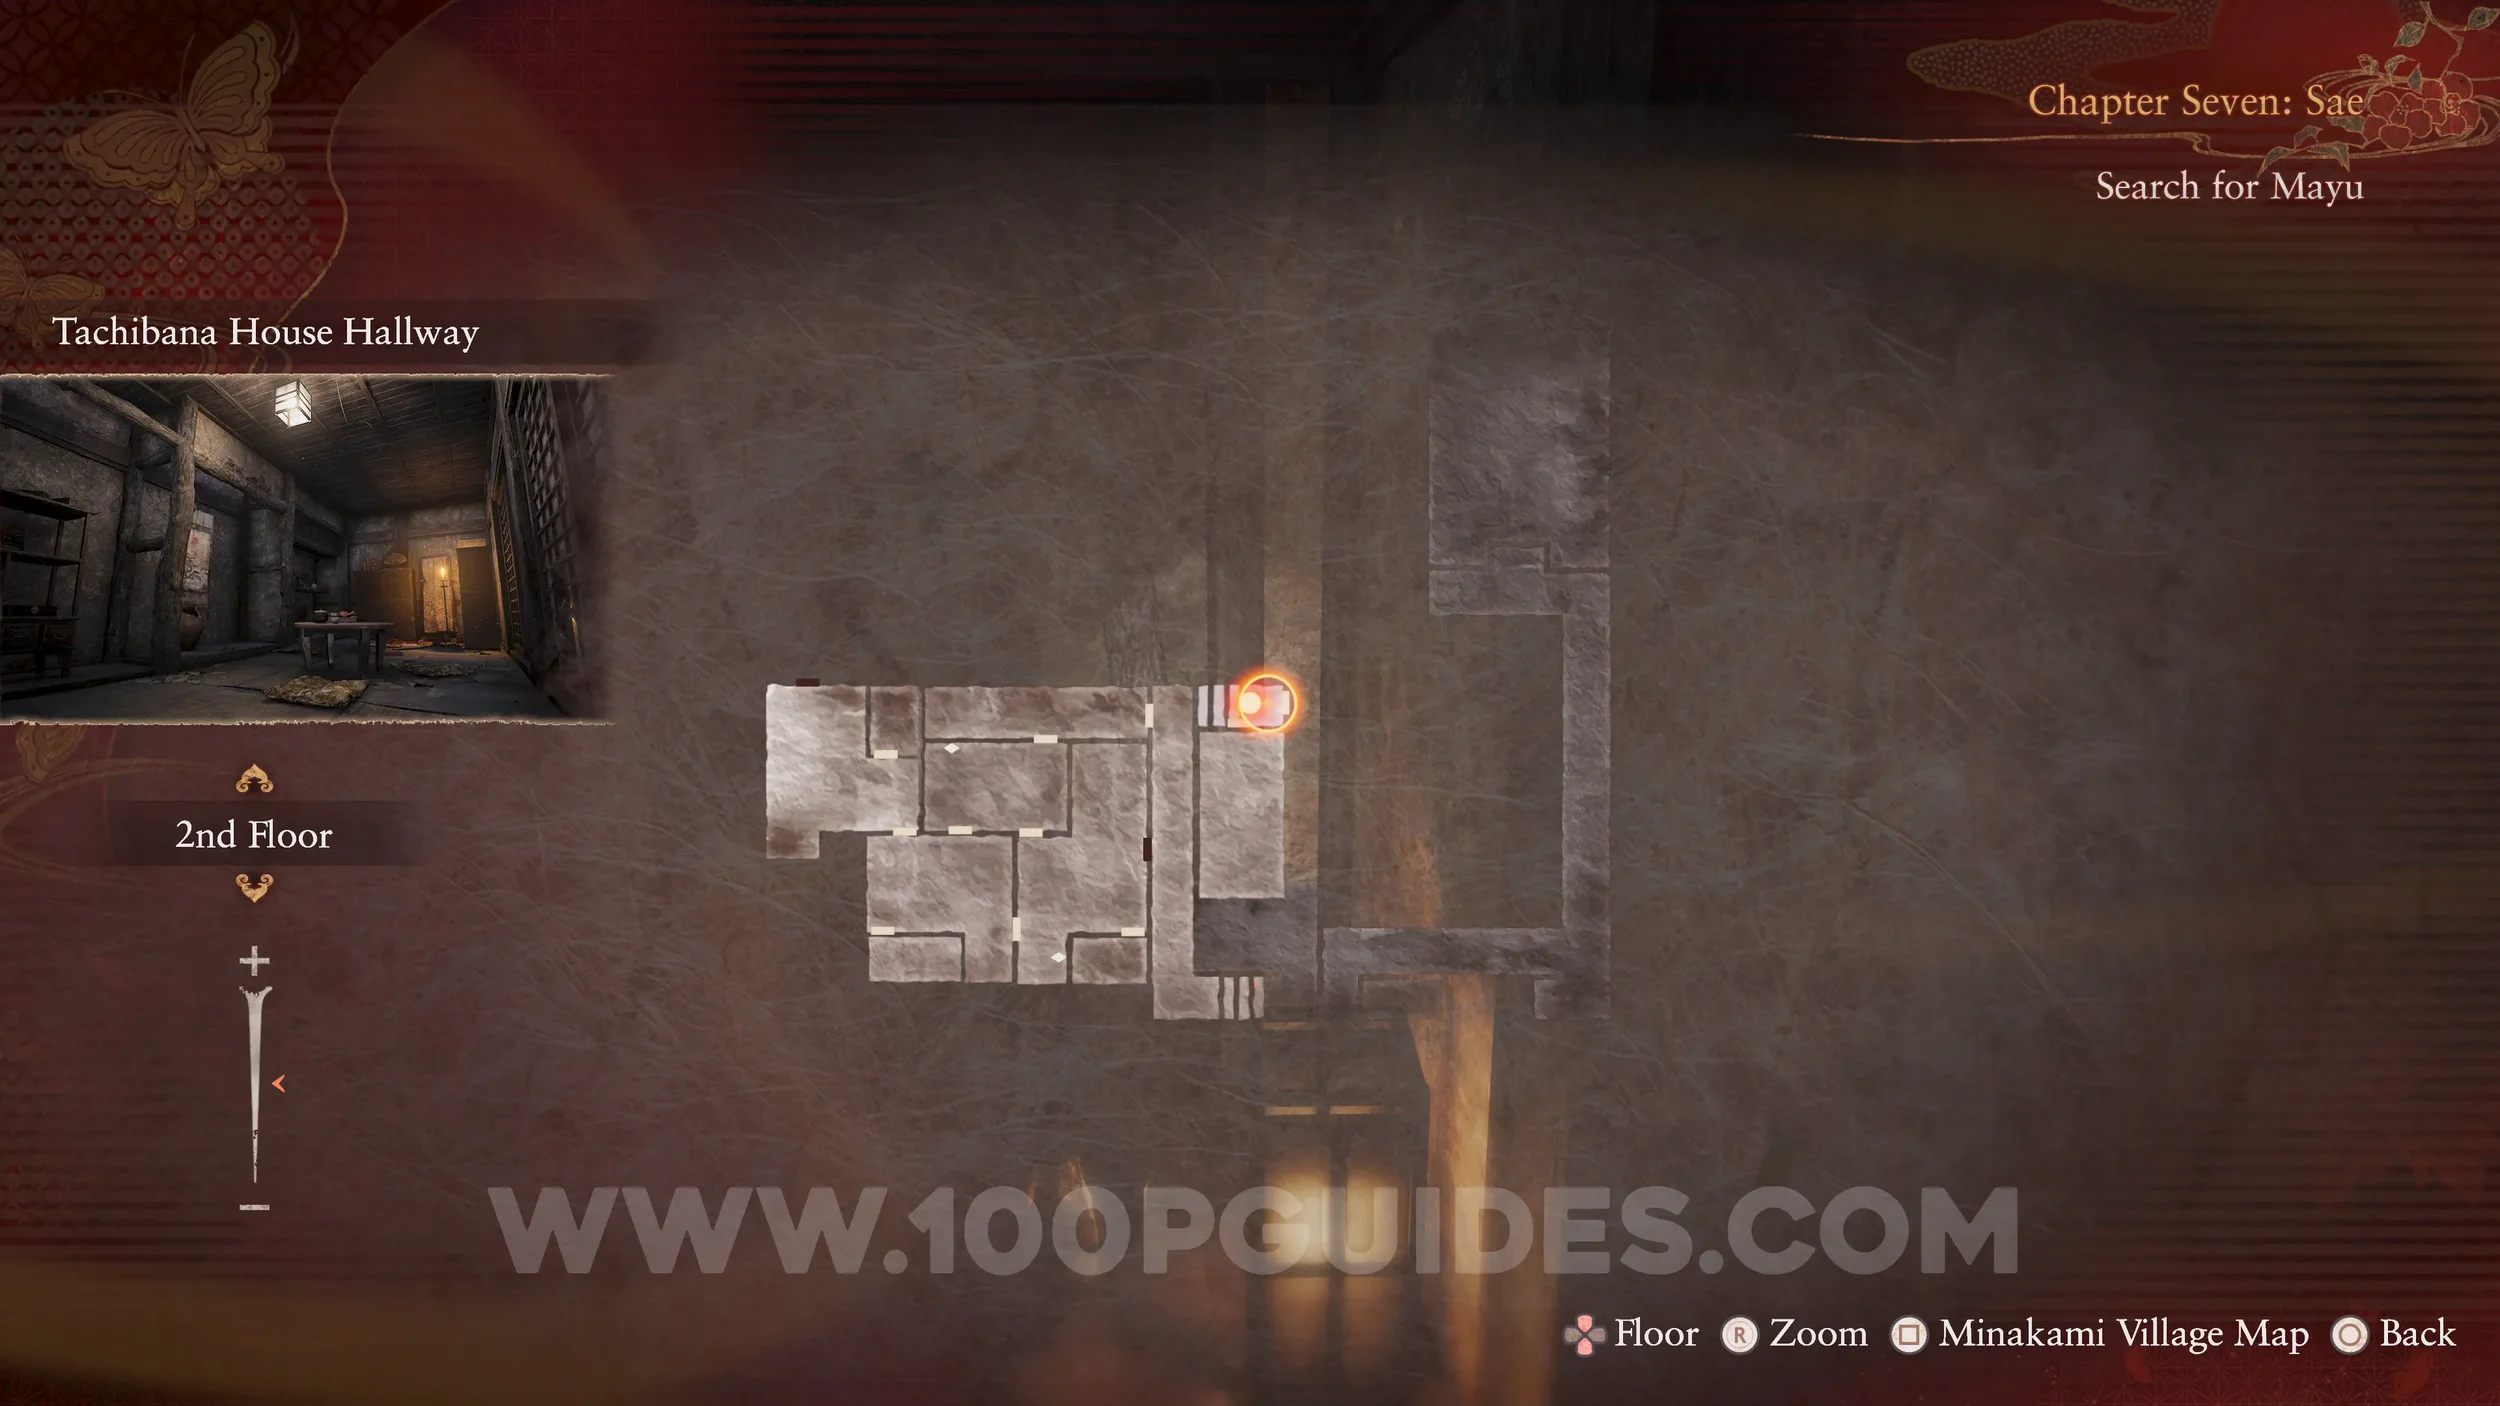
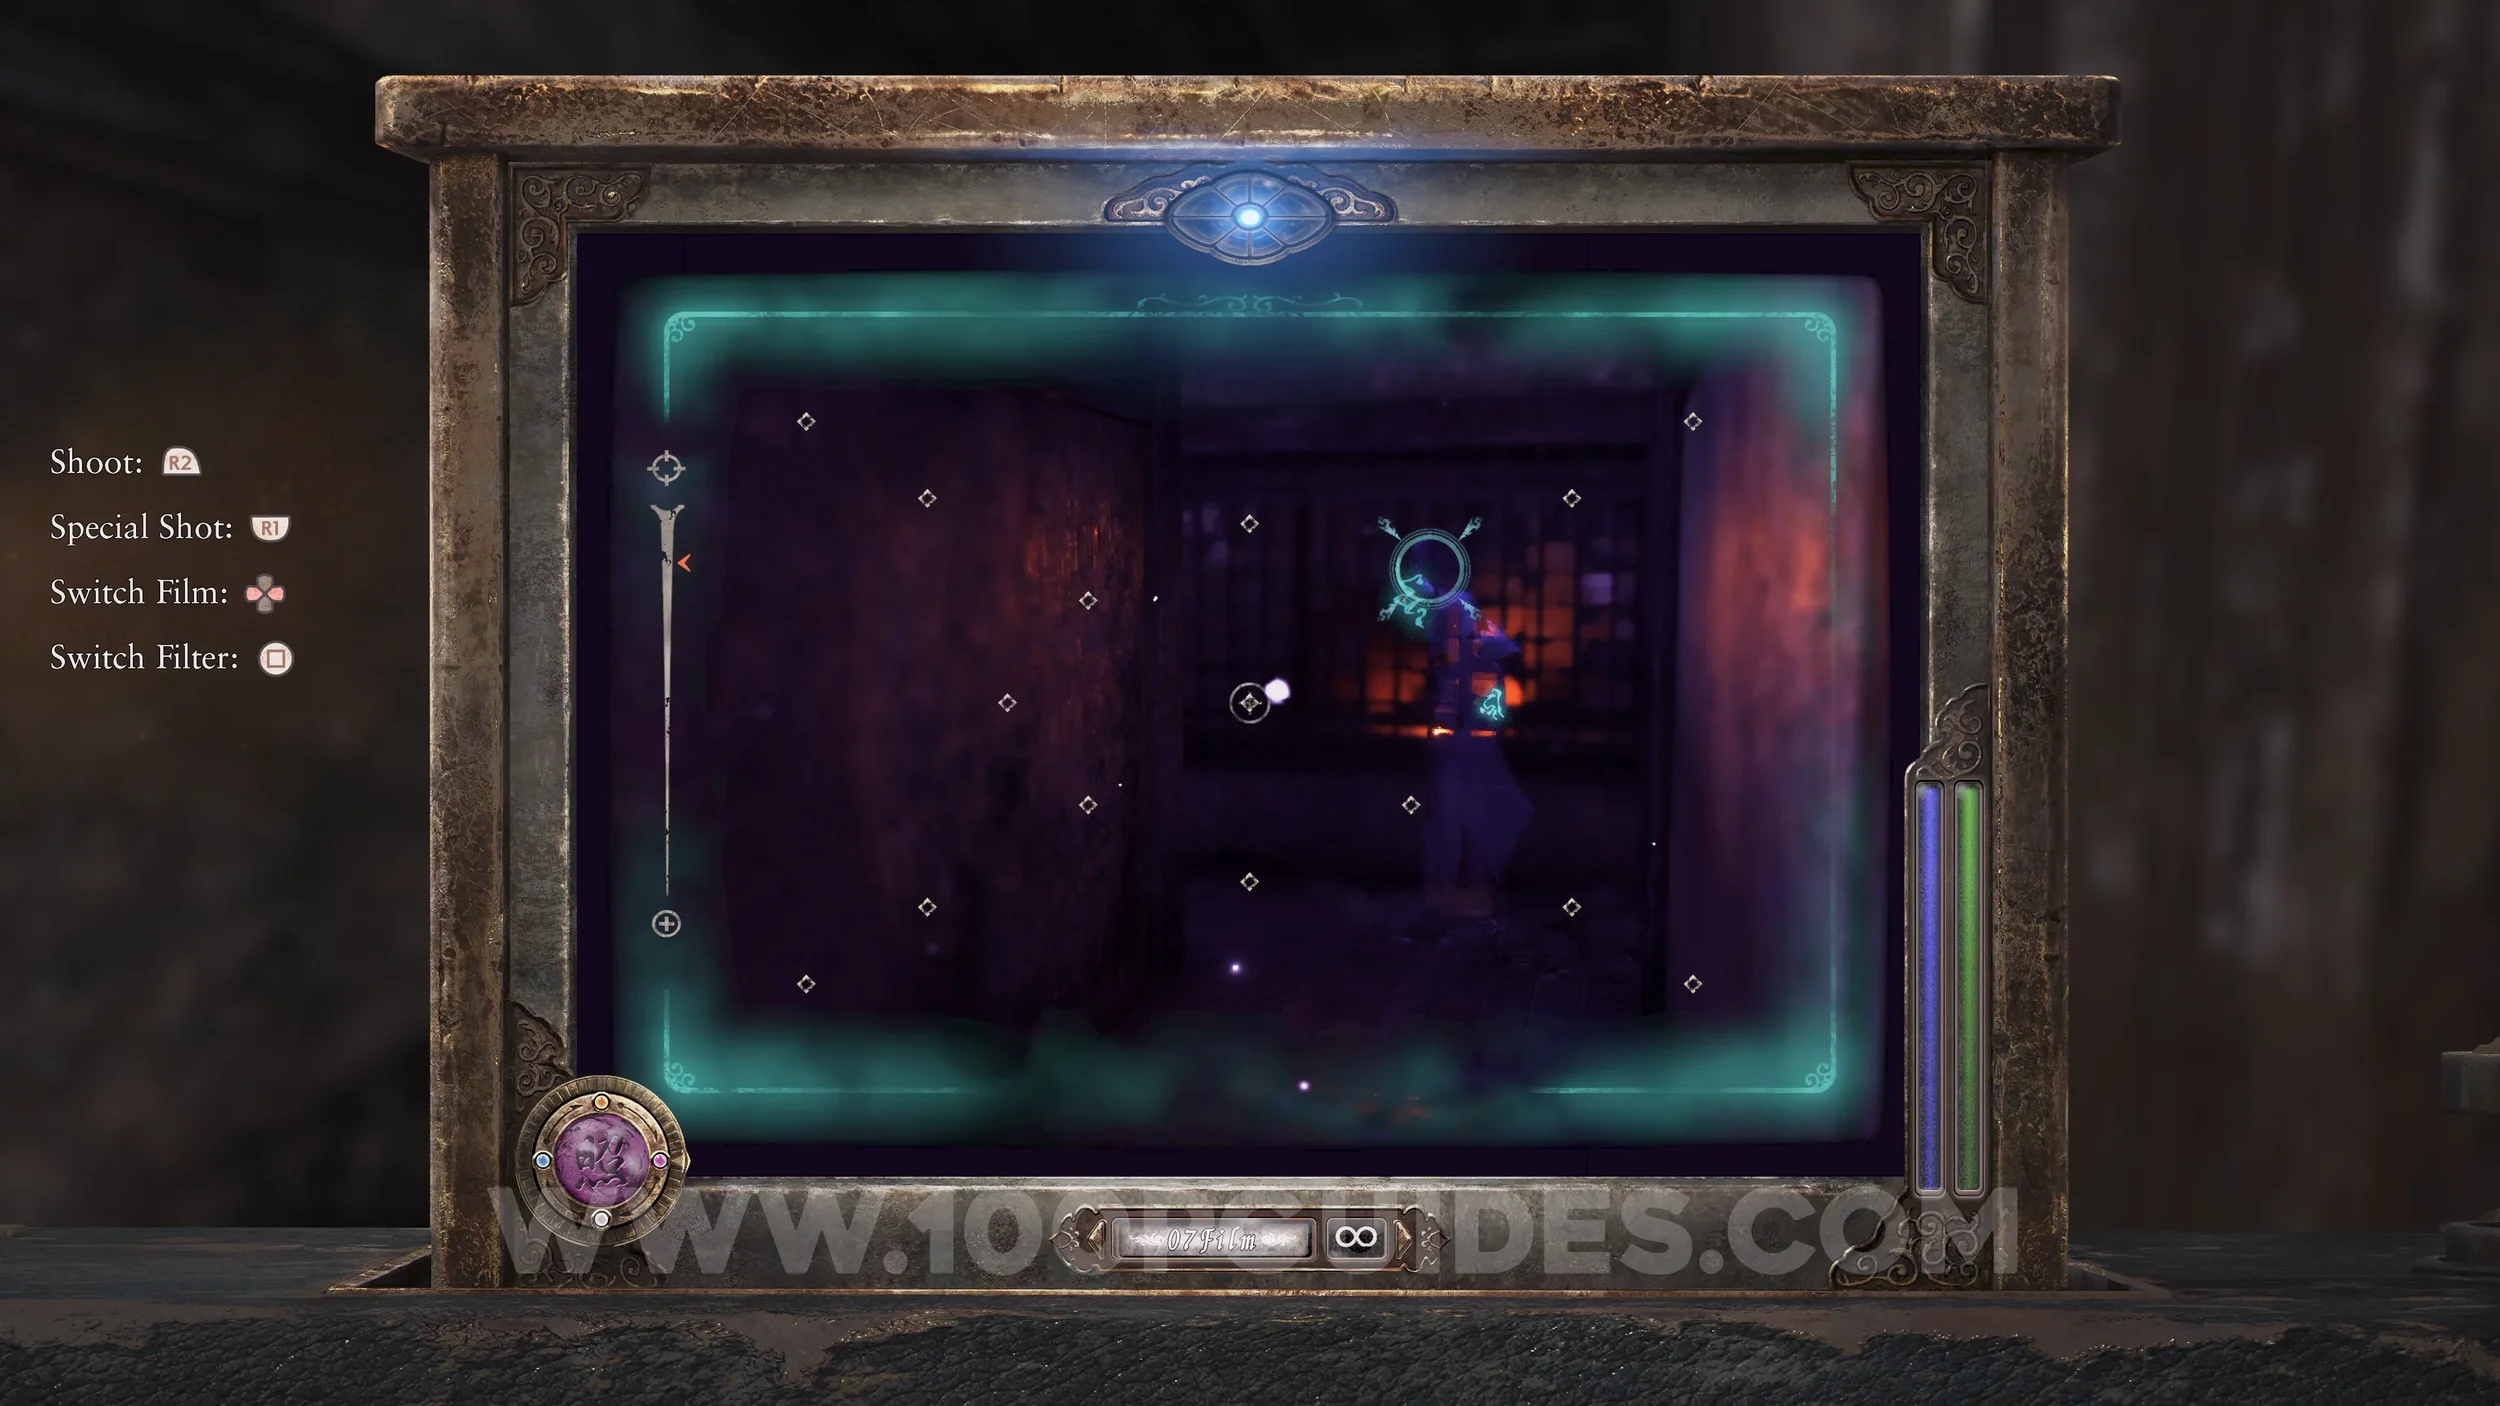
Twin Dolls #40 (21). Go to the northern end of the corridor and look south. You should now be able to get both dolls in the shot. One is in one of the spaces on the left, and the other can be seen through the now open door on the right side of the corridor.
Wraith #21 - The Girl in Crimson. Go to the room where you placed the doll to open the door to the bridge. Here, look into the storeroom to spot the girl.
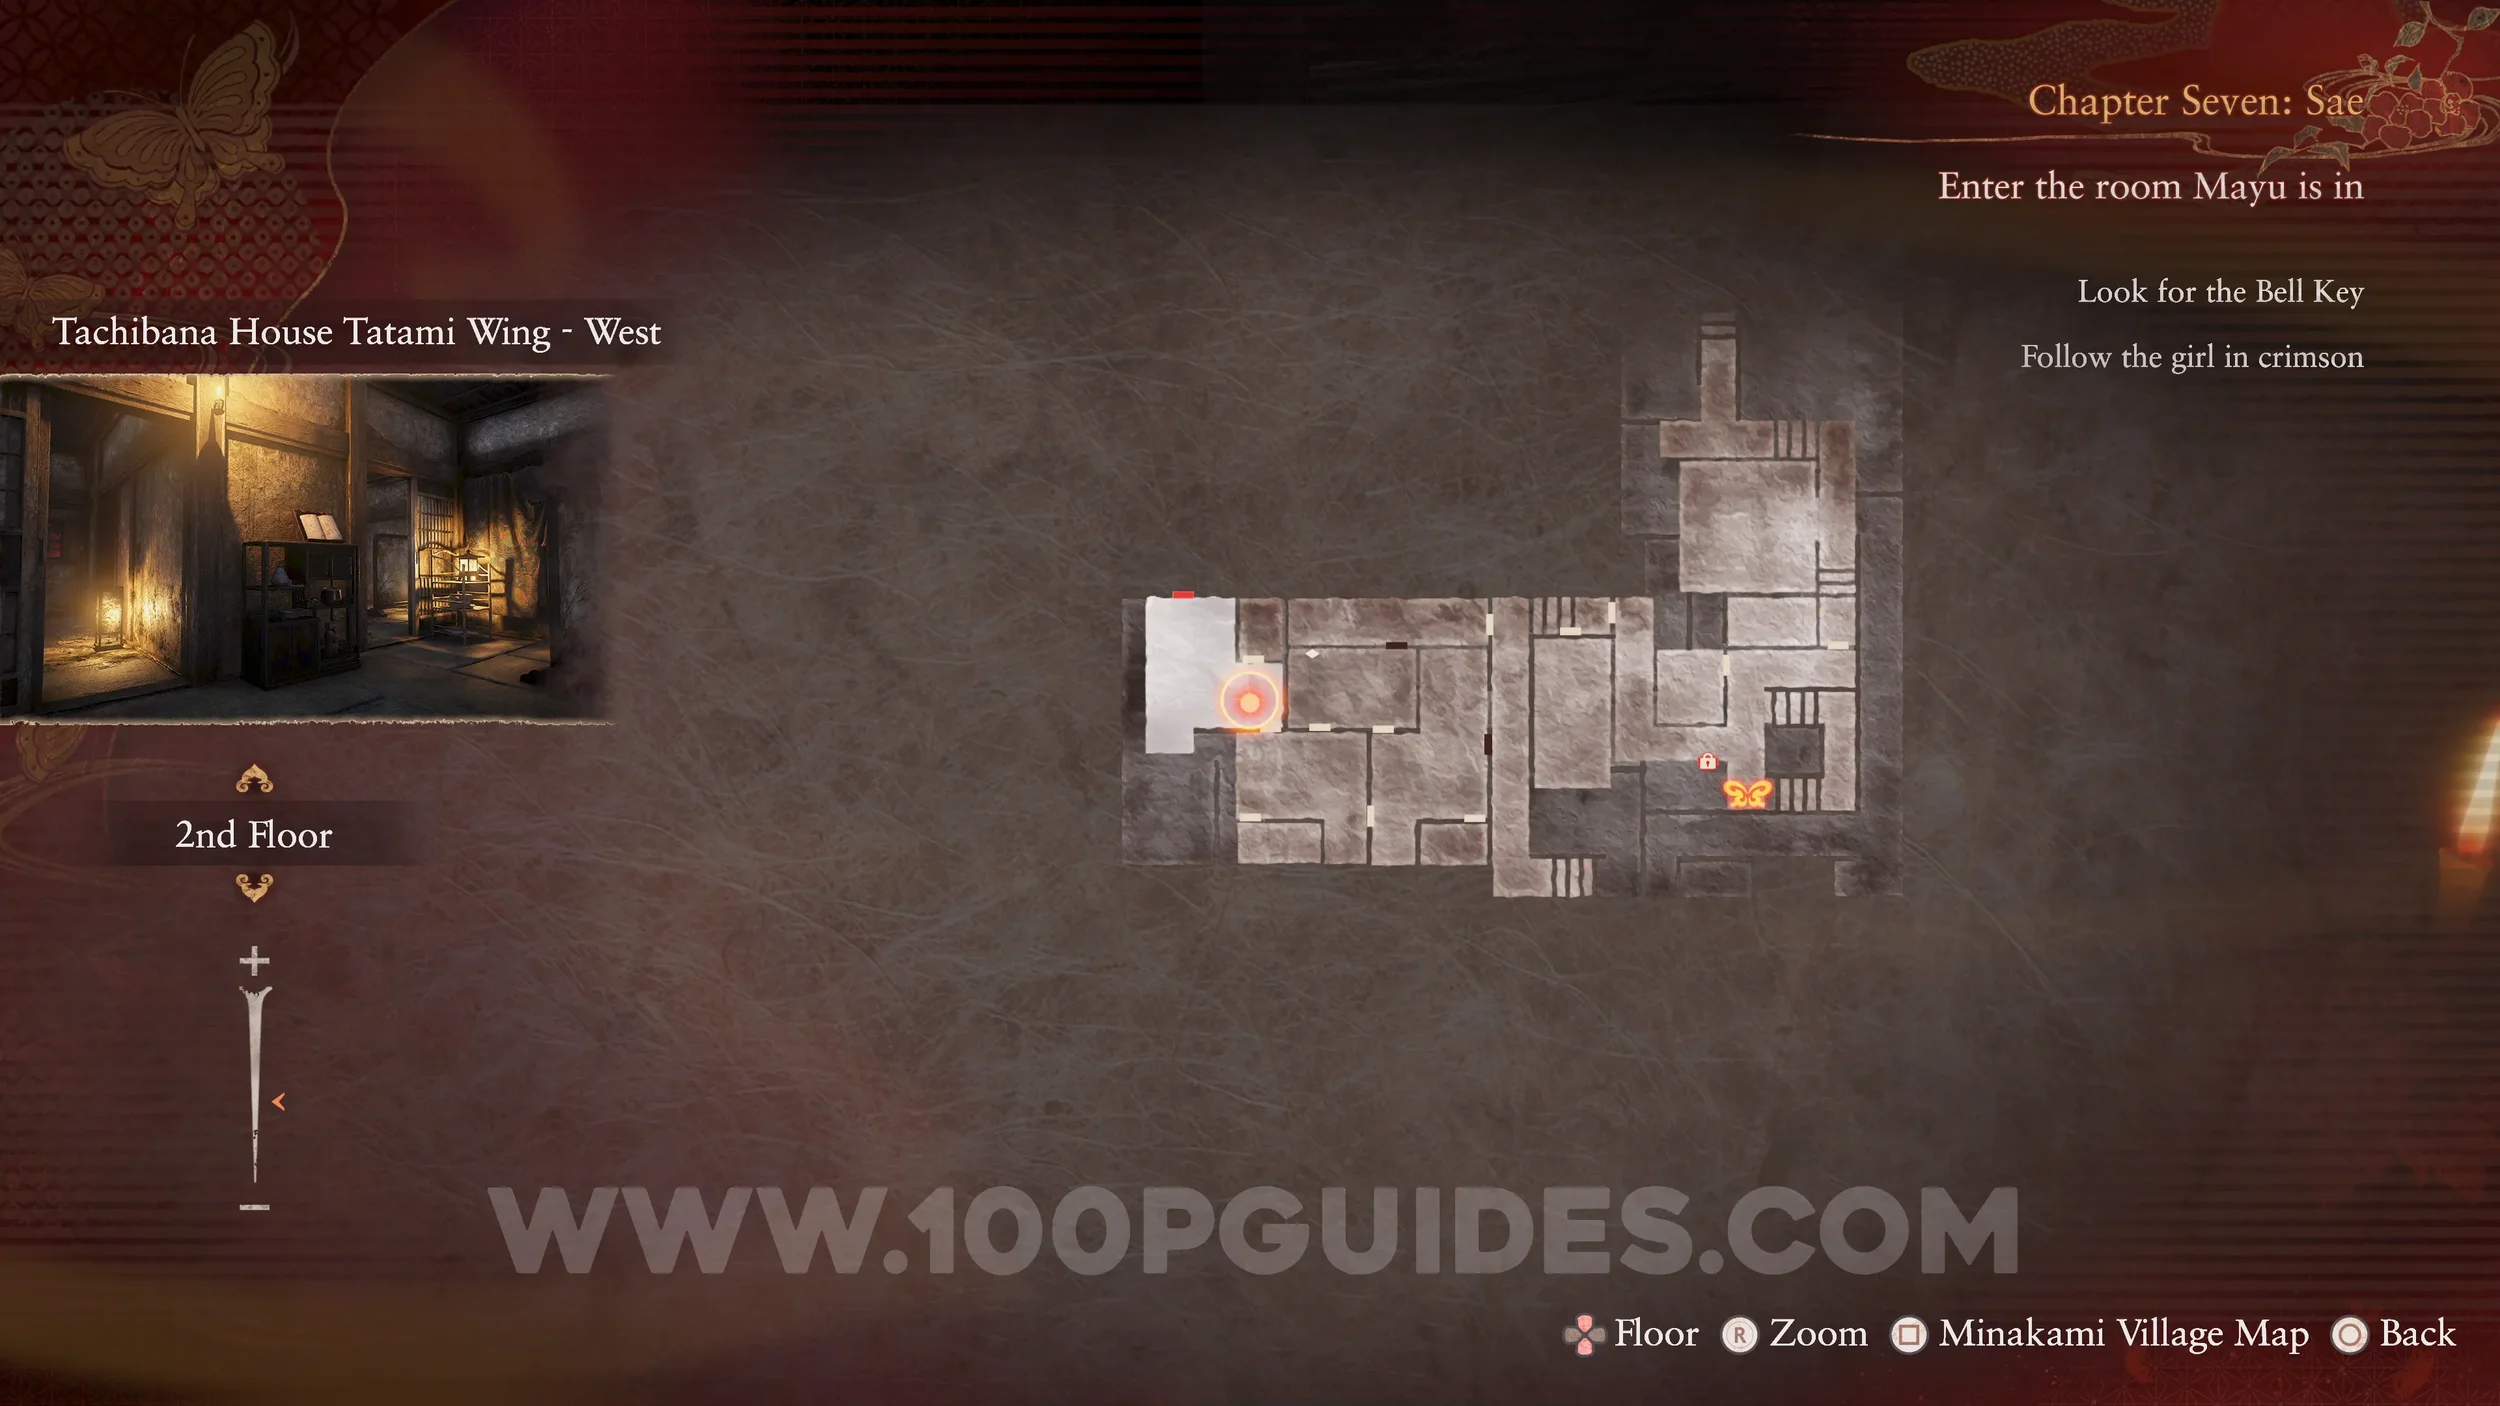
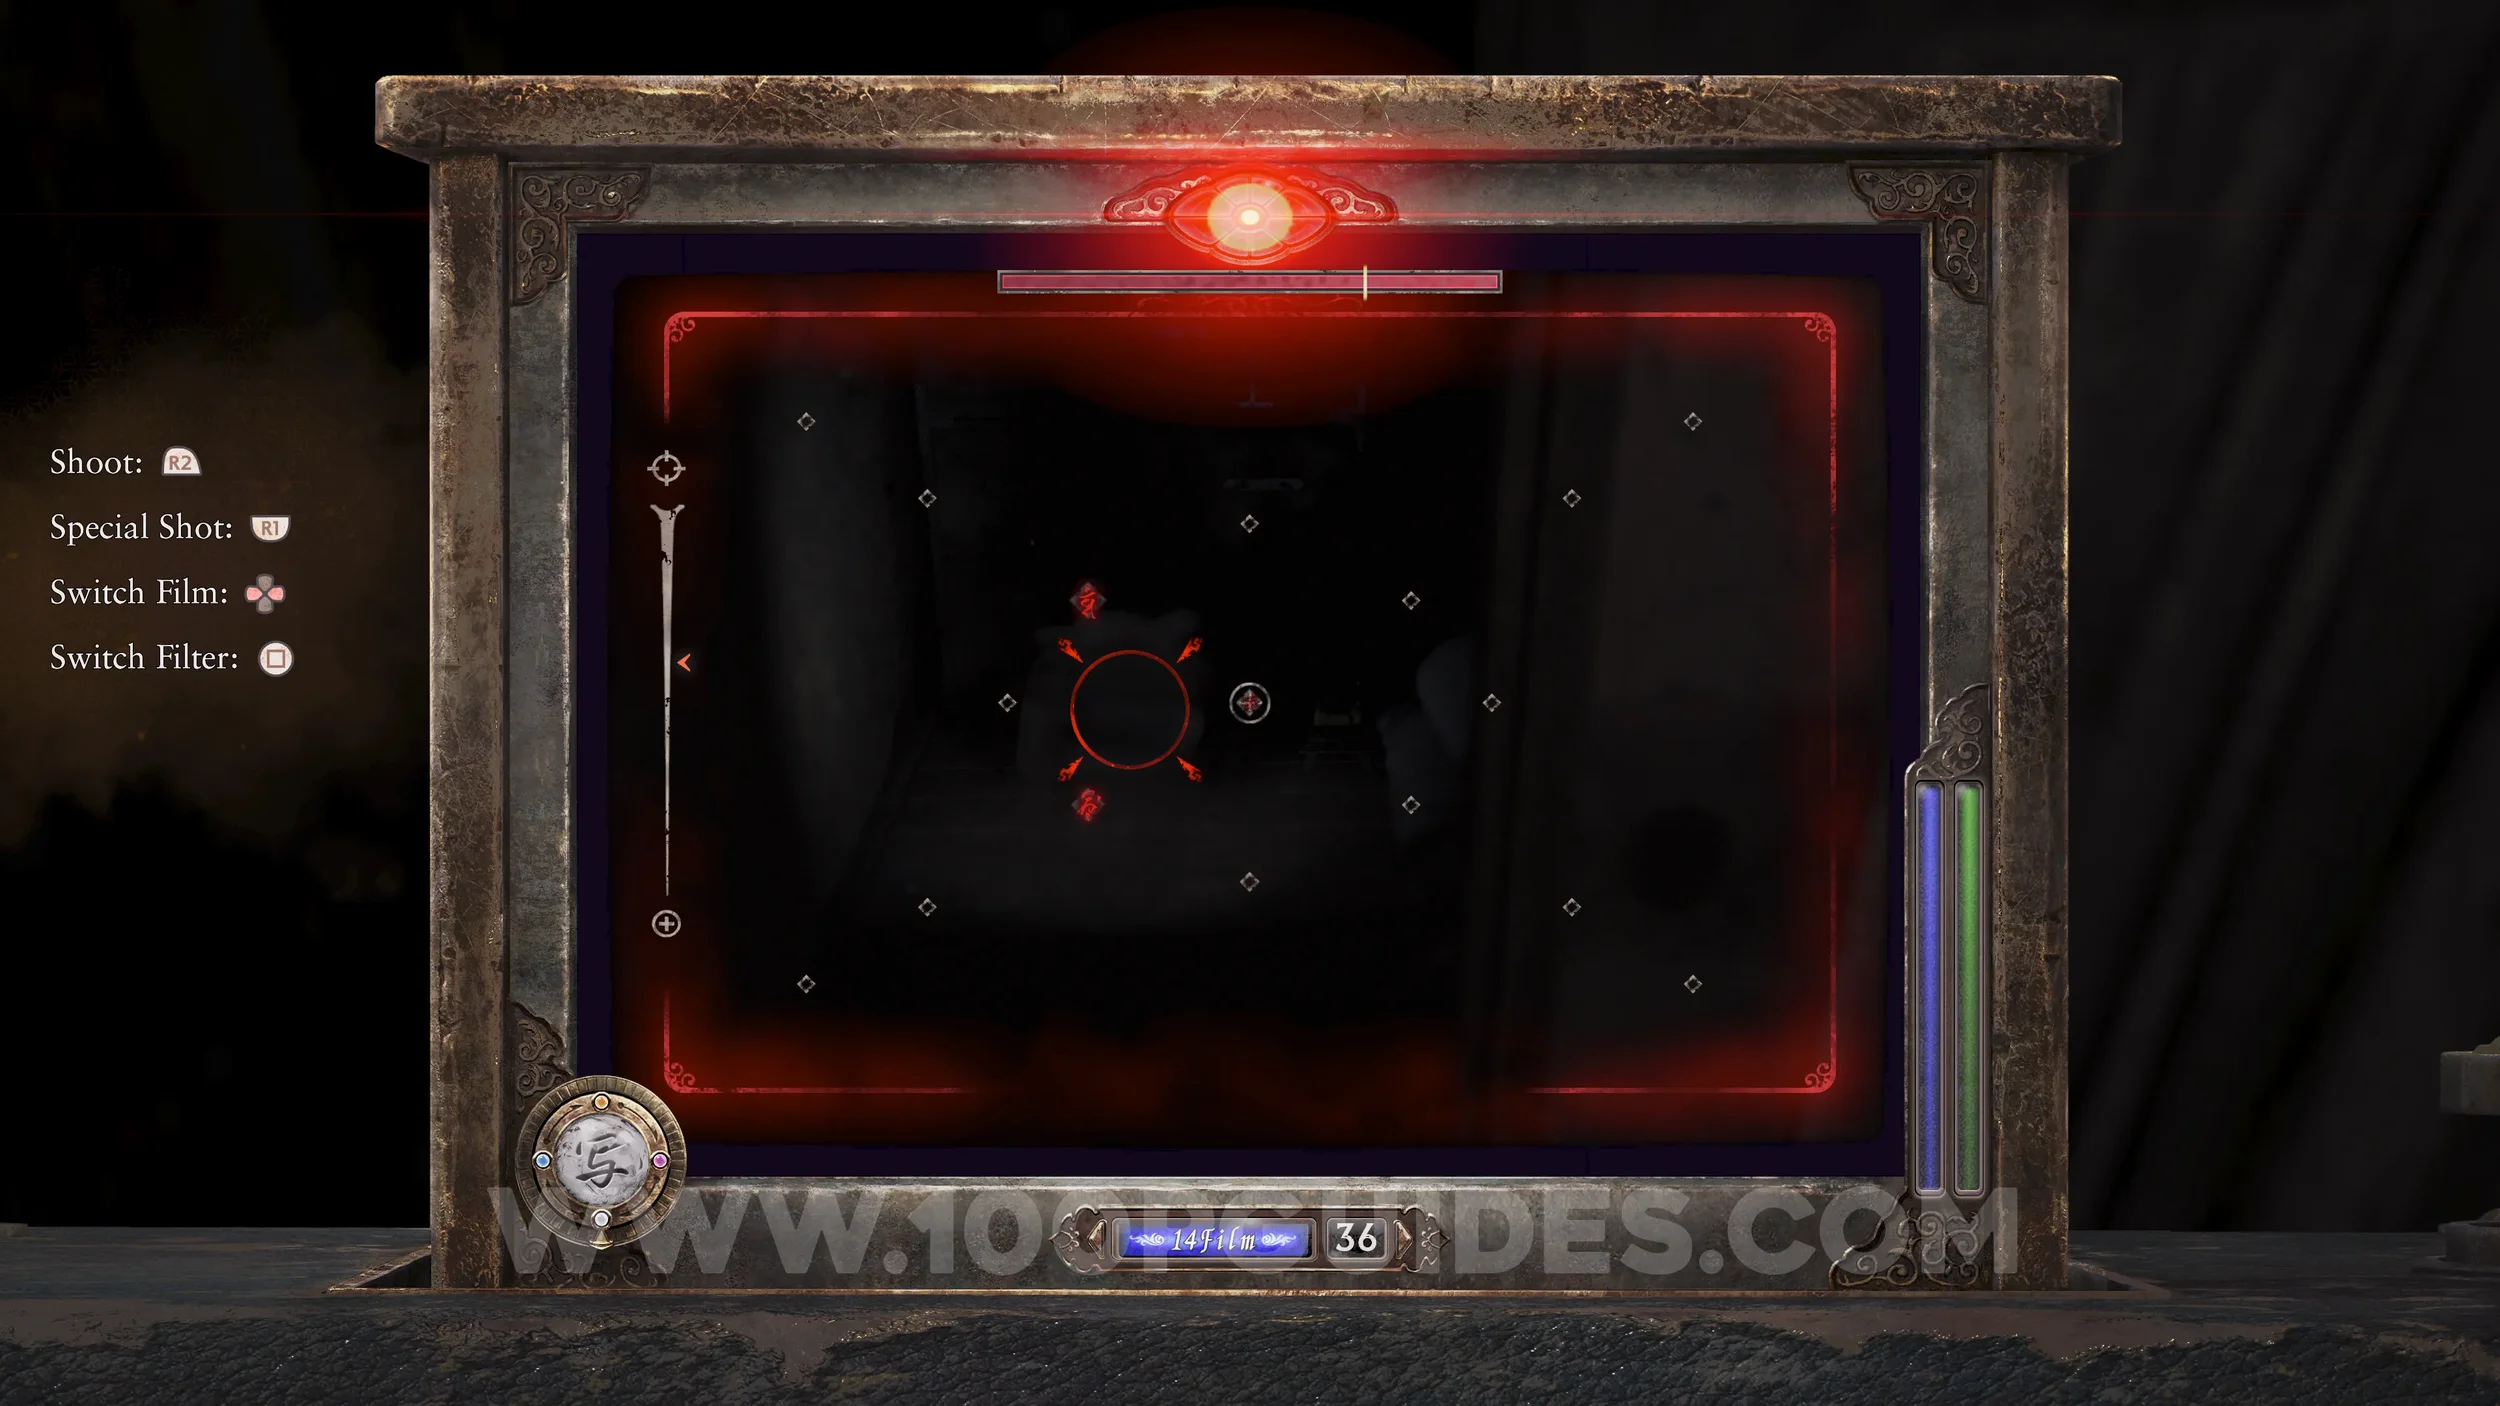
Document #76 - Crimson Diary 2. Left by the previous wraith.
Specter #150 - 111 Fleeing Girl. Return to the main hallway to find the girl again.

Specter #151 - 112 Fleeing Girl. Follow the hallway south and go down the stairs to the save room, where you can find her again.
Specter #152 - 113 Running Child. Follow the specter through the door next to the save point. Then turn left to see the girl running down the corridor.

Document #77 - Crimson Diary 4. Follow the girl into the next room. Here, open the closet on the right and she will run into the room to the south. Once there, take a photo of her and she will drop the document.
Prayer Beads #66. In a pot near the door in the room where you picked up the previous document.
Specter #153 - 114 Runaway Girl. Return to the previous hallway to see the girl again.
Document #78 - Crimson Diary 3. In the room at the end of the hallway where the previous specter ran into.
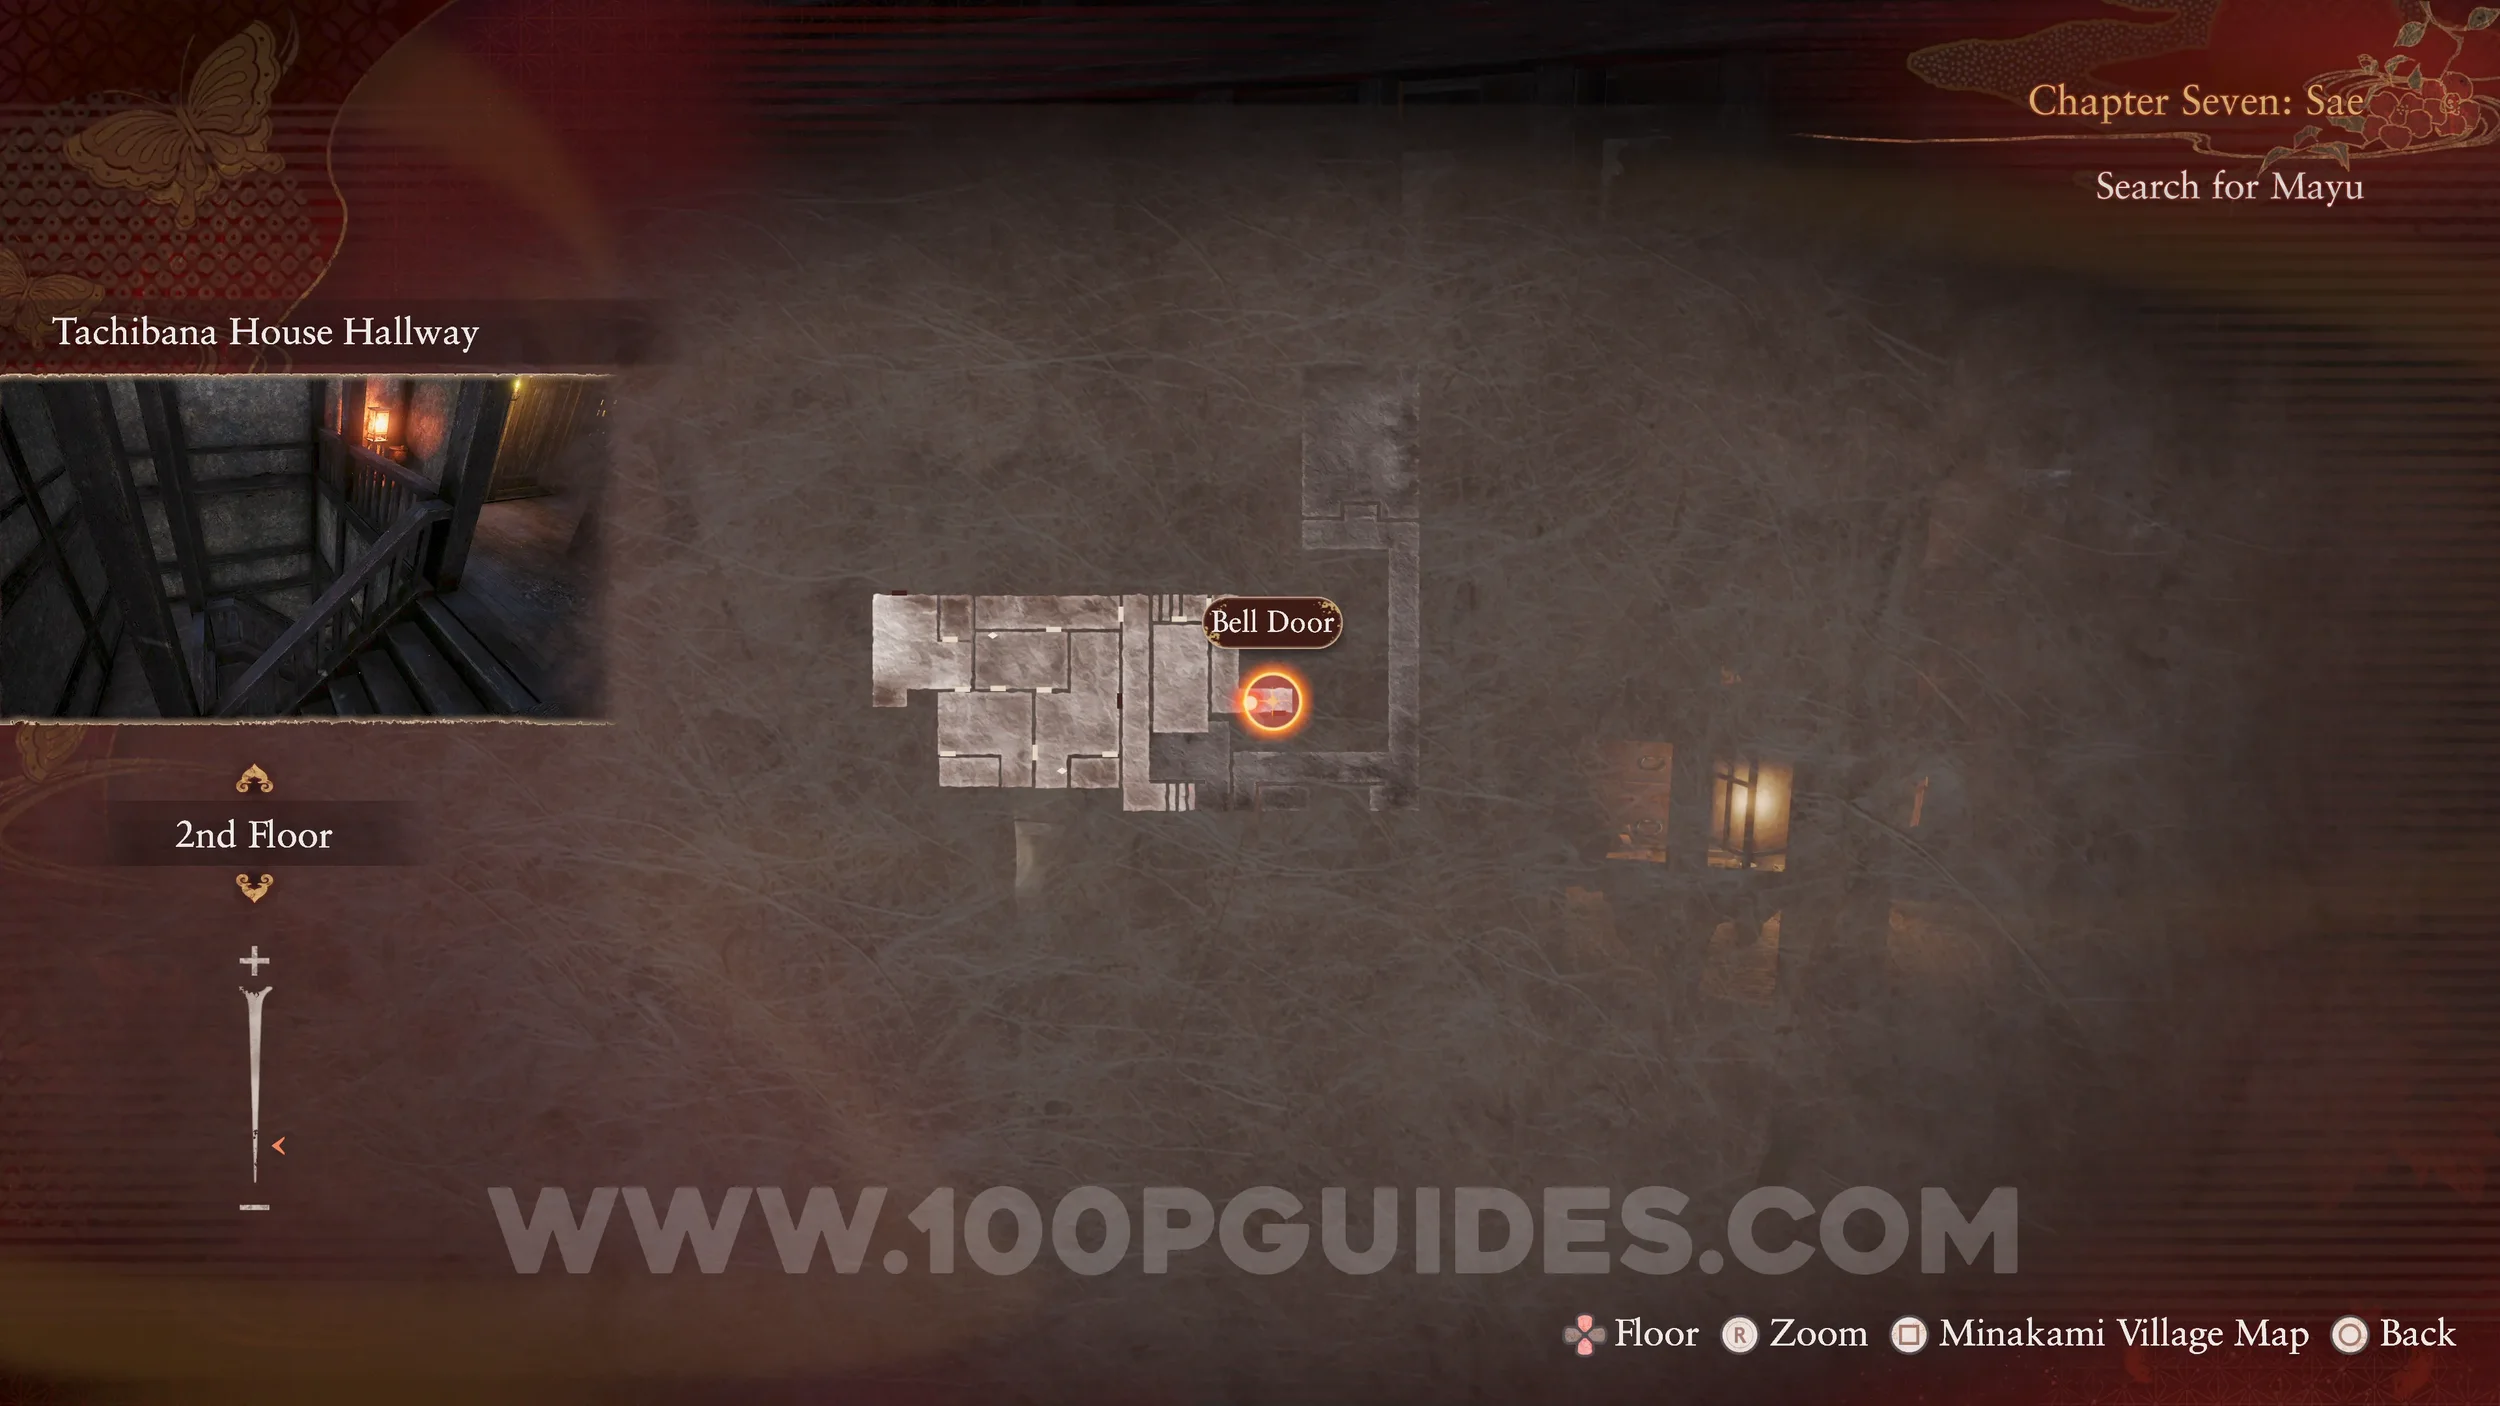
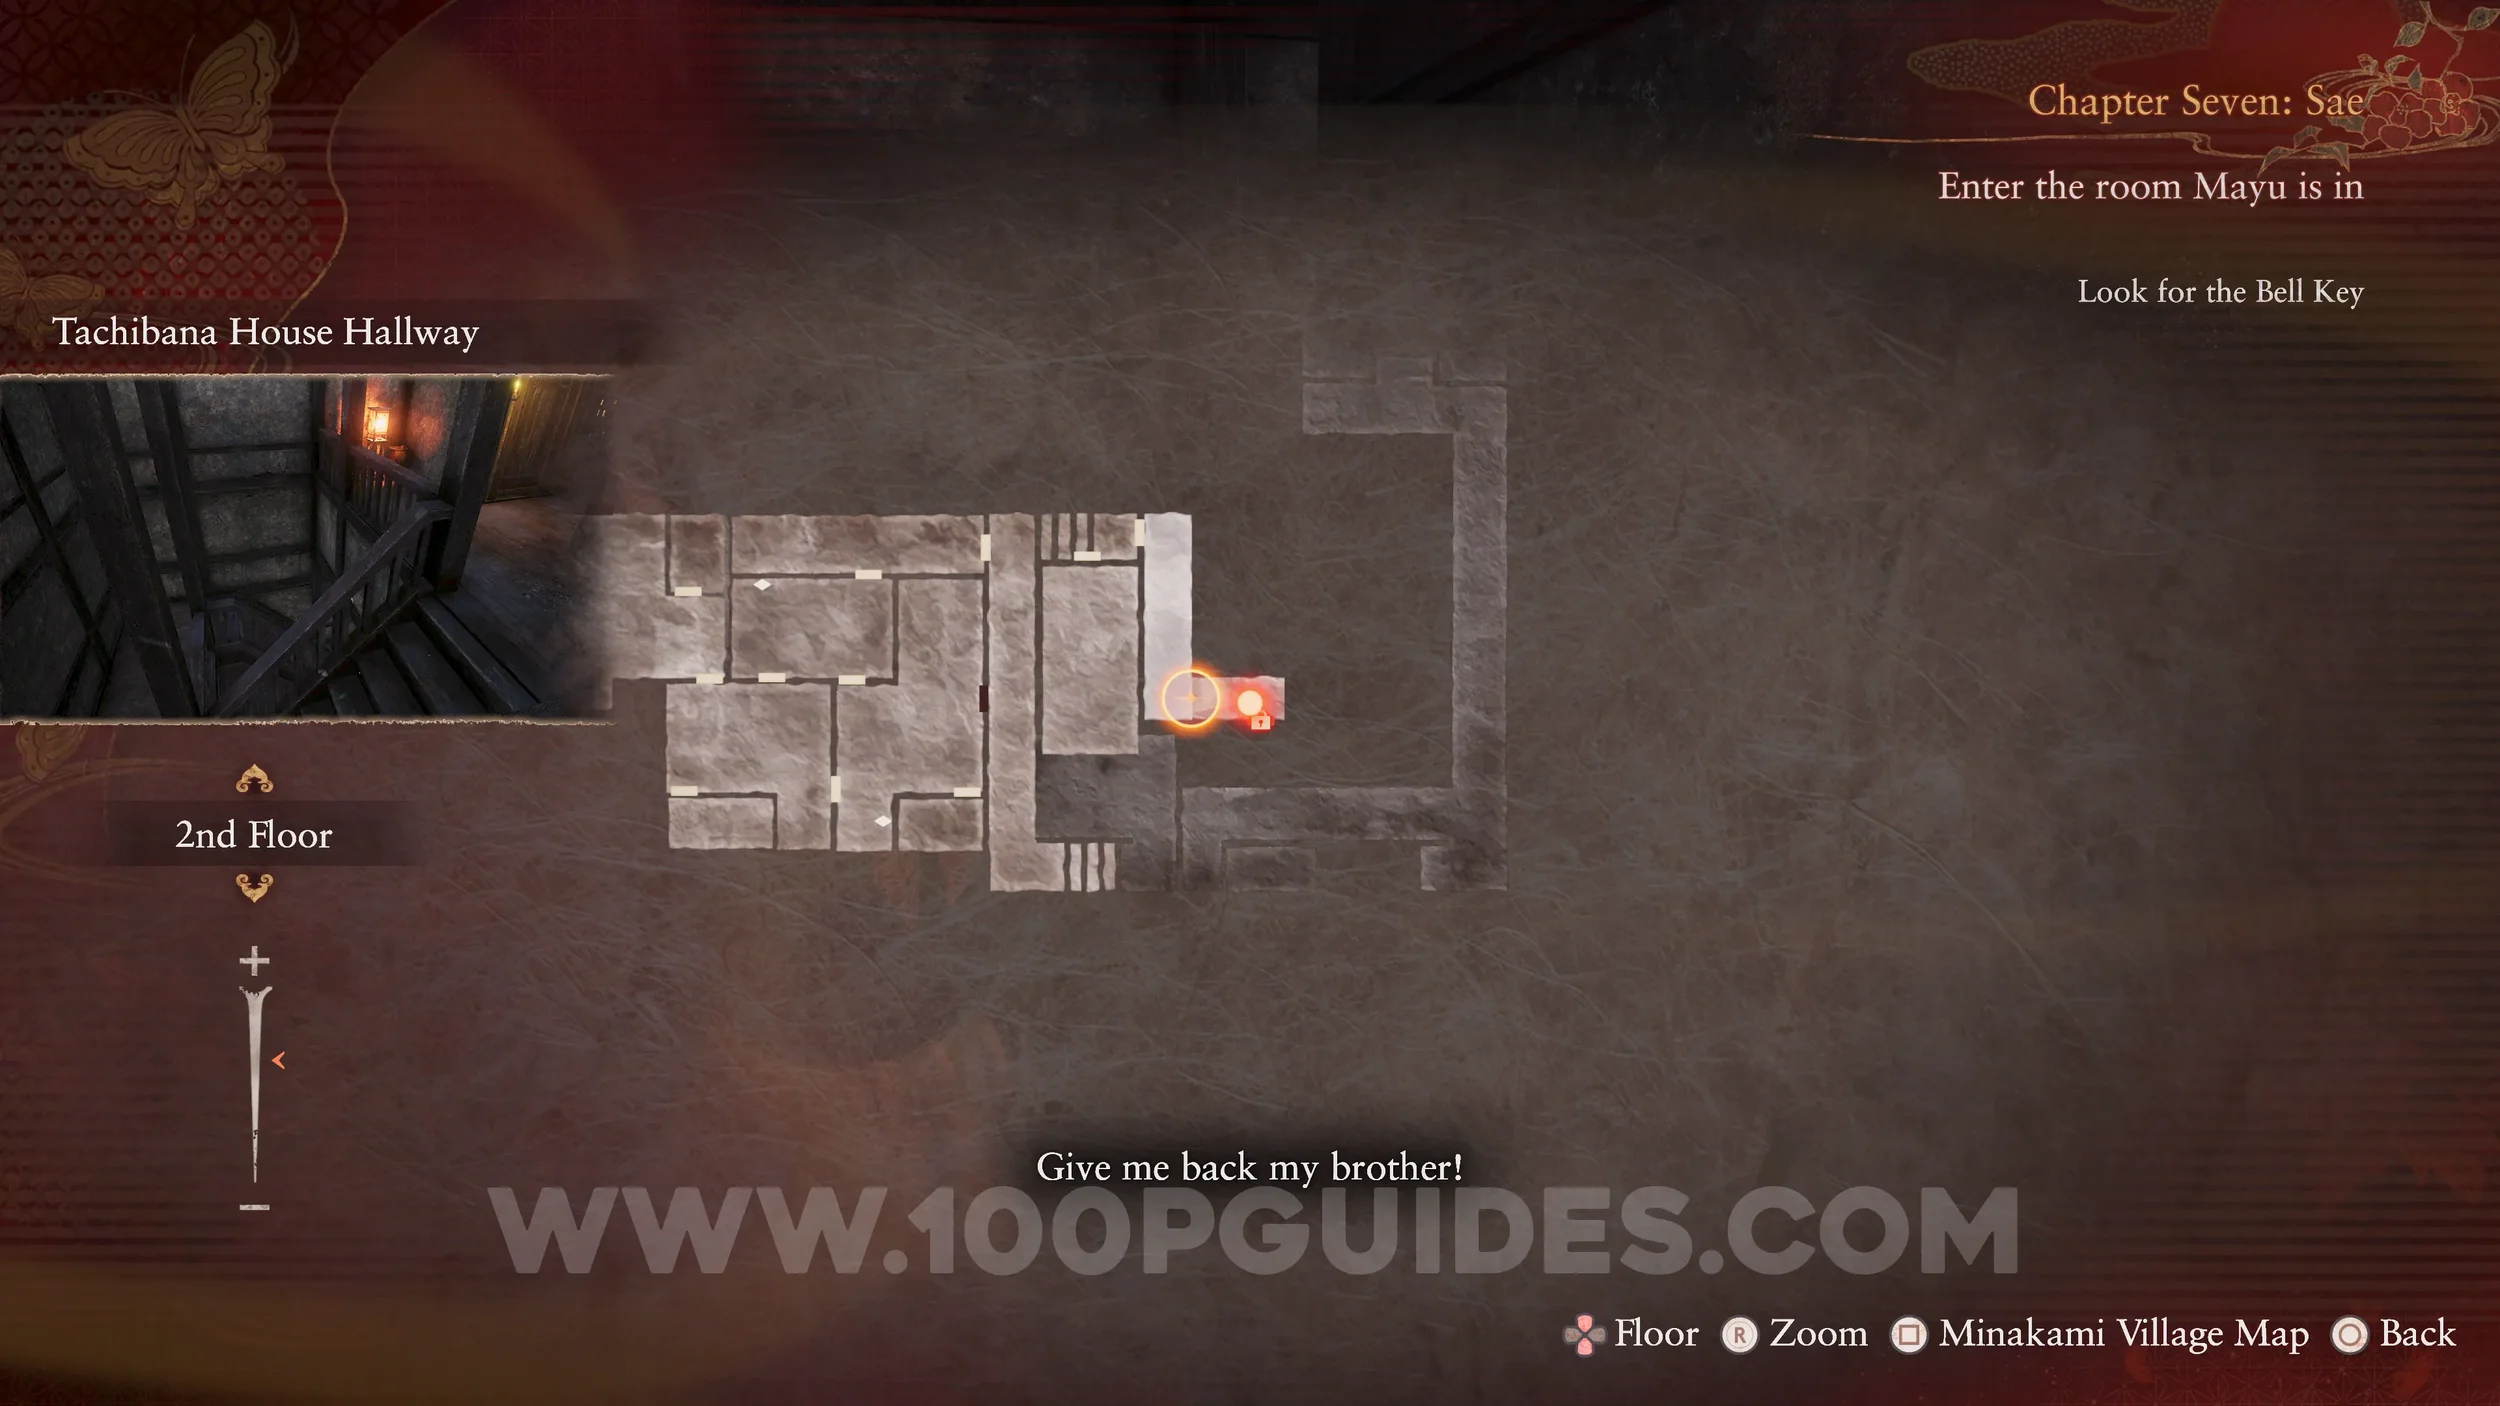
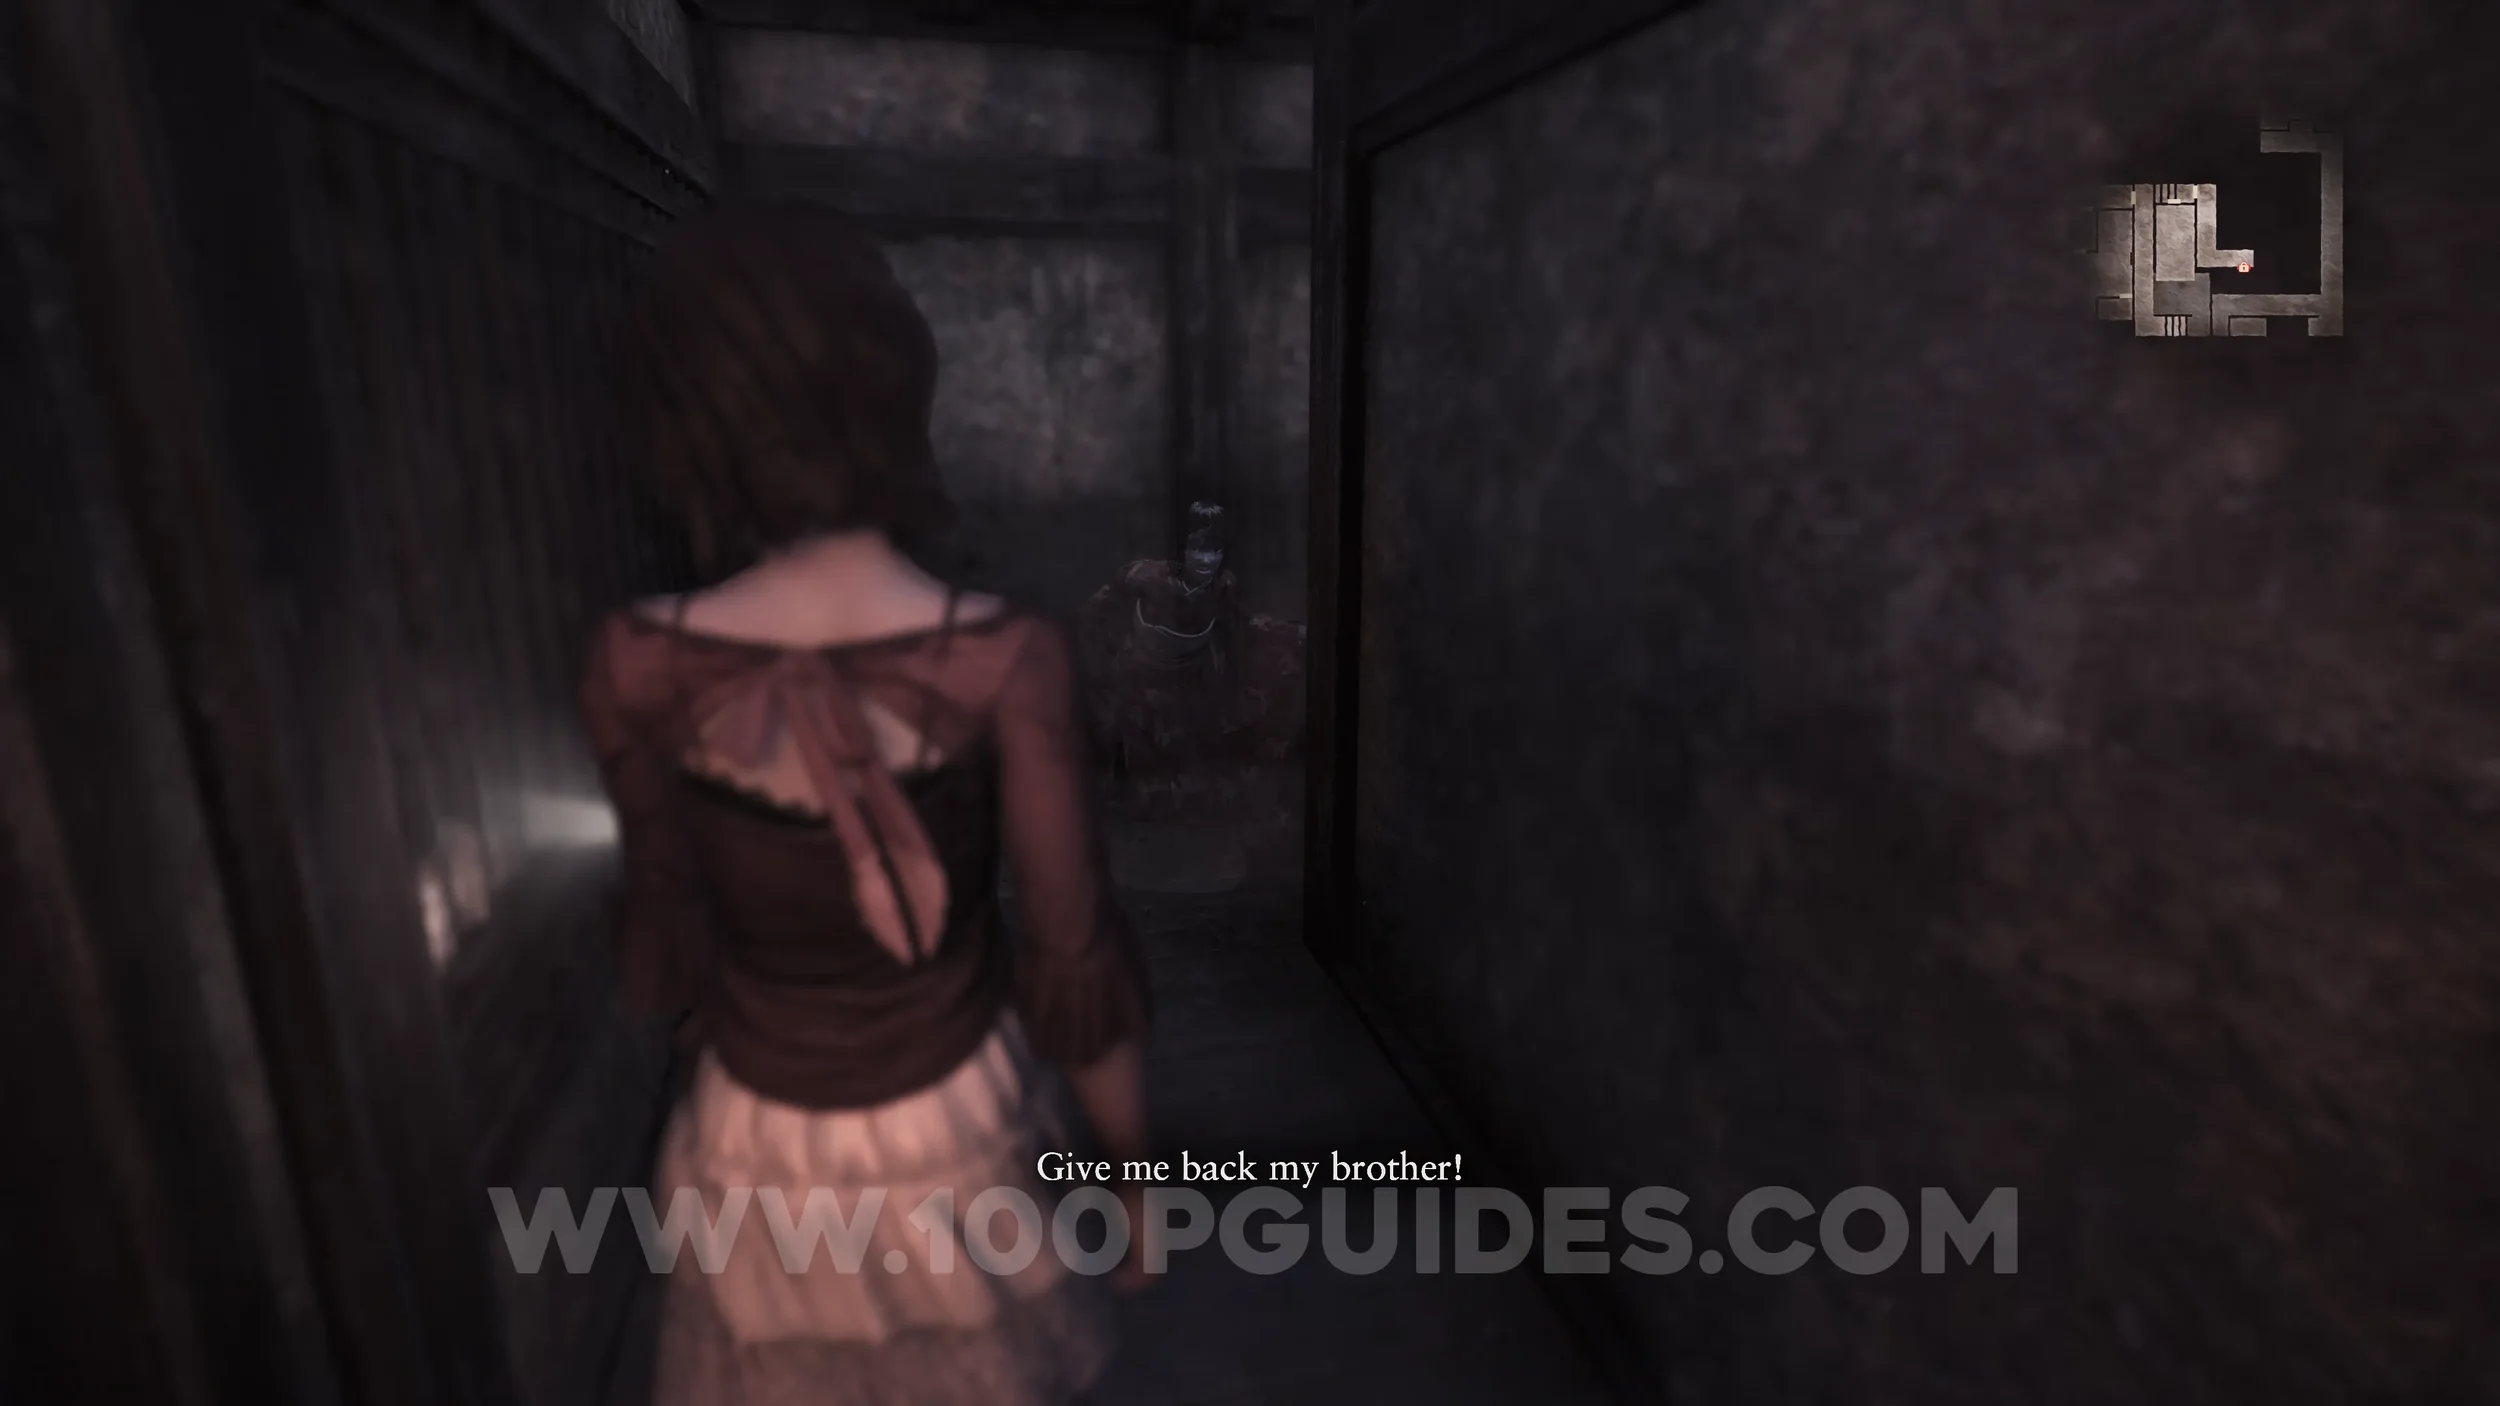
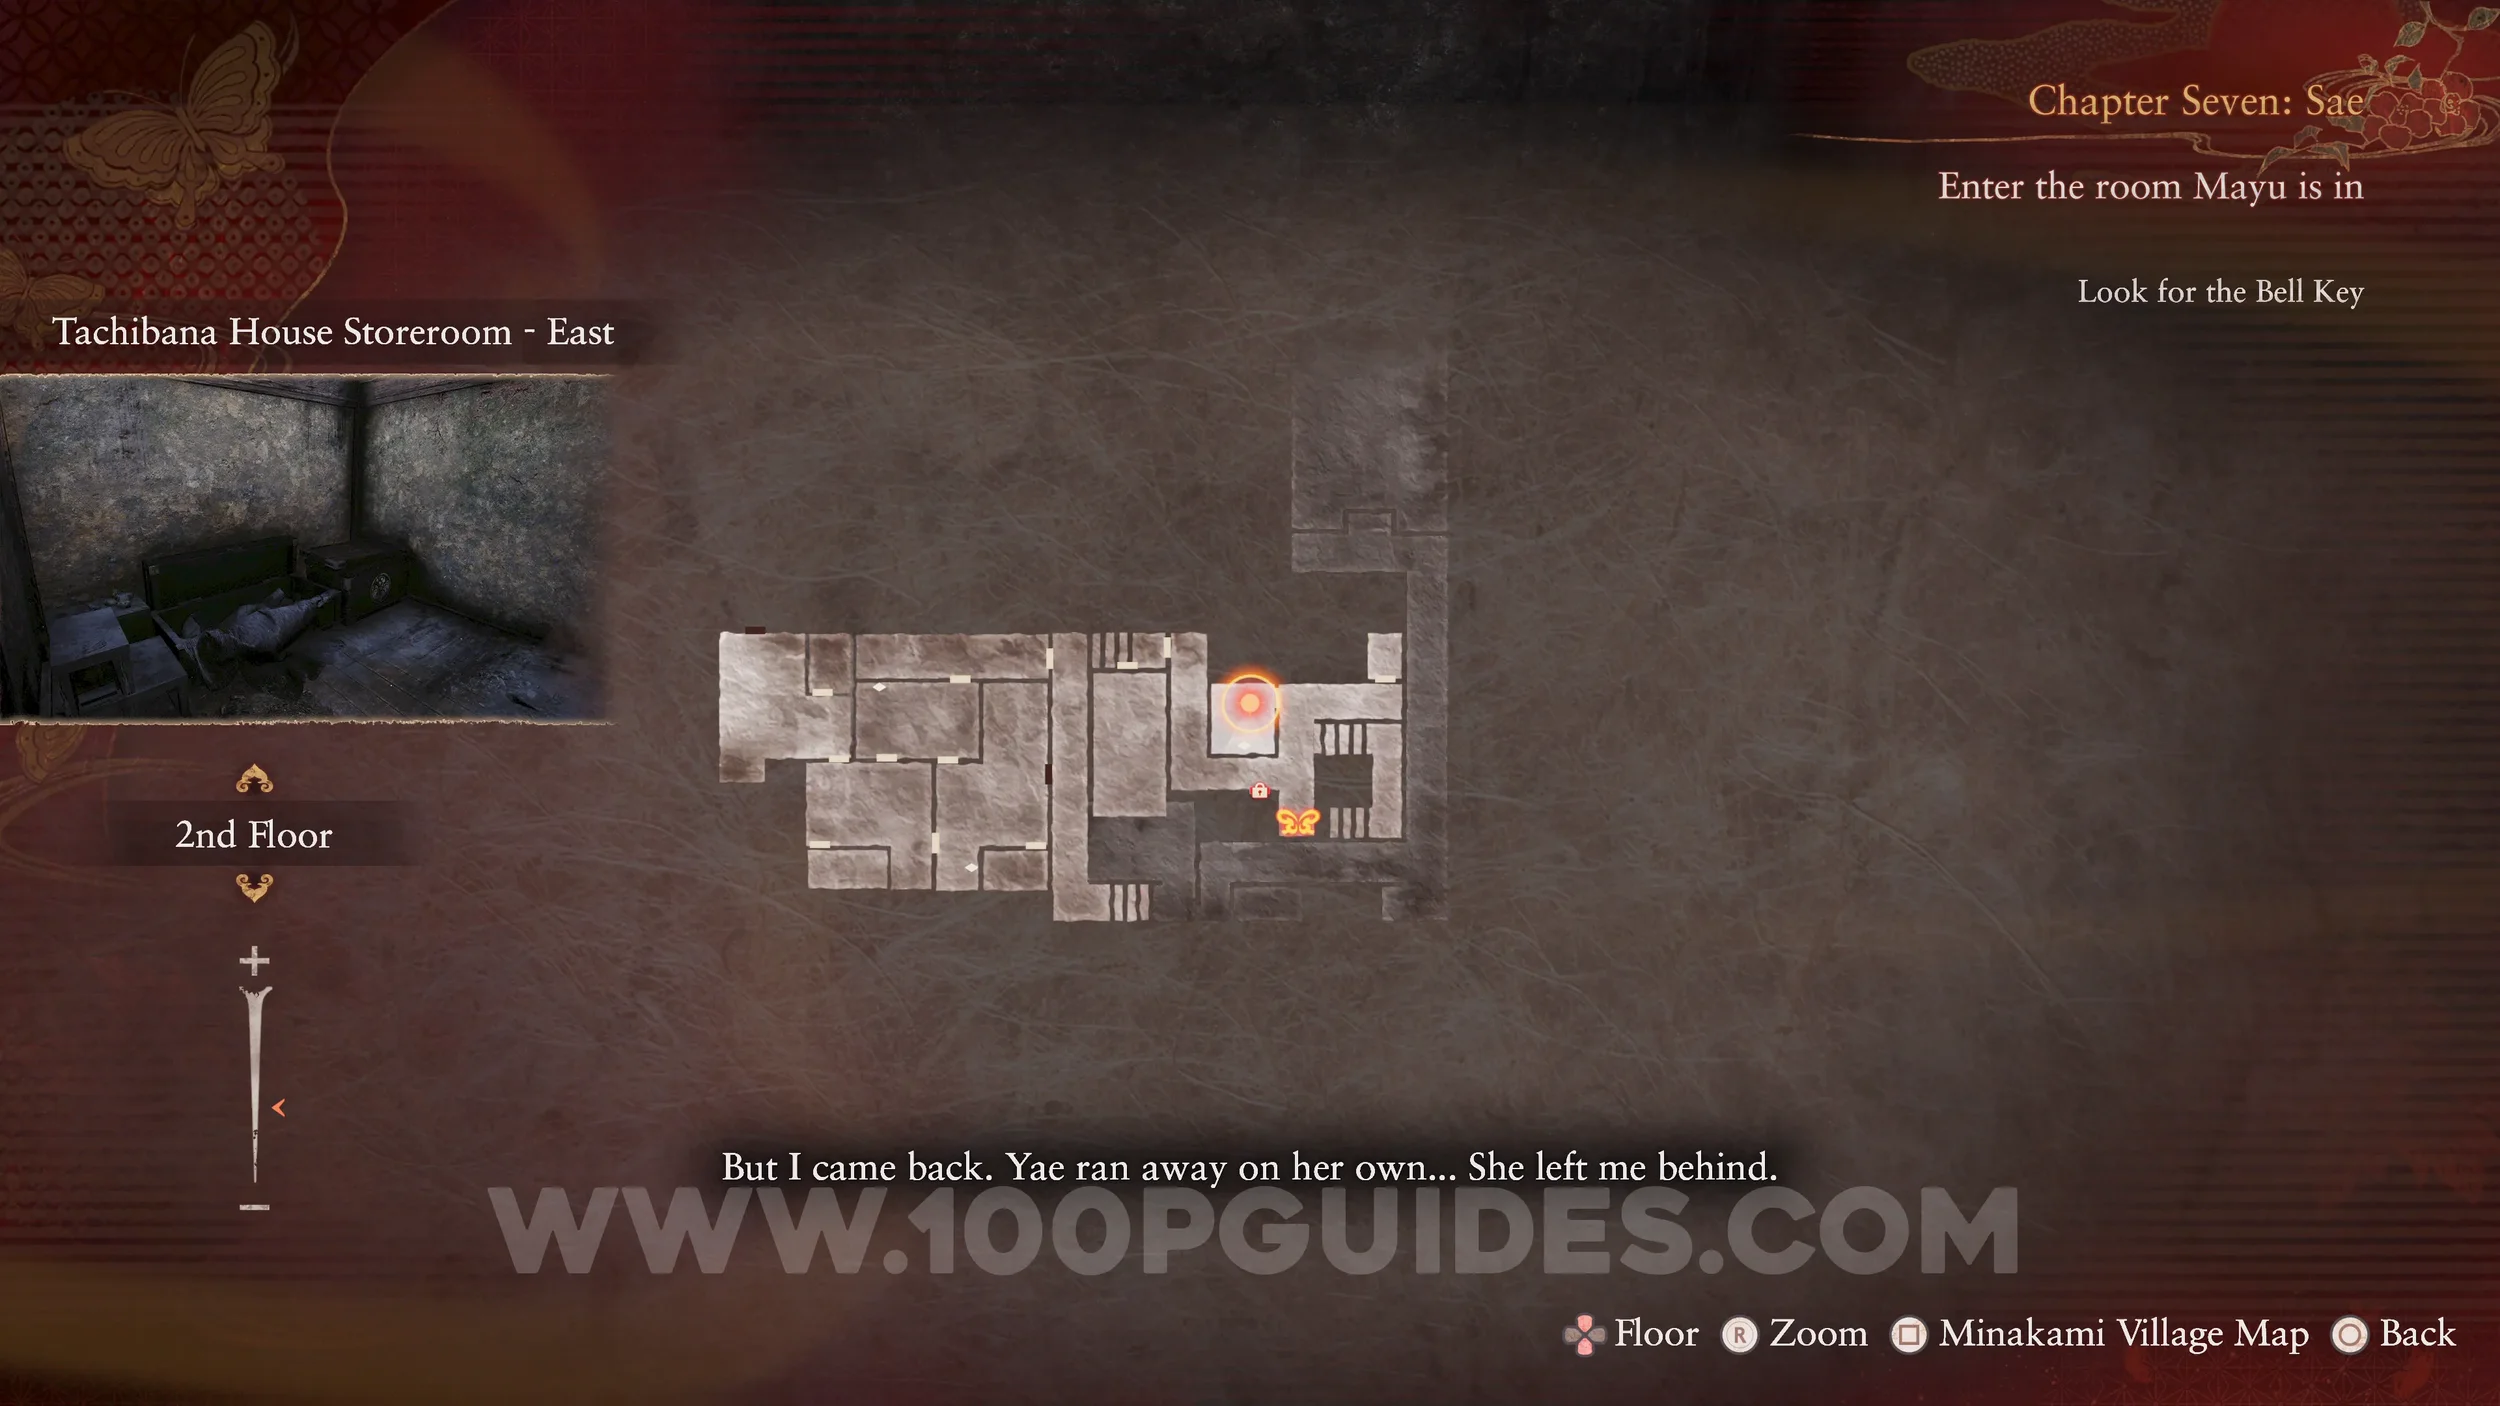
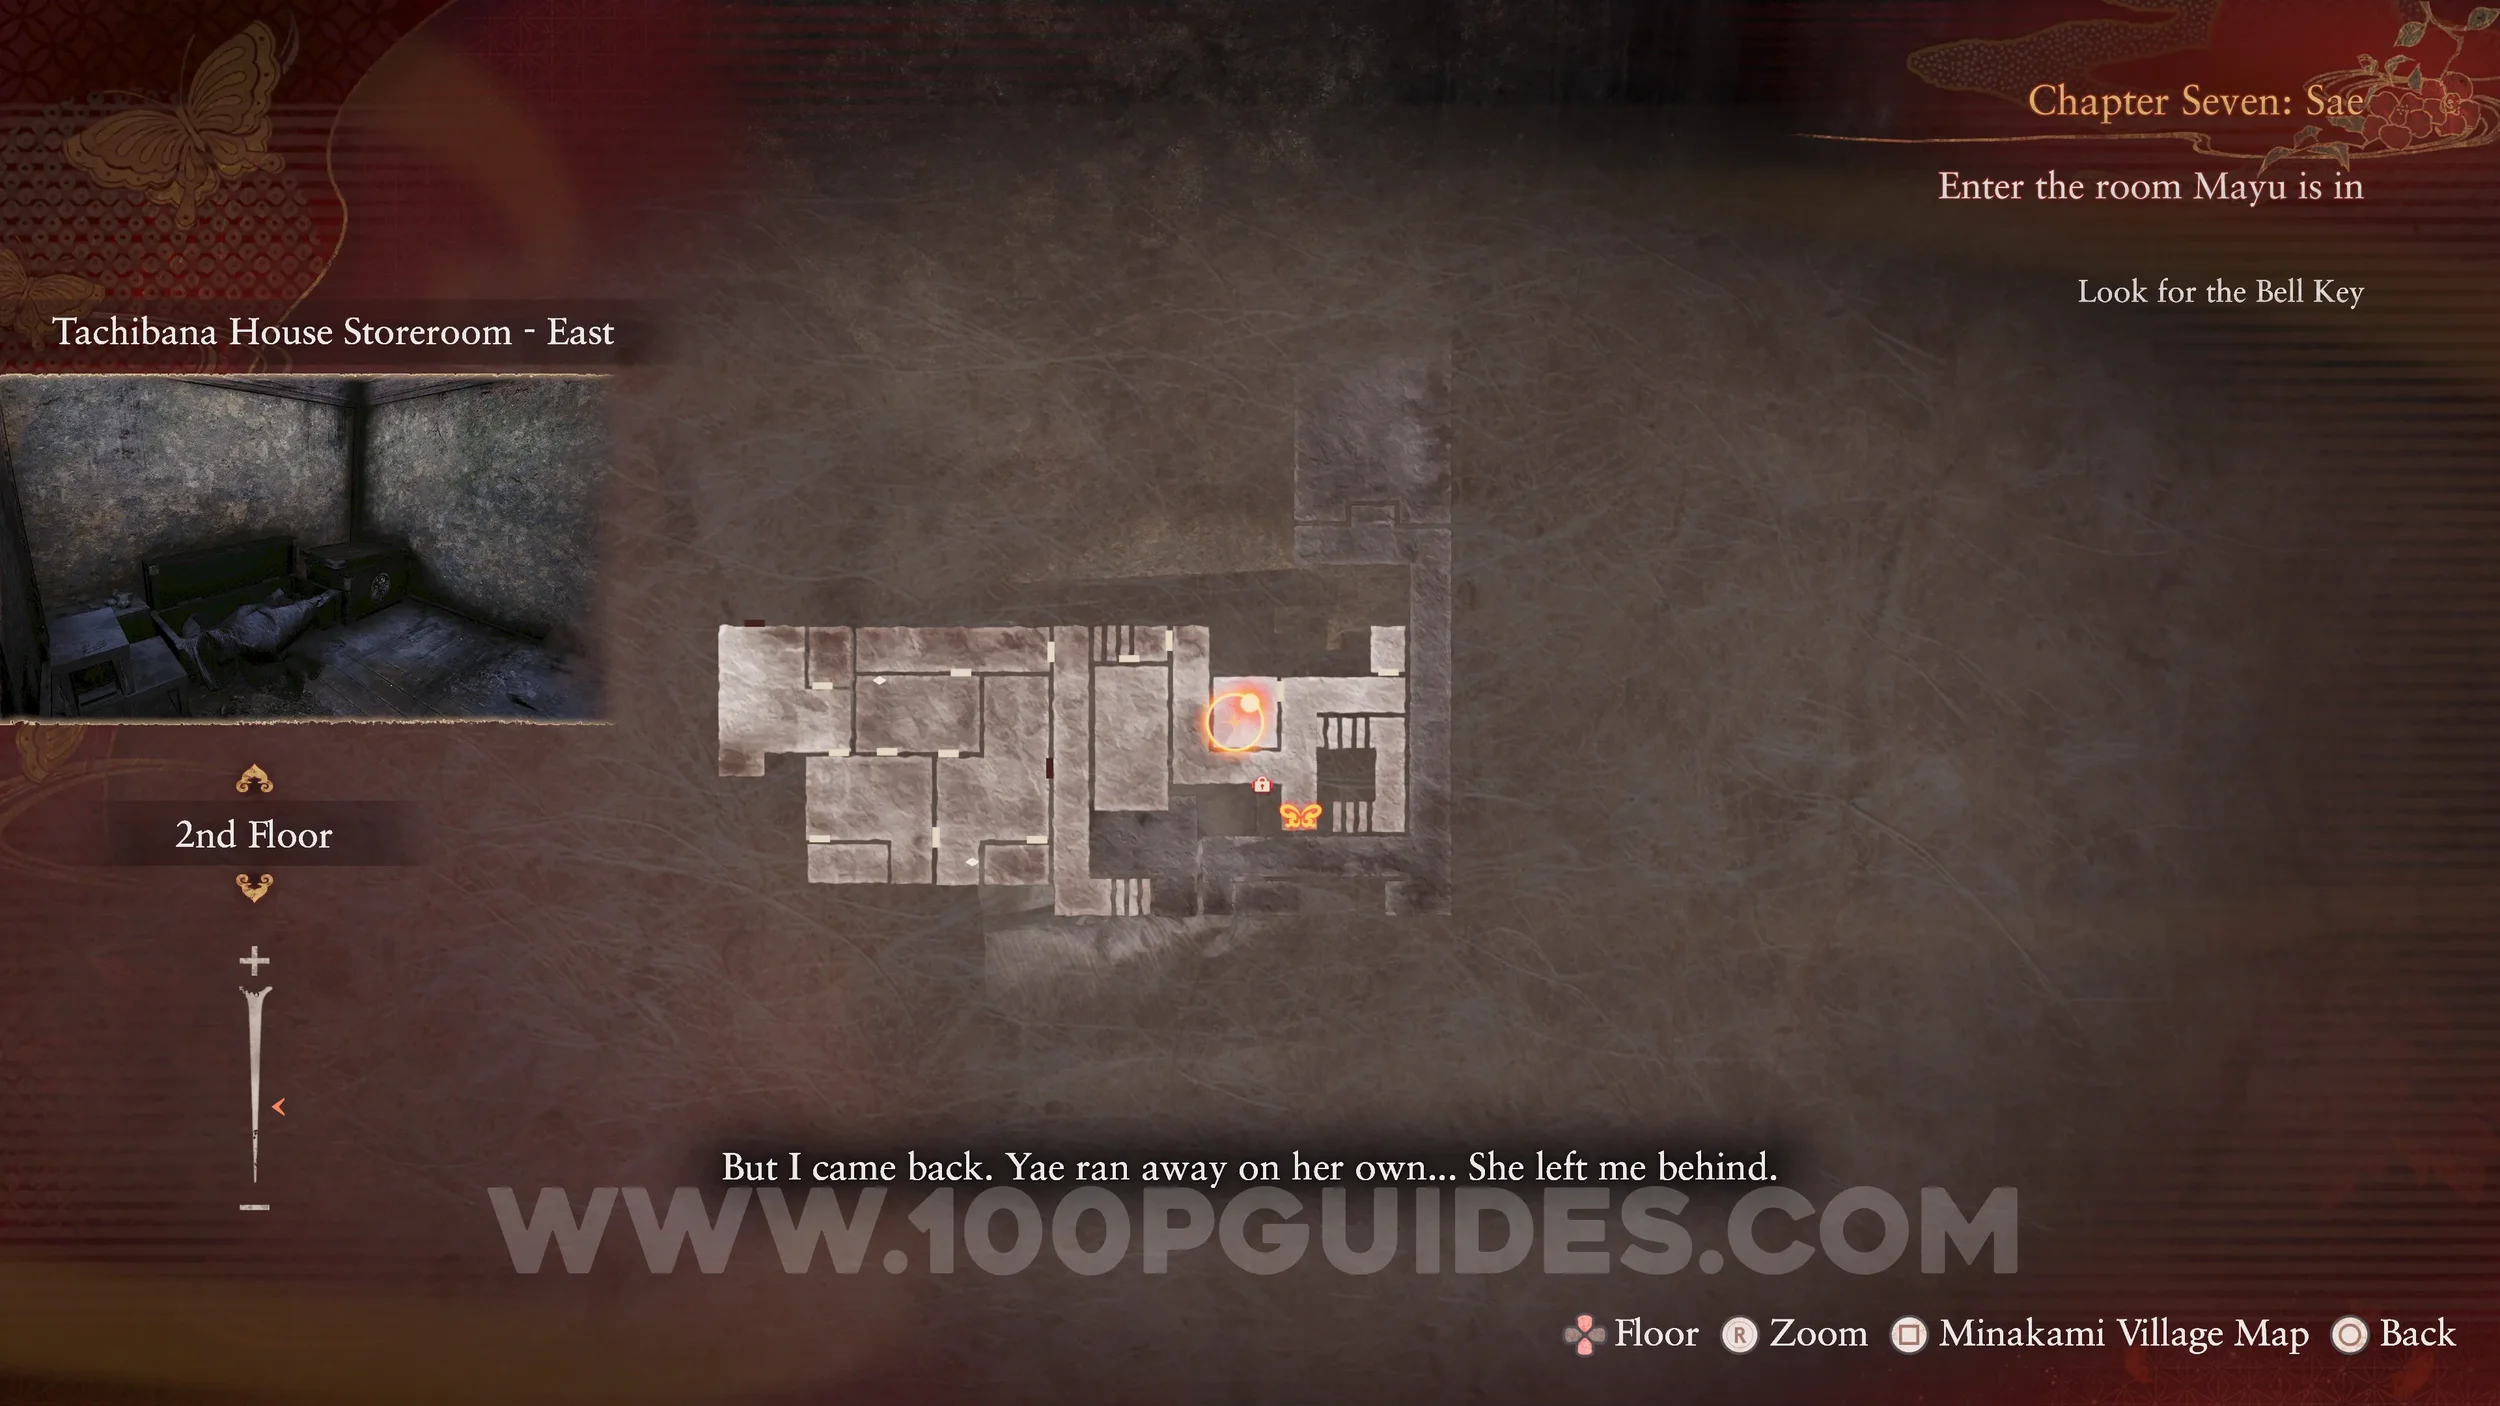
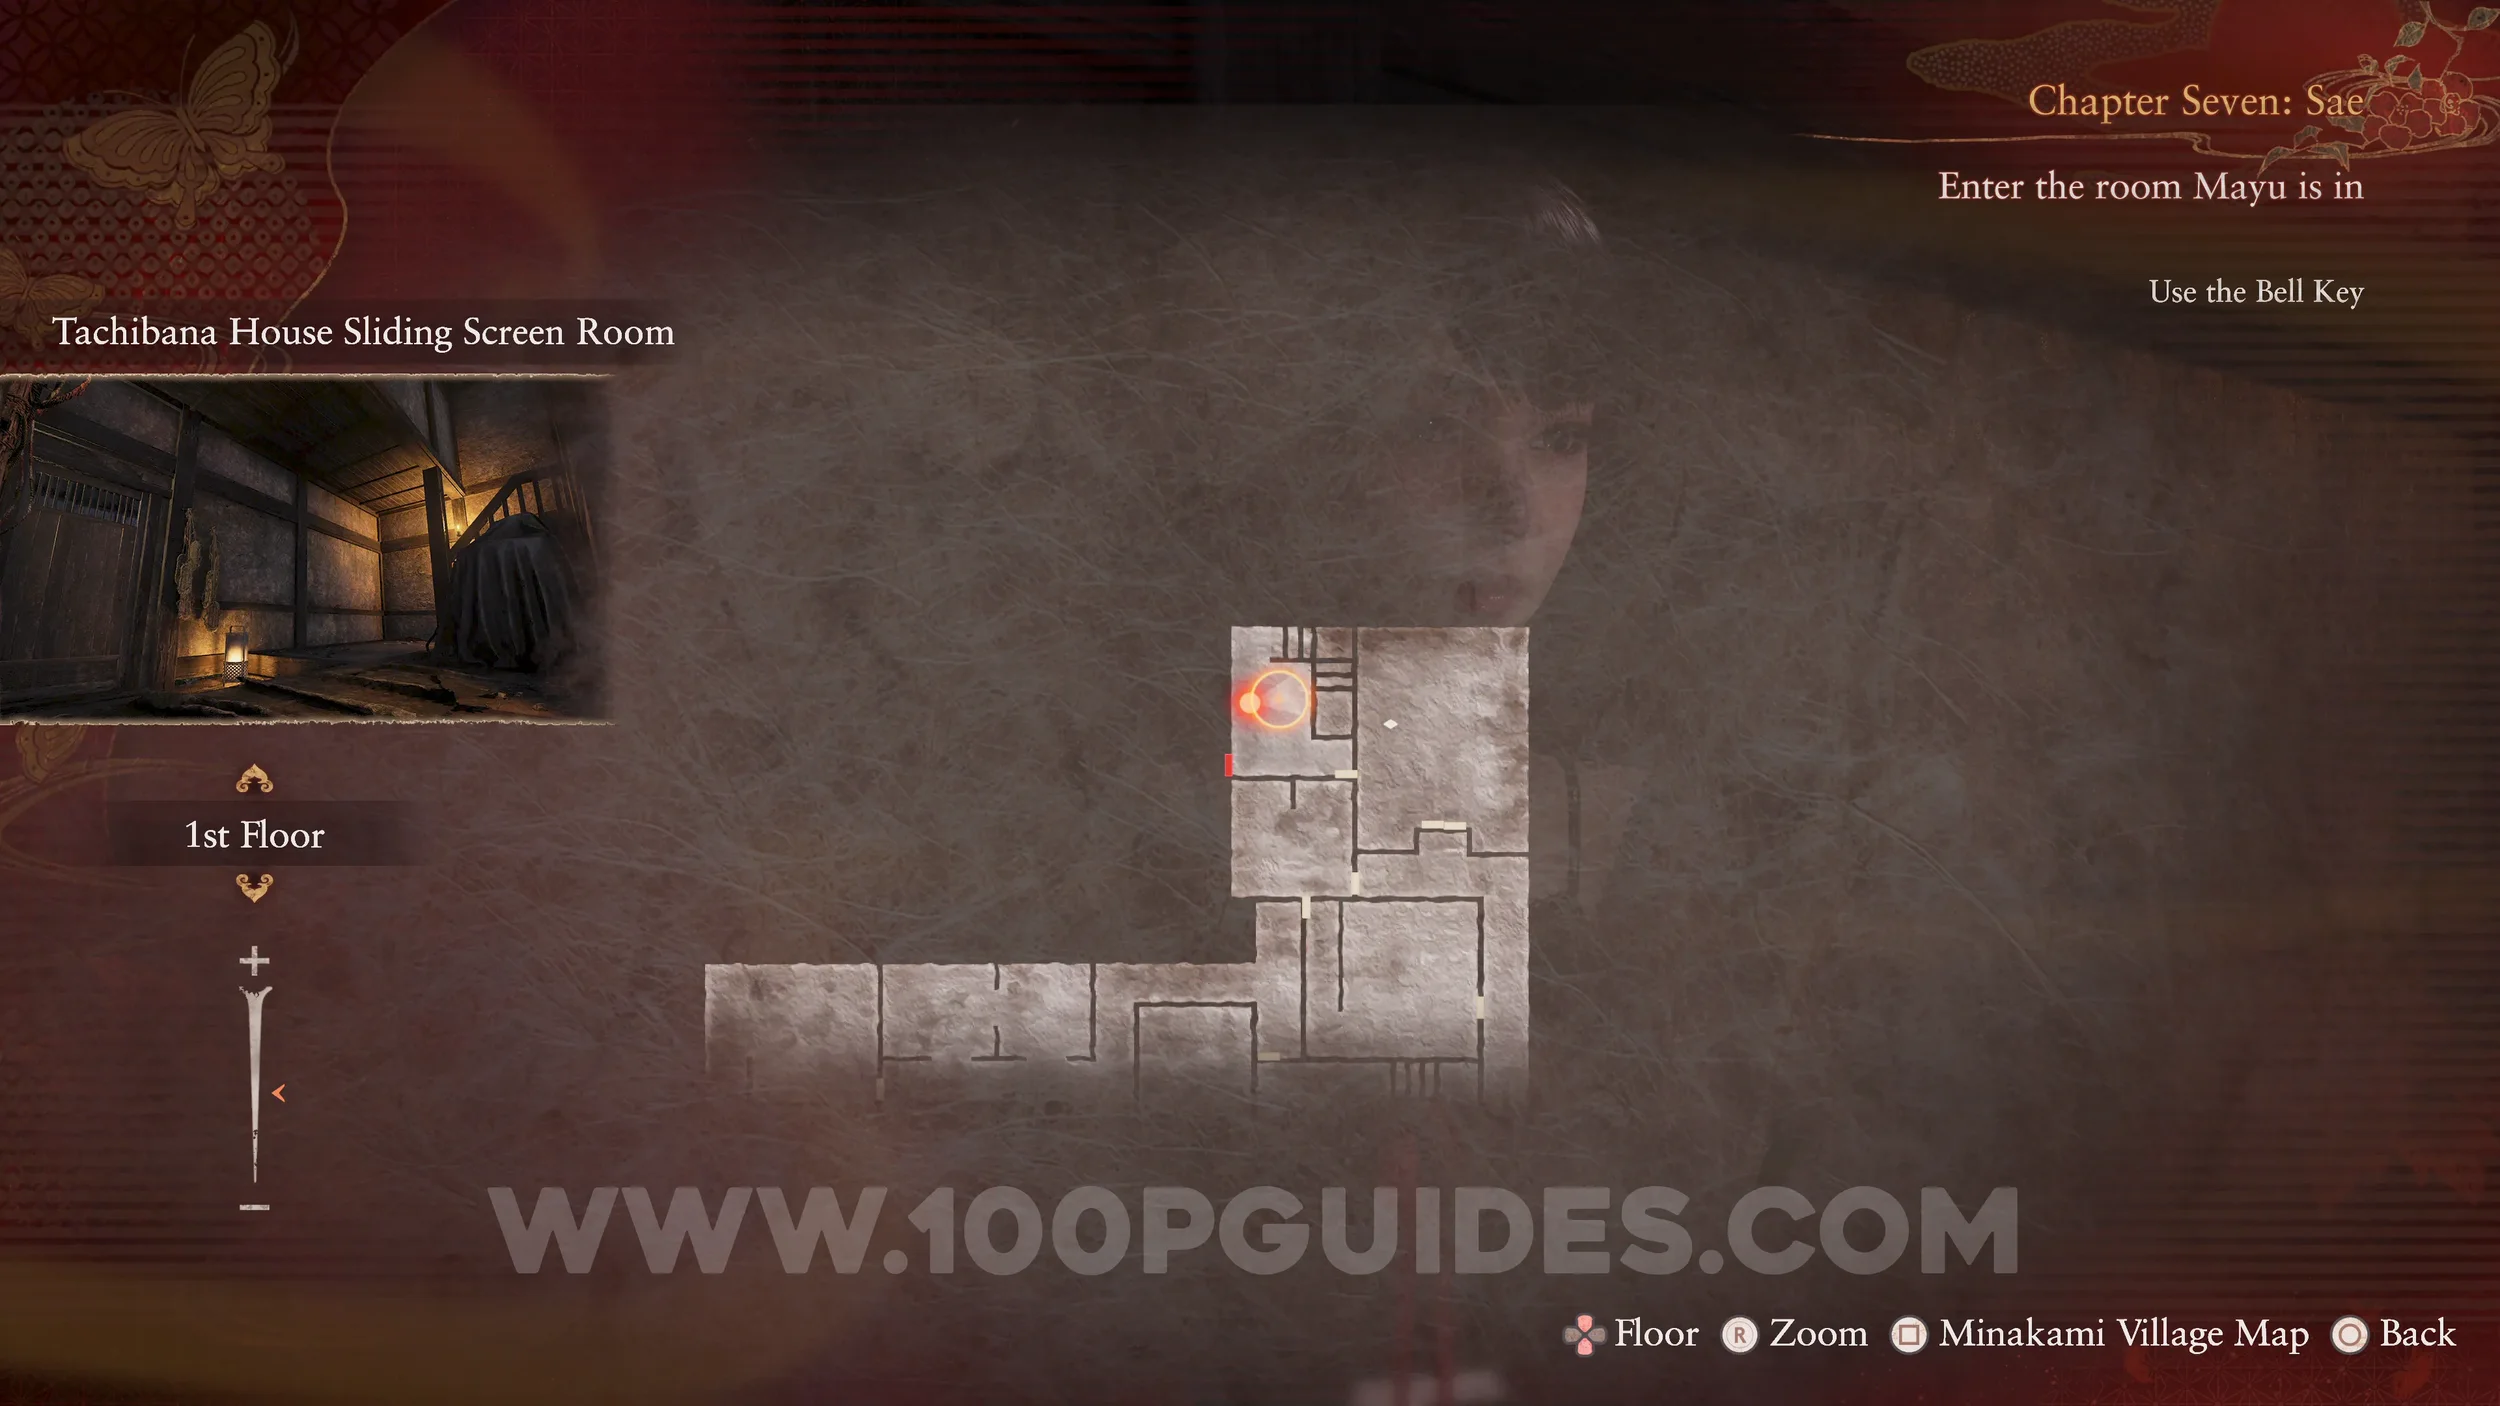
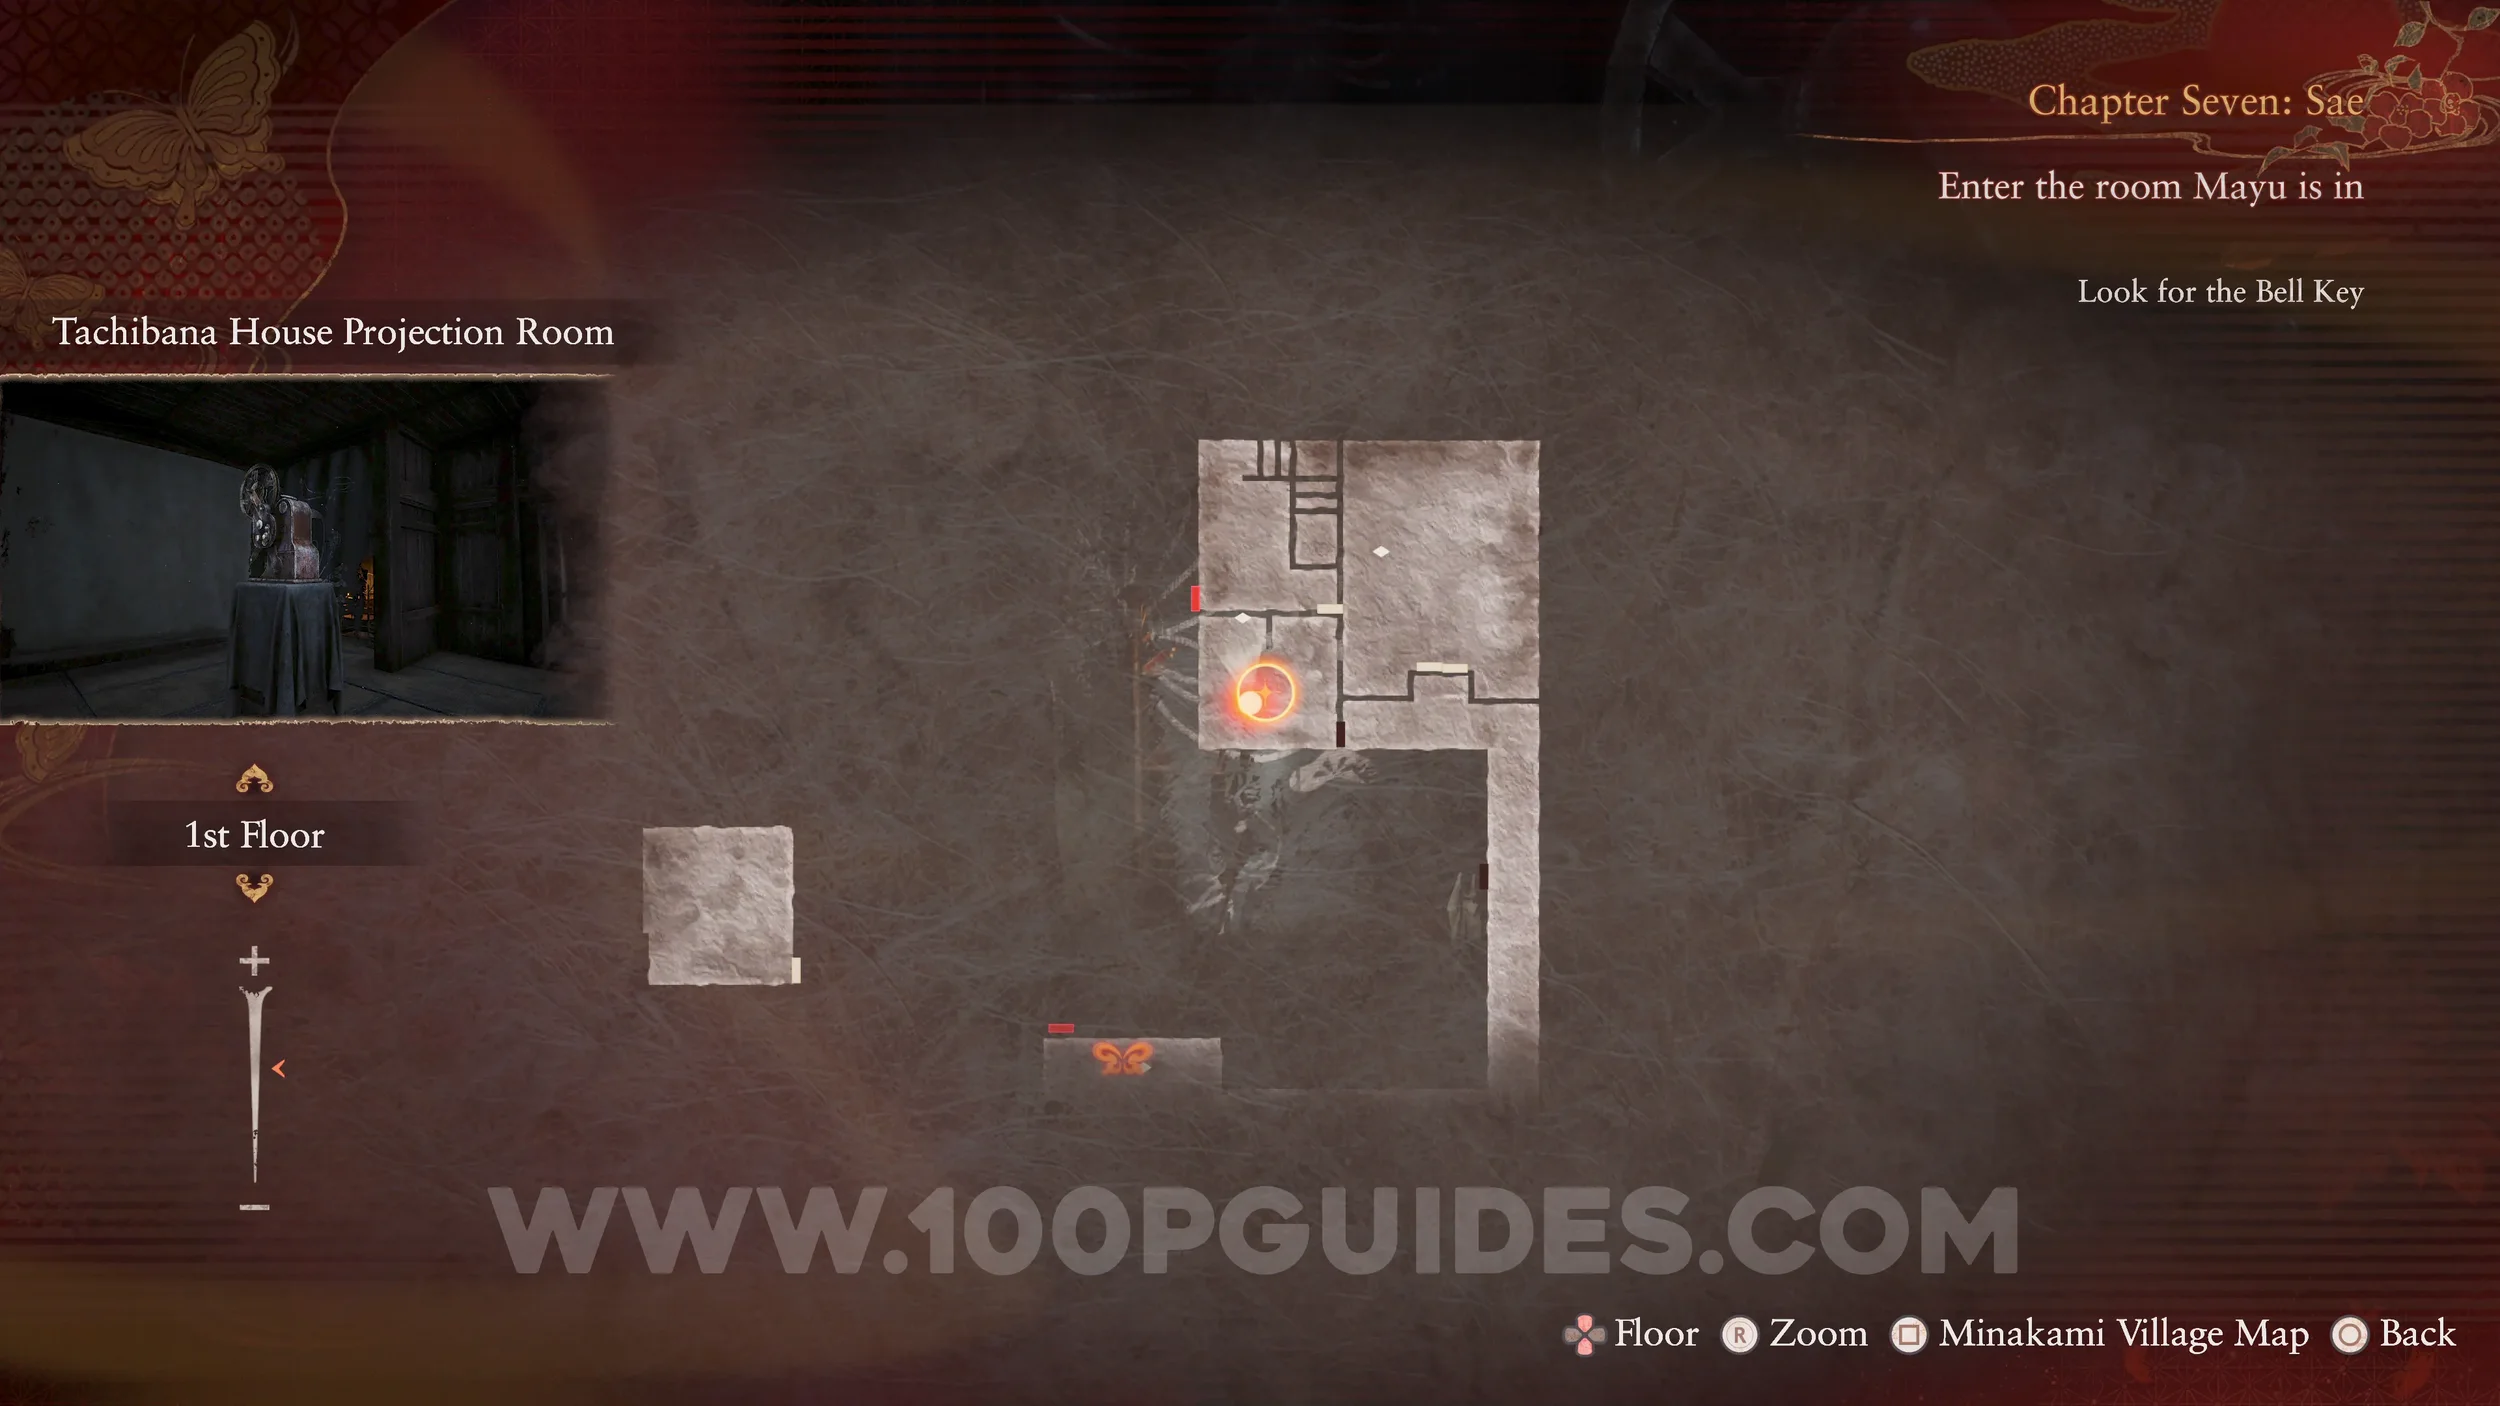
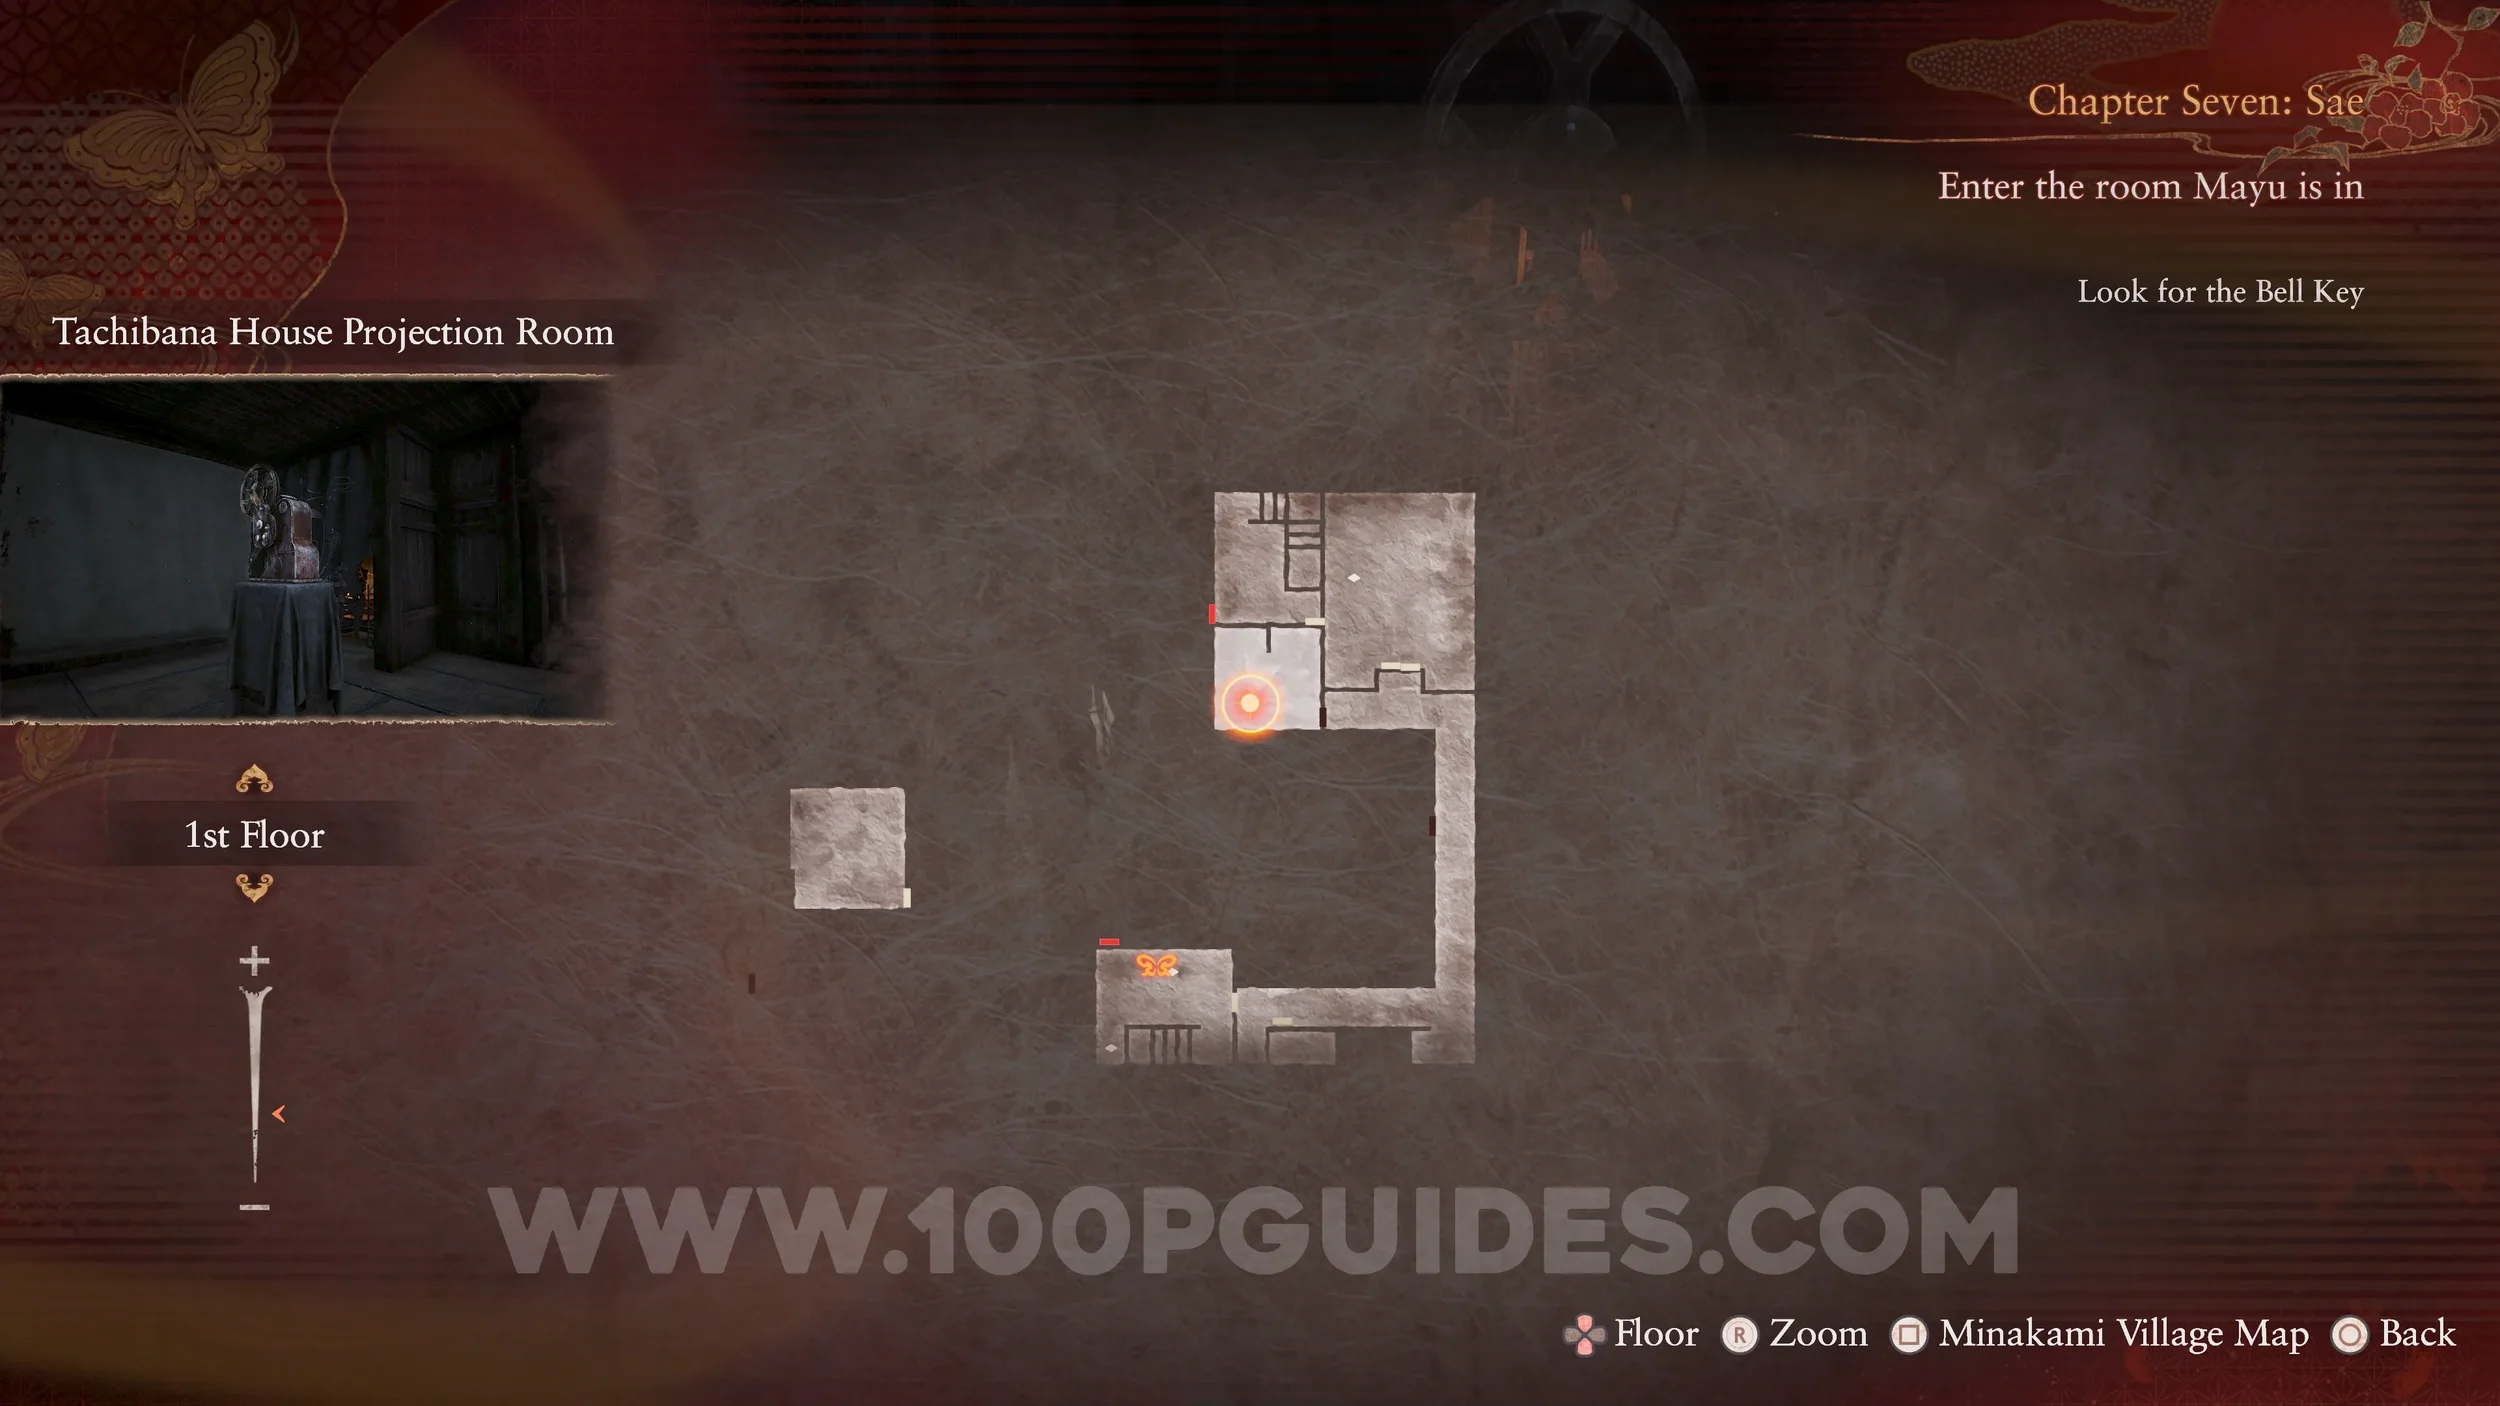
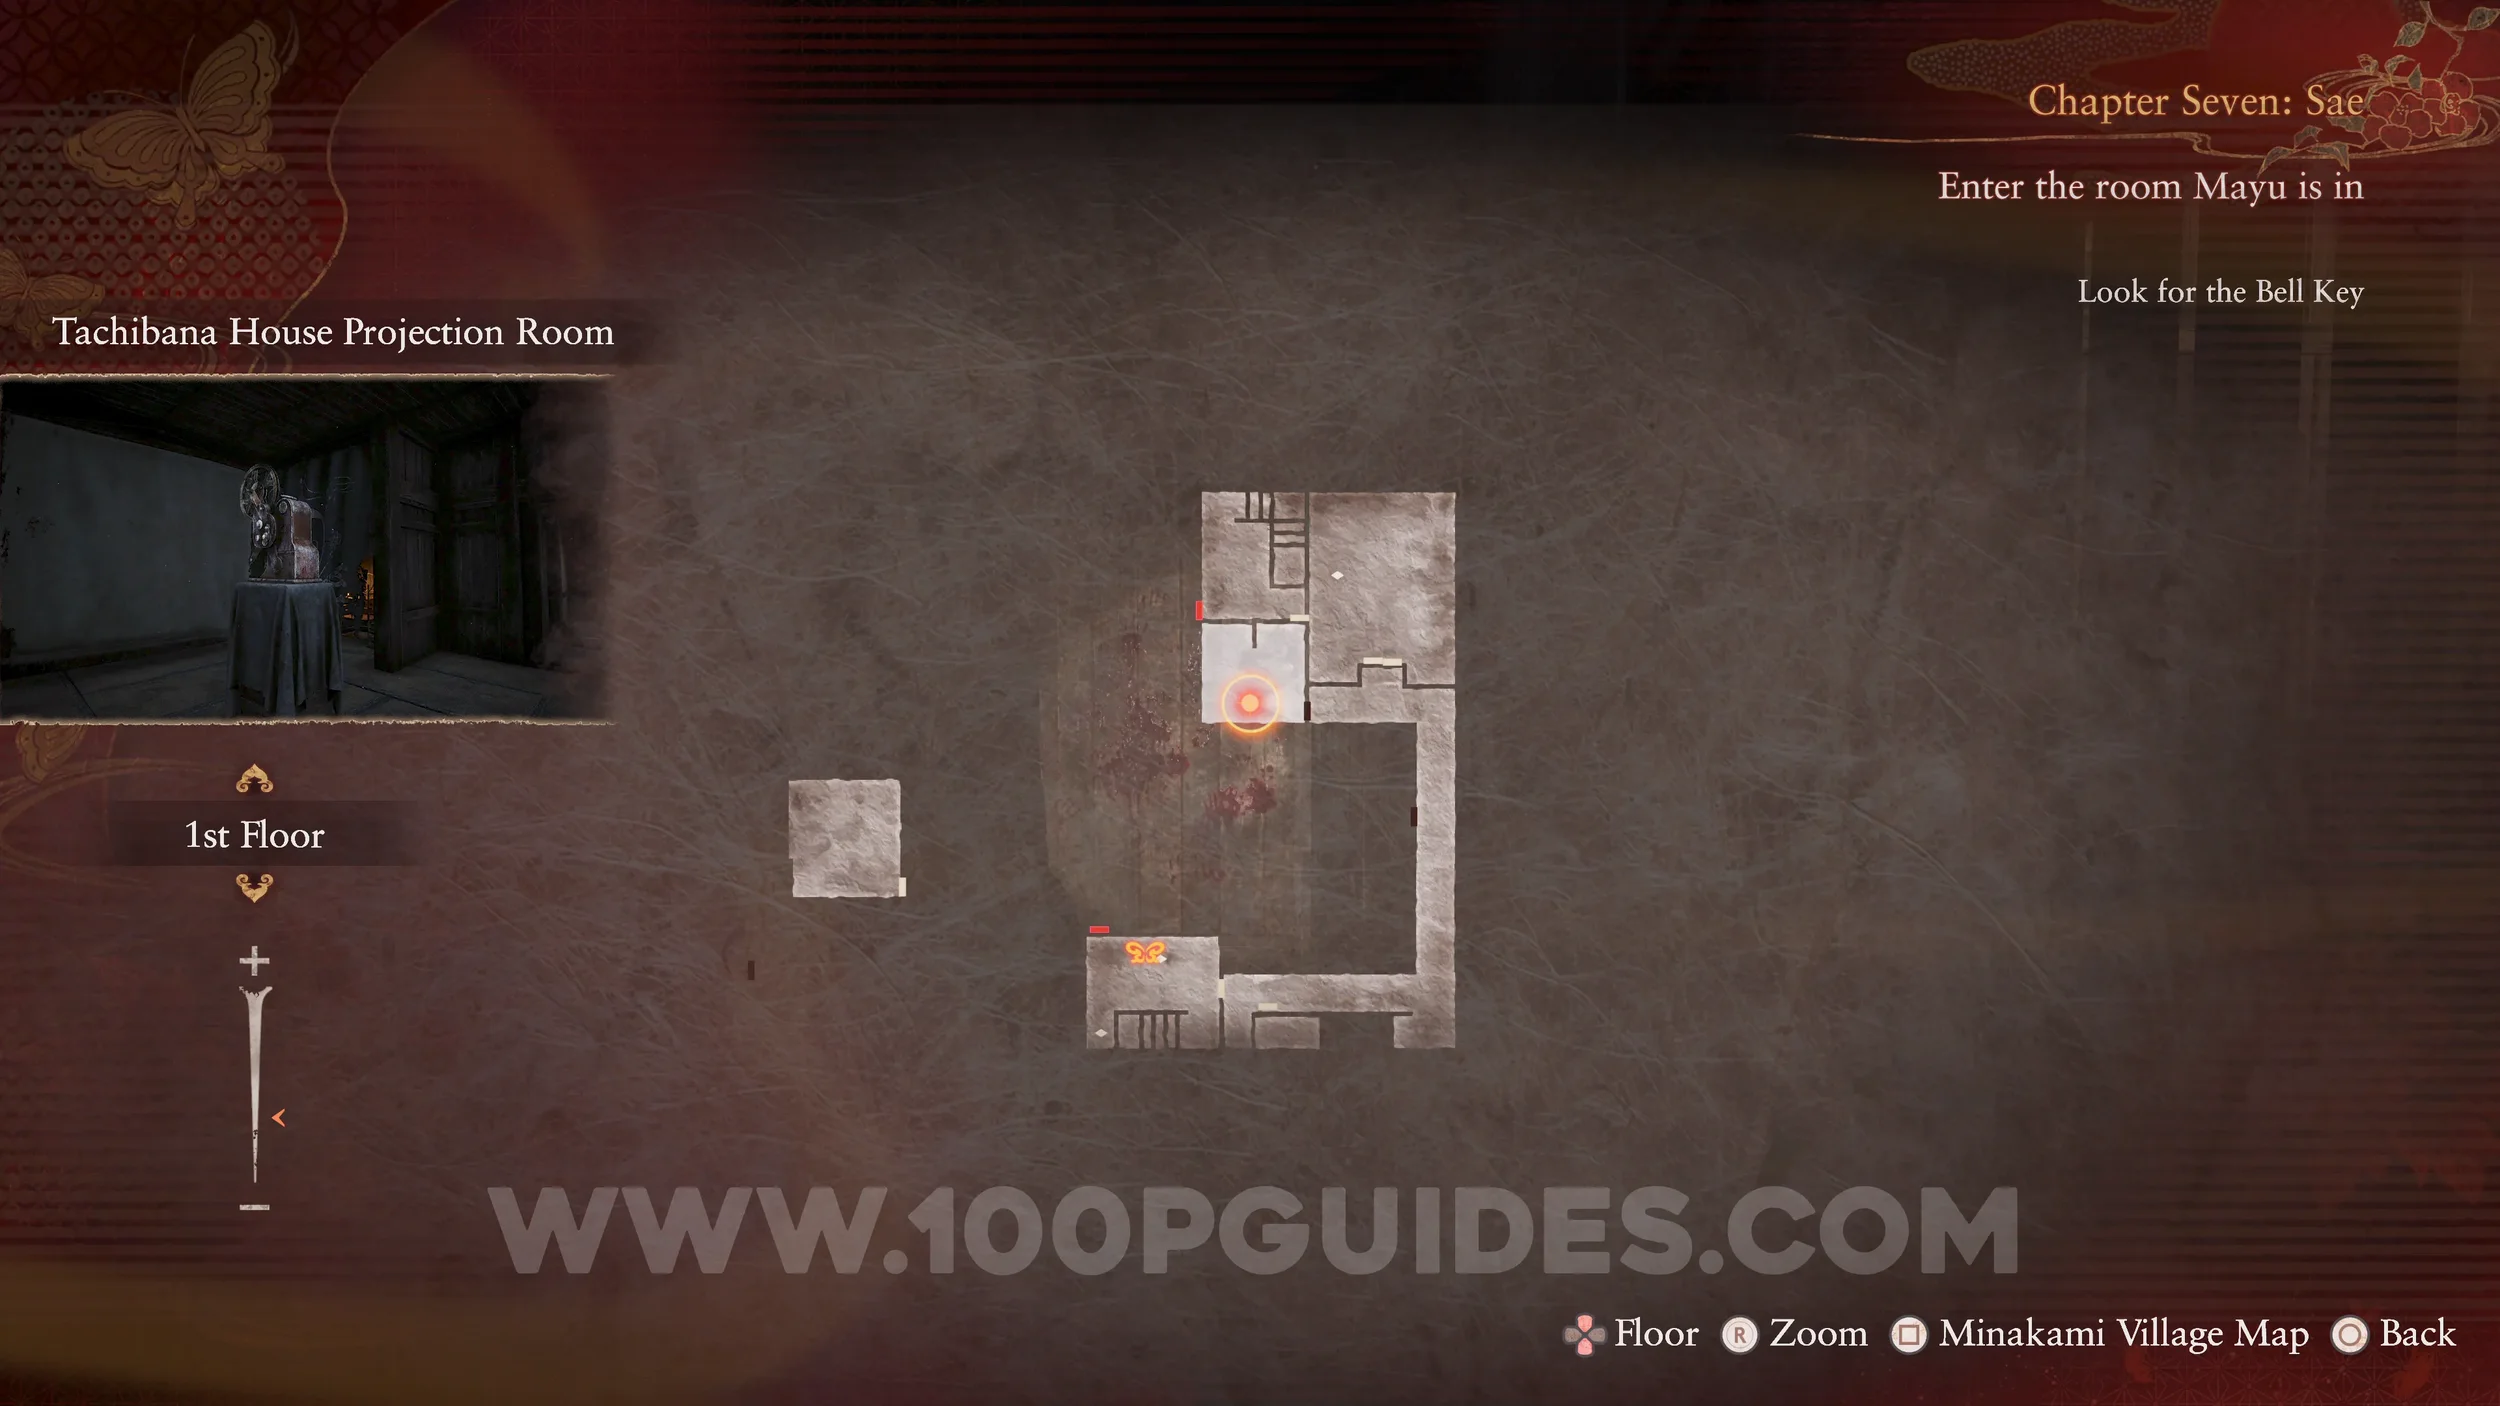
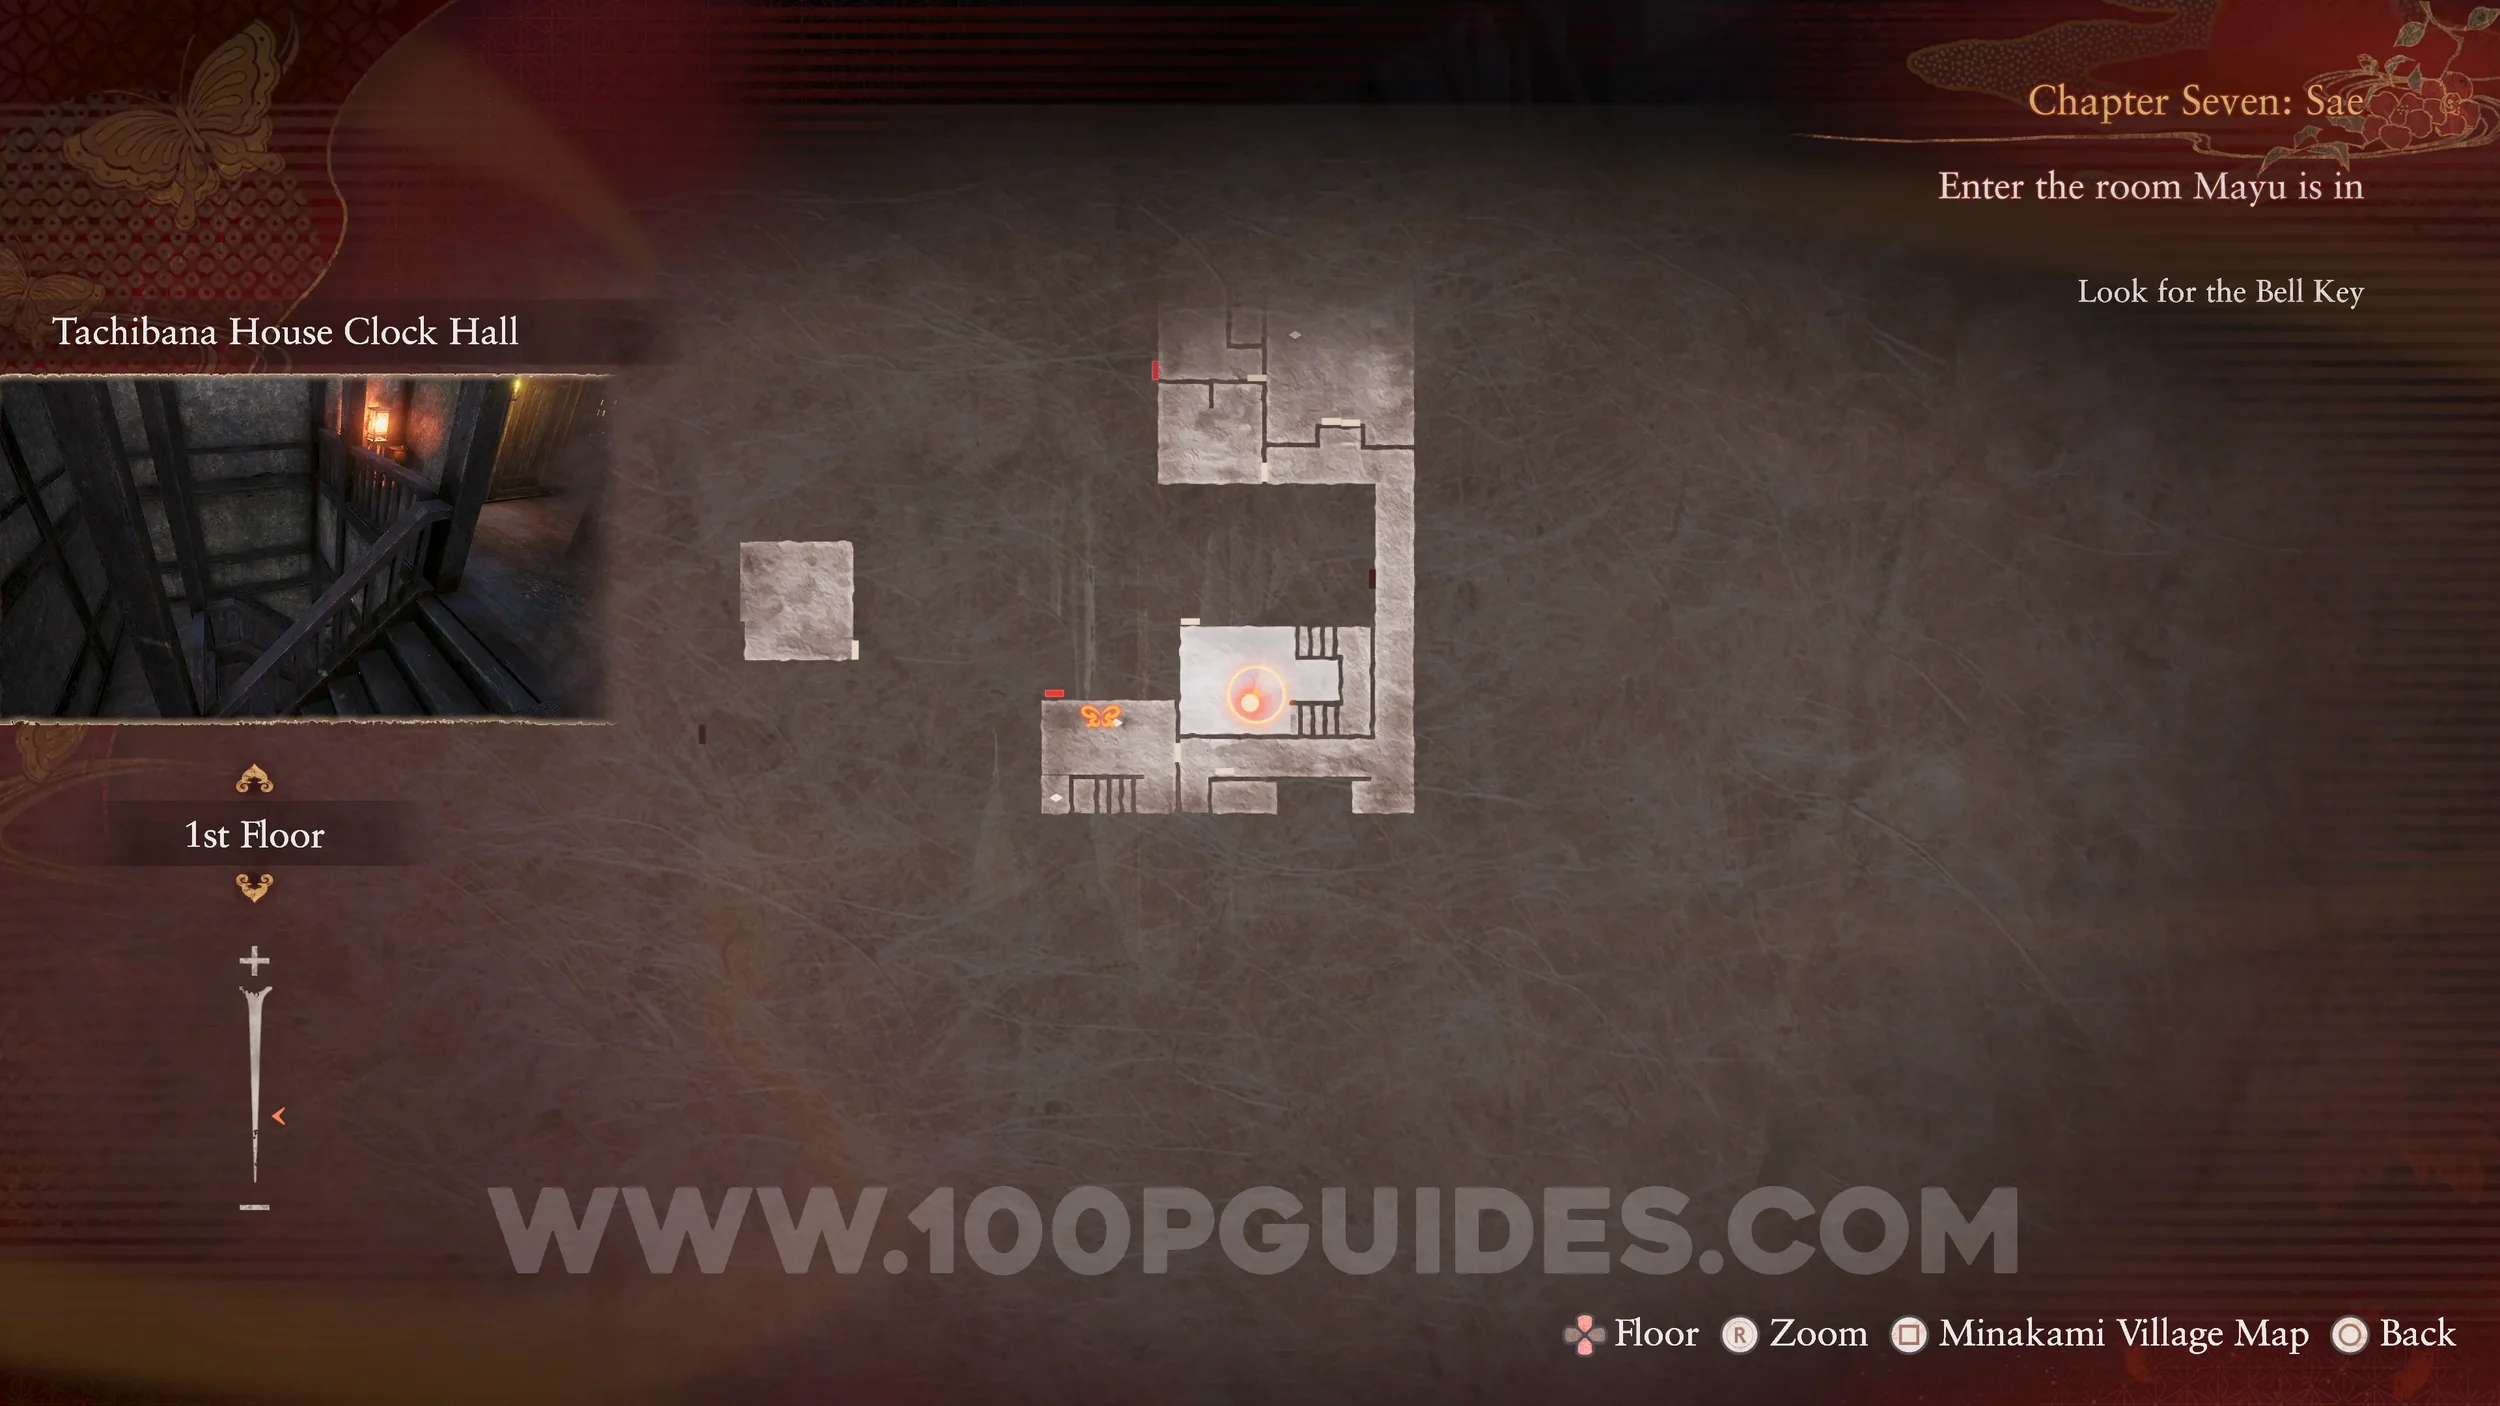
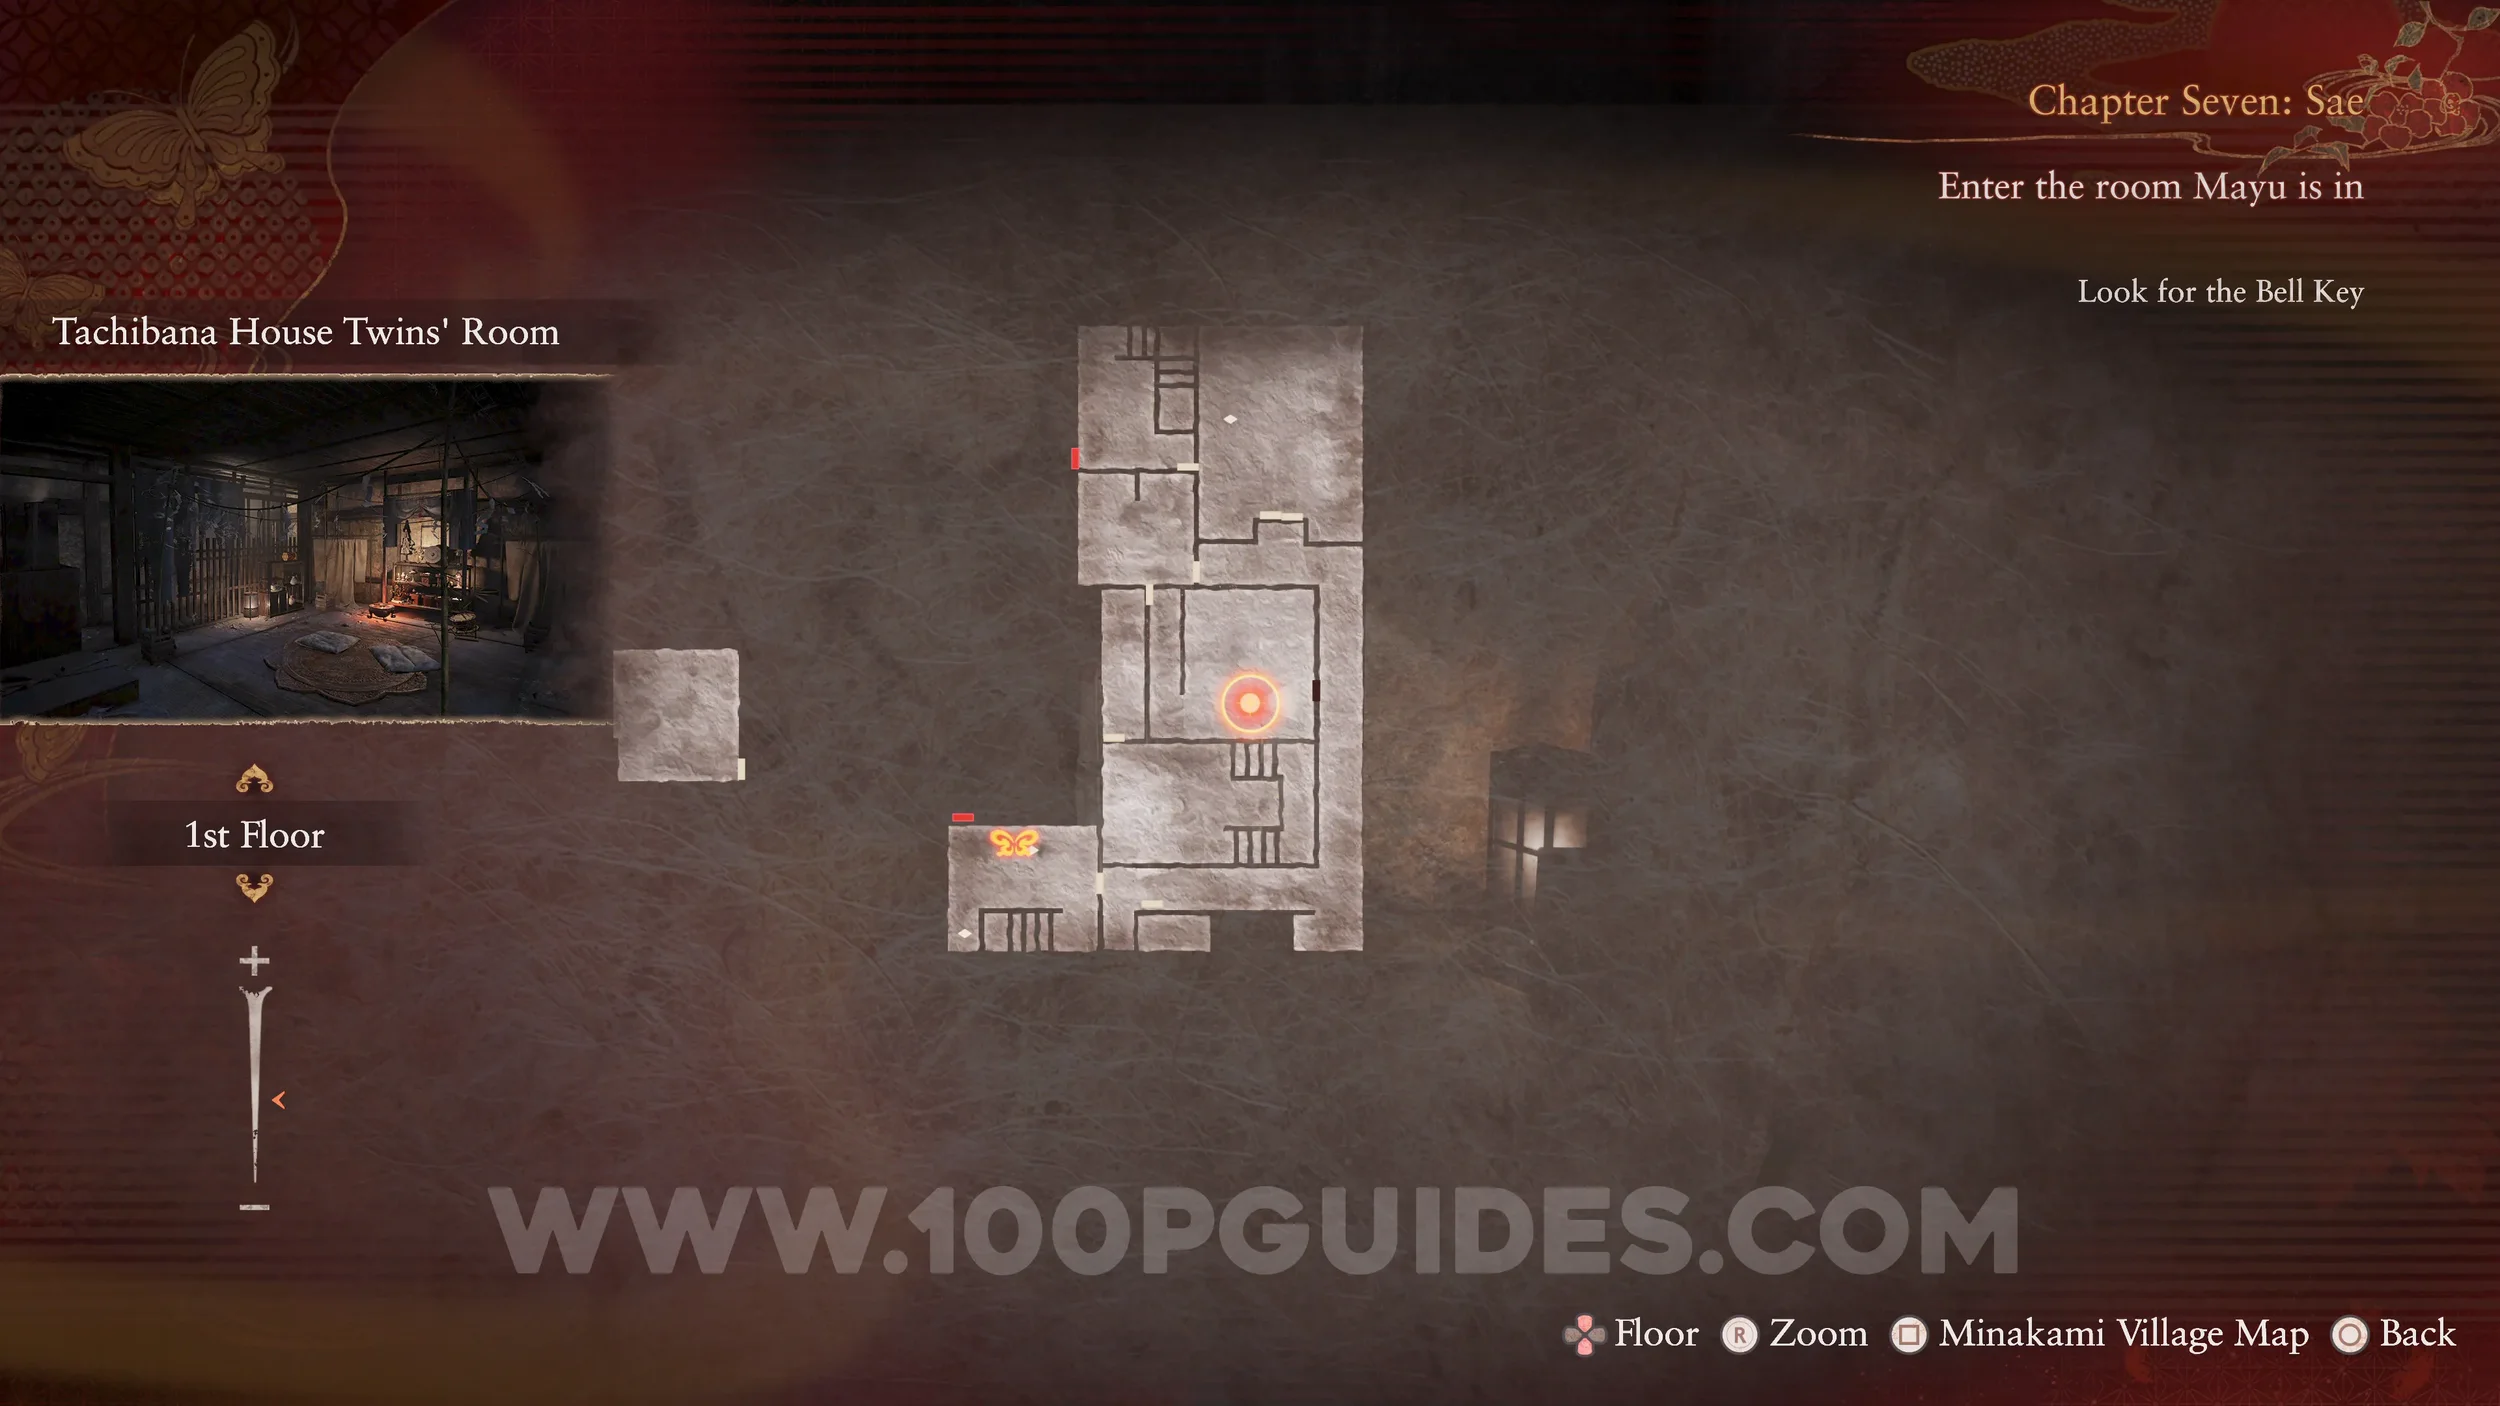
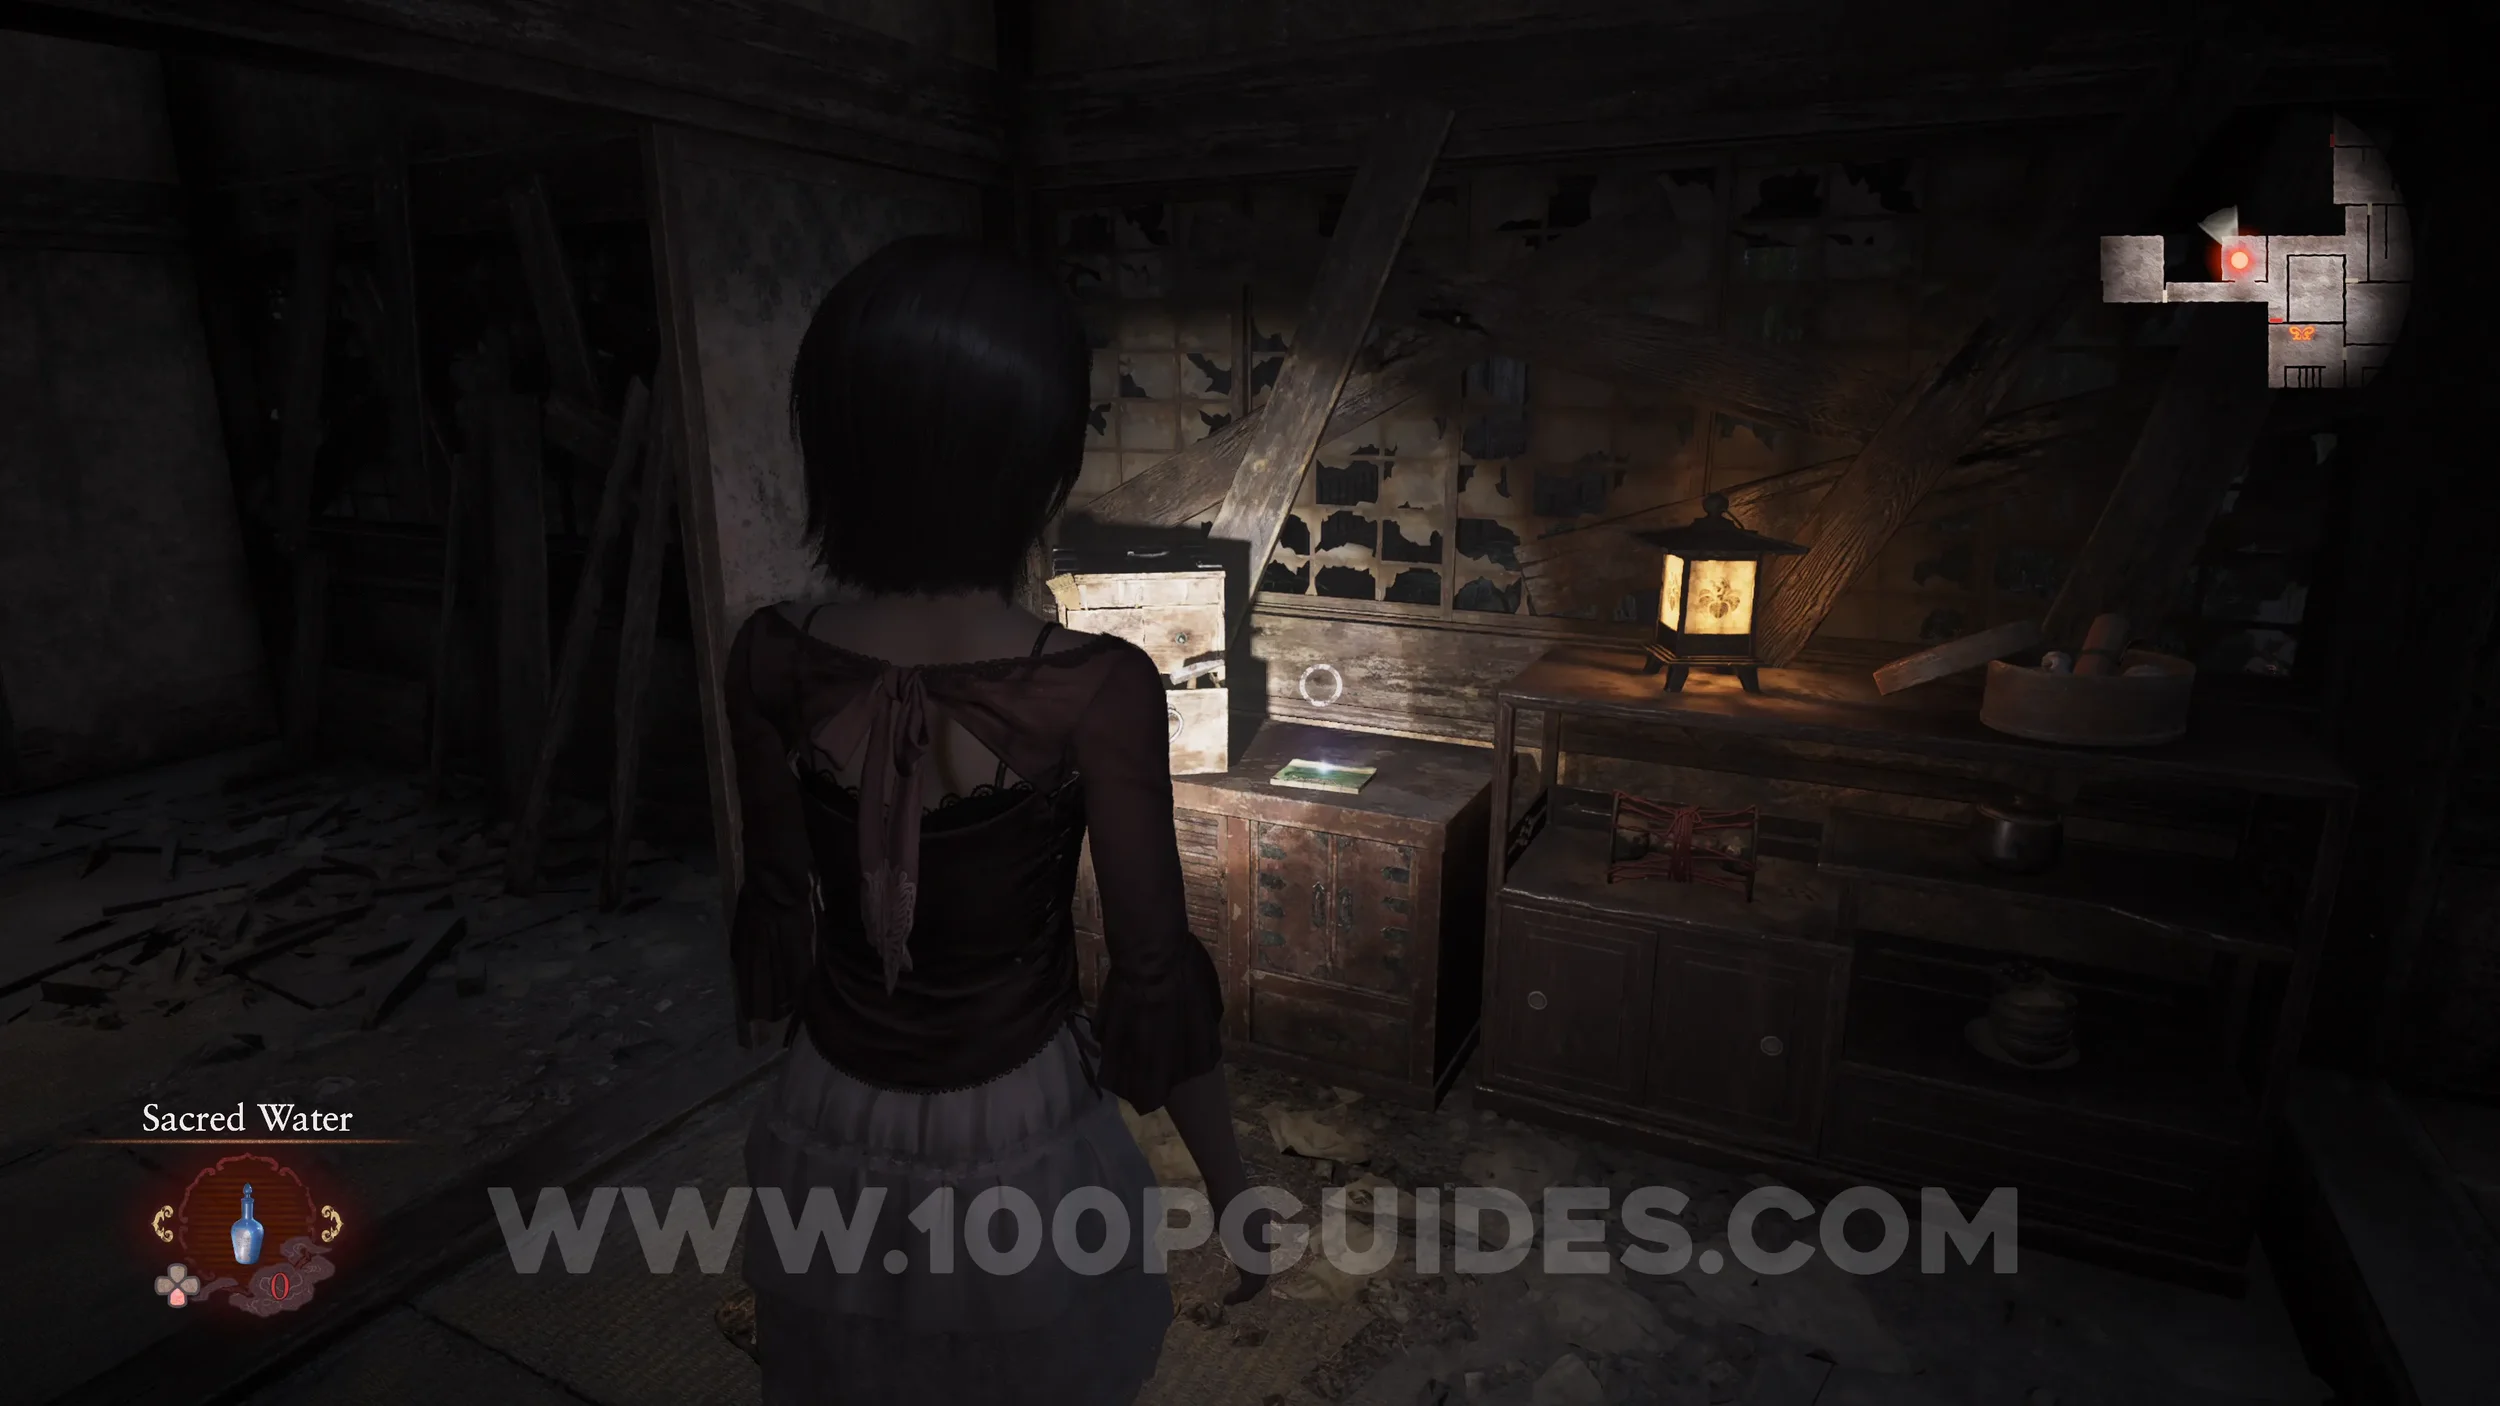
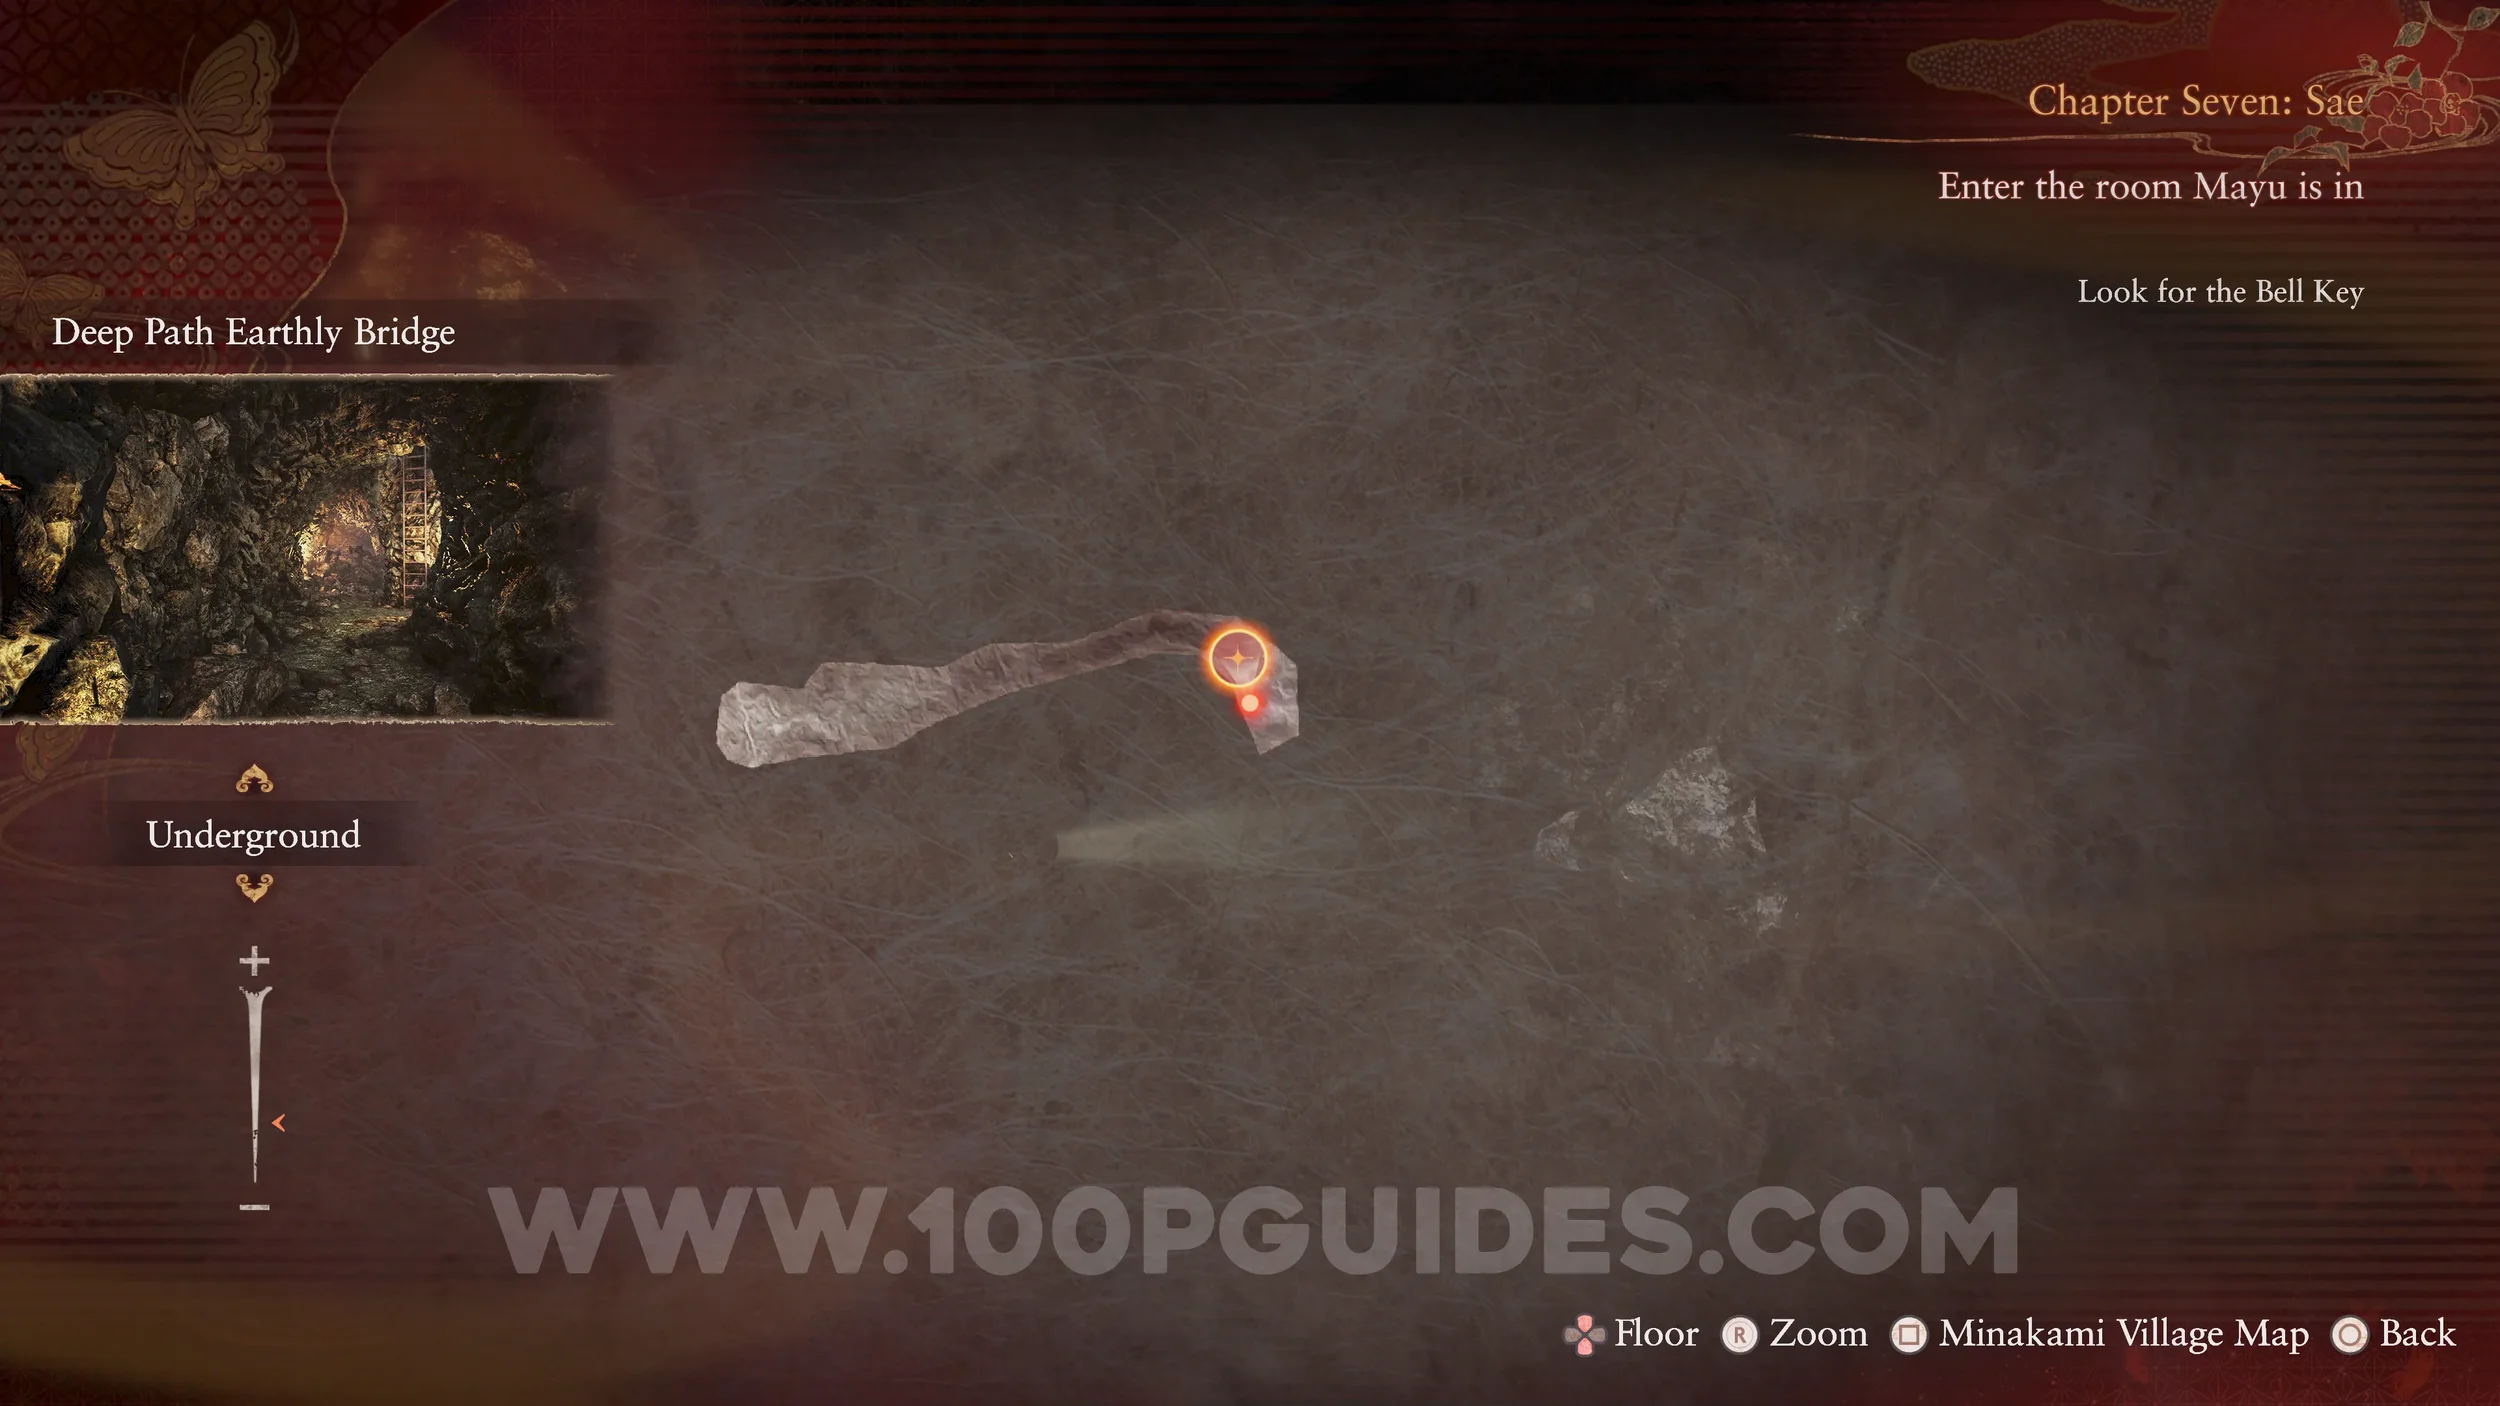
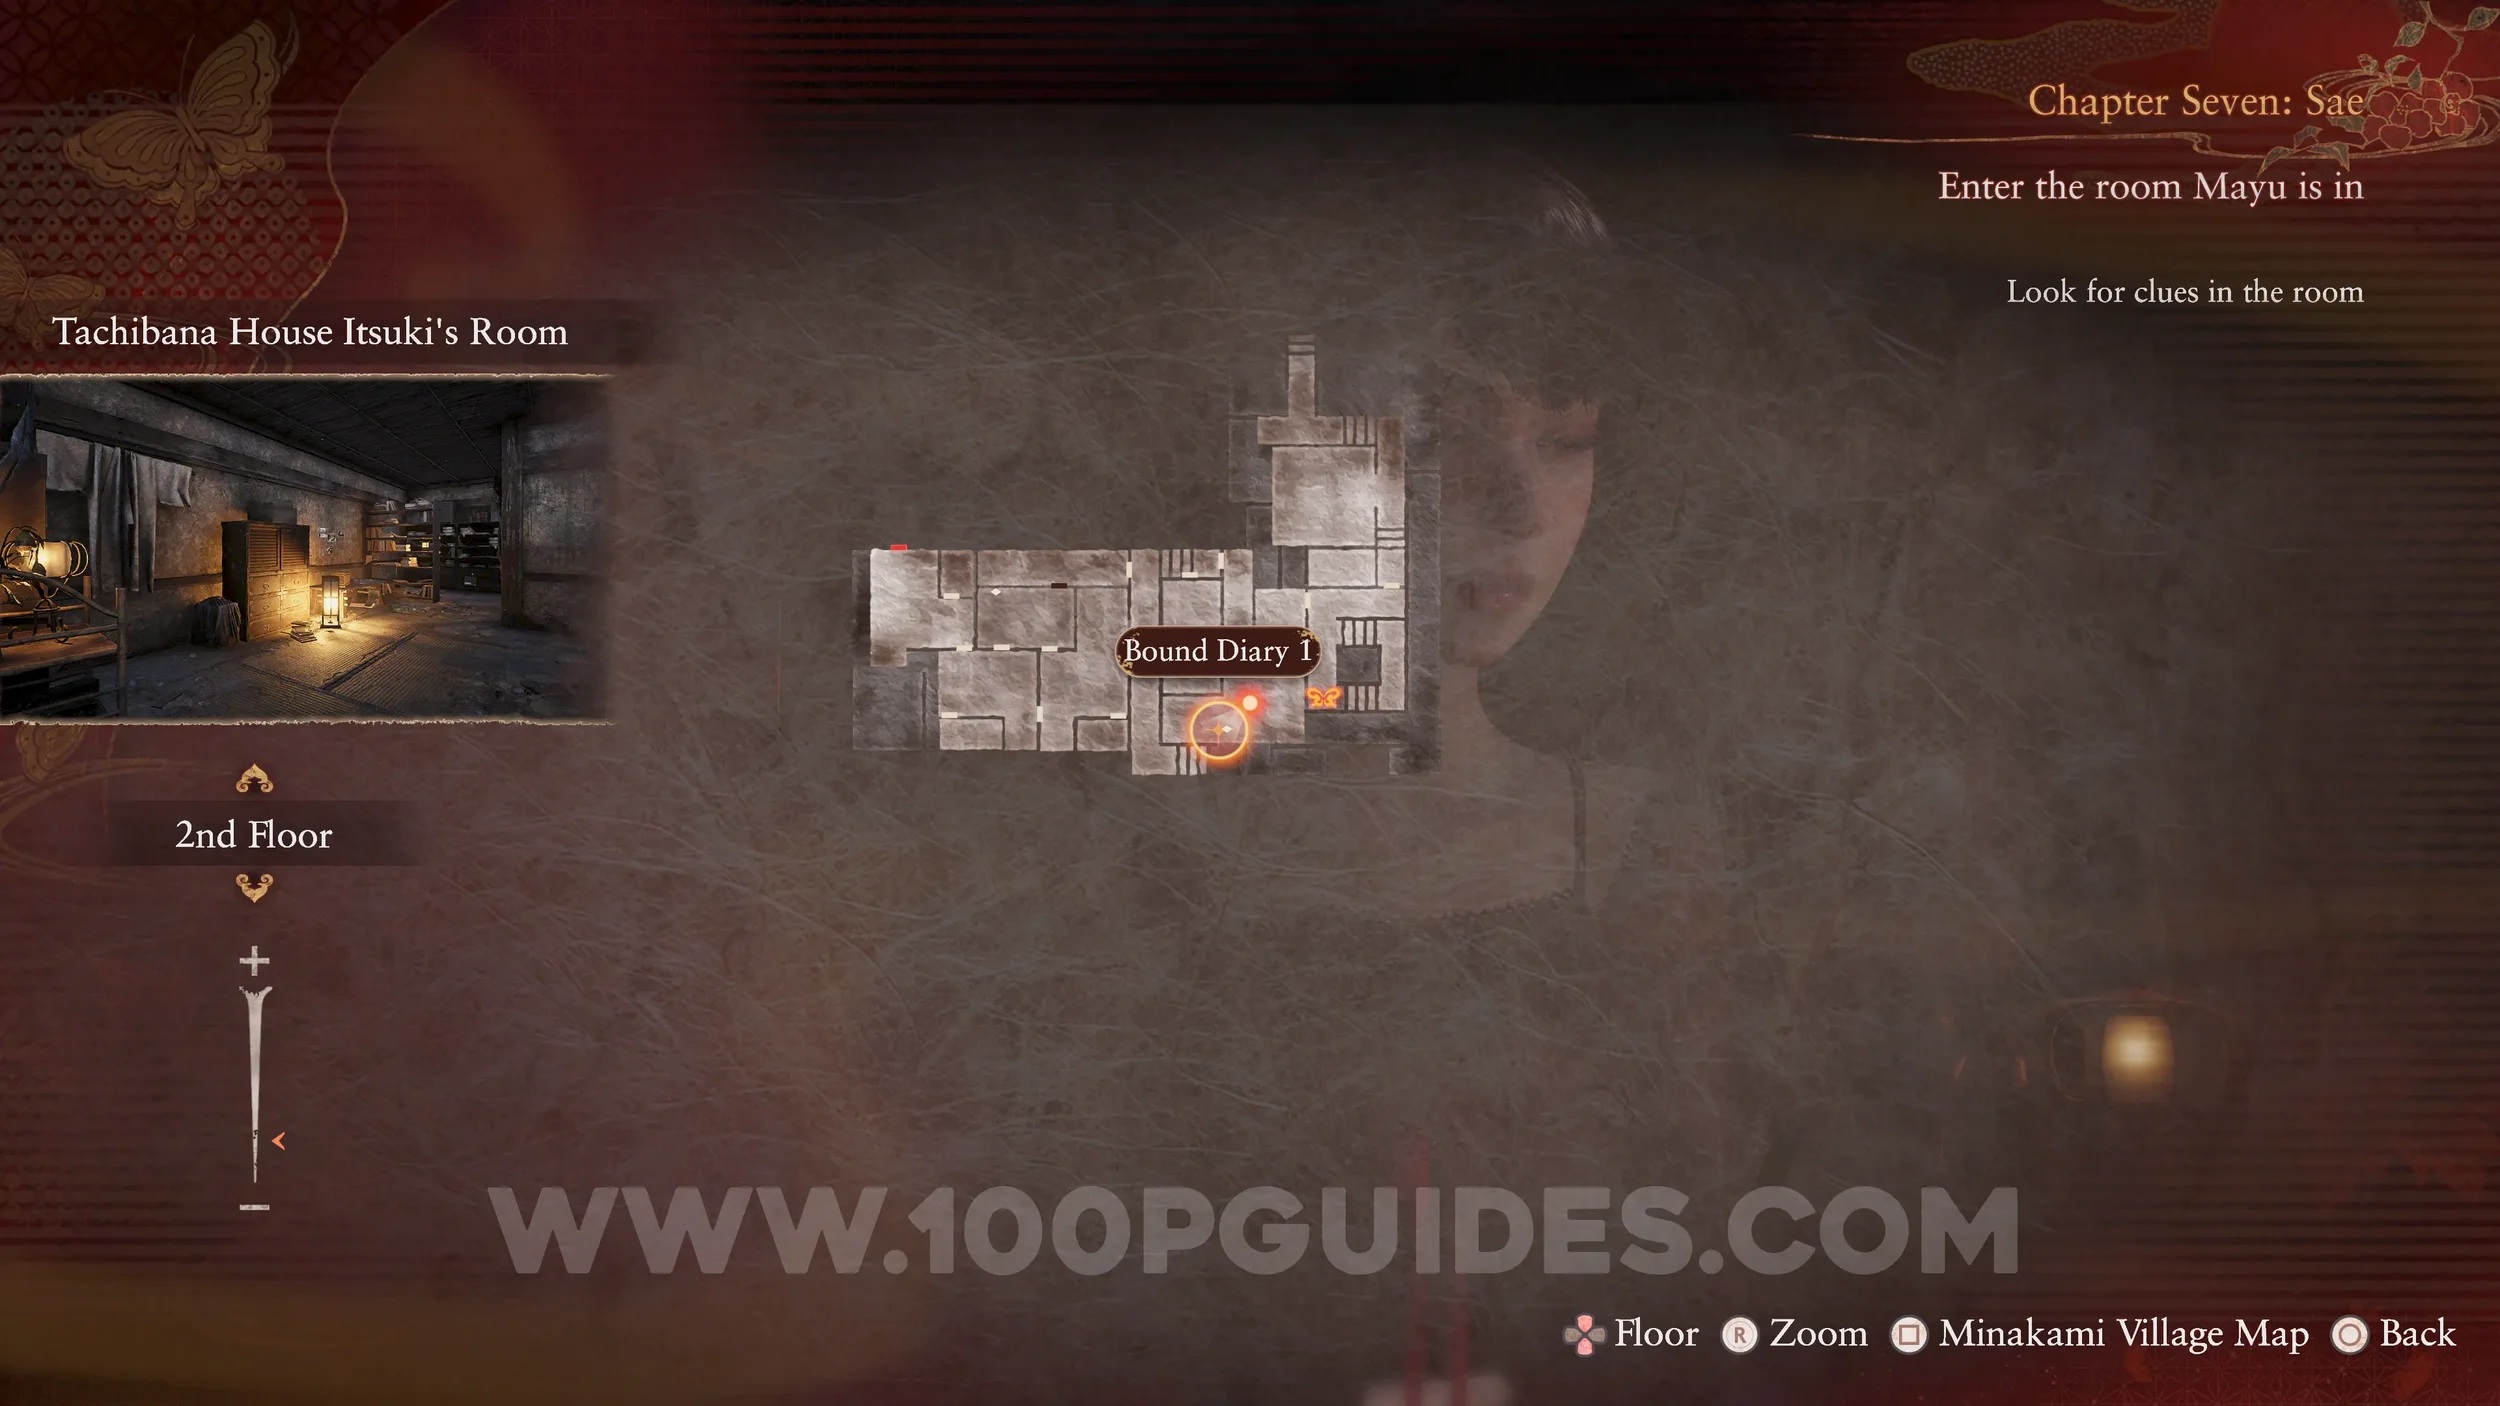
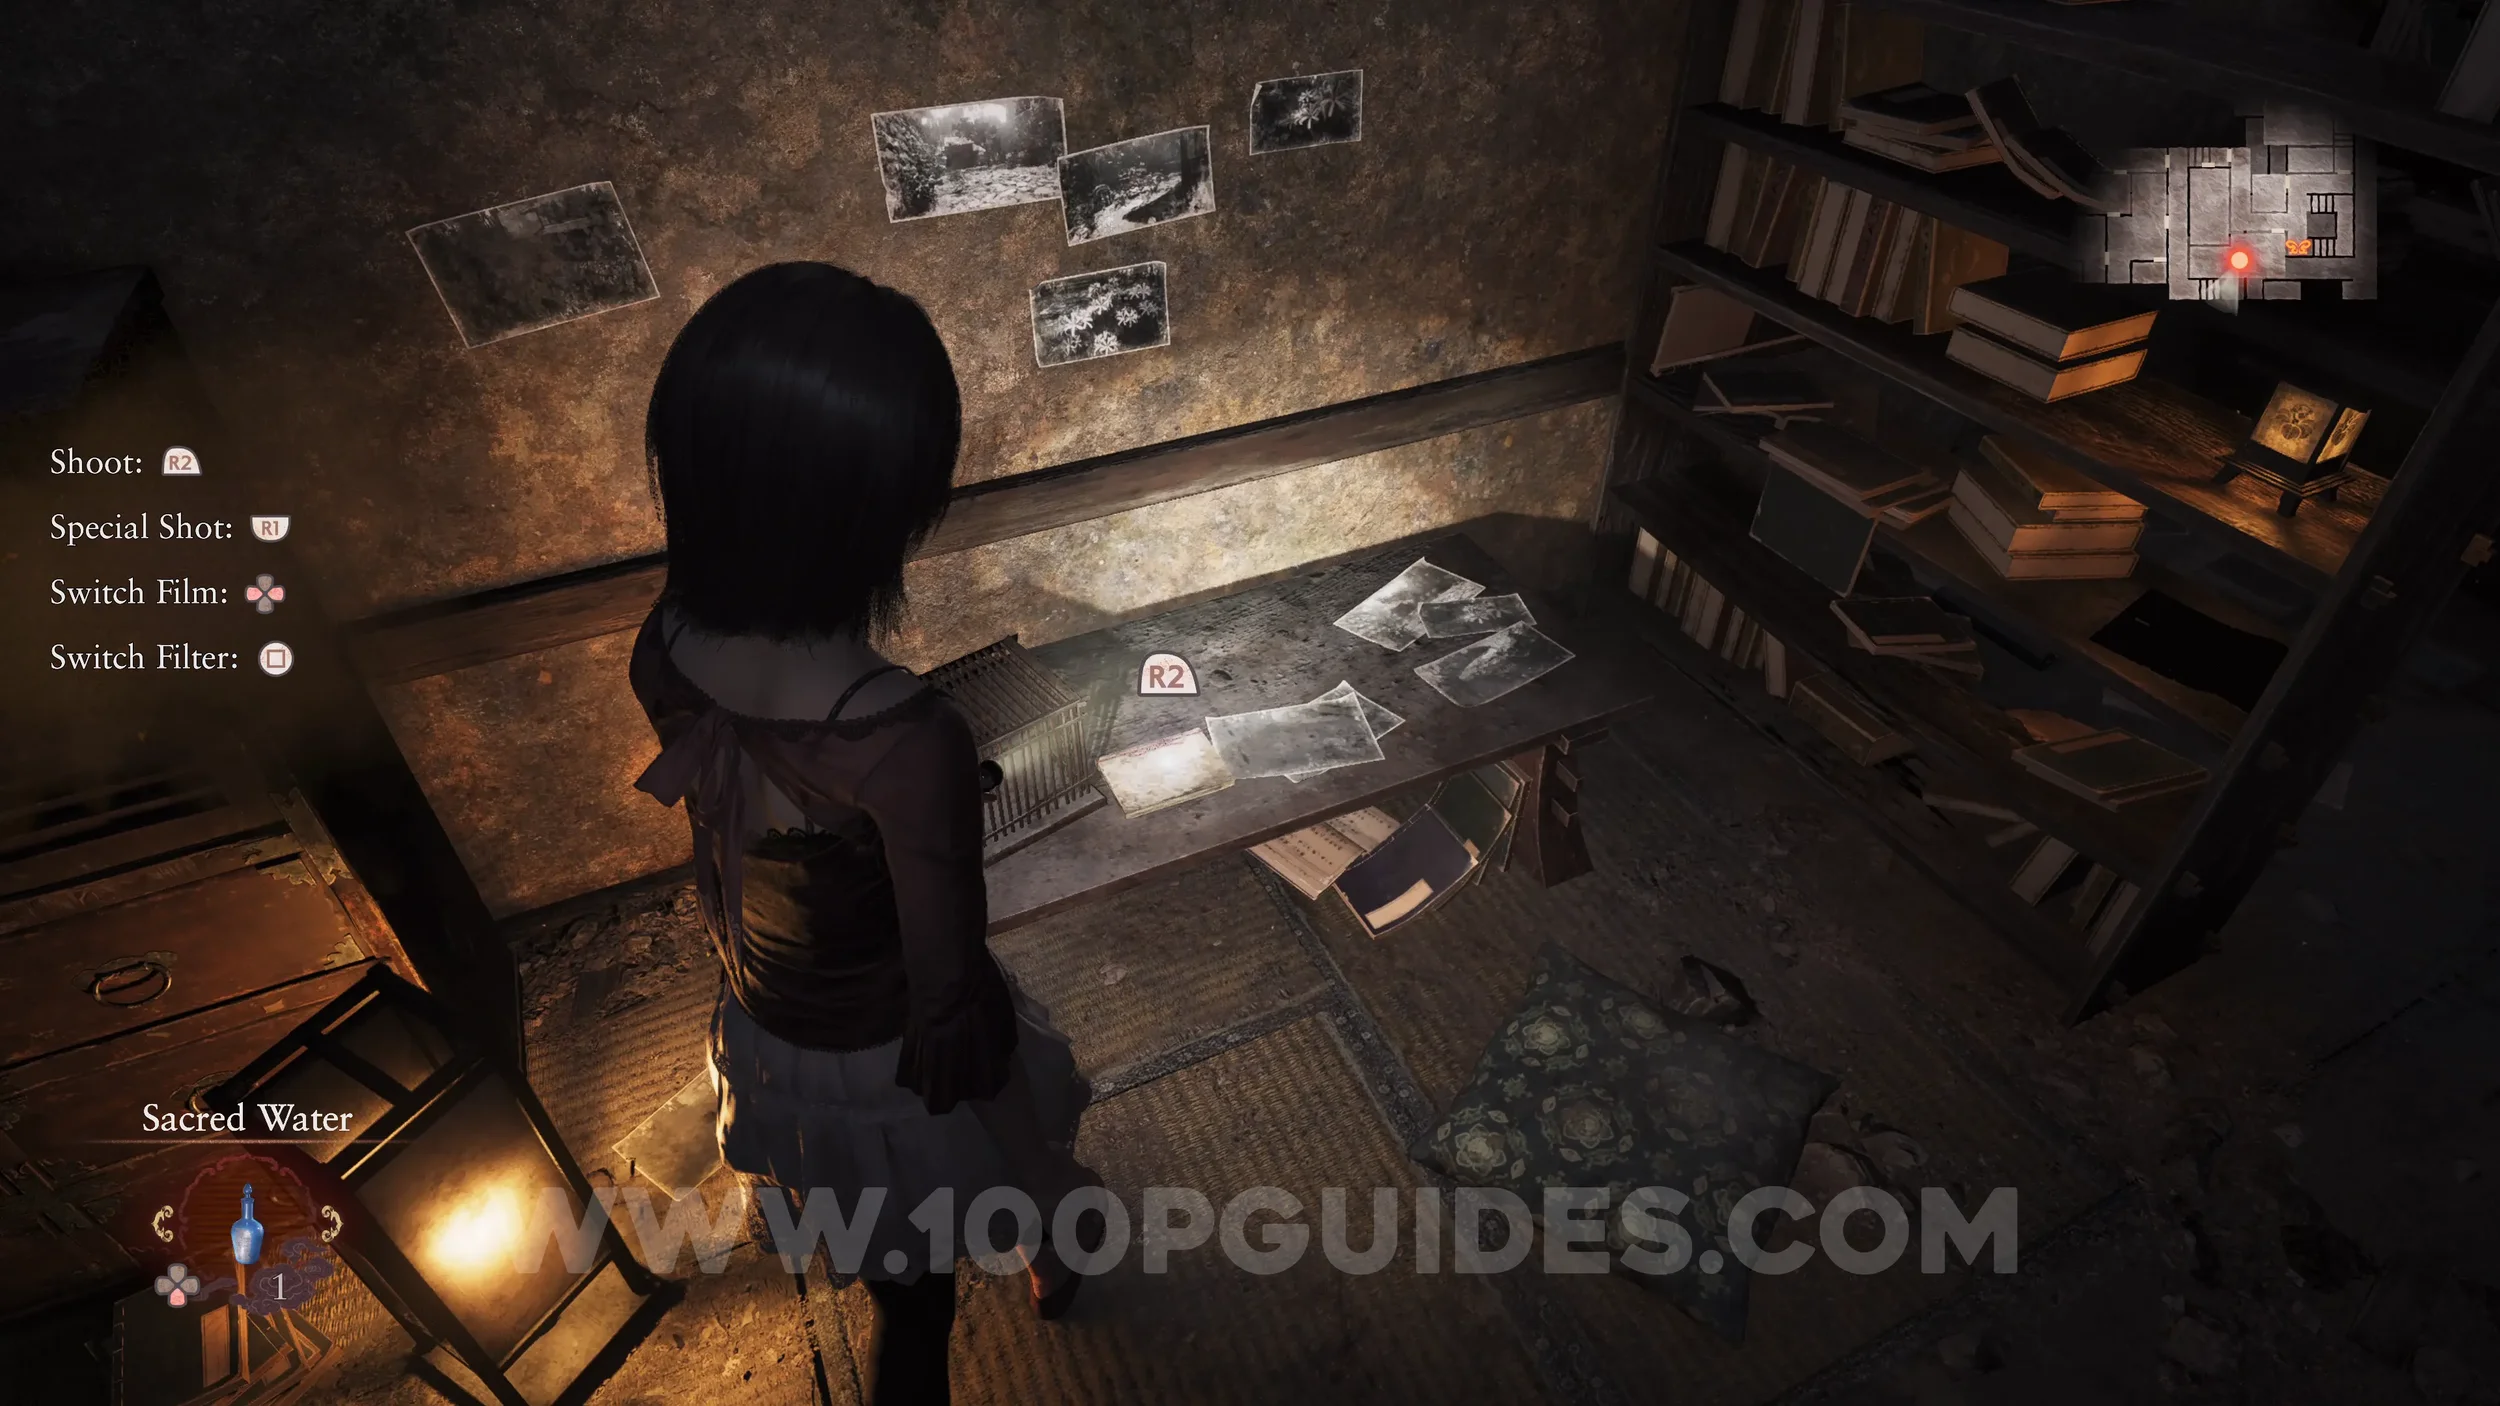
Document #79 - Bound Diary 1. Story-related. Examine this in the room where Mayu is, which you access using the Bell Key, to end the chapter.
Chapter 8
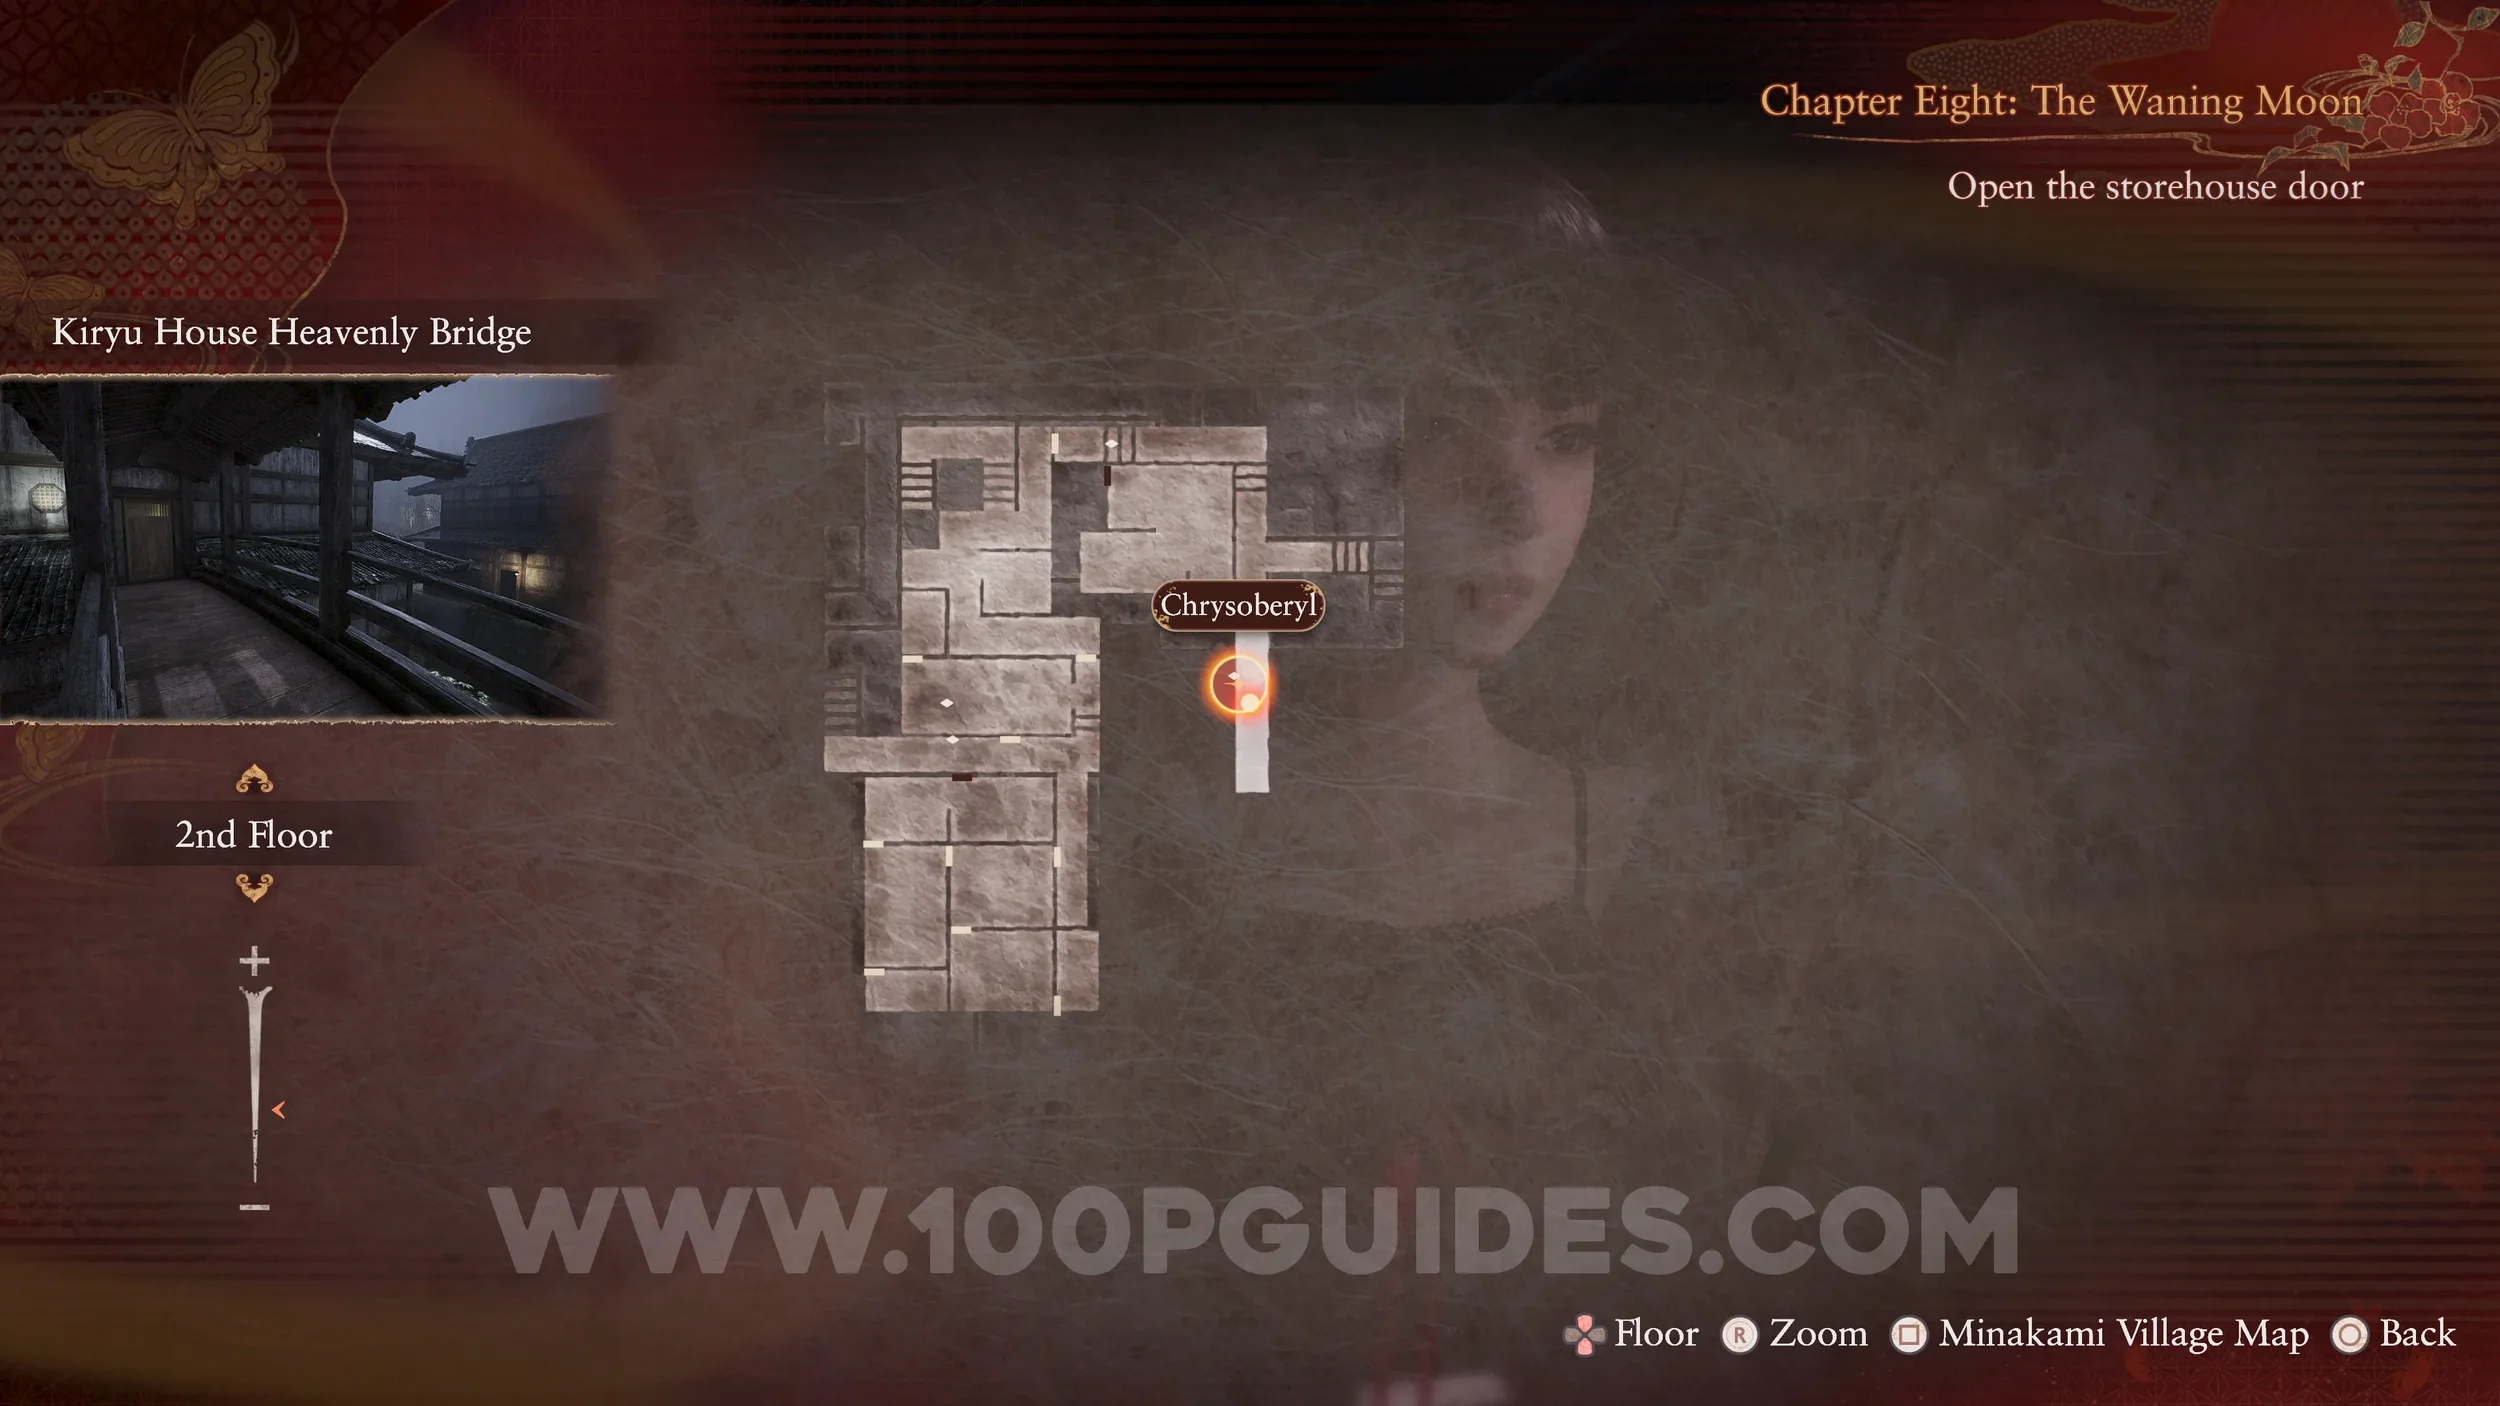
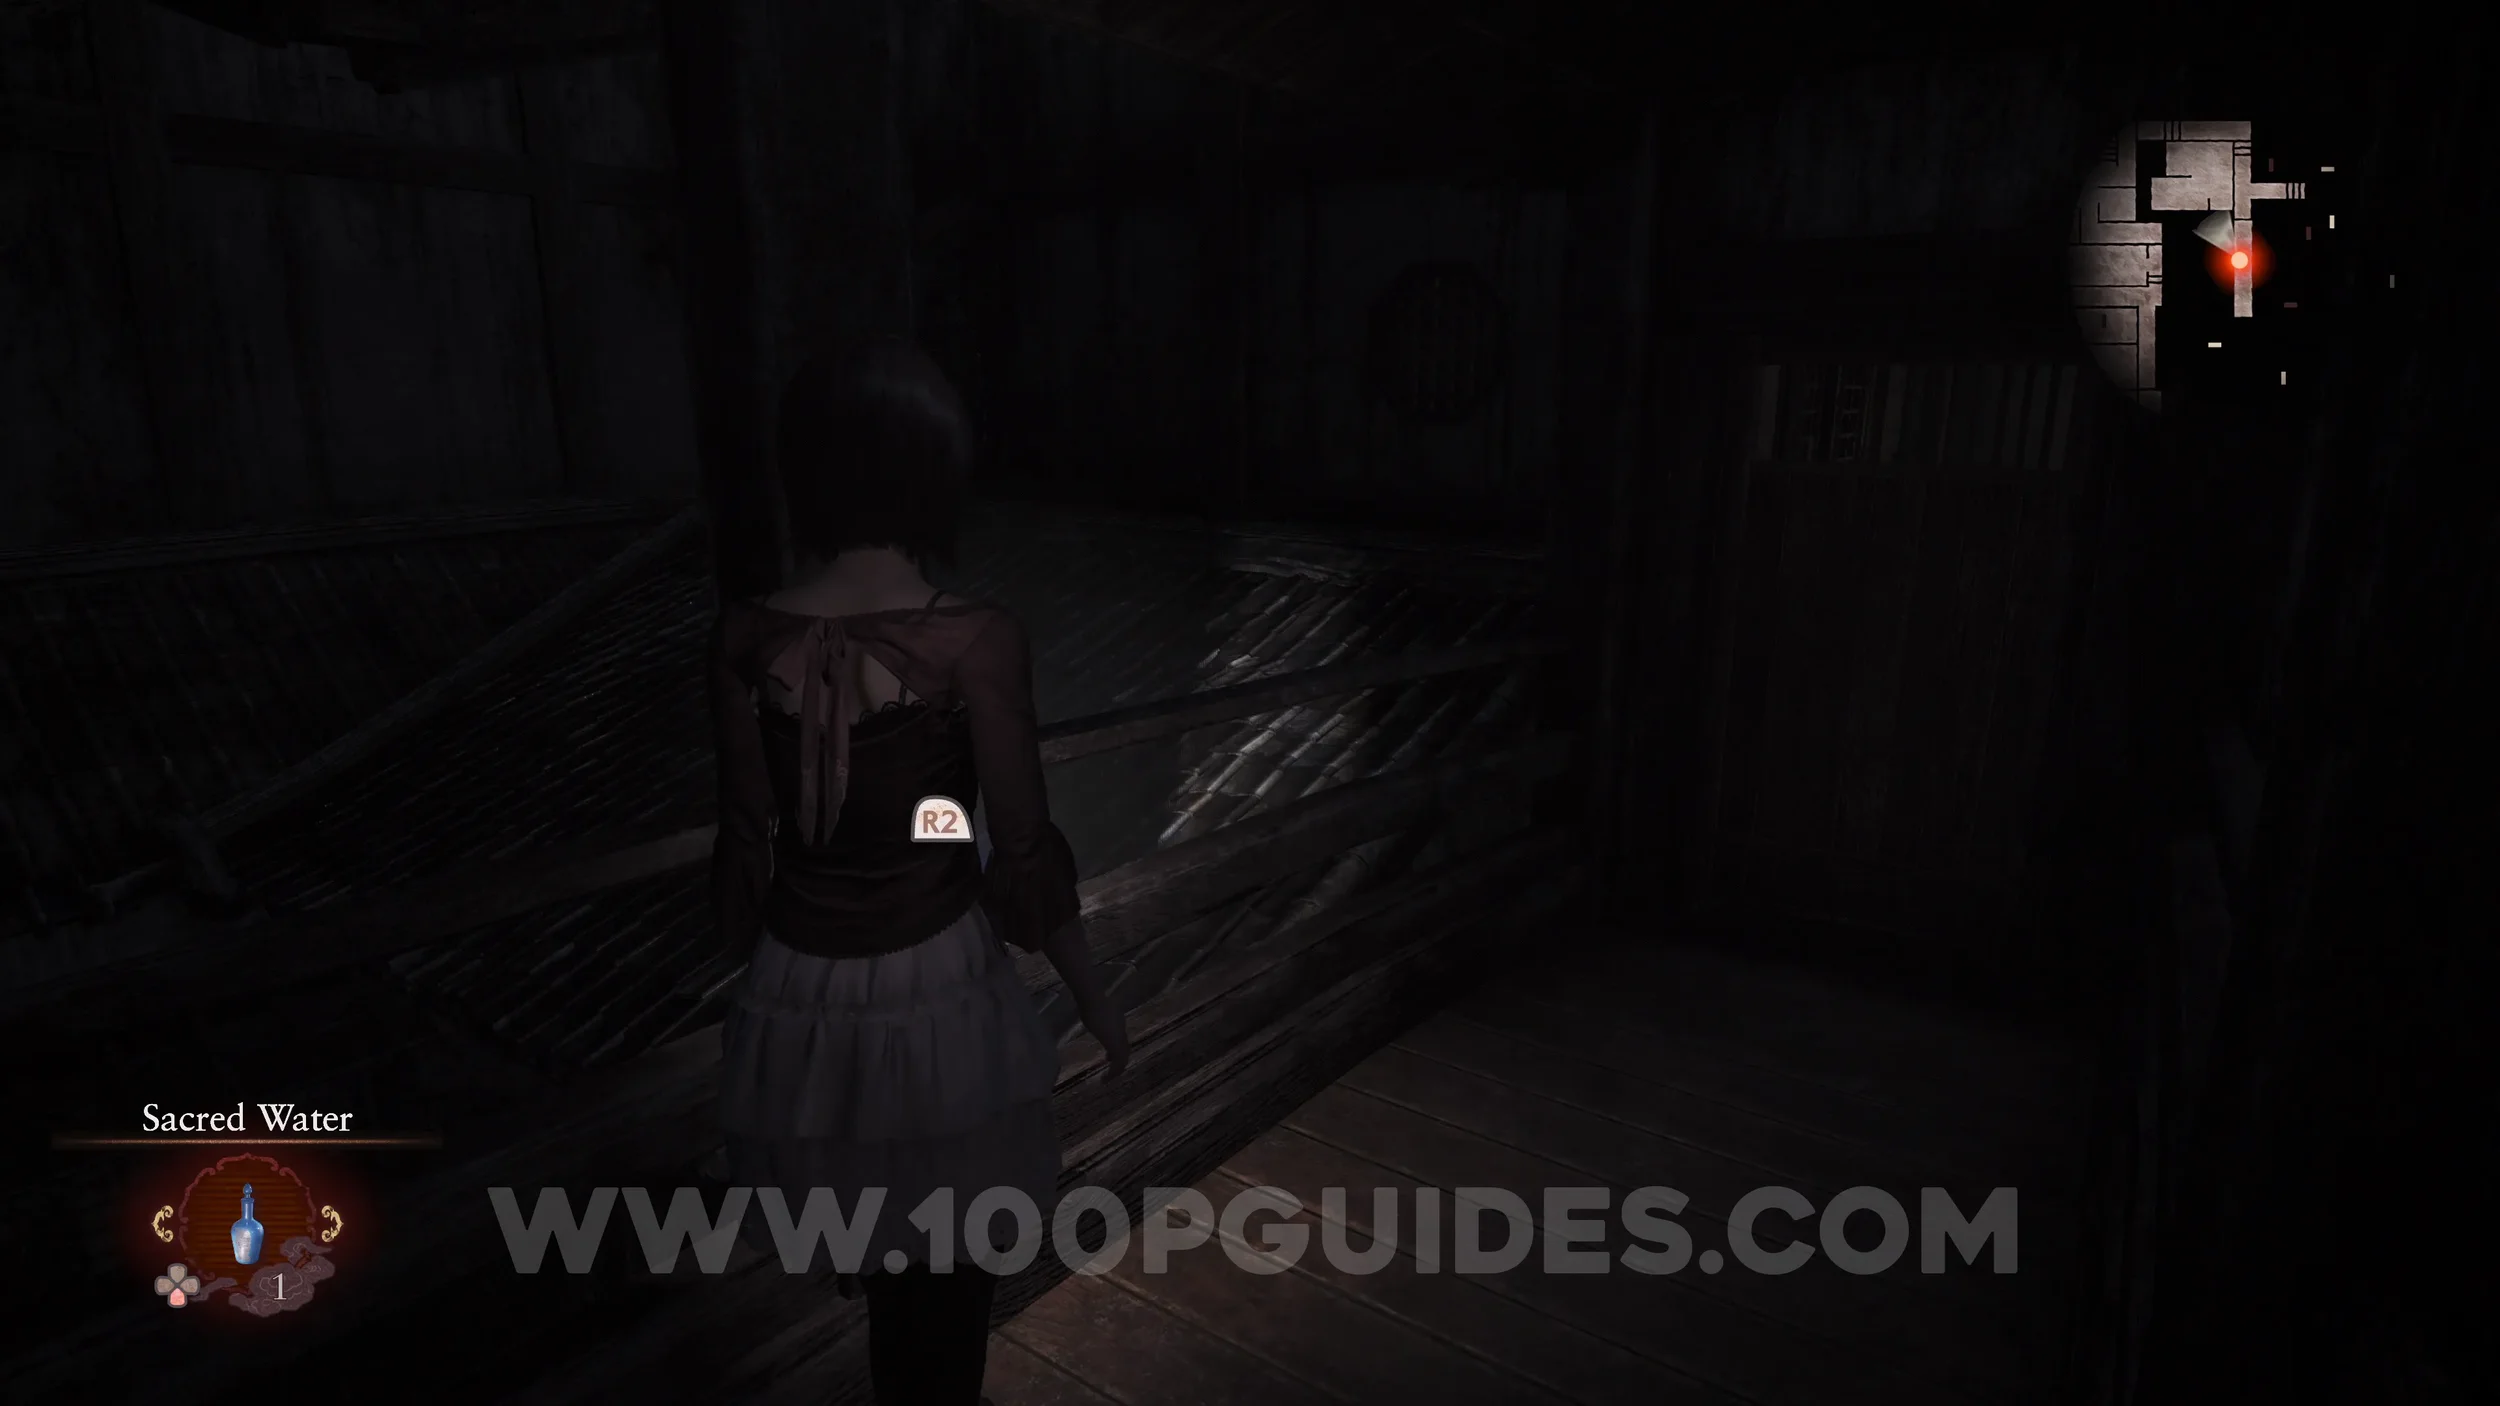
Spirit Stone #28 - Crysoberyl. Exit the house by going across the Heavenly Bridge. The stone will be on the bridge.
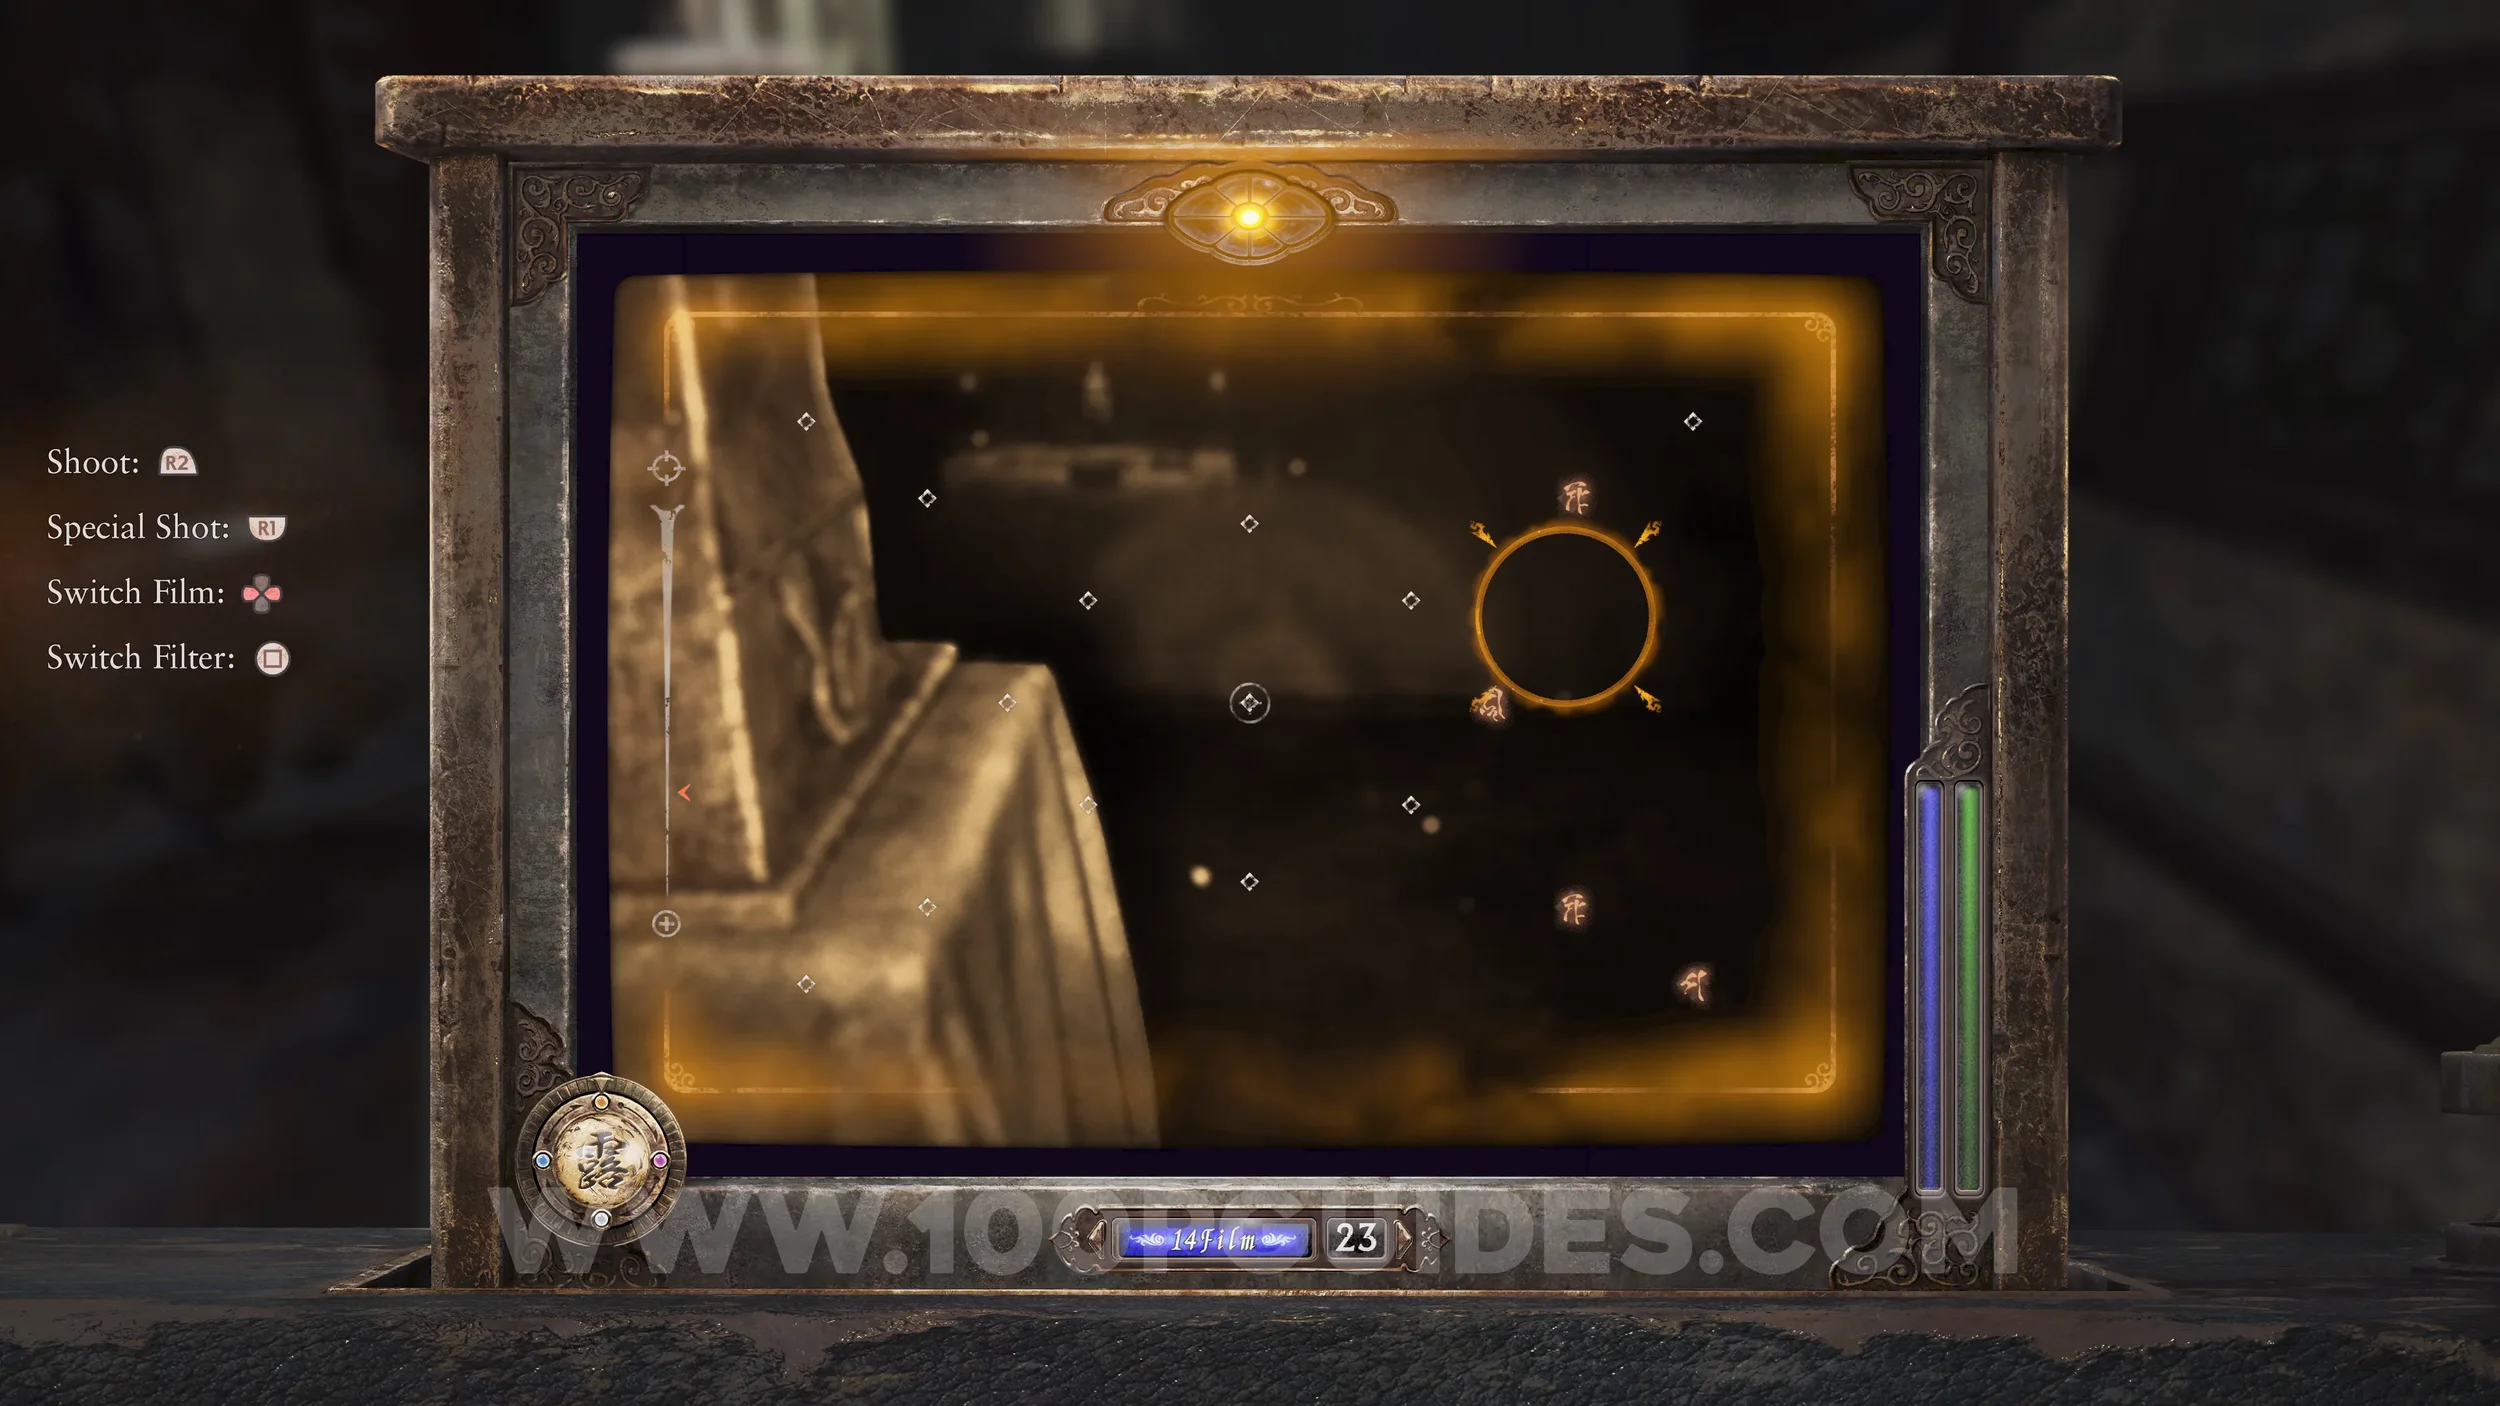
Revenant #10 - 023 Girl Remembering the Ritual. Once you return to the Kiryu House, head downstairs and enter the Projection Room, where you’ll encounter the revenant.
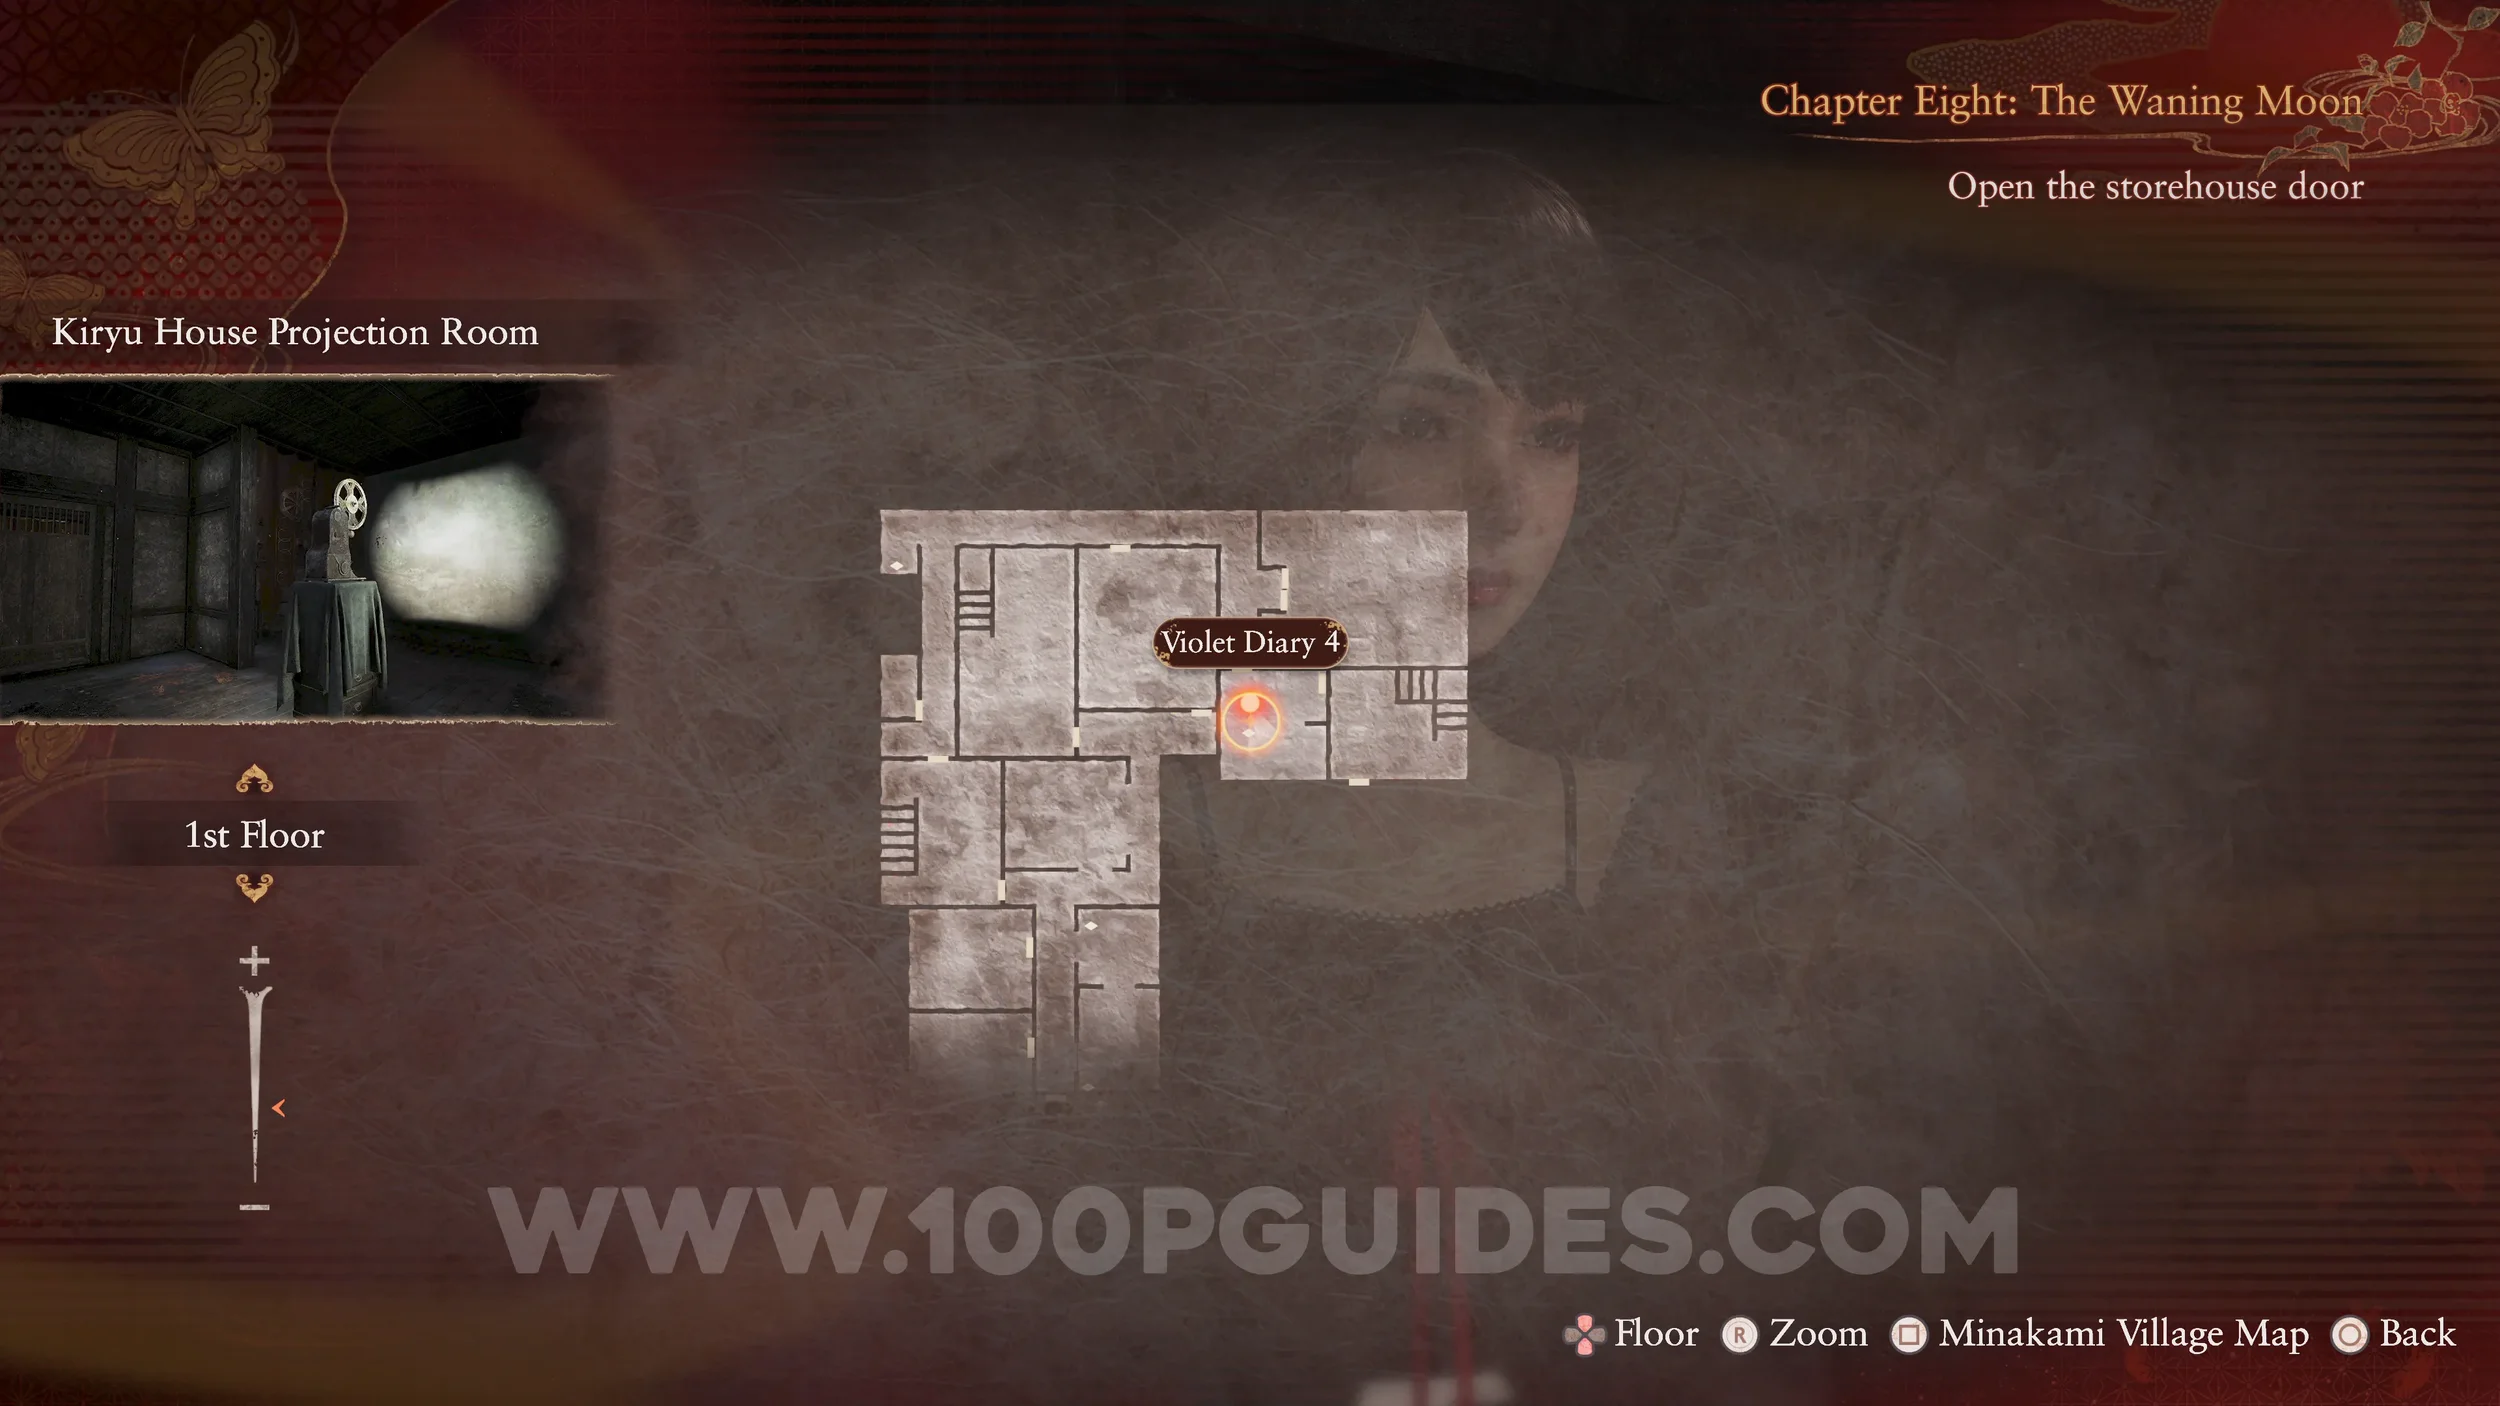
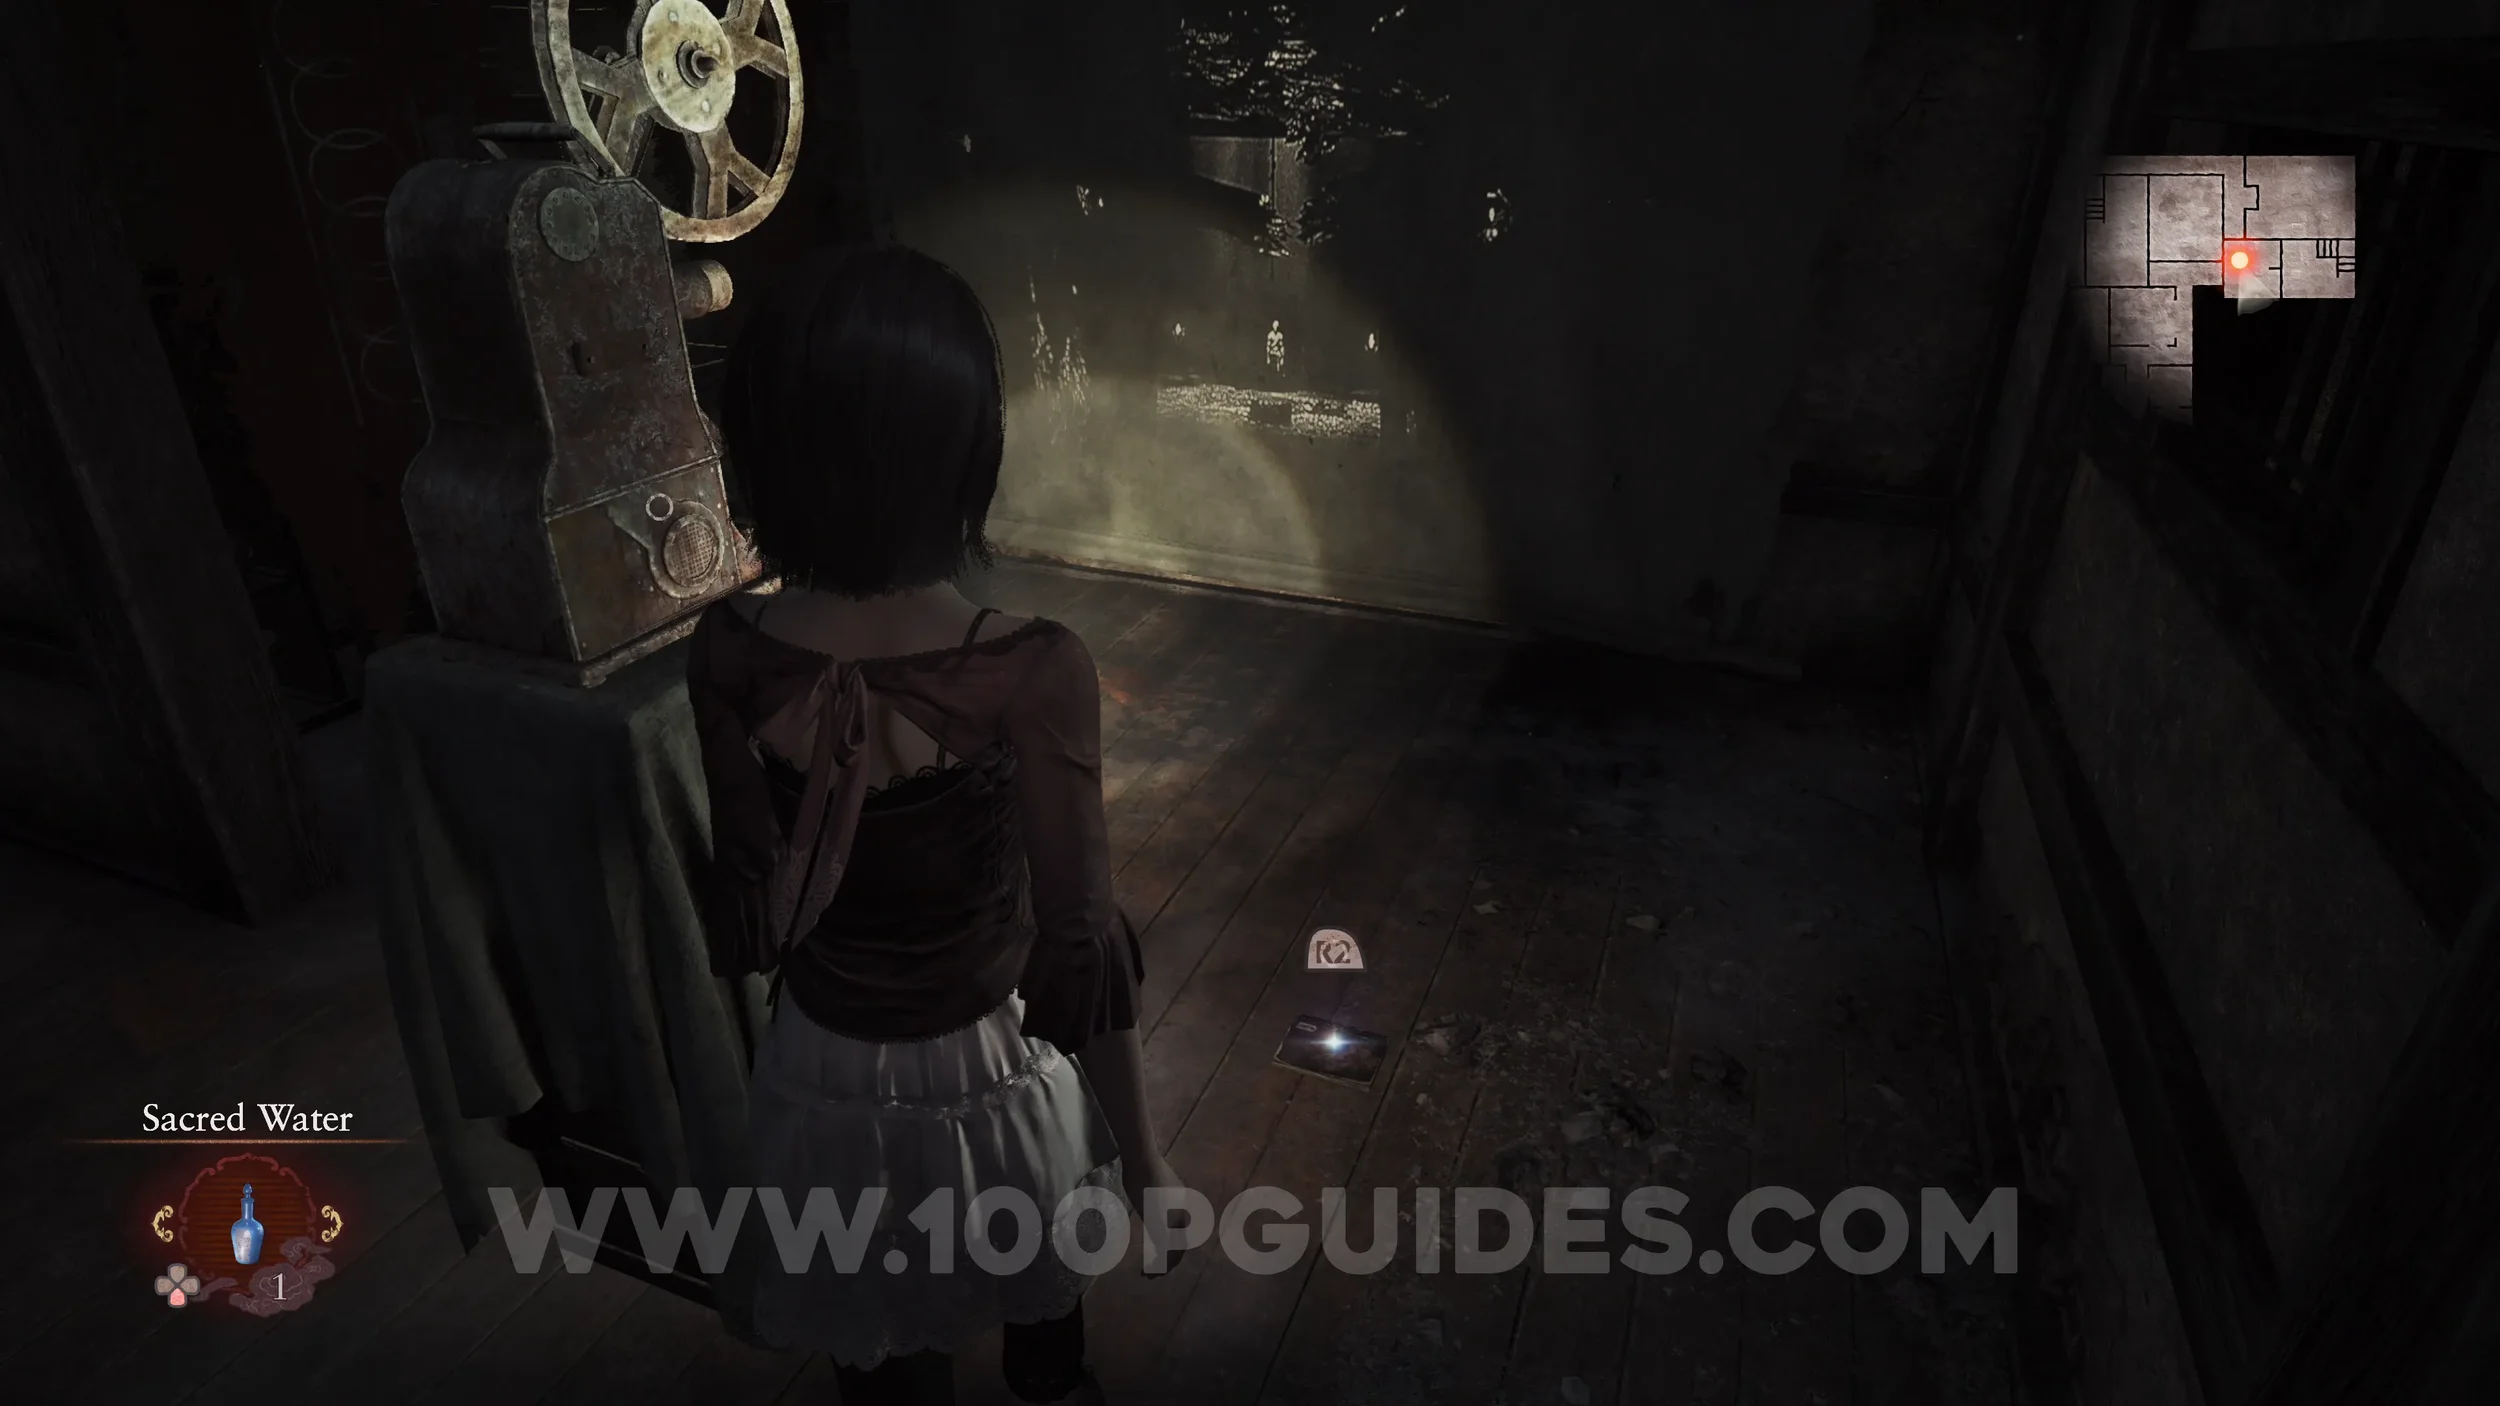
Document #80 - Violet Diary 4, Side Quest #7 - Akane Kiryu and Spirit Stone #29 - Blue Crystal (1/2). Left on the floor by the previous Revenant.
Revenant #11 - 024 Regretful Girl. Stay in the Kiryu House and go to the Twins’ Room to find the Revenant.

Specter #154 - 207 Watchful Girl. Will appear after taking the photo of the previous revenant.
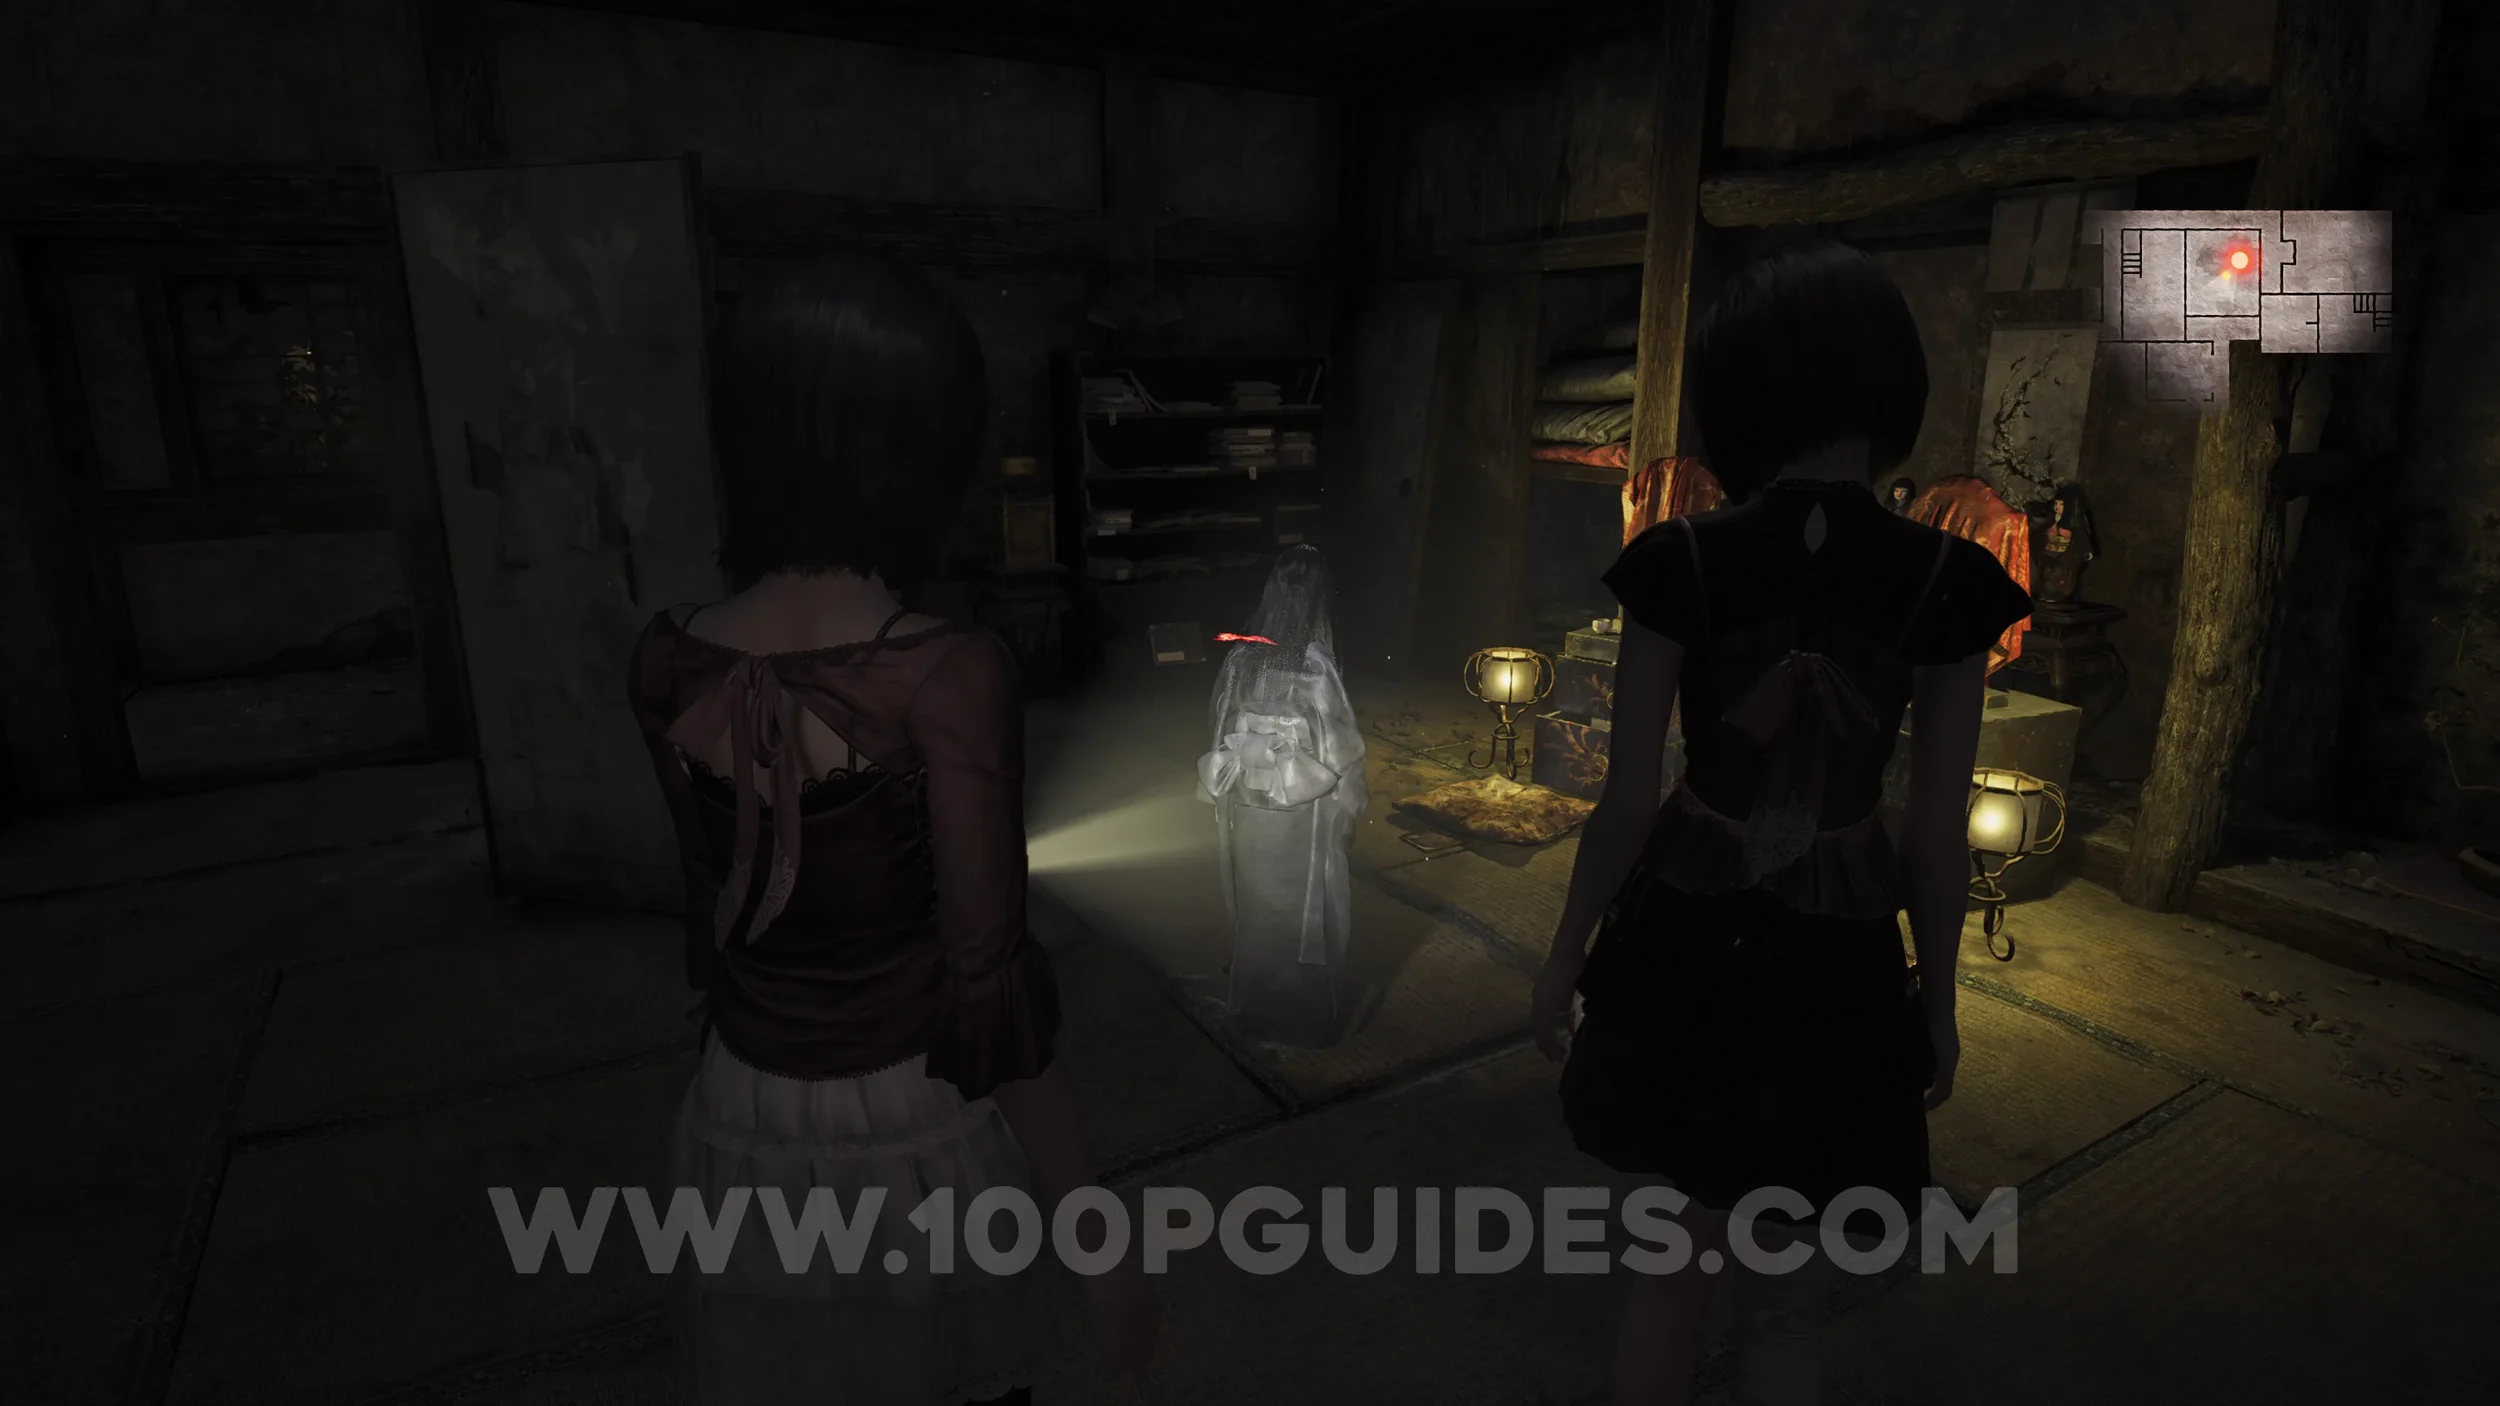
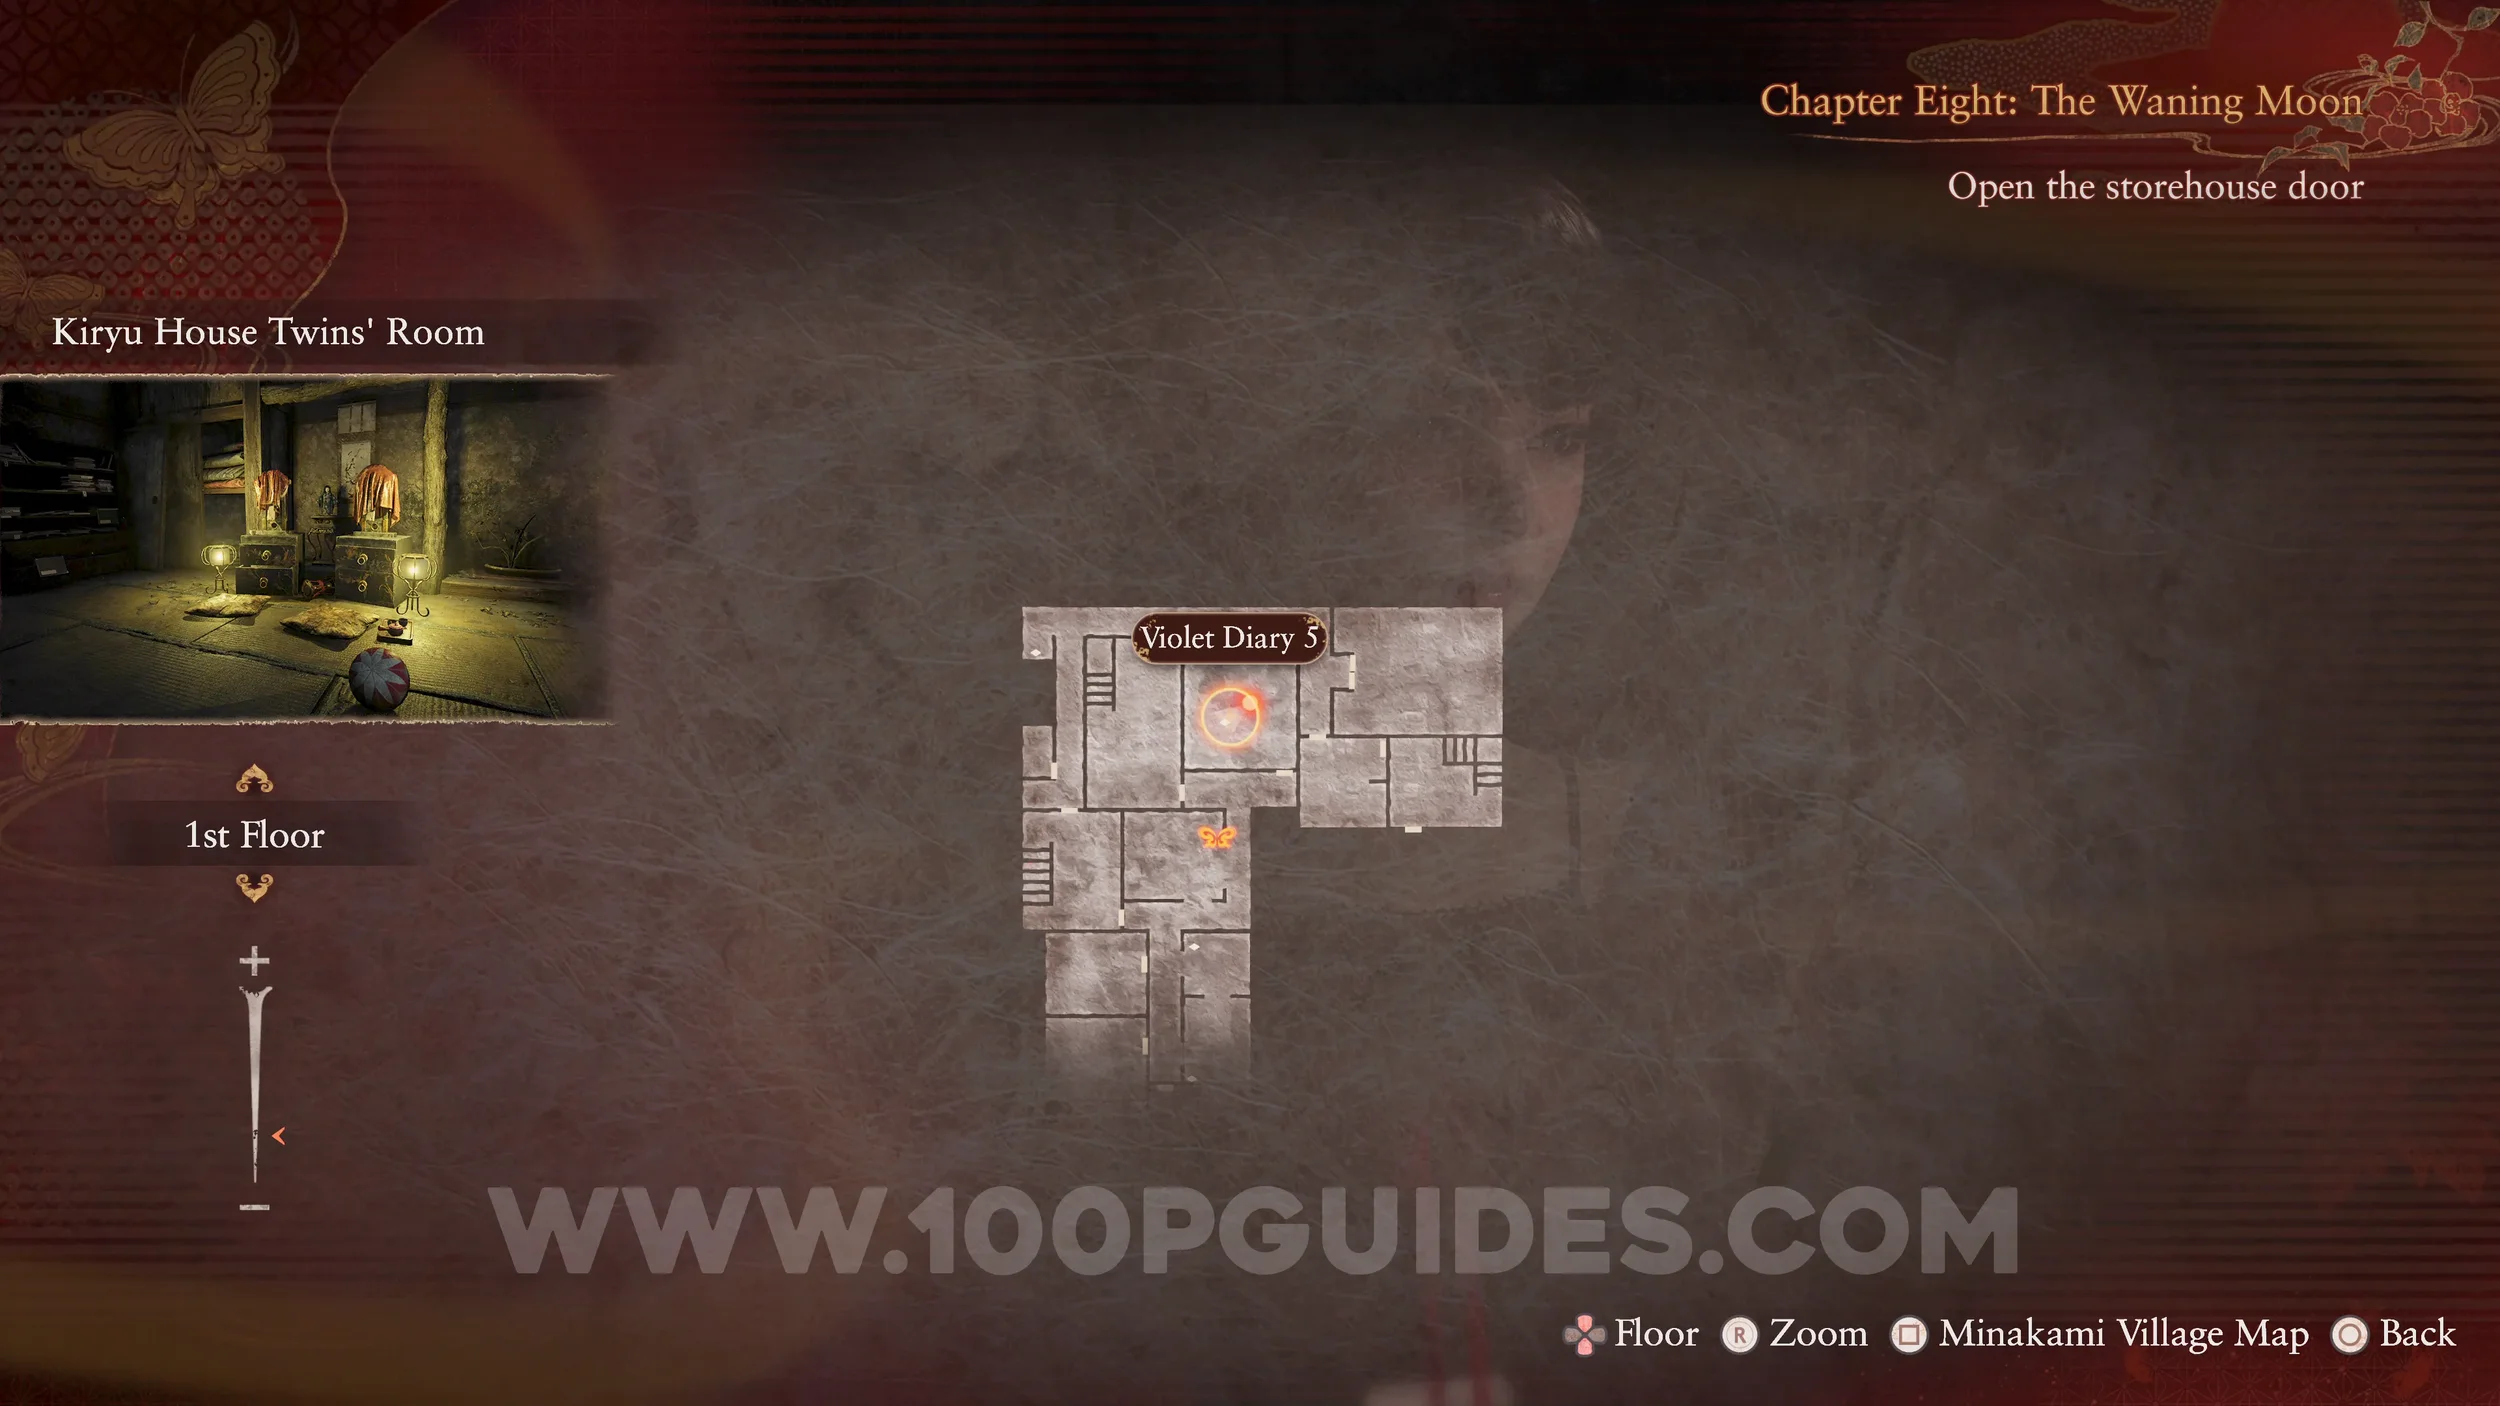
Document #81 - Violet Diary 5 and Spirit Stone #30 - Pale Blue Crystal. Dropped by the previous Revenant.
Spirit Stone #31 - Red Speckled Crystal (1/2), Side Quest #8 - Chitose Tachibana and Specter #155 - 213 Girl Fleeing Darkness. Leave the Kiryu House and go left, then left again. You will find the Broken Crystal on the ground in the street. Picking it up will trigger the side quest and cause the specter to spawn in front of you.
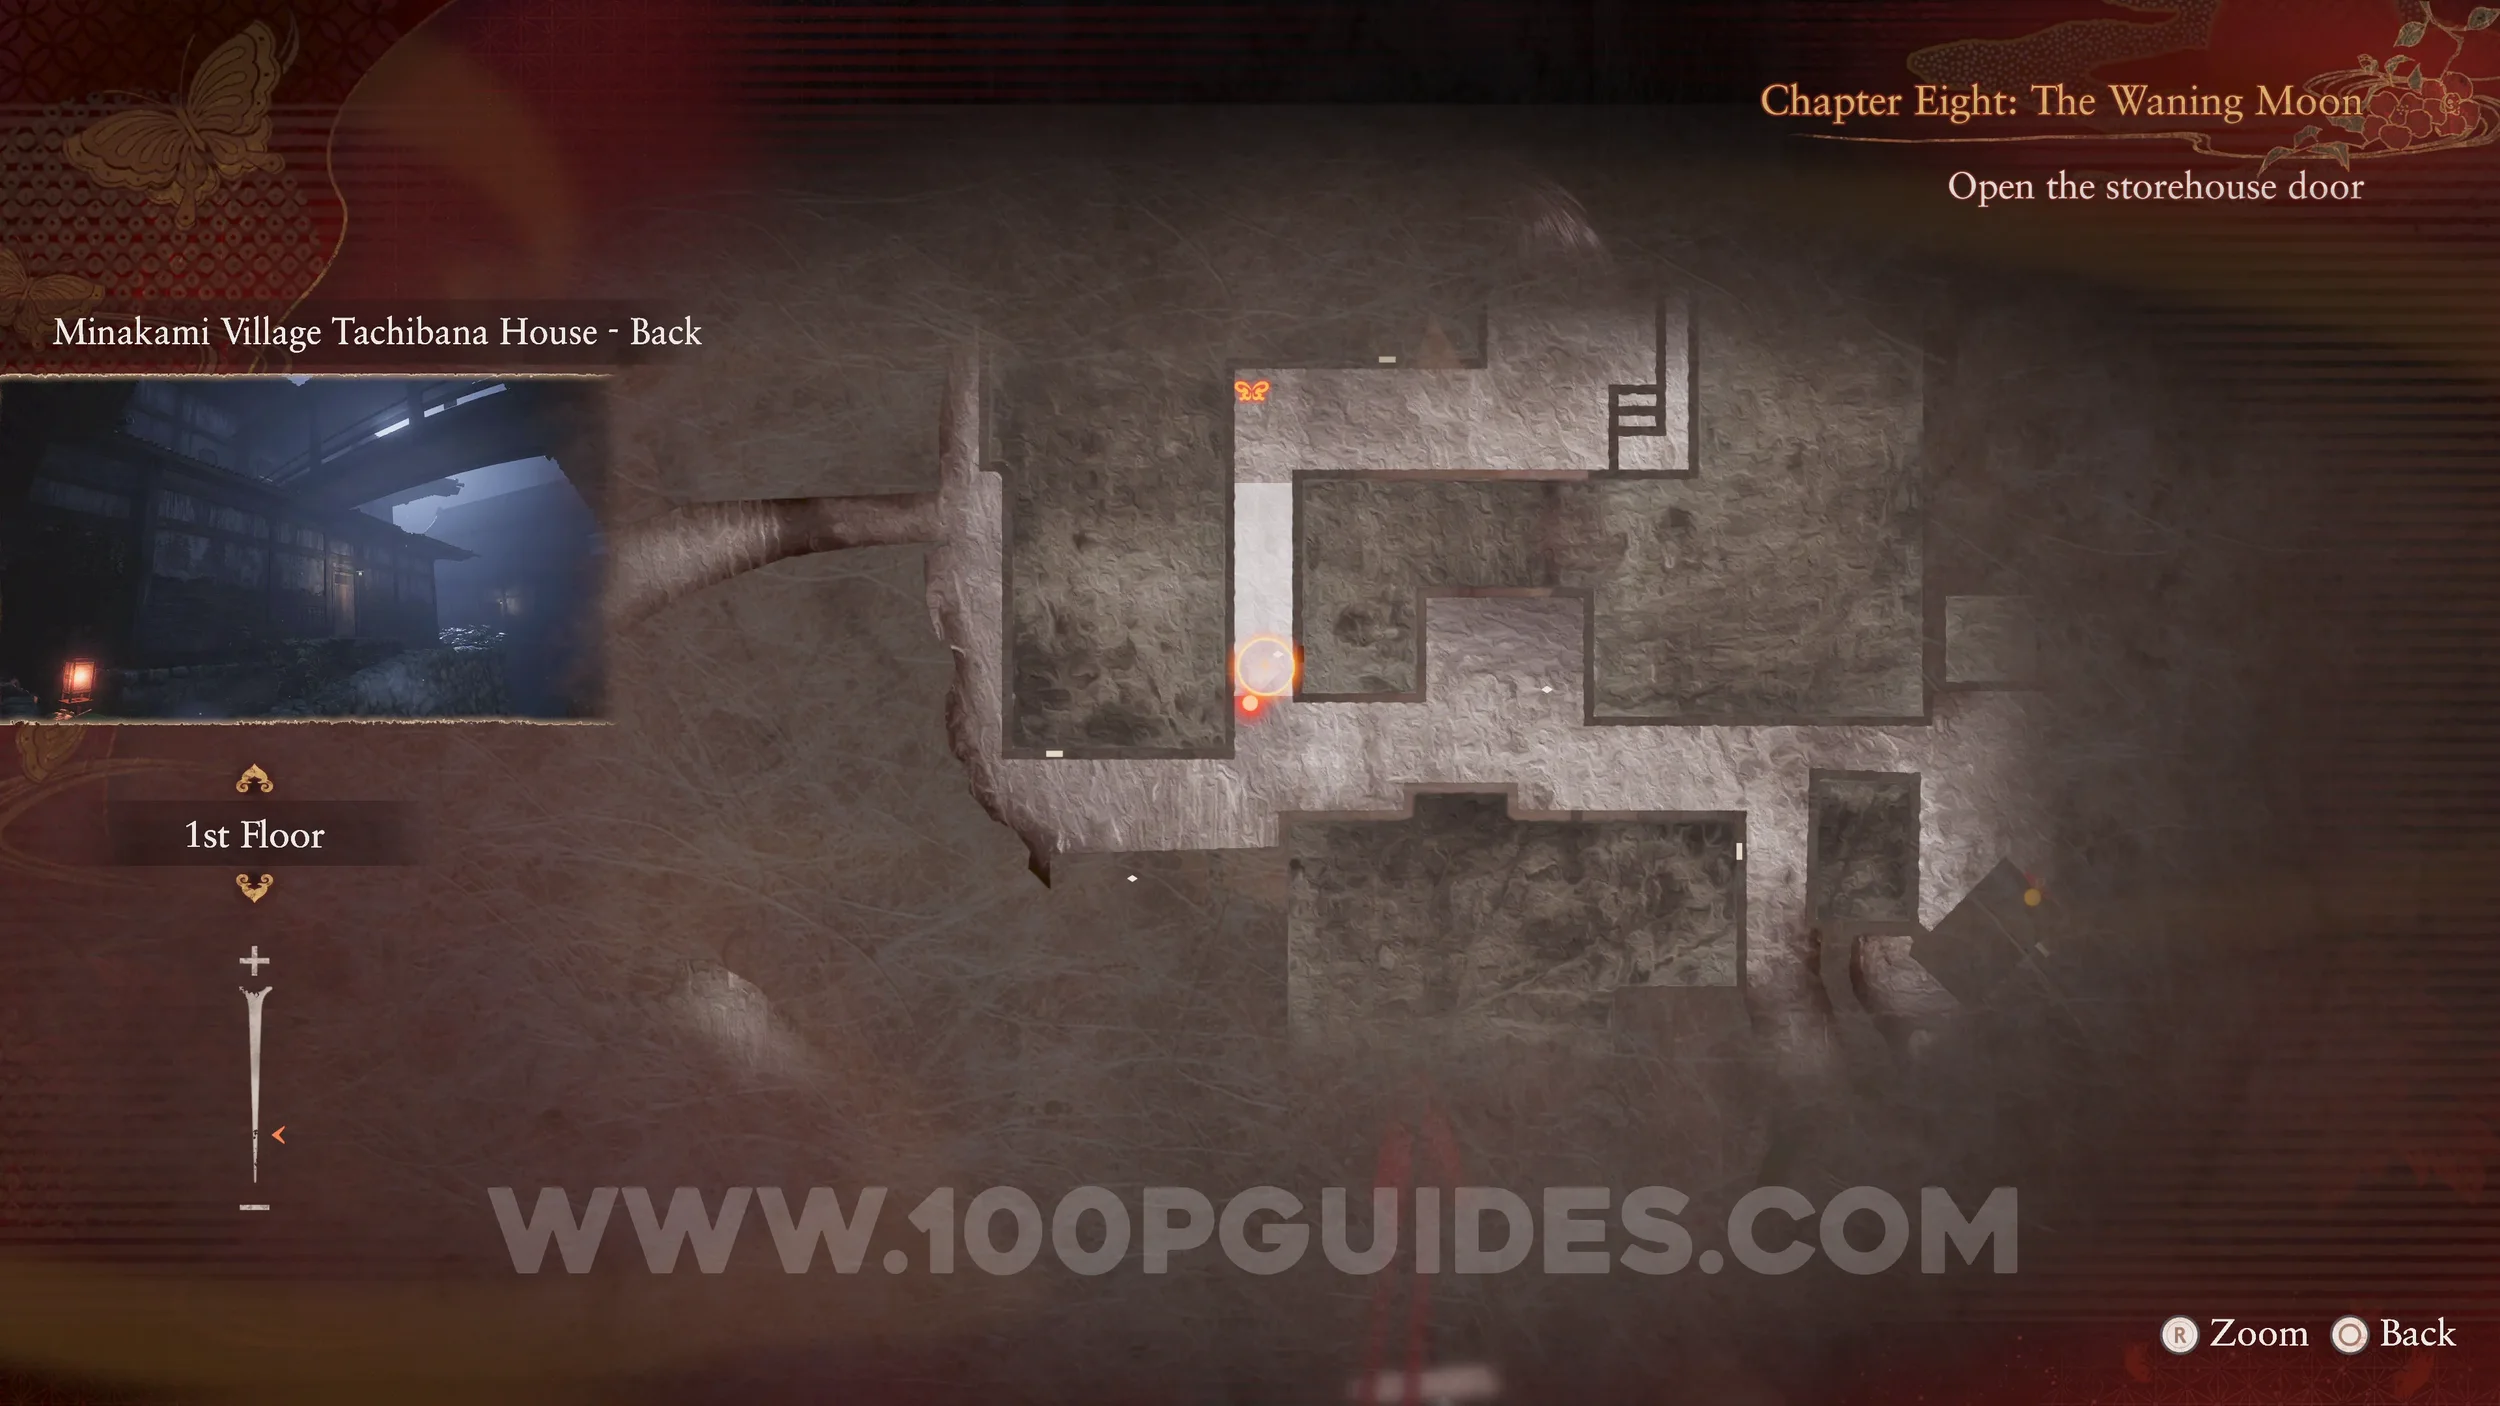
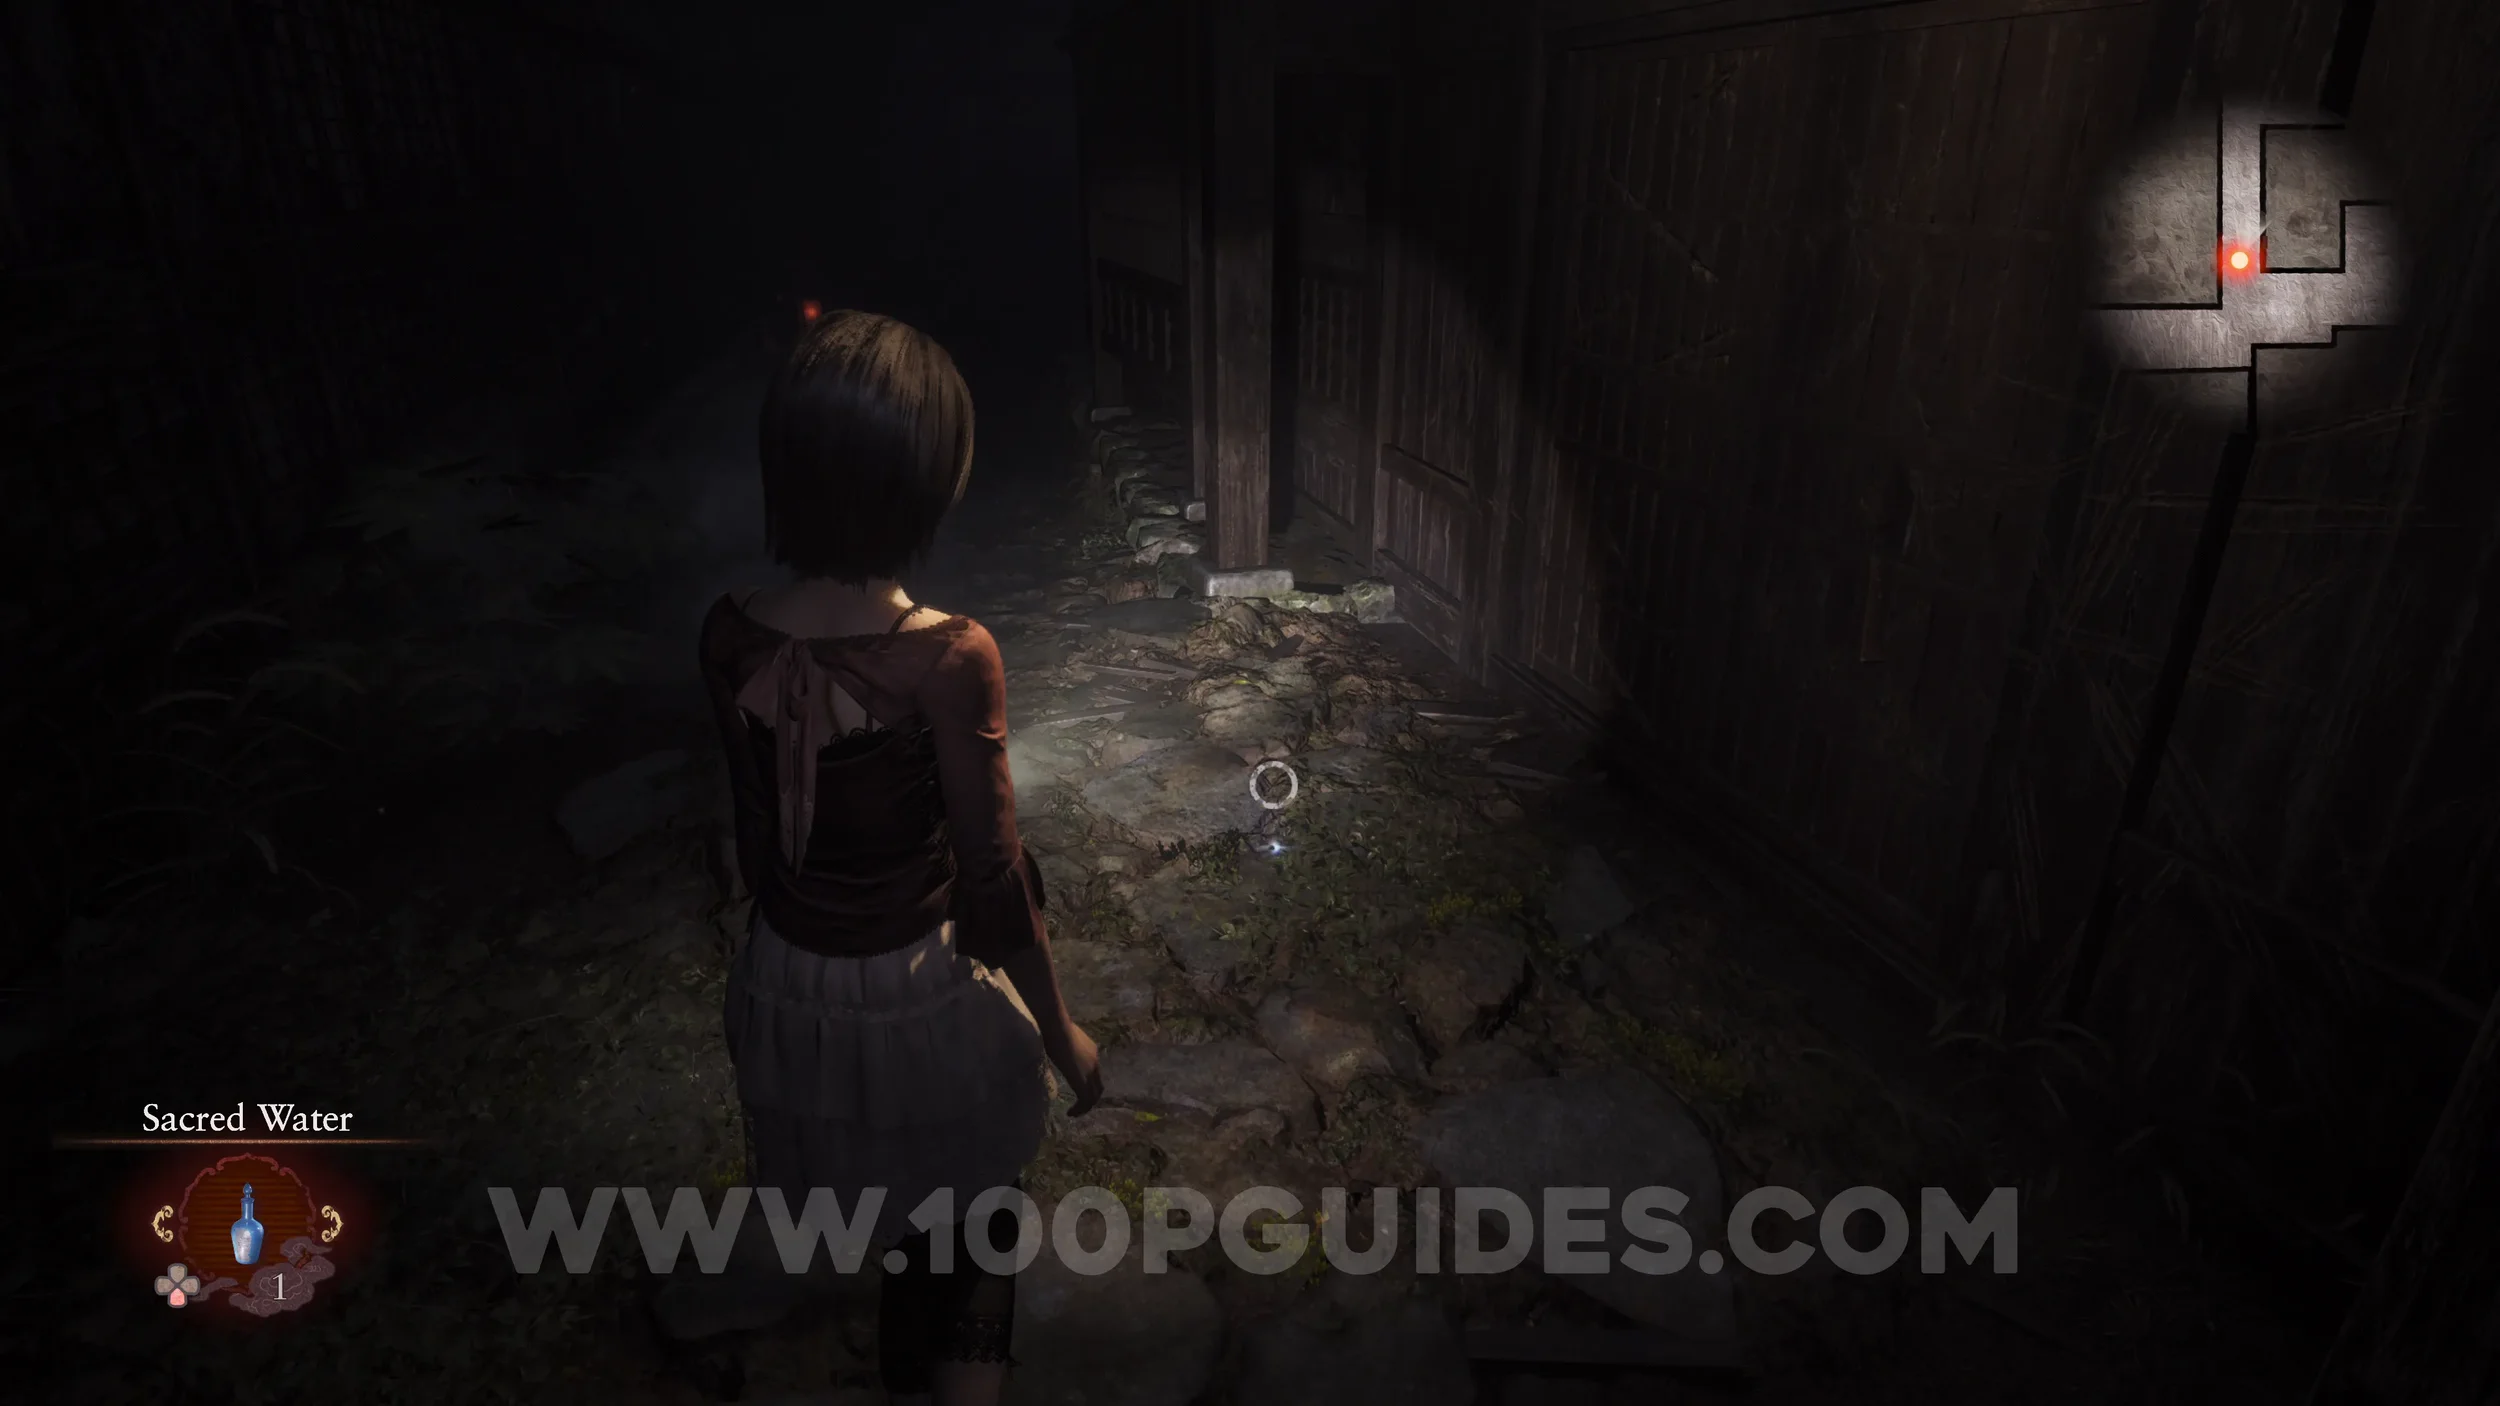
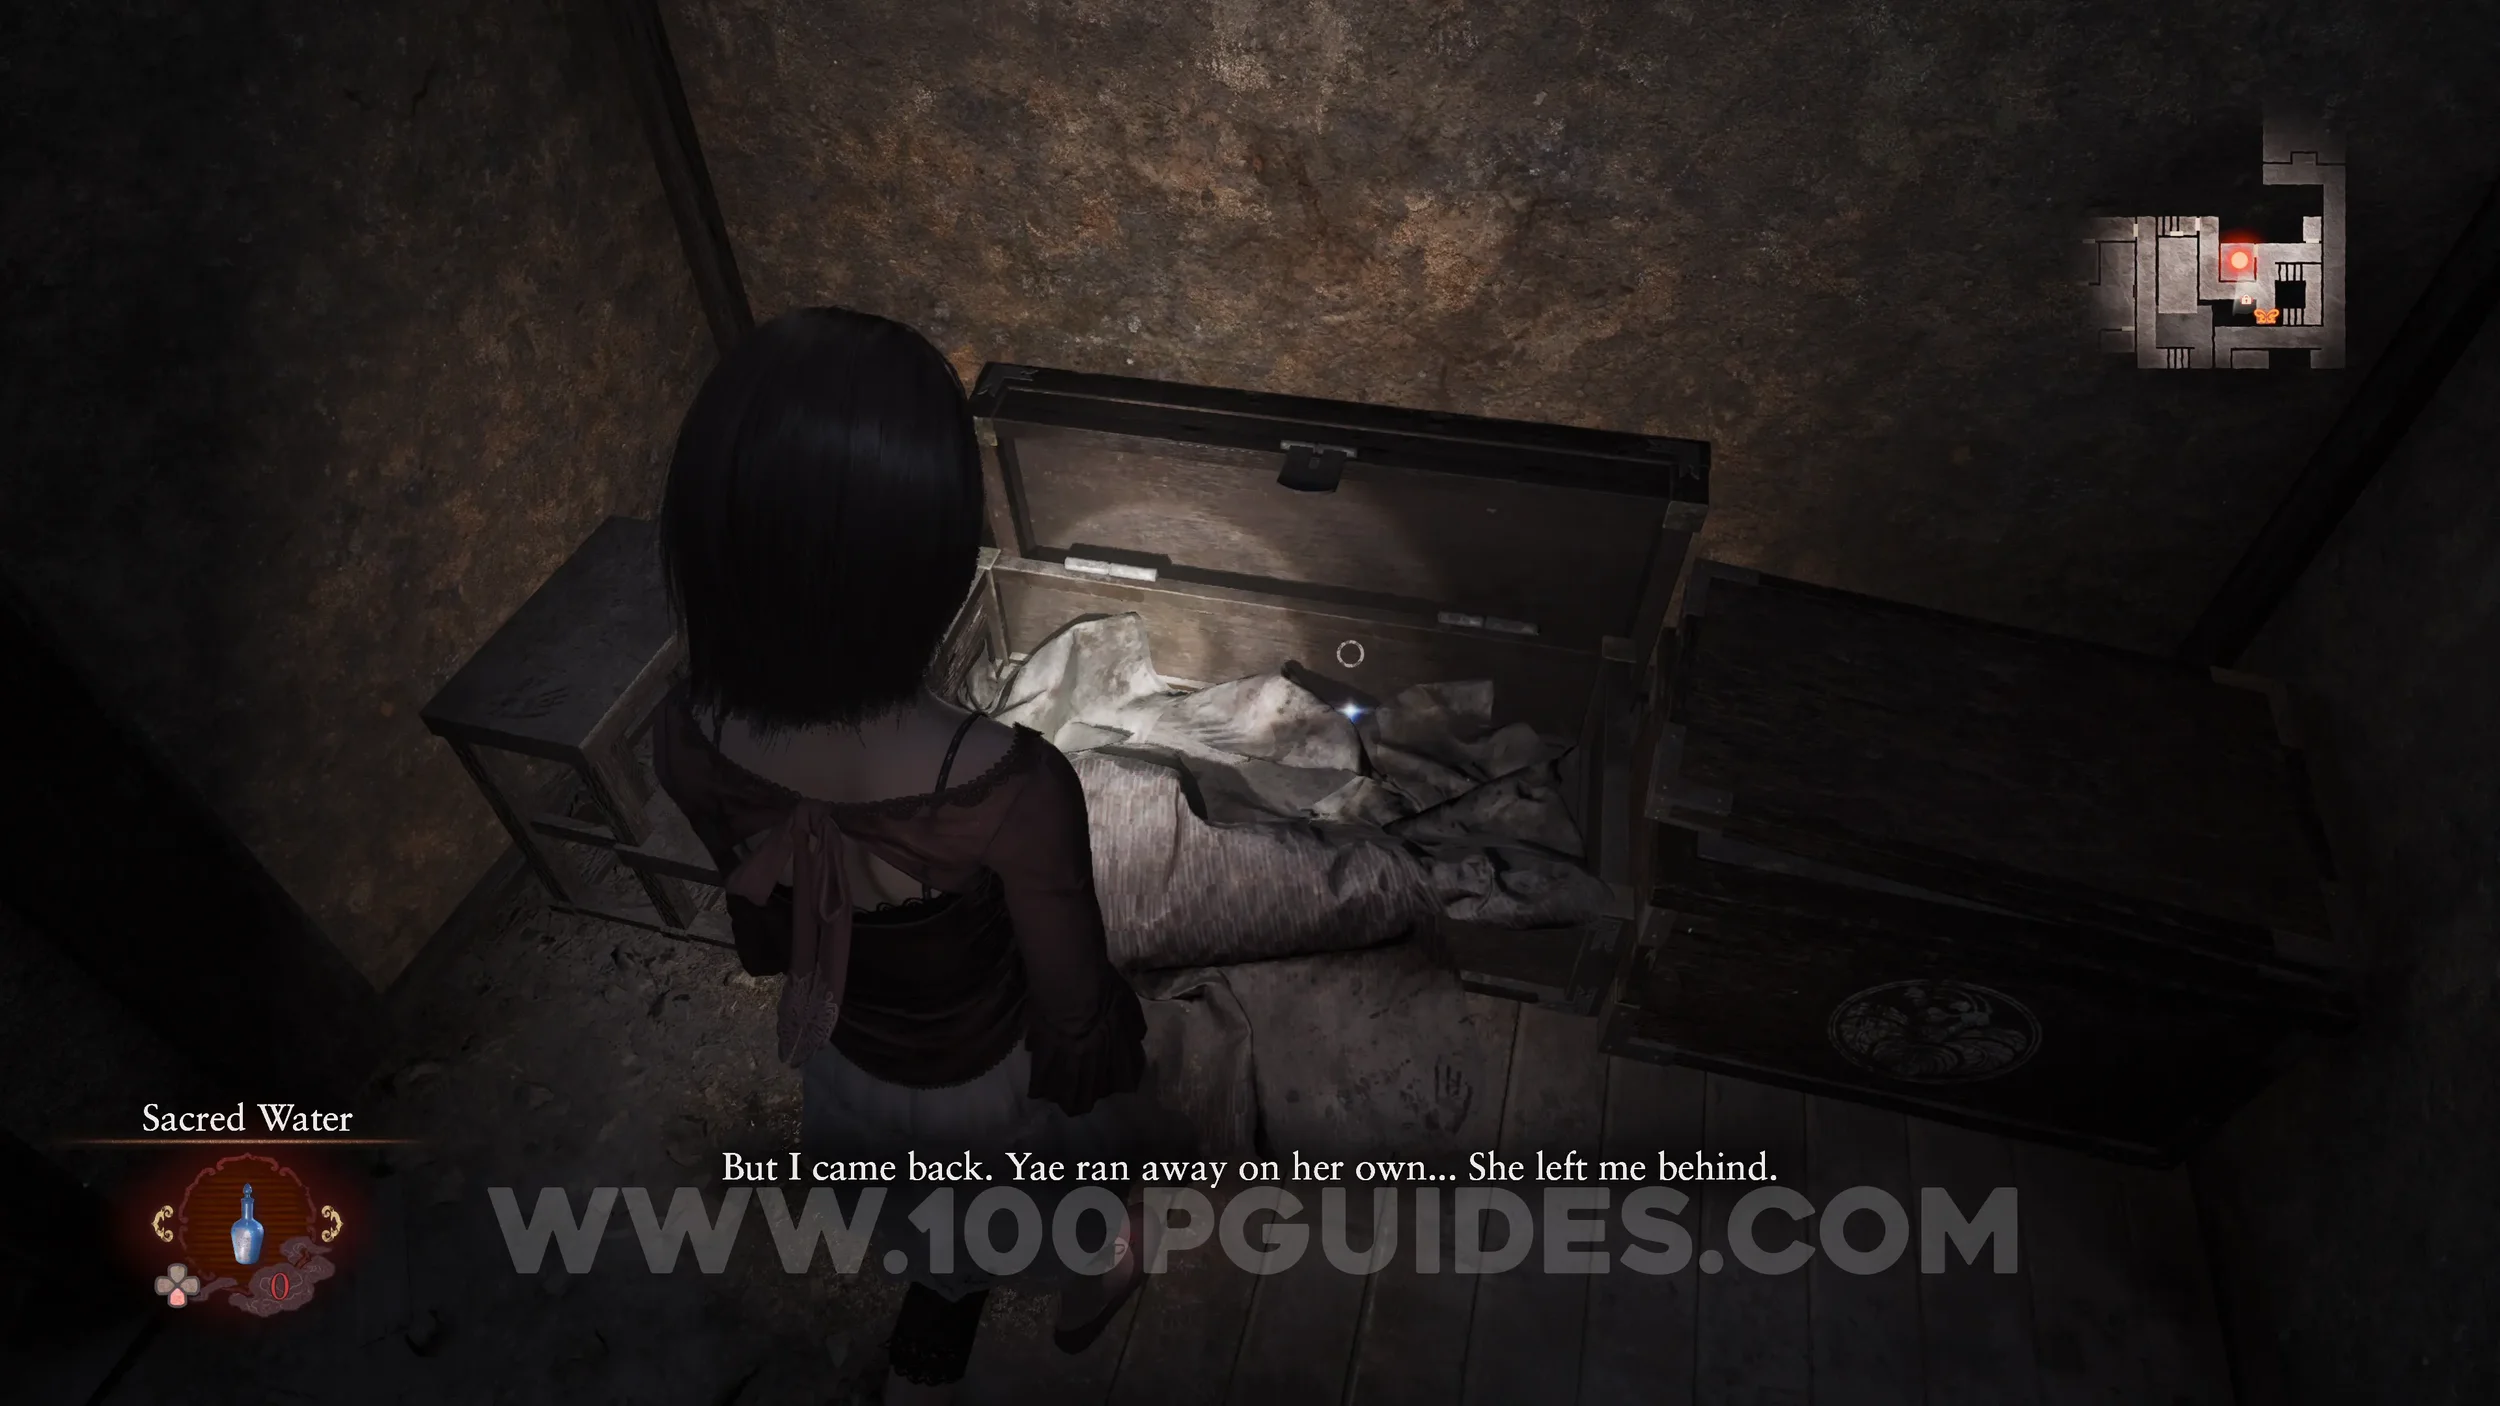
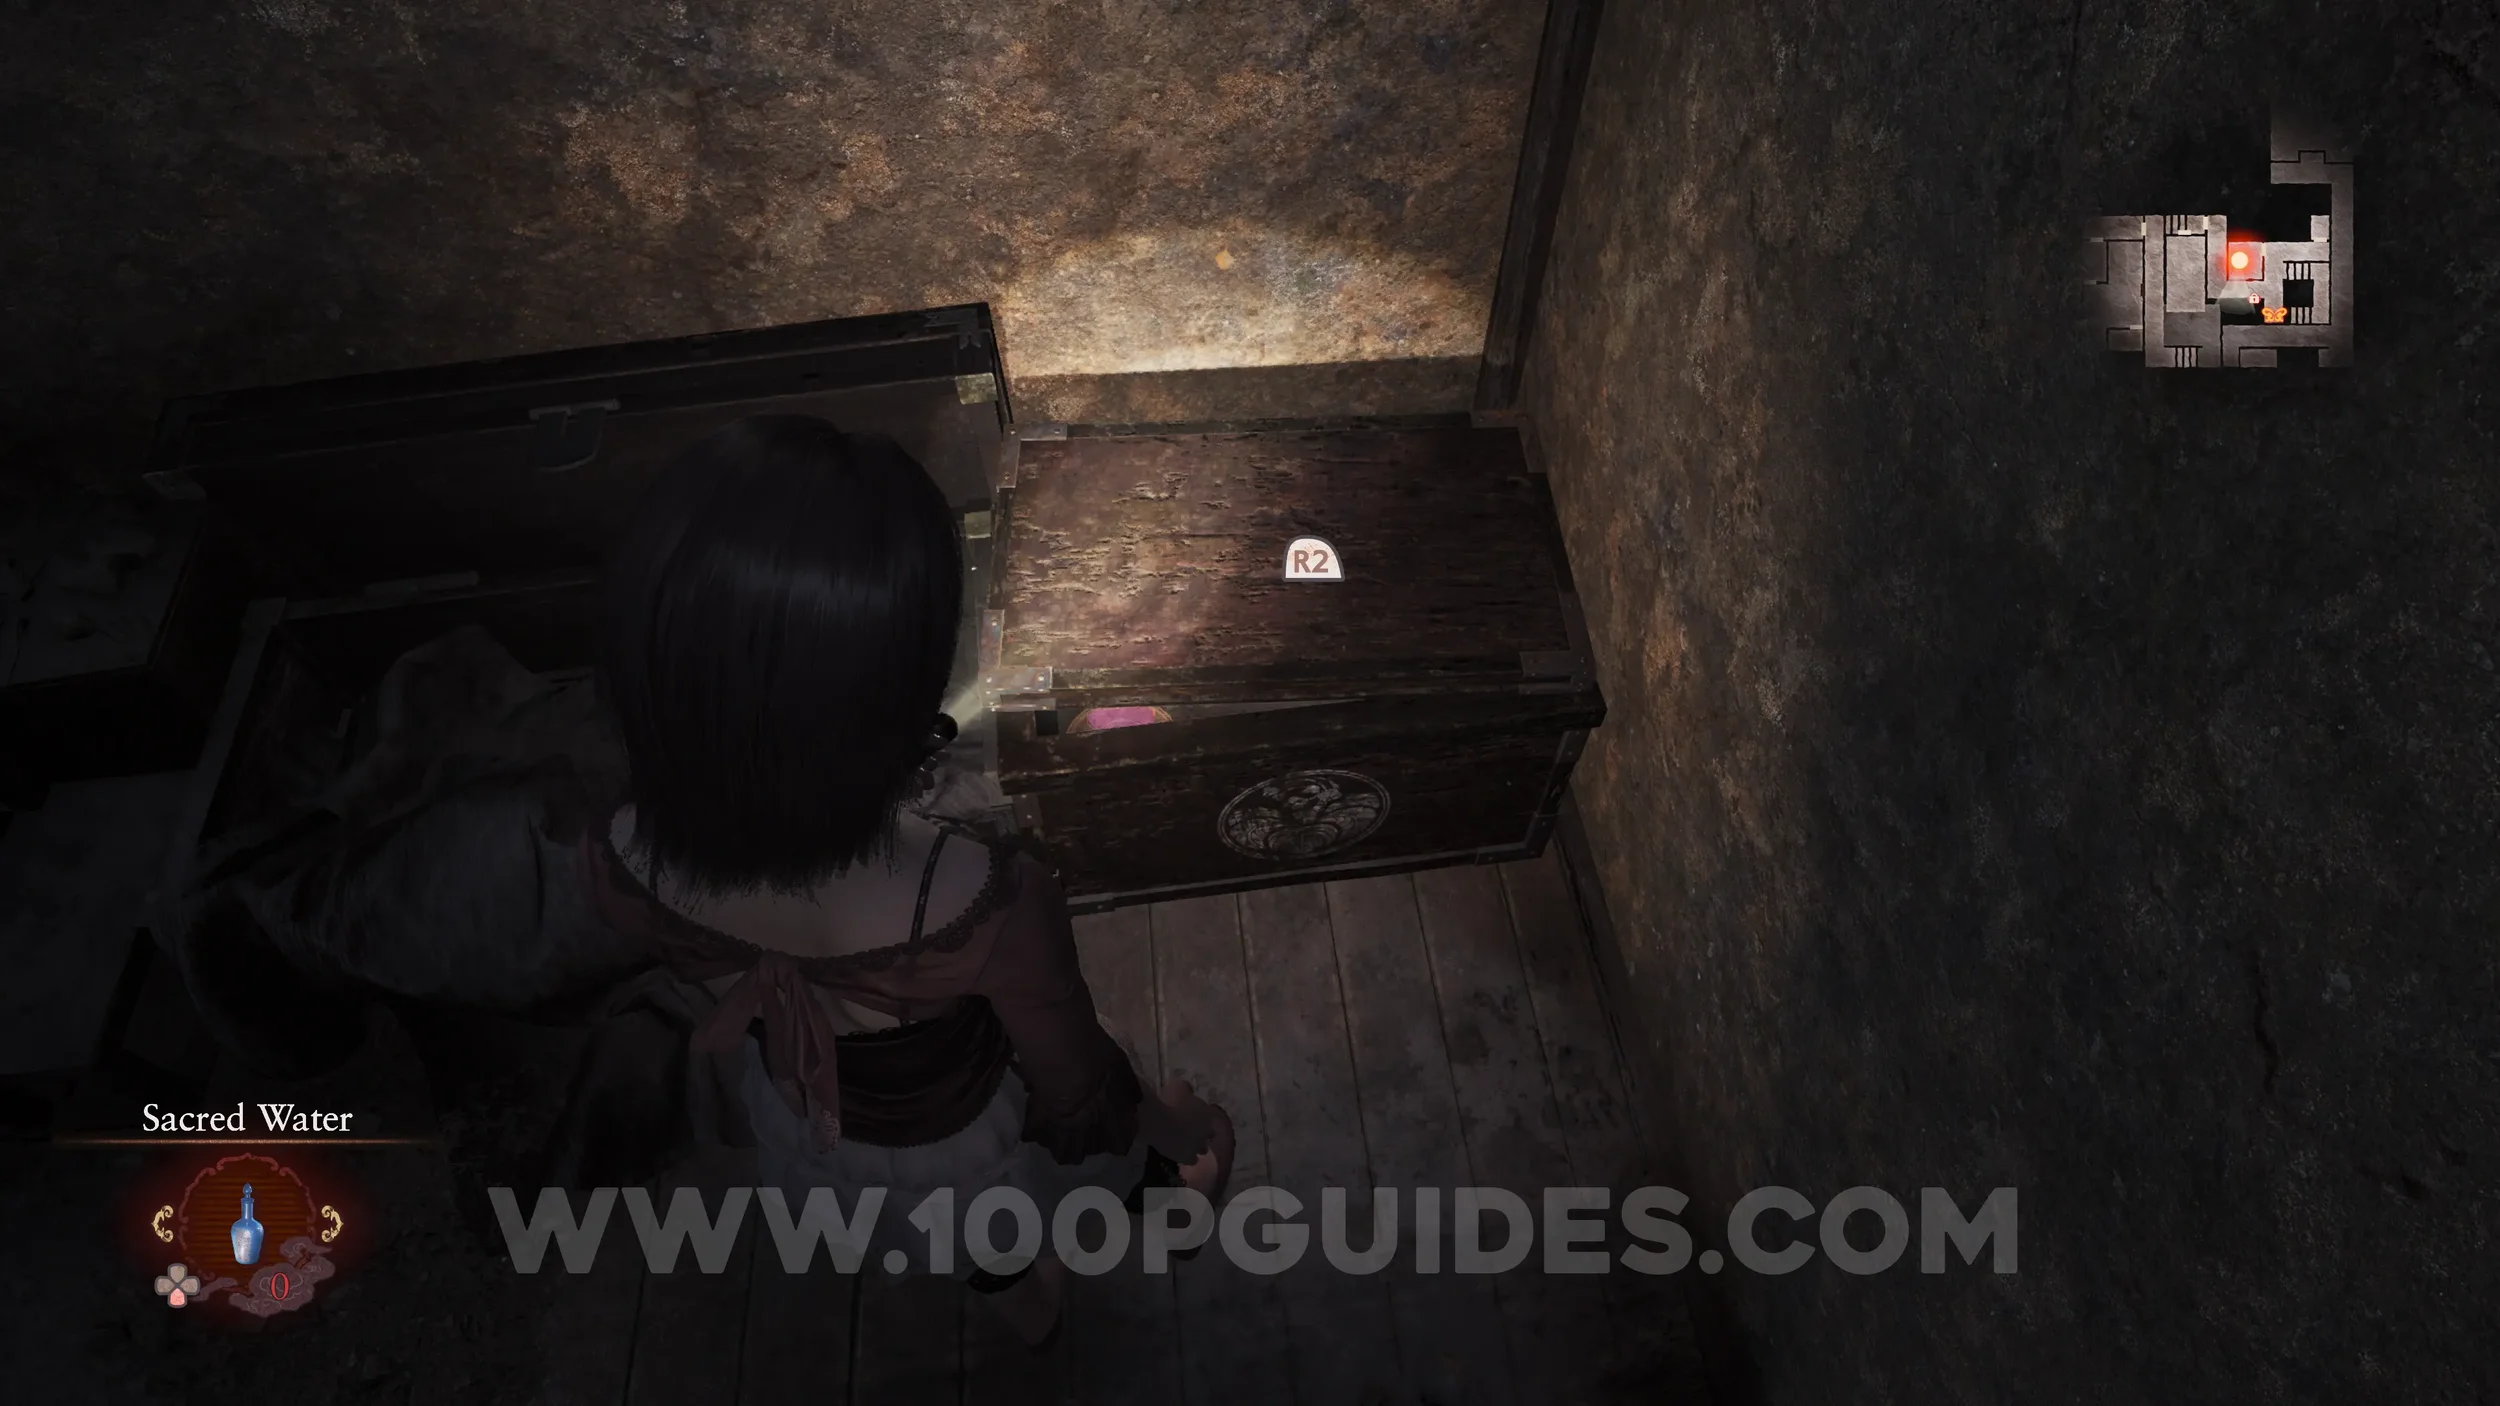
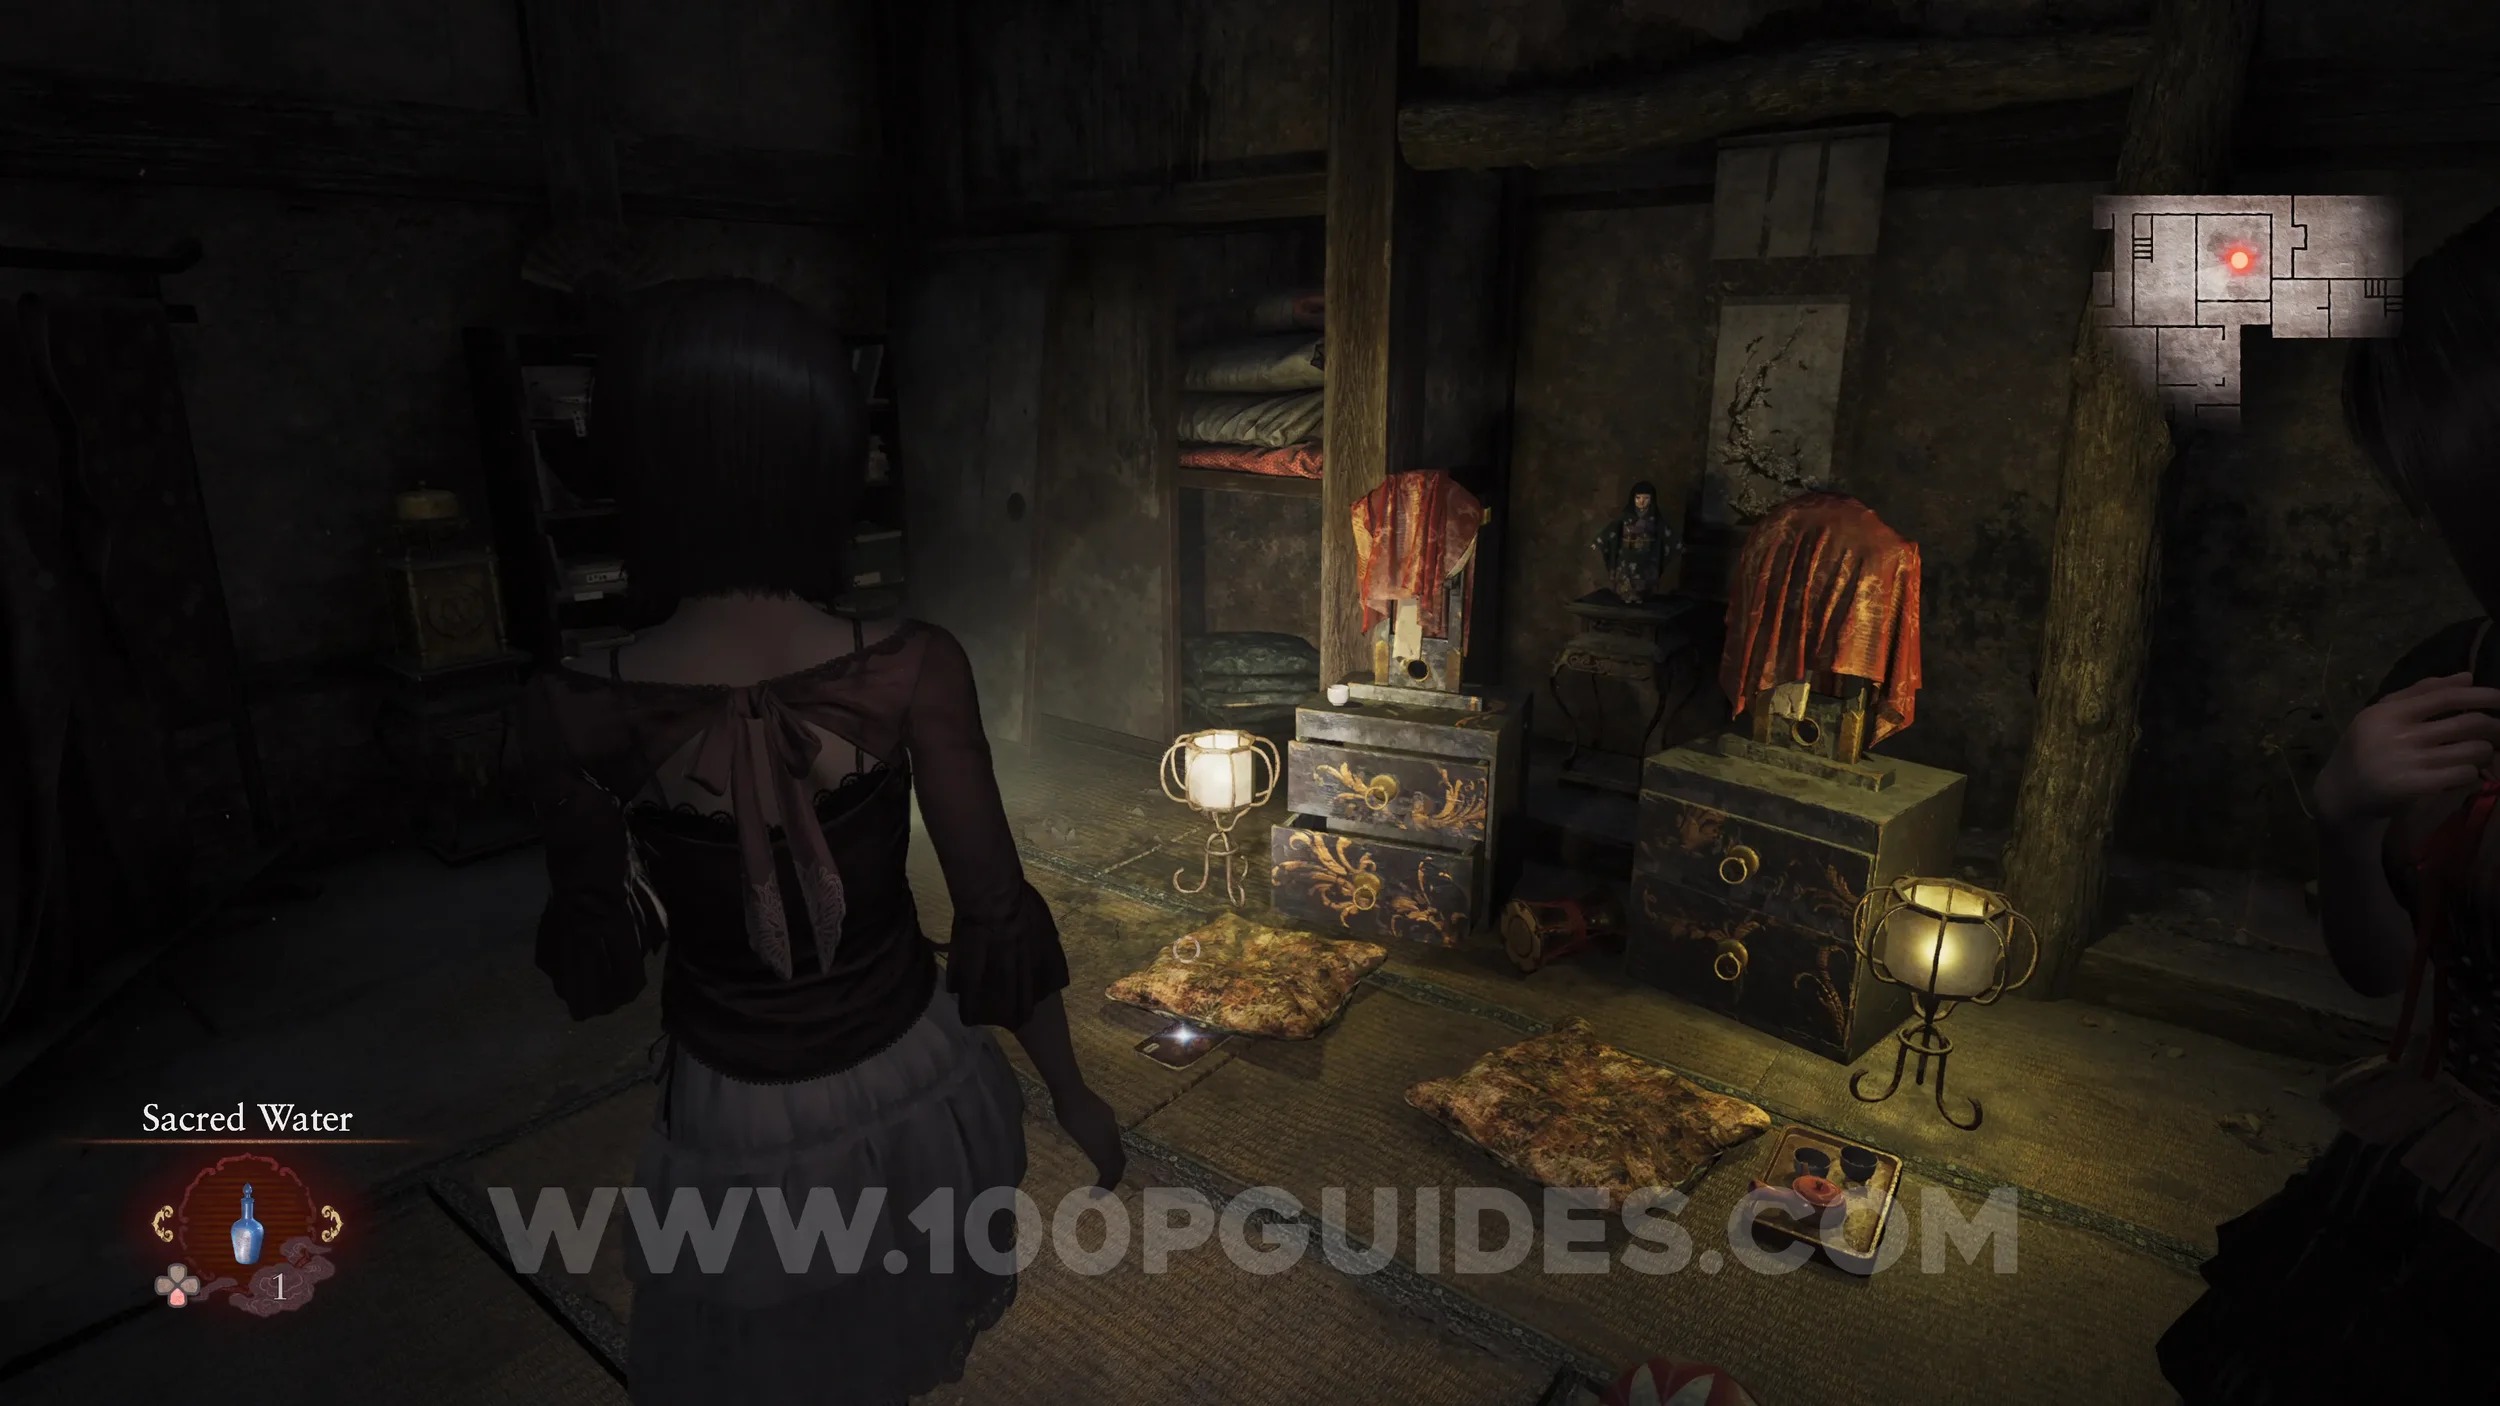
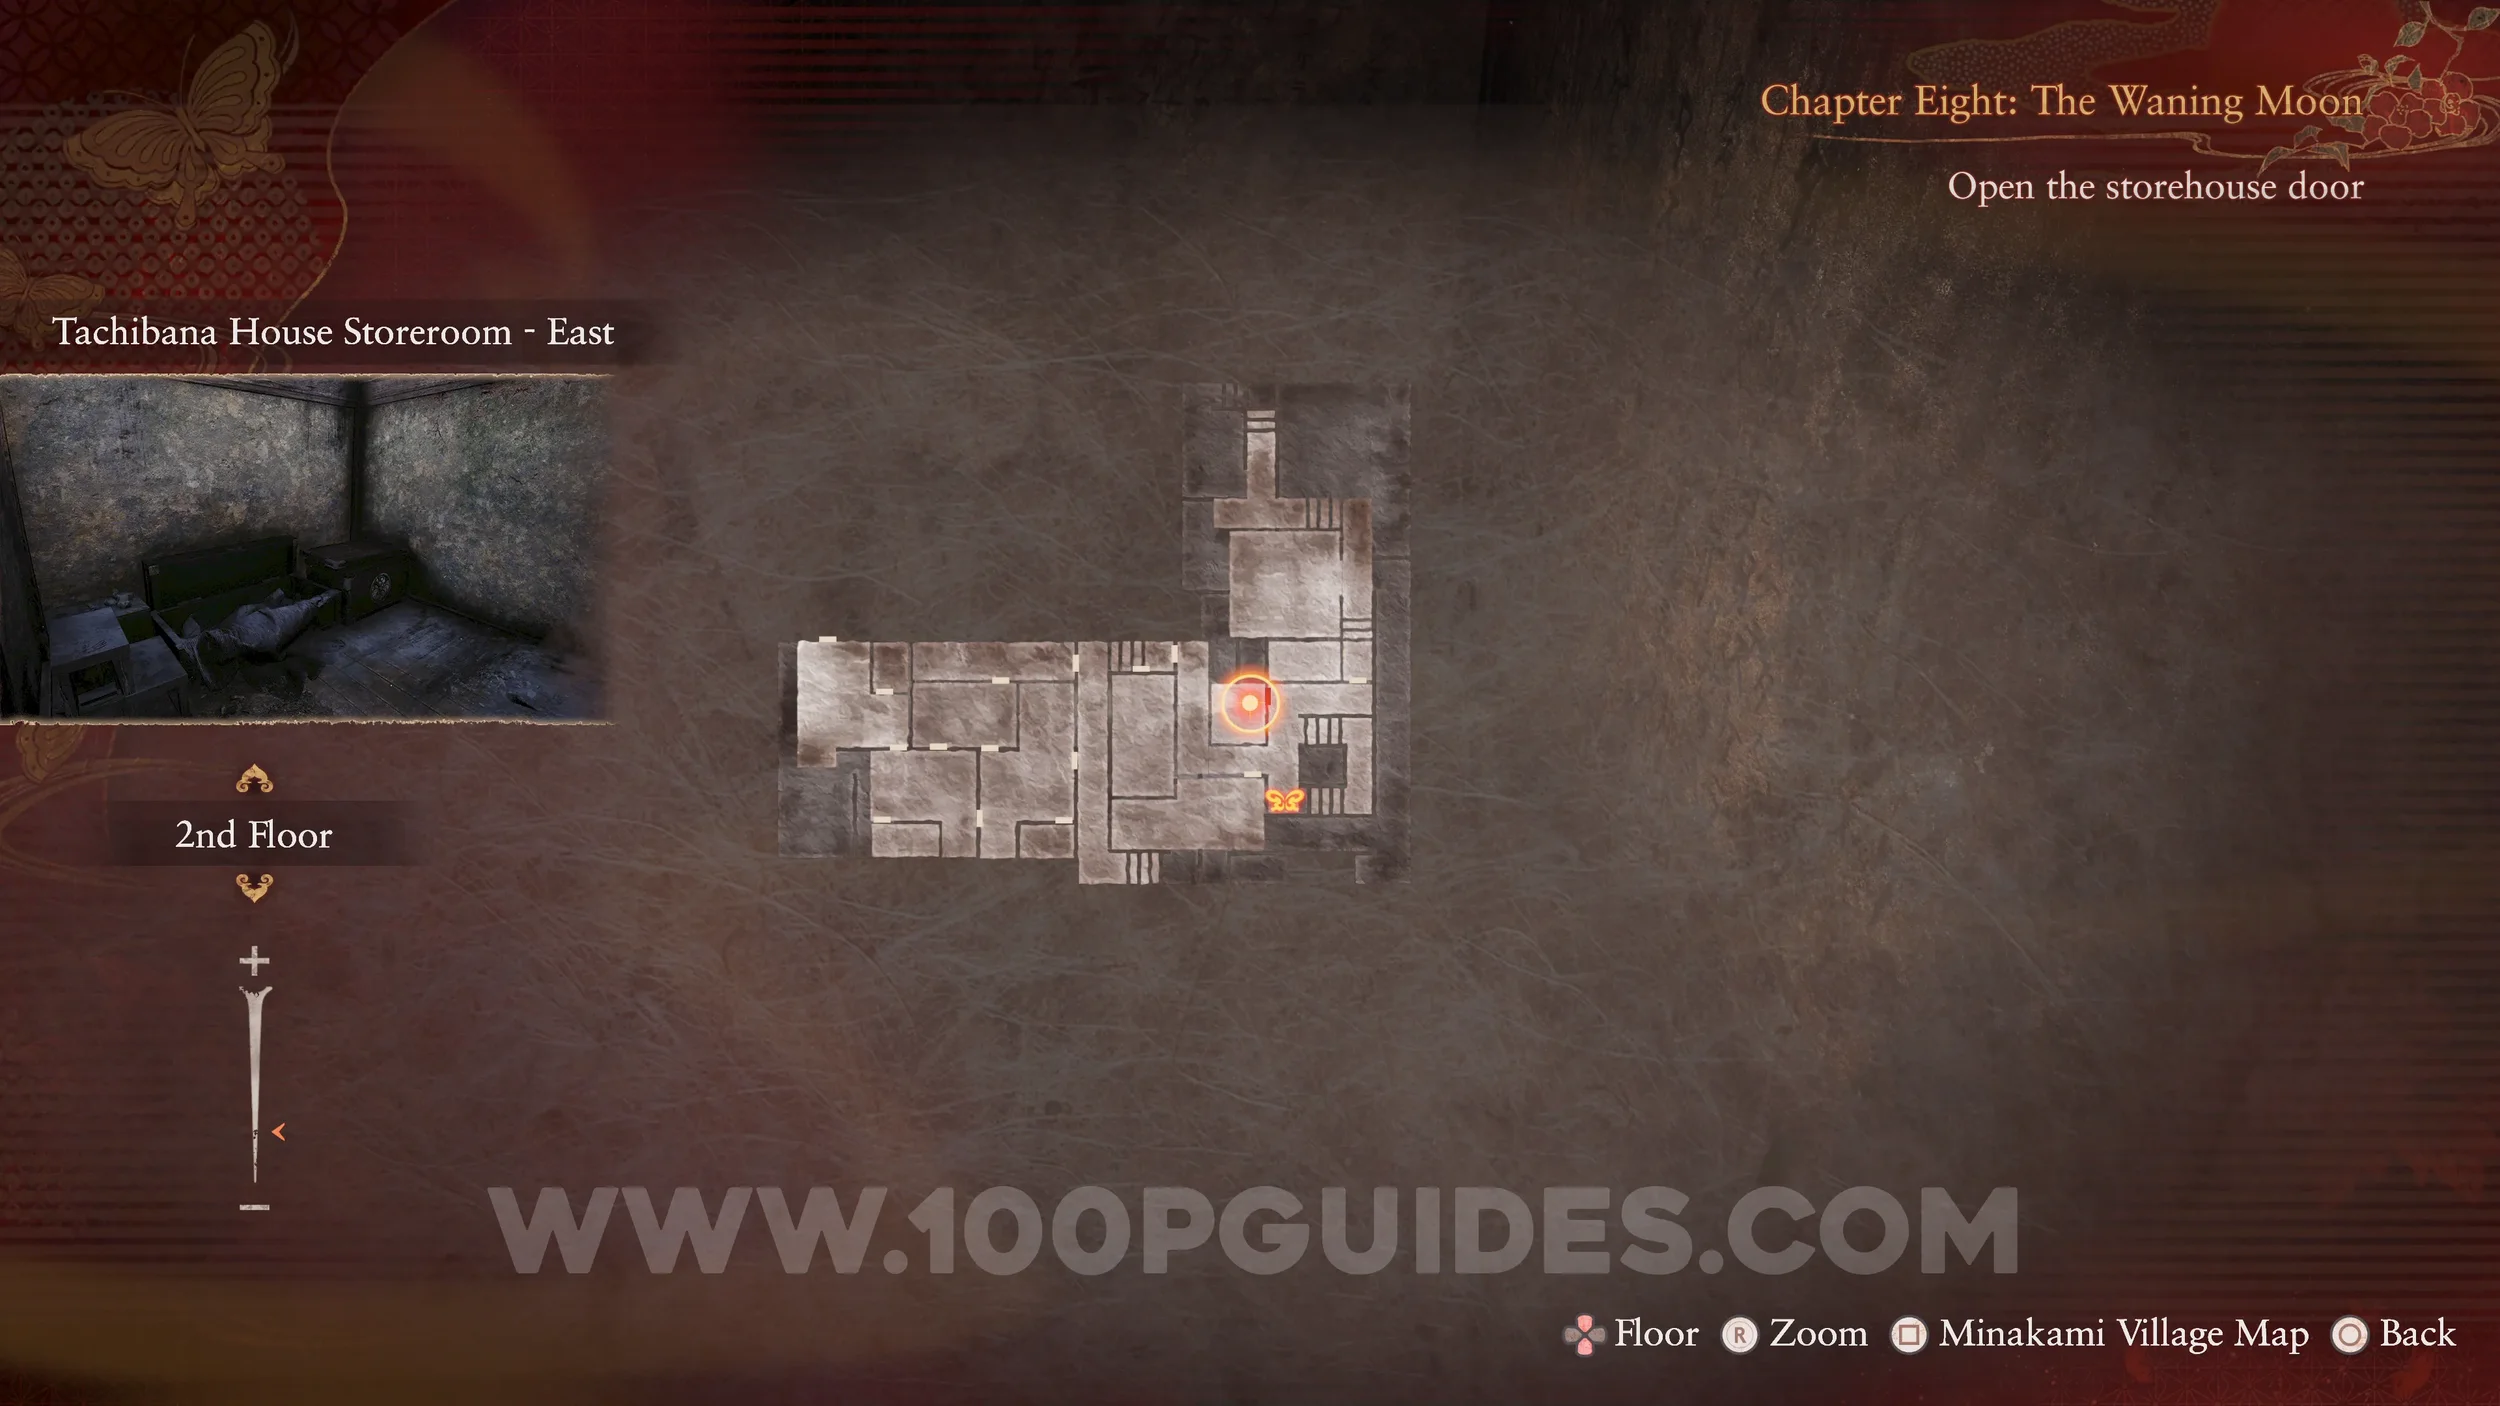
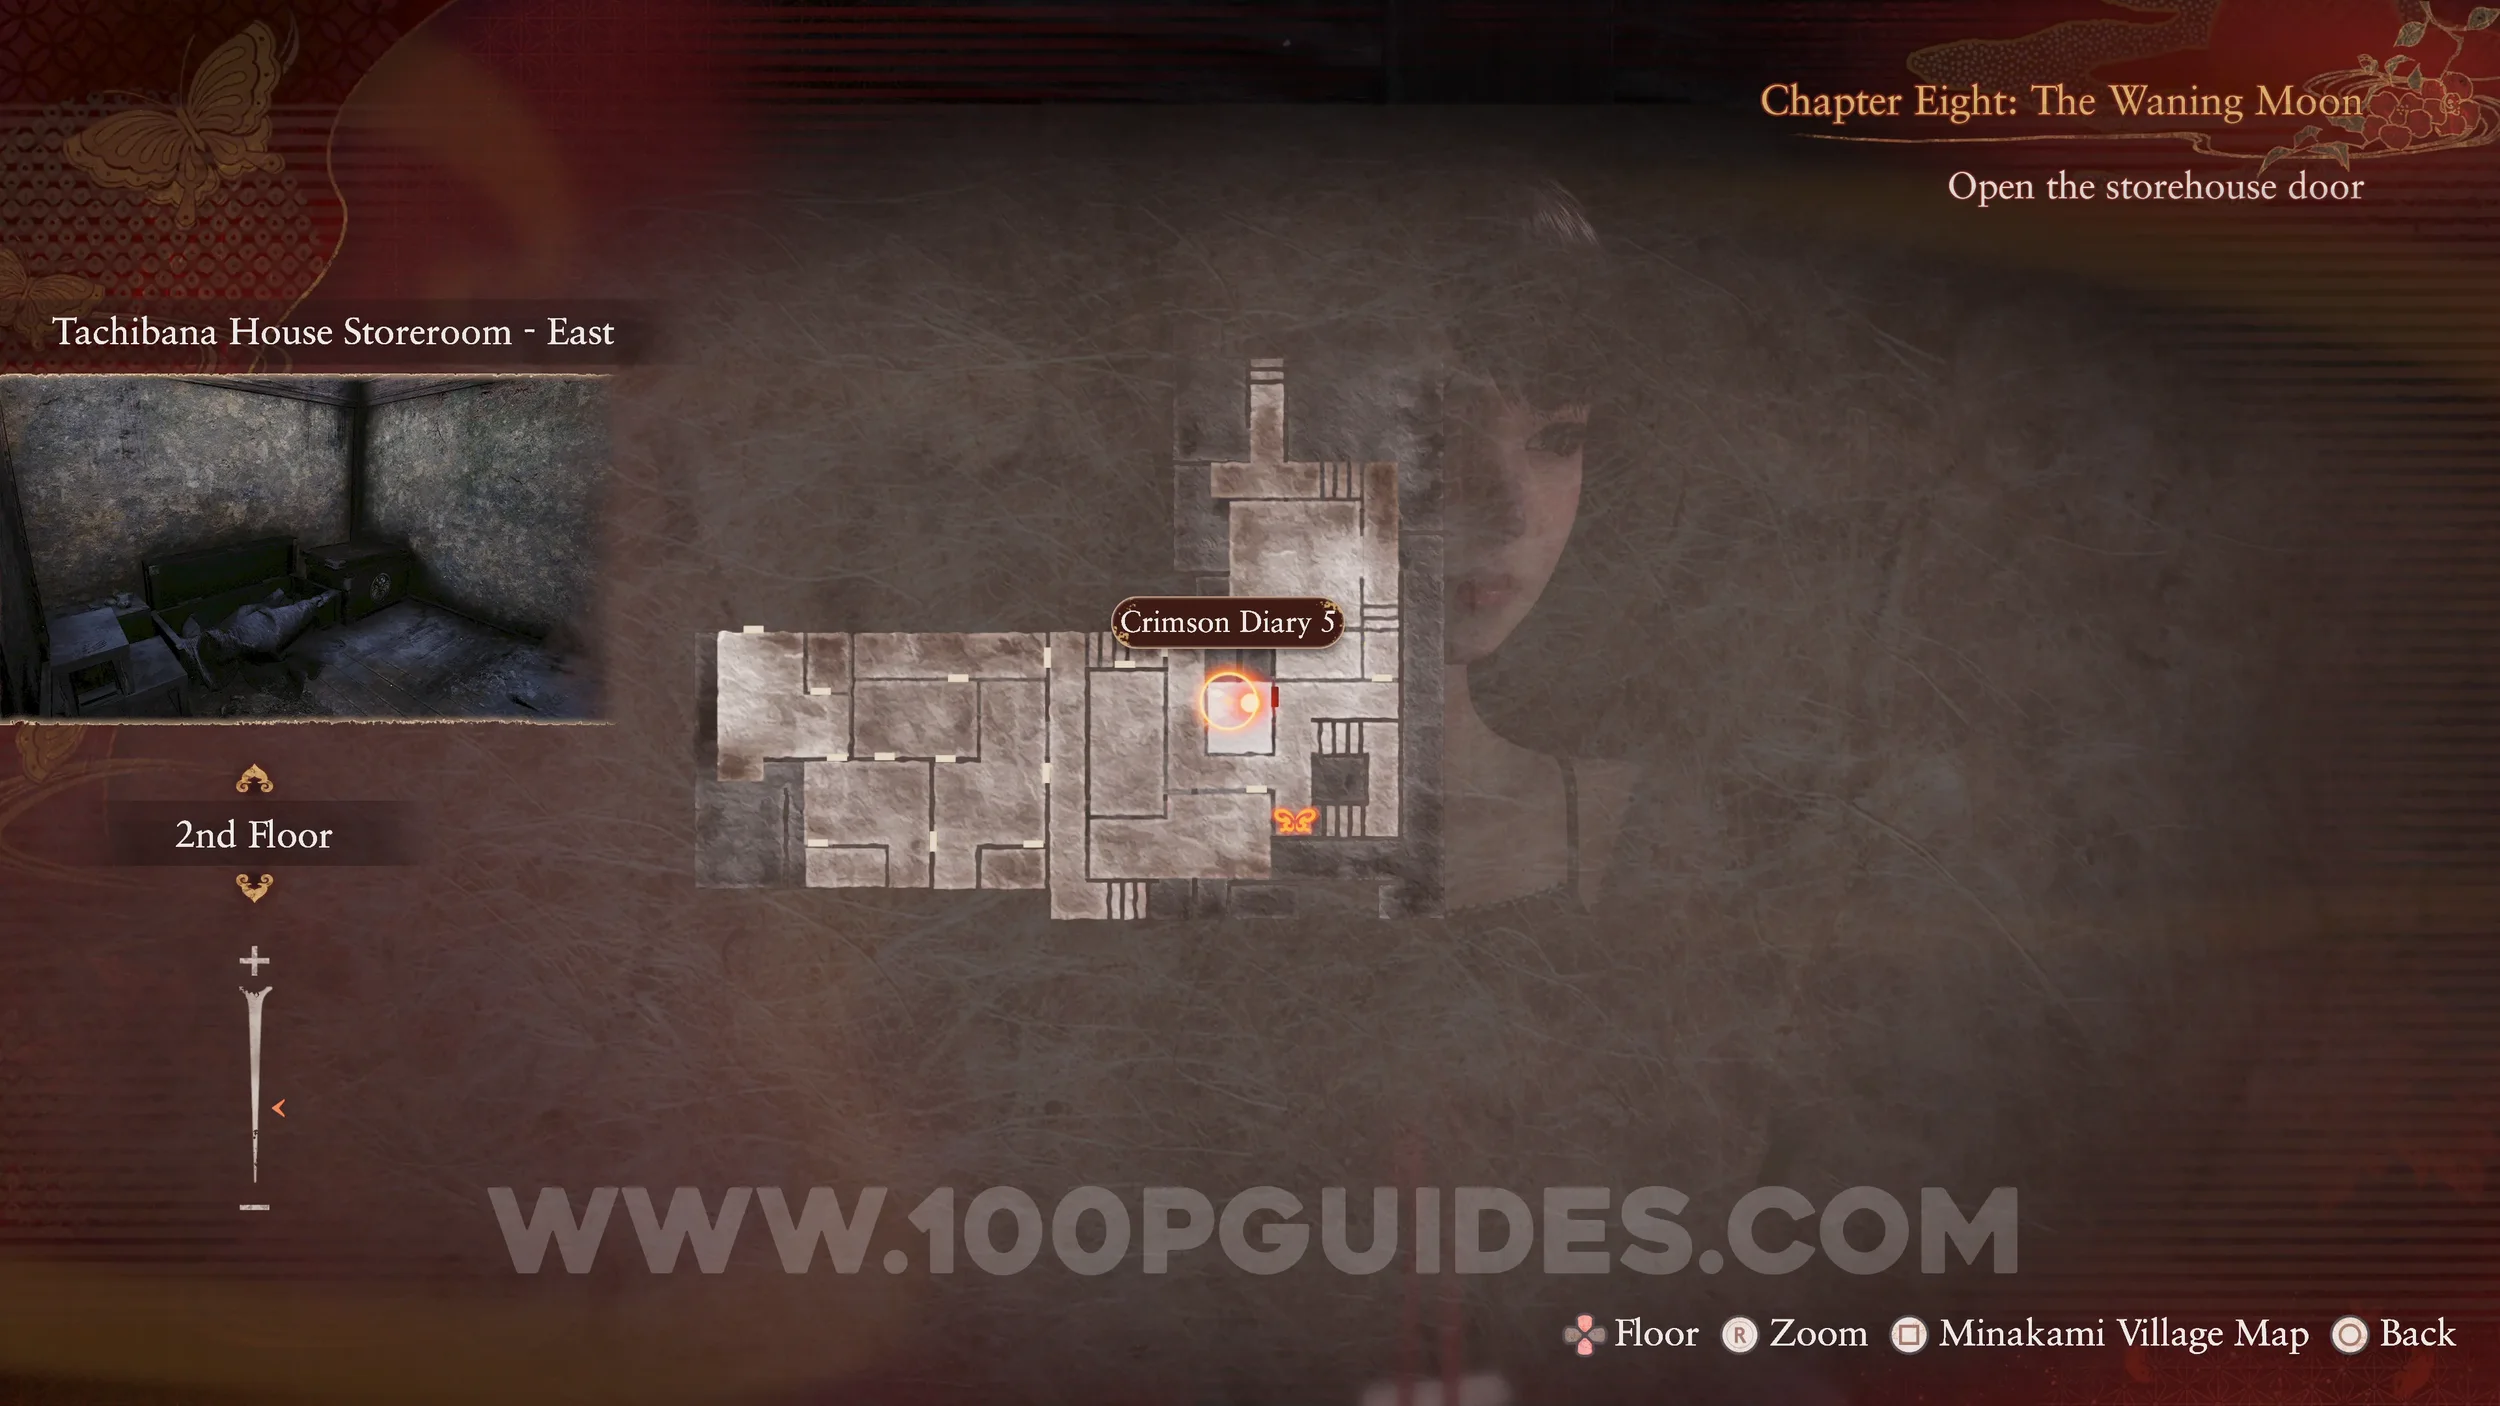
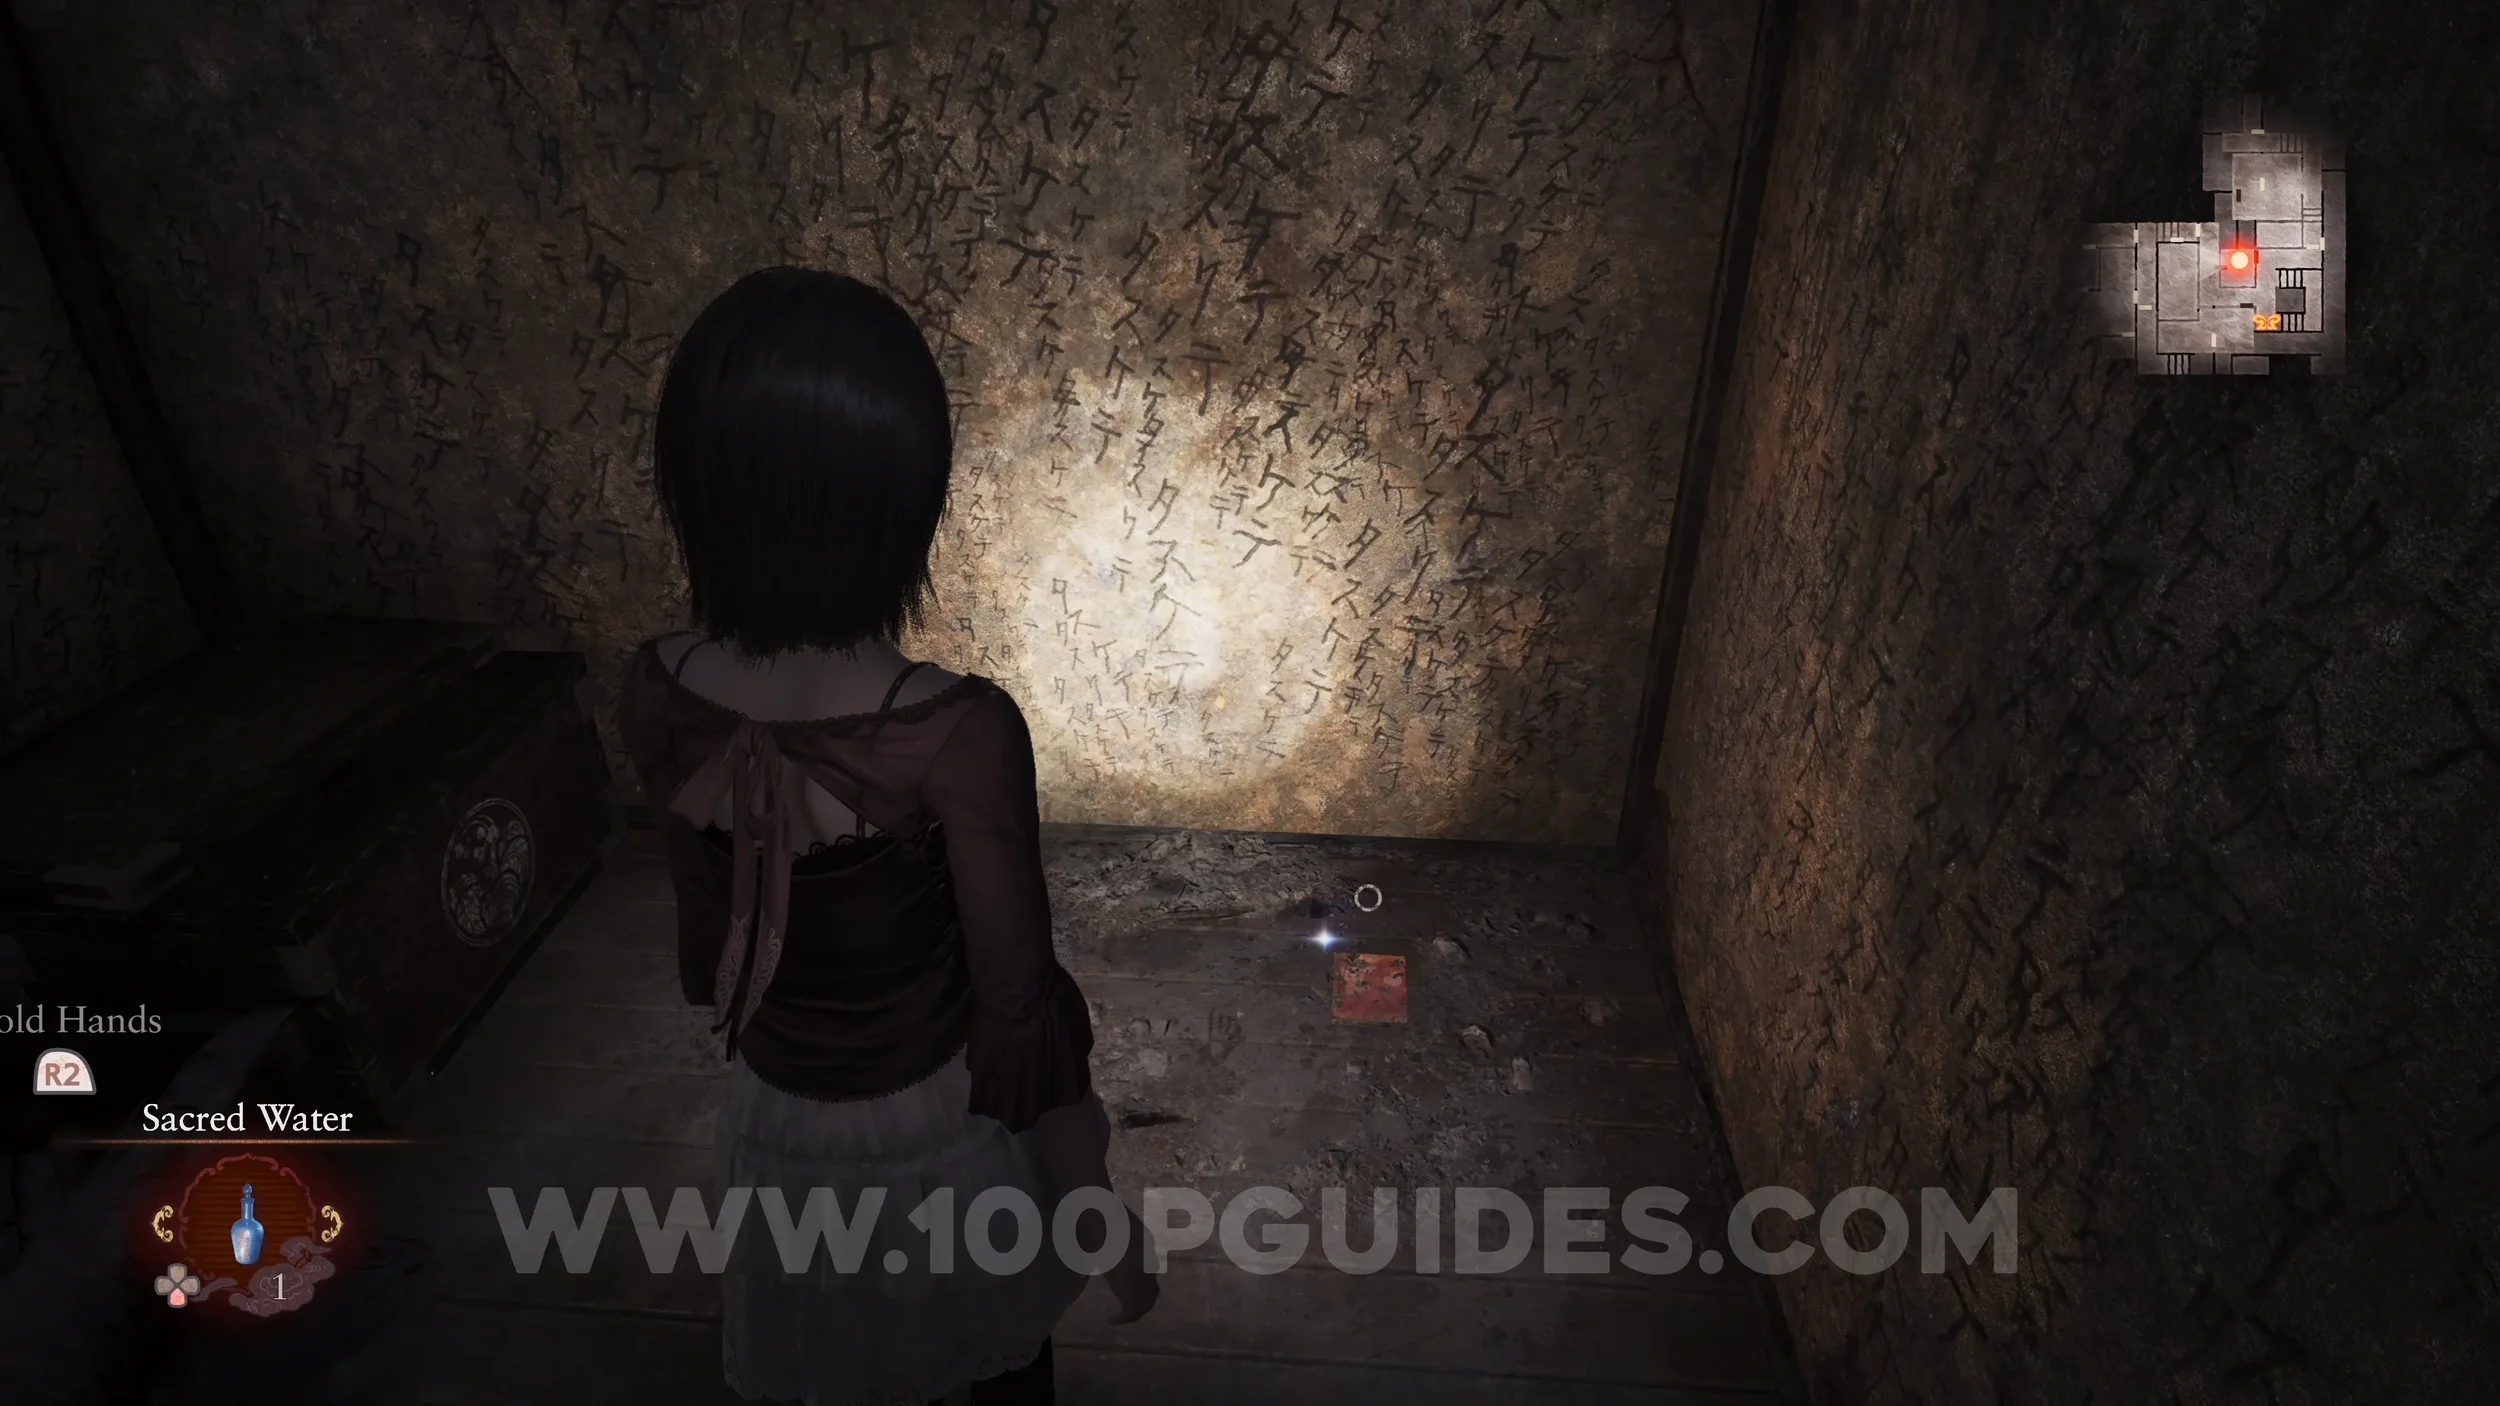
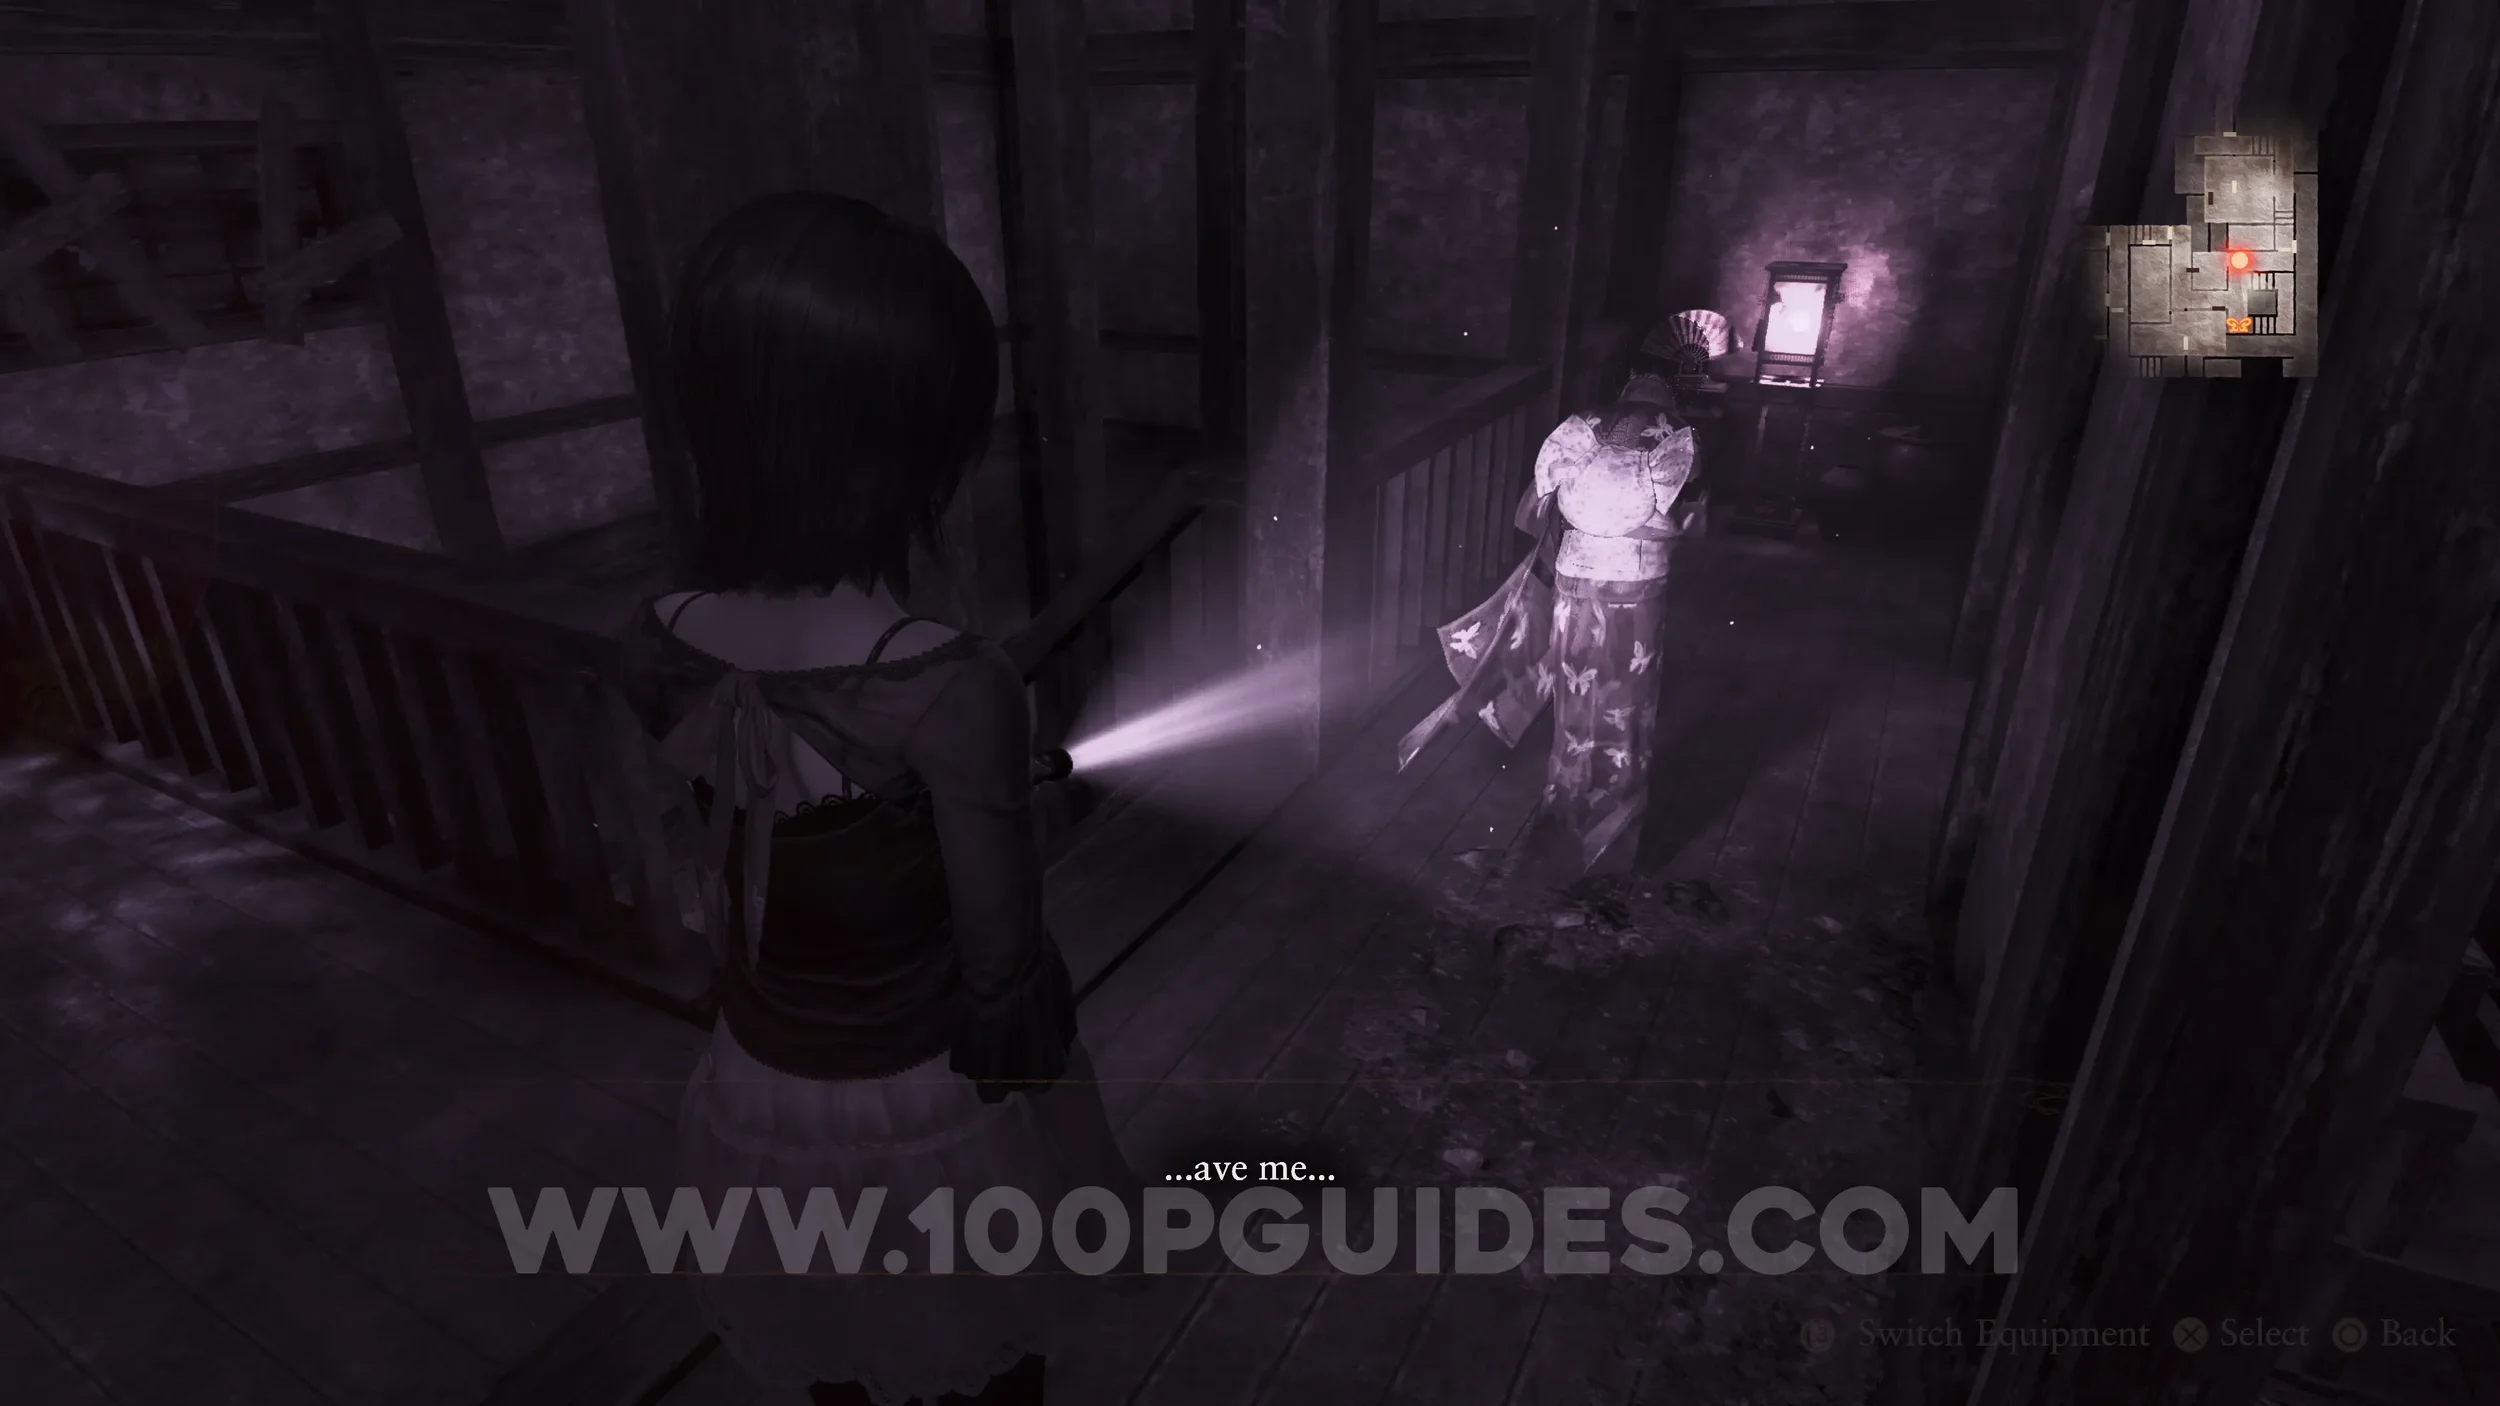
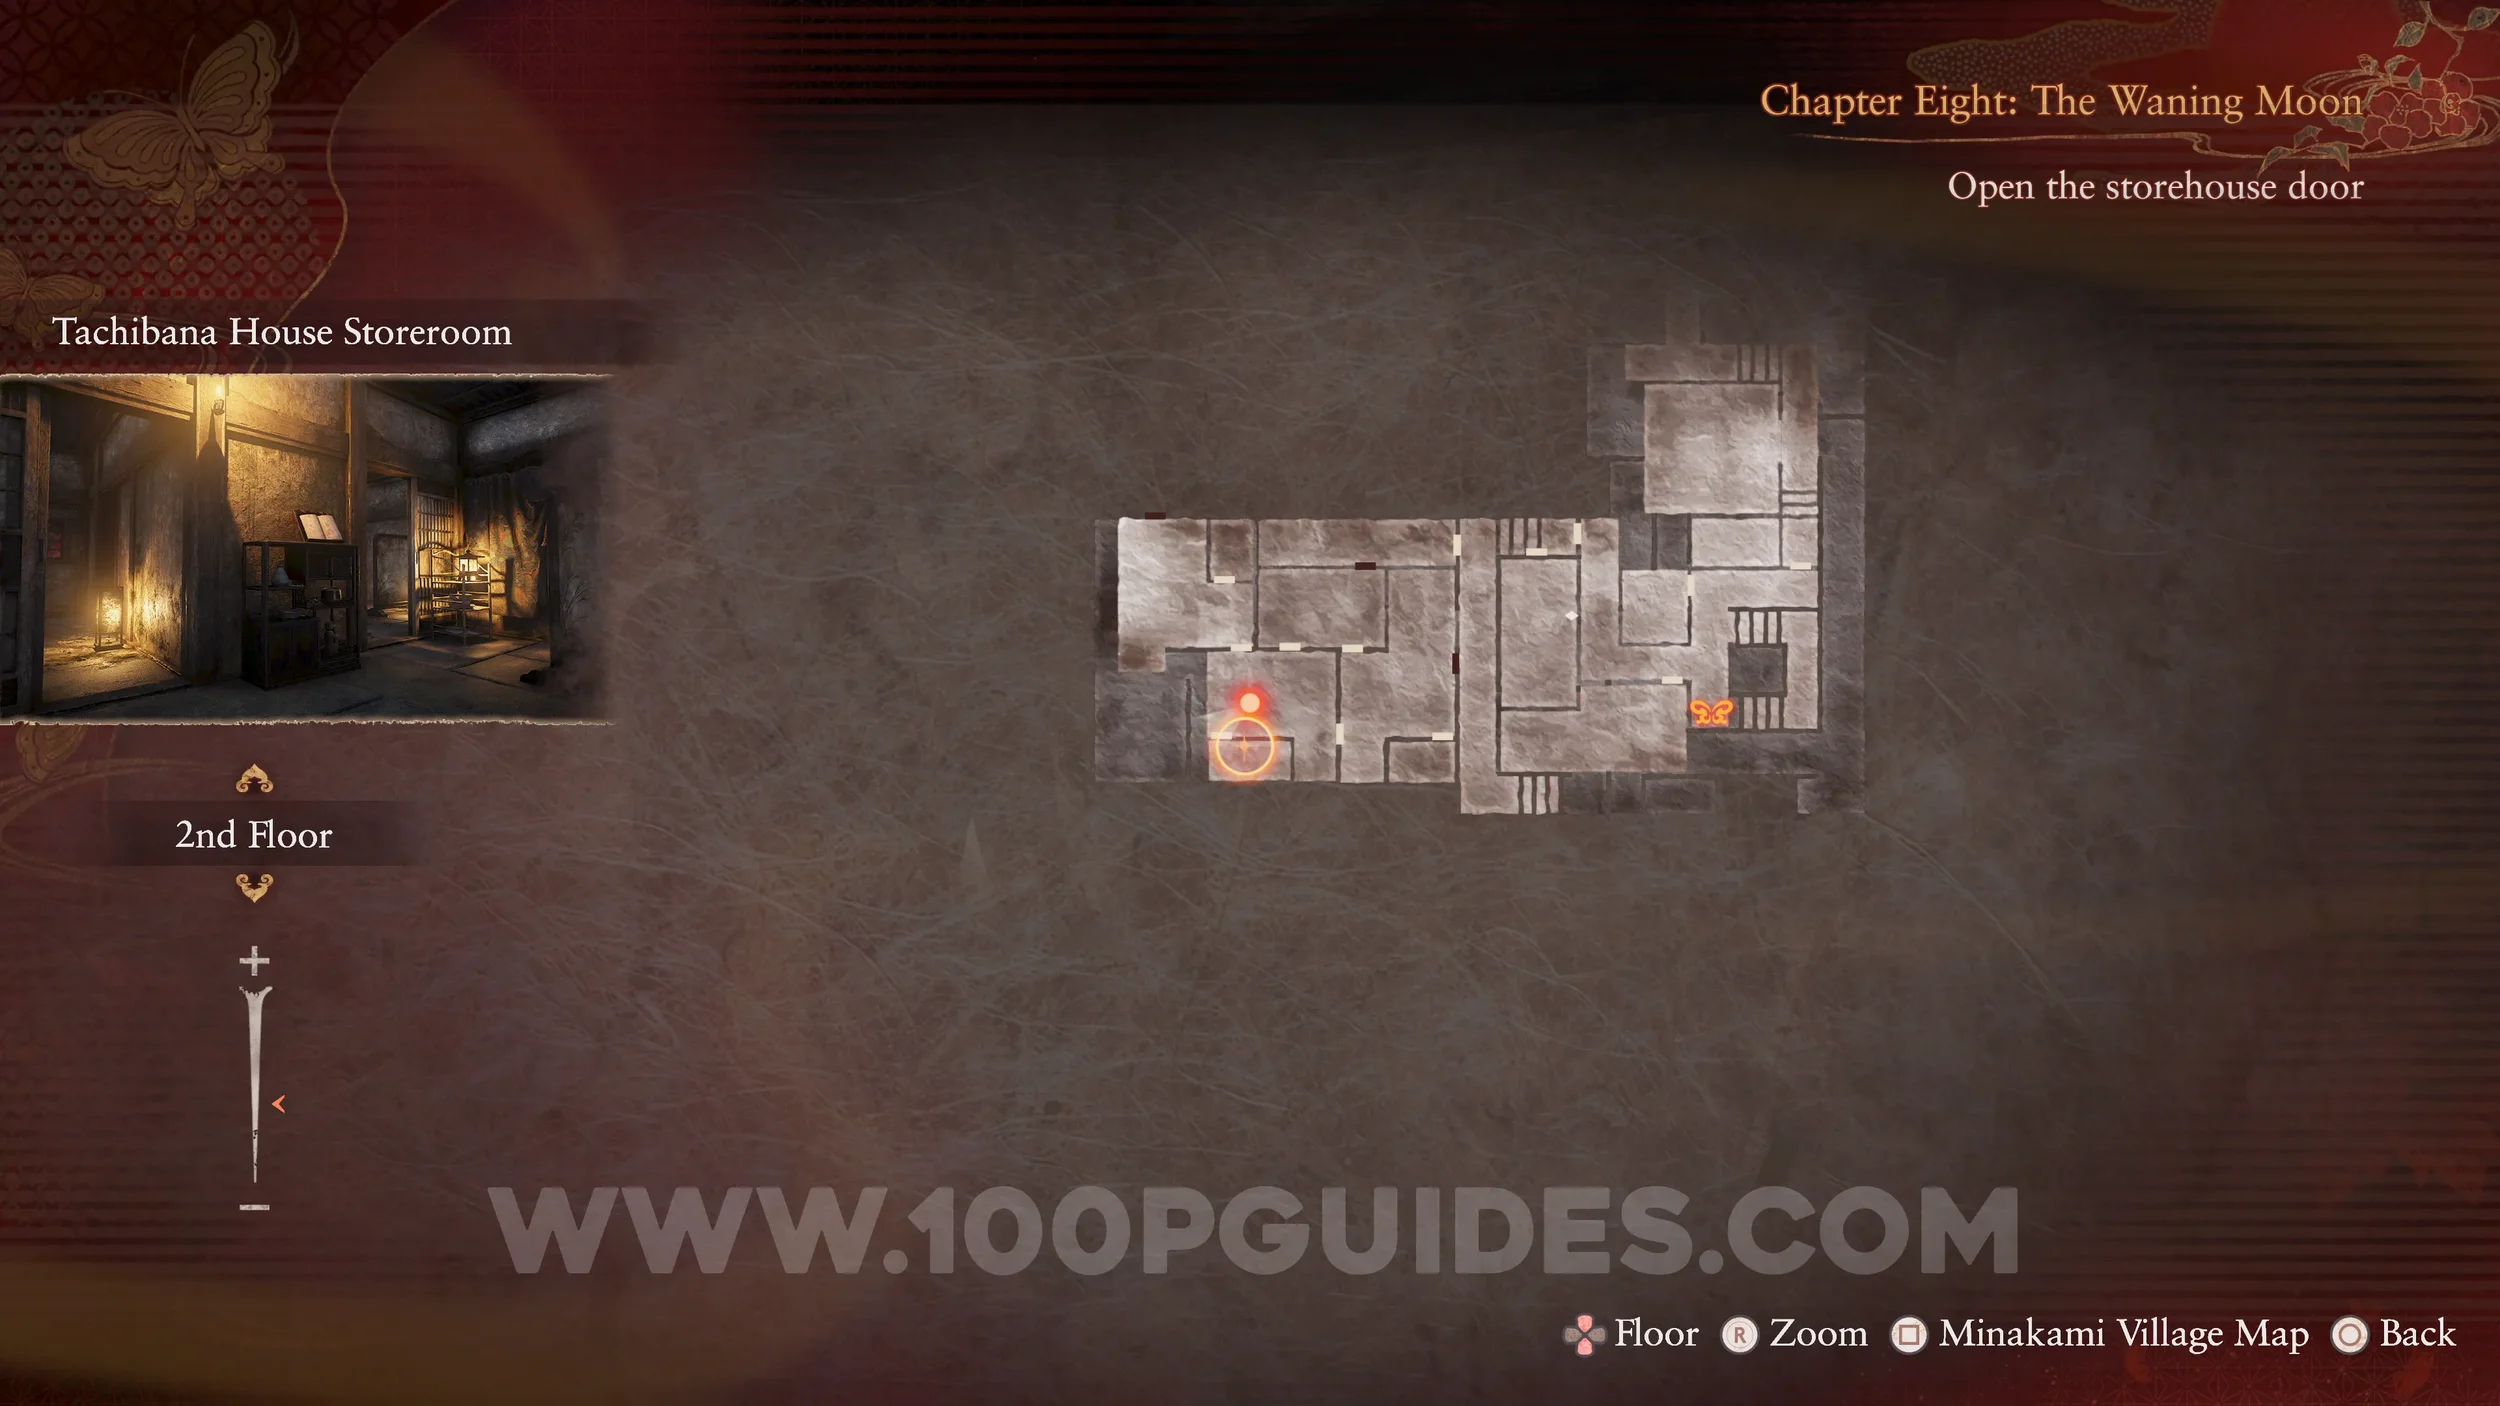
Revenant #12 - 025 Girl Seeking Help. Follow the specter through the Tachibana House. She will eventually enter the small Store Room on the top floor, where you can find the revenant.
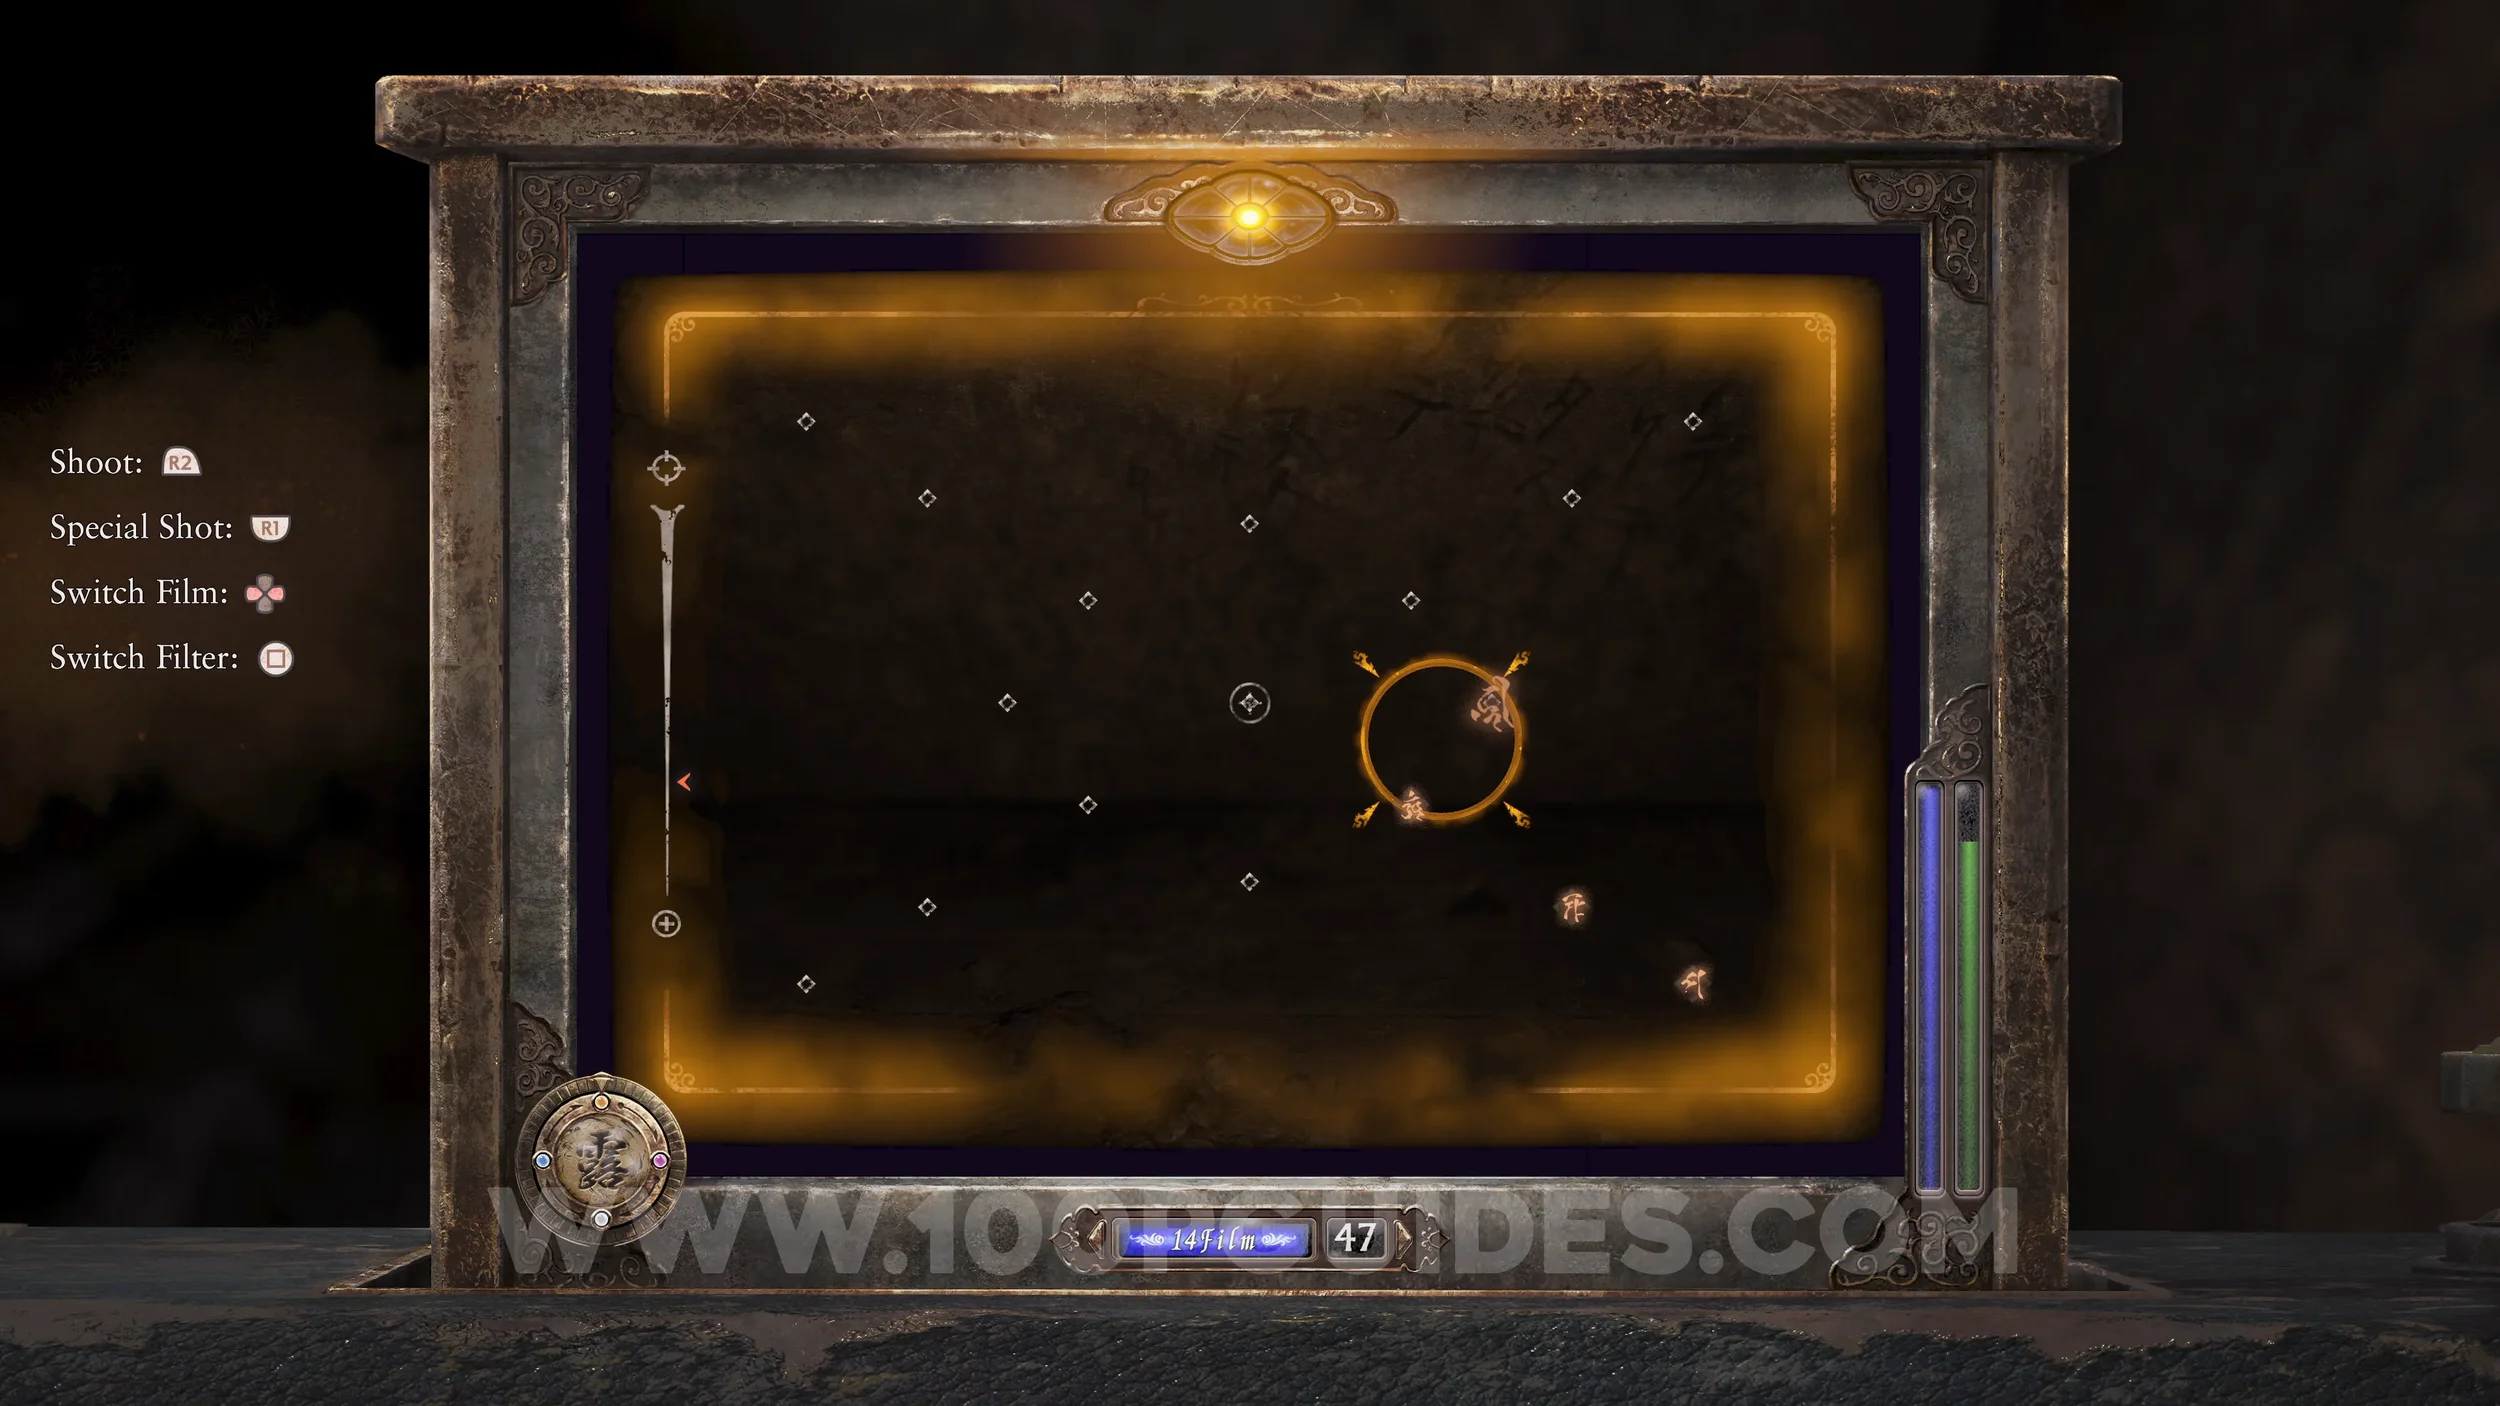
Document #82 - Crimson Diary 5. Left by the previous revenant.
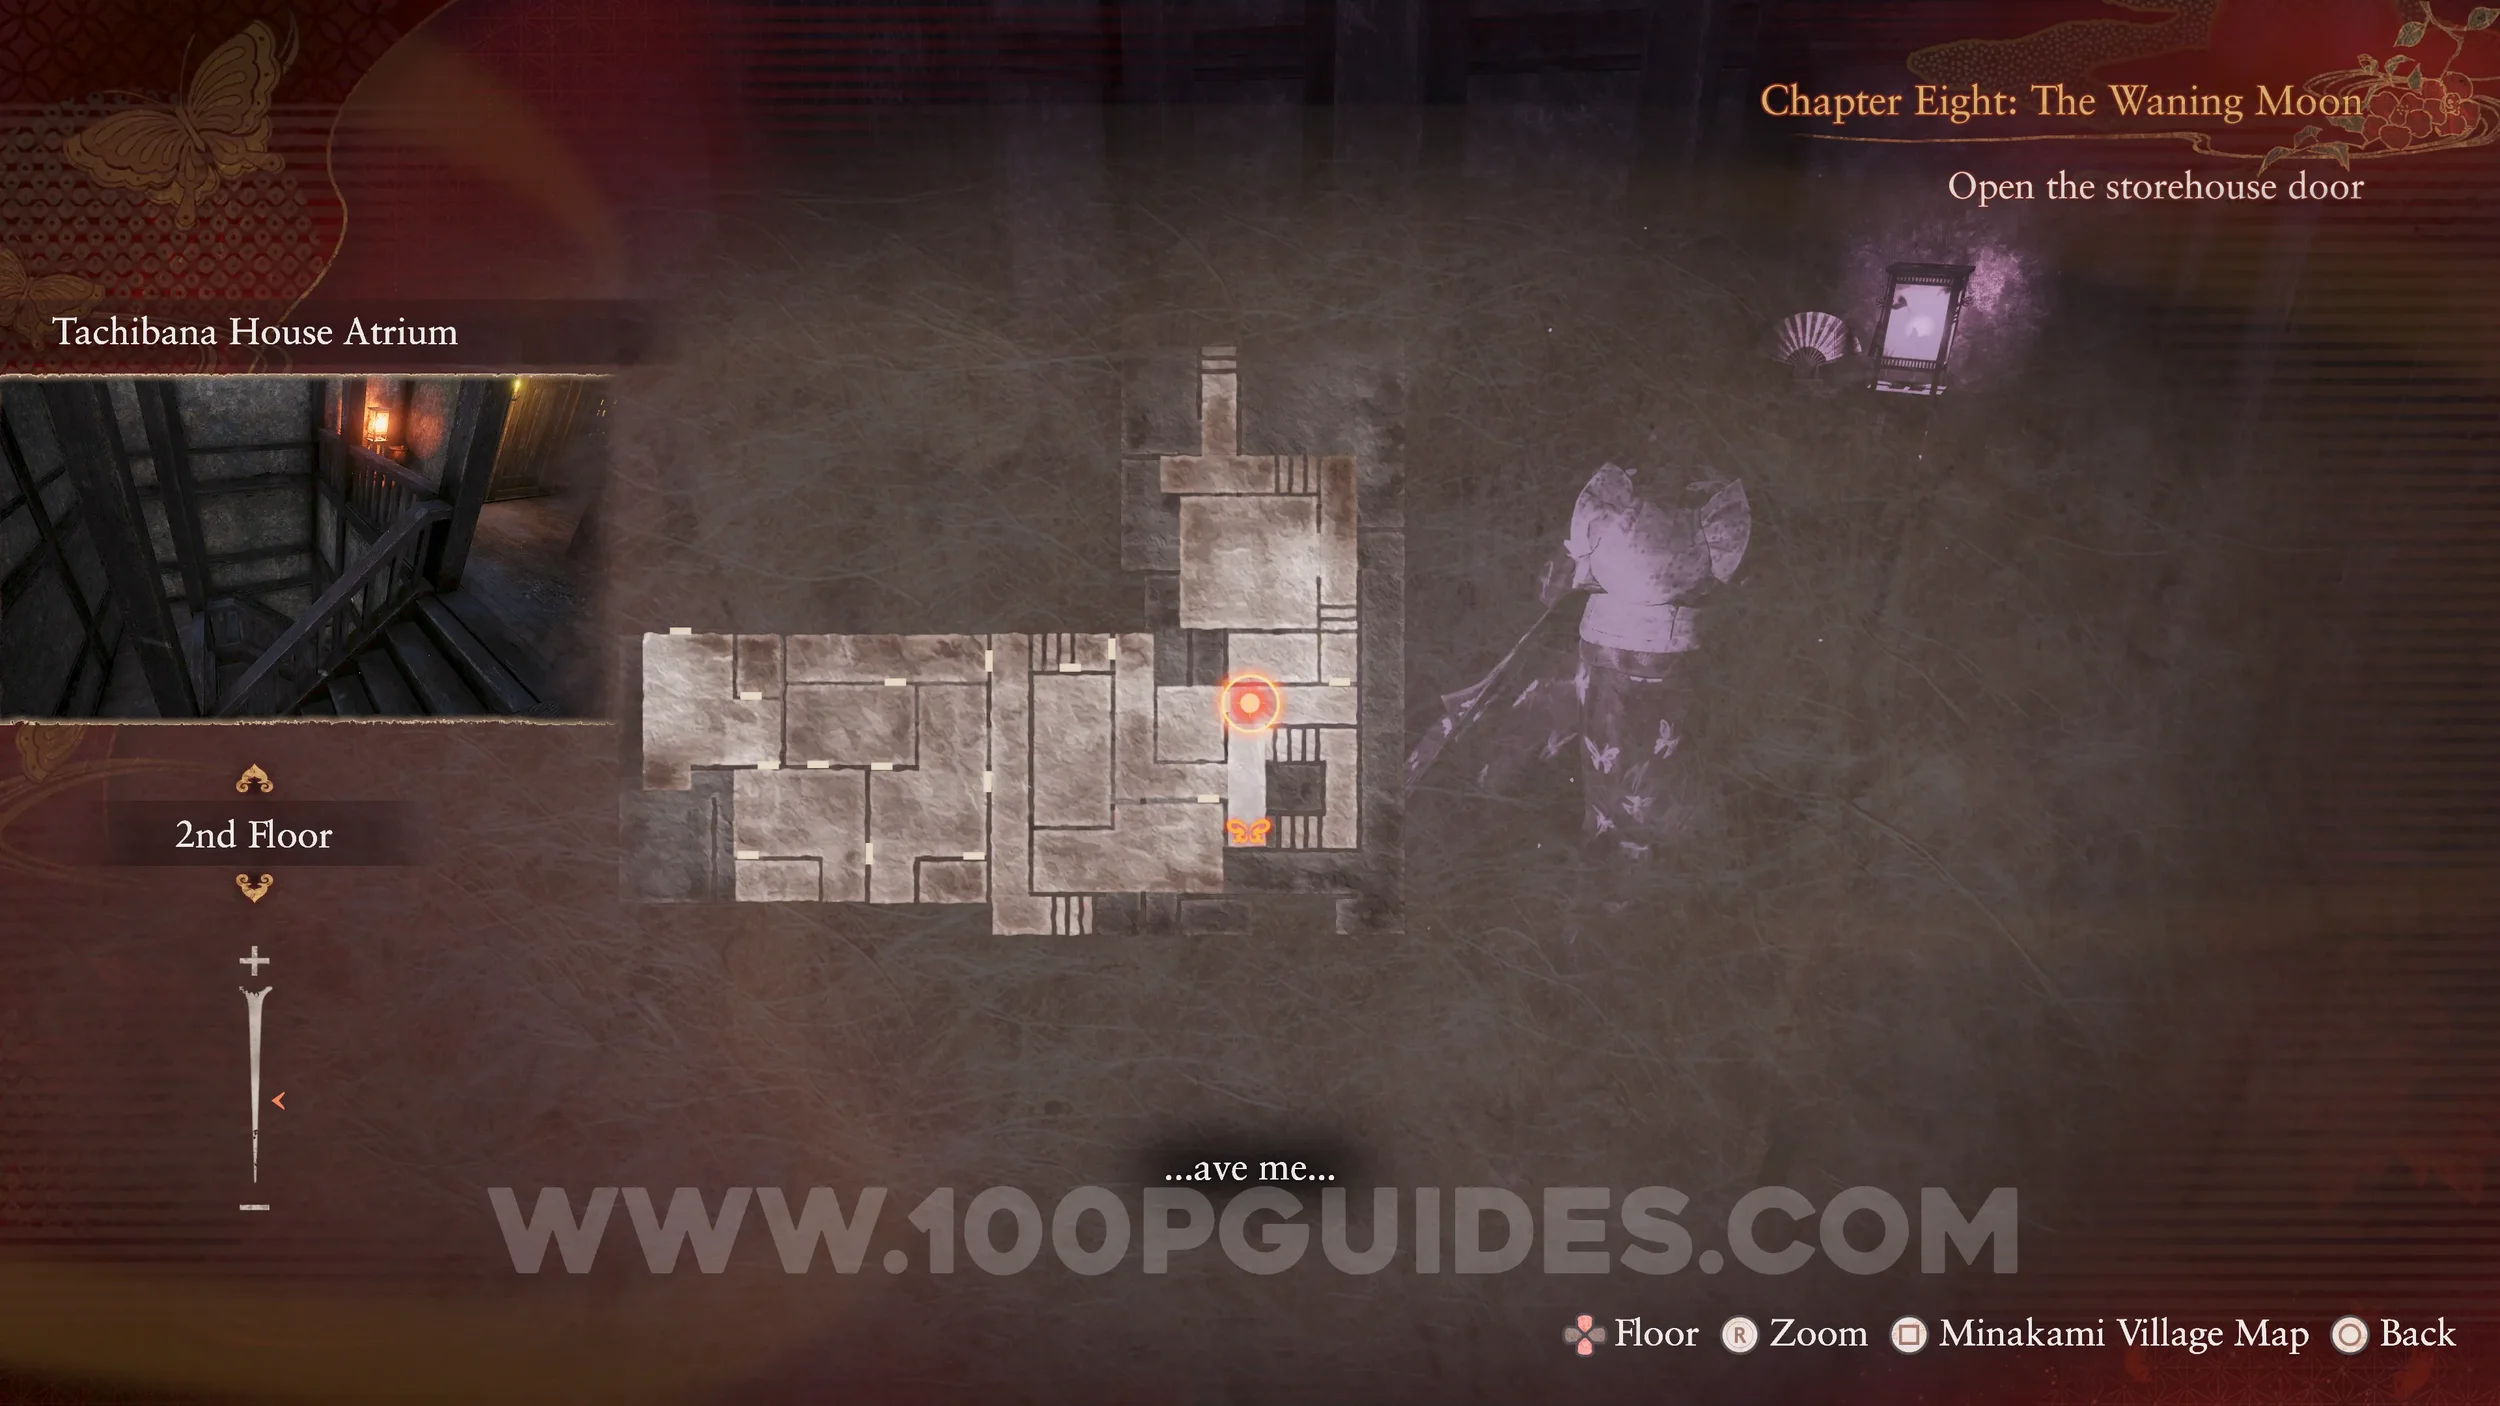
Specter #156 - 214 Girl Emerging from Room. As soon as you leave the room with the previous revenant, you will see the specter running toward the save point outside.
Revenant #13 - 026 Girl Hiding from Wraith. Follow the specter into the Tatami Wing East room. After defeating the wraith, open the Storeroom in this area to find the revenant inside.
Document #83 - Crimson Diary 6. Left behind by the previous revenant.
Specter #157 - 215 Girl Going to Brother’s Room. Will spawn on your right as soon as you leave the storeroom.
Revenant #14 - 027 Girl Reading Letter. Return to Itsuki’s Room, the room you opened with the Bell Key, and defeat the wraith to make the revenant spawn.
Document #84 - Bound Diary 6, Document #85 - Crimson Diary 7 and Spirit Stone #31 - Red Speckled Crystal (2/2). Dropped by the previous revenant. This will also finish the “Chitose Tachibana” side quest.
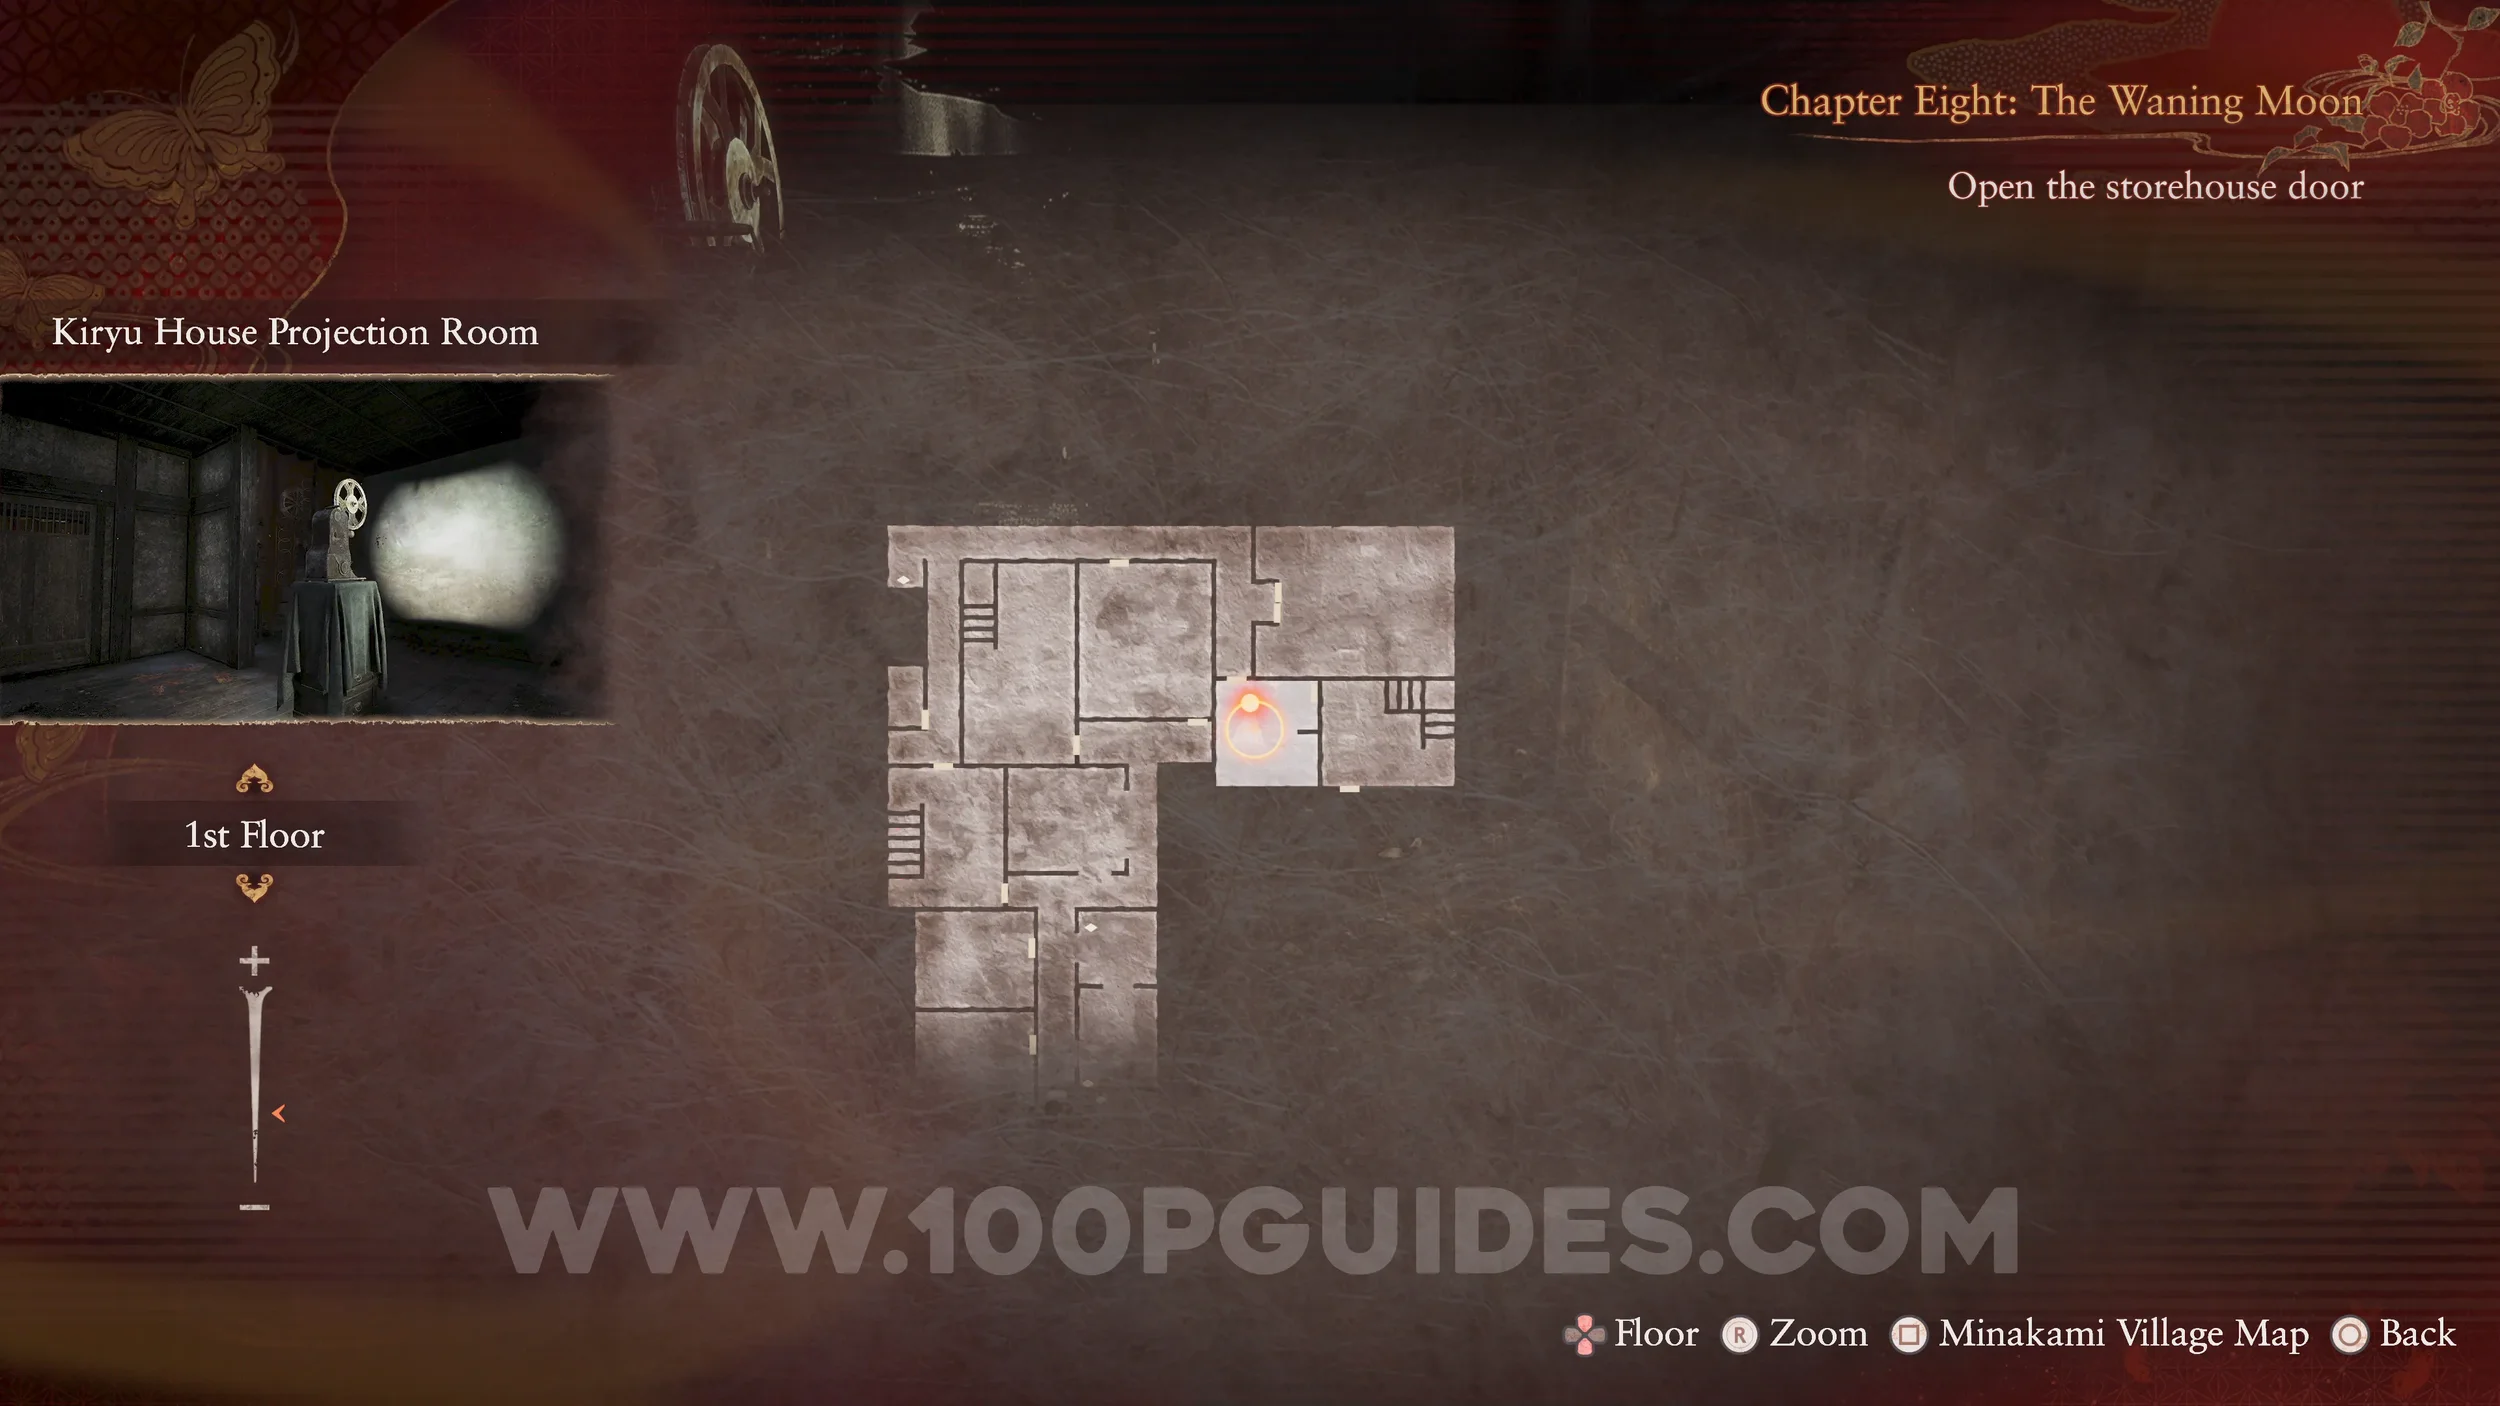
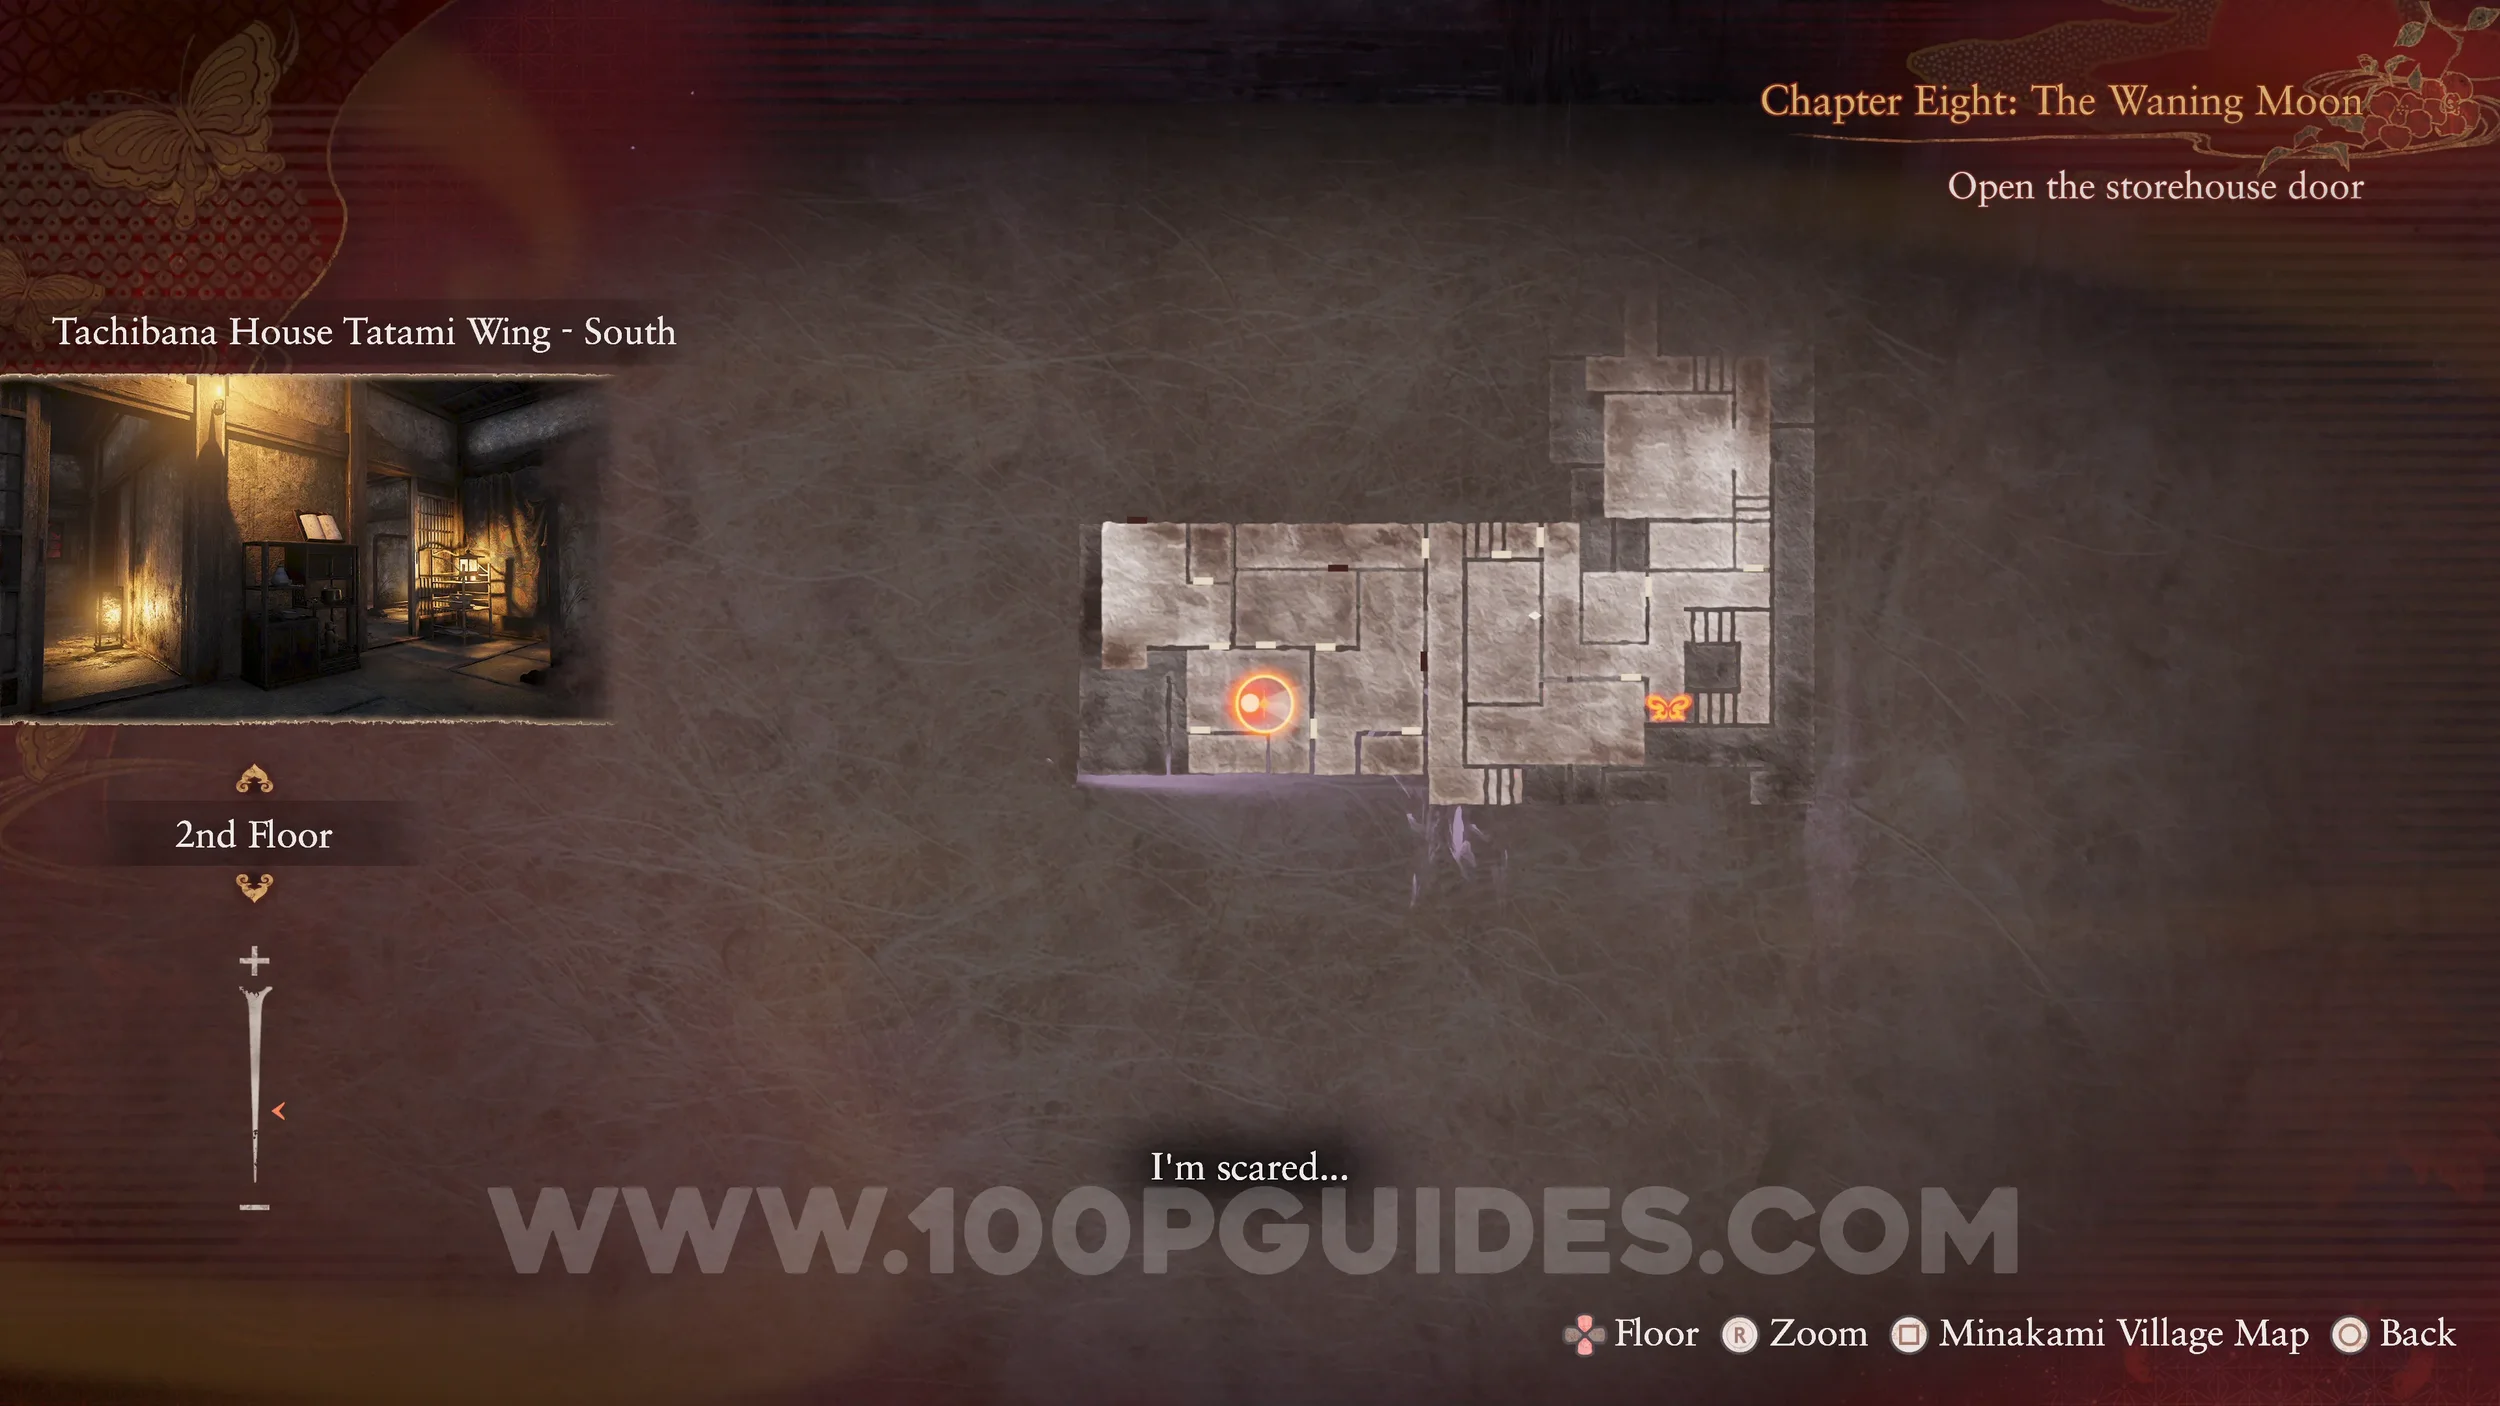
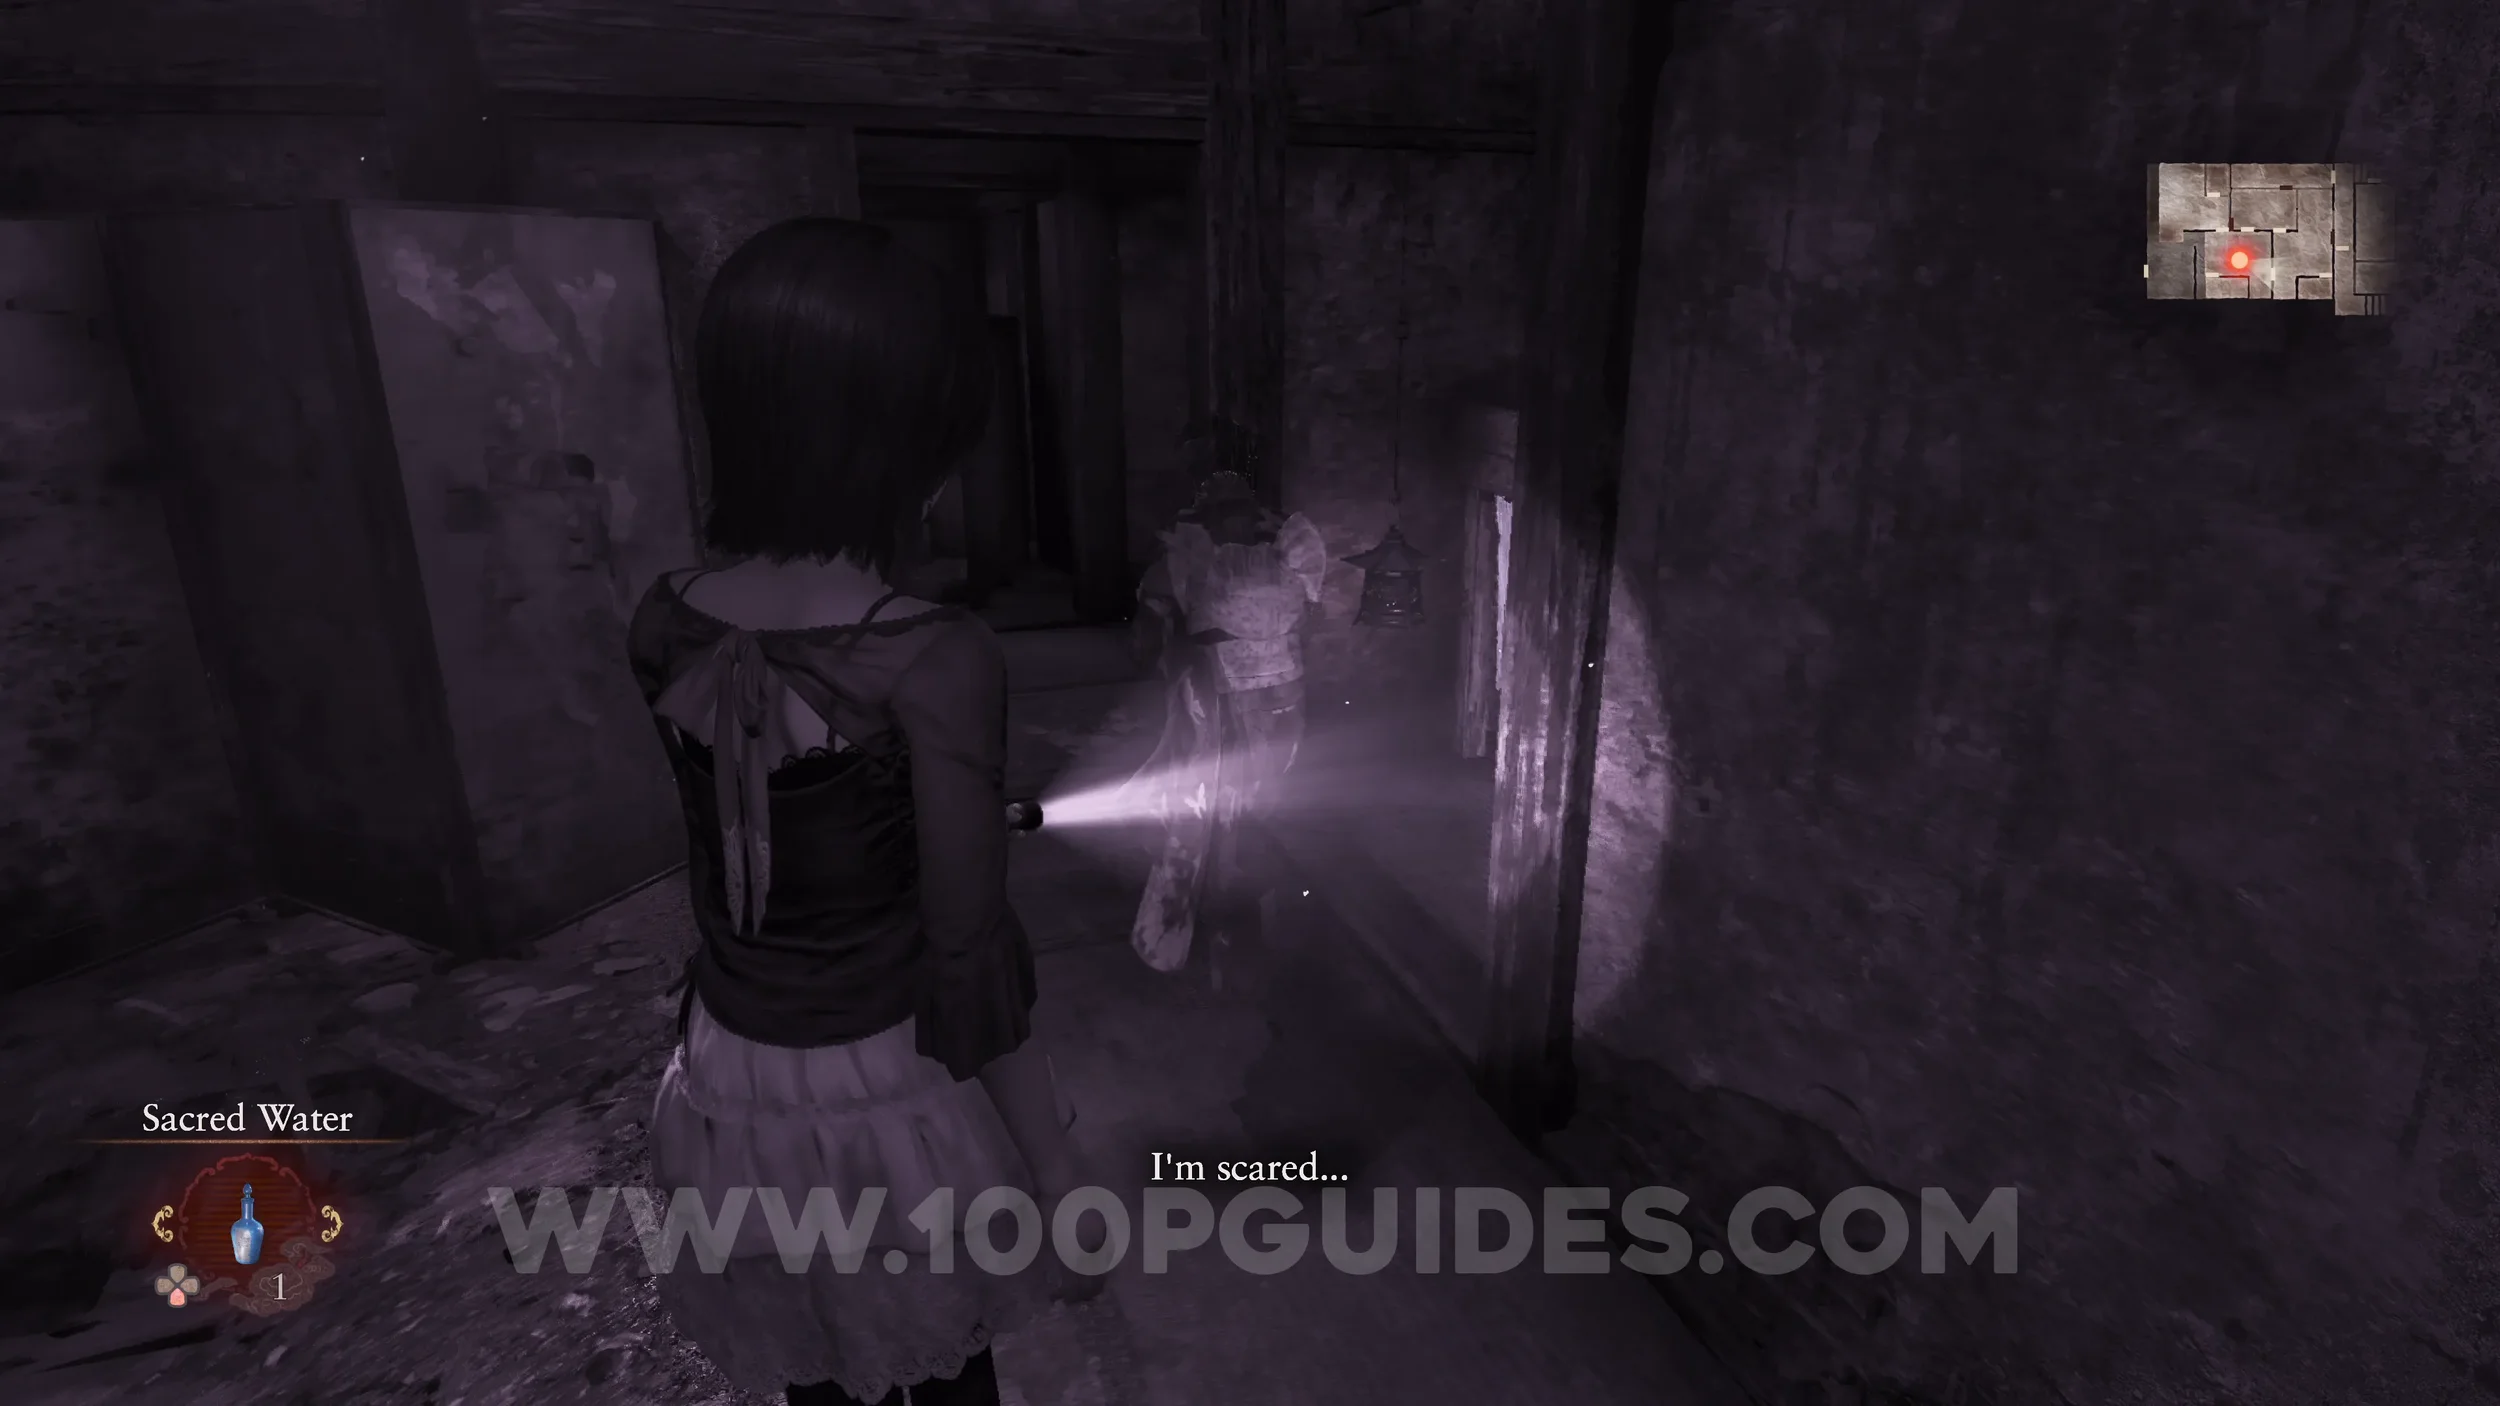
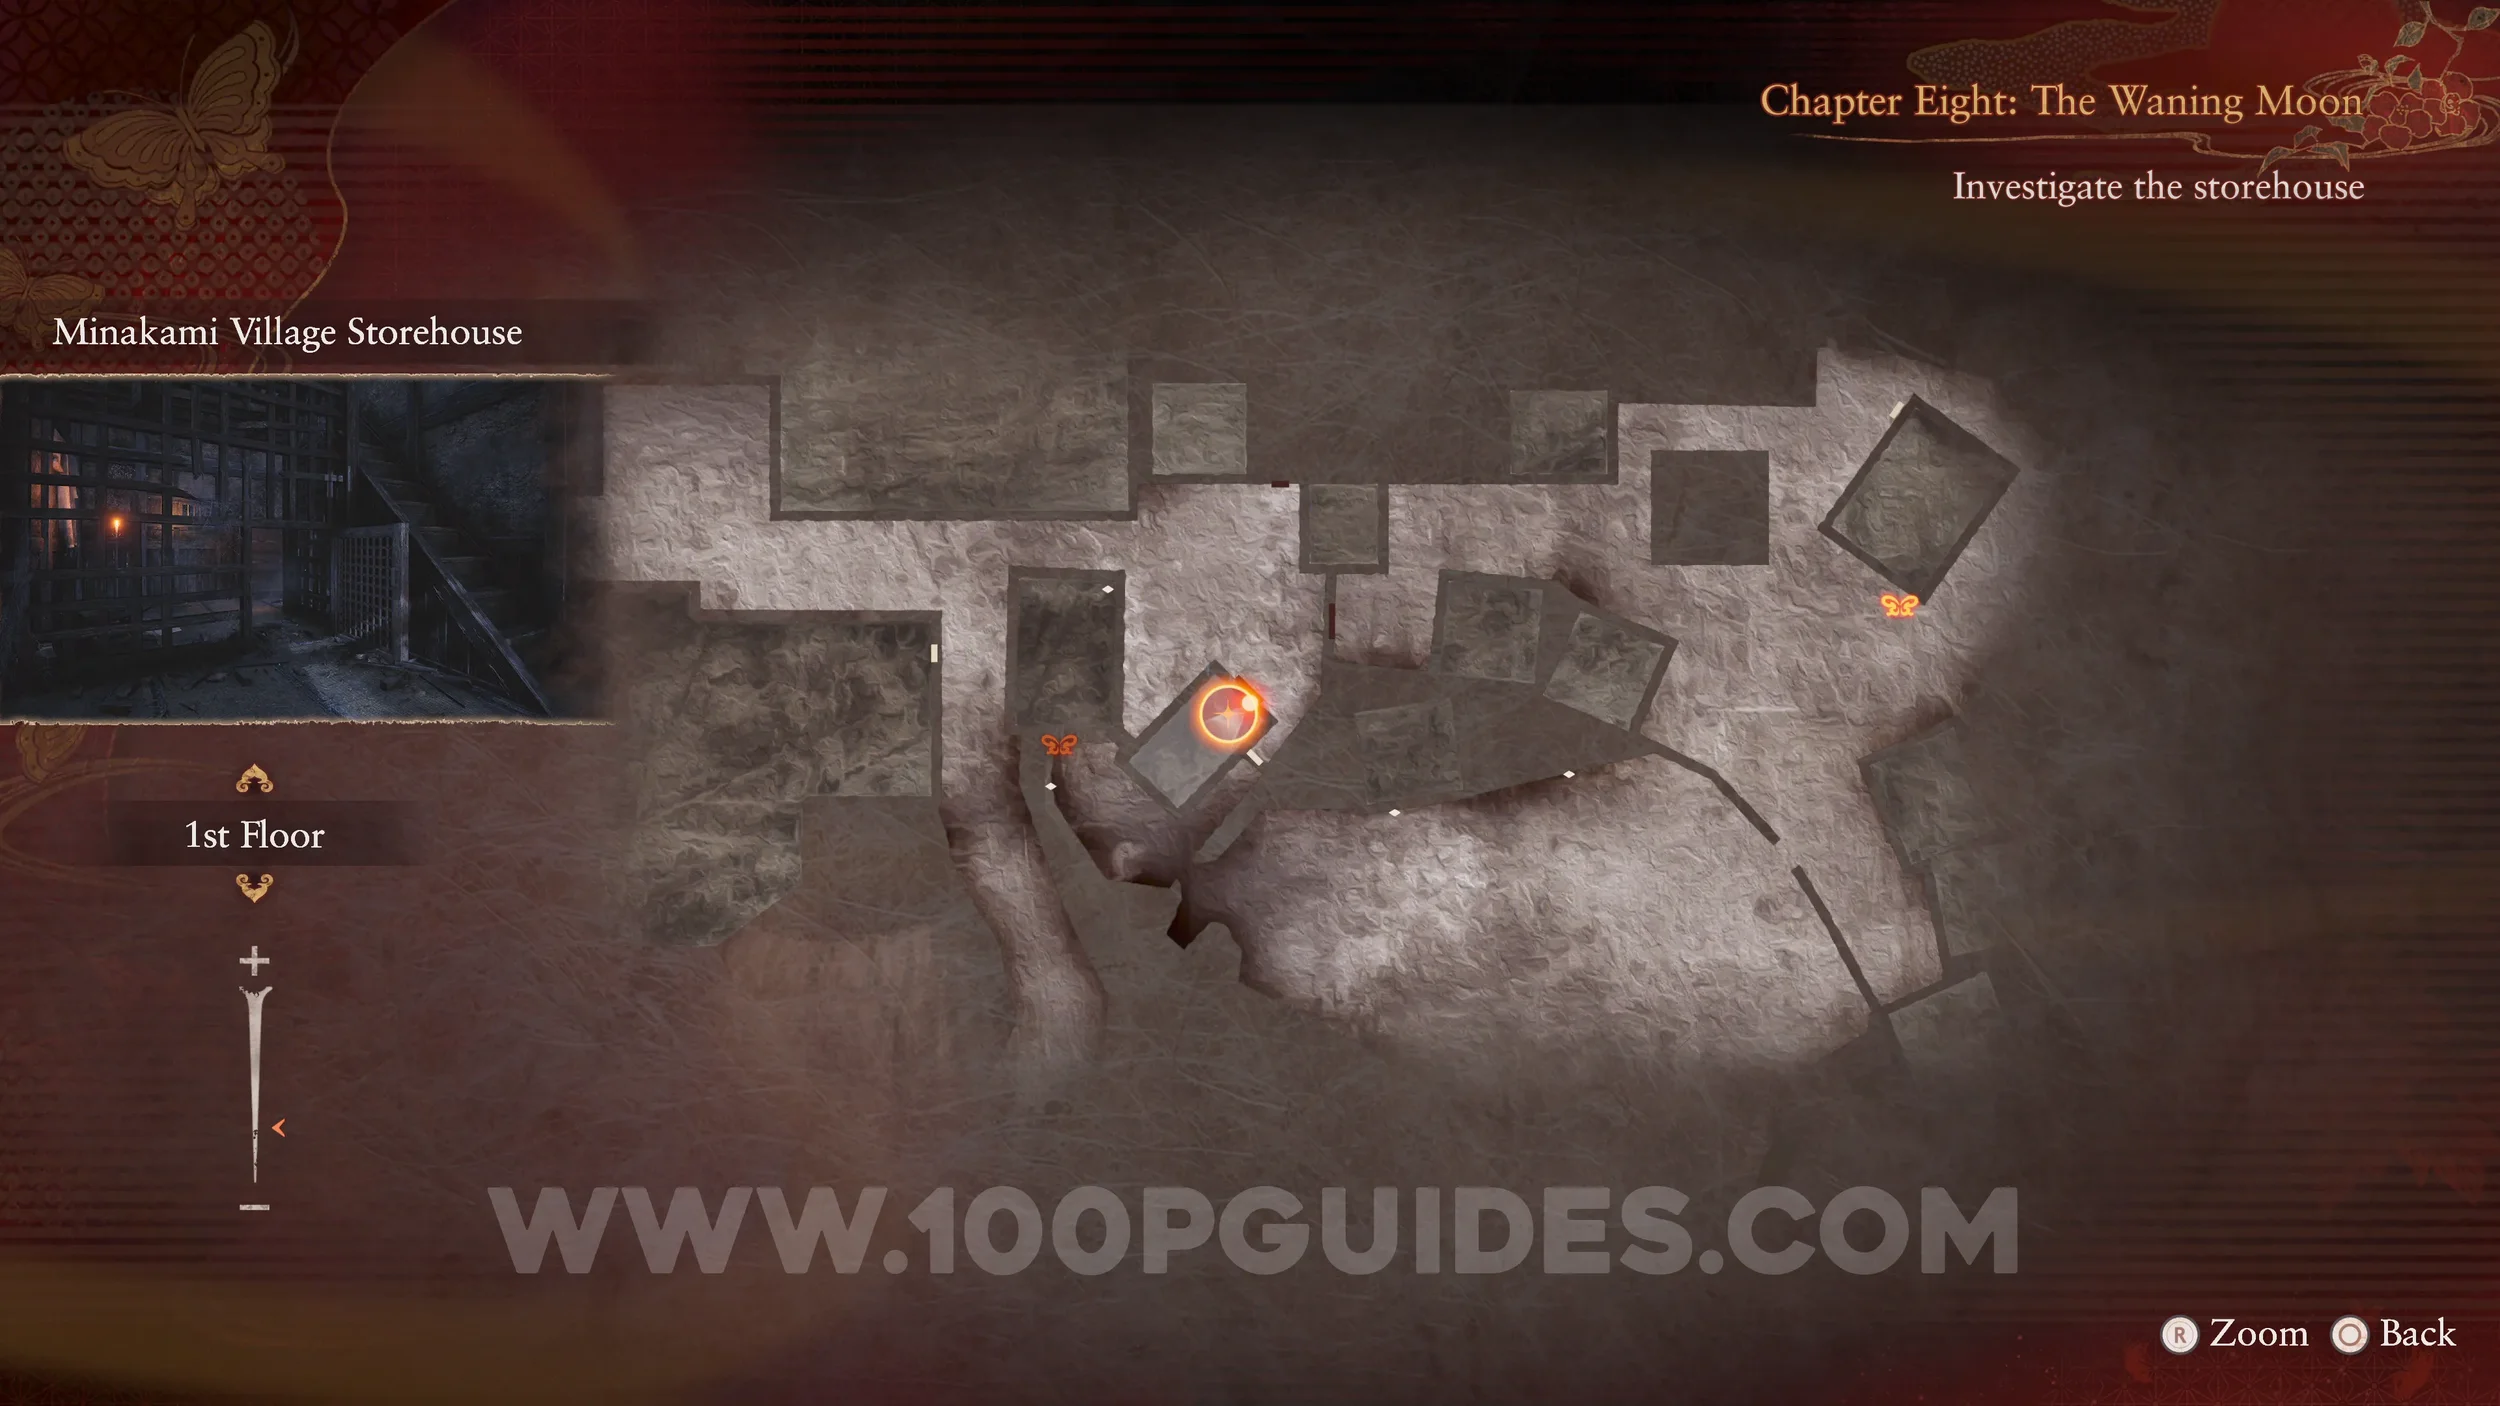
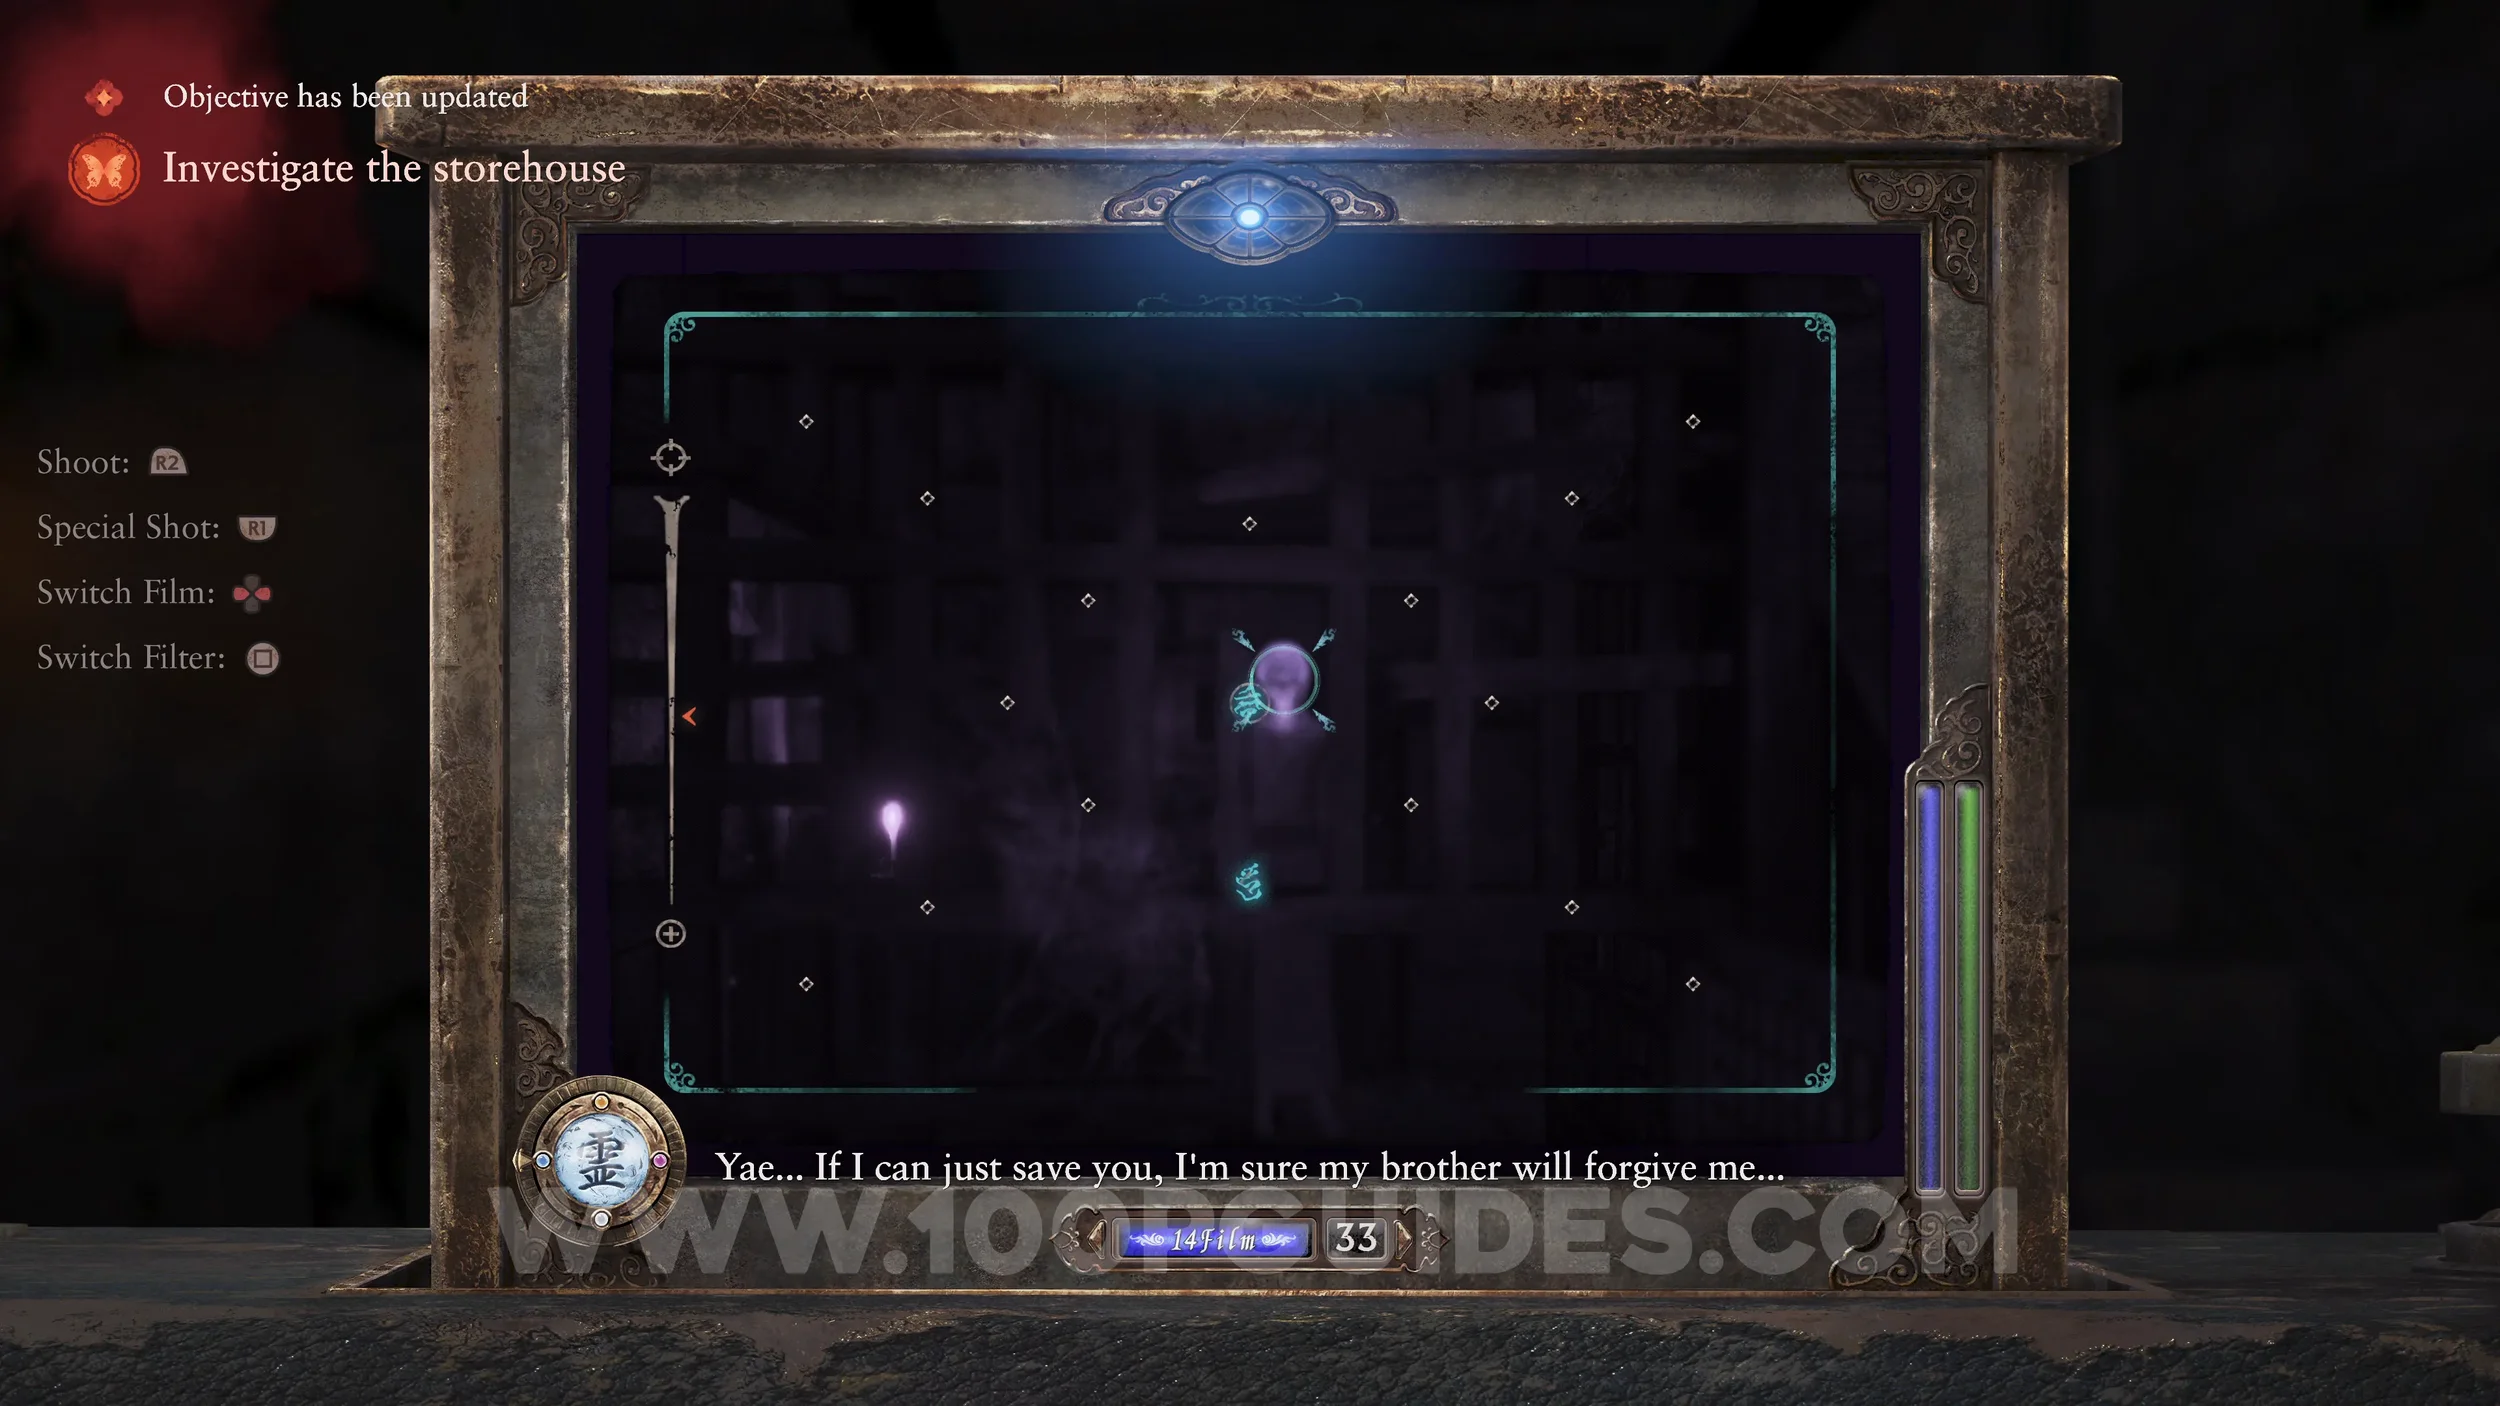
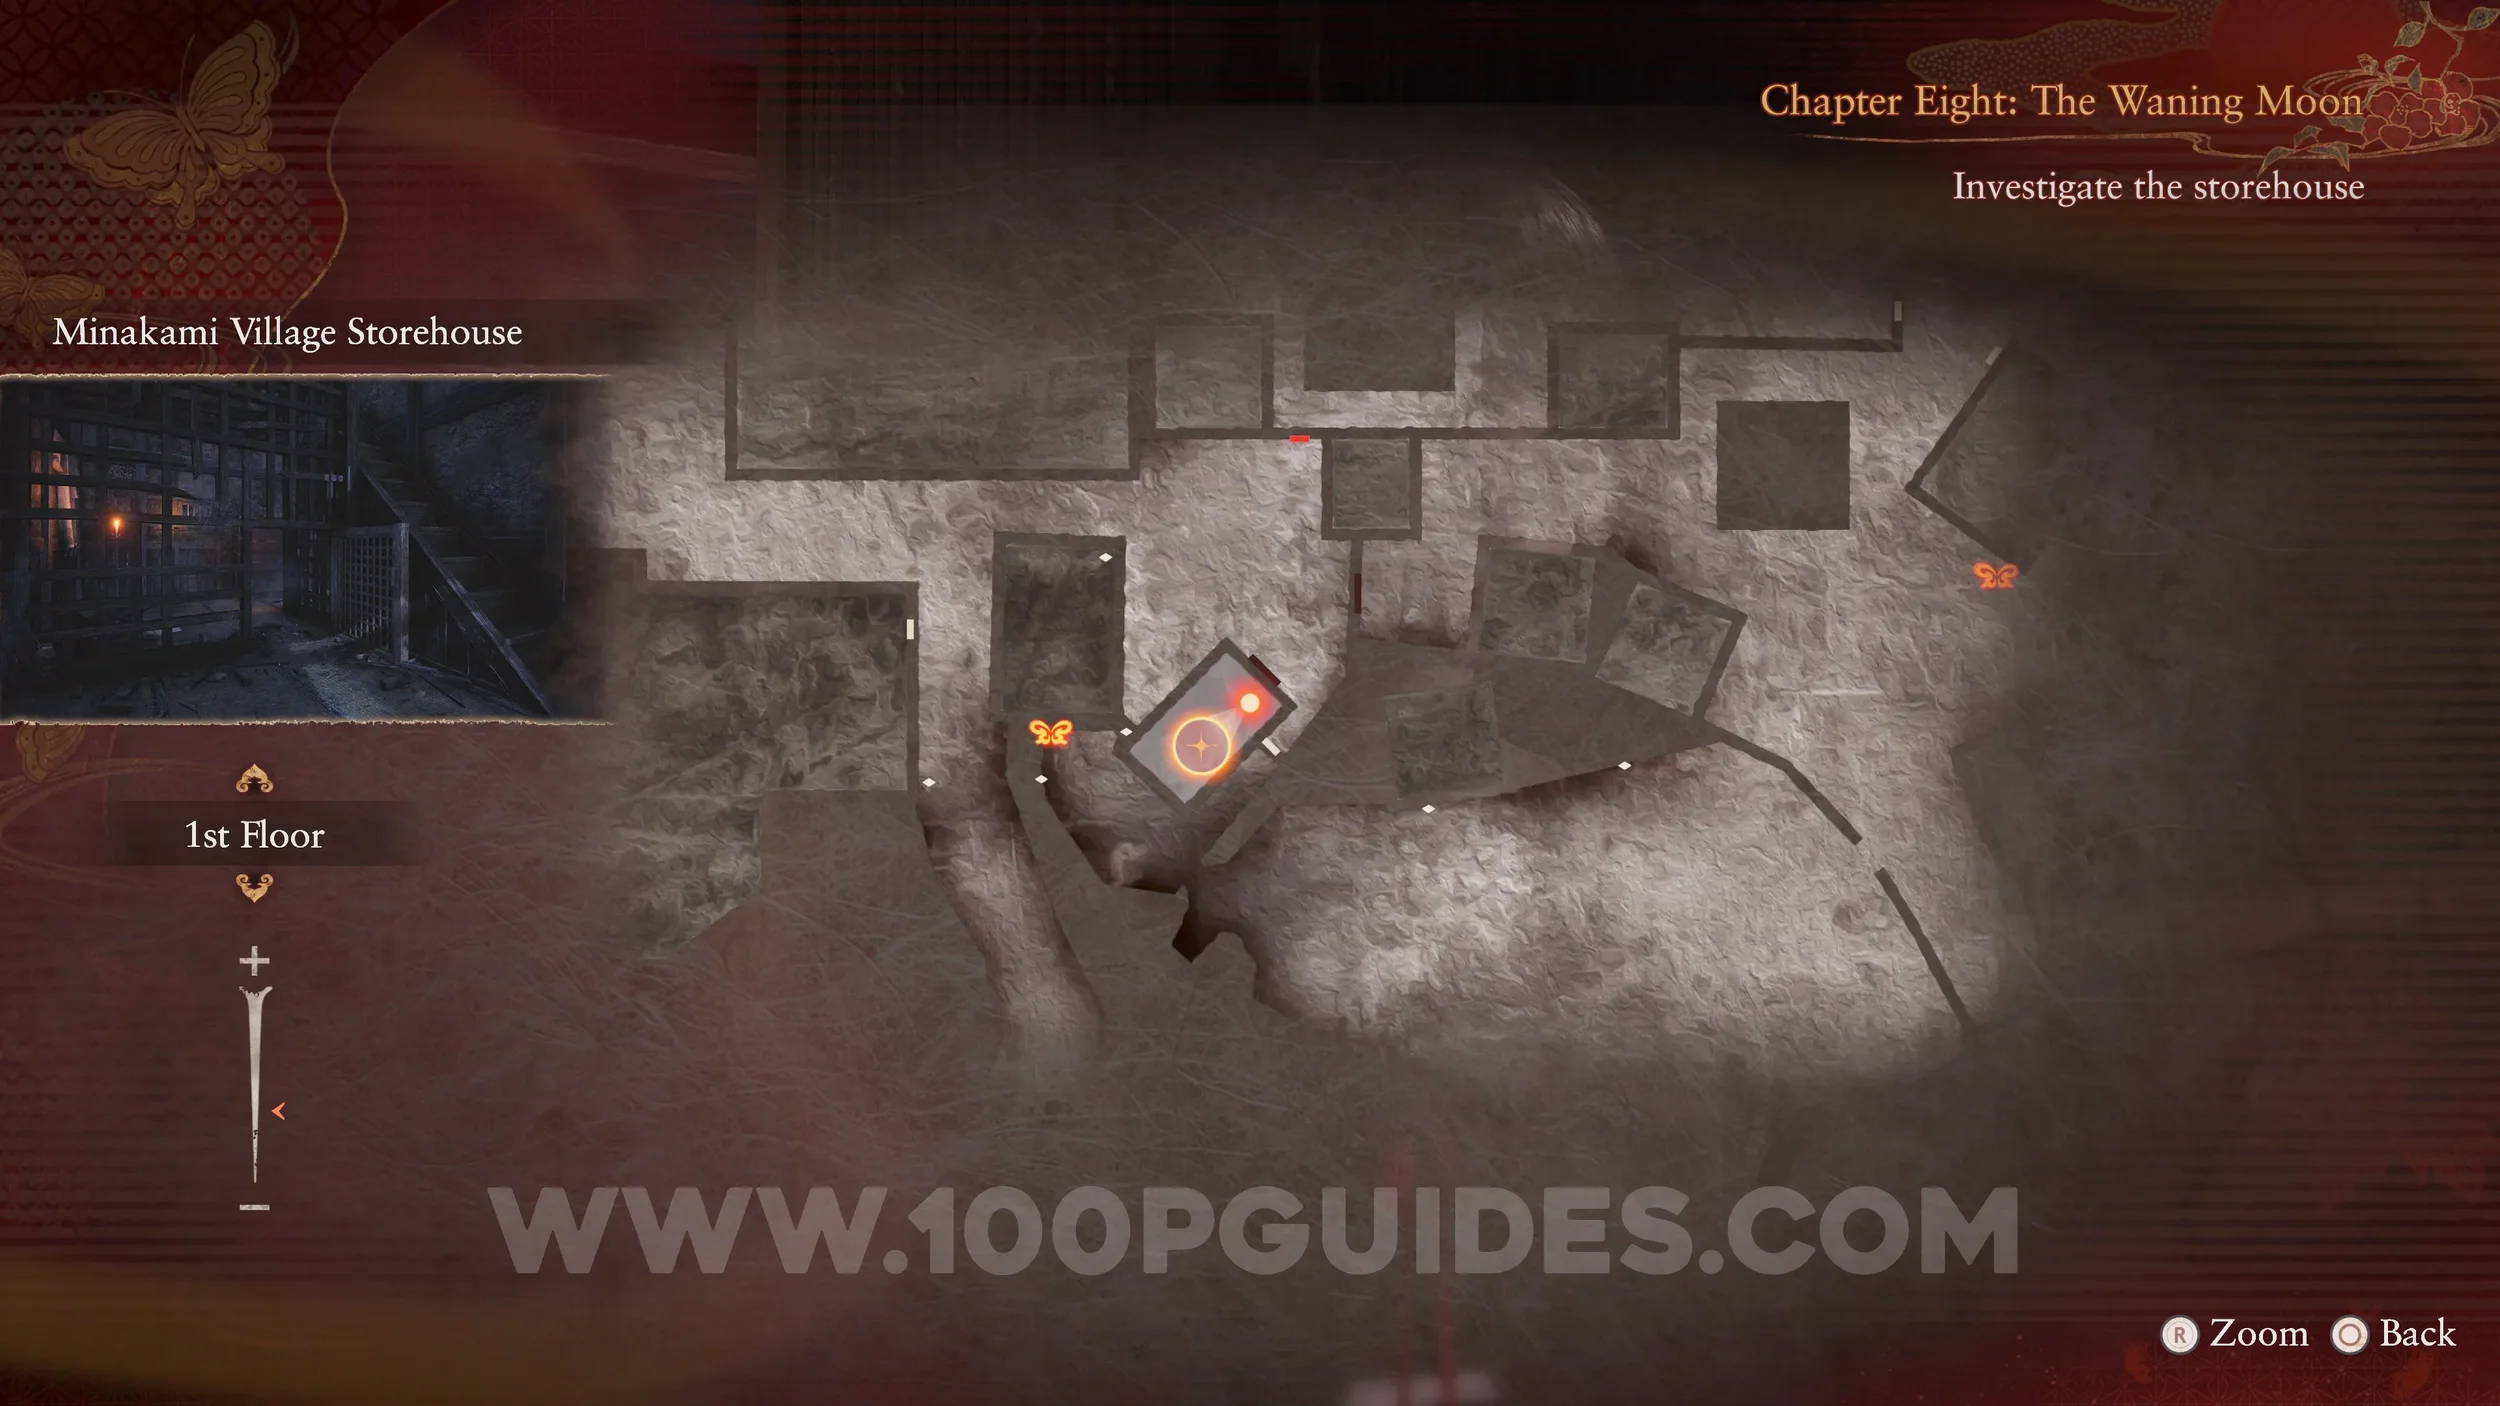
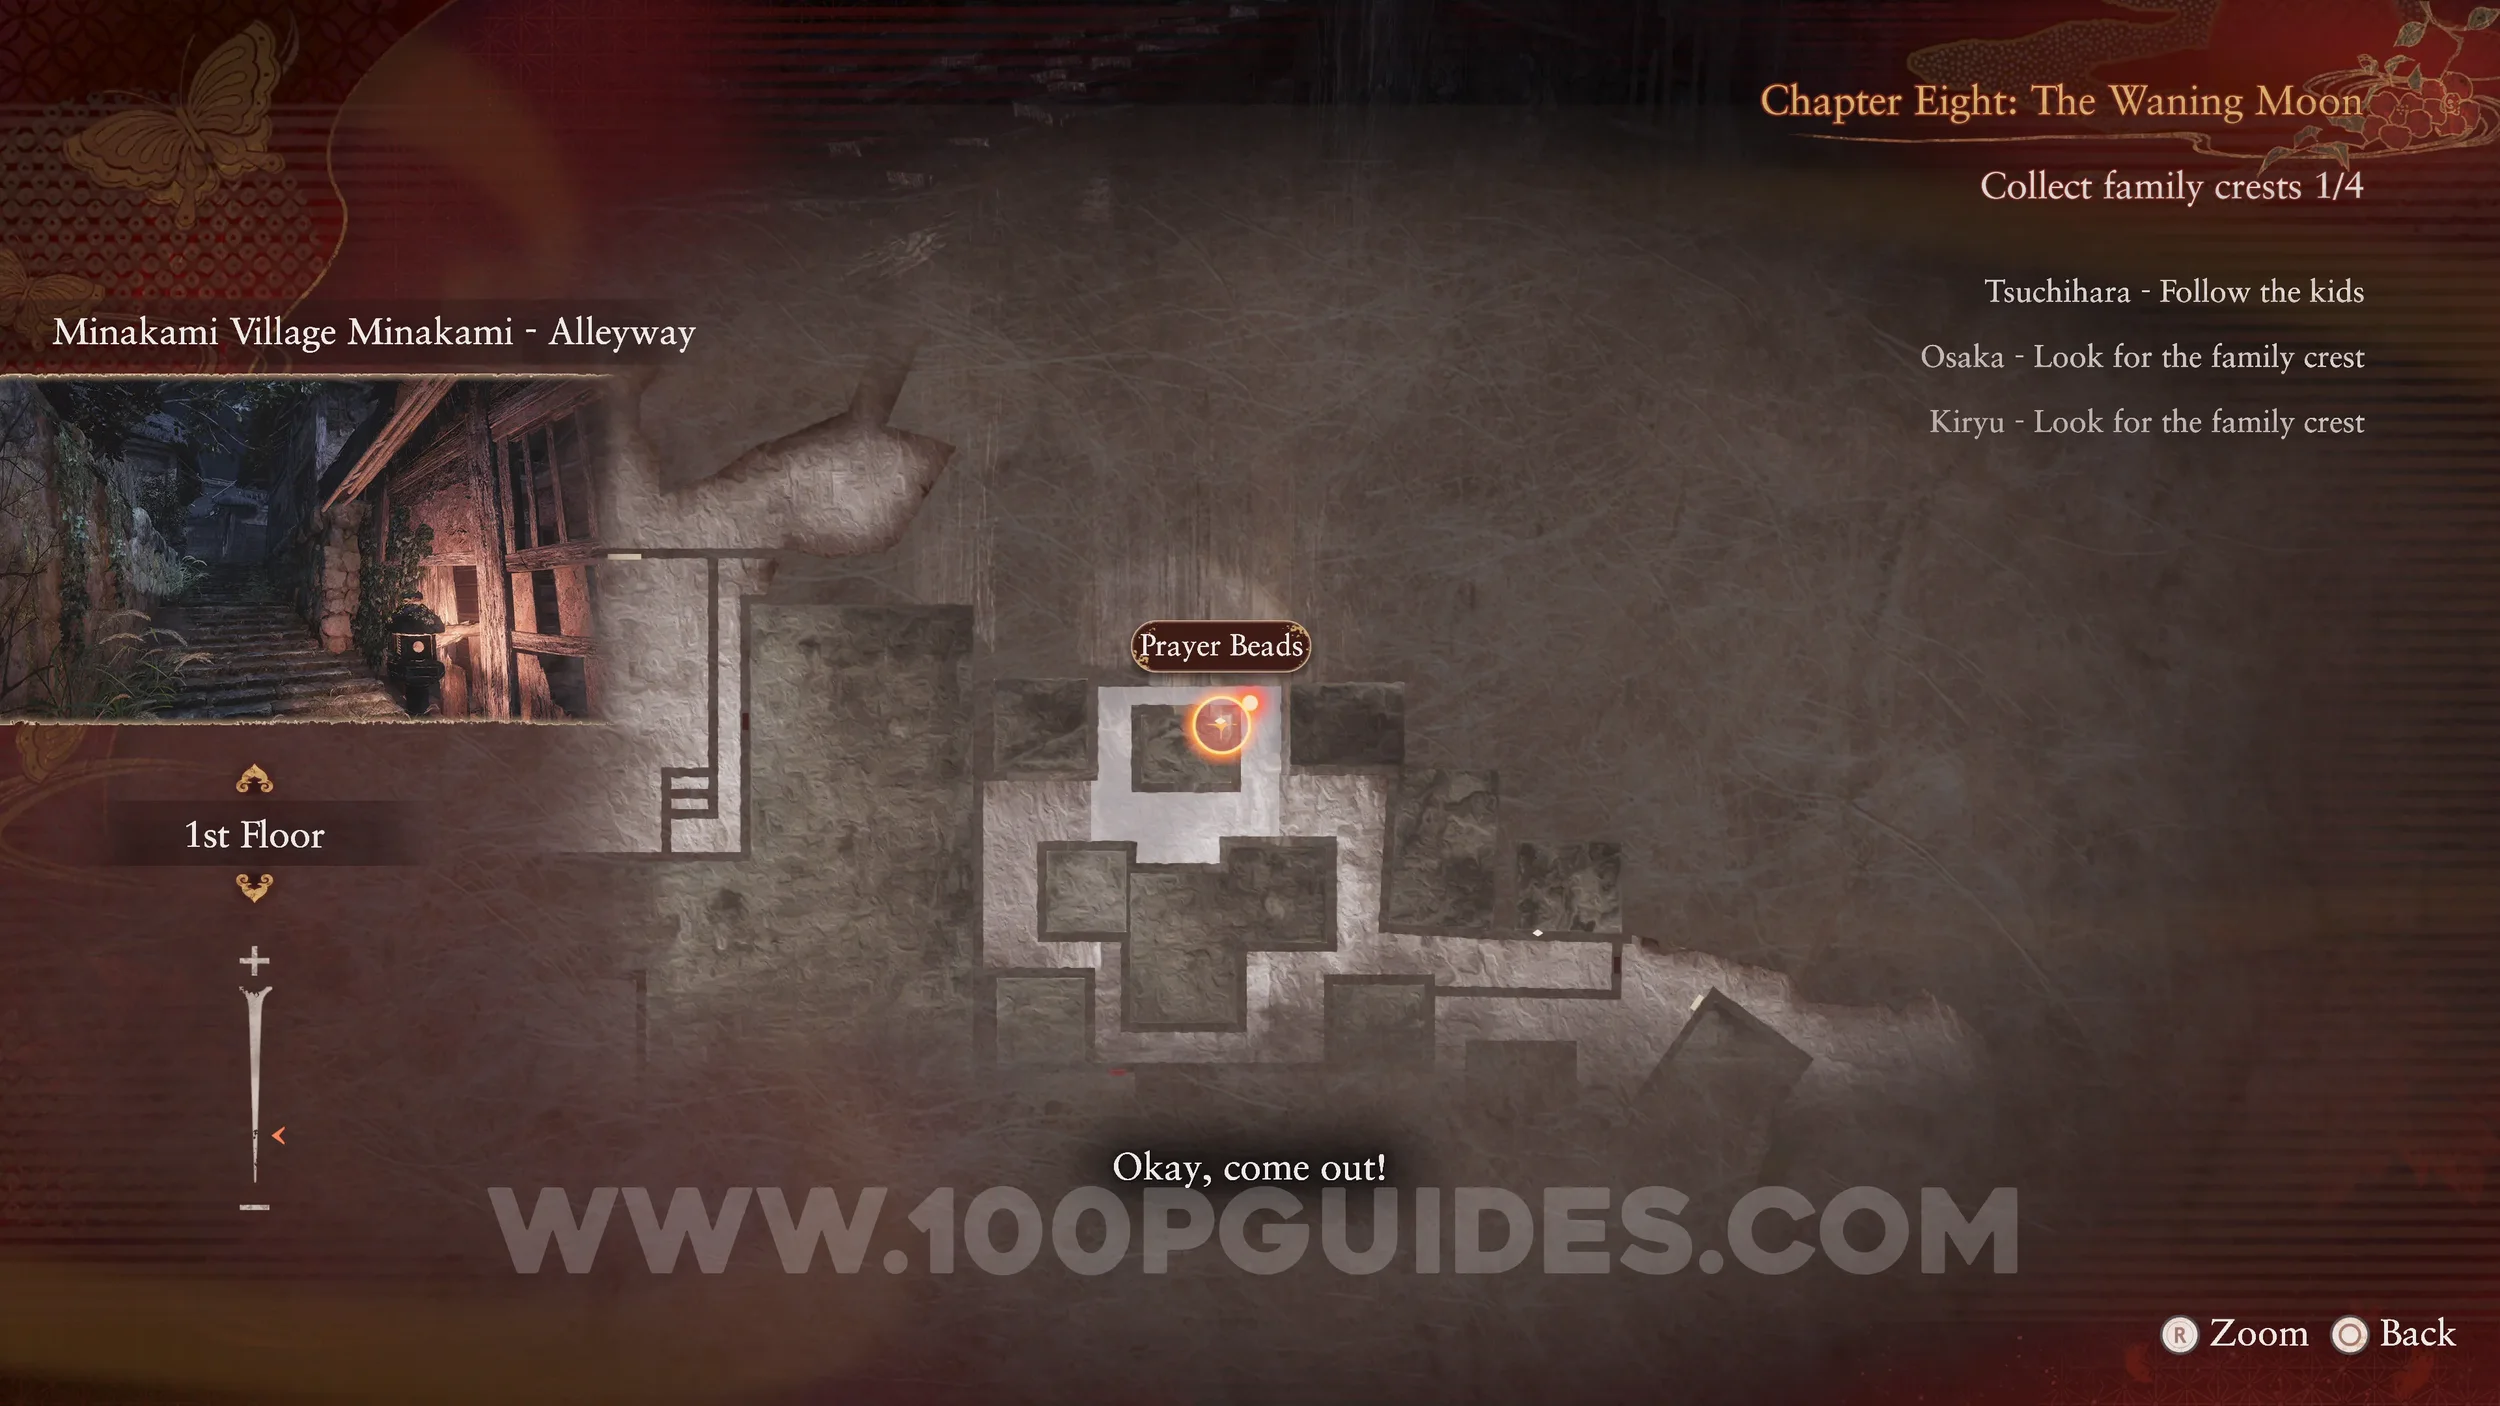
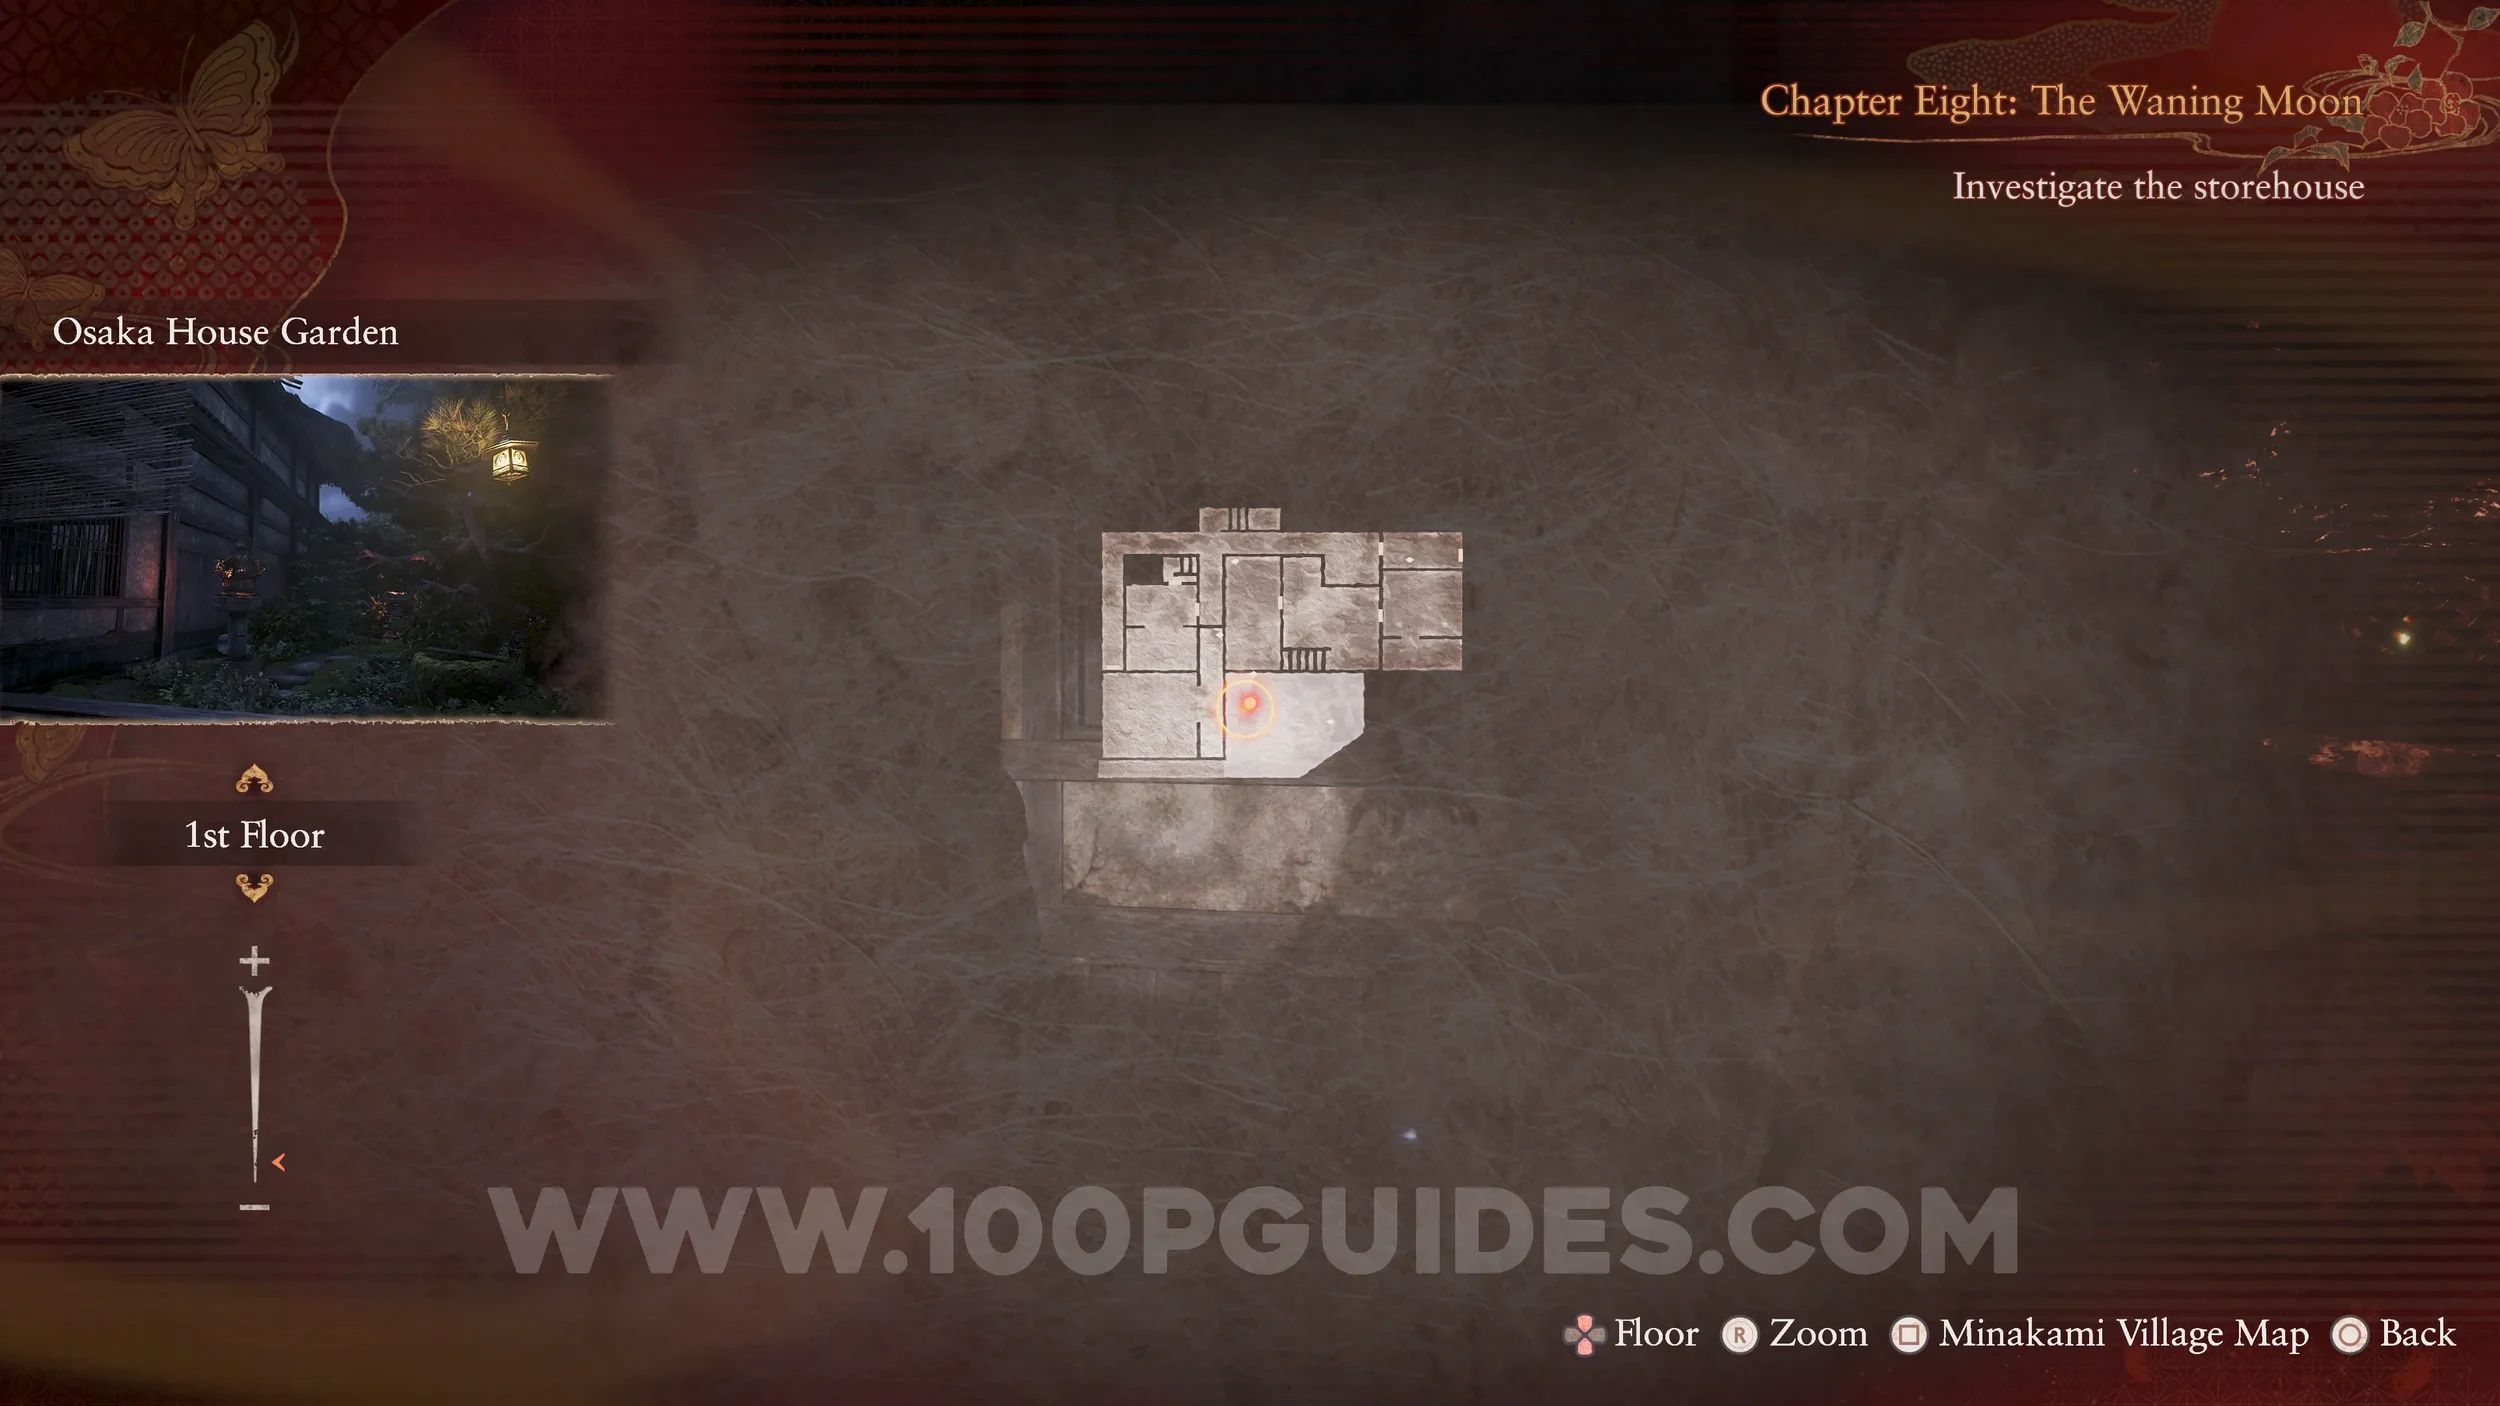
Specter #158 - 116 Imprisoned Boy. Inside the Minakami Village Storehouse.
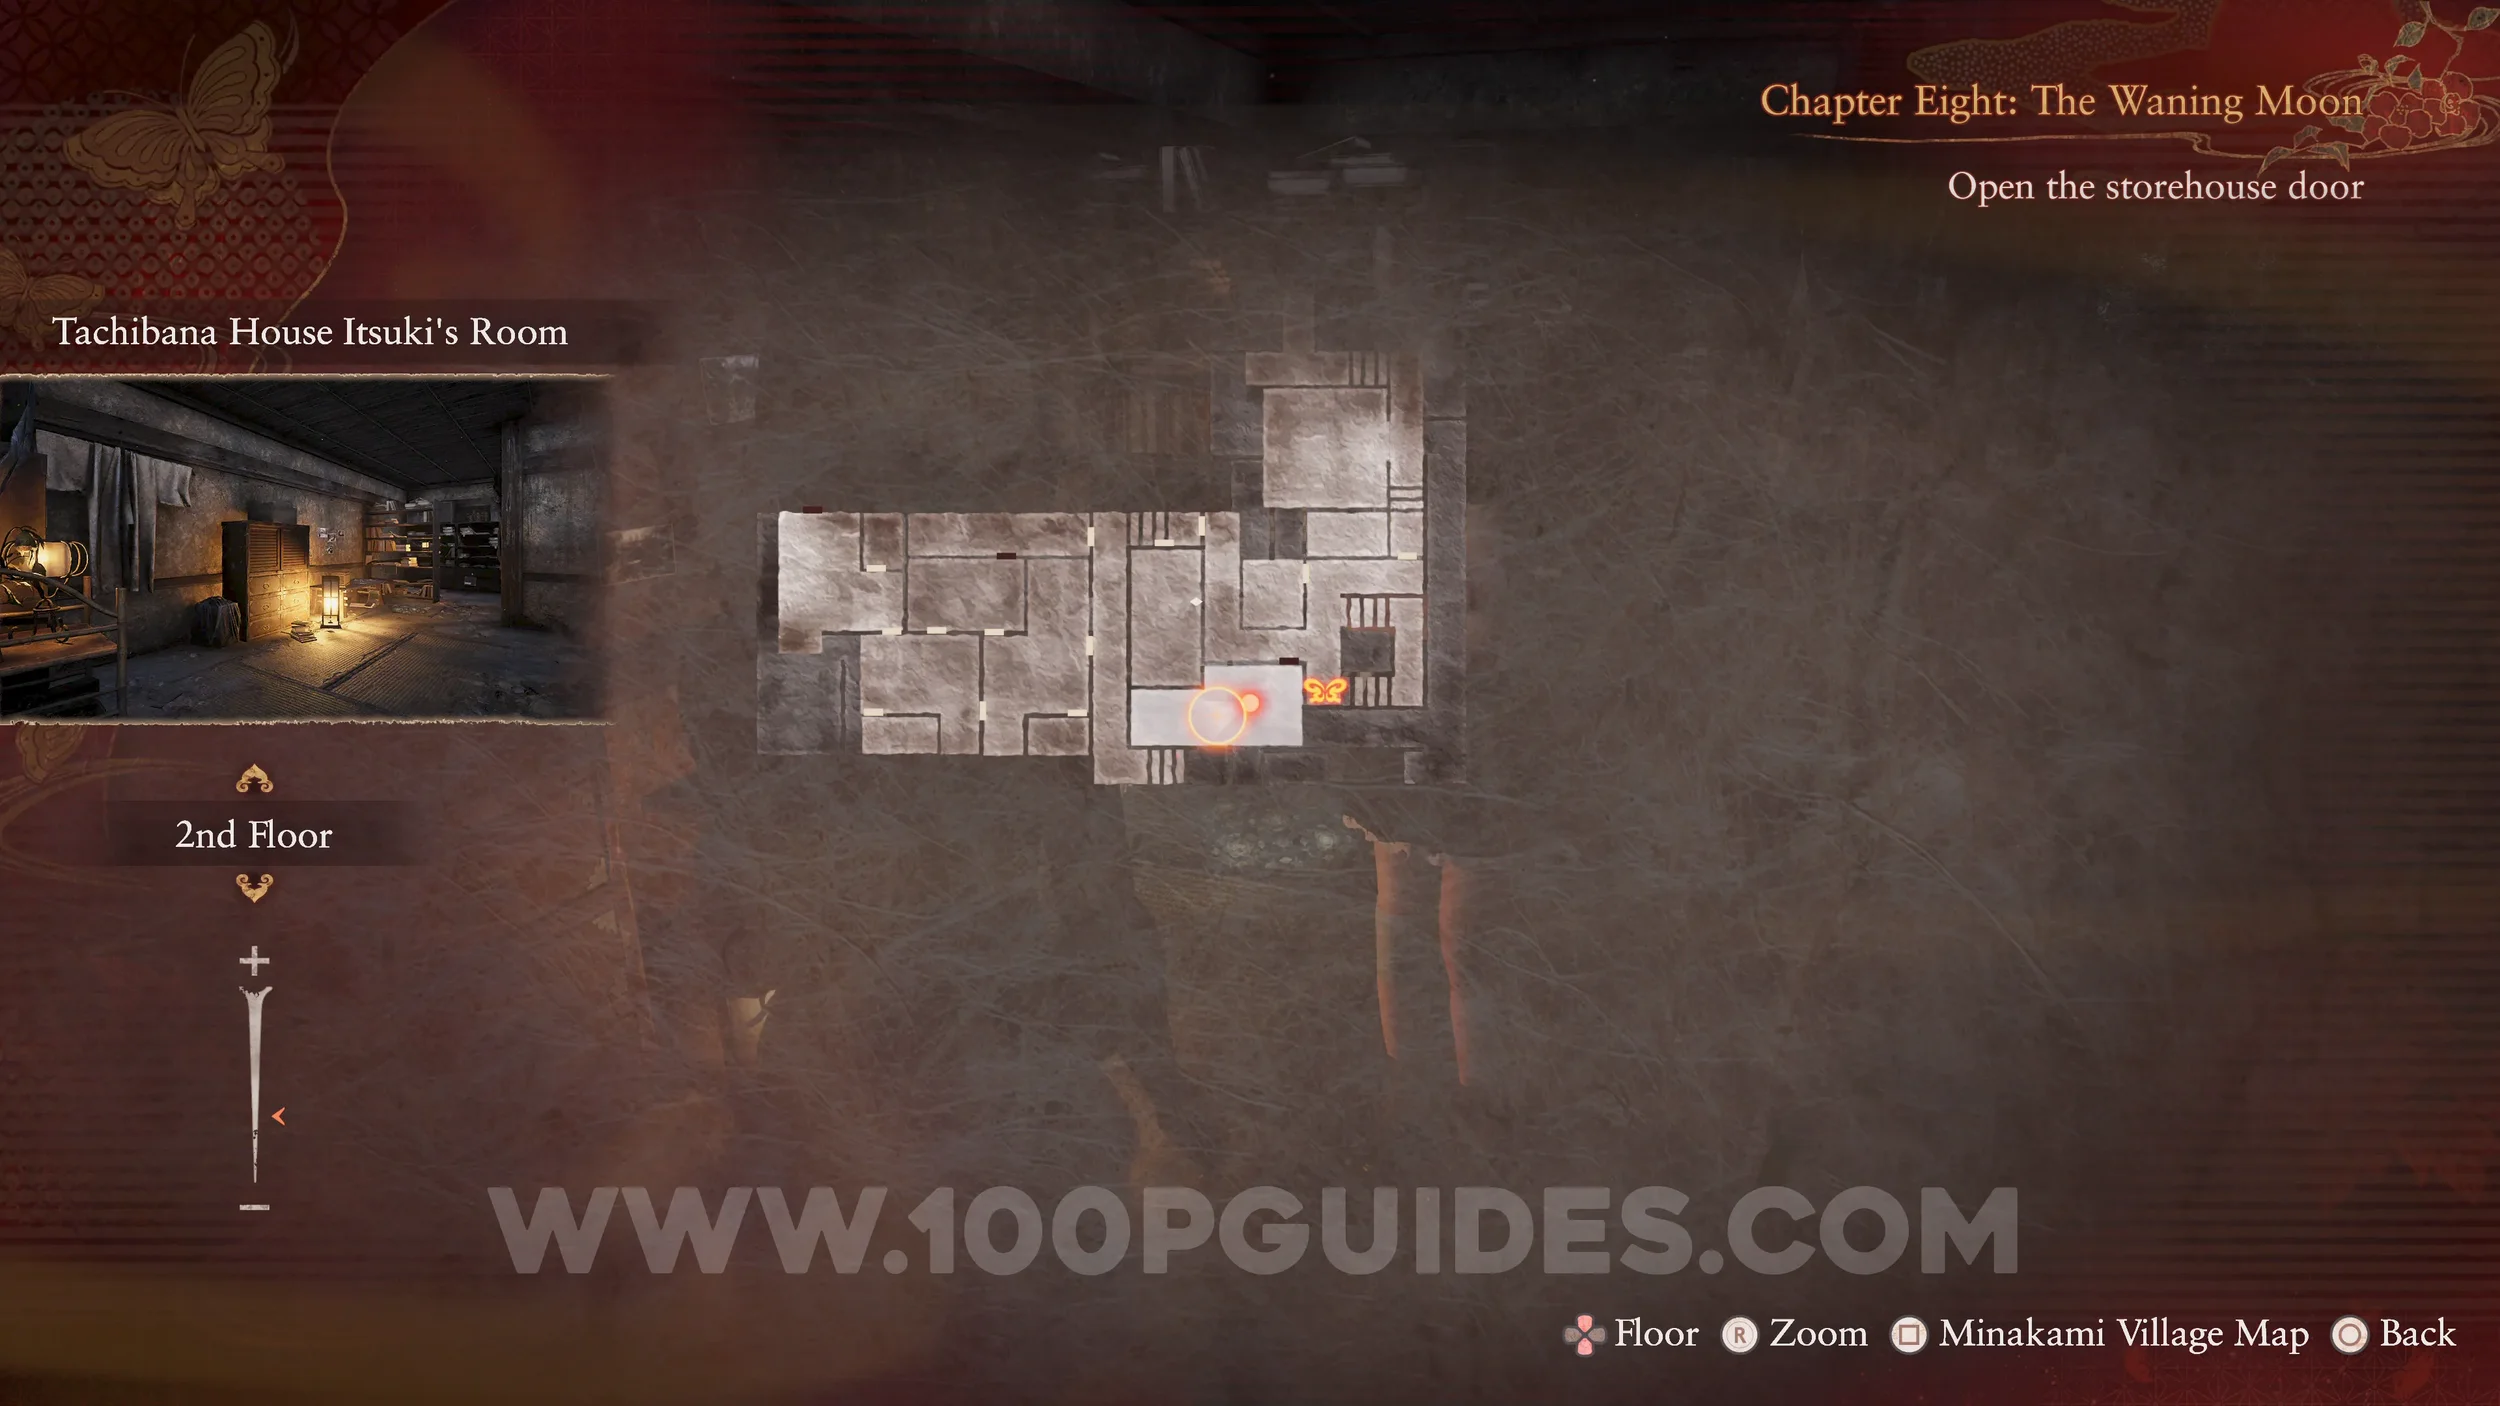
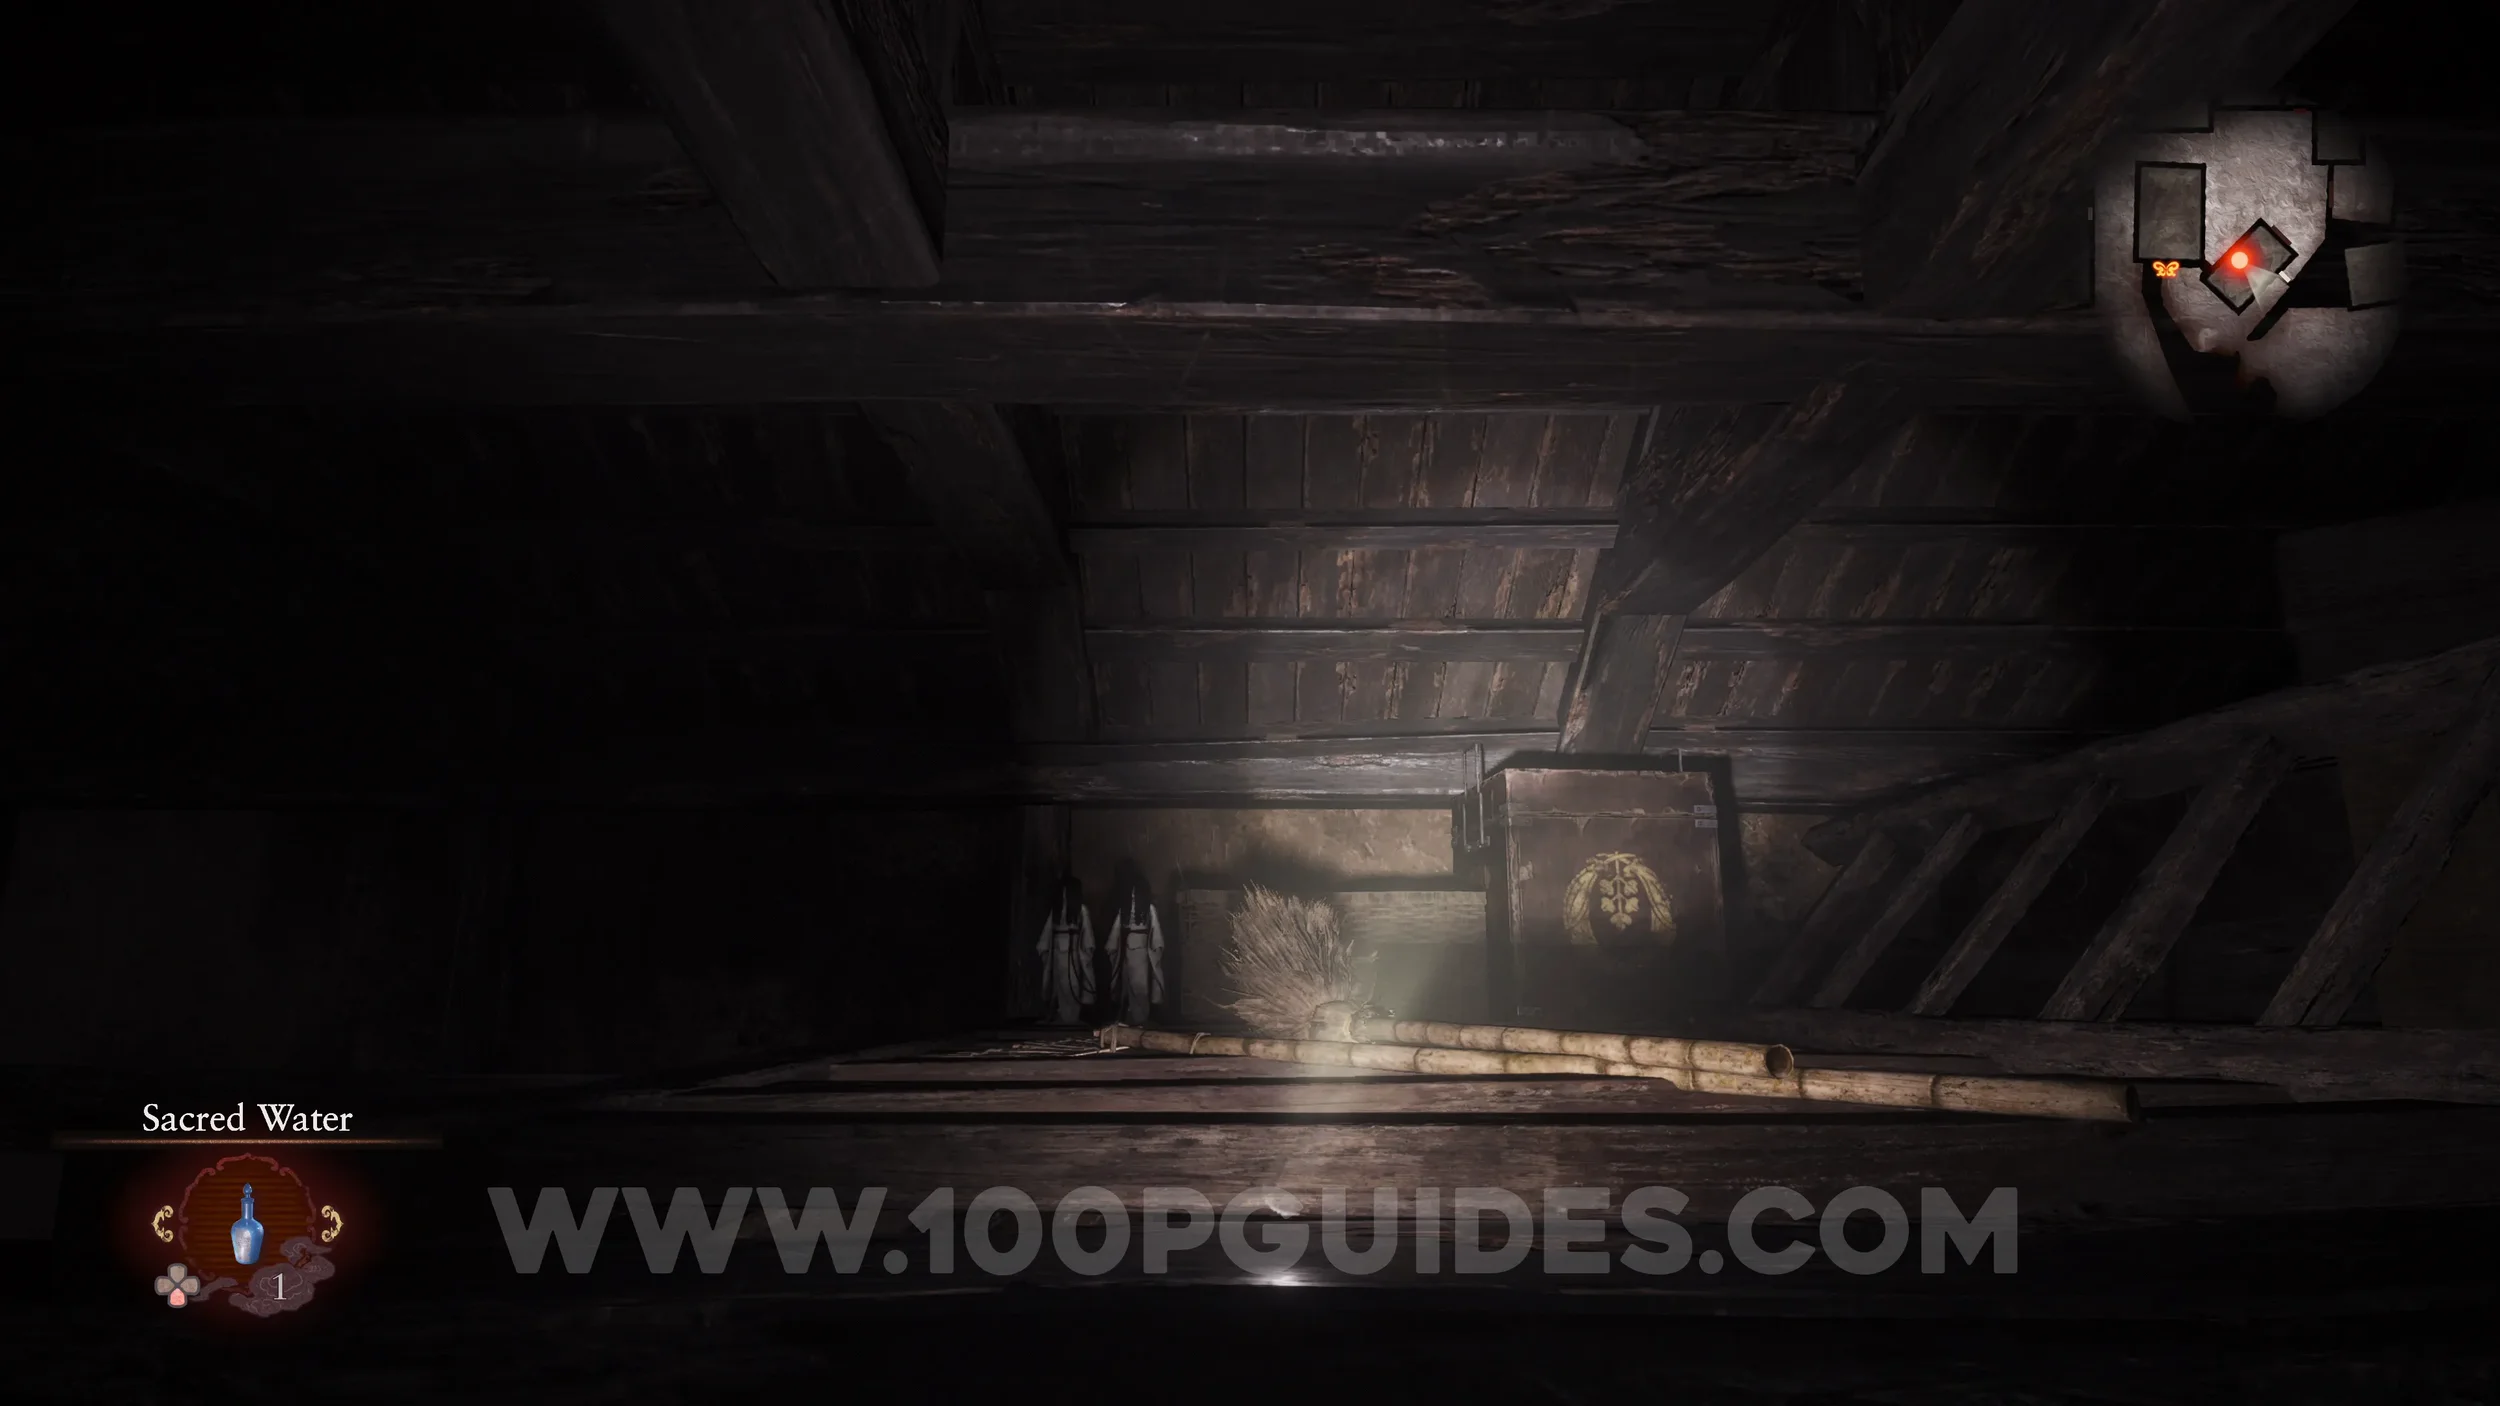
Spirit Stone #32 - Fluorite 2. On the top floor of the Minakami Village Storehouse
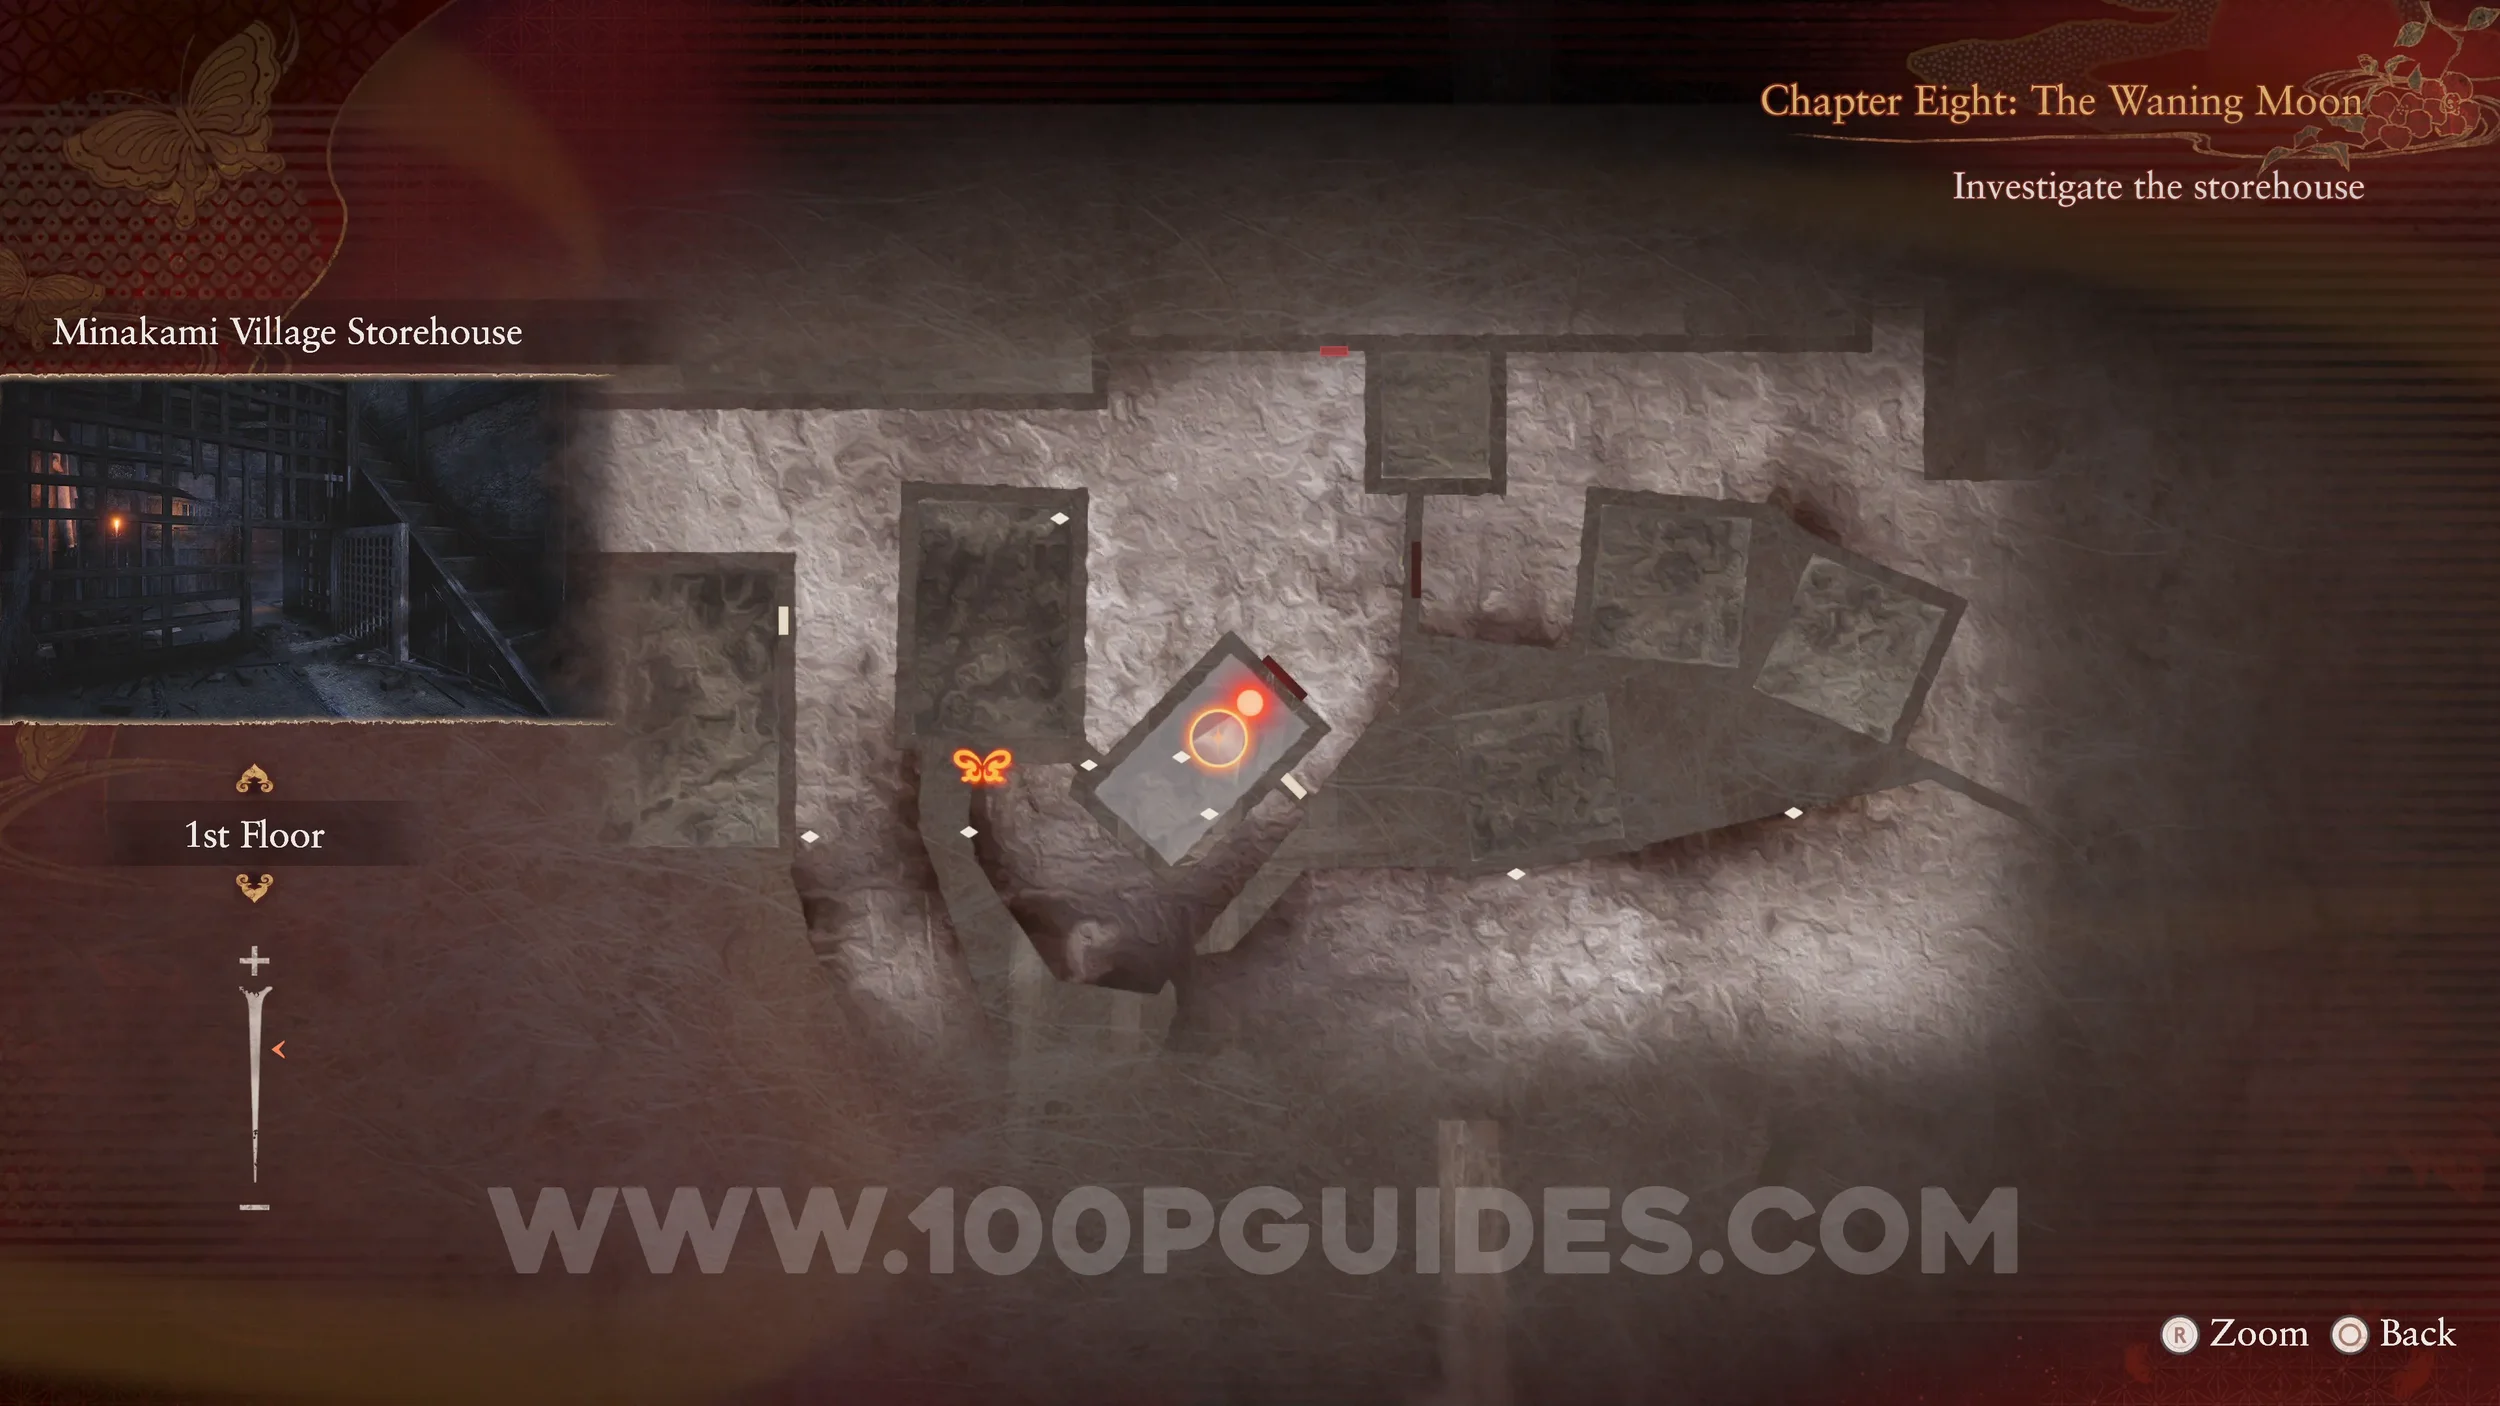
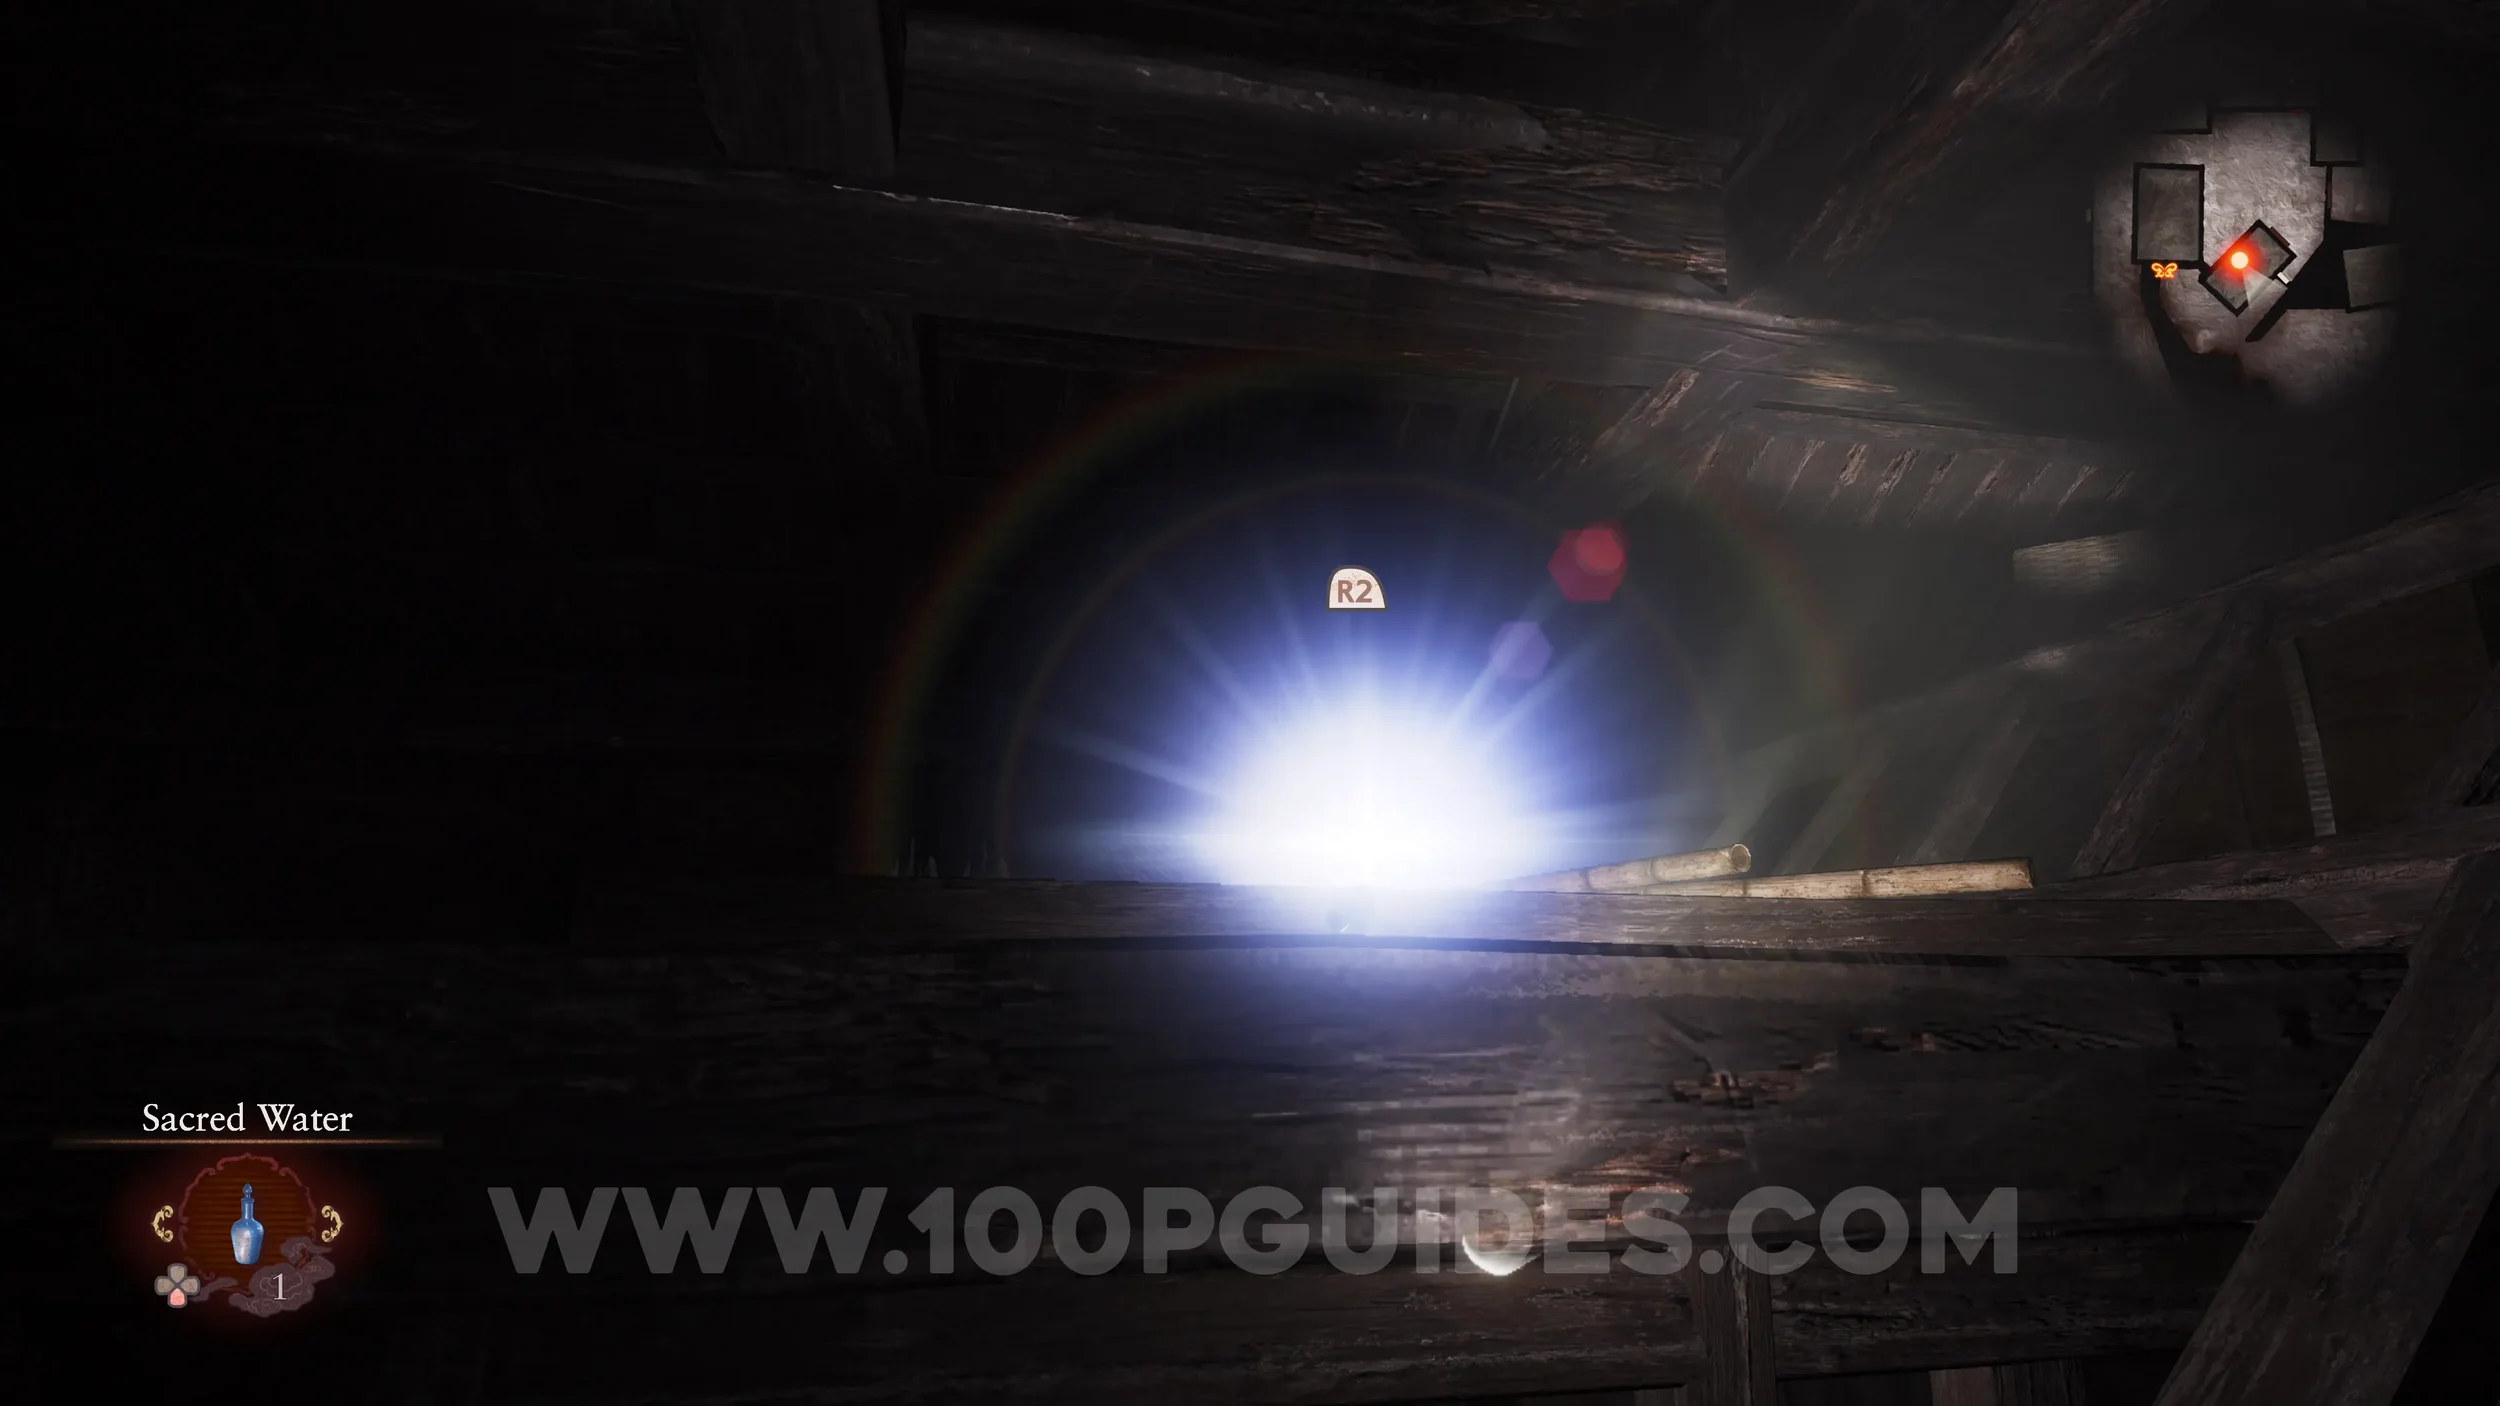
Twin Dolls #41 (40). Also on the top floor of the Minakami Village Storehouse.
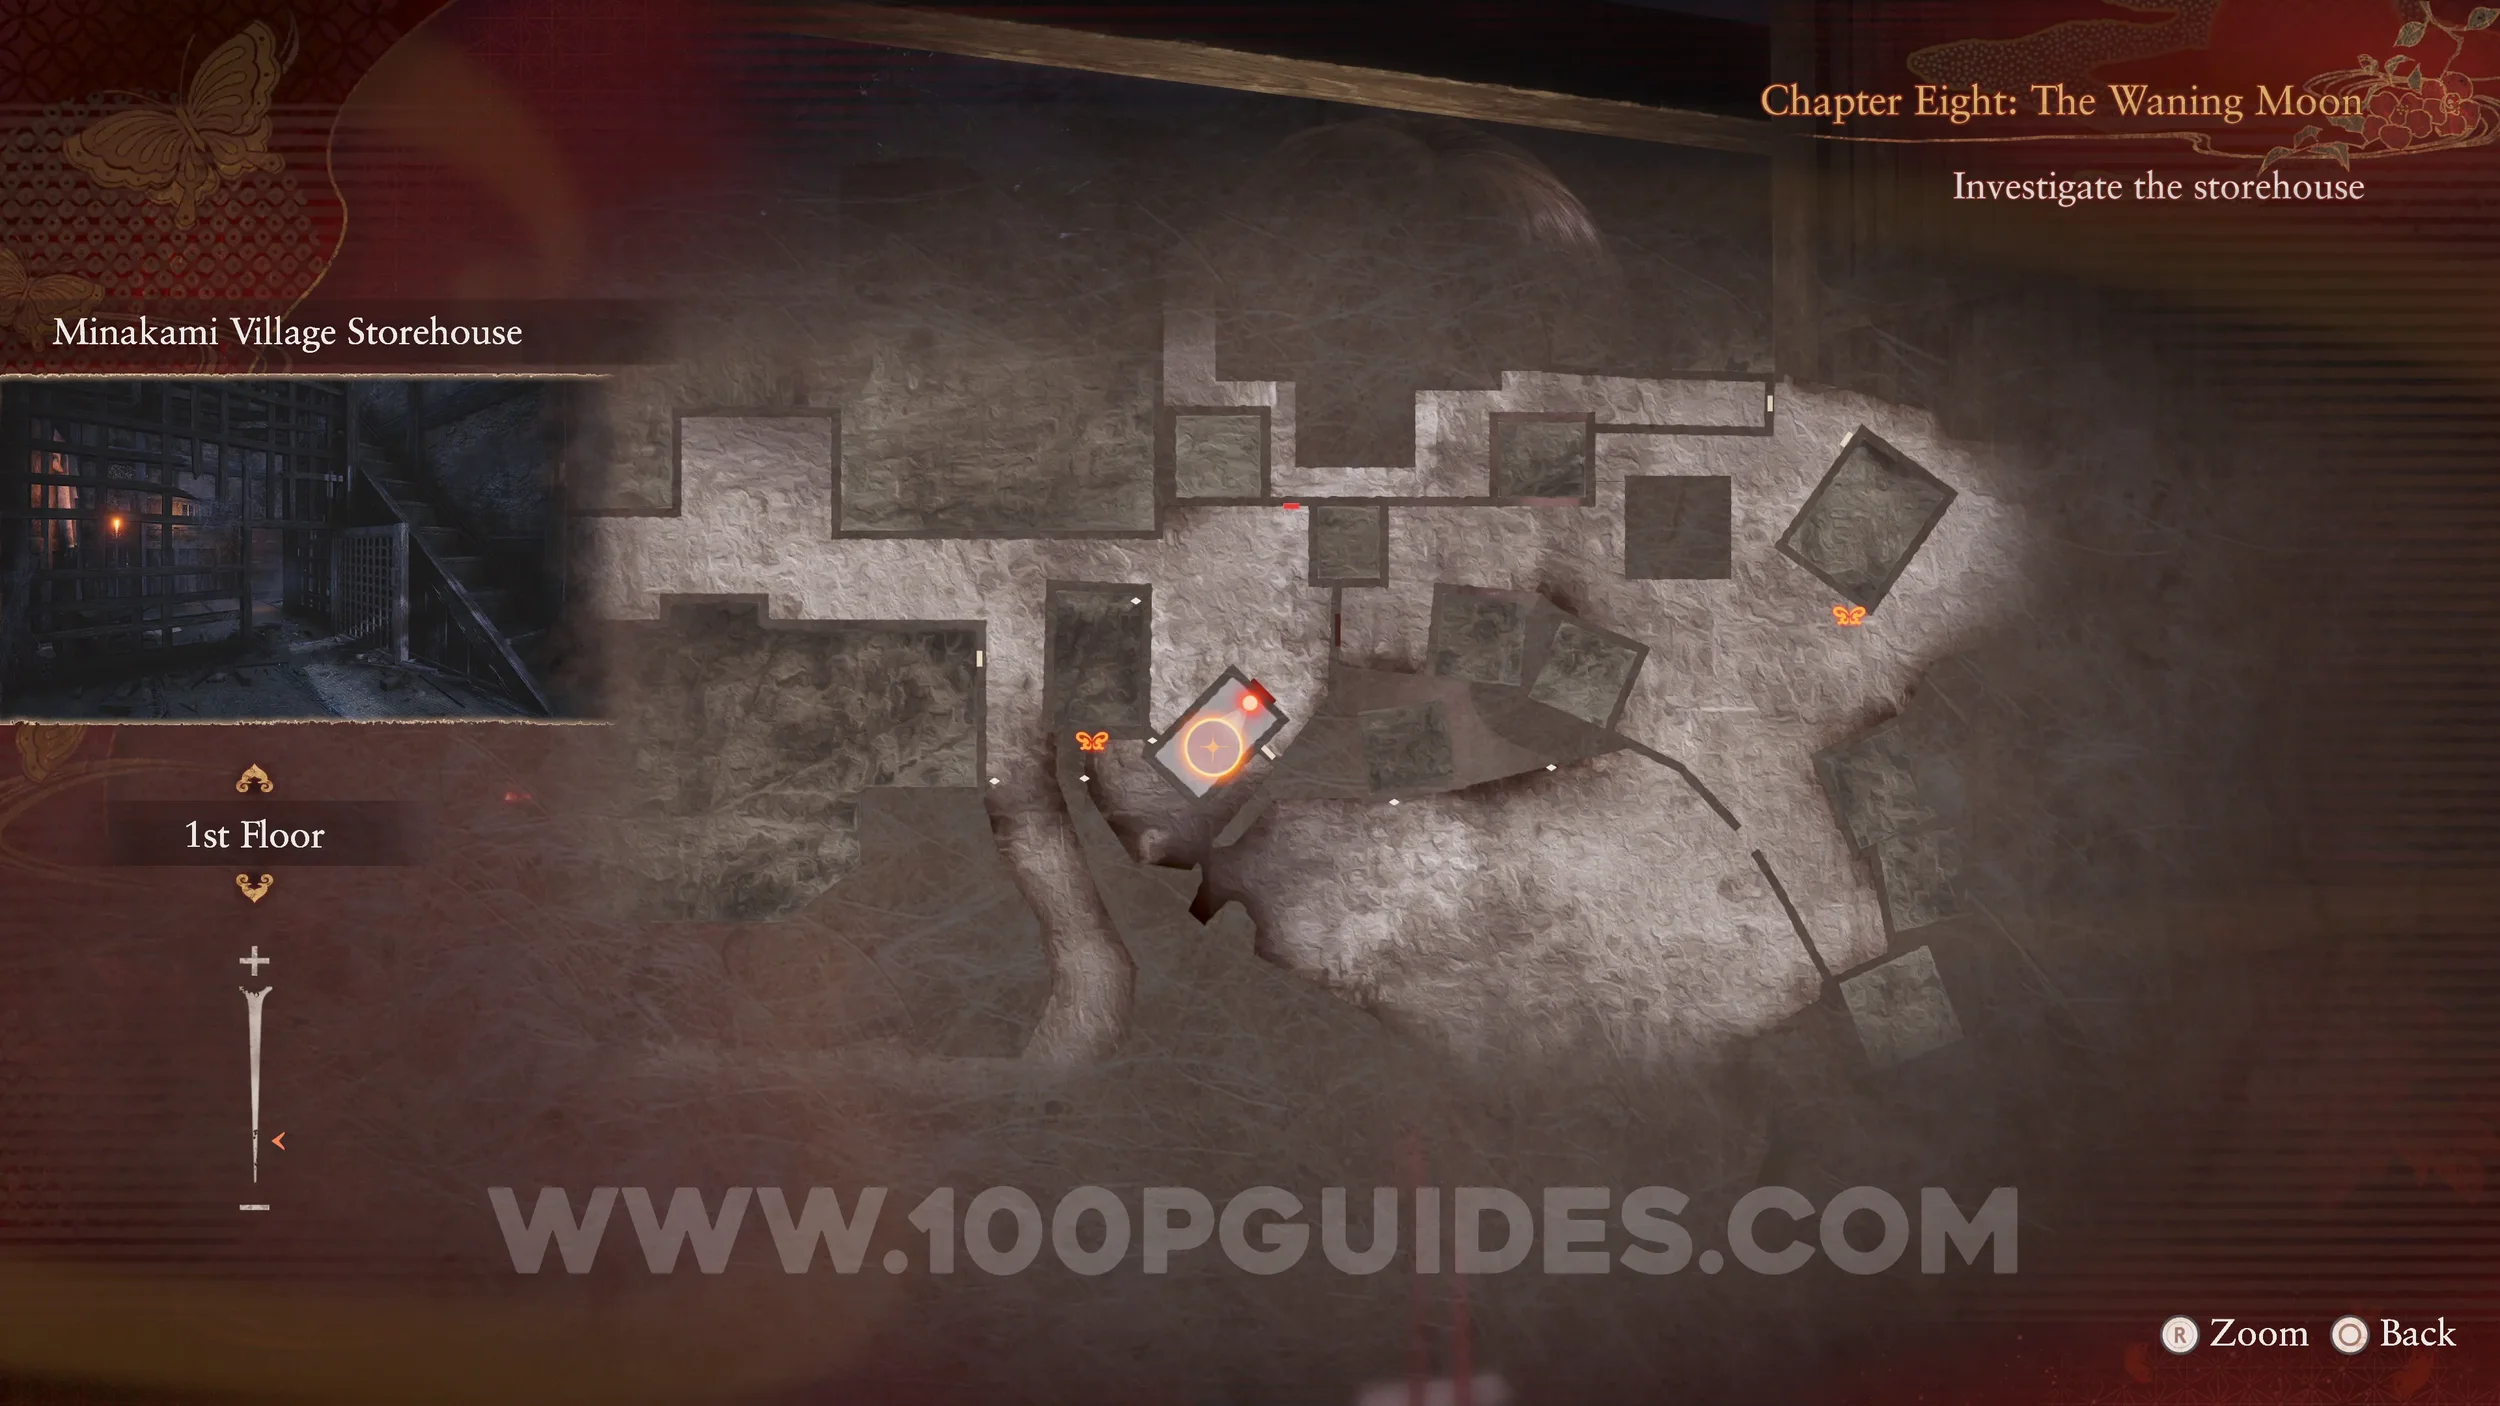
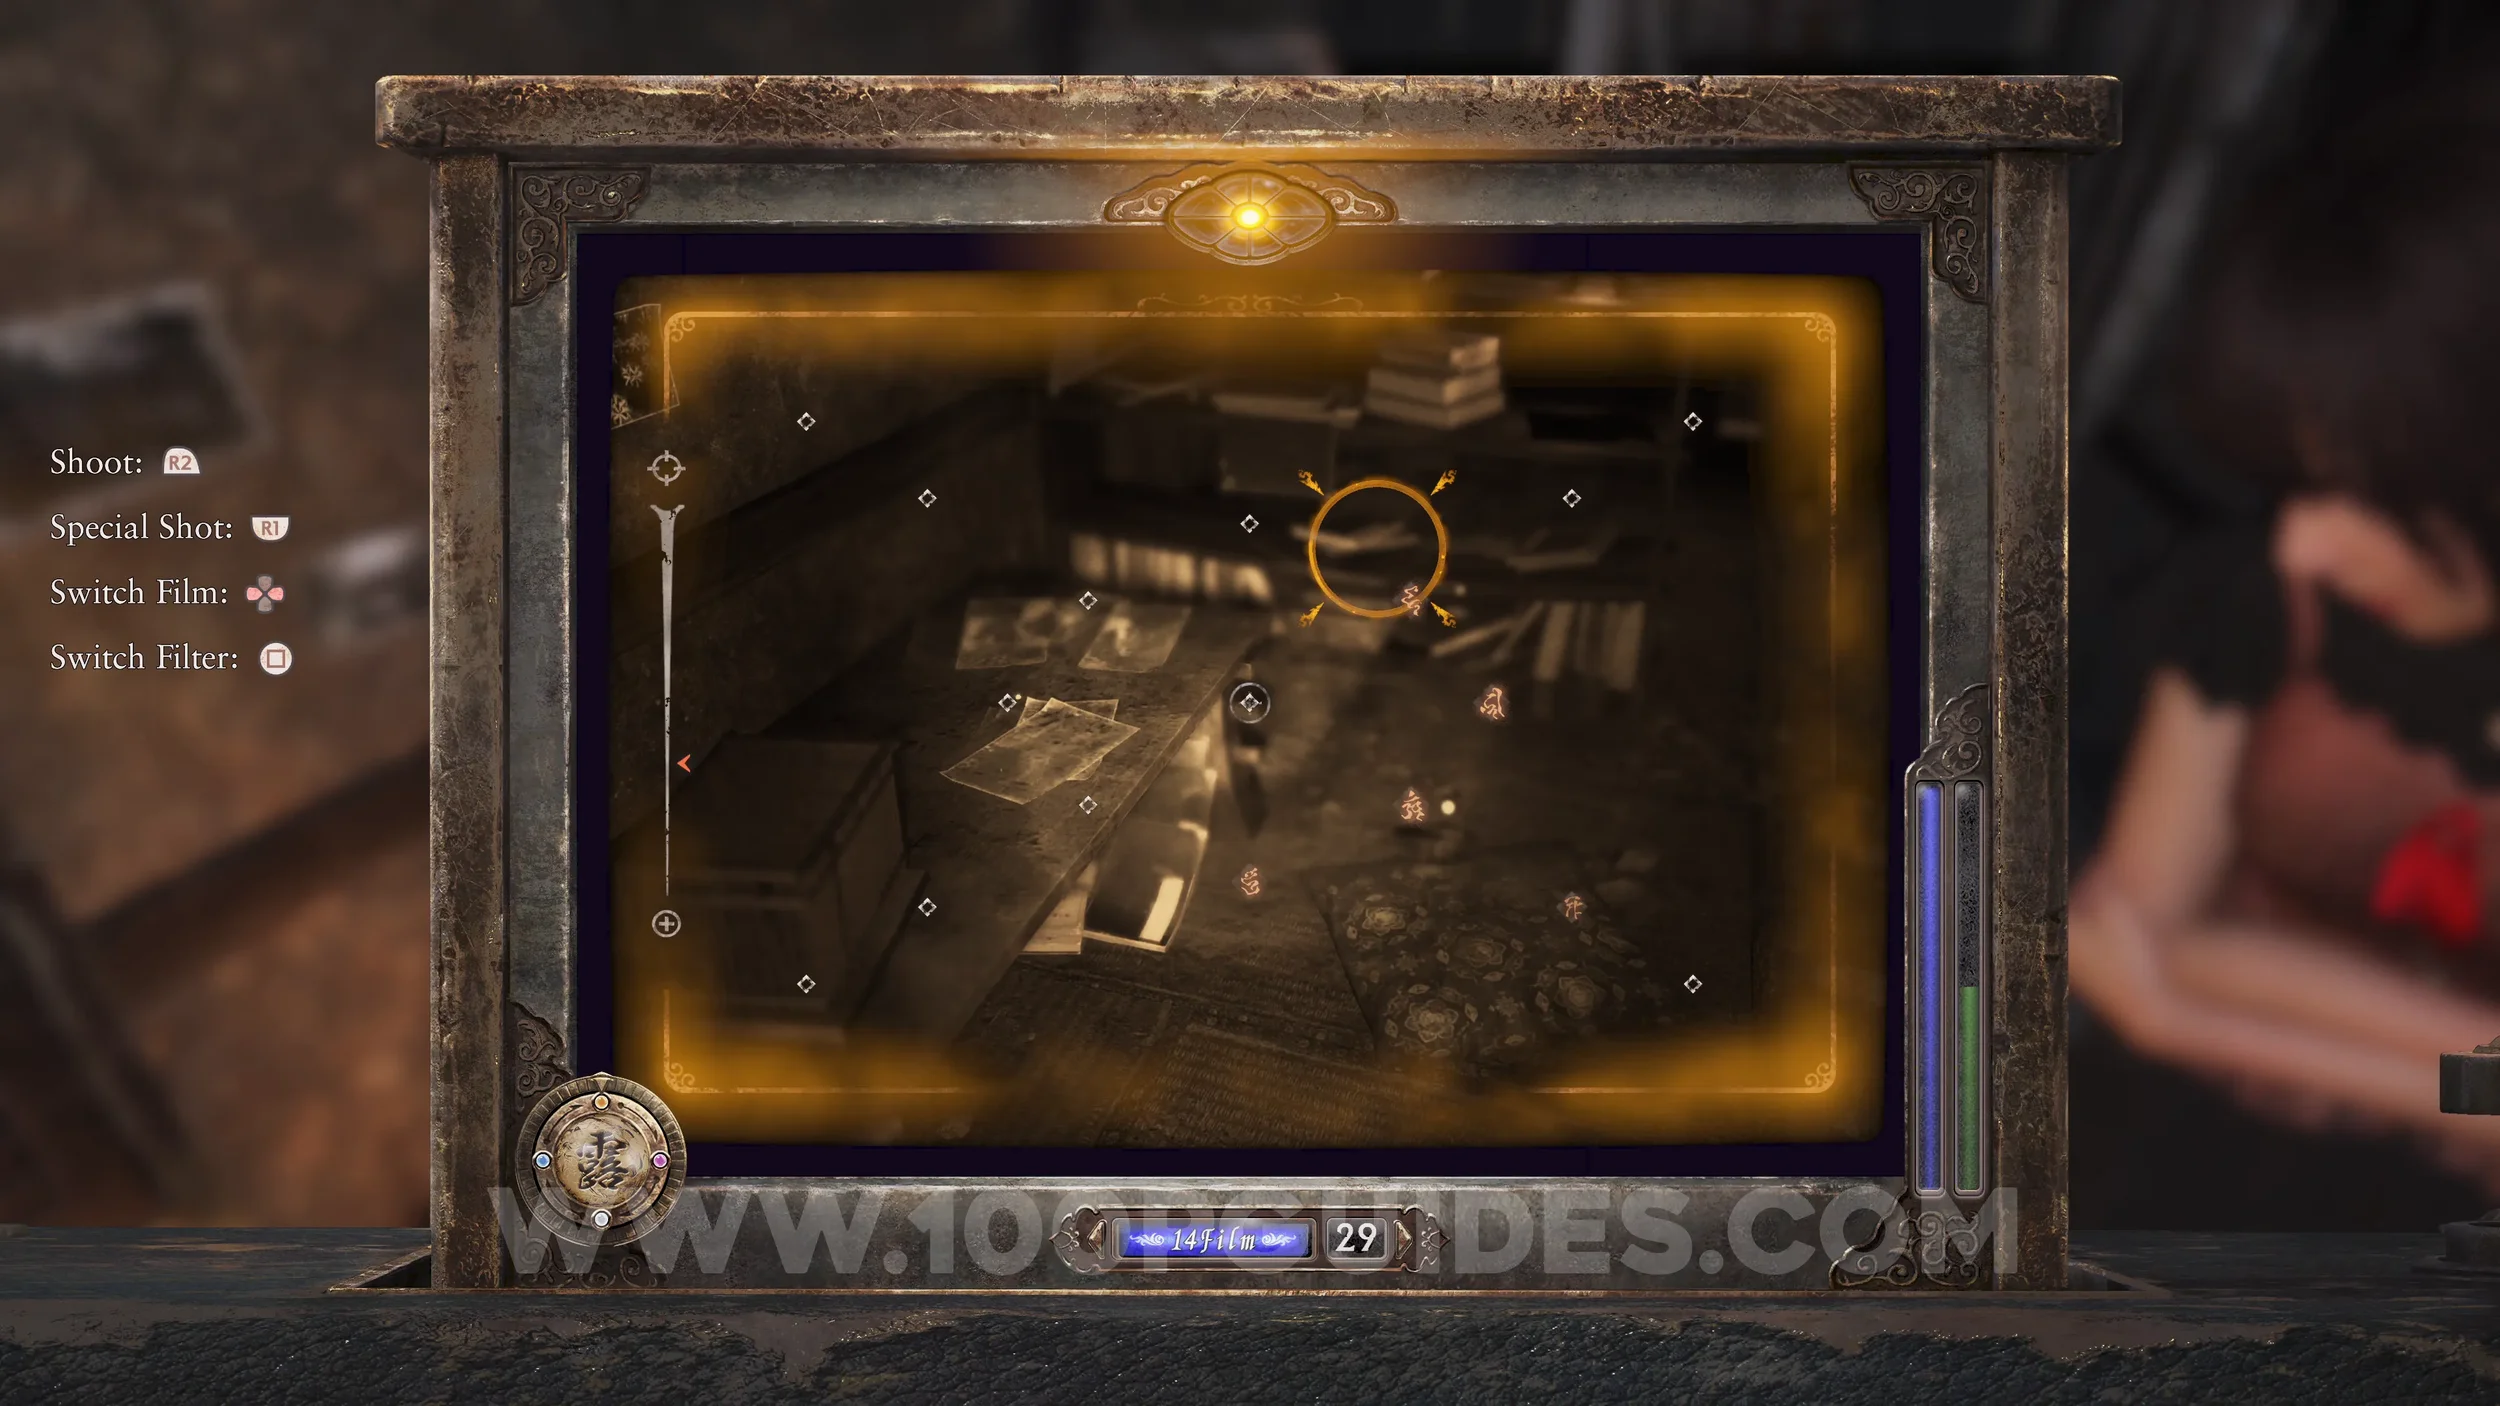
Document #86 - Bound Diary 3. In the drawer in the Minakami Village Storehouse.

Specter #159 - 118 Girl Discussing Secrets, Specter #160 - 119 Boy Discussing Secrets, Specter #161 - 120 Boy Plotting Mischief and Specter #162 - 121 Children Plotting Mischief. Exit the storeroom and look inside the building to your left to see the three children. Make sure all three are in the shot to get the fourth.
Document #87 - Children’s Note 4, Specter #163 - 122 Running Girl, Specter #164 - 123 Capering Boy, Specter #165 - 124 Fleeing Boy and Specter #166 - 125 Children Running Away. Pick up the document dropped by the previous specters. Then turn around to see three children running. Make sure they are all in the shot to get the fourth entry.
Prayer Beads #67. On a cupboard just outside the same building as the previous document.
Revenant #15 - 007 Hiding Boy. Go to the area behind the bloodstained door at Tomonaki River and look through the window on your right in the northeast corner.
Prayer Beads #68. In the corner near the building to the northwest of the previous revenant.
Revenant #16 - 008 Boy Blending Into Shadows. Found above the window of the middle house.
Revenant #17 - 006 Lurking Girl. Hiding near the house to the west of the area.

Wraith #22 - 014 The Tag Player. One of the children who attacks you after you find the three previous revenants.
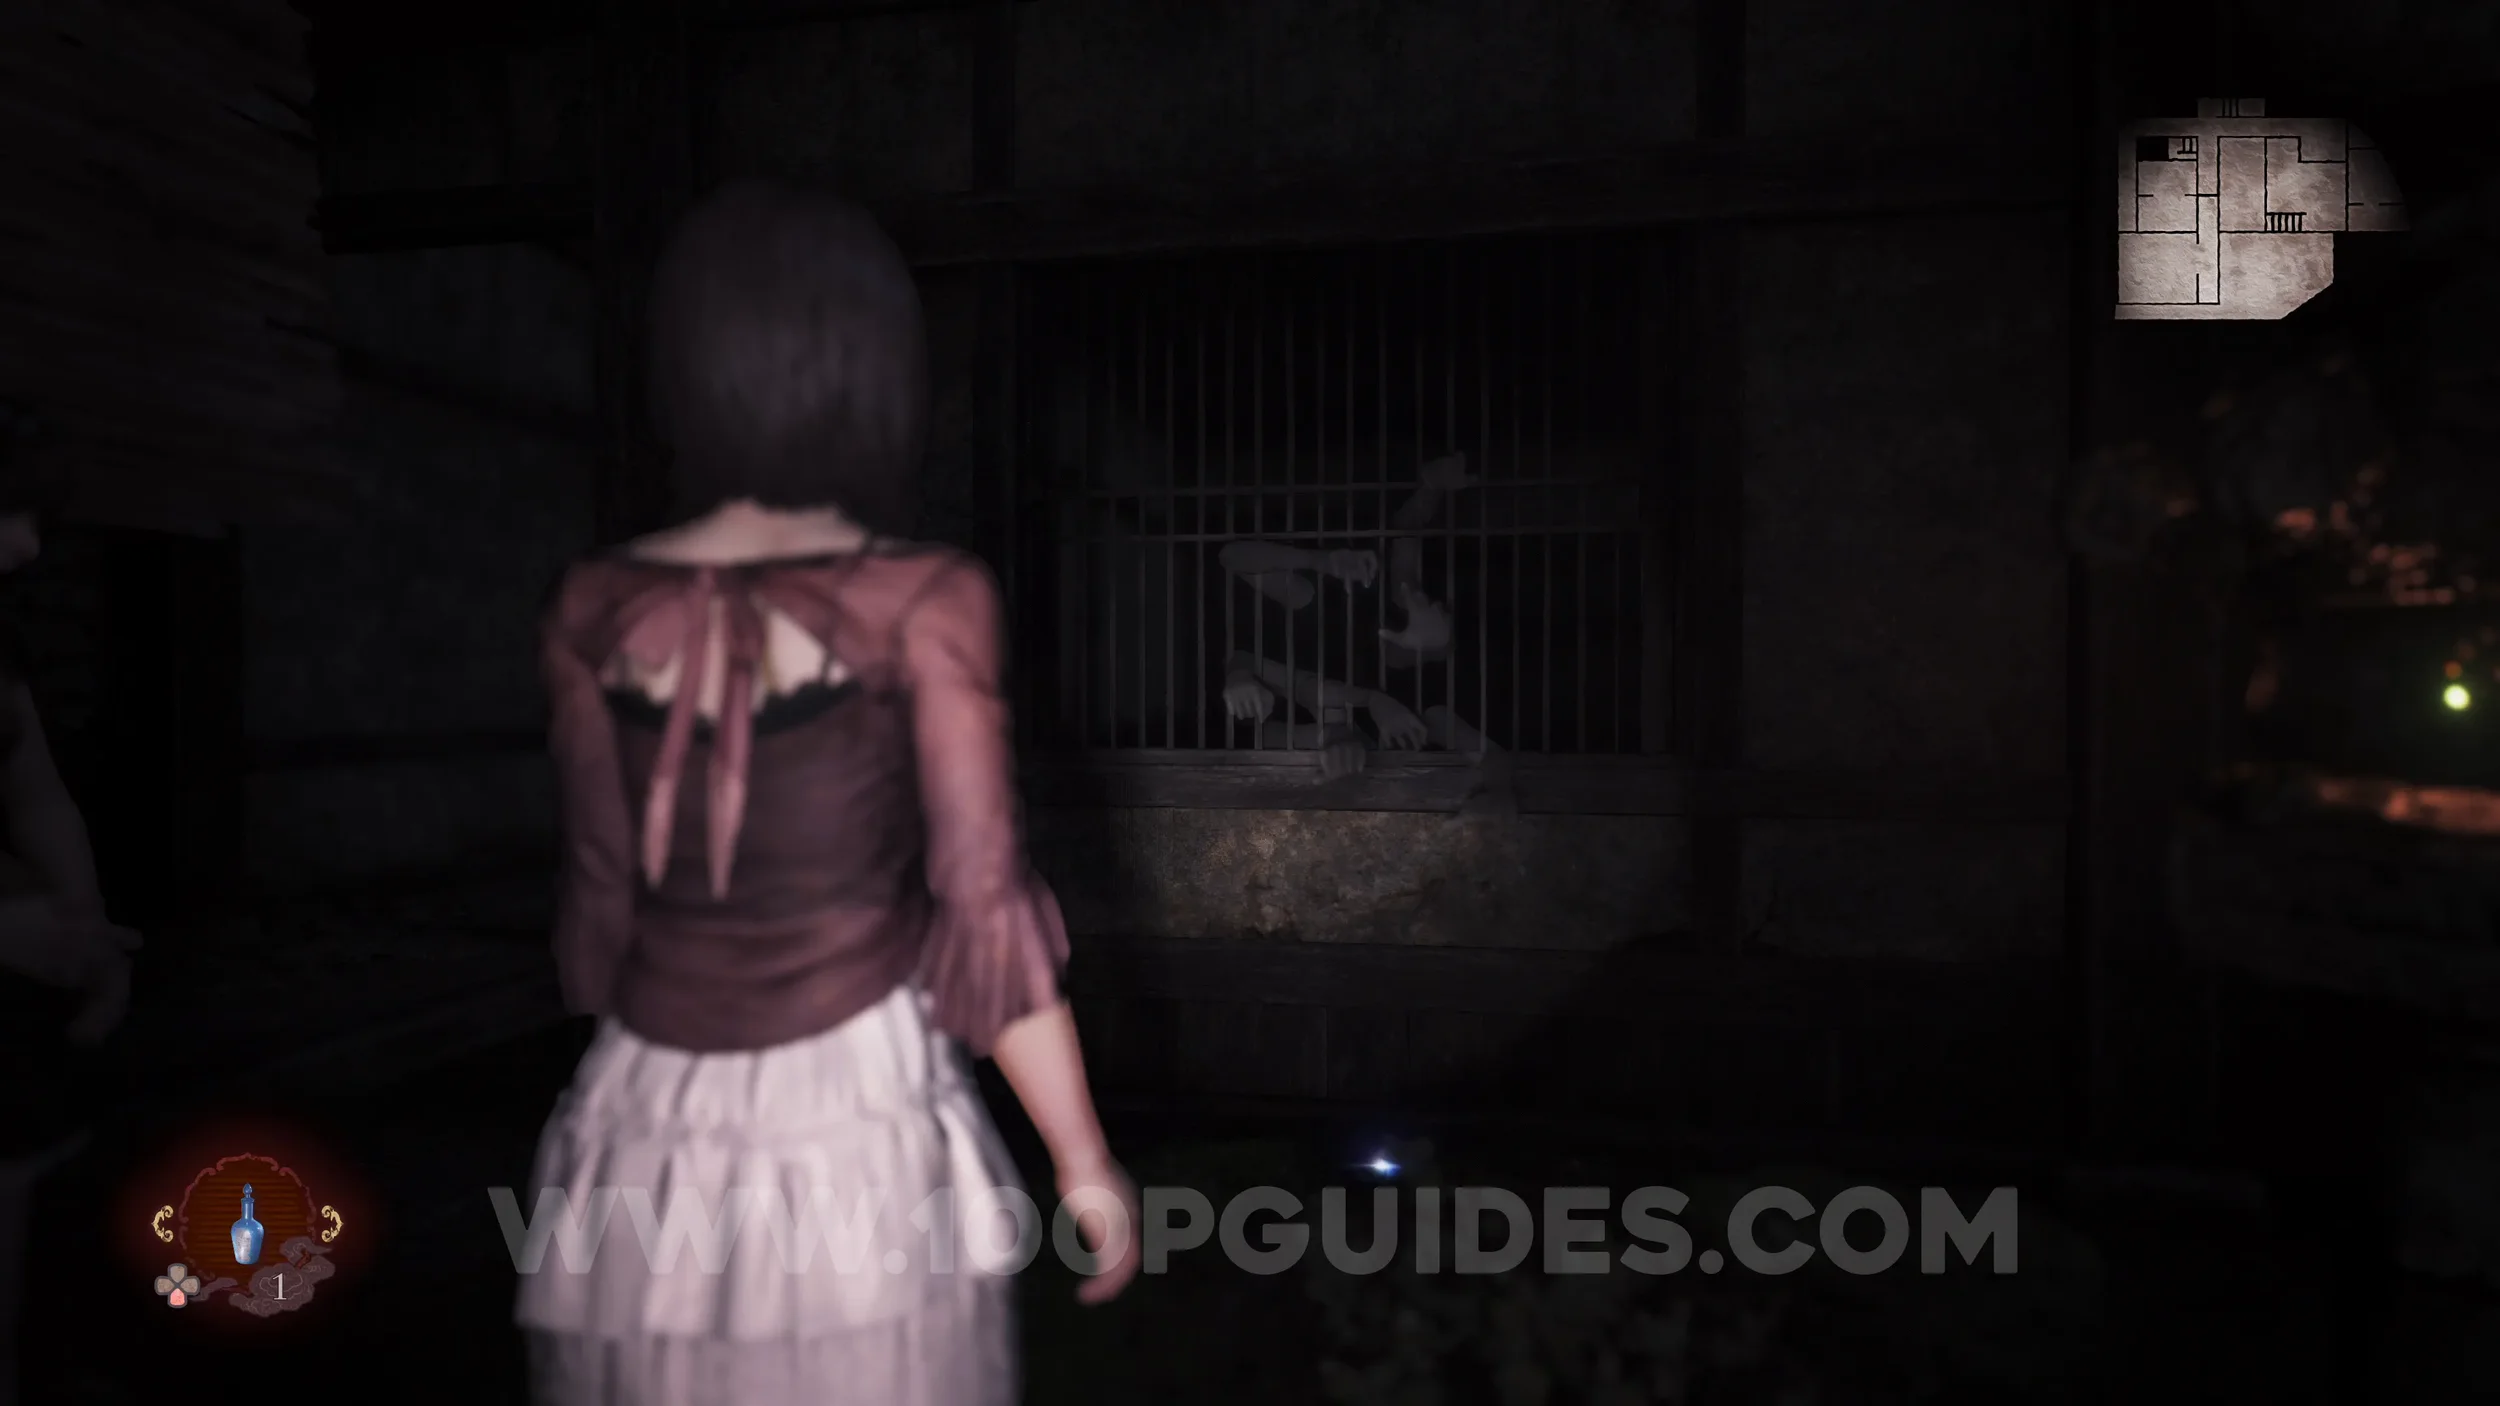
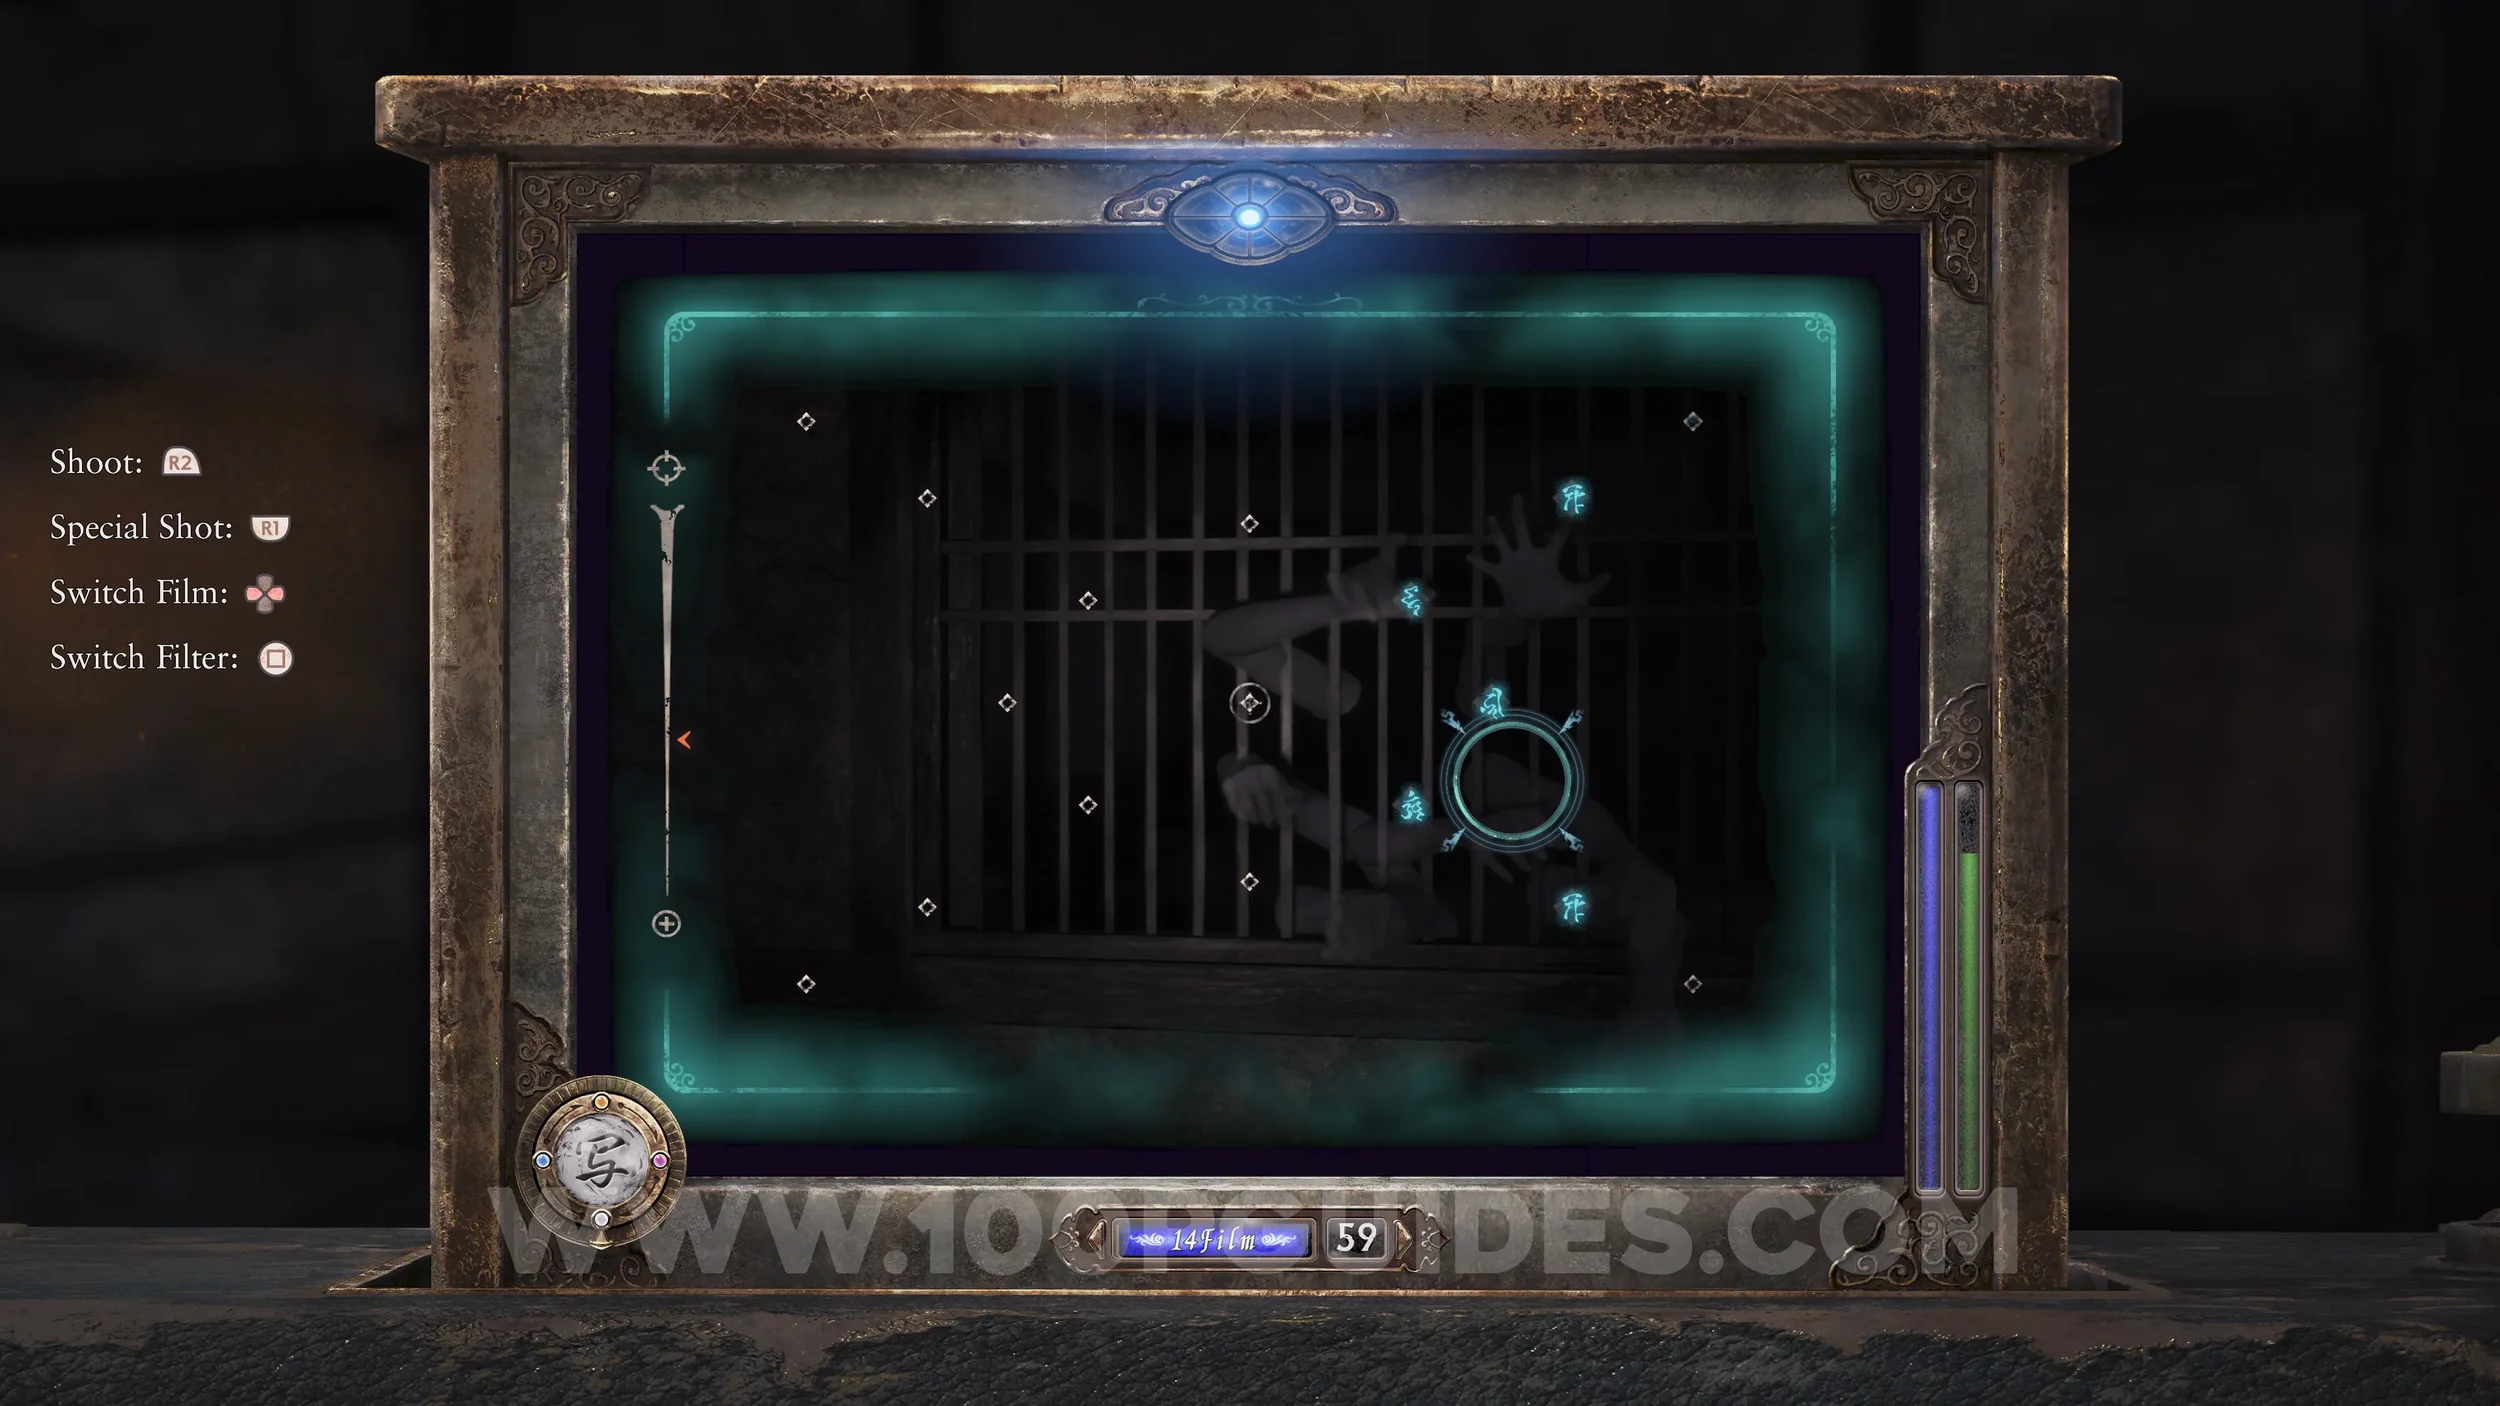
Specter #167 - 117 Latice Arms. Next, head to the Osaka House. Go all the way through to the Garden and look through the window on your left to see the specter.
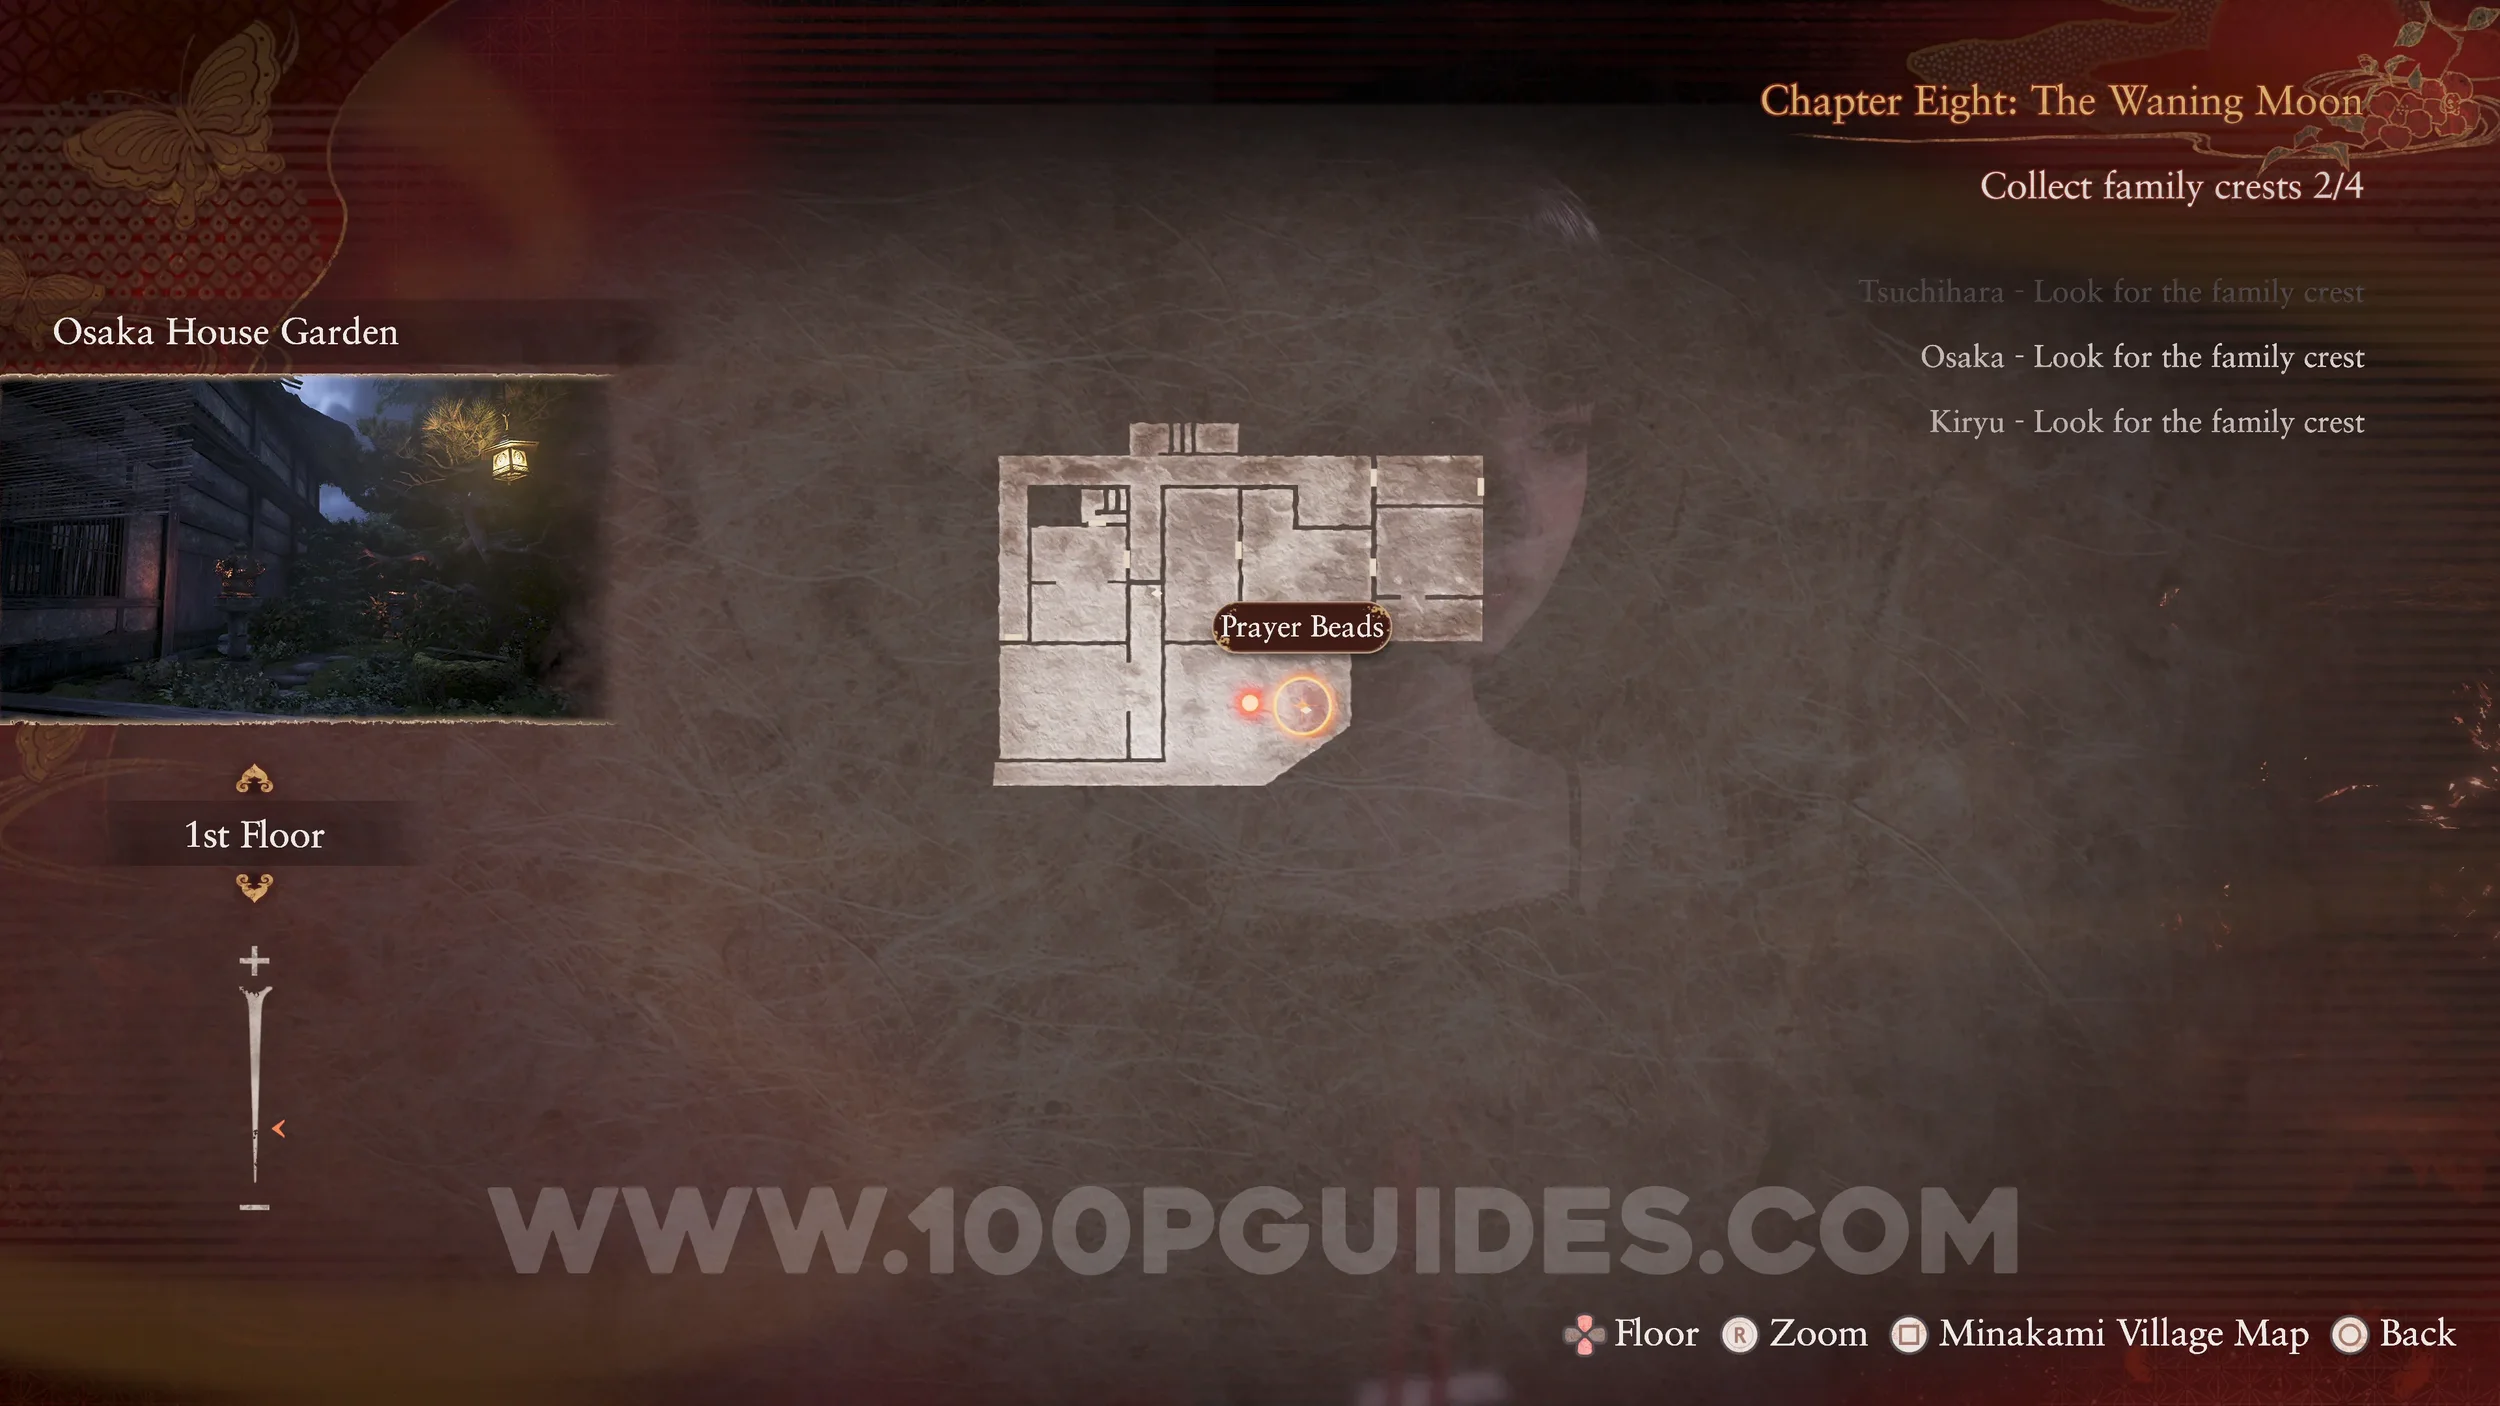
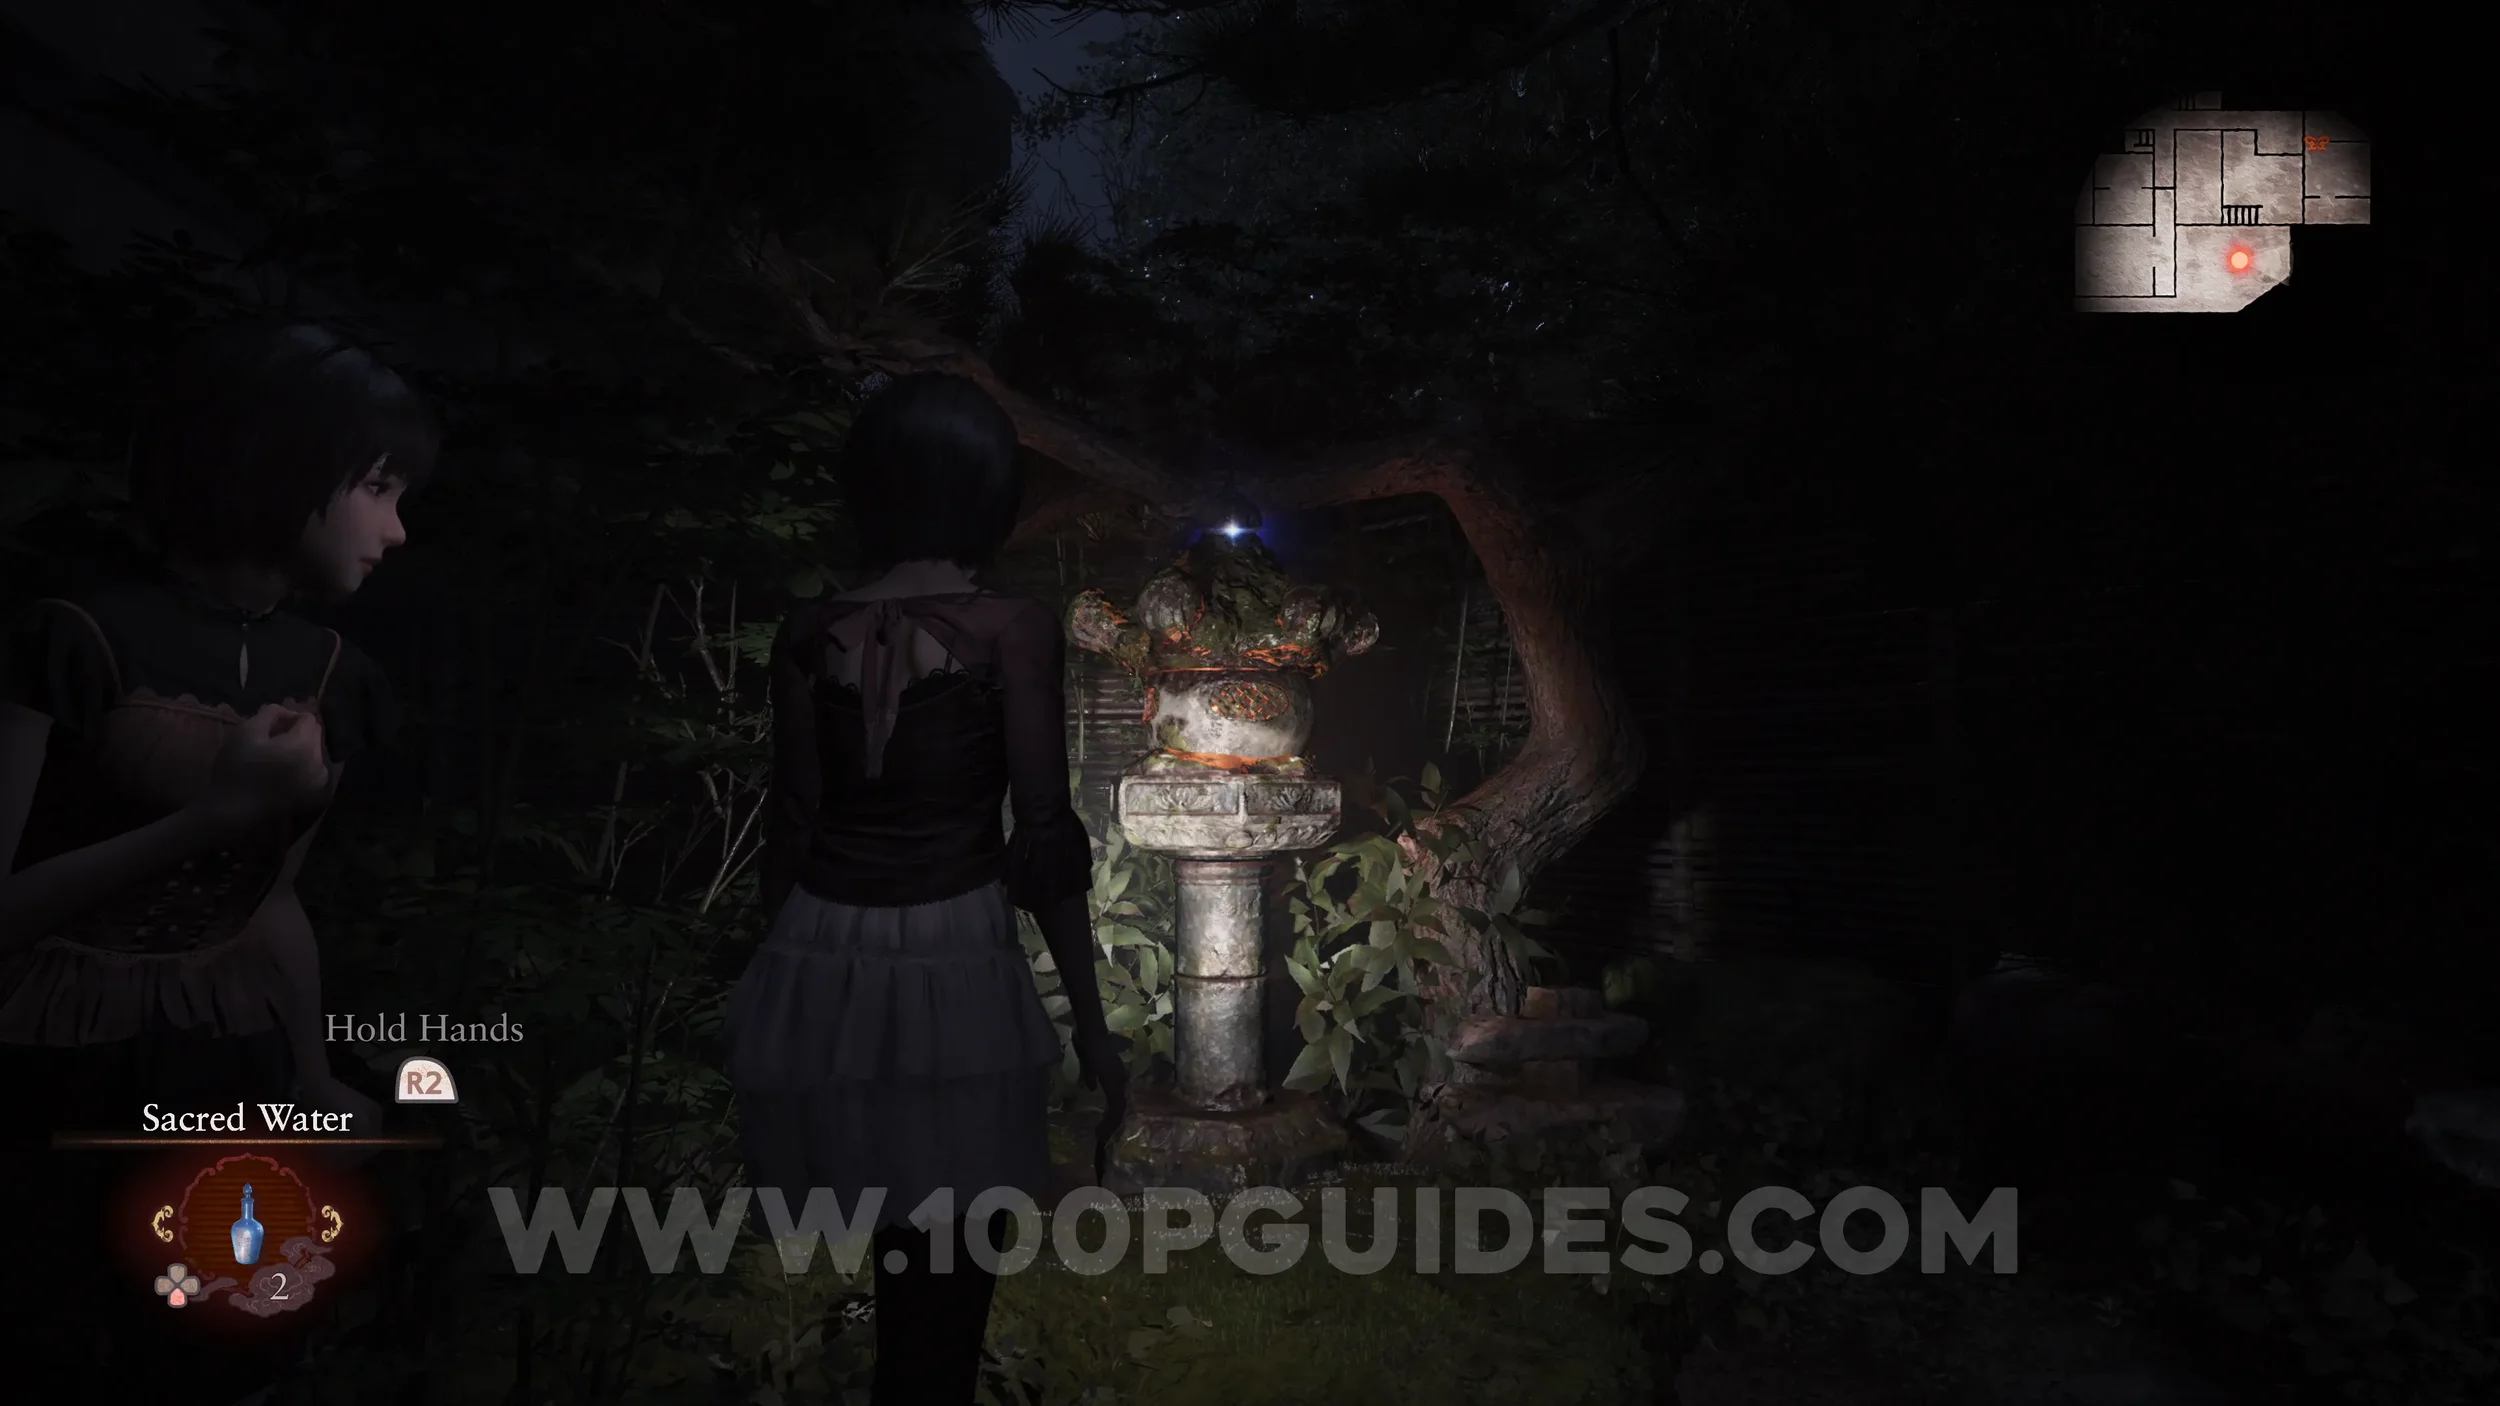
Prayer Beads #69. On the stone lamp in the garden.
Prayer Beads #70. In the room where you originally got the torch in the Osaka House.
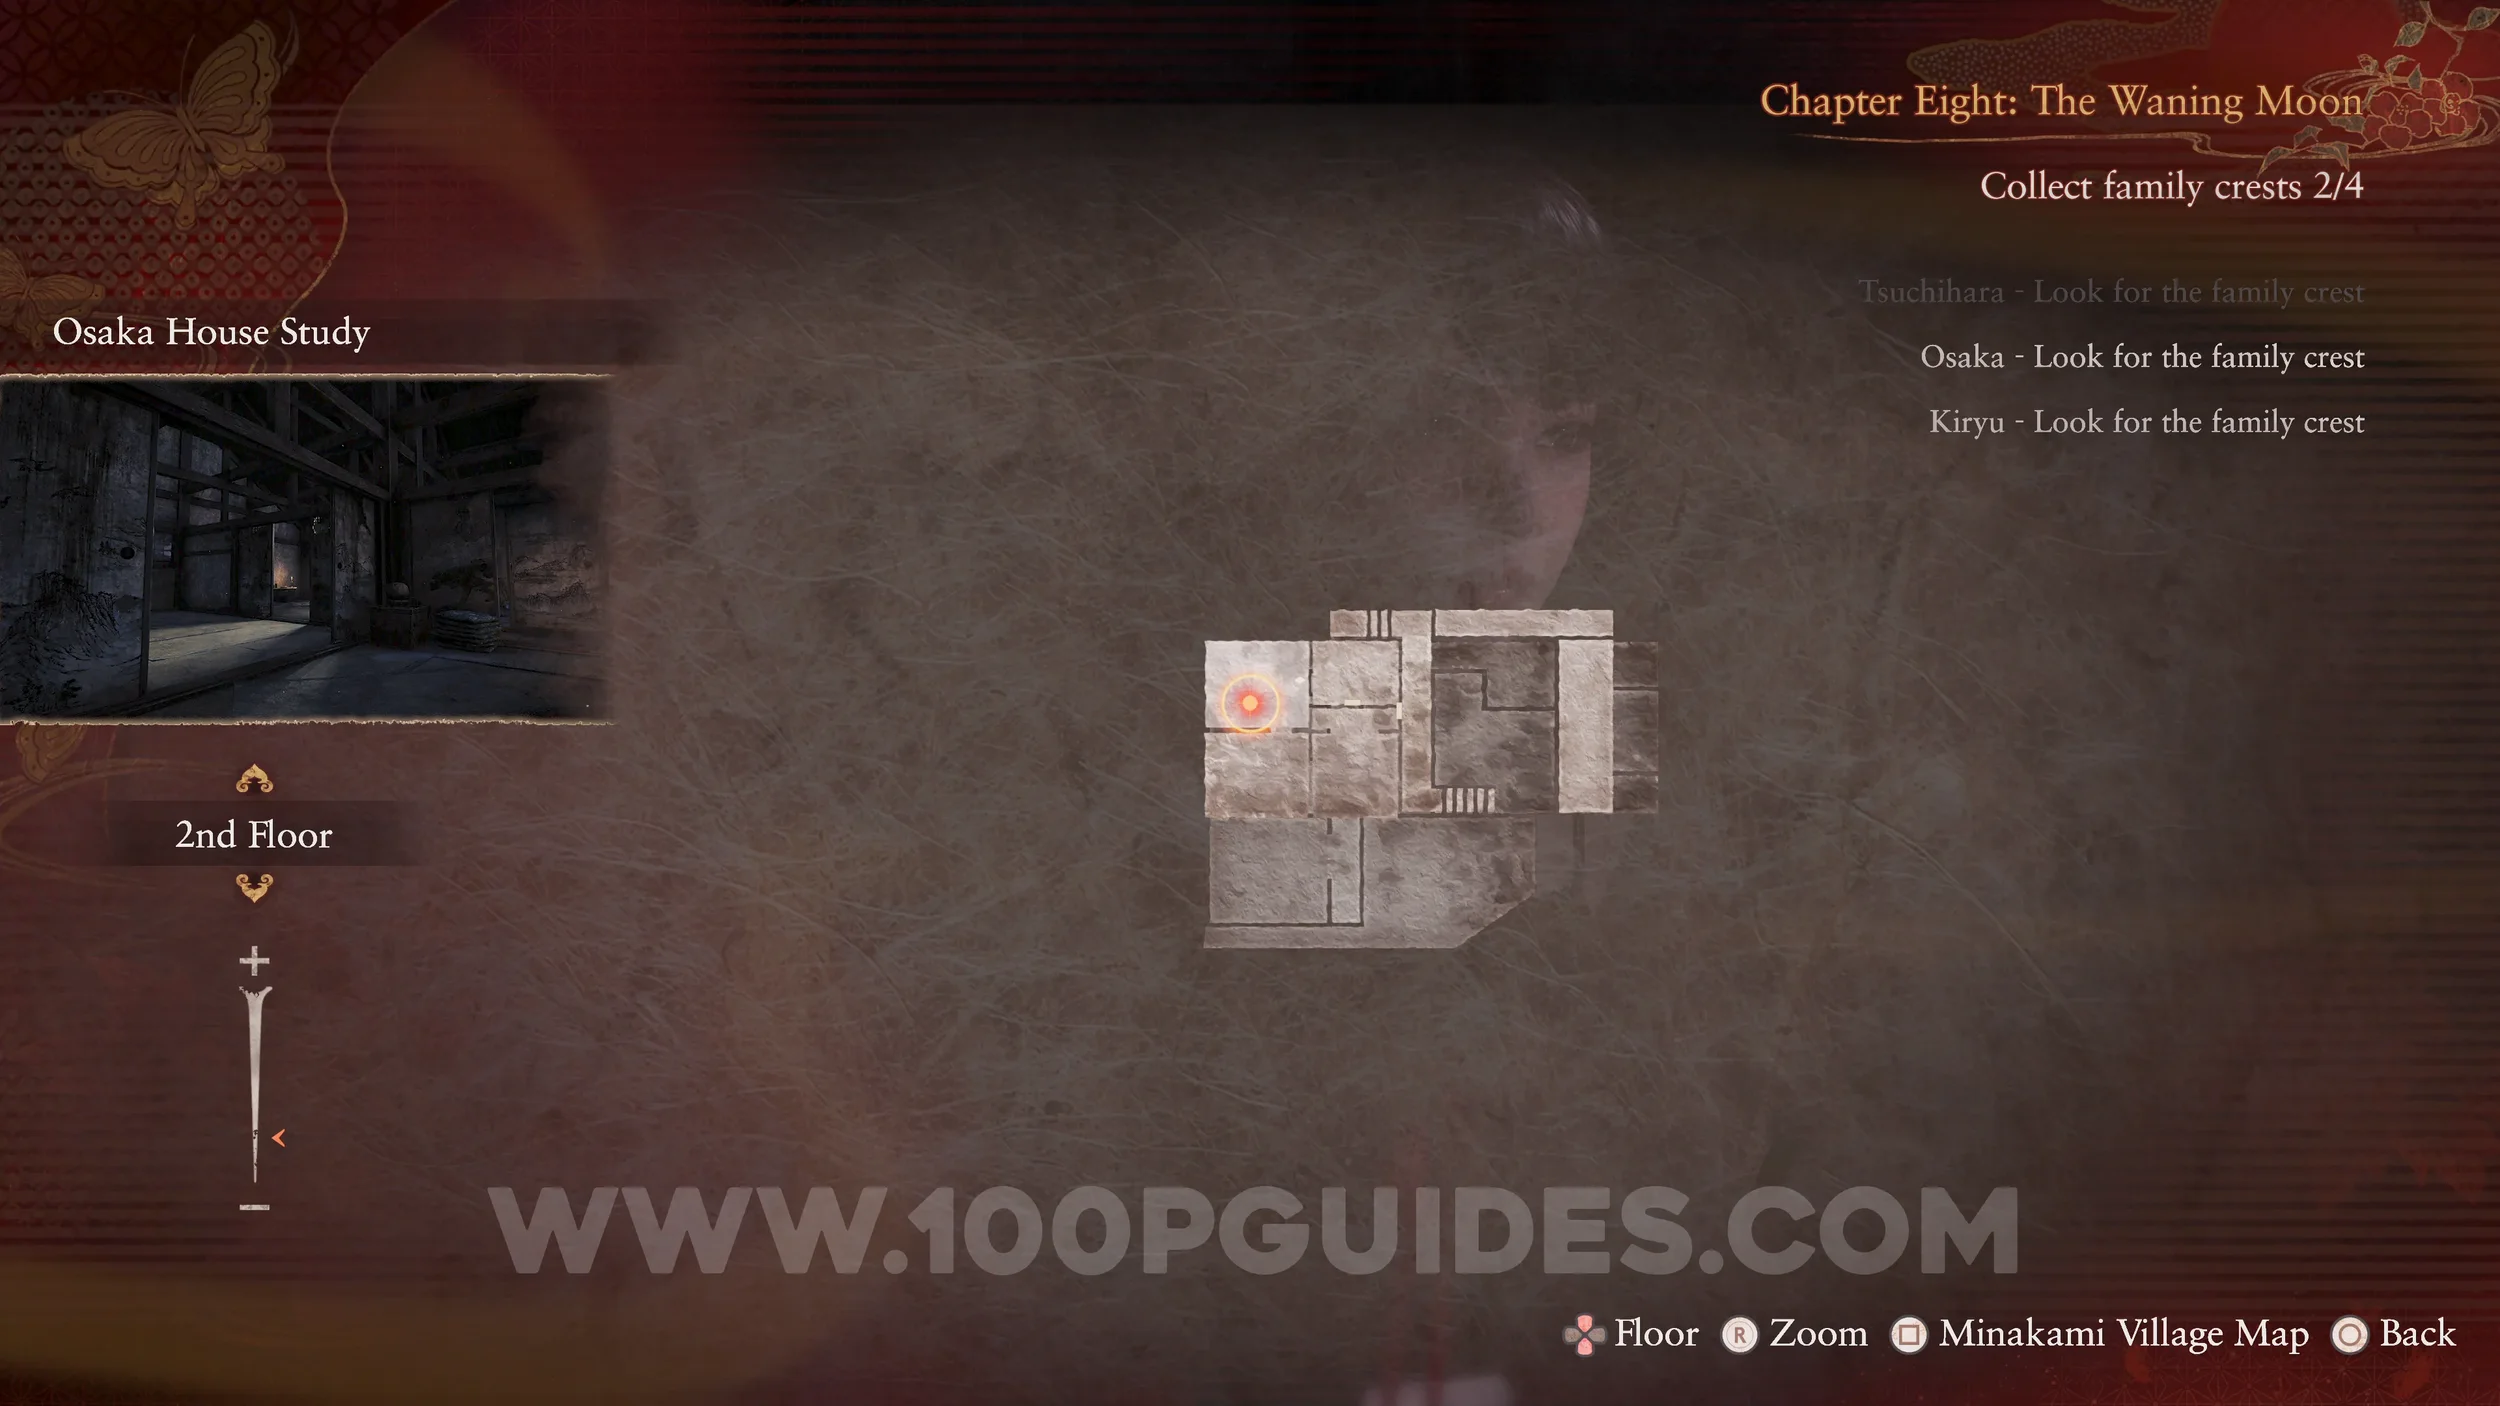
Phantom Expose #14 - Study. Head to the Study on the top floor of the Osaka House and use the Exposure Filter to make the chest appear.
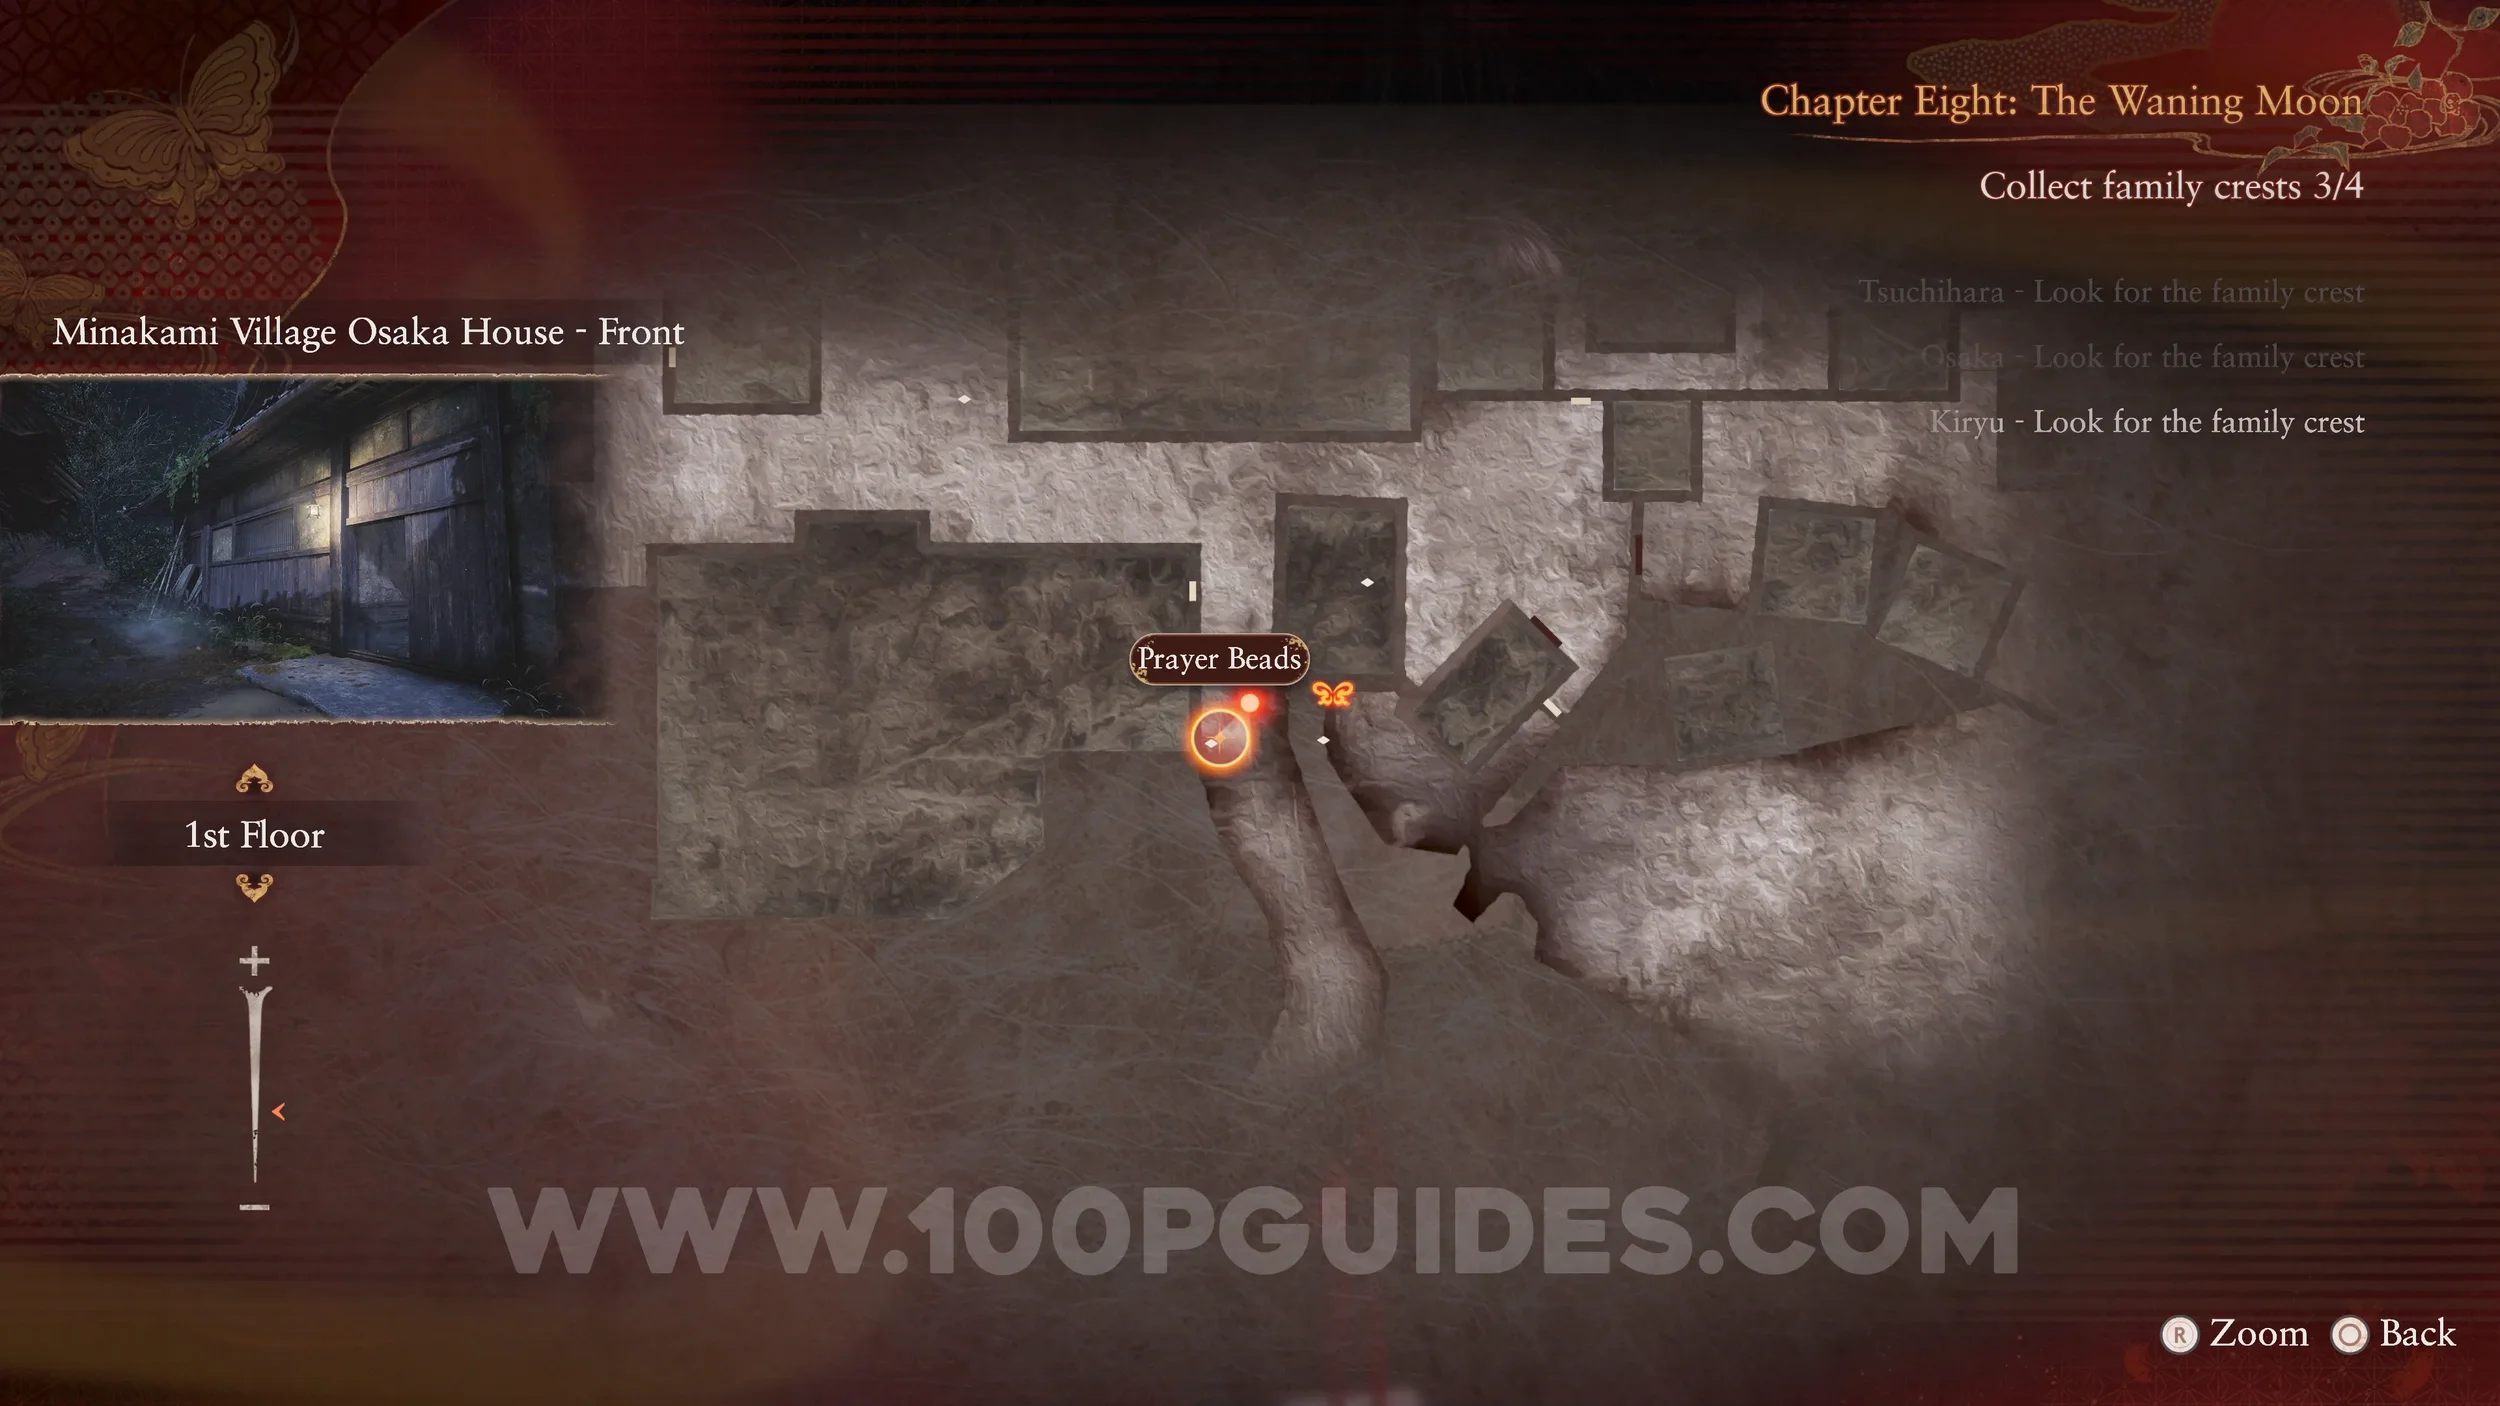
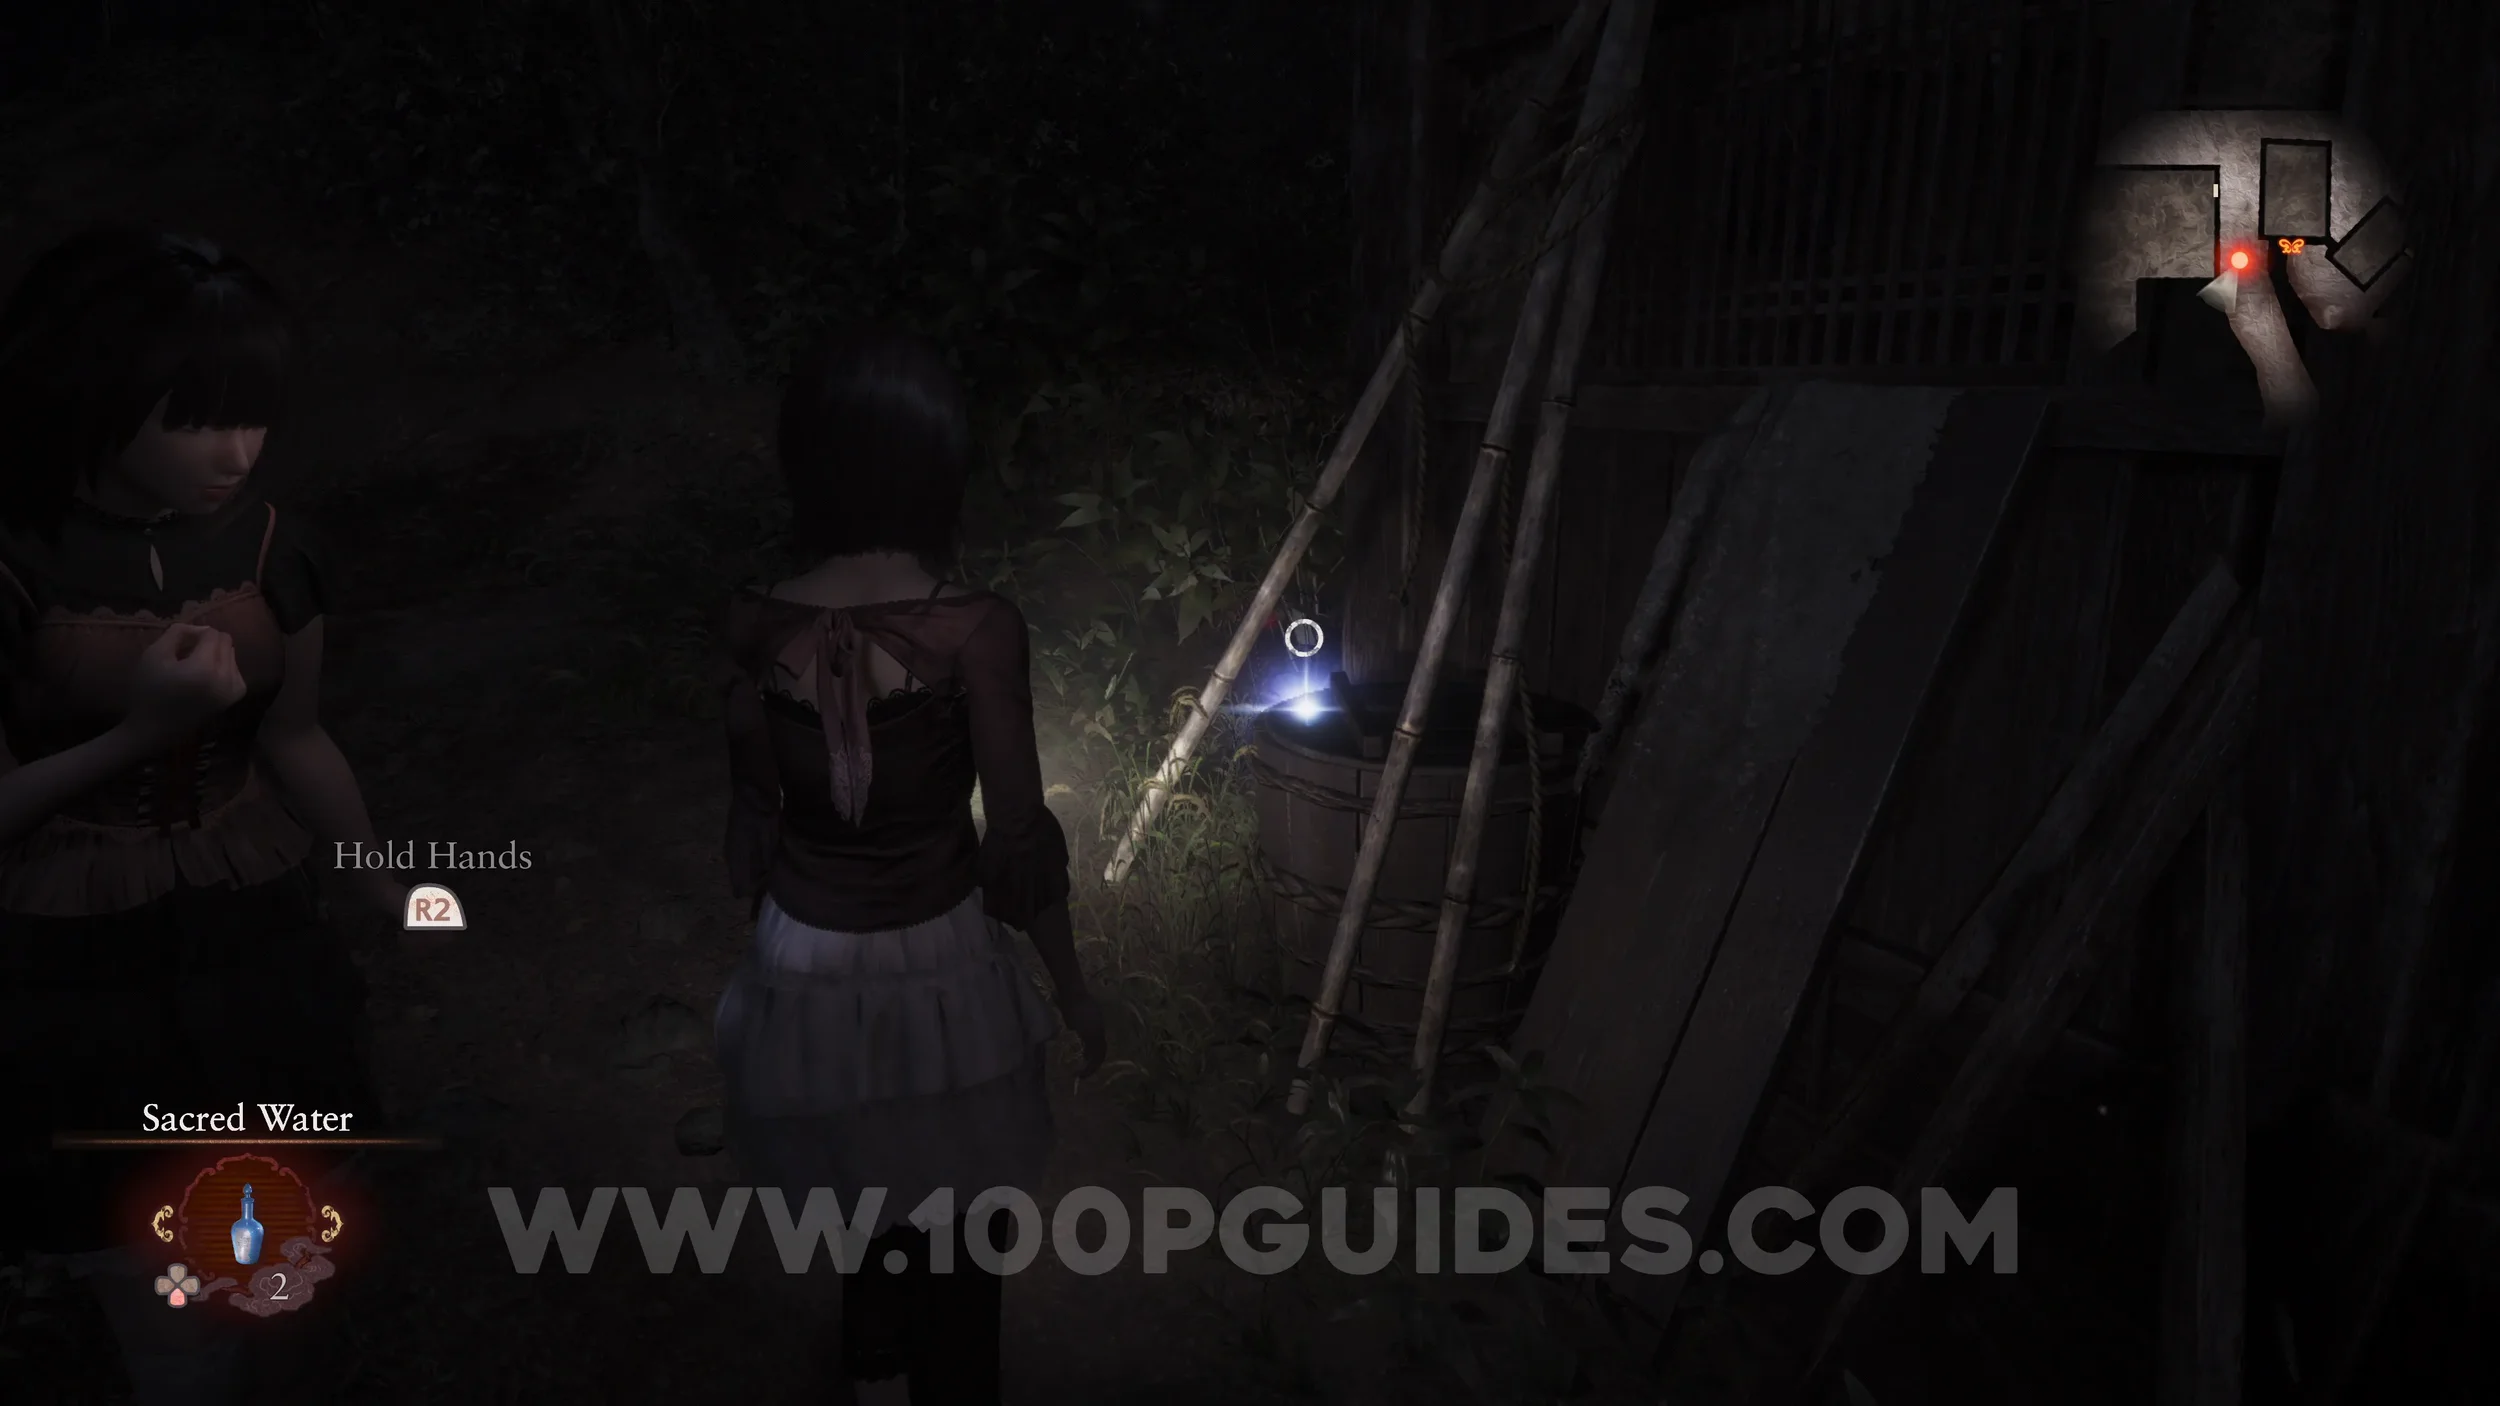
Prayer Beads #71. Exit the Osaka House and go right to find the beads on a wooden bucket.
Specter #168 - 126 Inviting Girl. Head back west to the Front of the Kiryu House to find the specter.

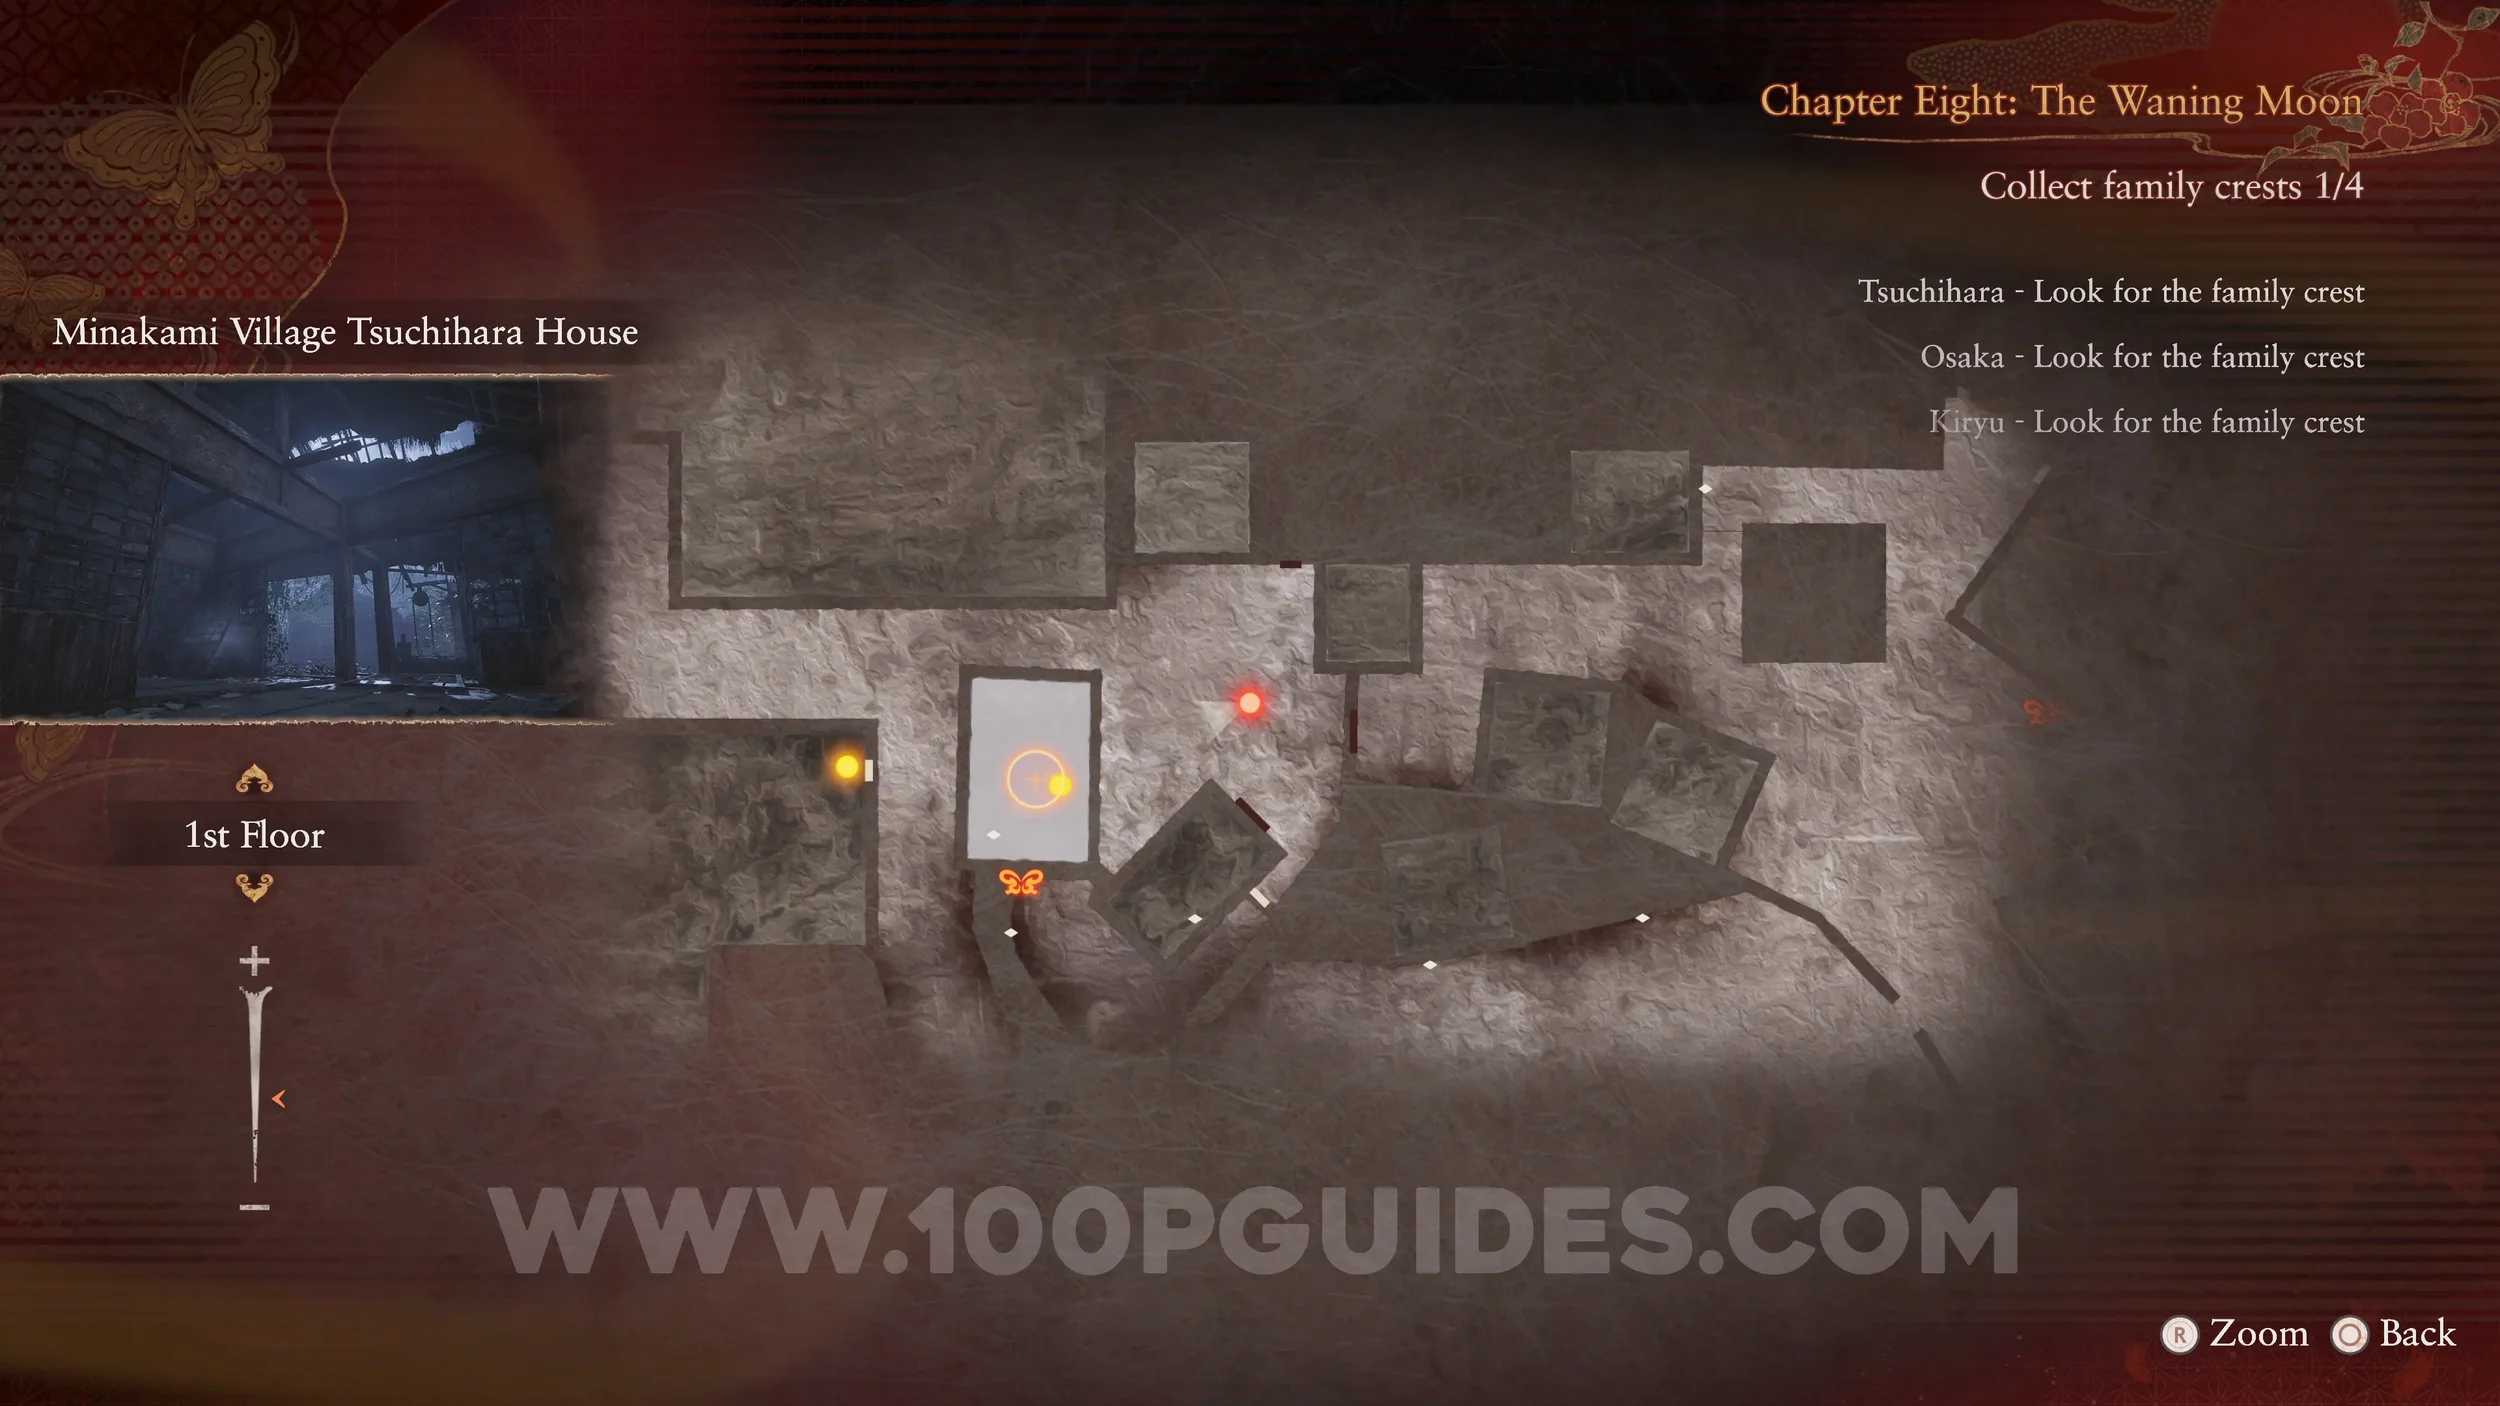
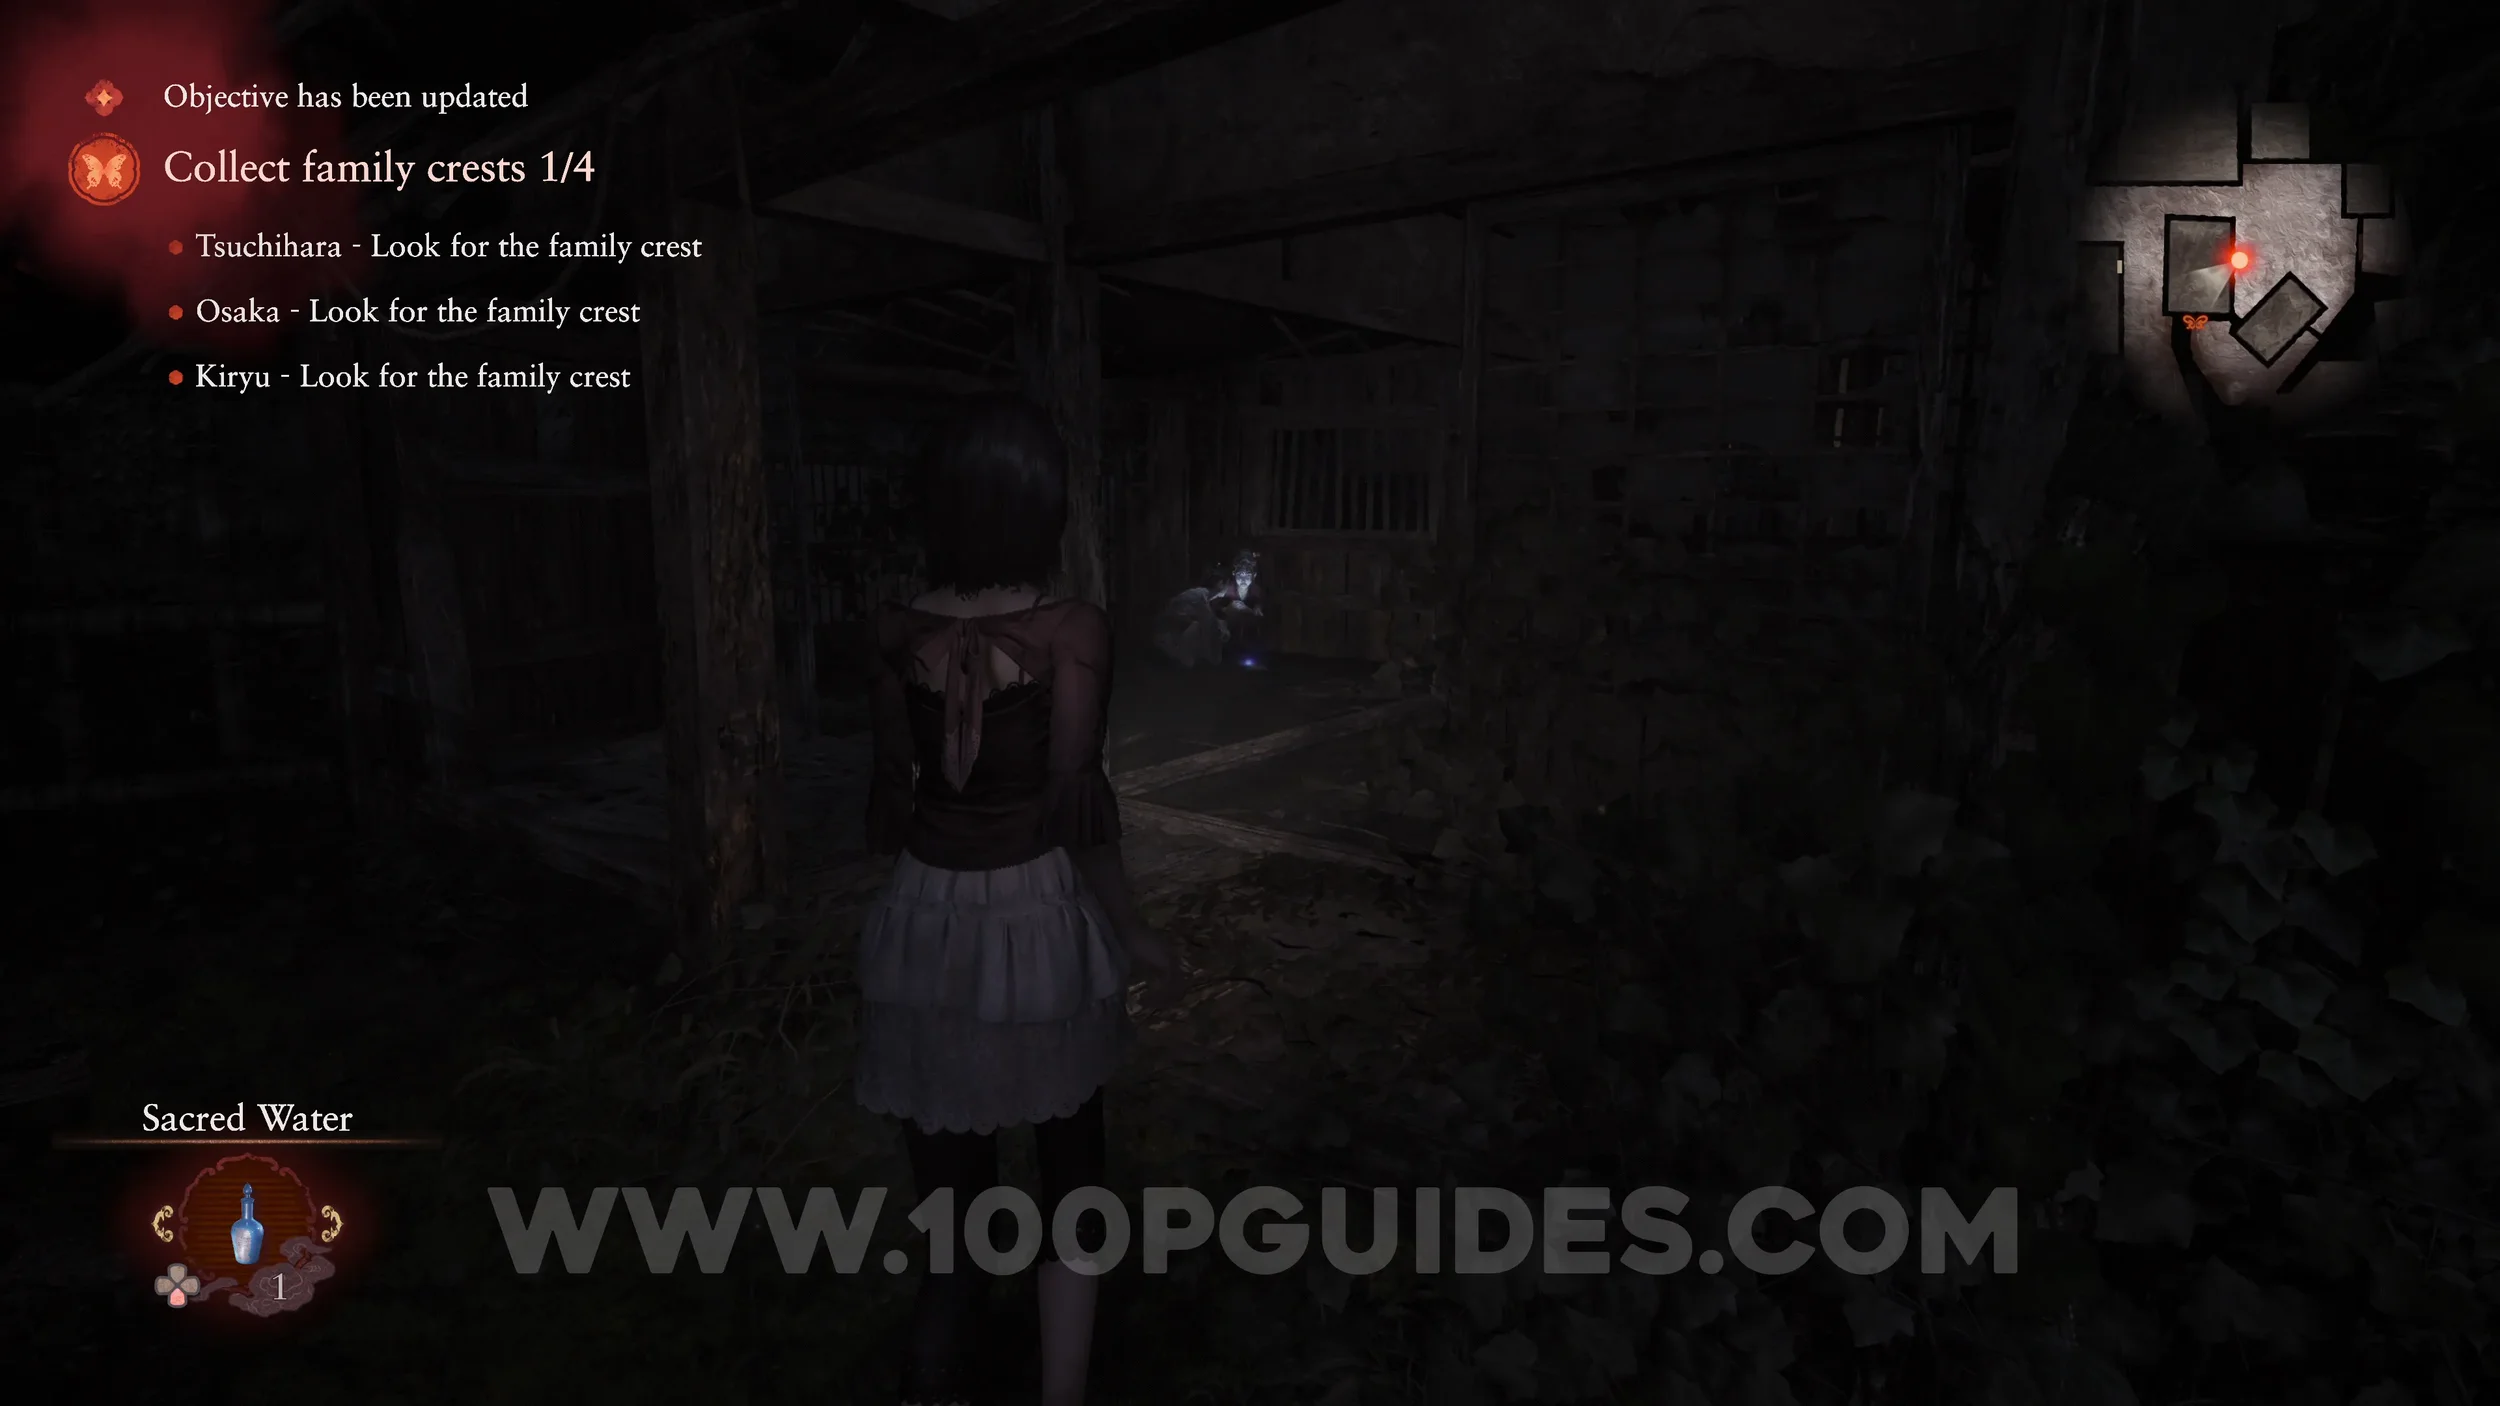
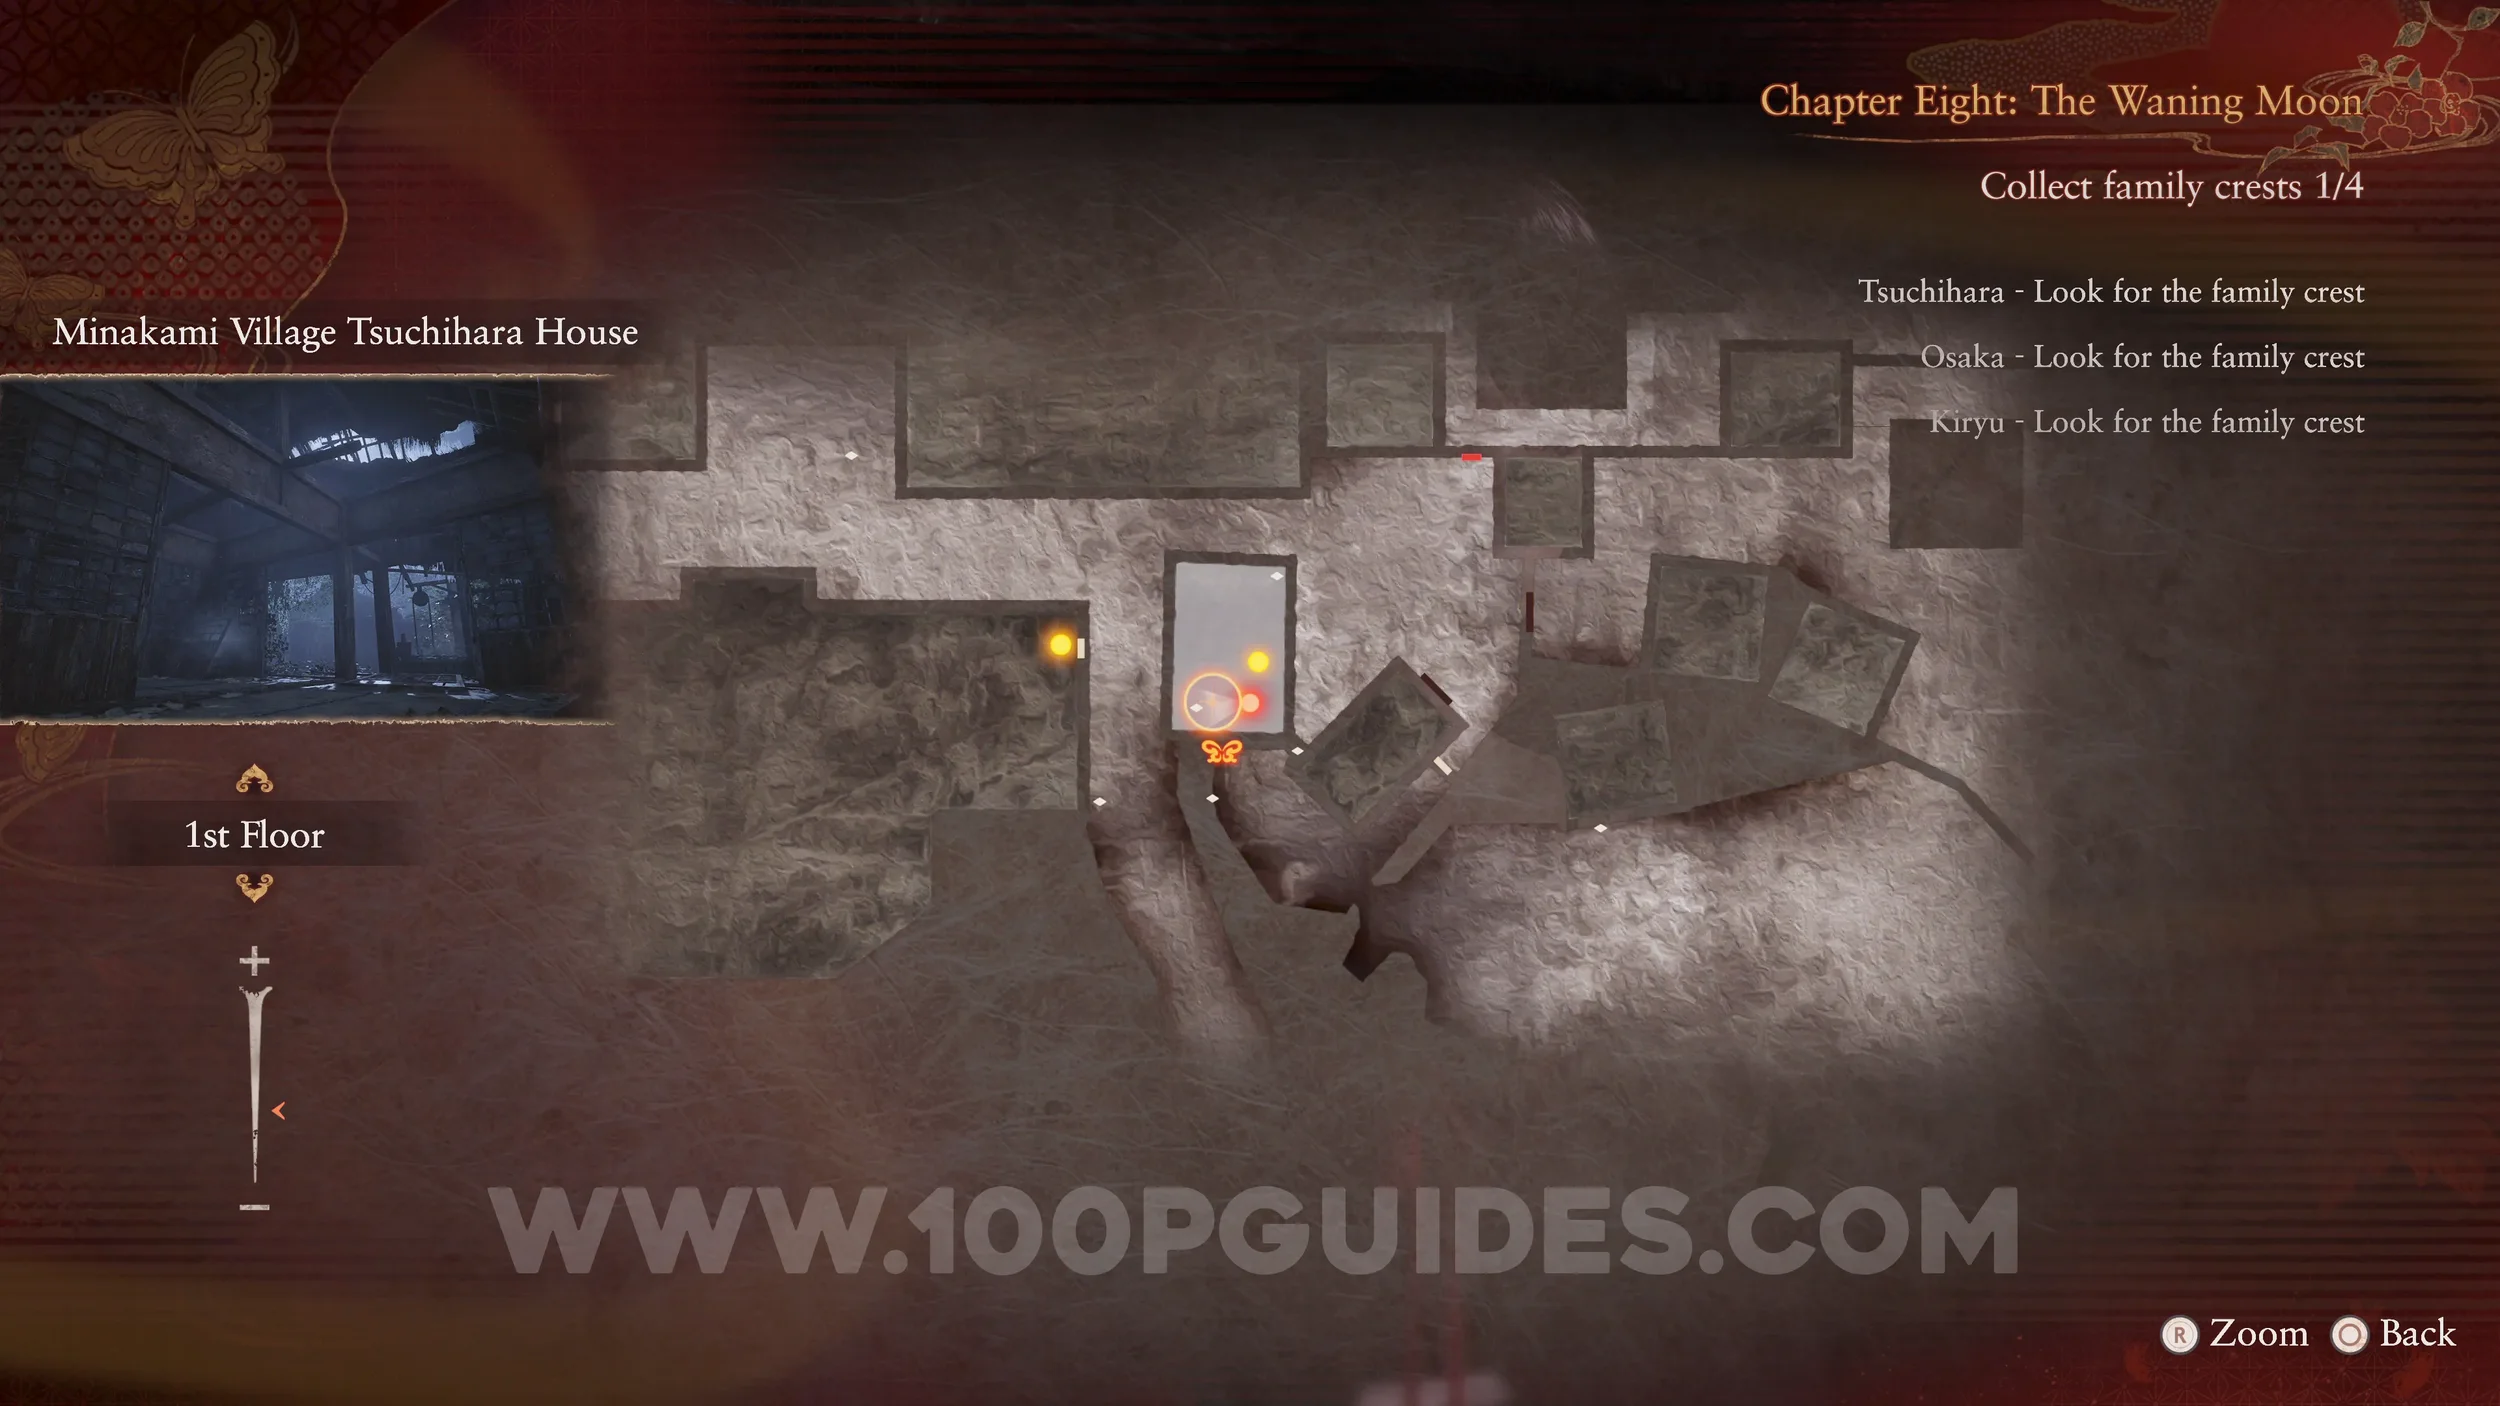
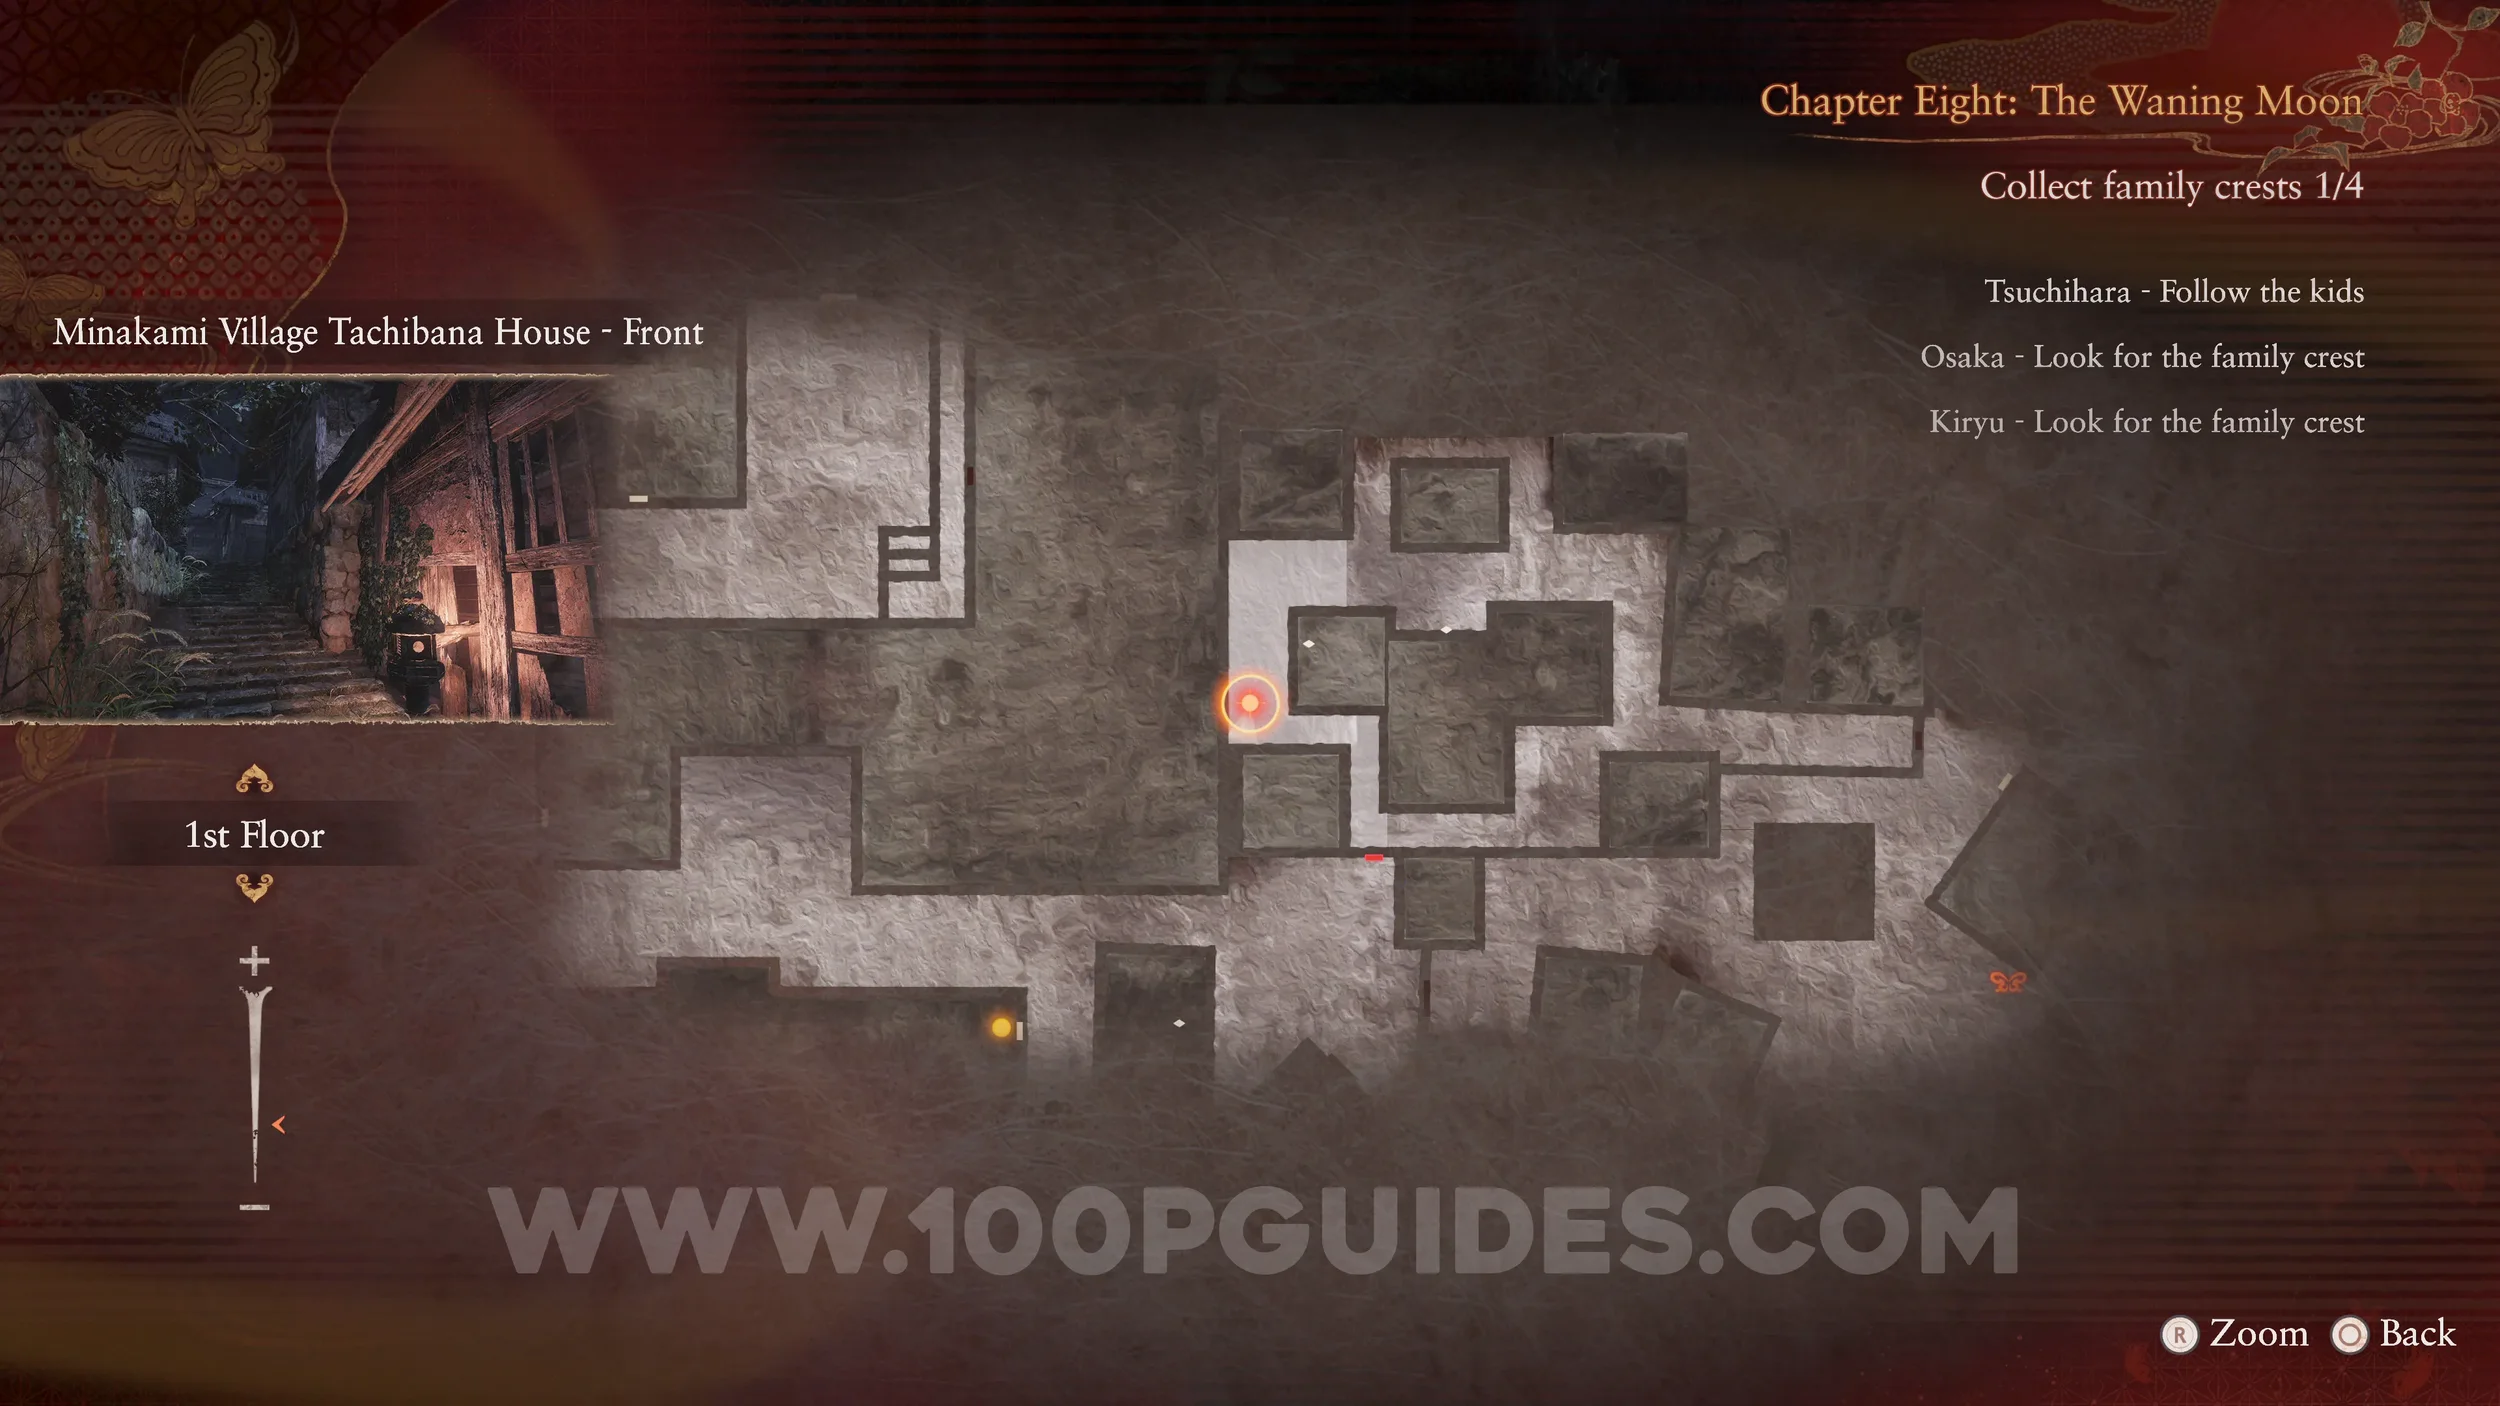
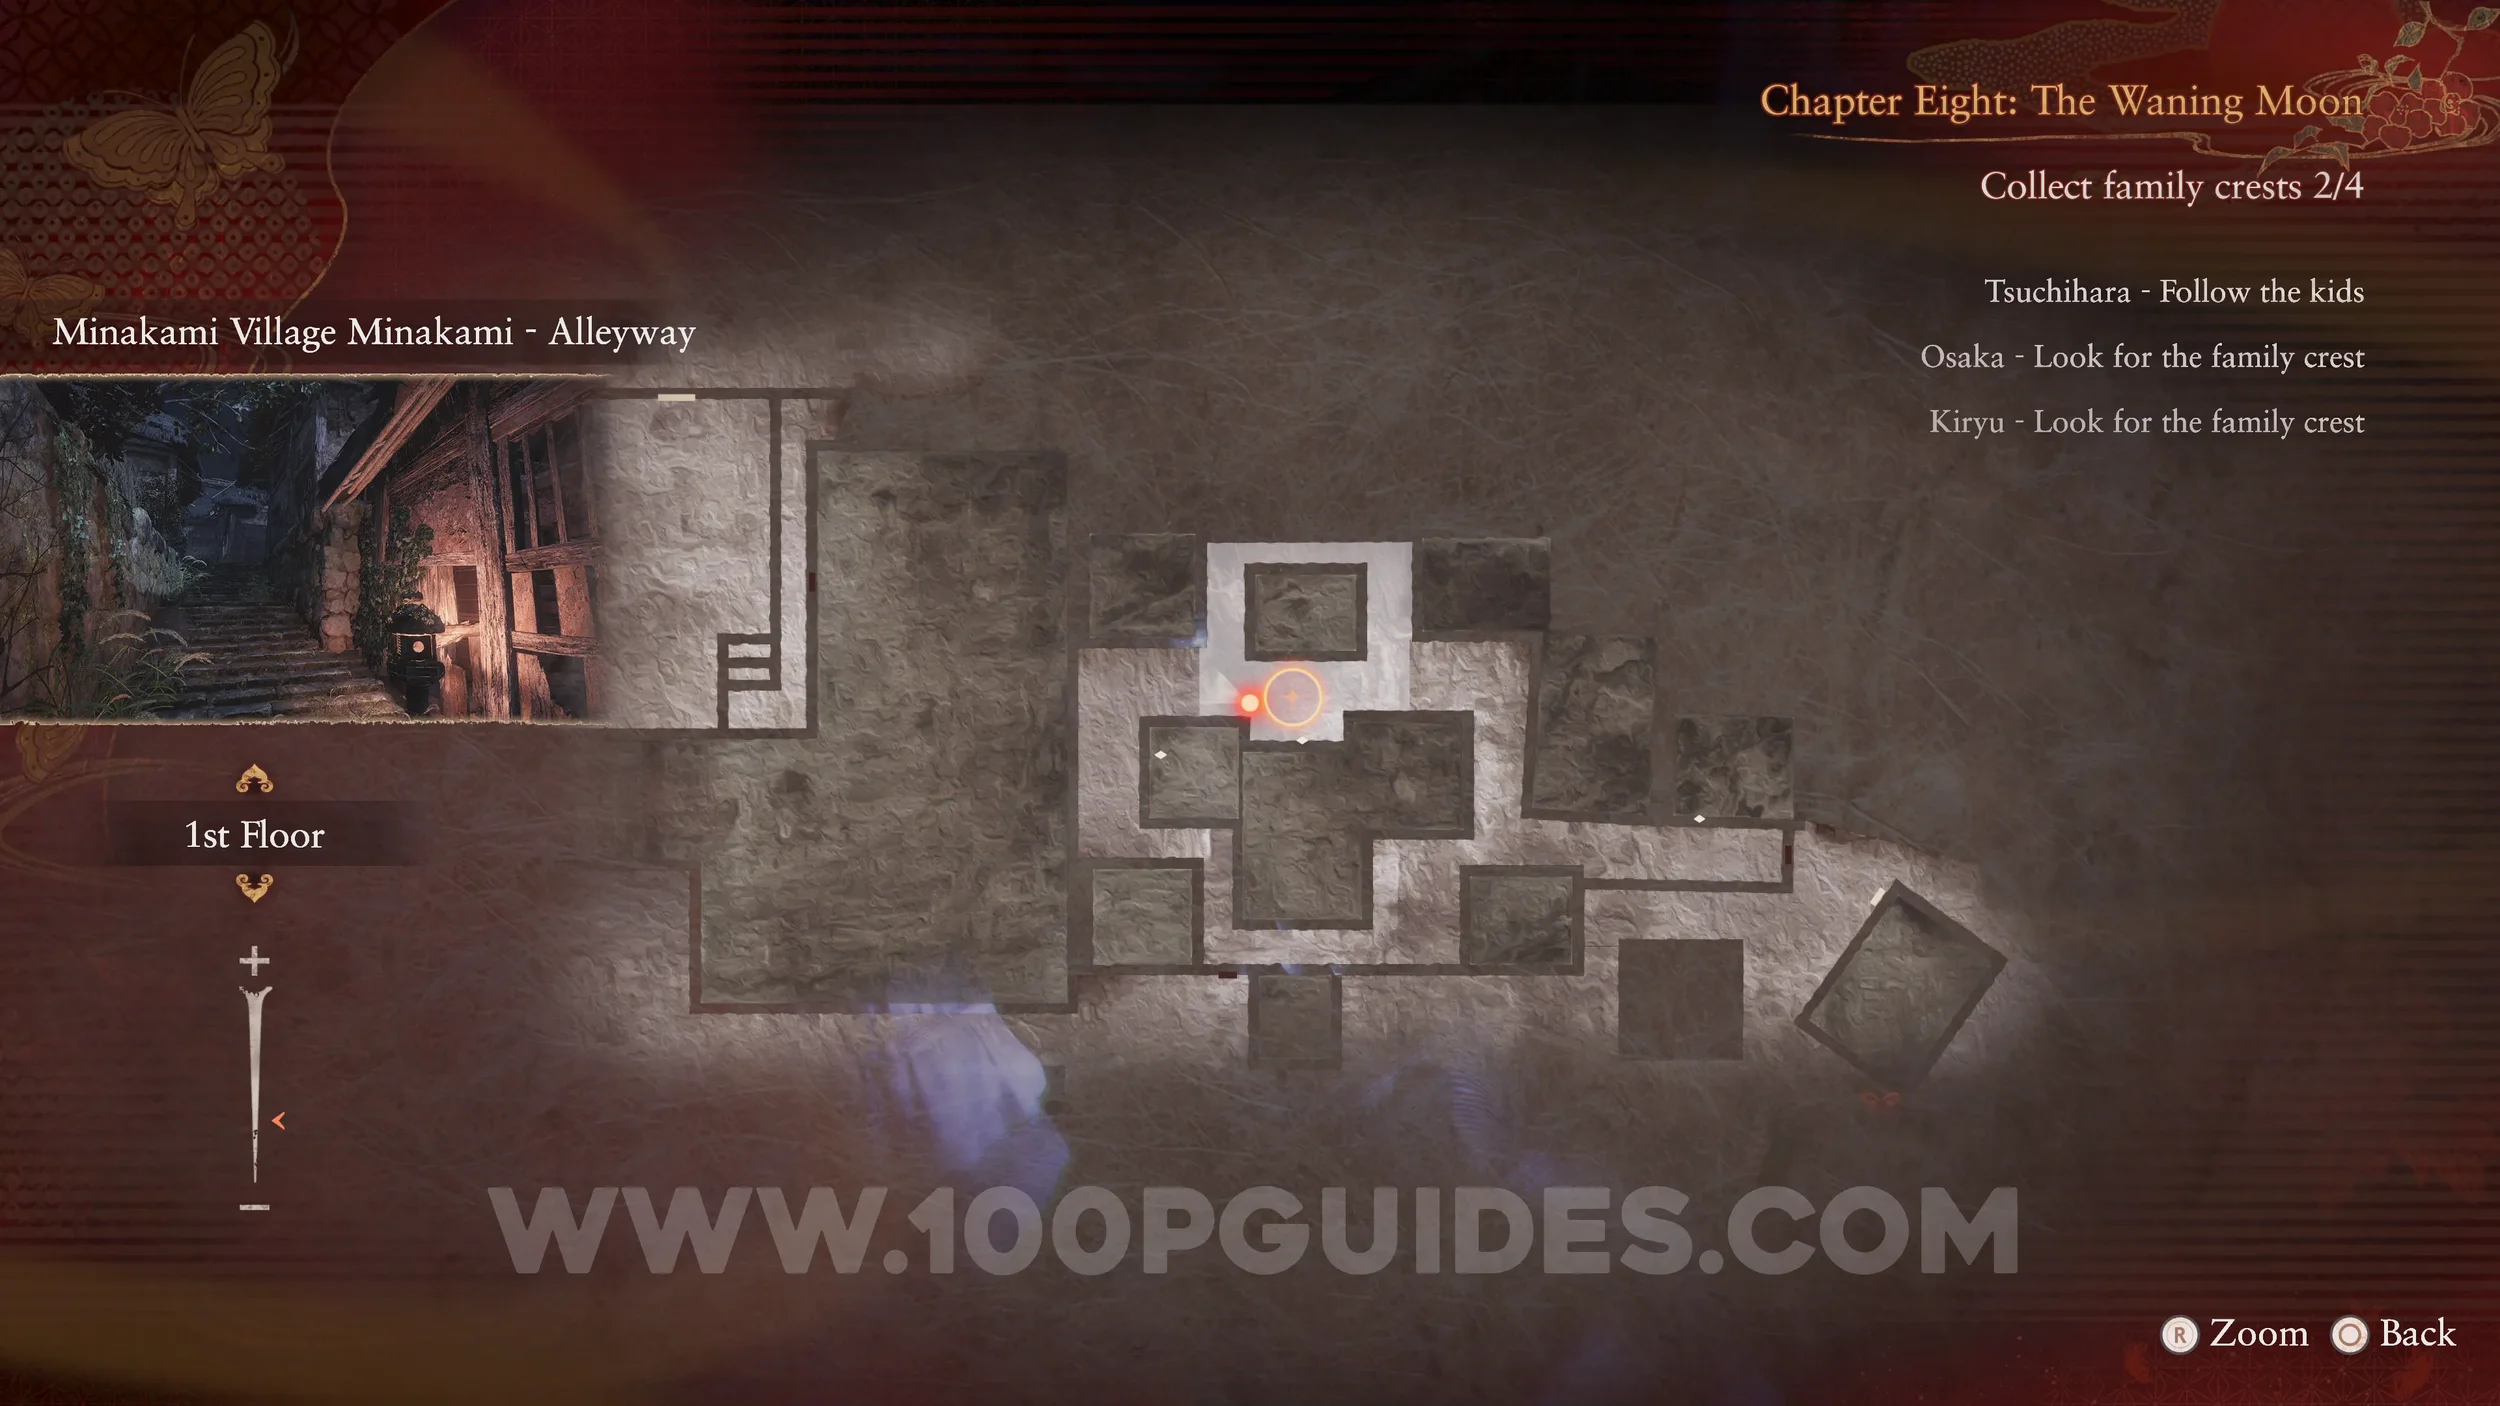
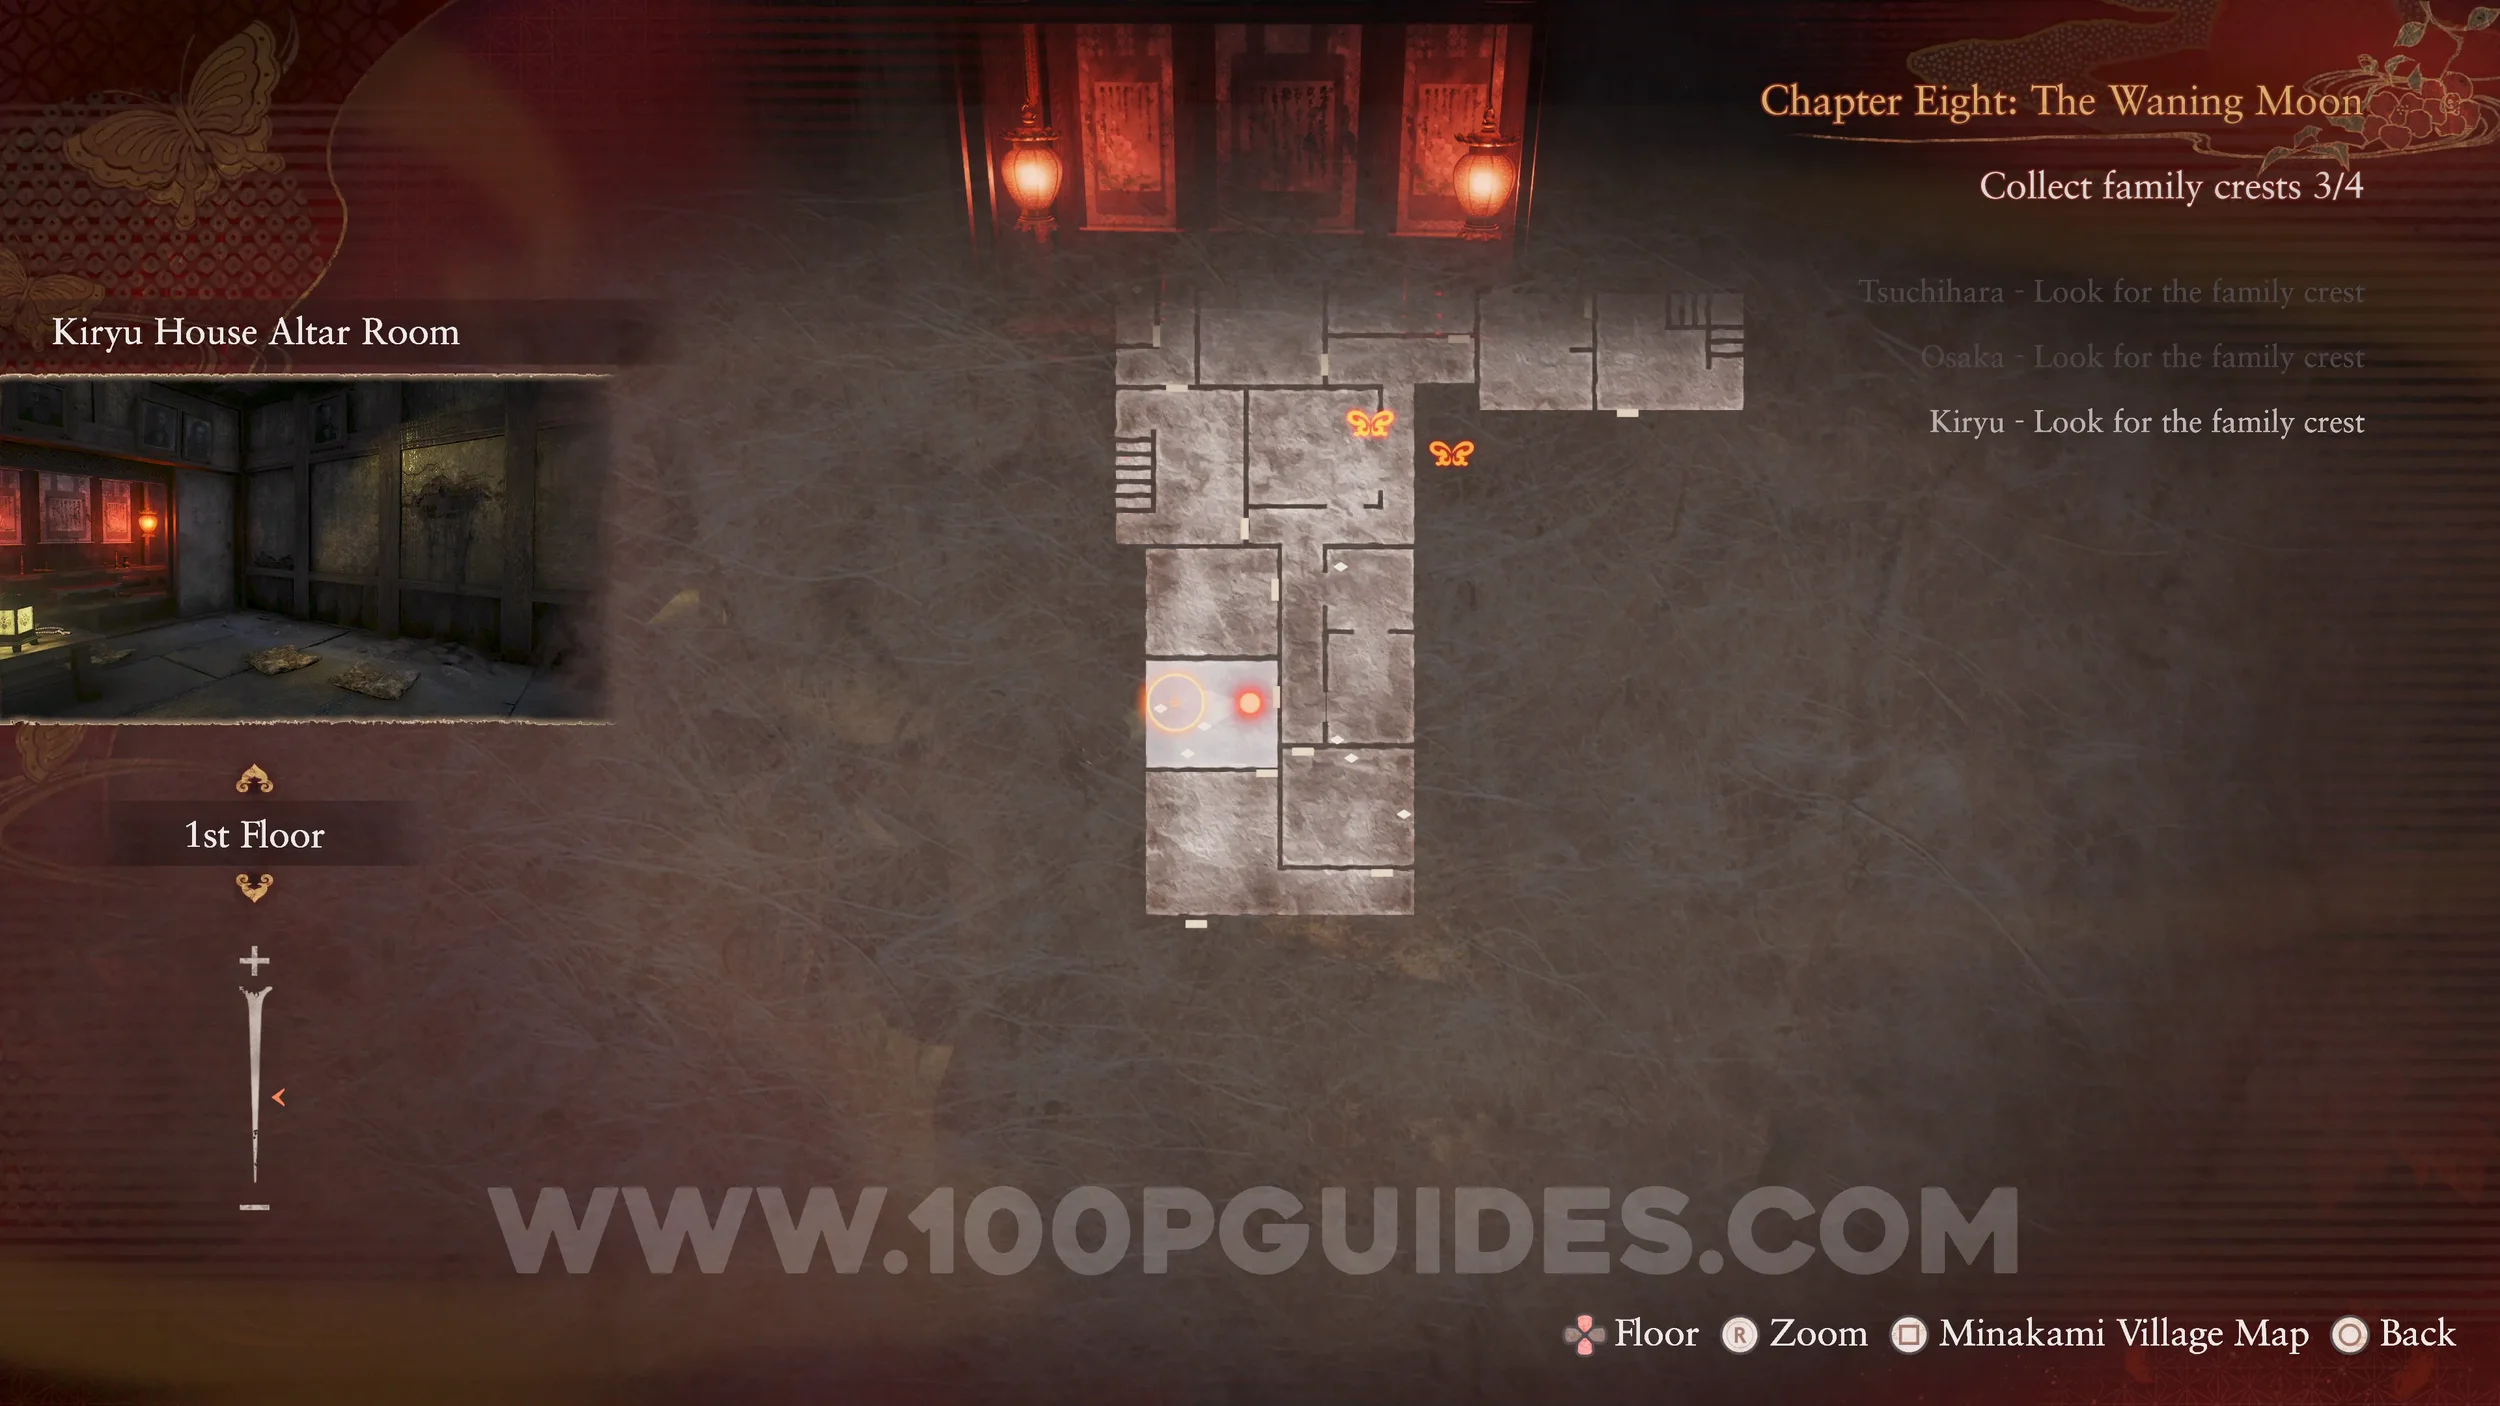
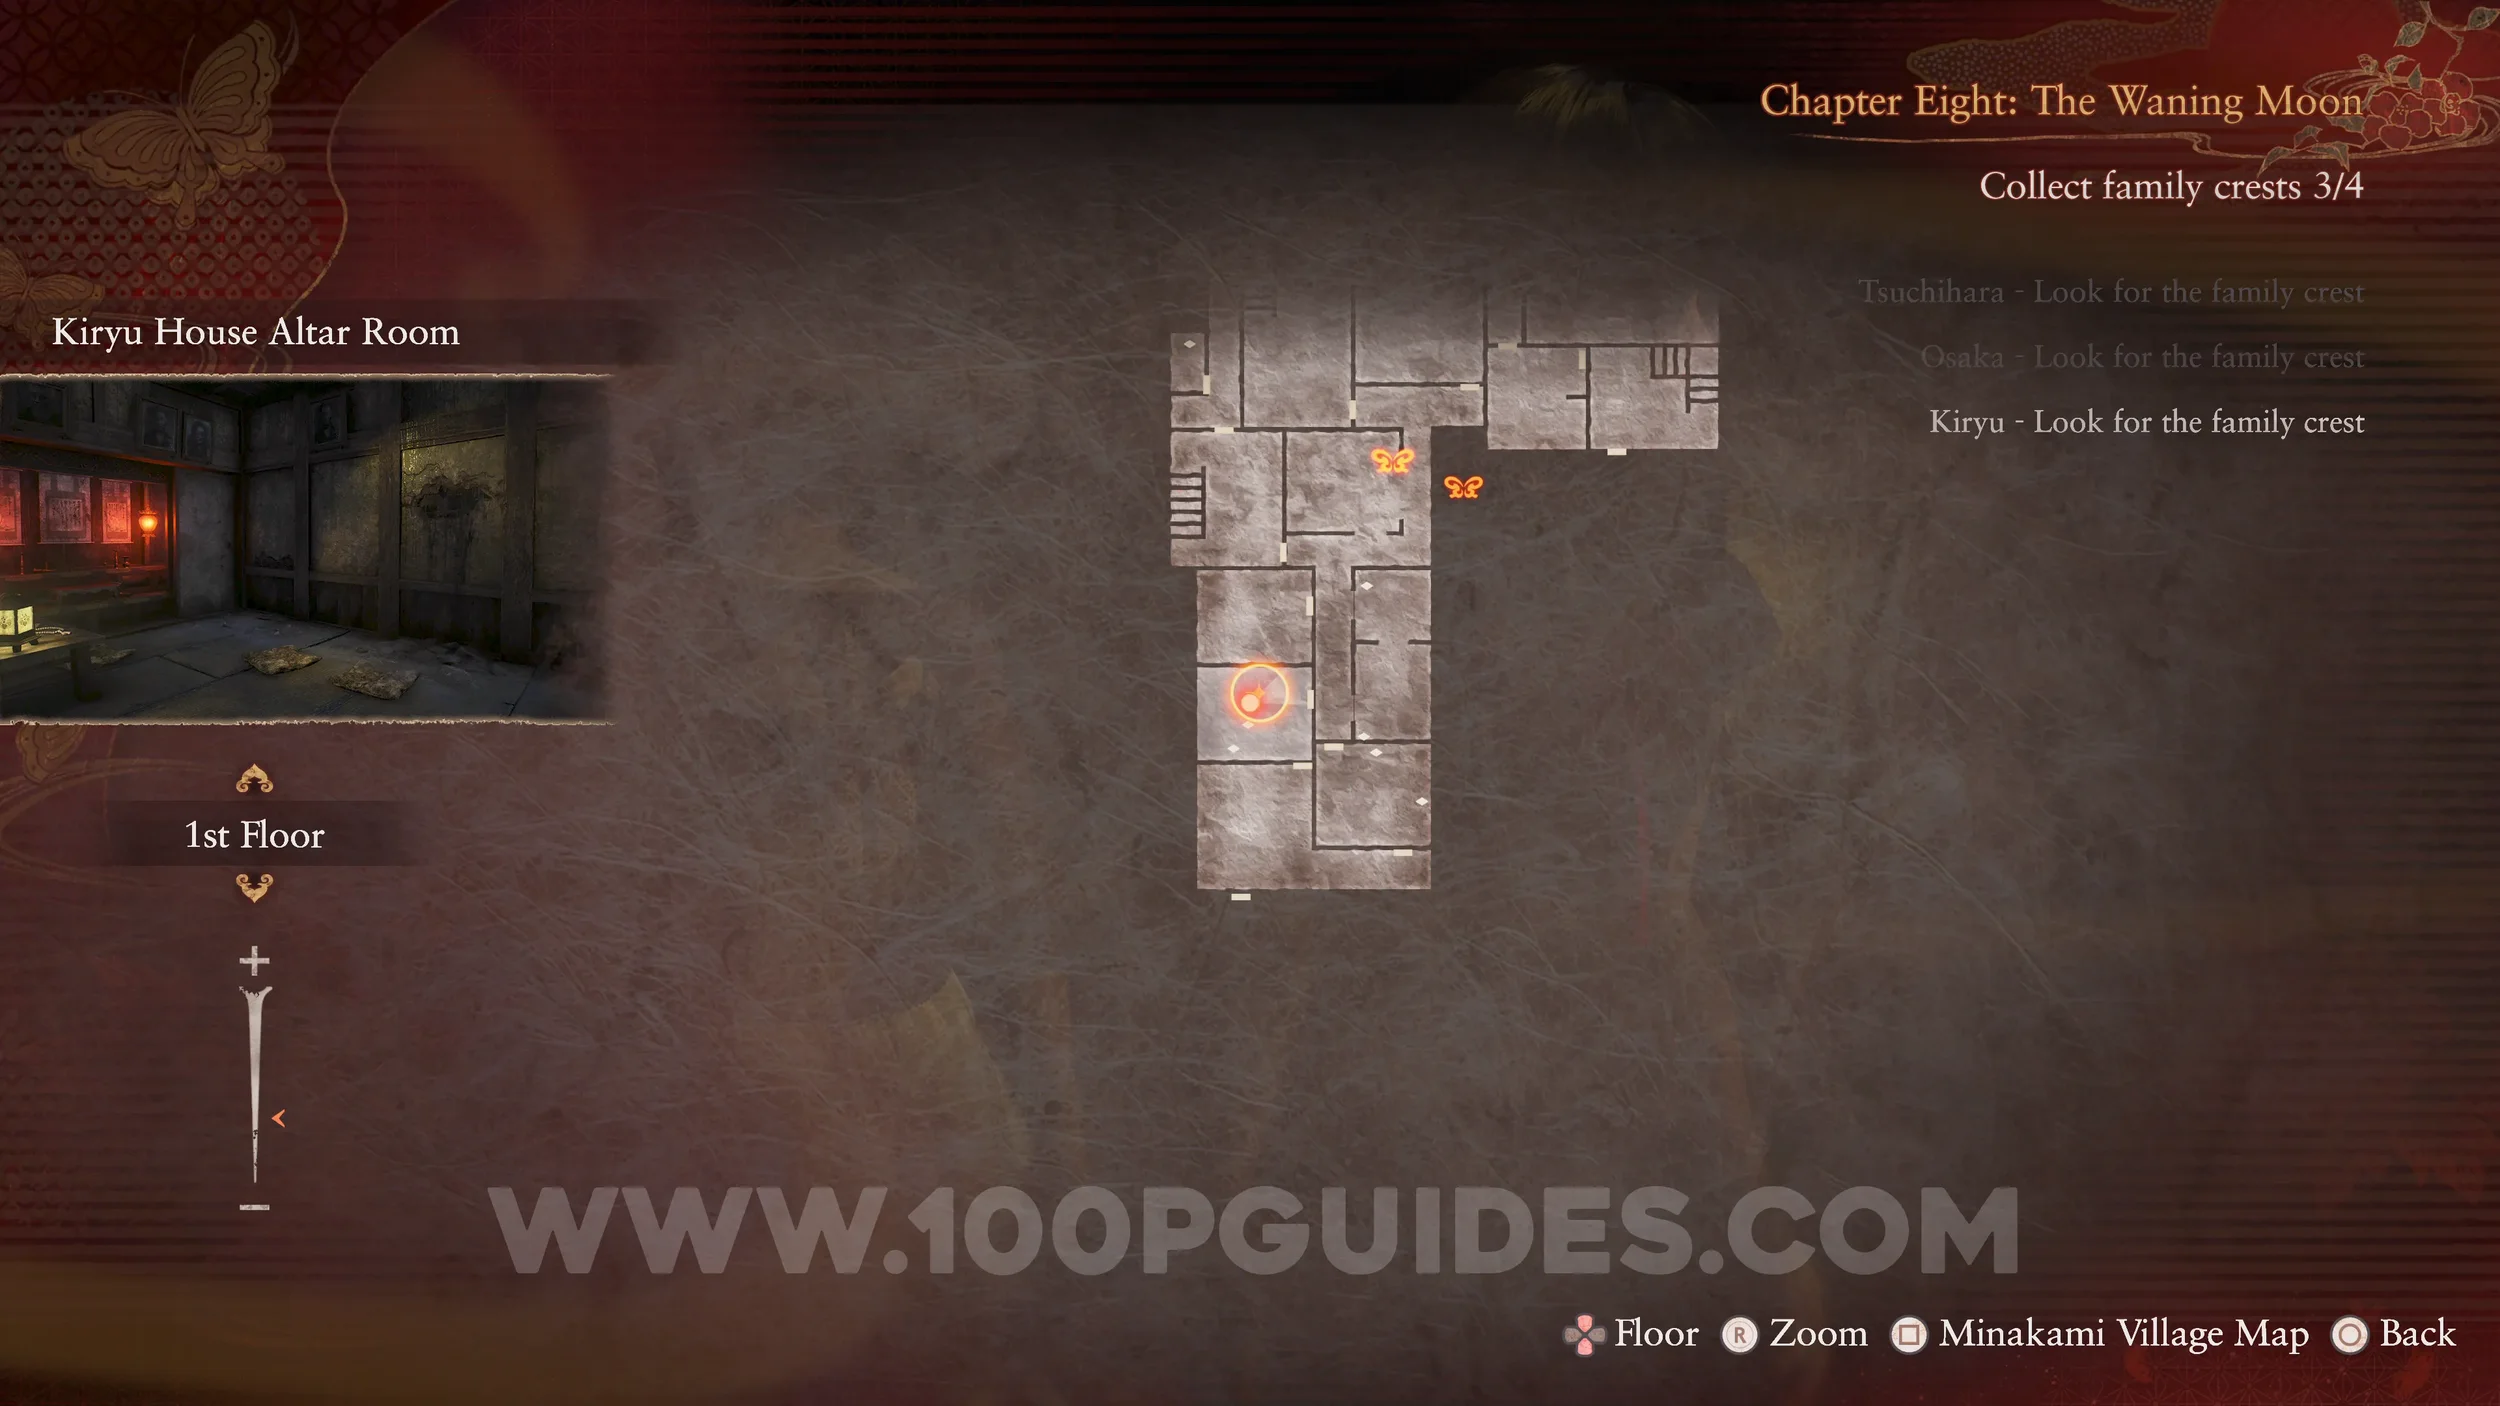
Document #88 - Doll Maker’s Note 6 and Specter #169 - 127 Searching Man. Enter the Kiryu House and go to the Altar Room. Pick up the document from the shrine to spawn the specter.
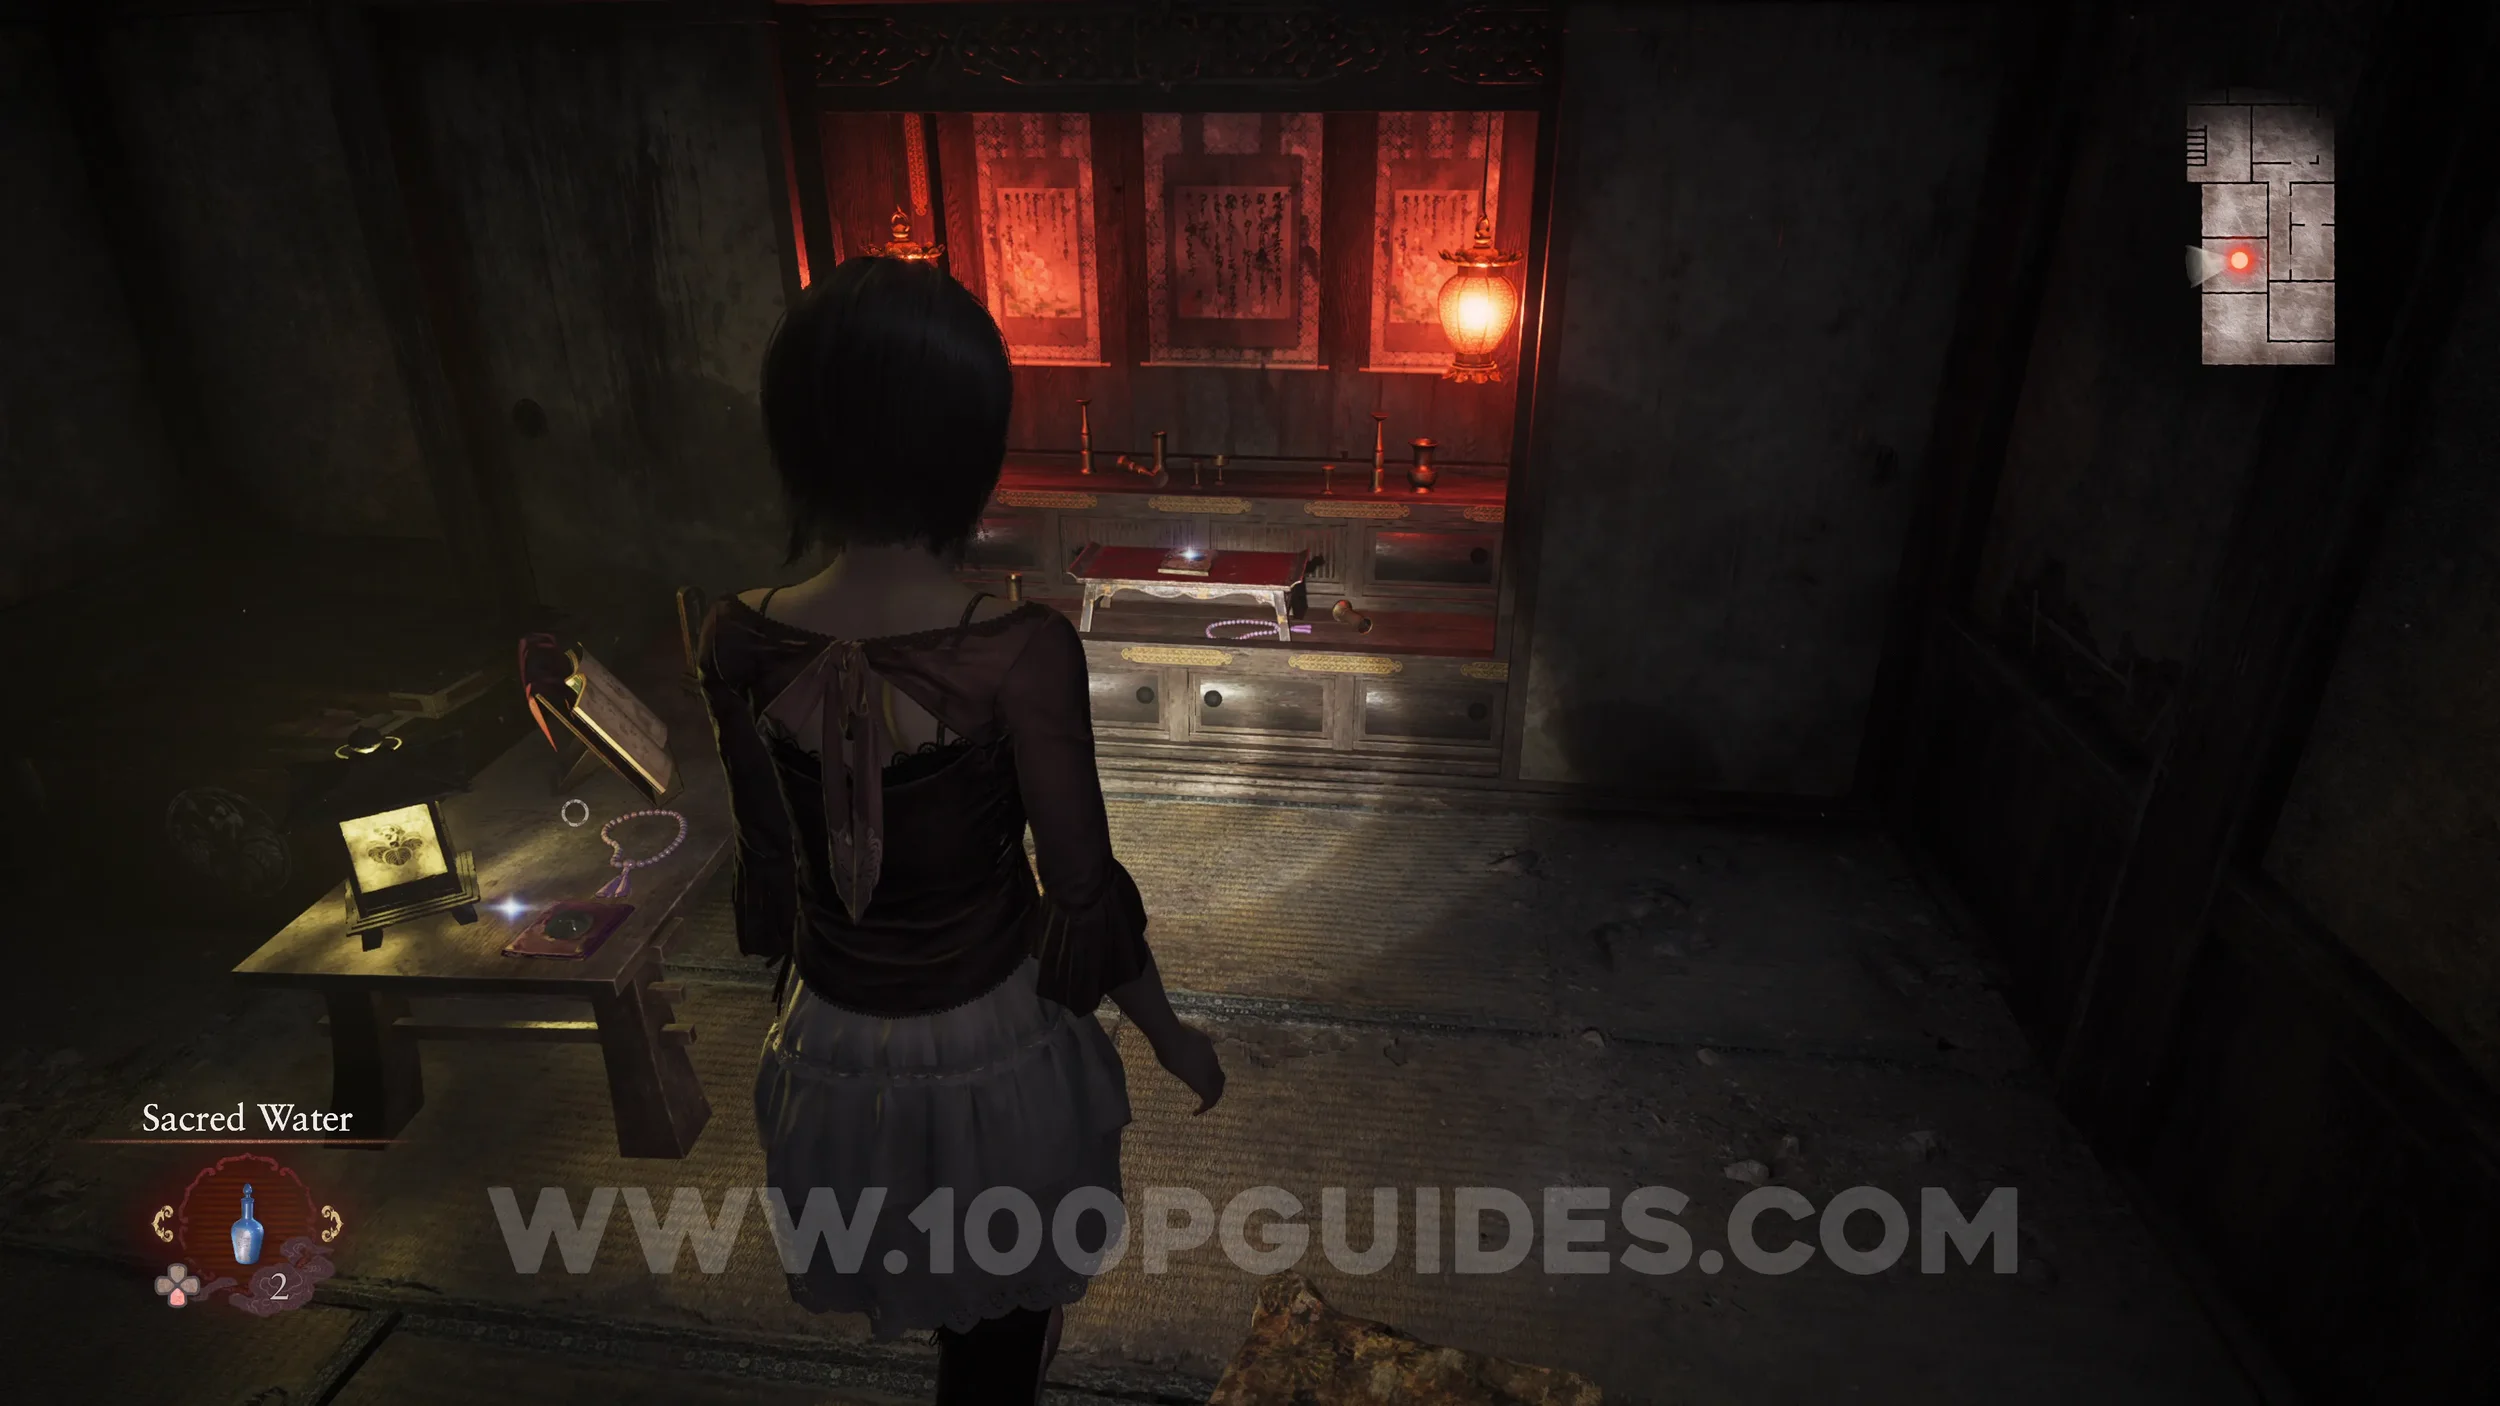
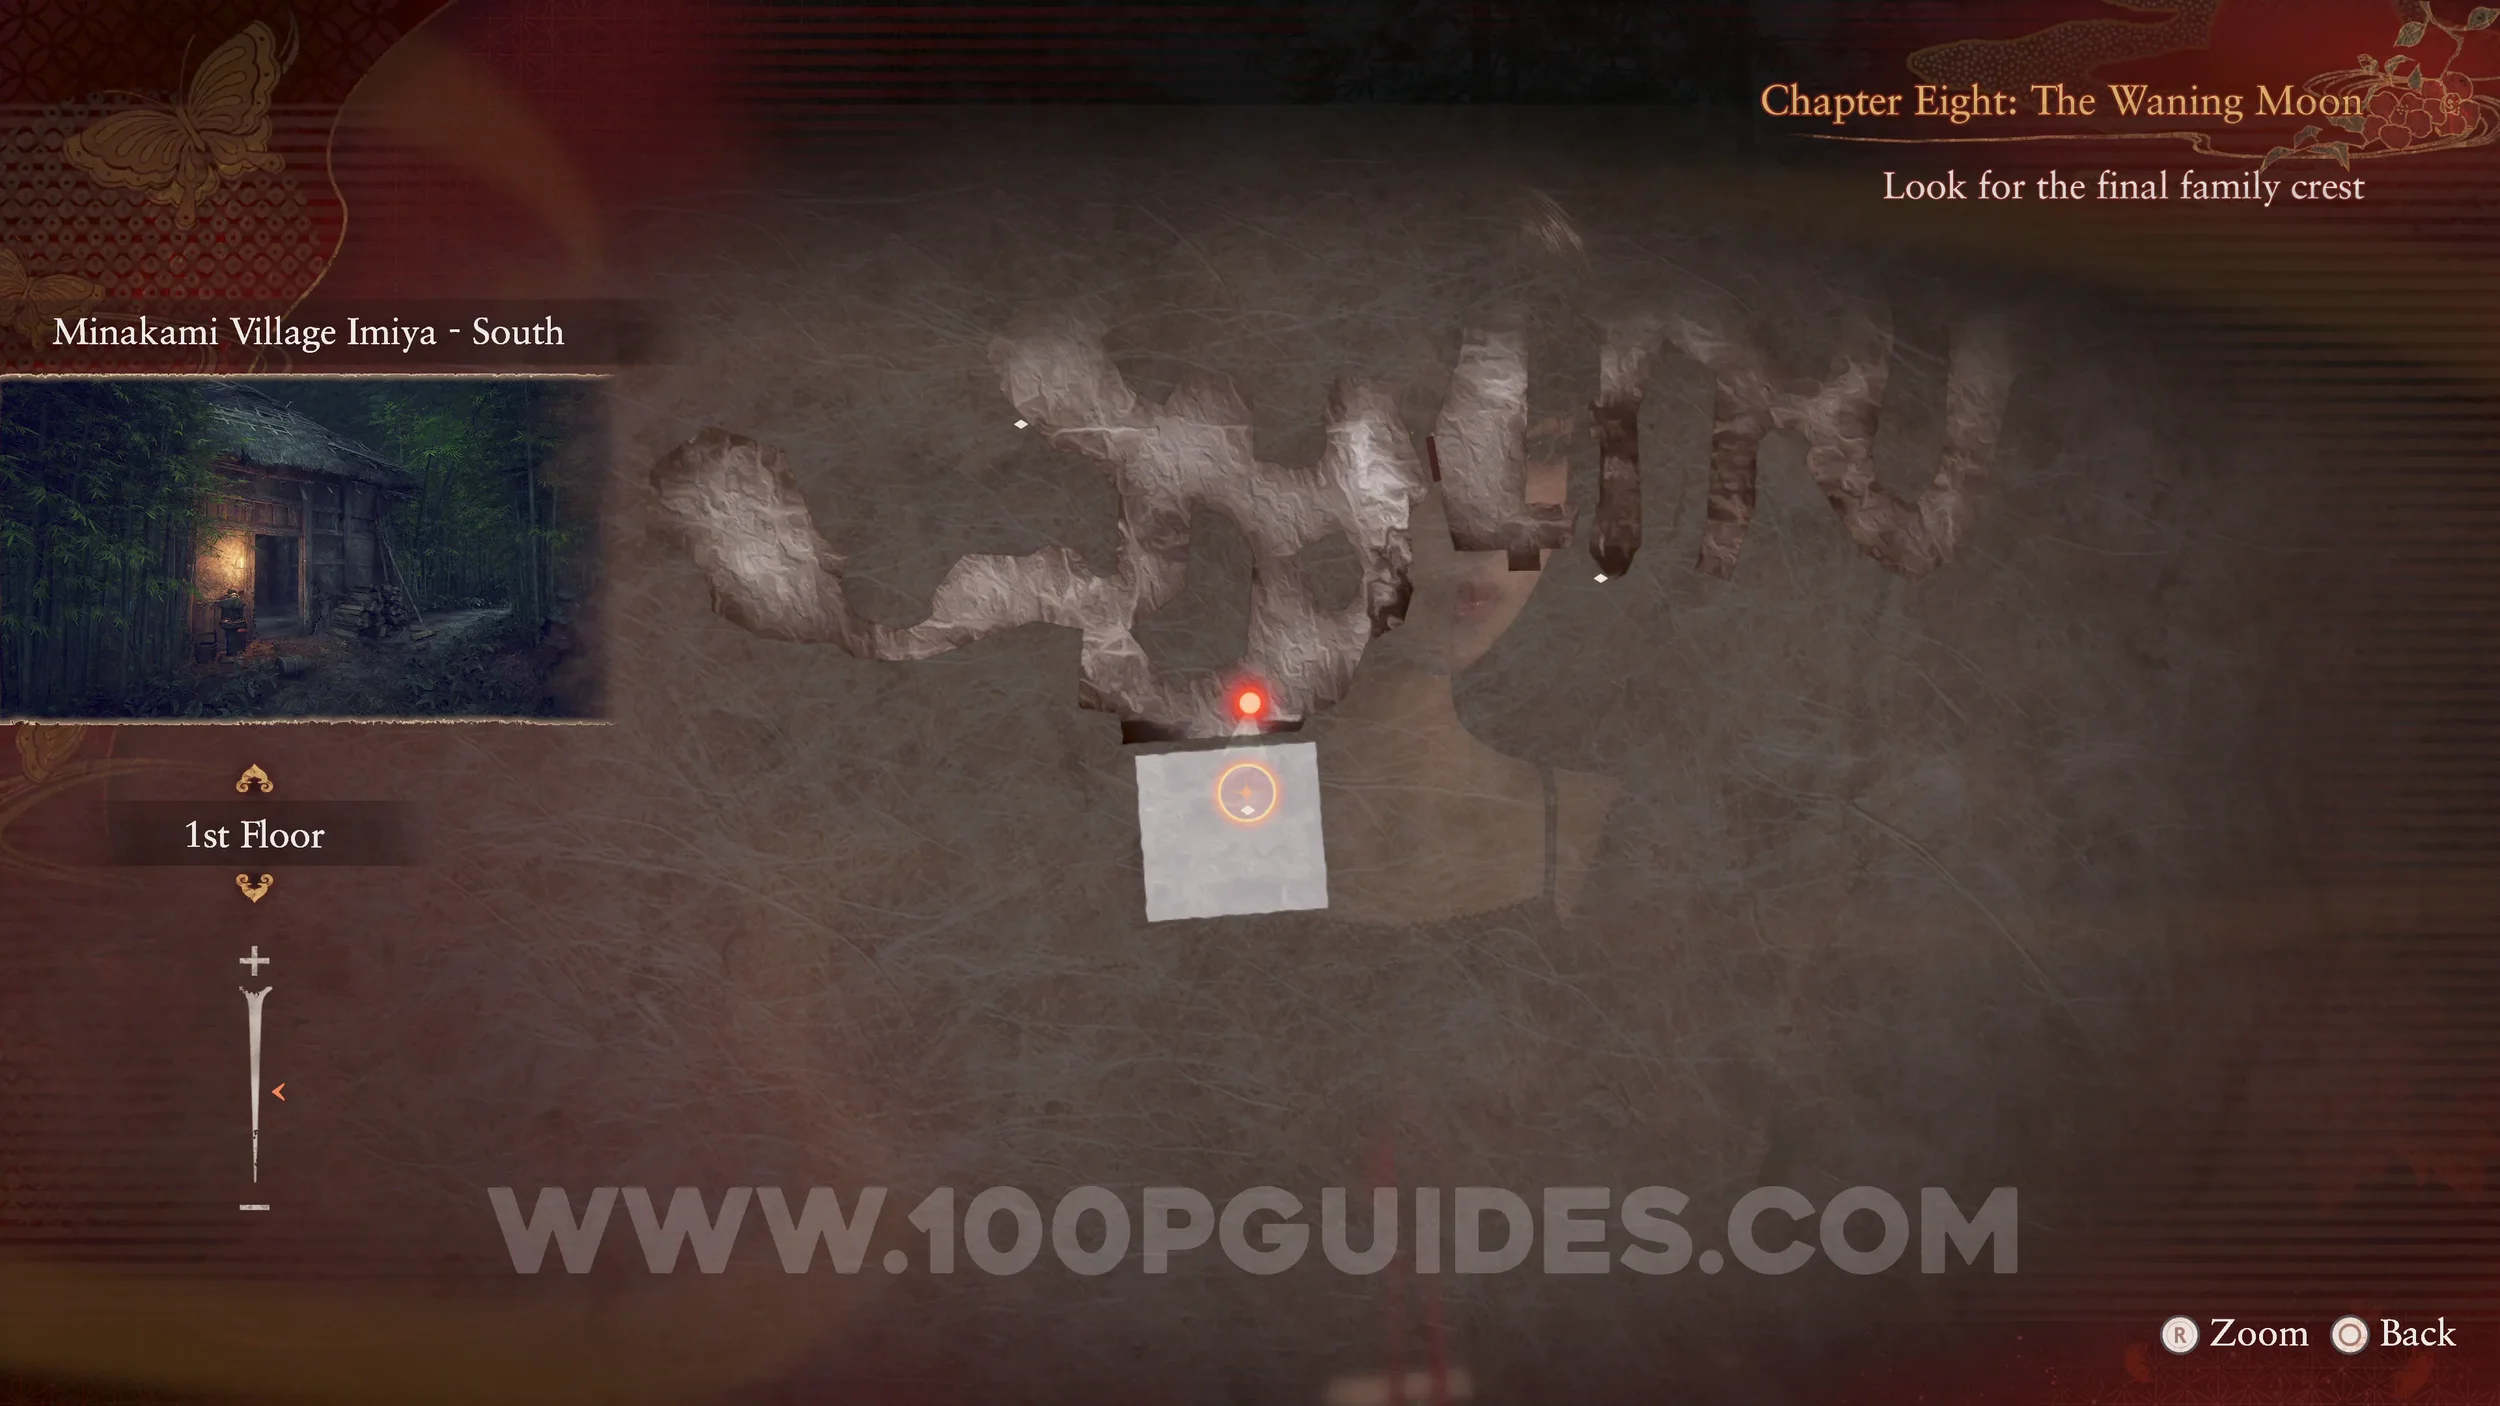
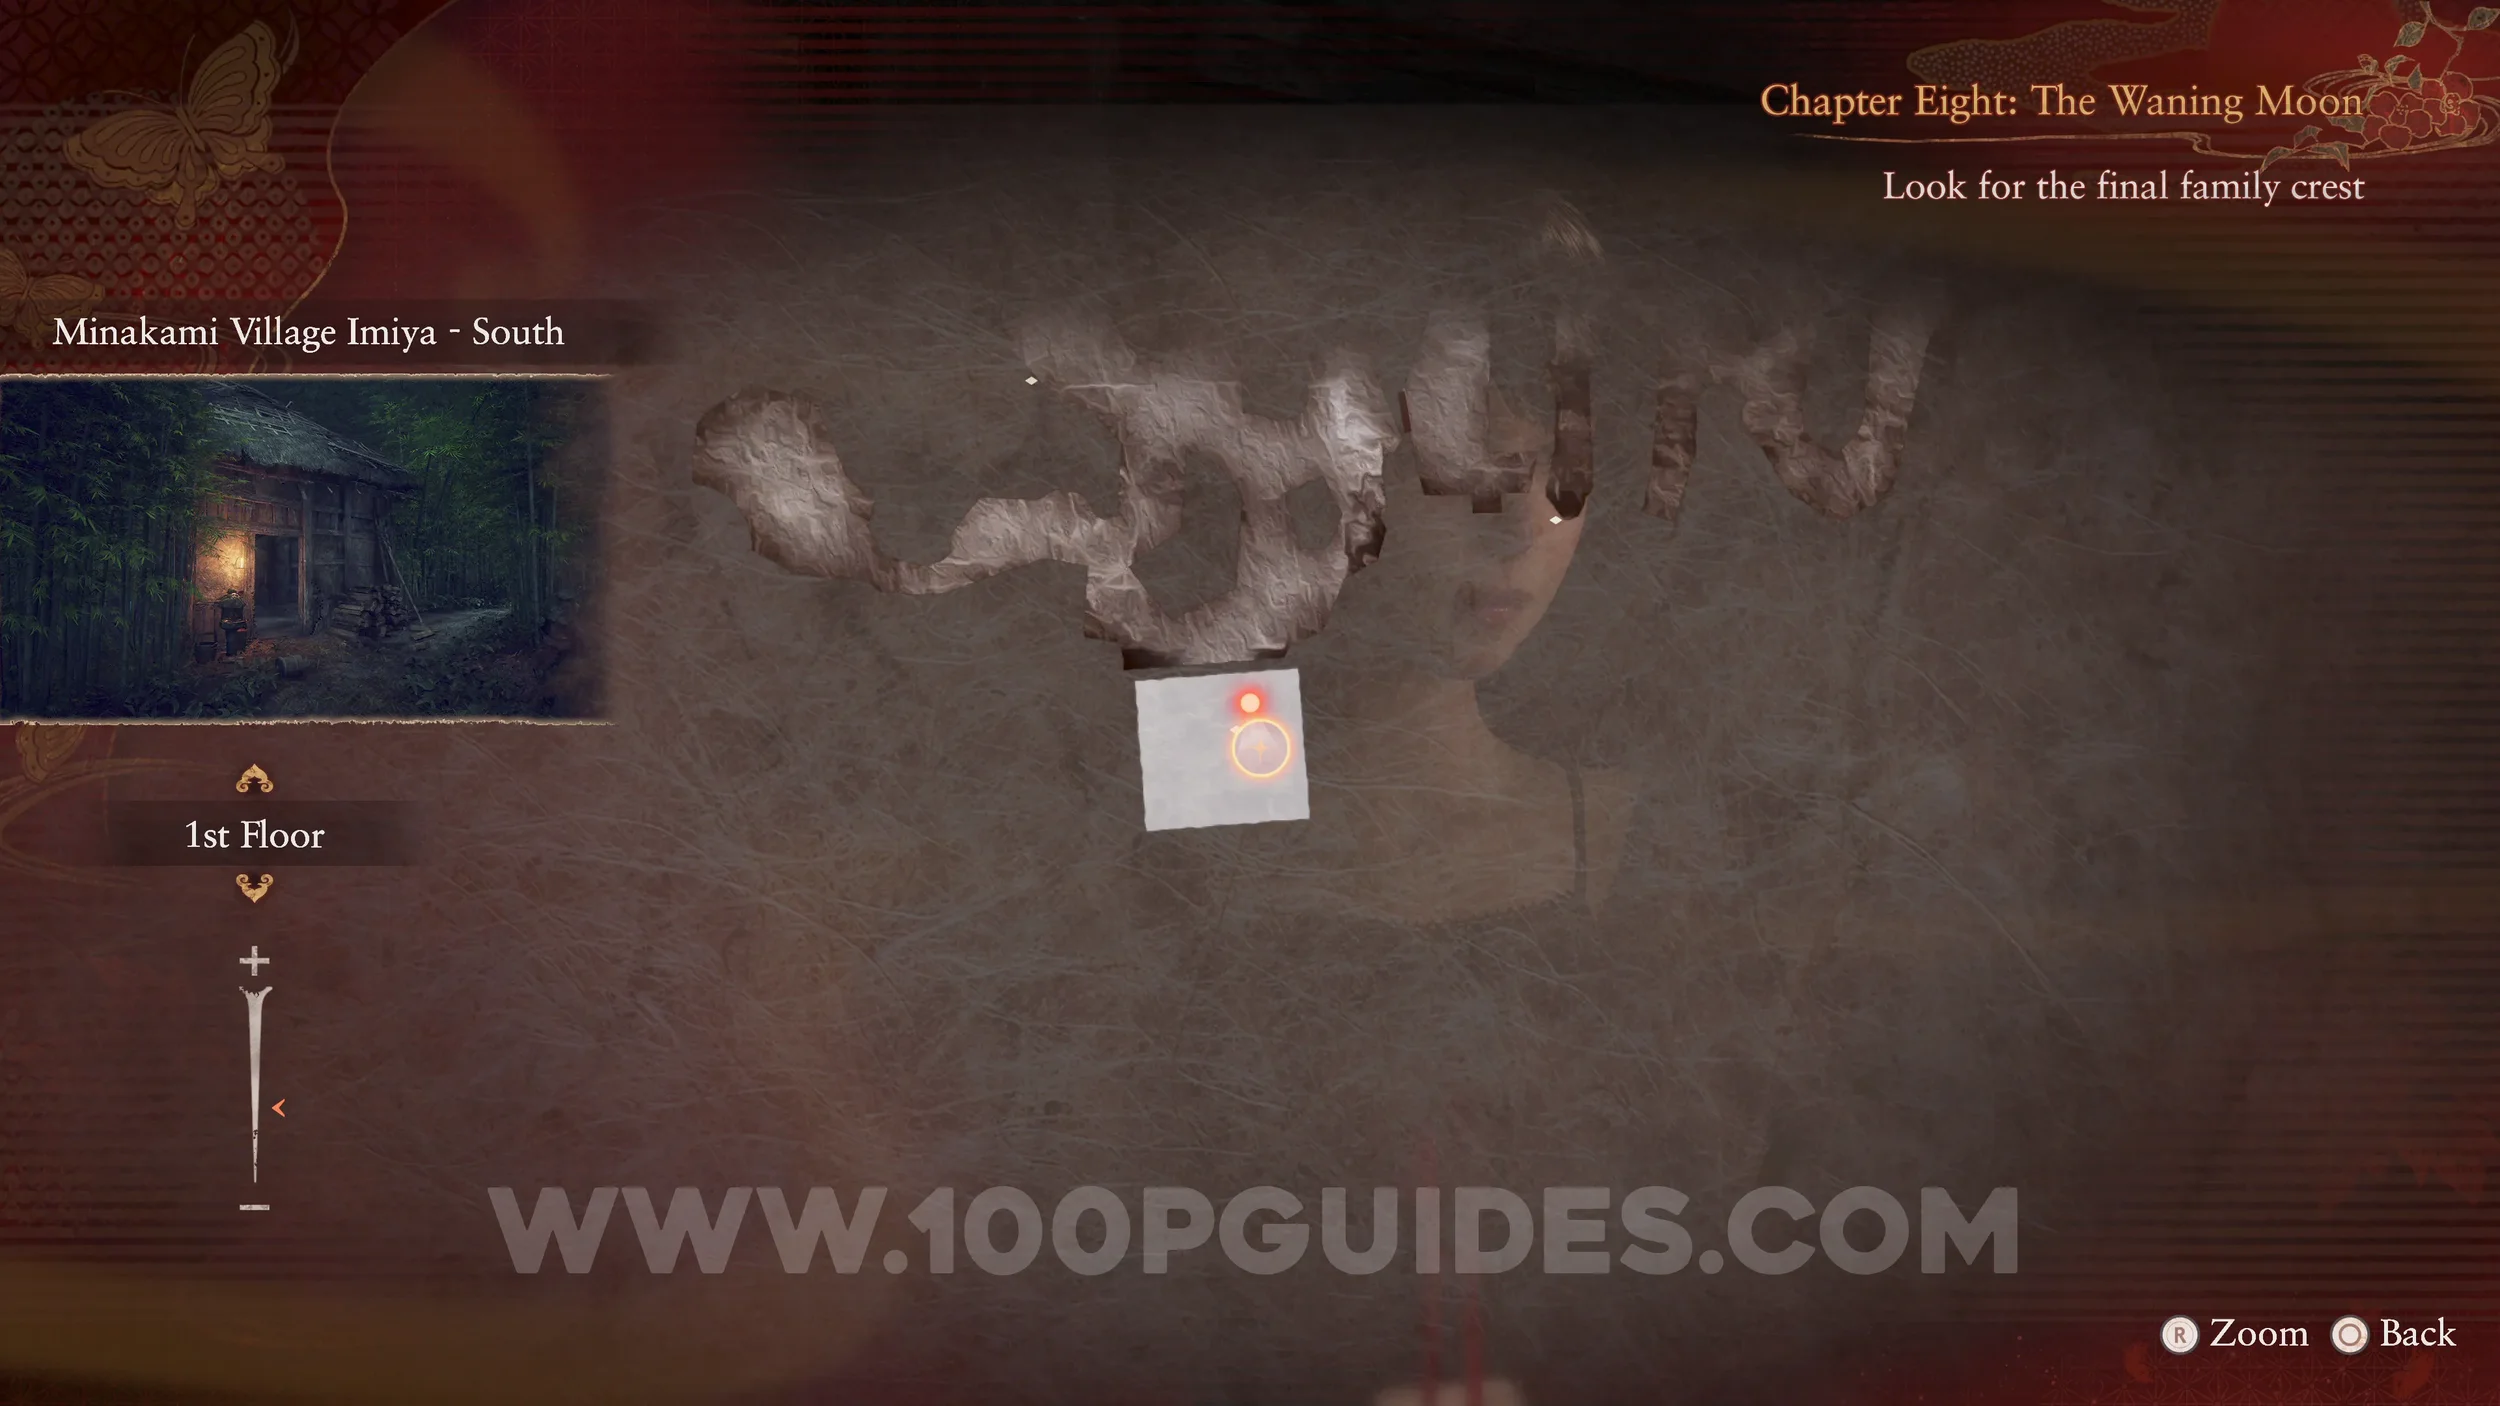
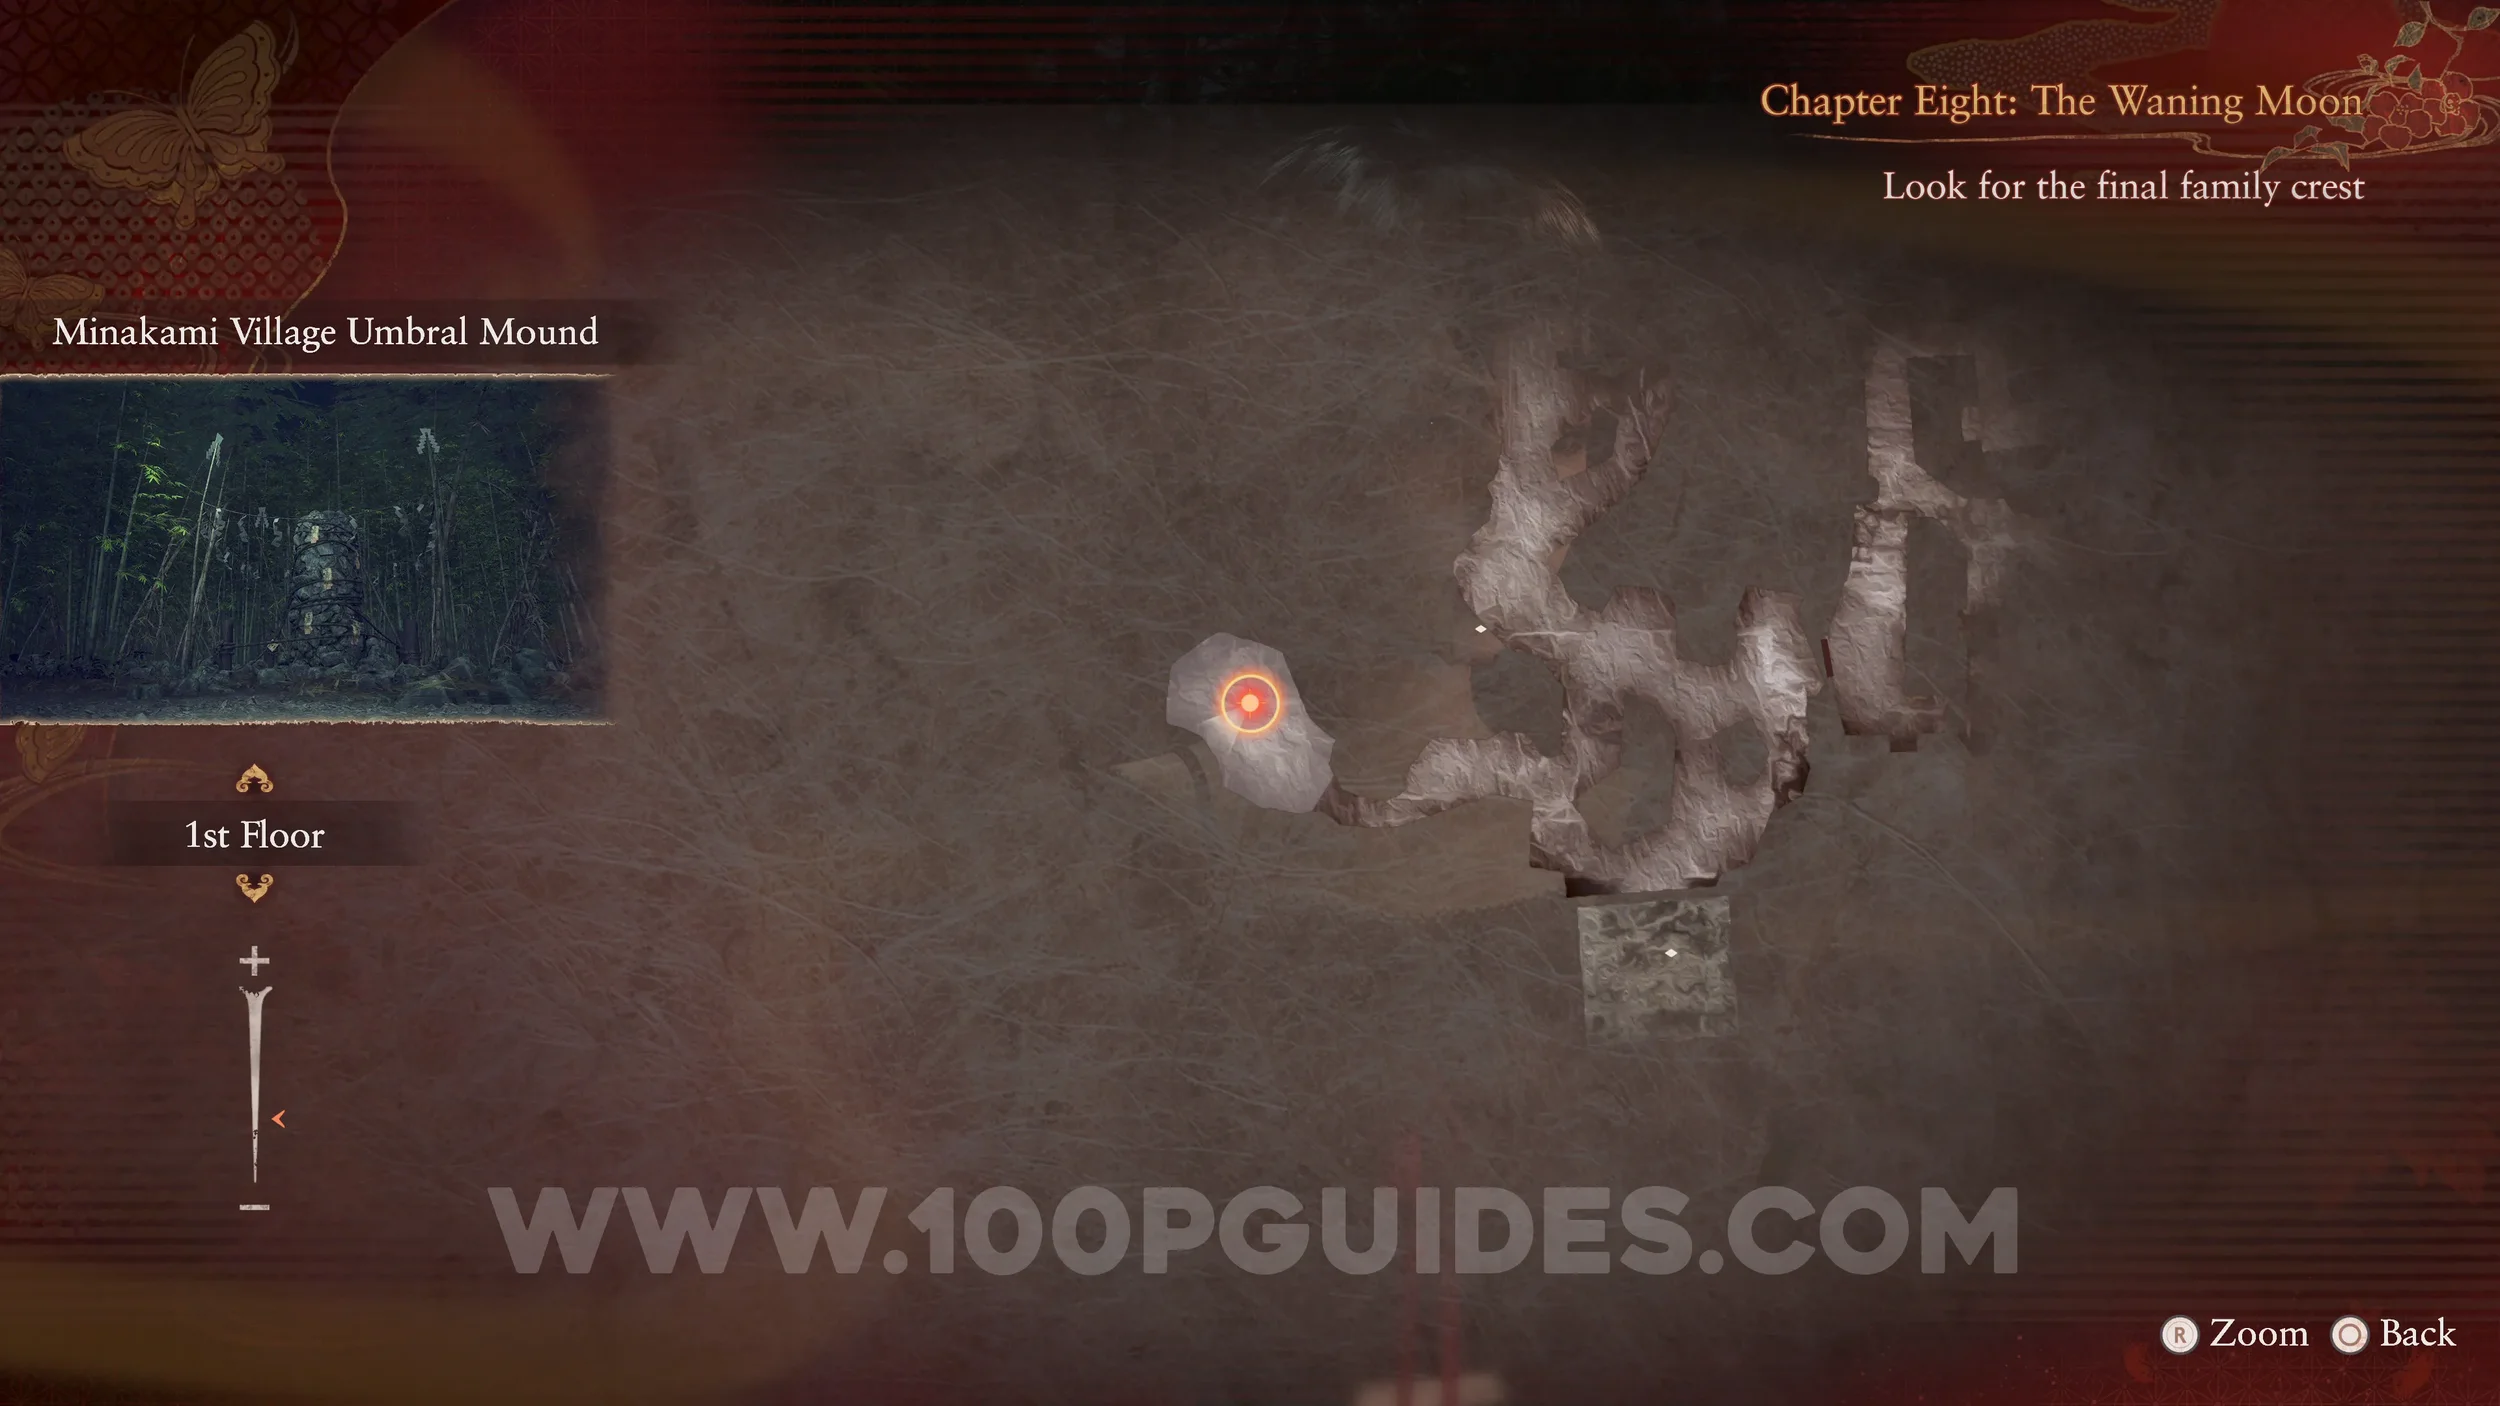
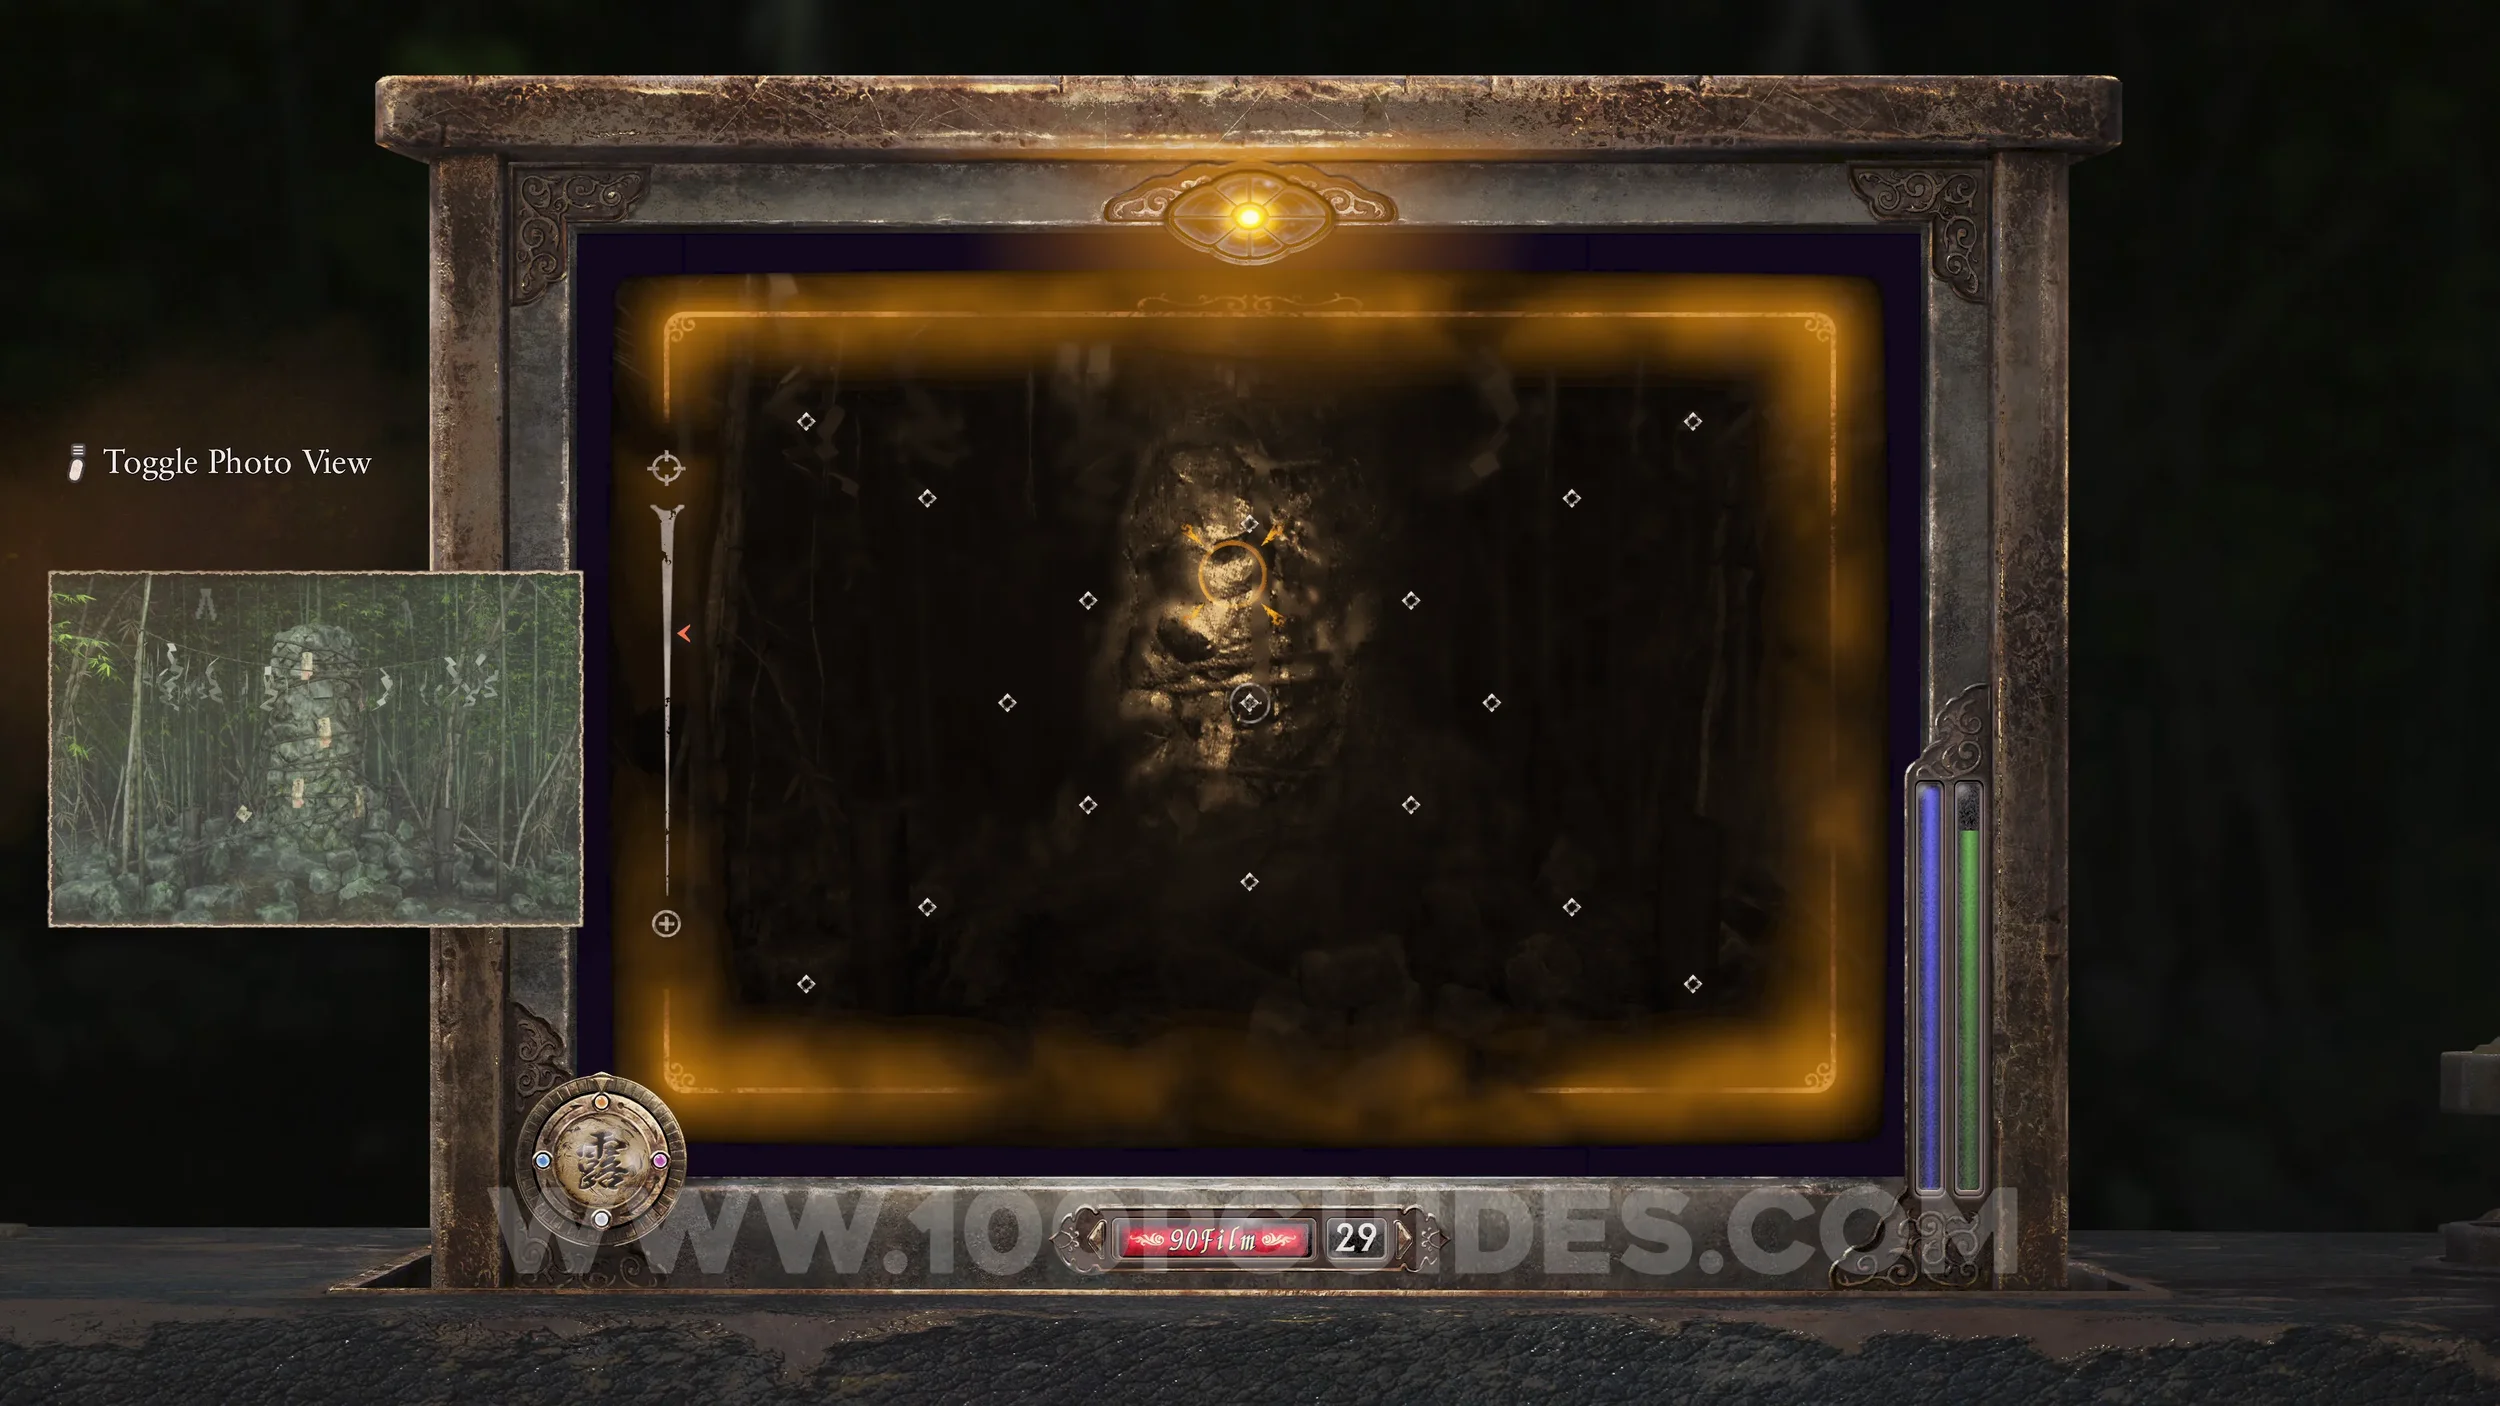
Specter #170 - 128 Doll Hiding Family Crest. It will appear behind you as soon as you pick up the previous document.
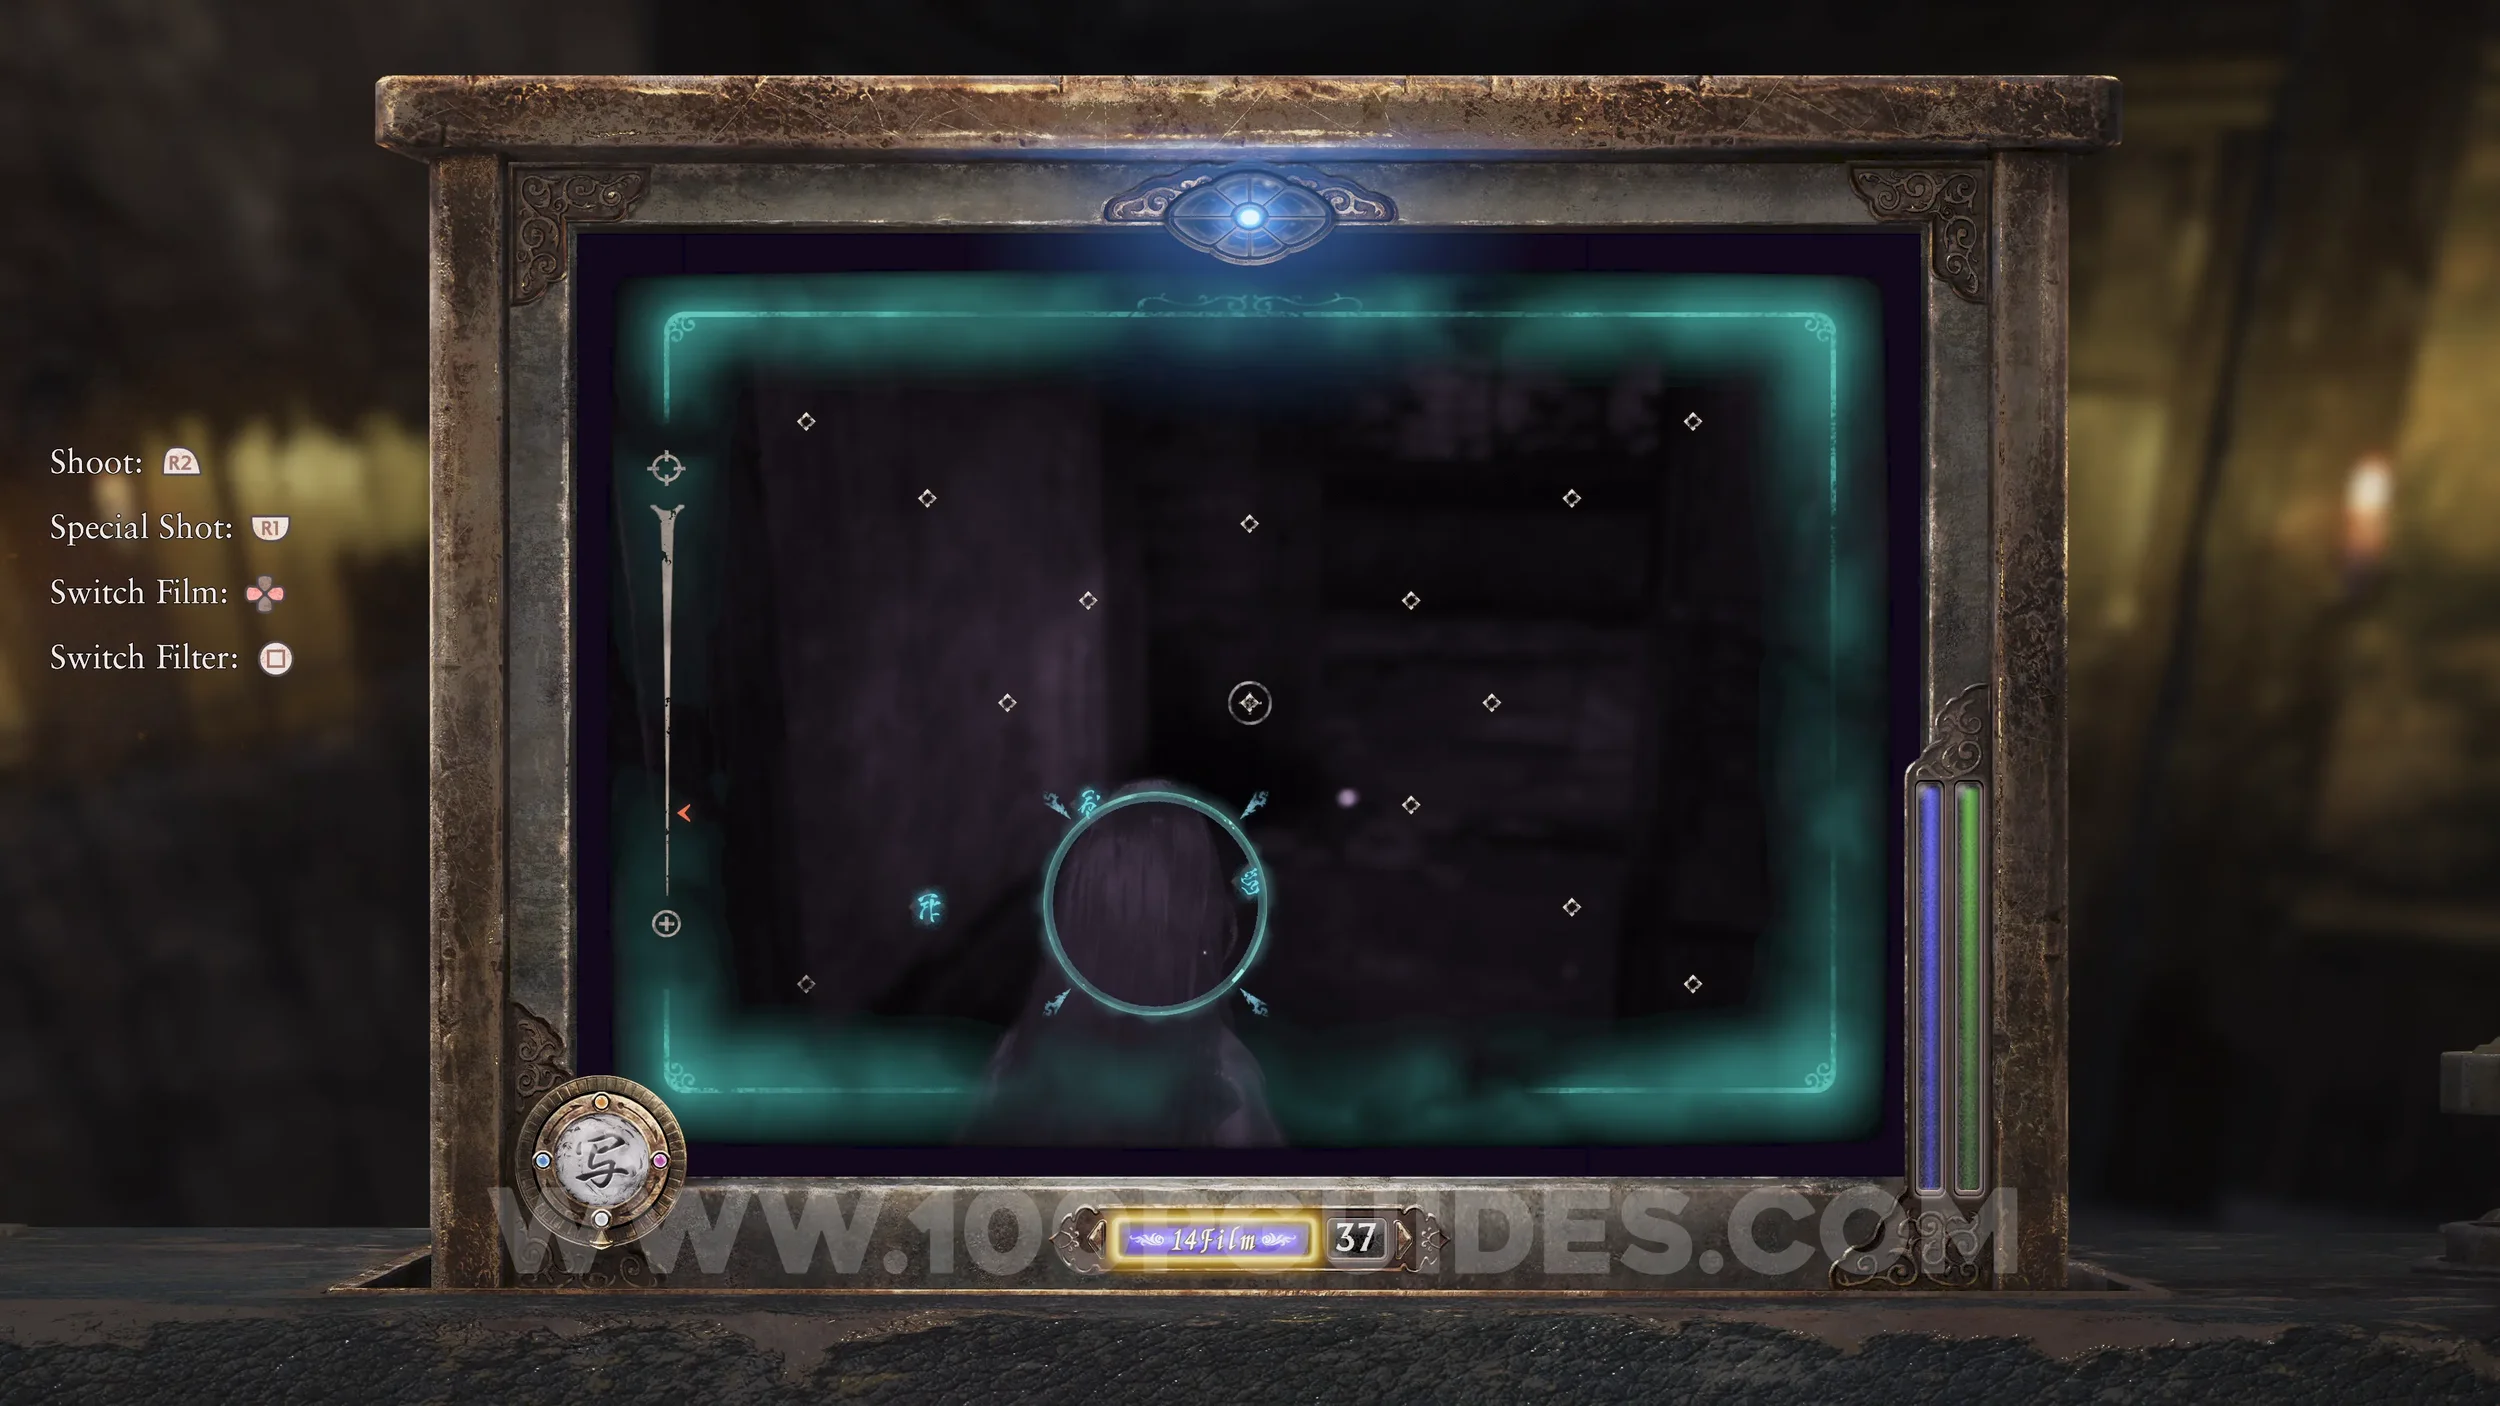
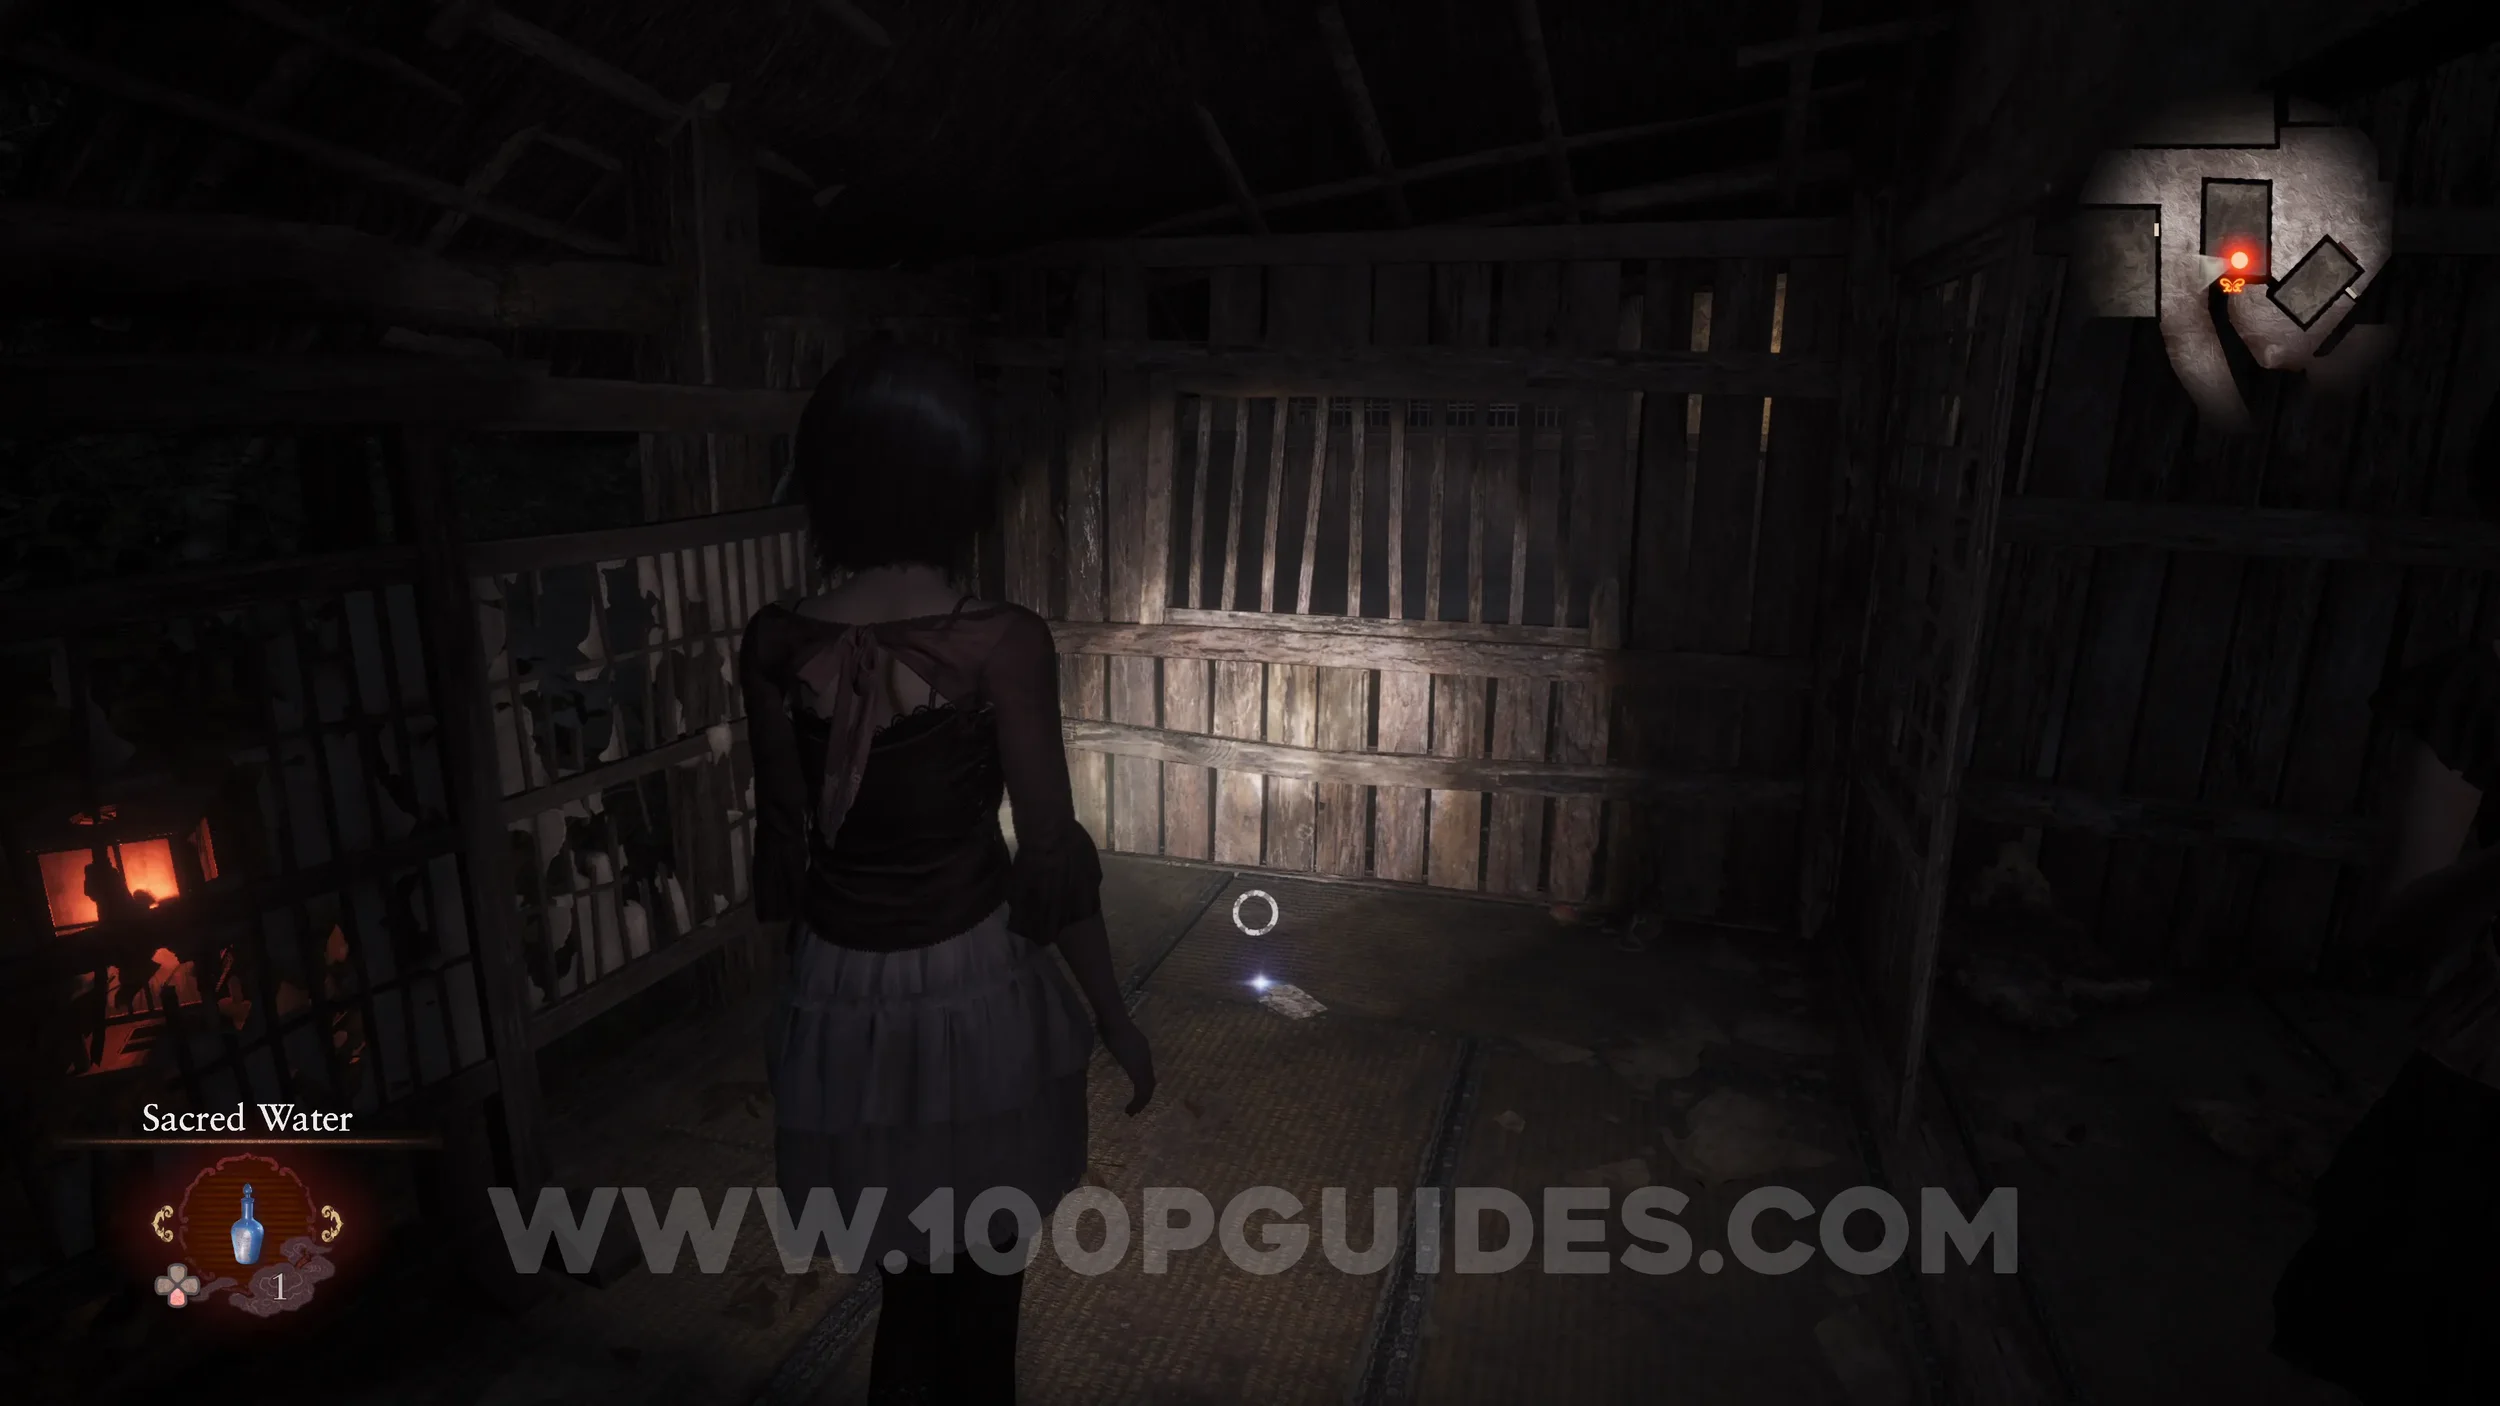
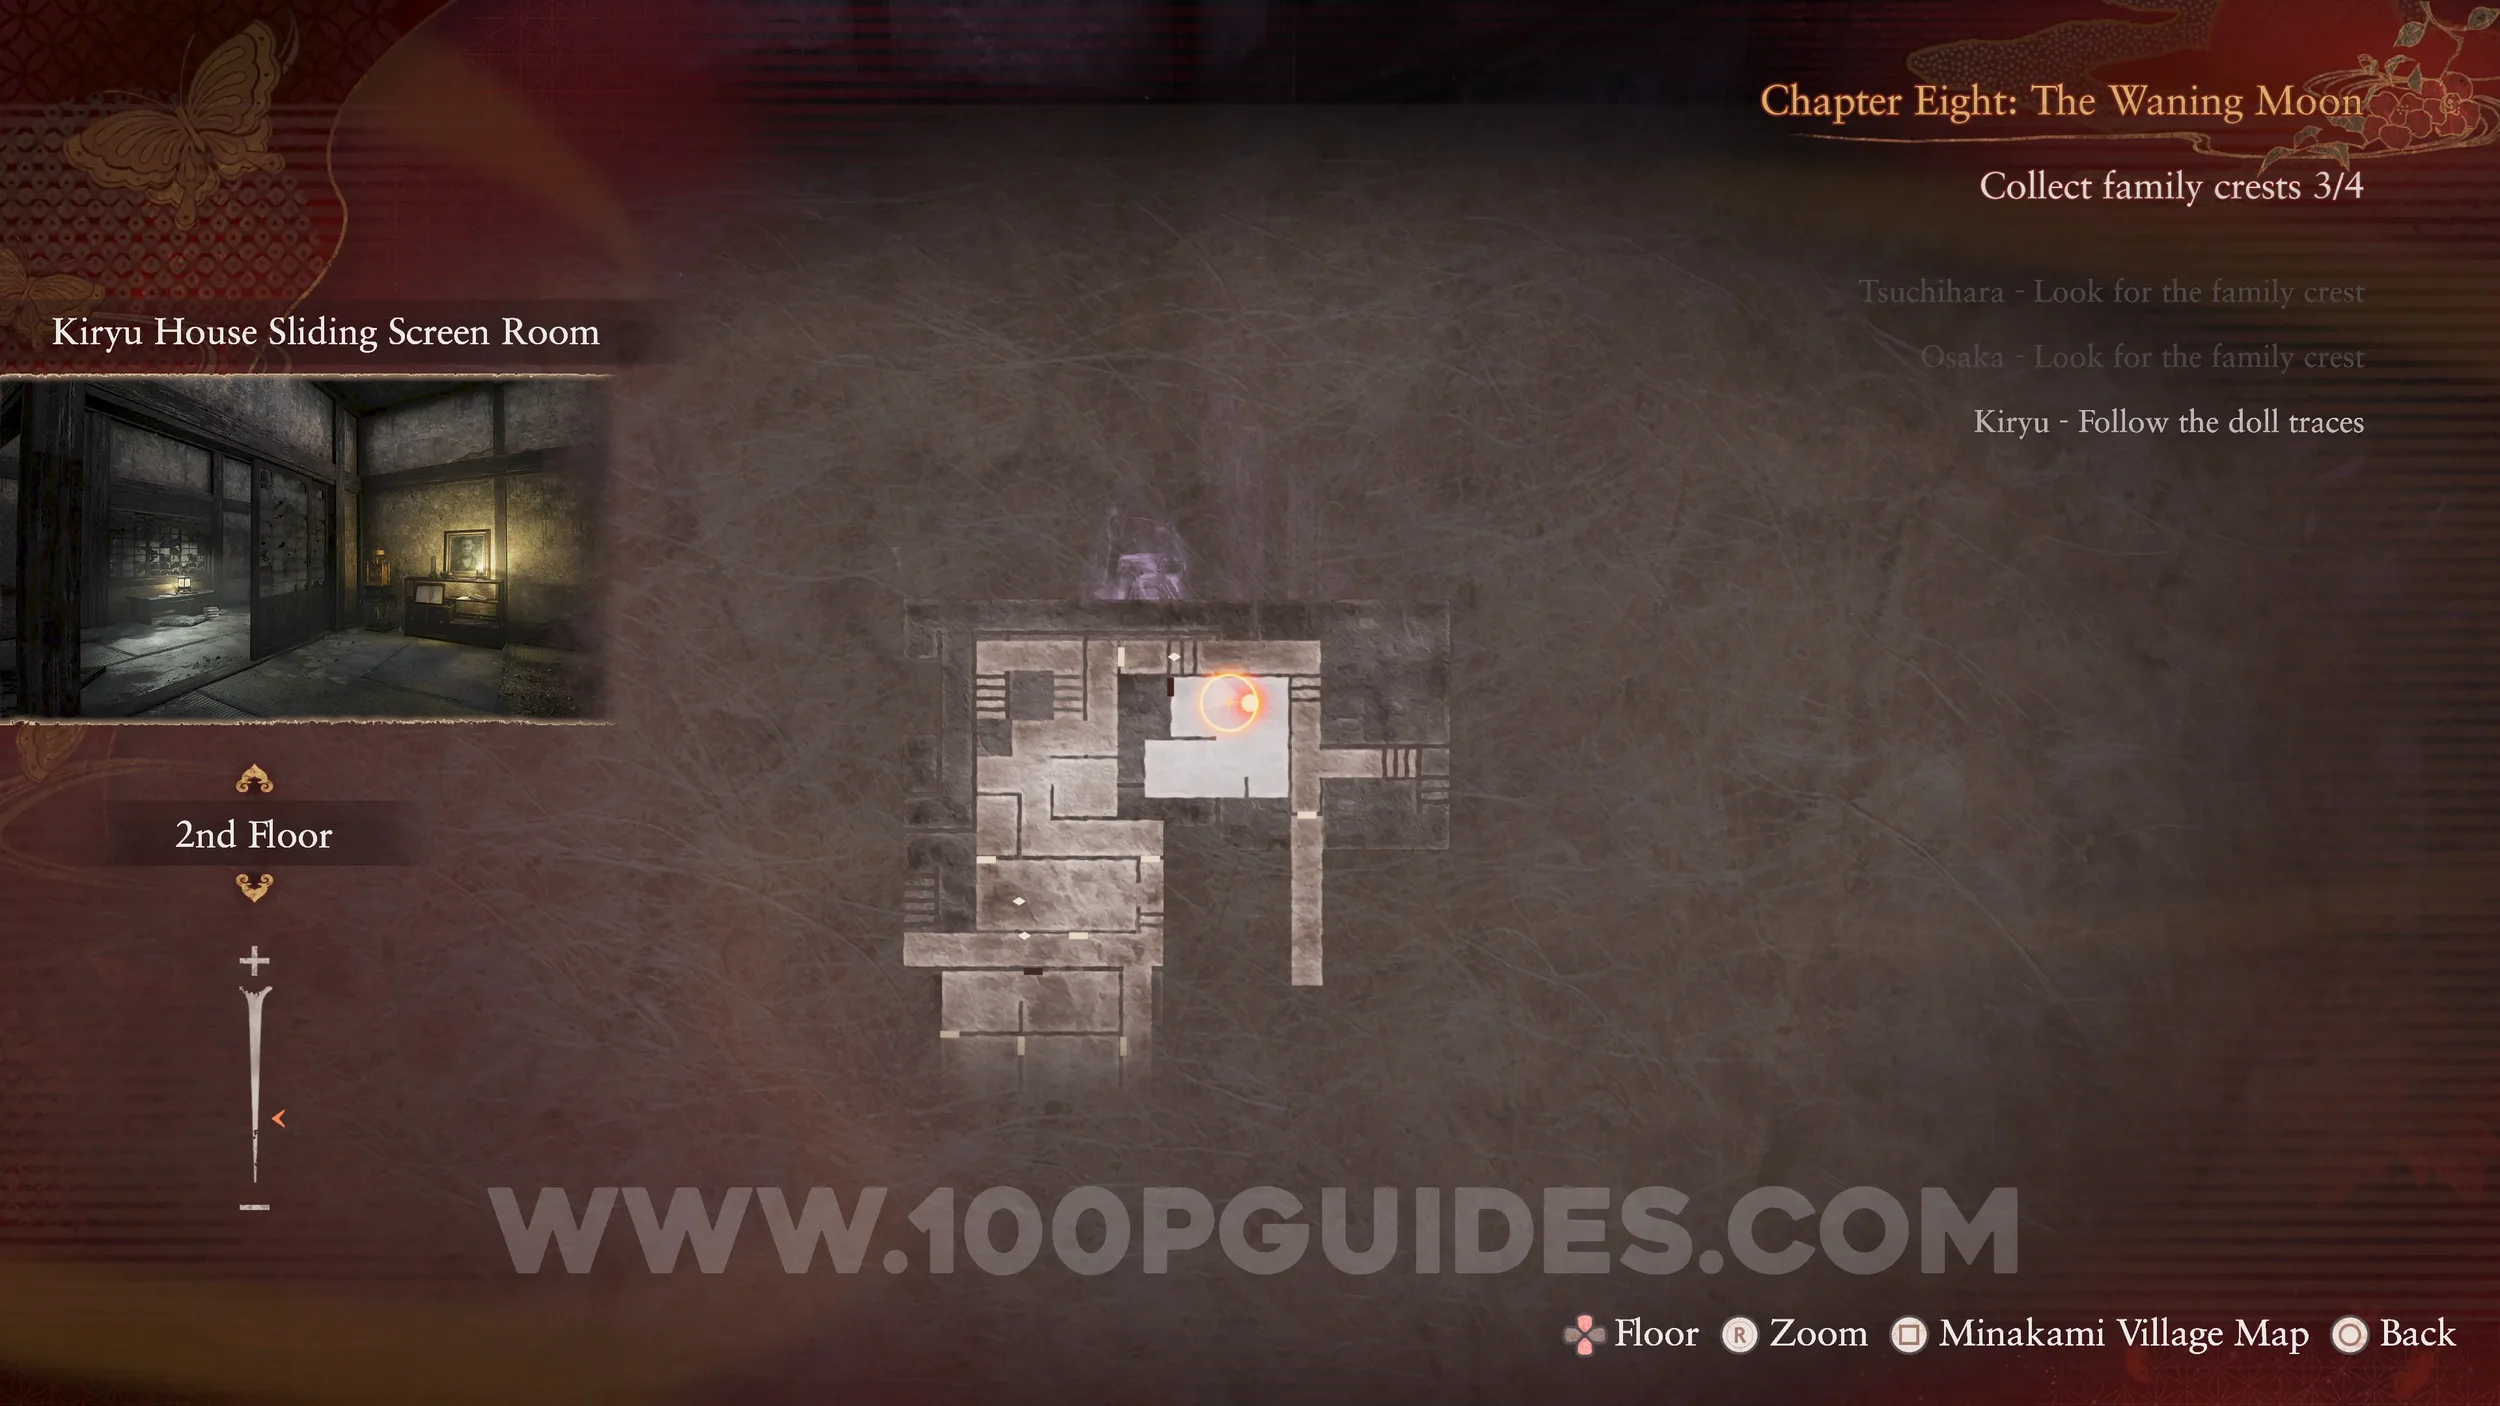
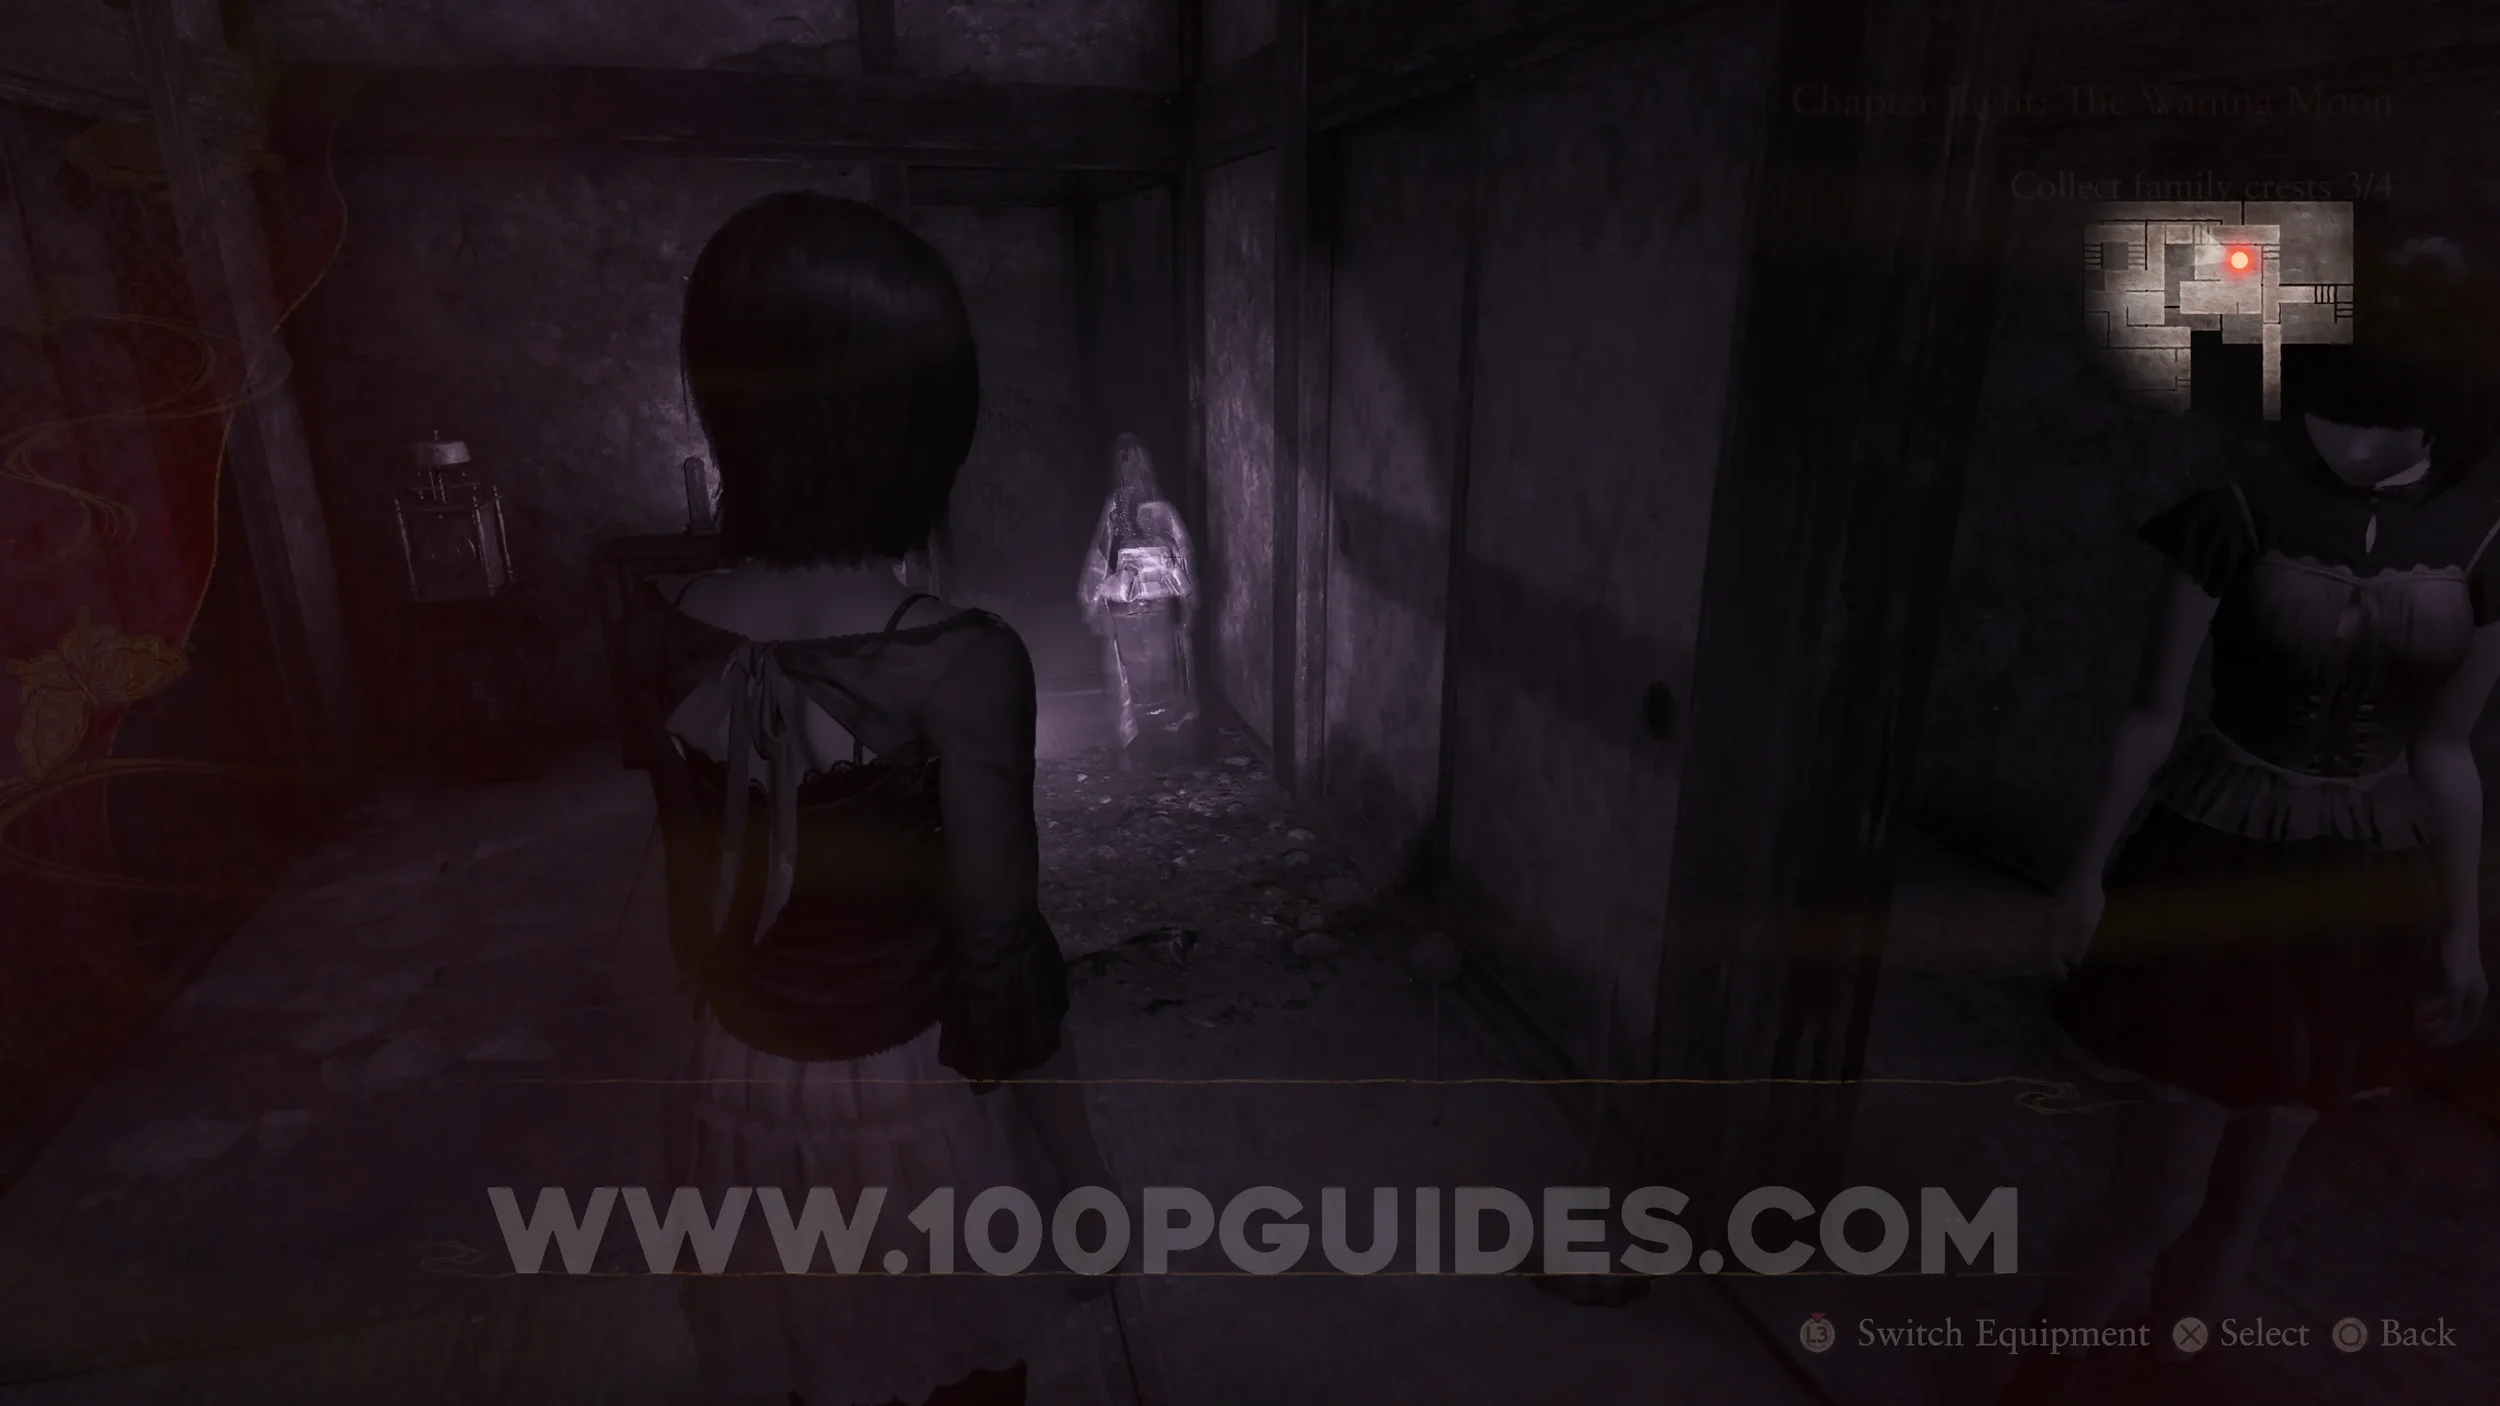
Specter #171 - 129 Doll Entering the Hidden Door. Follow the specter through the house until she leads you to the Sliding Screen Room with the portrait. Take a photo of her here to register the specter.
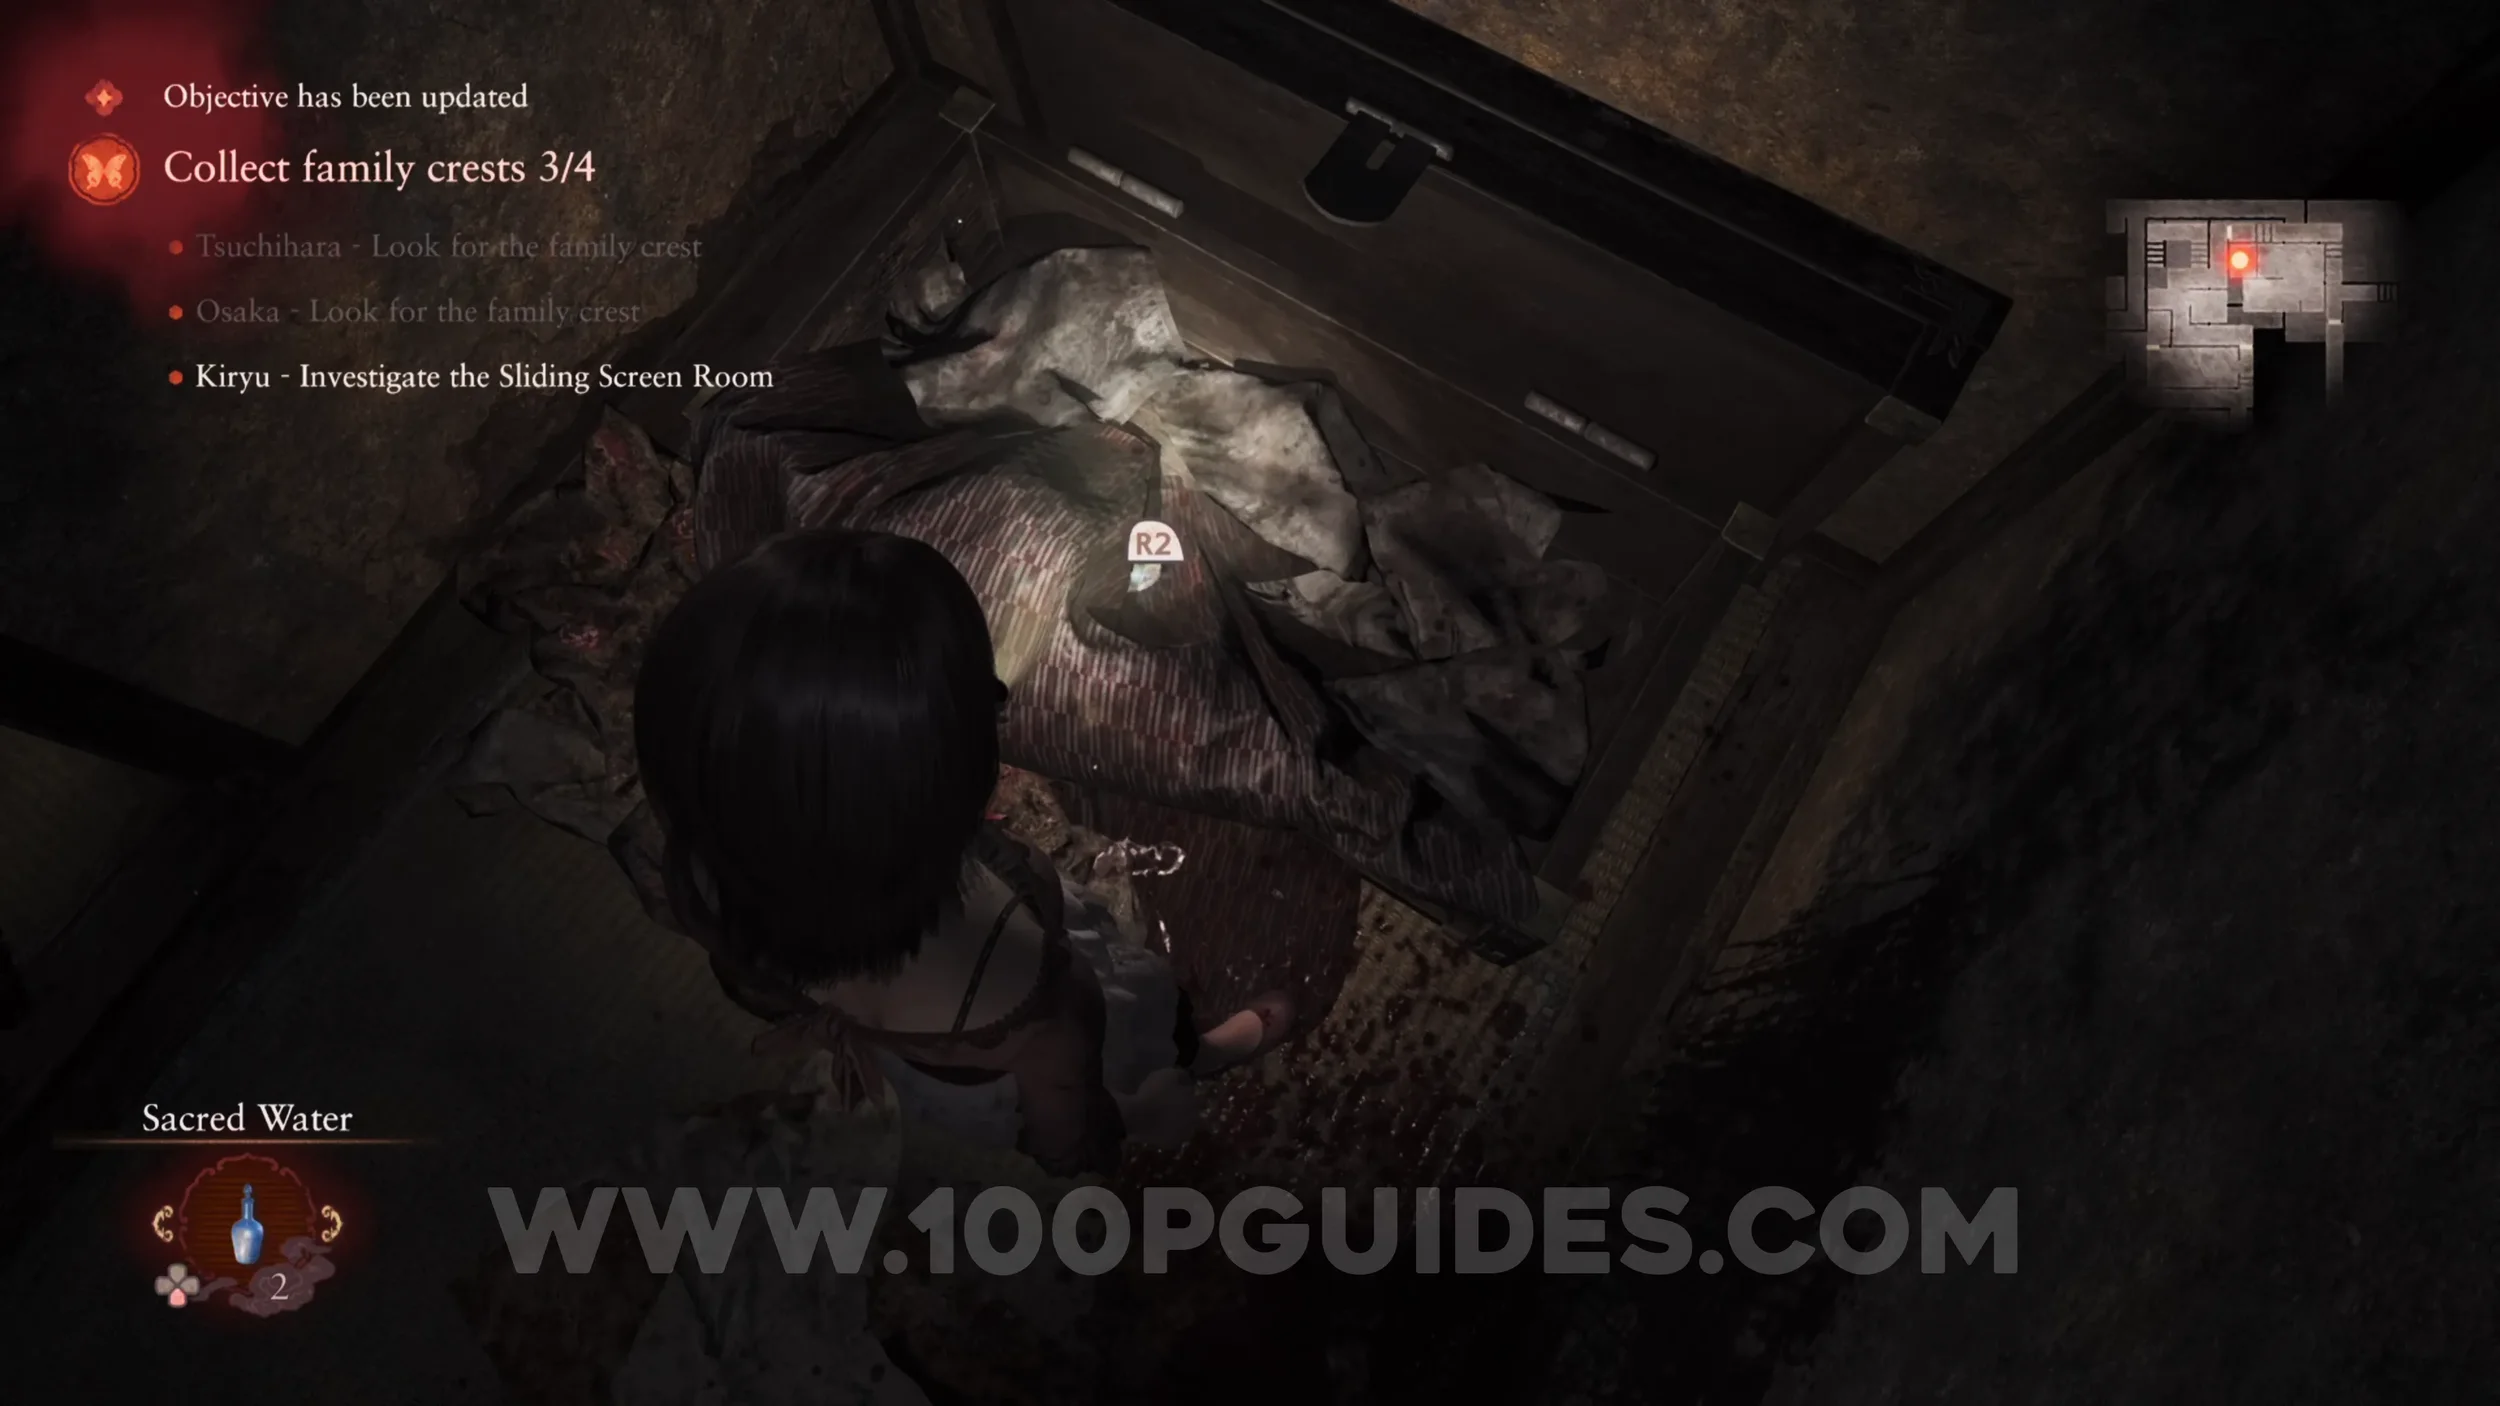
Document #89 - Bloodied Note. Obtained at the same time as the Kiryu Crest (main objective).
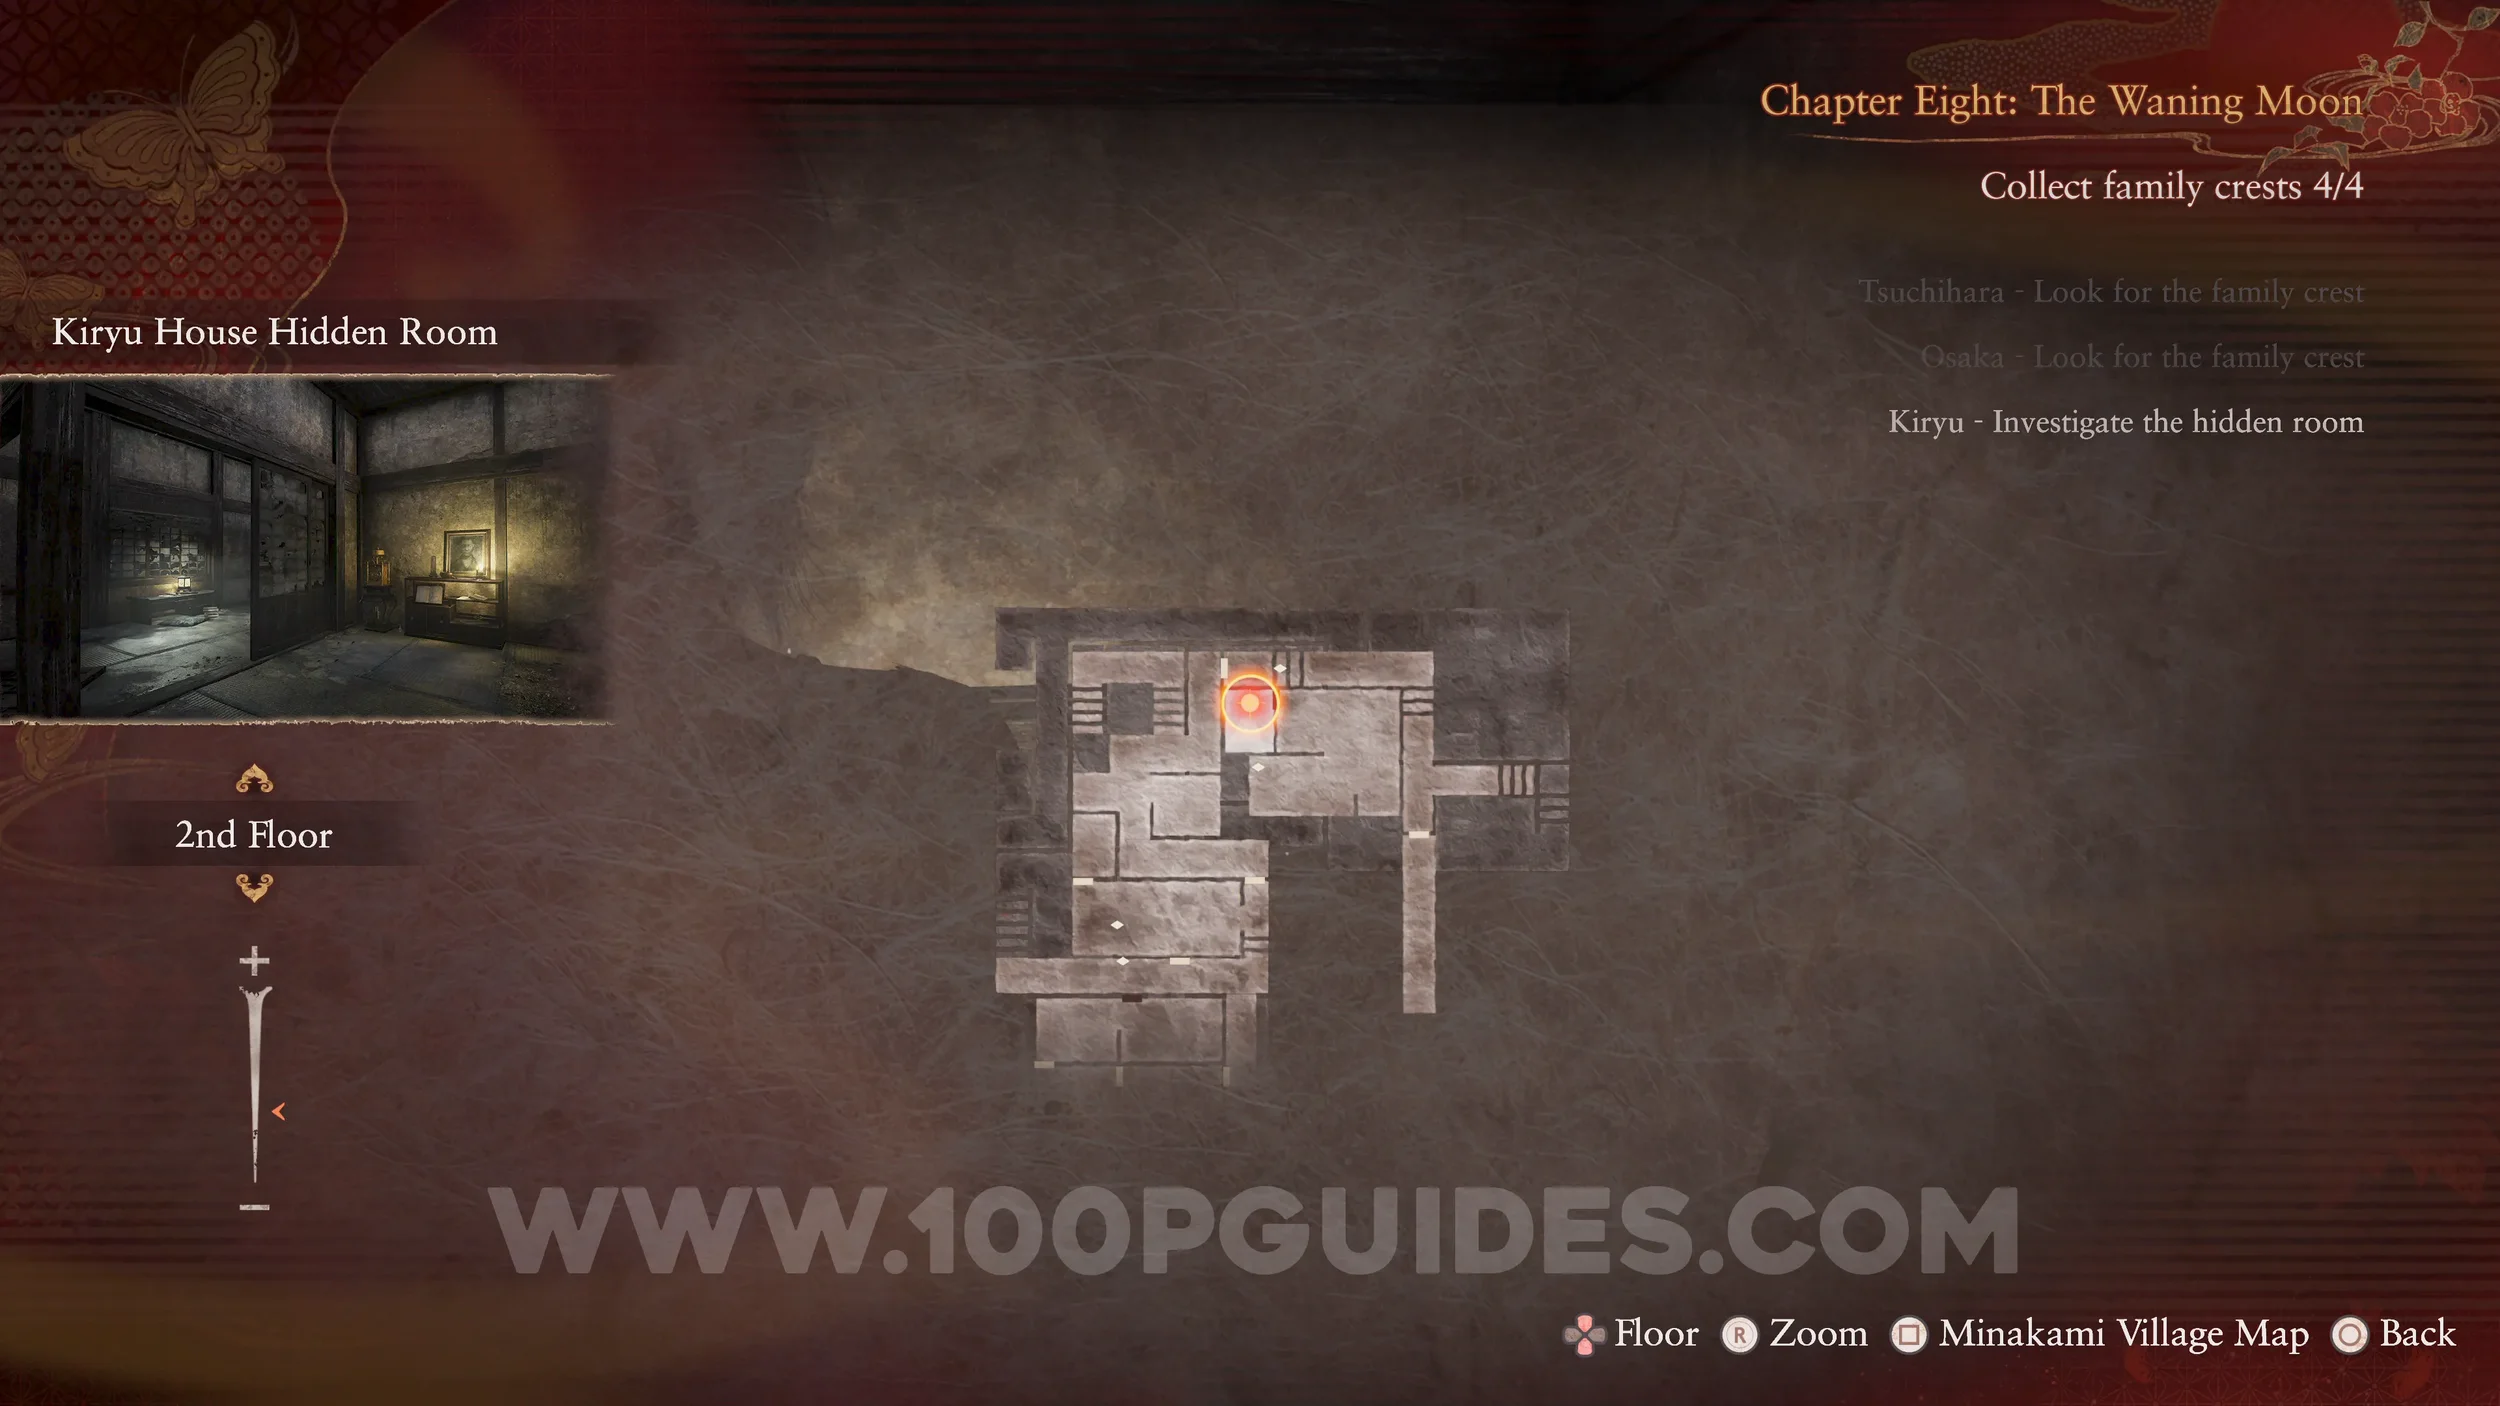
Revenant #18 - 009 Kiryu House Ancestor. Also in the room with the Kiryu Crest.
Prayer Beads #72. Dropped by the previous revenant.
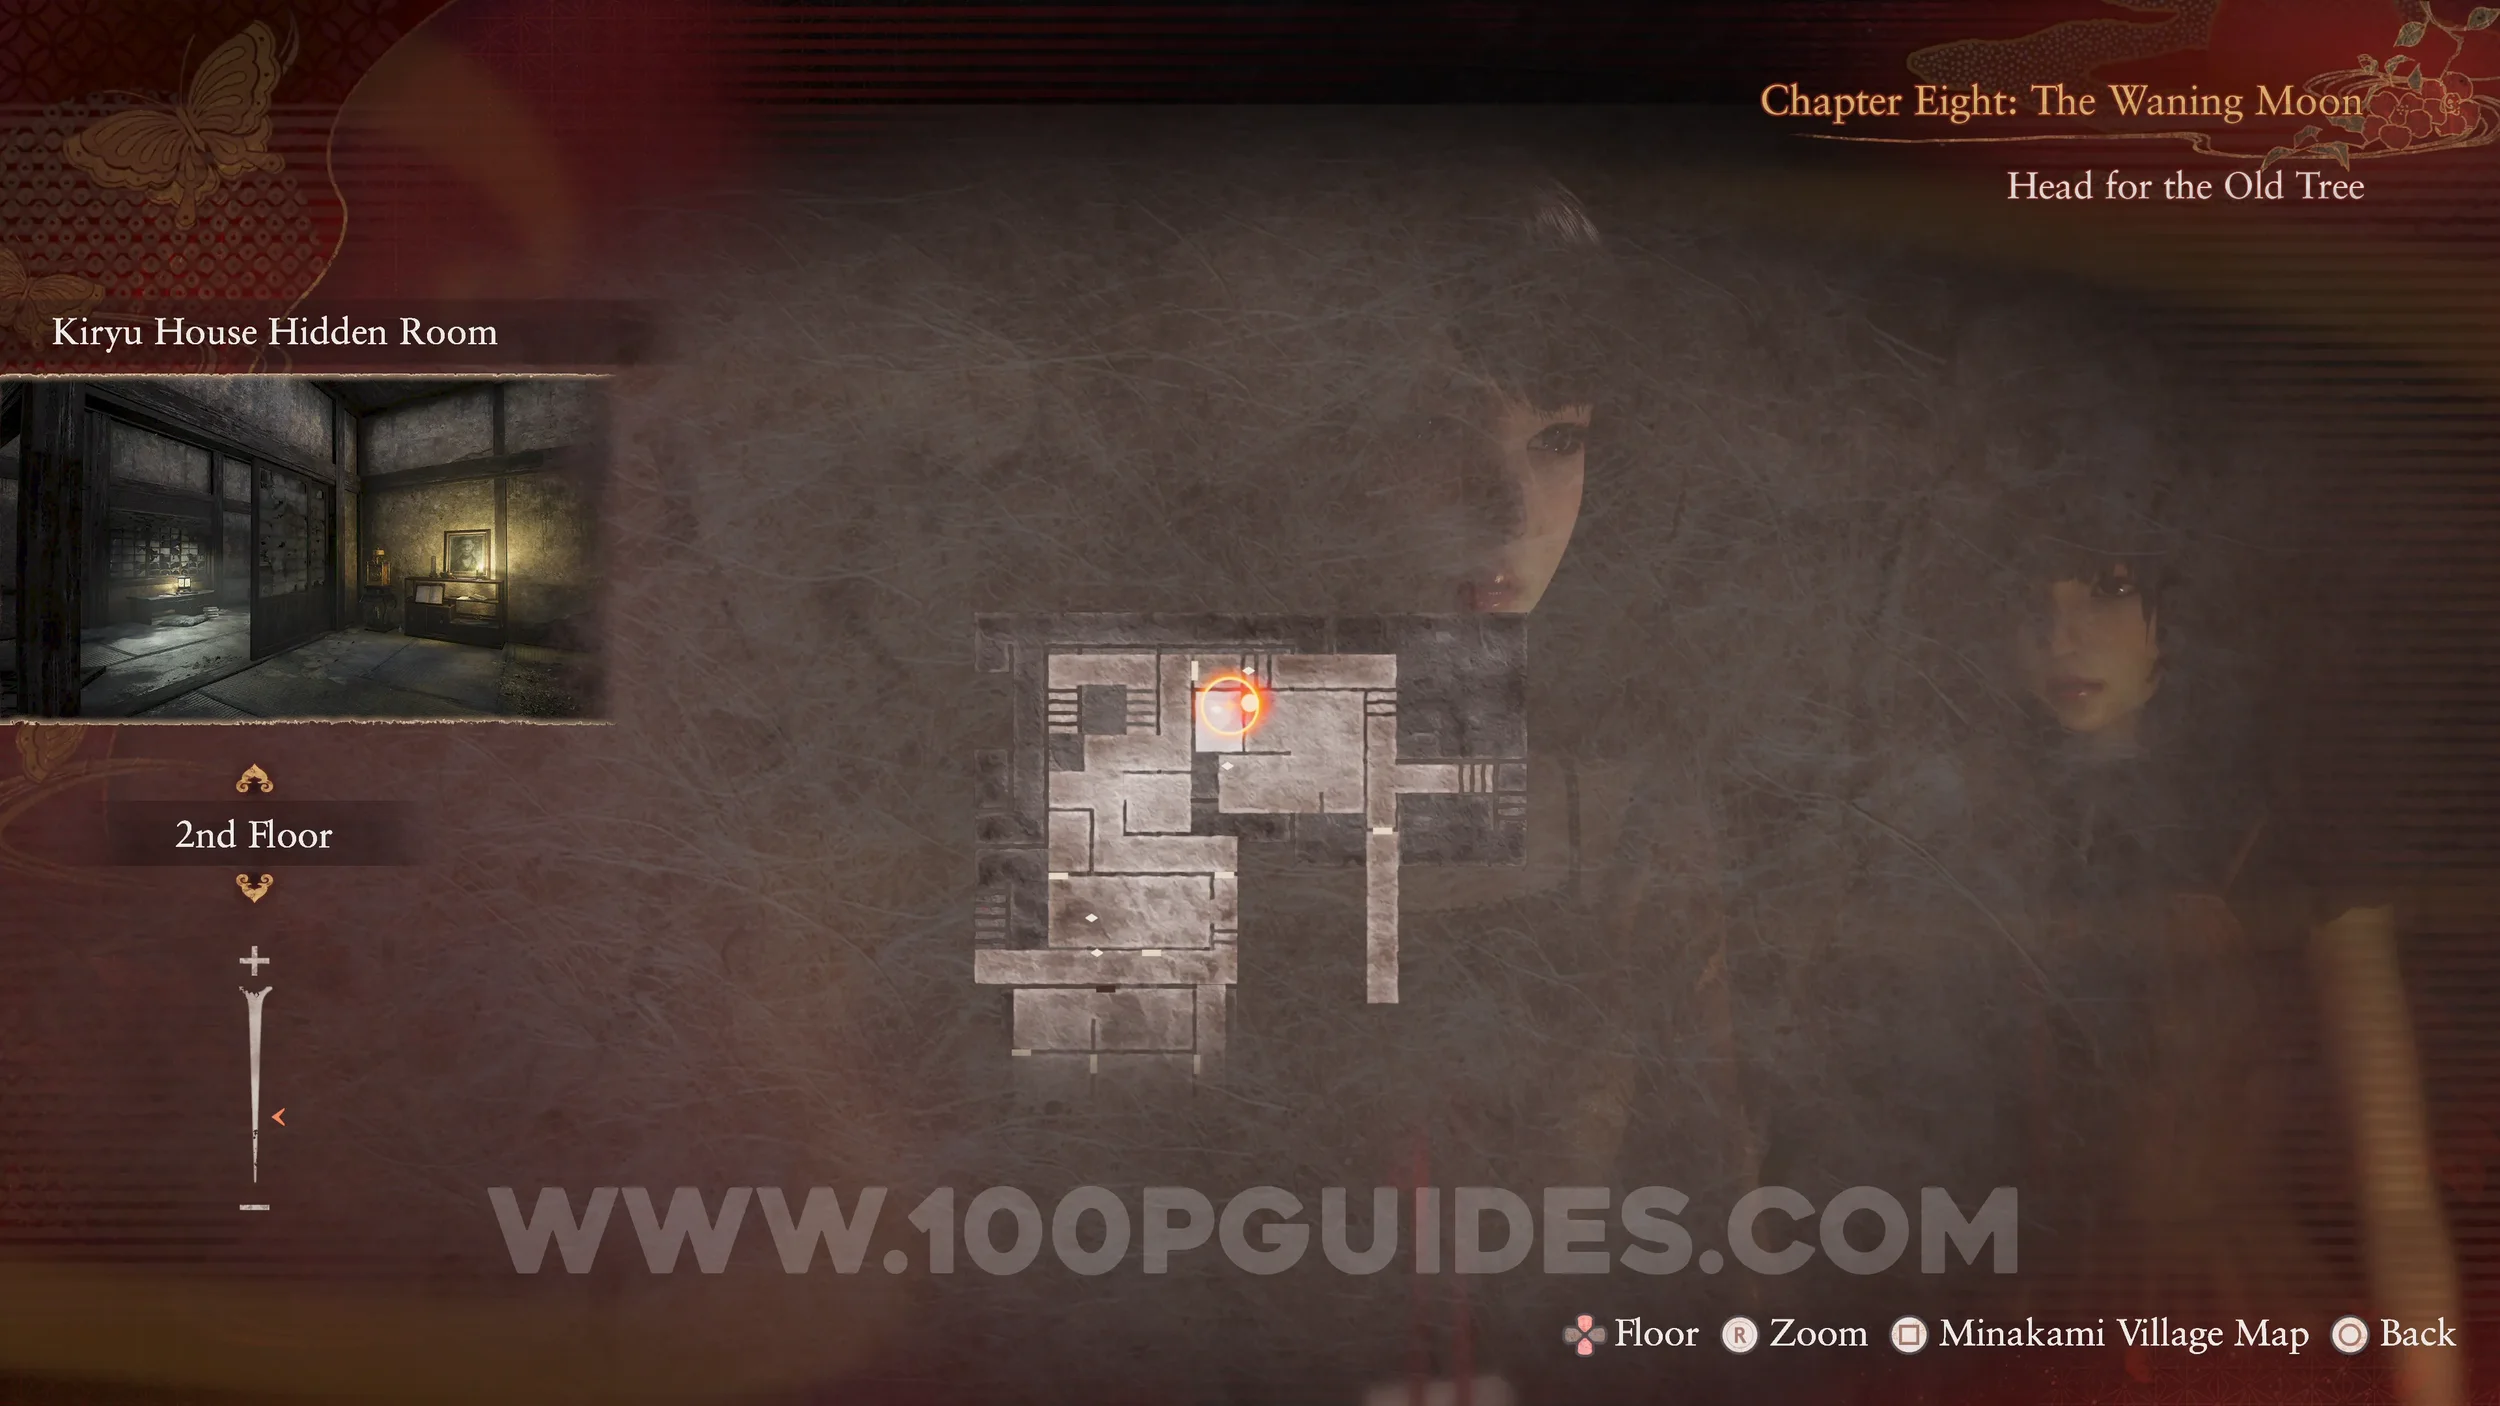
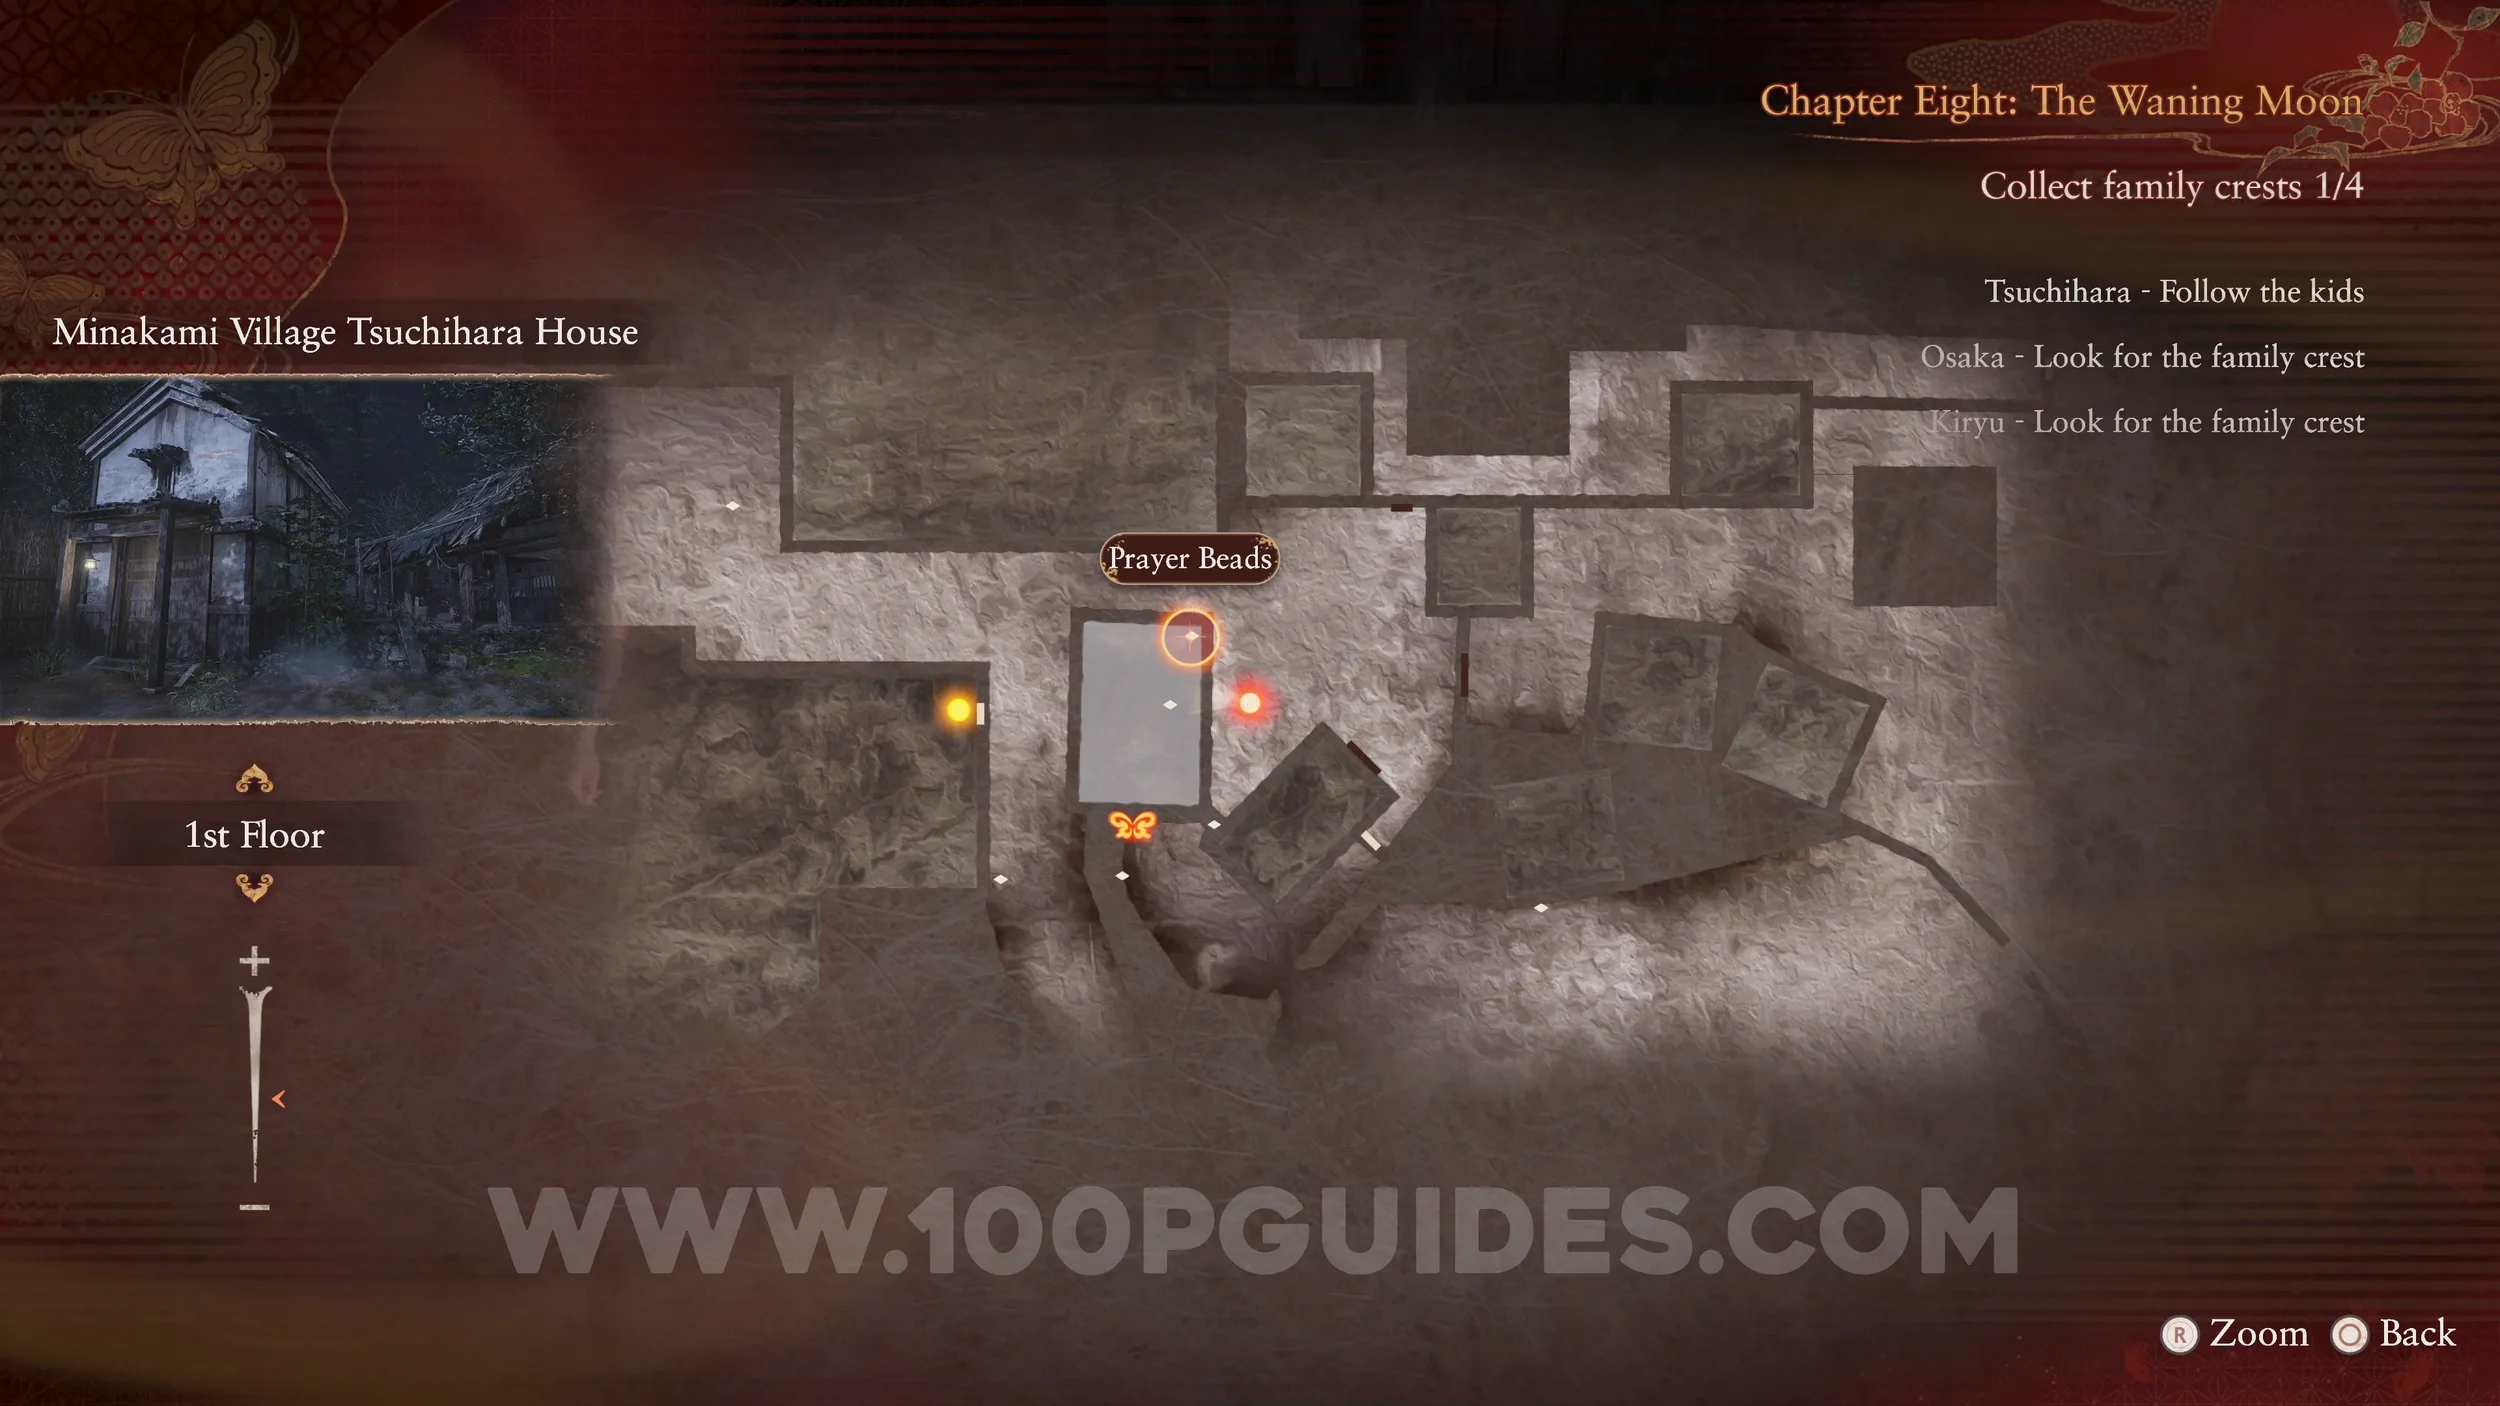
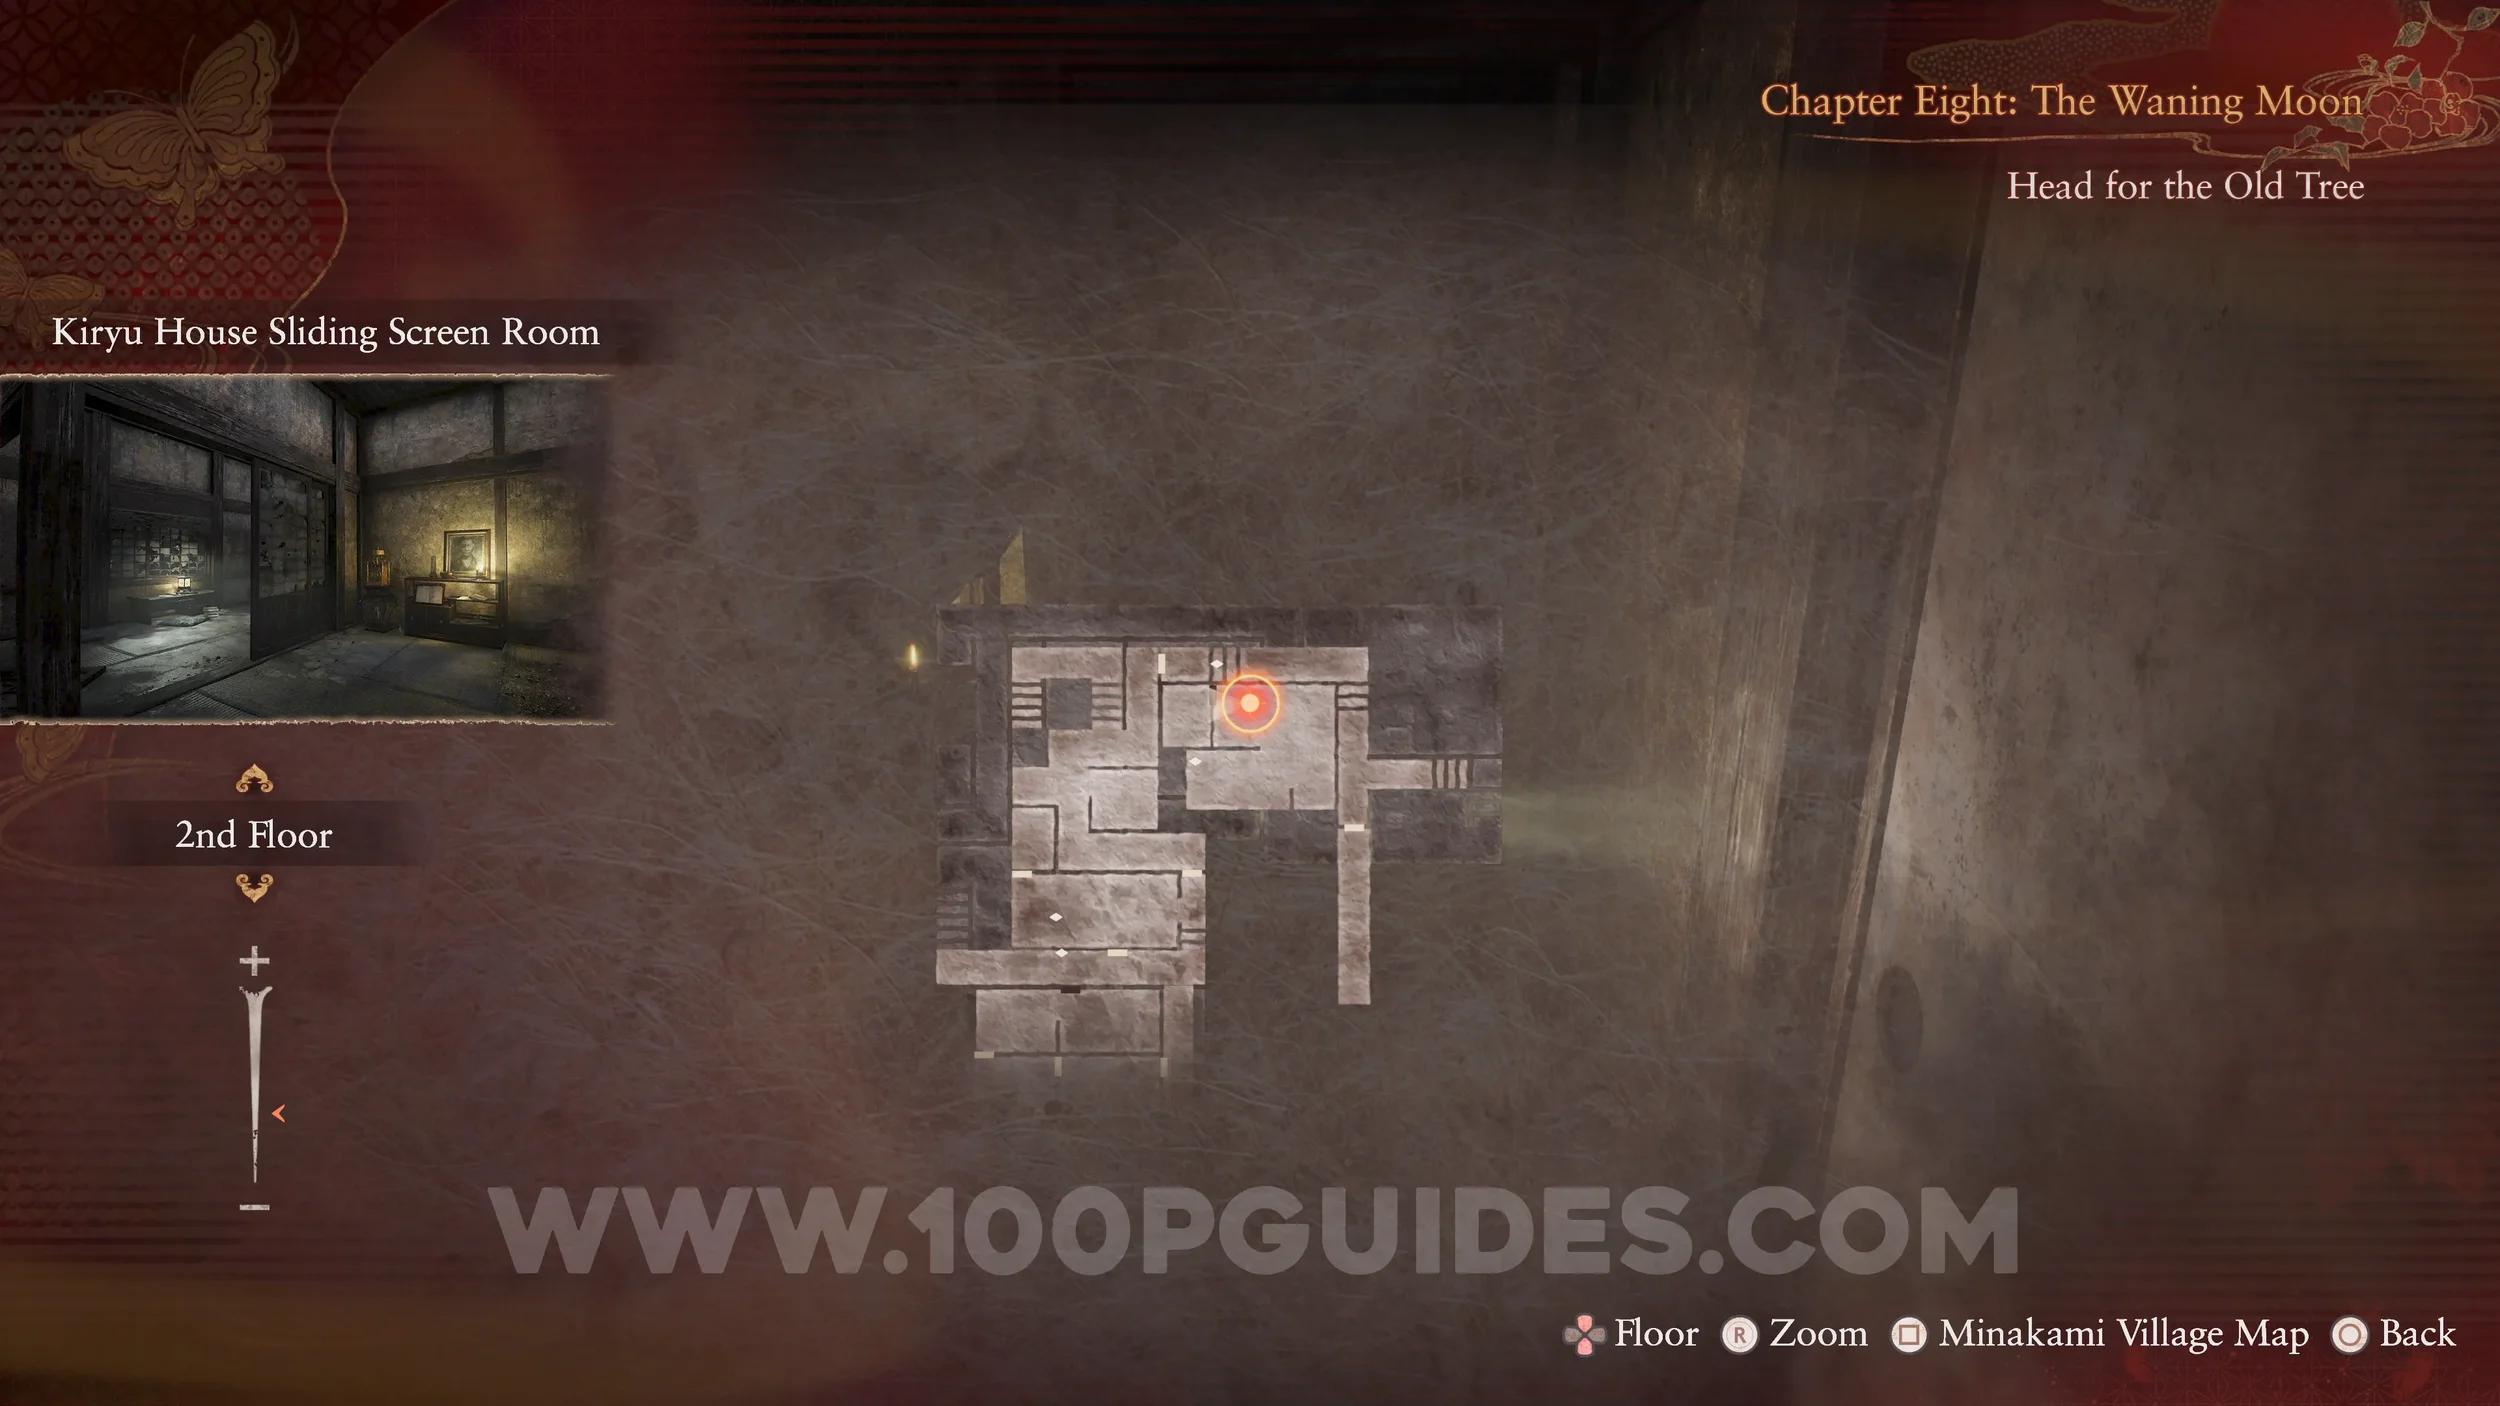
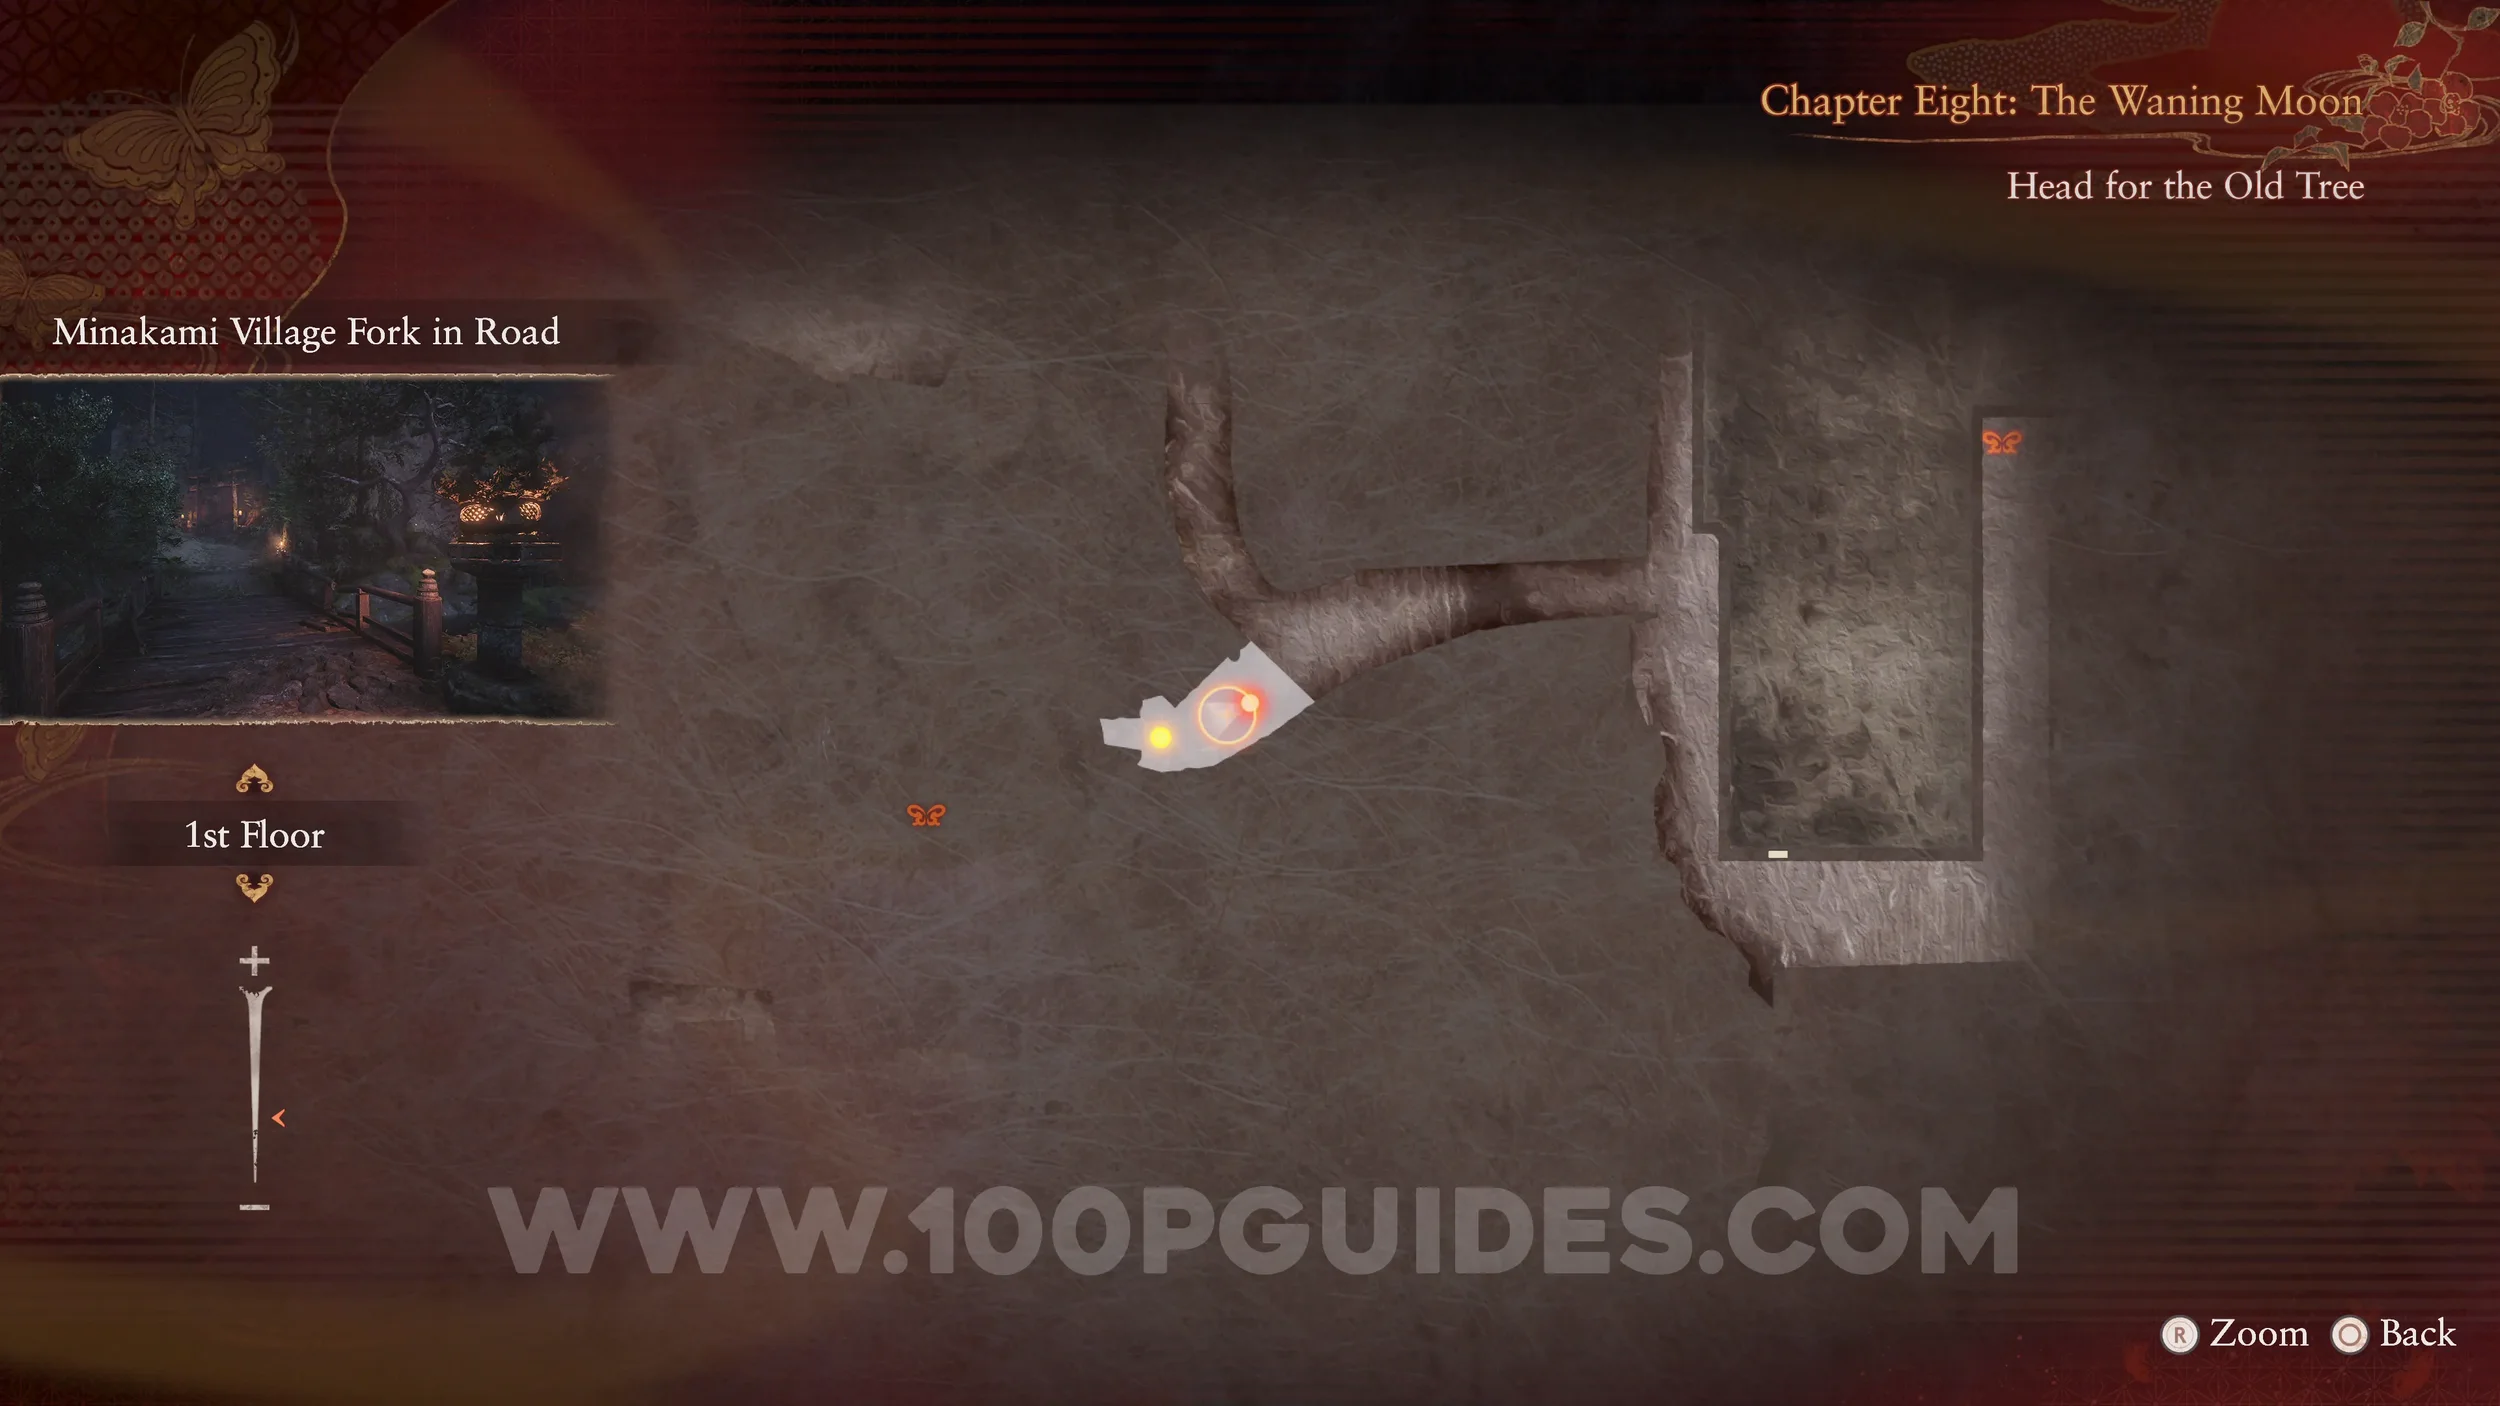
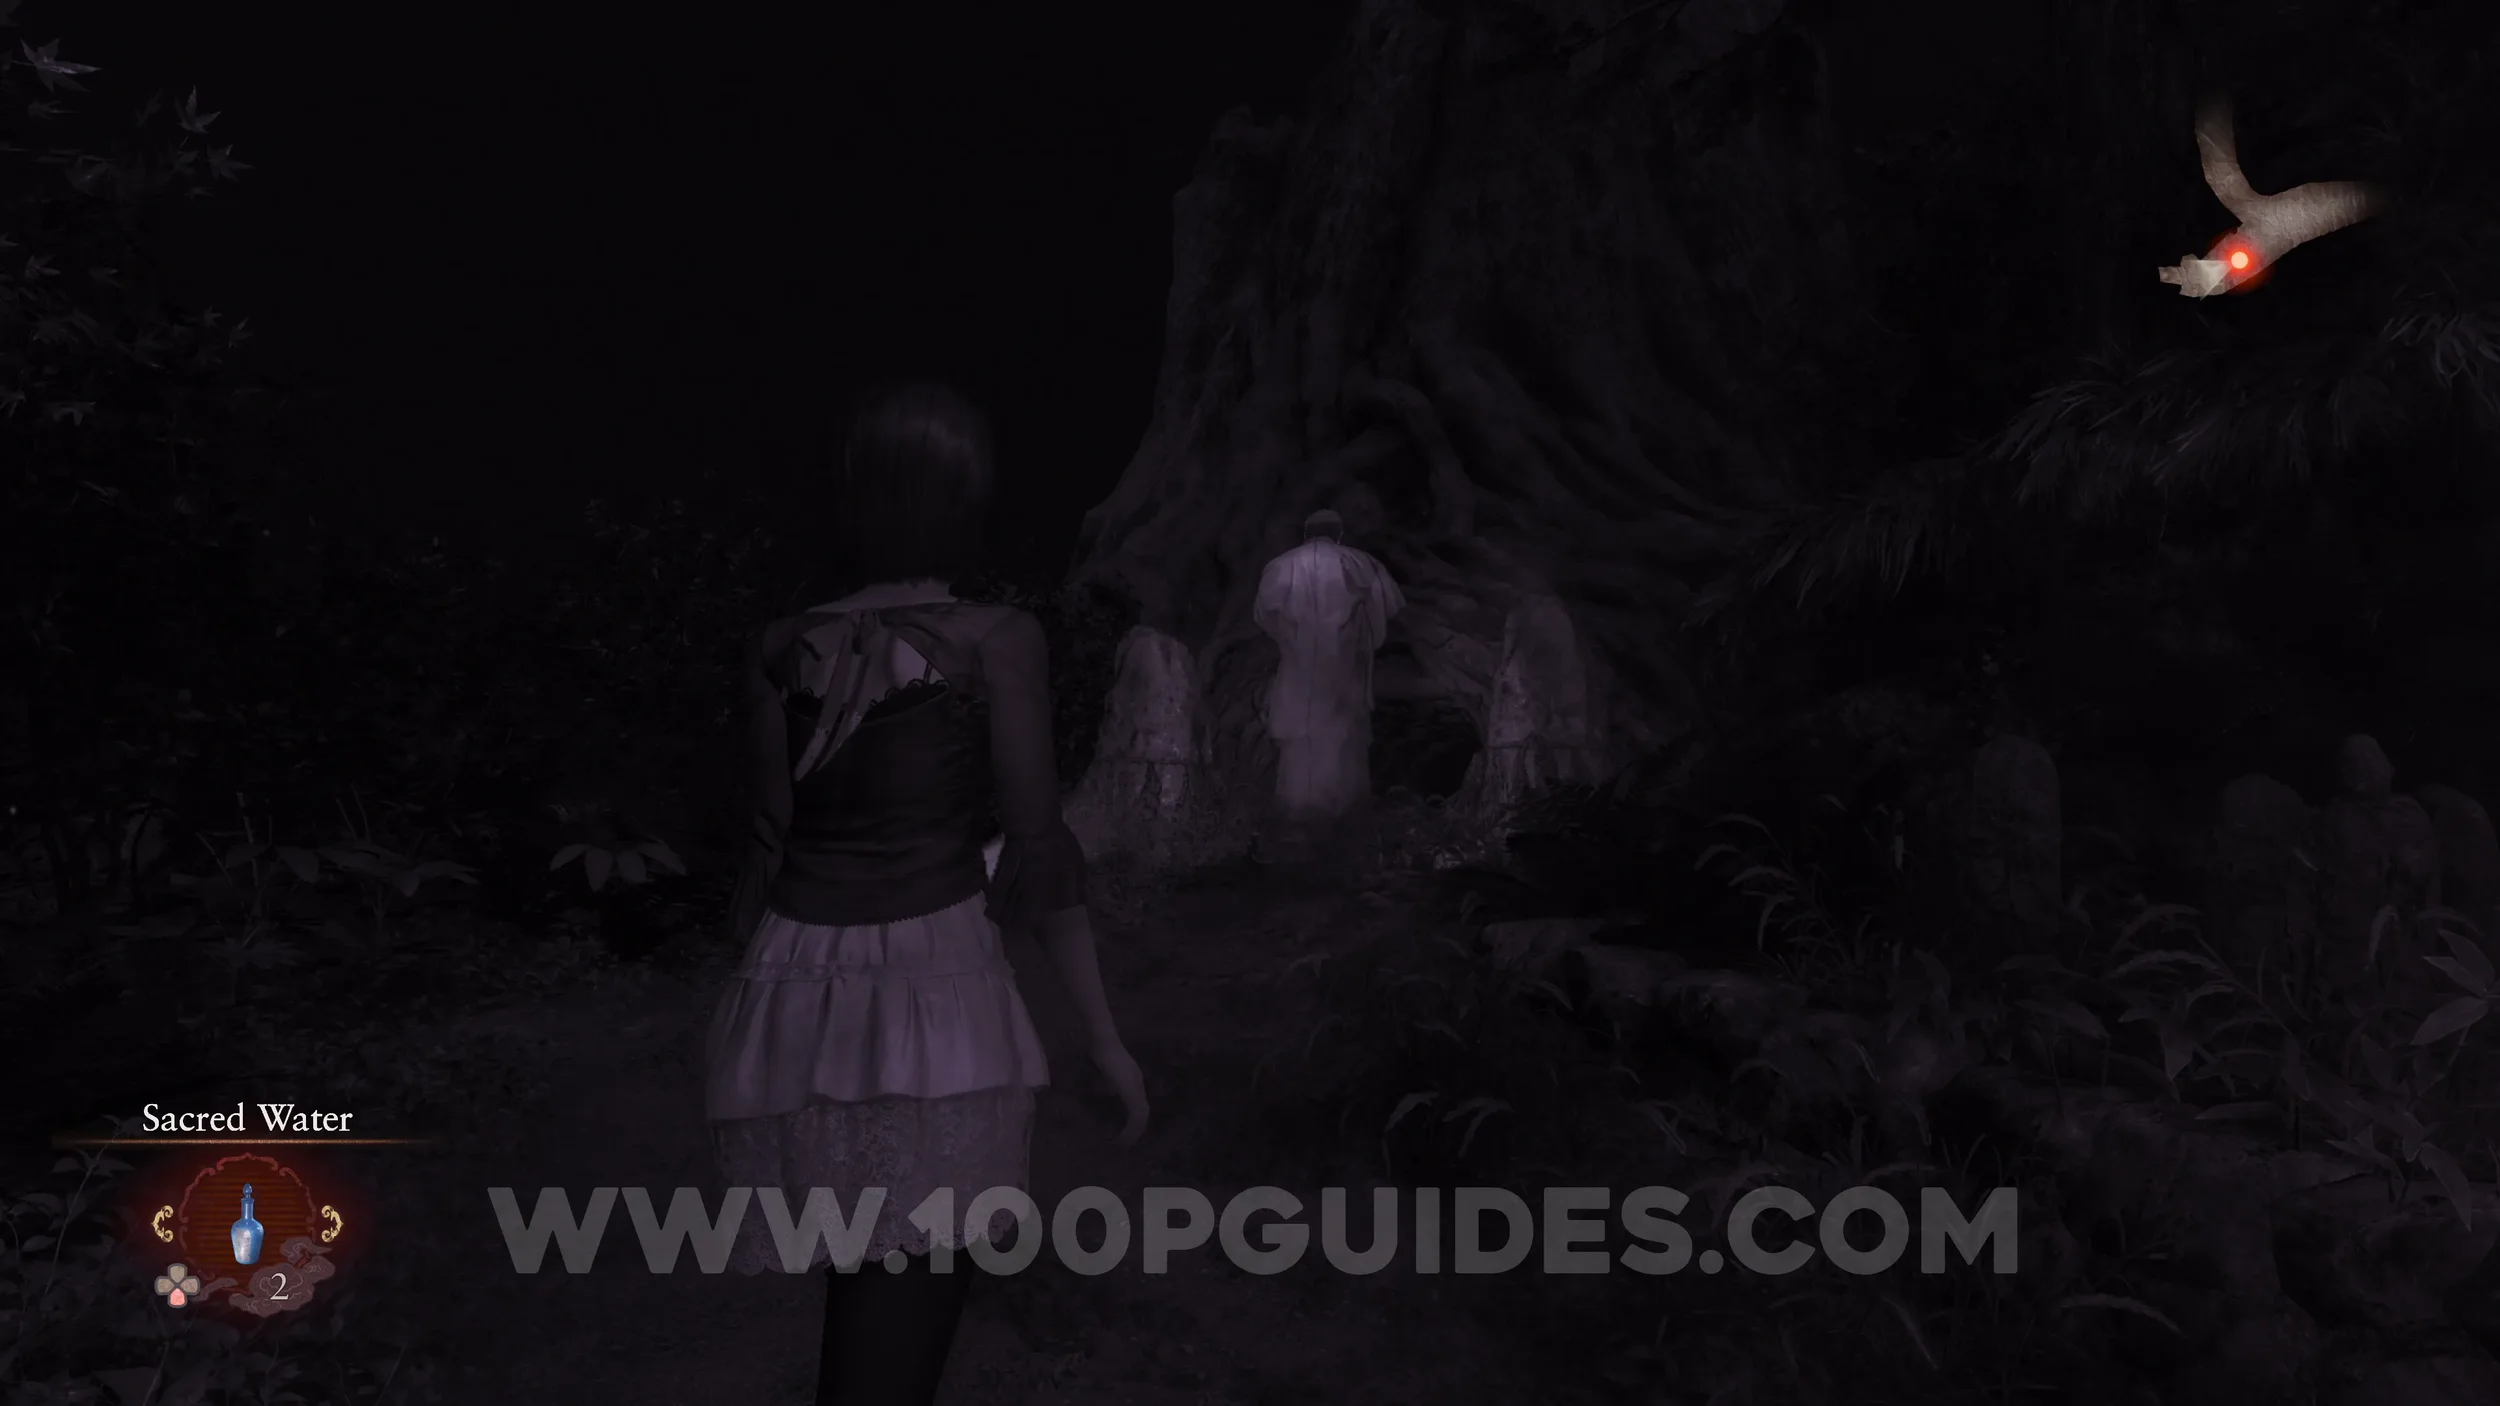
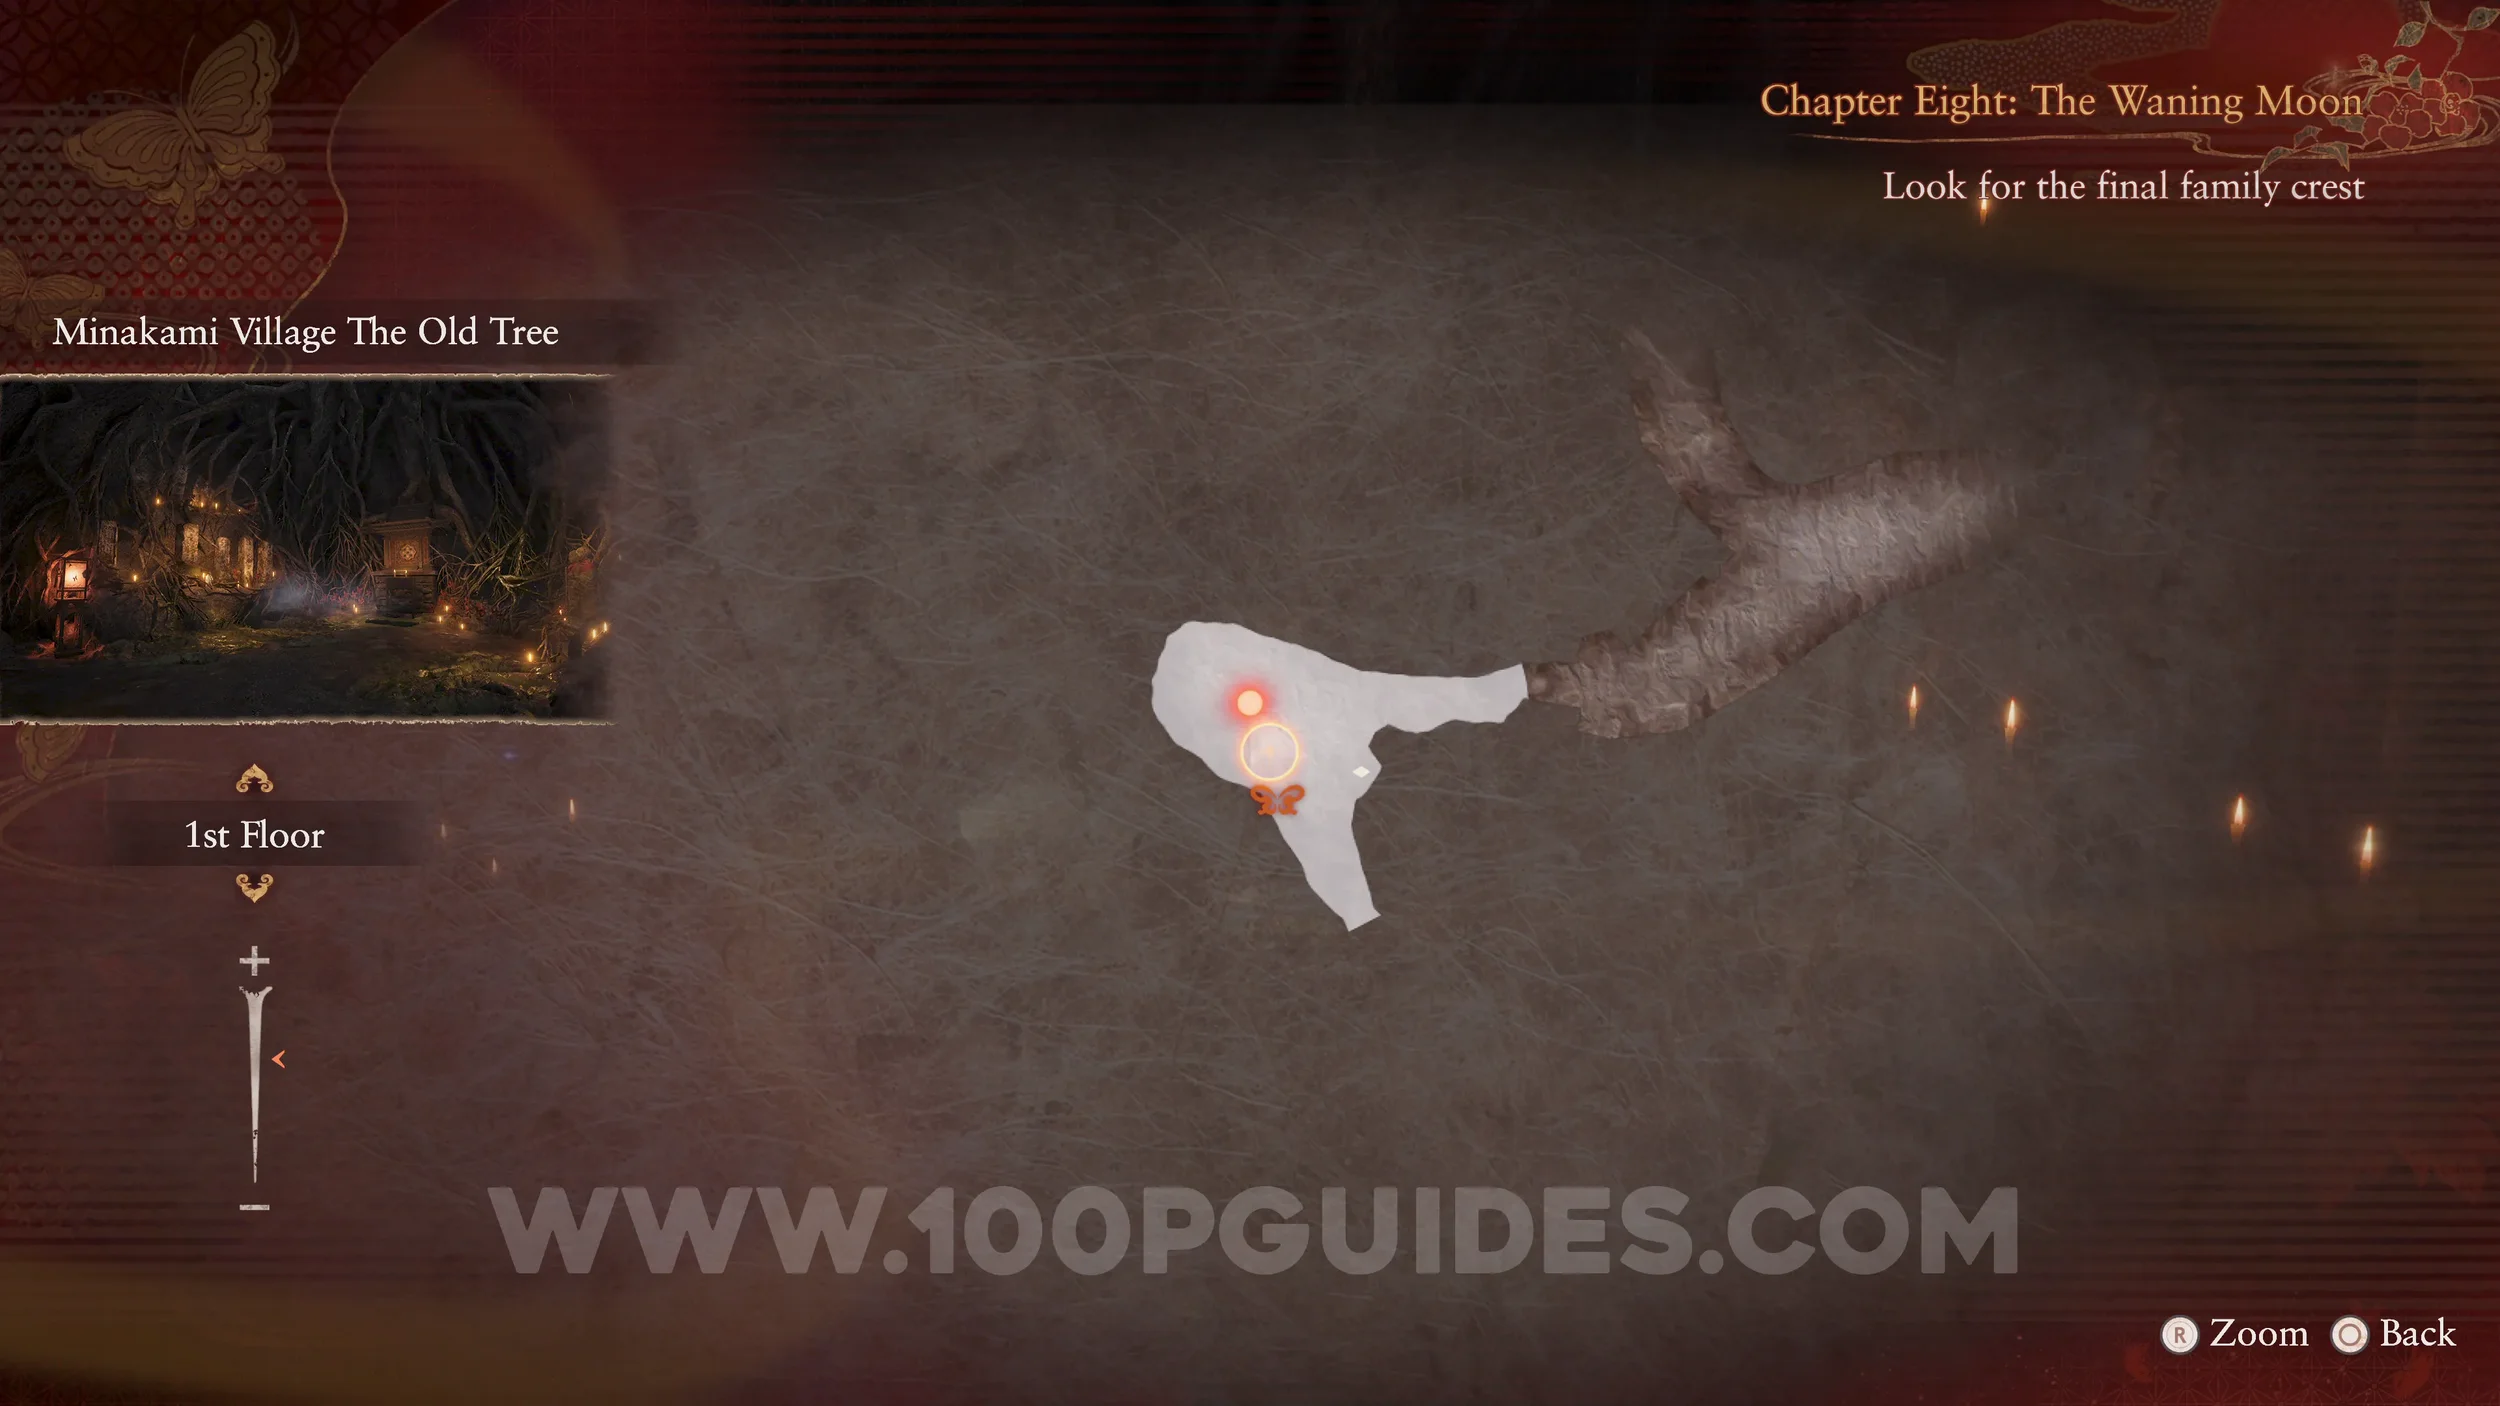
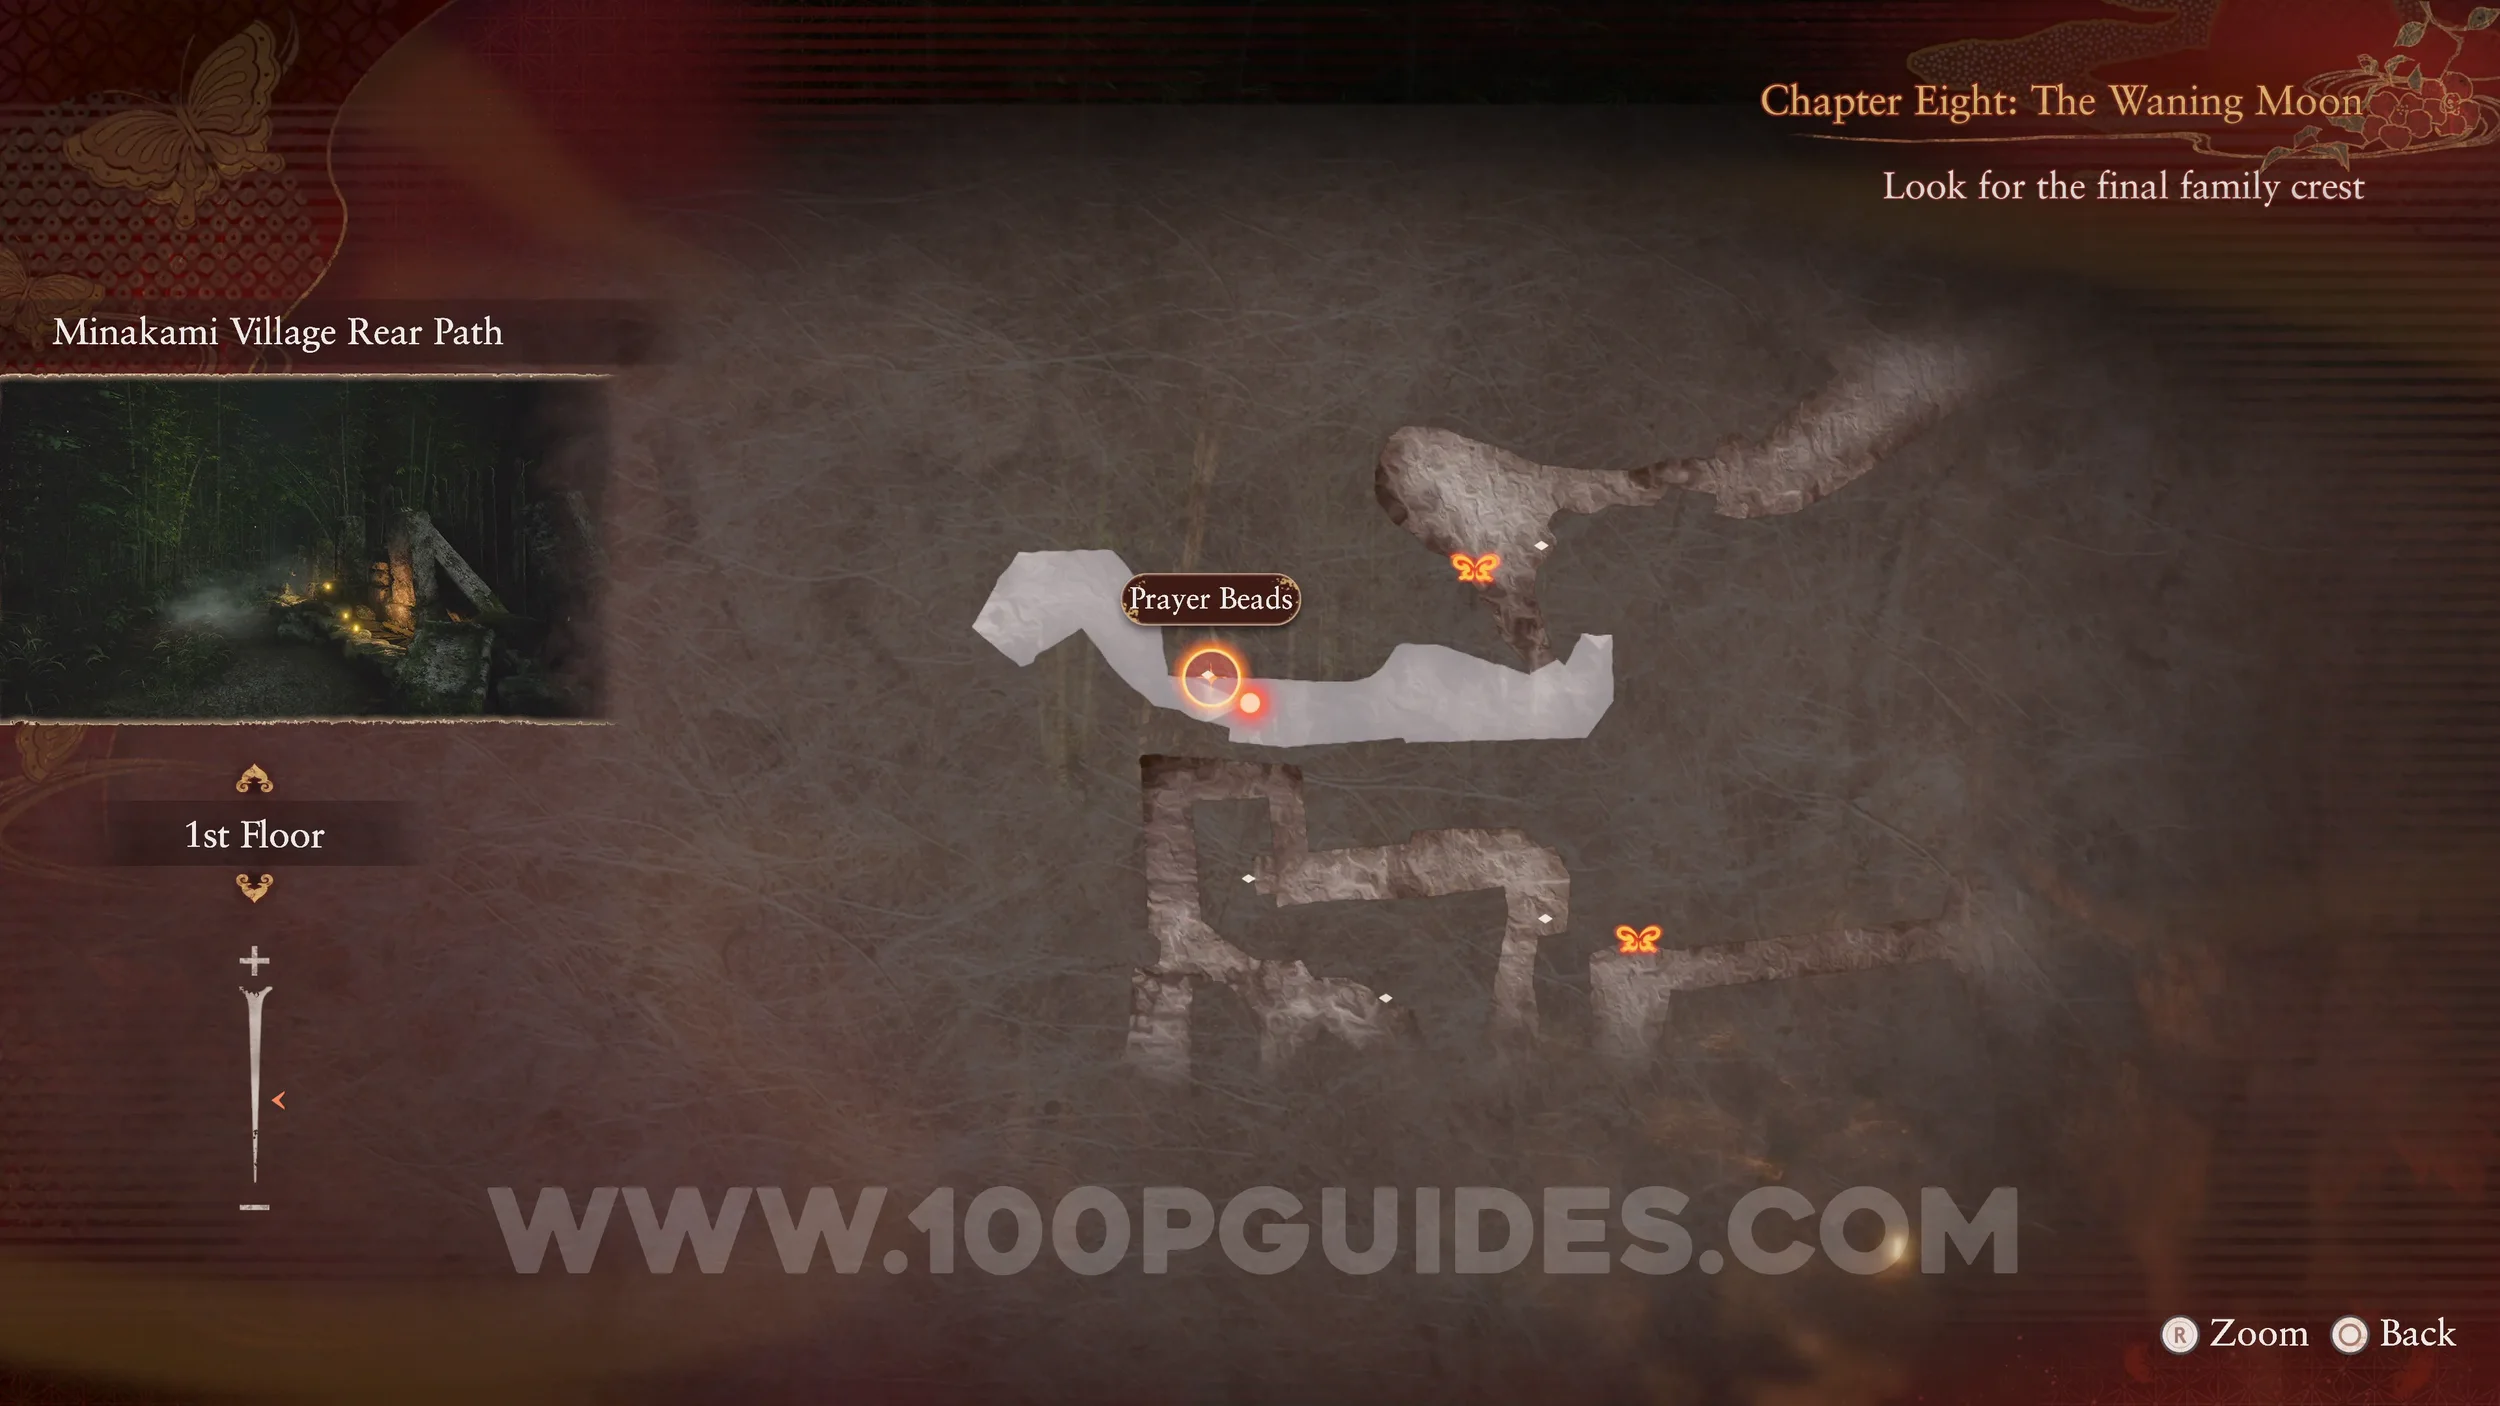
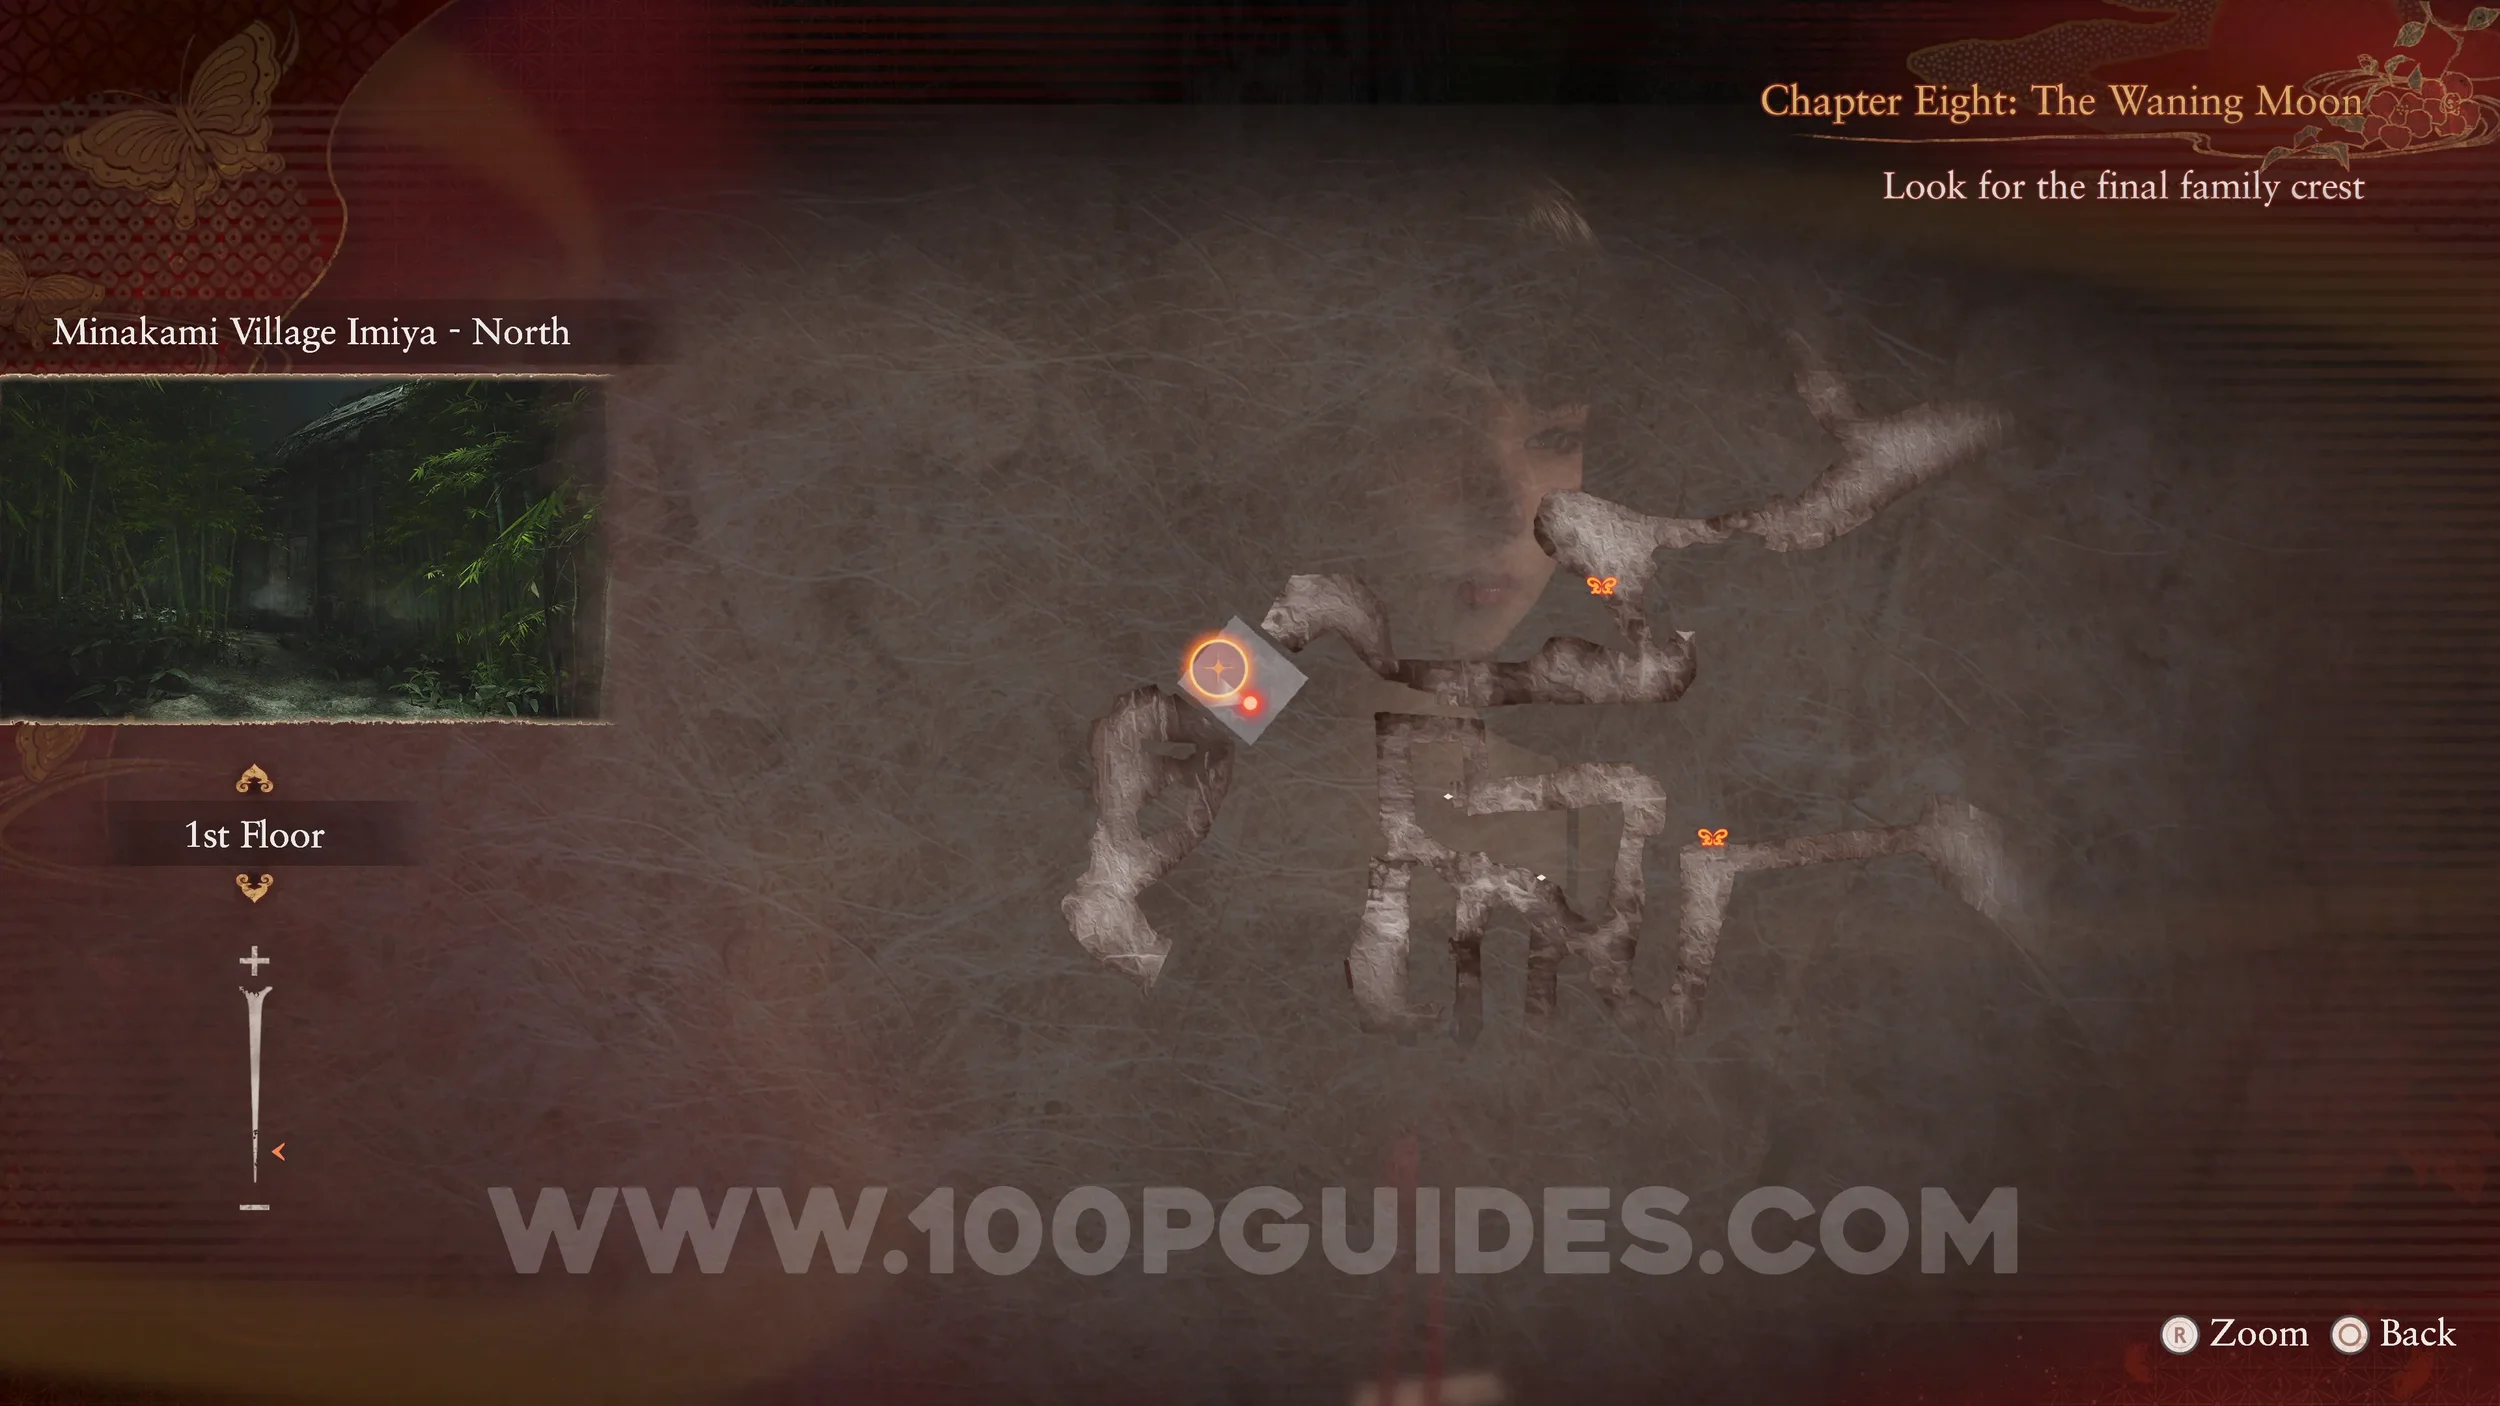
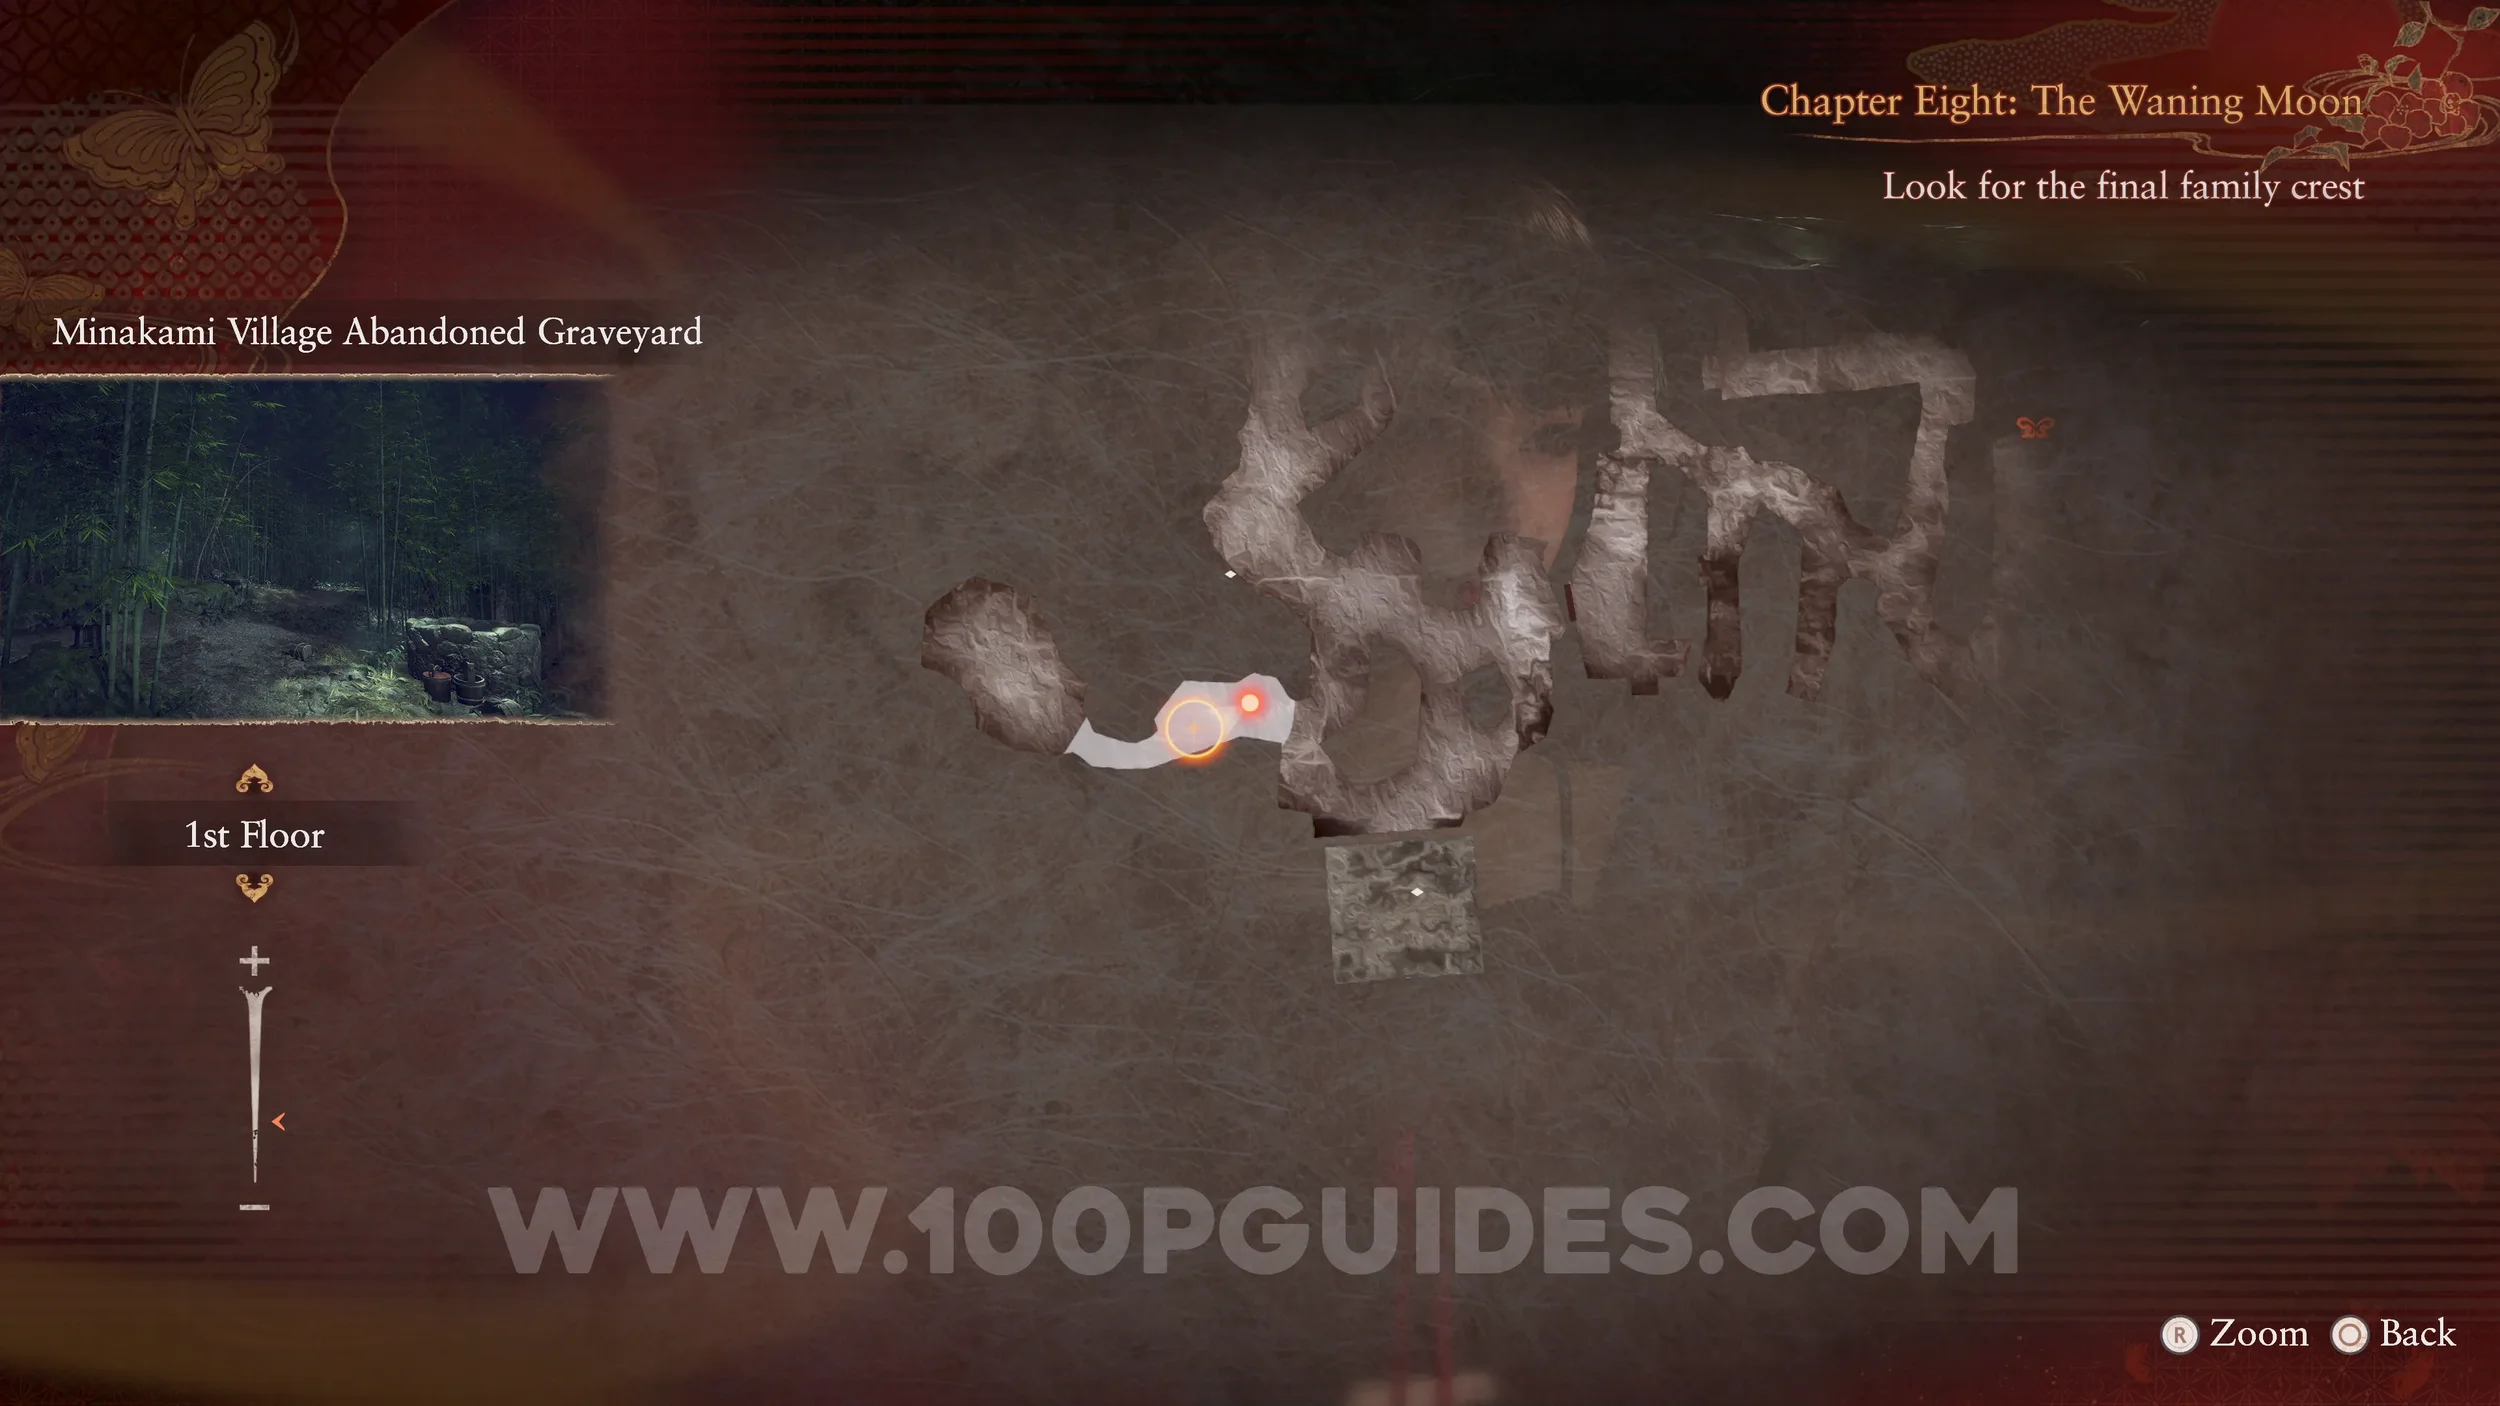
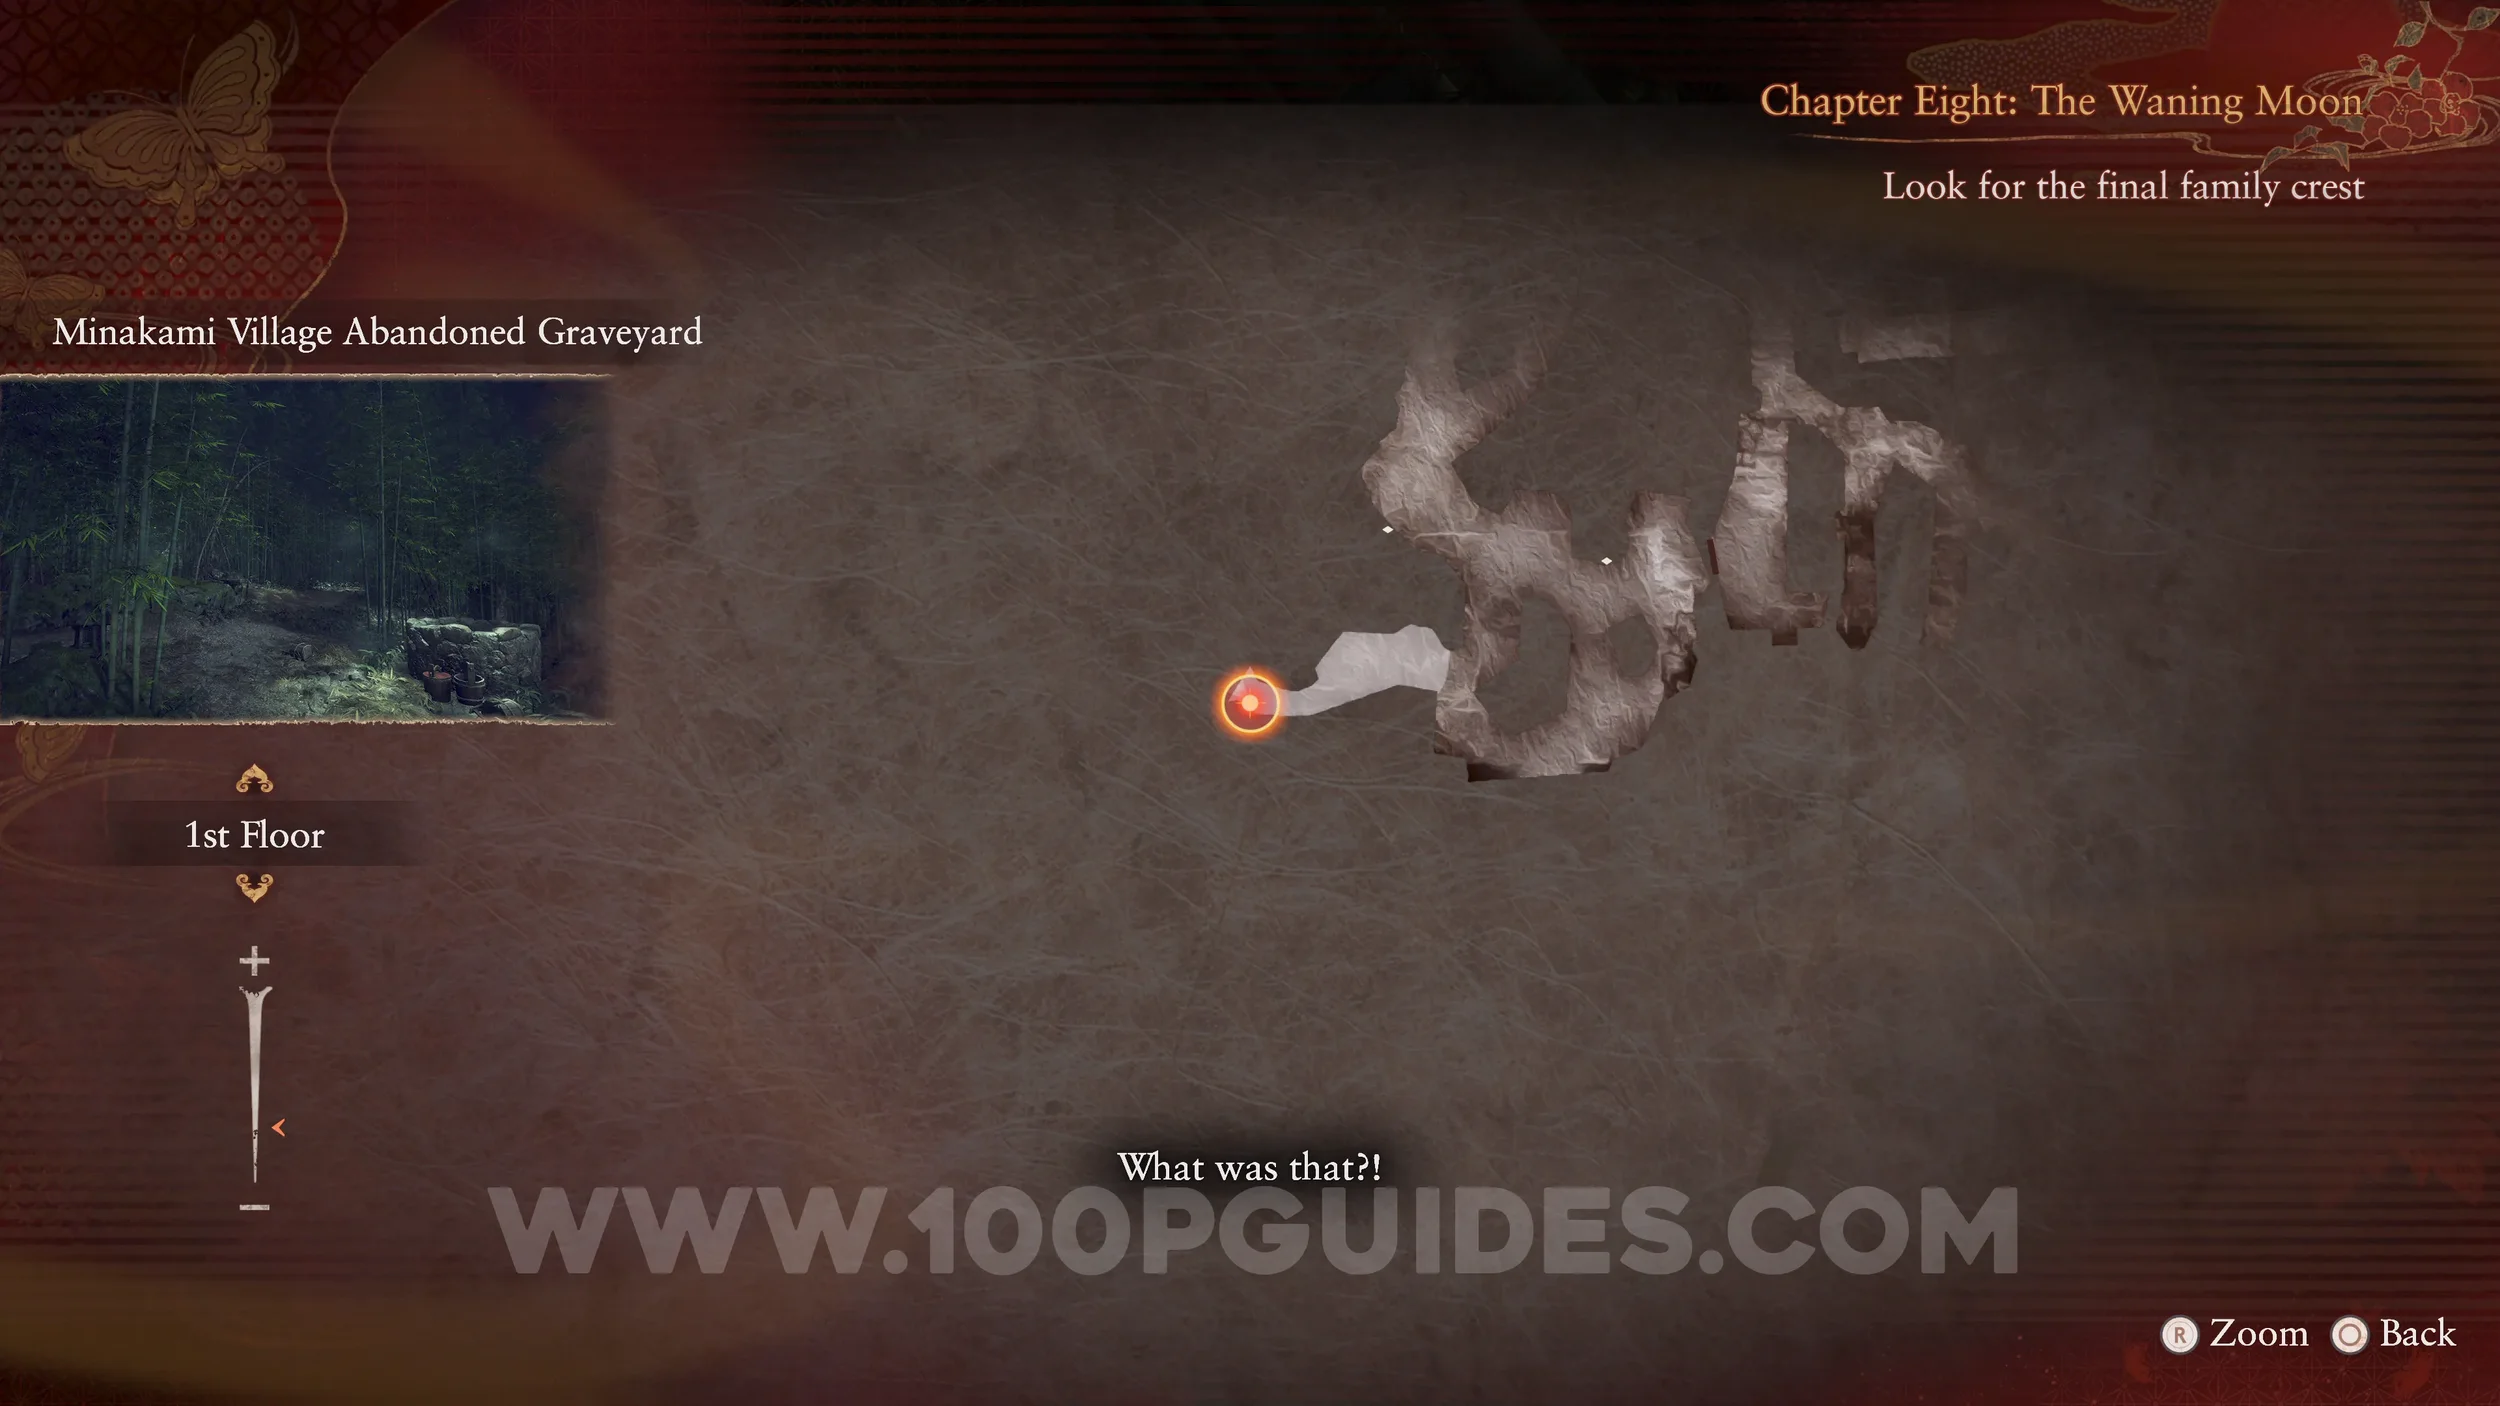
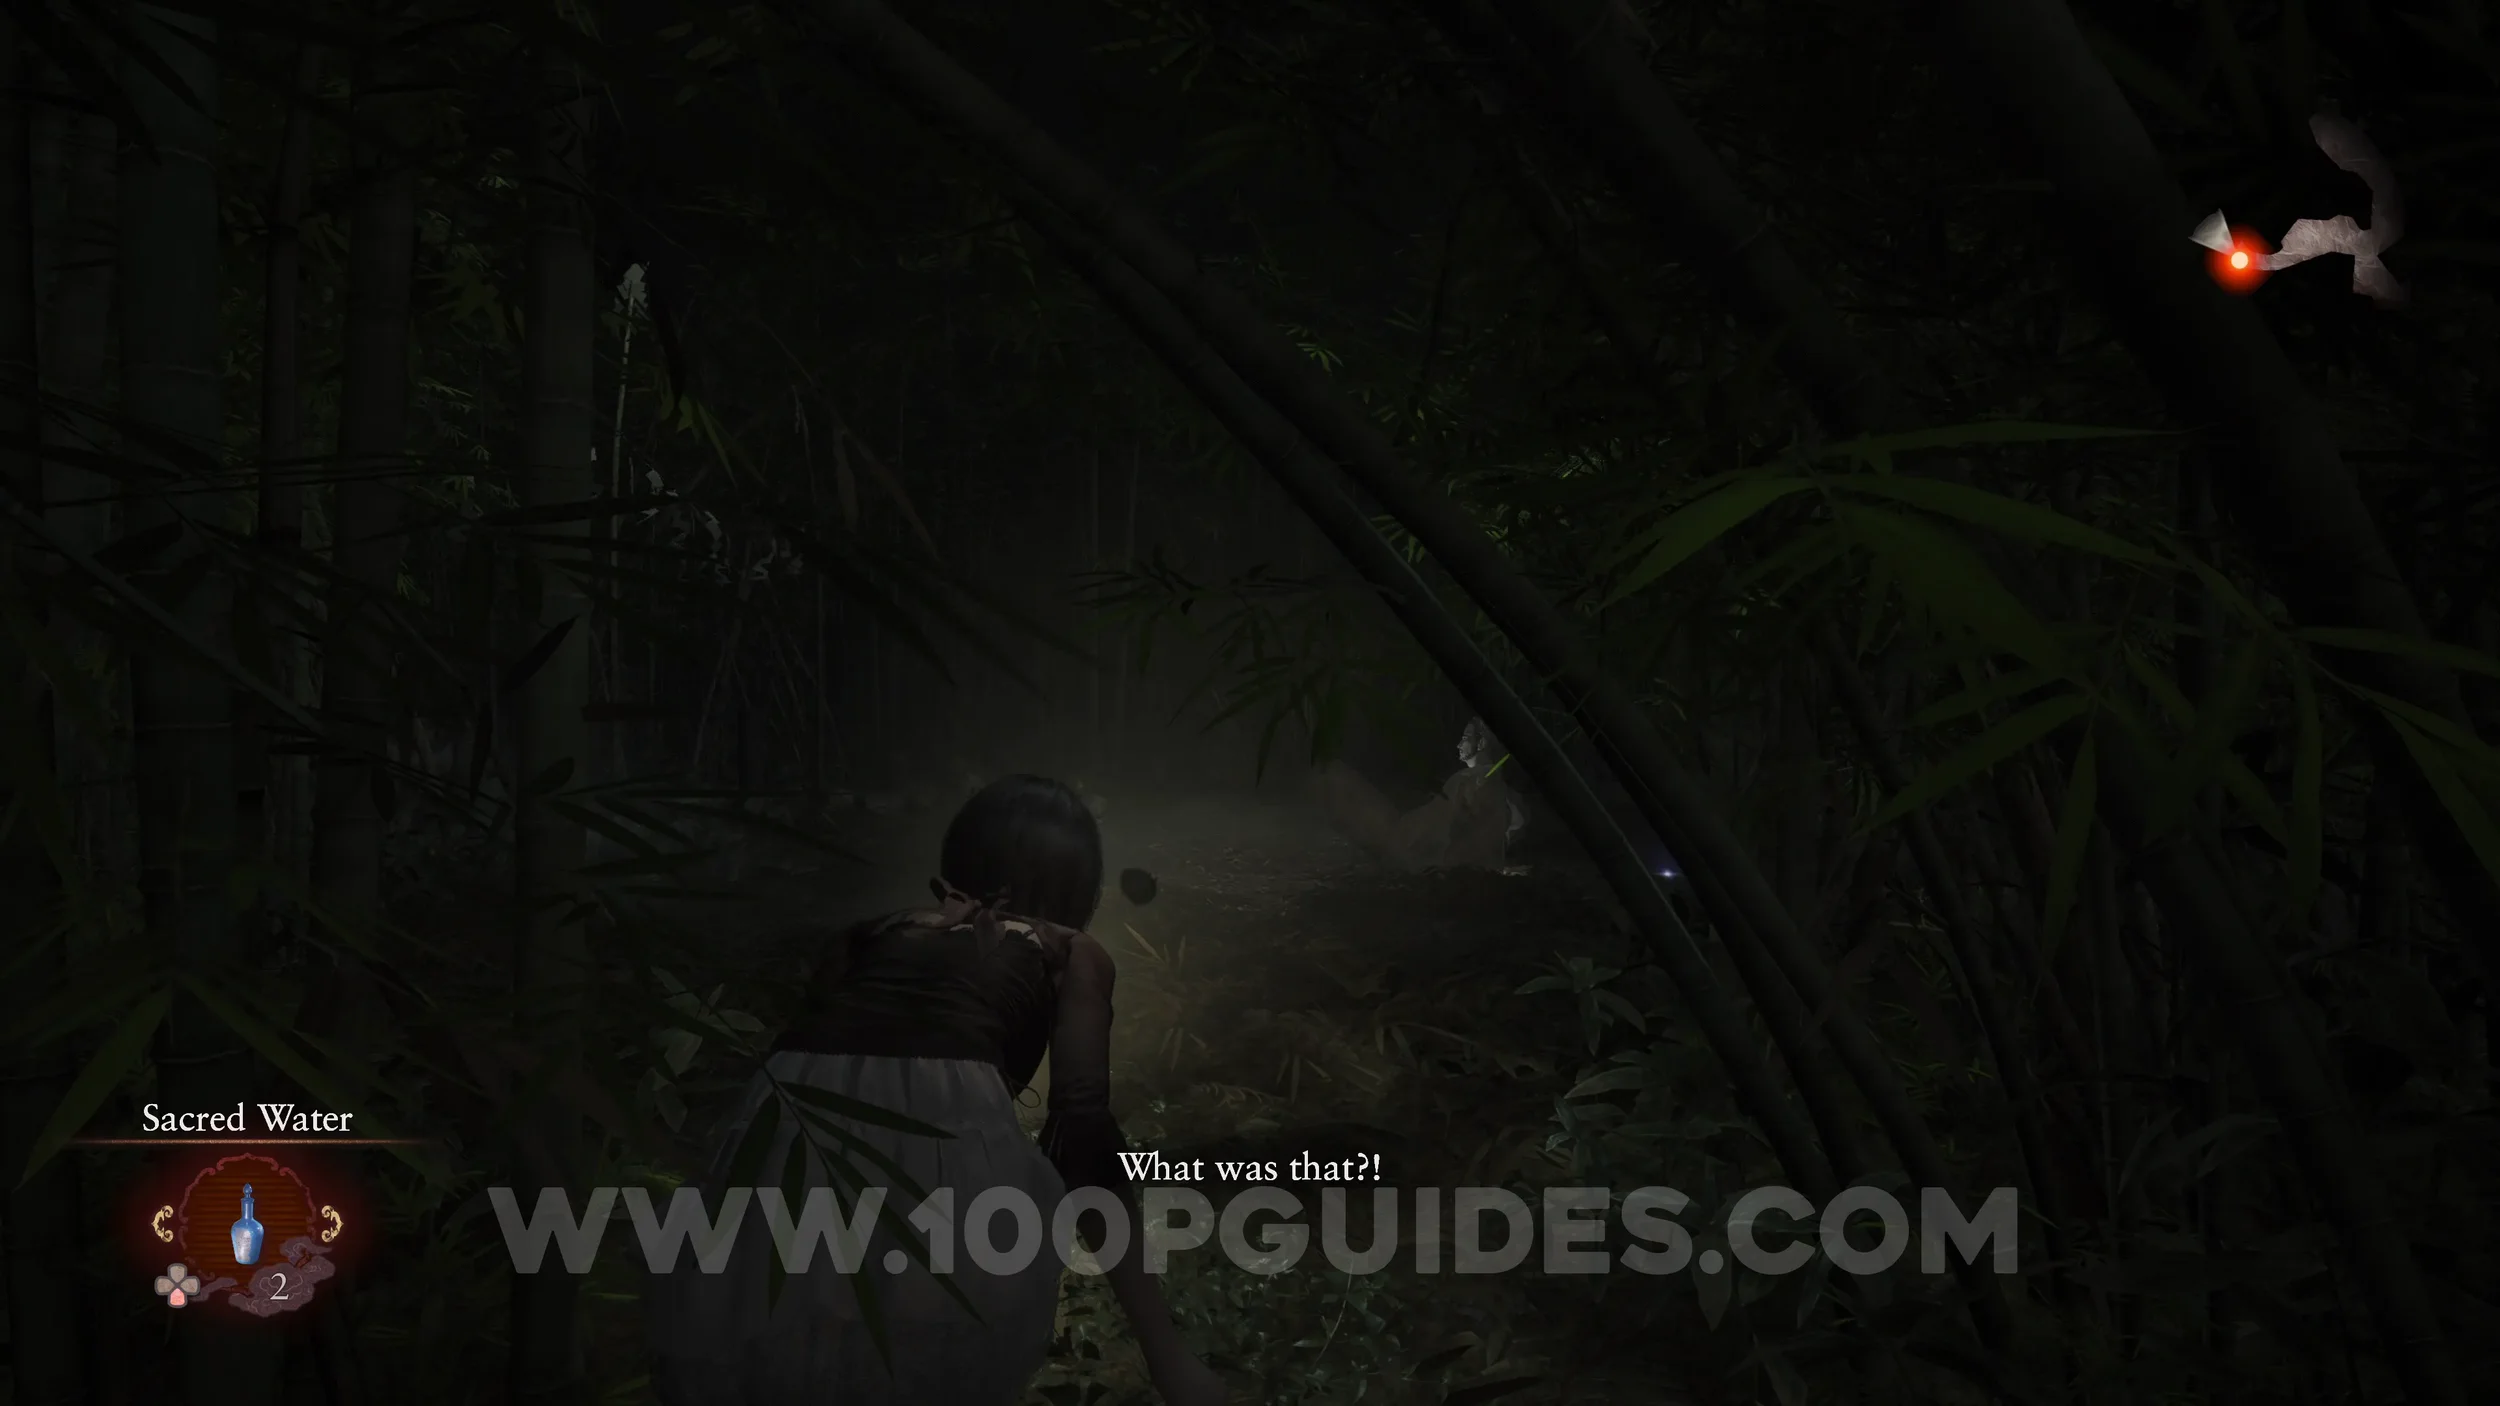
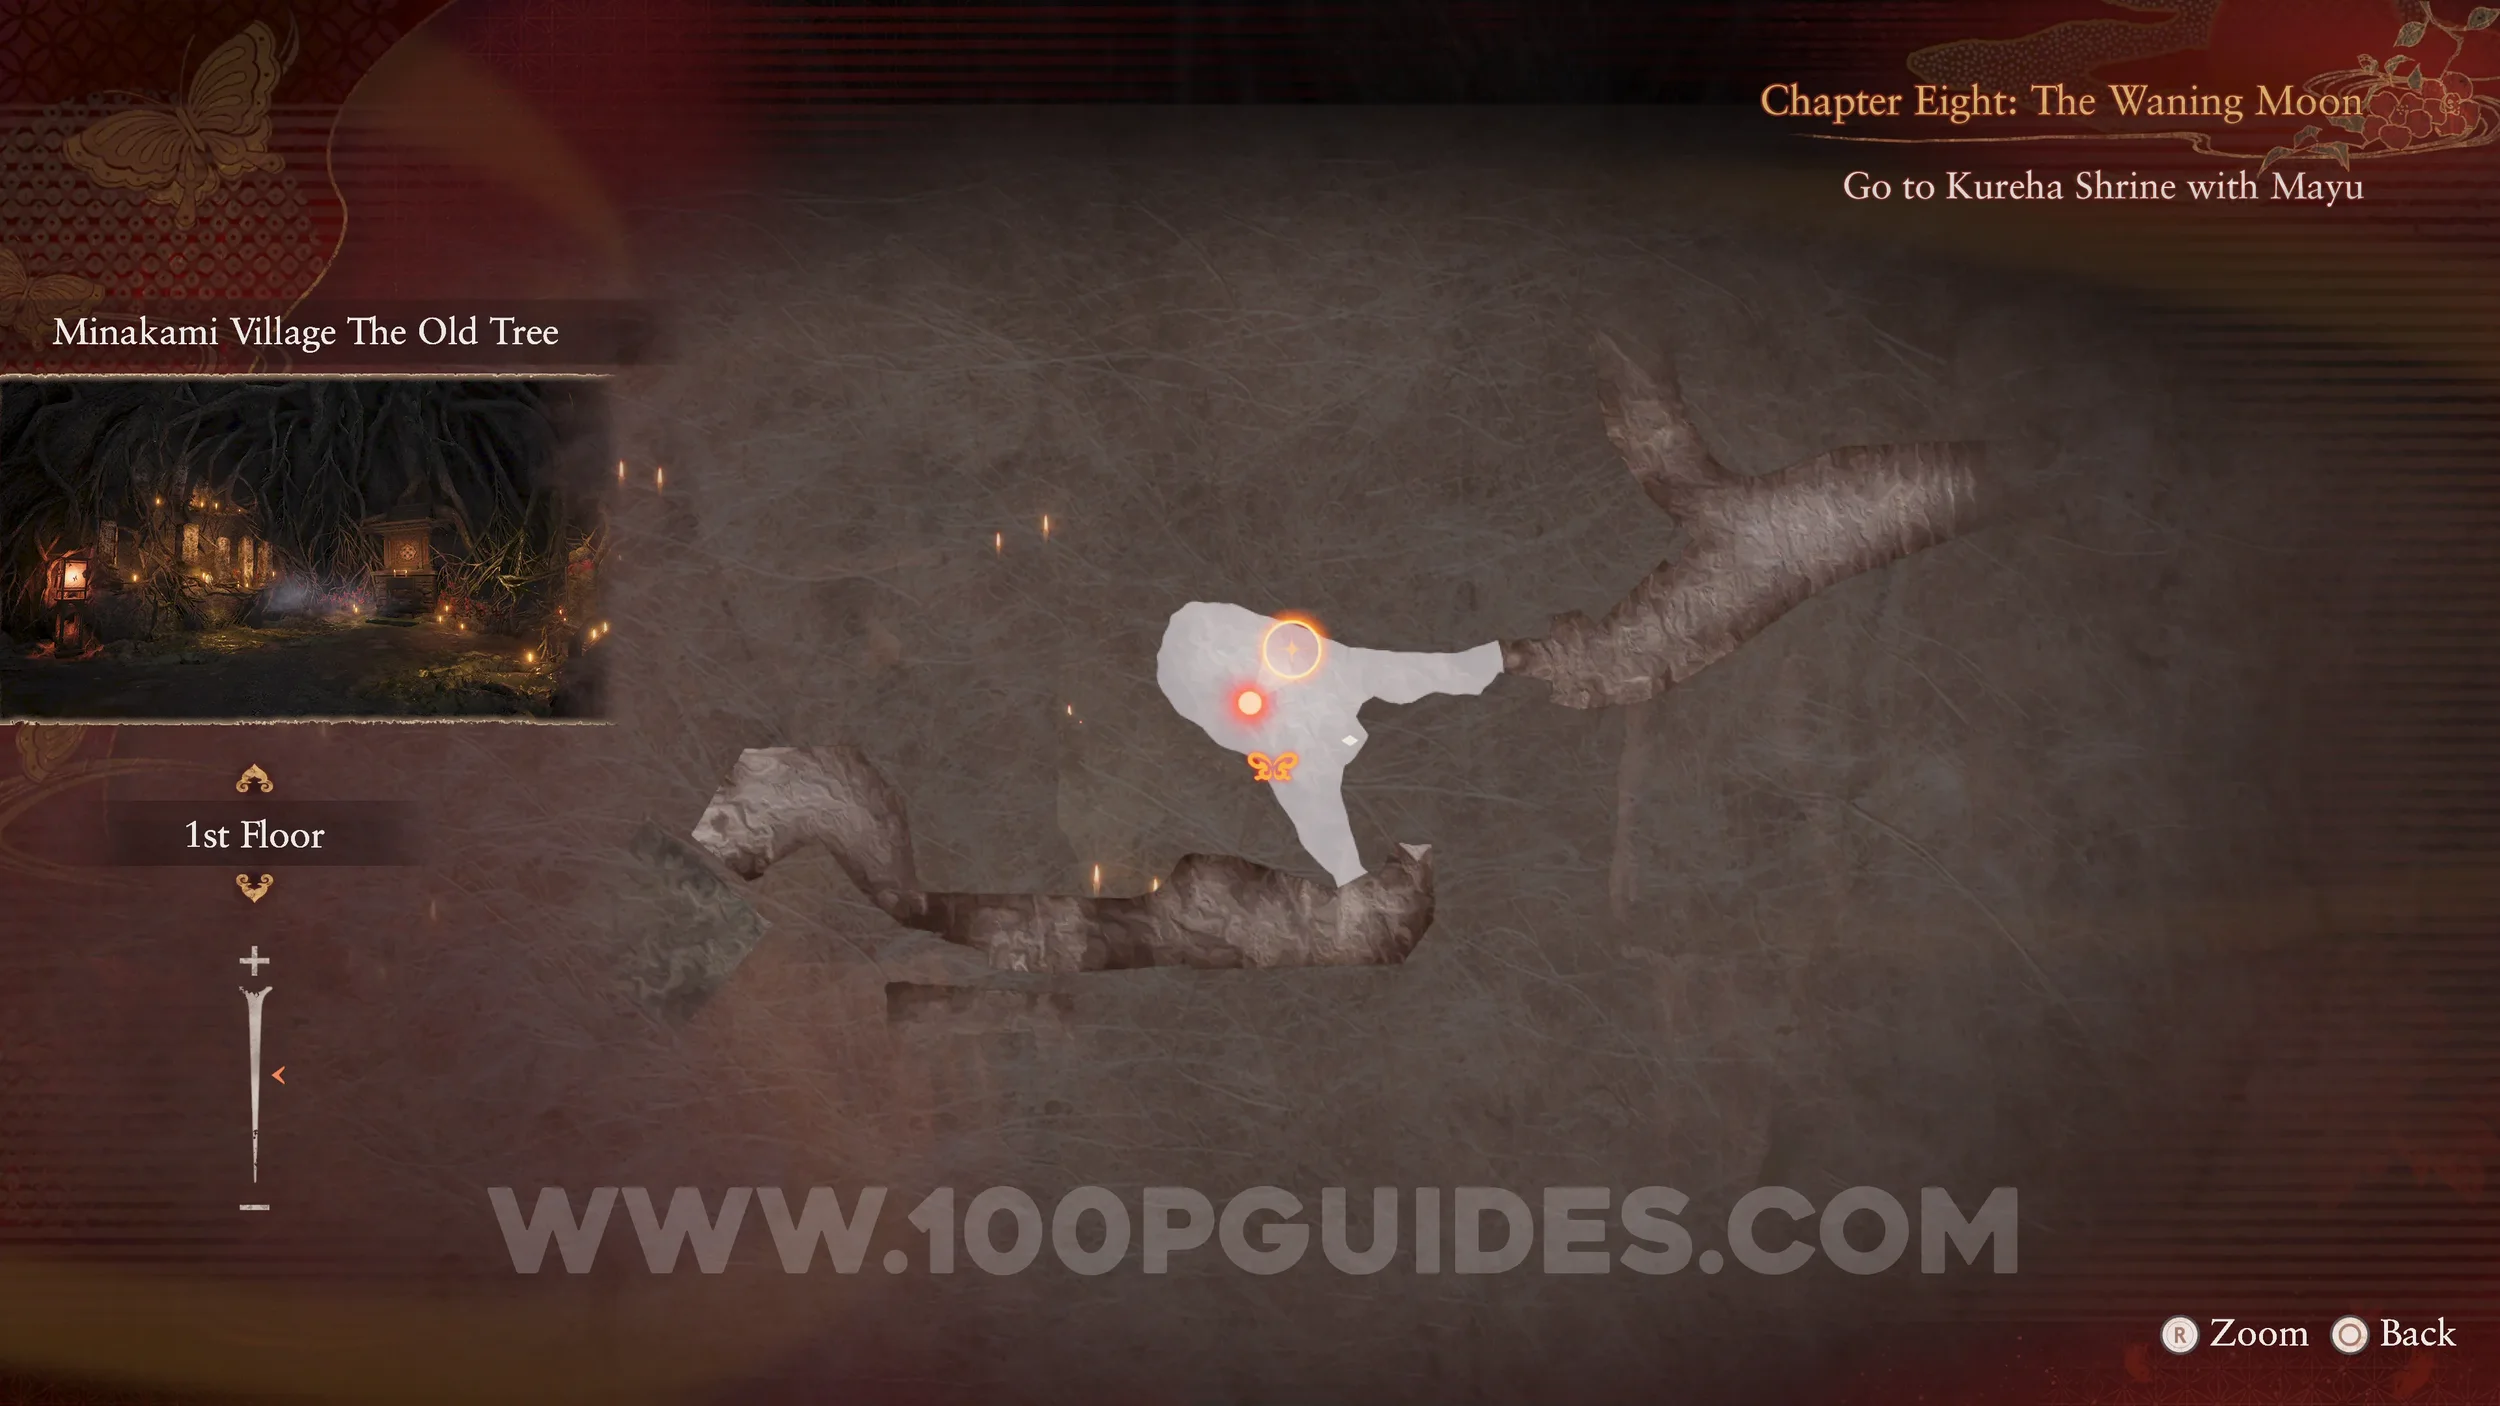
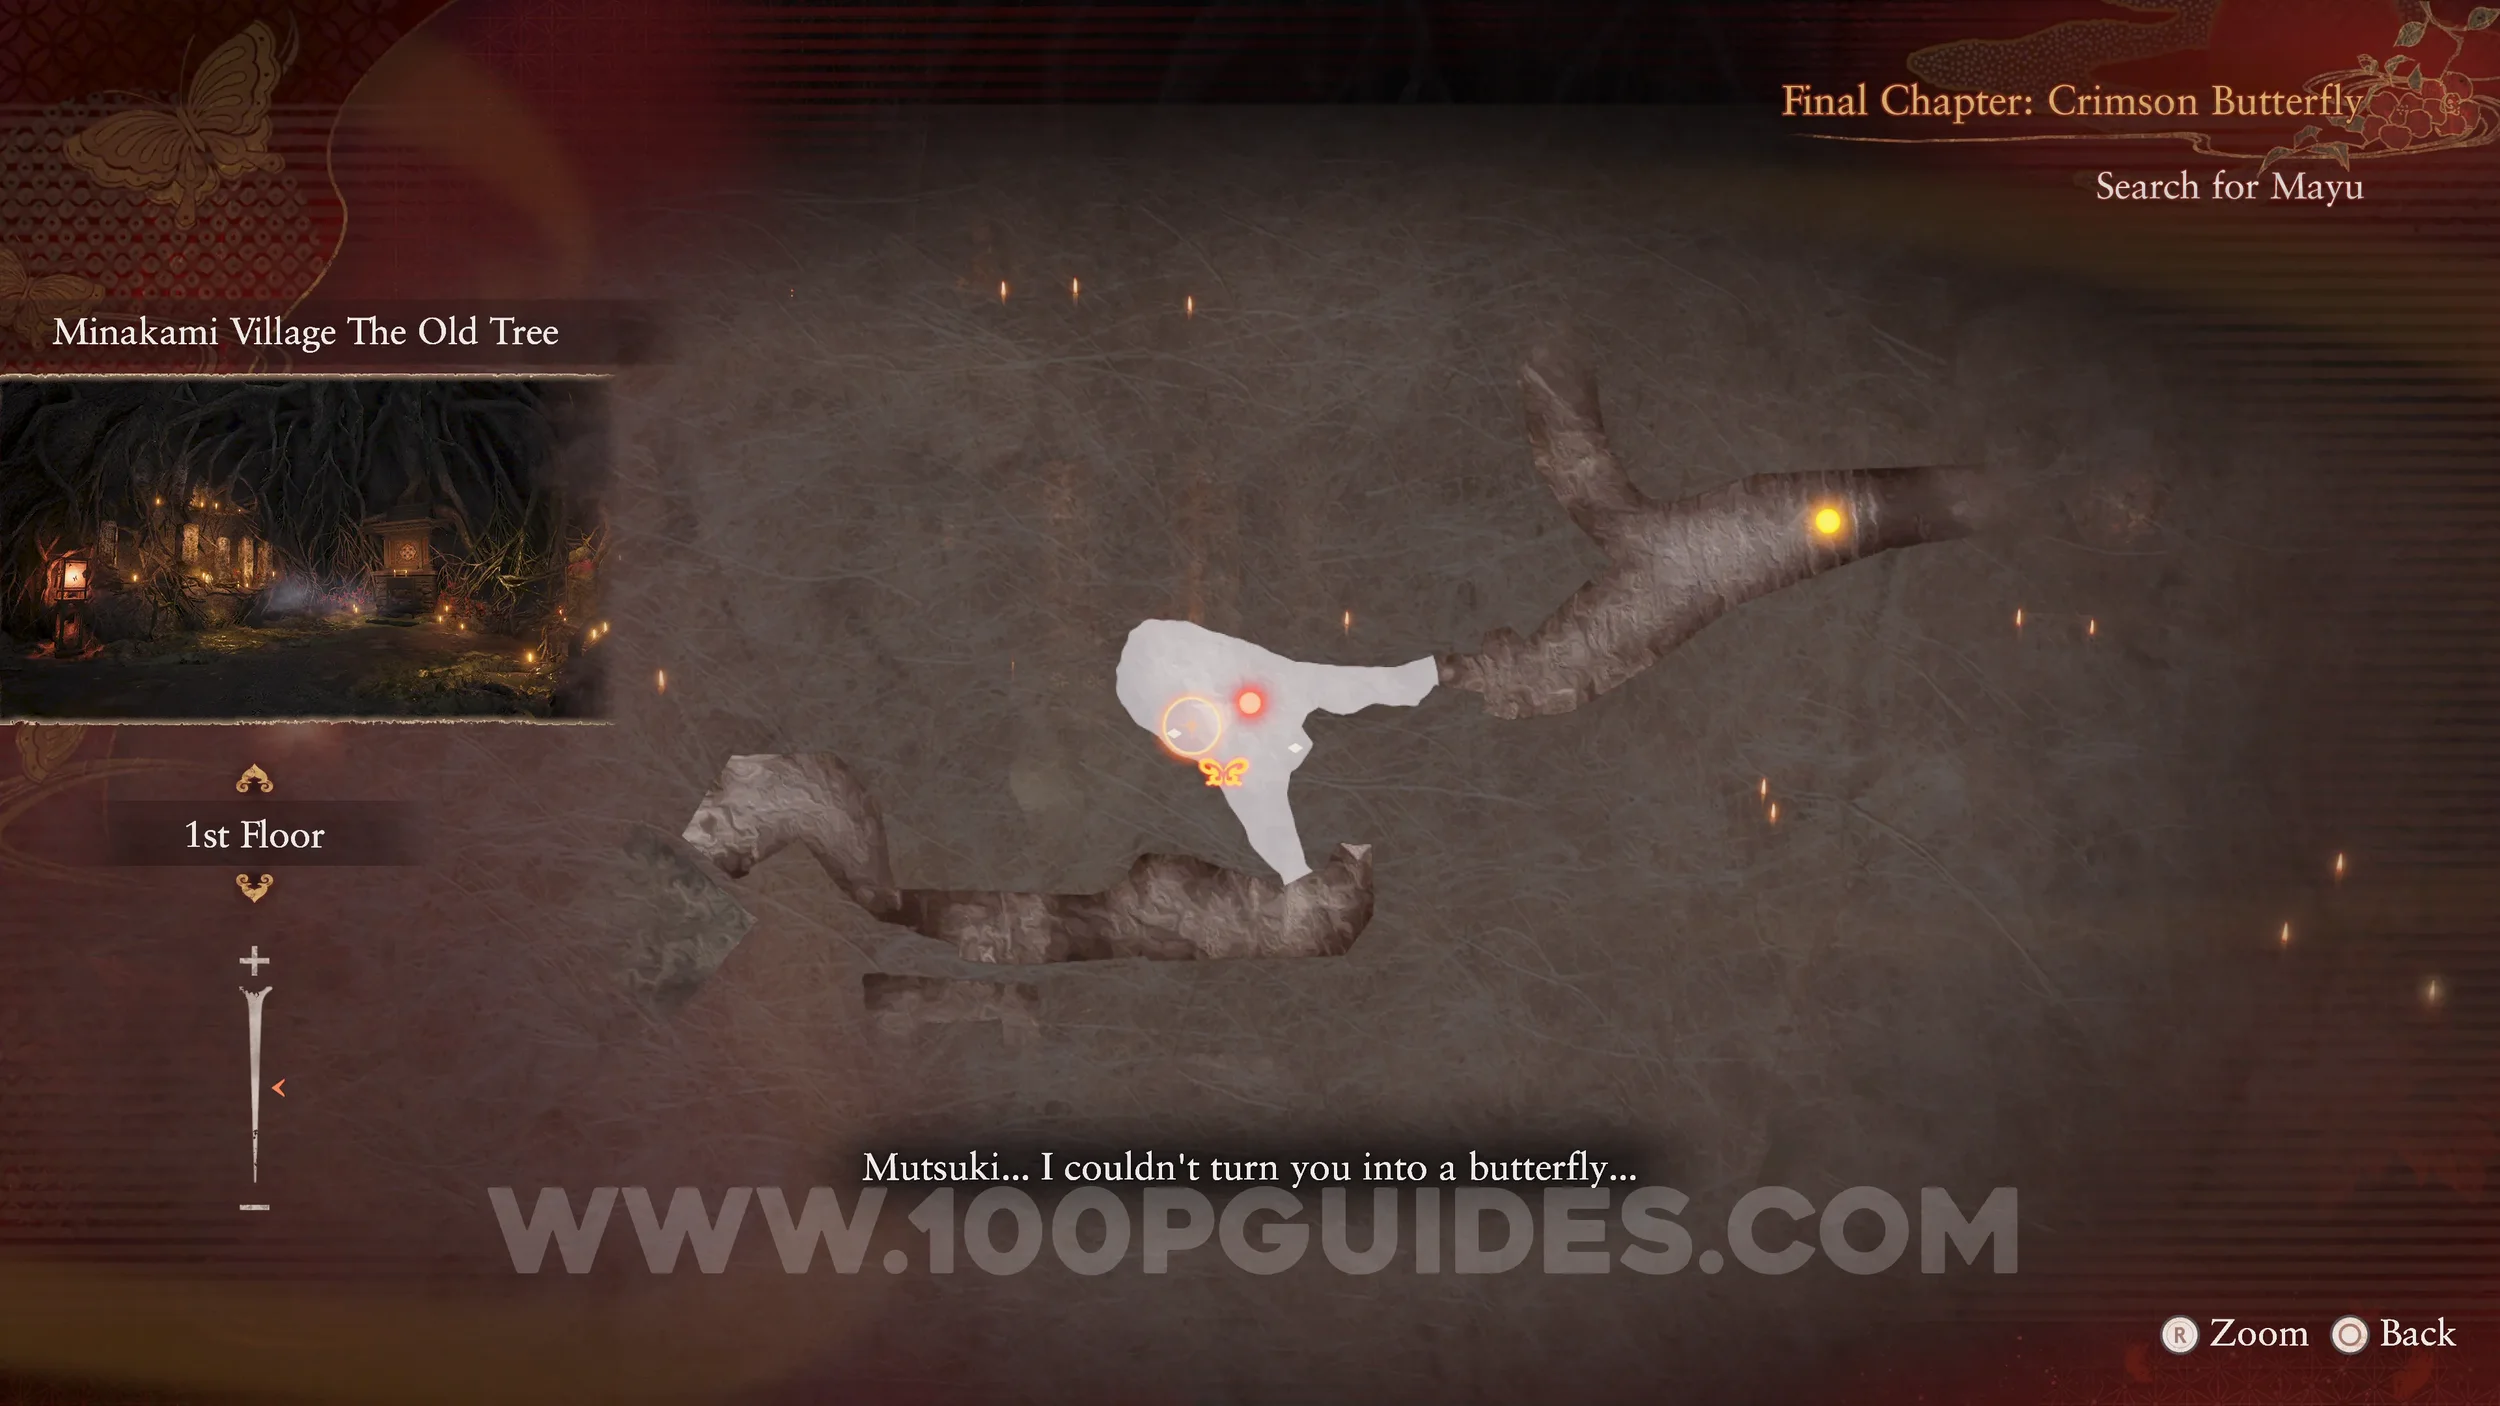
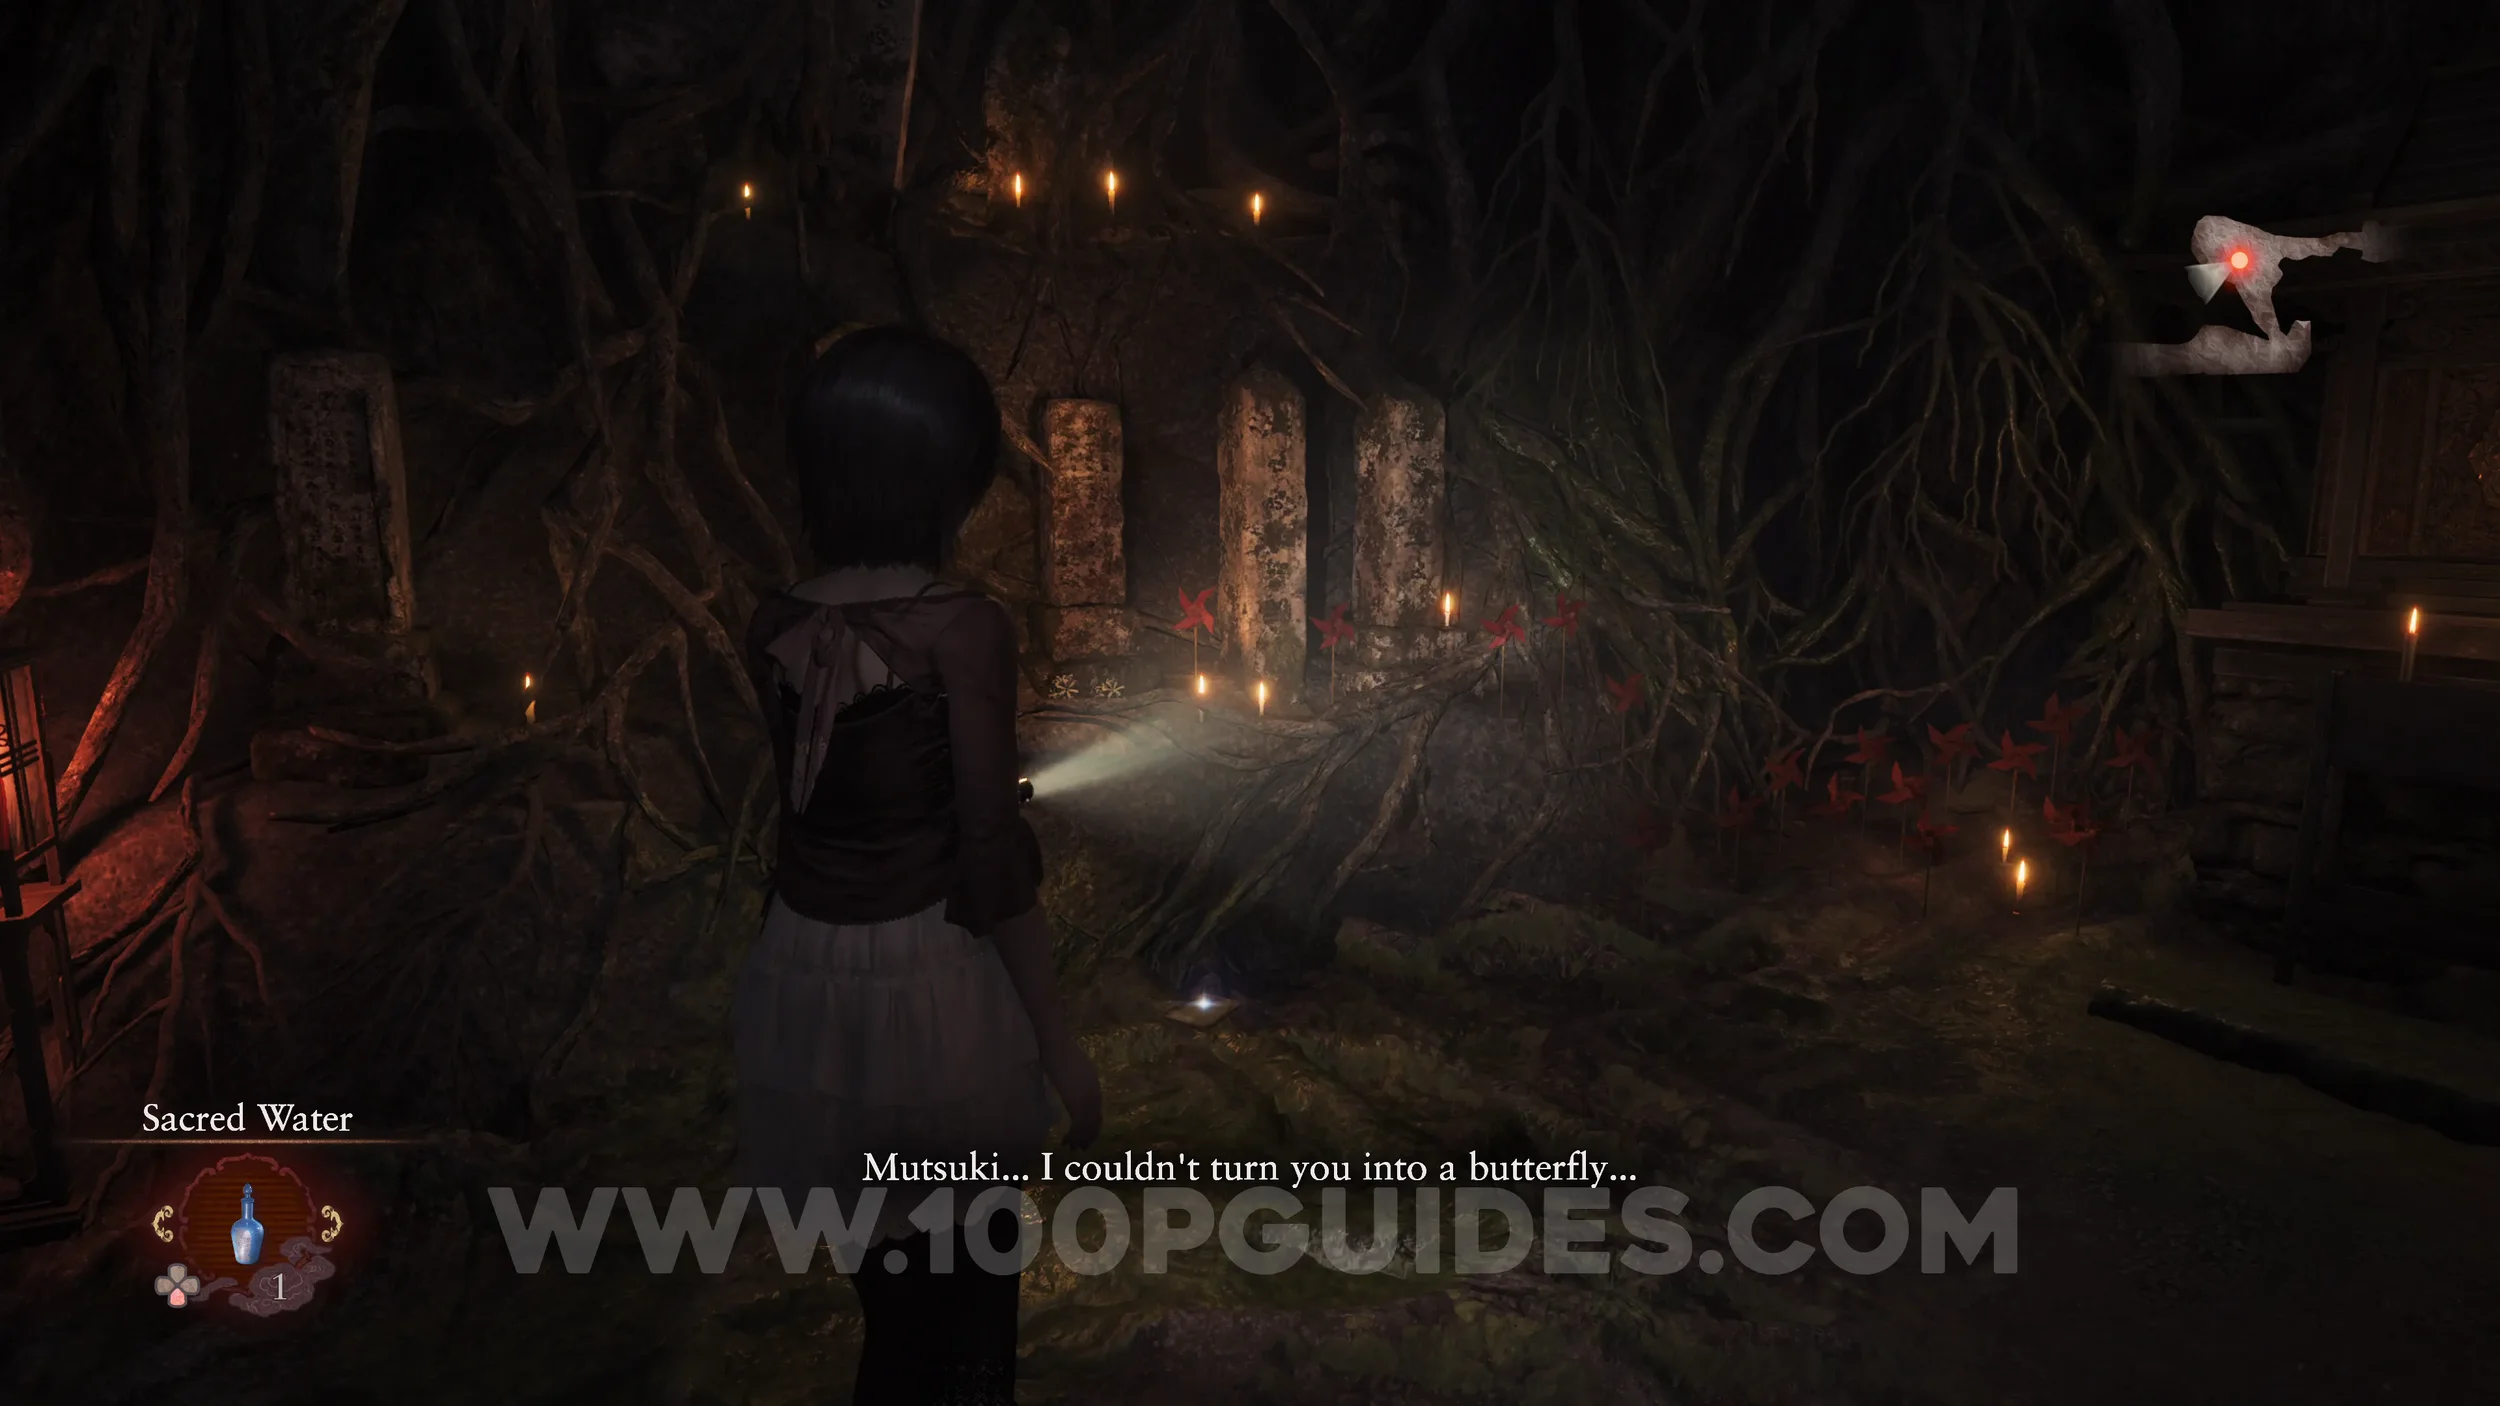
Specter #172 - 130 Man Heading to Old Tree. In front of the Old Tree (story objective once you have all 4 crests).
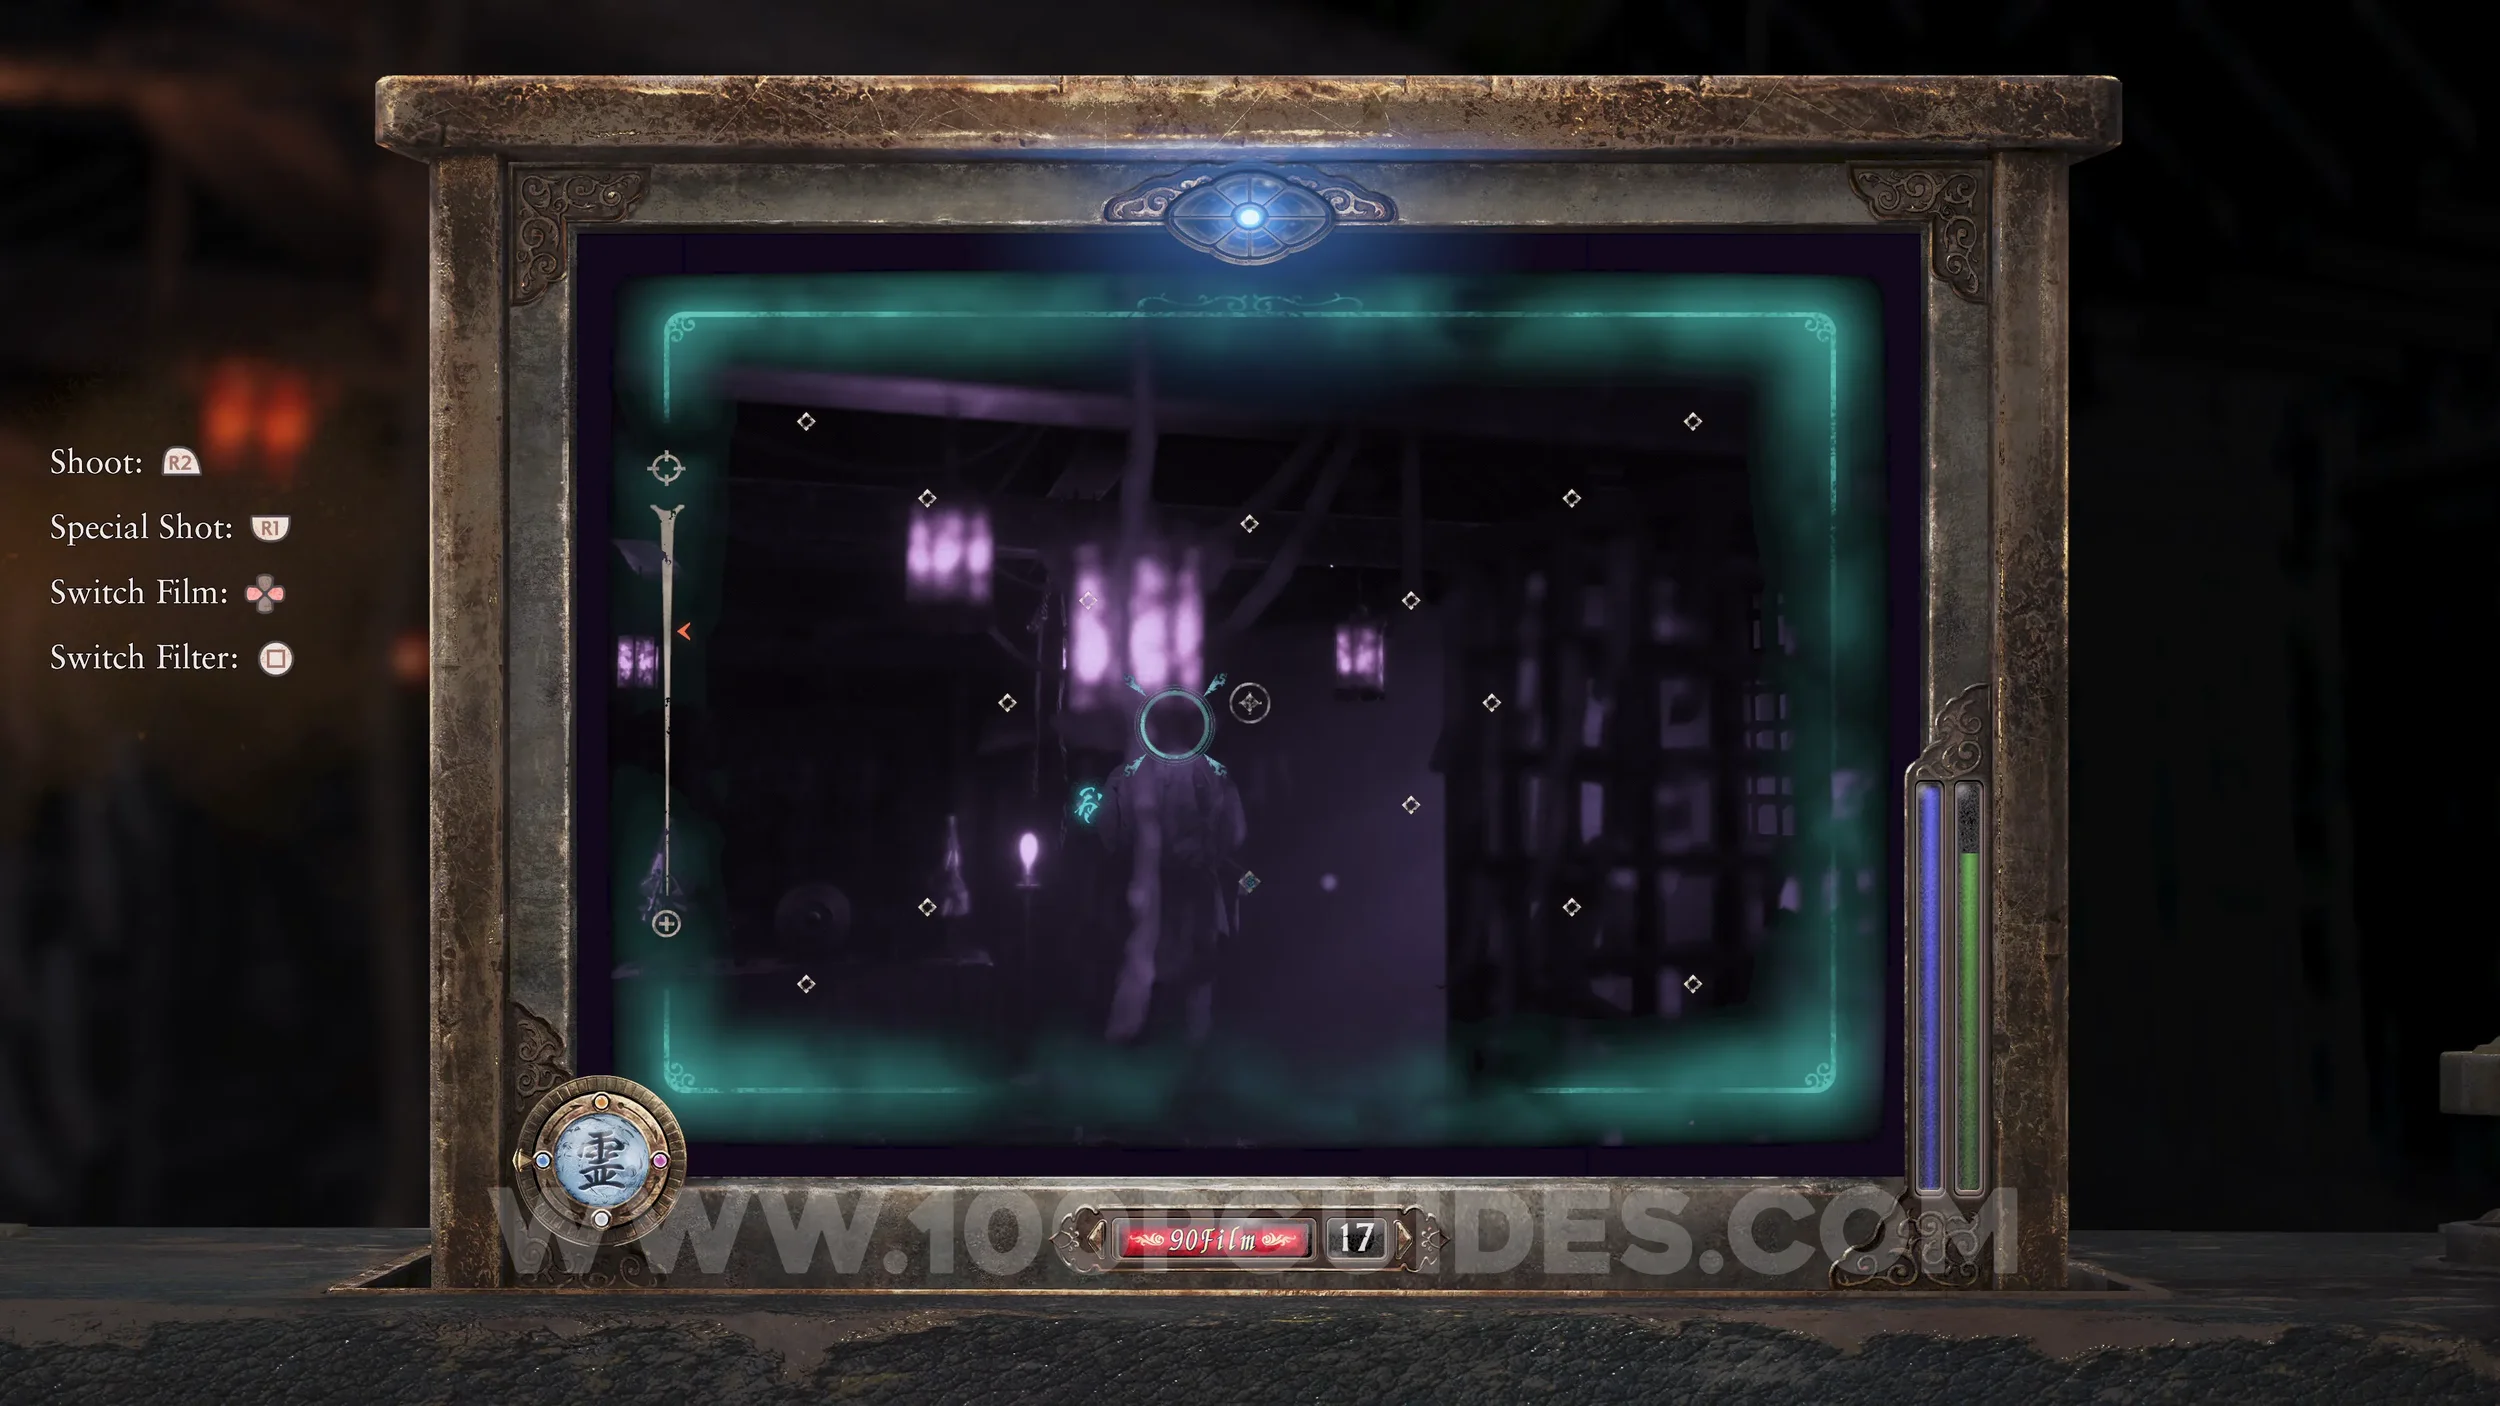
Specter #173 - 131 Man Searching Shrine. In the temple, after following the previous specter.
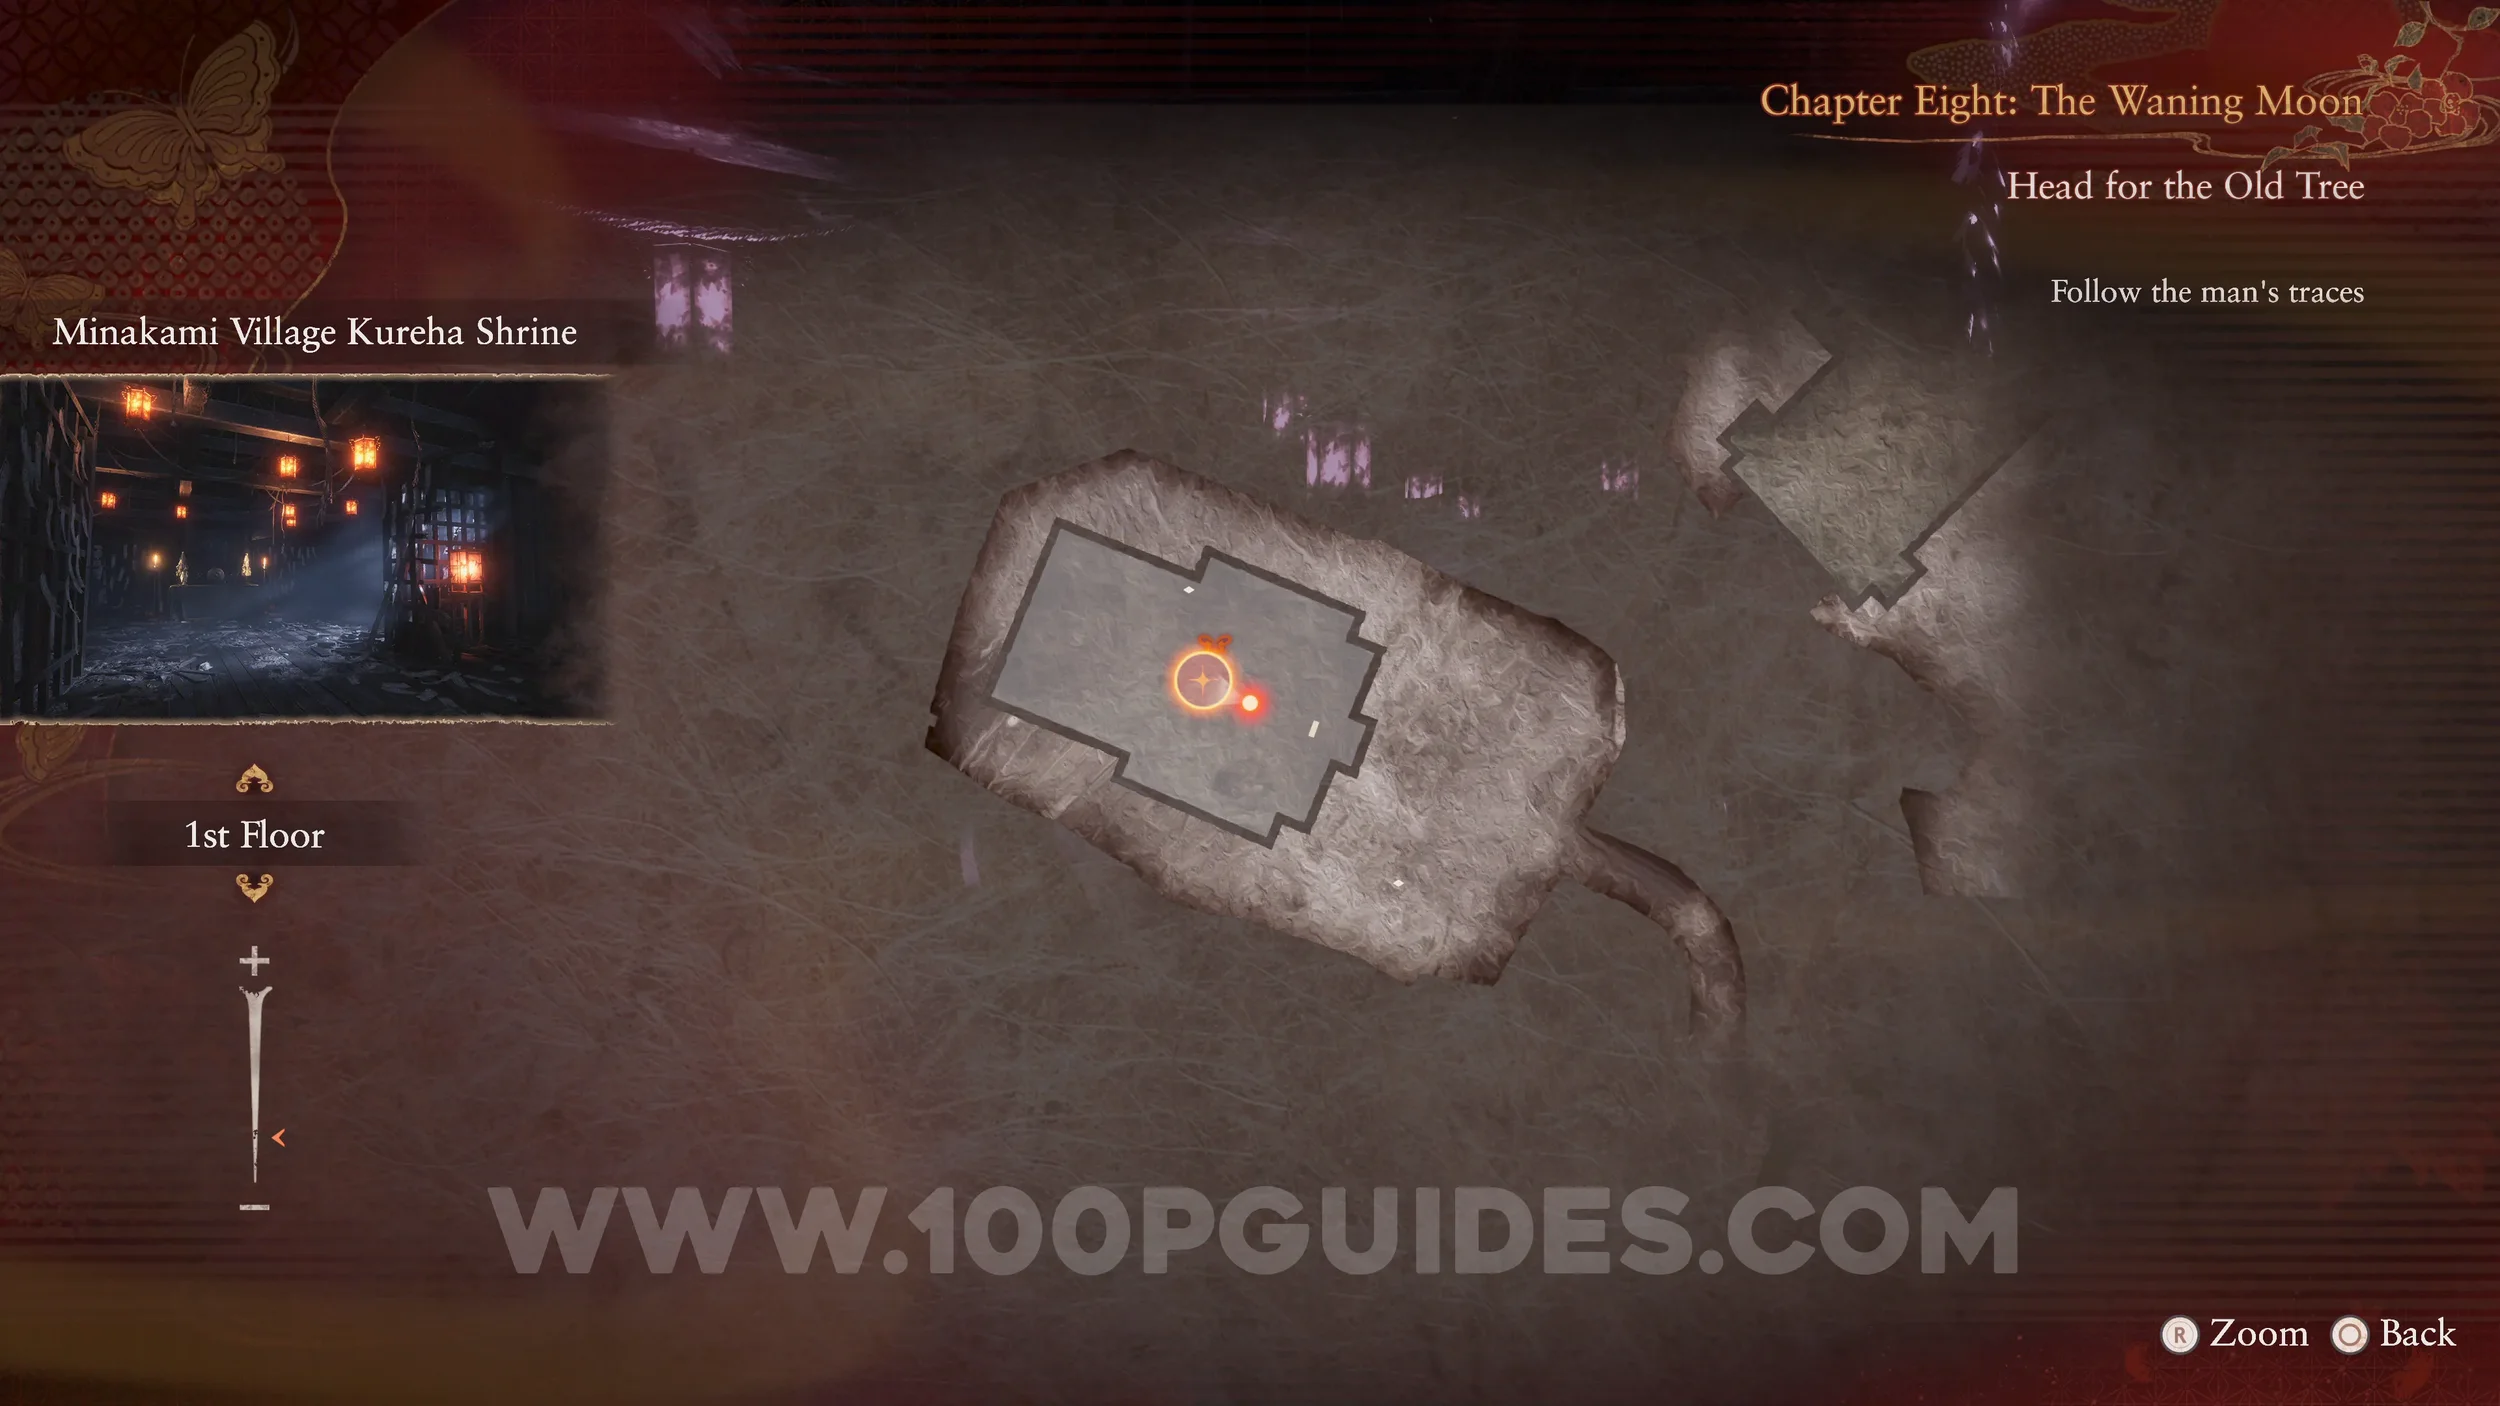
Document #90 - Folklorist’s Note 6. Behind the shrine in the temple.
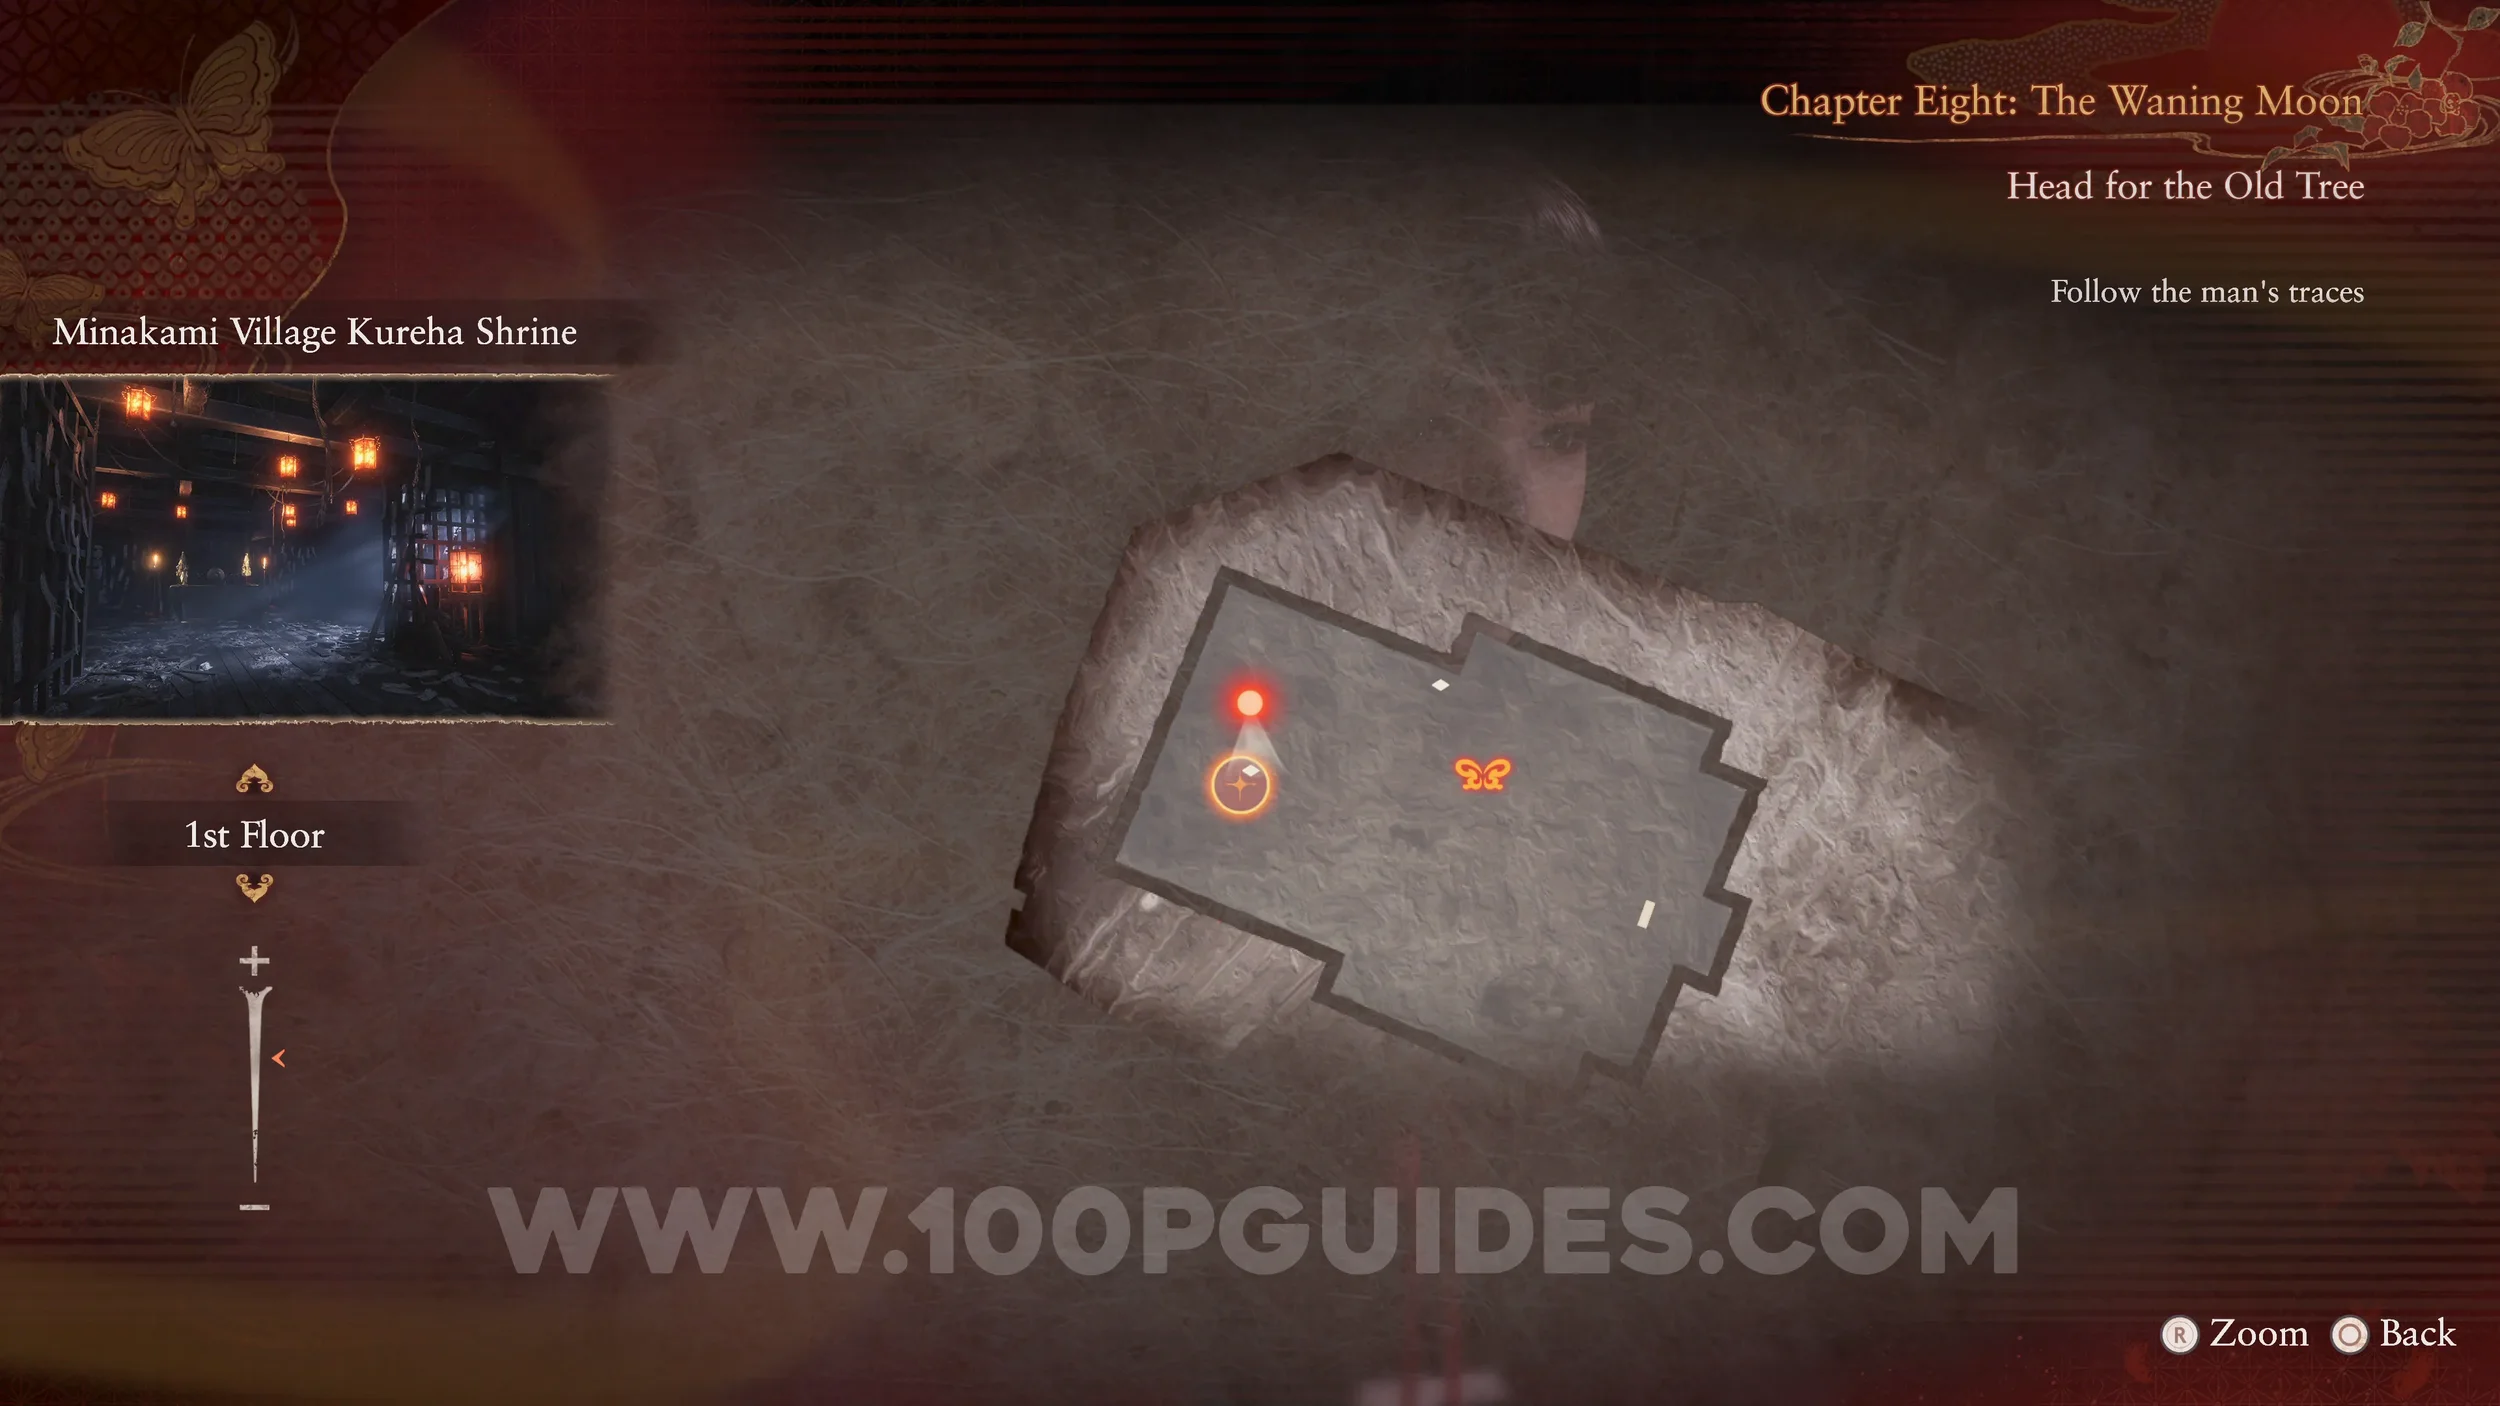
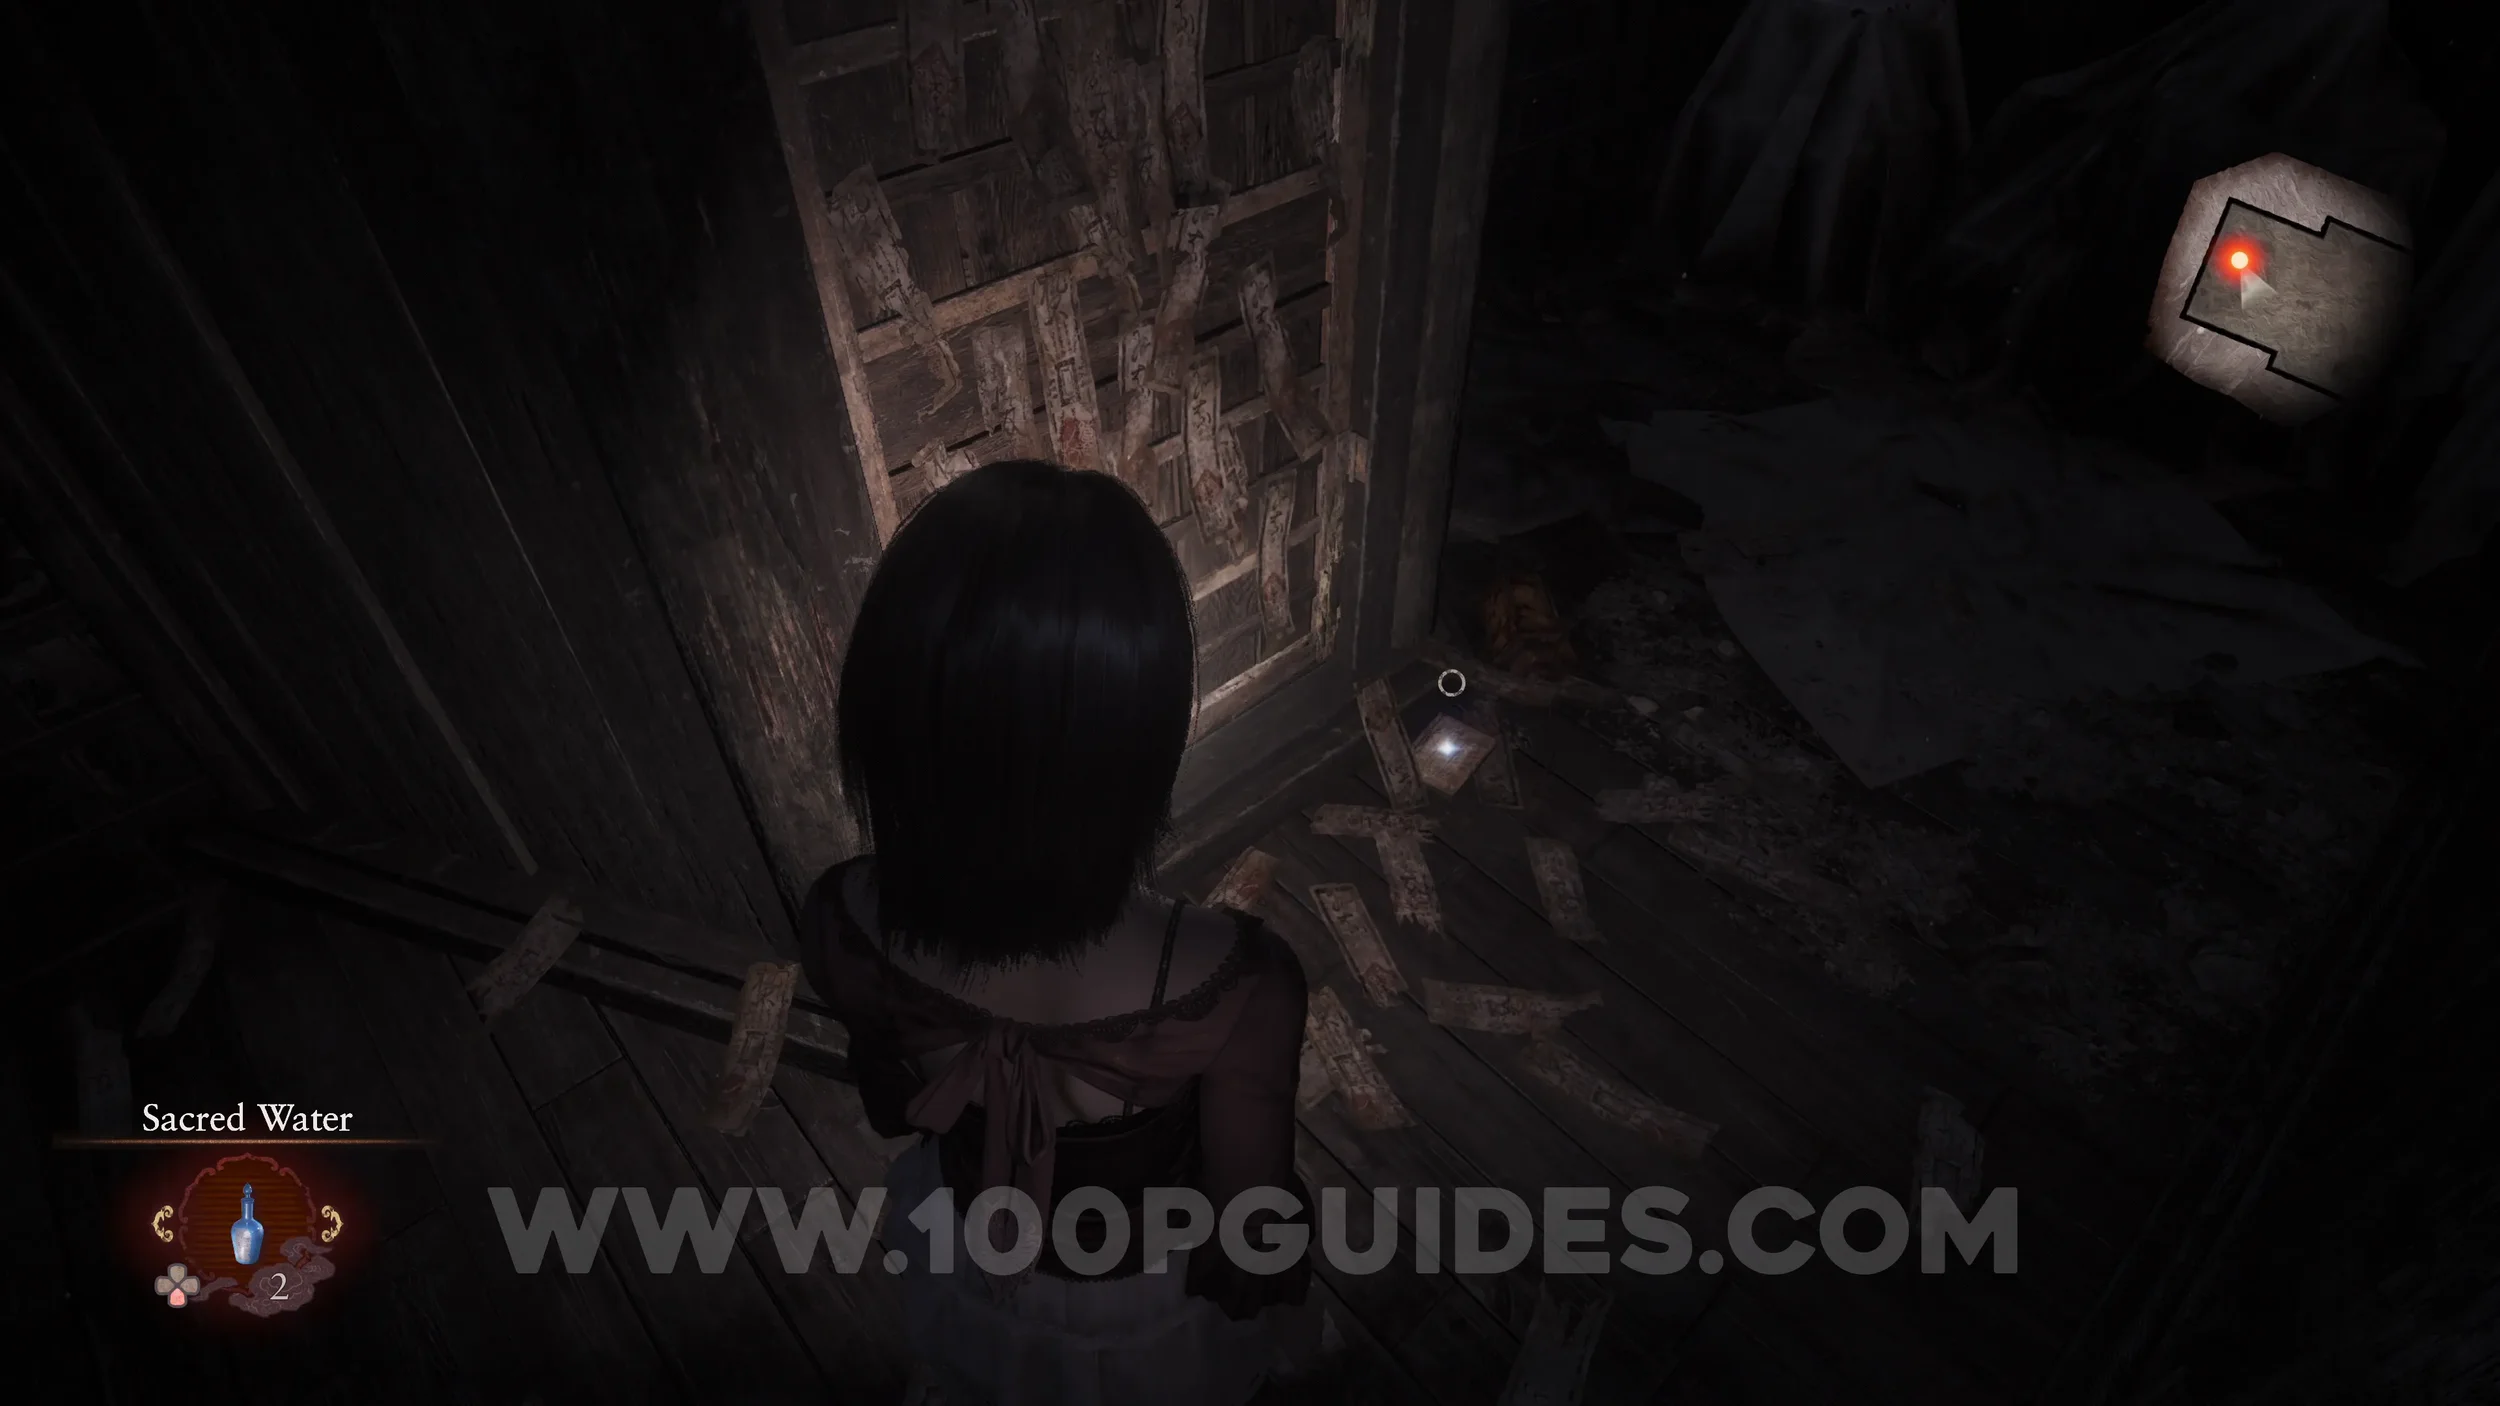
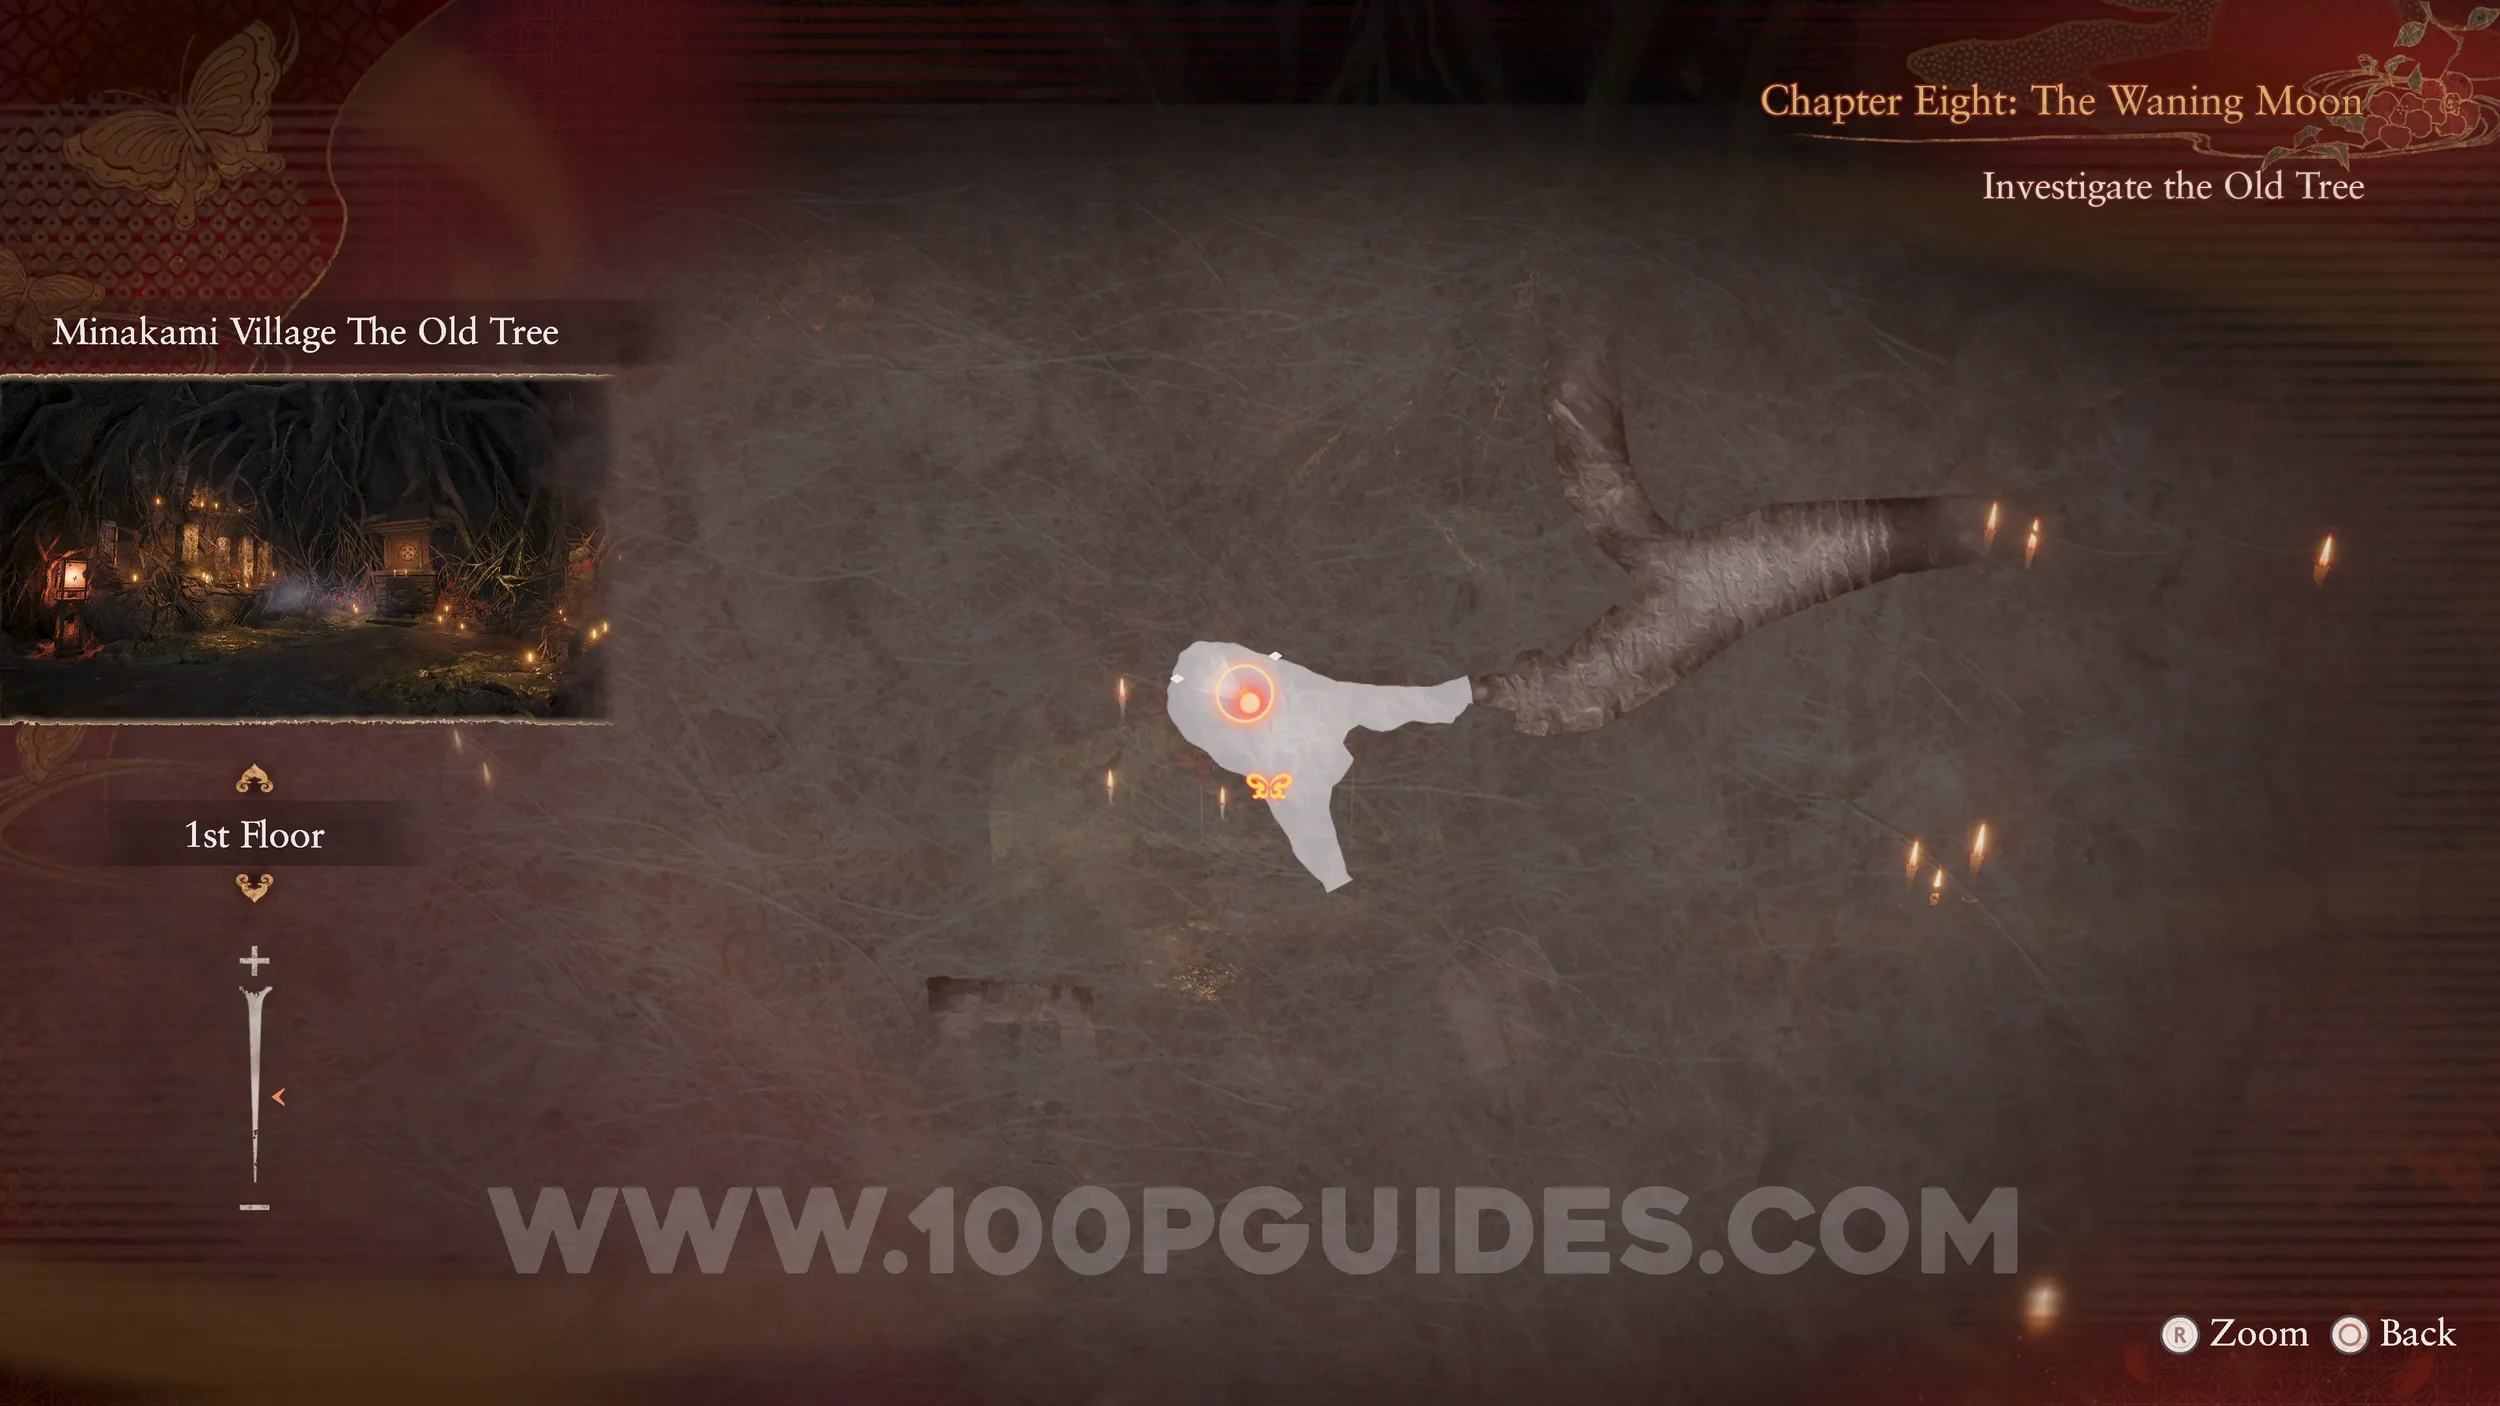
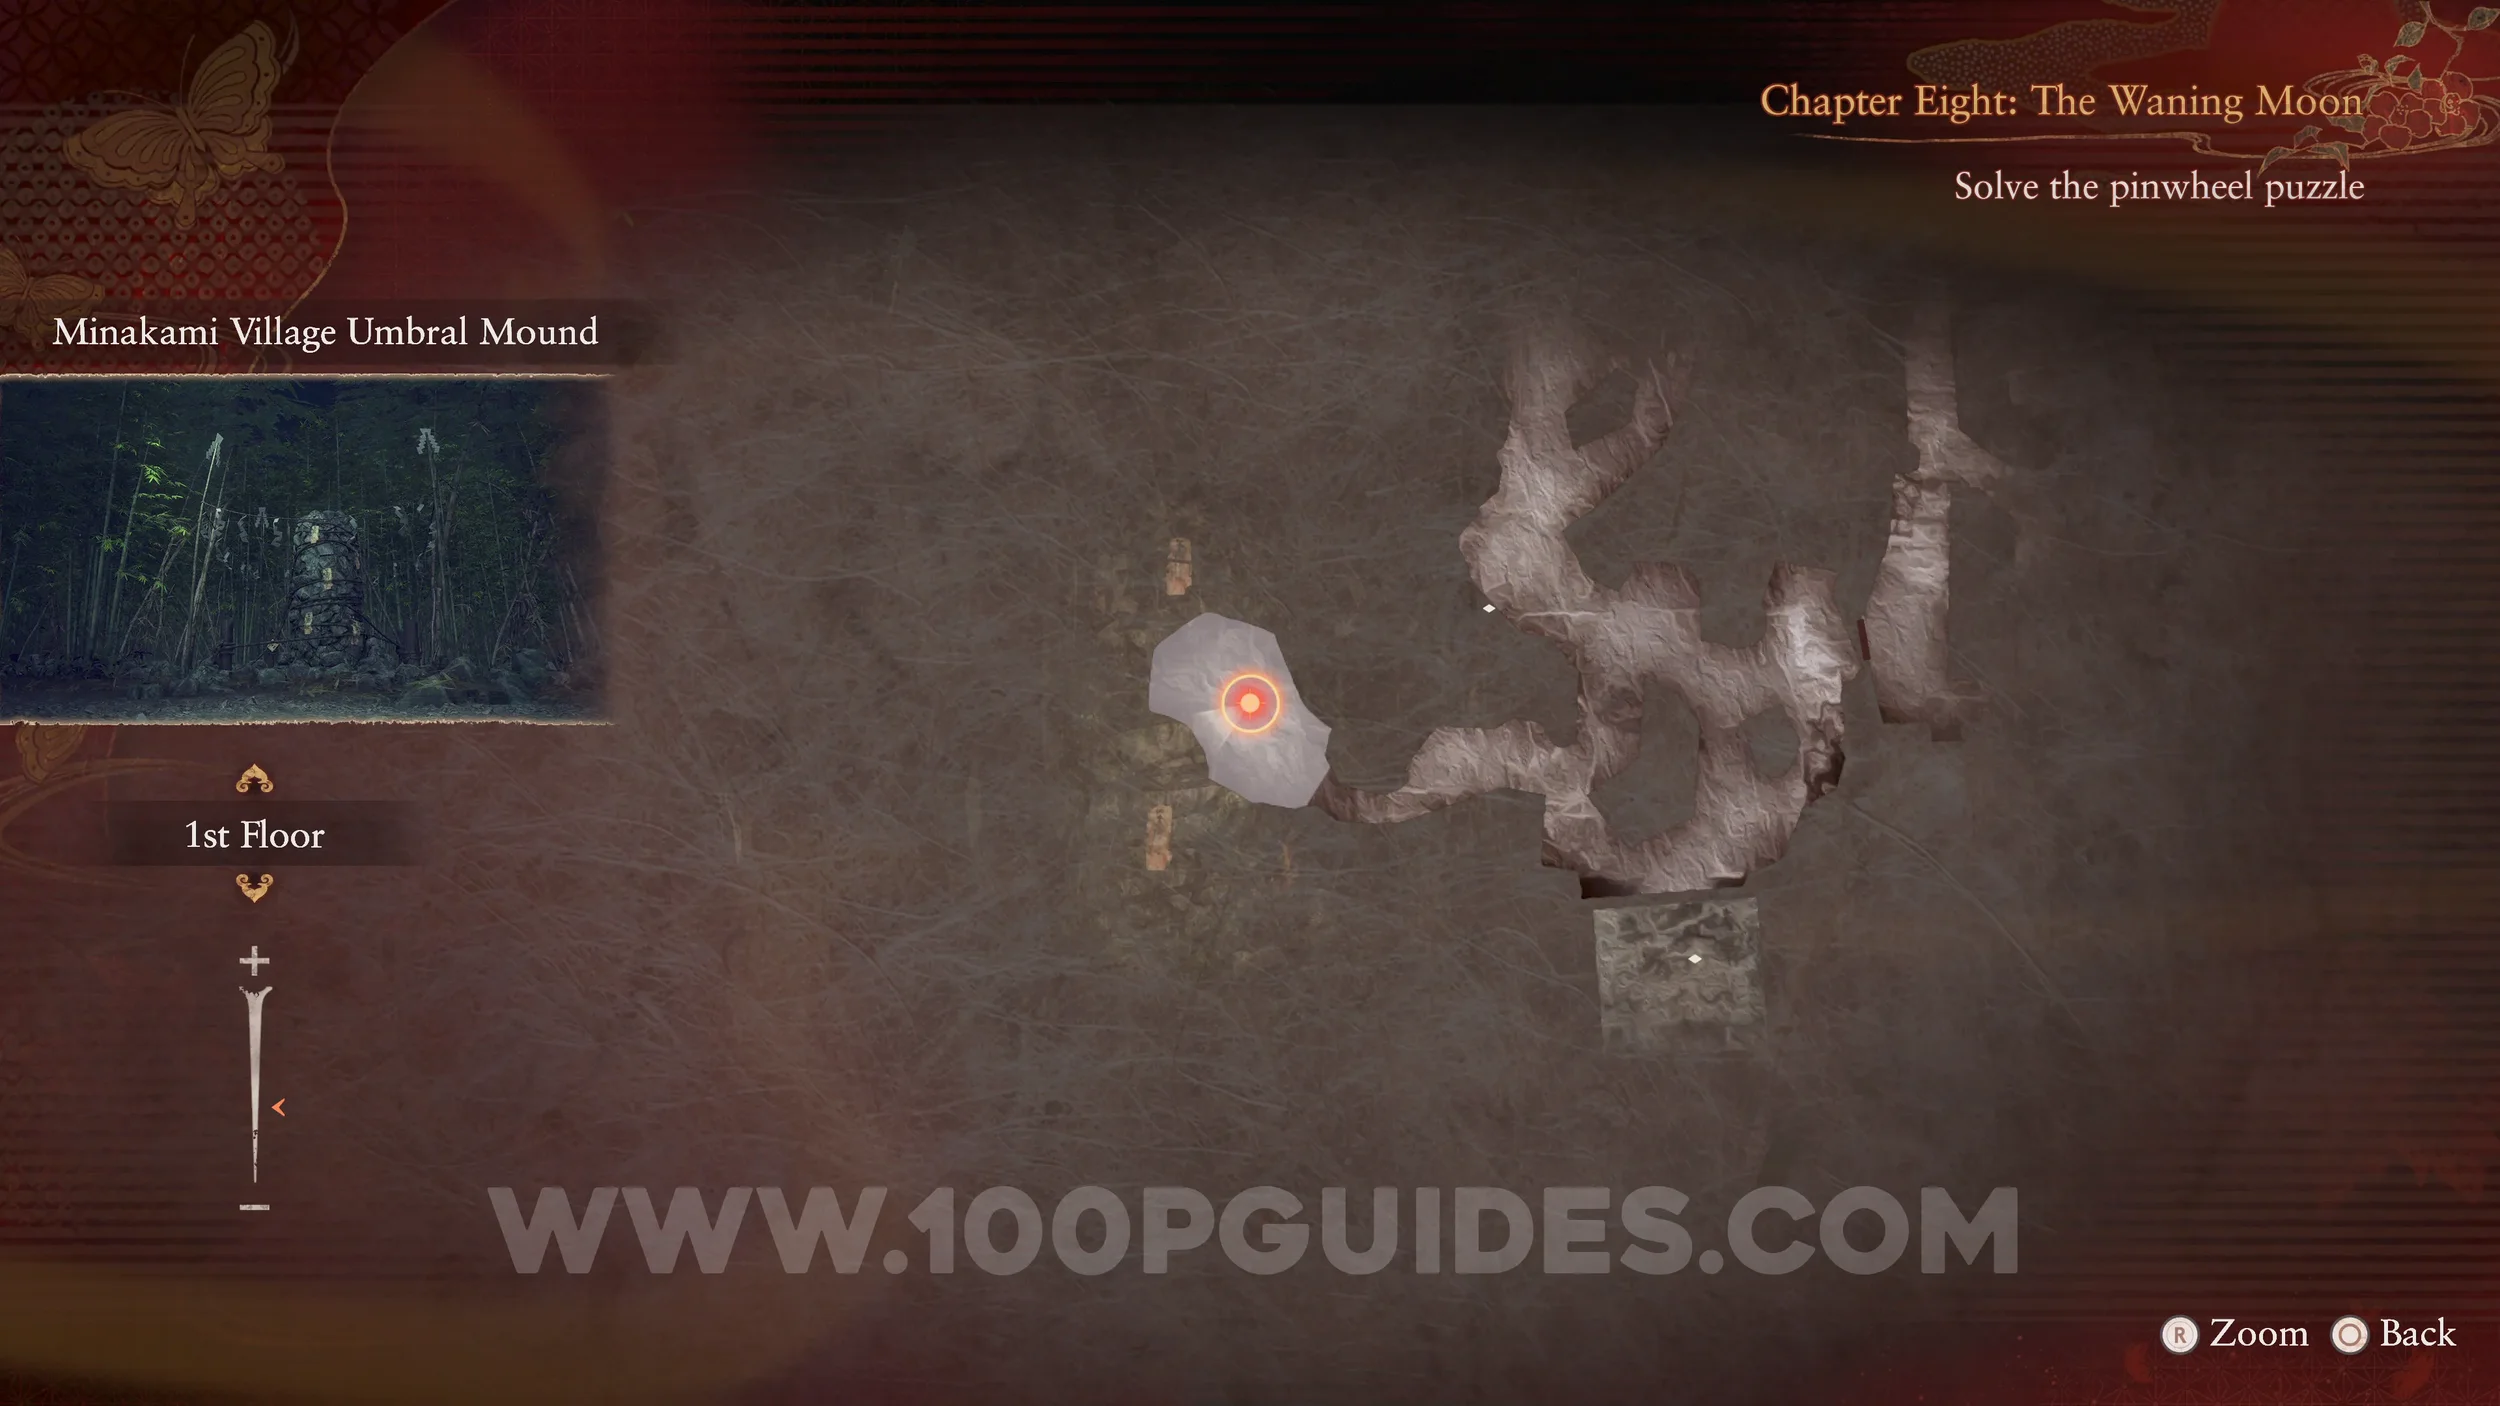
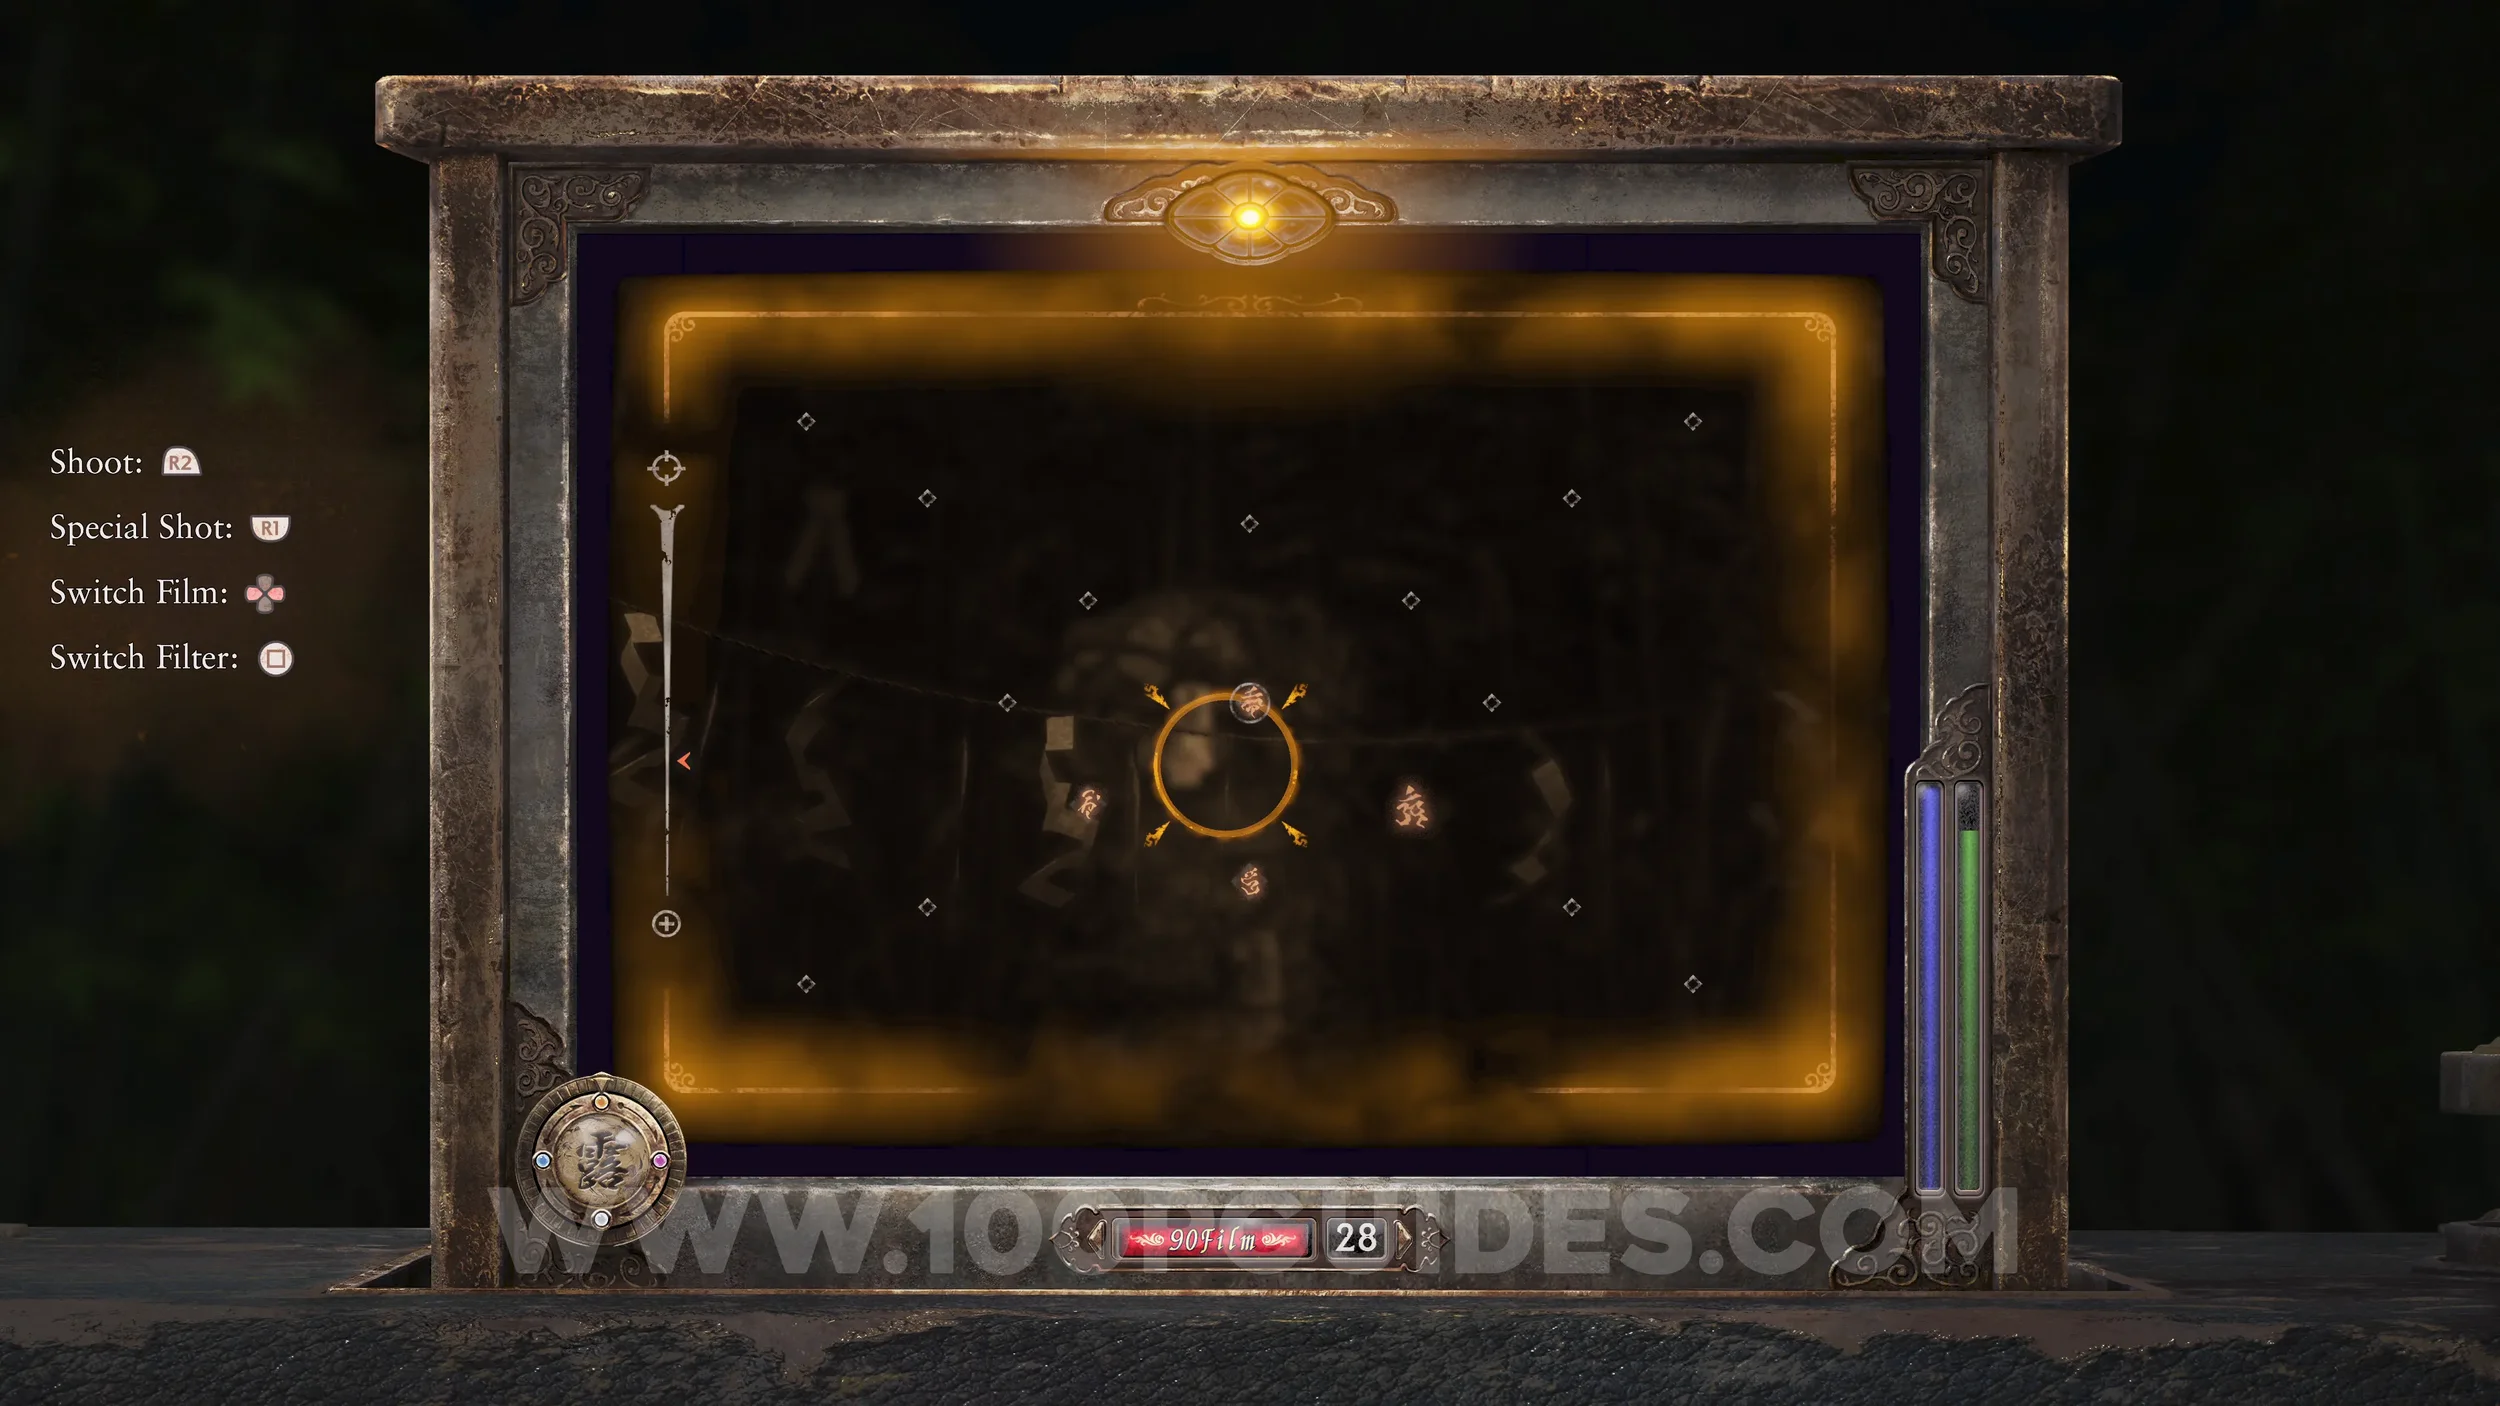
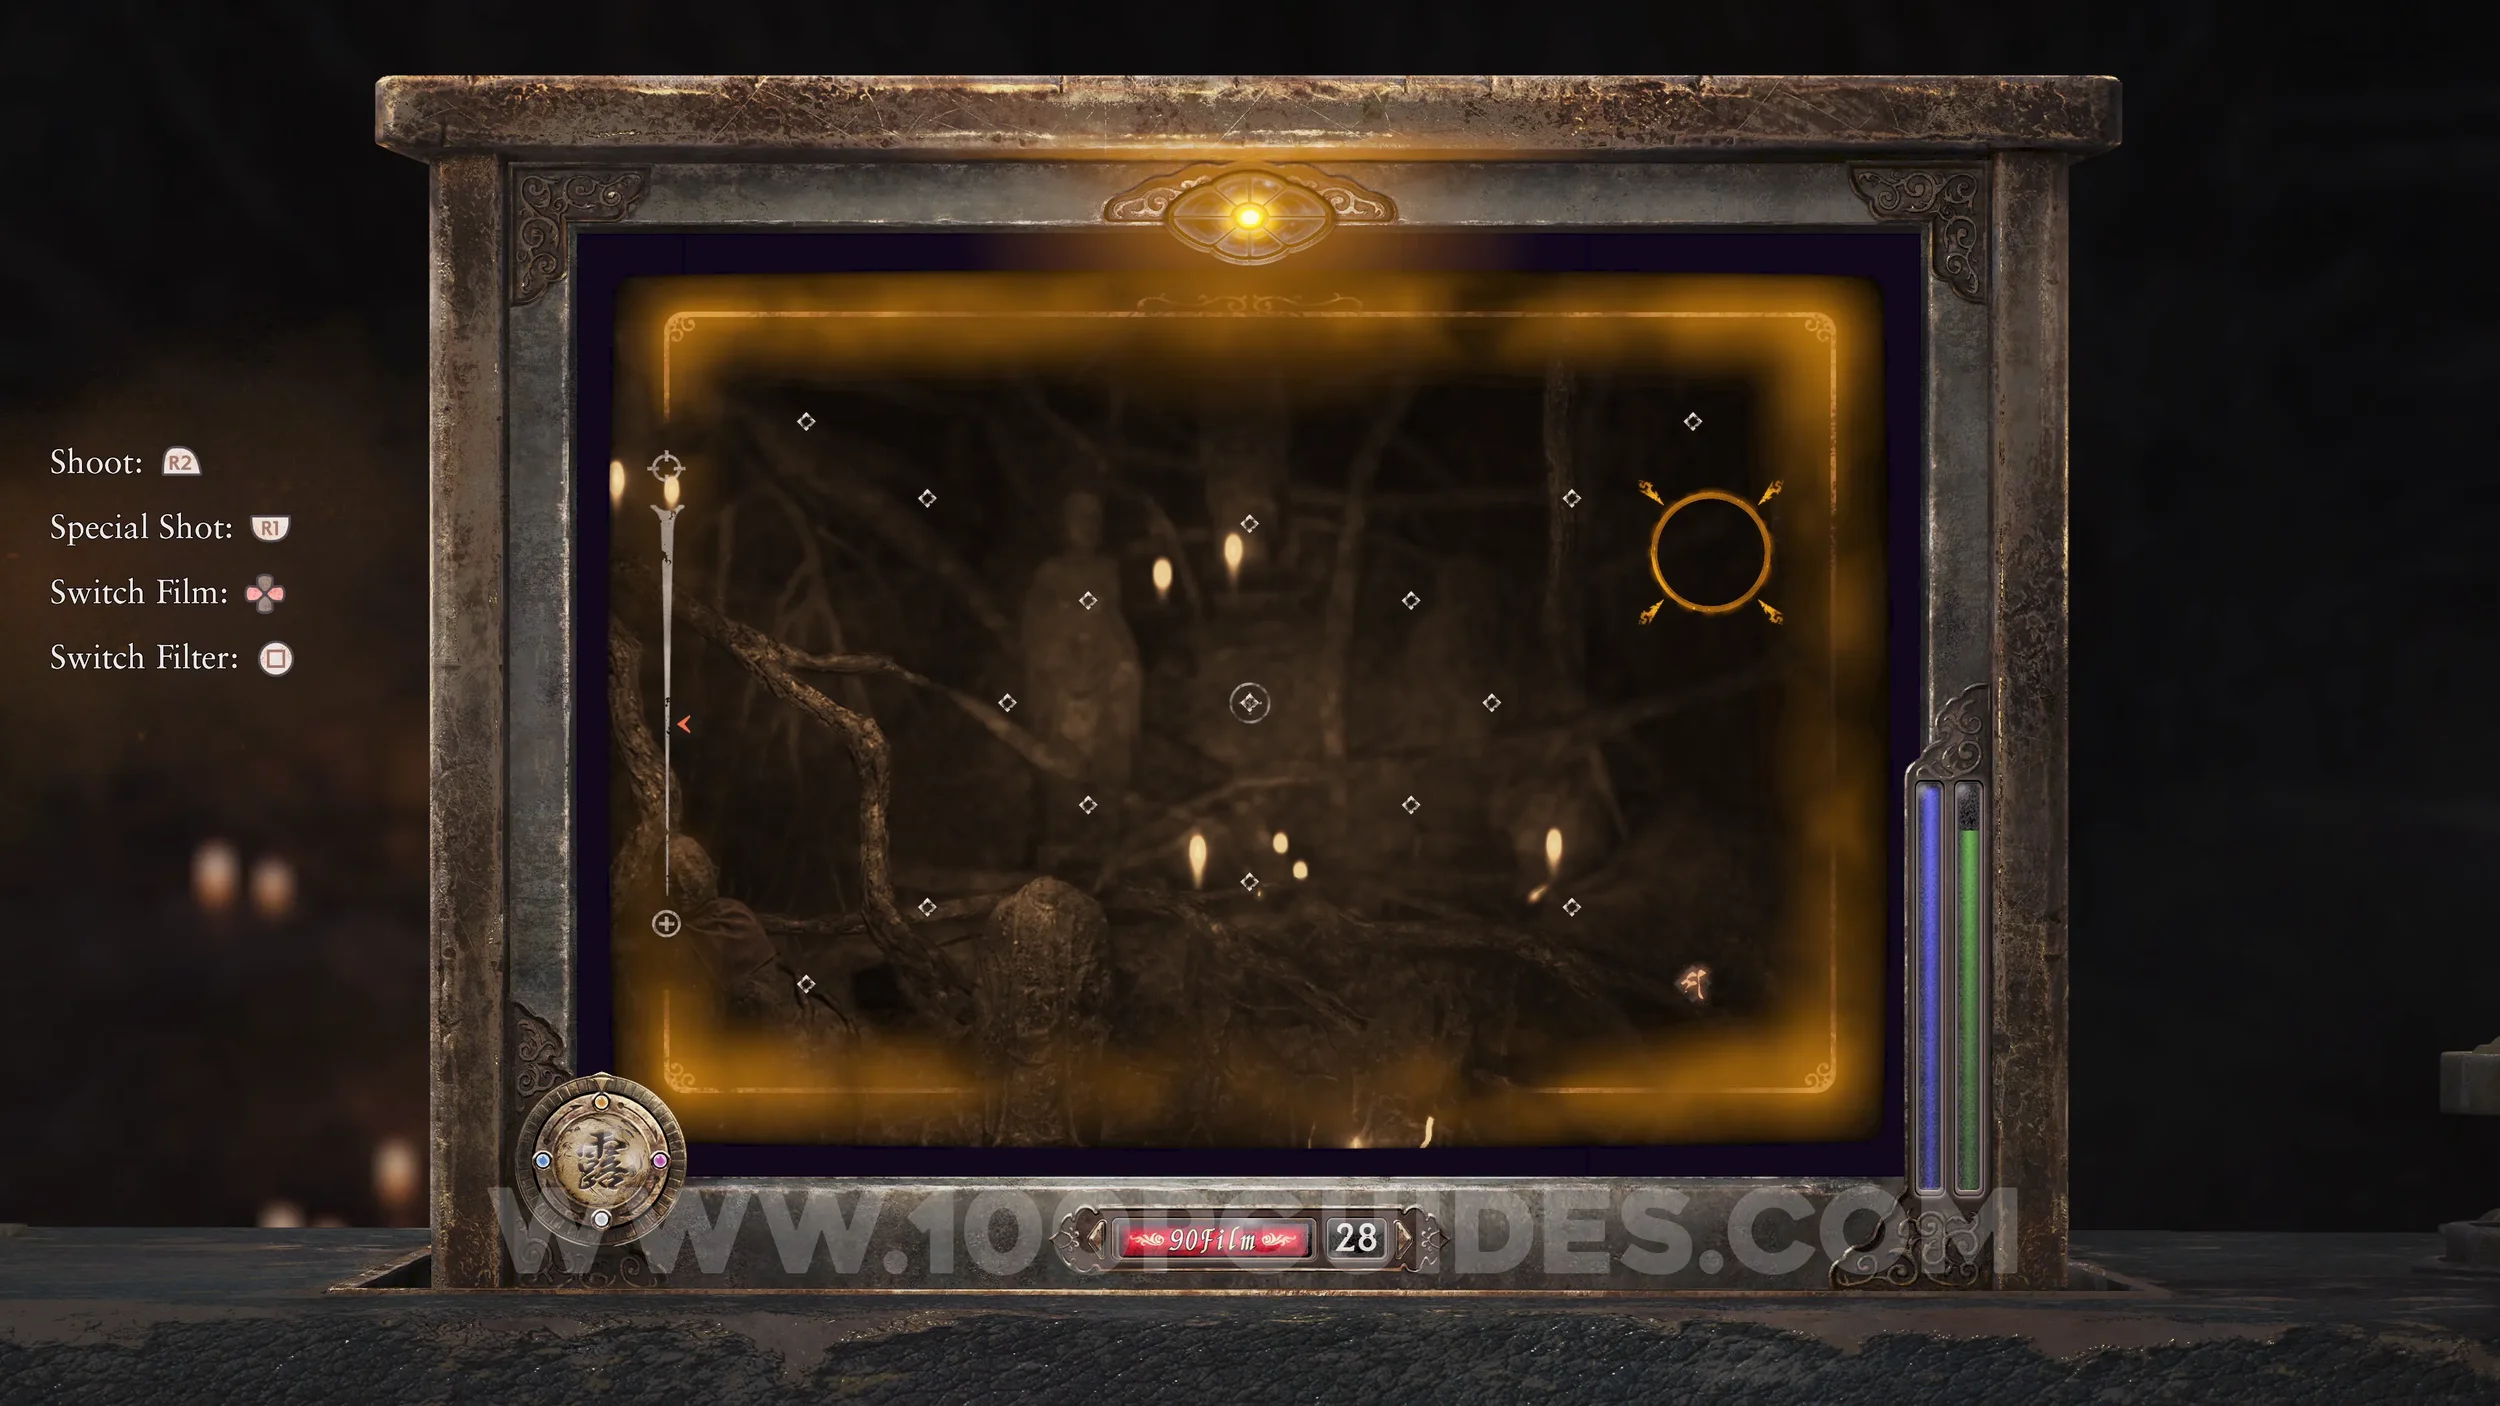
Phantom Expose #15 - The Old Tree. Story related. After getting the photo in the temple with the previous document, return to the large tree and use the Exposure Filter to open a path.

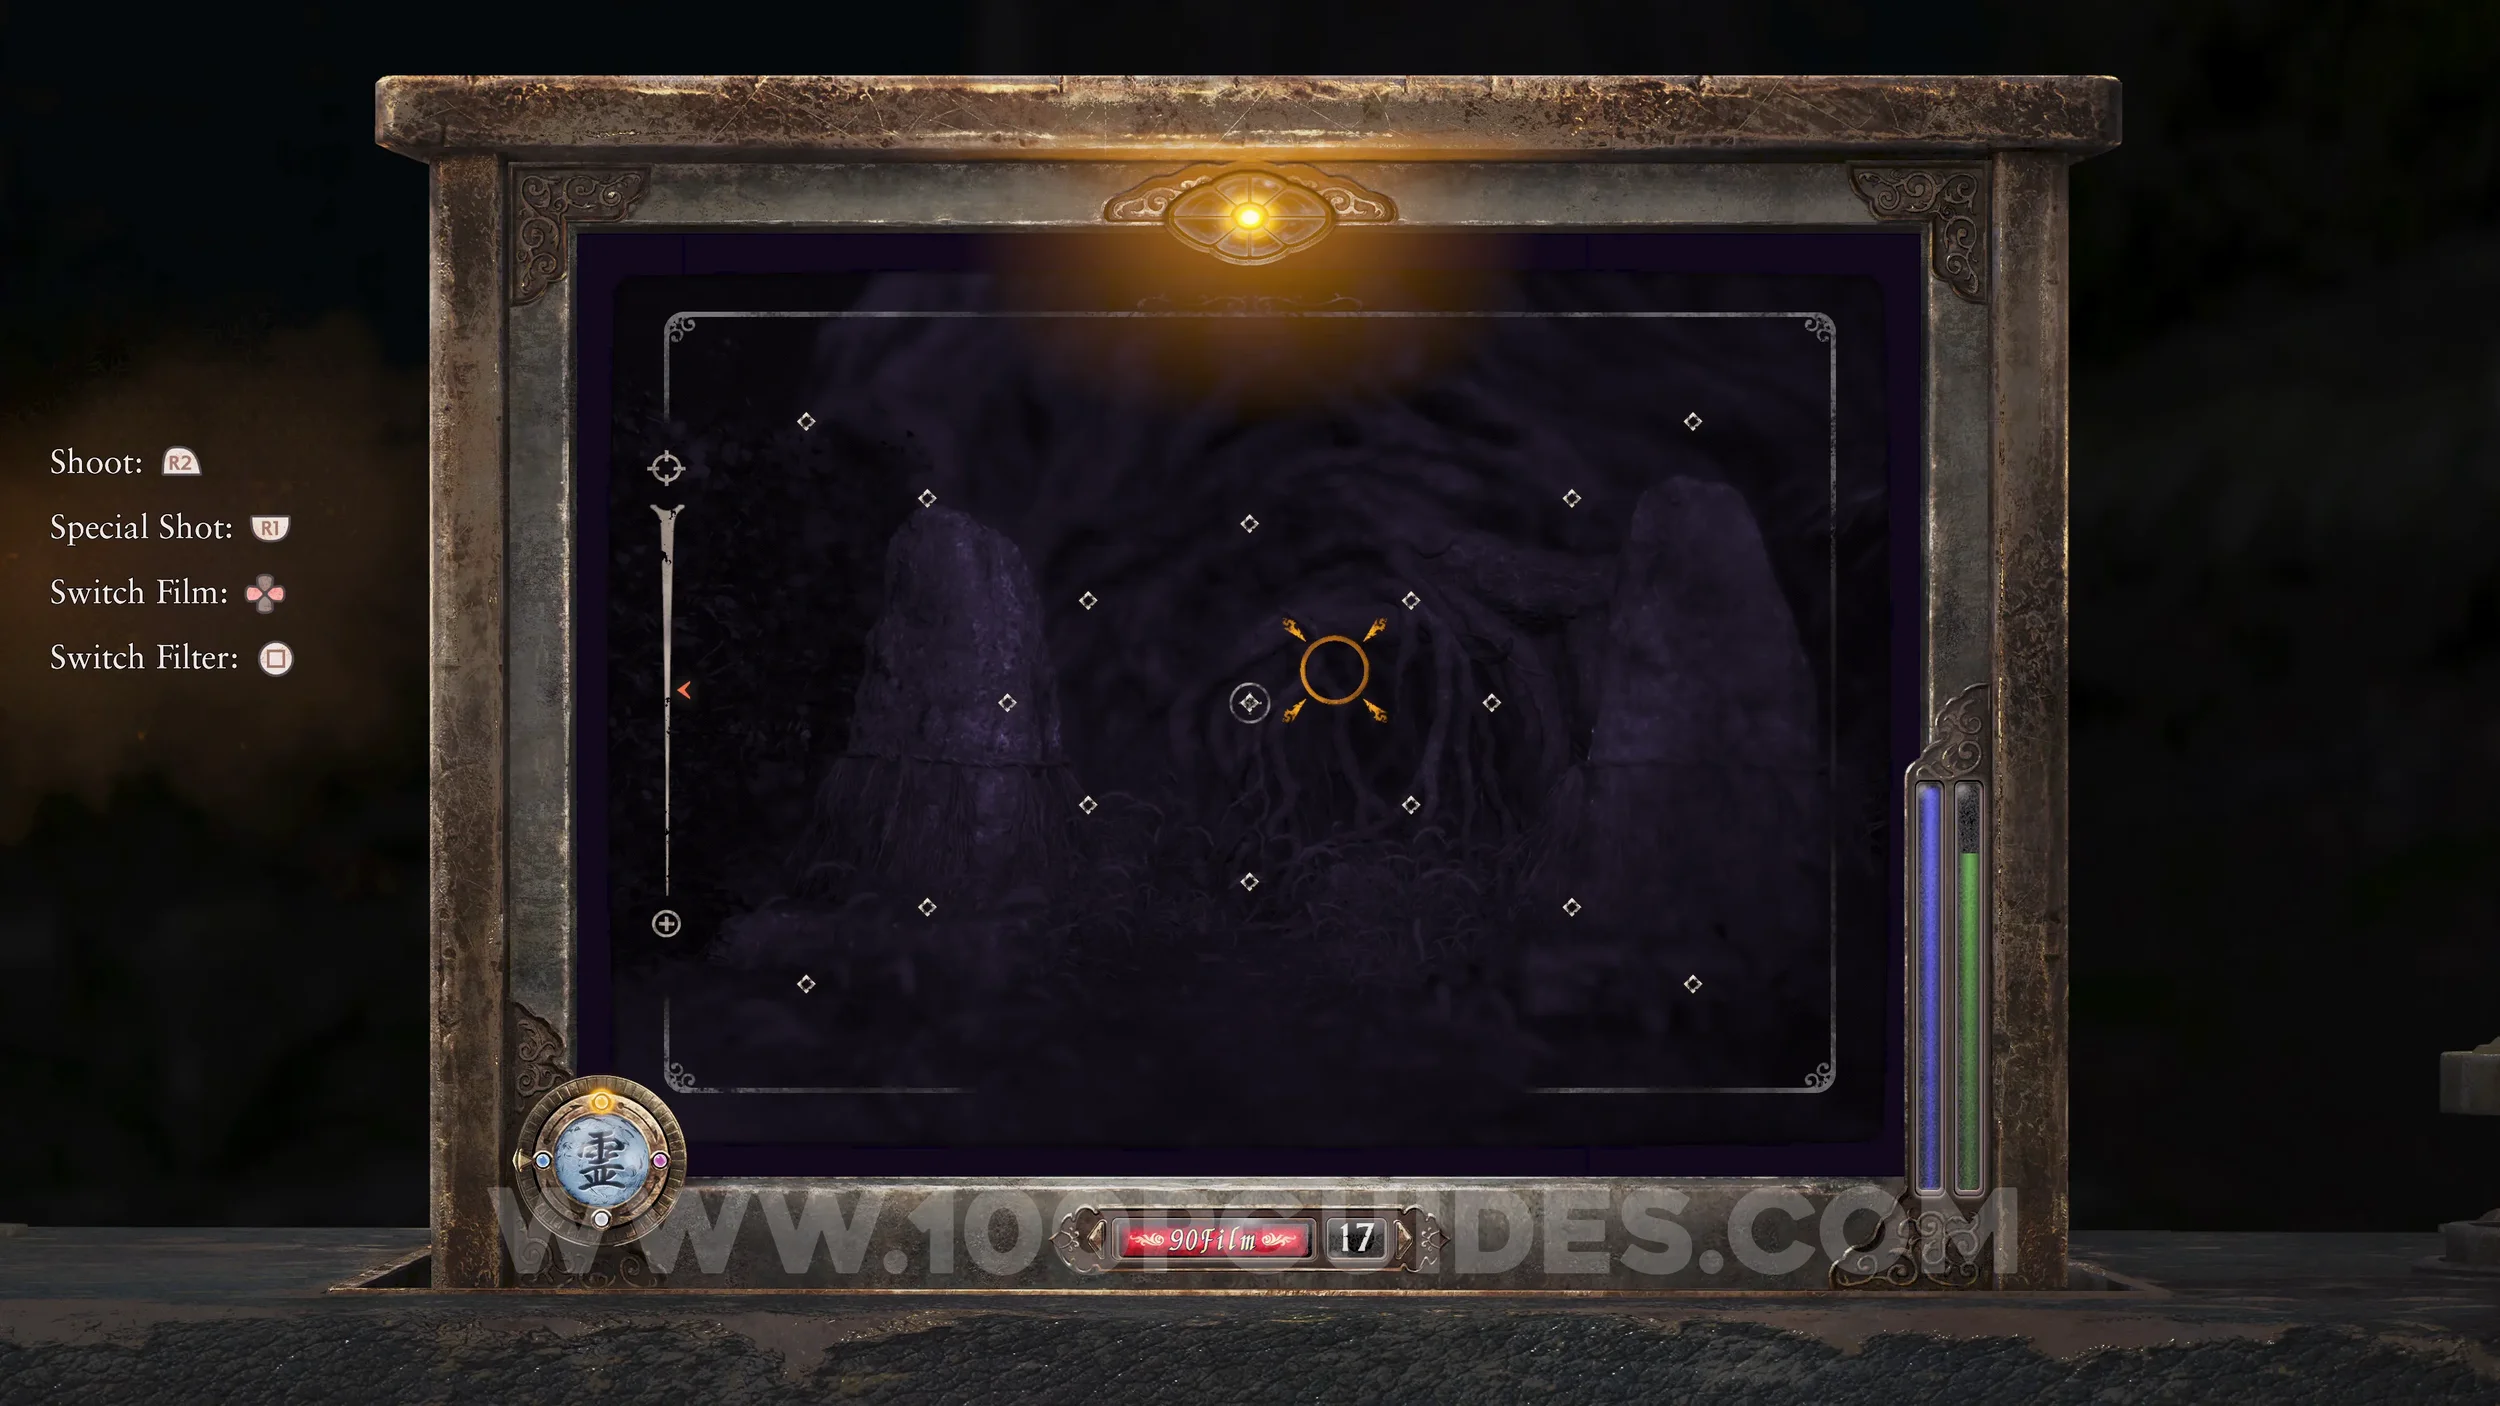
Specter #174 - 132 Man Investigating the Mechanism. In front of you as soon as you enter The Old Tree.
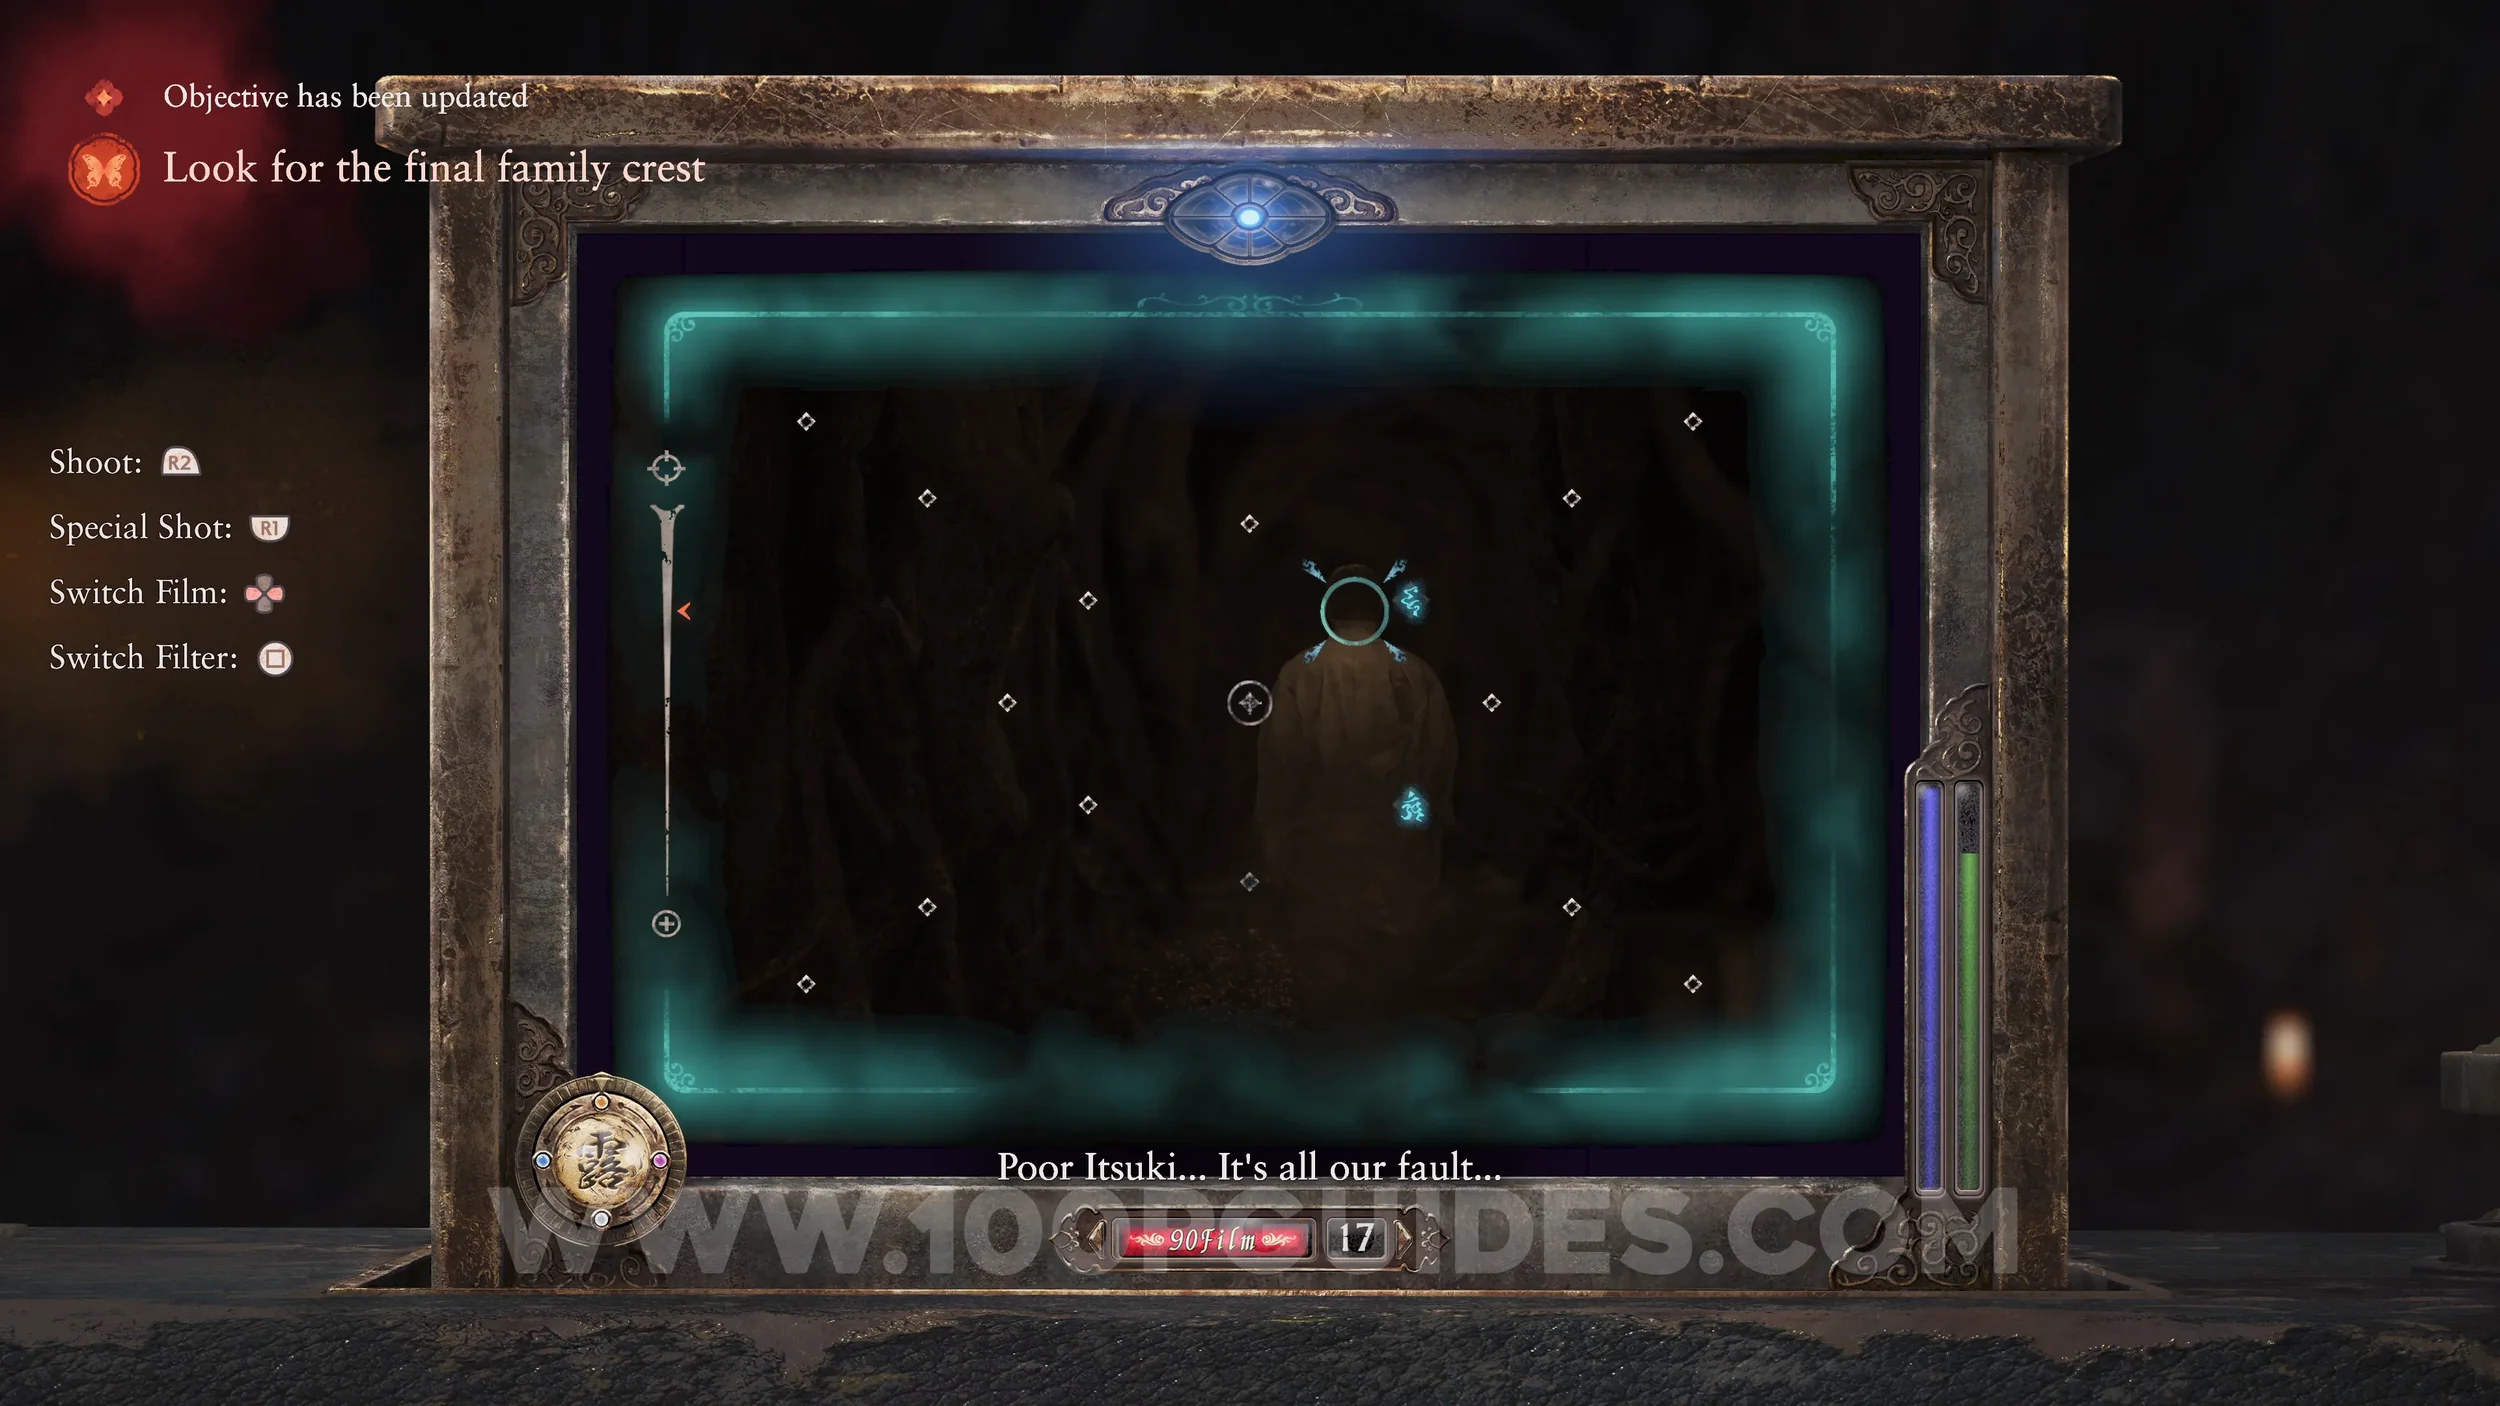
Specter #175 - 133 Fallen Mayu. Take a photo of Mayu as soon as you enter The Old Tree.
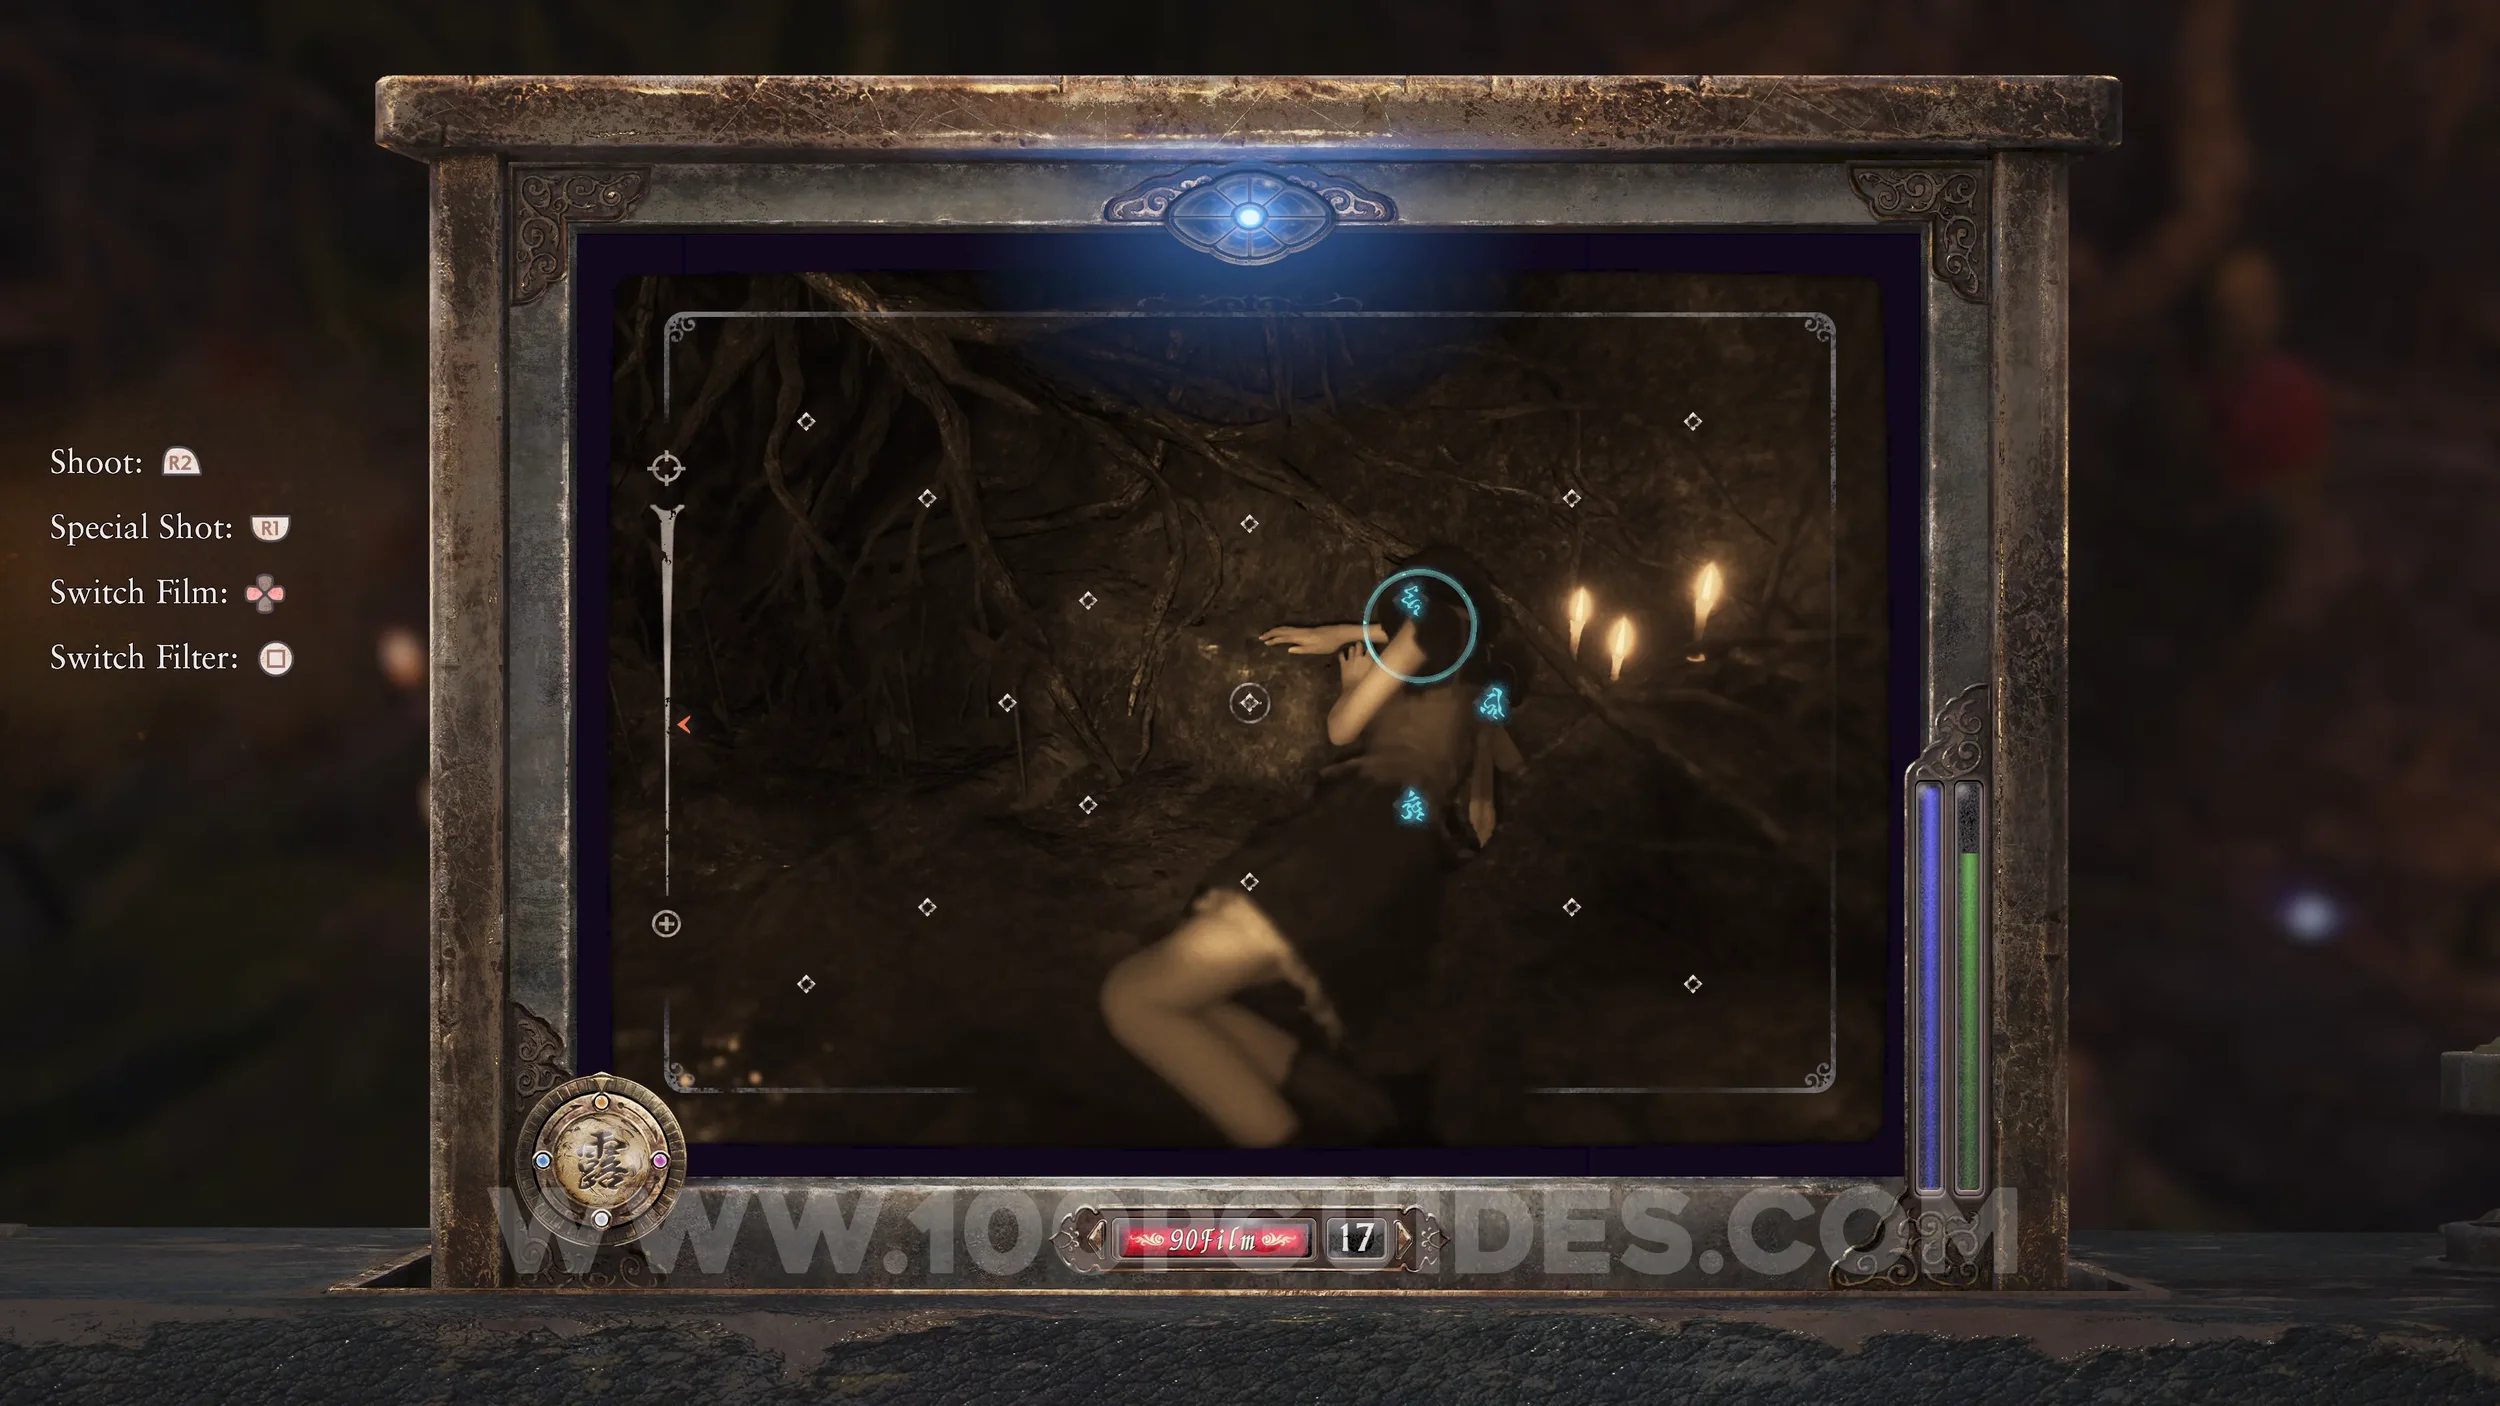
Prayer Beads #73. Next to Mayu, as soon as you enter The Old Tree.
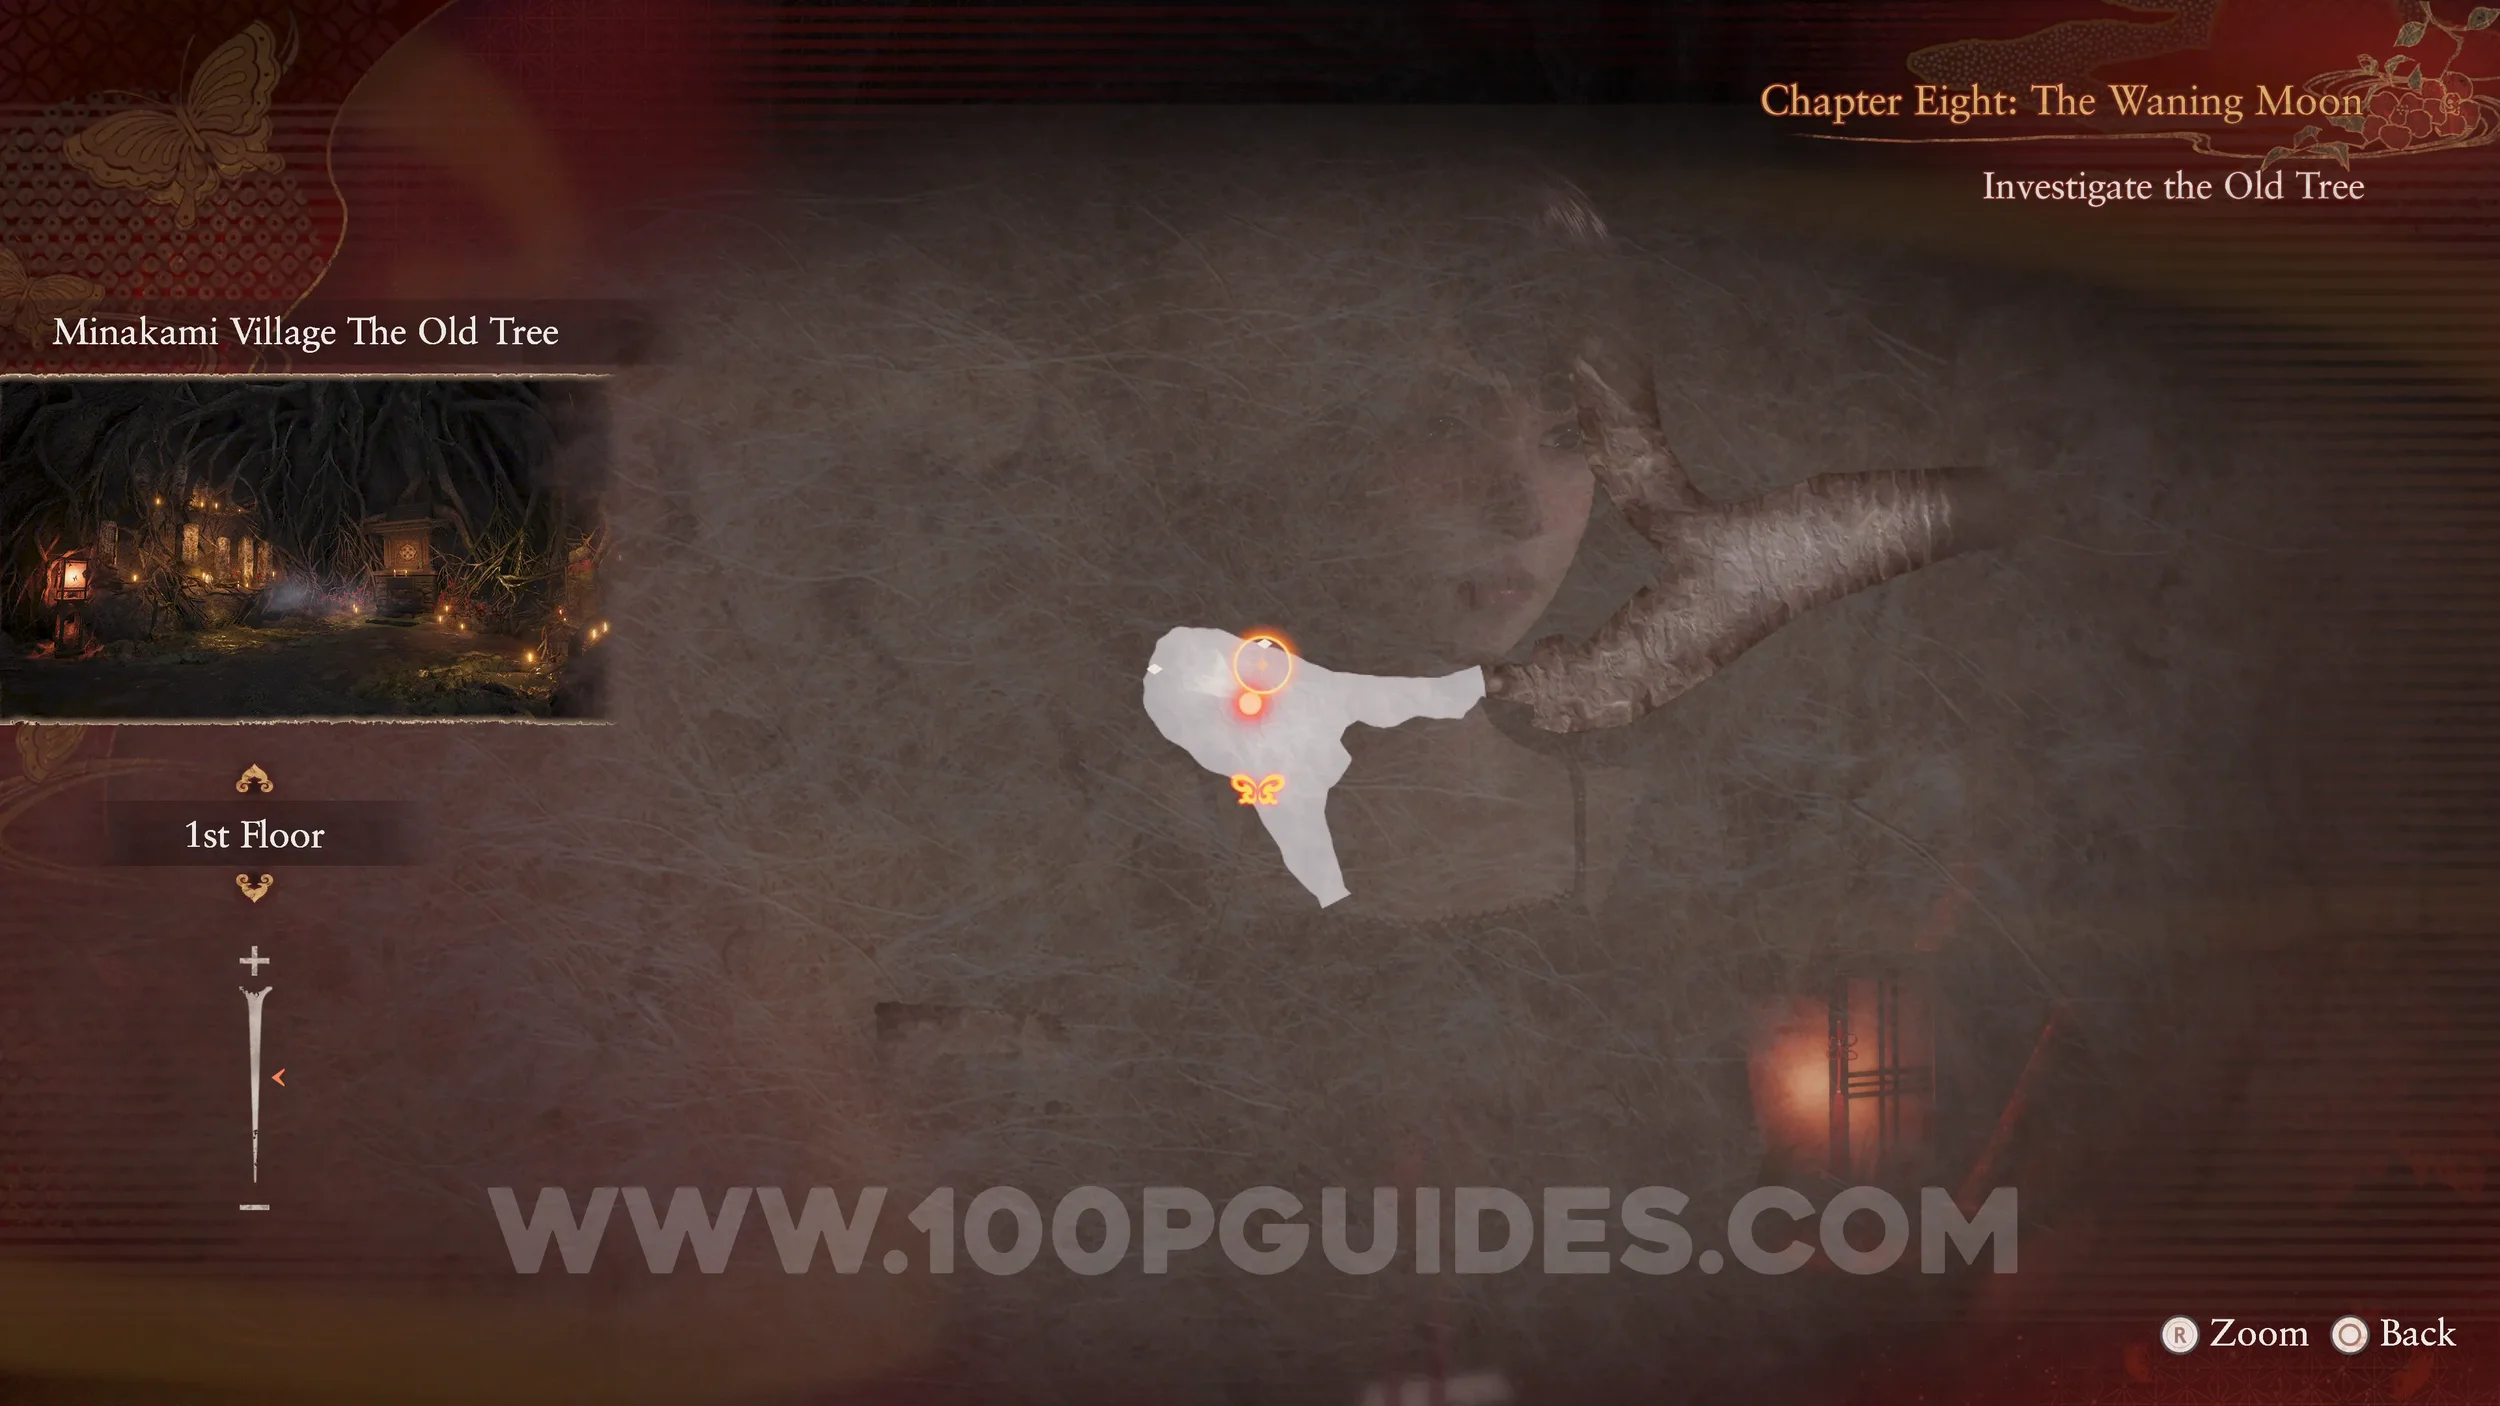
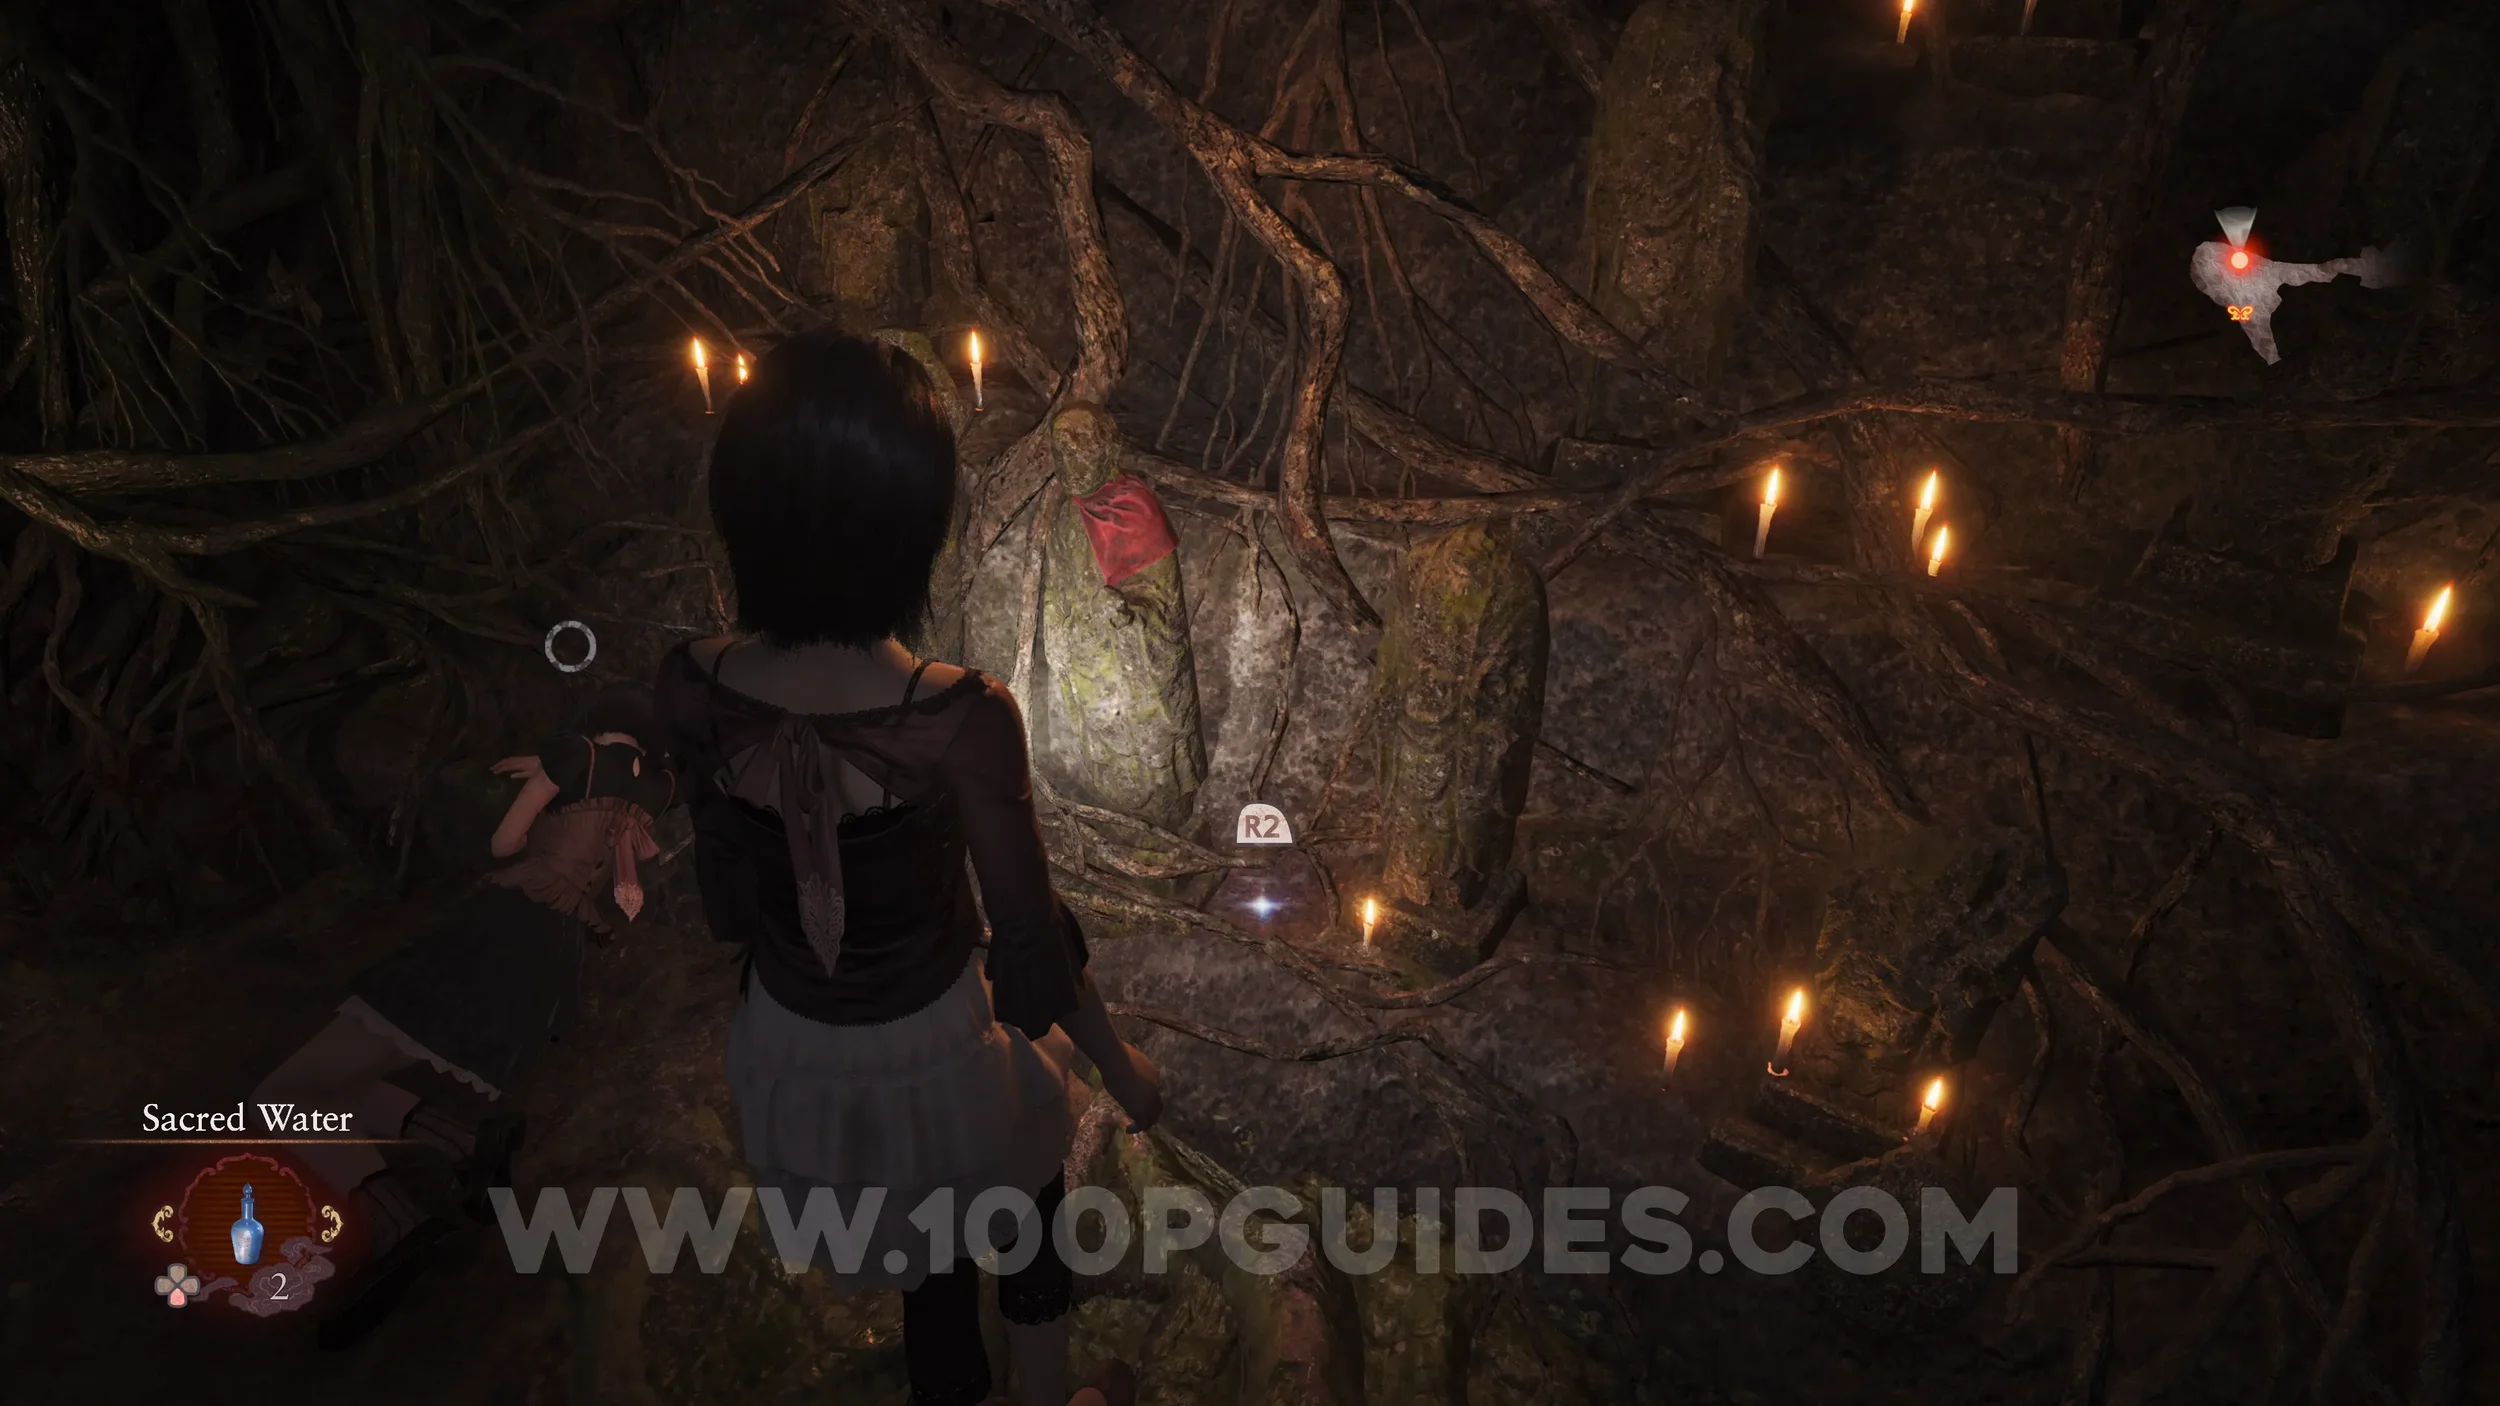
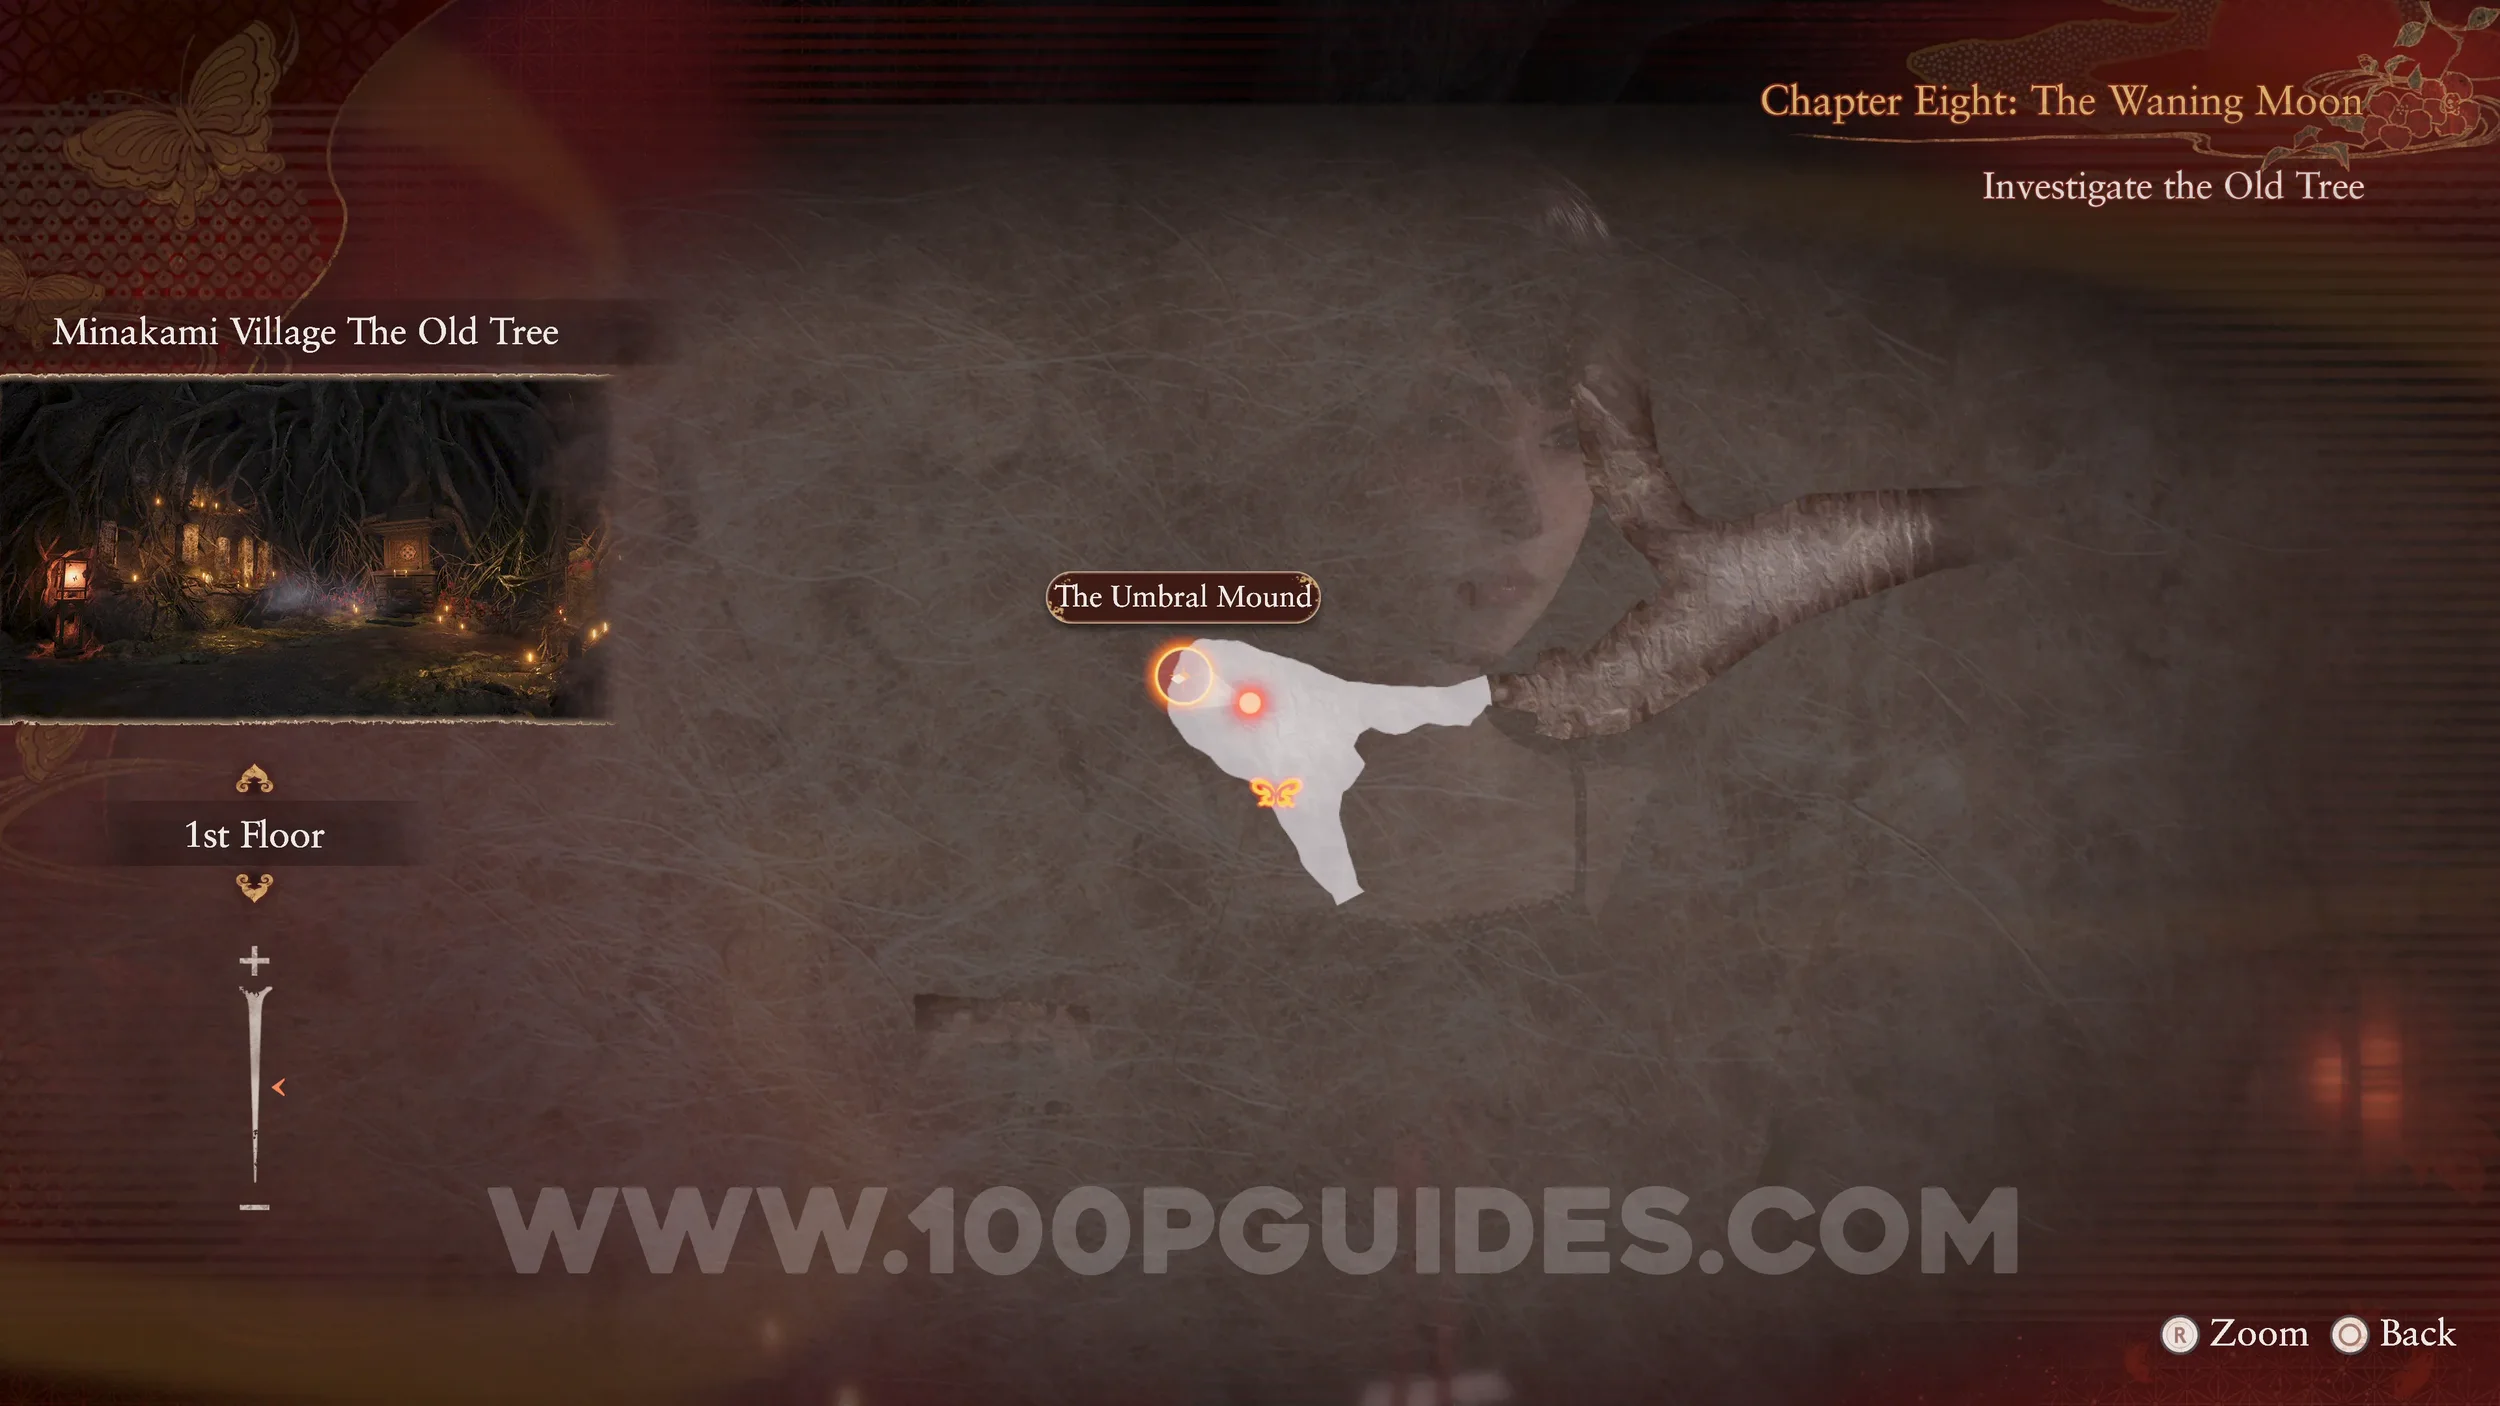
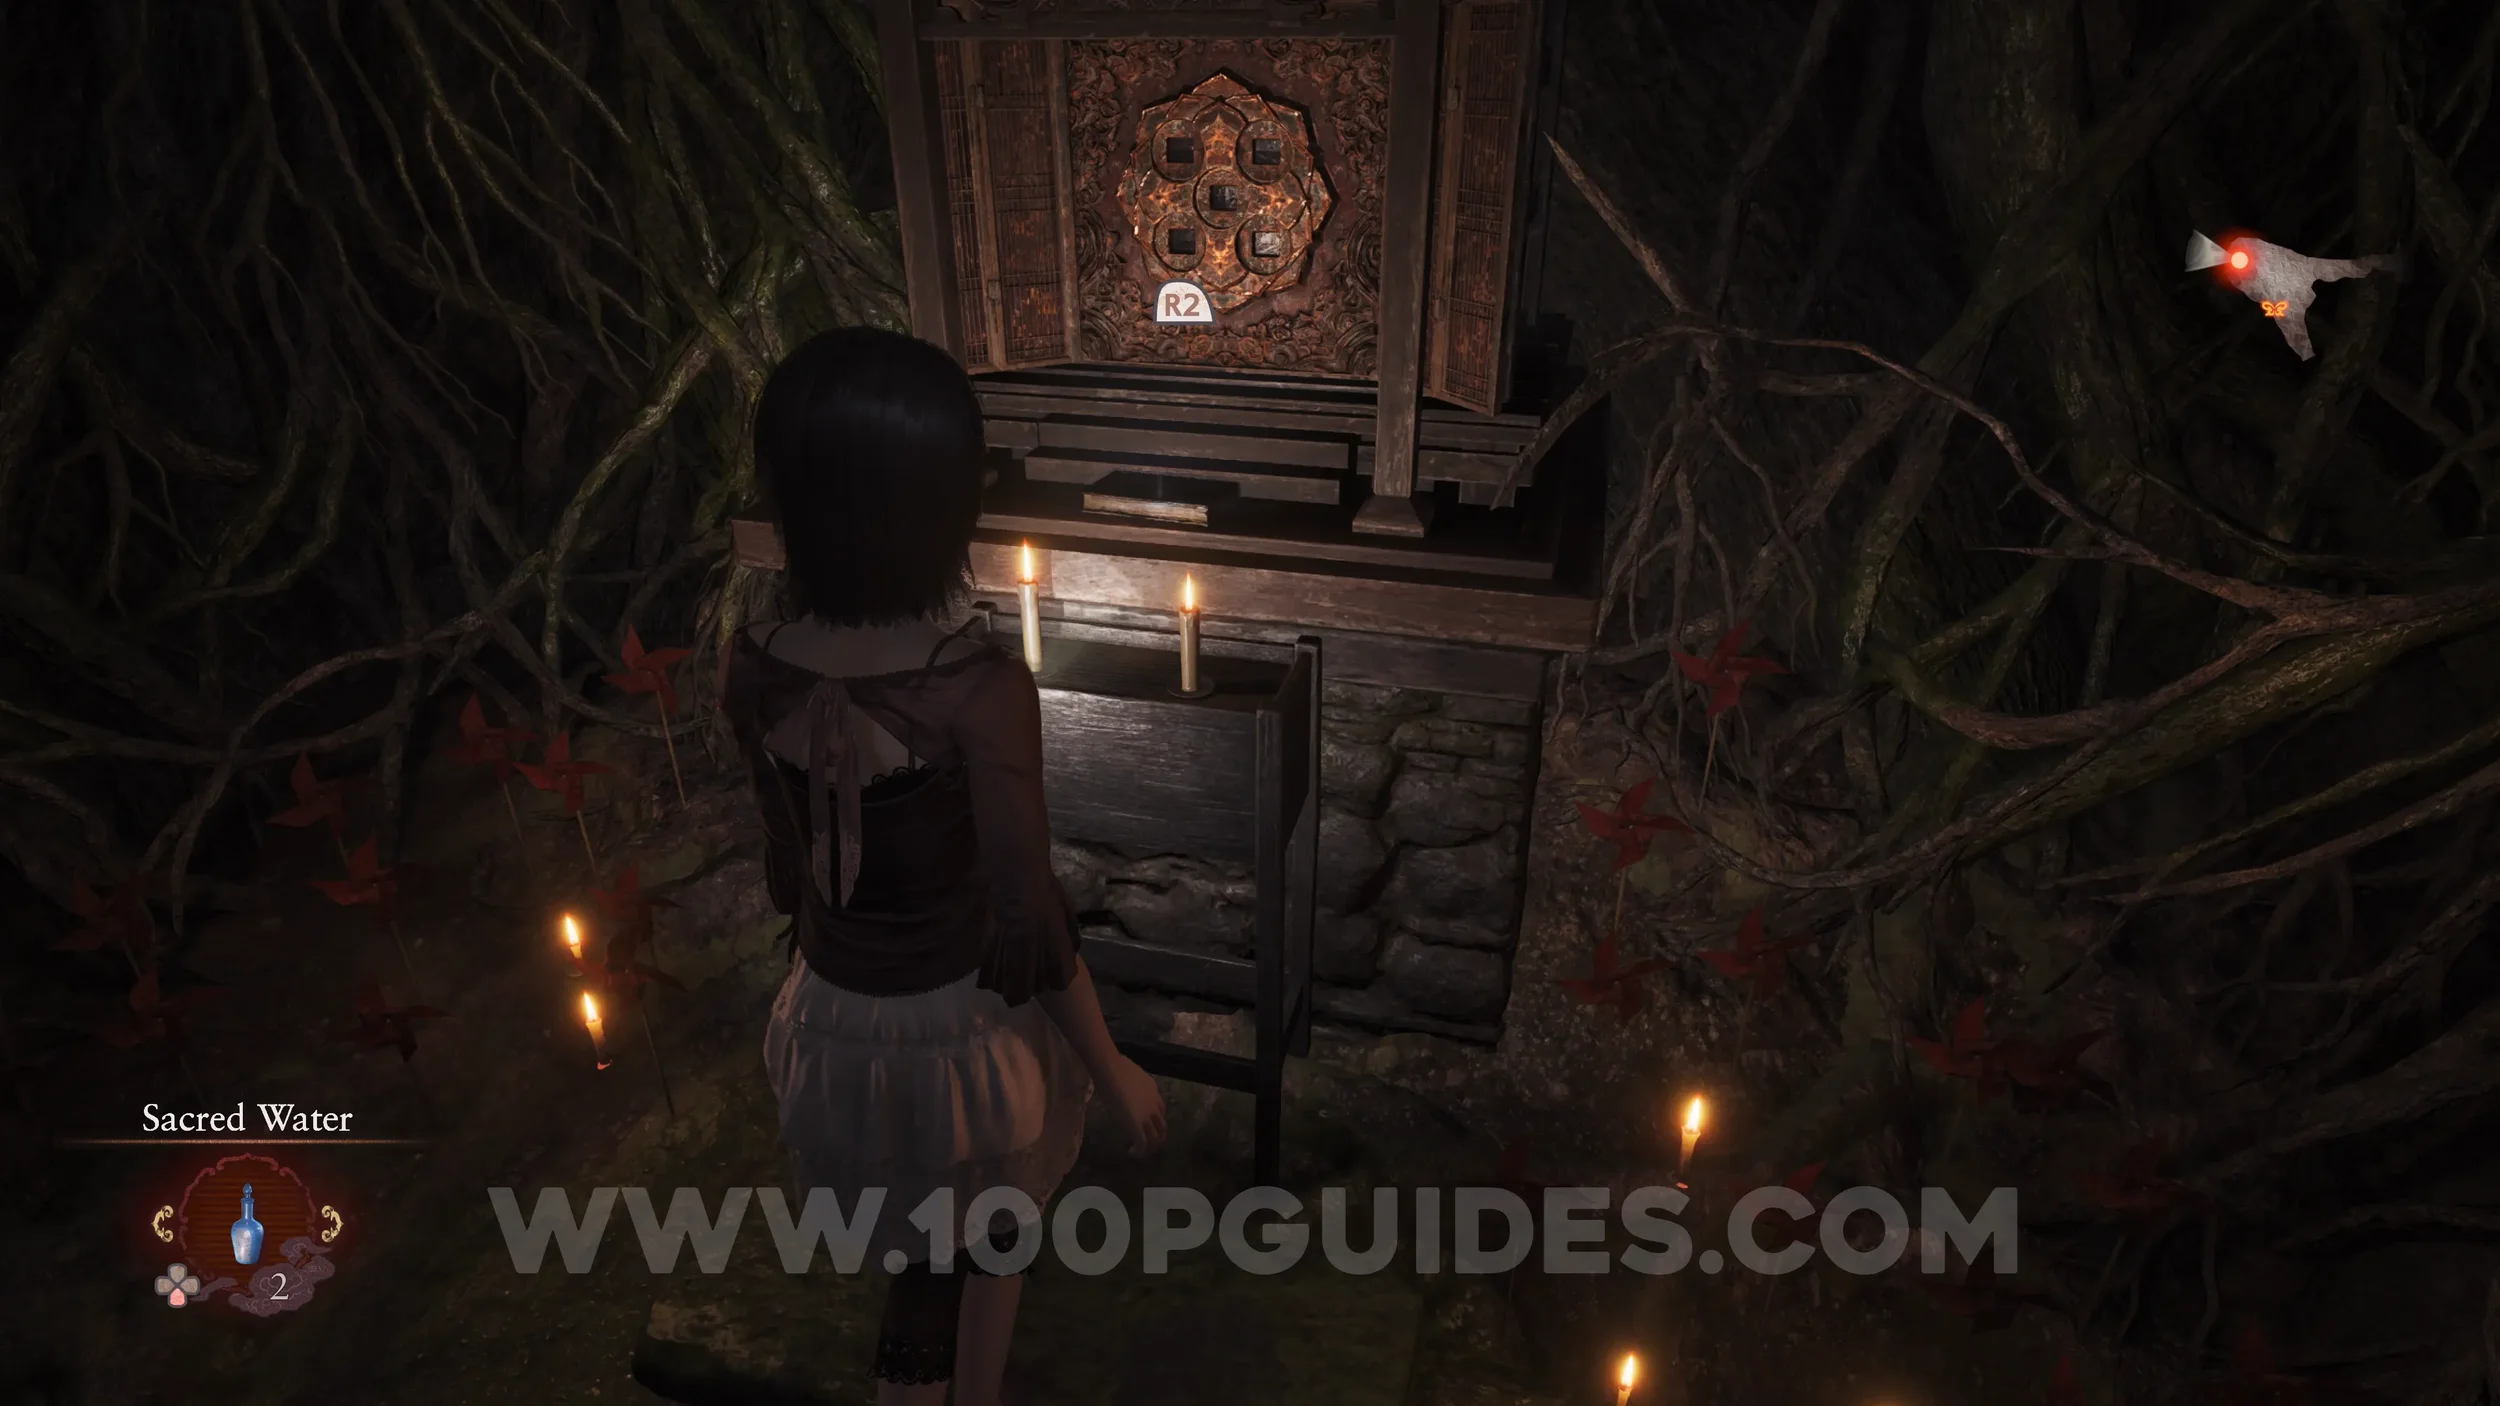
Document #91 - The Umbral Mound. Examine the altar where the specter was standing as soon as you enter the Old Tree.
Specter #176 - 134 Man Inspecting Old Tree. Will appear behind you as soon as you pick up the previous document.
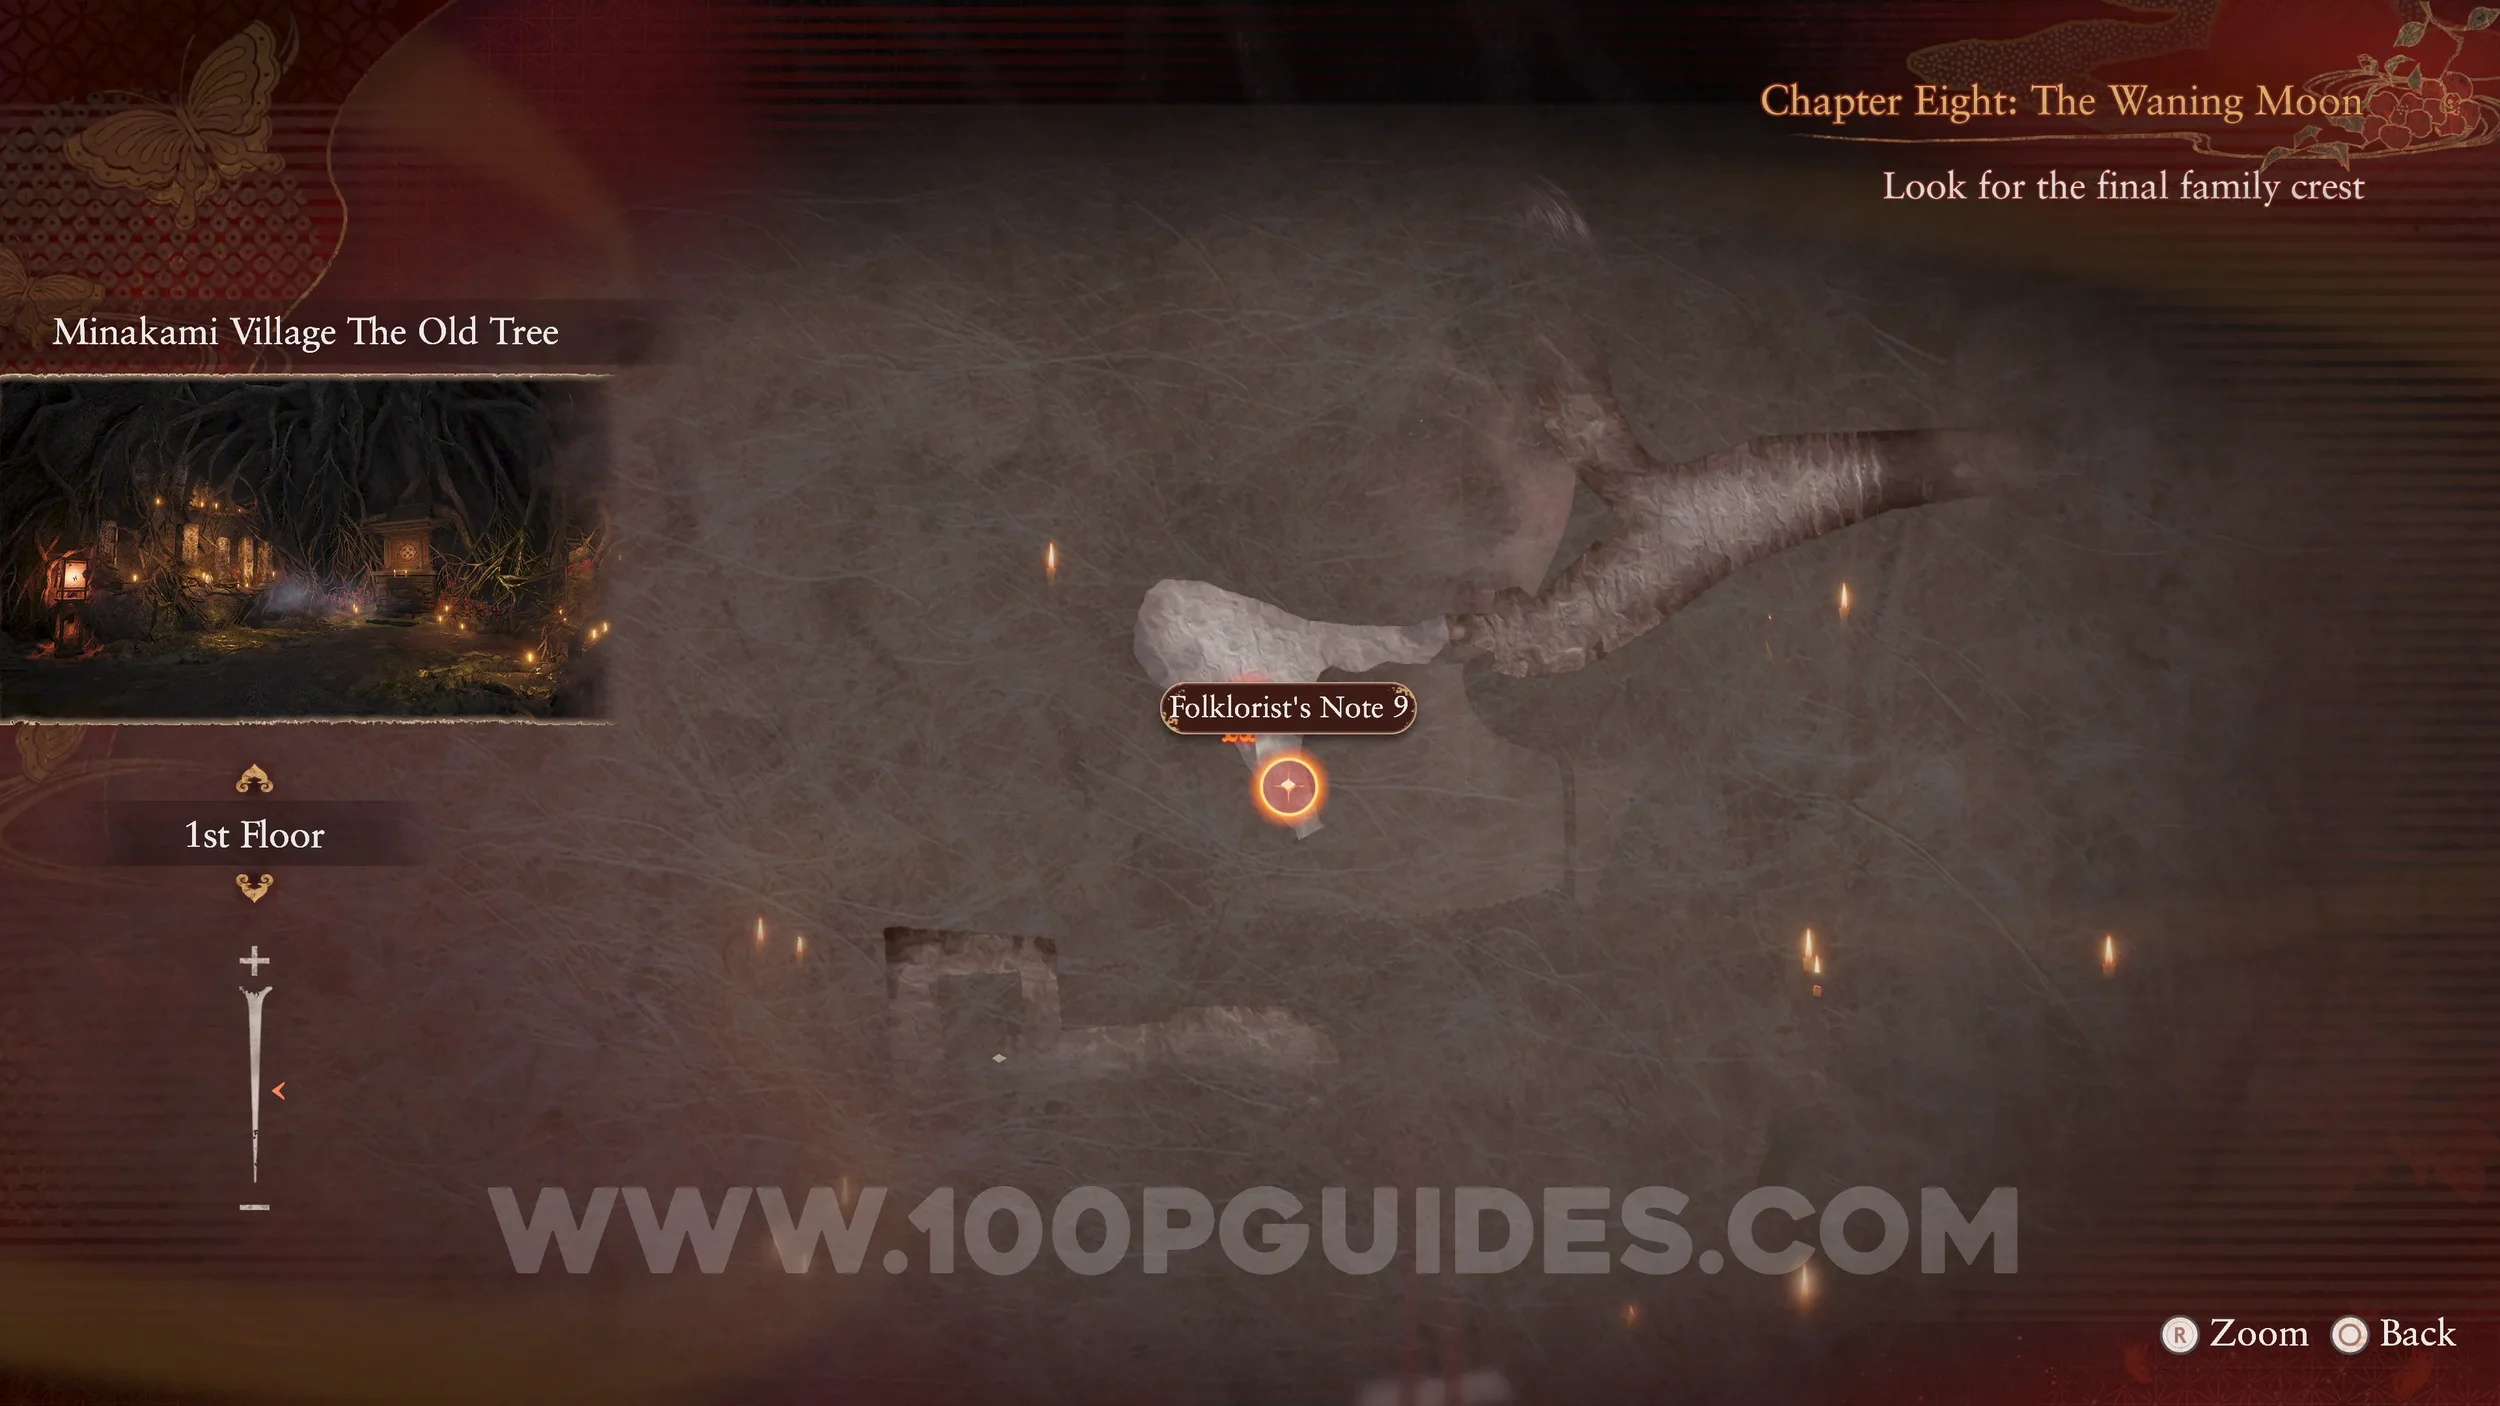
Document #92 - Folklorist’s Note 9. Dropped by the previous specter.

Twin Dolls #42 (30). On your right, as soon as you leave the Old Tree.
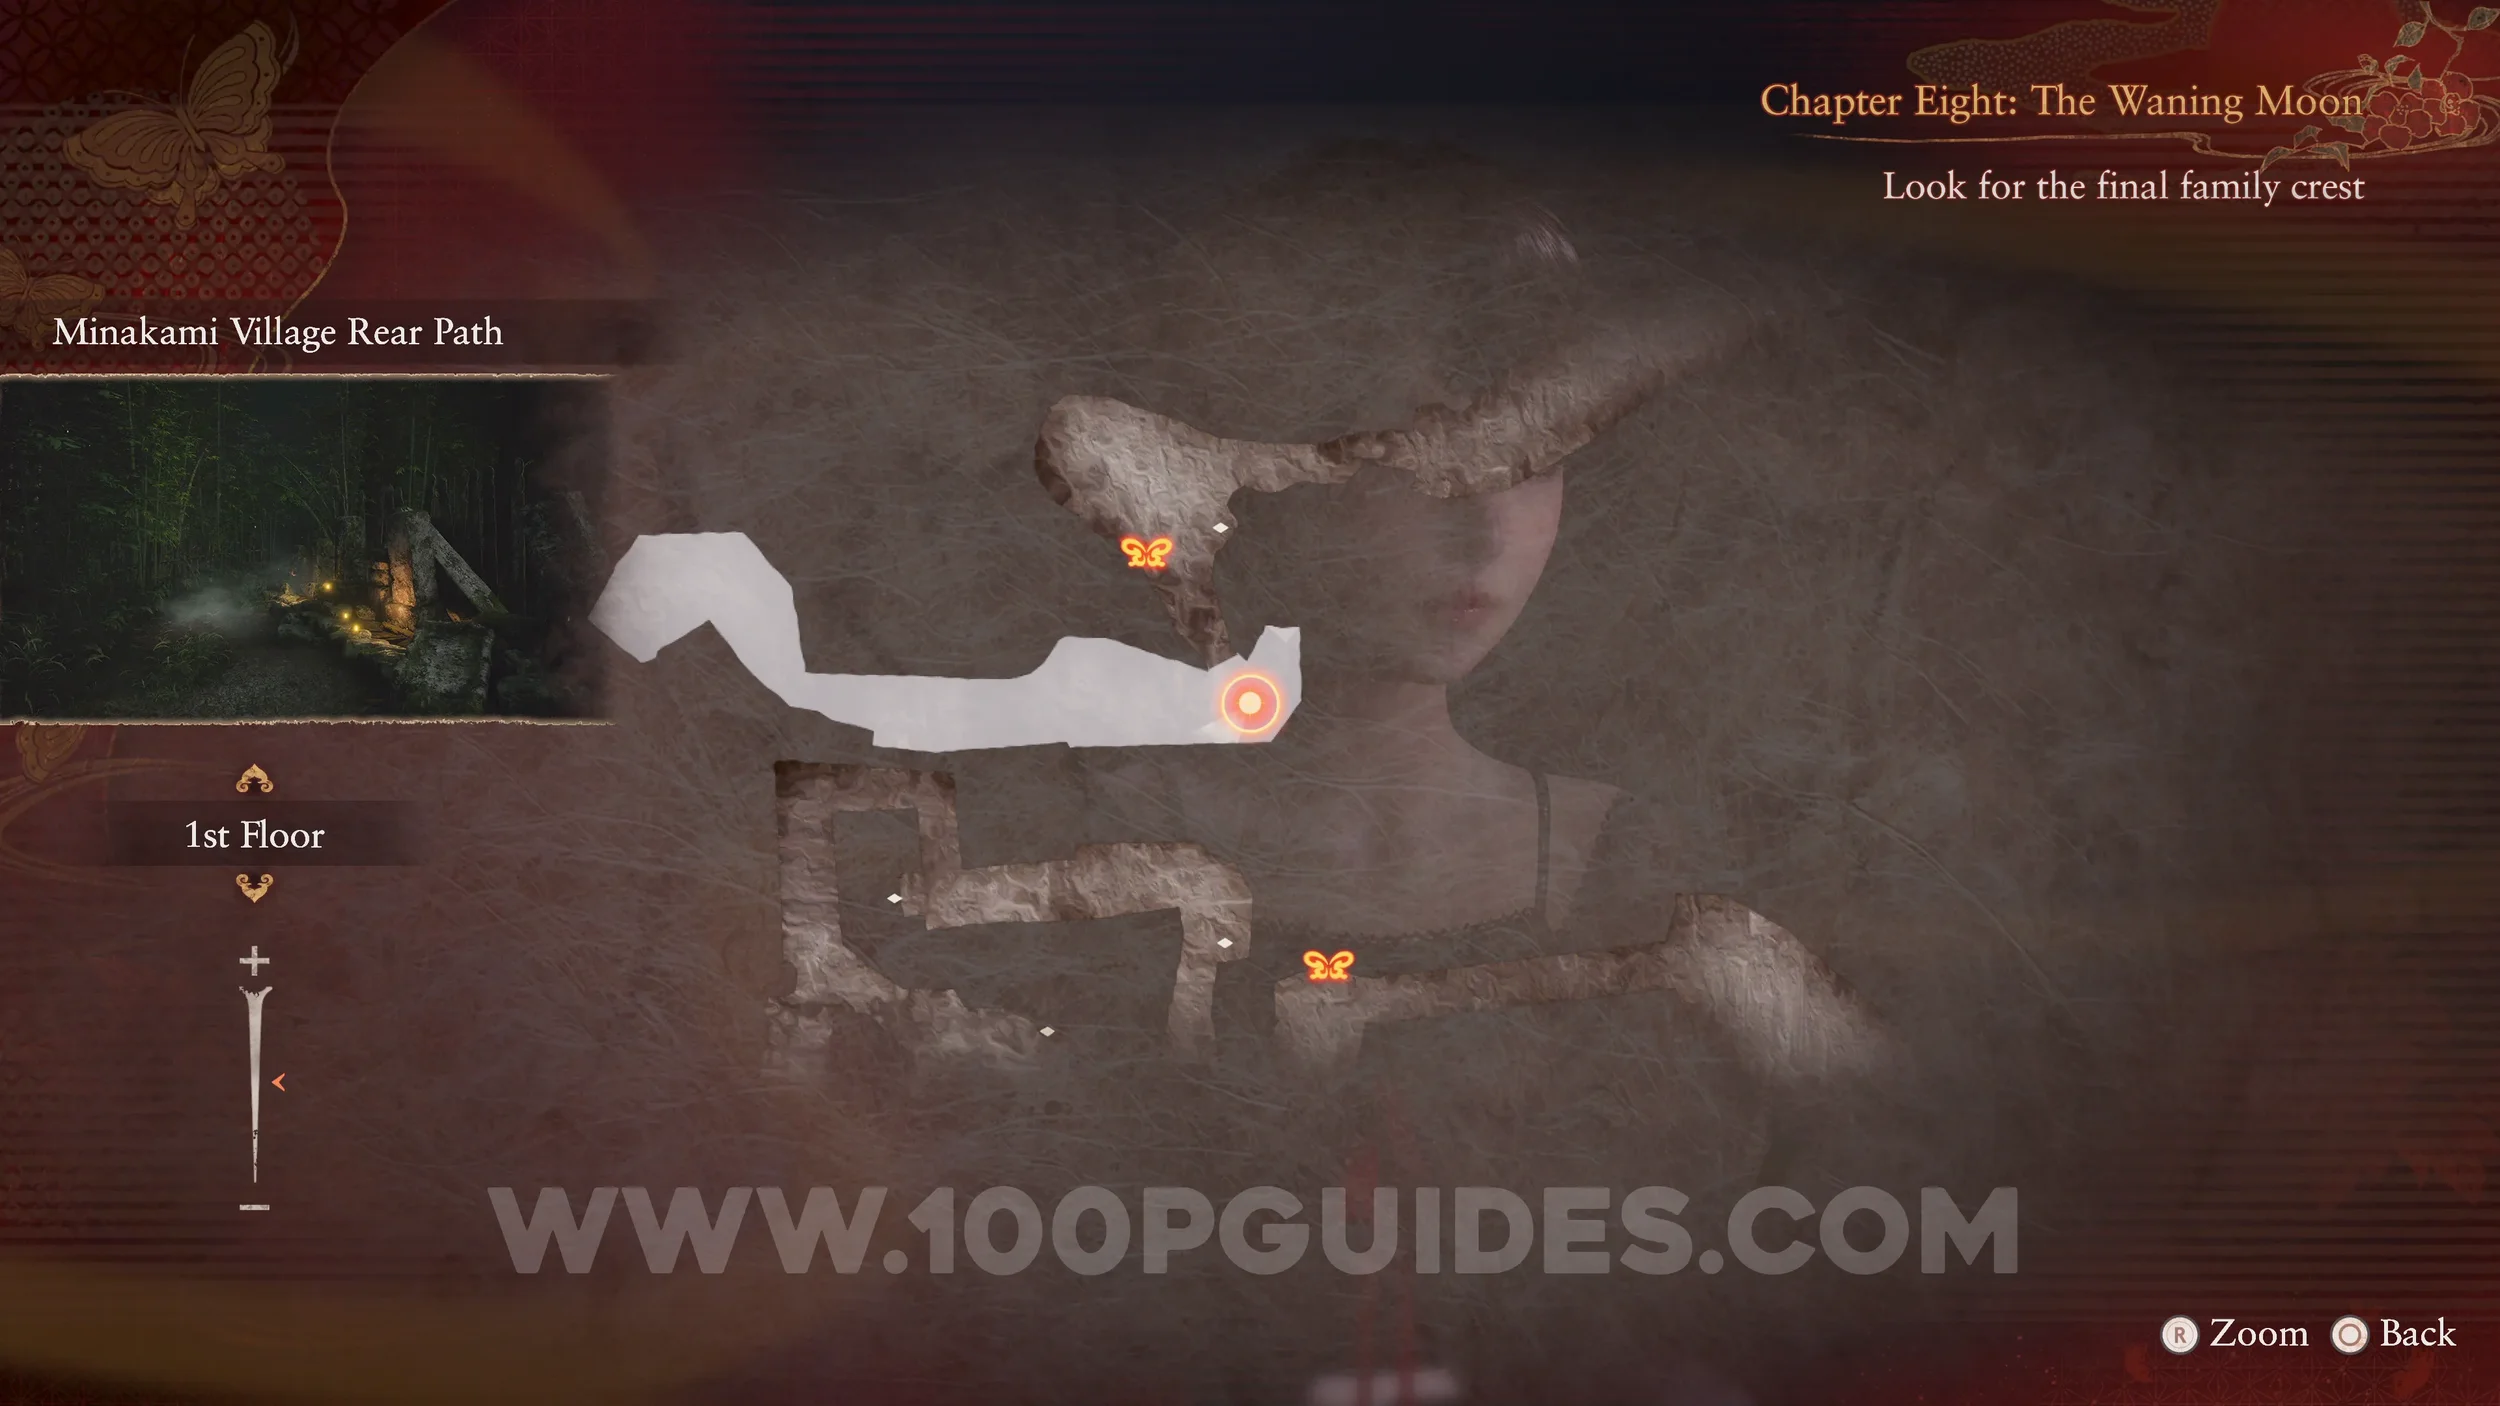
Prayer Beads #74. On the right side of the path, just after the previous dolls.
Twin Dolls #43 (36). After picking up the previous beads, continue along the path until you reach a small hut. The dolls are inside this hut. One is in plain sight, and the other is in a pot.
Twin Dolls #44 (34). In the bamboo area, head south to find a hut. The dolls are inside. Stand just inside the entrance to see them both. One is near the window in front of you and the other is above.

Unbinding of Blood #29. Also in the hut. The chest in the corner.
Twin Dolls #45 (35). In the bamboo area, head down the western path. The dolls can be found just before the gap that you have to crouch through.
Specter #177 - 135 Fearful Man Holding Camera Obscura. In front of you, after going through the hole on the western path.
Phantom Expose #16 - Umbral Mound, Cemetery, Document #93 - Holy Mirror Memo and Wraith #23 - 024 Man of Ropes. Story related. Use the Exposure Filter in the same location as the previous specter. Then the wraith will appear.
Revenant #19 - 020 Man Searching Umbral Mound, Document #94 - Folklorist’s Note 10 and Spirit Stone #13 - Lazulite (2/2). Look at the top of the mound with the Exposure Filter to reveal the revenant. He will drop a note and give you the second half of the Lazulite, completing the “Seijiro Makabe” side quest.
Revenant #20 - 021 Boy Inspecting Old Tree and Document #95 - Green Diary 4. After solving the puzzle in the Old Tree, interact with Mayu and then look through the Exposure Filter to see the revenant. He will drop the document.
Specter #178 - 193 Boy Leaning on Wall, Specter #179 - 194 Boy Searching Storehouse, Specter #180 - 195 Pair Passing By, Document #96 - Green Diary 5 and Document #97 - Bound Diary 4. Before heading up to the shrine, return to the Minakami Village Storehouse and go inside to find the specters. Make sure to get them both in shot to get the third entry. He will drop two documents.


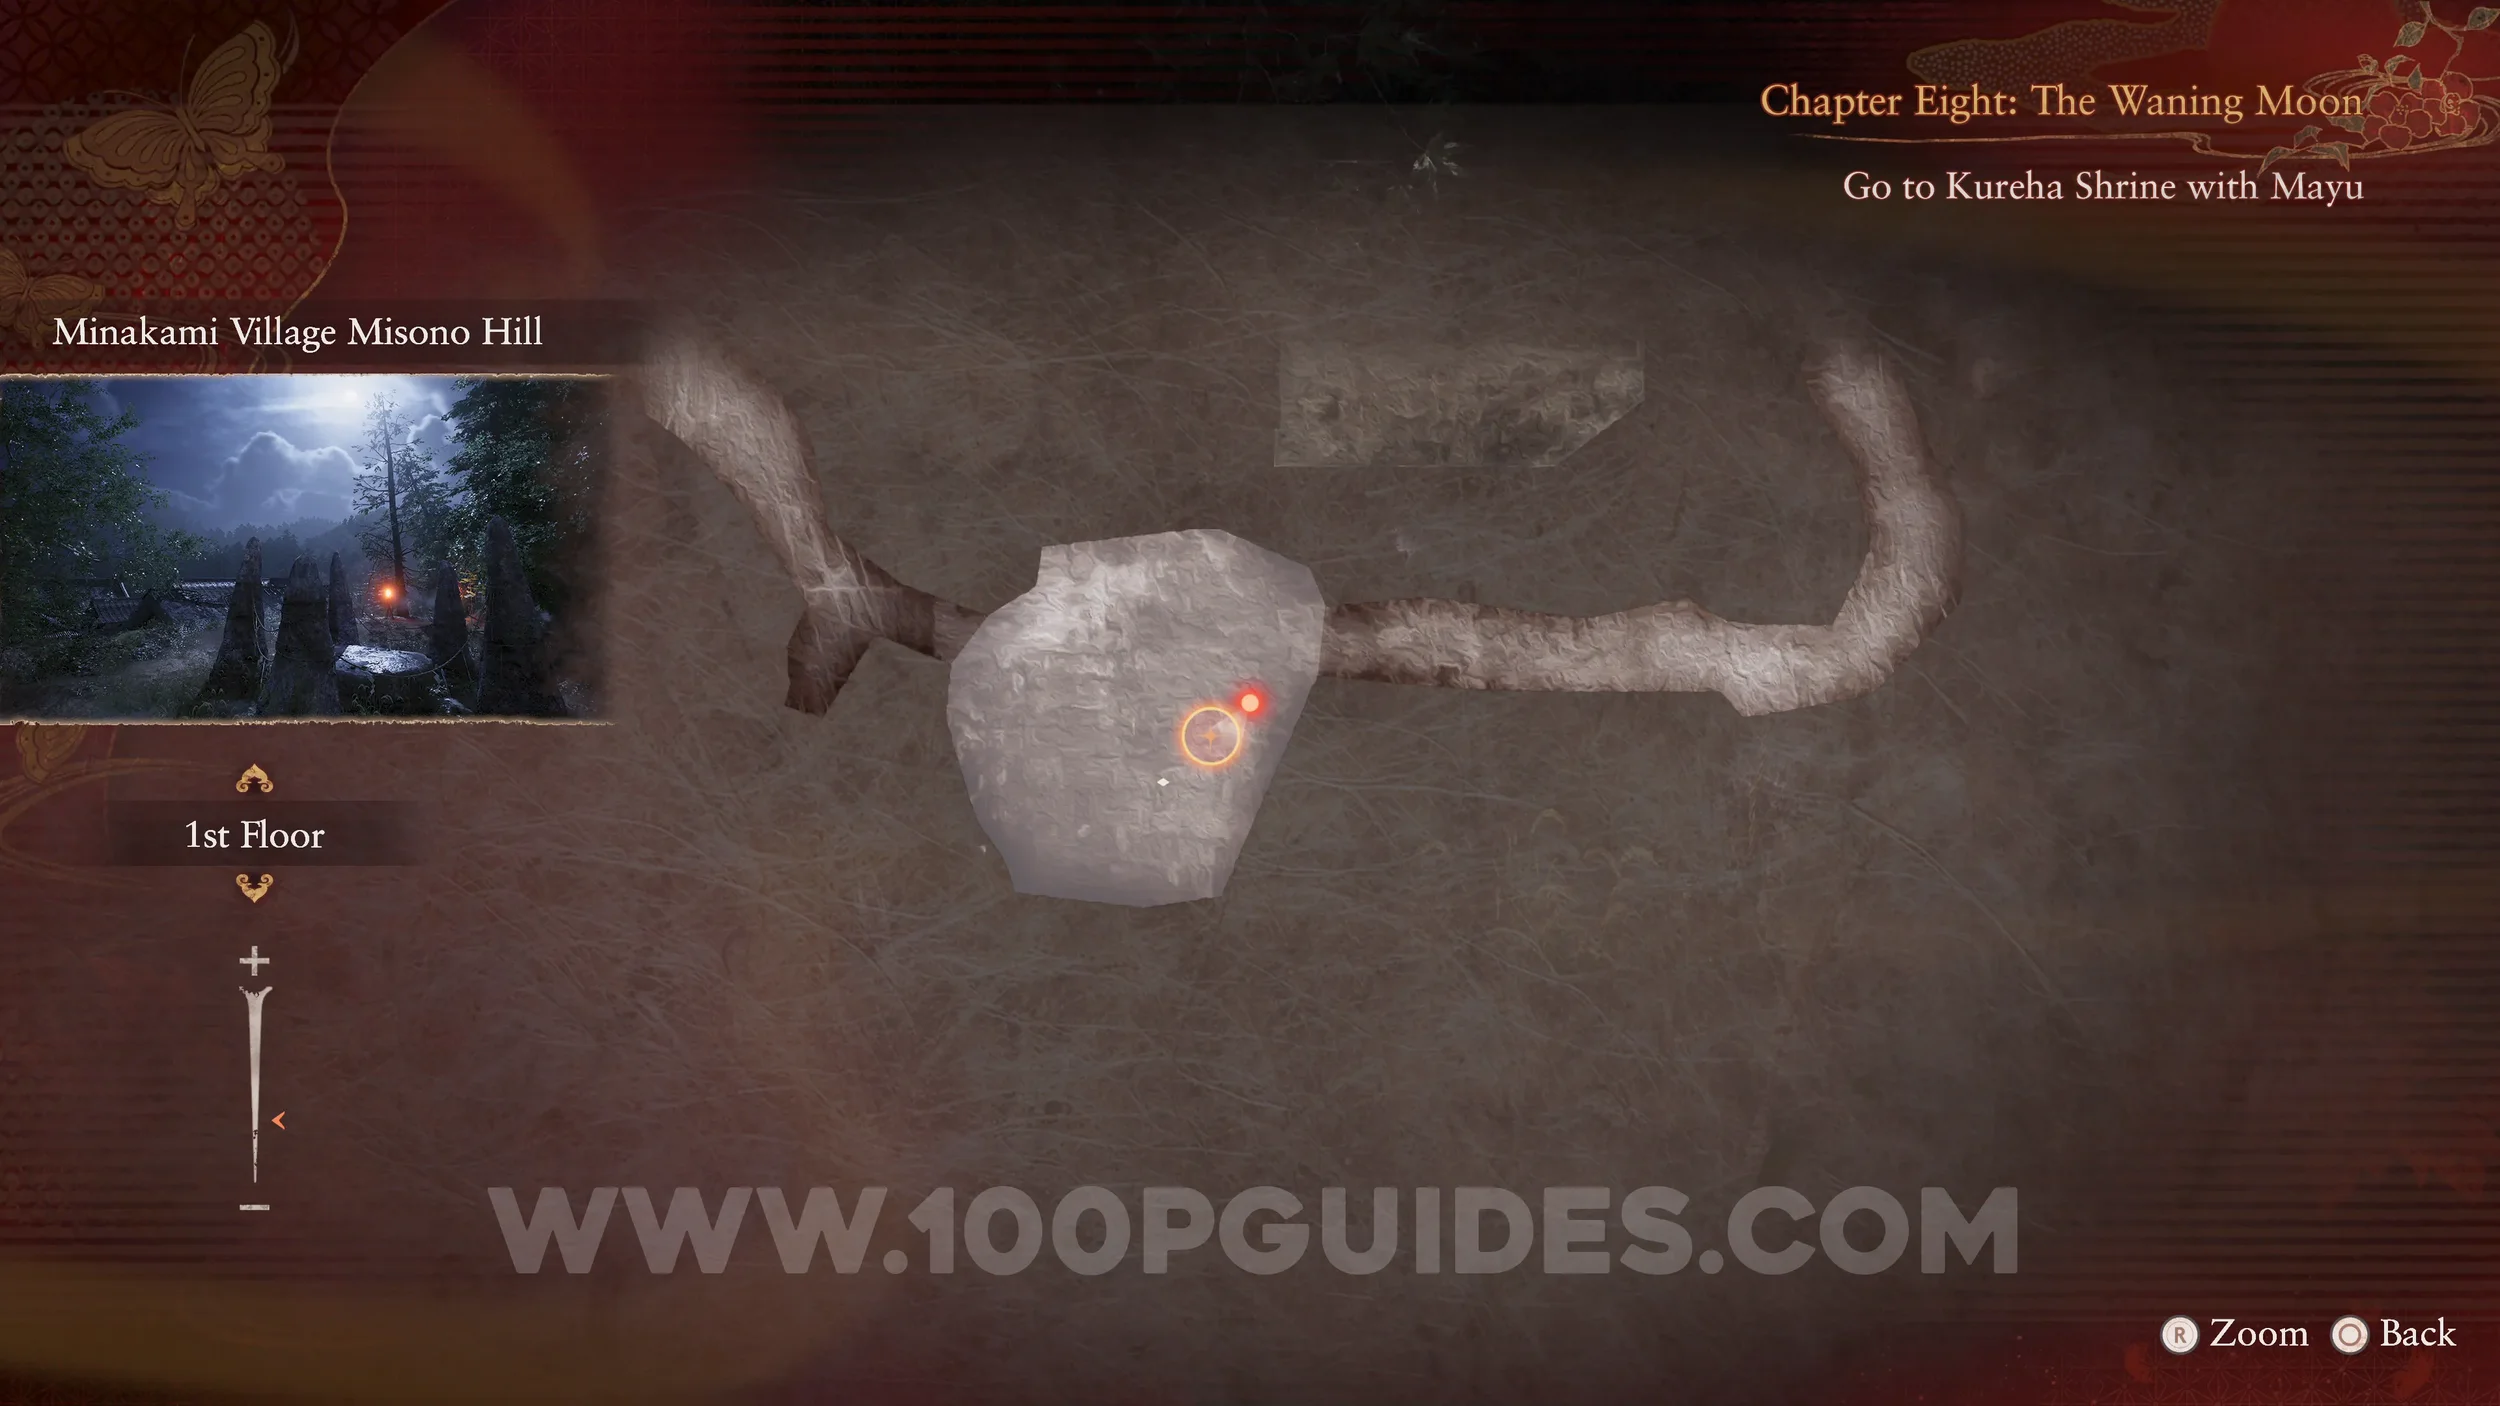
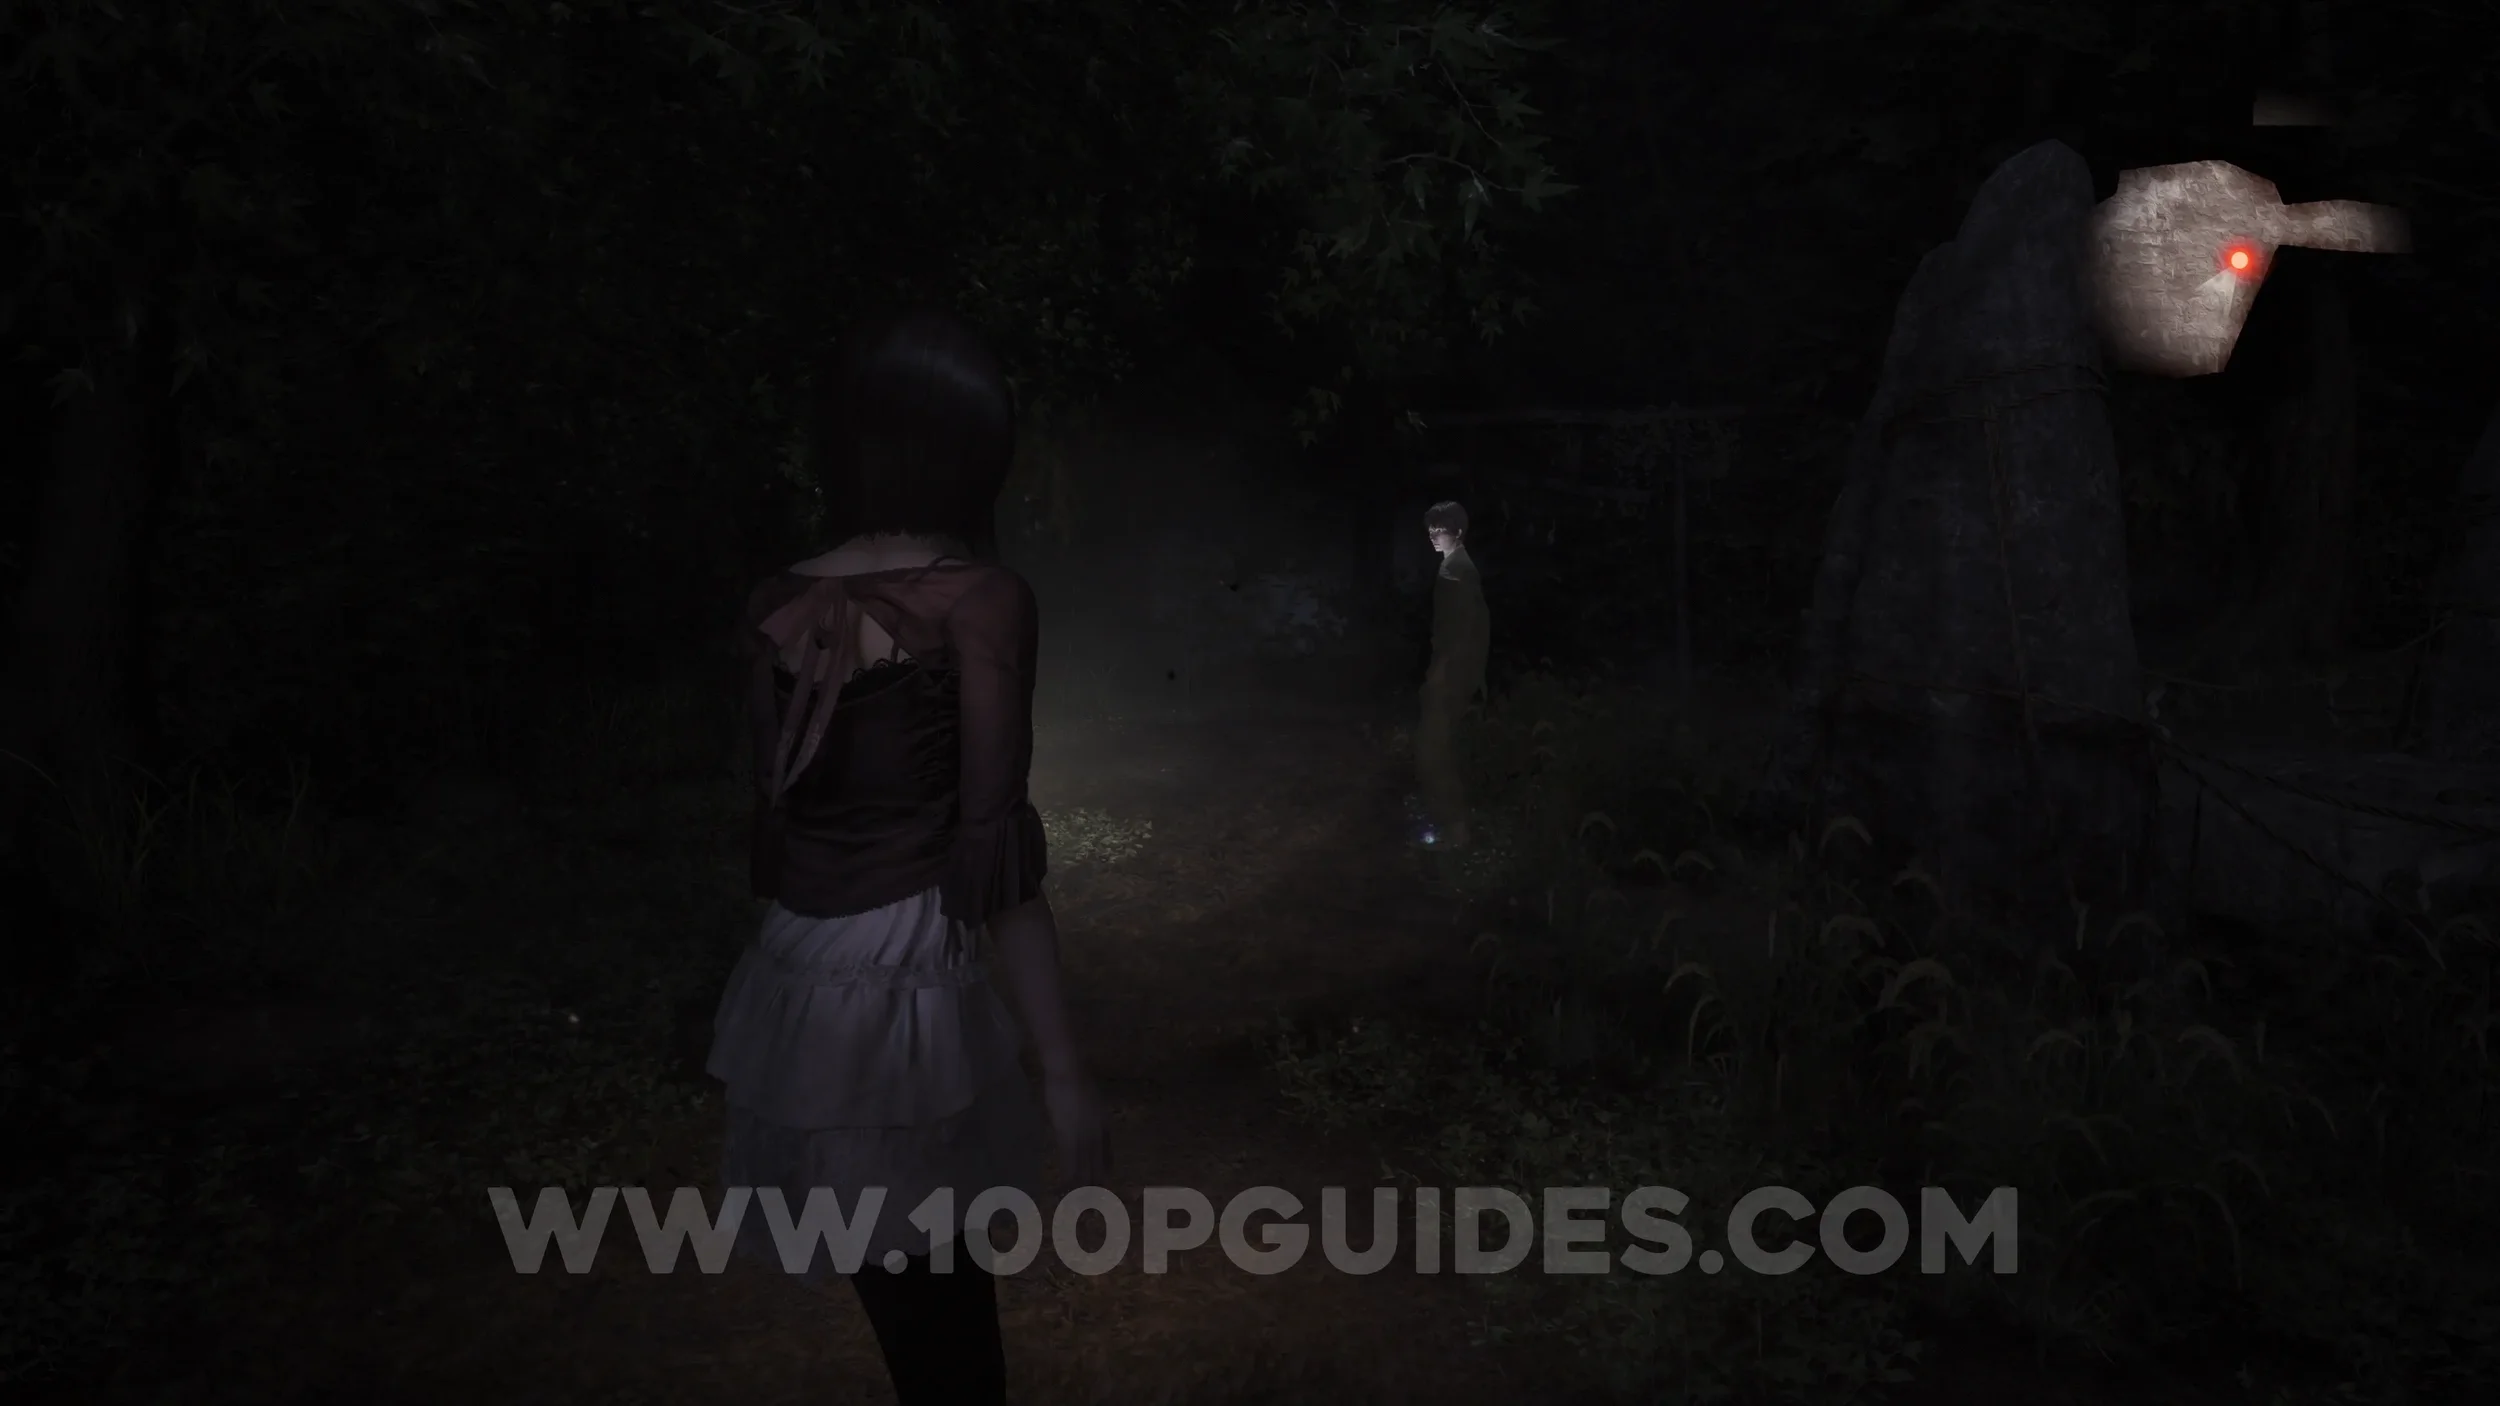
Specter #181 - 196 Boy Leaving Village, Document #98 - Green Diary 6 and Spirit Stone #16 - Phosphophyllite (2/2). Return to Misono Hill, where the game starts, to find the specter to the left of the rock structures. He will drop the file and the second half of the Spirit Stone, bringing the Ryozo Minakata side quest to an end.
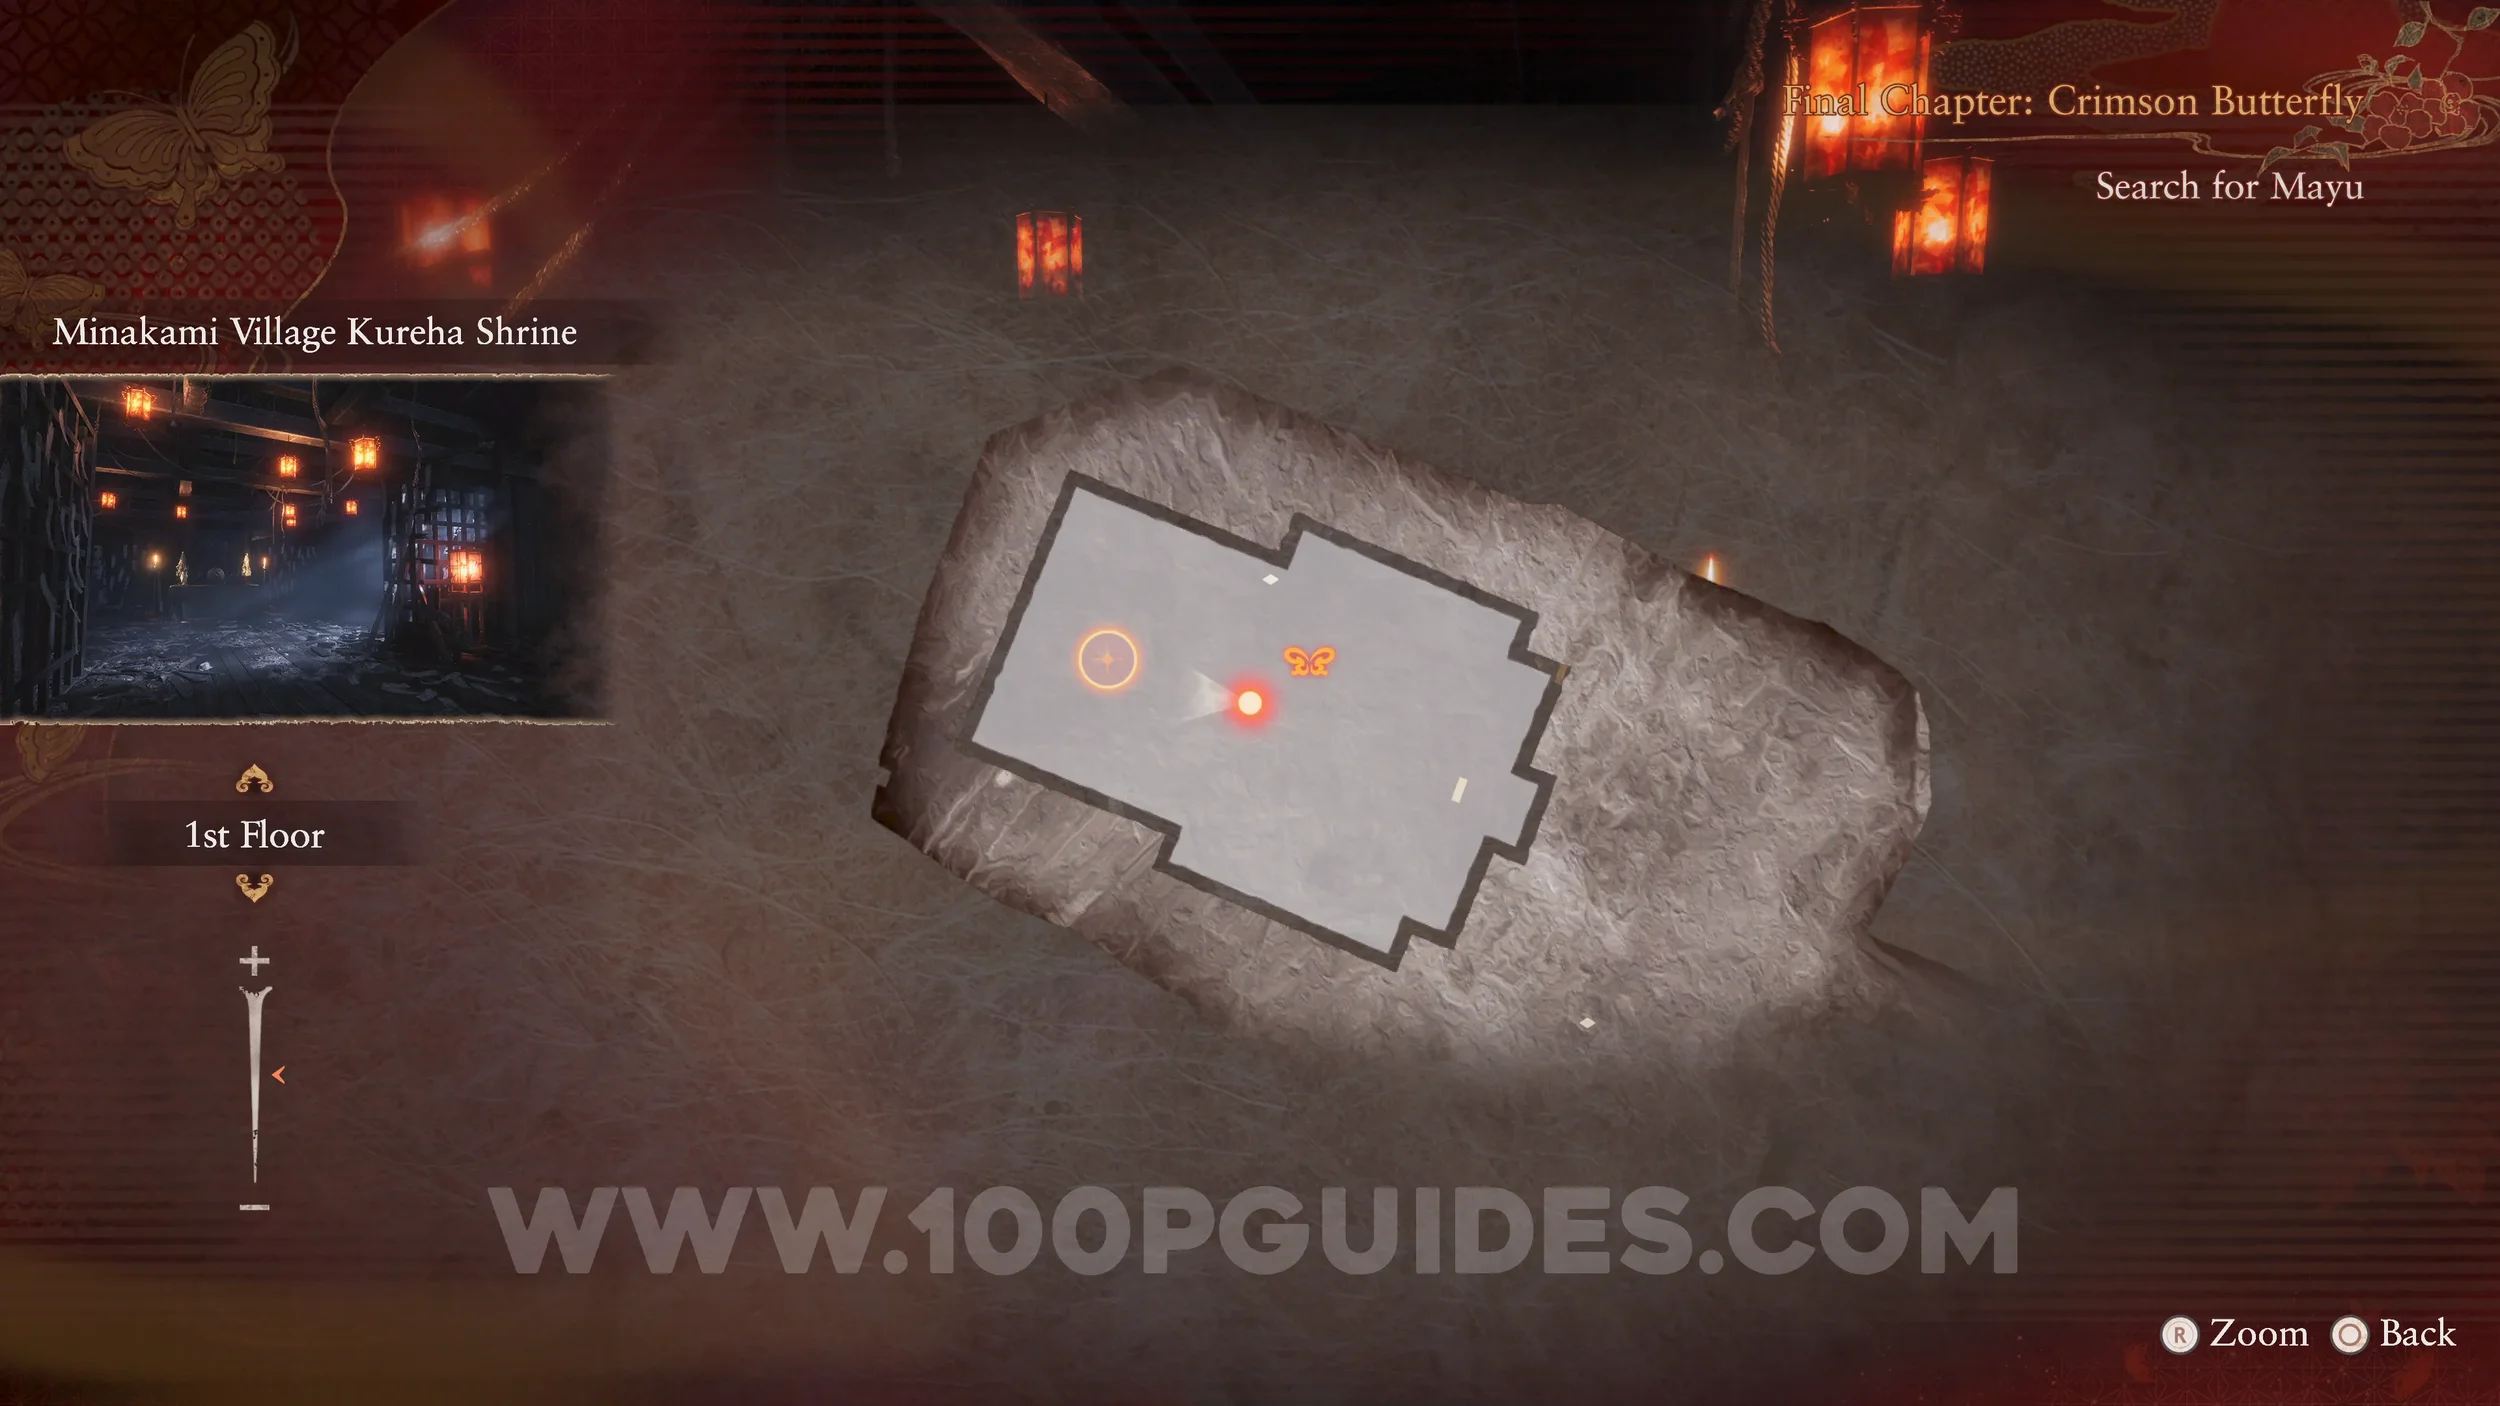
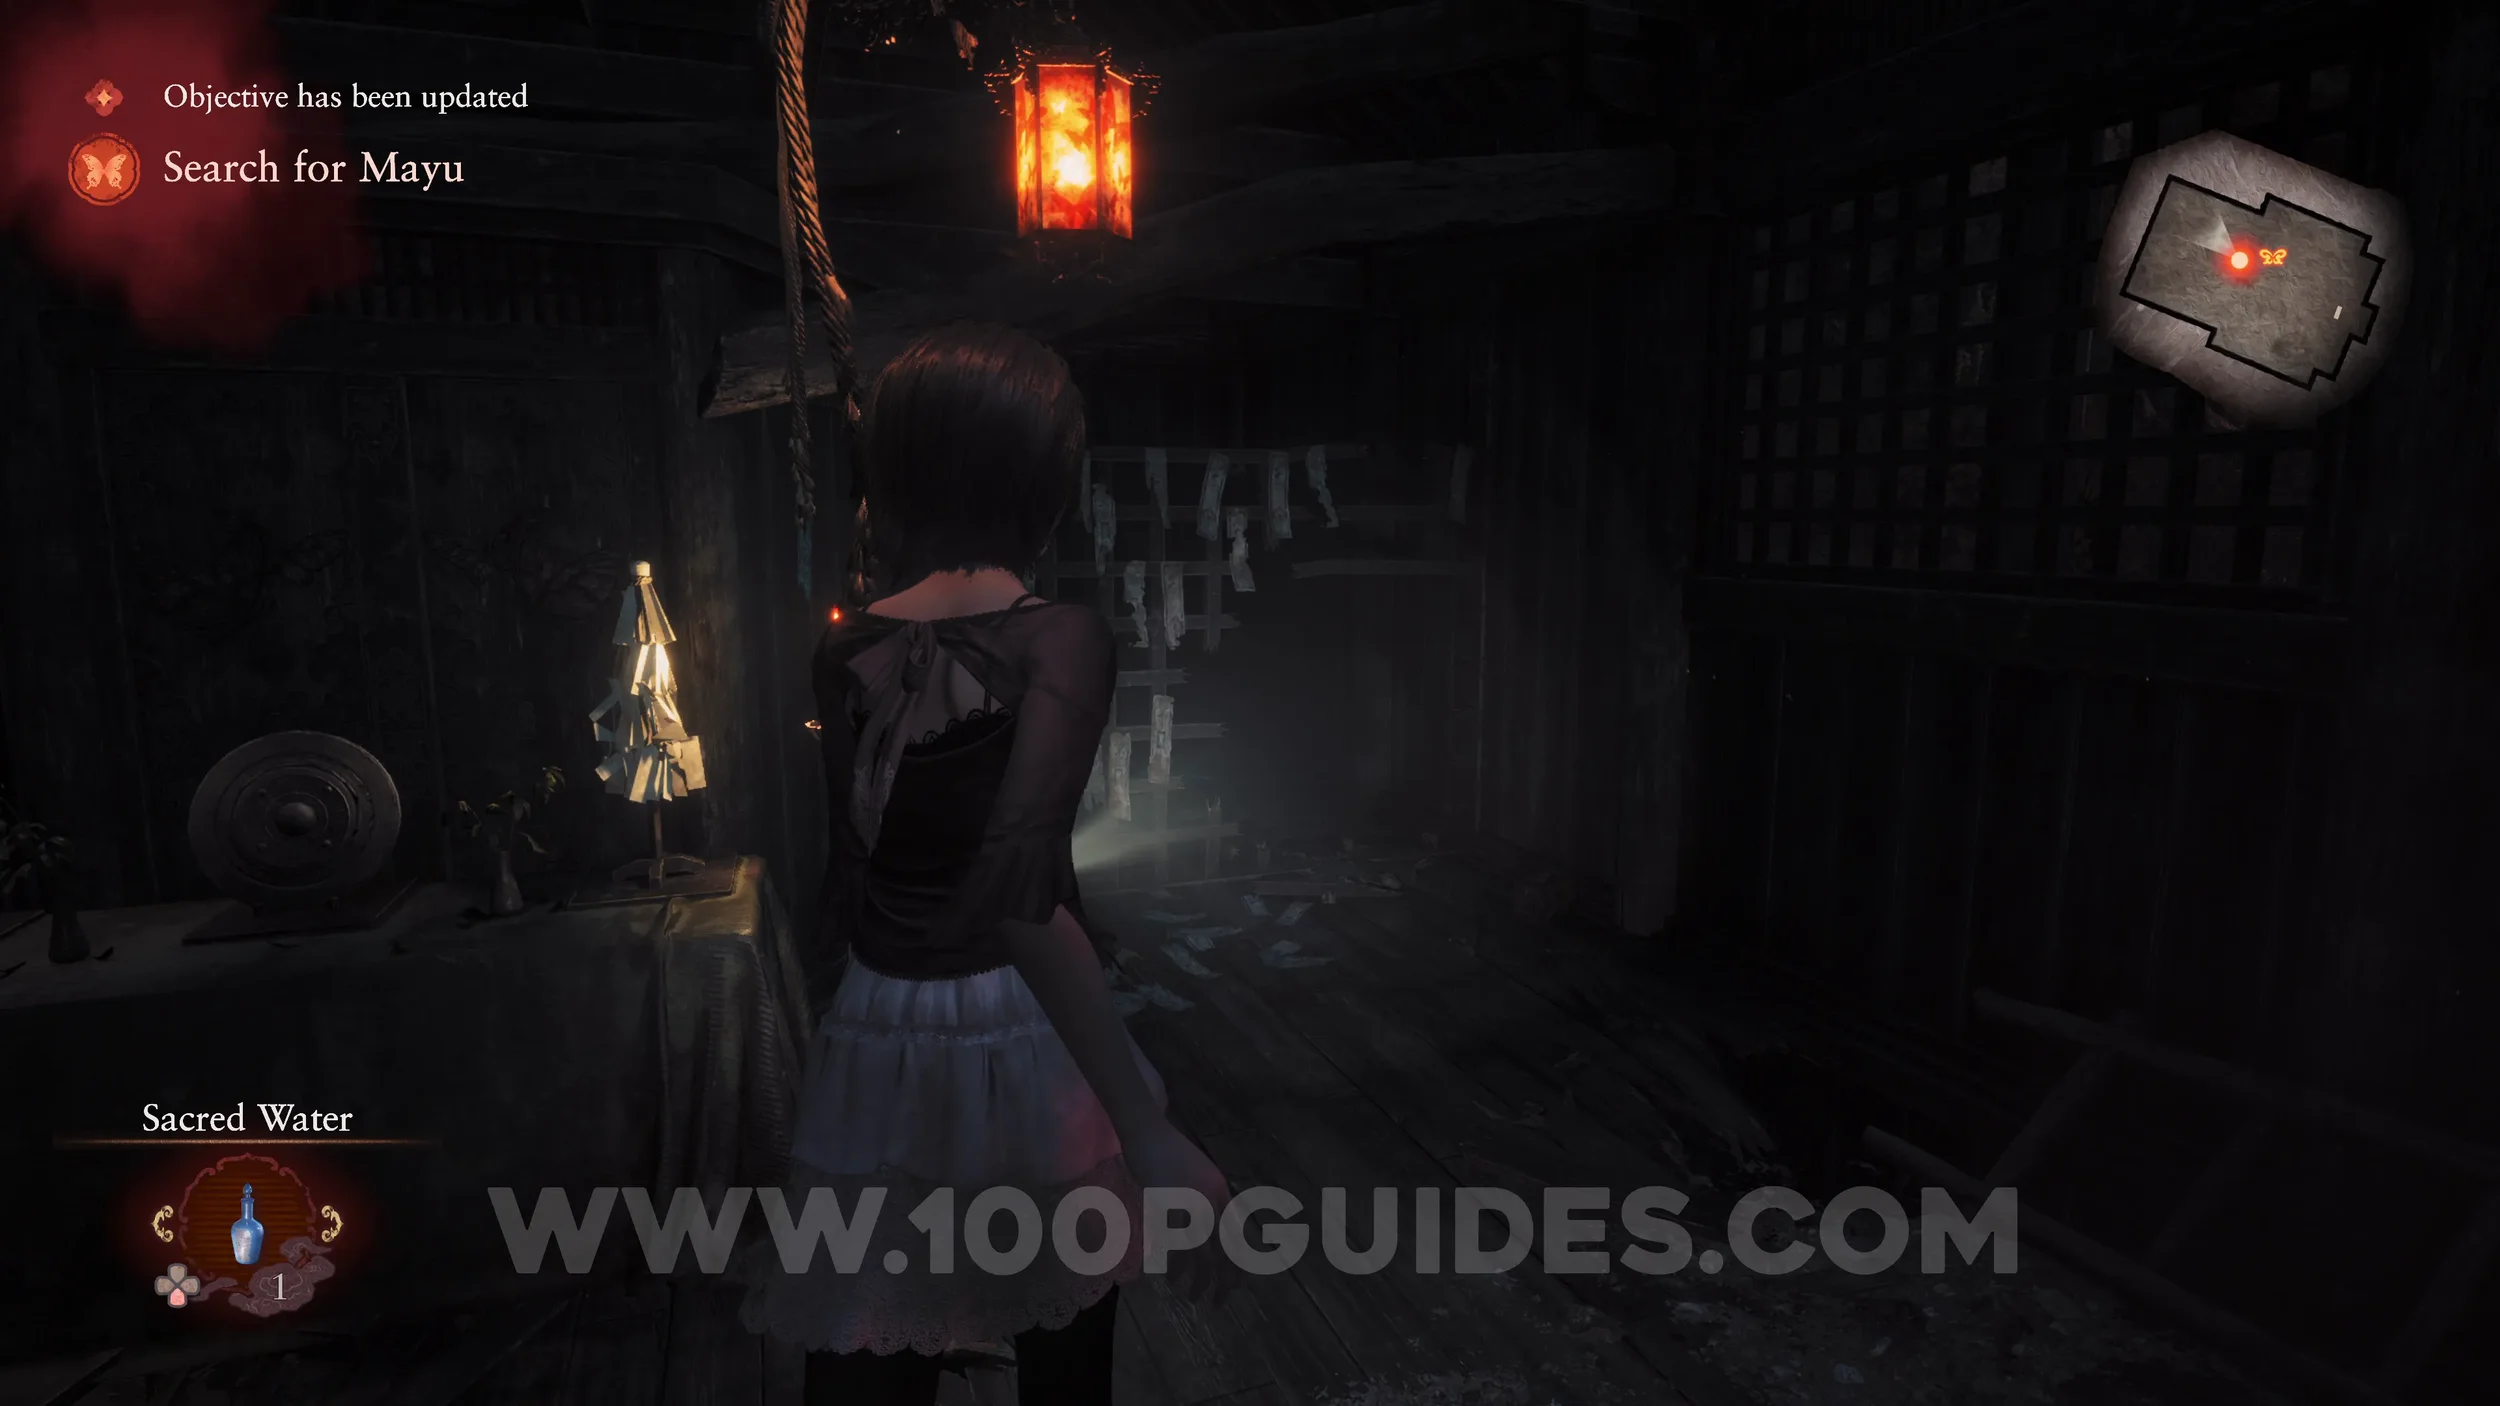
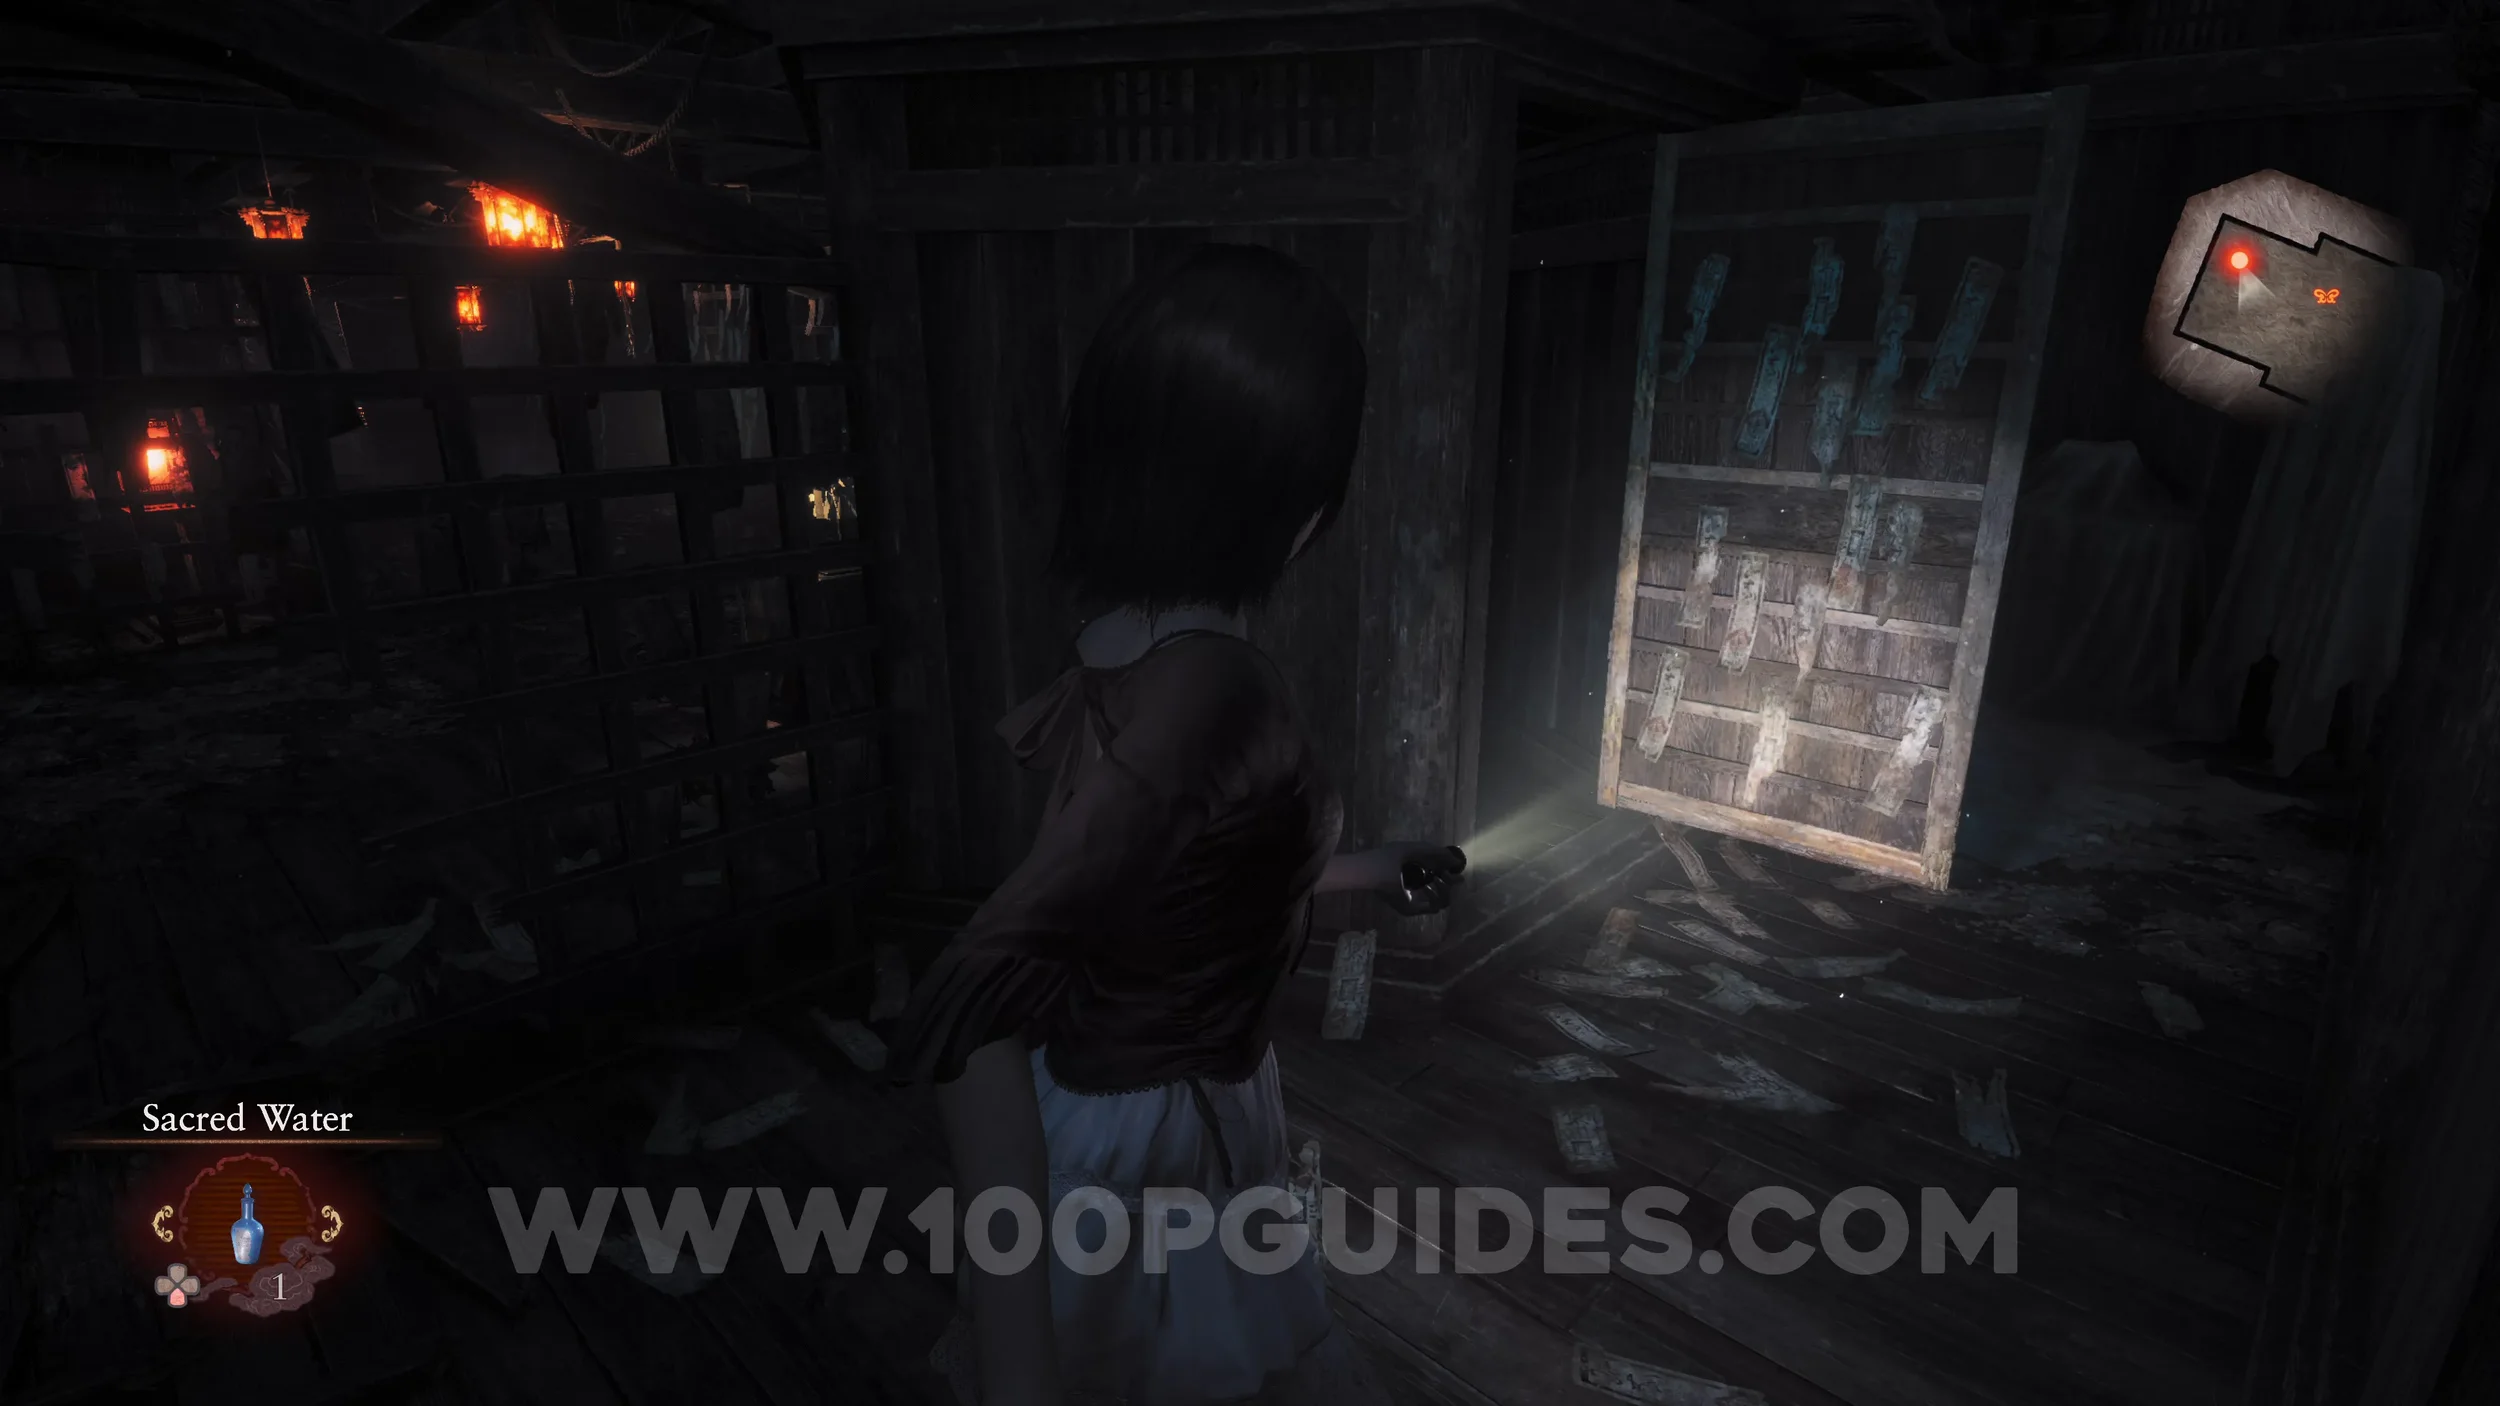
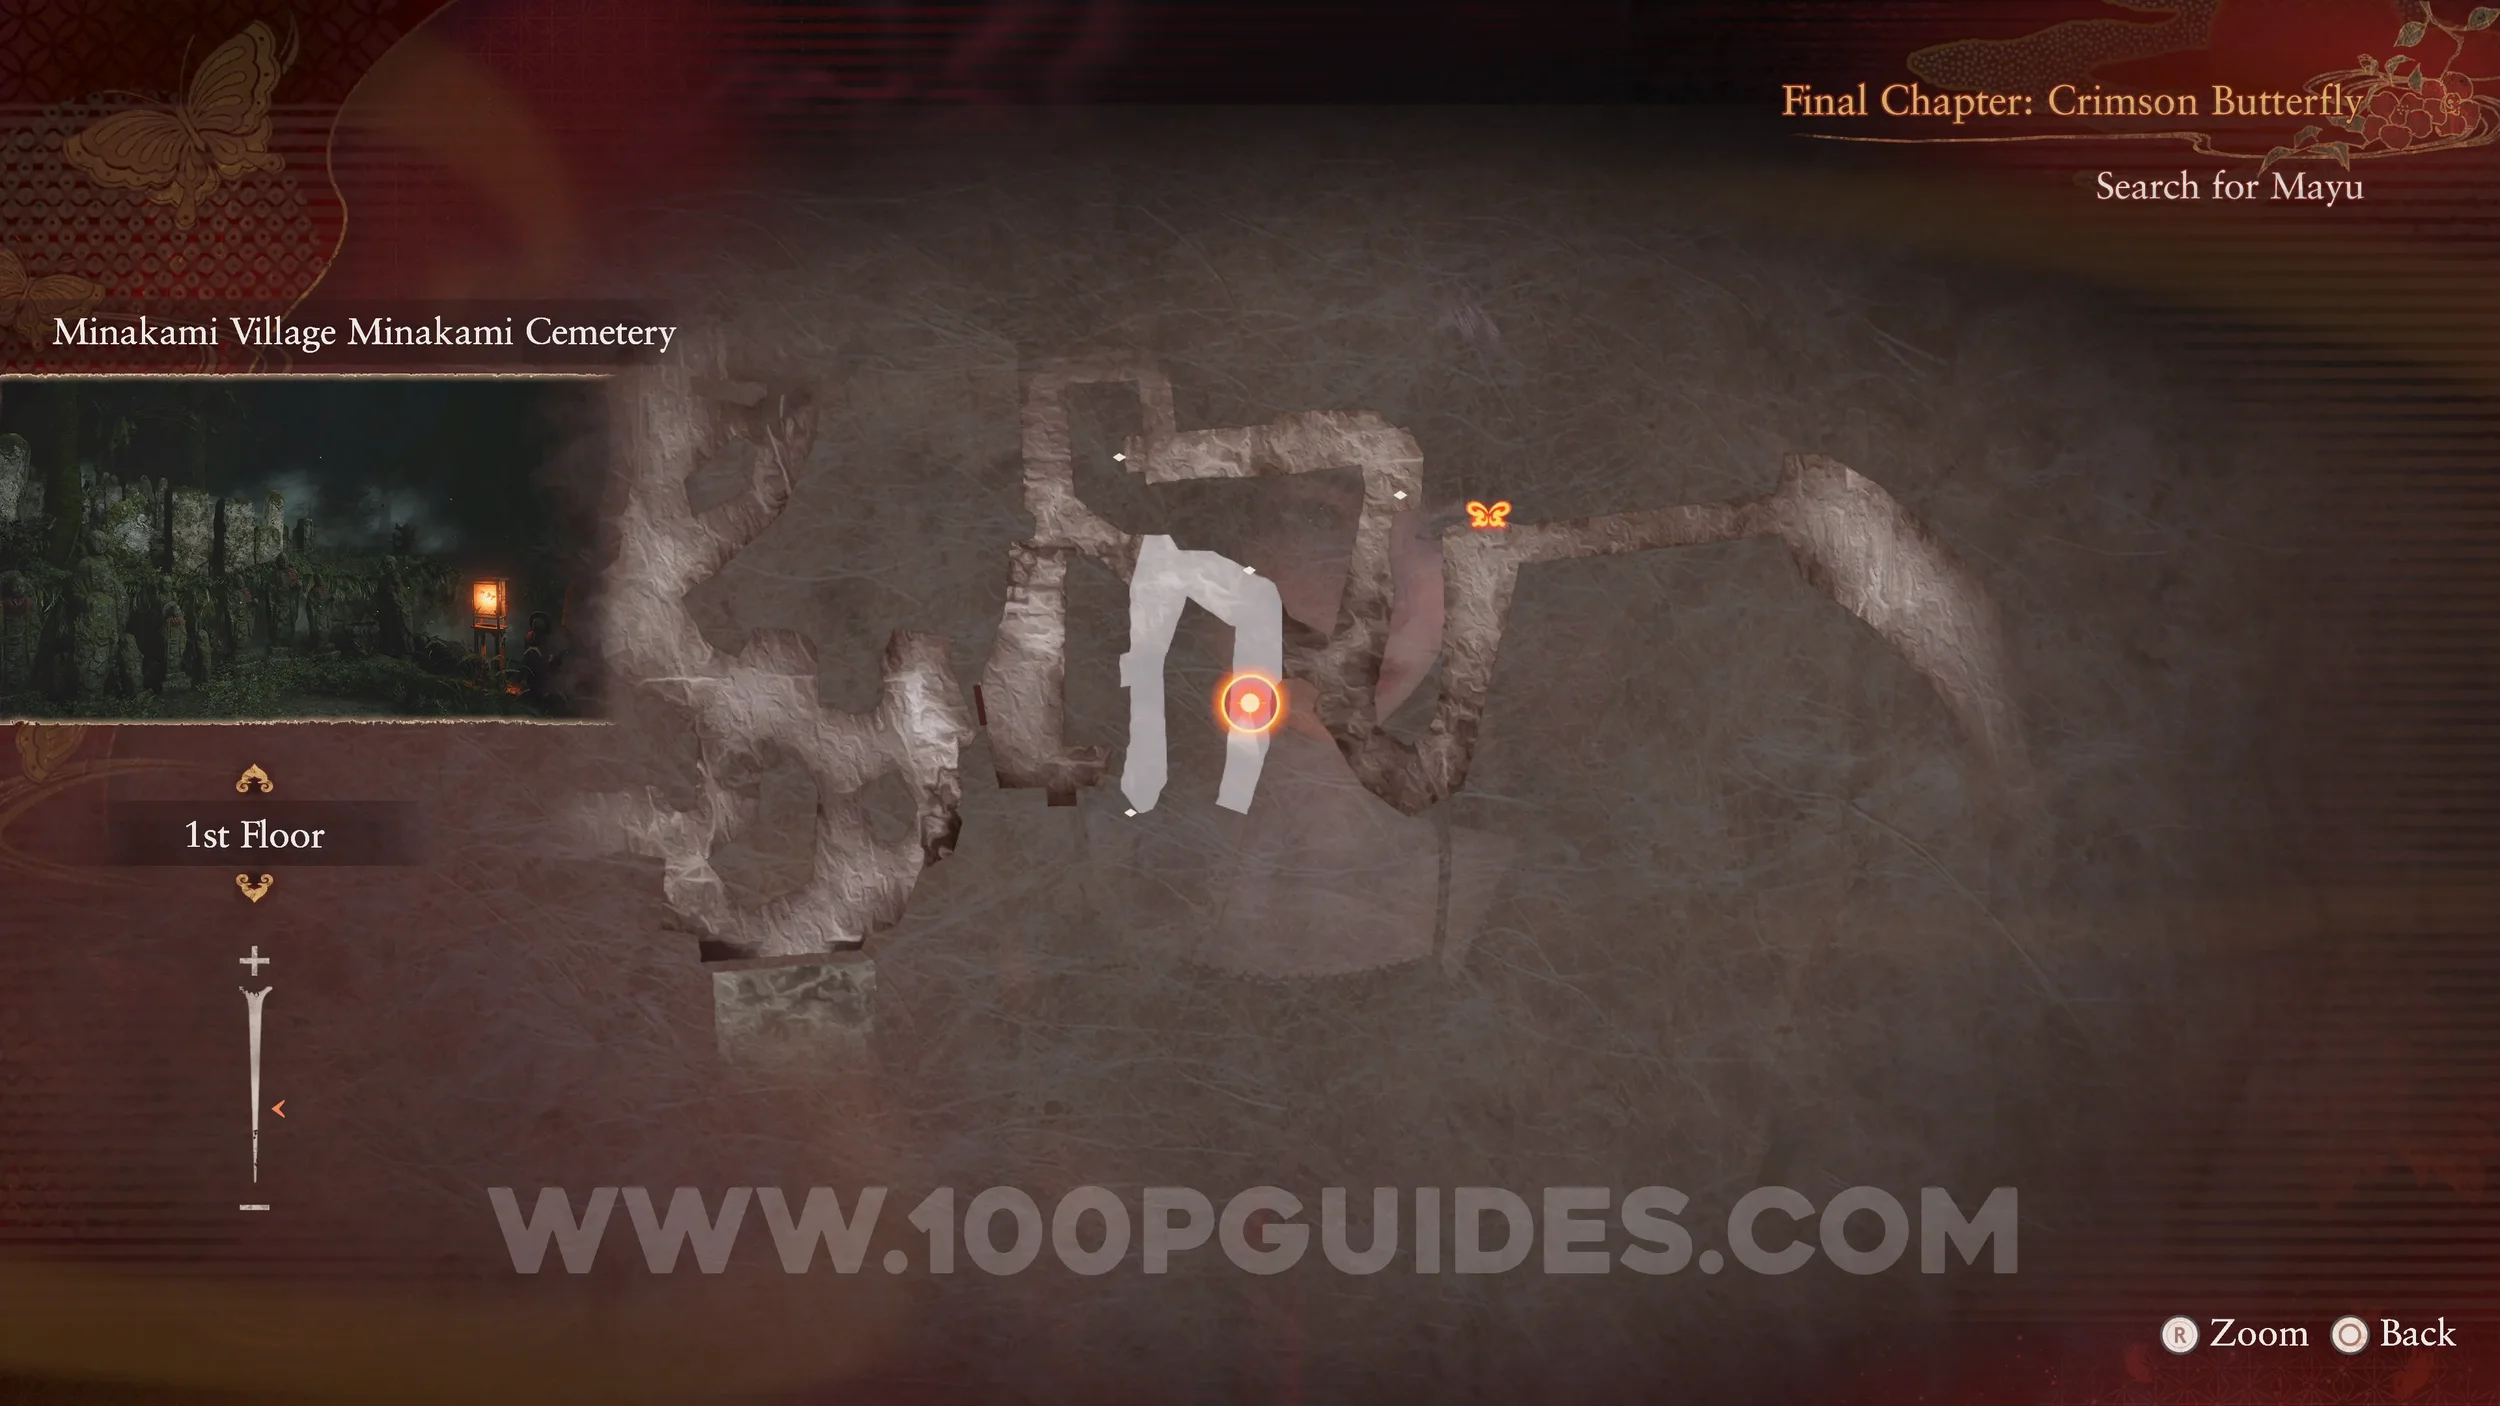
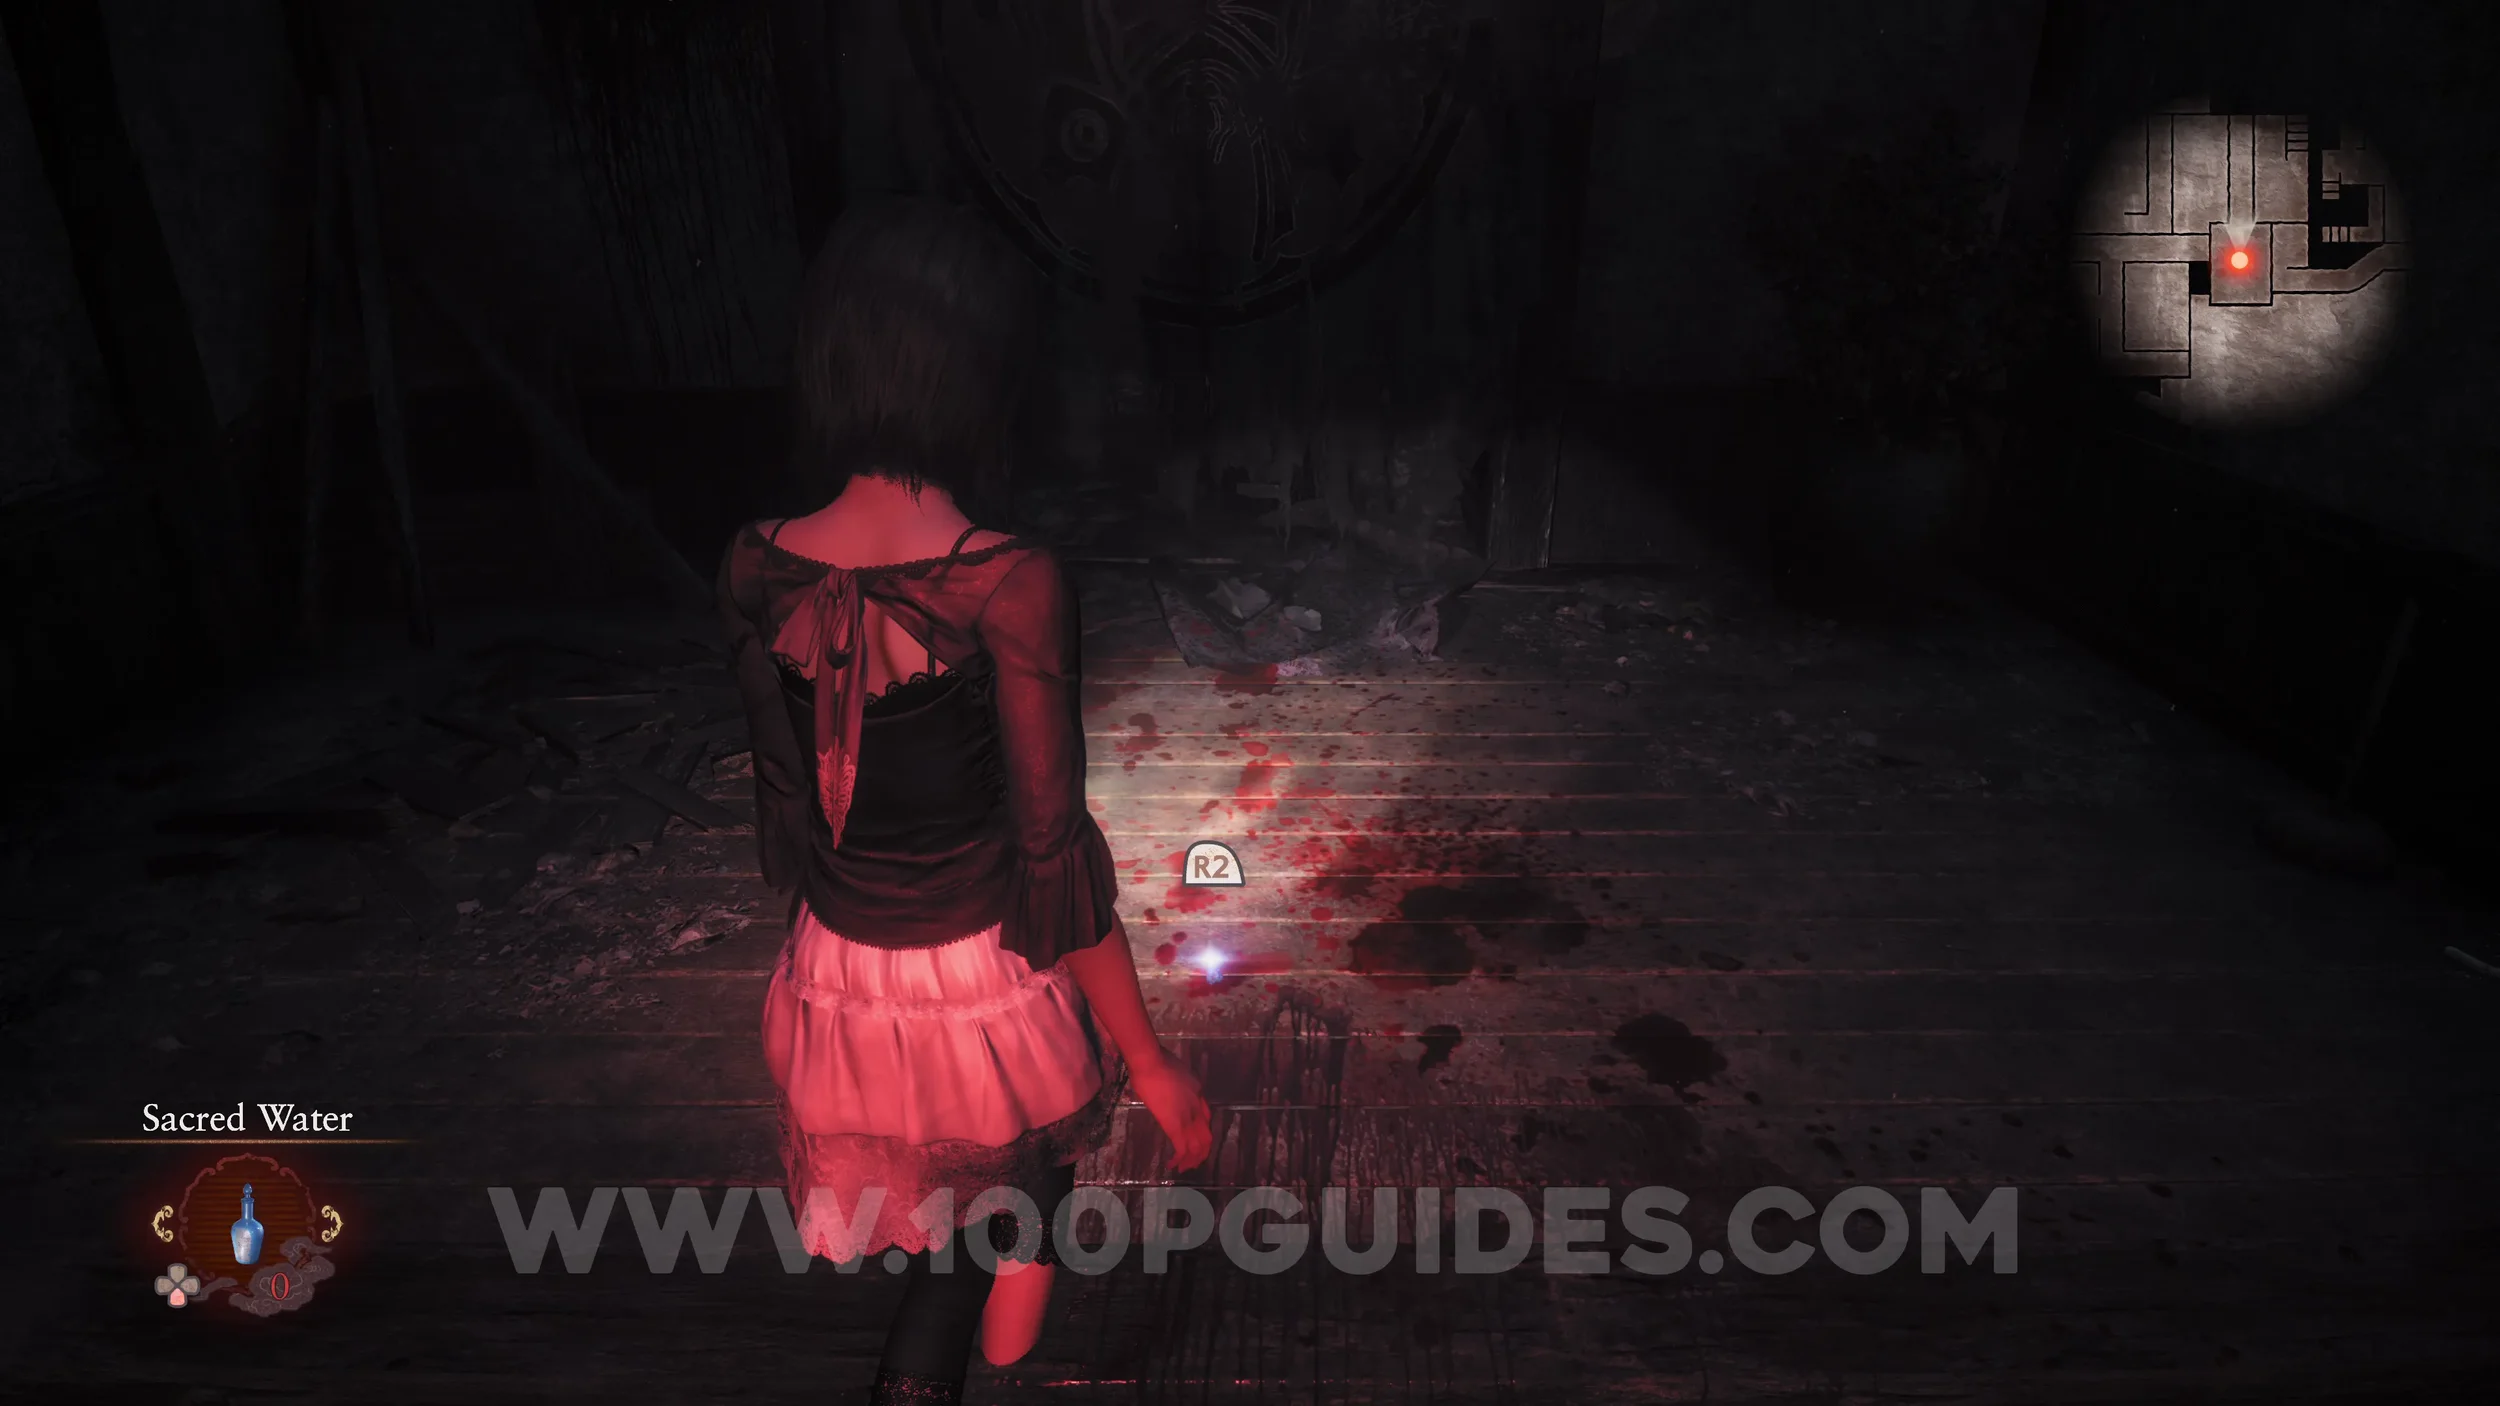
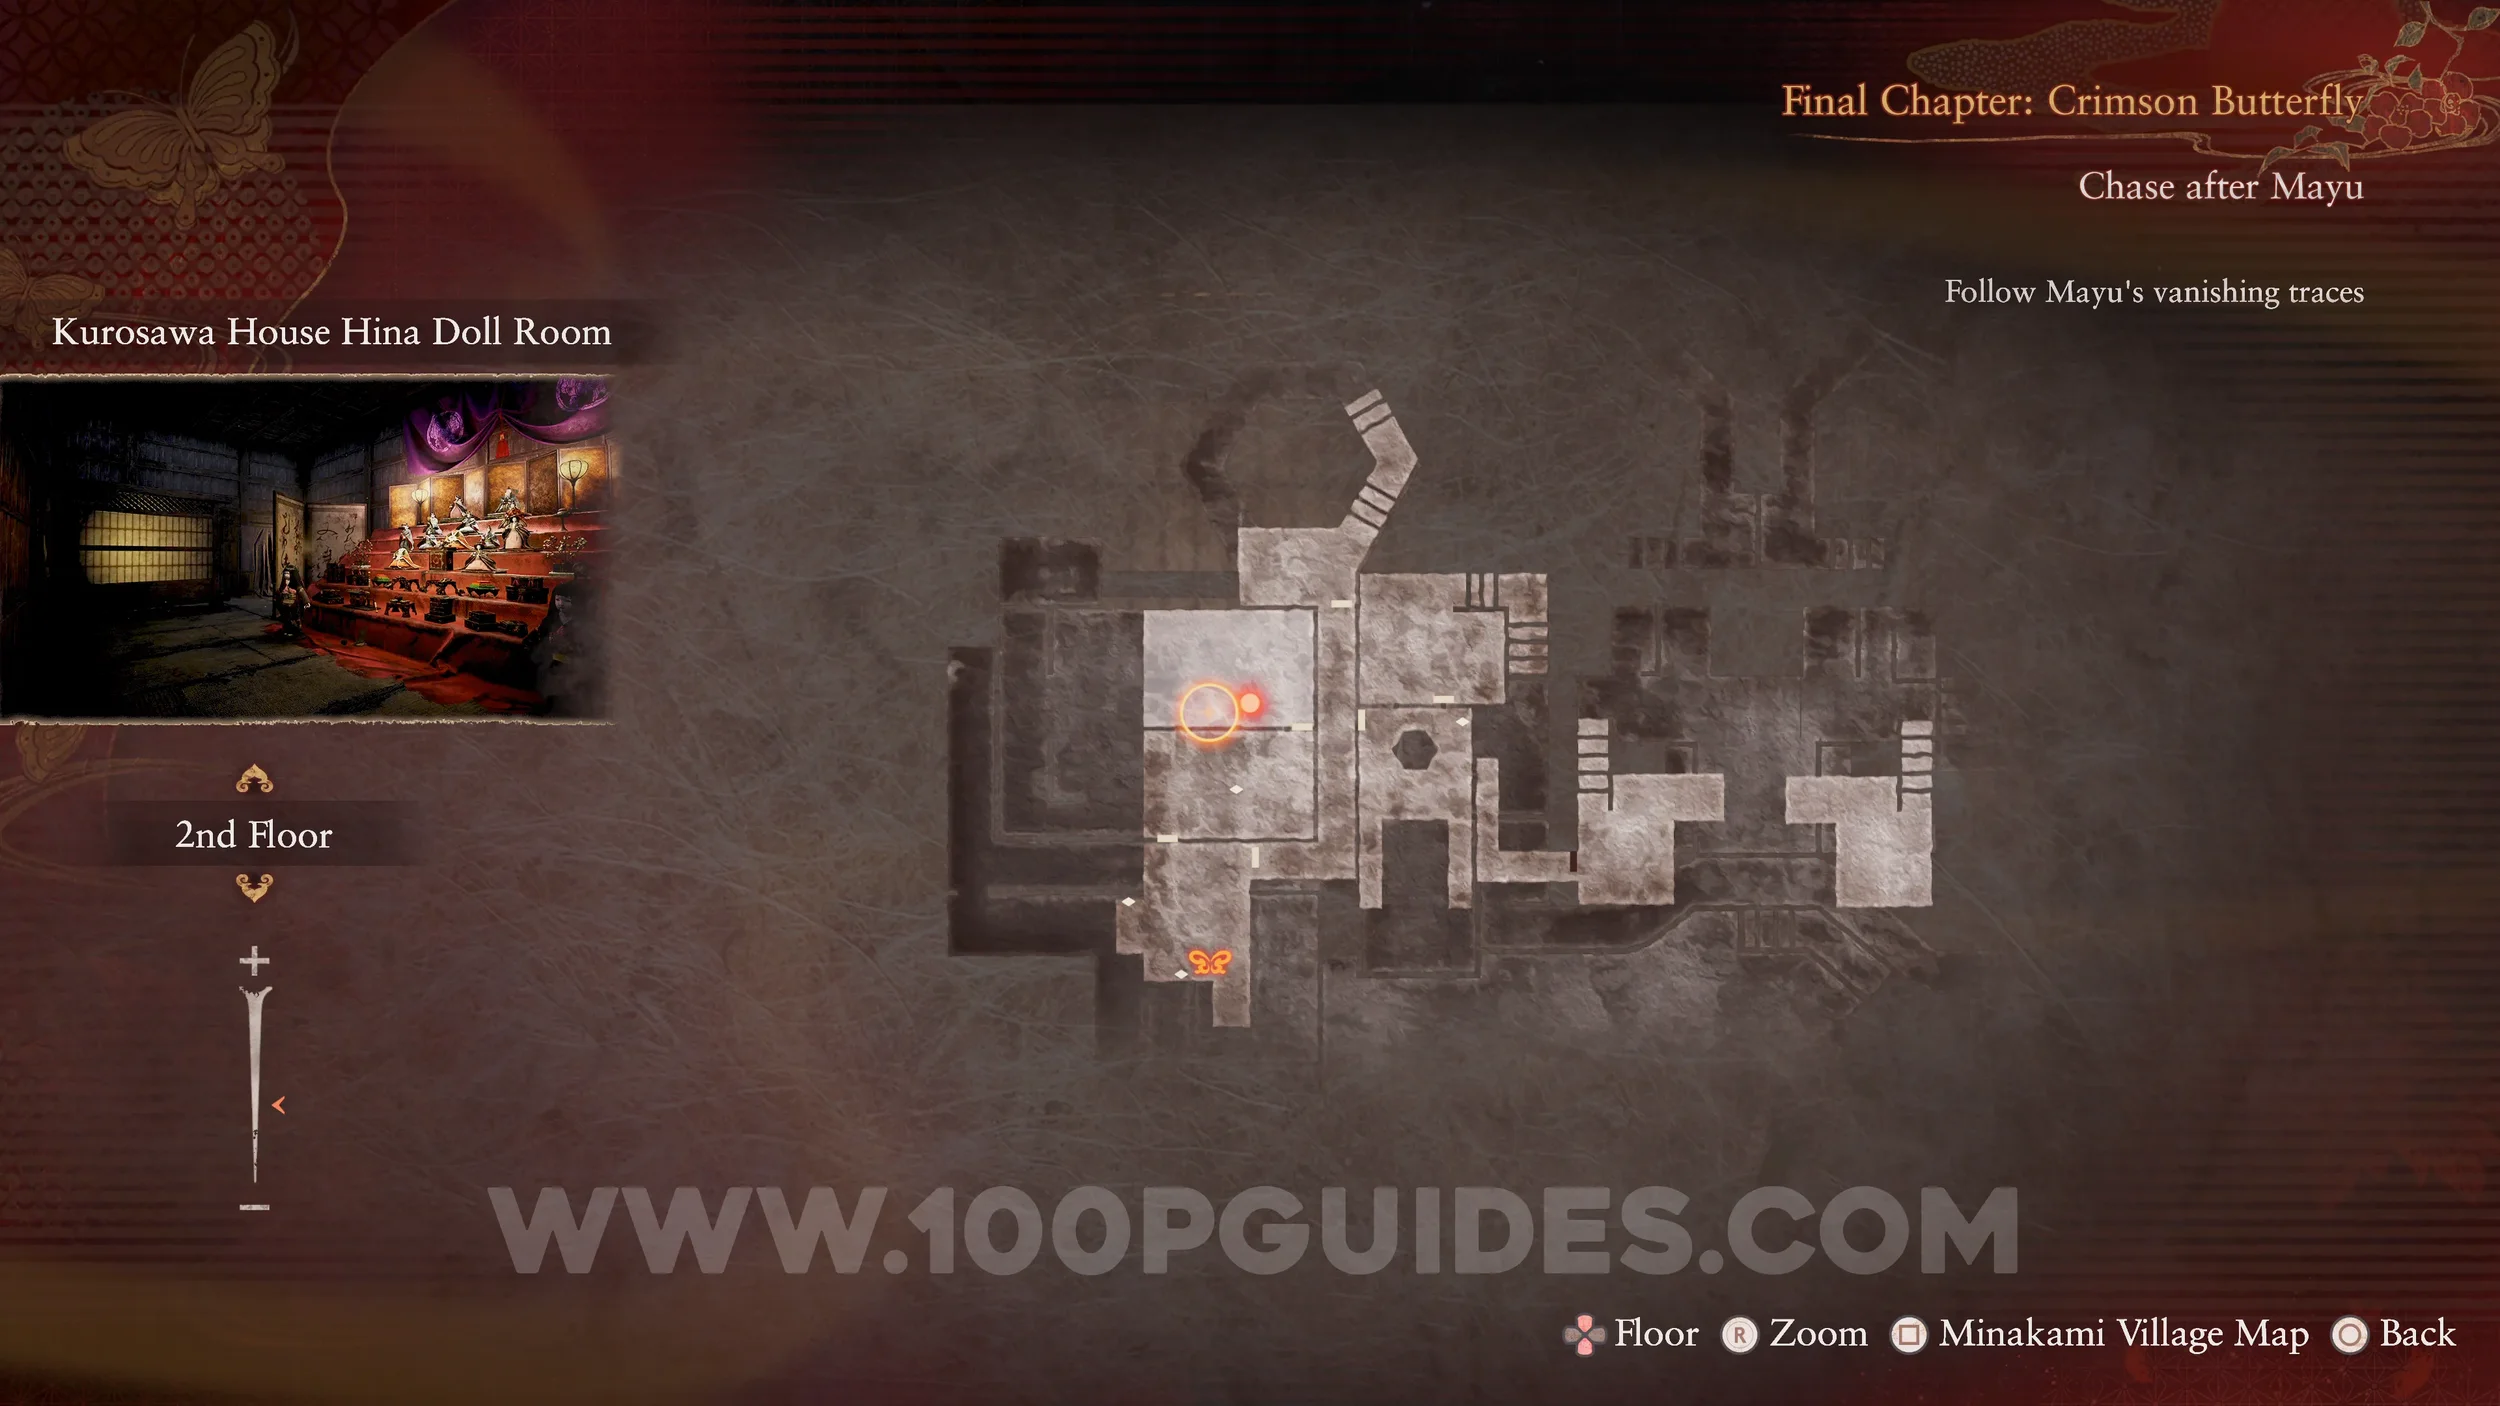
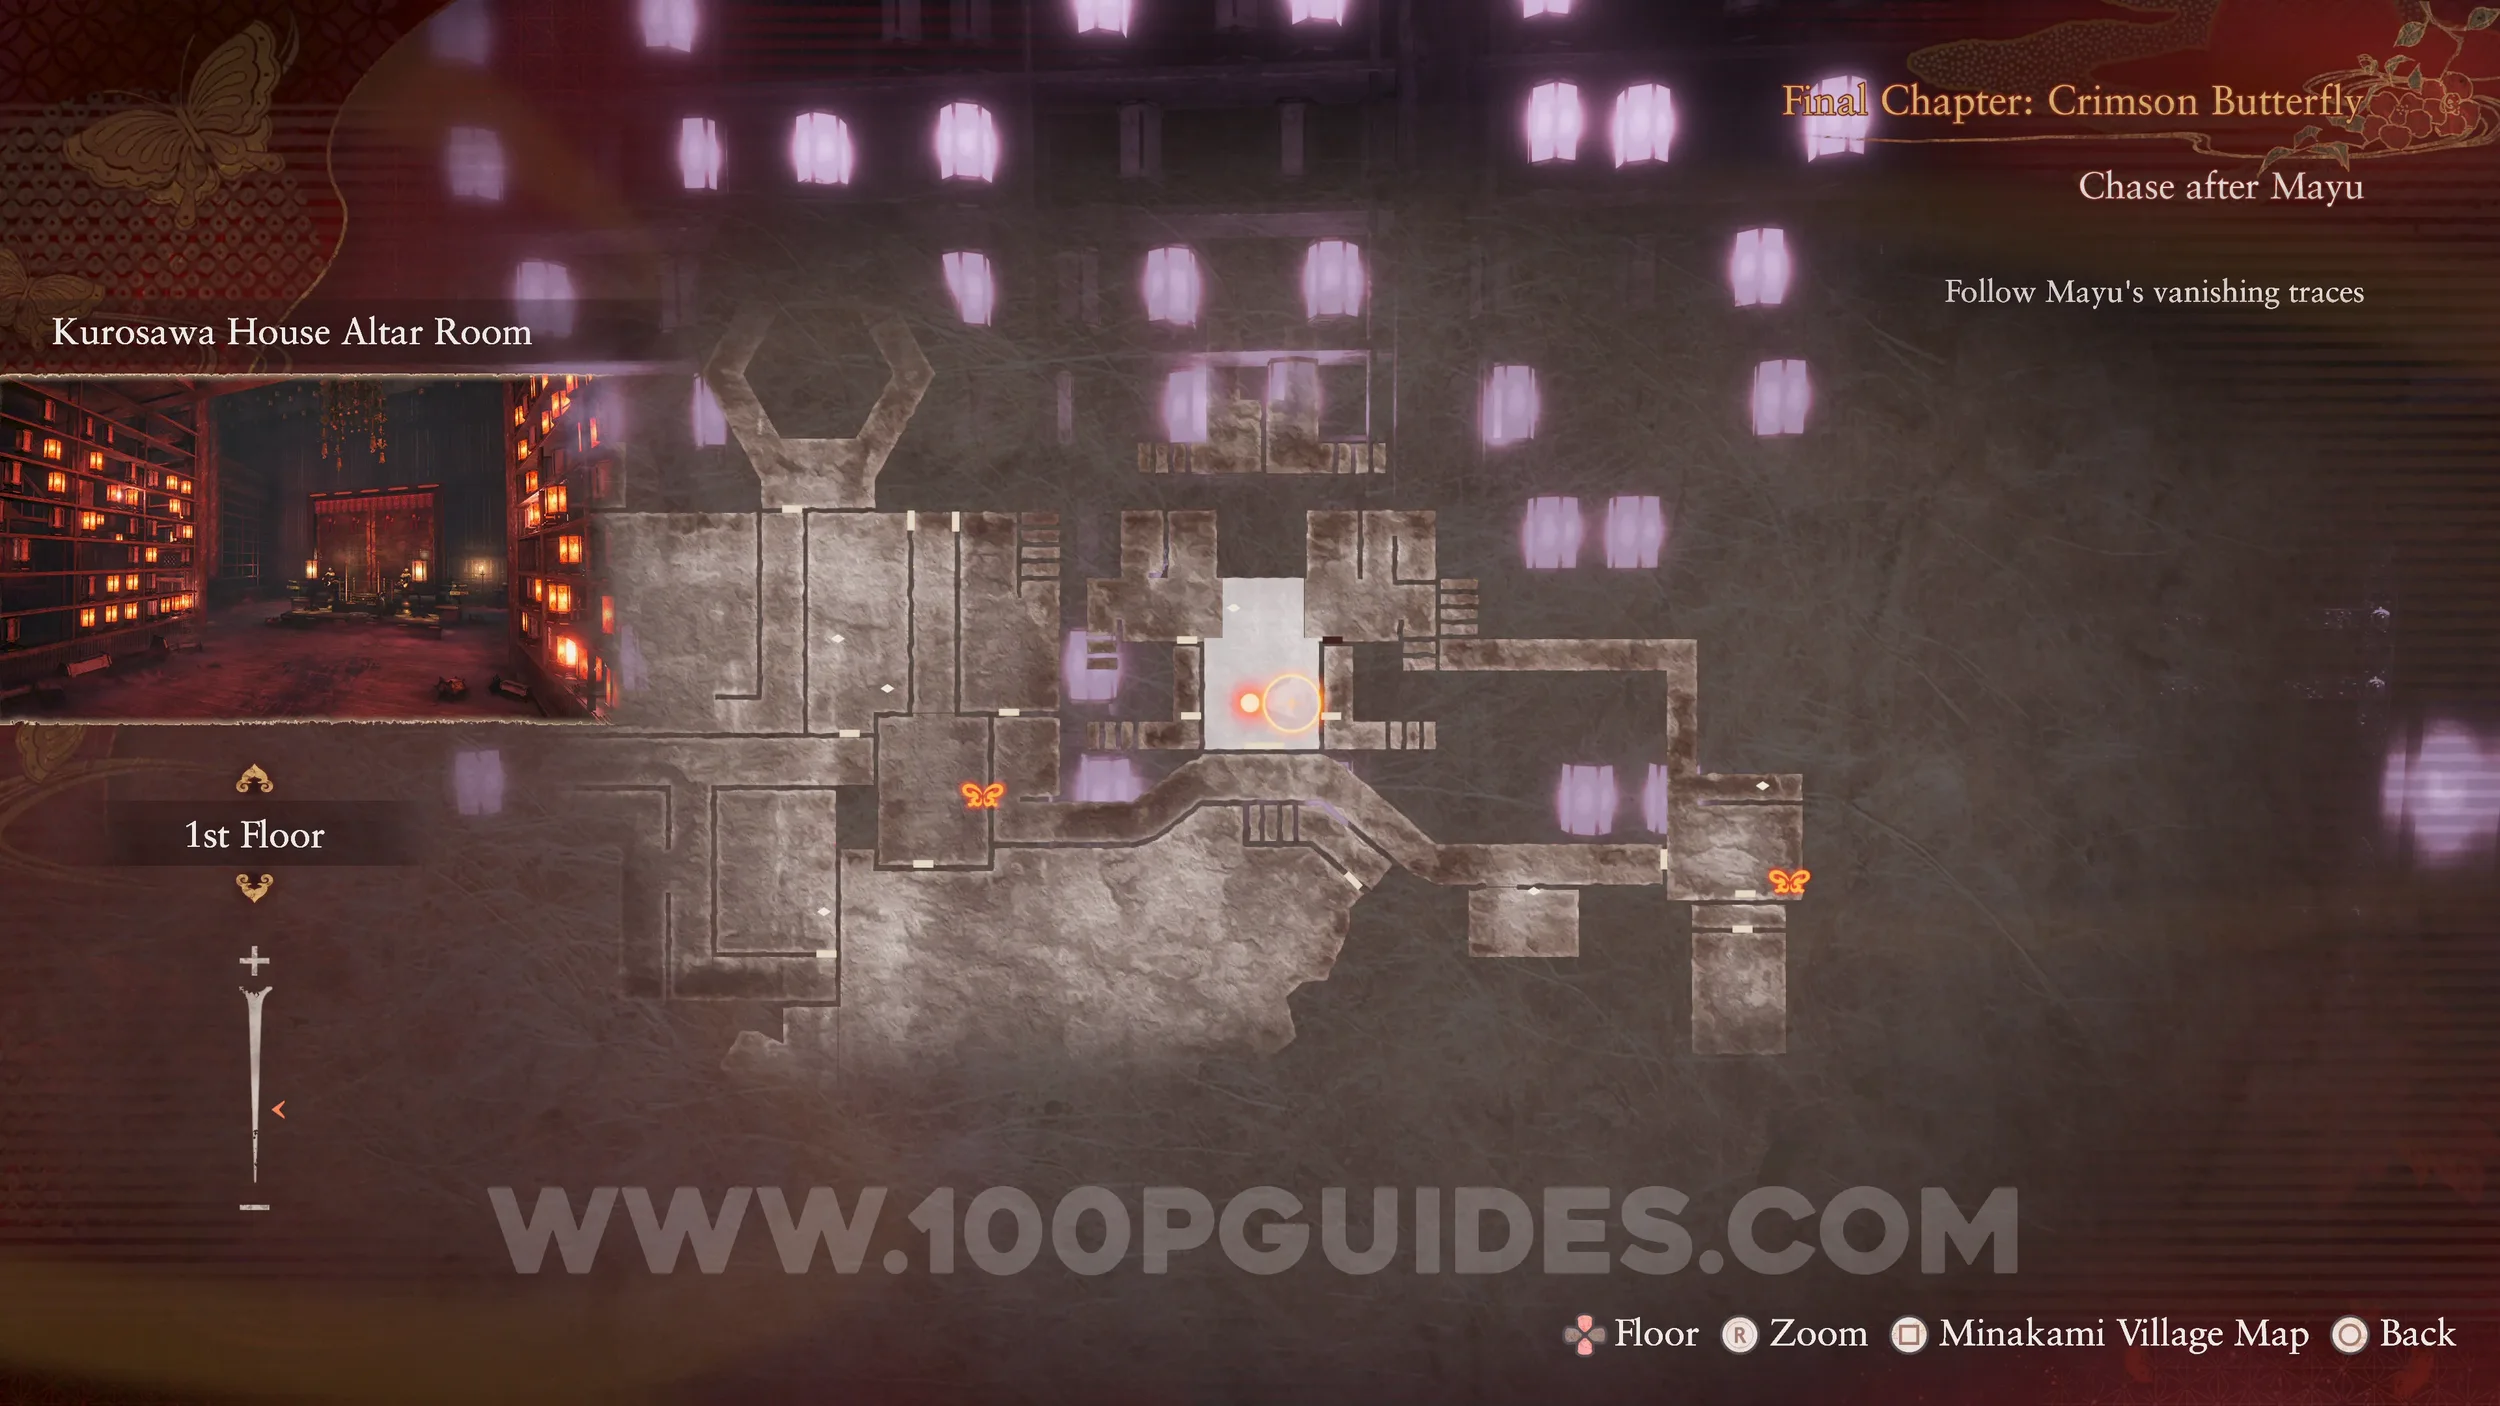
Final Chapter
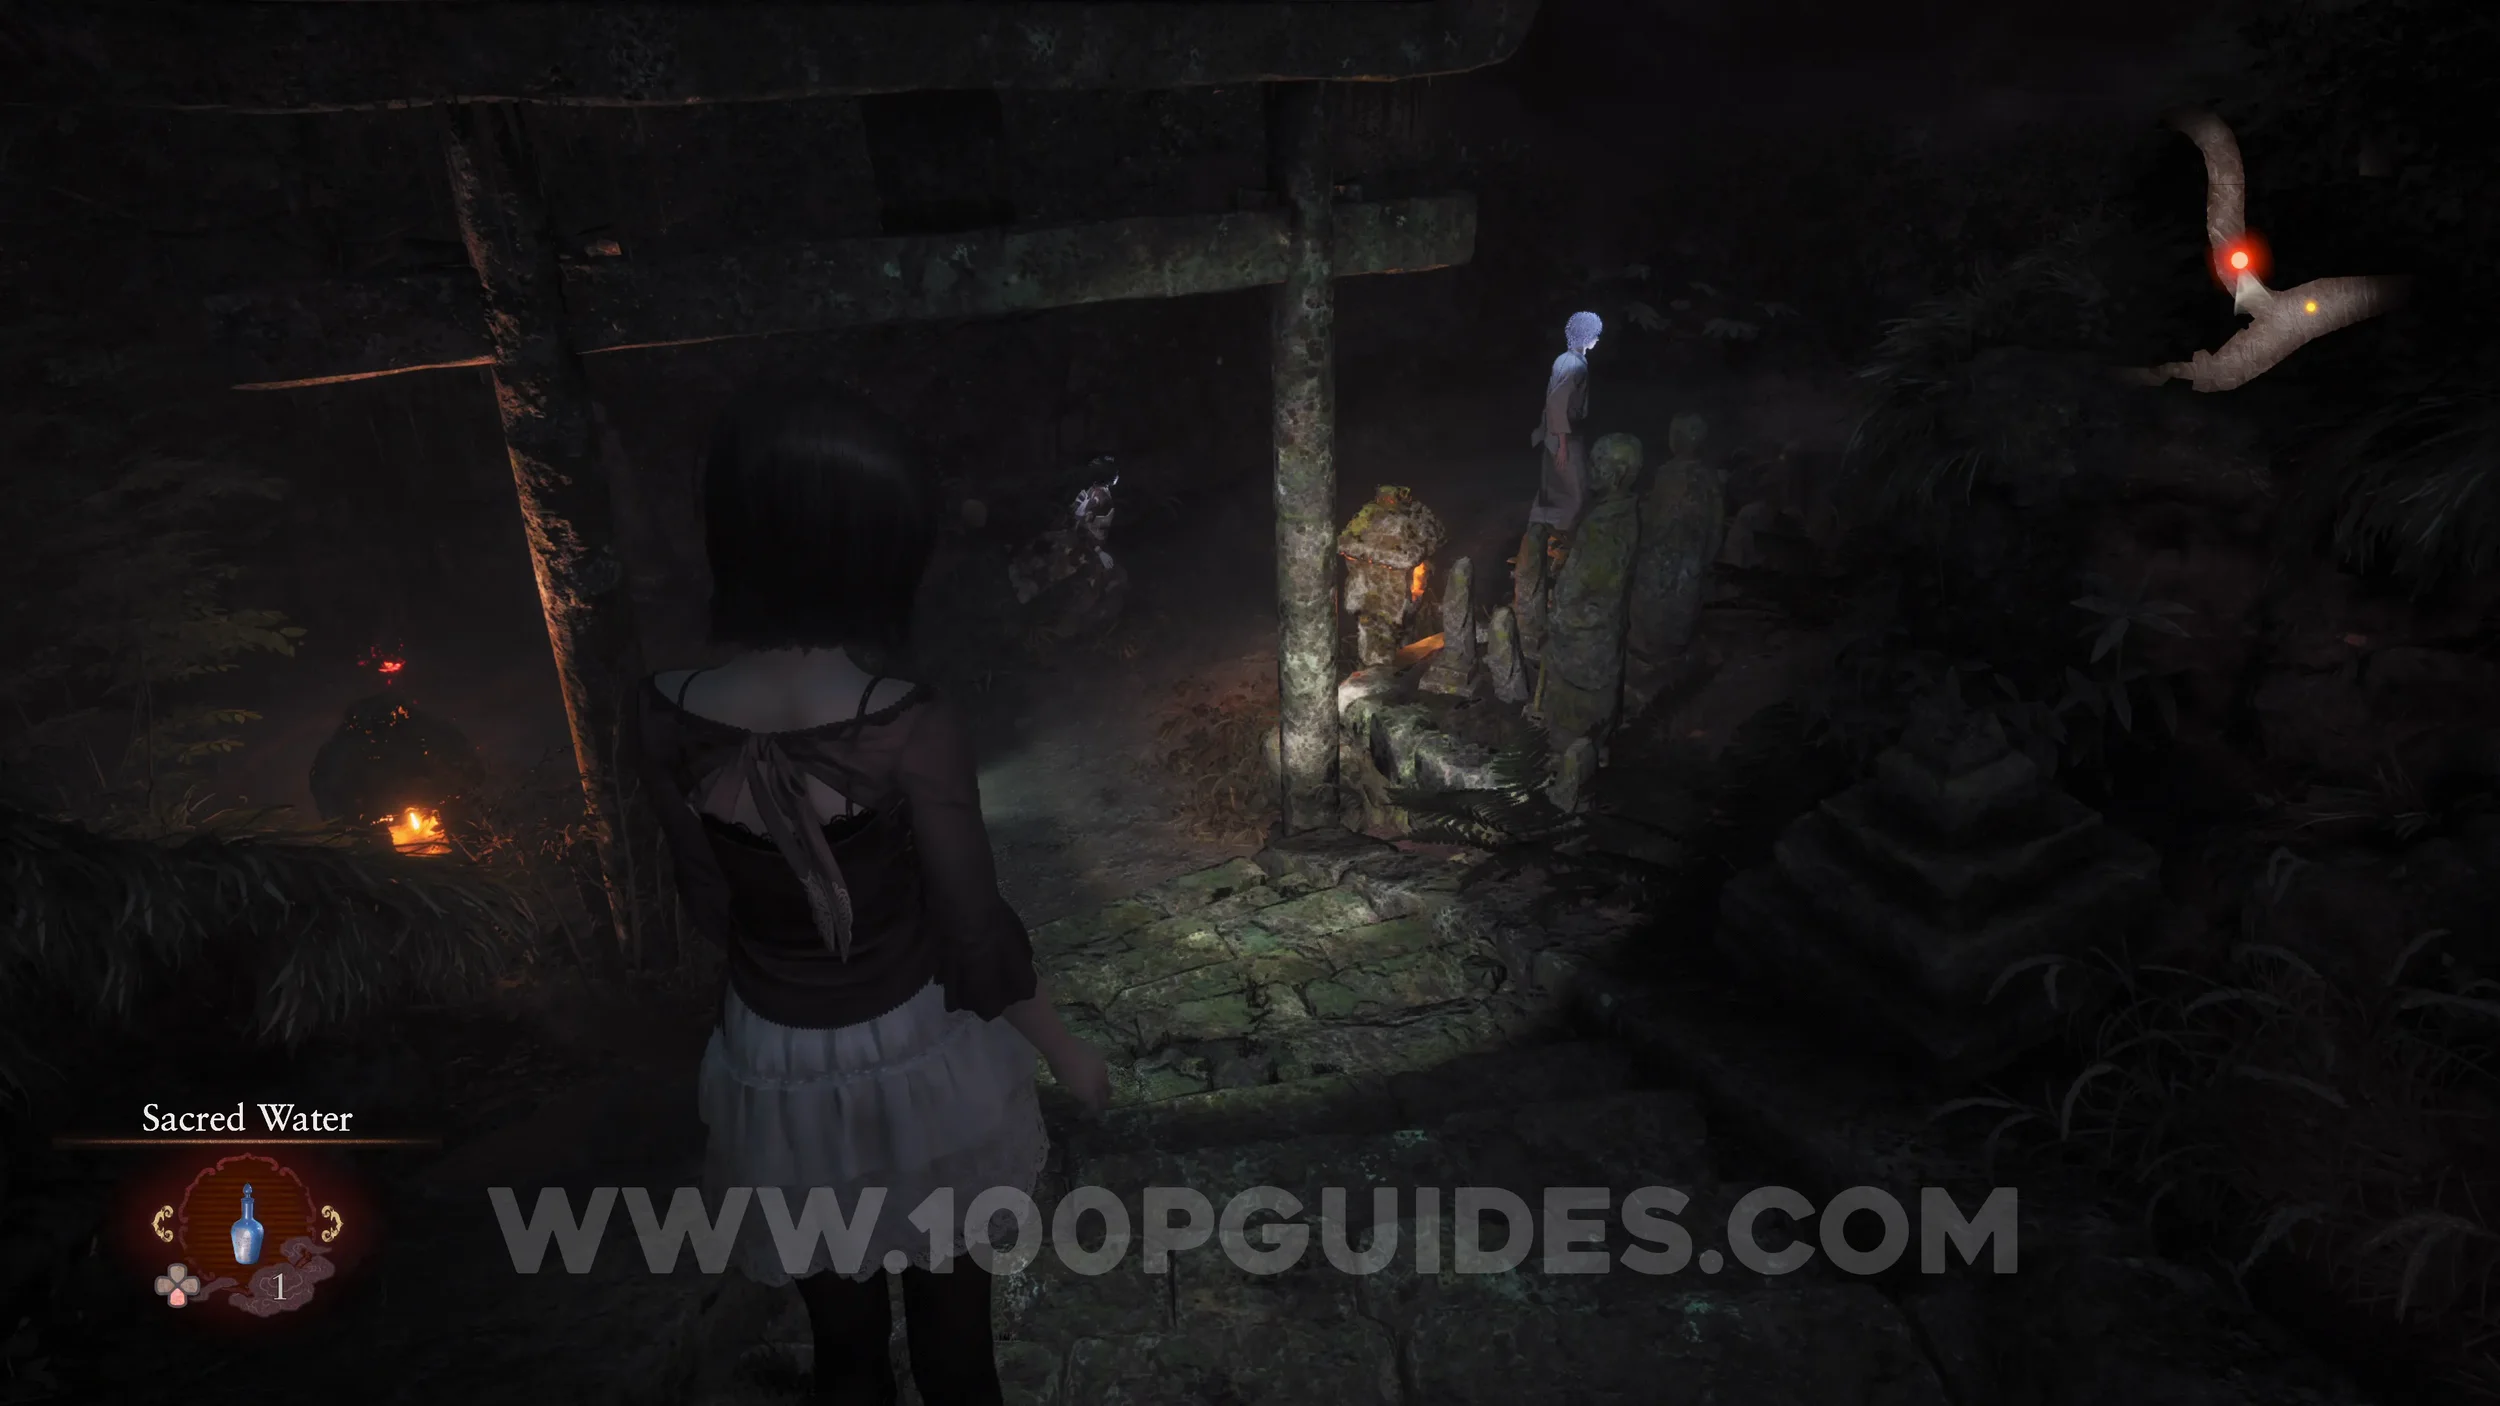
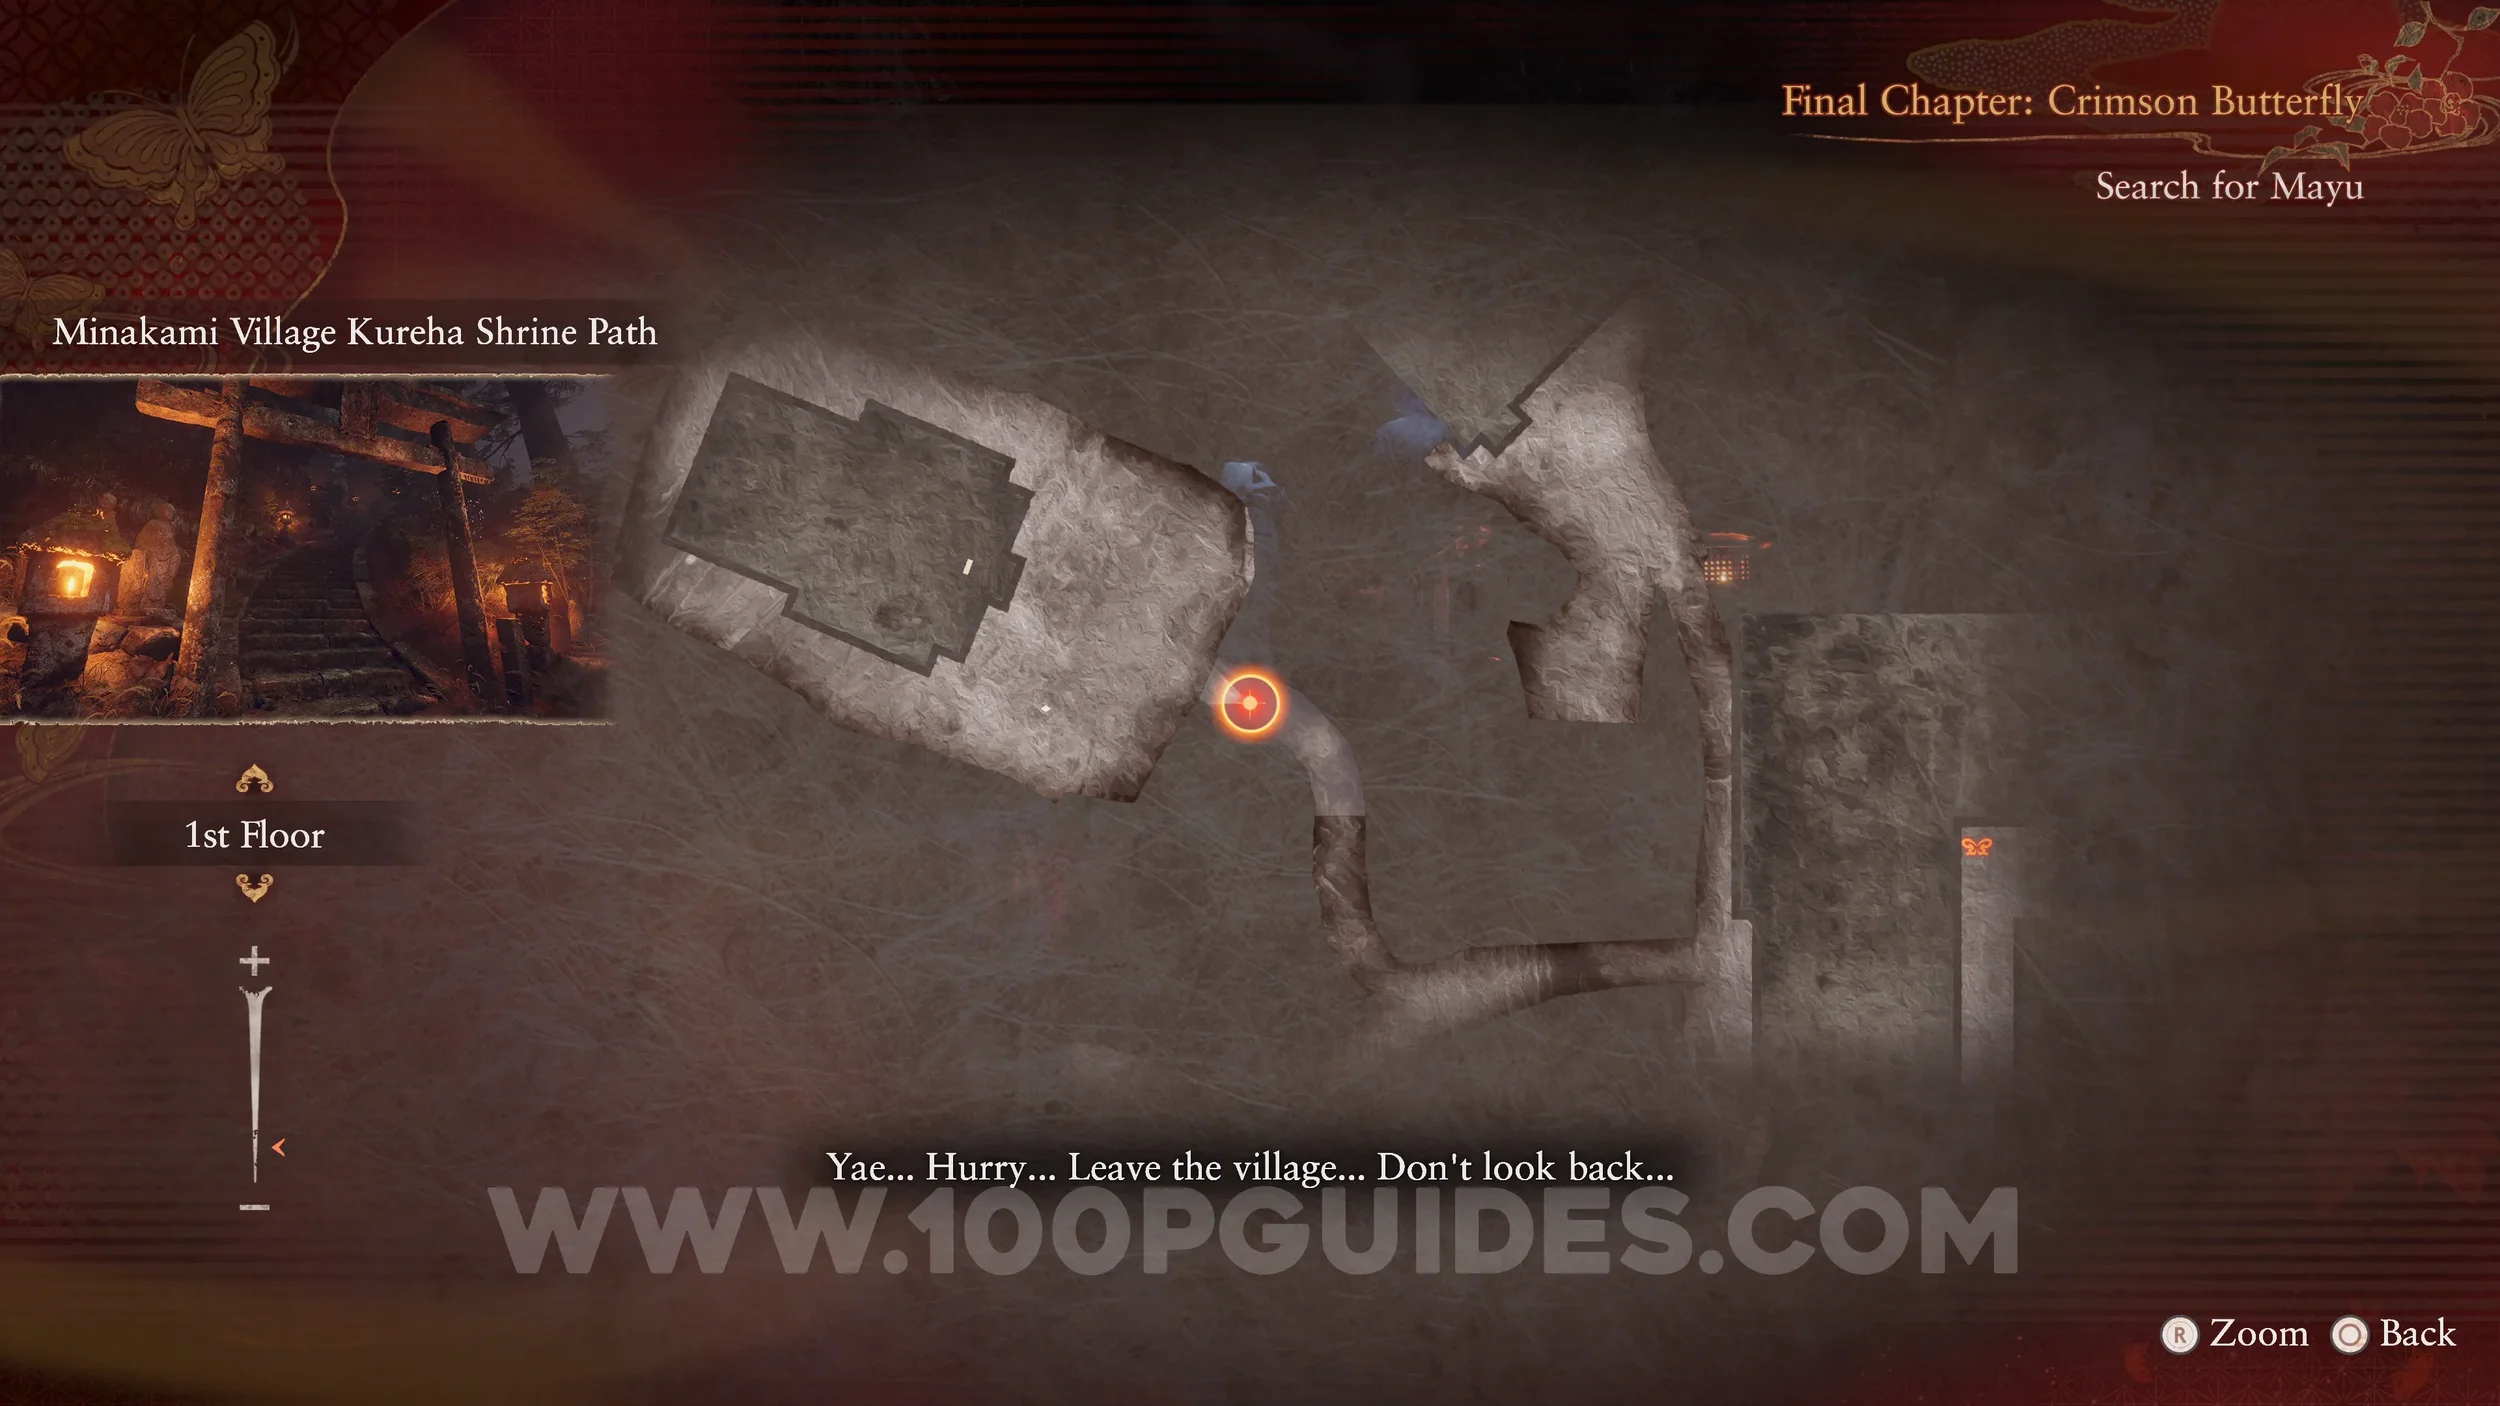
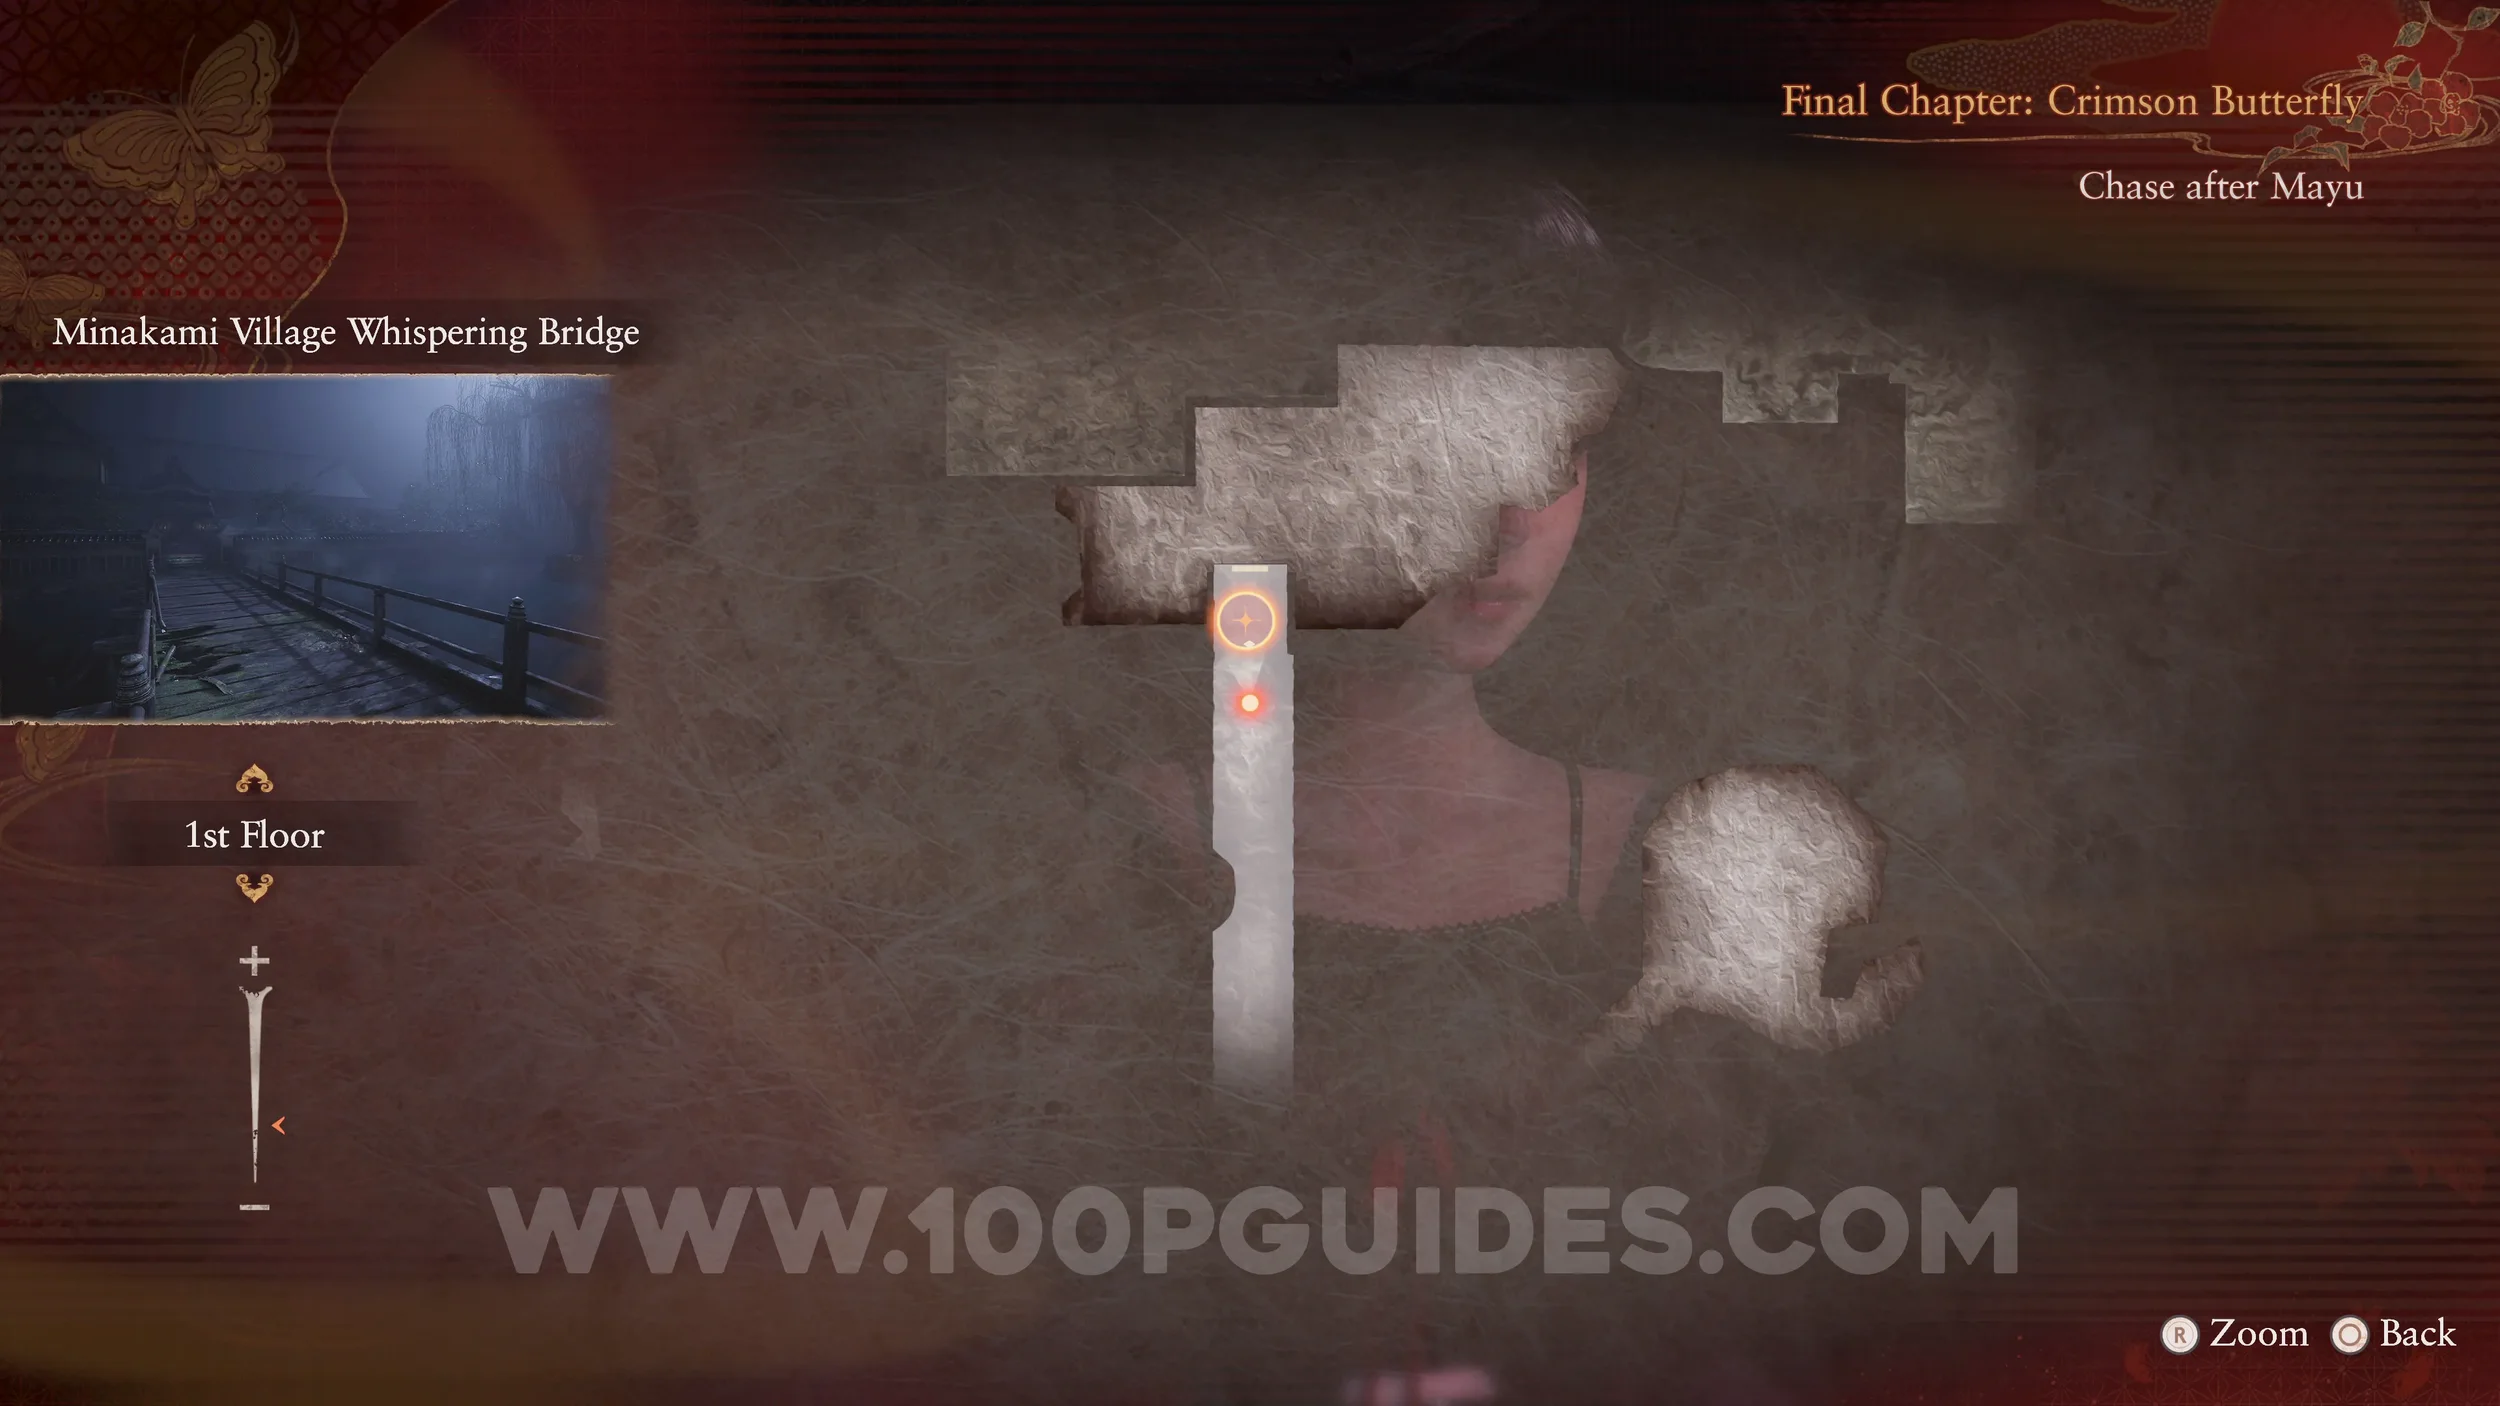
Ending #1 - Lonely Road Home. At the start of the chapter, go behind the altar in the temple and go through the new door to get the ending. This is an early ending and does not give you a clear save. After getting it, the game will force you to load a save.
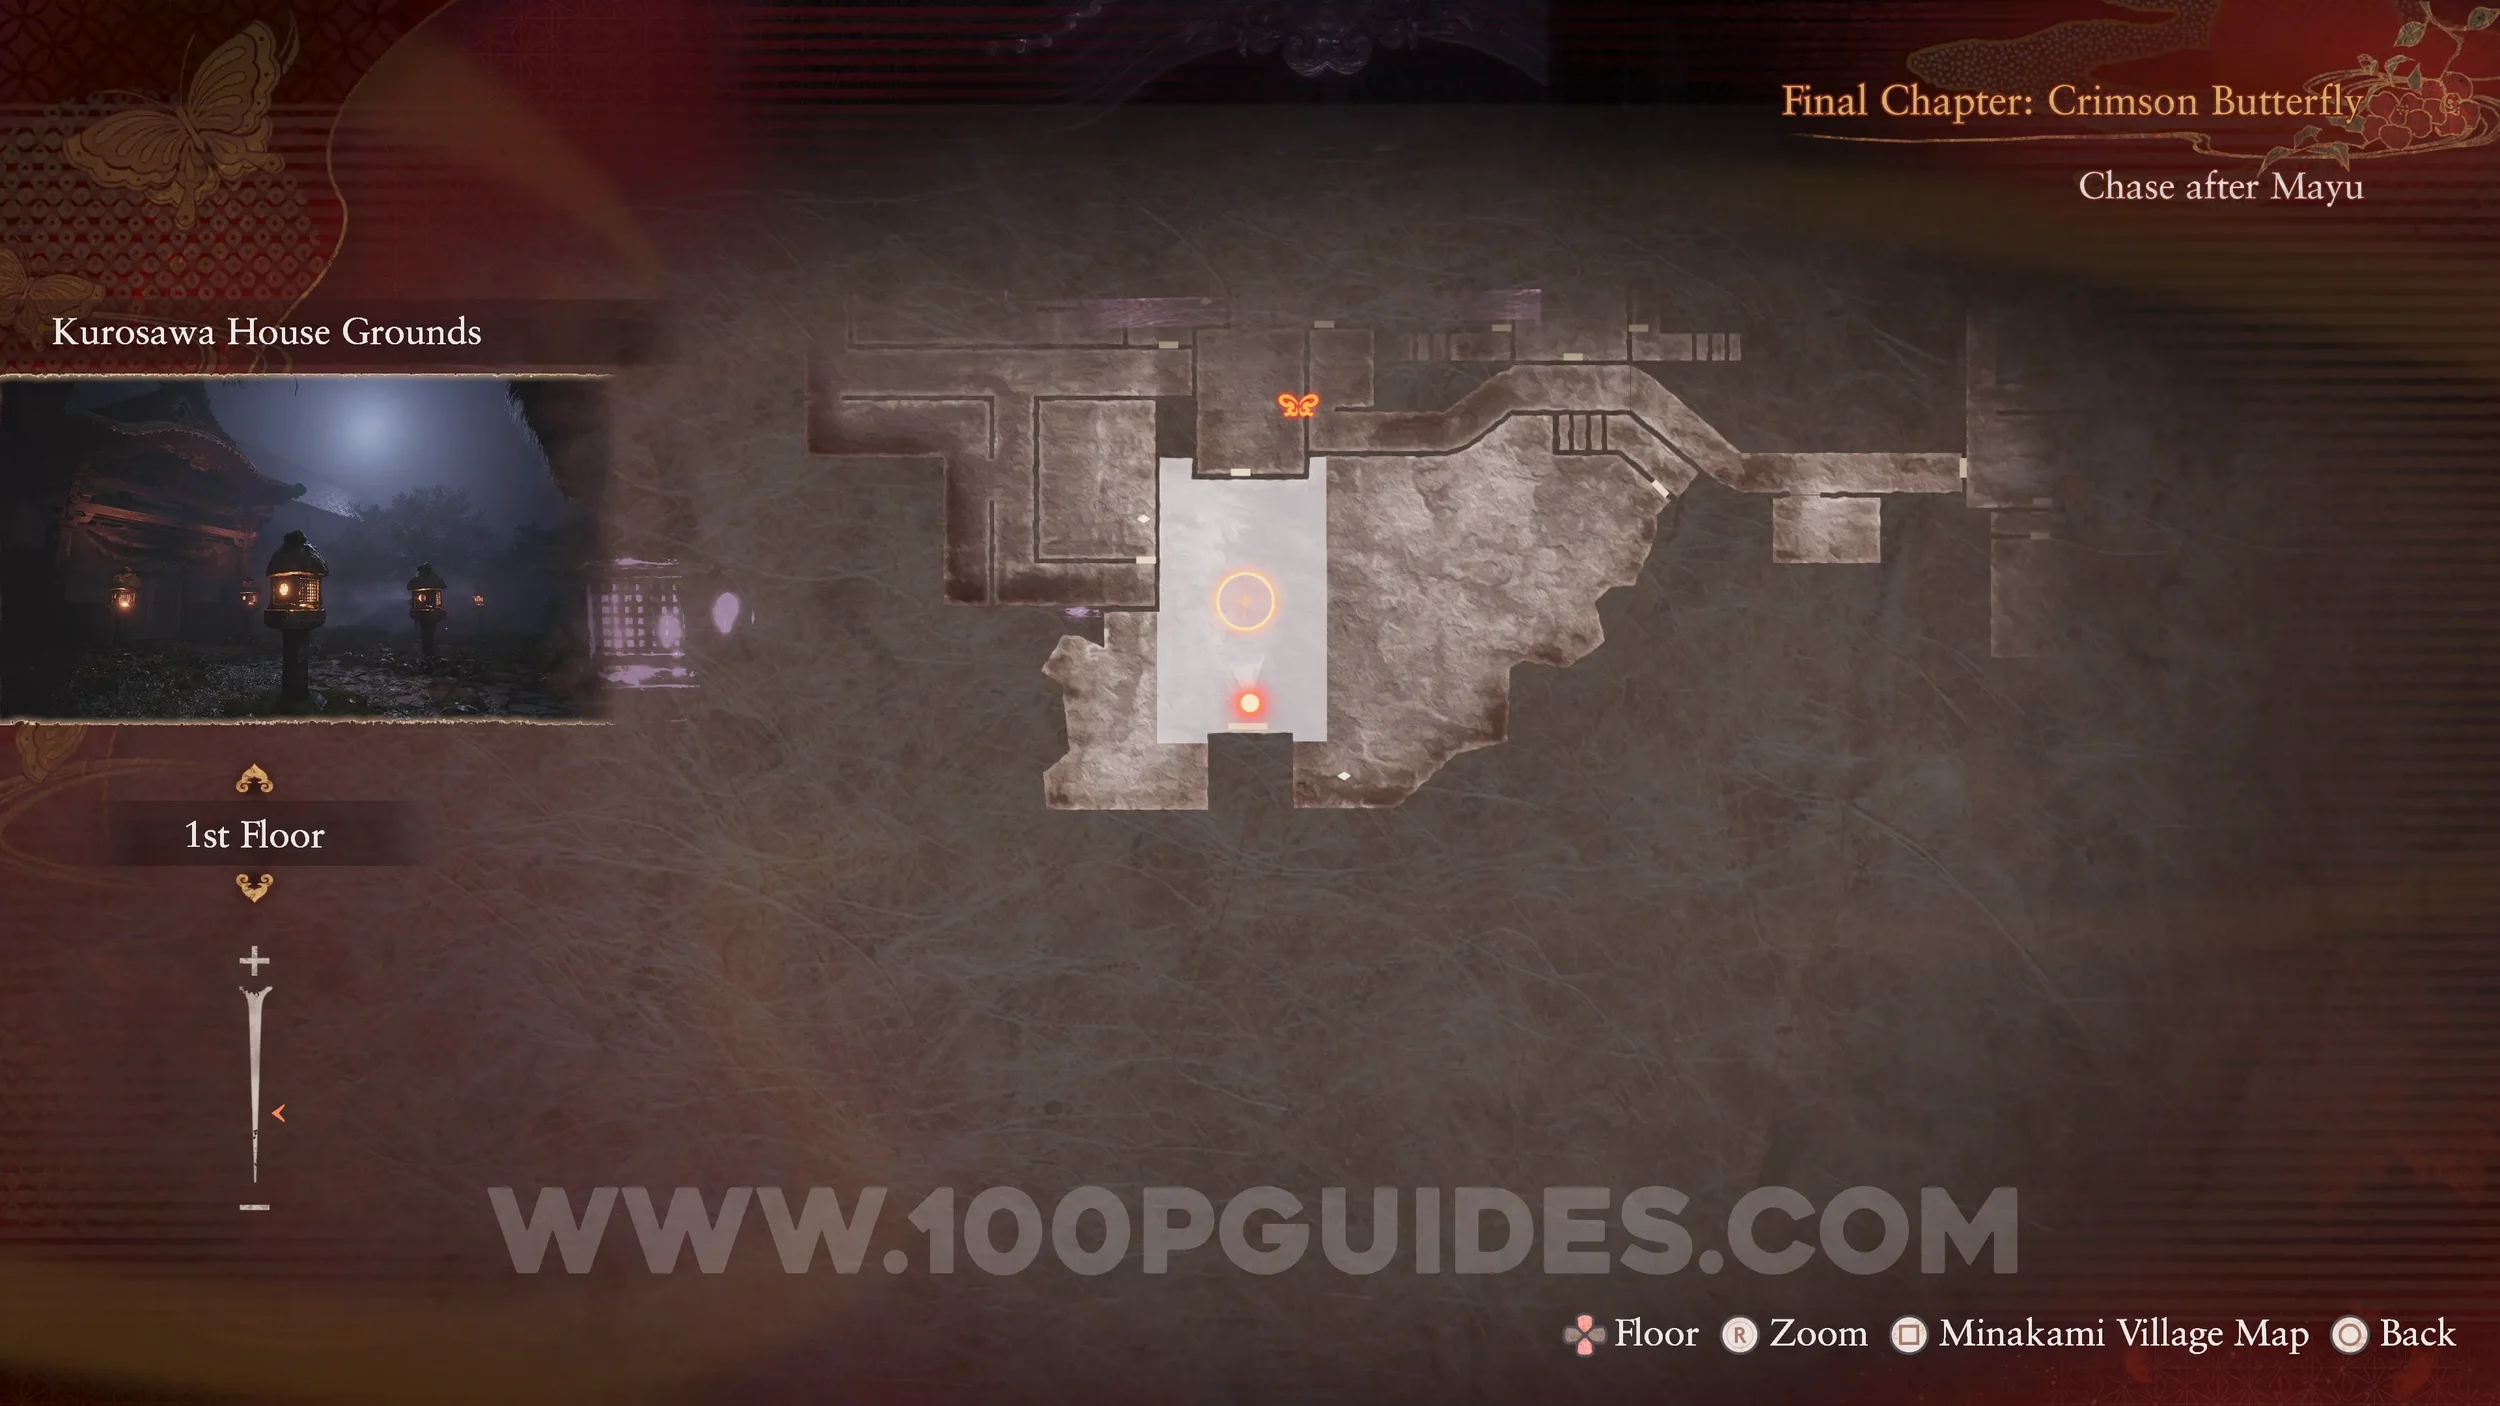
Specter #182 - 216 Itsuki Heading to the Old Tree, Specter #183 - 217 Chitose Heading to the Old Tree and Specter #184 - 218 Siblings Heading to the Old Tree. From the temple, go down the stairs and you will see the two specters heading to the right. Make sure they are both in the shot.
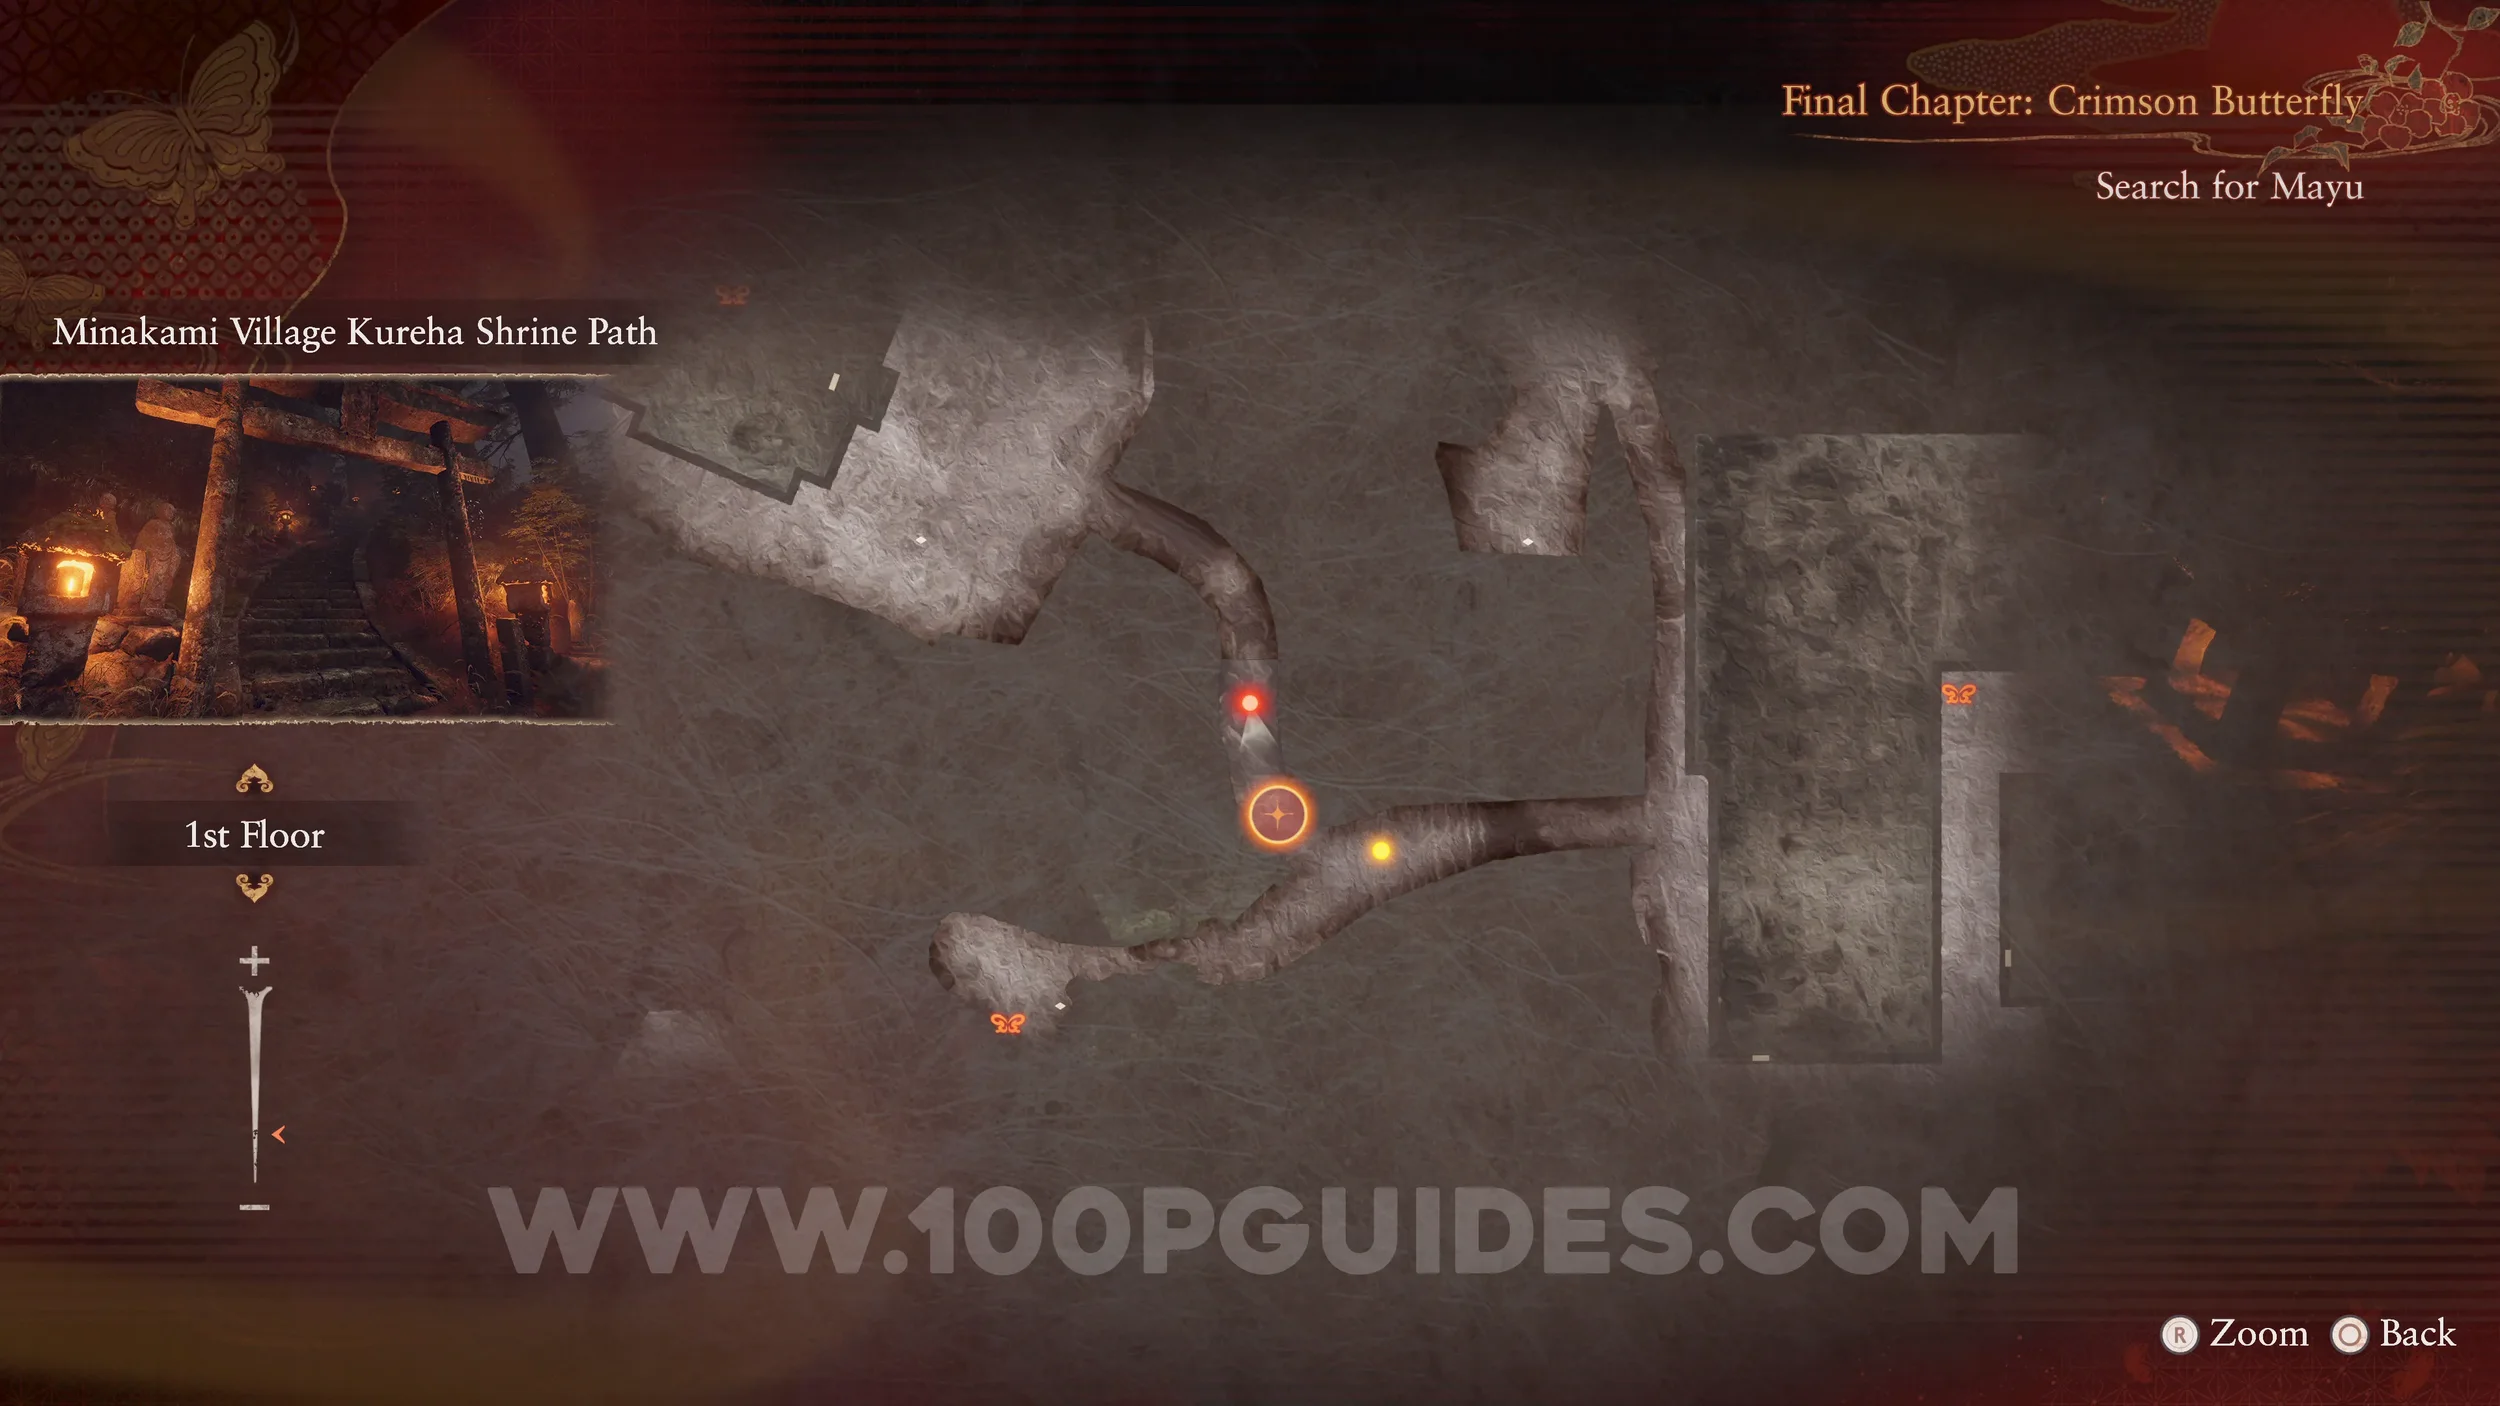
Specter #185 - 136 Crimson Butterfly Leading to Mayu. At the bottom of the stairs, look left and take a photo of the butterfly.
Revenant #21 - 028 Boy Standing by Grave, Revenant #22 - 029 Girl Standing by Grave and Revenant #23 - 030 Siblings Standing by Grave. Enter the Old Tree and use the Exposure Filter to see the two revenants. Make sure they are both in the shot.
Document #99 - Bound Diary 5, Spirit Stone #33 - Crystal Ore (1/2) and Side Quest #9 - Itsuki and Mutsuki. Pick up the document dropped by the previous revenants.
Specter #186 - 219 Sae Fleeing Village, Specter #187 - 220 Yae Fleeing Village, Specter #188 - 221 Itsuki Letting Pair Escape and Specter #189 - 222 Itsuki and Escaping Twins. Head back to the temple where you started the chapter and you will see the specters at the top of the stairs.
Revenant #24 - 031 Itsuki Returning to the Village. Enter the temple and use the Exposure Filter in the middle to find the revenant.
Document #100 - Bound Diary 7. Dropped by the previous revenant.
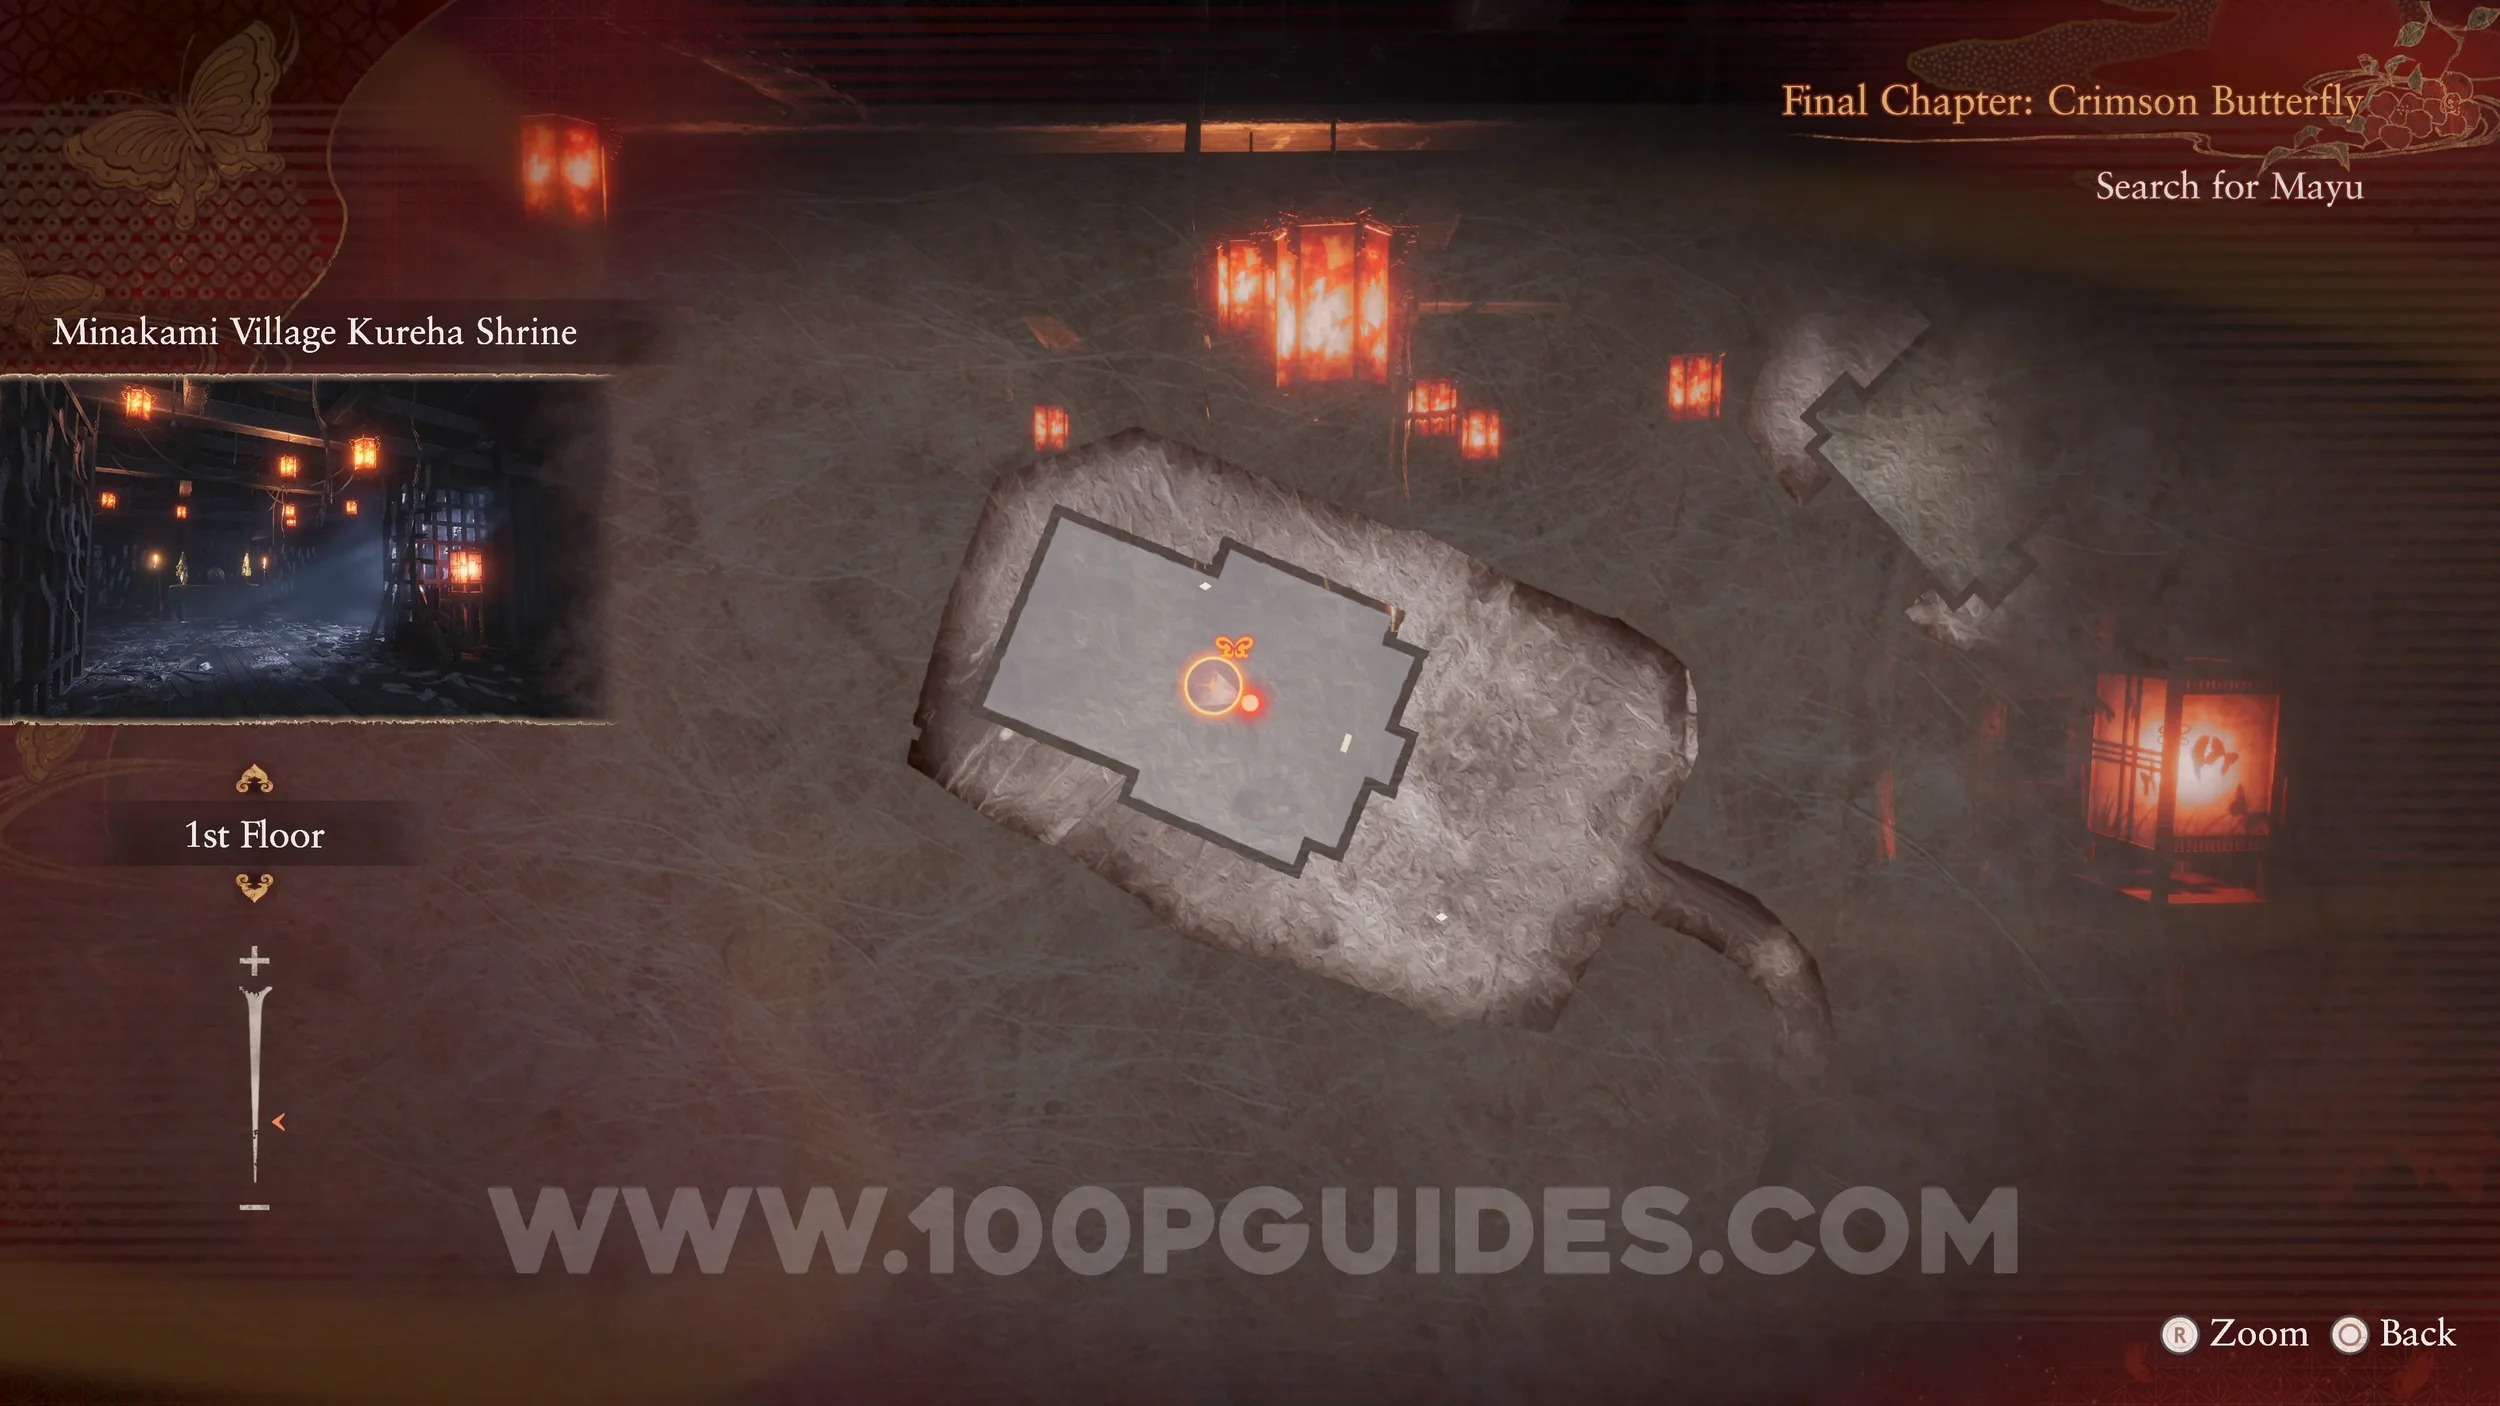
Specter #190 - 223 Itsuki Standing. Found in Minakami Village Storehouse.
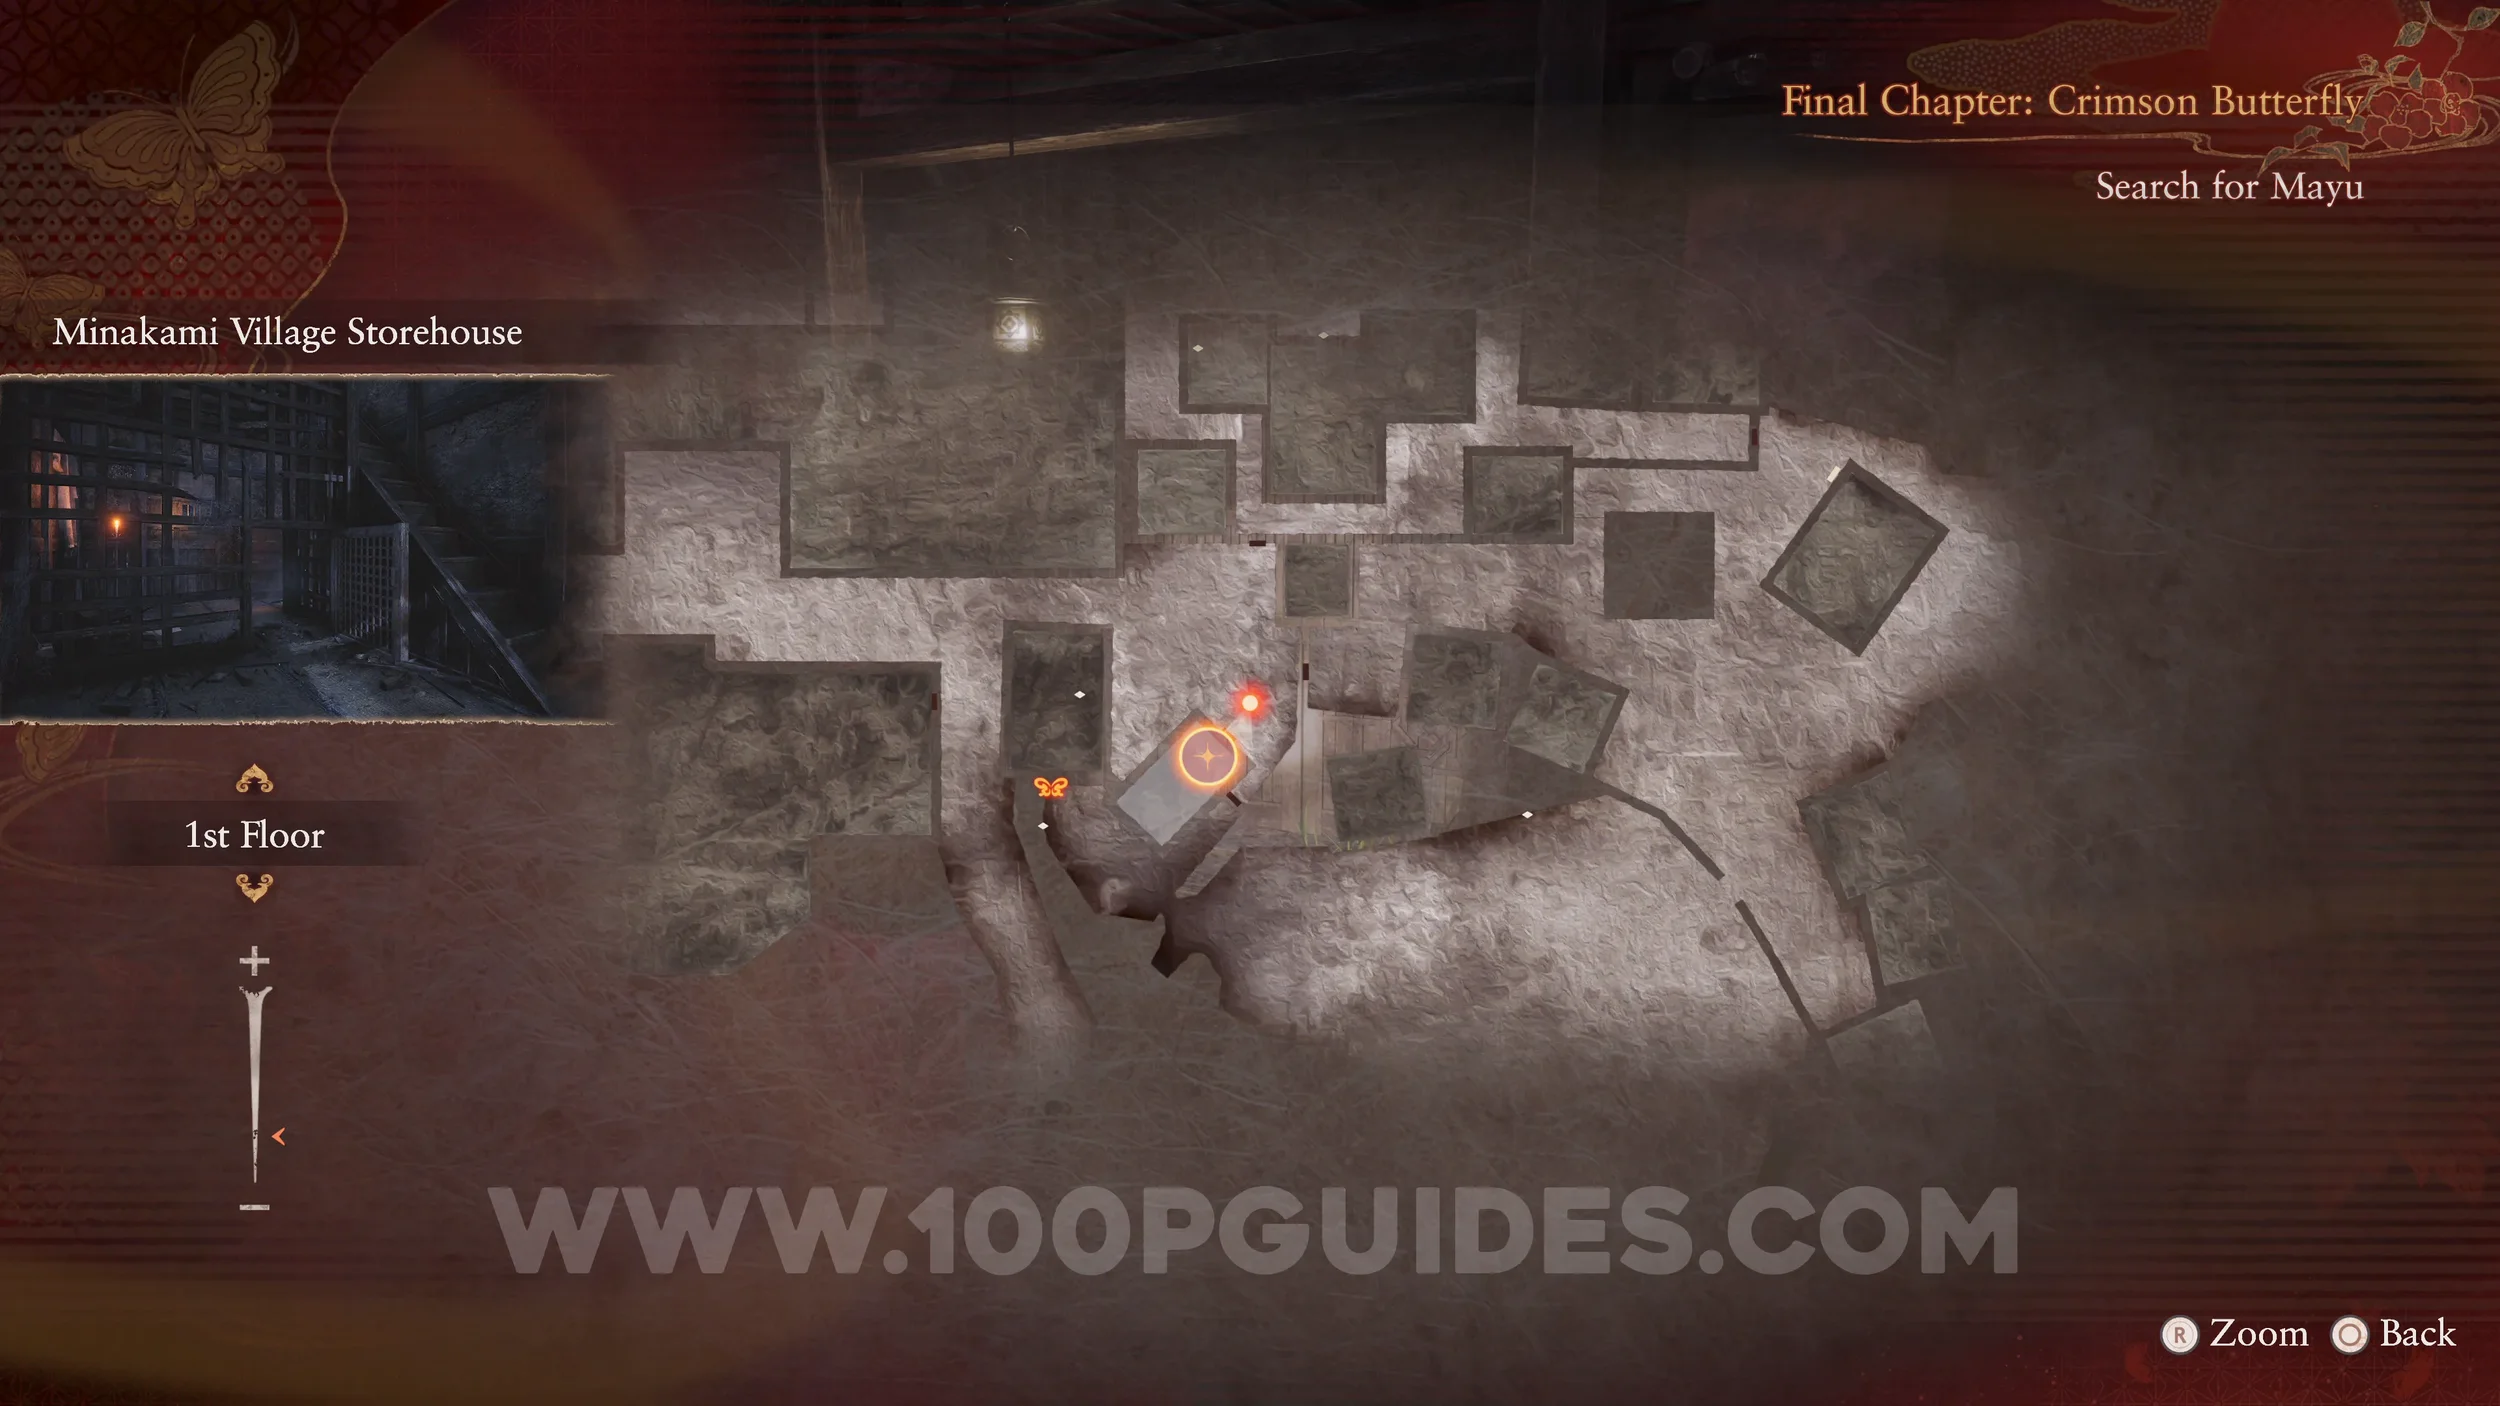
Revenant #25 - 010 Trapped Girl and Prayer Beads #75. Found on the top floor of Minakami Village Storehouse. She drops the Prayer Beads.

Revenant #26 - 032 Mutsuki Watching, Spirit Stone #33 - Crystal Ore (2/2), Spirit Stone #34 - Ebon Crystal Ore, Spirit Stone #35 - Crystal Ore 2 (1/2) and Side Quest #10 - The Tachibana Family. Found in the Minakami Village Storehouse near the entrance. Picking up the items he drops will finish the “Itsuki and Mutsuki” side quest and start “The Tachibana Family” side quest.

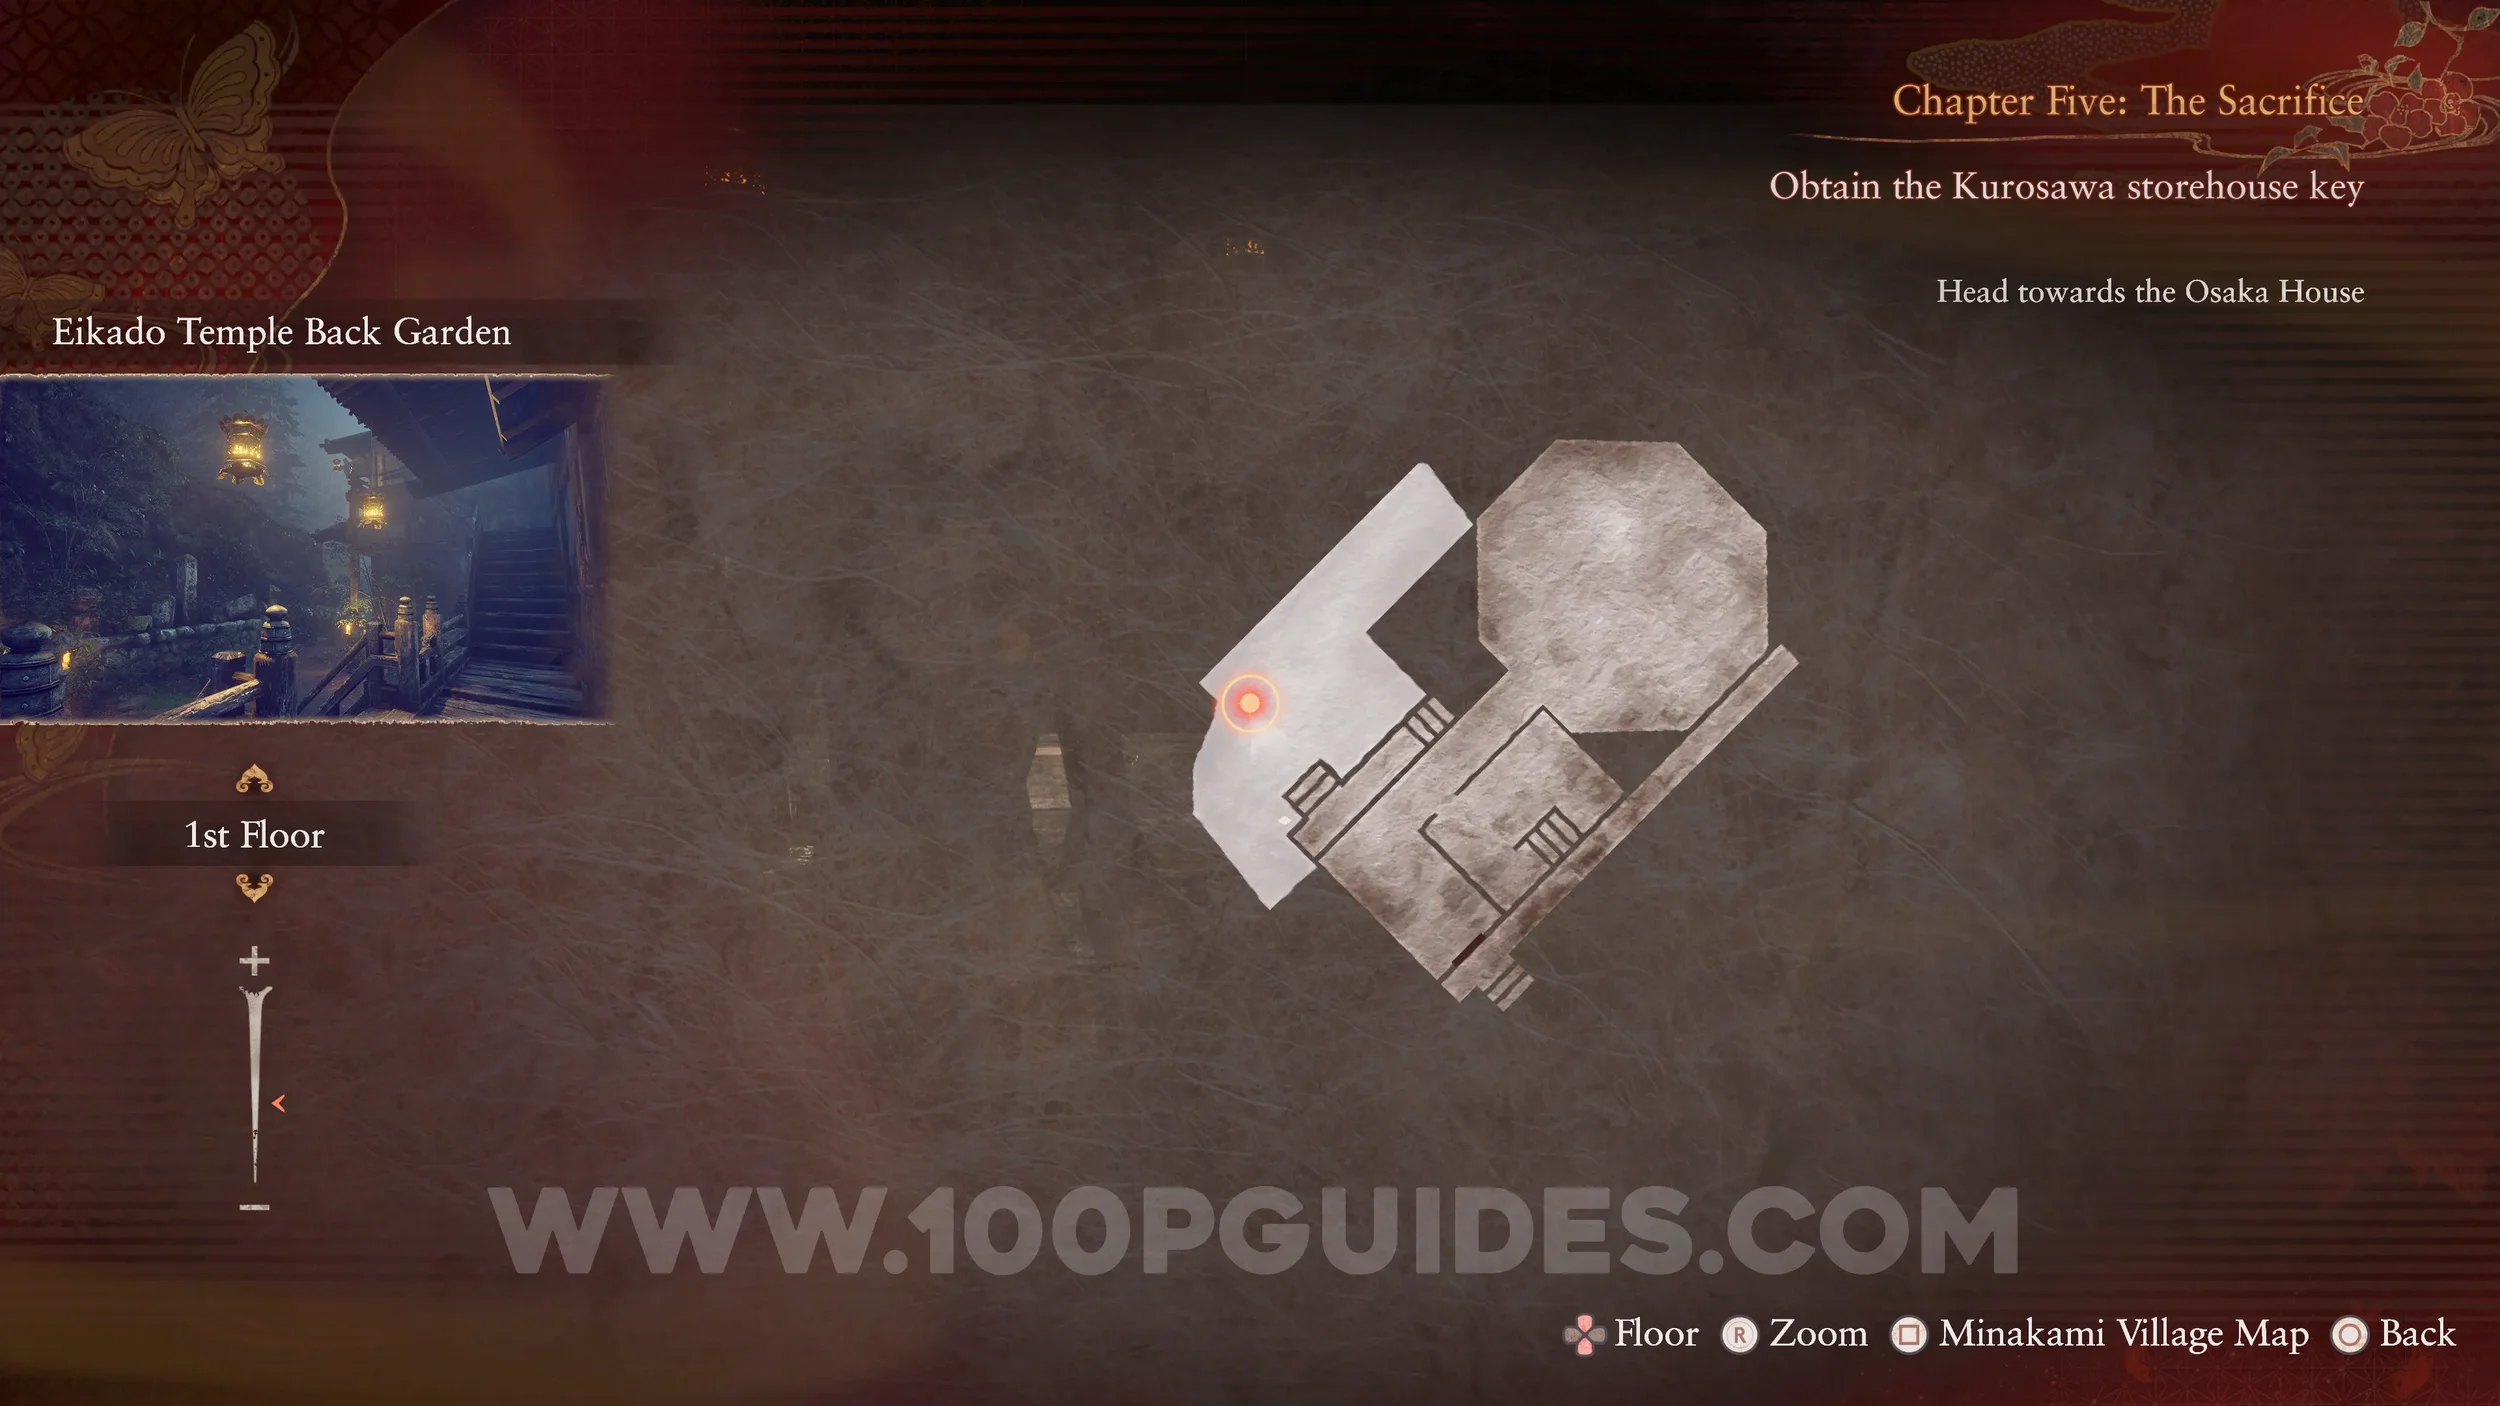
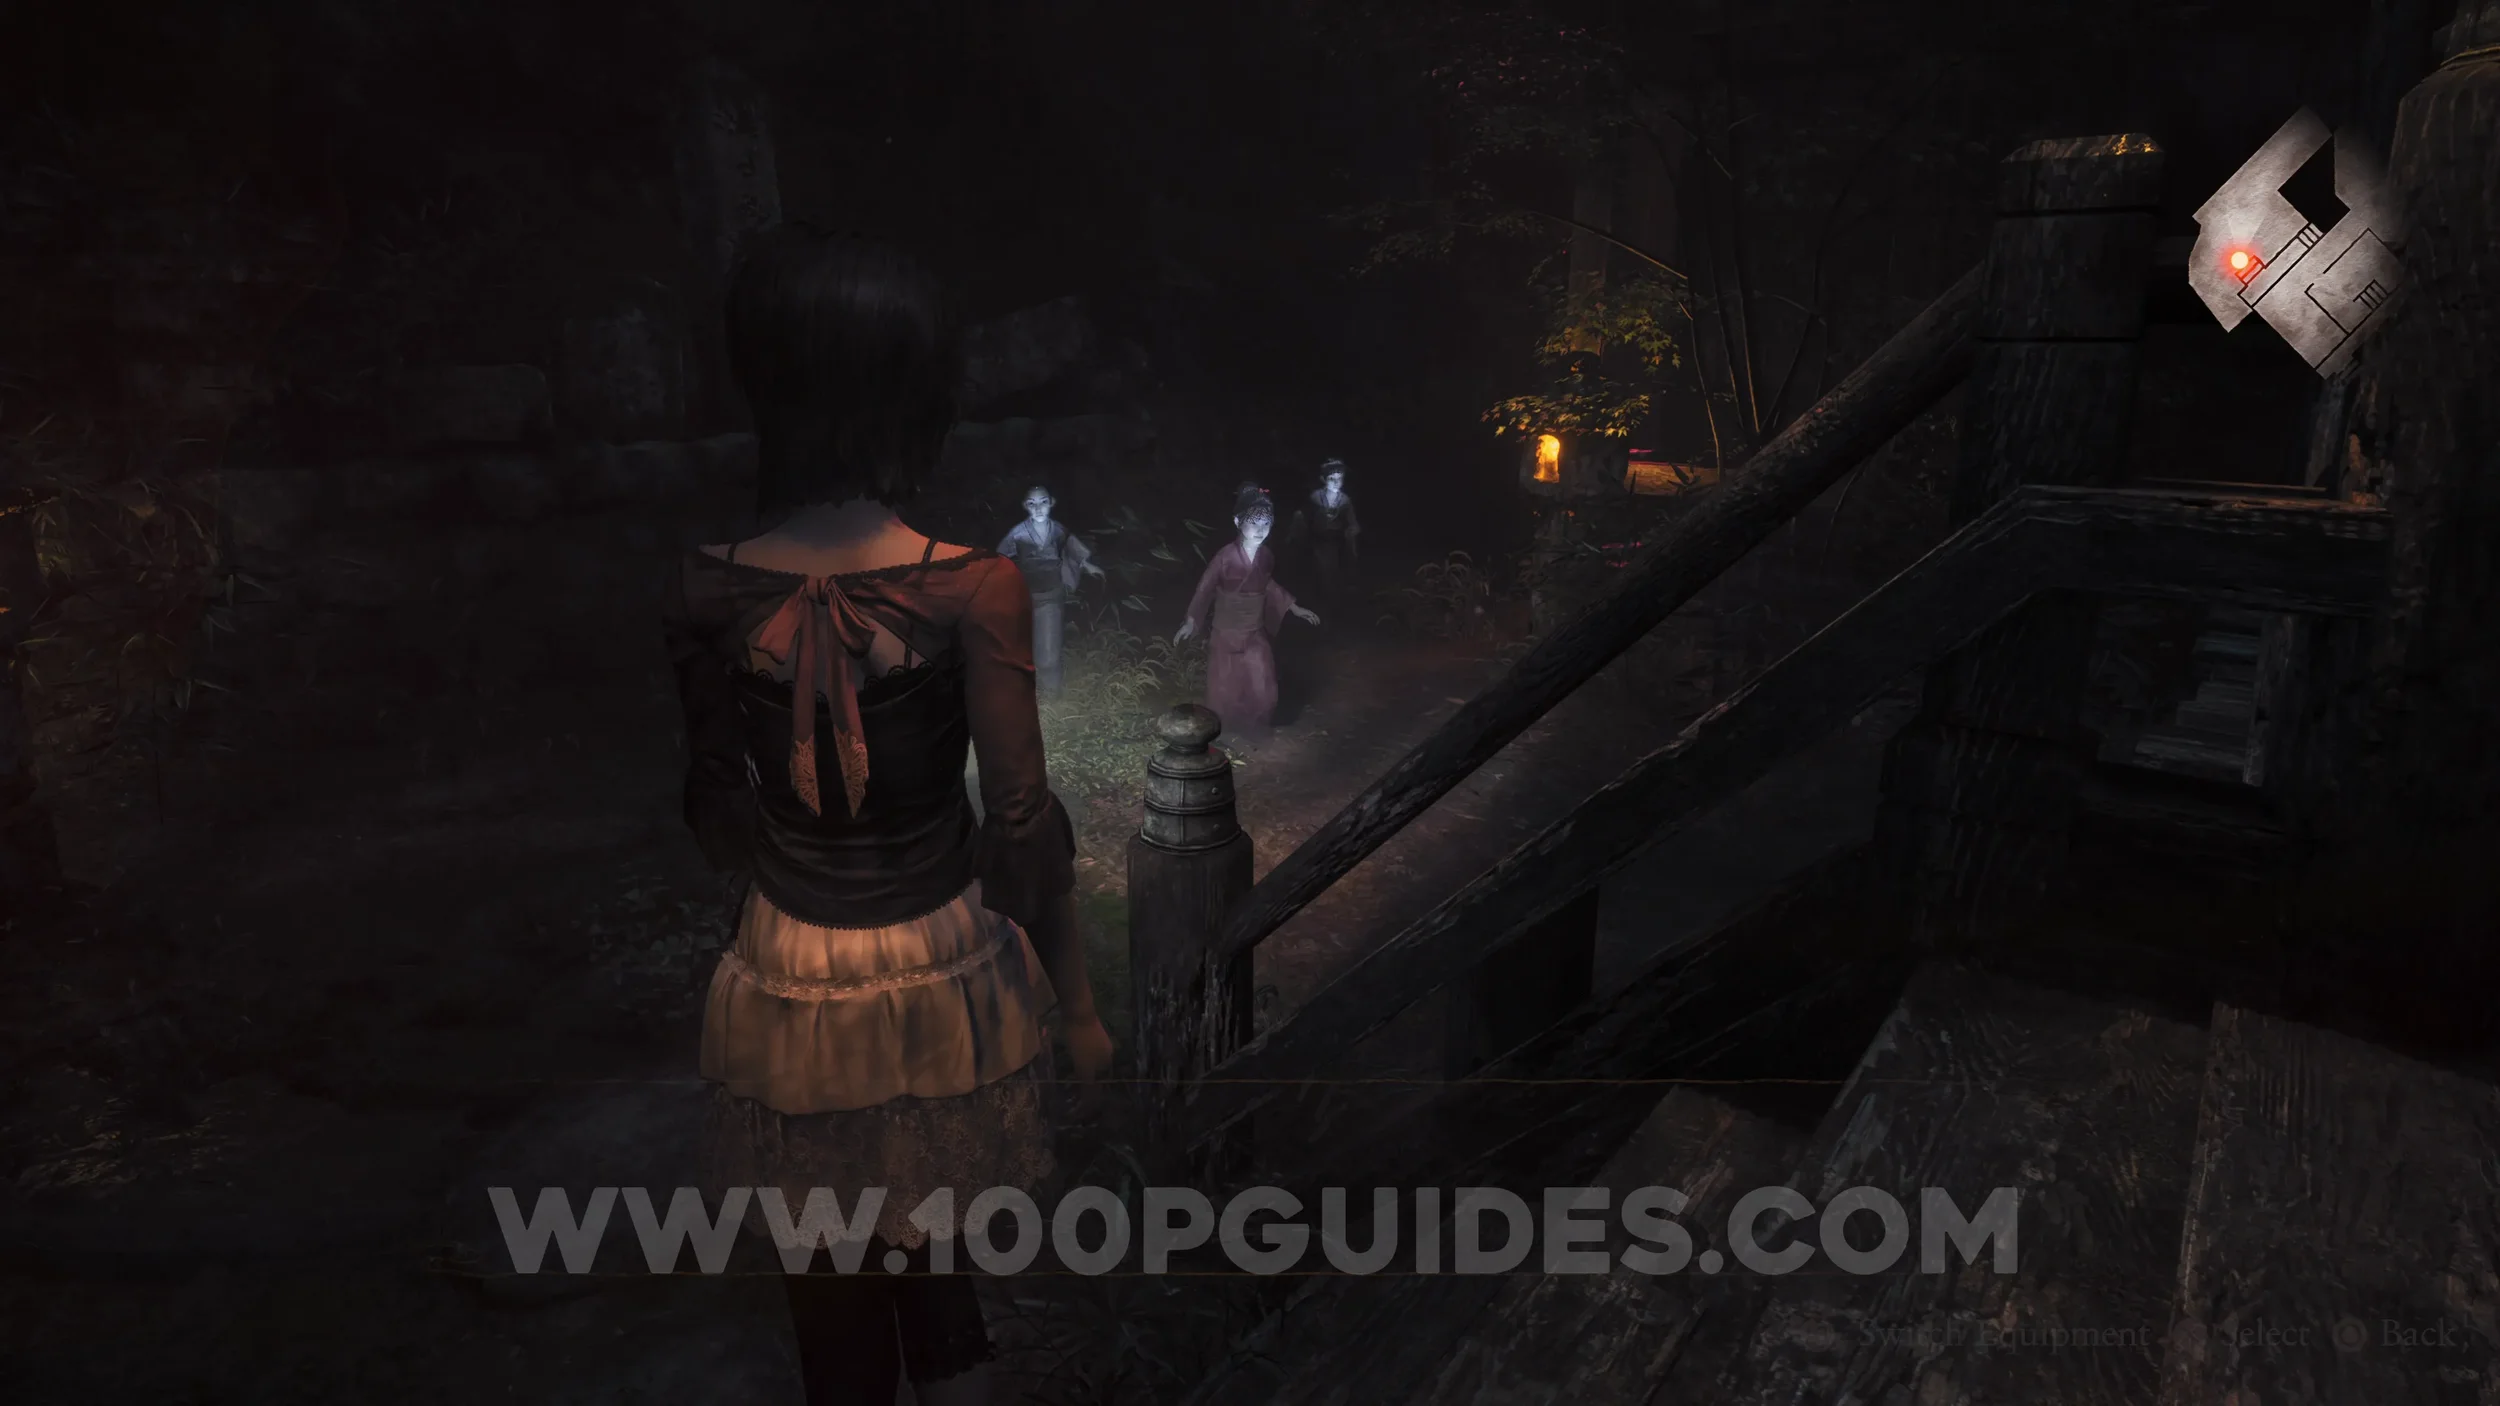
Specter #191 - 161 Girl Beginning to Play, Specter #192 - 162 Boy Beginning to Play, Specter #193 - 163 Boy Offering to Play and Specter #194 - 164 Children Offering to Play. Now head to Eikado Temple by following the butterfly, then take a left after the wooden bridge and go through or under it to reach the other side. Here you will see the three children running. Make sure they are all in the shot.
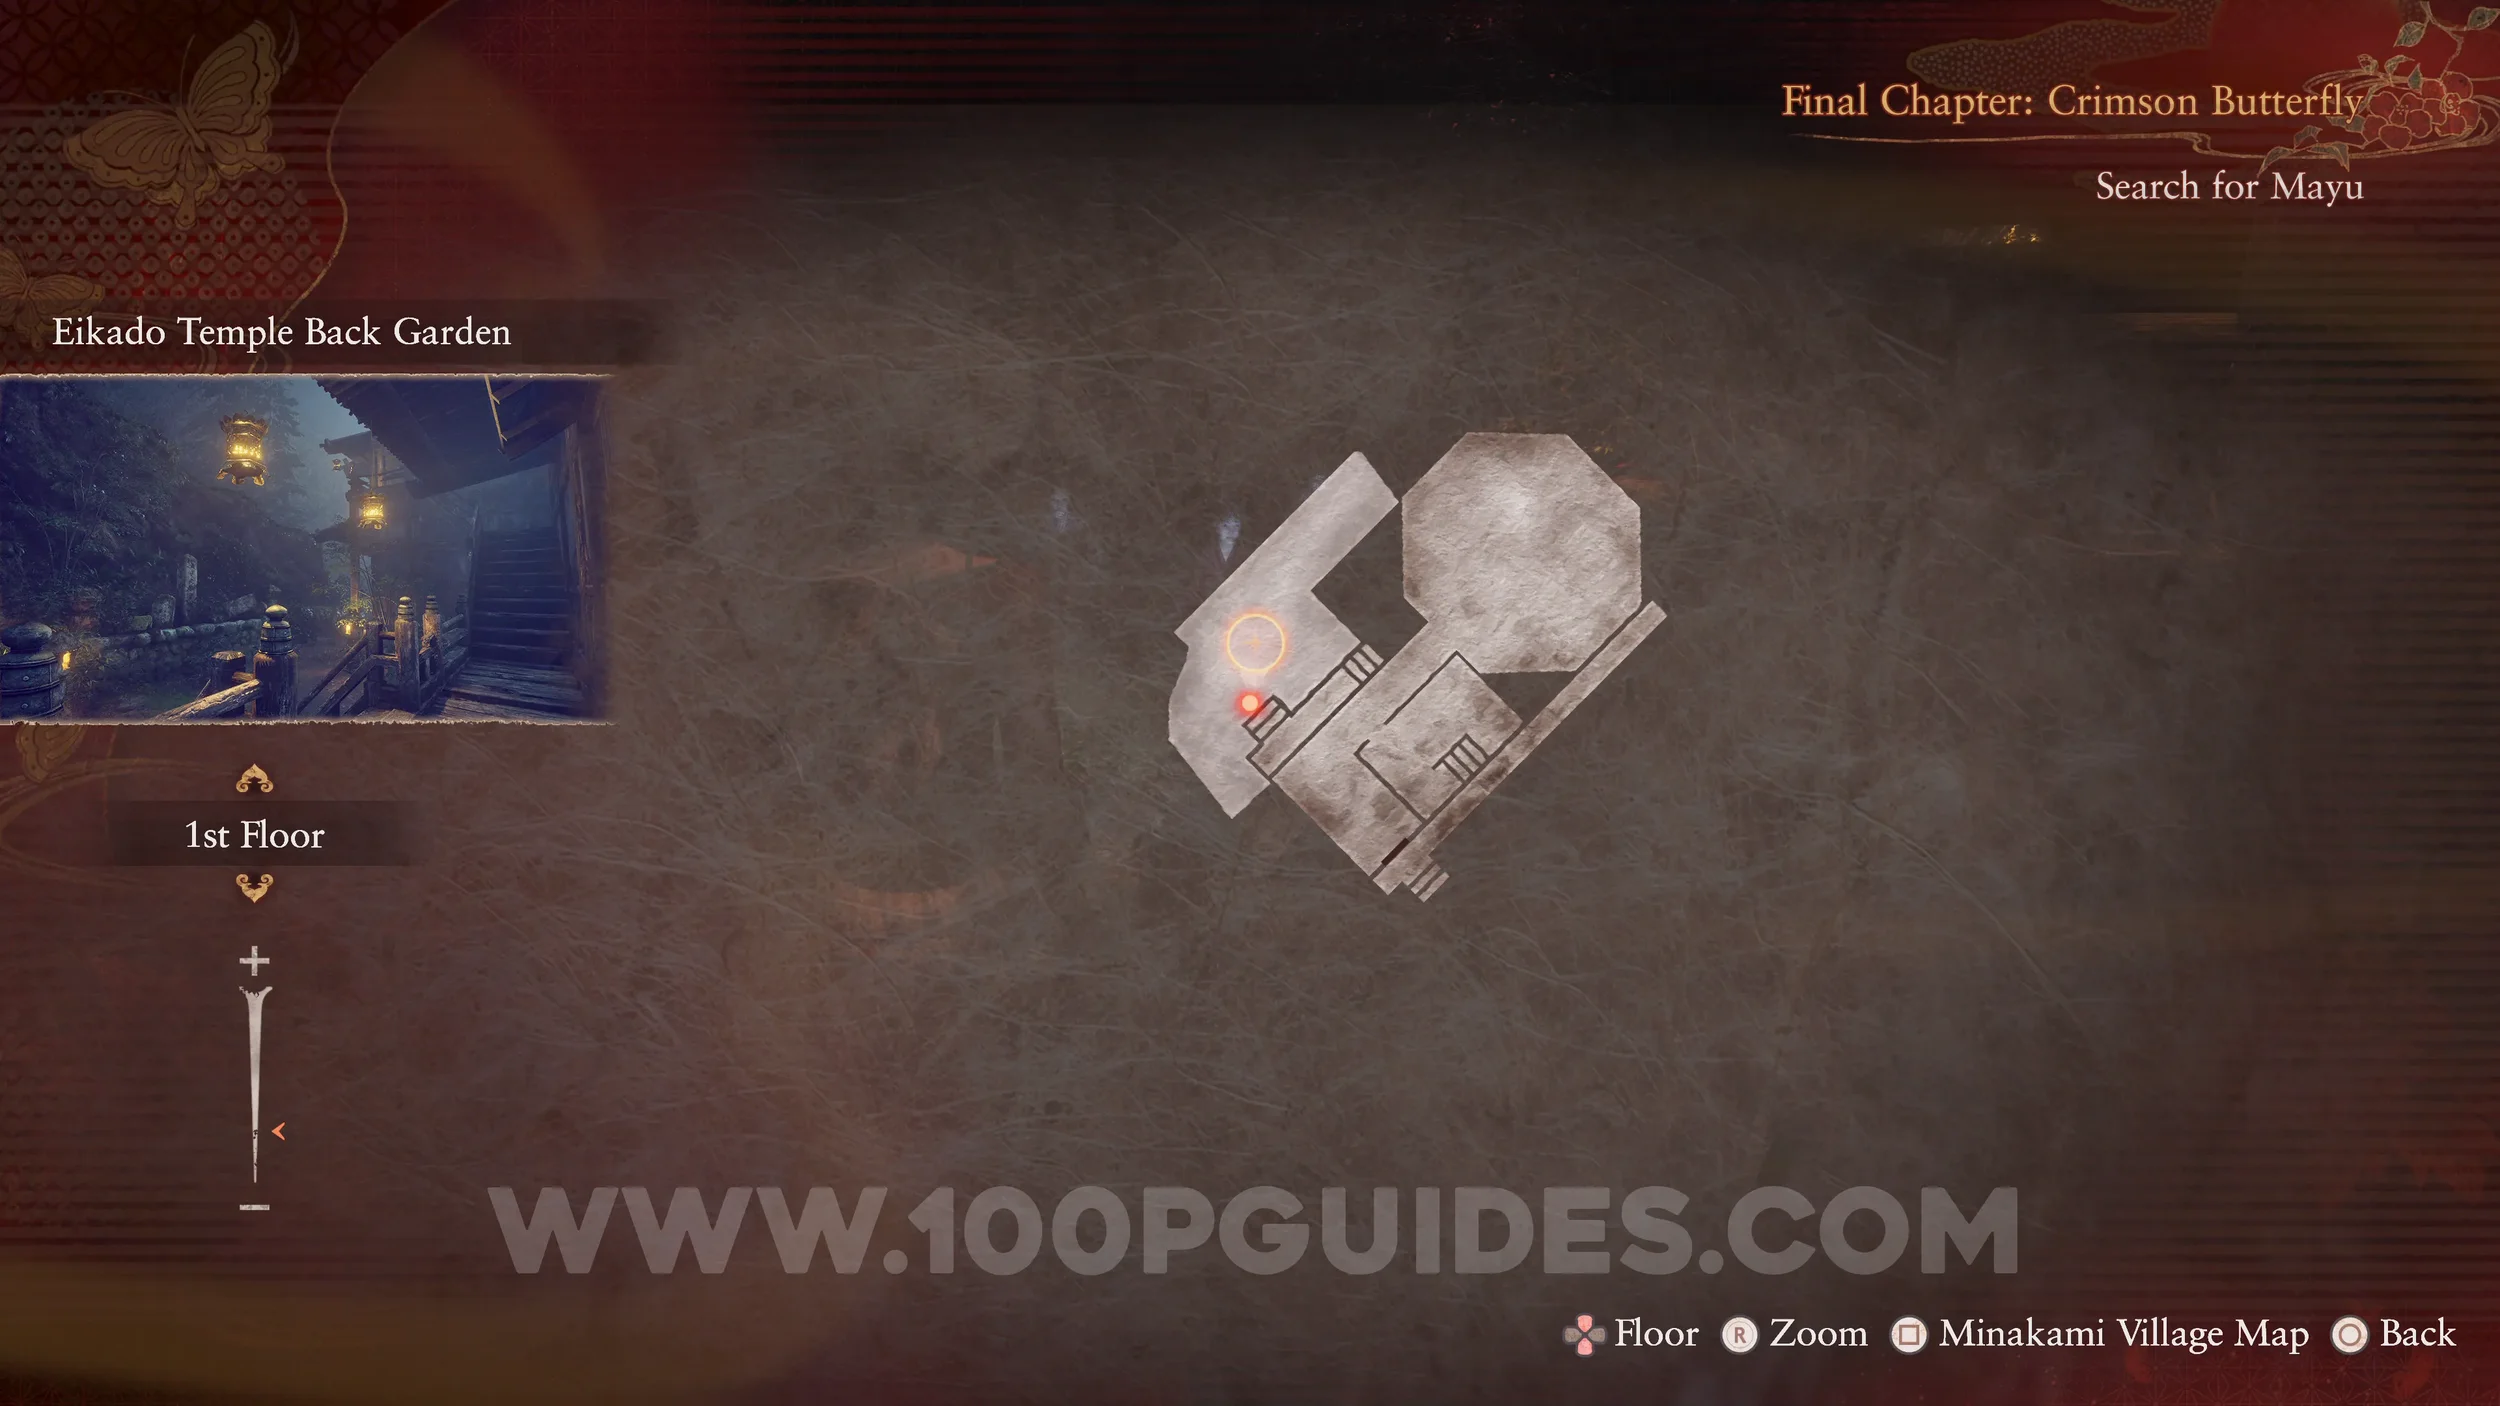
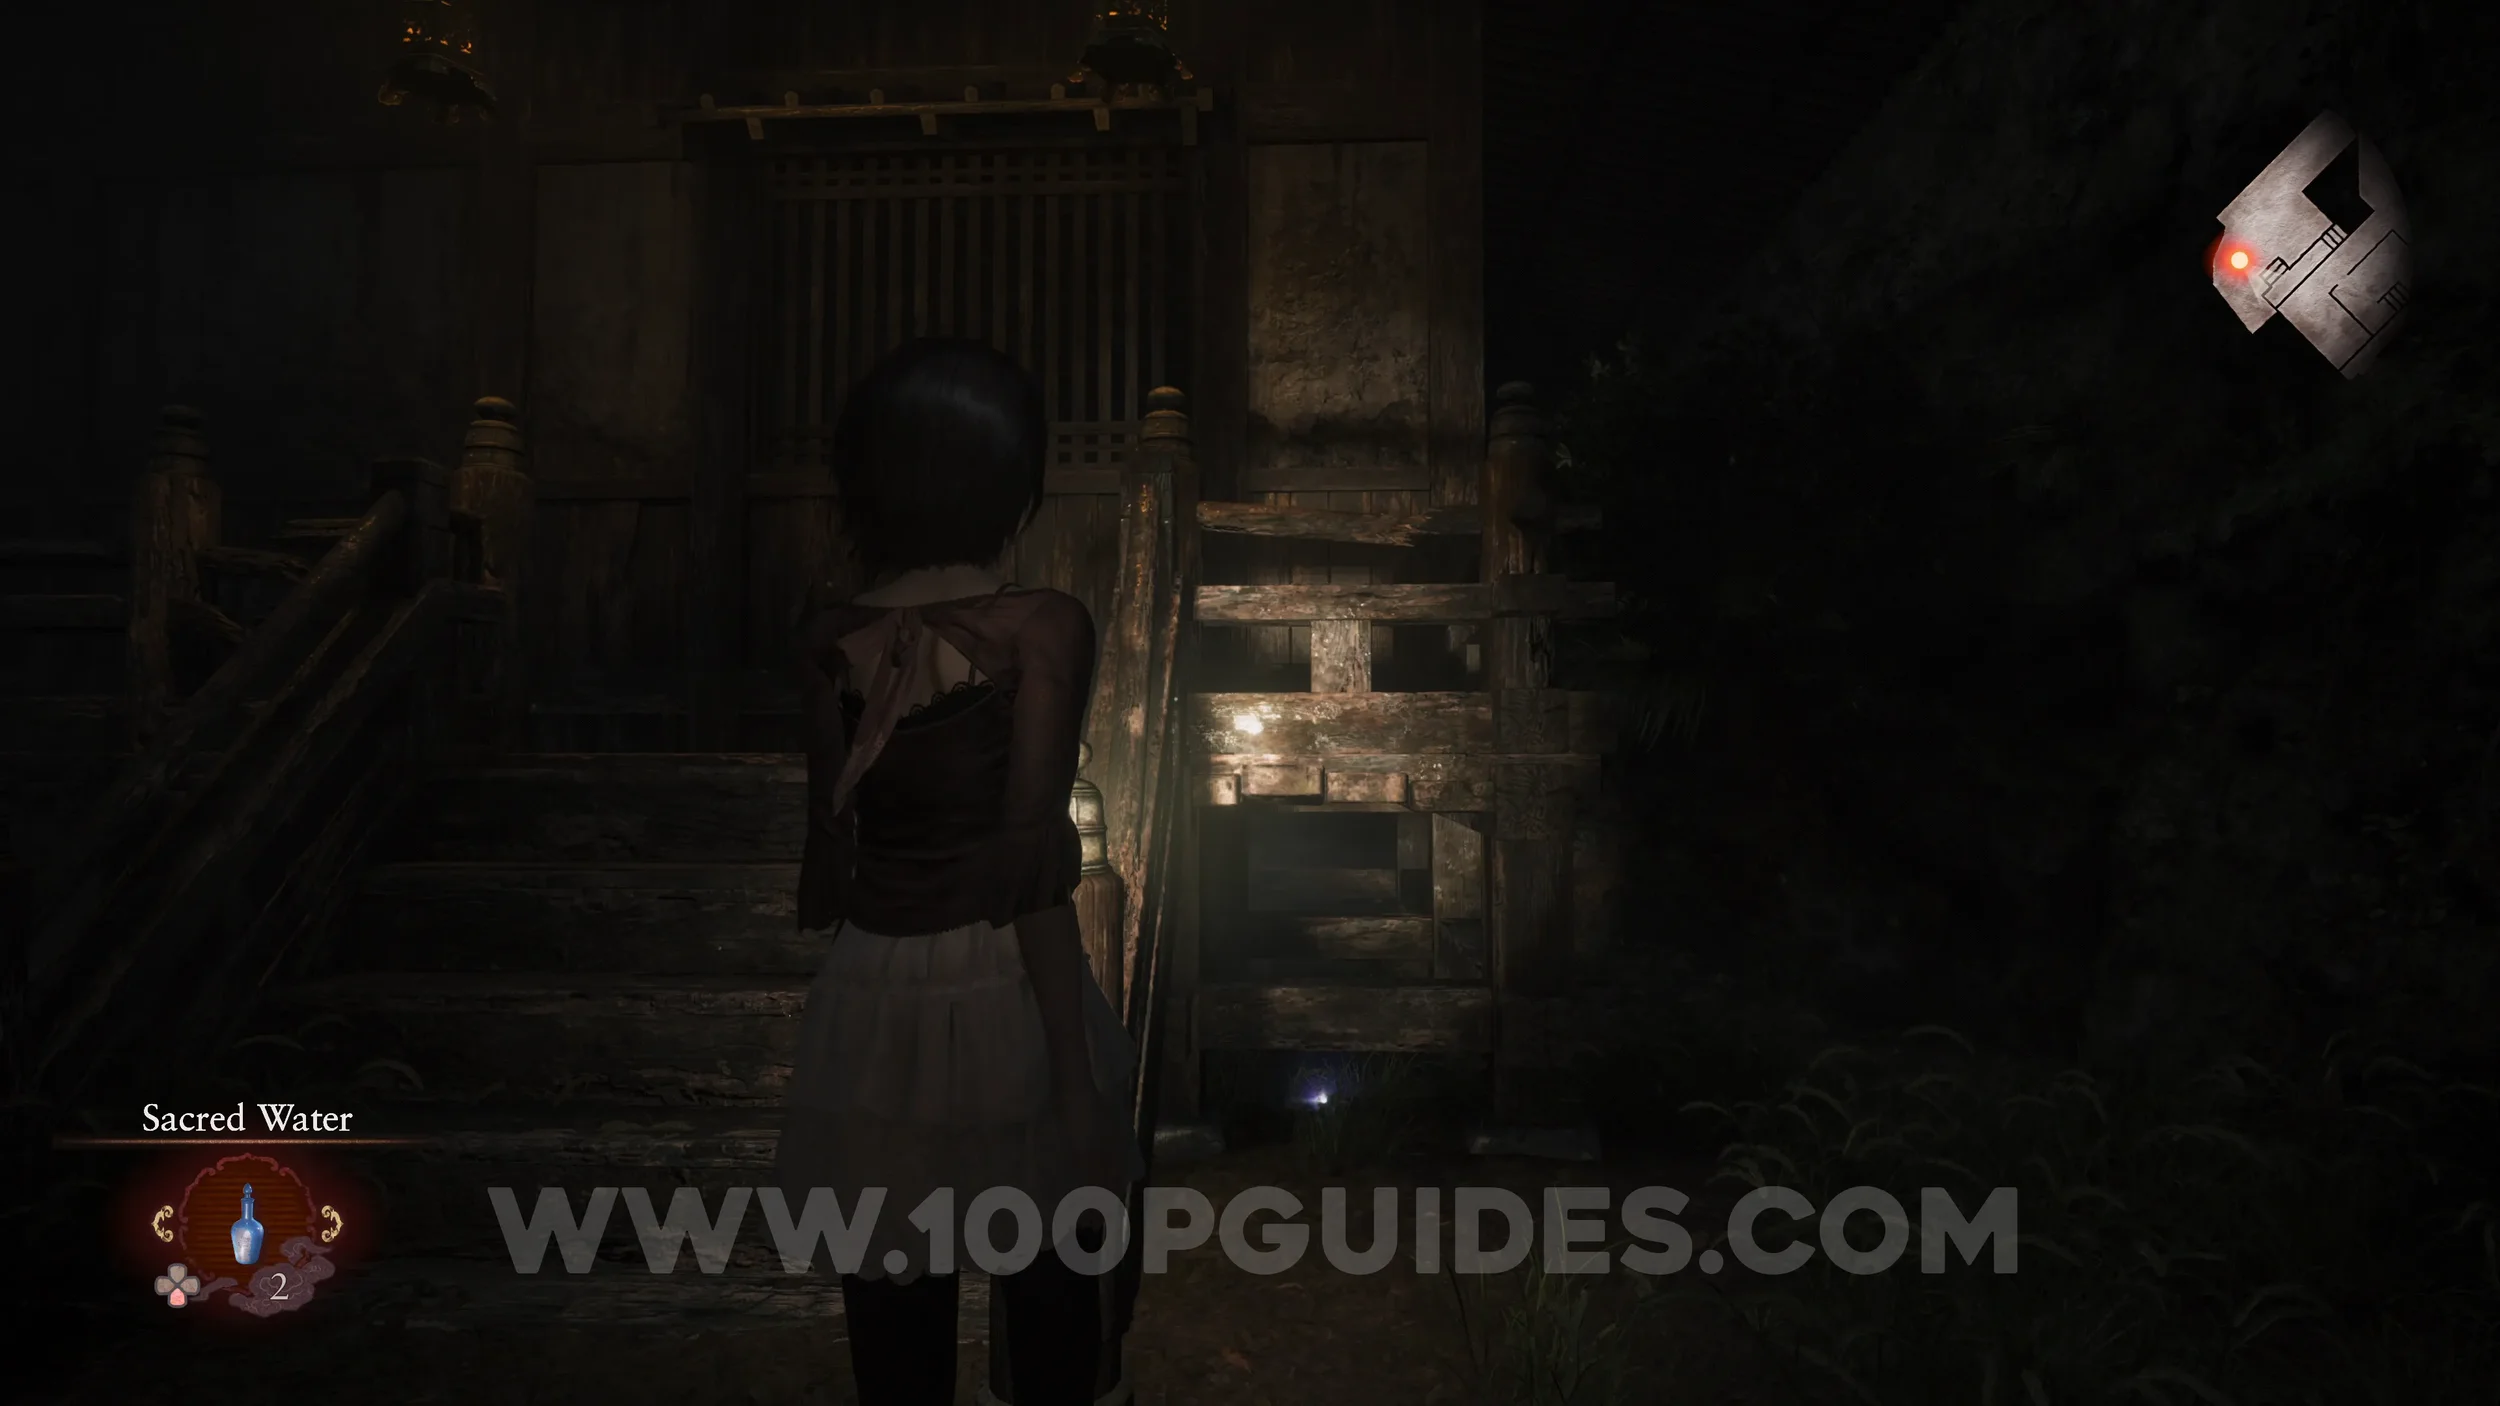
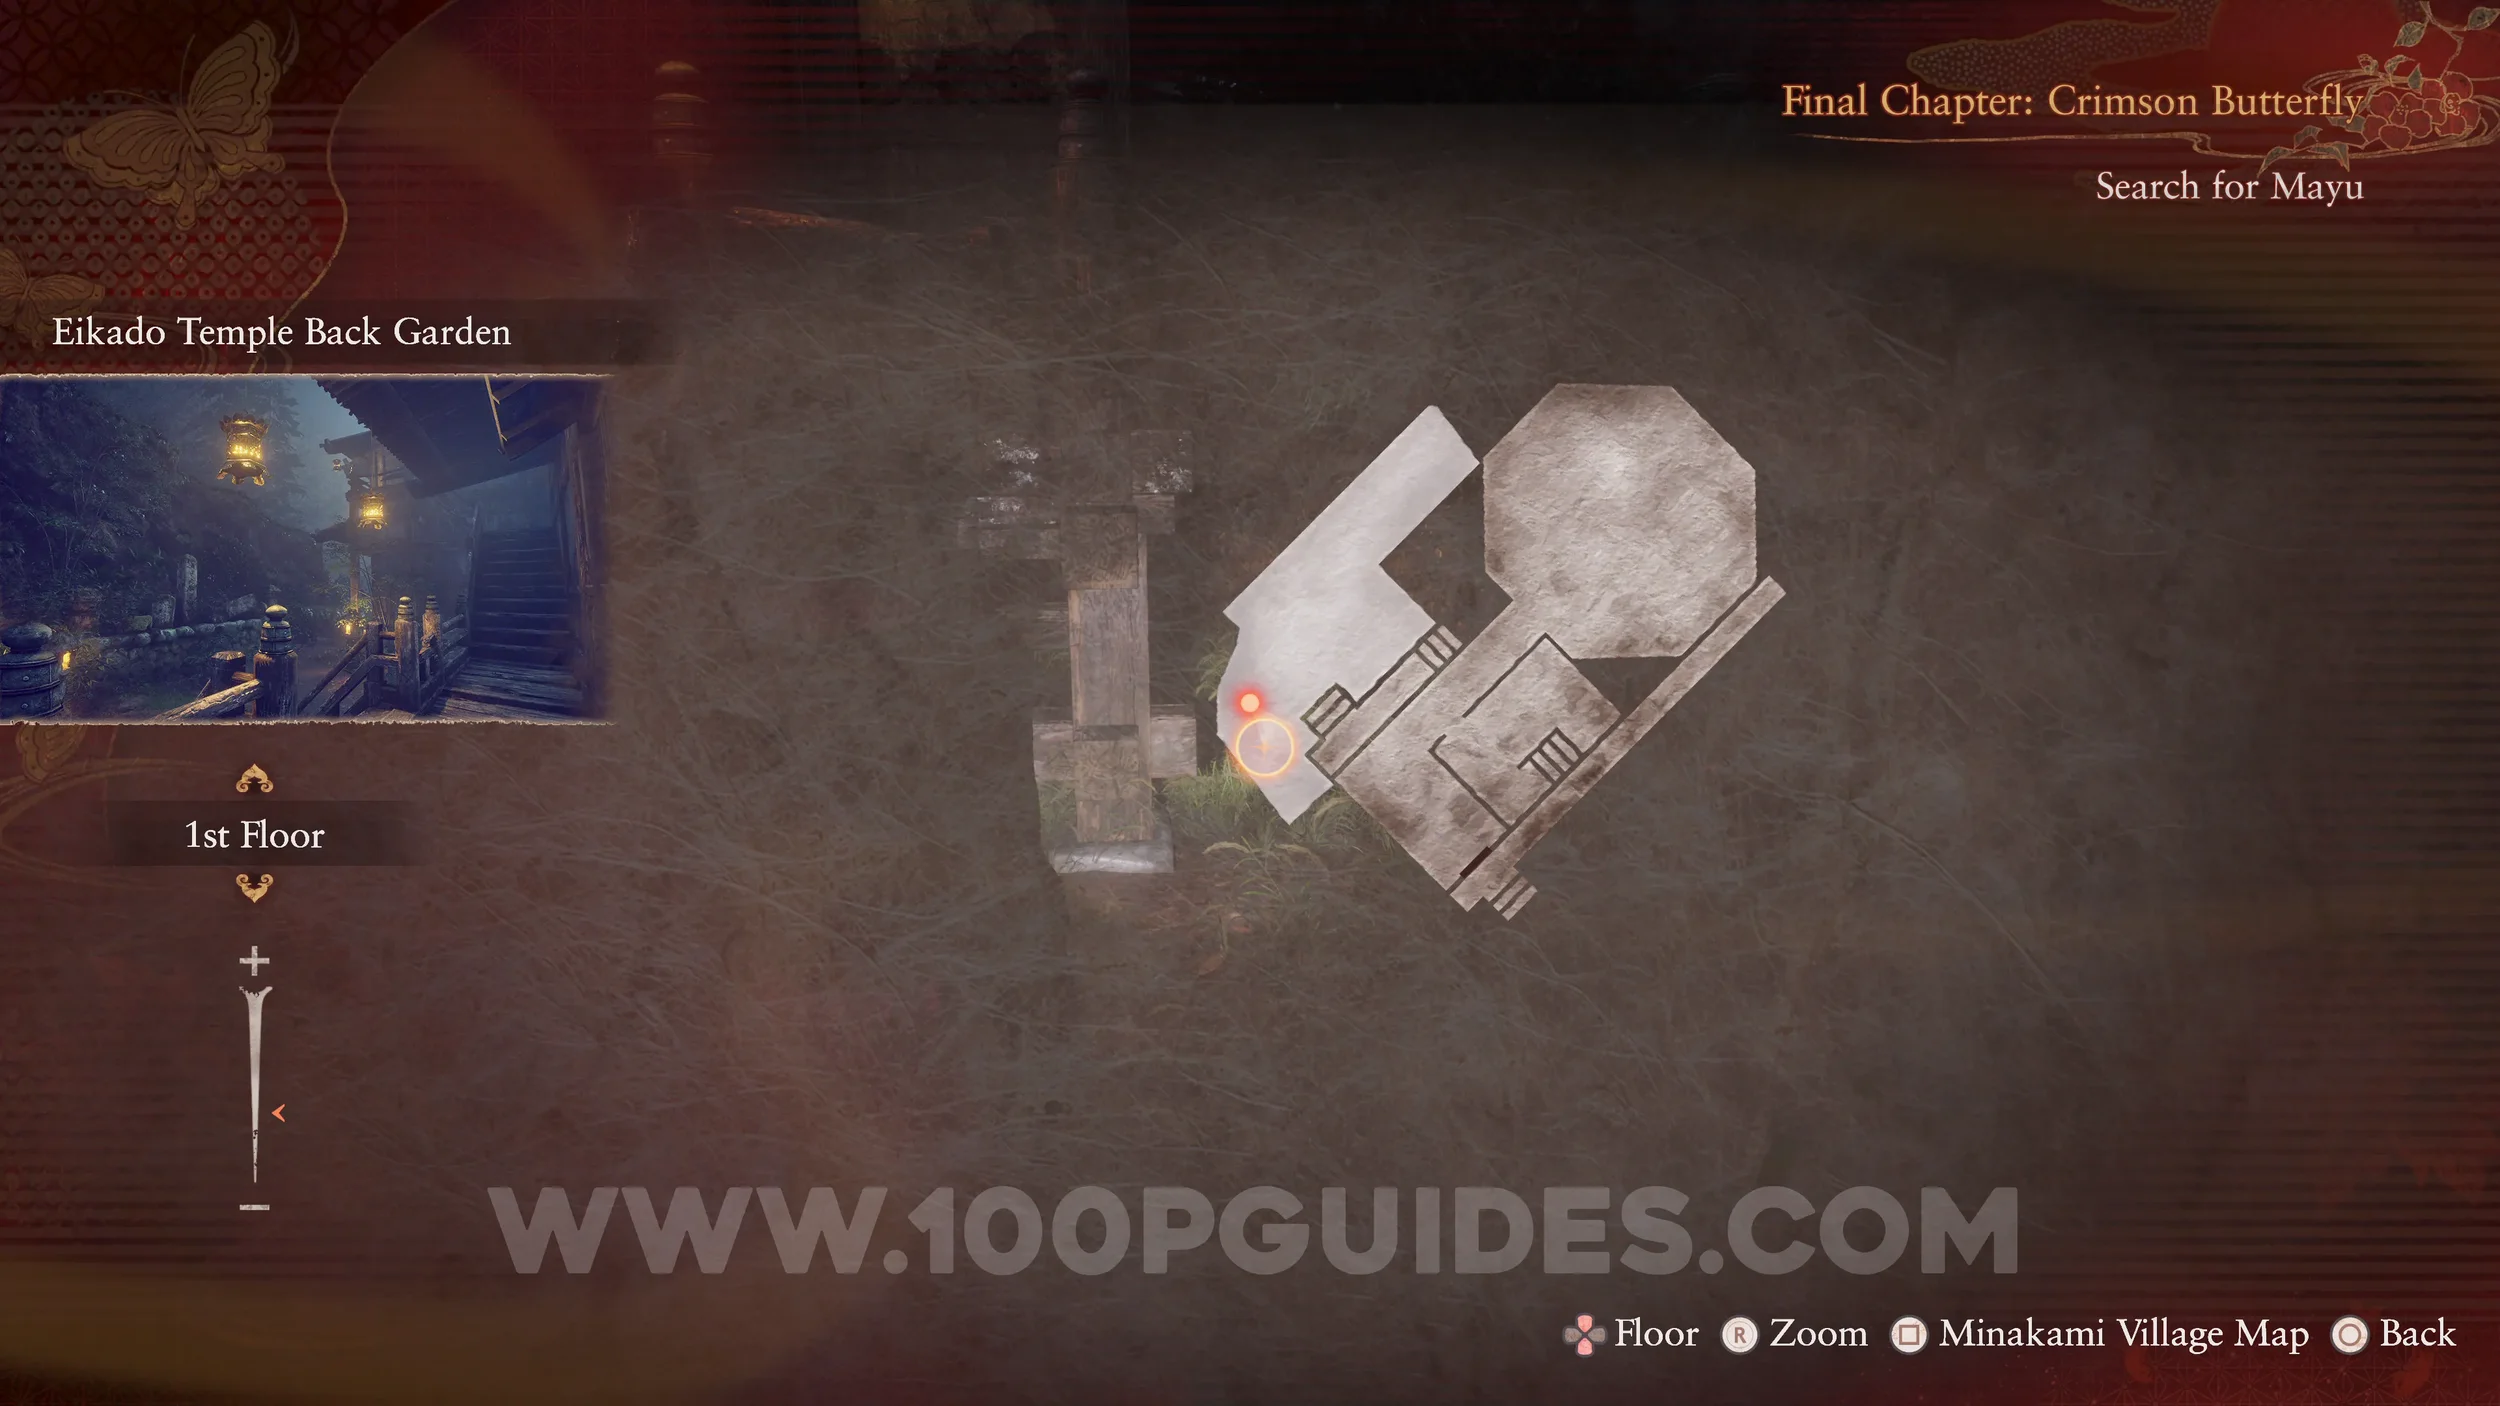
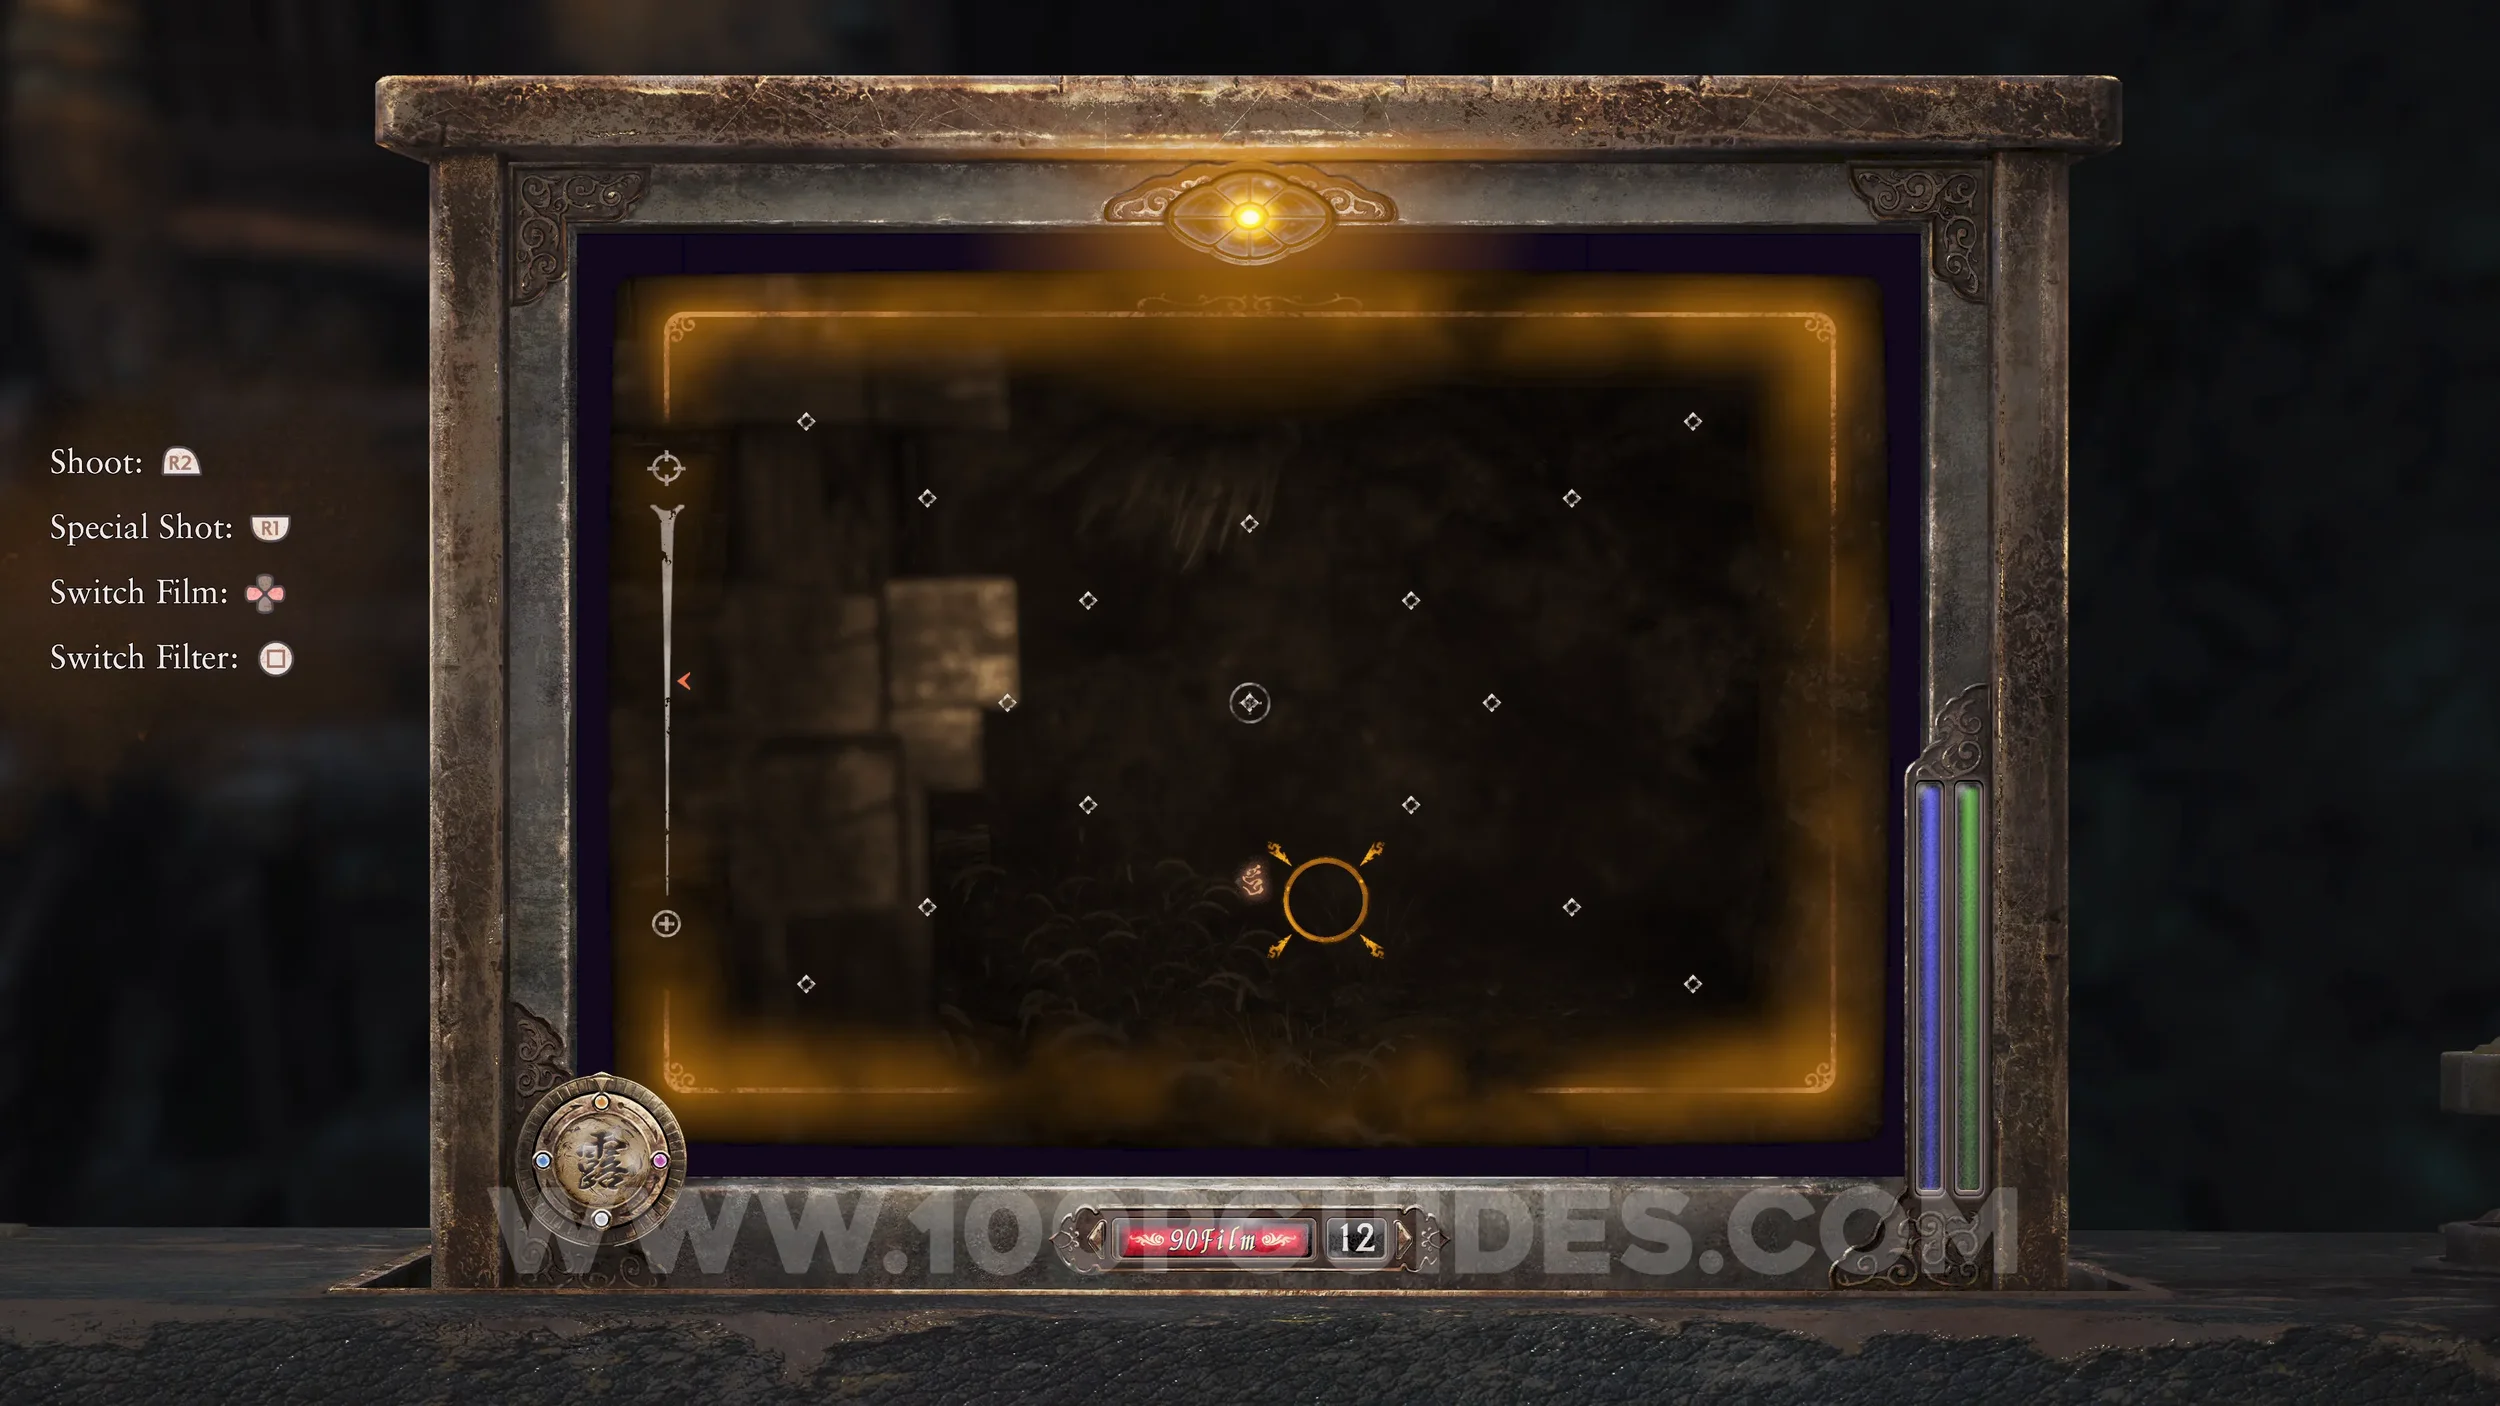
Revenant #27 - 017 Boy Hiding in Back Garden. In the same location as the previous specters. Look for it to the right of the wooden stairs leading up to the temple.
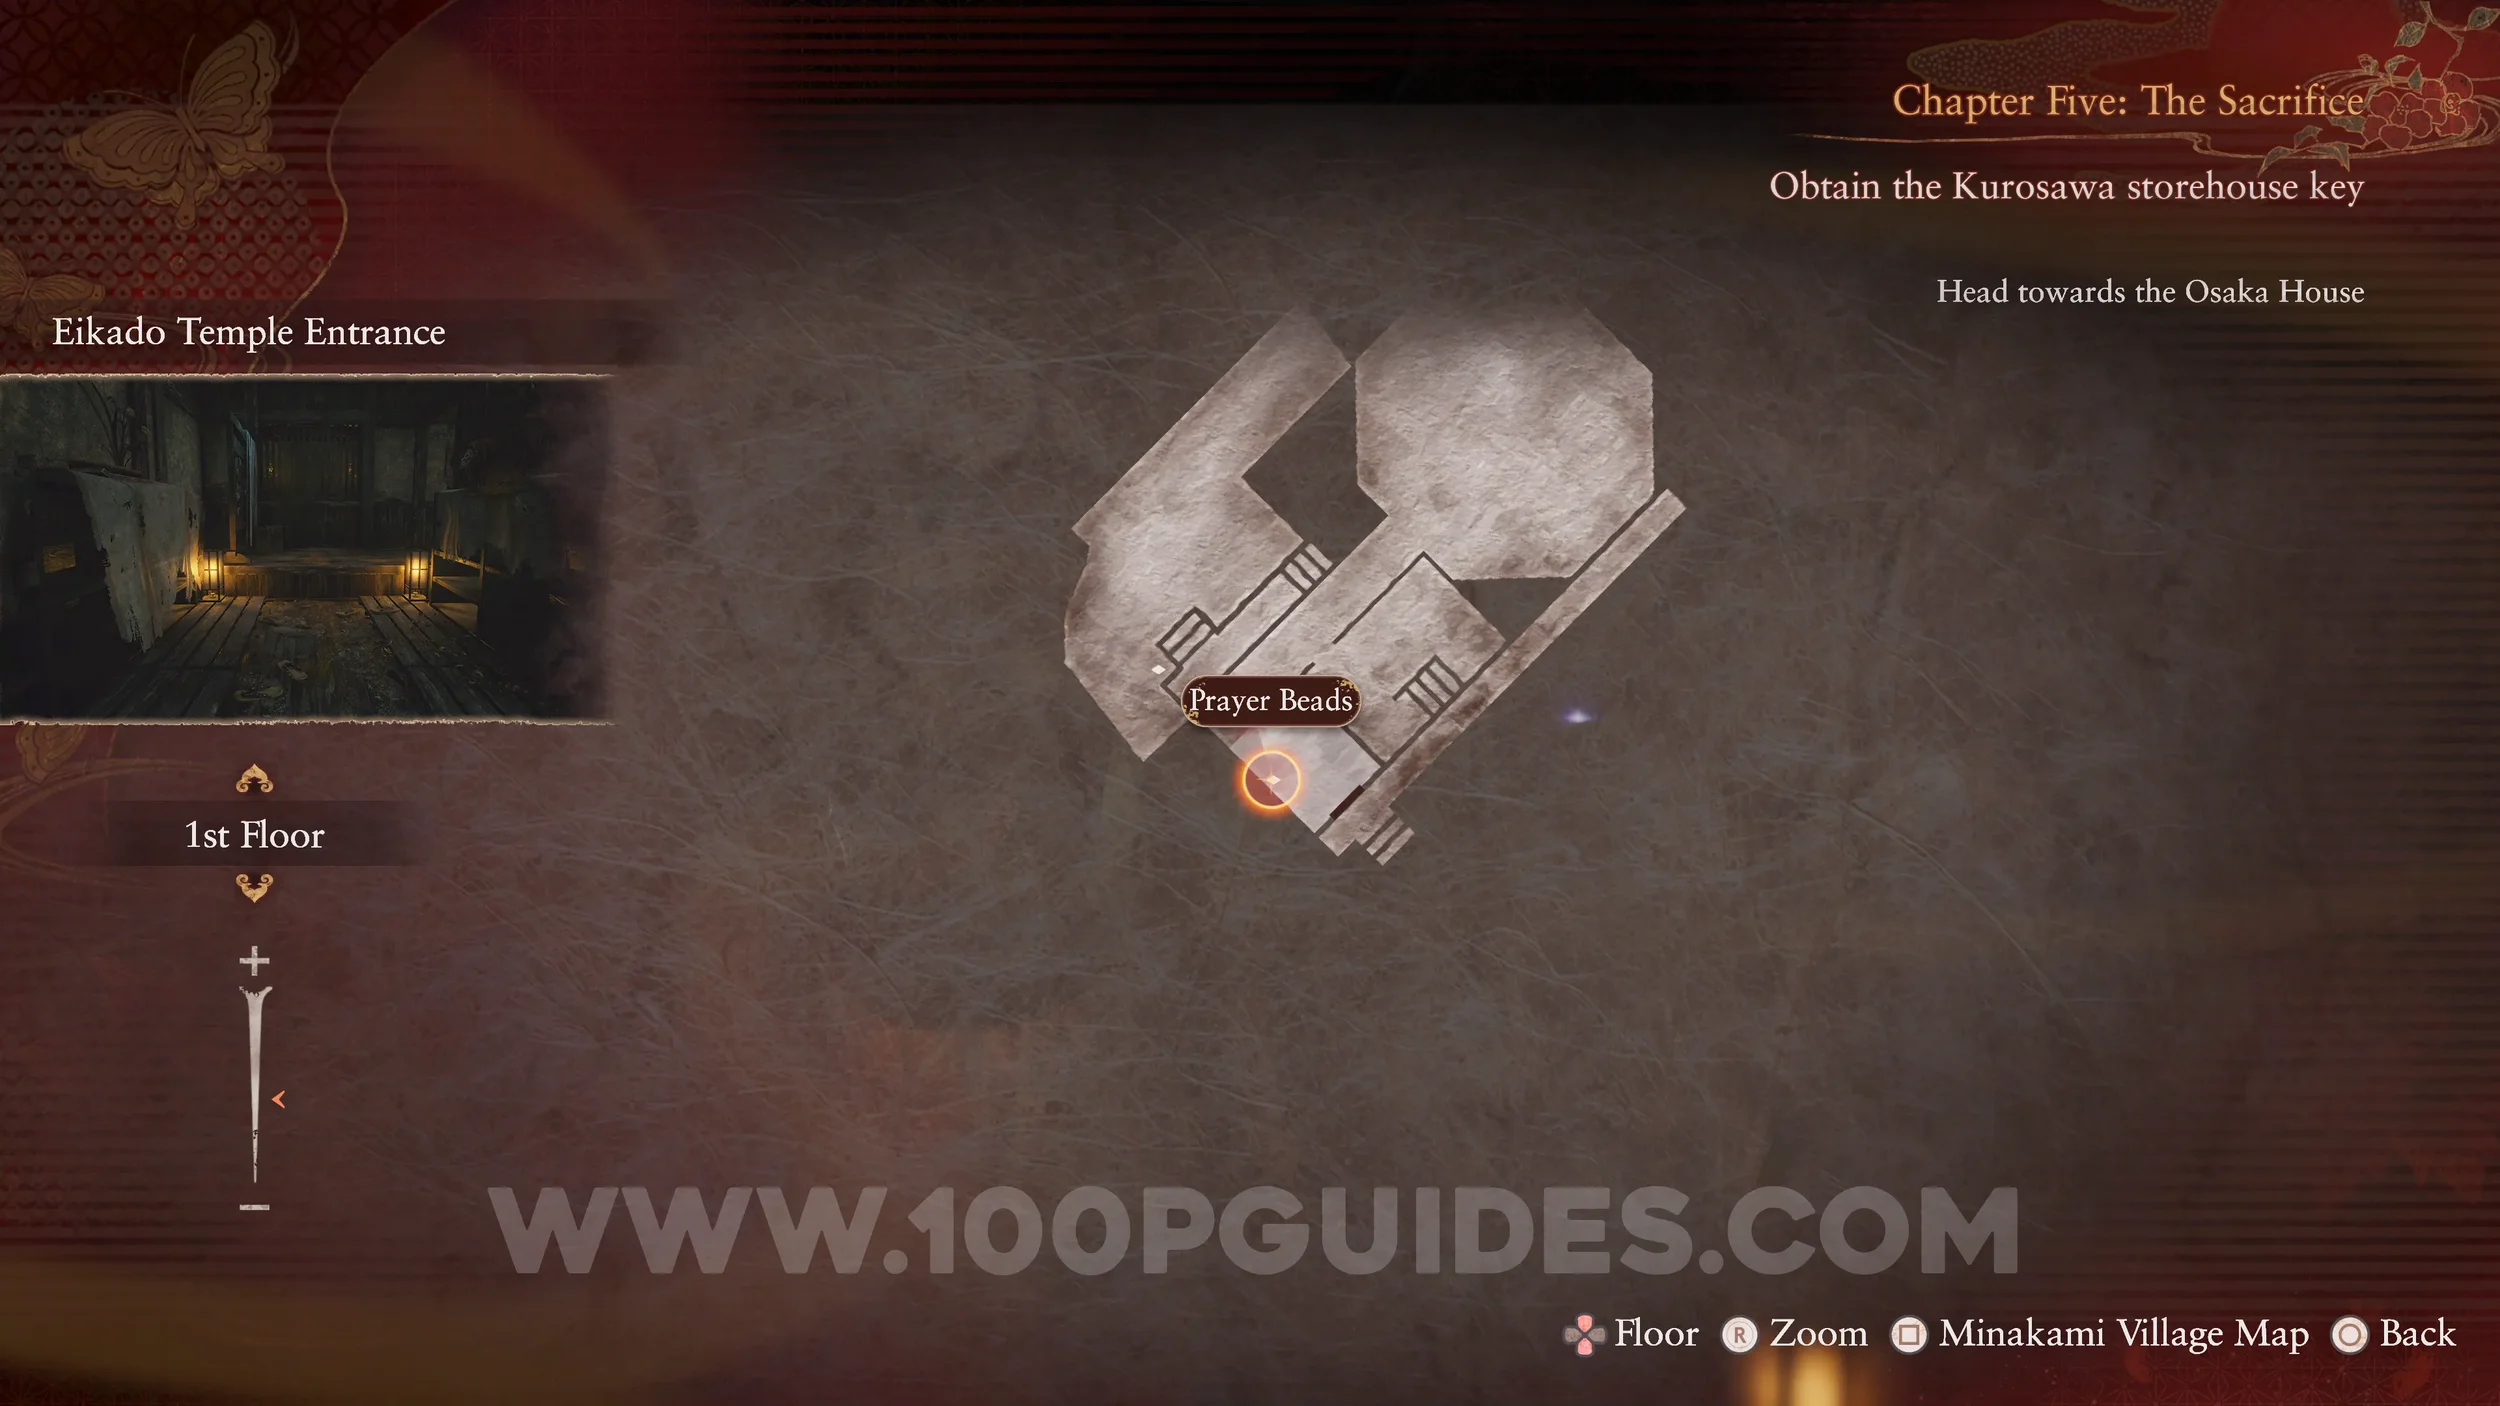
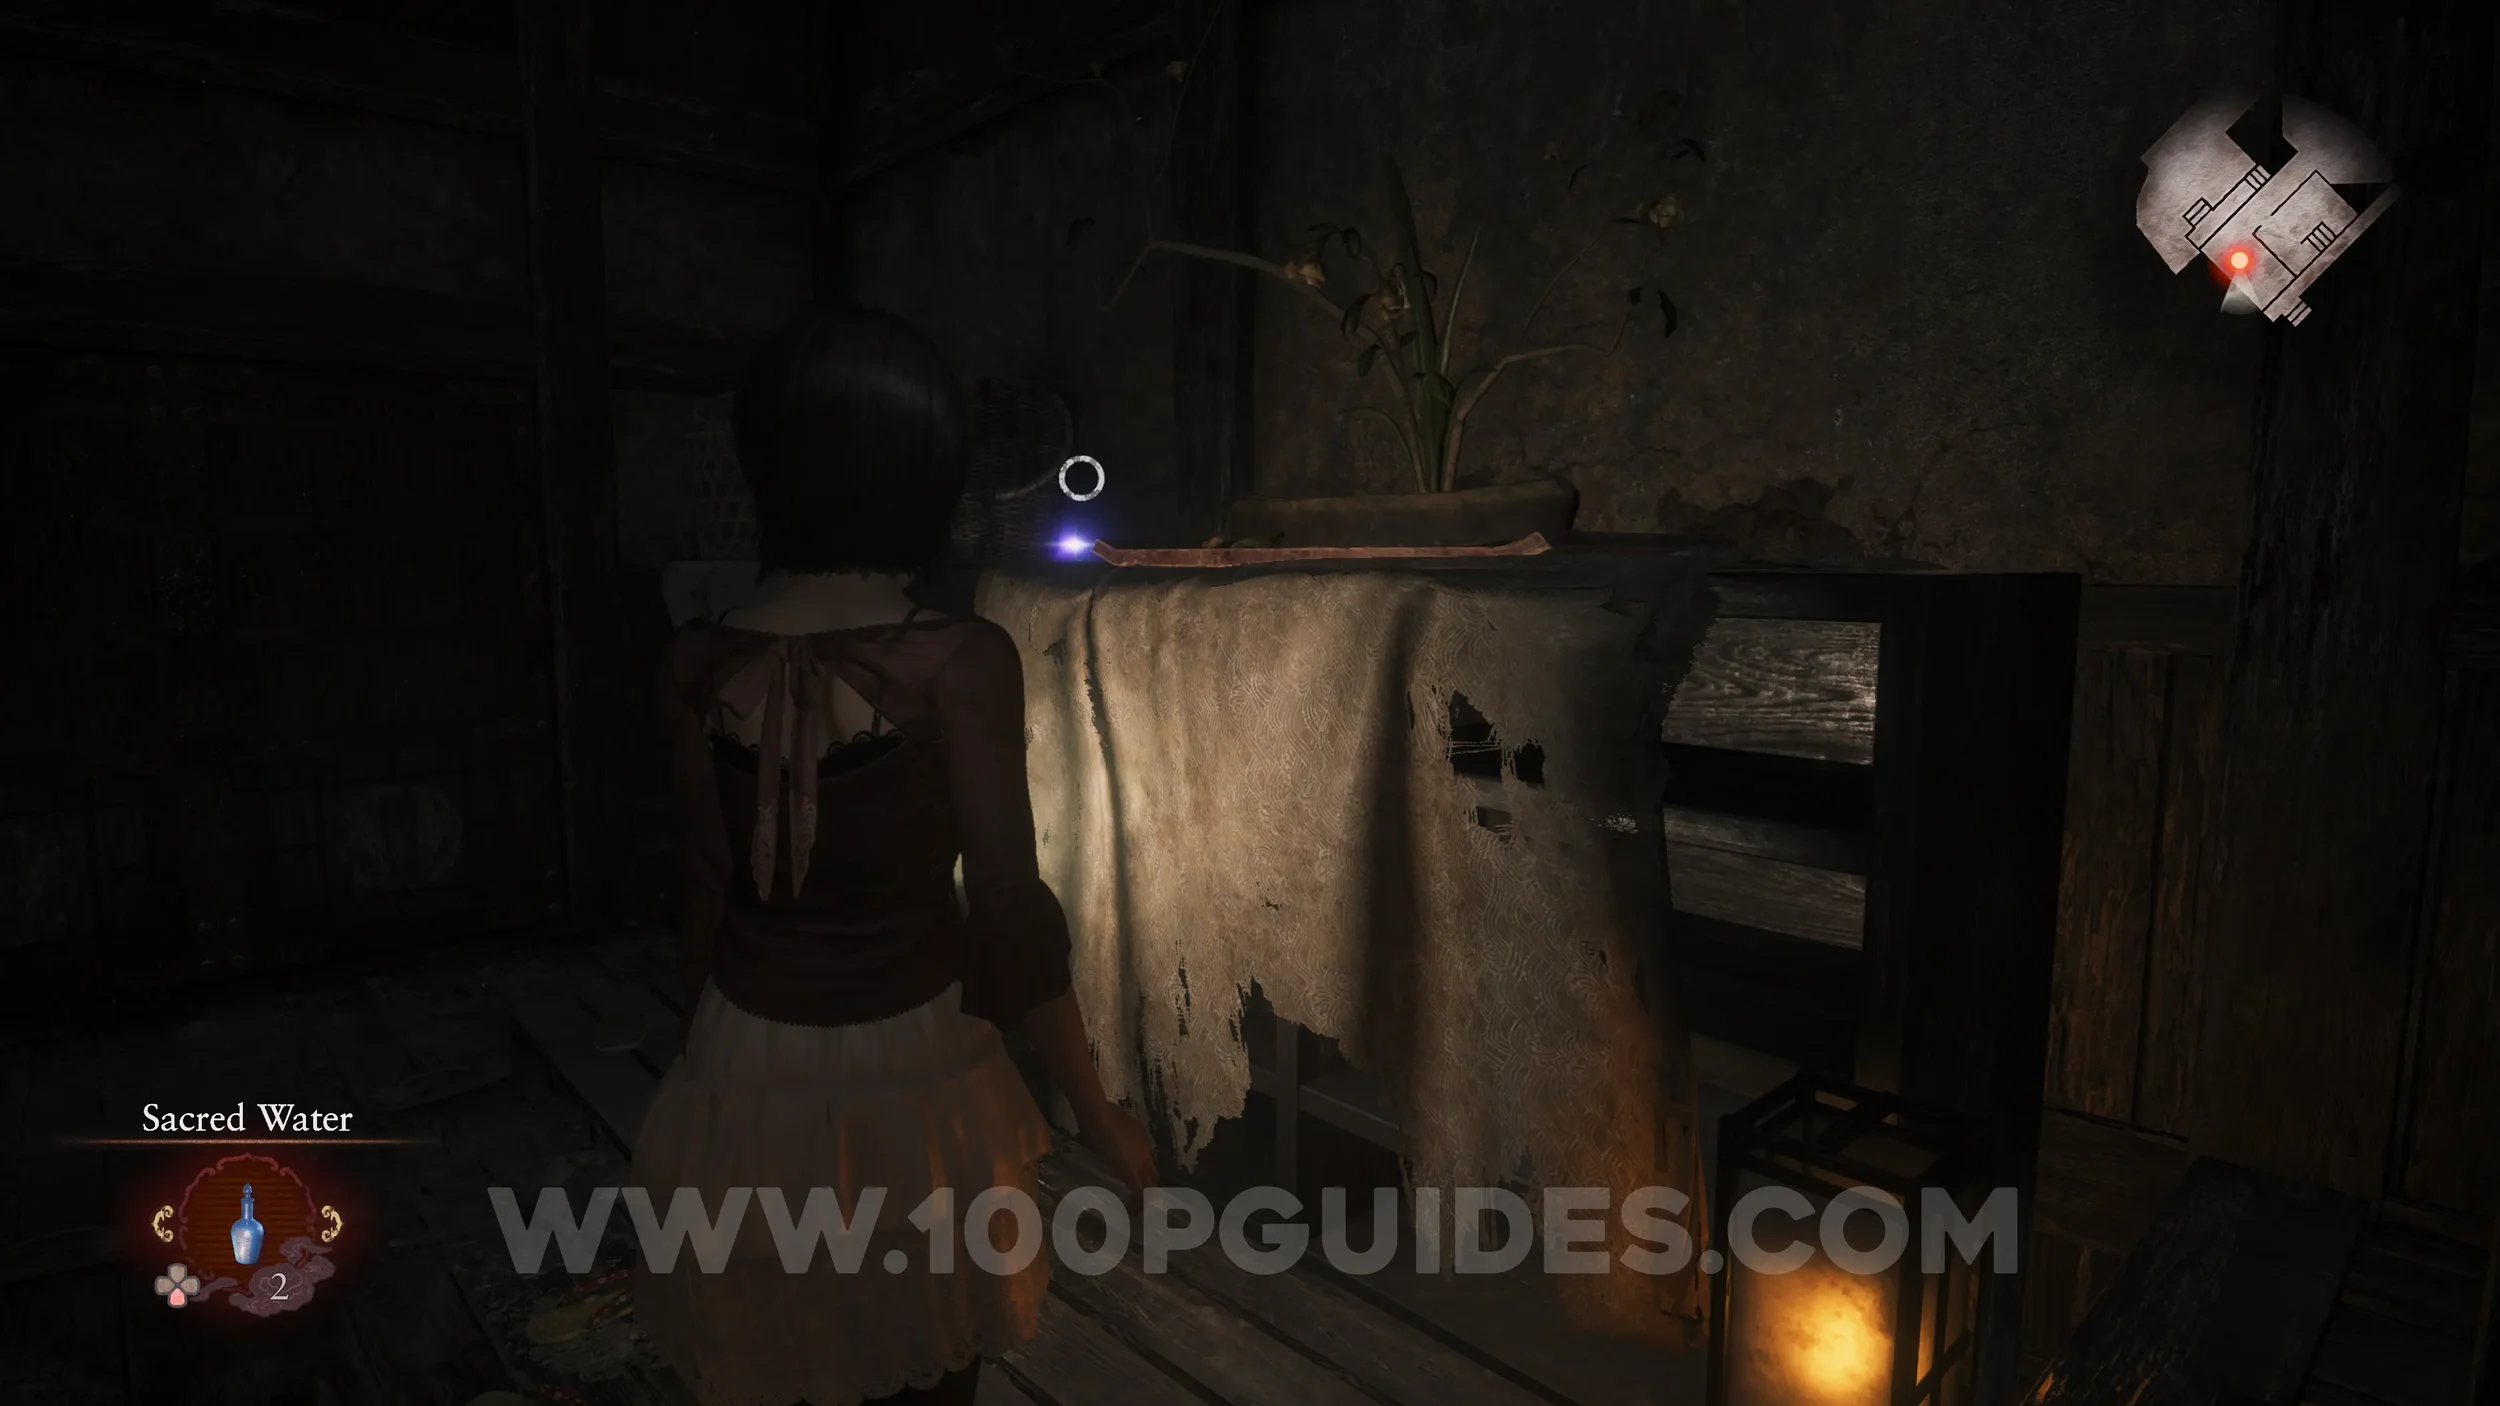
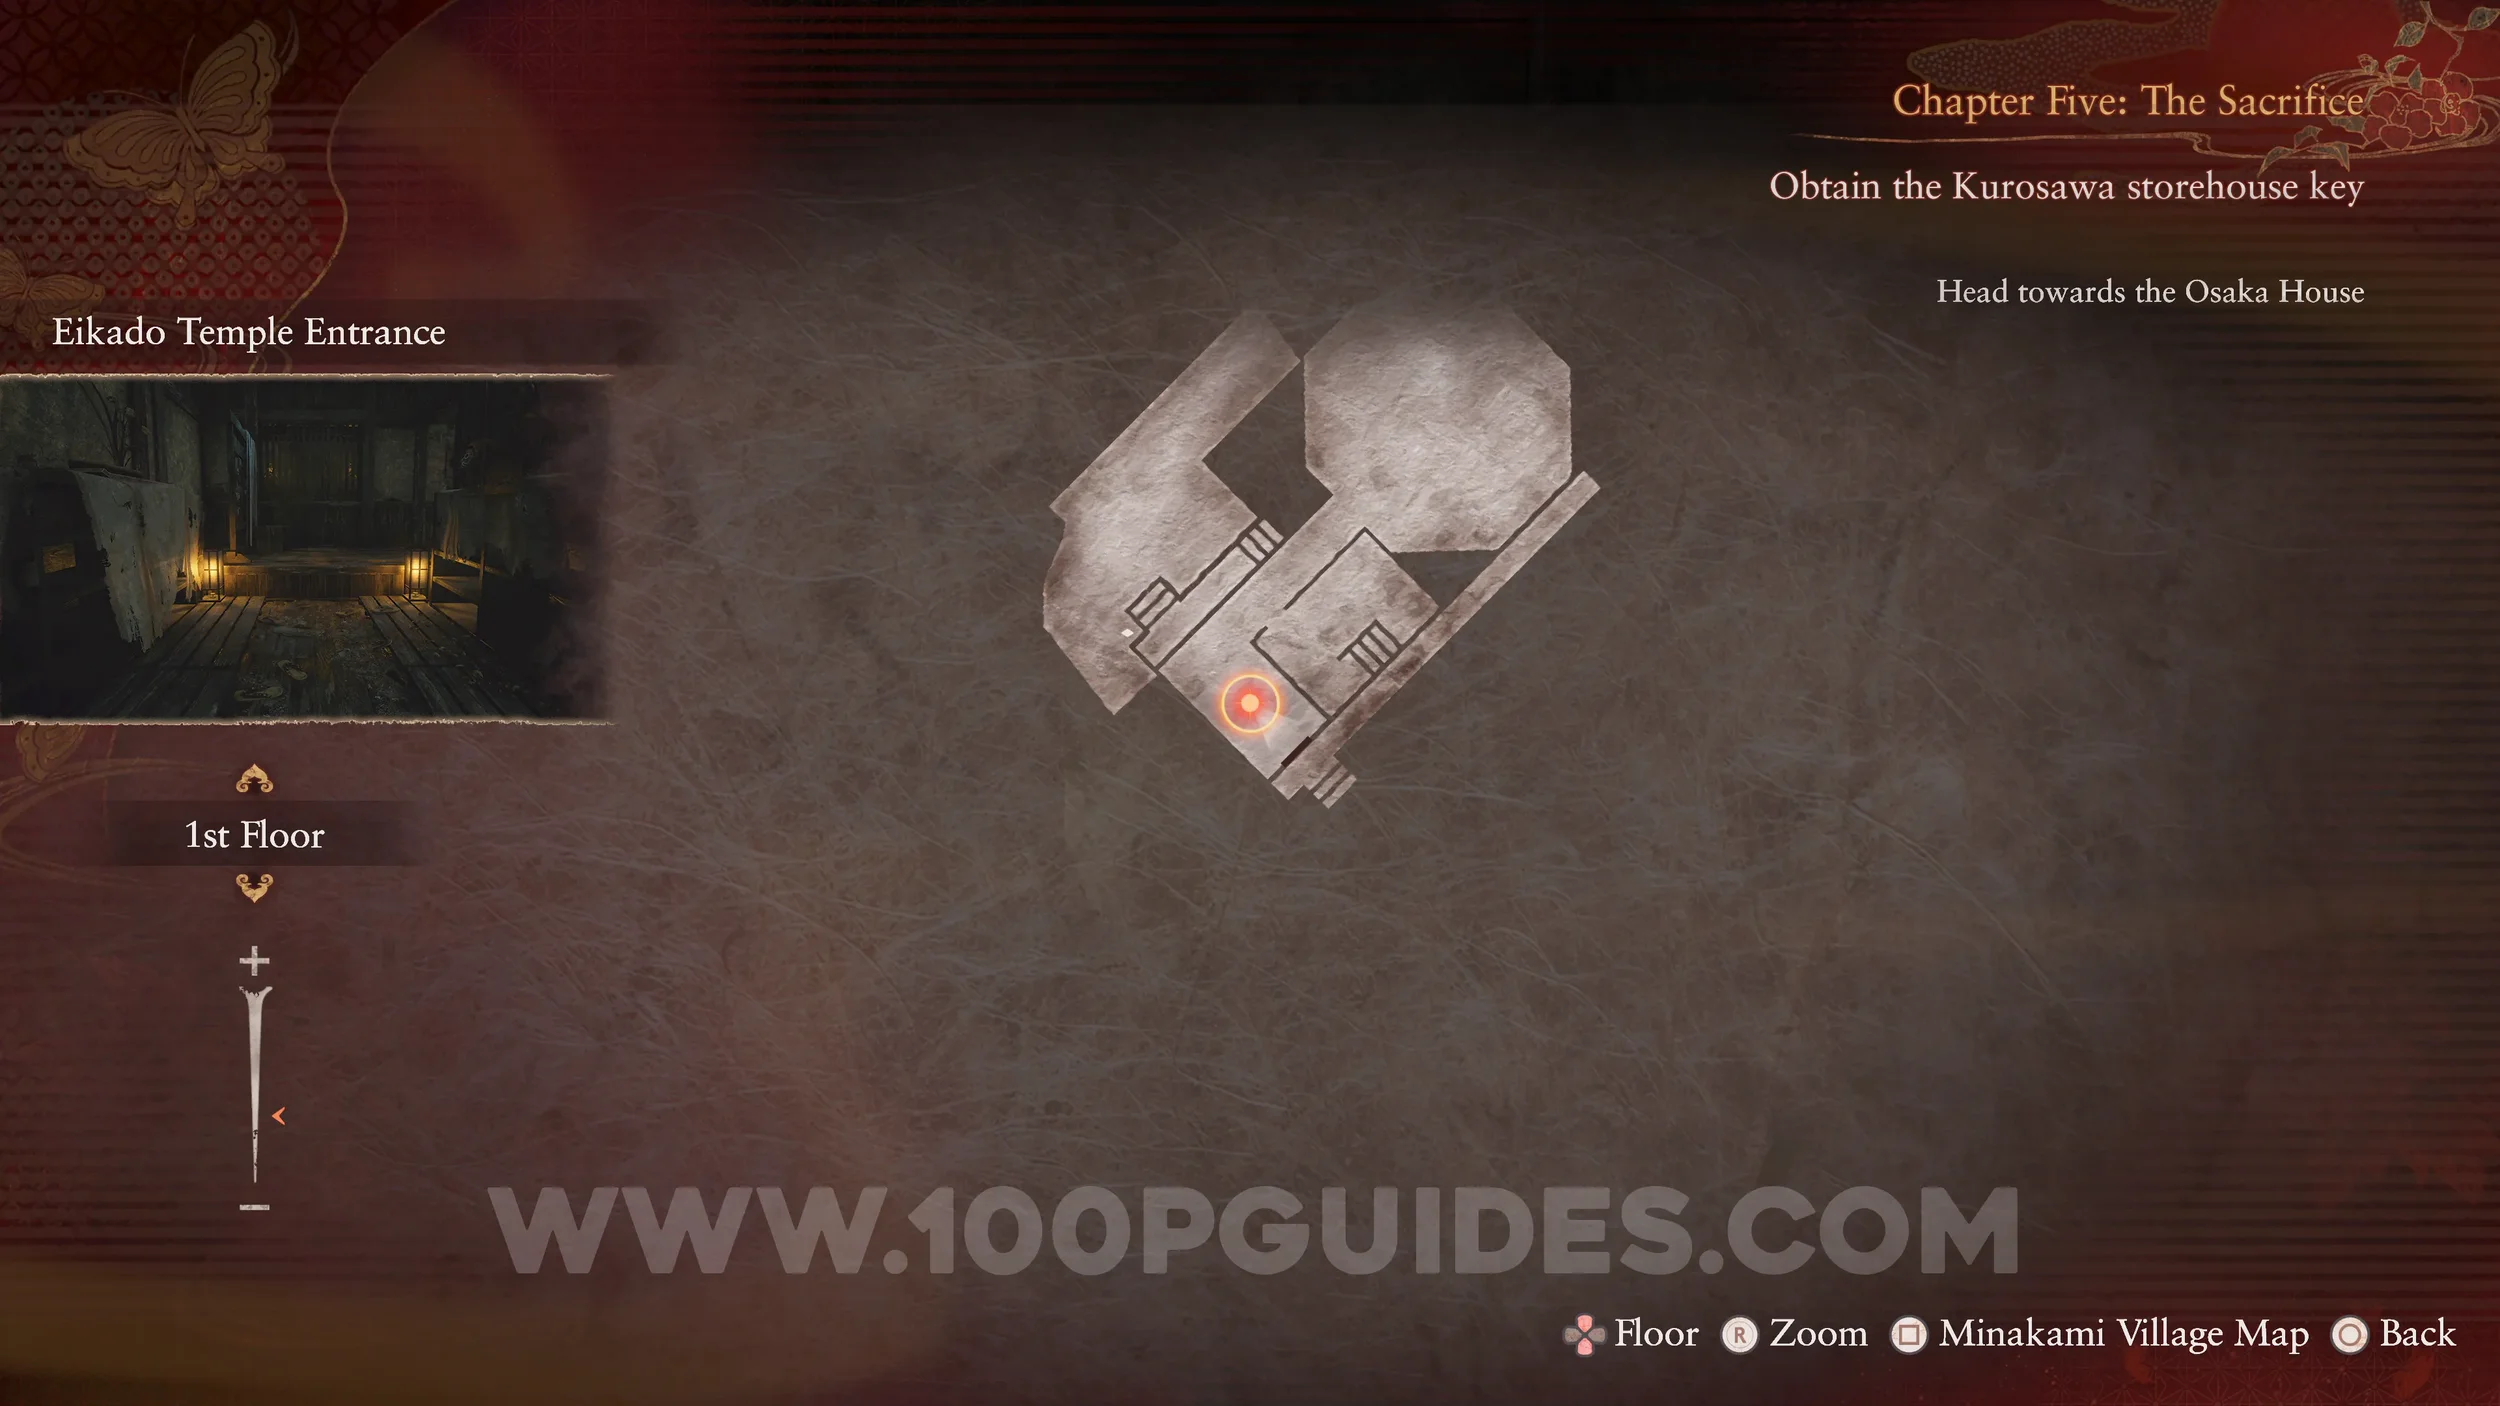
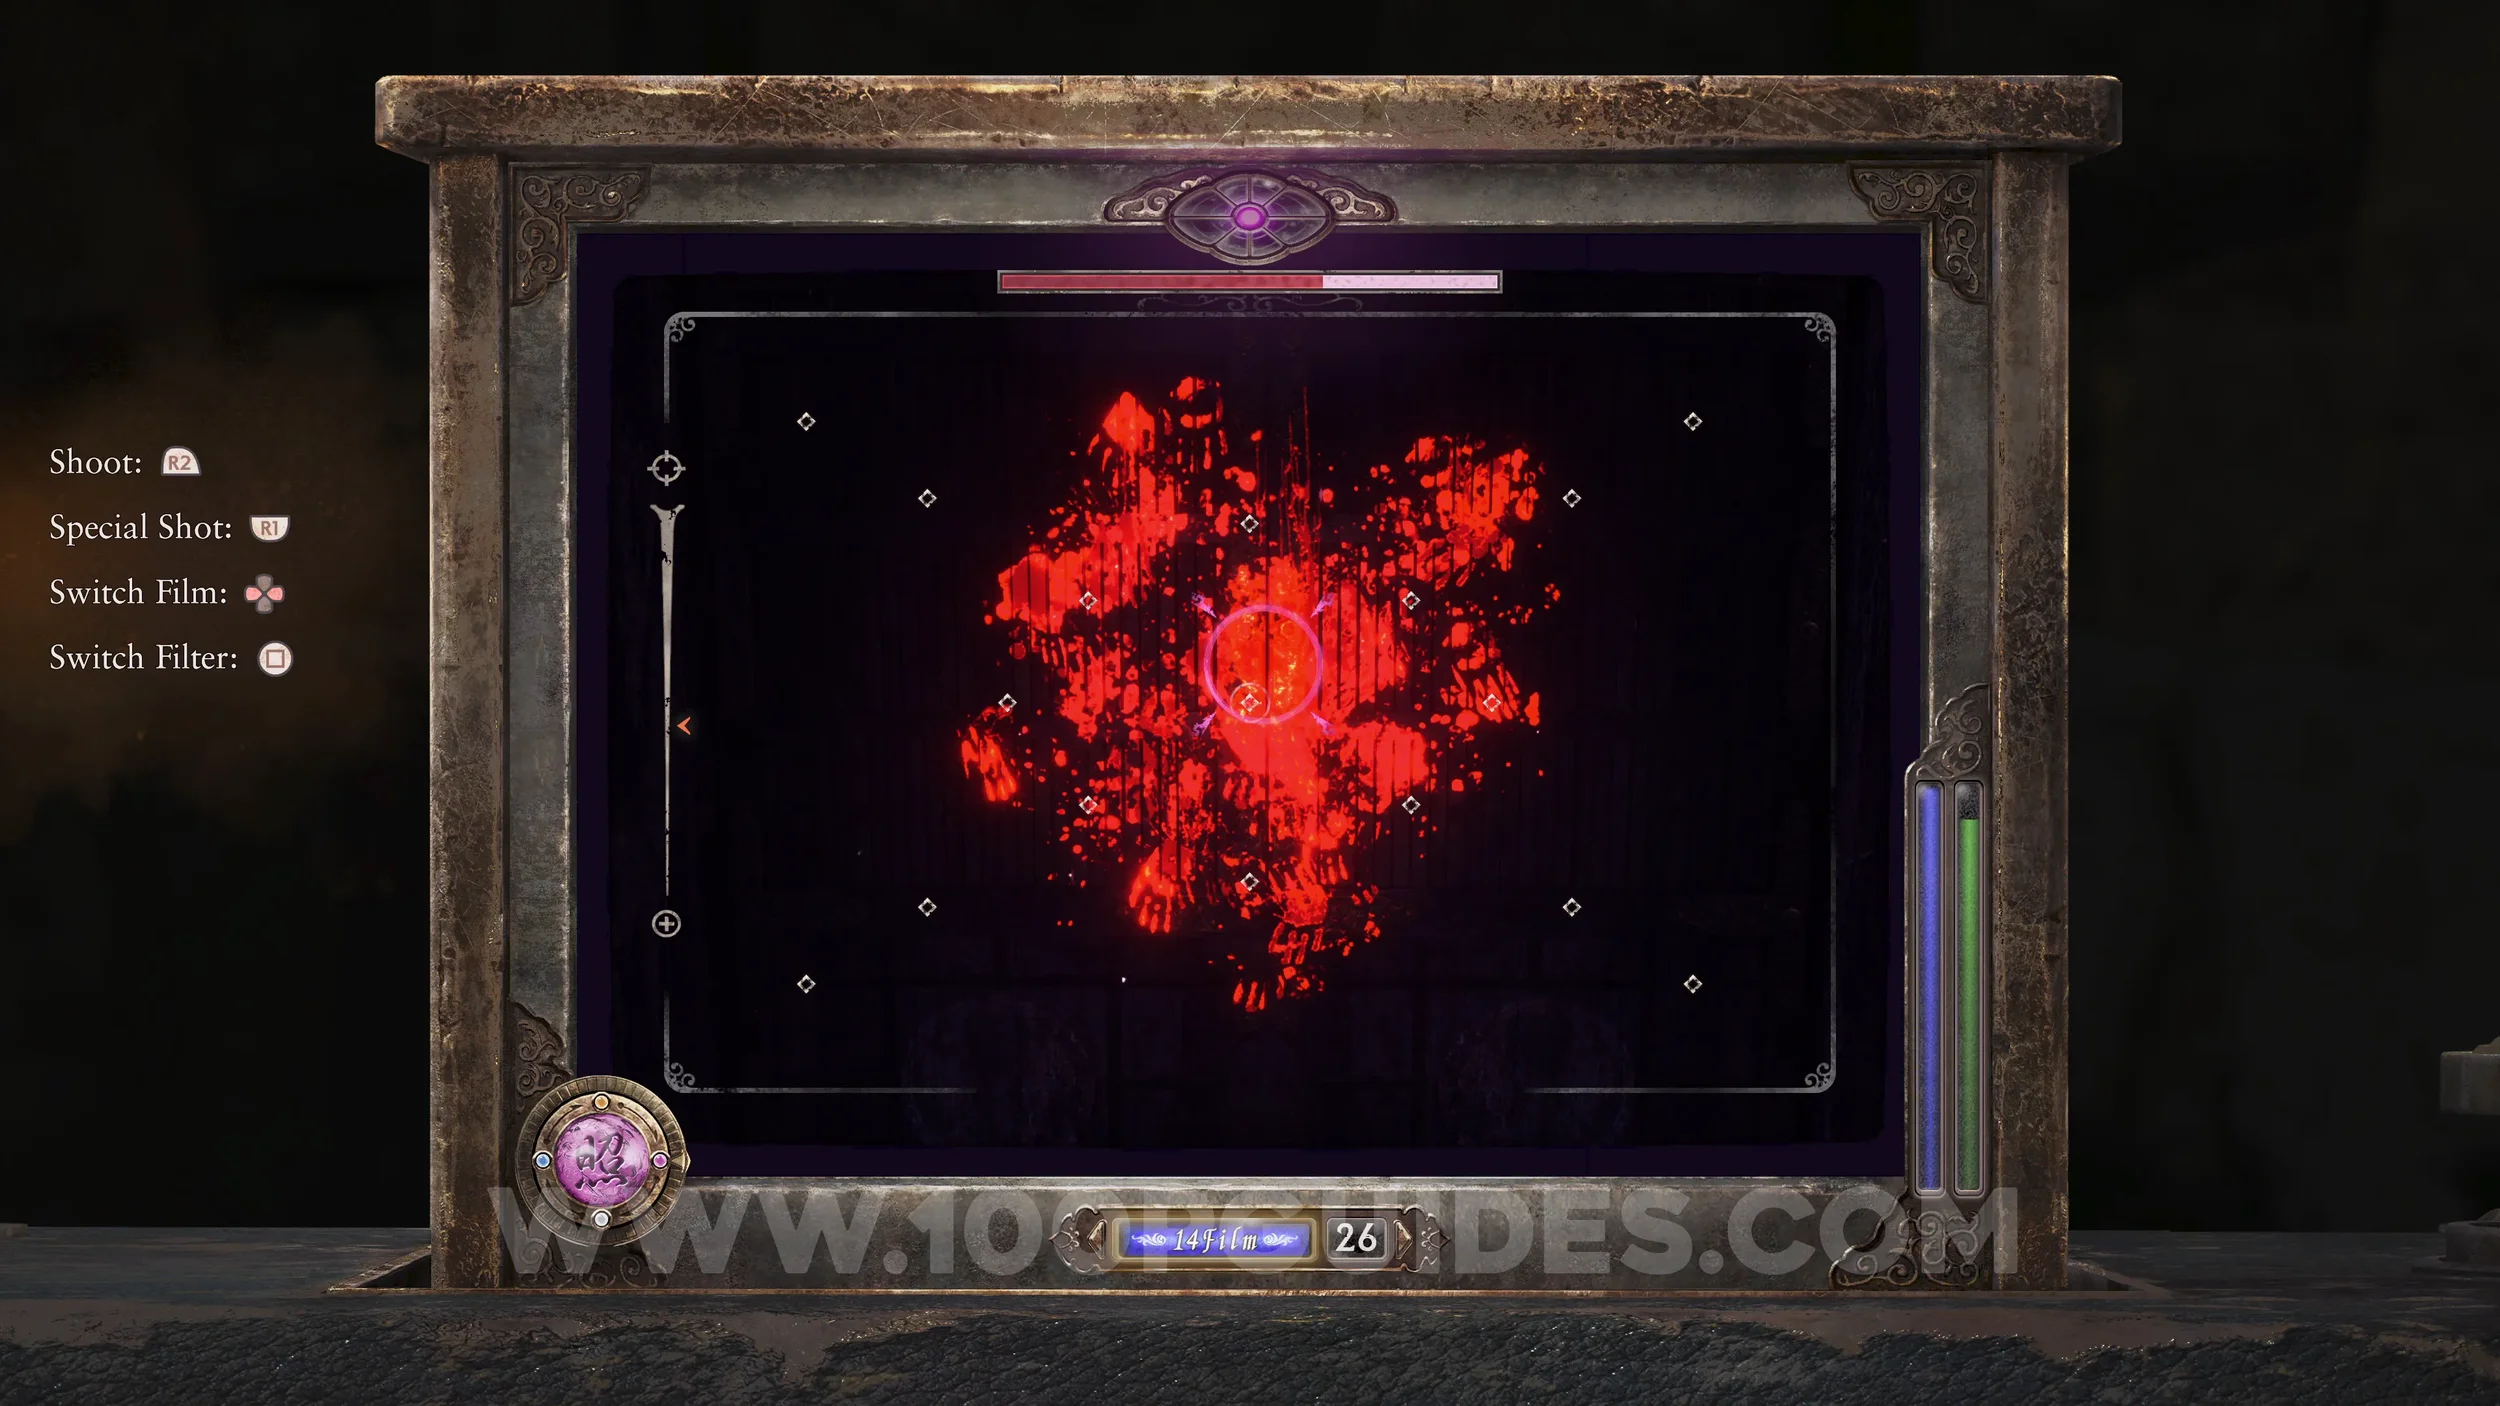
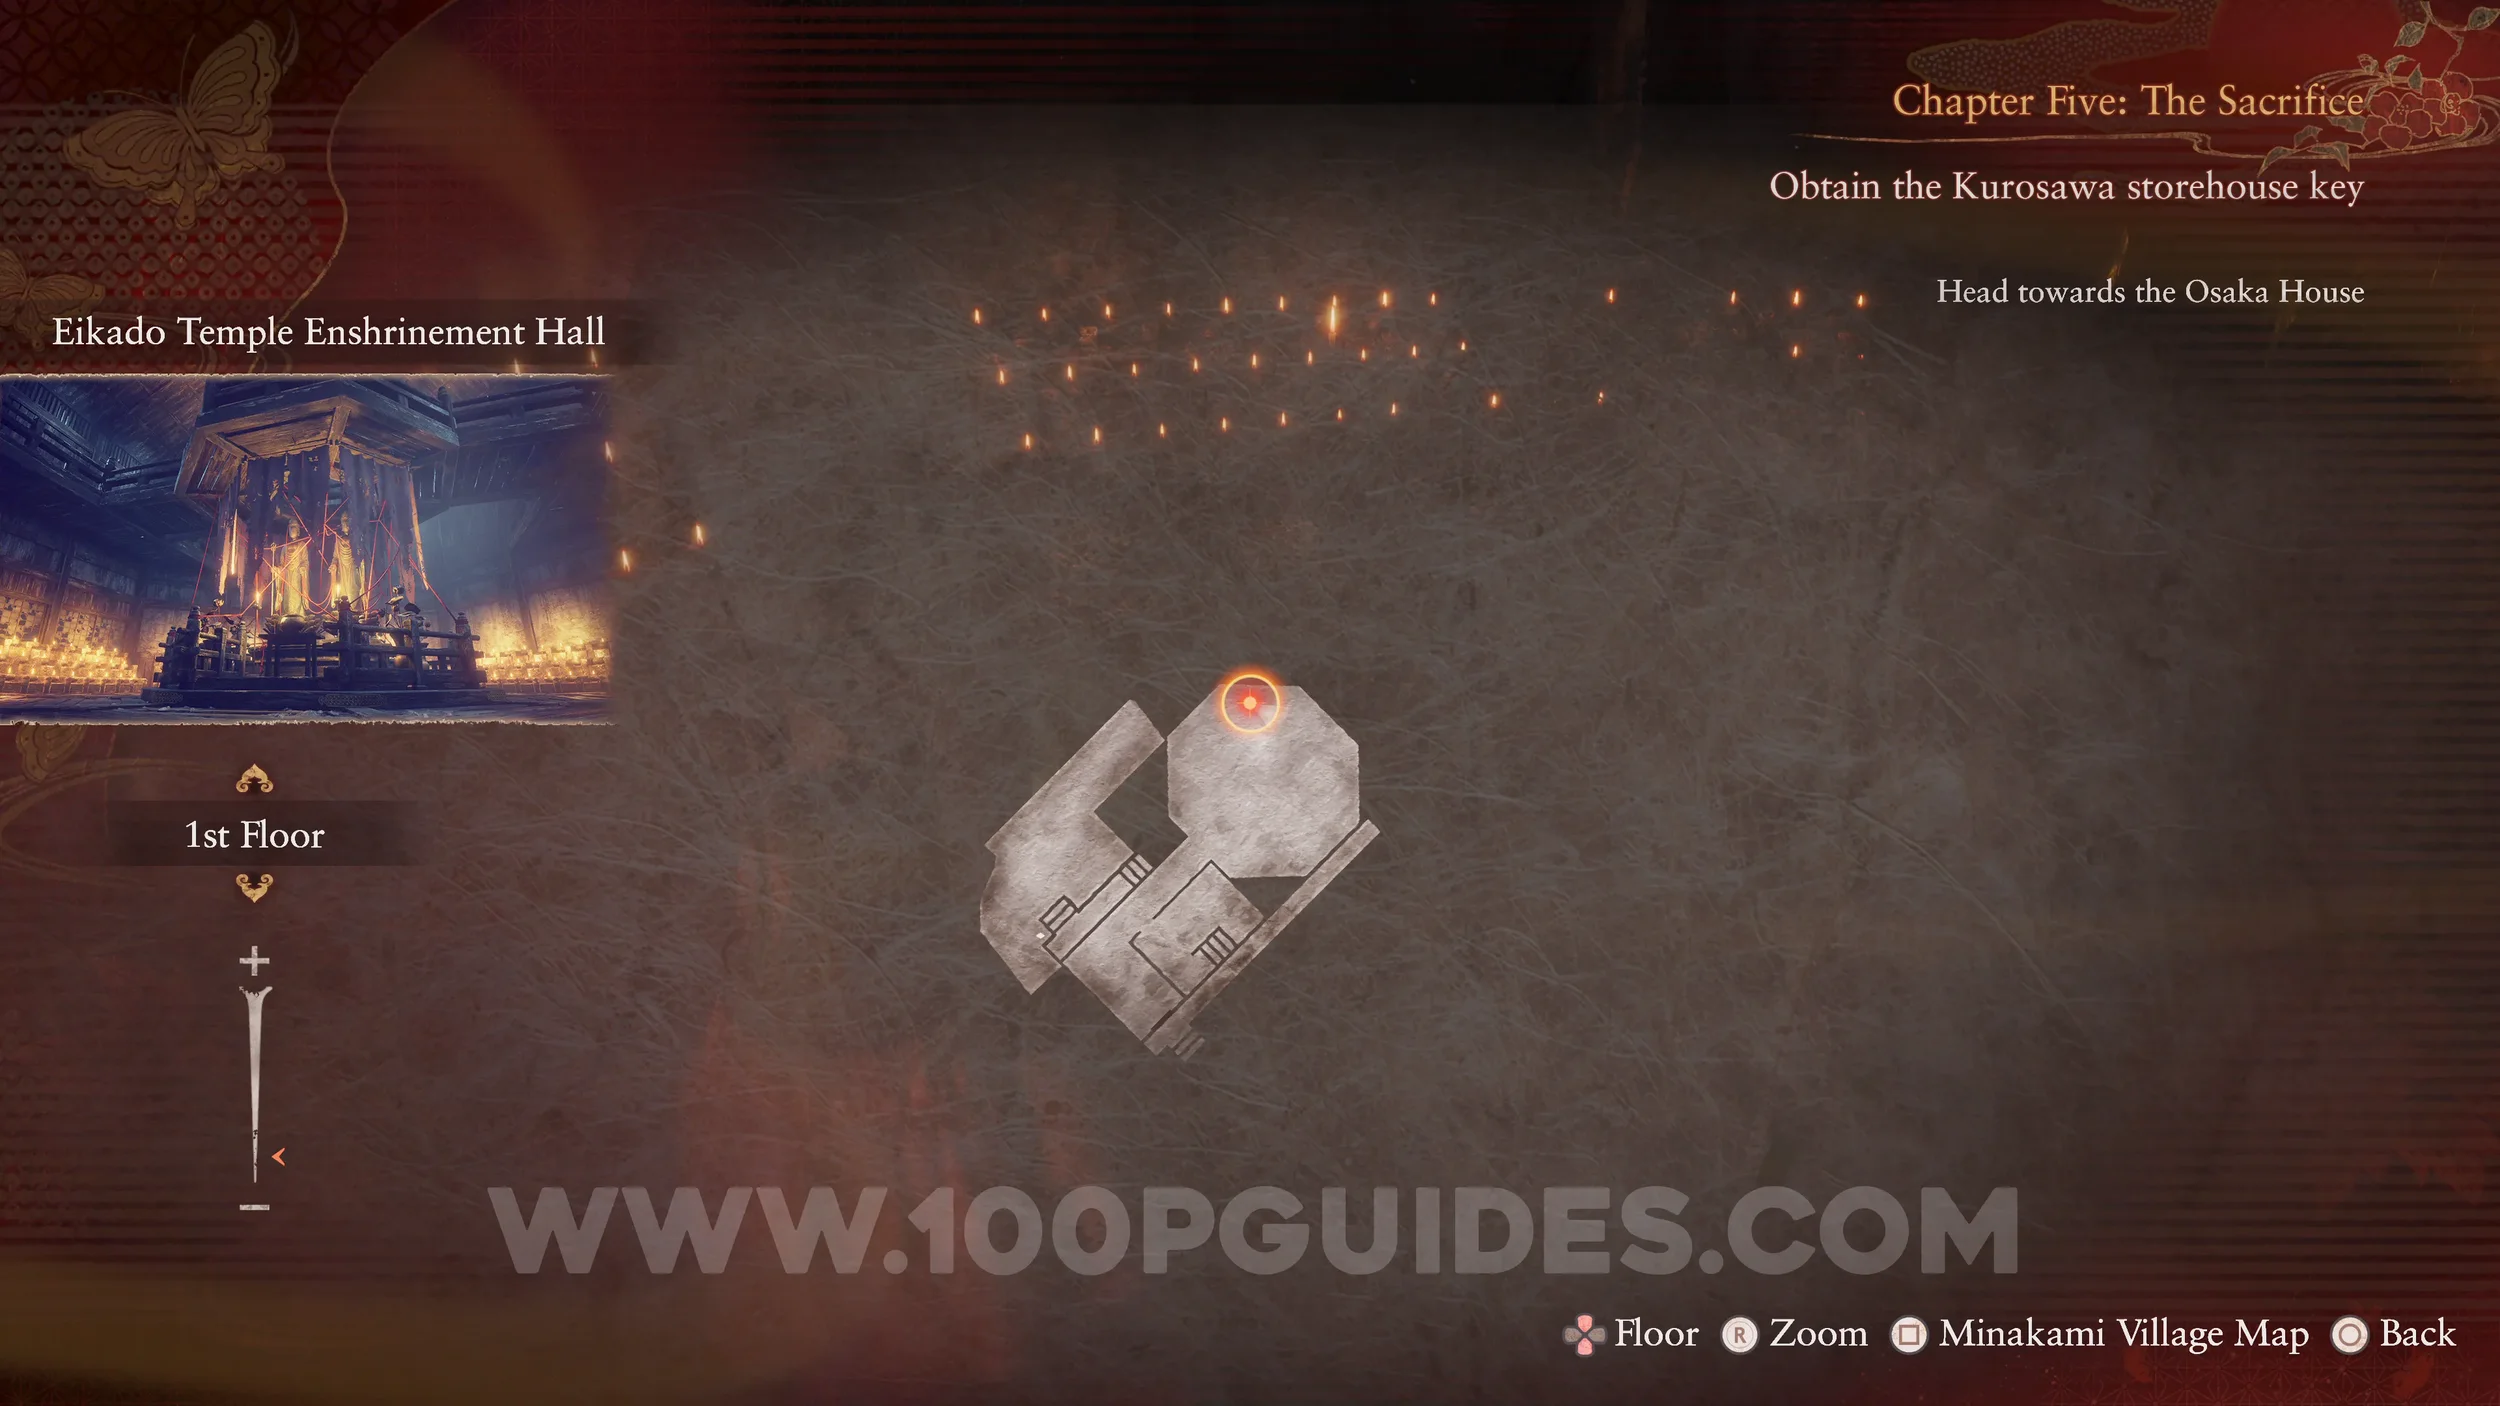
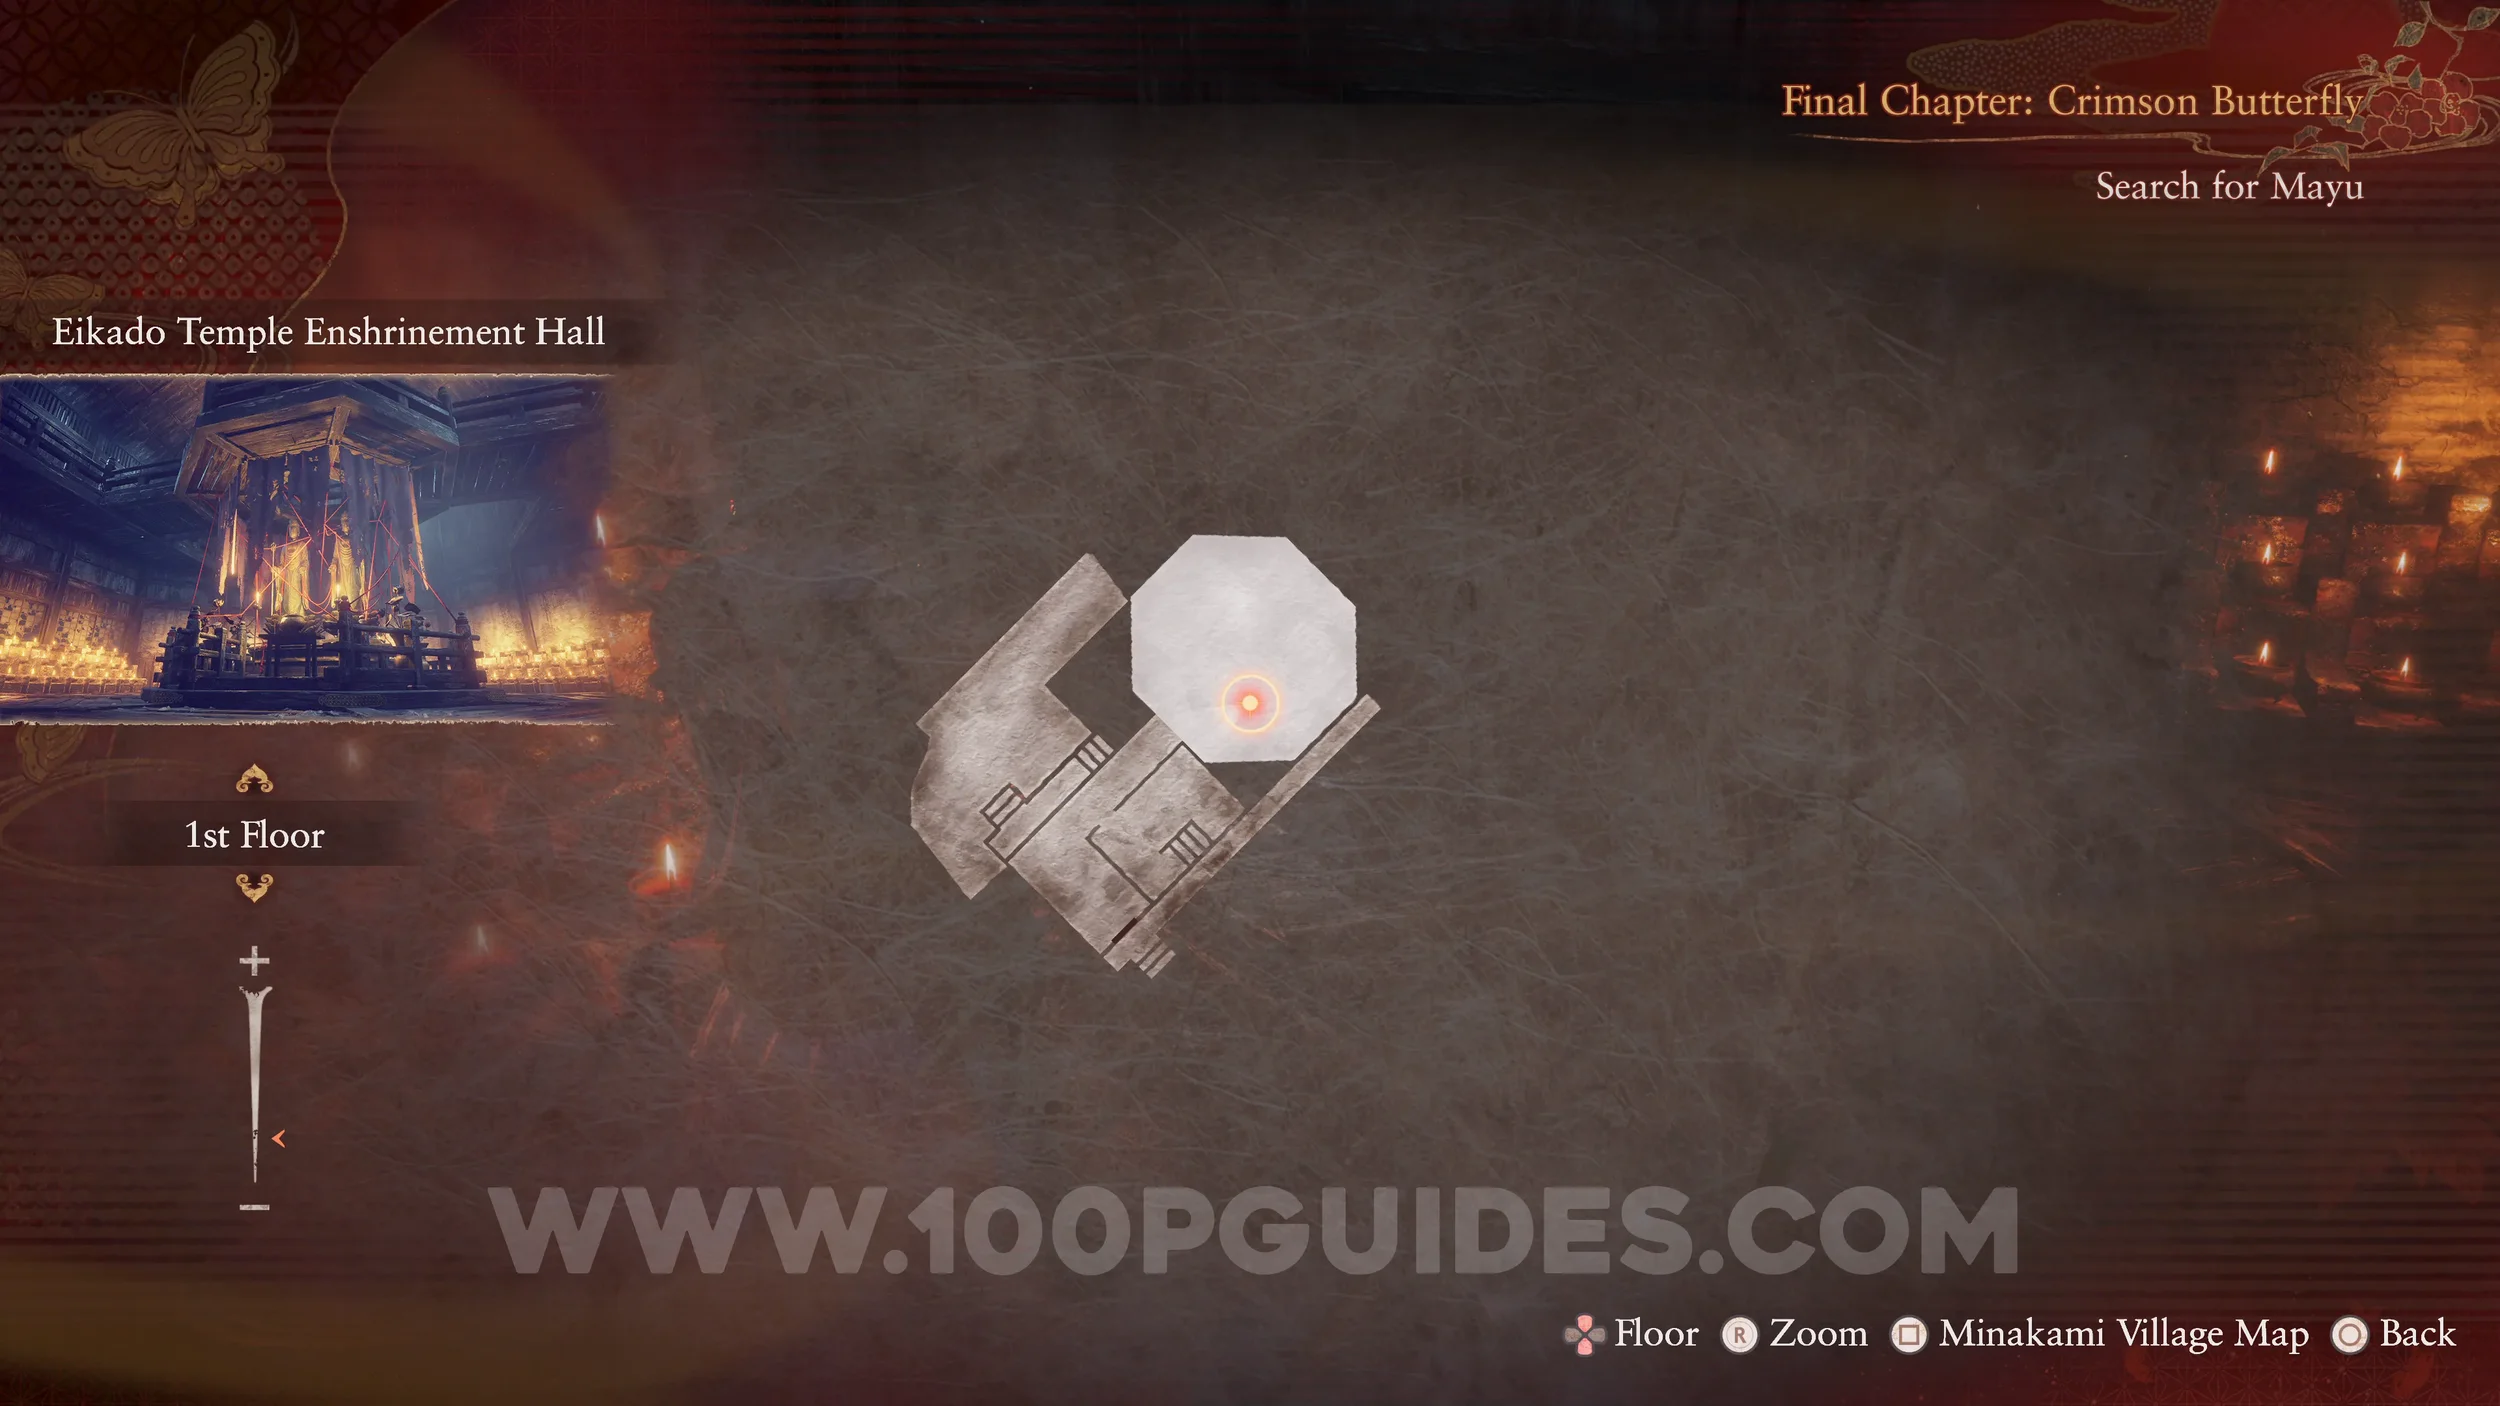
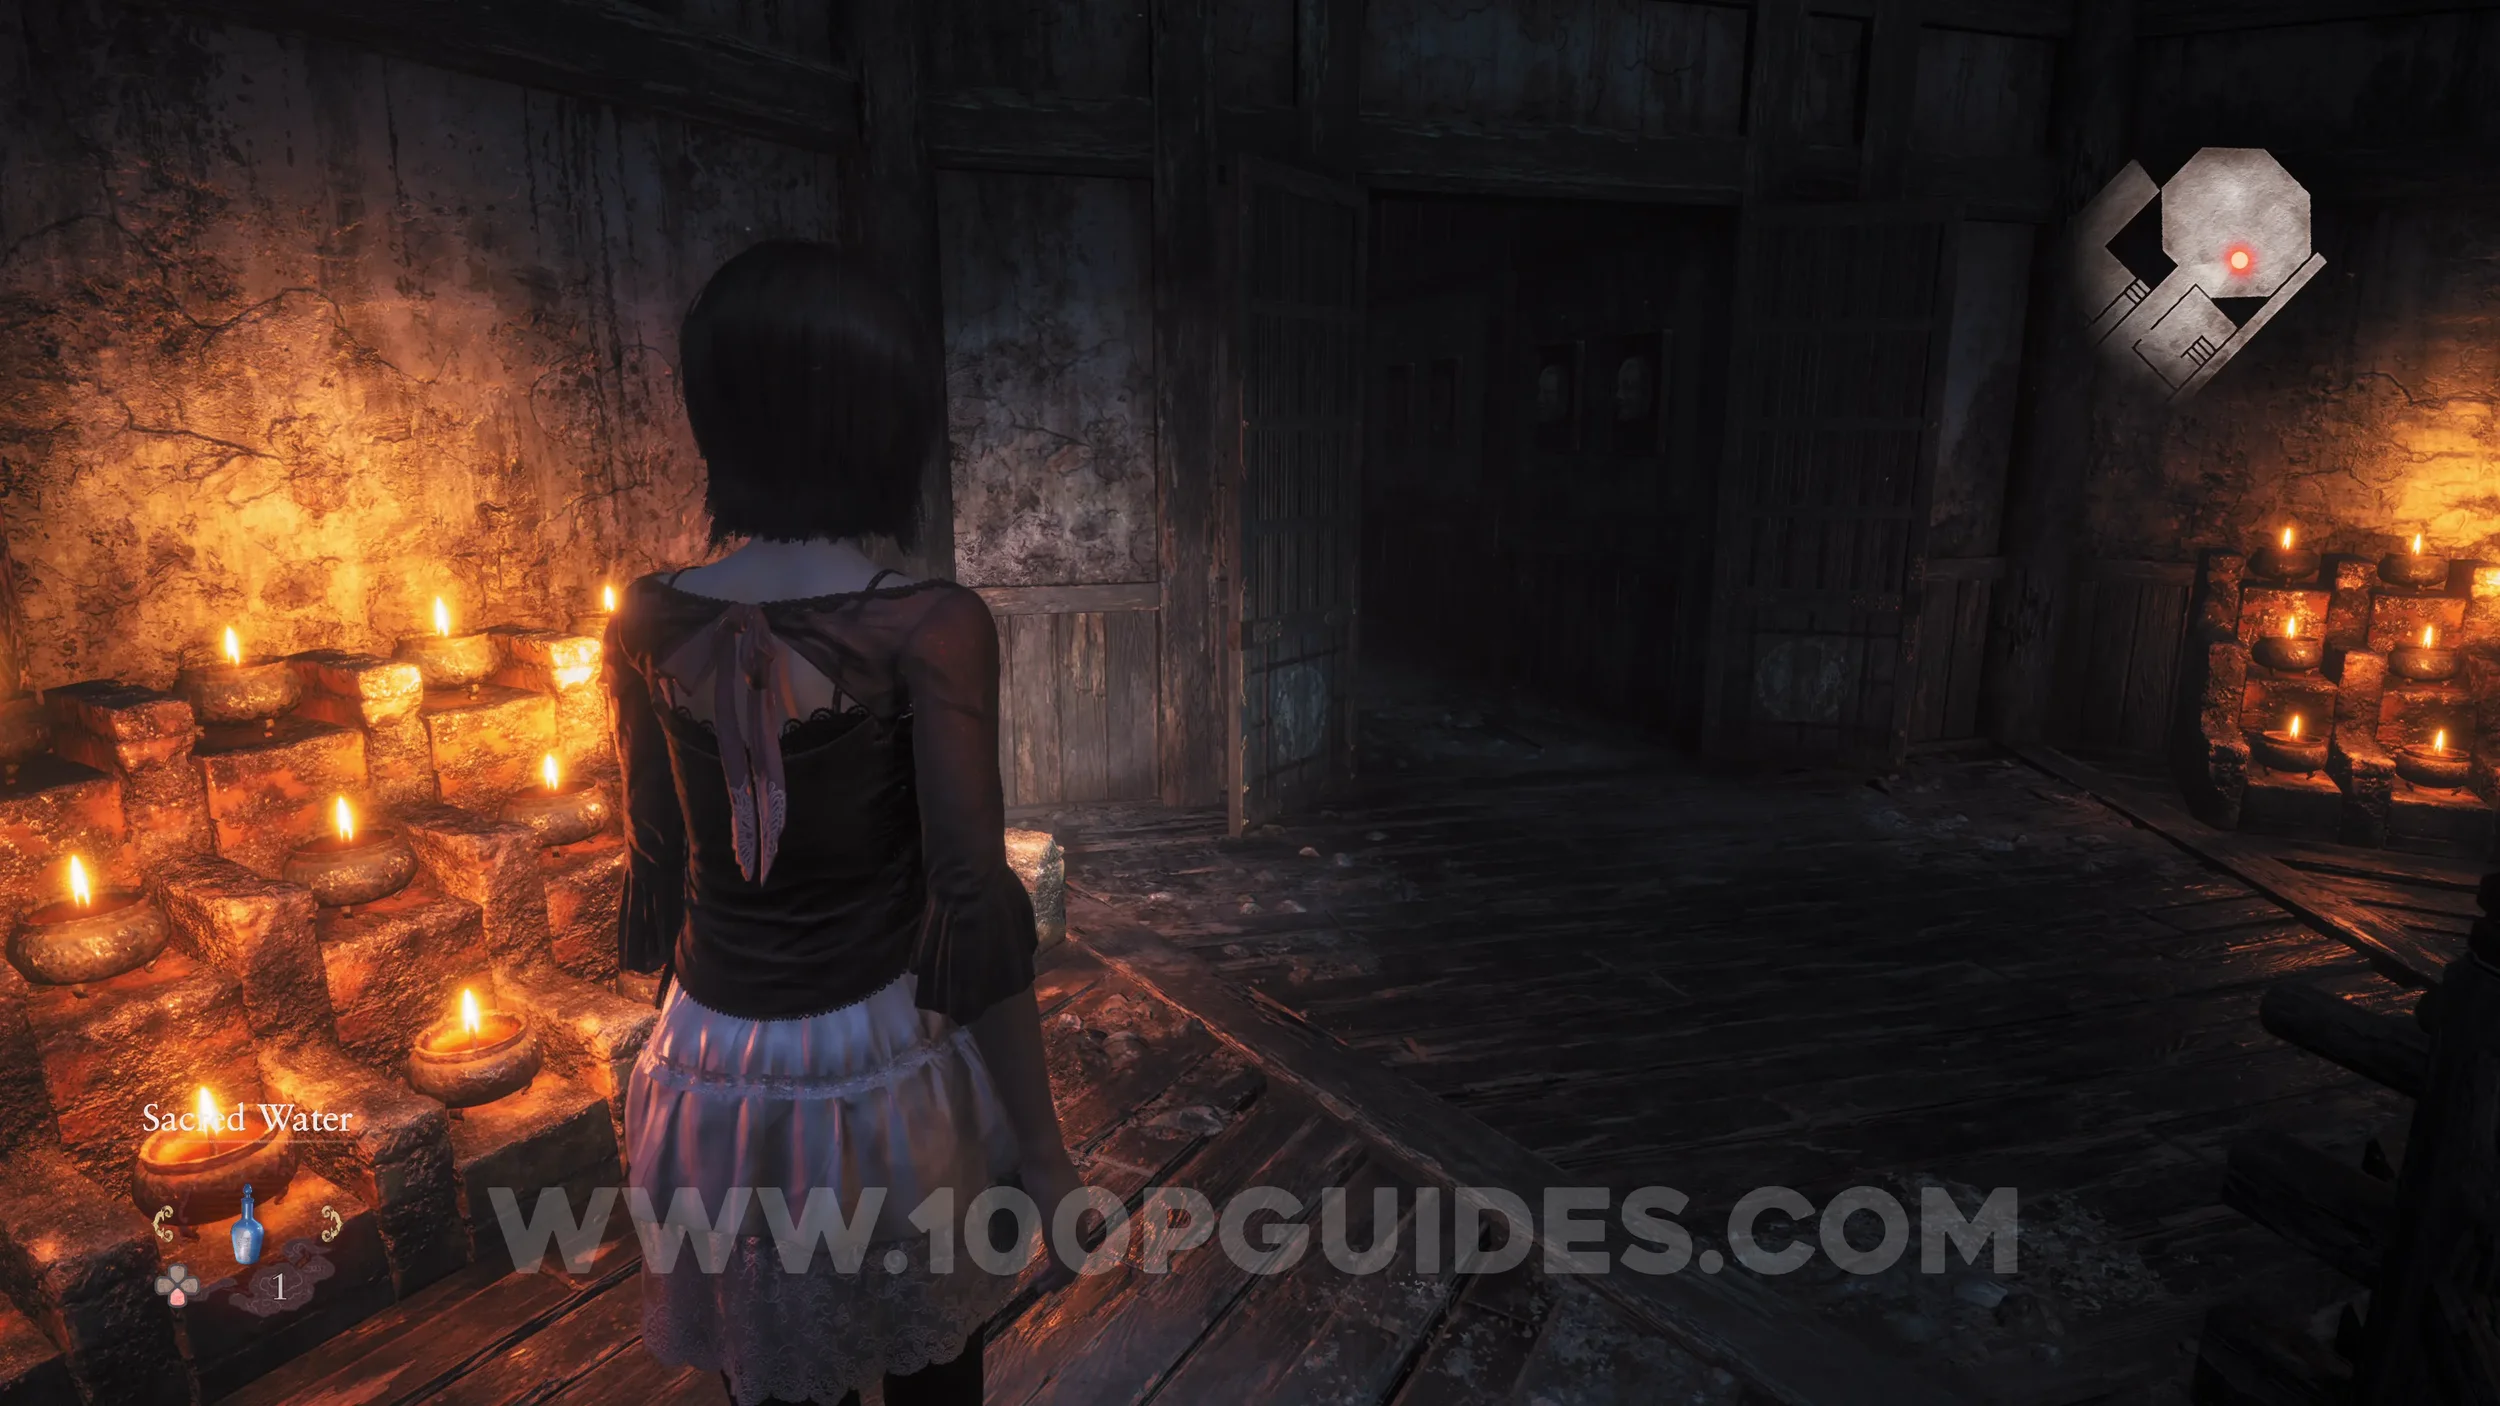
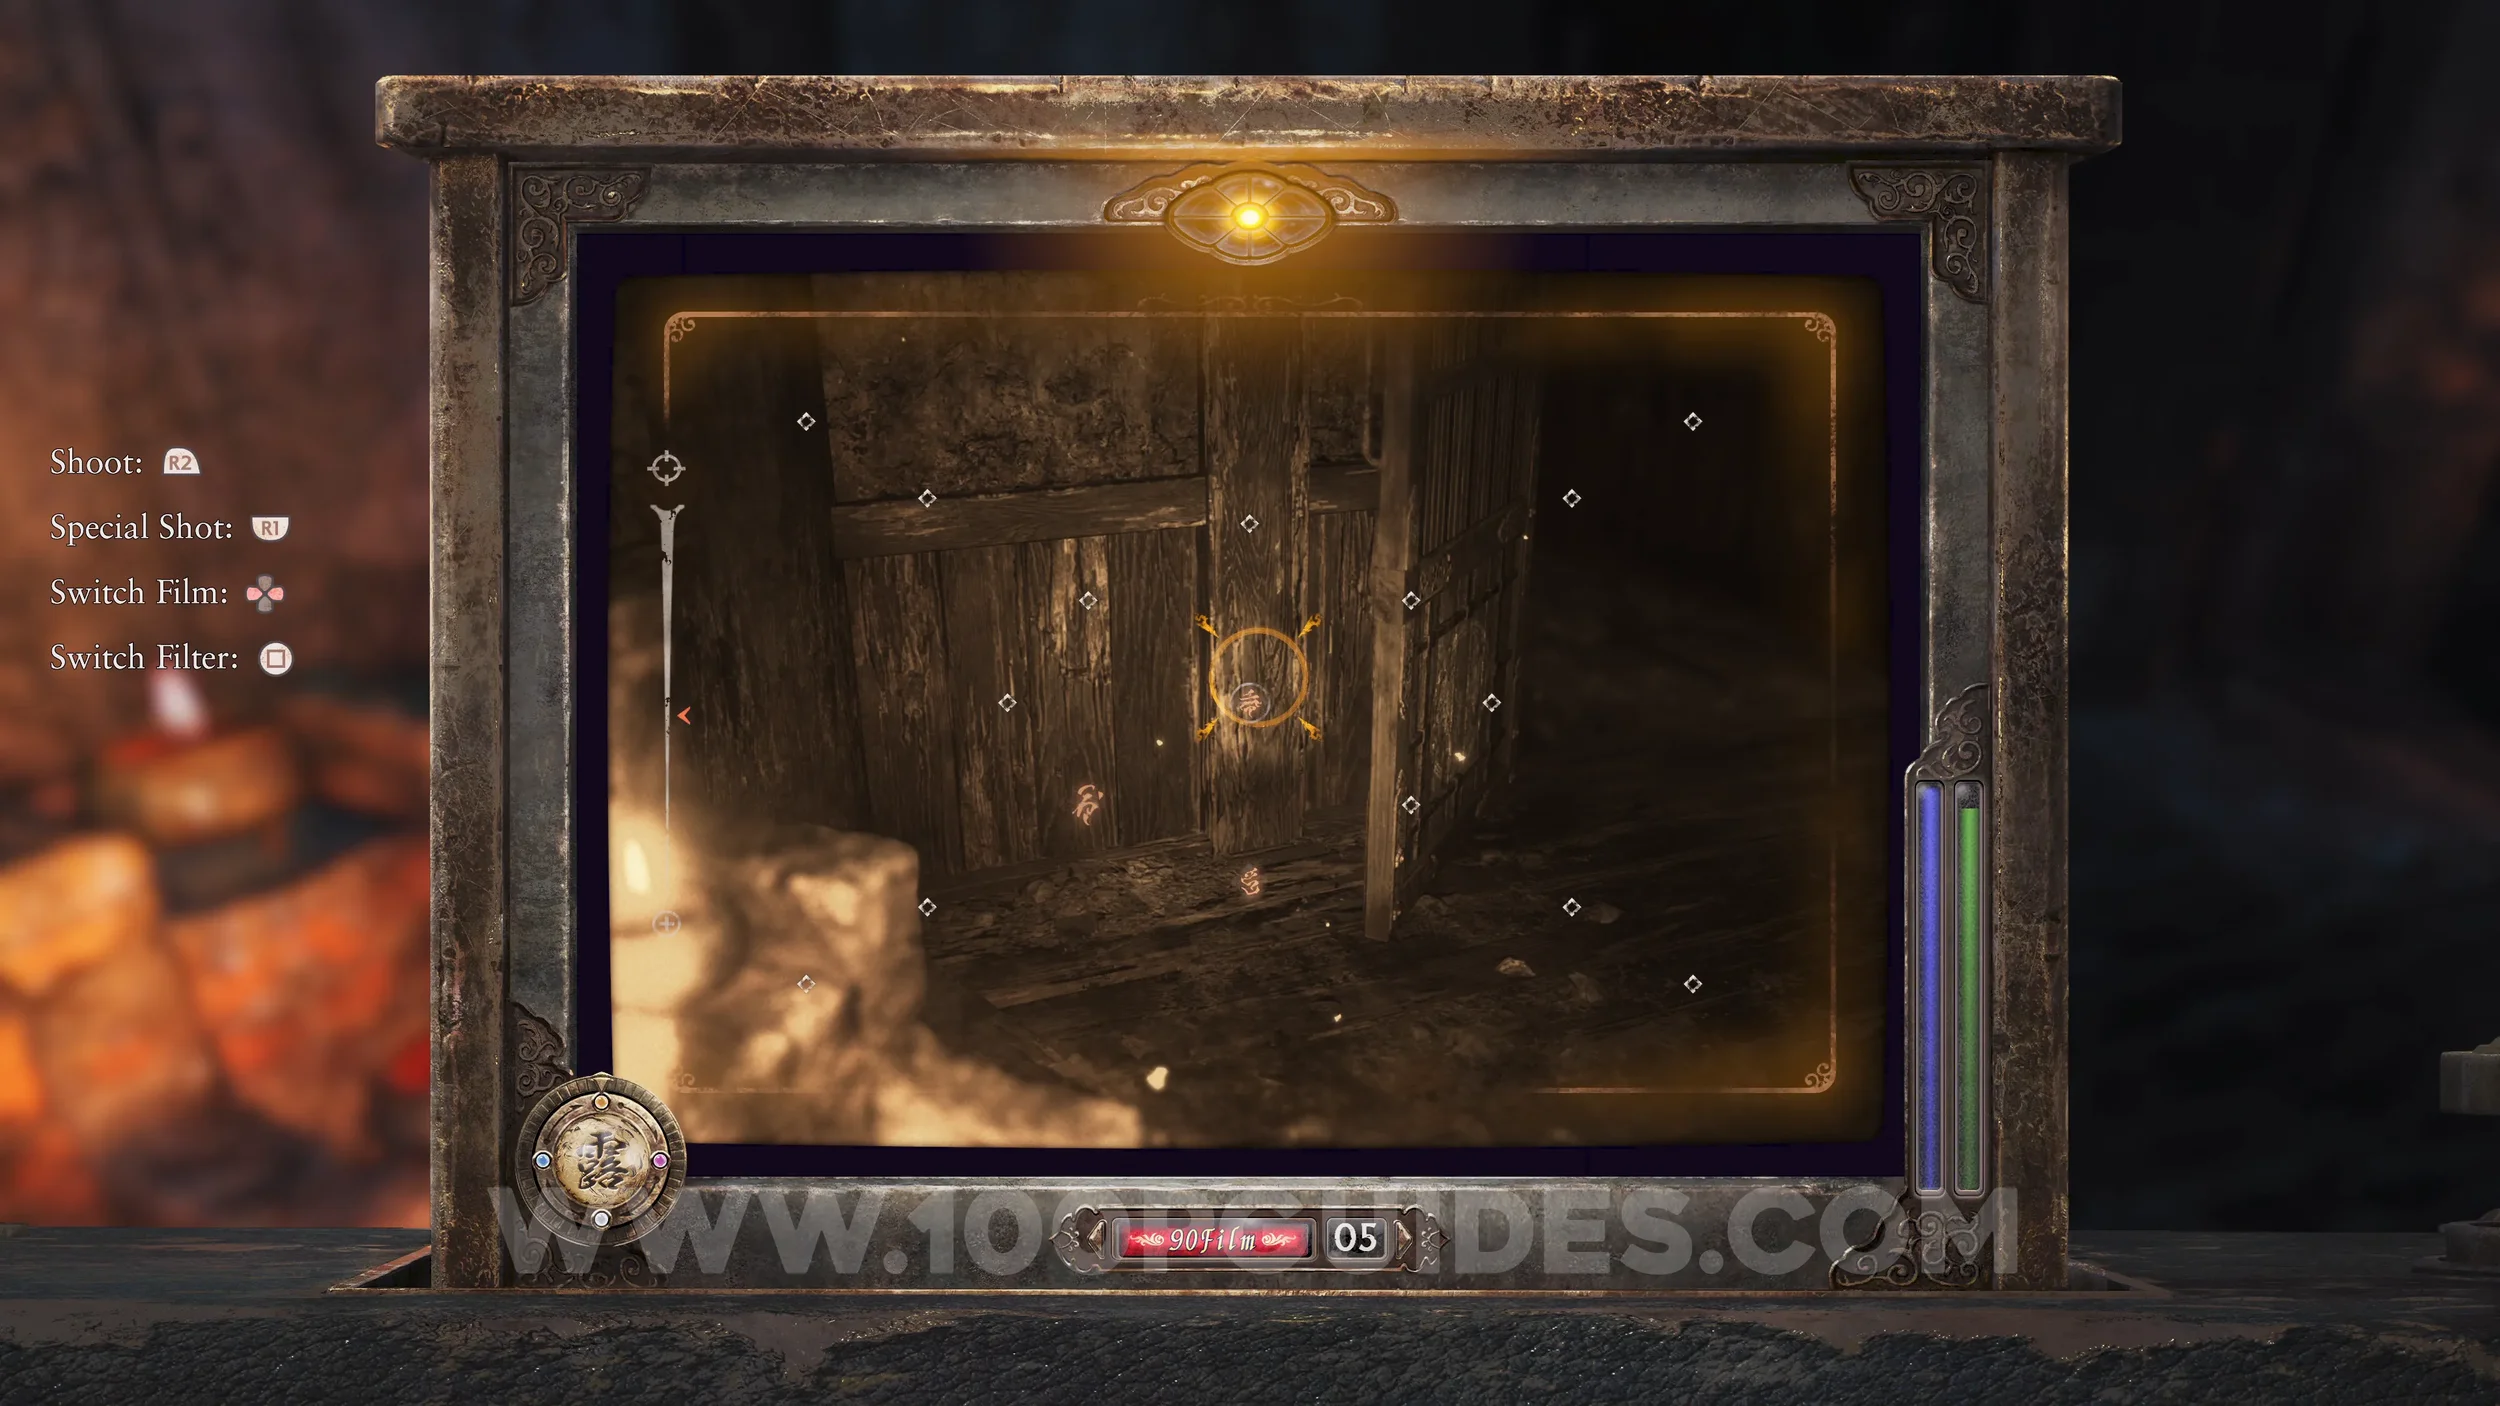
Revenant #28 - 018 Boy Hiding in Temple. Found behind the door in the Eikado Temple Enshrinement Hall.
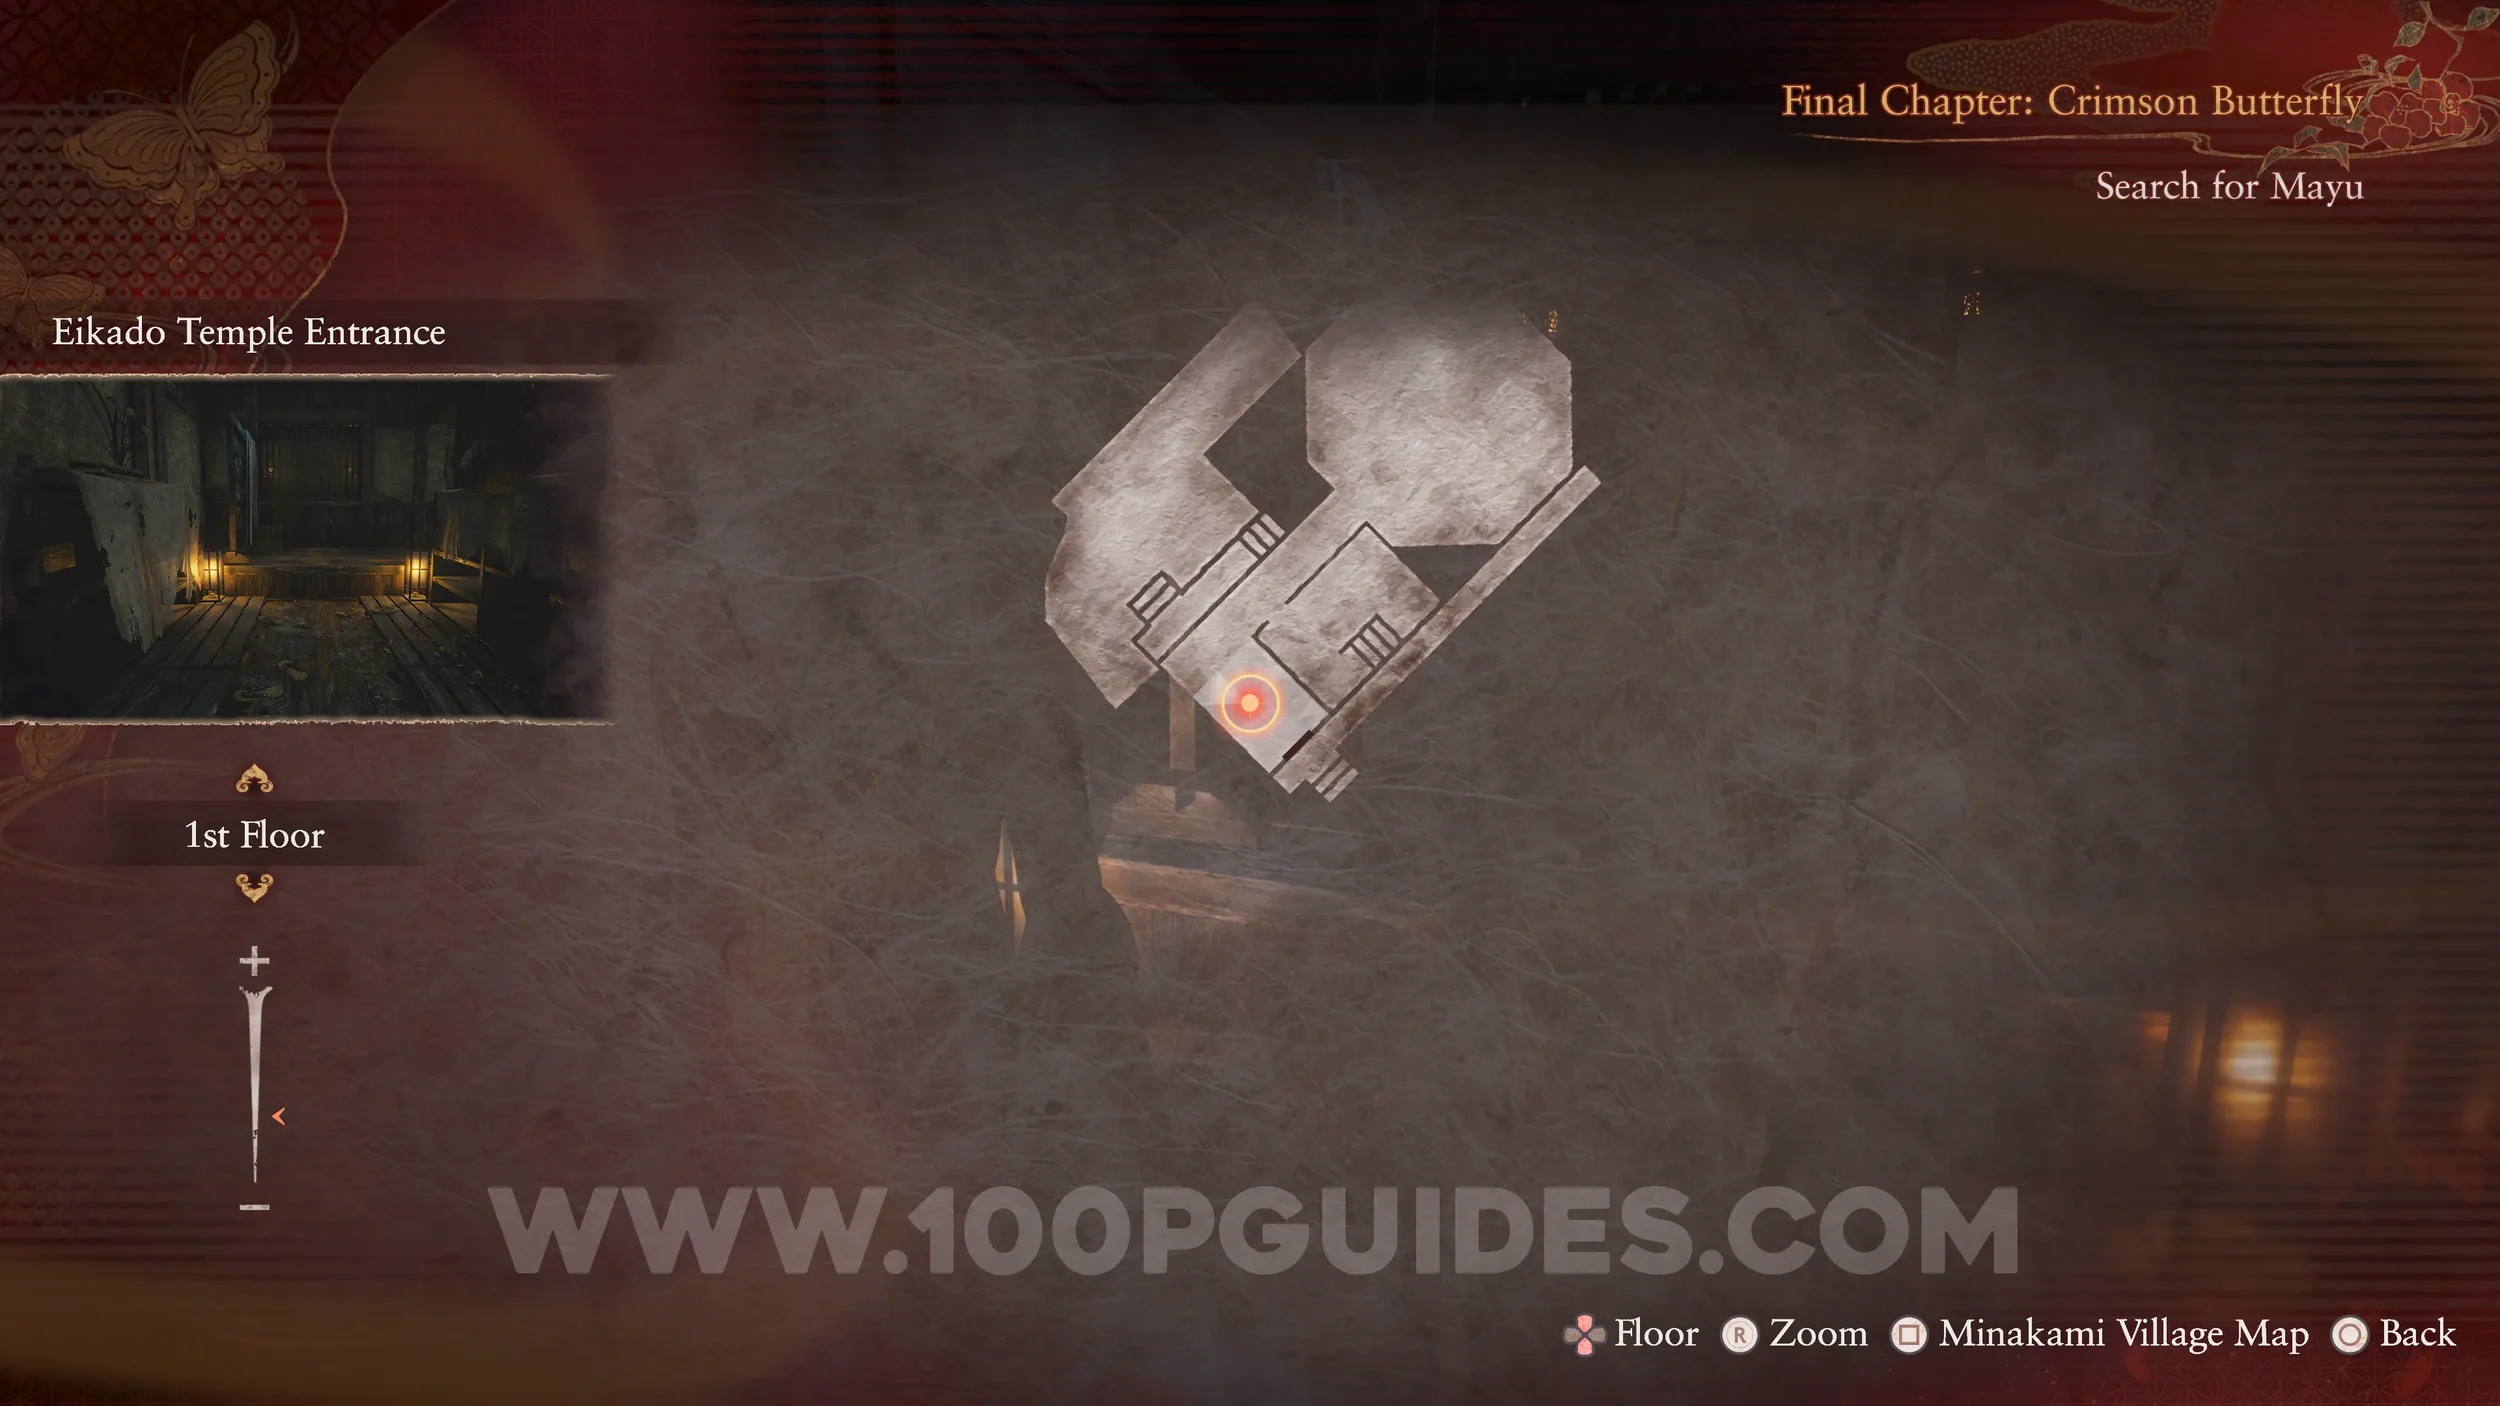
Revenant #29 - 016 Girl Hiding Near Entrance, Document #101 - Children’s Note 5 and Spirit Stone #3 - Garnet (2/2). From the previous revenant, go down the hall to the west and find the revenant behind the paper screen. Defeat the wraith to get the document and the other half of the Garnet. This will also finish the “Children at Play” side quest.
Specter #195 - 232 Girl in Waiting, Spirit Stone #36 - Pale Crimson Crystal (1/2) and Side Quest #11 - Azami Kiryu. On the wooden bridge as you leave Eikado Temple after finishing the Children at Play side quest.
Specter #196 - 224 Past Itsuki, Specter #197 - 225 Past Mutsuki, Specter #198 - 226 Past Chitose and Specter #199 - 227 Past Tachibana Clan. Return to the Tachibana House and go to the Twins’ Room. Take a photo of the three clan members here.
Document #102 - Bound Diary 8. Dropped by the previous specters.
Specter #200 - 228 Itsuki on the Heavenly Bridge, Specter #201 - 229 Mutsuki on the Heavenly Bridge, Specter #202 - 230 Chitose on the Heavenly Bridge, Specter #203 - 231 Trio on the Heavenly Bridge. Go to the Heavenly Bridge (the bridge that connects the Kiryu and the Tachibana houses) and take a photo of the three specters.

Spirit Stone #35 - Crystal Ore 2 (2/2). Dropped by the previous specters. This will put an end to “The Tachibana Family” side quest.
Specter #204 - 208 Girl Who Murdered Father, Specter #205 - 209 Man Killed by Daughter, Specter #206 - 210 Lurking Doll and Specter #207 - 211 Tradedy of the Kiryu House. Return to the Sealed Room in the Kiryu House to find the three specters. Make sure they are all in the shot.
Spirit Stone #29 - Blue Cystal (2/2) and Specter #208 - 212 Grateful Girl. Dropped by the previous specters. This will put an end to the “Akane Kiryu” side quest. After defeating the wraith, pick up the photo from the ground and the specter will appear outside the door.
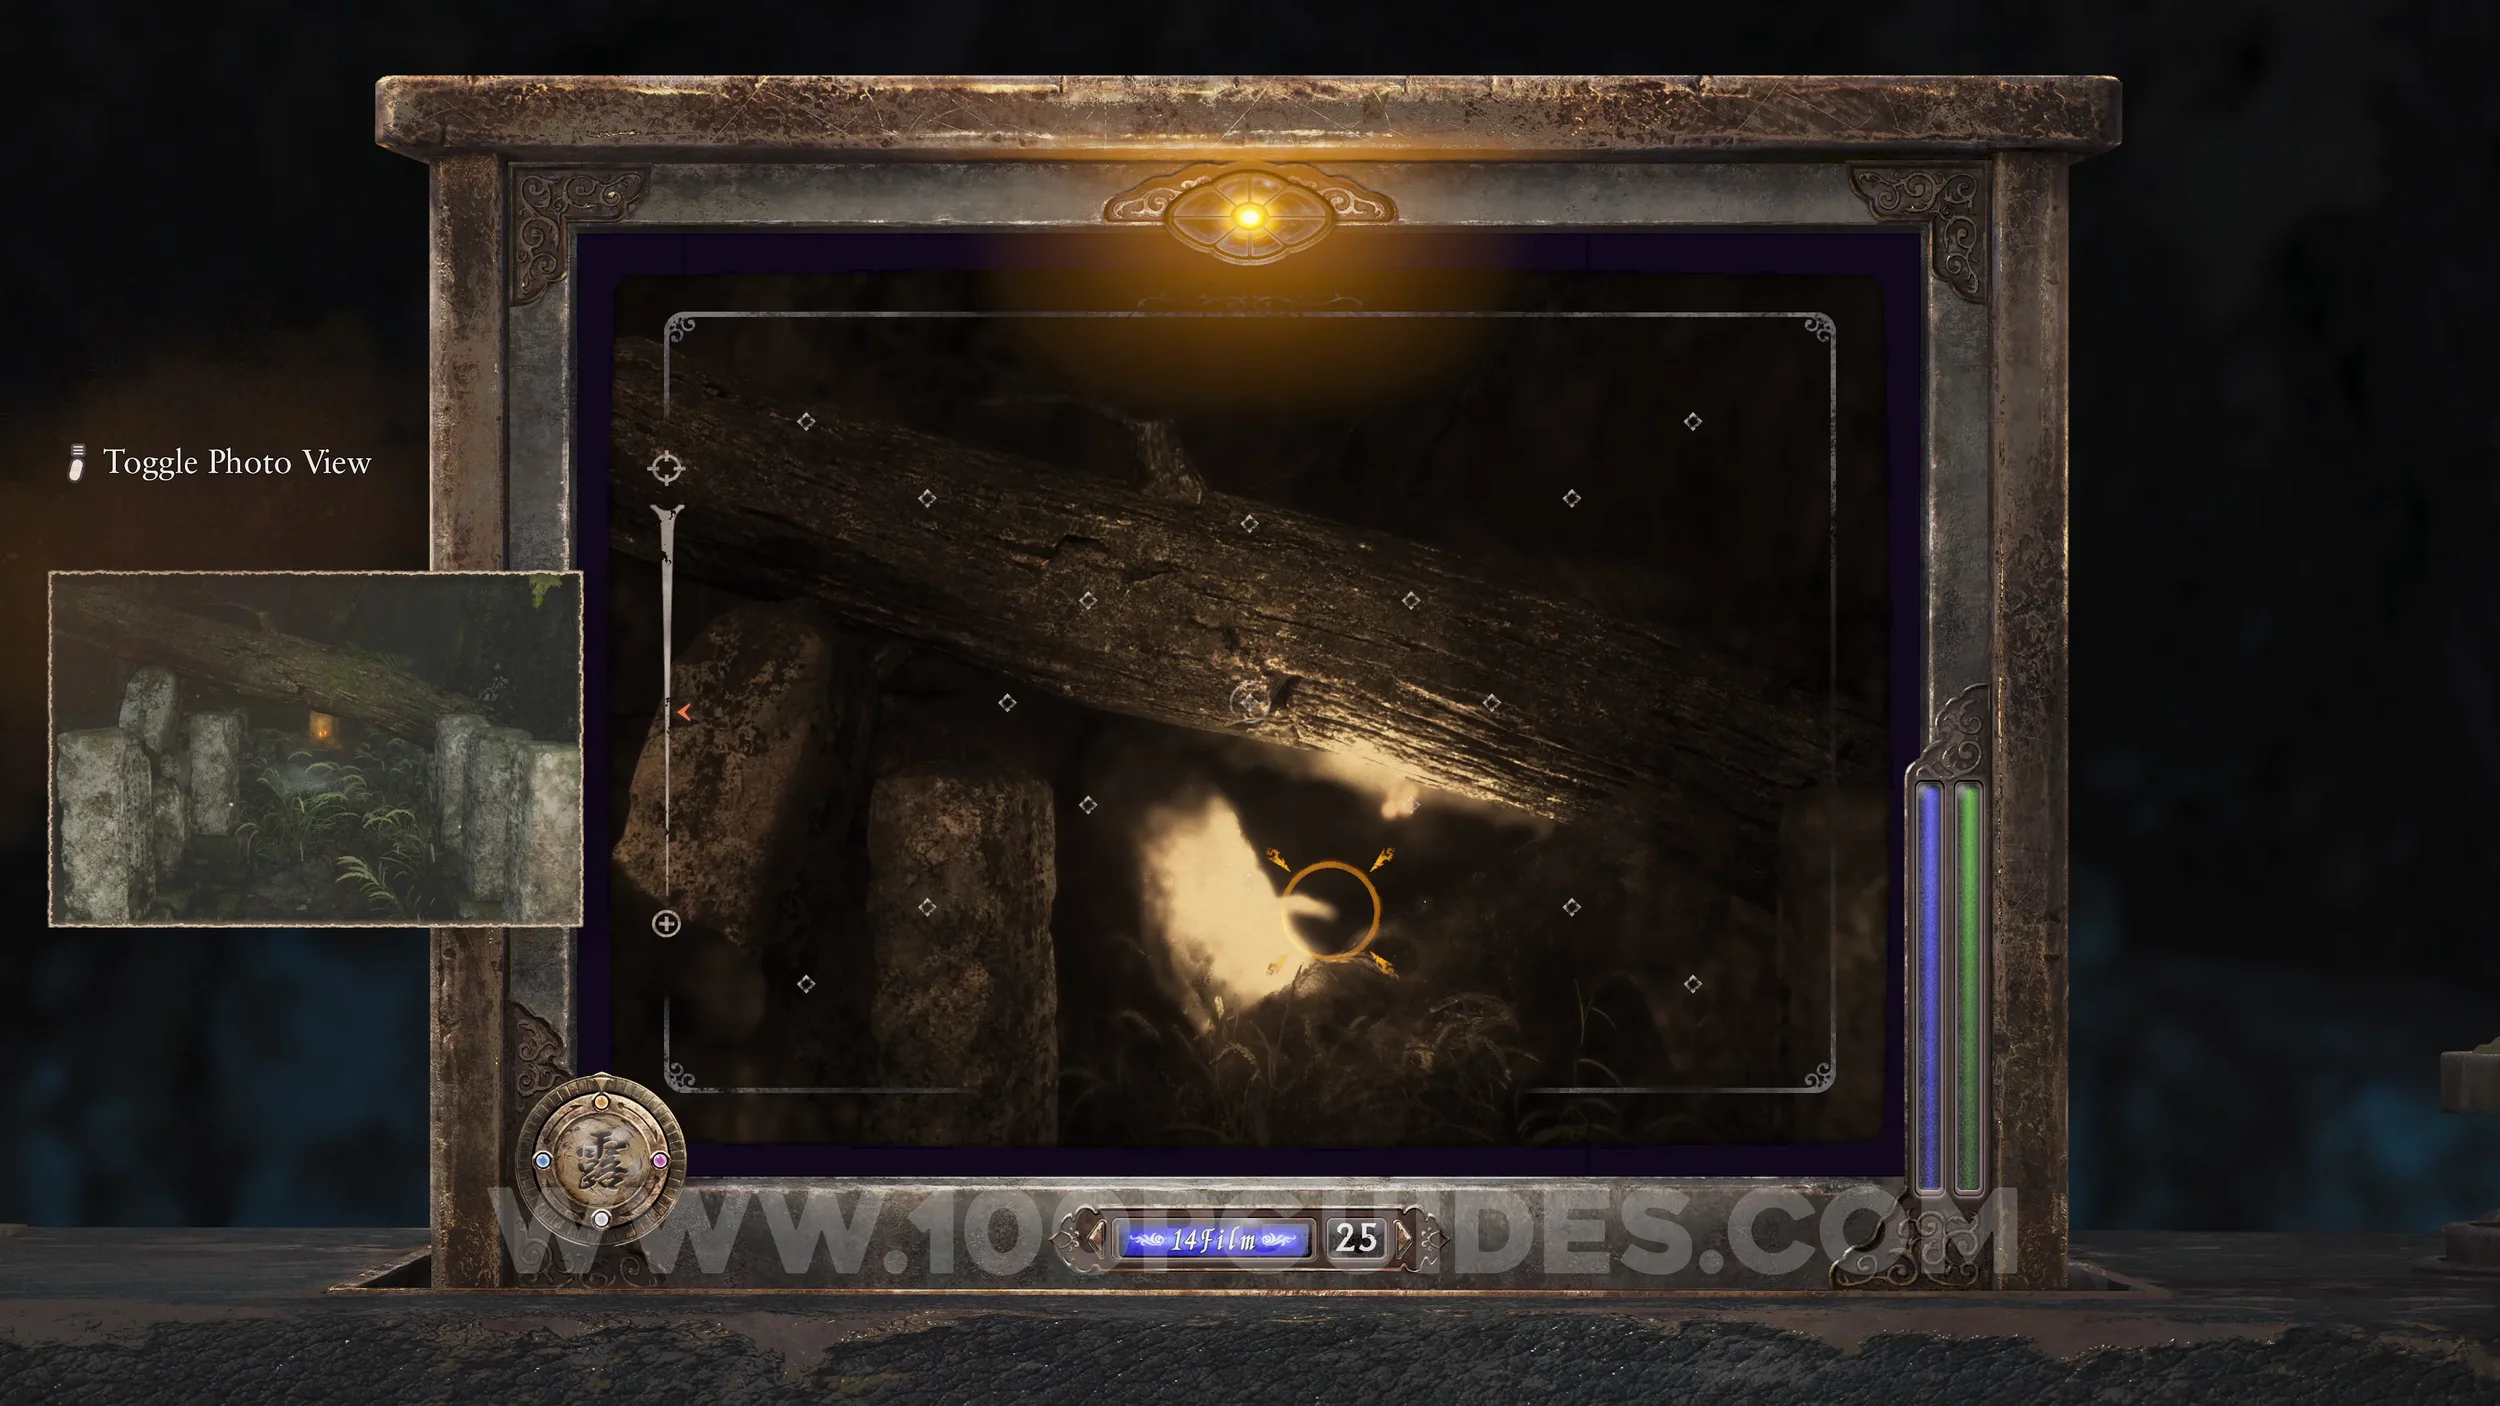
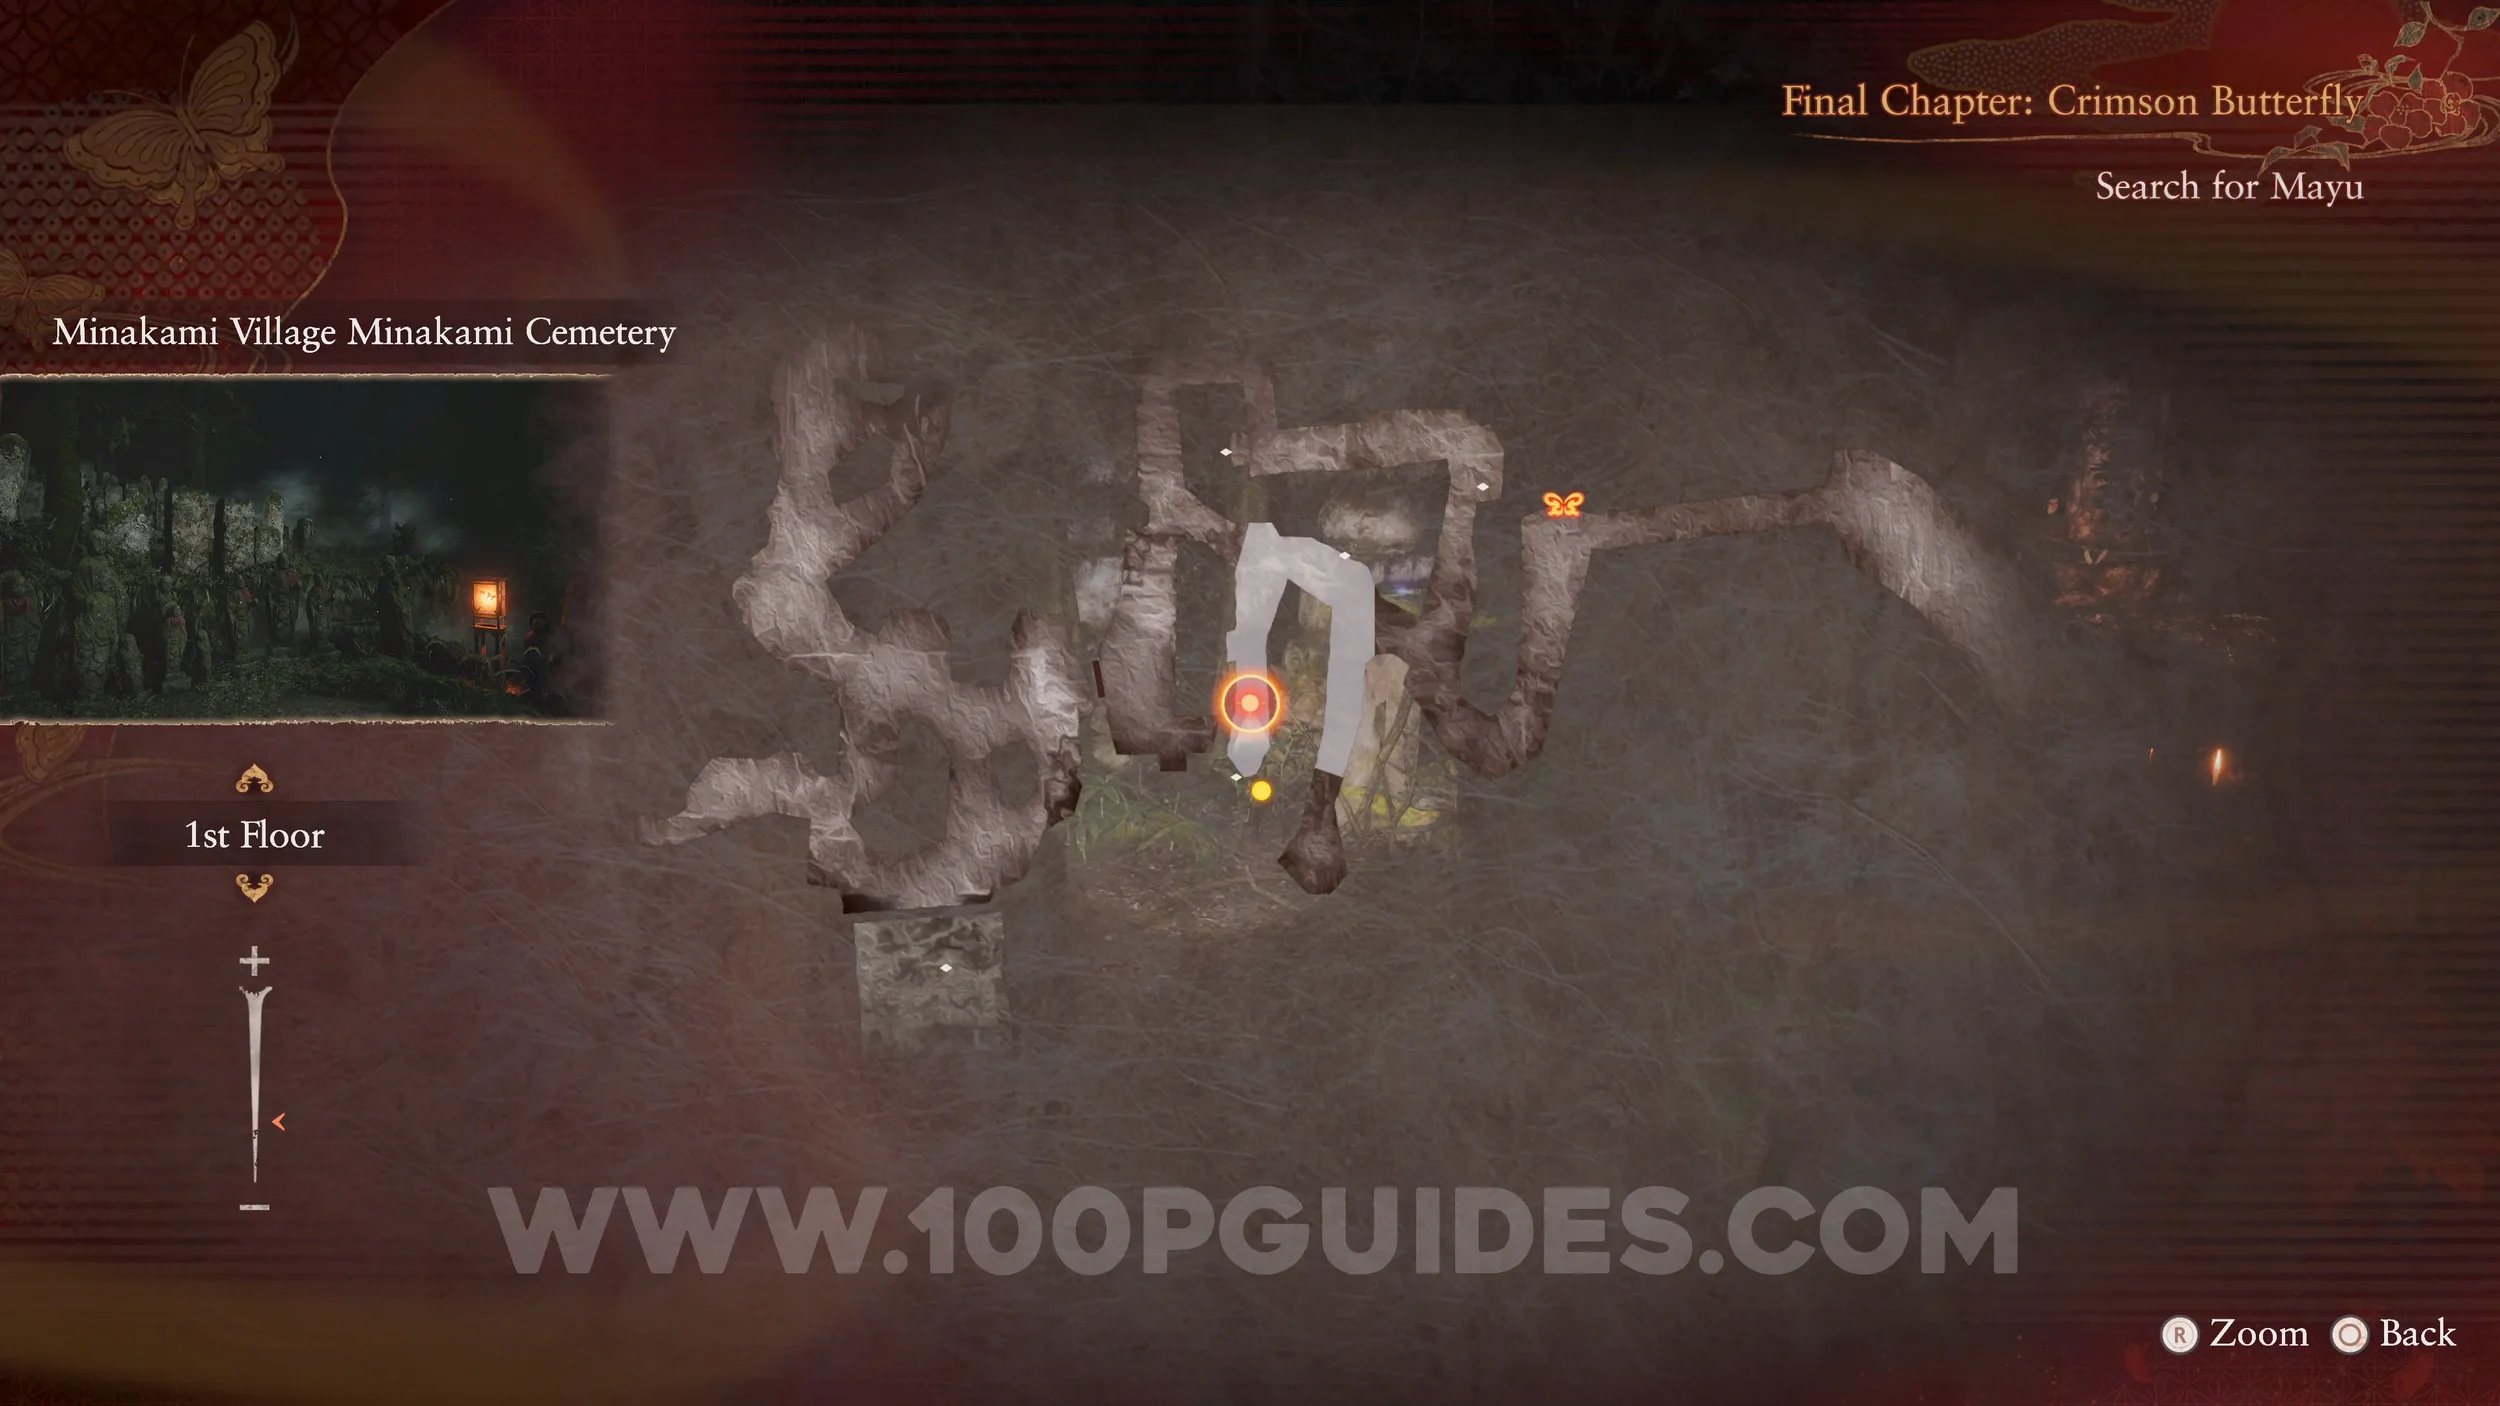
Phantom Expose #17 - Minakami Cemetery, Document #103 - Children’s Not 6, Specter #209 - 233 Girl Waiting at Cemetery, Specter #210 - 234 Girl Running to Cemetery, Specter #211 - 235 Boy Running to Cemetery and Specter #212 - 236 Boy Playing in Cemetery. After obtaining the photo from the Akane Kiryu side quest, head back to Minakami Cemetery. Go down the first path to the south and use the Exposure Filter to open the way. Then pick up the document at the end. This will cause four specters to run past you.

Revenant #30 - 033 Girl Playing, Document #104 - Children’s Note 7 and Spirit Stone #36 - Pale Crimson Crystal (2/2). Now go down the path to the west to find the revenant at the end. After taking the photo, pick up the document and the Spirit Stone to finish the Azami Kiryu side quest.
Document #105 - Butterfly Diary 4. After following the butterfly and going through the gate toward Kurosawa House, you will find the document in plain sight at the end of the large wooden bridge.
Specter #213 - 137 Mayu Heading to Kurosawa House. In front of you after opening the gate at the end of the bridge leading toward Kurosawa House.
Specter #214 - 138 Prisoner - Document #106 - Folklorist’s Note 20. Before heading through the front door of the Kurosawa House, go through the smaller door on your right. Then go to the cell where you previously had to rescue Mayu. Inside, you will see the specter. He will drop the document.
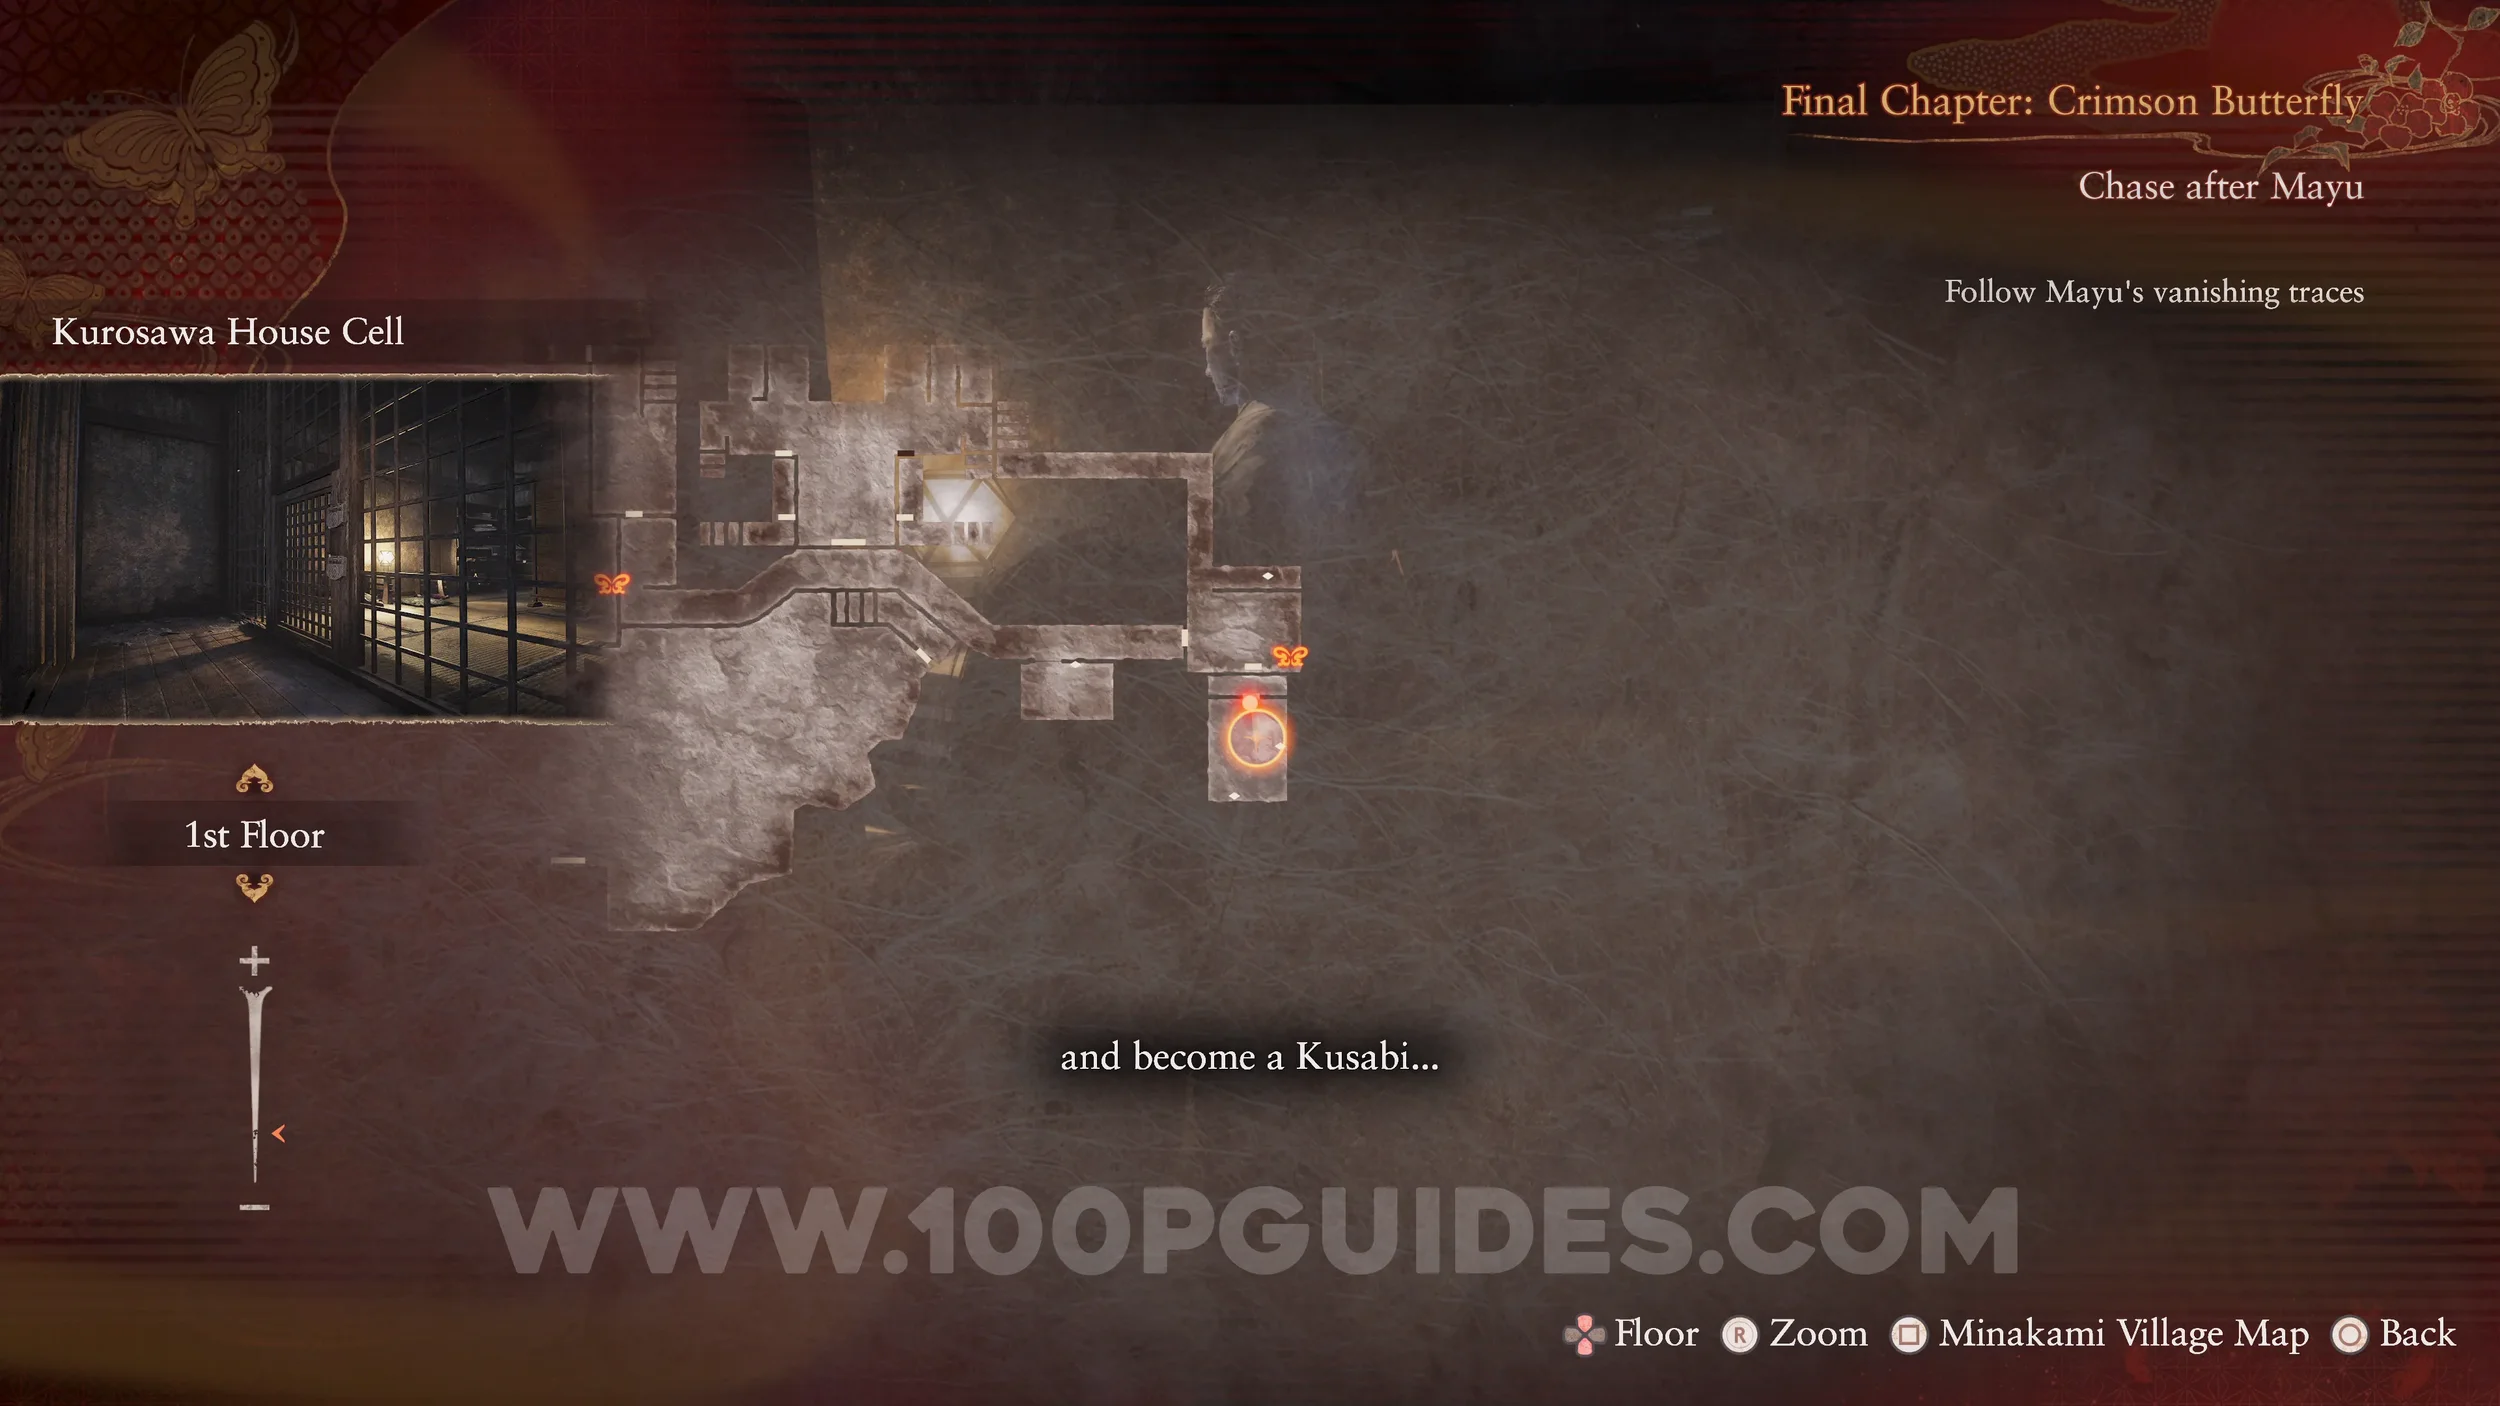
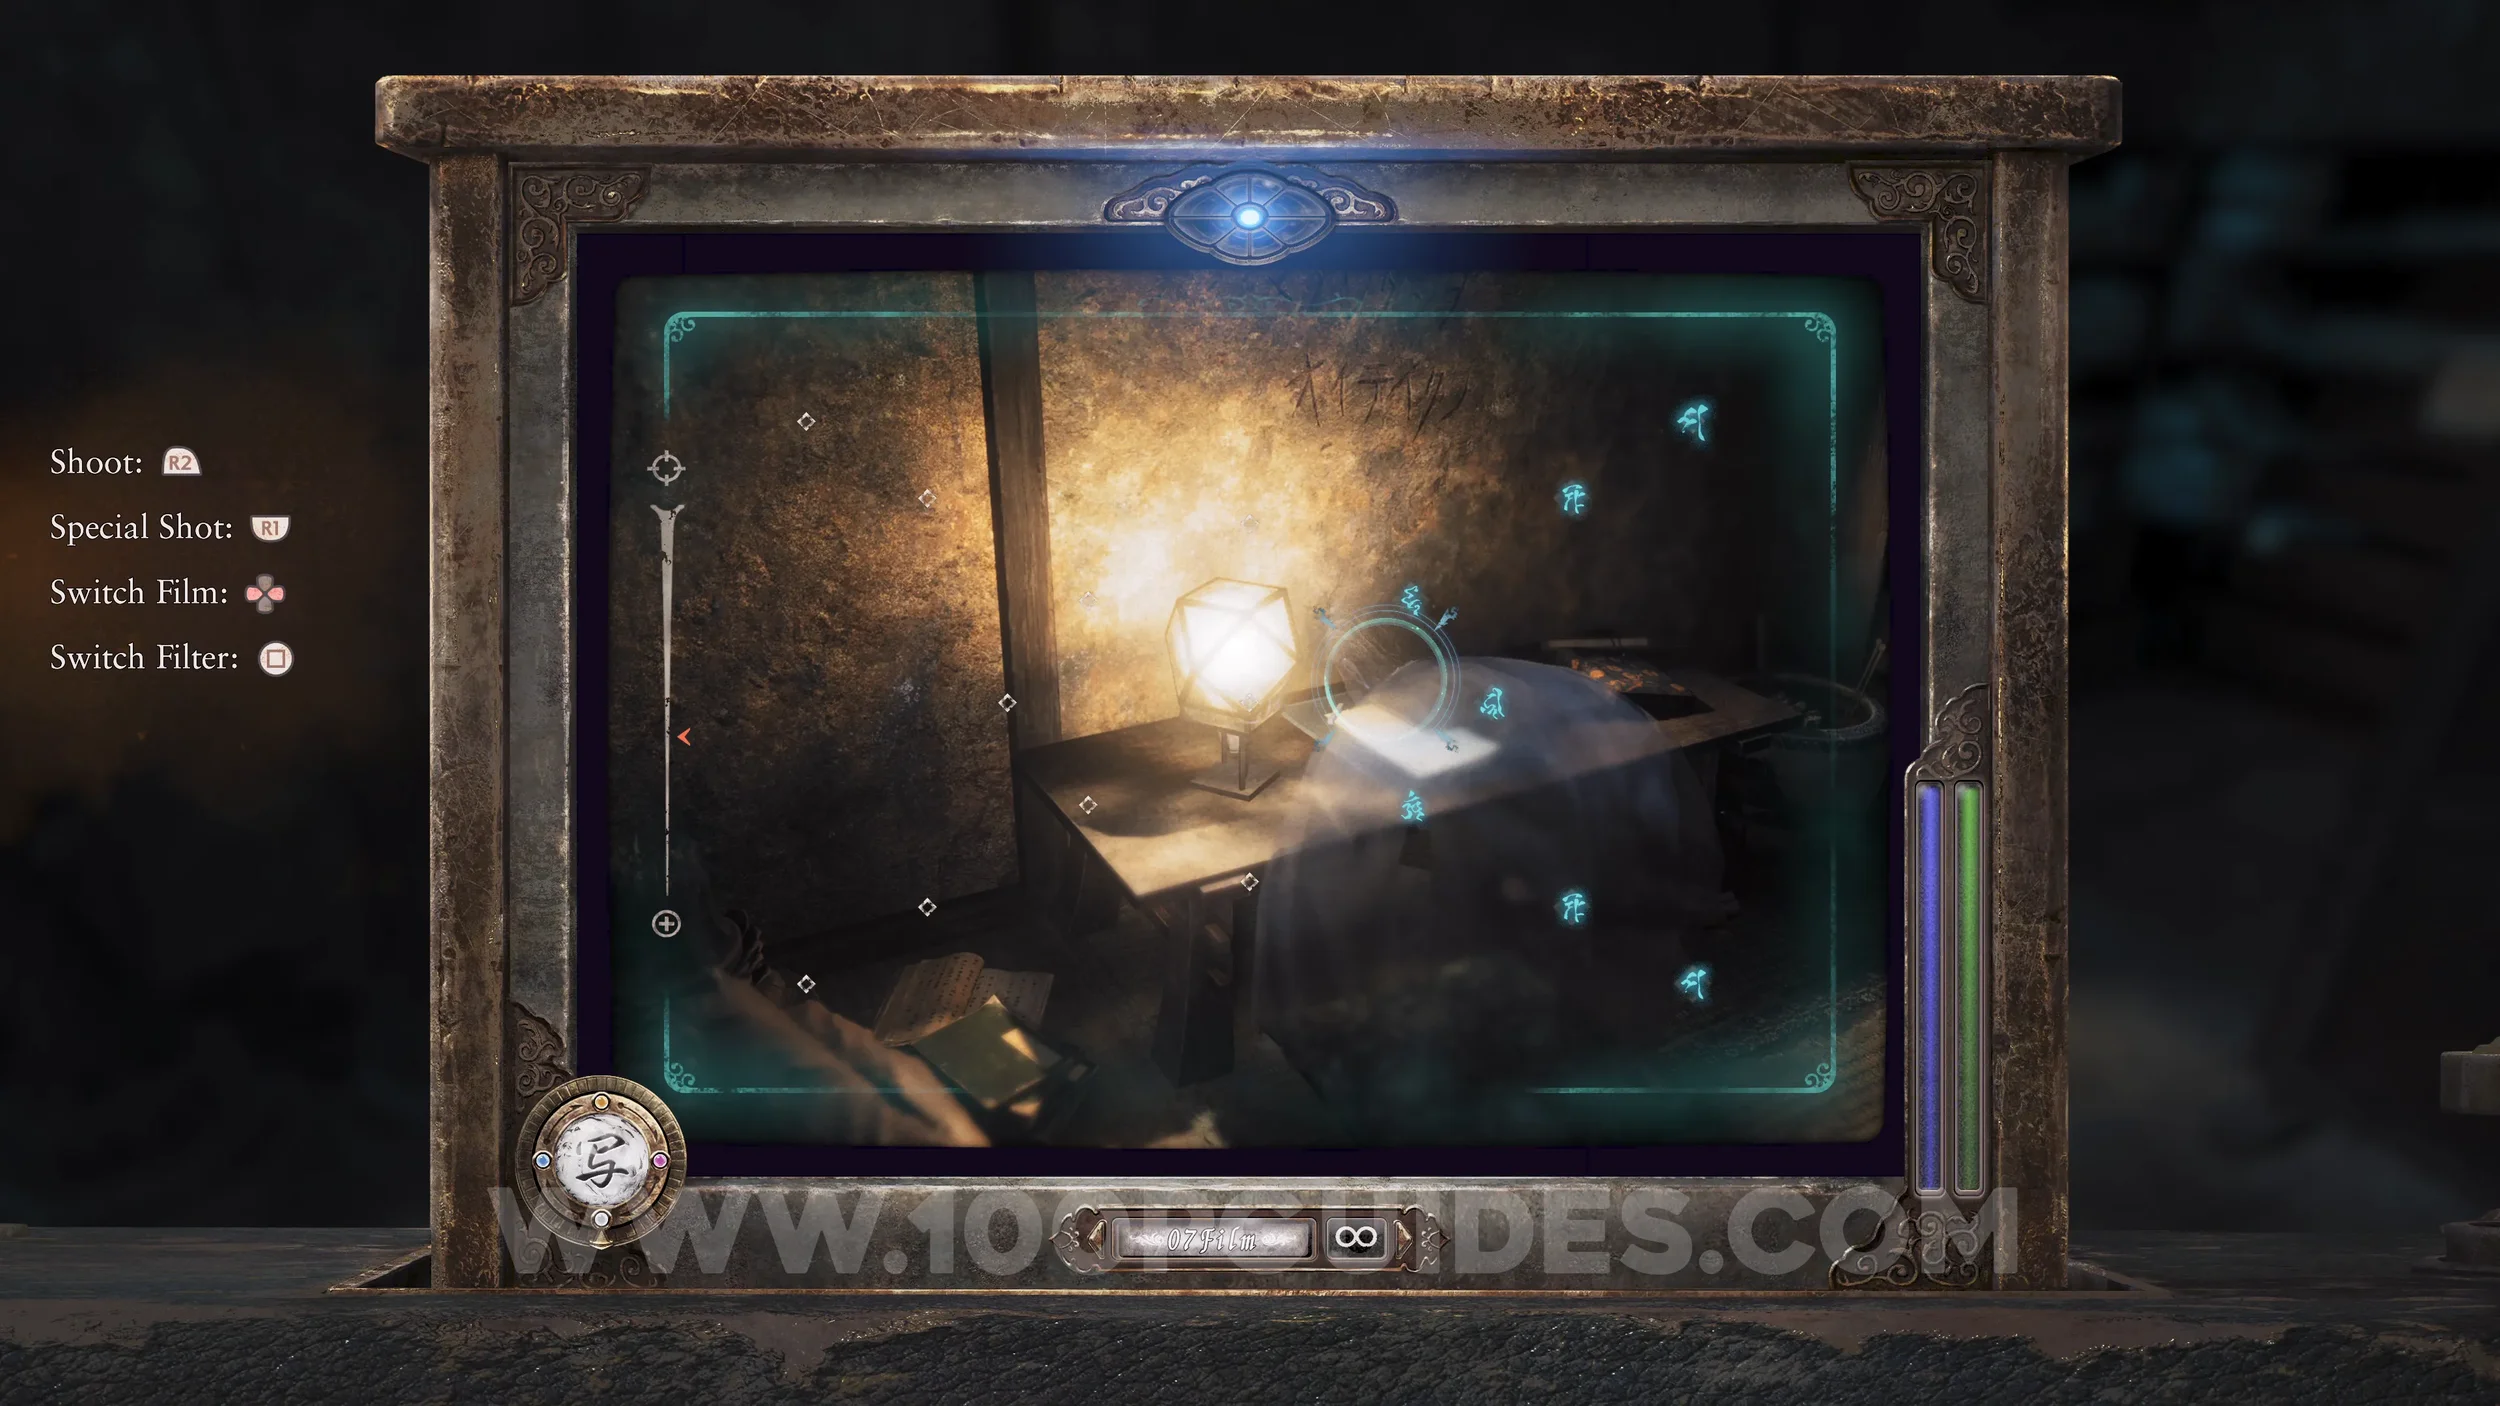
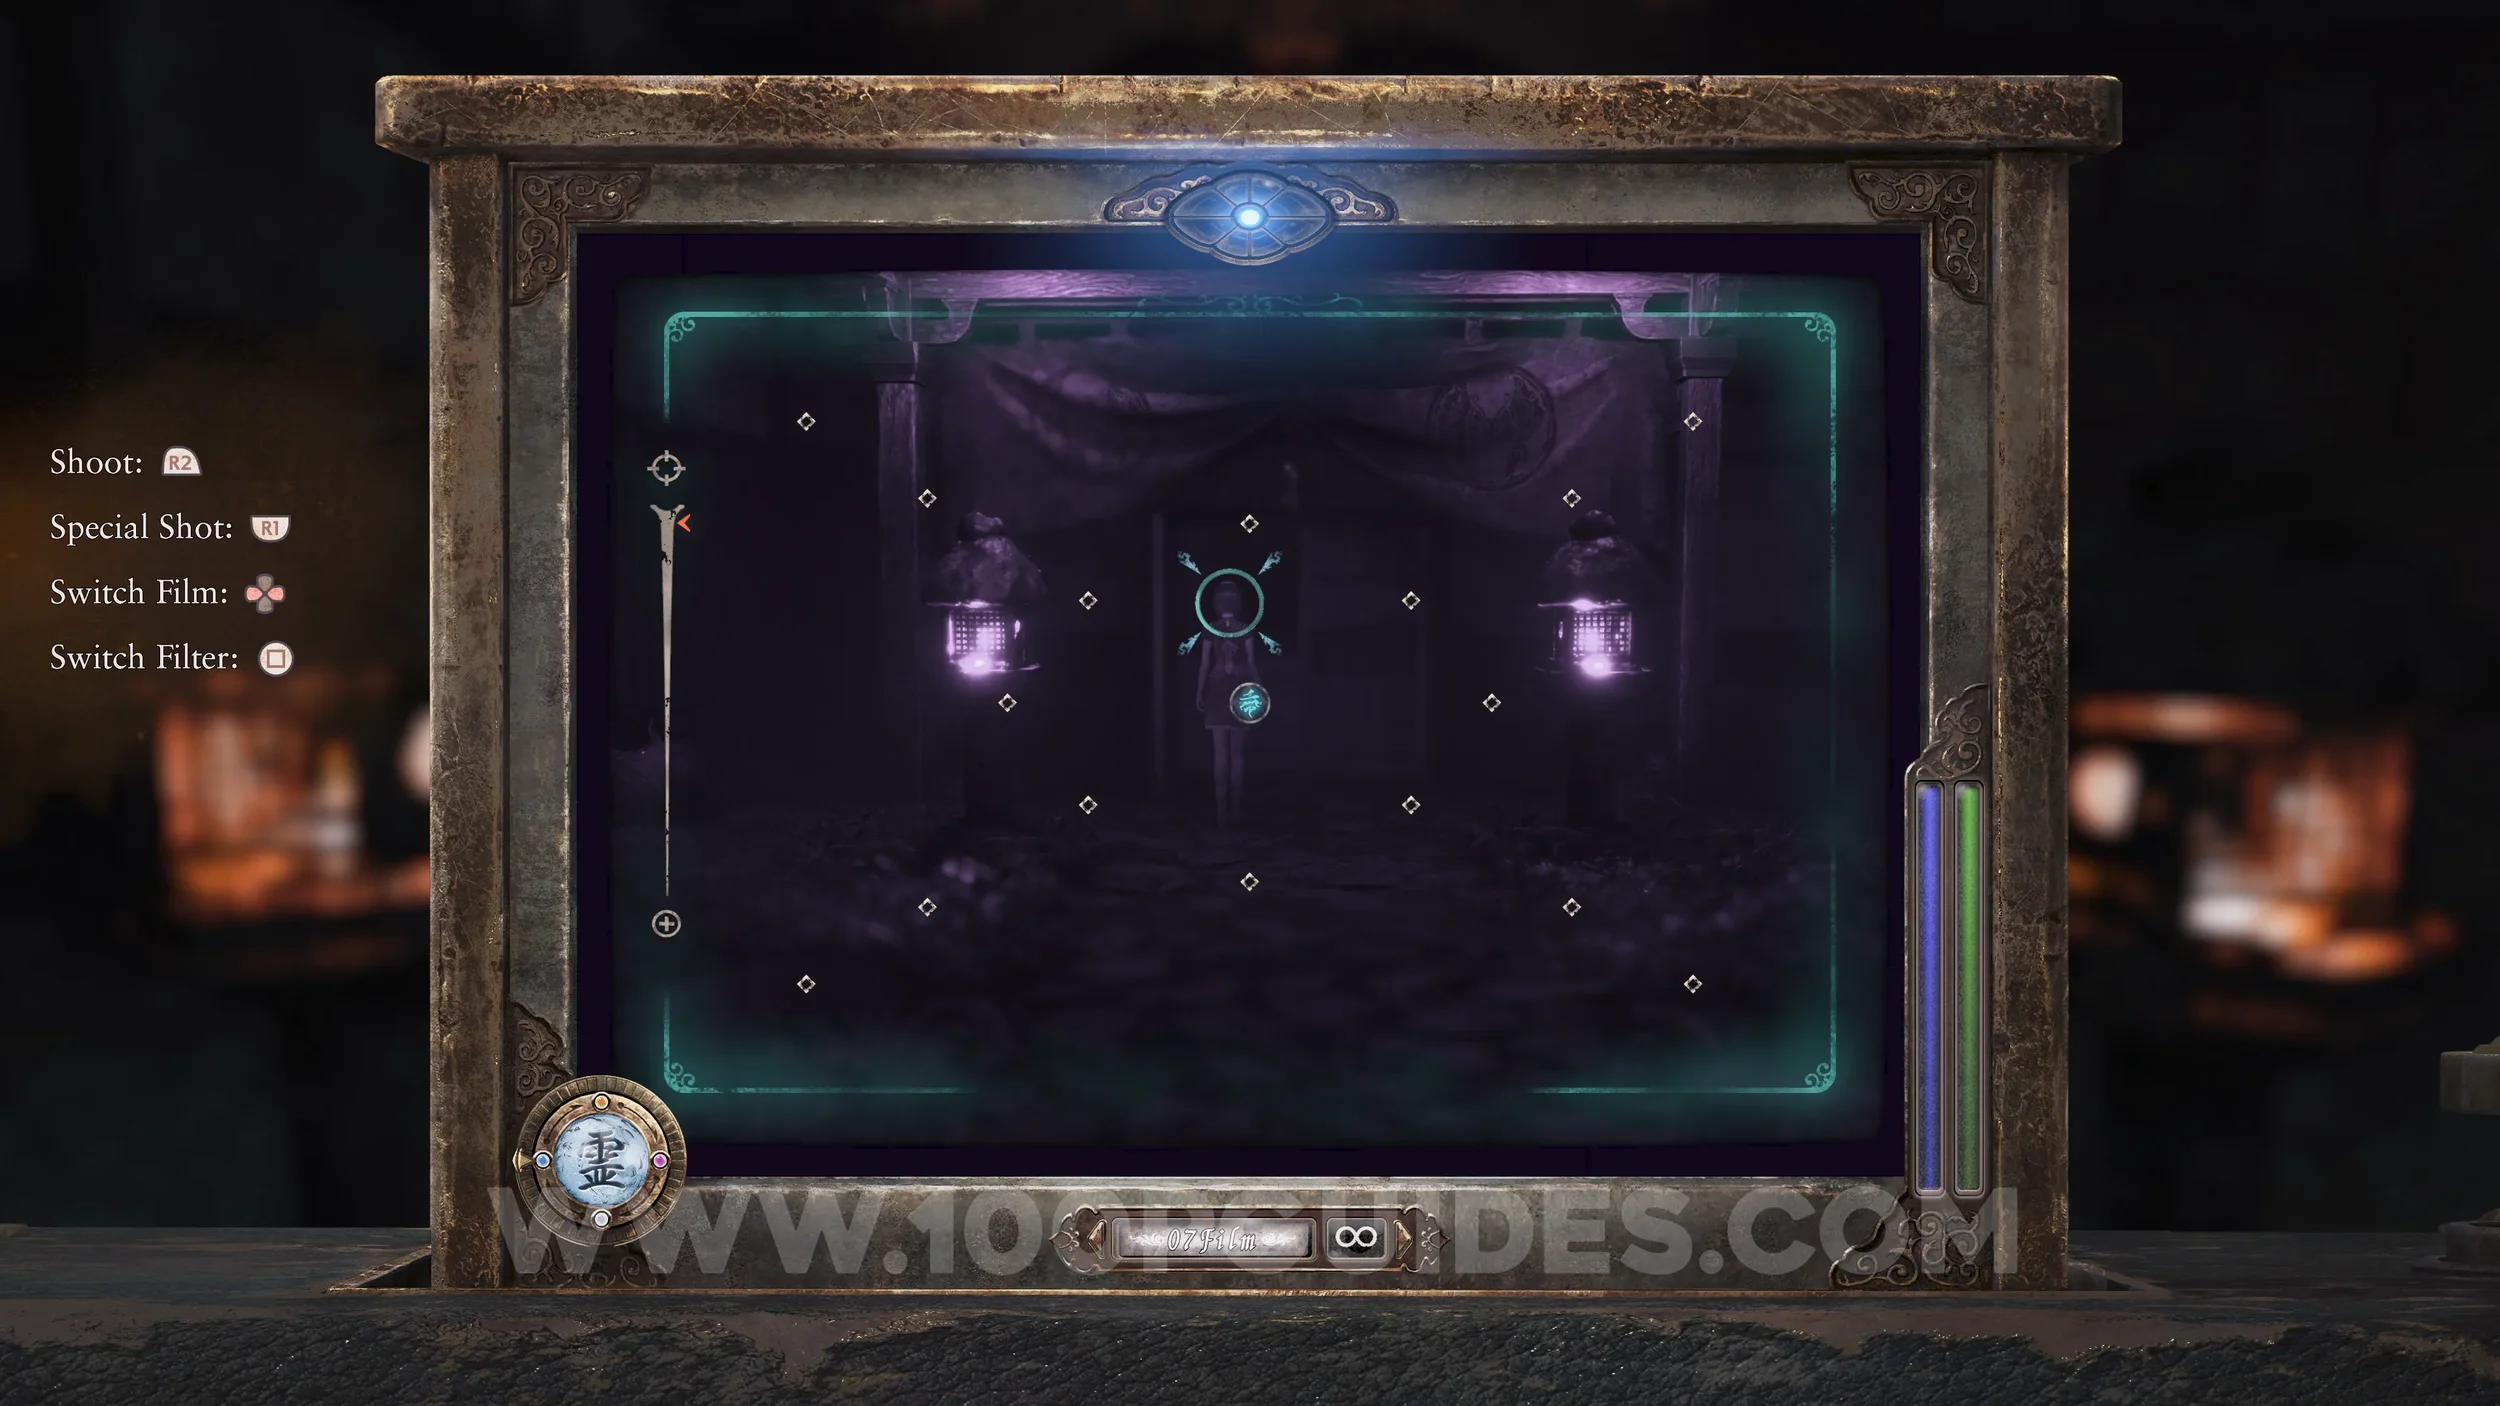
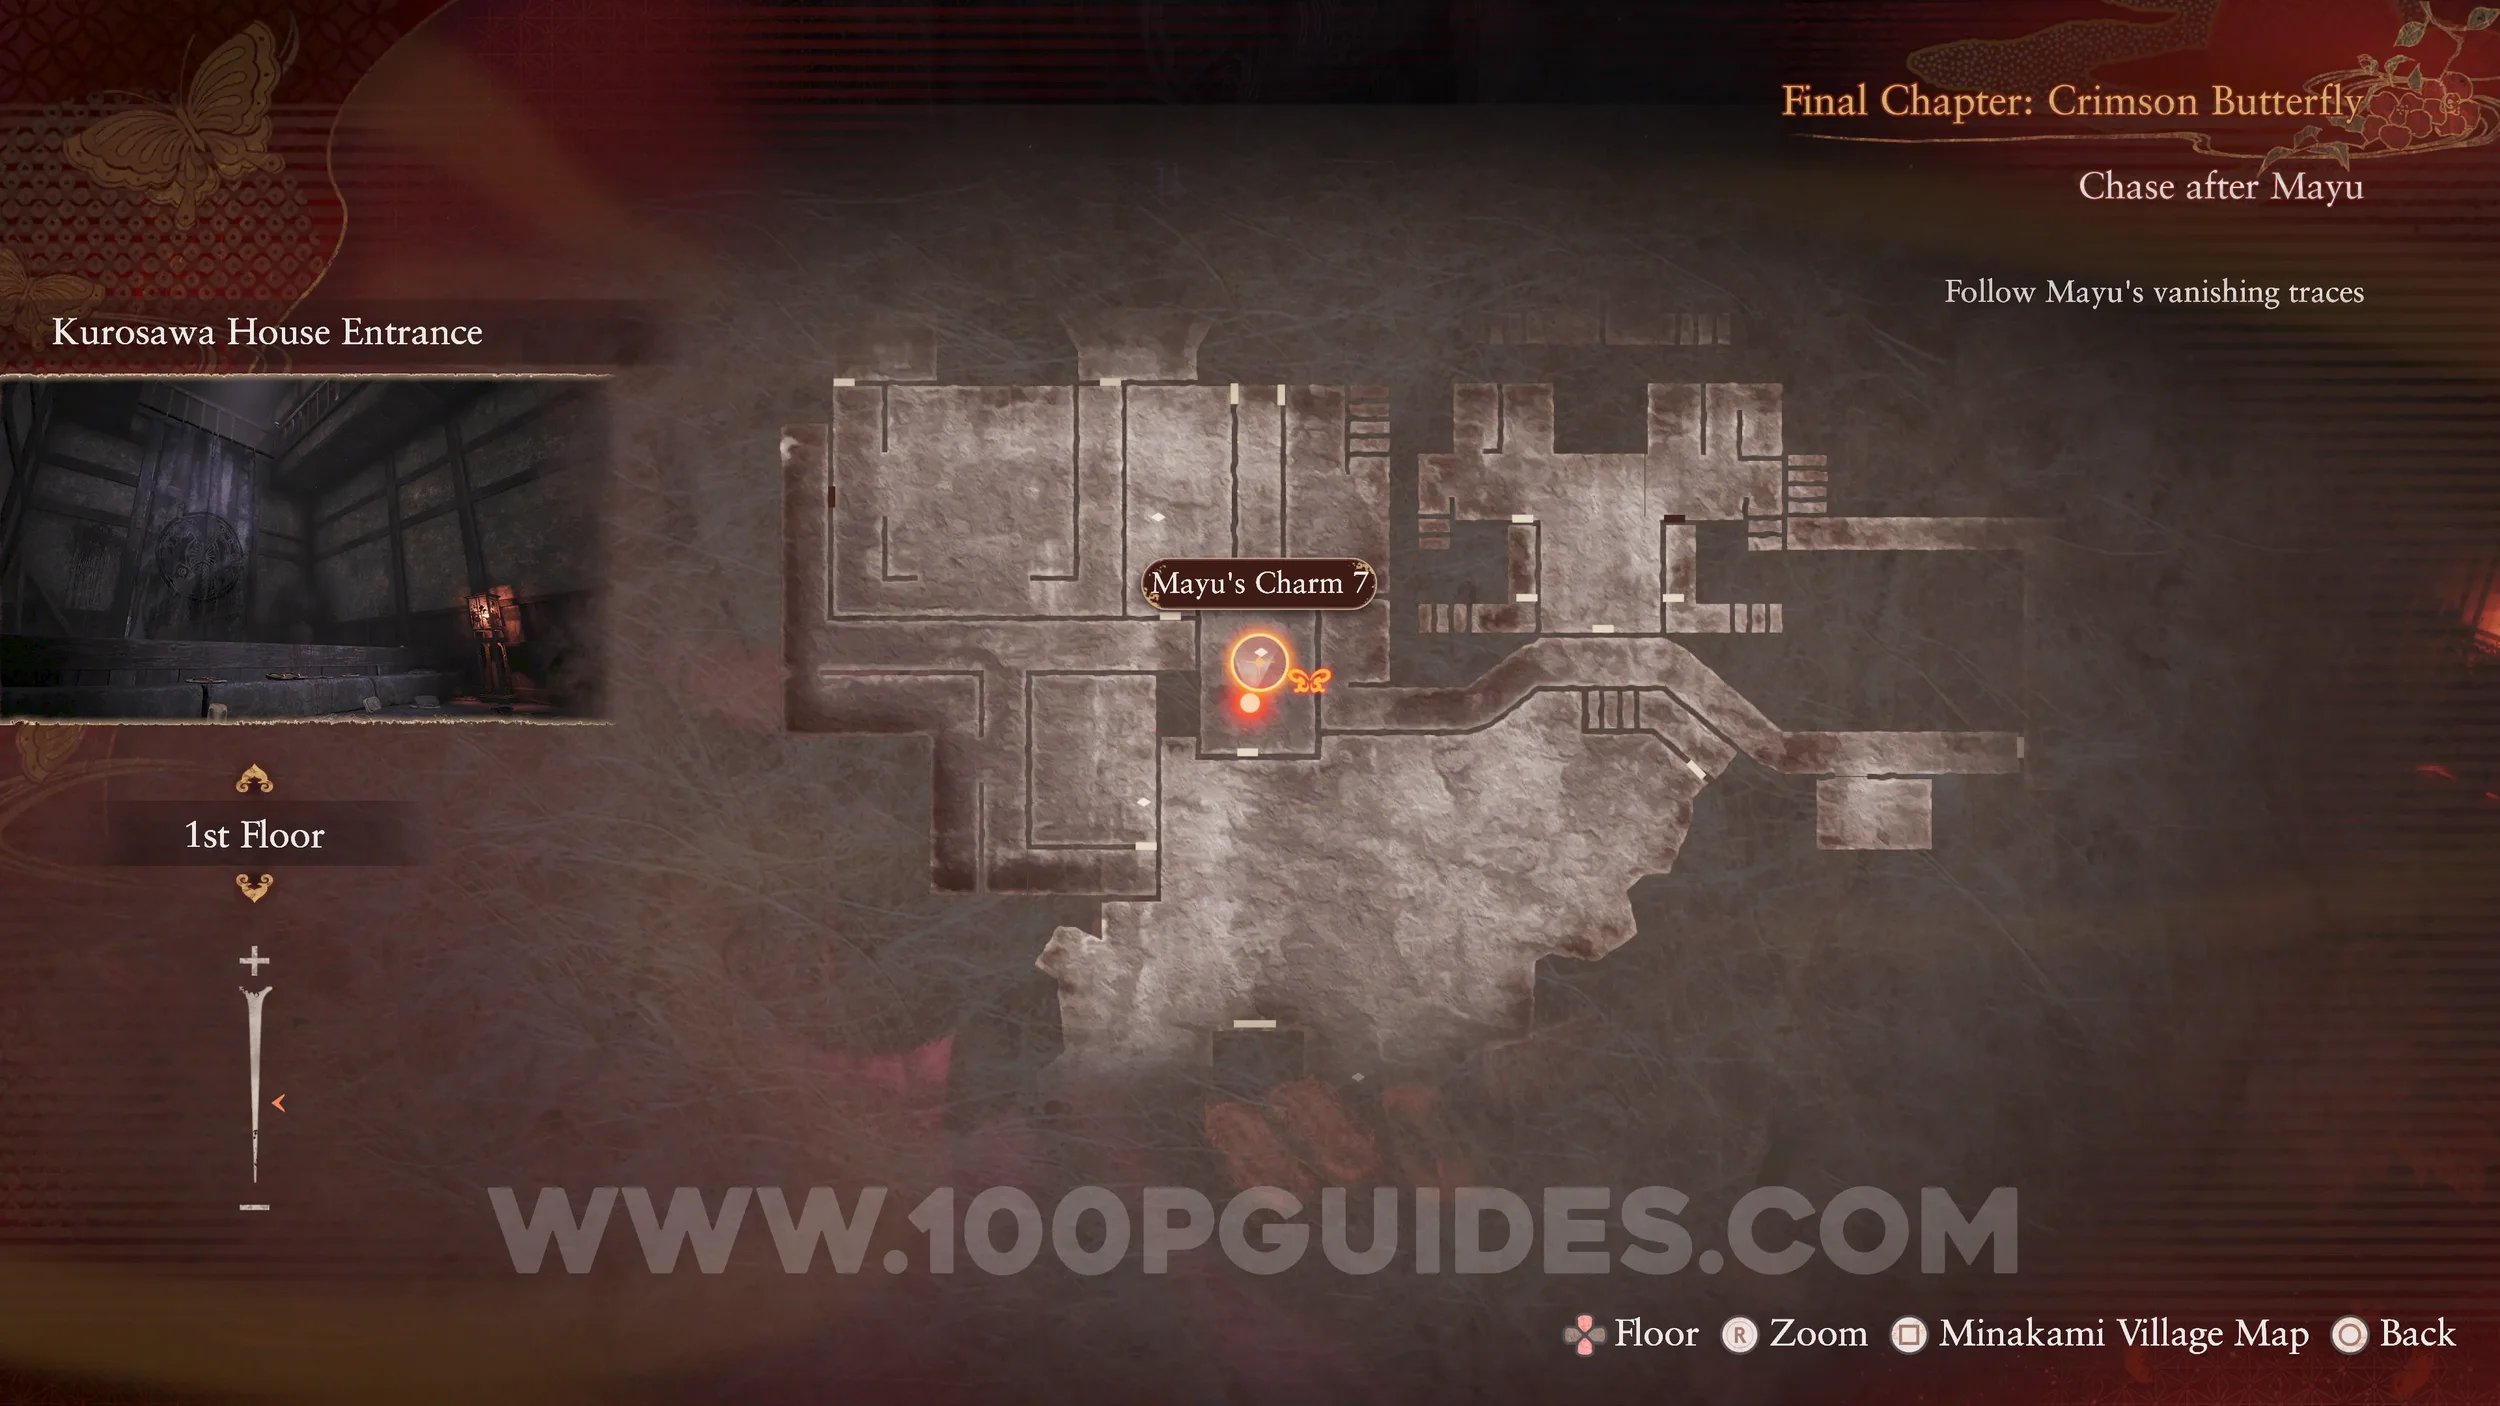
Spirit Stone #37 - Mayu’s Charm 7. On the floor in the Kurosawa House main entrance.
Specter #215- 139 Yae Conversing Privately, Specter #216 - 140 Sae Conversing Provately and Specter #217 - Sisters Conversing Privately. Go to the Doll Room on the top floor of the Kurosawa House to find the two specters behind the screen on the left. This will also give you the third entry if you get them both in the shot.
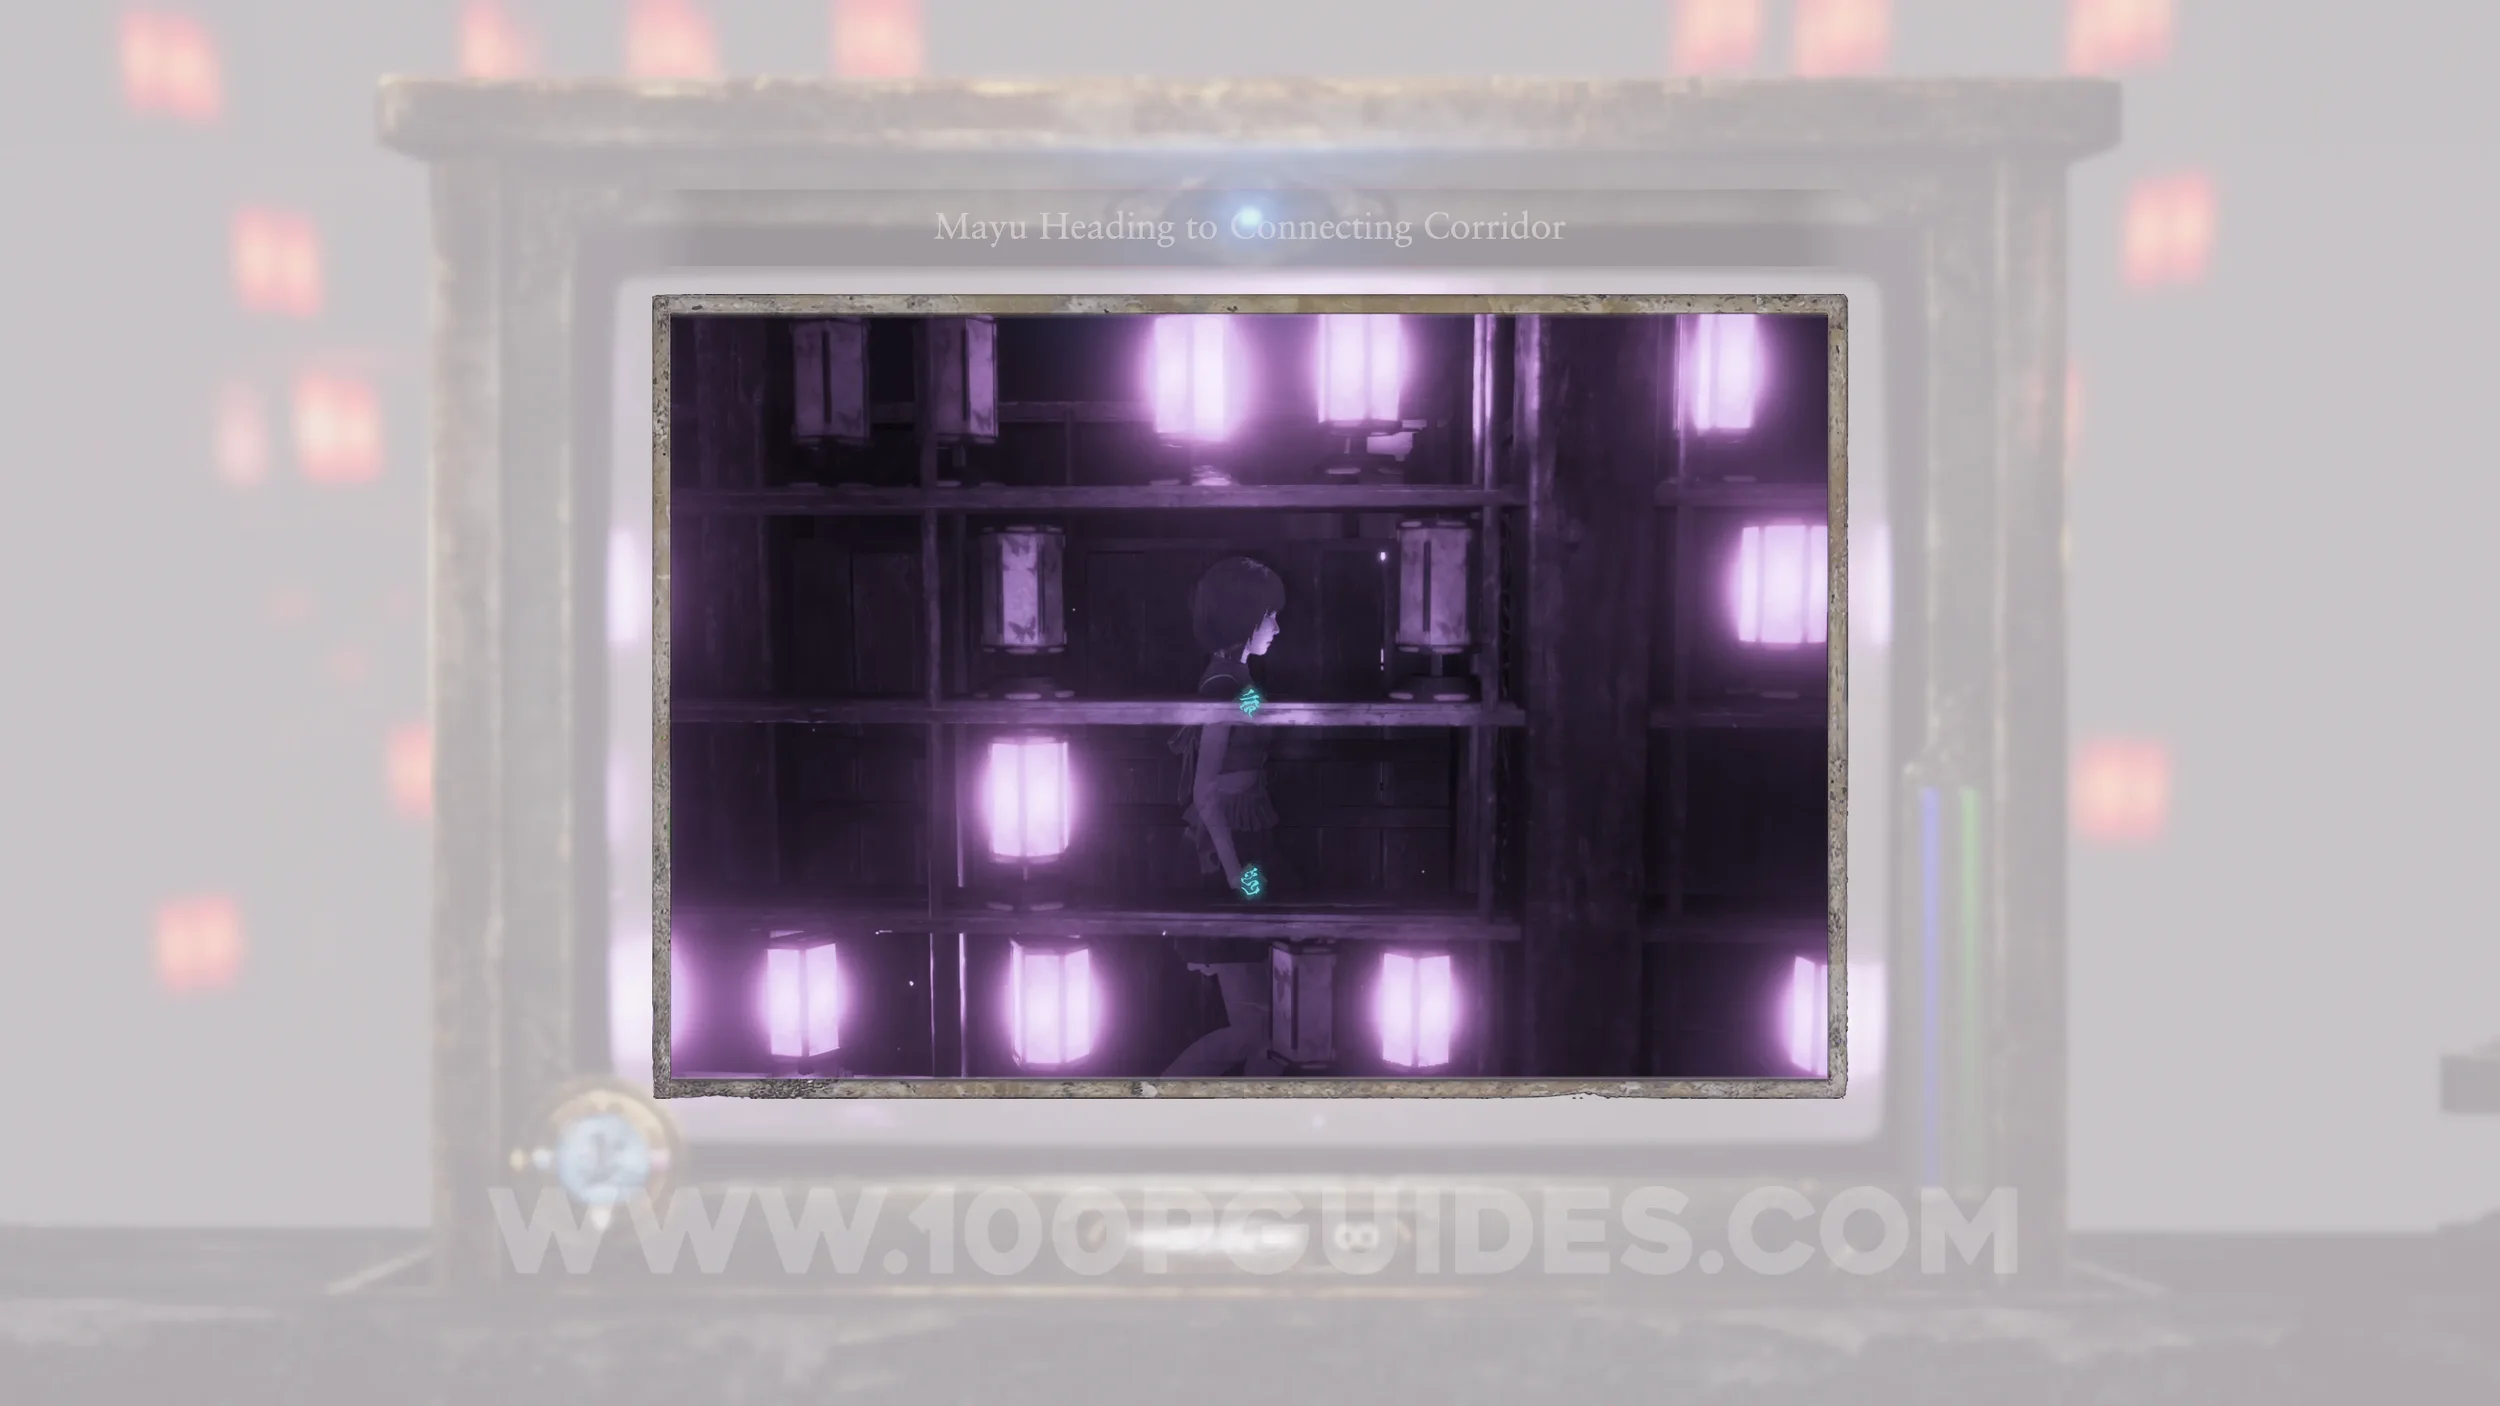
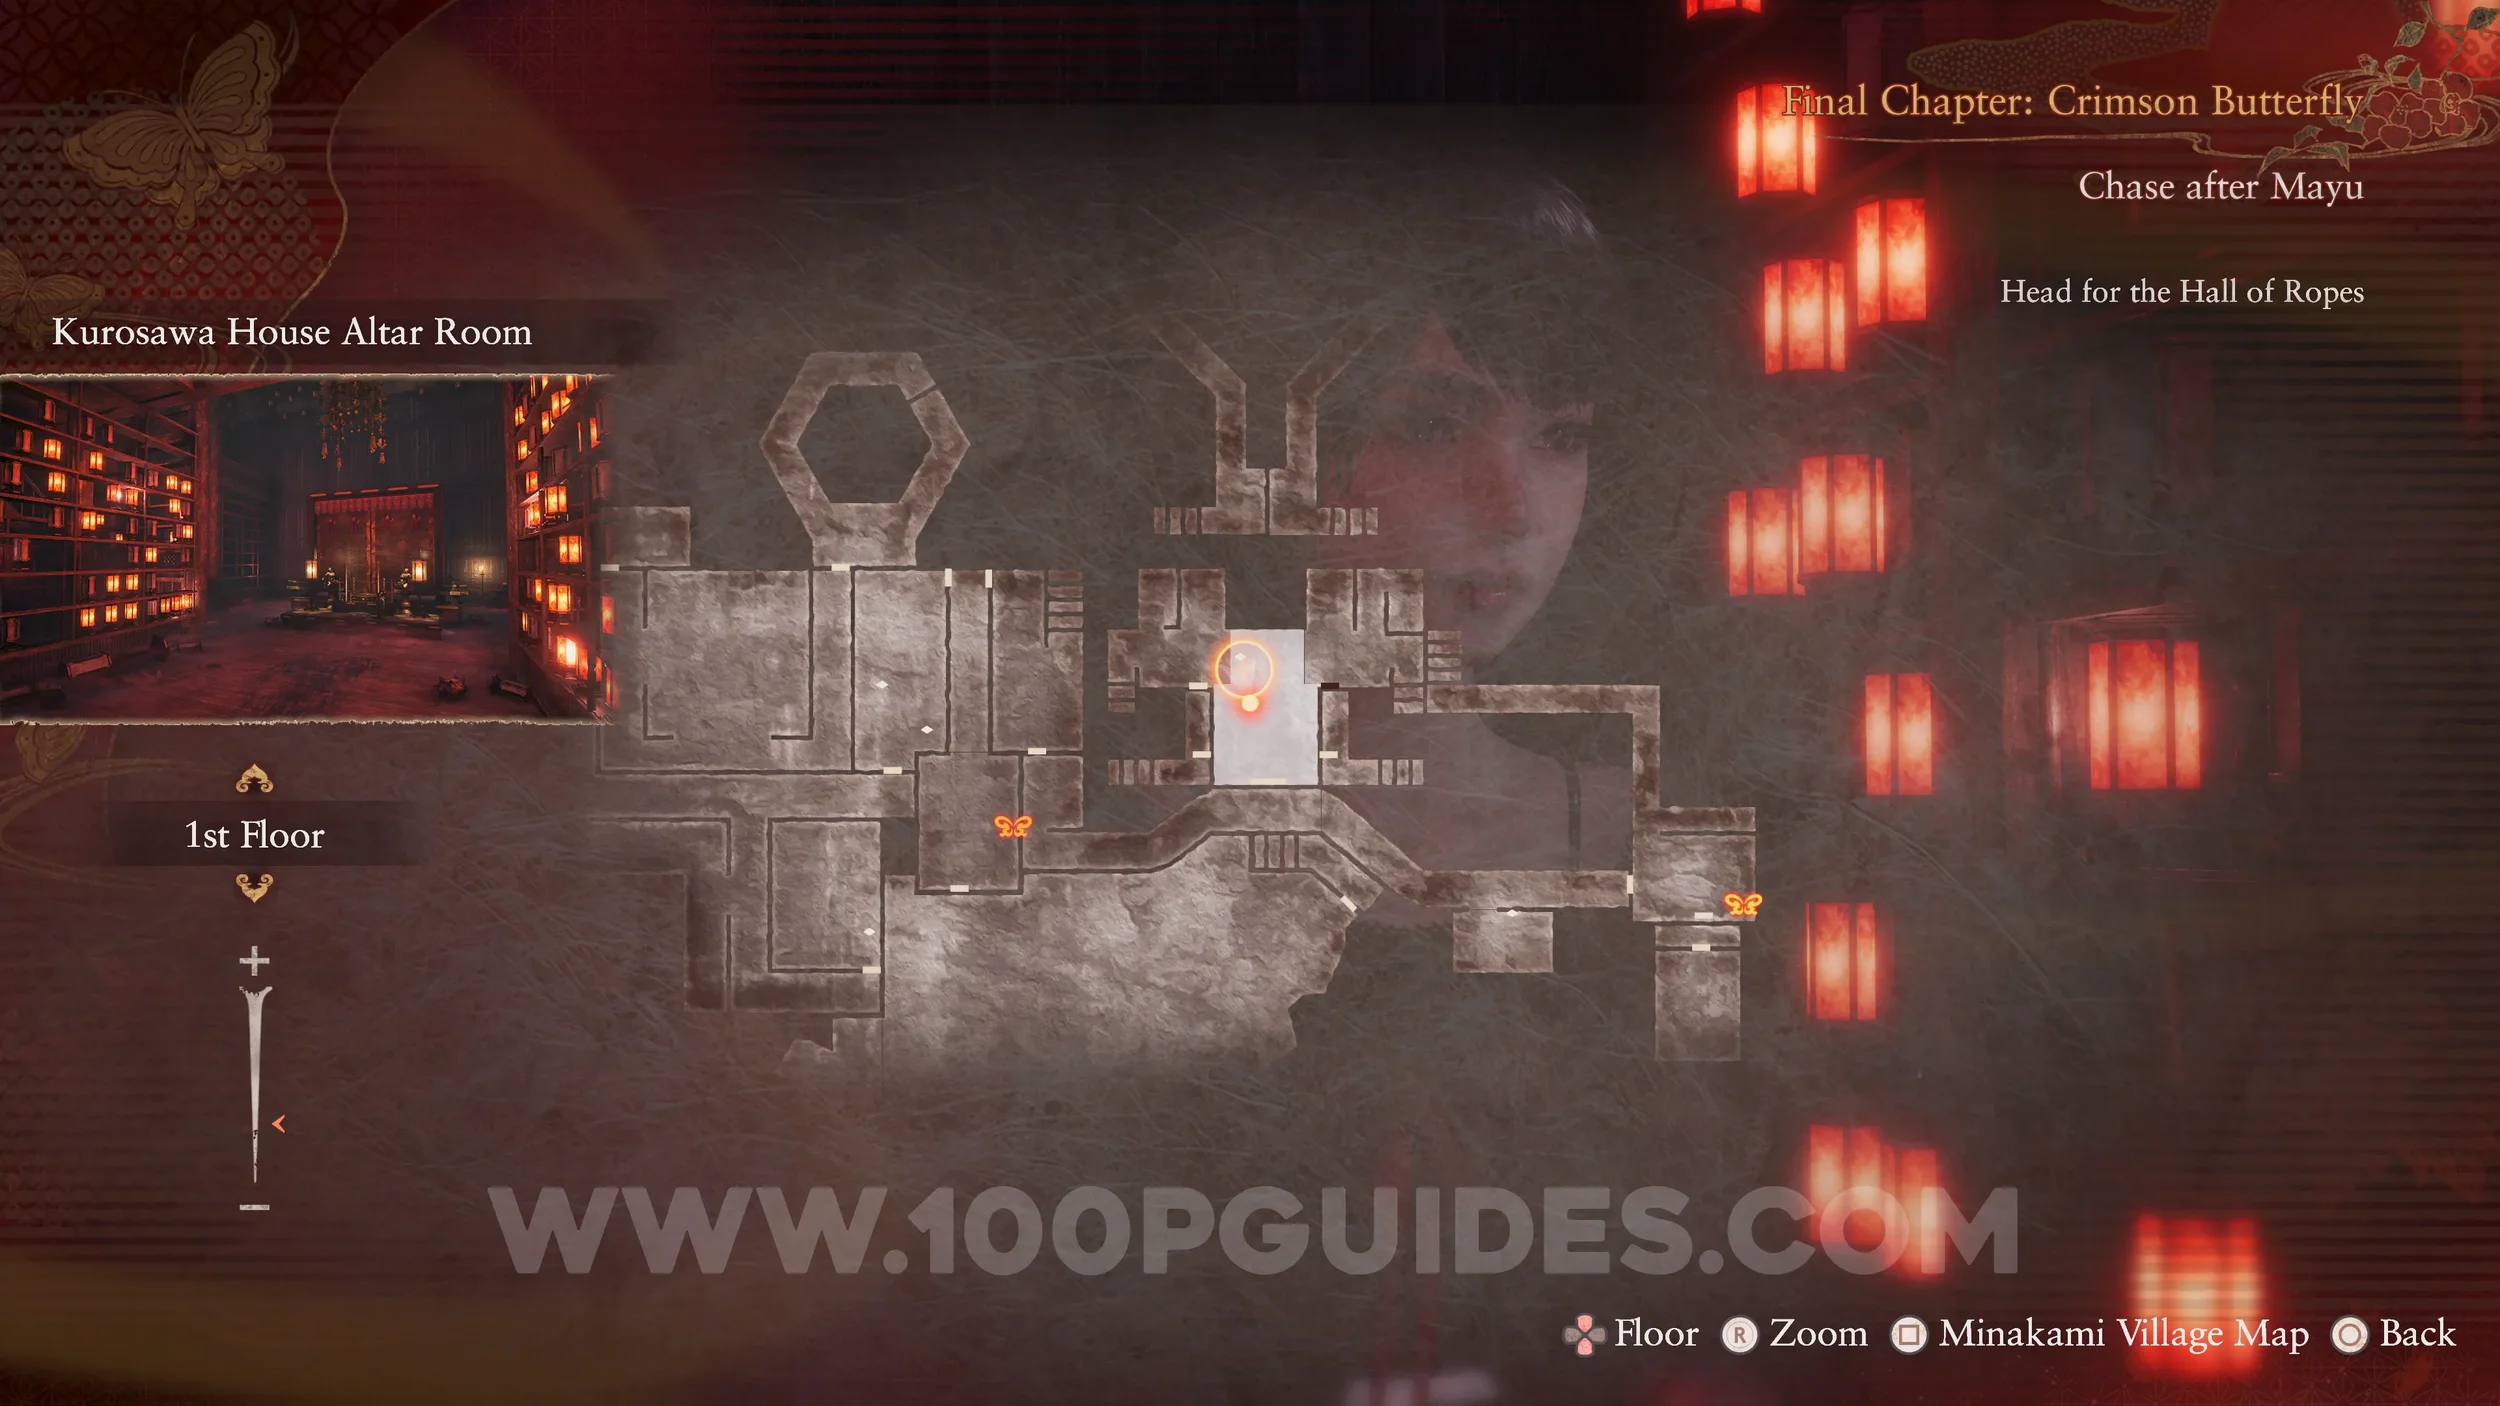
Specter #218 - 142 Mayu Heading to Connecting Corridor. Follow Mayu through the Kurosawa House until you reach the Altar Room. Look to the right here to see the specter.
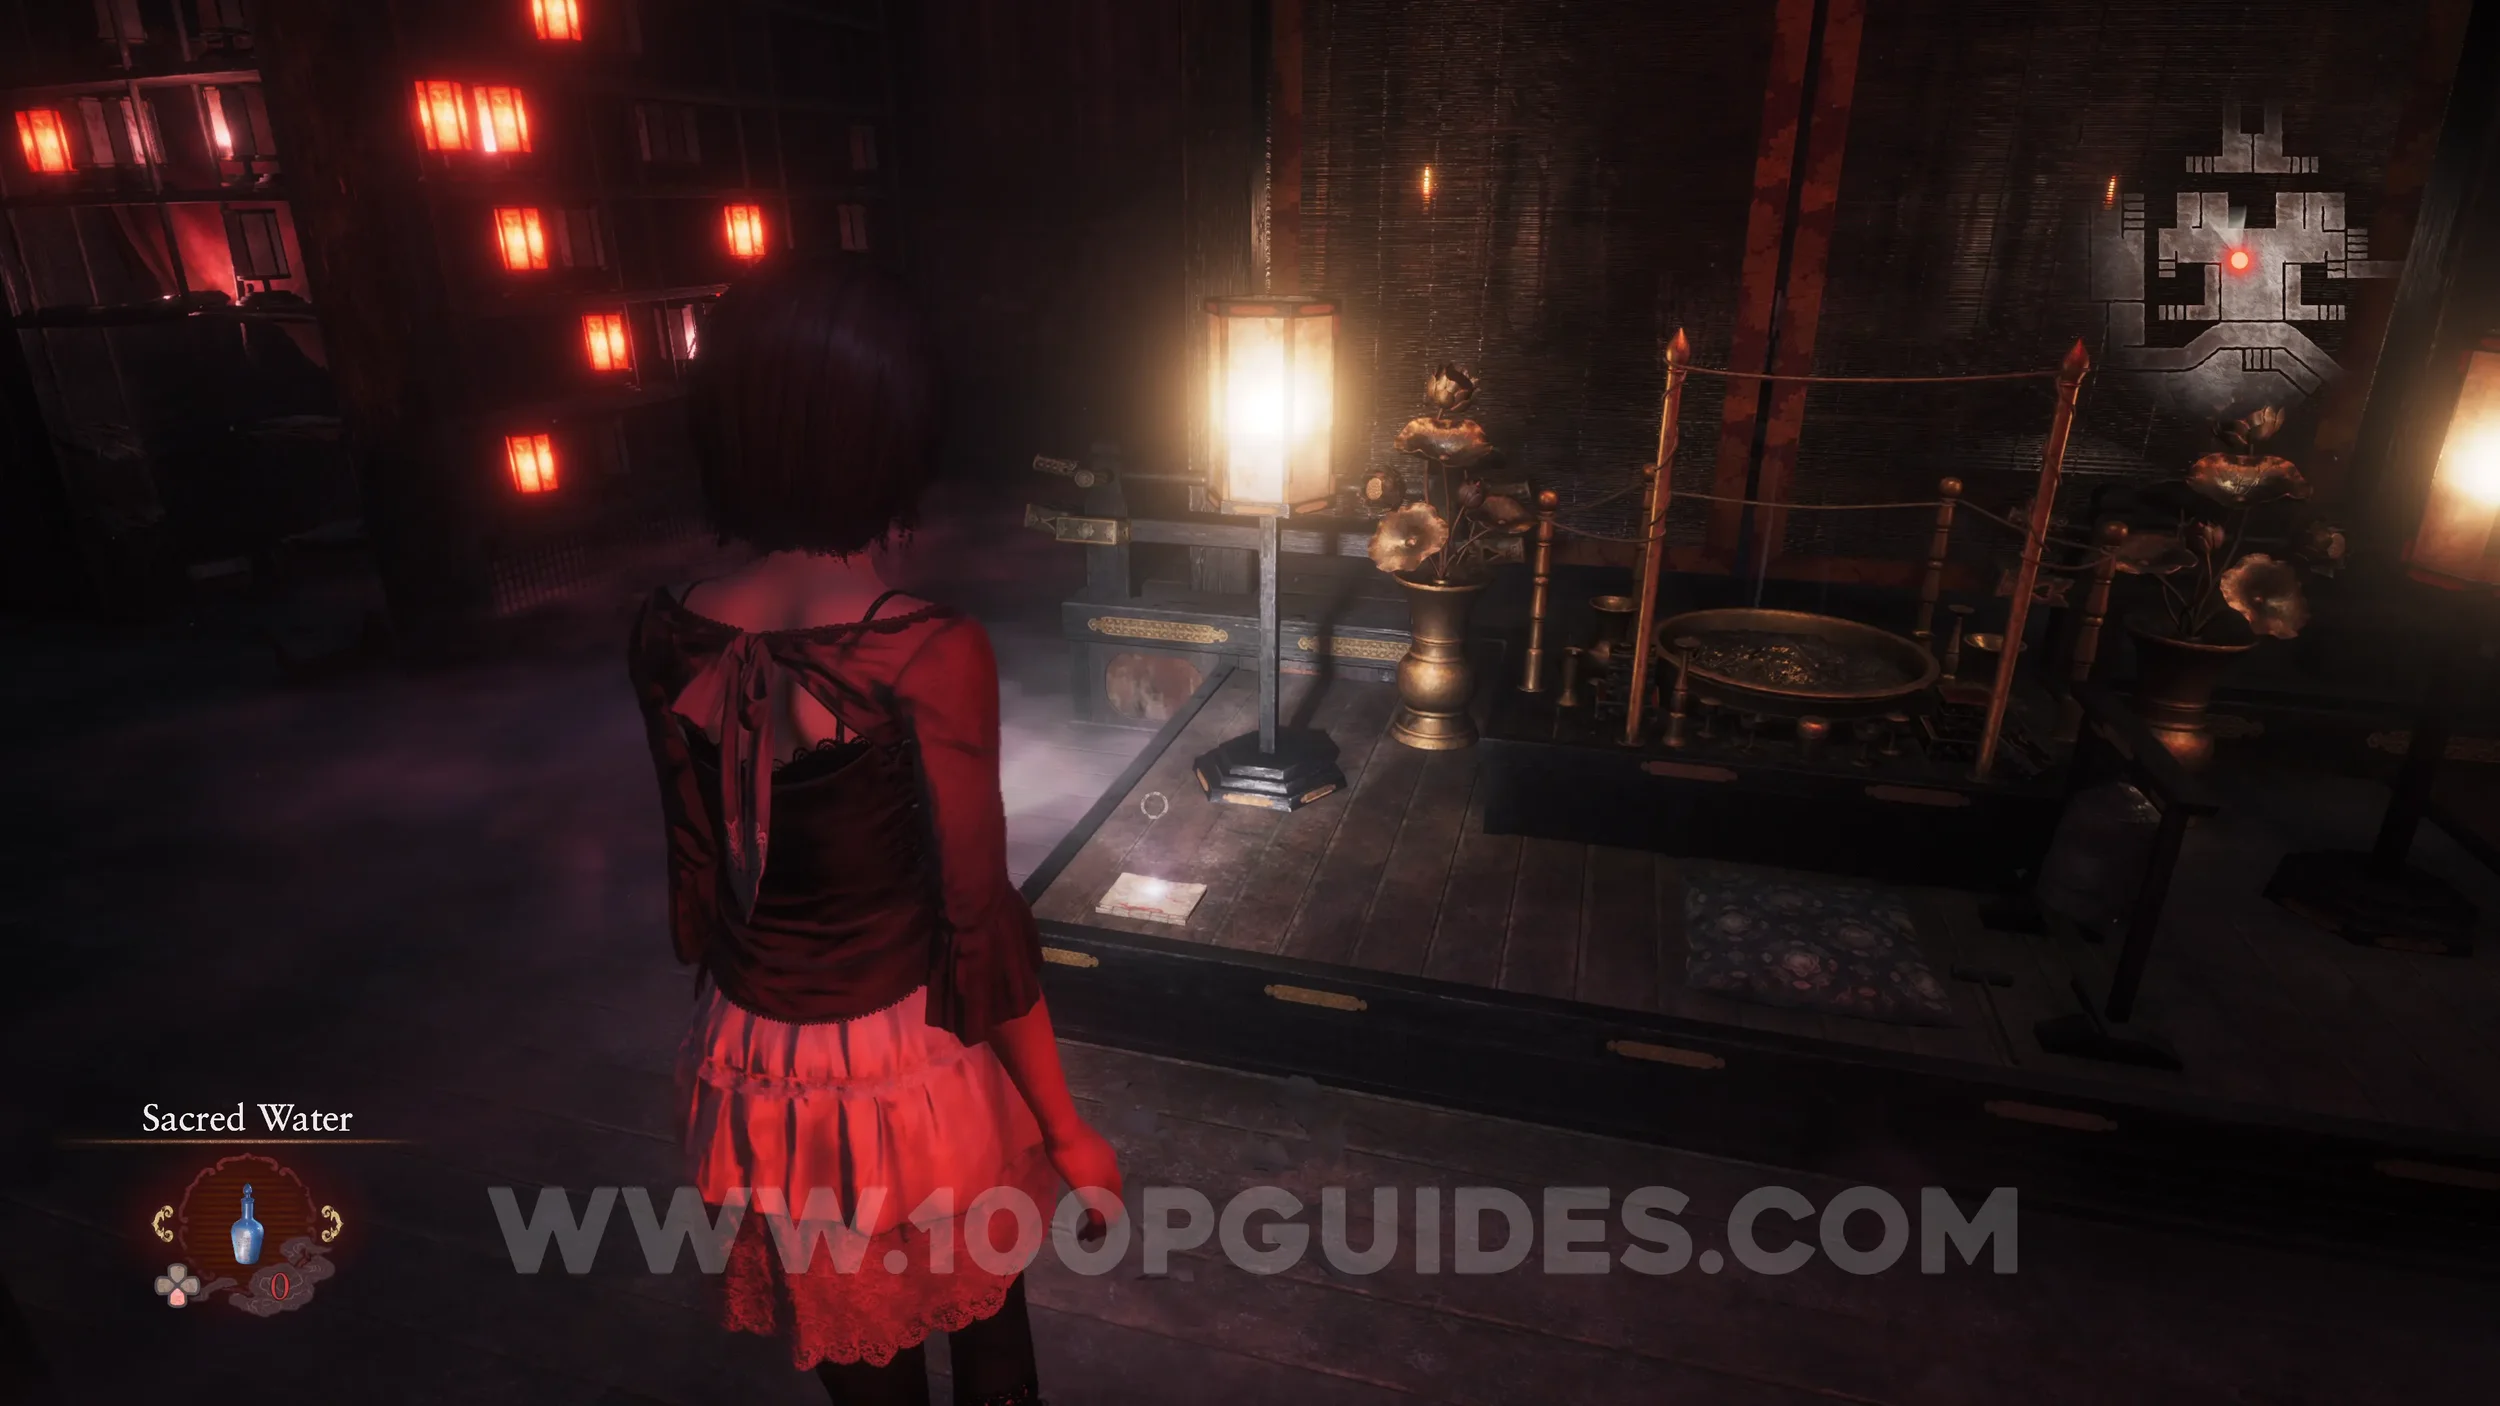
Document #107 - Butterfly Diary 11. In the middle of the Altar Room.
Specter #219 - 143 Priest Welcoming Shrine Maiden. In the corner in plain sight as you go through the Connecting Corridor.
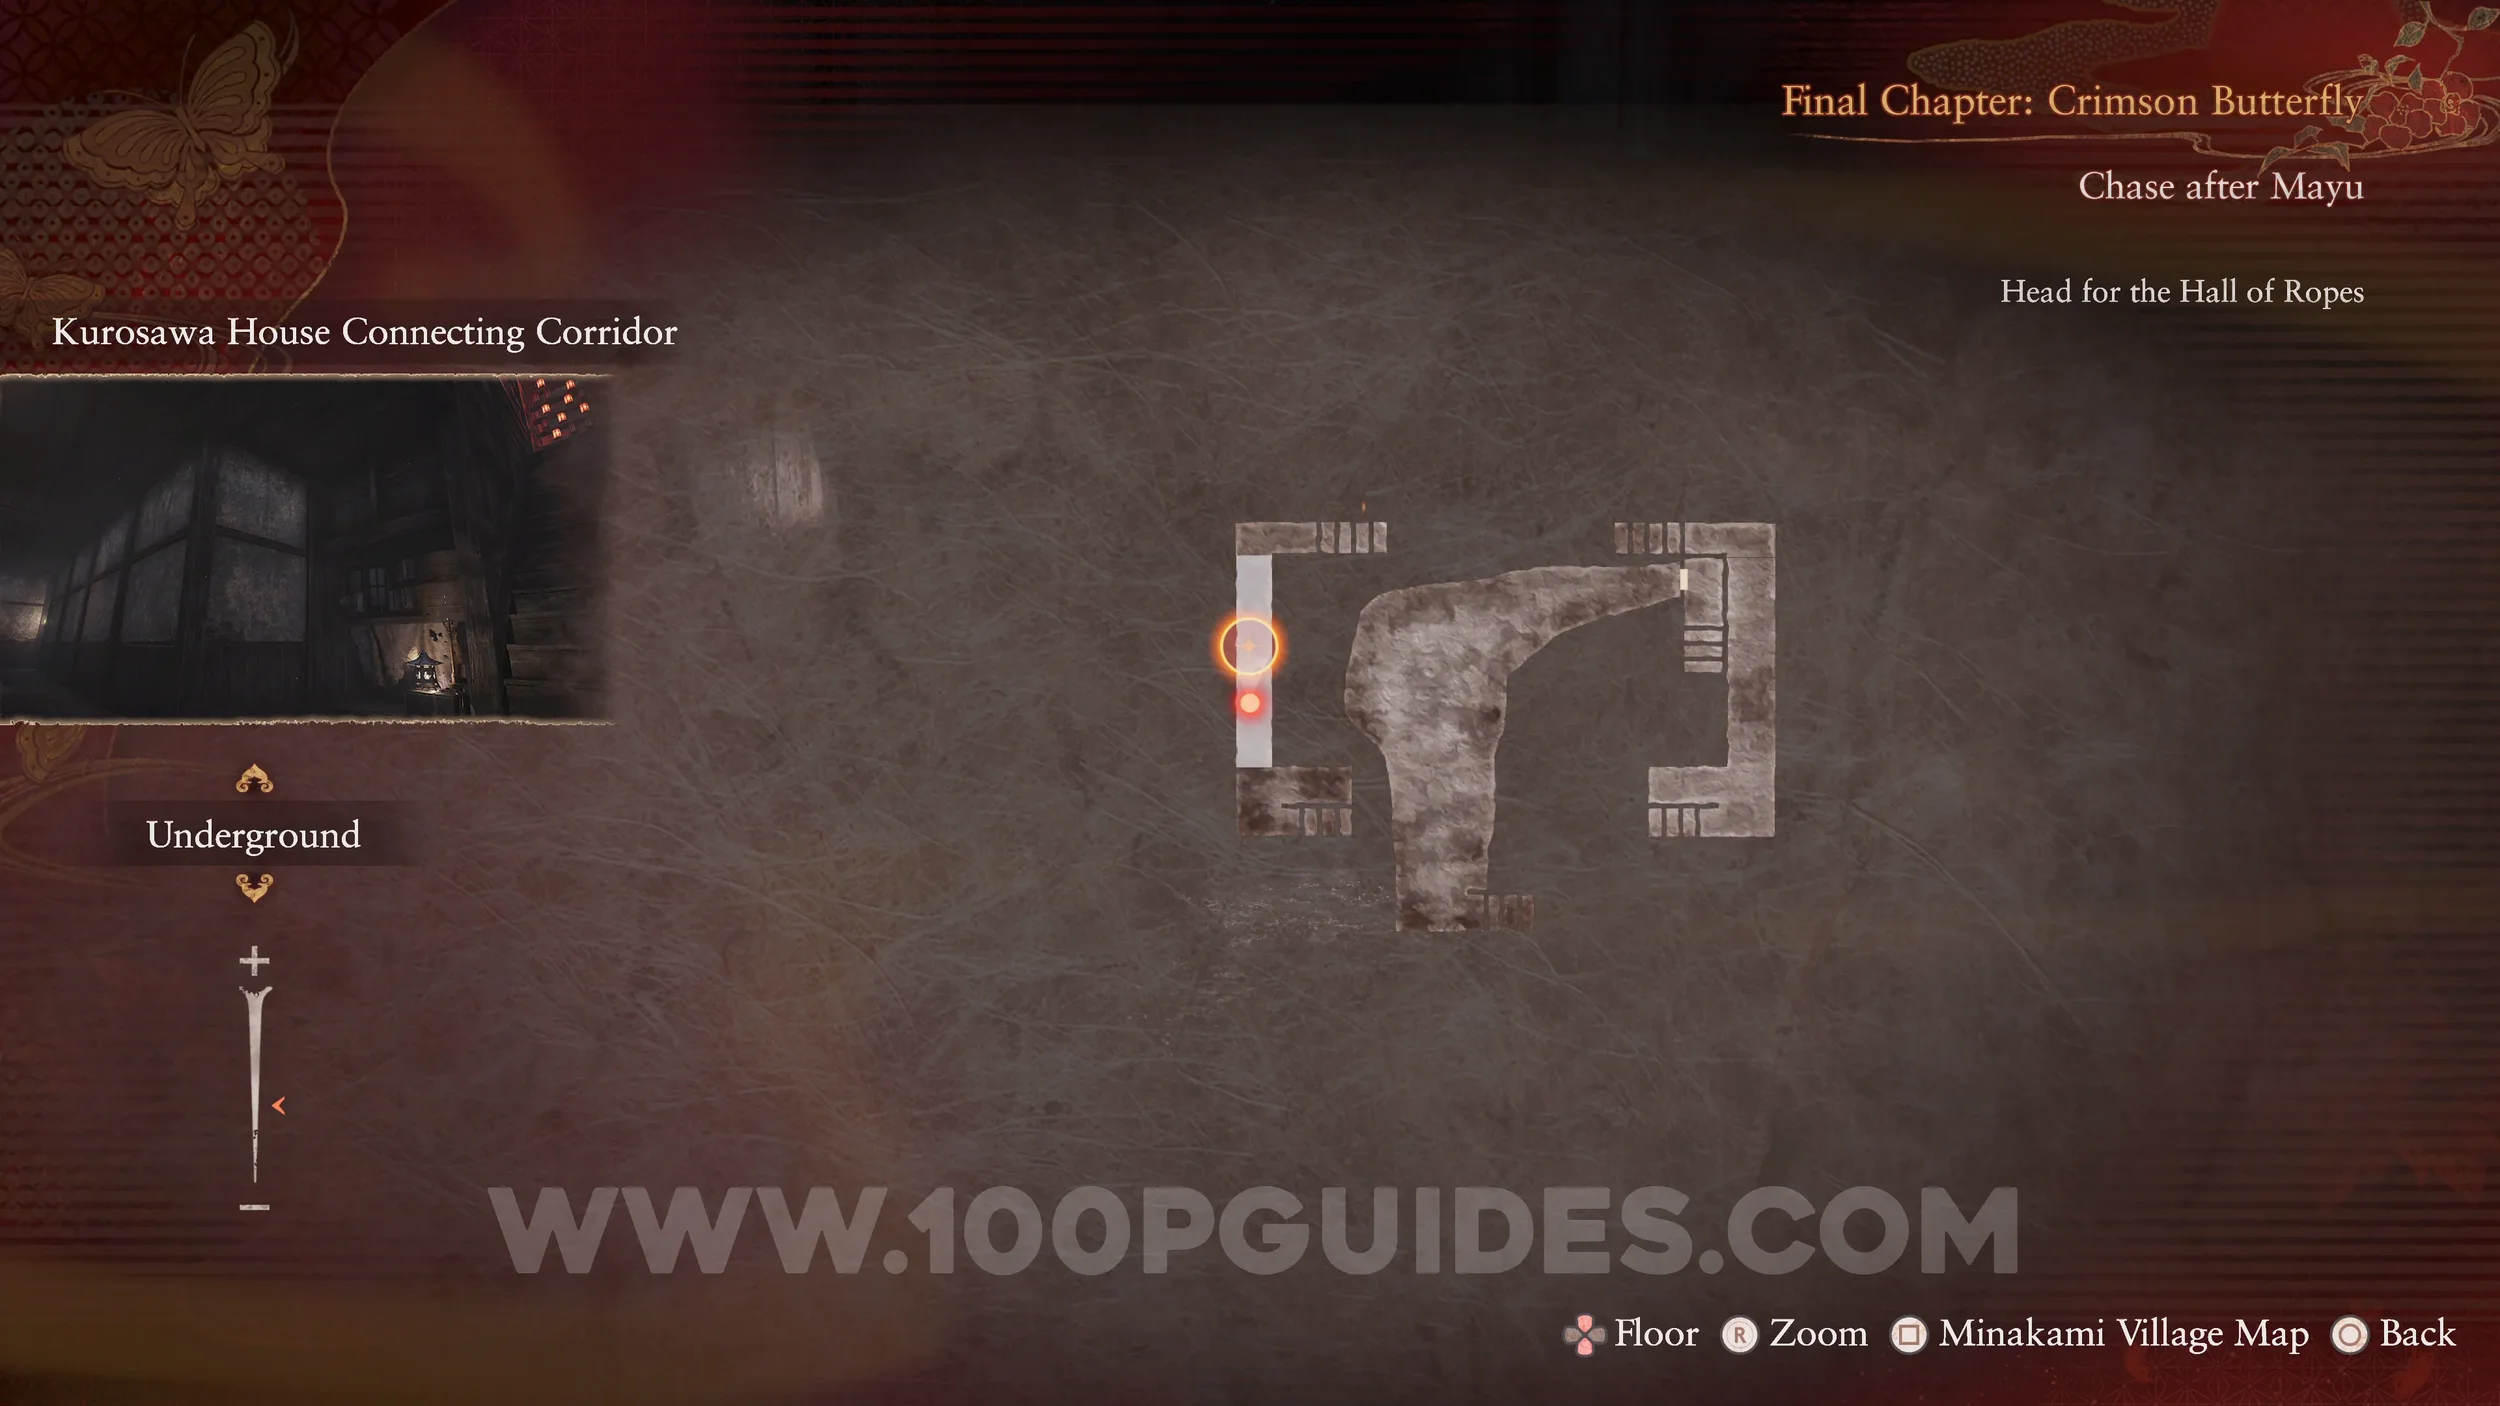
Spirit Stone #38 - Chrysocolla. Found on the ground in plain sight as you make your way through the Connecting Corridor.

Specter #220 - 144 Mayu Walking Connecting Corridor. Look toward the path on the right in the Connecting Corridor area to see Mayu.

Specter #221 - 145 - Mayu Heading to Ritual, Specter #222 - 146 Yae Heading to Ritual and Specter #223 - 147 Twin Maidens Performing Ritual. In front of you at the end of the Connecting Corridor area. Make sure you get them both in shot.
Specter #224 - 148 Maiden in White Kimono. As soon as you stand on the switch to open the door at the end of the Connecting Corridor area, look to the right to see the specter.

Prayer Beads #76. In the save room after the Connecting Corridor.
Wraith #24 - 023 Kurosawa Patriarch. Story related. You will fight this enemy in the Hall of Ropes.
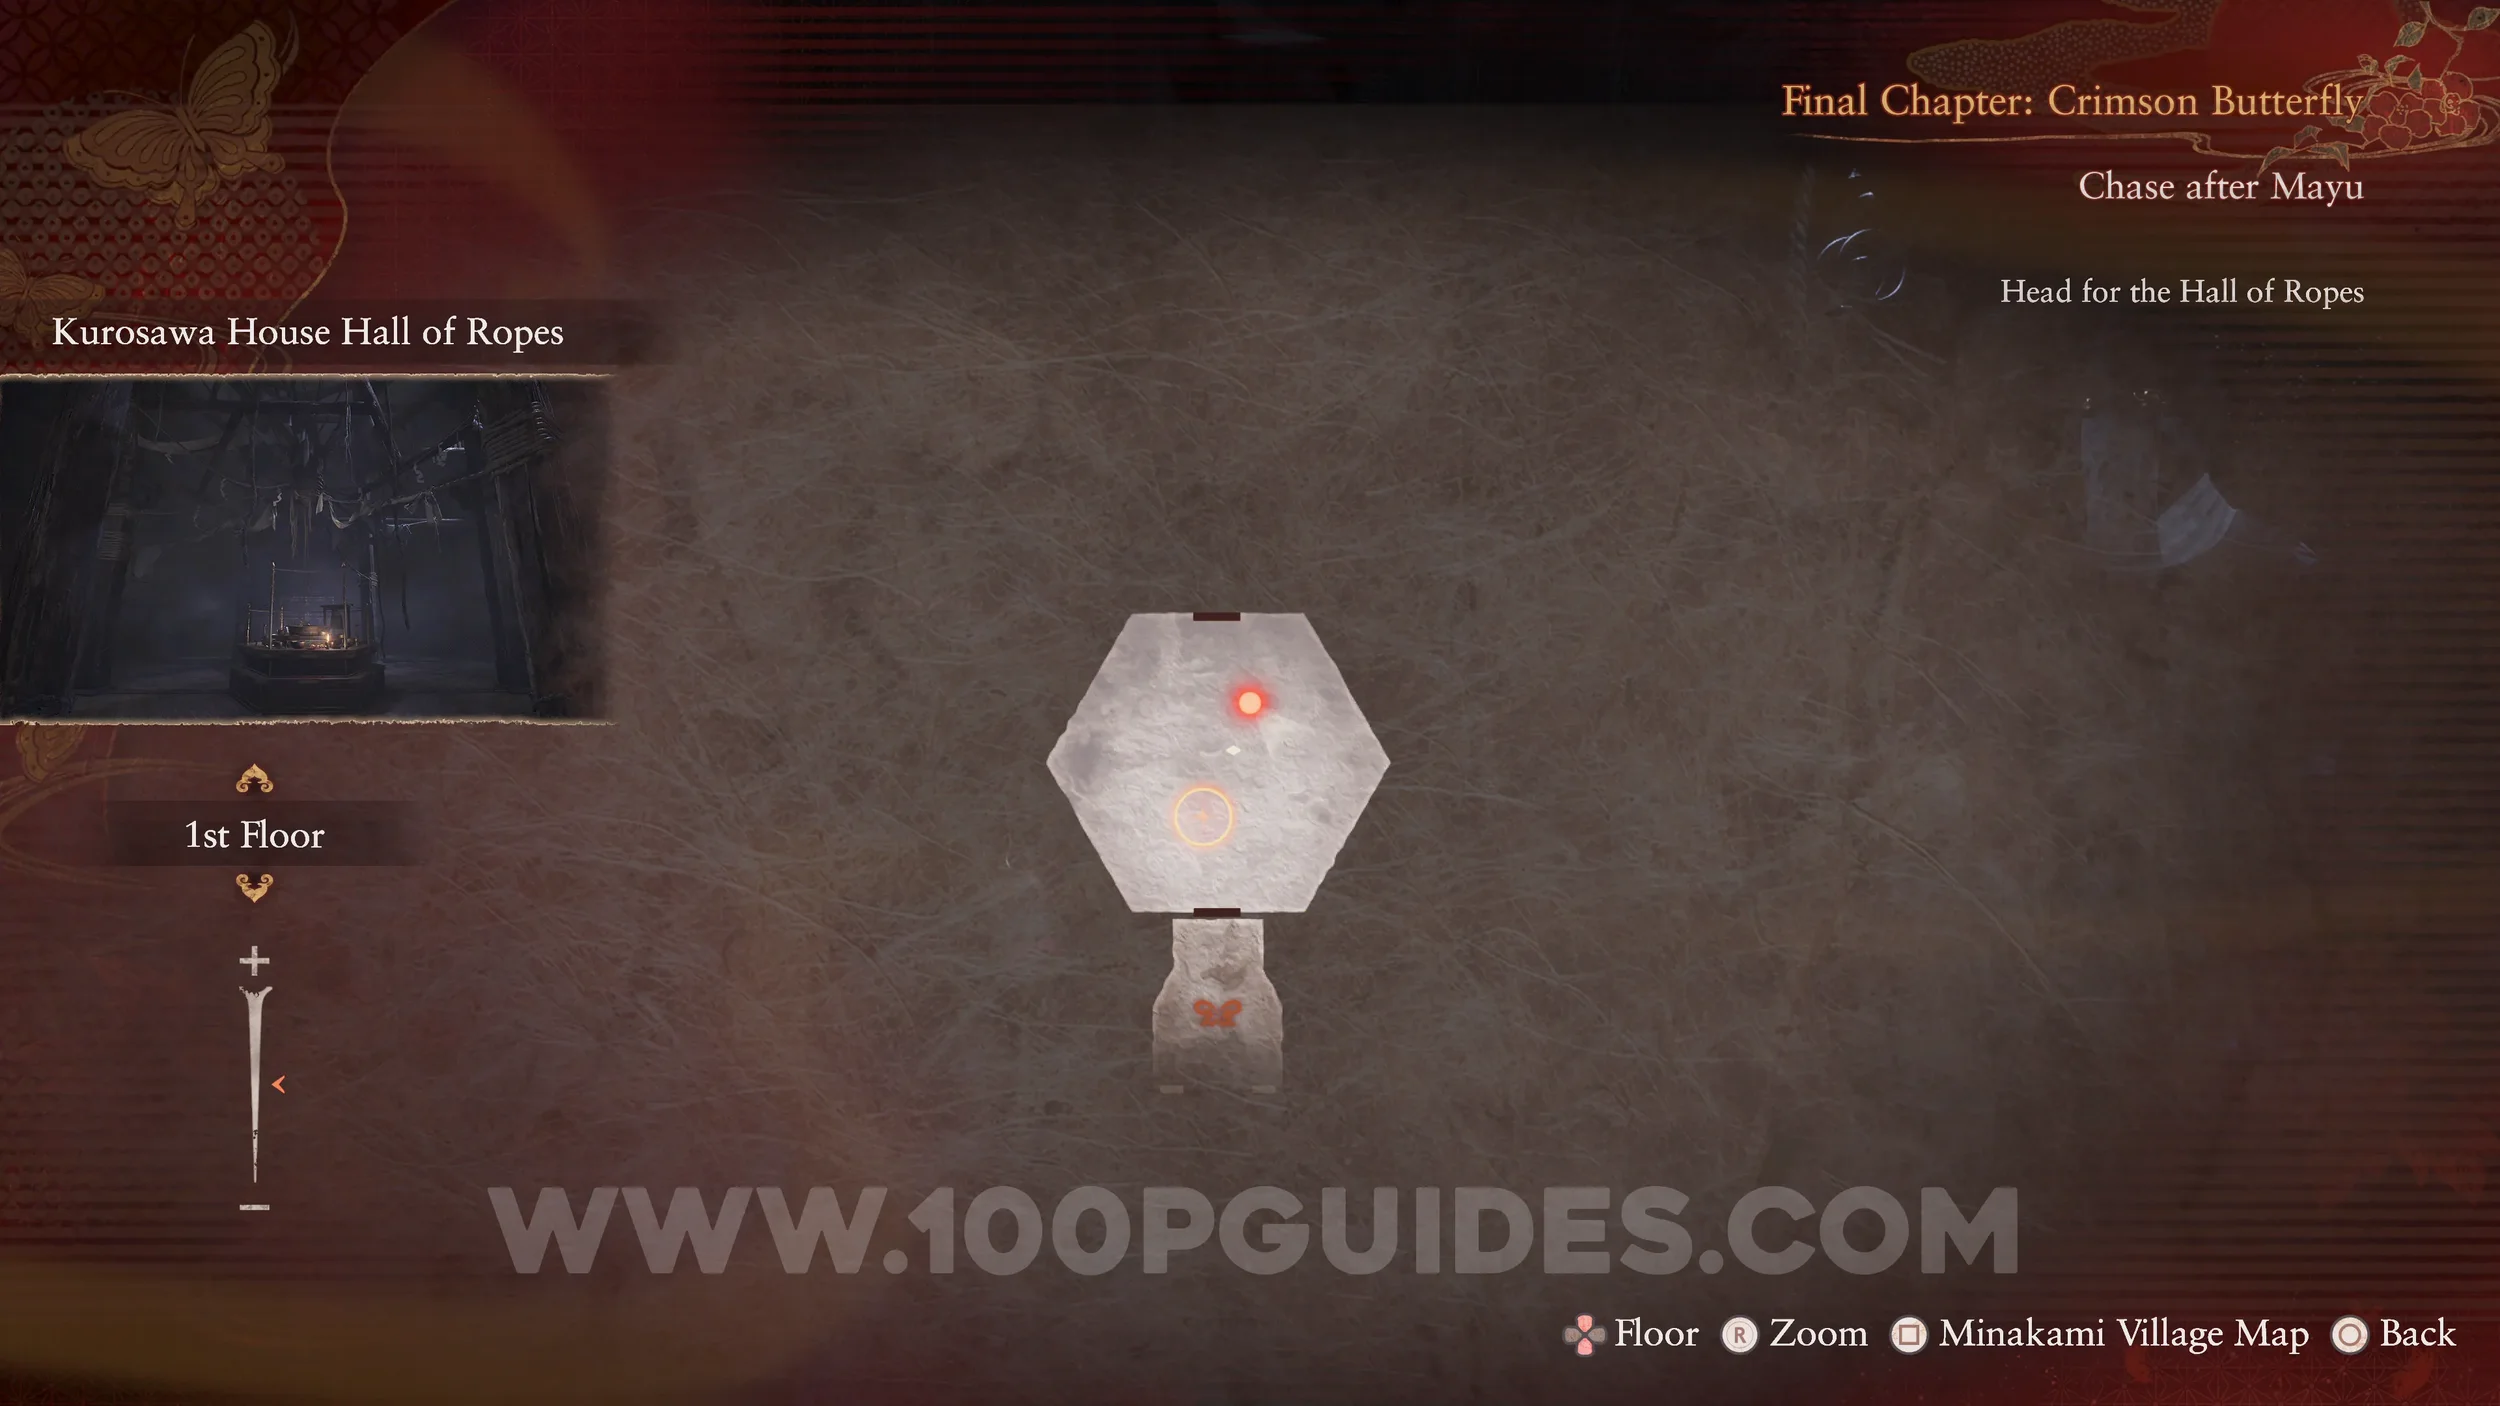

Spirit Stone #39 - Chrysocolla 2. In the middle of the Hall of Ropes.
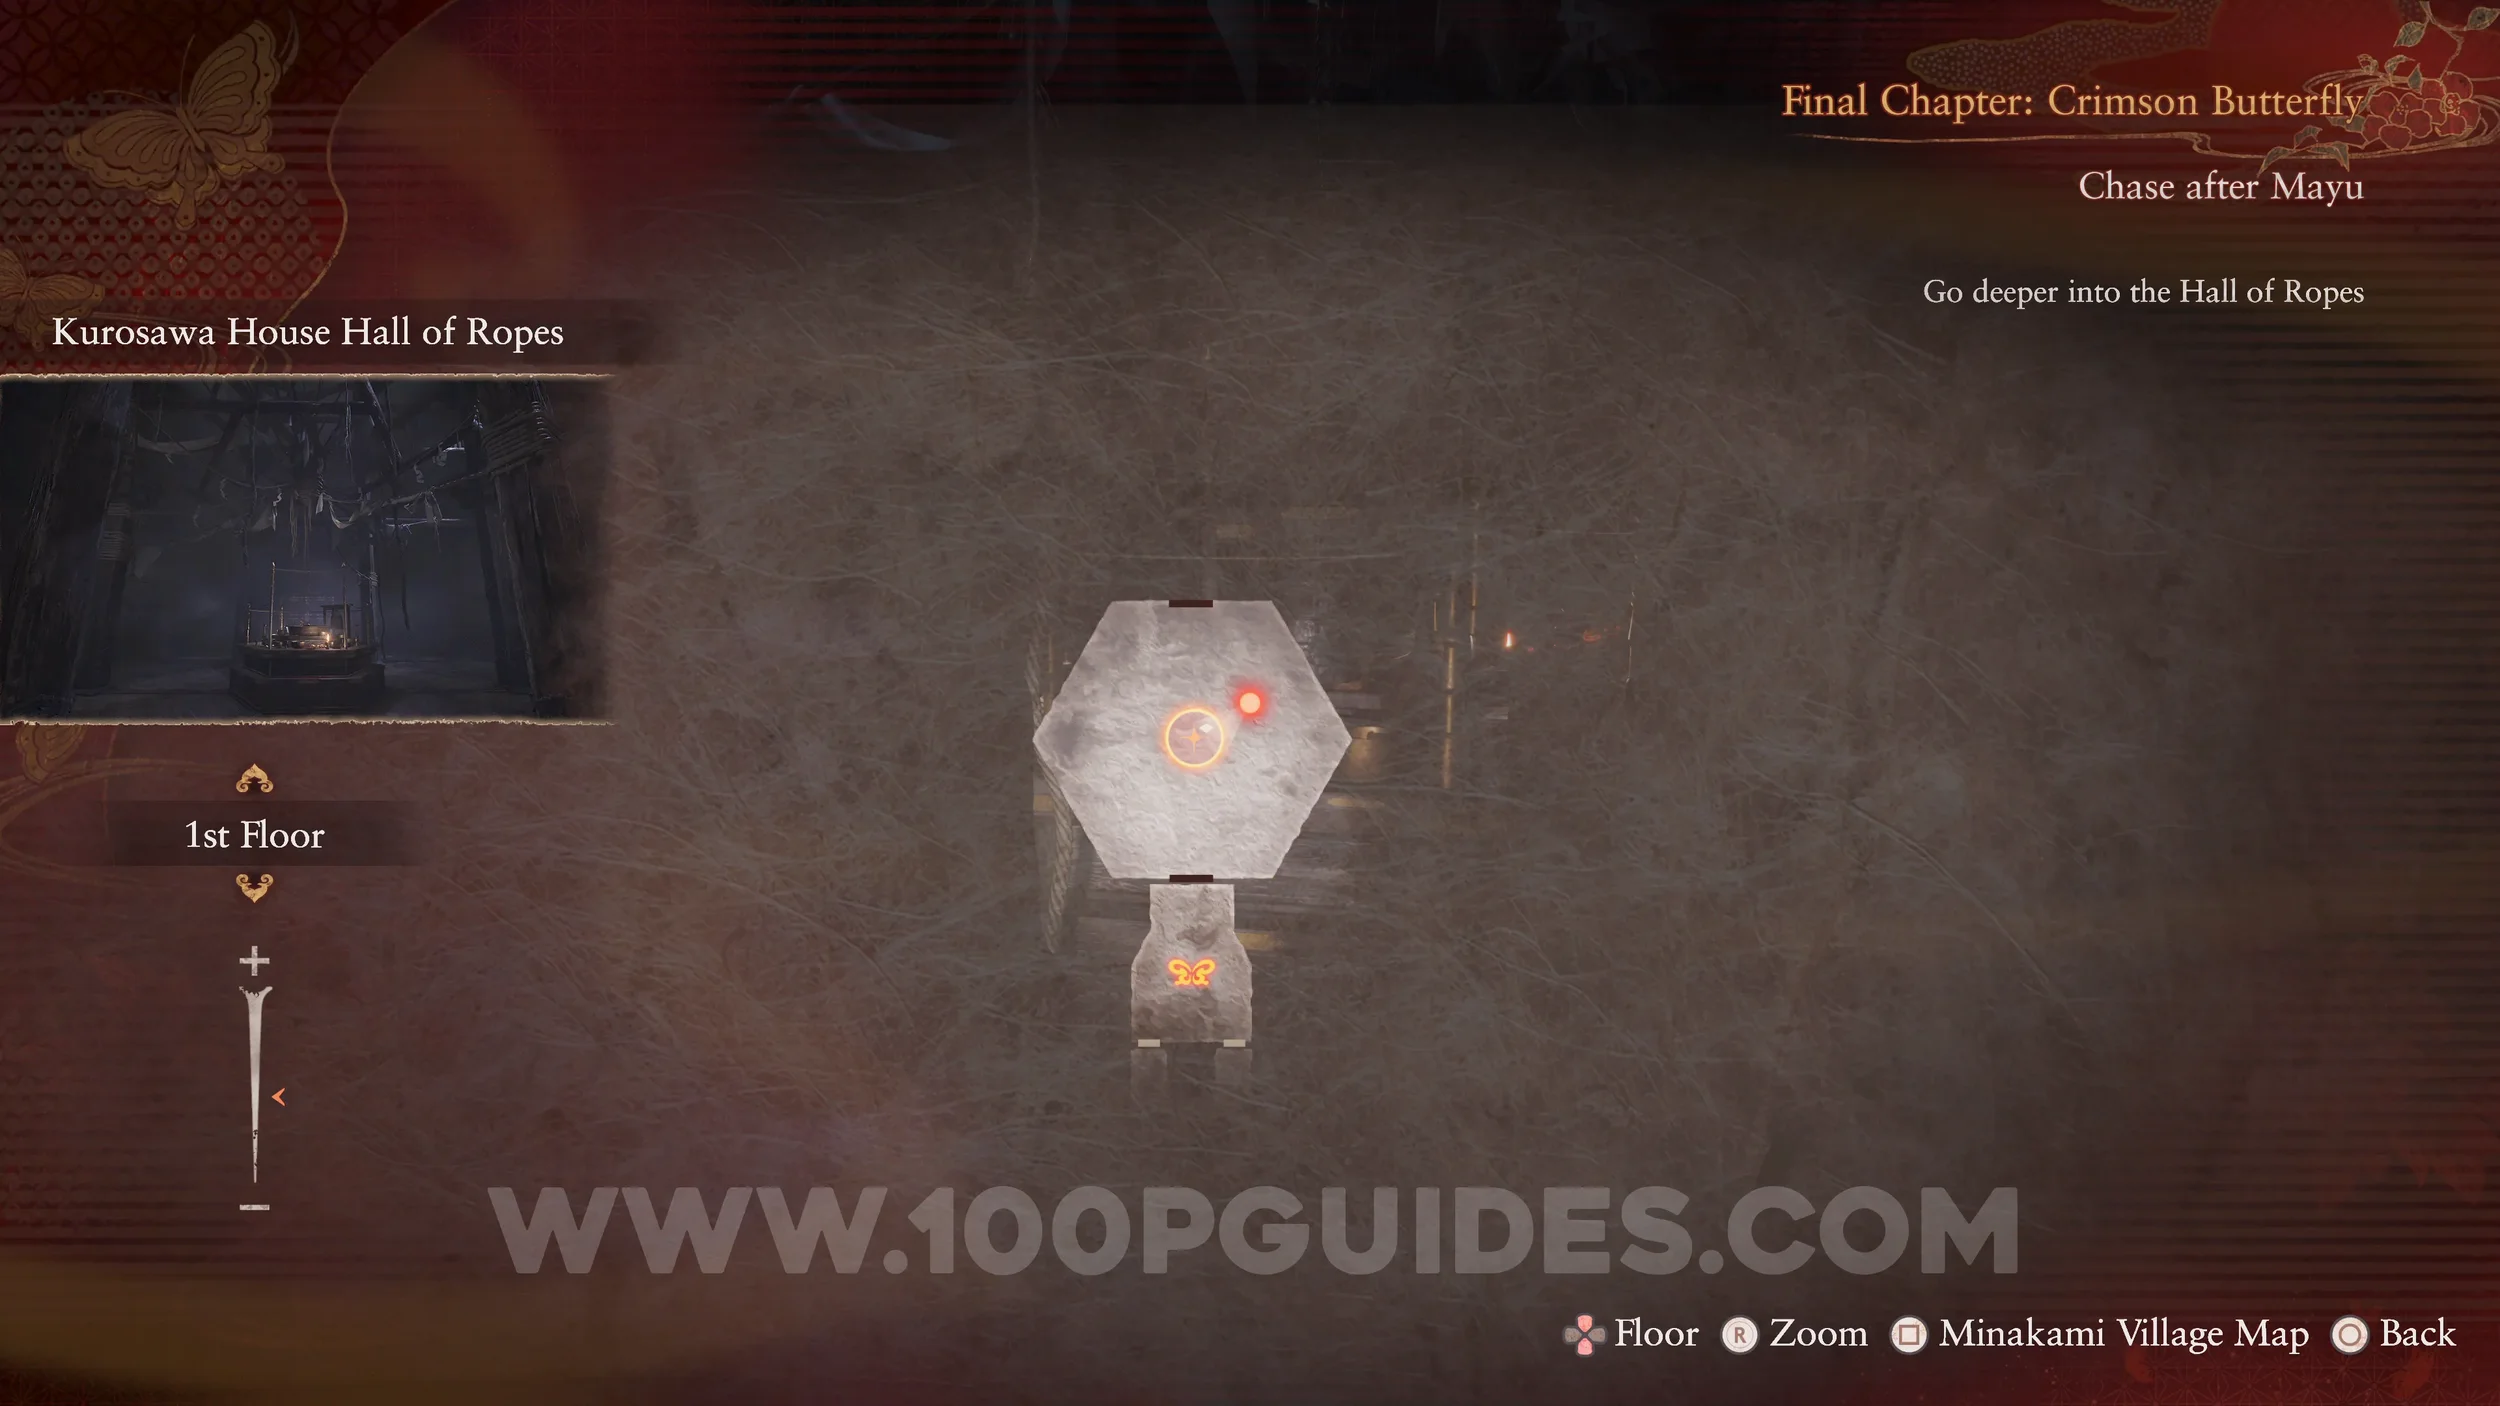
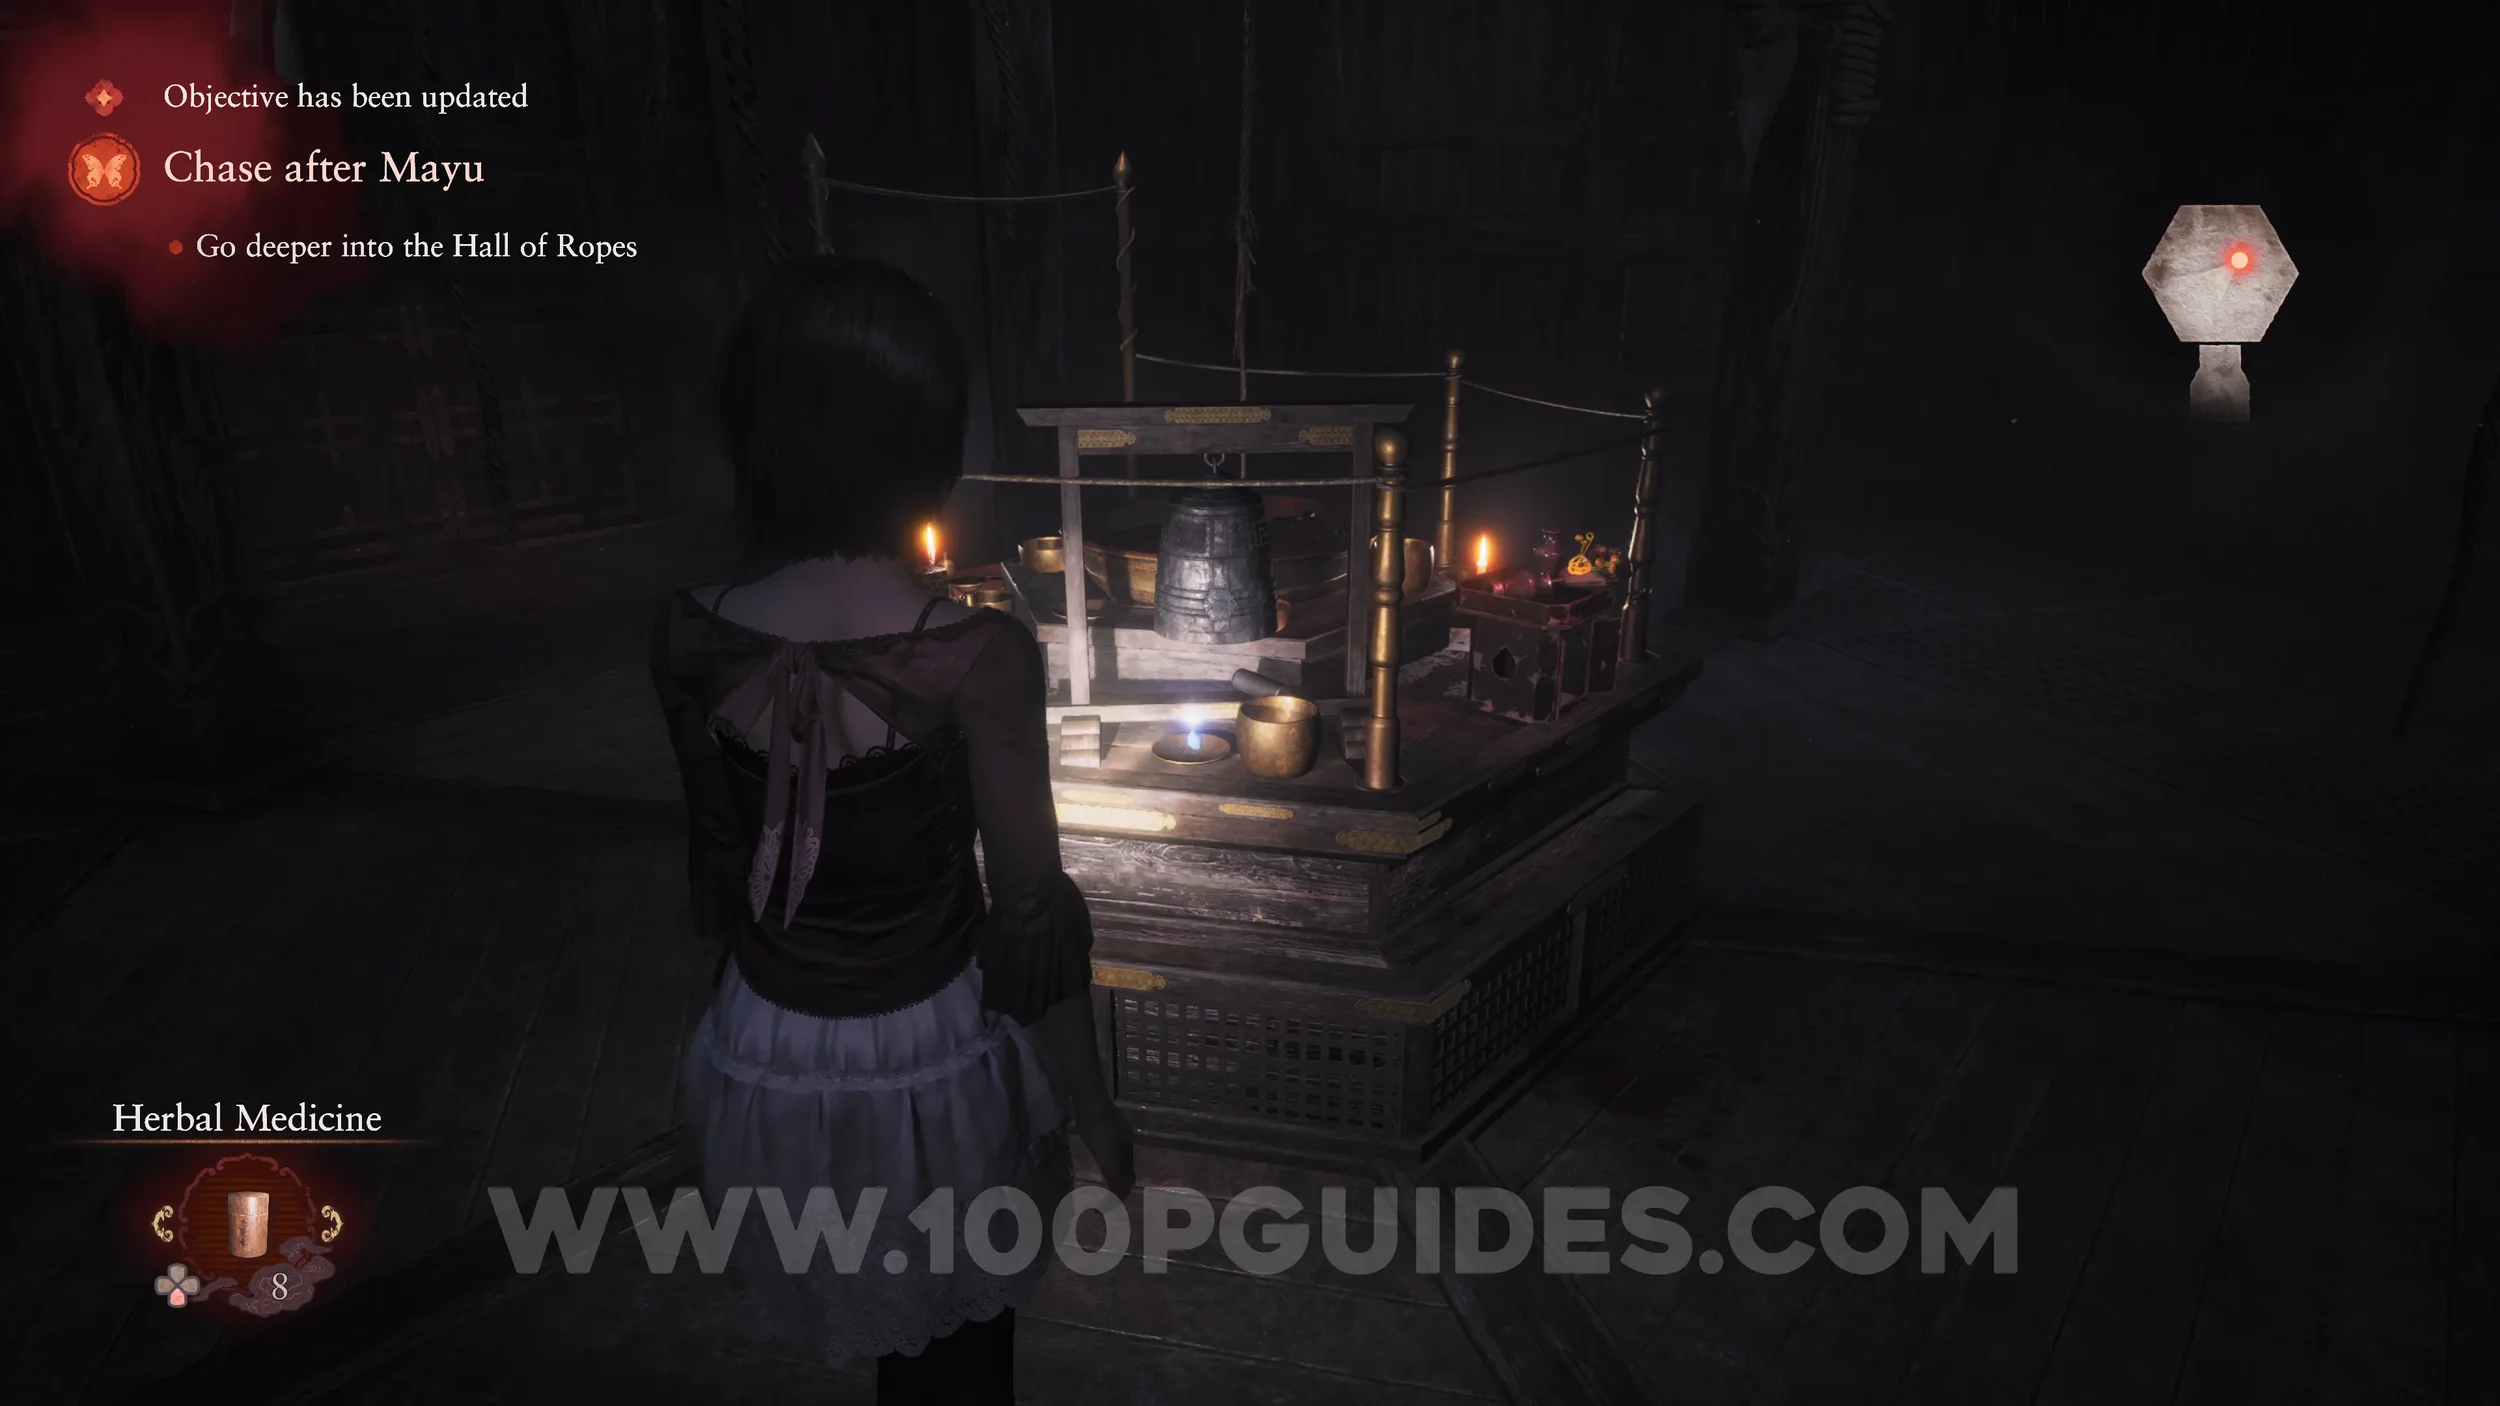
Revenant #31 - Seijiro Makabe. Up above you, in the middle of the Hall of Ropes.
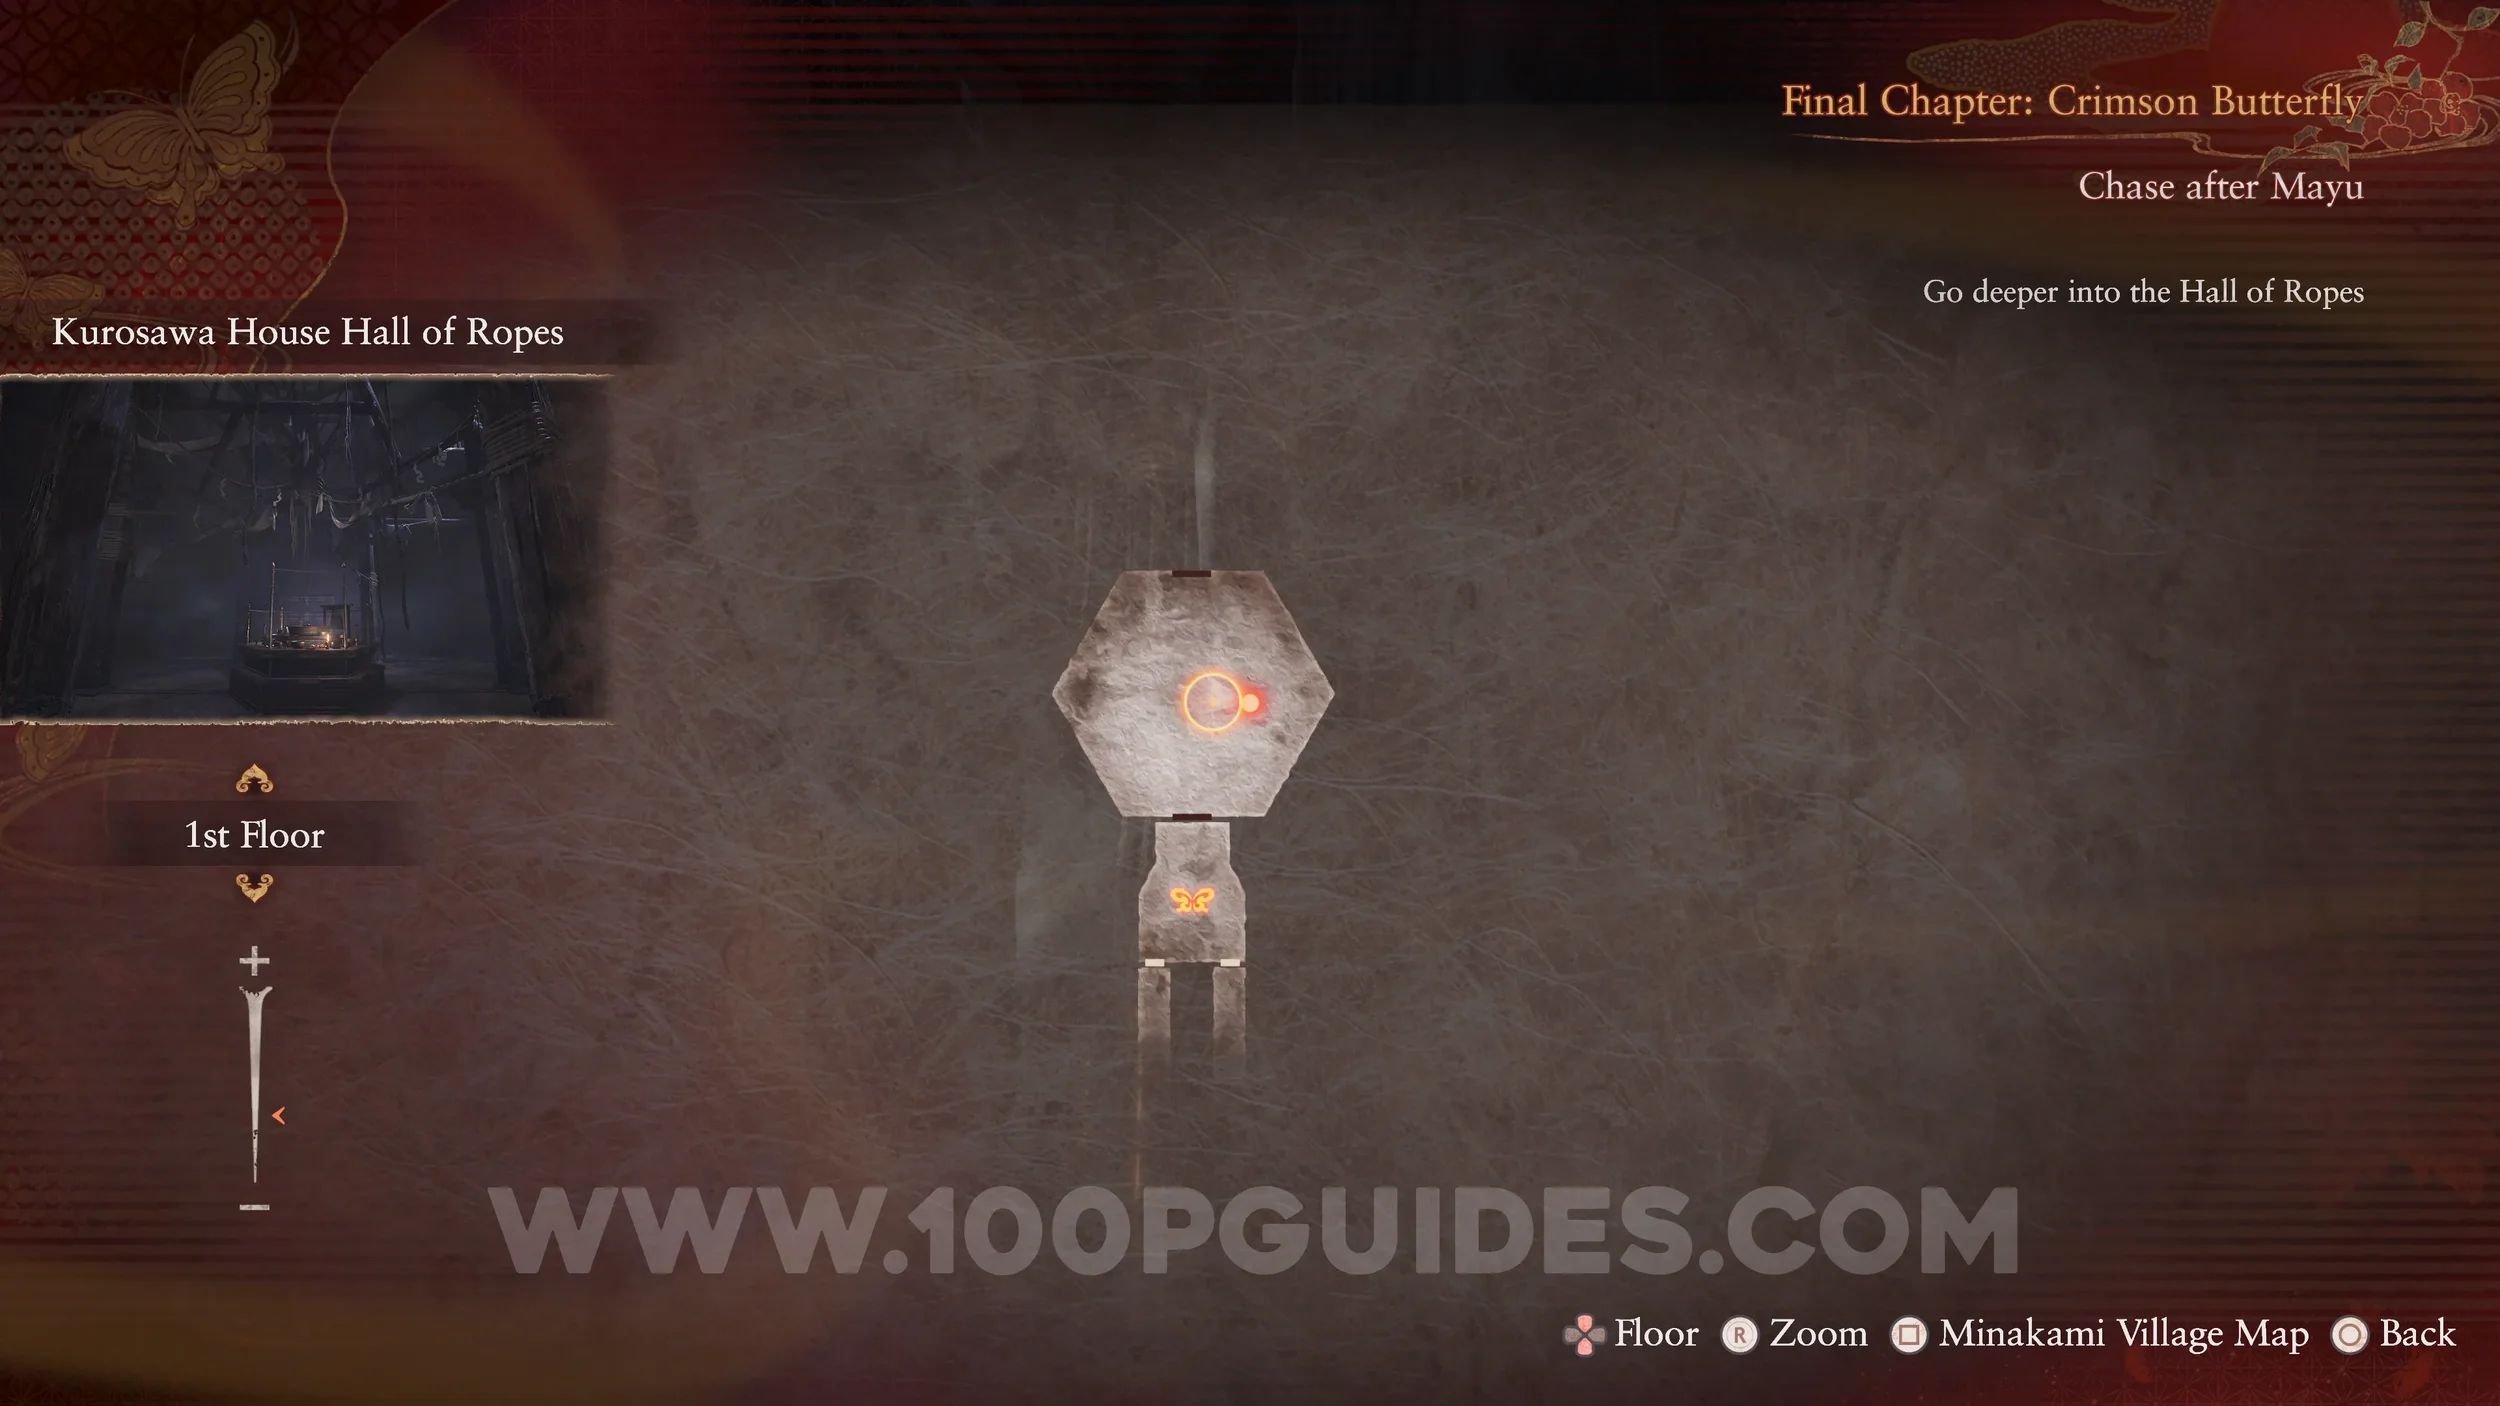
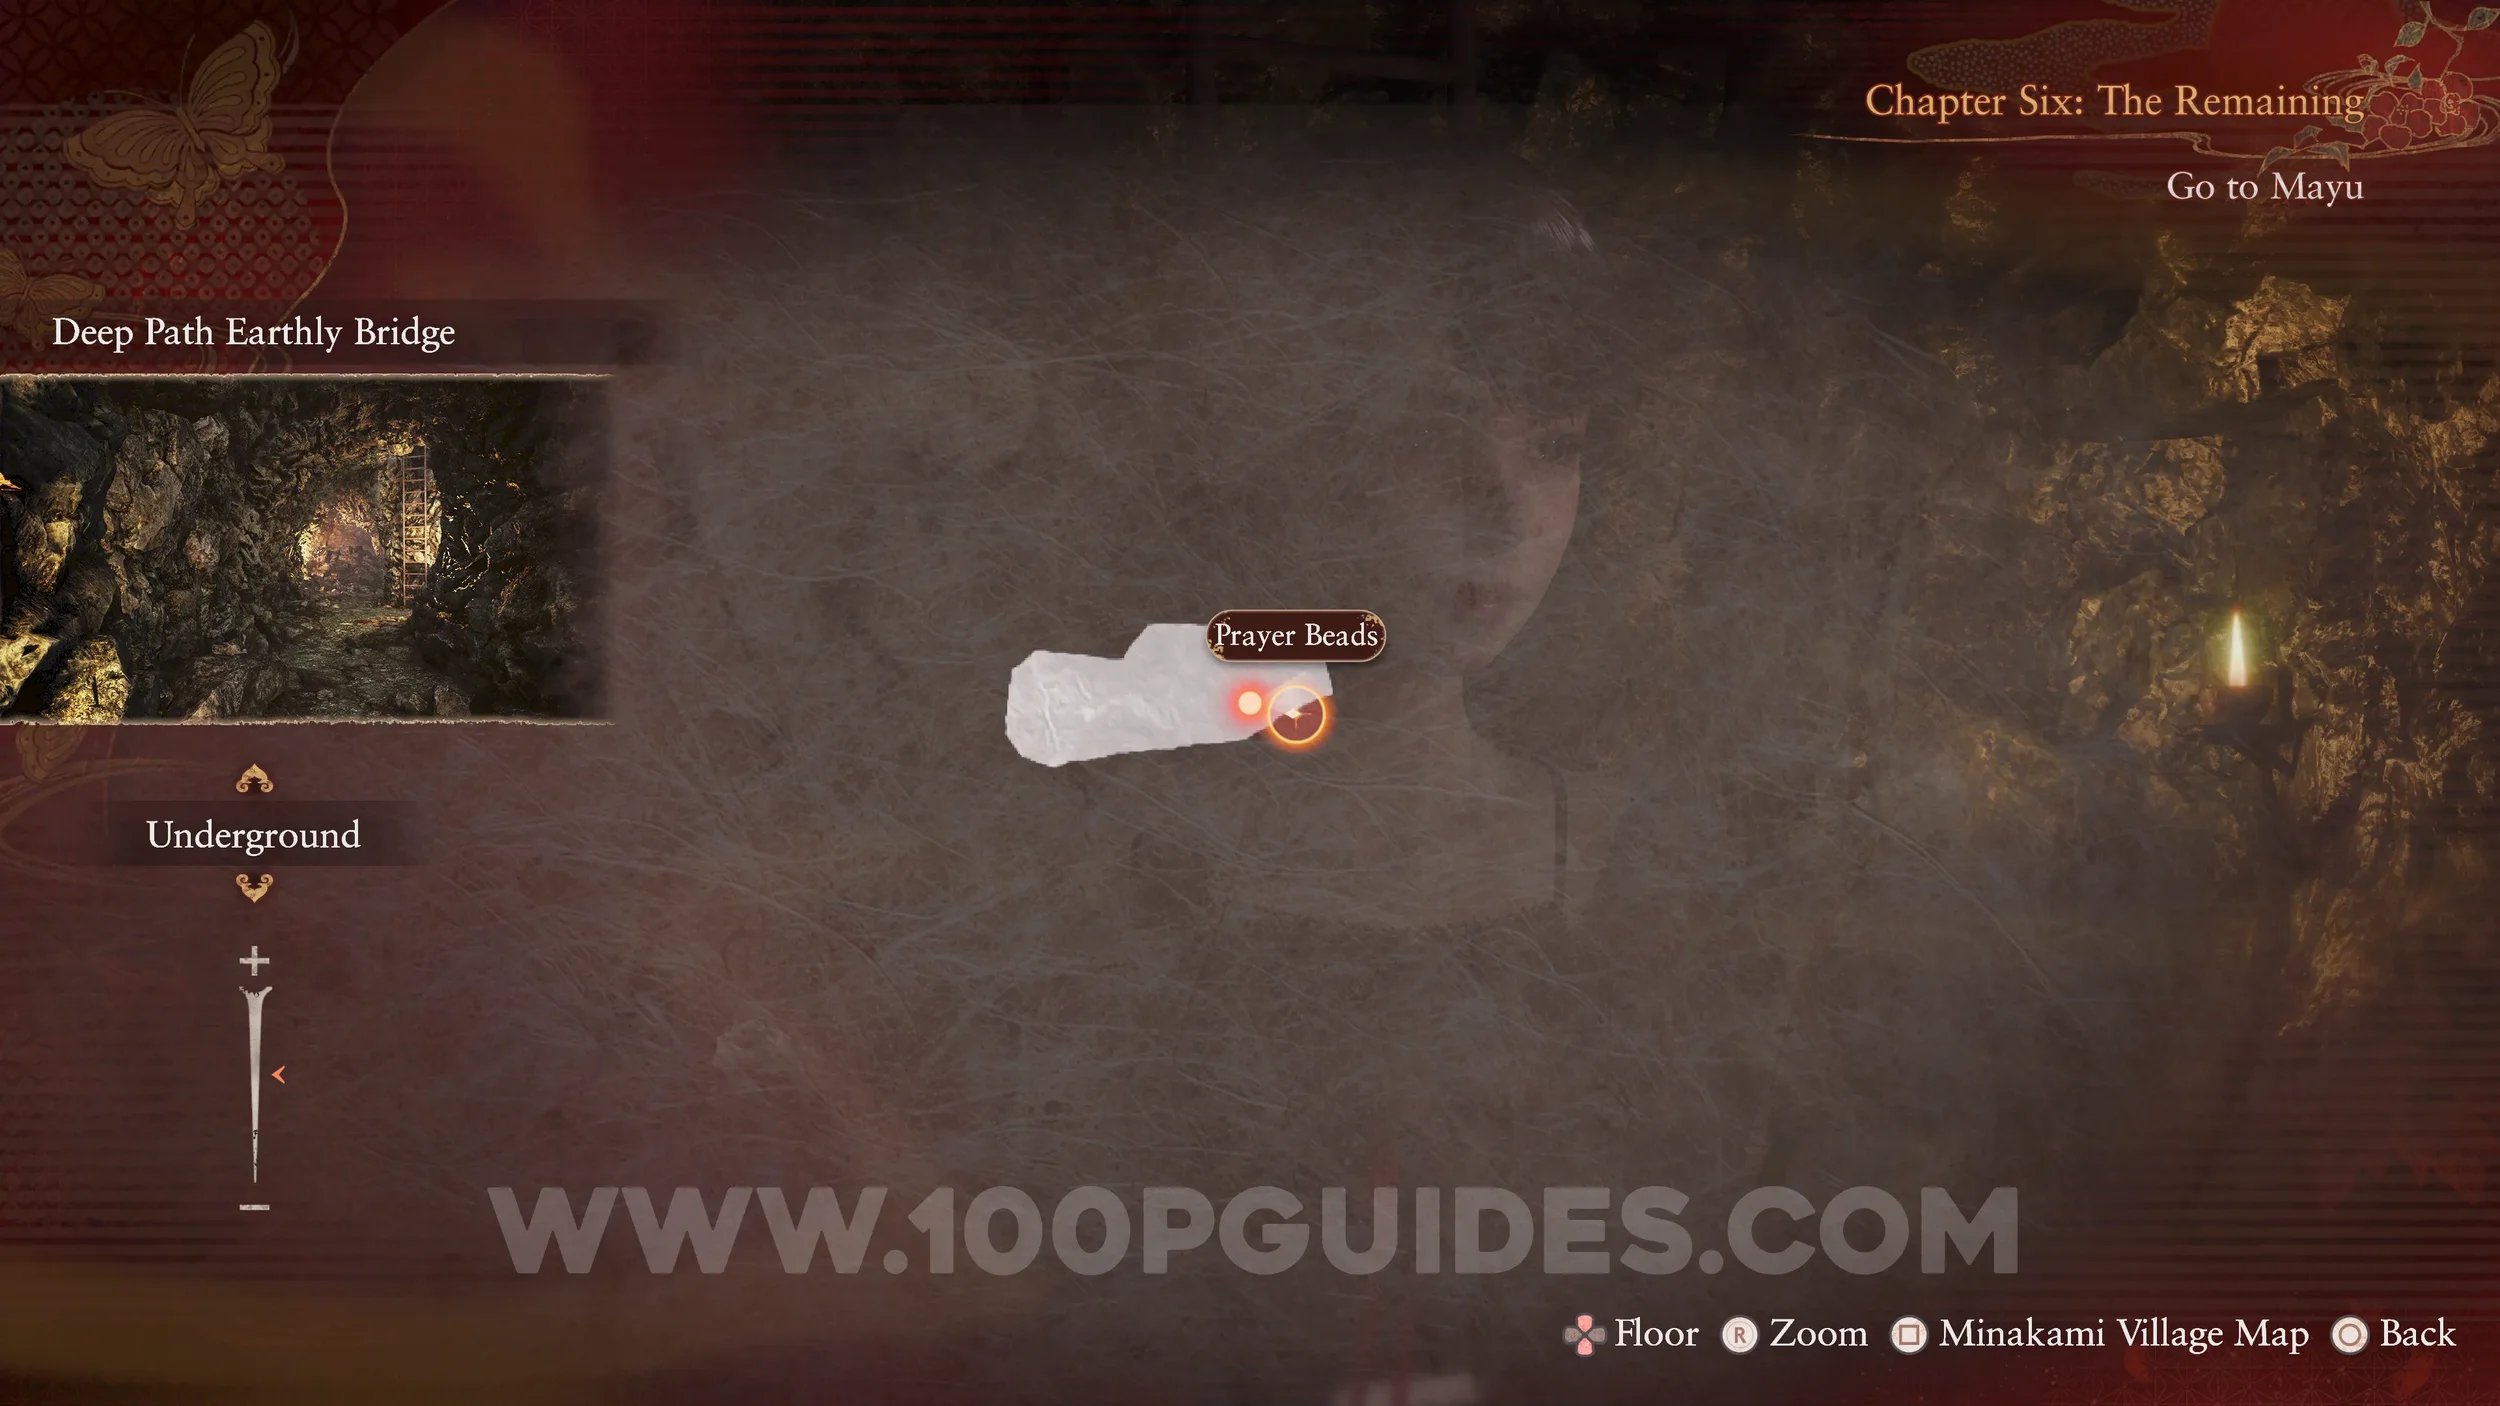
Prayer Beads #77. In the middle of the Hall of Ropes, after “collecting” the revenant.
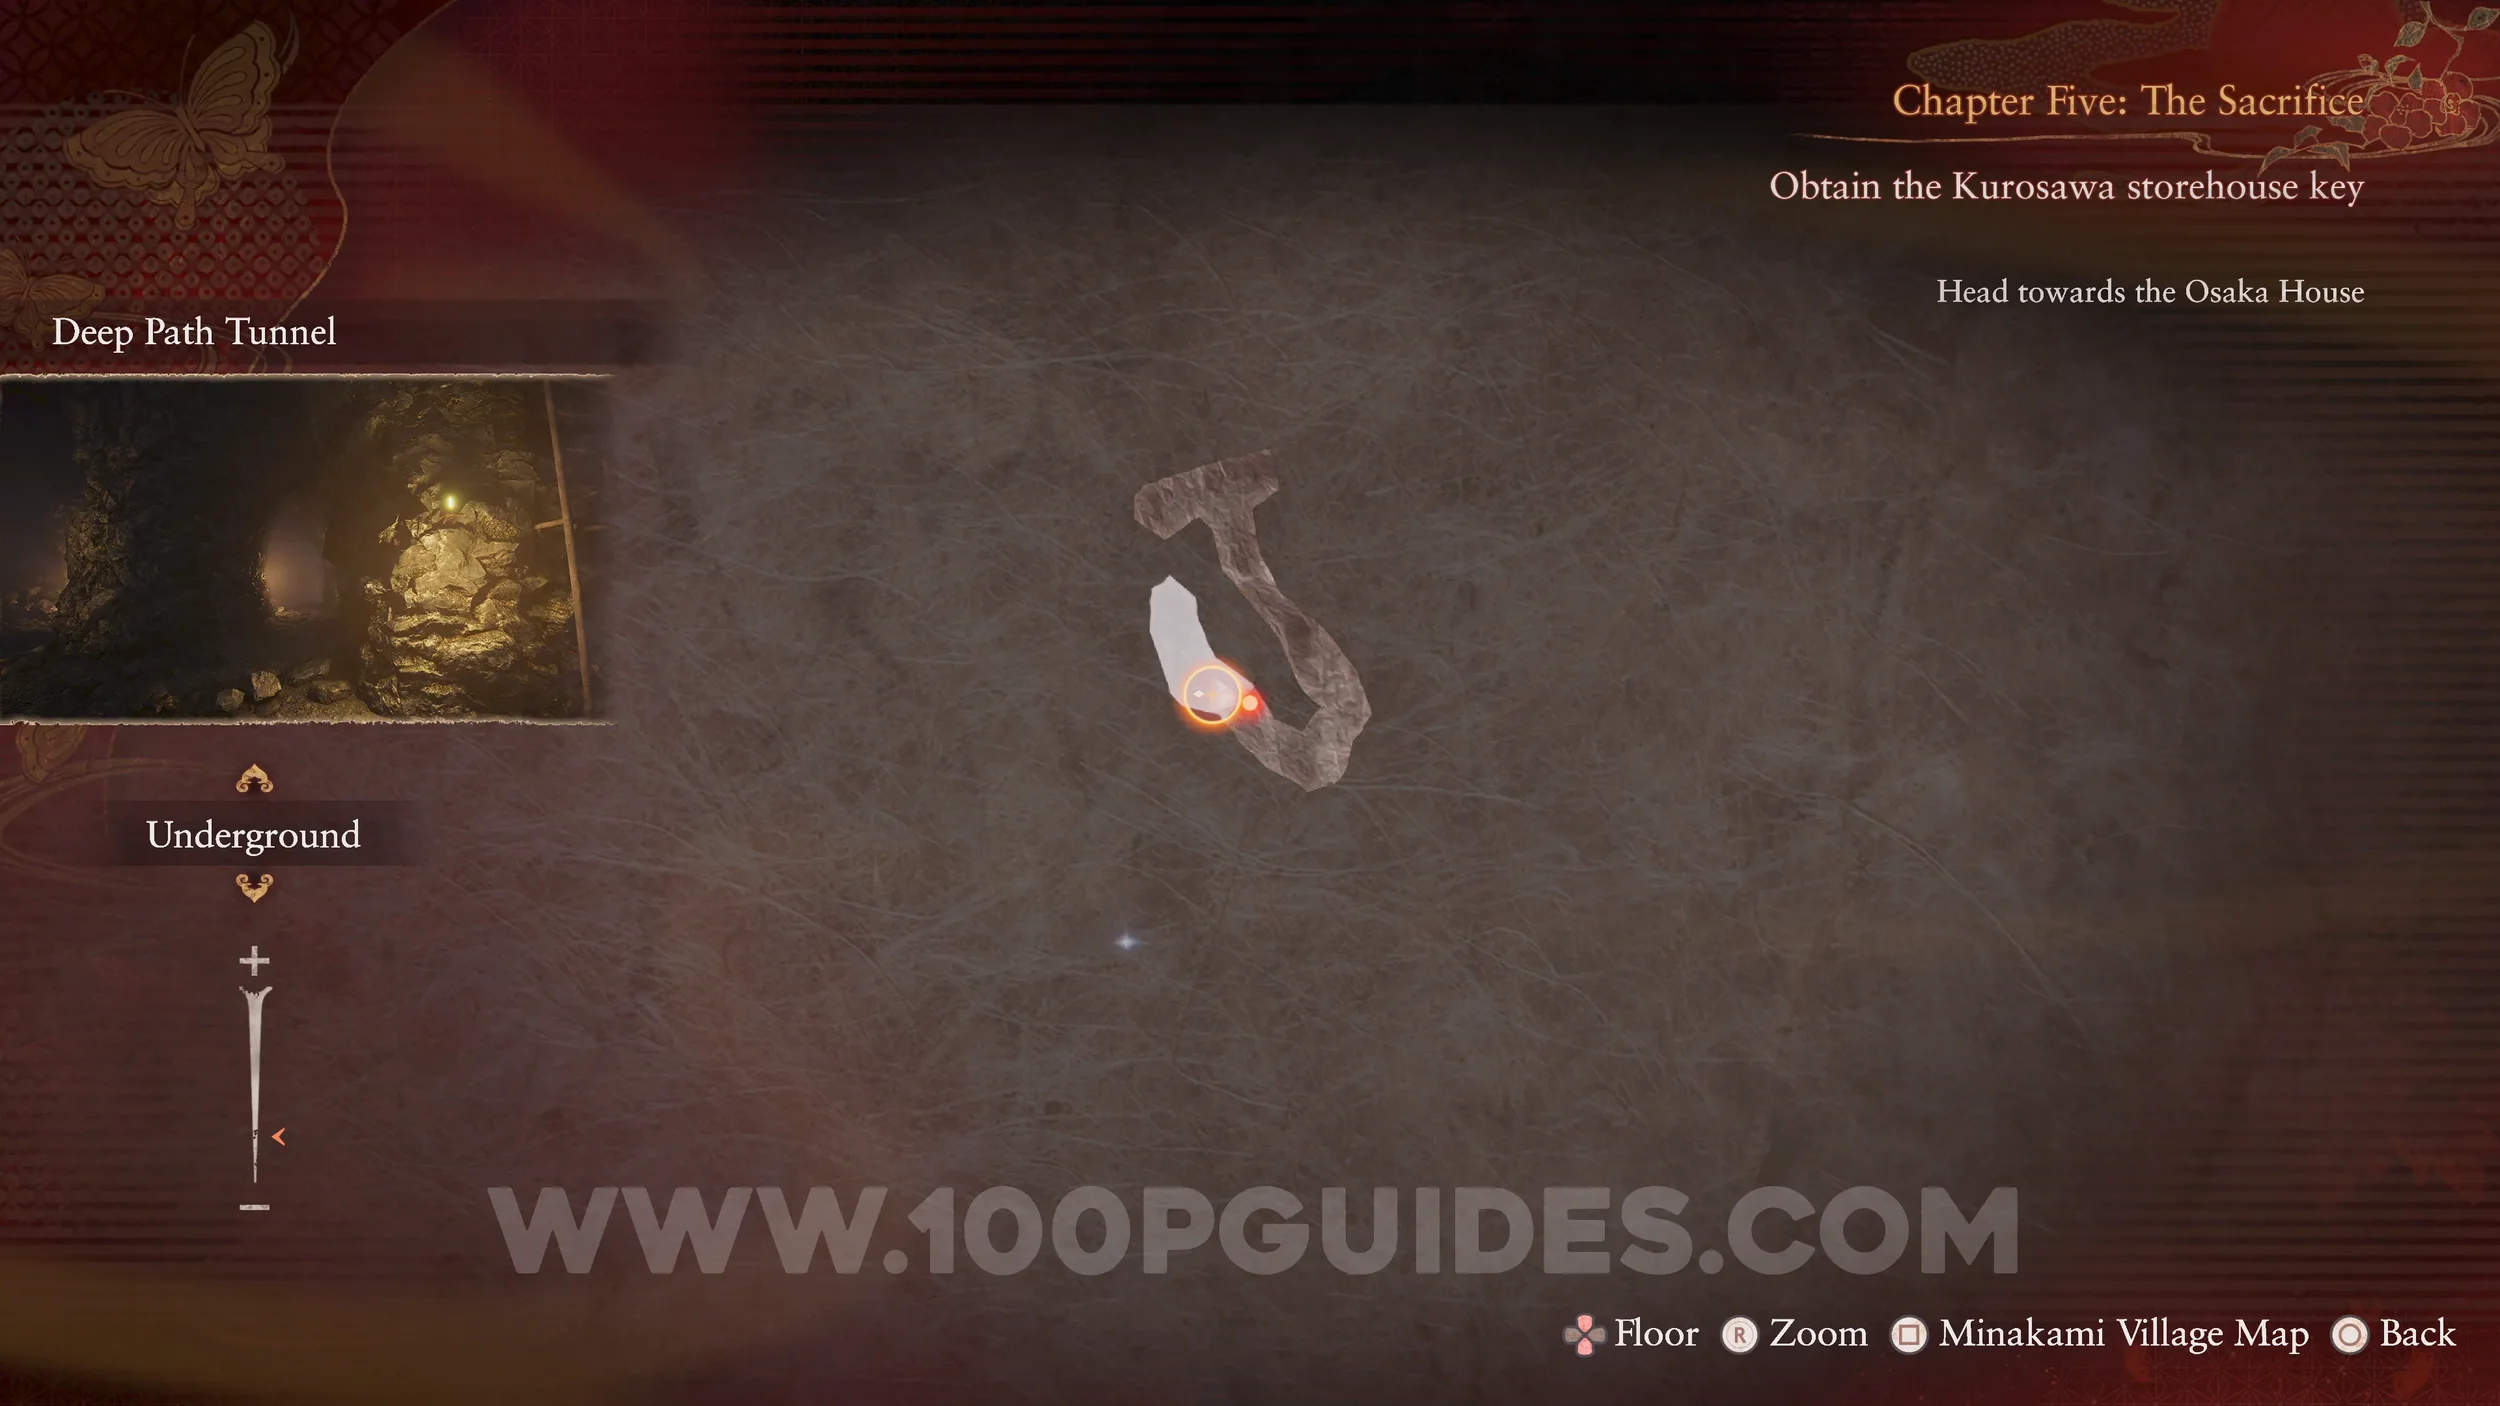
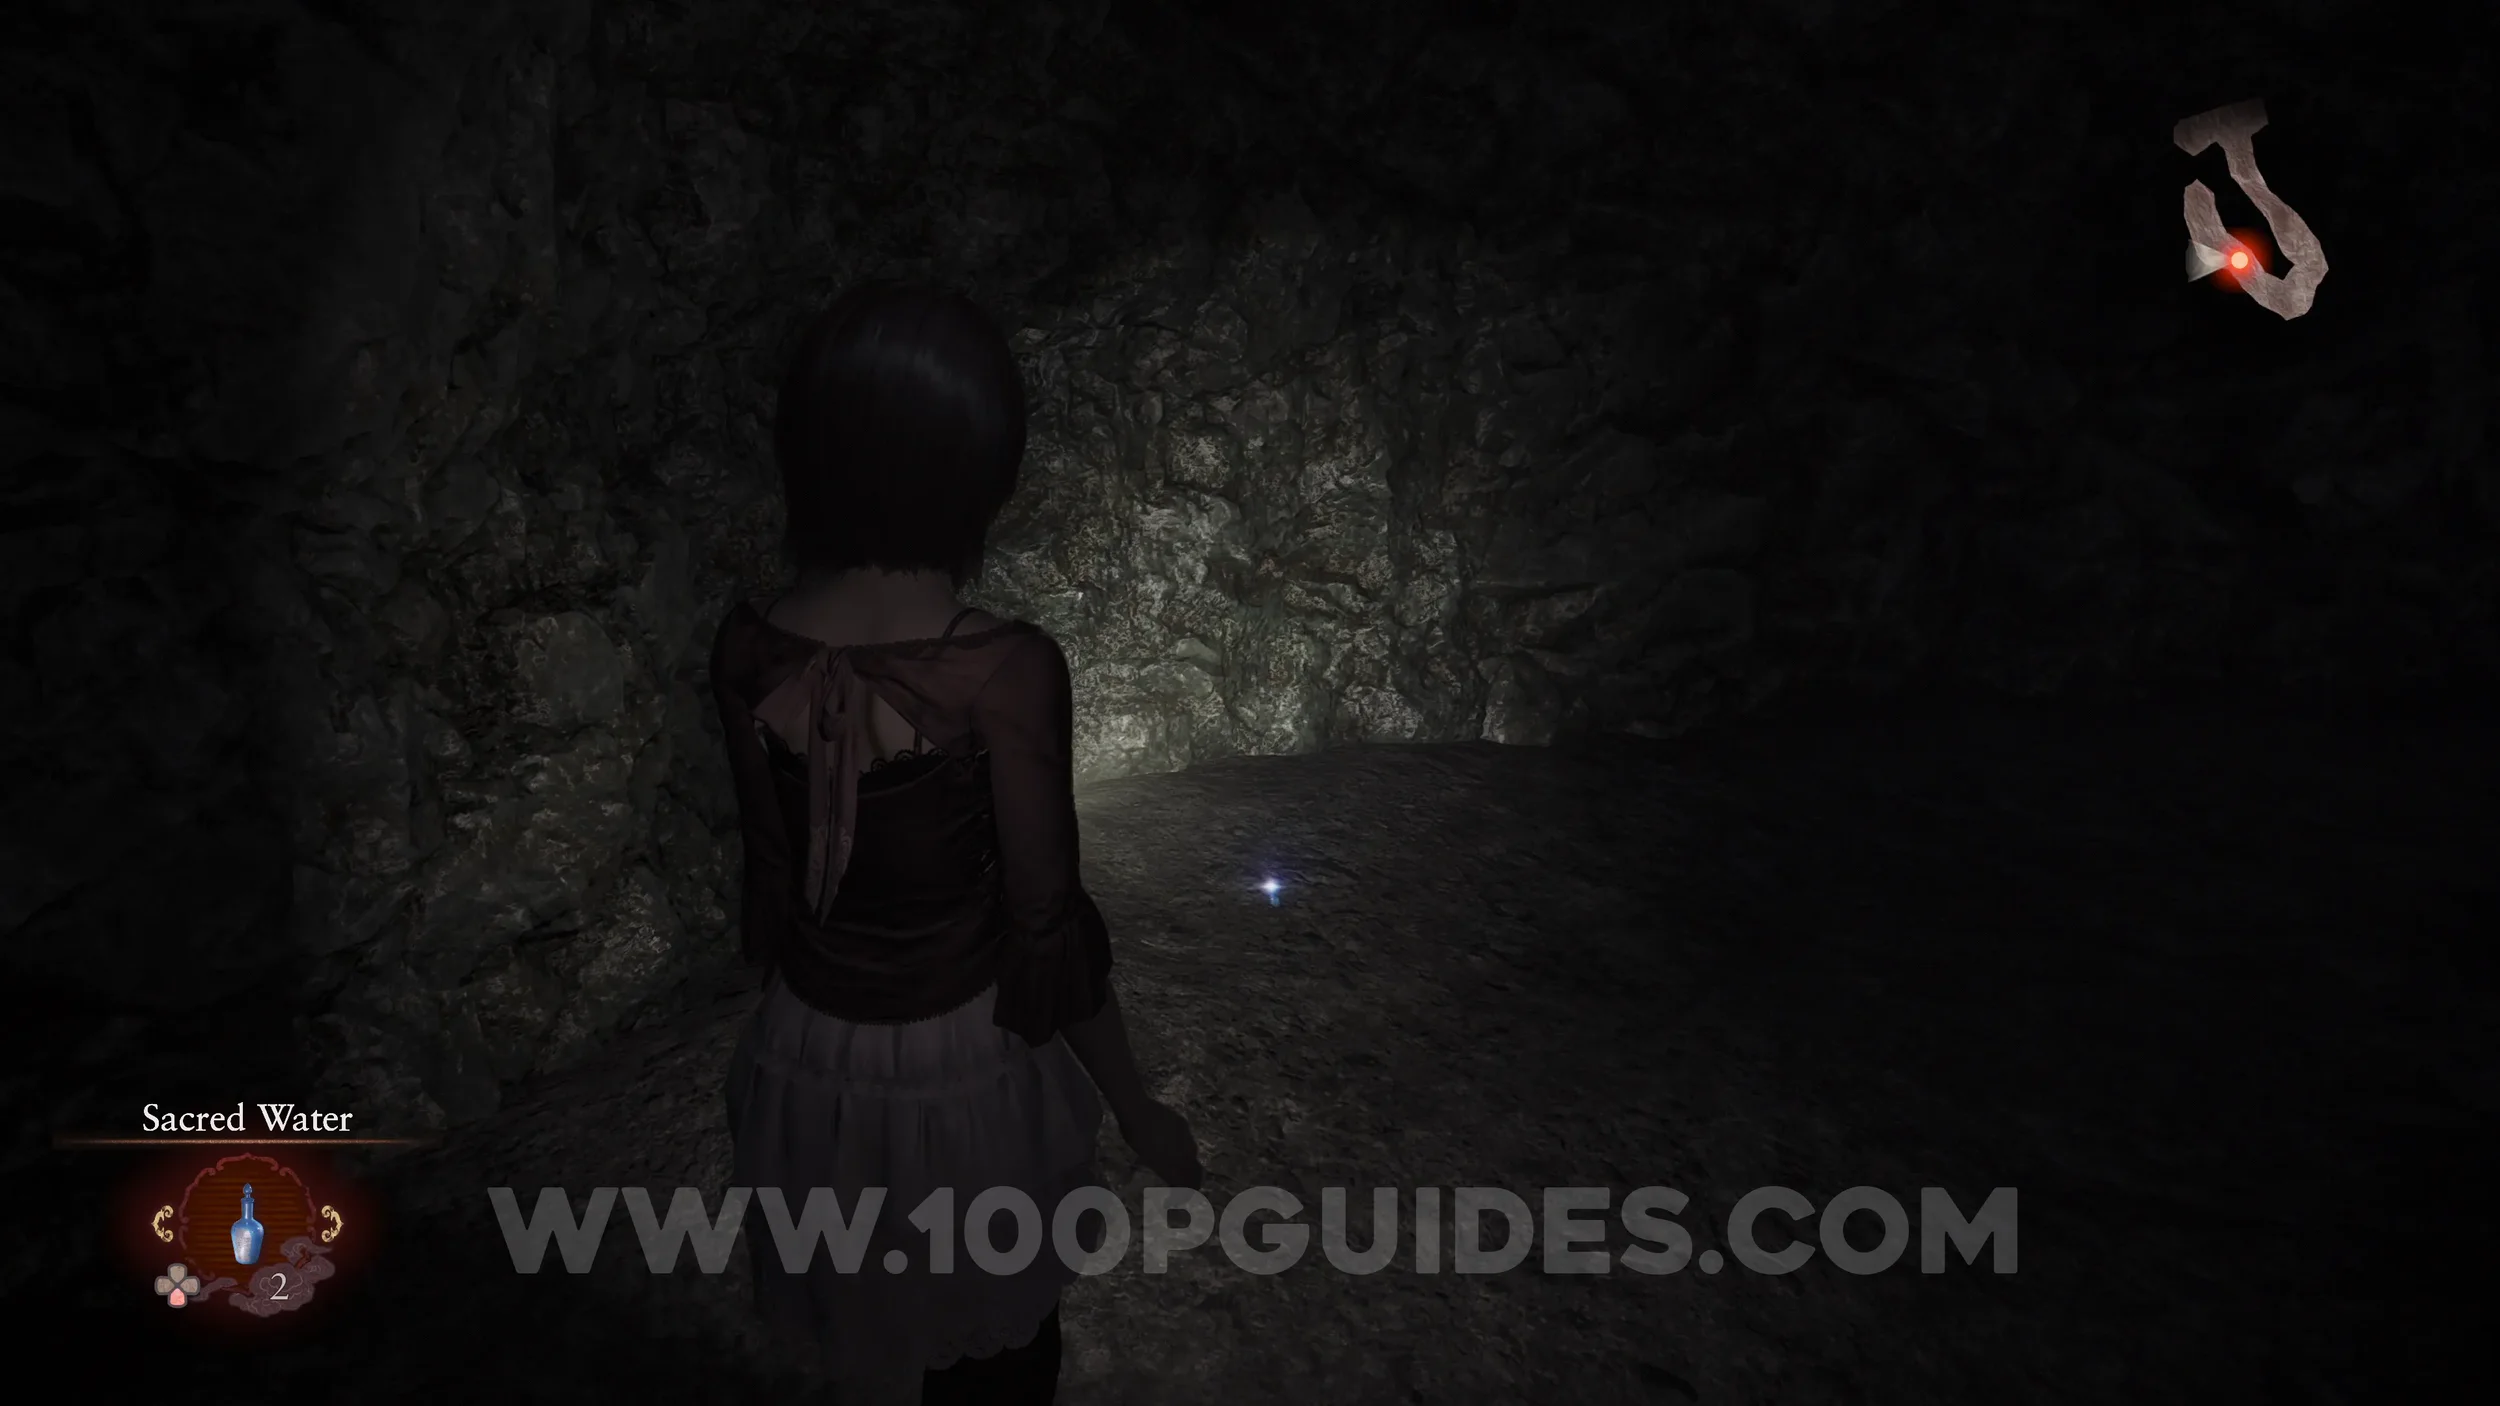
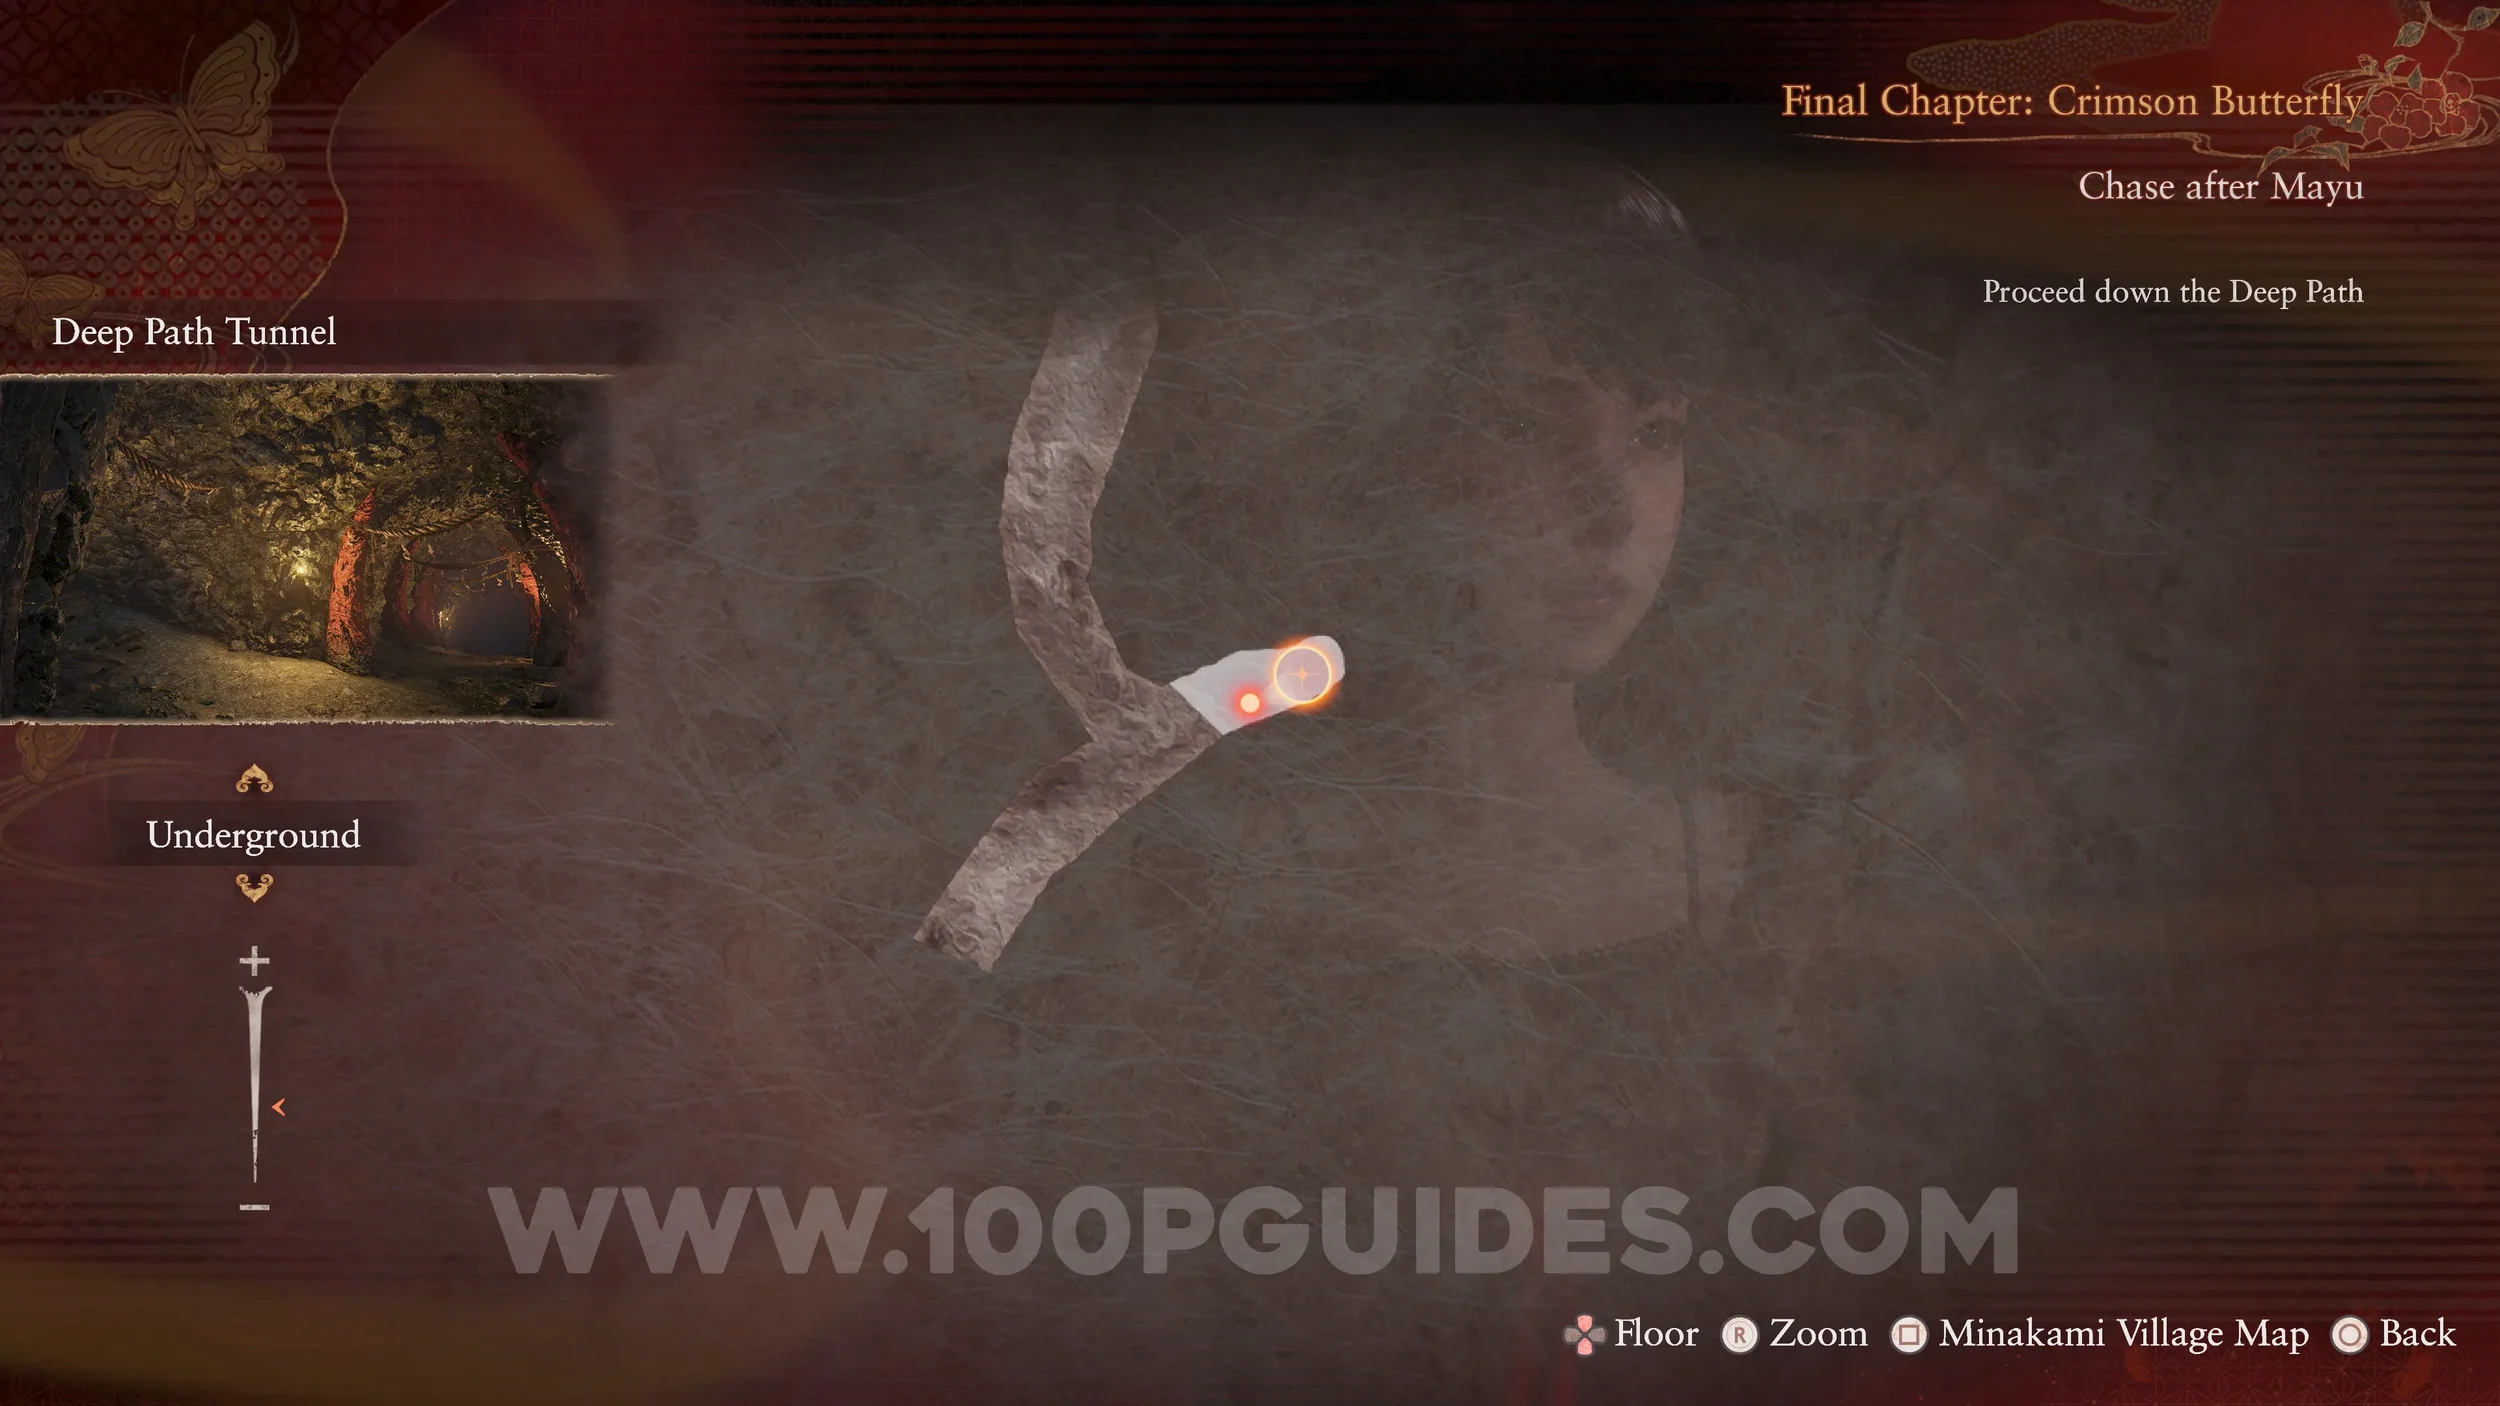
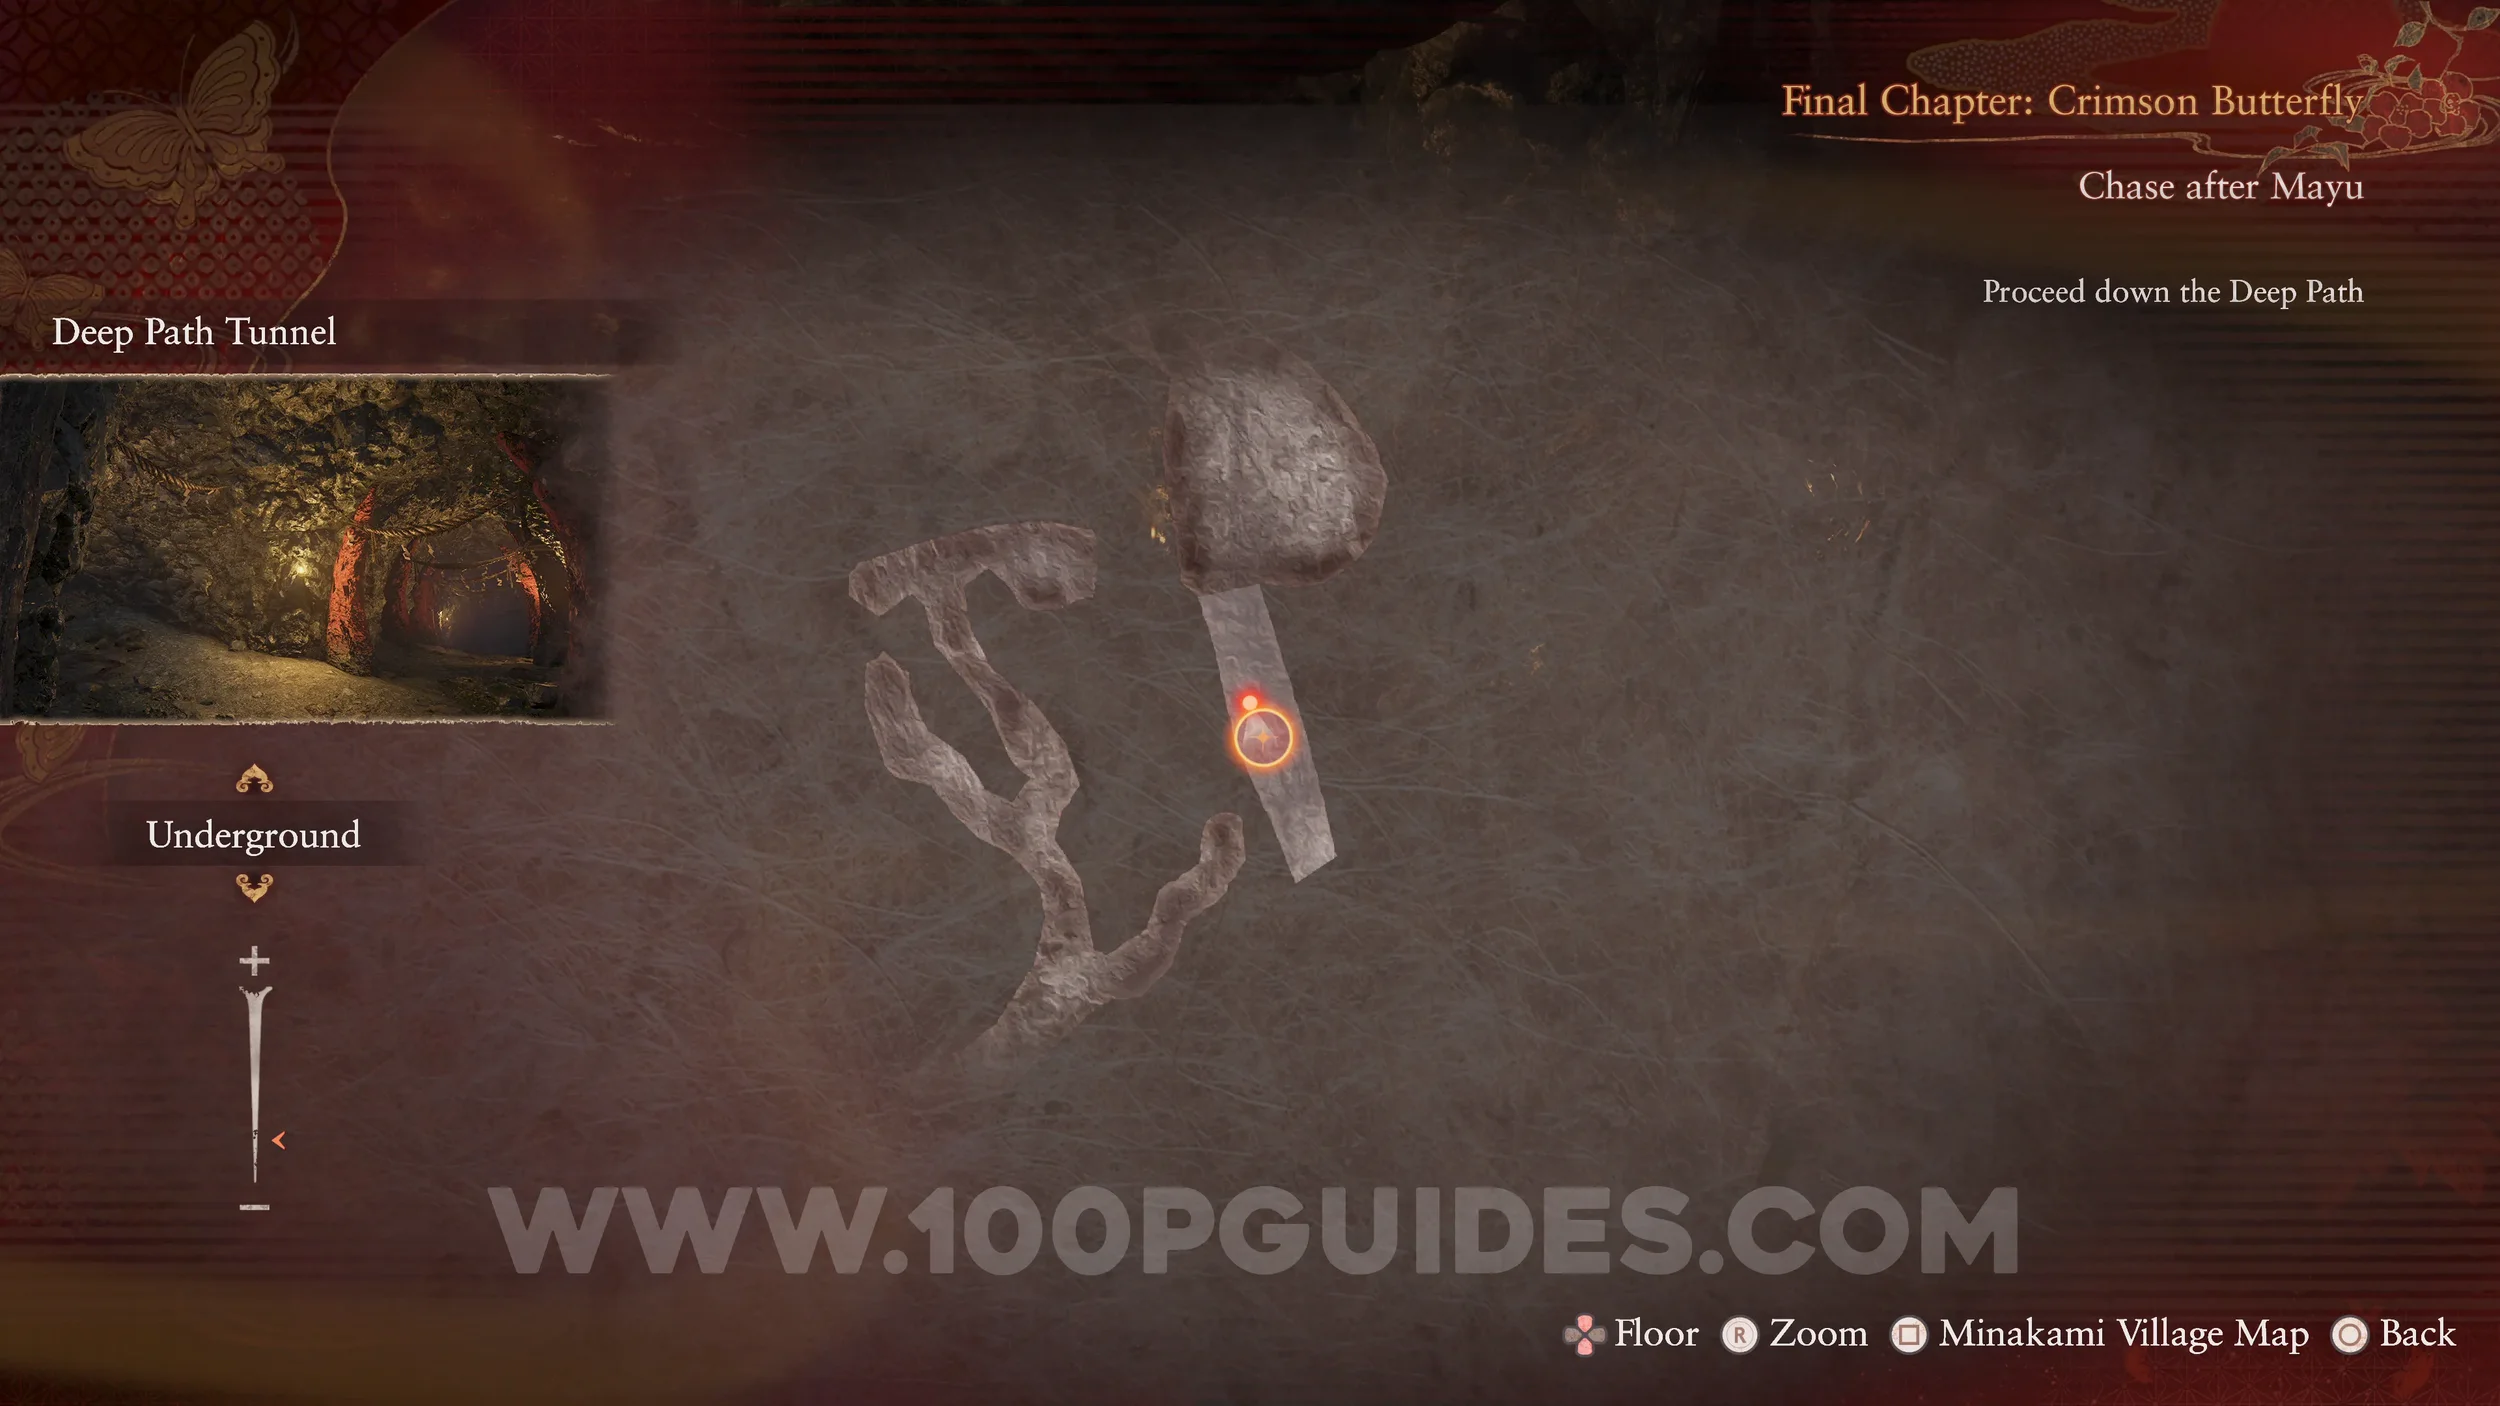
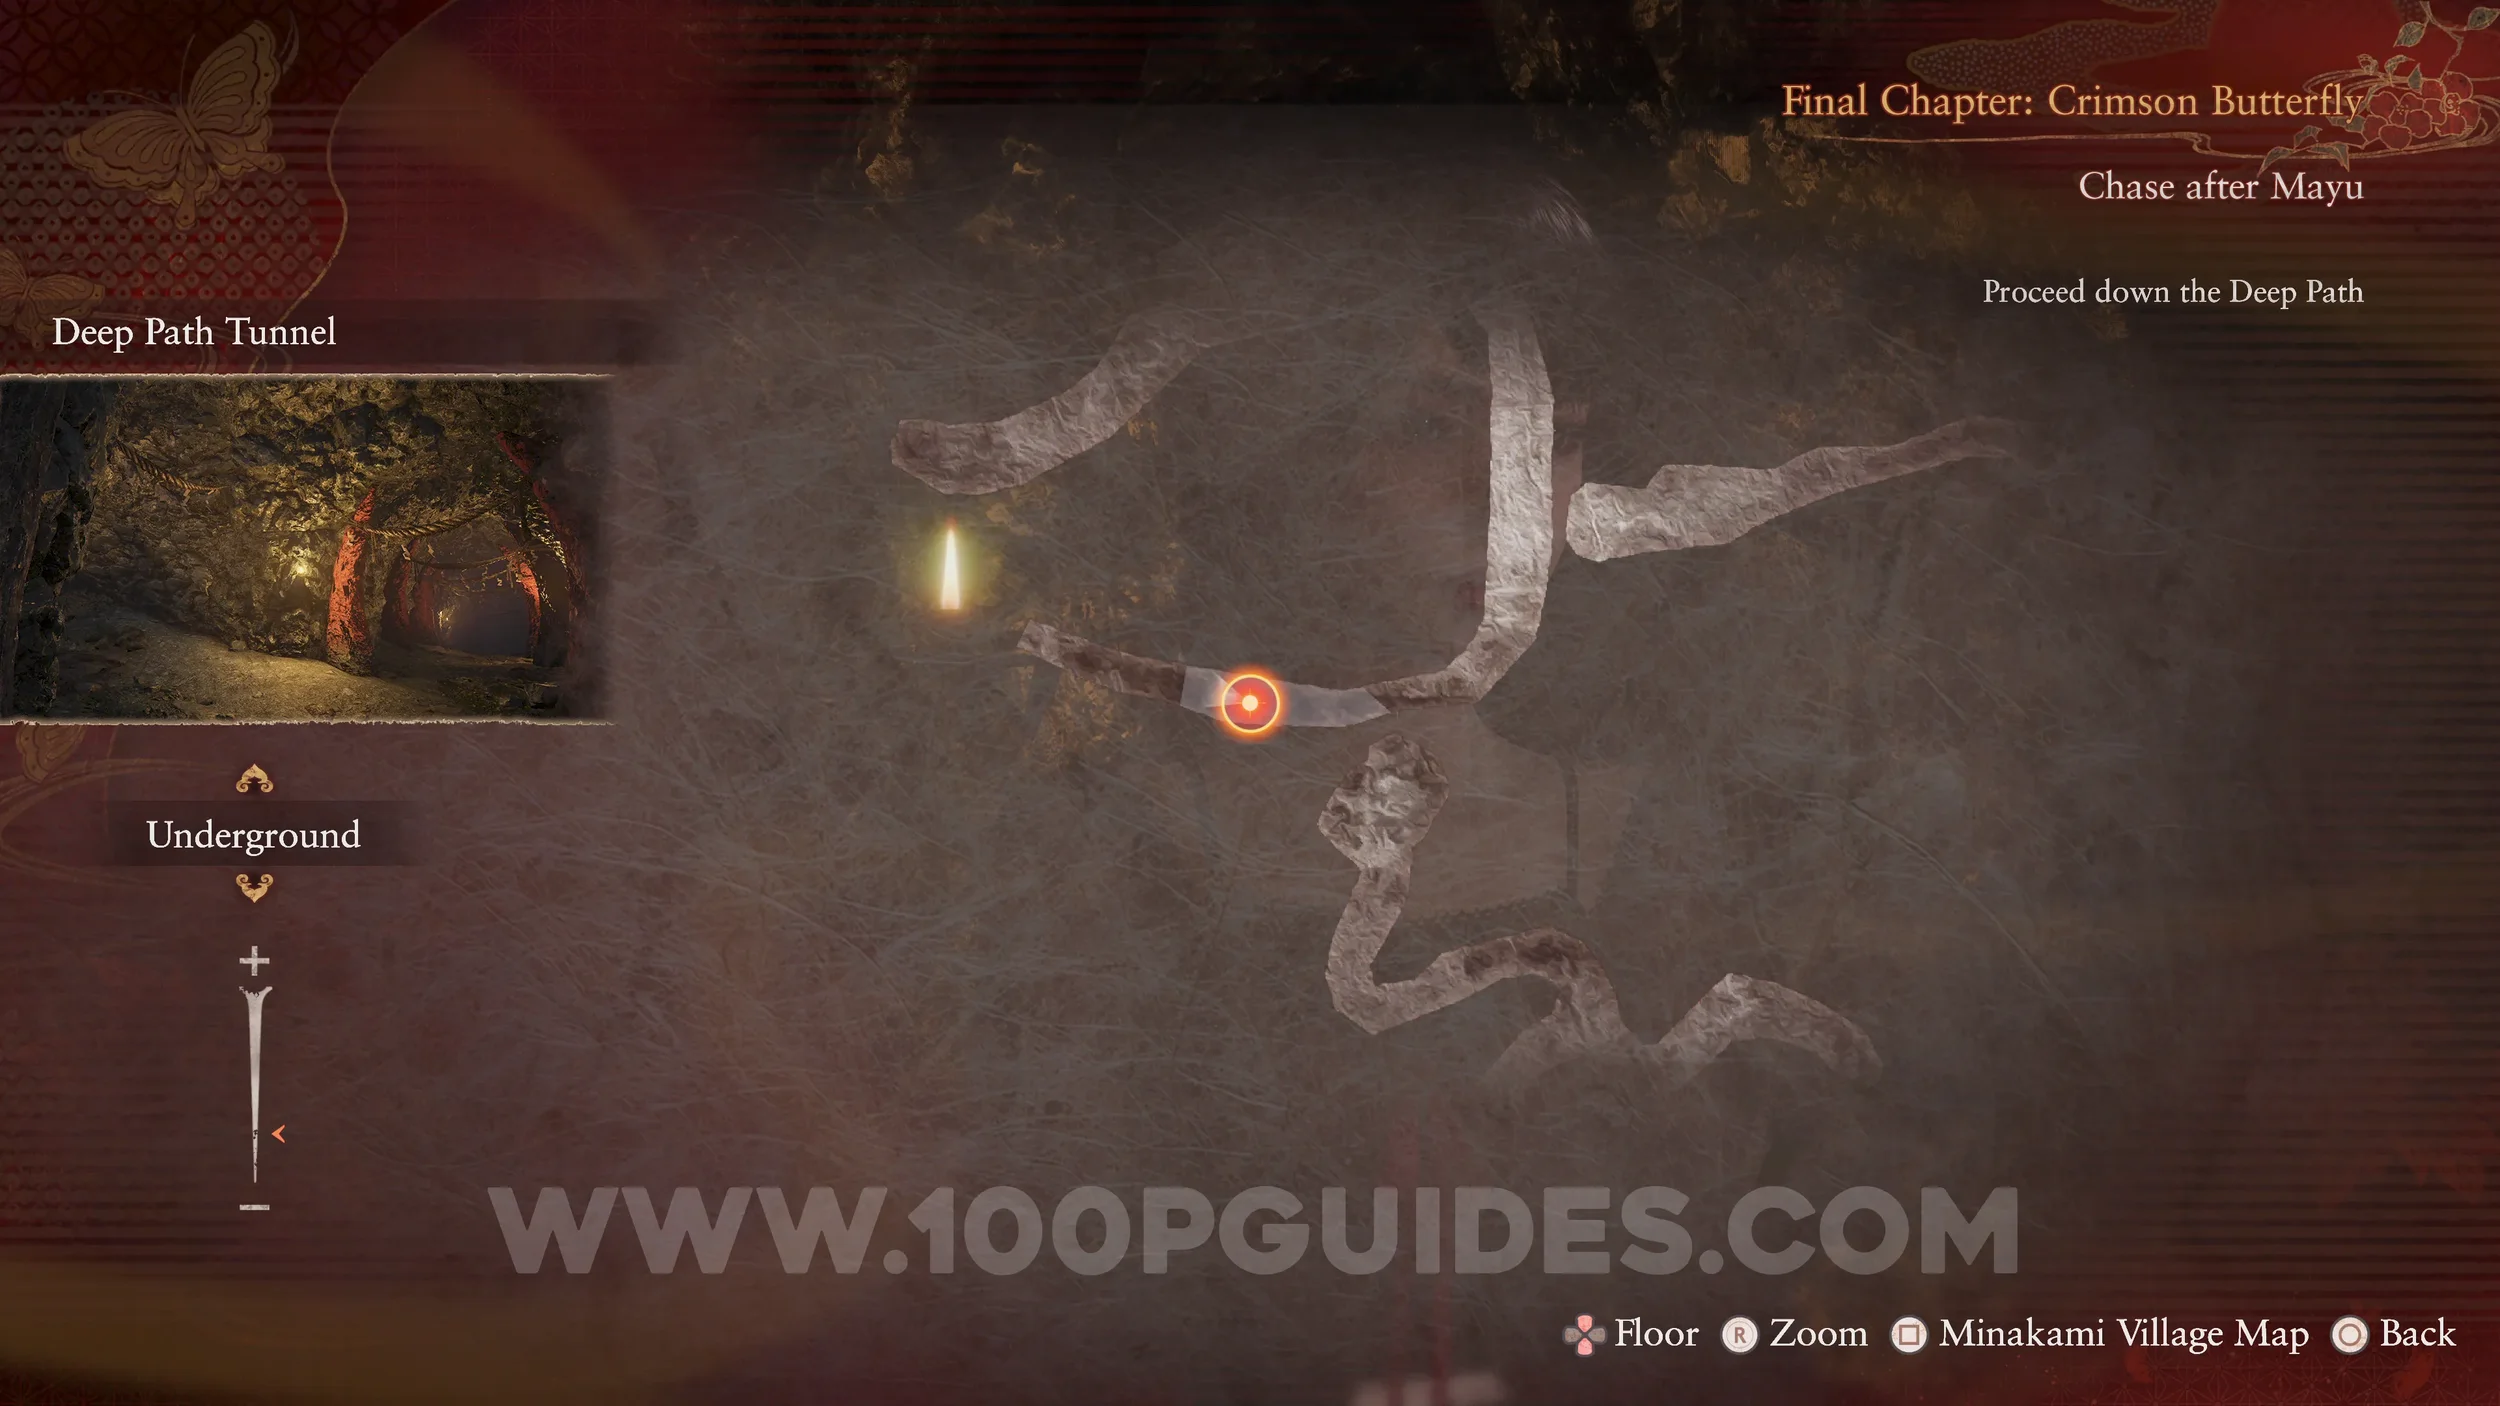
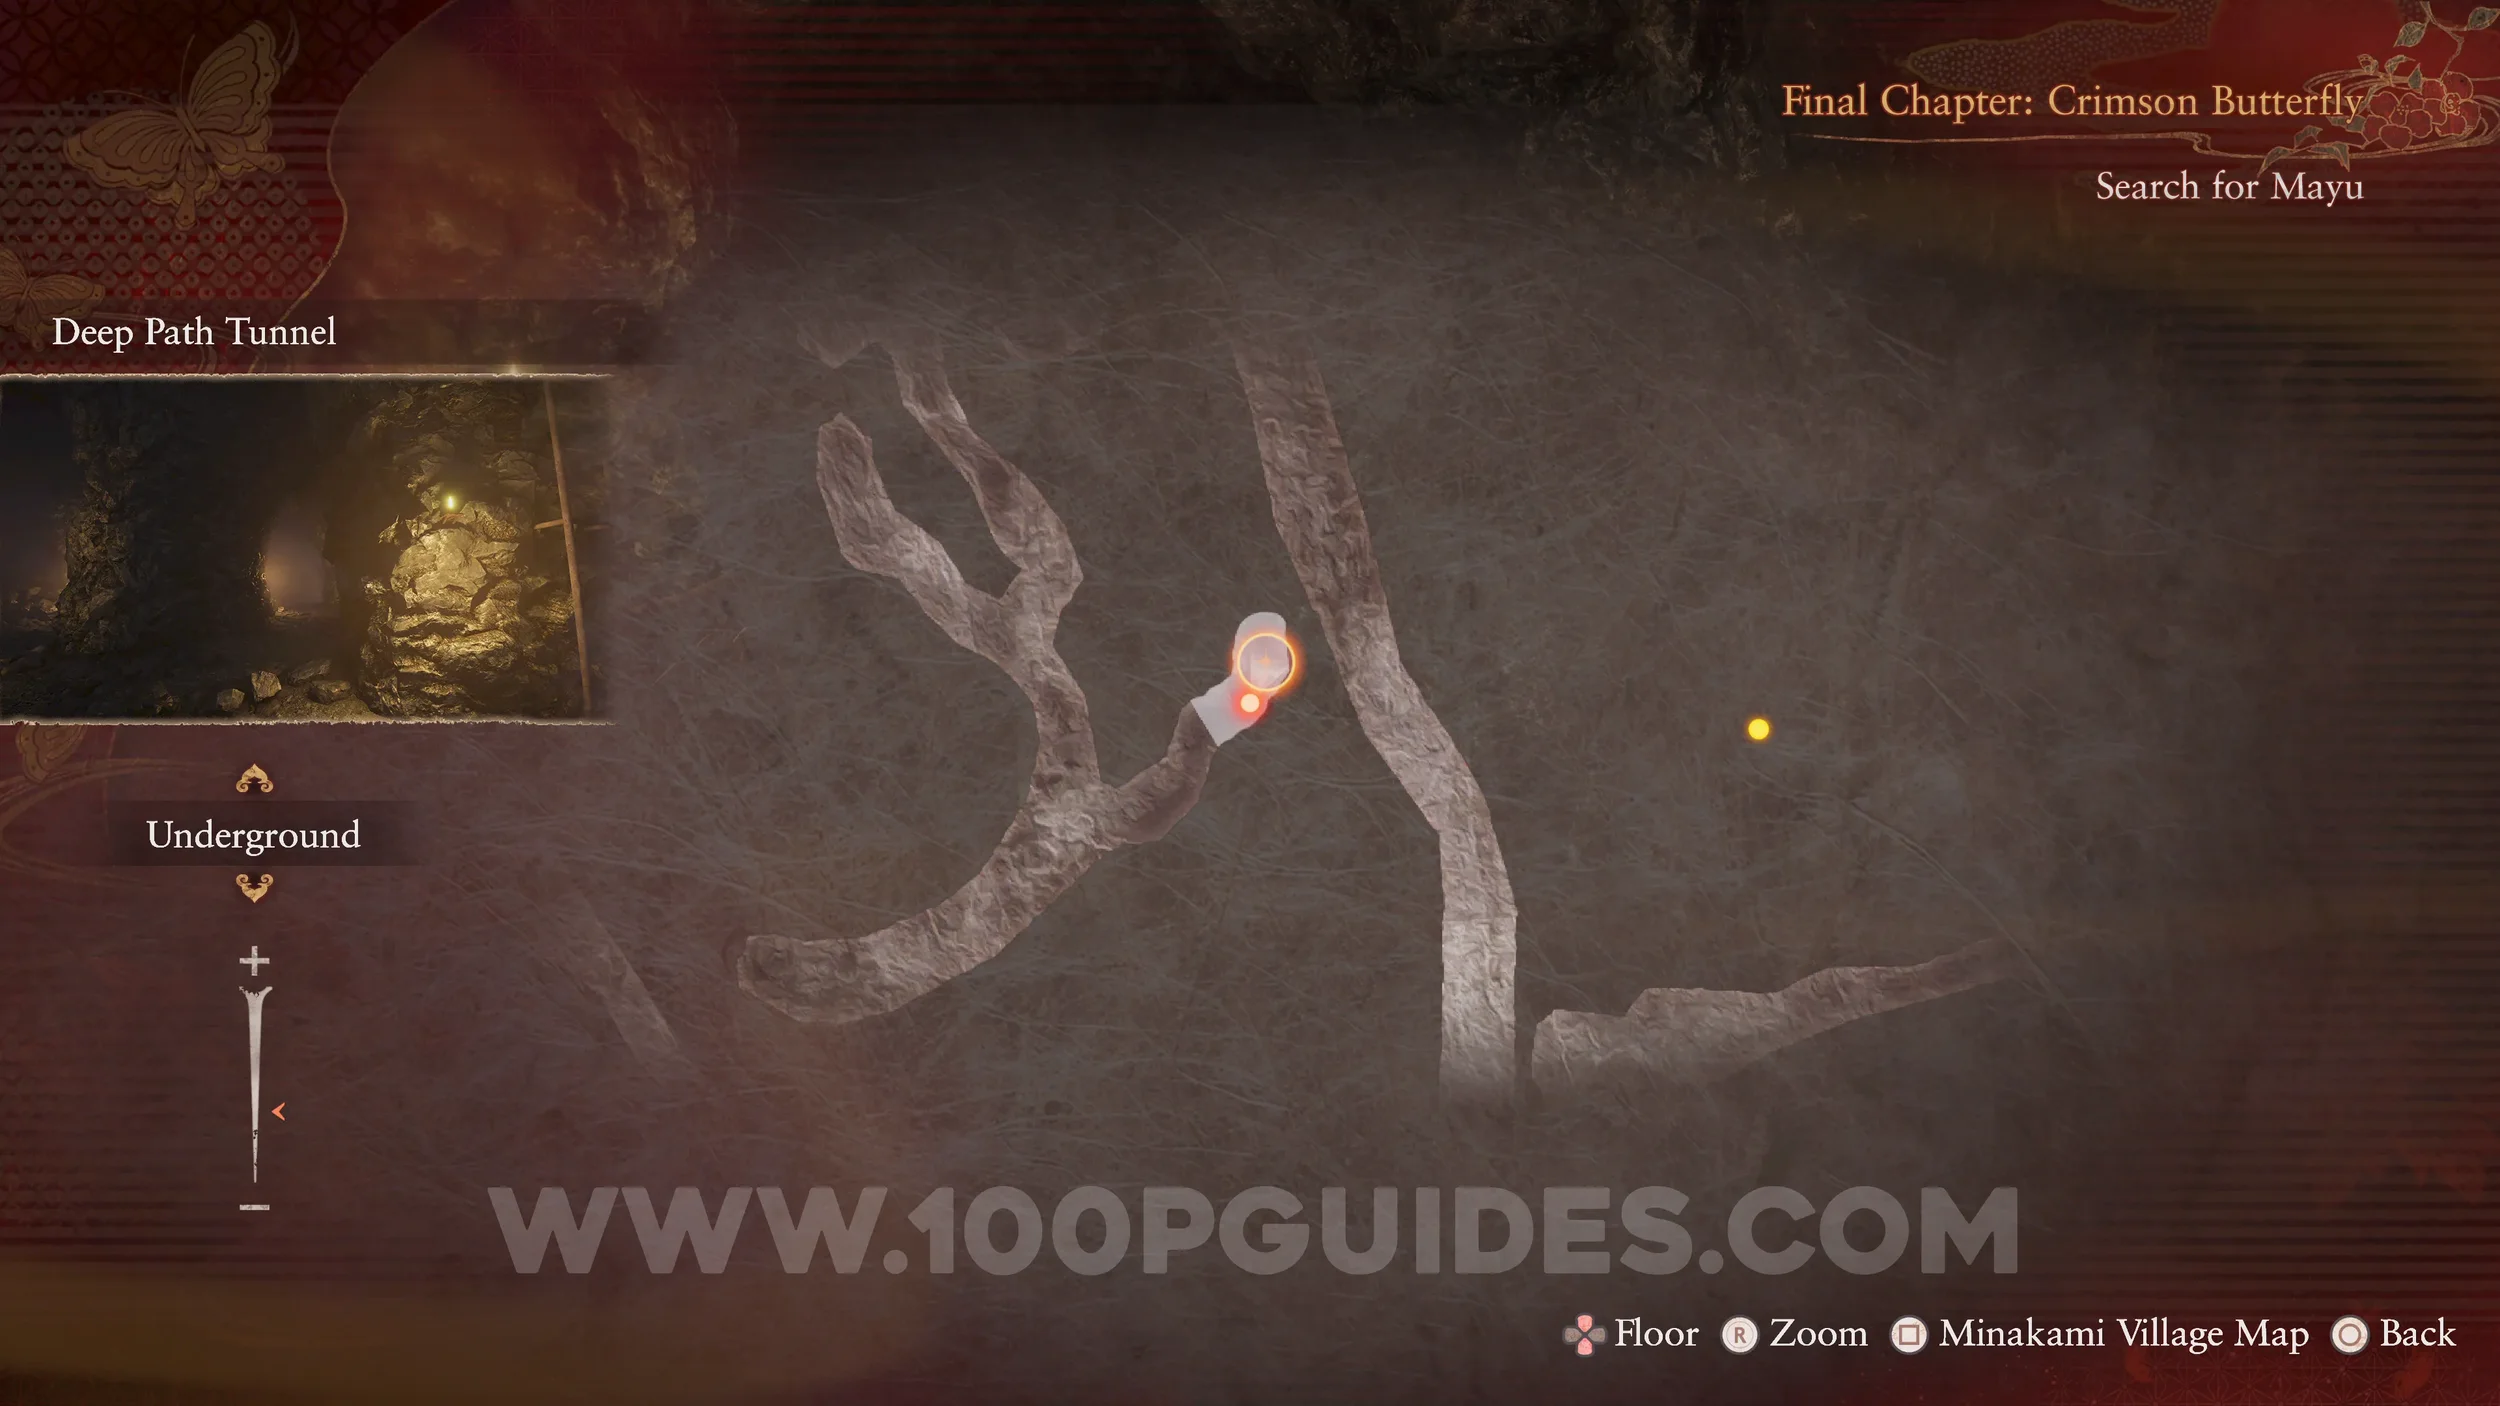
Spirit Stone #40 - Mayu’s Charm 8. In plain sight, close to the start of the Deep Path Tunnel.
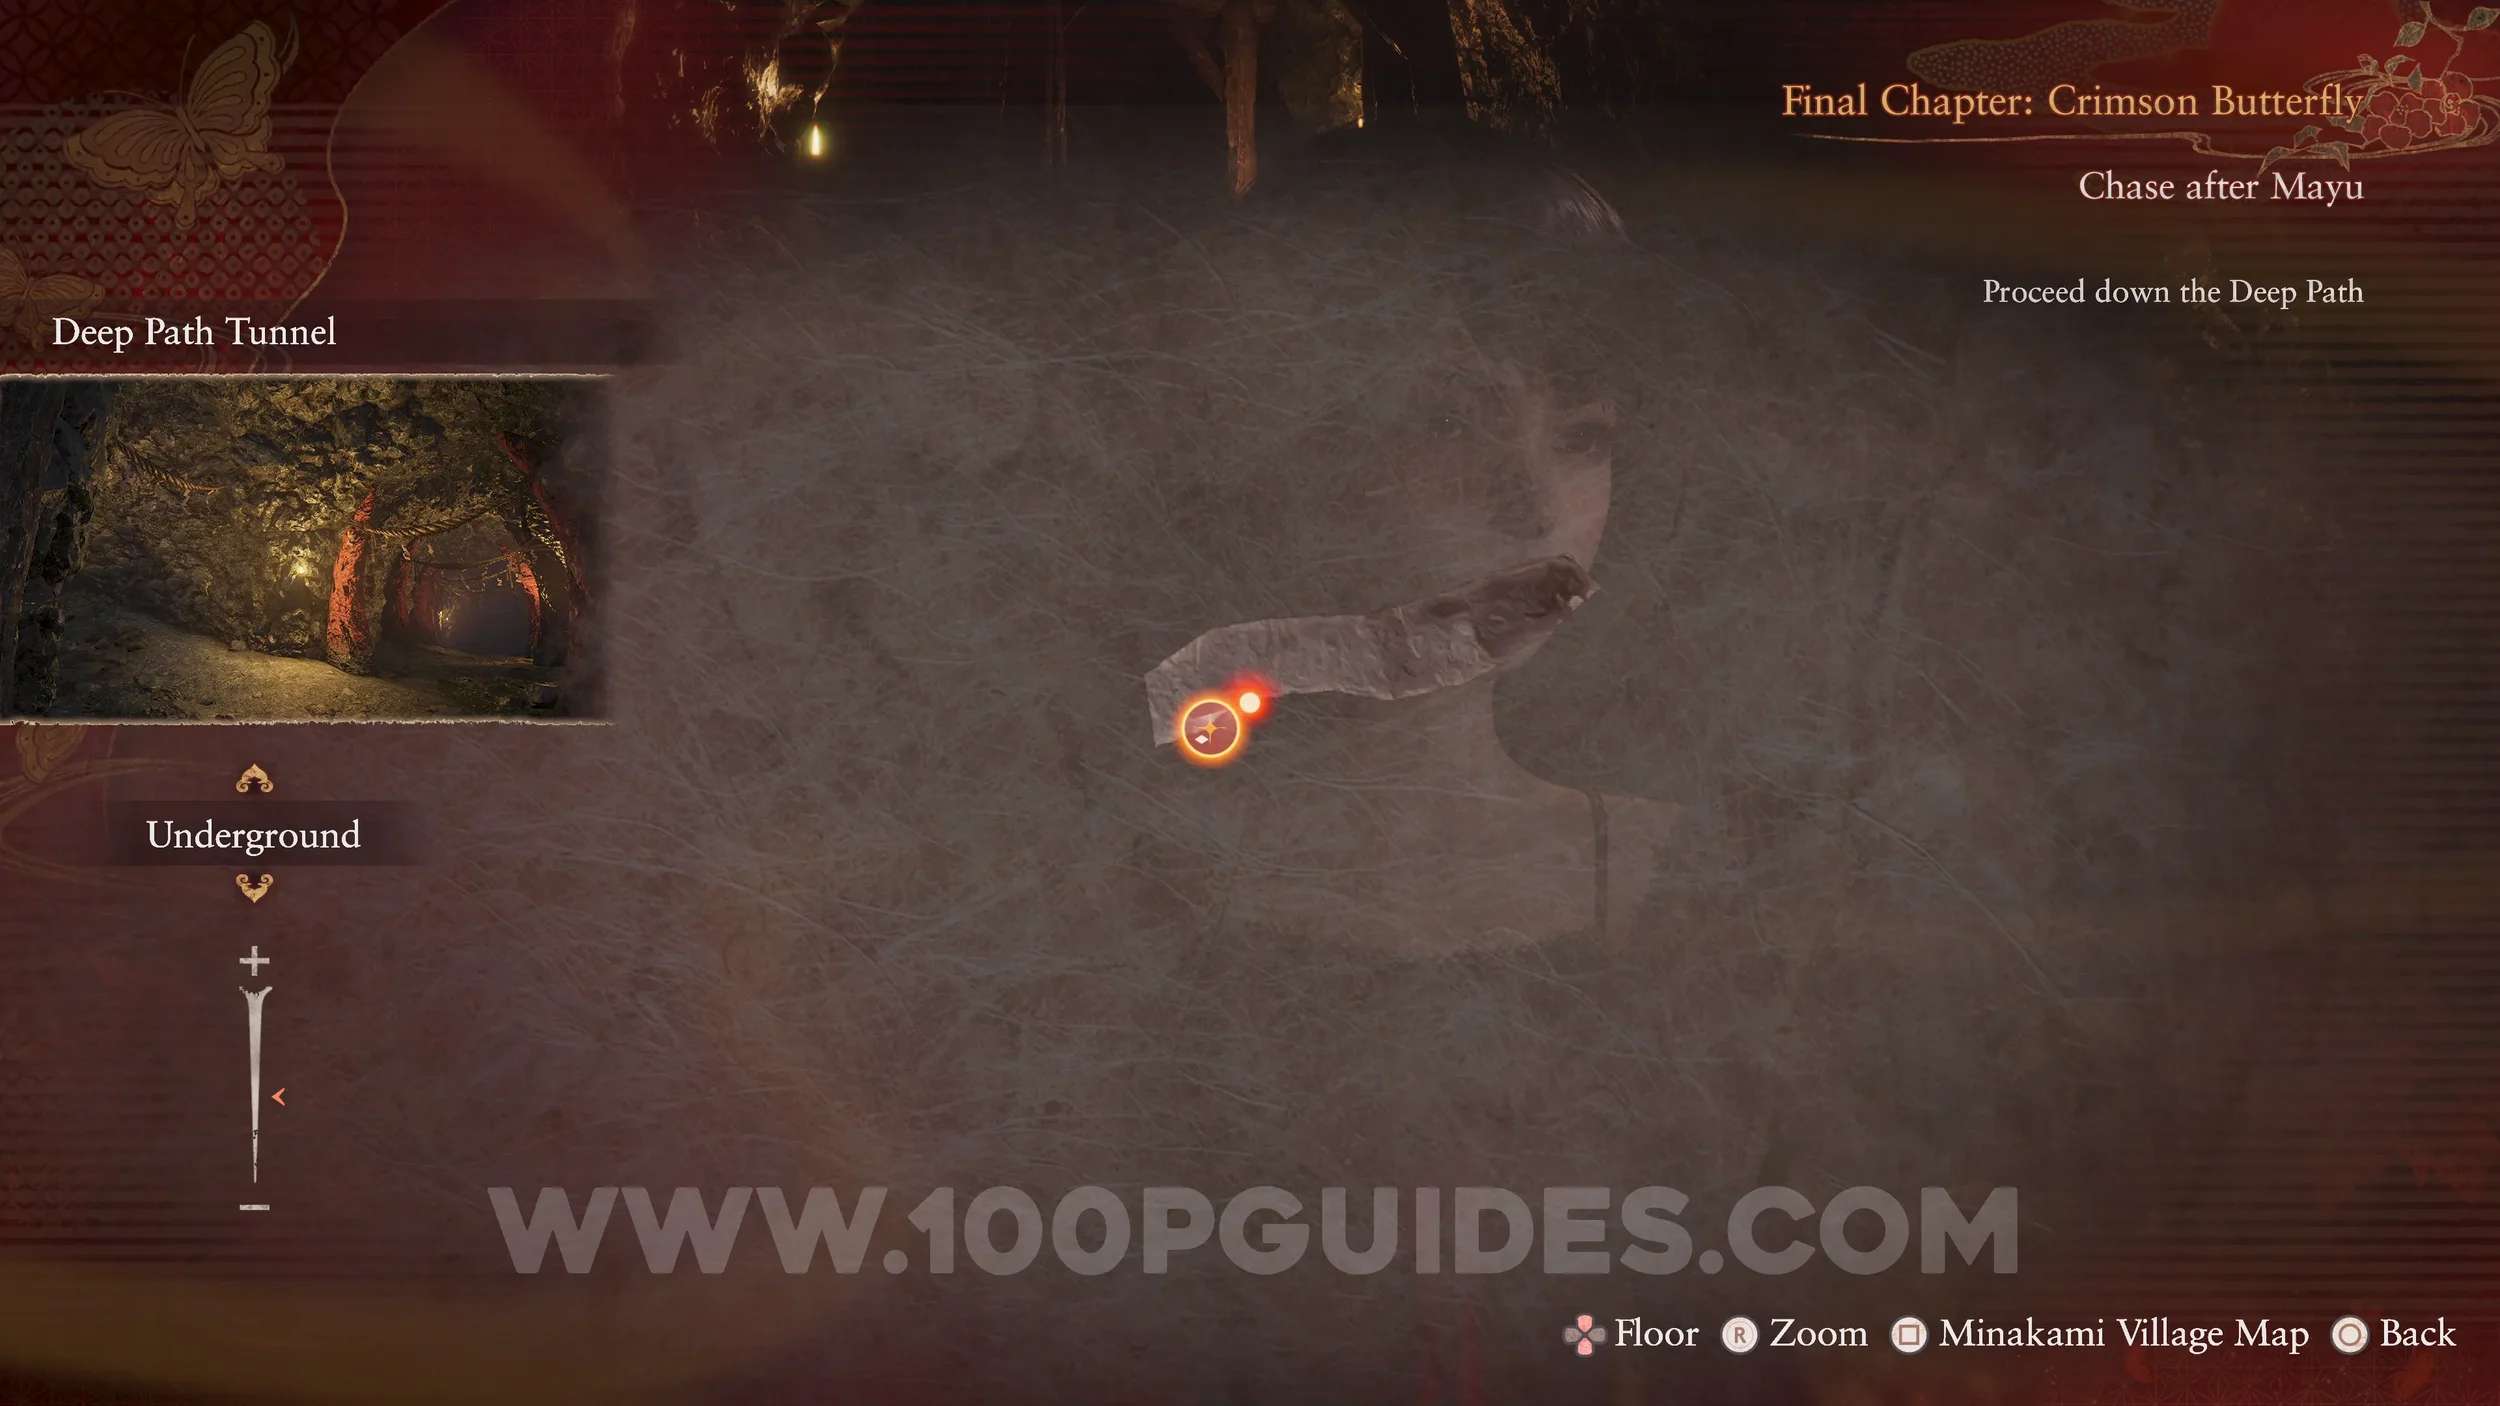

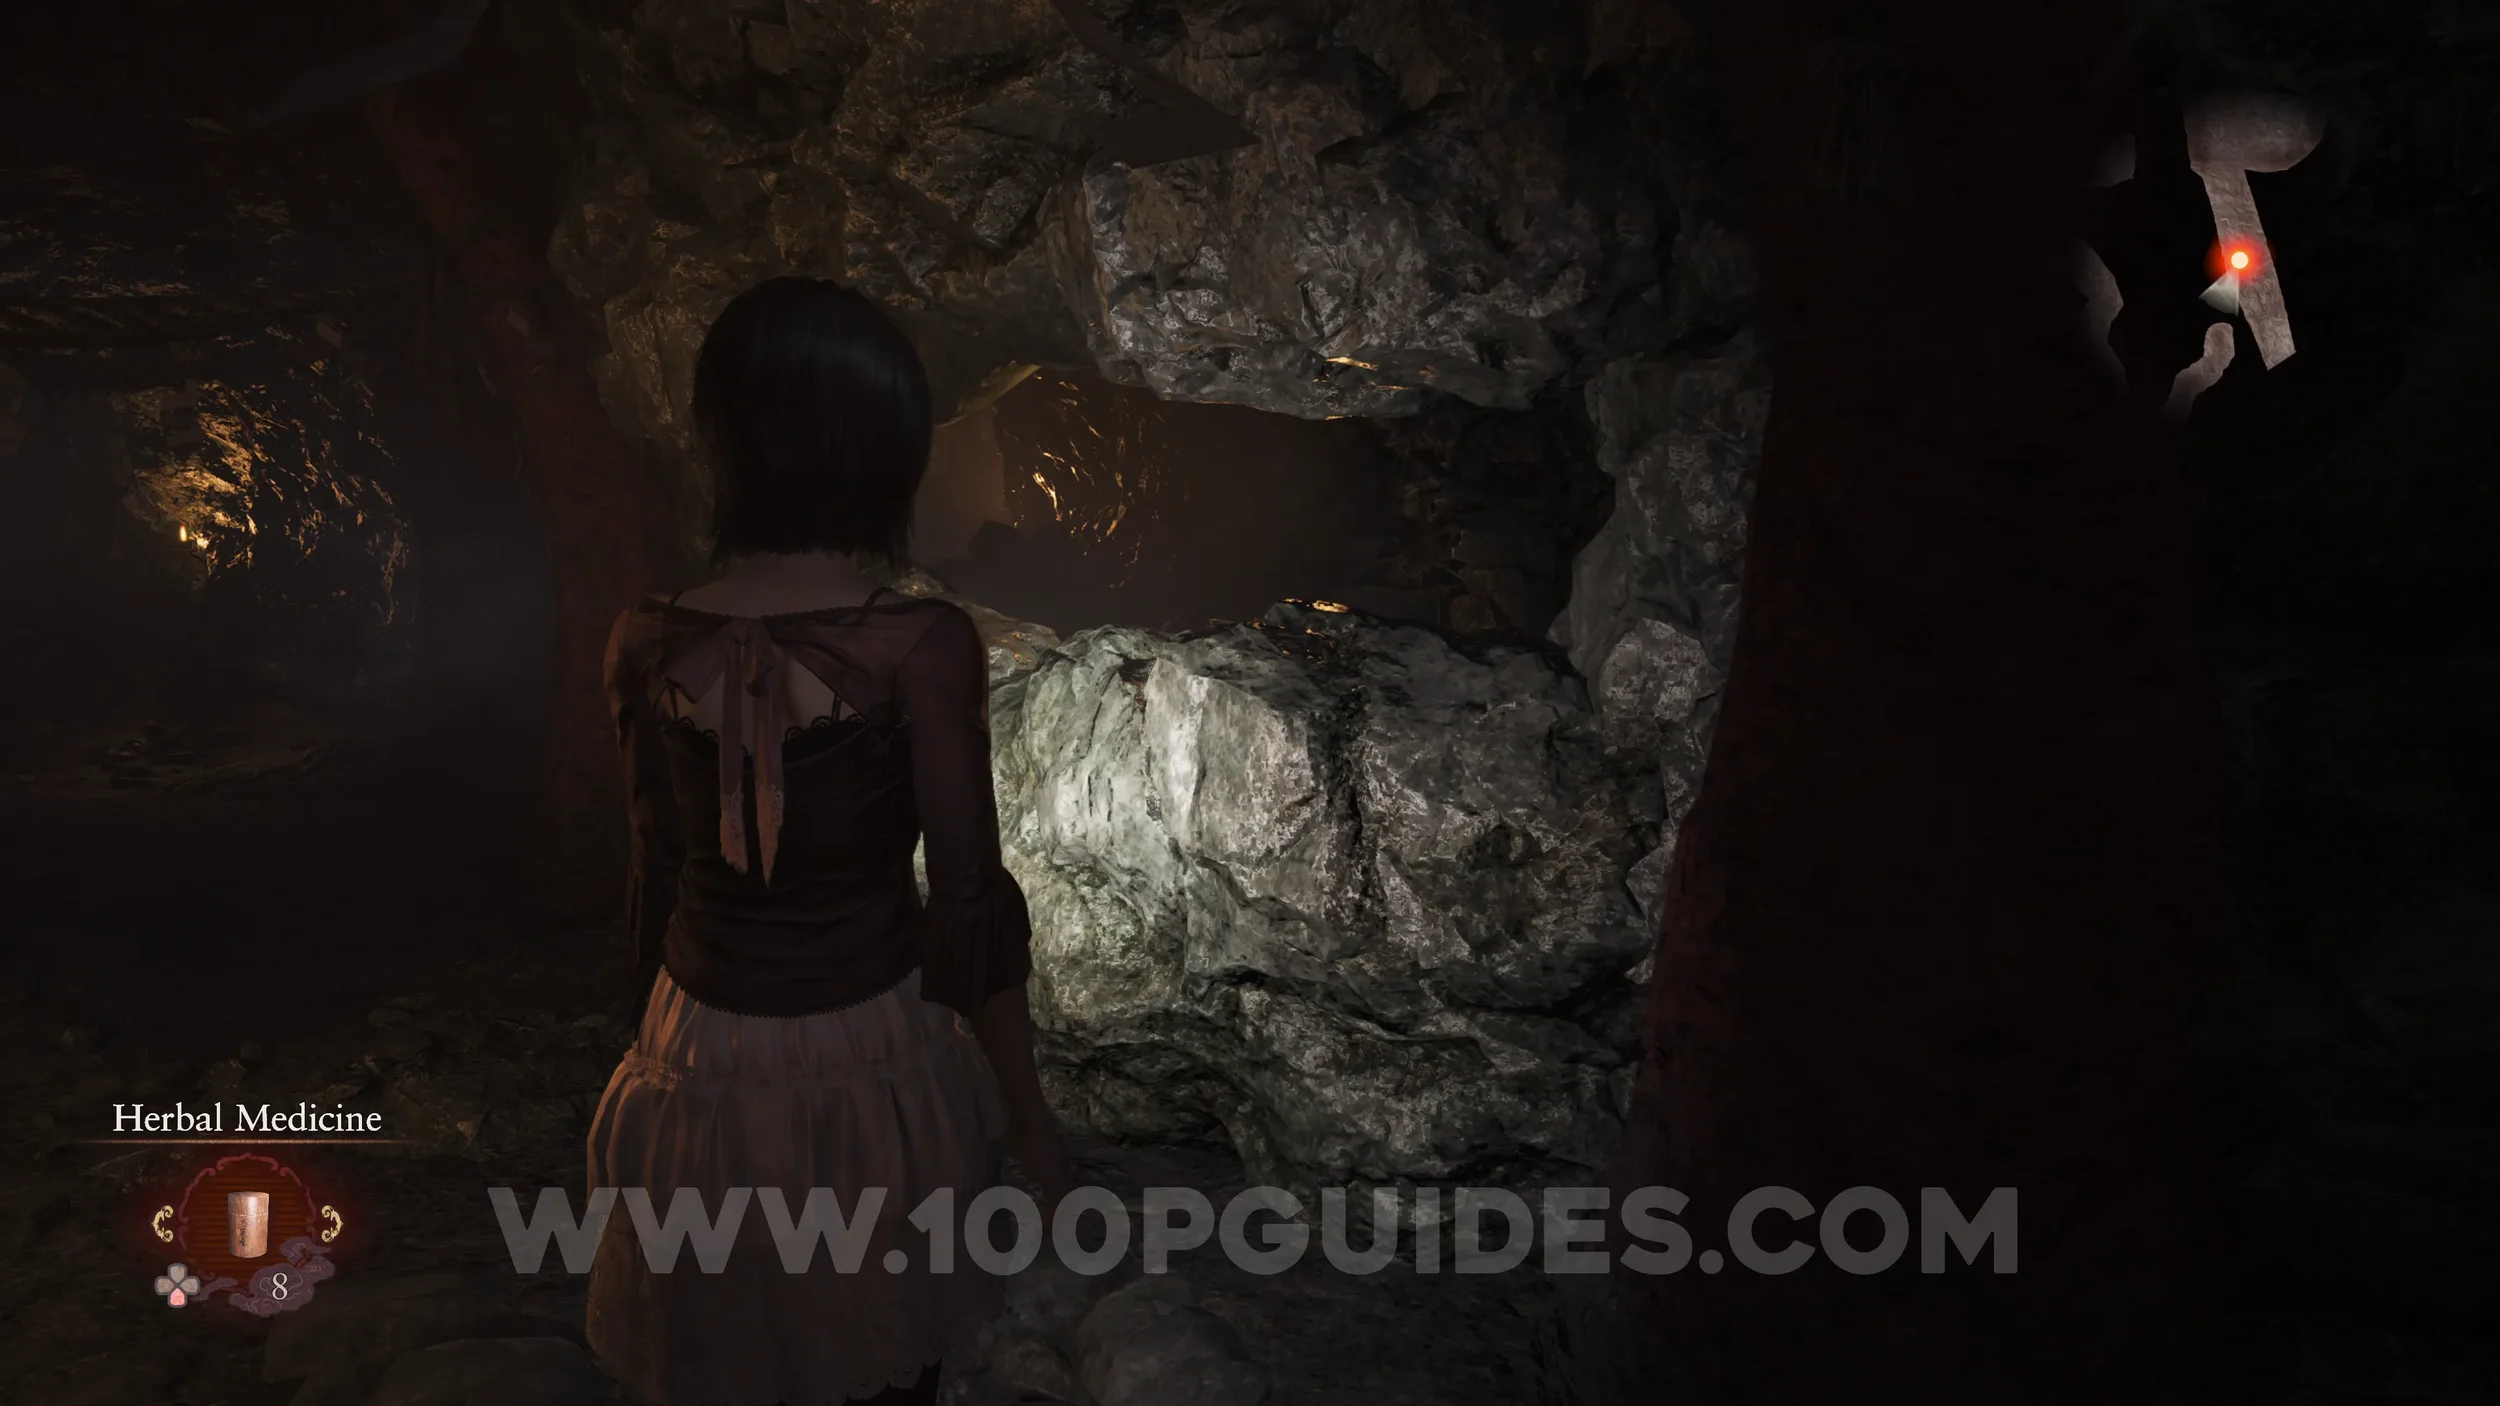
Phantom Expose #18 - Deep Path. Close to the start of the Deep Path Tunnel, the path will split. Go right and take a photo of the blocked path with the Exposure Filter.
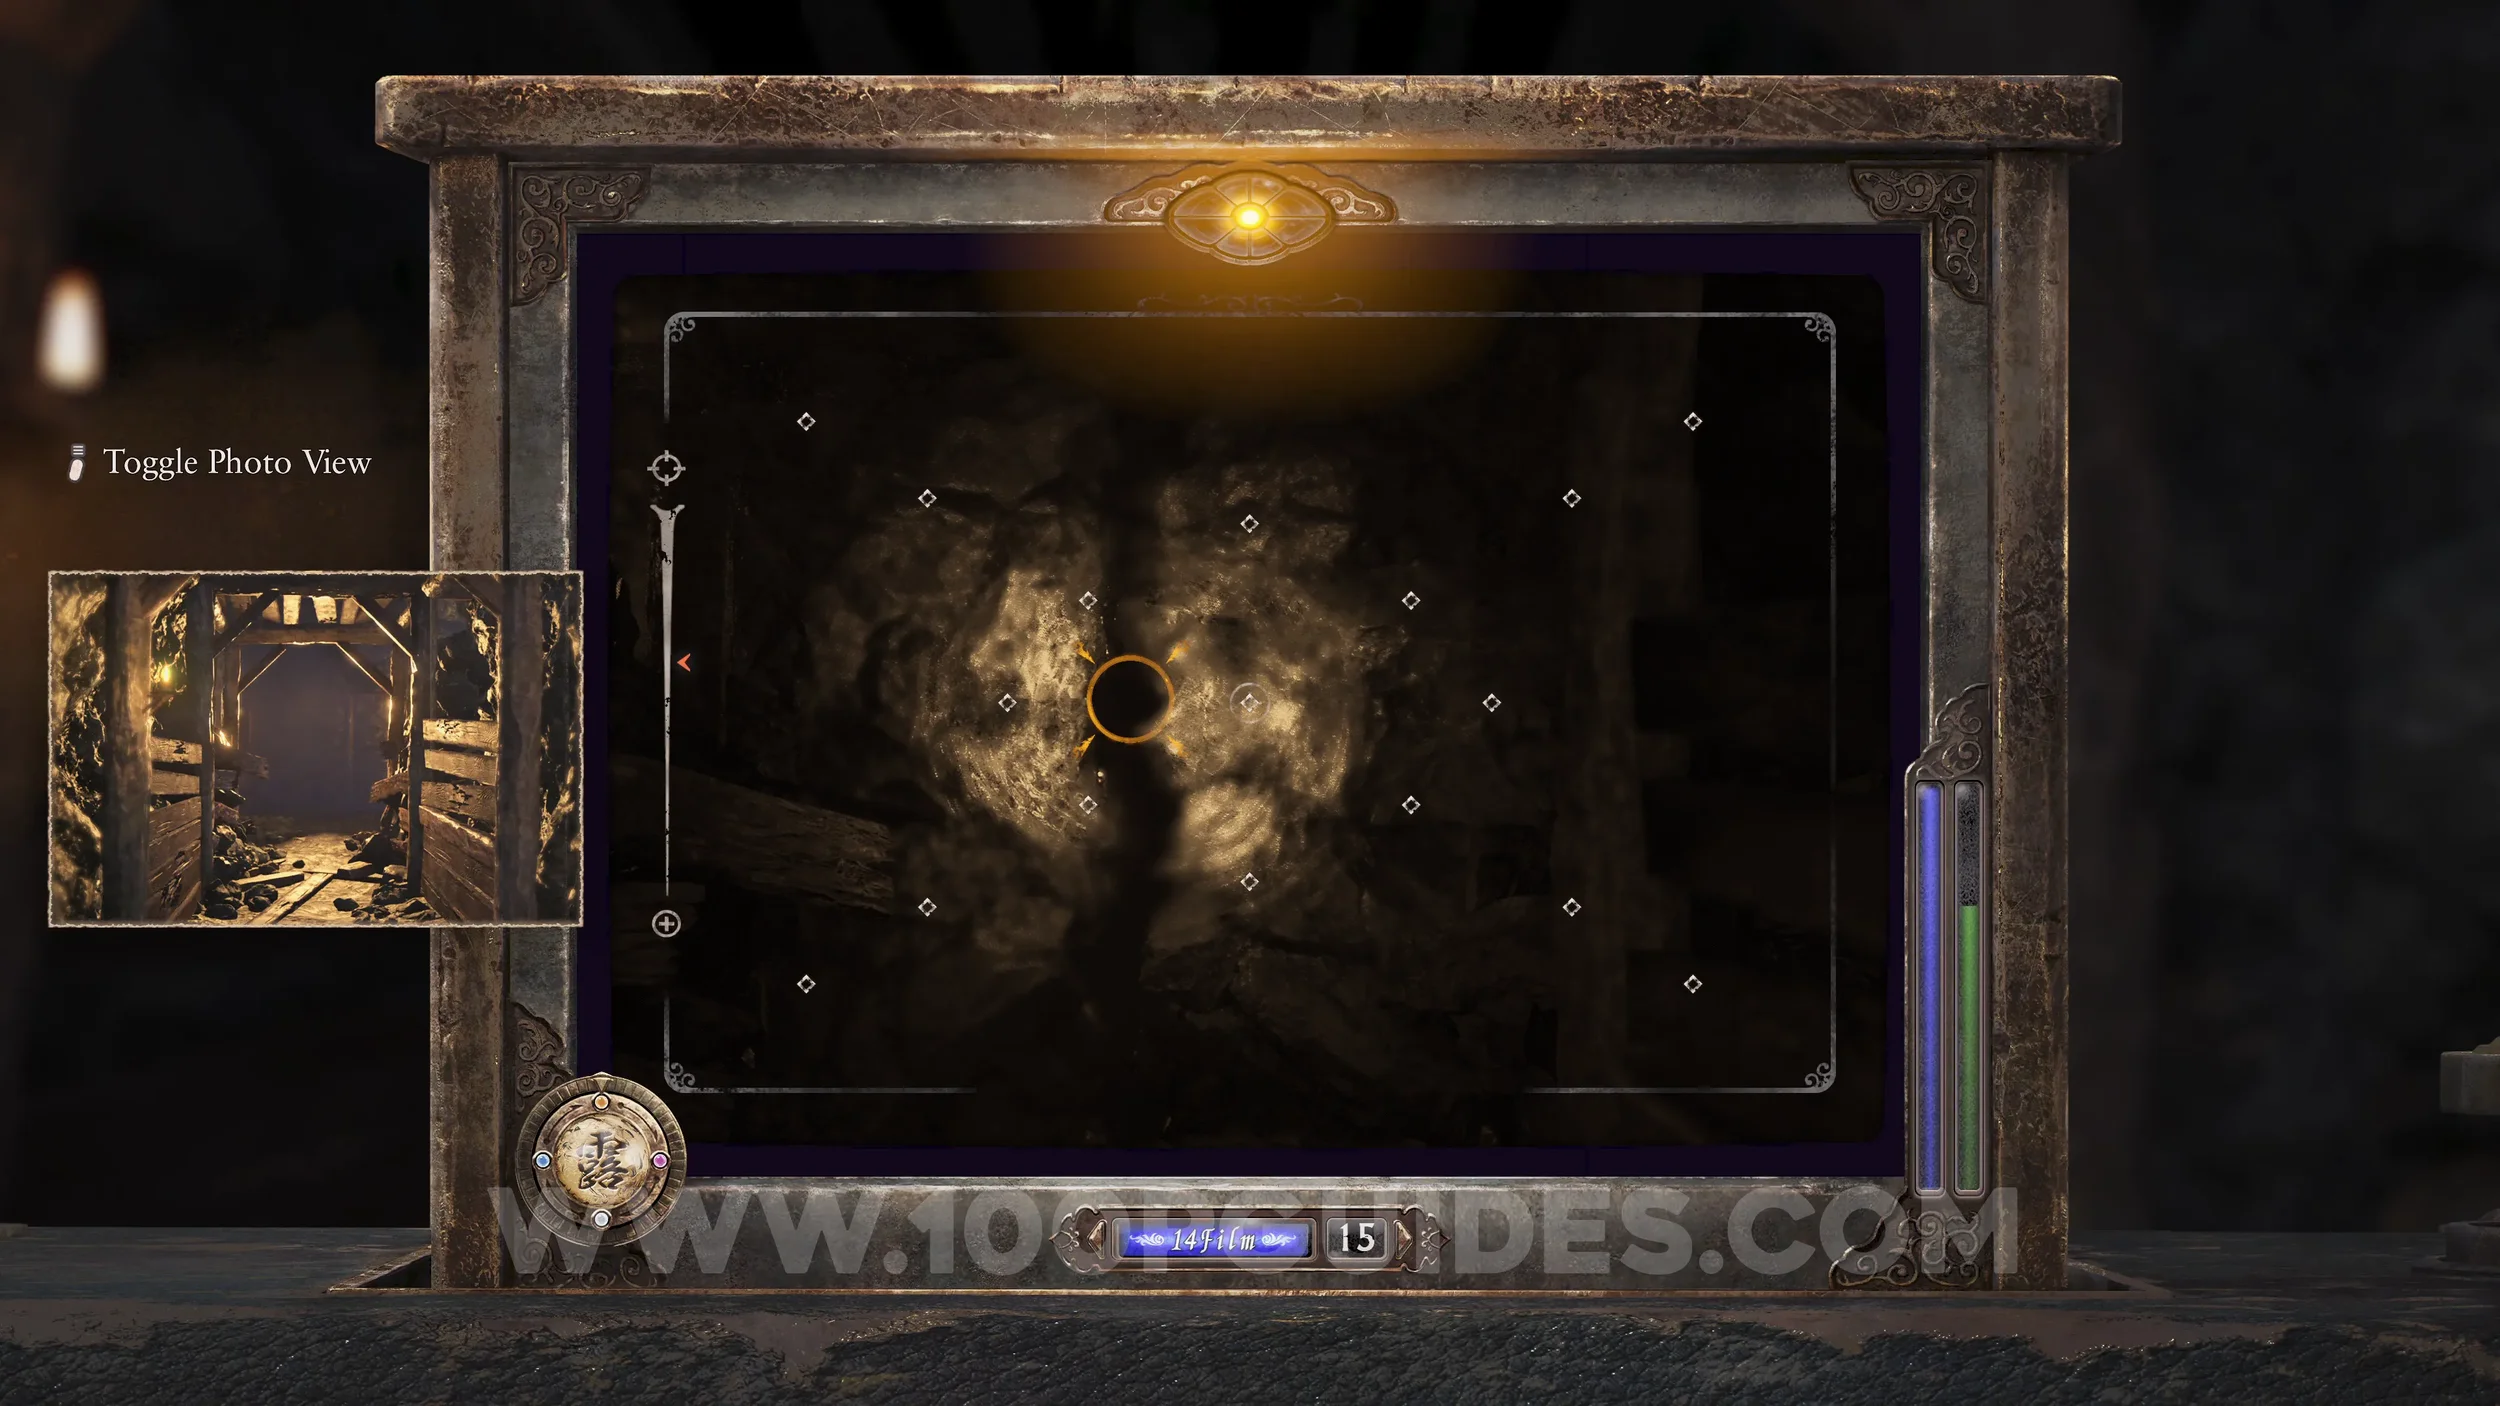
Spirit Stone #41 - Fluorite 3. Found in the room behind the Phantom Expose.
Prayer Beads #78. Found in the room behind the Phantom Expose.
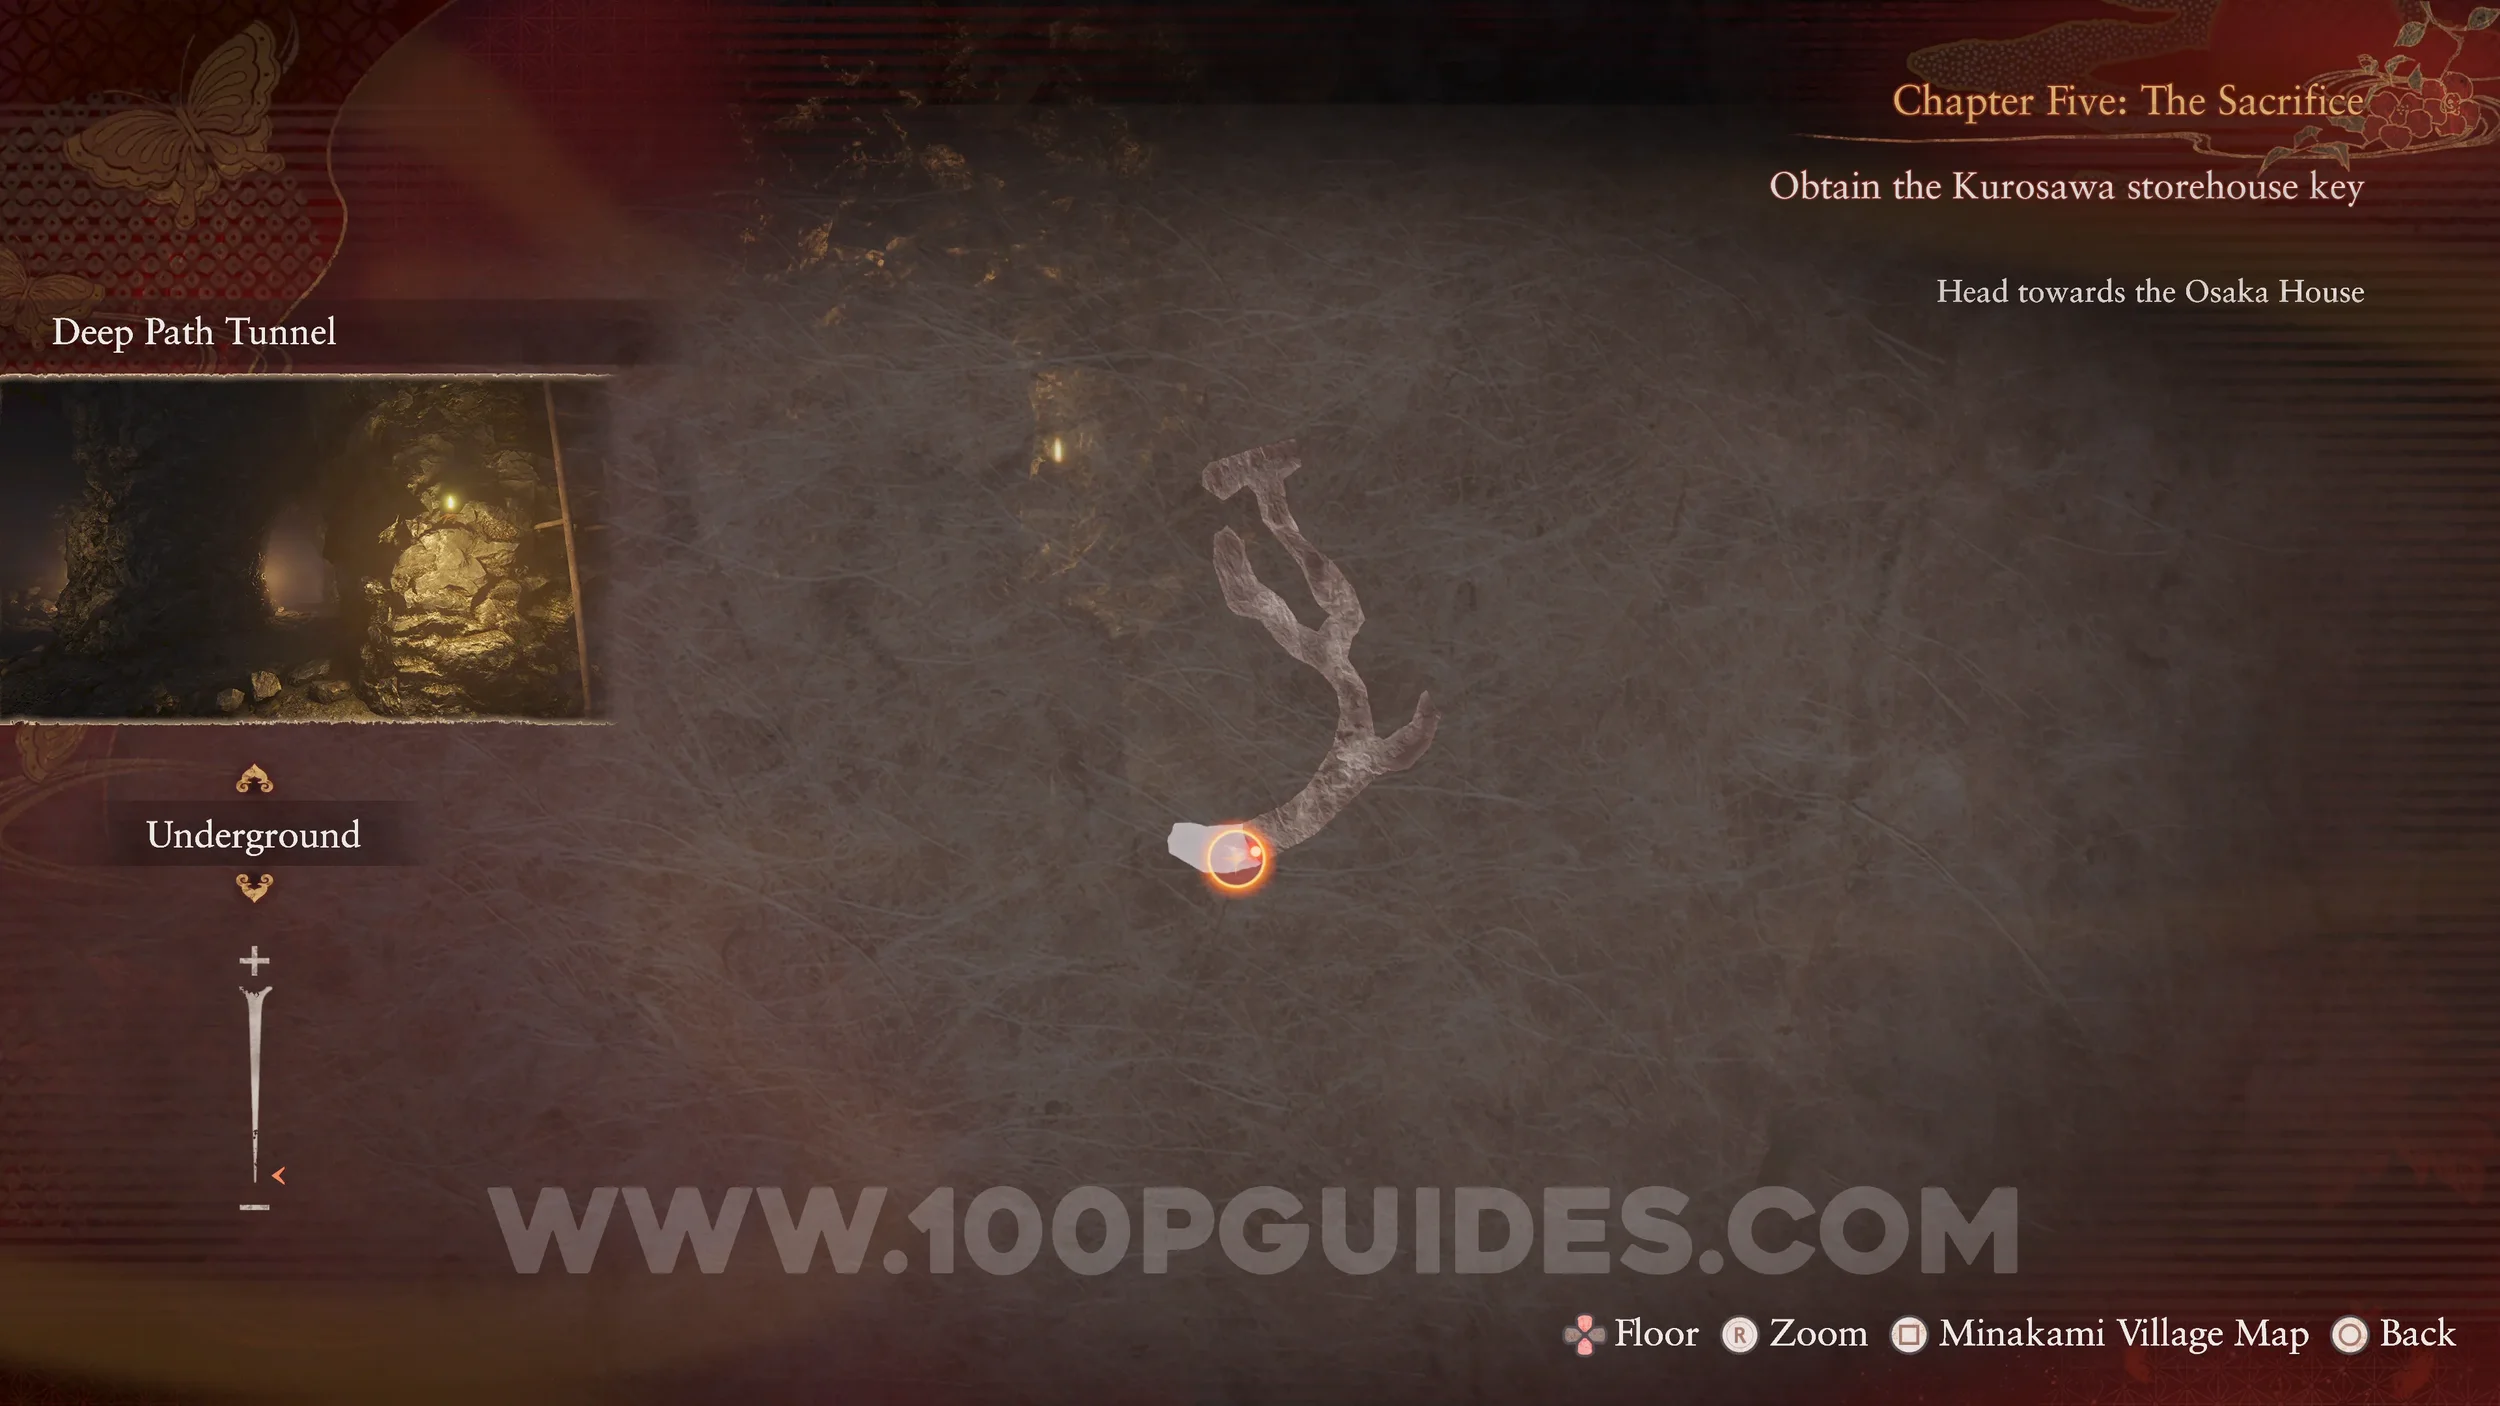
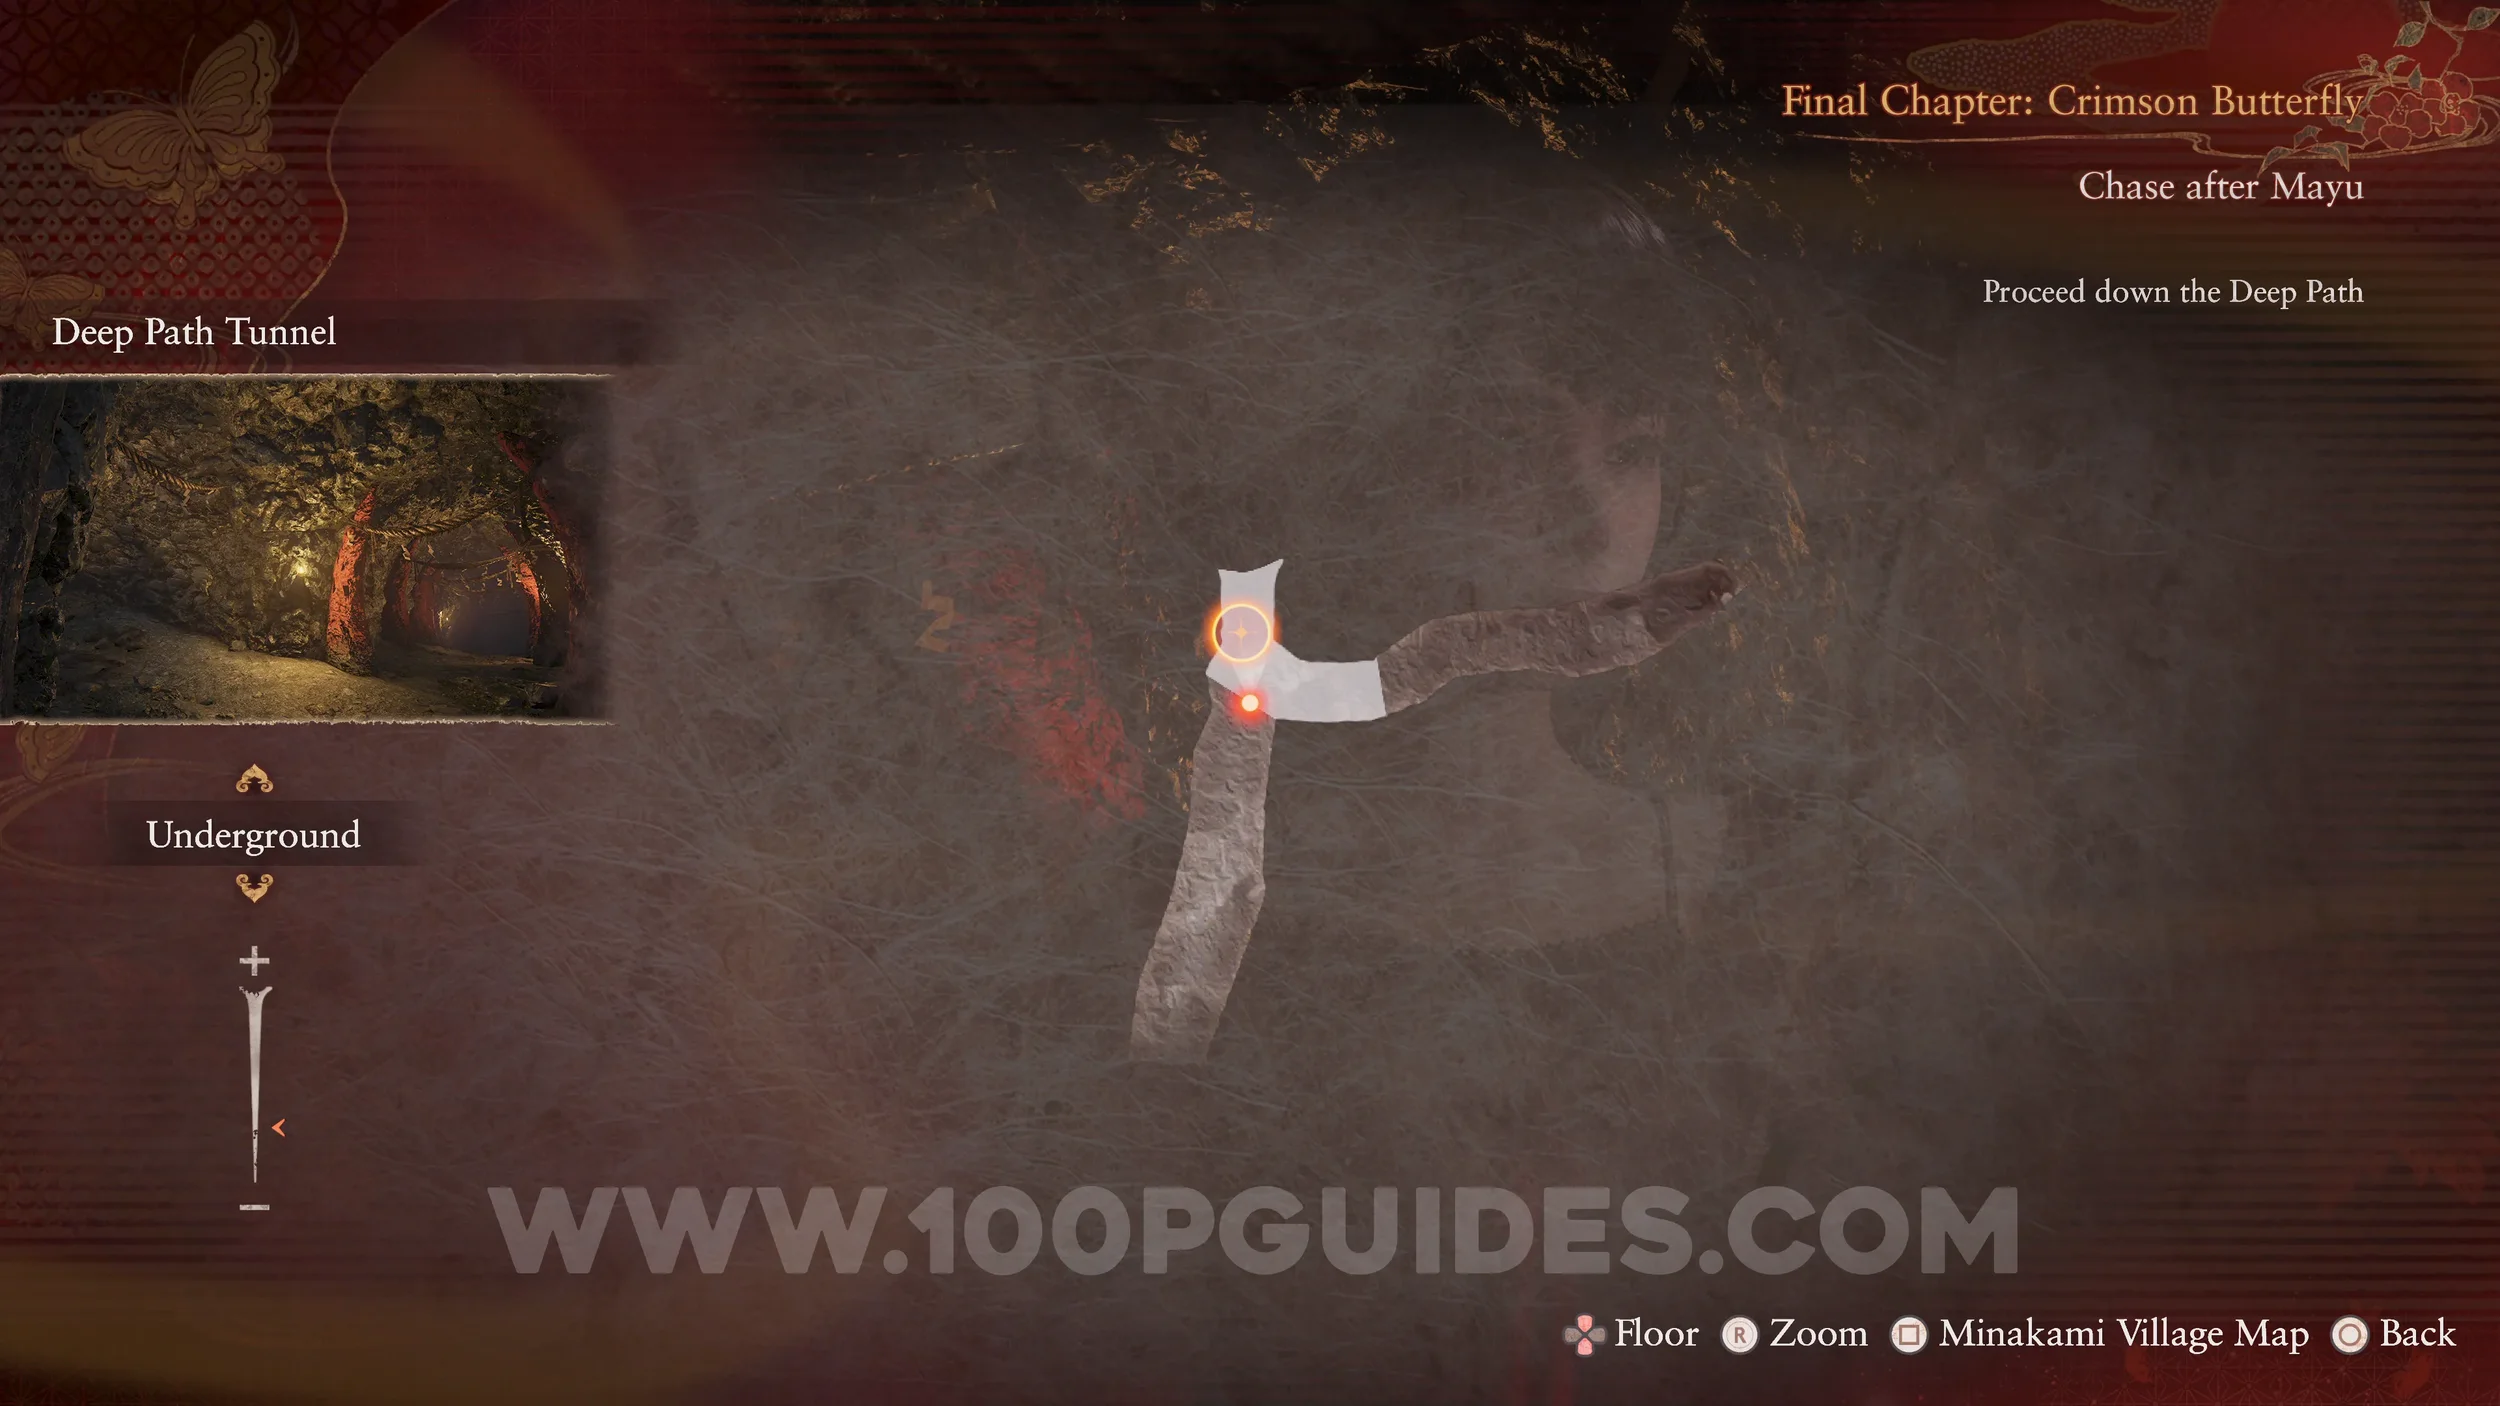
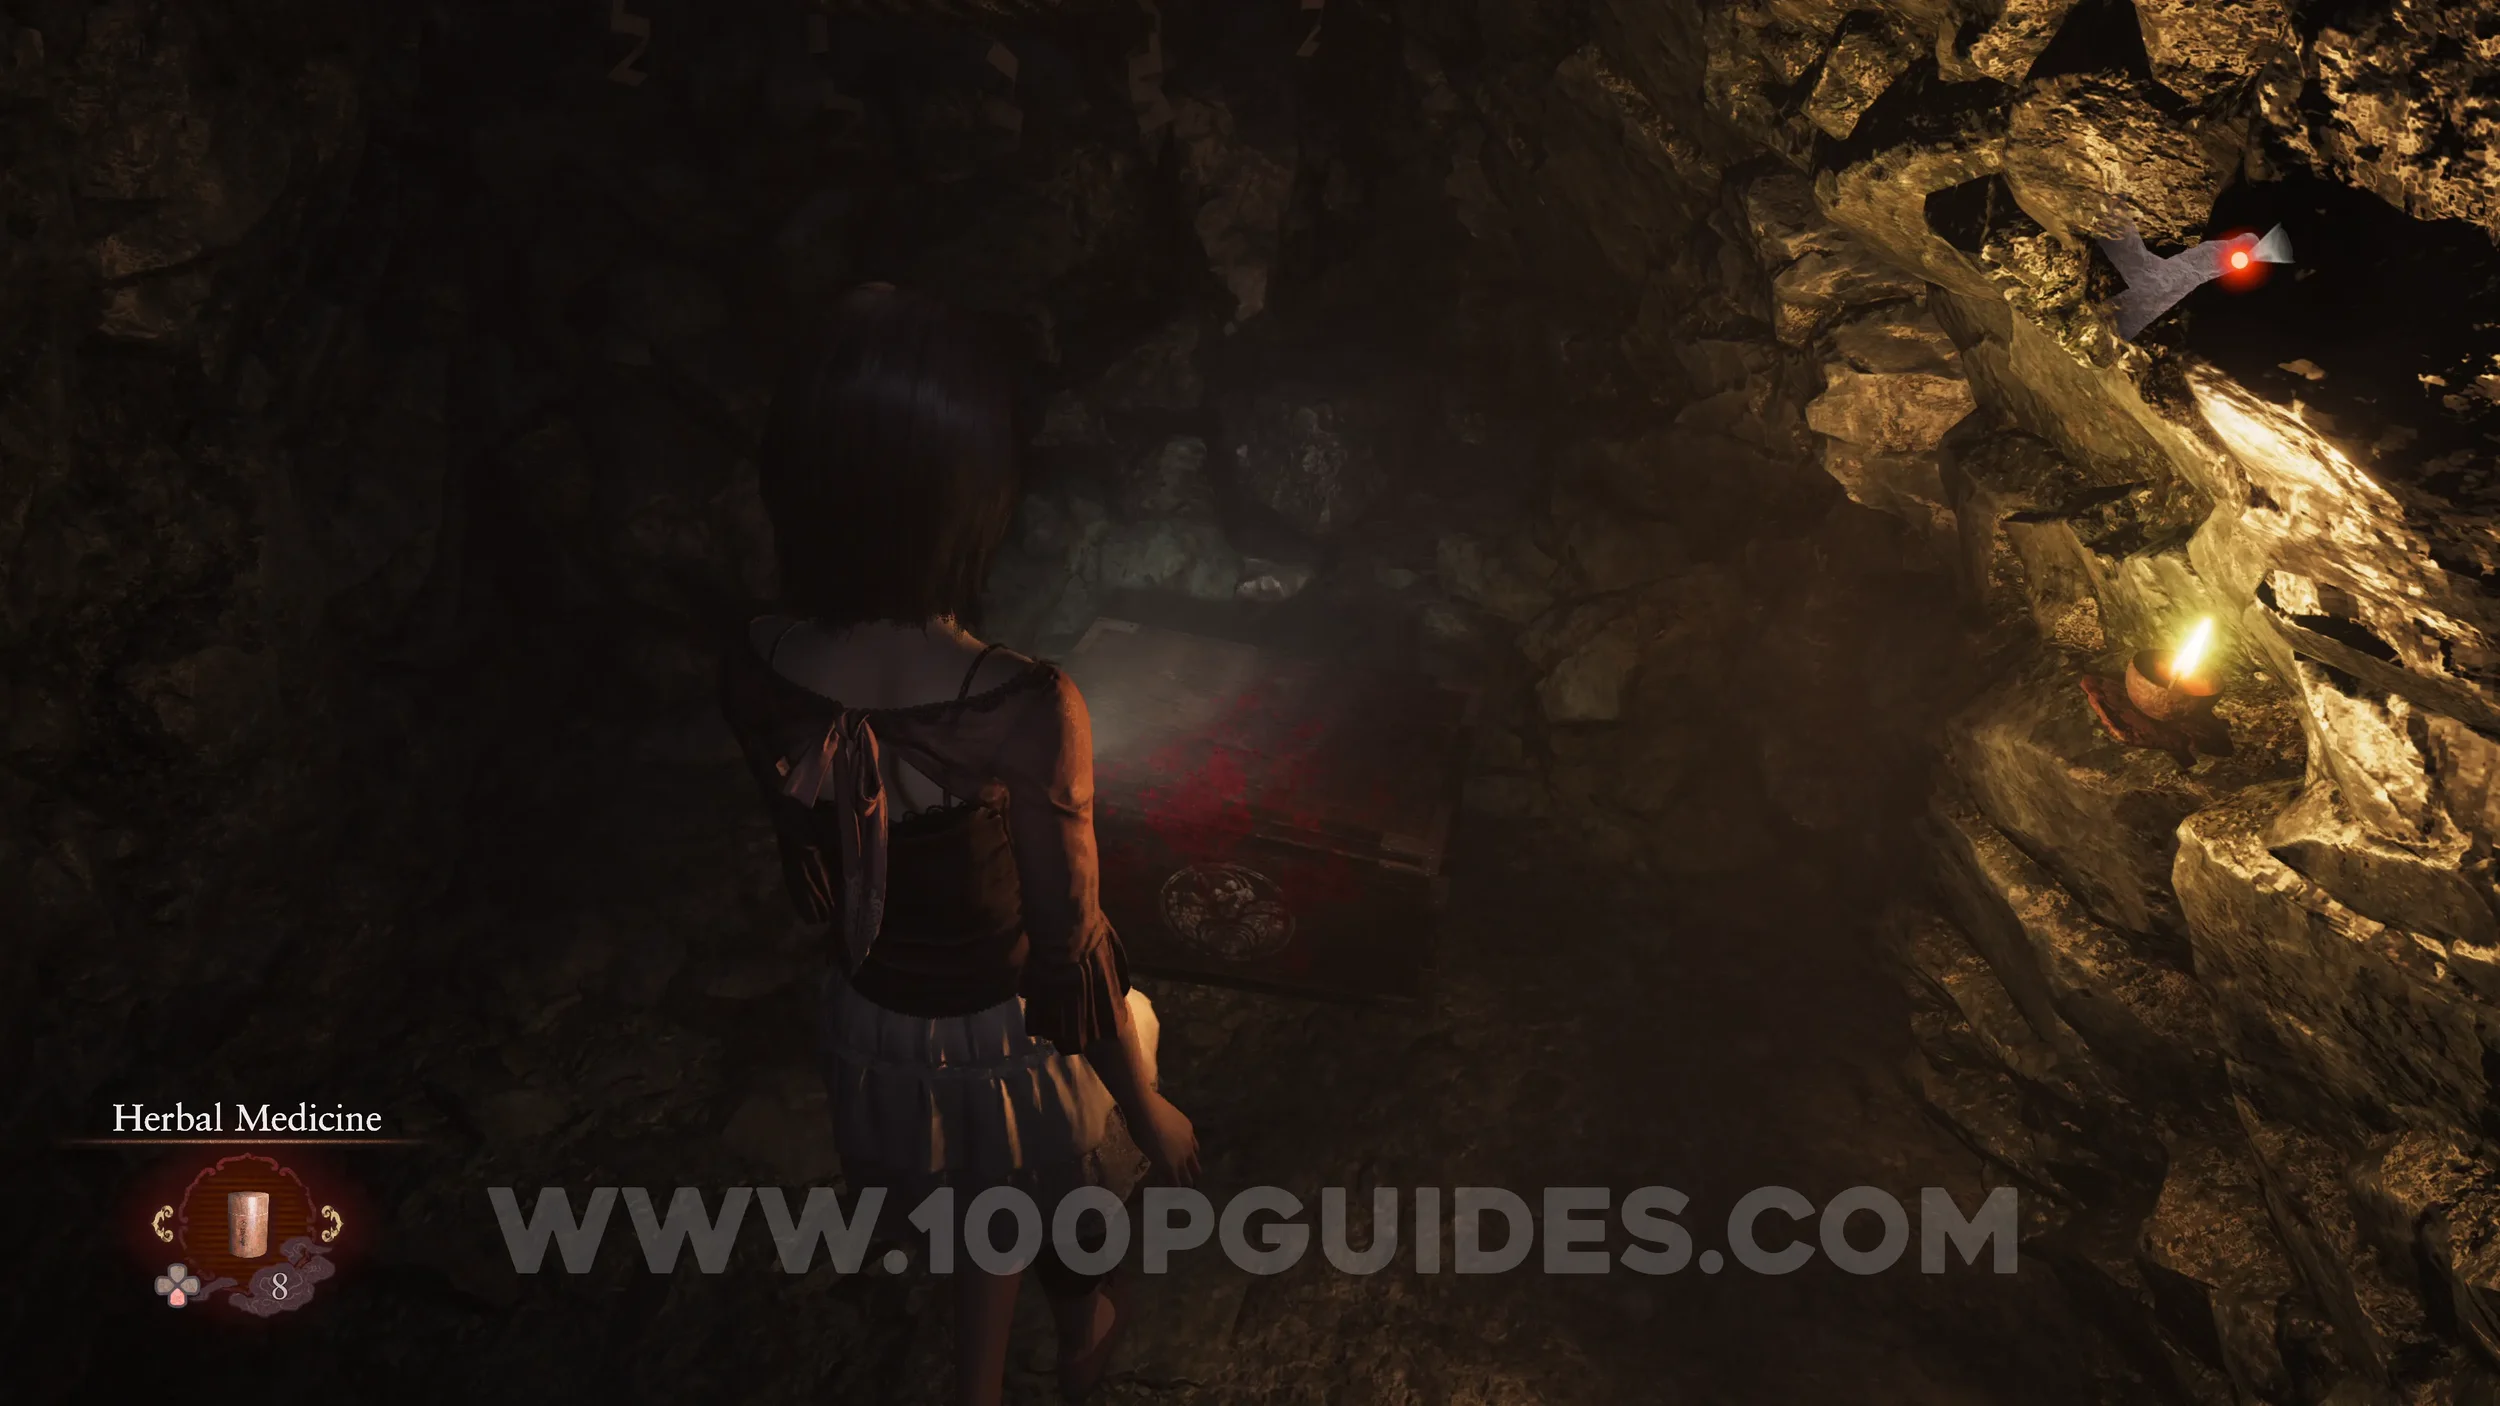
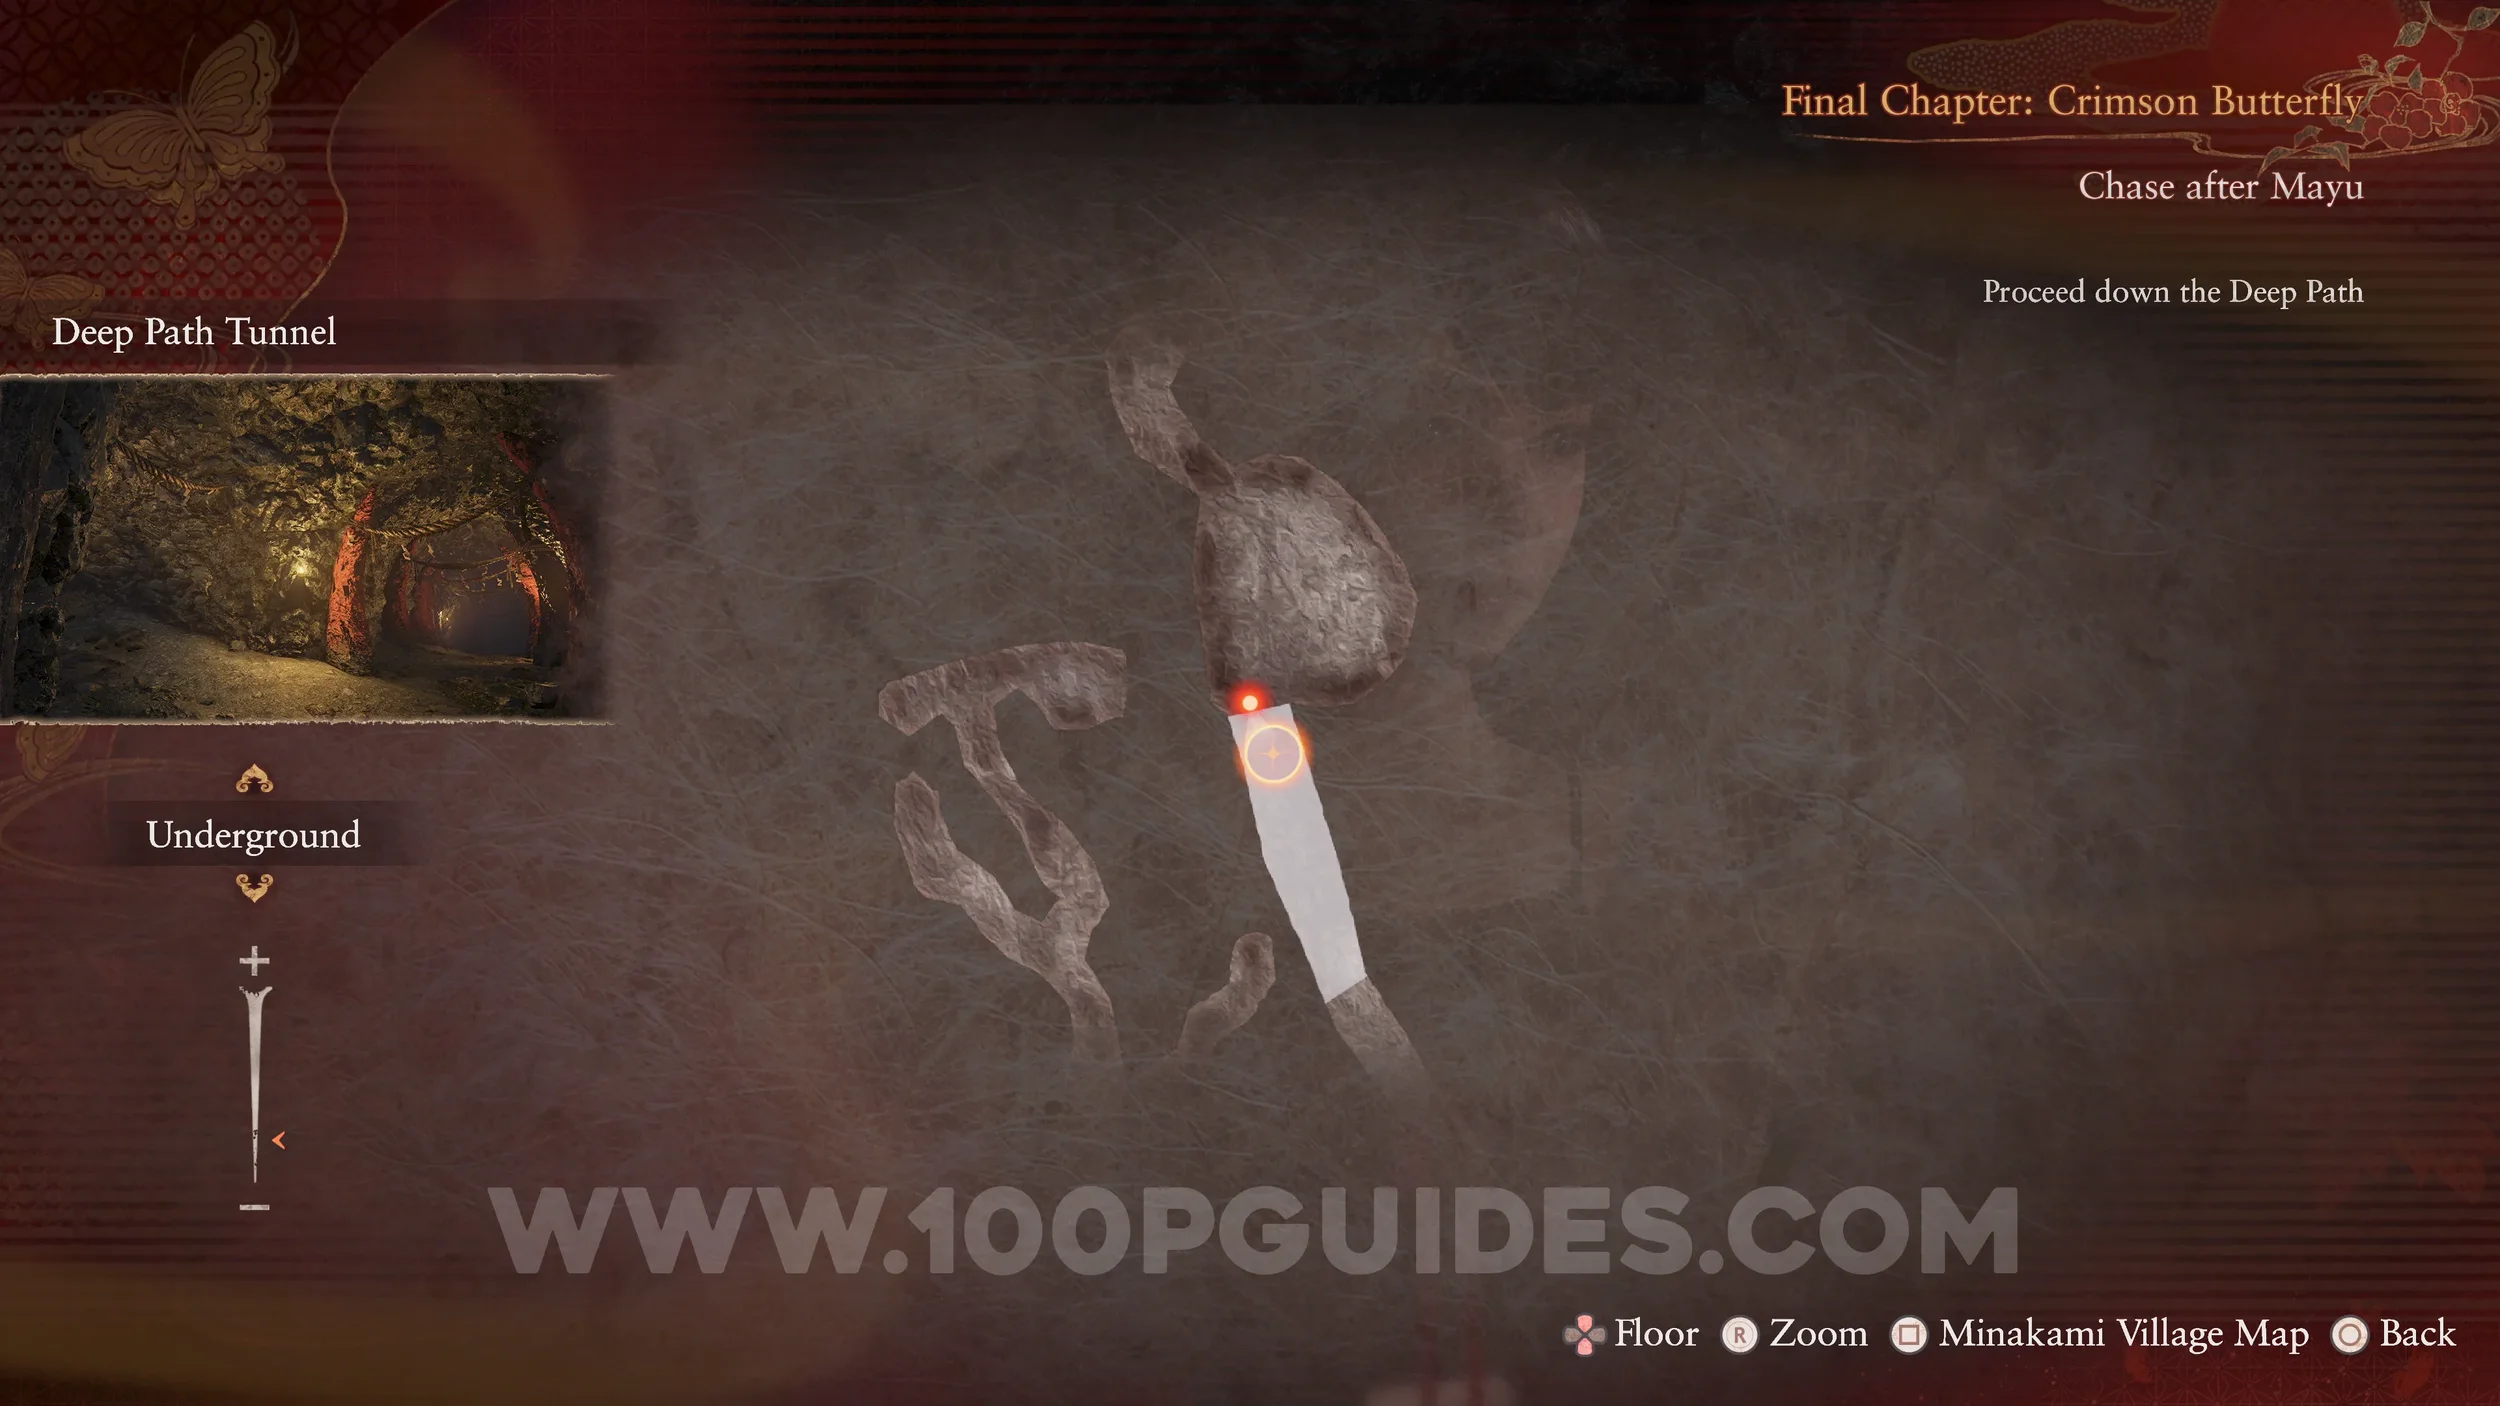
Unbinding of Blood #30 and Prayer Beads #79. Continue through the Deep Path Tunnel until the path splits again. Take the left path to find a sealed chest. This will be the final Unbinding of Blood. The beads are inside.
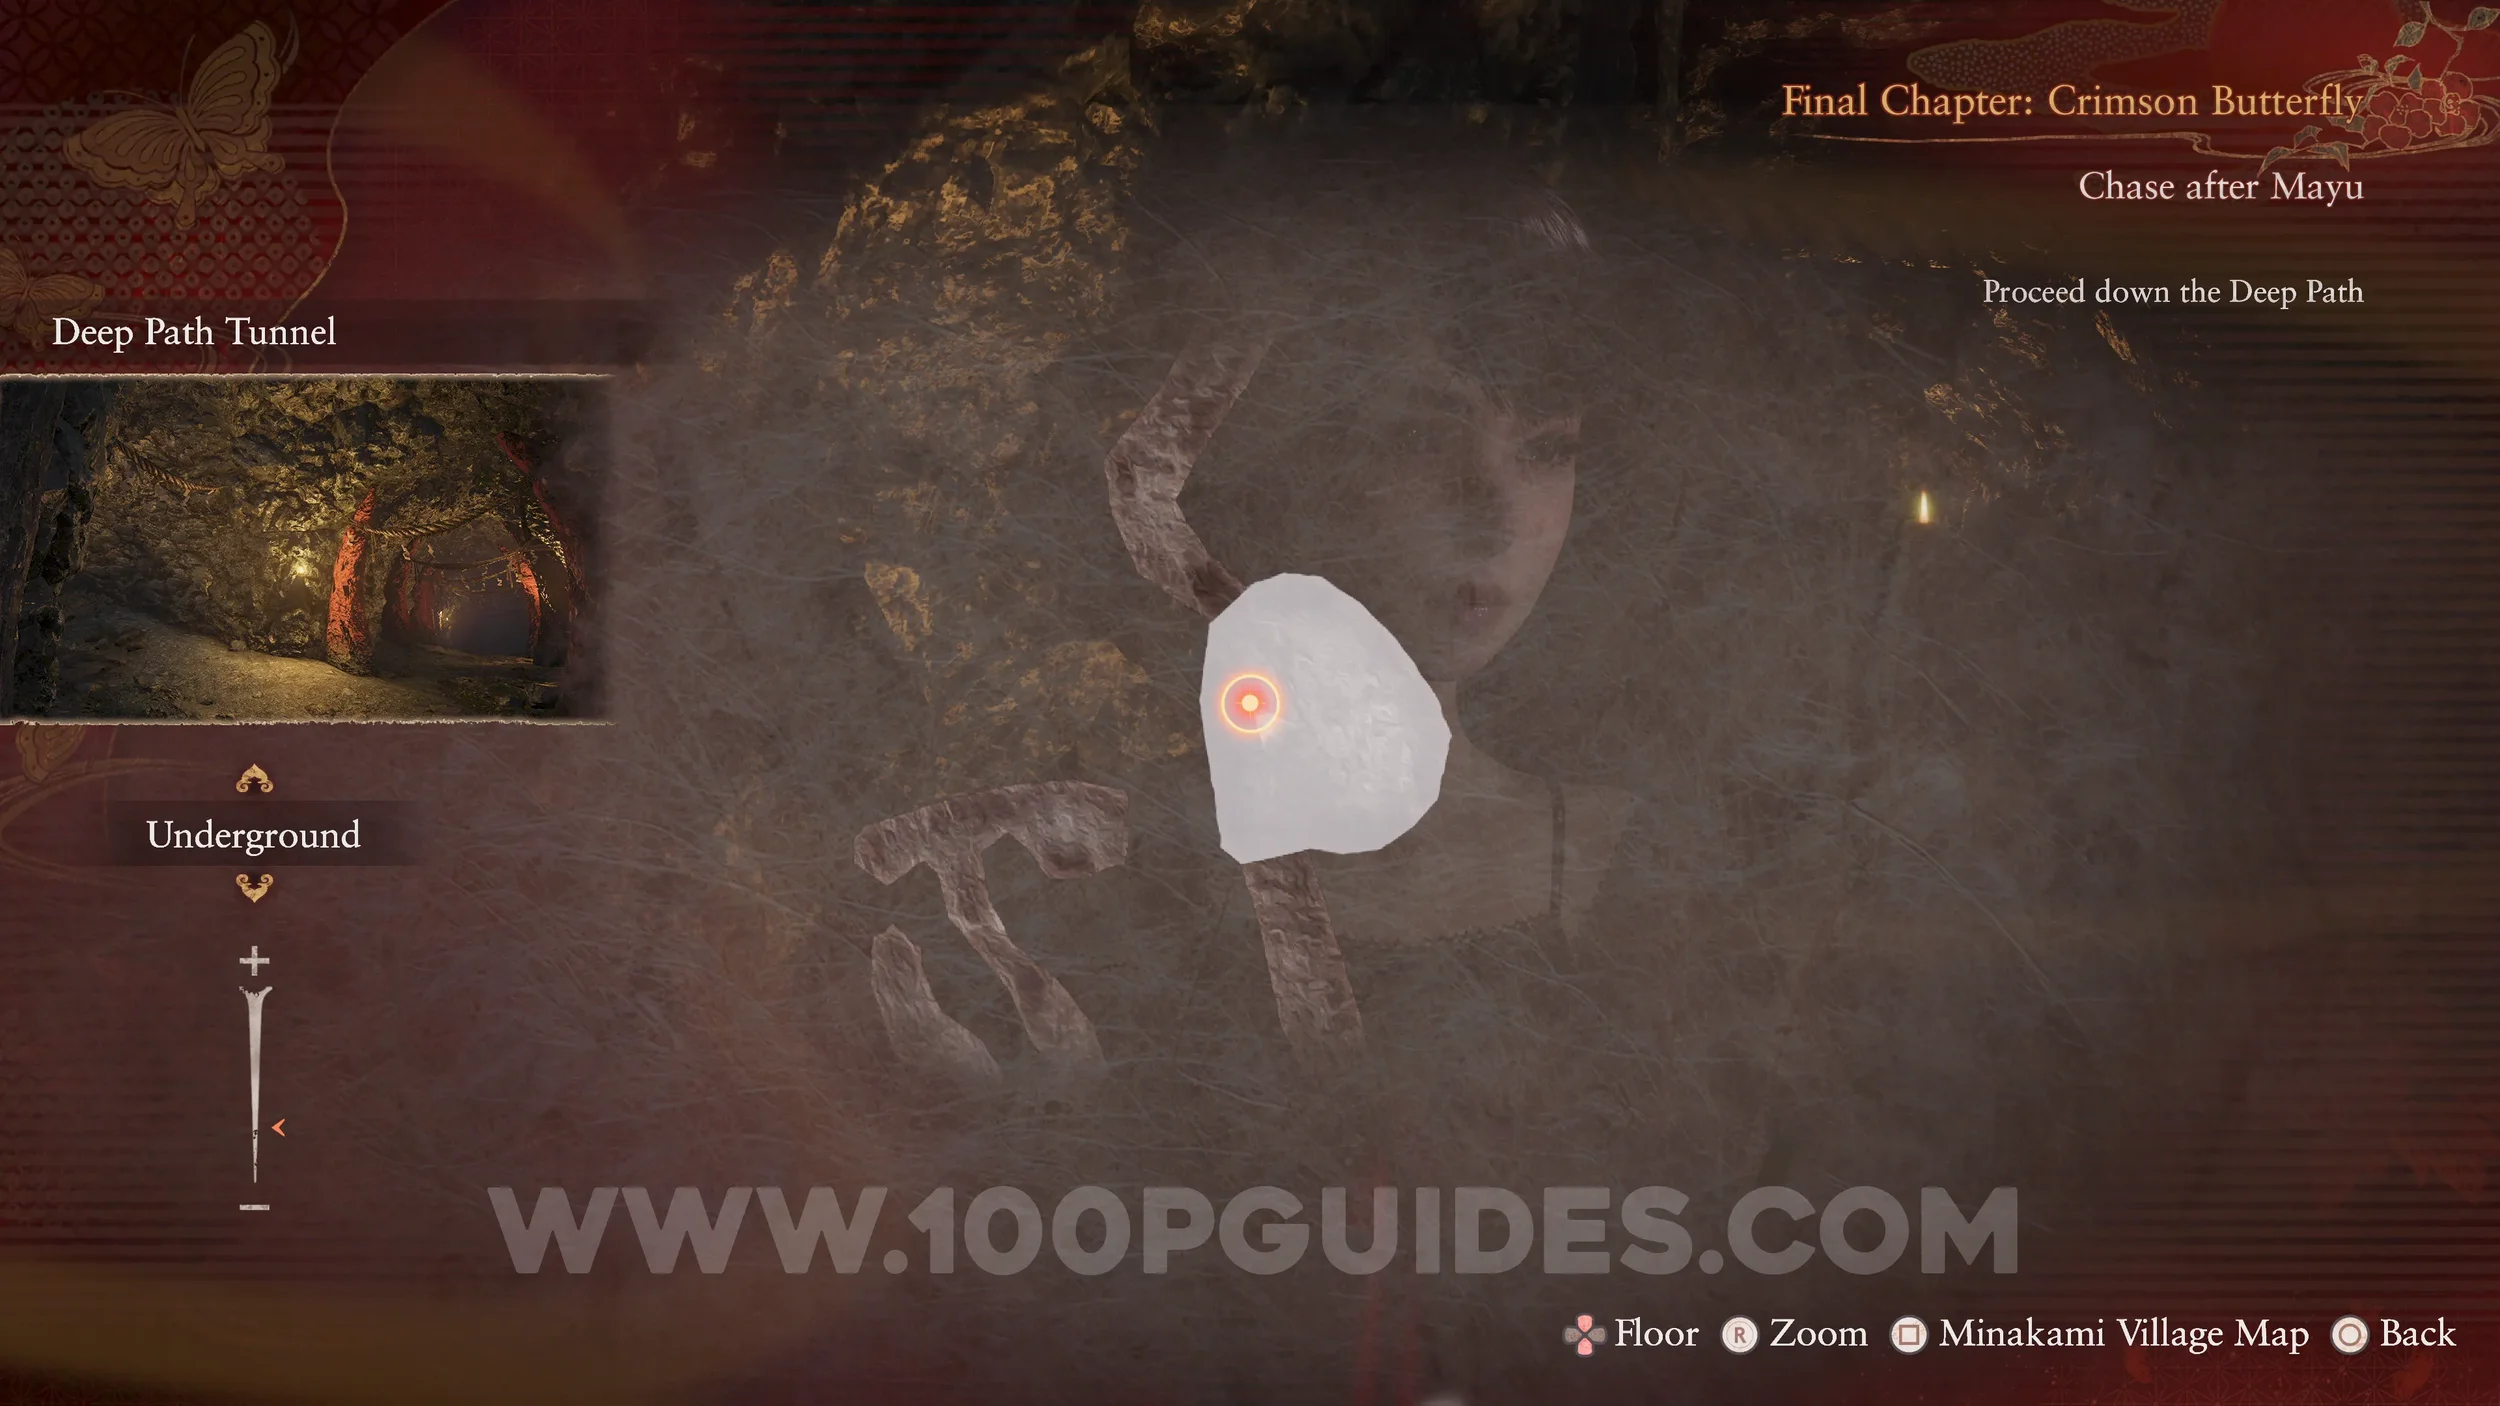
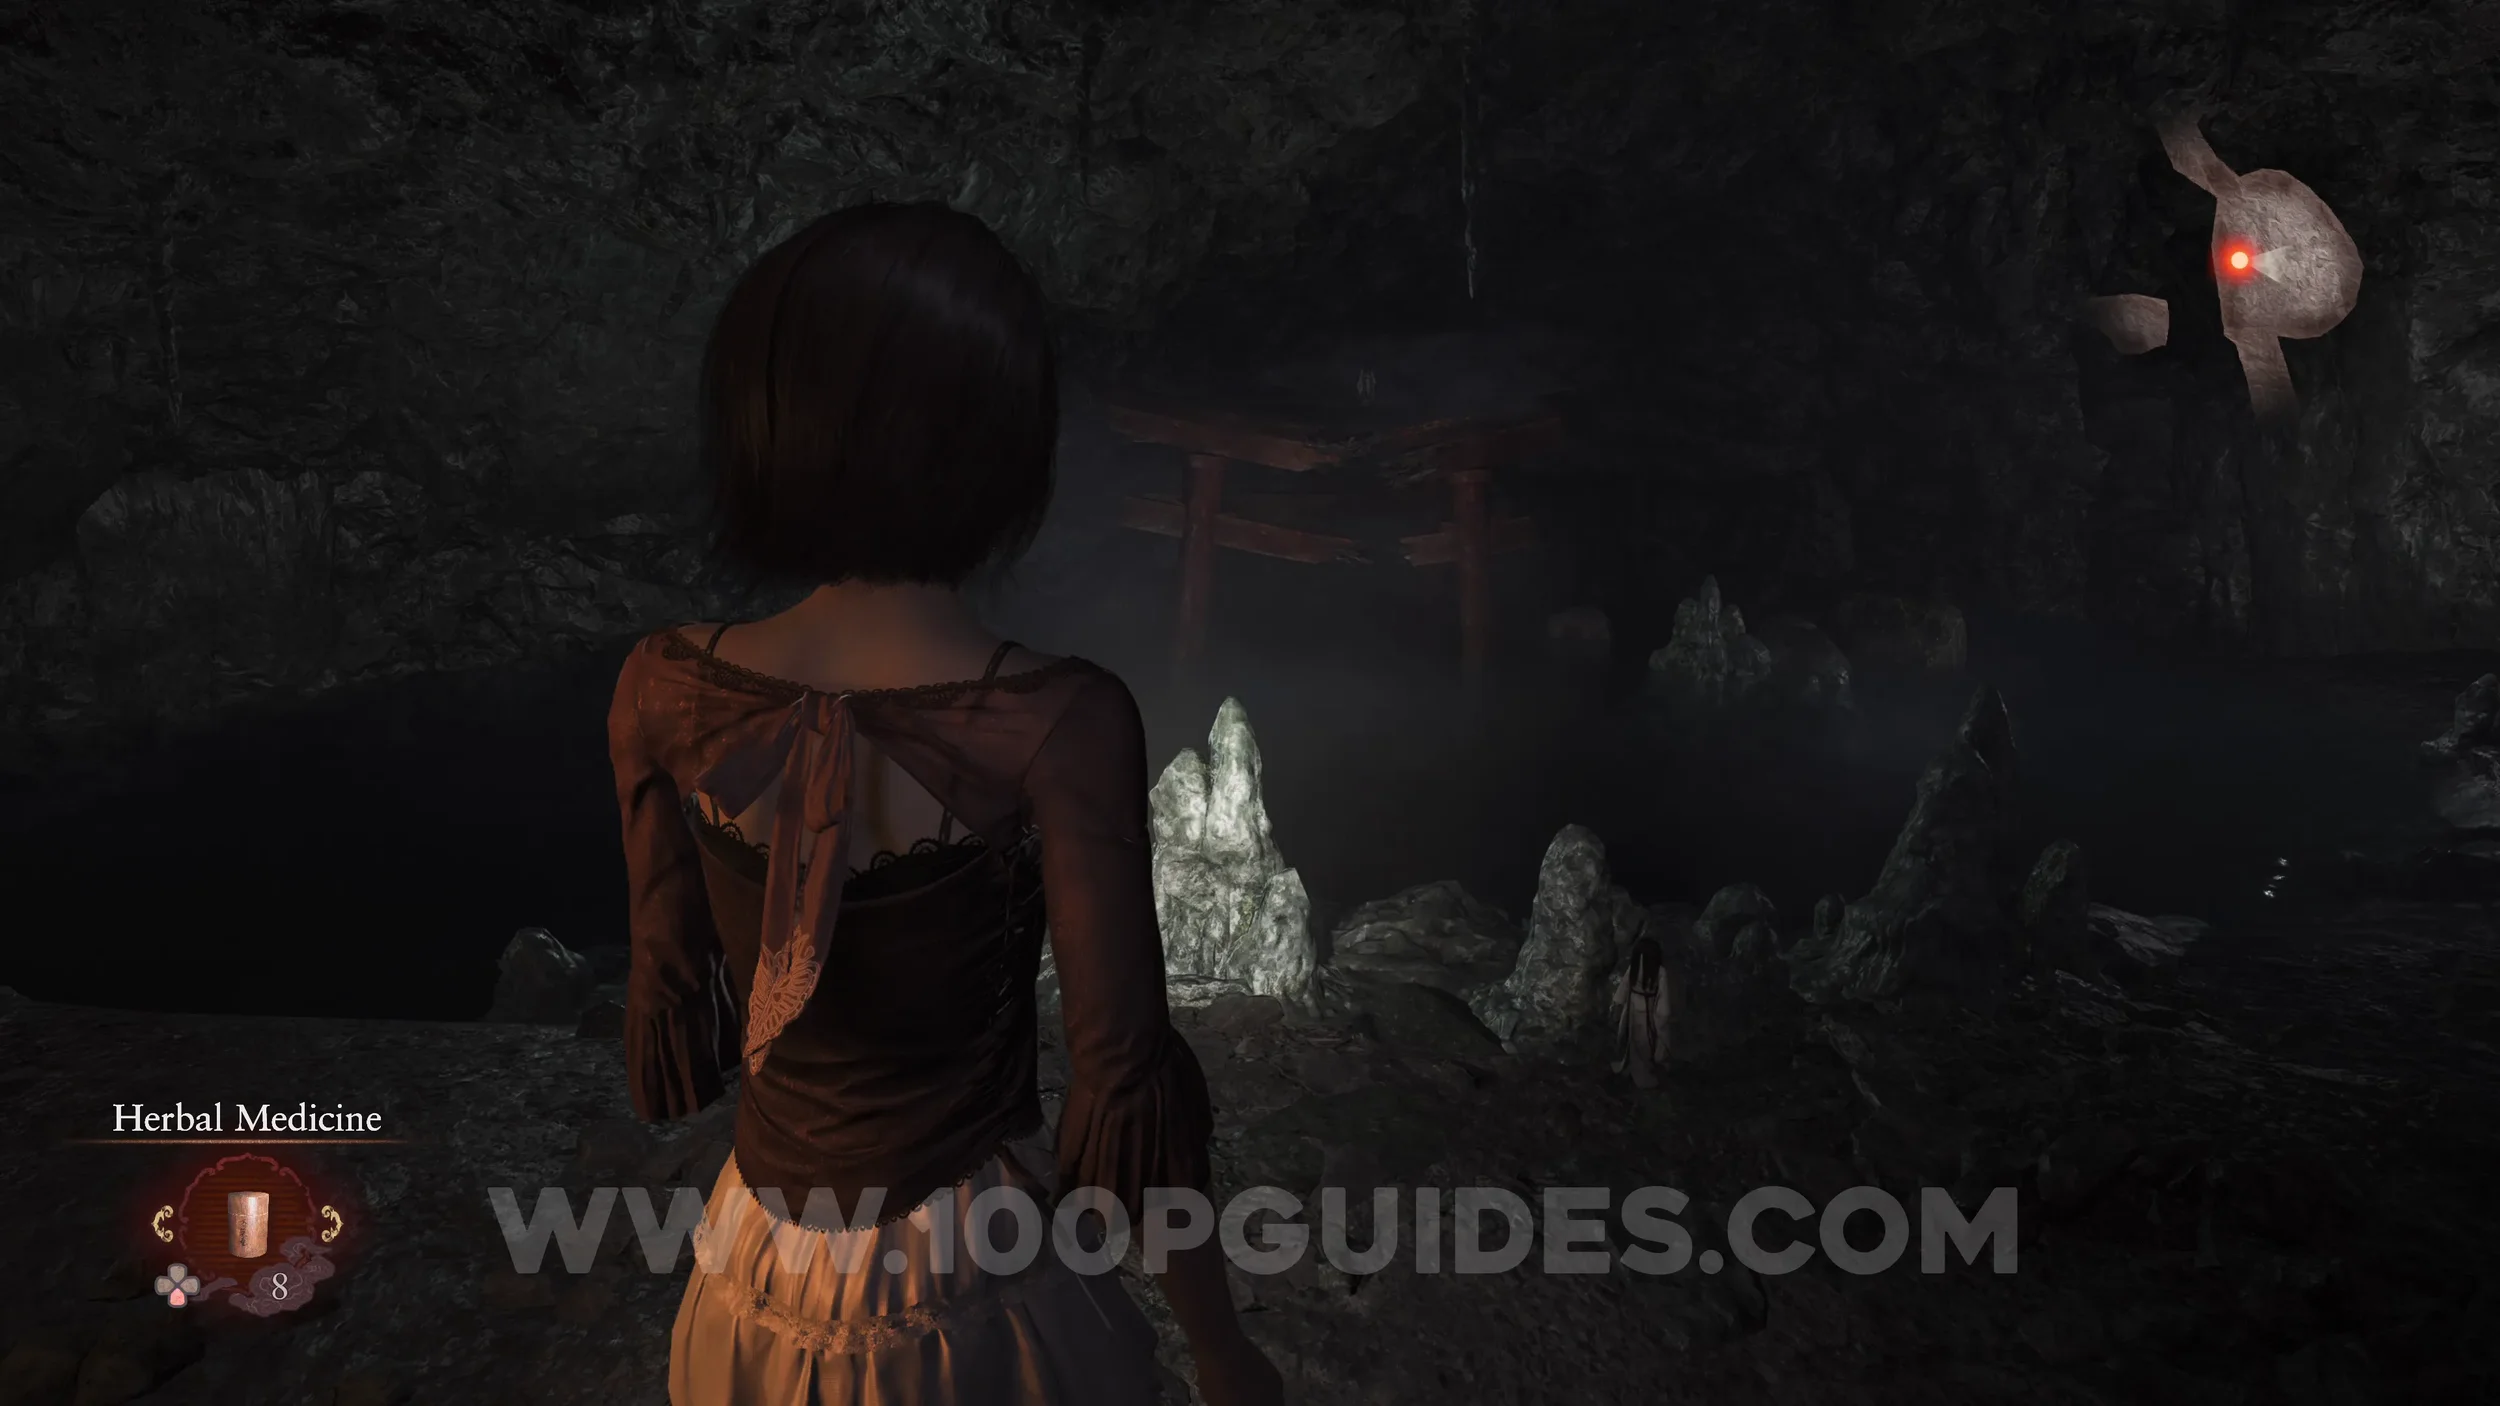
Twin Dolls #46 (27). Continue through the tunnel until you reach an area with water on your left. Stand around the middle of the path and look toward the destroyed Torii gate to get them both in the shot.
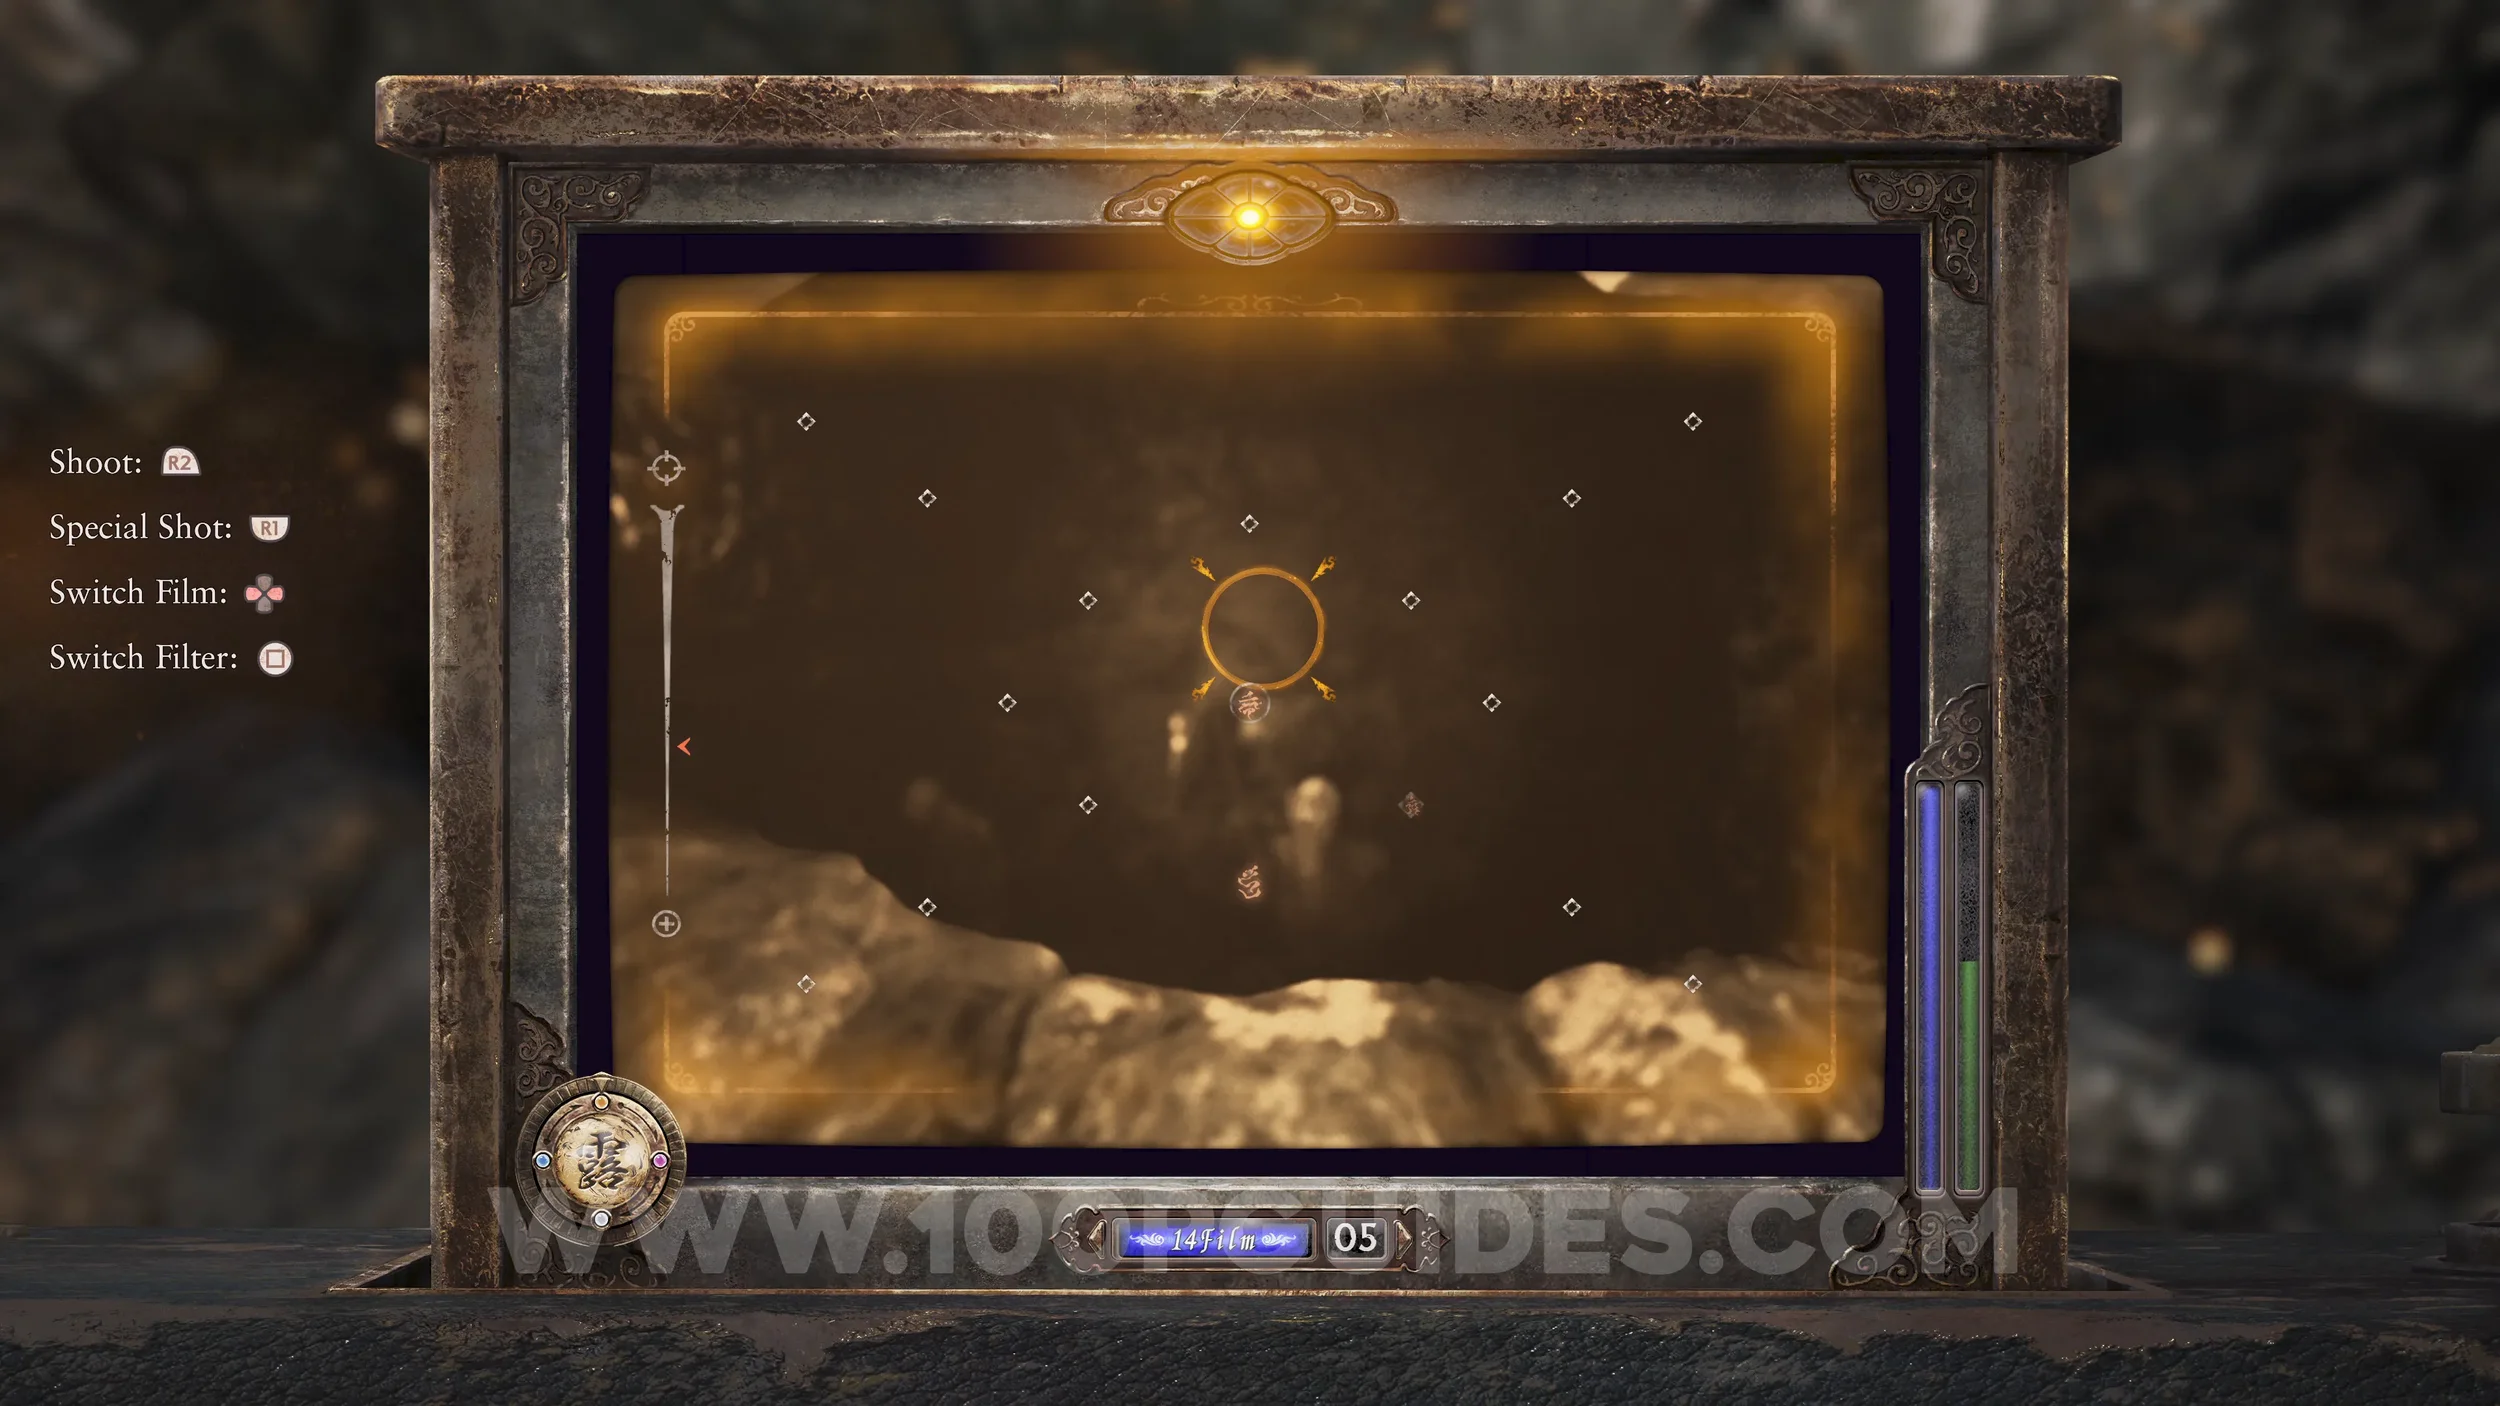
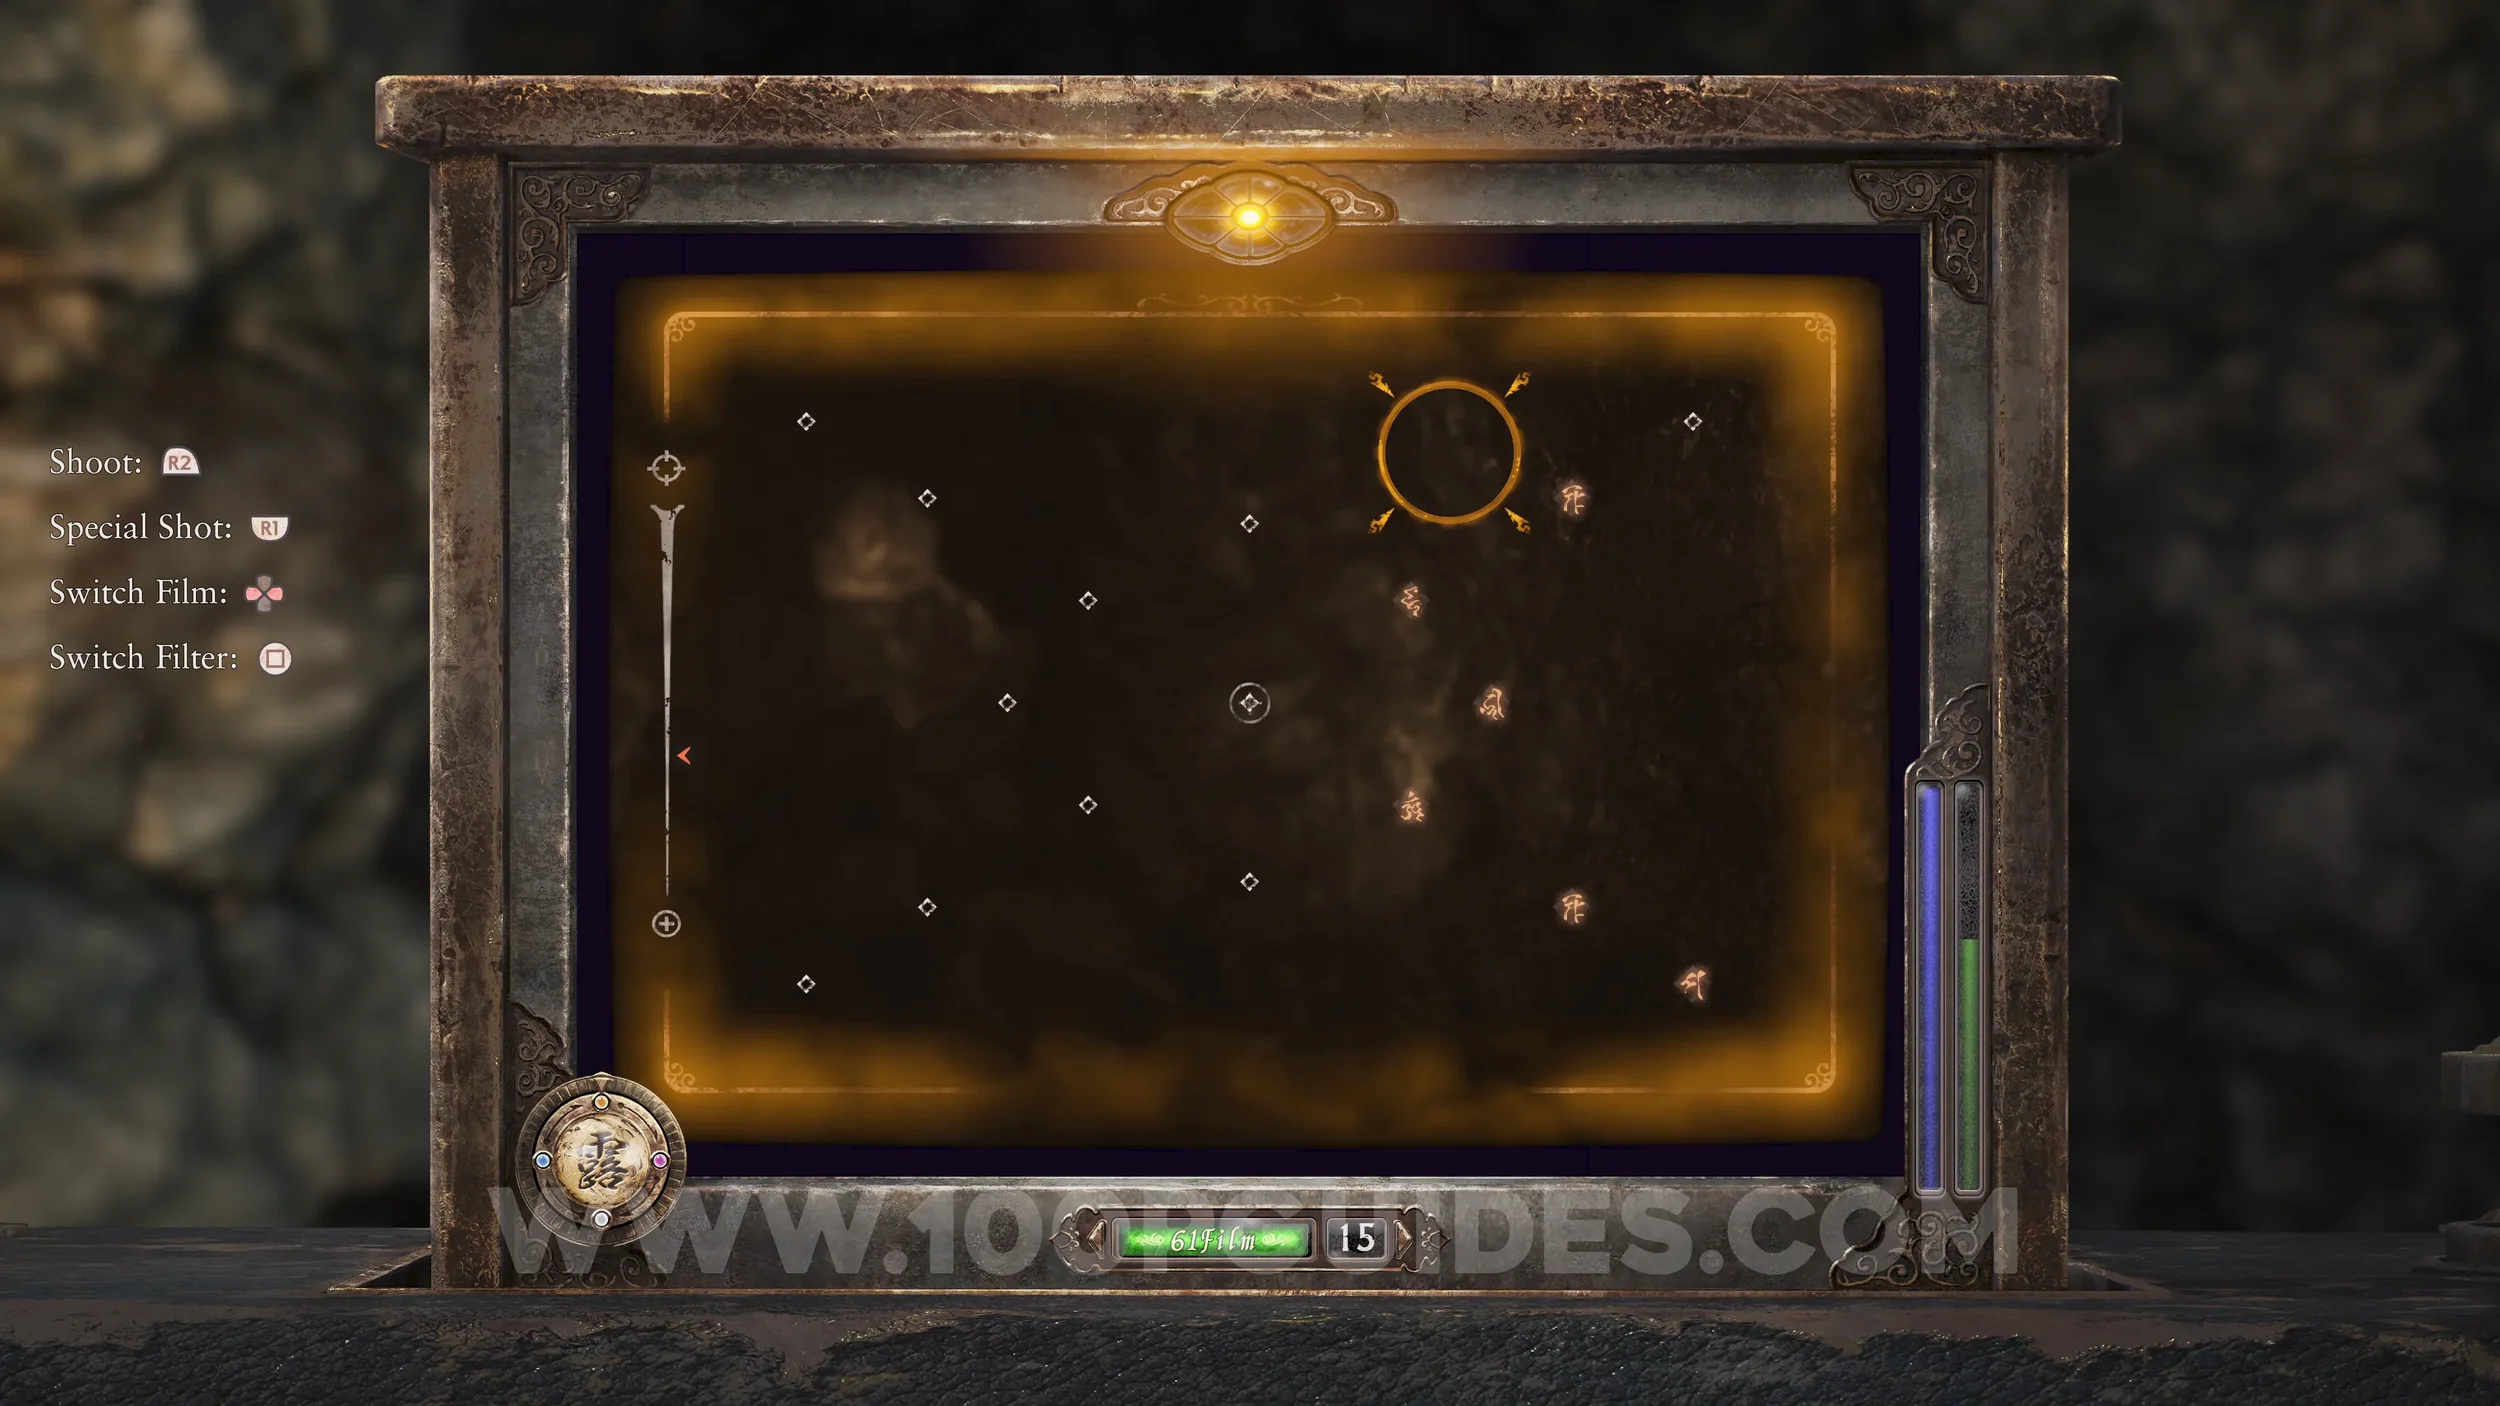
Revenant #32 - 012 Failed Kusabi and Prayer Beads #80. Just after the water area, look for a hole in the wall on the right. The revenant can be seen on the other side. After taking the photo, the beads will appear where you are standing.
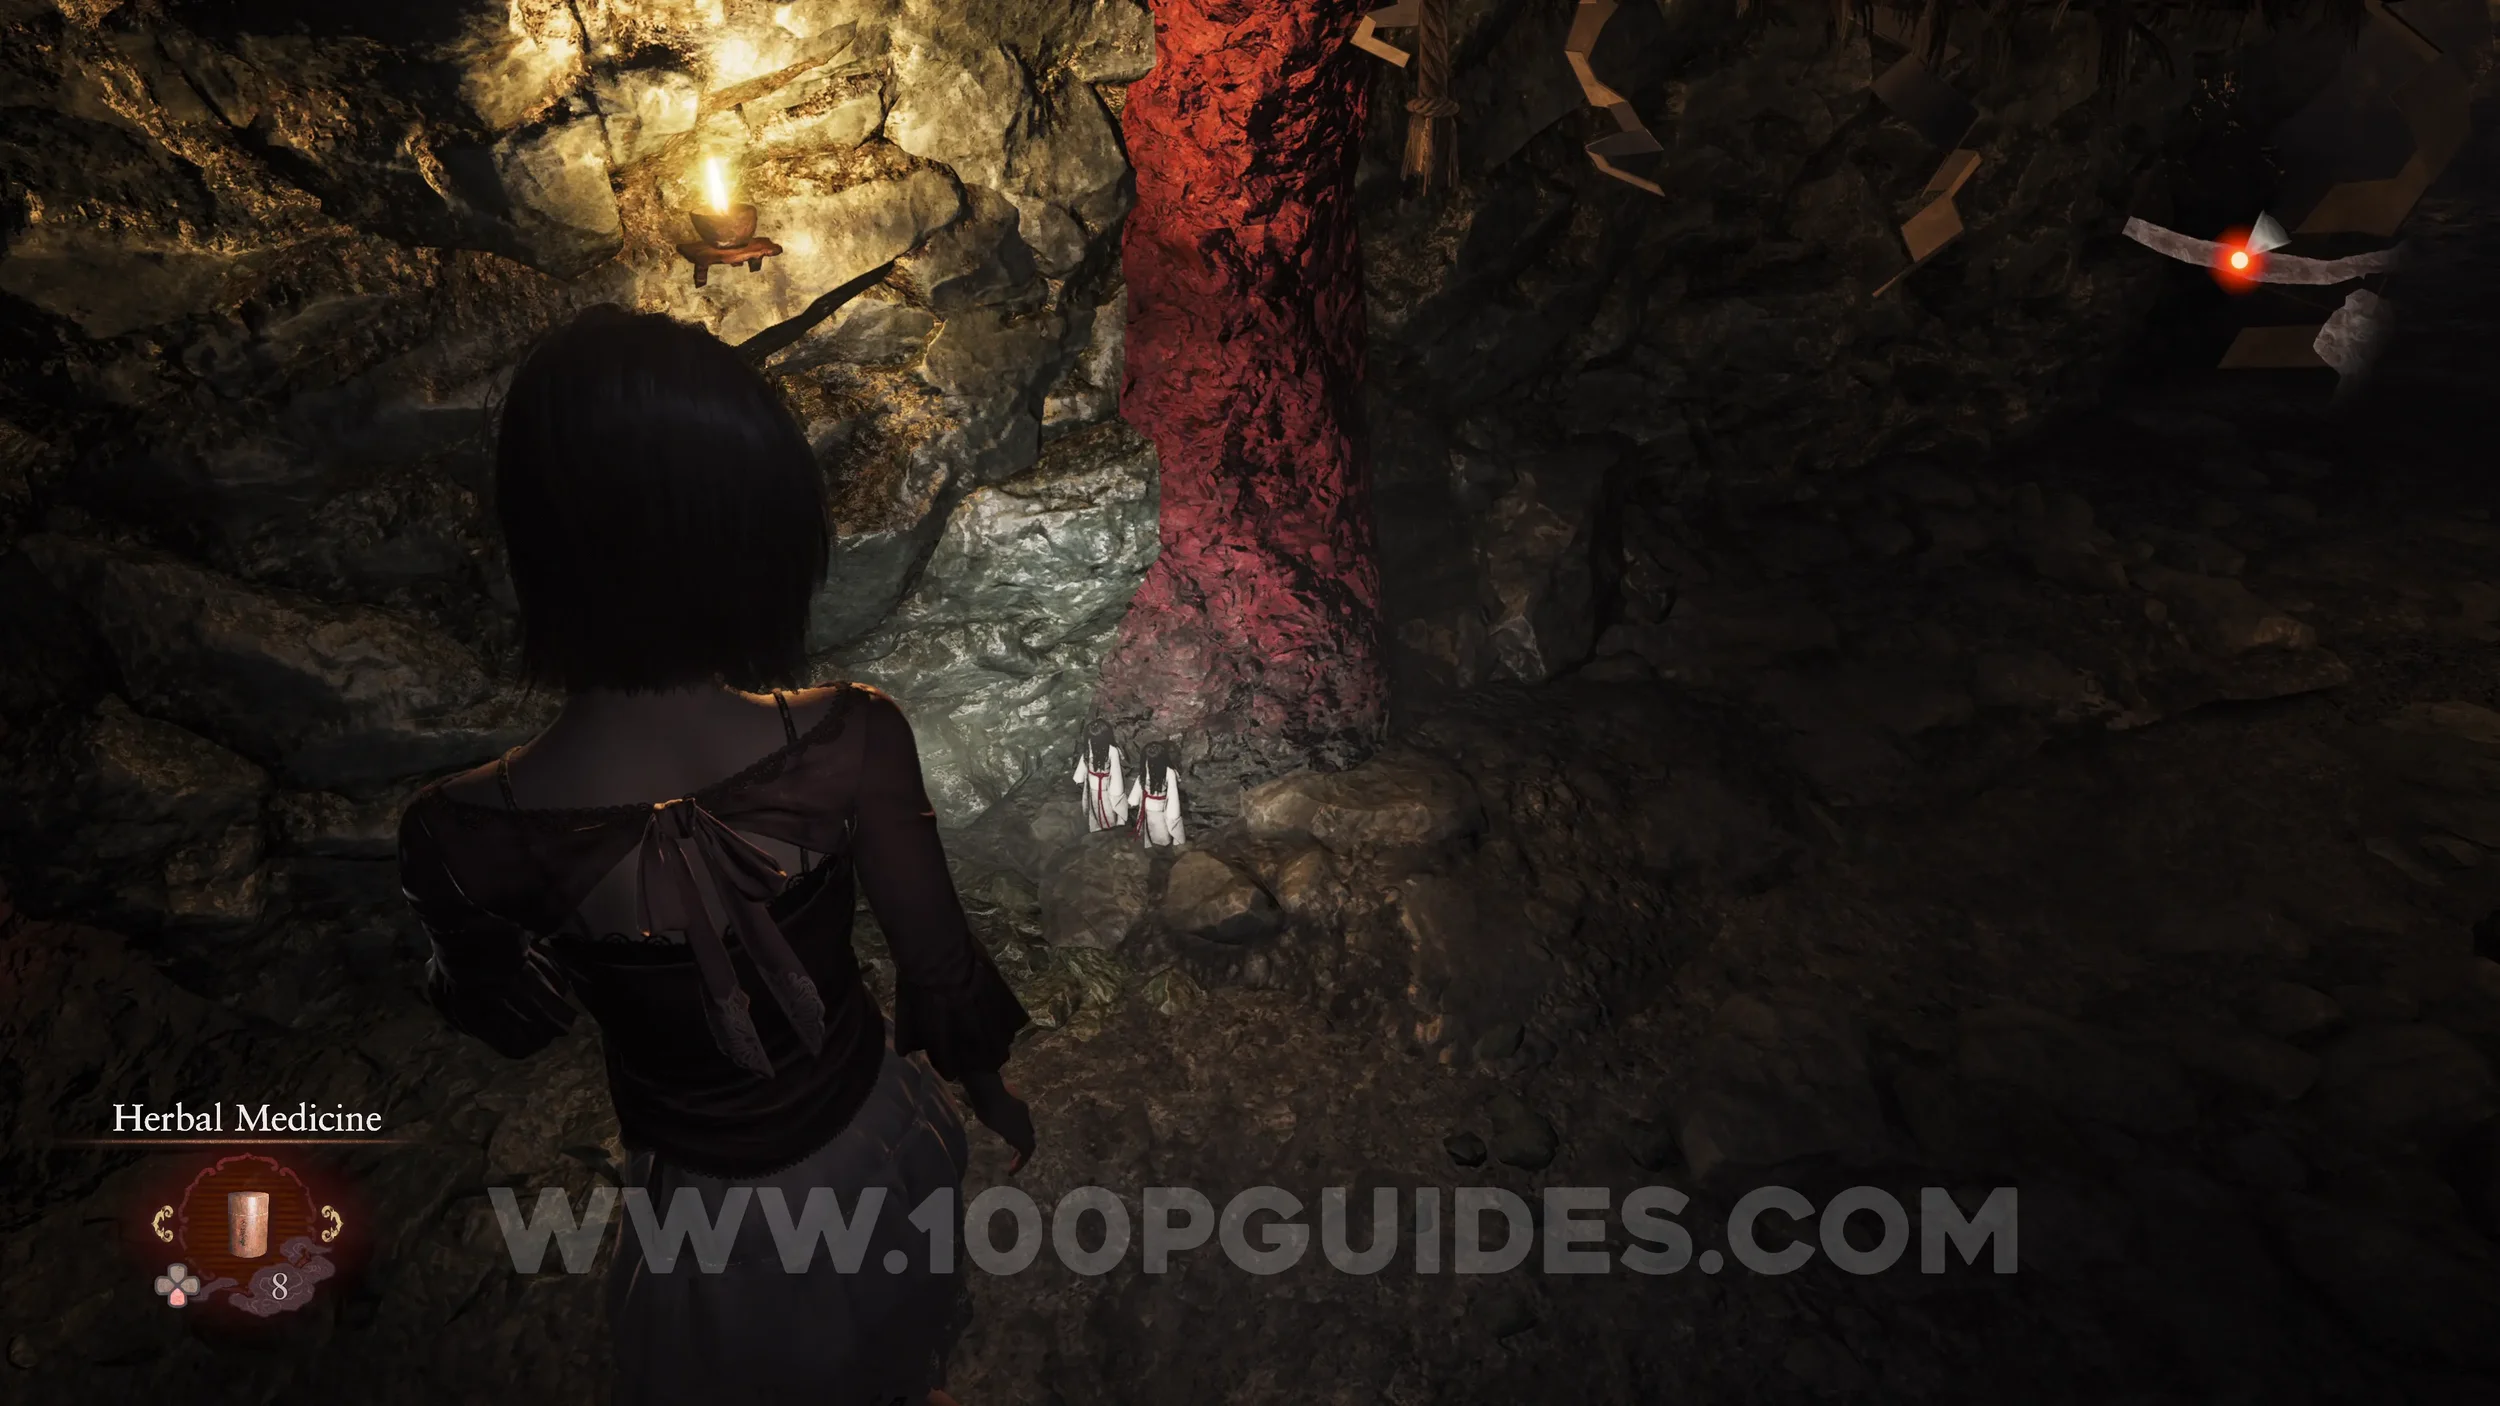
Twin Dolls #47 (26). Continue through the tunnel until you fight another wraith. Soon after, you will see more red spiky columns on either side of the path. The final dolls can be found behind one of the columns on your right.
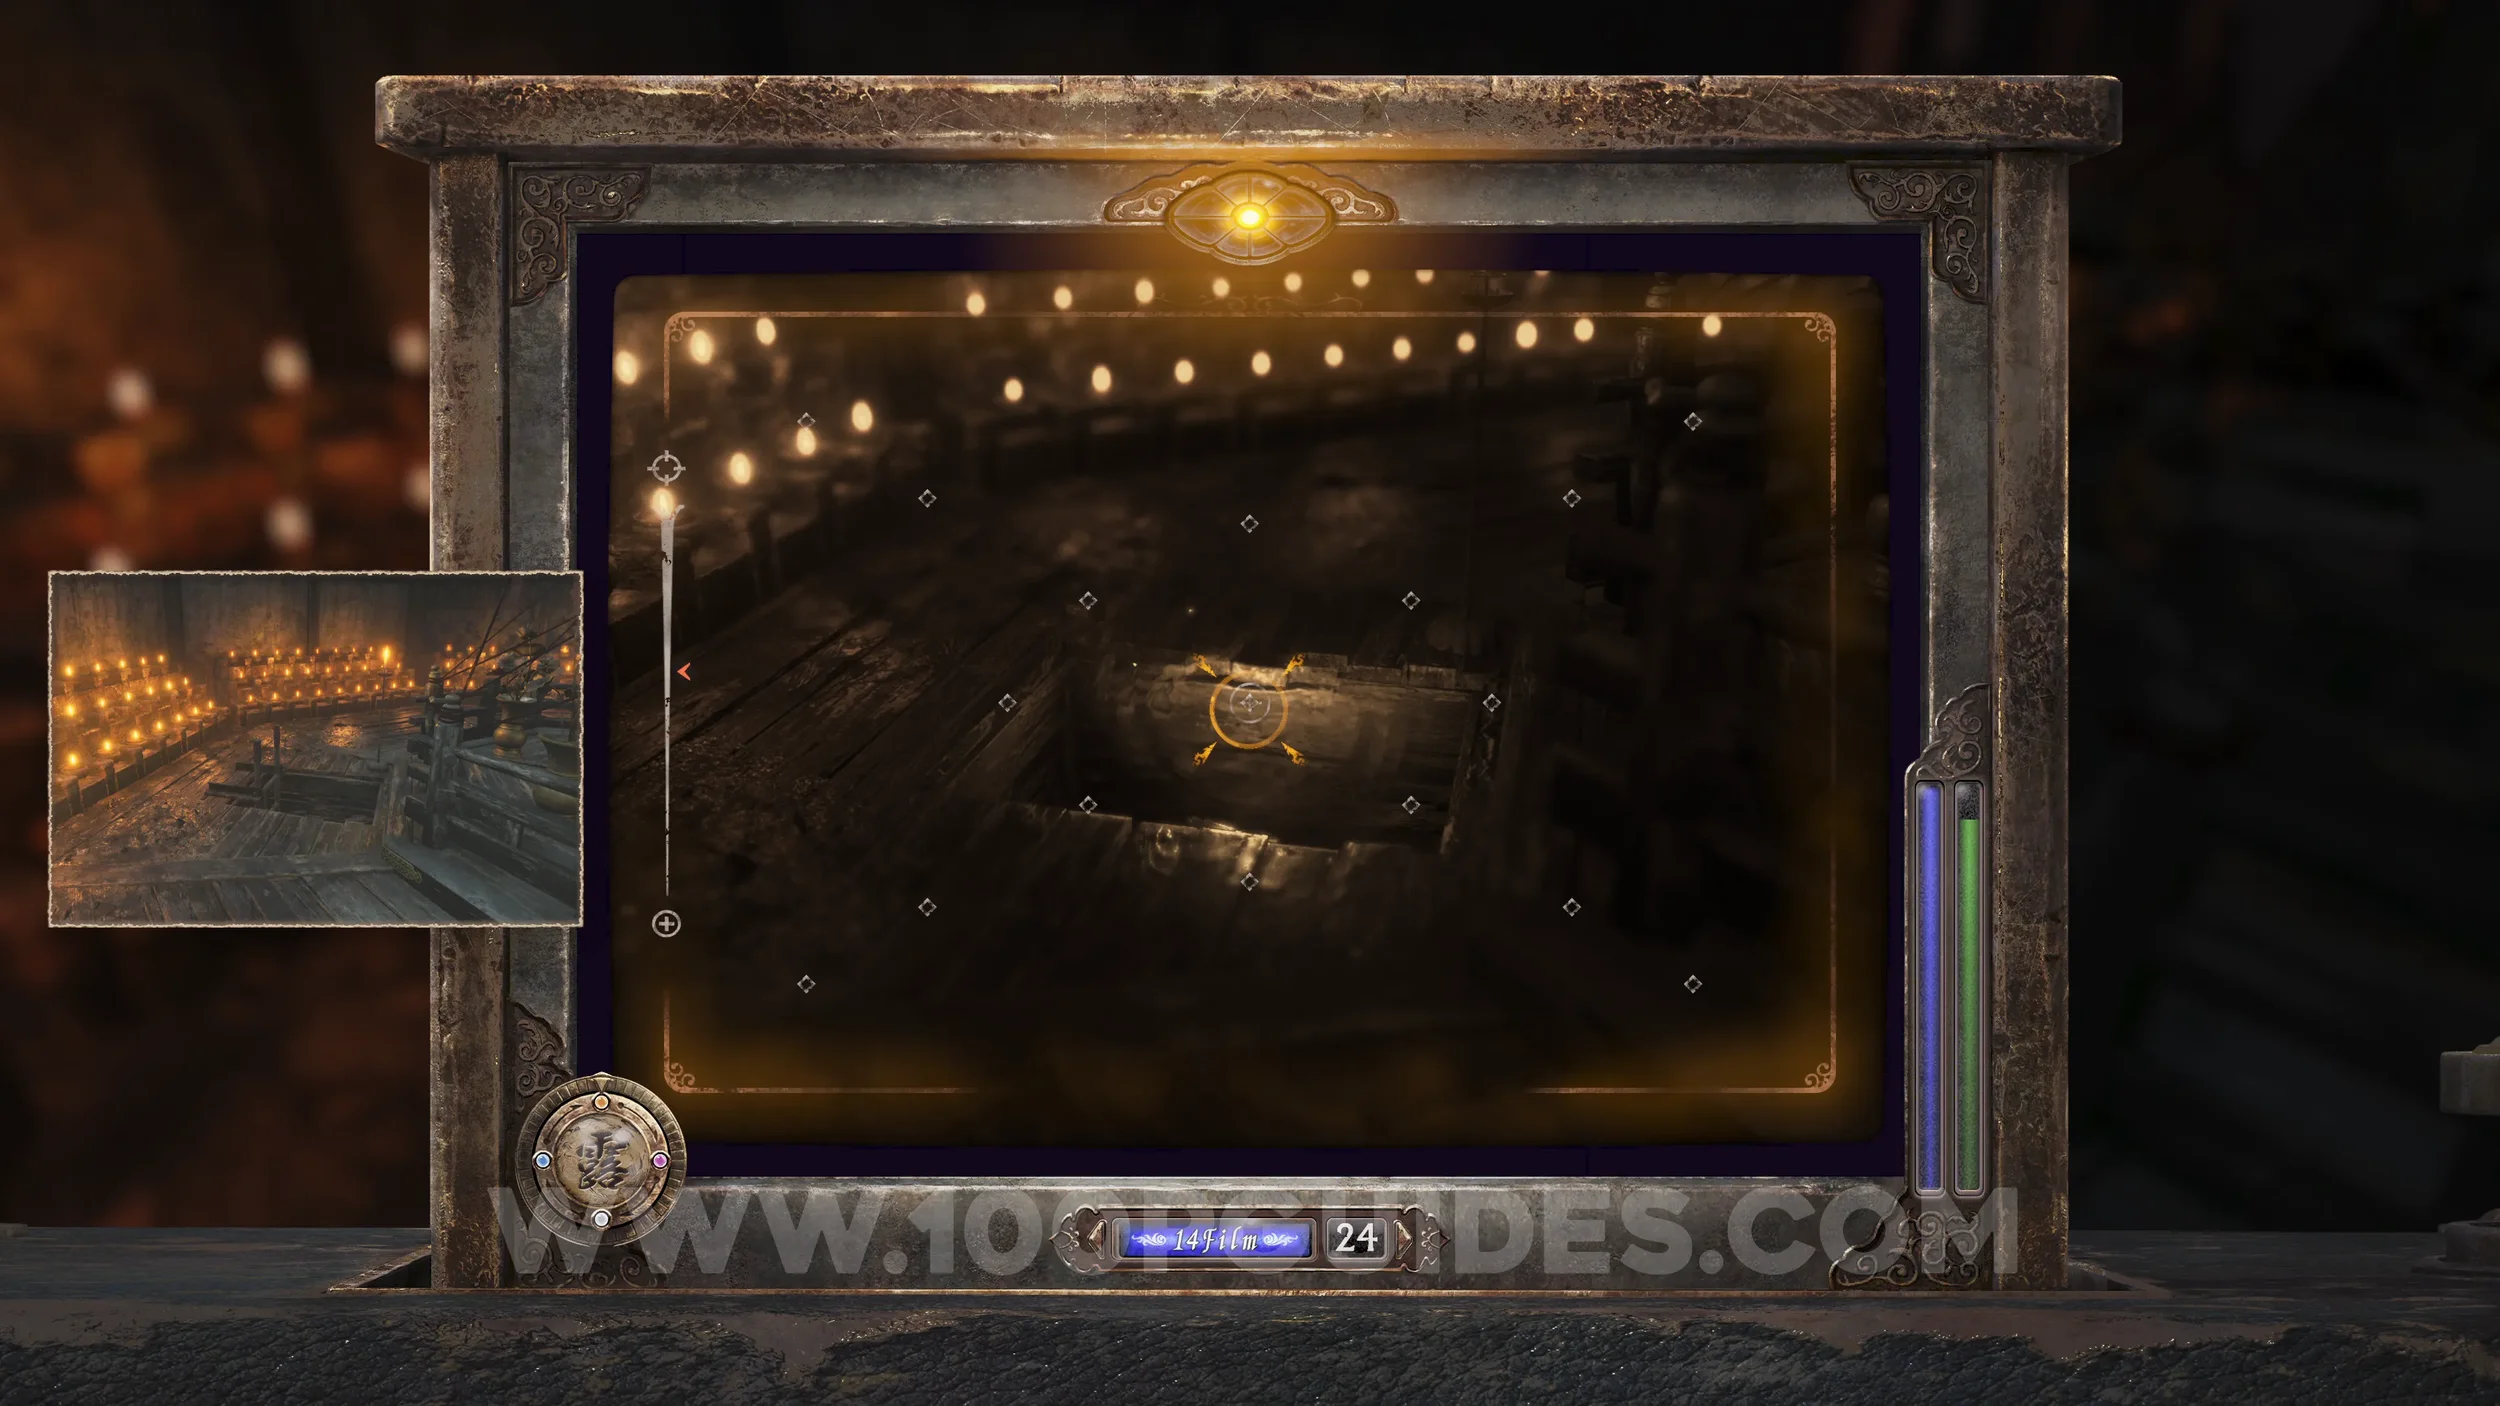
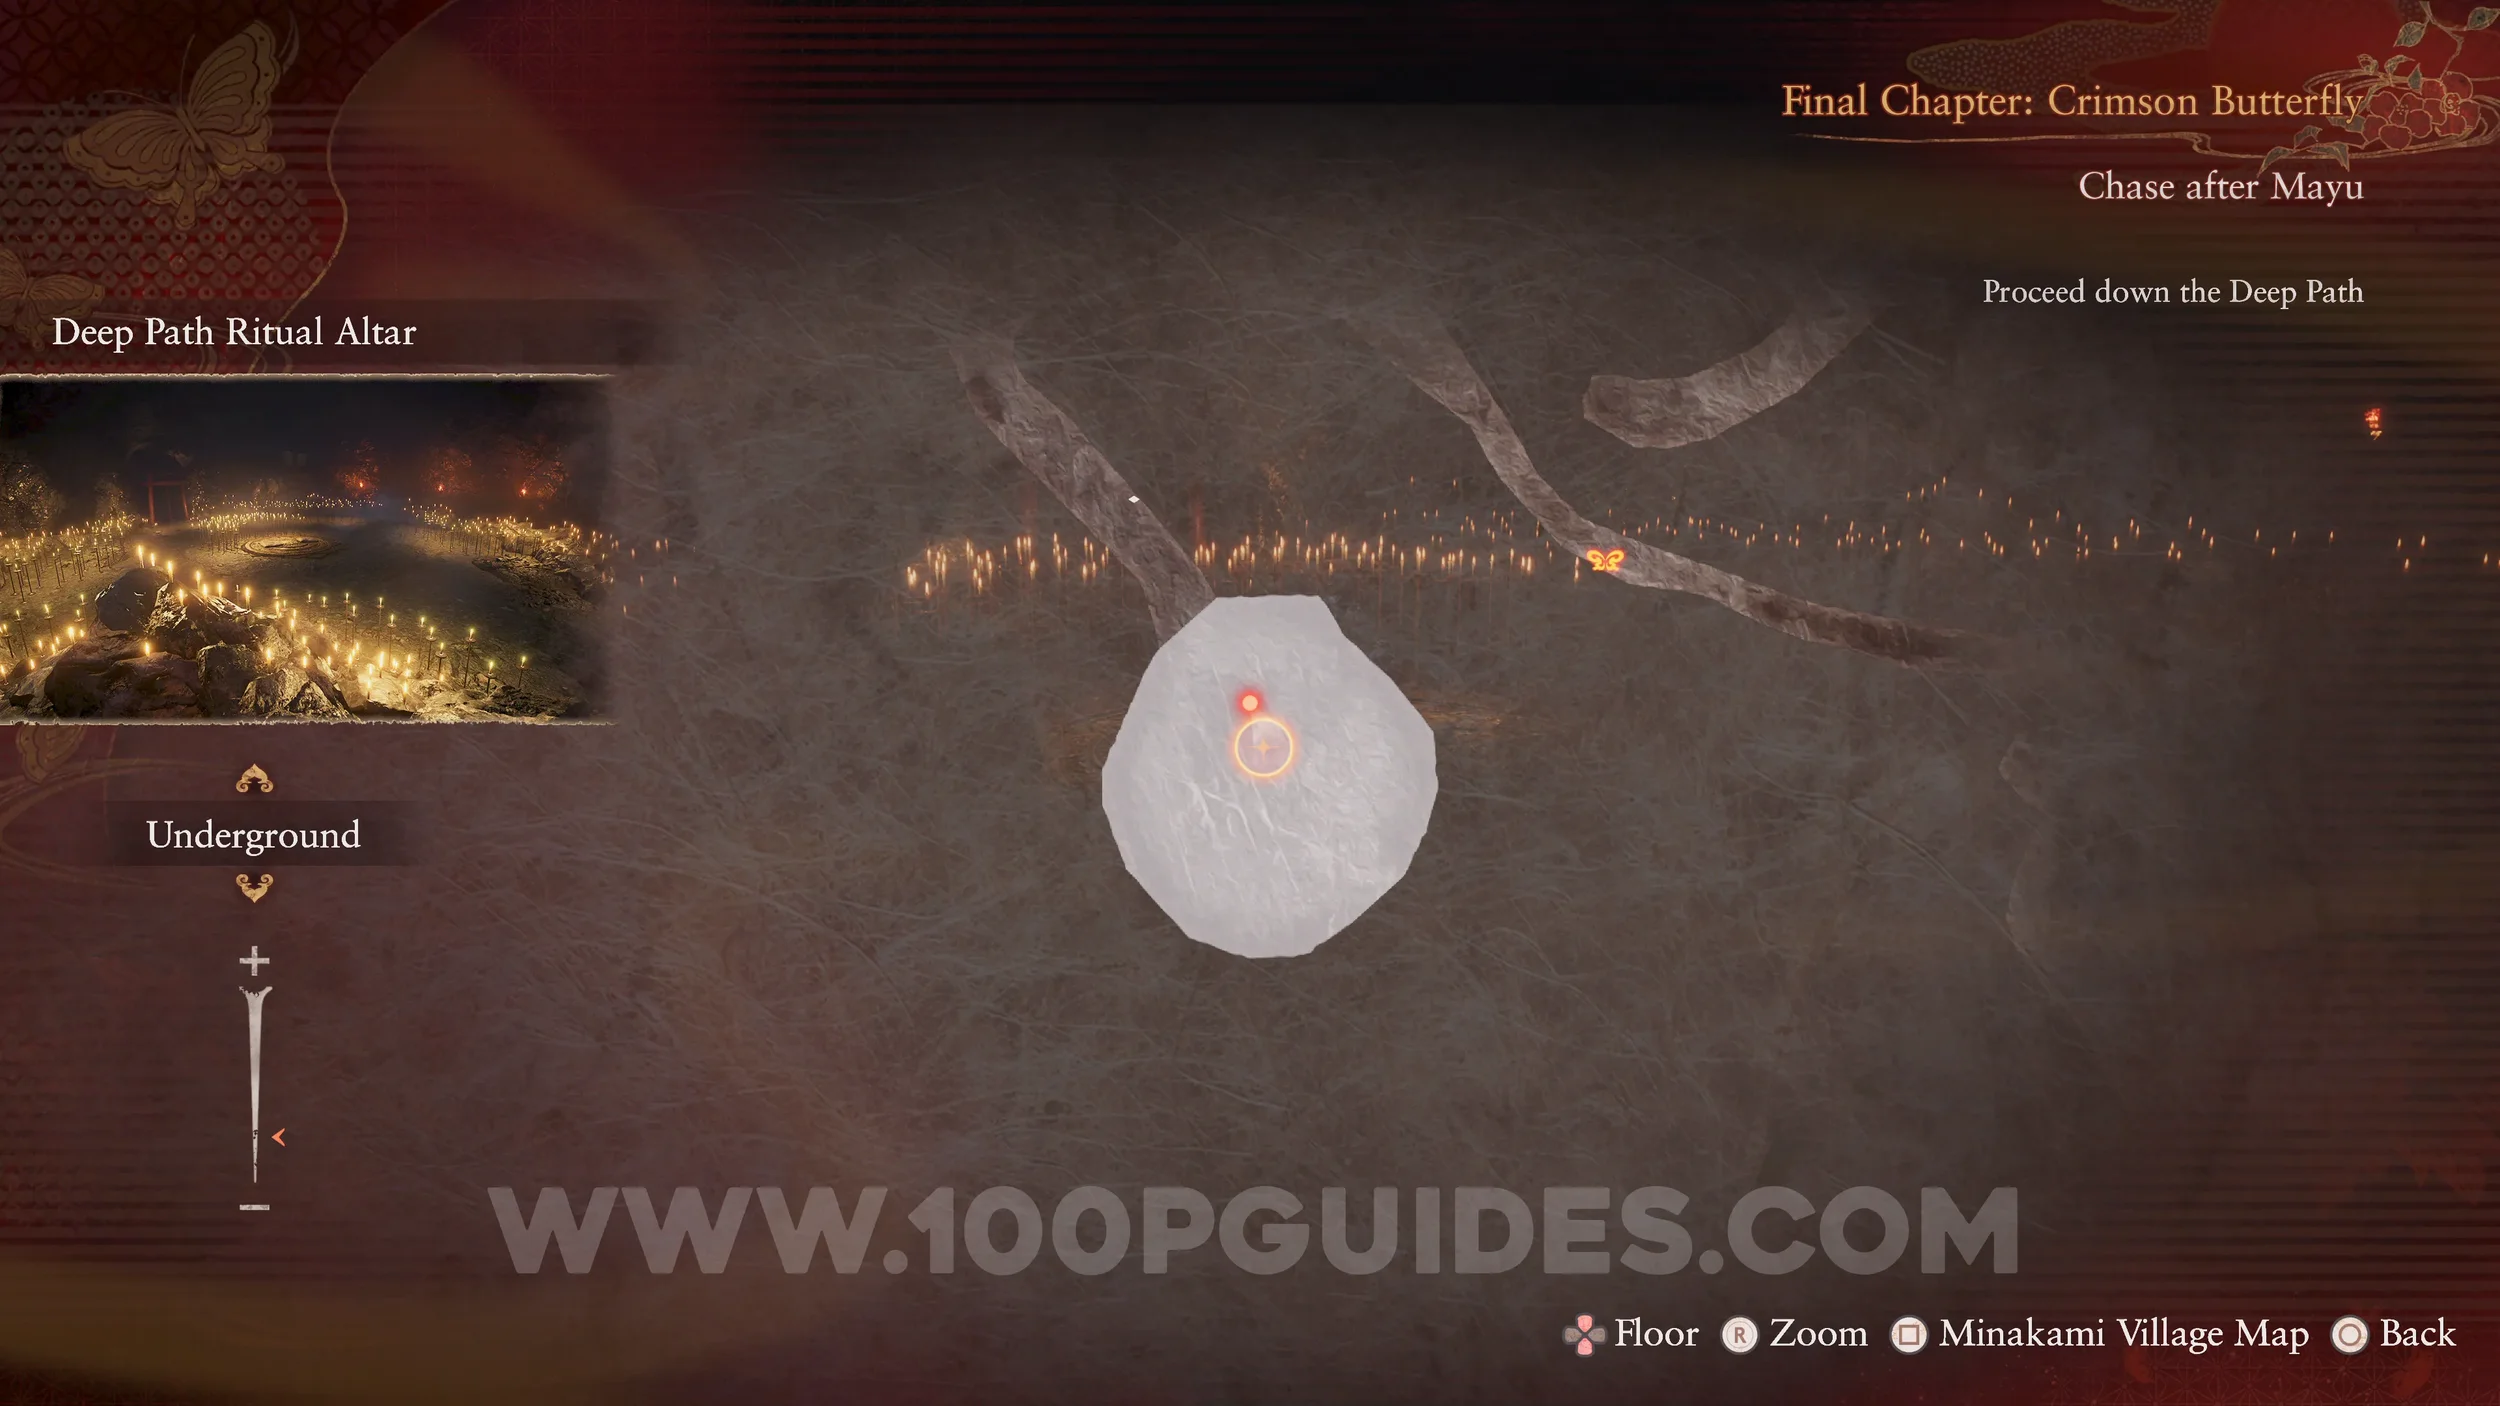
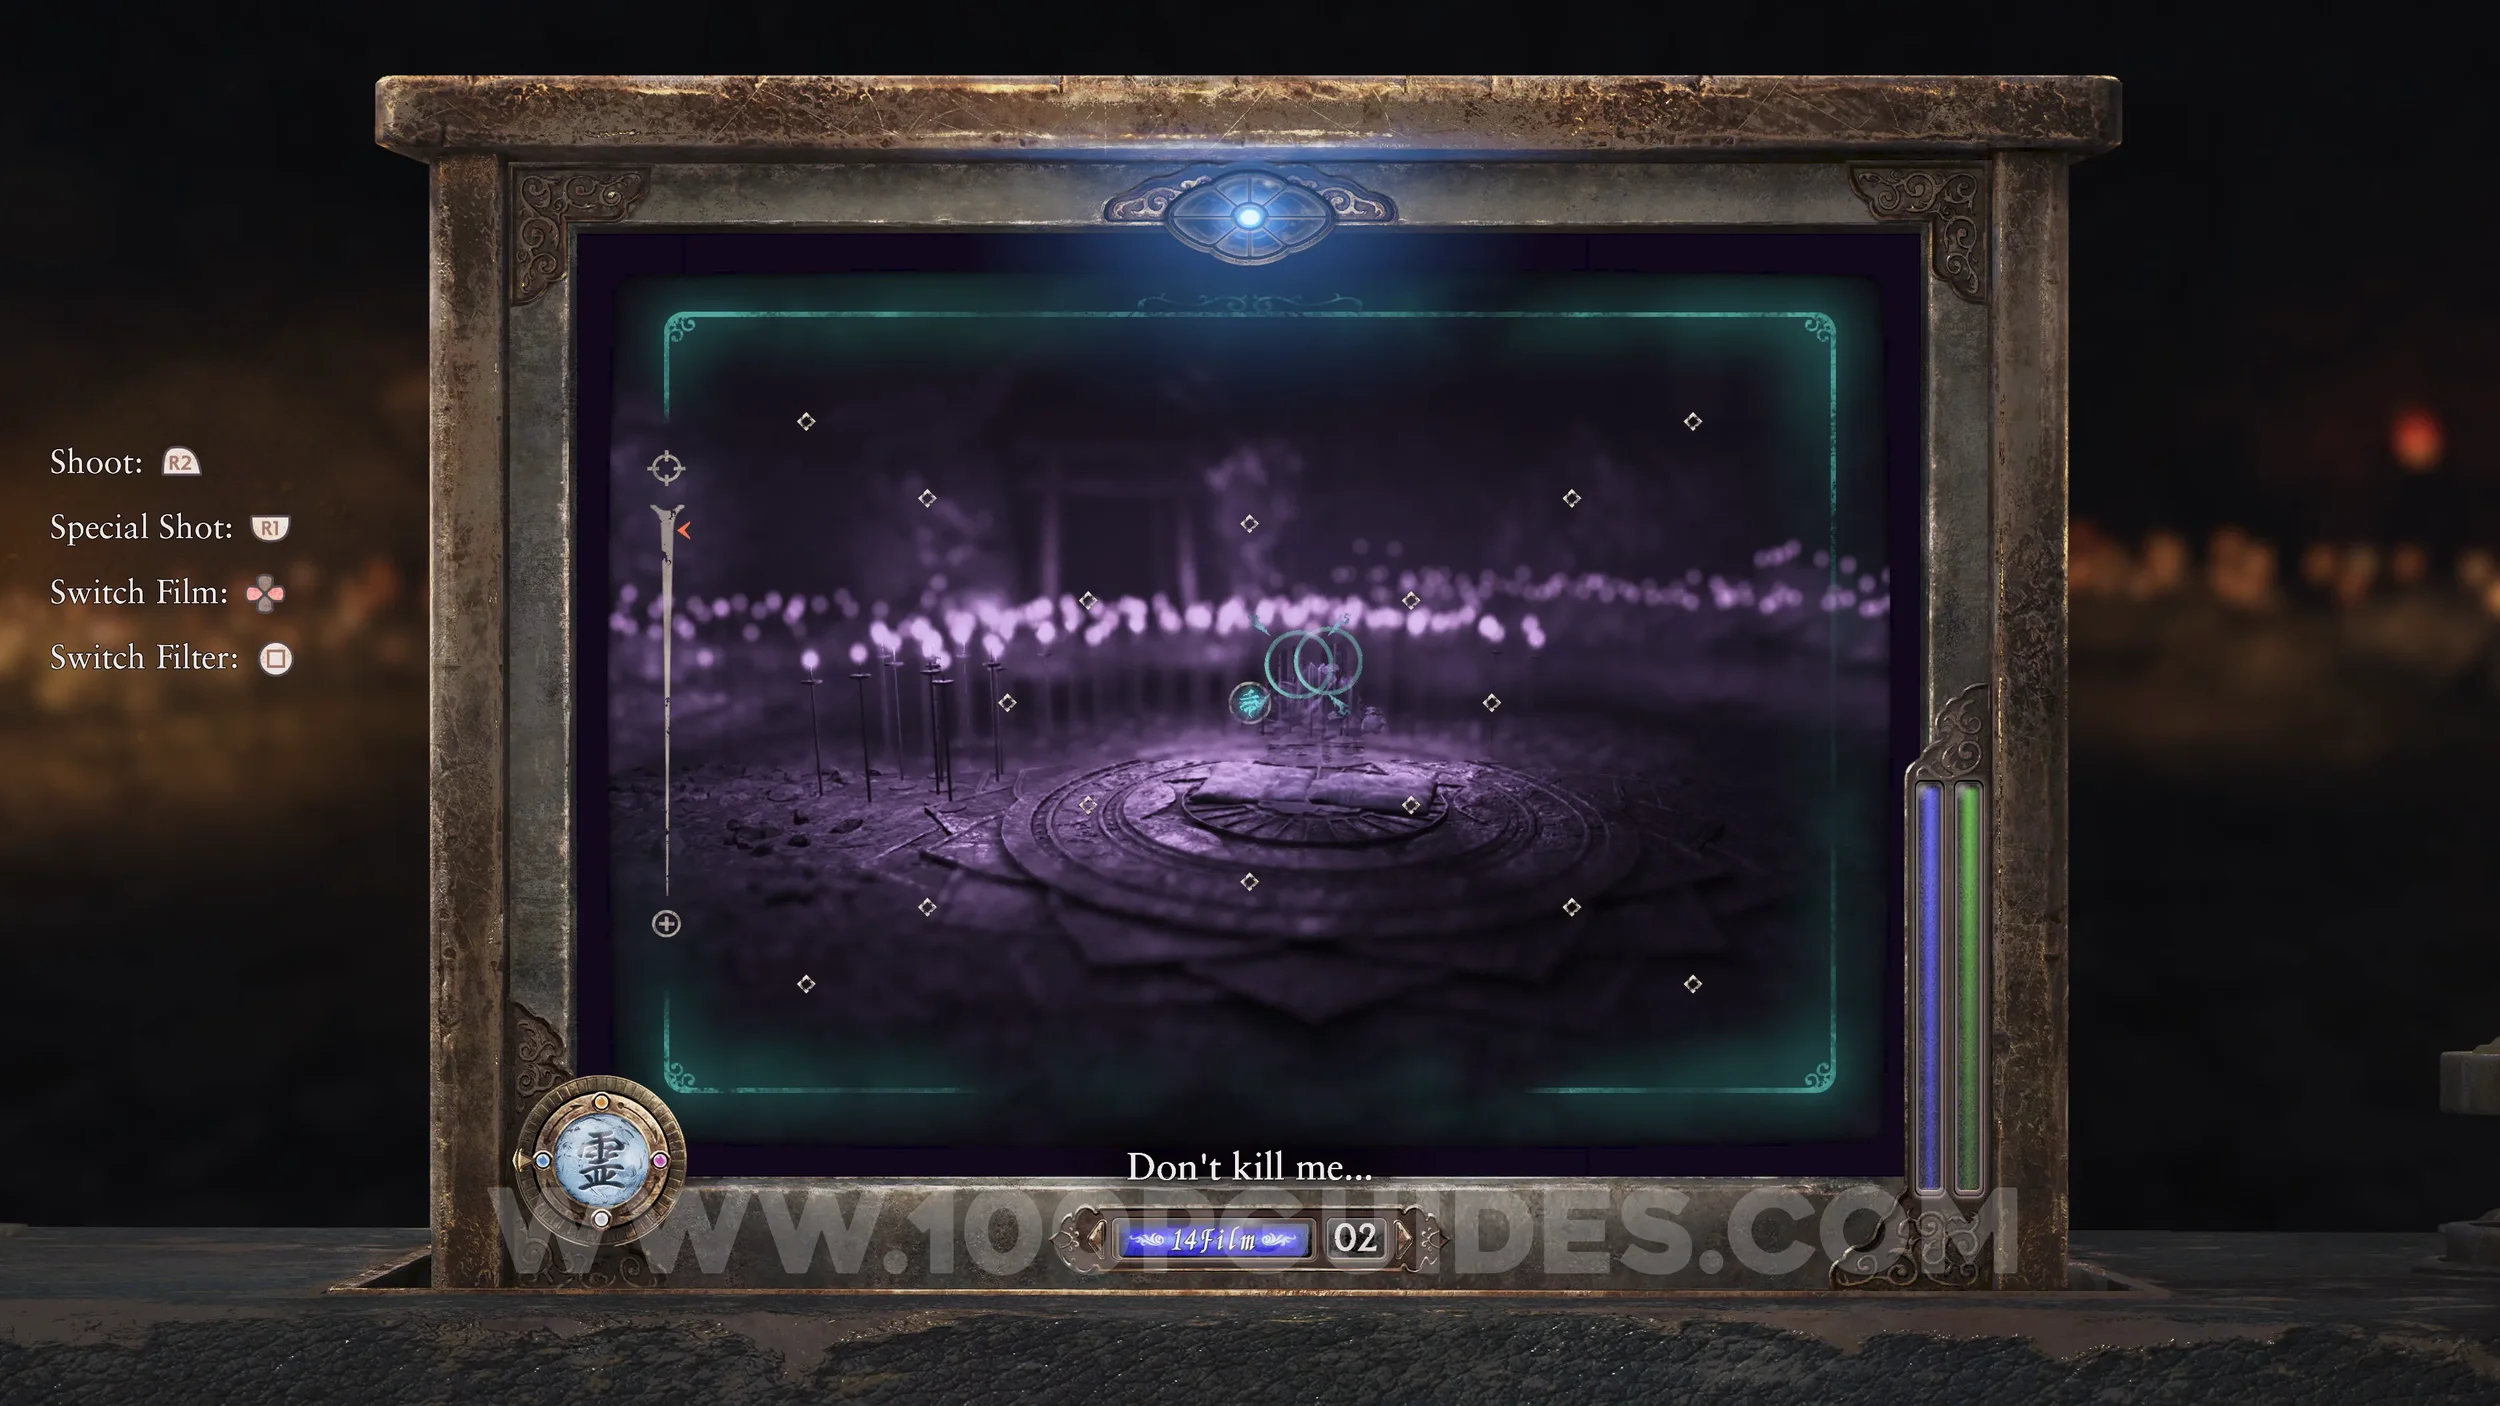
Specter #225- 149 Older Sister by Ritual, Specter #226 - 150 Younger Sister by Ritual and Specter #227 - 151 Twins by Ritual. Found in the middle of the Deep Path Ritual Altar, the huge round room with candles.
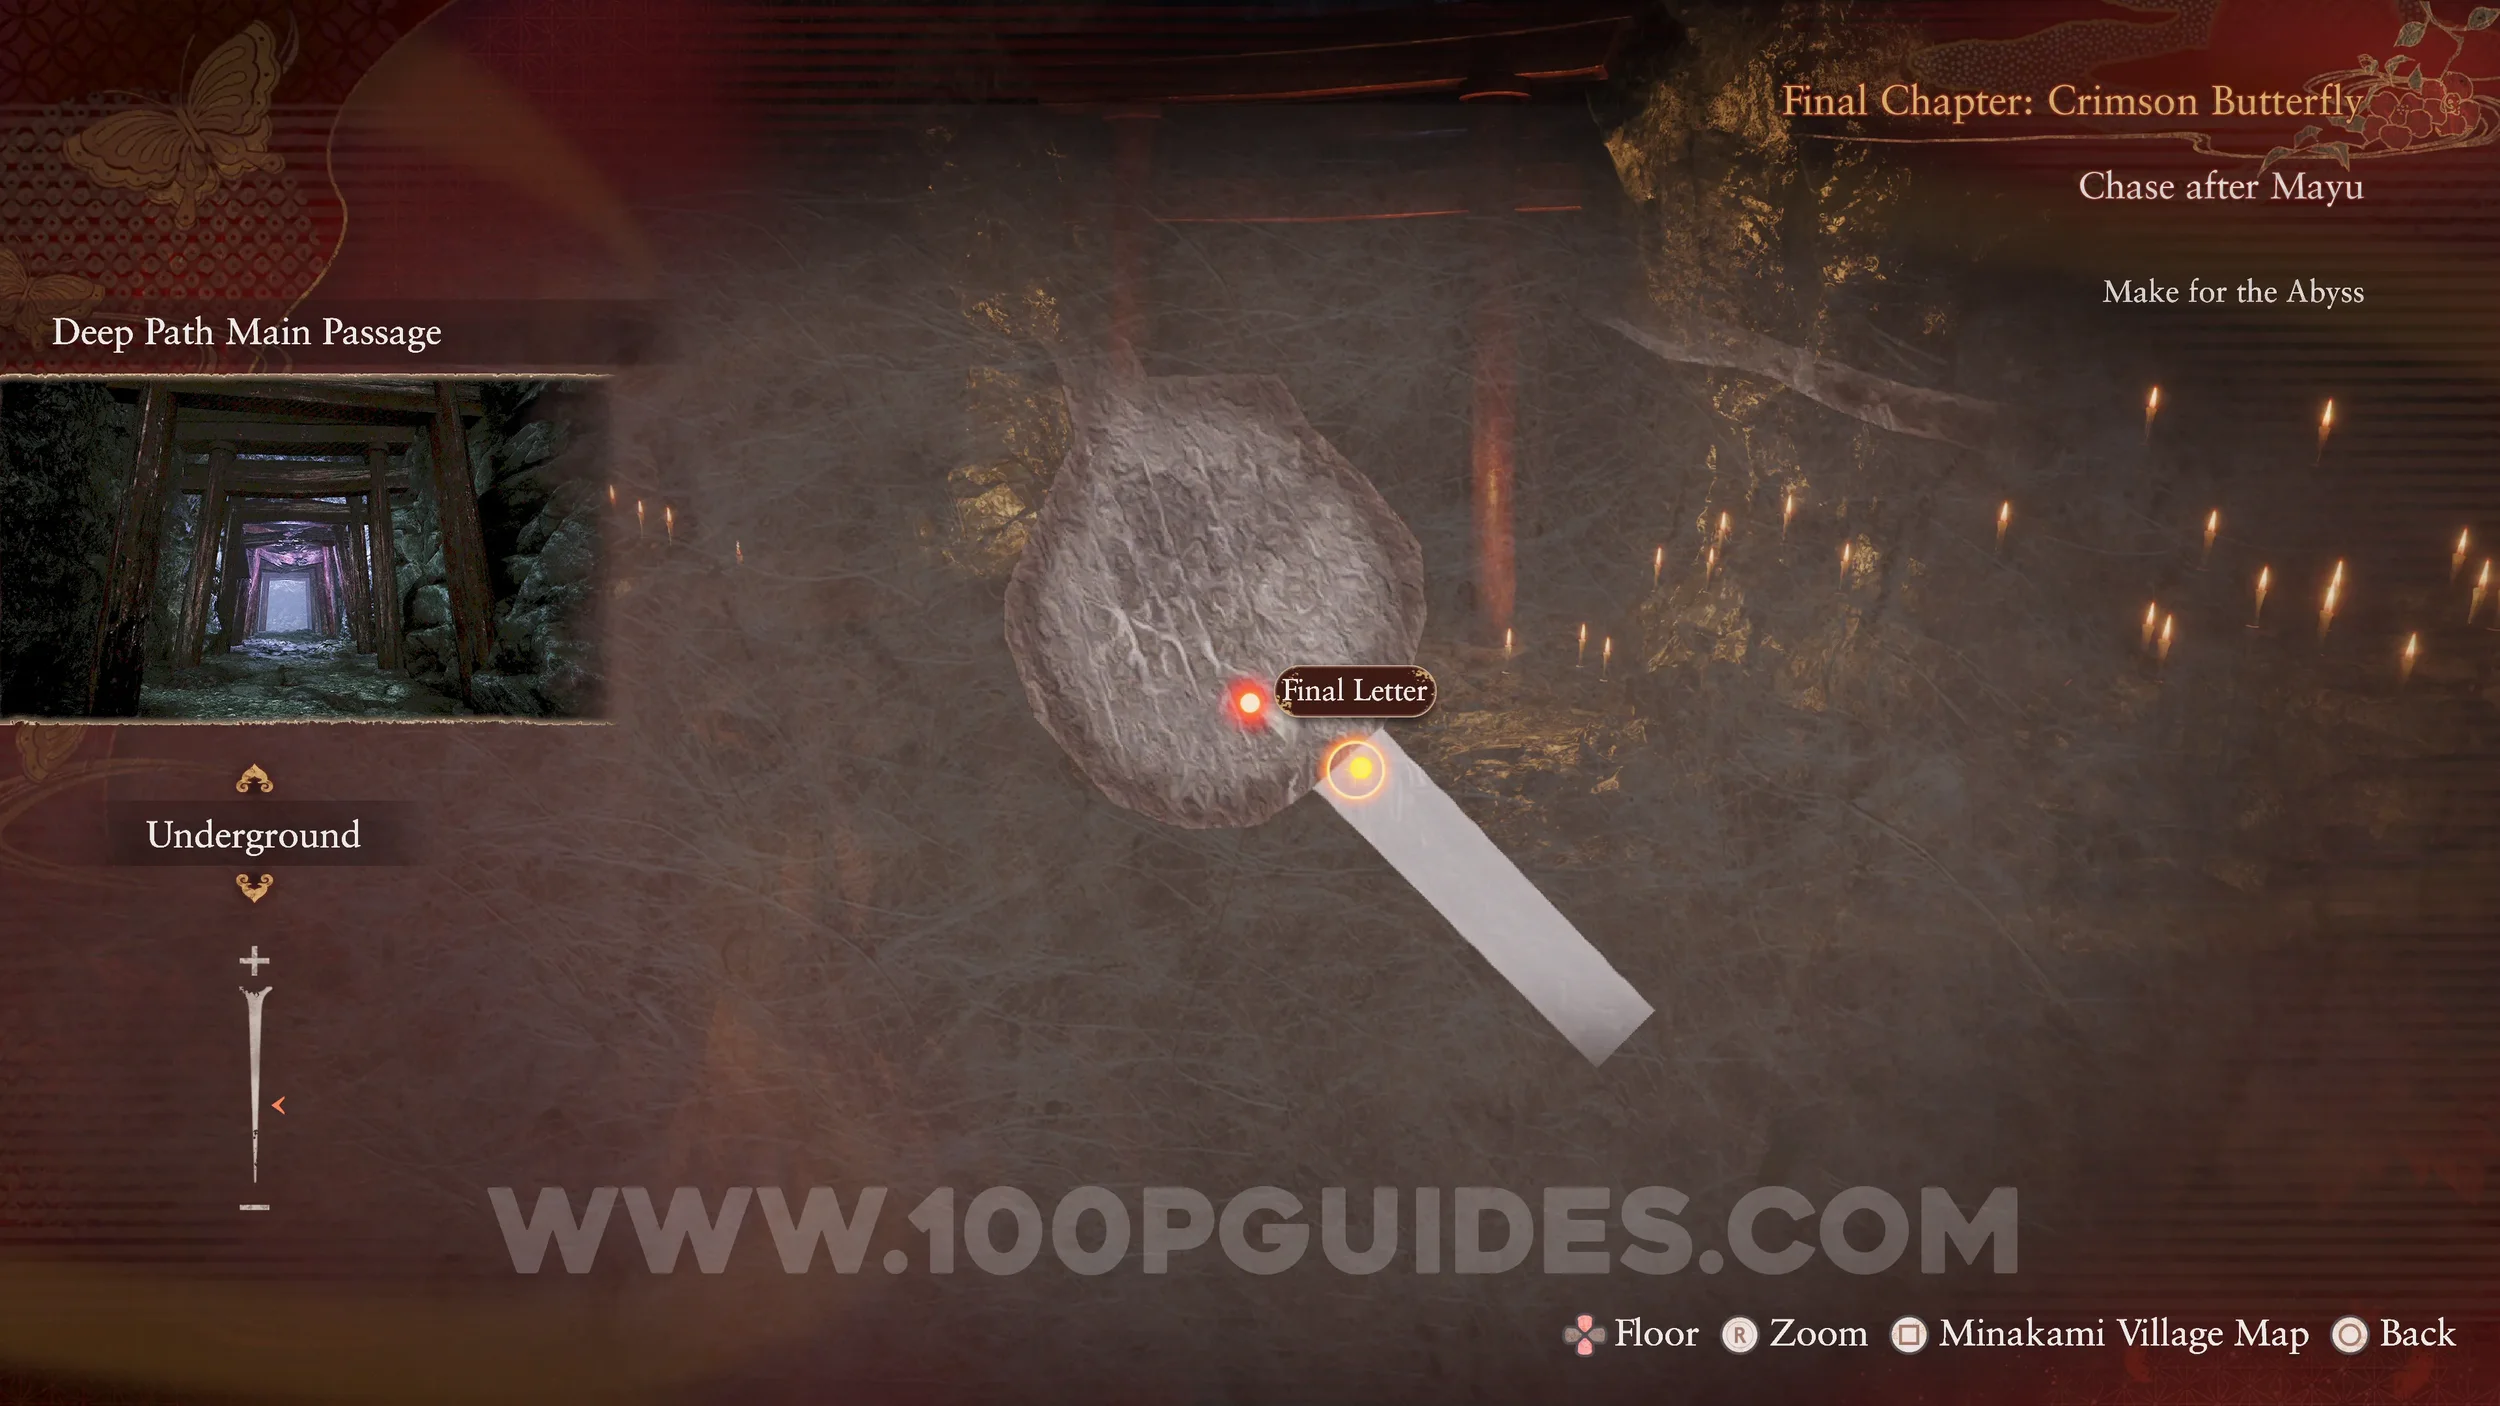
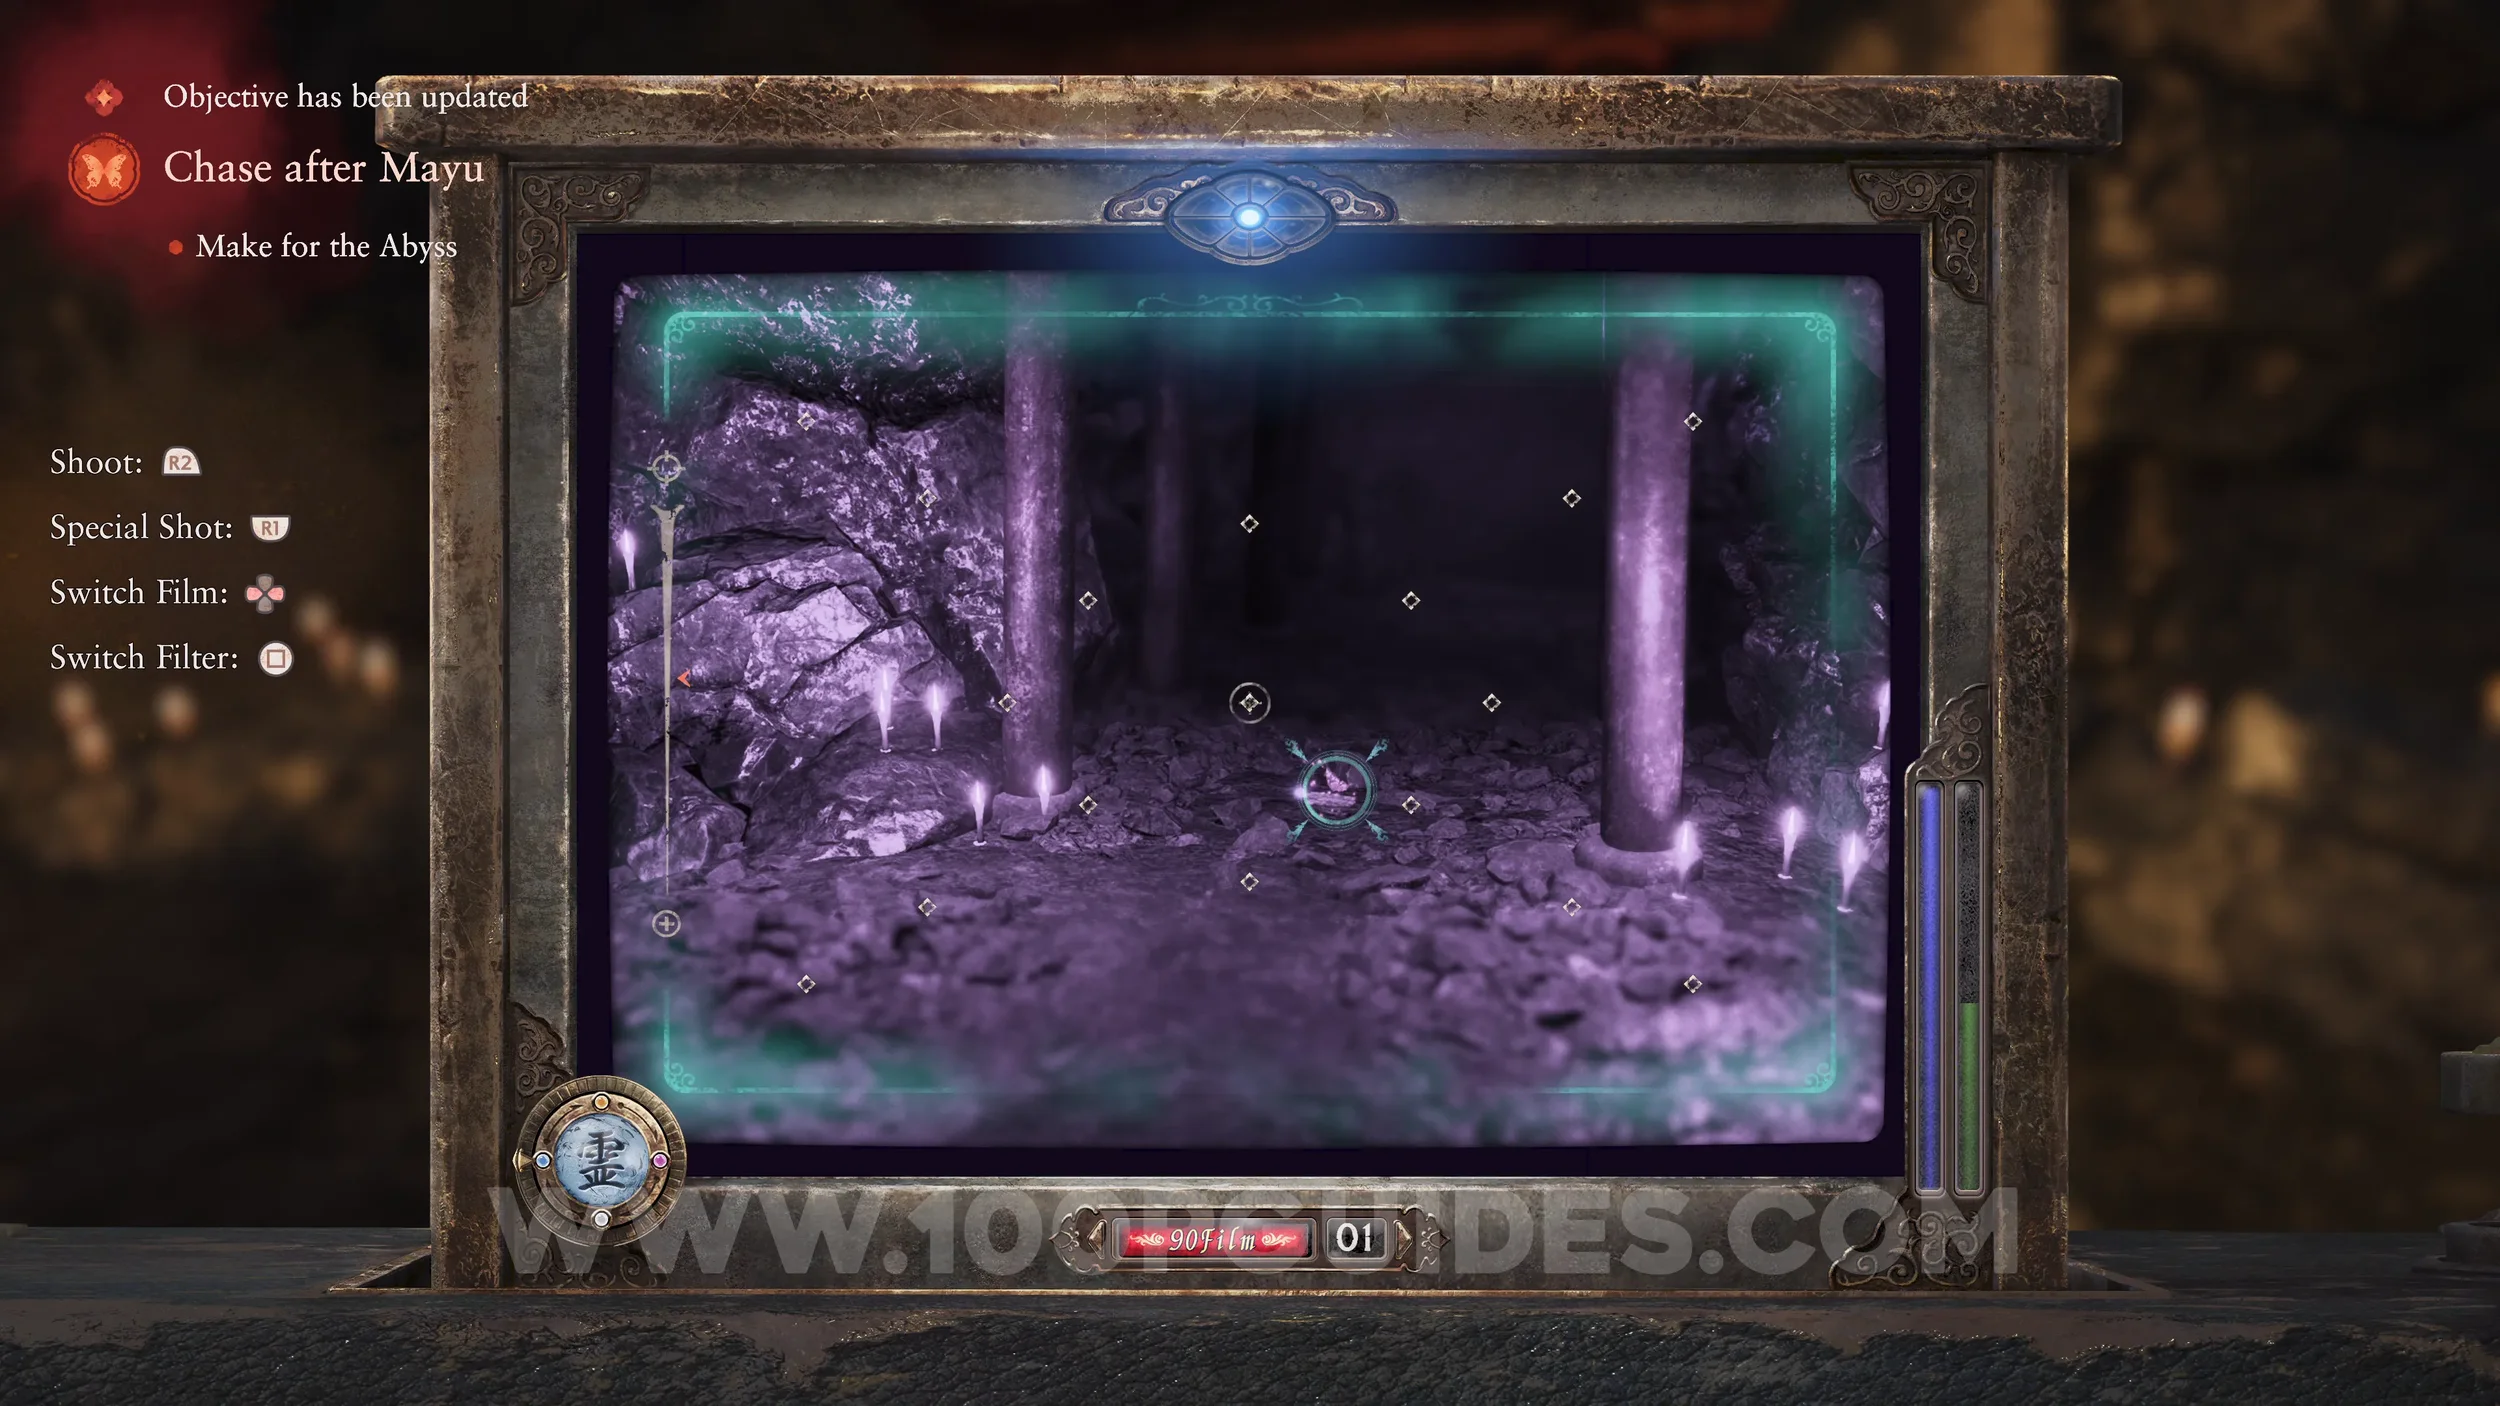
Specter #228 - 152 Crimson Butterfly Leading to the Abyss and Document #108 - Final Letter. On the ground before the next tunnel after defeating Kusabi.
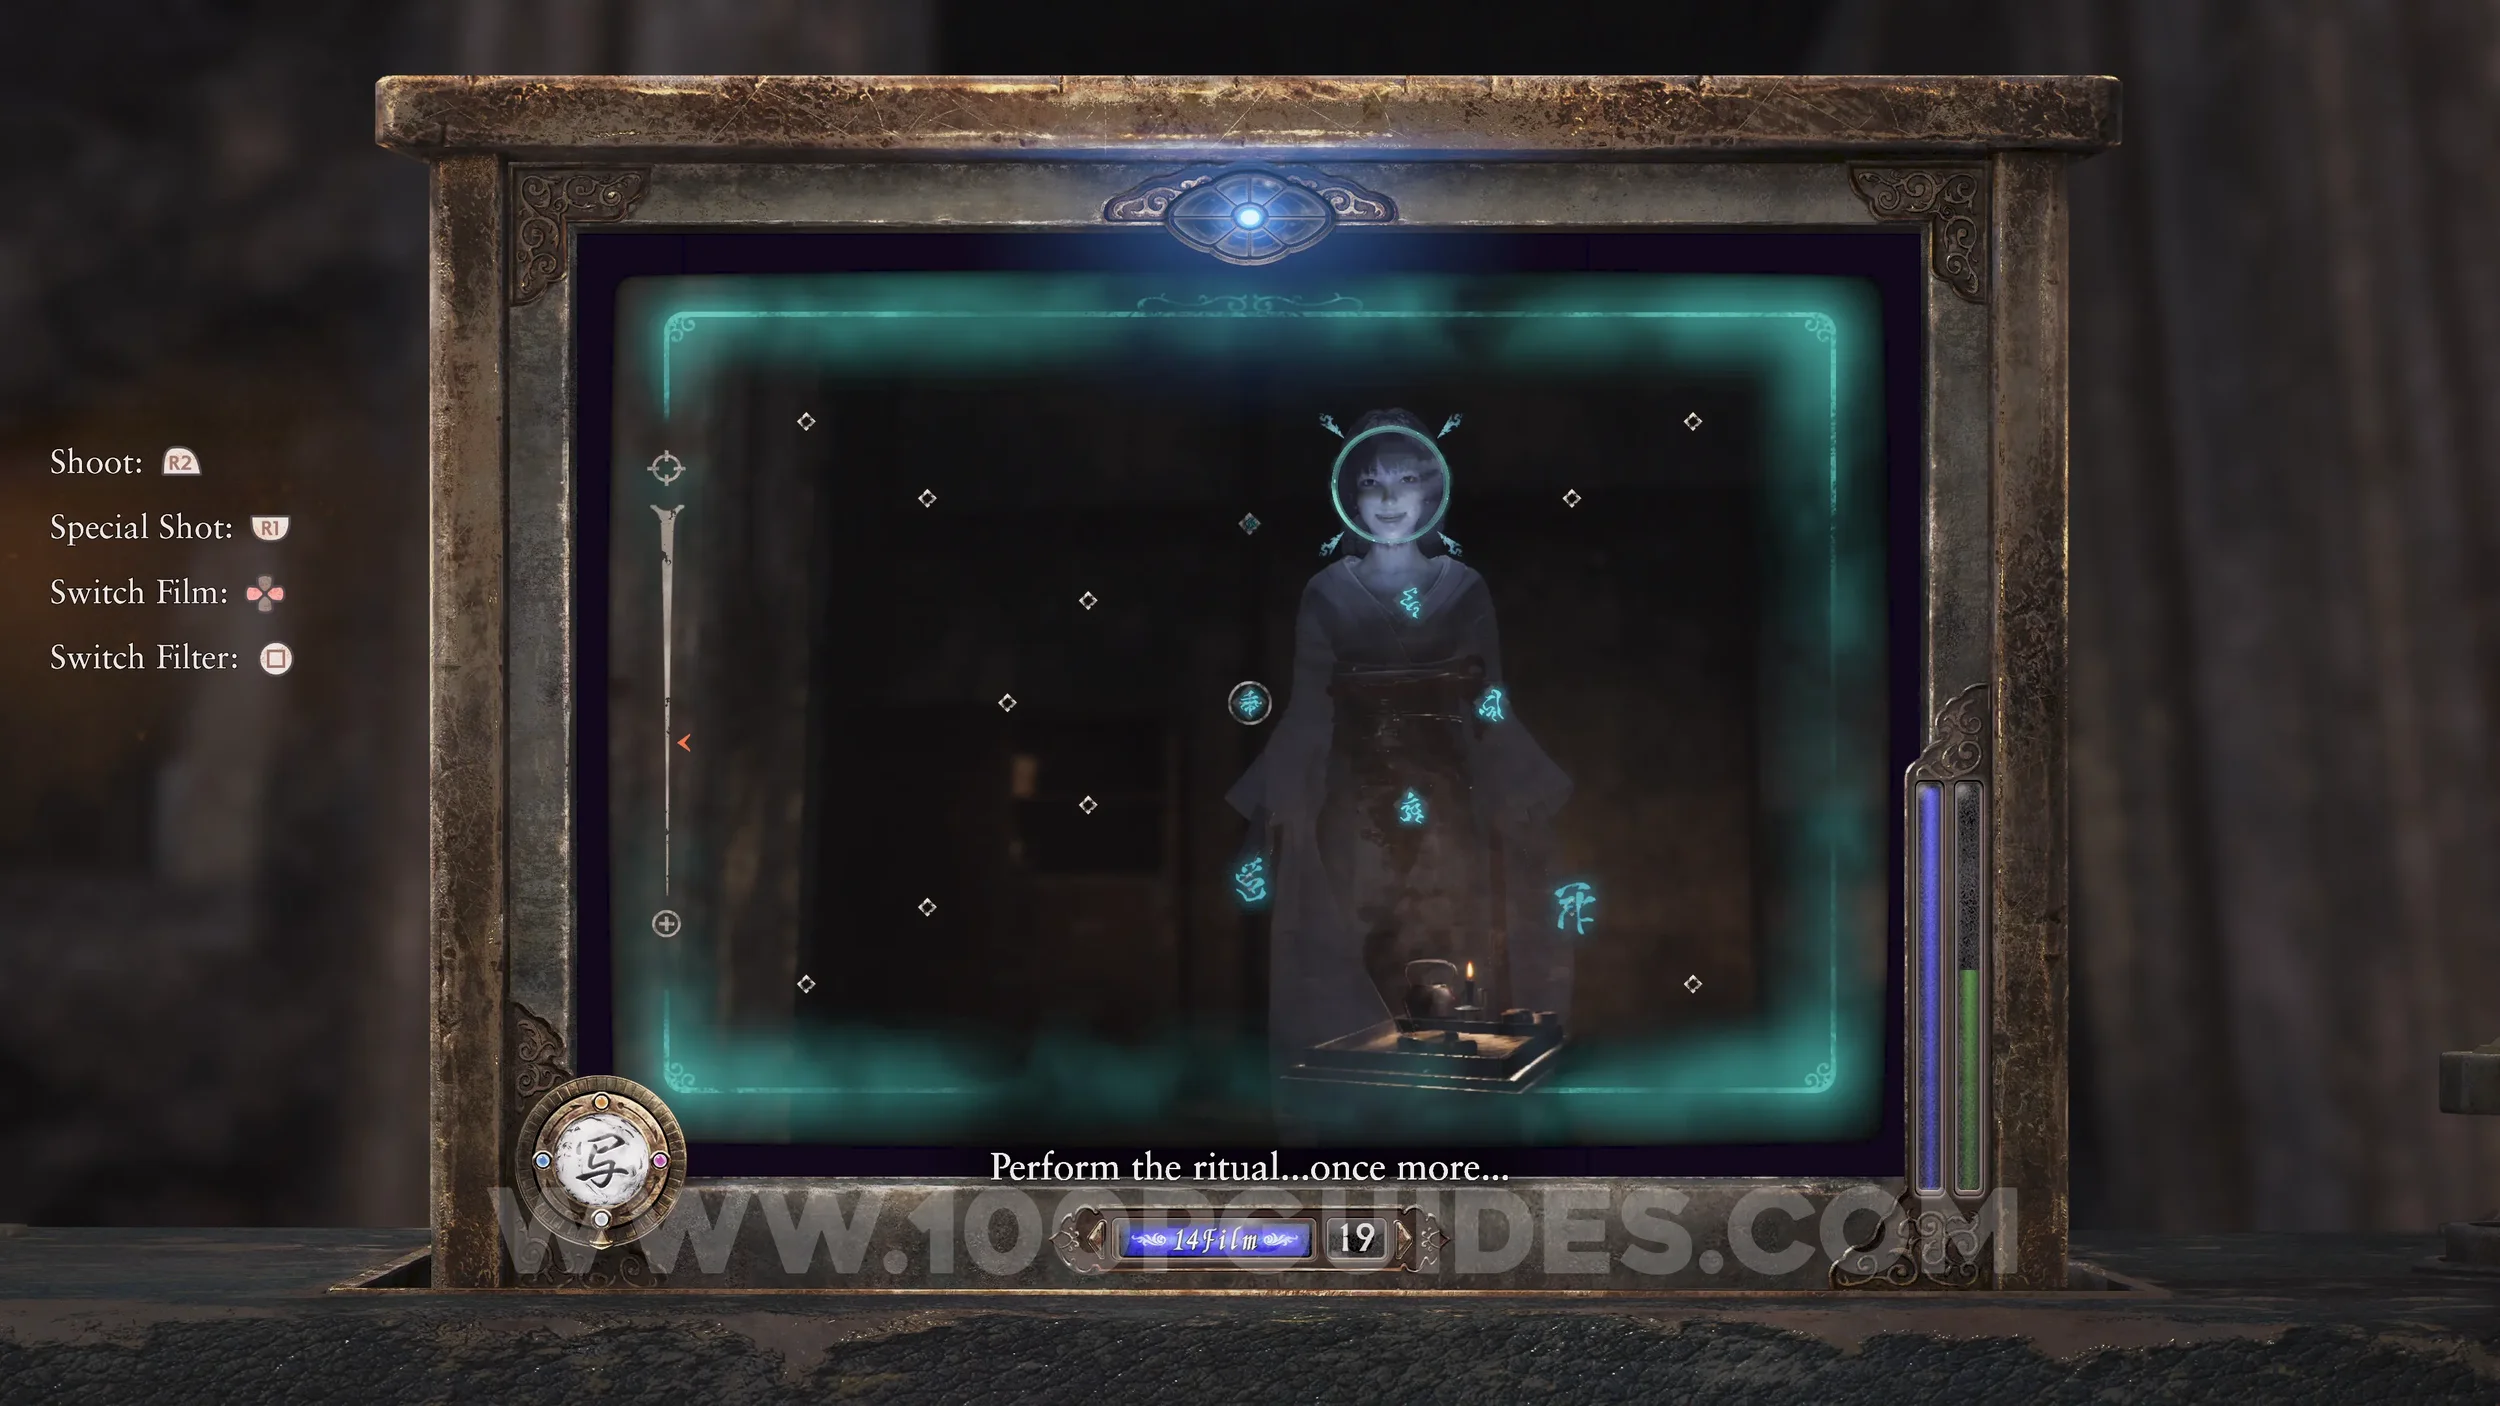
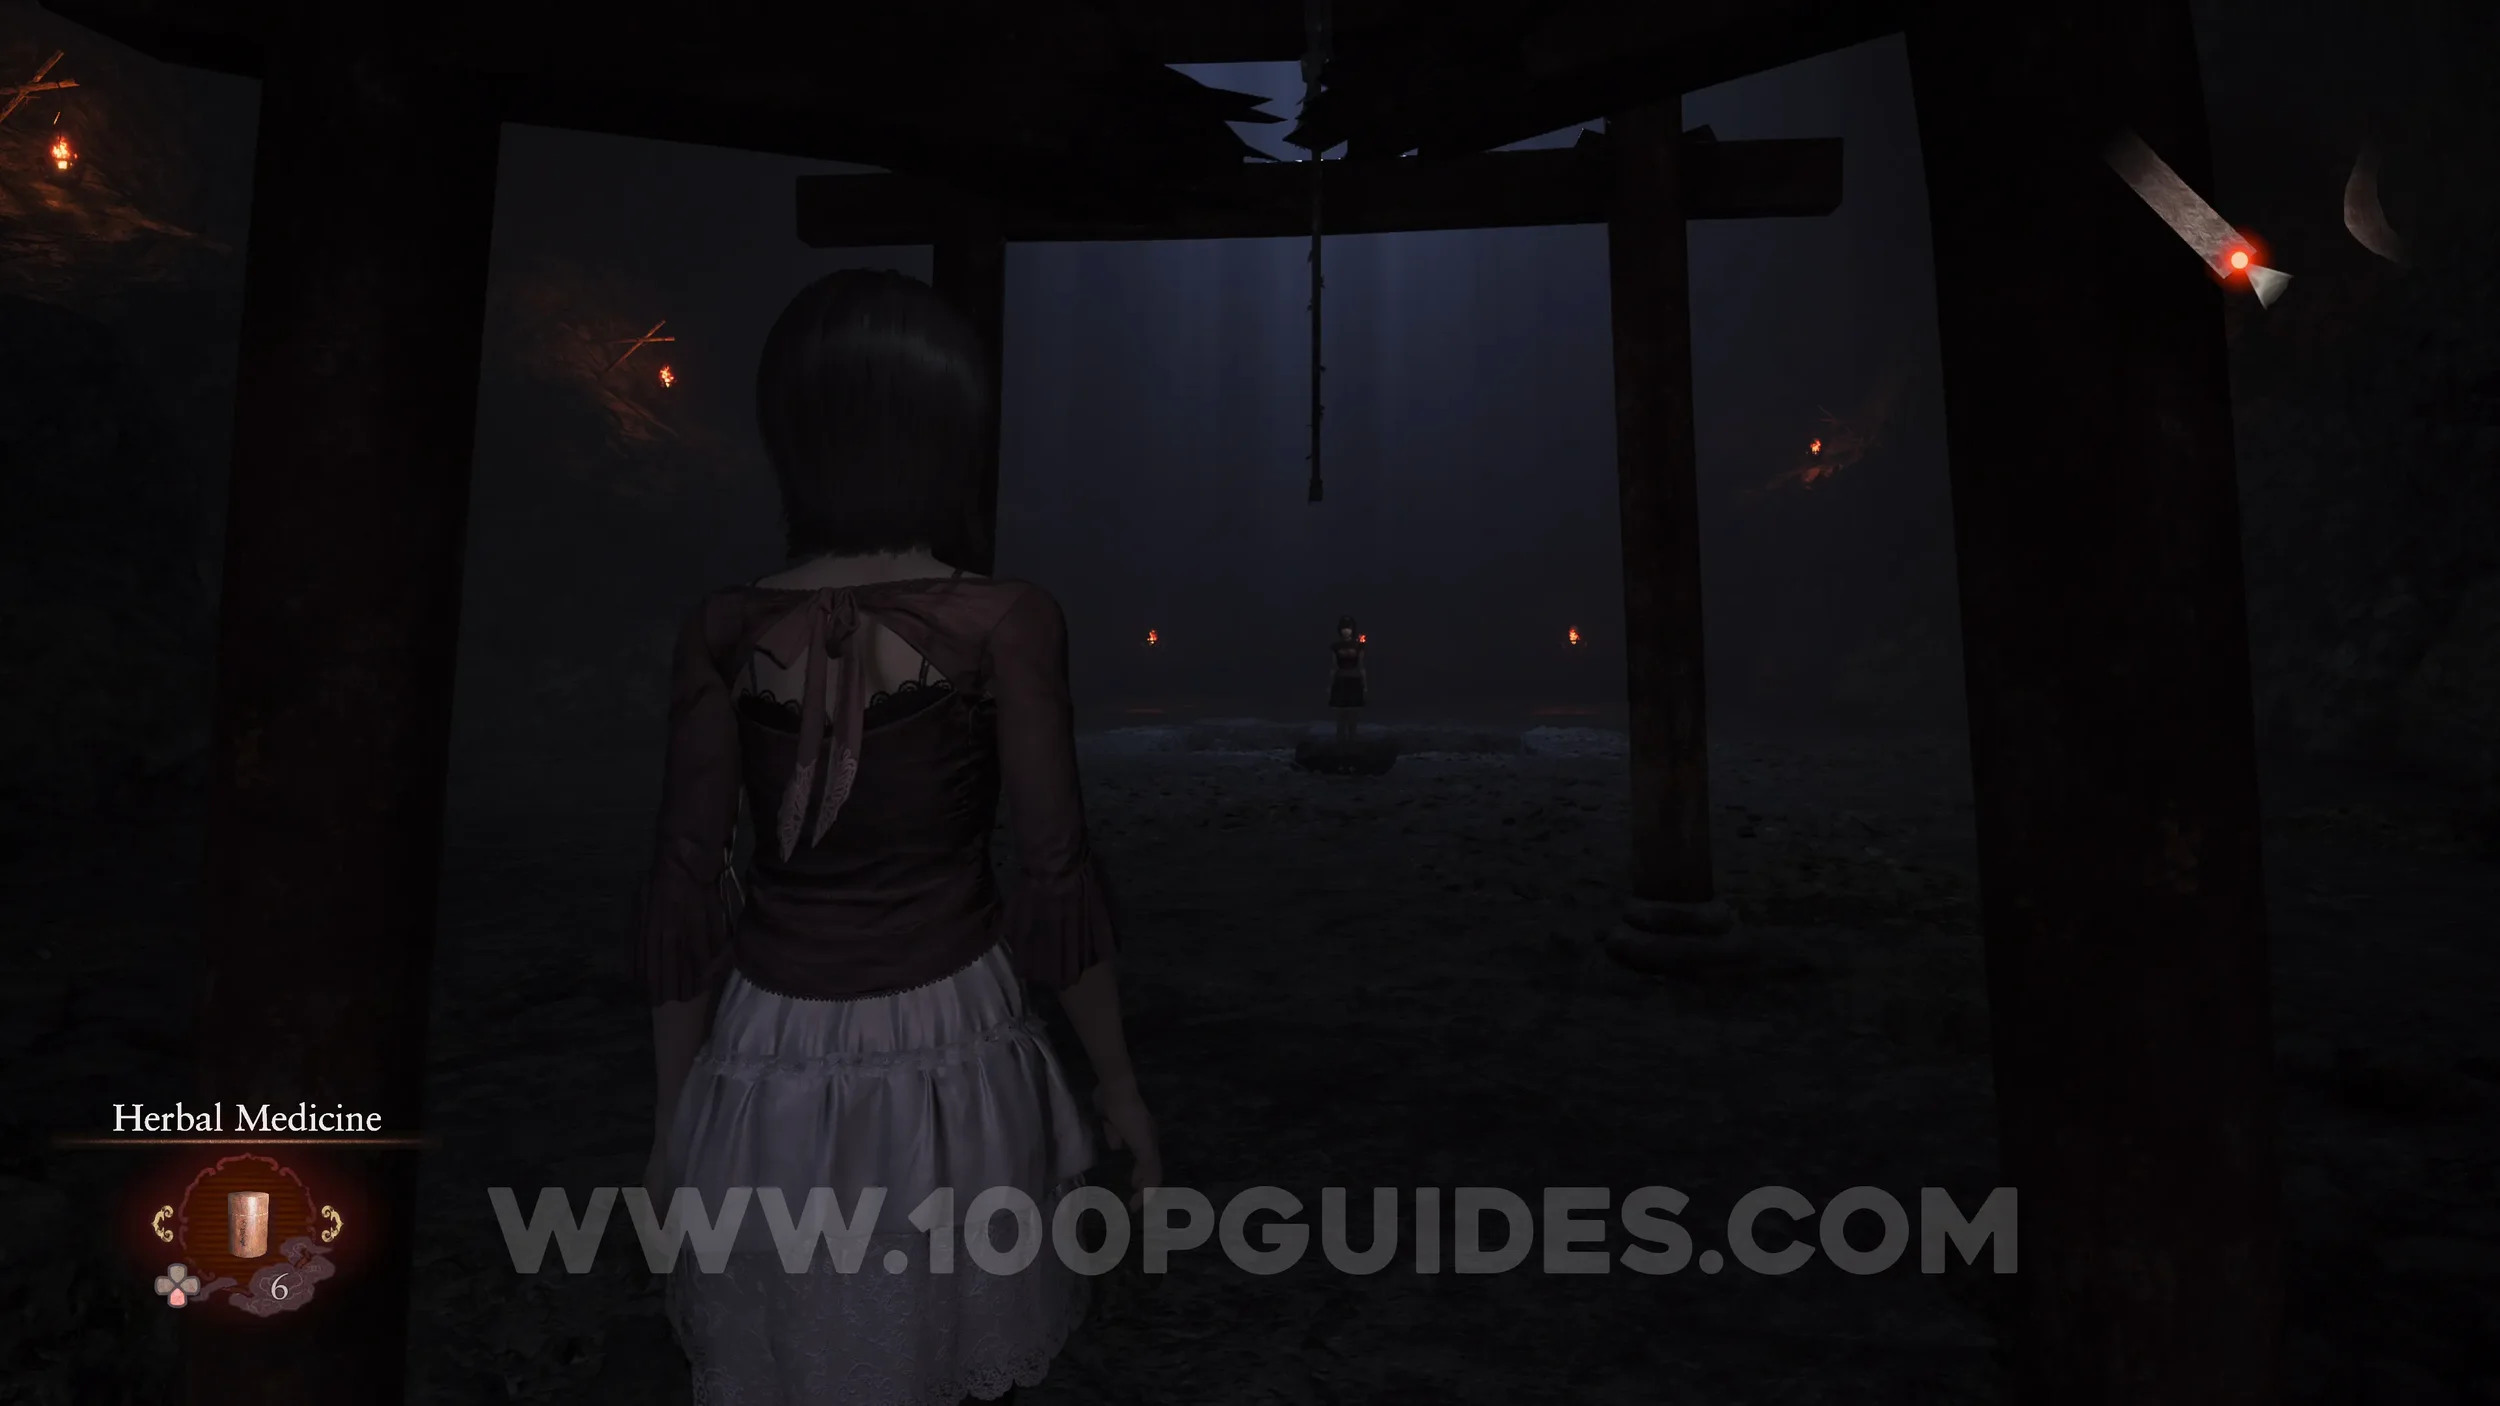
Specter #229 - 157 Hellish Abyss Mayu. At the bottom of the stairs after the fight against Kusabi. Make sure you do not get too close or the final cutscene will trigger.

Ending #2 - Crimson Butterfly. This is the standard ending of the game and will always be your first real ending.
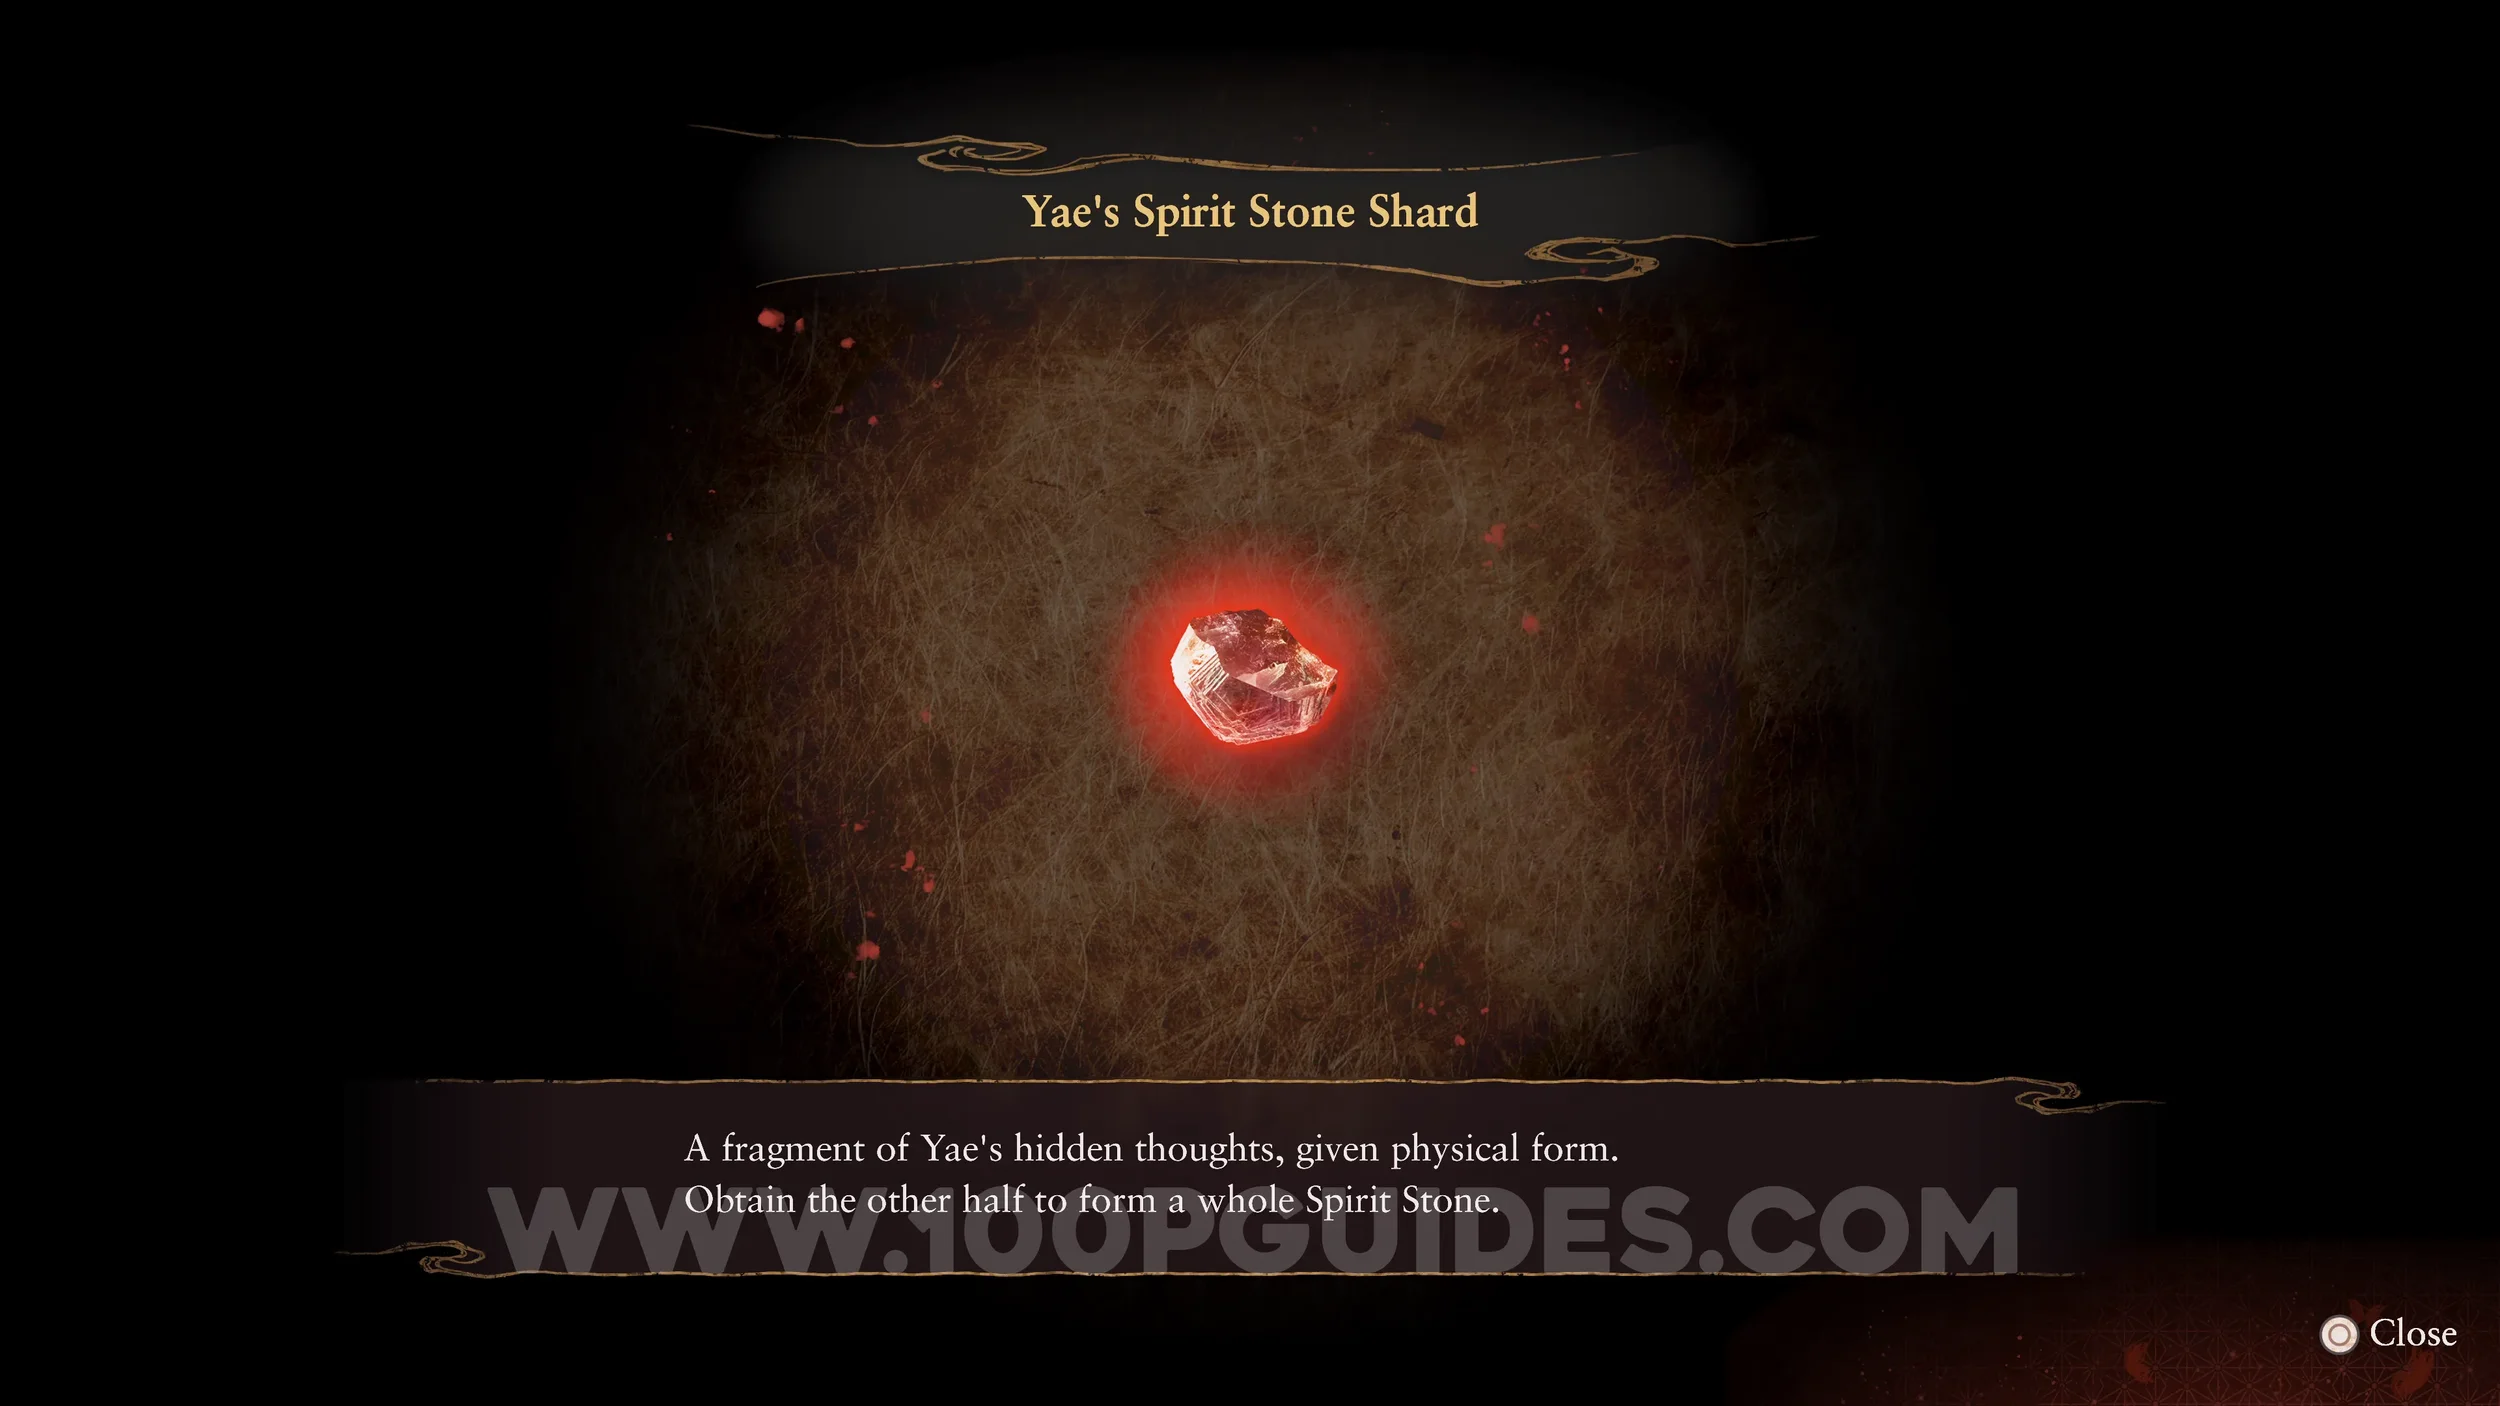
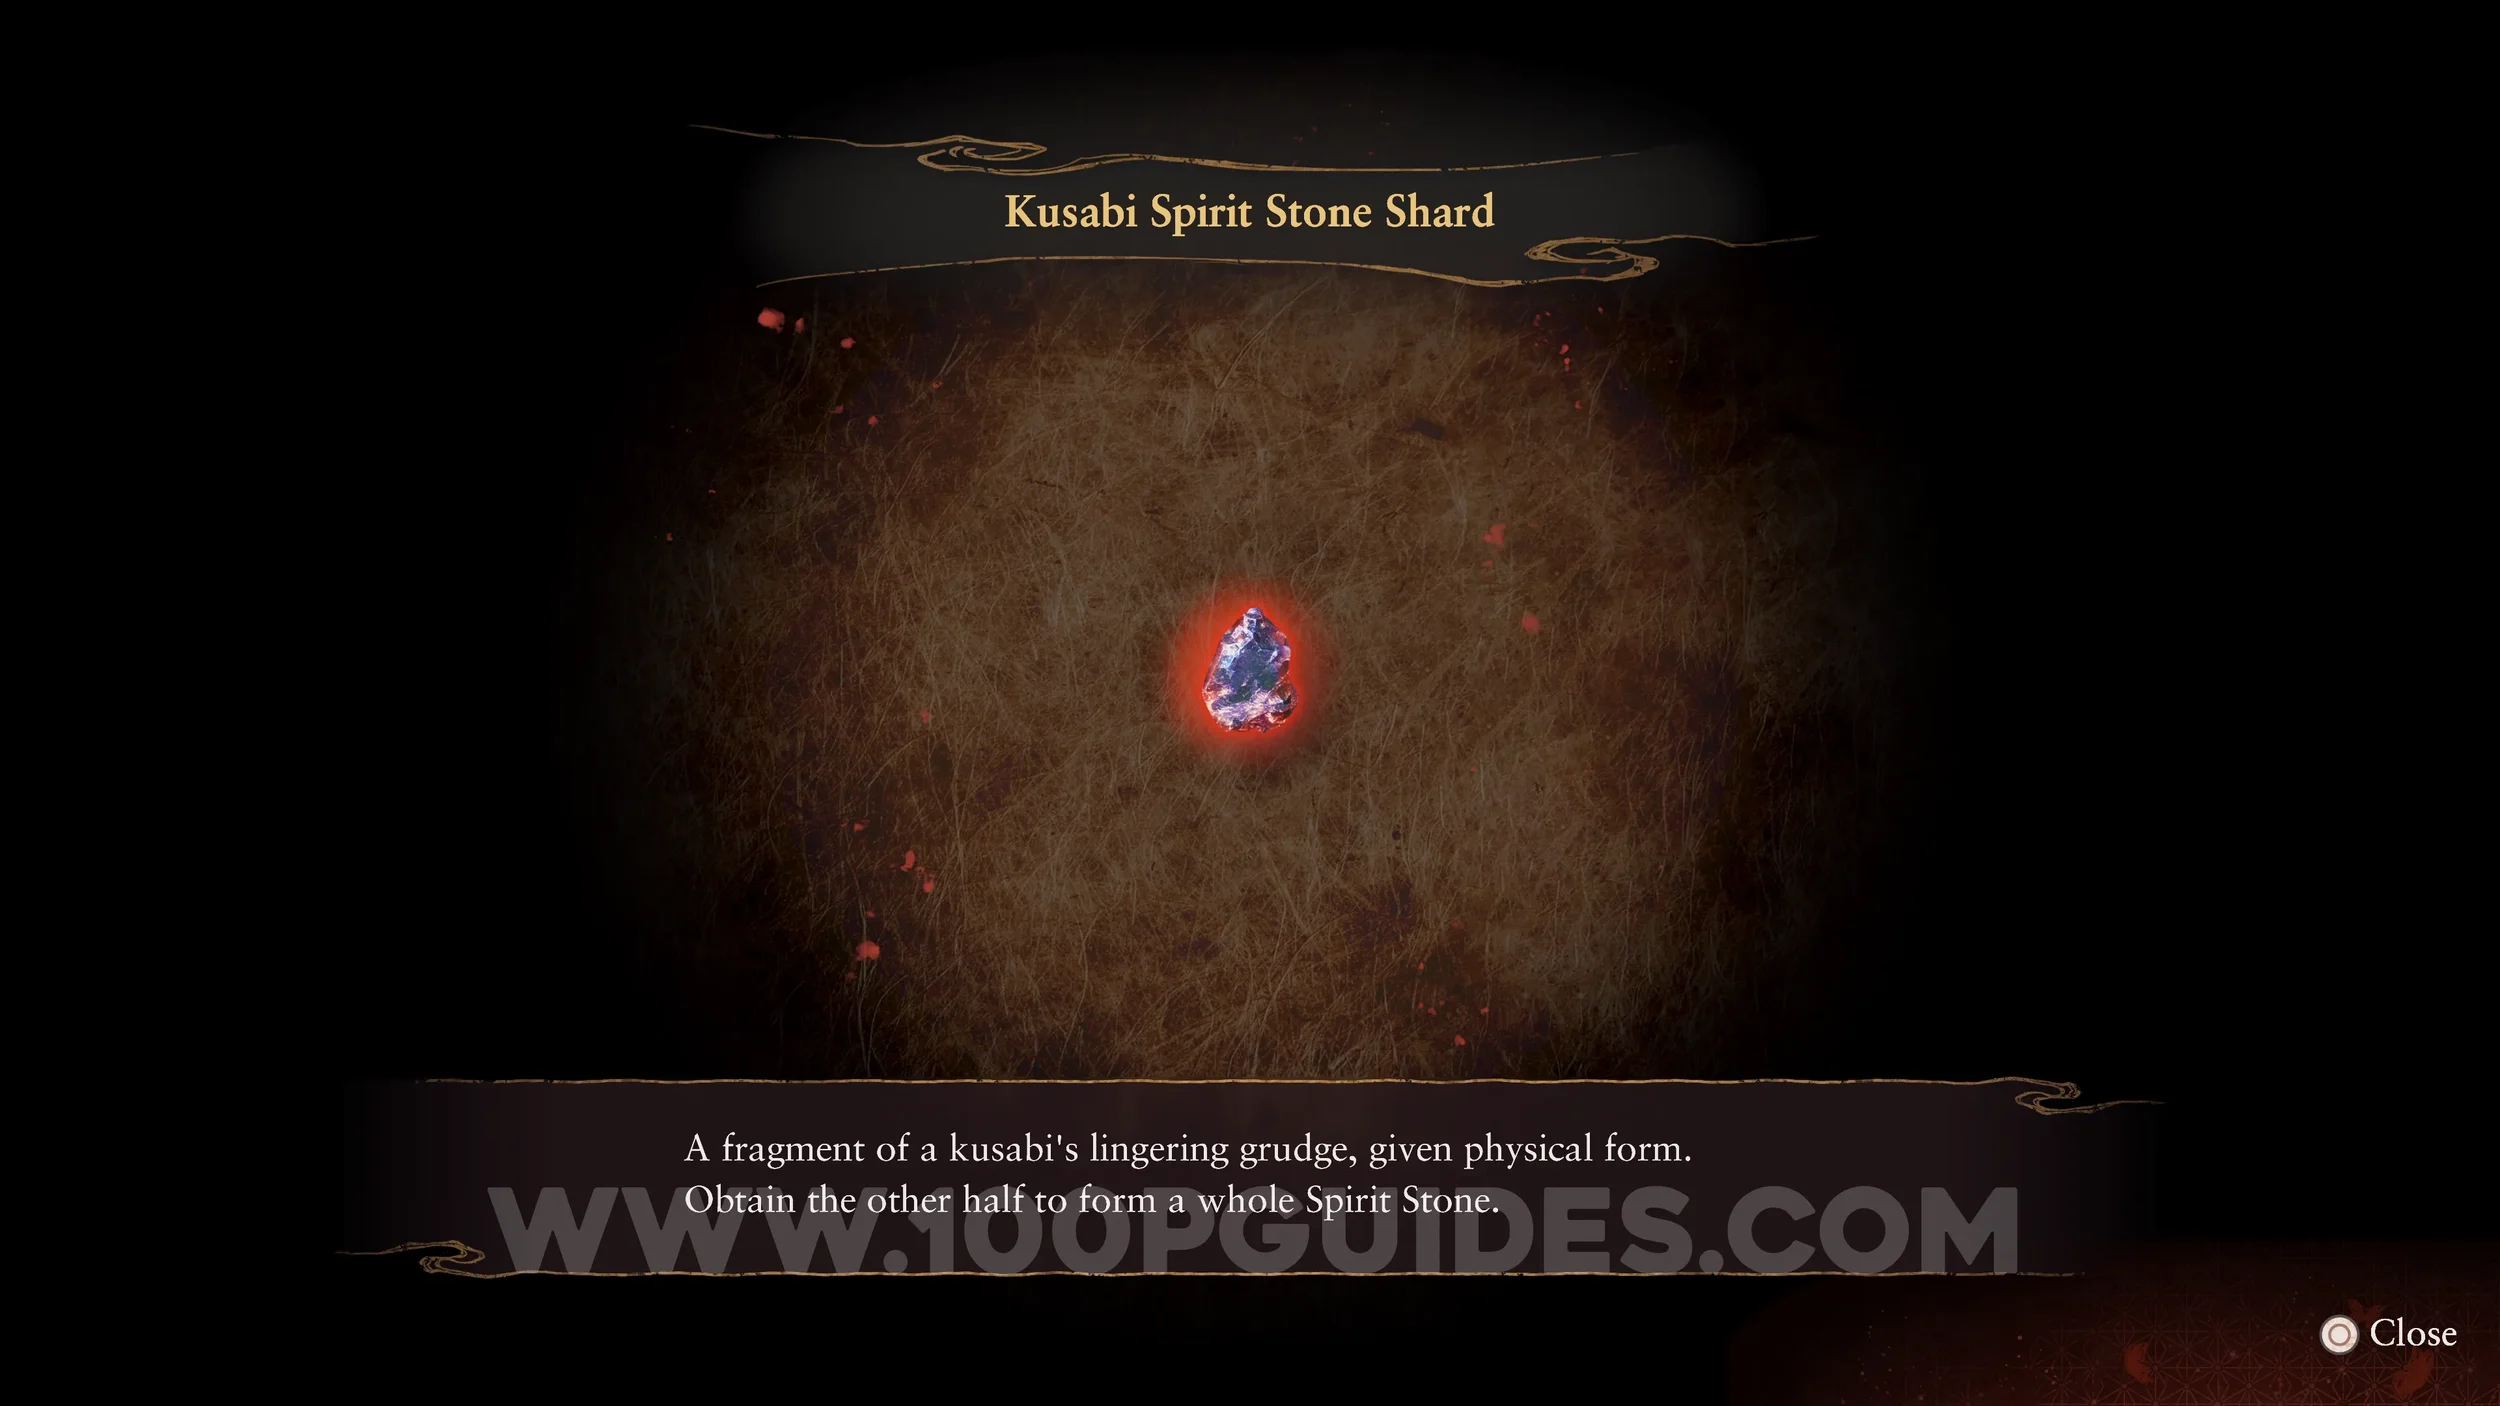
Spirit Stone #42 - Yae’s Spirit Stone Shard (1/2) and Spirit Stone #43 - Kusabi Spirit Stone Shard (1/2). You will get these after finishing the game for the first time. They are required to unlock additional endings.
AFTER FINISHING THE GAME, MAKE A CLEAR SAVE!
2nd Playthrough
From the Main Menu, select New Game + > select the Clear Save.
Side Quest #12 - The Kusabi and Side Quest #13 - Yae Kurosawa. These two side quests will start automatically and are tied to new endings. In this playthrough, we will focus on unlocking one of the new endings.
You can technically complete both new side quests and endings in the same playthrough by saving just before the end of the game after finishing both side quests and then reloading. However, for the fifth ending you will need both Spirit Stones from endings three and four on the same save, so you would still need to start a clean run and use Chapter Select.
To keep things simple, we will dedicate one playthrough to each side quest and ending. Do not worry, this will not take longer since we can jump straight to the required chapters. During this playthrough, we will complete “The Kusabi” side quest and “The Abyss” ending.
Specter #230 - 001 Girl Entering House. You will now have the camera from the start of the game, allowing you to capture the specters that appear before you normally obtain it. The first can be found as you enter the Osaka House while walking down the hill toward it.
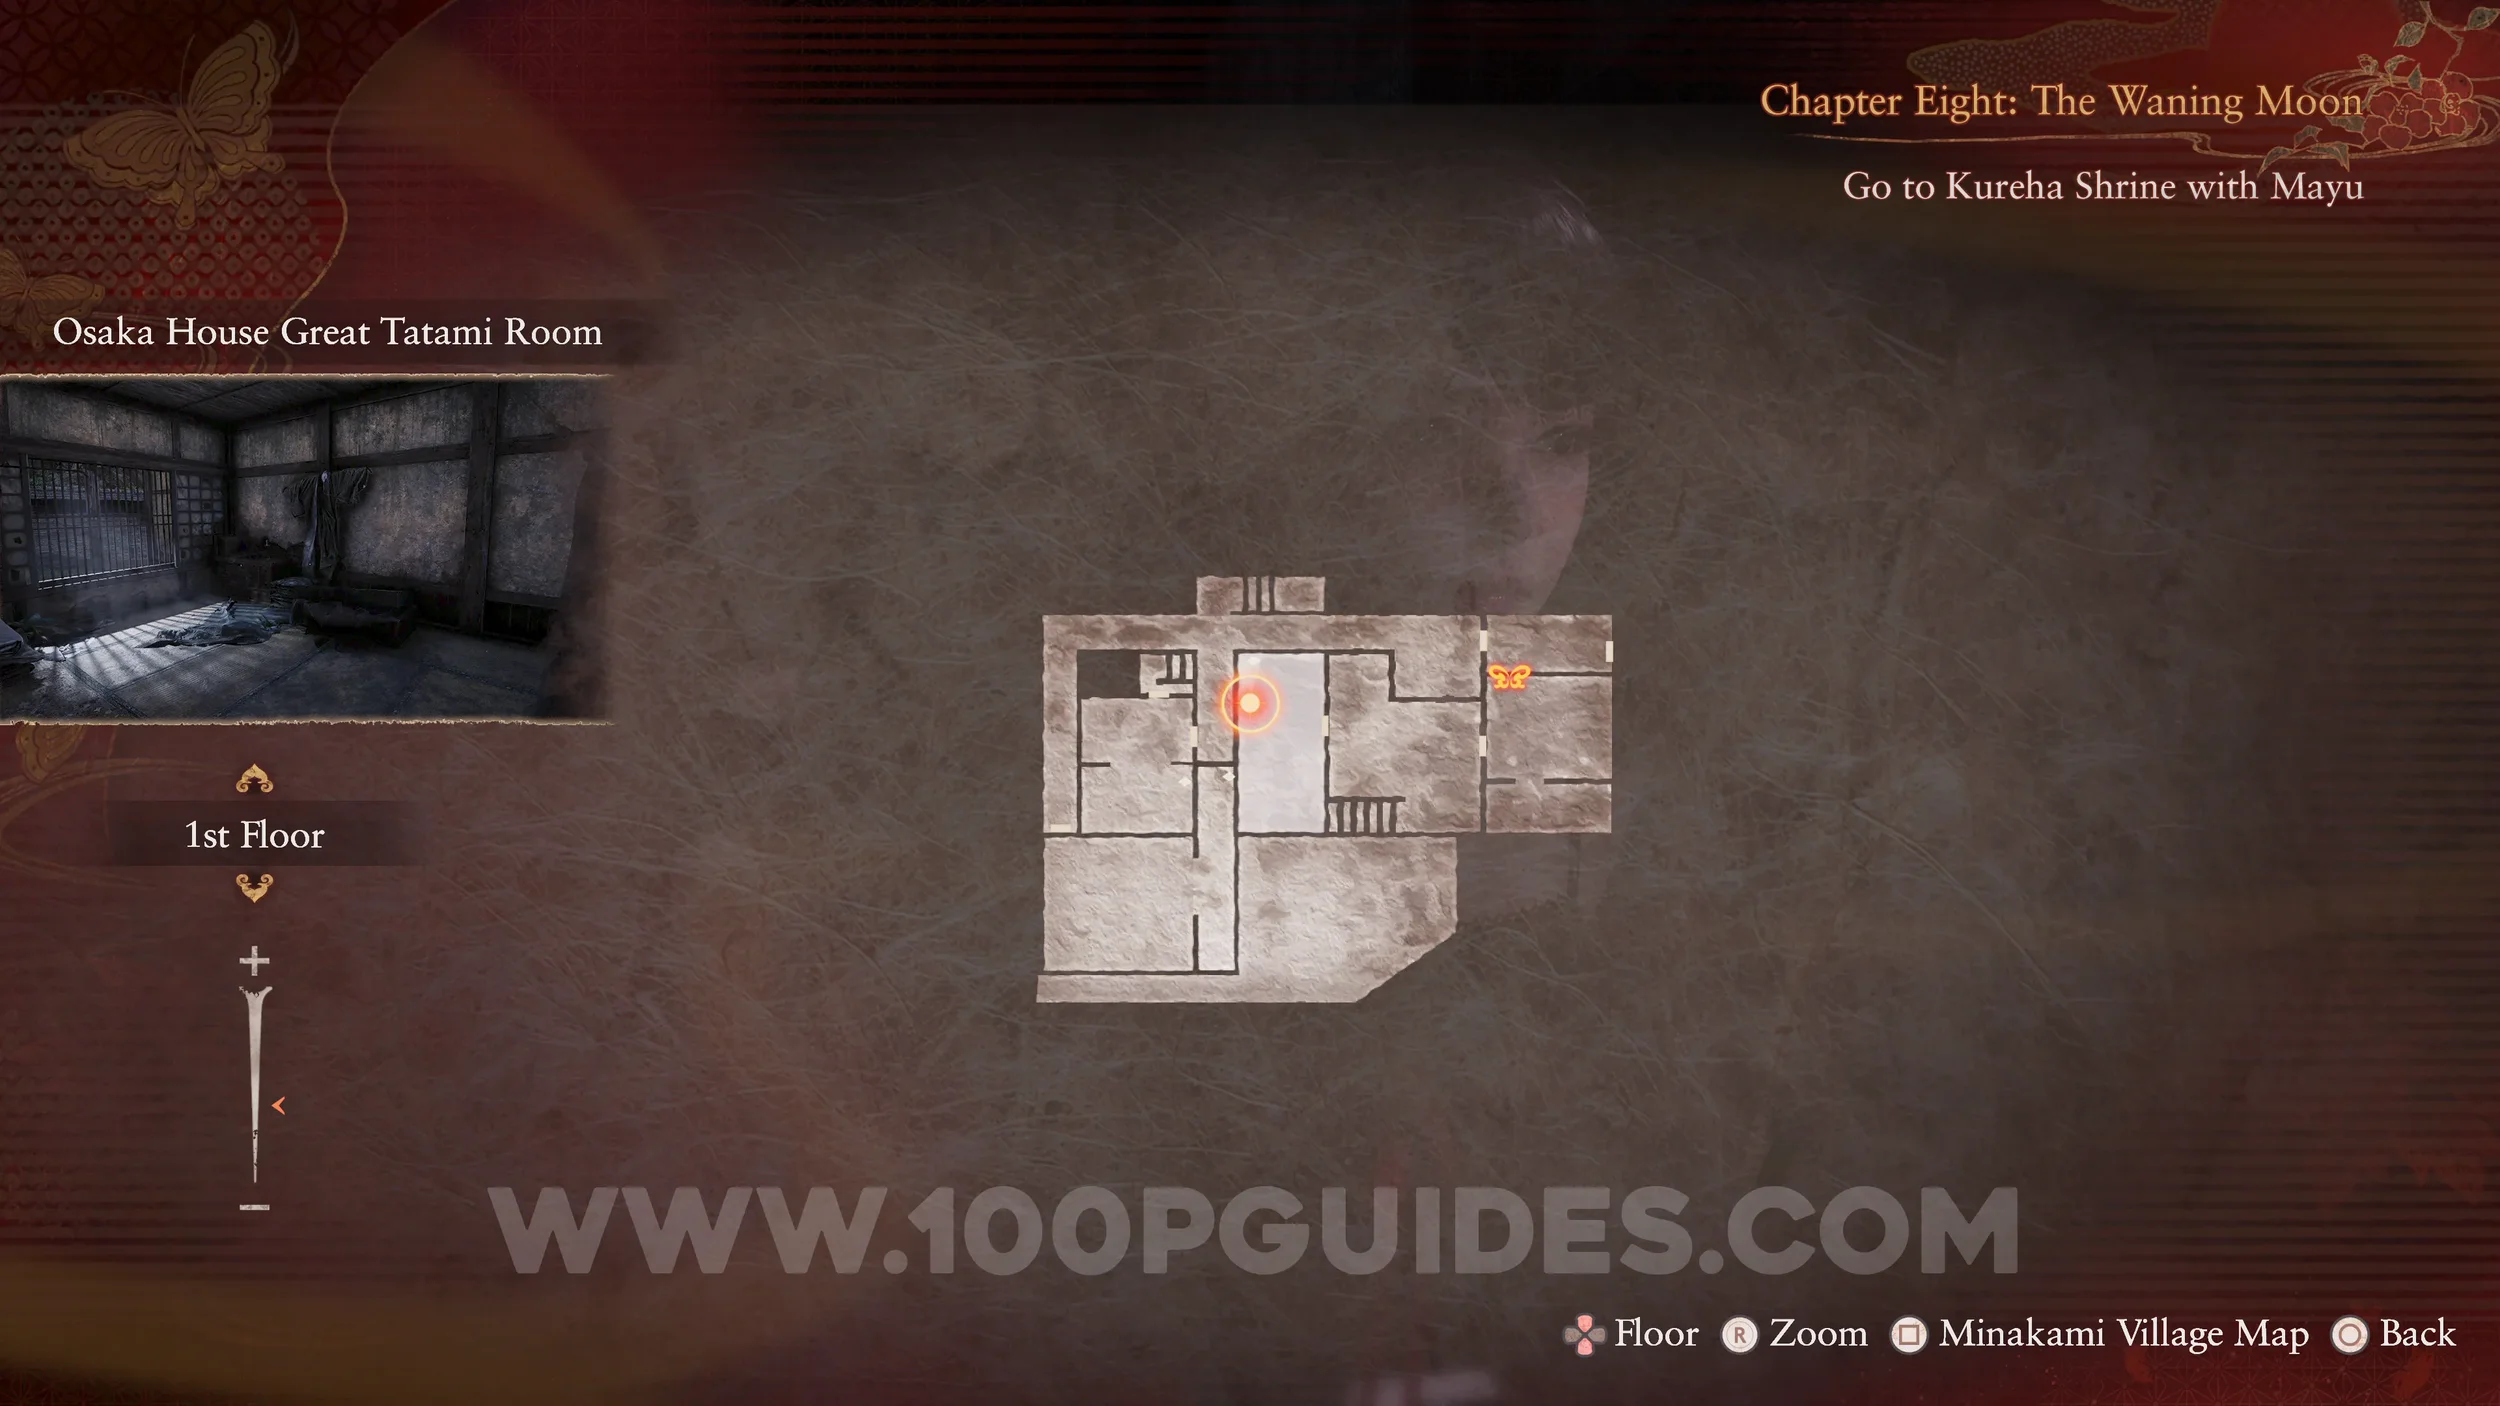
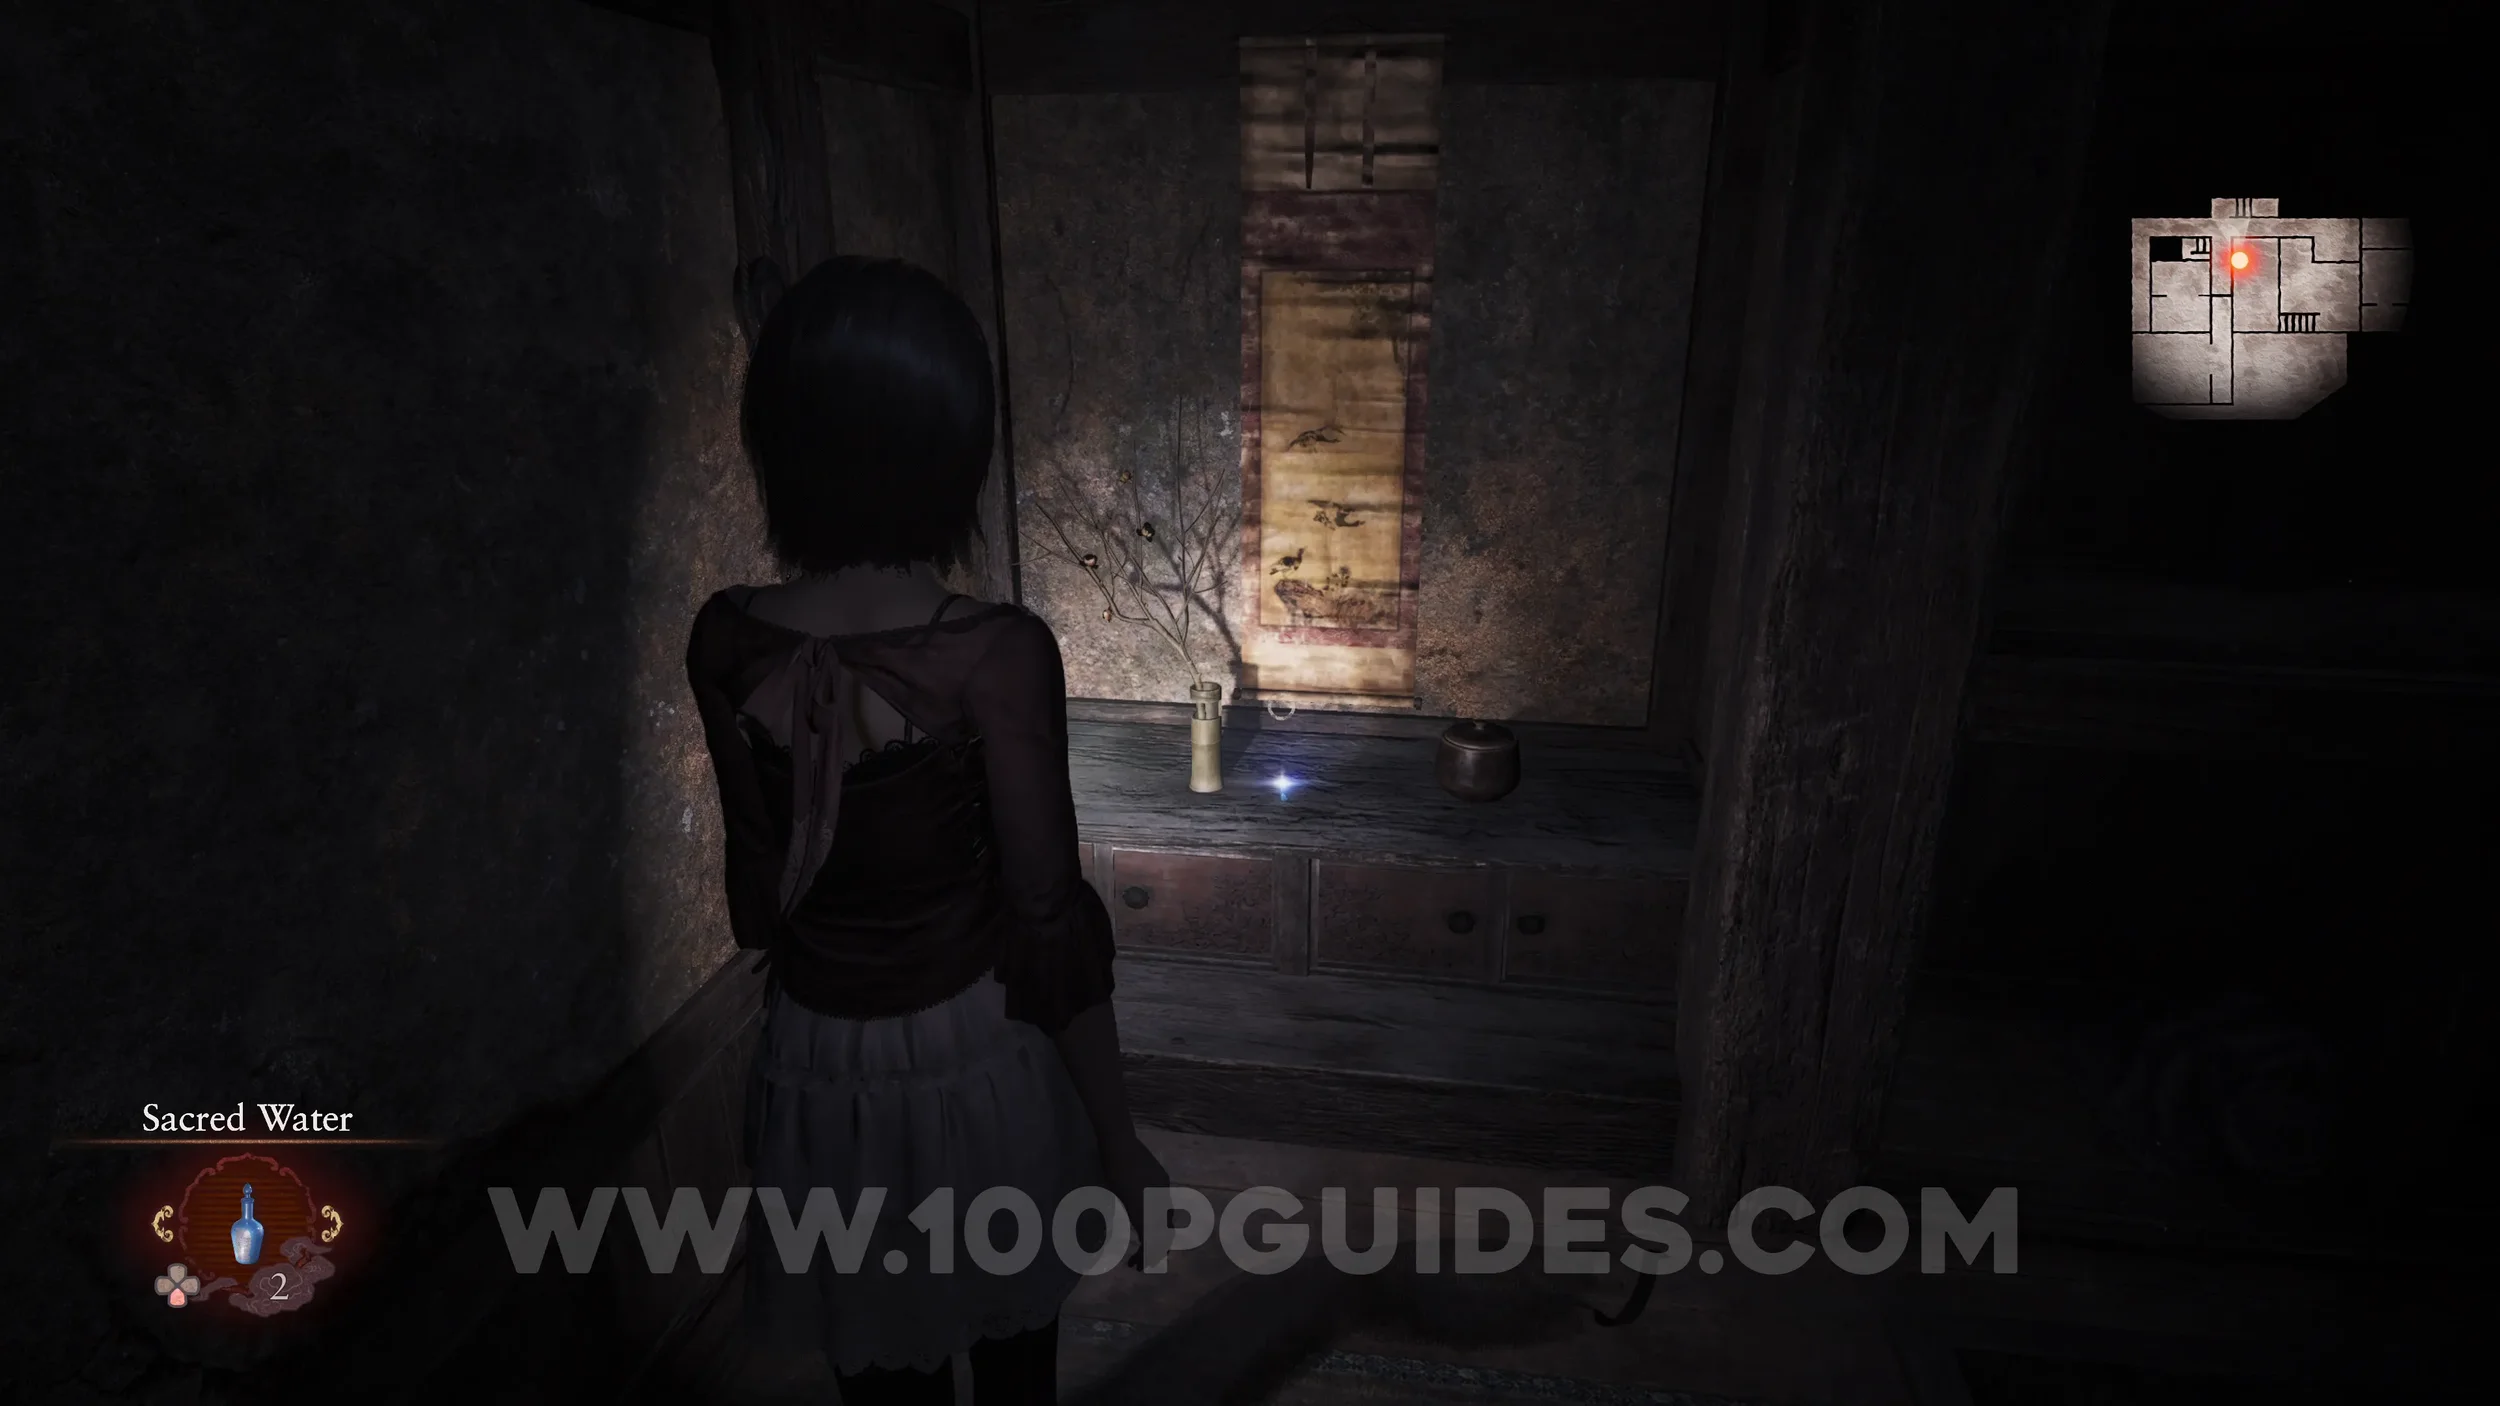
Specter #231 - 002 Woman in the Garden. Go to the Tatami Room in the Osaka House, the room where you got the torch, and pick up the document inside. This will cause the specter to appear in the window.
Specter #232 - 003 Woman Vanishing at Altar. Go to the hall leading to the Altar Room in the Osaka House to see the specter walking down it.
Now return to the Main Menu and select Load > Chapter Select > Select your clear save > Final Chapter.
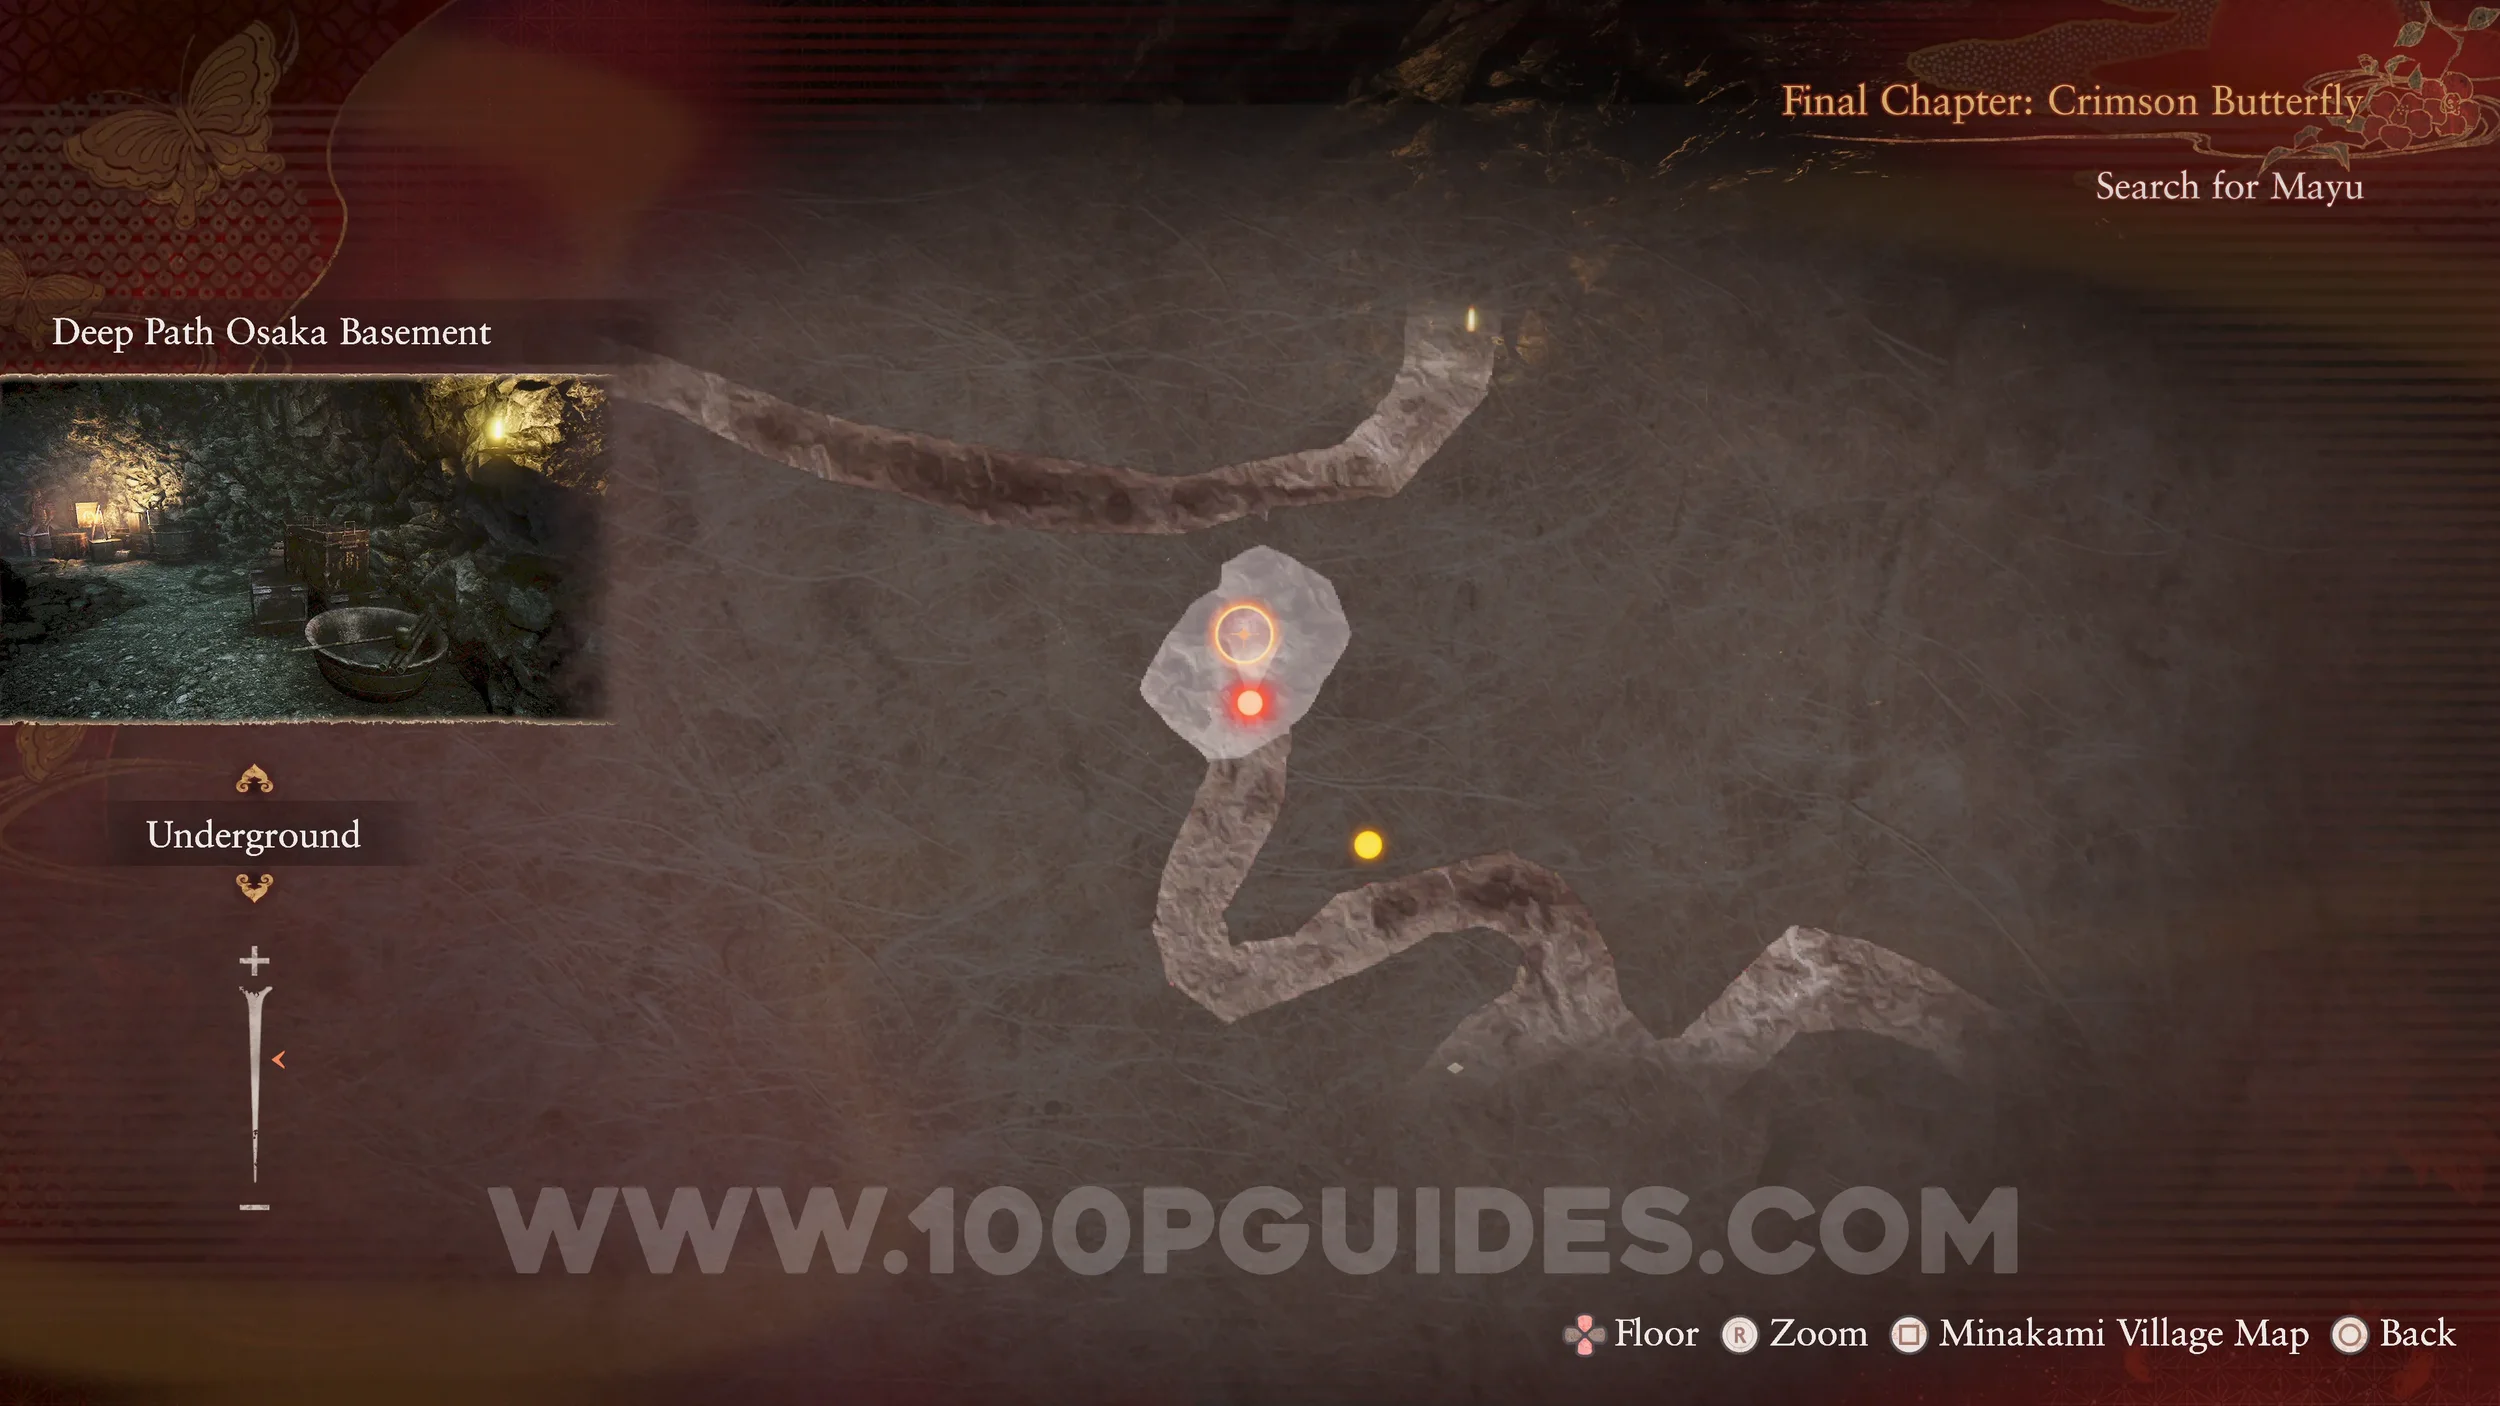
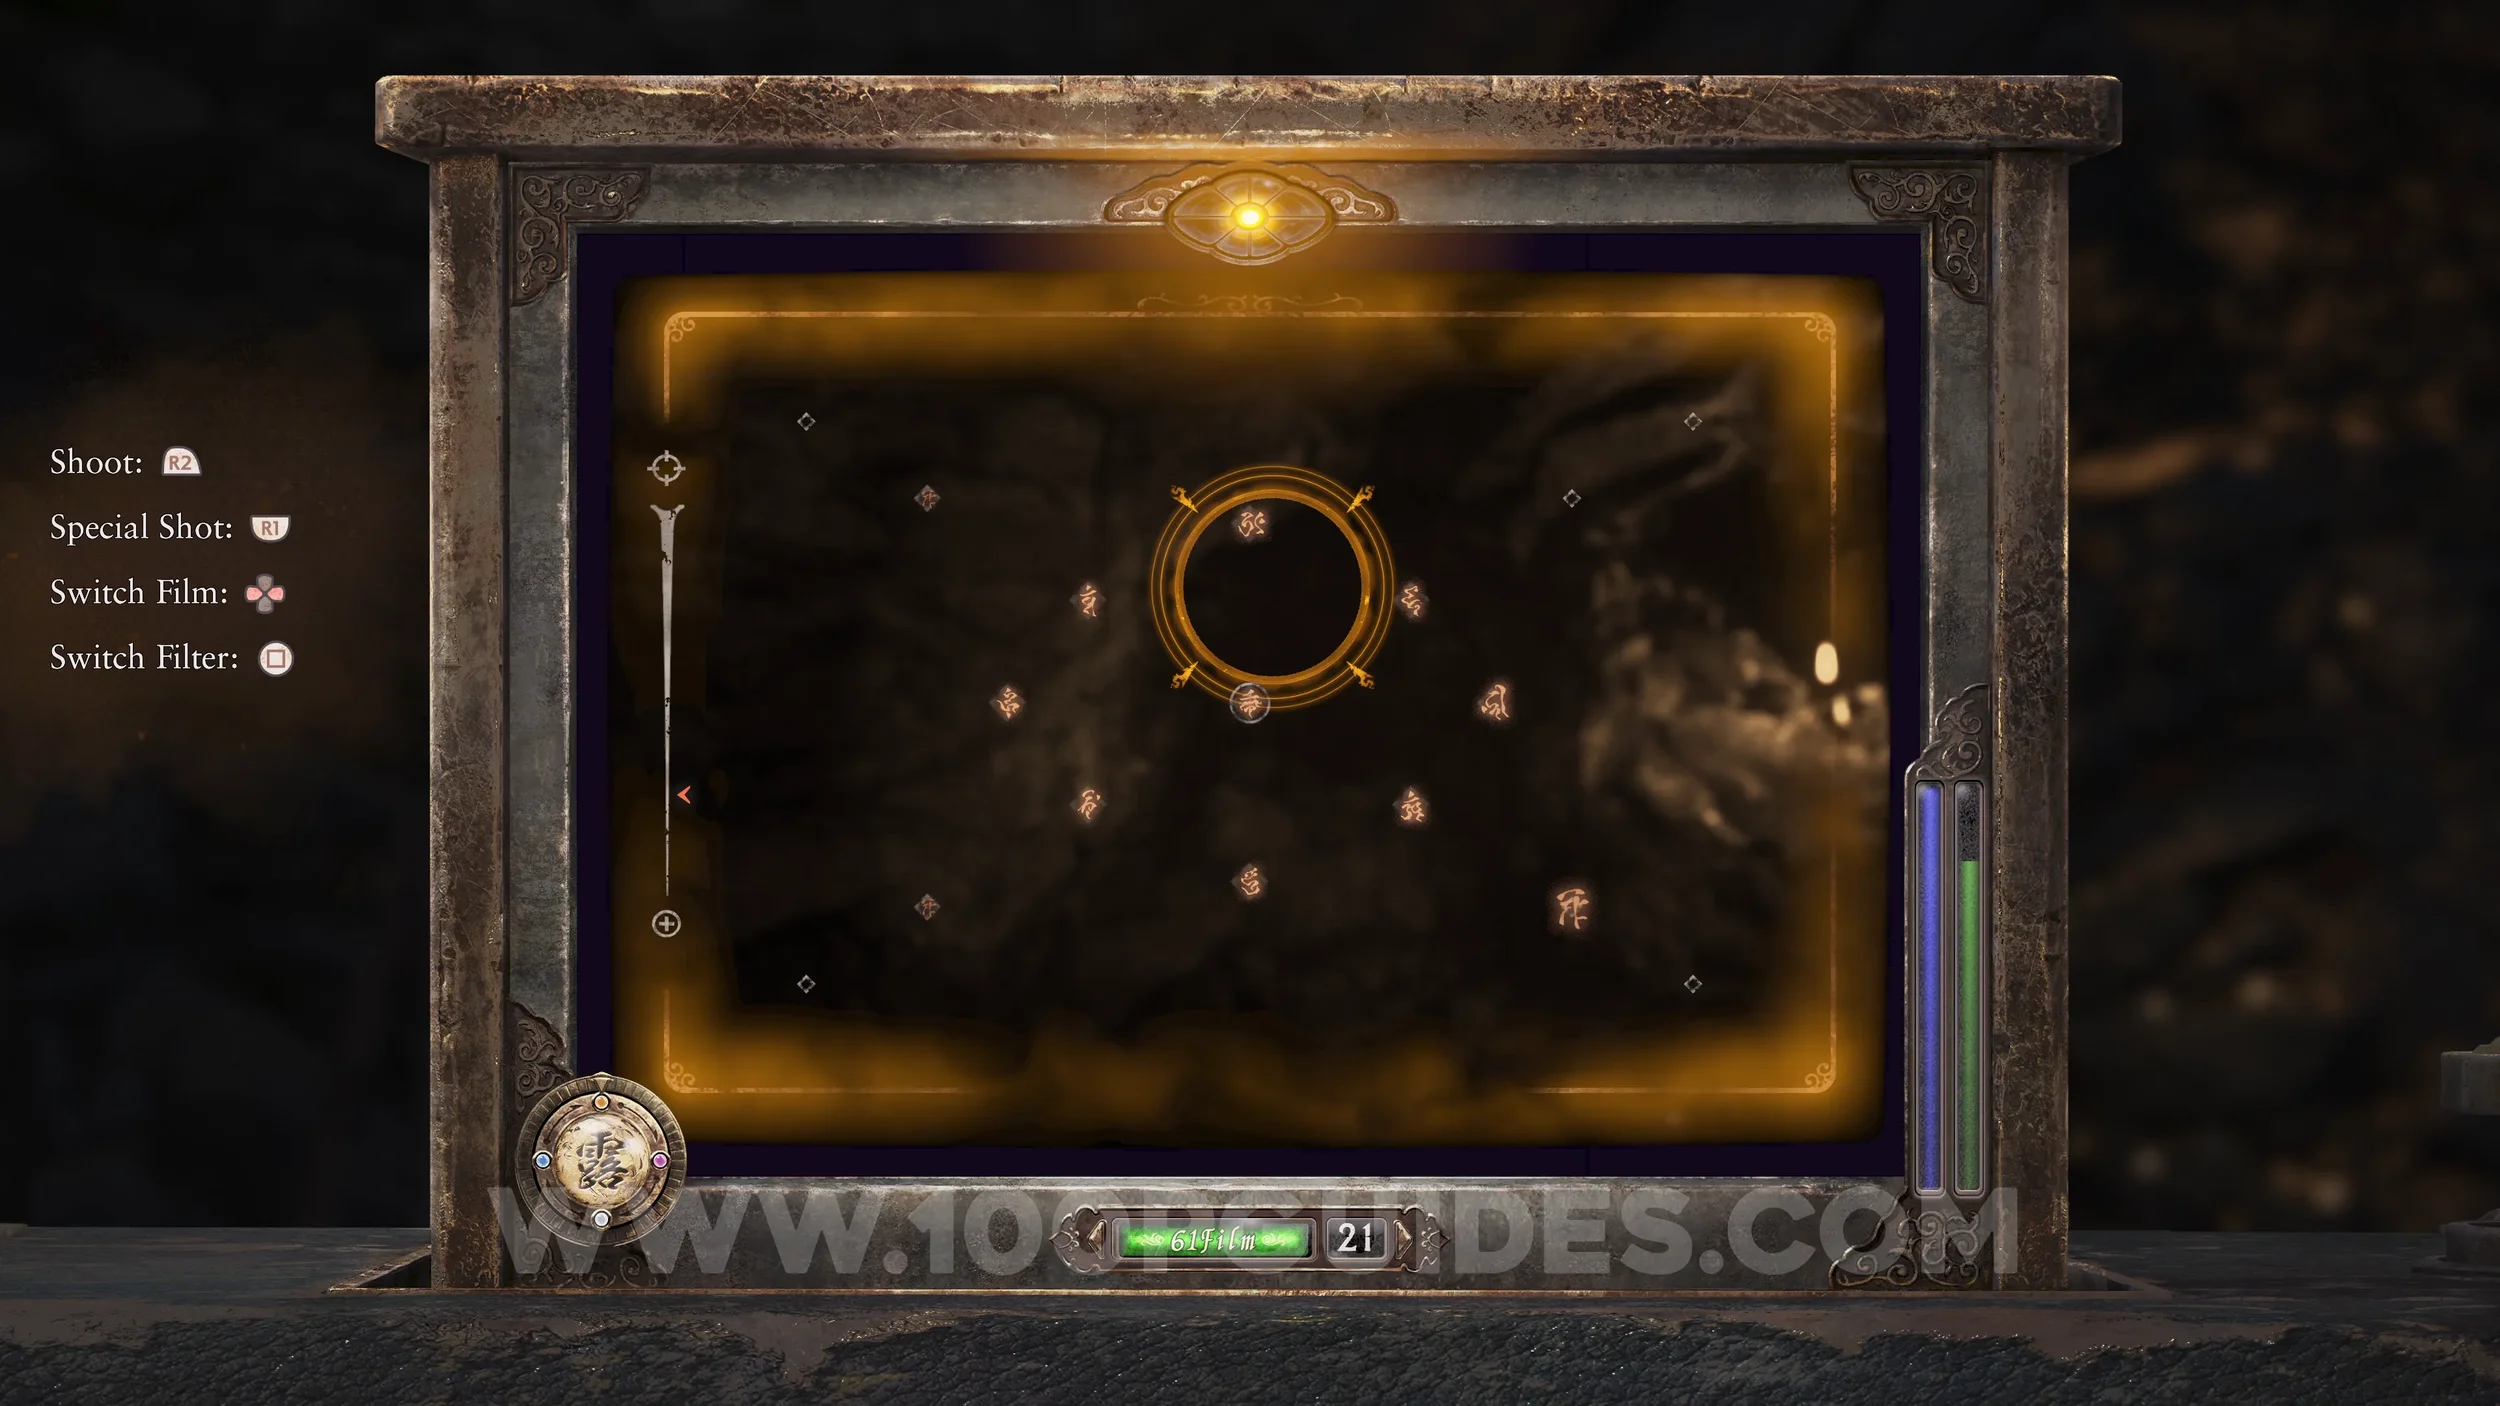
Revenant #33 - 034 Man Searching the Deep Path and Document #109 - Folklorist’s Note 11. From the start of the Final Chapter, go straight to the Osaka House Altar Room and go underground. Then head to the northern room to find the revenant. He will drop the document.
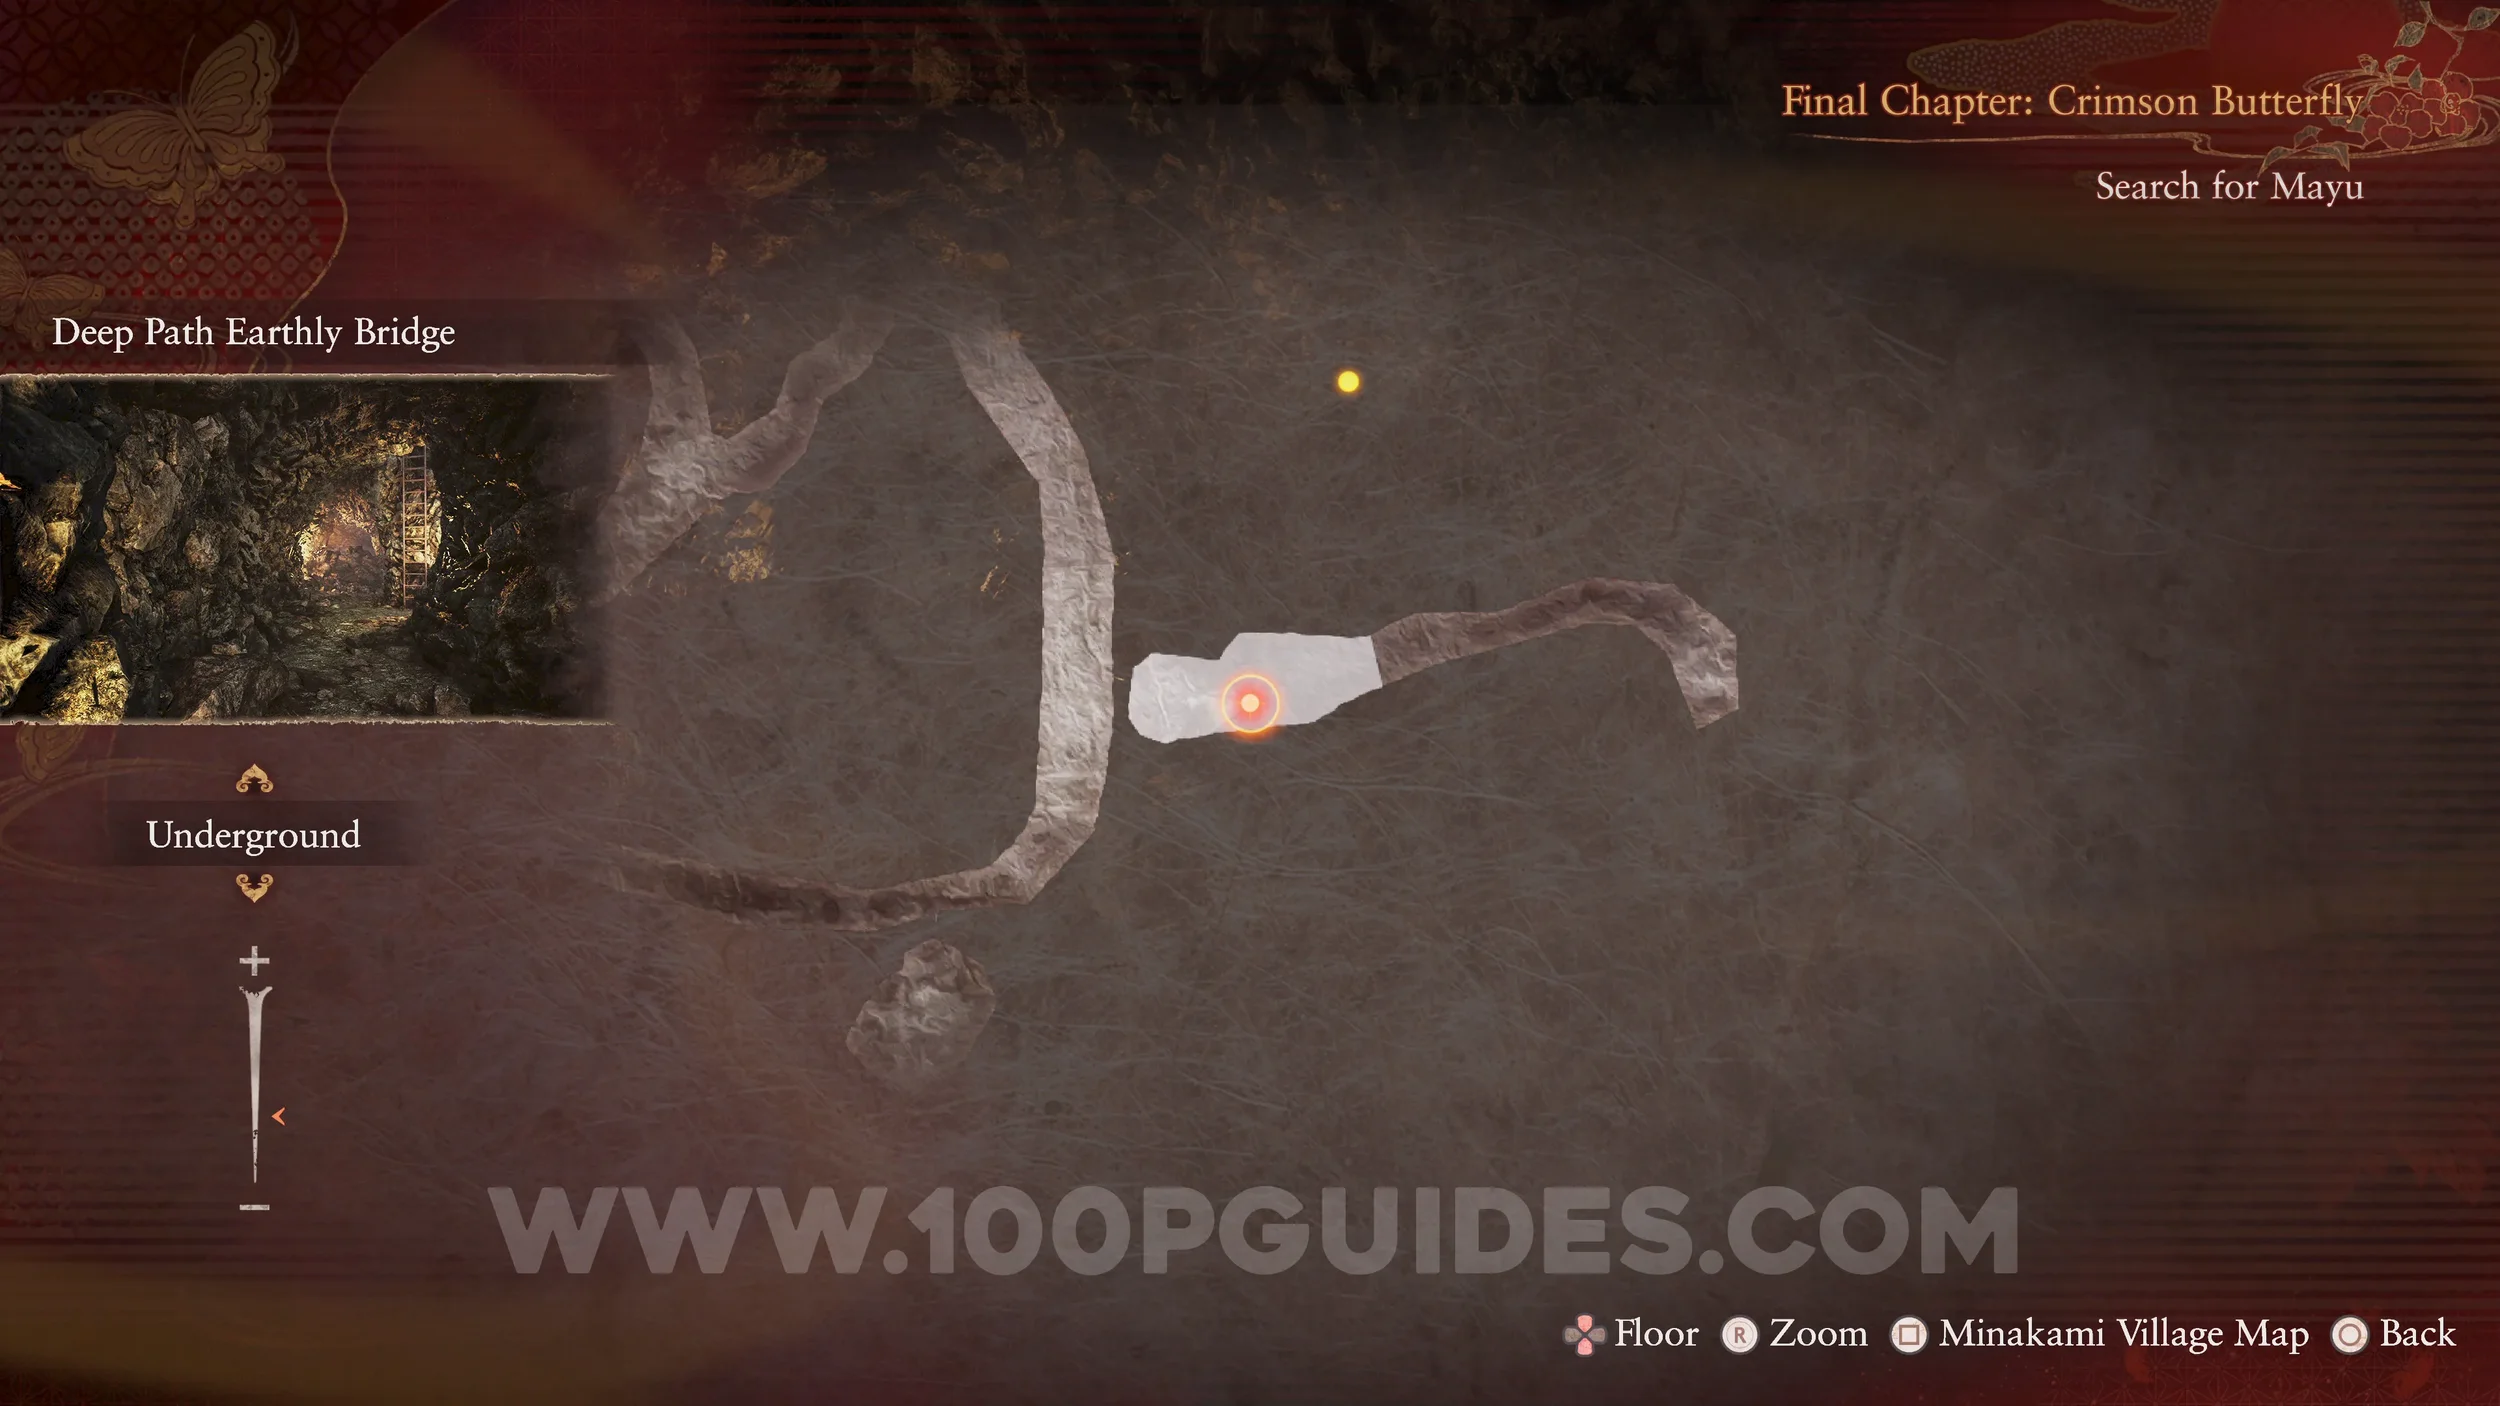
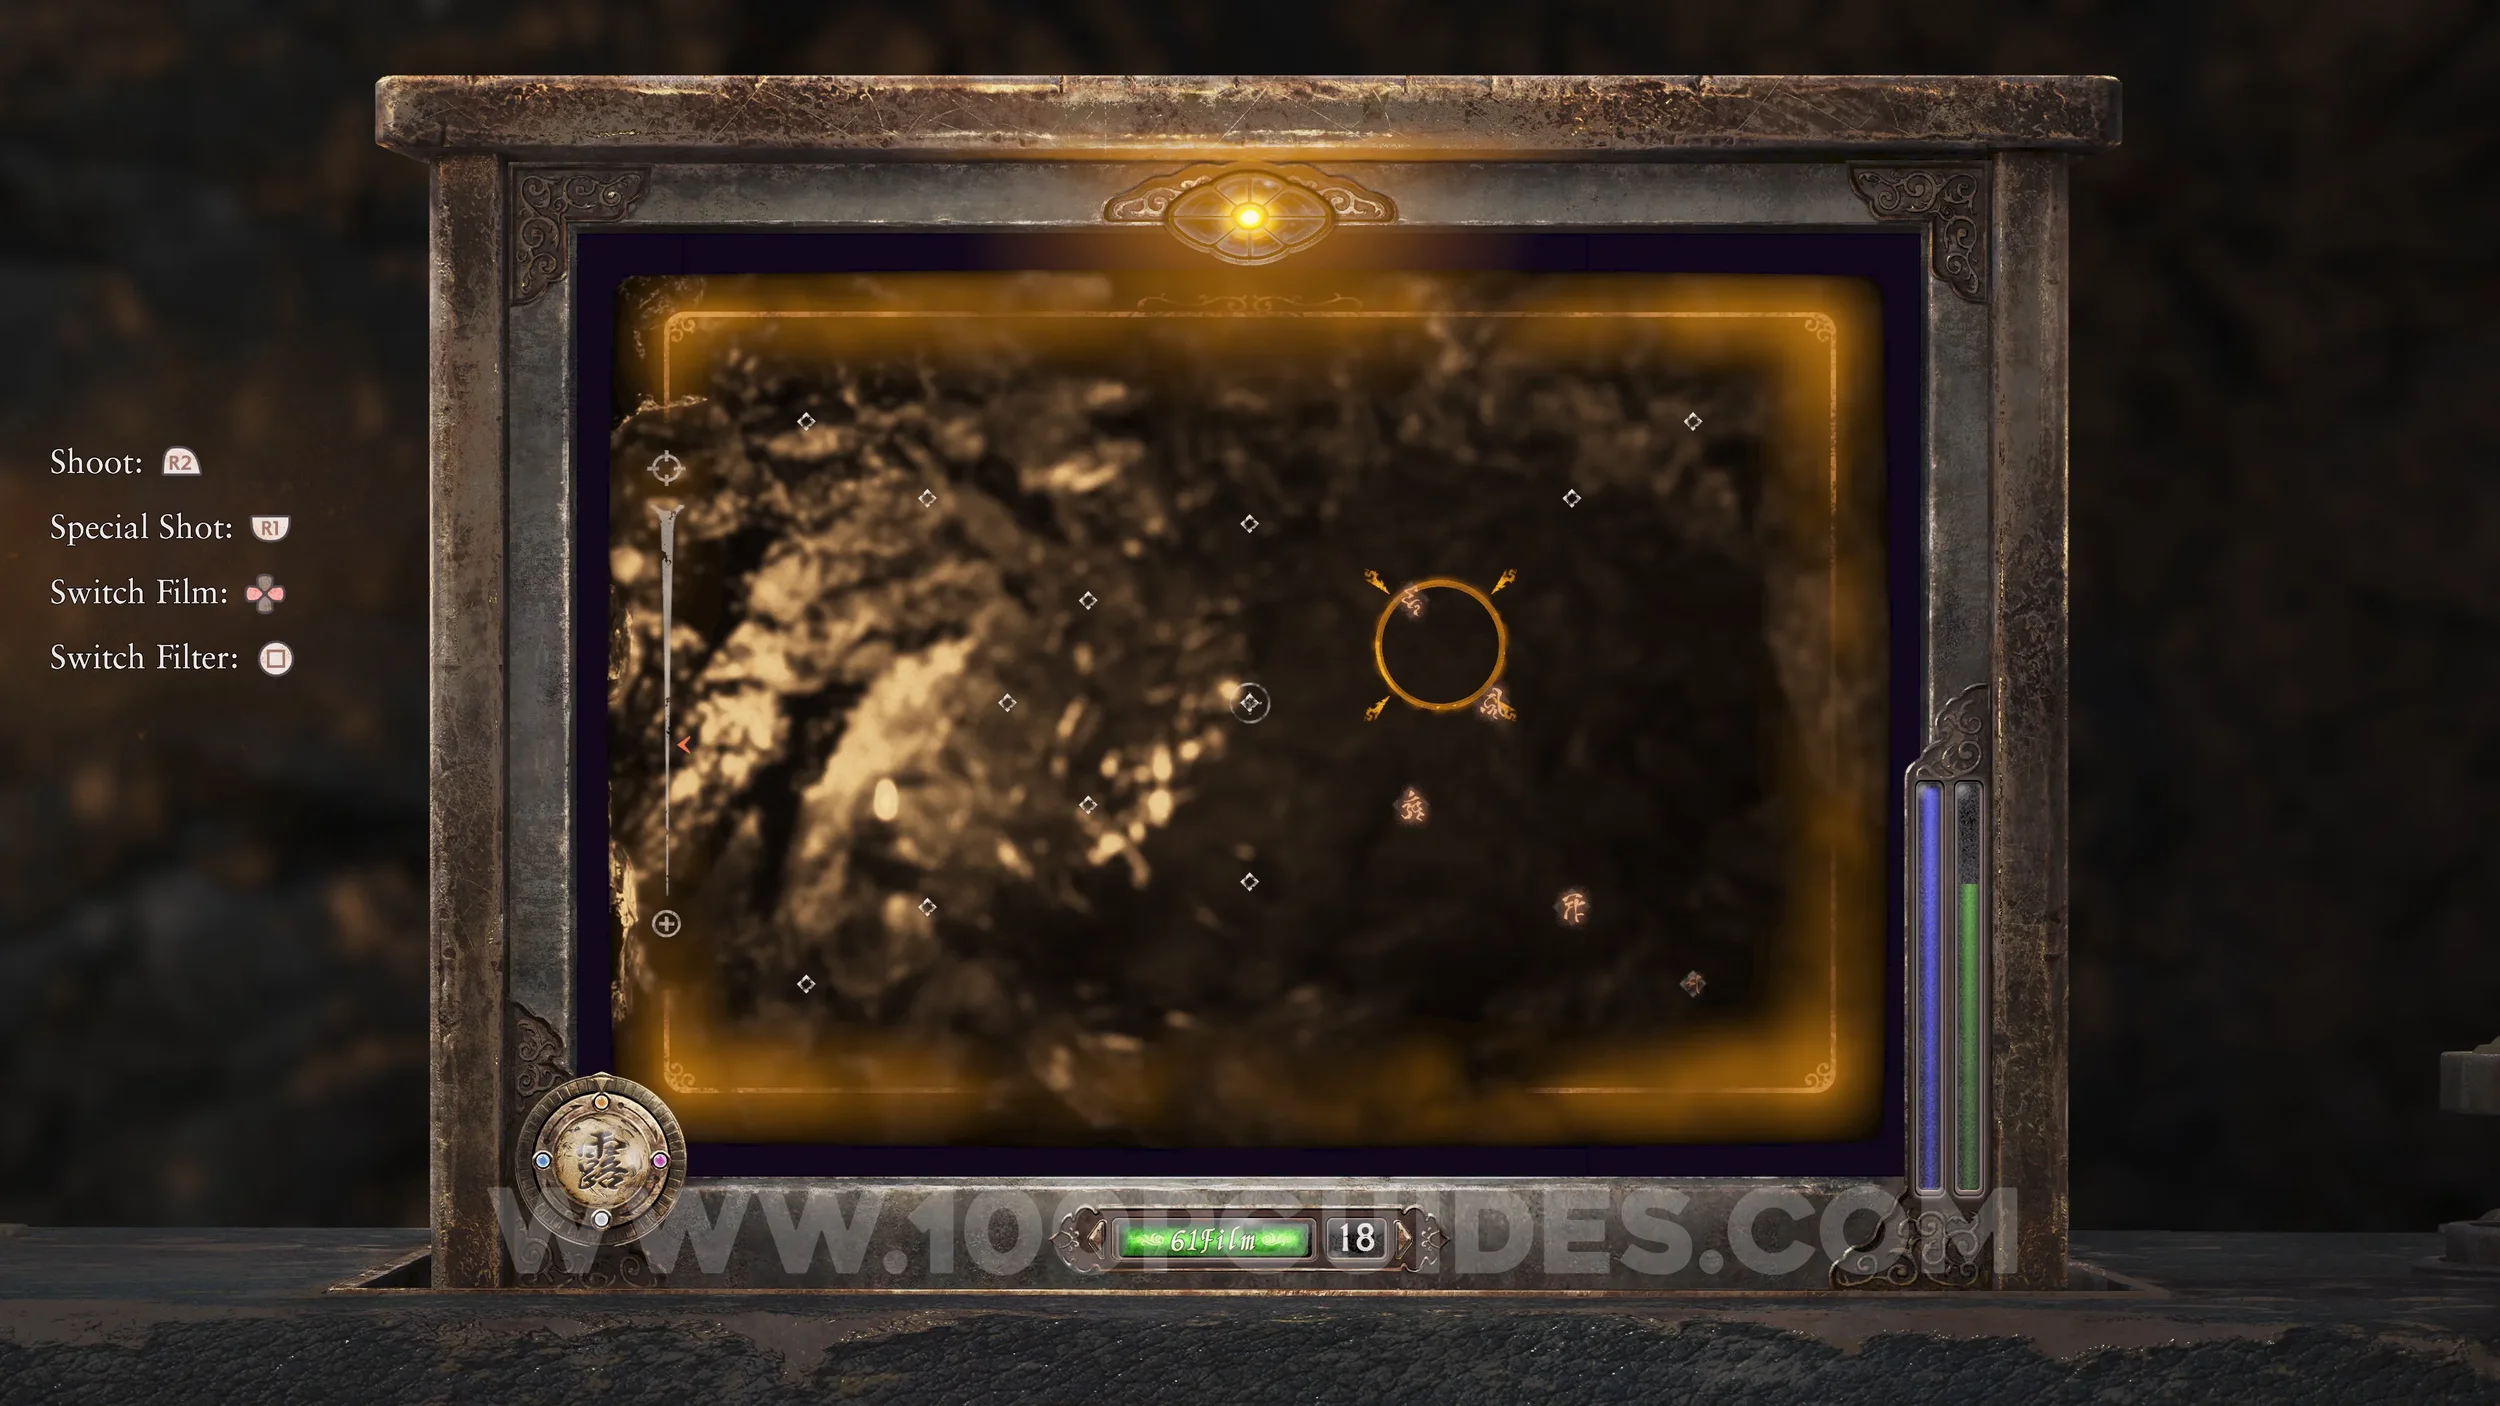
Revenant #34 - 035 Man Checking the Earthly Bridge and Document #110 - Folklorist’s Note 13. Next, head to the Earthly Bridge, the tunnel that connects the Kiryu House with the Tachibana House. Here you can find the revenant at the western end. He will drop the document.
Revenant #35 - 036 Man Investigating Mummified Monk and Document #111 - Folklorist’s Note 14. Now head to the underground tunnels beneath Eikado Temple. At the end of the southeastern path you can find the revenant. He will drop the file.
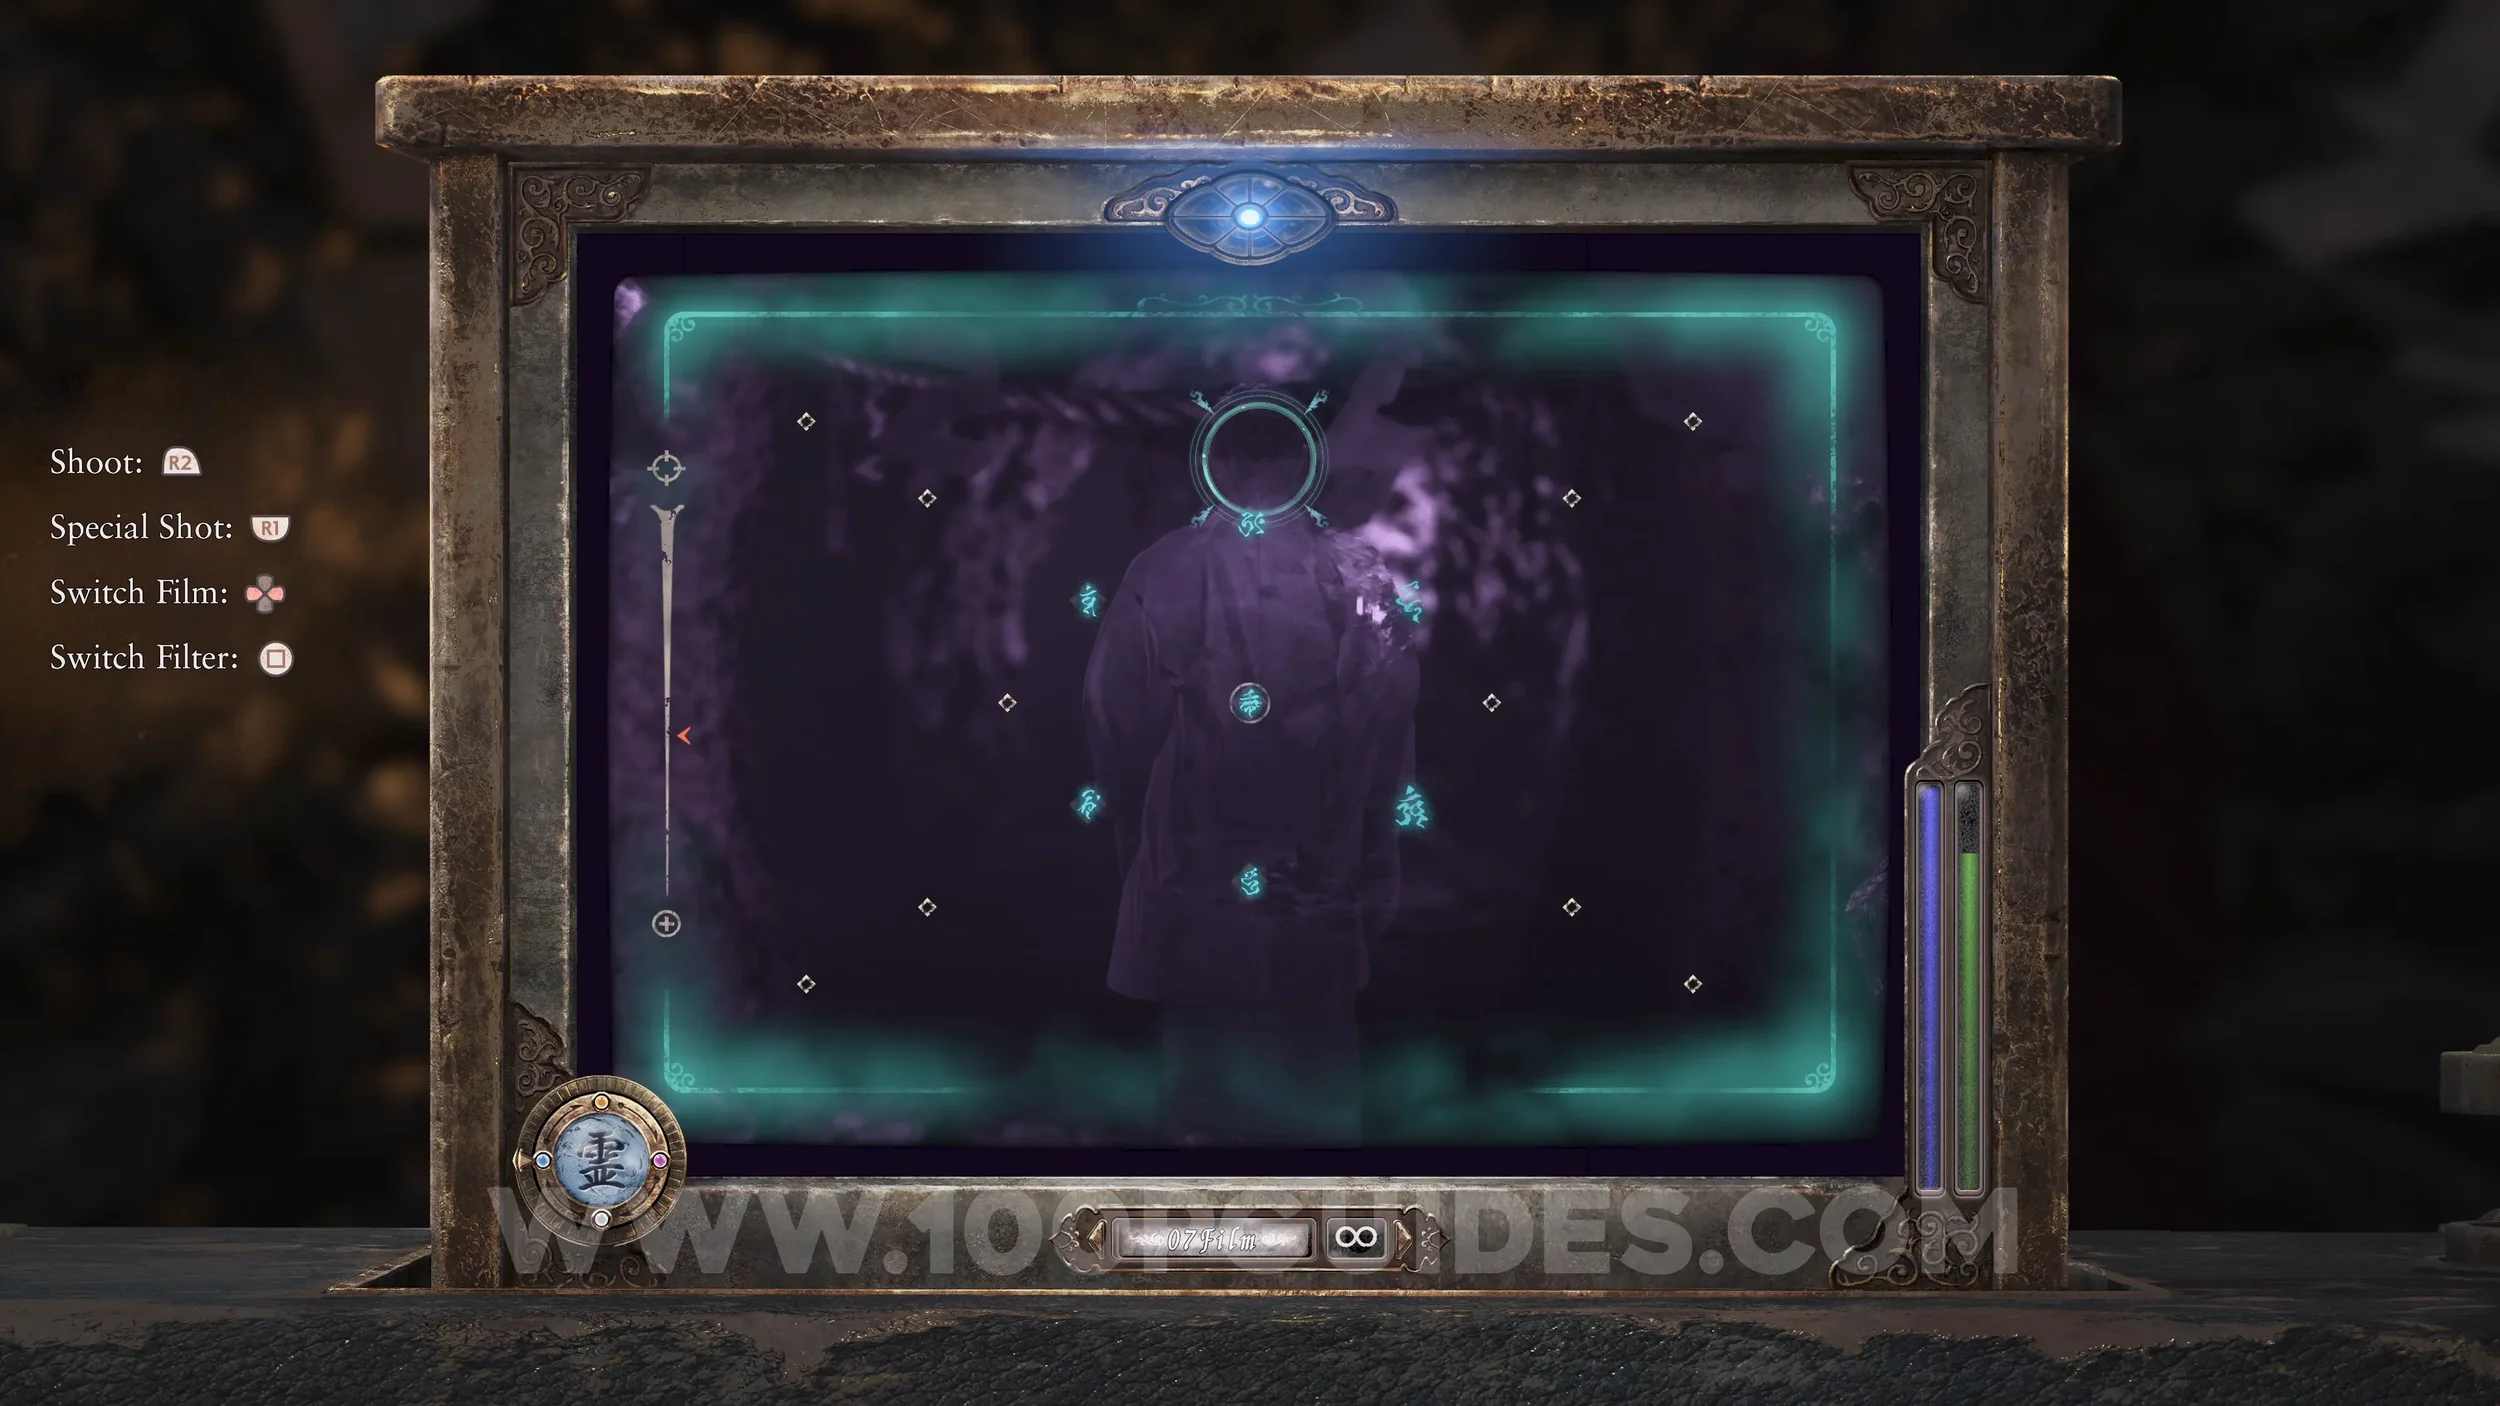
Specter #233 - 237 Man Heading to the Gate of Hell. Continue to the Deep Path Tunnel under the Kurosawa House, the last area of the game. Just after the small area with the water on your left, you will see the specter.
Revenant #36 - 037 Man Searching Ritual Altar, Document #112 - Folklorist’s Note 16 and Spirit Stone #43 Kusabi Spirit Stone Shard (2/2) (Sparkling Kusabi Spirit Stone). Just before you reach the Ritual Altar, the big round room with candles, you can find the revenant. He will drop the document and the other half of the Sparkling Kusabi Spirit Stone. Important: equip the Sparkling Kusabi Spirit Stone from the Charms menu before continuing!
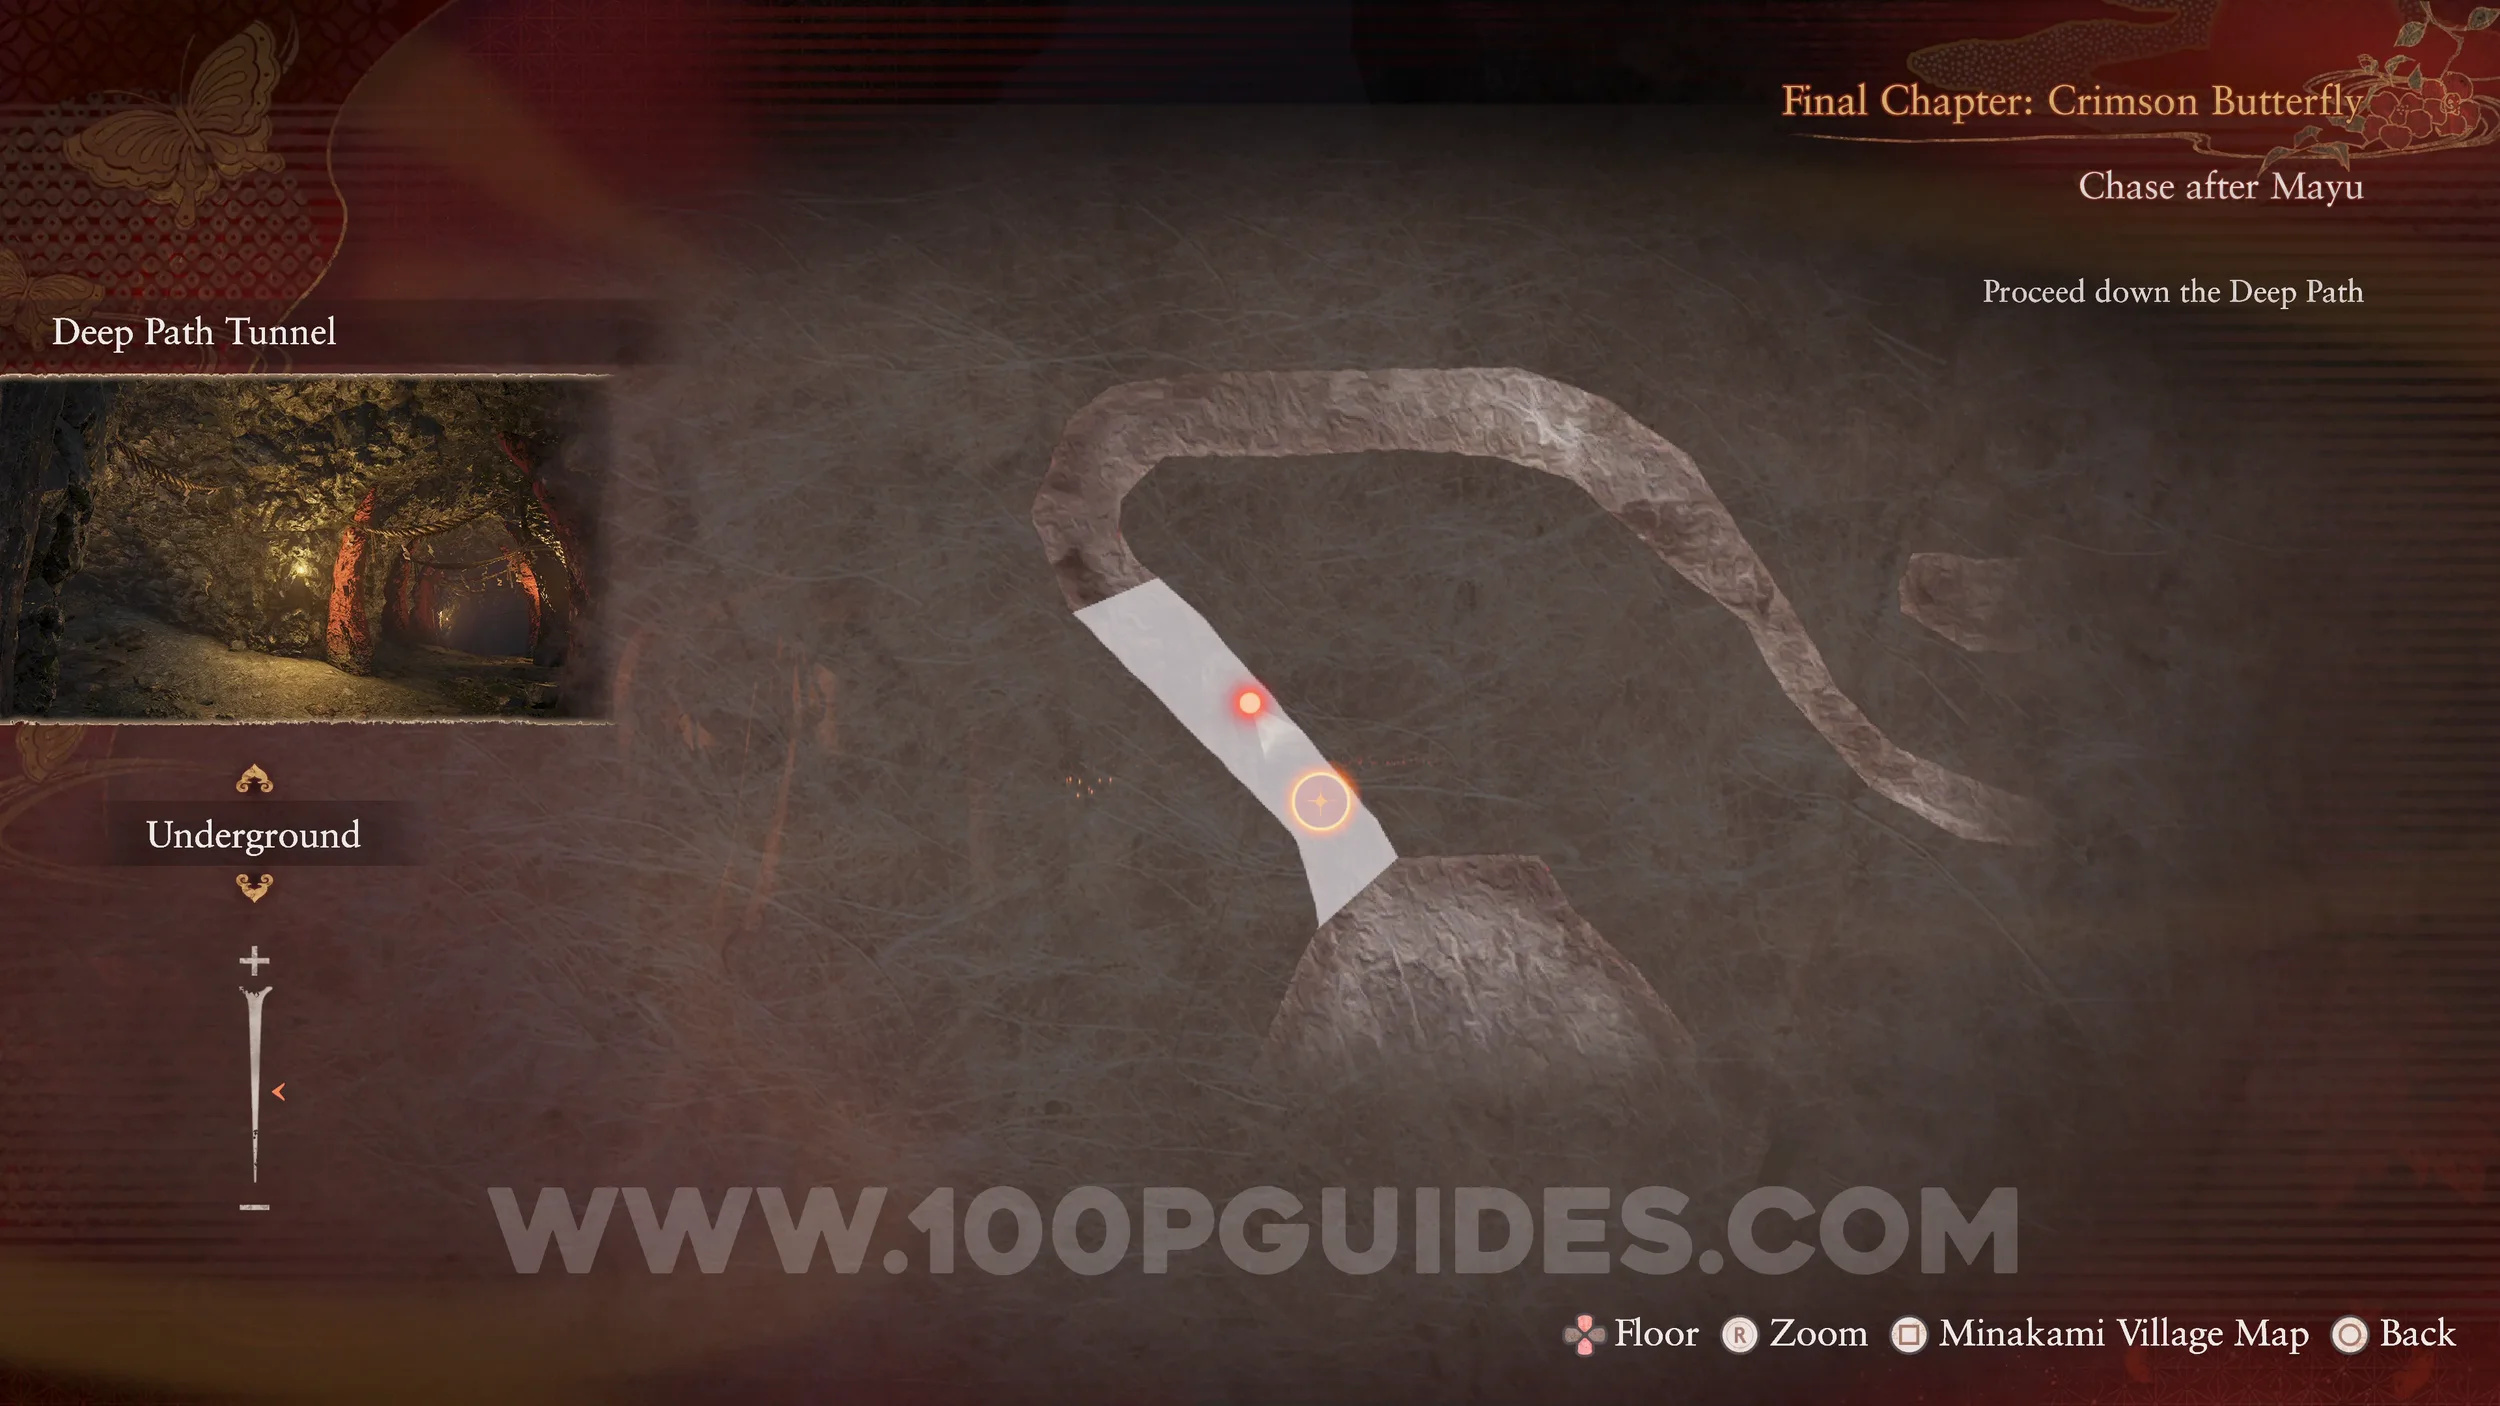
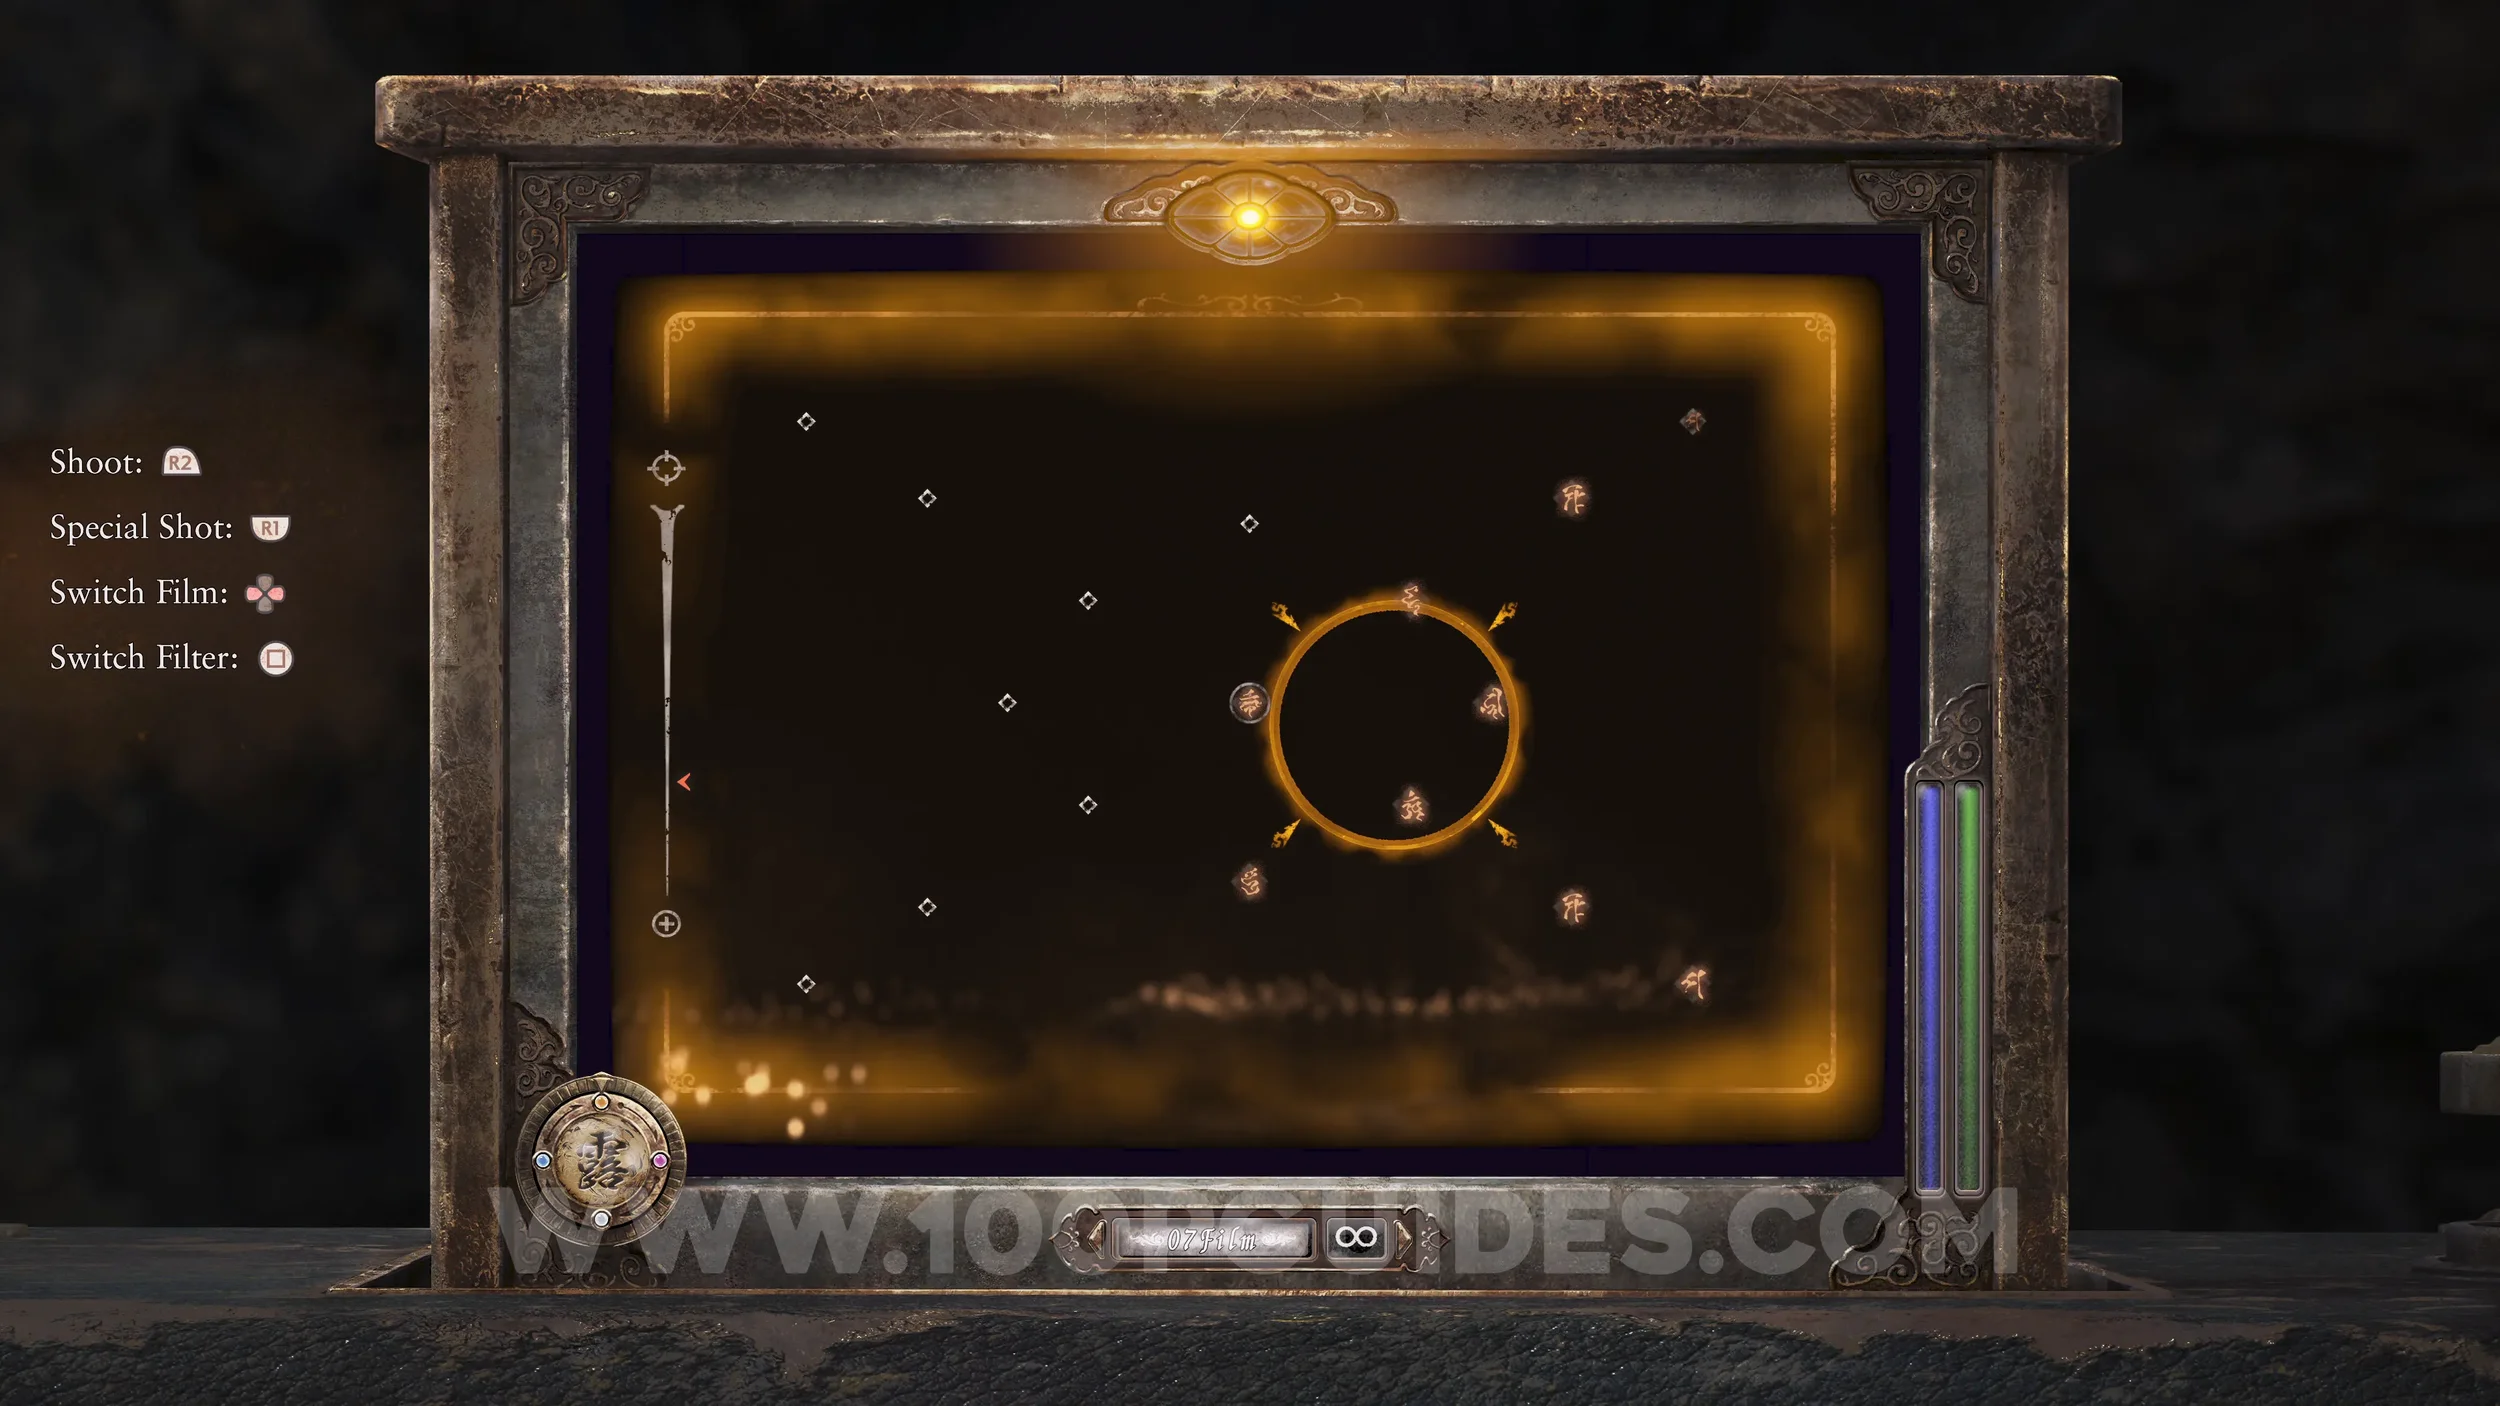
Specter #234 - 154 Mayu Laughing Madly. Found in the middle of the Ritual Altar room.
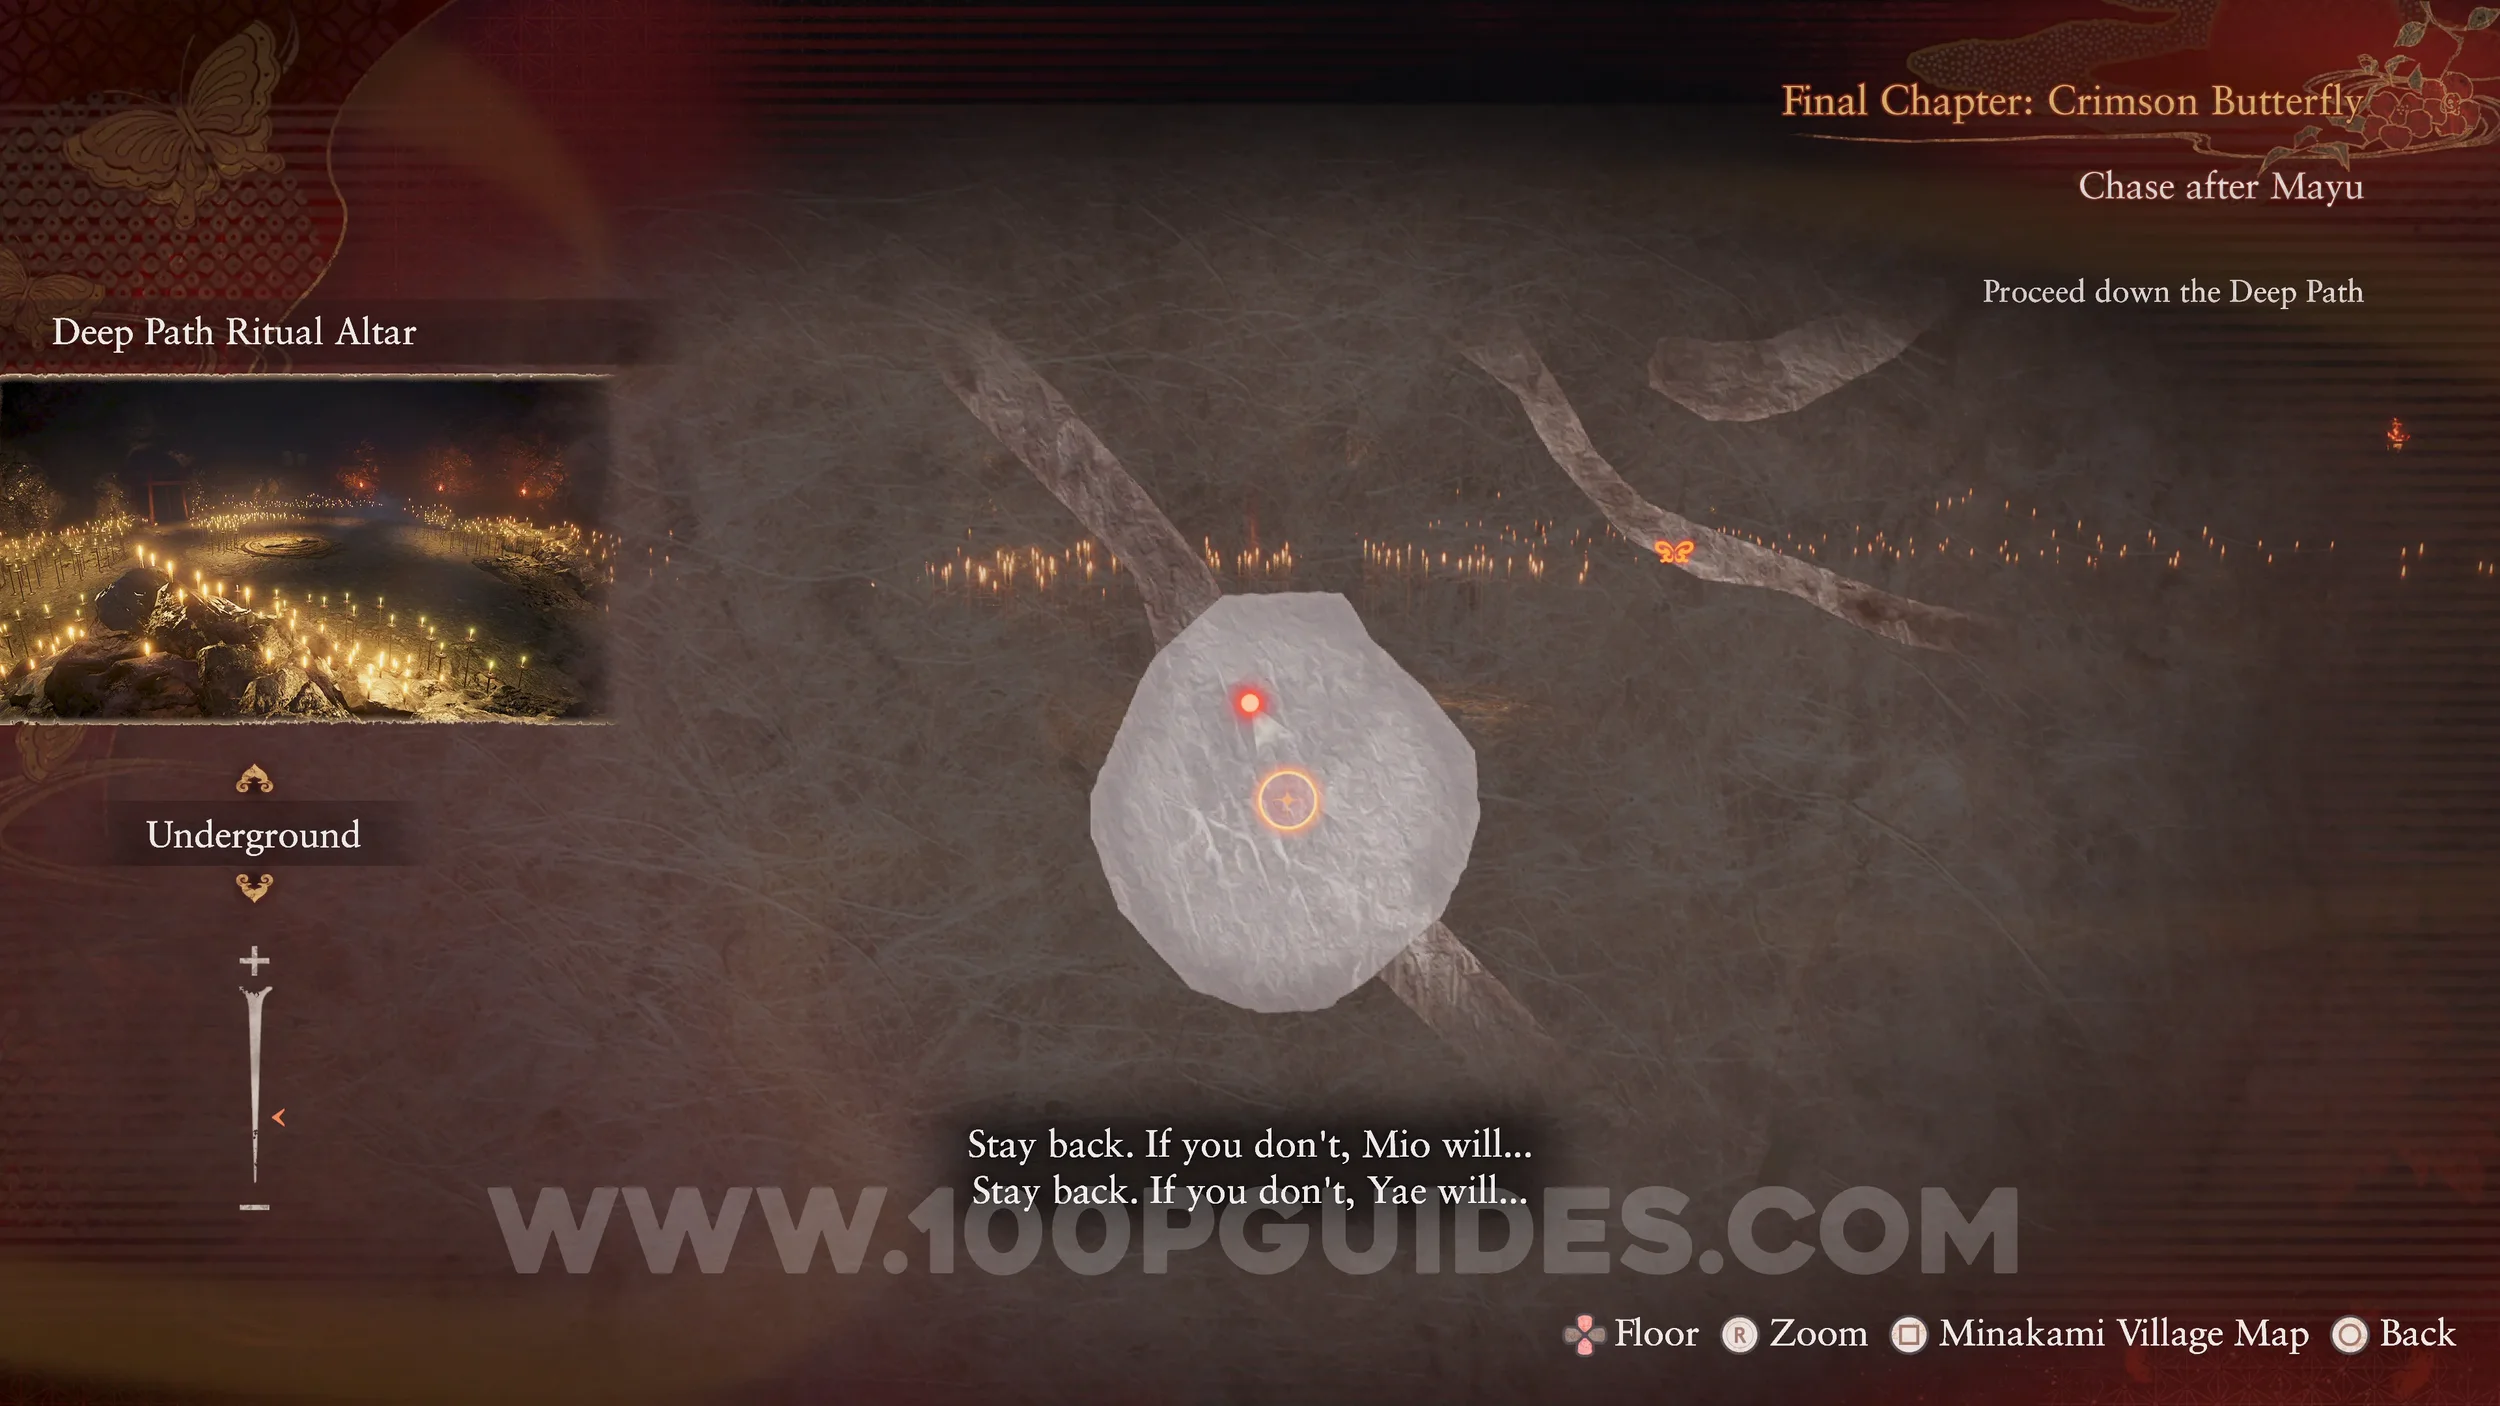
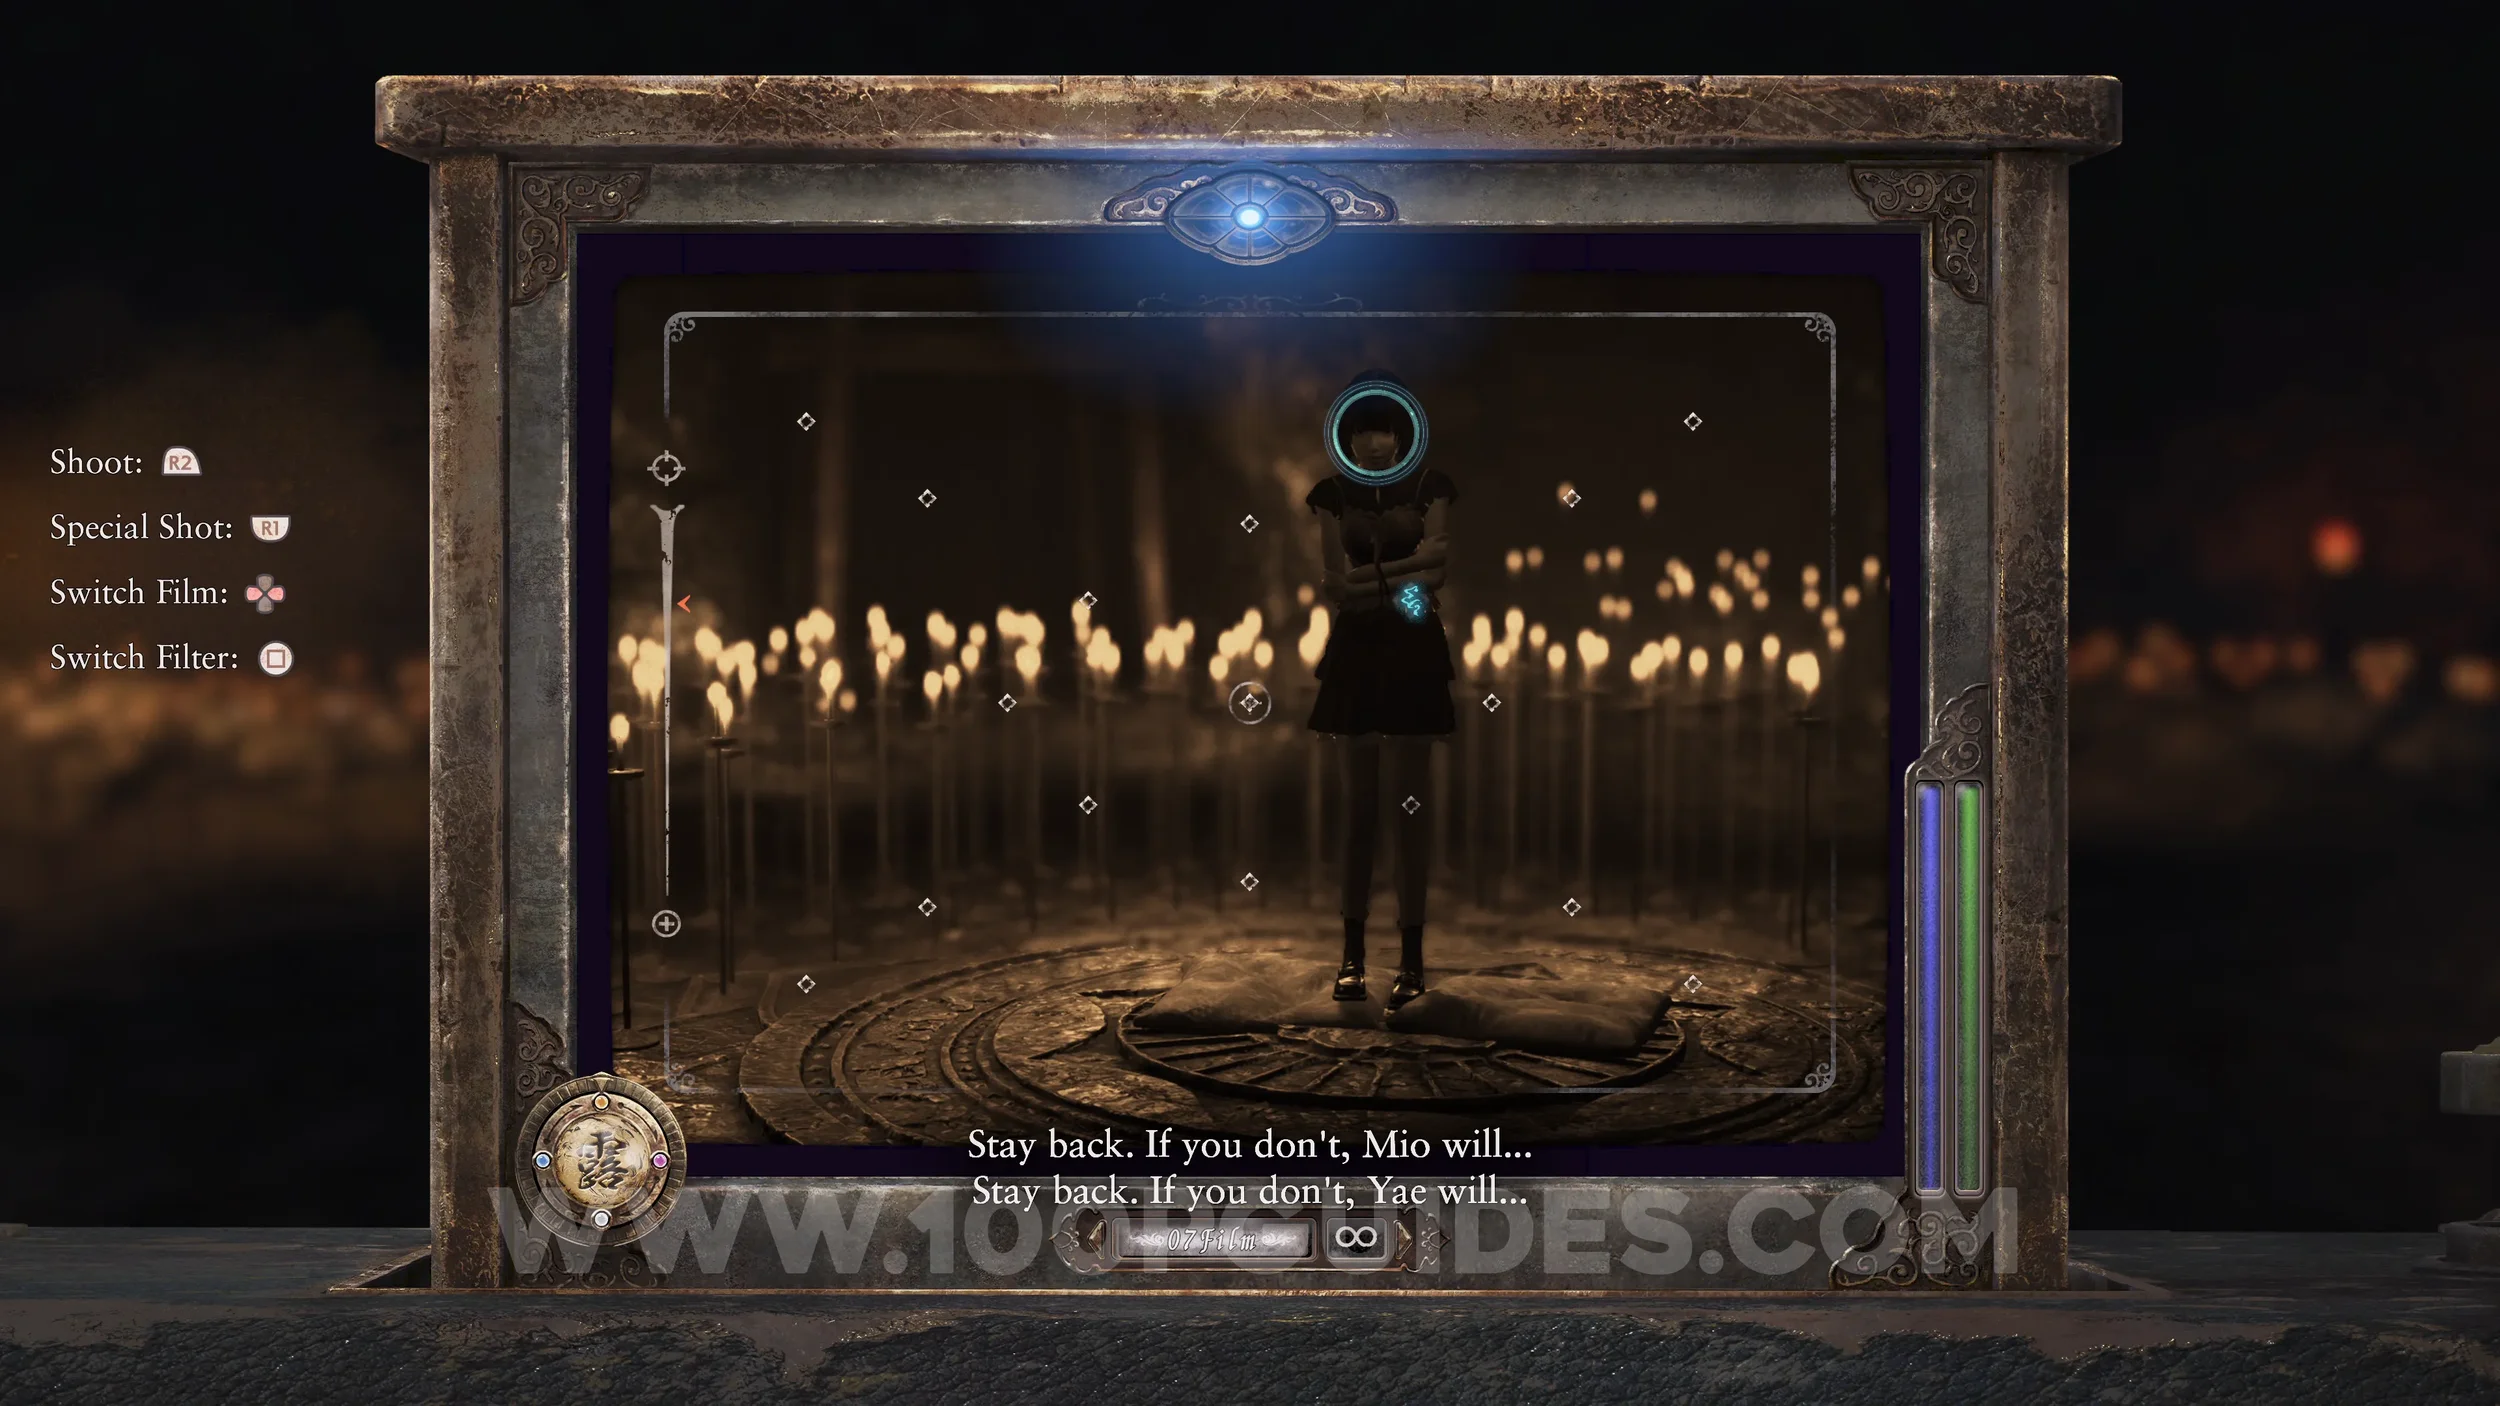
Wraith #25 - 025 Woman in Bloody Kimono. After defeating Kusabi with the Sparkling Kusabi Spirit Stone equipped, you will have to fight a new boss.
Ending #3 - The Abyss. This is the ending you will get if you defeat Kusabi and Sae with the Sparkling Kusabi Spirit Stone equipped.
Spirit Stone #44 - Mayu’s Spirit Stone Shard (1/2). Obtained for getting ”The Abyss” ending.
AFTER FINISHING THIS PLAYTHROUGH, MAKE ANOTHER CLEAR SAVE!
3rd Playthrough
During this playthrough, we will focus on completing the “Yae Kurosawa” side quest and unlocking “The Promise” ending.
In the menu, go to Load > Chapter Select > Select the Clear Save we just made after the 2nd playthrough > Final Chapter. It is important that you select this save since we have Mayu’s Spirit Stone Shard on it. We will need both this and the shard for The Promise ending on the same save to unlock the fifth ending later.
Specter #235 - 239 Yae Beneath Tree, Specter #236 - 240 Sae Beneath Tree, Specter #237 - 241 Youth Beneath the Tree, Specter #238 - 242 Trio Beneath Tree and Document #113 - Butterfly Diary 6. From the start of the chapter, follow the butterfly and go straight to the courtyard outside the Kurosawa House, where you see Mayu for the first time. As soon as you arrive, look to the right to see the three specters. Make sure they are all in the shot. They will also drop the document.
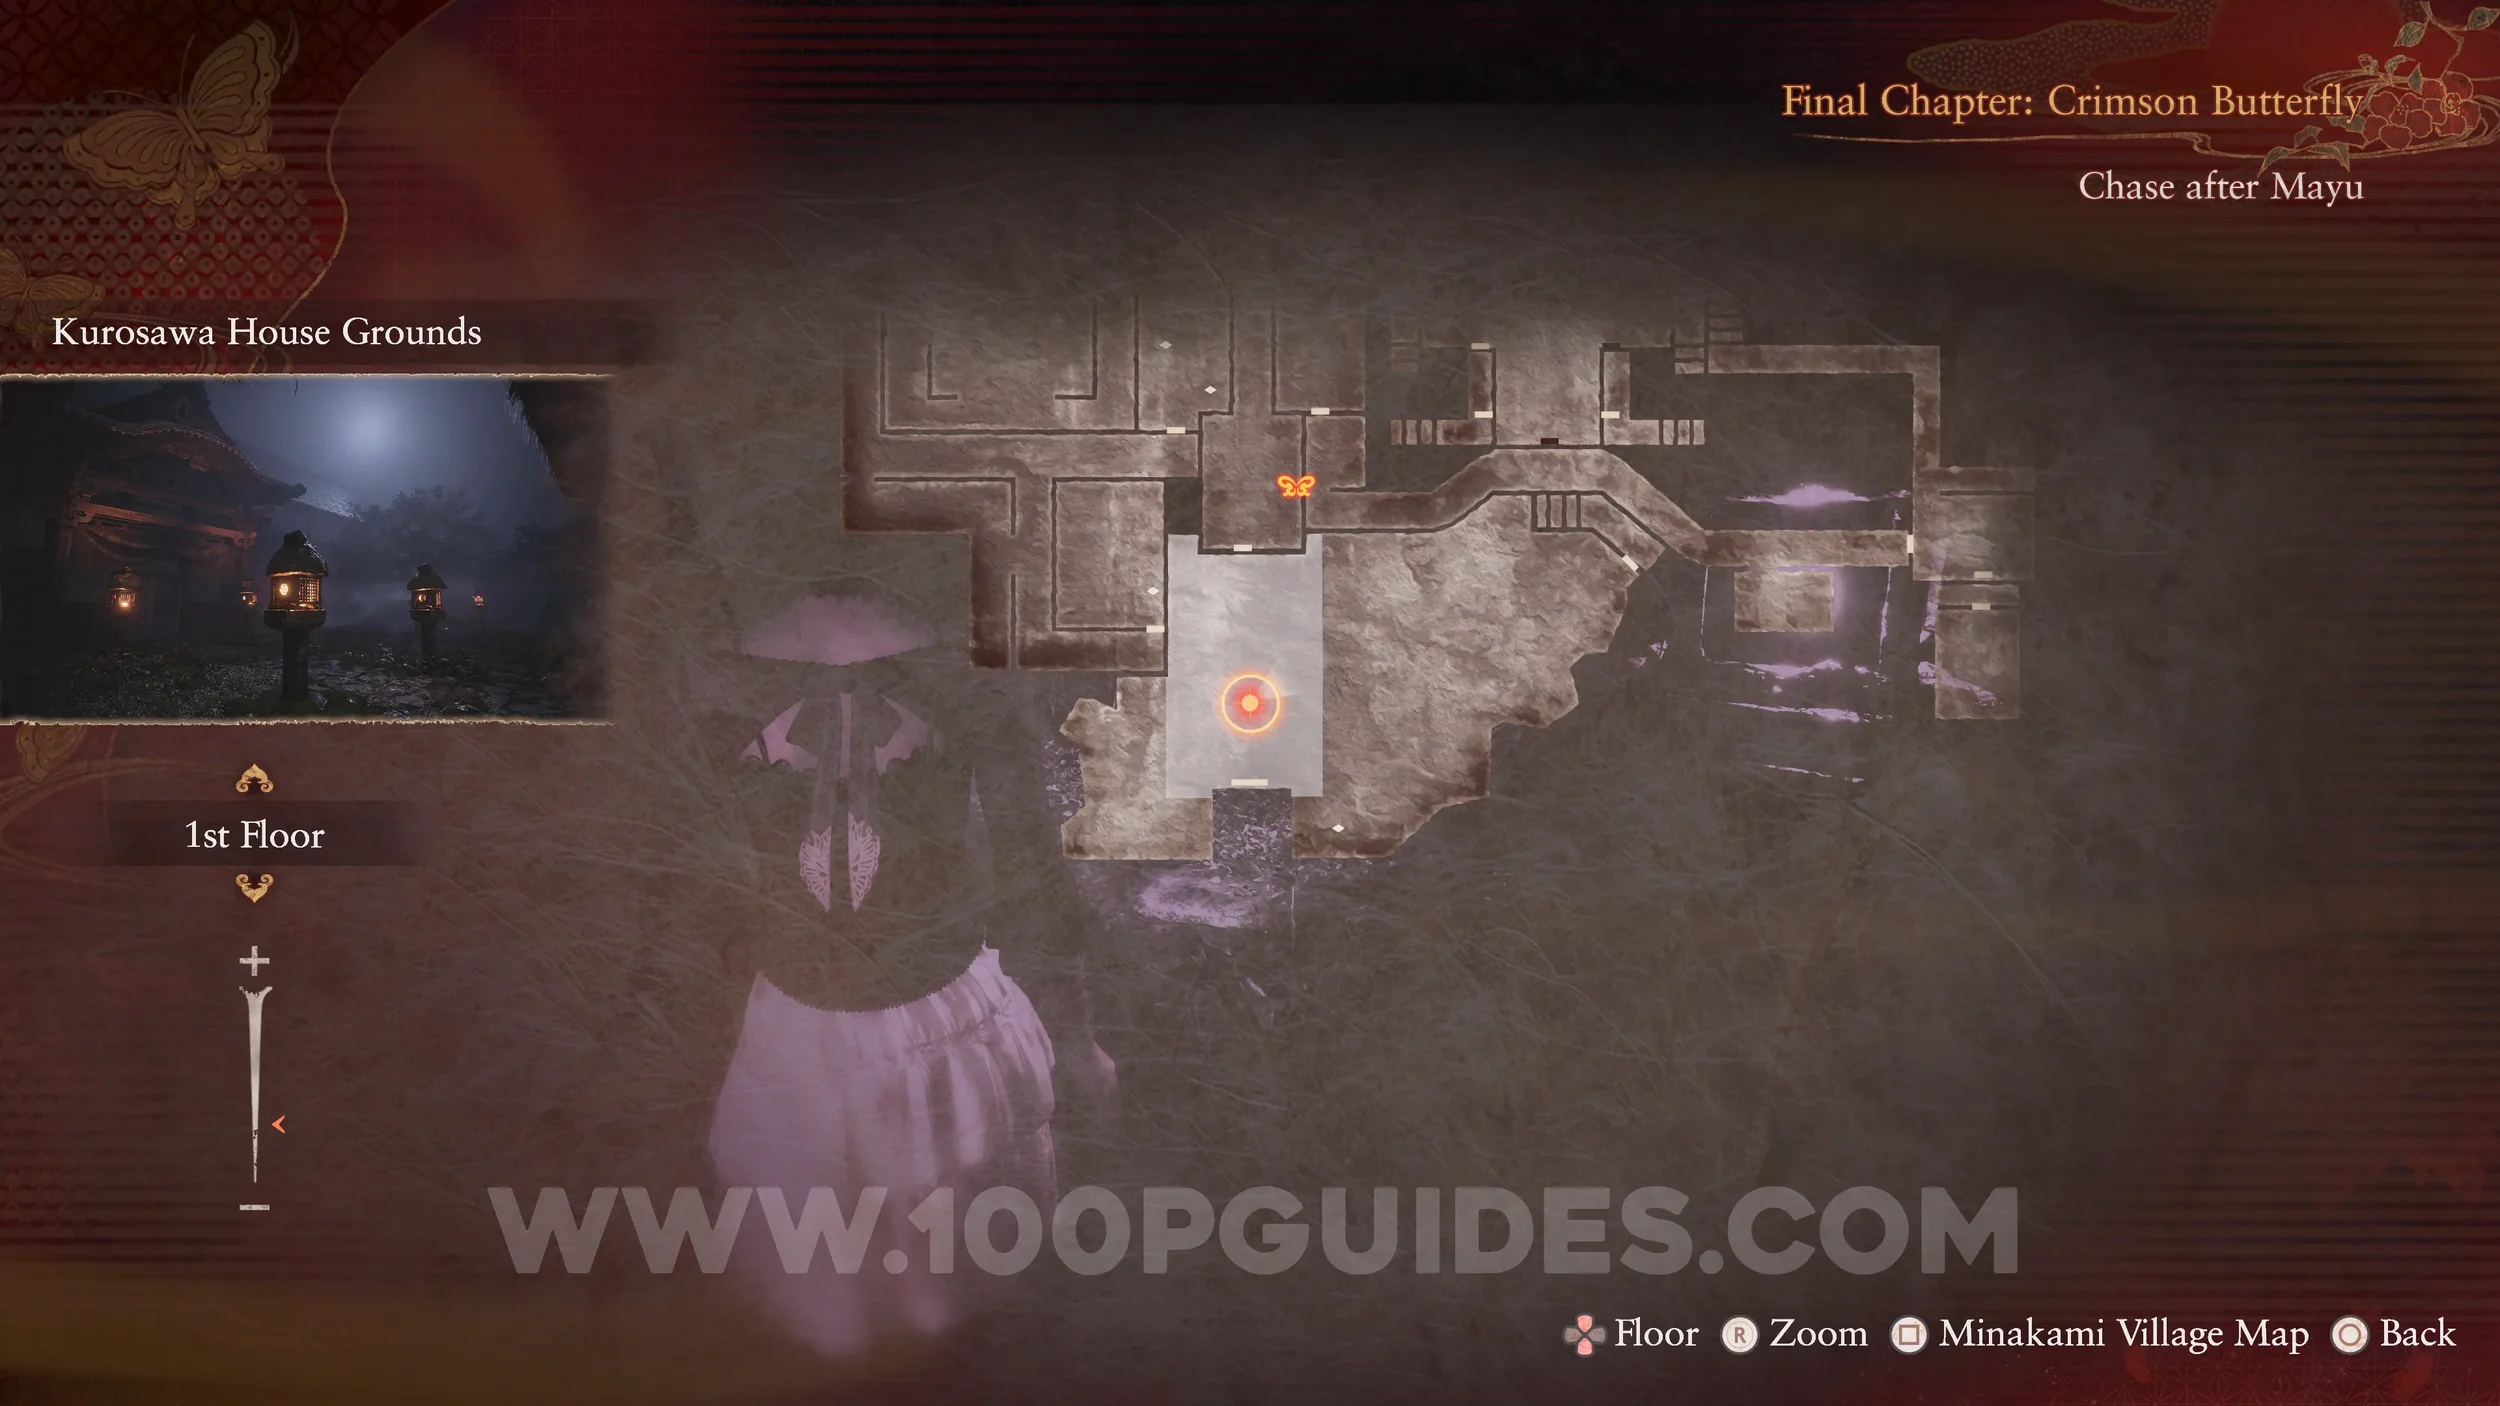
Specter #239 - 243 Yae Watching Footage, Specter #240 - 244 Sae Watching Footage, Specter #241 - 245 Ryozo Controlling Projector, Specter #242 - 246 Trio in Projection Room, Document #114 - Butterfly Diary 7 and Film Reel #8 (5). Next, go to the Projection Room in the Tachibana House to find the three specters. Make sure they are all in the shot. The document and the film reel can also be found here.
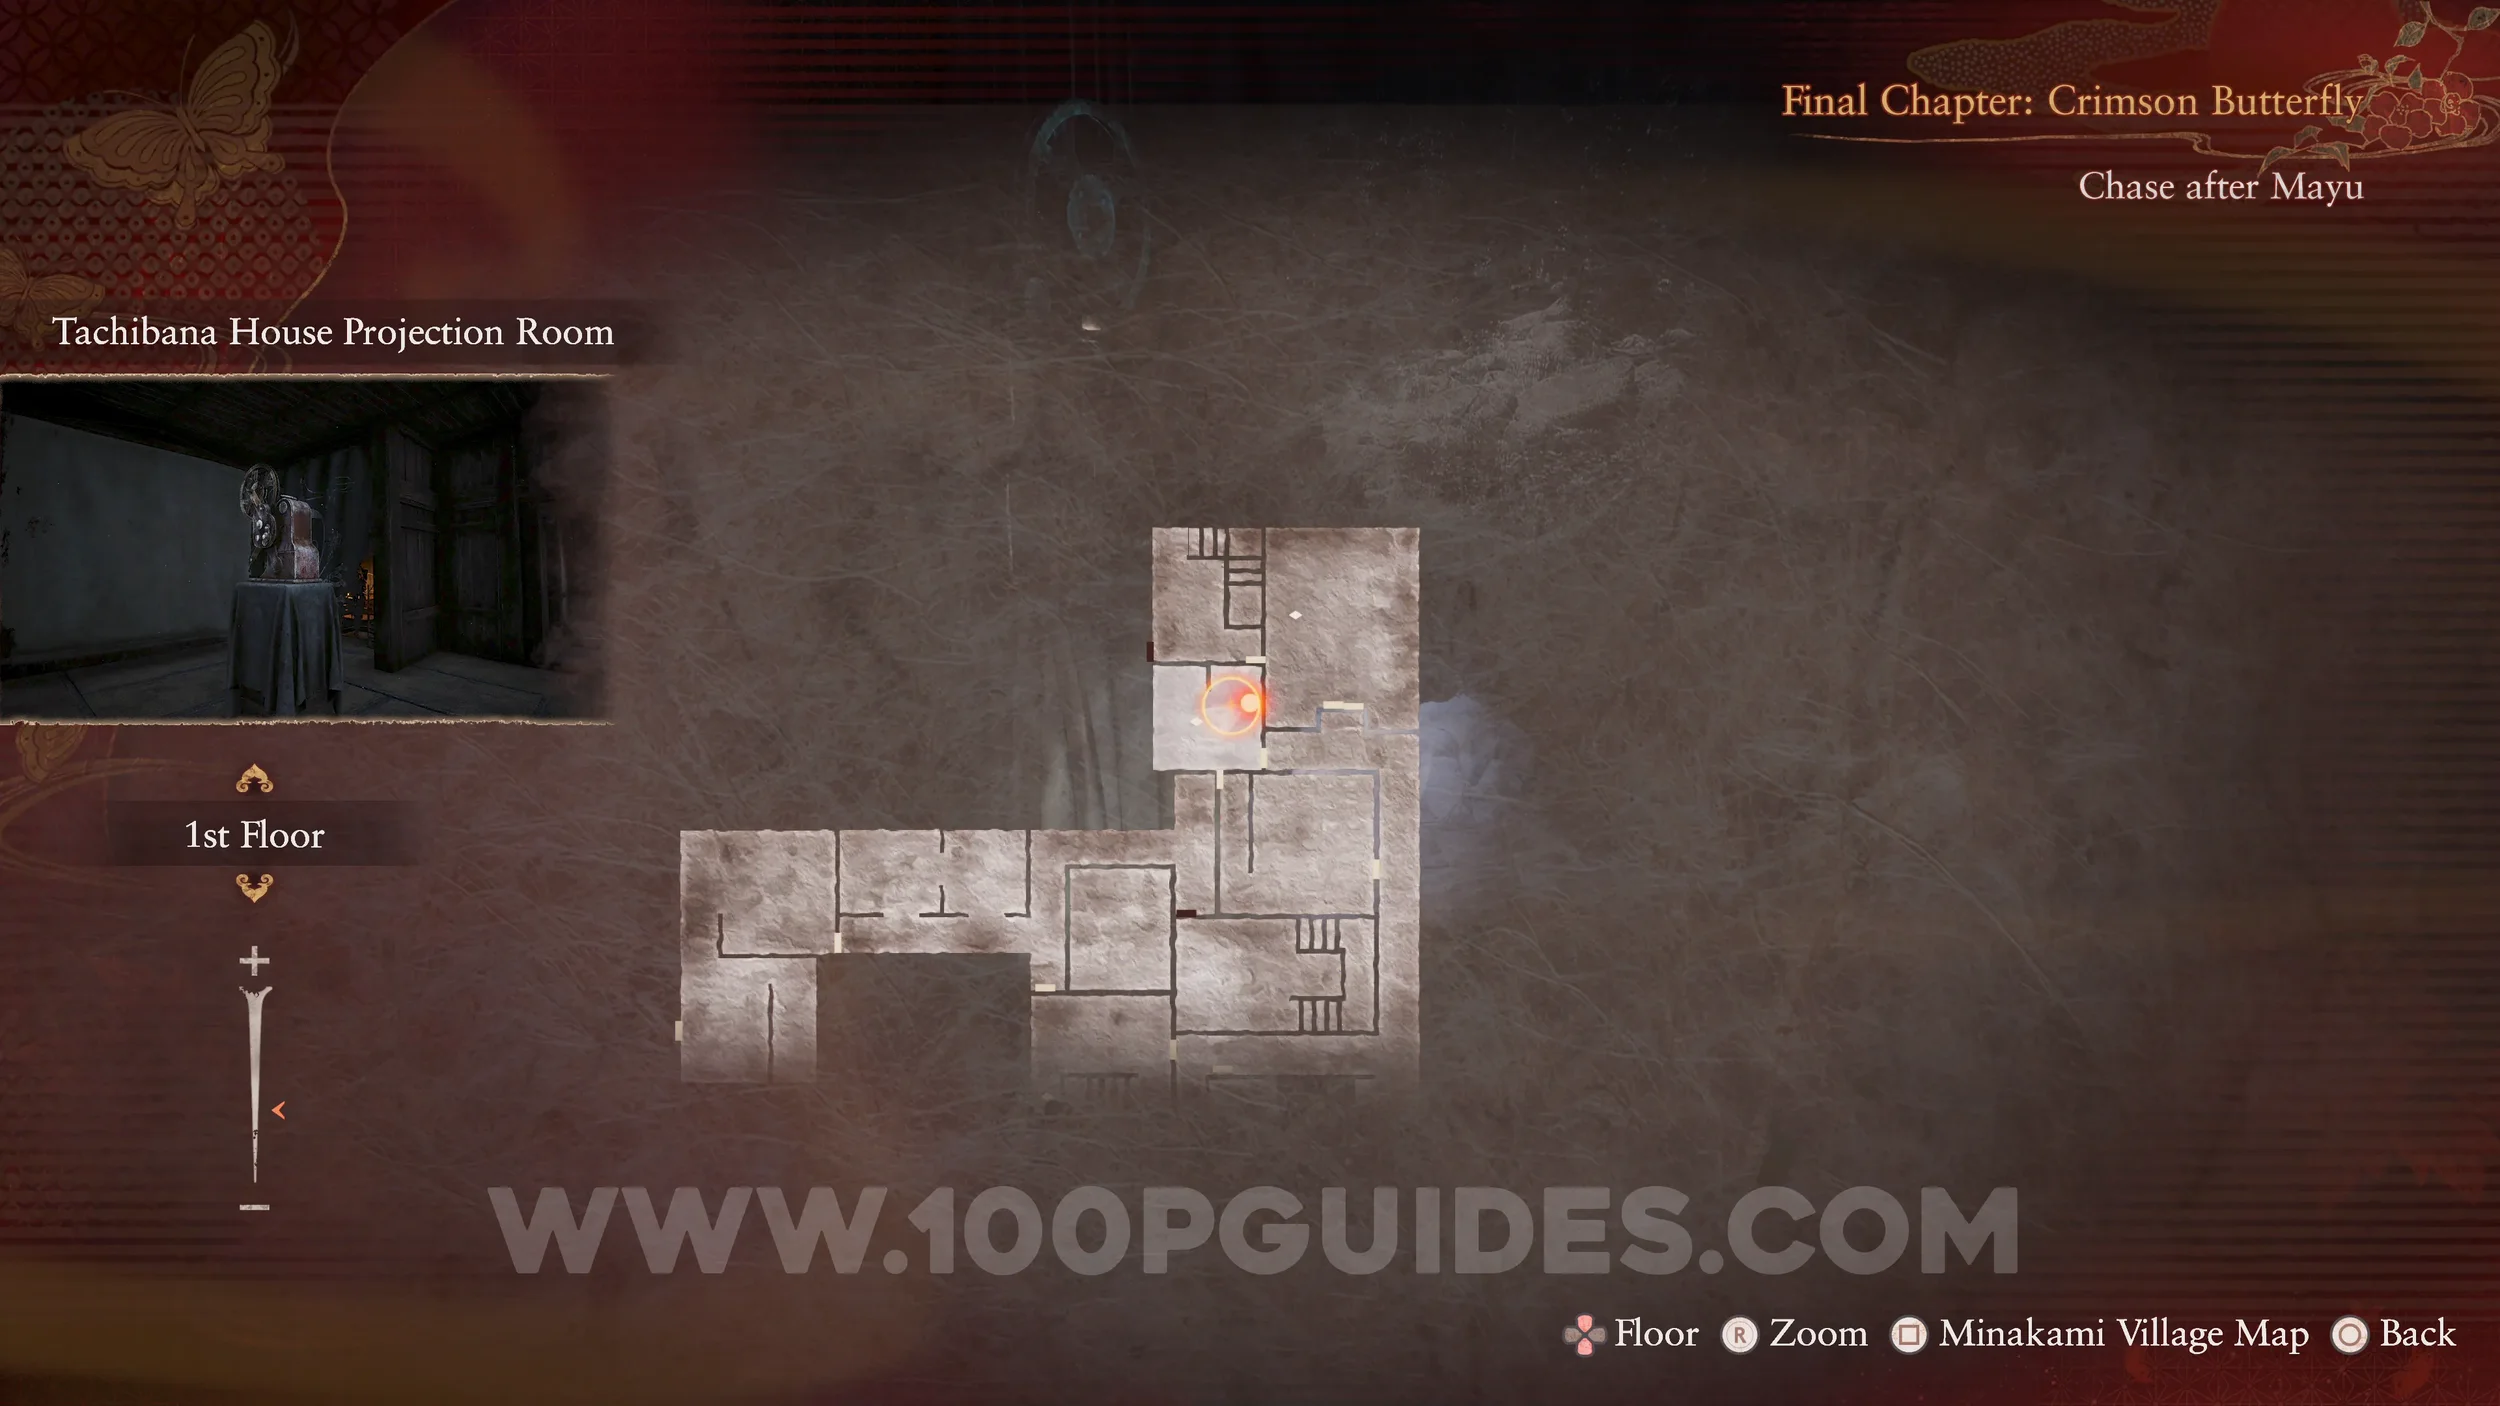
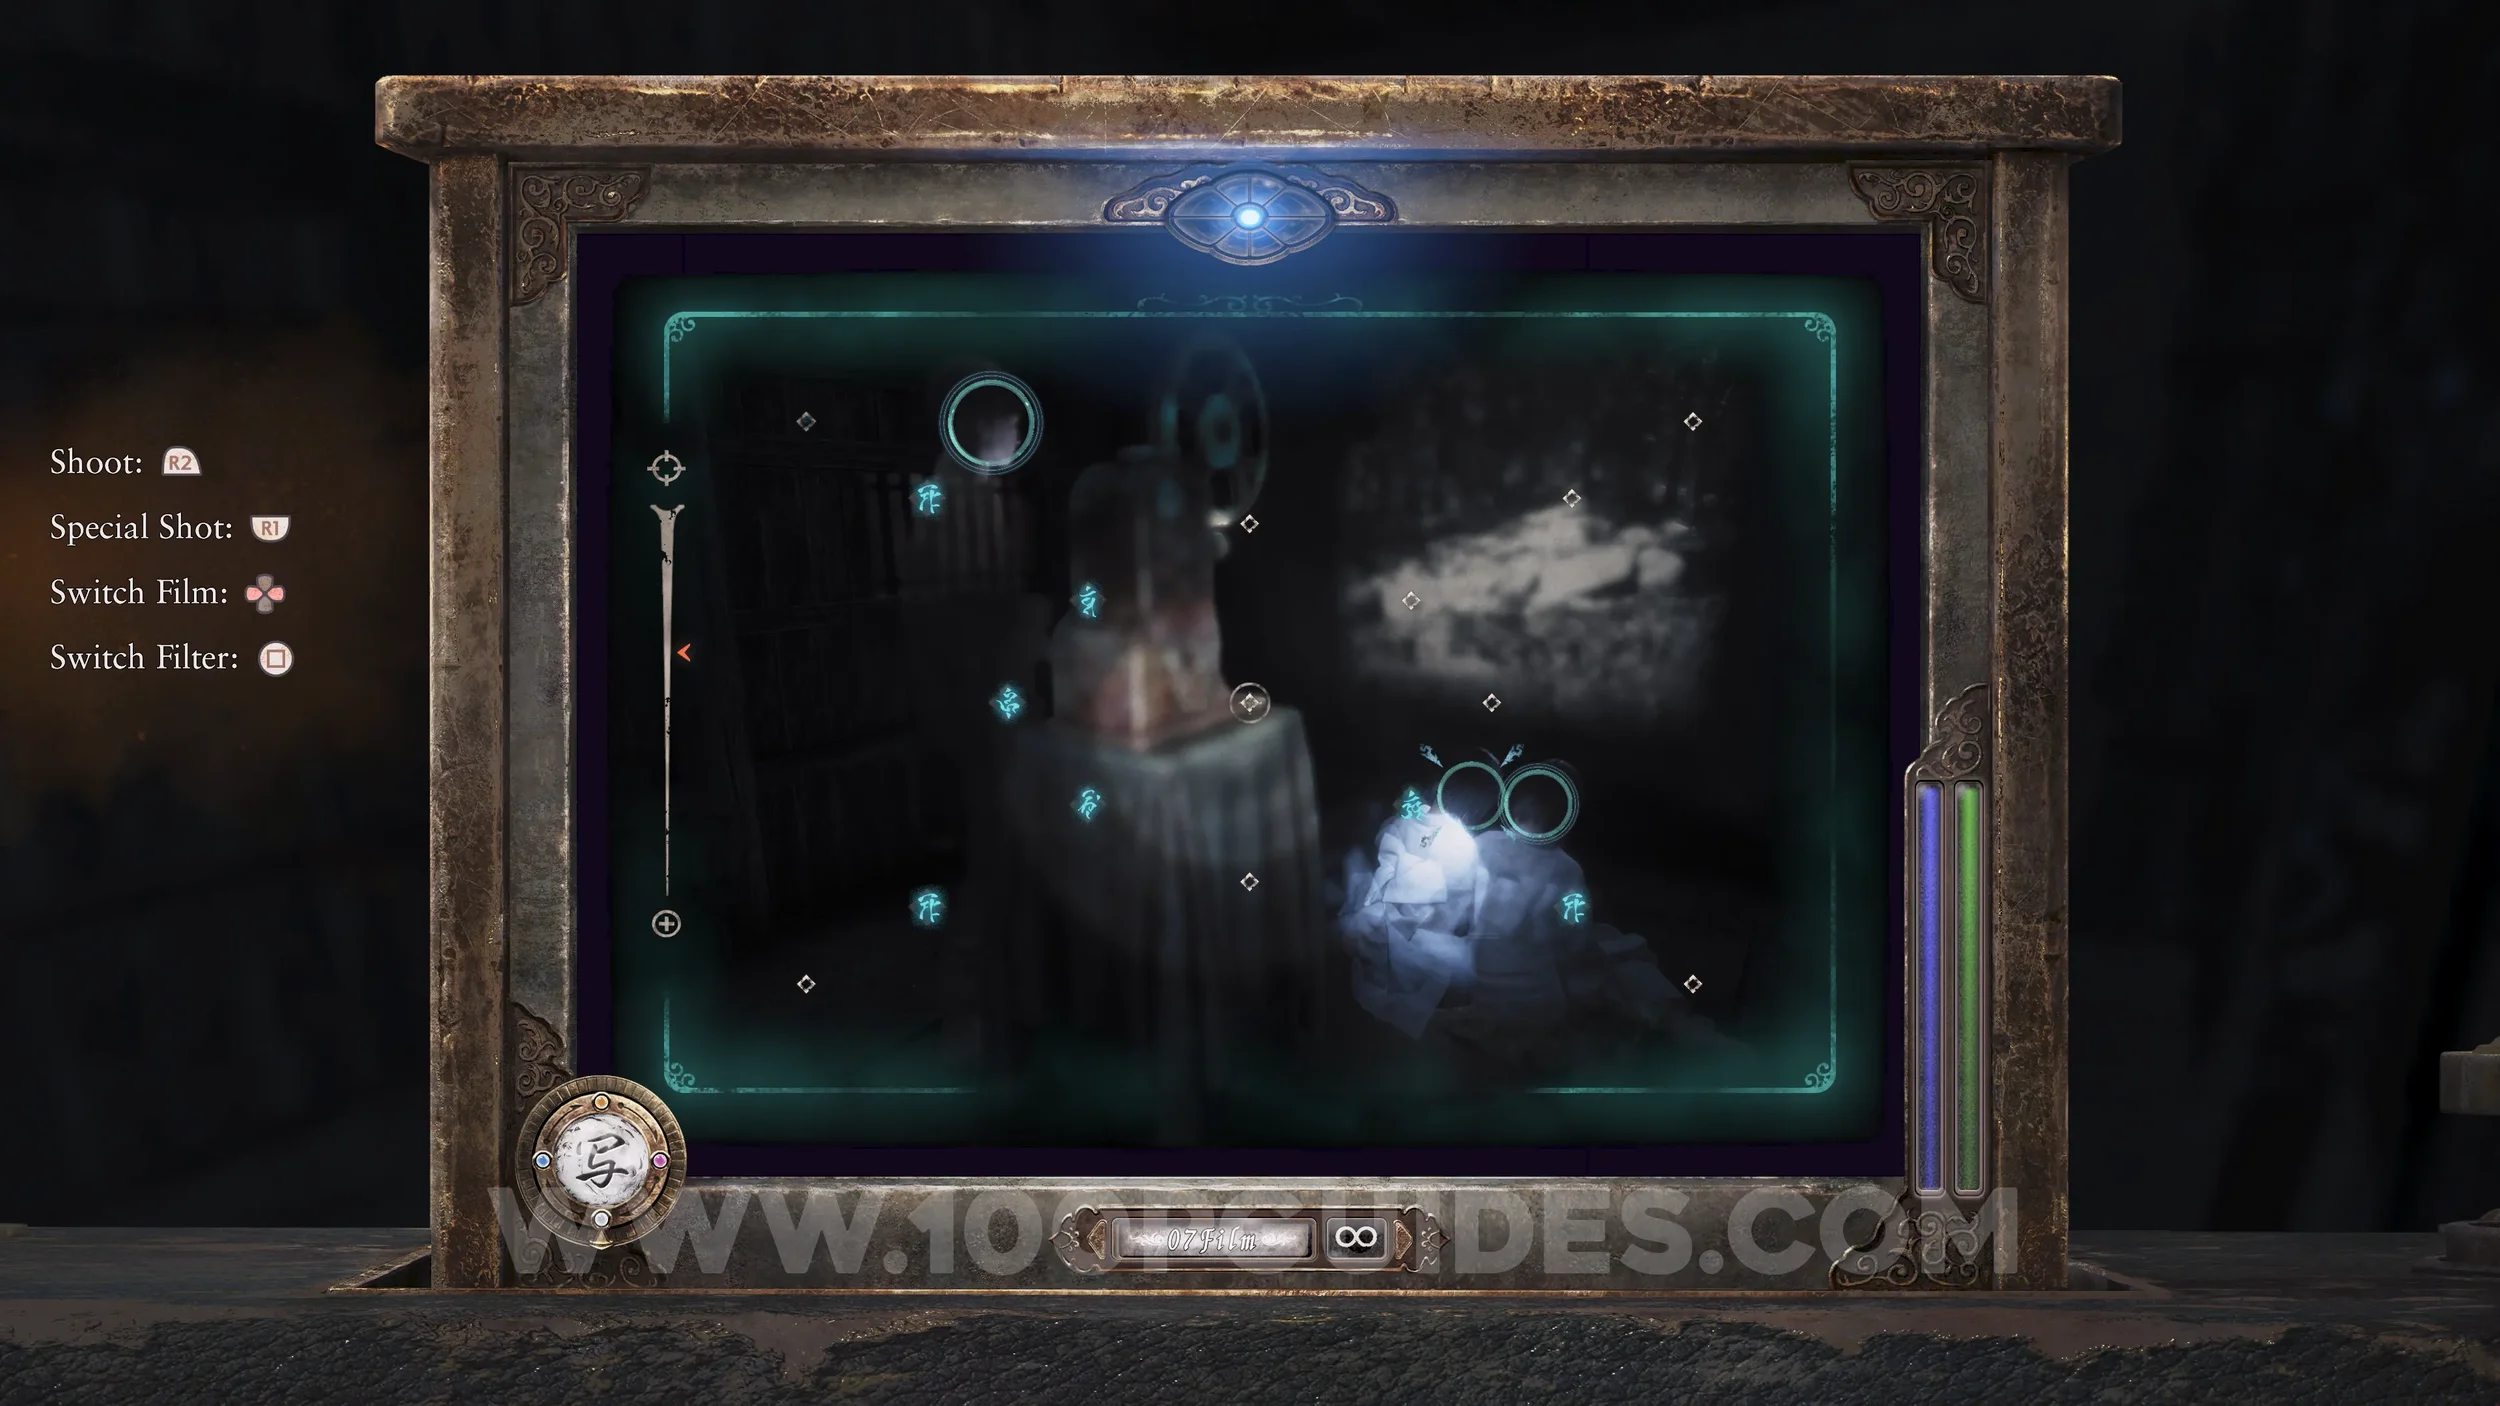
Specter #243 - 247 Yae Gazing at Pond, Specter #244 - 248 Sae Gazing at Pond, Specter #245 - 249 Twins Gazing at Pond and Document #115 - Butterfly Diary 8. Next, go to the small island to the right of the large bridge leading to the Kurosawa House, the one we revealed with the Exposure Filter earlier. Here you will find the two specters and the note on the floor.
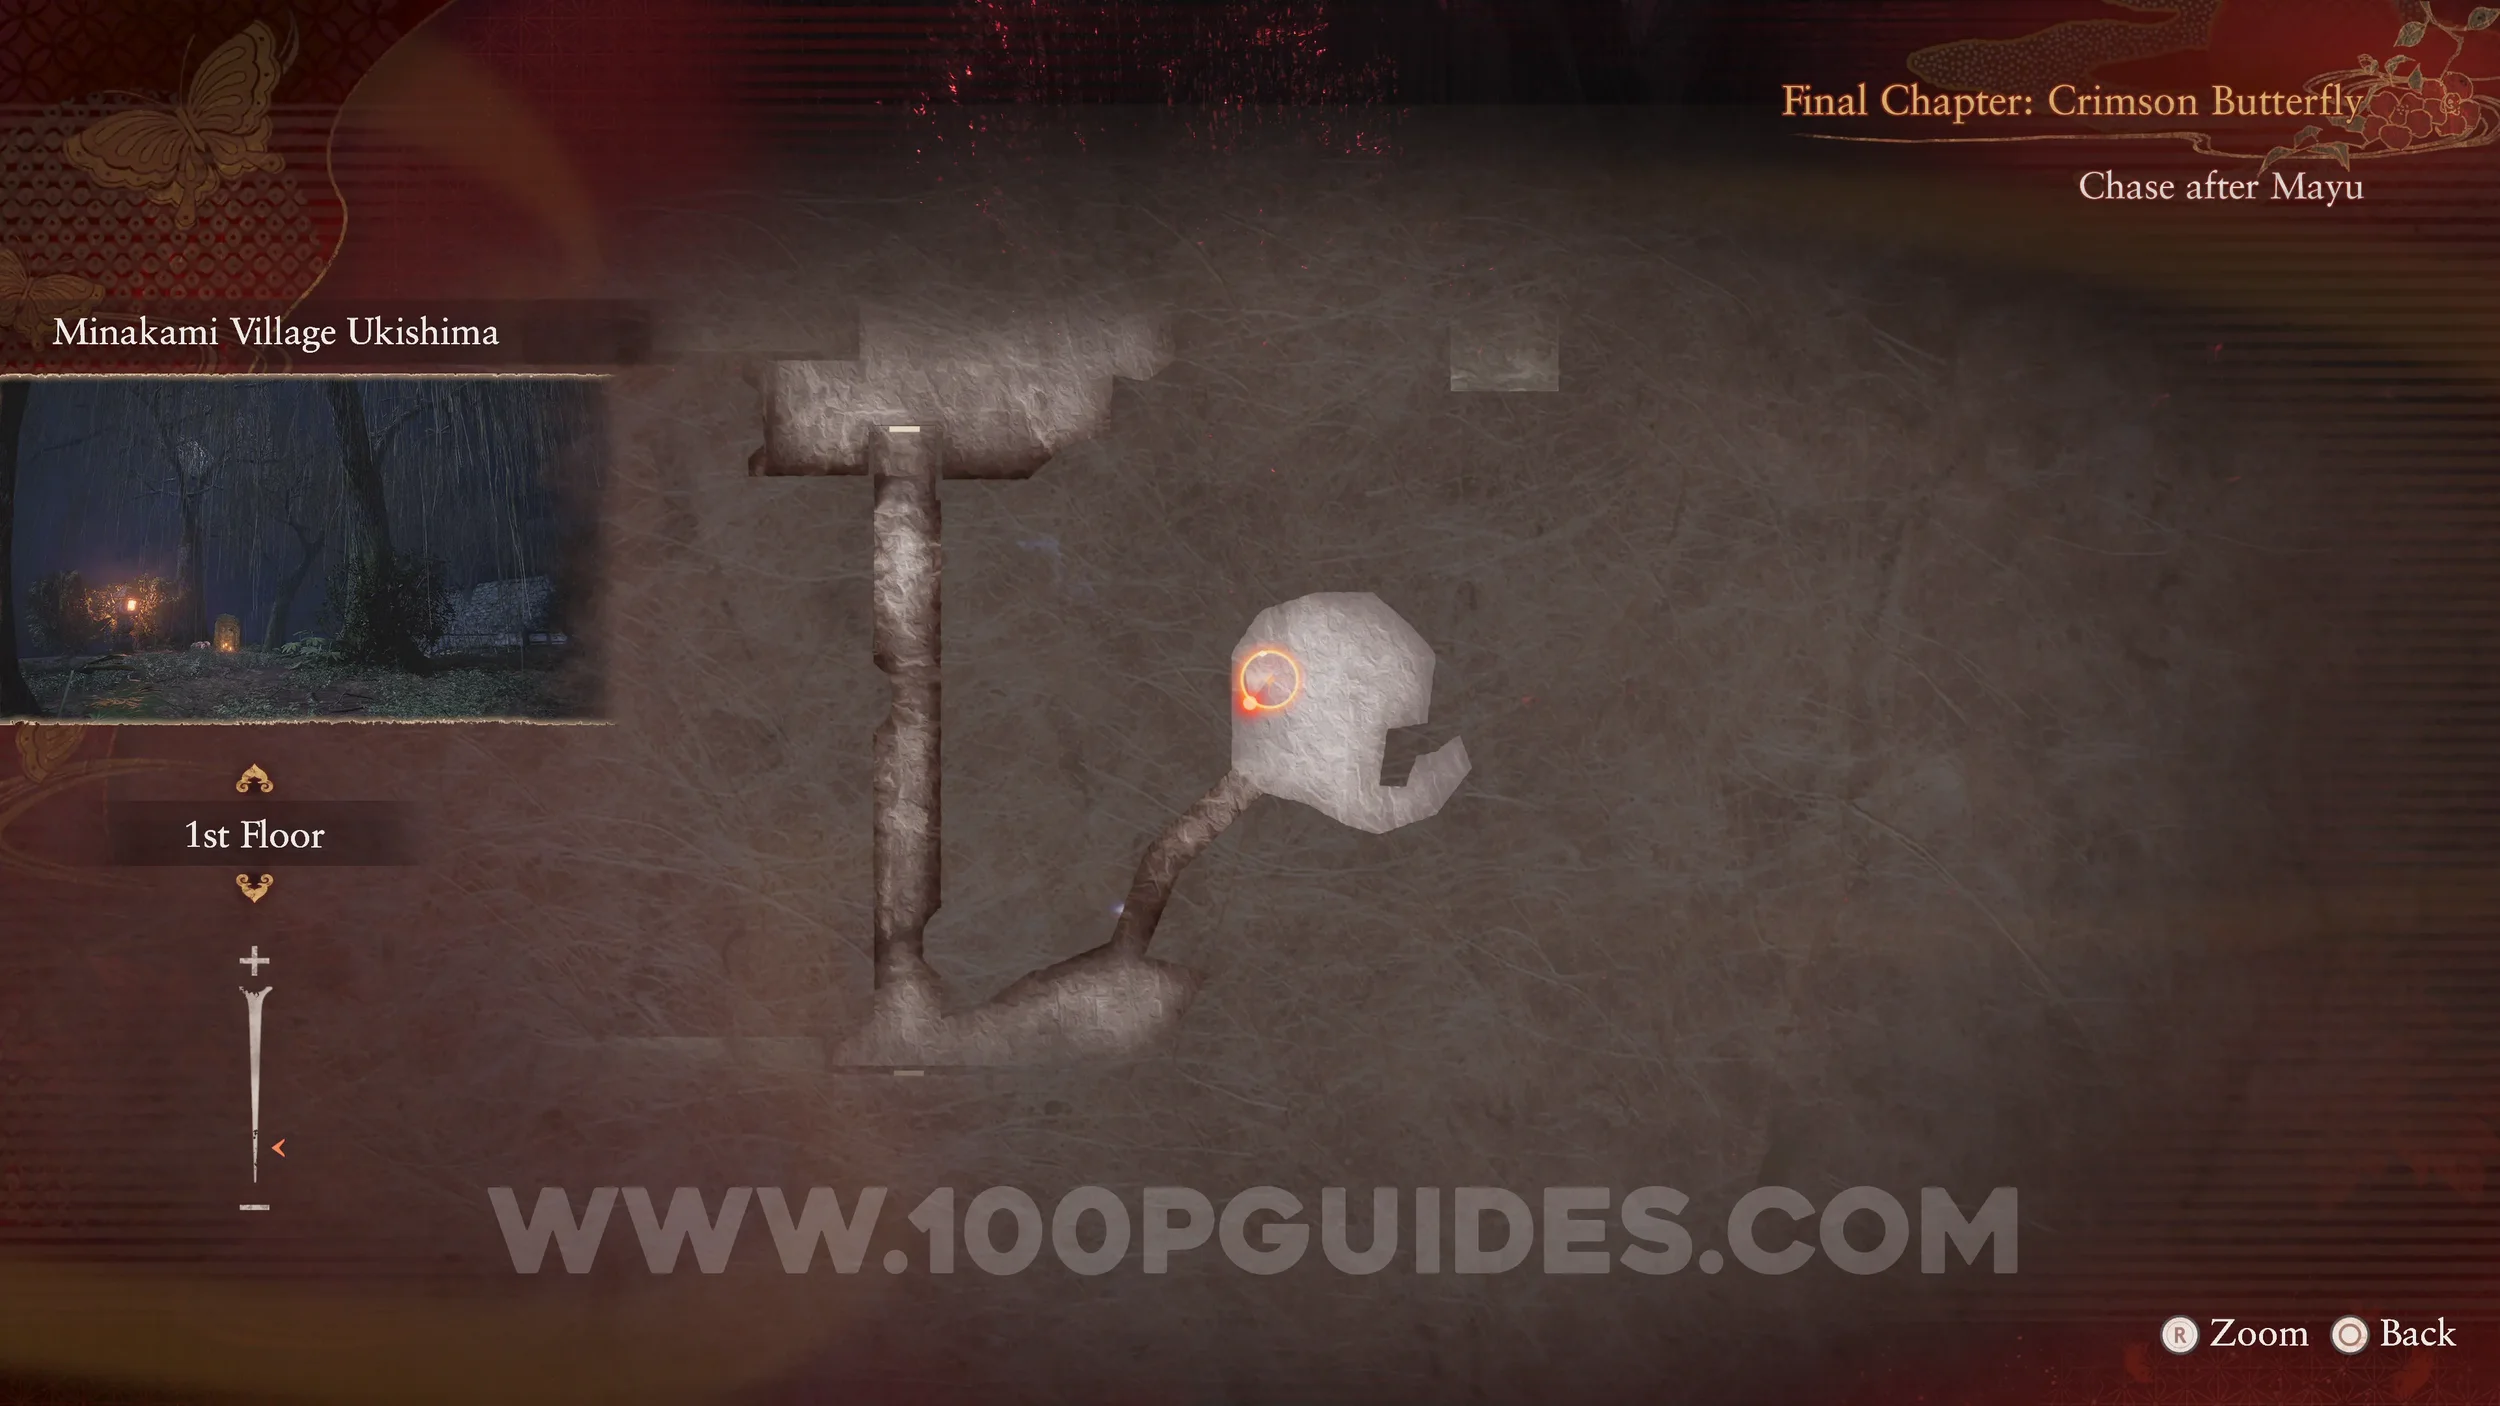
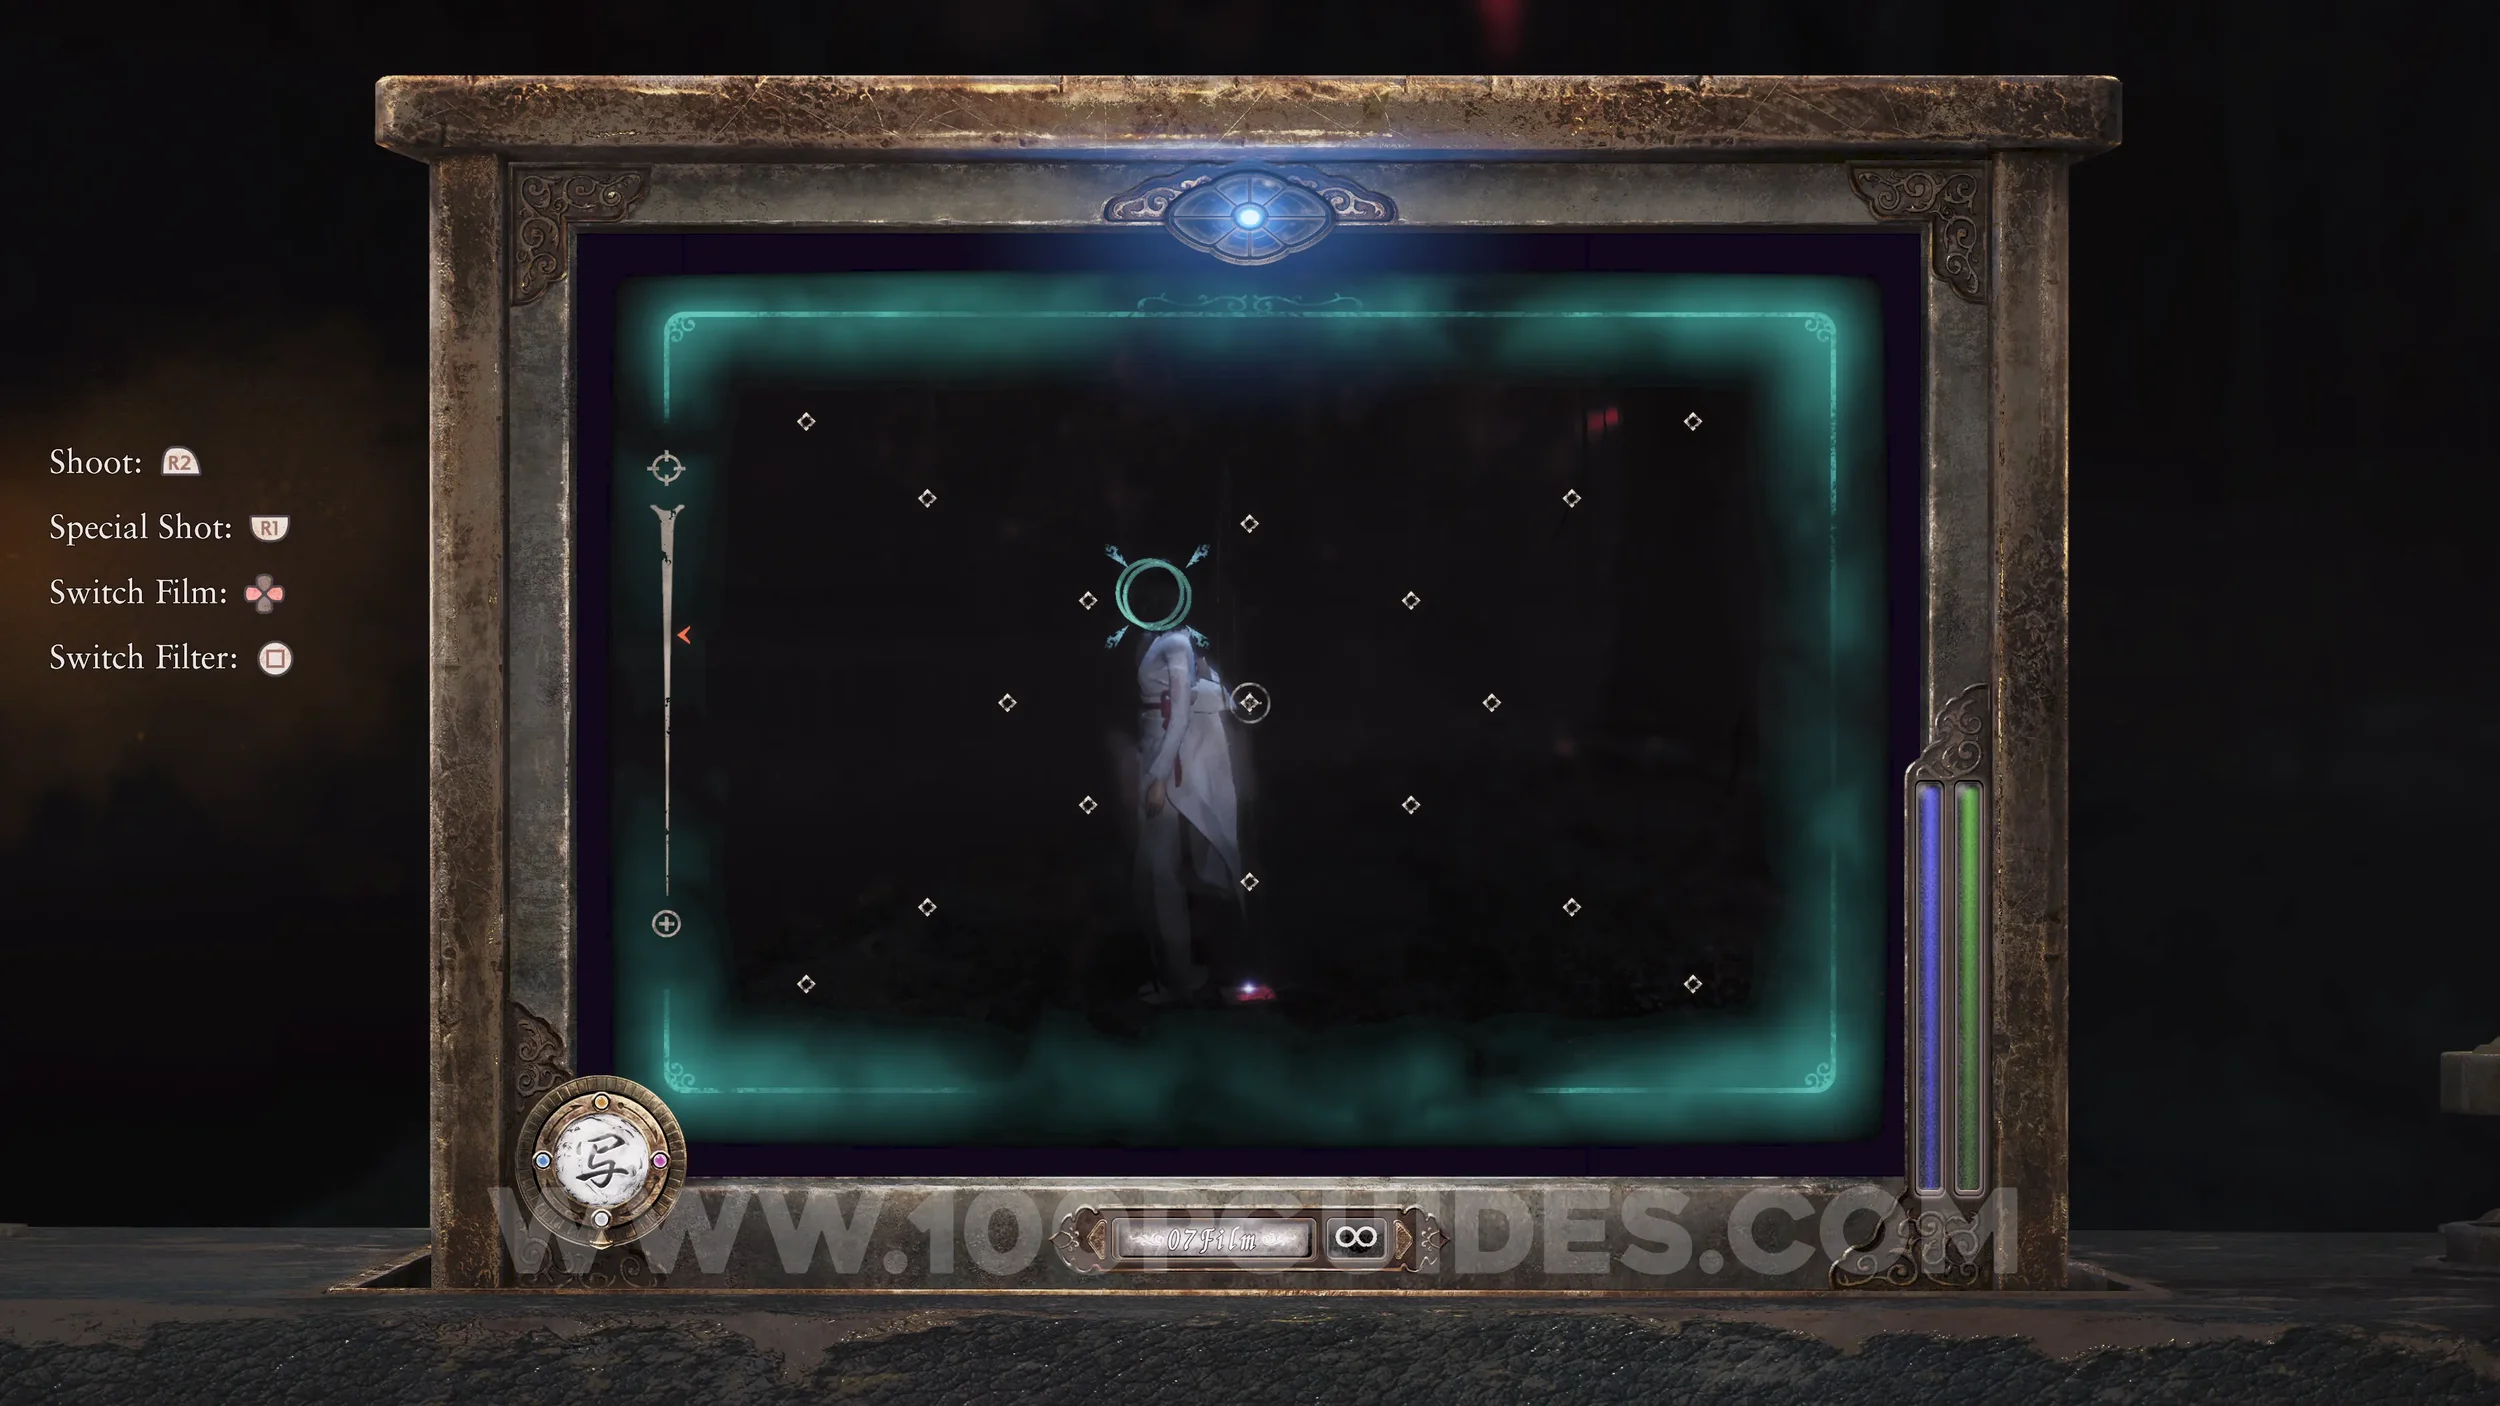
Specter #246 - 253 Dream-Fulfilling Crimson Butterfly. Now head toward the Minakami Village Storehouse. Just outside, you will see the specter (butterfly).
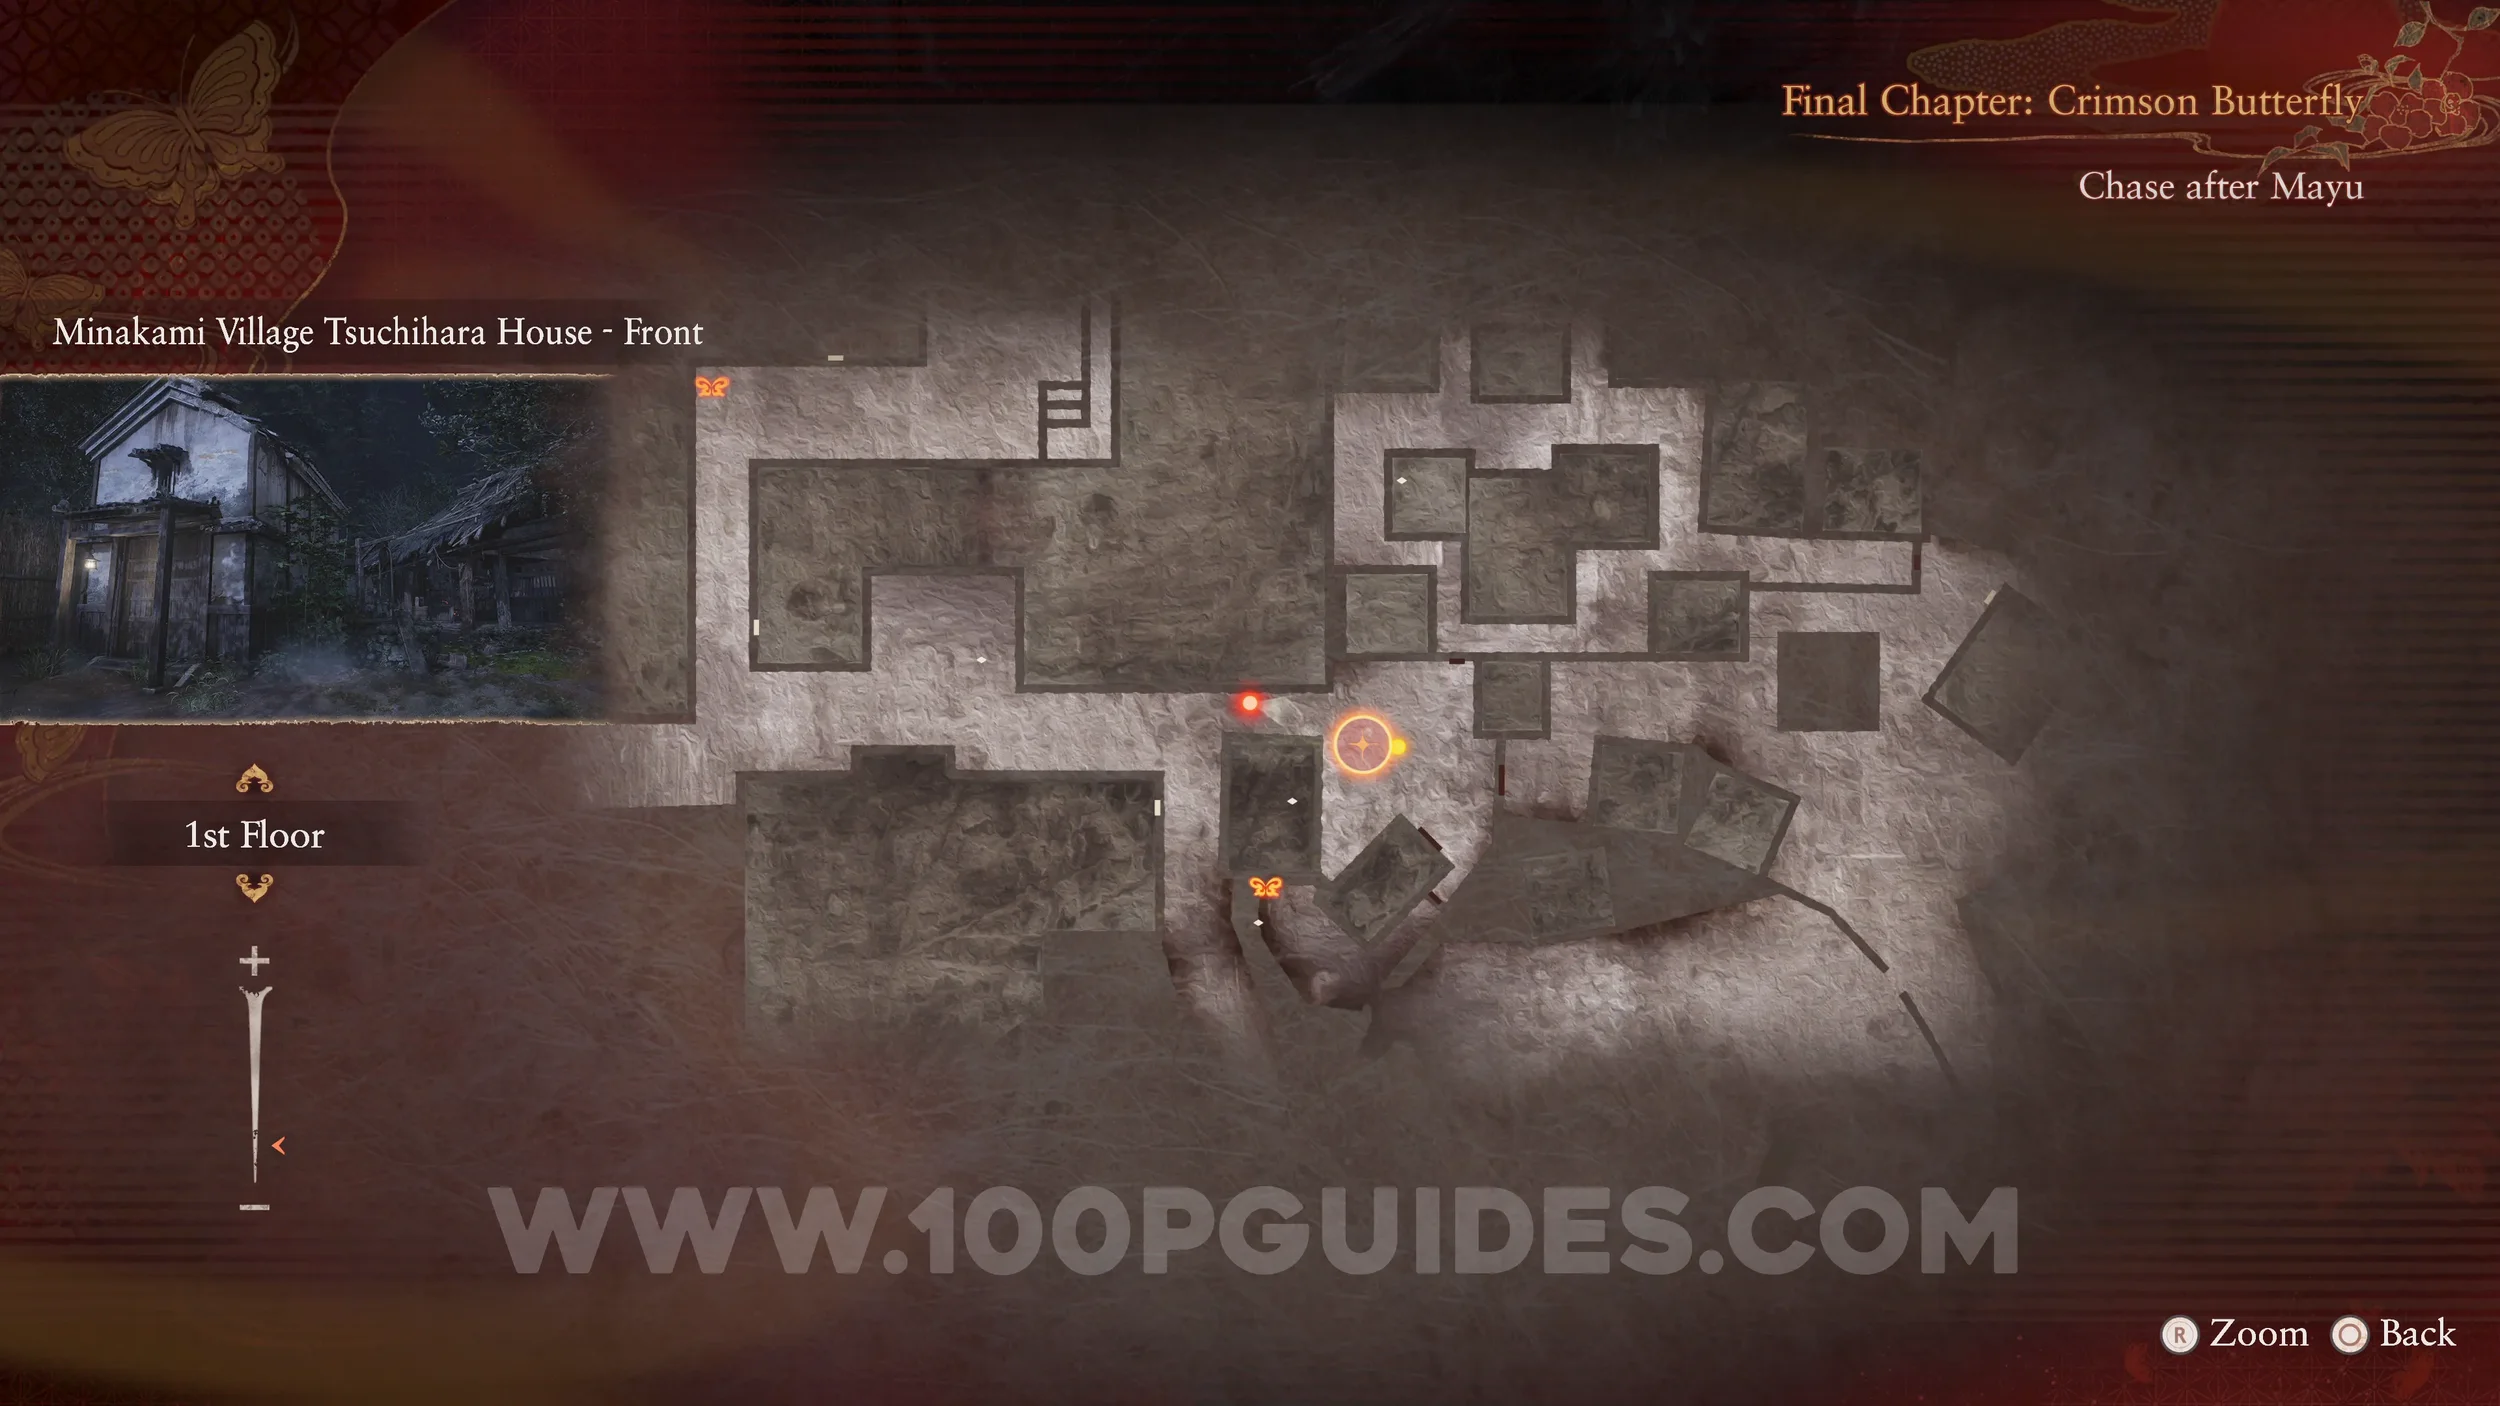

Specter #247 - 250 Yae Talking to Itsuki, Specter #248 - 251 Itsuki Talking to Yae, Specter #249 - 252 Pair Behind Storehouse and Document #116 - Butterfly Diary 9. Go behind the Storehouse to find the two specters talking. Make sure they are both in the shot. The document can be found on the ground.
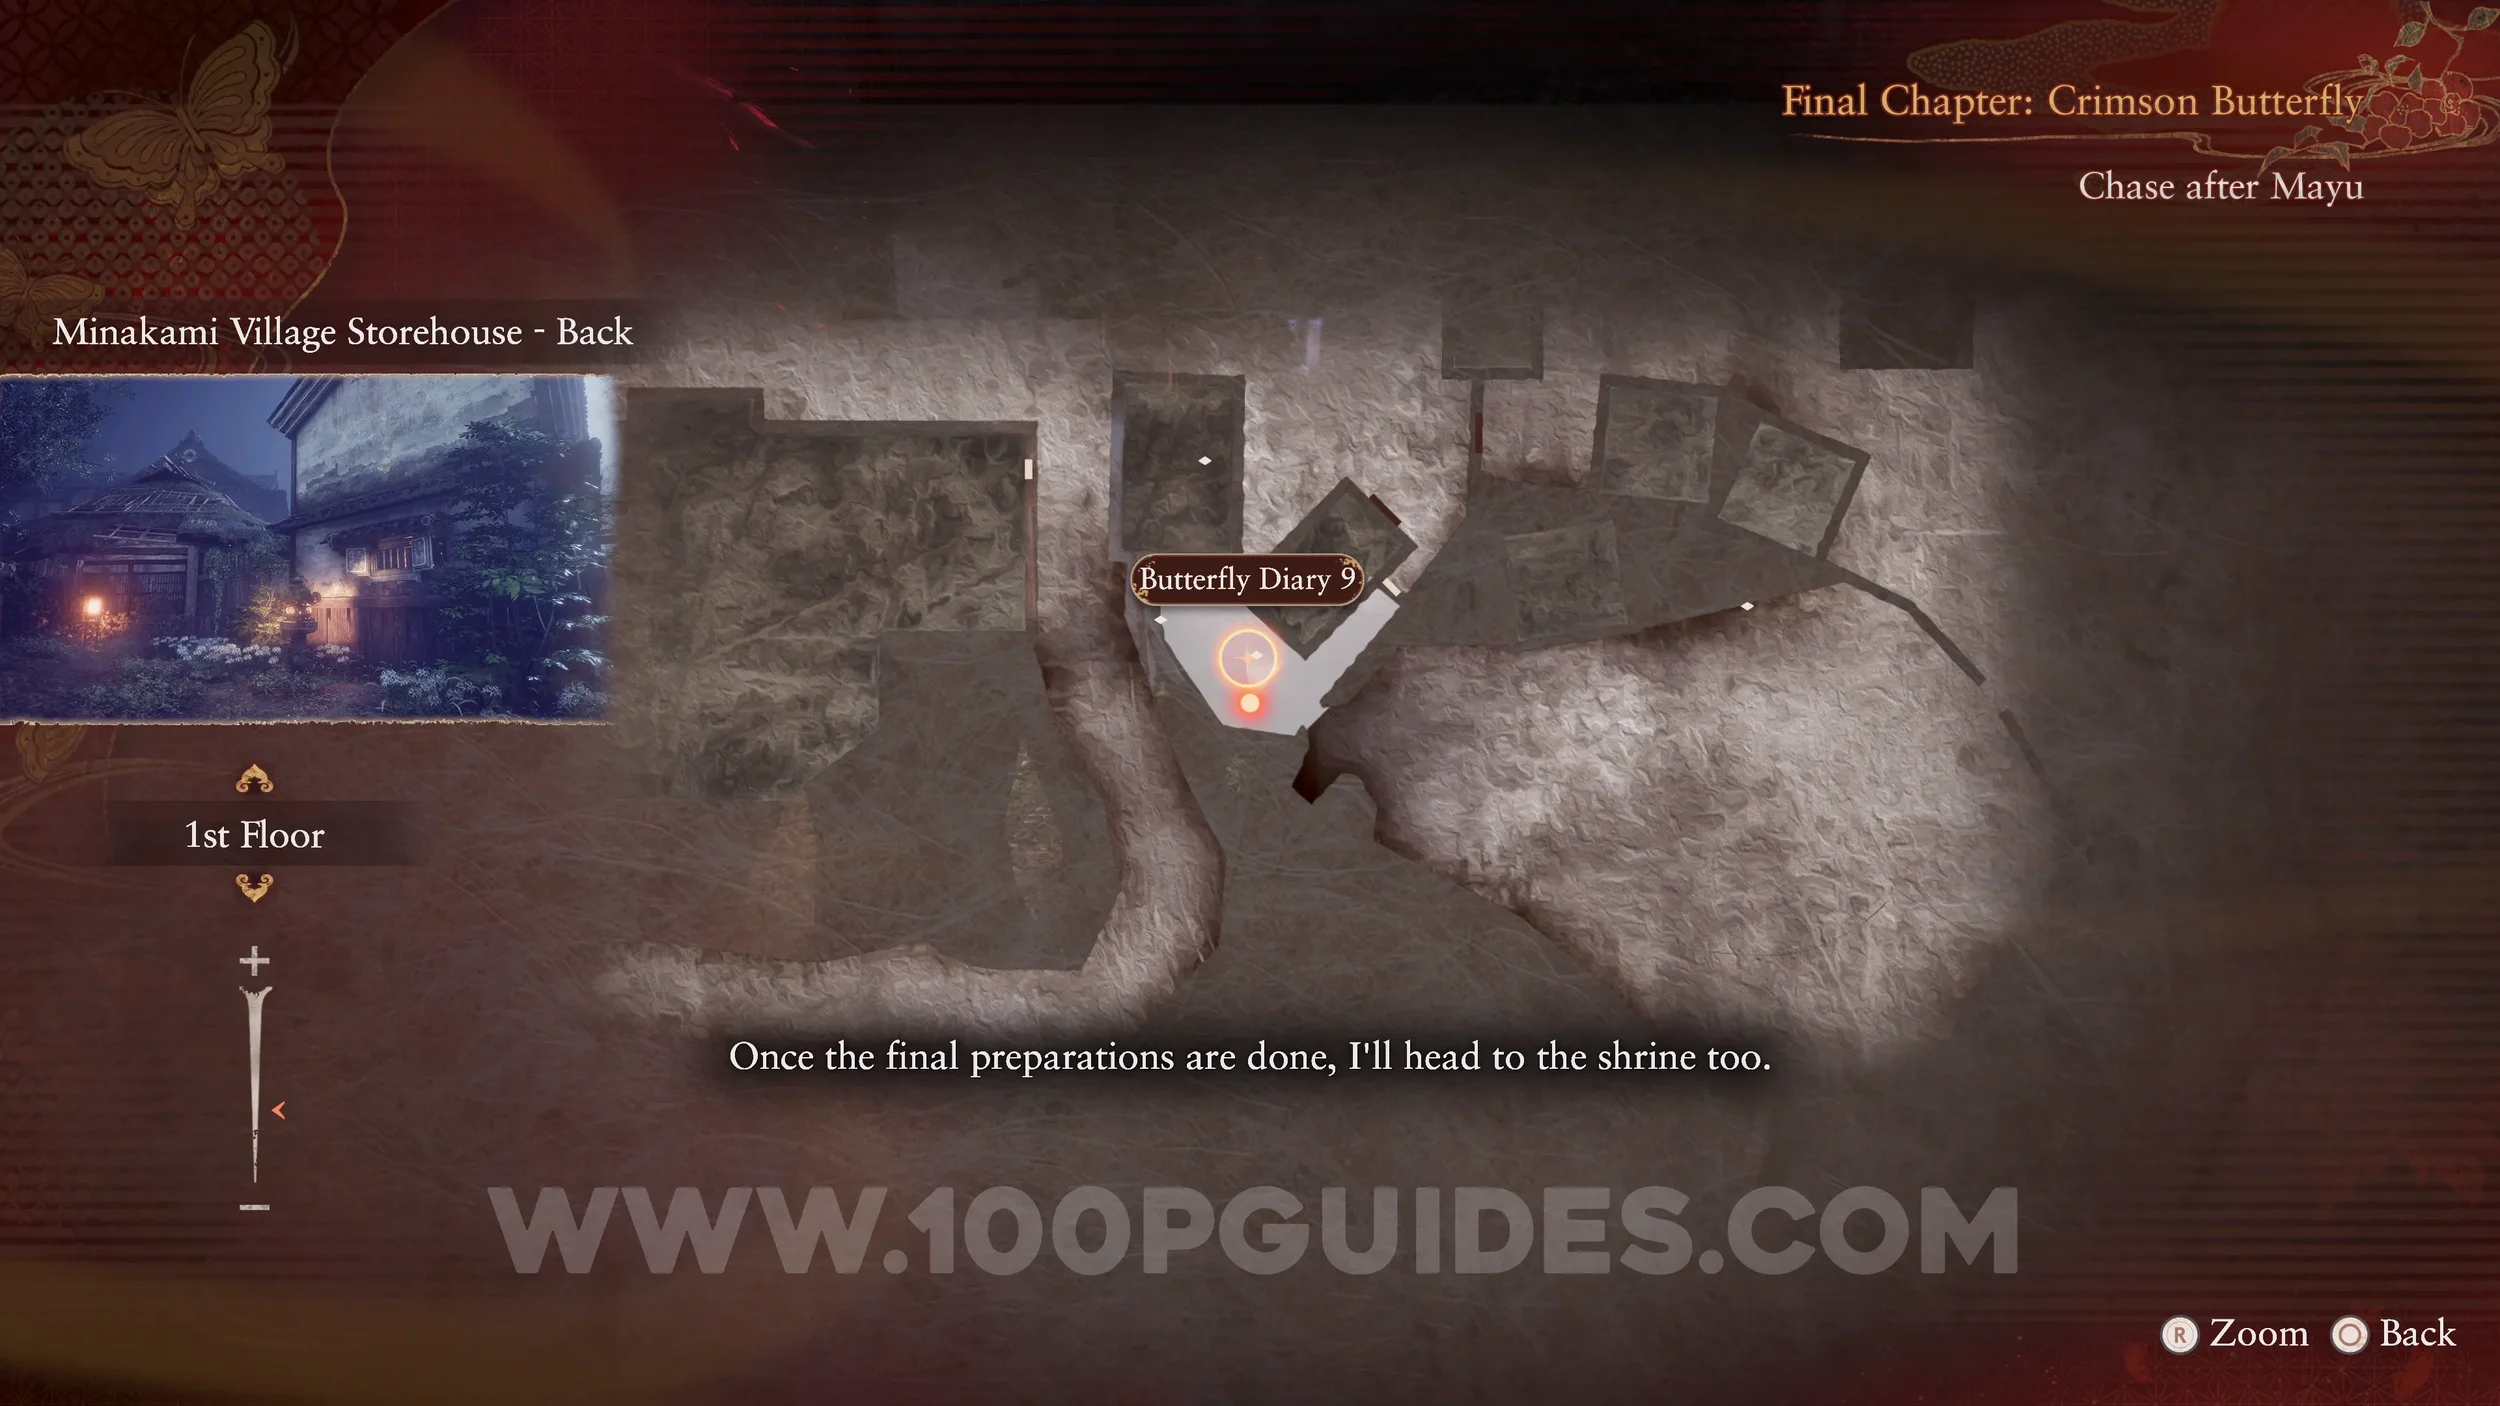
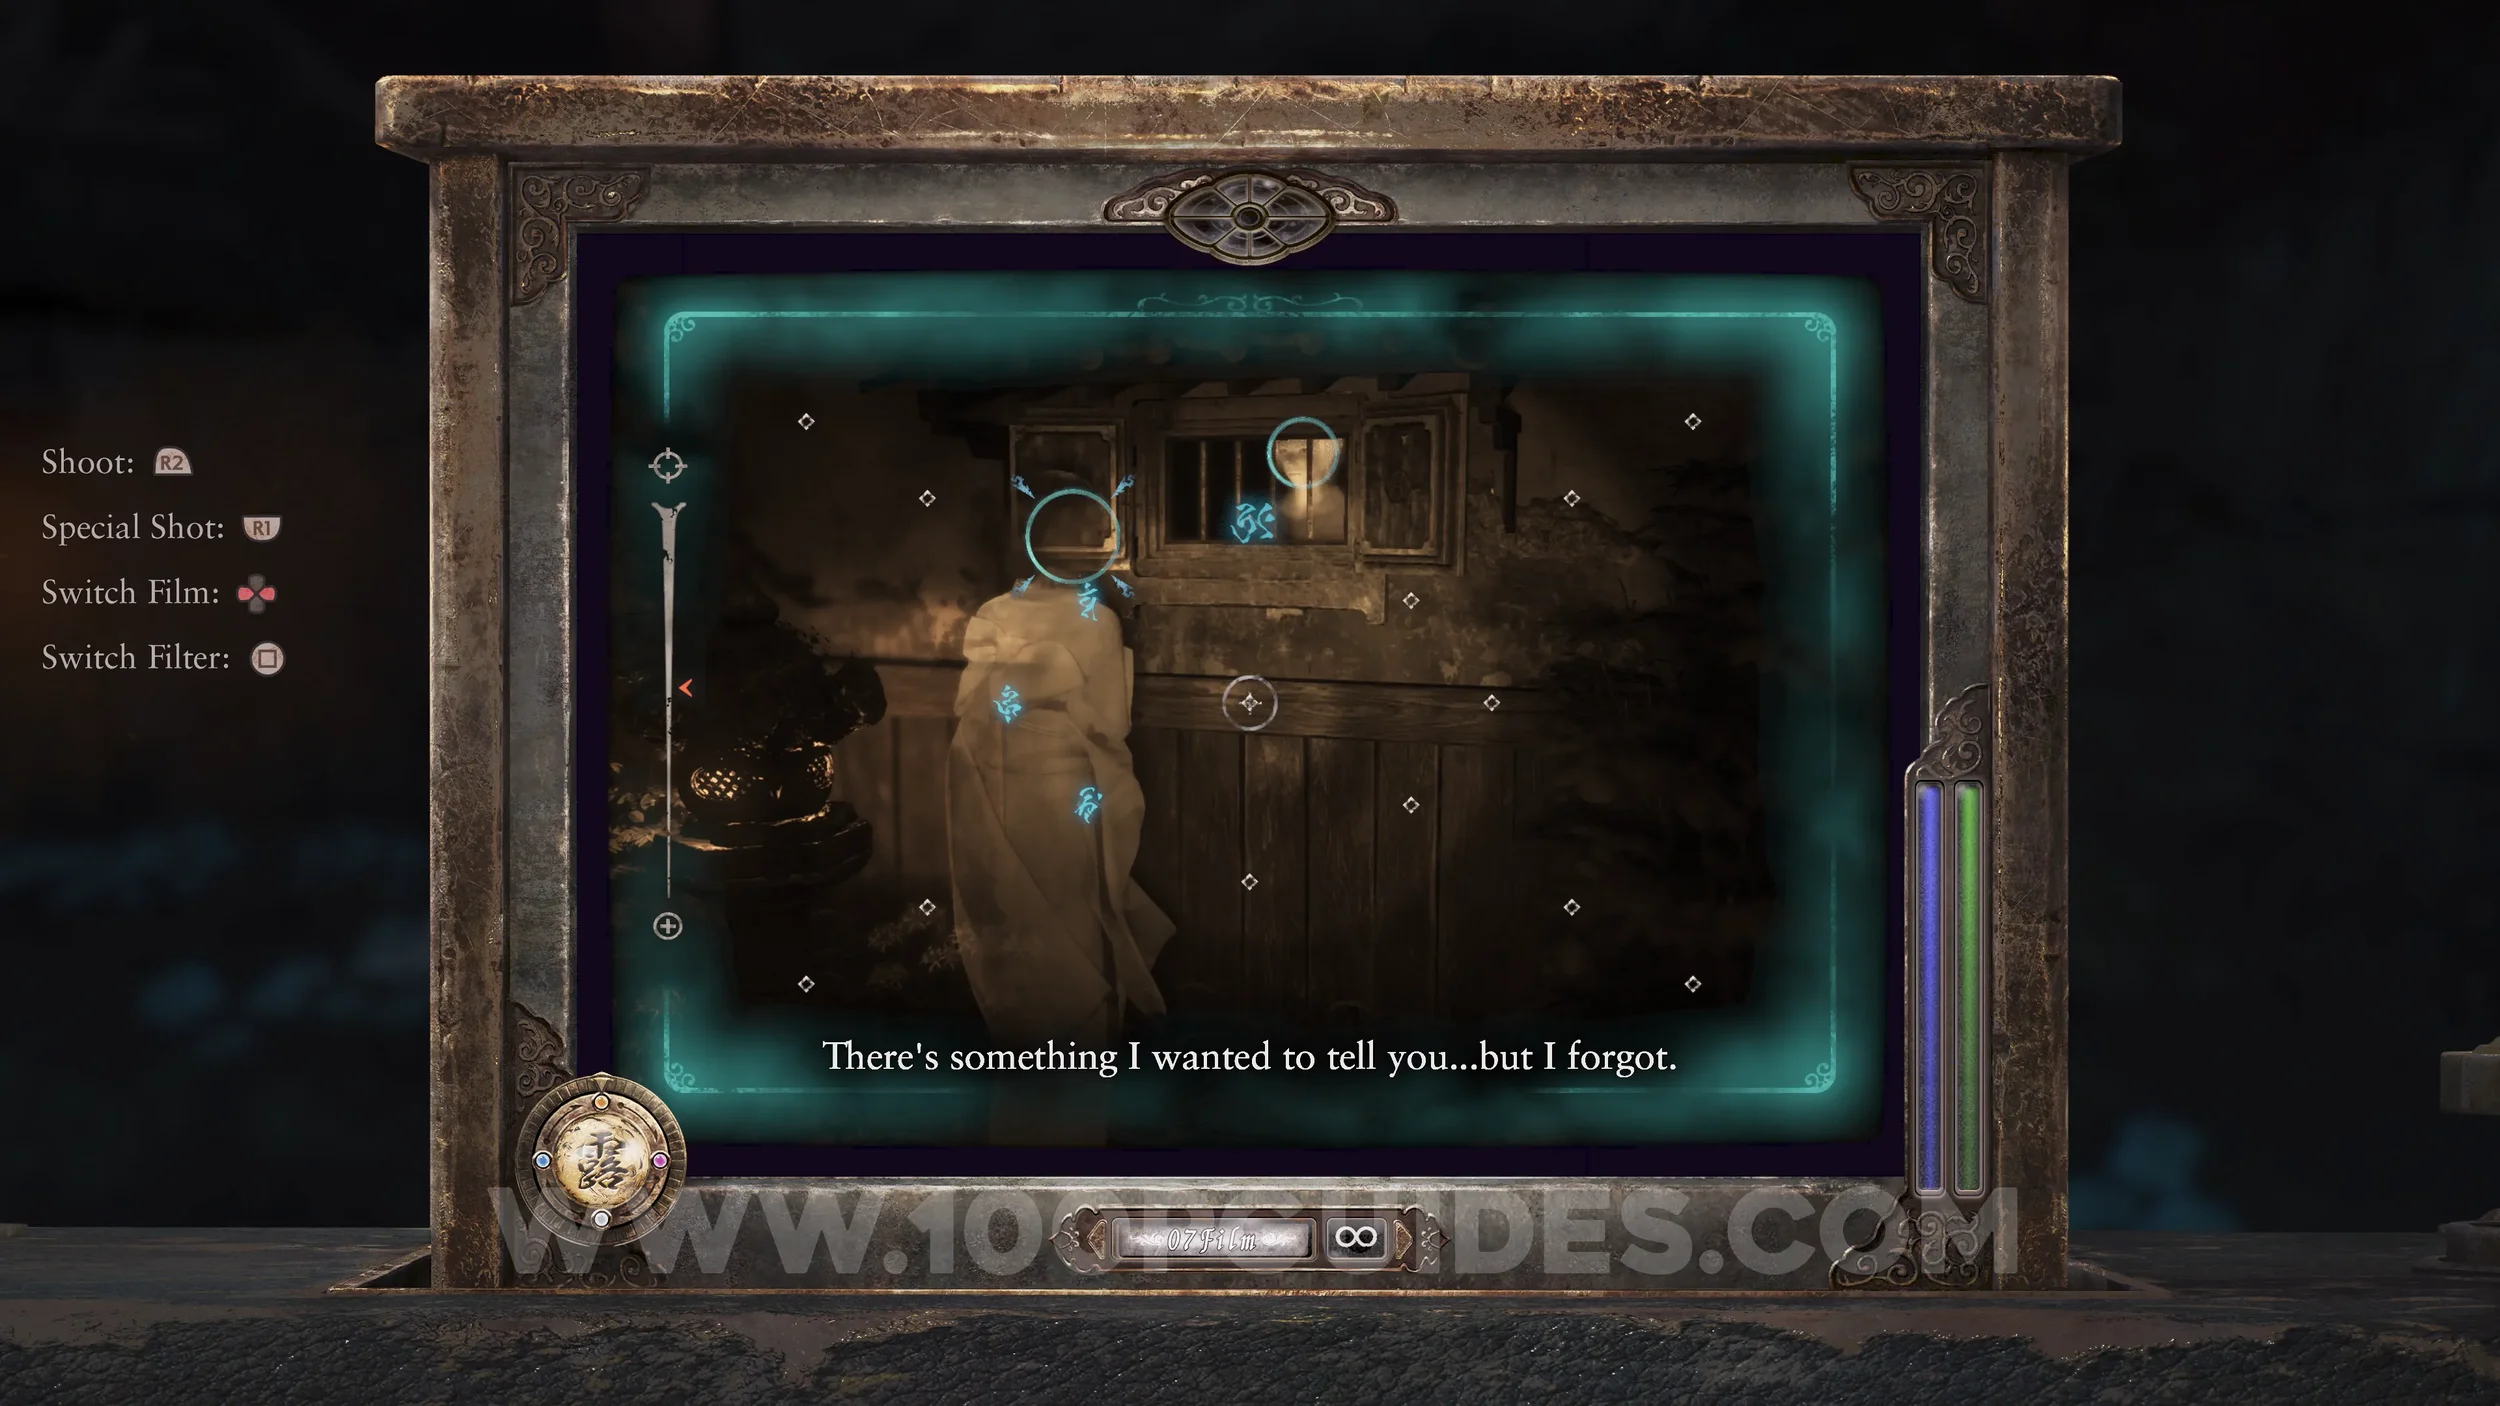
Specter #250 - 238 Woman Crying by Torii Gate, Document #117 - Blotched Note and Spirit Stone #42 - Yae’s Spirit Stone Shard (2/2) (Yae’s Sparkling Spirit Stone). Head to Misono Hill, the area where the game starts, and look for the specter to the south of the stone structures along with the note and the second half of the Spirit Stone. This will also bring the “Yae Kurosawa” side quest to an end.
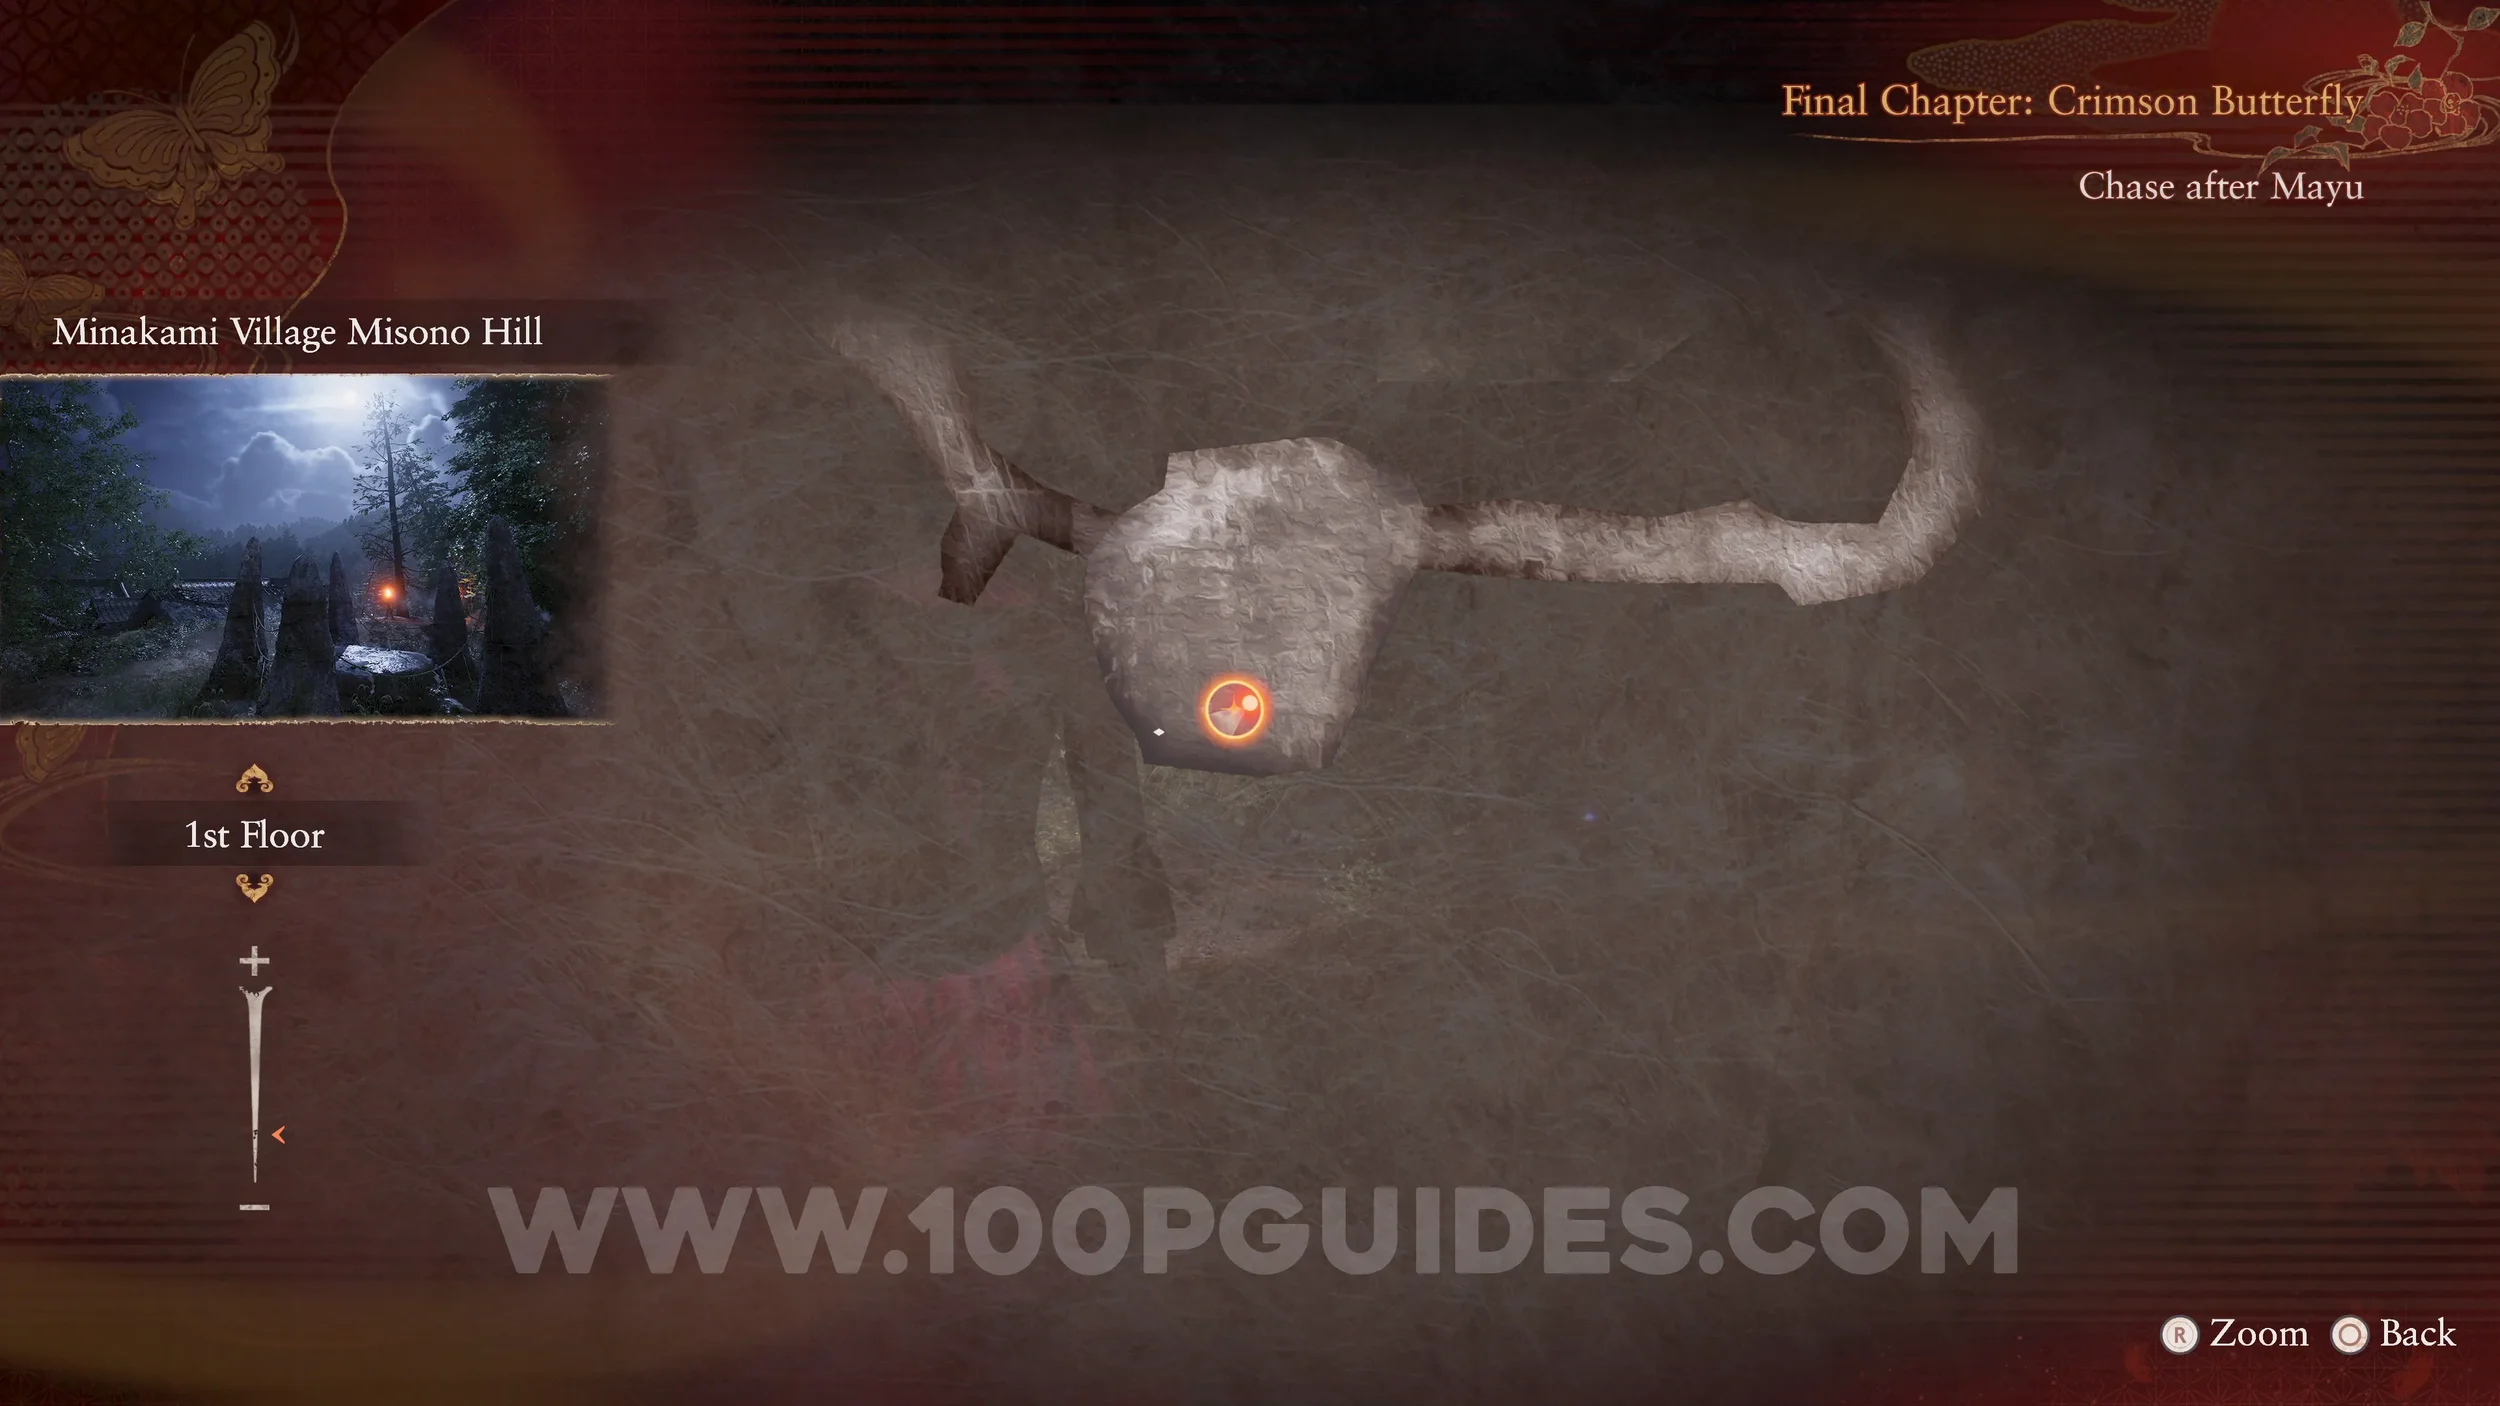
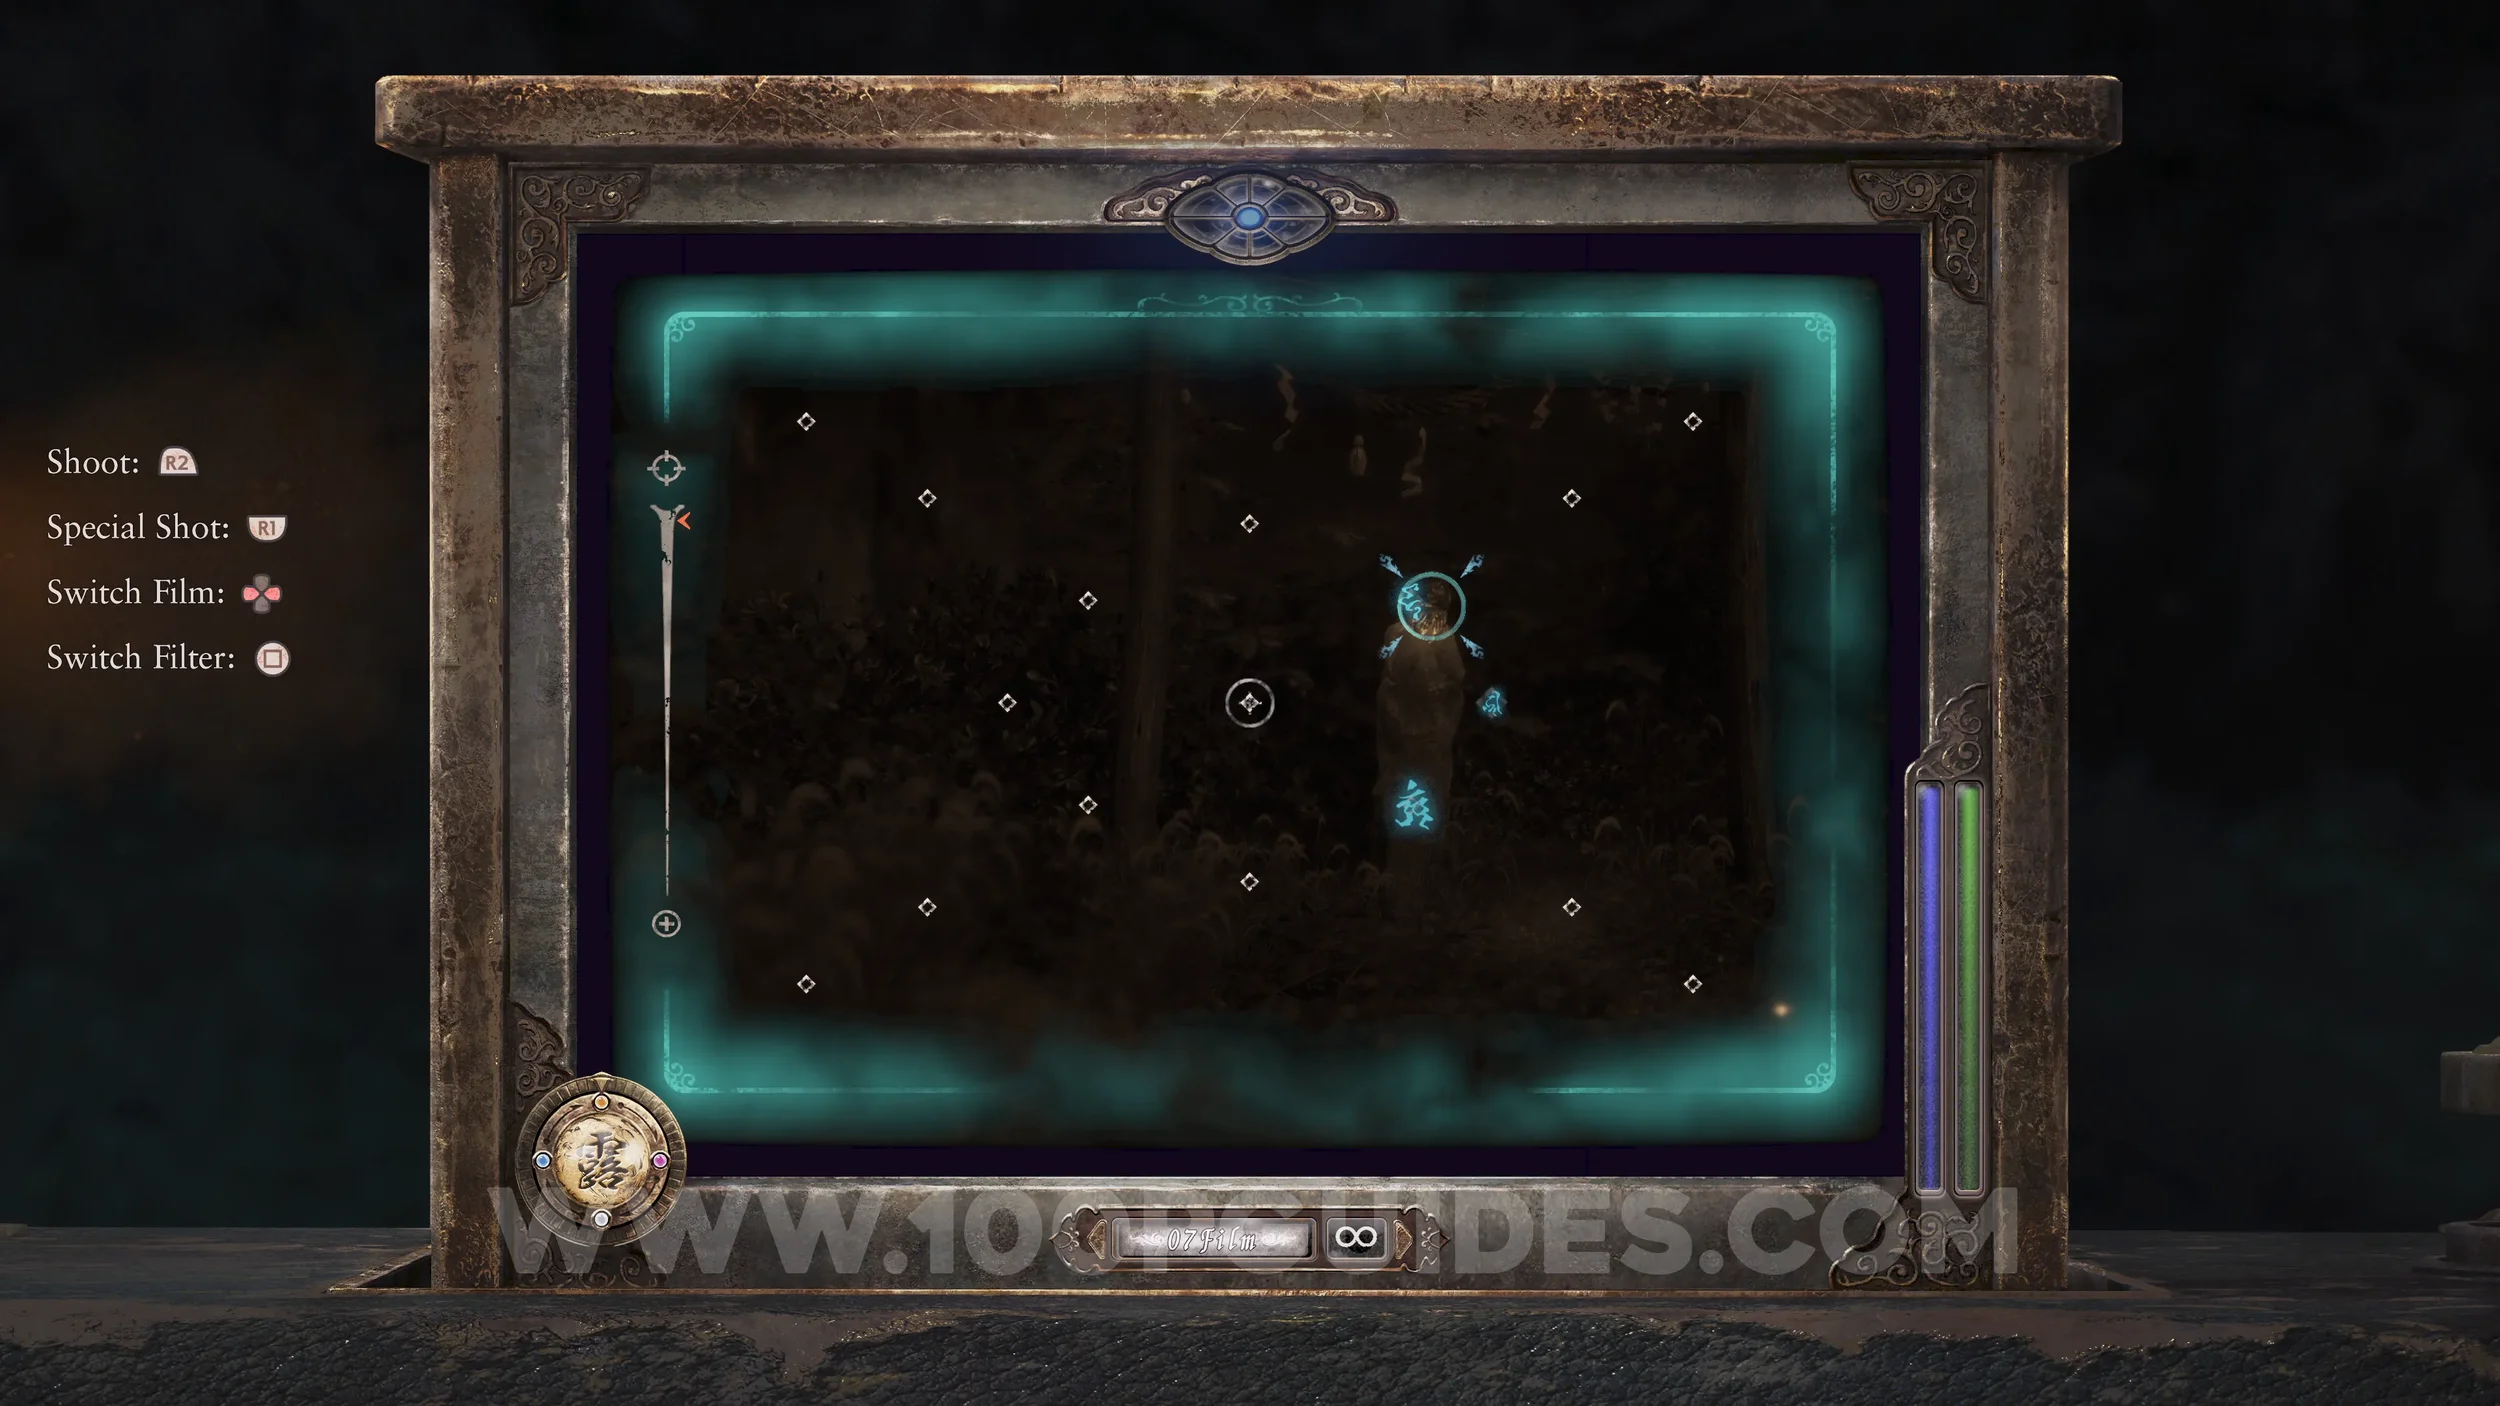
Make sure you equip Yae’s Sparkling Spirit Stone before heading to the Ritual Altar at the end of the game. This will allow you to trigger the new ending. Also, make sure you remove Kusabi’s Spirit Stone if you haven’t already.
Specter #251 - 153 Mayu Delving into Abyss. Spawns in the Ritual Altar in the final area if you are wearing Yae’s Sparkling Spirit Stone.
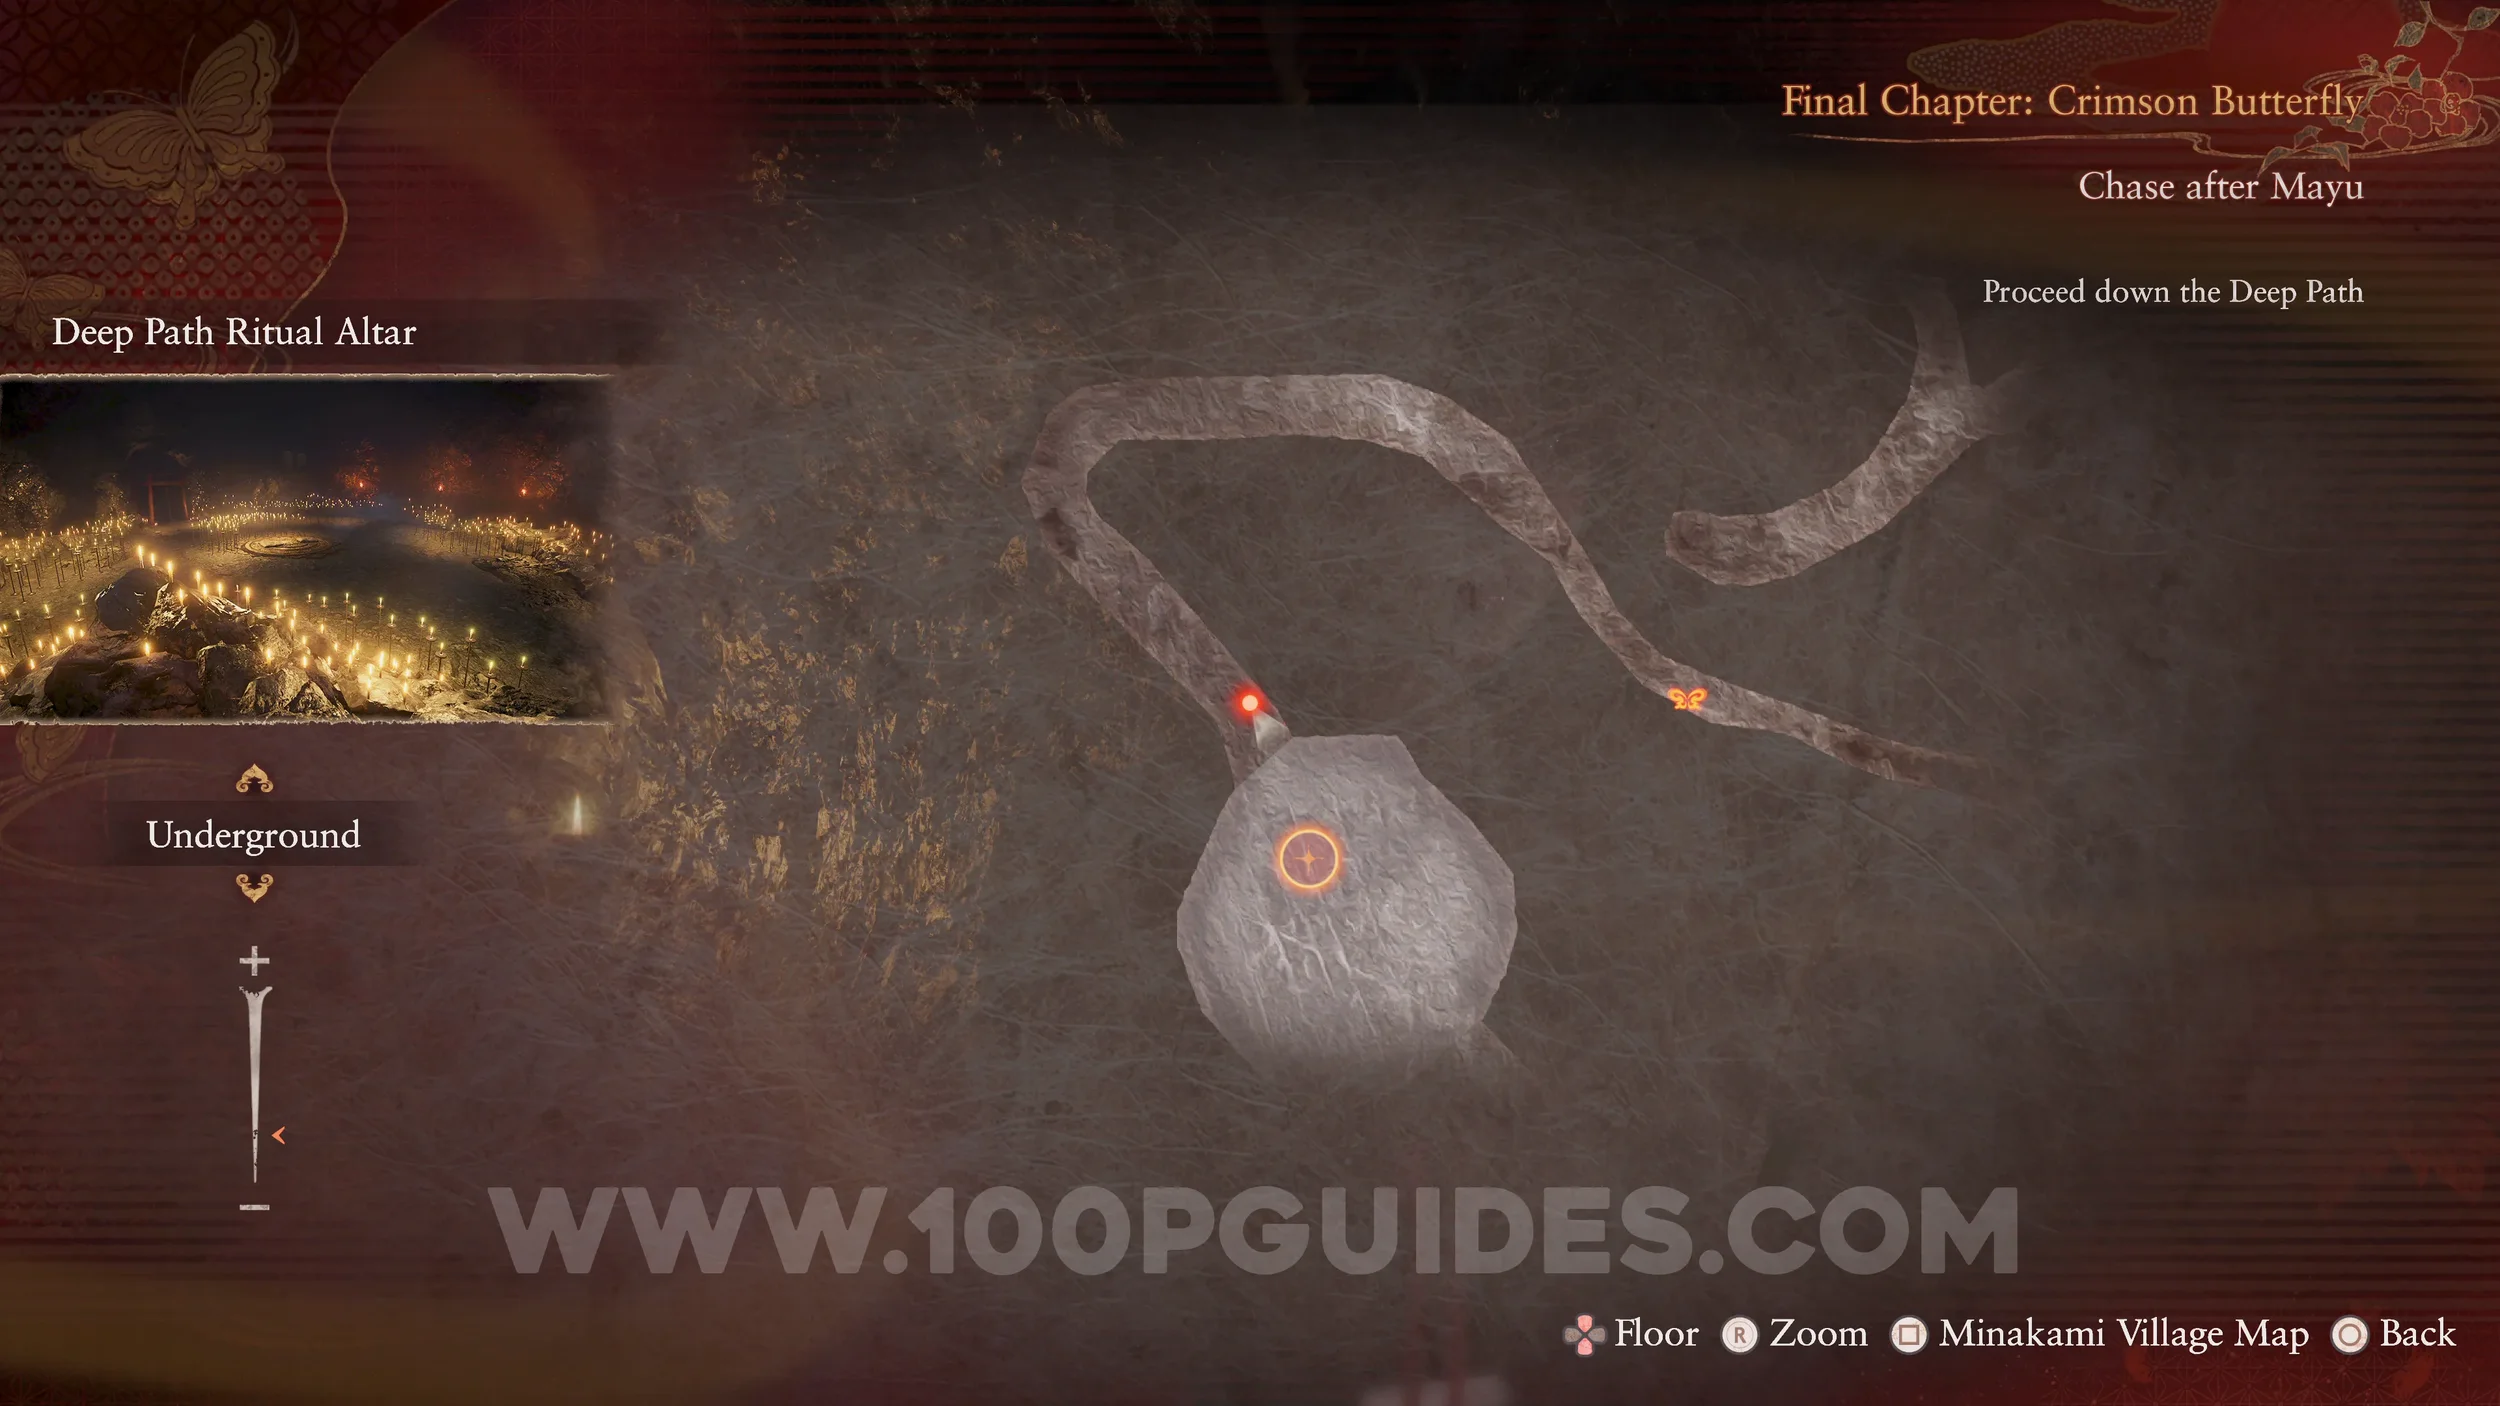
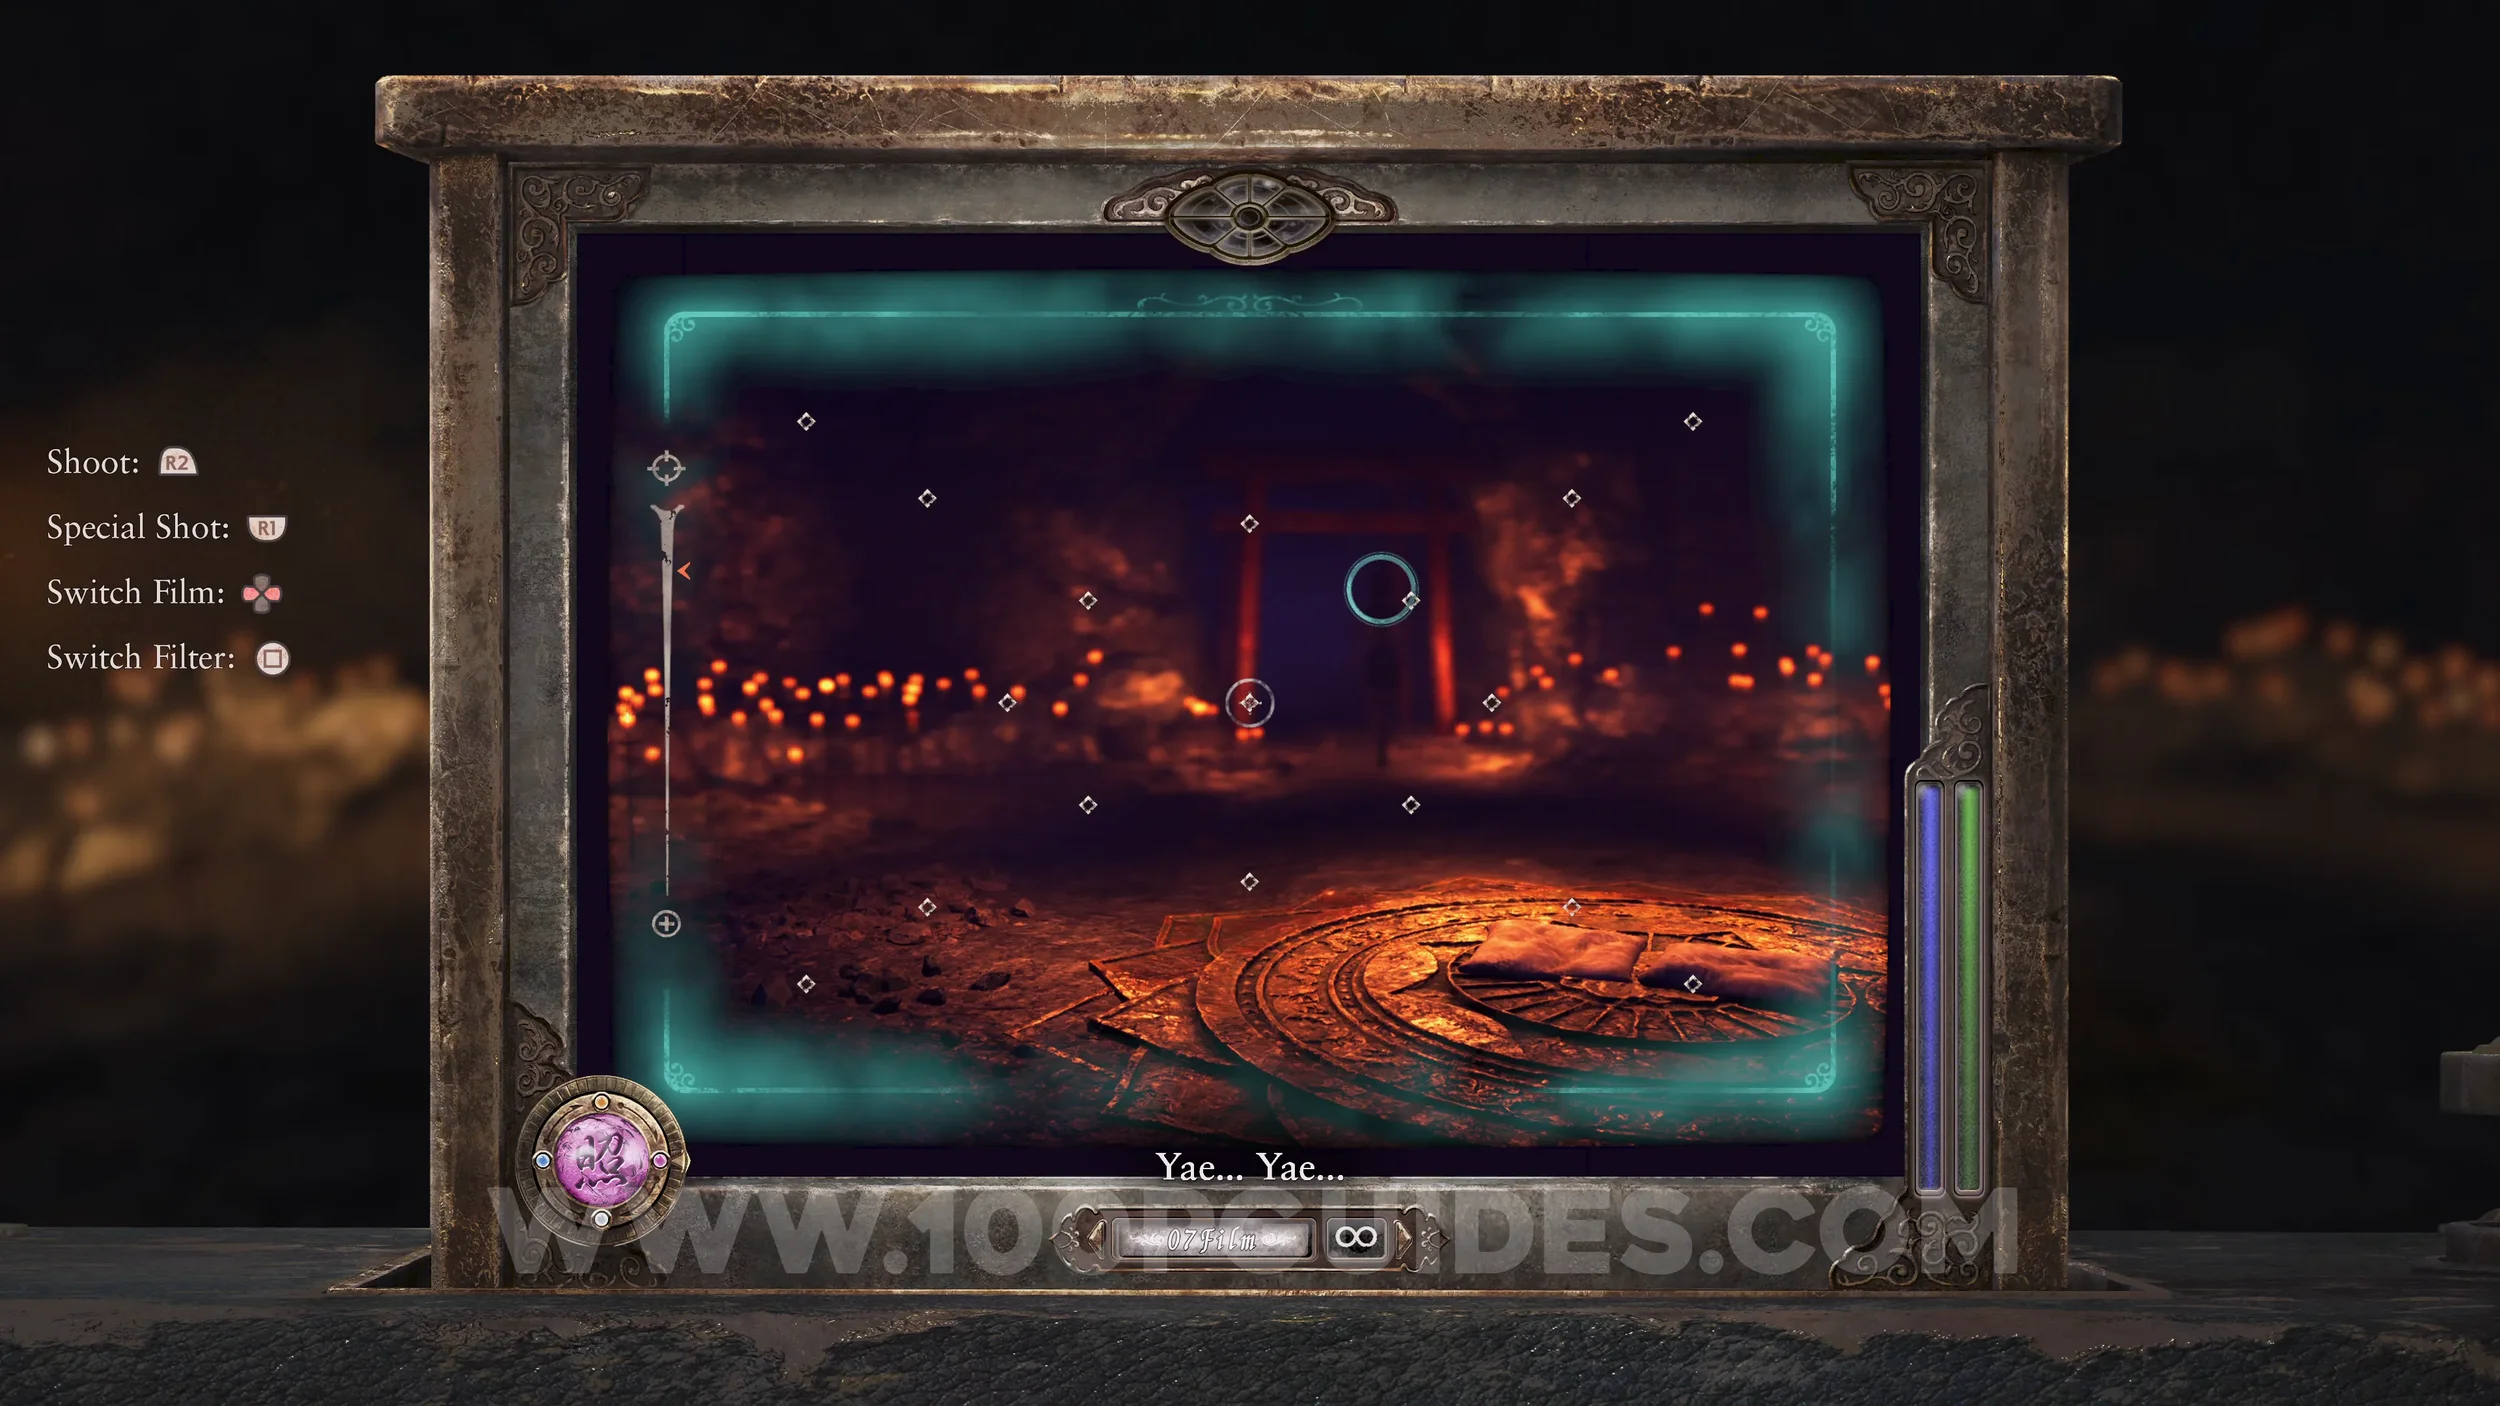
Ending #4 - The Promise. Obtained after defeating Kusabi while wearing Yae’s Sparkling Spirit Stone.
Spirit Stone #45 - Sae’s Spirit Stone Shard (1/2). Obtained after getting “The Promise” ending.
AFTER FINISHING THIS PLAYTHROUGH, MAKE ANOTHER CLEAR SAVE!
4th Playthrough
During this playthrough, we will be finishing the "Mayu Amakura" and "Sae Kurosawa 2" side quests and getting the "Sprouting Wings" Ending.
First pick Load > Chapter Select > Pick the Clear Save you just made at the end of the previous playthrough > Chapter 8. You must pick this one since you need both Mayu's Spirit Stone Shard and Sae's Spirit Stone Shard to get the 5th ending.
Side Quest #14 - Mayu Amakura and Side Quest #15 - Sae Kurosawa 2. If you have loaded the clear save with both Mayu’s Spirit Stone Shard and Sae’s Spirit Stone Shard, these side quests will start automatically and can be found in the menu. These are the side quests we will be completing during this playthrough, and both are required for the next ending.
Document #118 - Wet Note and Specter #252 - 258 Mayu About to Fall. From the start of Chapter 8, head toward the Heavenly Bridge, the bridge that connects the Tachibana House with the Kiryu House. Just before the bridge, you will see the document on the floor. As soon as you pick it up, take a photo of Mayu on the bridge.
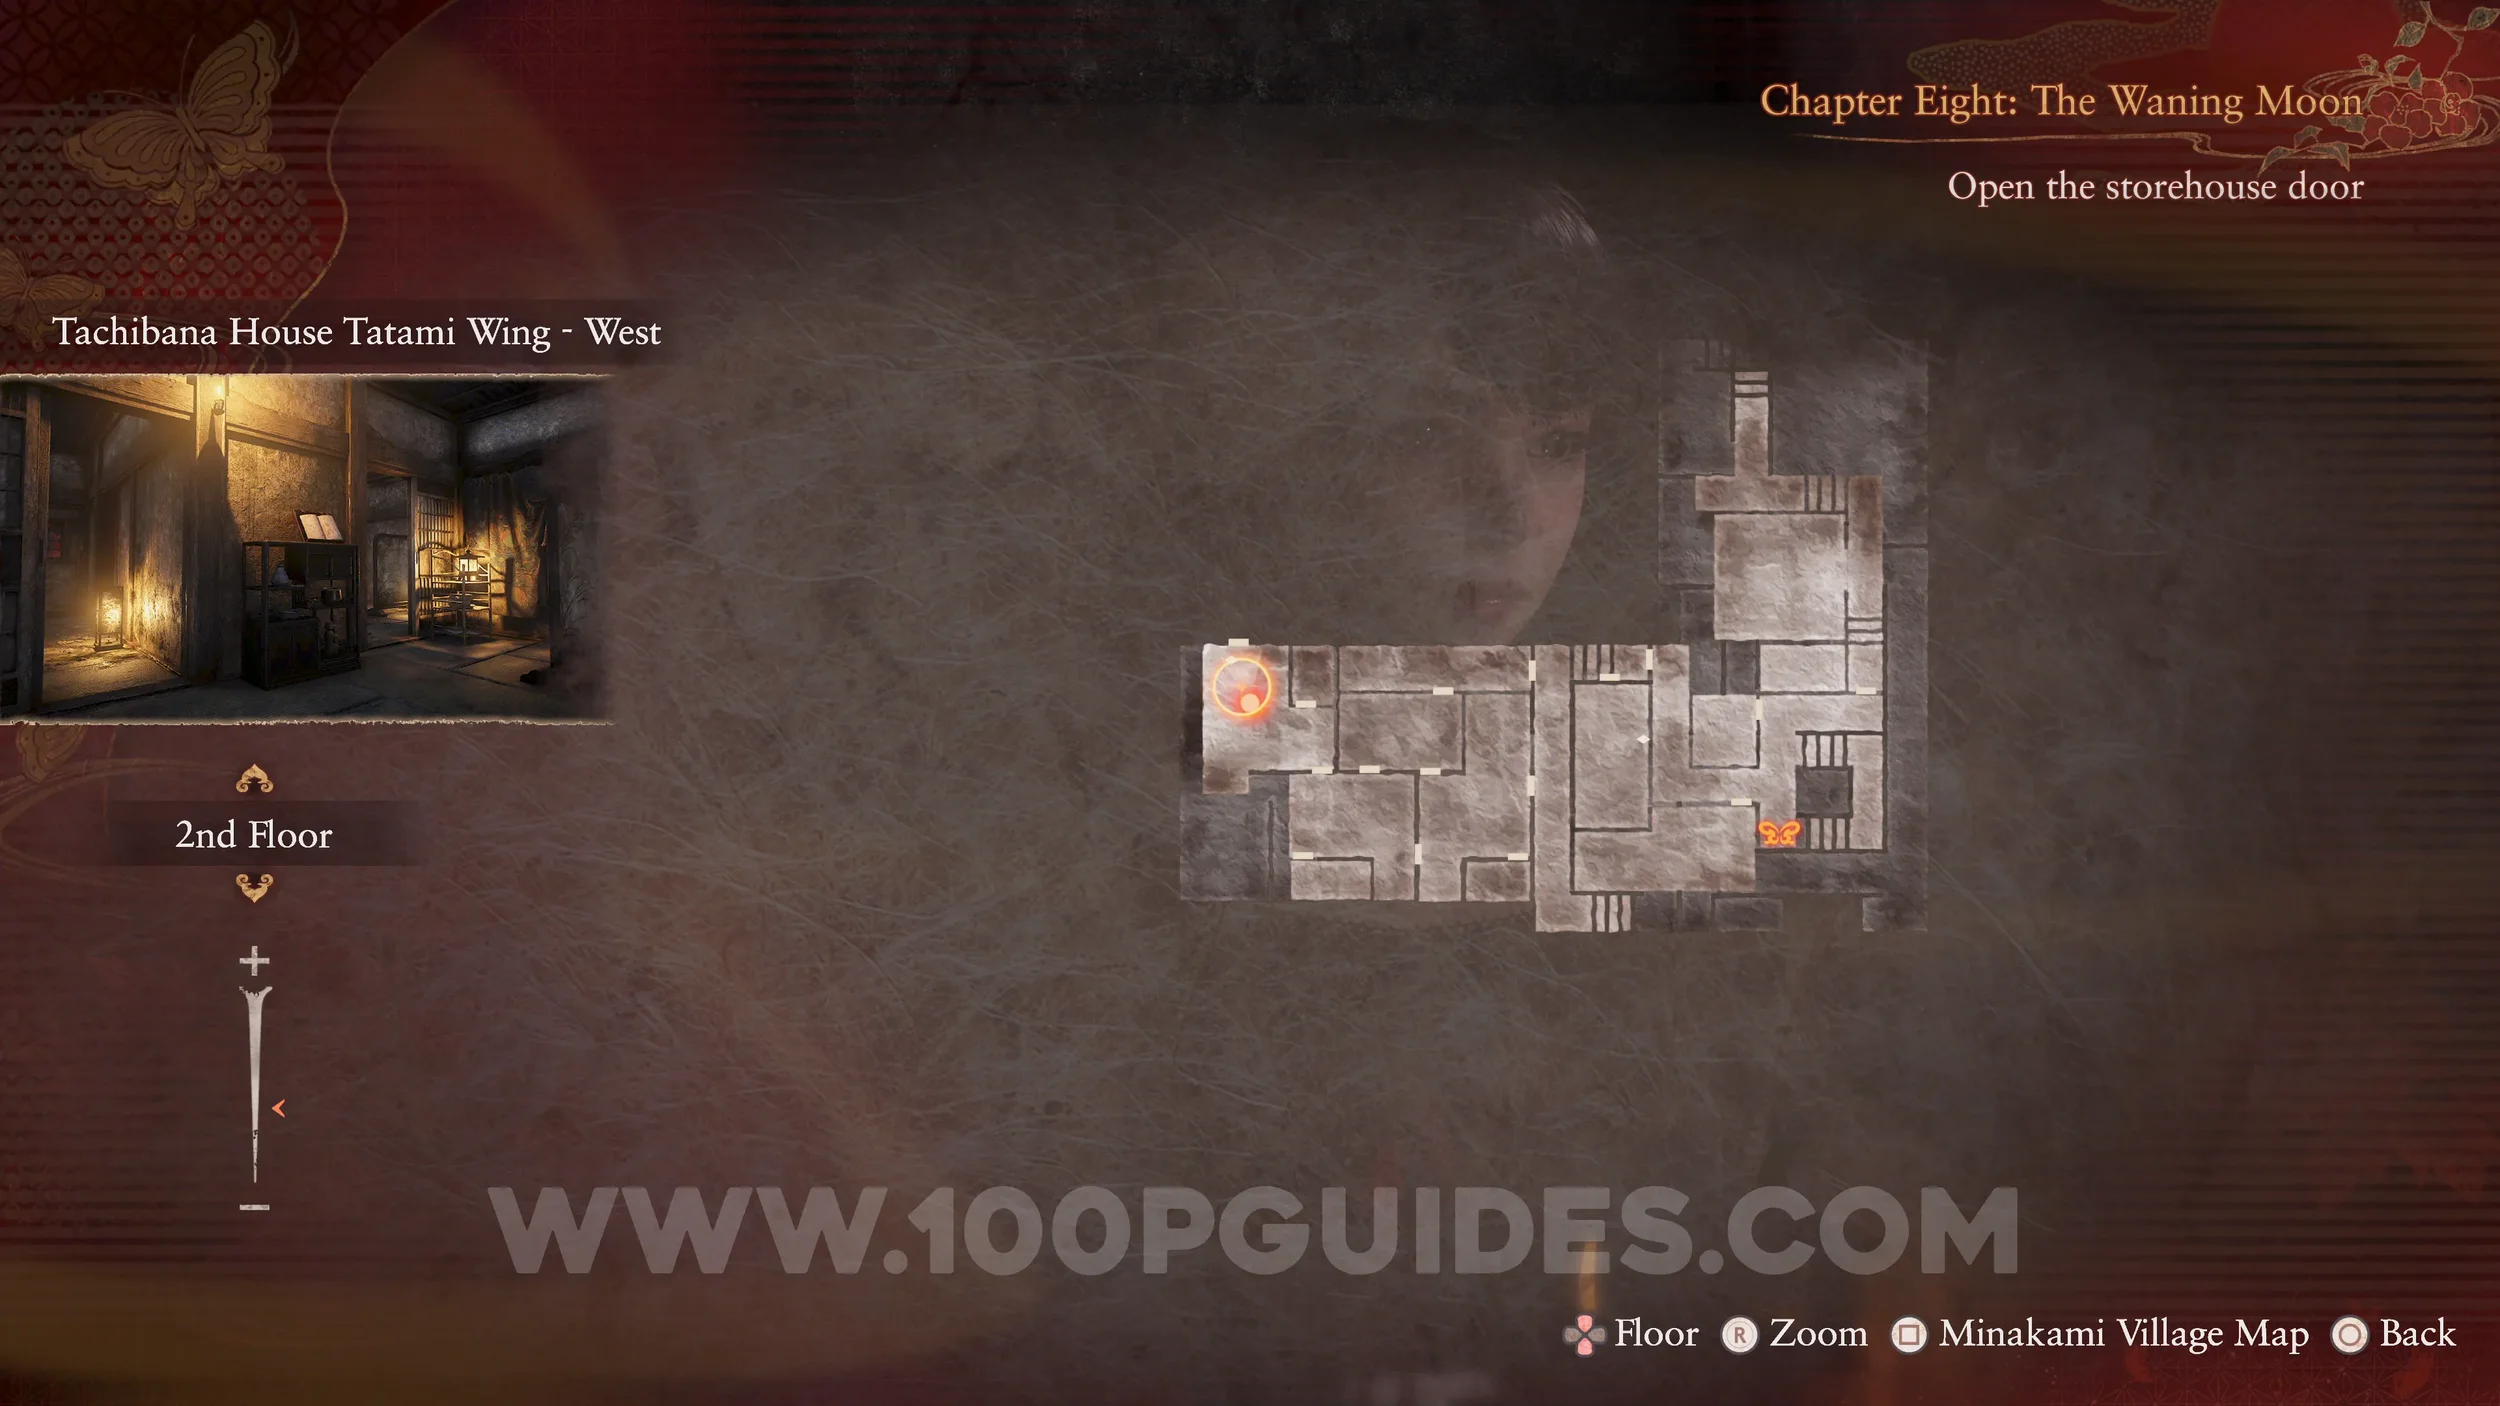
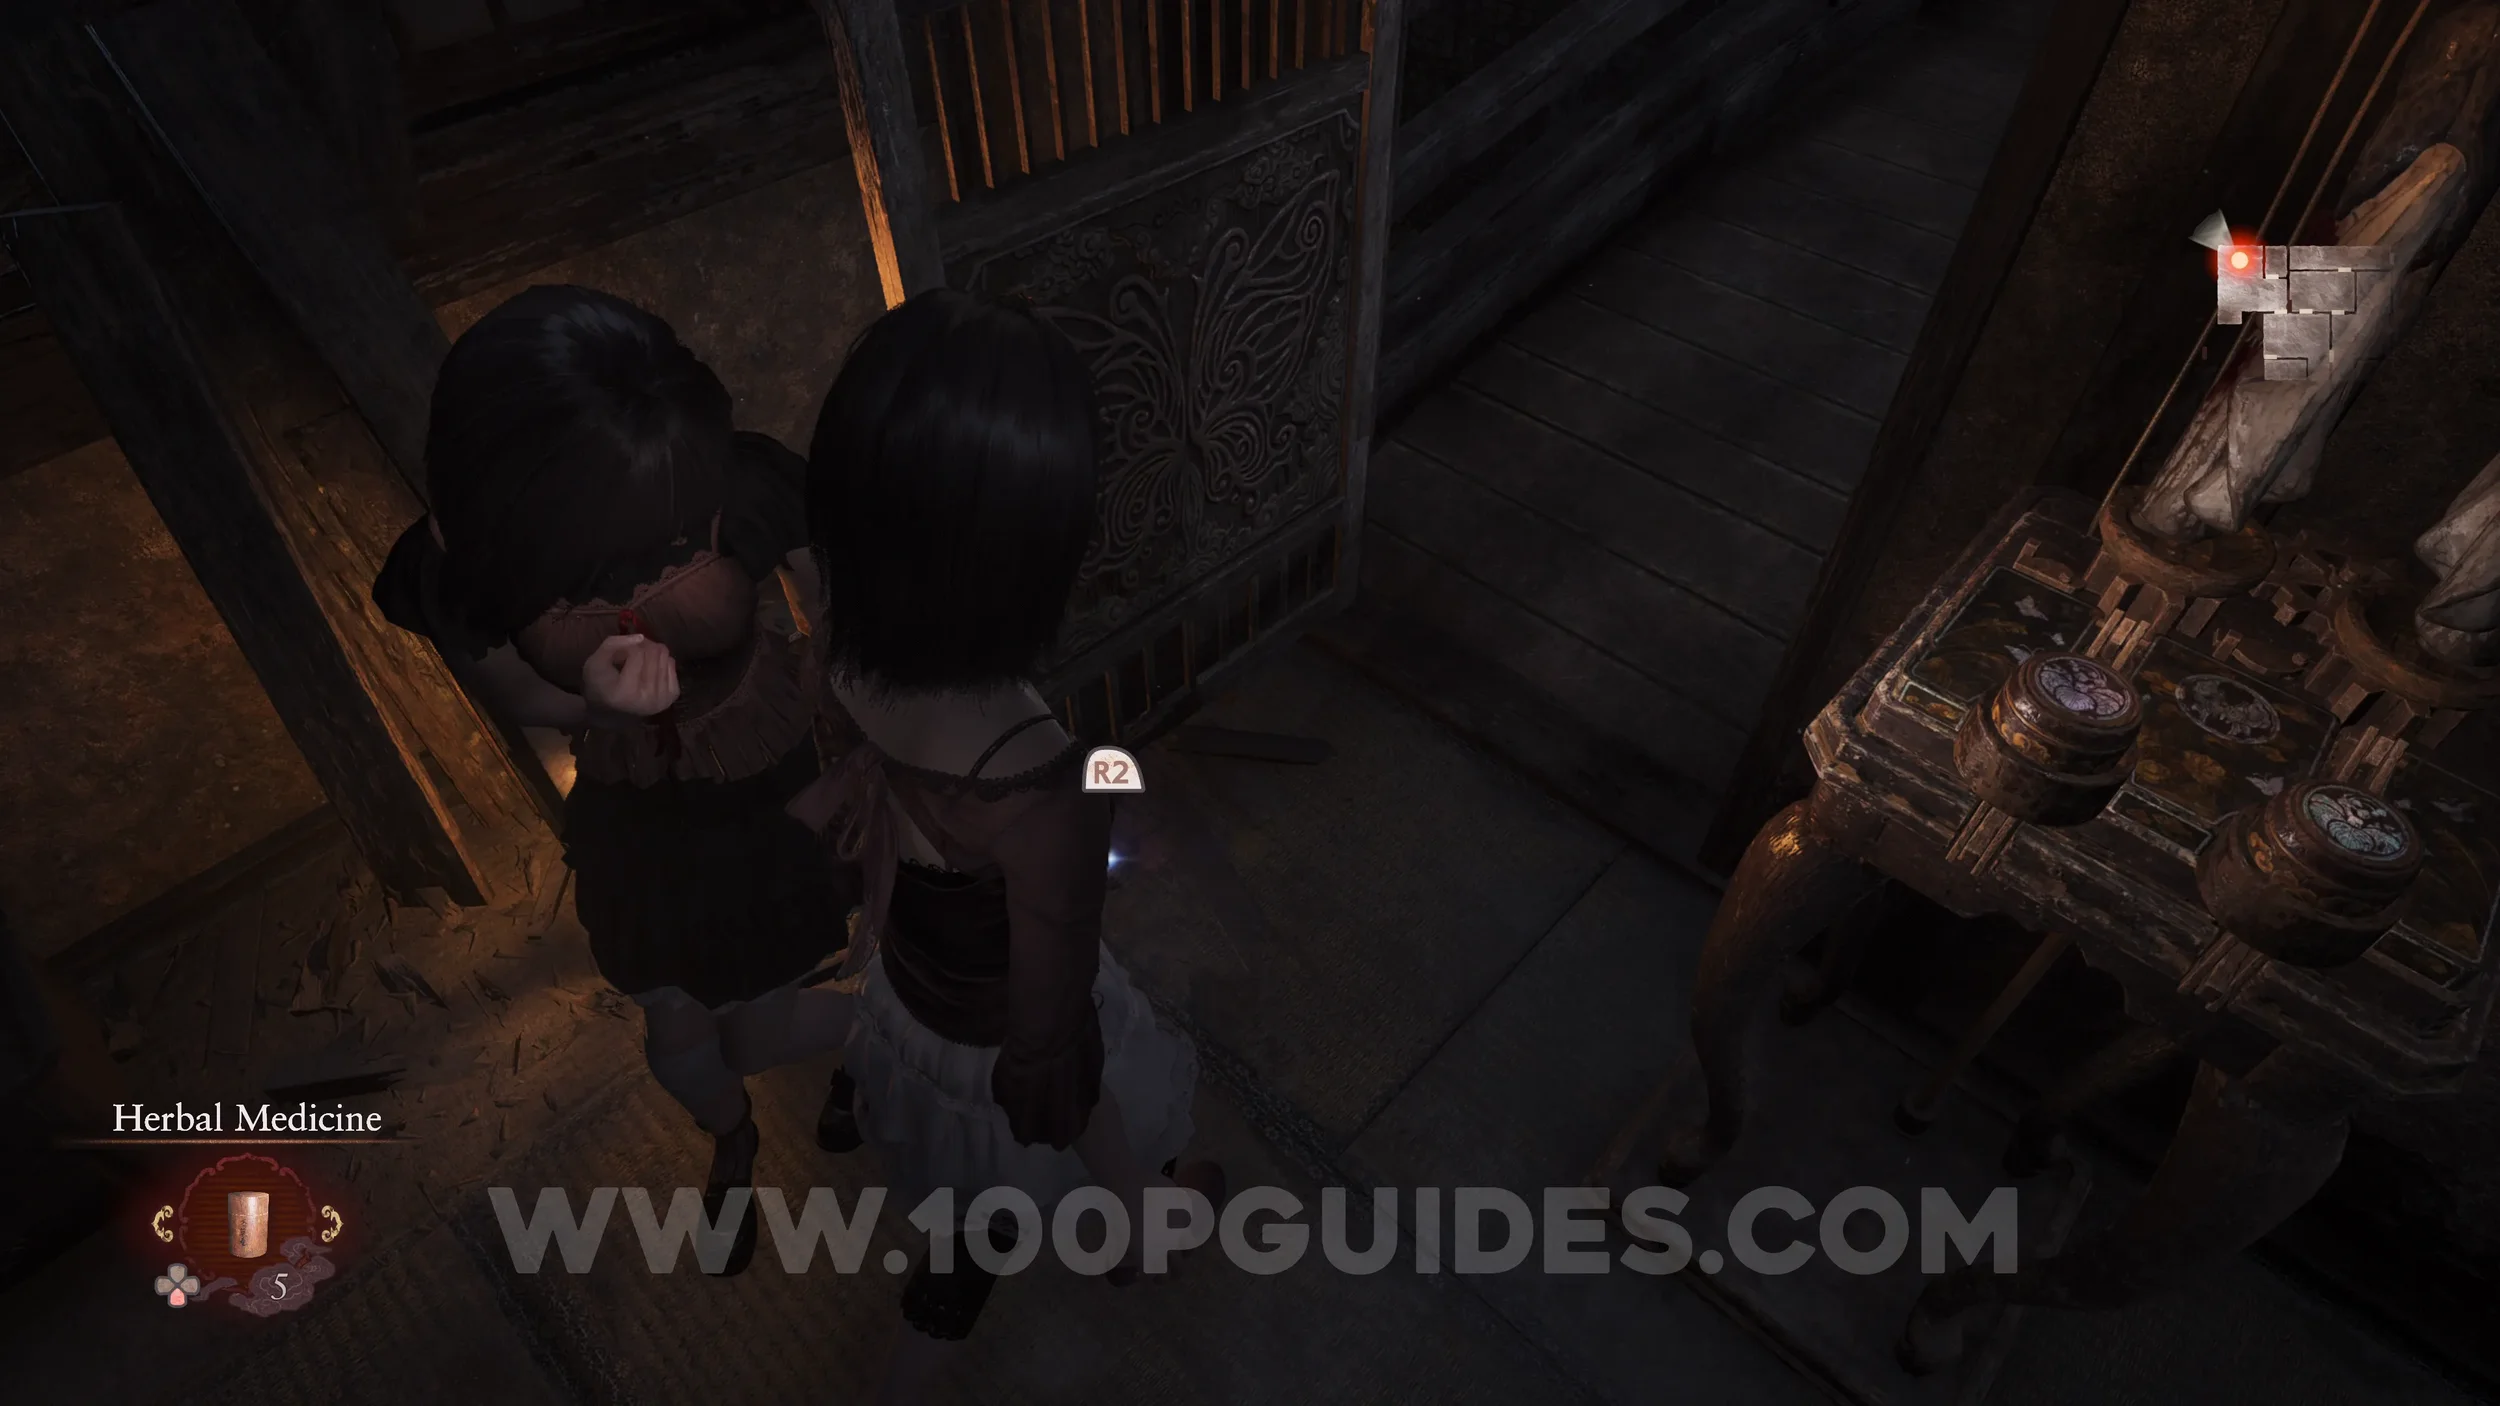
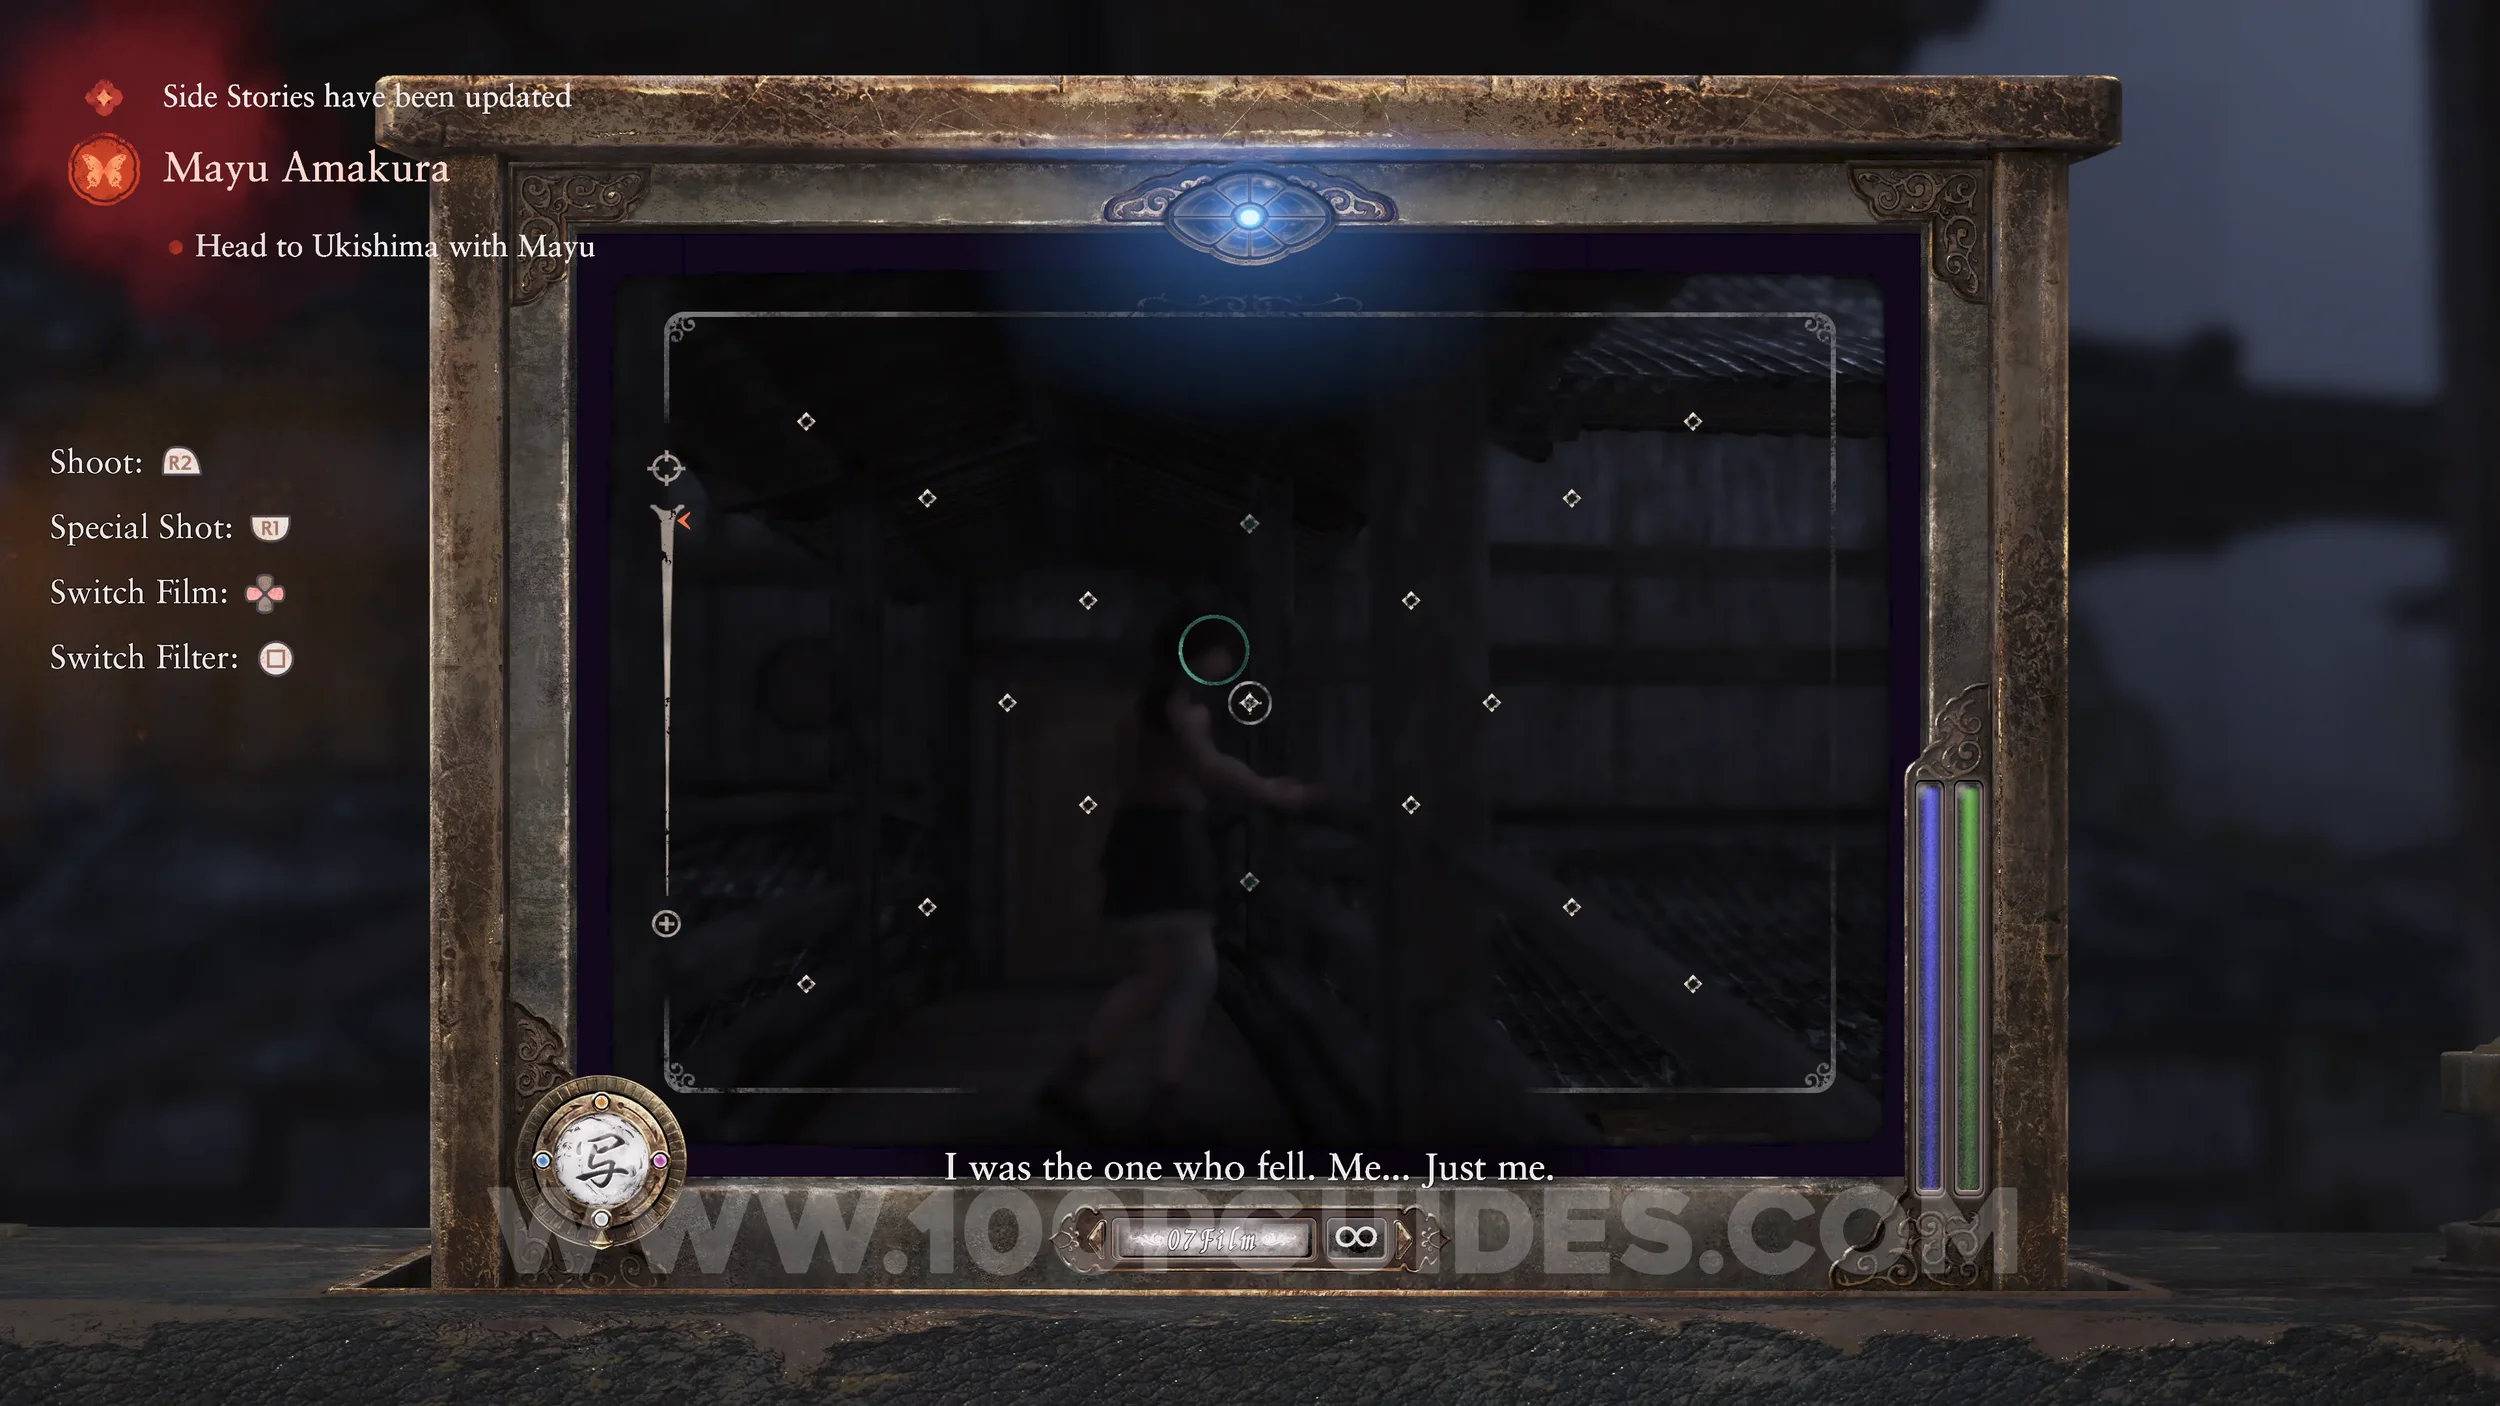
Film Reel #9 (9) and Specter #253 - 259 Mayu Gazing at Pond. Next, go to the small island to the right of the large bridge that leads to the Kurosawa House. Pick up the Film Reel and then take a photo of Mayu.
Specter #254 - 260 Mayu Watching Footage. Now take Mayu to the Projection Room in the Kiryu House and use Film Reel 9 on the projector. Then take a photo of Mayu.
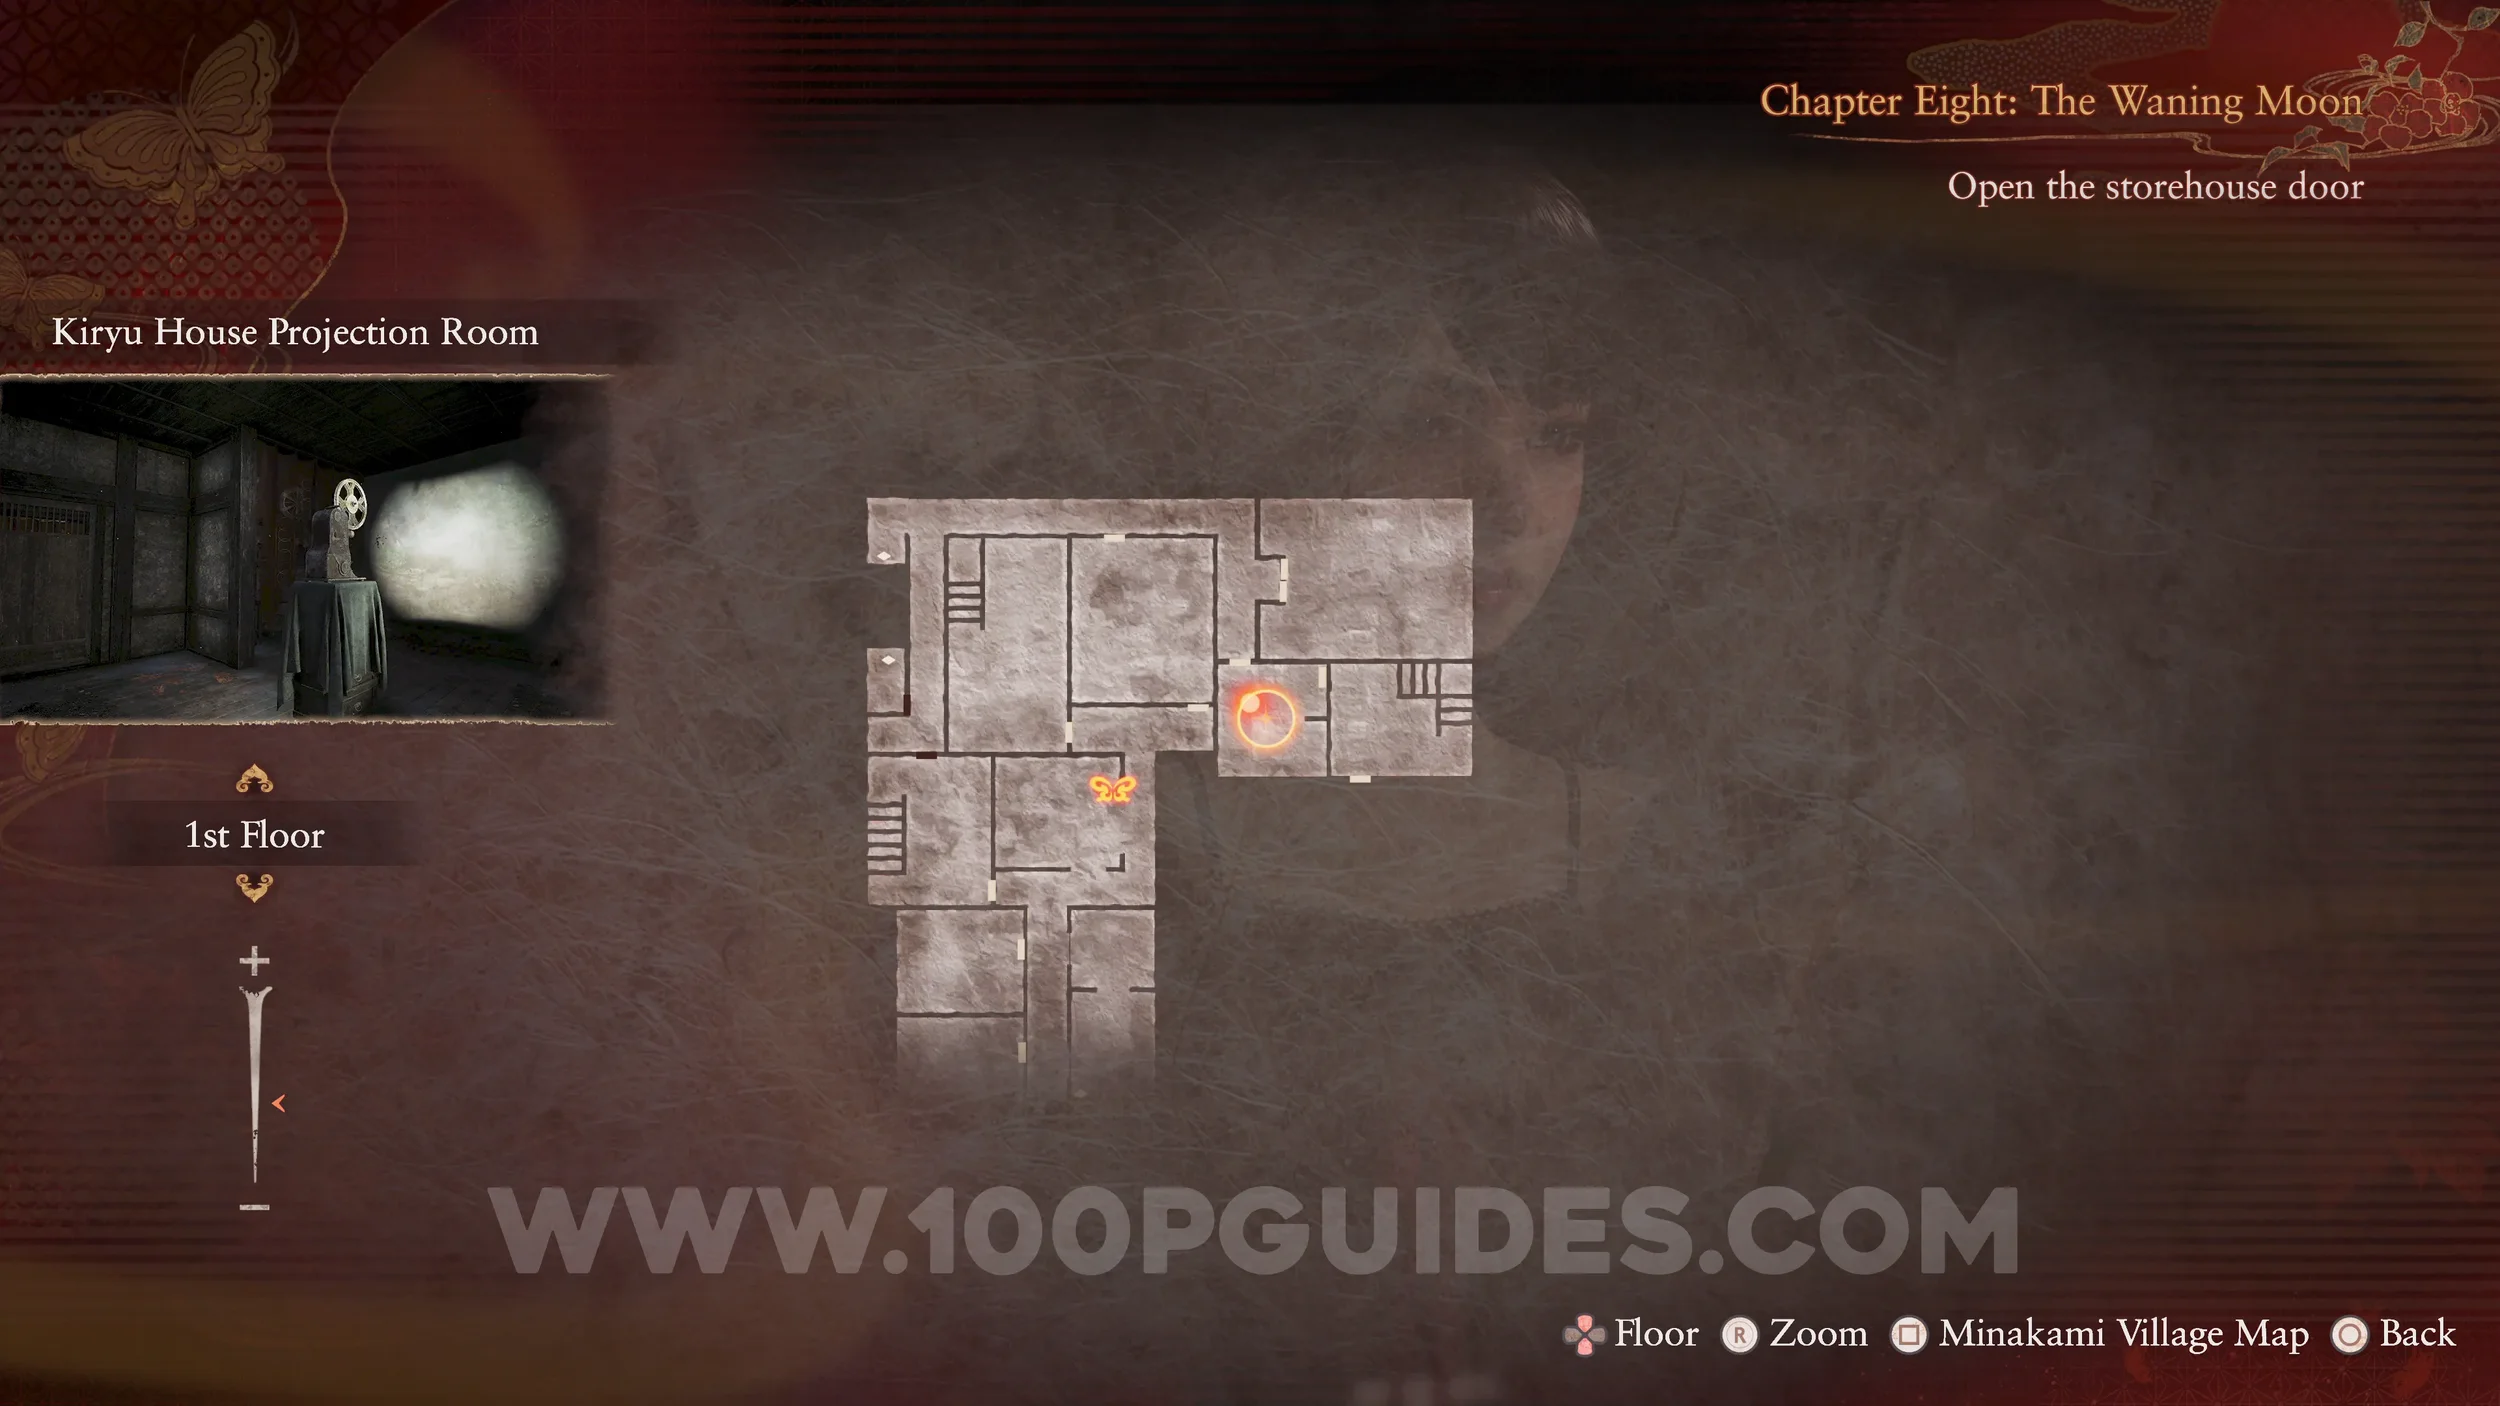
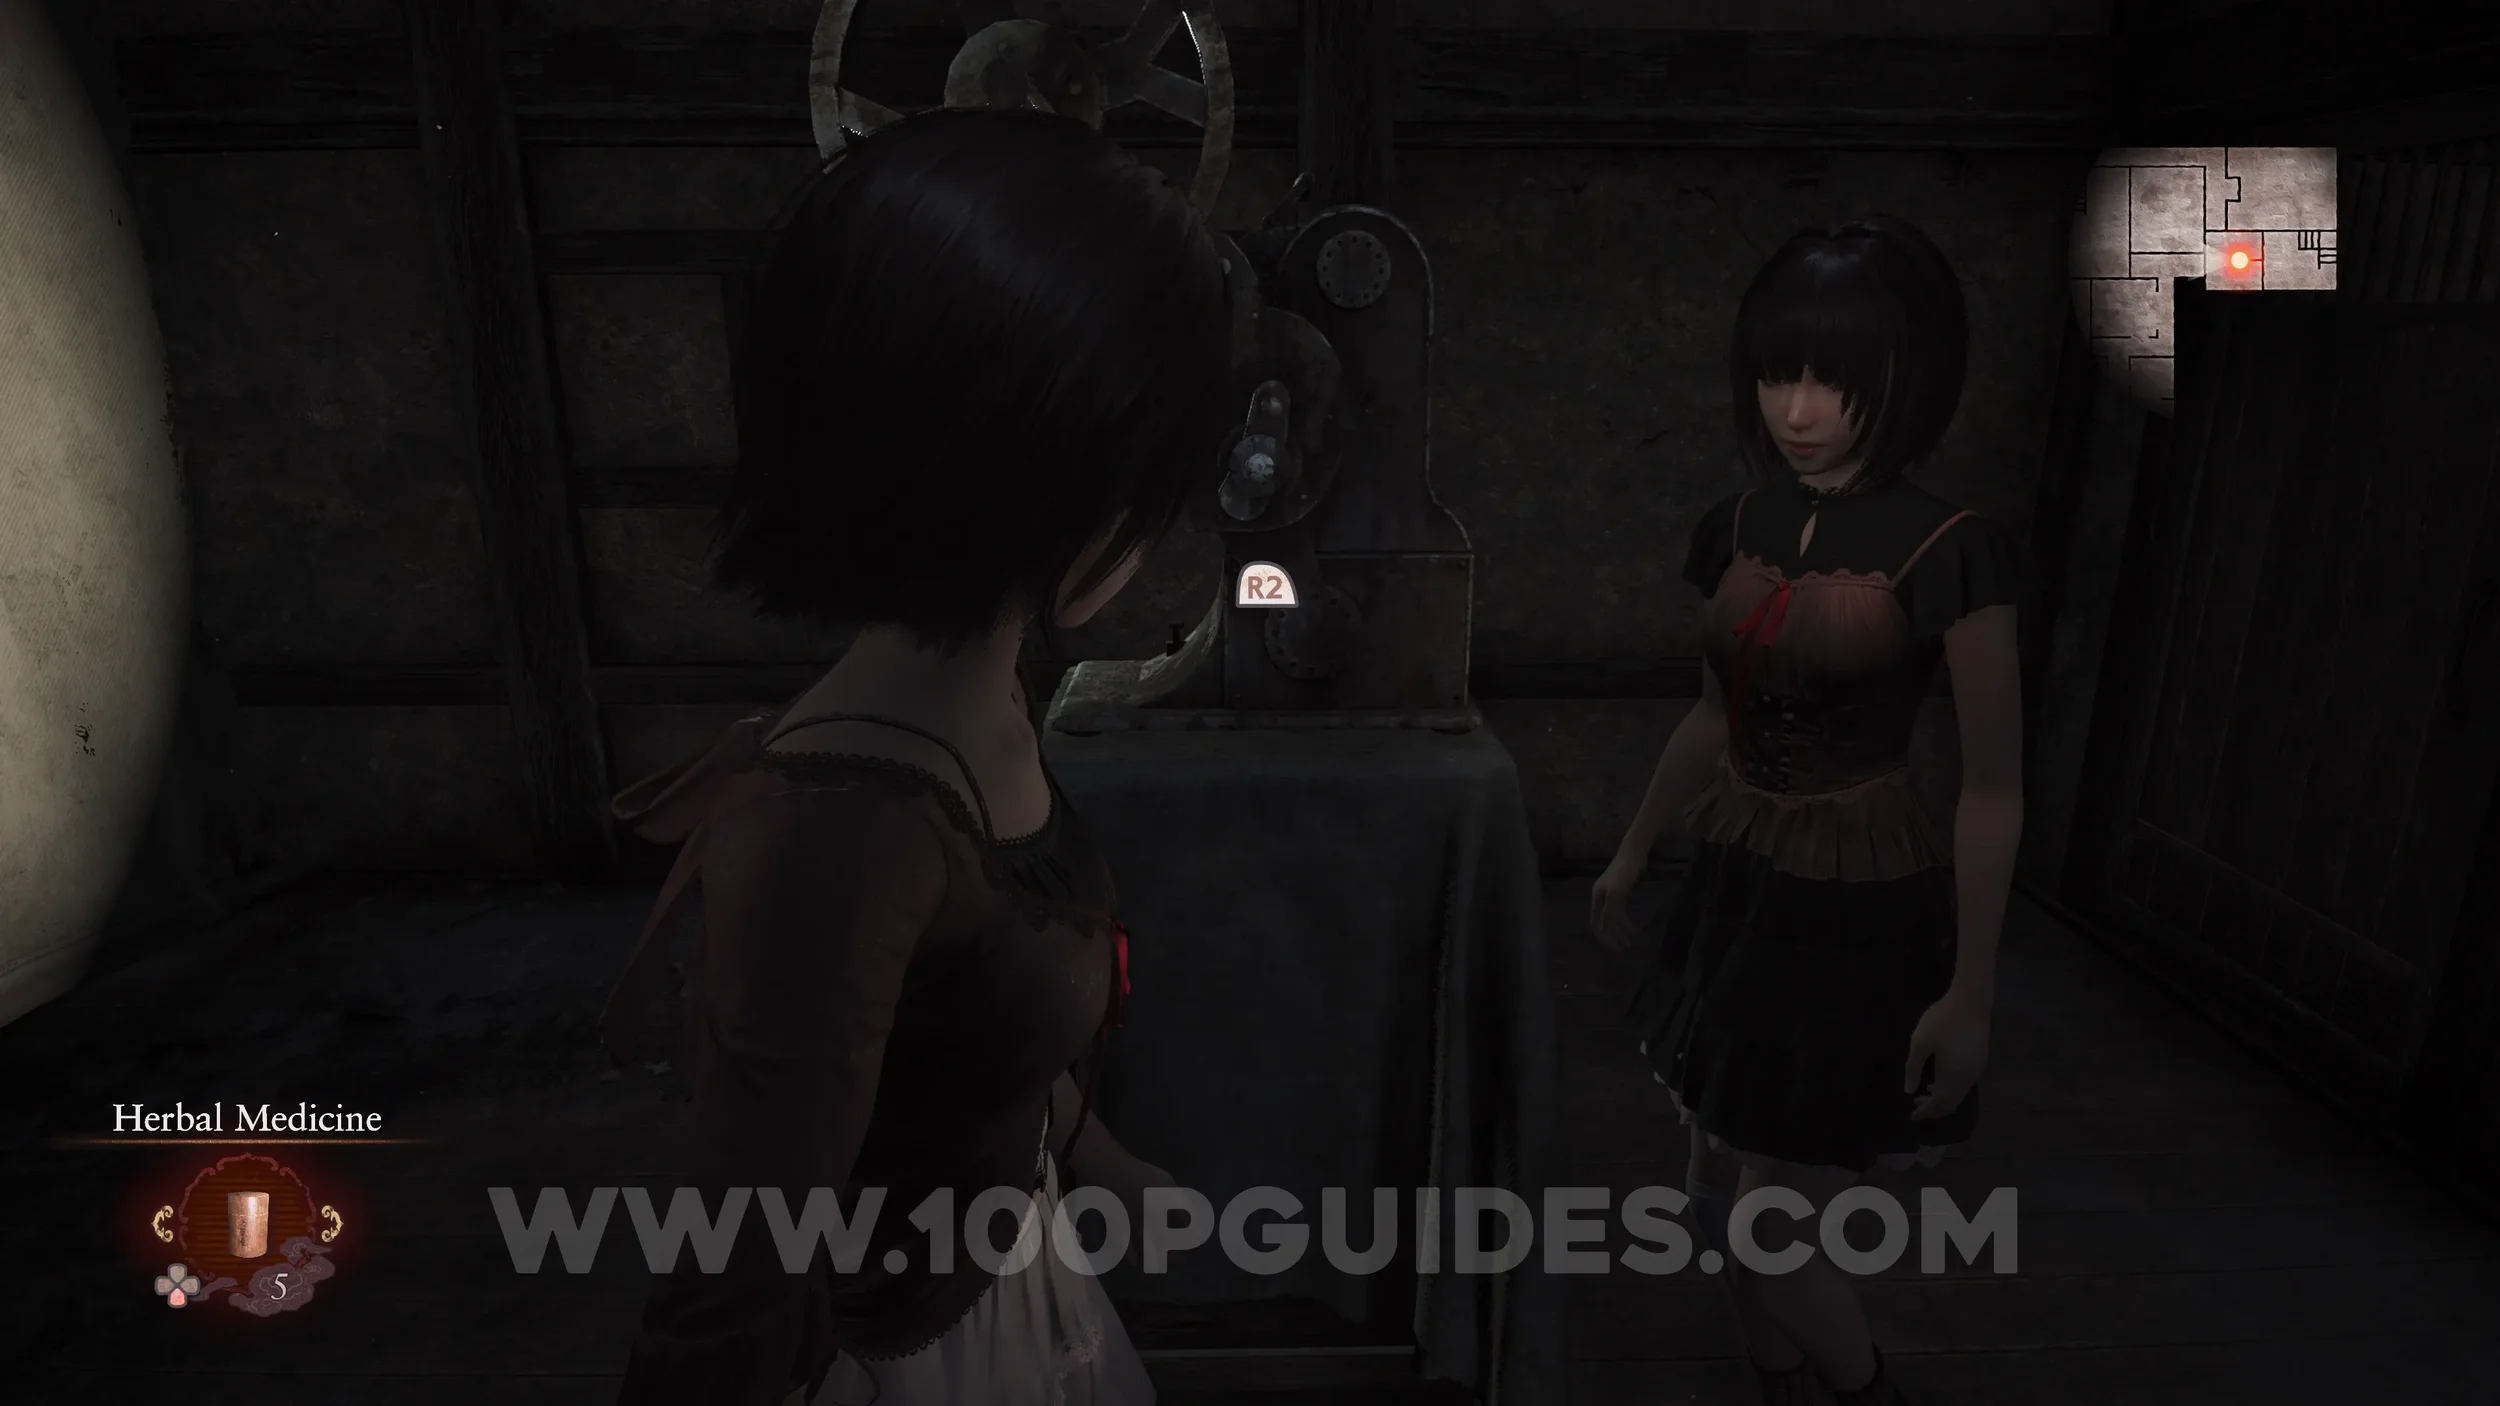
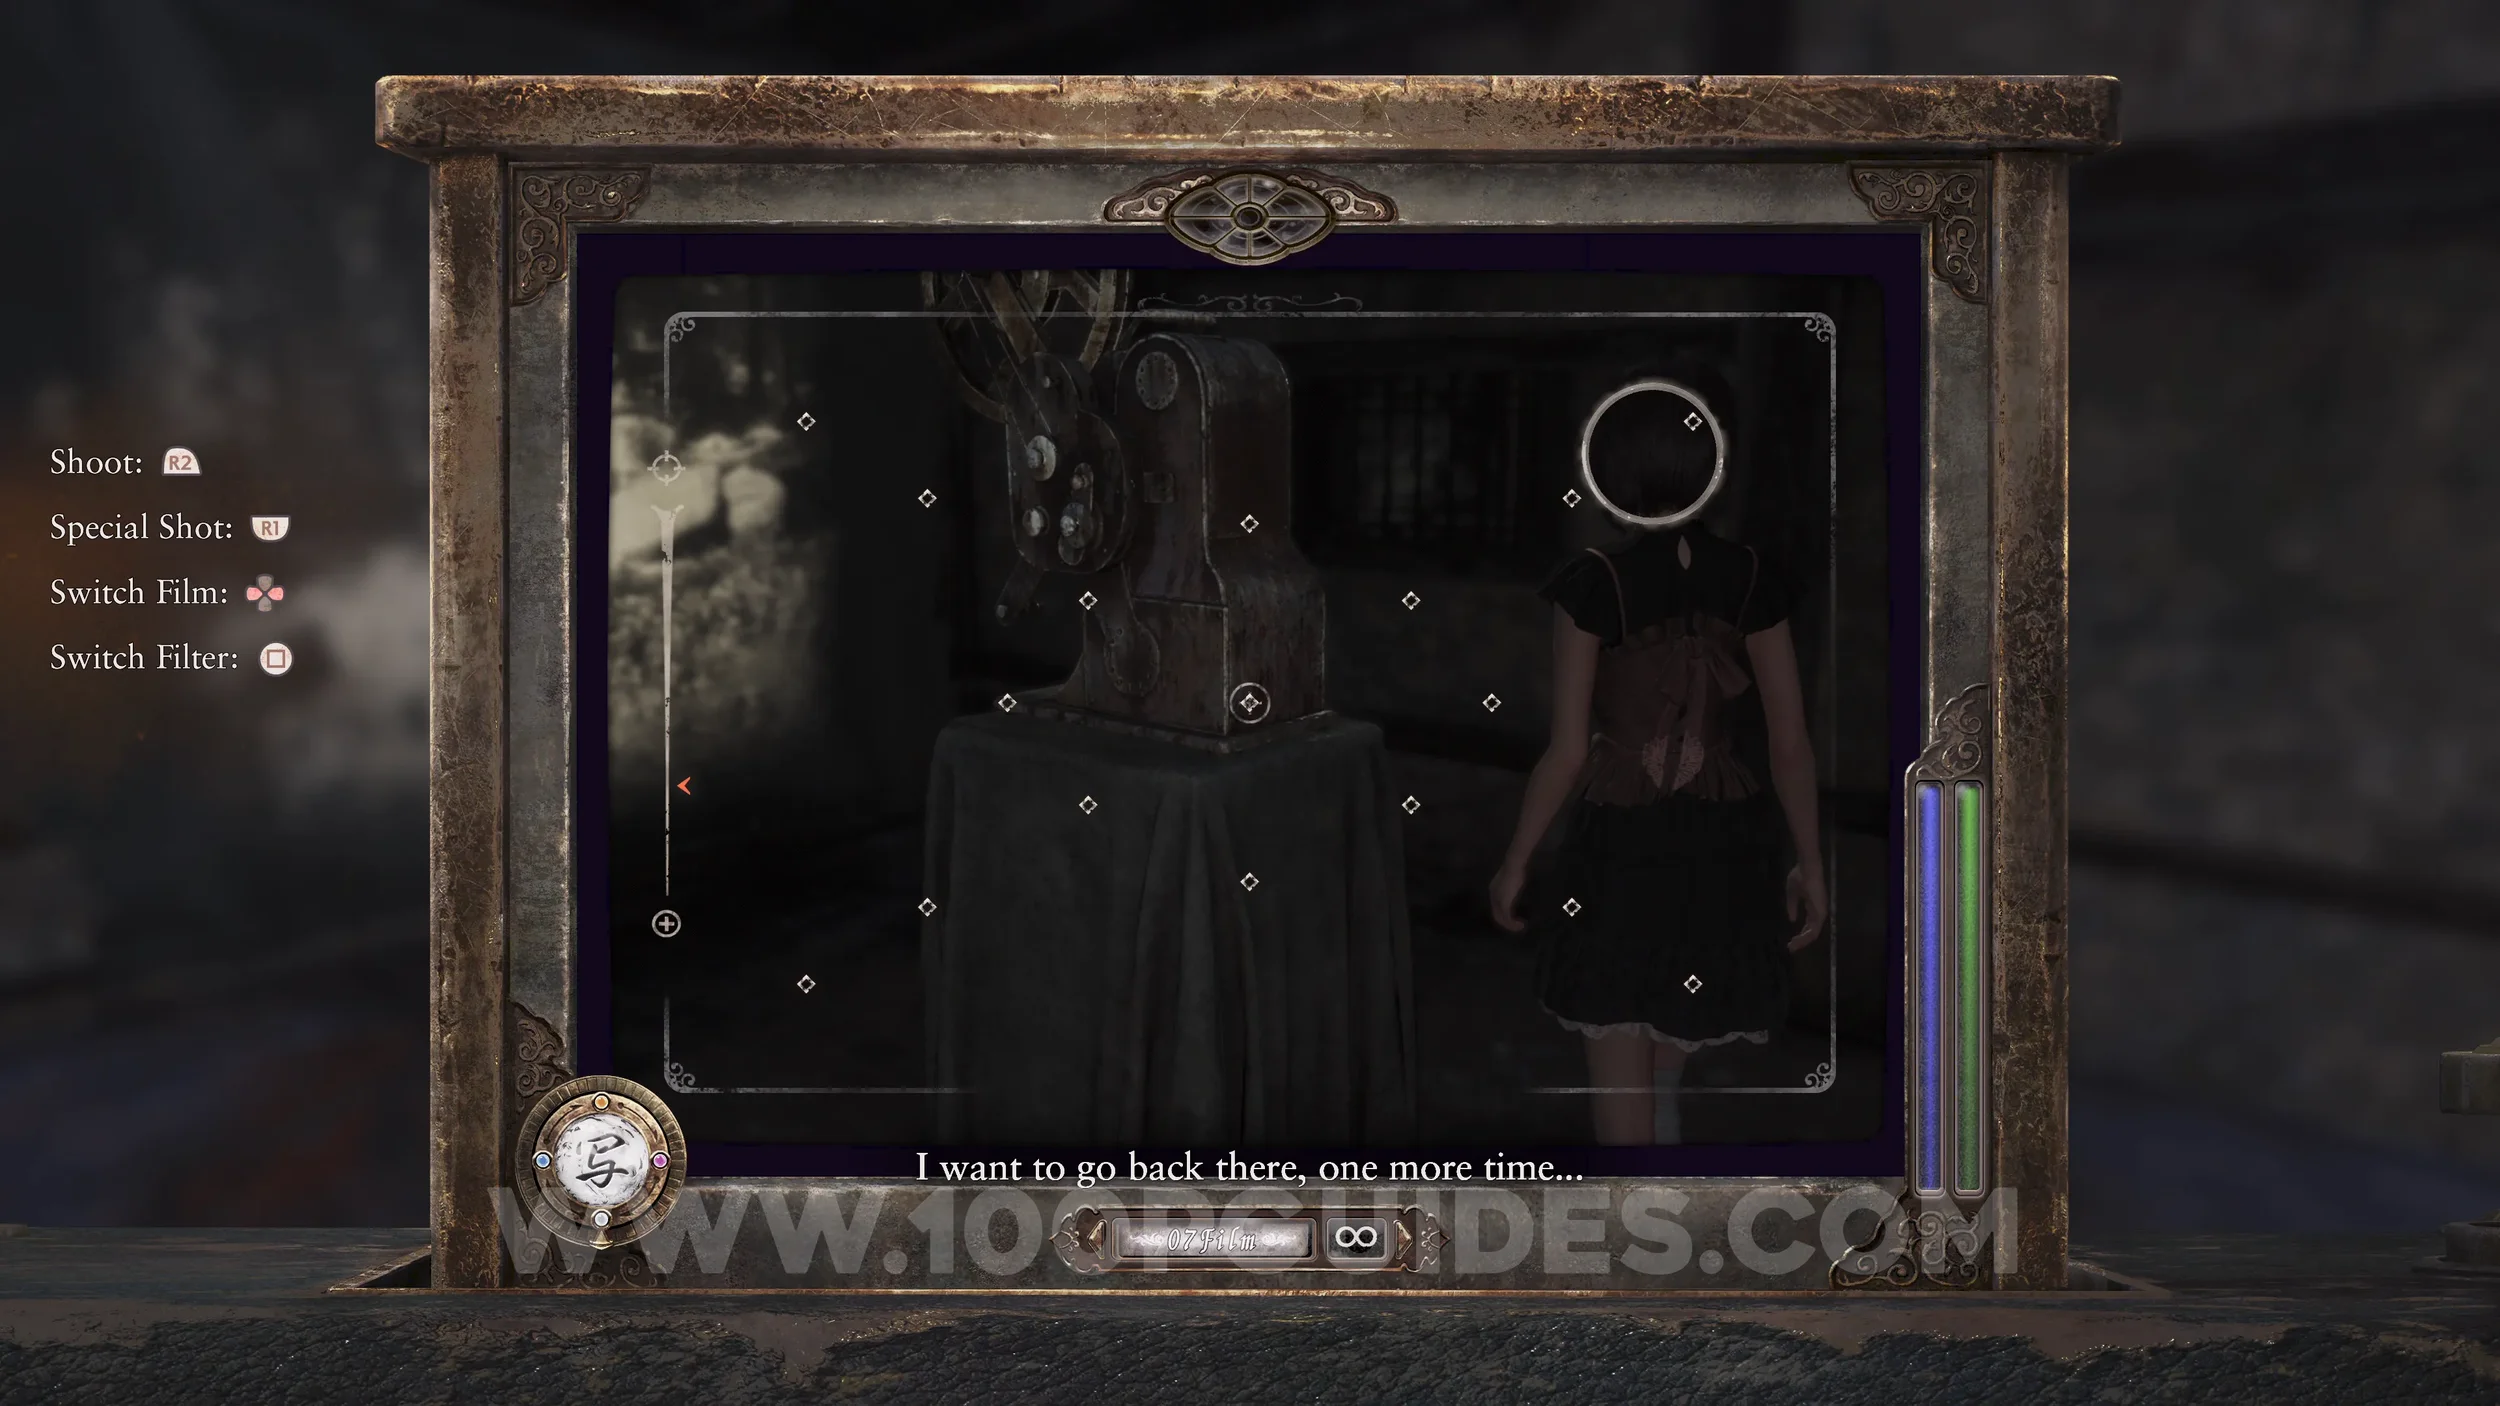
Specter #255 - 261 Dreaming Mayu, Revenant #37 - 013 Those Who Fell Into Darkness and Spirit Stone #44 - Mayu’s Spirit Stone Shard (2/2) (Mayu's Sparkling Spirit Stone). Continue playing through Chapter 8 until you enter the Old Tree. Here, interact with Mayu while she is on the floor to enter her dream. Inside, take a photo of her, then make sure to look down the pit and get the revenant BEFORE interacting with Mayu. This will end the "Mayu Amakura" side quest and give you one of the two Spirit Stones needed for the fifth ending.
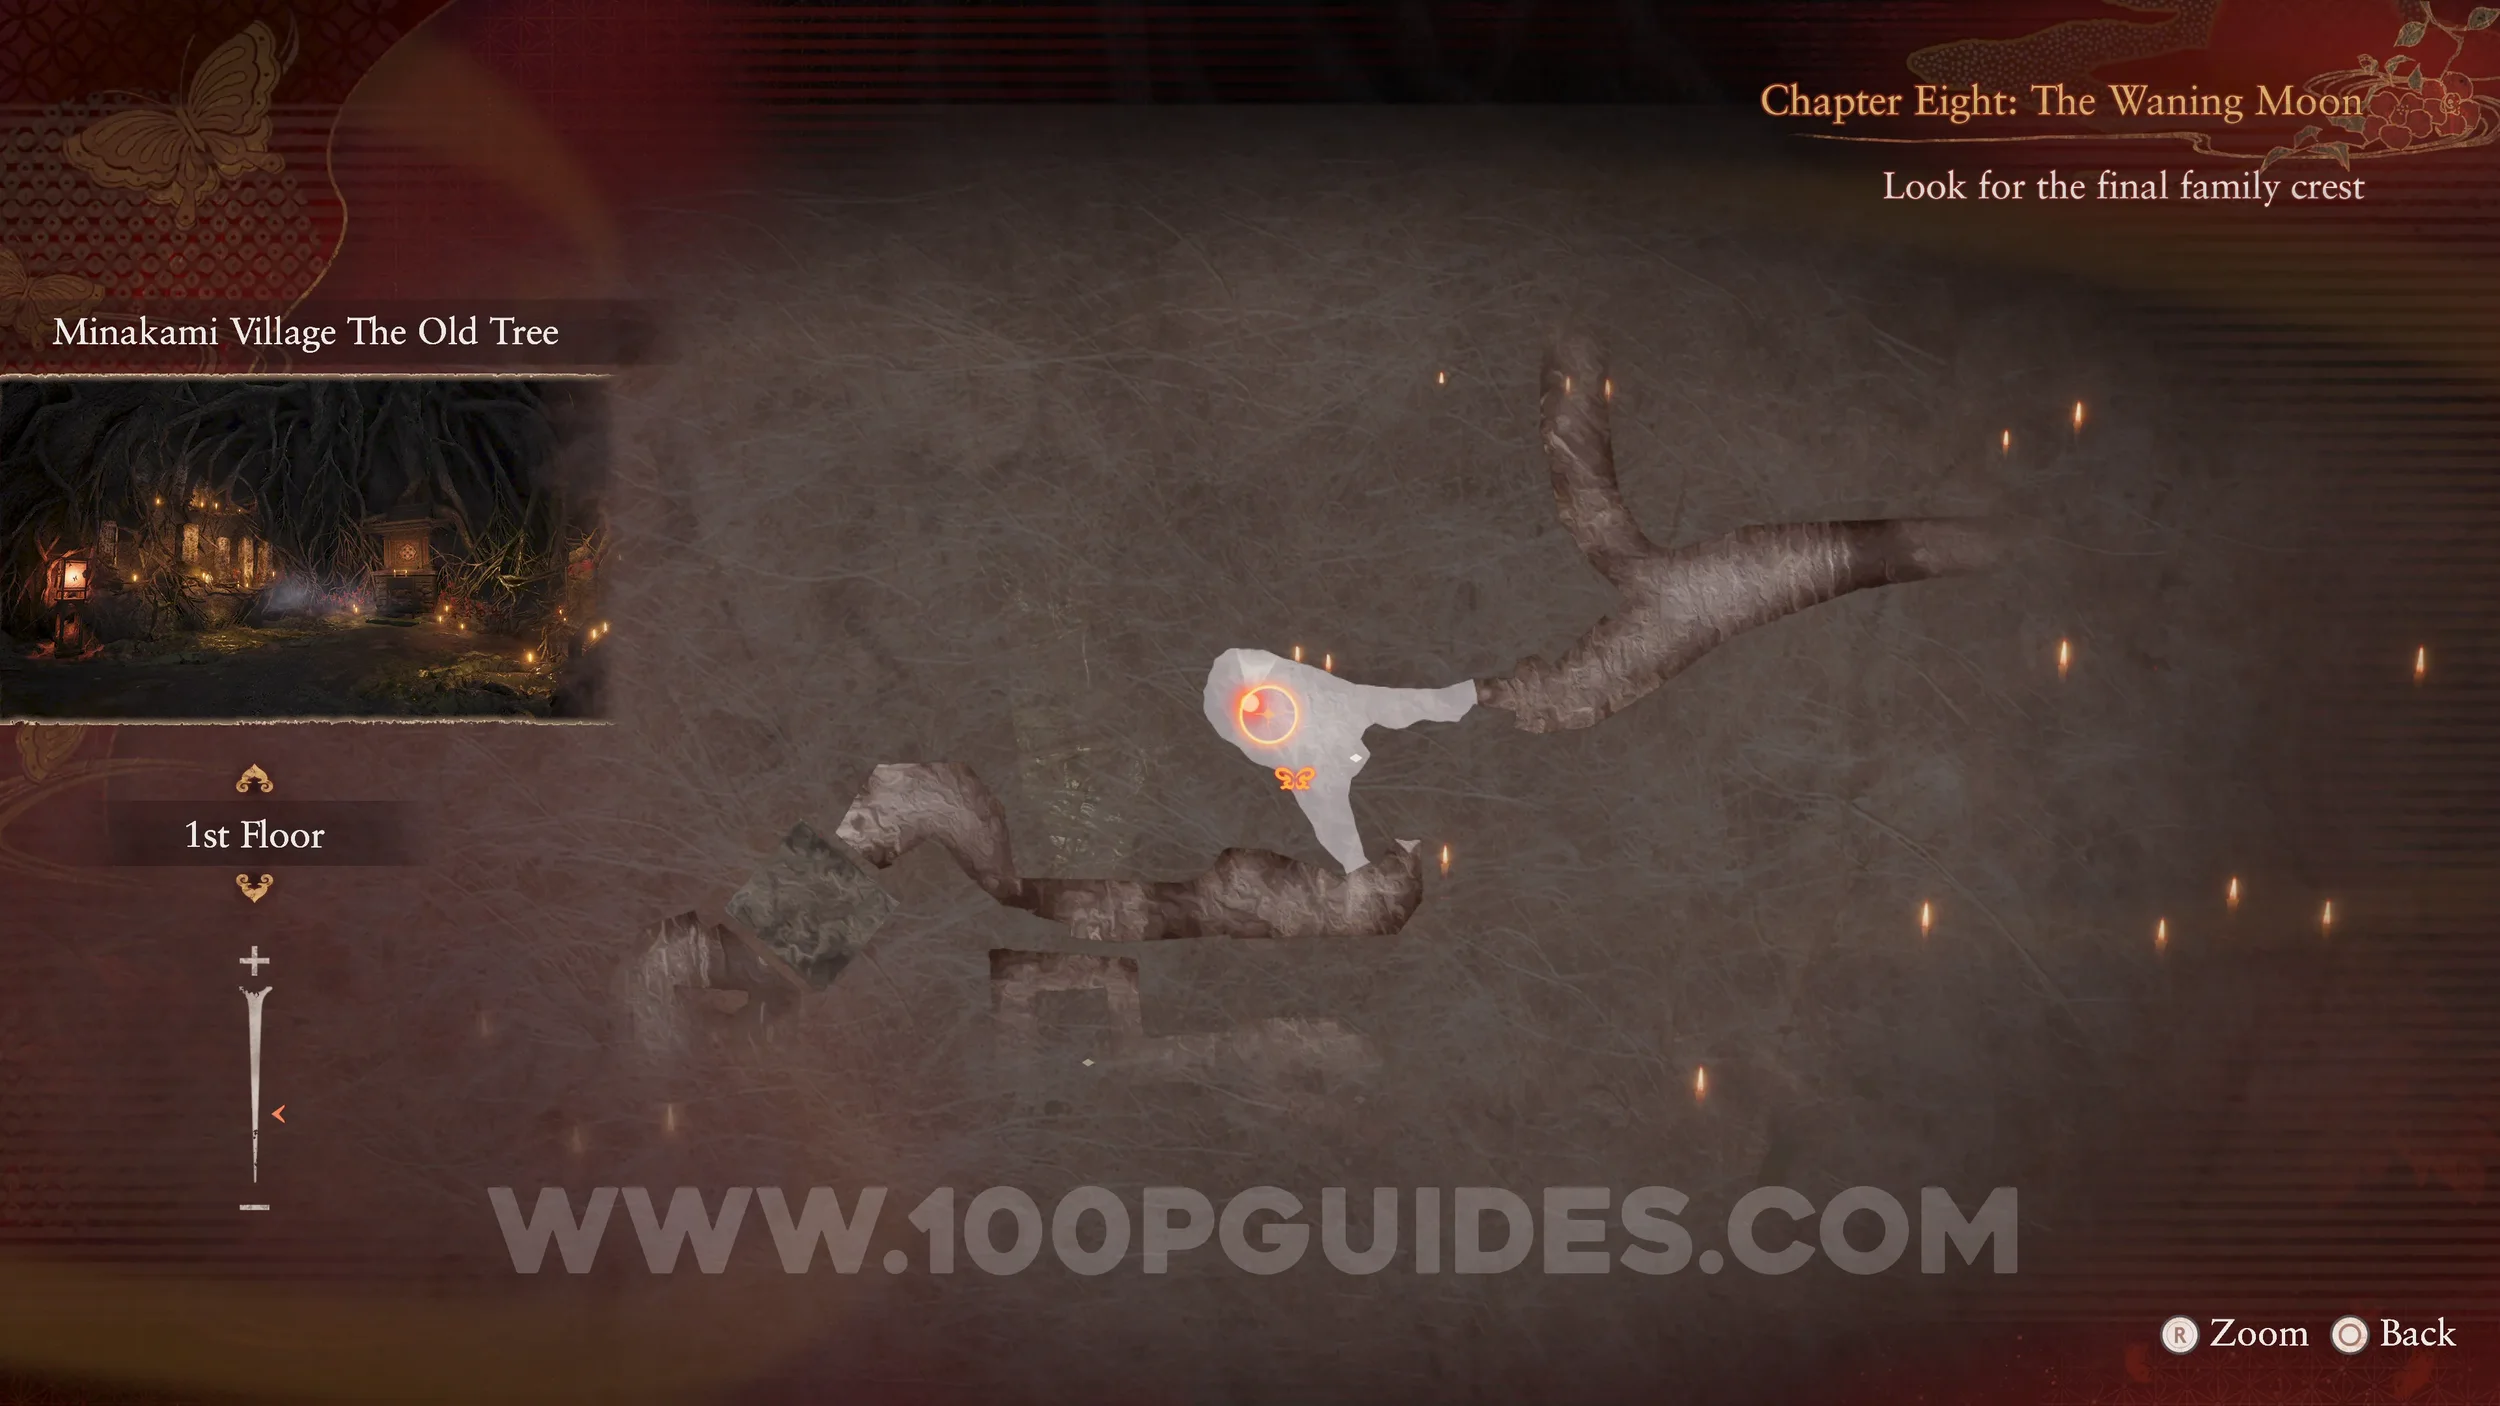
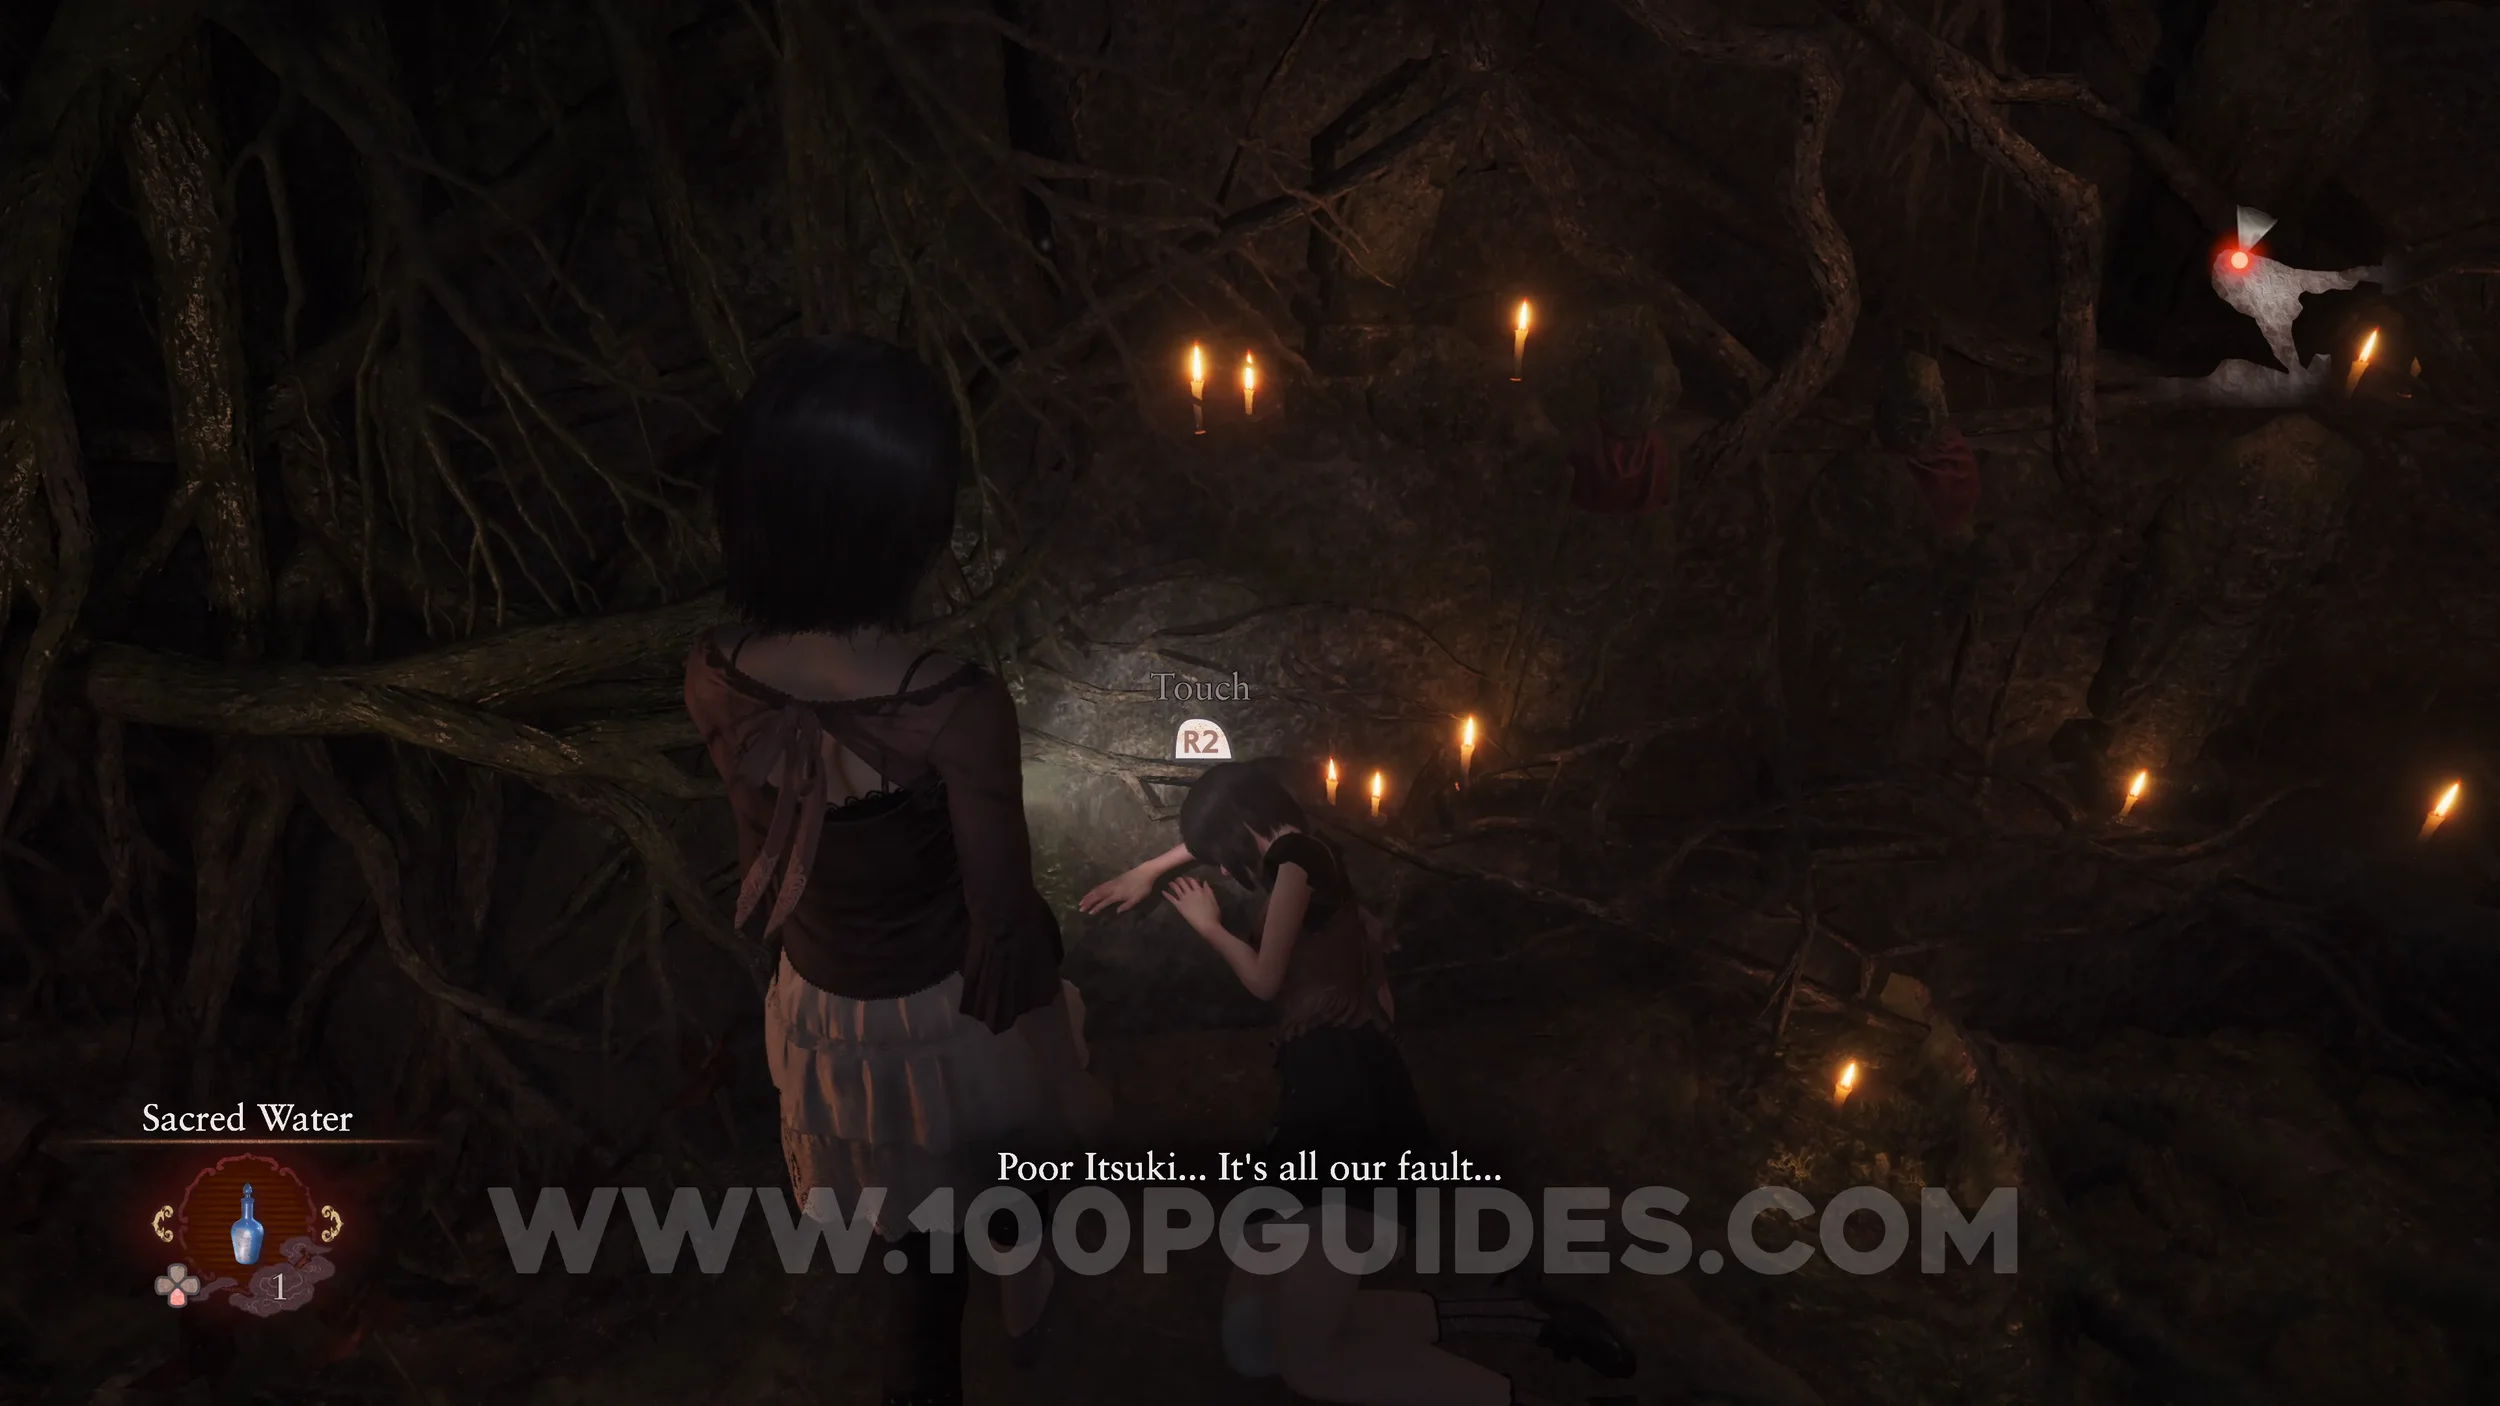
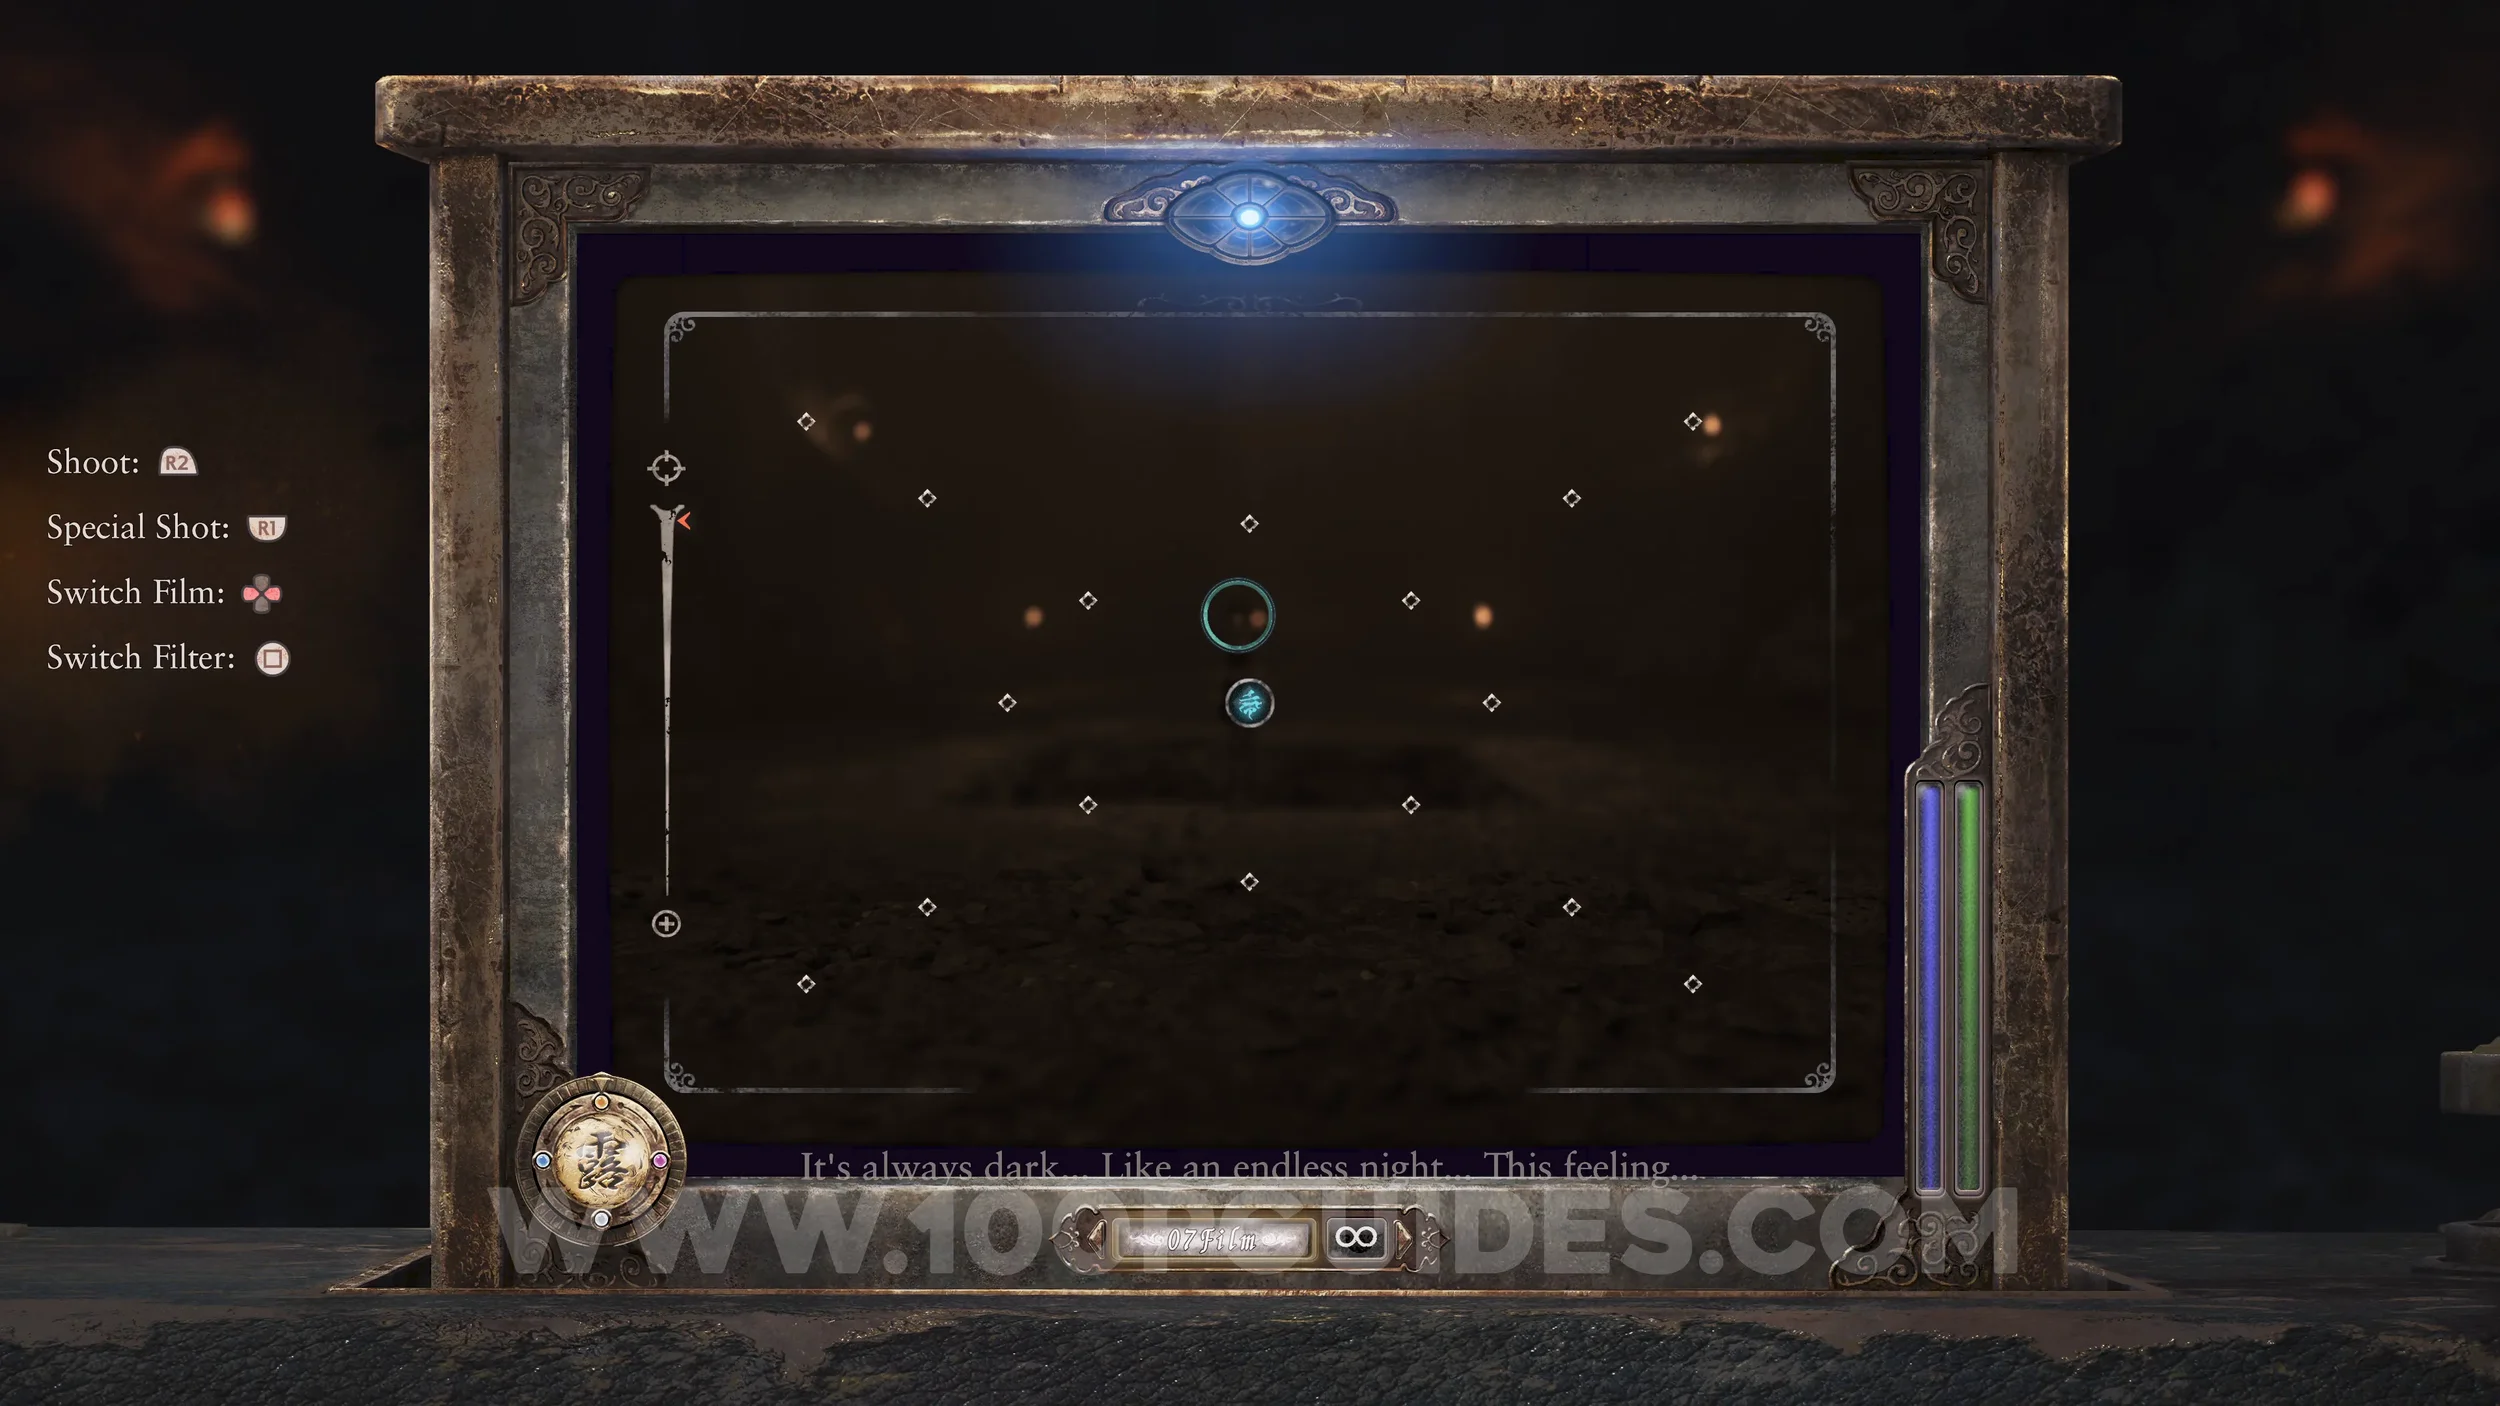
You now want to get to the Final Chapter. You can continue playing through chapter 8 to the end or if you want to save time, make a save at the save point in The Old Tree and then quit to the main menu and select Load > Chapter Select > Select the save you just made > Final Chapter.
Revenant #38 - 038 Woman Crying in Main Hall and Document #119 - Blood-splattered Note 1. During the Final Chapter, go to the Main Hall in the Kurosawa House to find the revenant in the middle. She will drop the note.
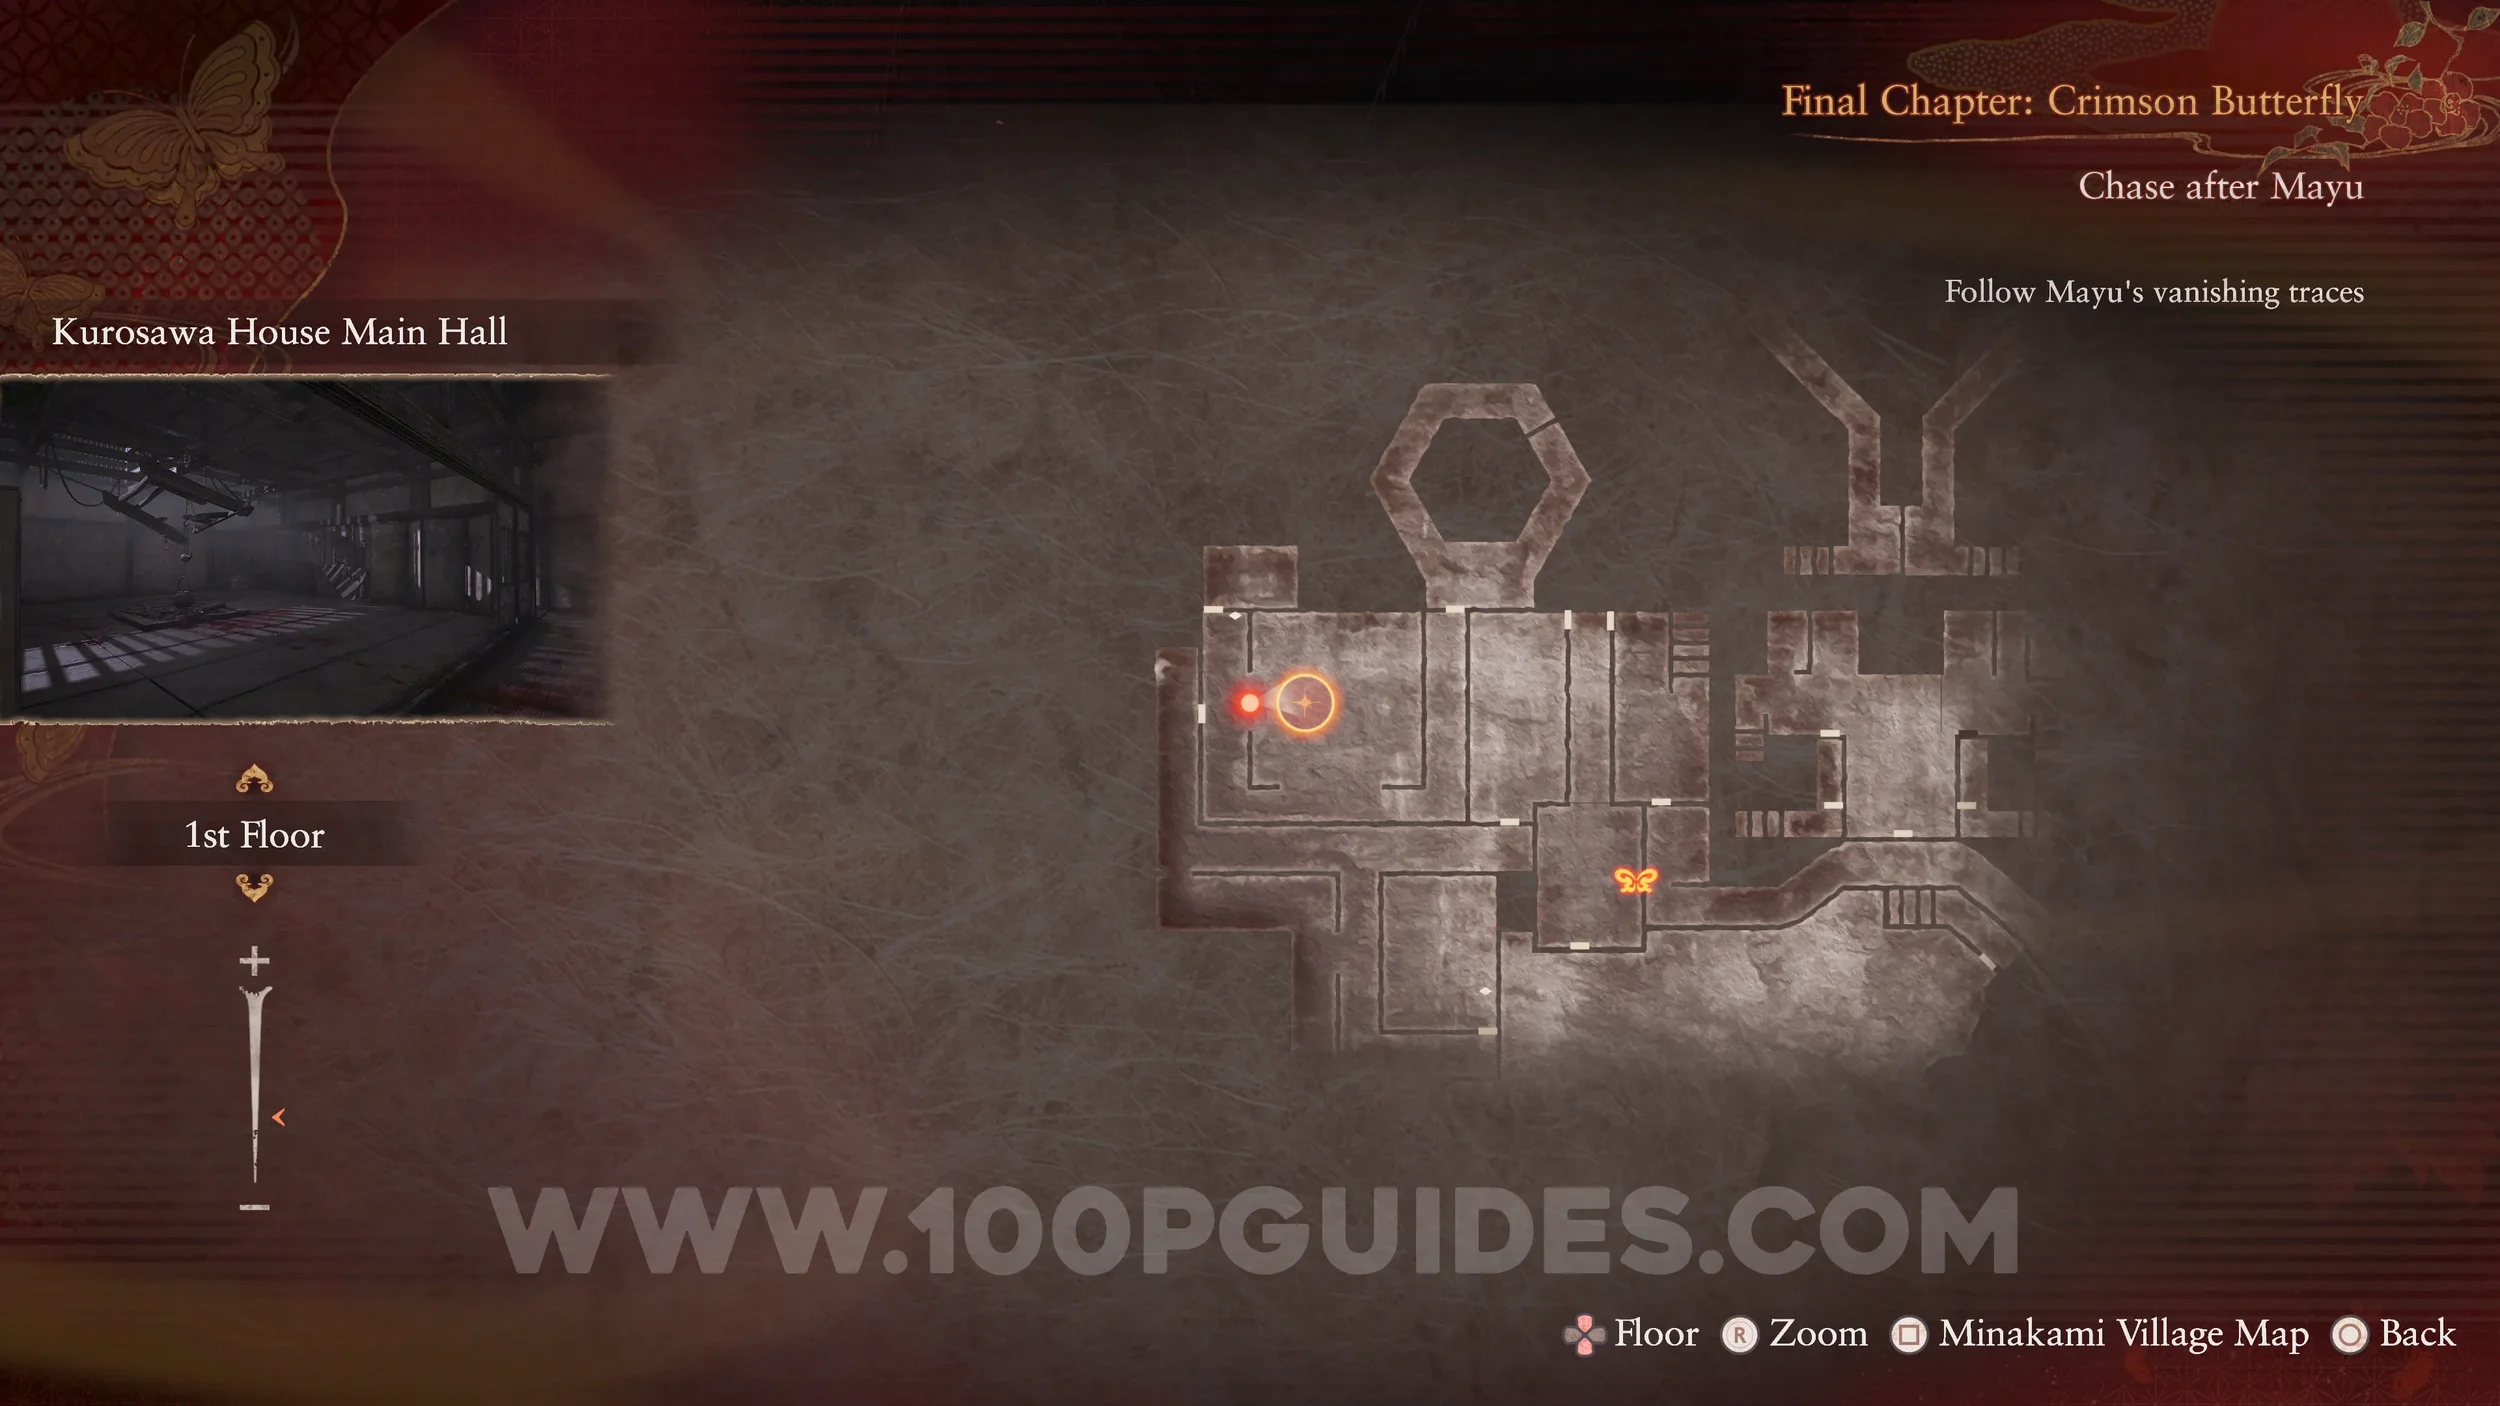
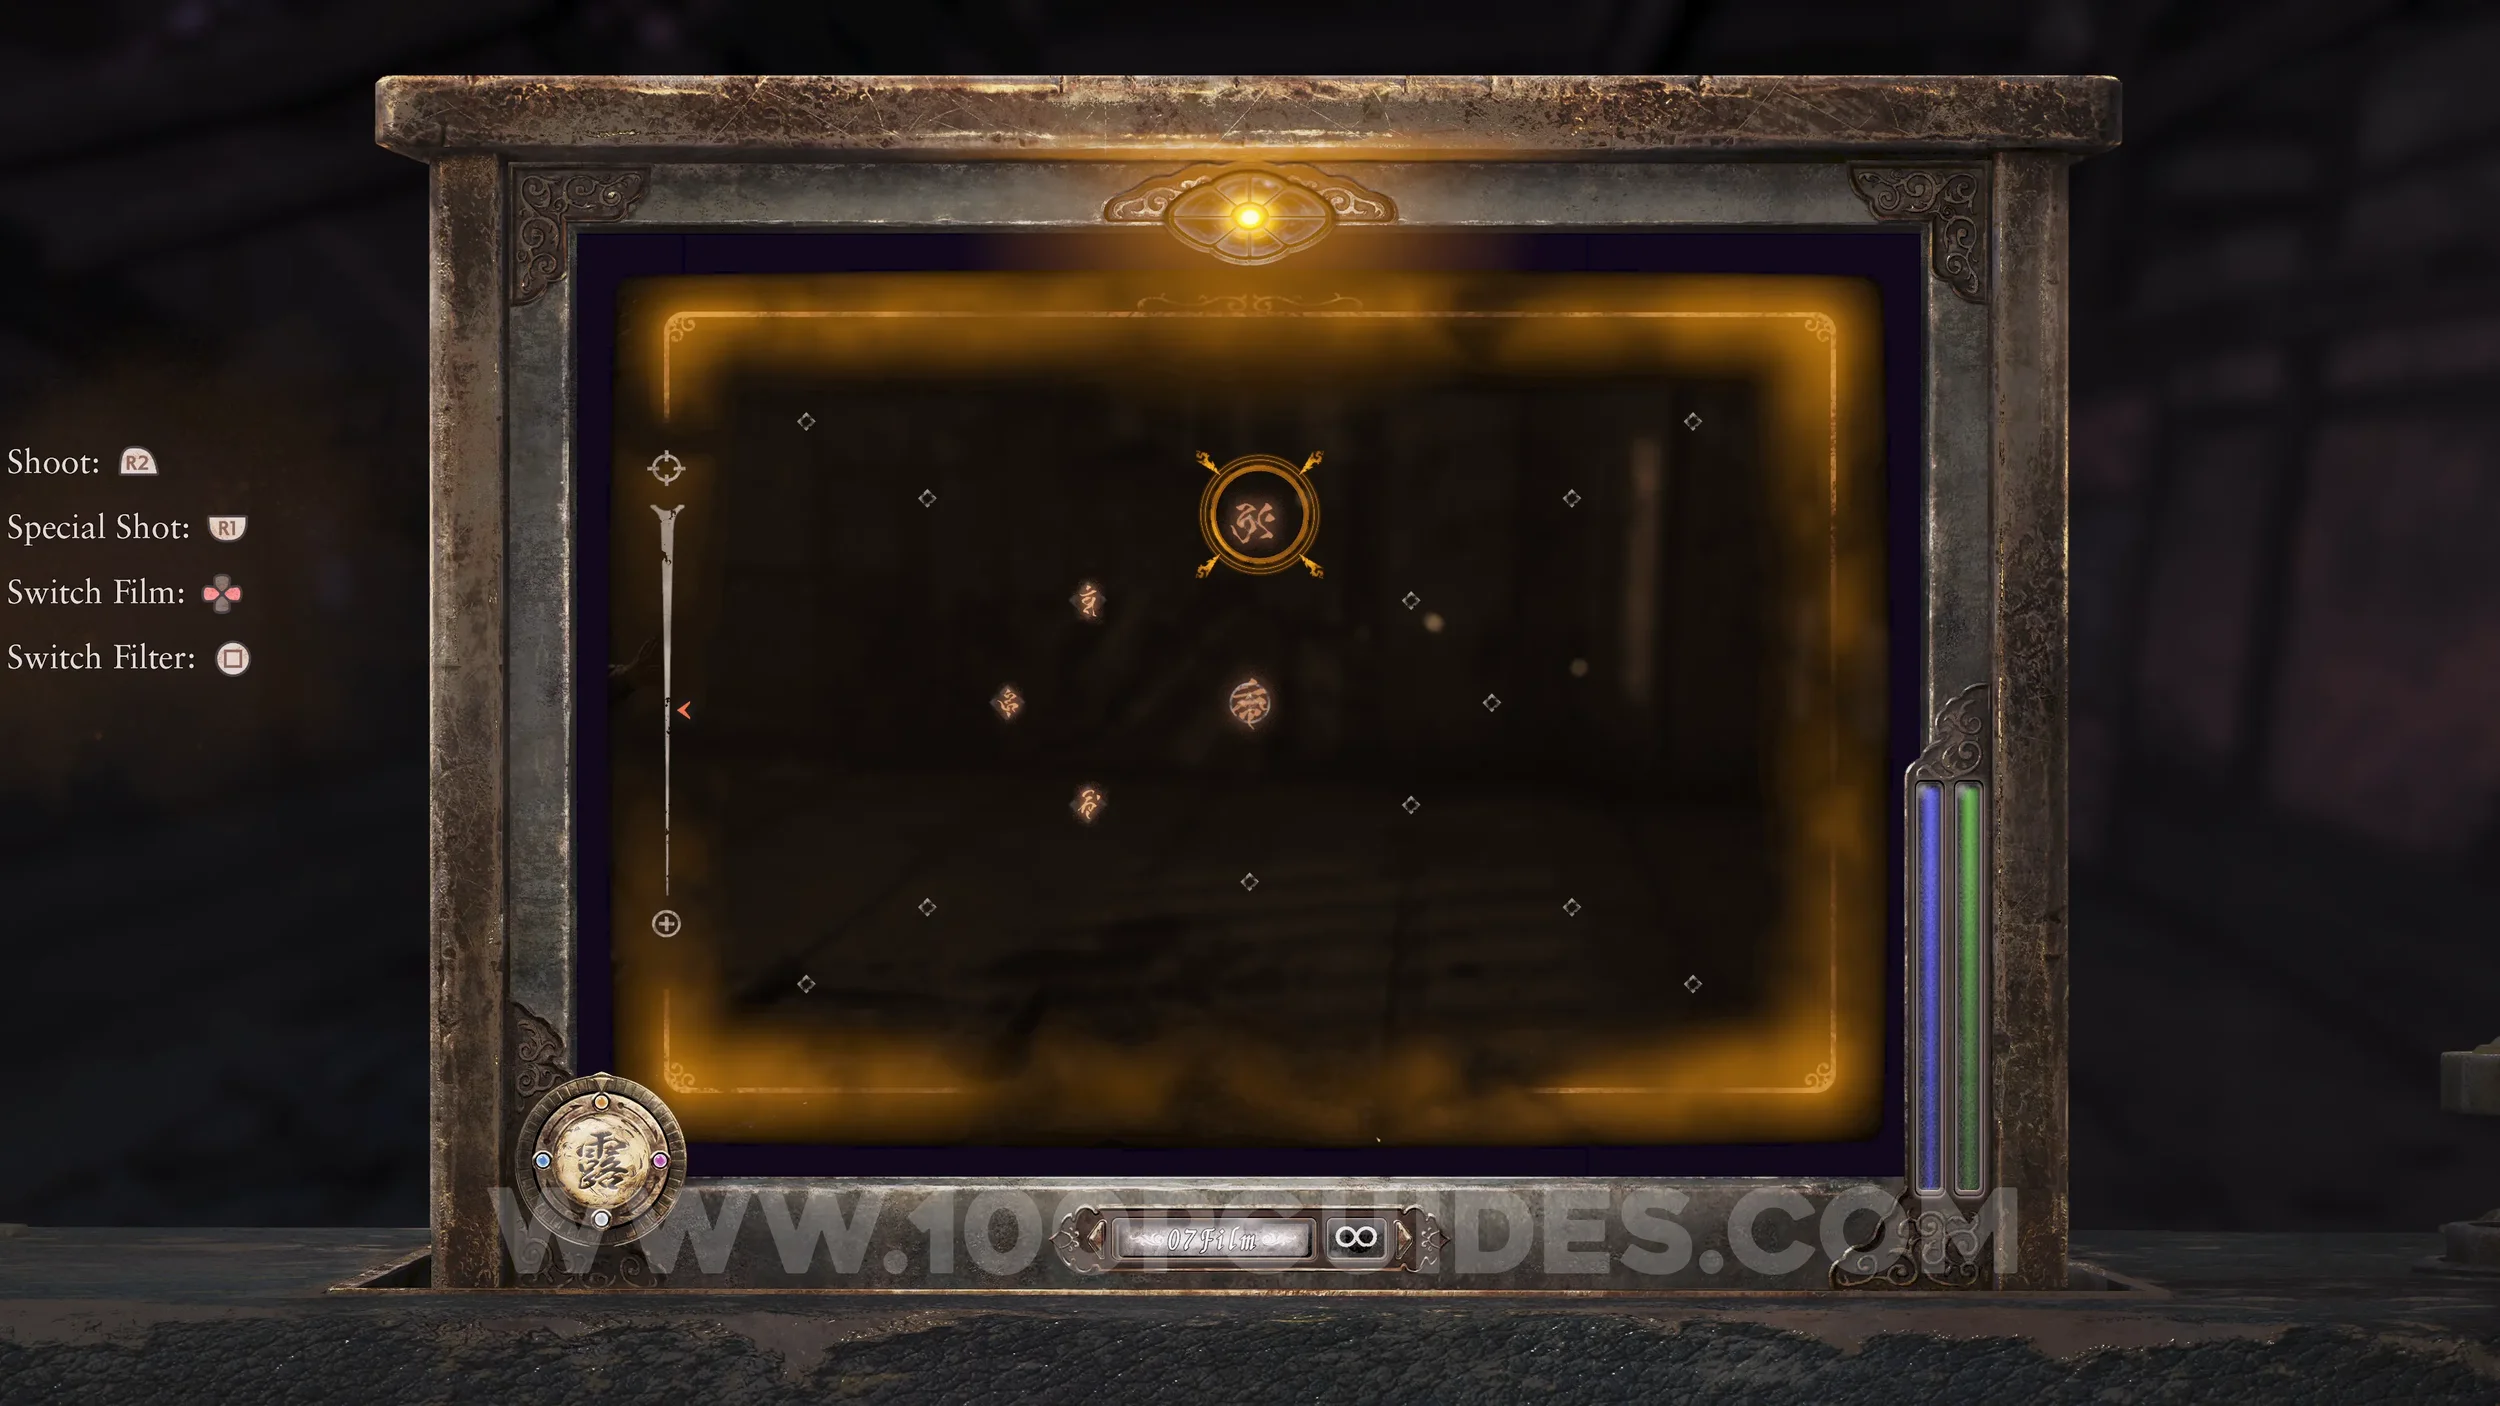
Revenant #39 - 039 Woman Crying in Storehouse and Document #120 - Blood-splattered Note 2. Return to the Minakami Village Storehouse to find the revenant in the doorway. She will drop the note.
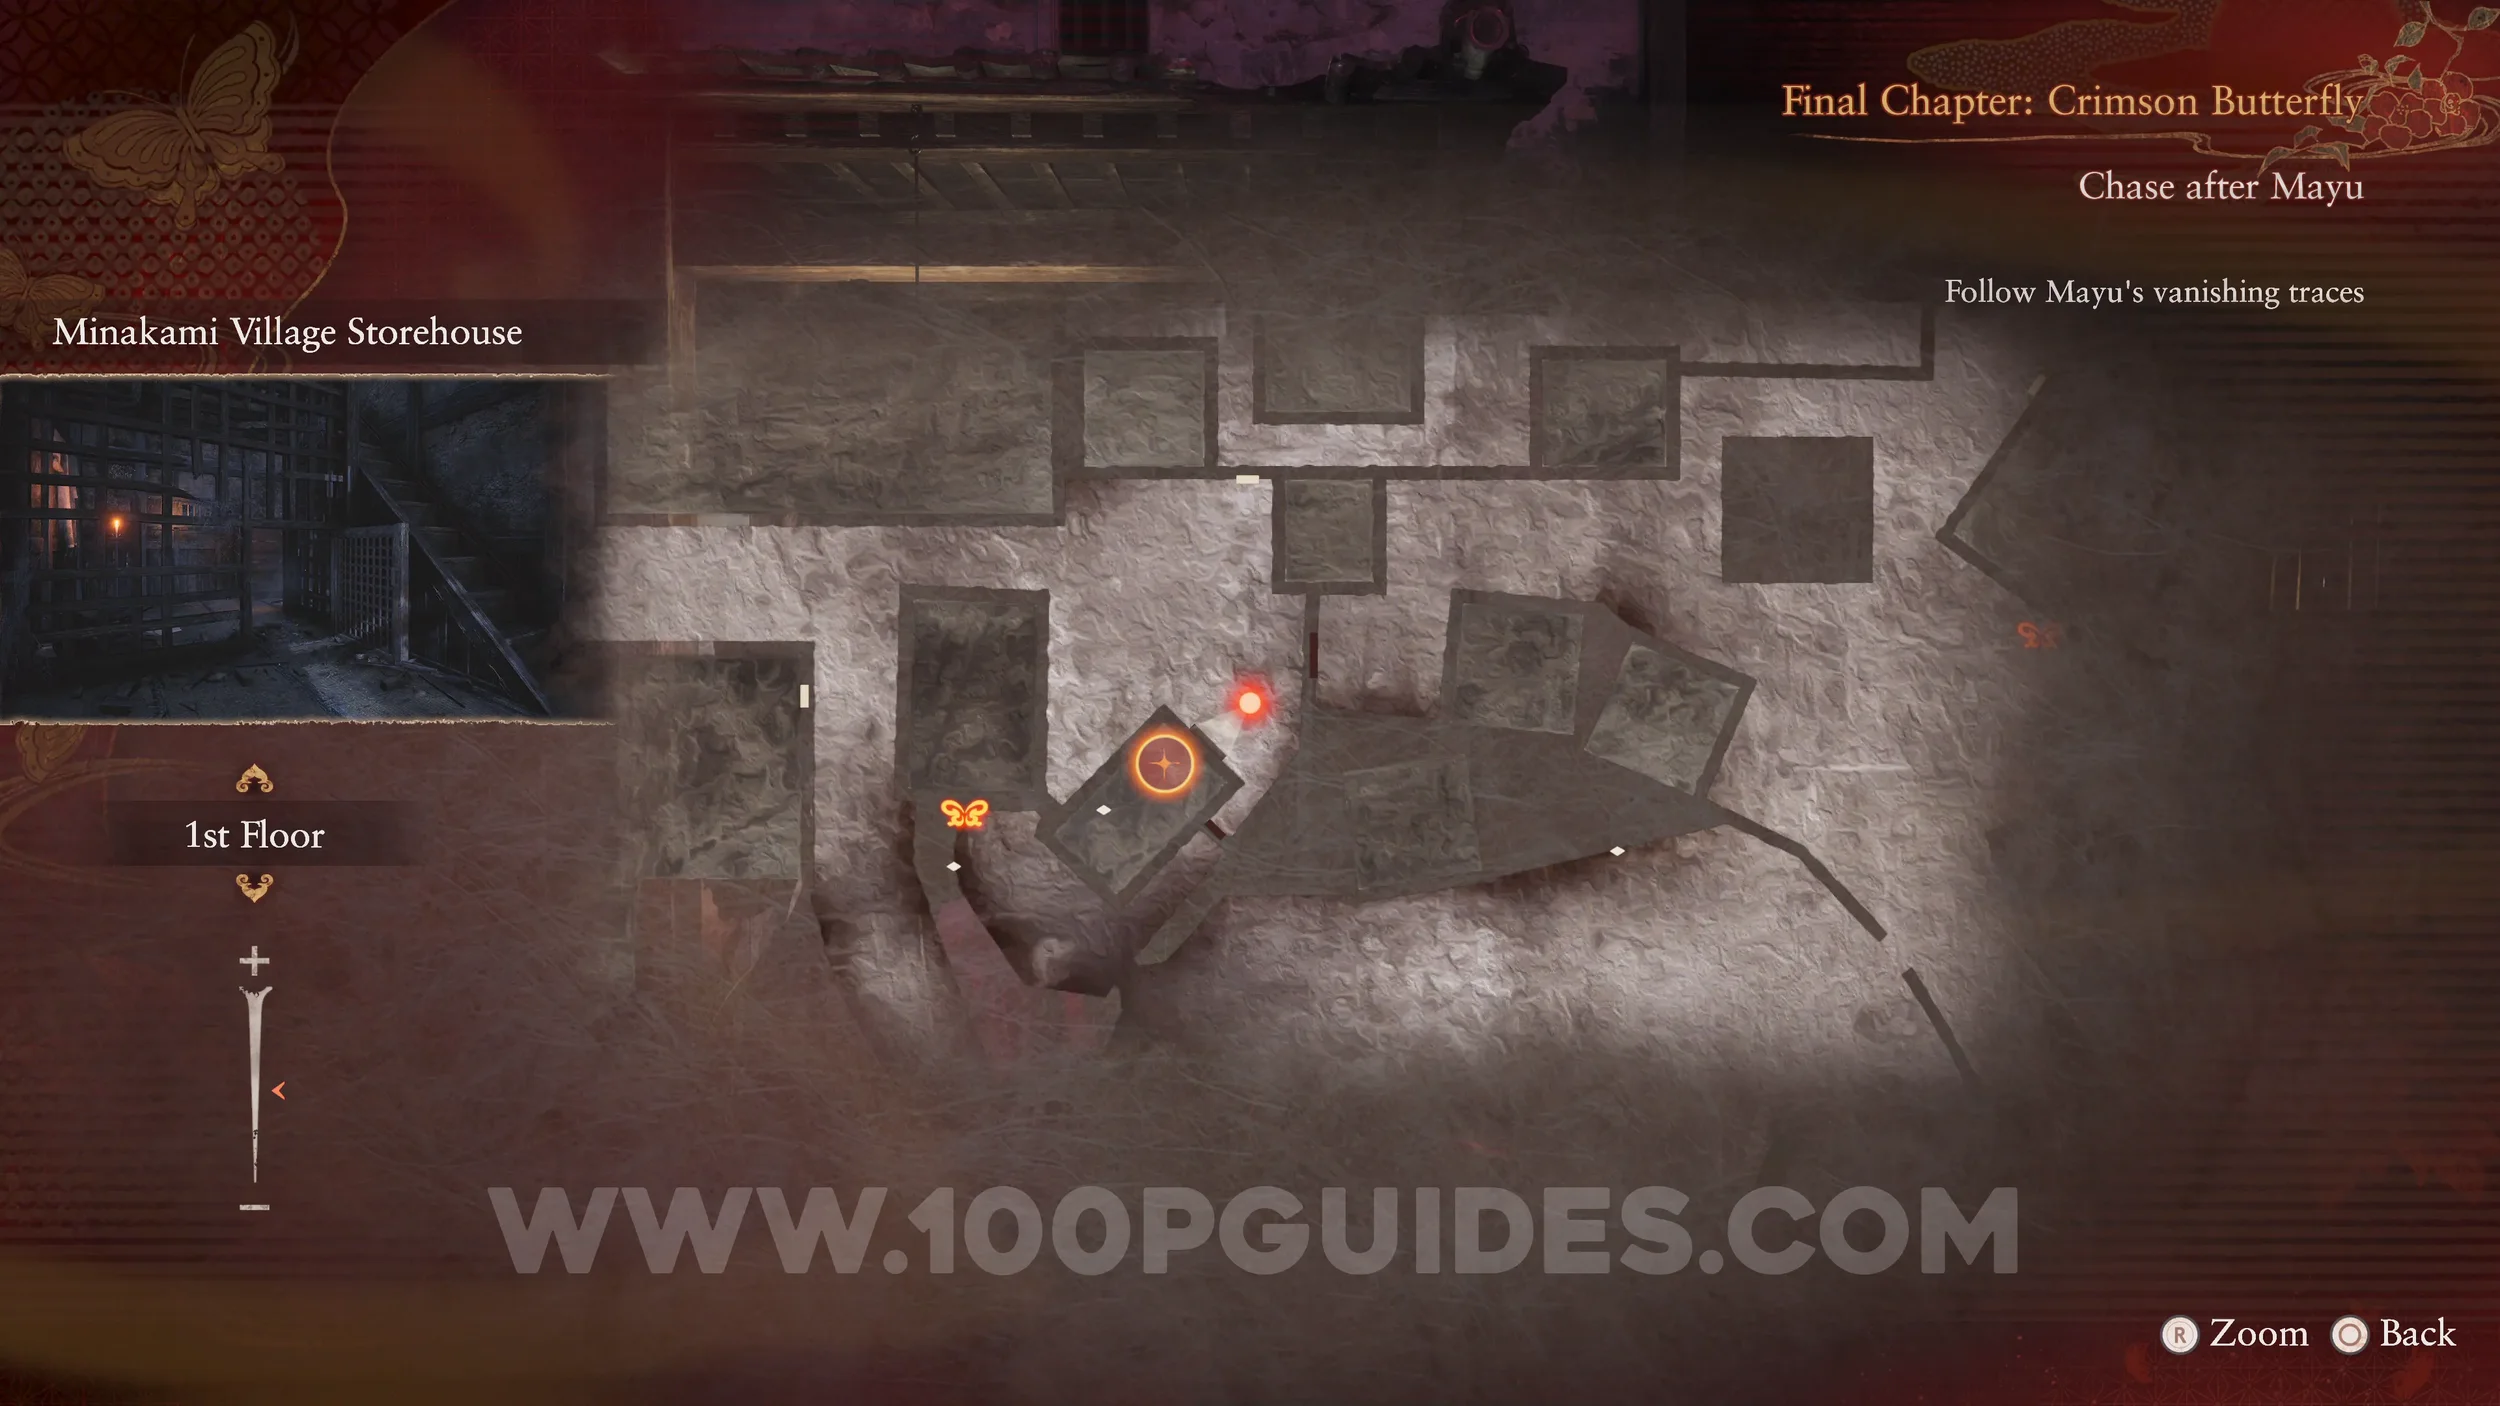
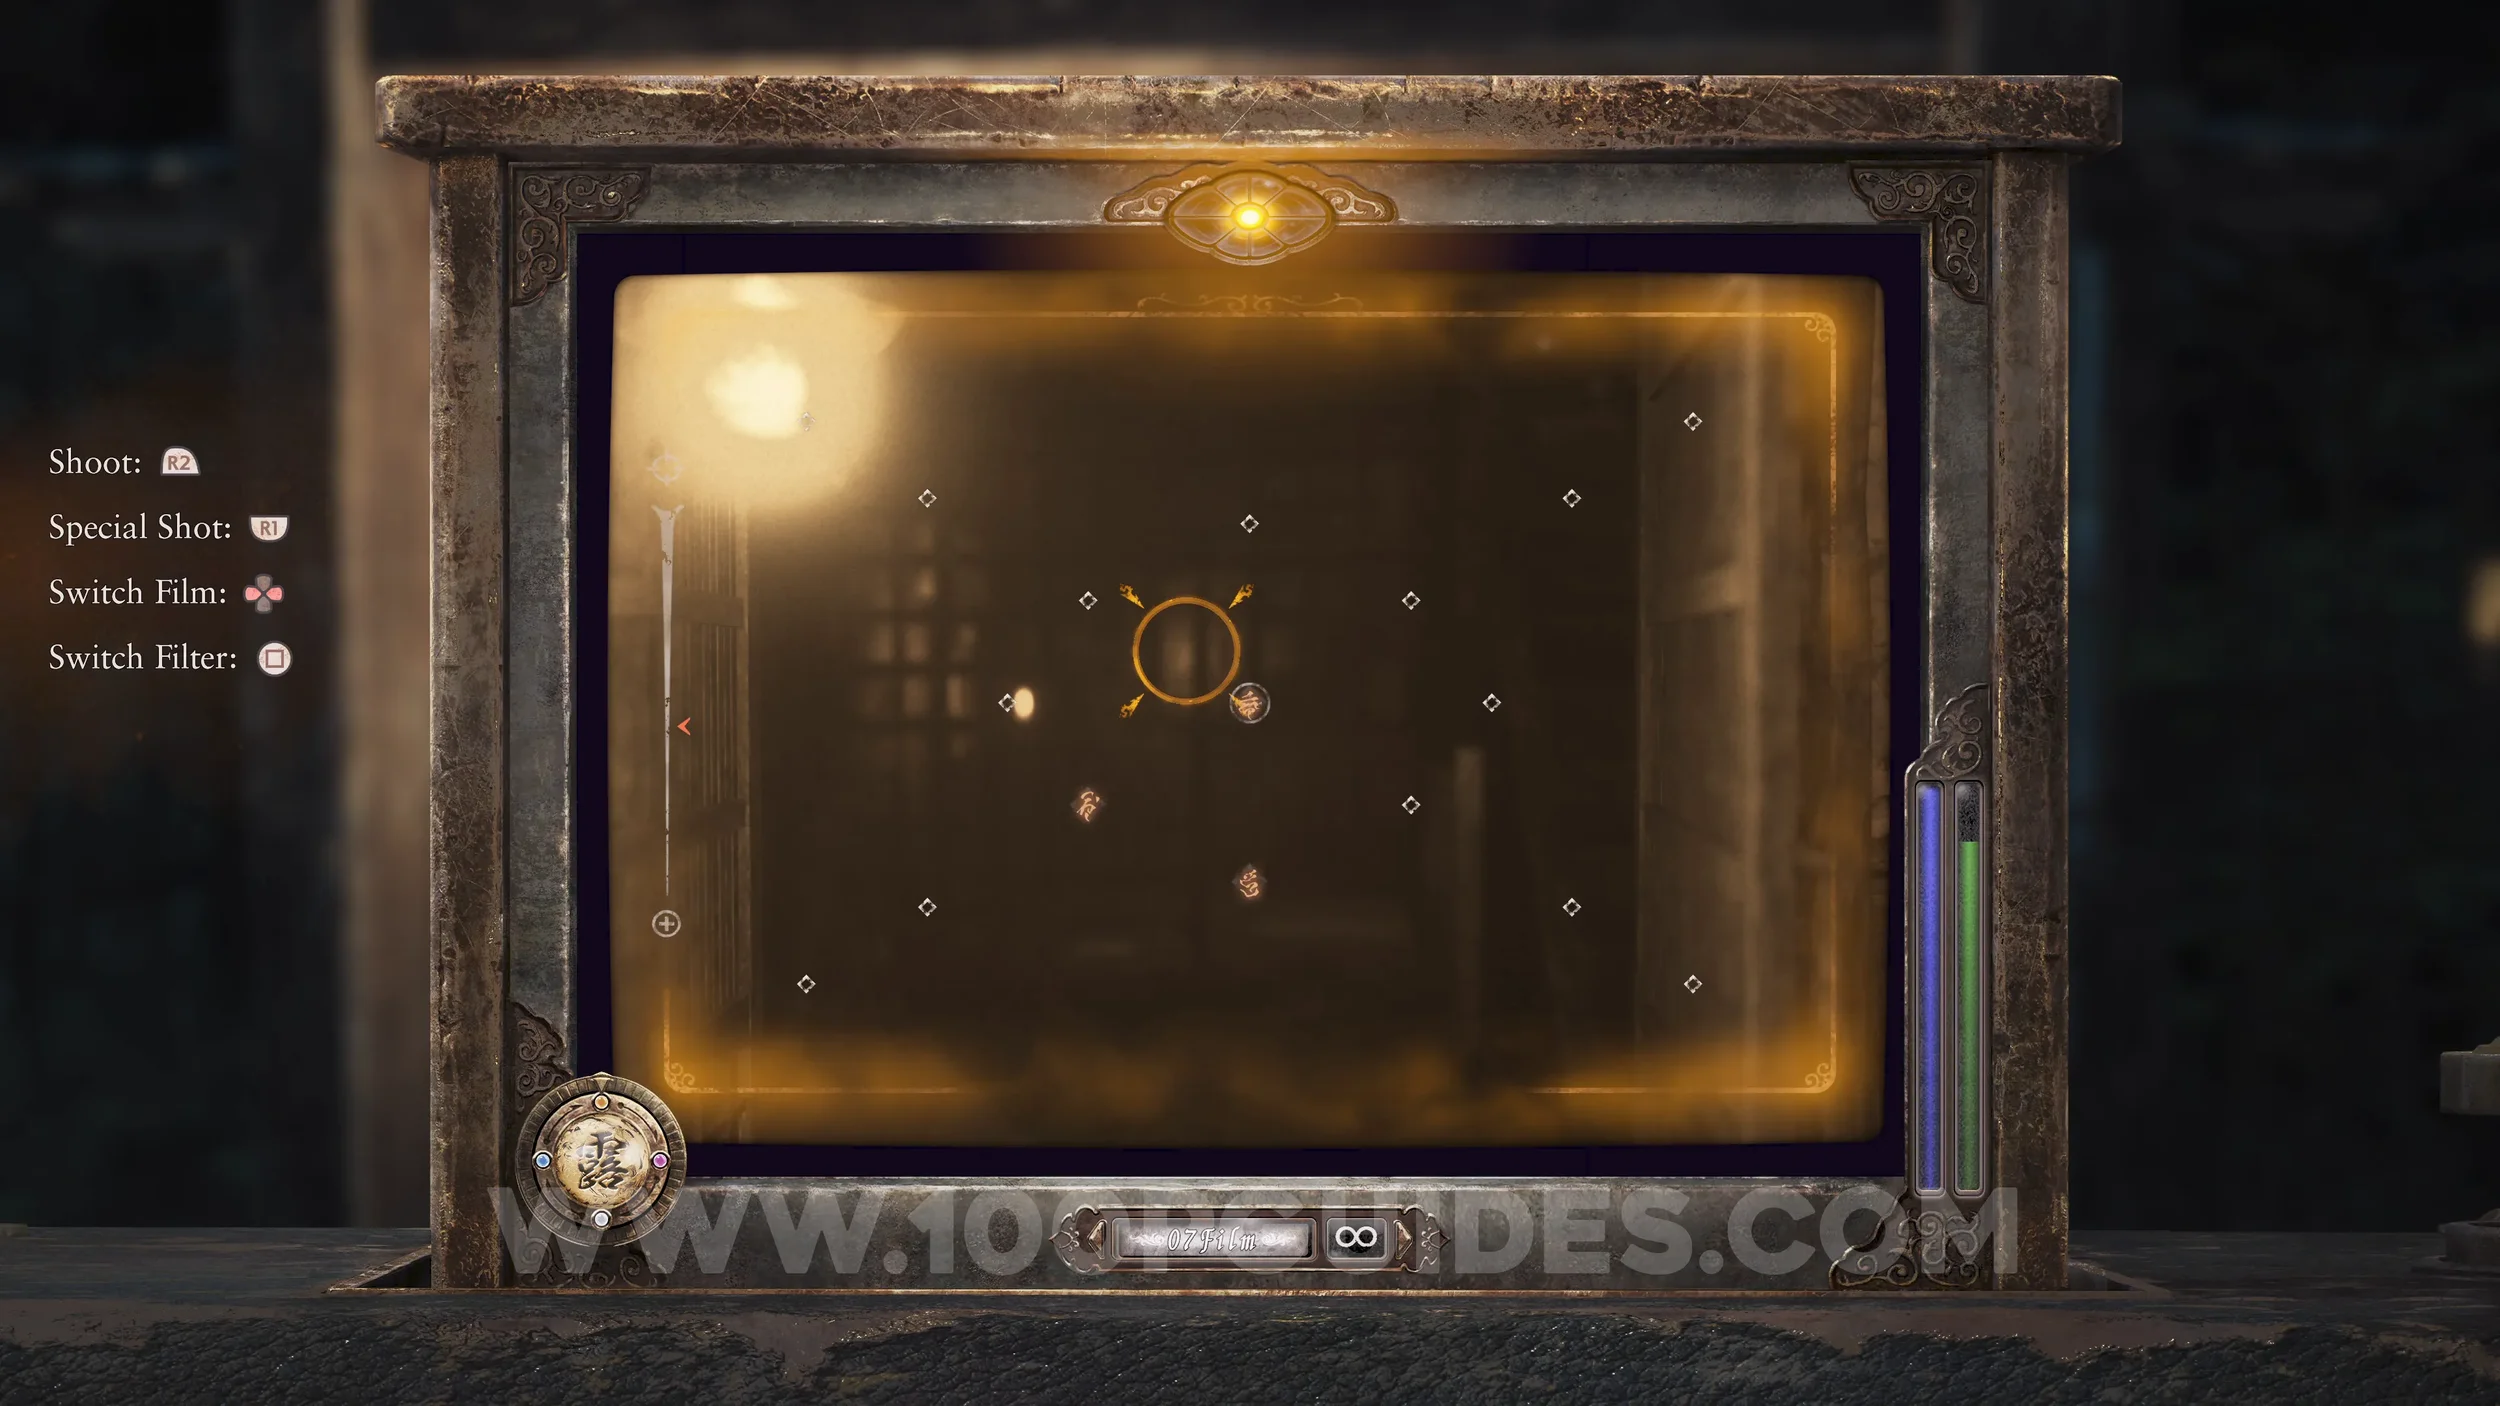
Specter #256 - 254 Woman Crying on Misono Hill, Document #121 - Blood-splattered Note 3 and Spirit Stone #45 - Sae’s Spirit Stone Shard (2/2) (Sae's Sparkling Spirit Stone). Go to Misono Hill, the area where you start the game, and look for the specter just south of the rock structures. This will put an end to the Sae Kurosawa 2 side quest and give you the second Spirit Stone needed for the fifth ending.
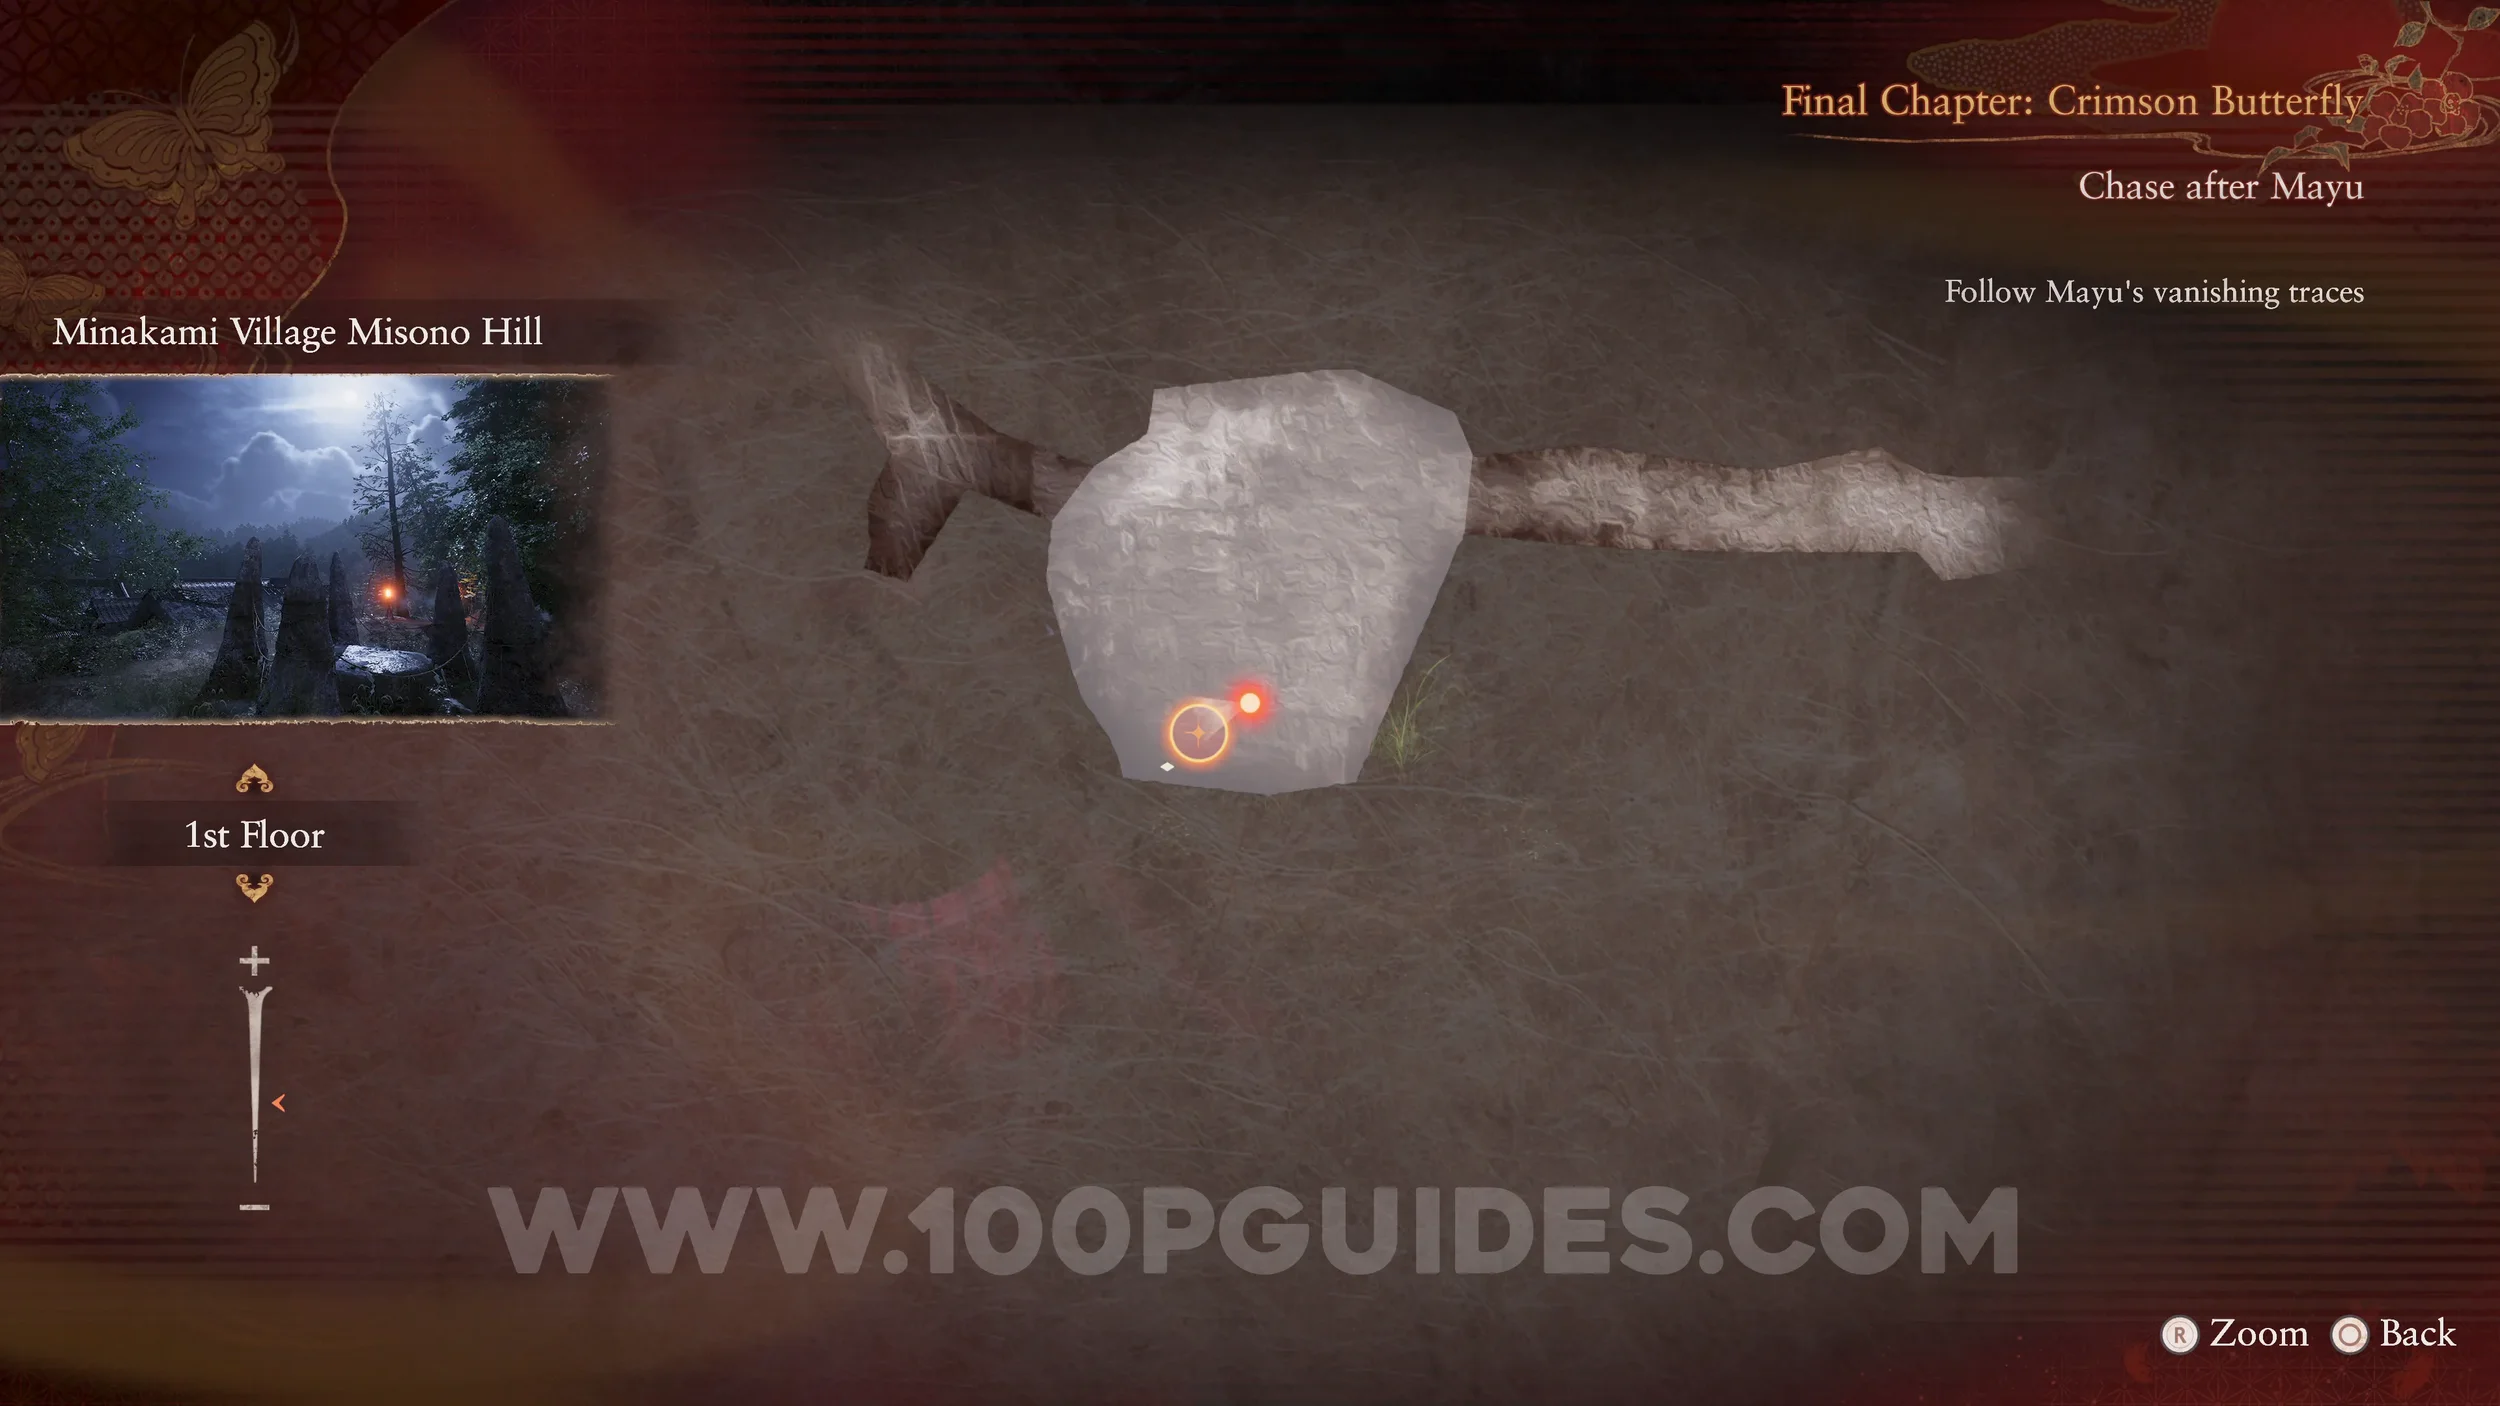
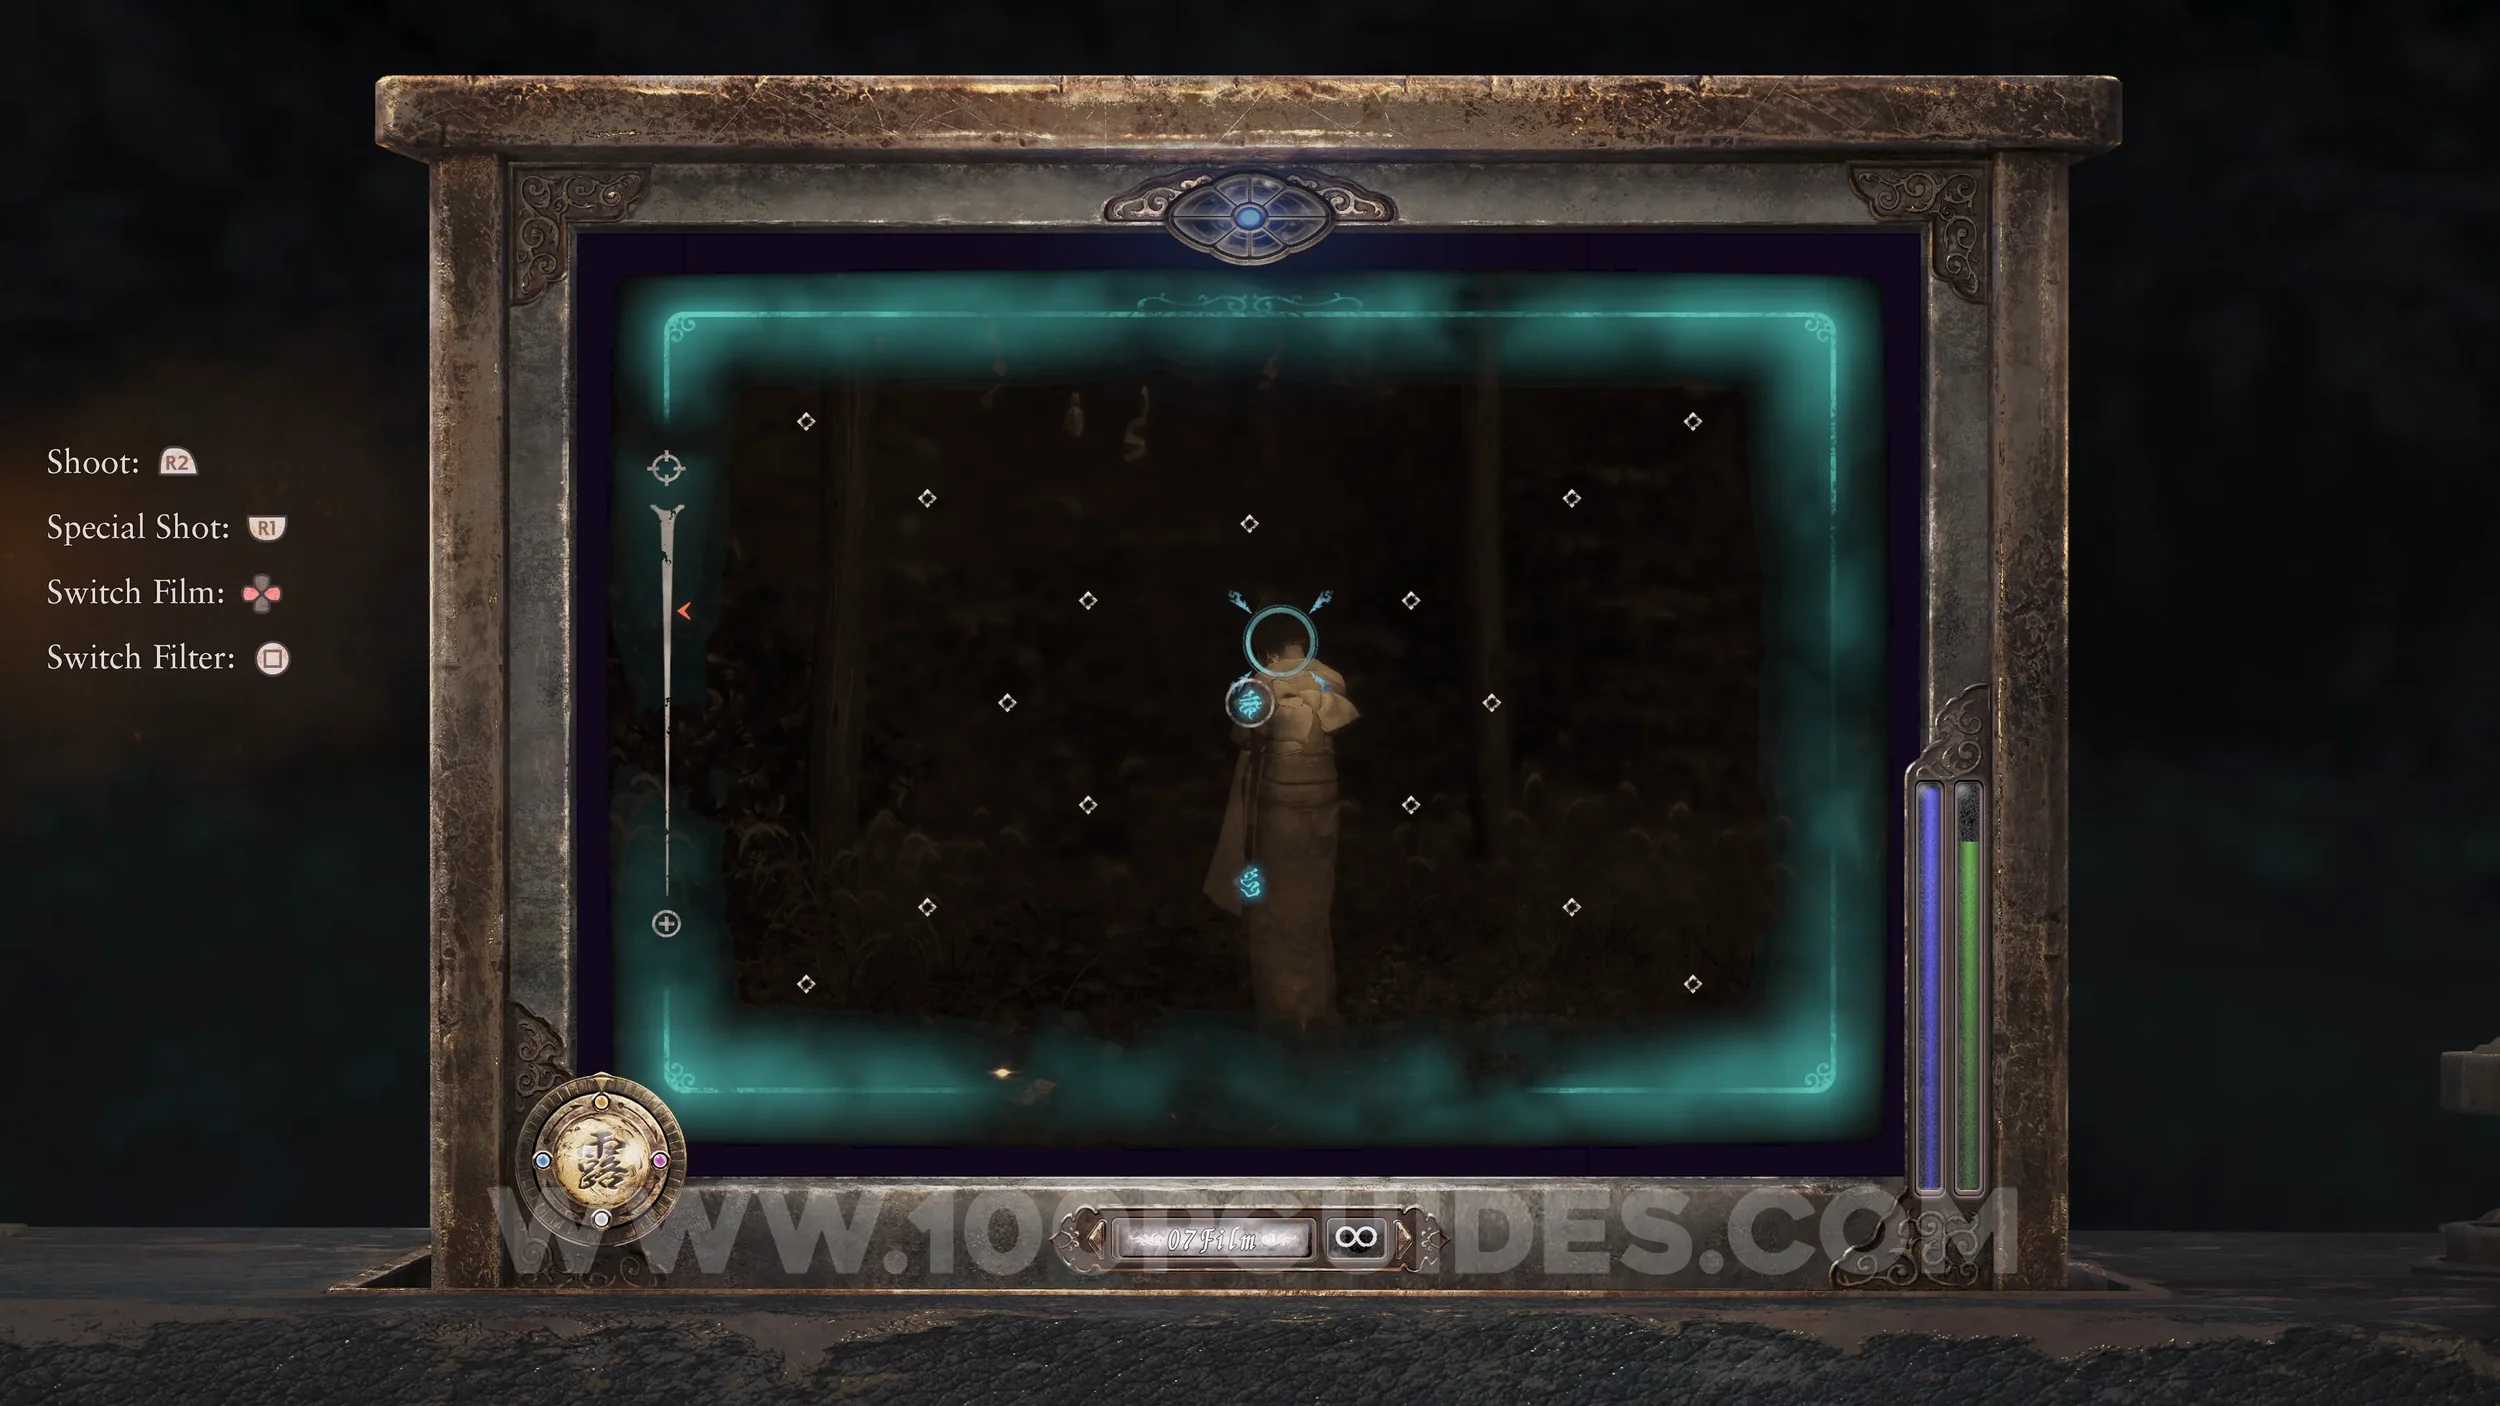
Make sure you equip both Mayu’s Sparkling Spirit Stone and Sae’s Sparkling Spirit Stone before heading to the Ritual Altar.
Specter #257 - 155 Mayu Softly Inviting. Found in the Ritual Altar if you have Mayu’s Sparkling Spirit Stone and Sae’s Sparkling Spirit Stone equipped.
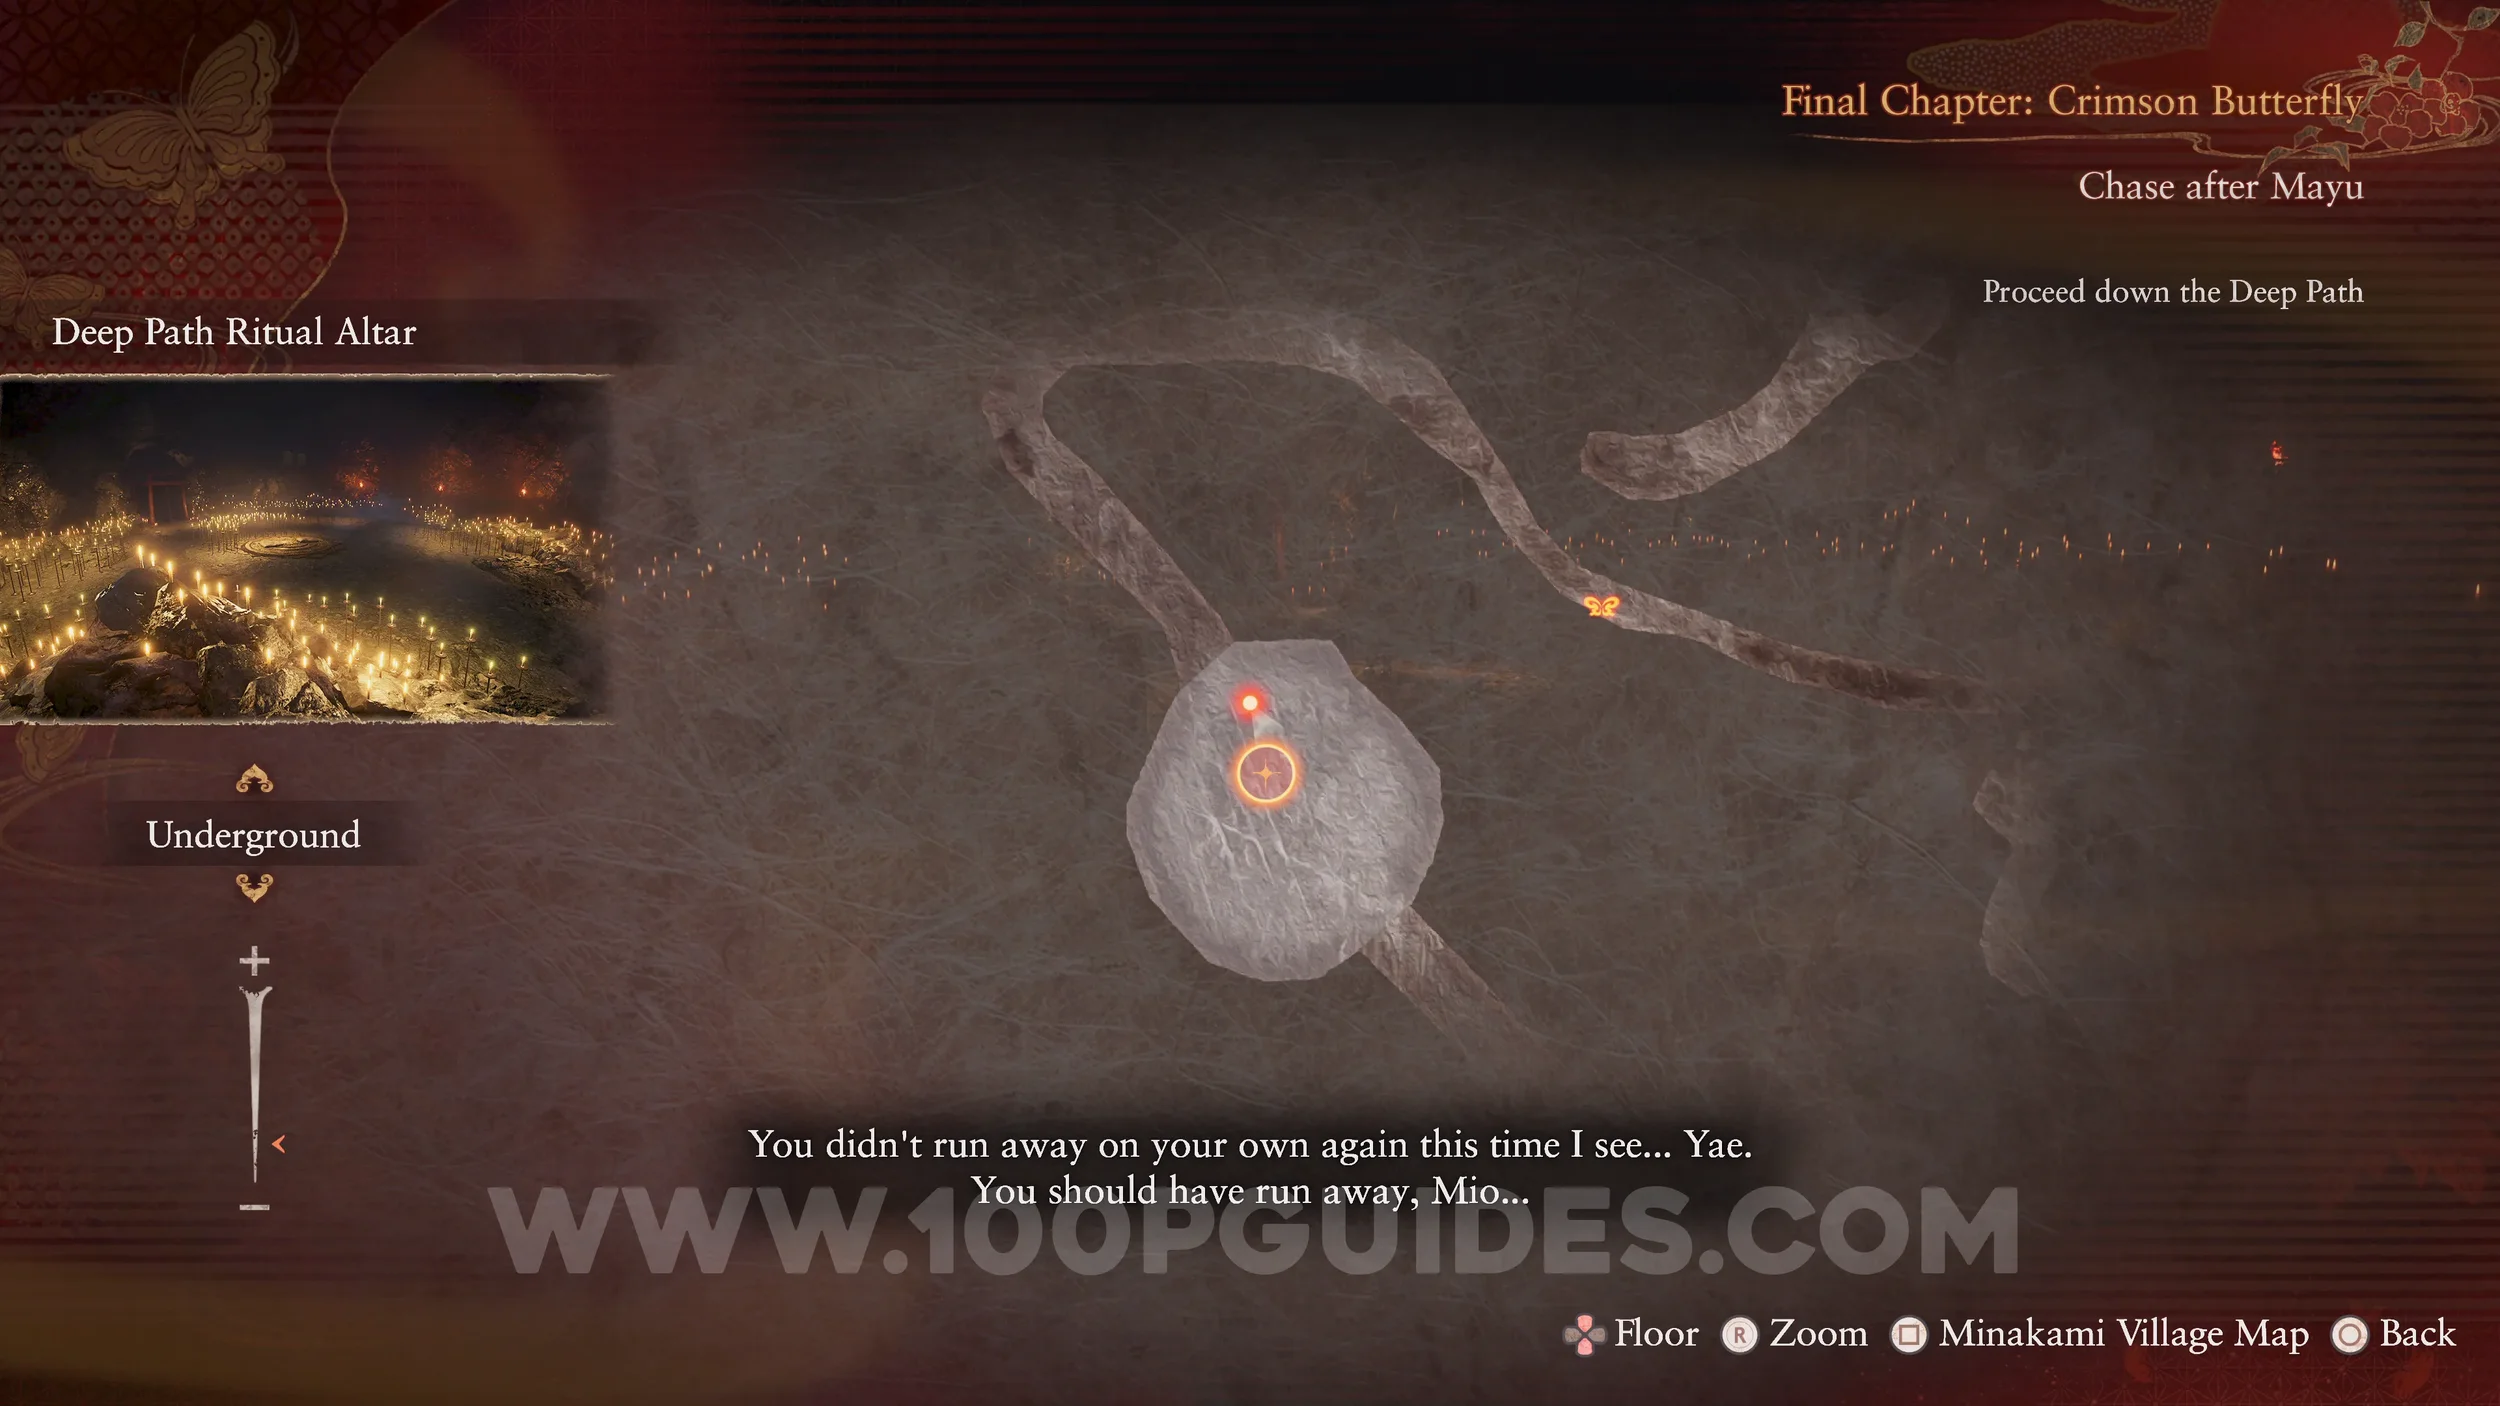
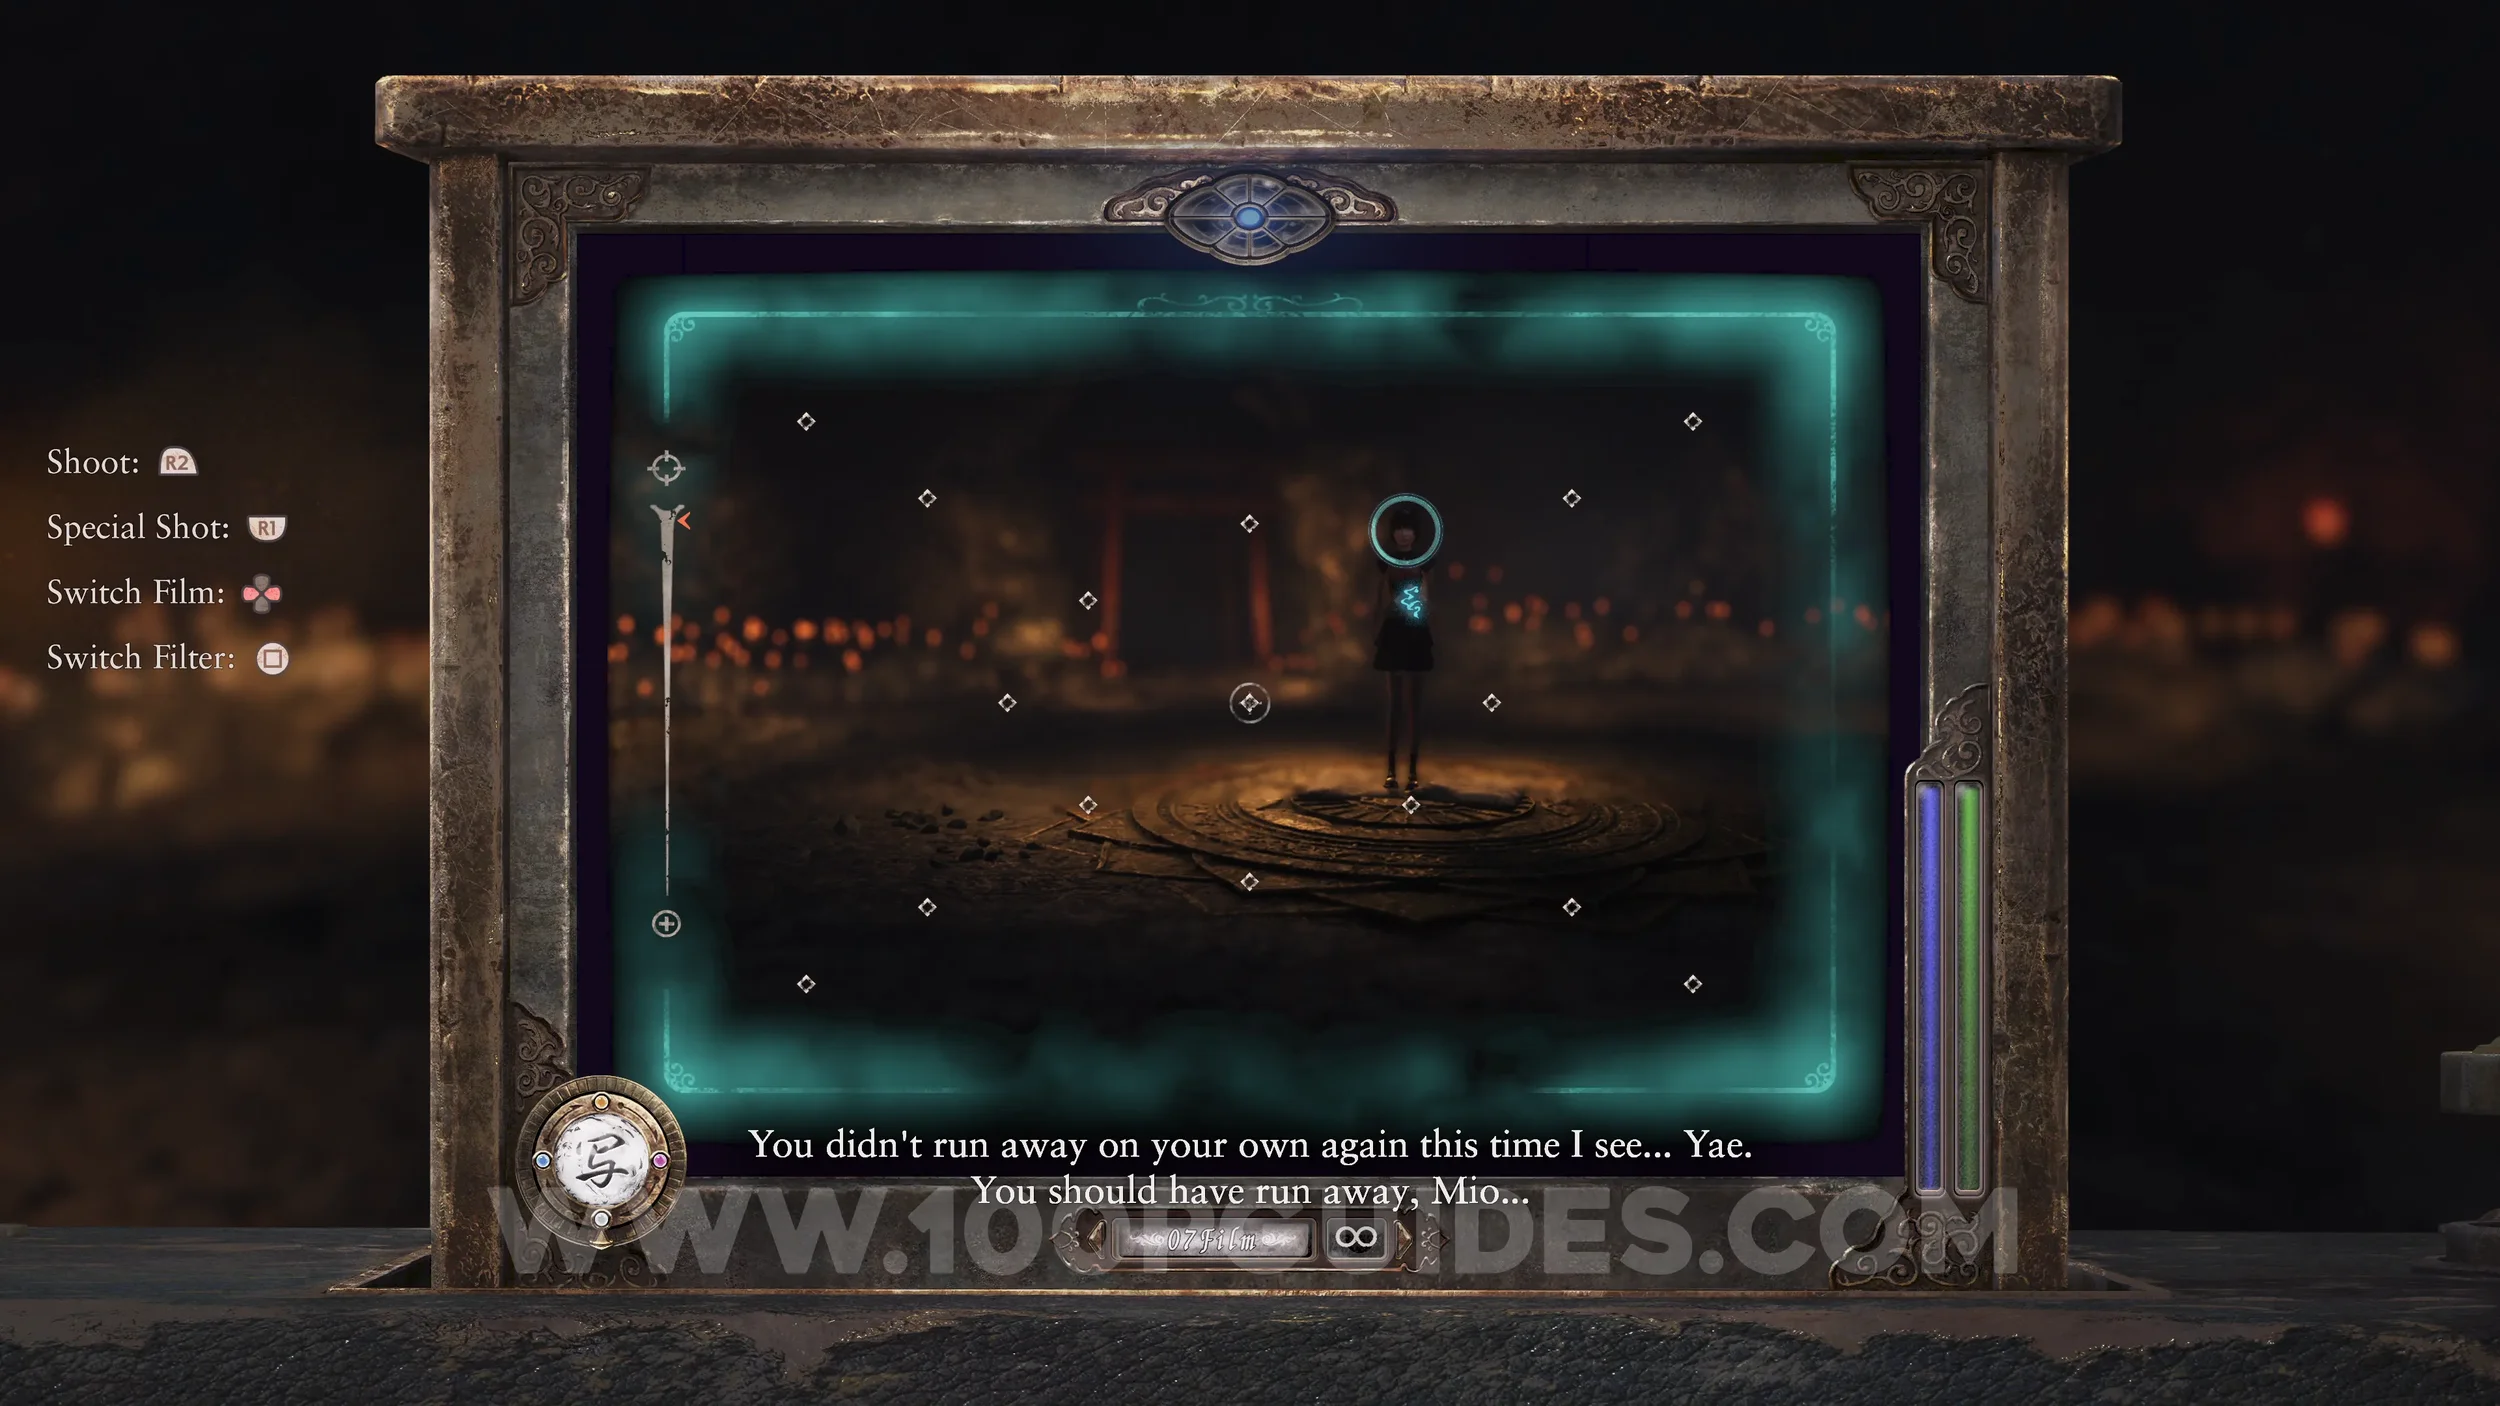
Ending #5 - Sprouting Wings. Obtained after defeating Kusabi and Sae while wearing Mayu’s Sparkling Spirit Stone and Sae’s Sparkling Spirit Stone.
Spirit Stone #46 - Mio’s Spirit Stone Shard (1/2). Obtained after getting the Sprouting Wings Ending.

AFTER FINISHING THIS PLAYTHROUGH, MAKE ANOTHER CLEAR SAVE!
5th Playthrough
Now we need to obtain Mio’s Sparkling Spirit Stone by completing the “Mio Amakura” side quest, which will now be available by loading the clear save we just made. This Spirit Stone is required to unlock the new final ending.
To finish this side quest, you must have all 15 other side quests completed. However, this ending can only be obtained by reaching the Ritual Altar while the stone is equipped and while playing on Nightmare difficulty. The issue is that unless you have already completed a full New Game Plus run on Nightmare after finishing the game, you cannot simply load a clear save and use Chapter Select on a save that has not been completed on Nightmare difficulty.
If you start New Game Plus on Nightmare and select the clear save we just made, side quest progress will not carry over, and you would have to complete all of them again during a full playthrough. However, Spirit Stones and Charms do carry over to New Game Plus.
Because of this, the best option is to get it on our easy/normal difficulty save and then take it to New Game+ on Nightmare. For this, go to the menu and select Load > Chapter Select > Pick the clear save we just made > Final Chapter. This way, you will be on a save that has all 15 side quests completed and the Mio Amakura side quest ready to finish.
Side Quest #16 - Mio Amakura. Will be available automatically if you are playing on a save that has completed the Sprouting Wings ending. Remember that you will only be able to finish it if you have completed all 15 other side quests on this save.
Specter #258 - 262 Young Mio Holding Hands, Specter #259 - 263 Young Mayu Holding Hands, Specter #260 - 264 Young Pair Retreating and Spirit Stone #46 - Mio’s Spirit Stone Shard (2/2) (Mio’s Sparkling Spirit Stone). After finishing all other 15 side quests, head to Misono Hill. Here you will see the two specters under the southern Torii gate. Make sure they are both in the shot. They will drop the second half of Mio’s Spirit Stone. This will put an end to the Mio Amakura side quest and reward you with Mio’s Sparkling Spirit Stone needed for the sixth and final ending. However, since this must be done on Nightmare difficulty, you will have to first convert this save to a “clear save” by getting to the end of the game again (any ending is ok).
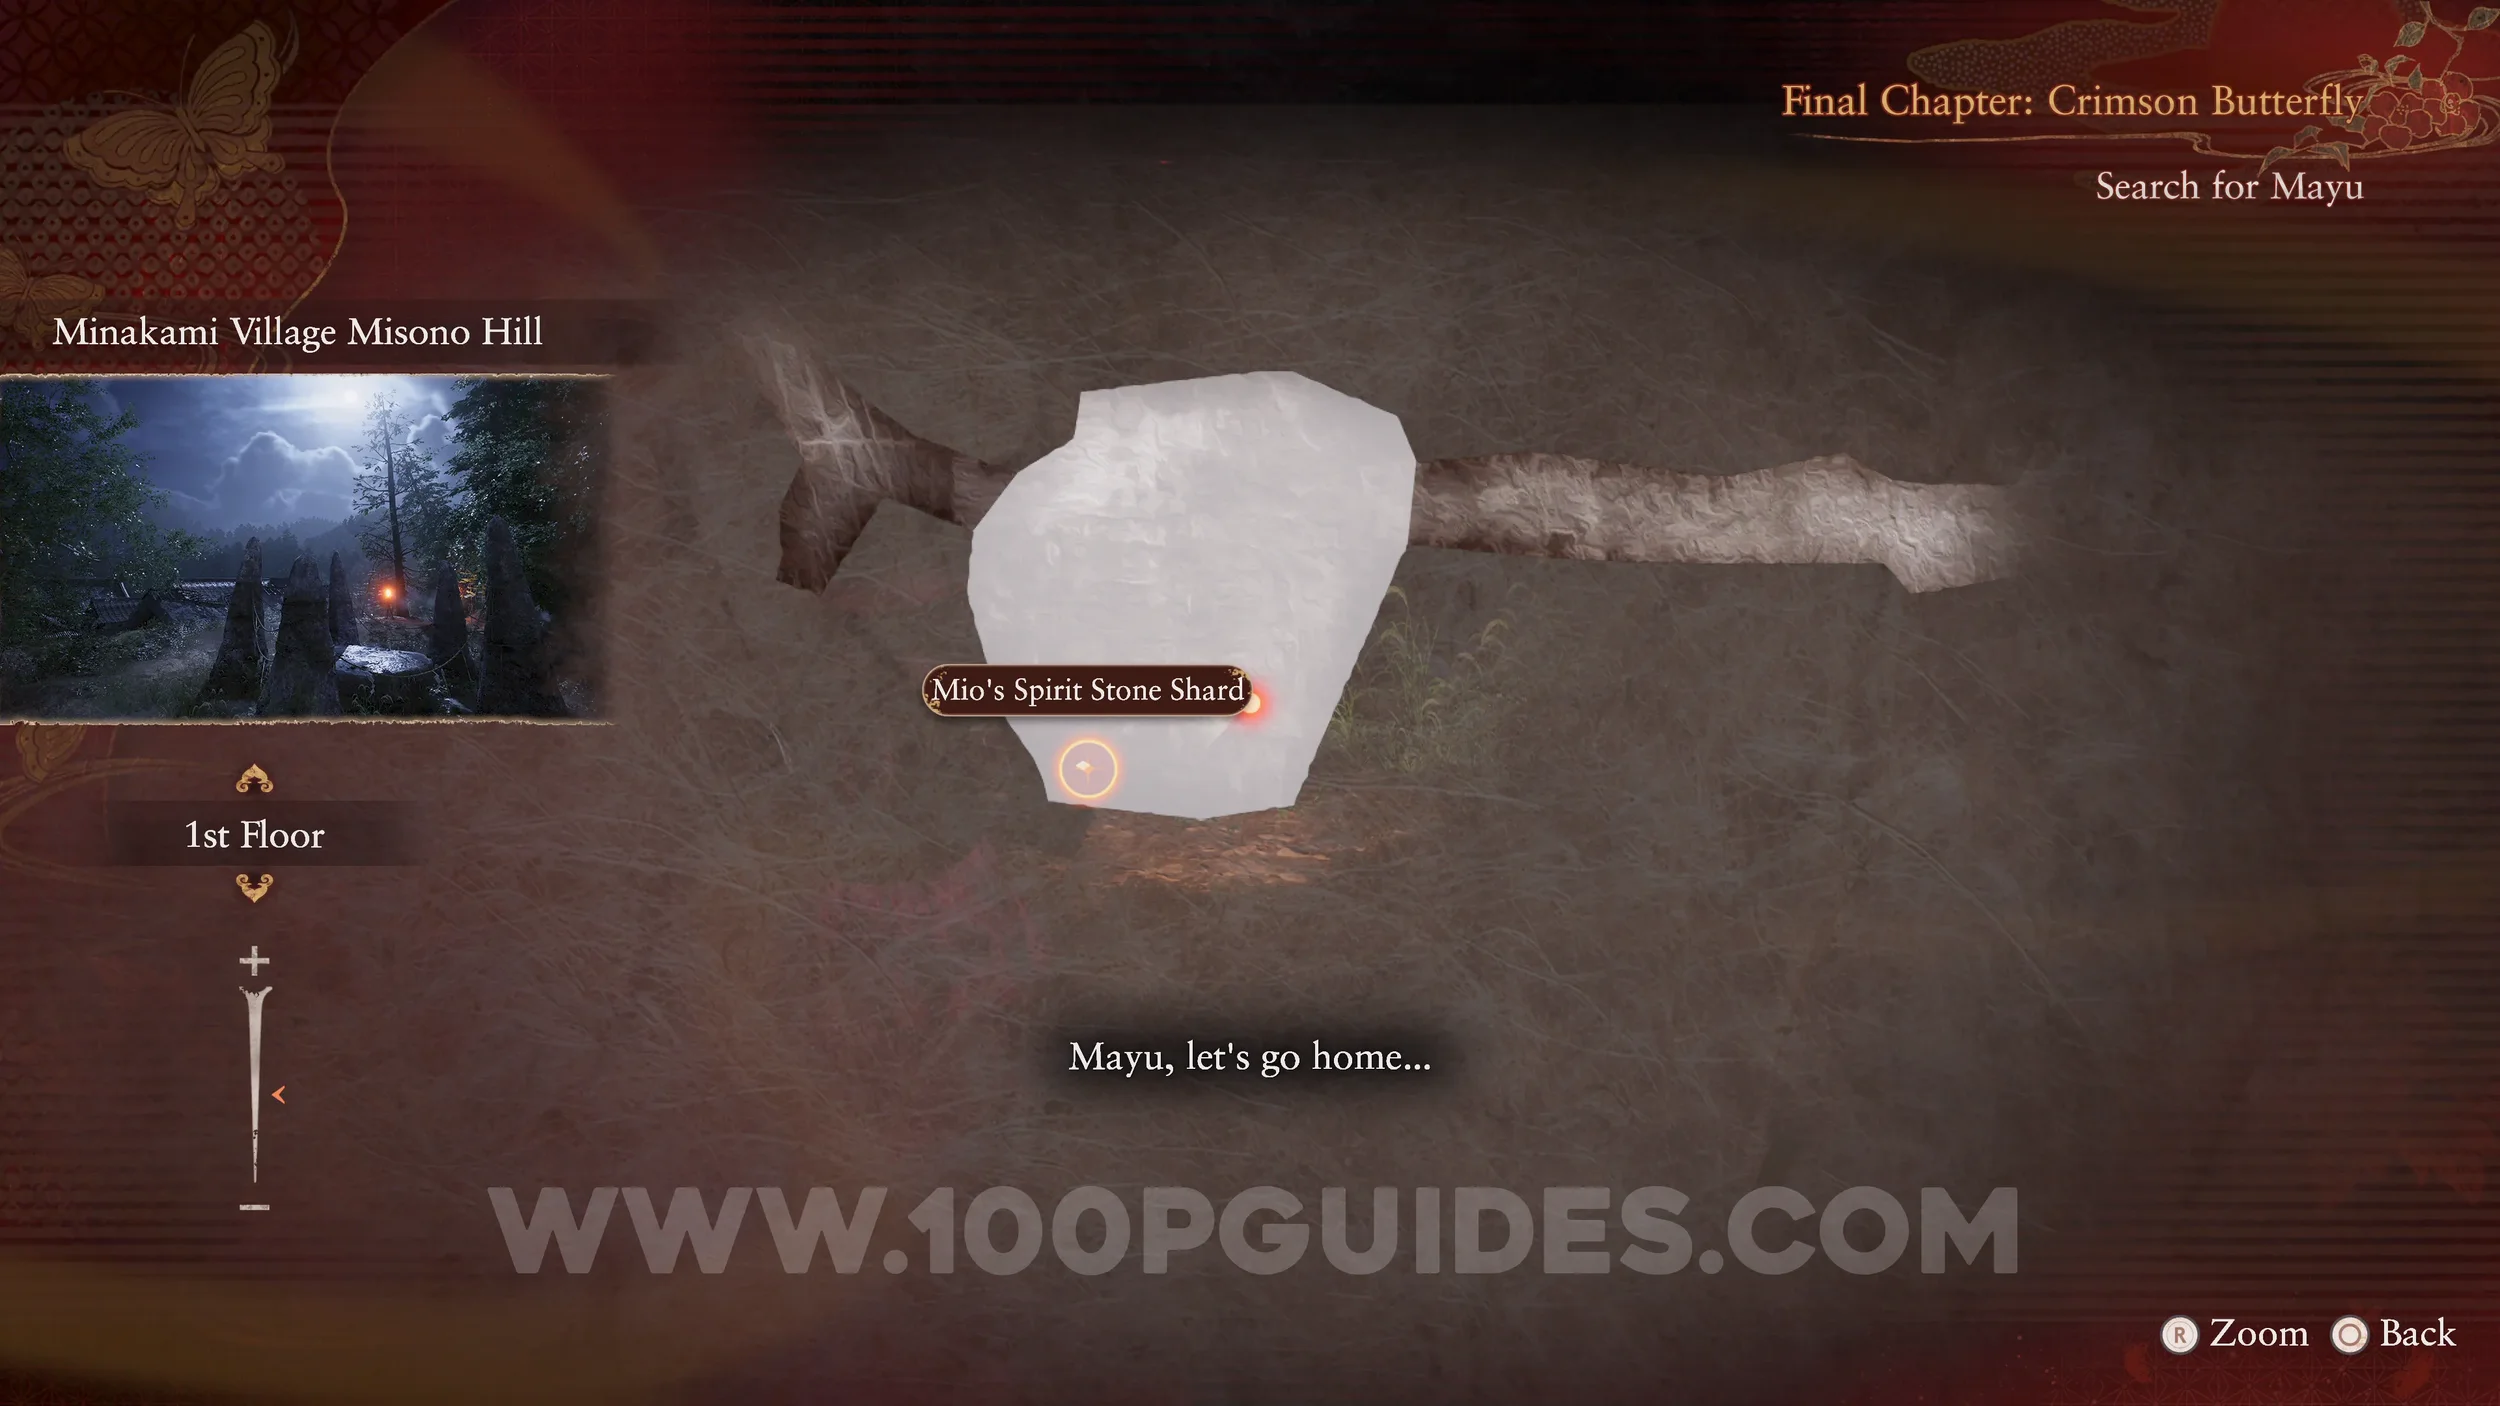
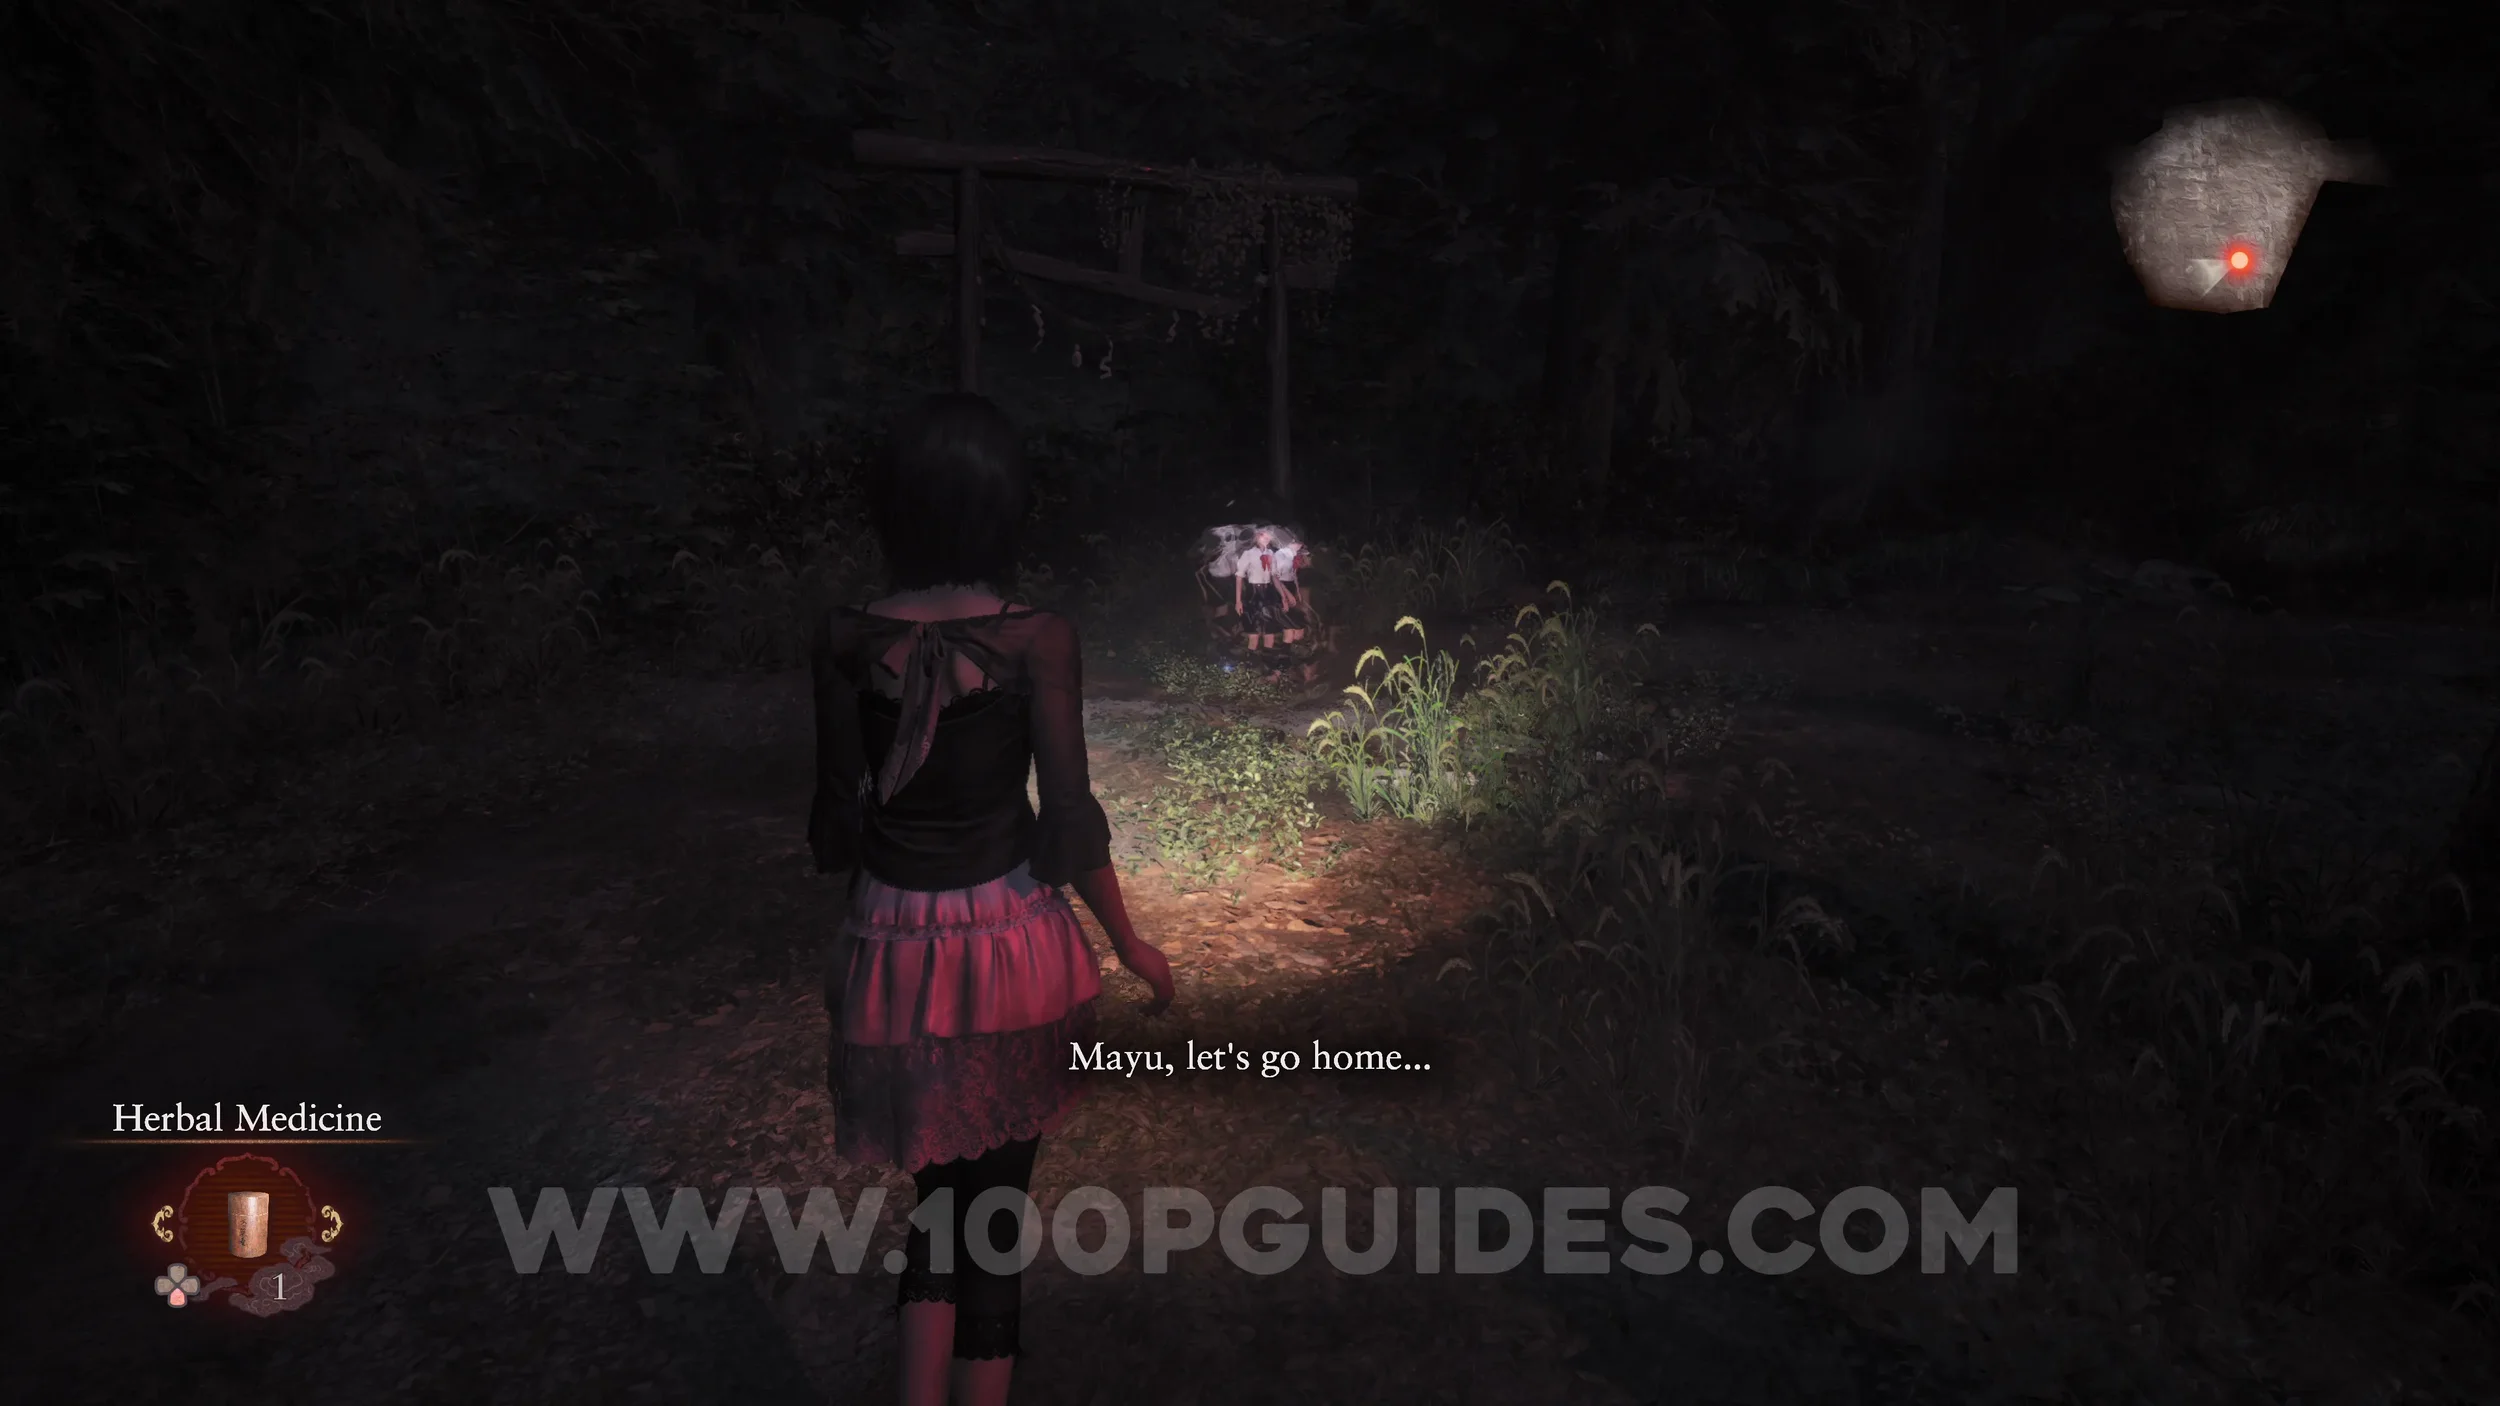
GET TO THE END OF THE GAME AND CREATE A CLEAR SAVE.
6th Playthrough
Now that we have a clear save with Mio’s Sparkling Spirit Stone, go to the Main Menu > New Game+ > Nightmare > Choose the clear save with Mio’s Sparkling Spirit Stone.
During this final playthrough, we will collect the last remaining collectibles as well as unlock the new and final ending in Fatal Frame 2 Remake. Remember this must be done on Nightmare difficulty.
Specter #261 - 255 Young Mio Running, Specter #262 - 256 Young Mayu Running and Specter #263 - 257 Young Pair Running. They will appear in front of you in plain sight on the very first path of the game, just after crouching under the tree trunk.
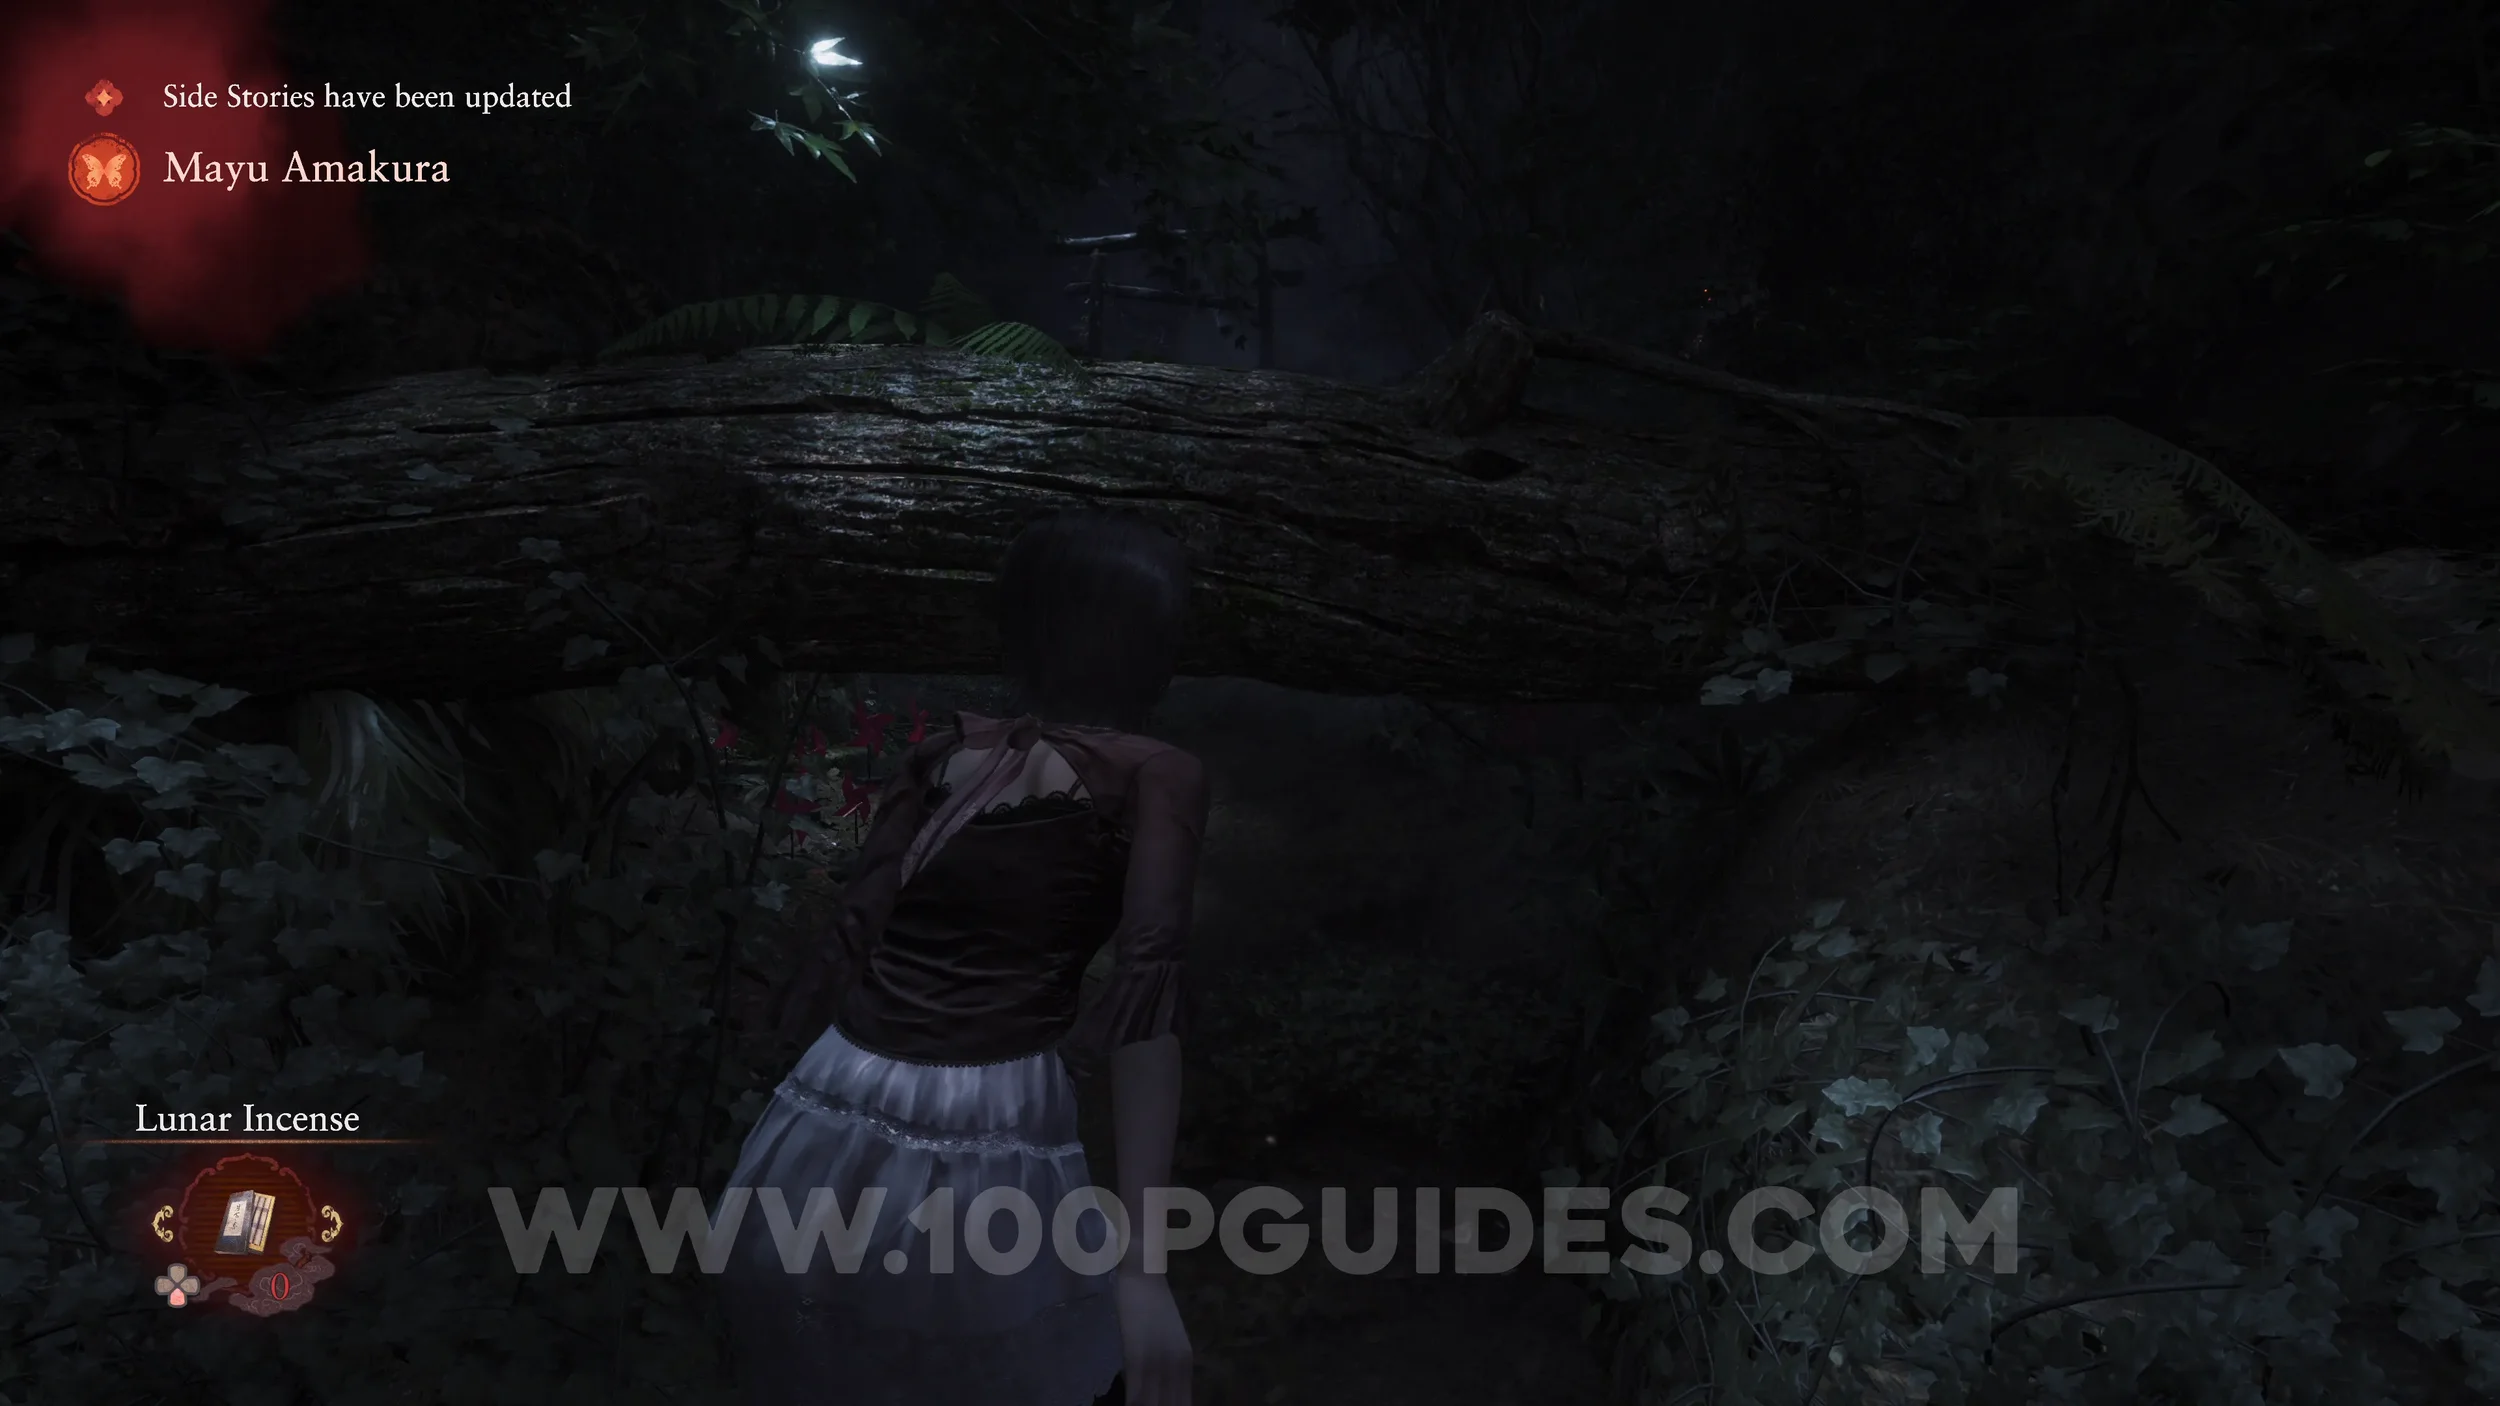
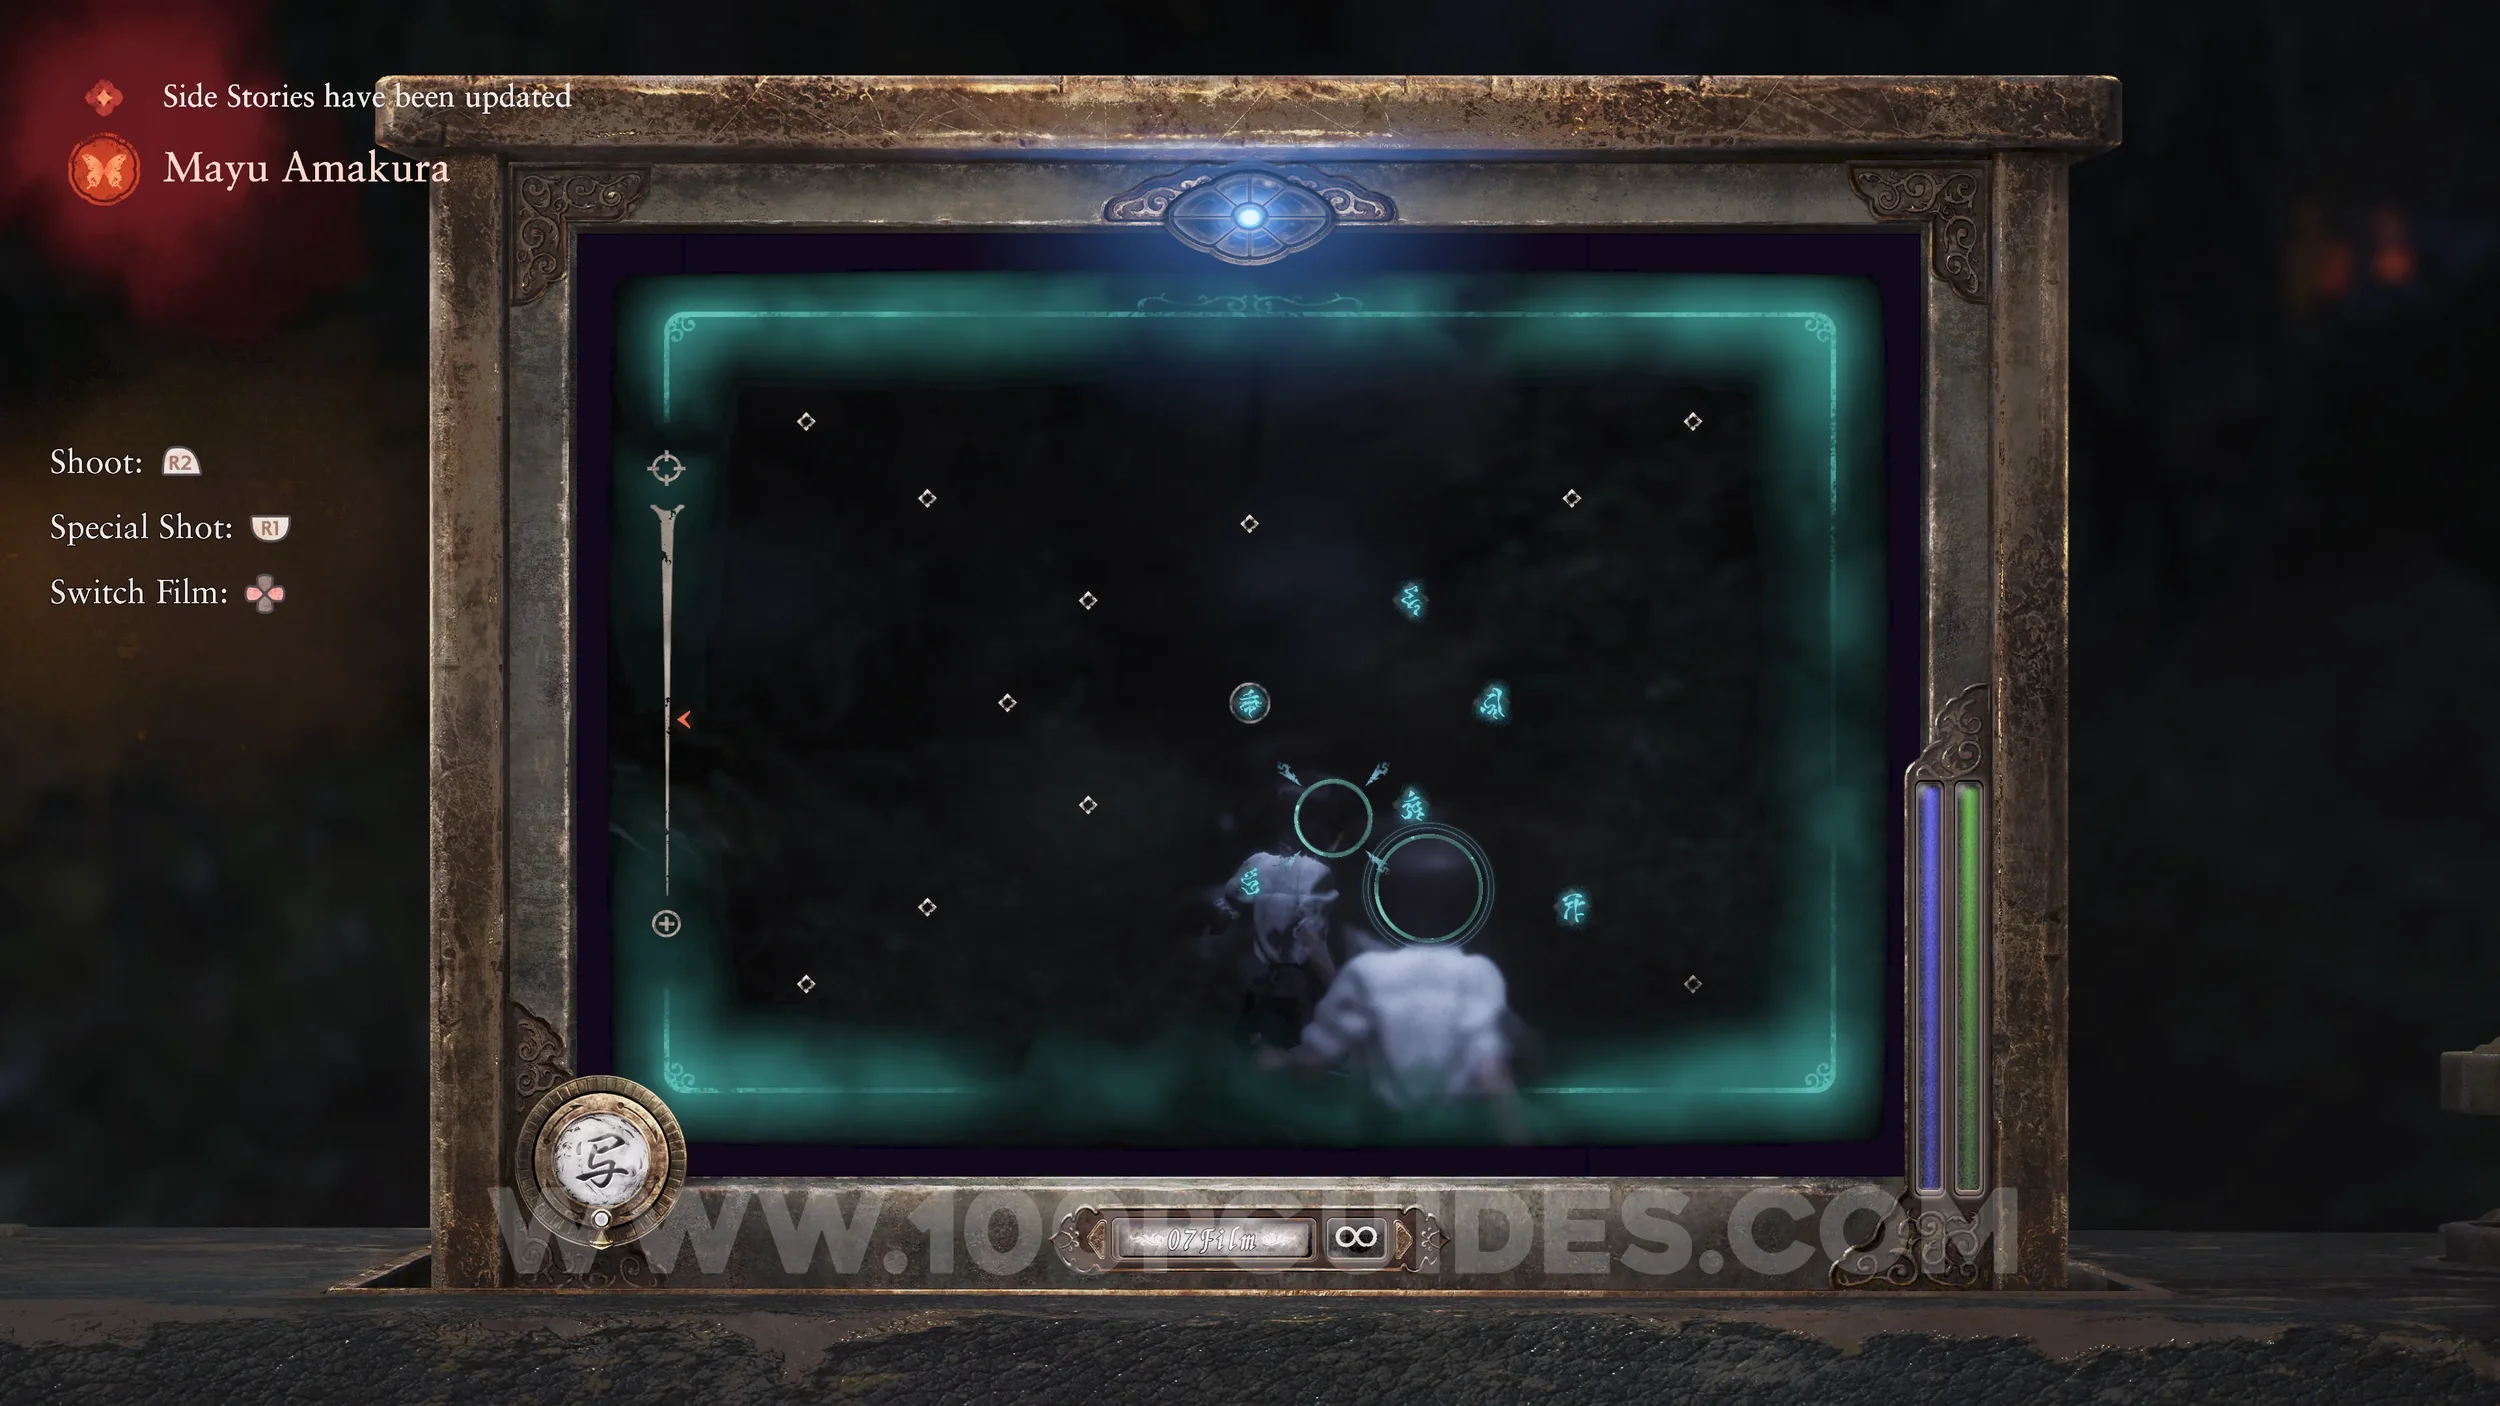
Specter #264 - 156 Mayu Questioning. In the middle of the Ritual Altar at the end of the game. You must be playing on Nightmare difficulty and wearing Mio’s Sparkling Spirit Stone.
Ending #6 - Remaining Sun. Defeat the final boss on Nightmare while wearing Mio’s Sparkling Spirit Stone.
Remaining Charms/Spirit Stones. After this playthrough, if you have collected every other collectible in the game and finished all side quests, all remaining Charms and their upgrades should be available to purchase in the Points Exchange menu at any save point.