1348 Ex Voto All Collectible Locations
This guide will show you where to find every collectible in 1348 Ex Voto.
This guide will show you where to find every collectible in 1348 Ex Voto.
There are a total of 107 collectibles, which are divided into the following categories:
9 Trinkets – Can be equipped to gain passive effects.
16 Sword Parts – Used to customize your sword and give it different effects.
9 Treasures – Lore items that are required for a trophy/achievement.
73 Papers – Used to unlock new skills (essentially ability points). There are two types: normal scrolls that grant 5 points, and larger papers that grant 10 points.
No collectibles are missable; you can use Chapter Select after finishing the game to go back and pick up anything you missed.
Chapter 1
Trinket #1 - Toy Knight. You start the game with this trinket in your inventory.
Sword Part #1-4. Citra Pommel, Grip, Guard and Blade. You start the game with these sword parts unlocked.
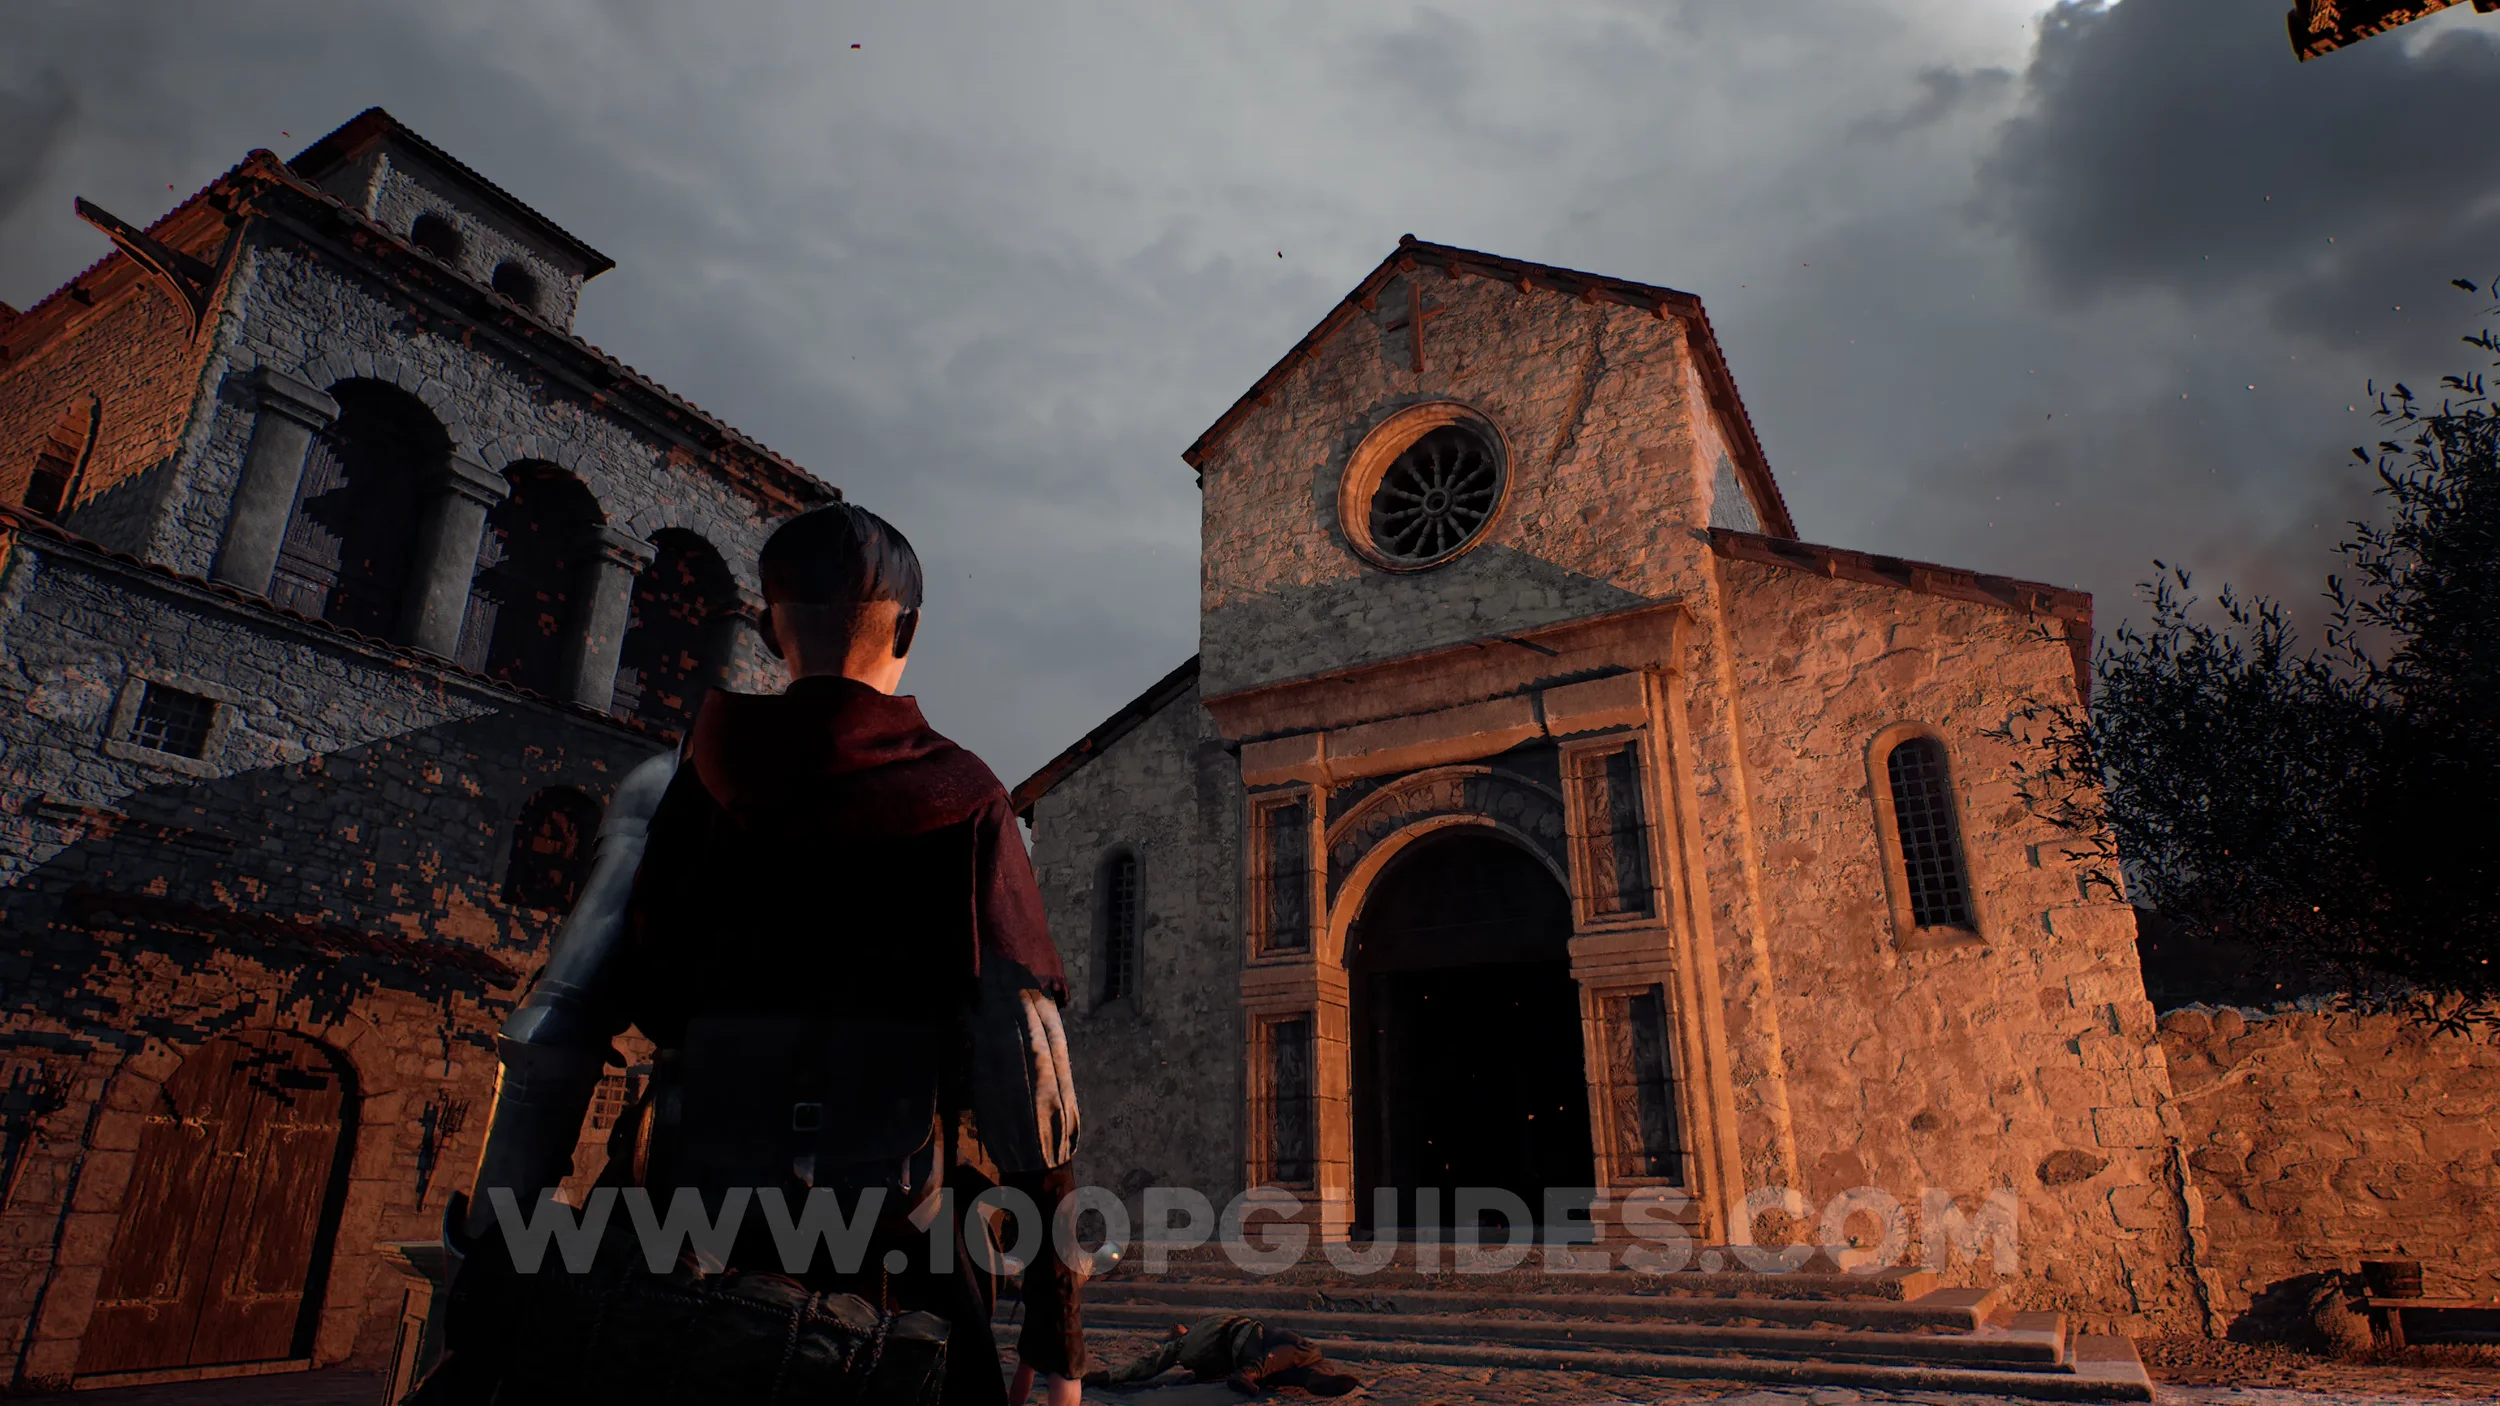
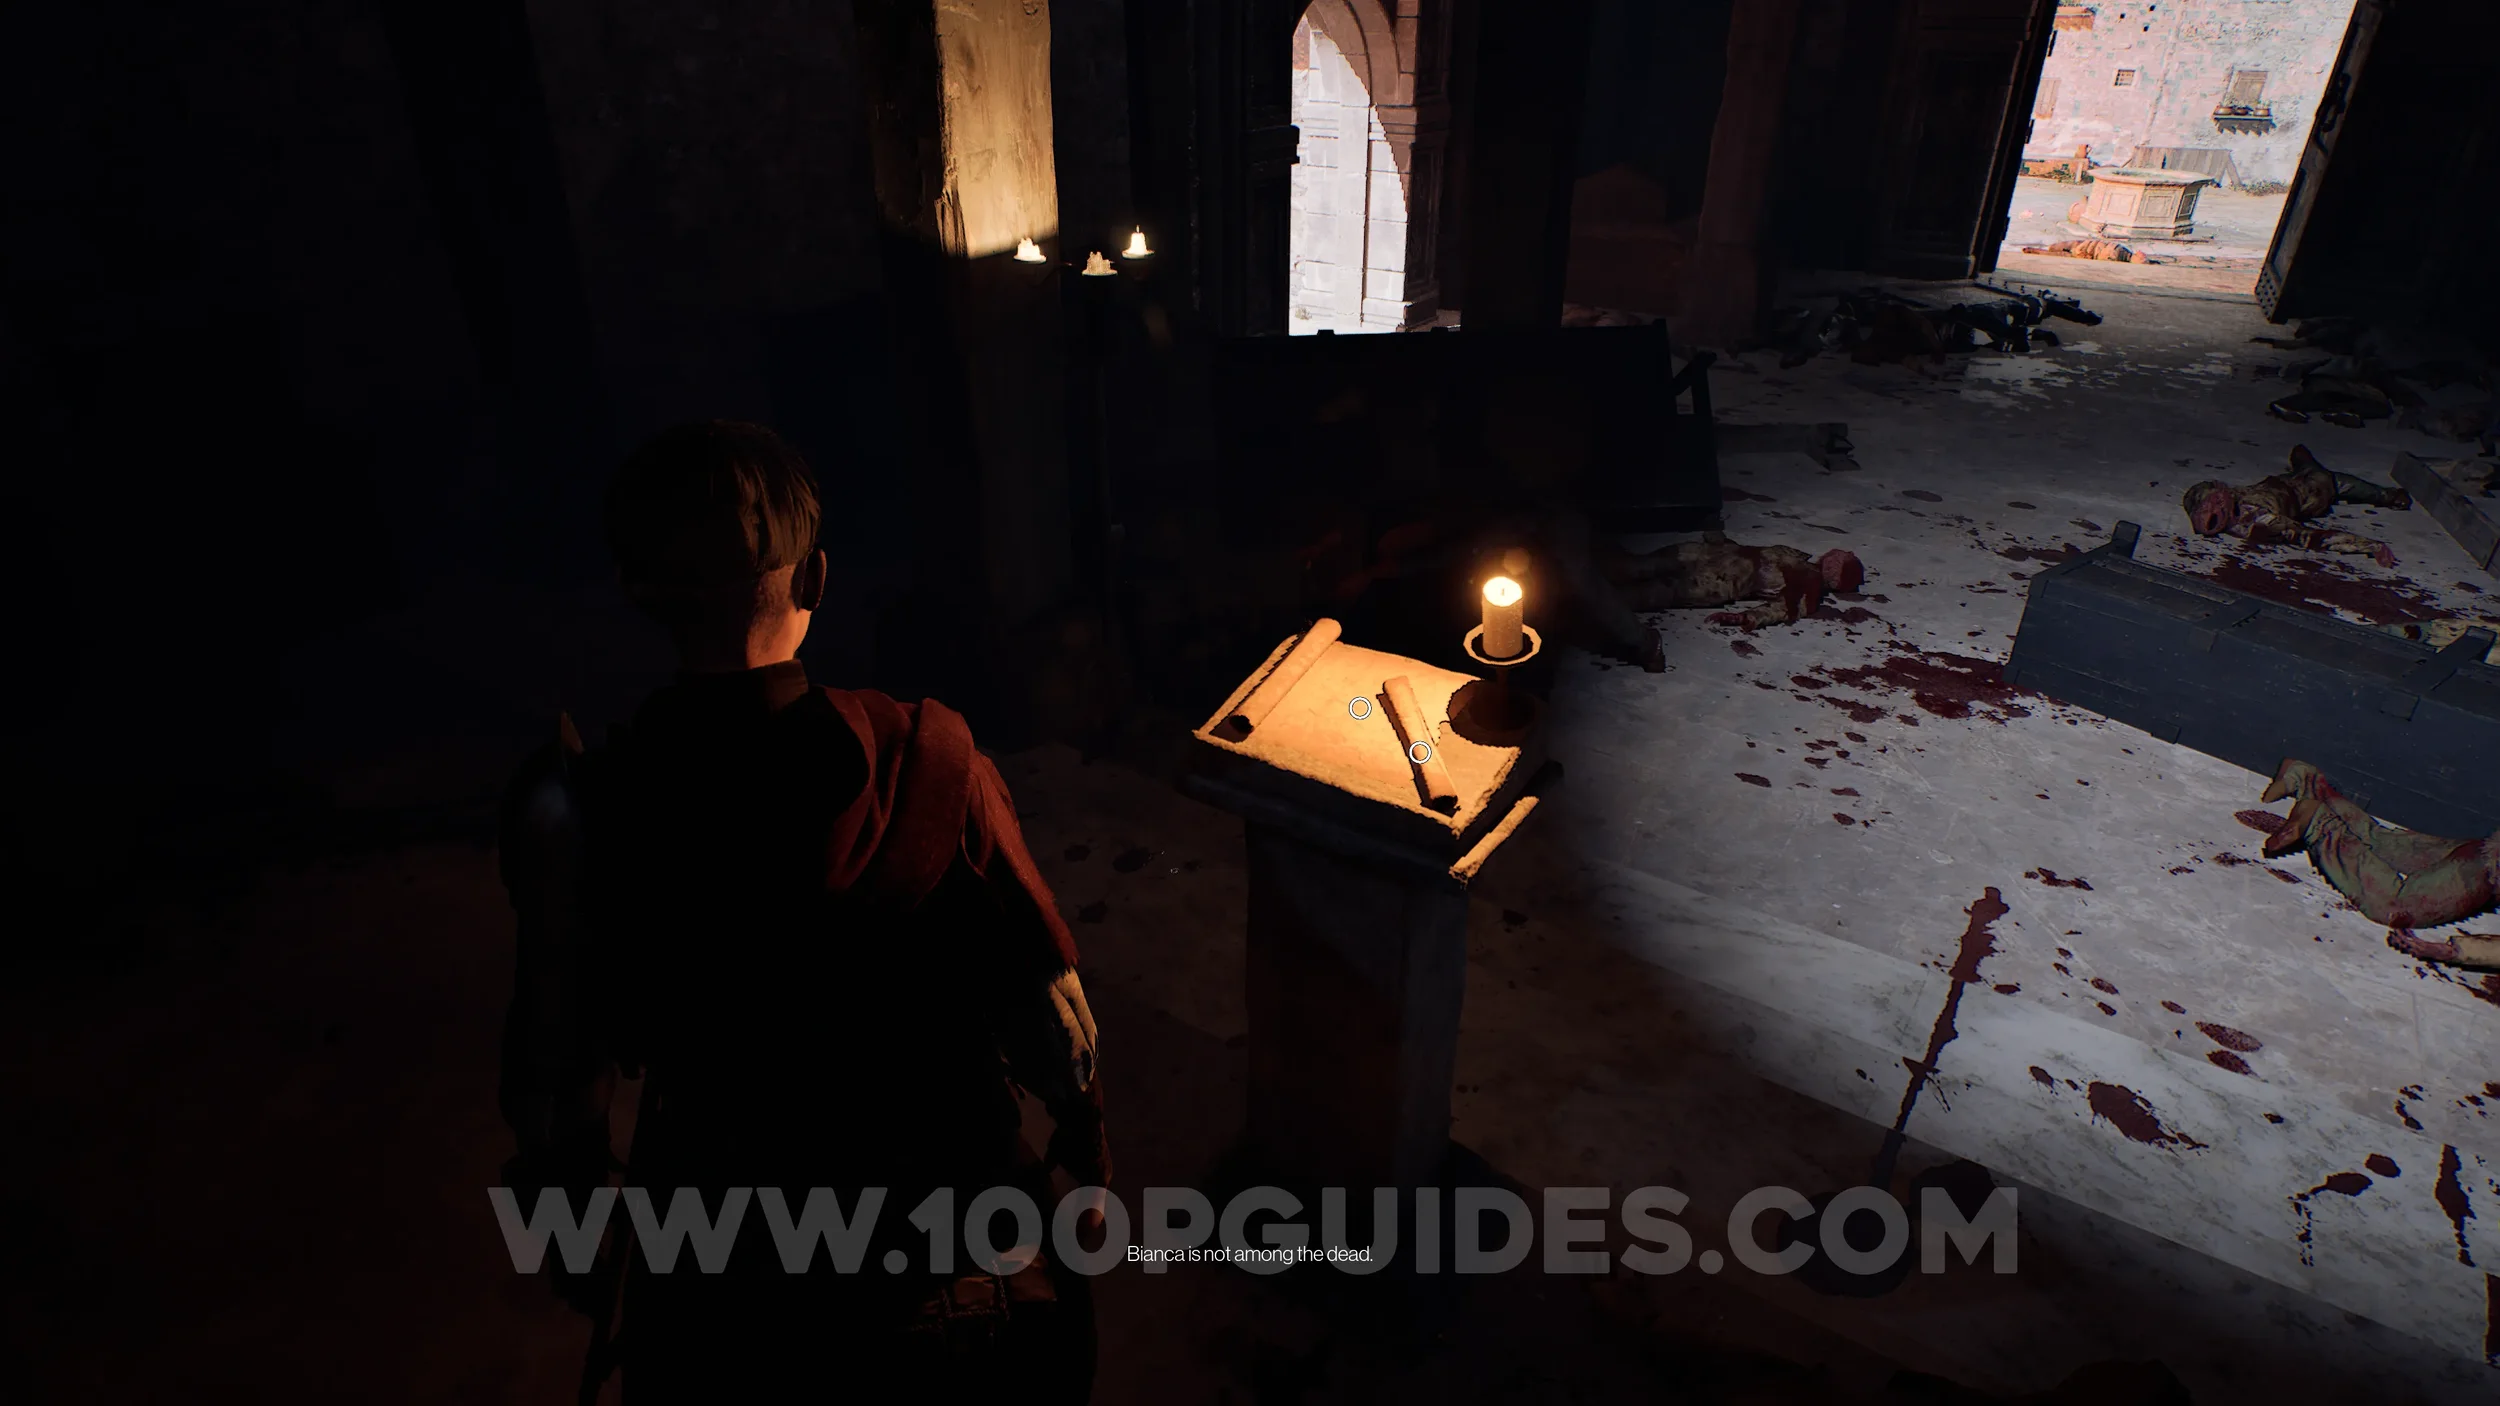
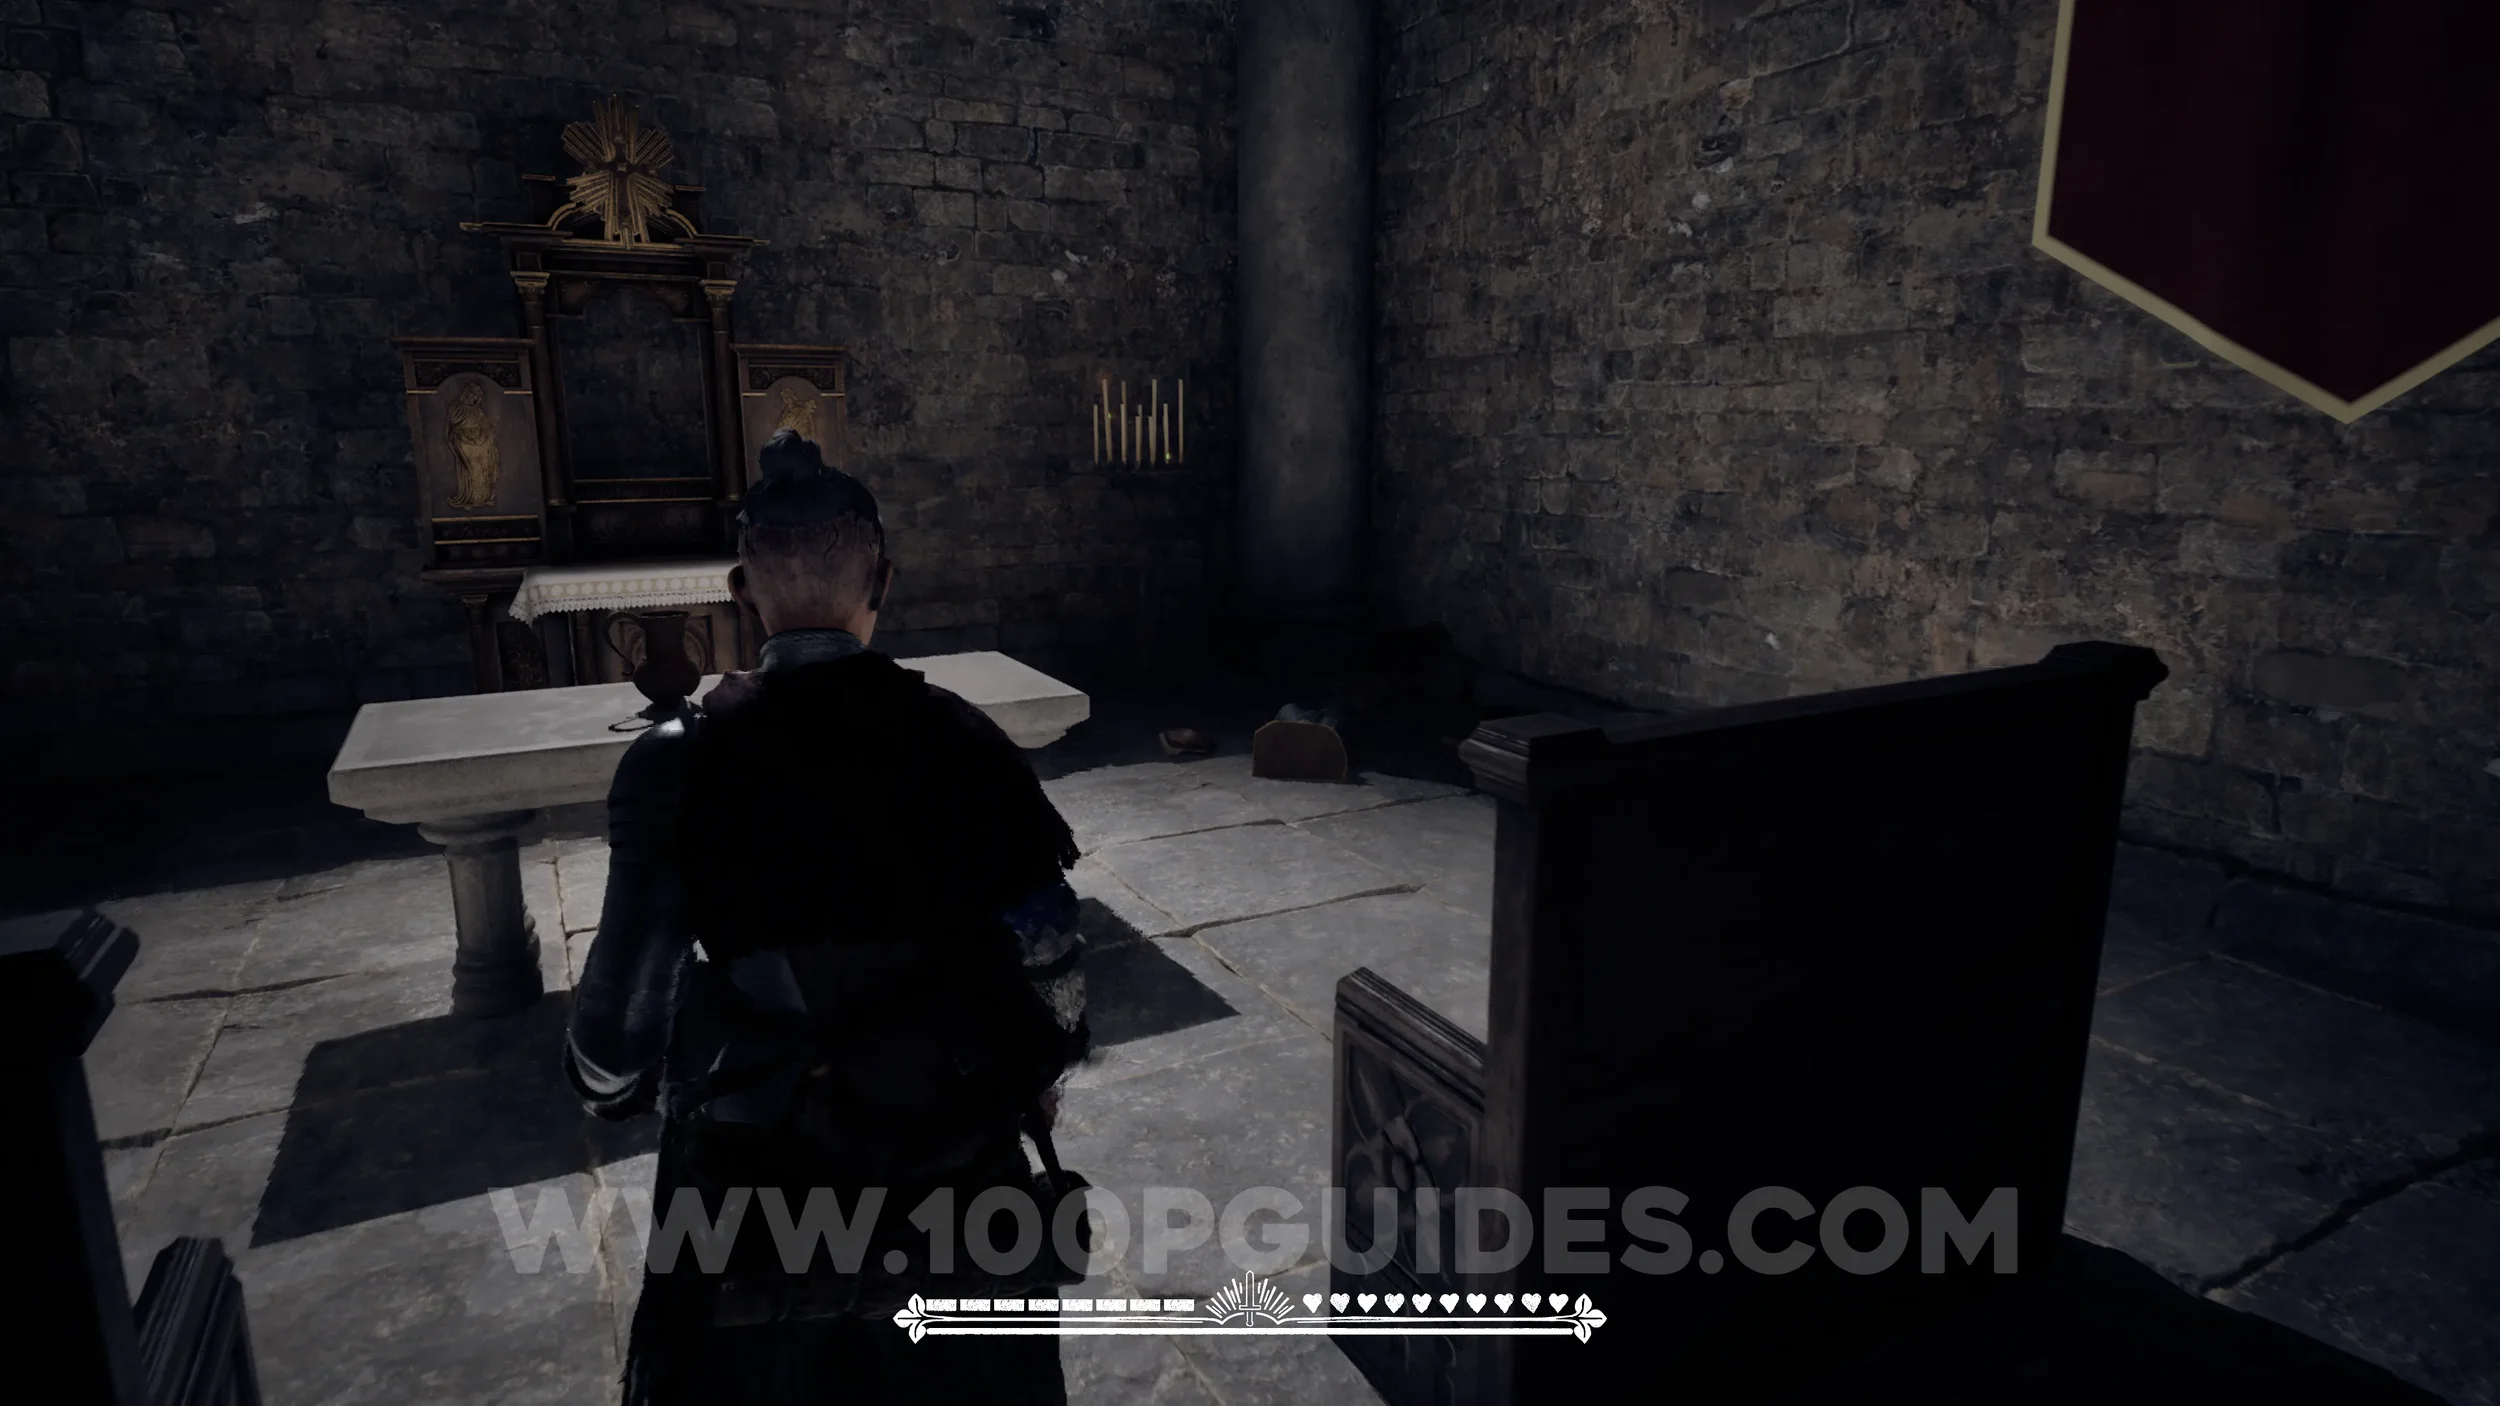
Paper #1-2 (Large). After fighting two enemies together, you will have to go through a church. The paper will be on the lectern inside the church.
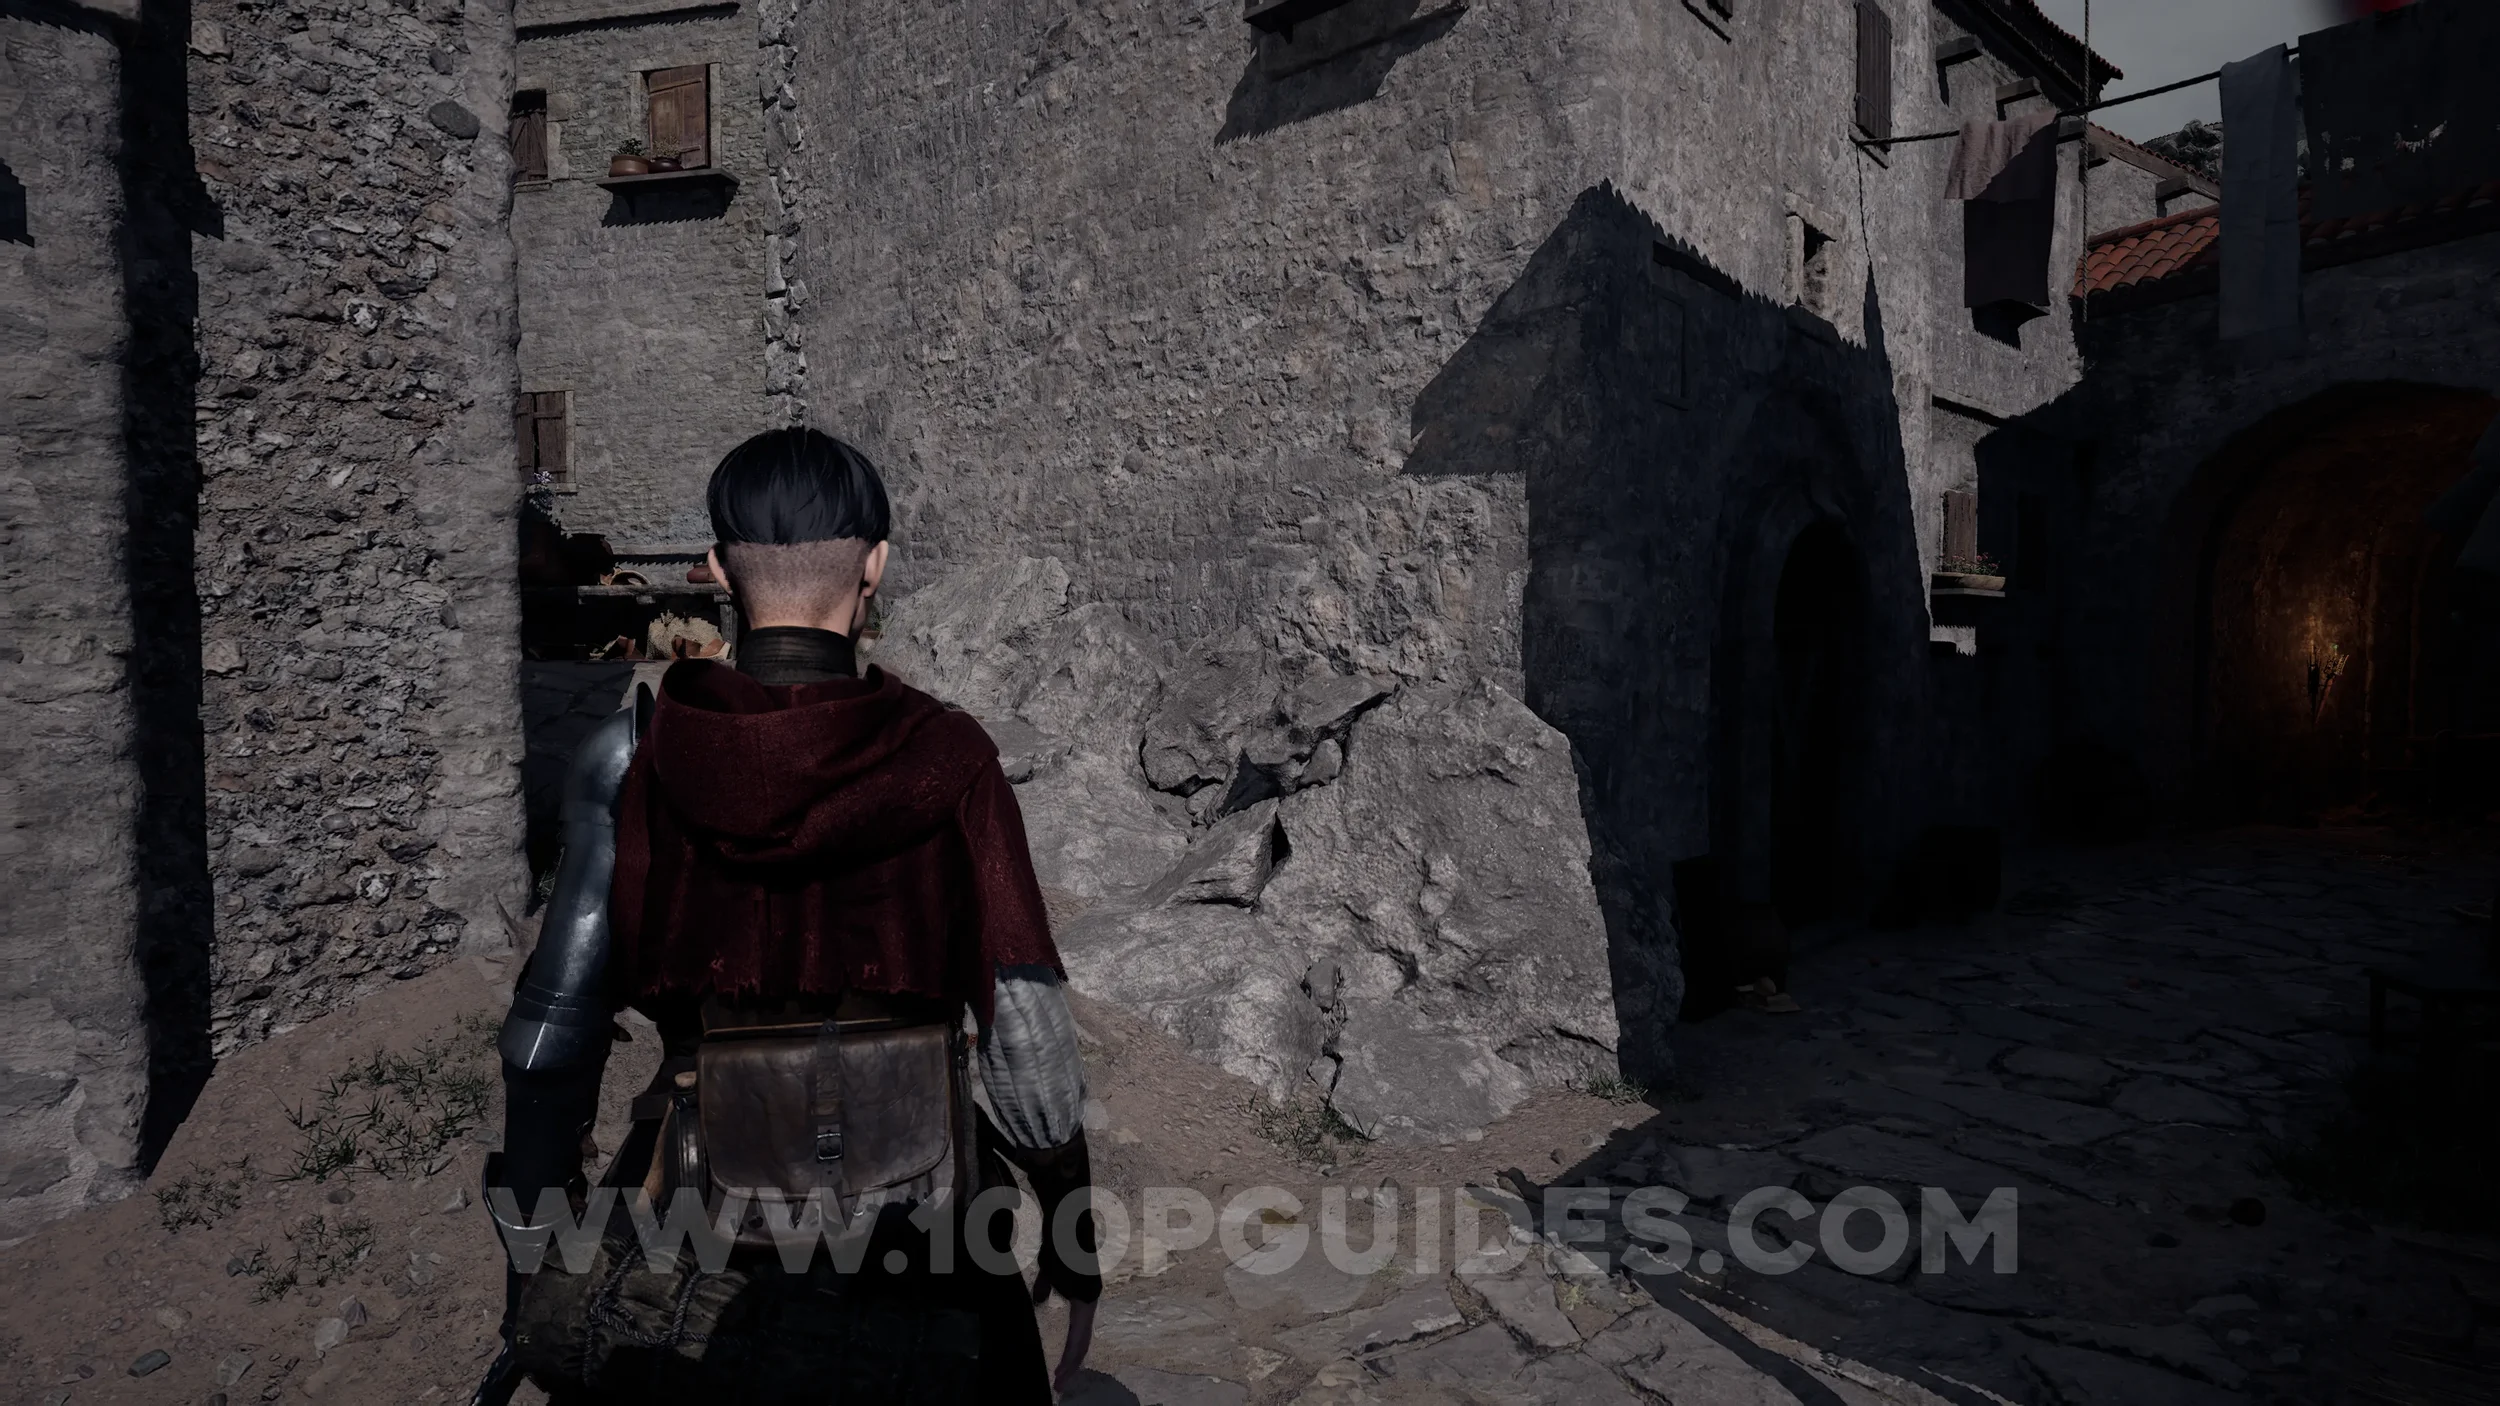
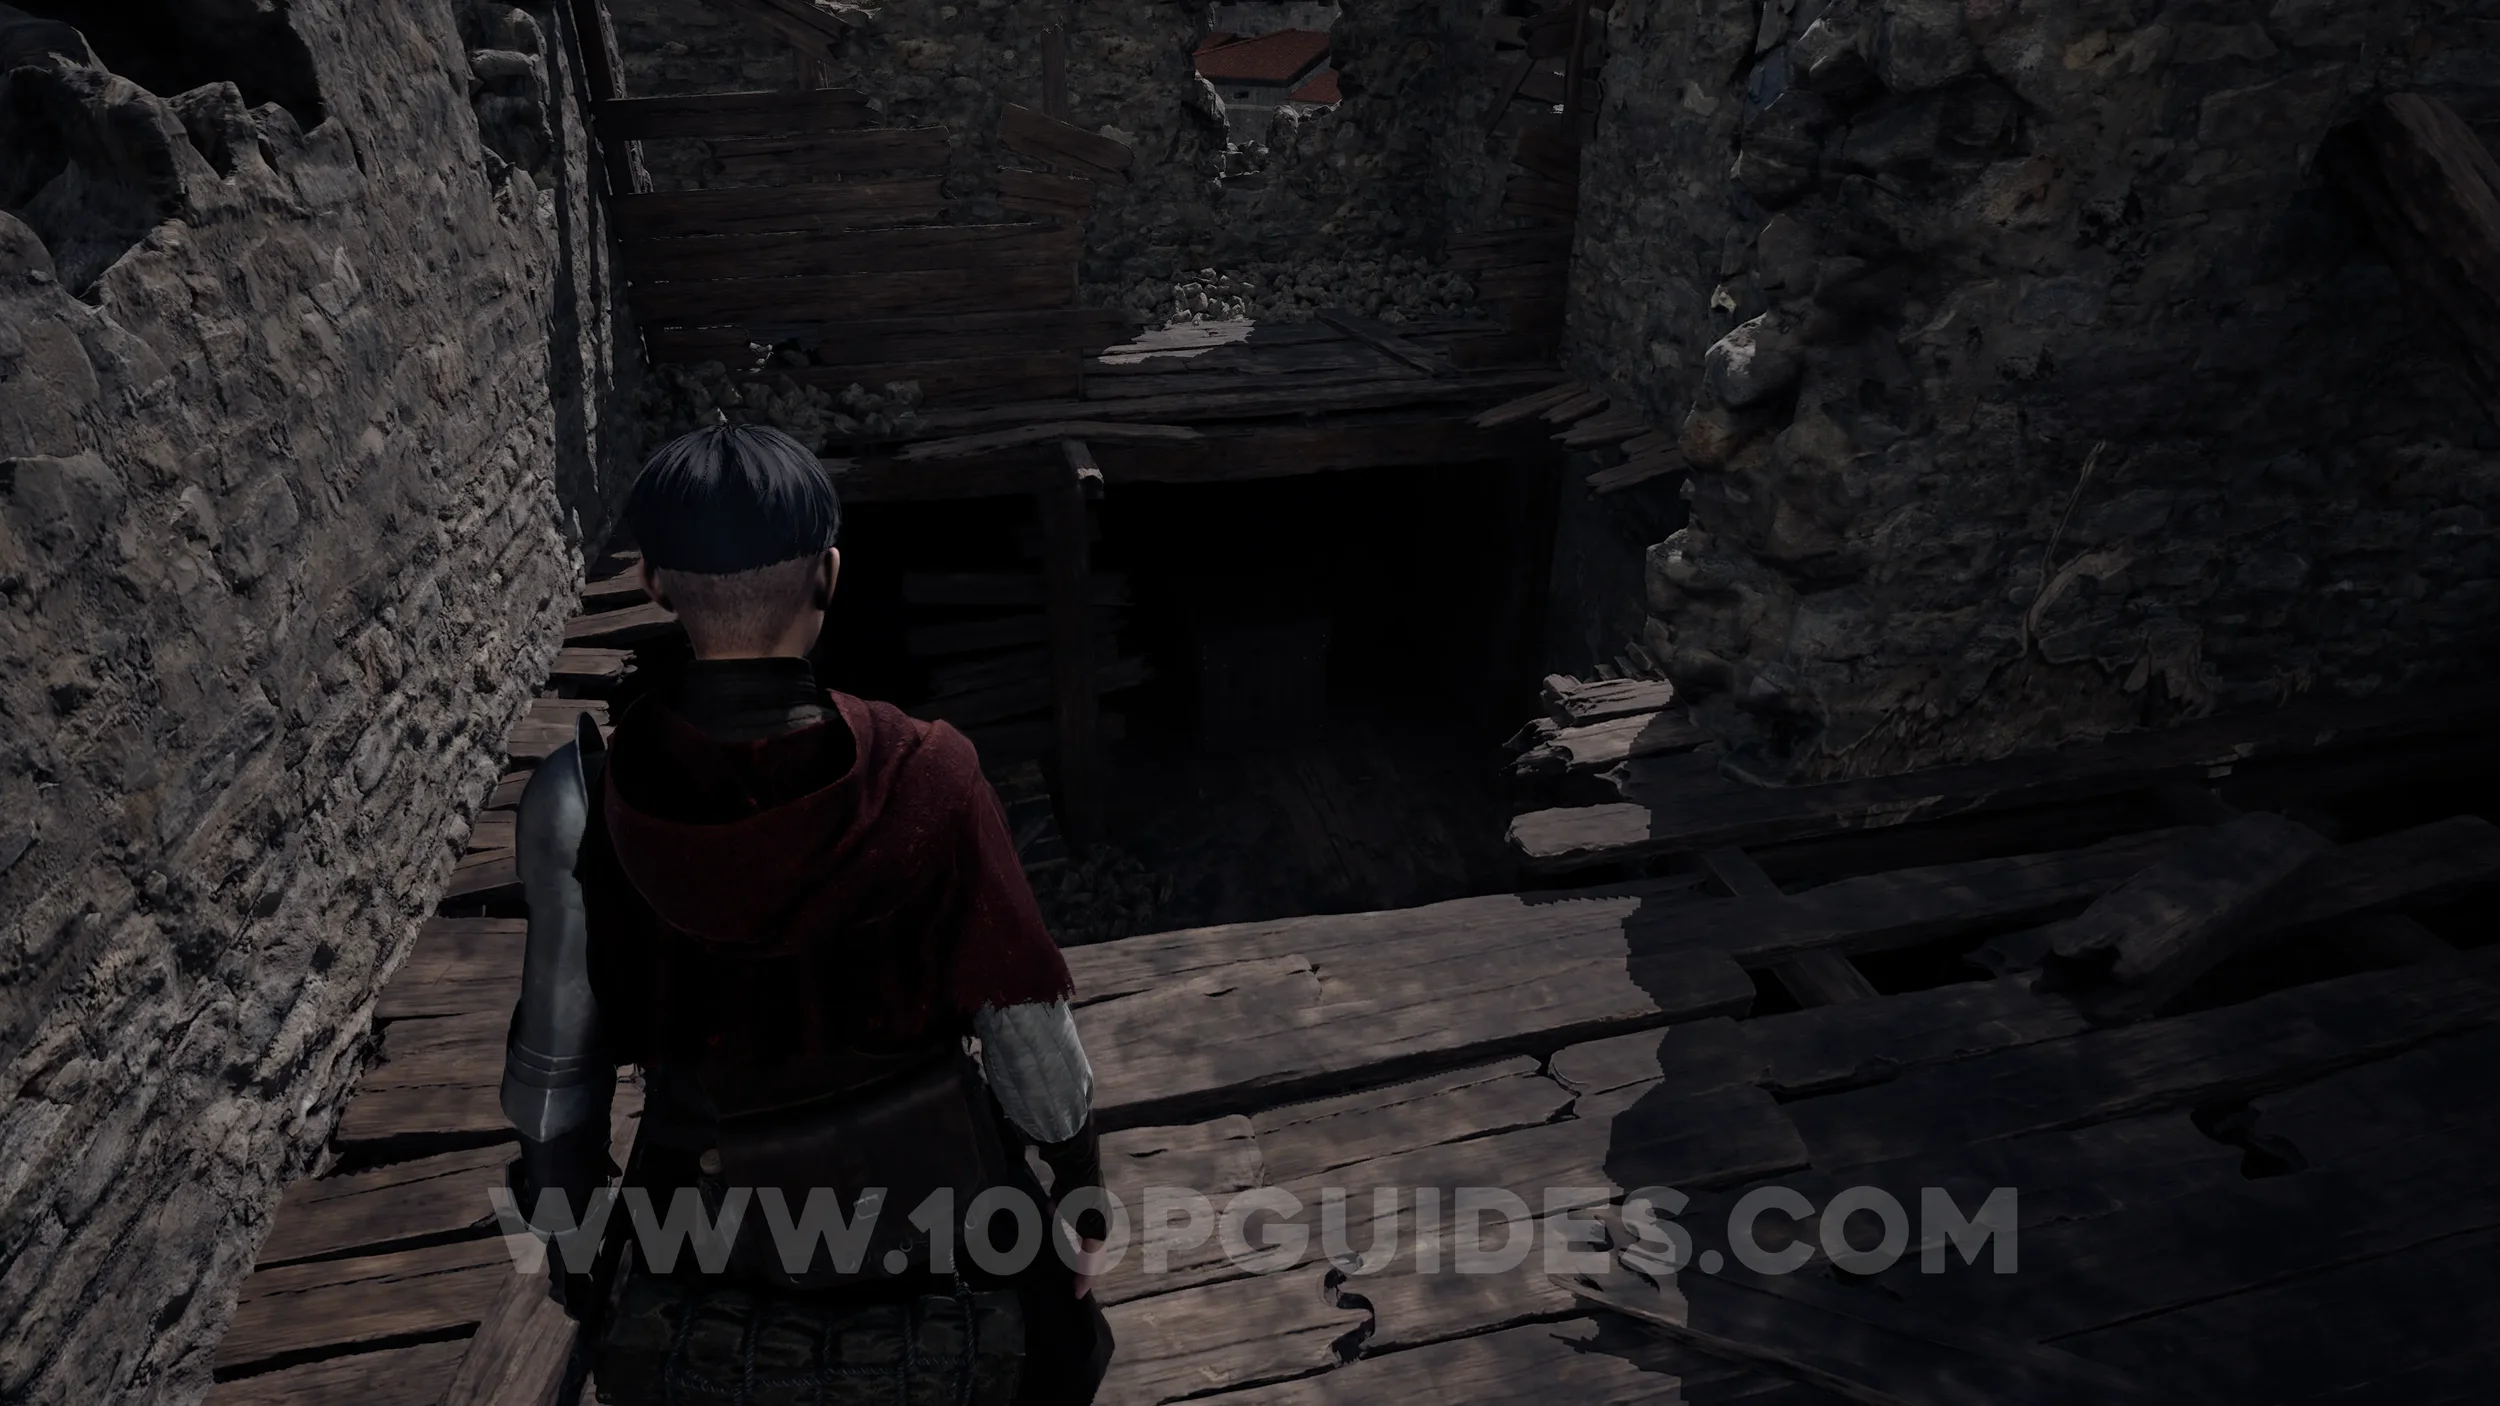
Paper #3-4. Continue through the village until you see a tavern sign on a building to your right. Just past it, you’ll see a door marked with a white cross. Take the path on the left and drop down into the building below. The papers can be found inside a box.

Treasure #1 - Ex-Voto. Obtained automatically at the end of the chapter.
Chapter 2
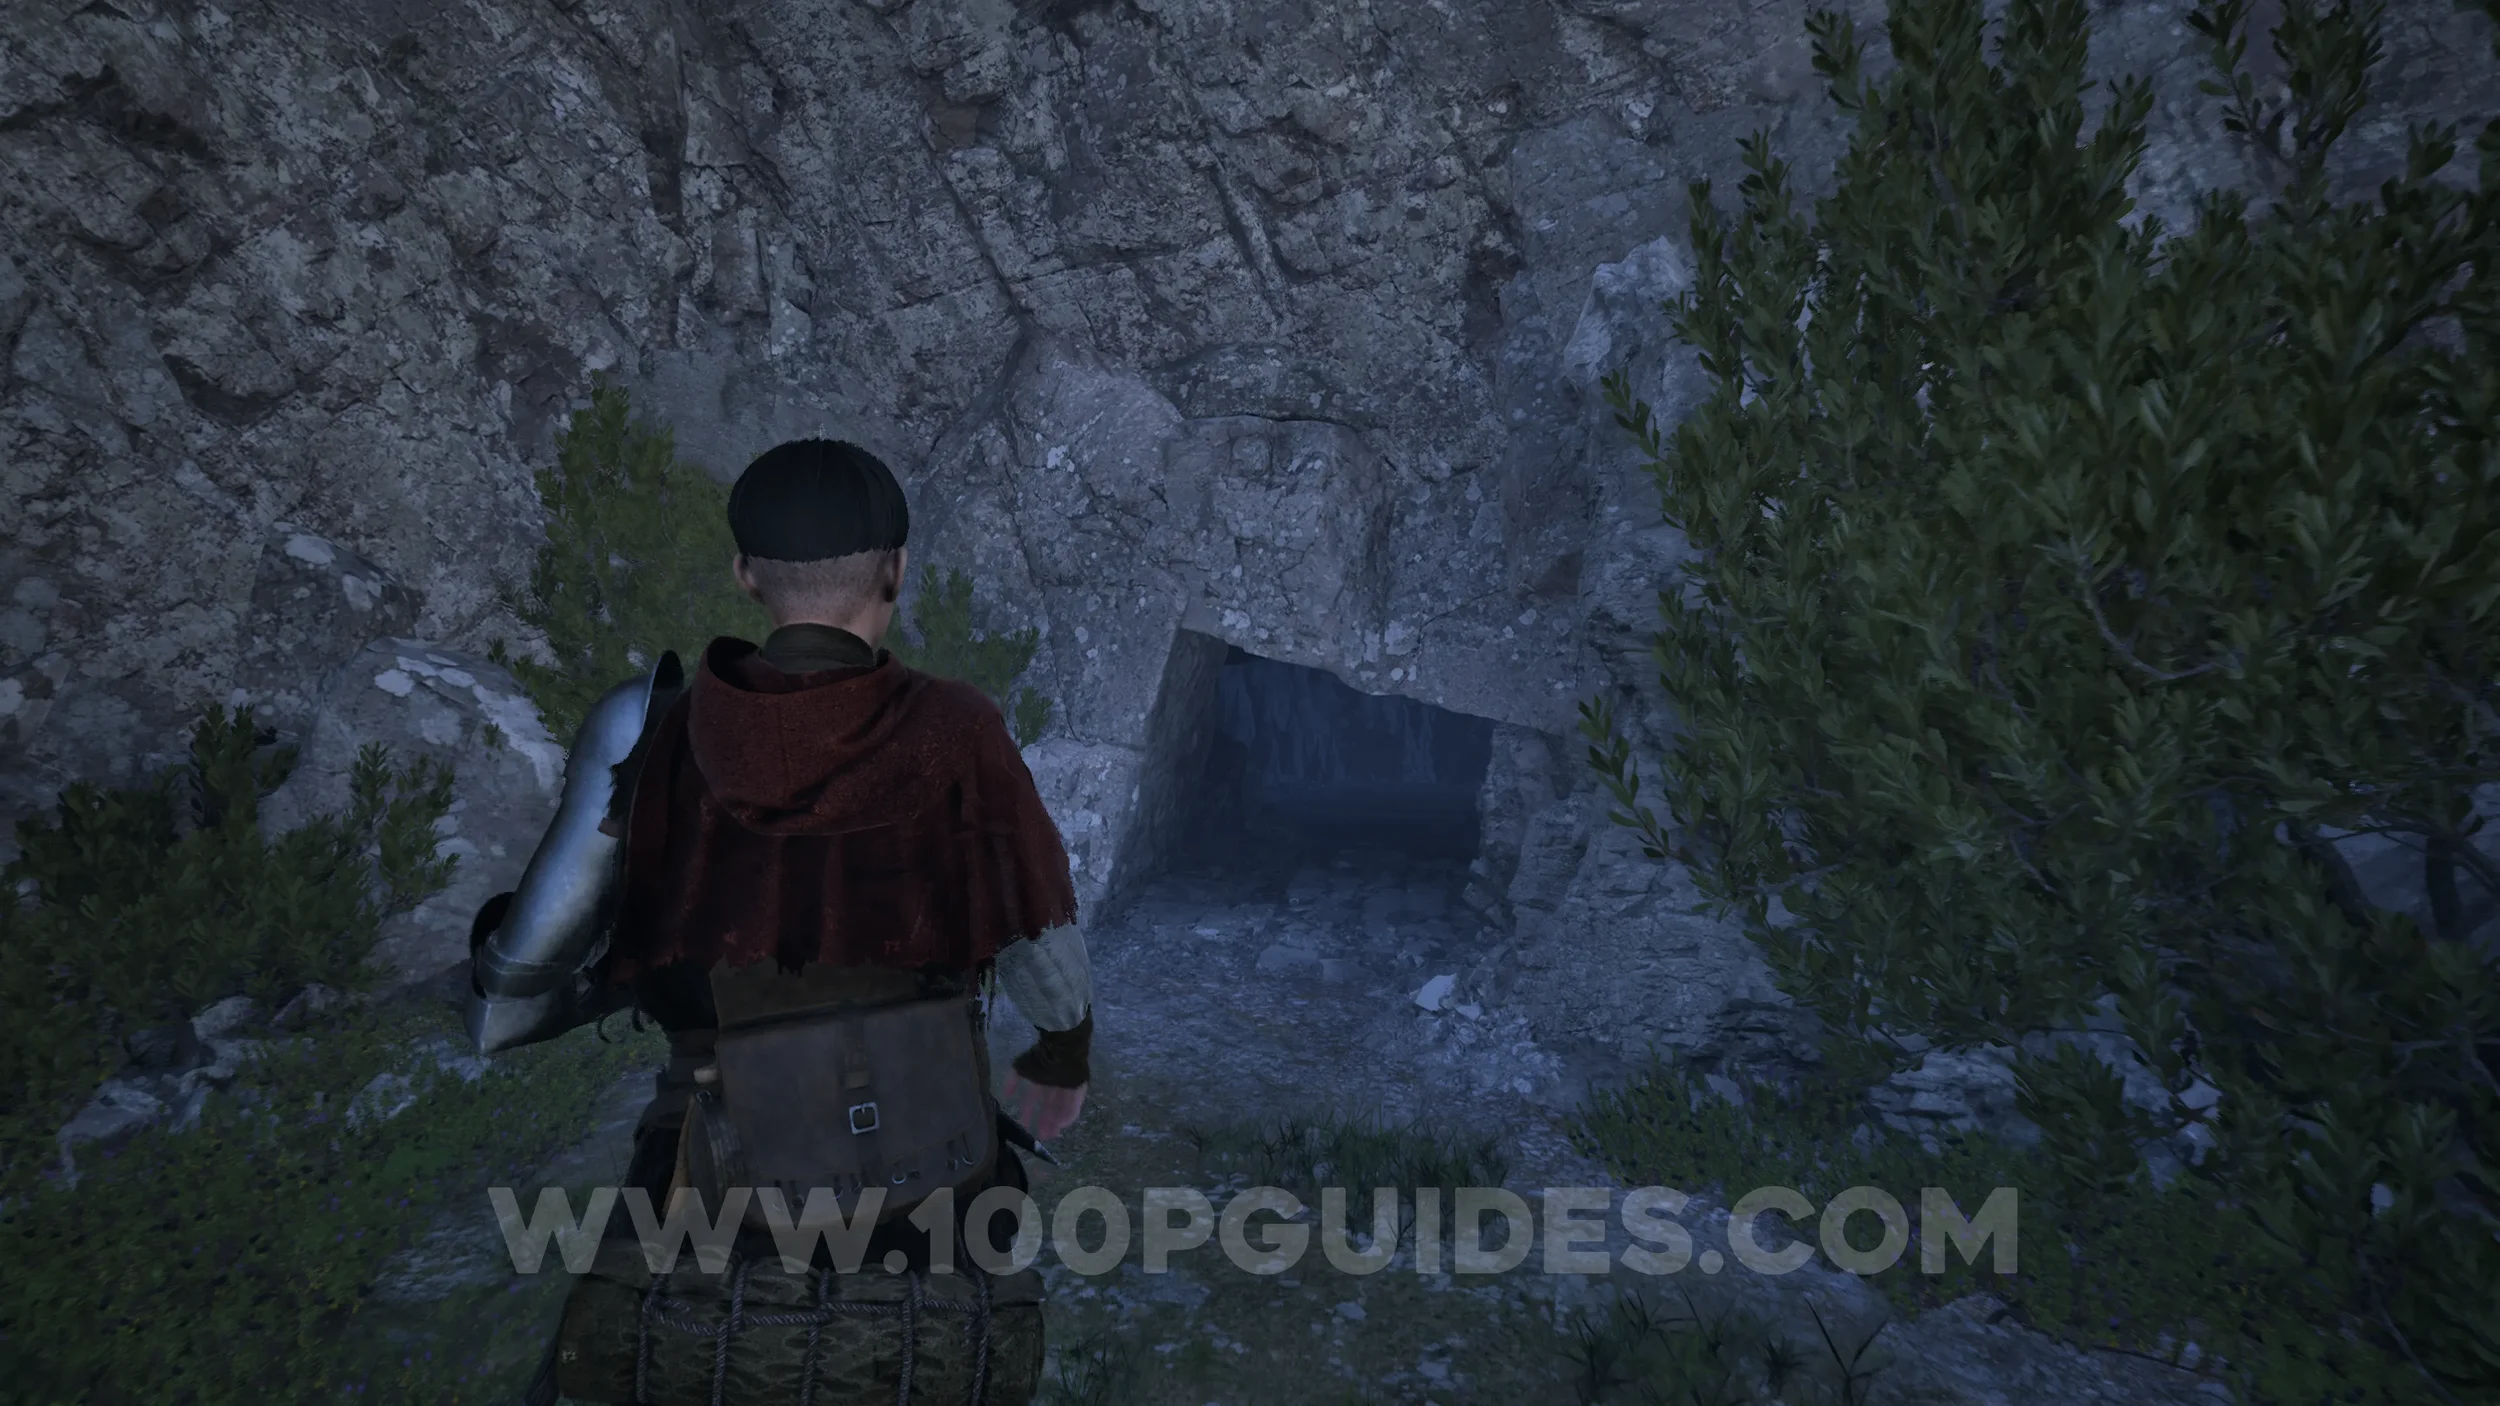
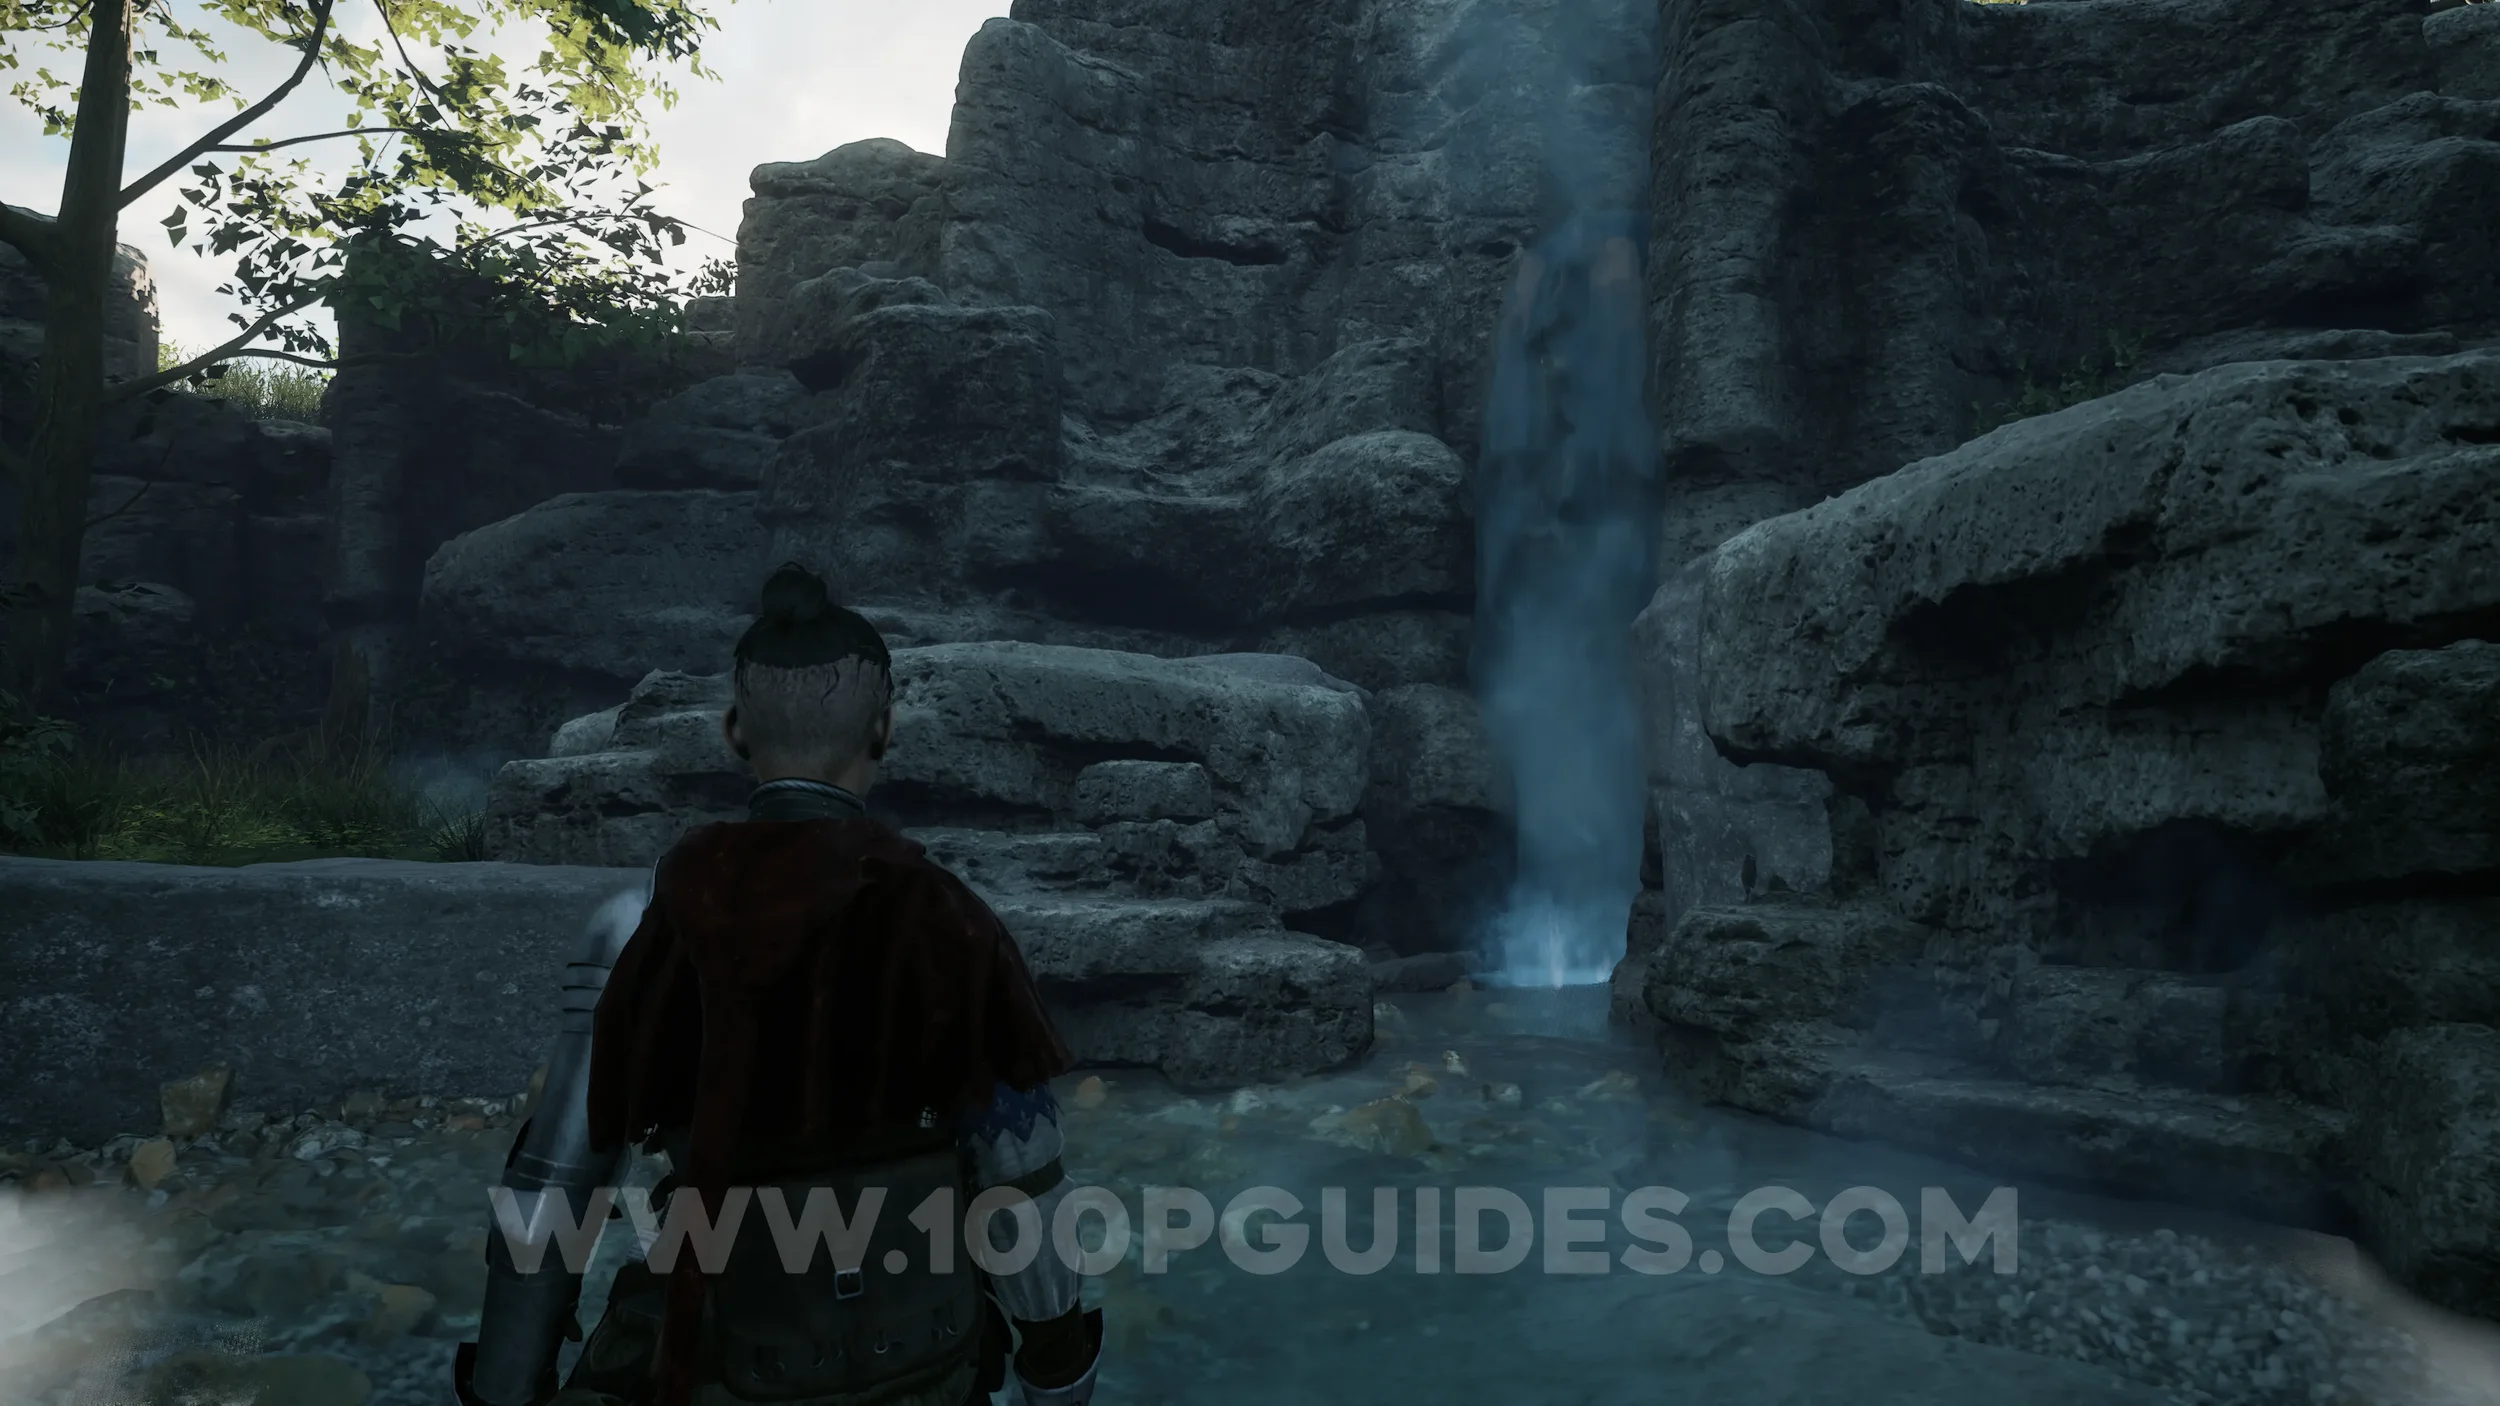
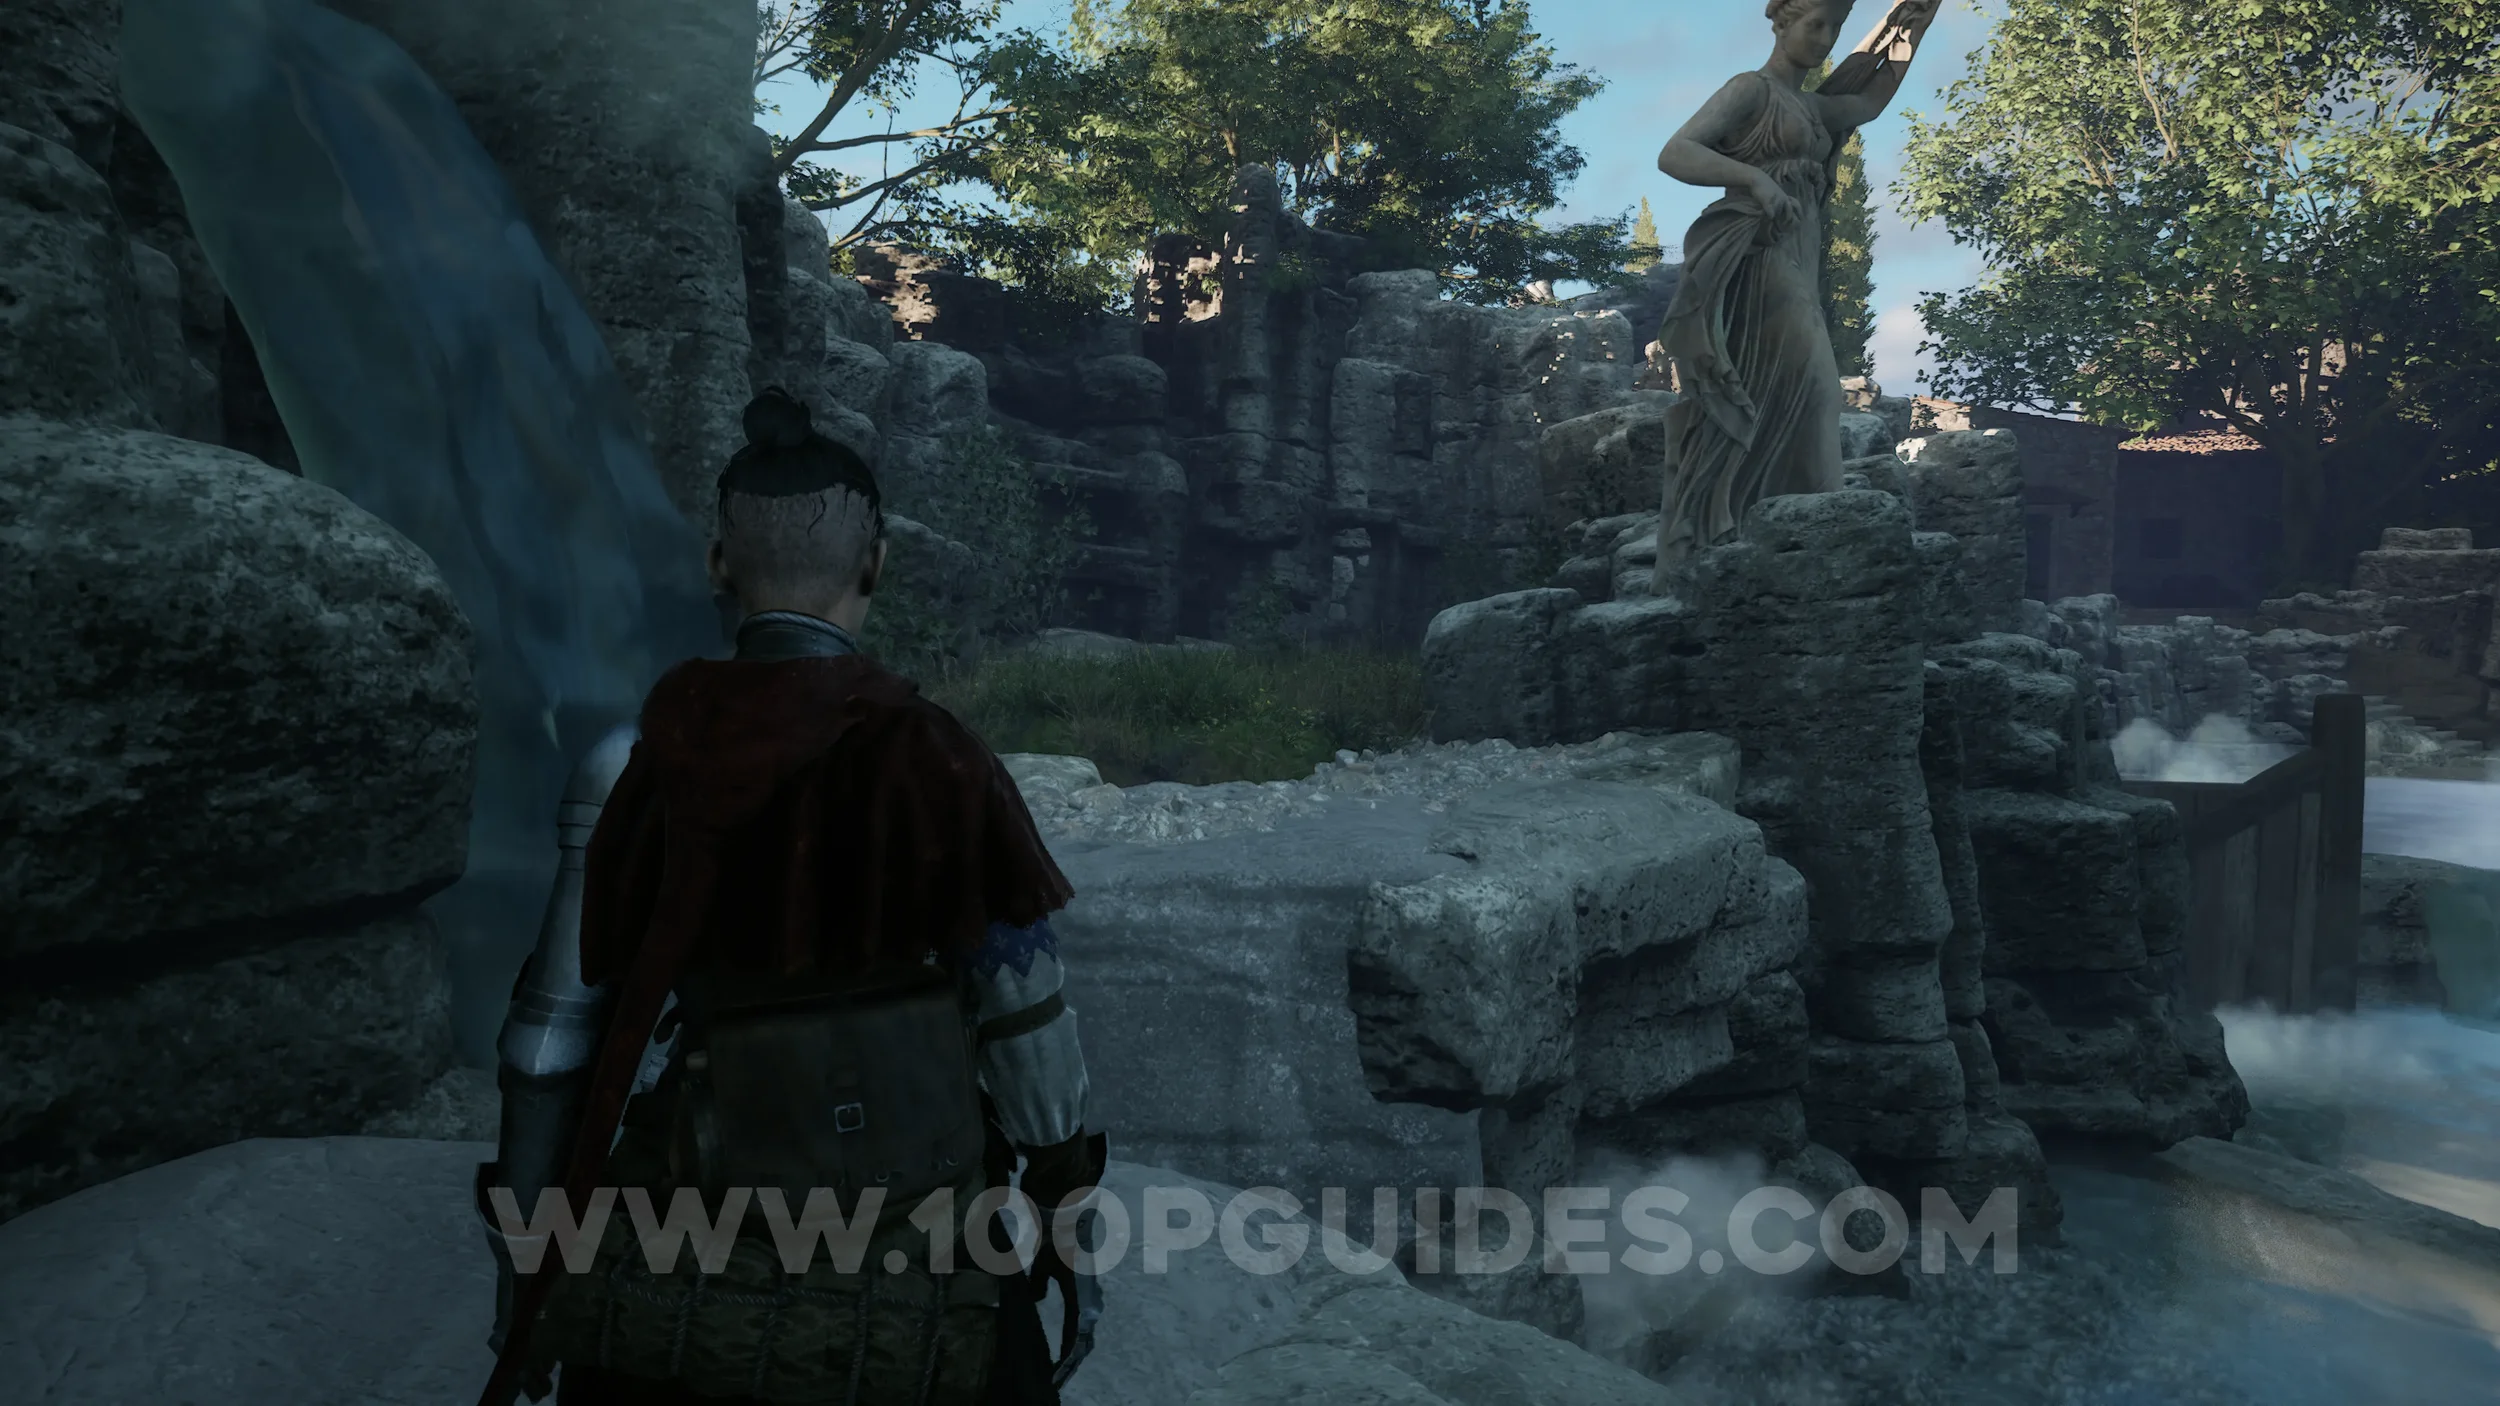
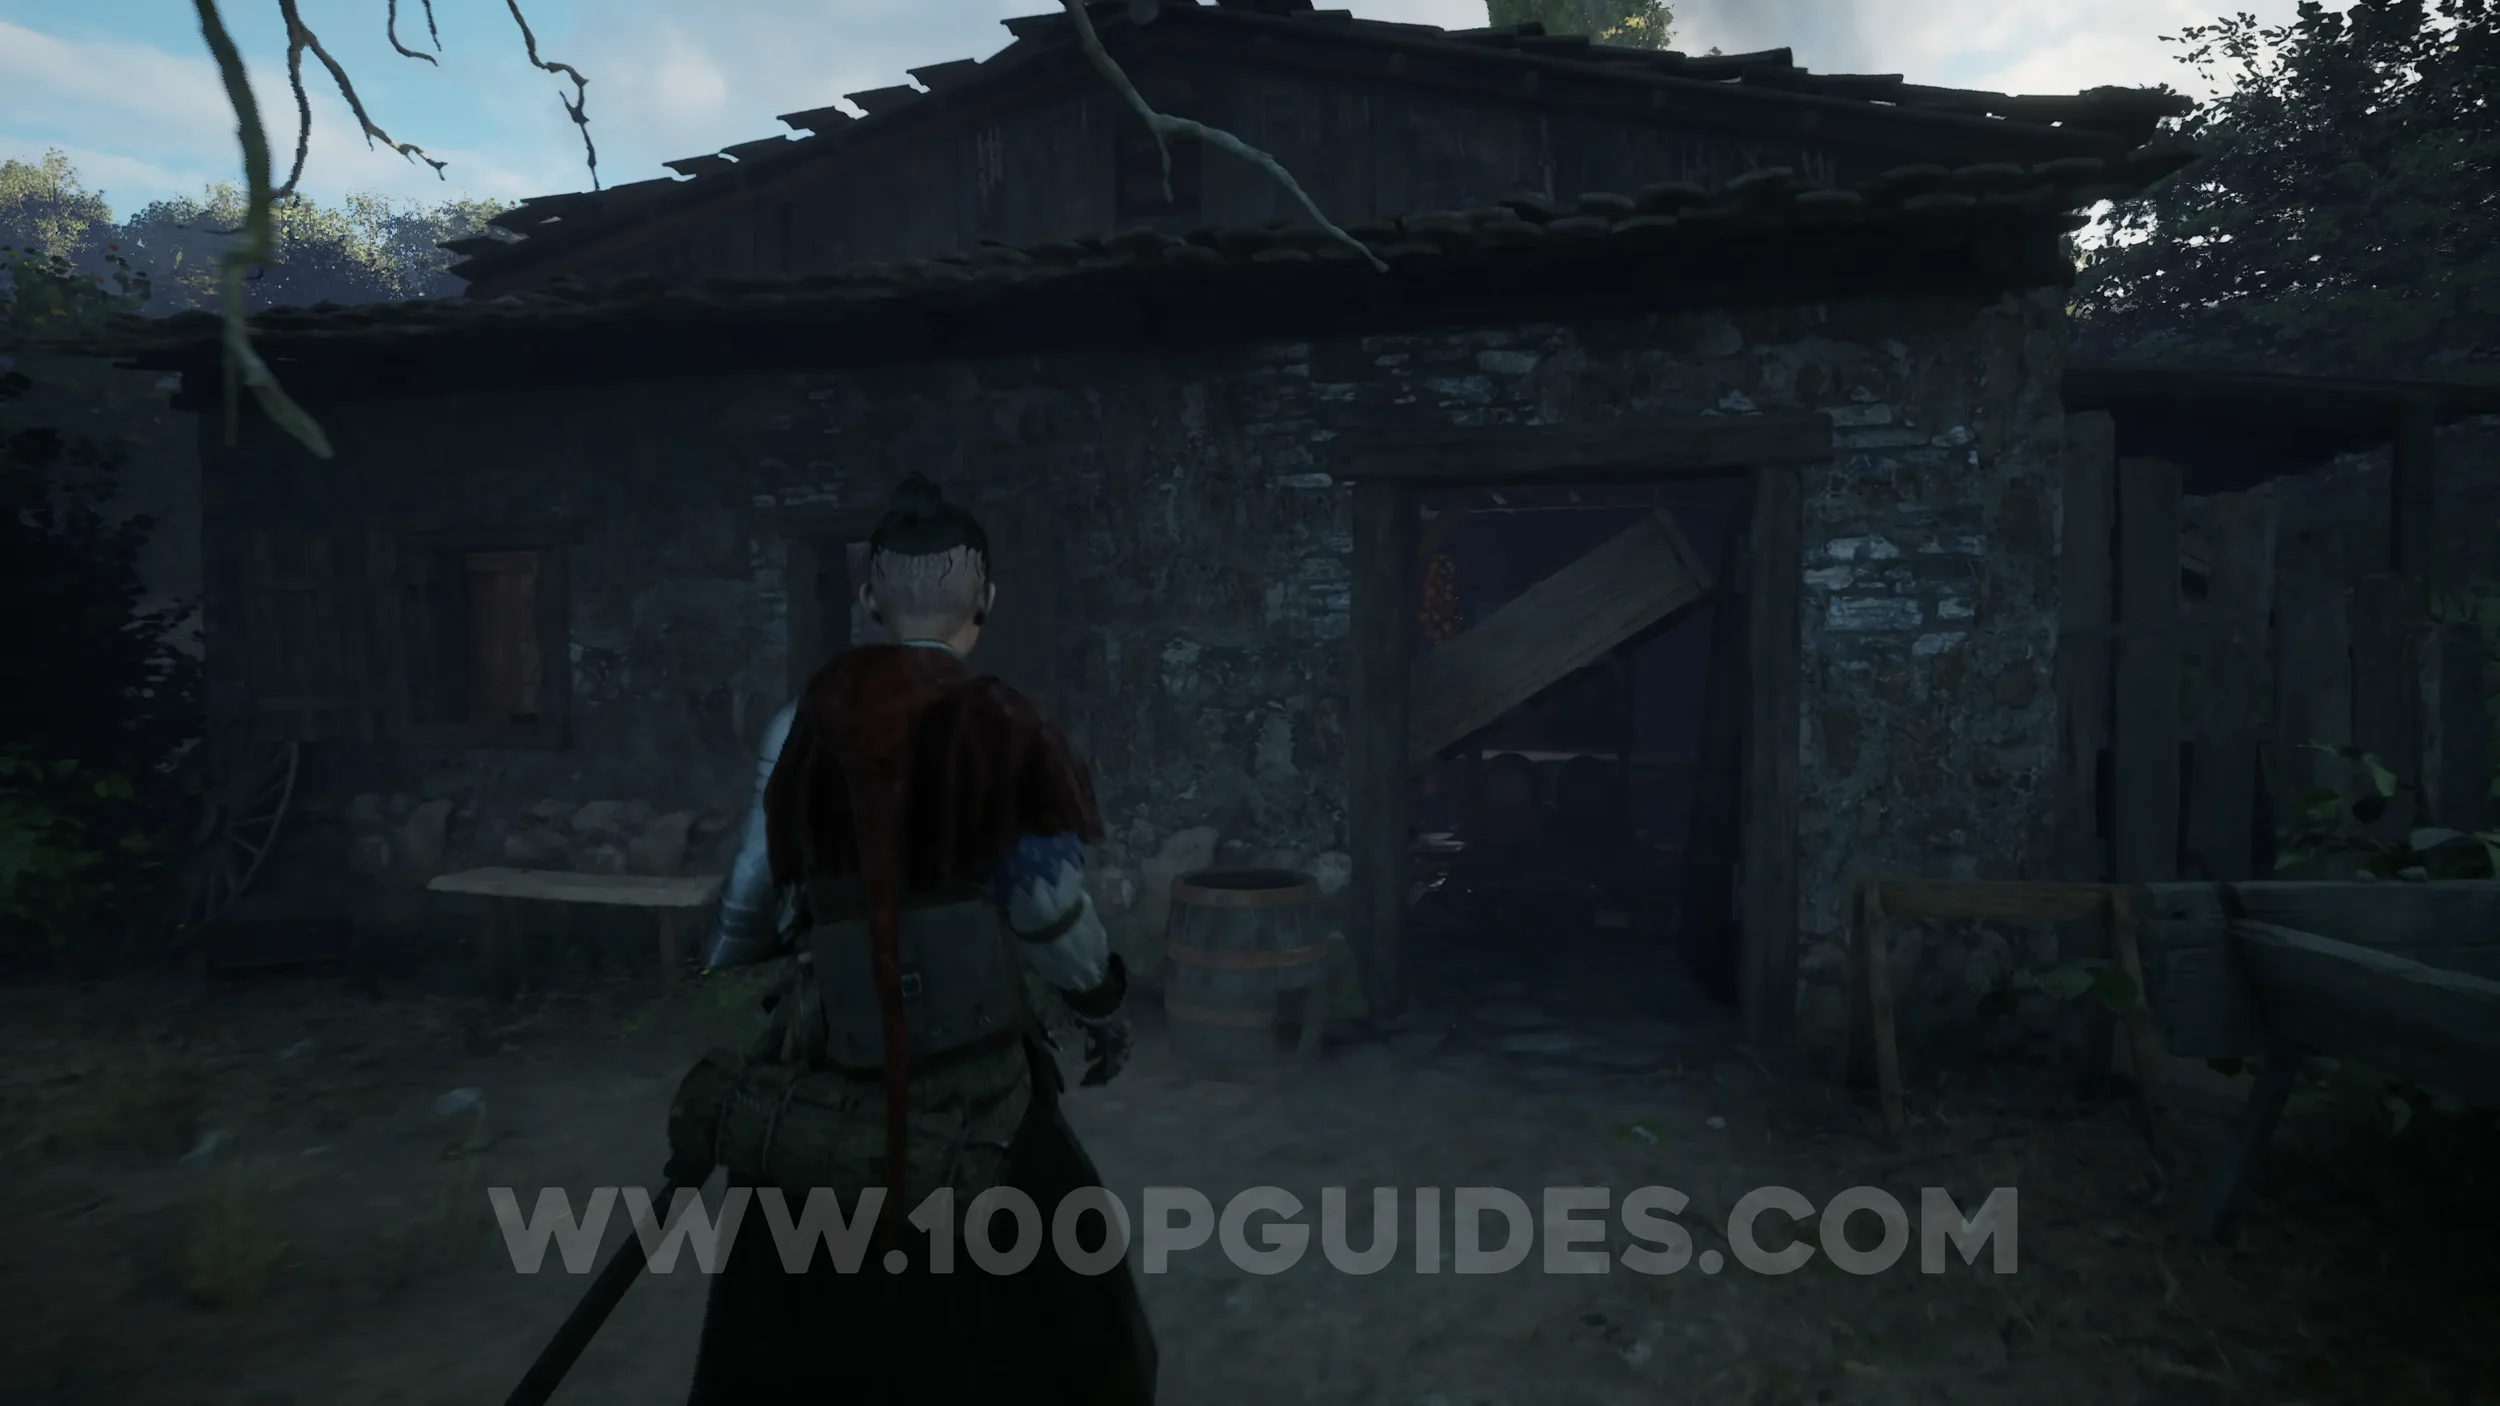
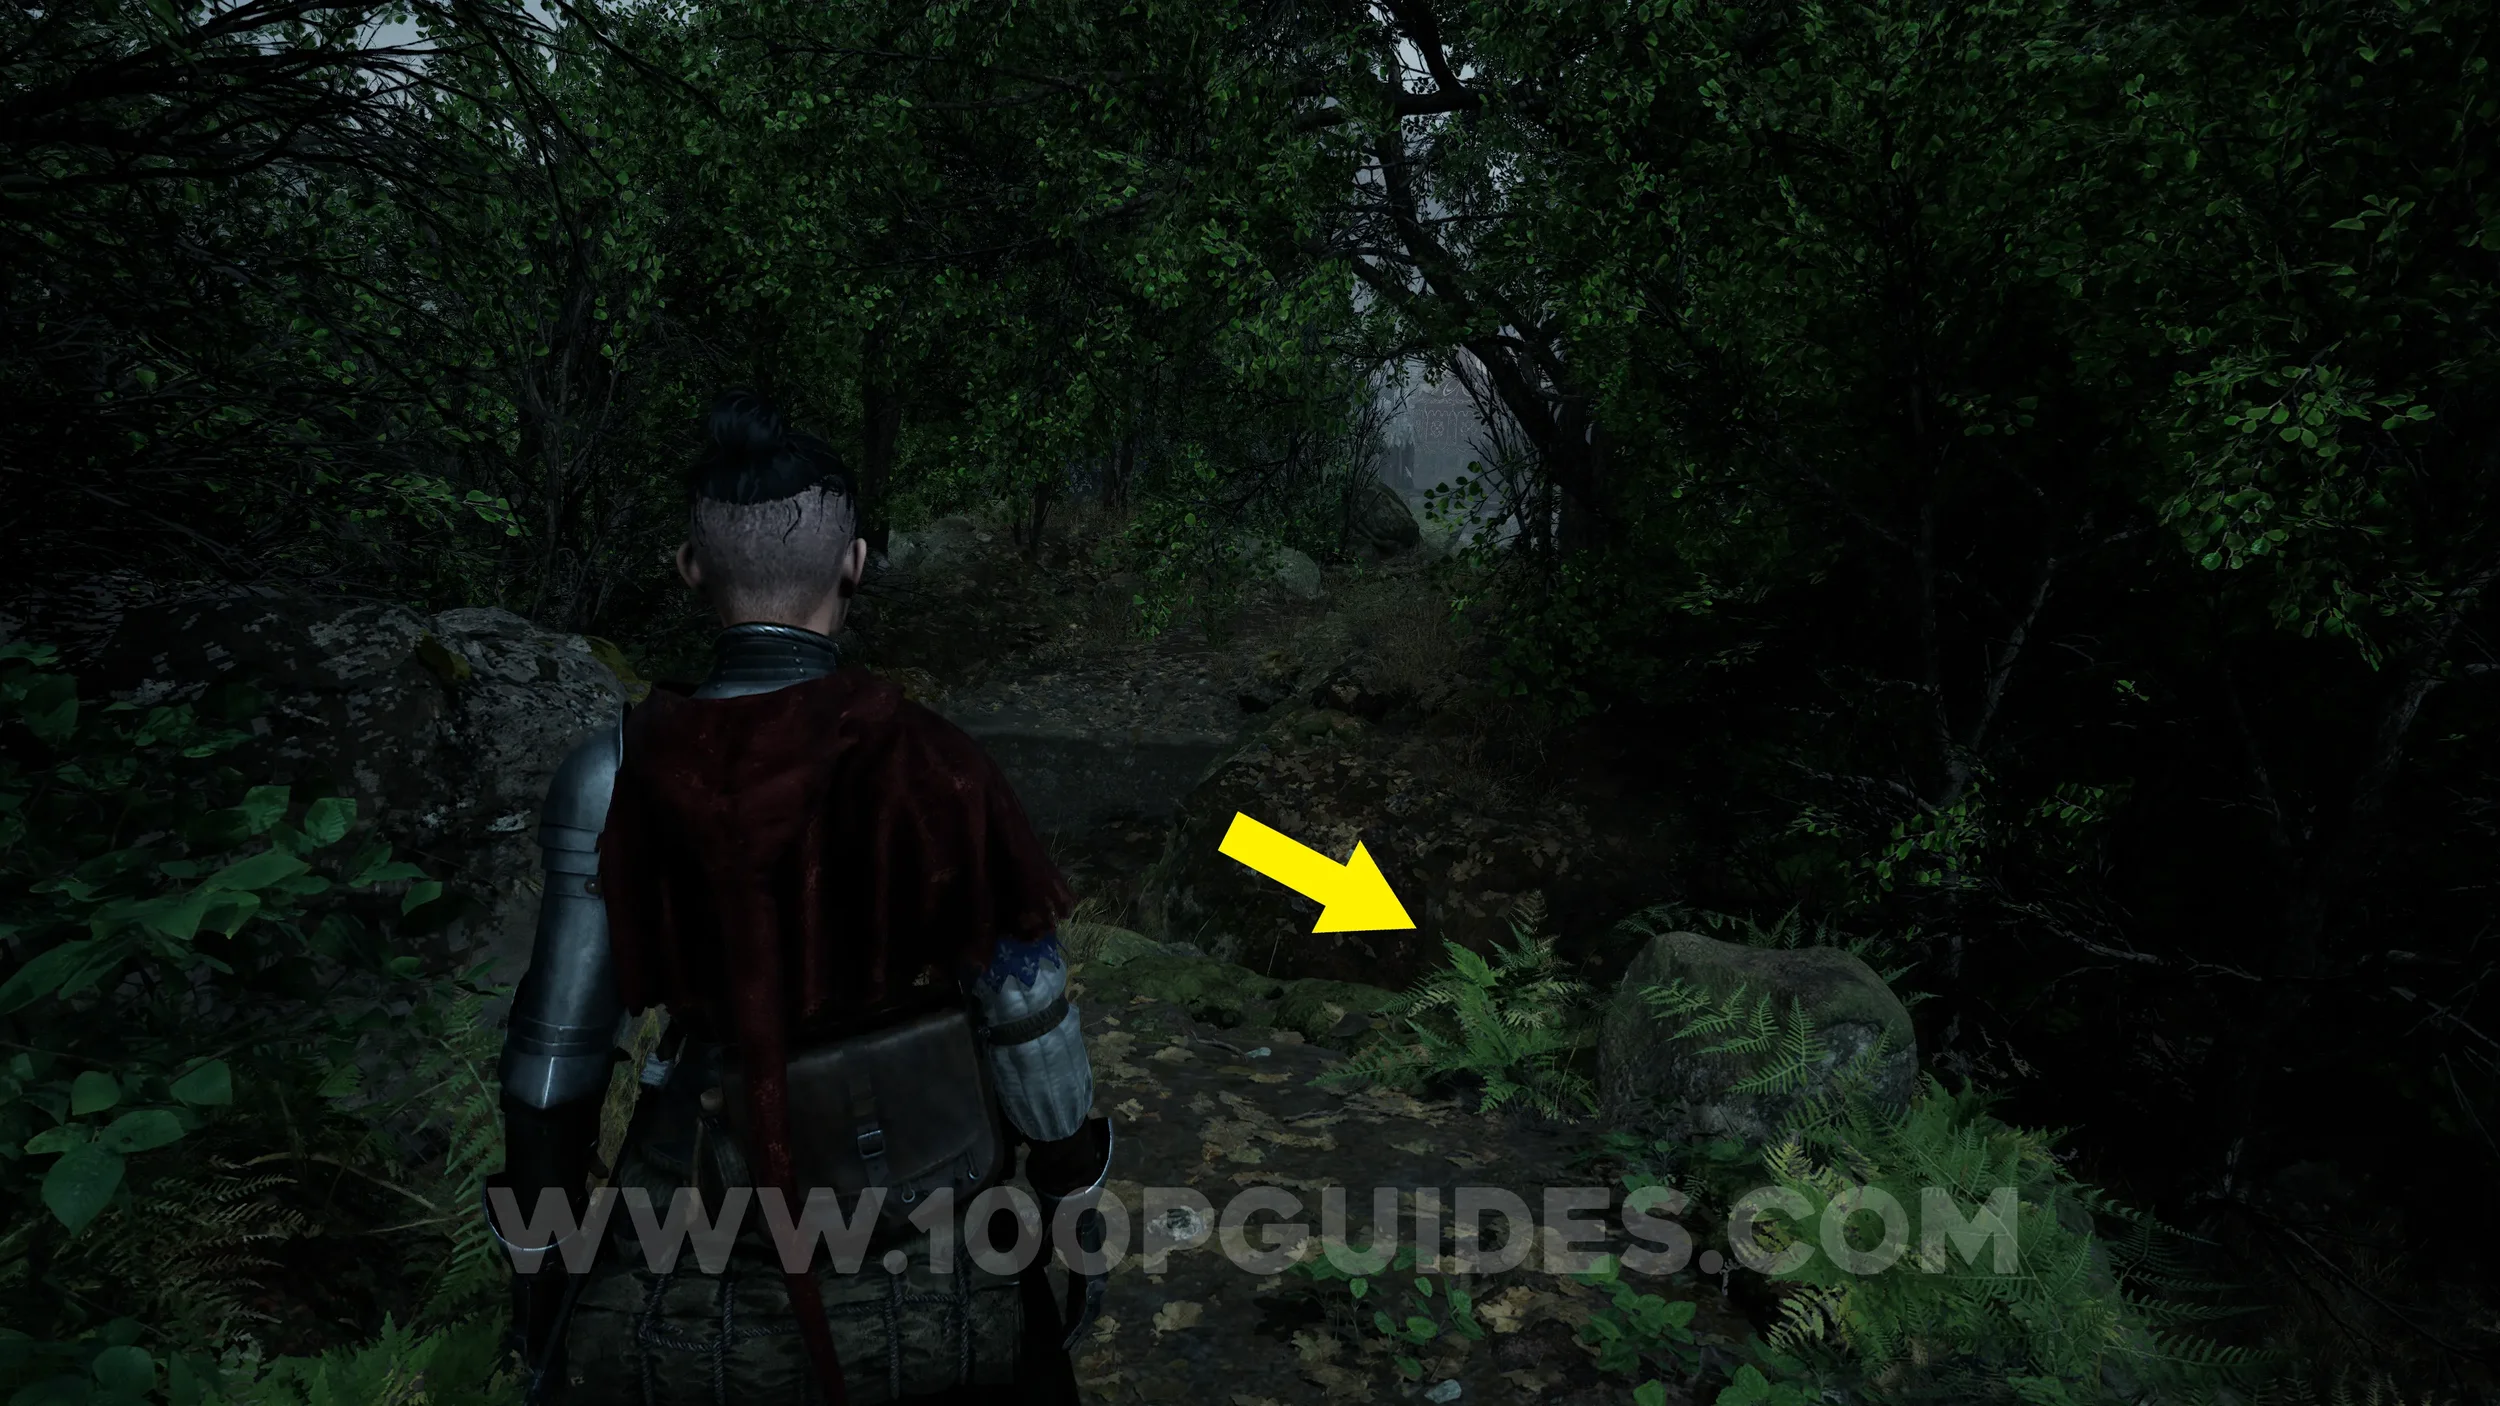
Trinket #2 - Sunstone. At the start of the chapter, you’ll come across a river on your right. Head to the far end and look for a small cave entrance to the left of the waterfall. The trinket can be found inside.

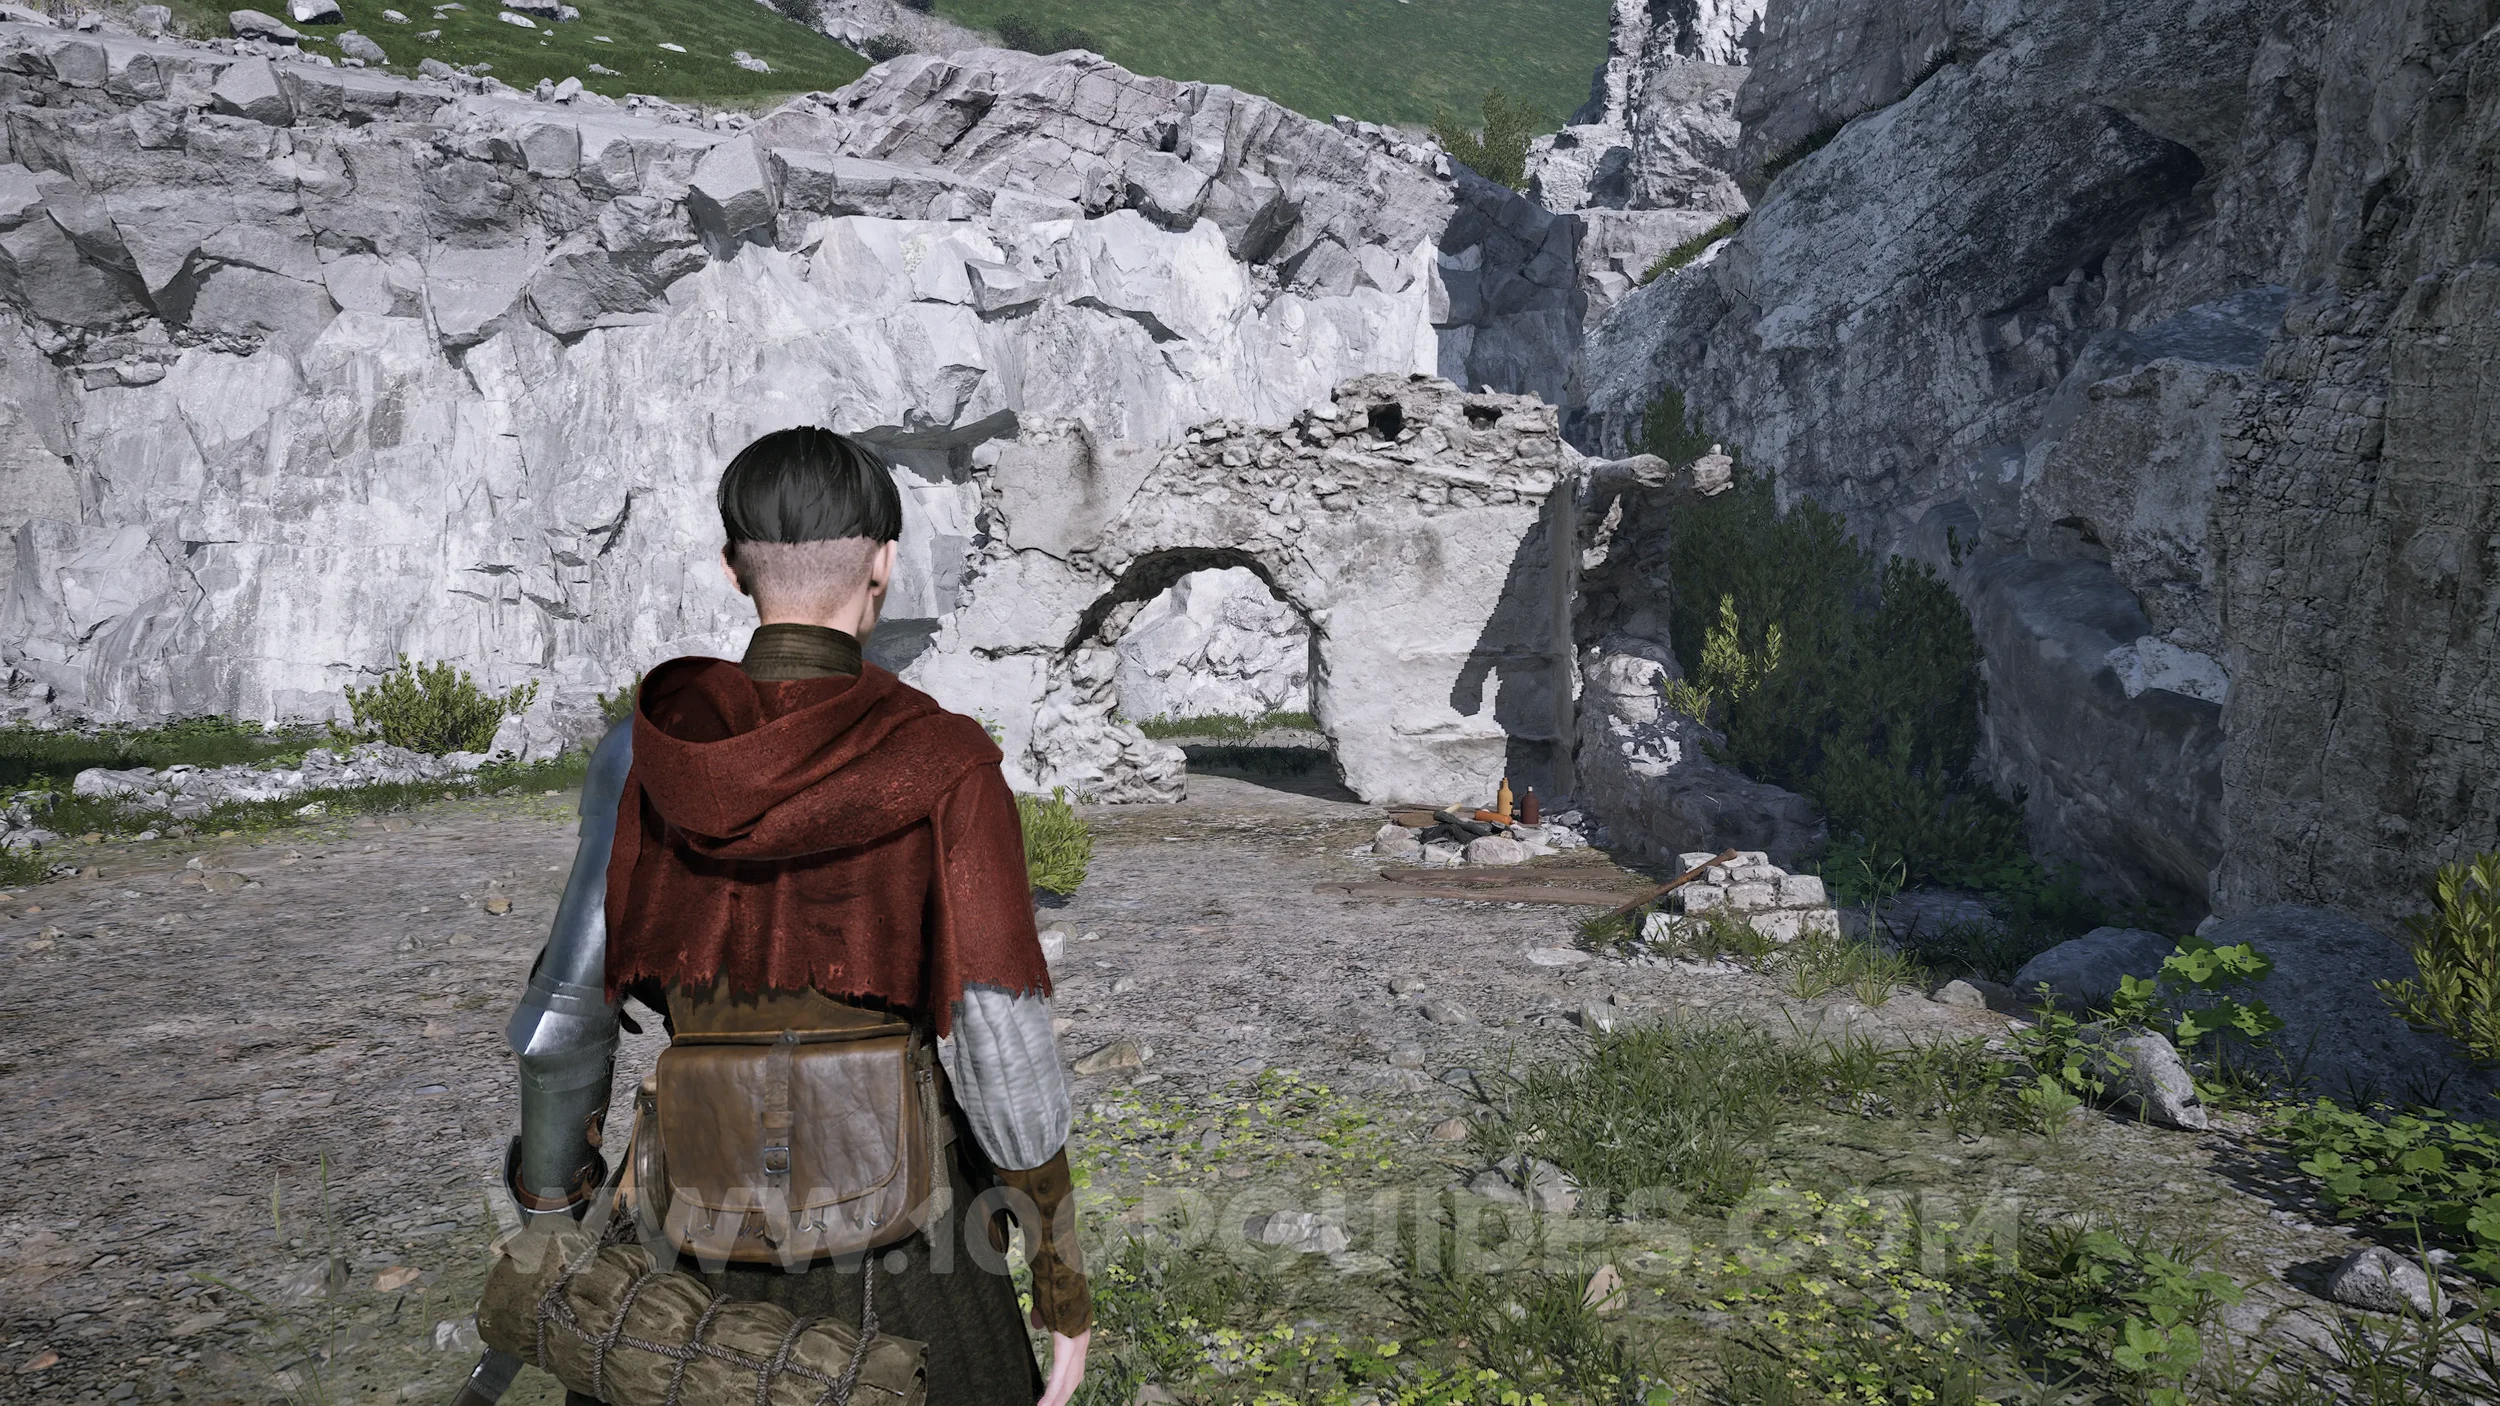
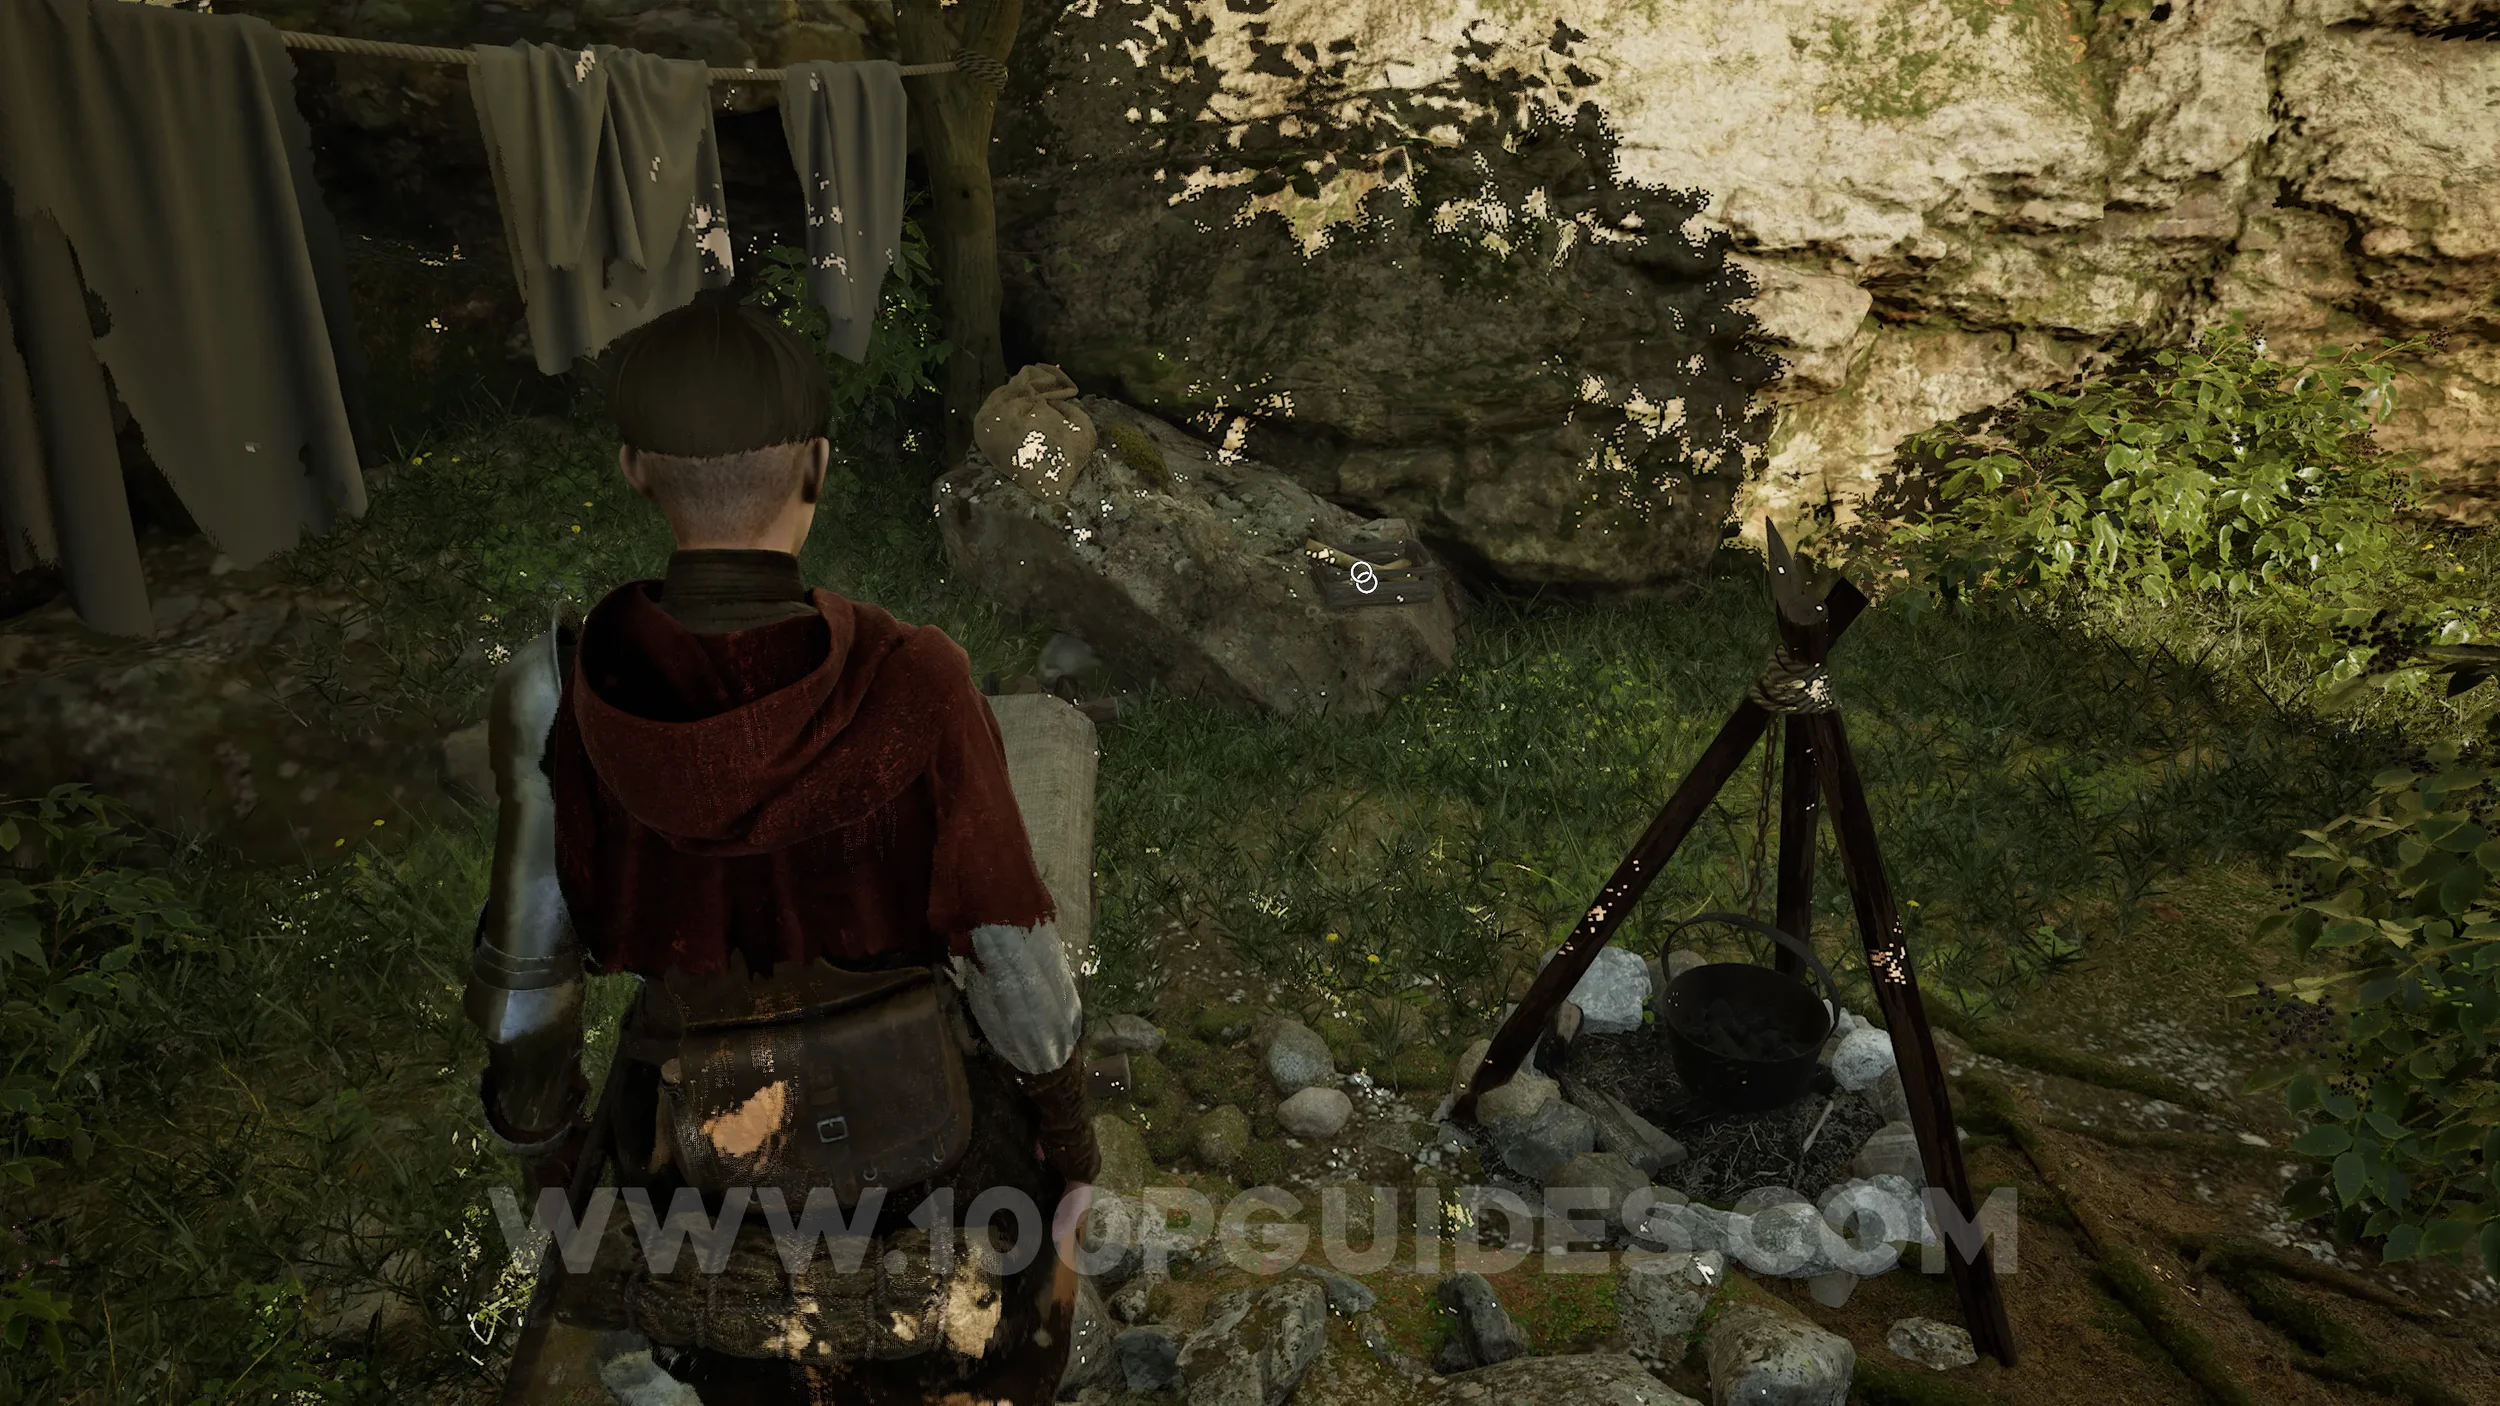
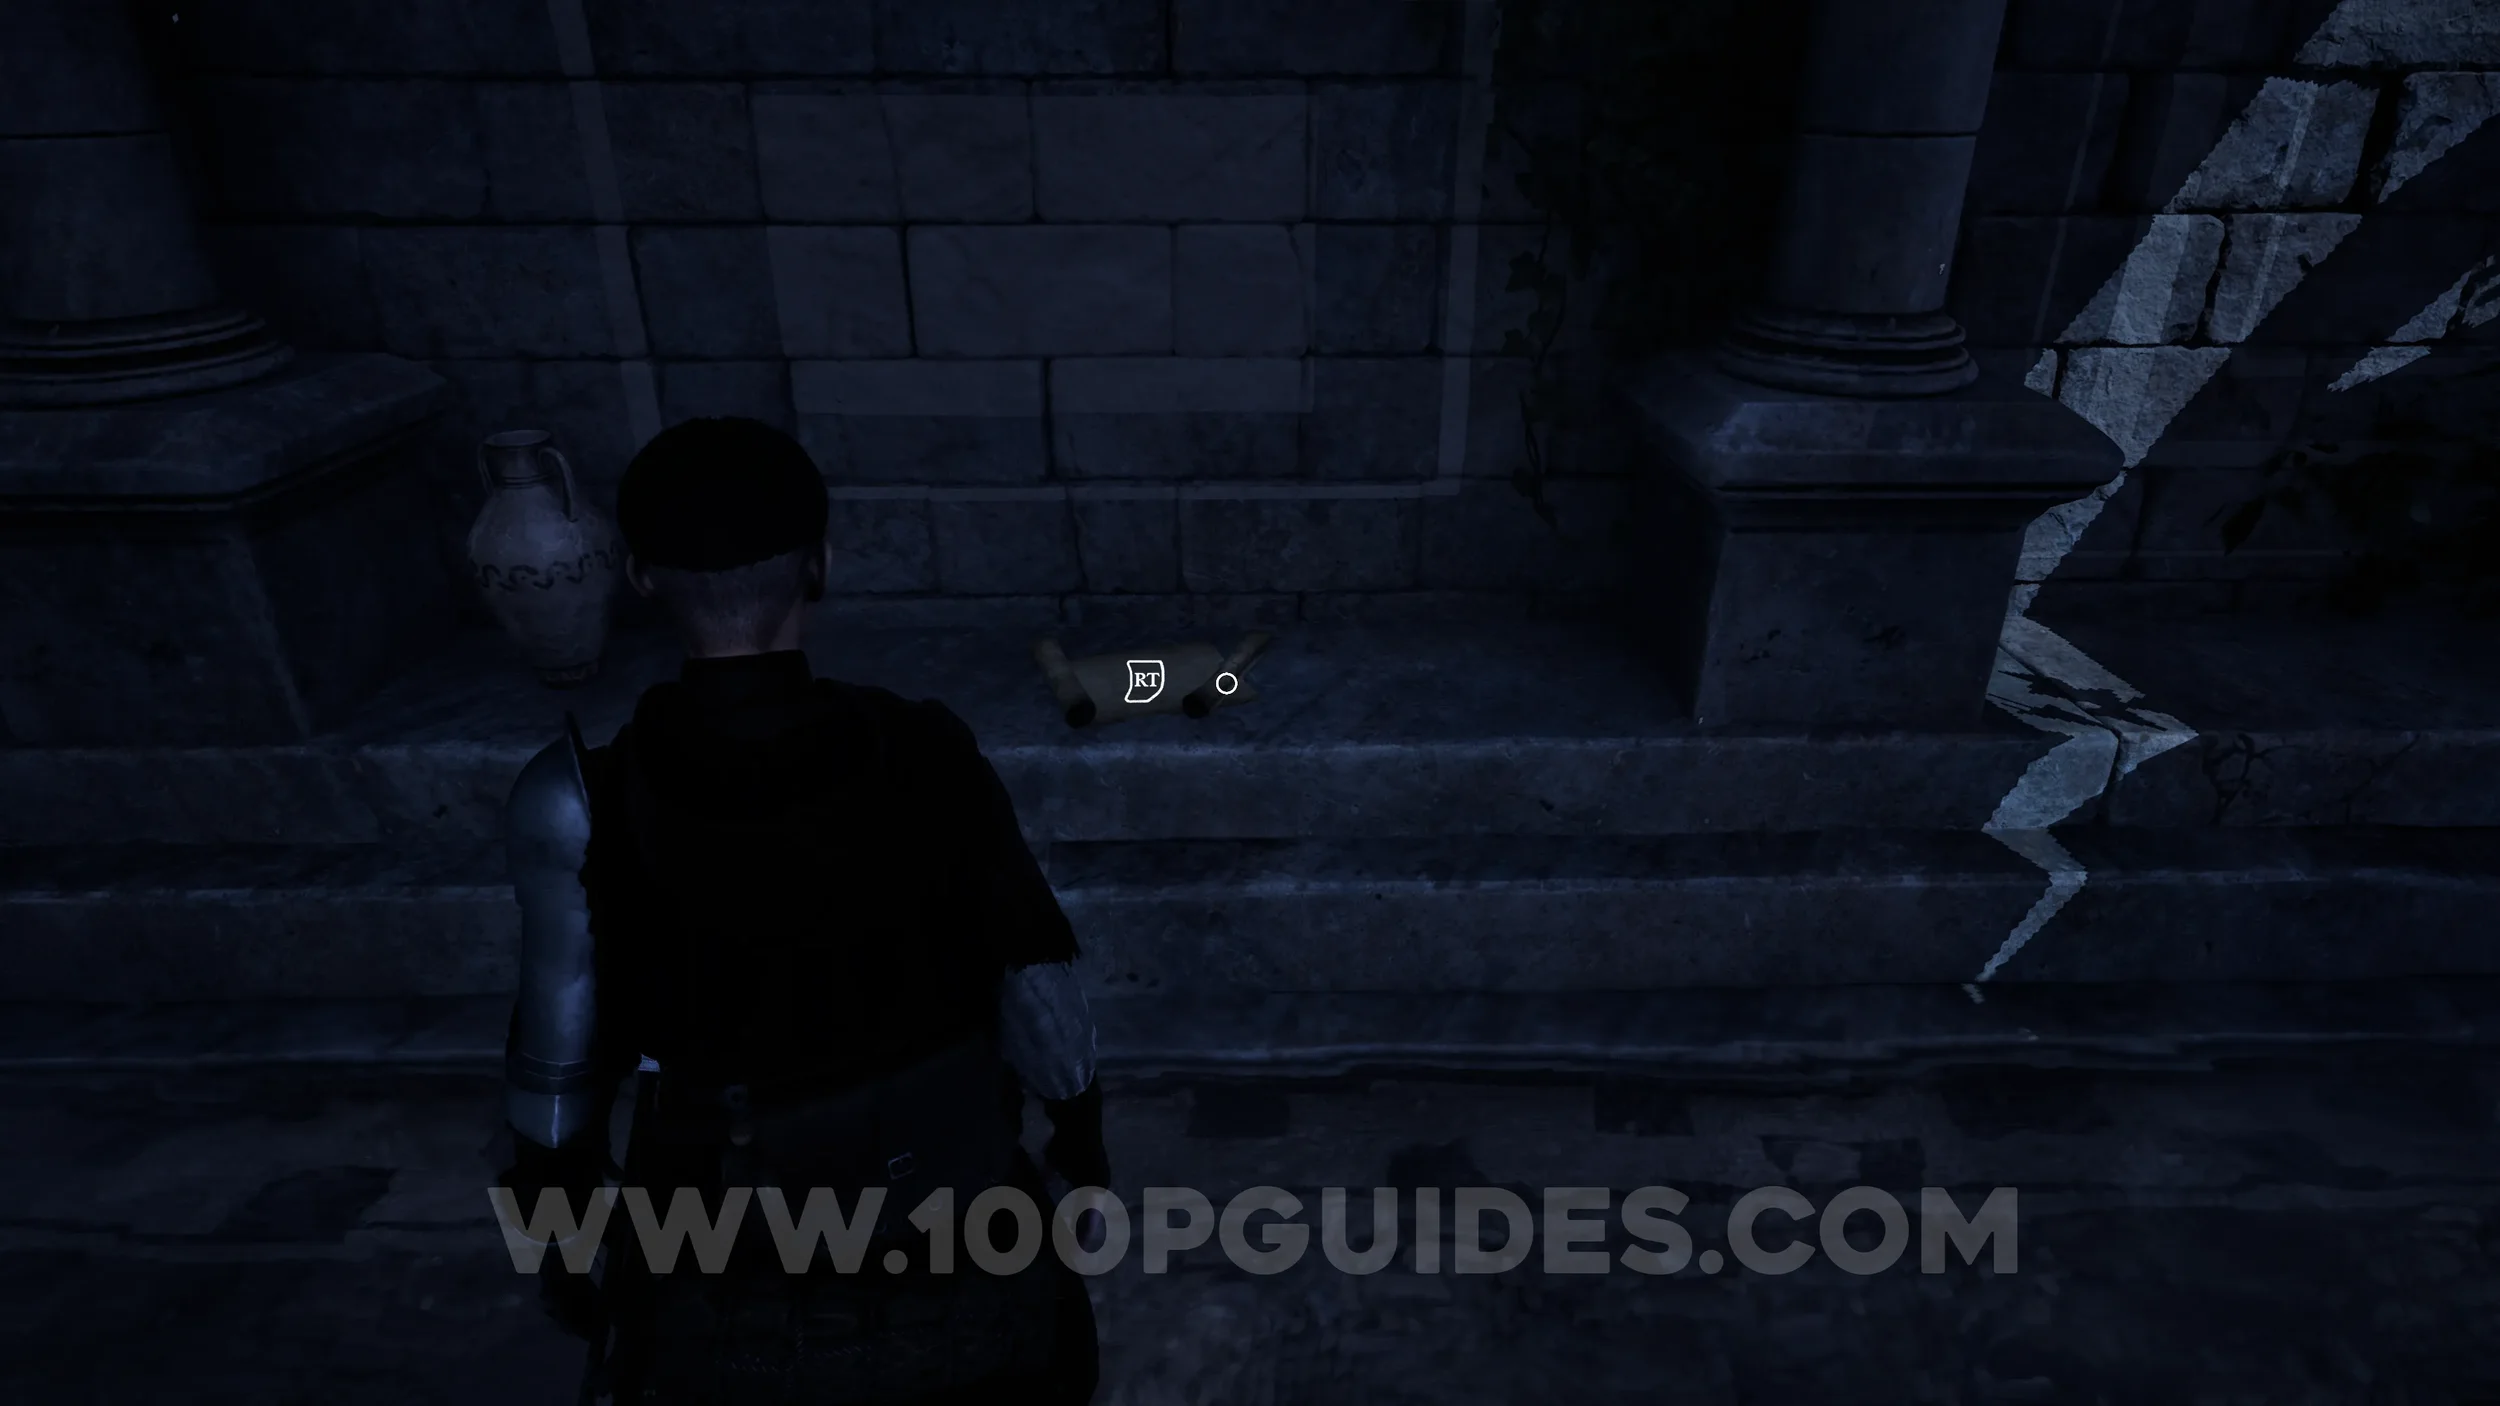
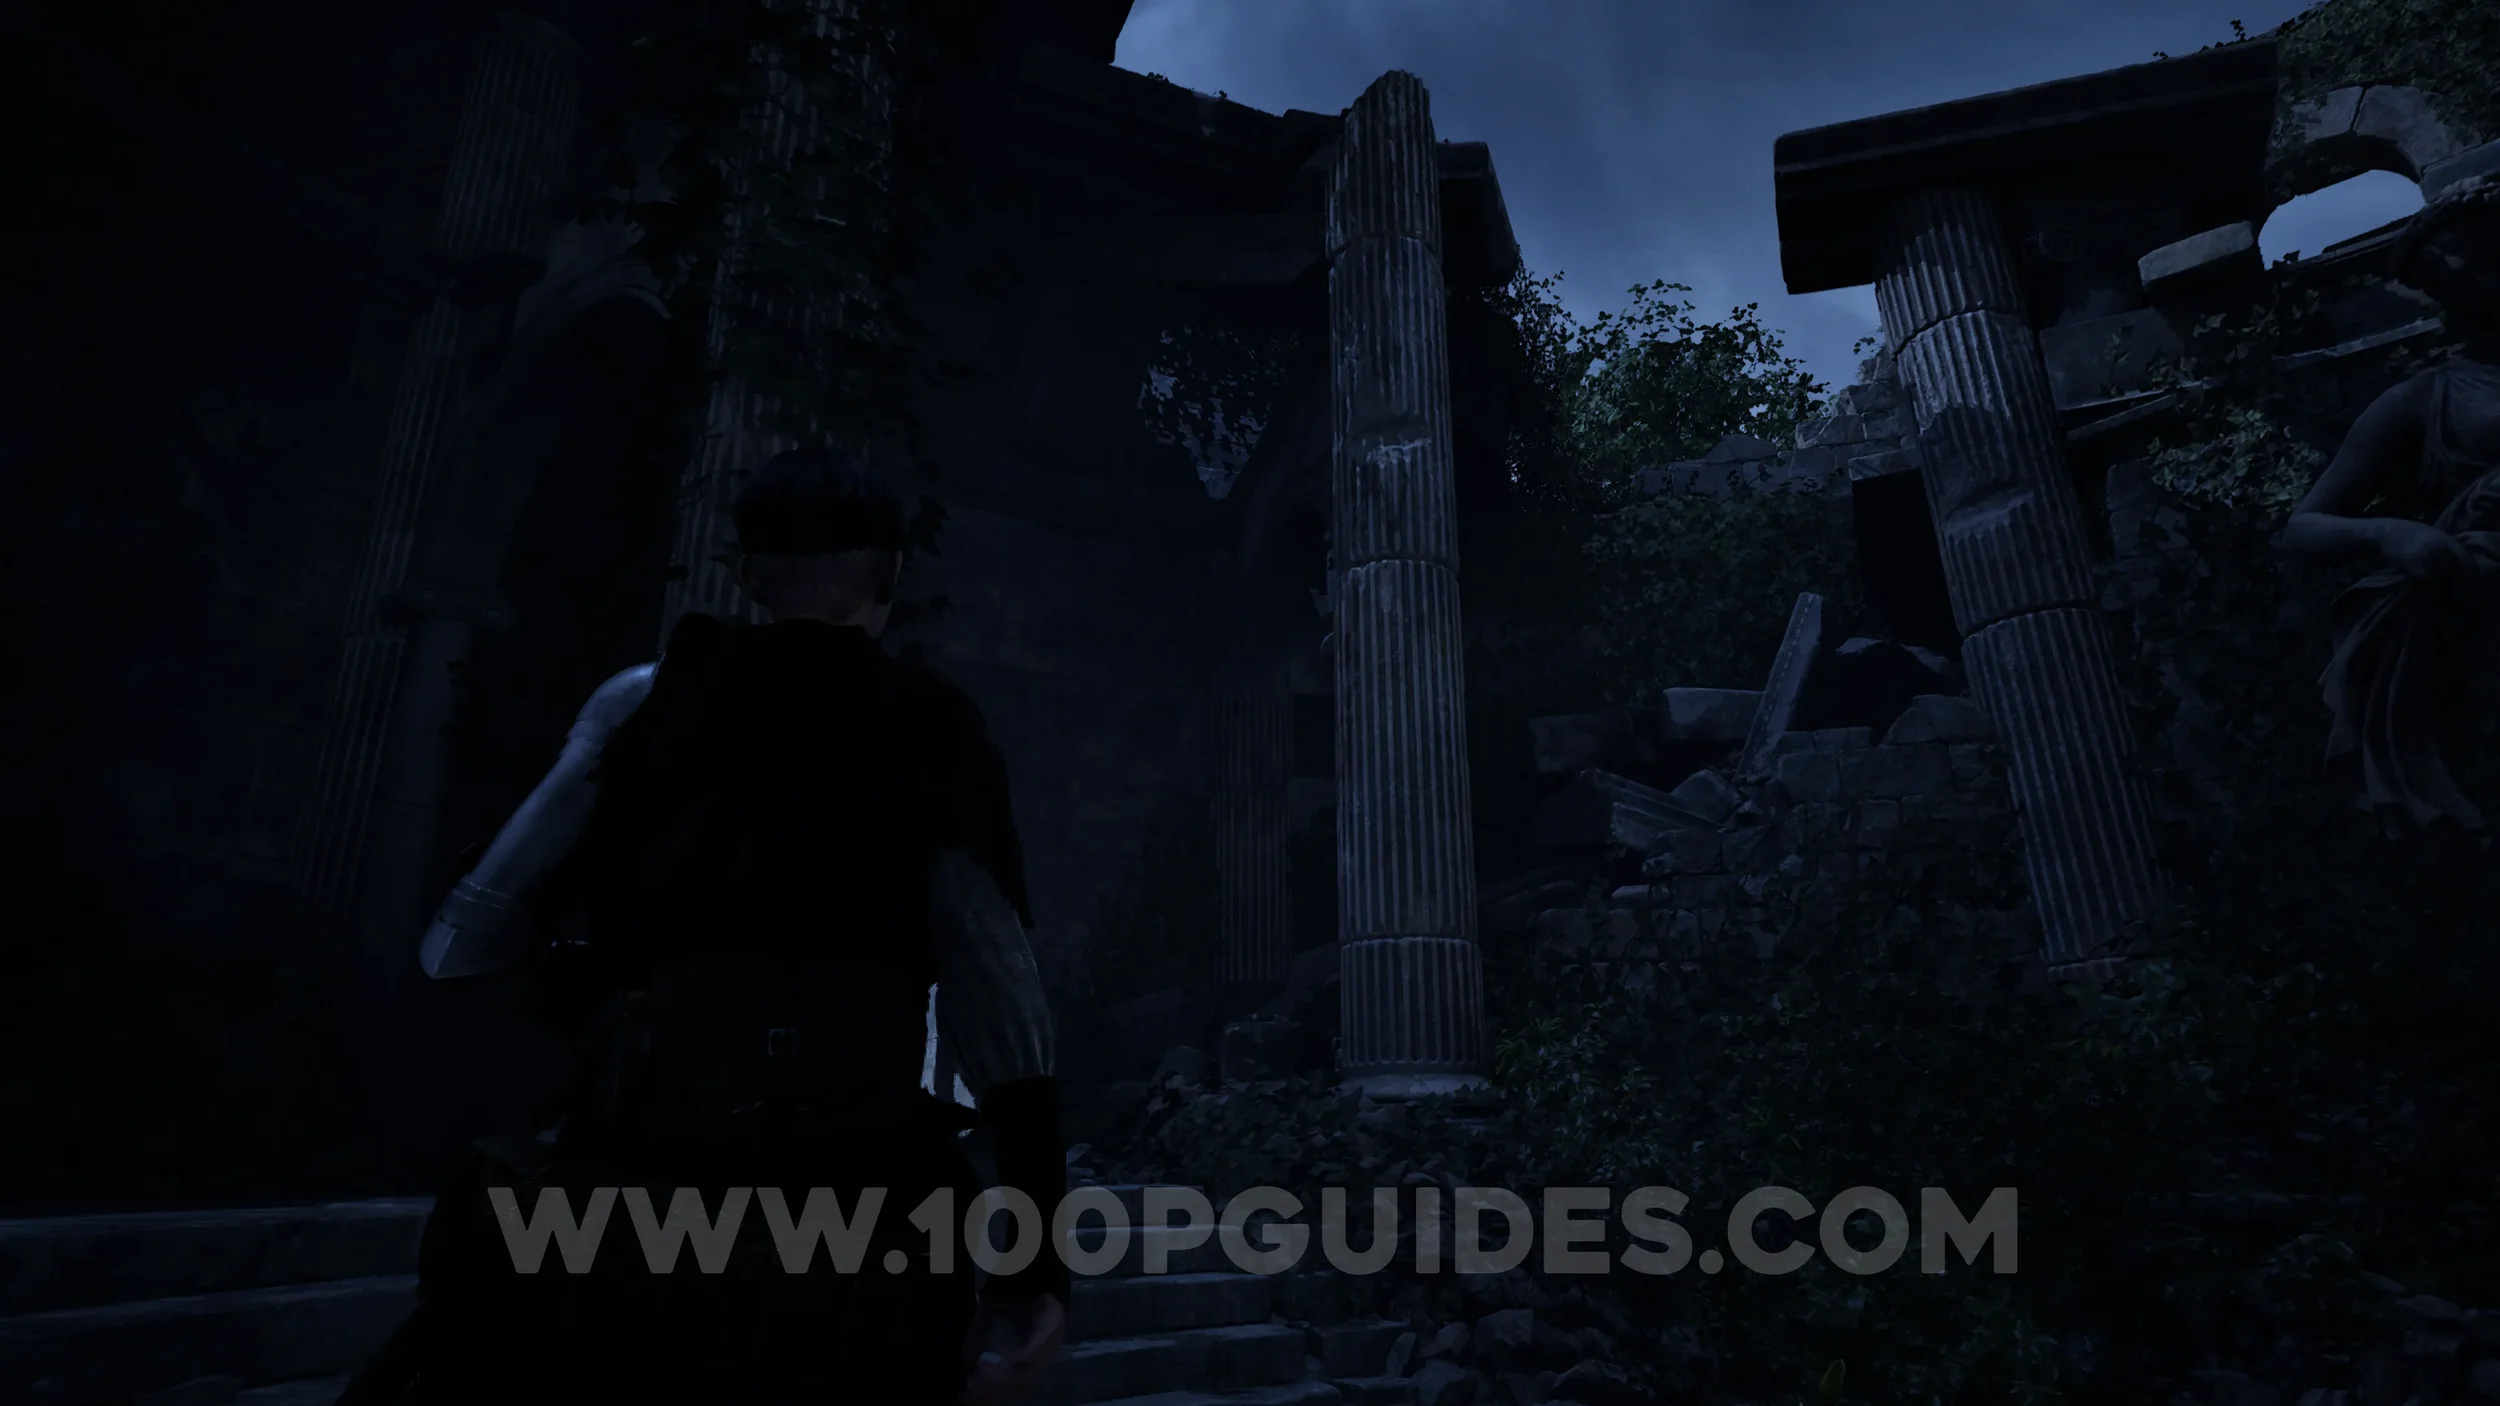
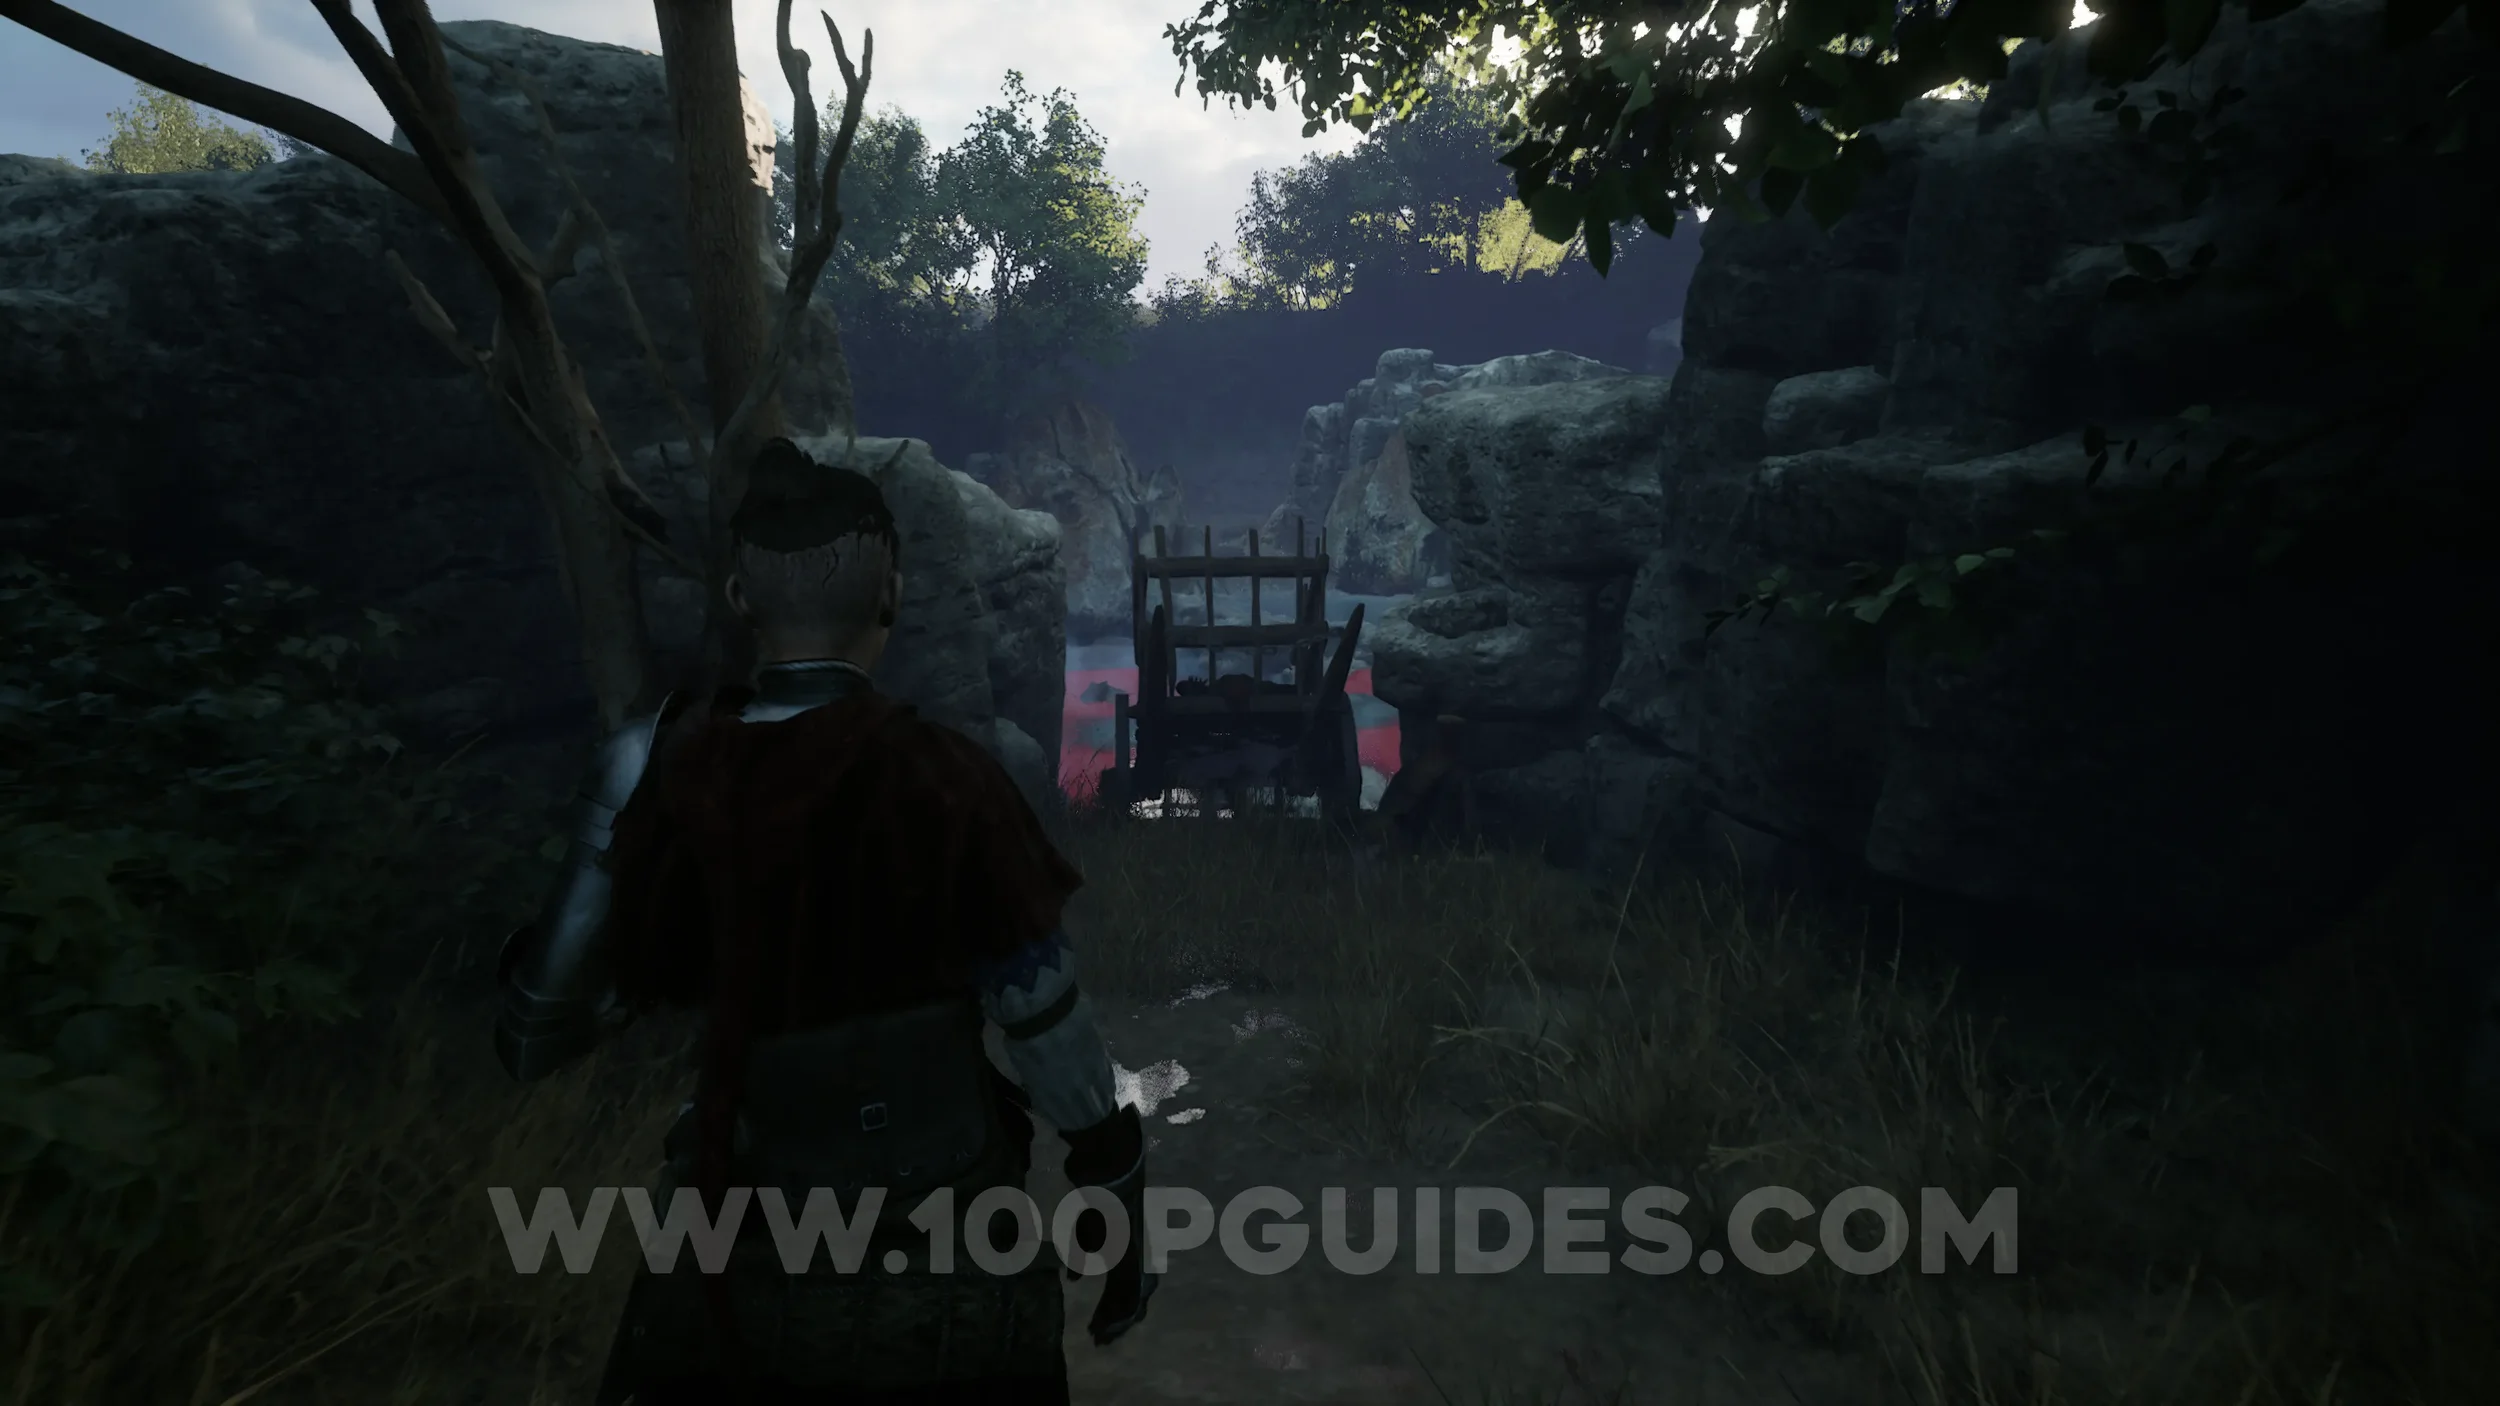
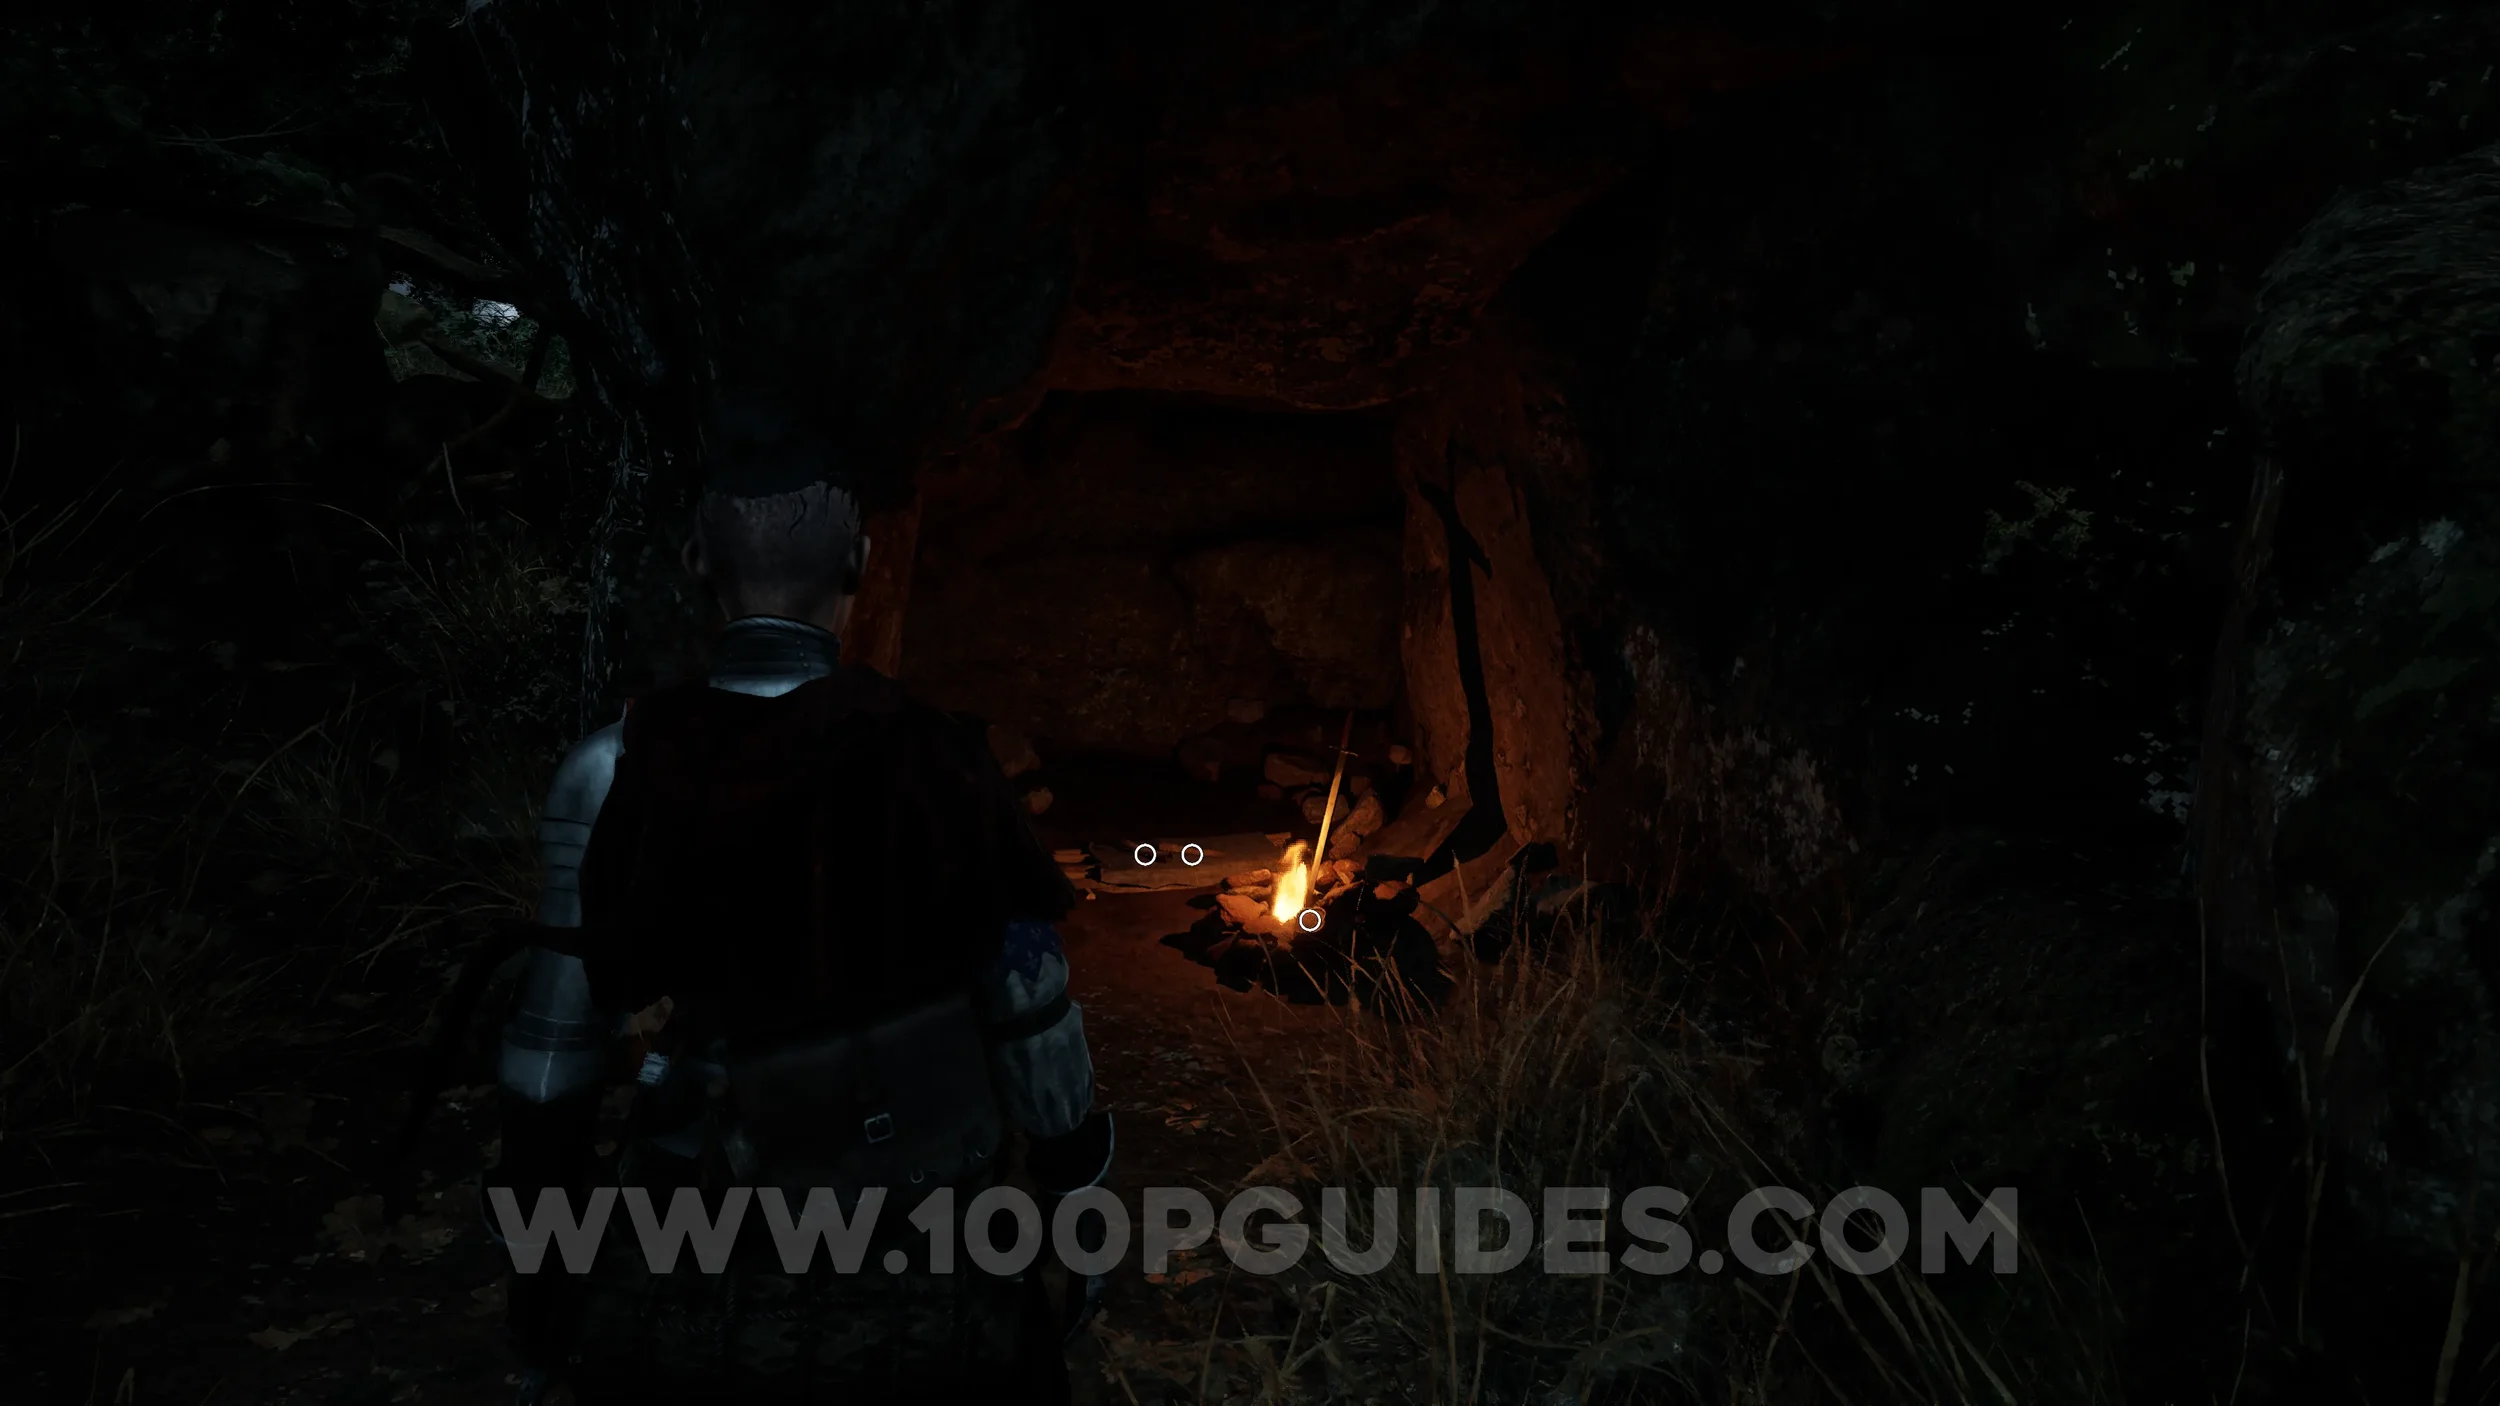
Paper #5. After climbing over some rocks, you’ll come to some ruins. The paper can be found next to the bonfire.
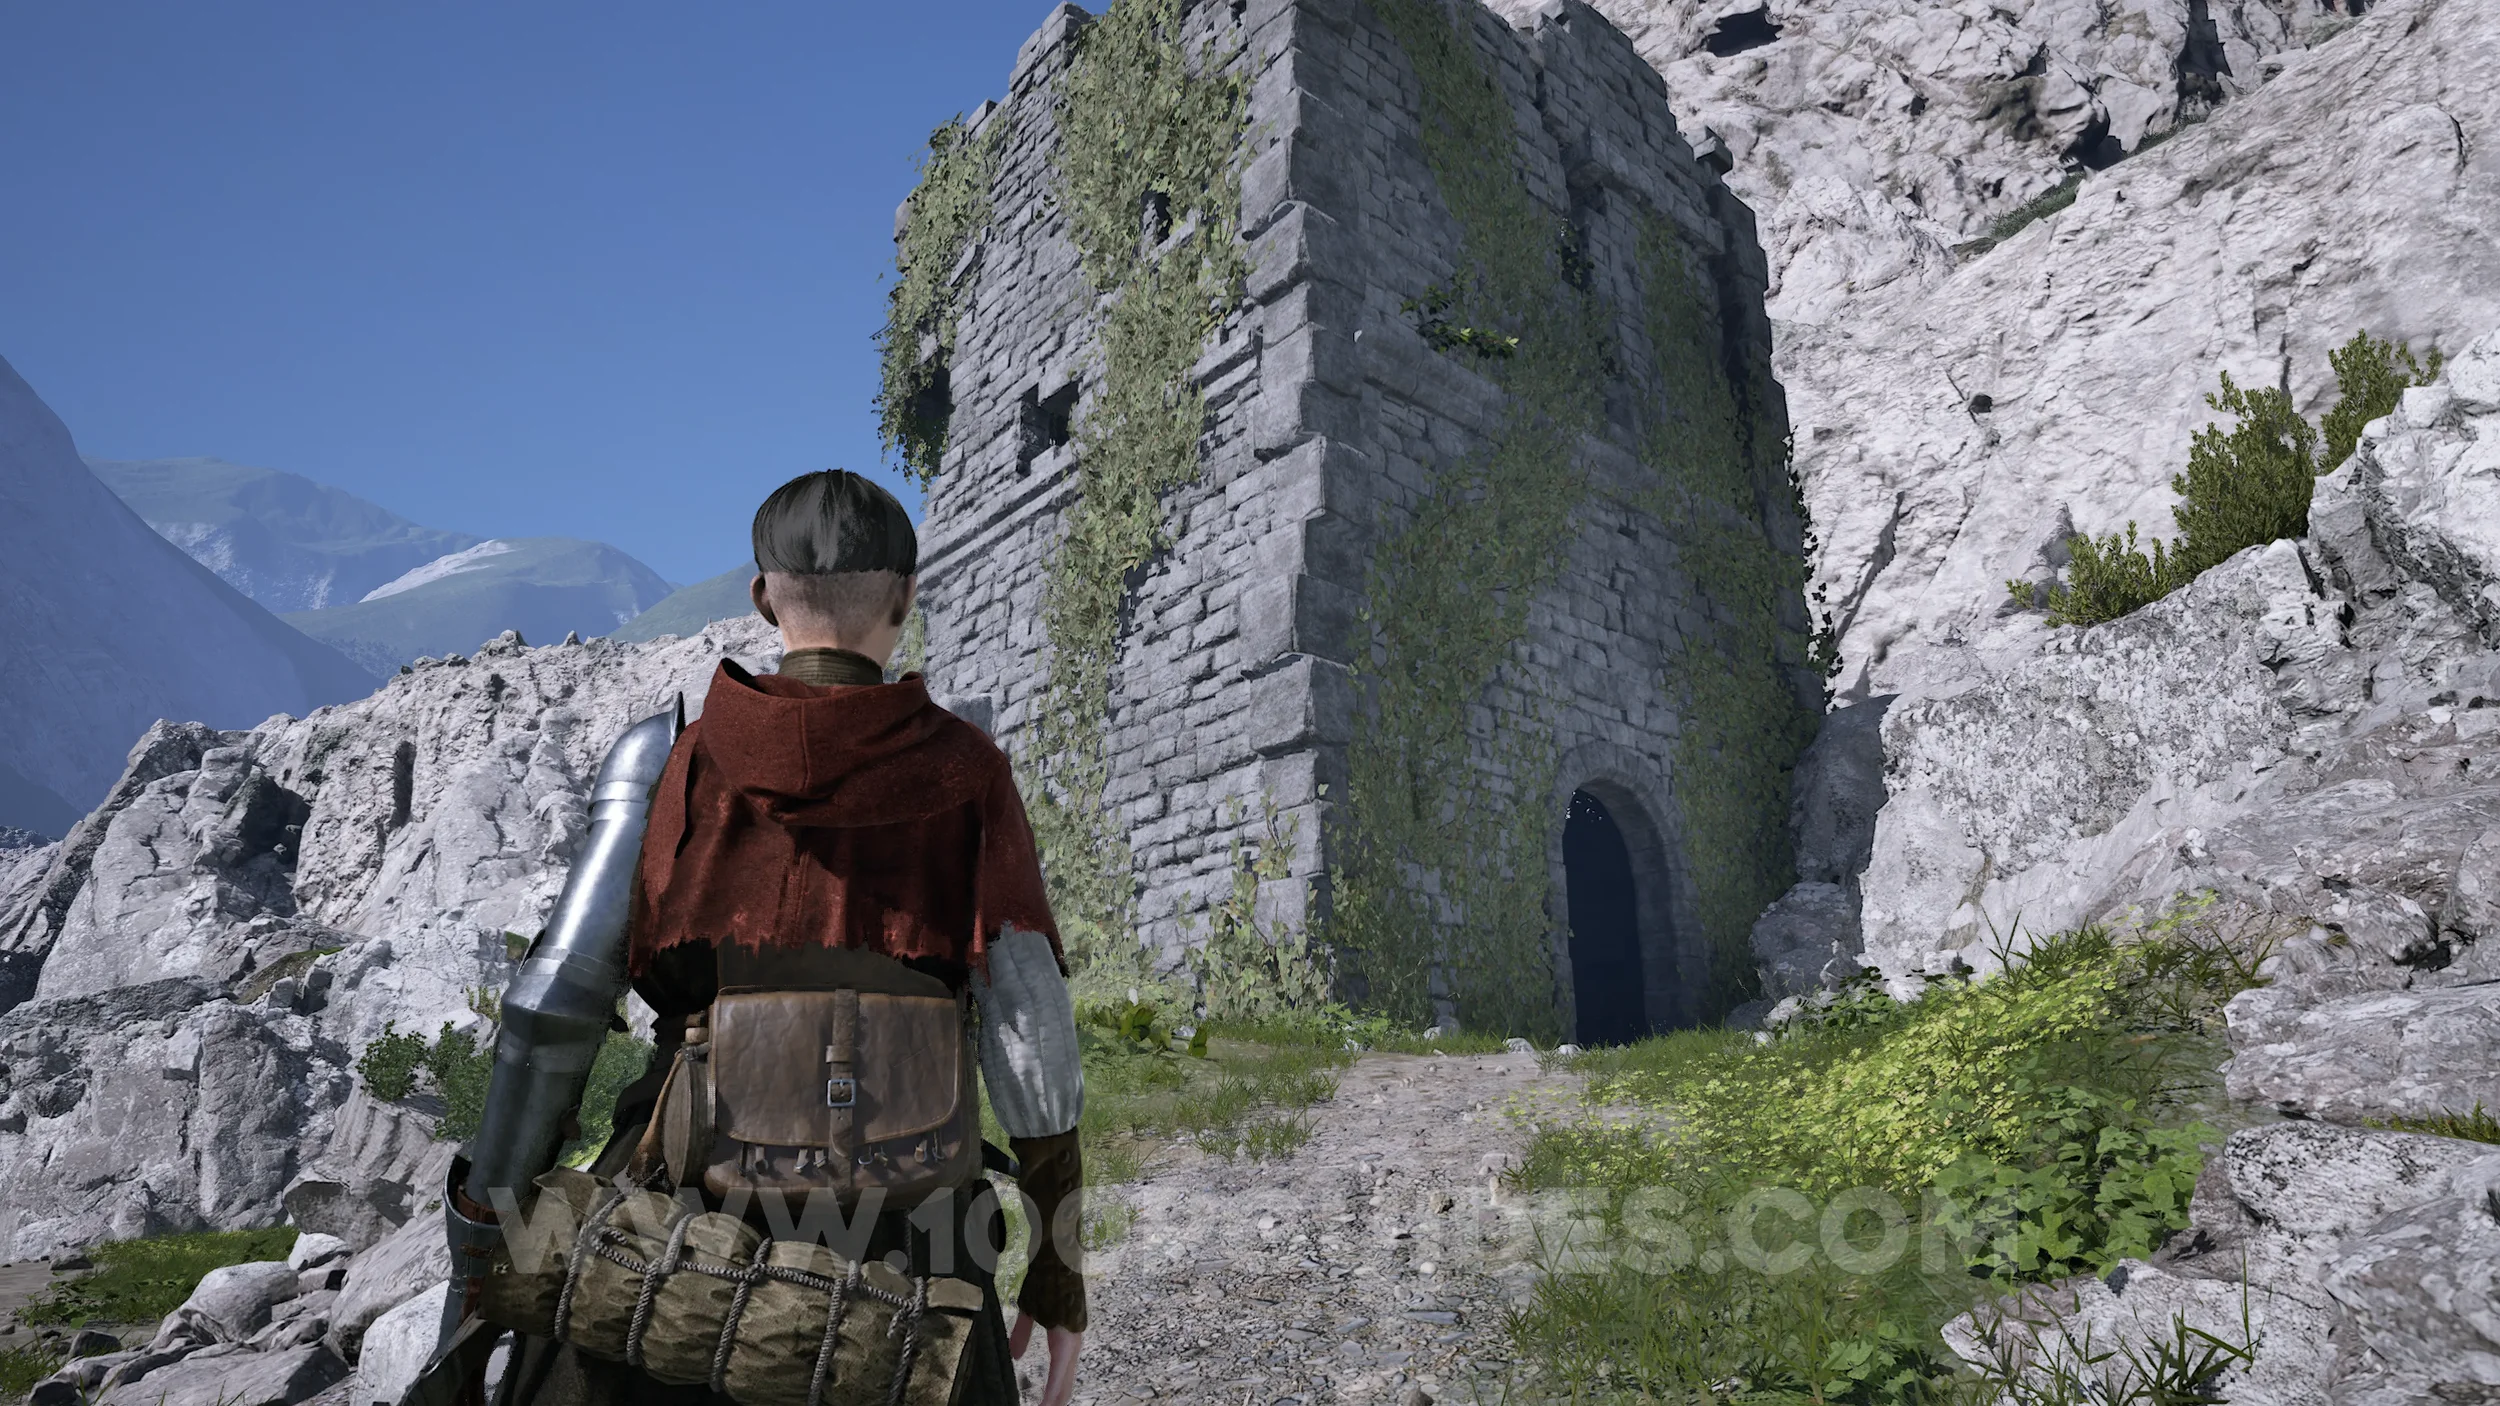
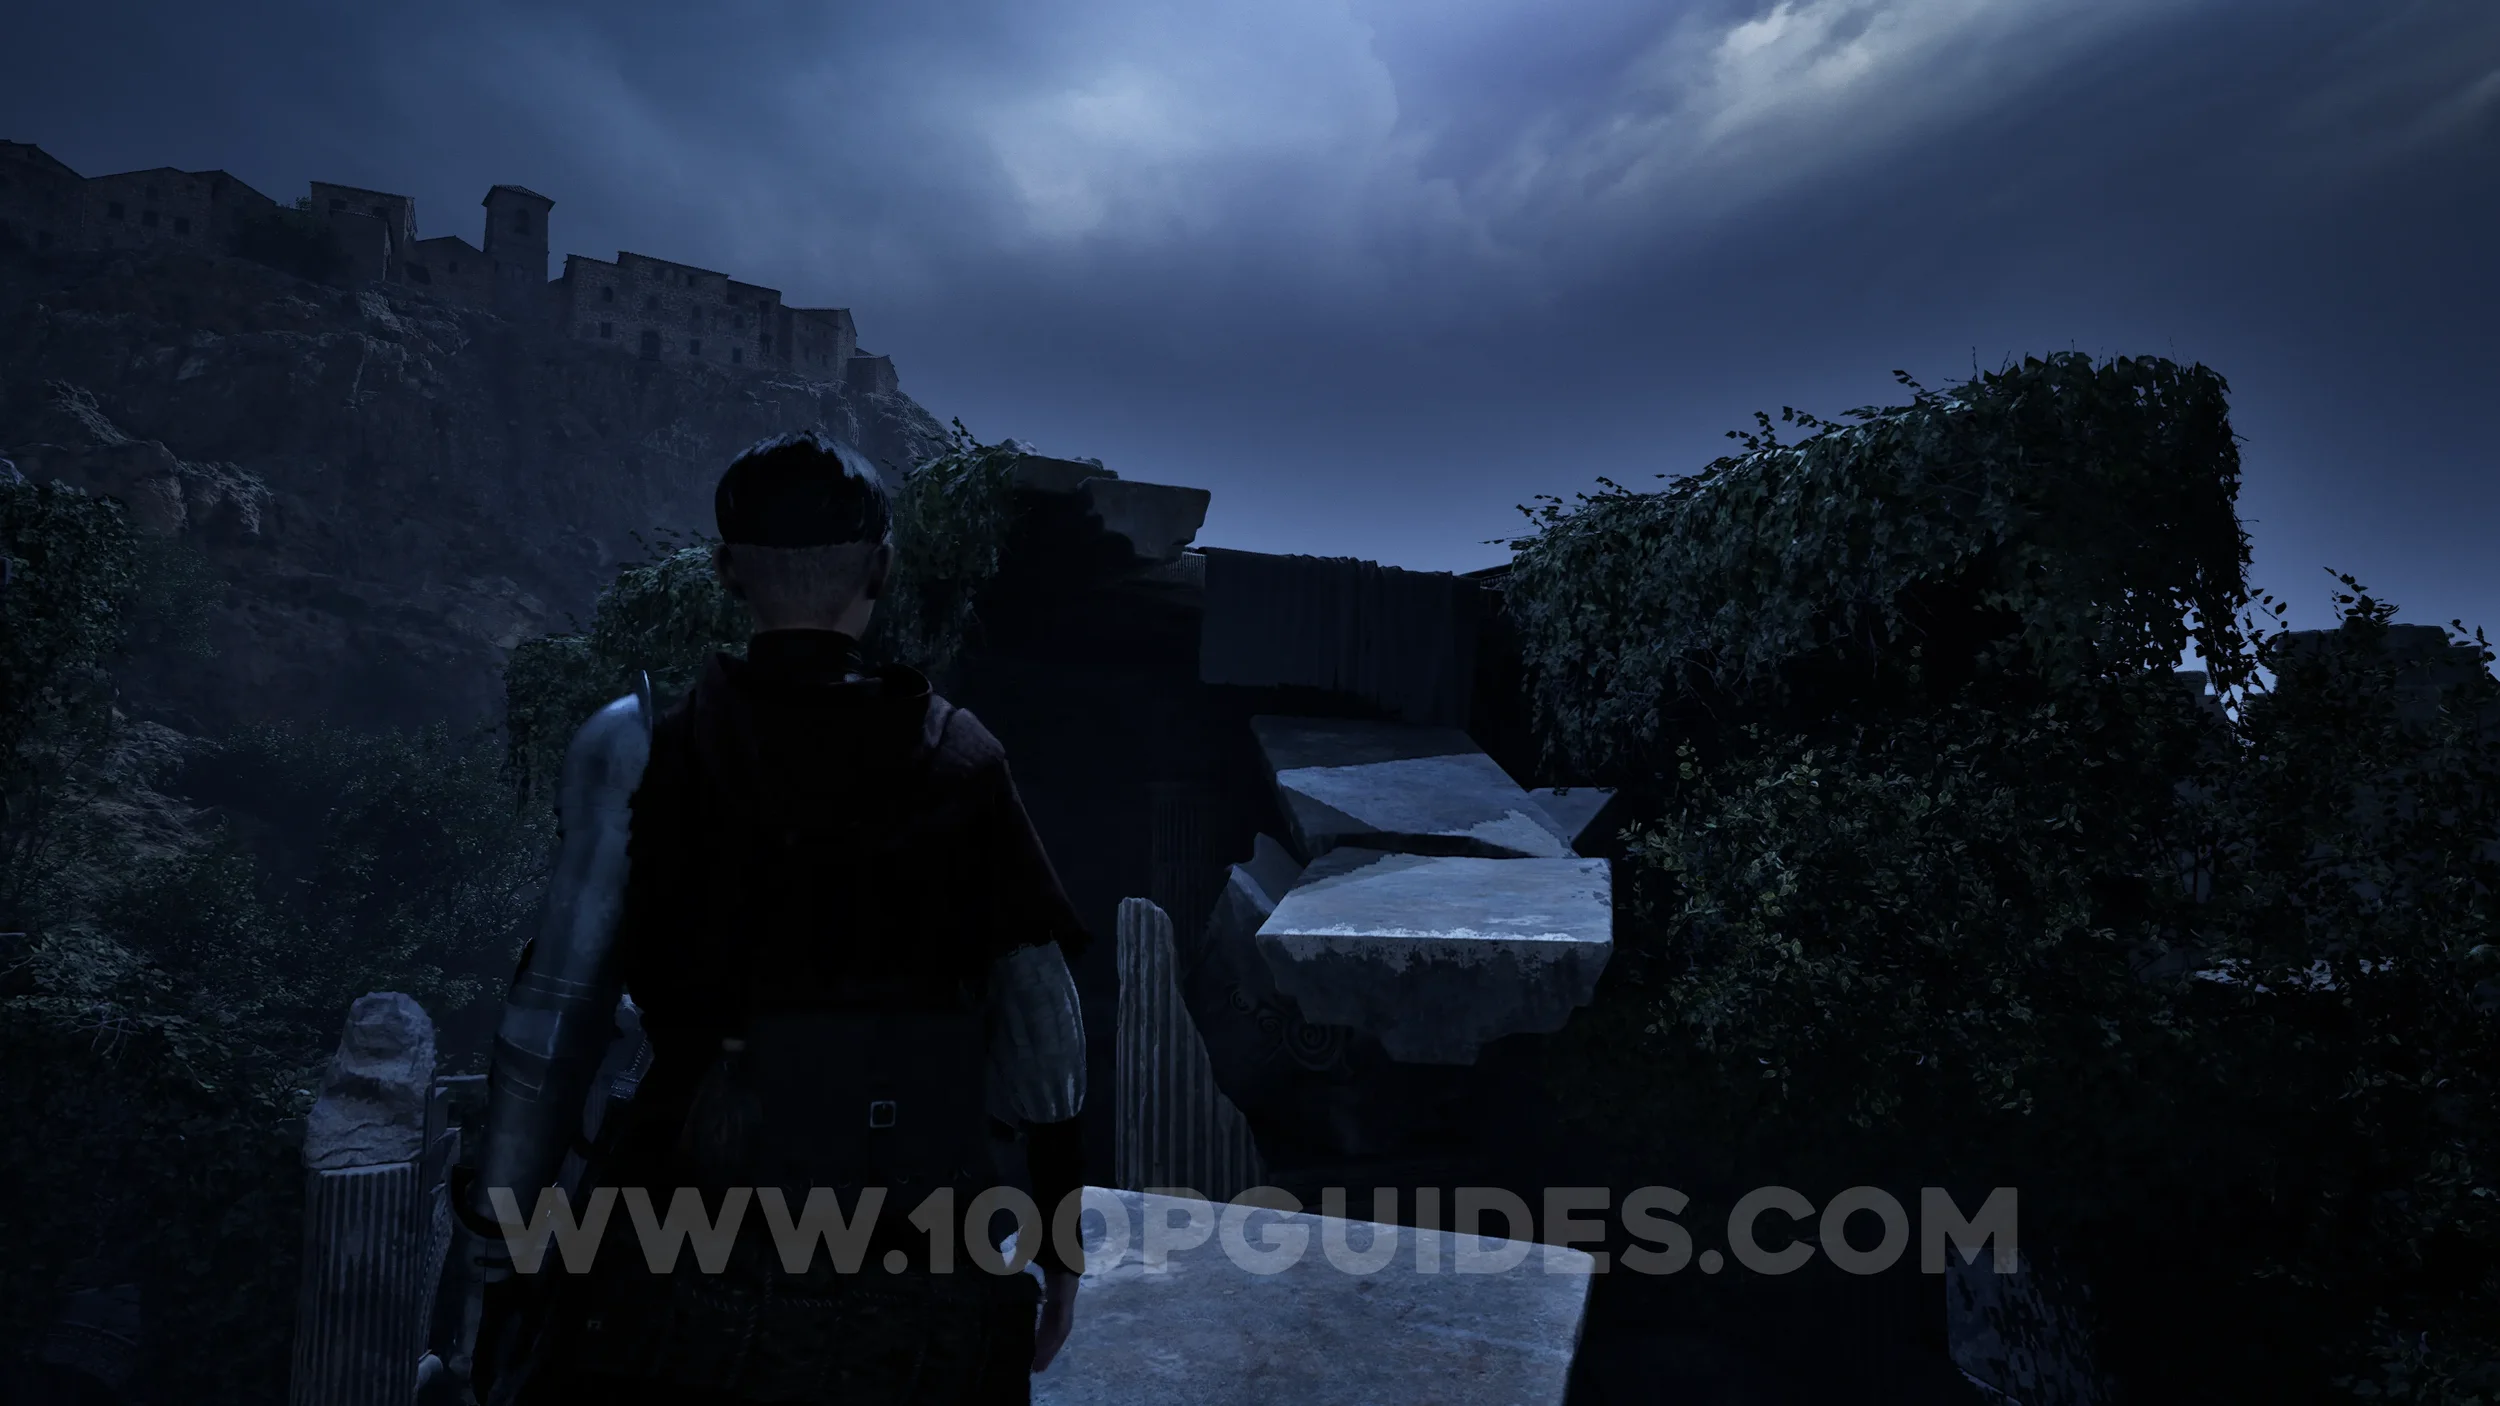
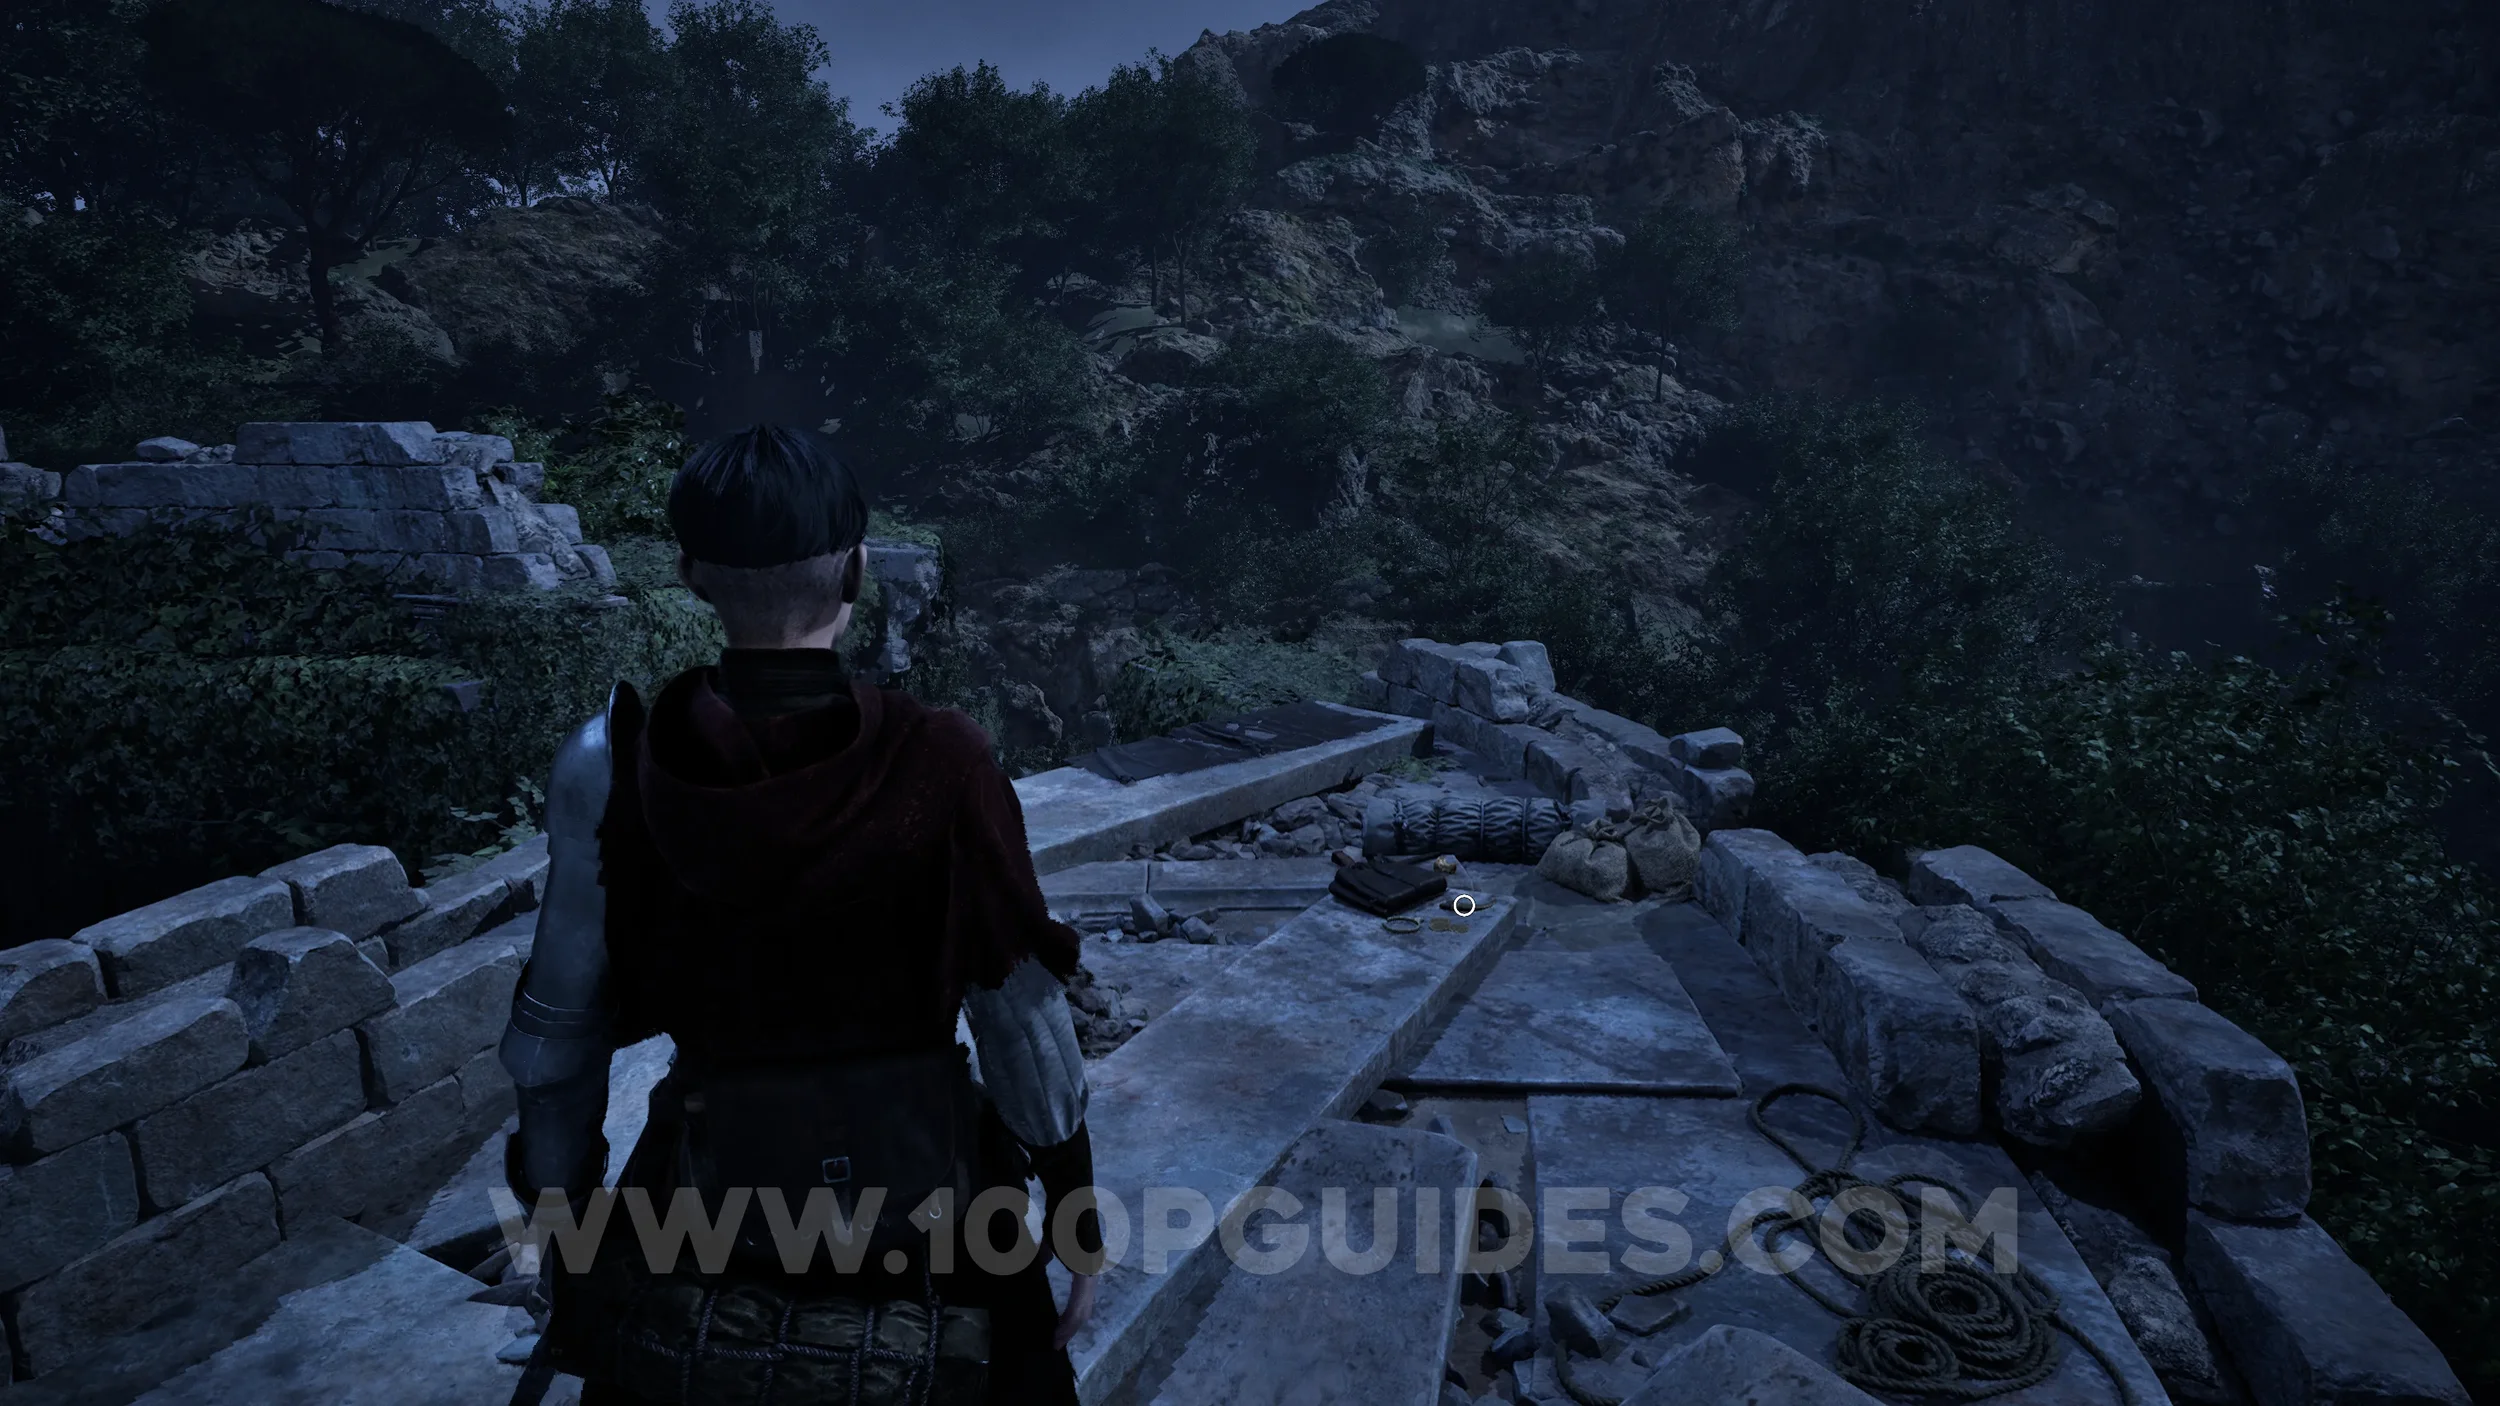
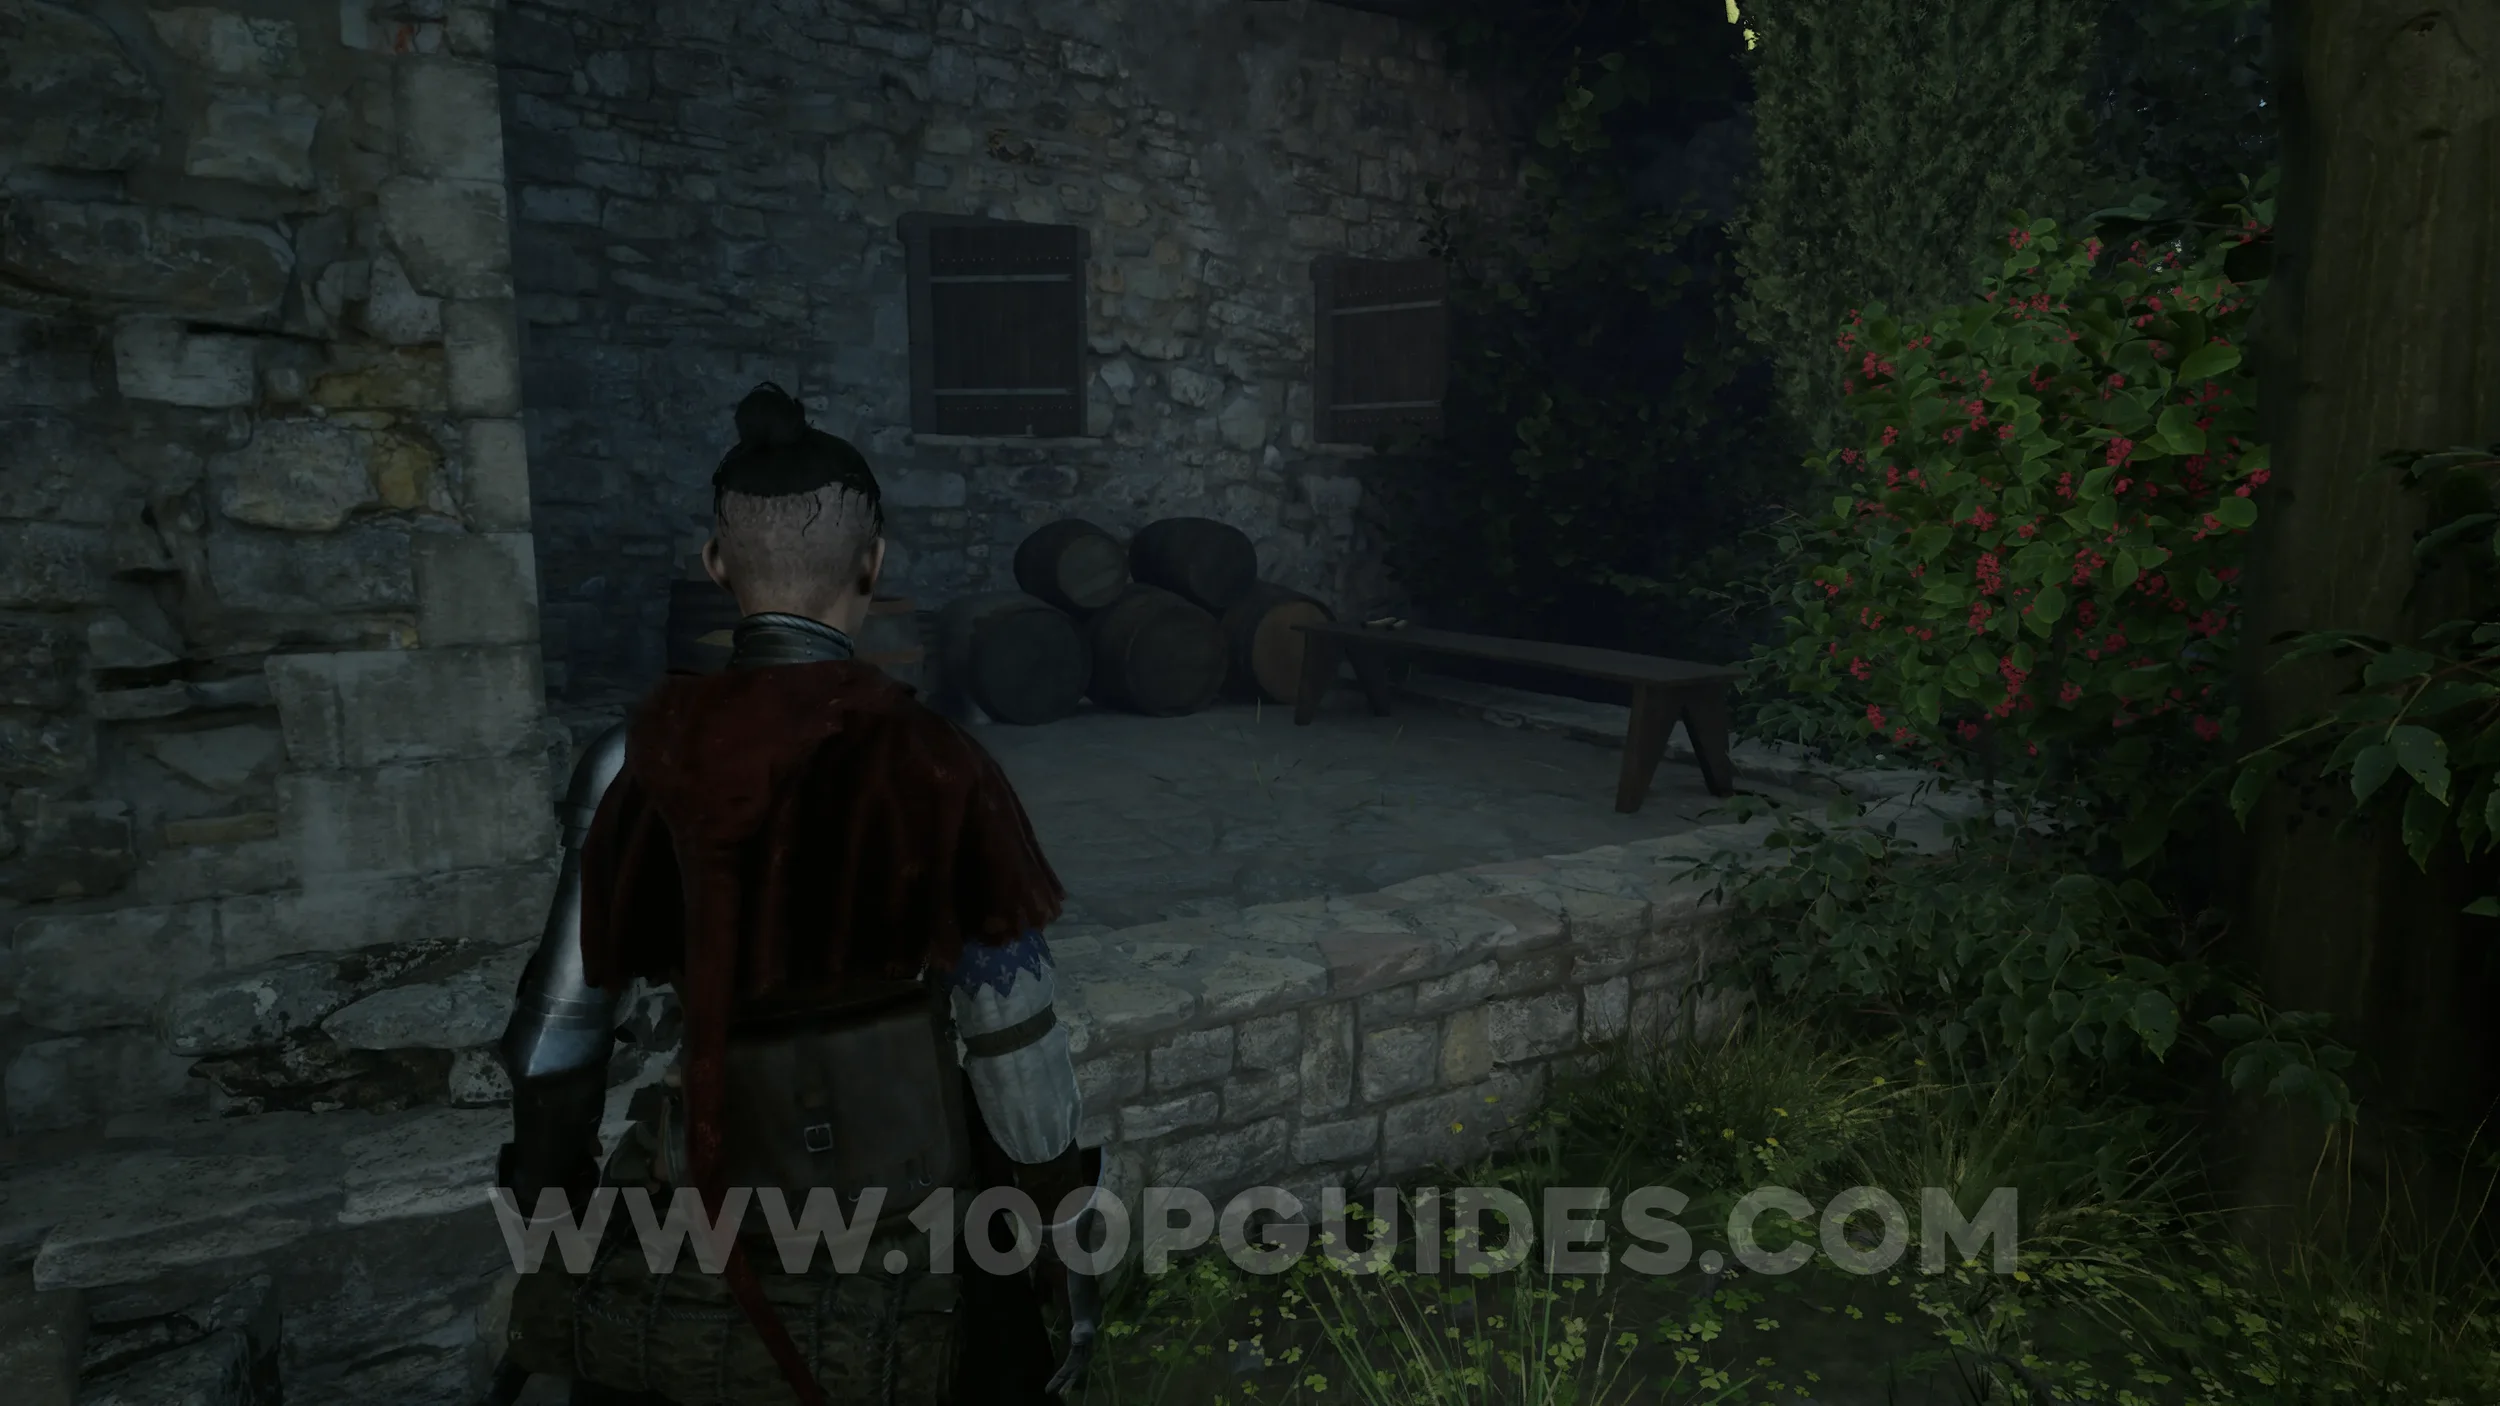
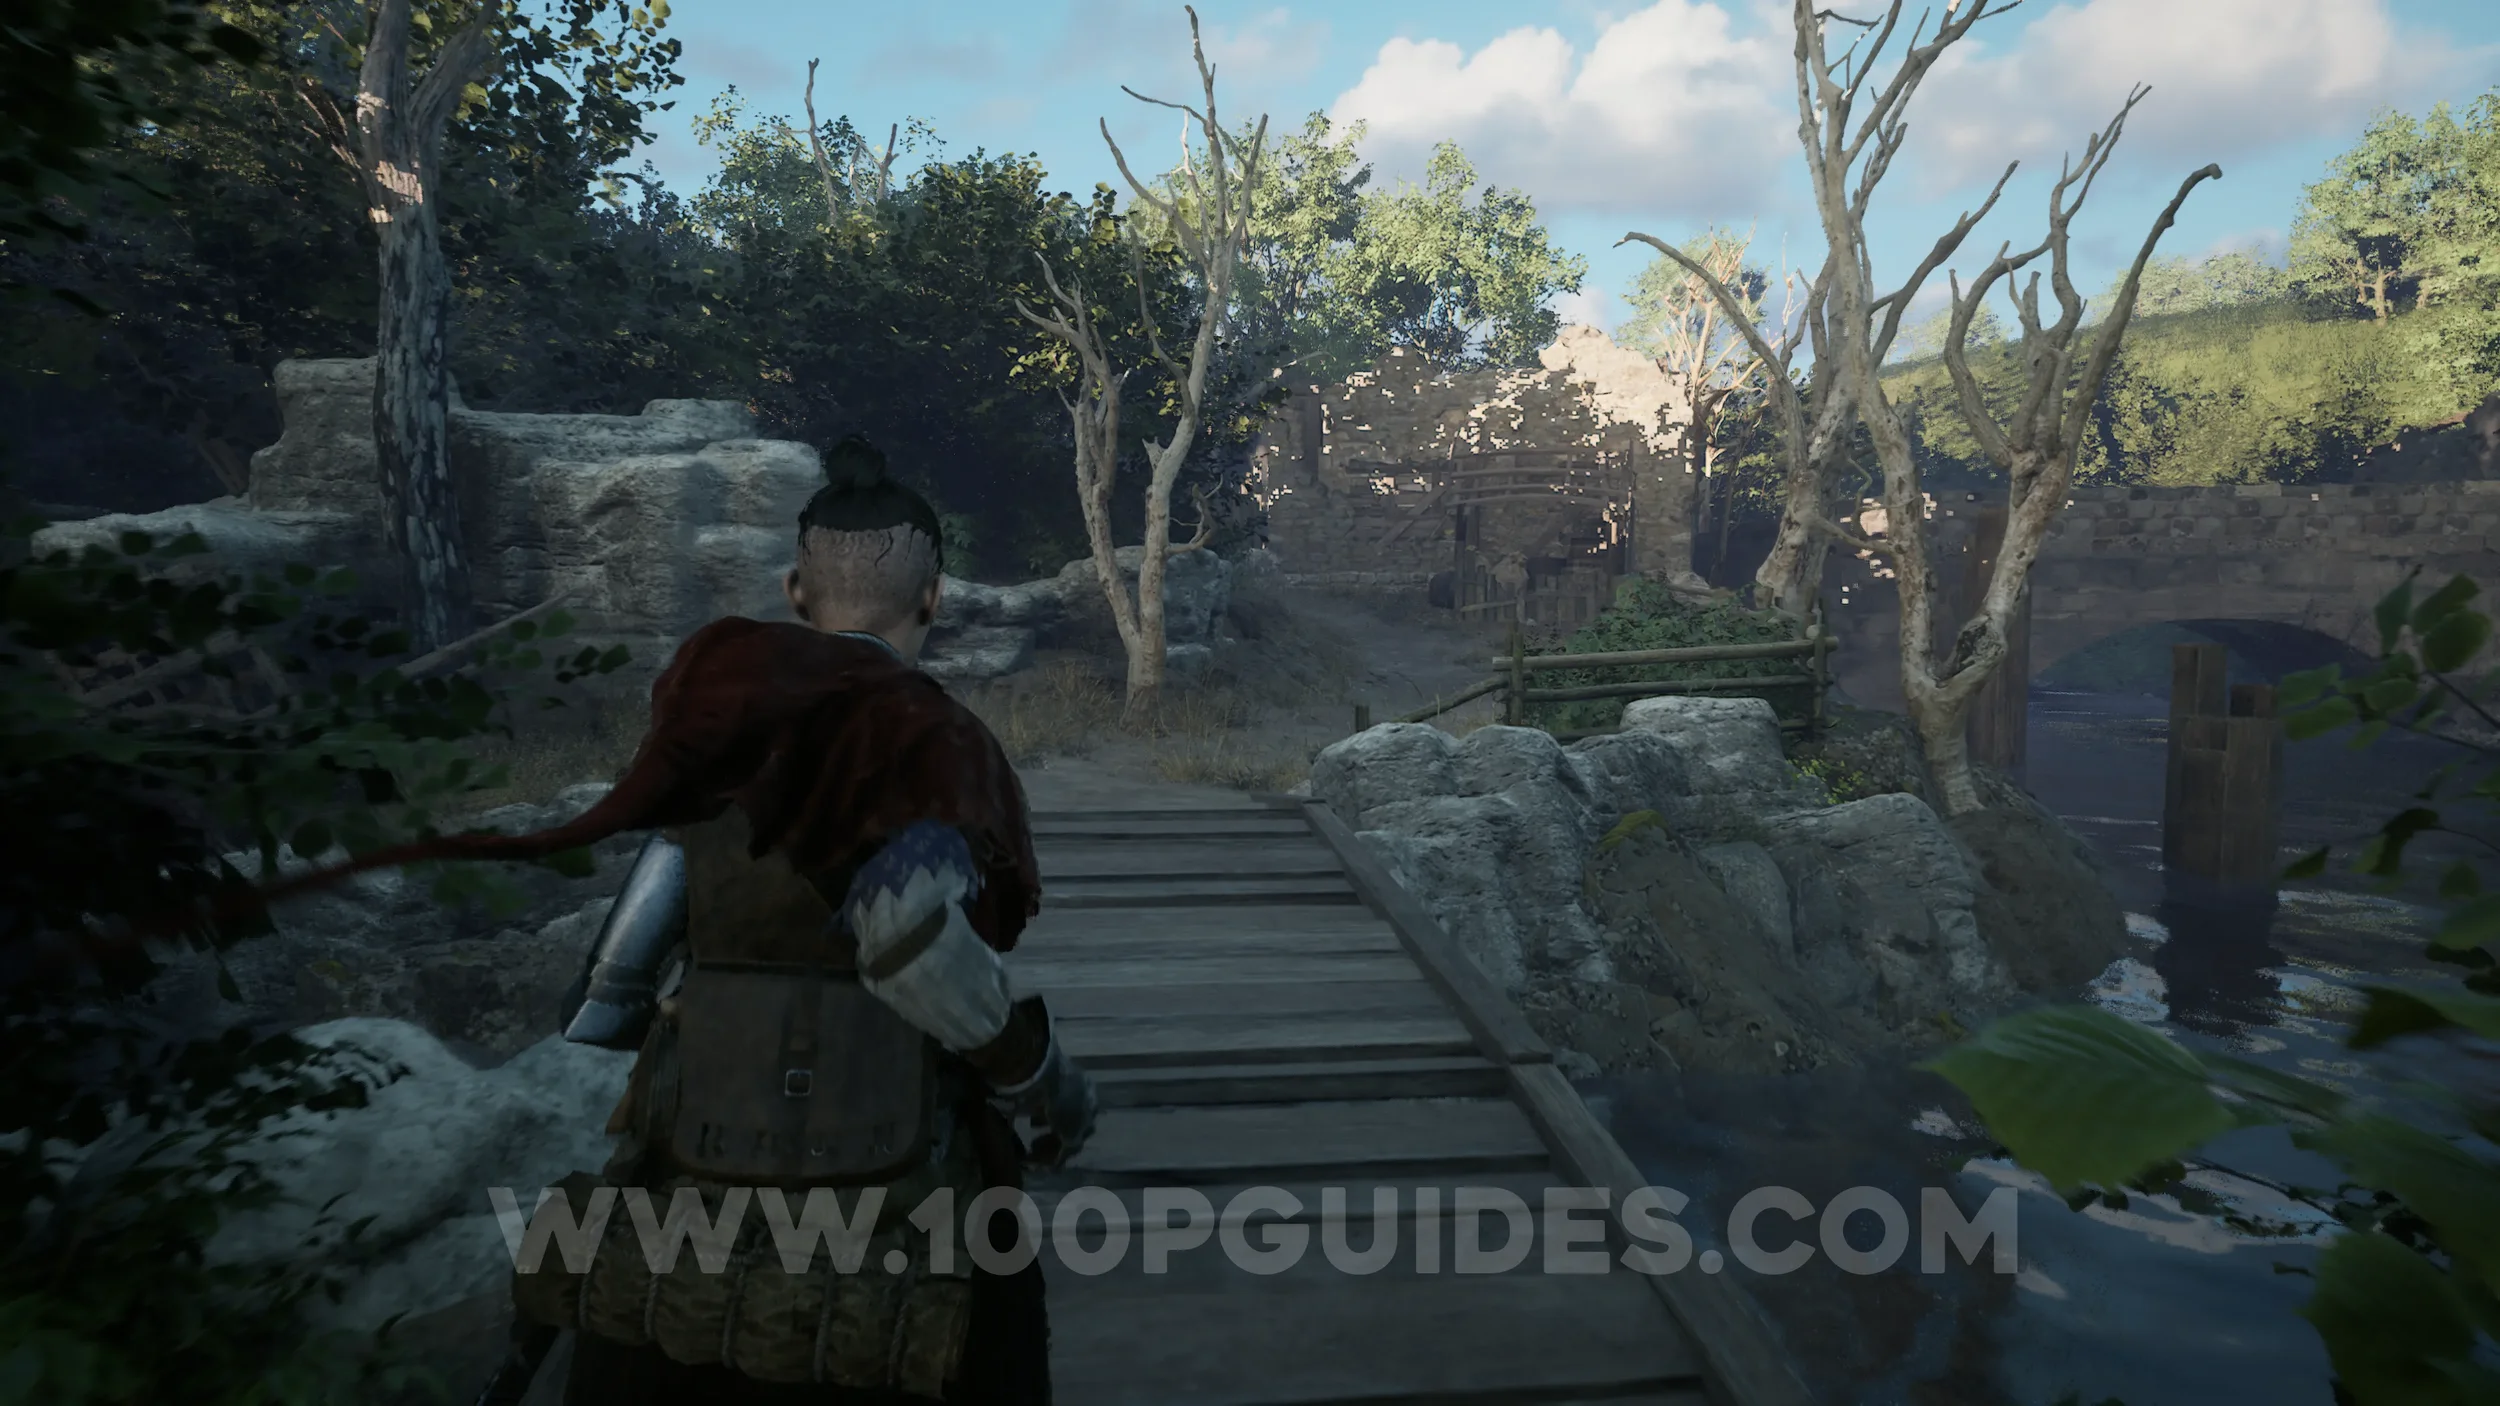
Paper #6-7. Soon after fighting the first enemies of the chapter, you’ll reach the tower on the hill. The paper can be found inside the tower.
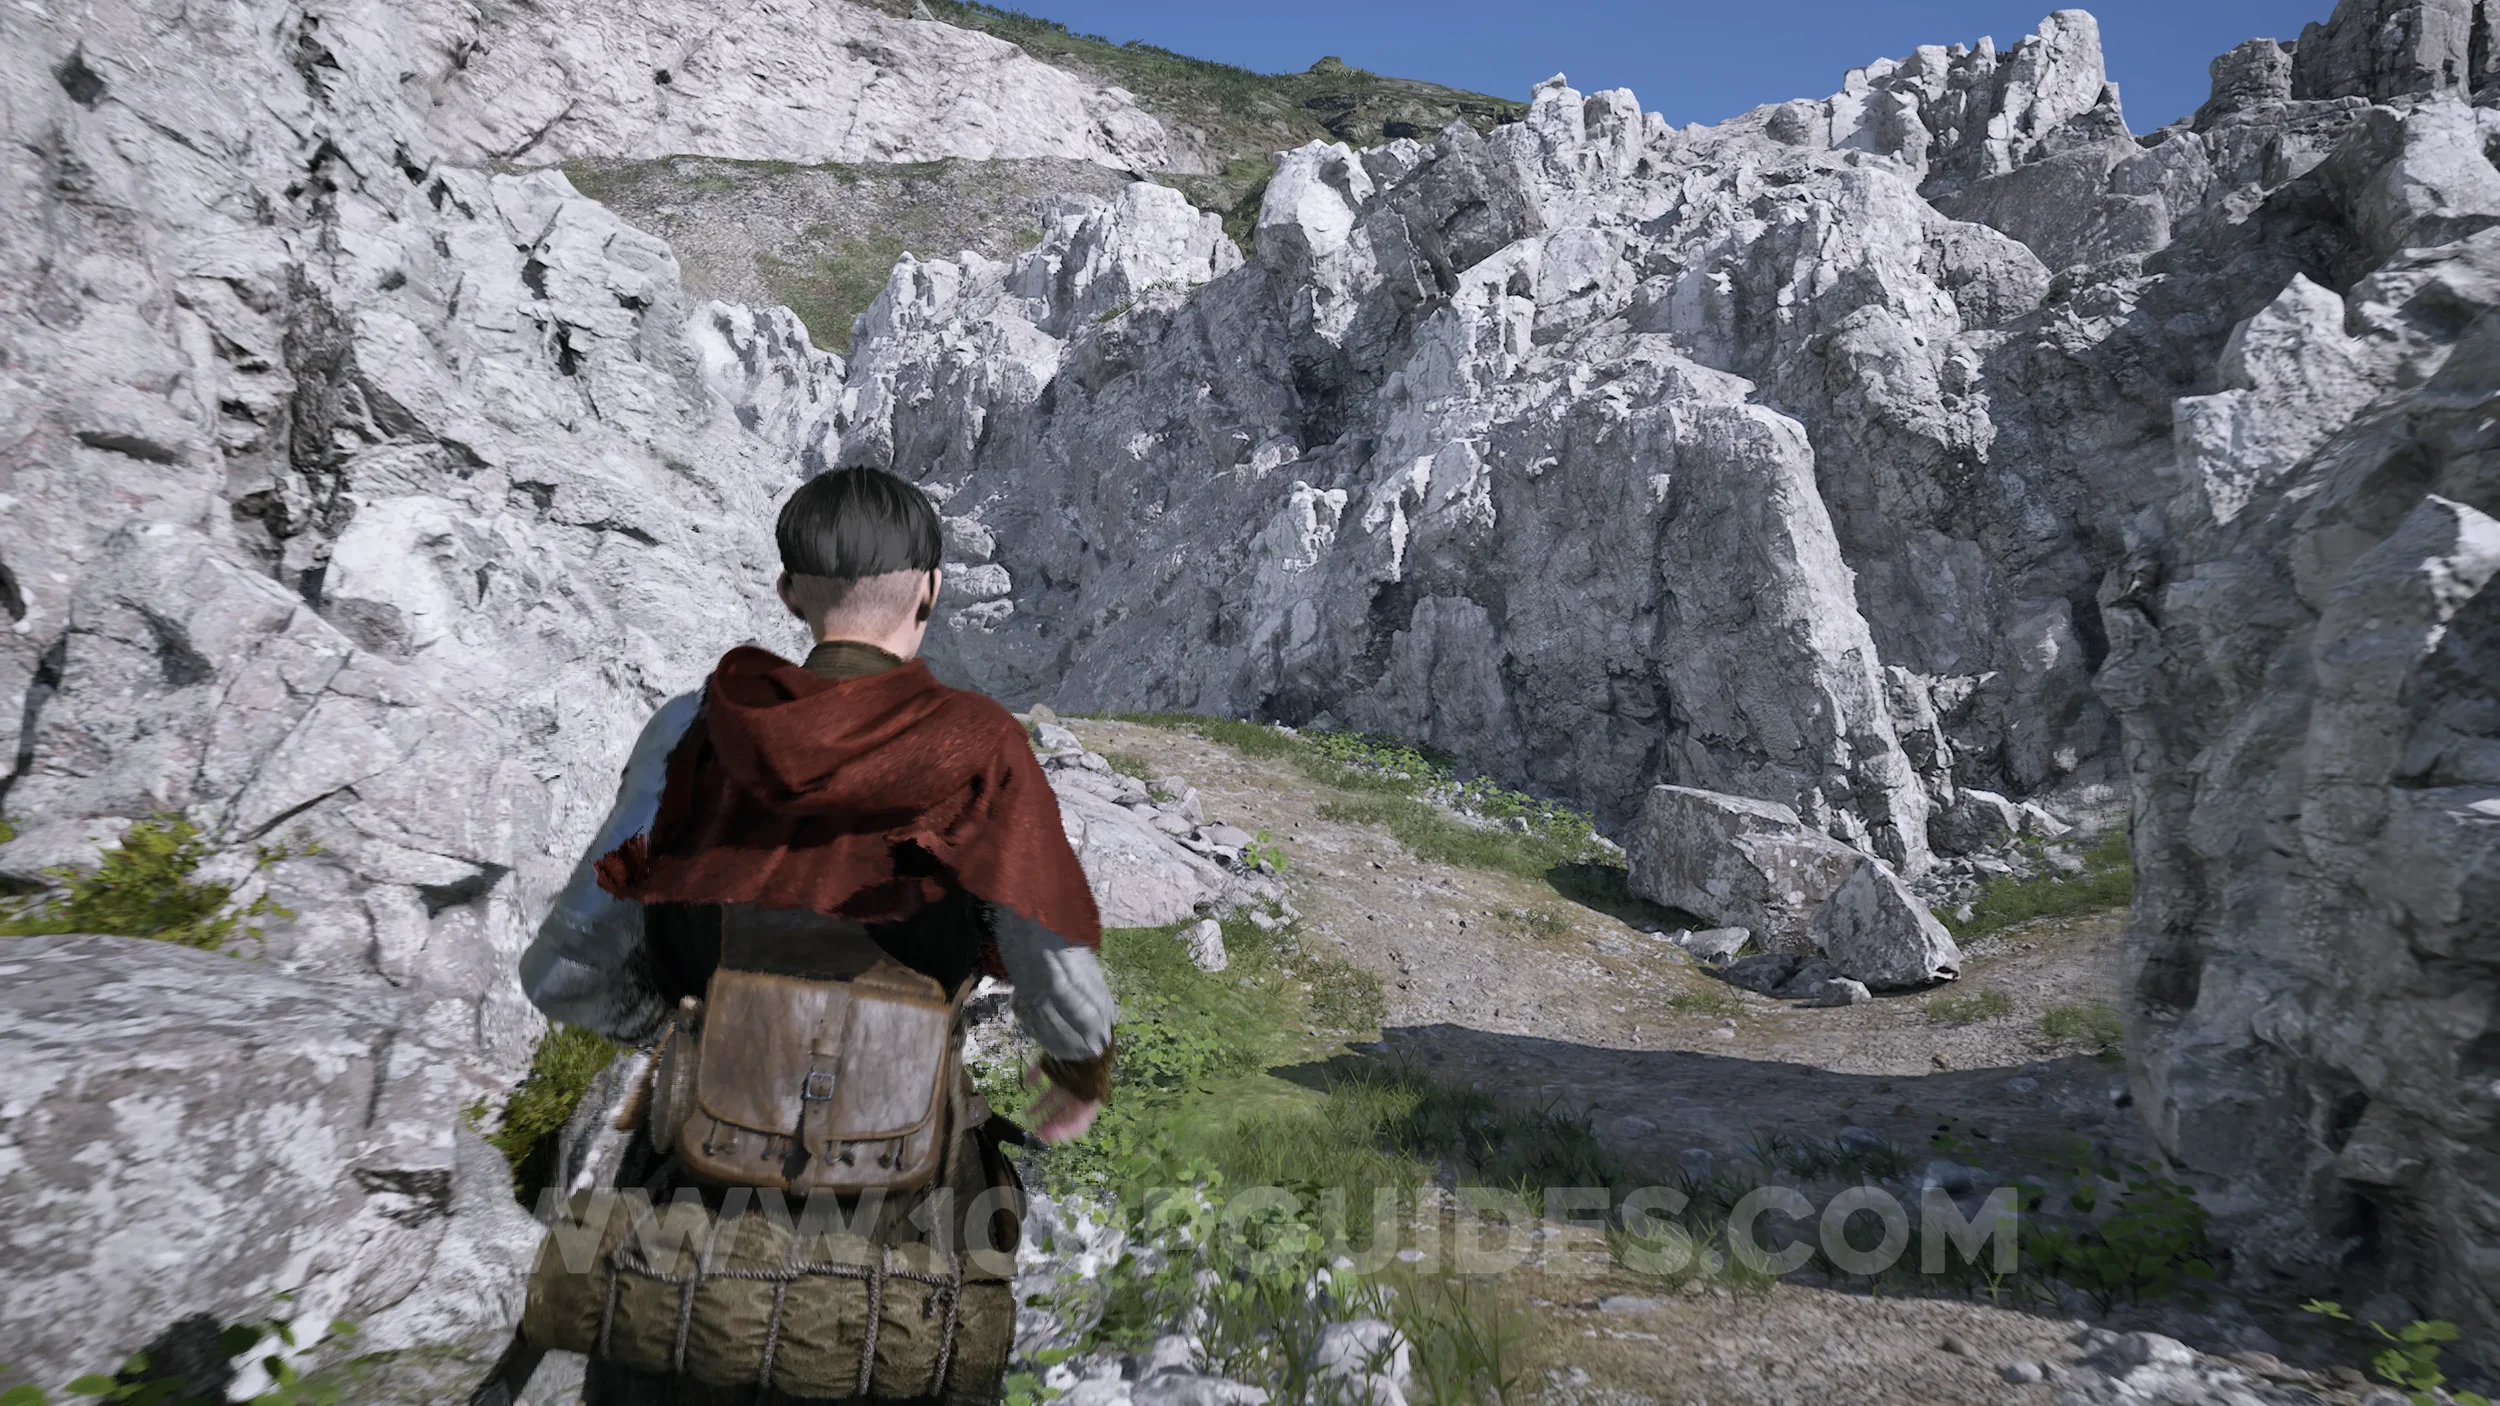
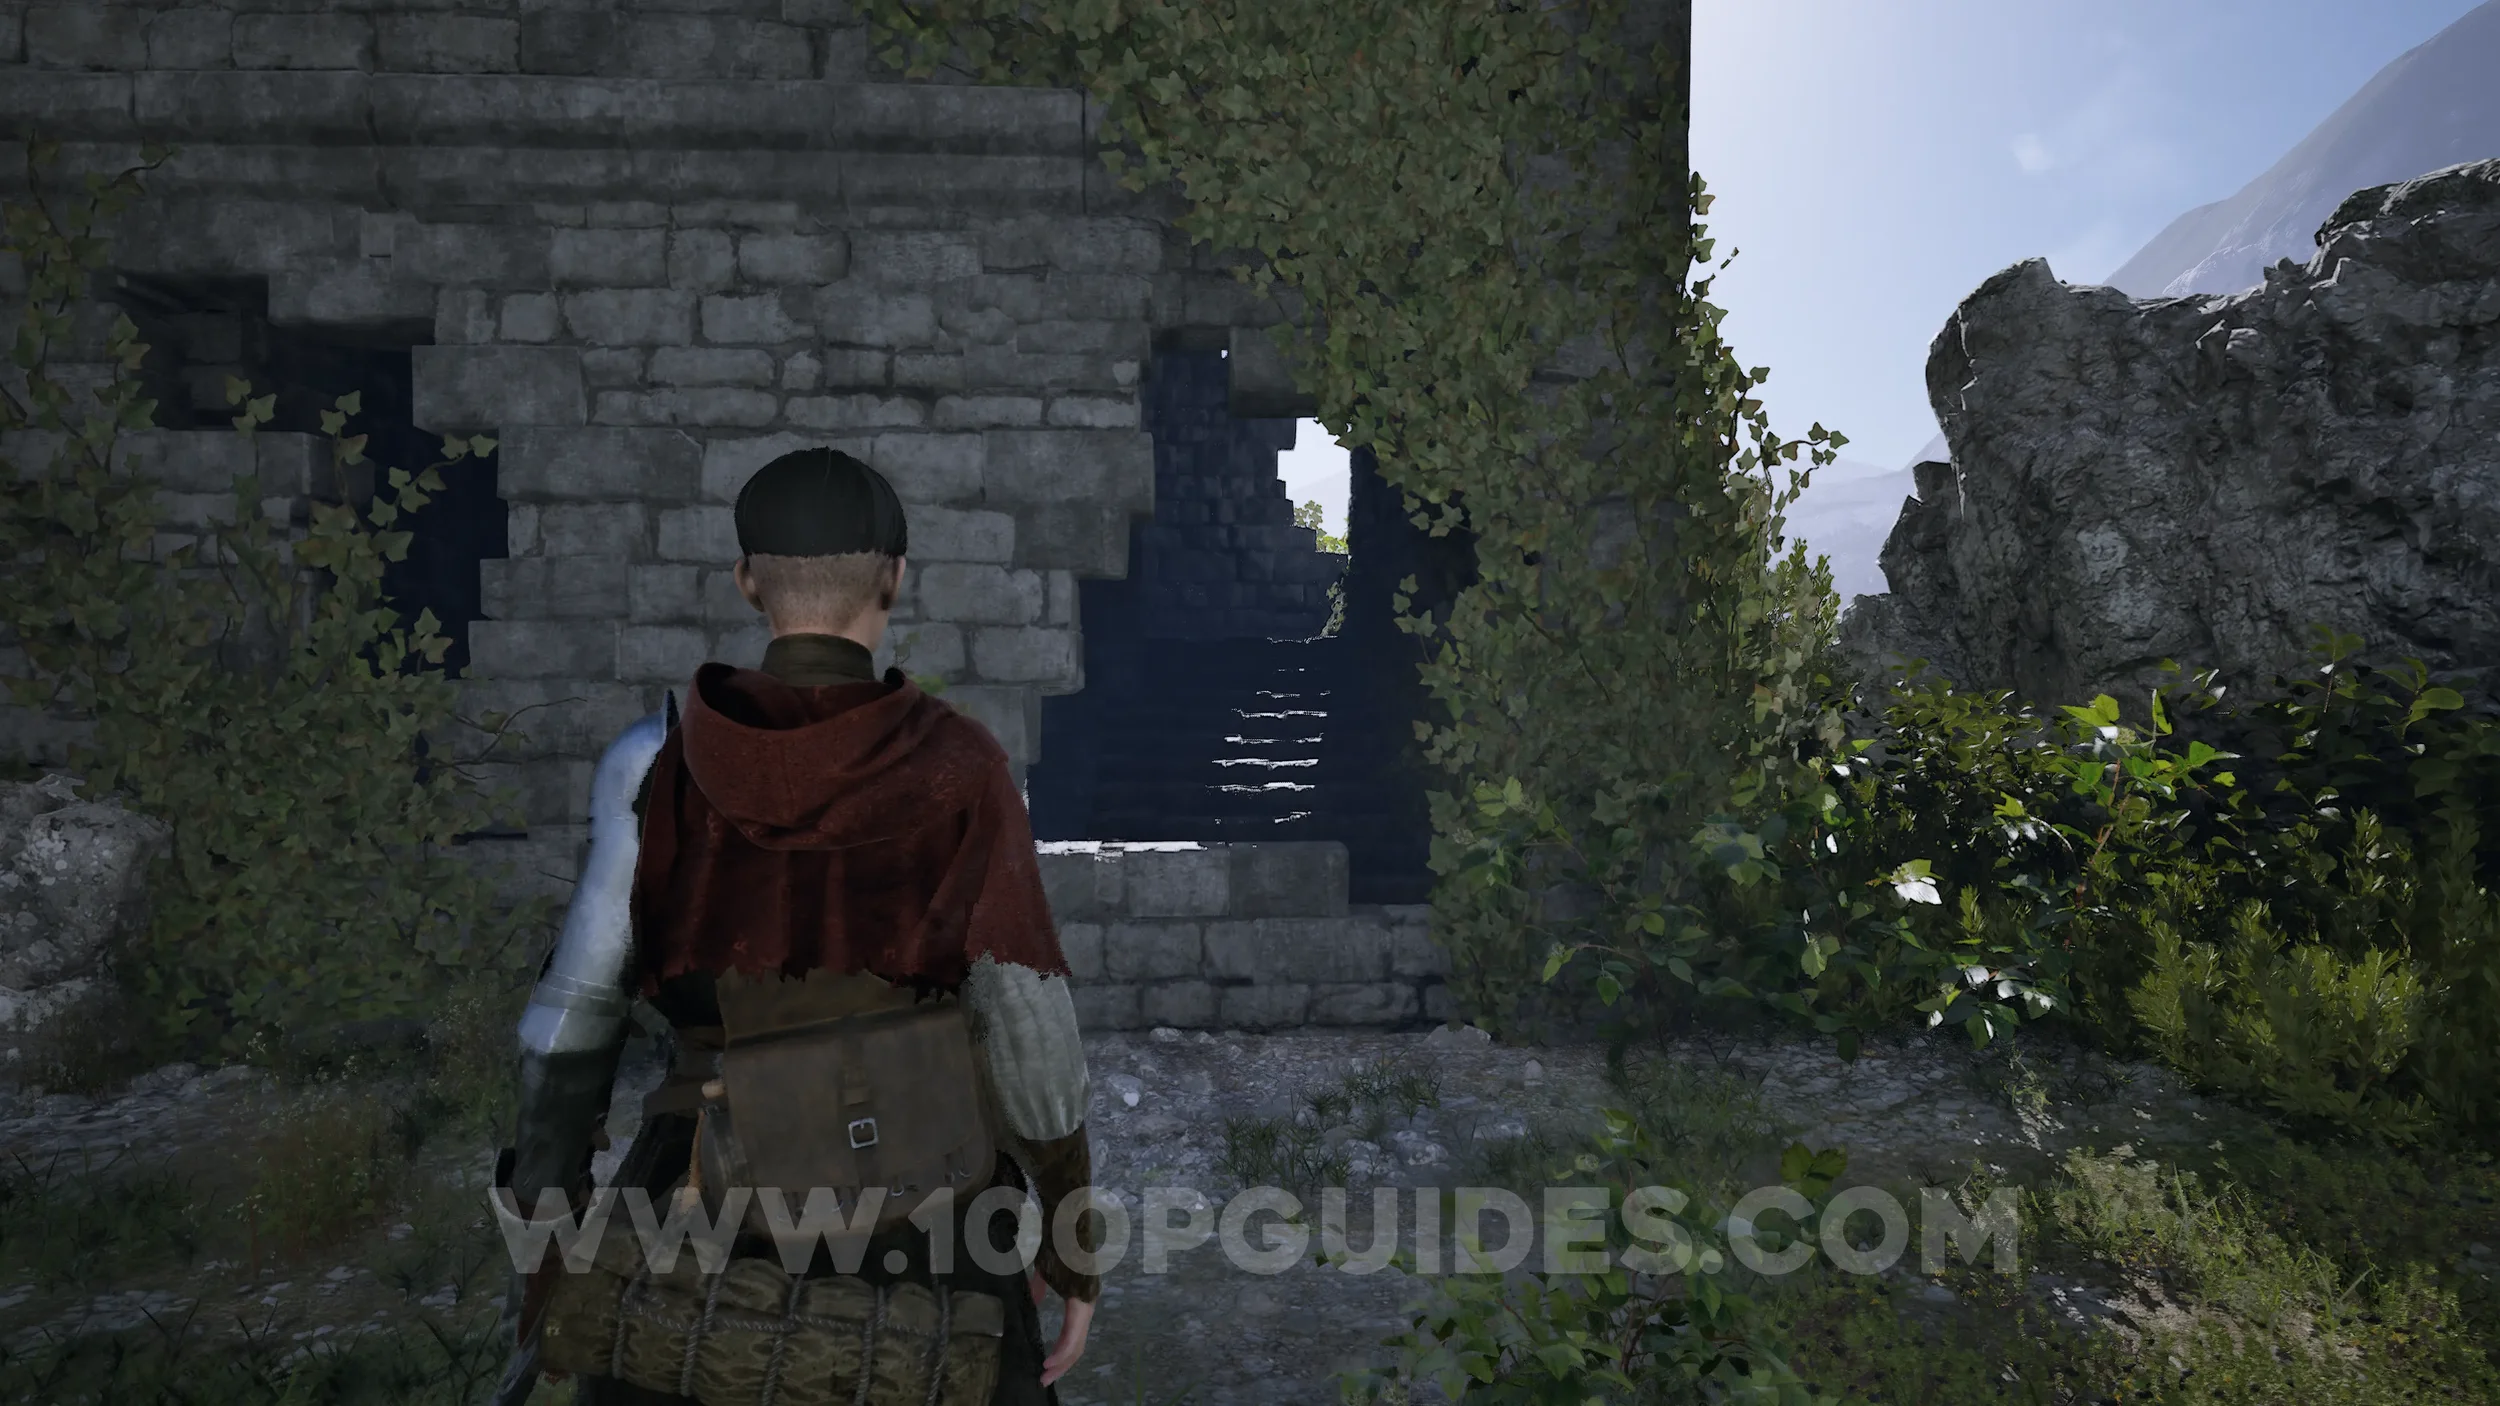
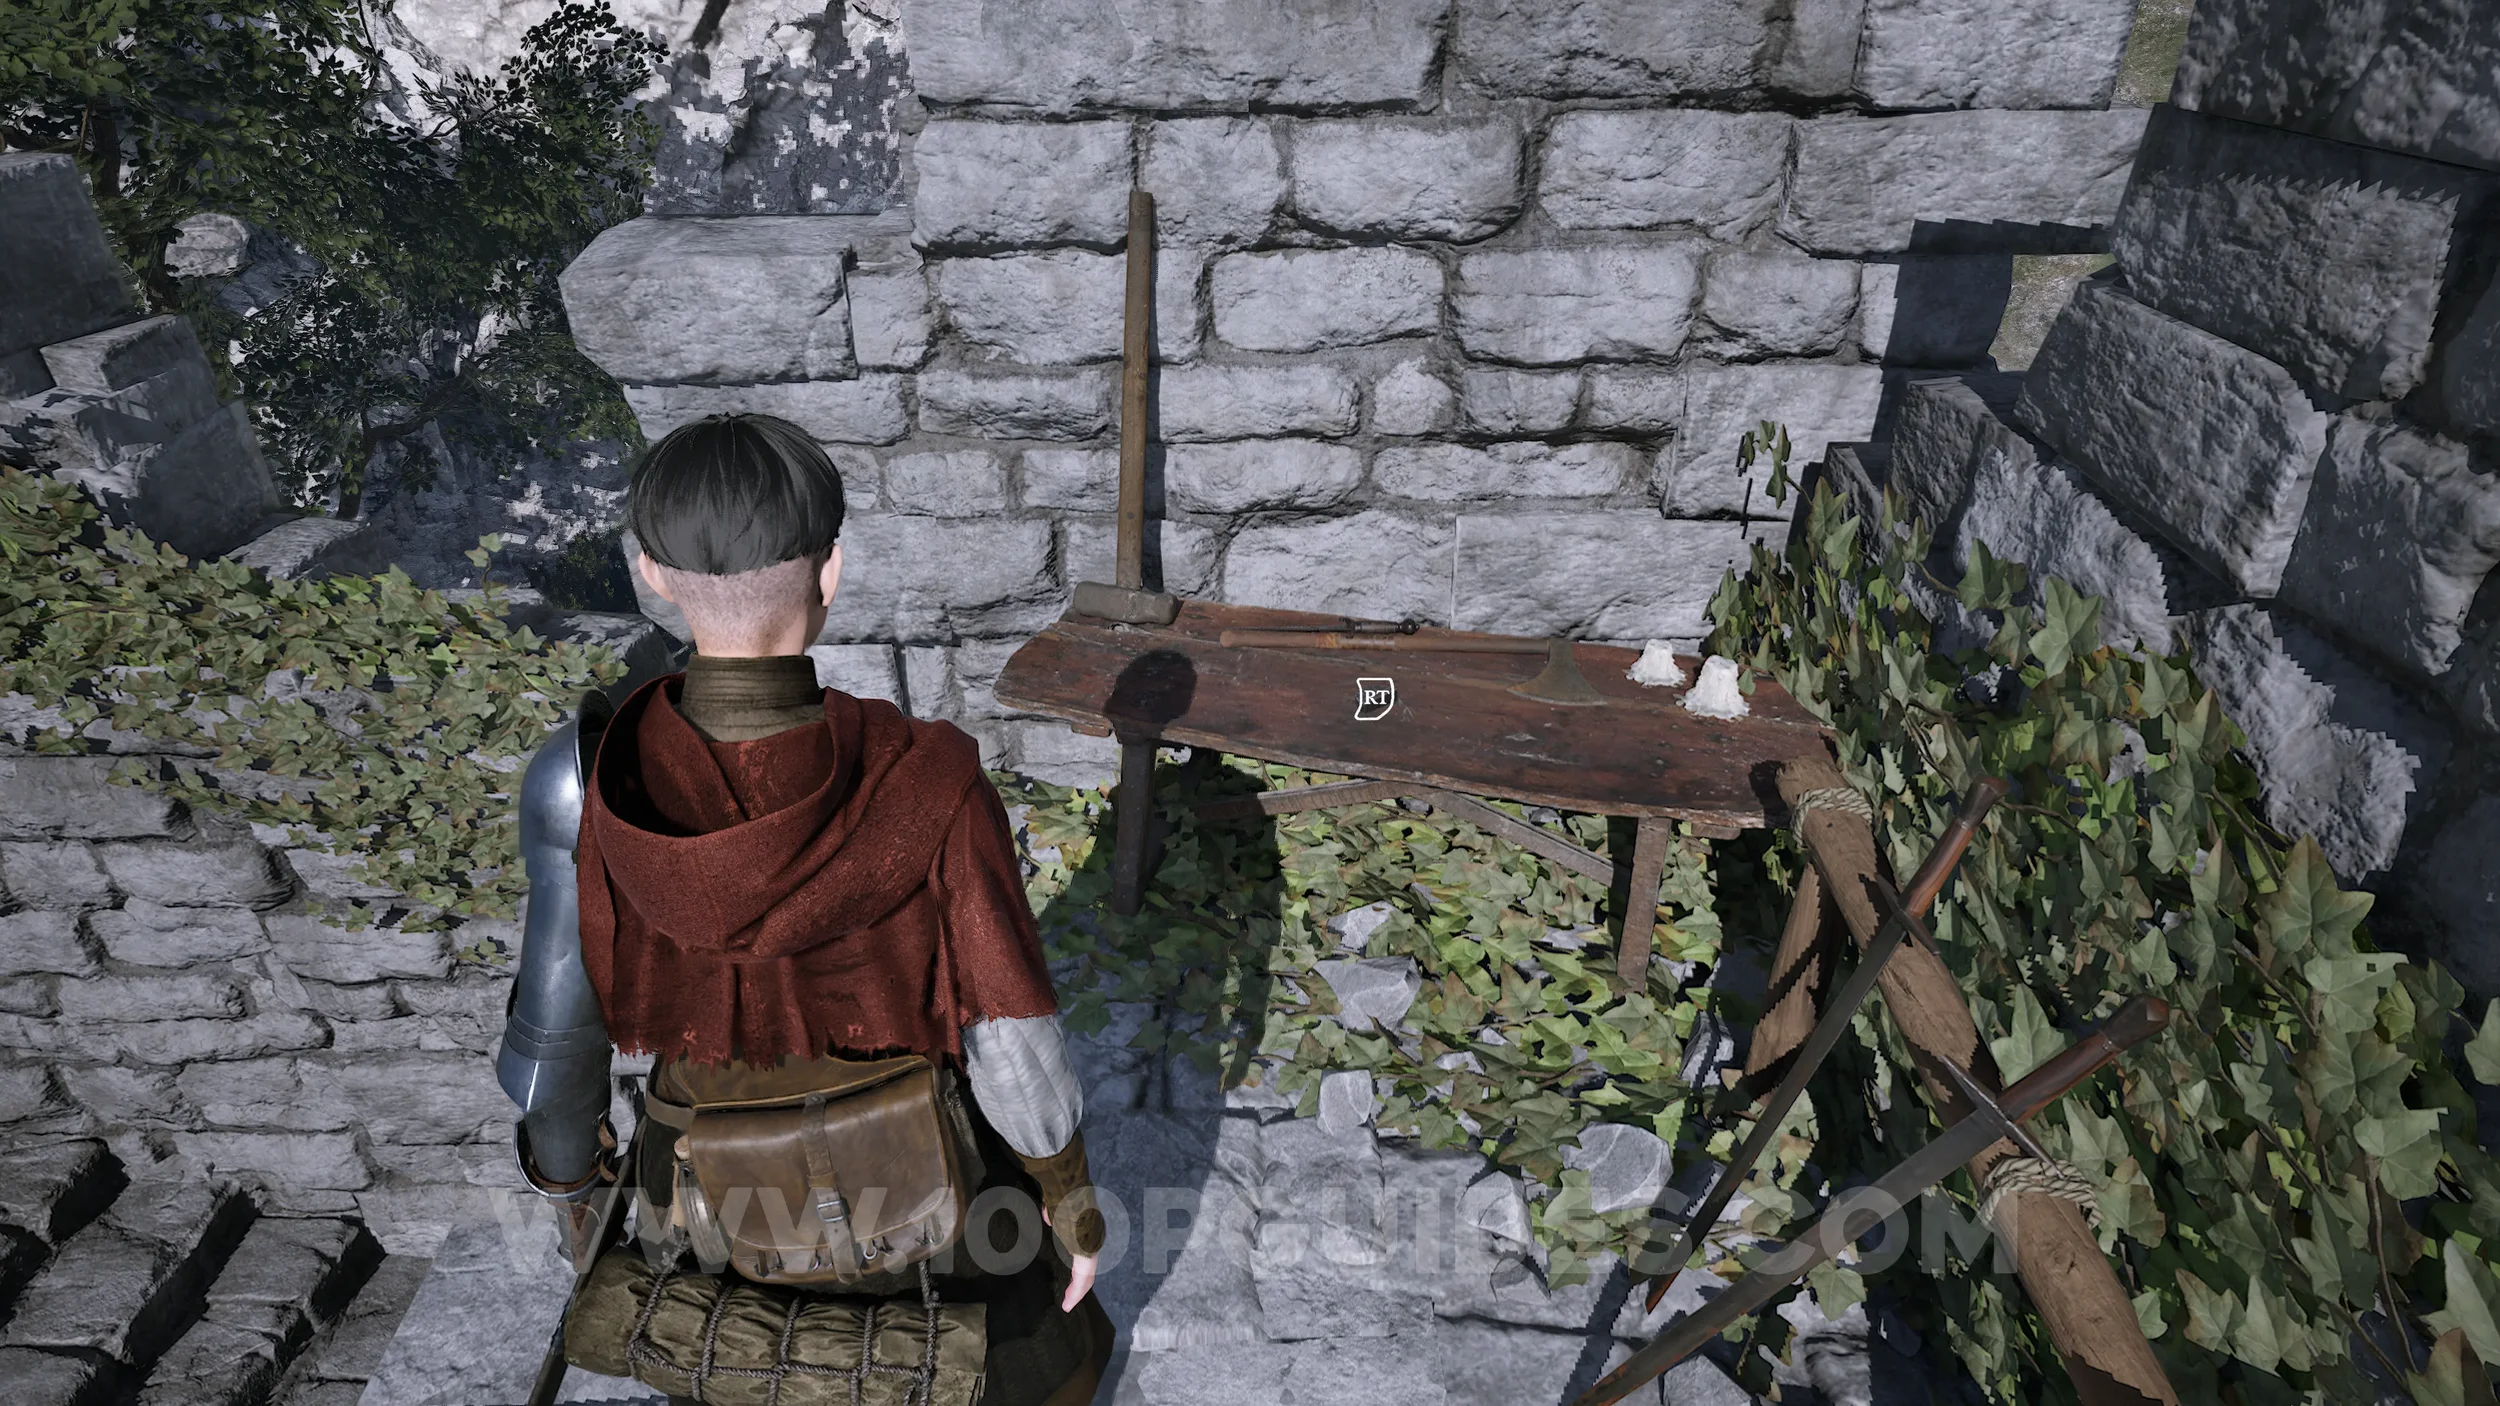
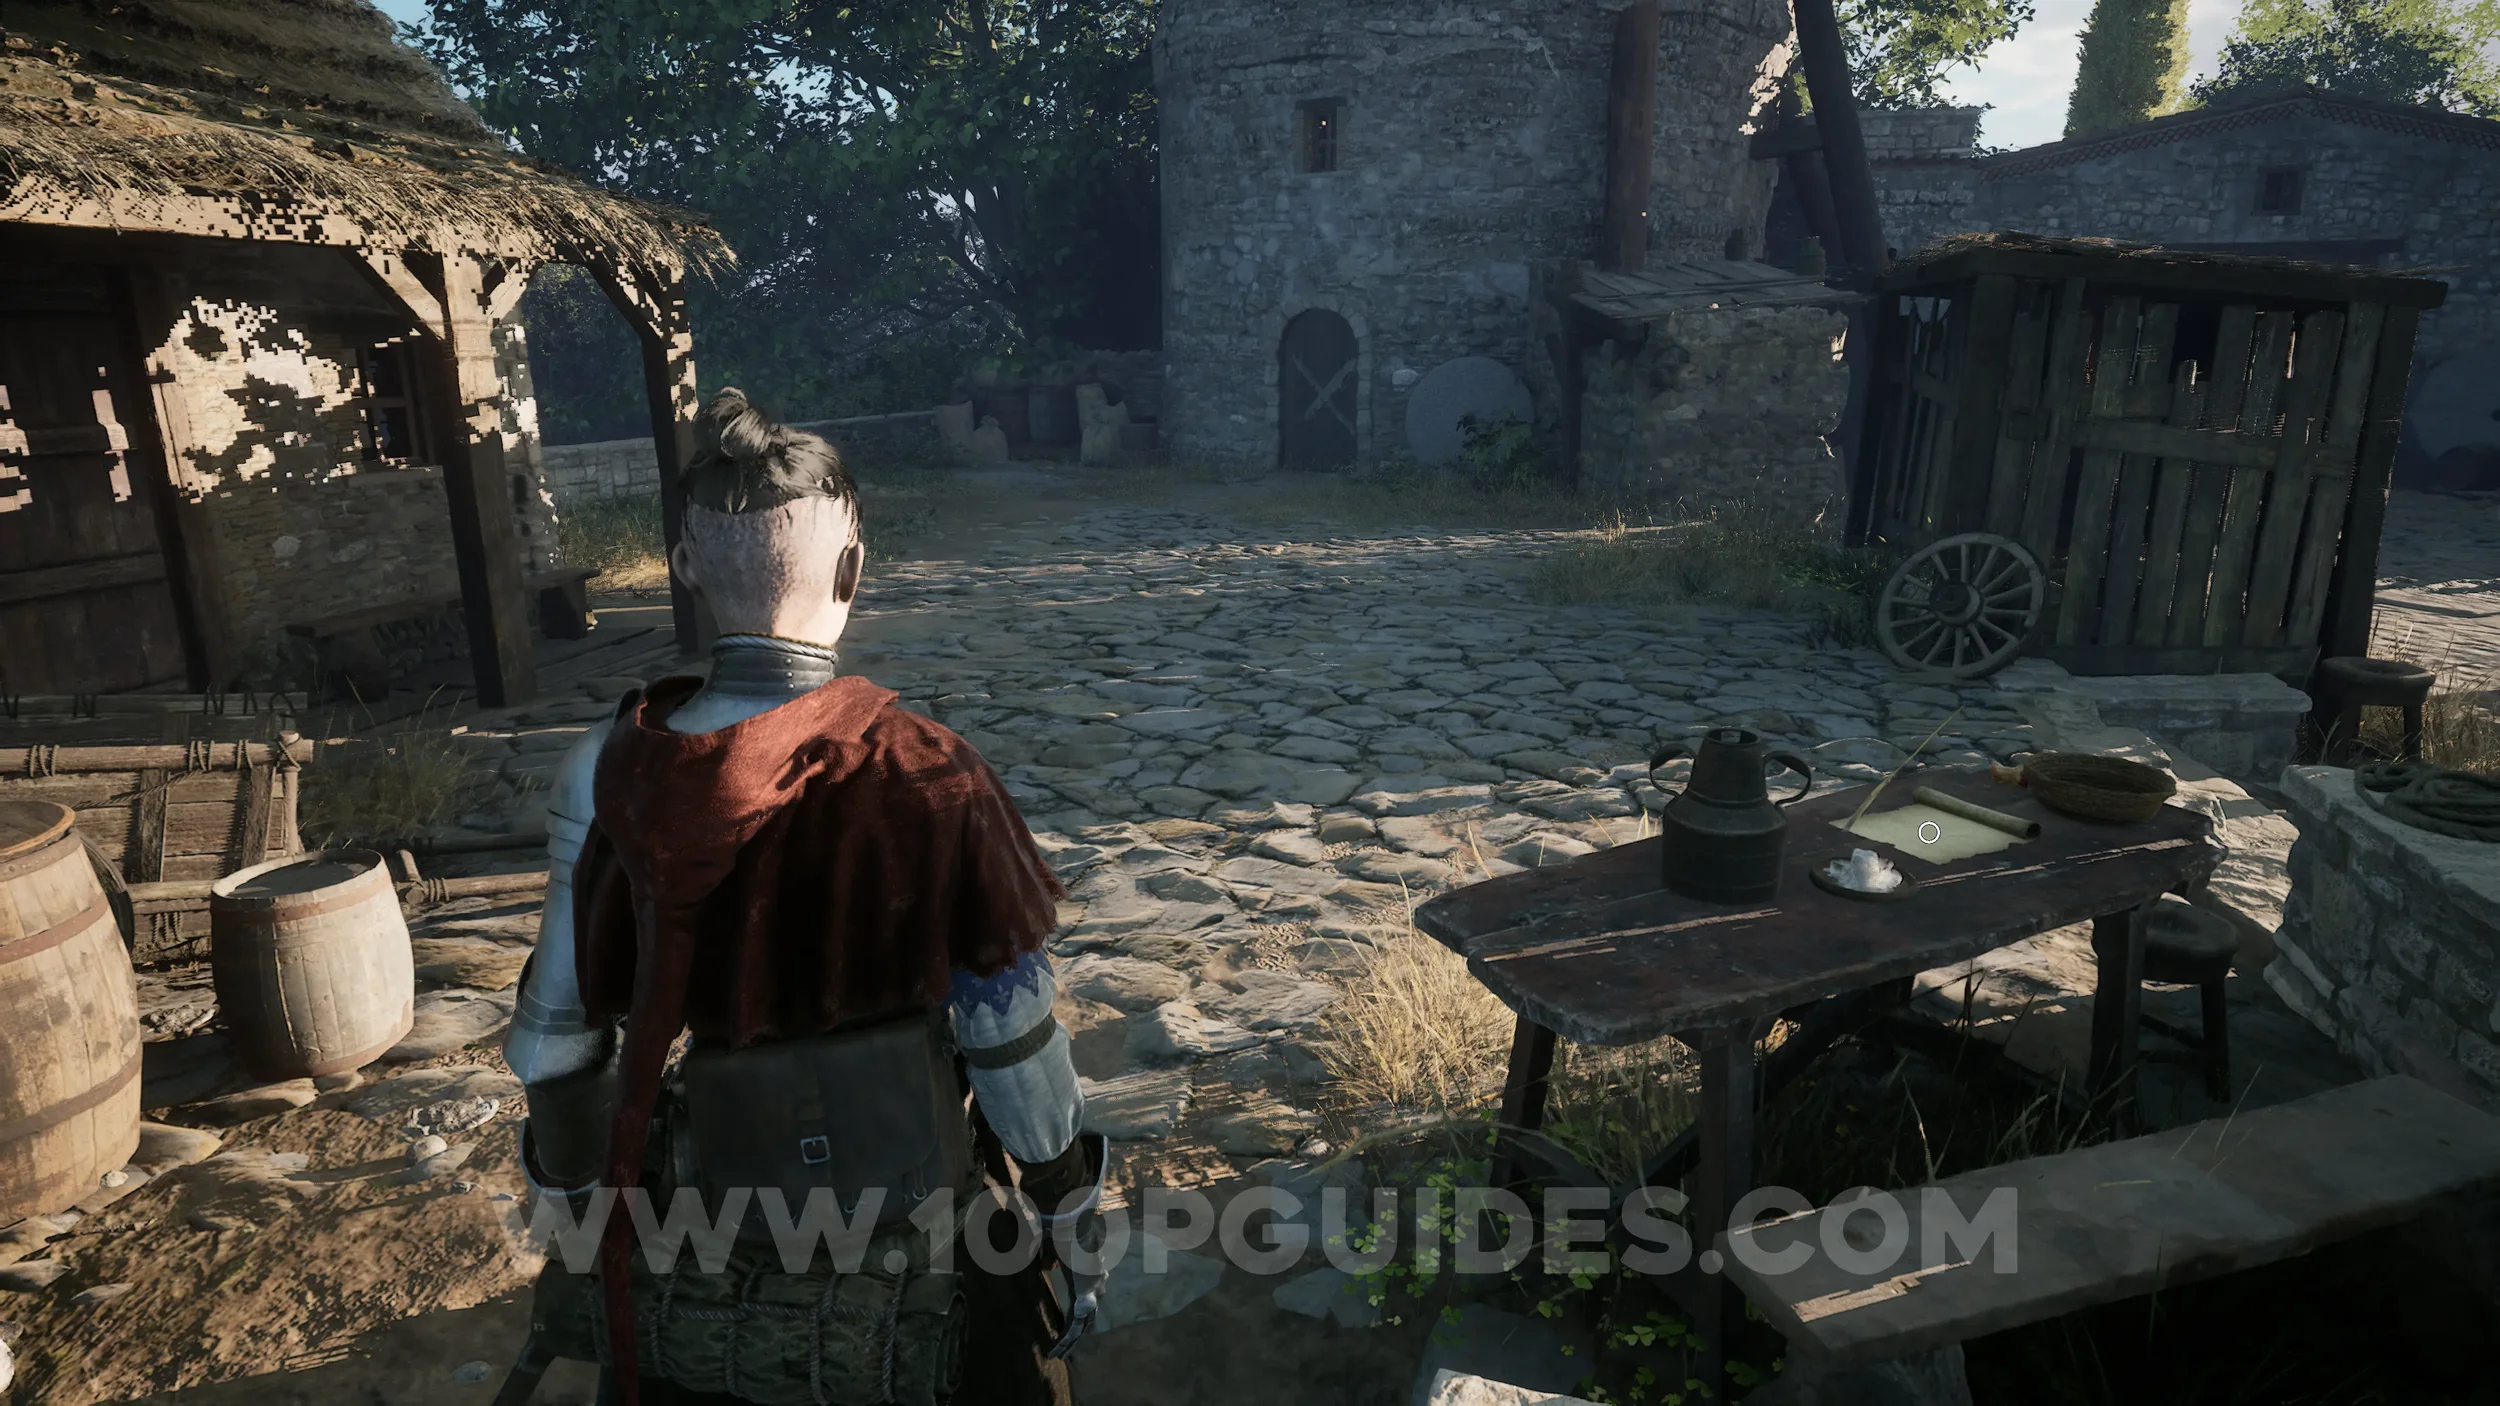
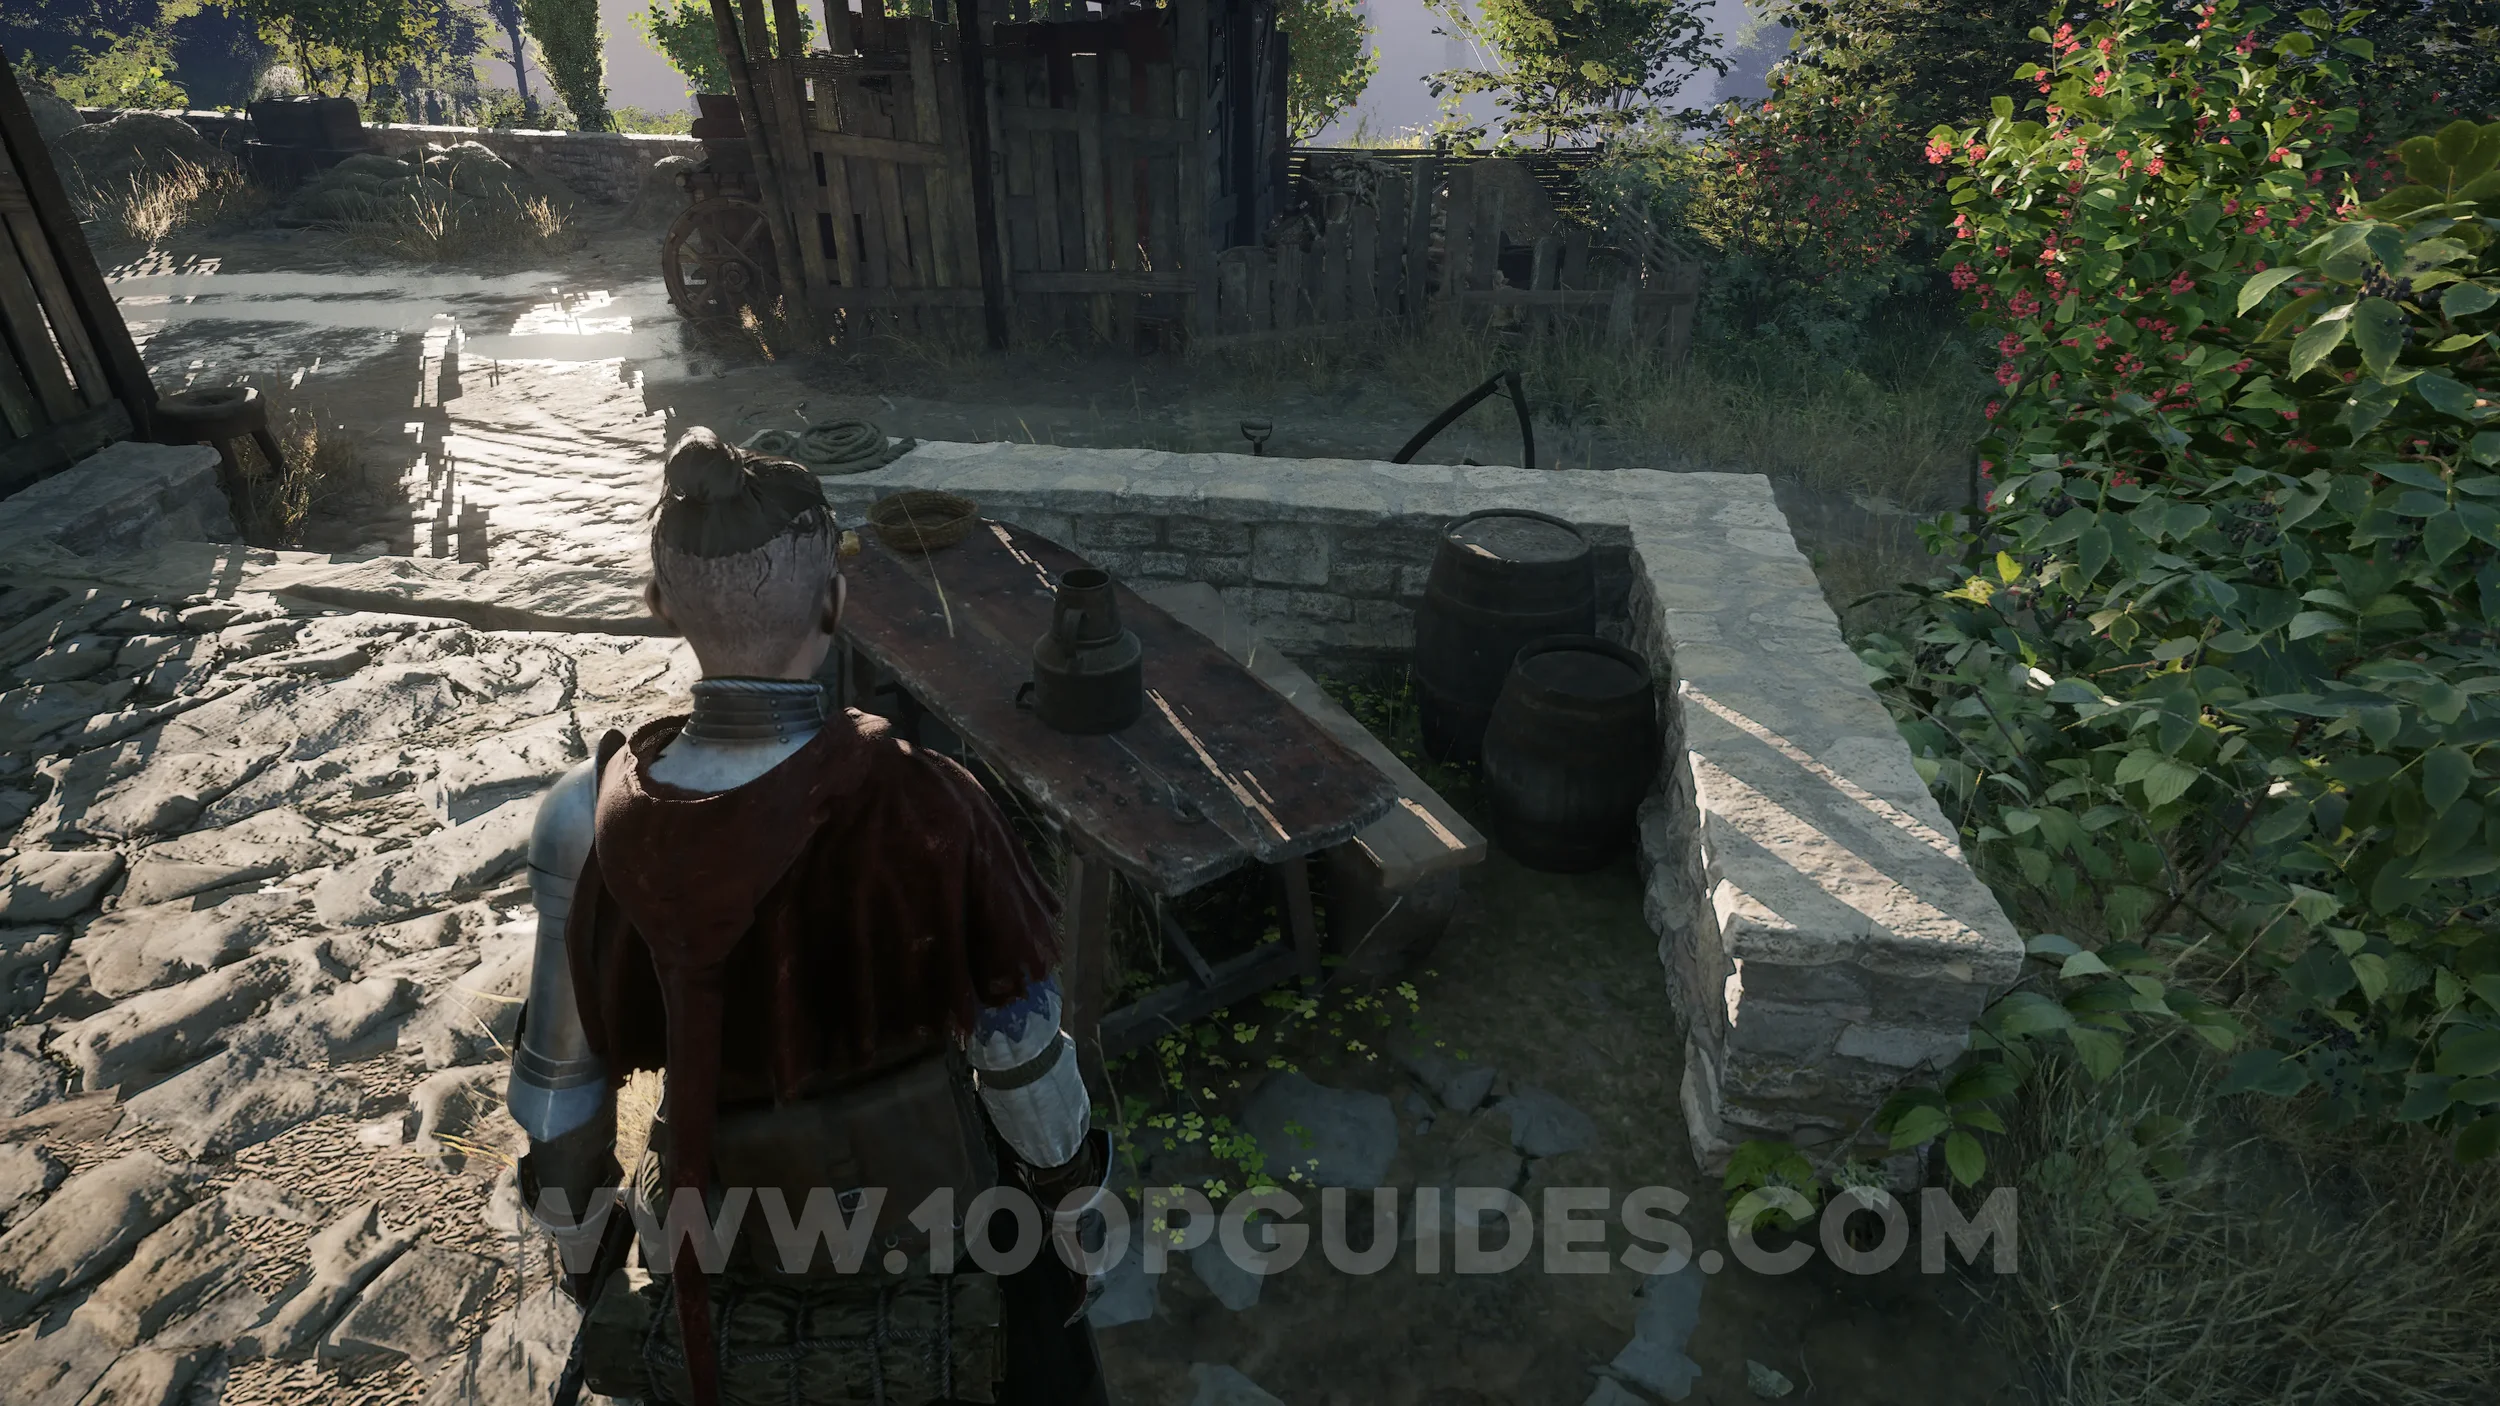
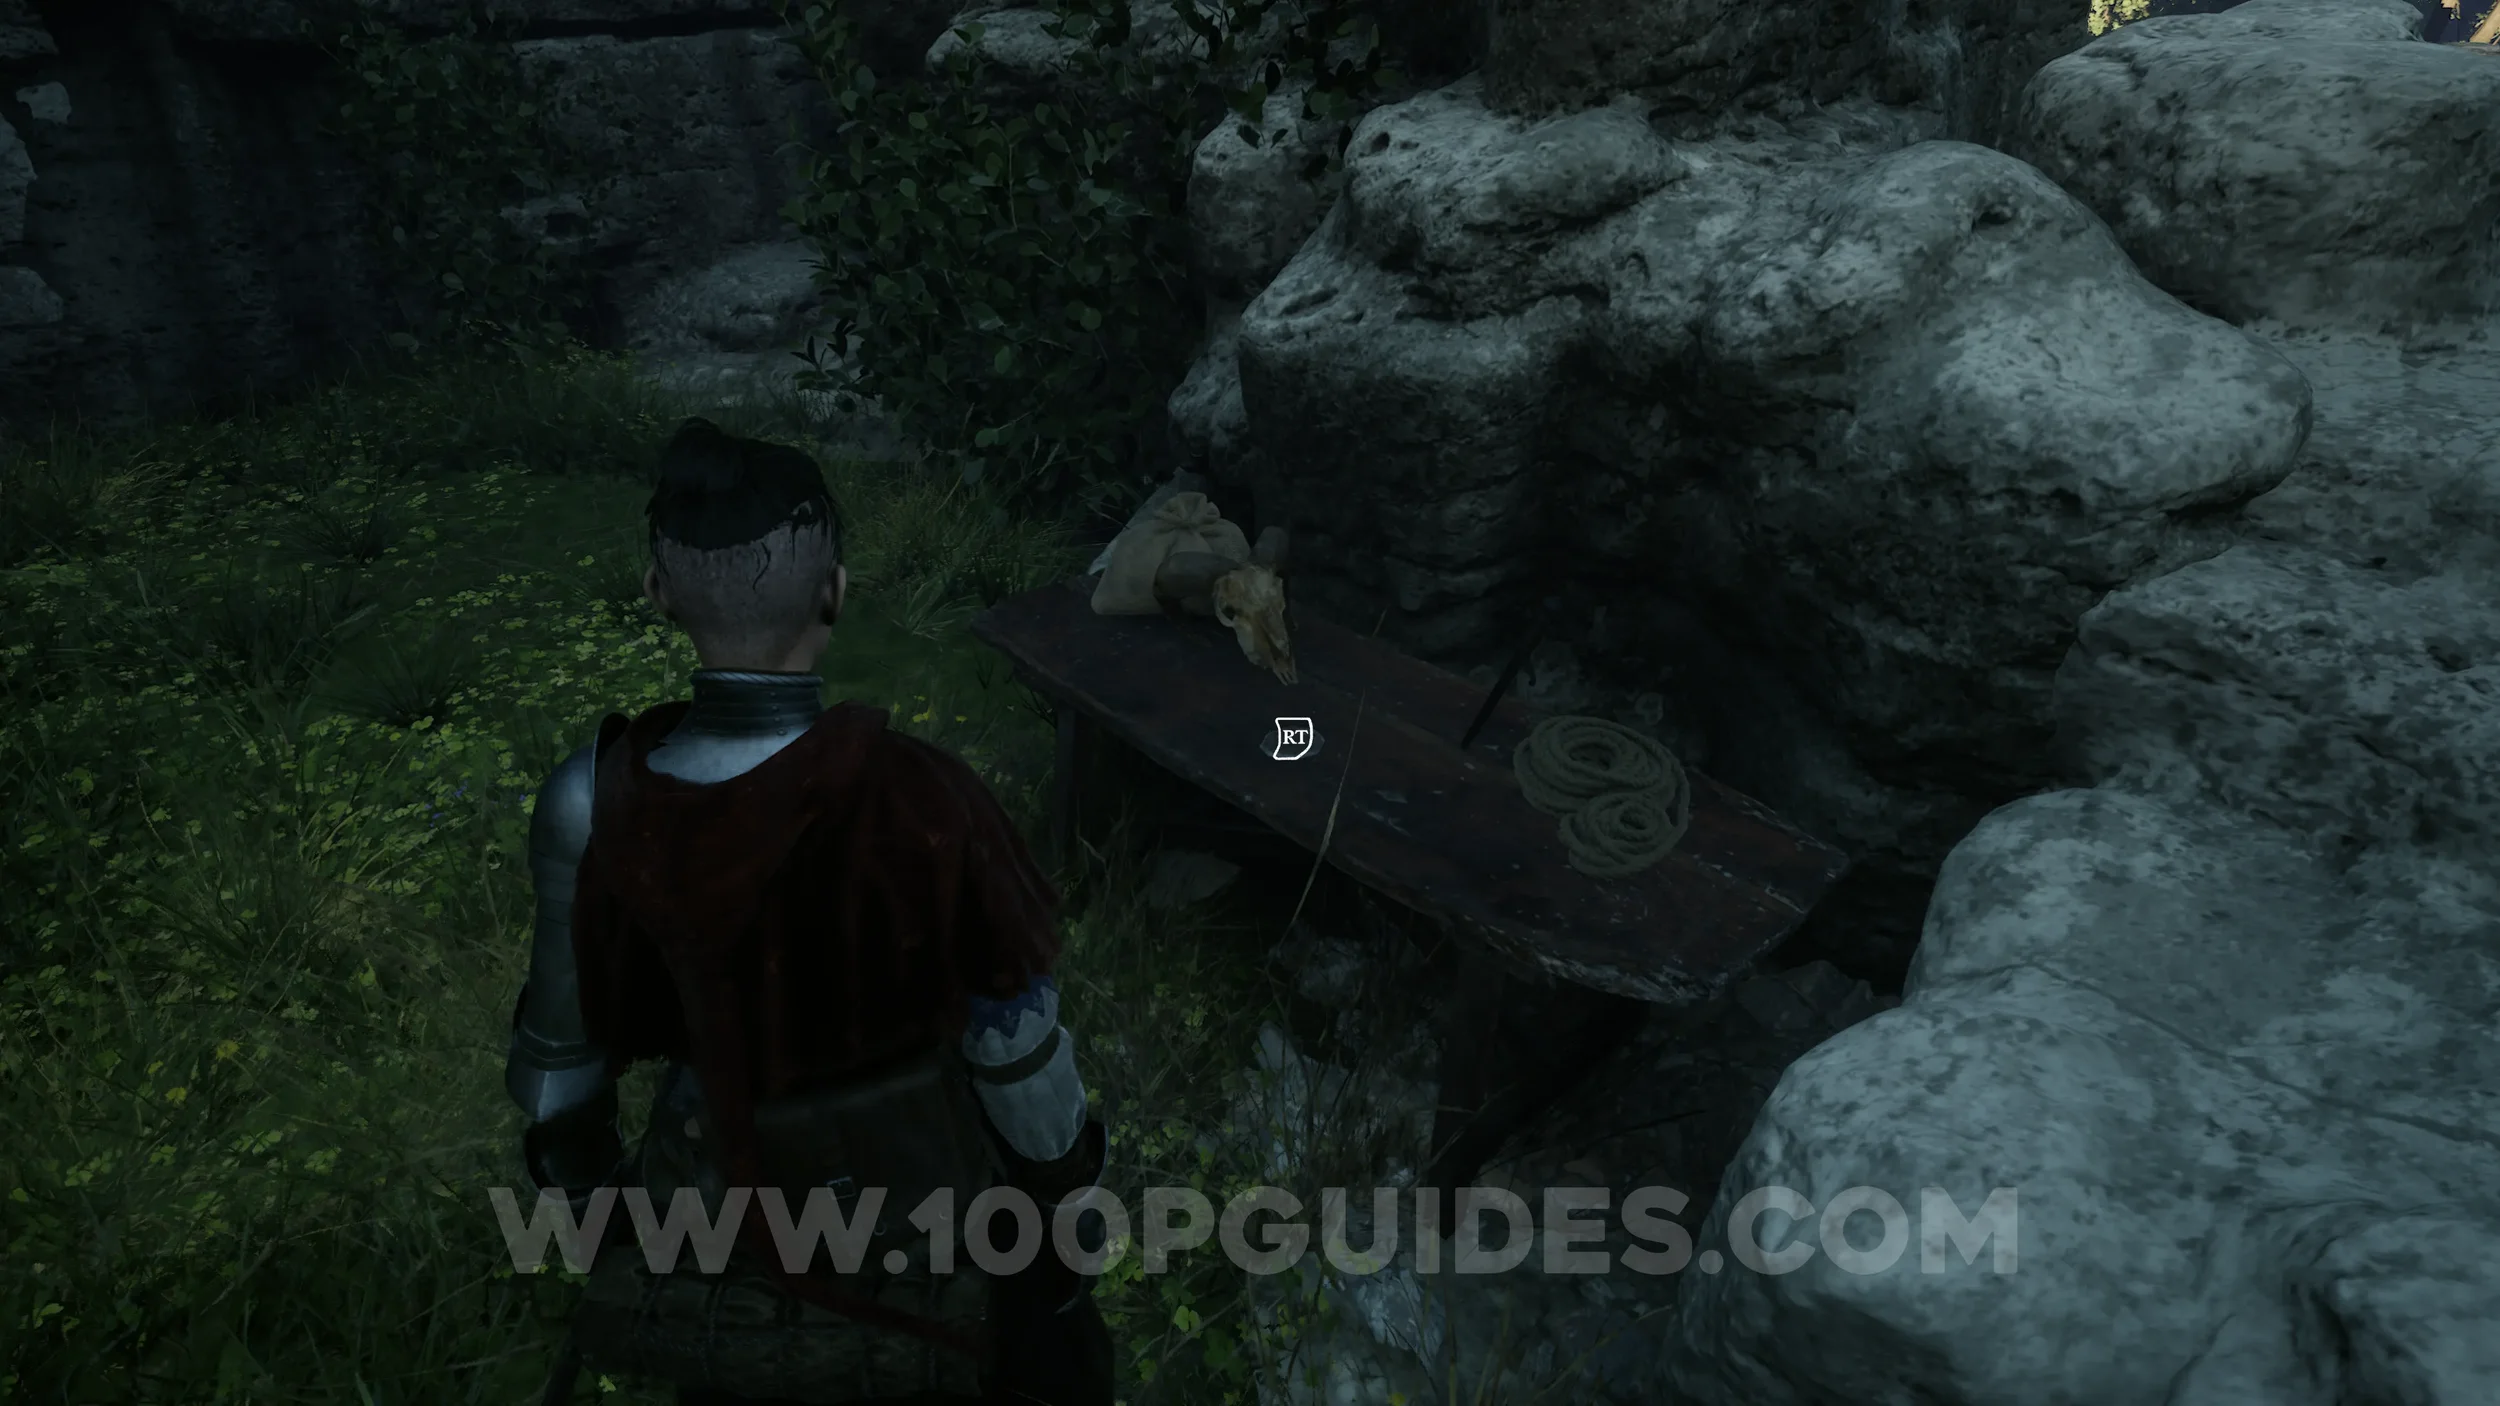
Sword Part #5 - Impera Pommel. After the tower, the path will split. Take the left path and go through the cave. When you emerge on the other side, enter the upper part of the tower through the hole in the wall. Climb to the top to find the sword part on the table.
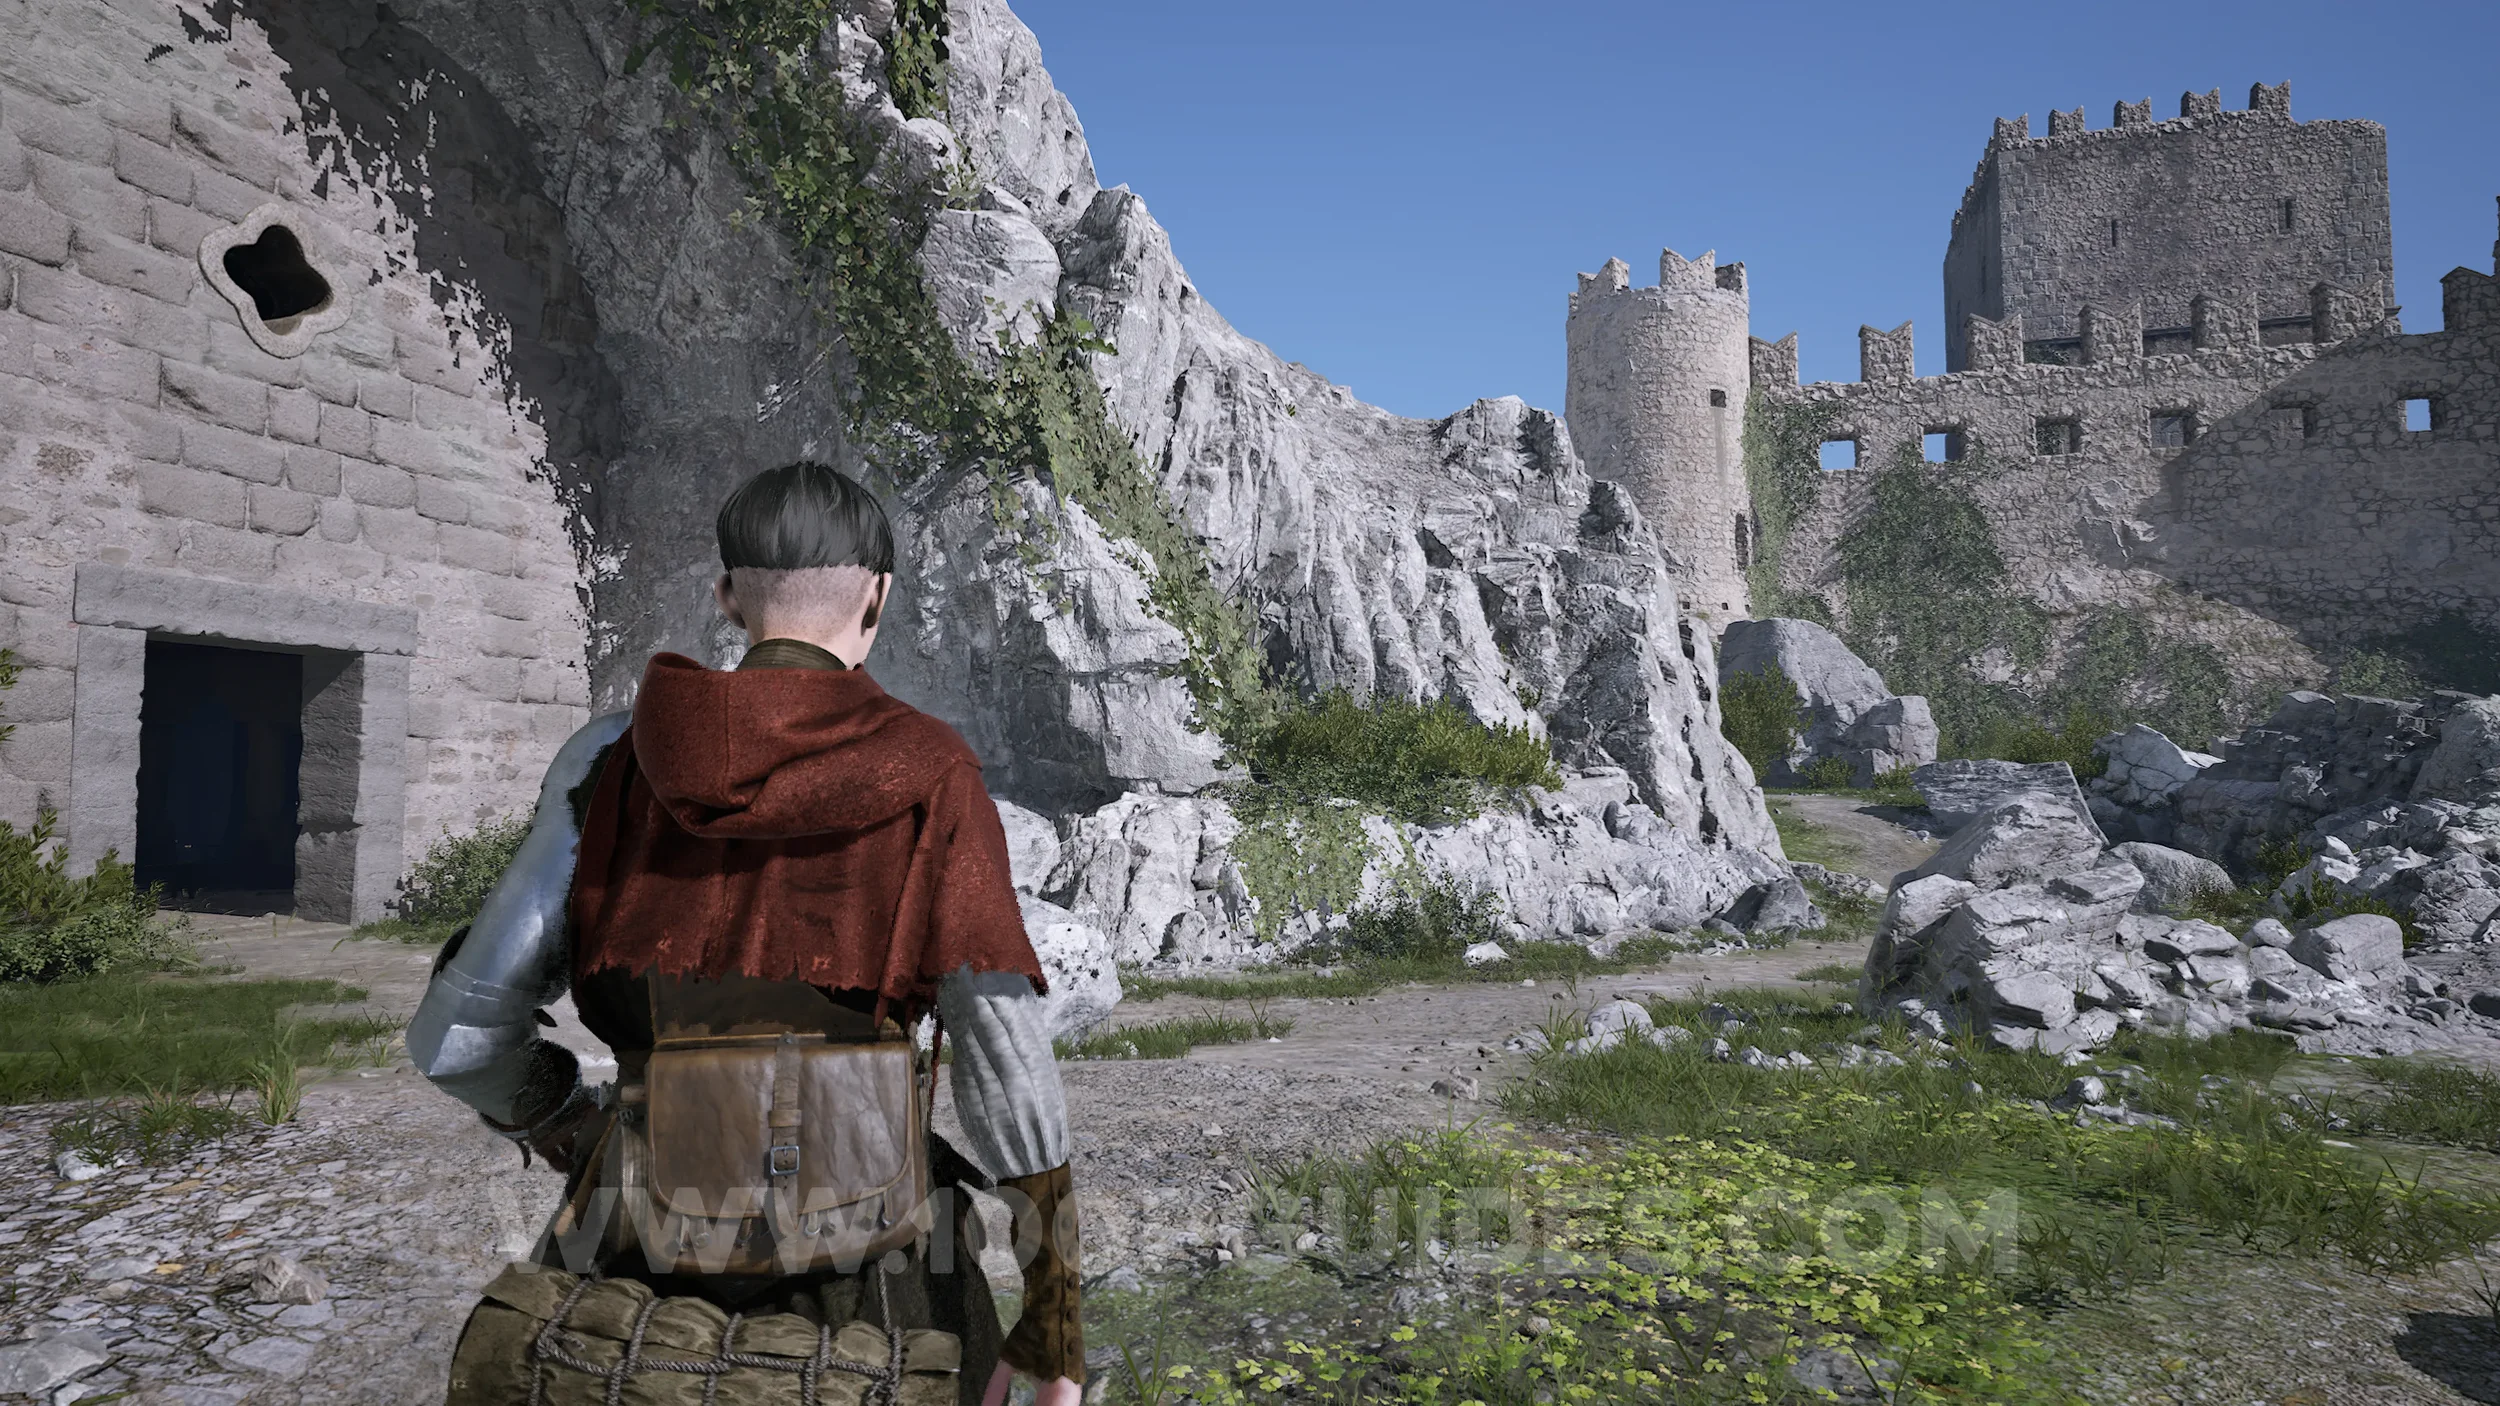
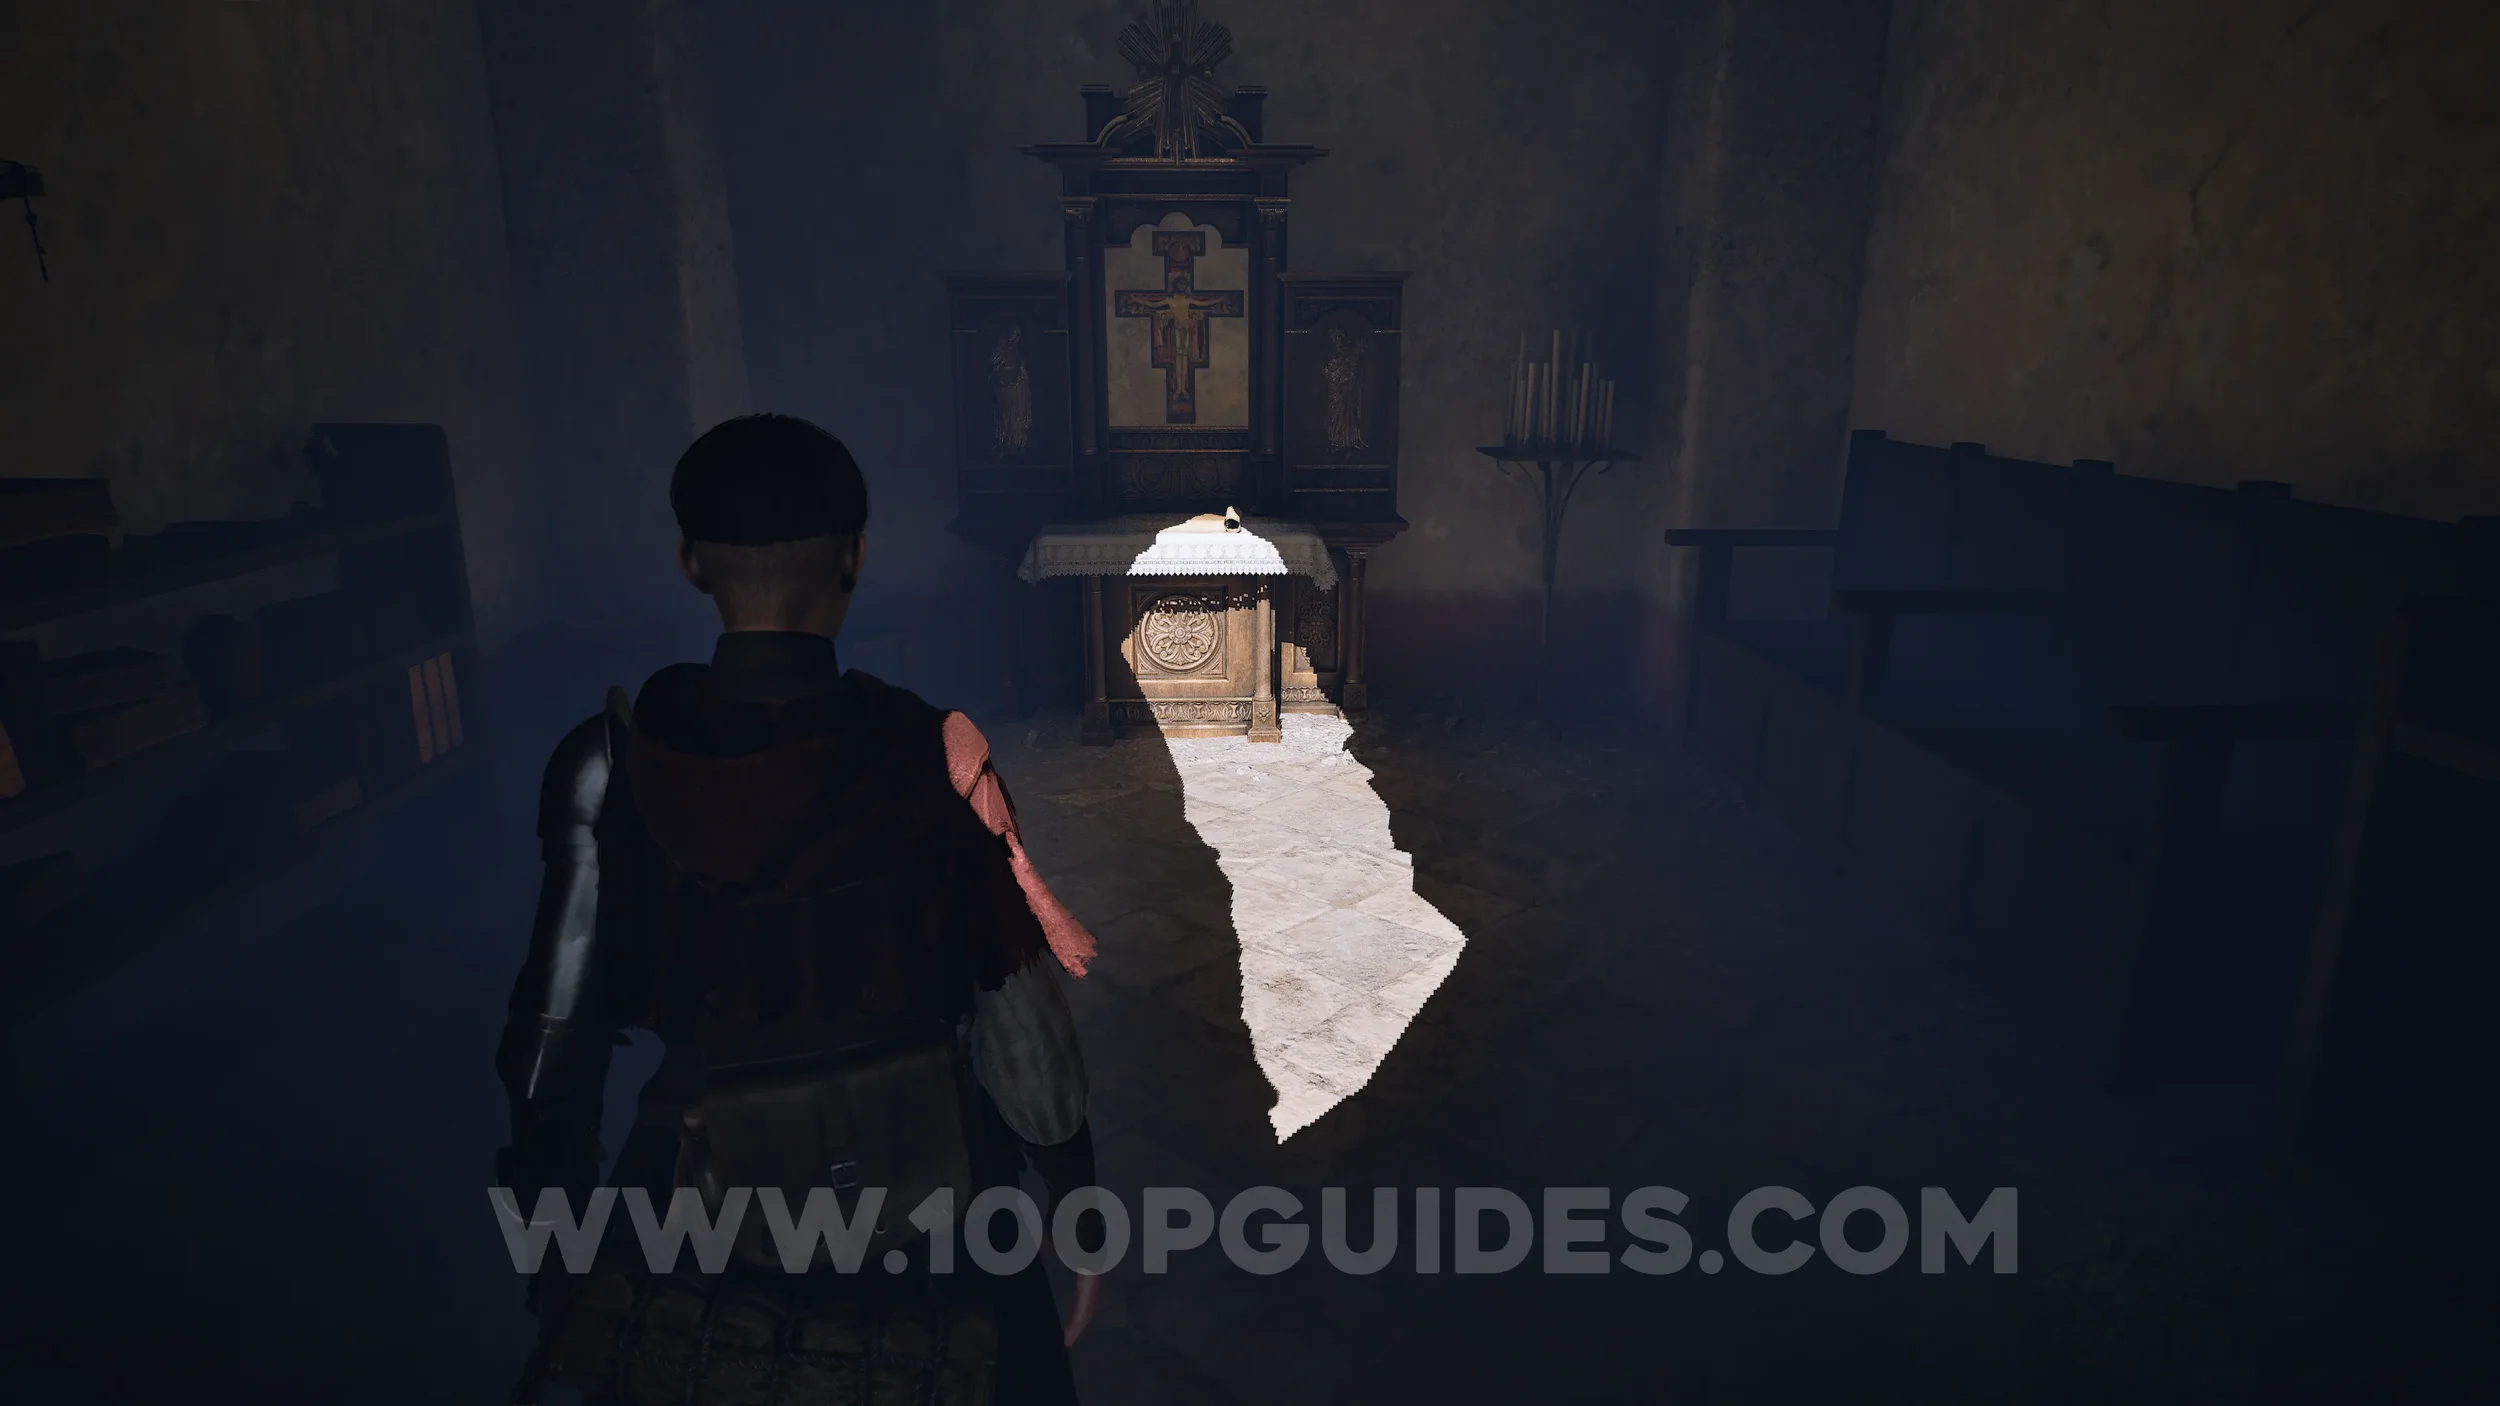
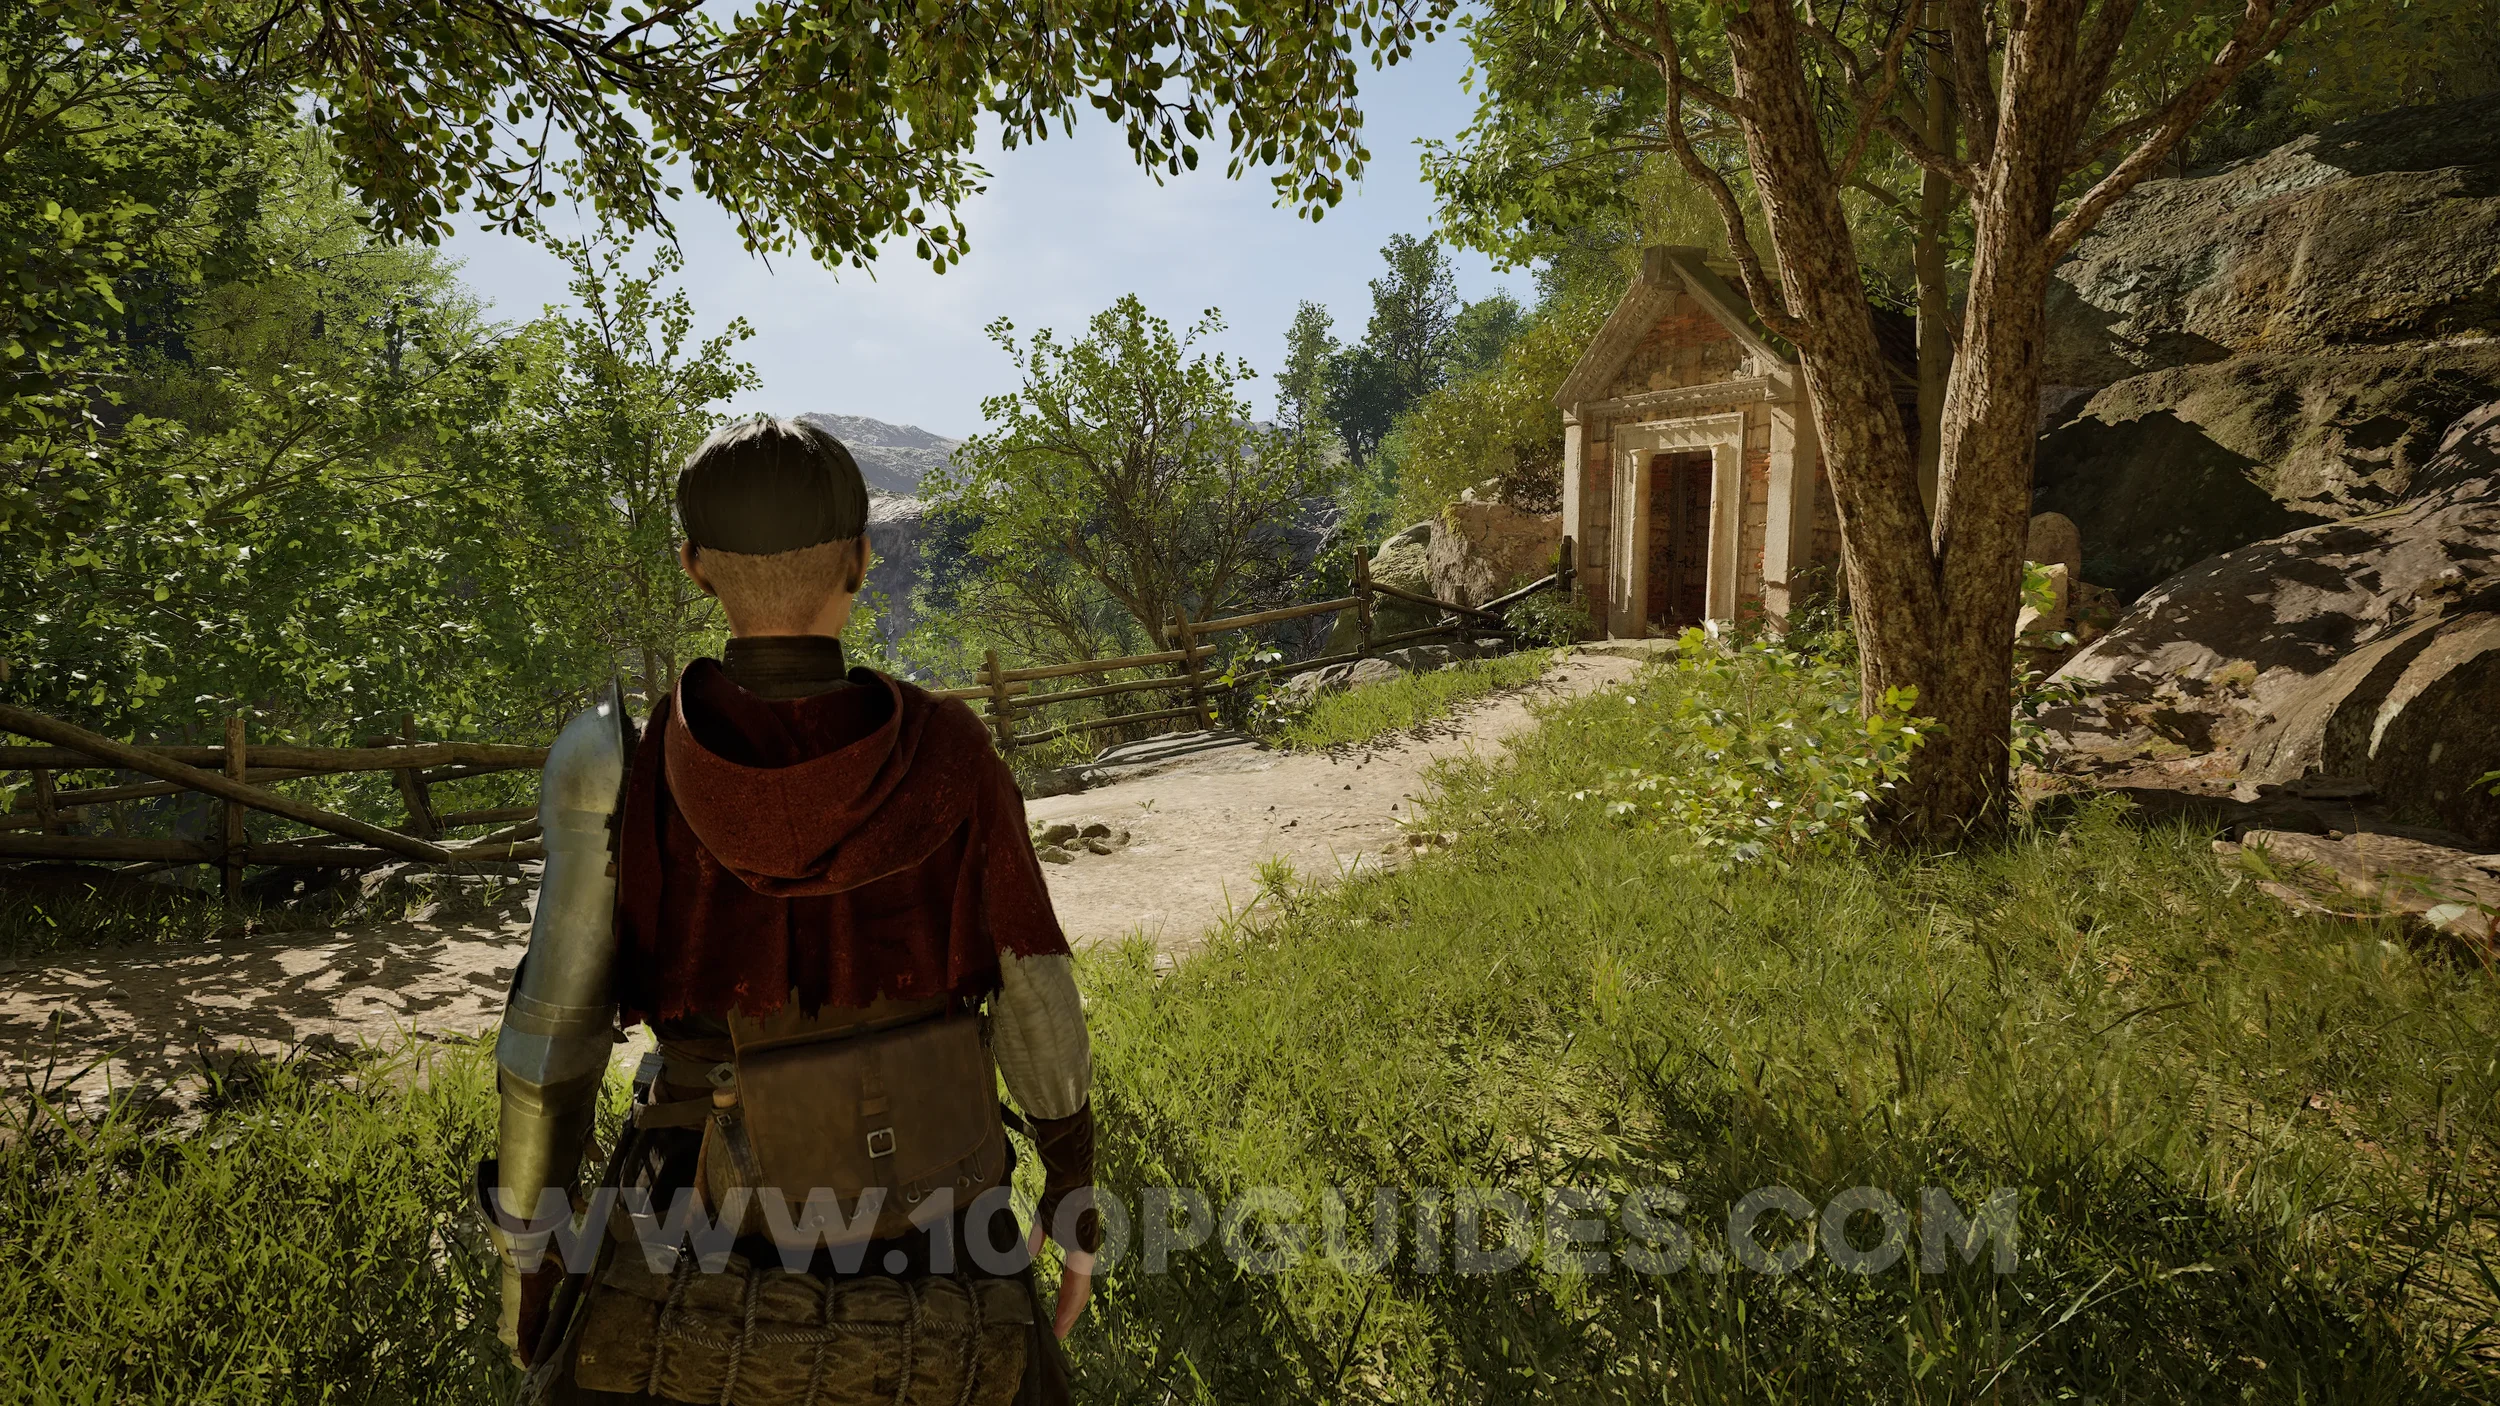
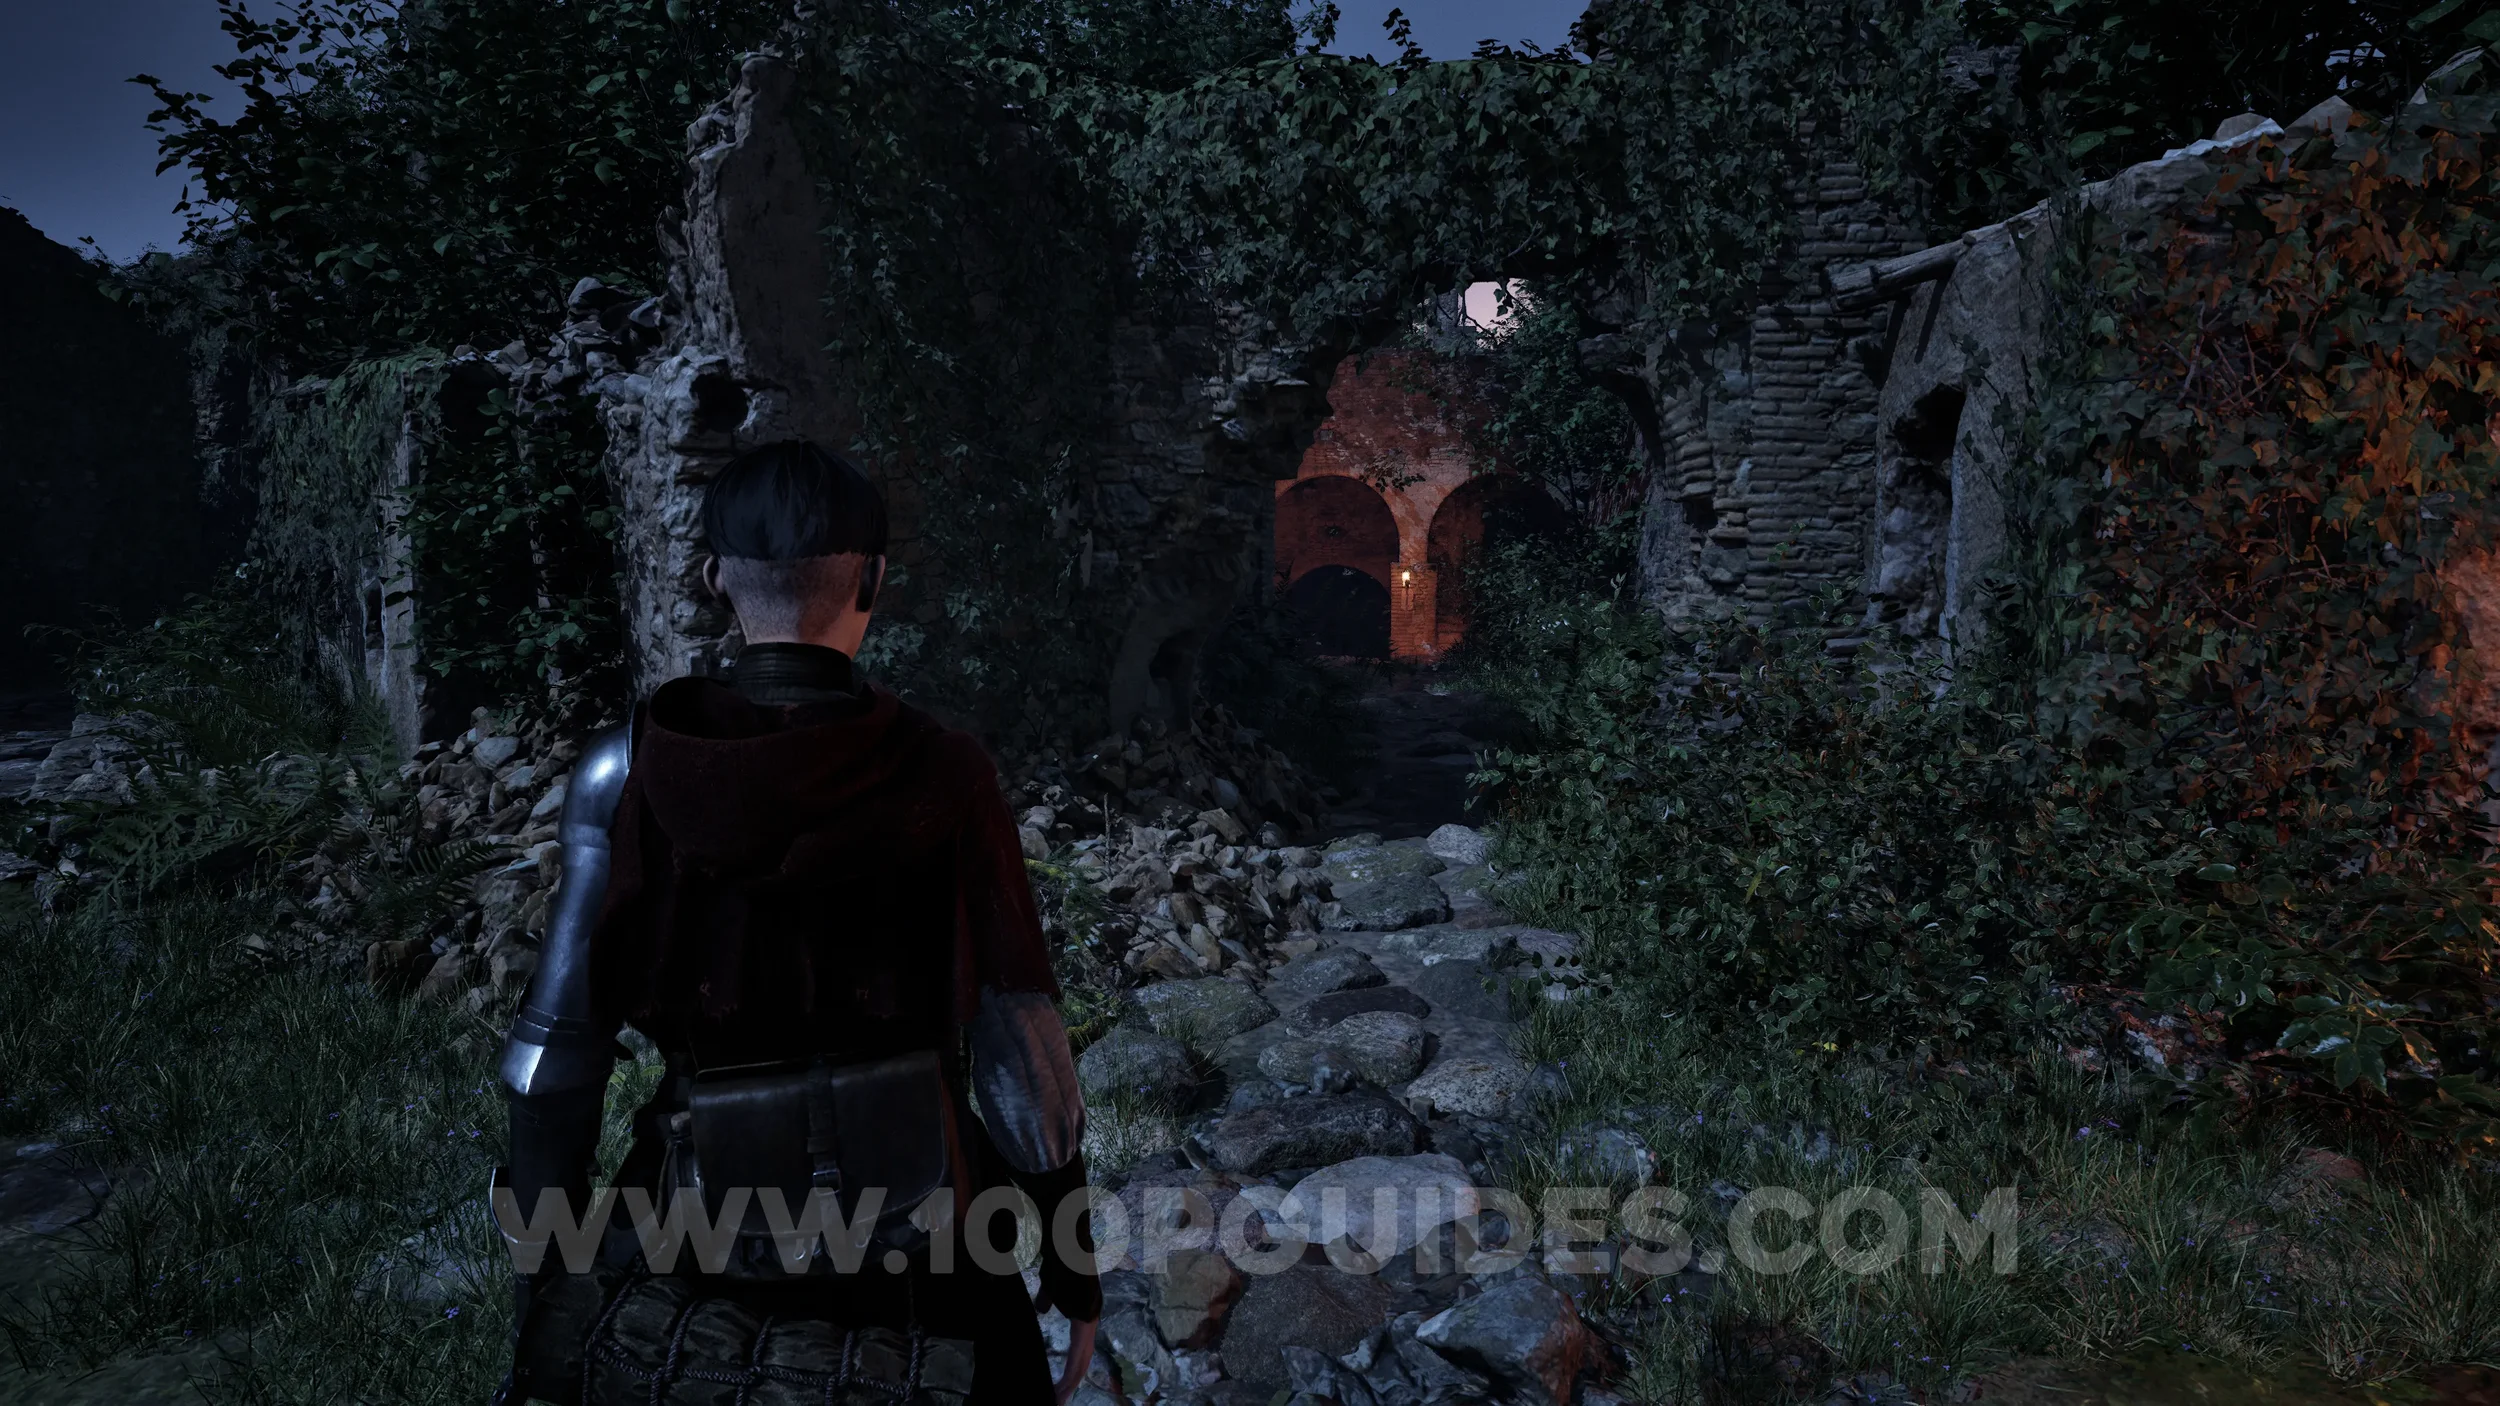
Treasure #2 - San Leone. As you approach the keep, you’ll see a church carved into the rocks on your left. Enter the church to find the treasure on the lectern in the middle.
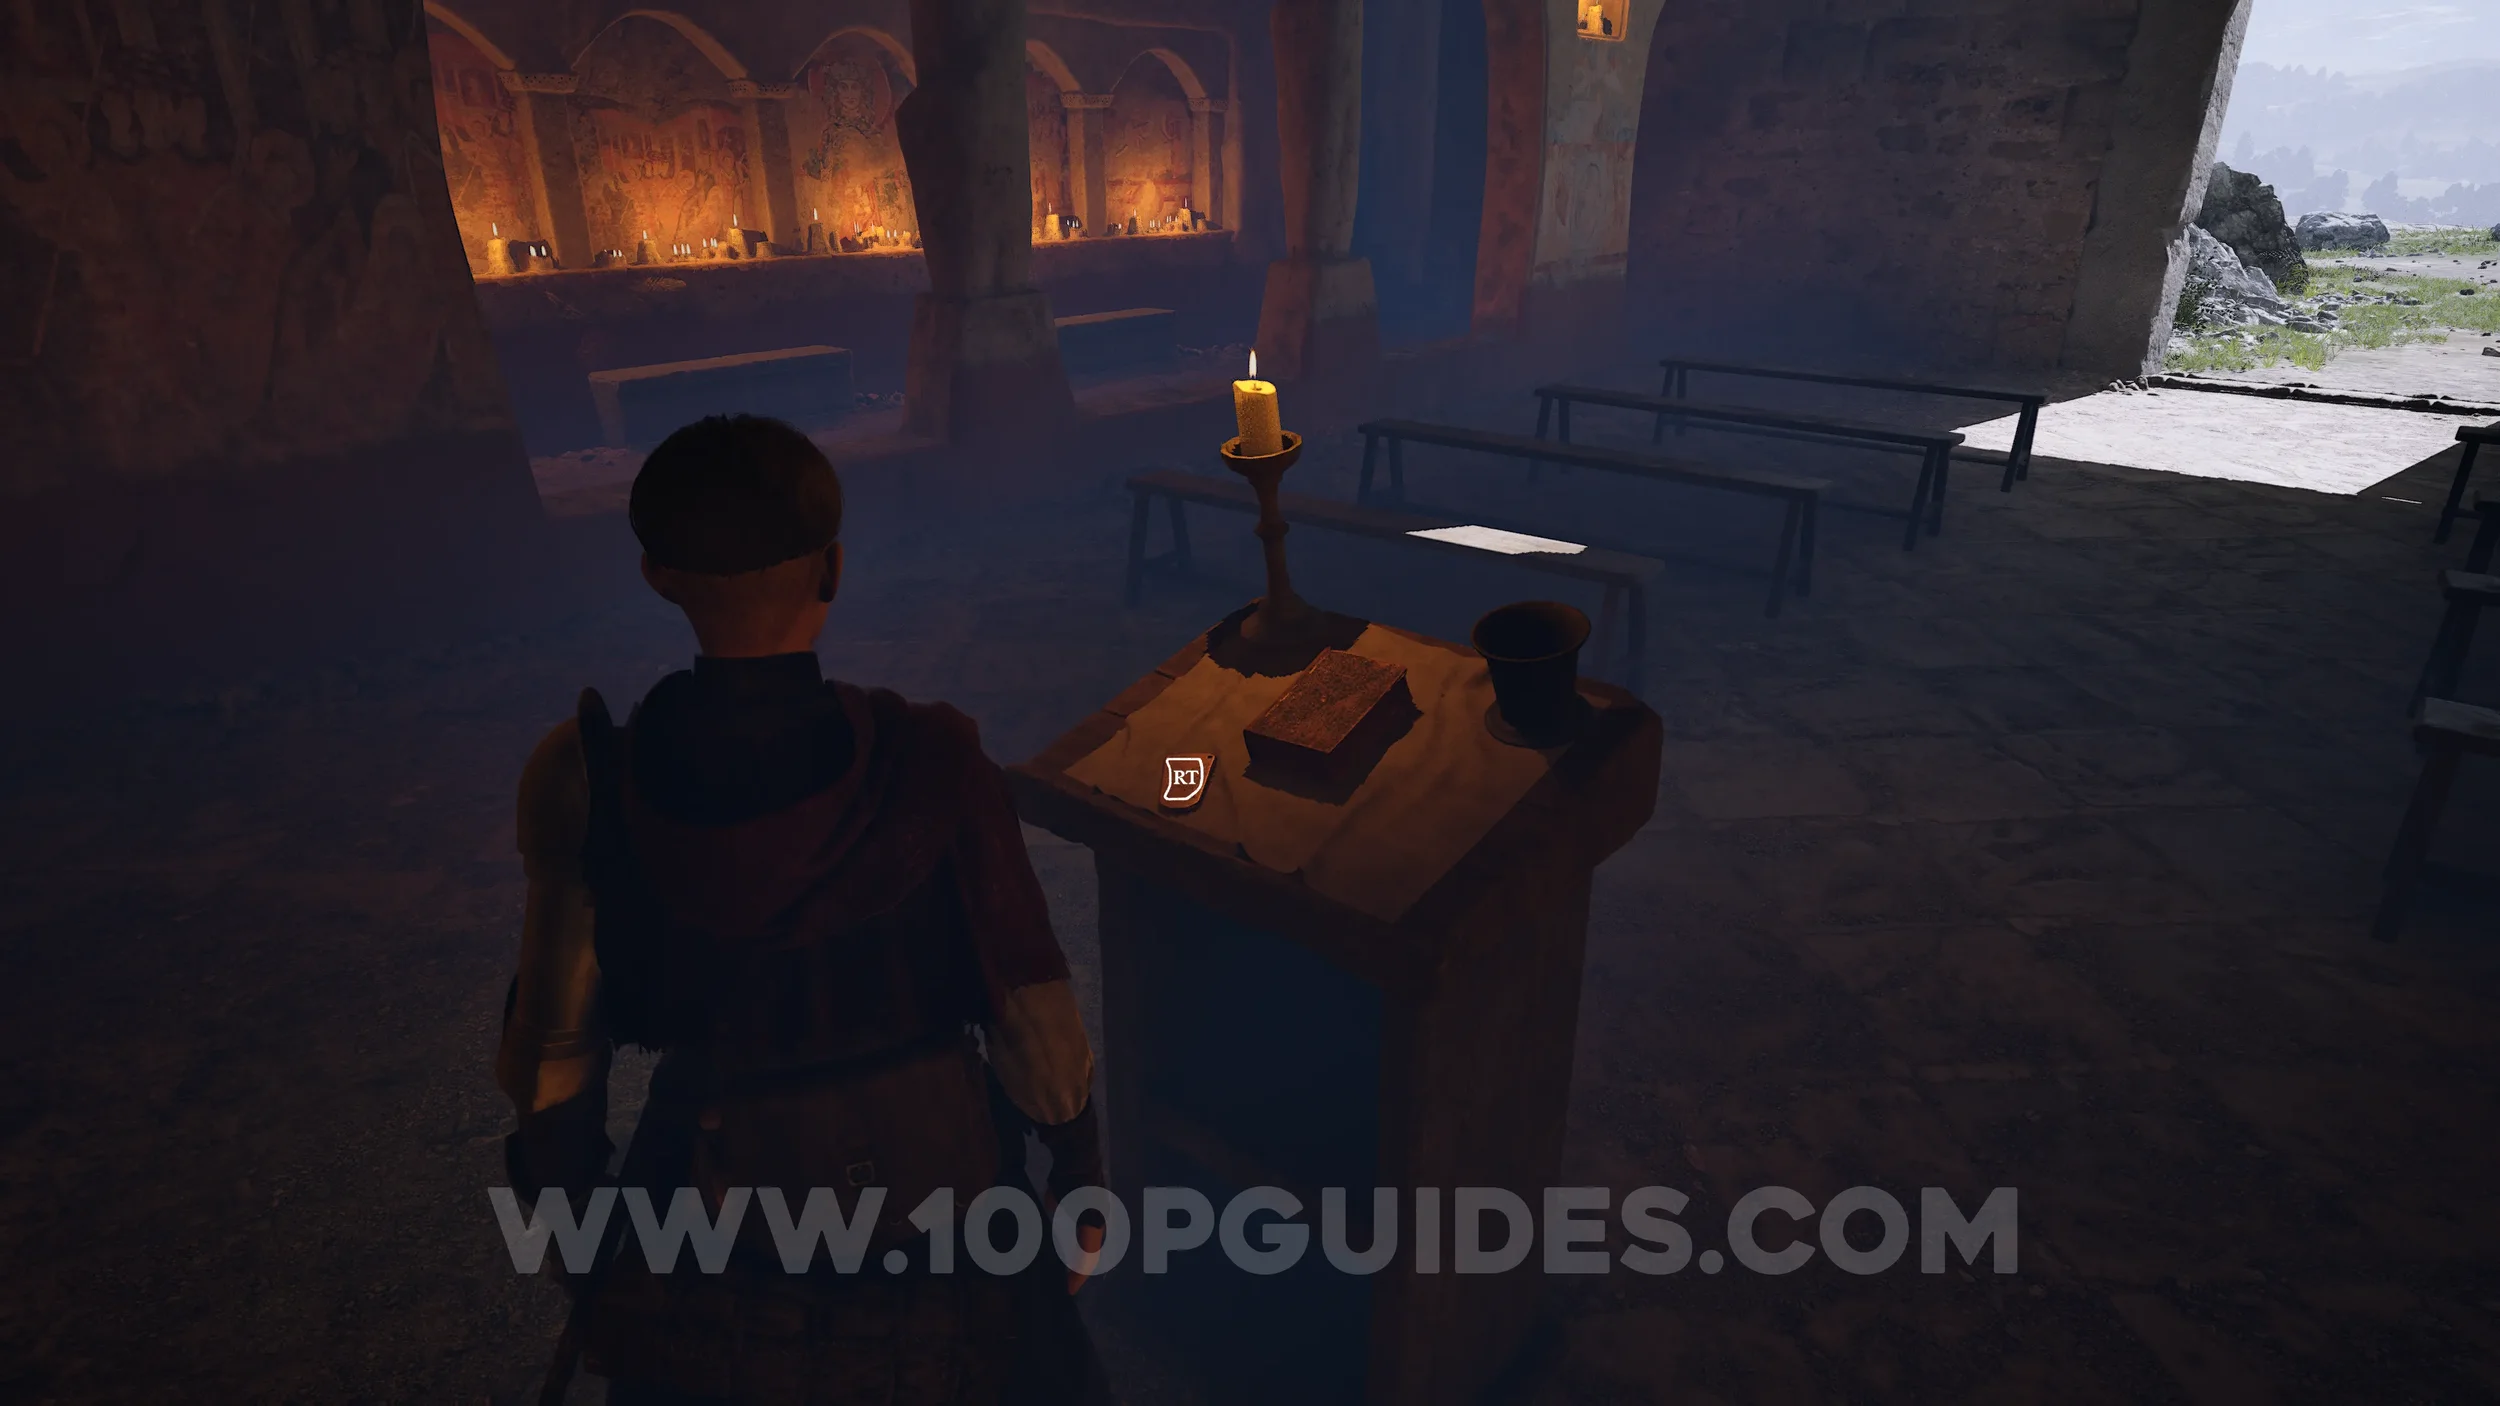
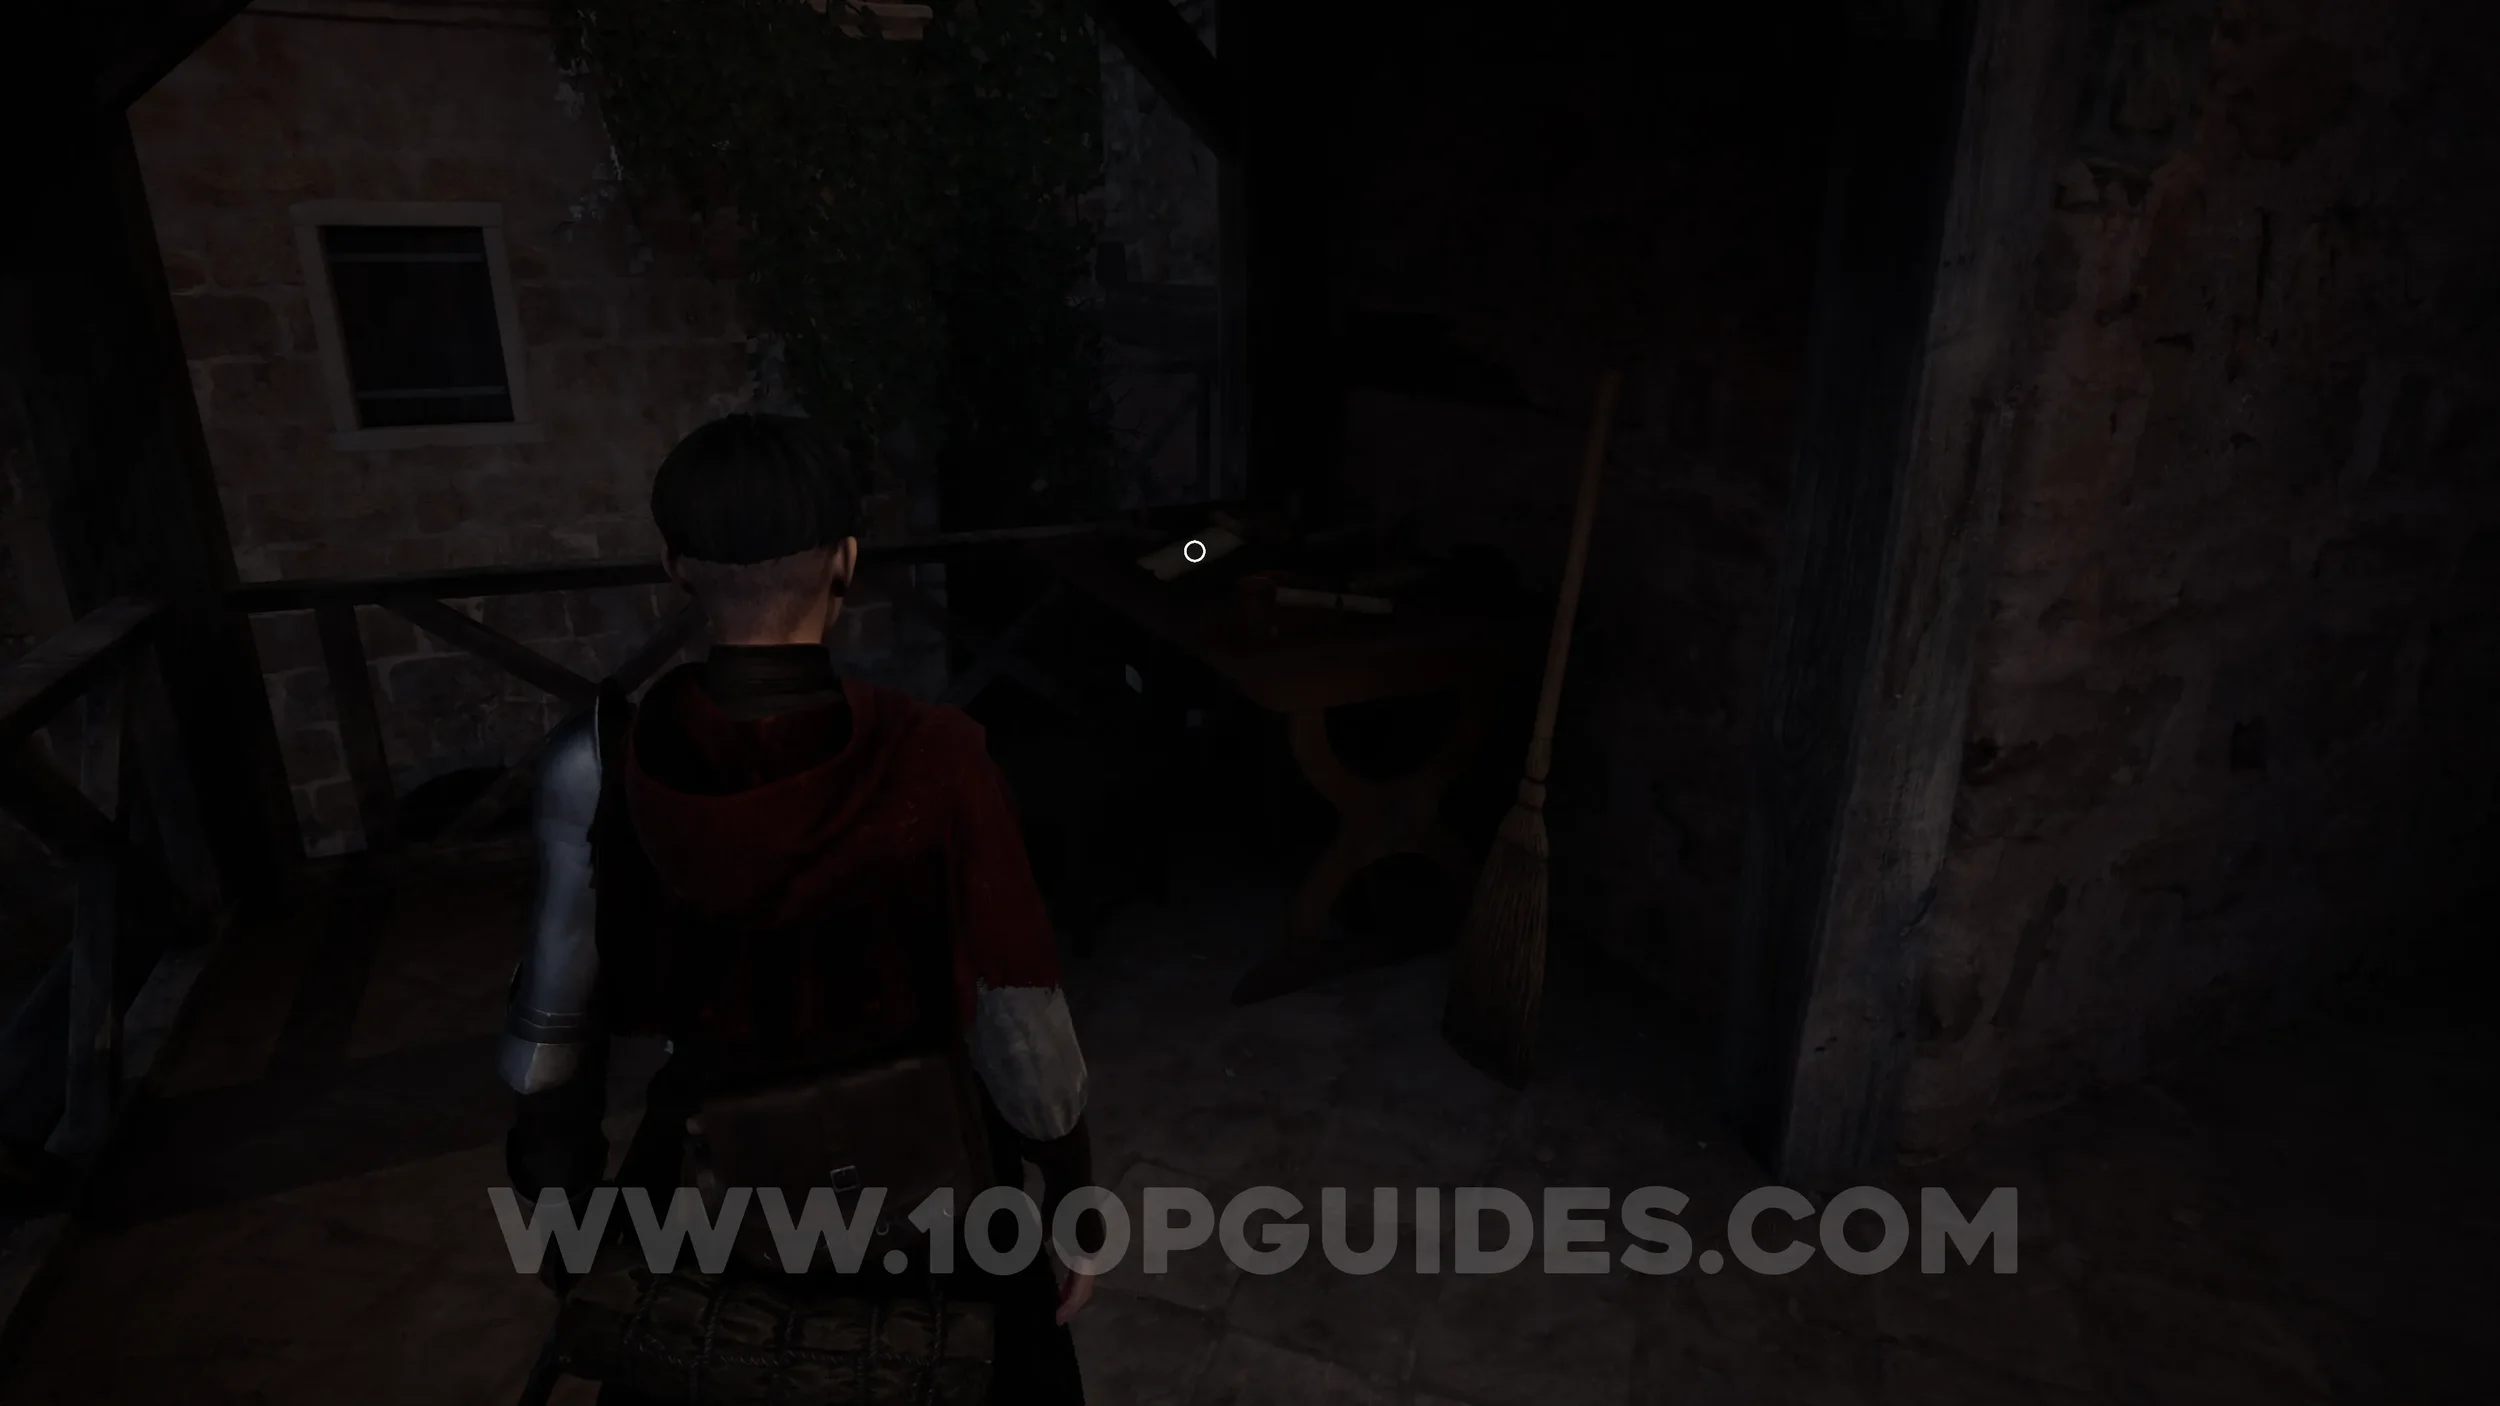
Paper #8 (Large). On a table to the right of the lectern in the church.
Paper #9. Go up the stairs to the top floor of the church, then turn left to find the paper.
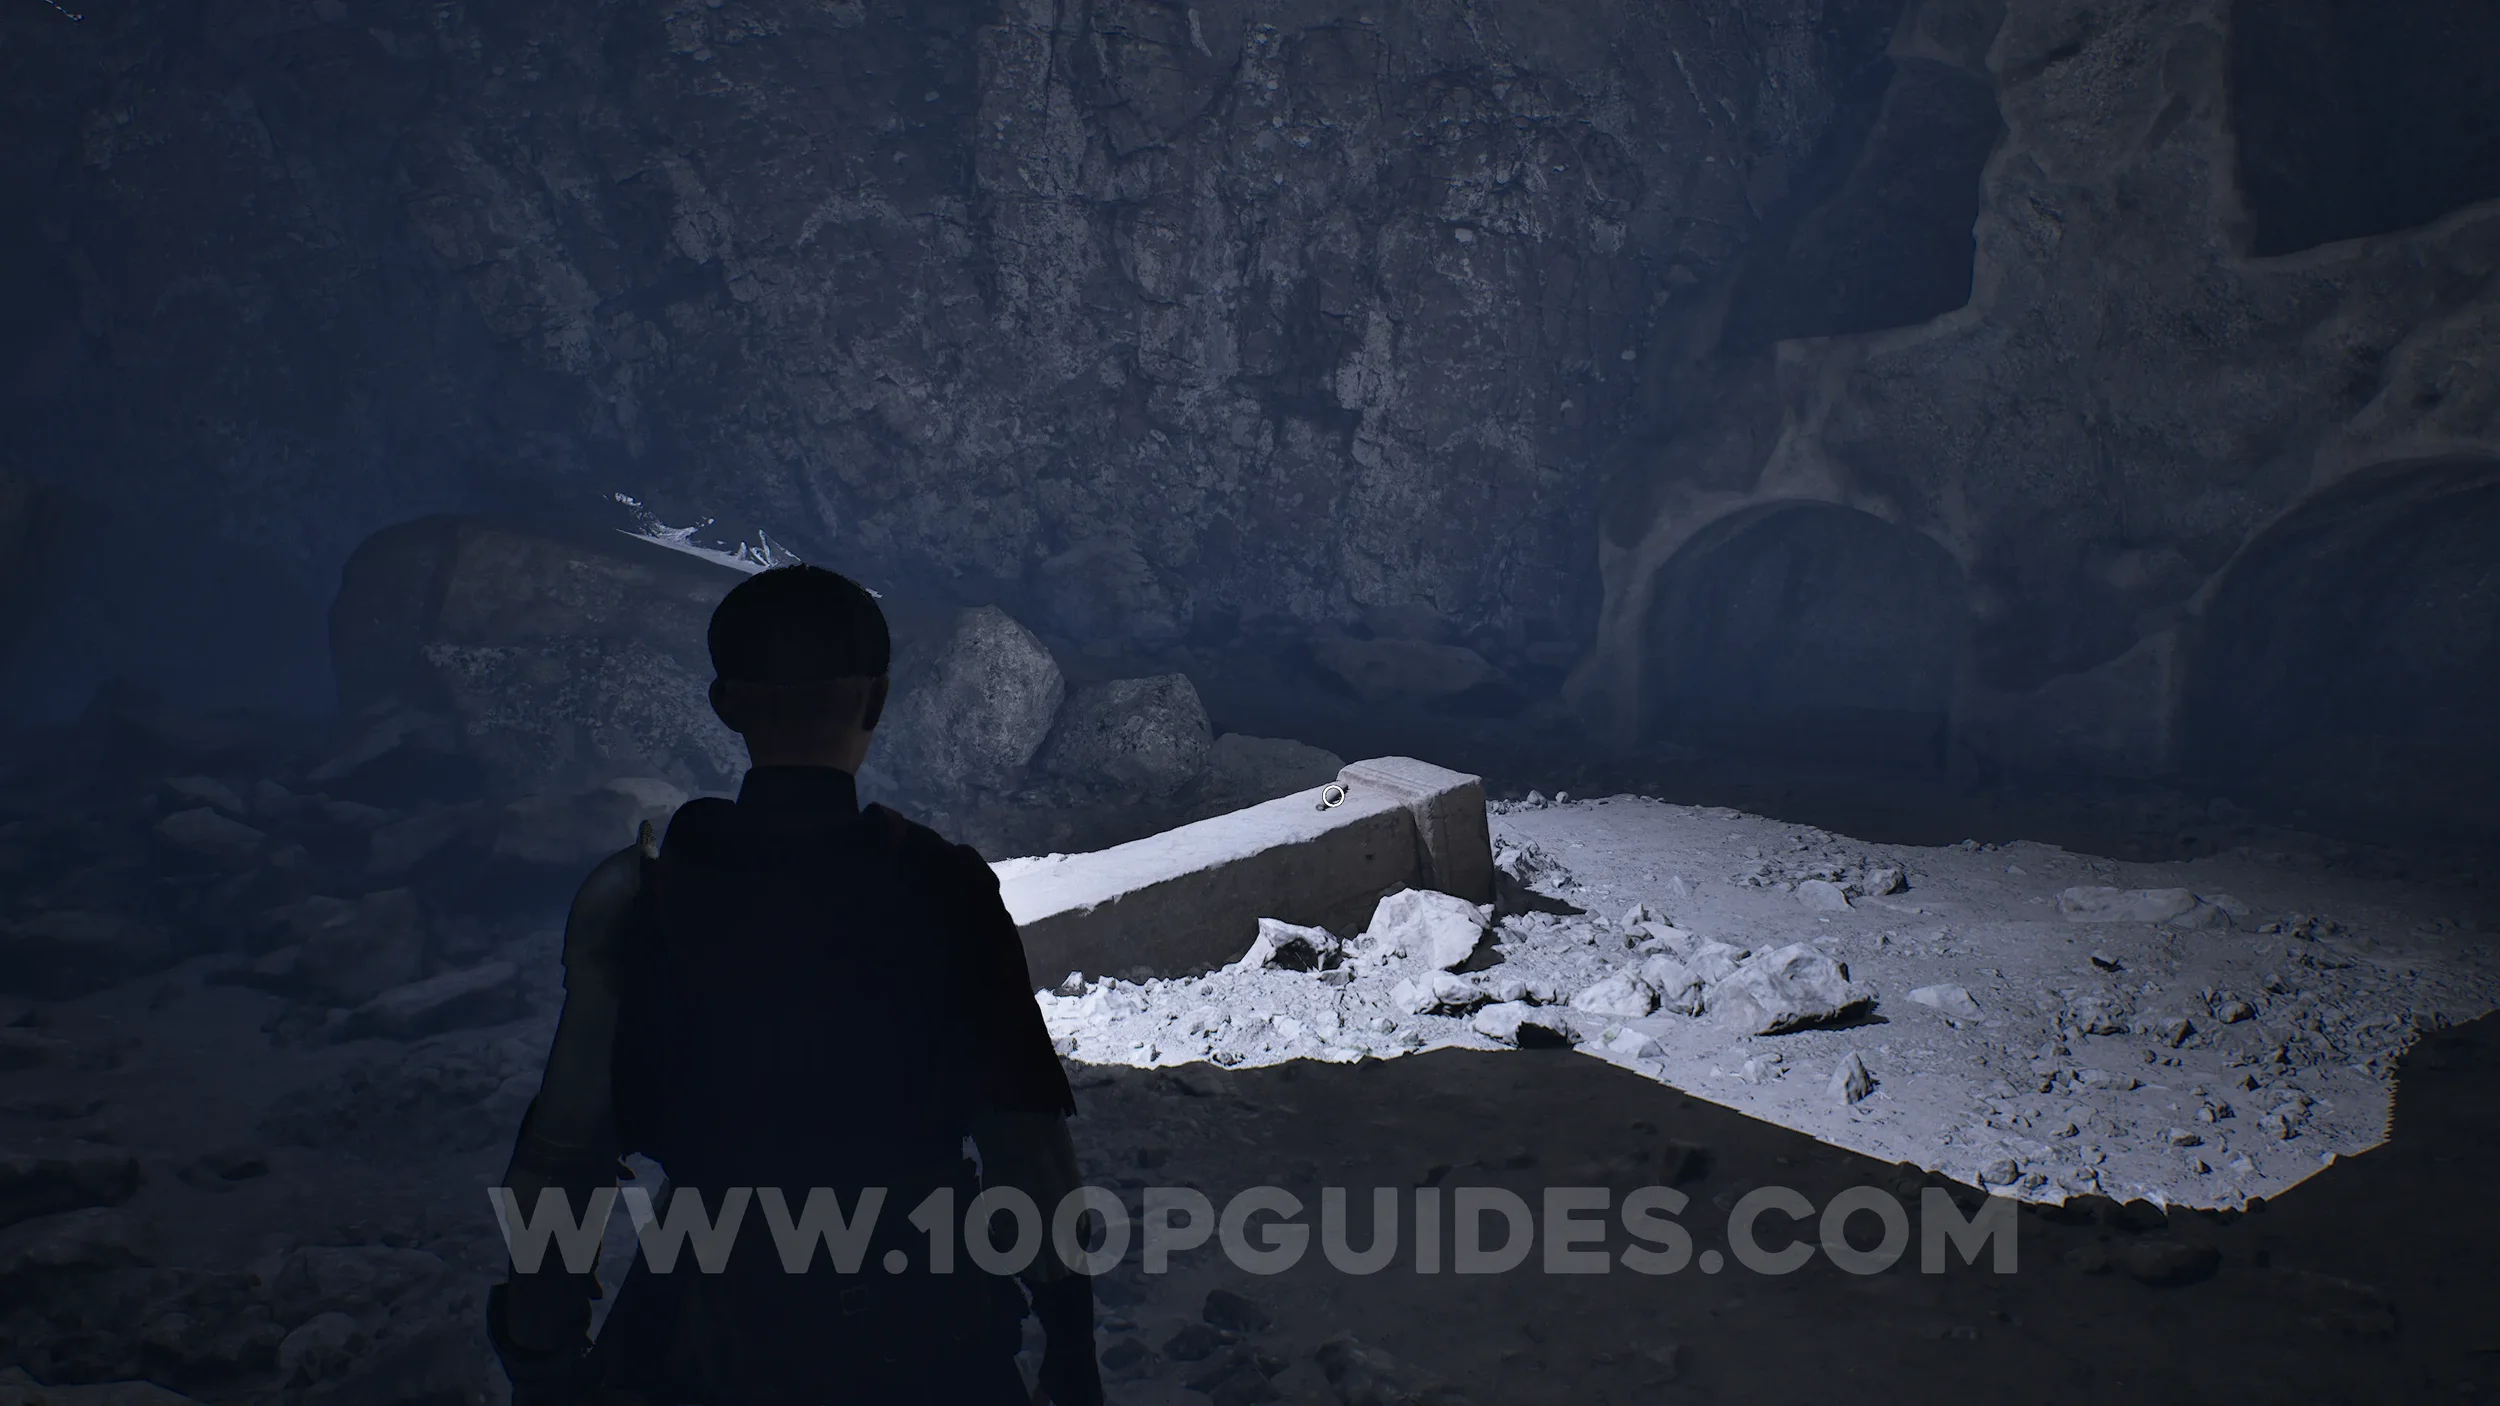
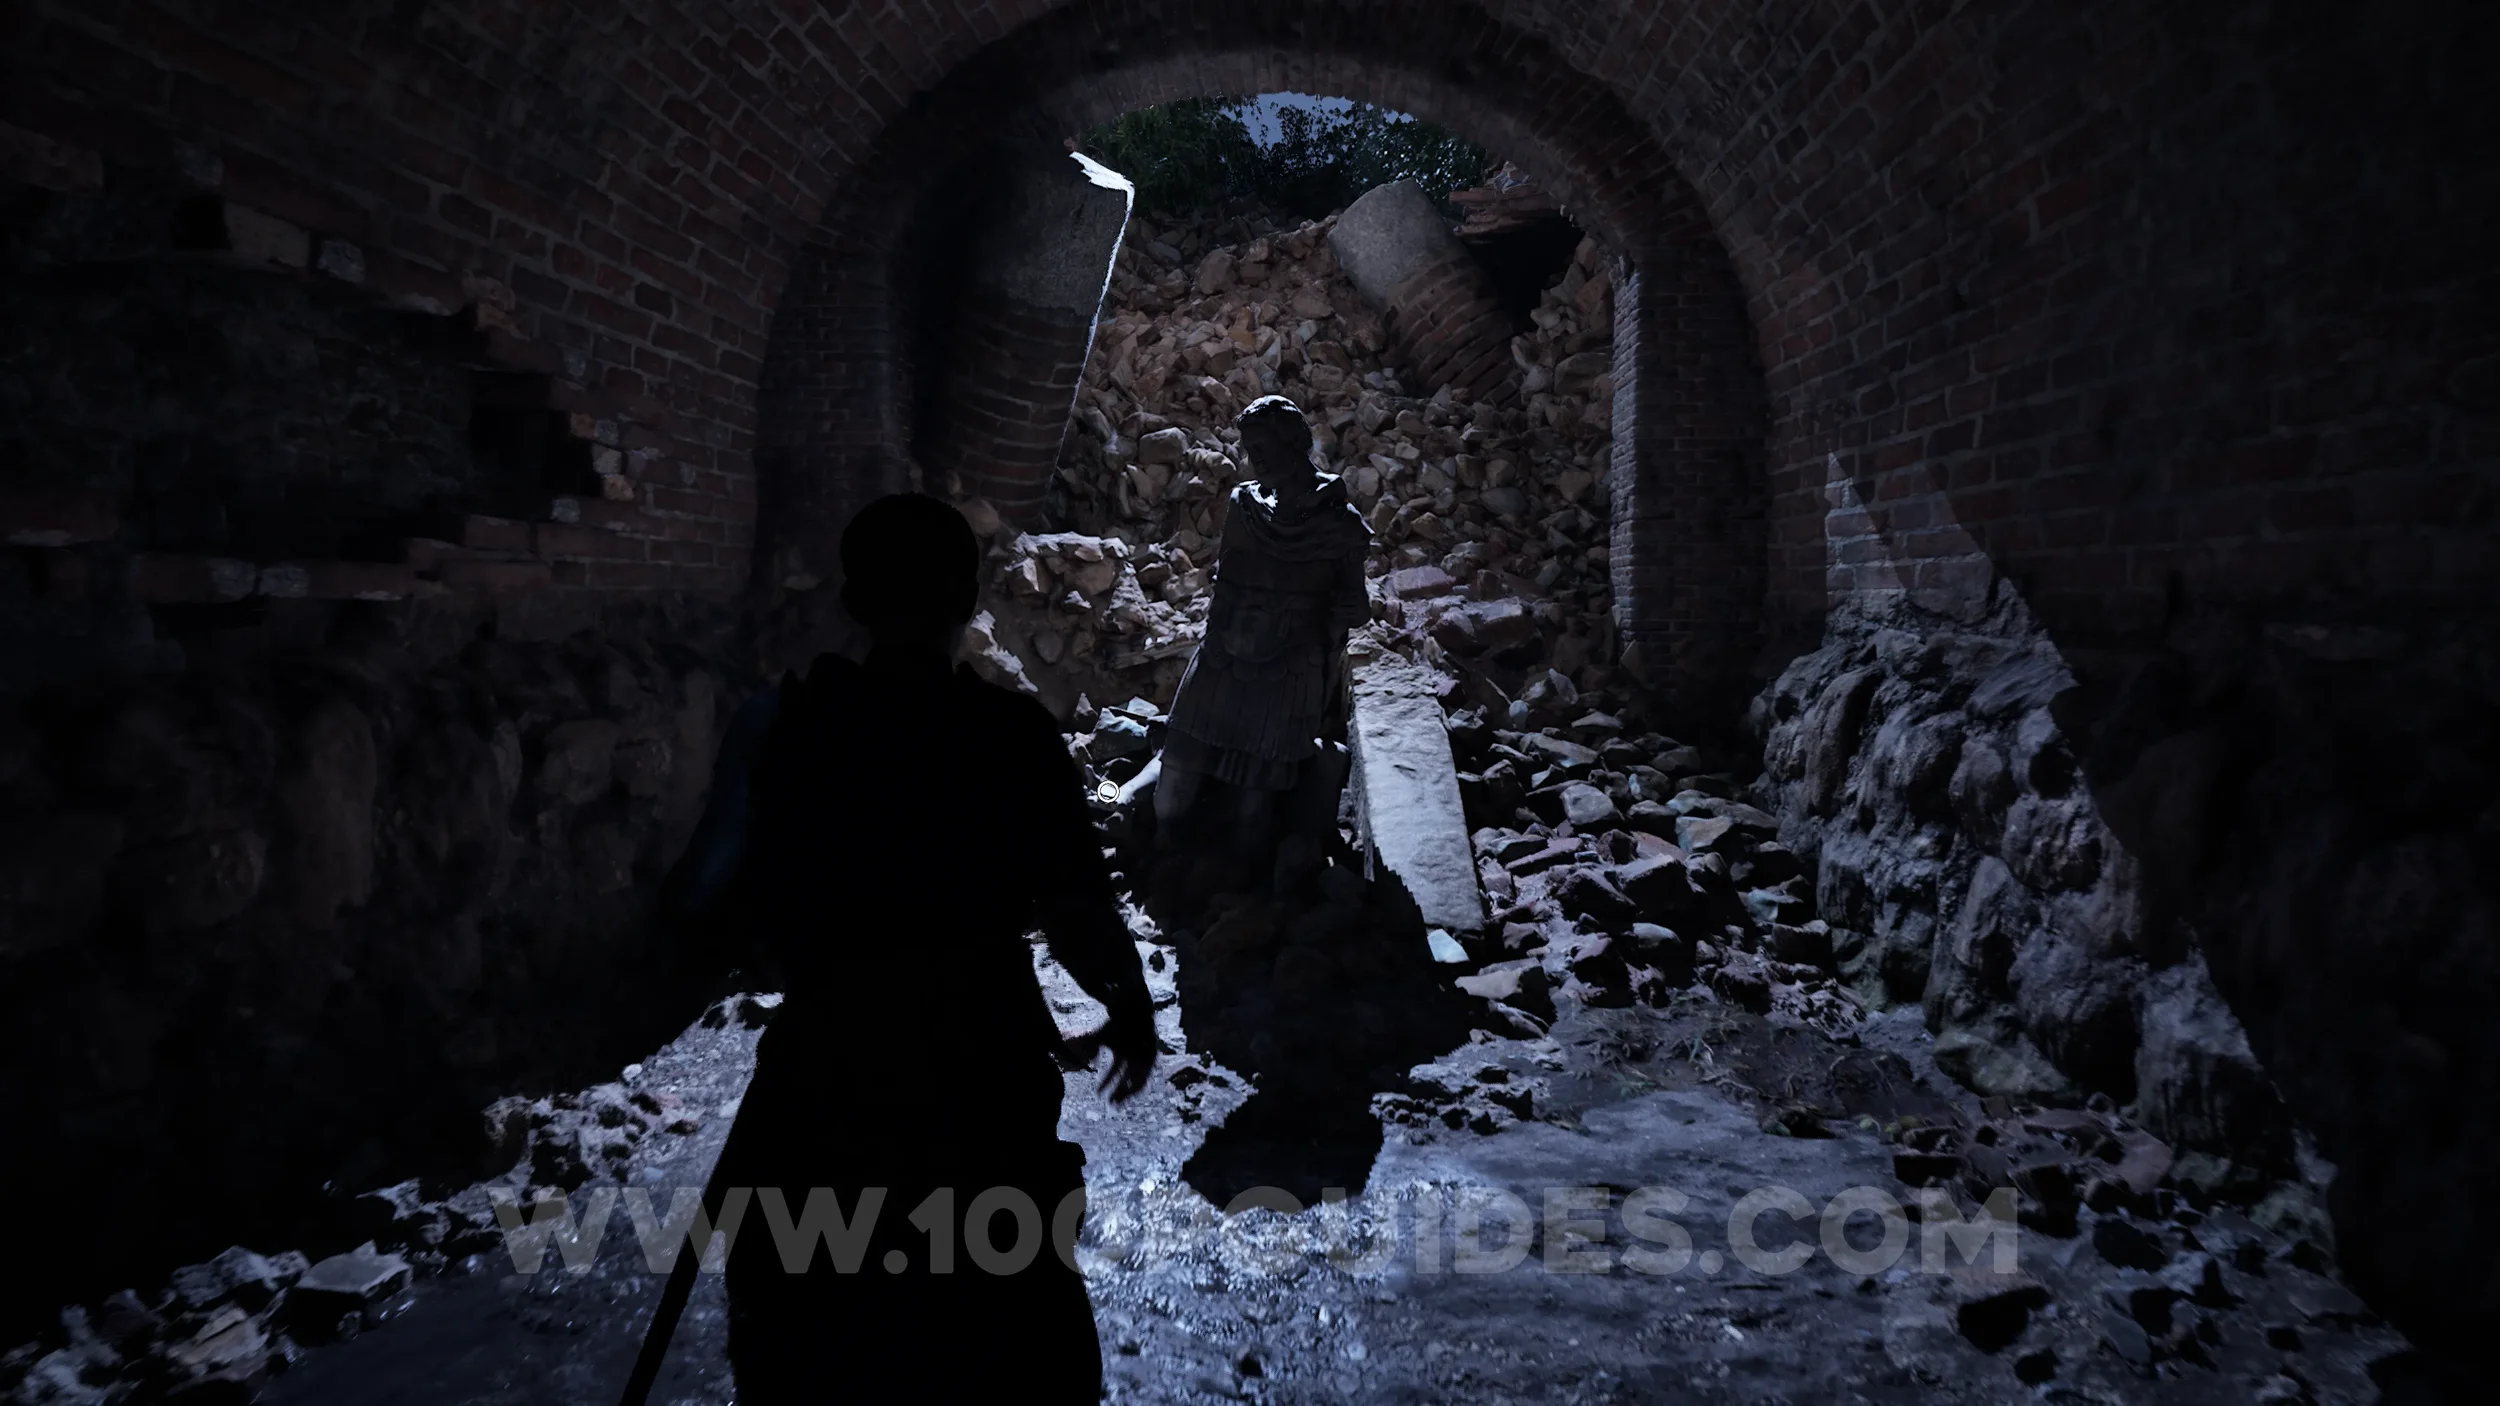
Sword Part #6 - Tusca Grip. From the previous paper, turn around and head to the other end of the upper floor. Push the shelf out of the way and follow the path behind it to reach a cave. The grip will be on the destroyed pillar.
Paper #10 (Large). From the previous collectible, continue forward to reach the upper level on the other side of the church. Go through the door on the right, then turn right again to find the paper in front of you.
Paper #11-13. All found in the same room as the previous paper.
Chapter 3
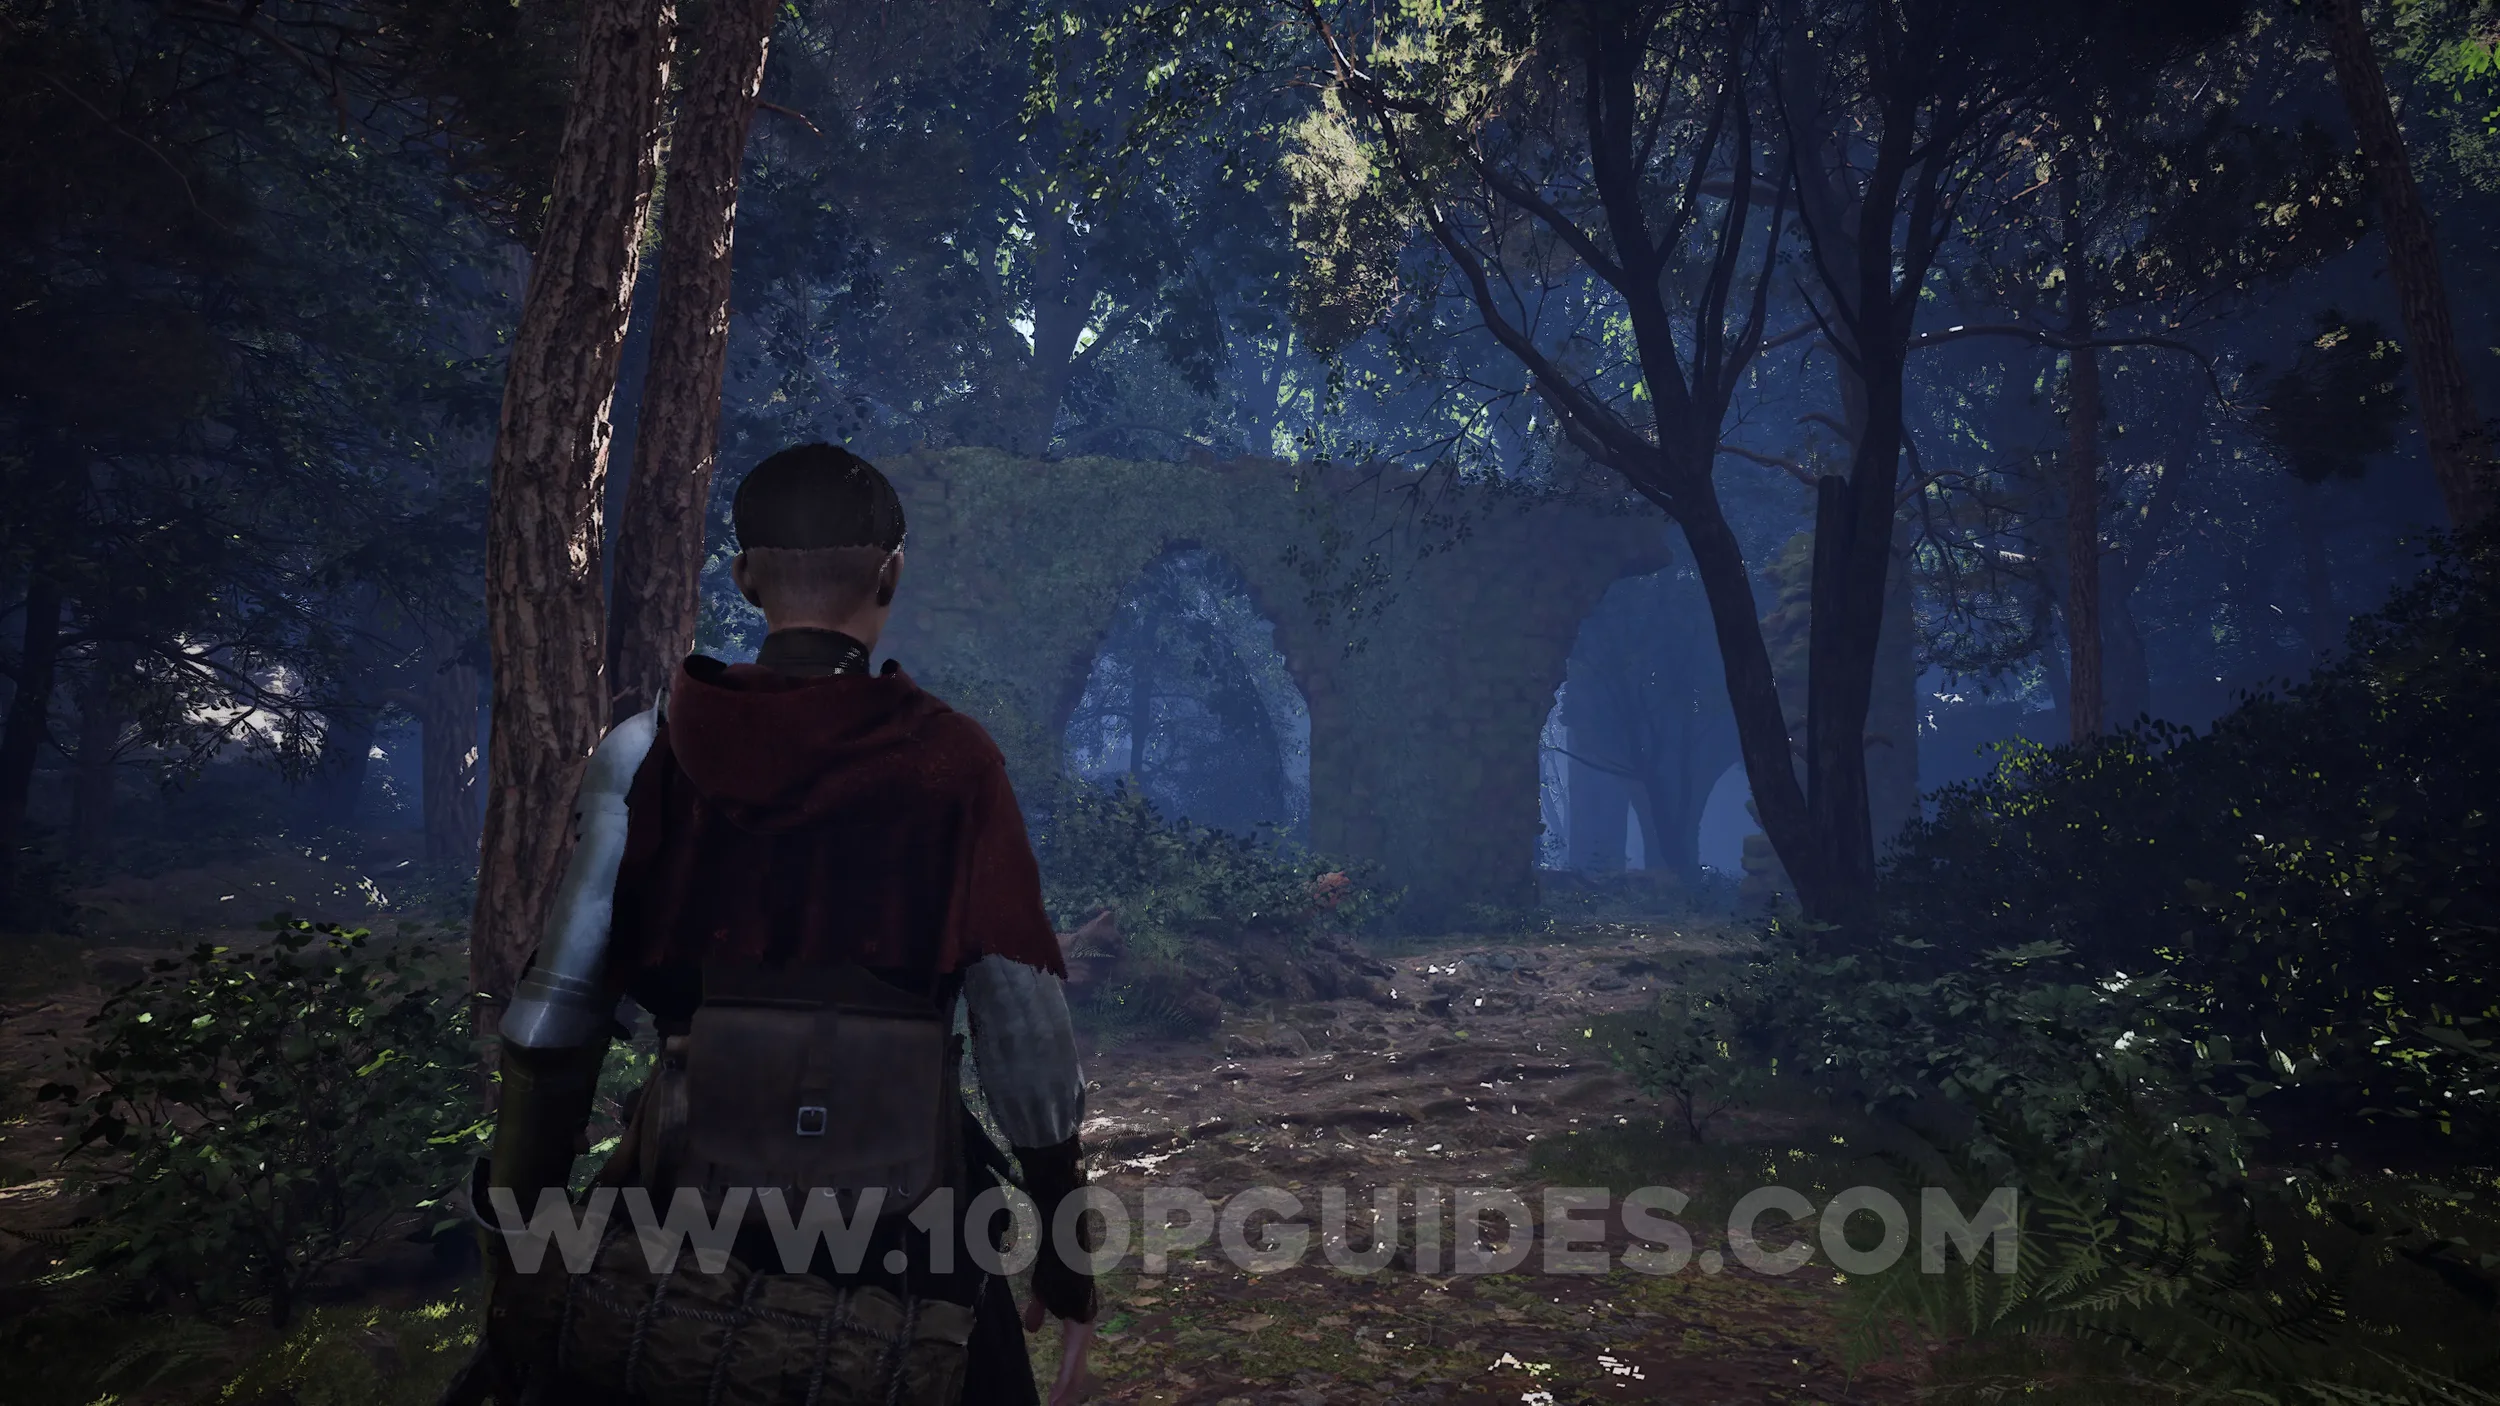
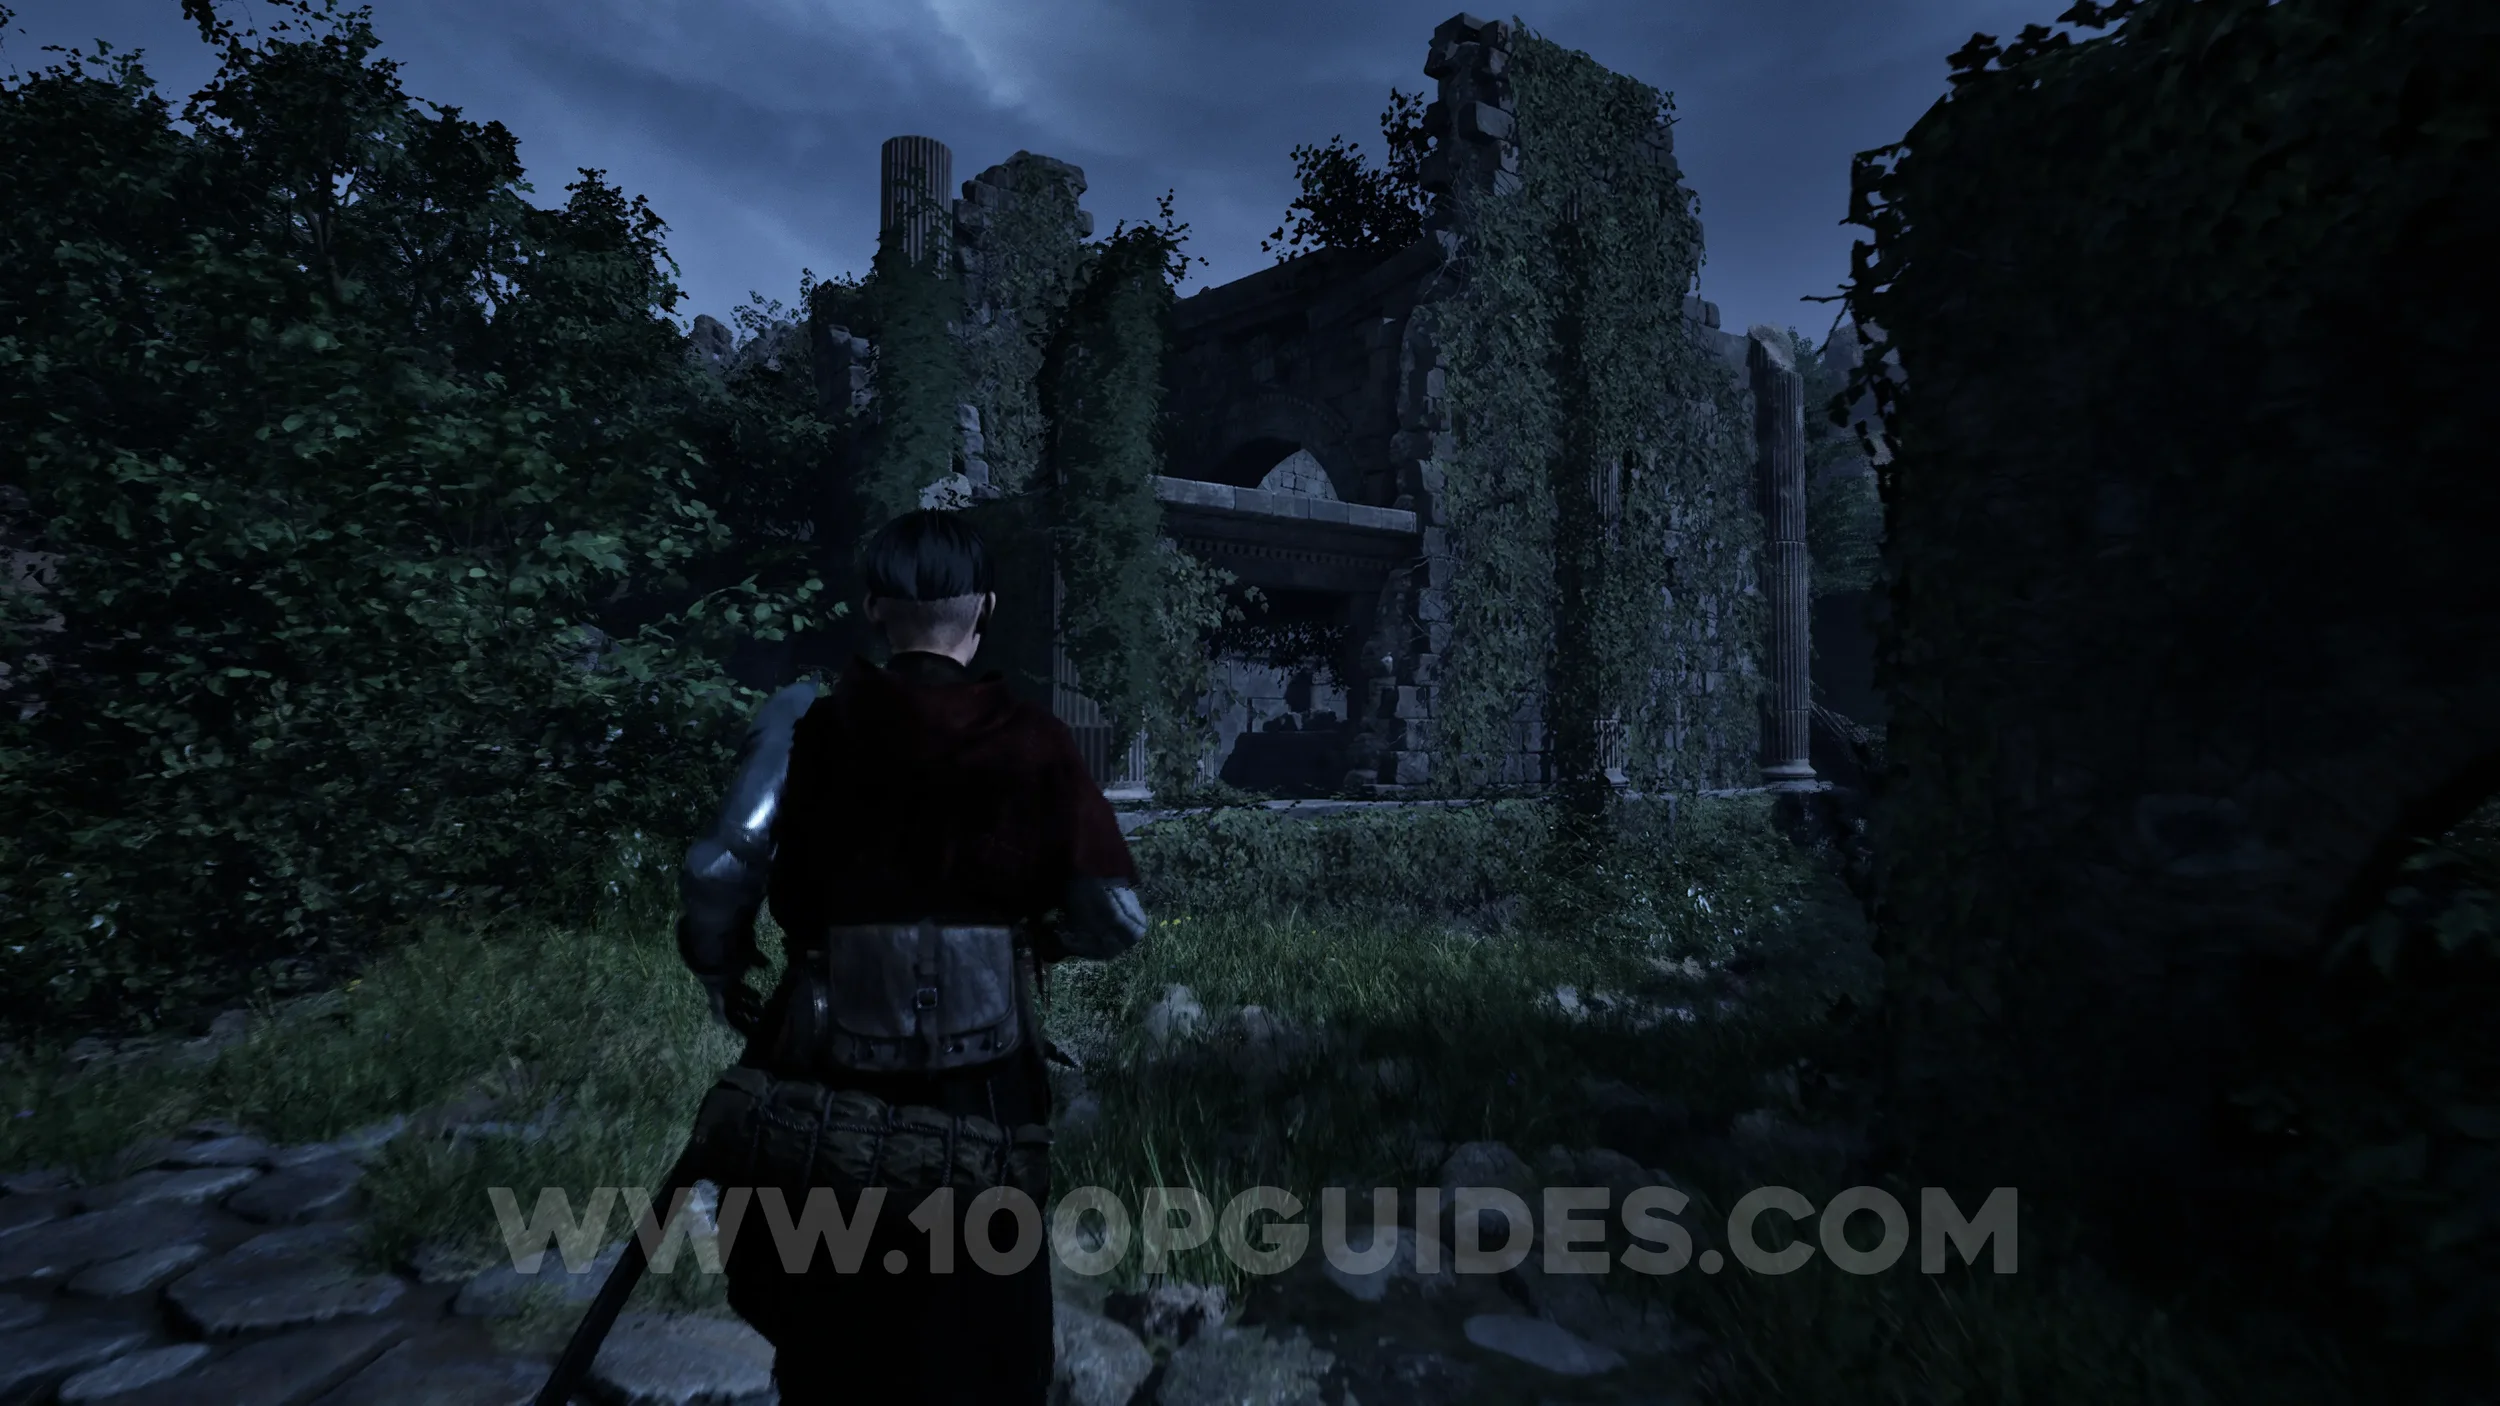
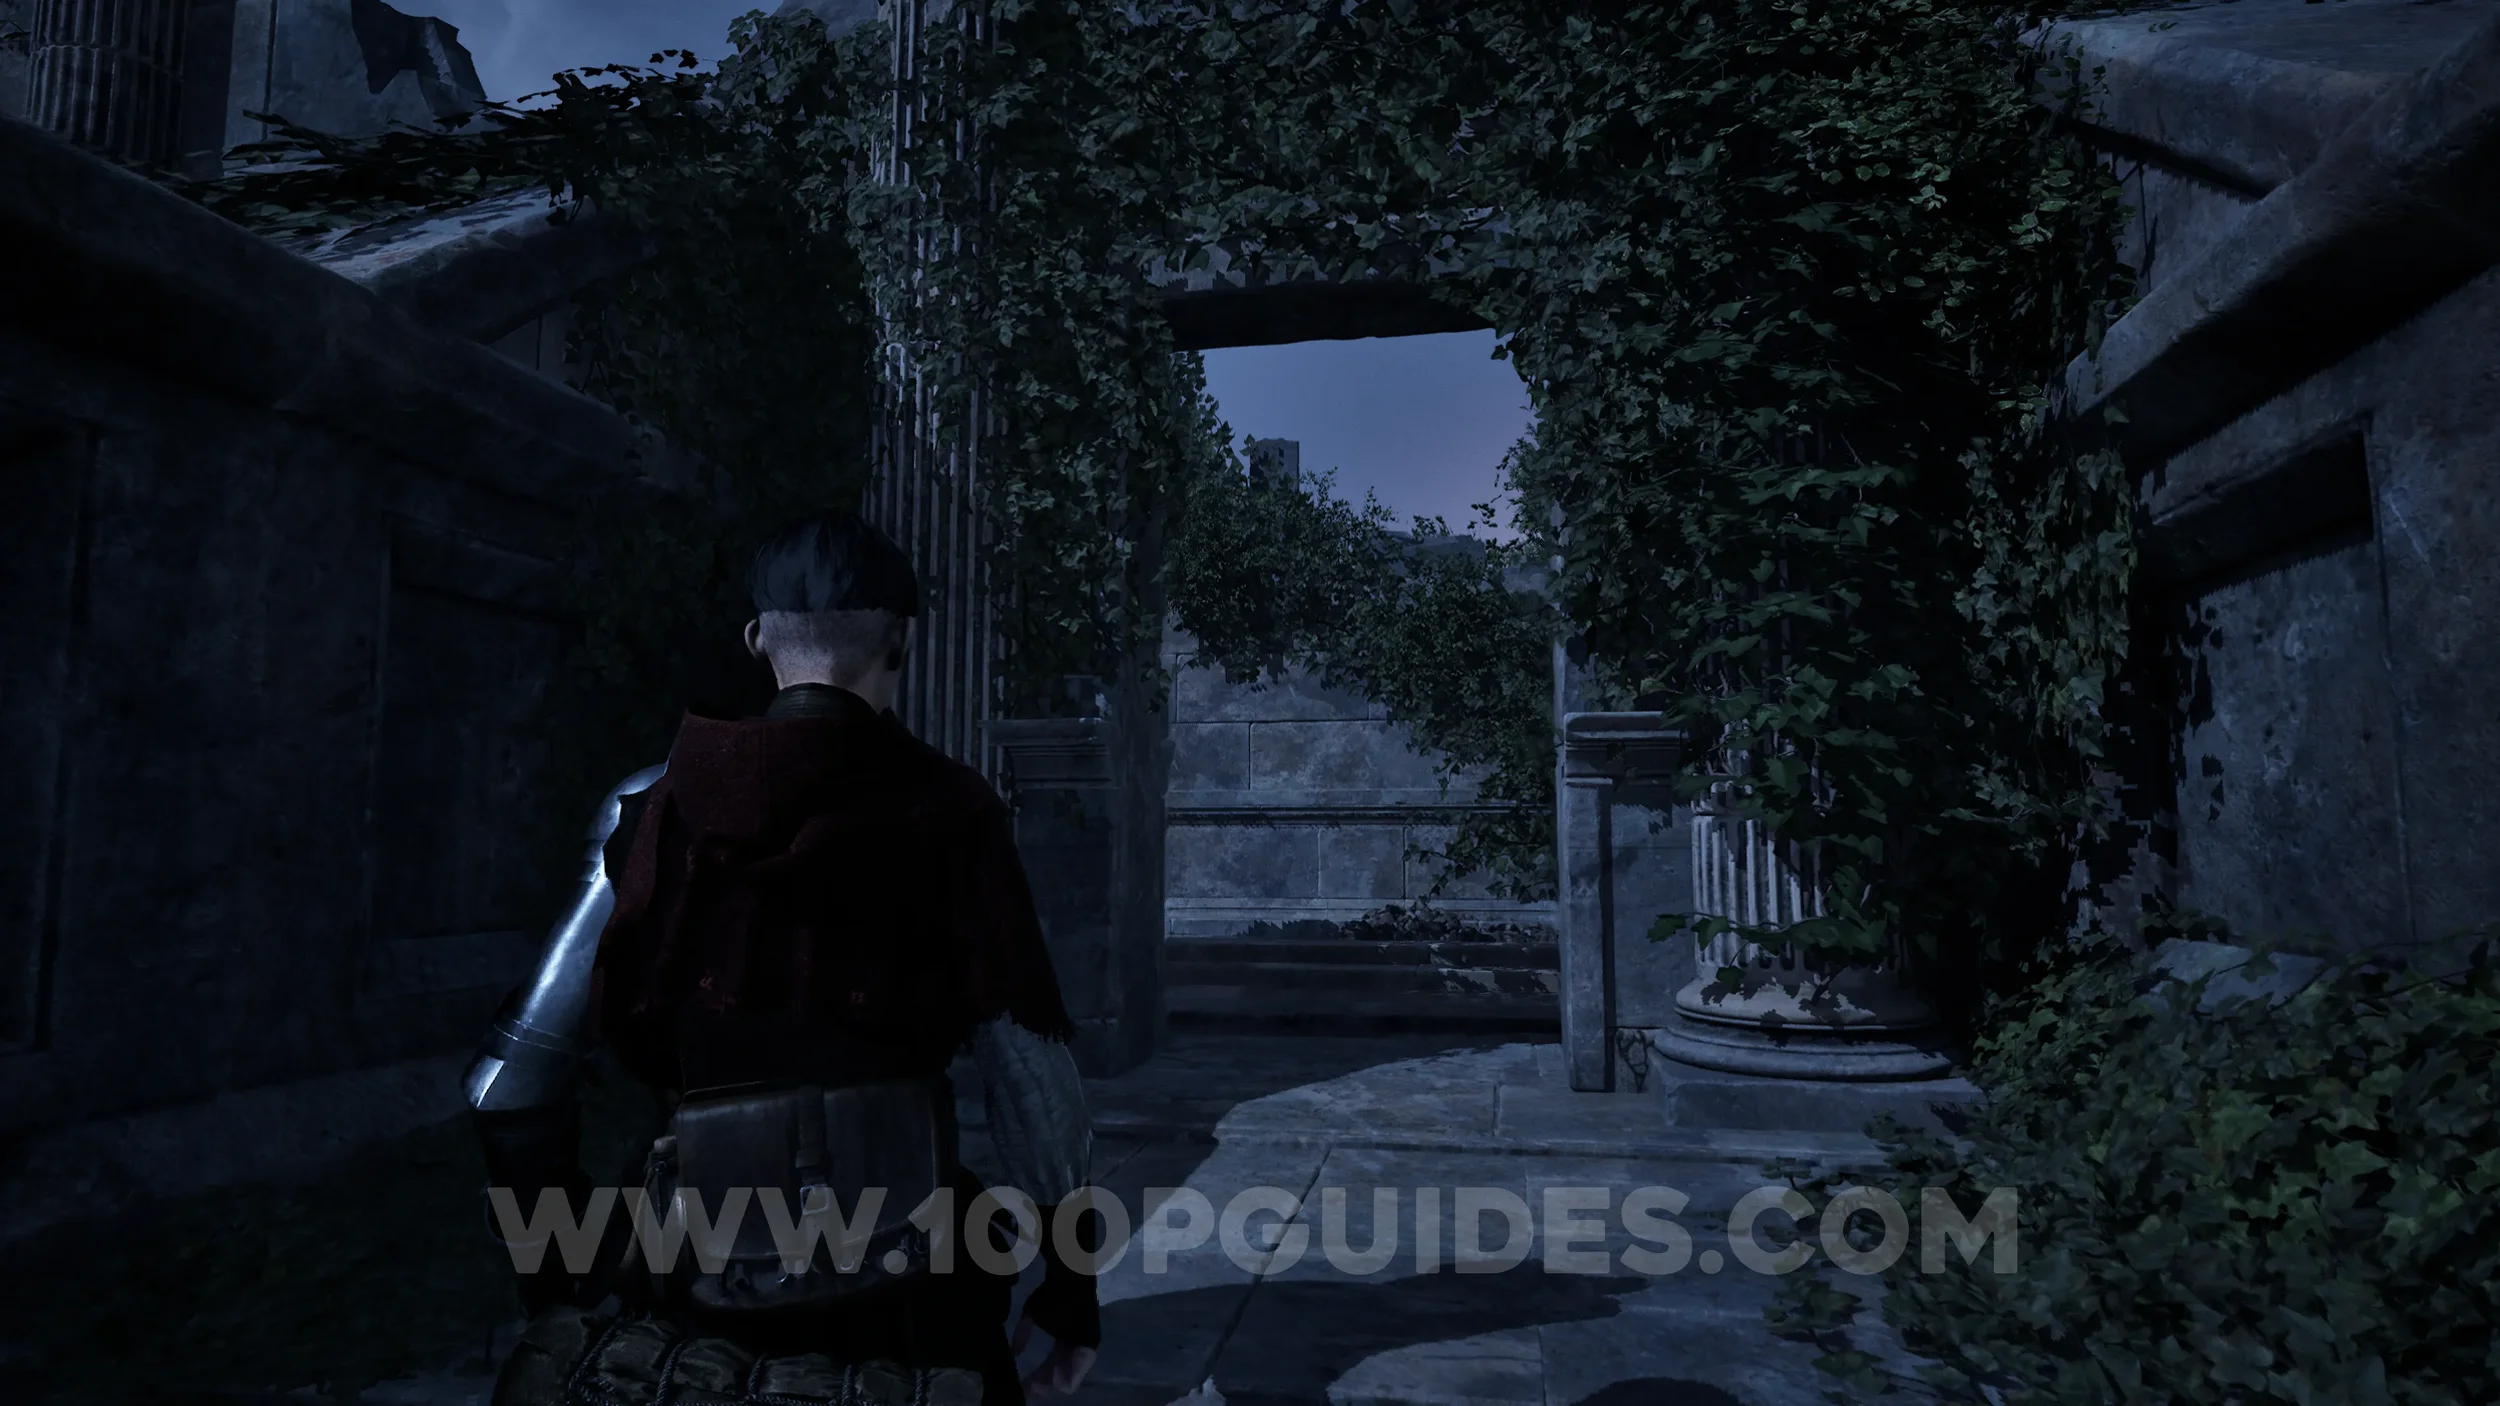
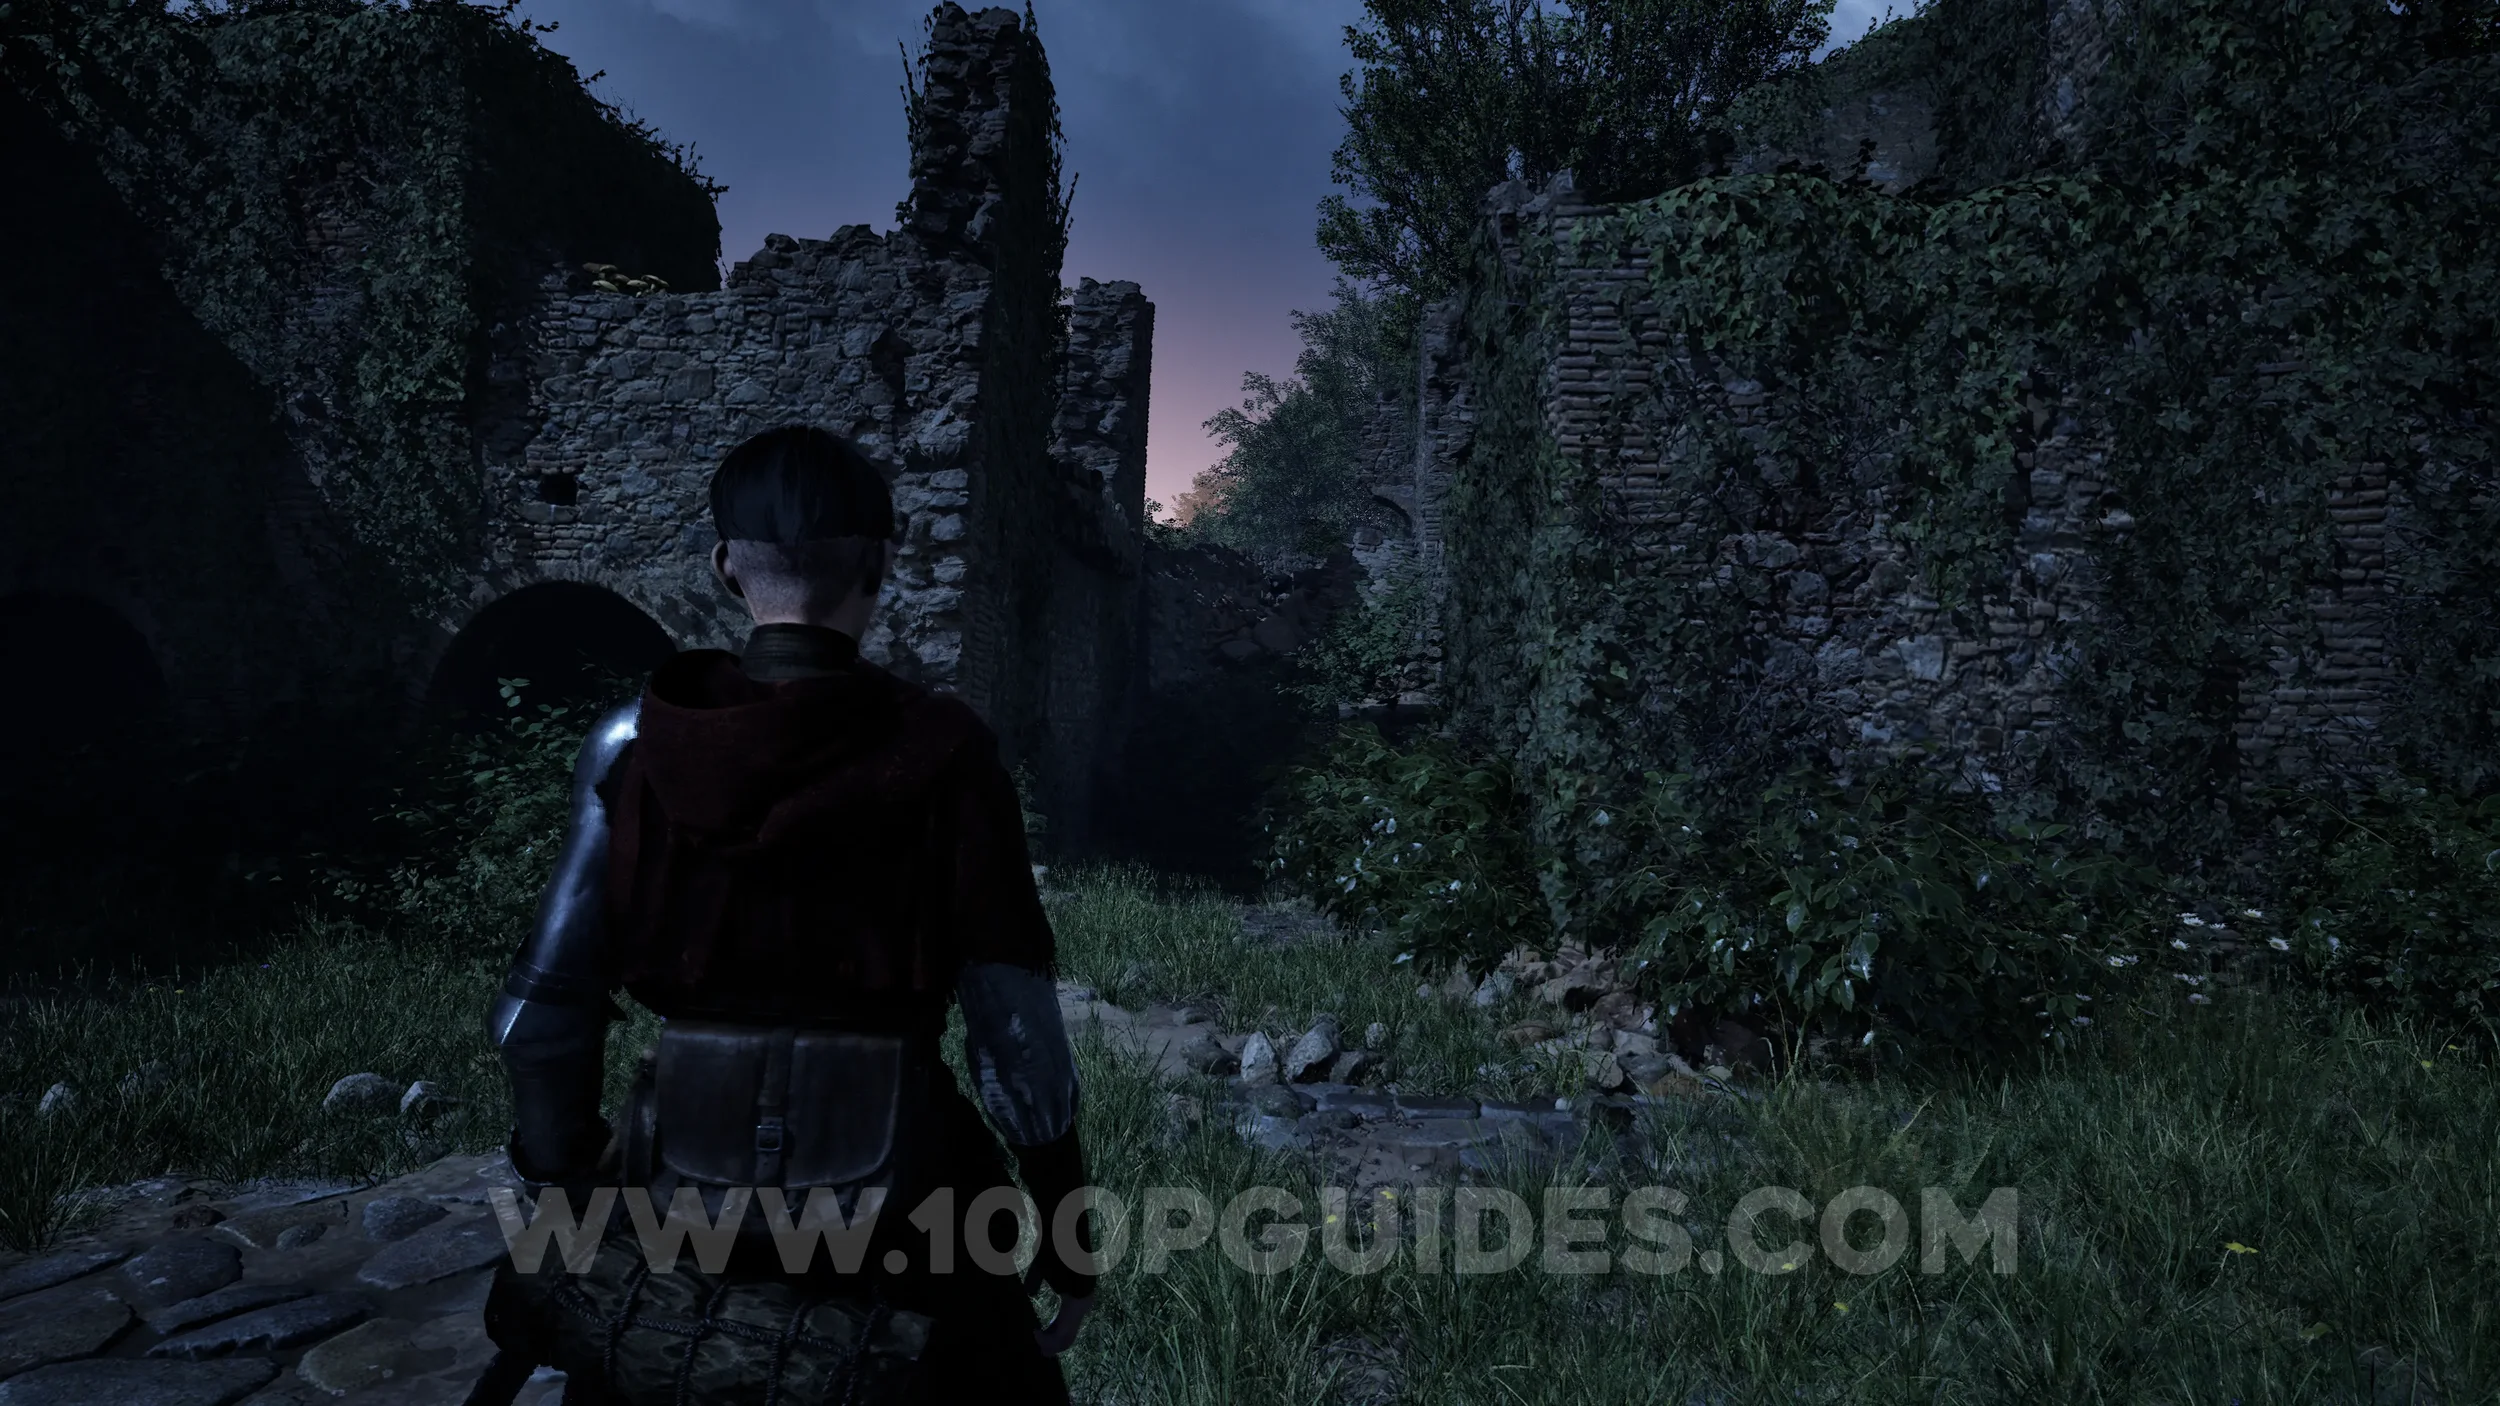
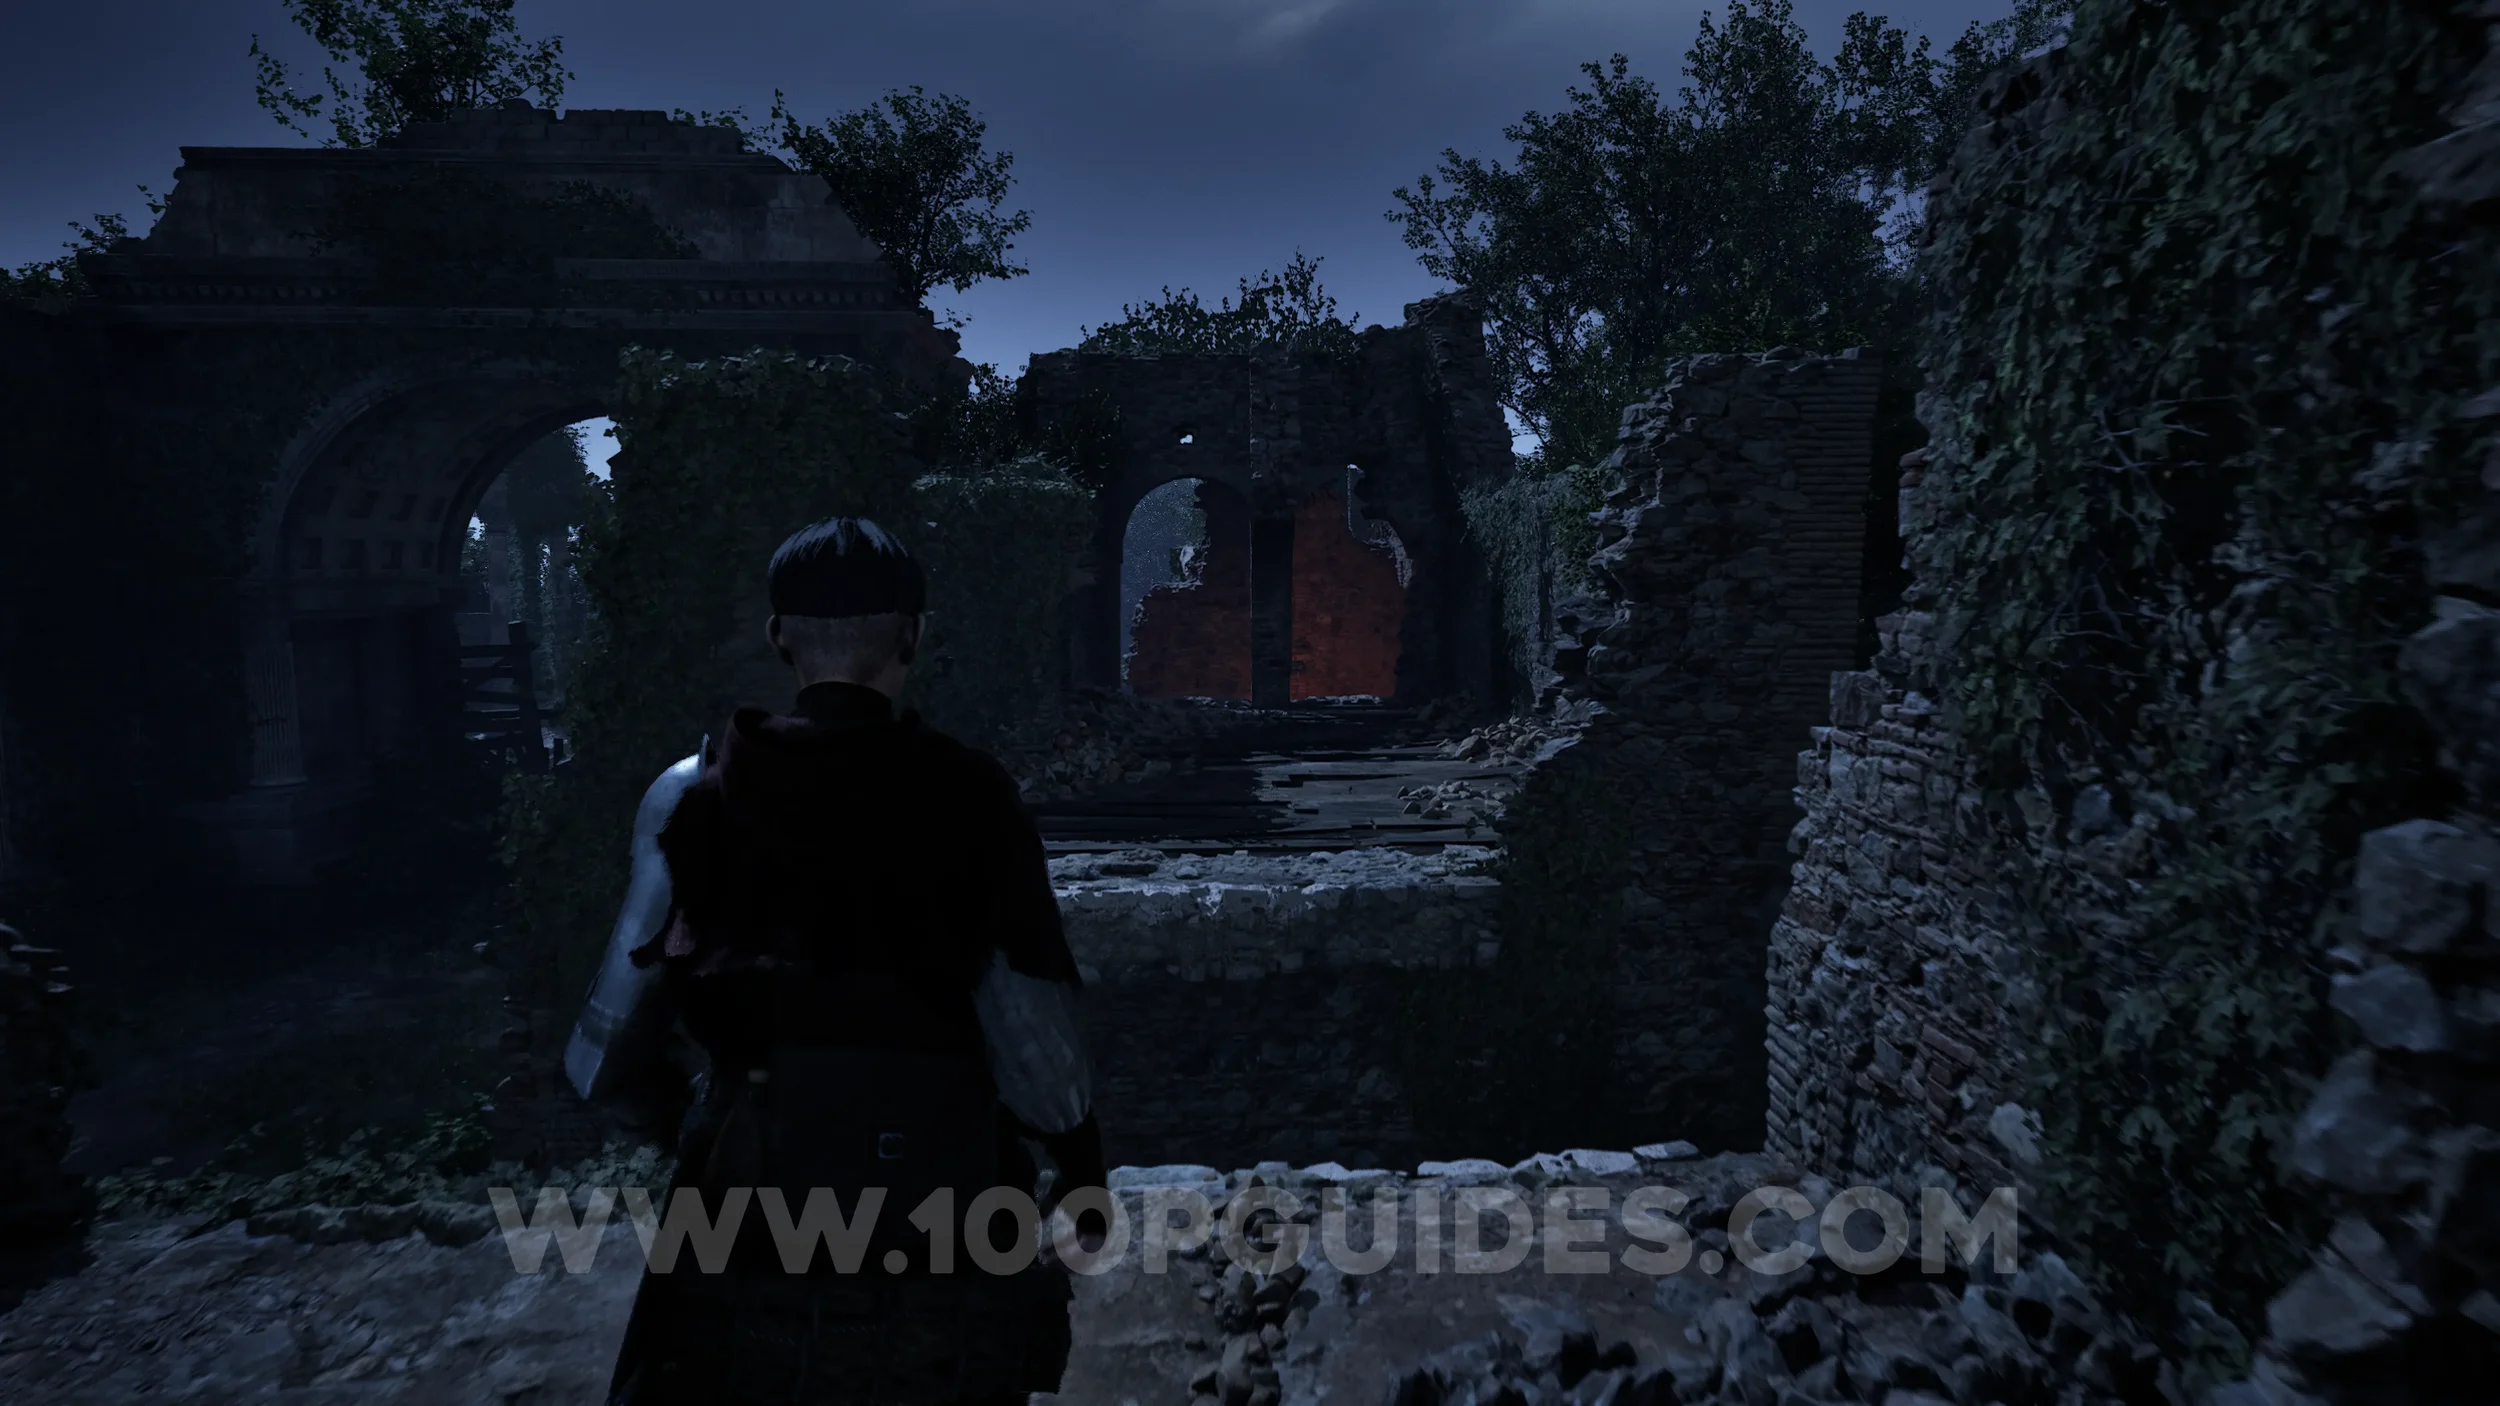
Paper #14-15. Near the start of the chapter, you’ll reach an open area with some ruins. Stick to the left to find a hole in one of the walls you can crawl through. On the other side, climb the platforms to reach the upper part of the ruins. The paper can be found on the platform at the end.


Paper #16 (Large). On the same platform as the previous paper.
Treasure #3 - San Francesco. On the same platform as the previous collectibles.
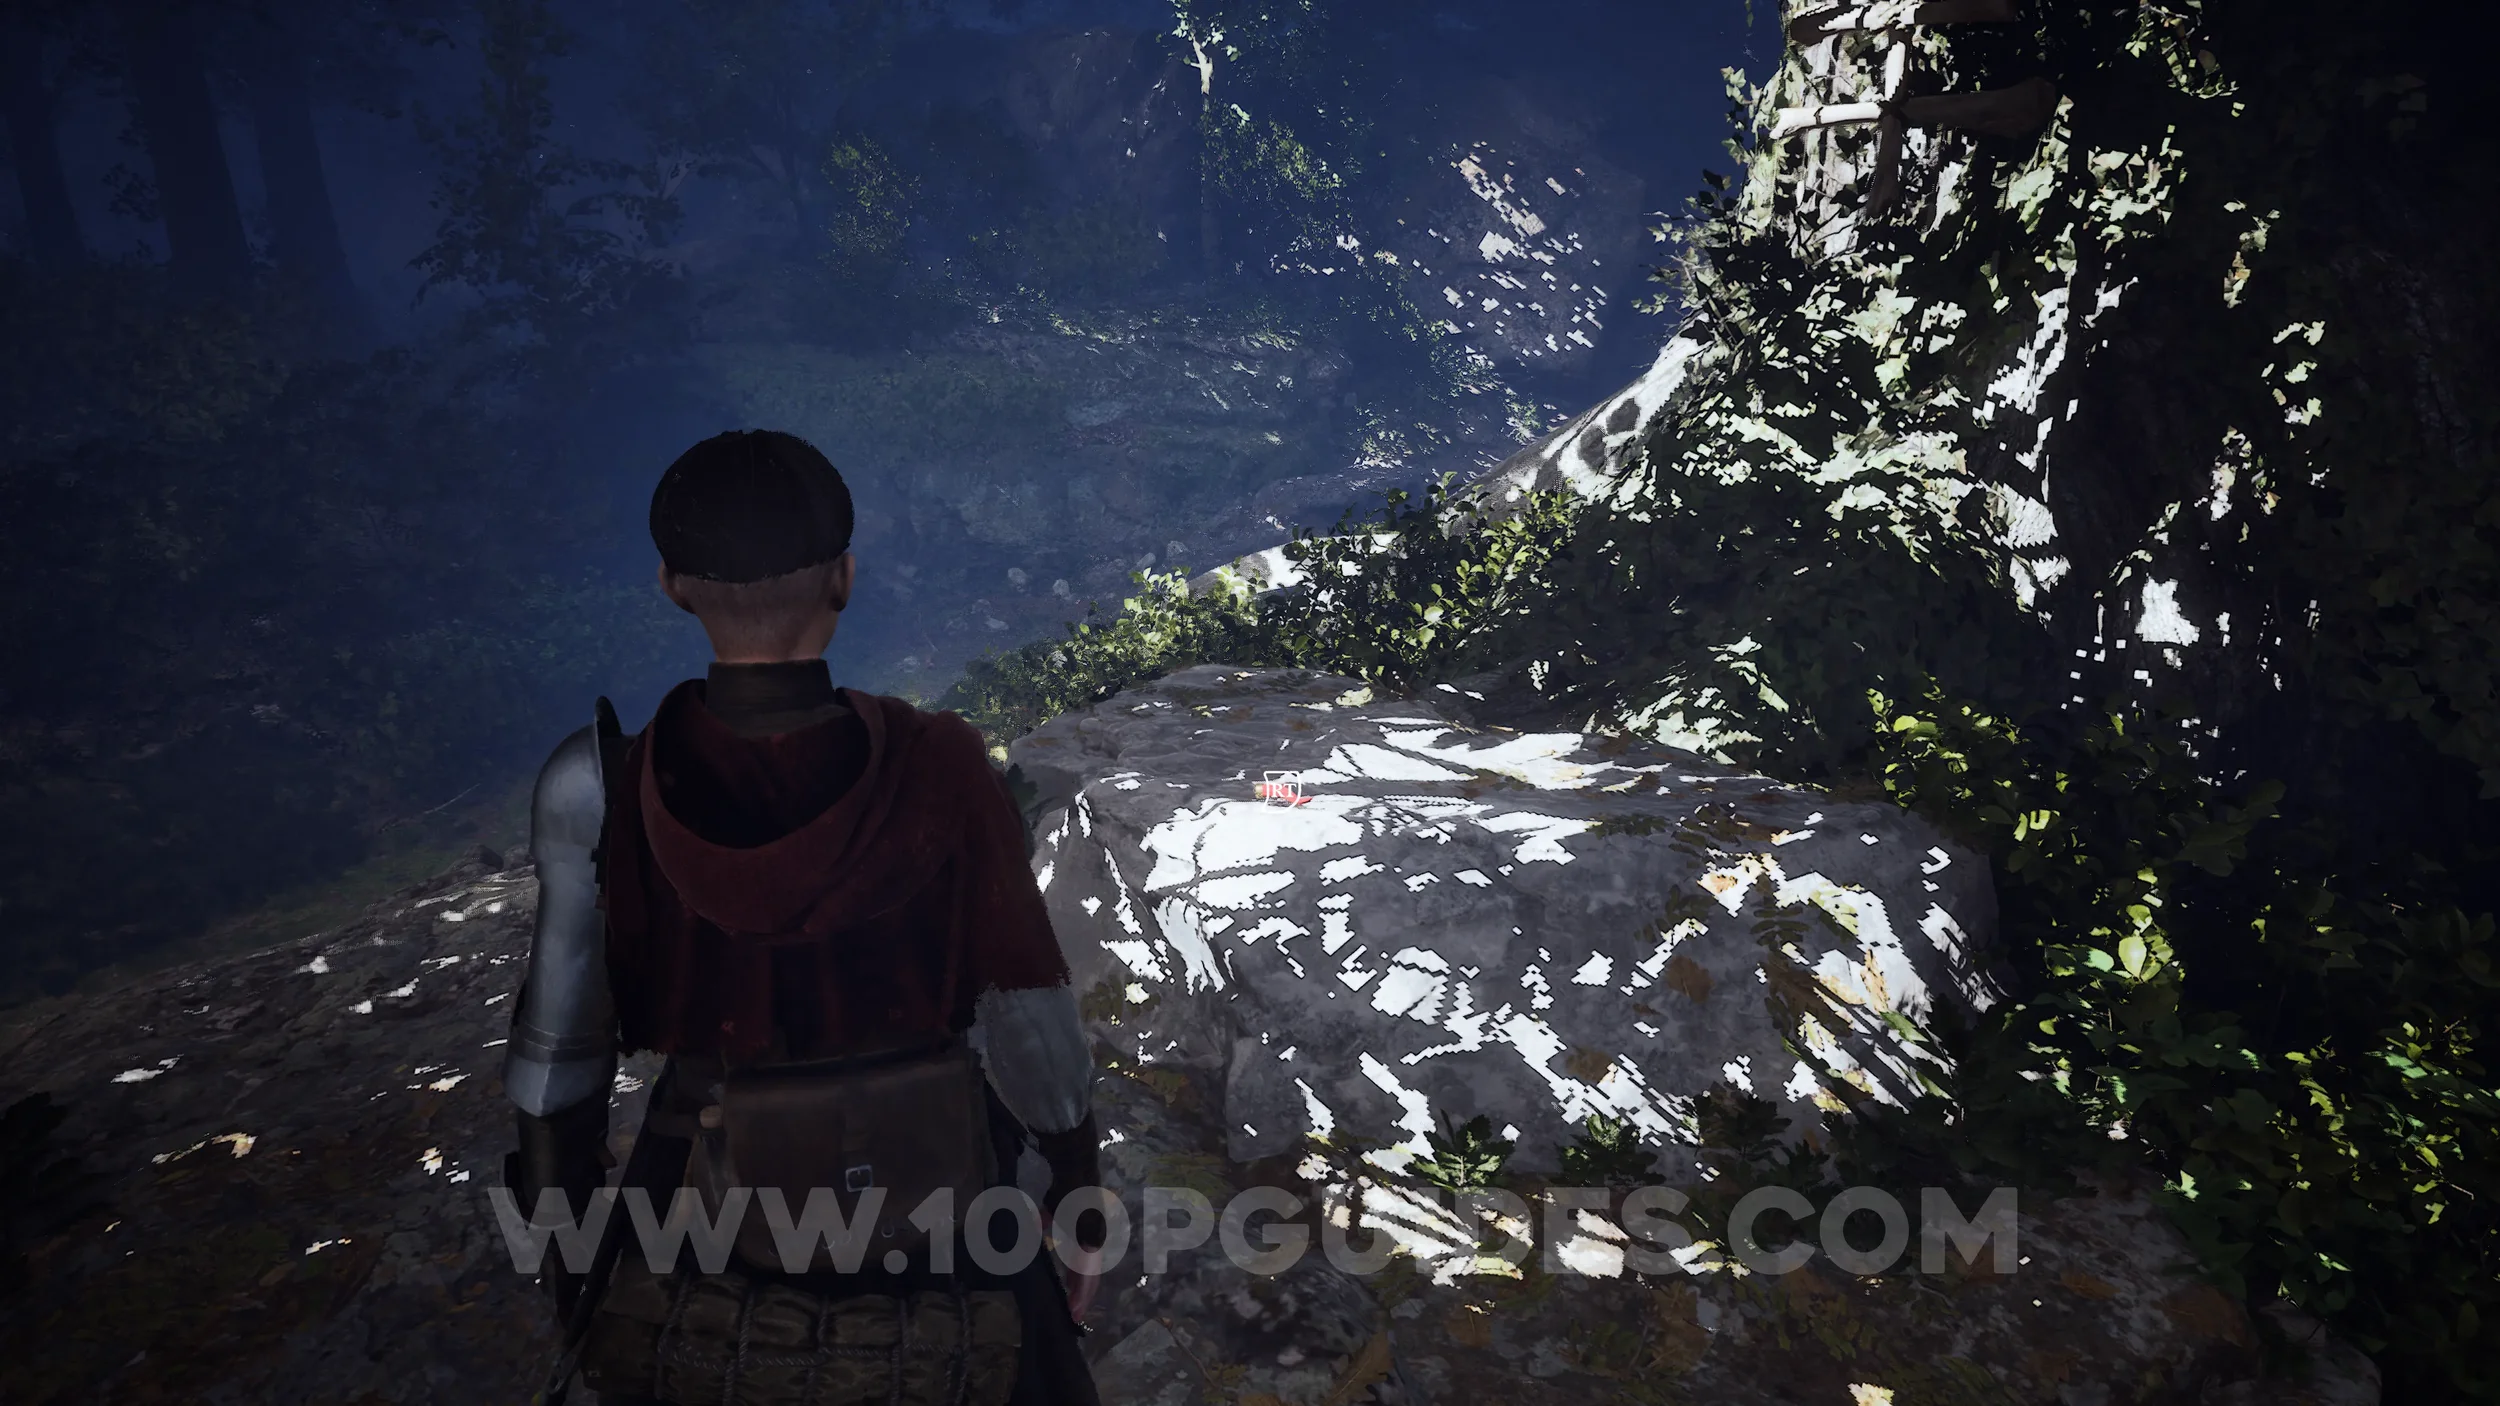
Trinket #3 - Lucky Horn. Leave the ruins area through the hole in the wall. On the other side, take the path on the left to reach a large tree. Climb the rocks on the left side of the tree to find the trinket.


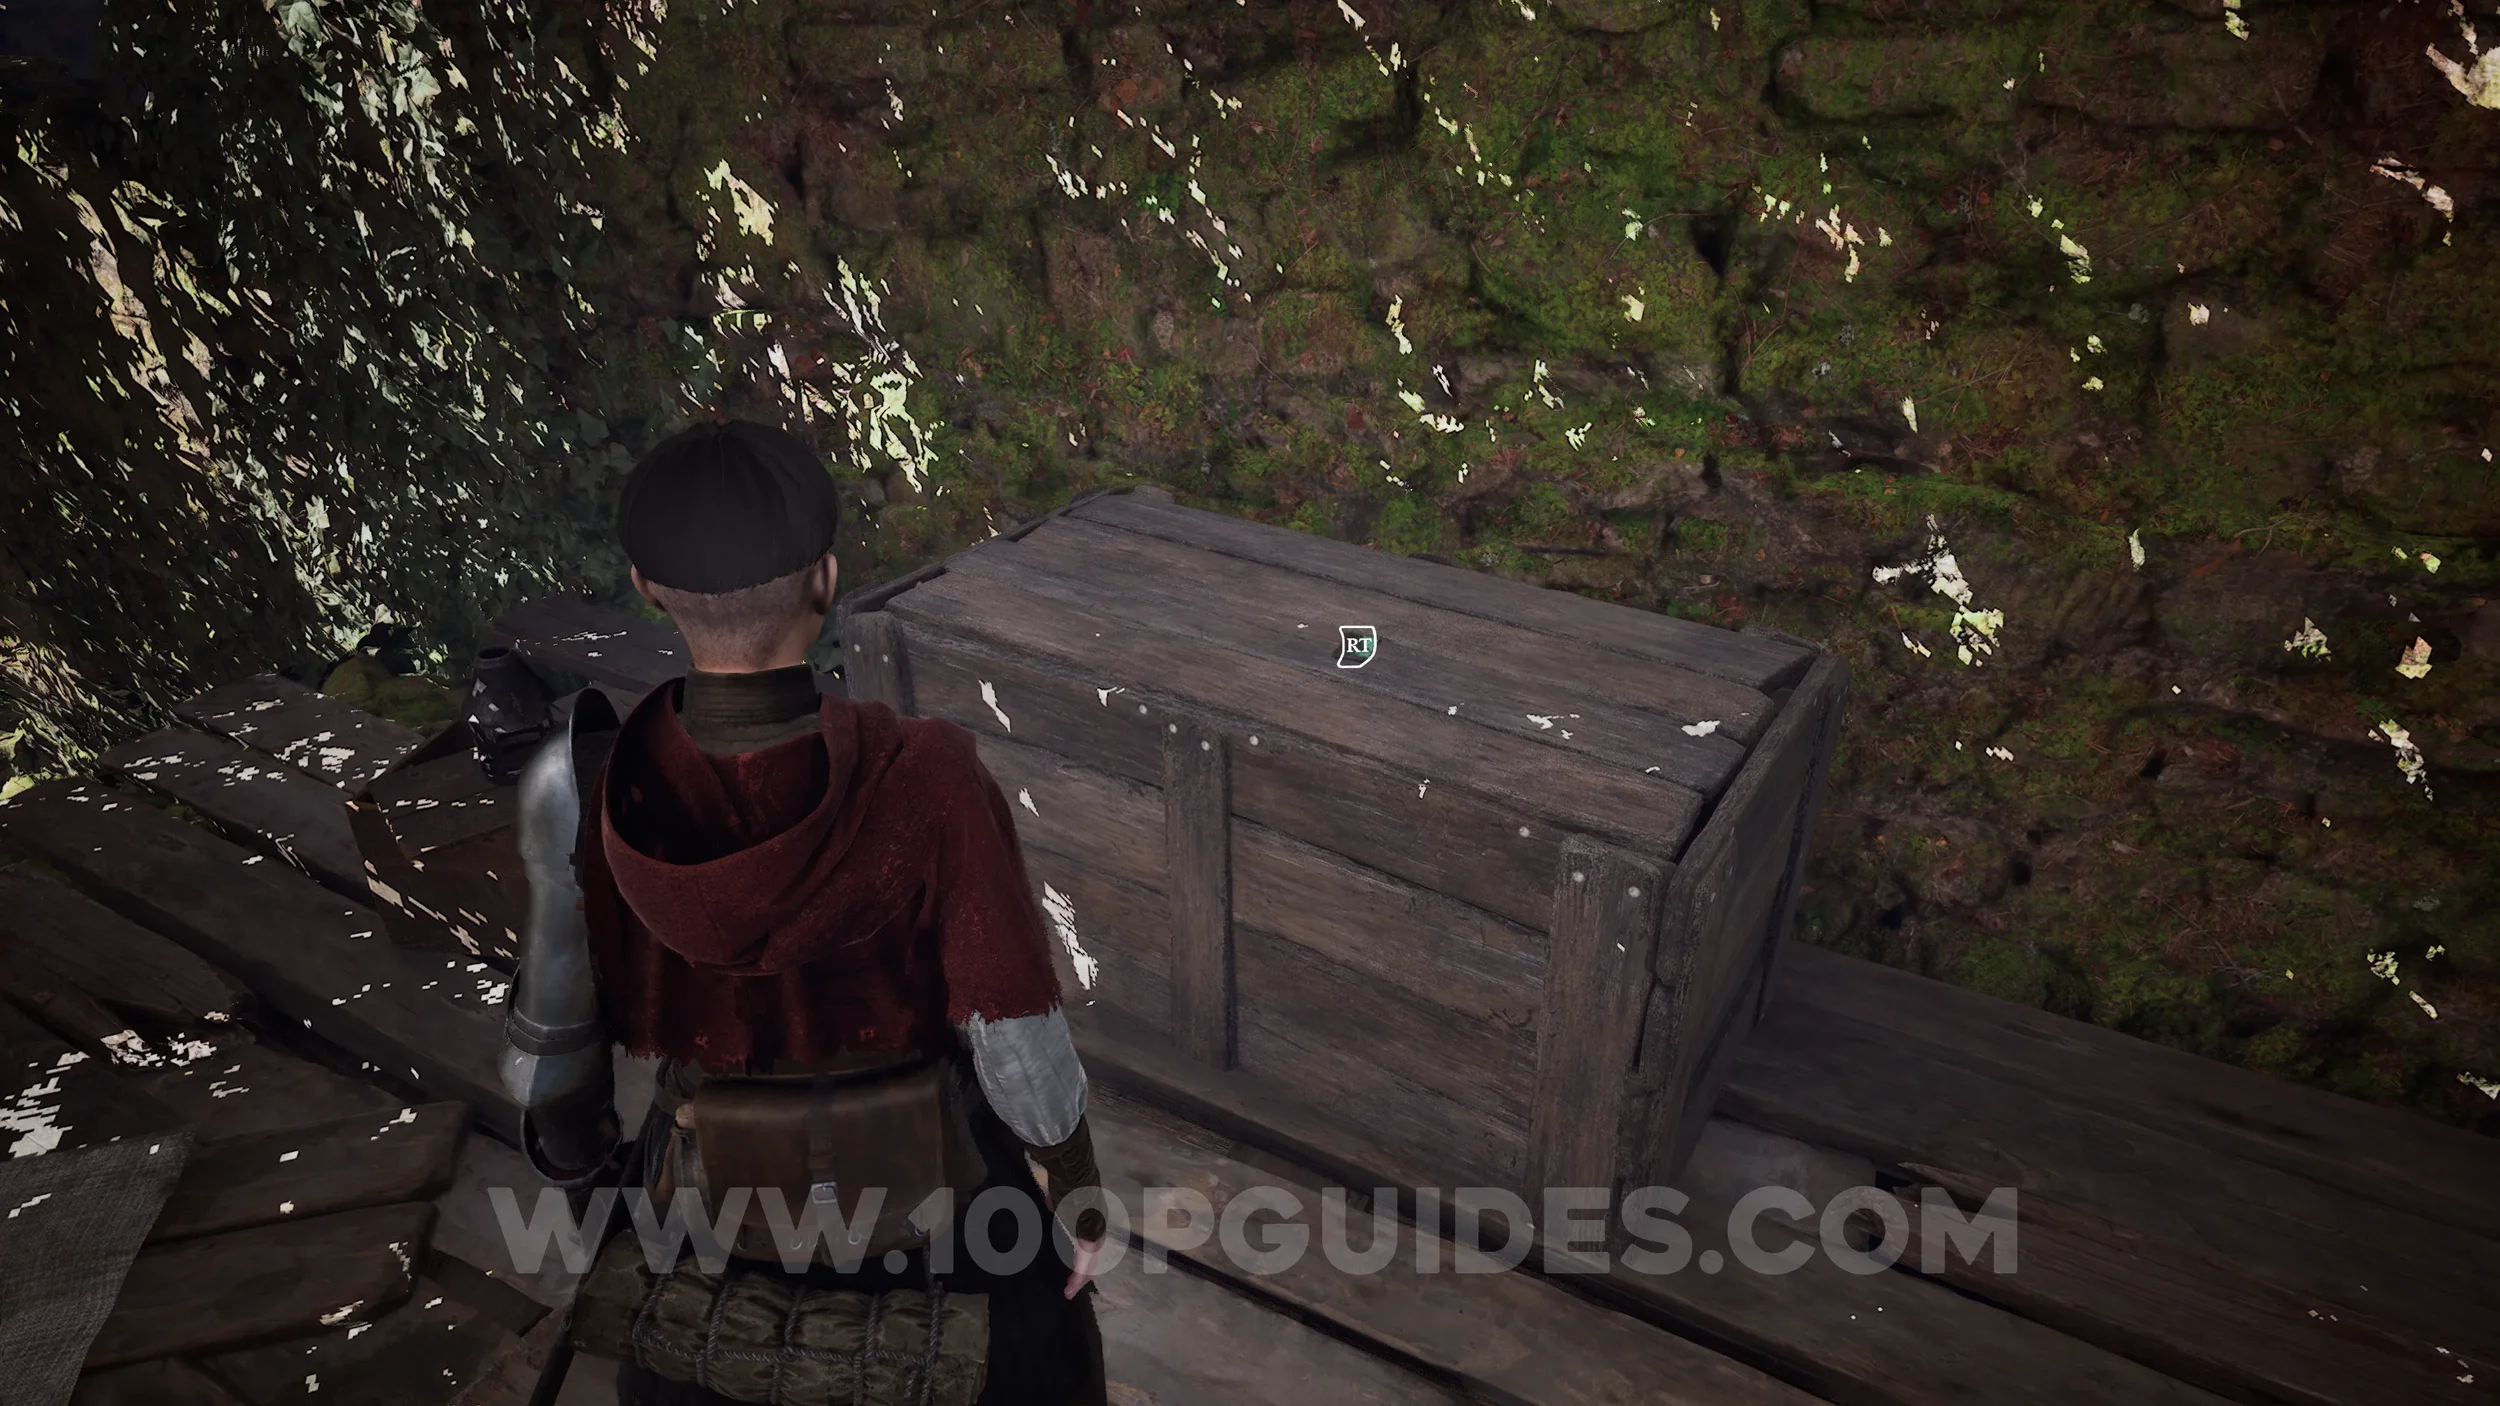
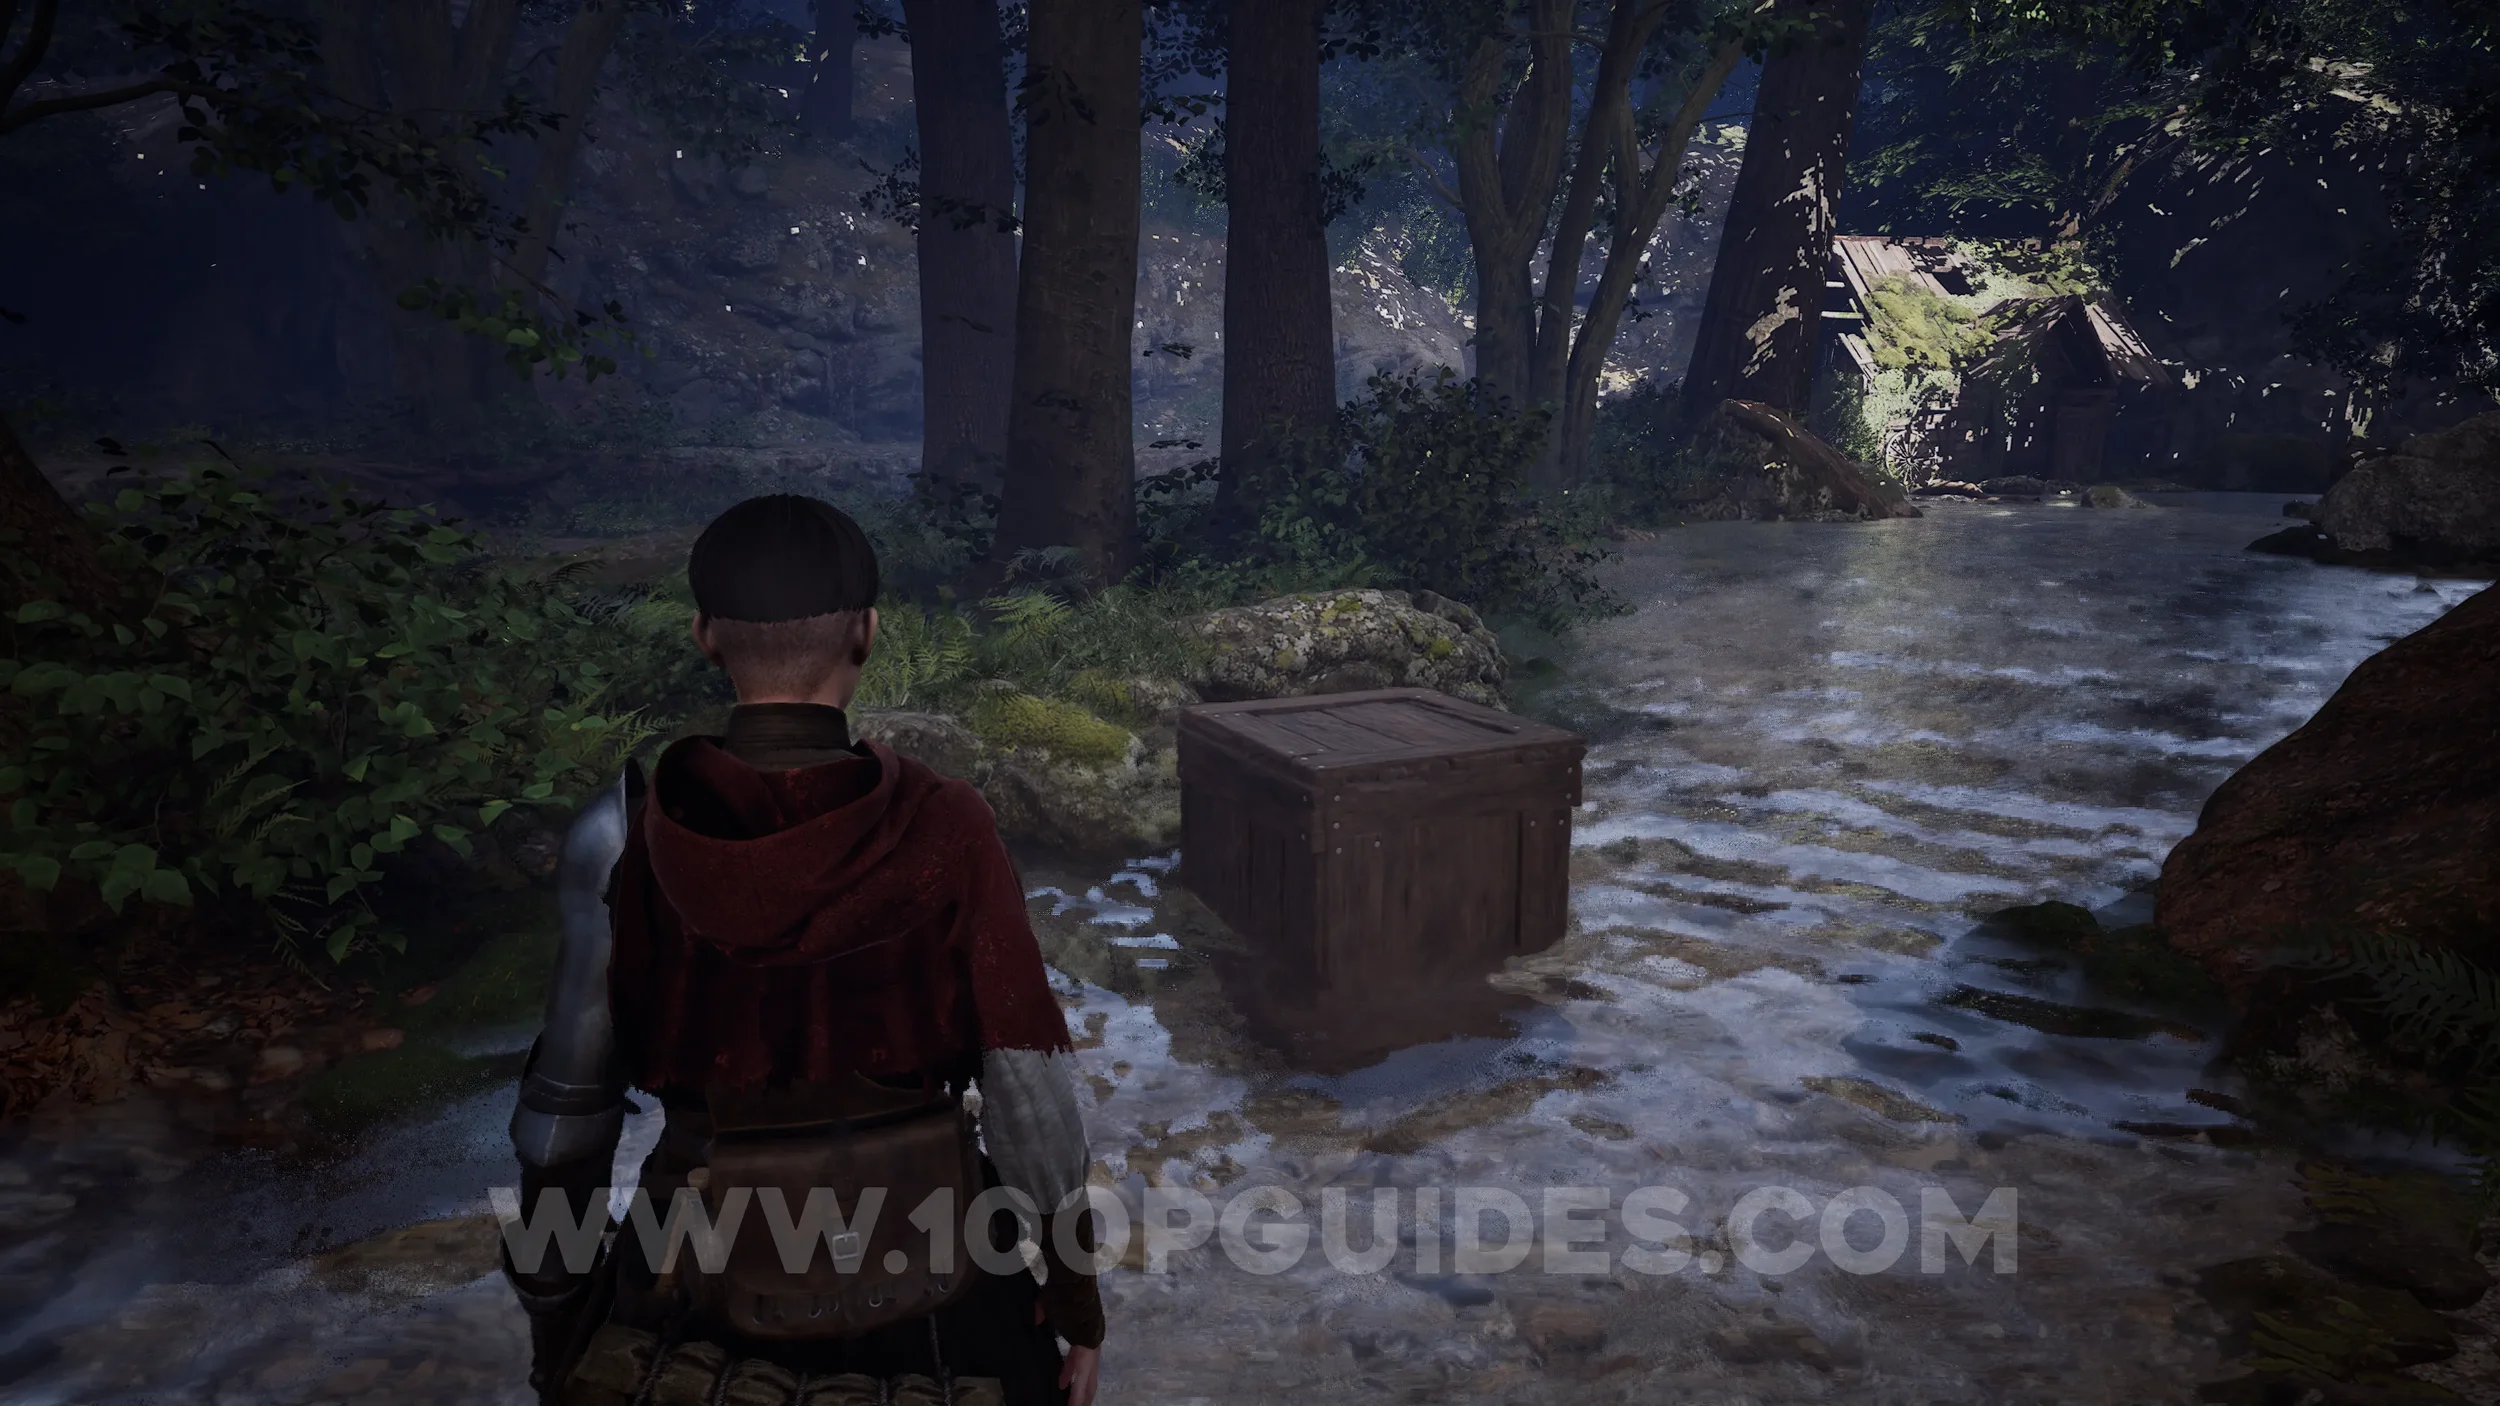
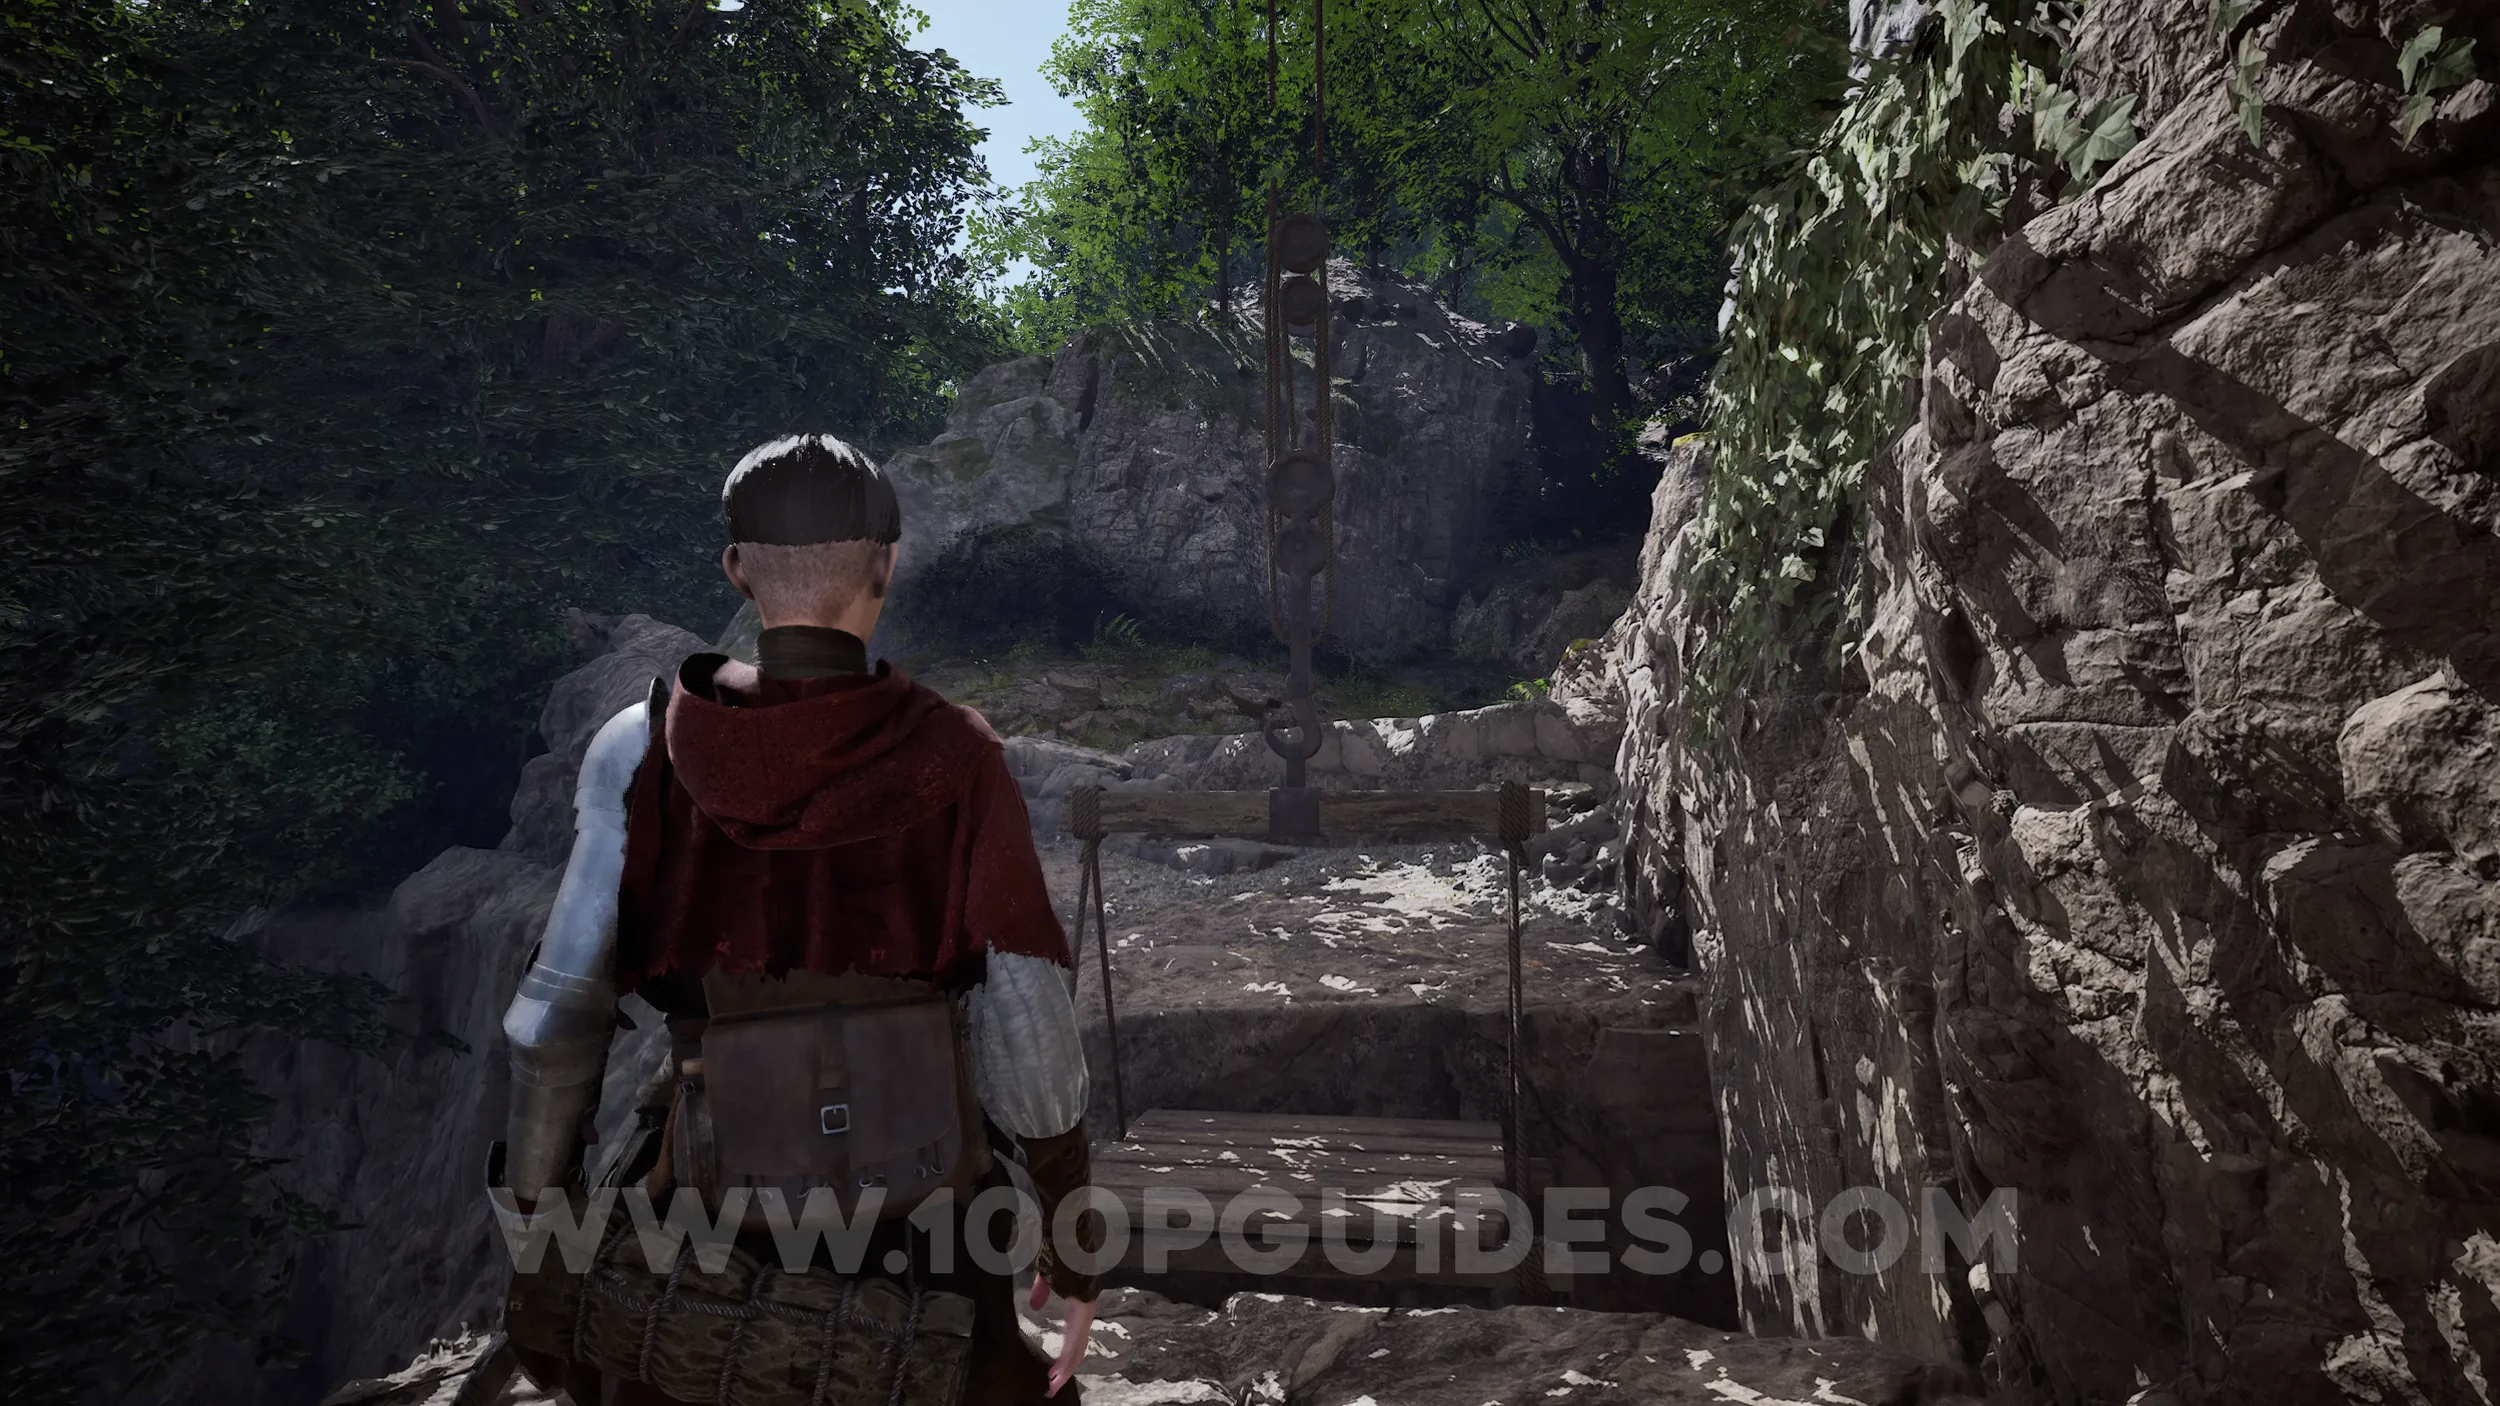
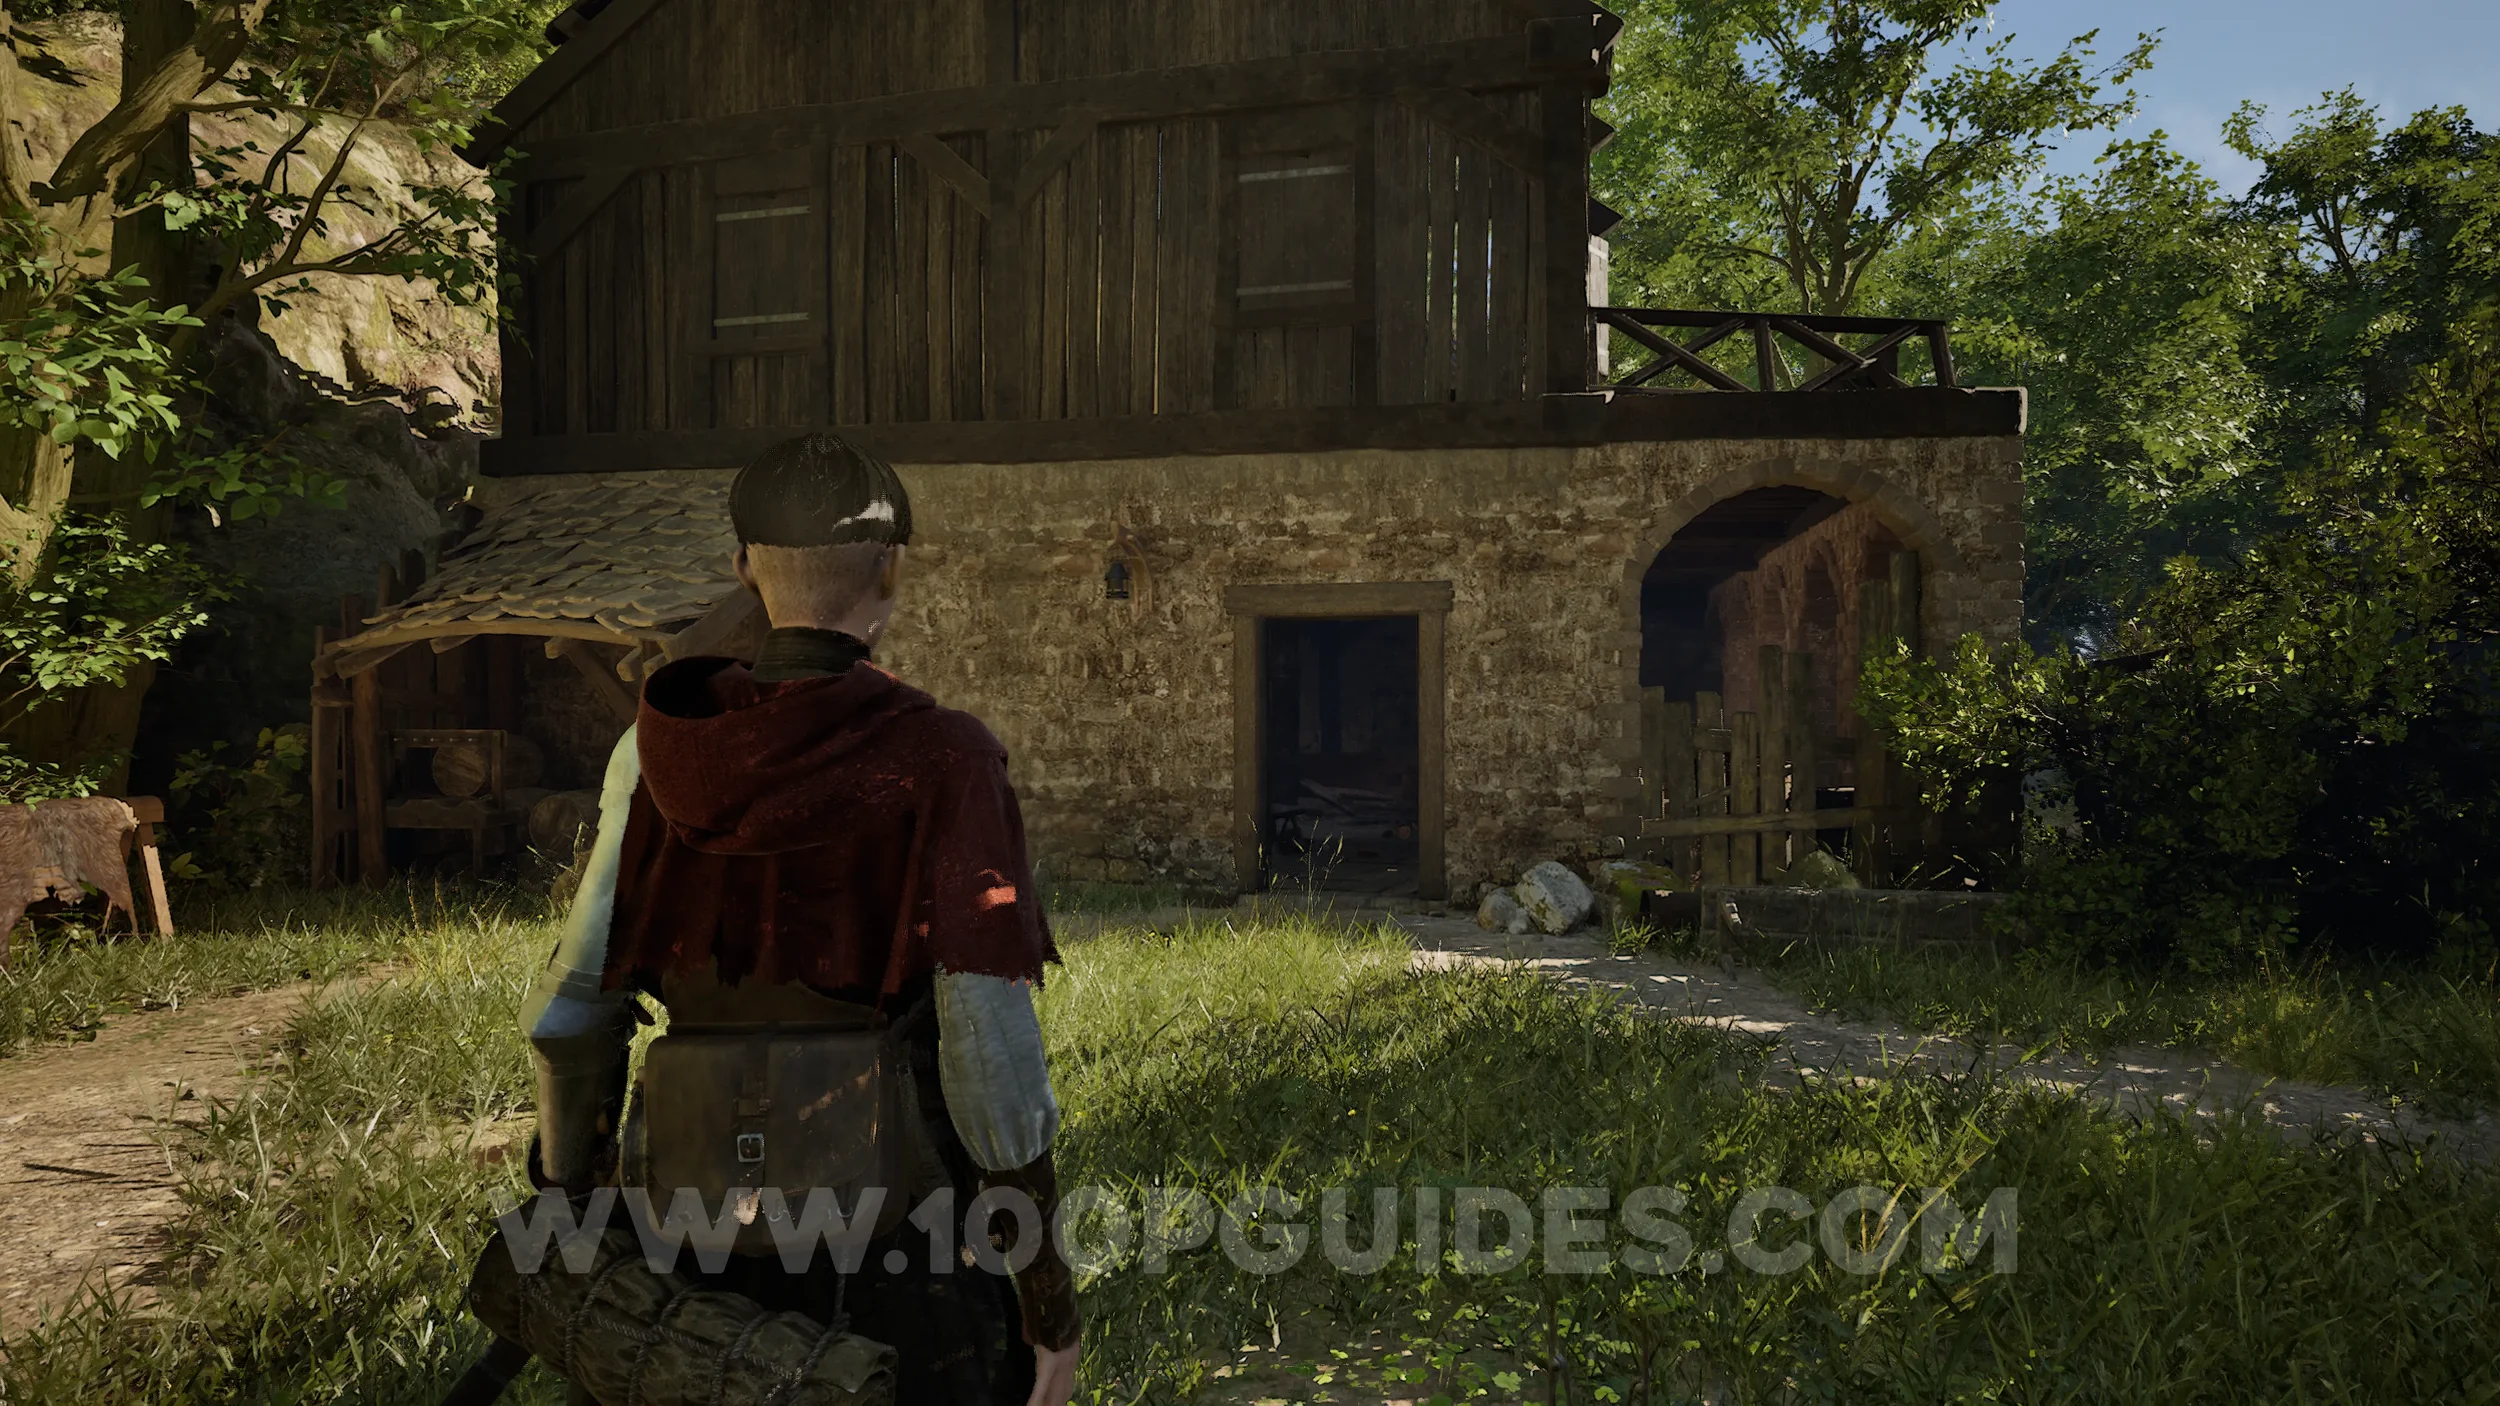
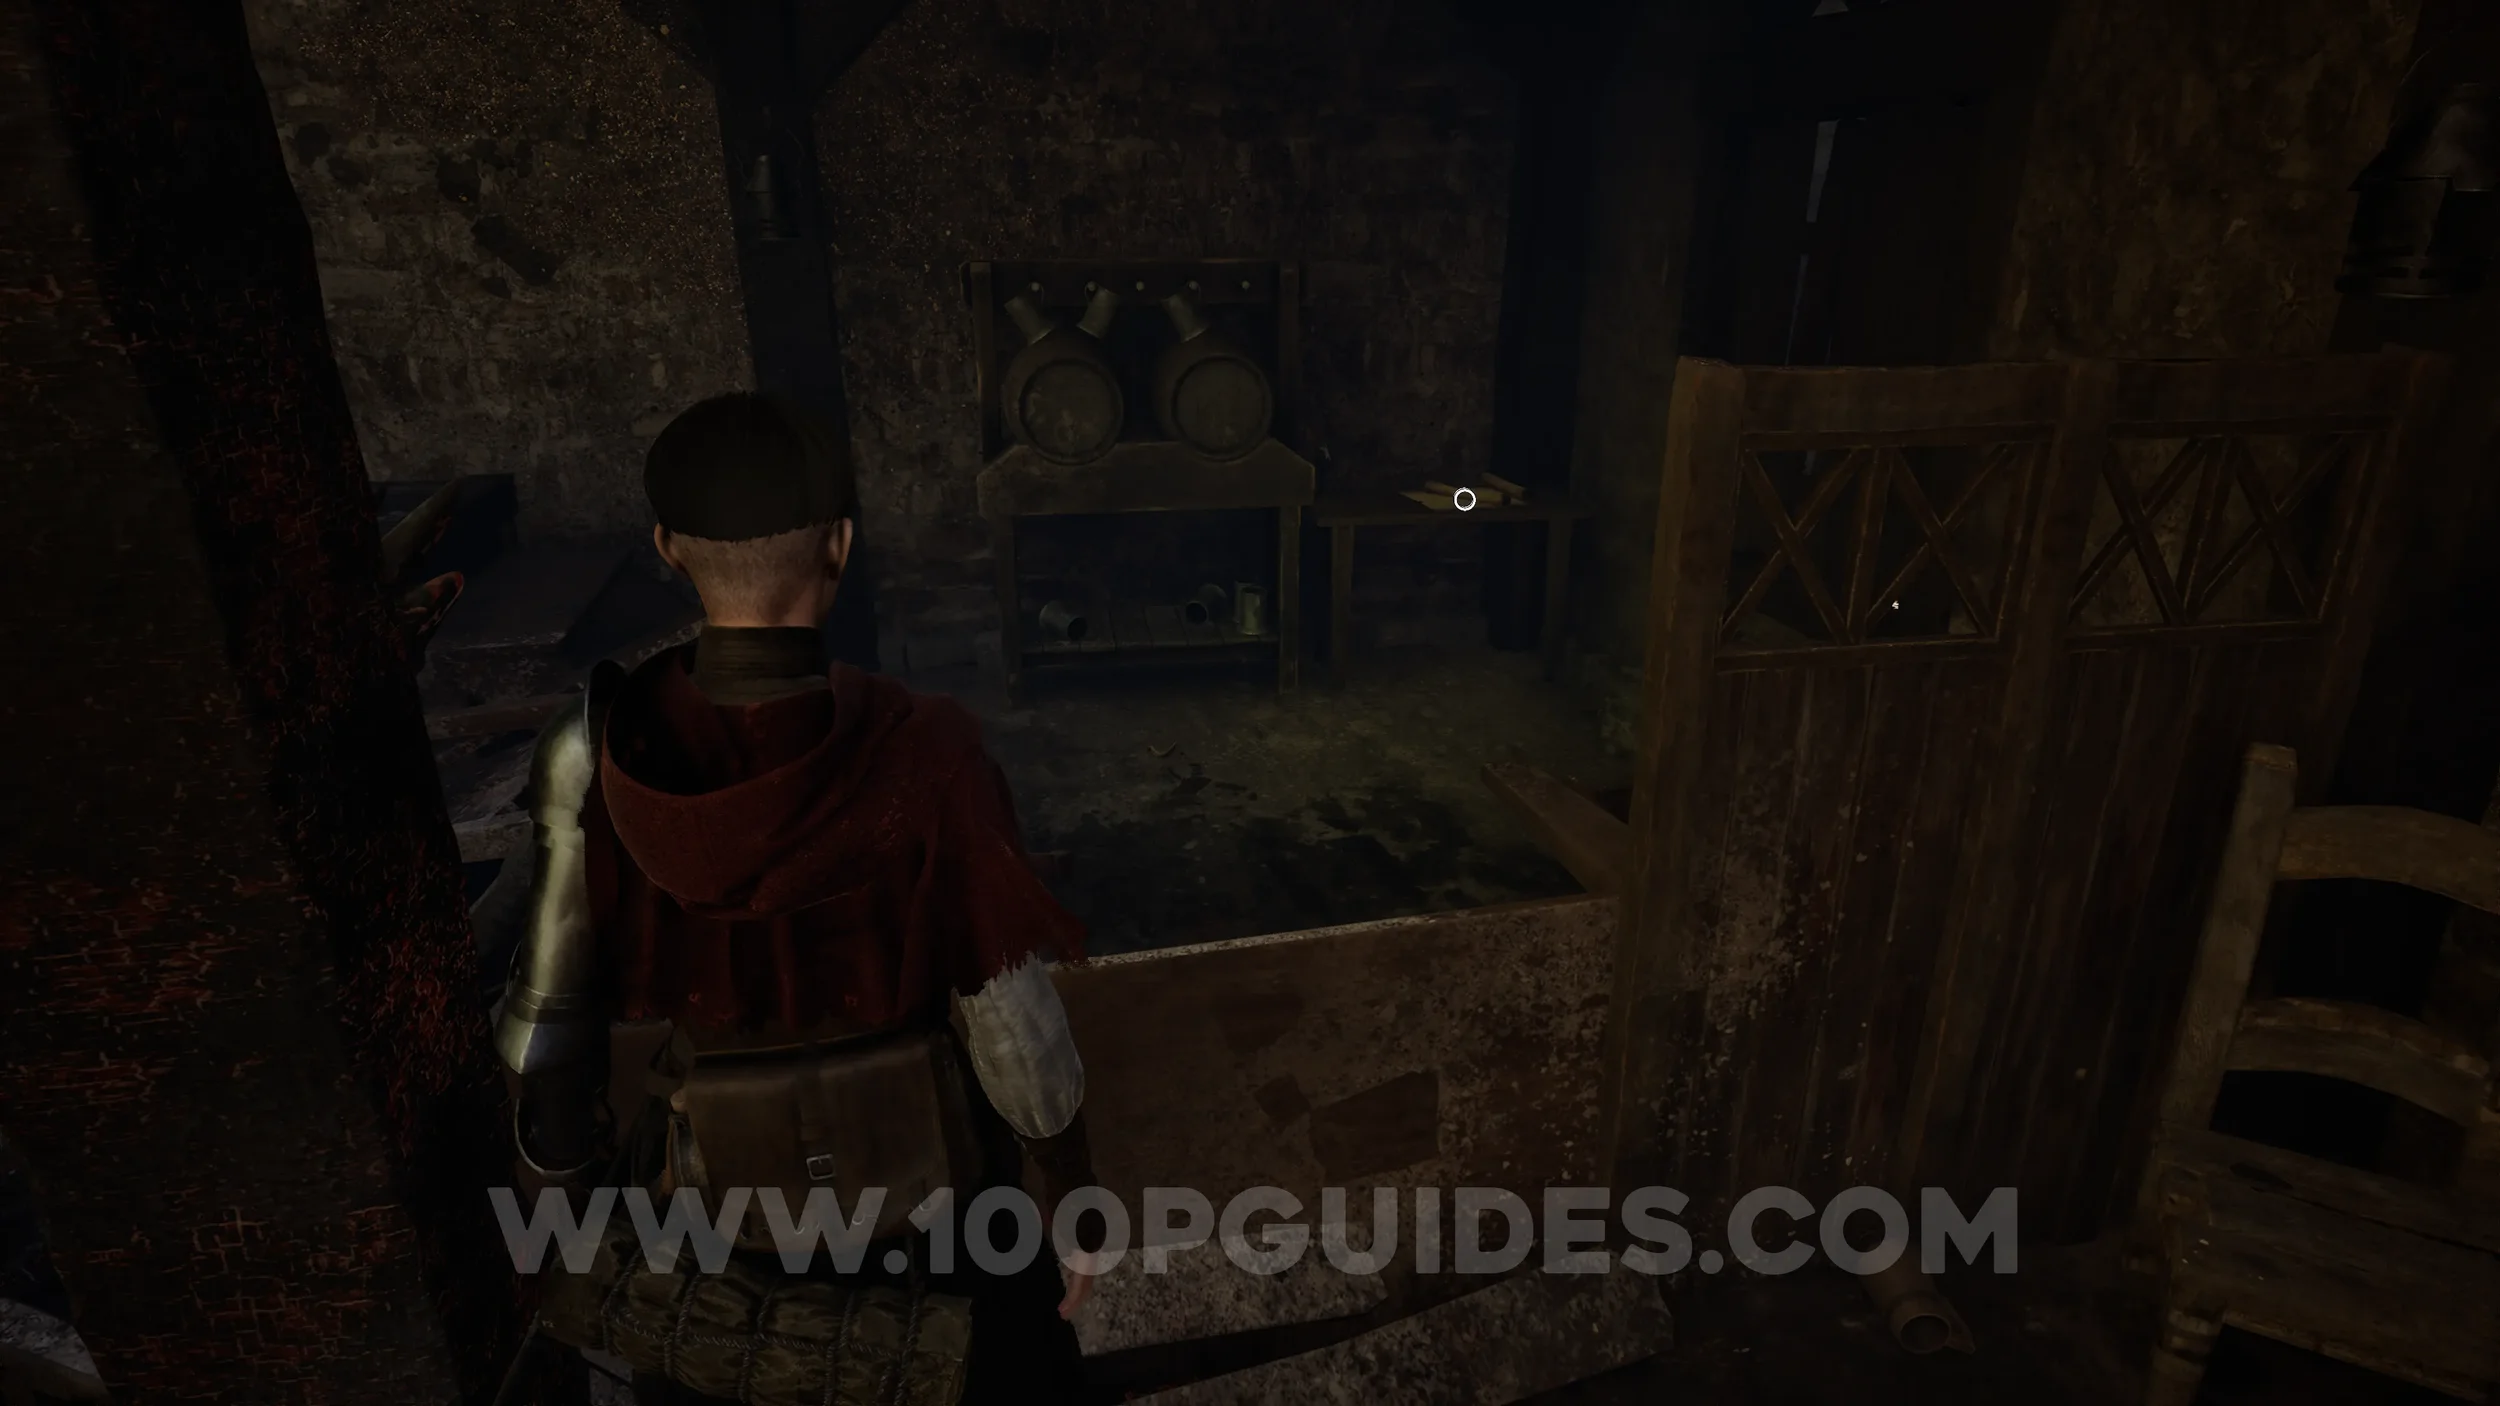
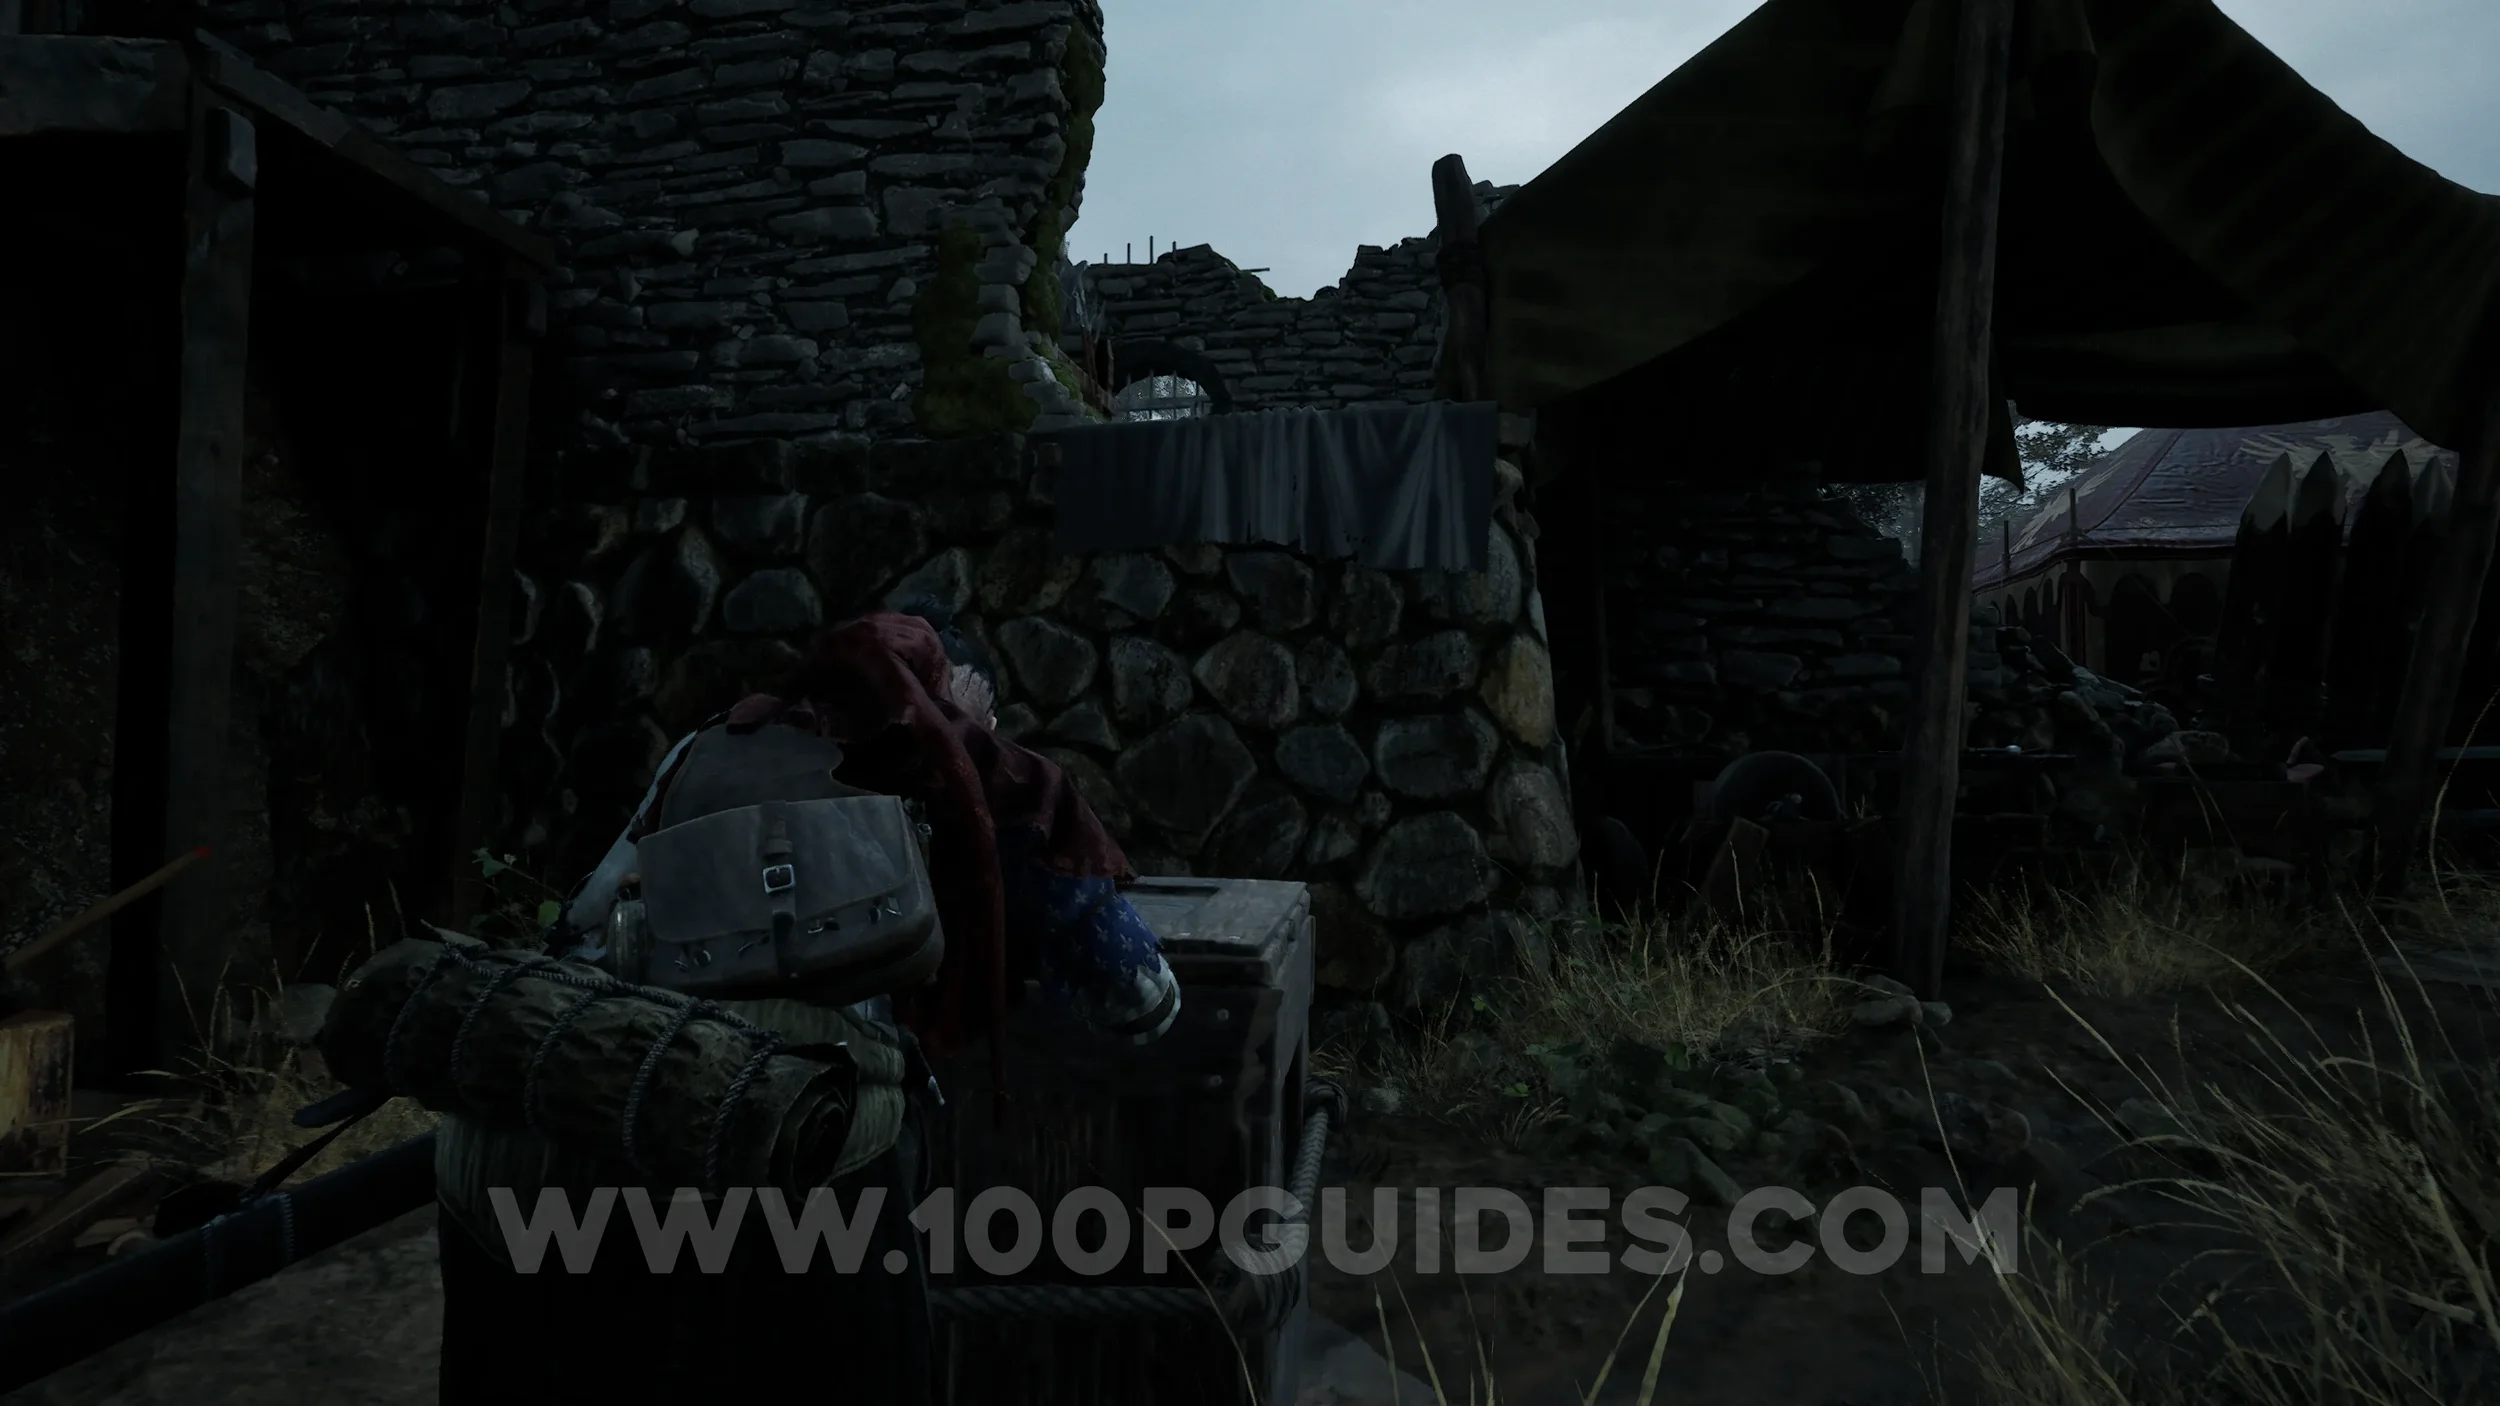
Sword Part #7 - Impera Guard. After the first two enemies of the chapter, you’ll pass through a mill. On the other side, follow the path straight ahead to find a box next to a wooden building. Push the box into the water stream and follow it as it flows downstream. It will stop next to another wooden building. Push the box against the wall to climb inside. The sword part can be found on the table.

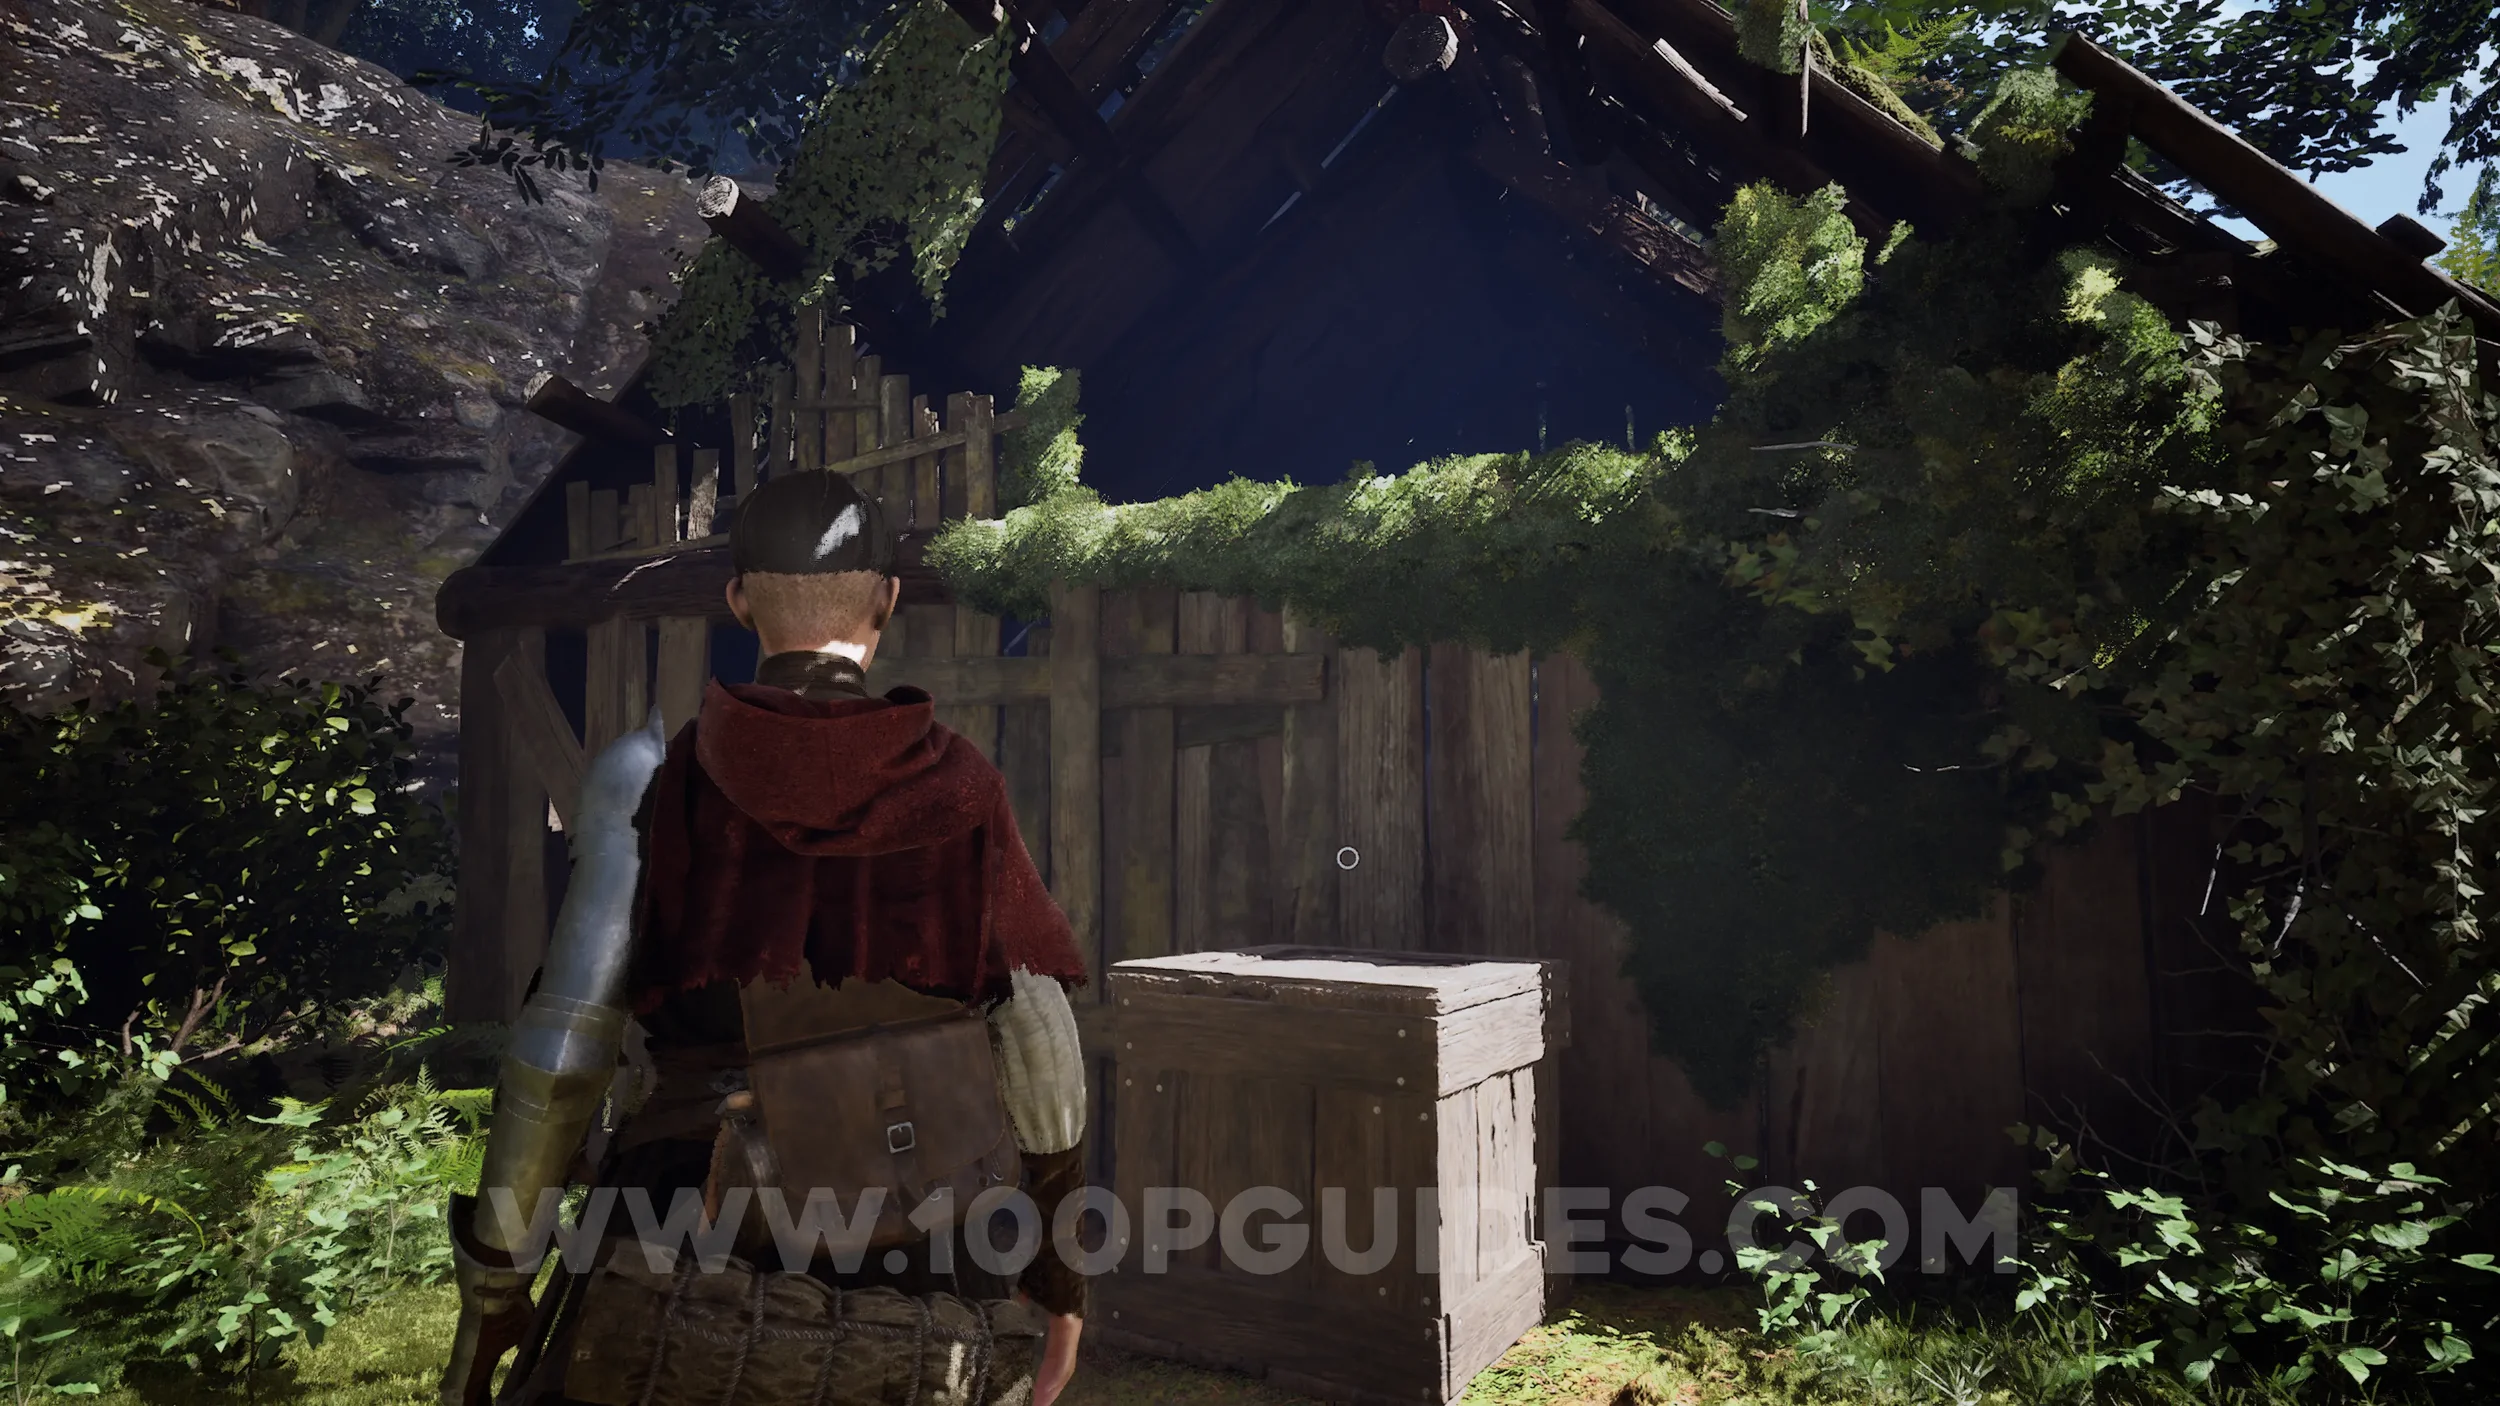
Paper #17-18. On a shelf in the same building as the previous collectible.
Paper #19-20. Inside the wooden building where the box was.
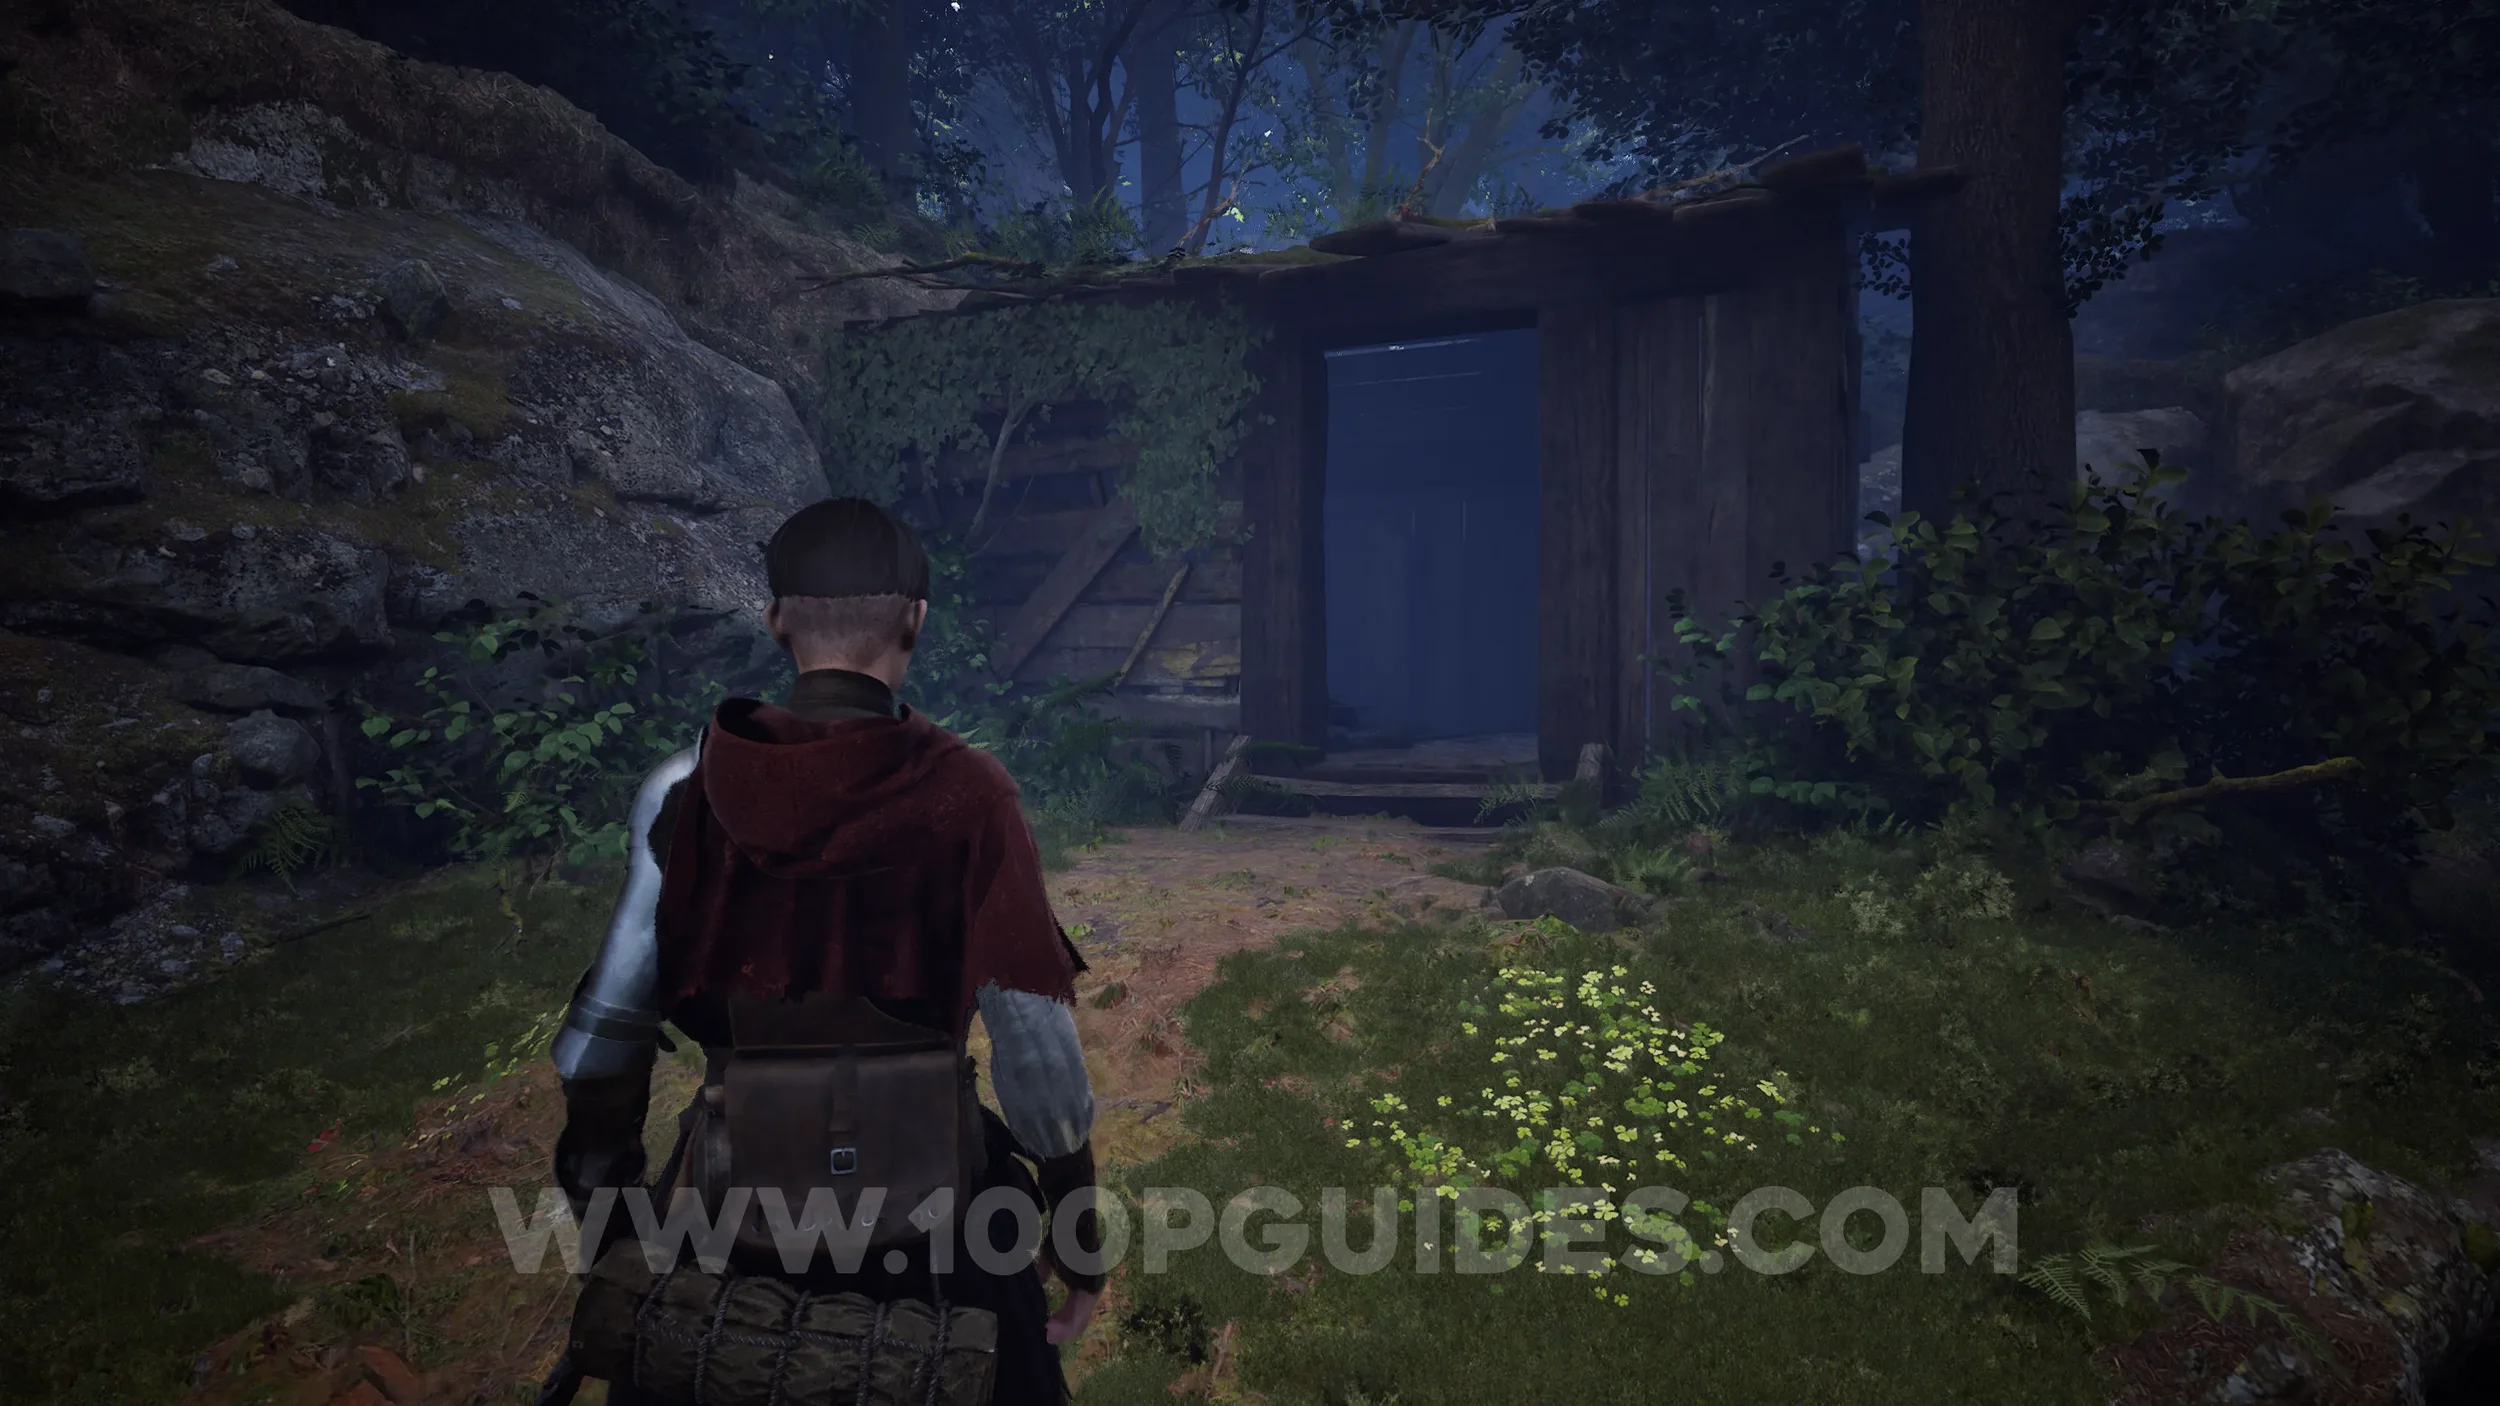
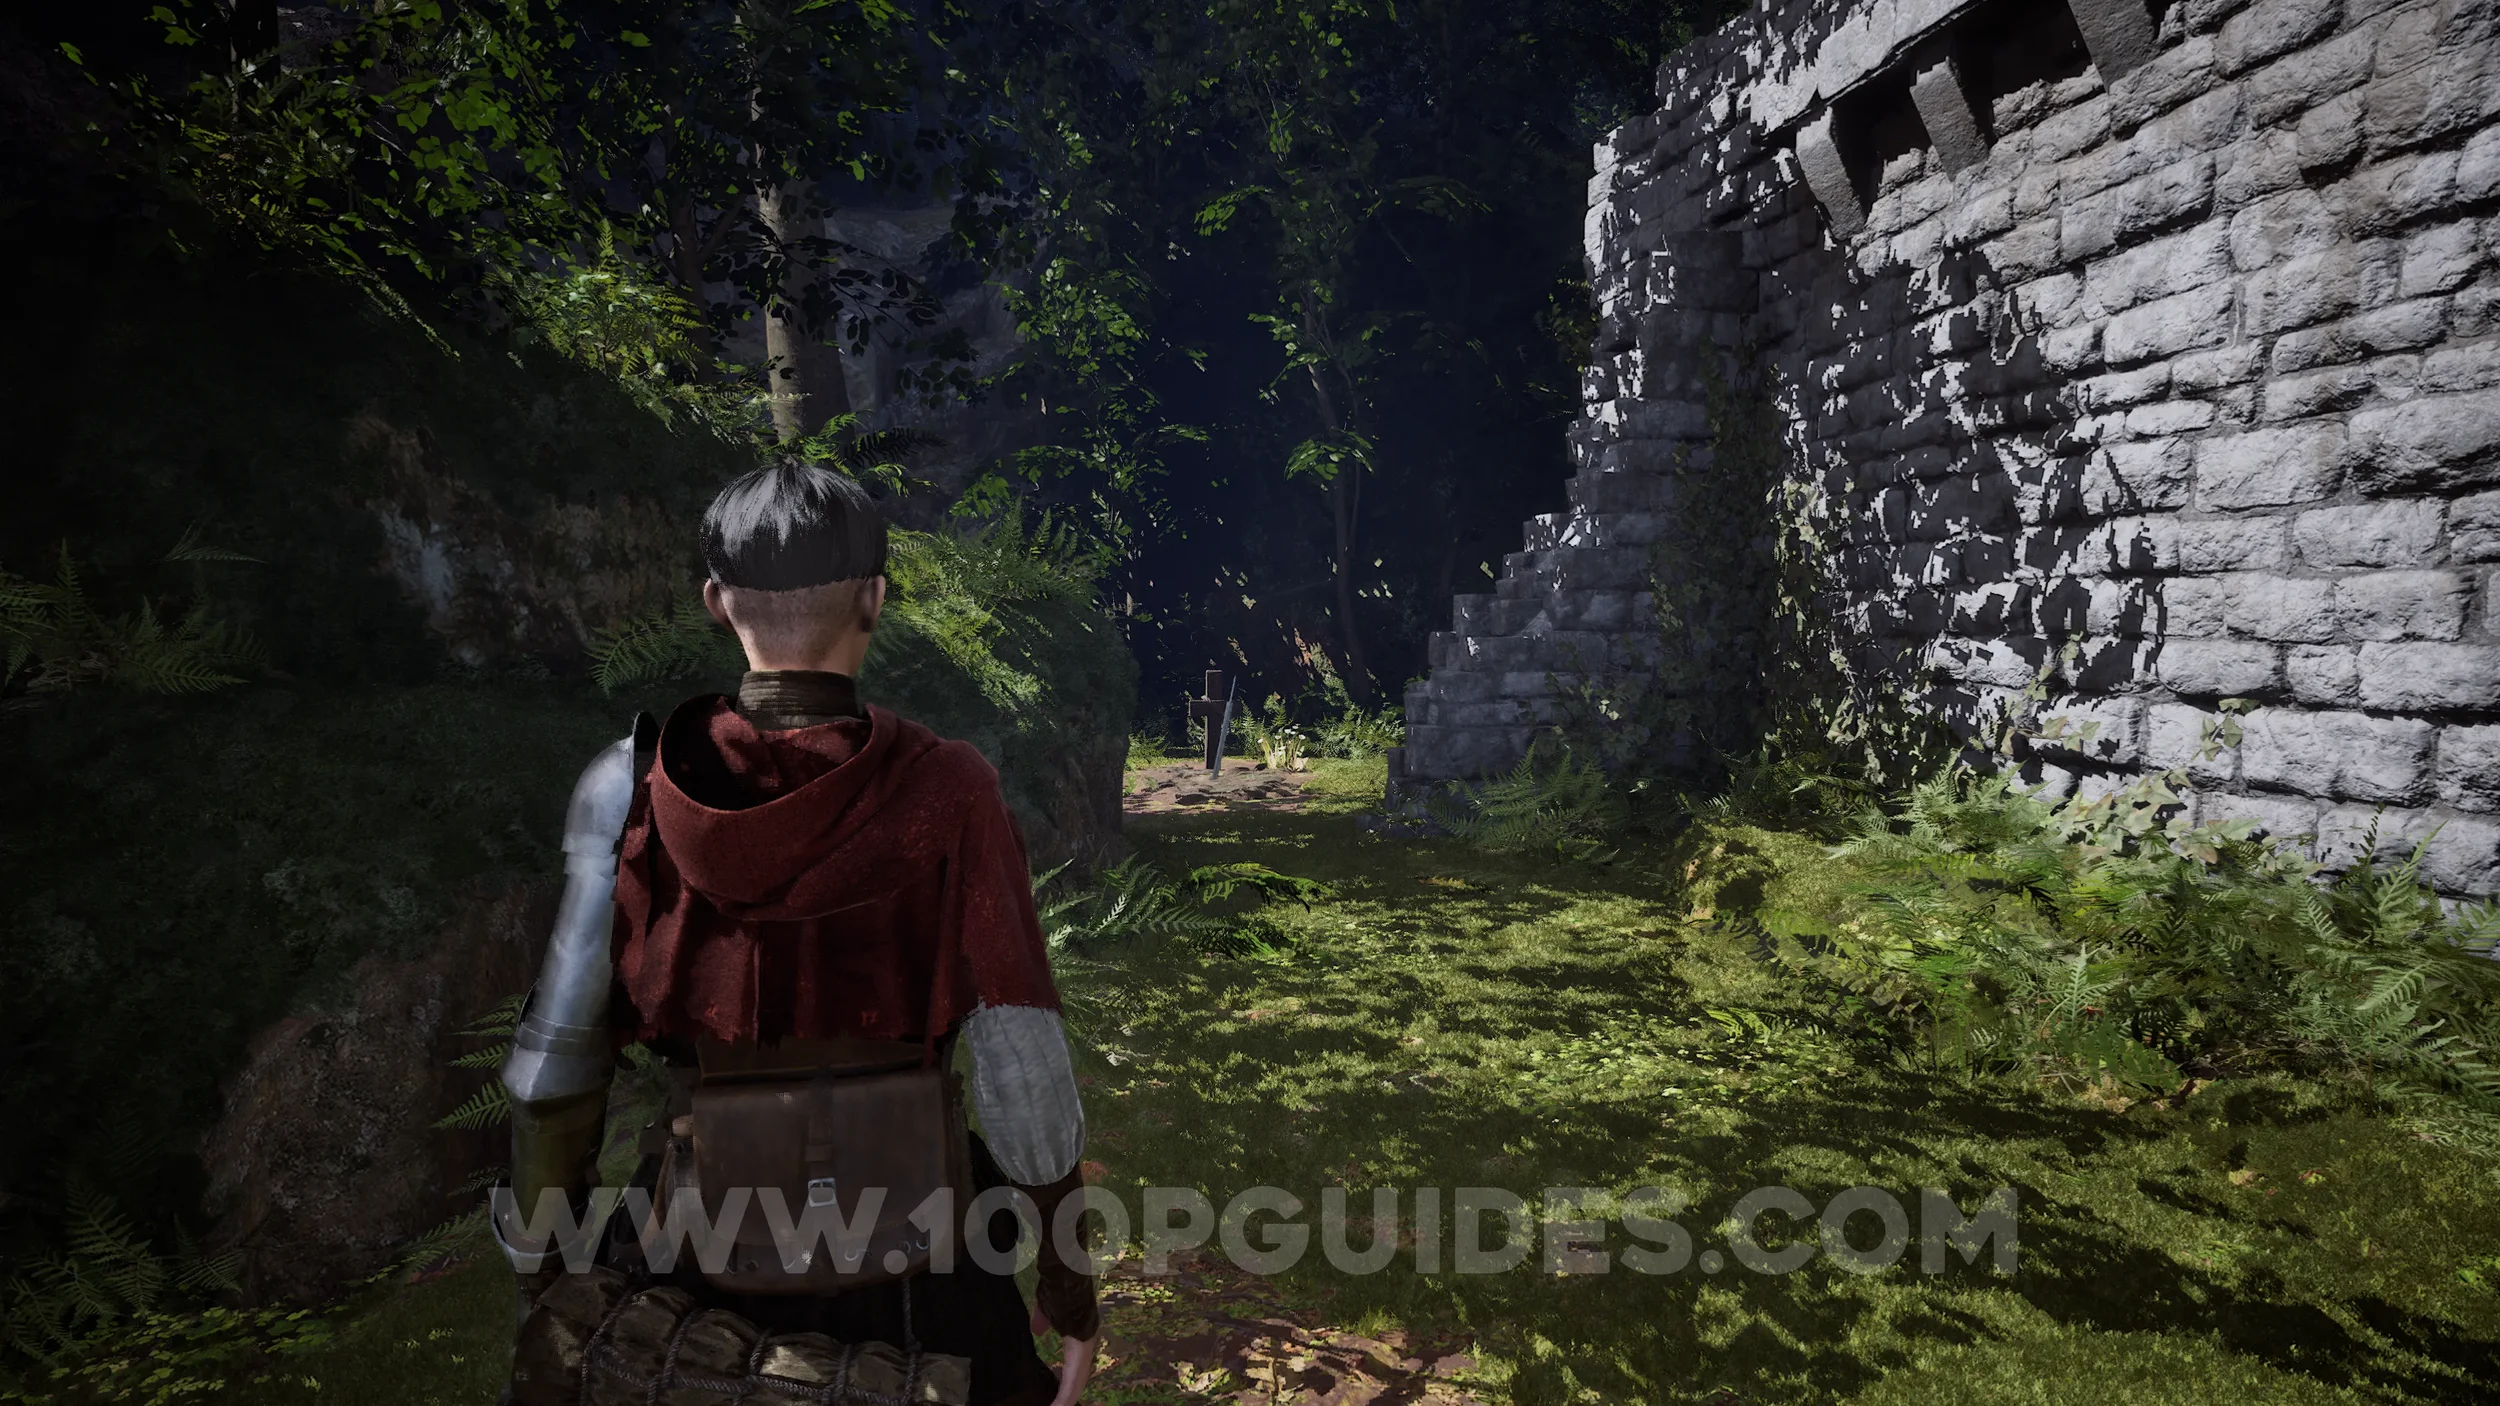
Sword Part #8 - Impera Blade. After bringing a box up on a lift to progress and jumping across another lift, you’ll reach a wall. Look to the left to find the sword part near a grave.
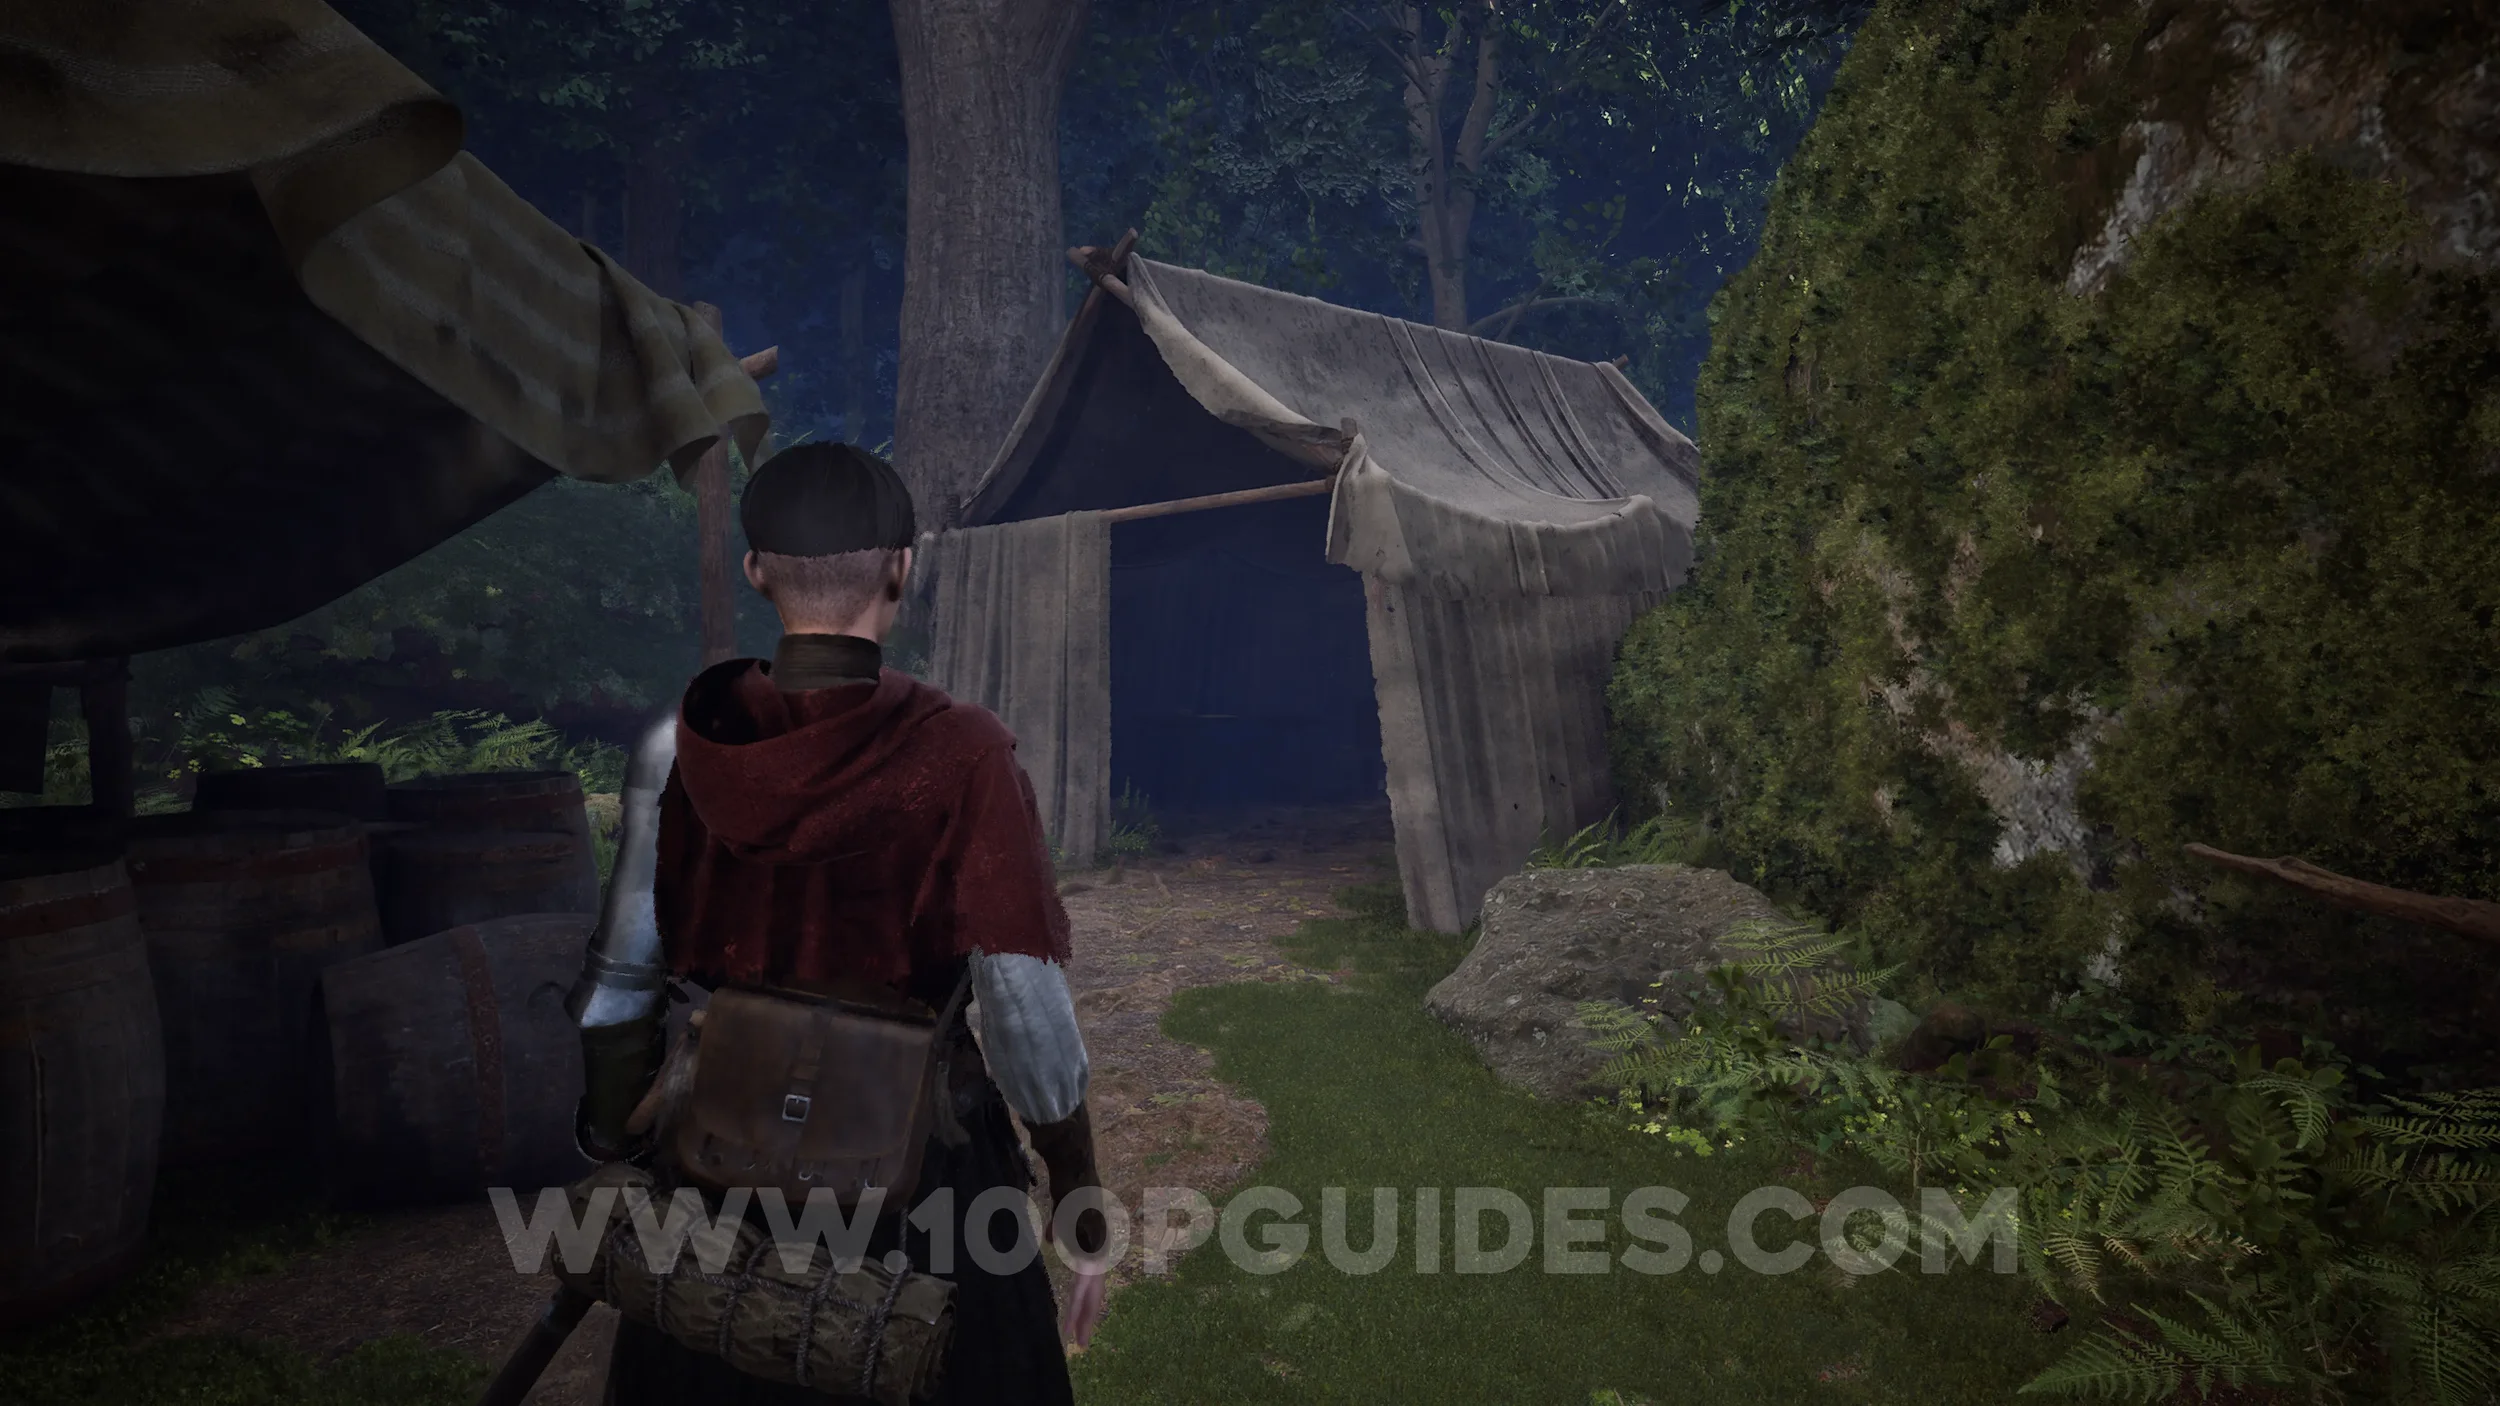
Paper #21-22 (Large). Inside the tent you pass through after the next group of enemies.
Chapter 4
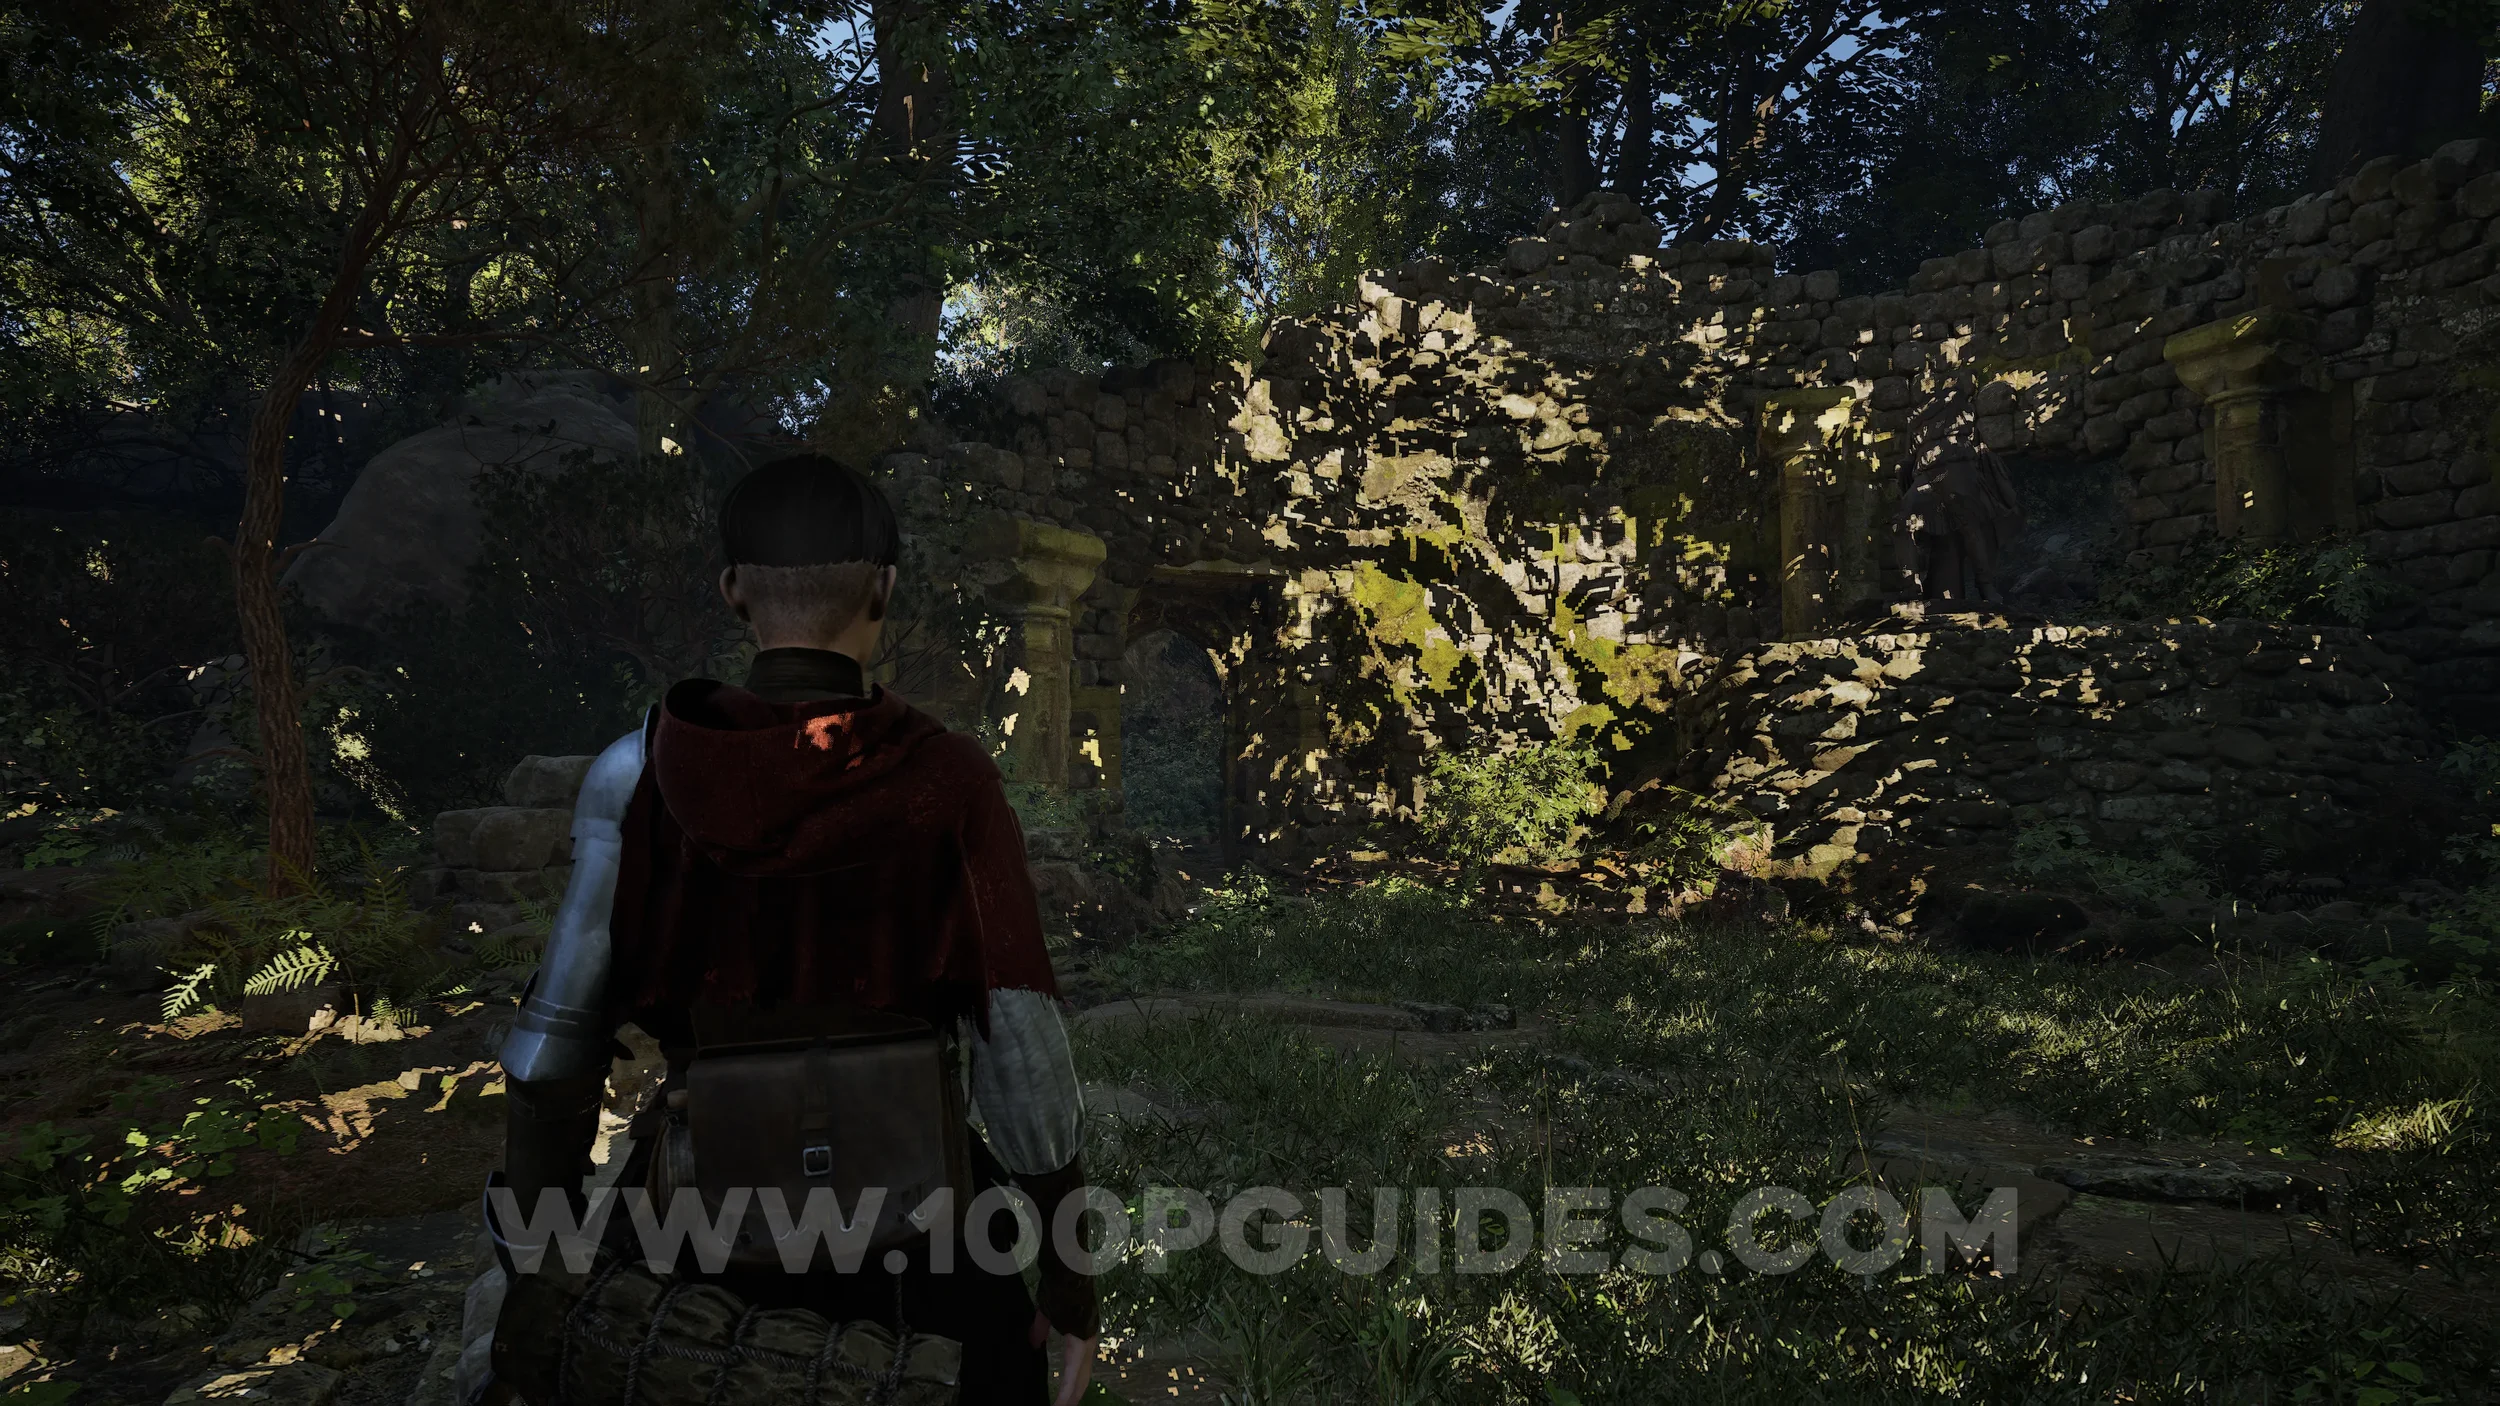
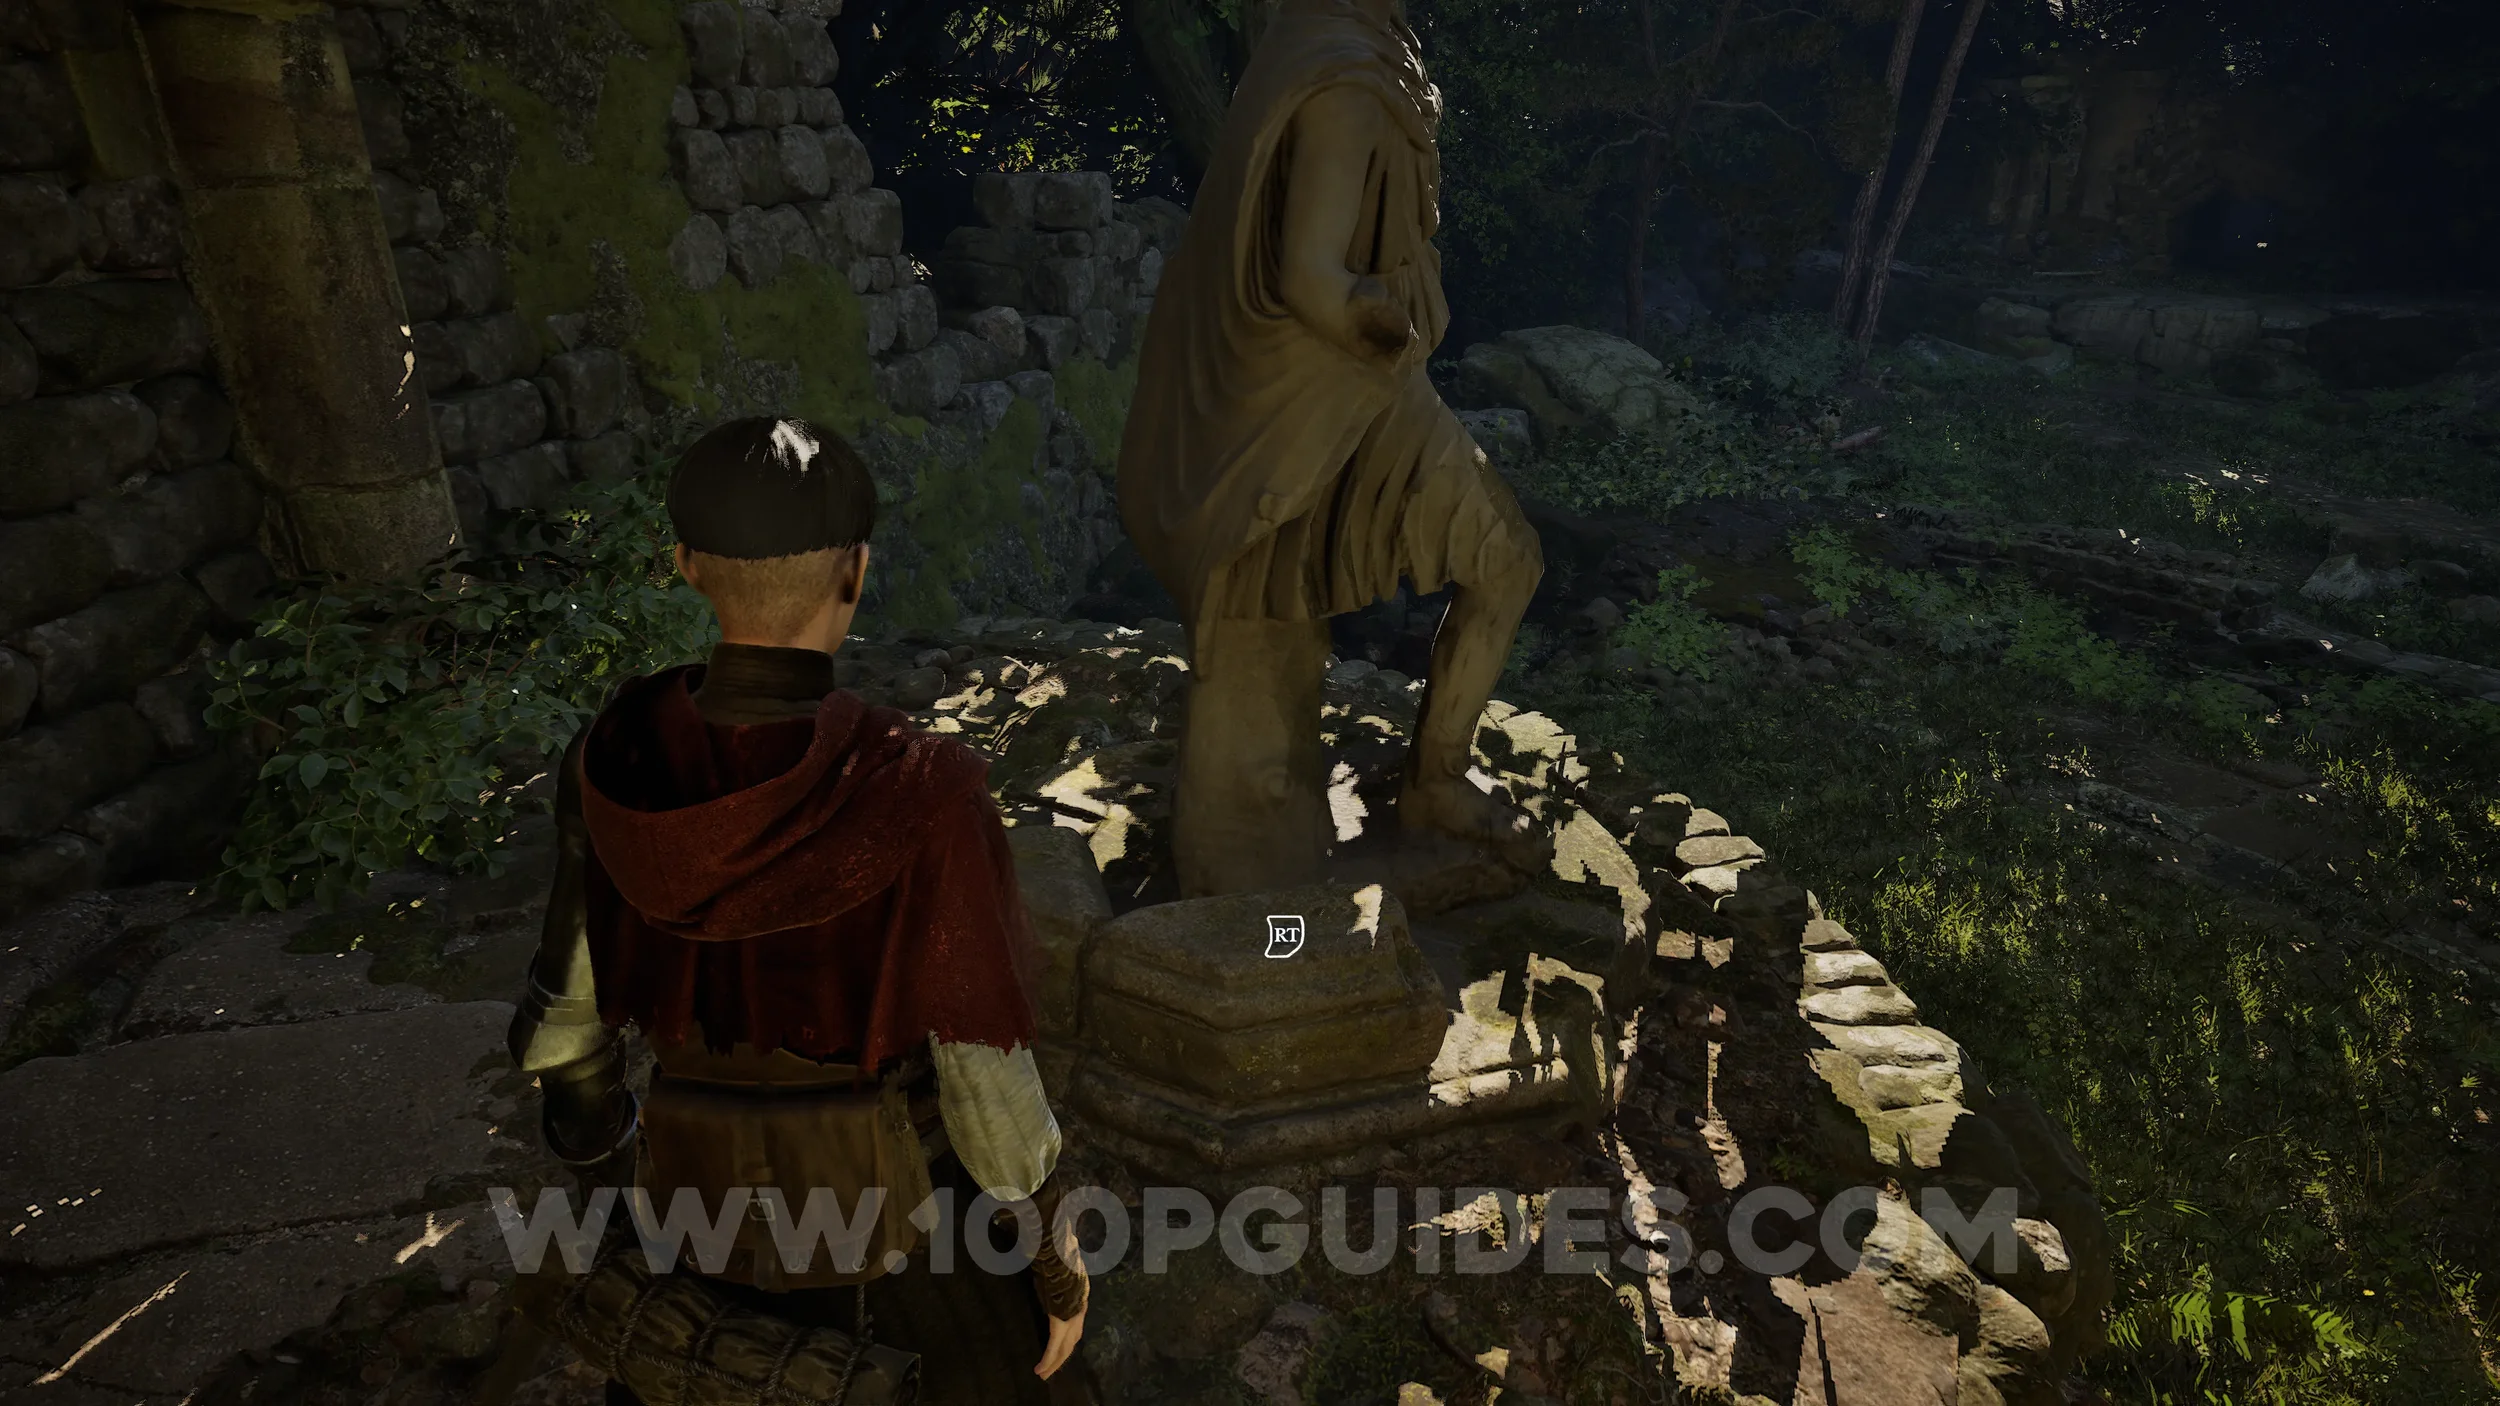
Treasure #4 - San Clemente. At the start of the chapter, you’ll see a statue on your left. Go through the door near the statue to reach it. The treasure can be found on the statue.
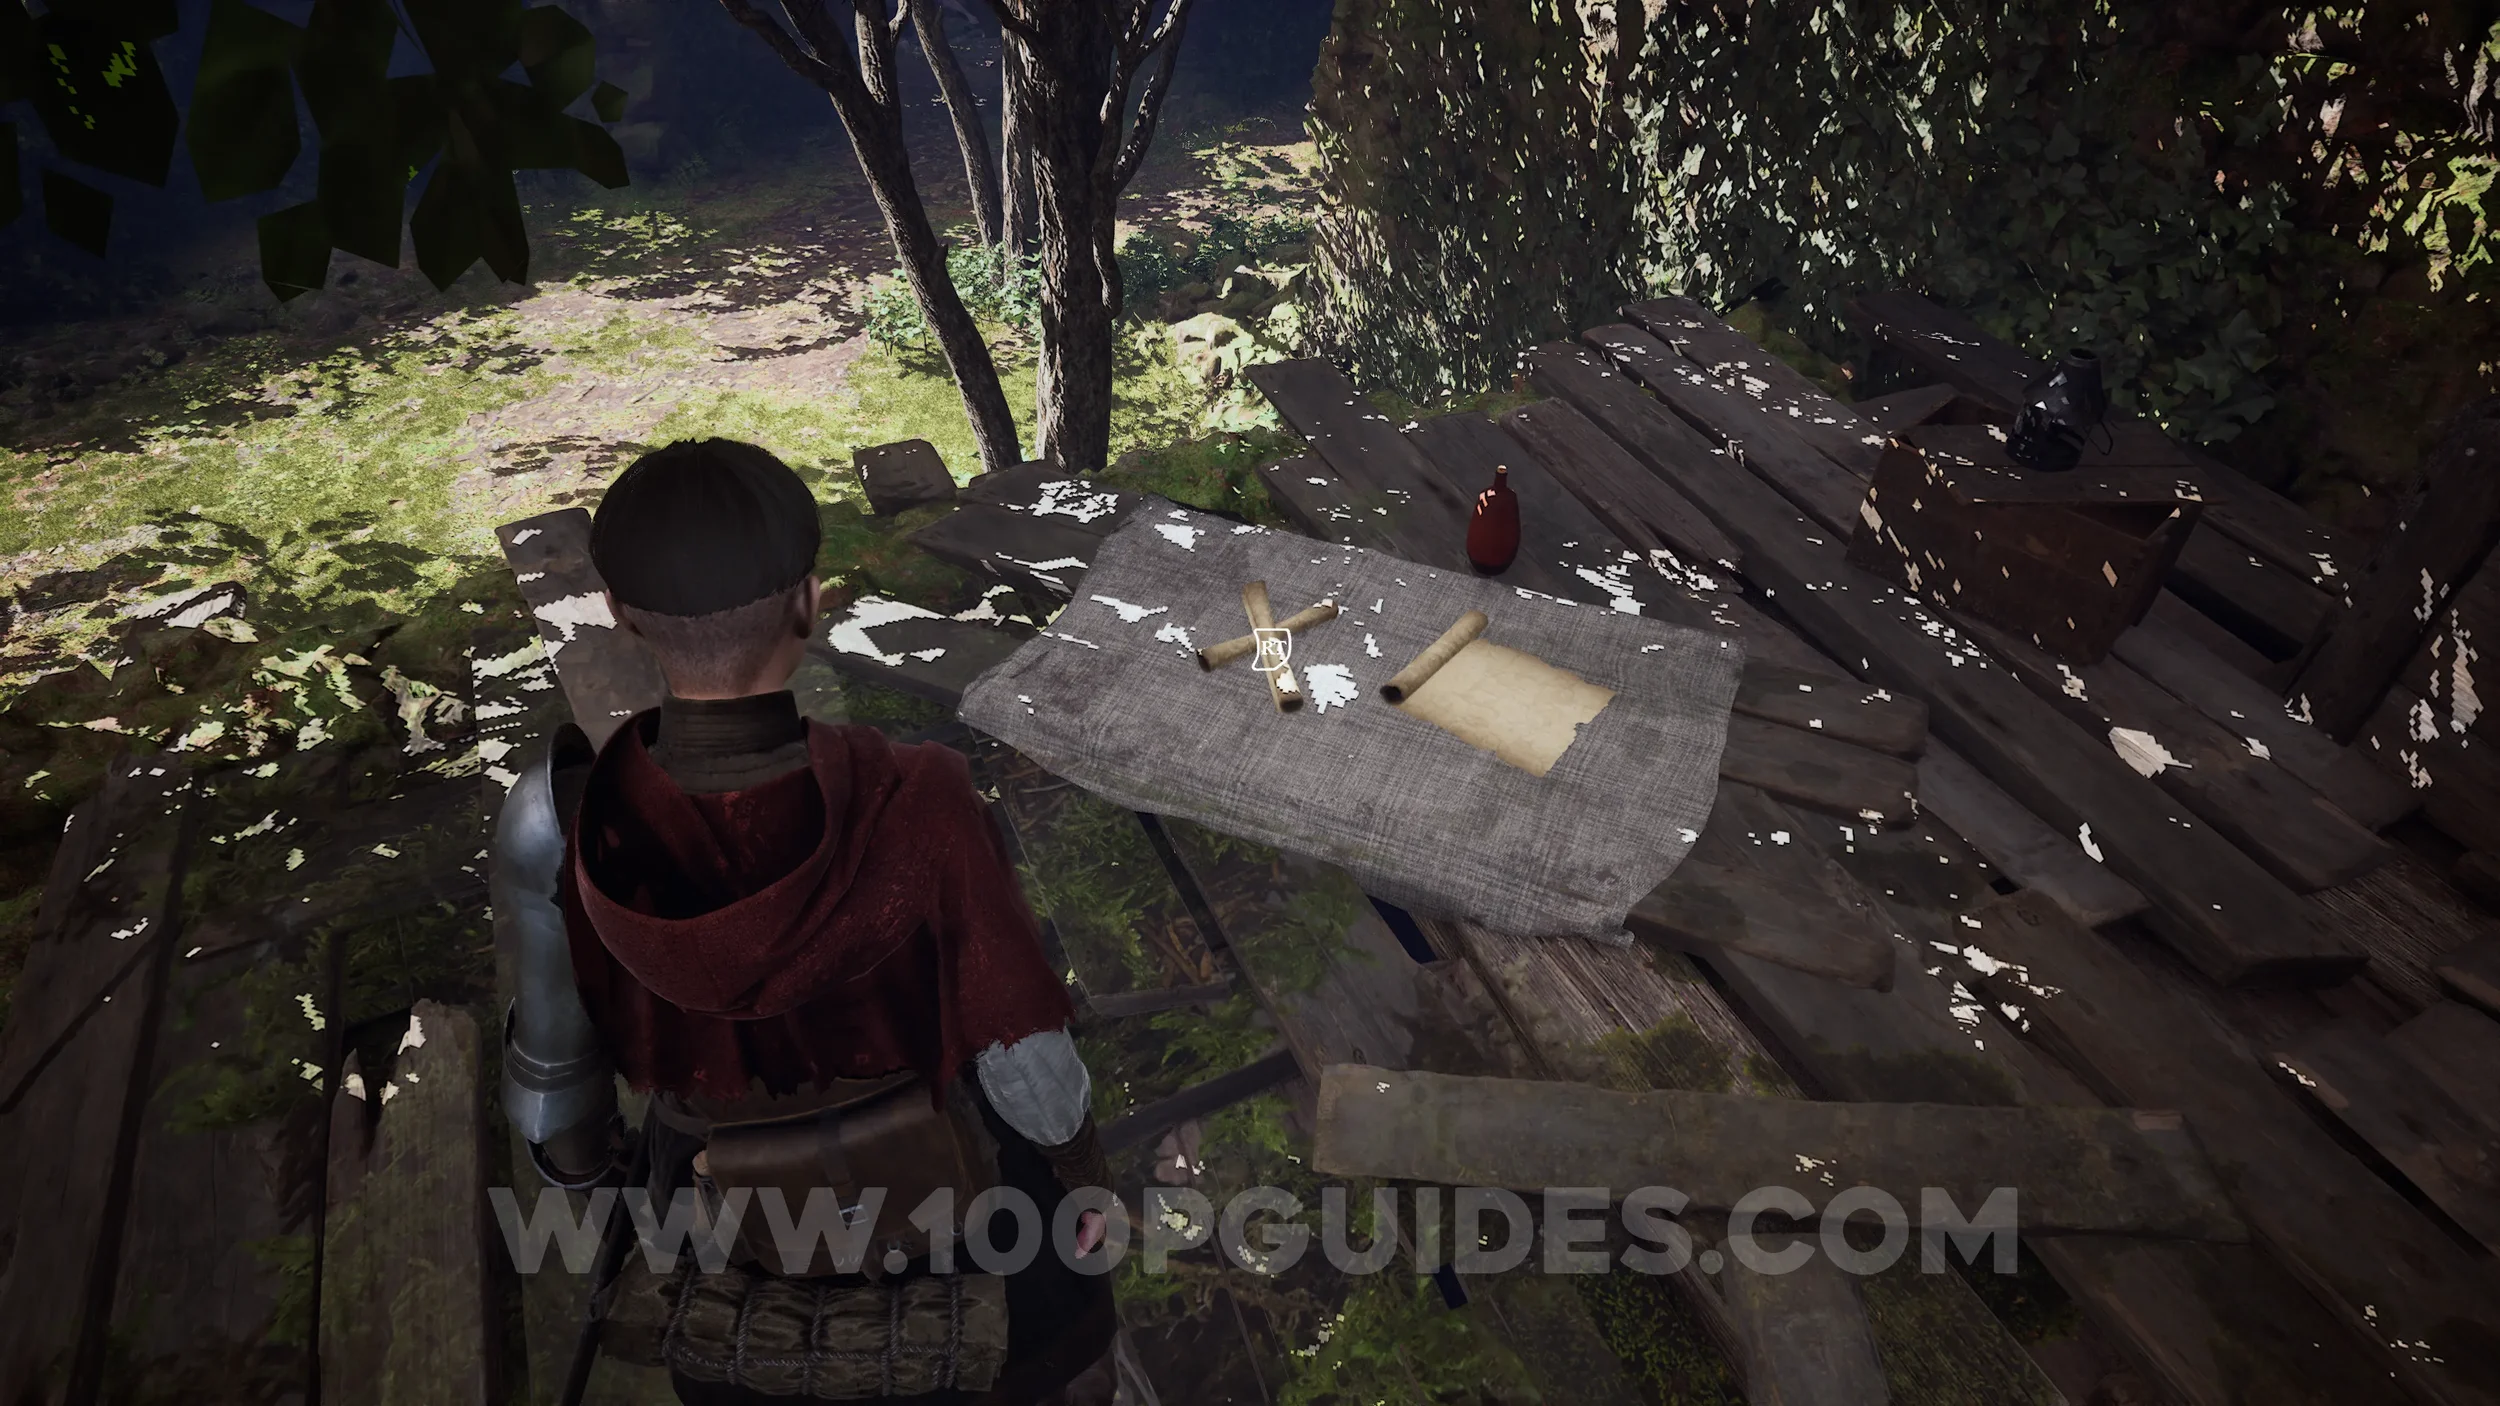
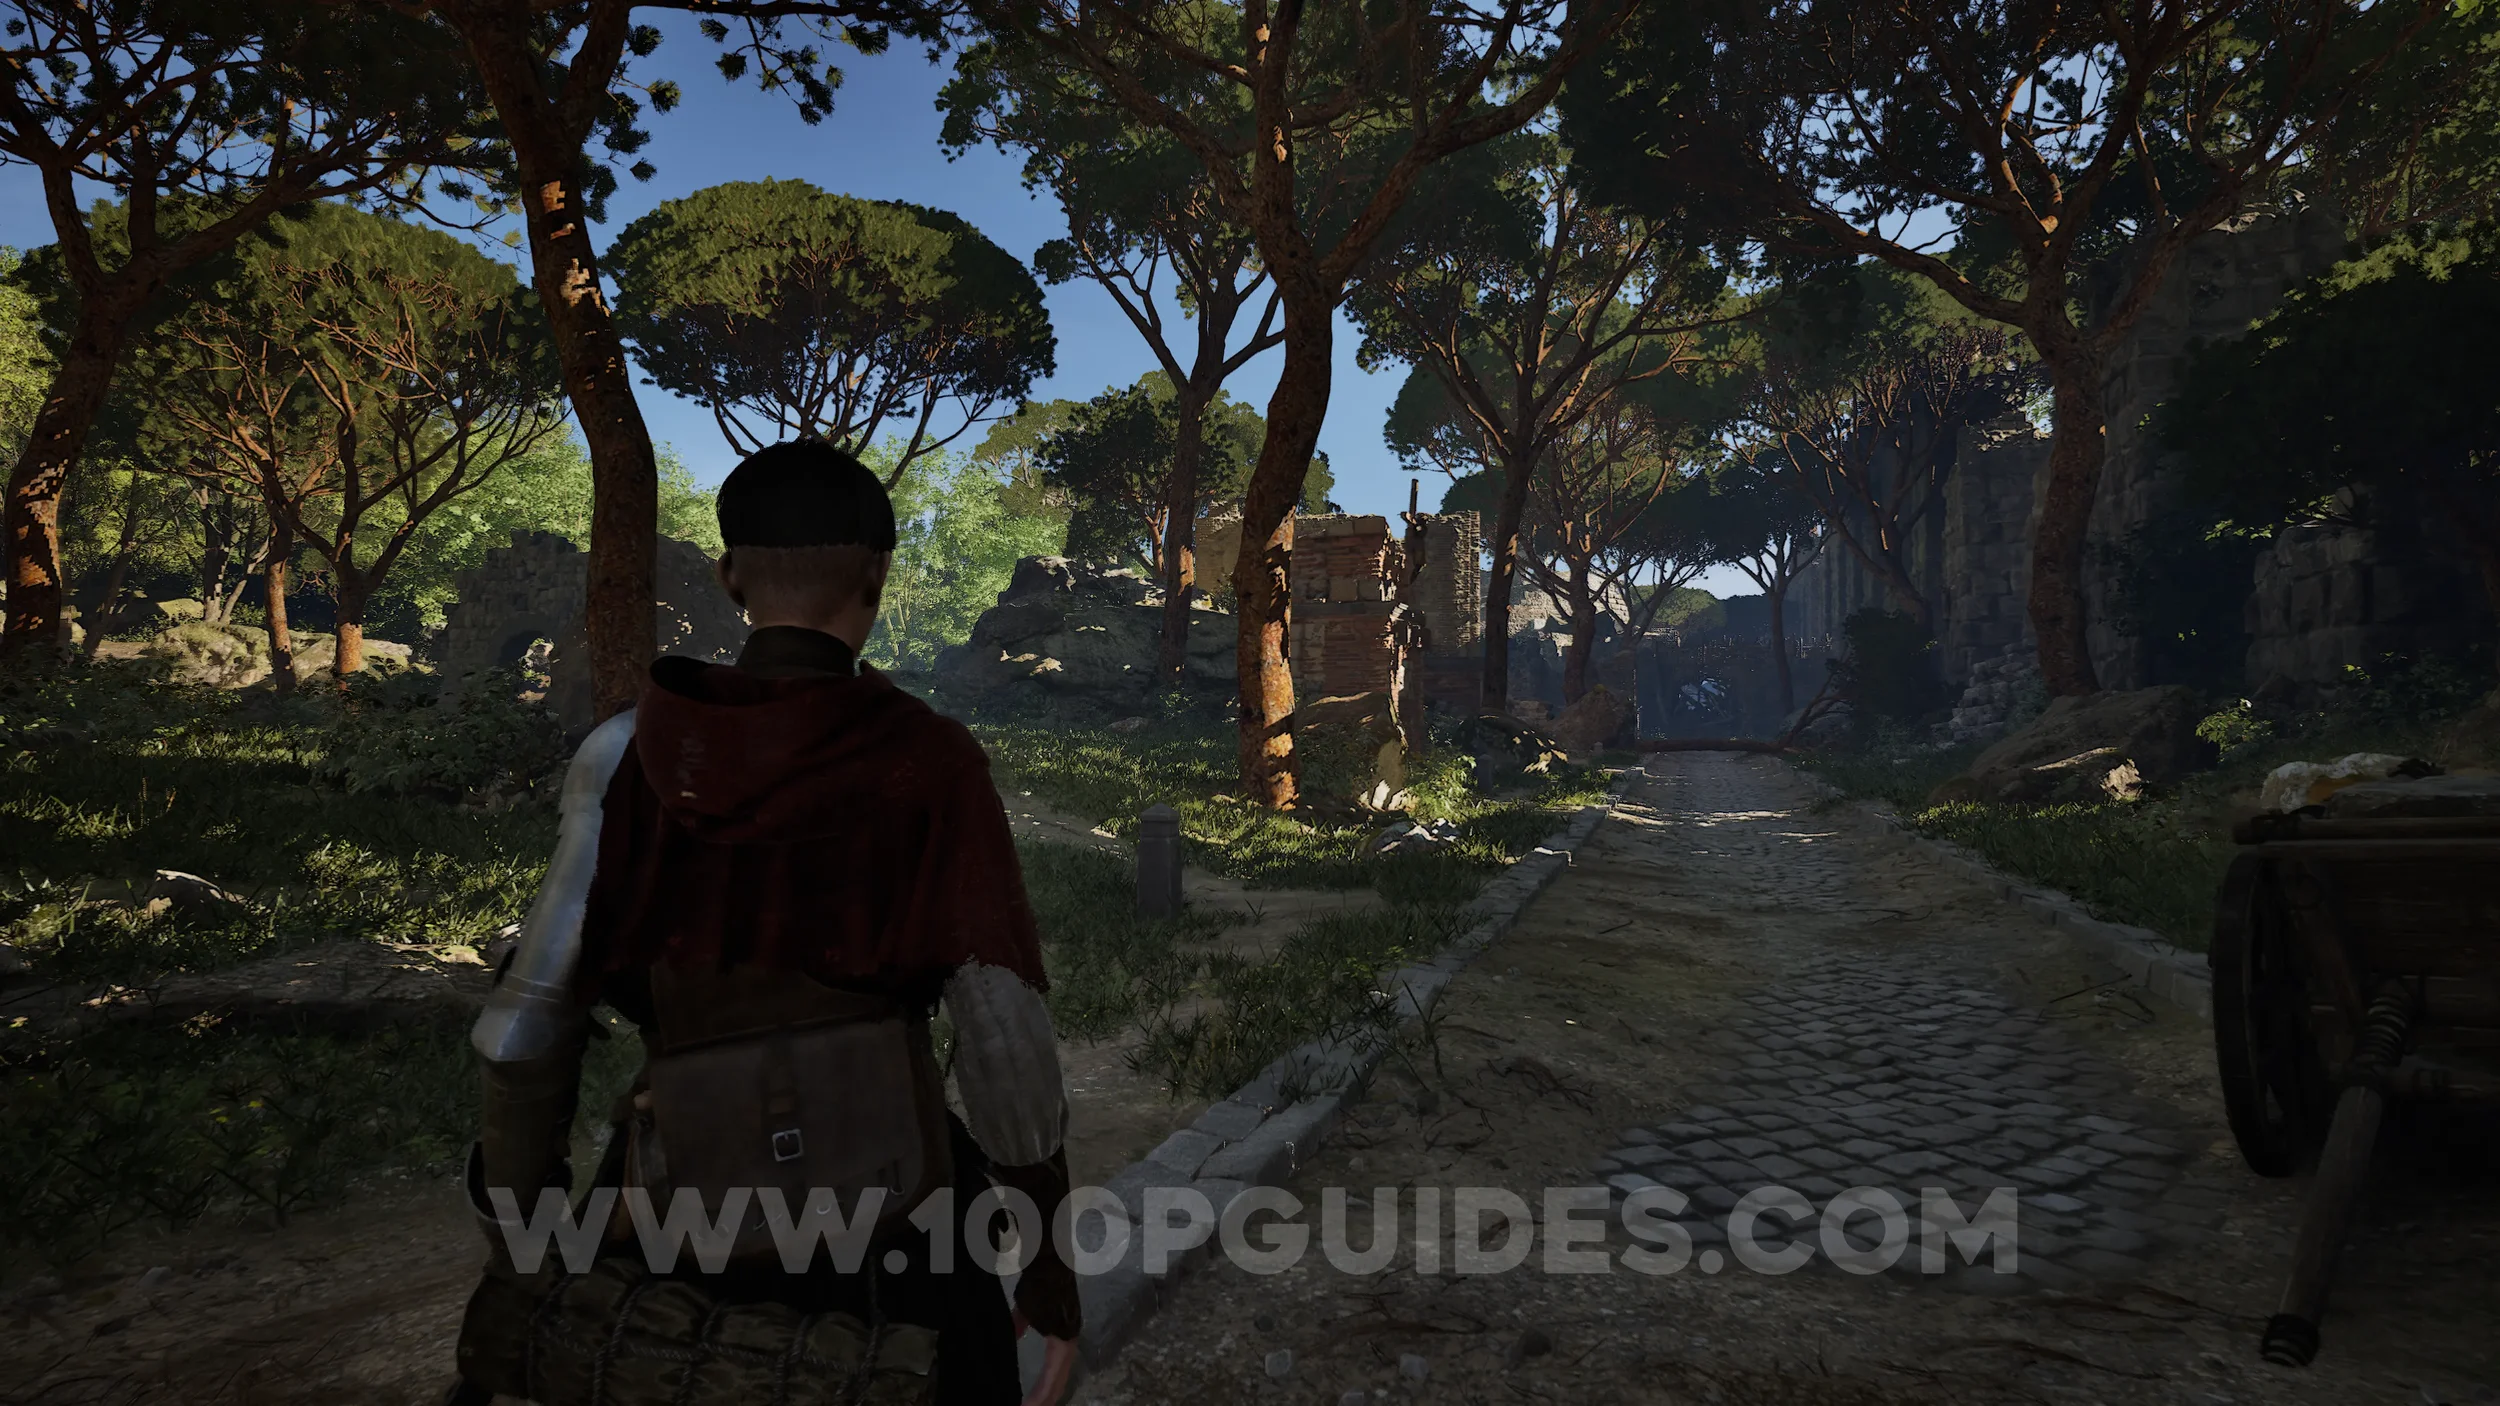
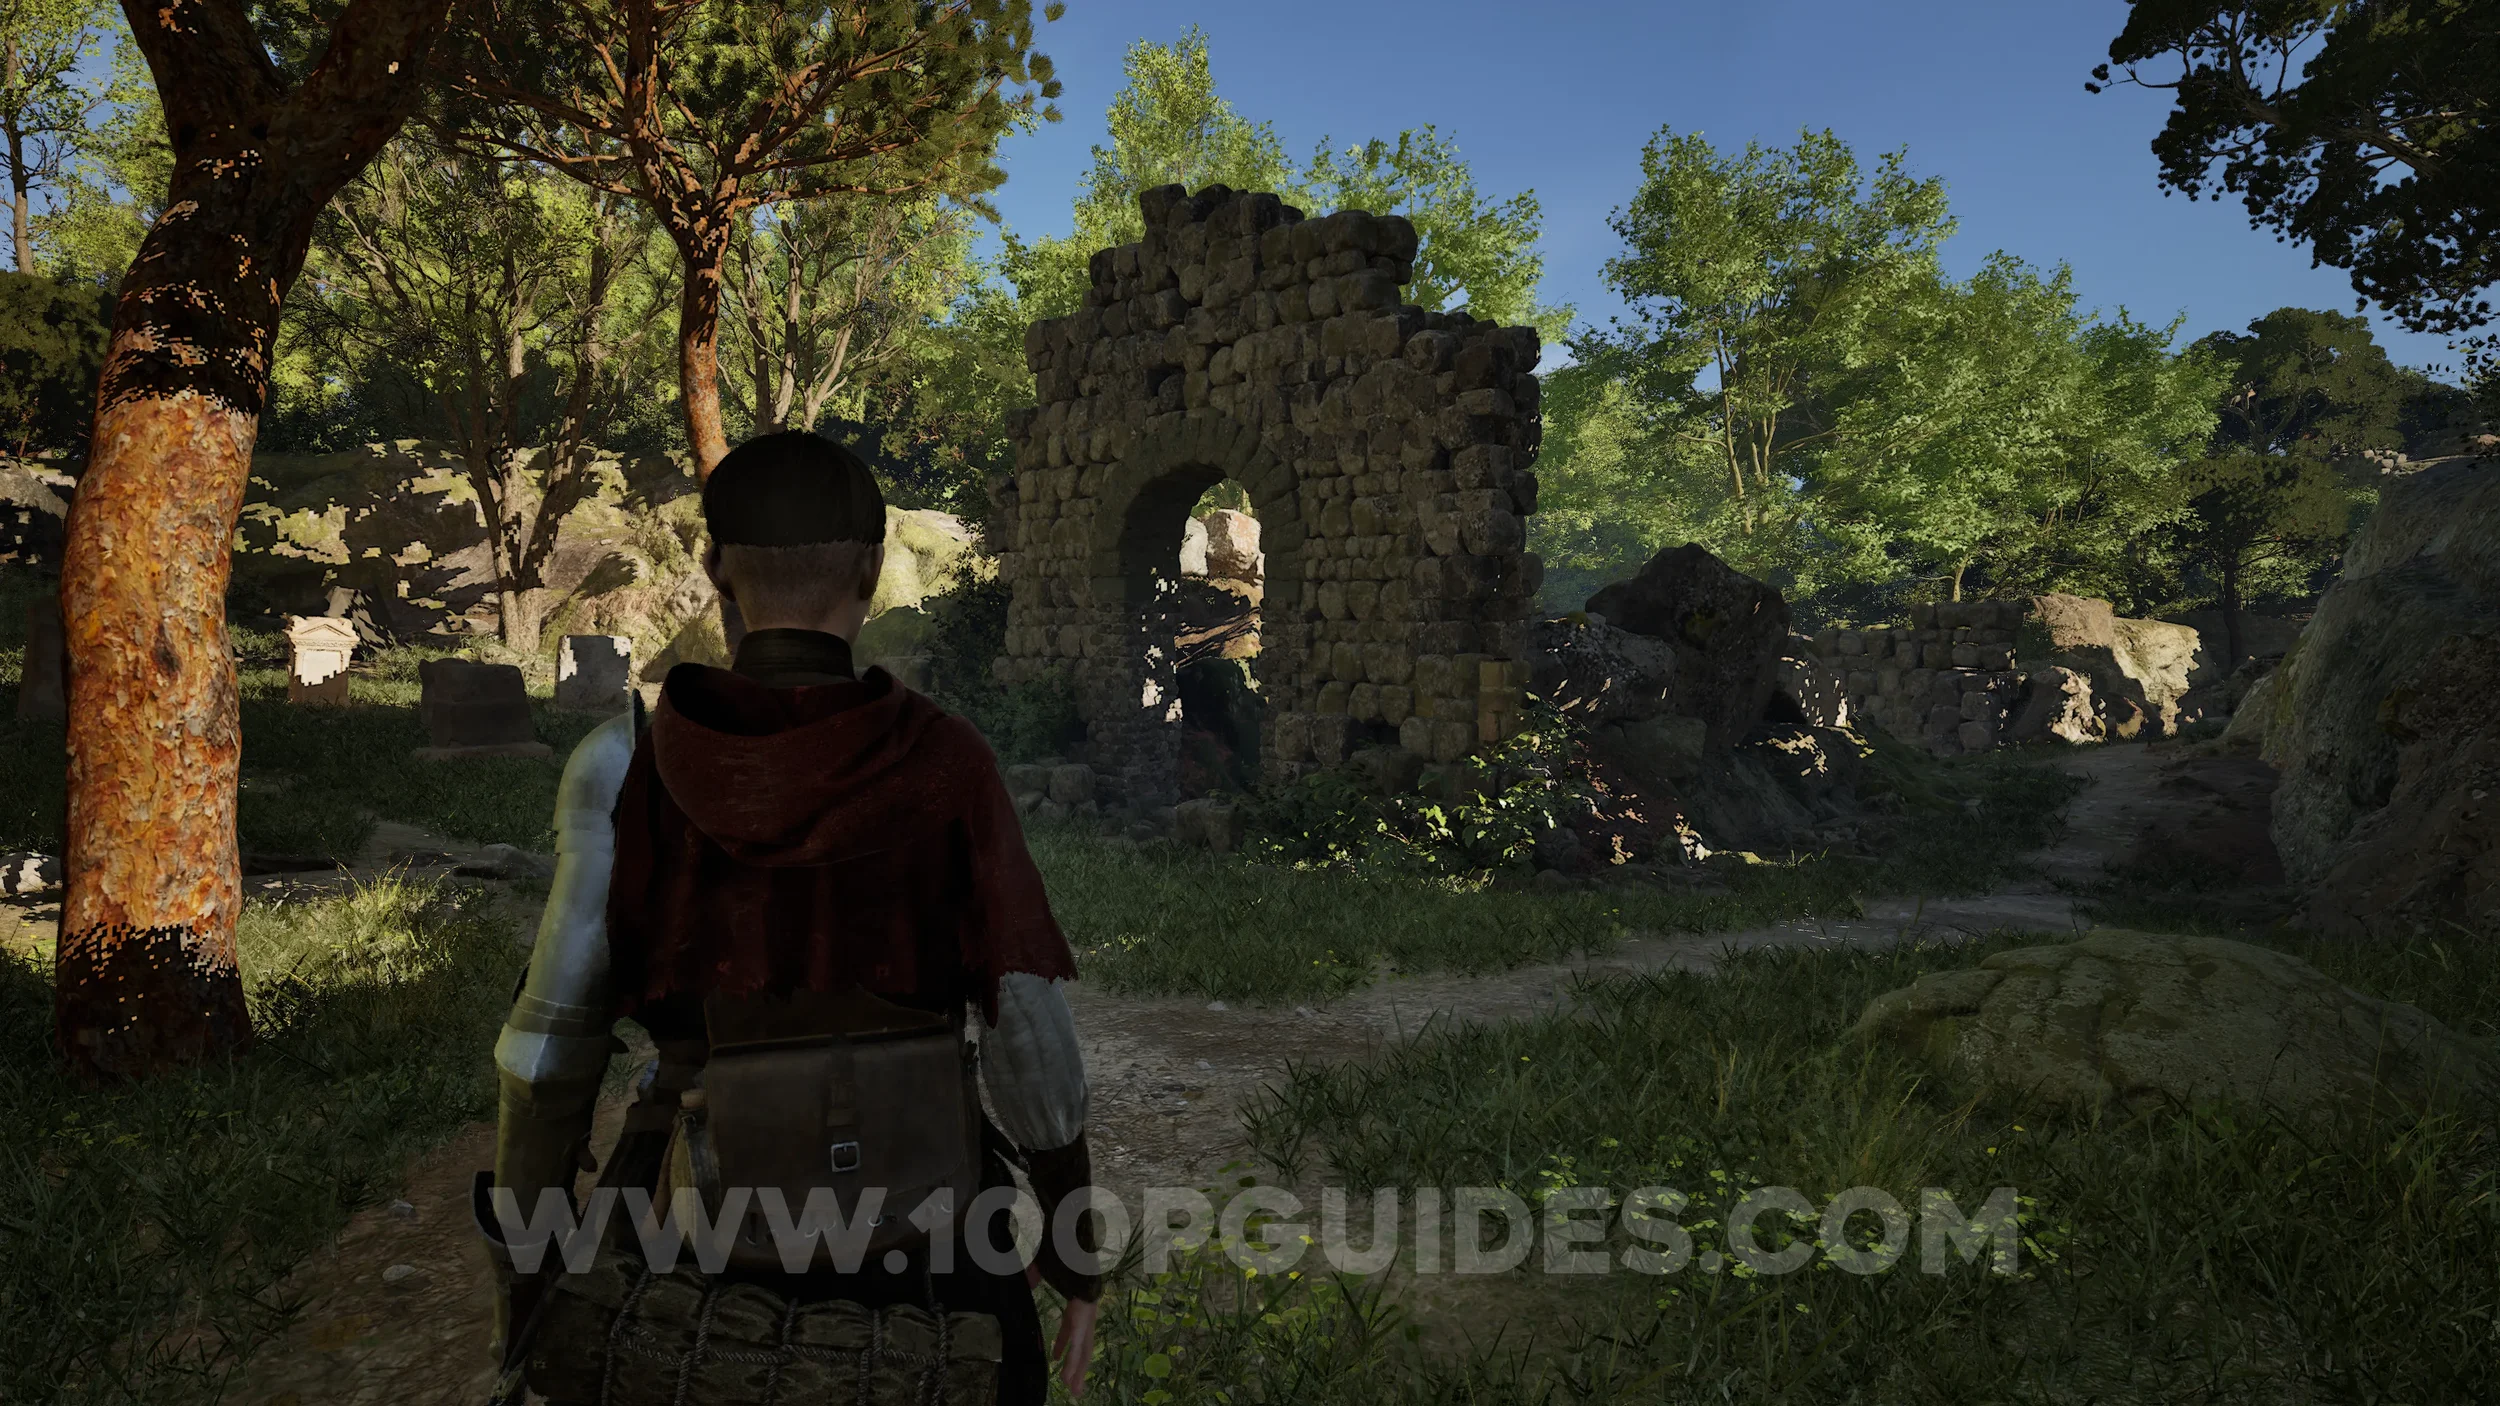
Paper #23-24. In the next open area with the aqueduct, head off the path to the left of the main road. Follow the path to the right of the arch, then at the wall, jump across the gap on your left to reach a small camp where the paper can be found.

Paper #25-26. After fighting the white-robed enemy at the top of the tower and going down the other side, stick to the right to find the paper inside a small building.
Paper #27-28 (Large). After the previous collectible, you’ll reach a building with two enemies in front of it. Defeat them, enter the building, and vault over to the papers.
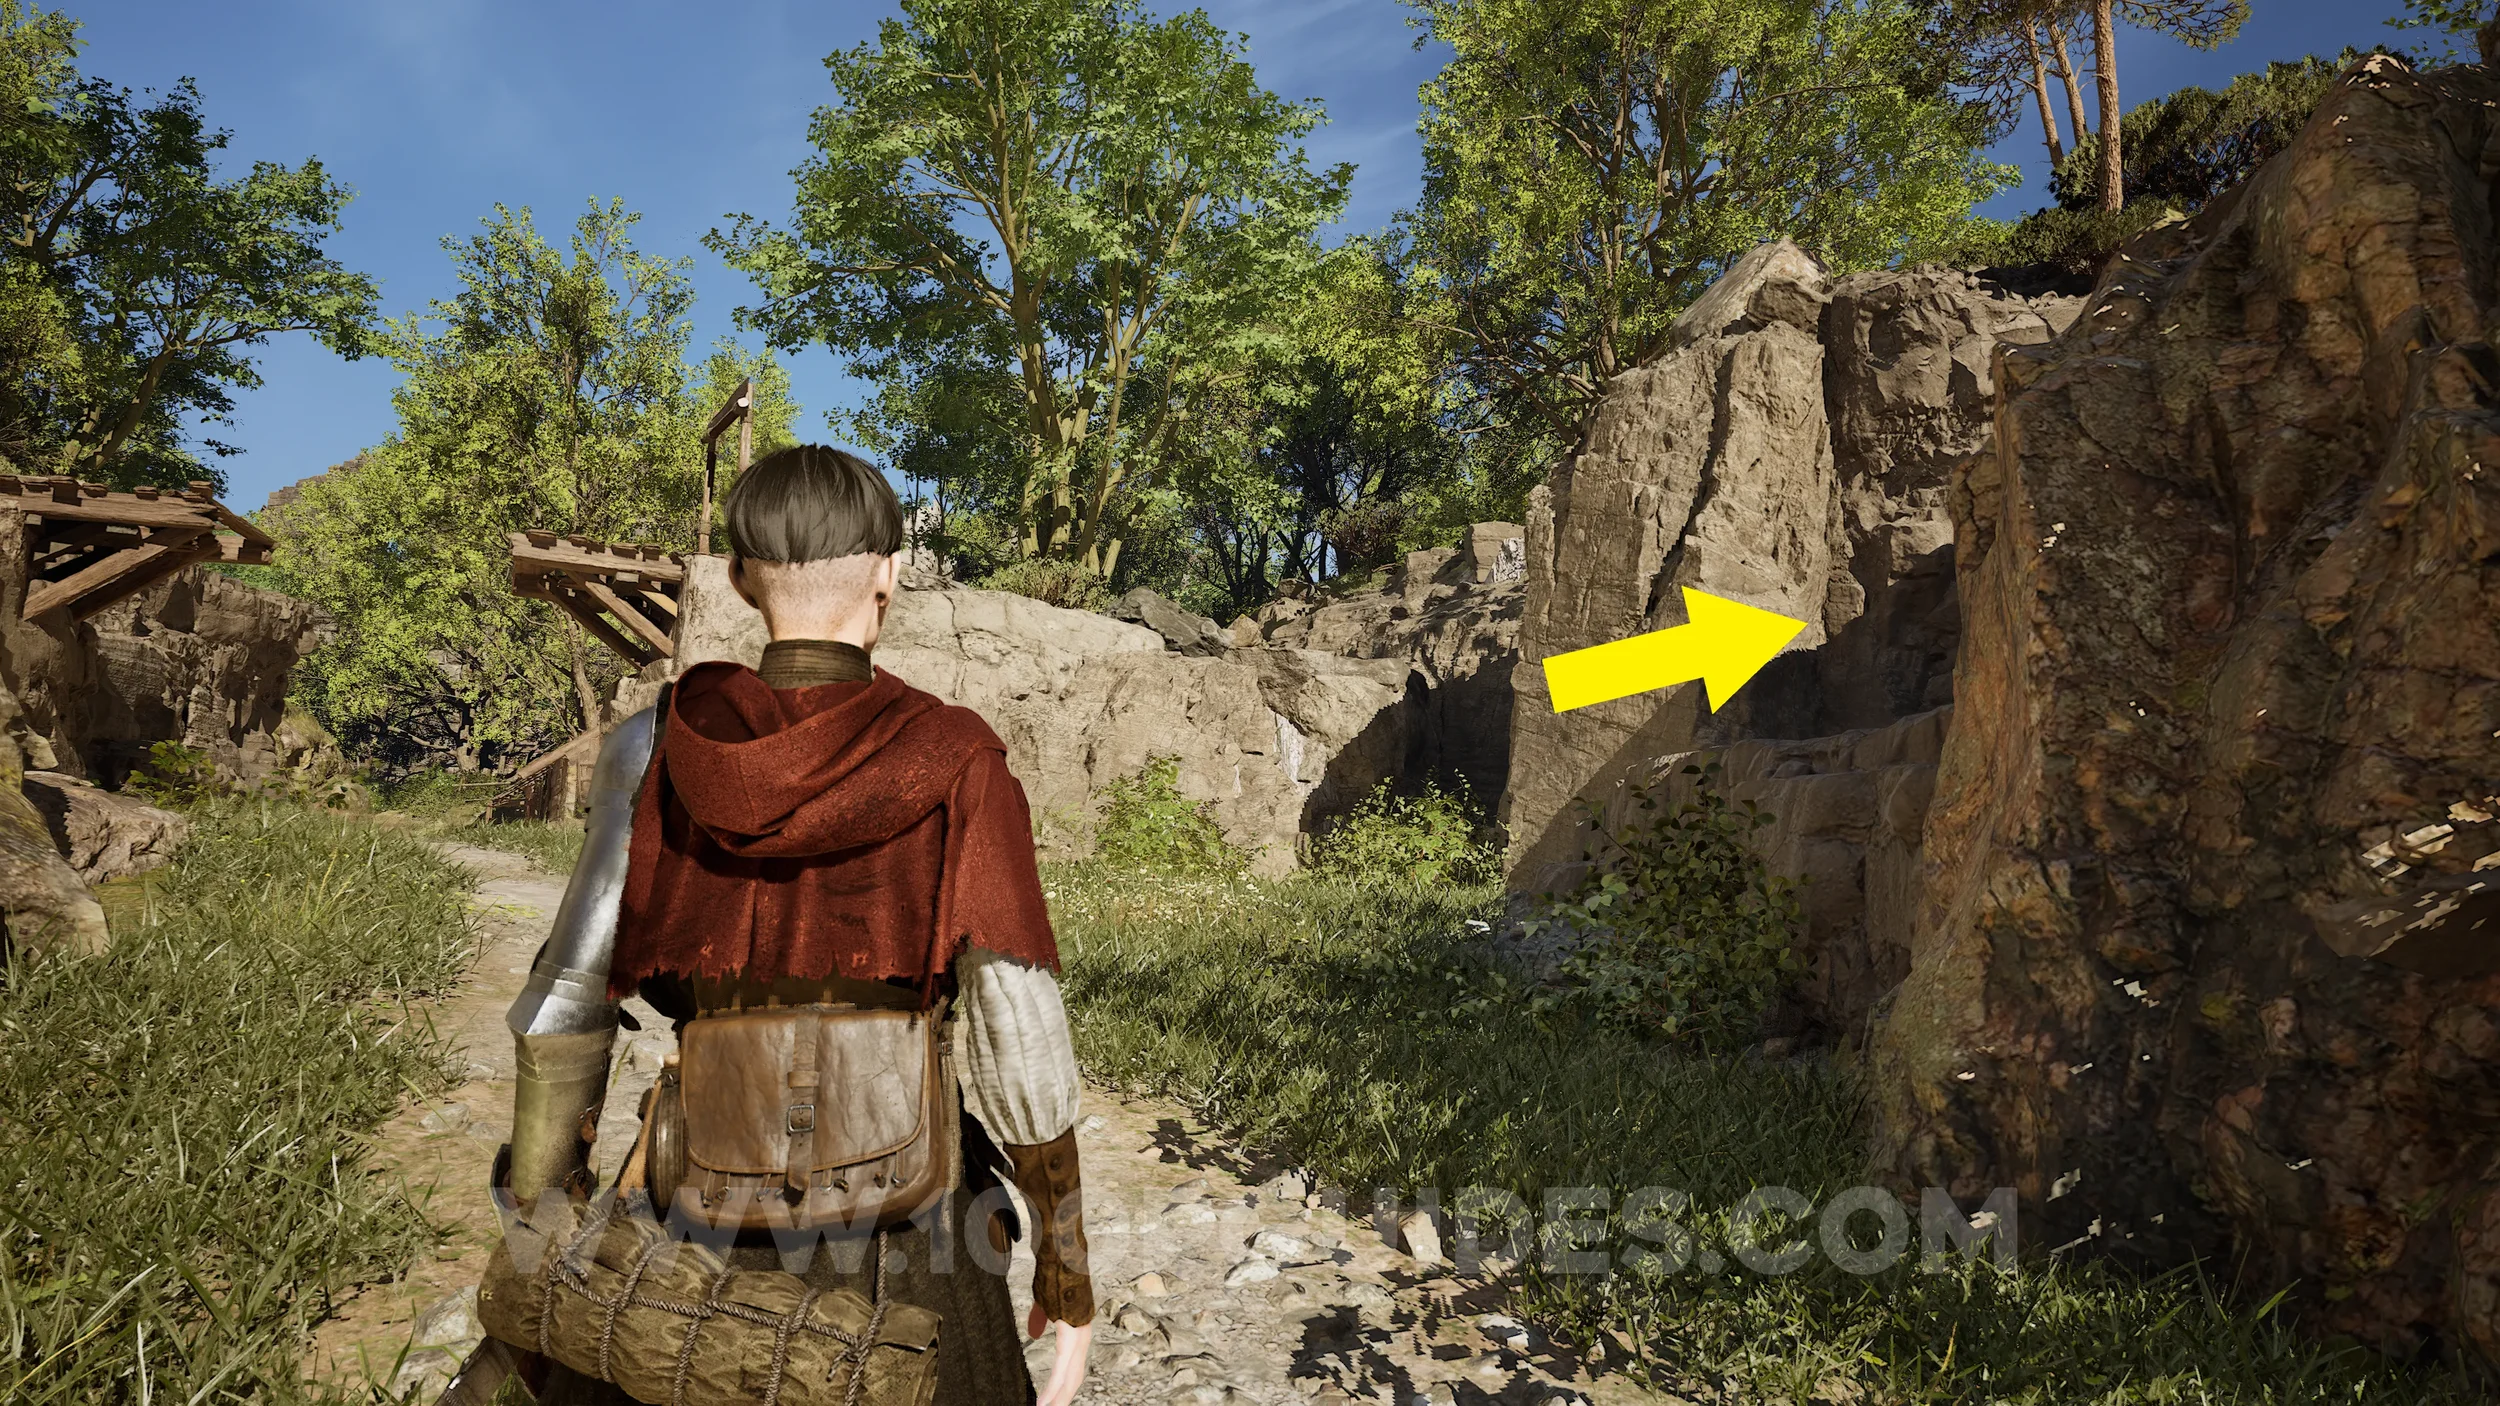
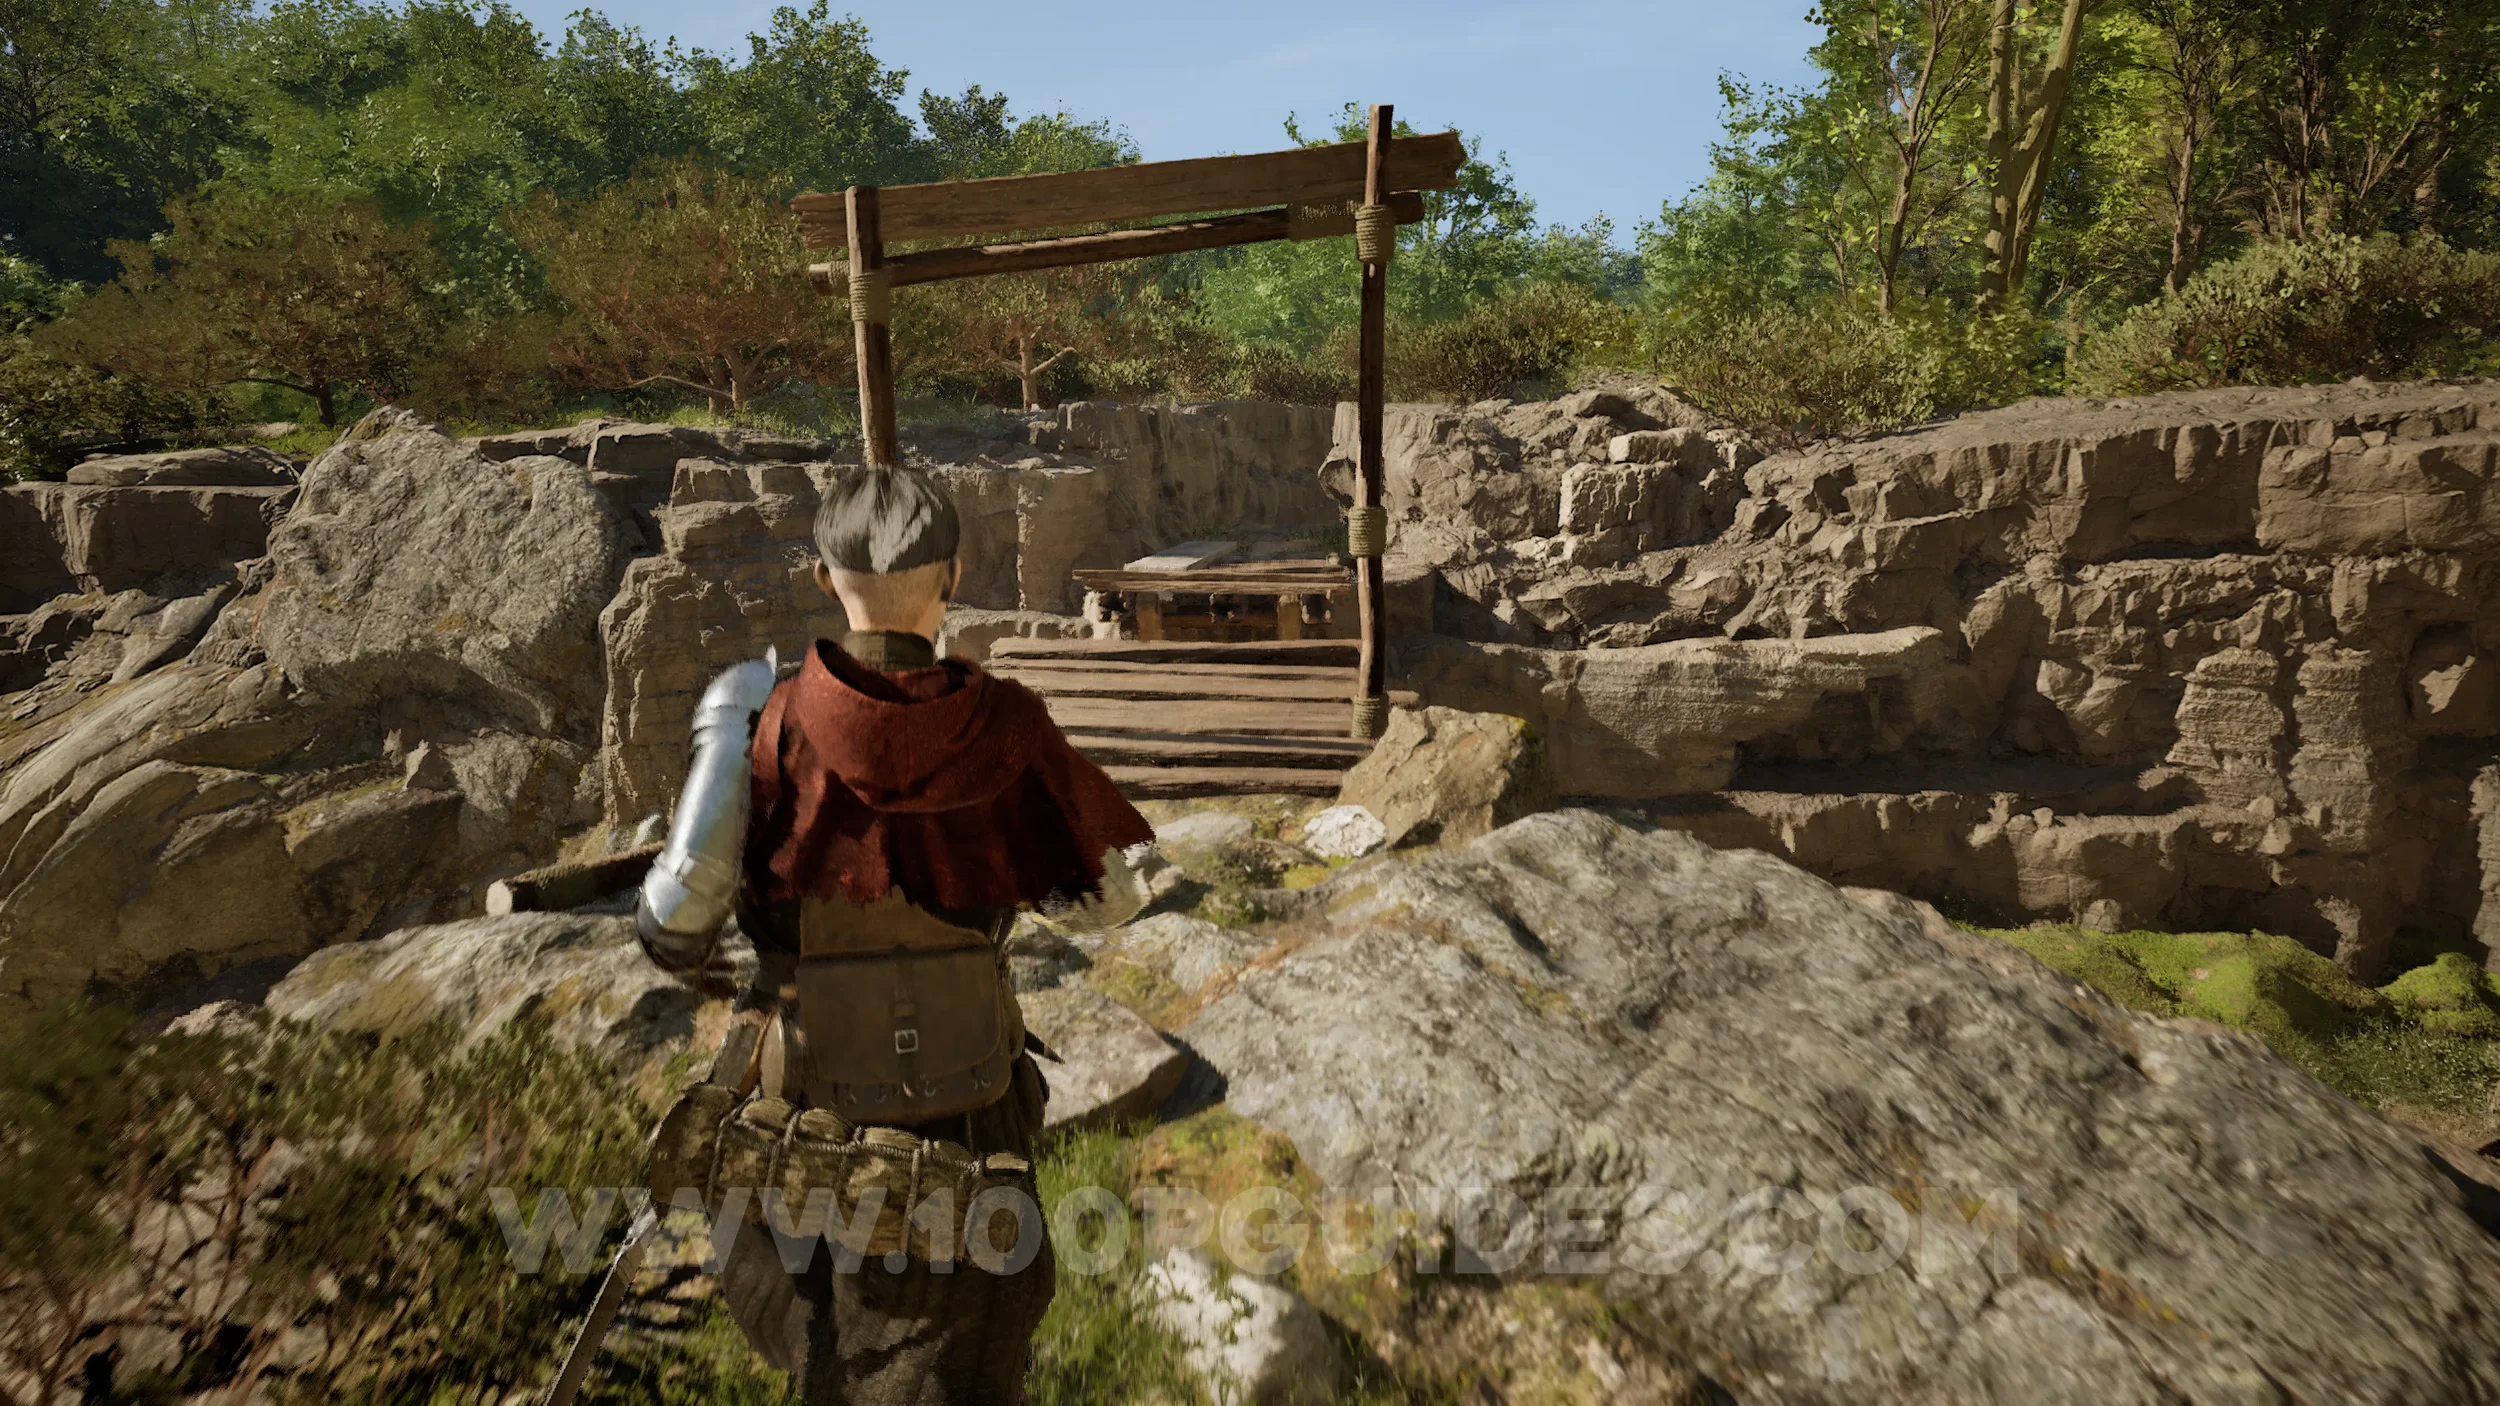
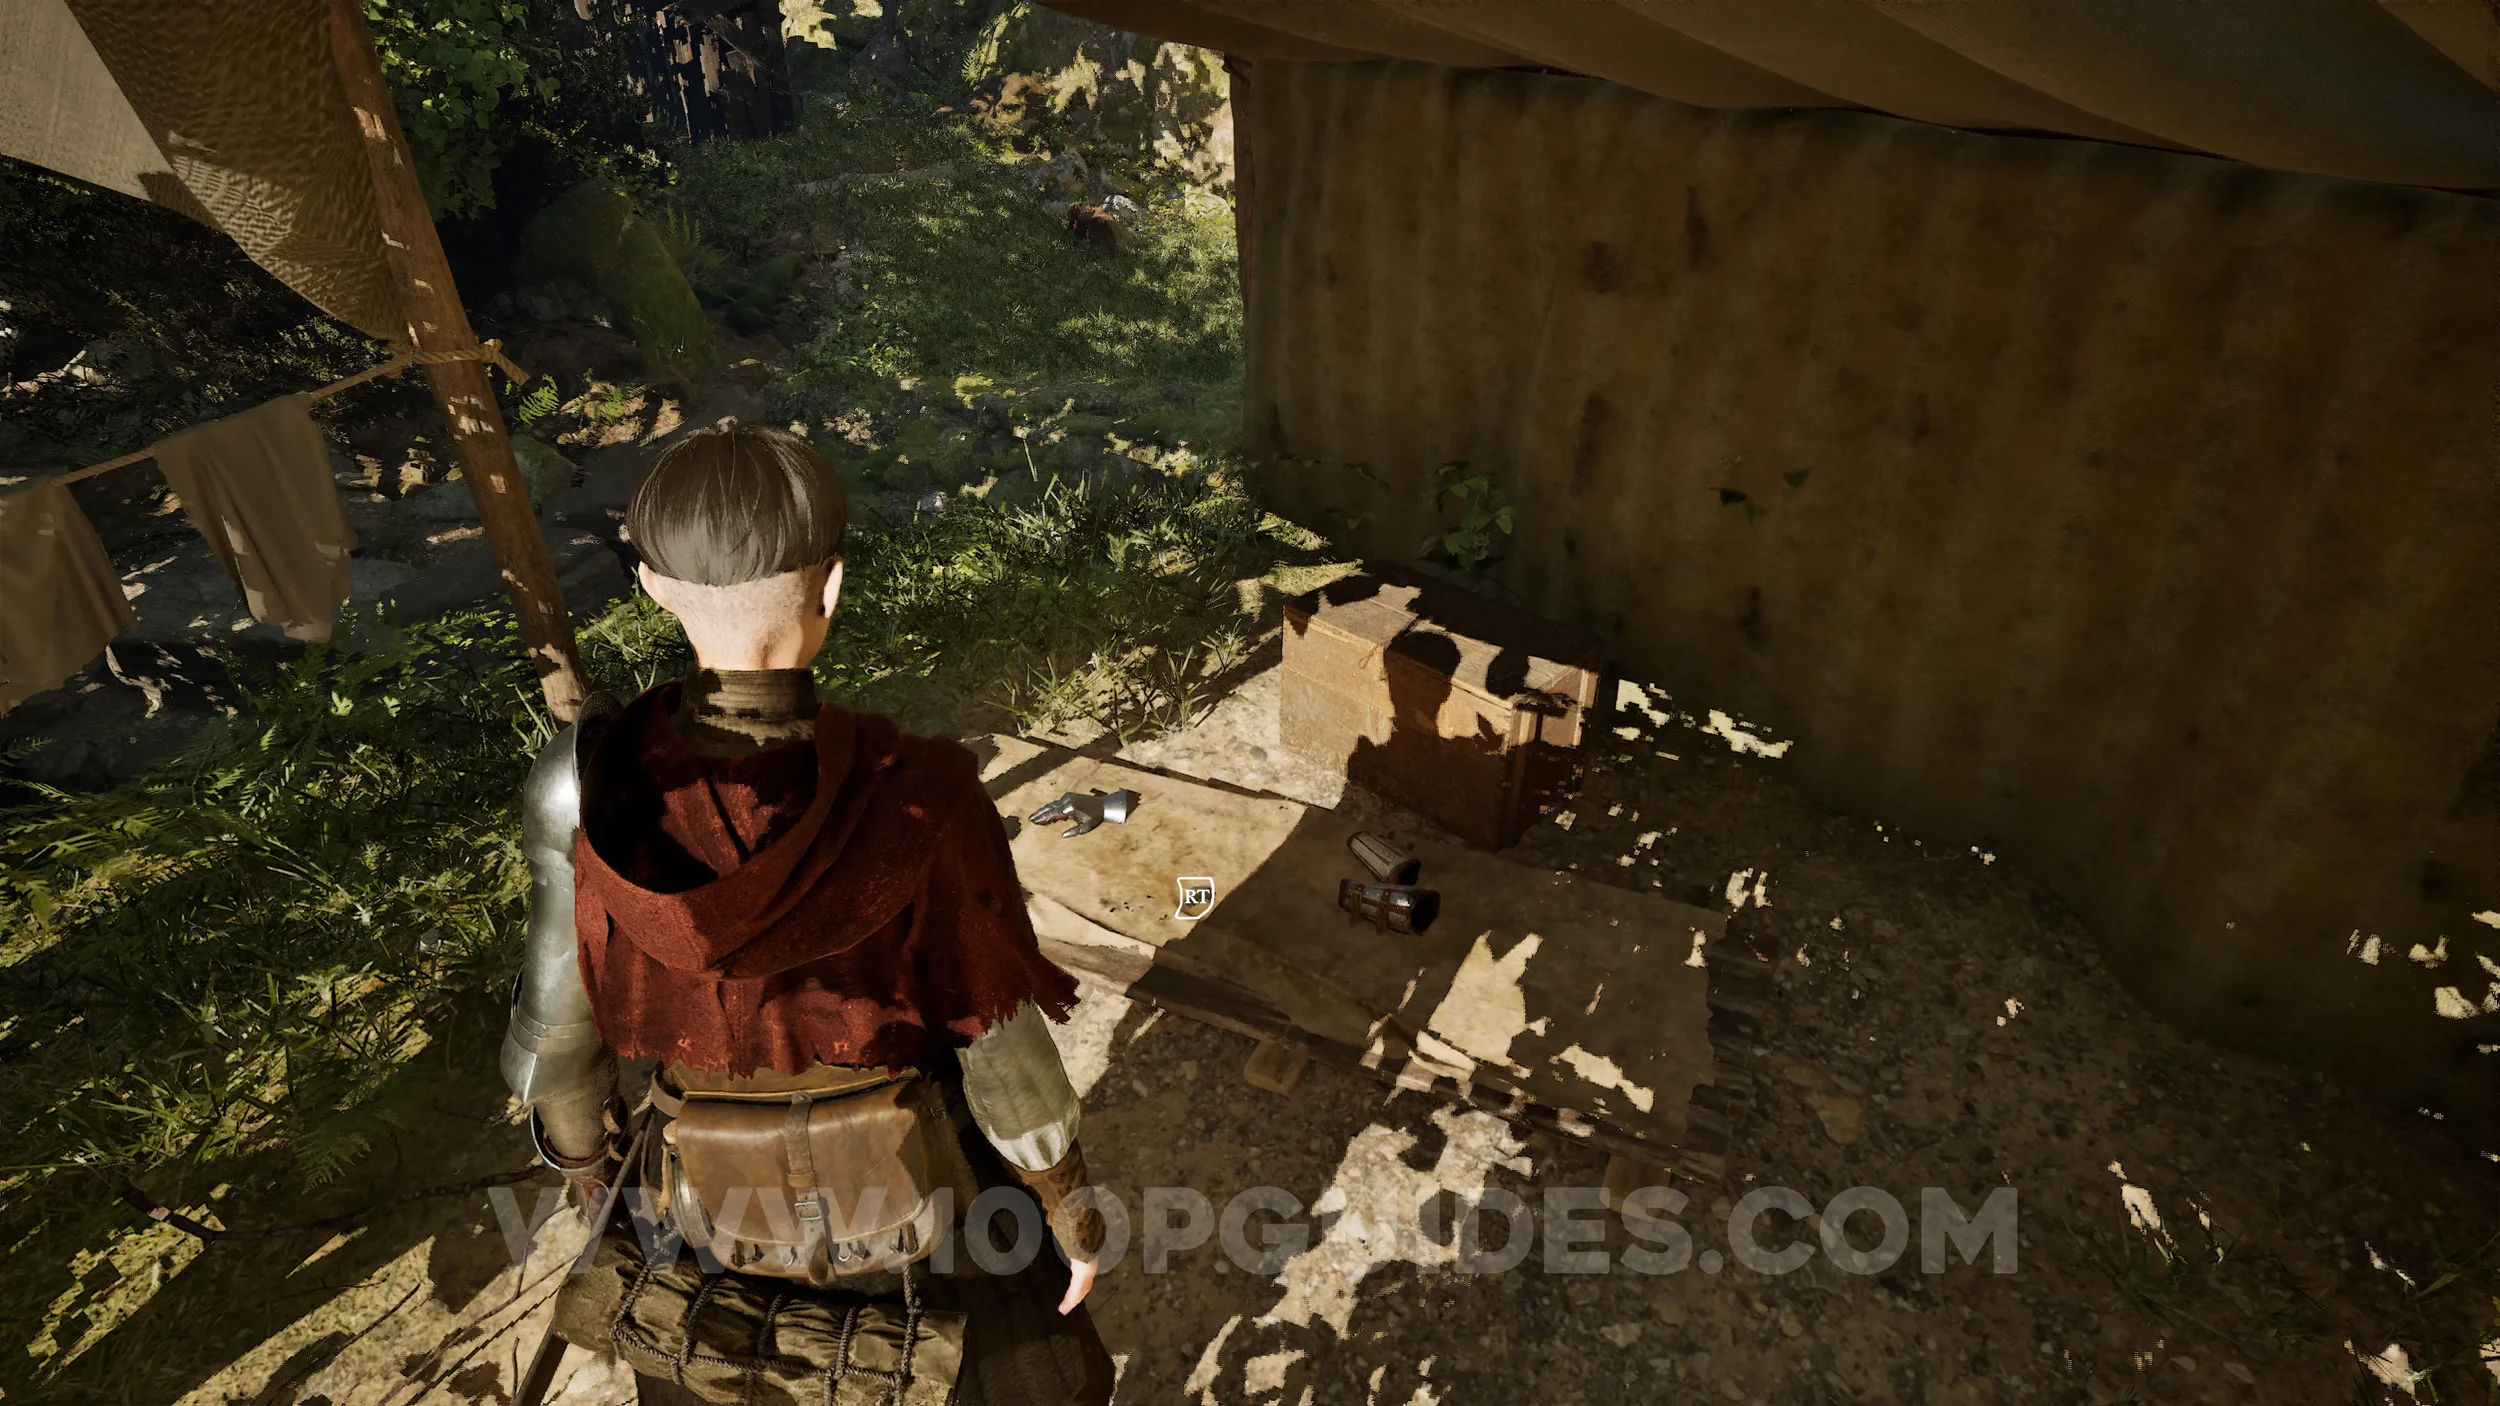
Sword Part #9 - Tusca Pommel. After defeating the three enemies on the cliff and taking the path on the left, you’ll see a broken wooden bridge above you. Just before going under it, climb up the path on your right. Follow it and jump across the broken bridge to reach the camp, where you can find the sword part.
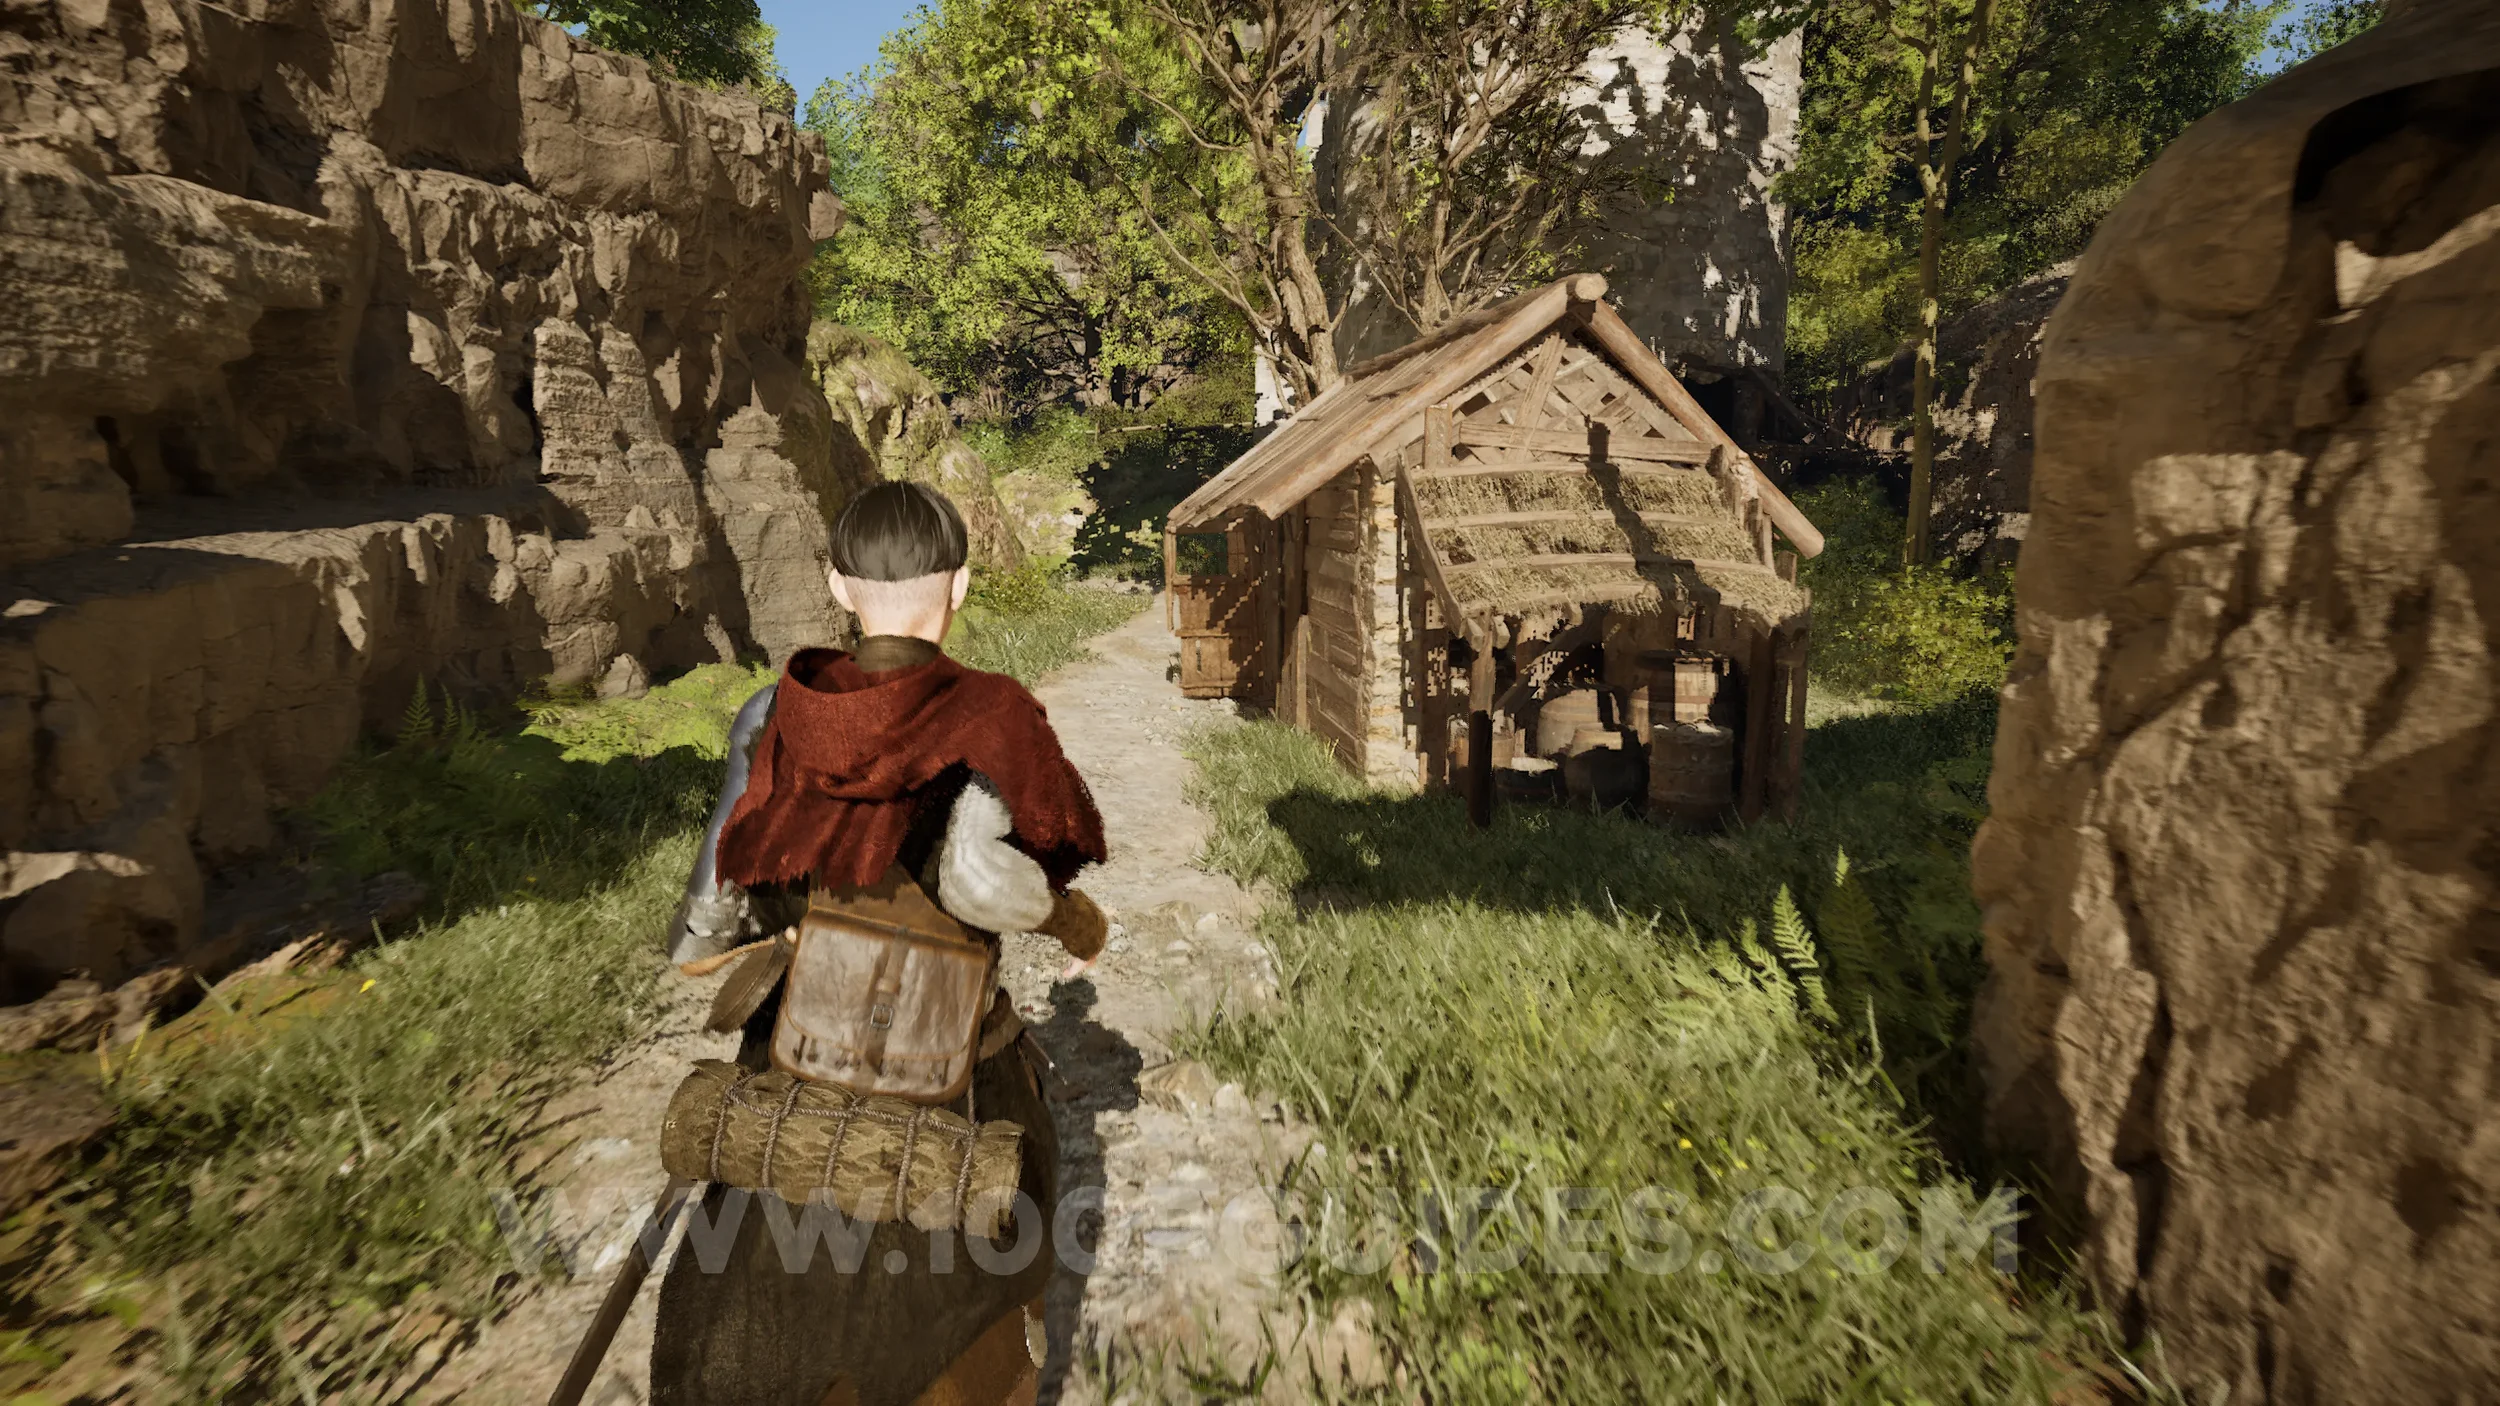
Paper #29-30. Return to the main path and go under the bridge. The paper can be found in the small hut on the right.
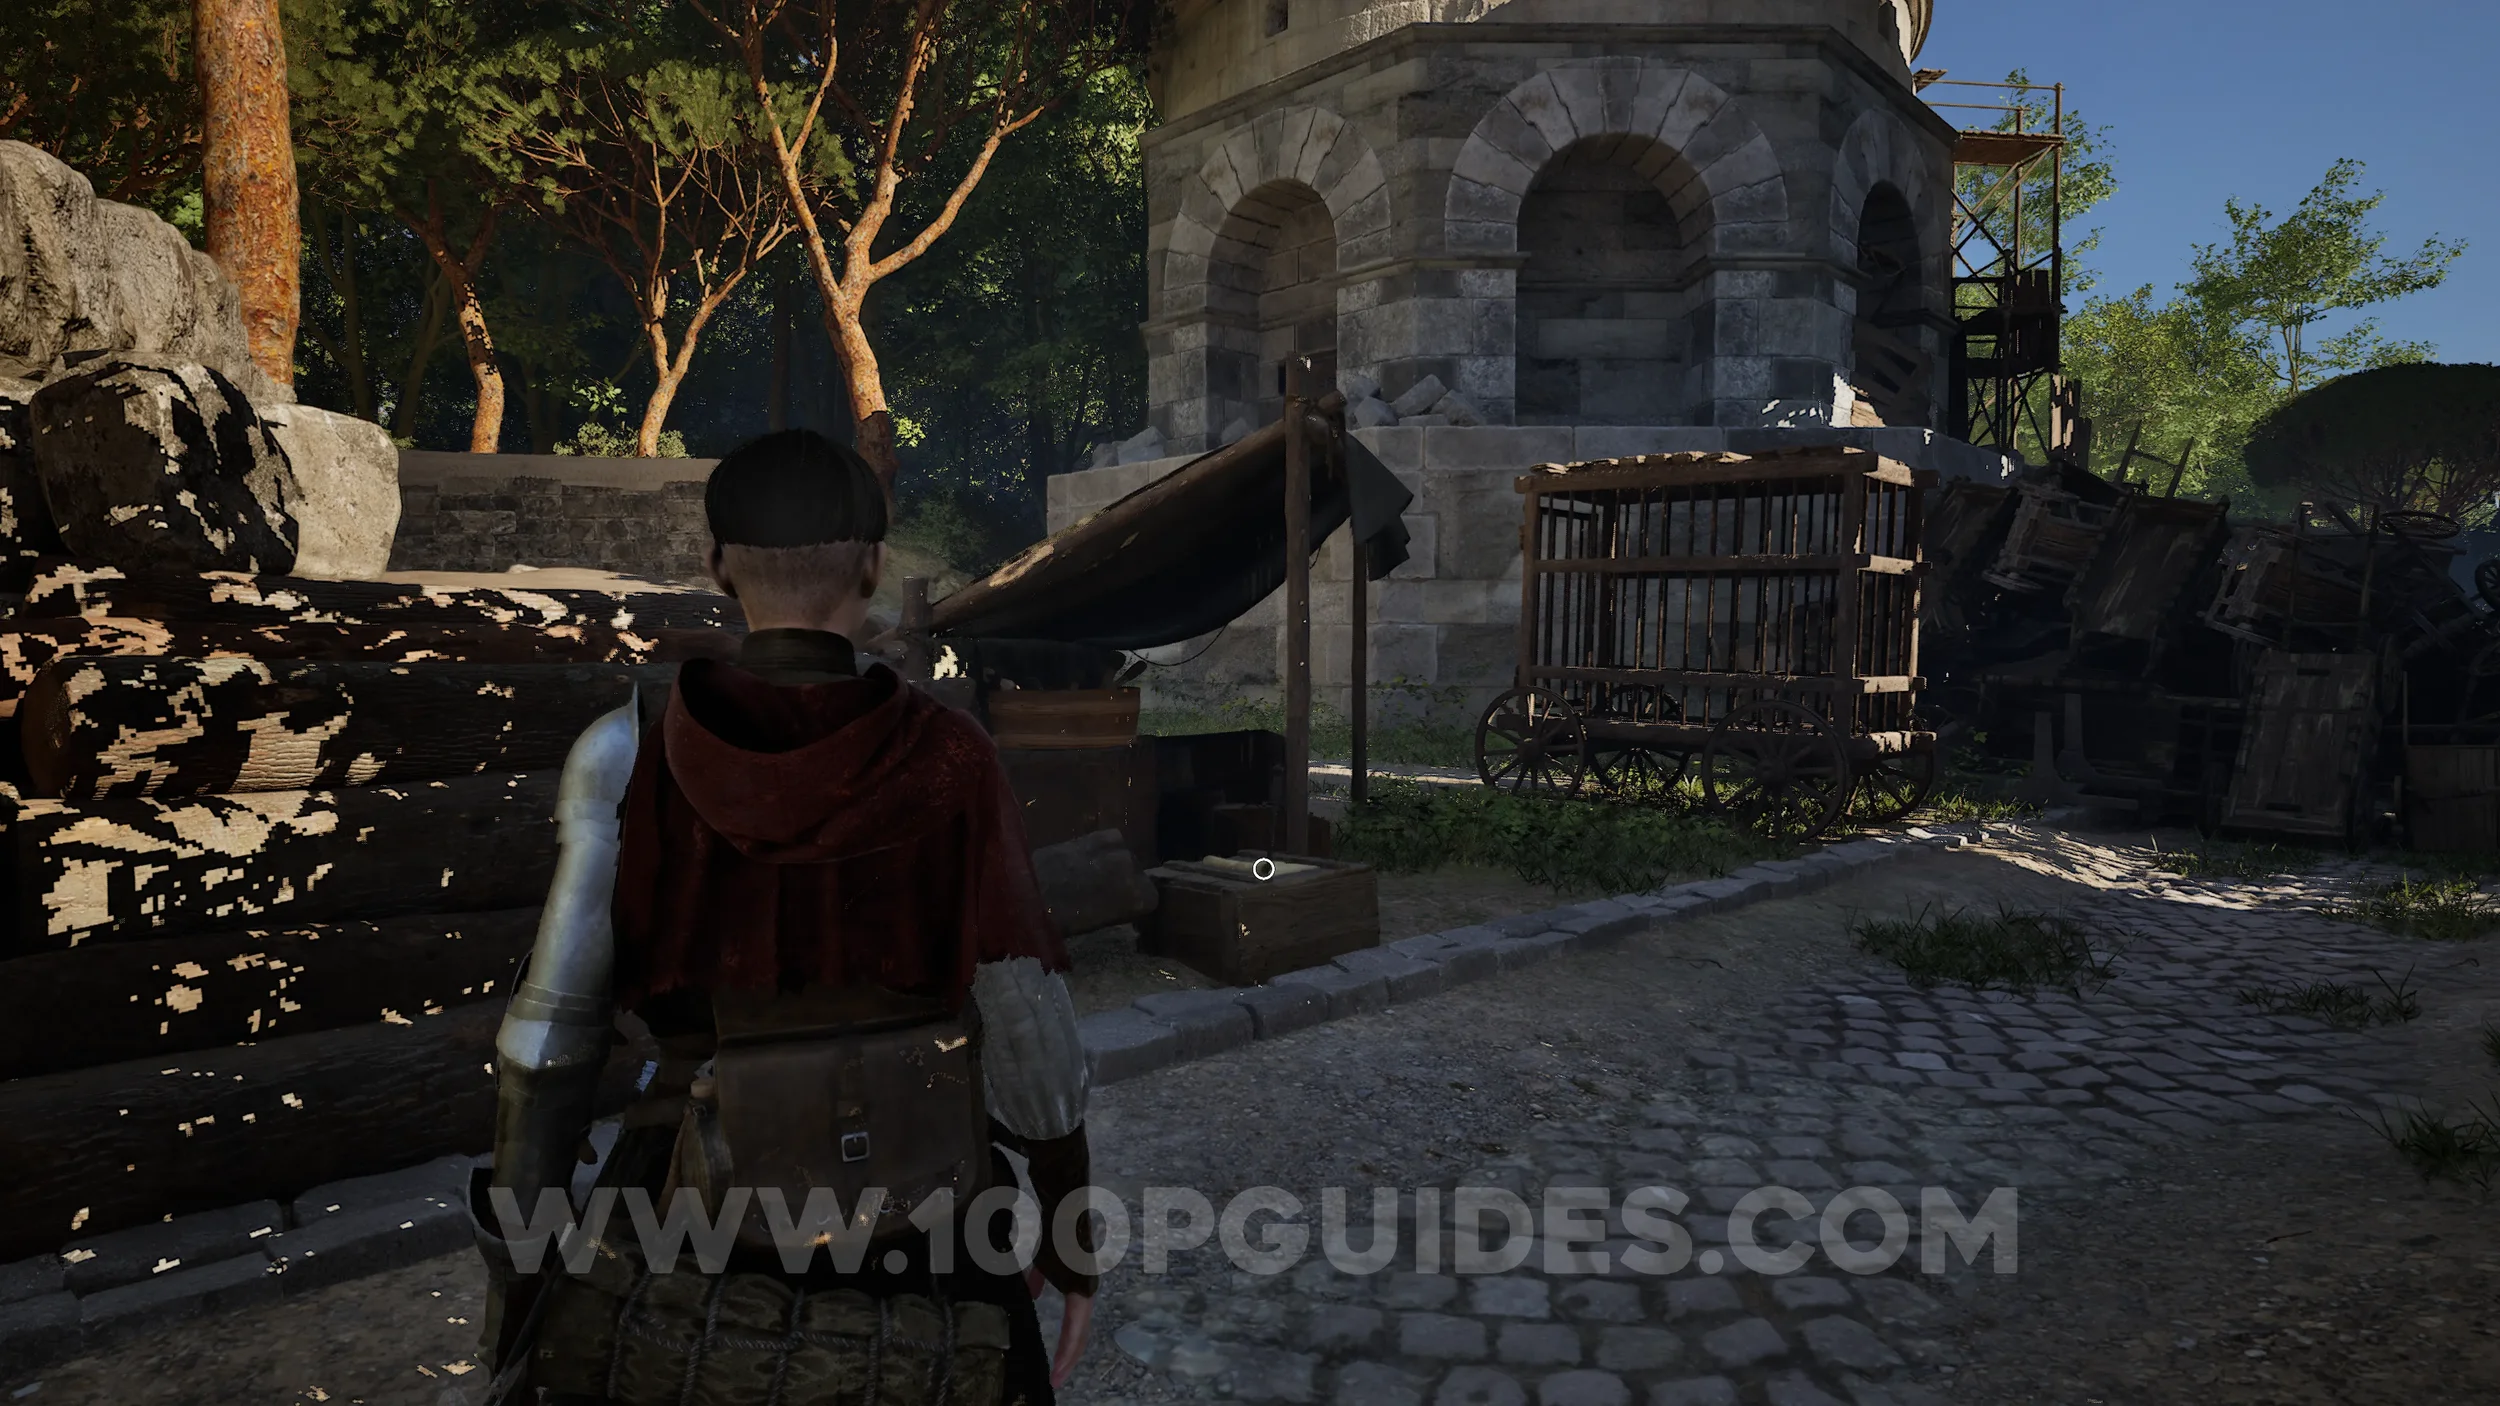
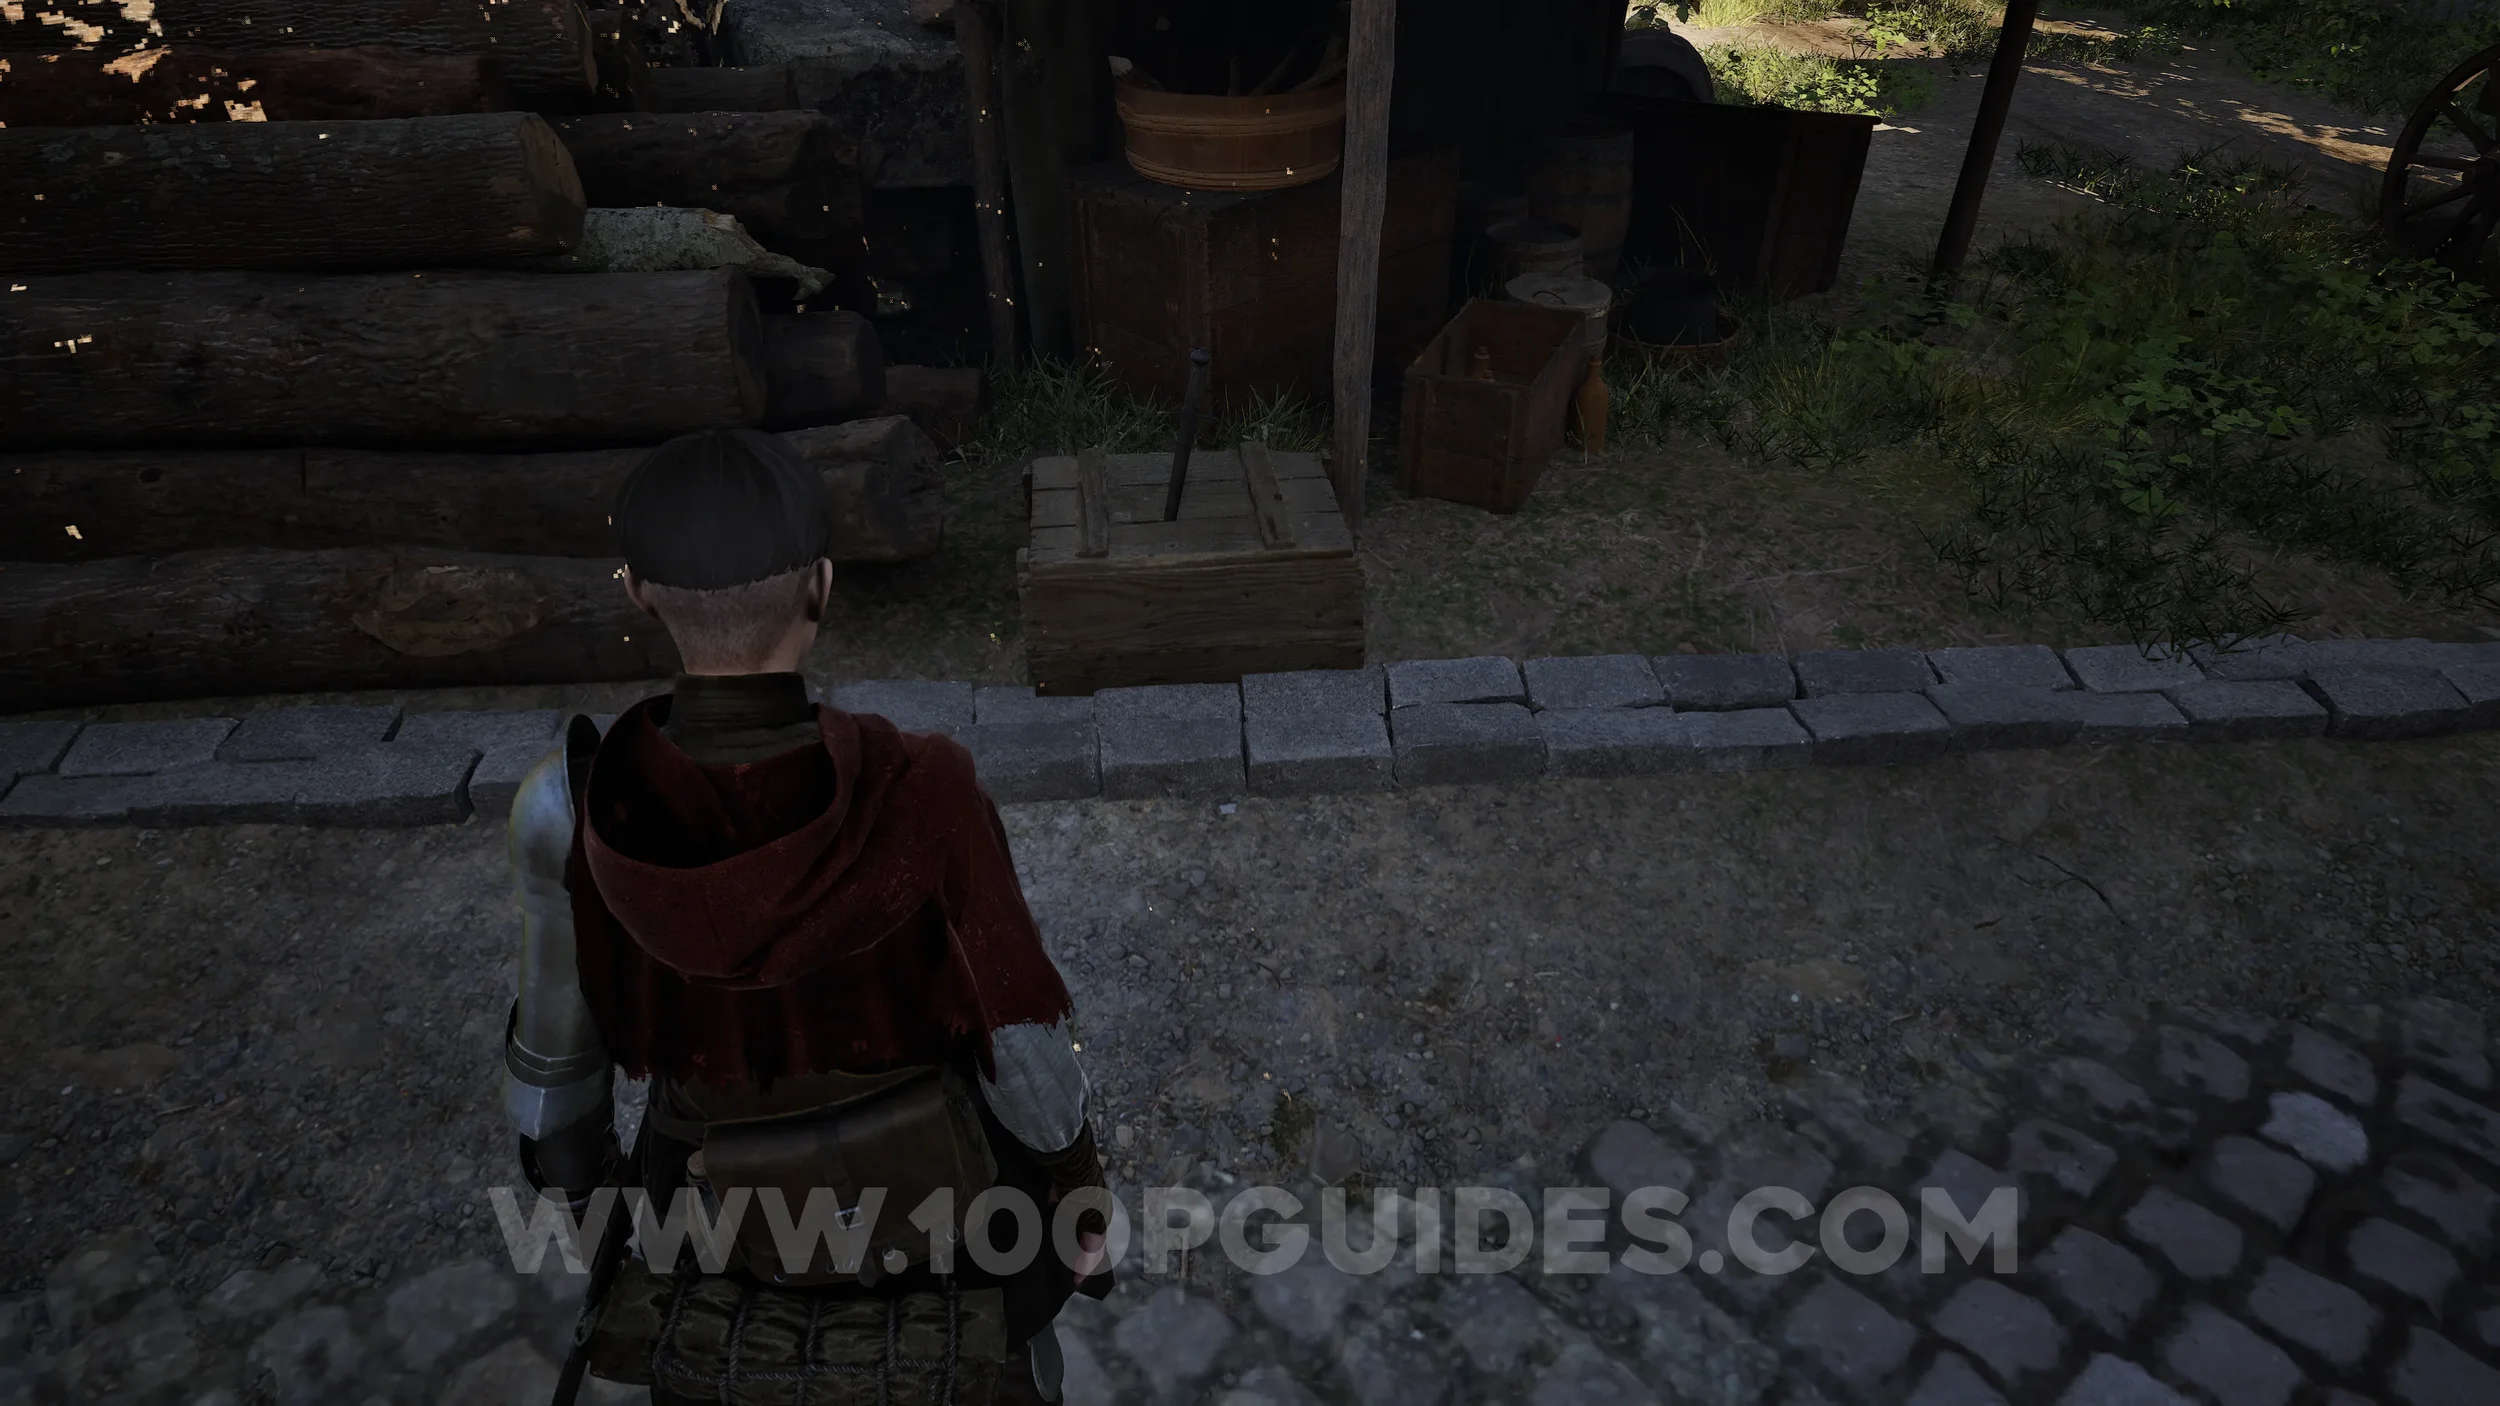
Paper #31 (Large). After emerging back onto the road that runs along the aqueduct, follow it to find the paper on a box.
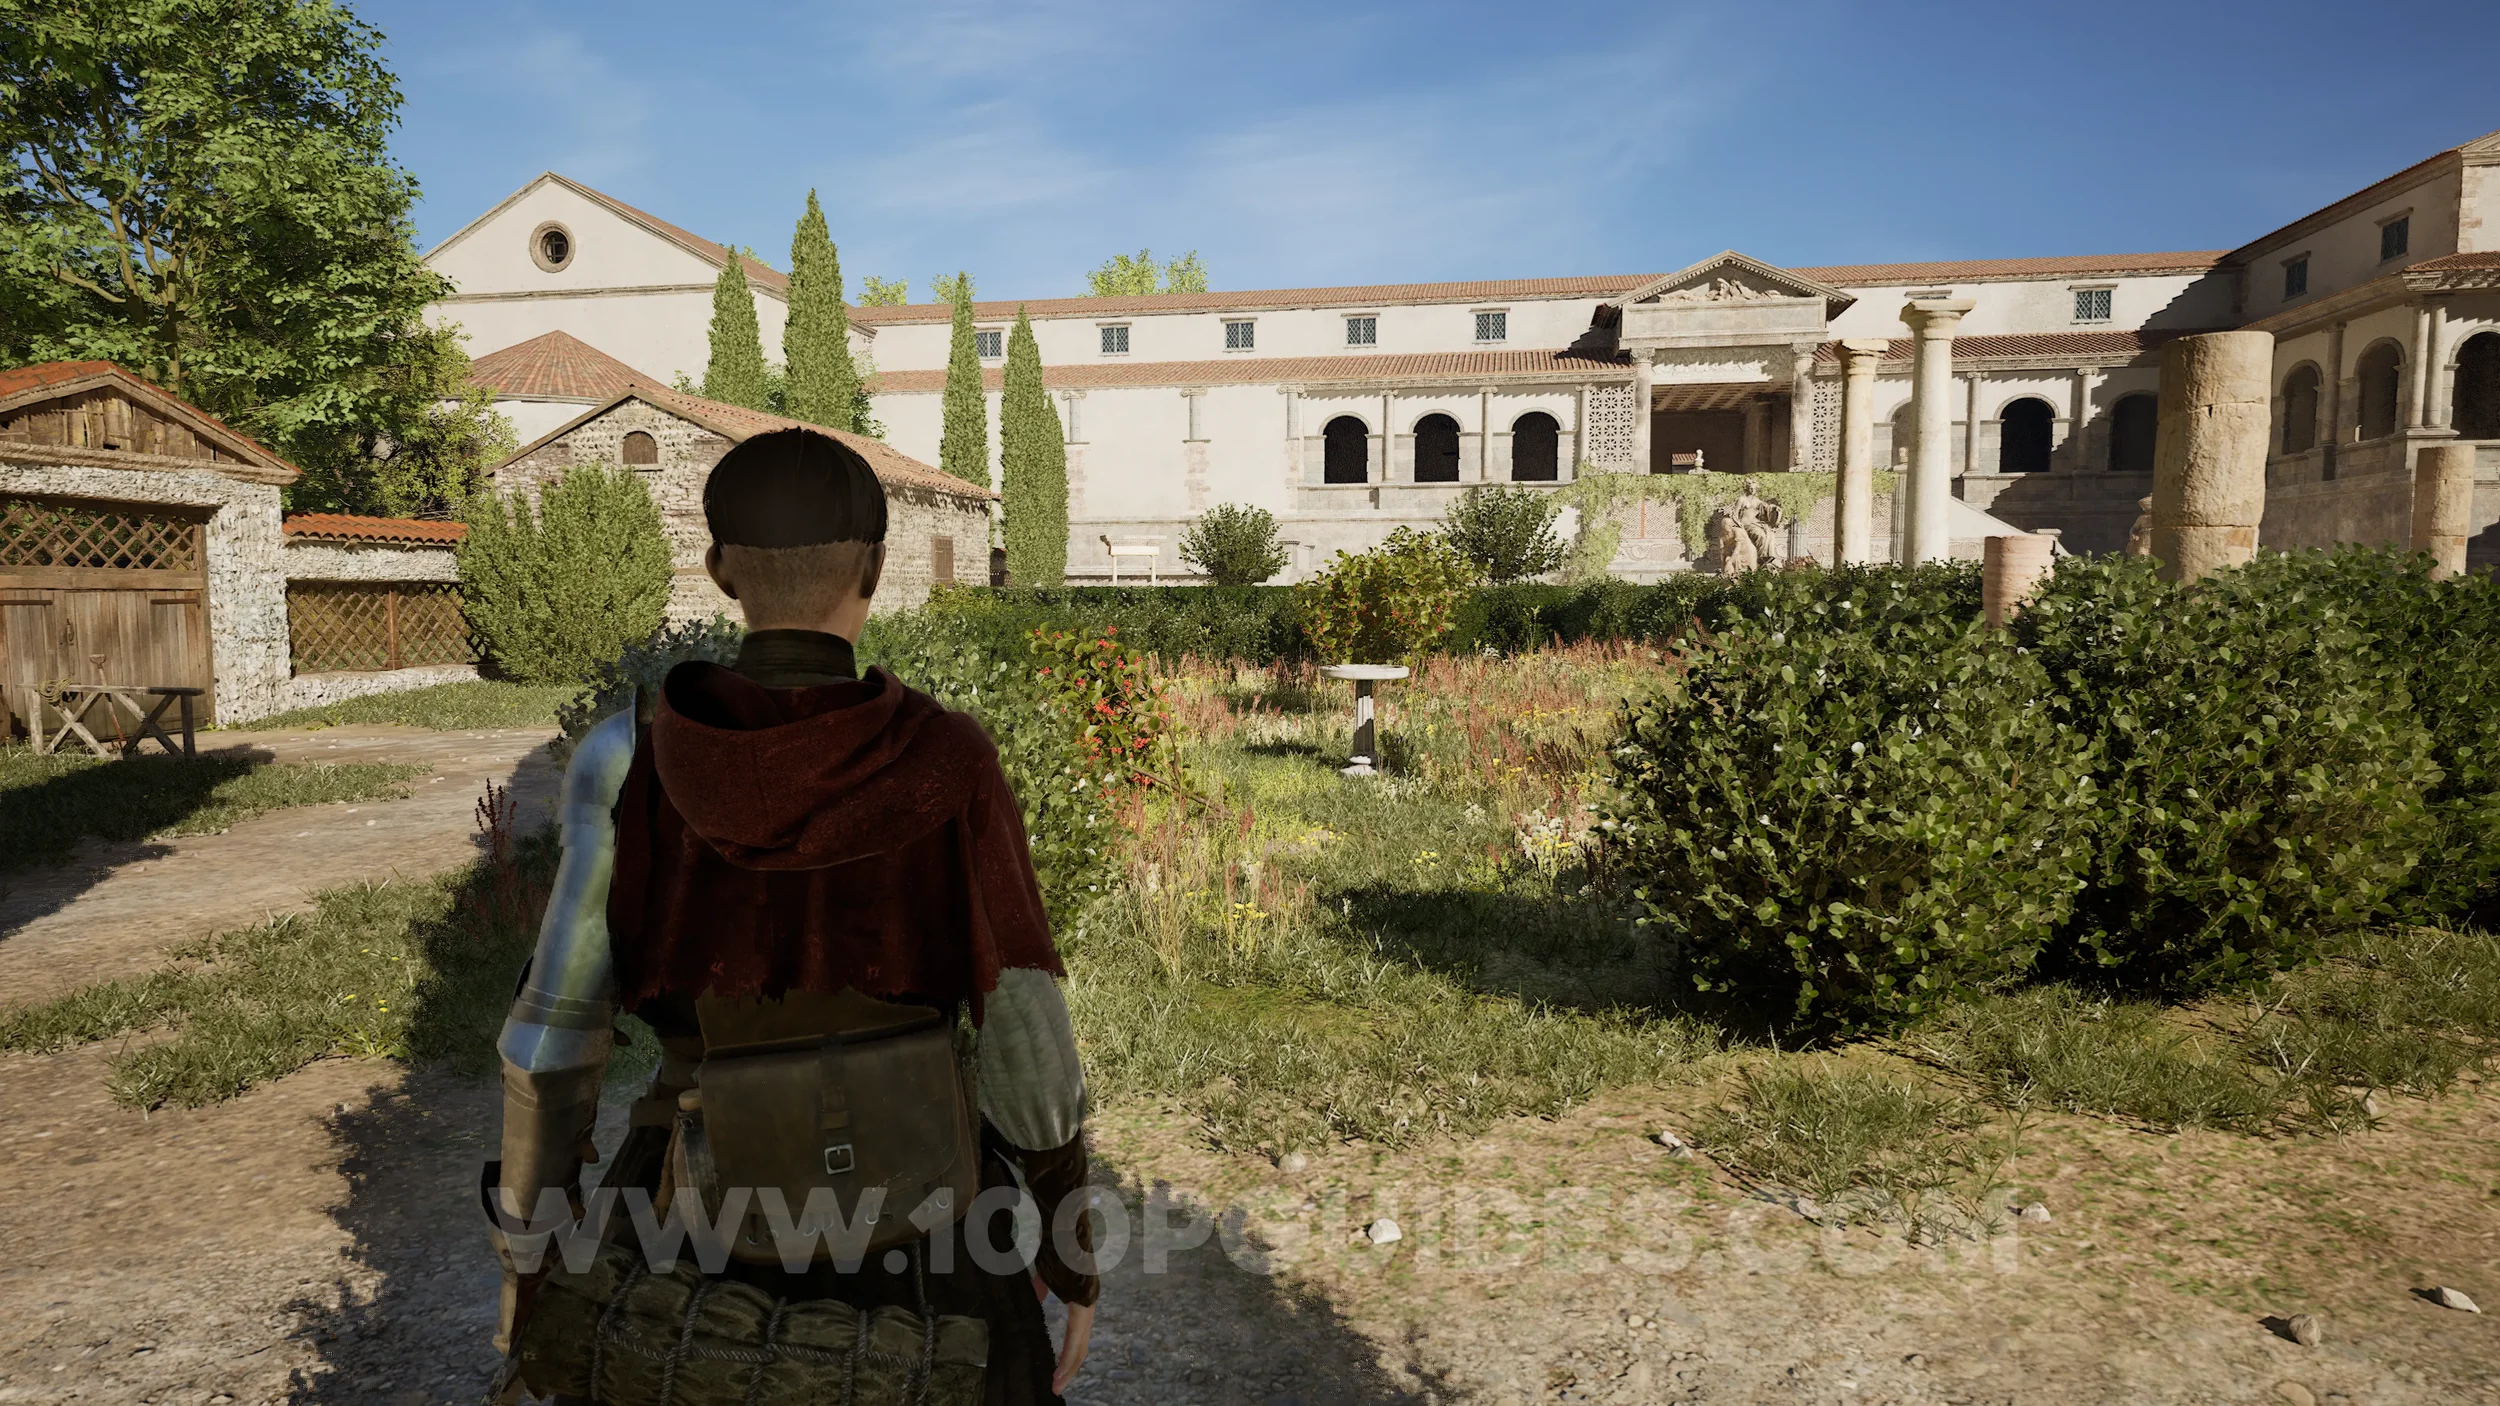
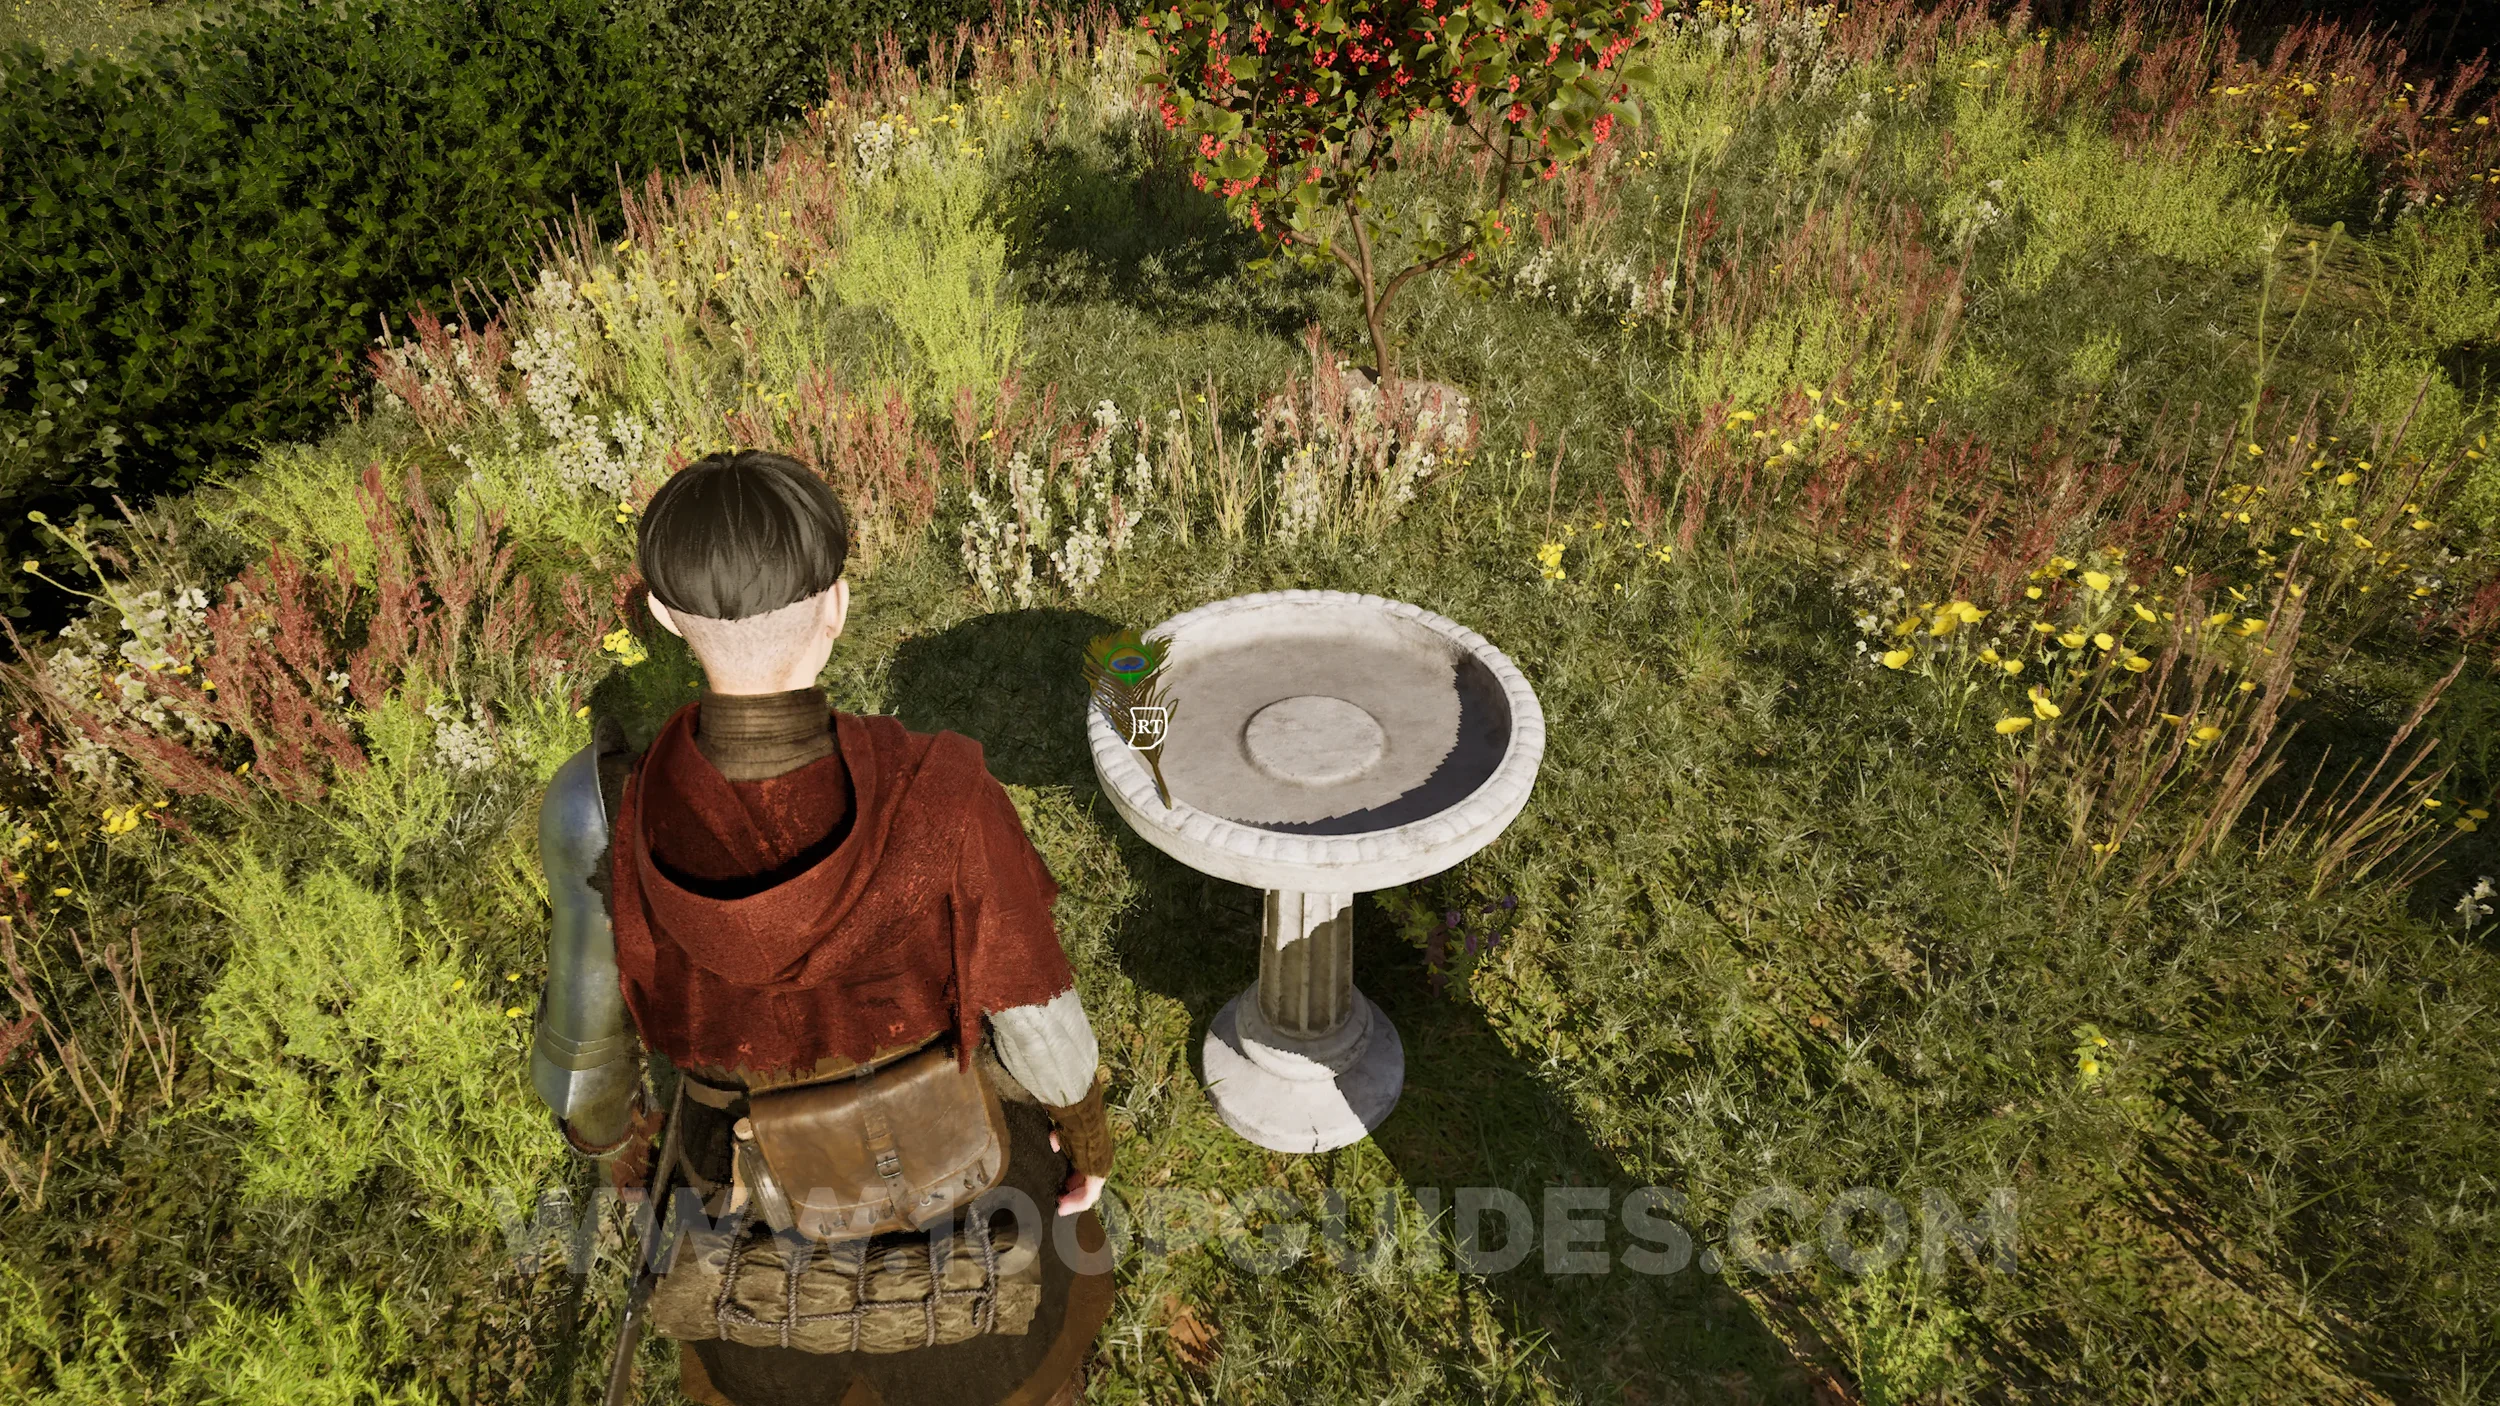
Trinket #4 - Giant Feather. Once you reach the villa, look for a fountain surrounded by bushes on your left. The trinket can be found on the fountain.
Chapter 5
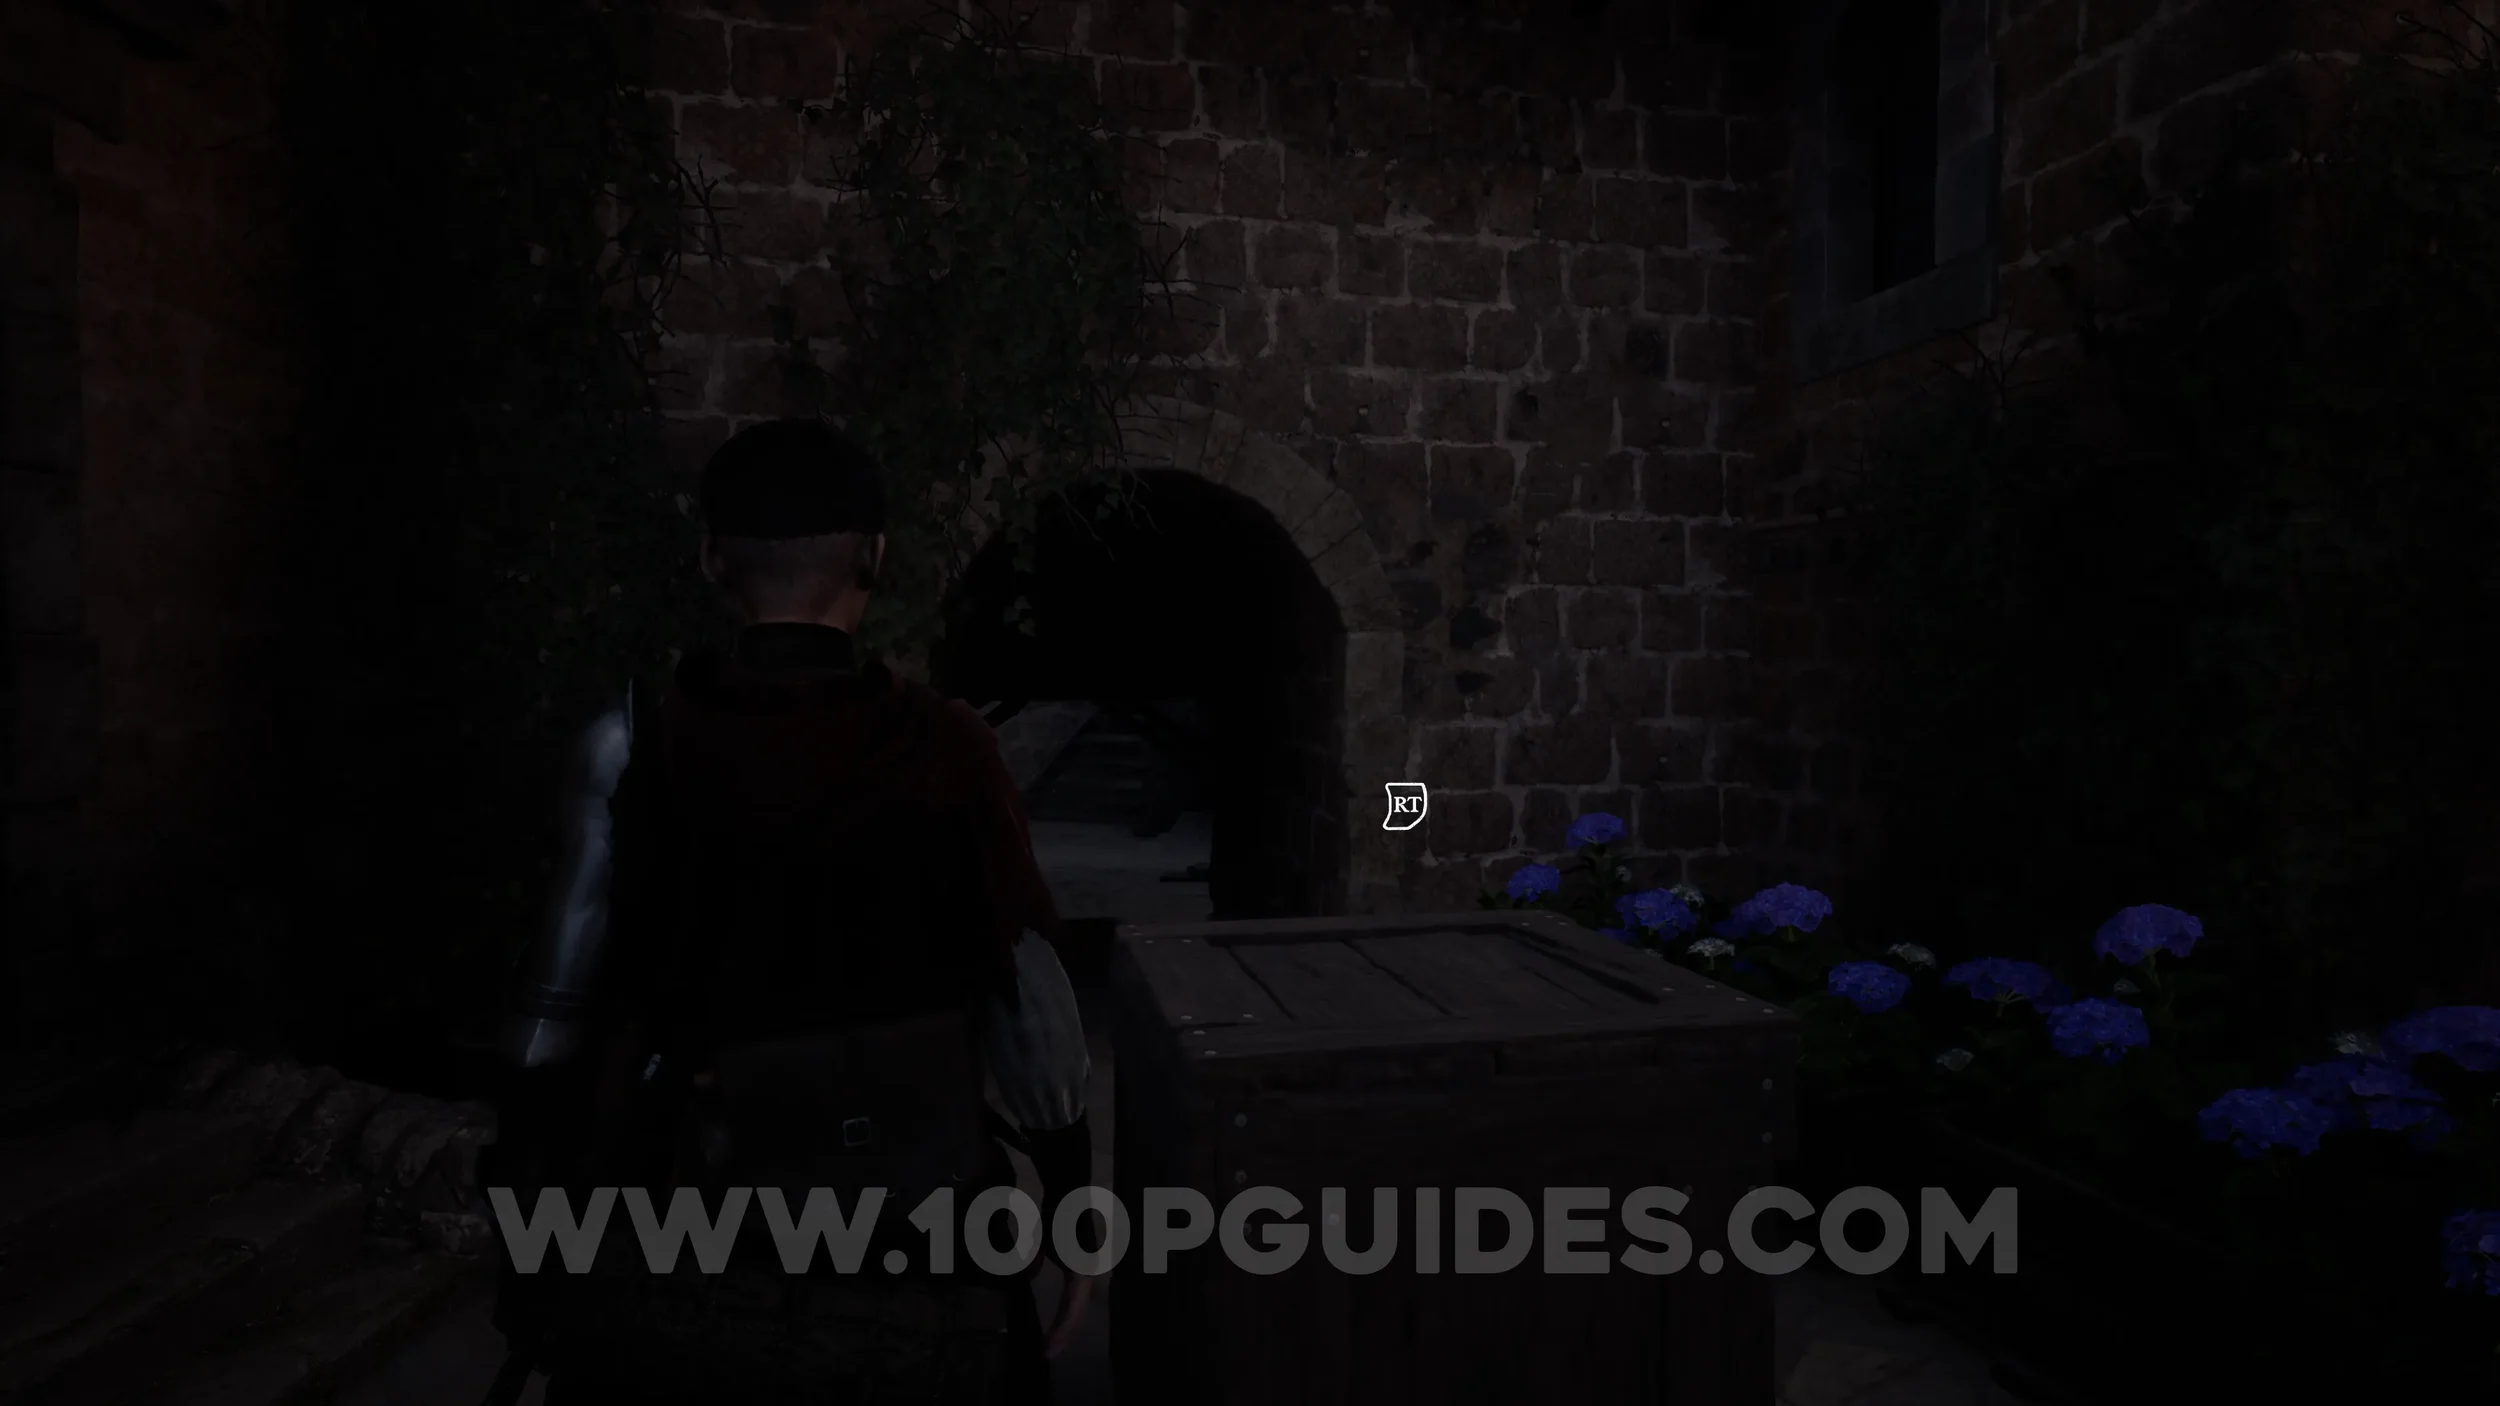
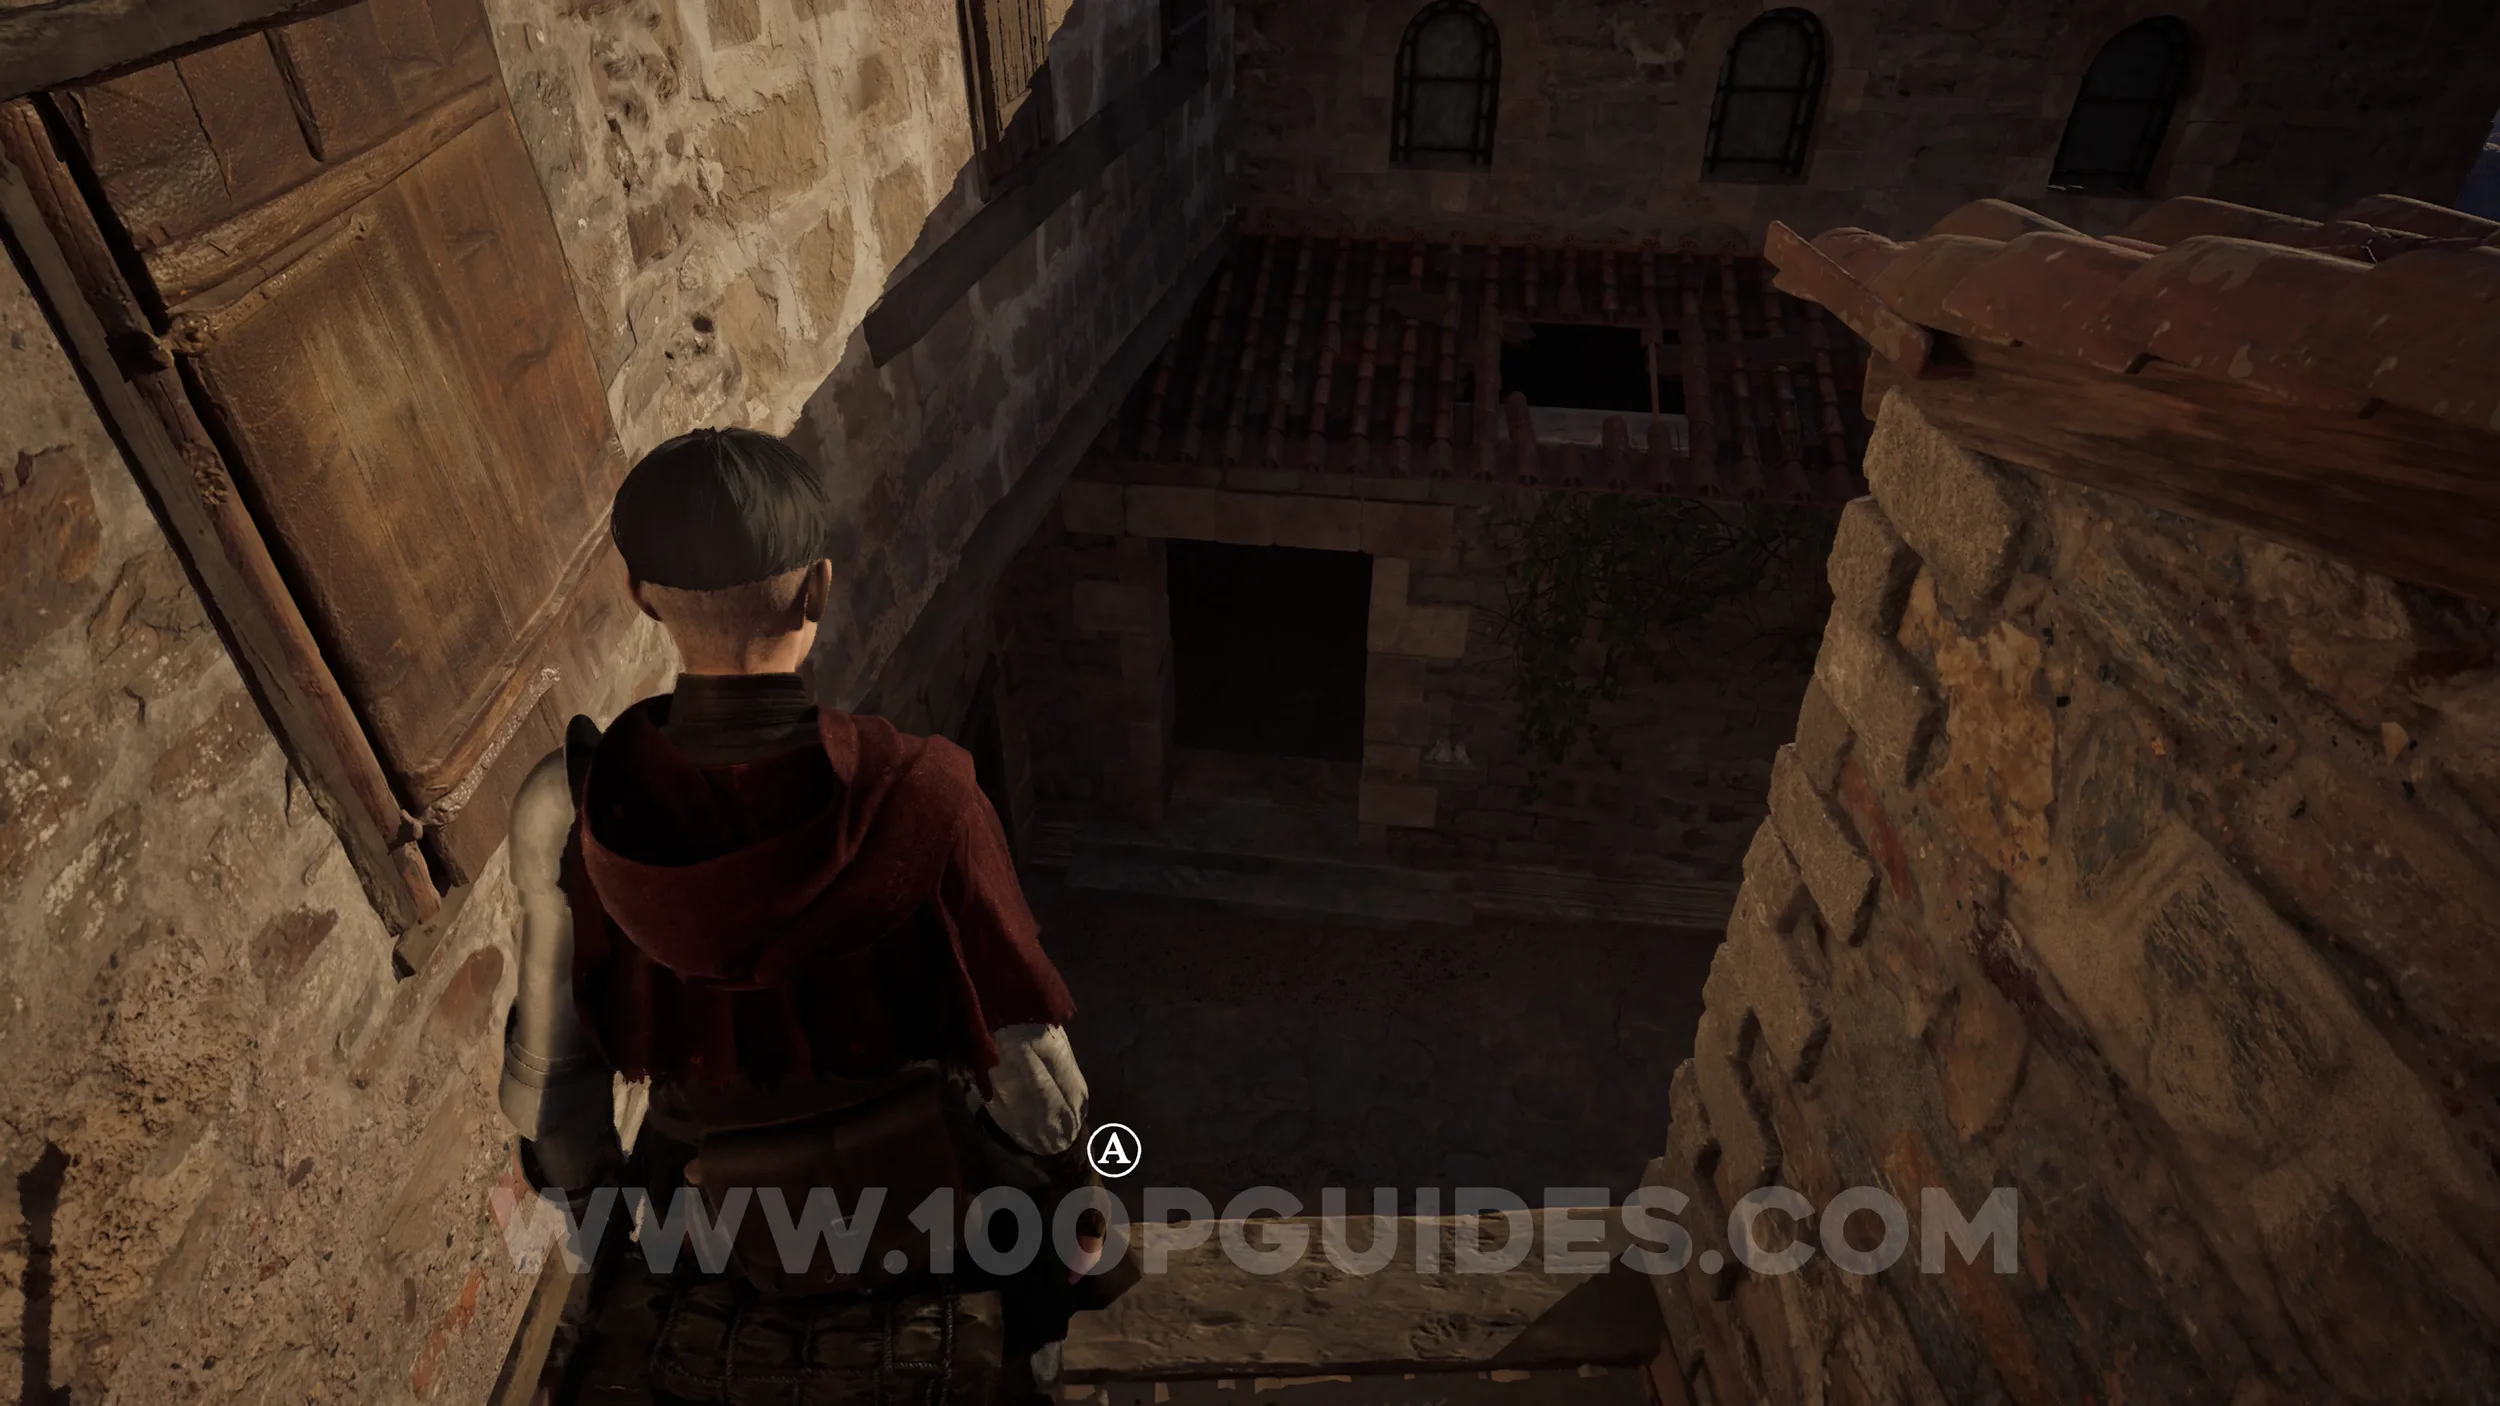
Paper #32-33 (Large). Once you reach the streets of the village, follow the main path until you see a small arch on your left with a box blocking it. Pull the box out of the way so you can go through. In the courtyard, go up the stairs and then go left to enter another small area where you will find the paper.

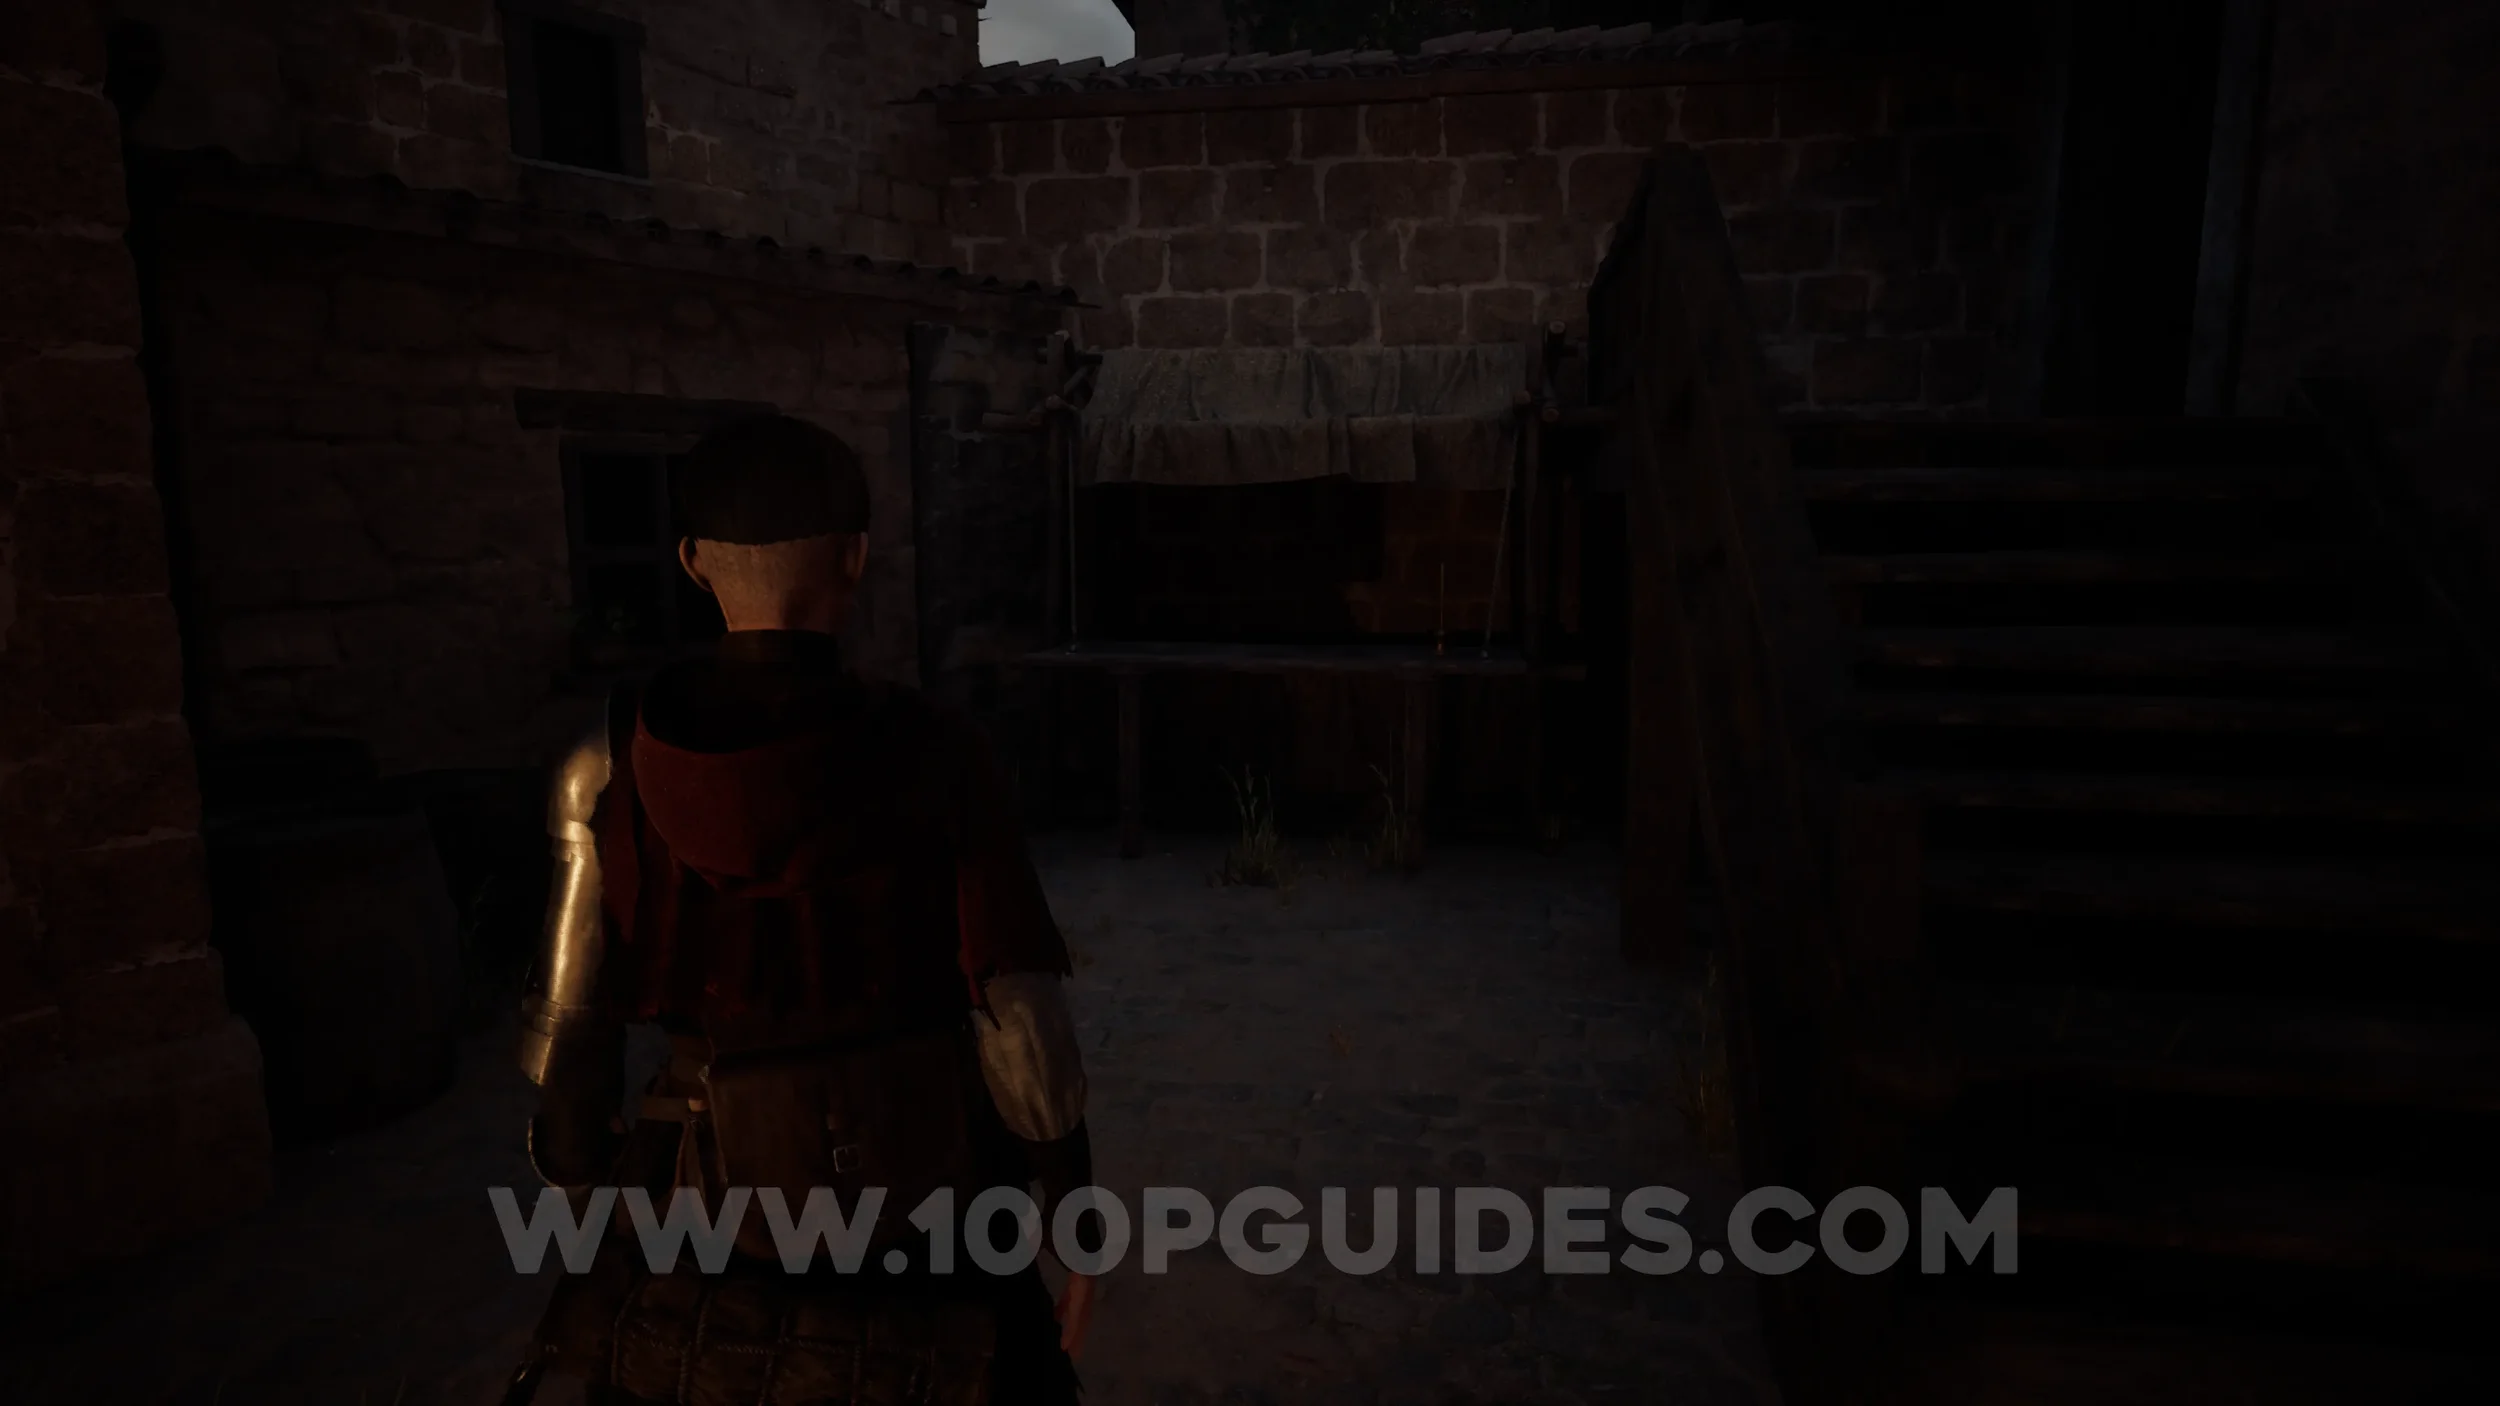
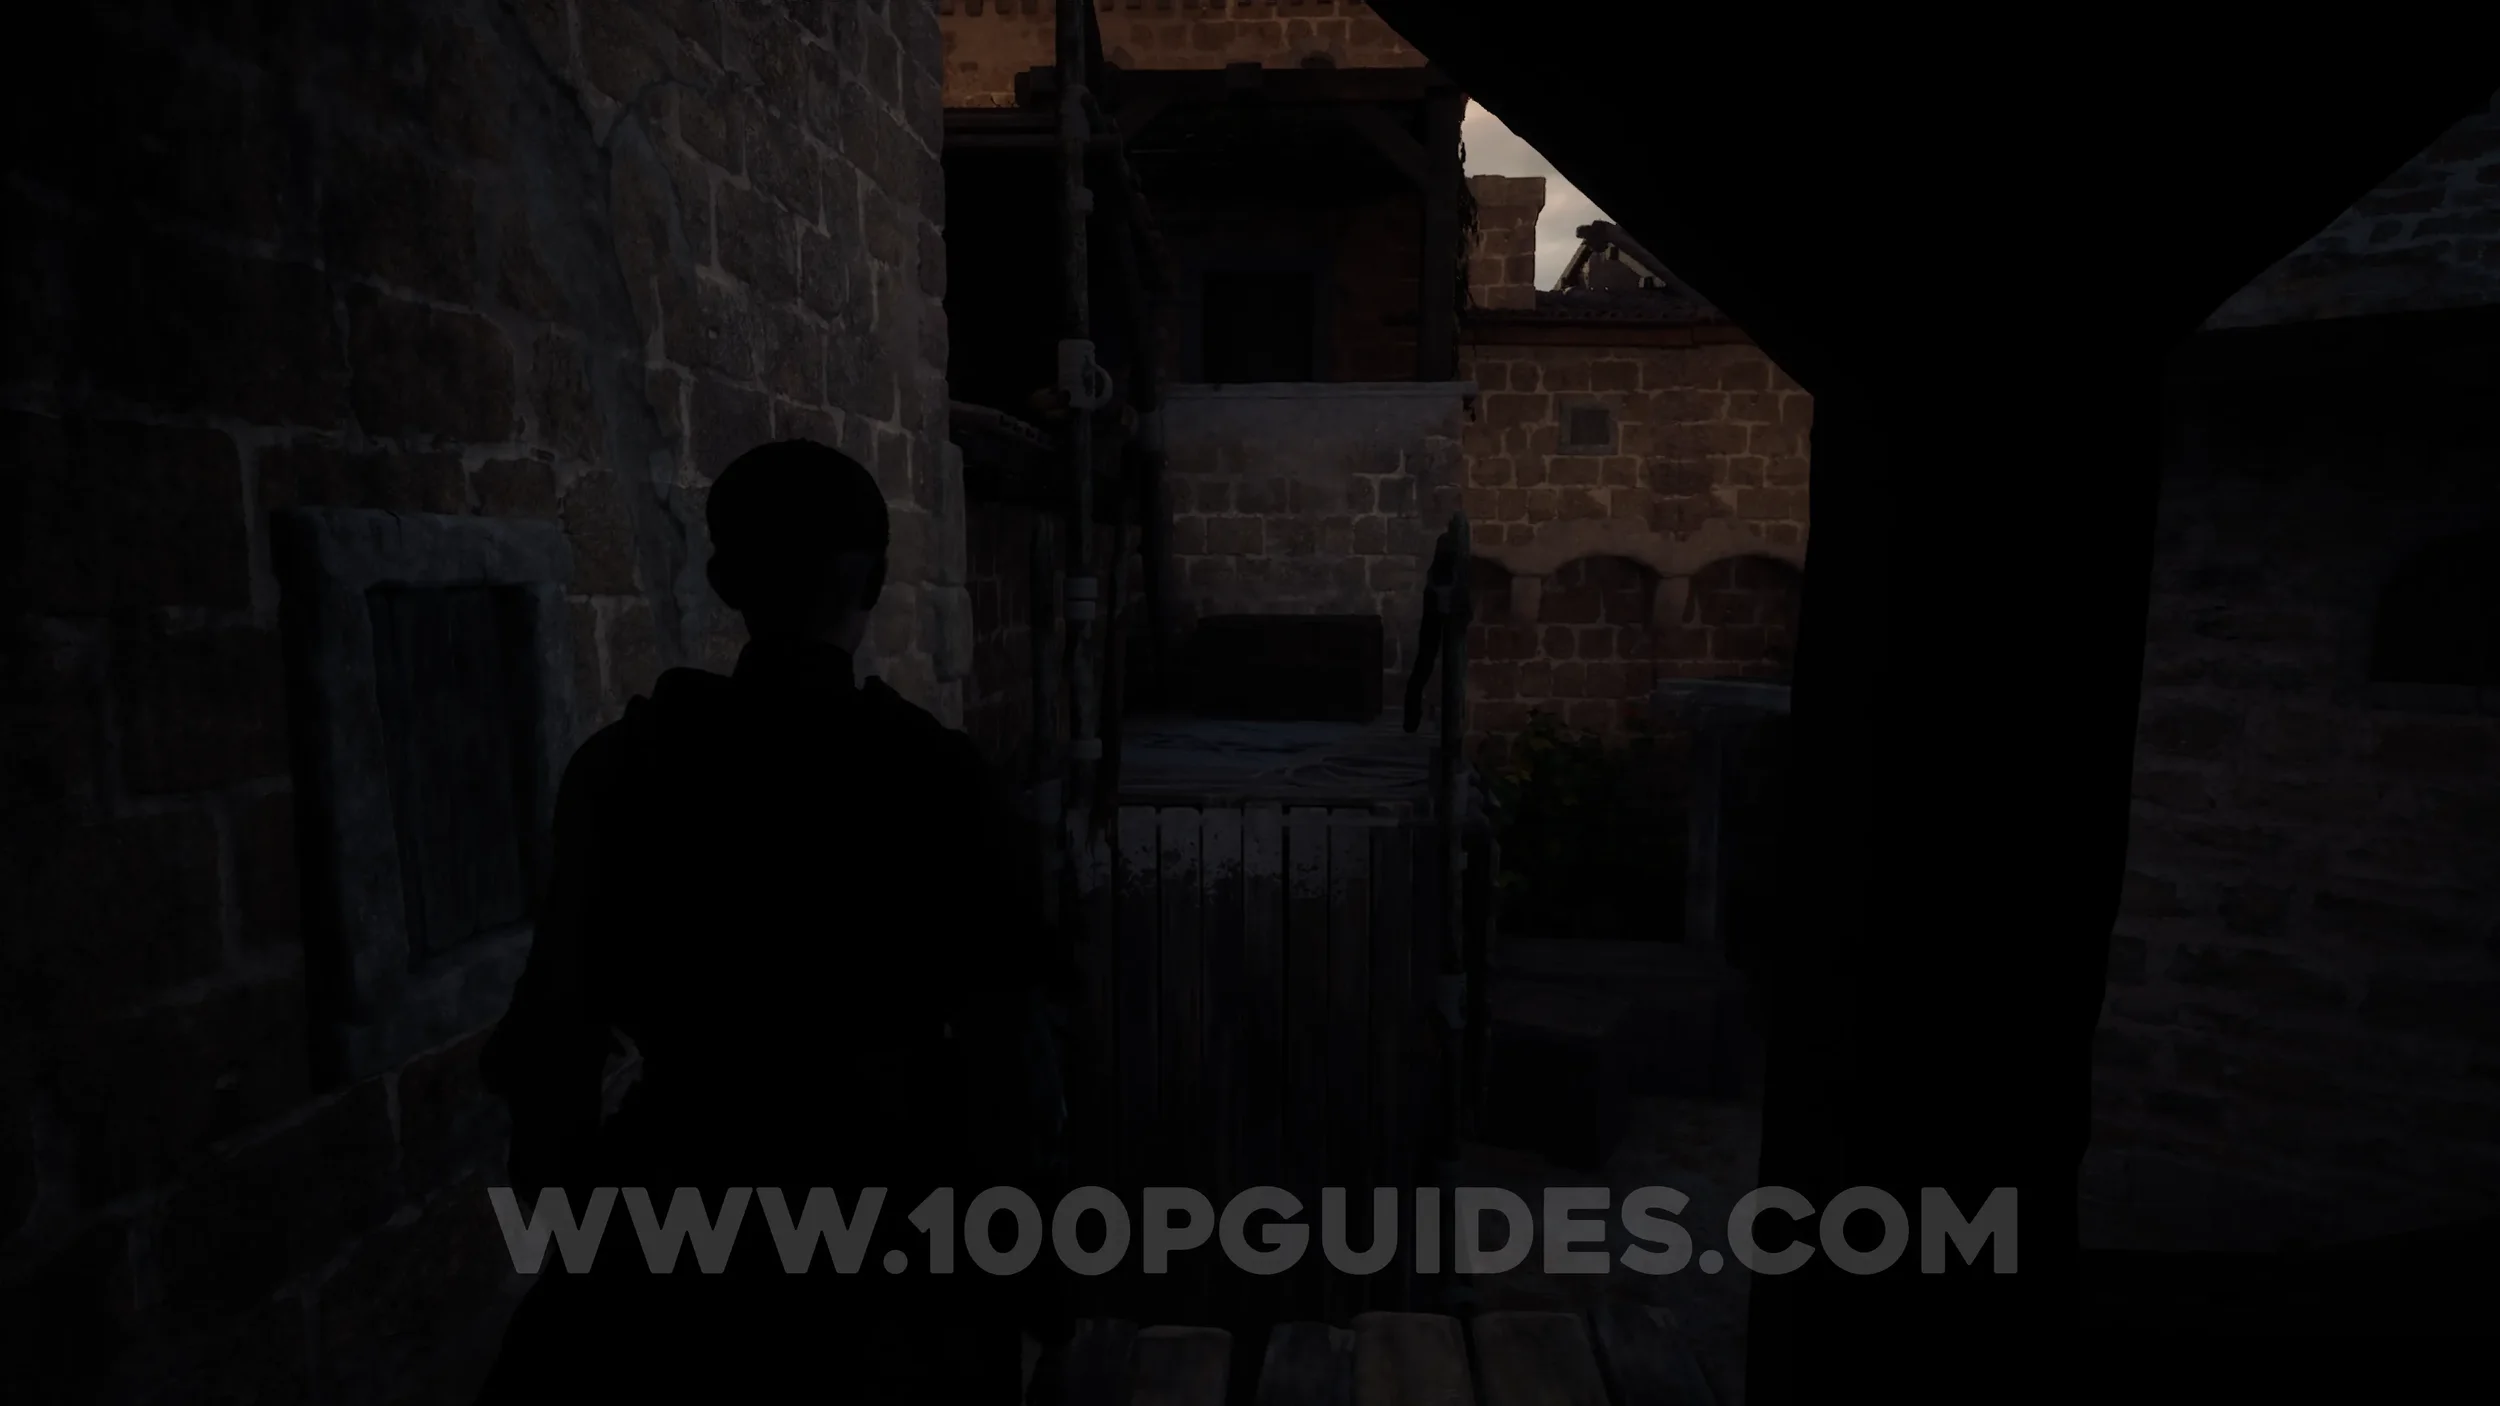
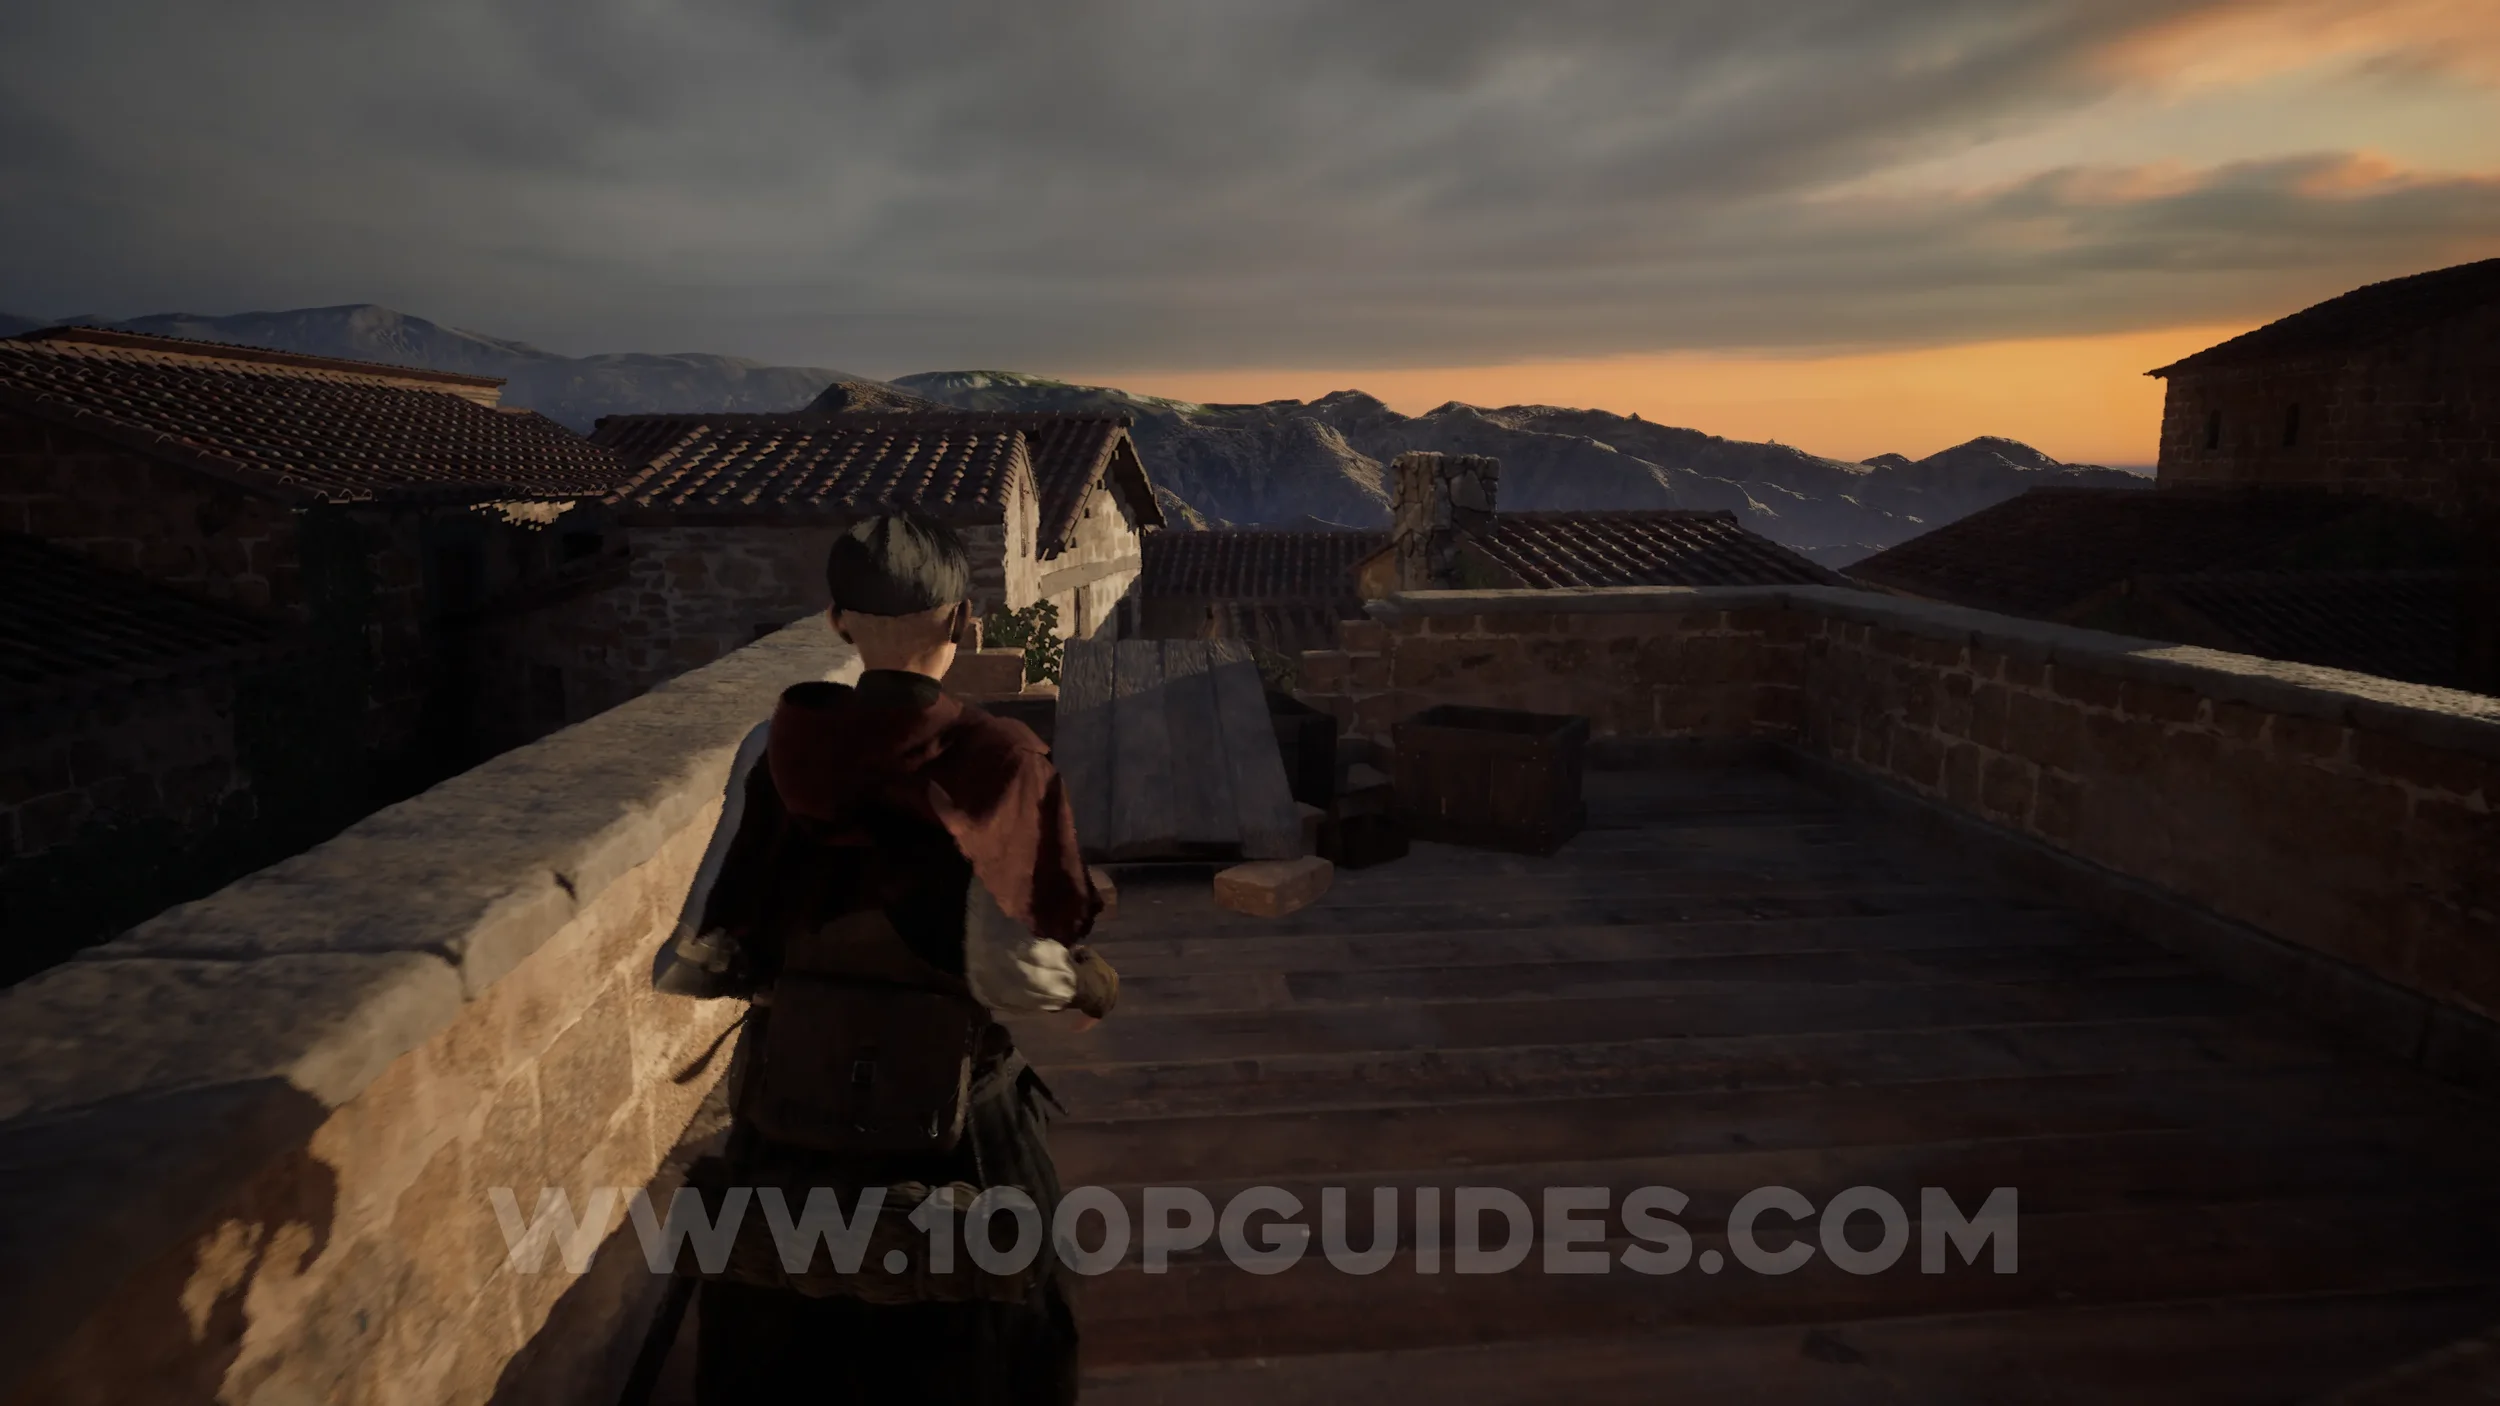
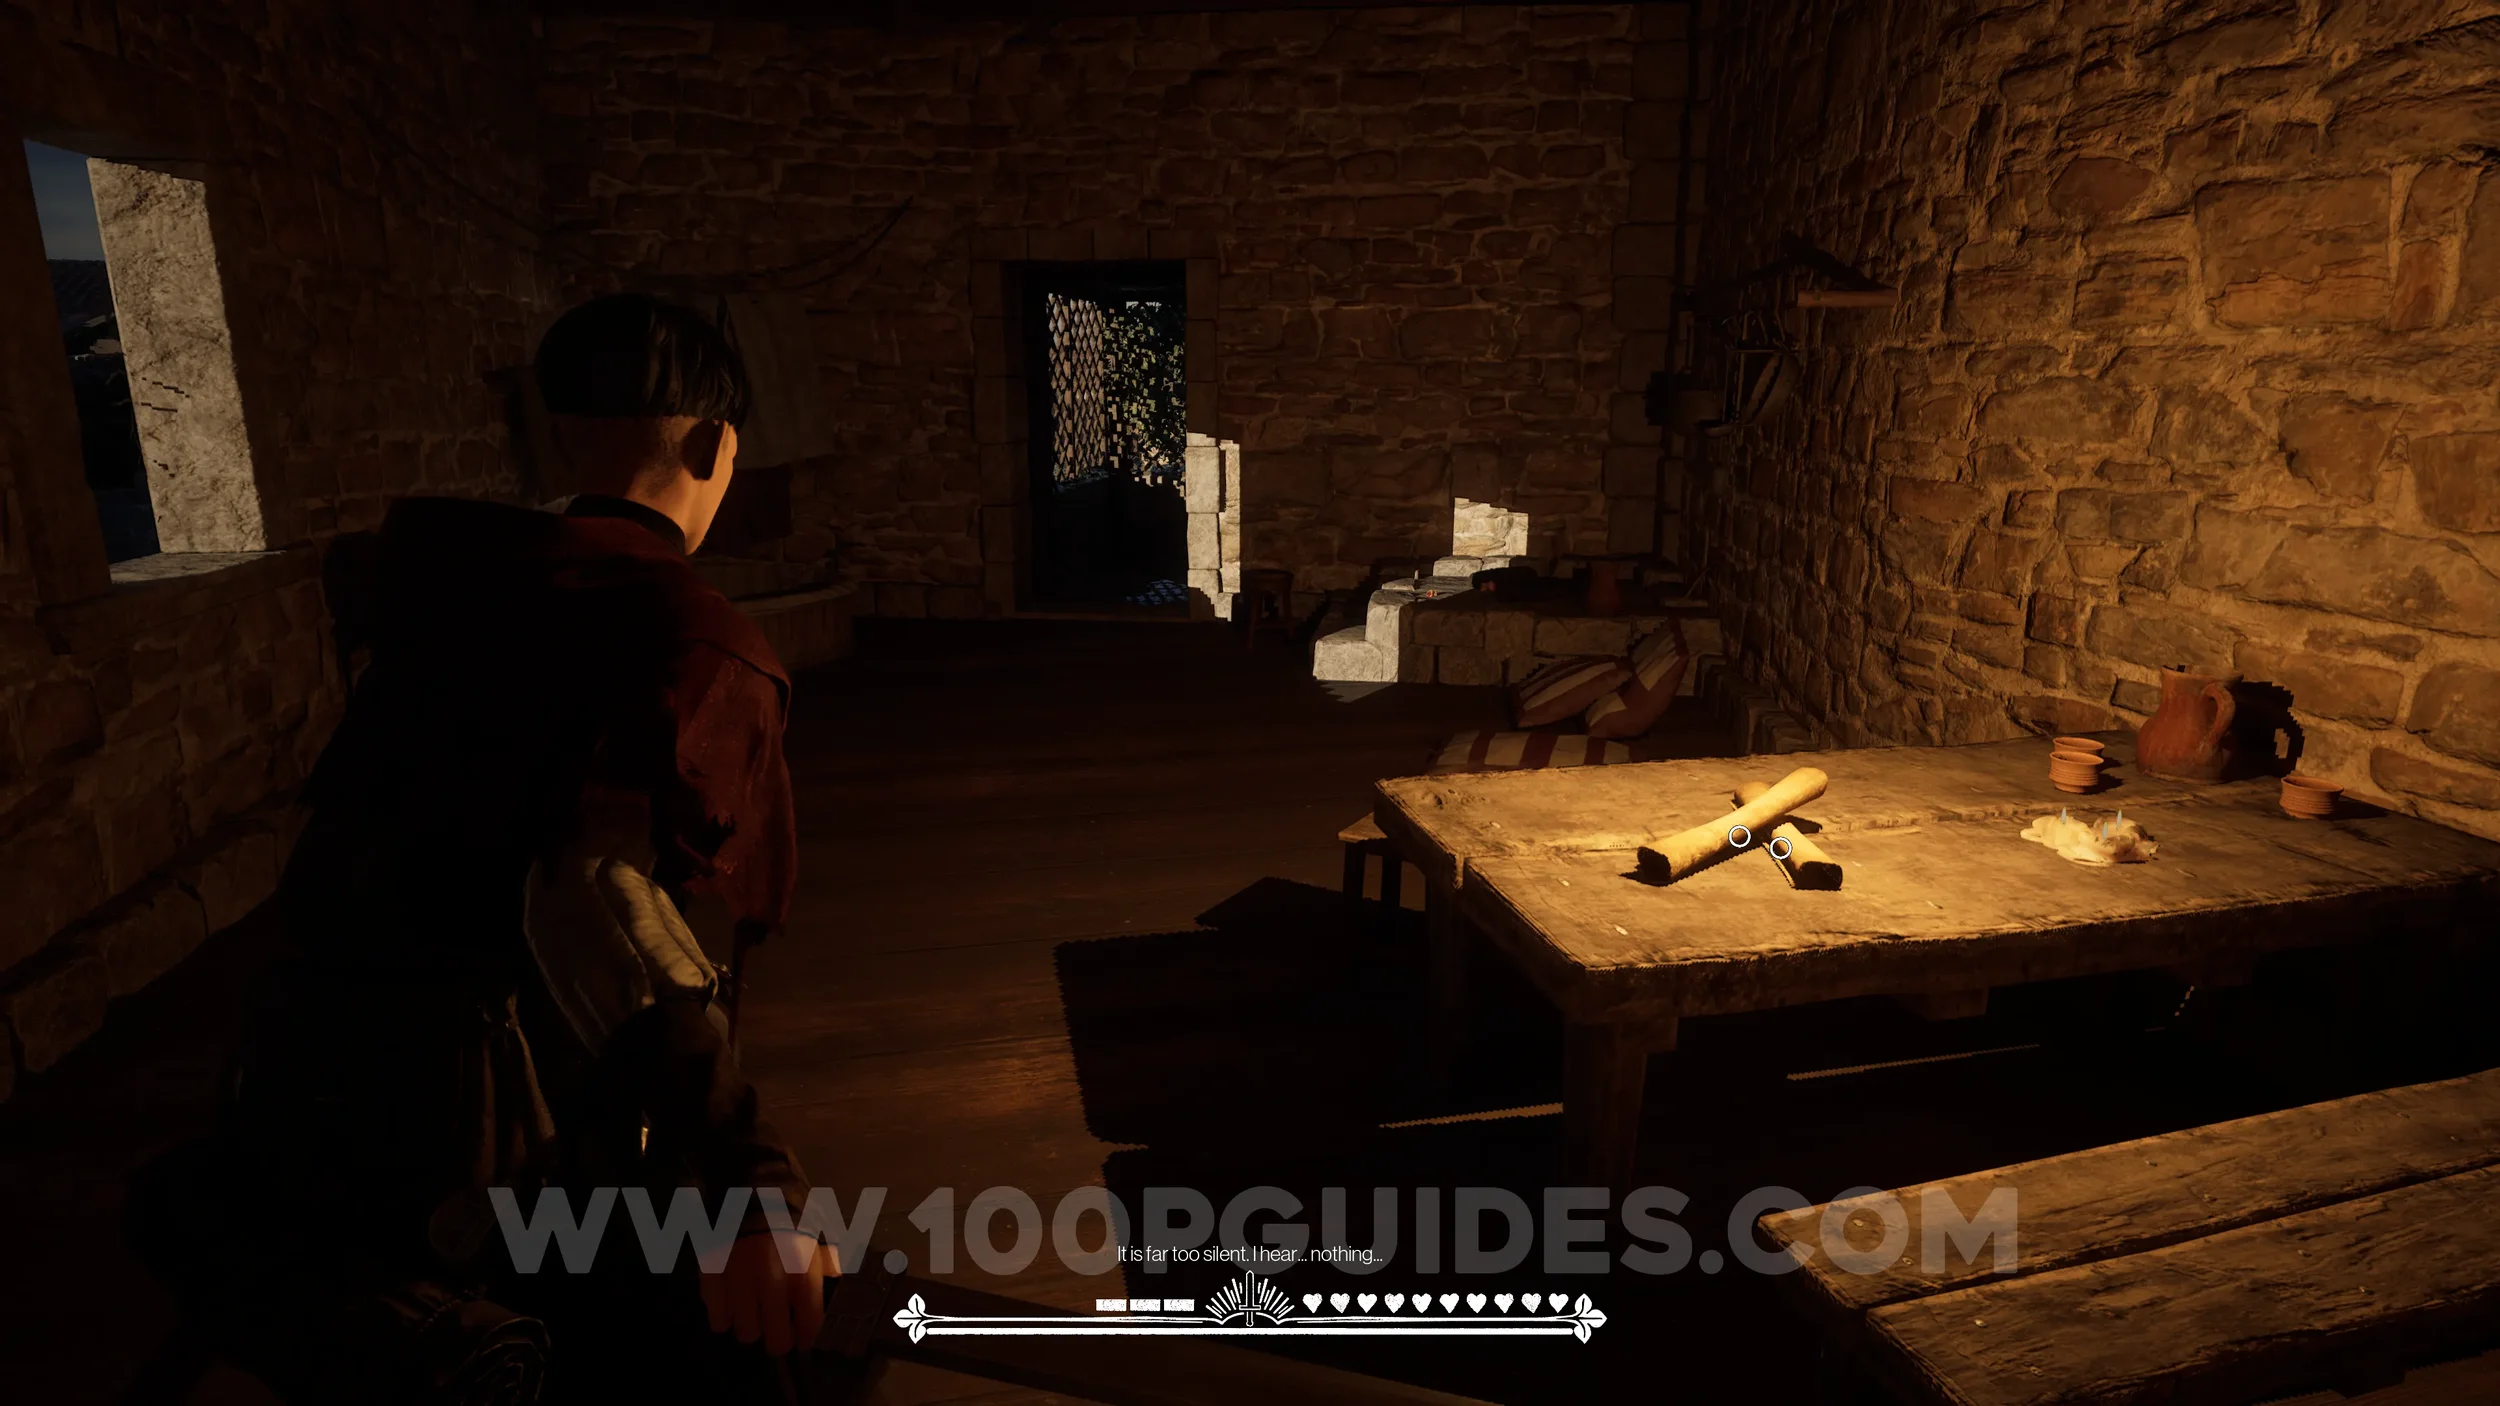
Sword Part #10 - Tusca Grip. Return to the courtyard that you reached after moving the box and this time go around the upper area and jump across the gap. Then climb up to the rooftop above you and jump across another gap. Enter the small chapel here to find the sword part inside.
Paper #34-35. In plain sight on a table as you make your way through the first house.
Paper #36 (Large). After the previous house, you’ll be back in the streets. Push the cart to reach the platform with the paper on a table.
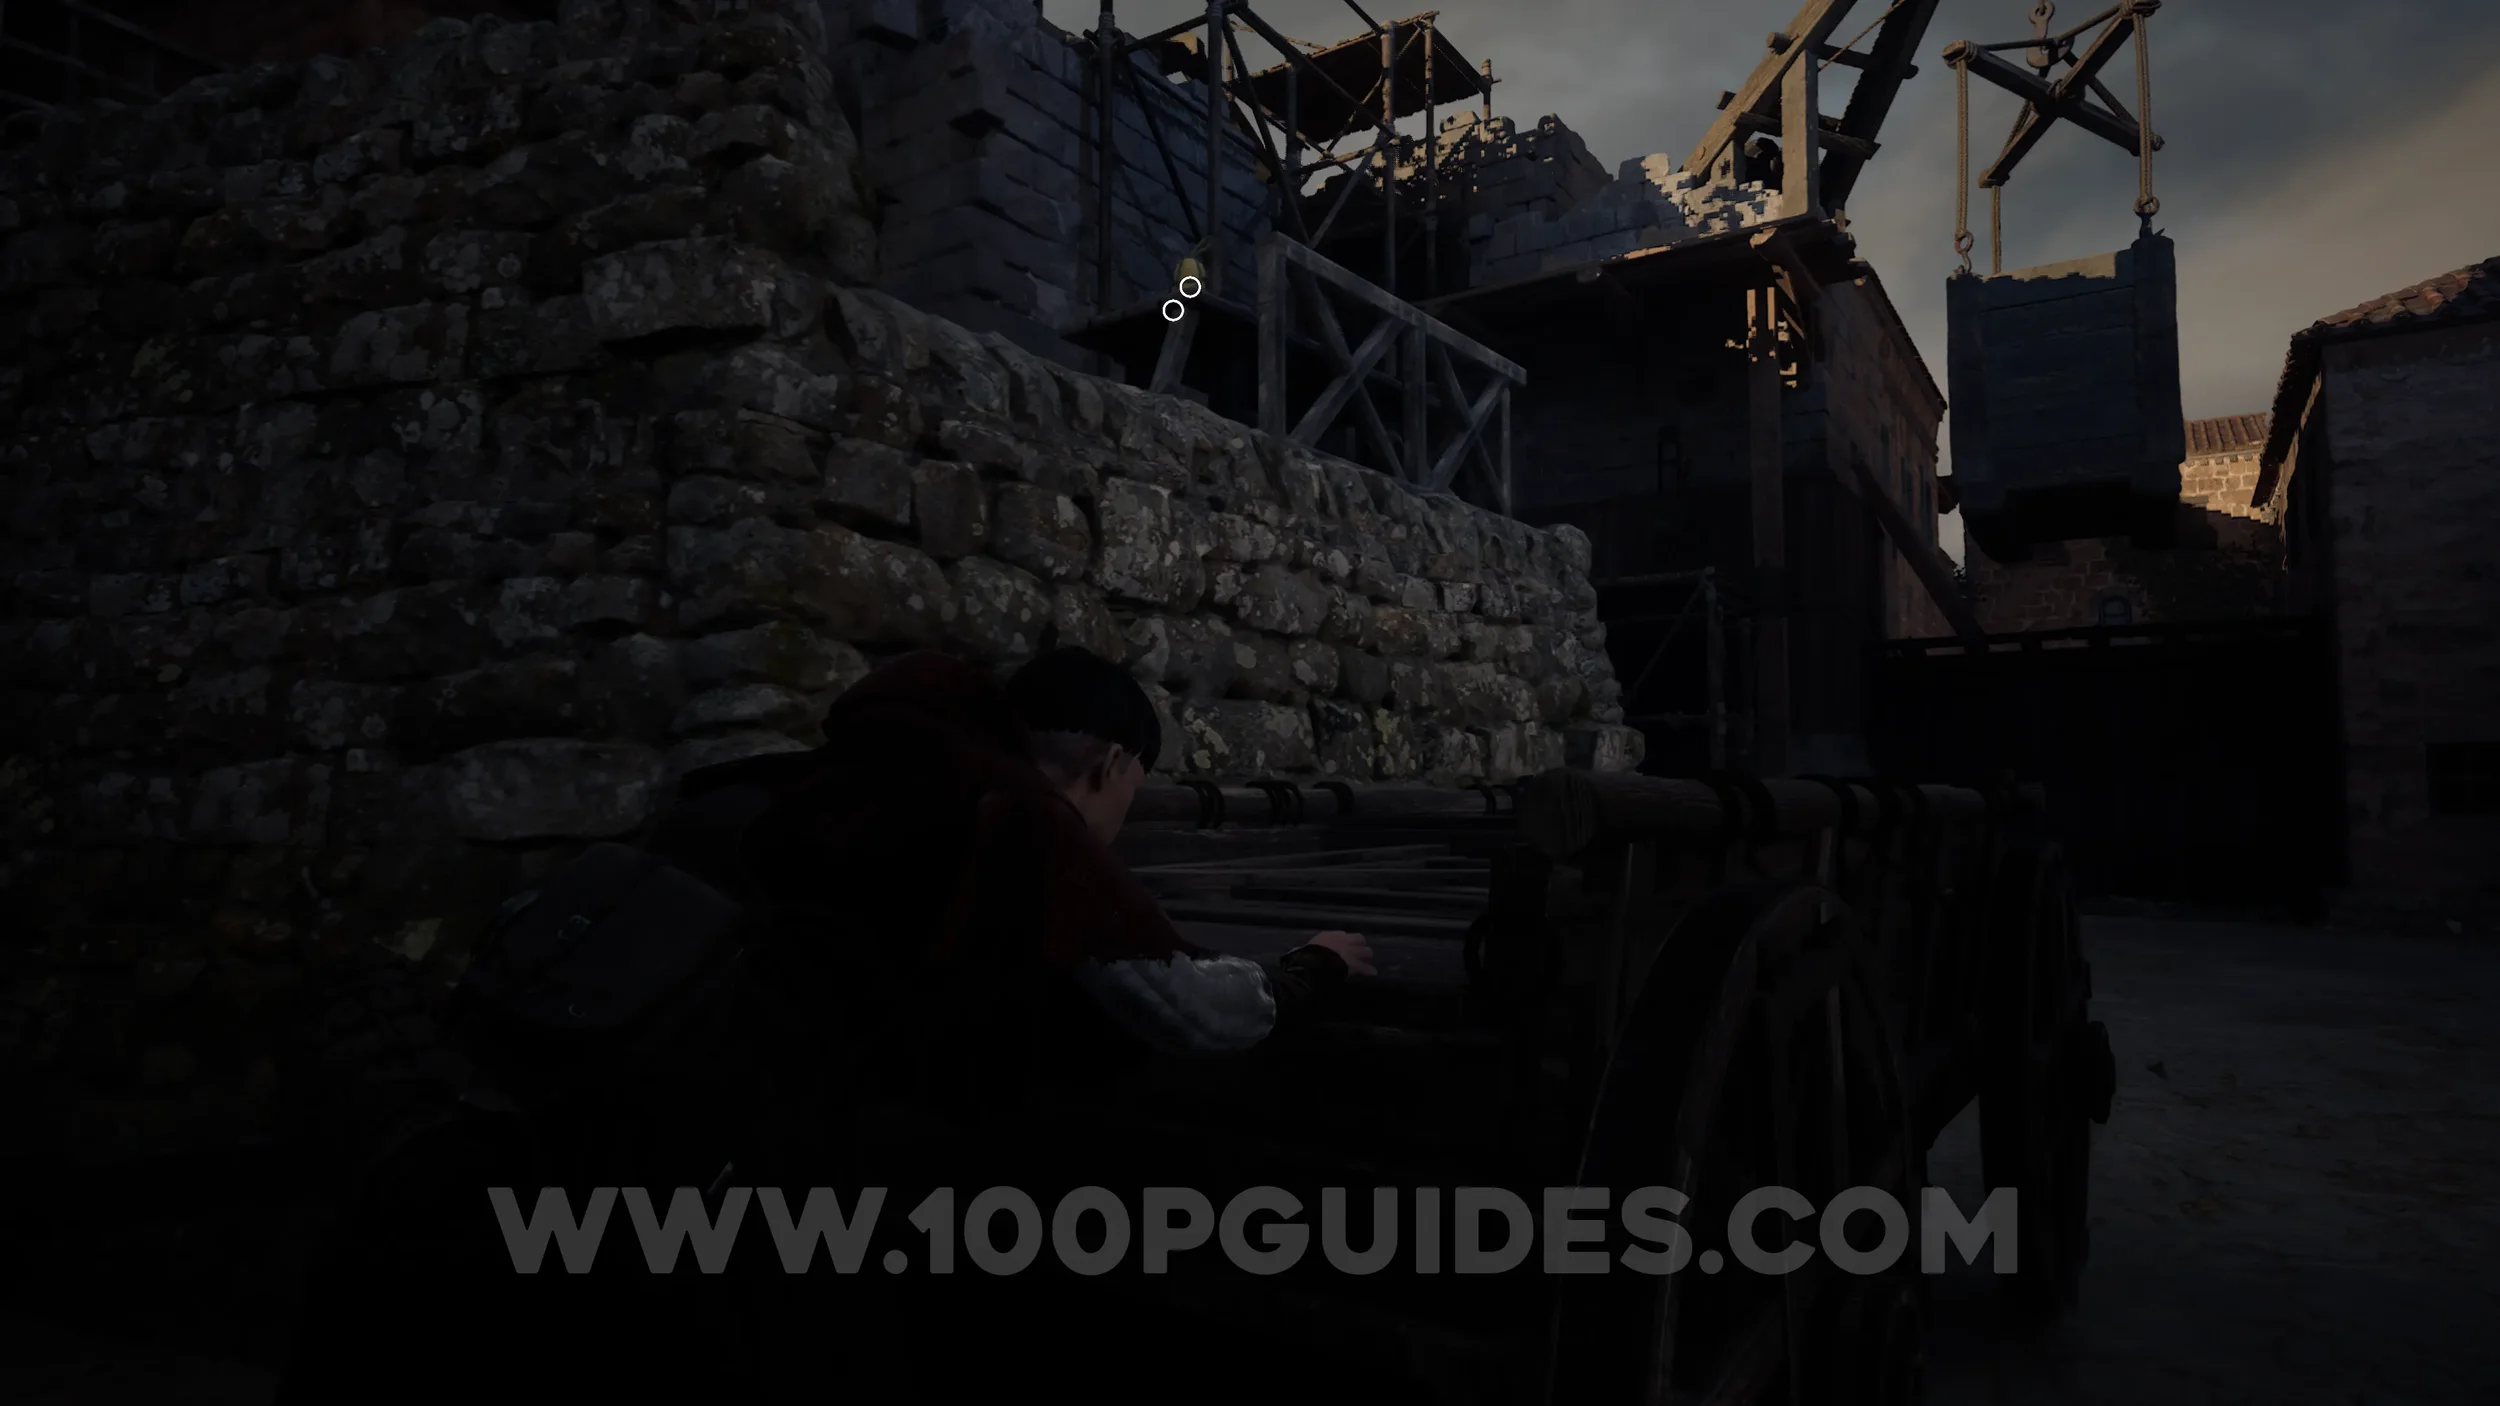

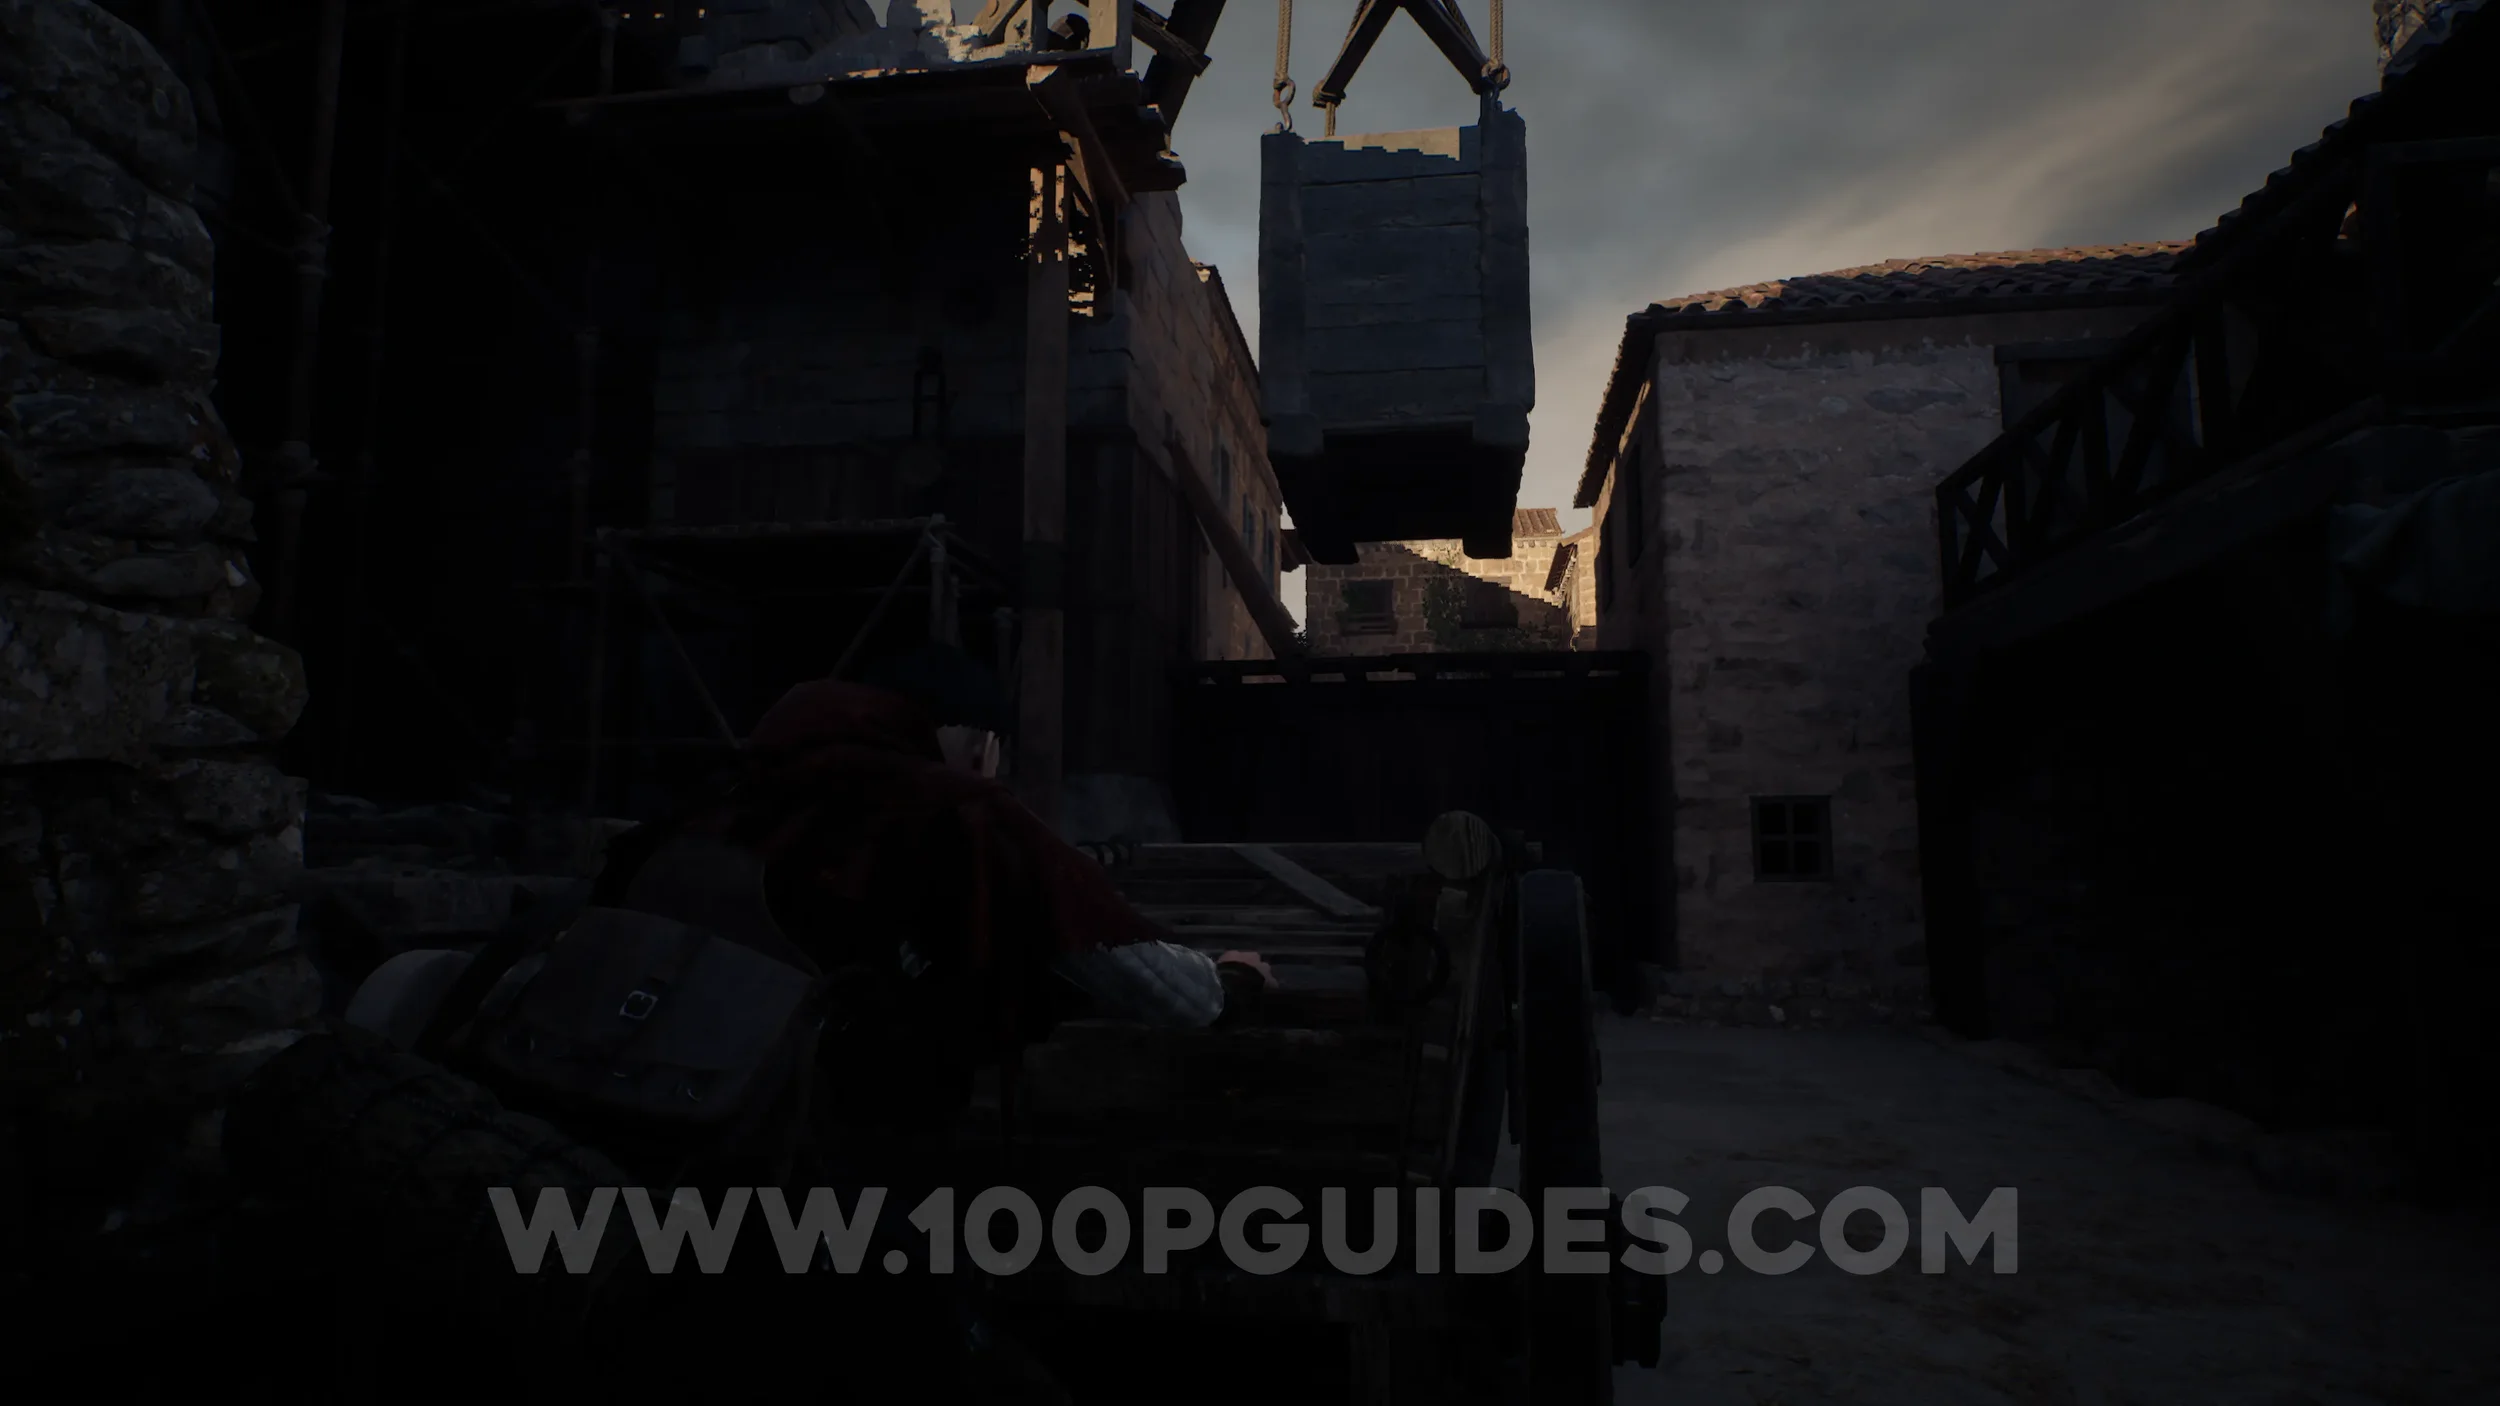
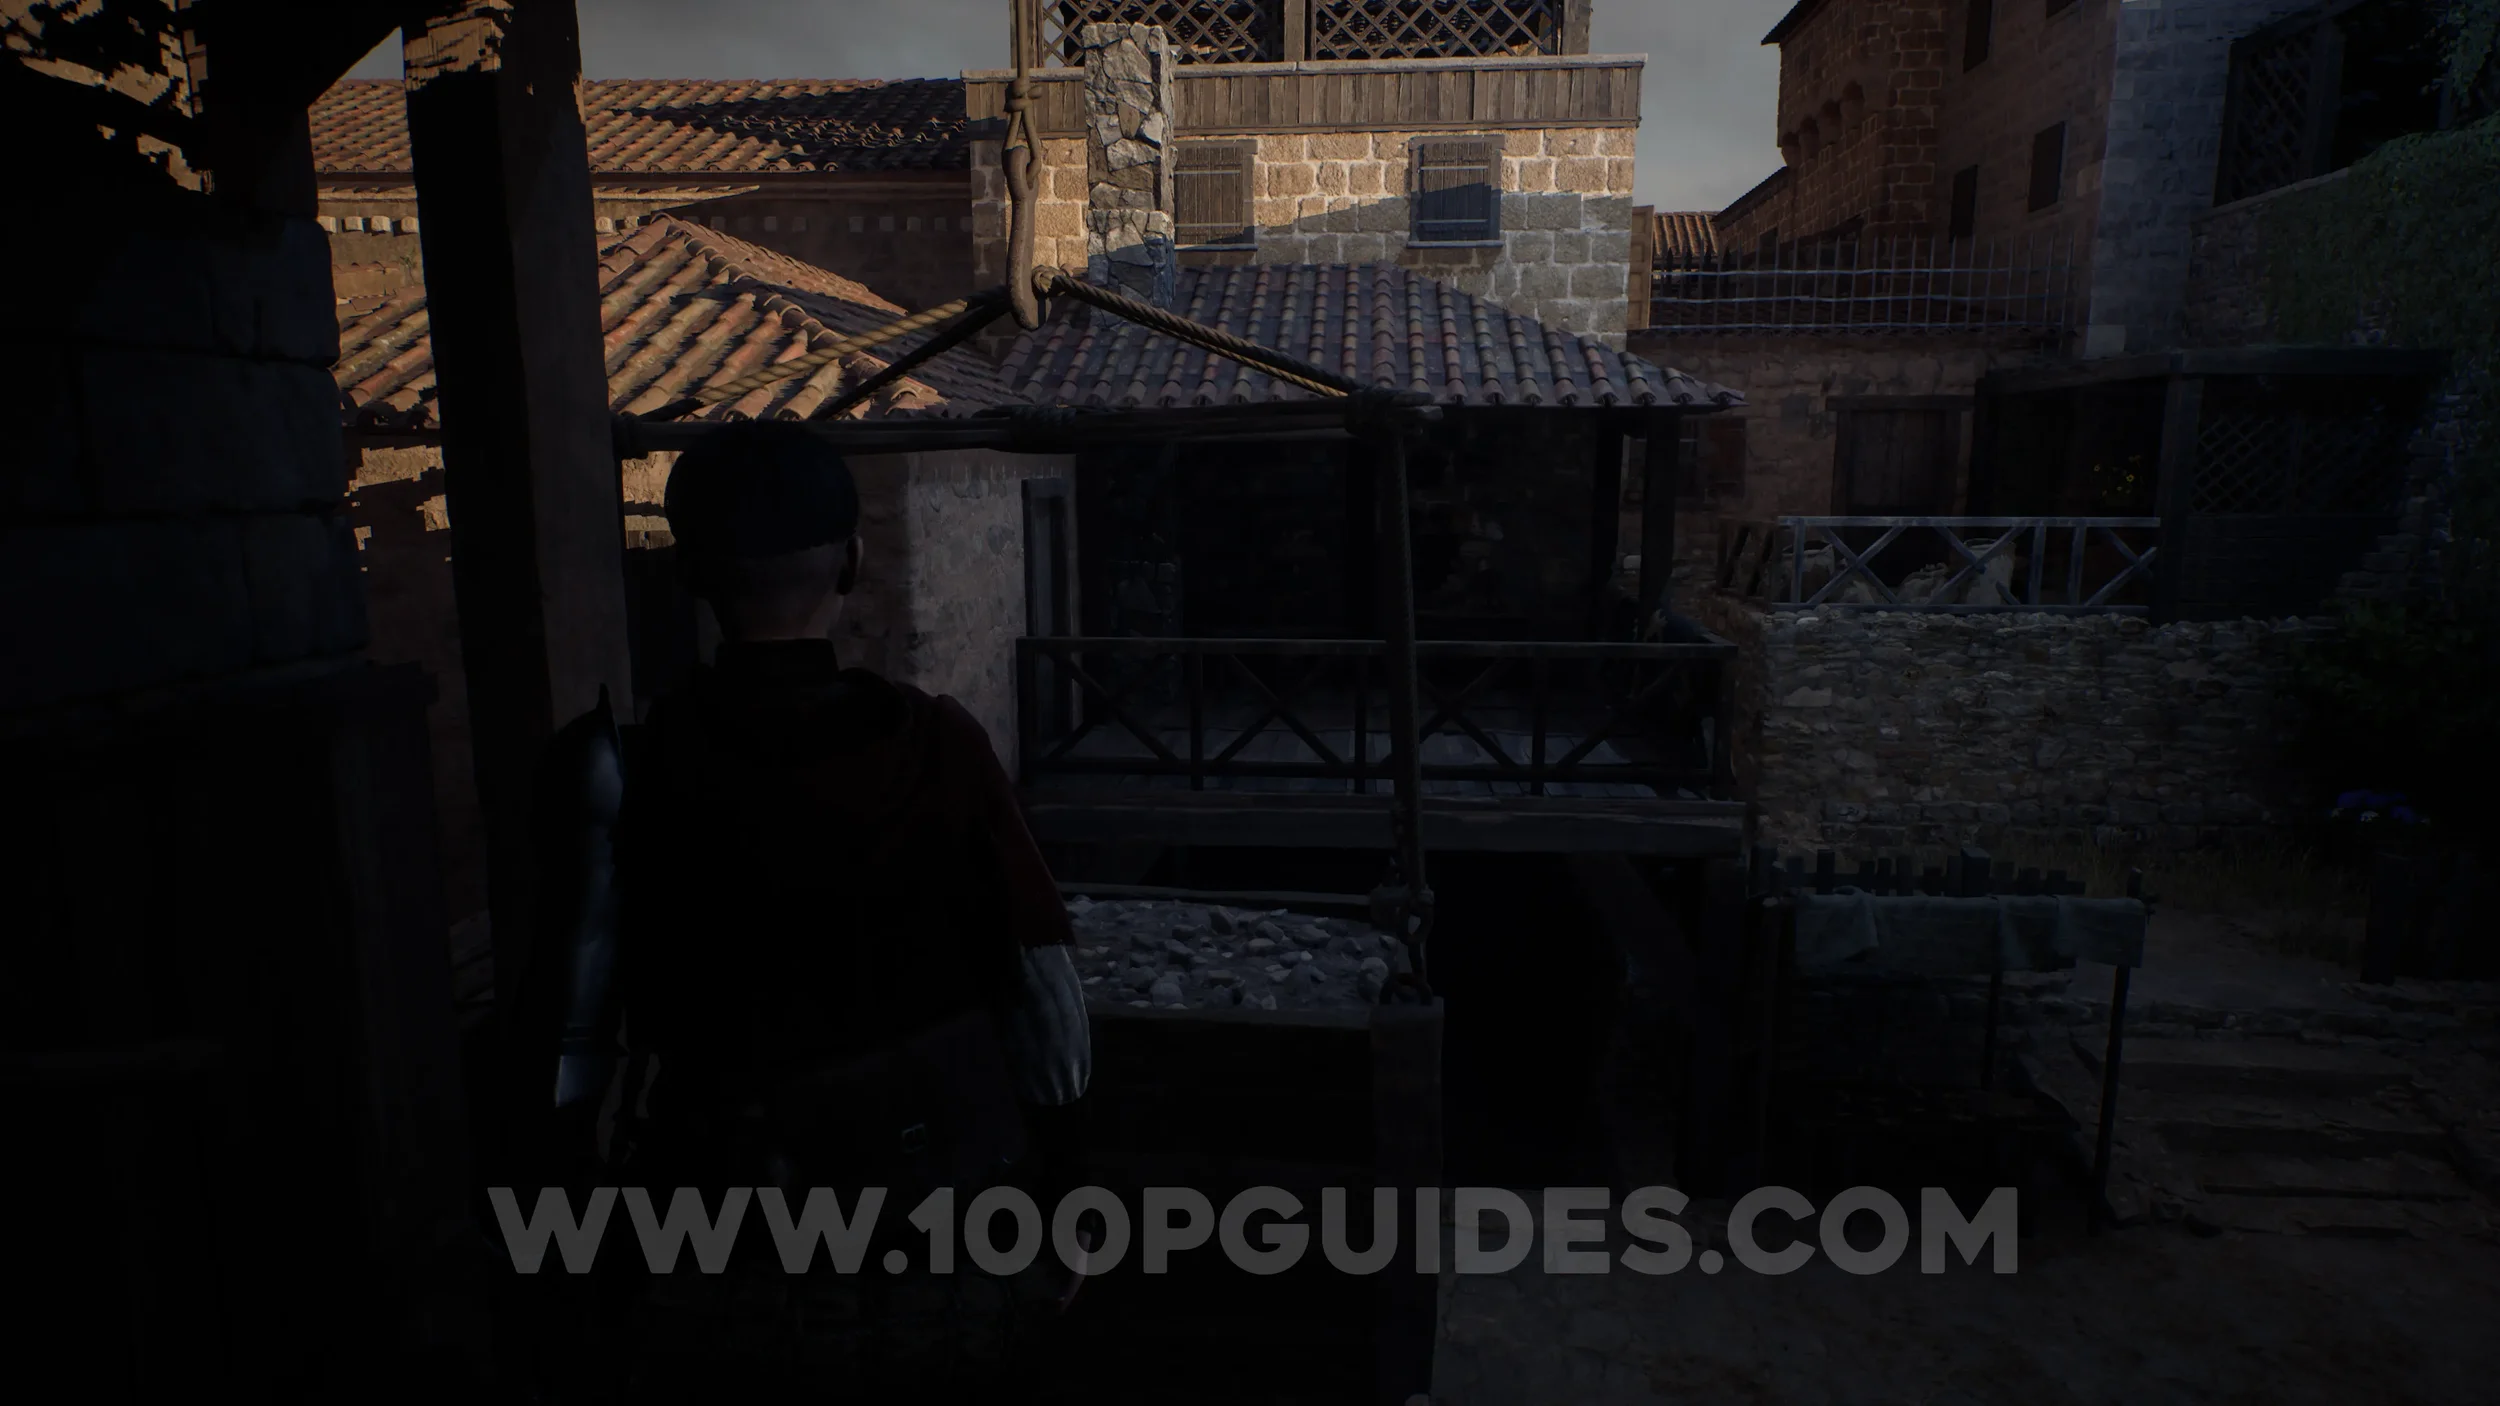
Sword Part #11 - Tusca Guard. Push the cart all the way to the end so it is positioned under the hanging box. Then use the lever to lower the box onto the cart. Jump onto the box to reach the balcony, where you can find the part.
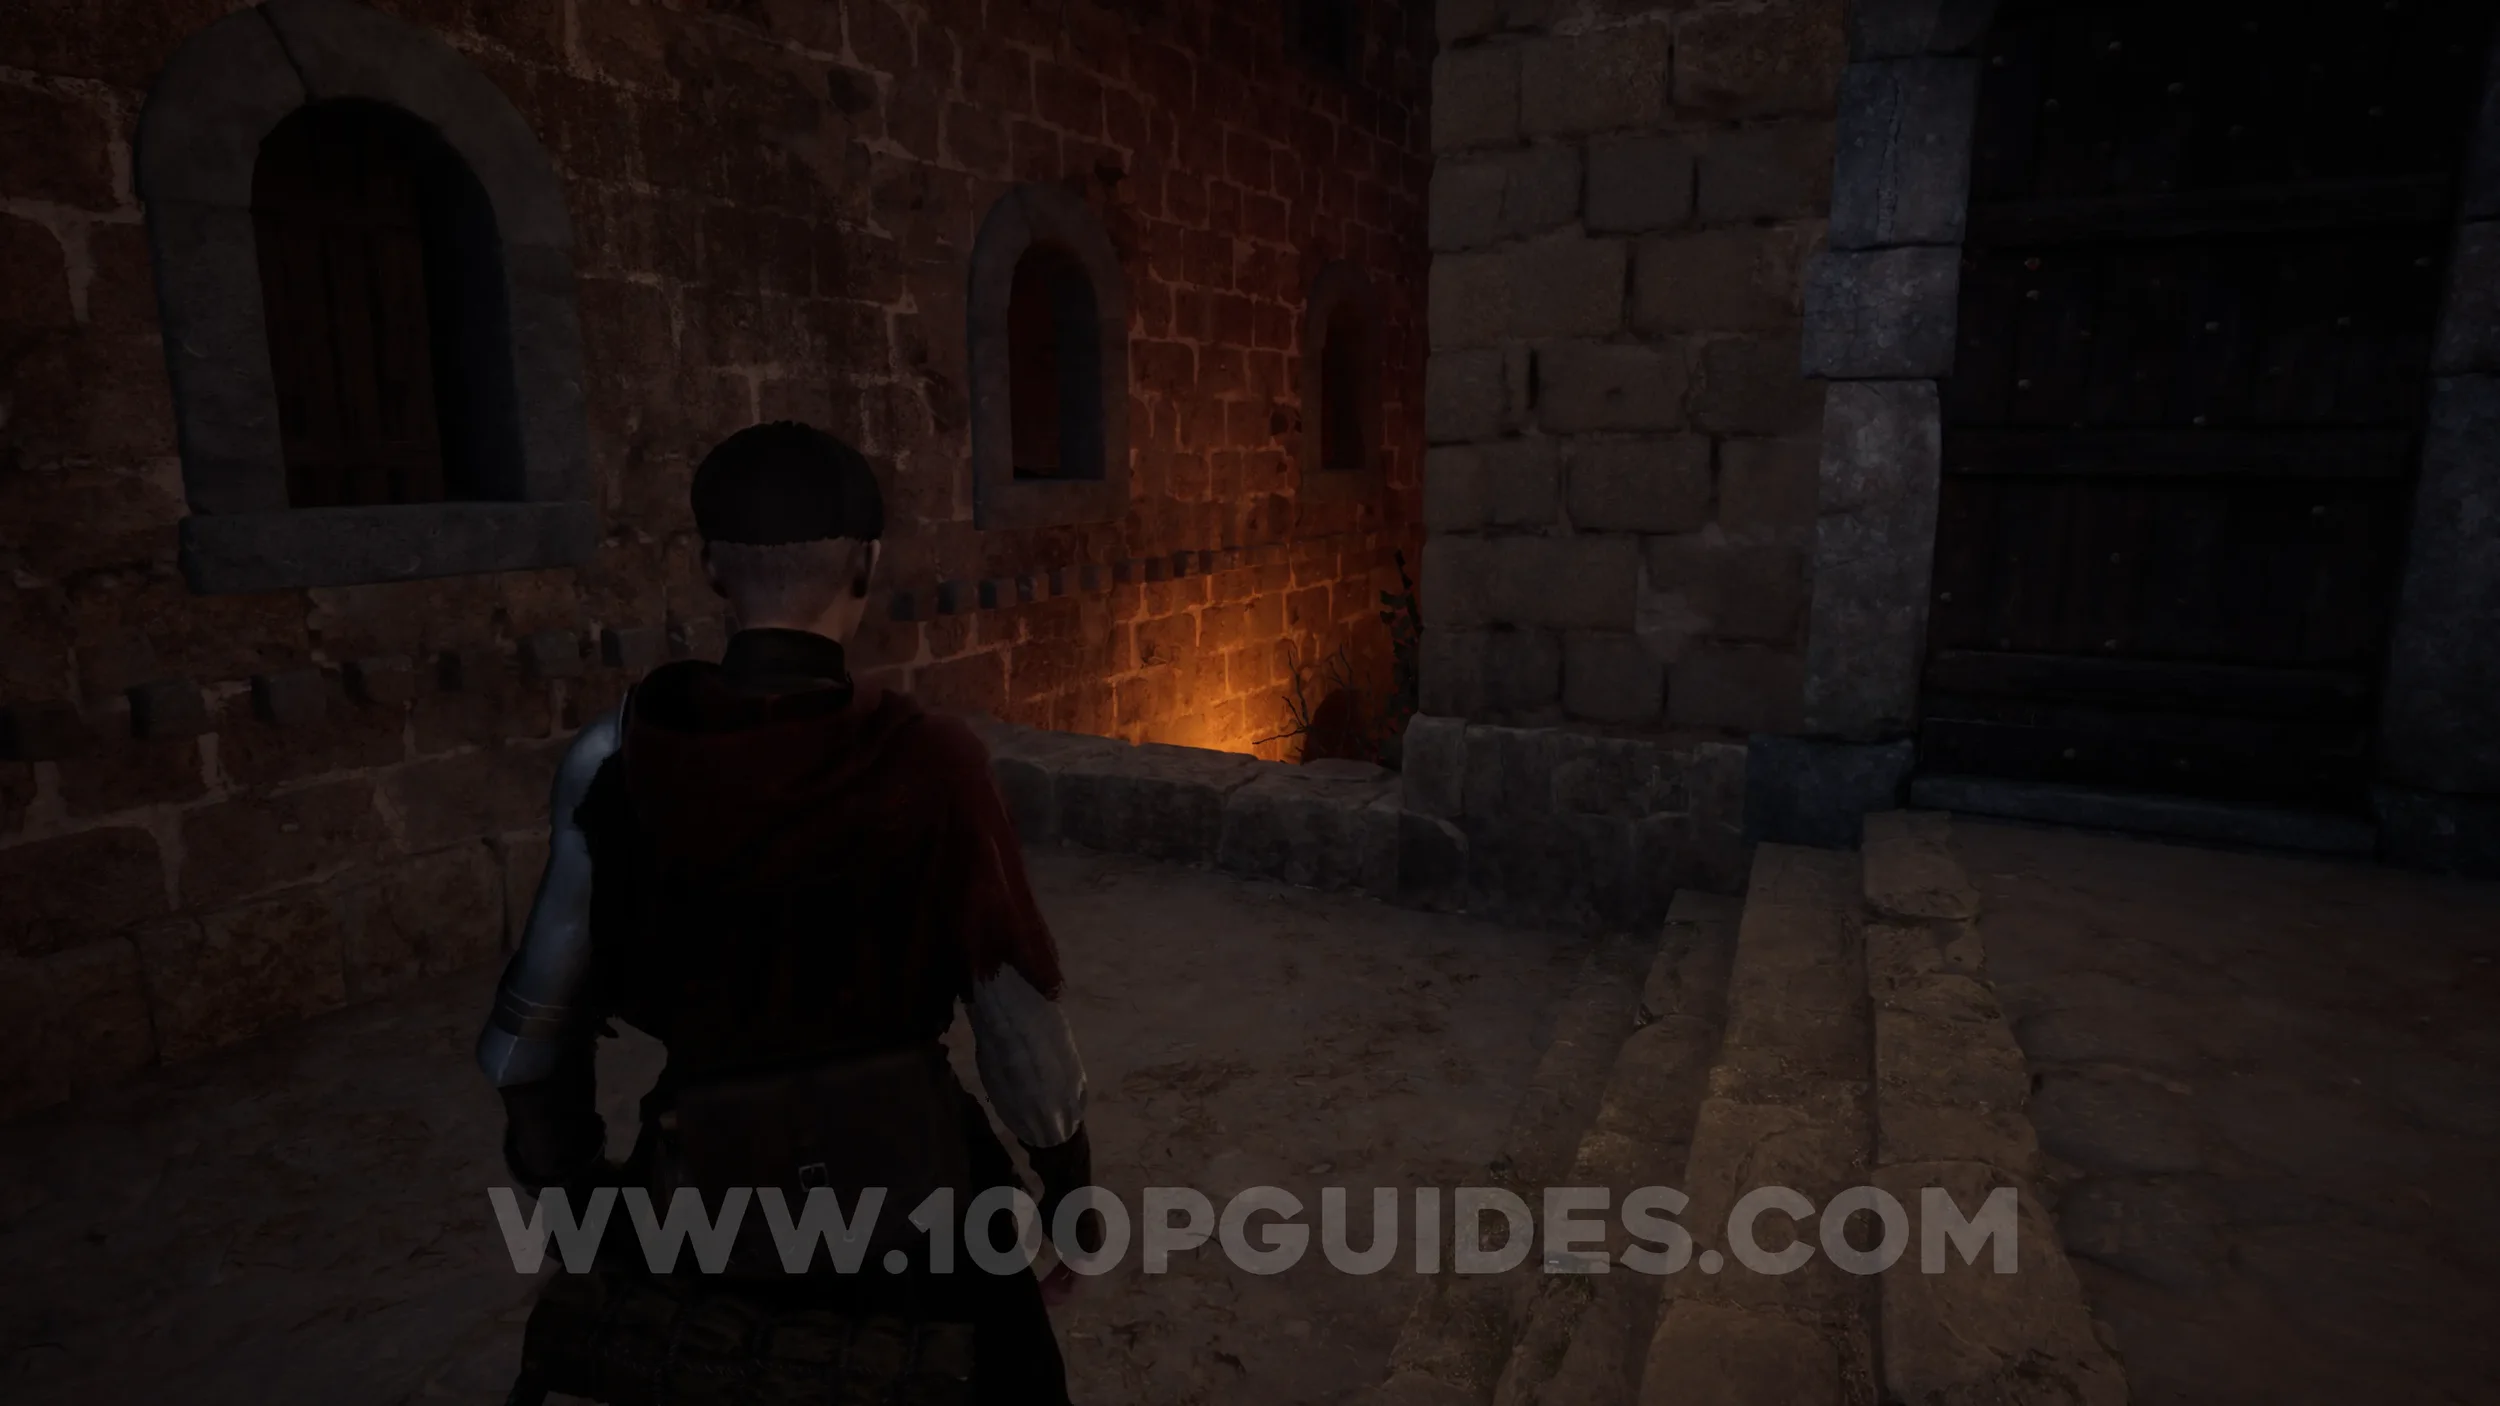
Treasure #5 - San Antonio. After pushing a small box and jumping over a wall, you’ll briefly see someone run across the area above you. Here, turn right and look for a small lit-up area below you on your right. The treasure can be found behind the box.
Paper #37. Soon after the previous collectible, you’ll have to go through a house. The paper is on a table in plain sight.
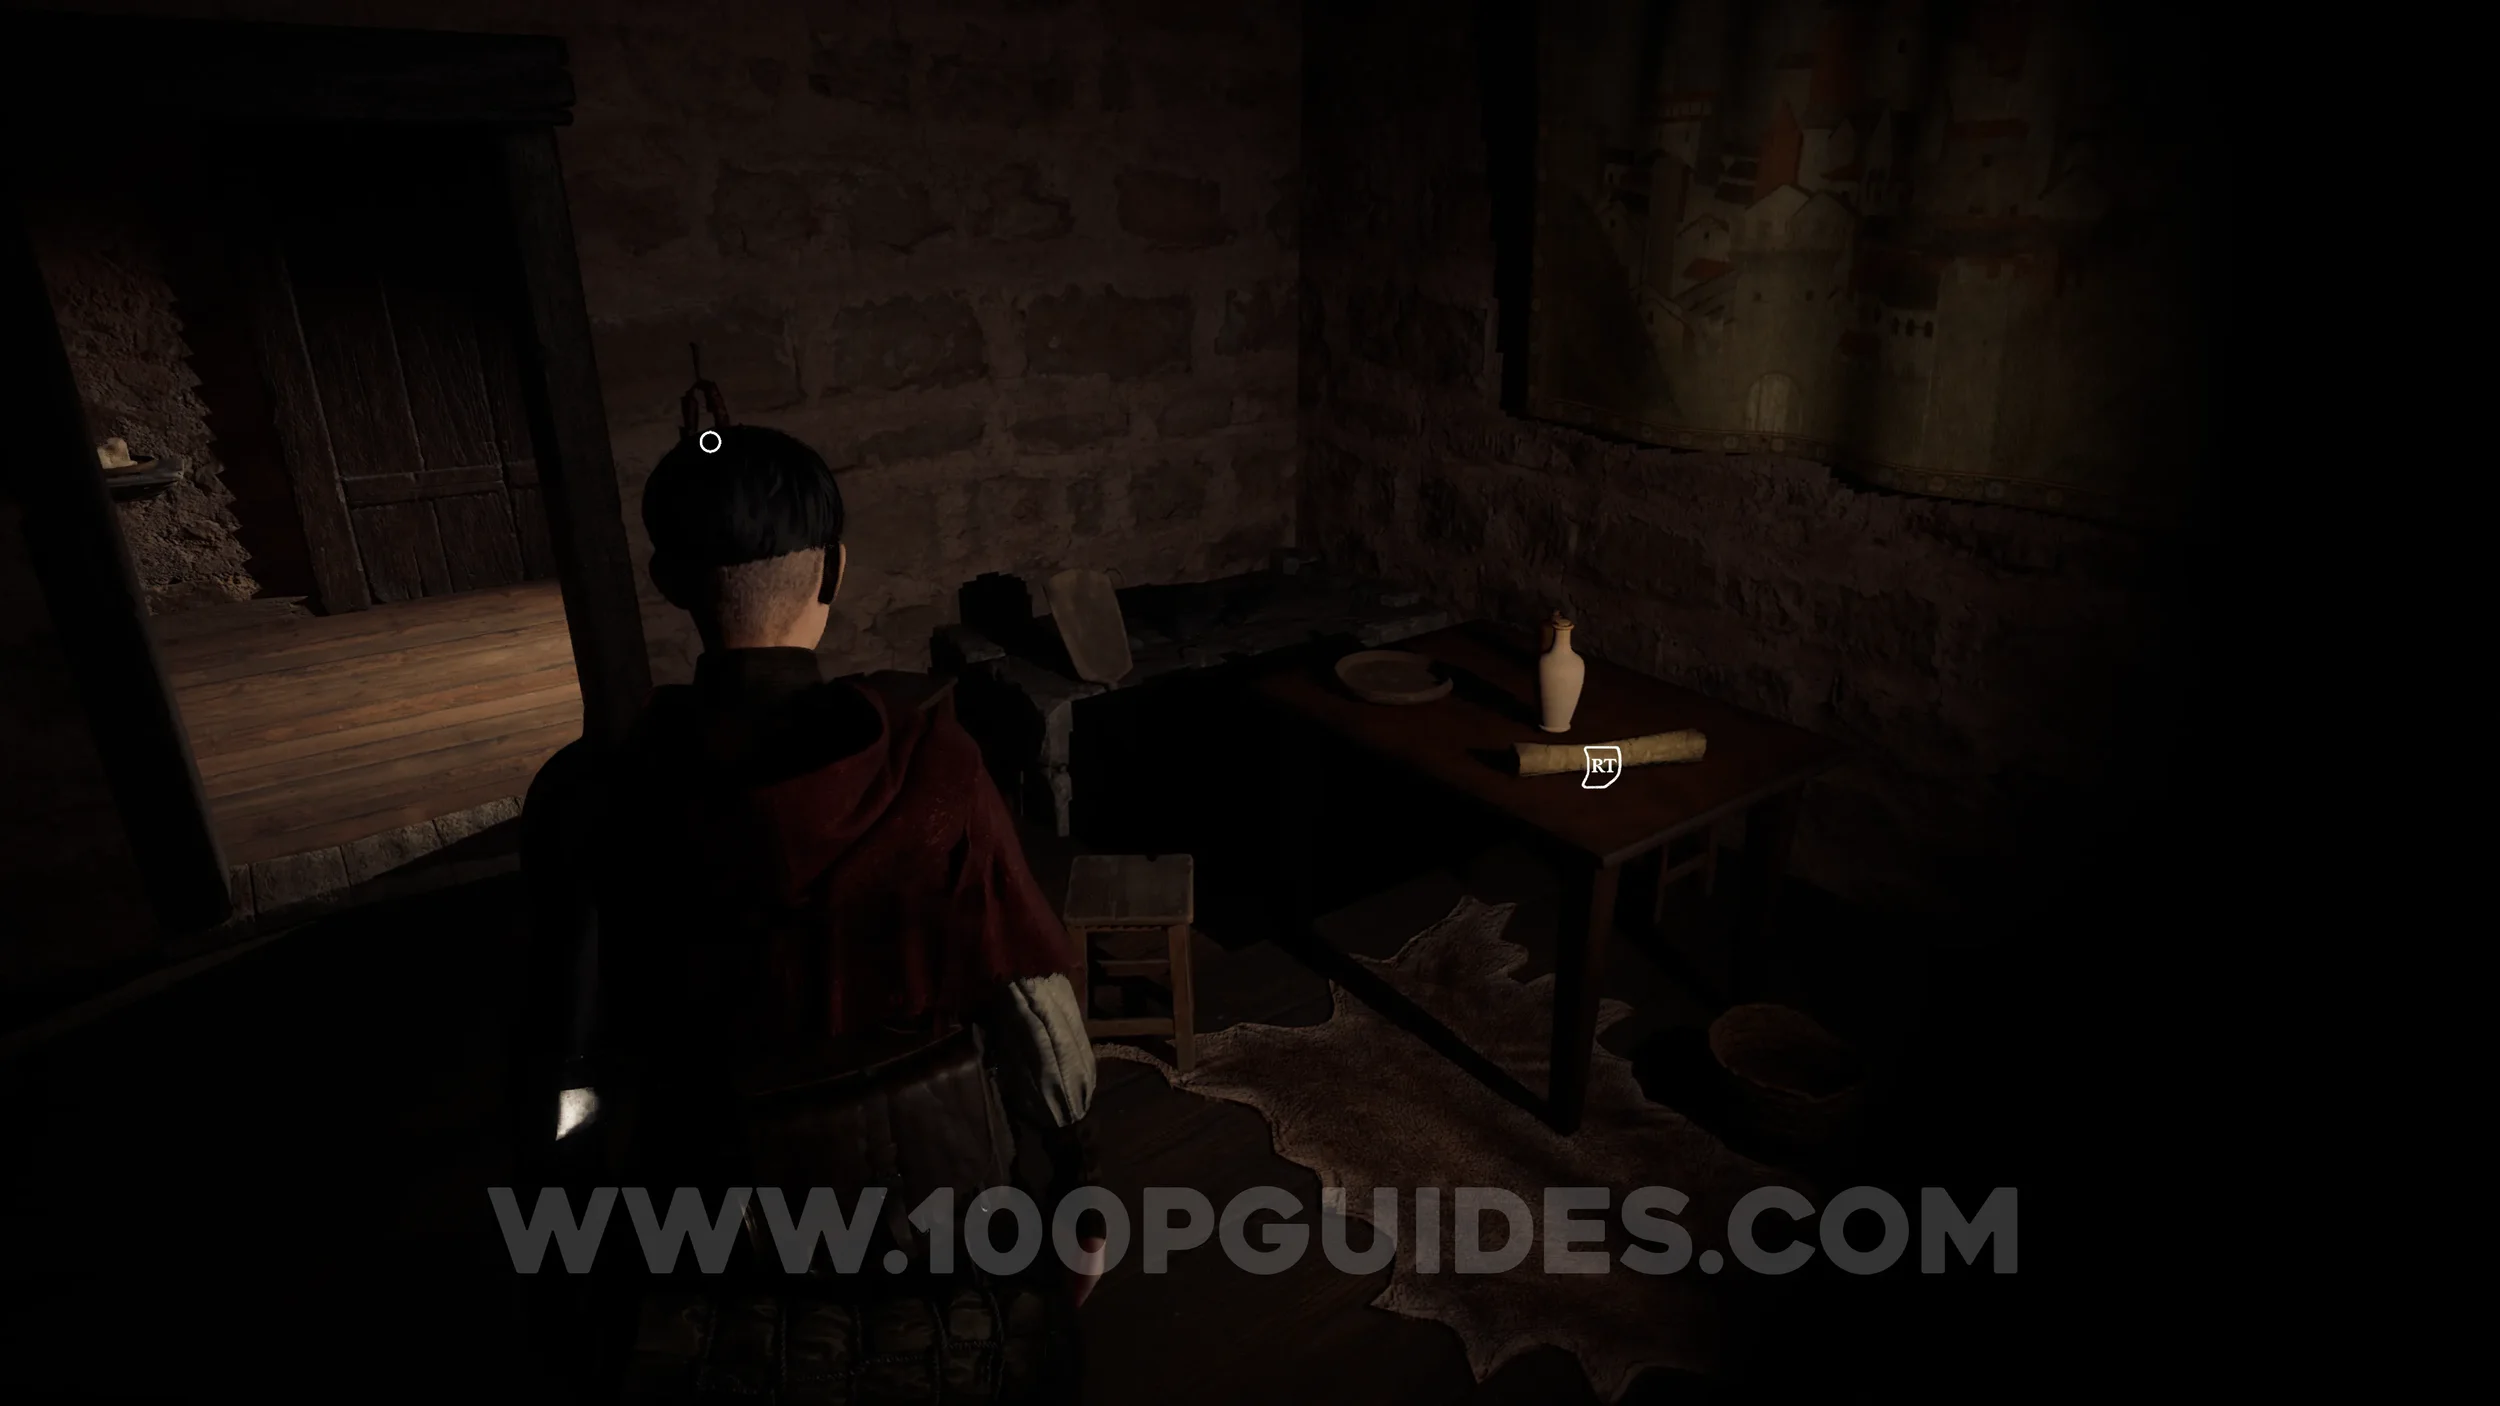
Paper #38 (Large). After the first enemies of the chapter, you’ll return to the streets. Before taking the left path down, head to the area above to find the paper on a table.
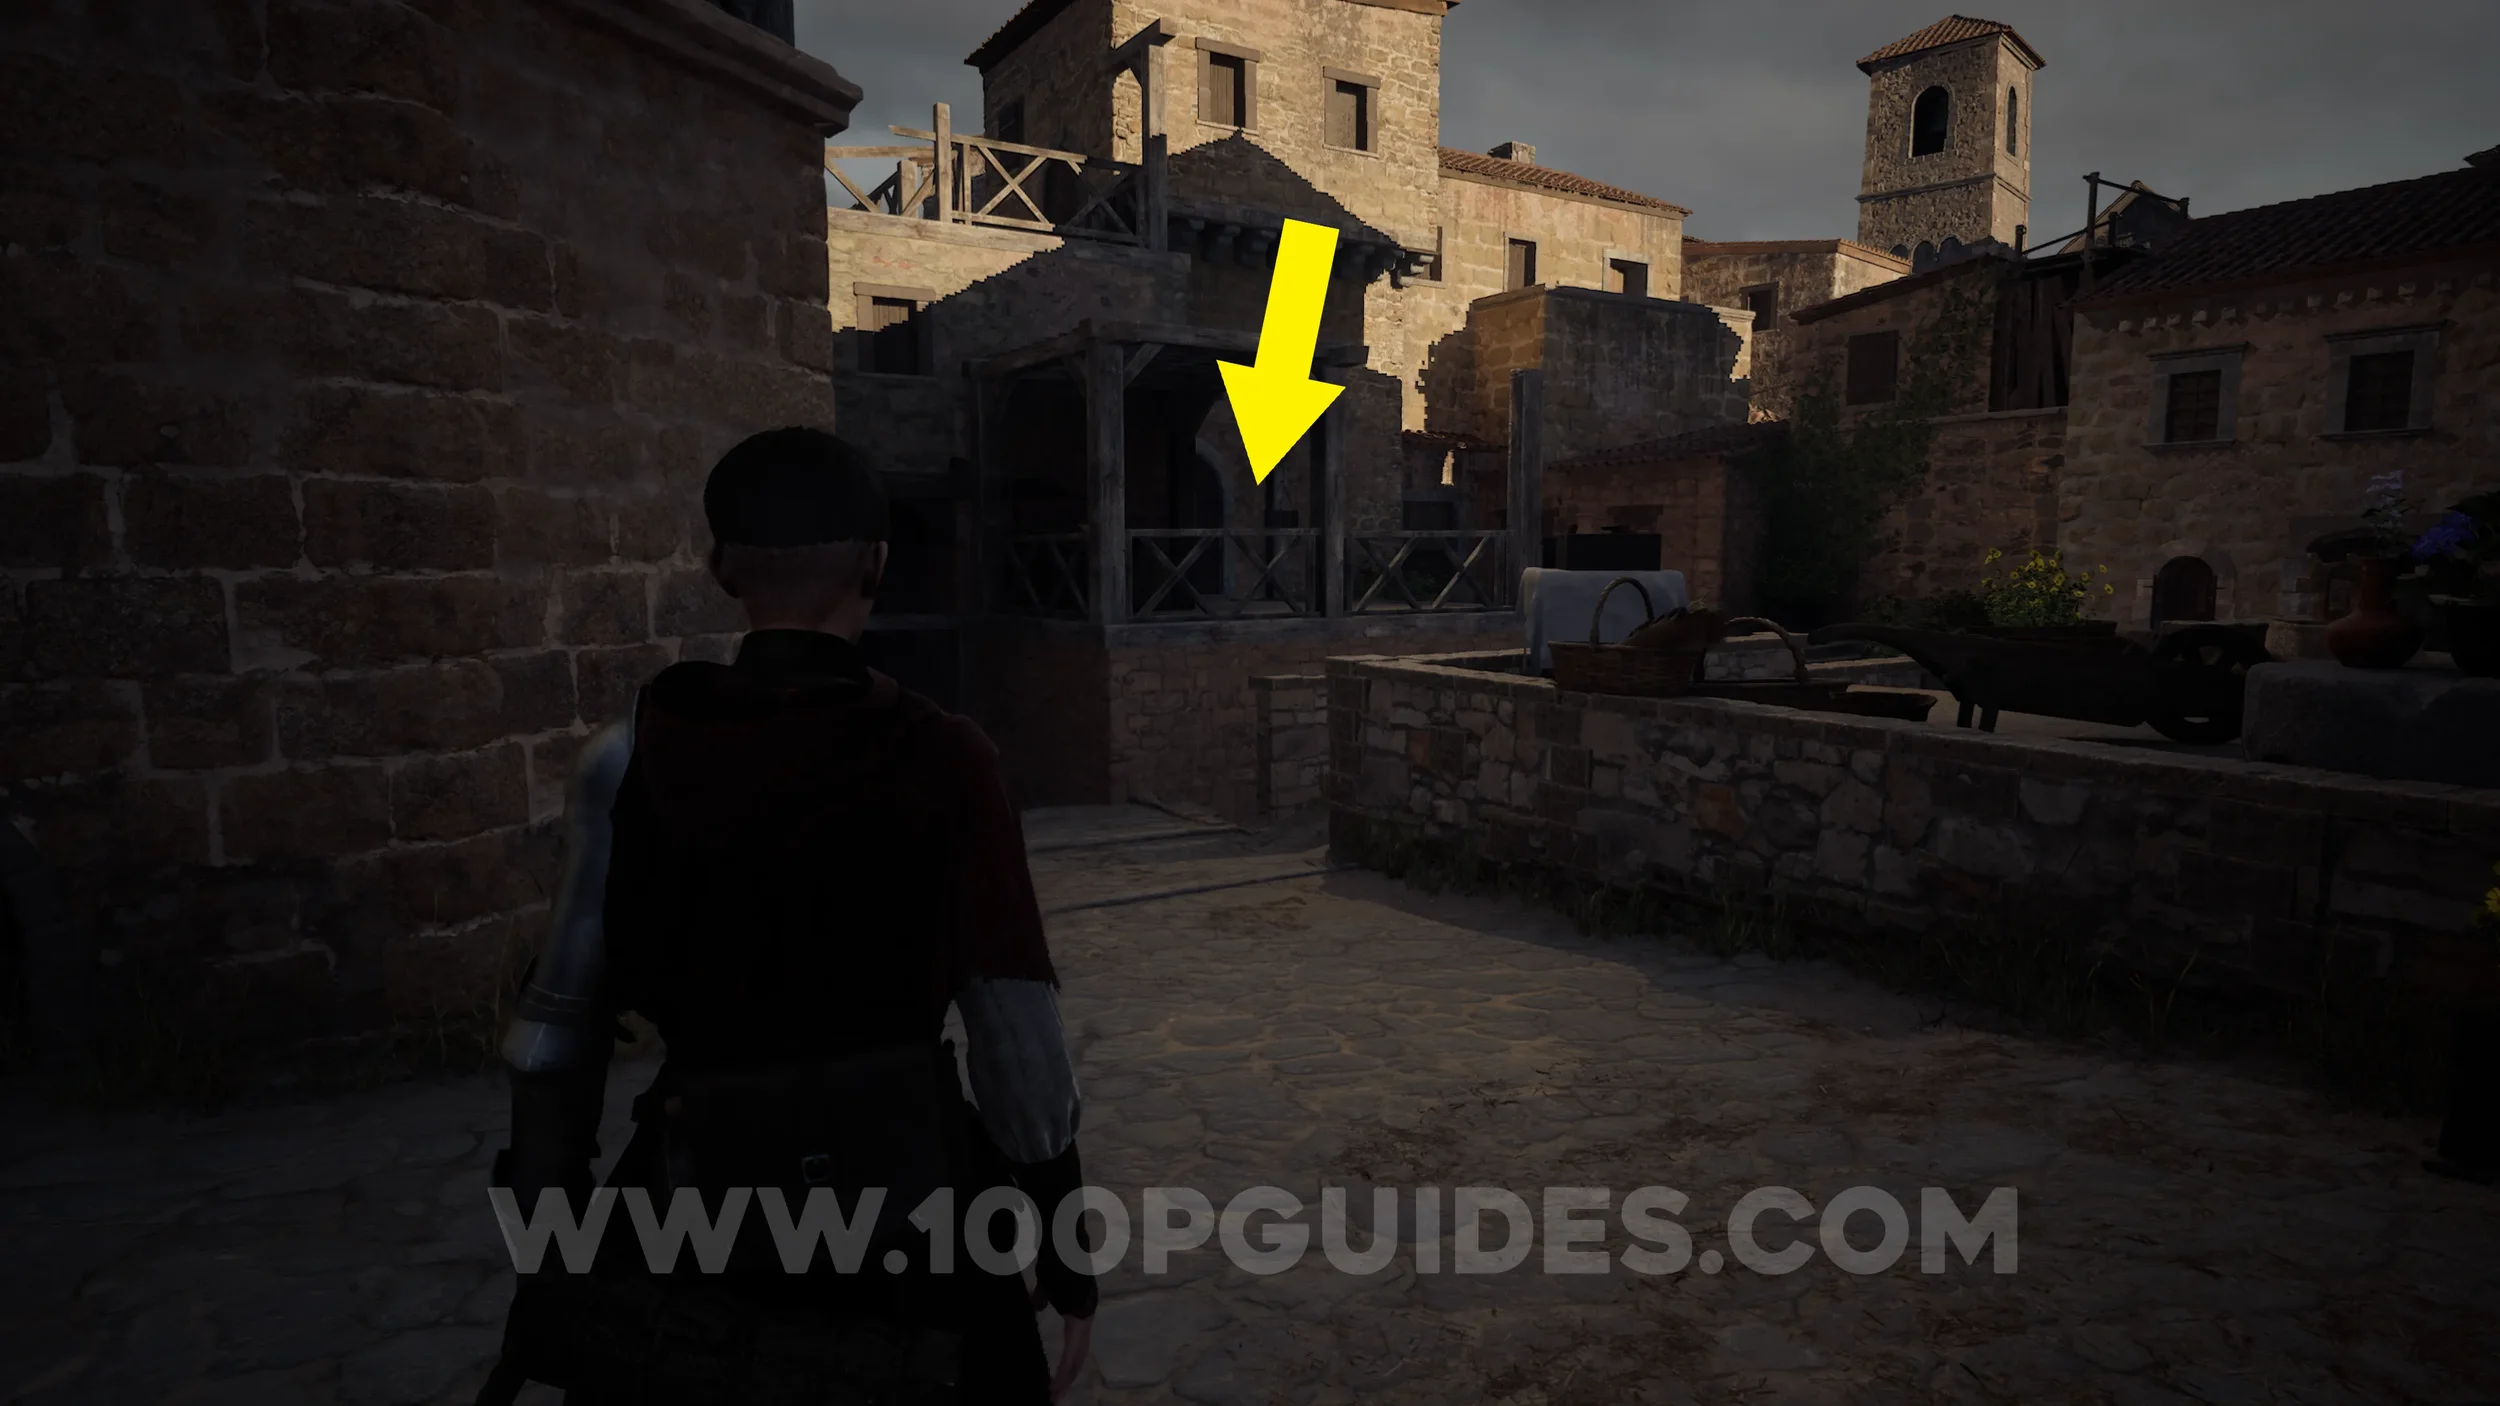
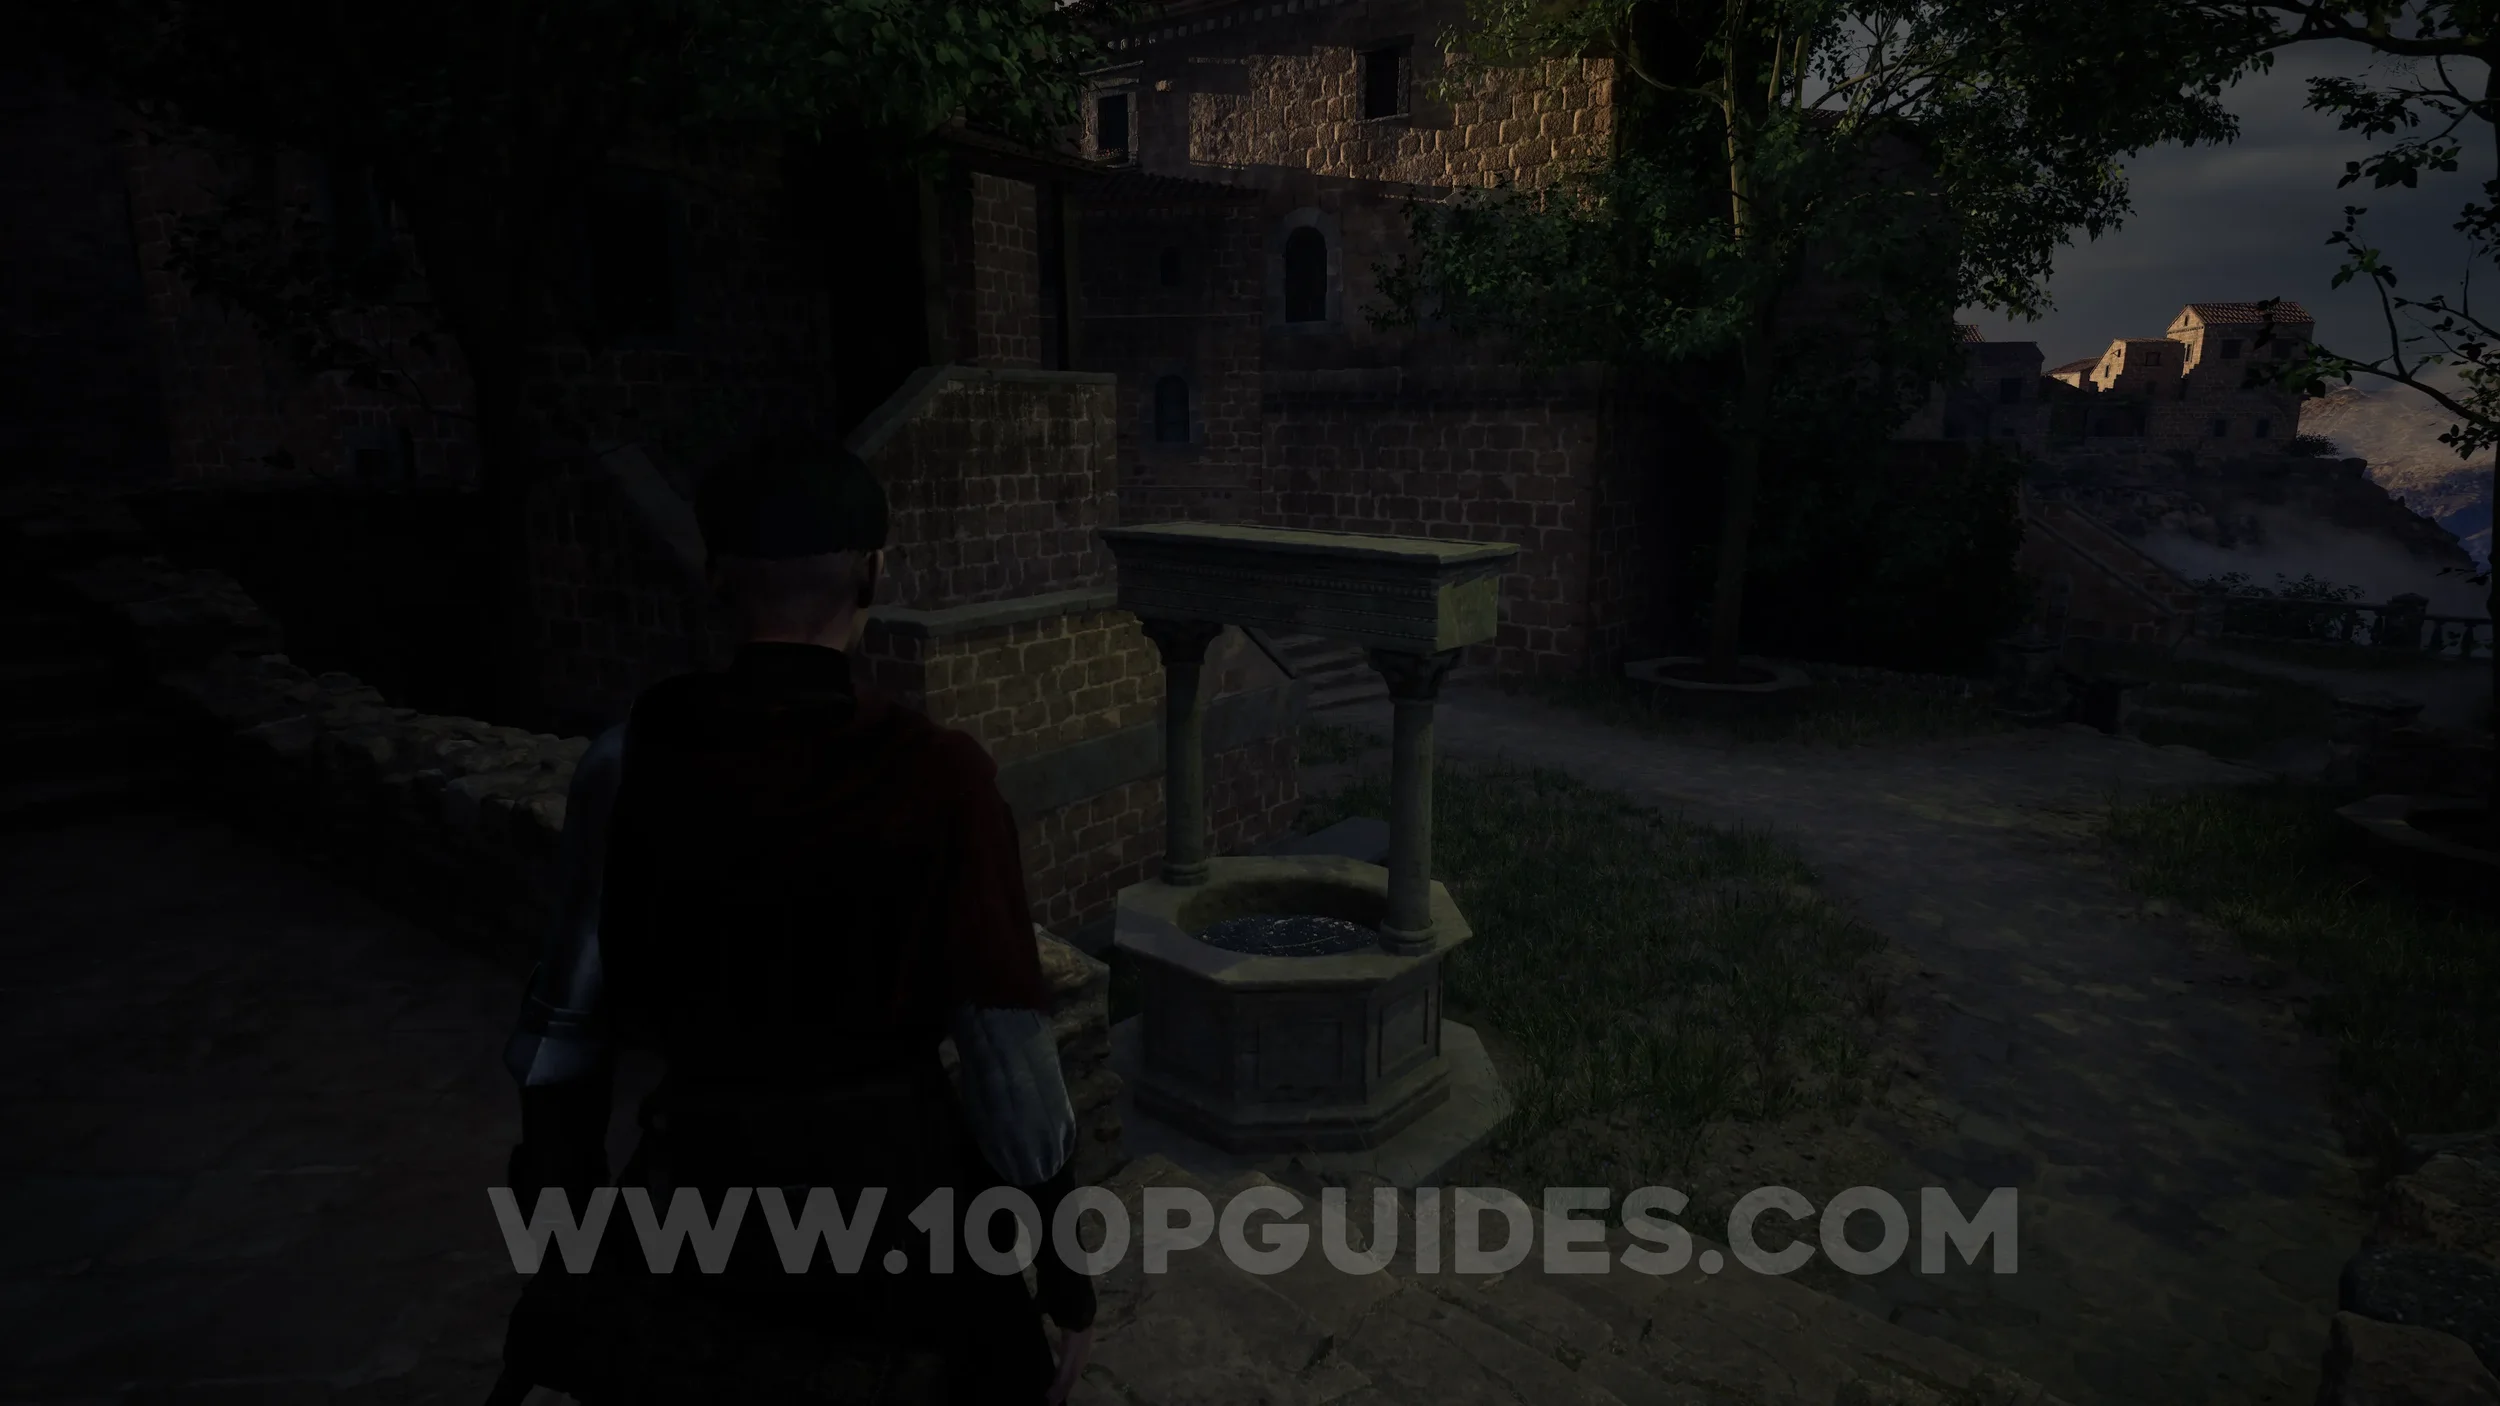
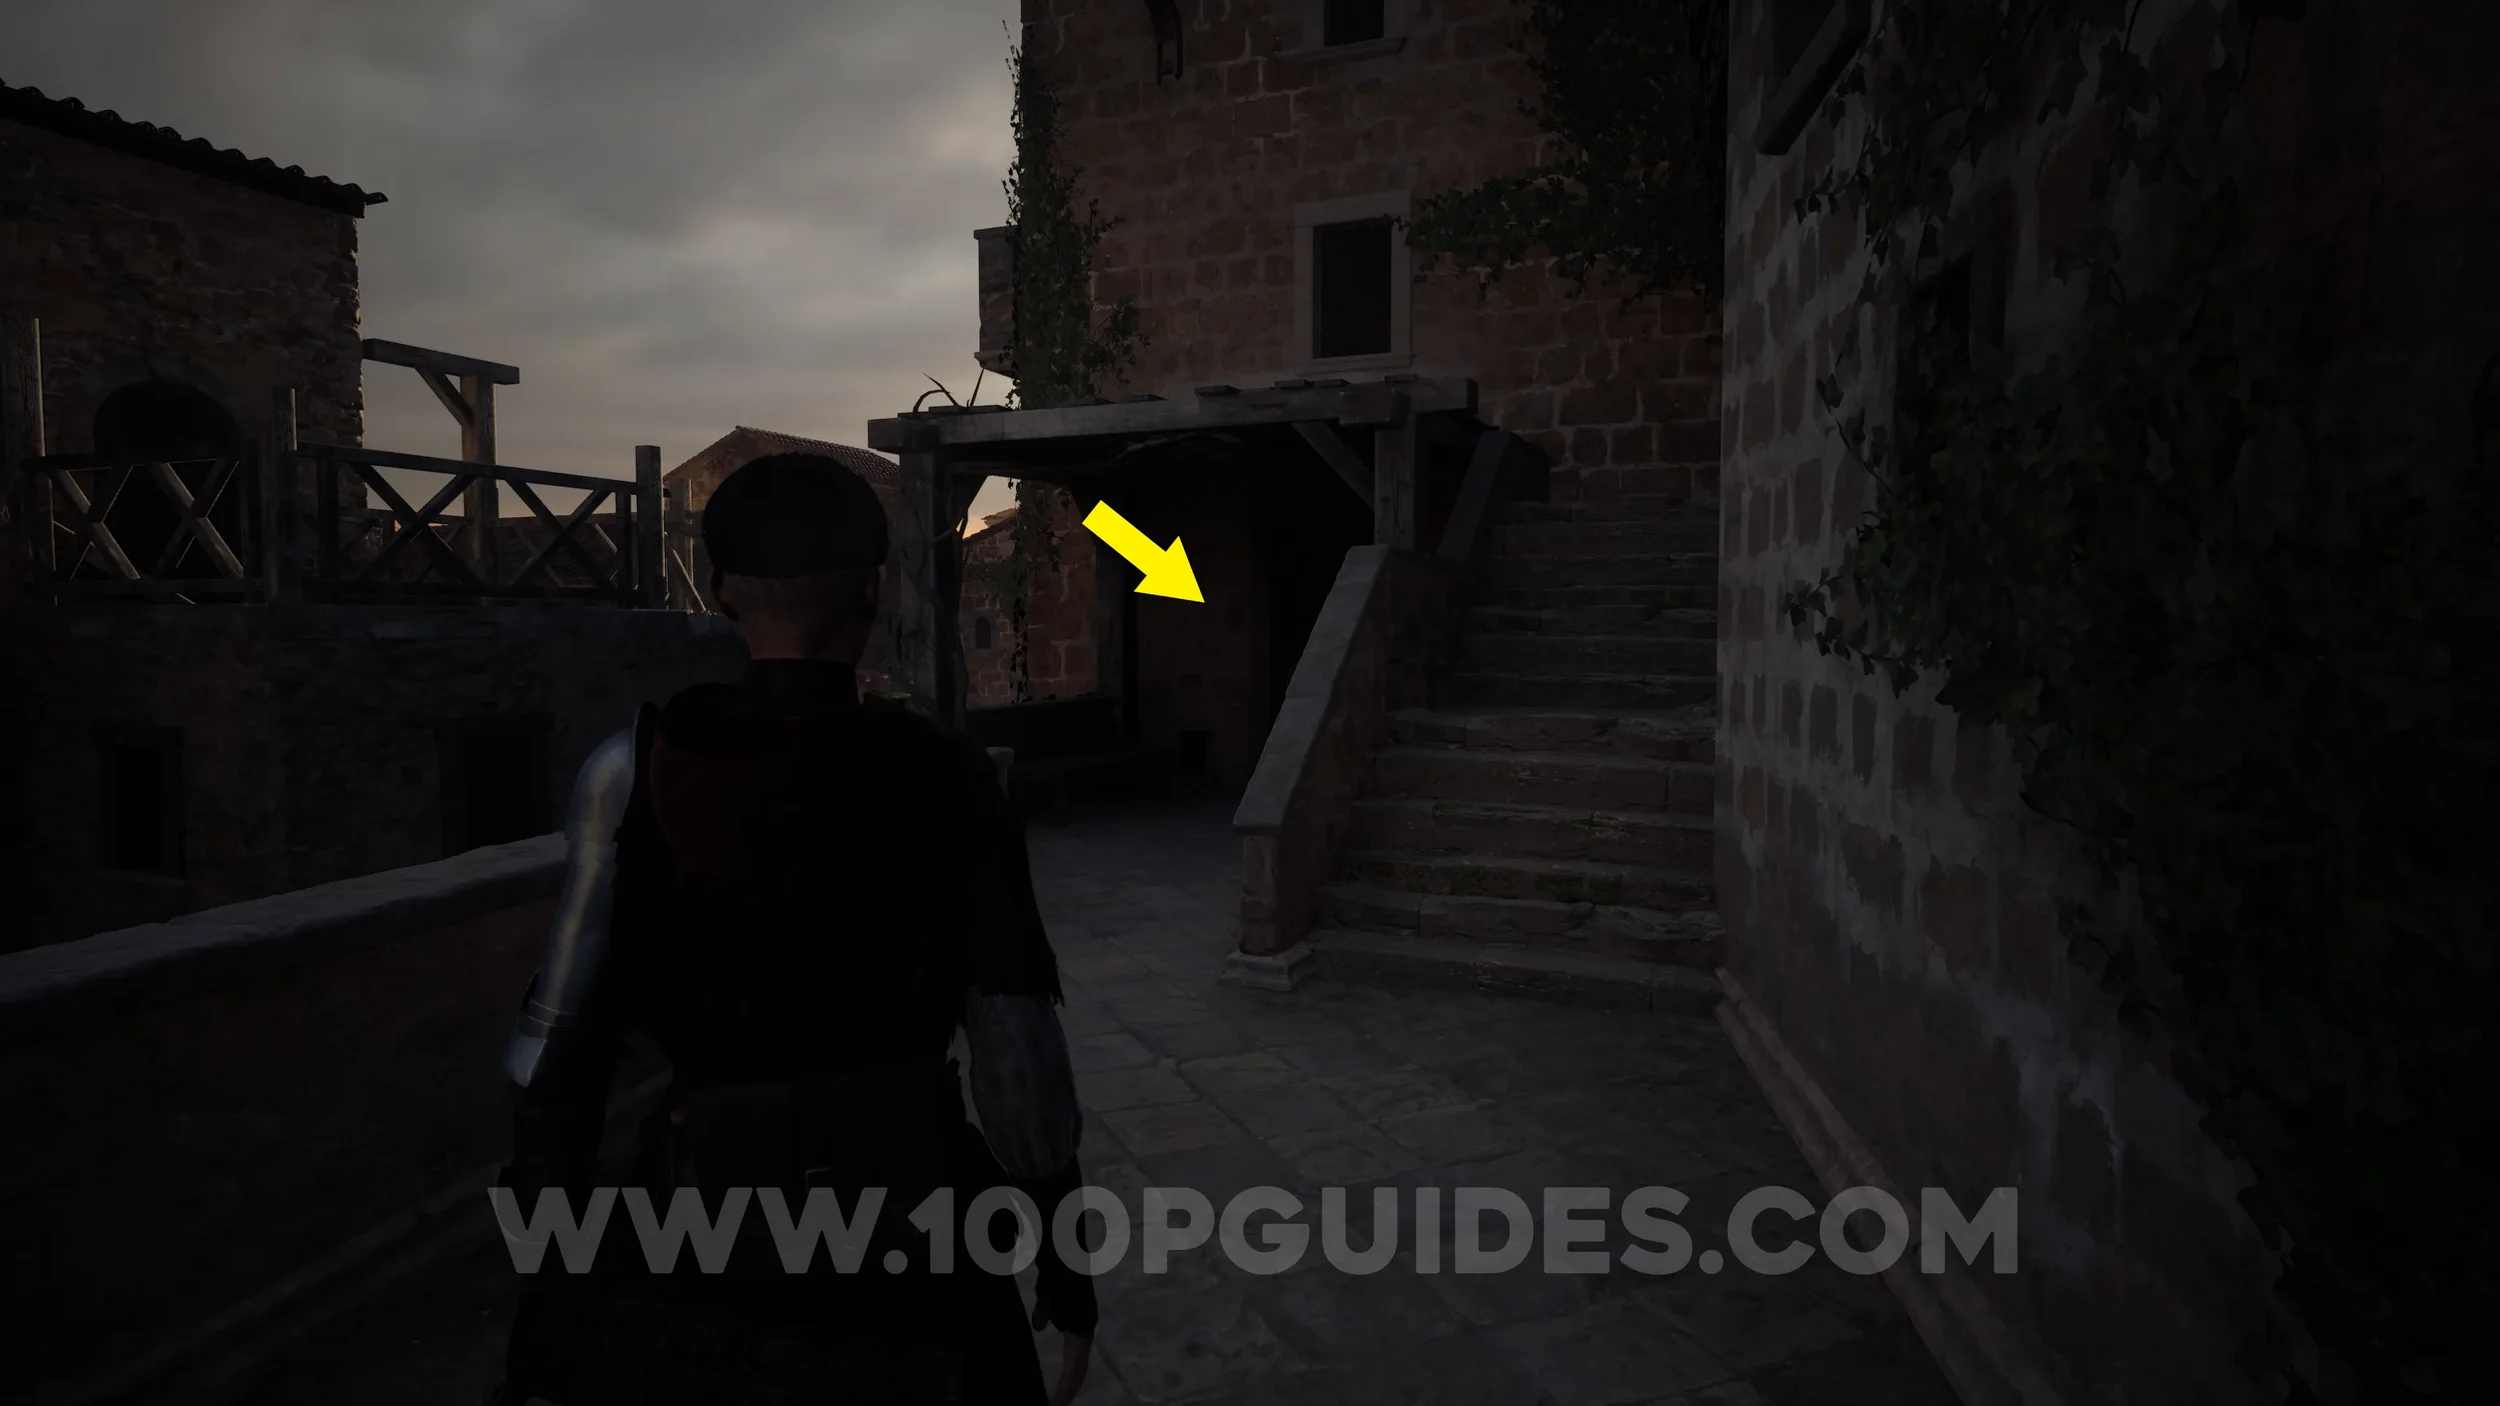
Paper #39-40. After going down the street on the left, you’ll soon reach an area on the edge of town with a well. Just past the well, go up the stairs on the left to find the papers.
Trinket #5 - Chess Queen. After going through another house and jumping over a wall by standing on a box, you’ll see some stairs going up on the right and an entrance to a house below them. Go through the house and pick up the trinket from the chessboard.

Chapter 6
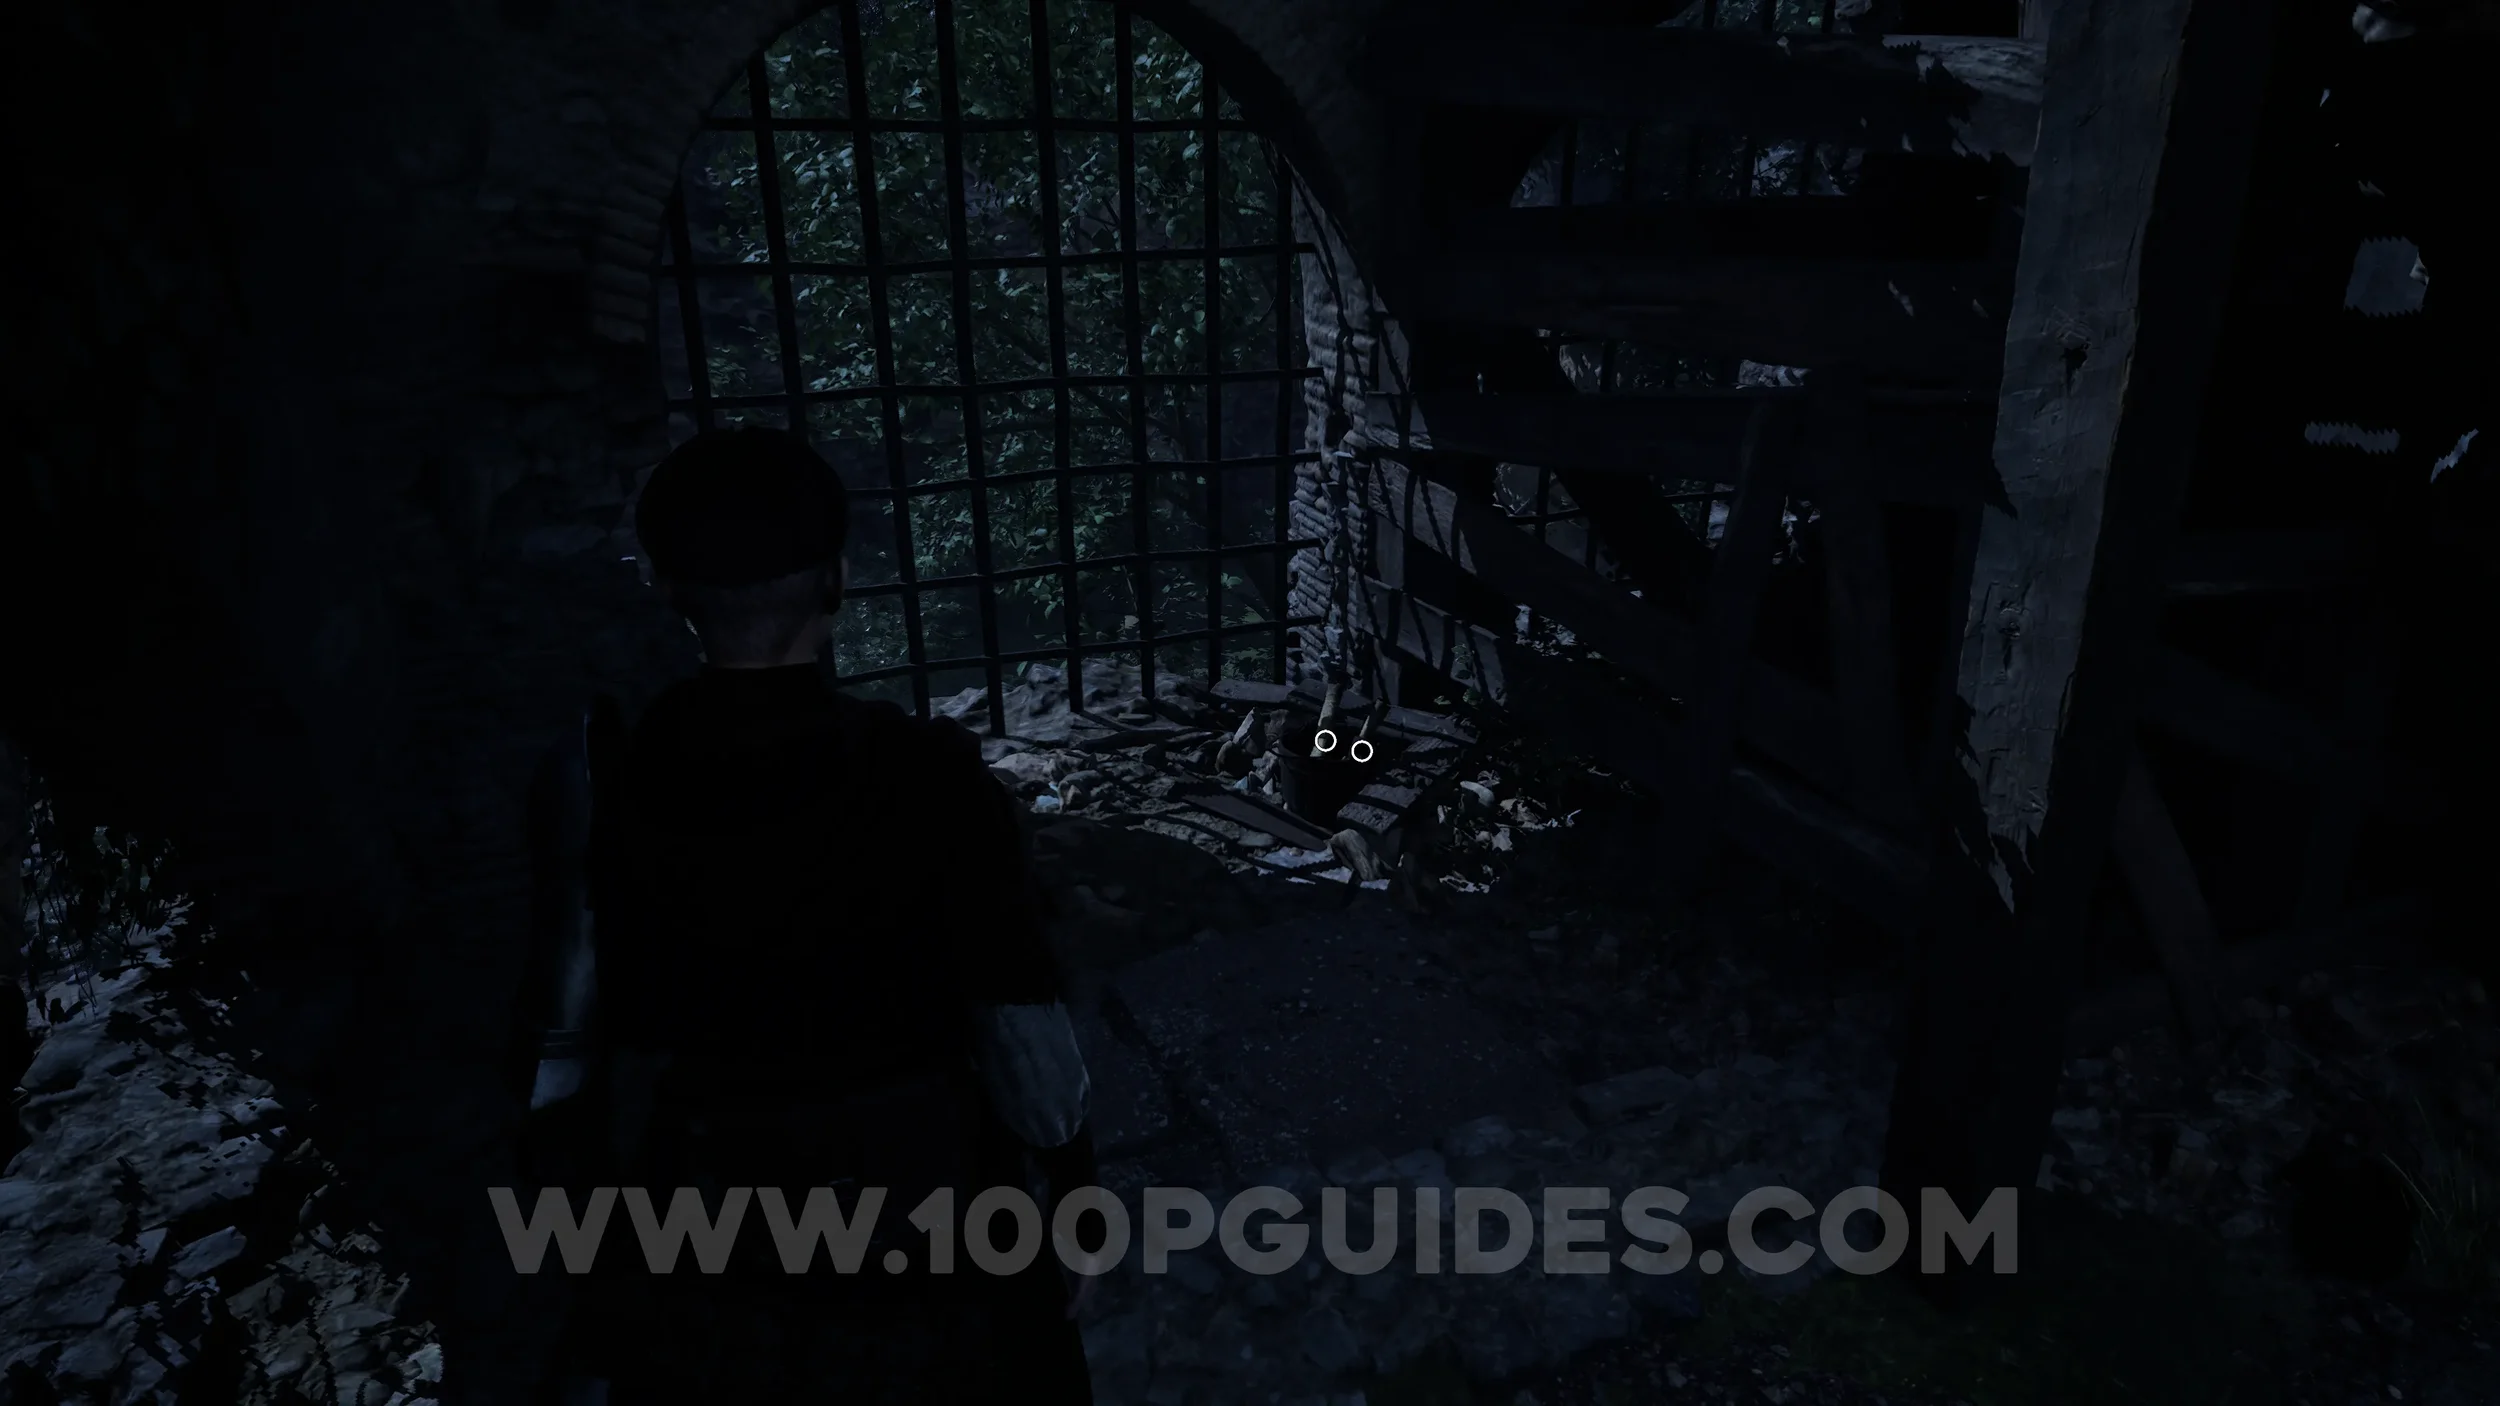
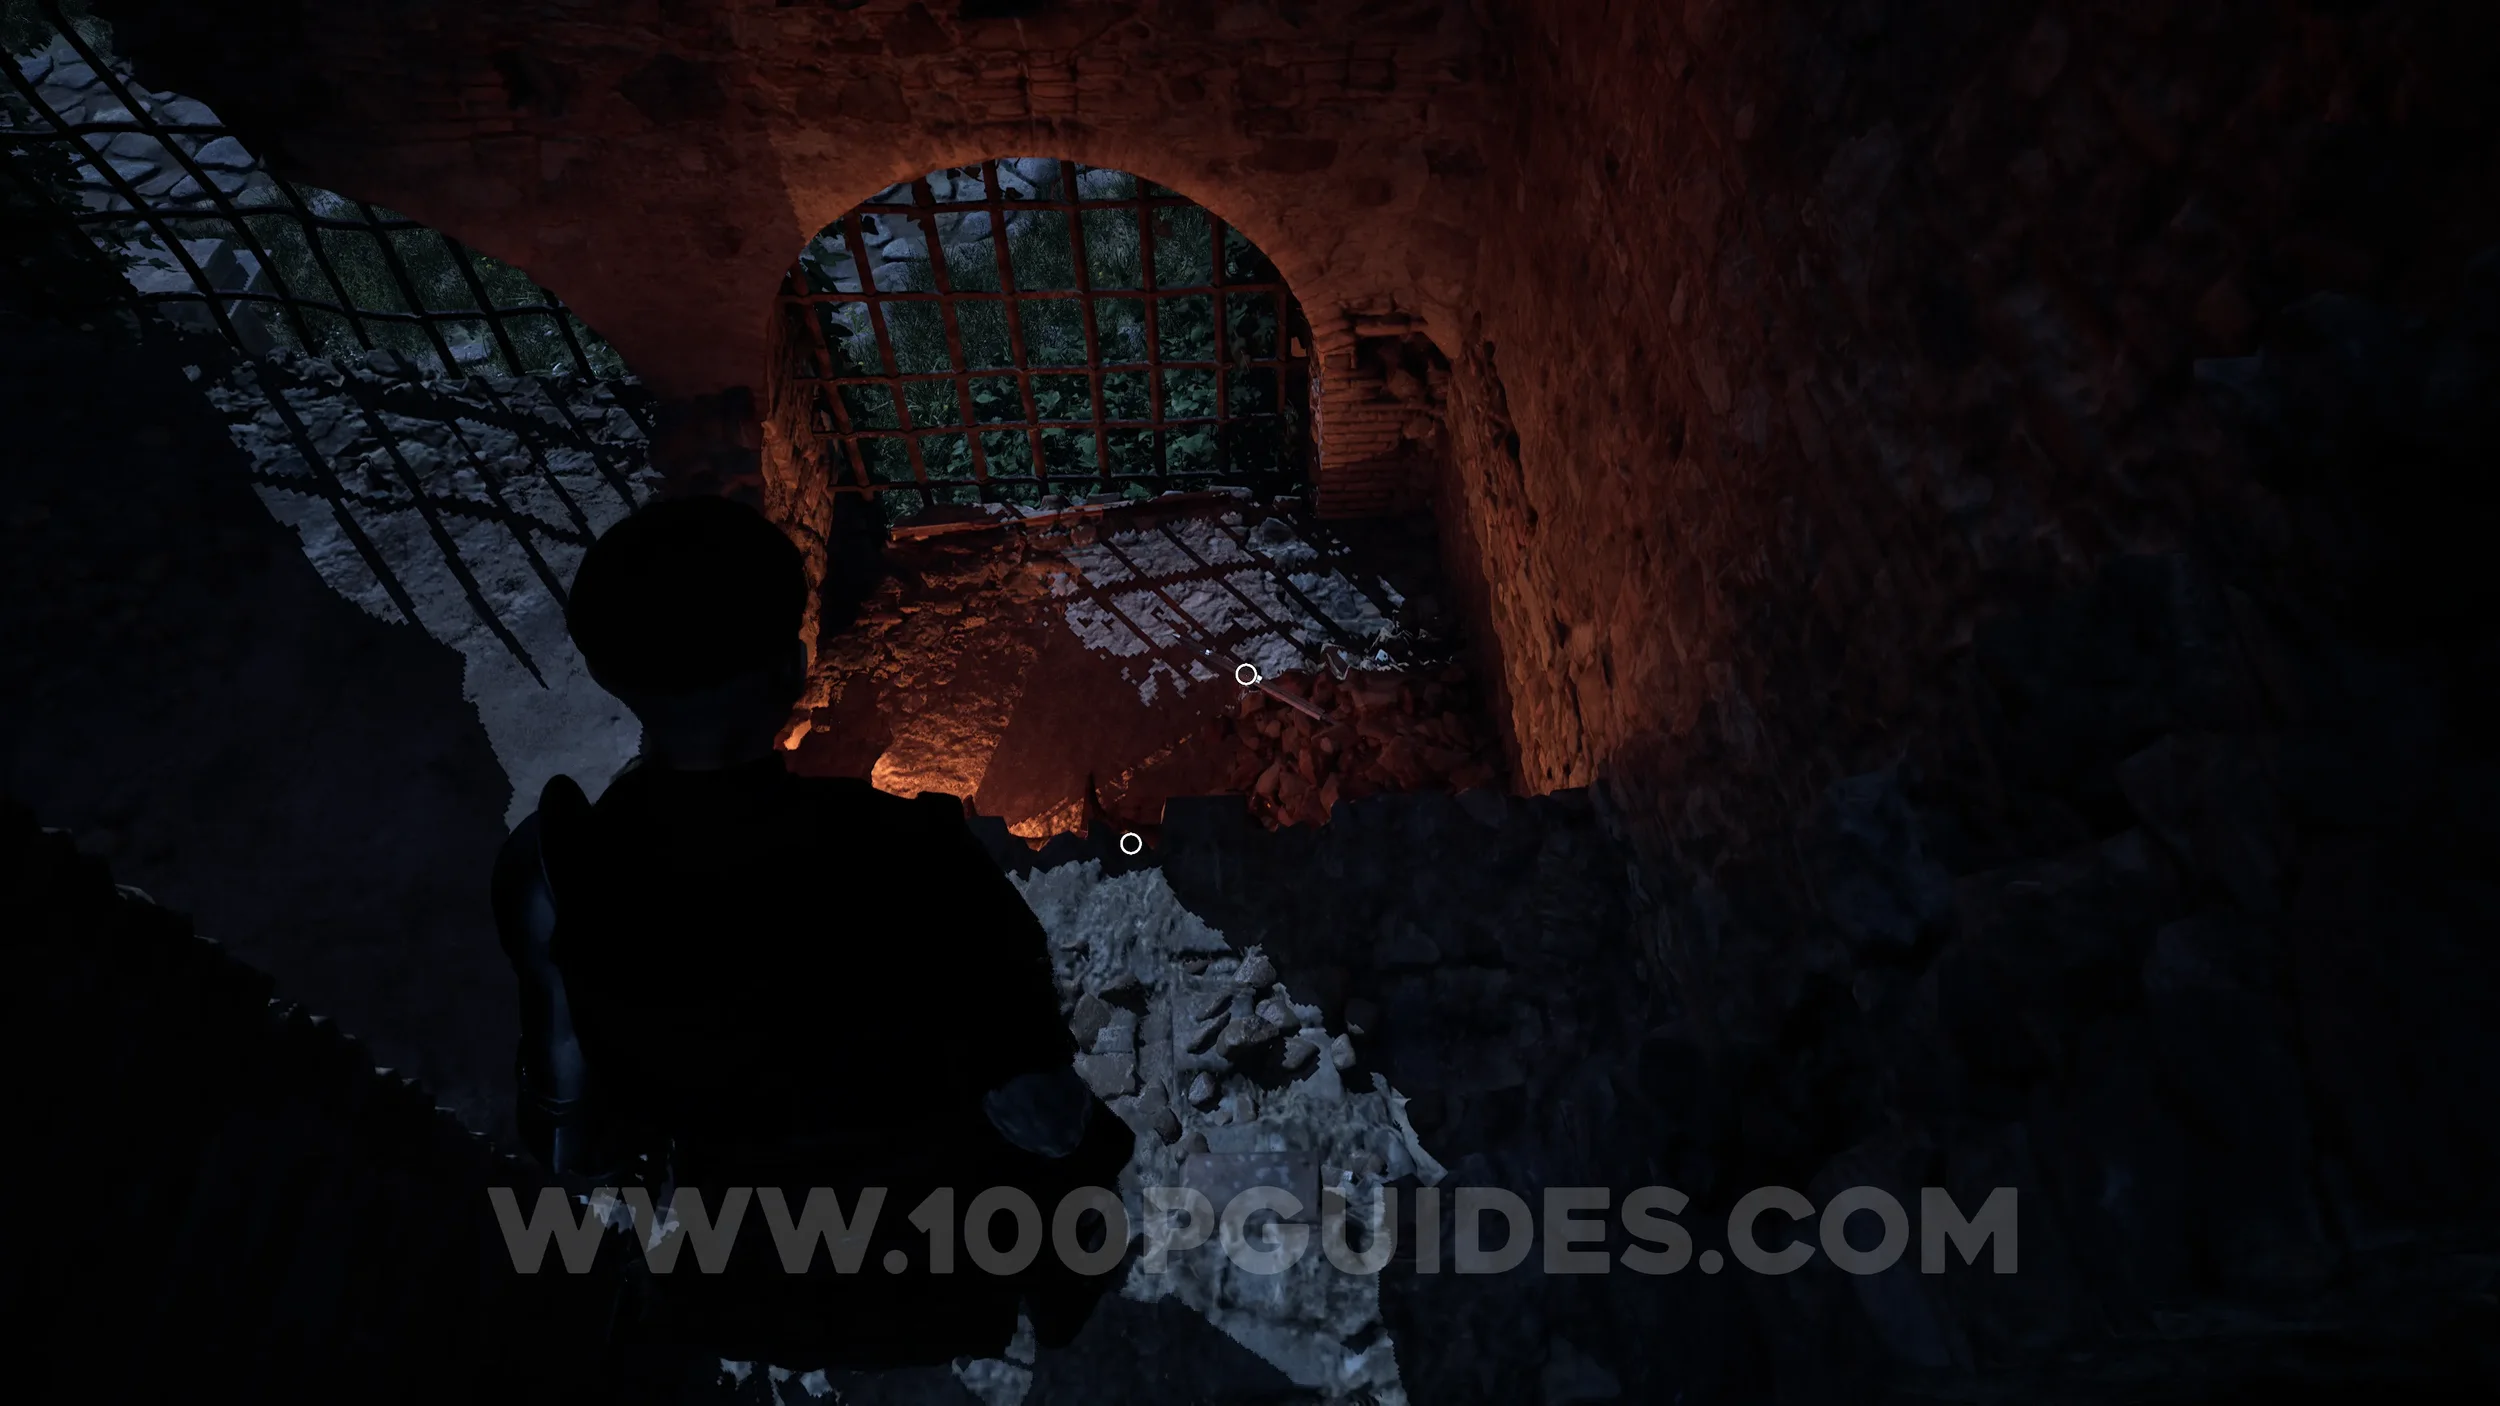
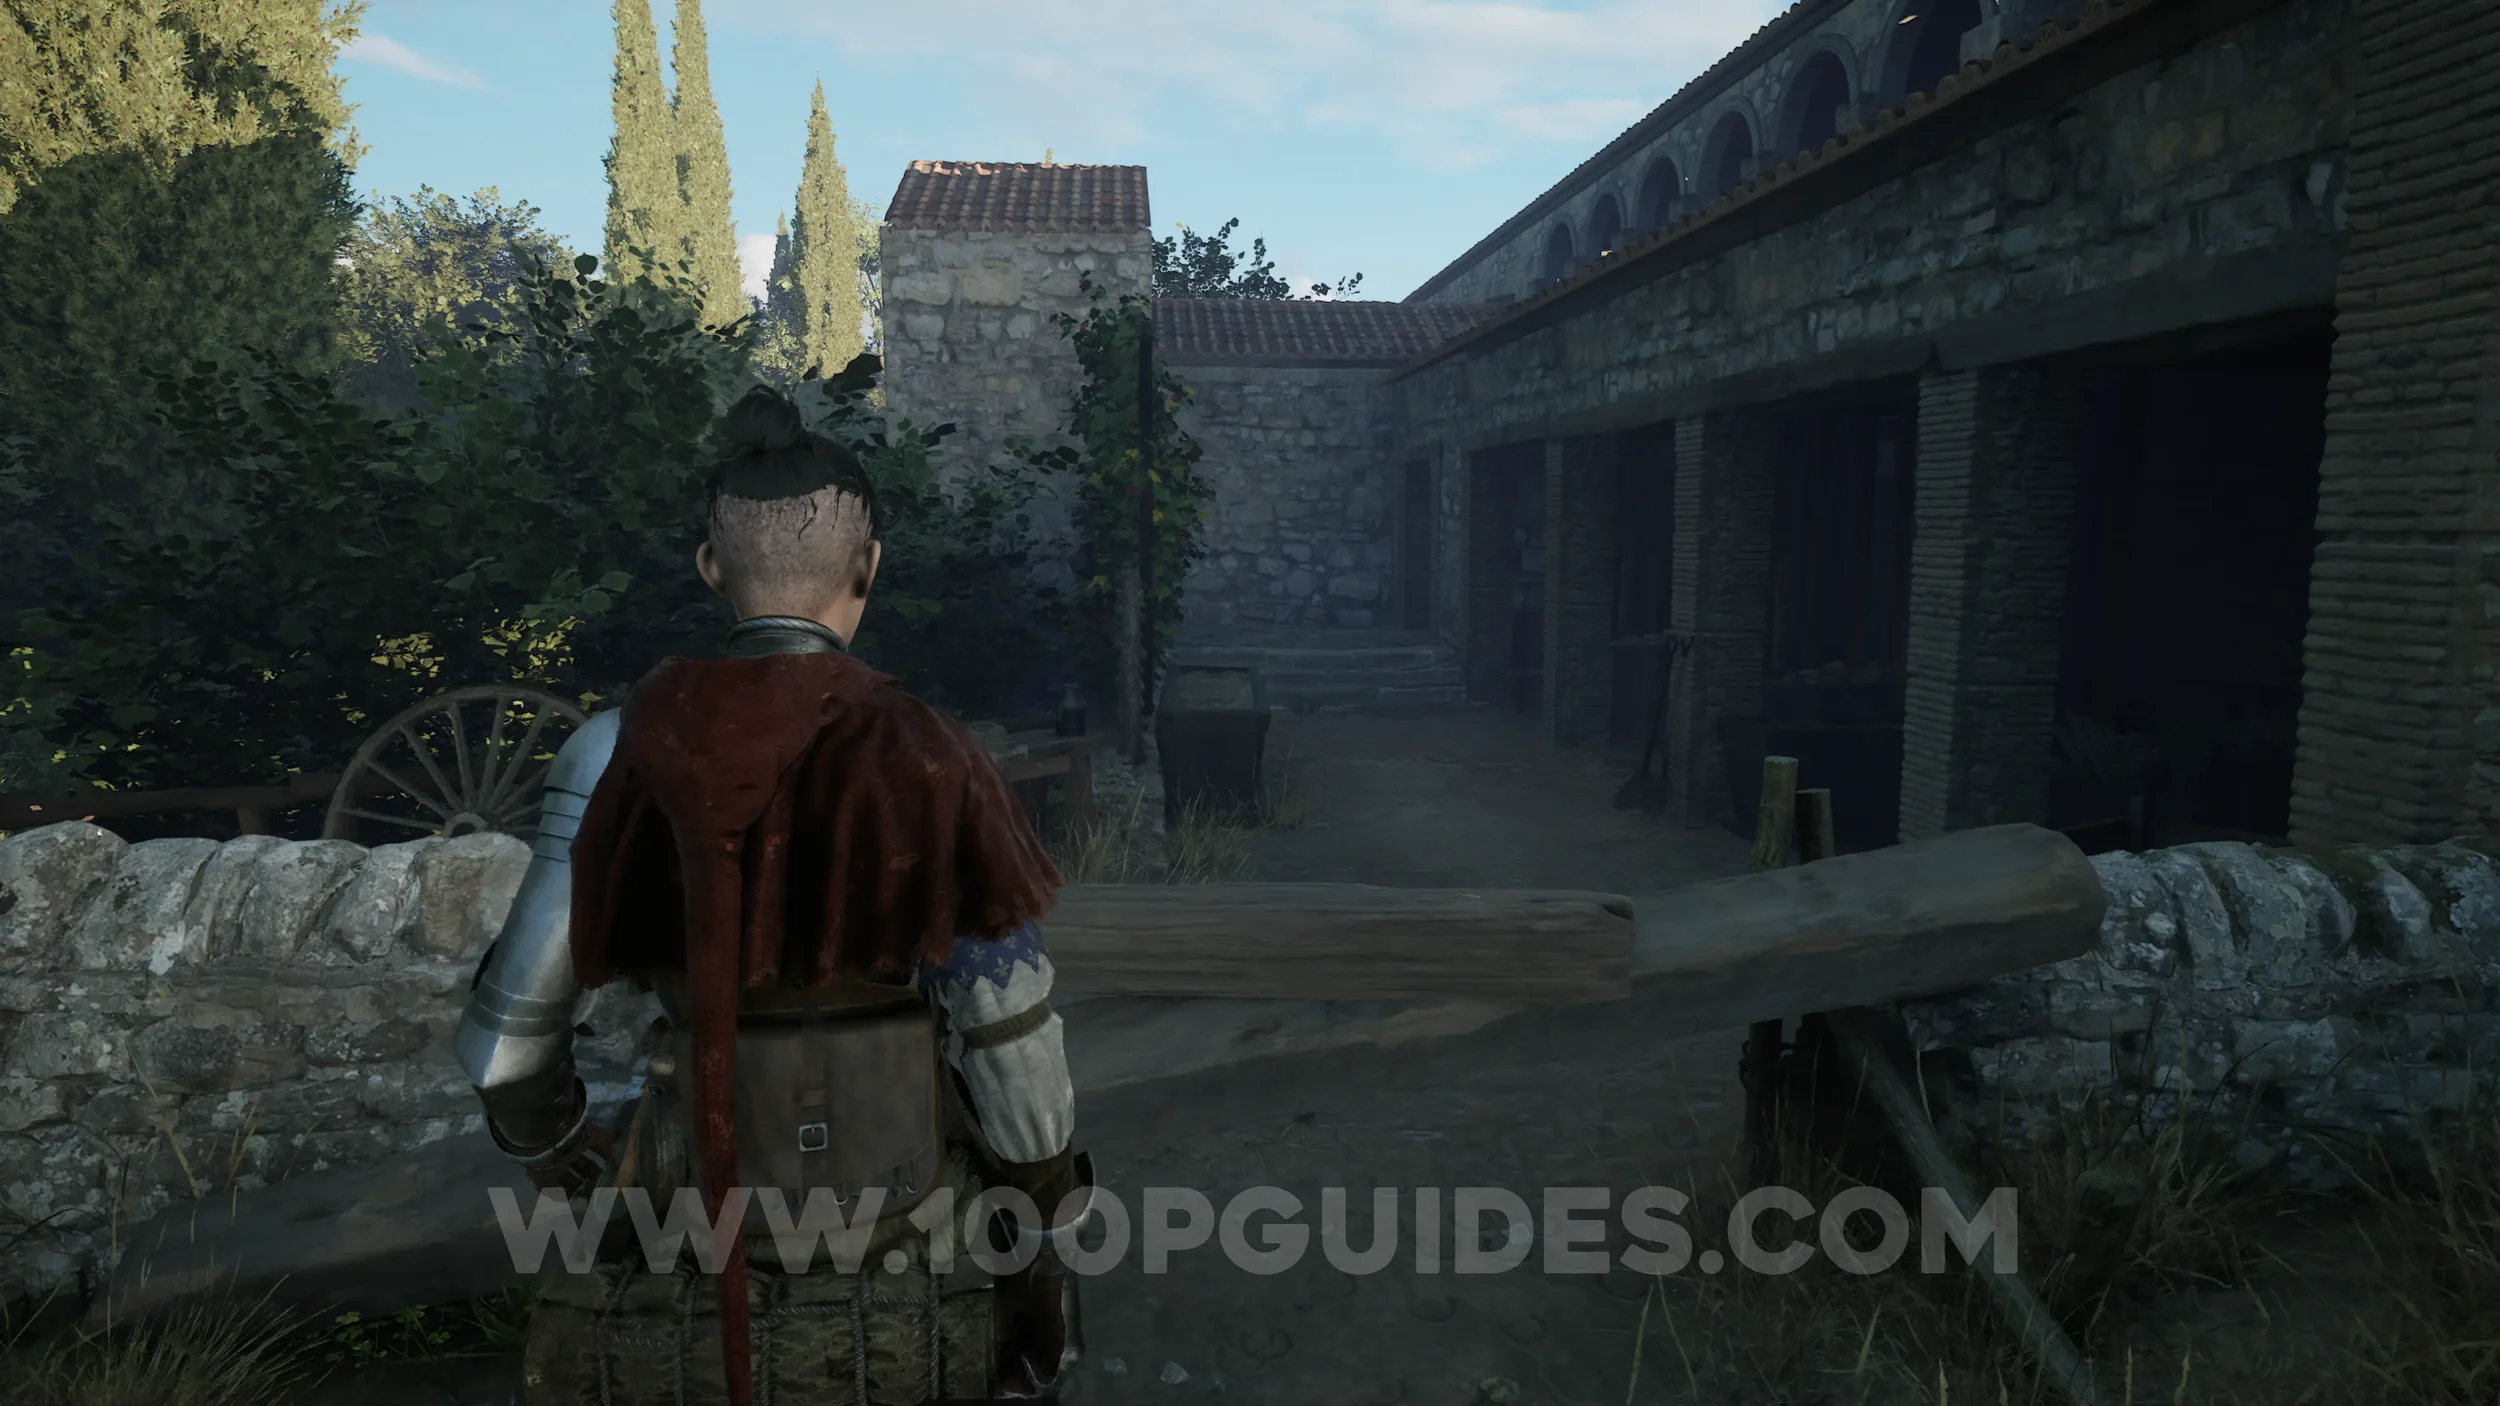
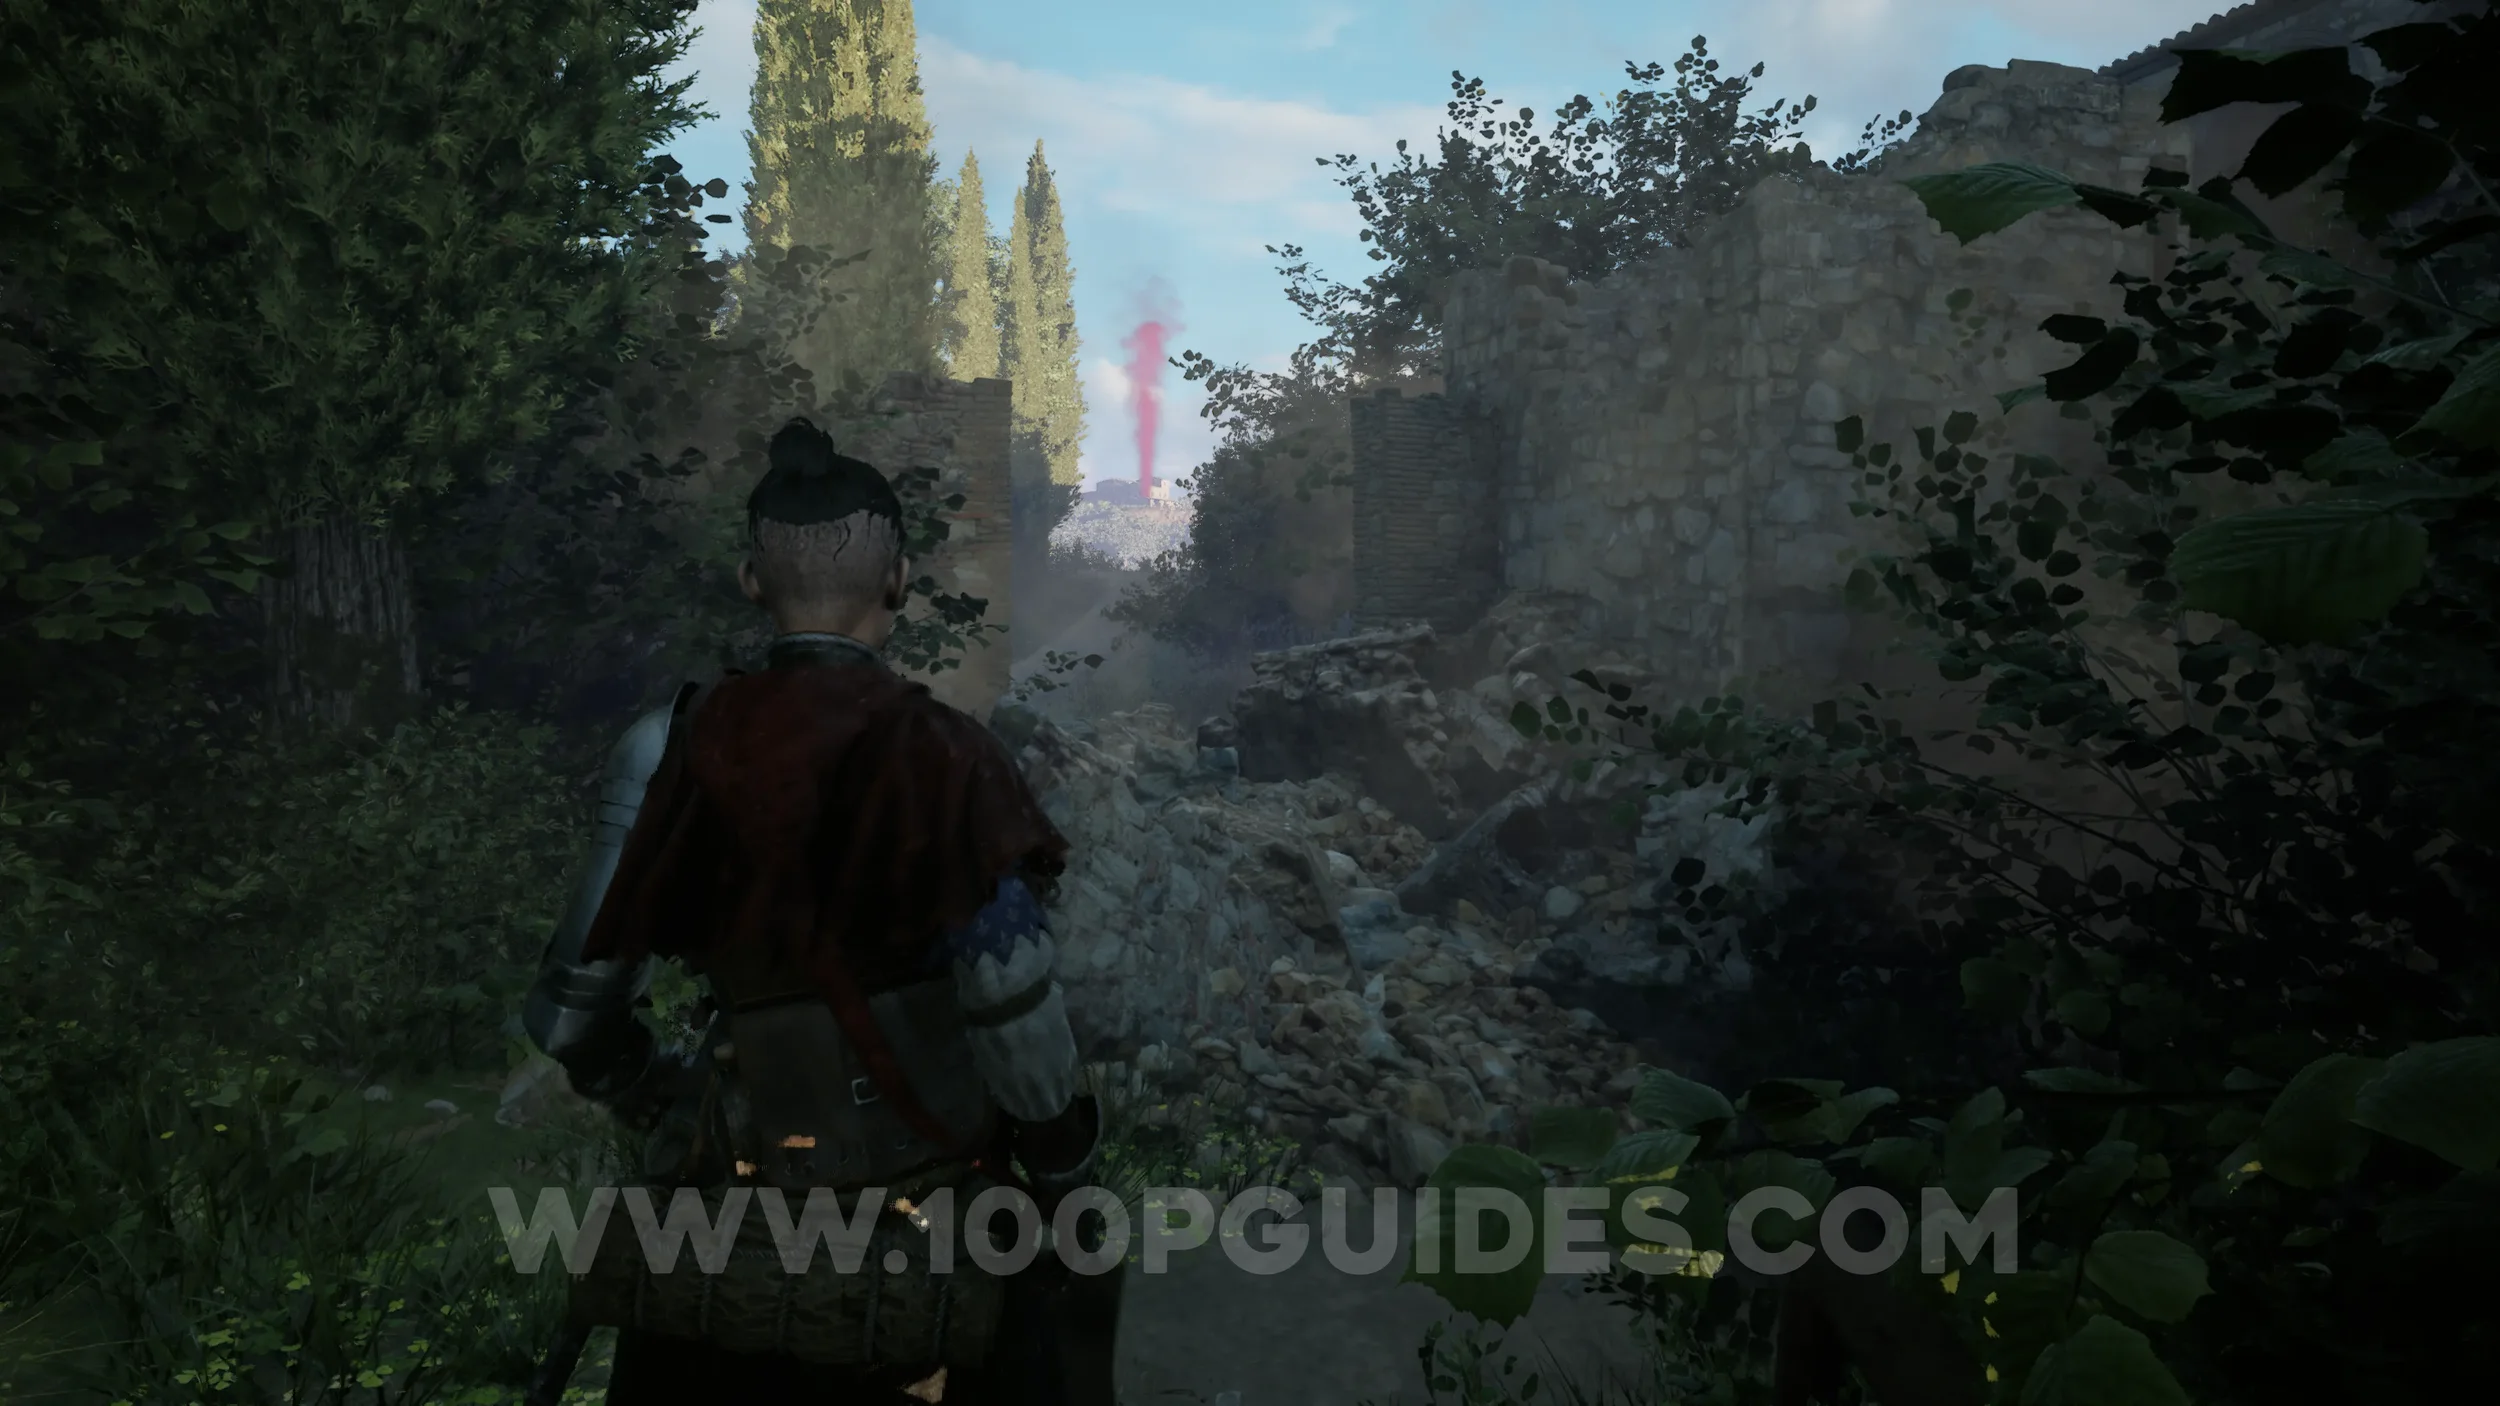
Paper #41-42. Just after the first few buildings of the chapter, the path will split. First, go left and go to the end. Then continue along this path by going through a hole. Then climb up to the platform above to find the papers near the metal grates in front of you. After picking them up, return to where the path splits.


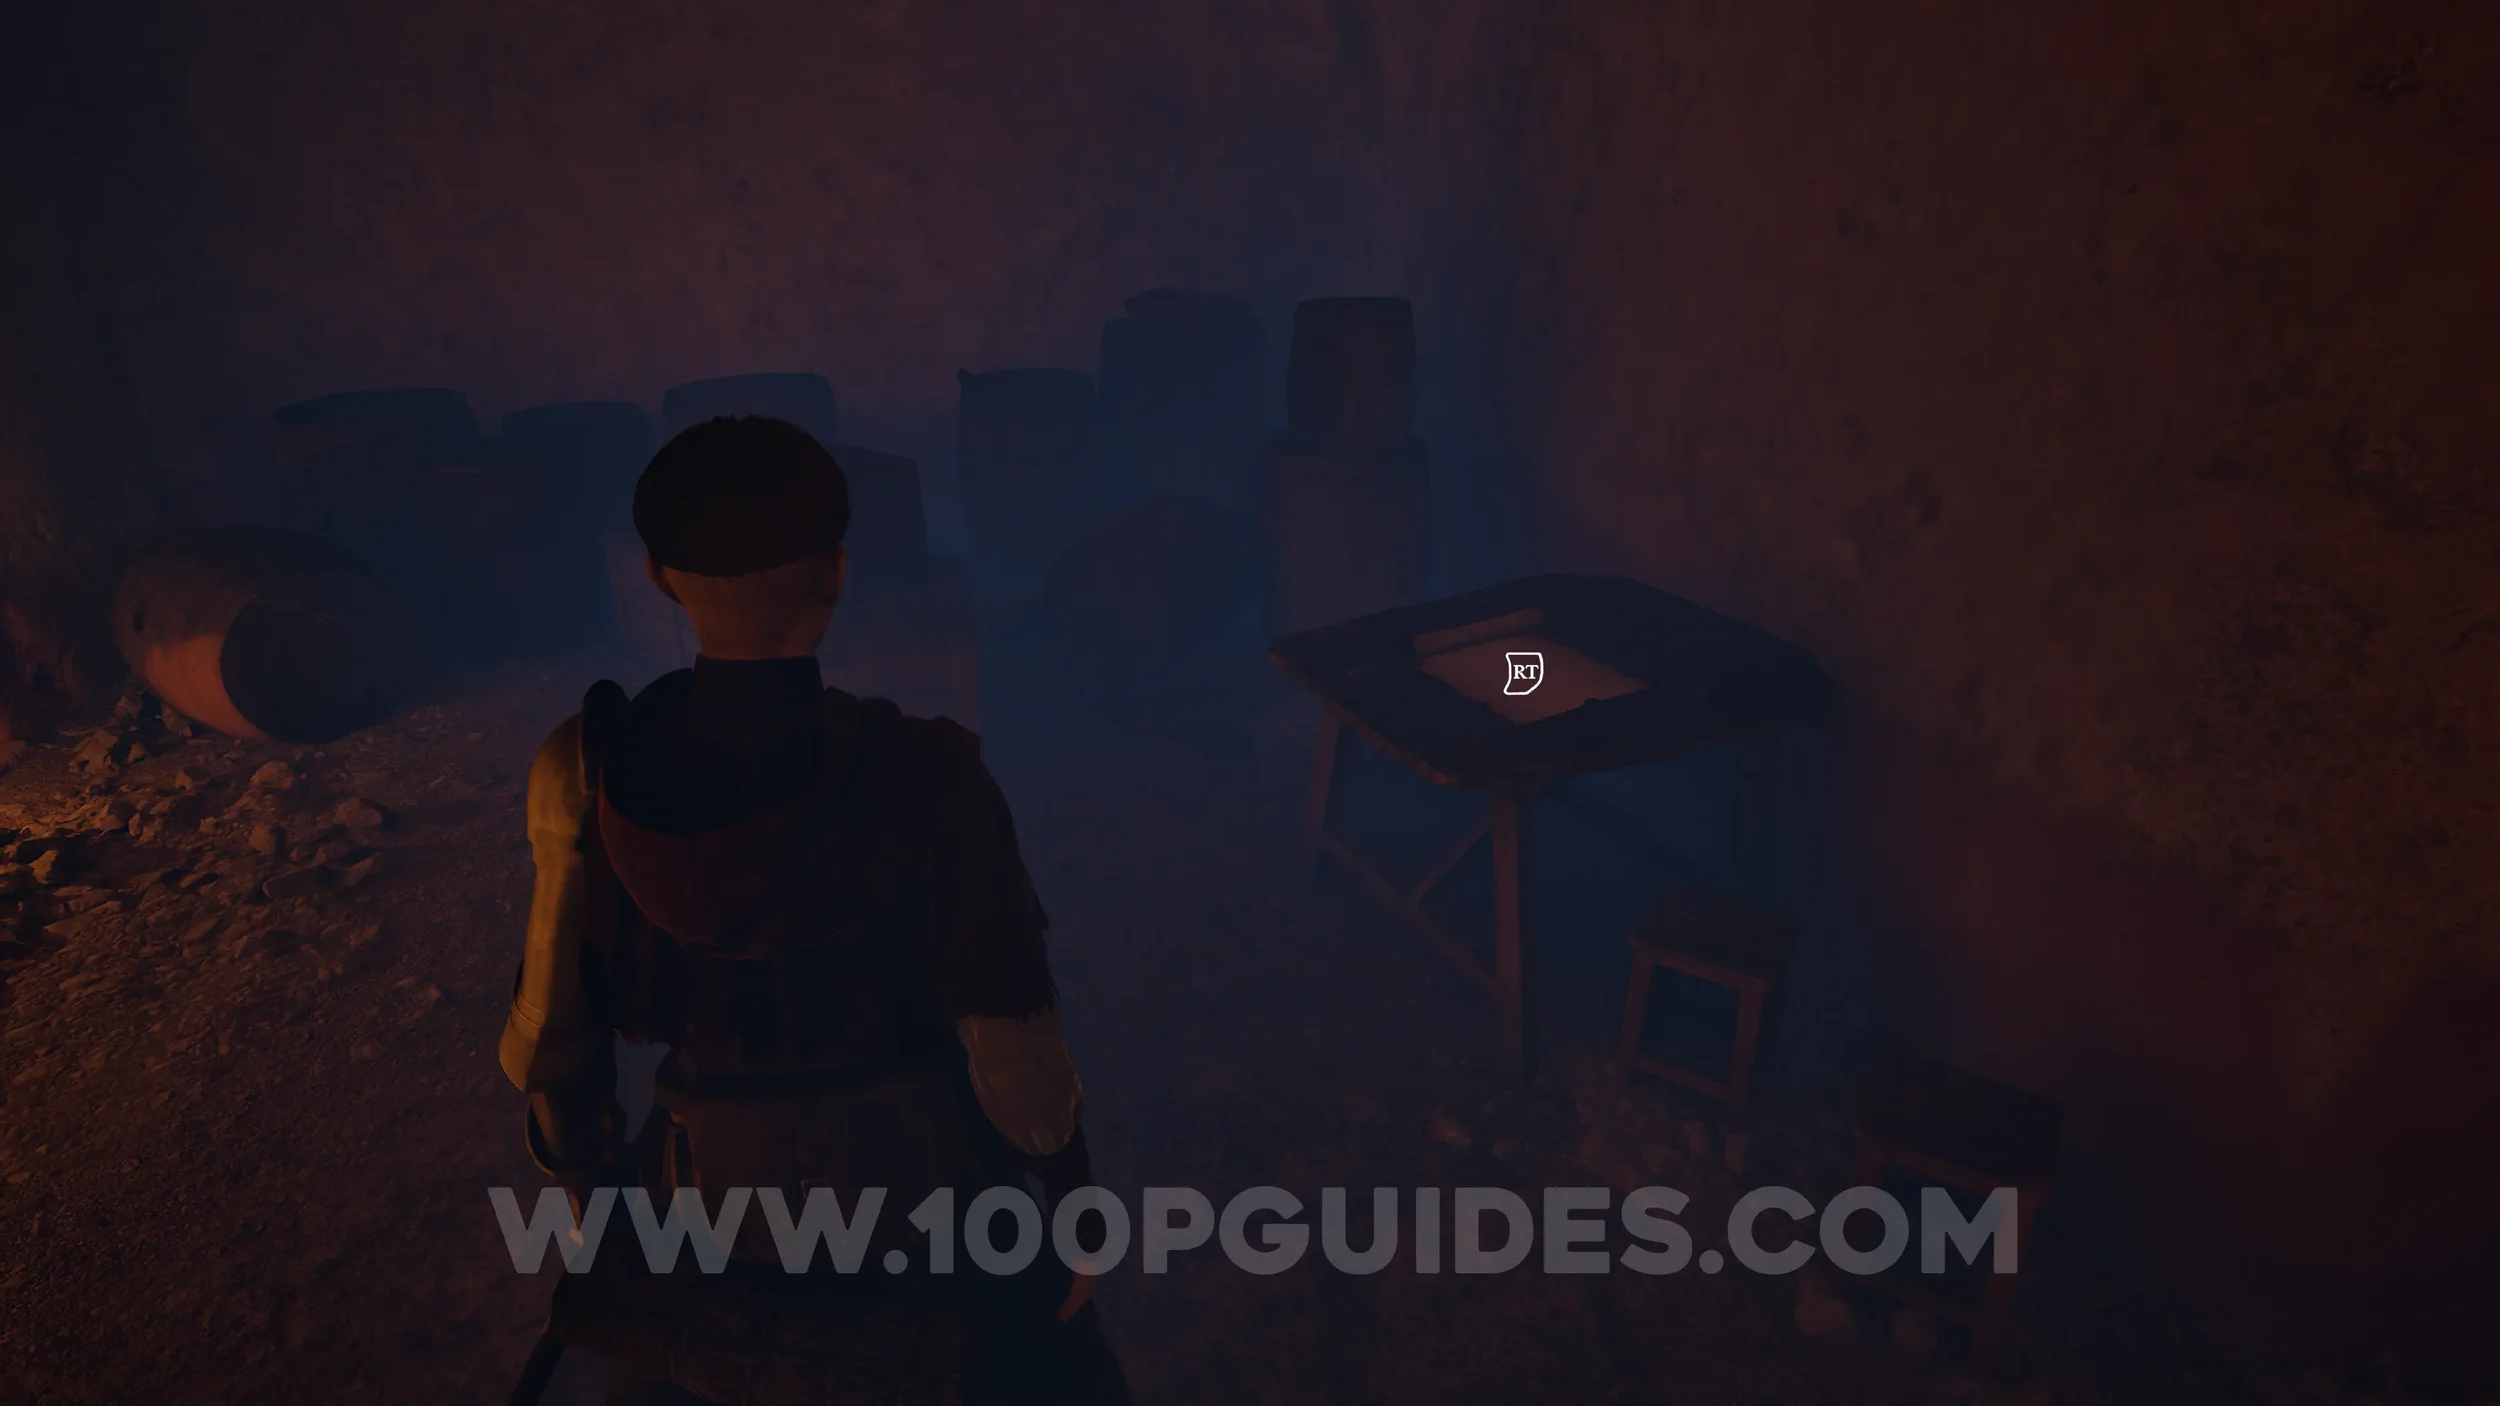
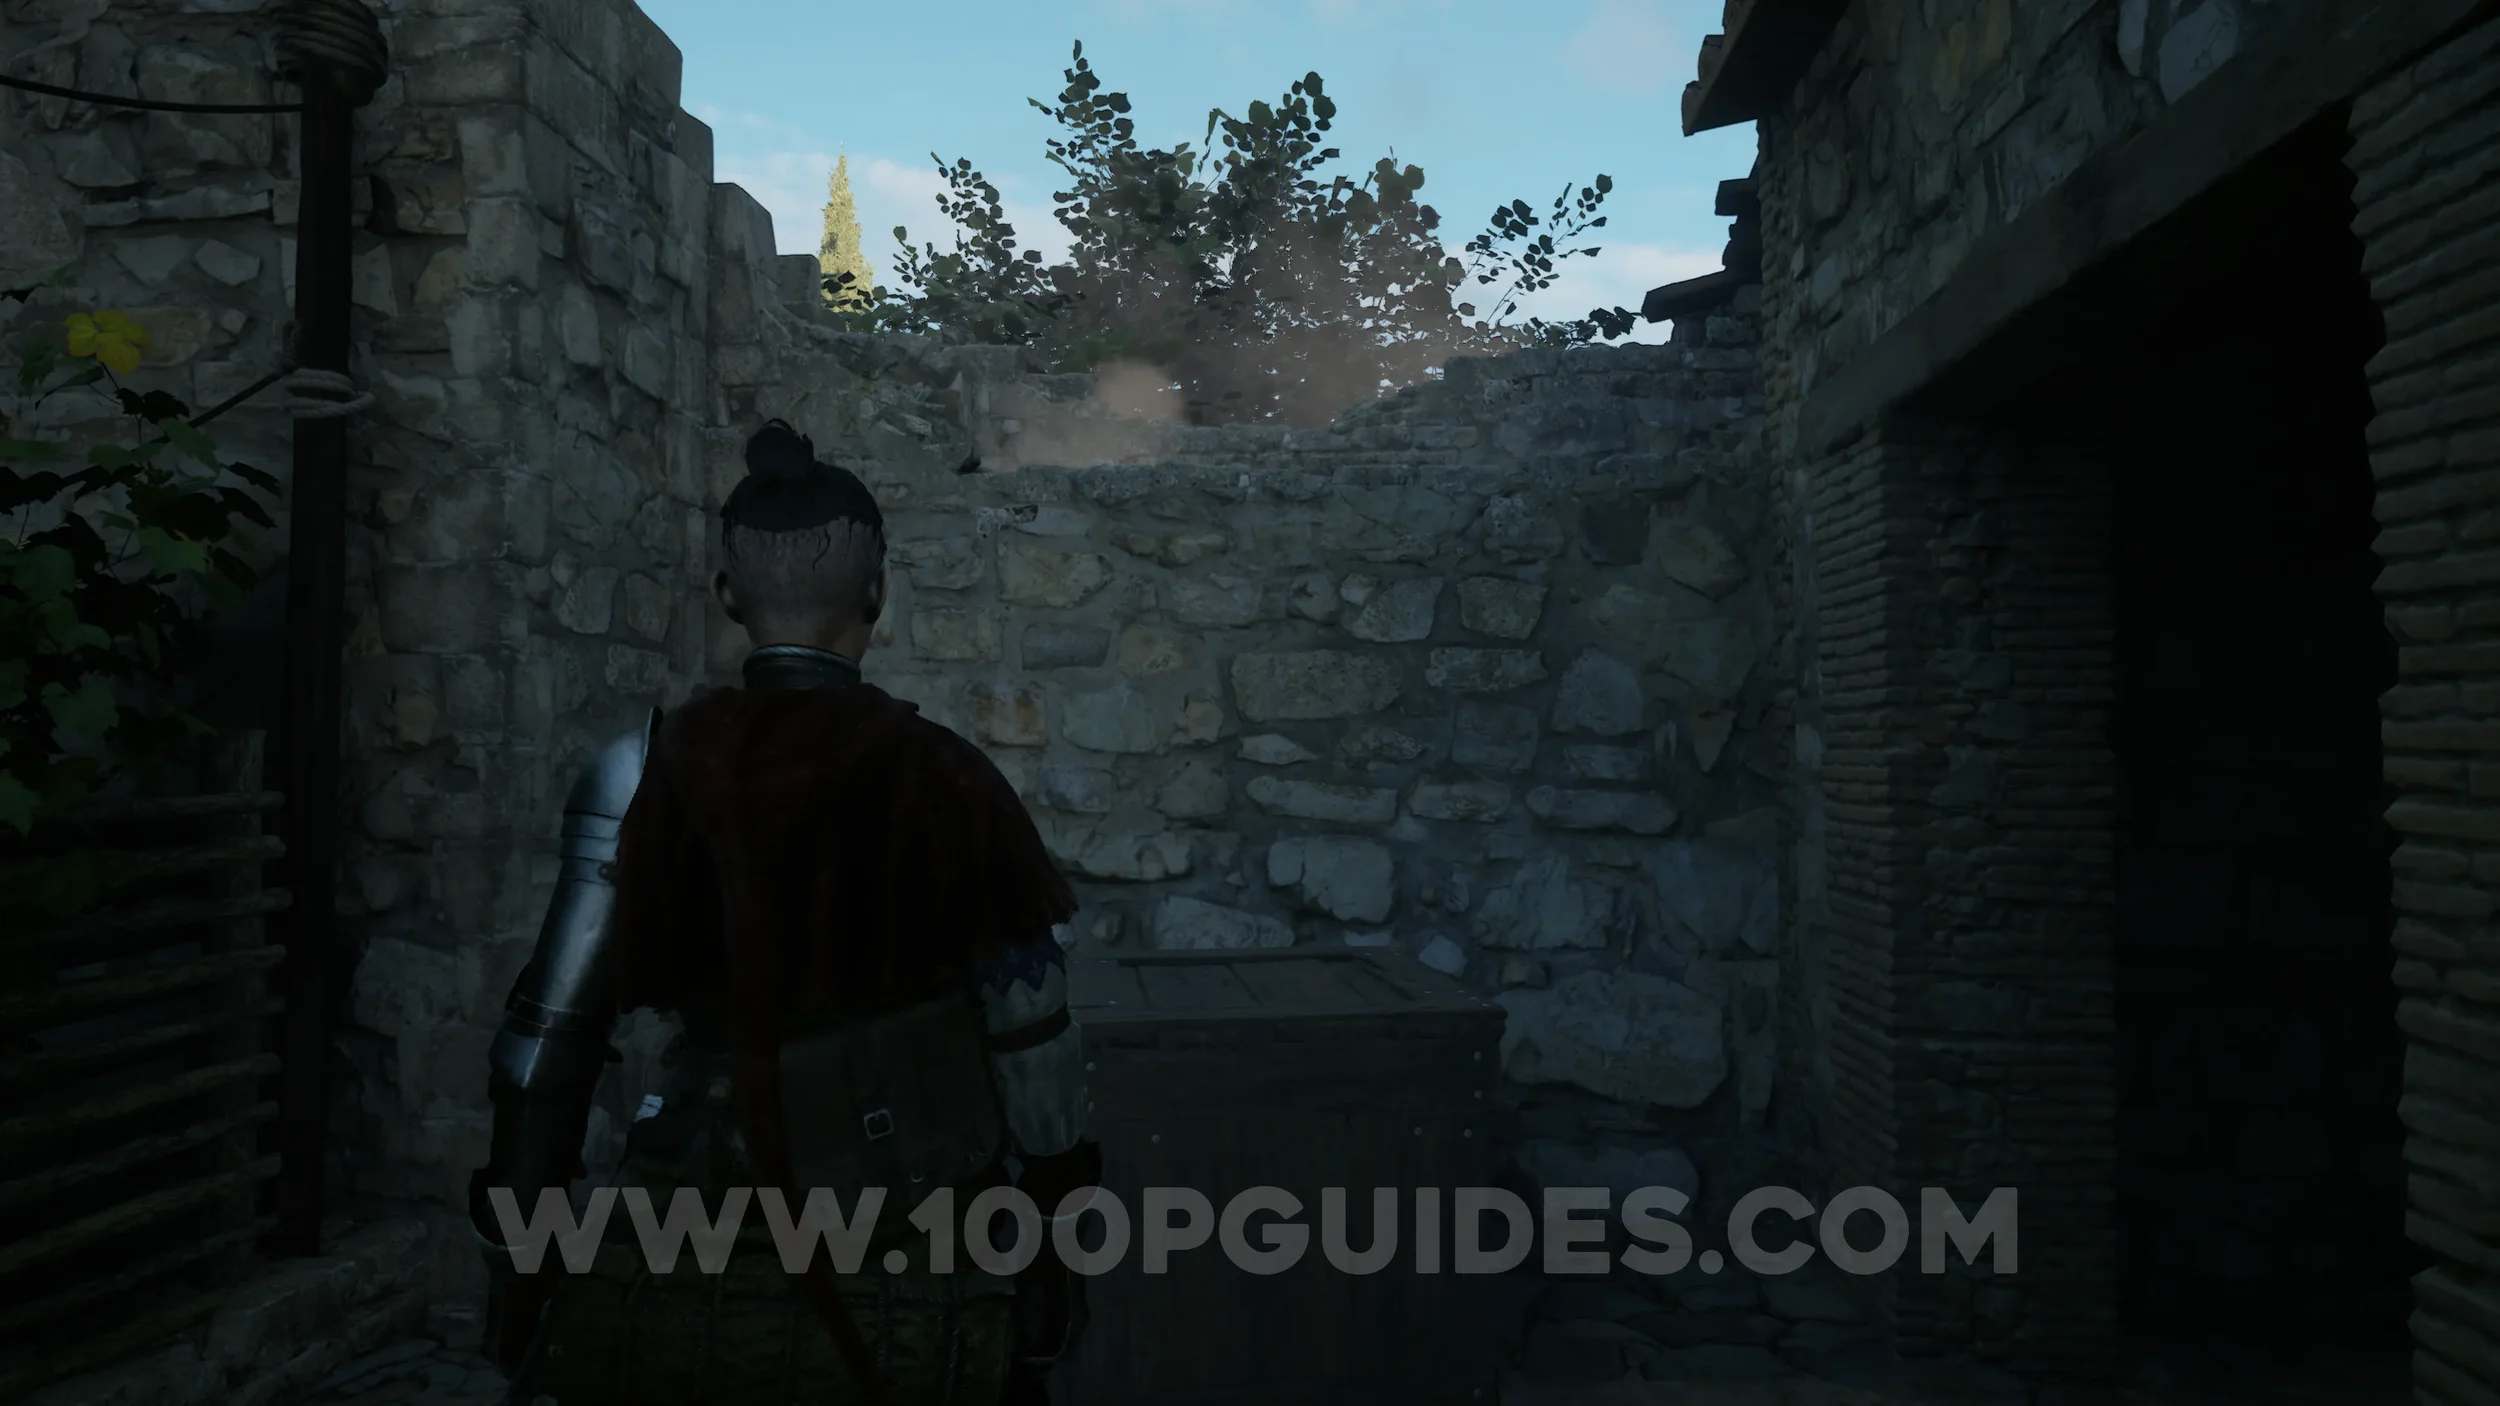
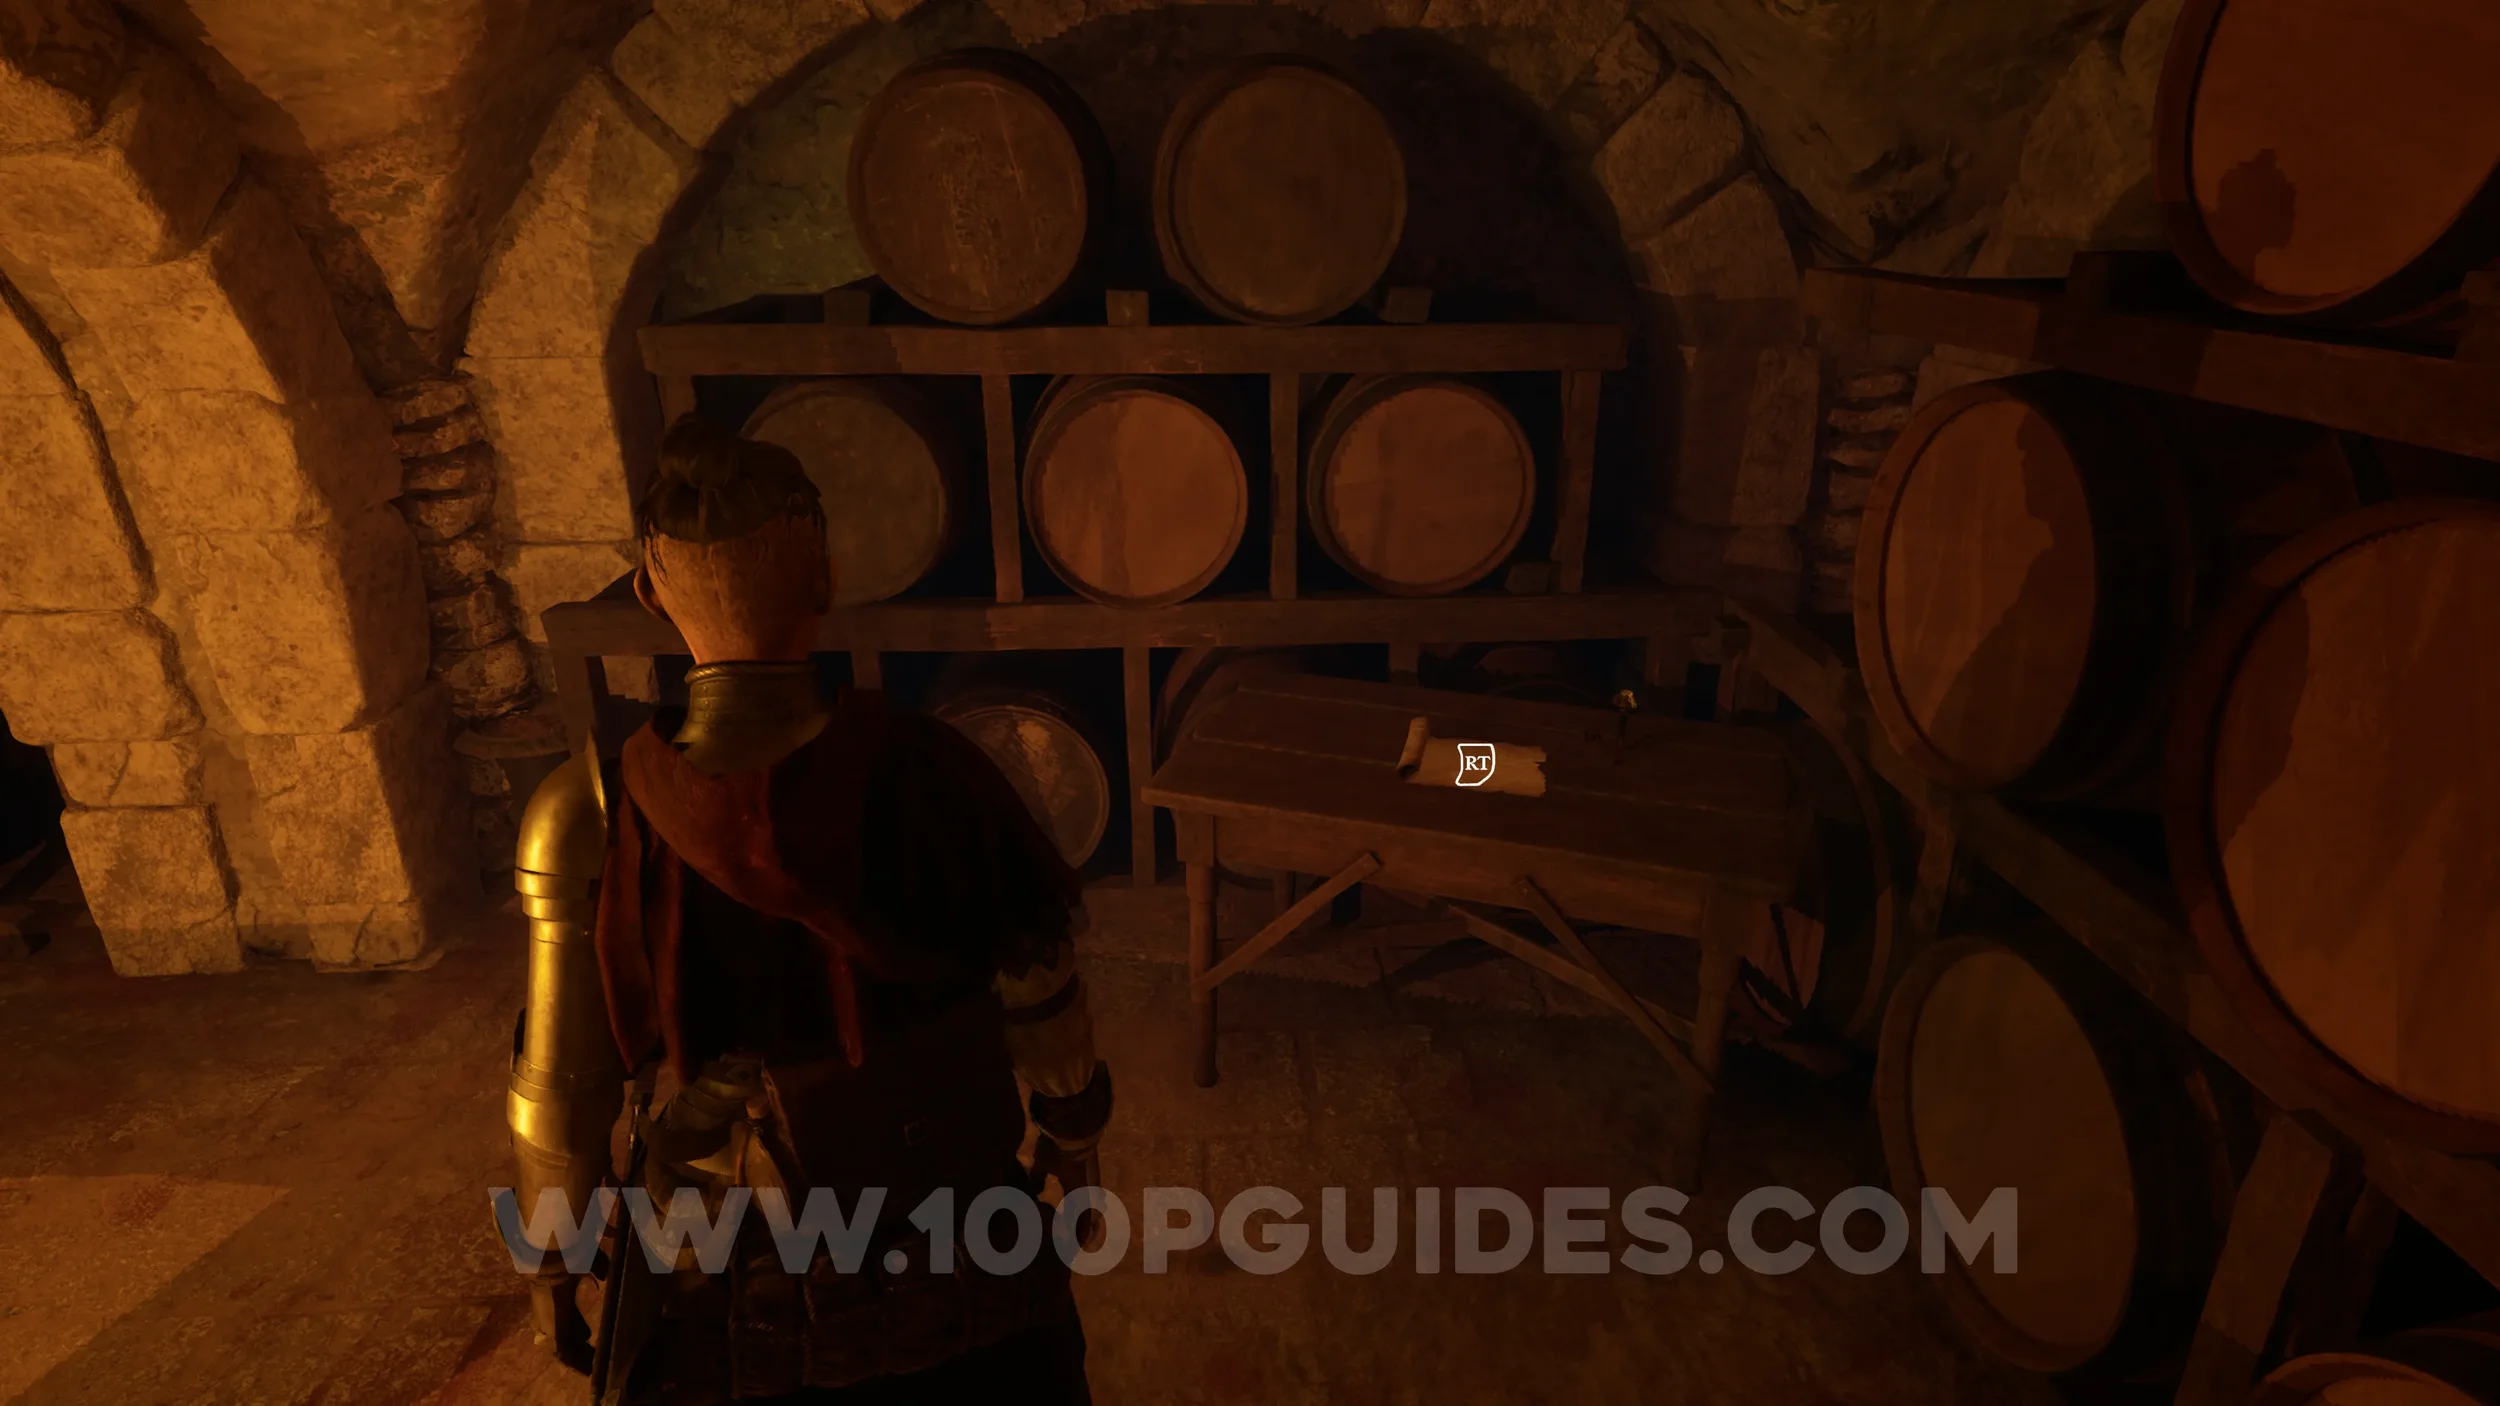
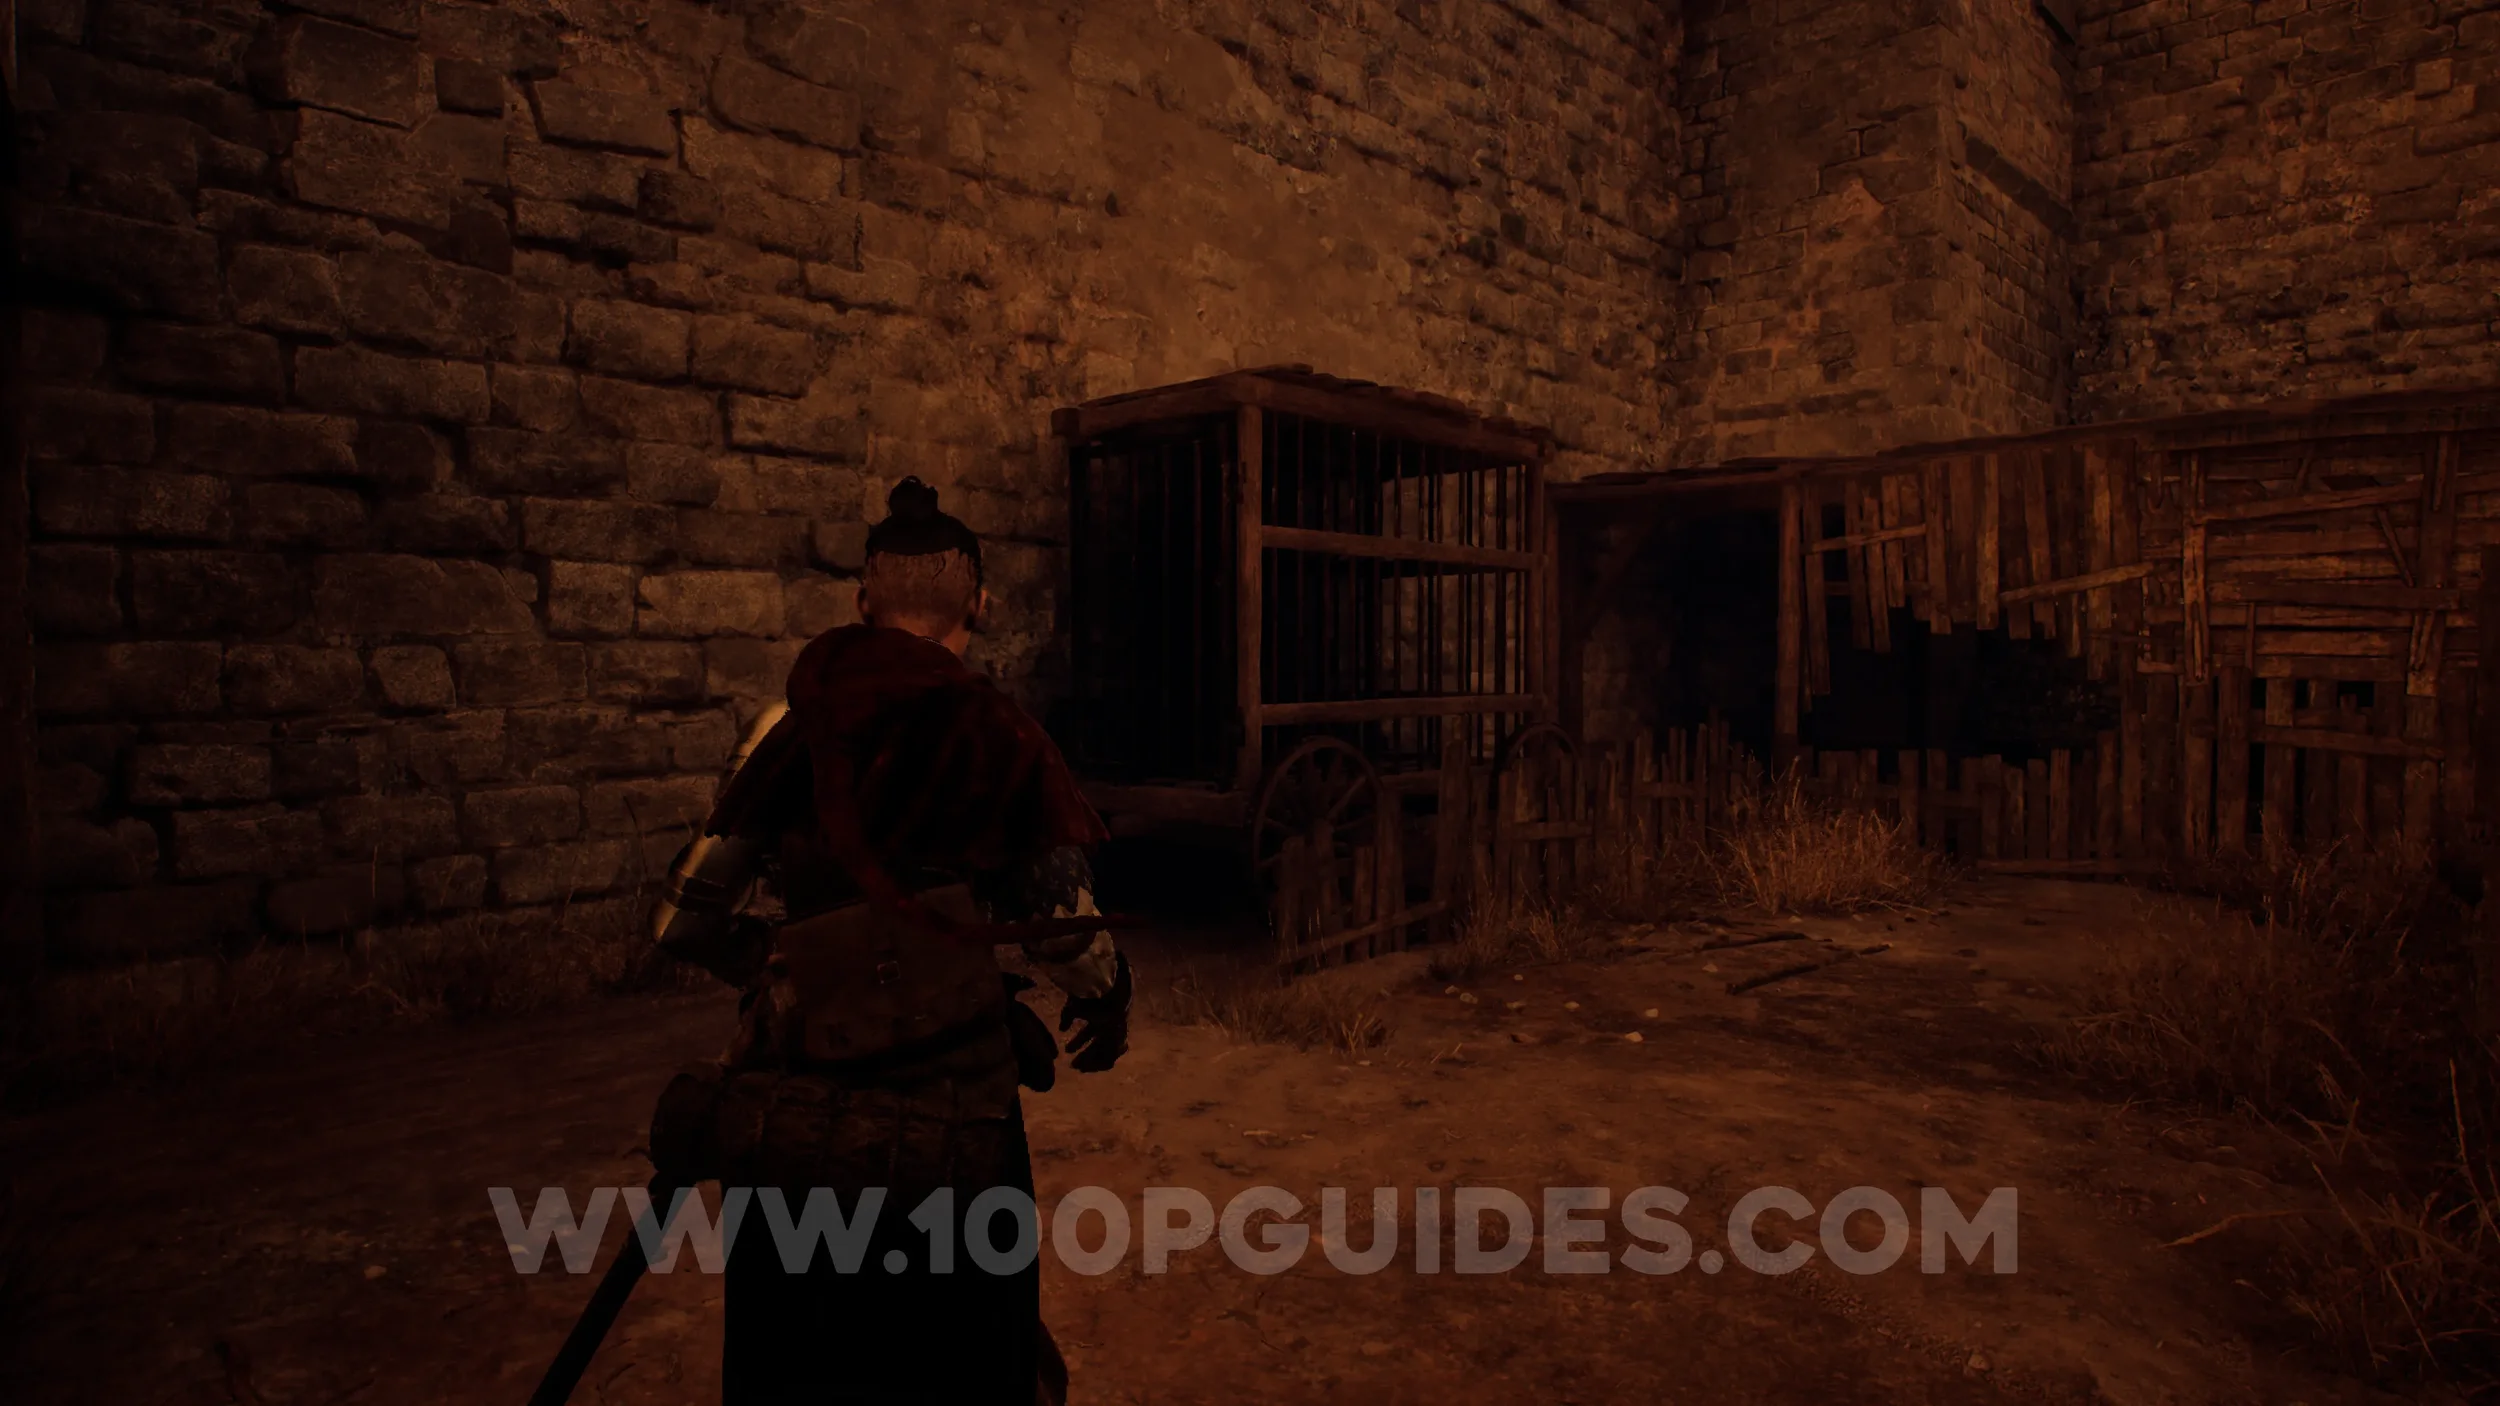
Paper #43-44. Once you’re back at the start of the chapter where the paths split, take the left path again, but this time look for an entrance to some underground tunnels on your right before reaching the end of the path. Go down into the tunnels to find the papers on some barrels.

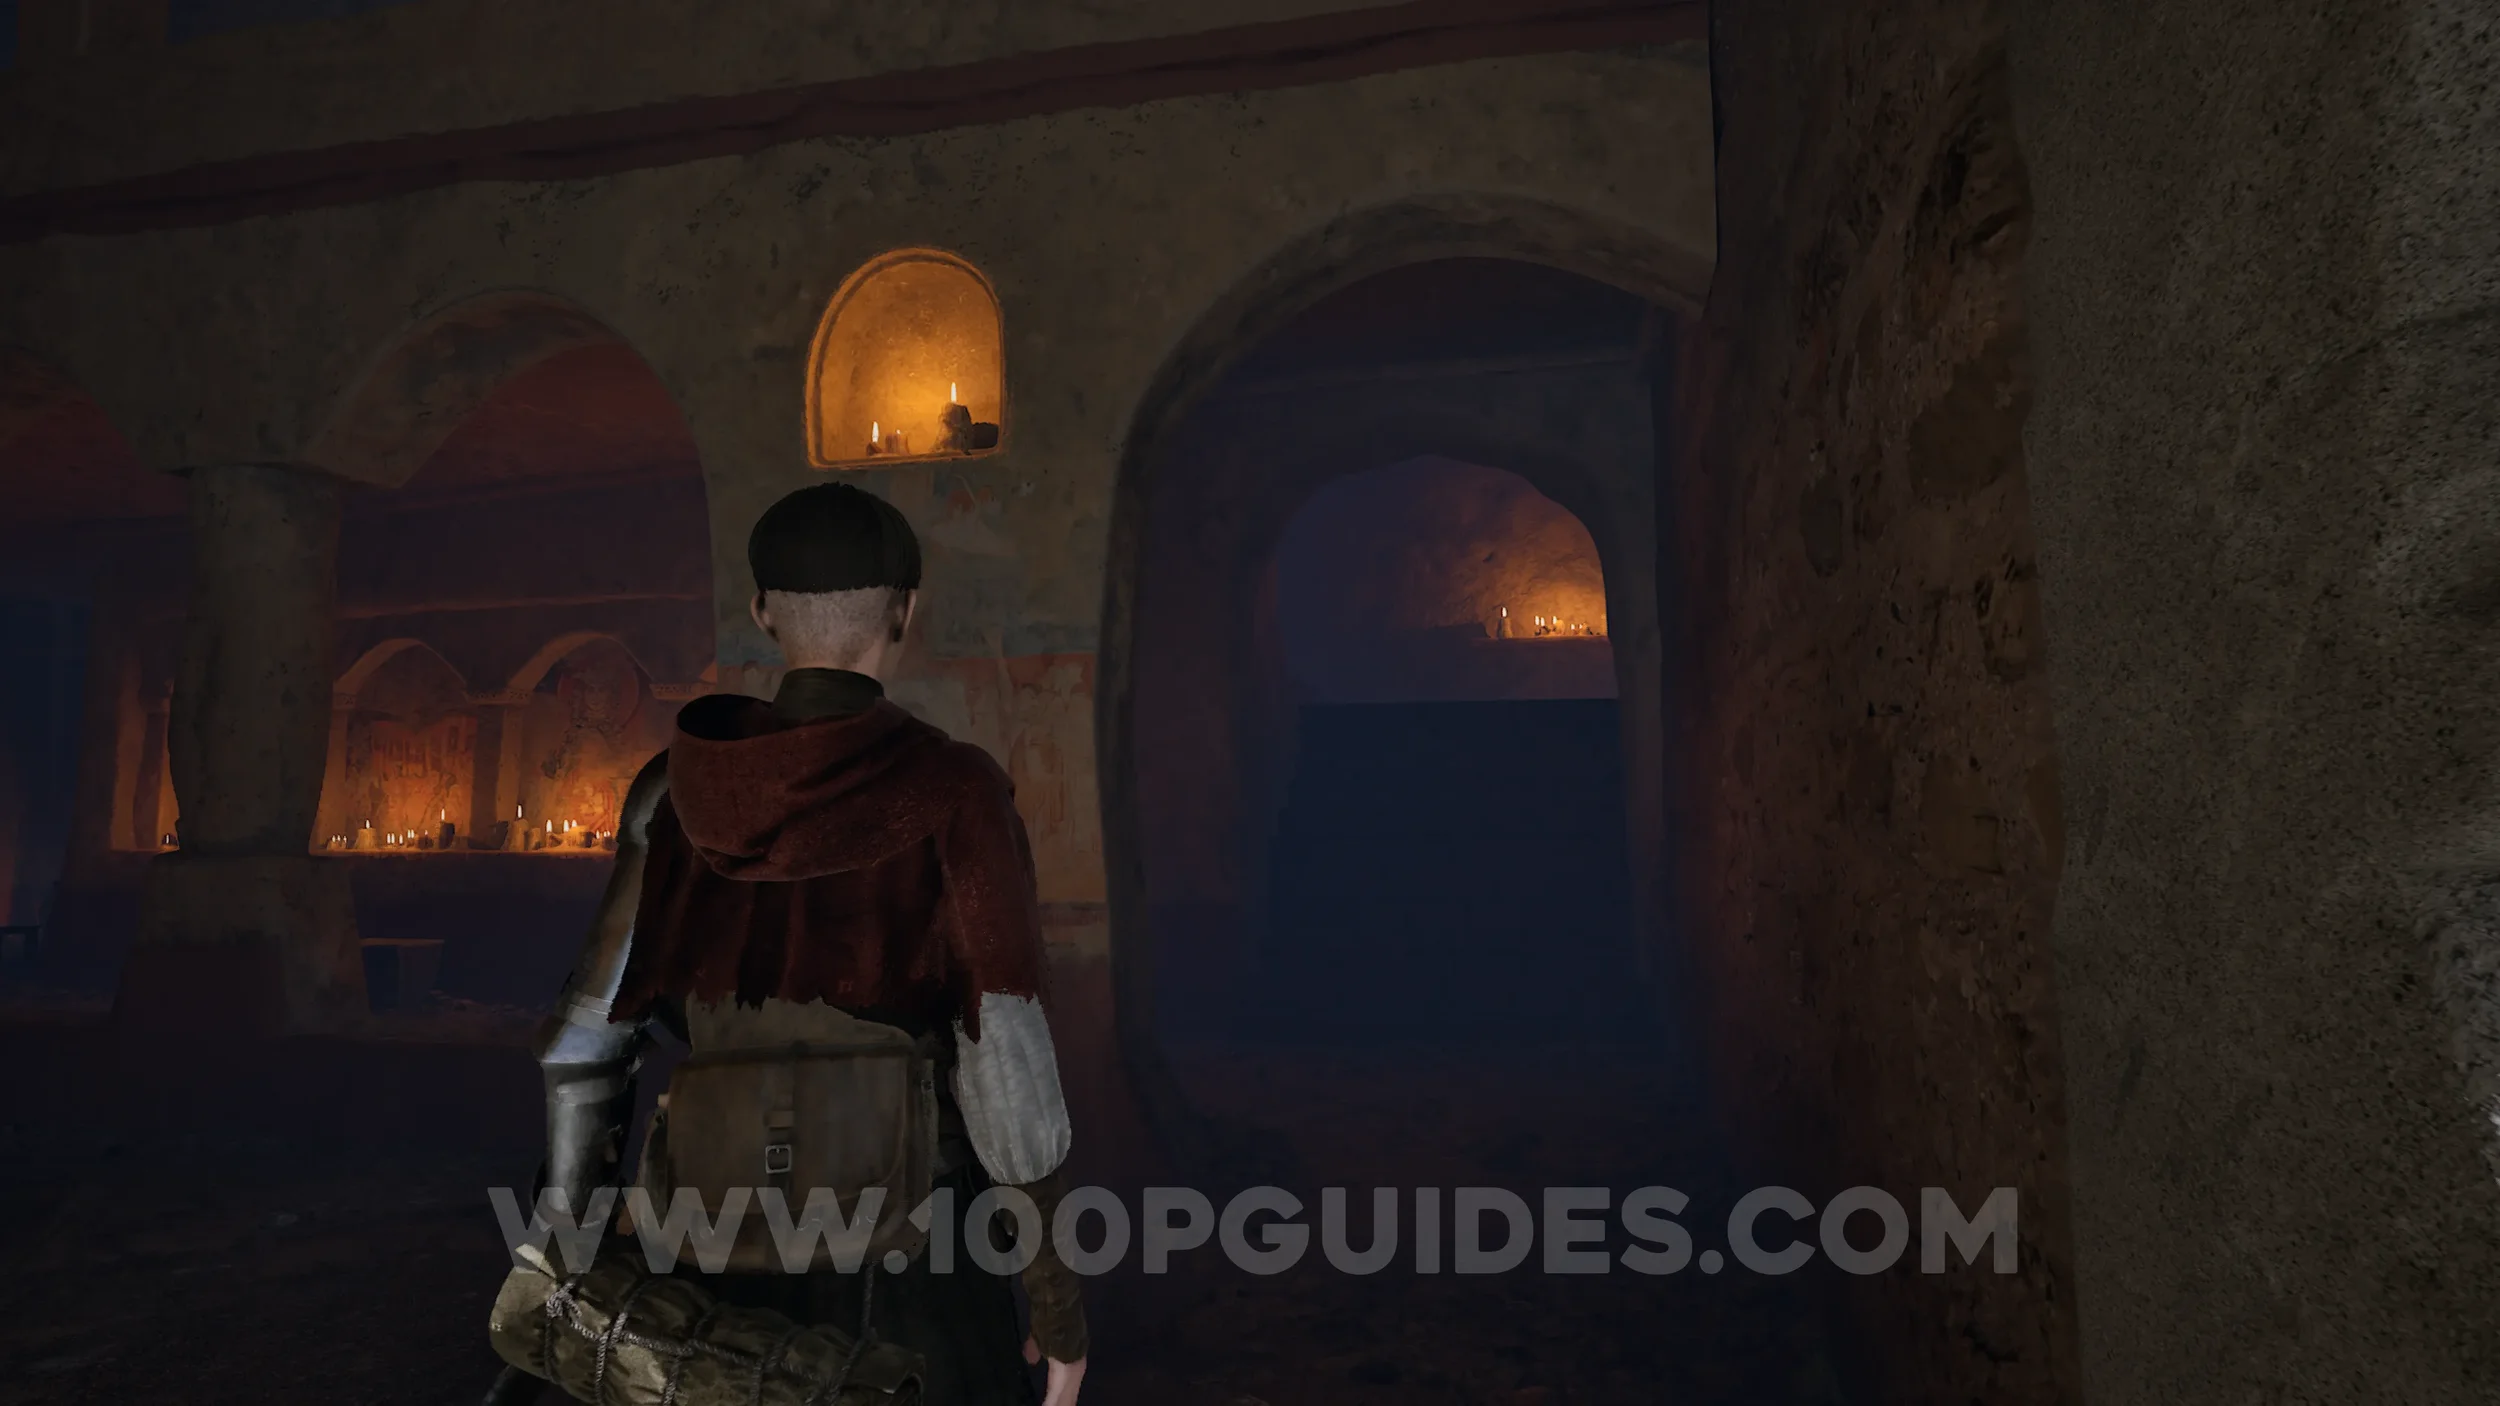
Treasure #6 - Santa Barbara. From the previous papers, go down the path to the left to find the treasure on the statue’s hand at the end.
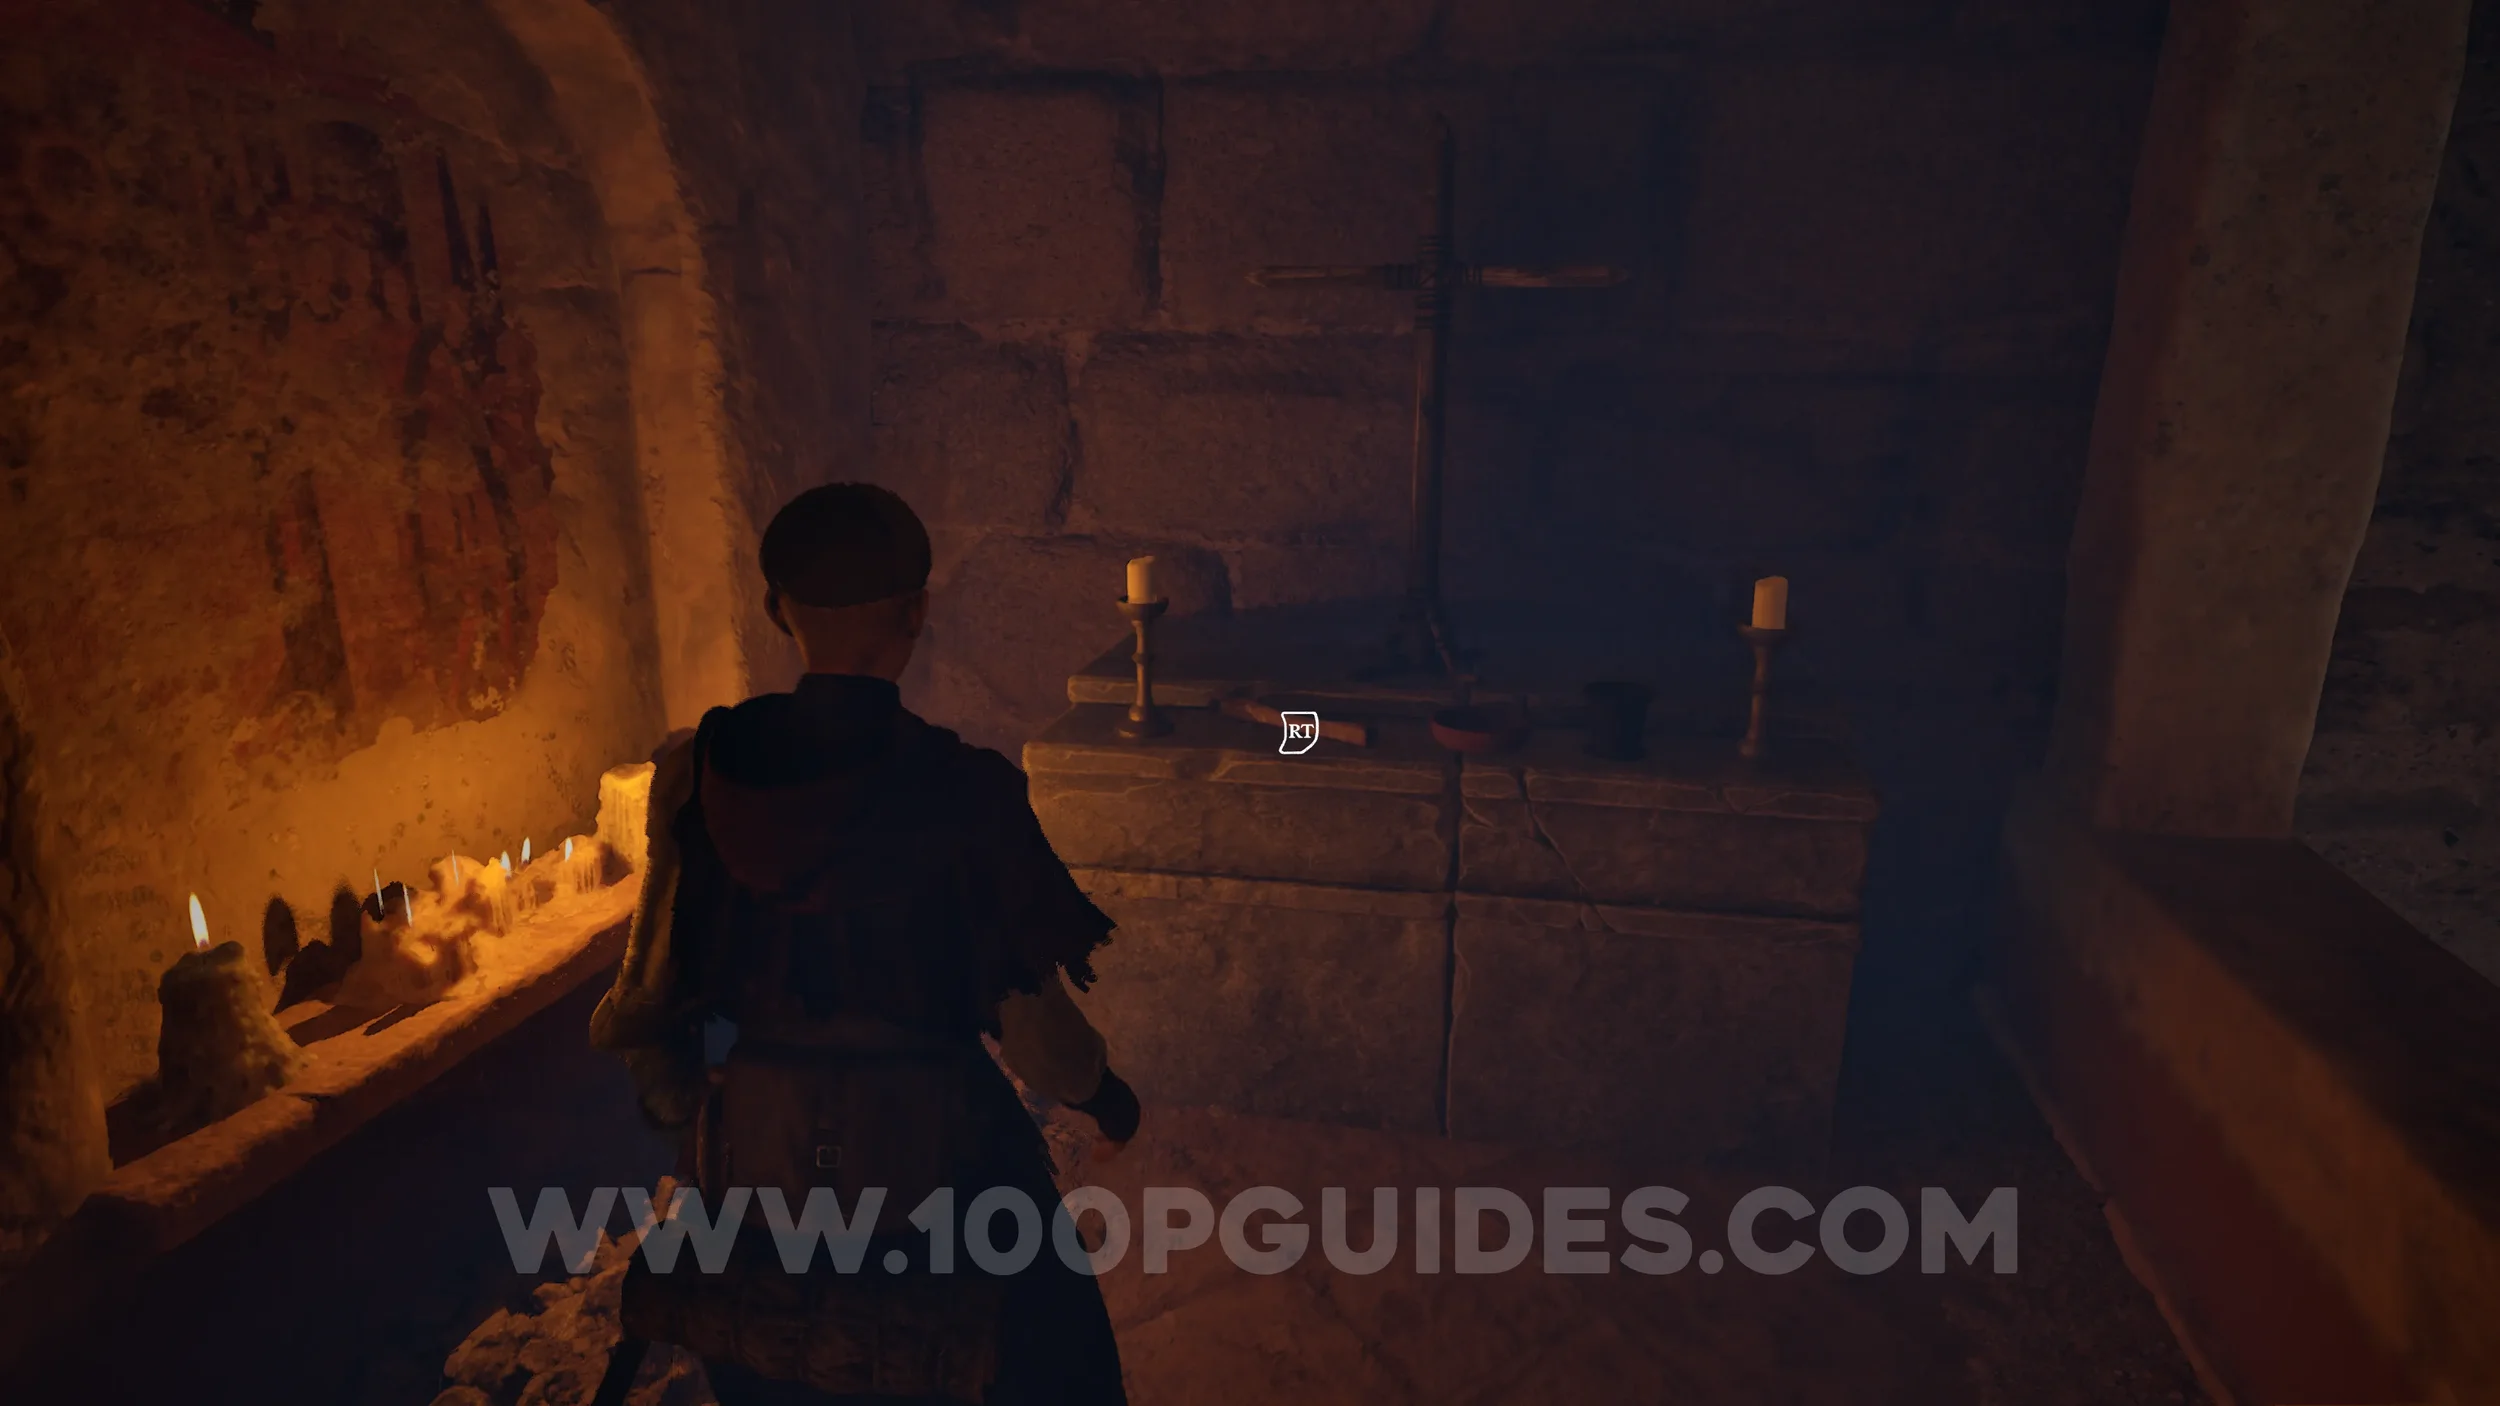
Paper #45-46 (Large). Continue through the underground area until you come out the other side. As soon as you do, go left and jump into the ruins. In the next room with the tall columns, go through the door straight ahead. The papers will be inside next to the pool of water.
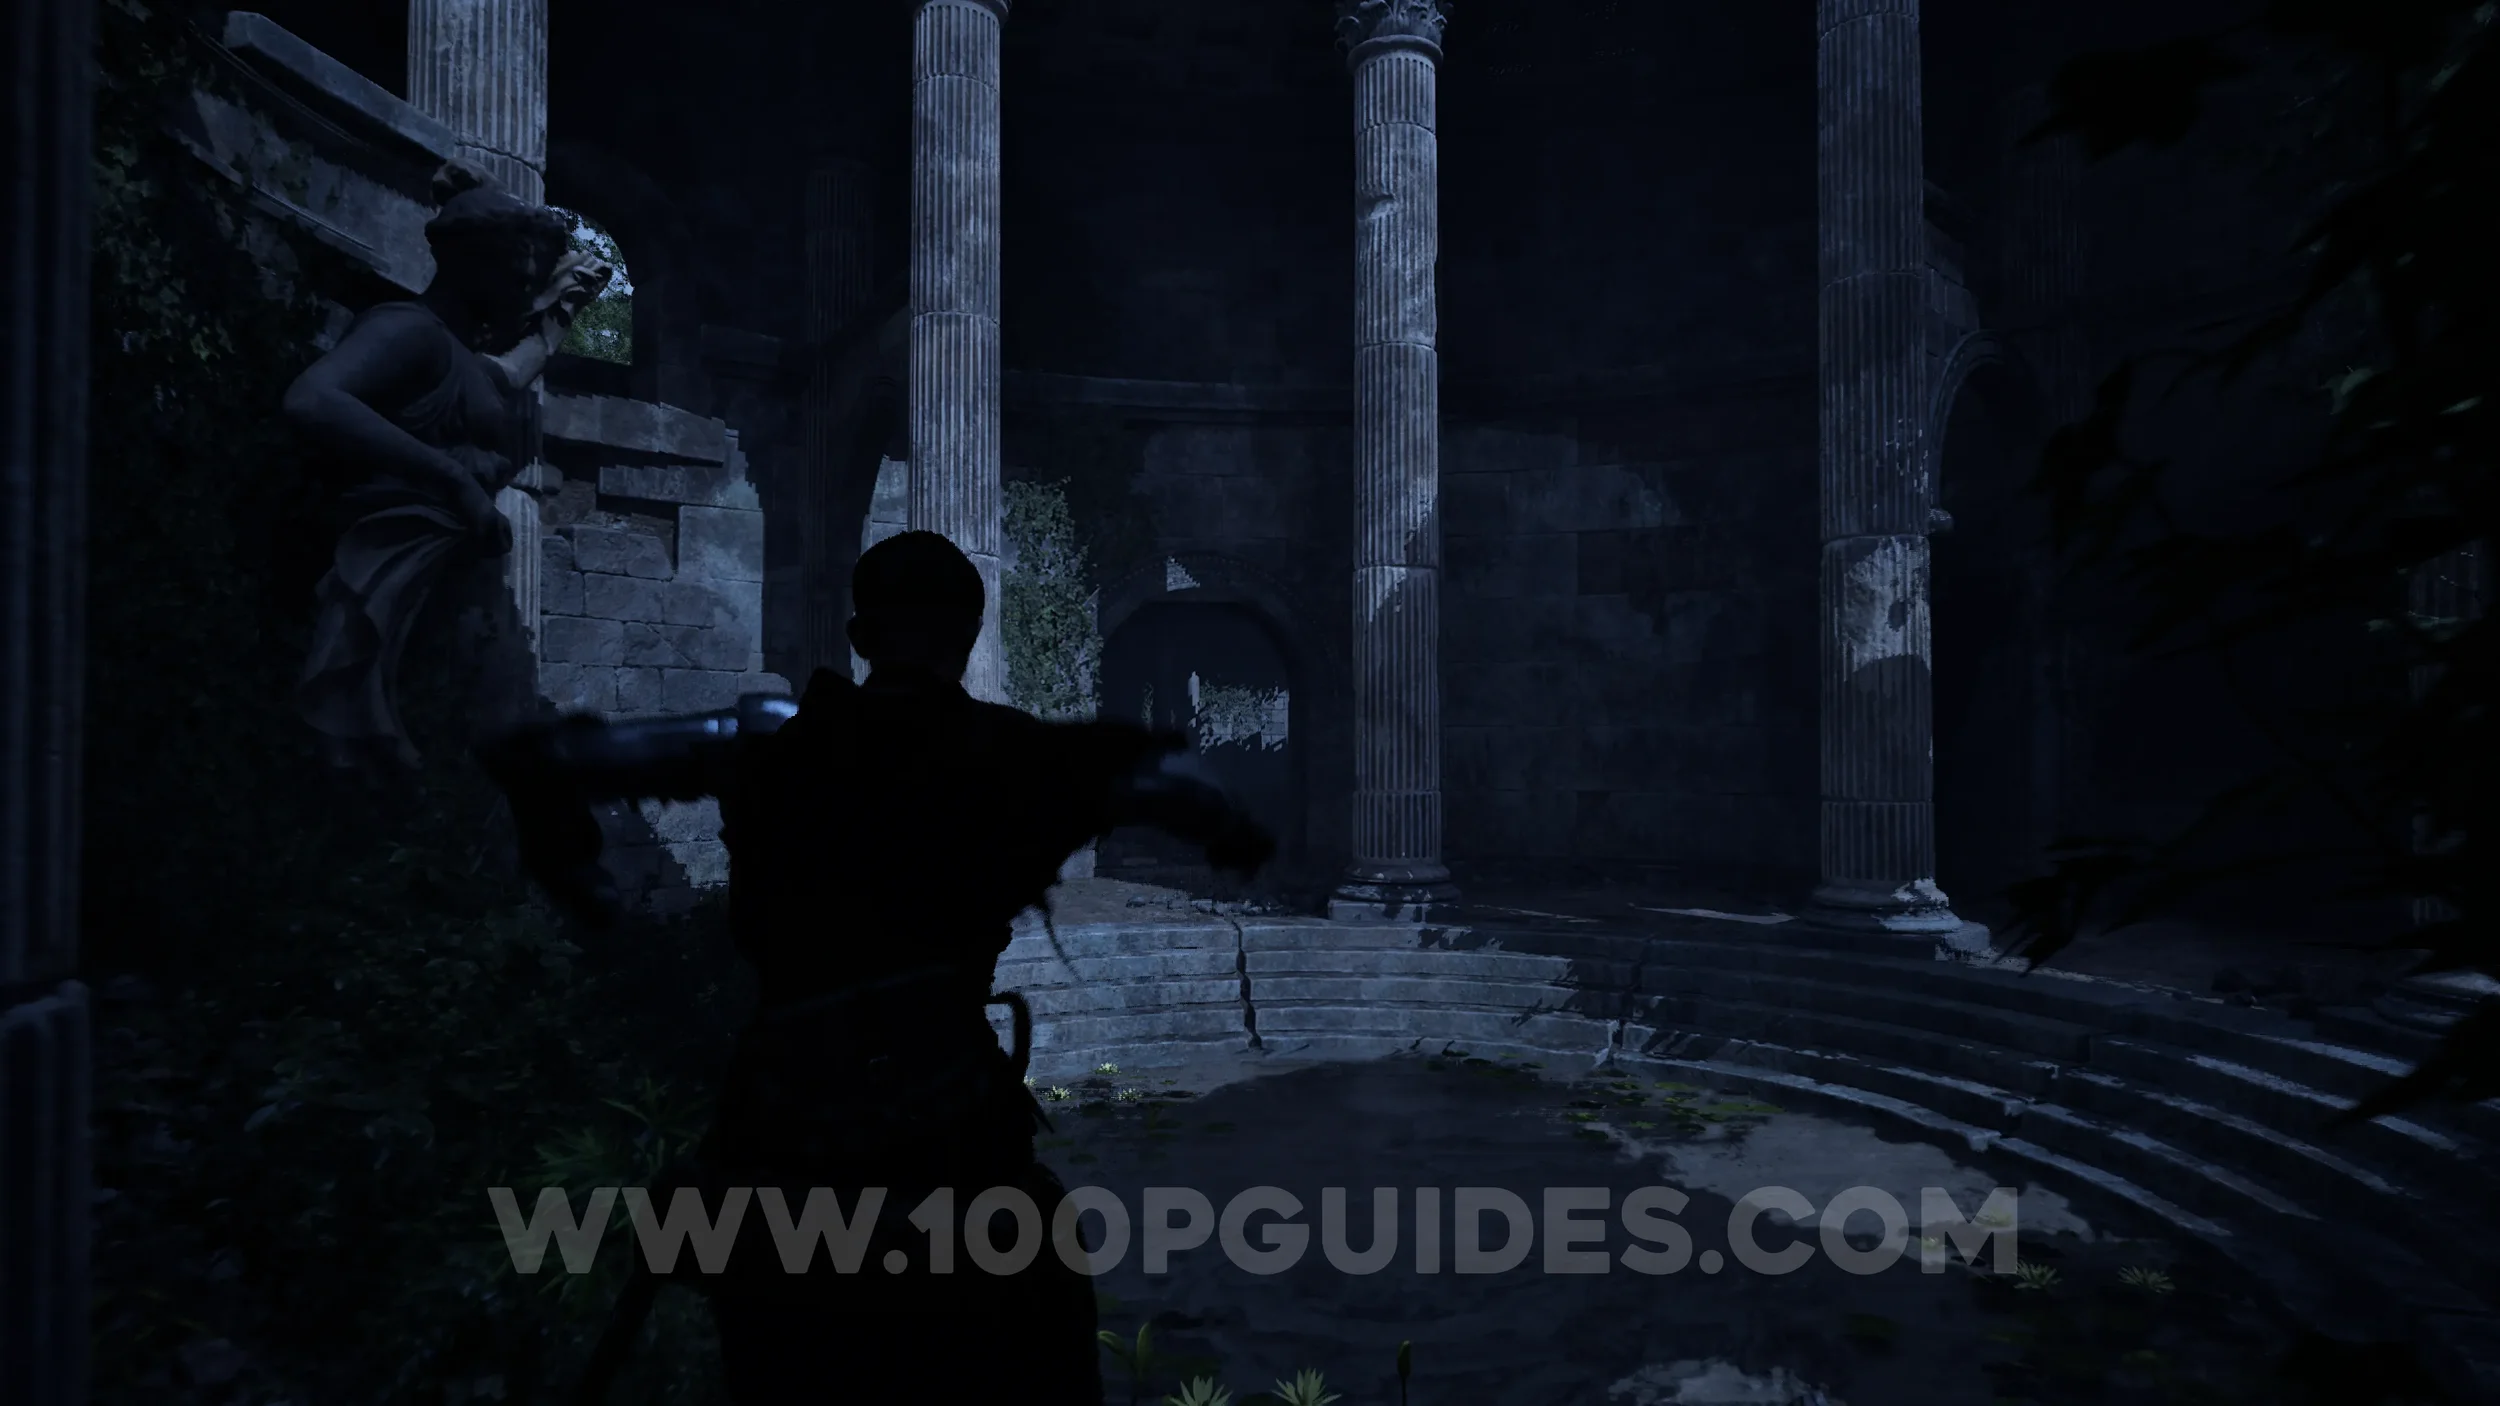
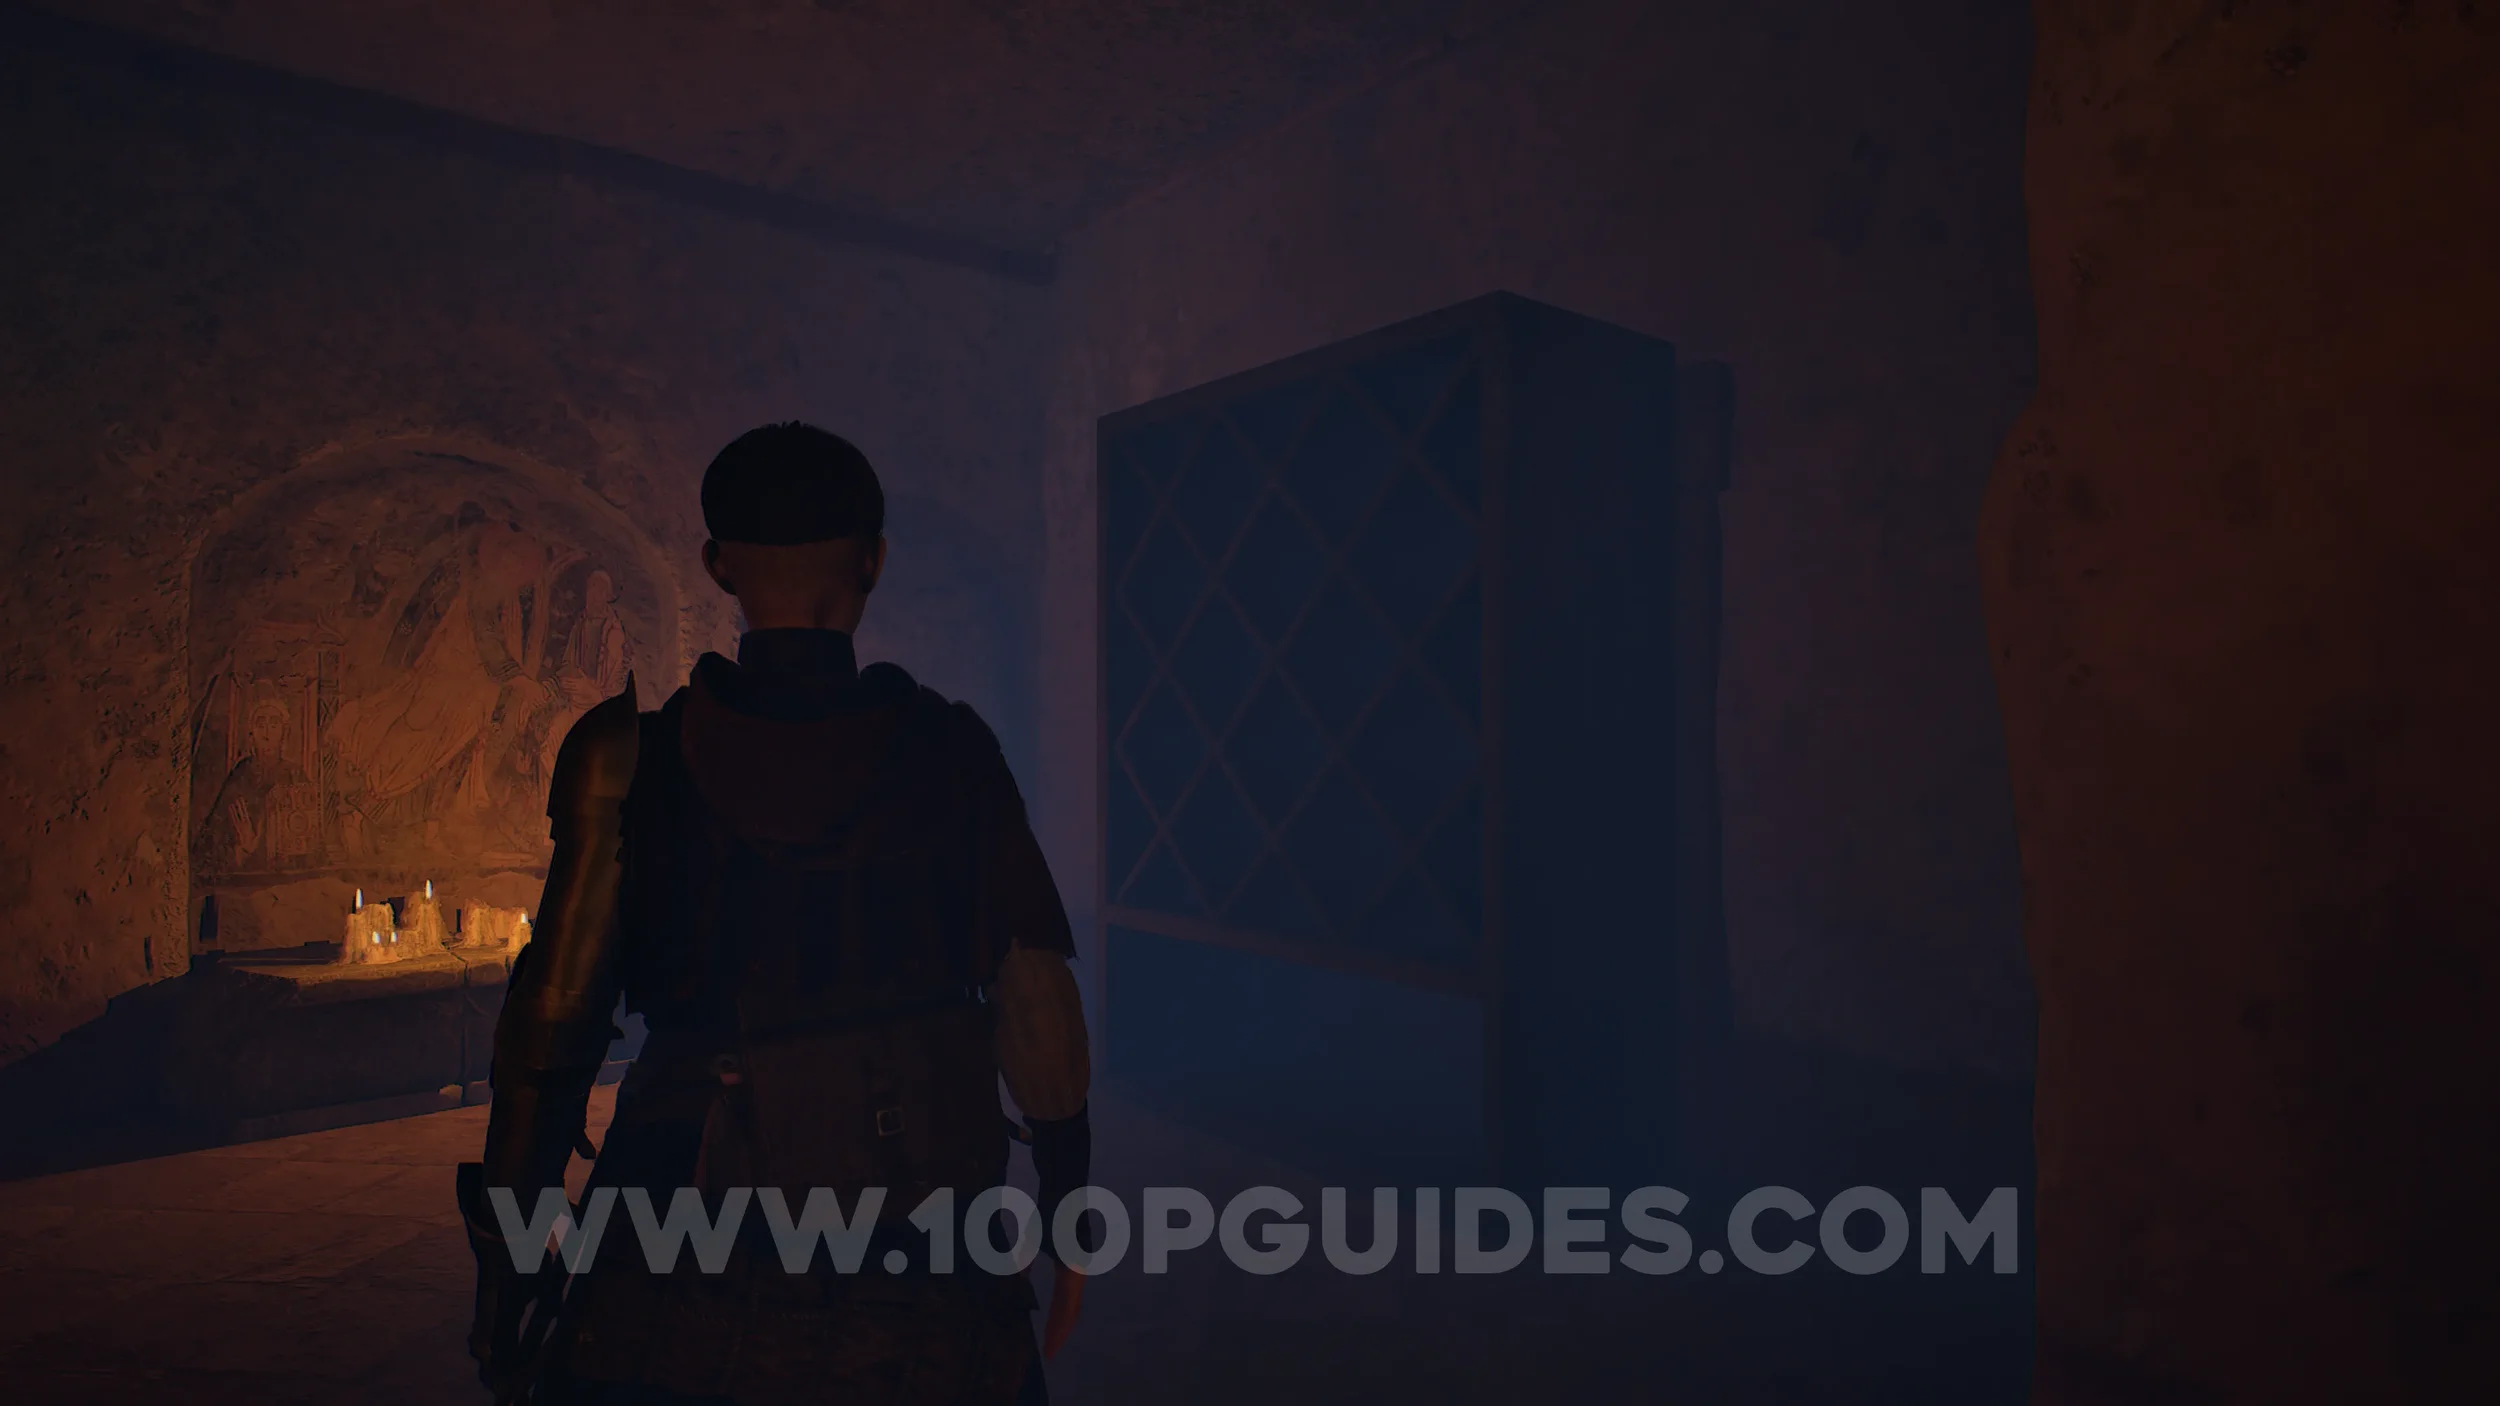
Trinket #6 - Dragon’s Claw. From the previous collectible, return to the room with the columns and climb up the rubble on the right. Climb to the top to find the trinket.
Paper #47-48. After the first enemies of the chapter, you’ll go up some stairs and enter a building. As soon as you get inside, look to the left to find them on the ground.

Paper #49 (Large). Same location as the previous papers.
Sword Part #12 - Tusca Blade. After the next group of enemies, you’ll go through a building with statues. Once you exit on the other side by climbing around the upper level, look for a small alley to your left between the buildings ahead. Go through it and climb up to the right. At the top, turn around and jump to the other side. Then head to the end to find the blade in the lit-up area below.
Chapter 7
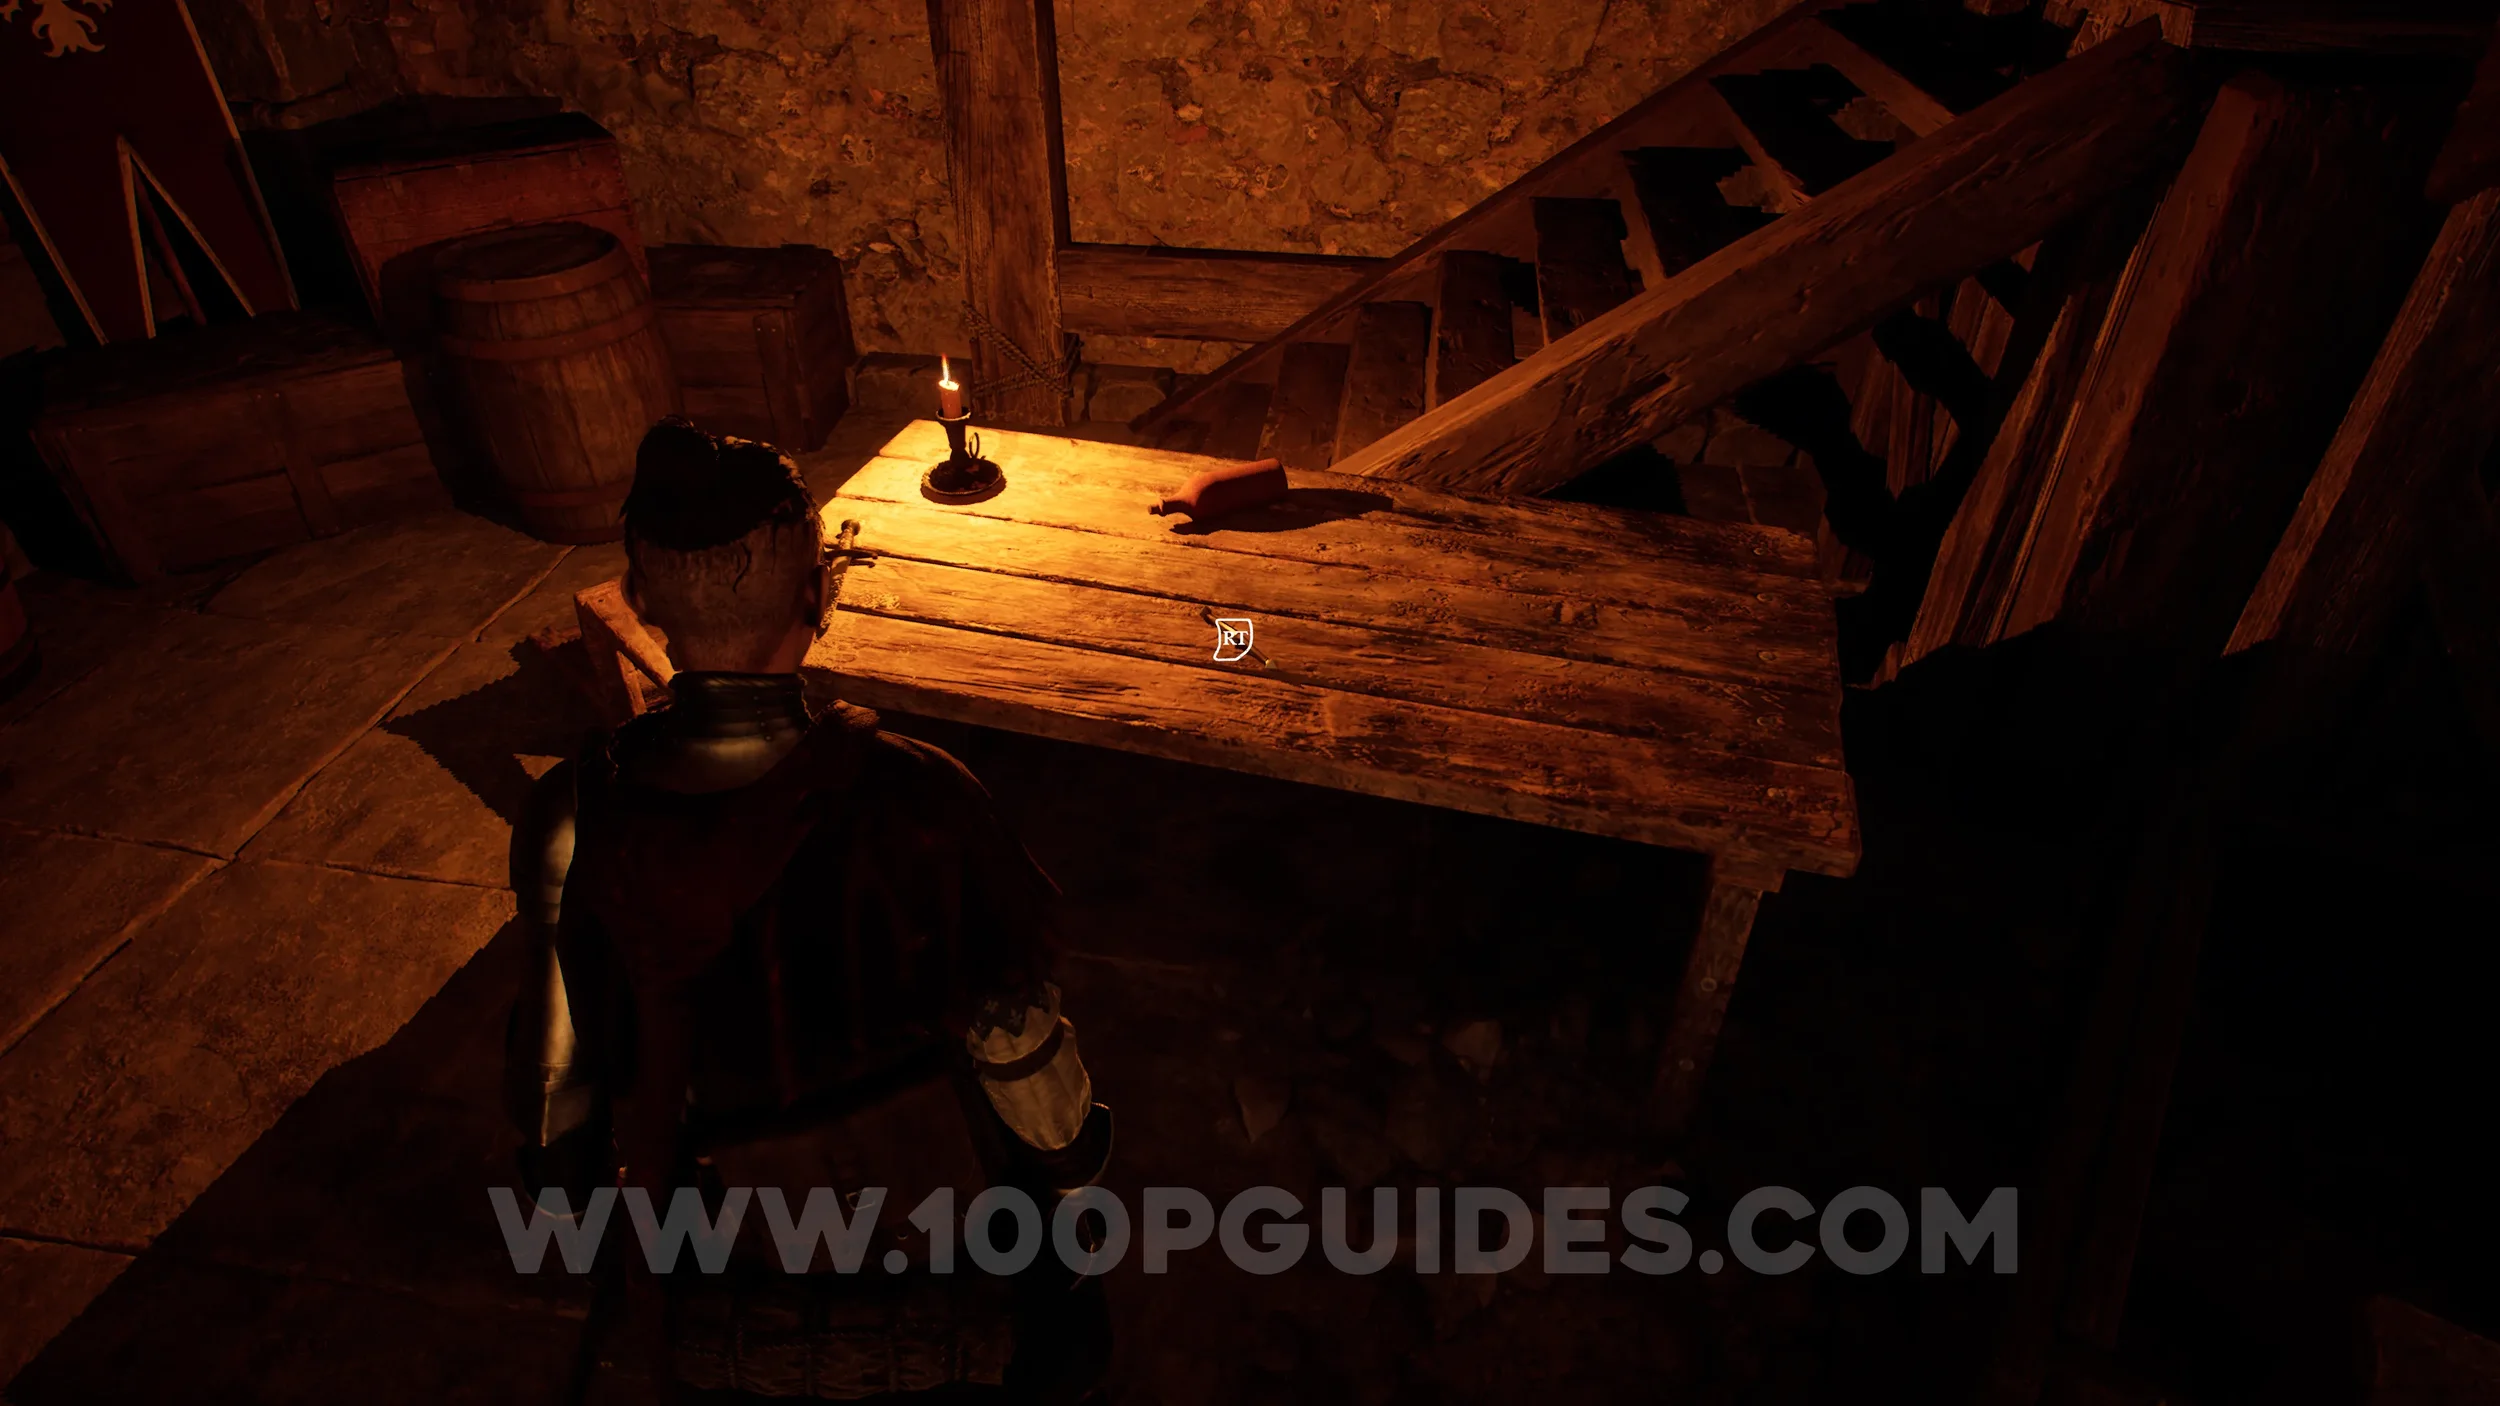
Paper #50 (Large). Follow the main path at the start of the chapter until you reach a building. The paper will be on the table next to it.
Paper #51-52. After the main path takes you through a mill, as soon as you emerge on the other side, look for the papers on a bench to your left, around the side of the building you just came out of.
Treasure #7 - Santa Quiteria. As you make your way through the steamy water, stick to the right and climb up the rocks by the second waterfall to find the treasure on a bench.
Paper #53-54 (Large). After the steamy water area, you’ll cross a small wooden bridge and see some ruins ahead. At the ruins, take the path on the left to find the paper near a cart at the end.
Sword Part #13 - Ultima Pommel. After defeating the first enemy of the chapter, vault over the wood behind him and go down the path on the left until a building collapses and blocks your way. Then head down the path on the right (after vaulting) and pull the box out of the last small room. Use it to climb up to the collapsed wall, where you will find the sword part.
Paper #55 (Large). On a table in plain sight as you make your way through the wine cellar.
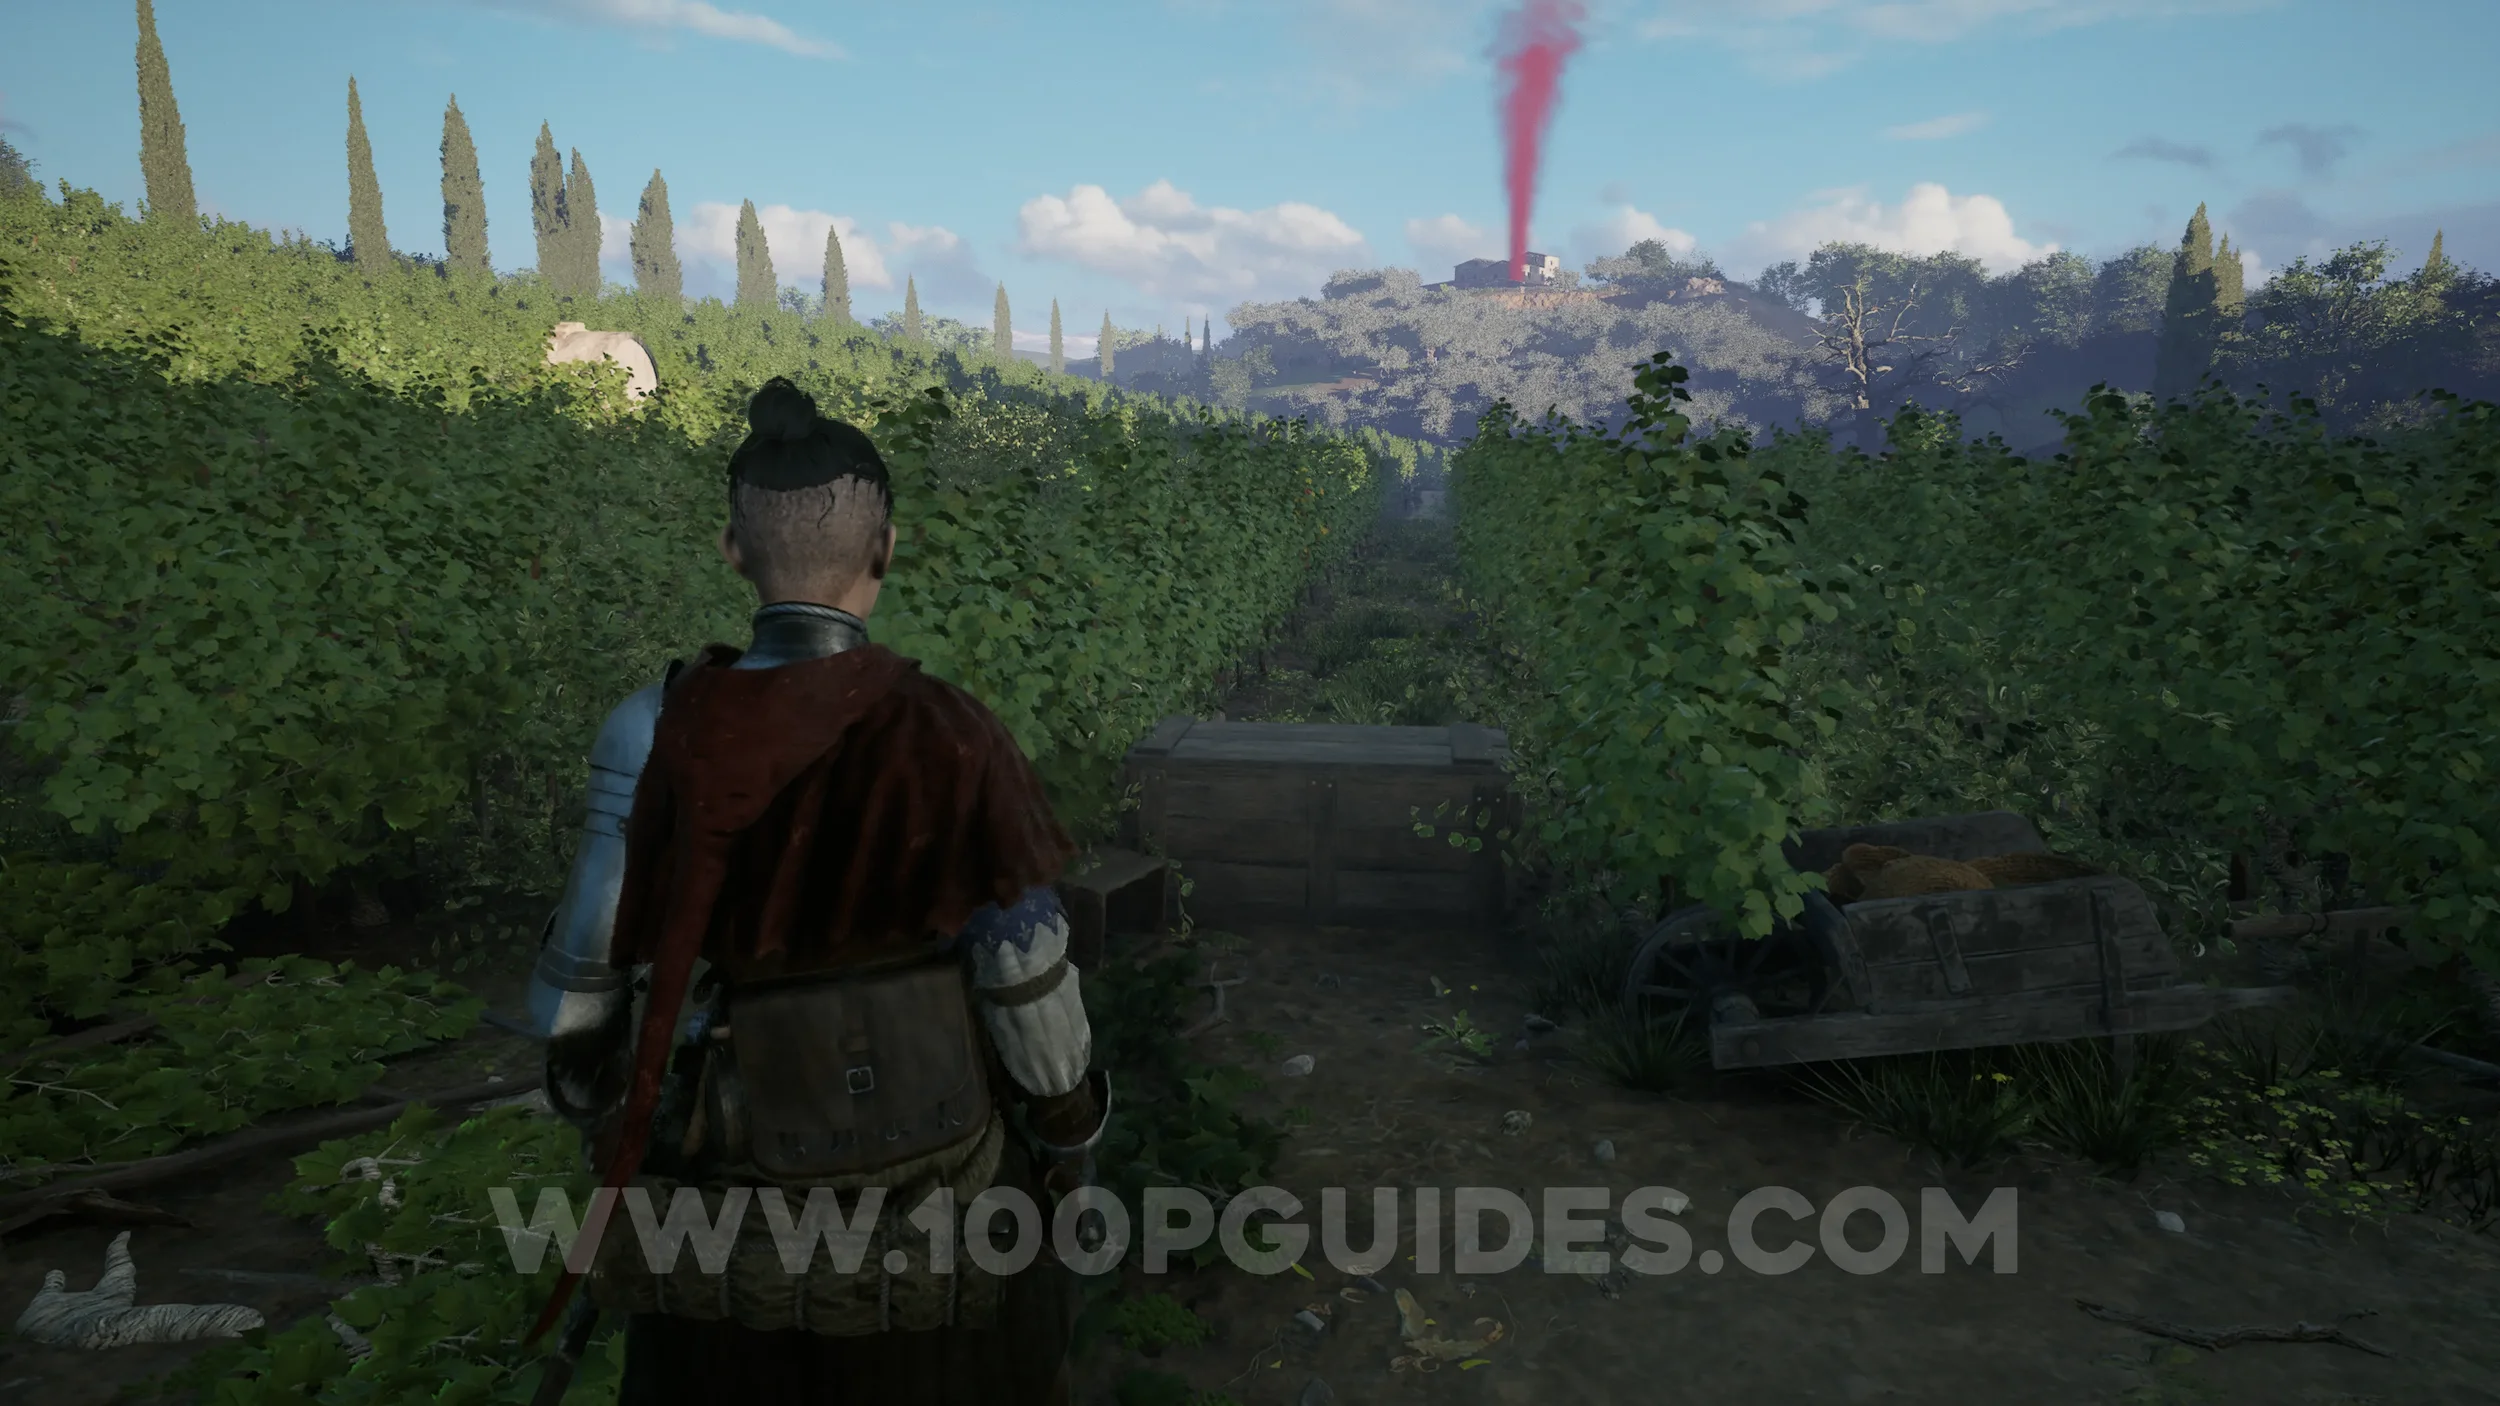
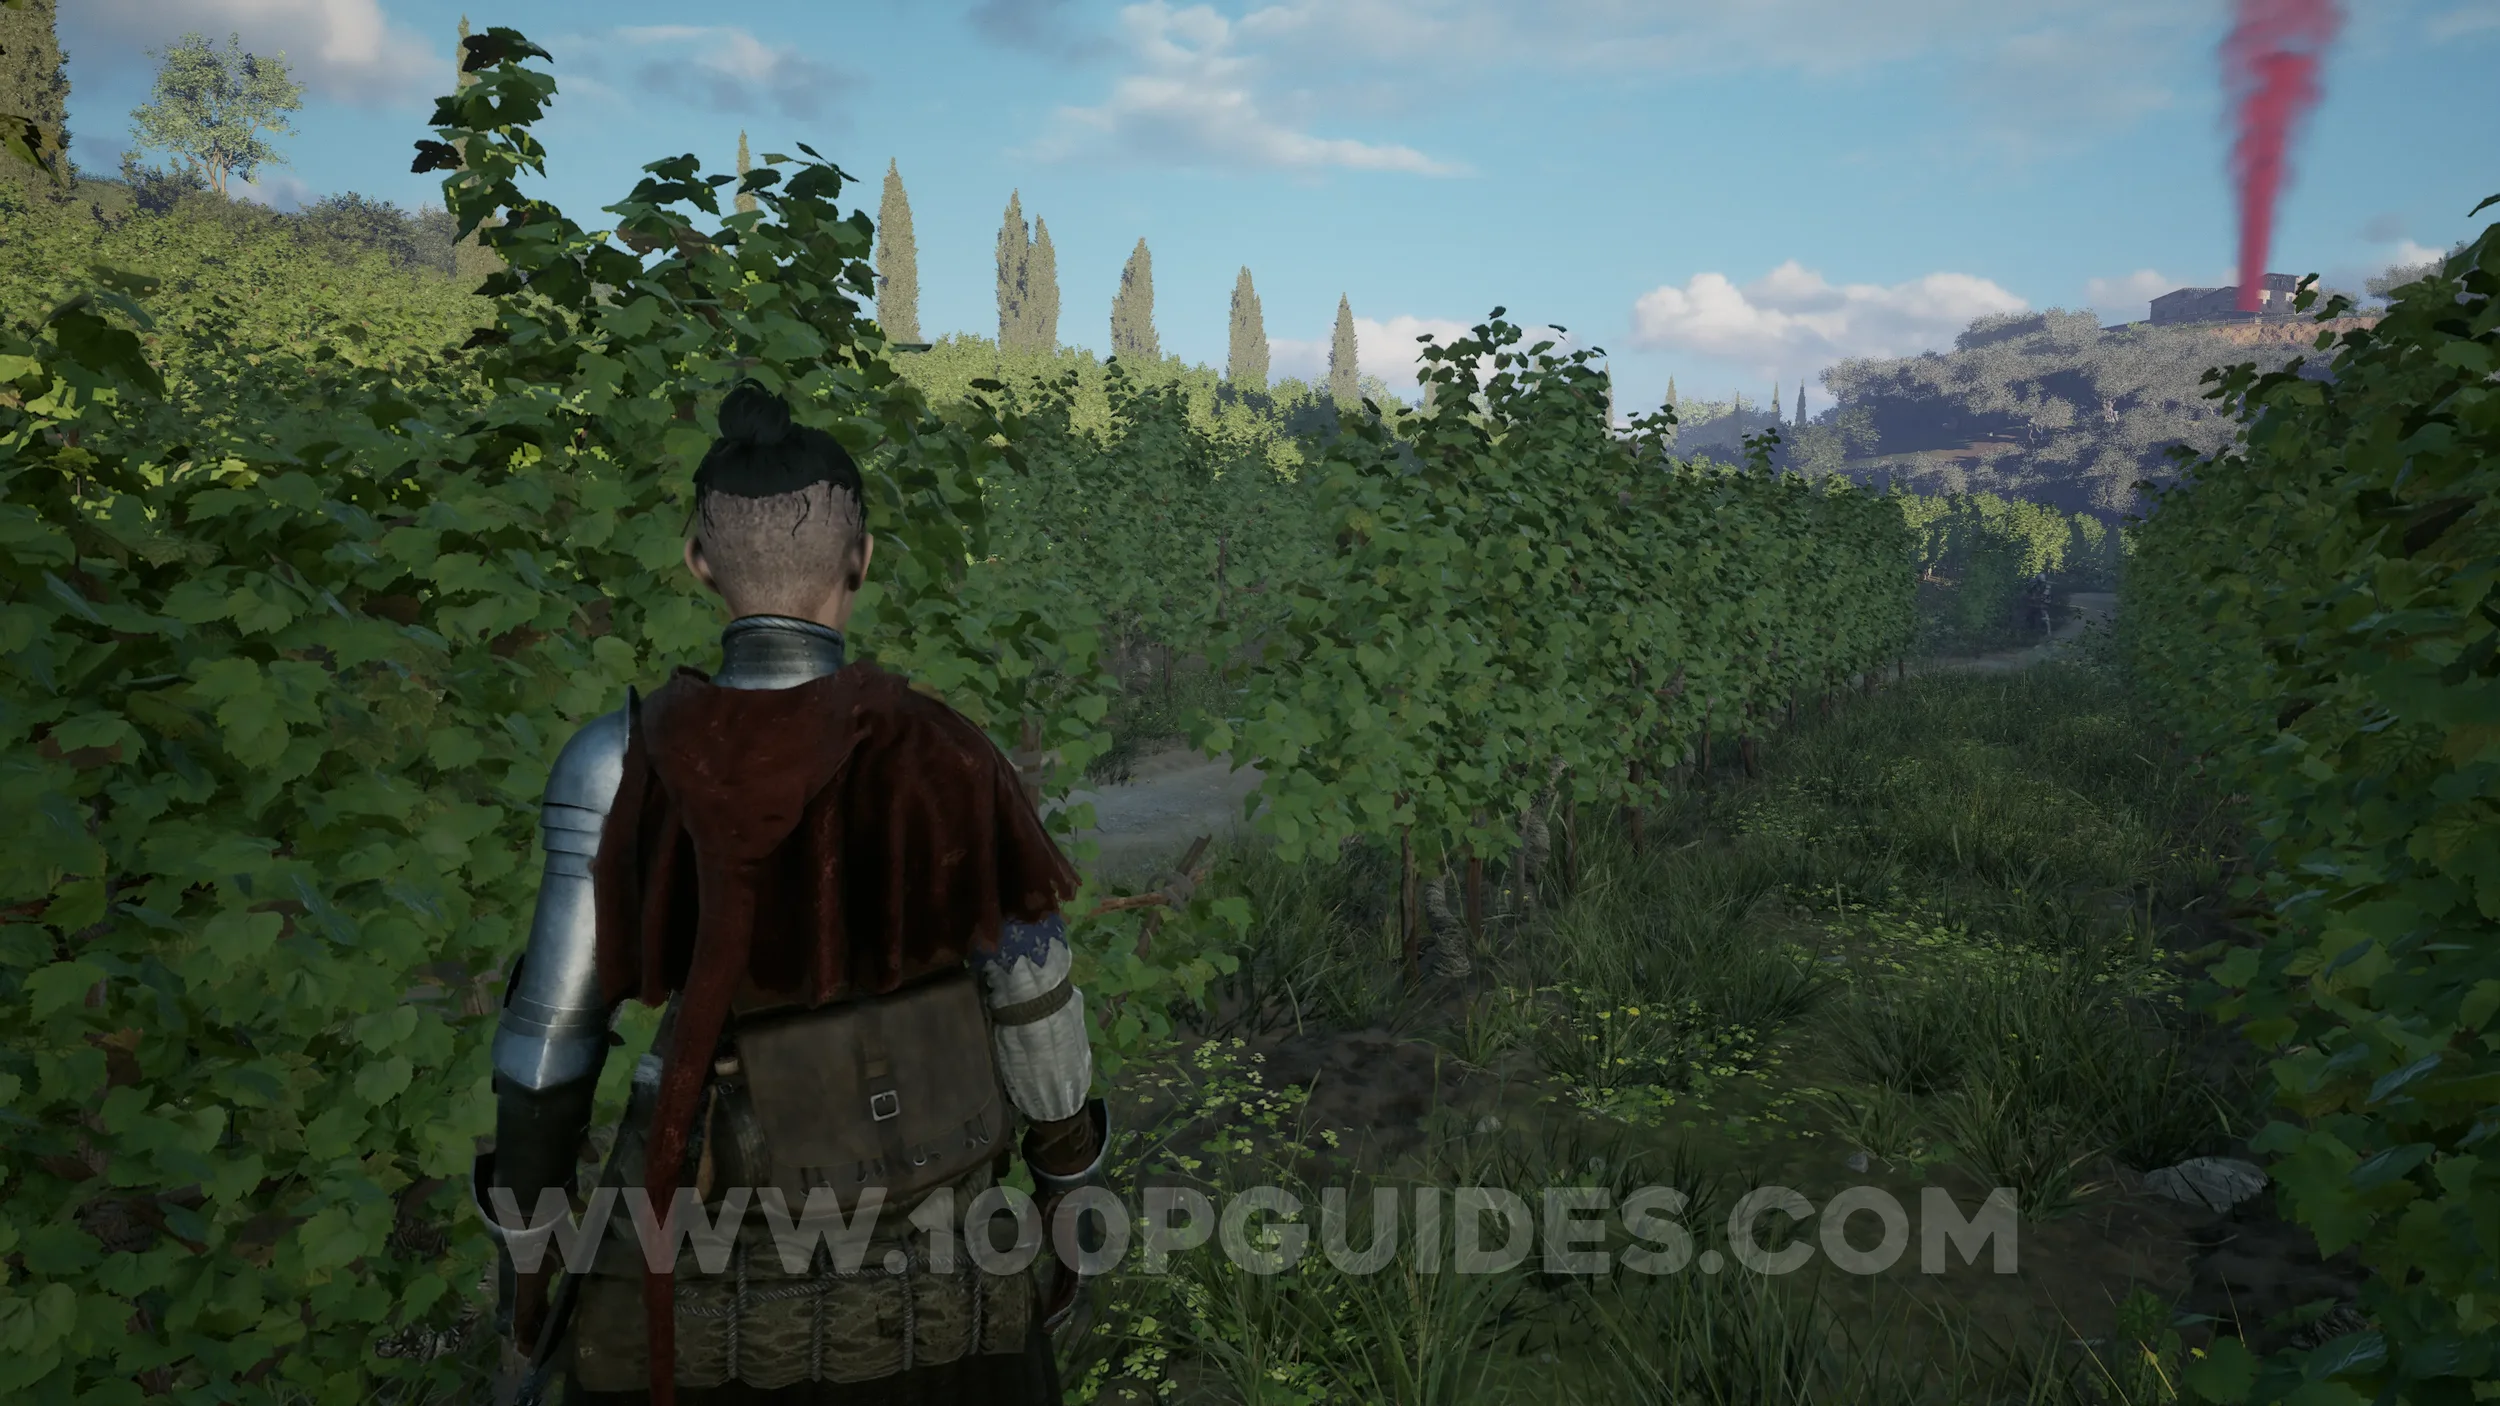
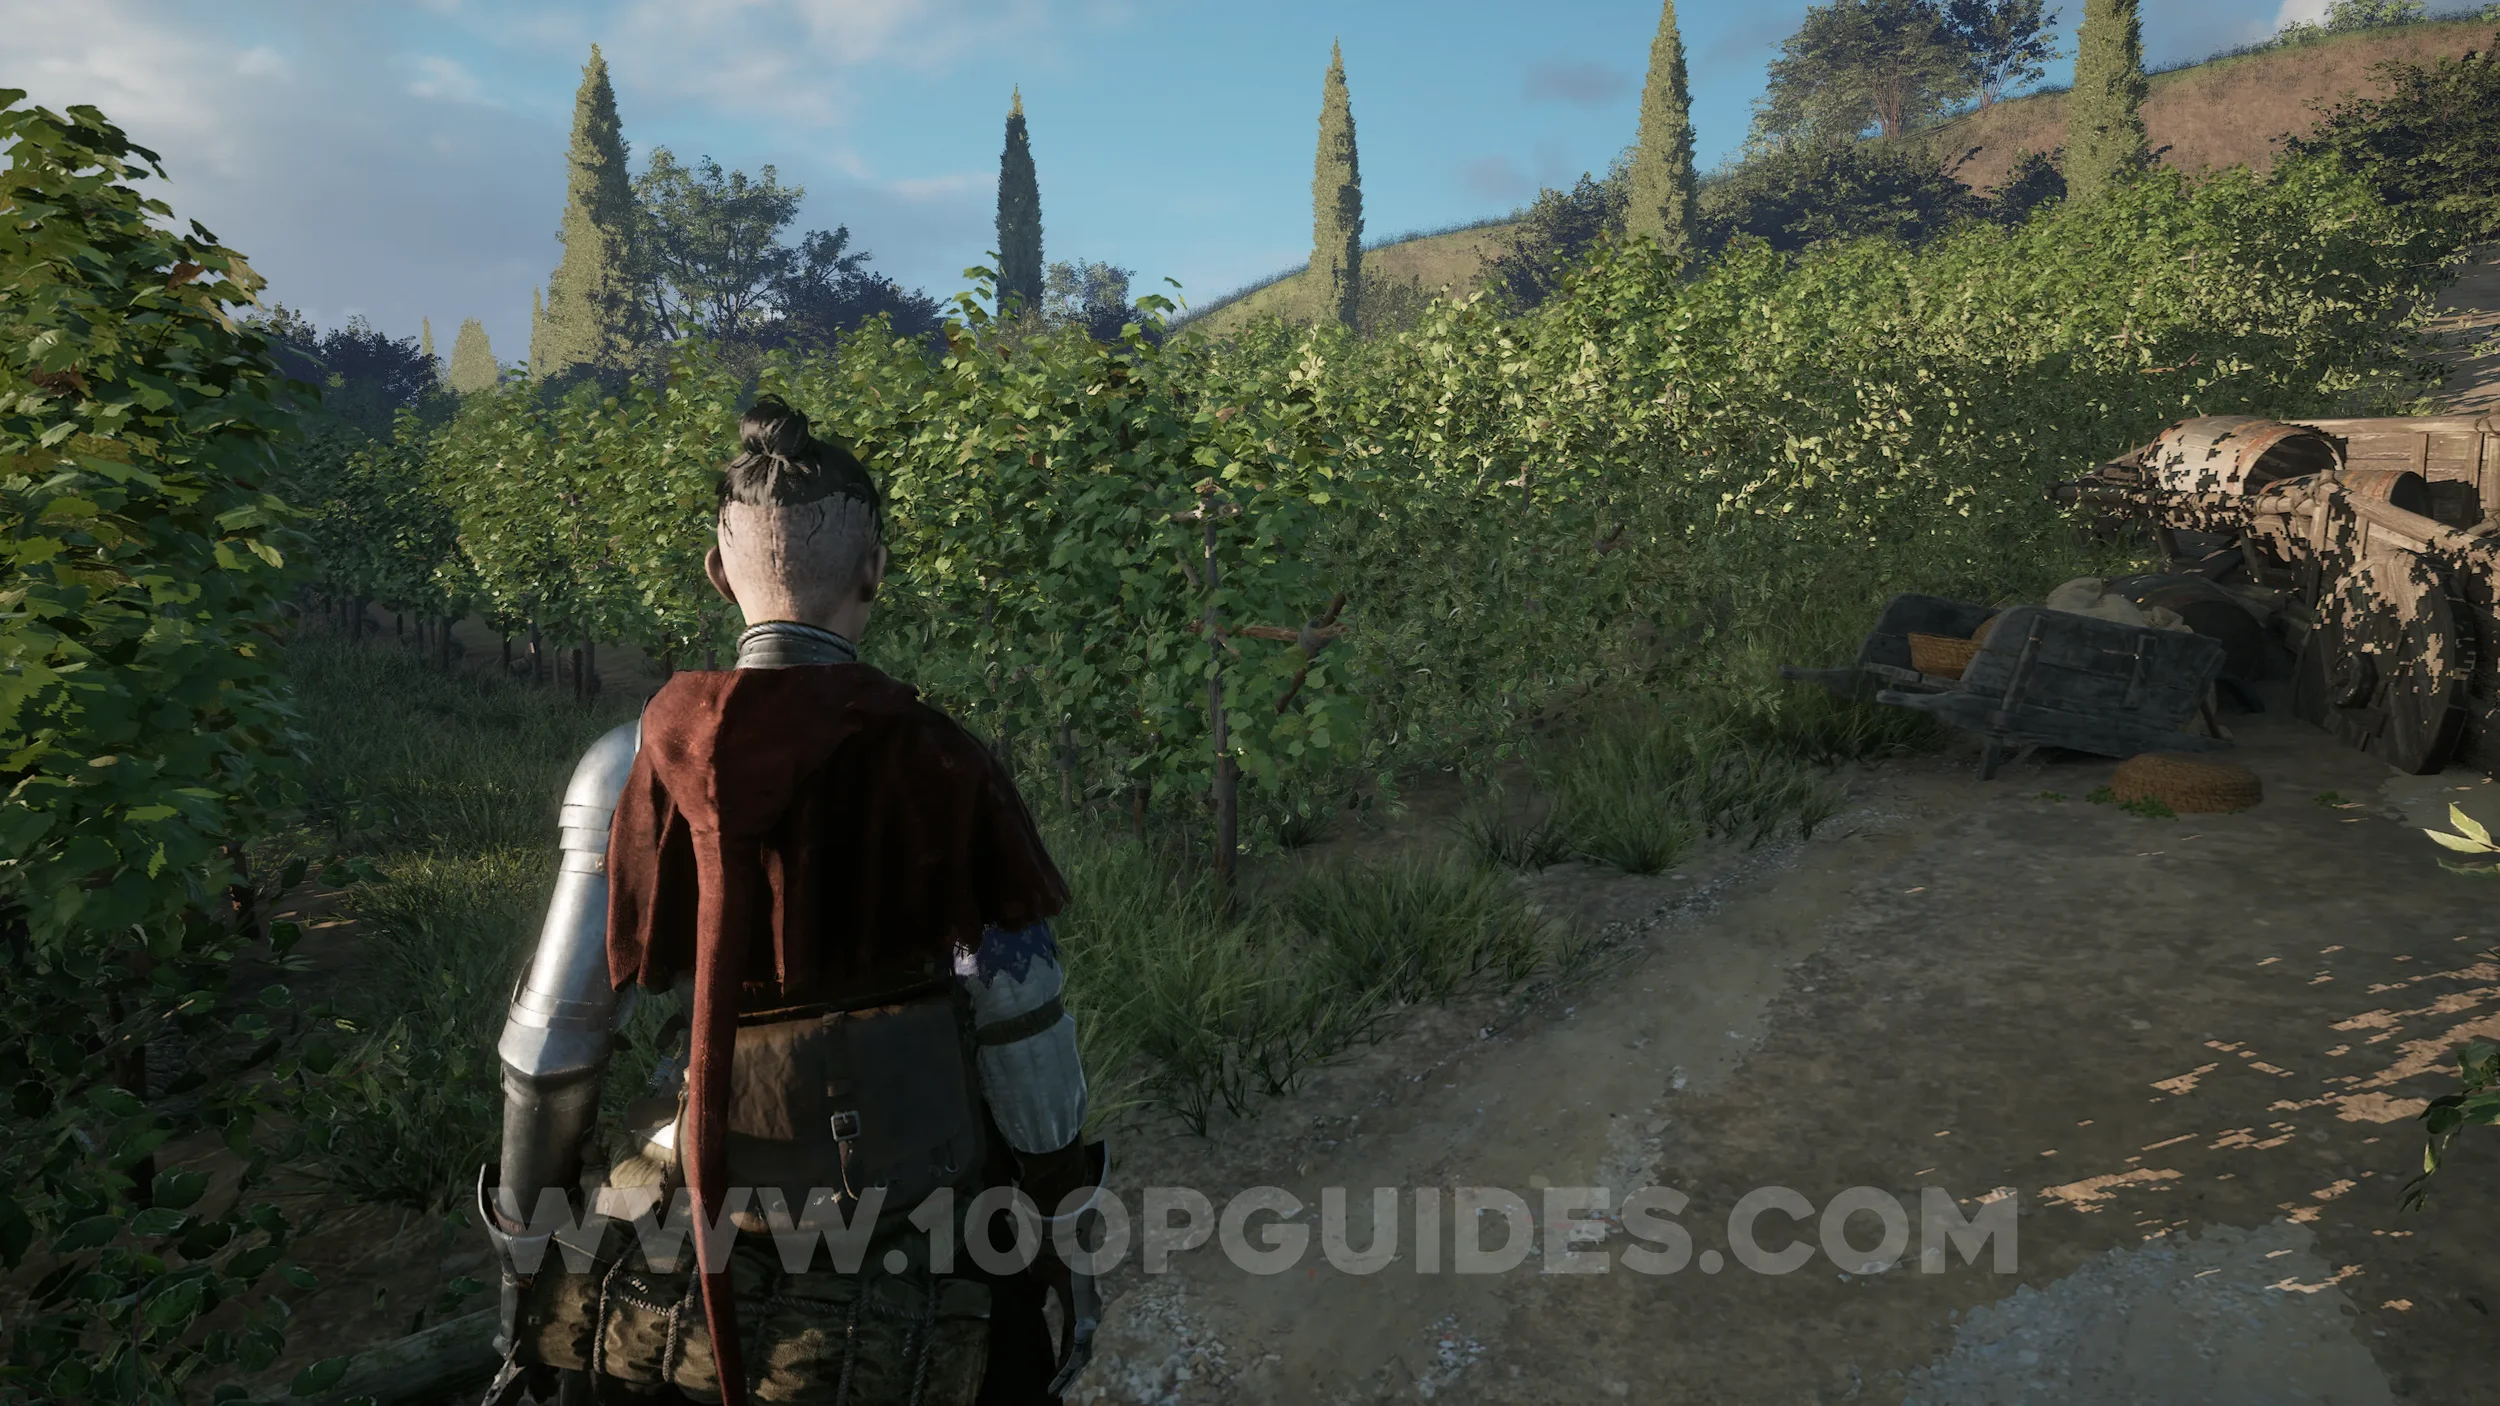
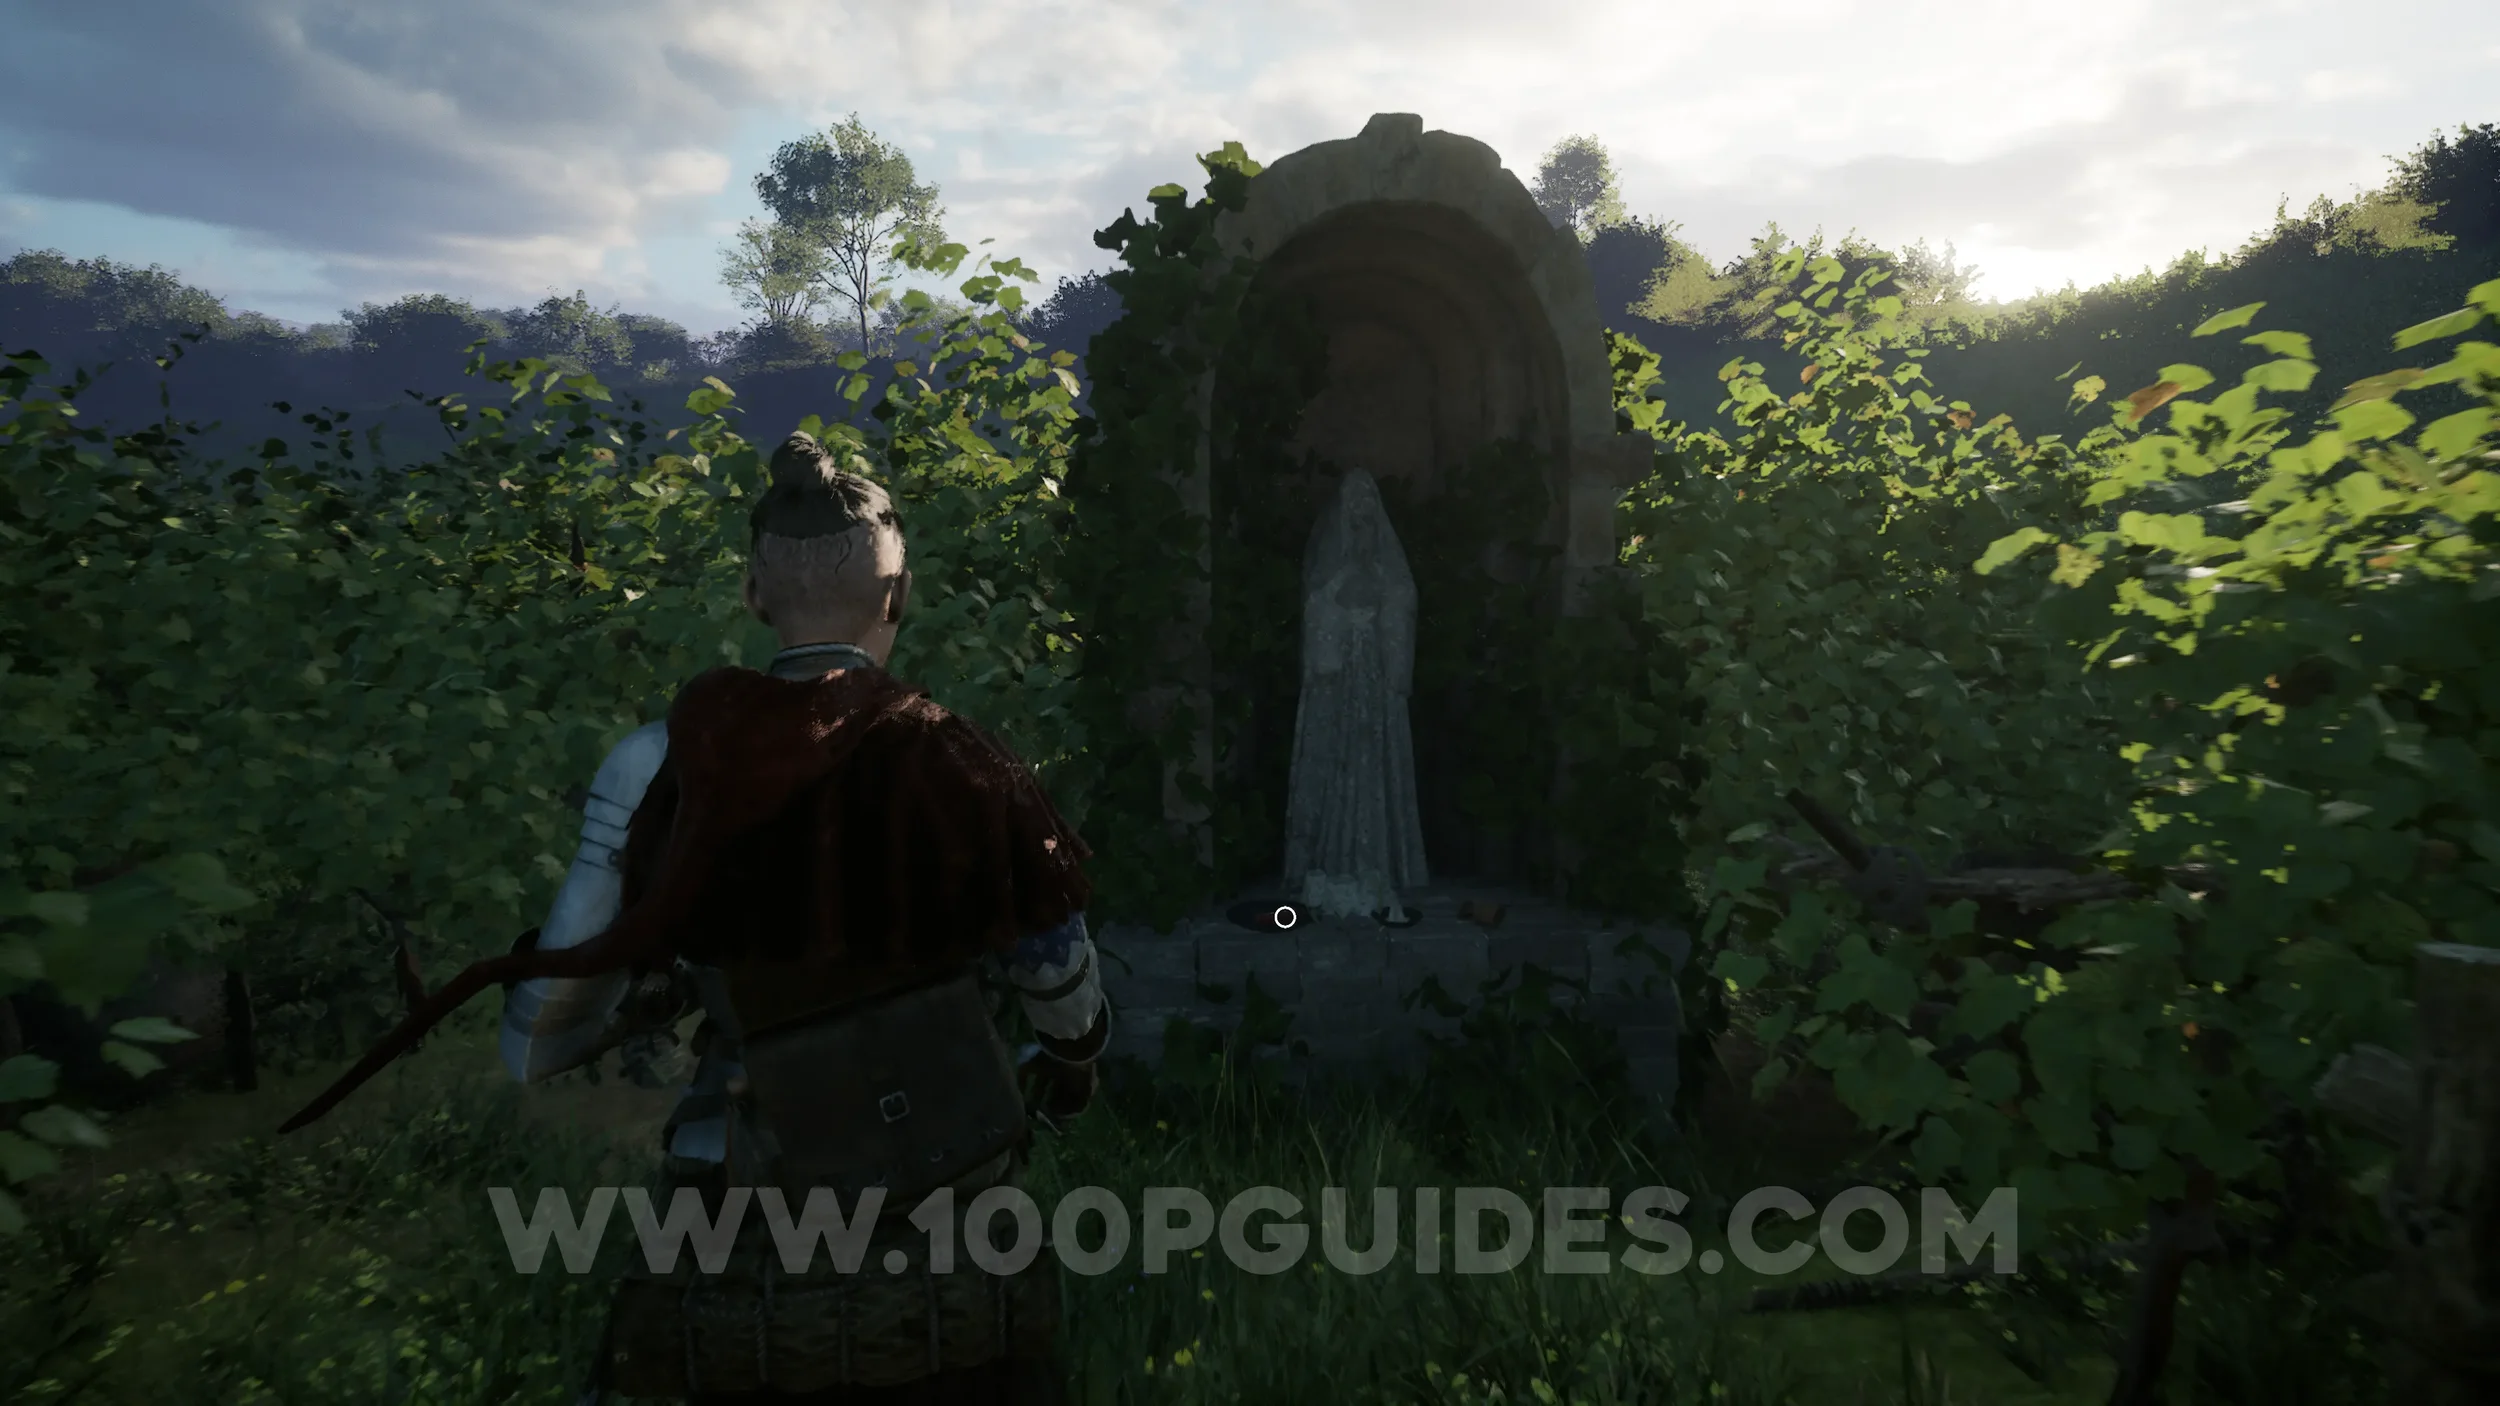
Trinket #7 - Saint’s Blood. After leaving the wine cellar, you’ll enter the vineyard. After defeating the first enemy, vault over the box and, in this row of vines, look for a gap on your left. Go through it and follow the road to the left. At the overturned cart, look for a path on the left through the vines. Follow it to reach a statue where you can find the trinket.
Paper #56-57. Follow the main path and you’ll have to go through another building. The paper can be found on a cupboard inside.

Chapter 8
Paper #58-59. After defeating the first three enemies of the chapter, you’ll drop down to a path below. Before climbing out on the other side, go right along the lower path to find a cave with the paper inside.
Treasure #8 - San Gertrude. In the same cave as the previous collectibles.
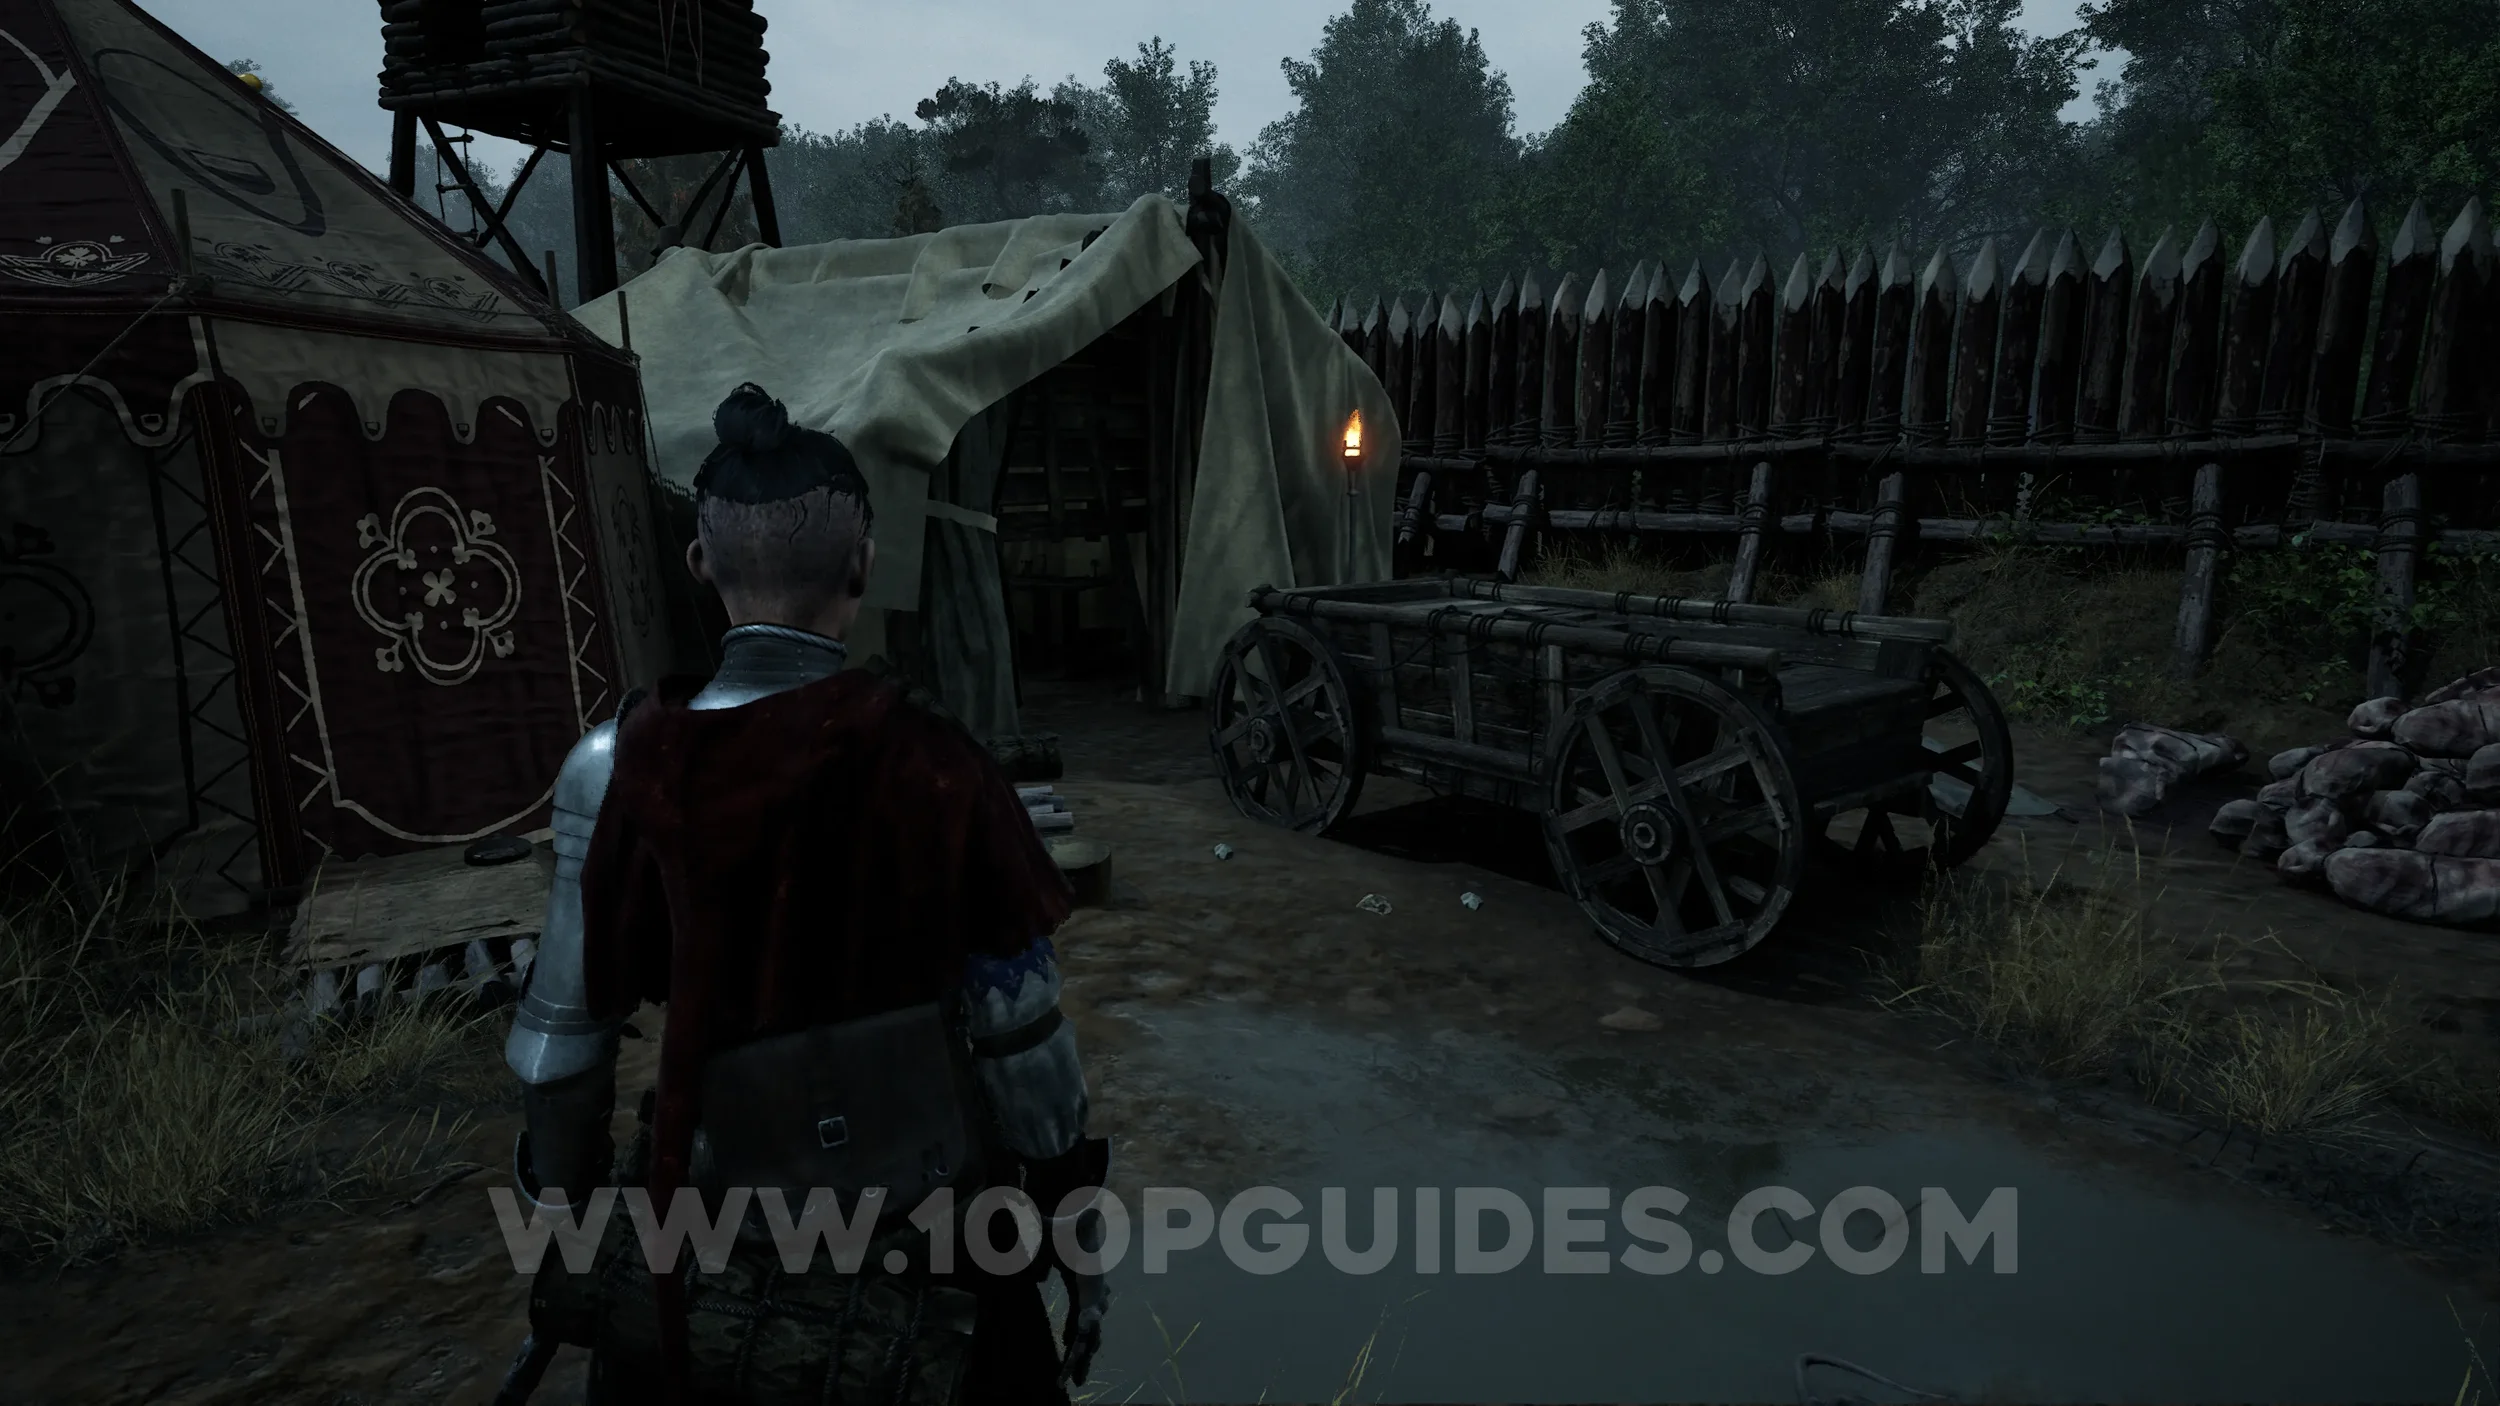
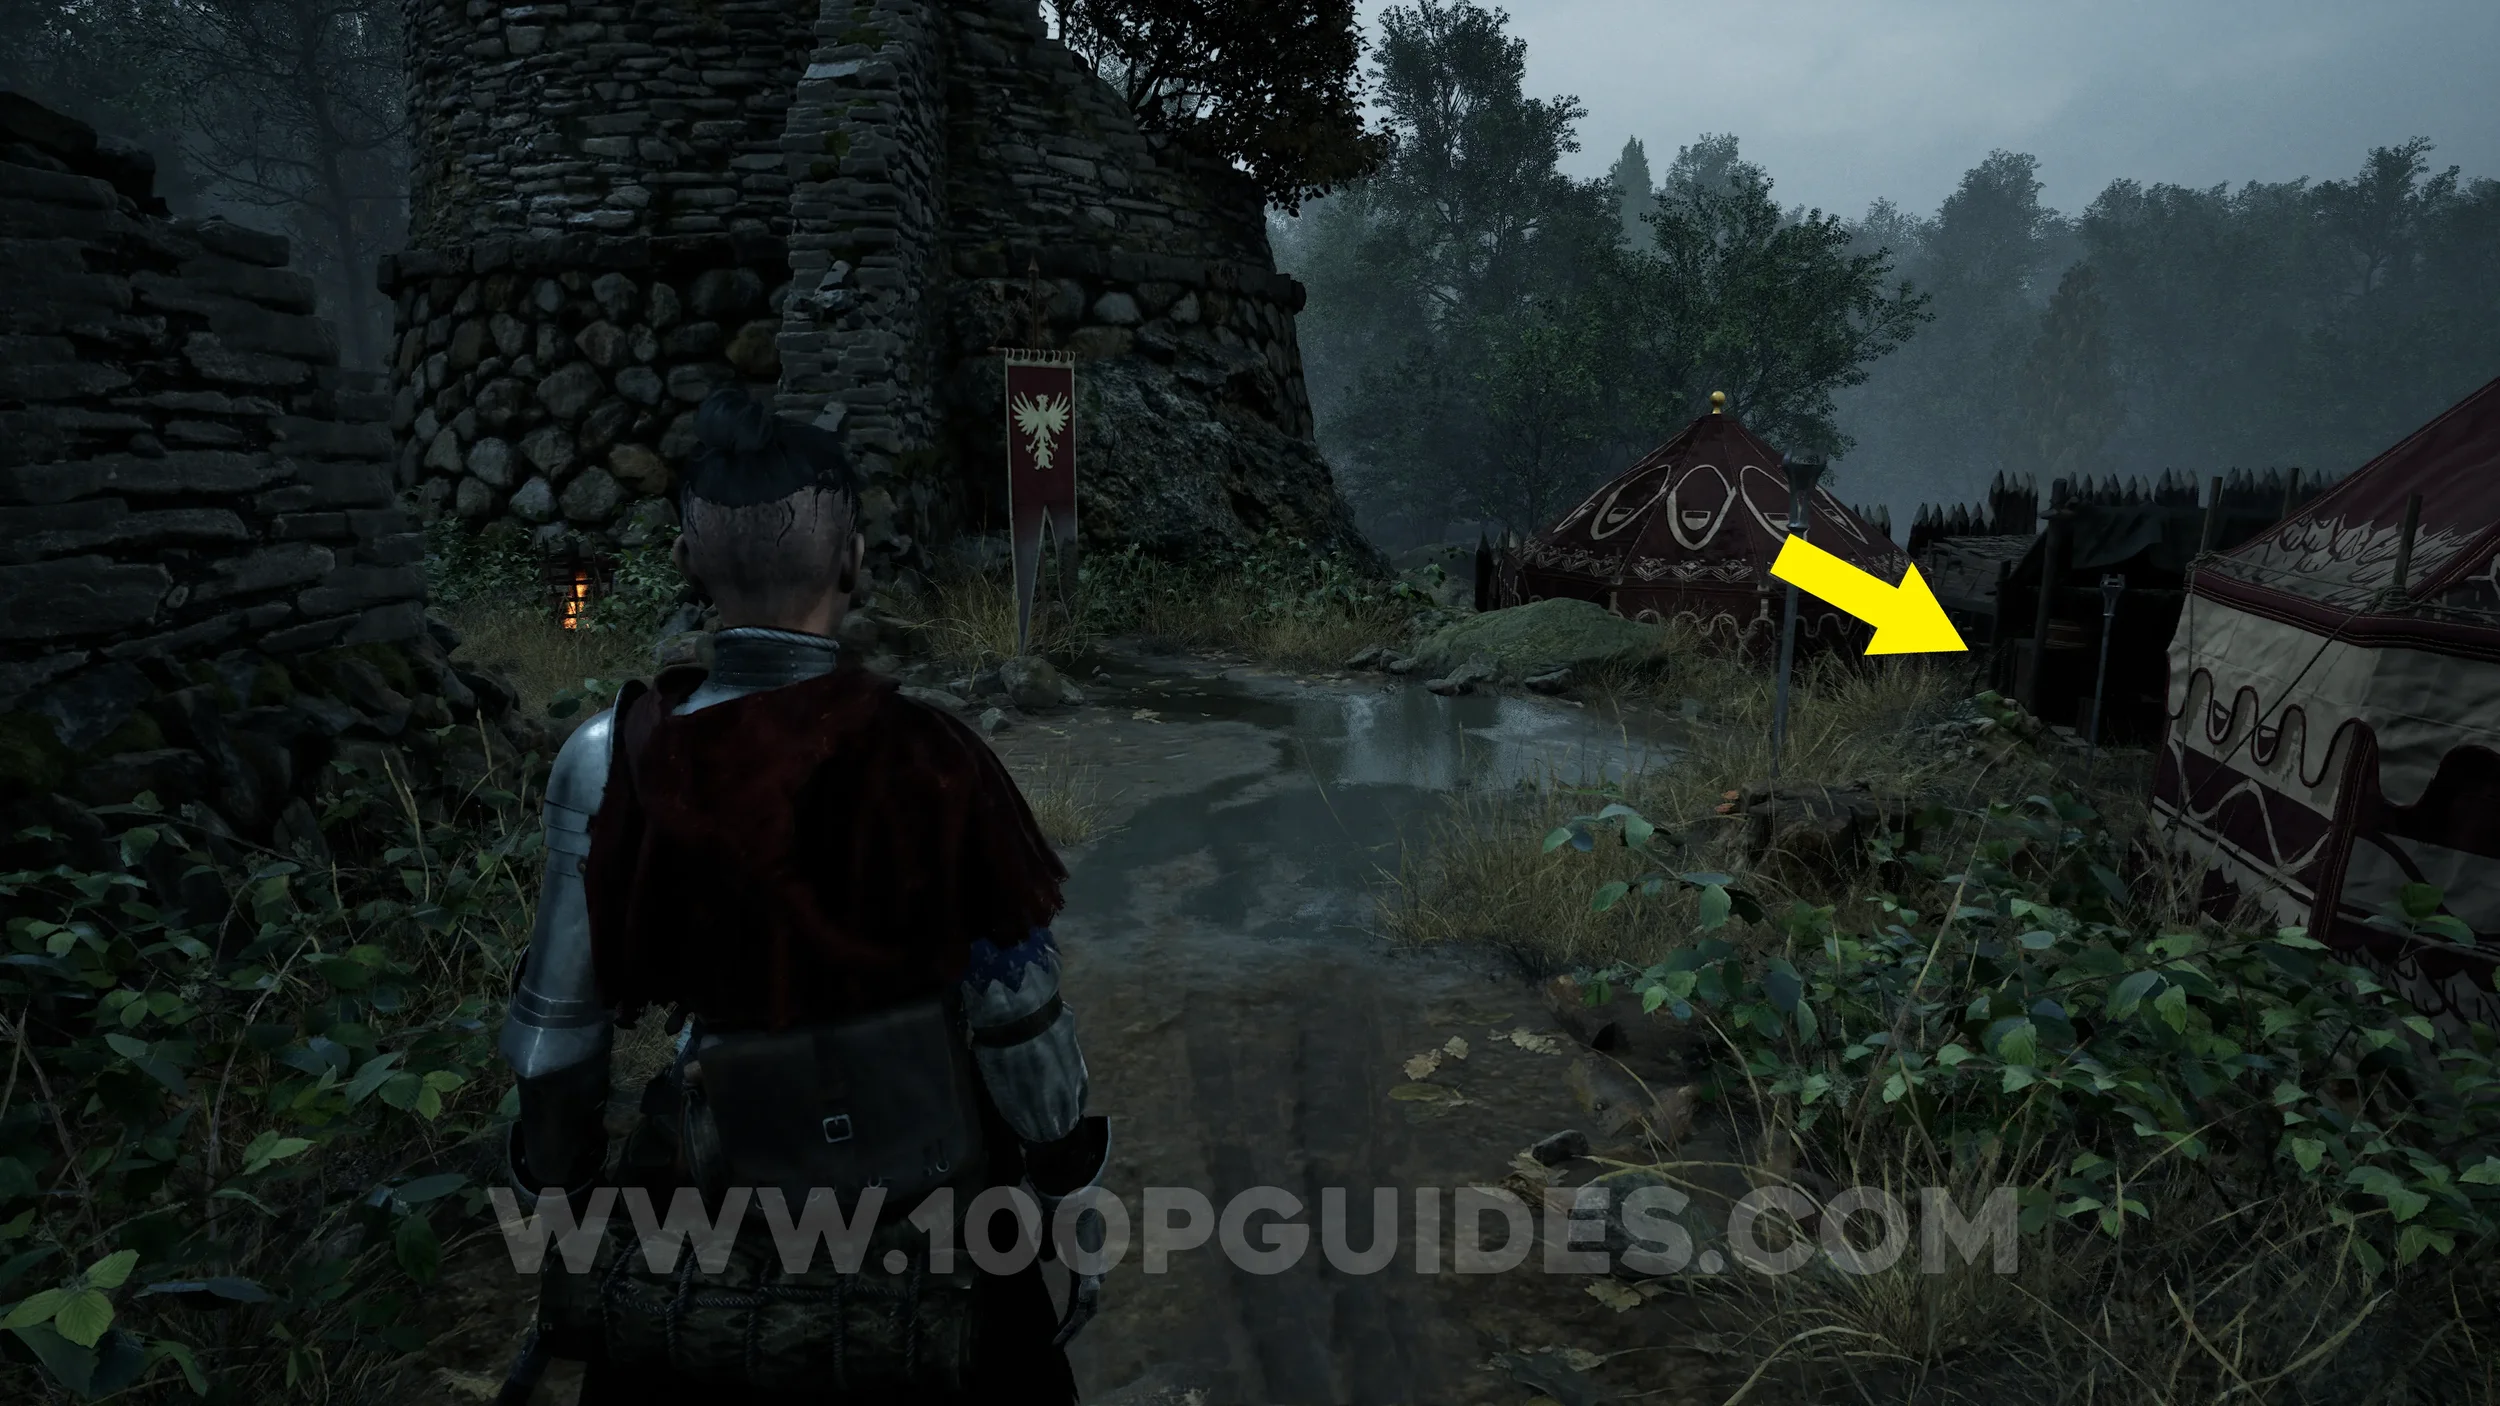
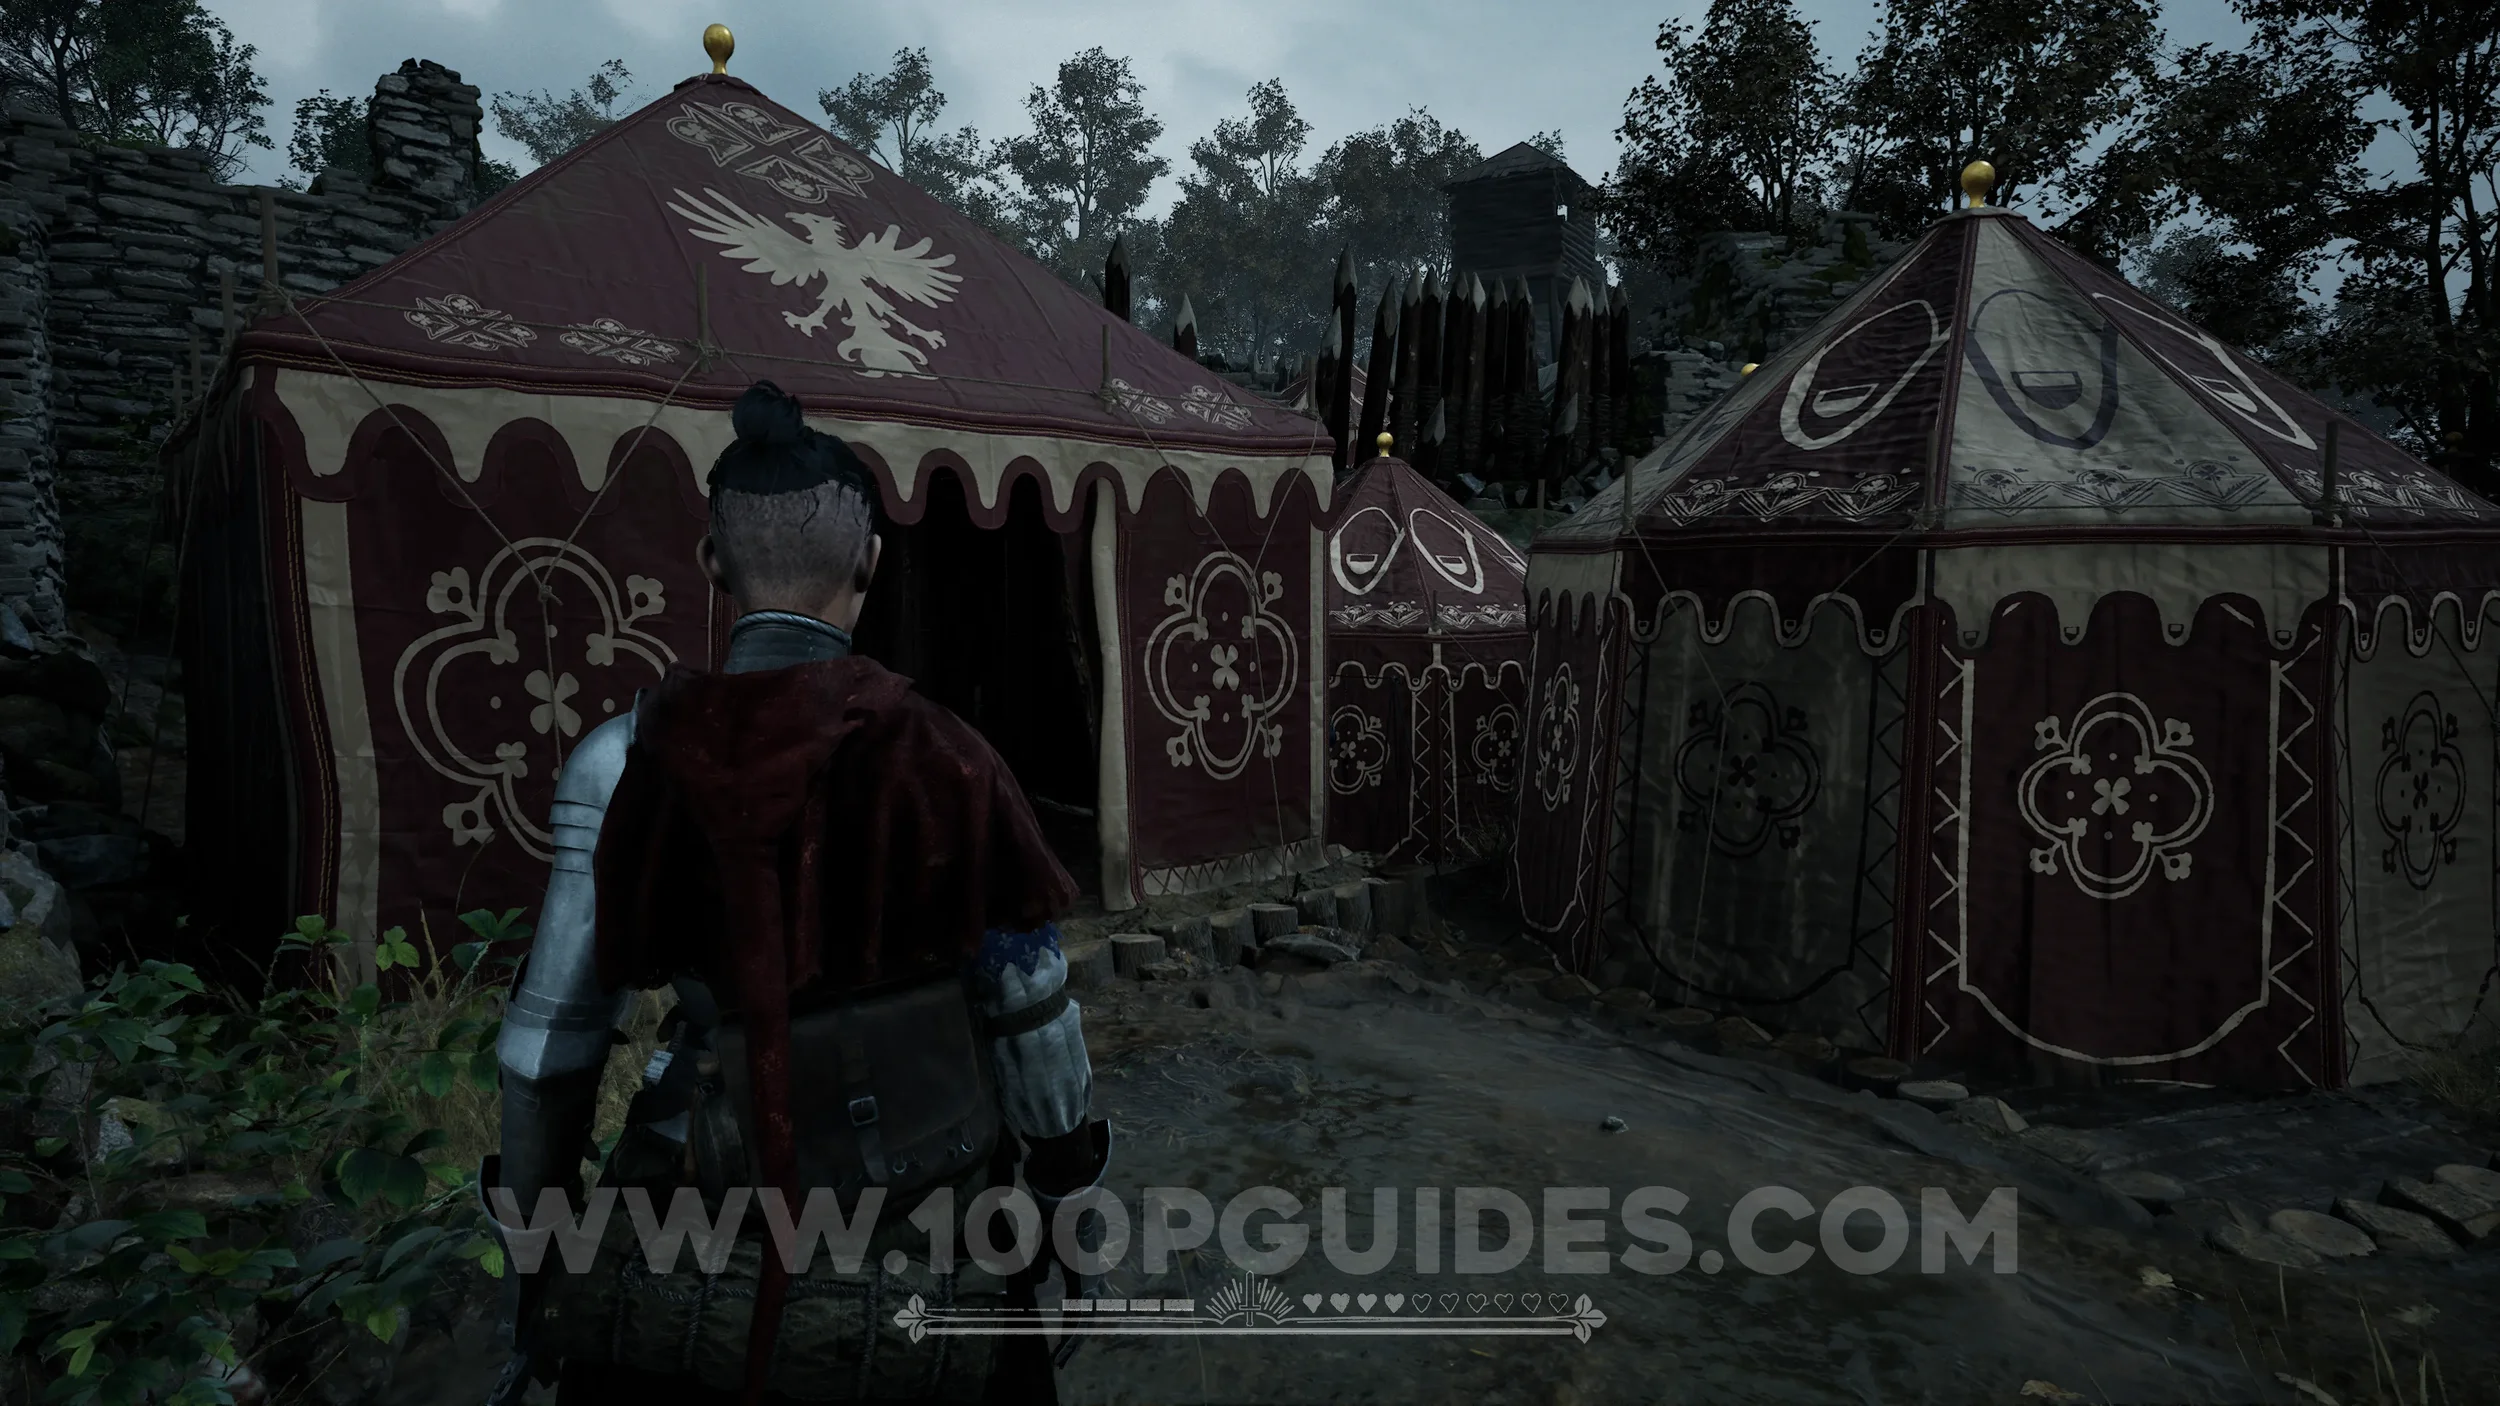
Paper #60 (Large). Once you reach the camp, stick to the left to find a tent you can go inside. The paper will be on the table.

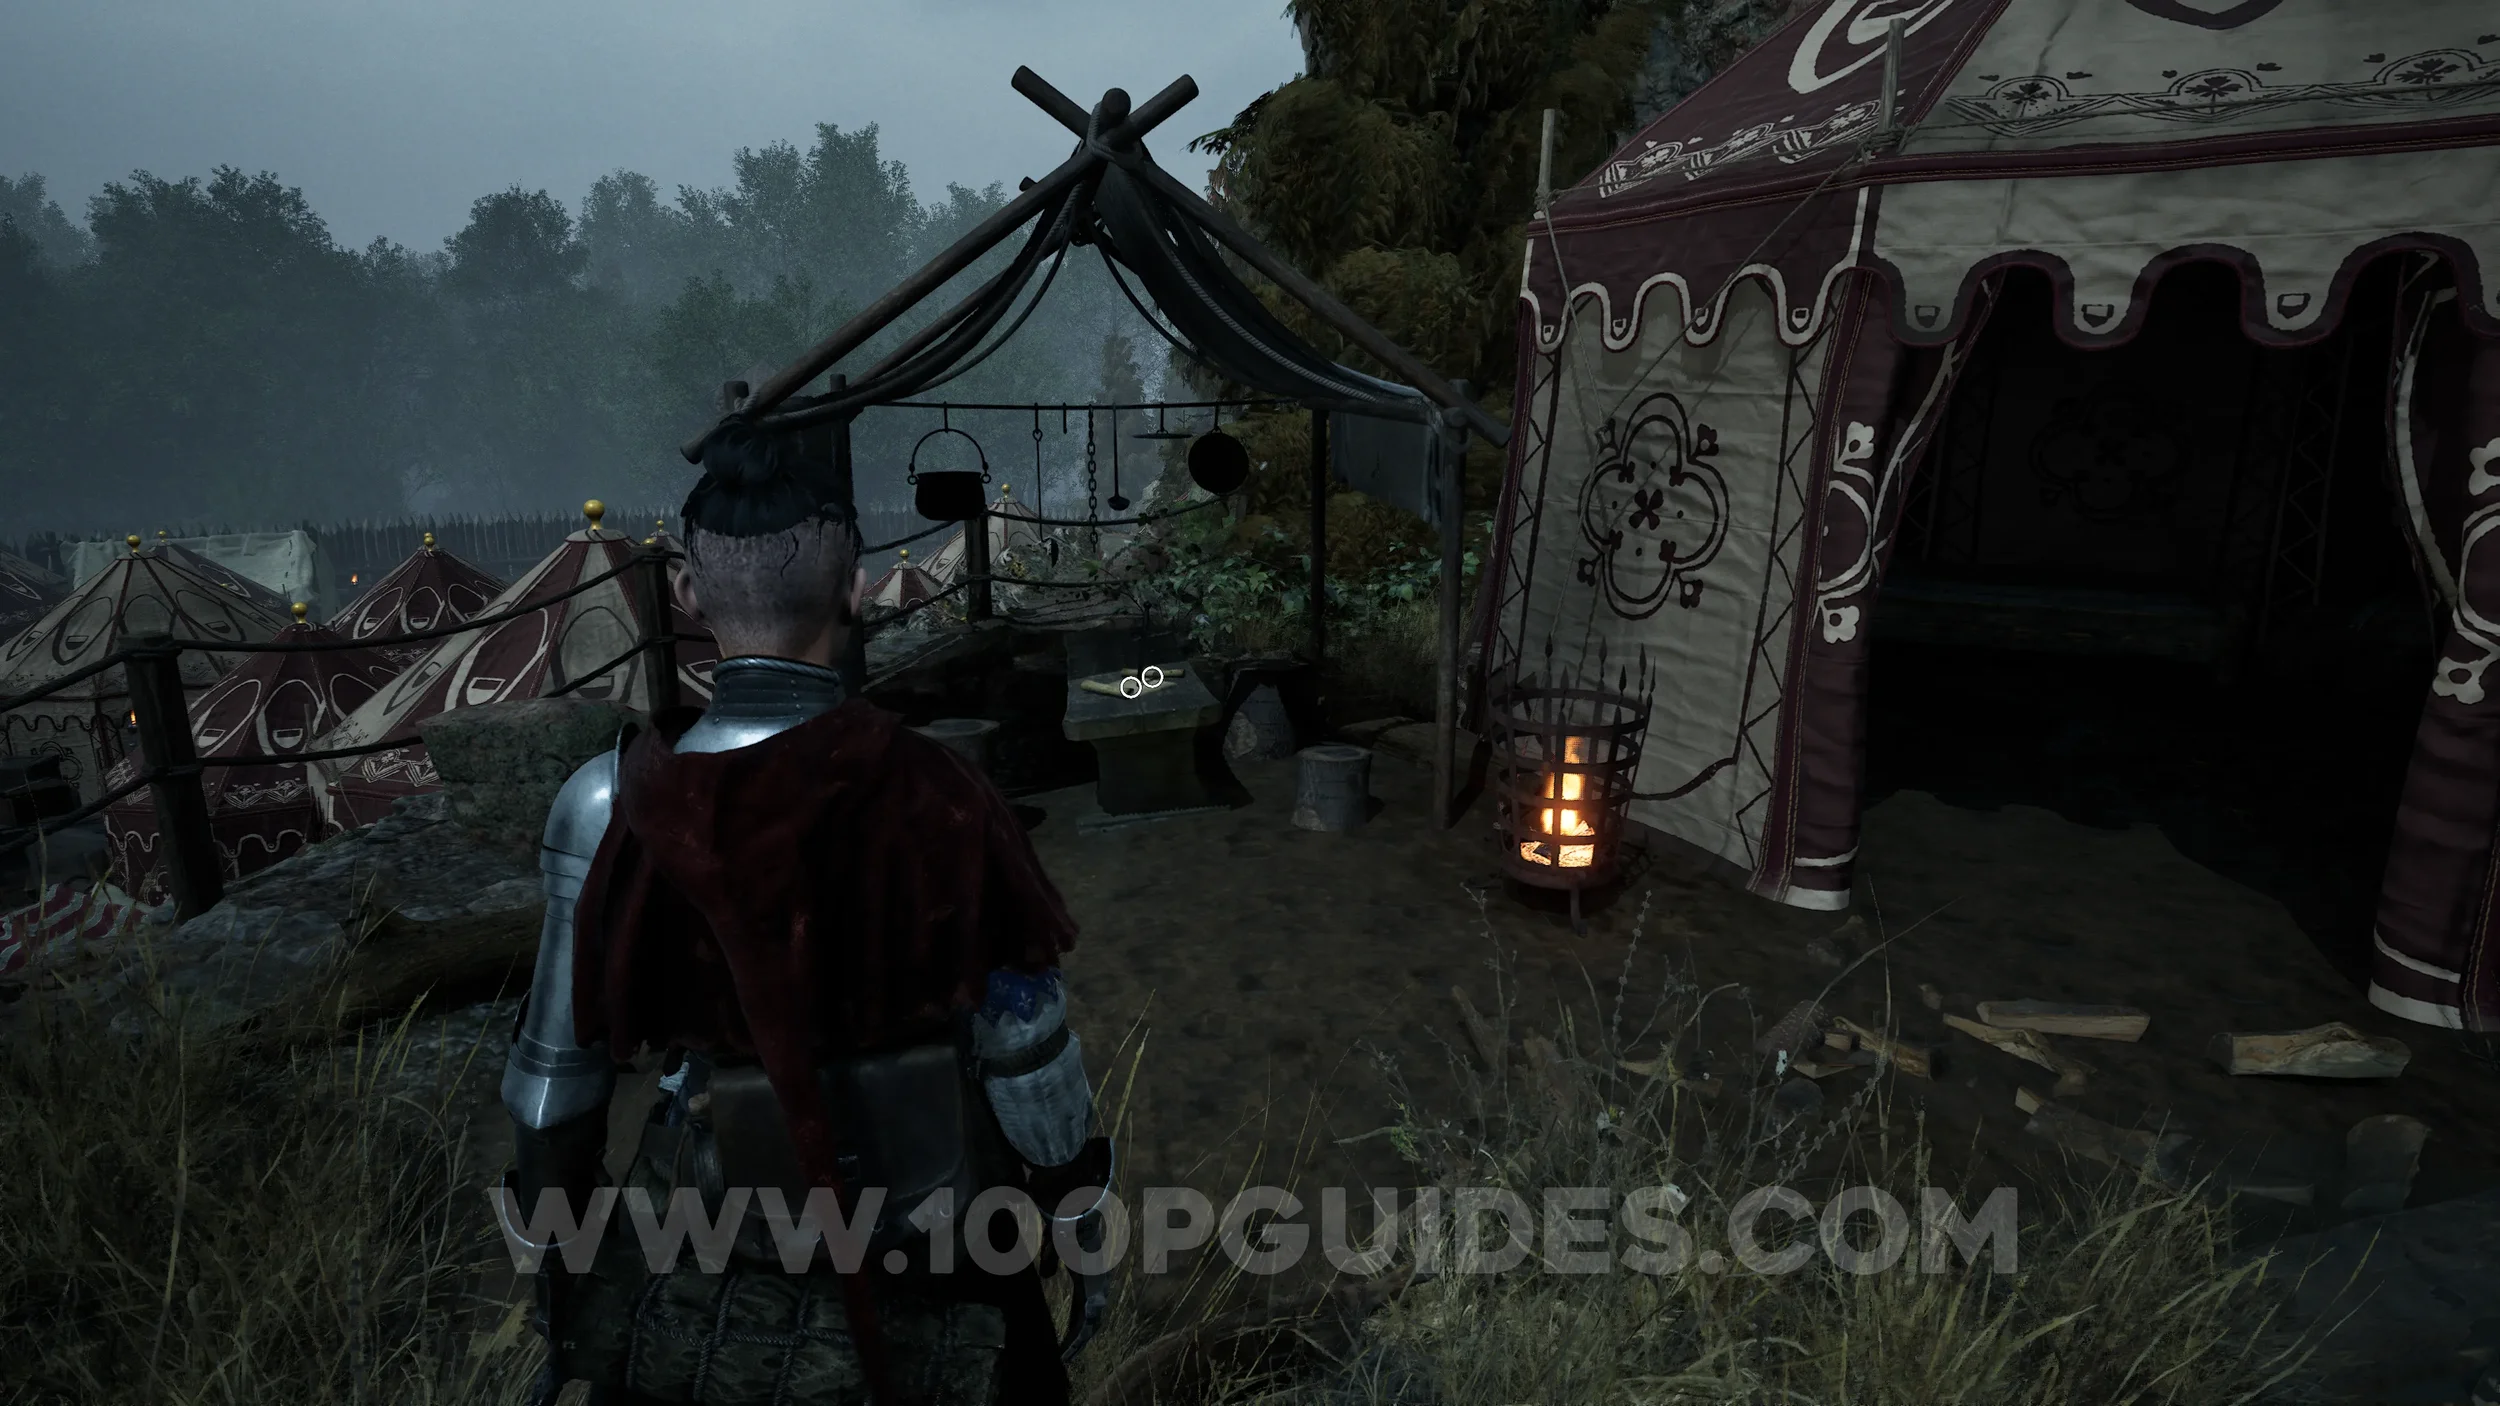
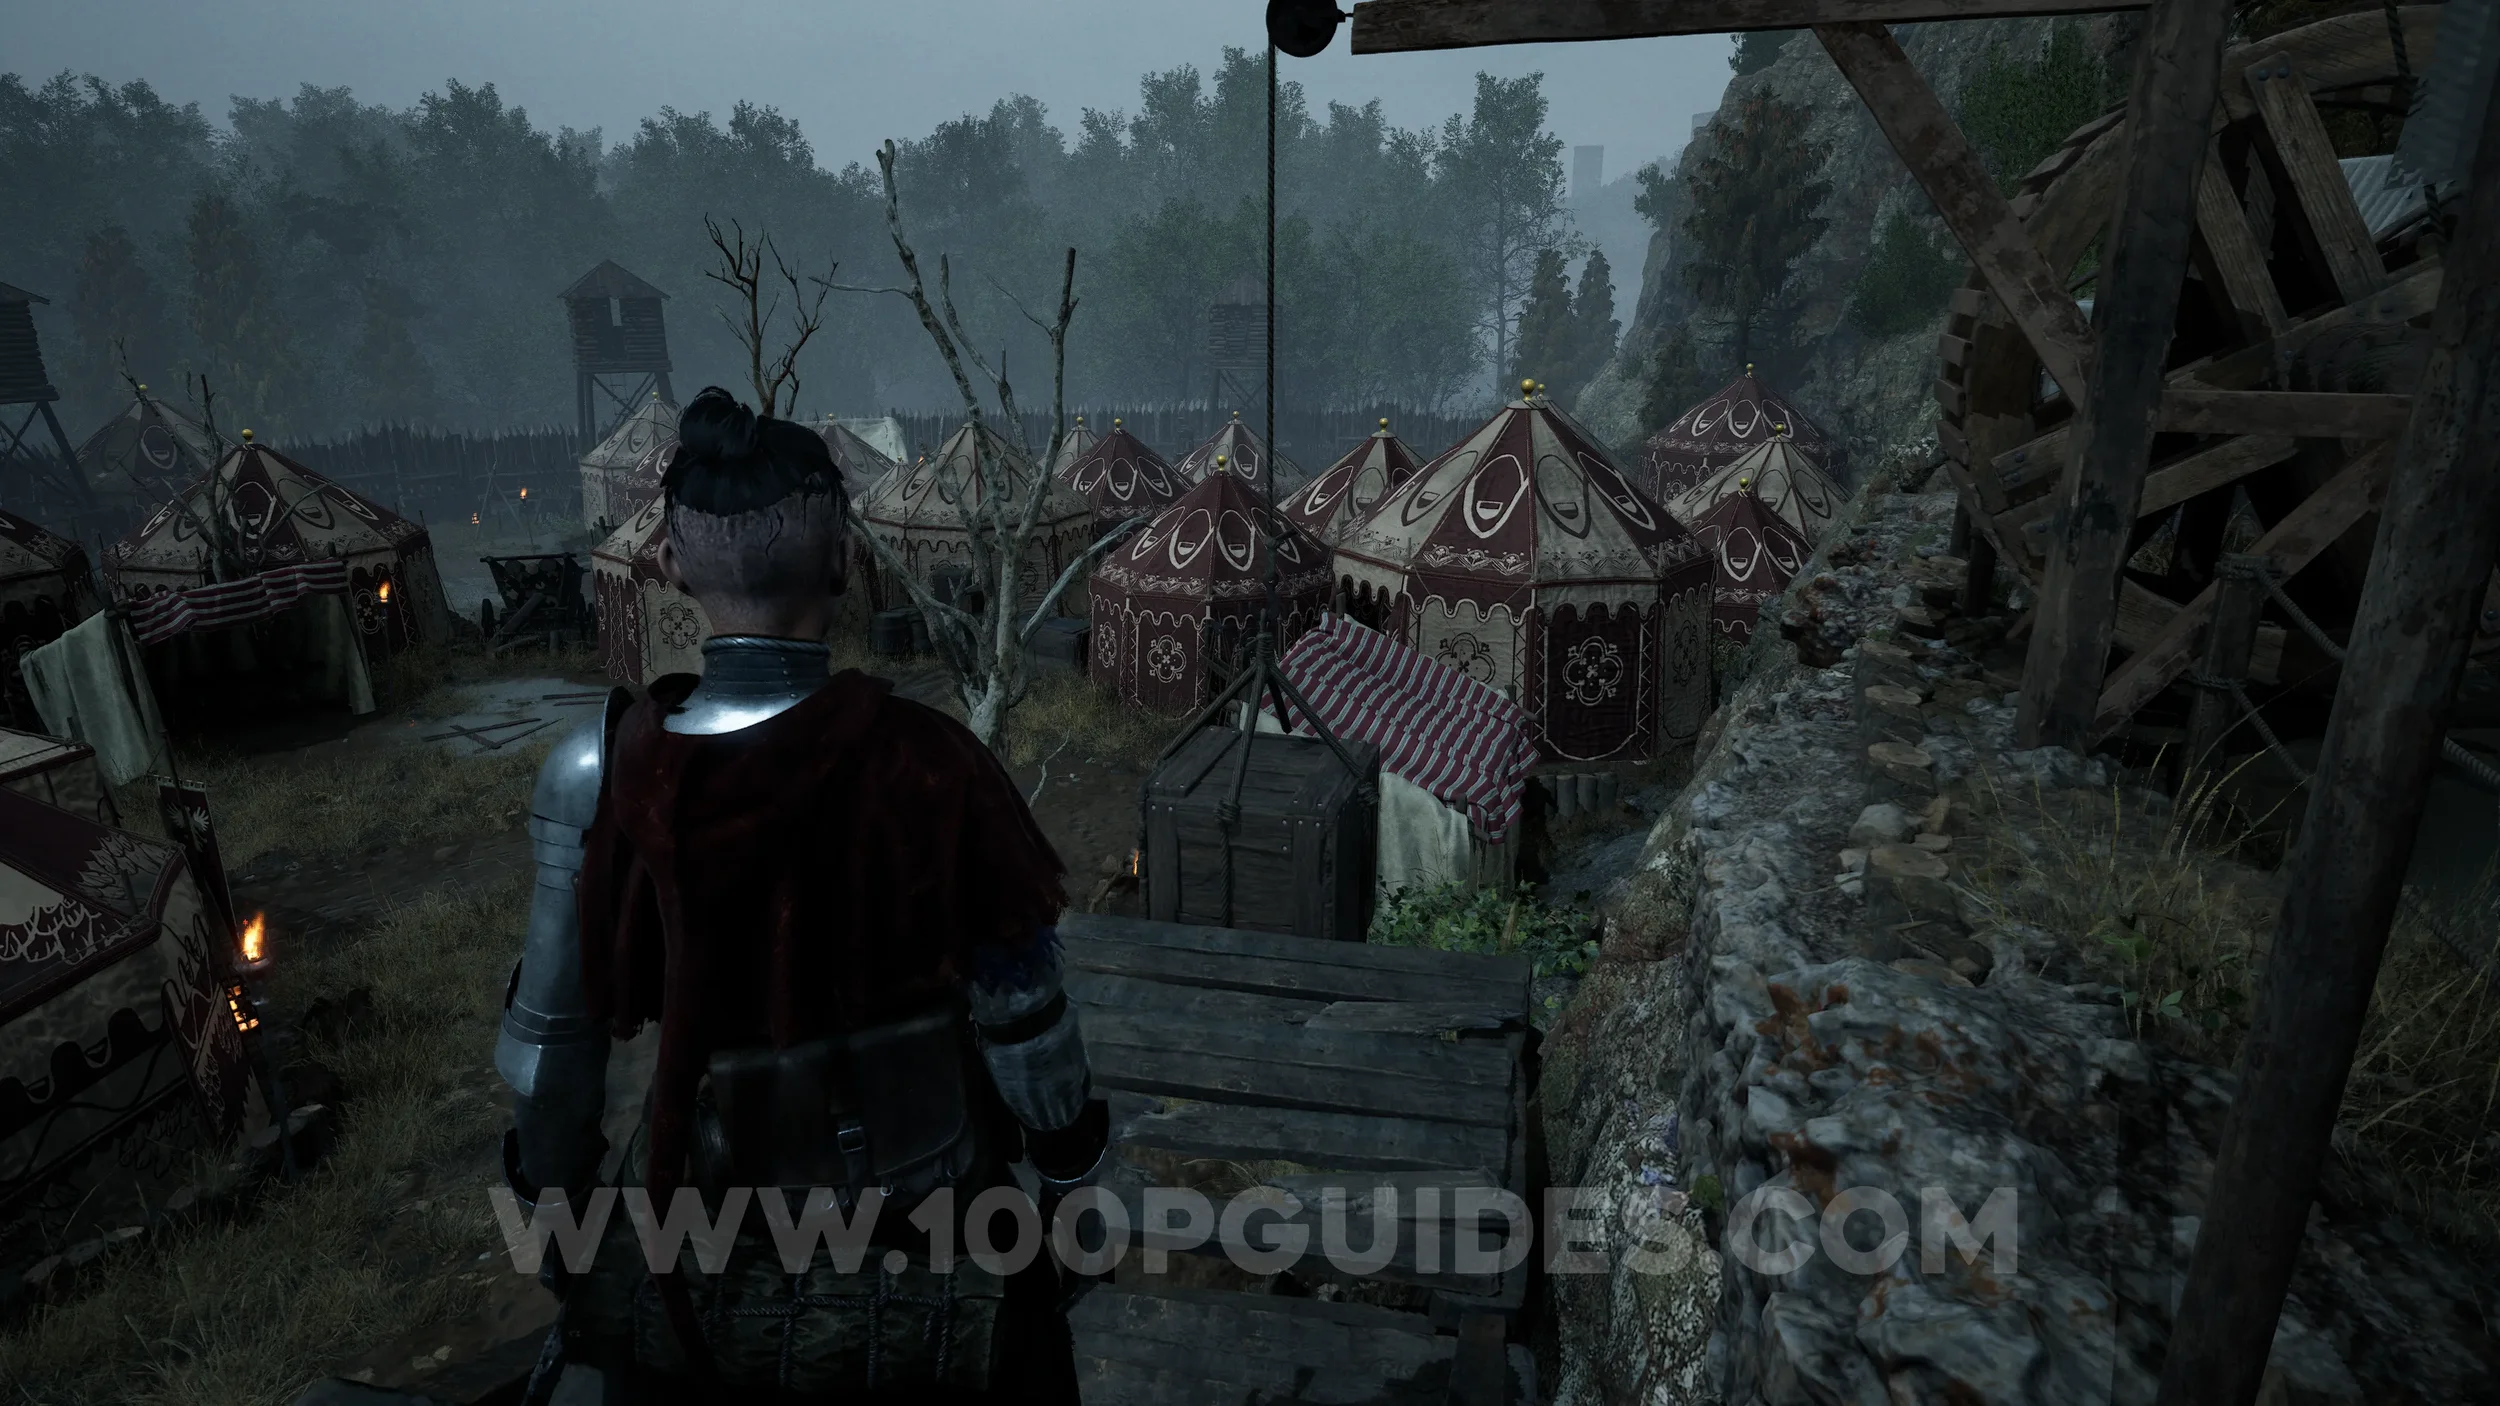
Trinket #8 - Holy Bandages. As you advance in the camp, you must move a cart and use it to jump over the wall. Before doing this, enter the tent behind the cart to find the trinket.
Paper #61-62. After jumping over the wall, you’ll soon face three enemies. Once they’re defeated, the path will split. Take the path on the right and enter the tent at the end to find the paper.
Paper #63 (Large). After collecting the previous papers, return to where the paths split and take the left path. Enter the first tent on your left to find the paper inside.
Paper #64-65 (Large). After fighting two enemies with a gate behind them, take the path to the right of the gate (don’t go up the hill yet). Follow it to the end to find the papers on a table near a tent.

Sword Part #14 - Ultima Grip. In the same area as the previous papers, cut down the box and push it up against the nearby wall. Use it to climb up to the area behind the gate, where you will find the sword part.

Chapter 9
Sword Part #15 - Ultima Guard. Once you enter the large area inside the castle walls at the start of the chapter, look for a large cart you can pull in the corner on the left. Pull it all the way back, then go back up the stairs you used to reach this area and jump across the rooftops and the cart. Follow the rooftops to the right, where you can cut down a box (this simply allows you to climb back up quickly if you fall). Continue along this path and use the switch to raise another platform, allowing you to proceed. At the end, you will find the sword part on a table inside a building.


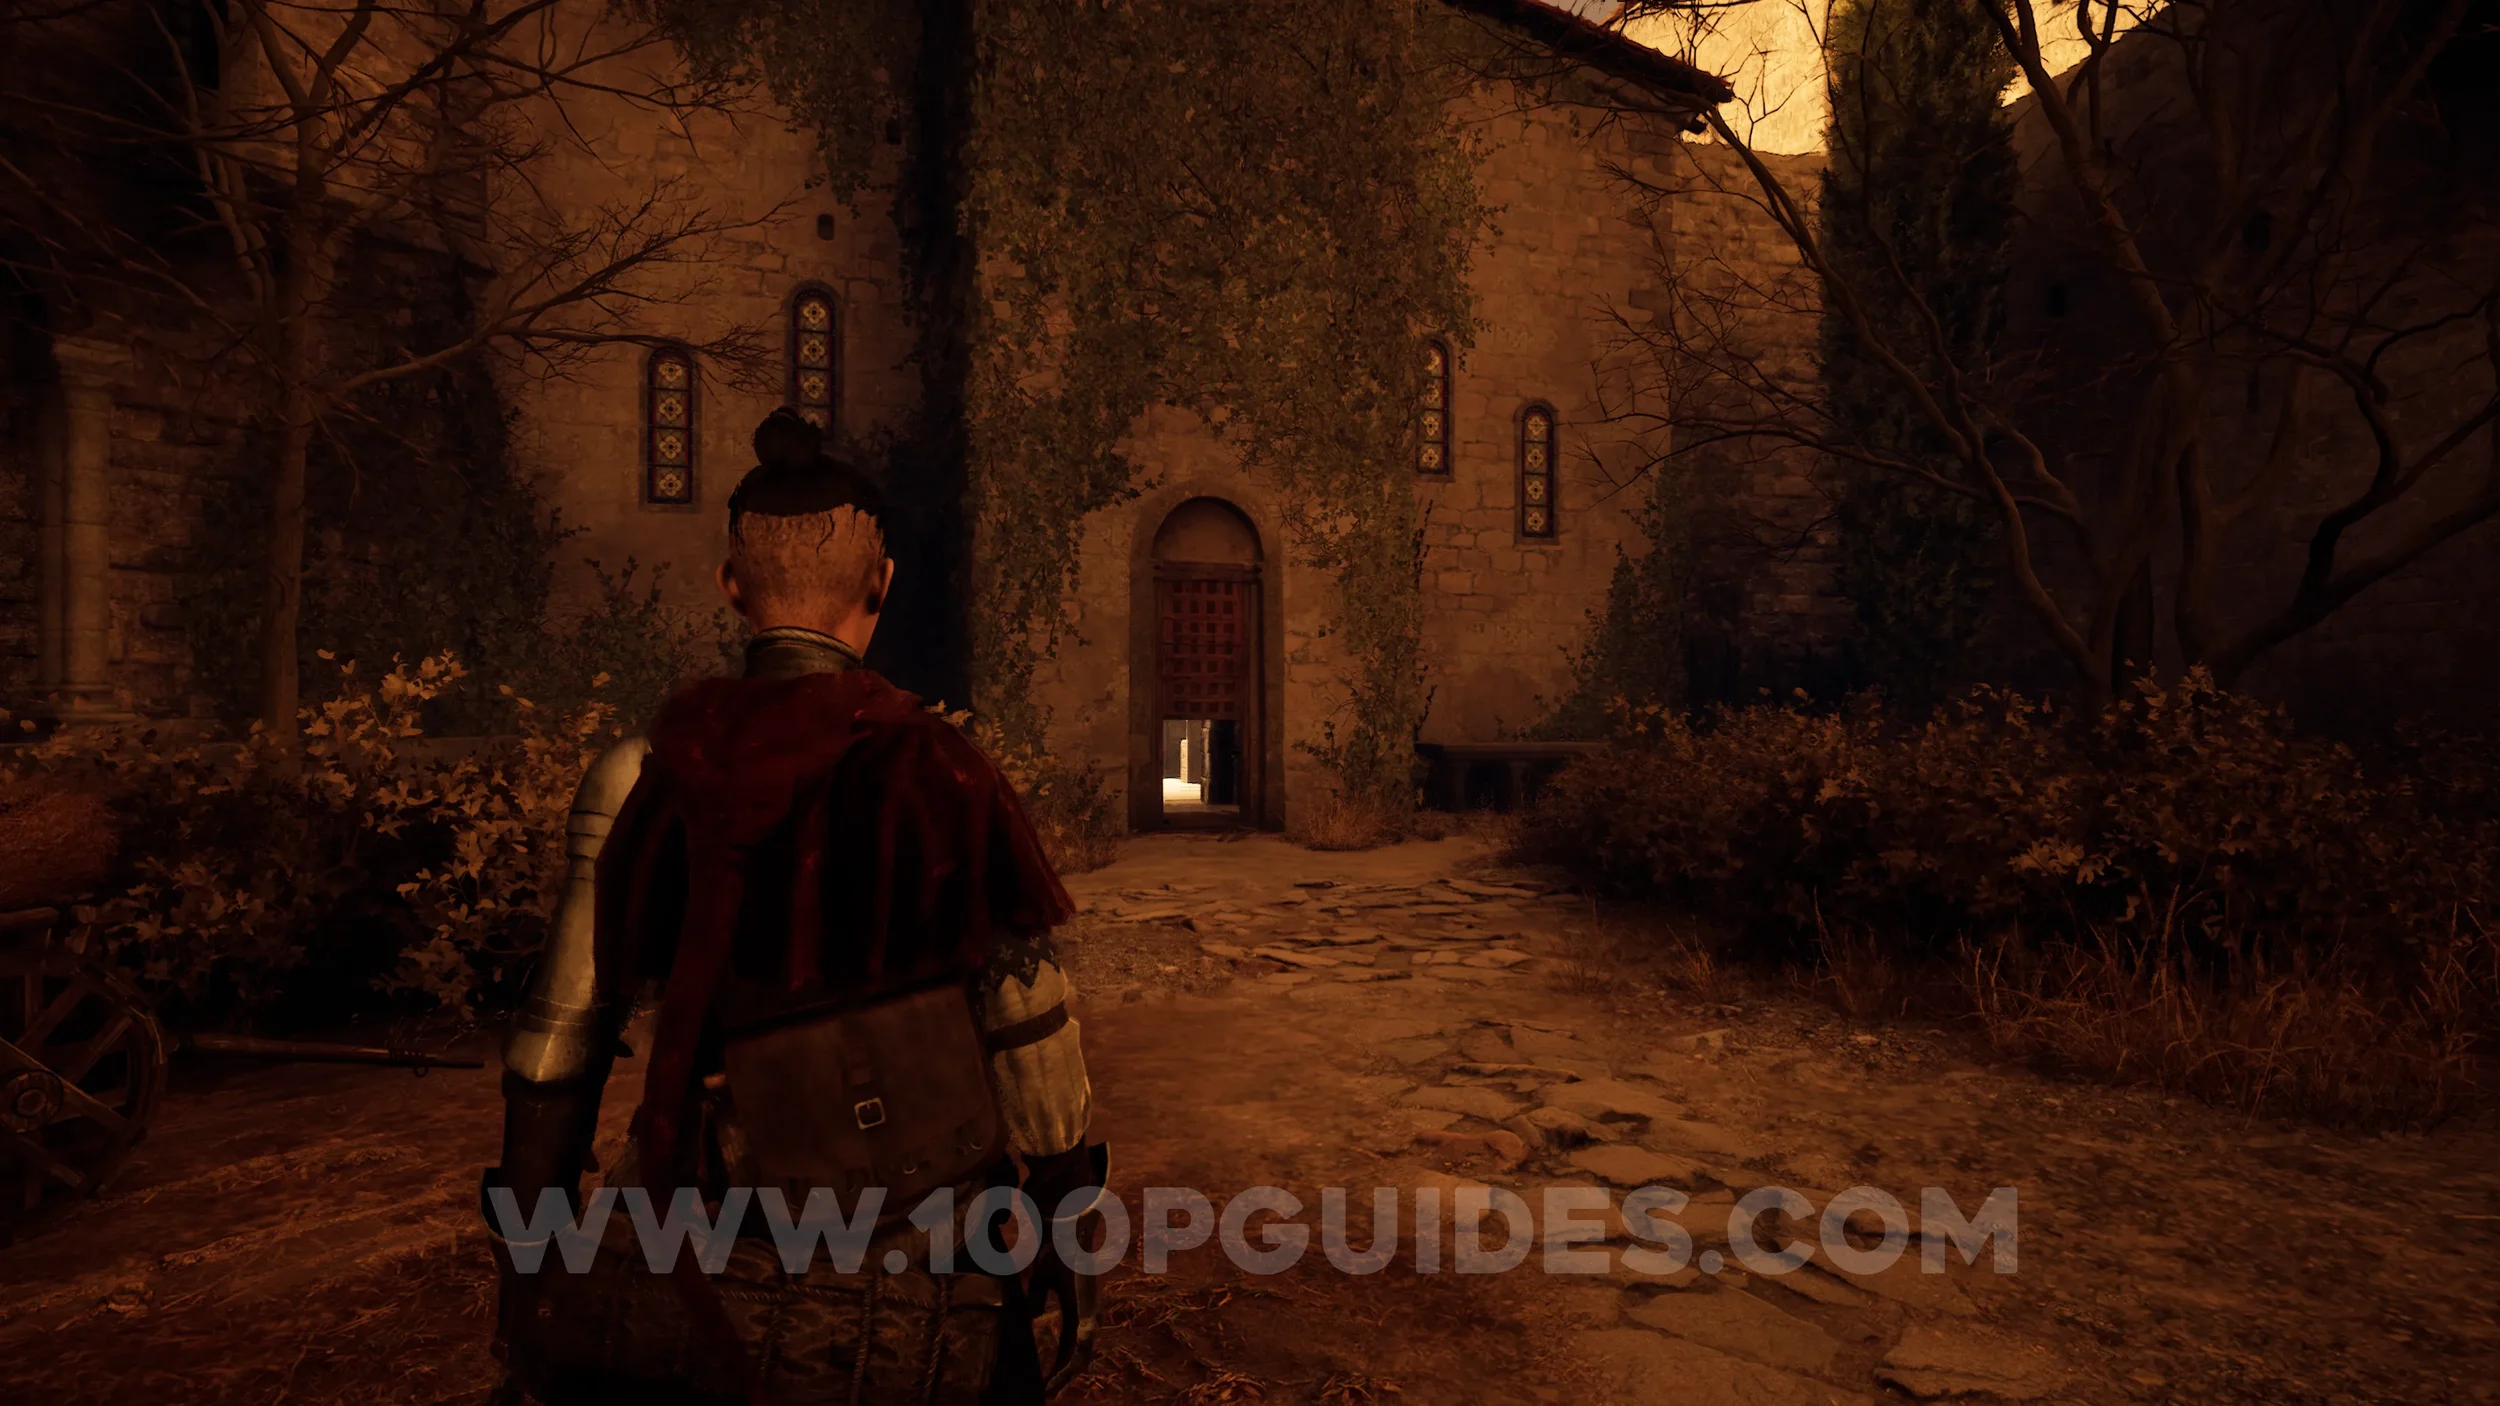
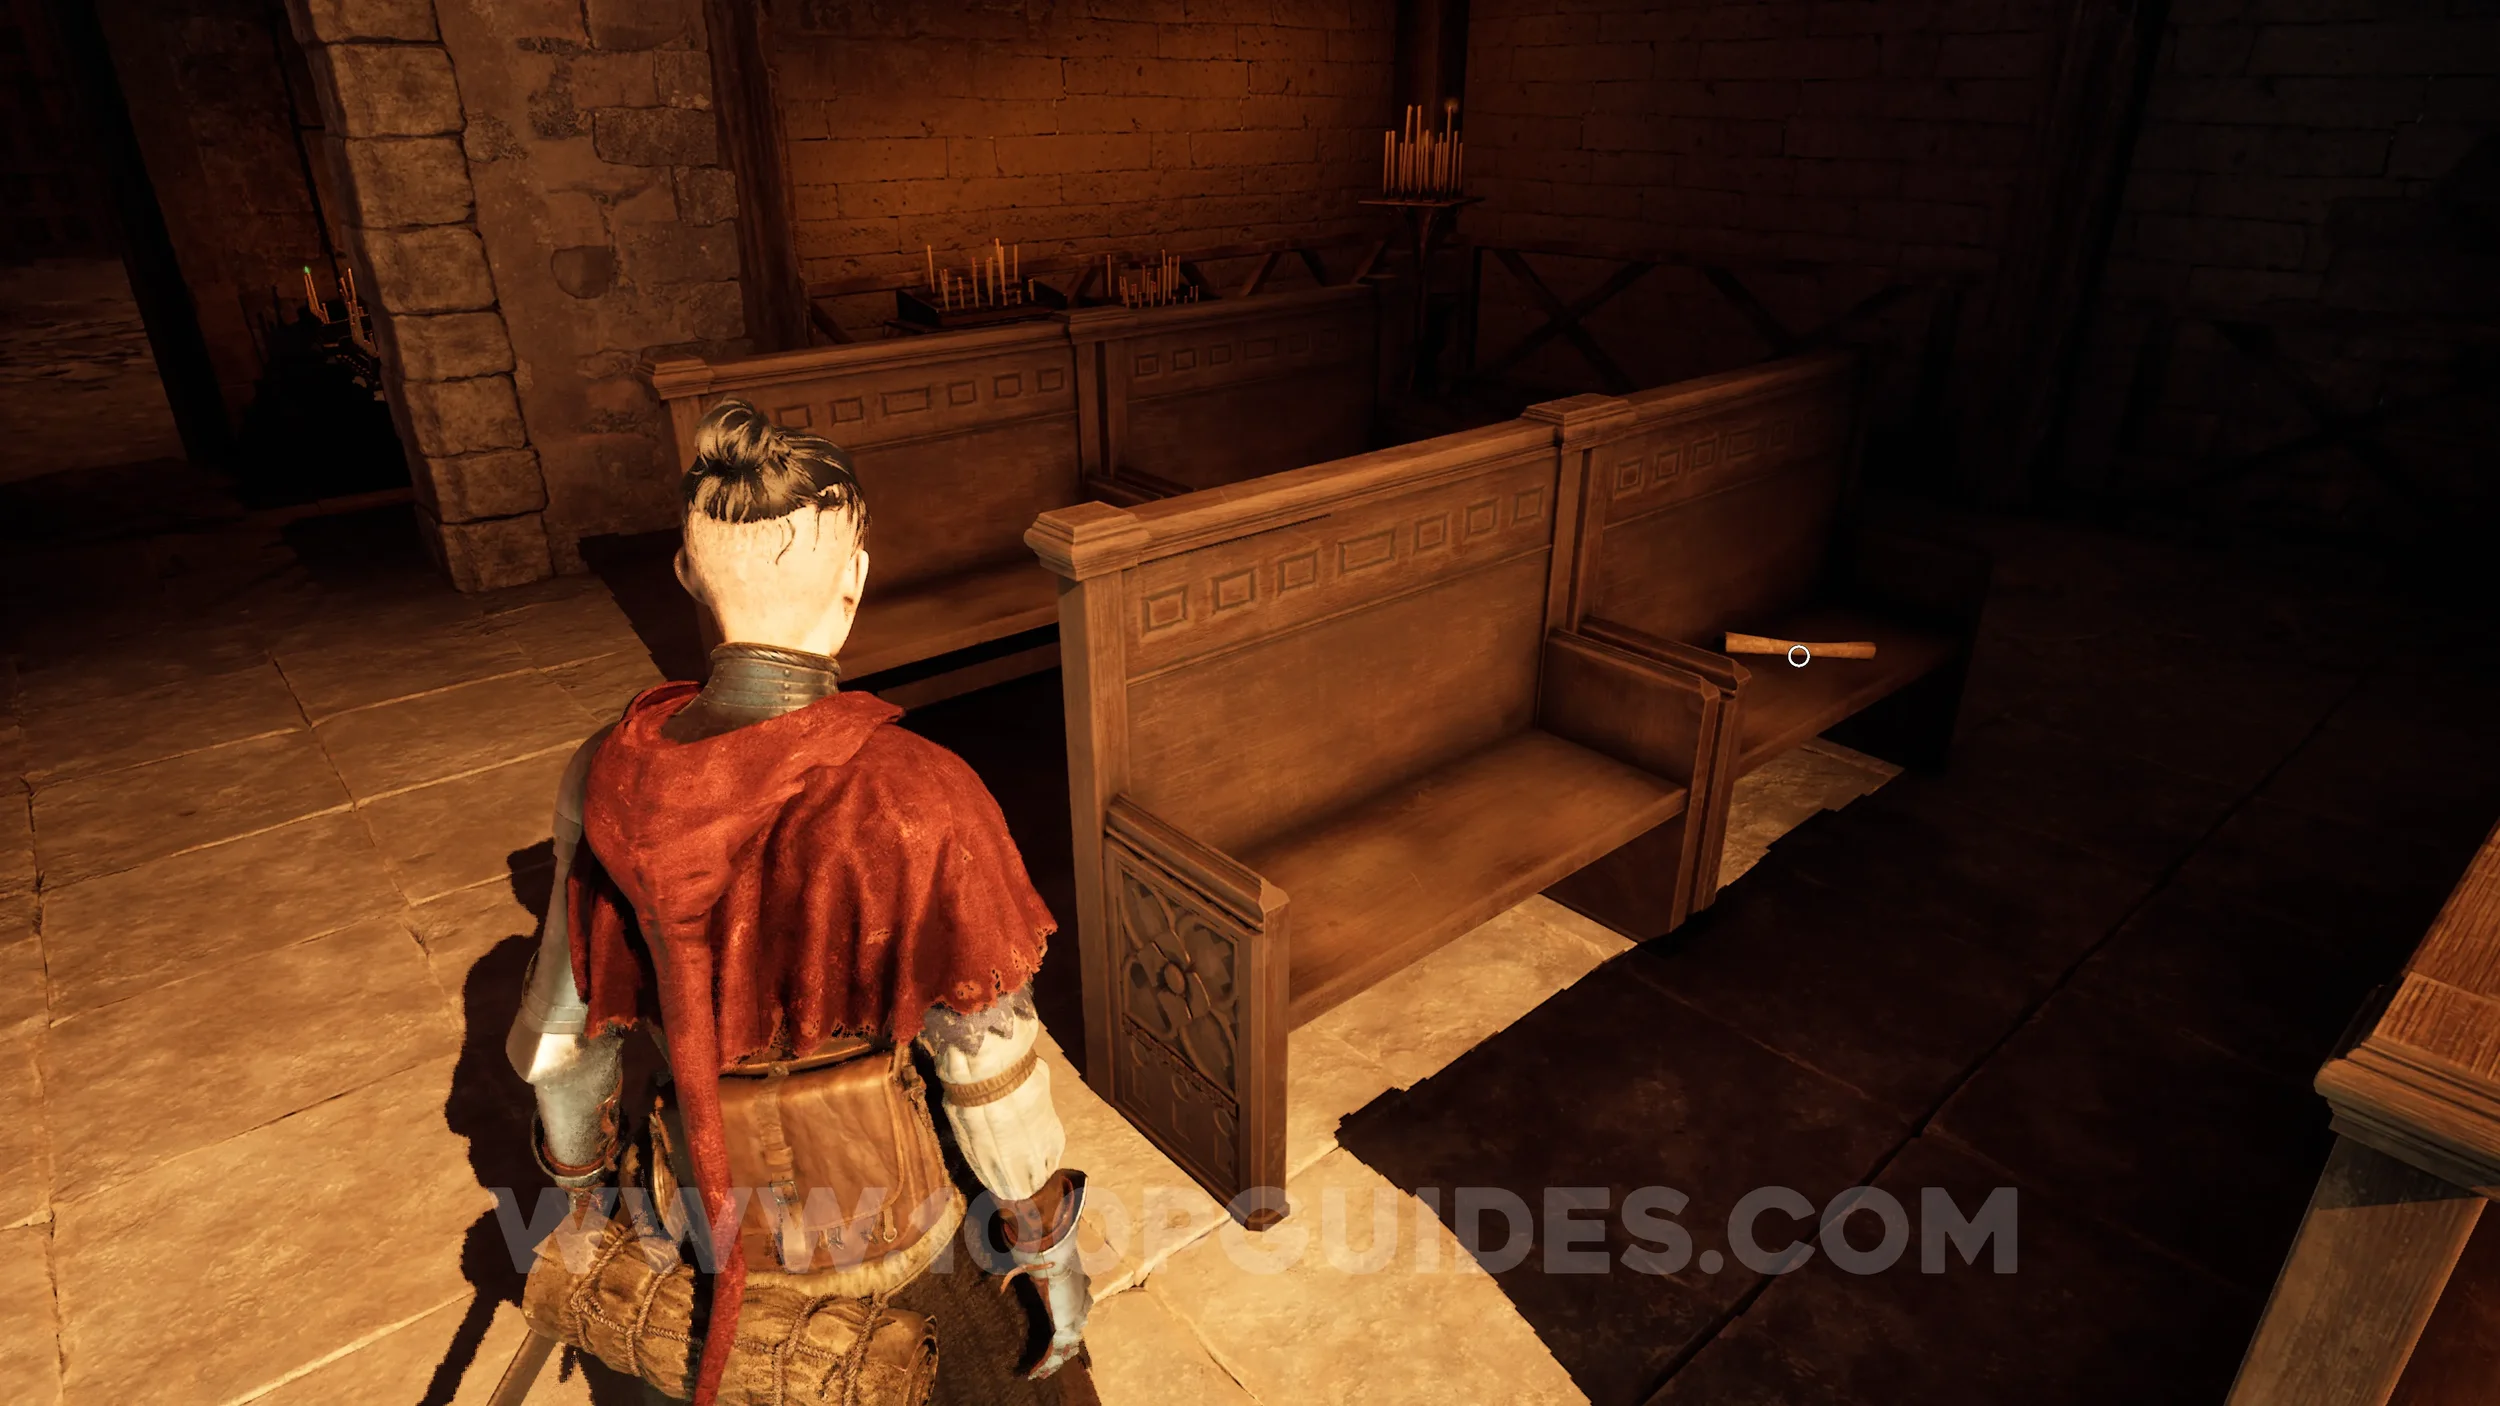
Paper #66. After defeating the first large group of enemies in the chapter and opening the large gate, you’ll enter a courtyard. Here, go left and enter the chapel. The paper will be on one of the benches.
Sword Part #16 - Ultima Blade. Go through the hole in the wall on the left side of the chapel. Follow the path to the end to find the weapon part.
Paper #67-68. Return to the courtyard and go through the building on the right side. After emerging on the other side, you’ll see the cathedral on the hill before entering another building. The papers are on a shelf in plain sight as you pass through this building.

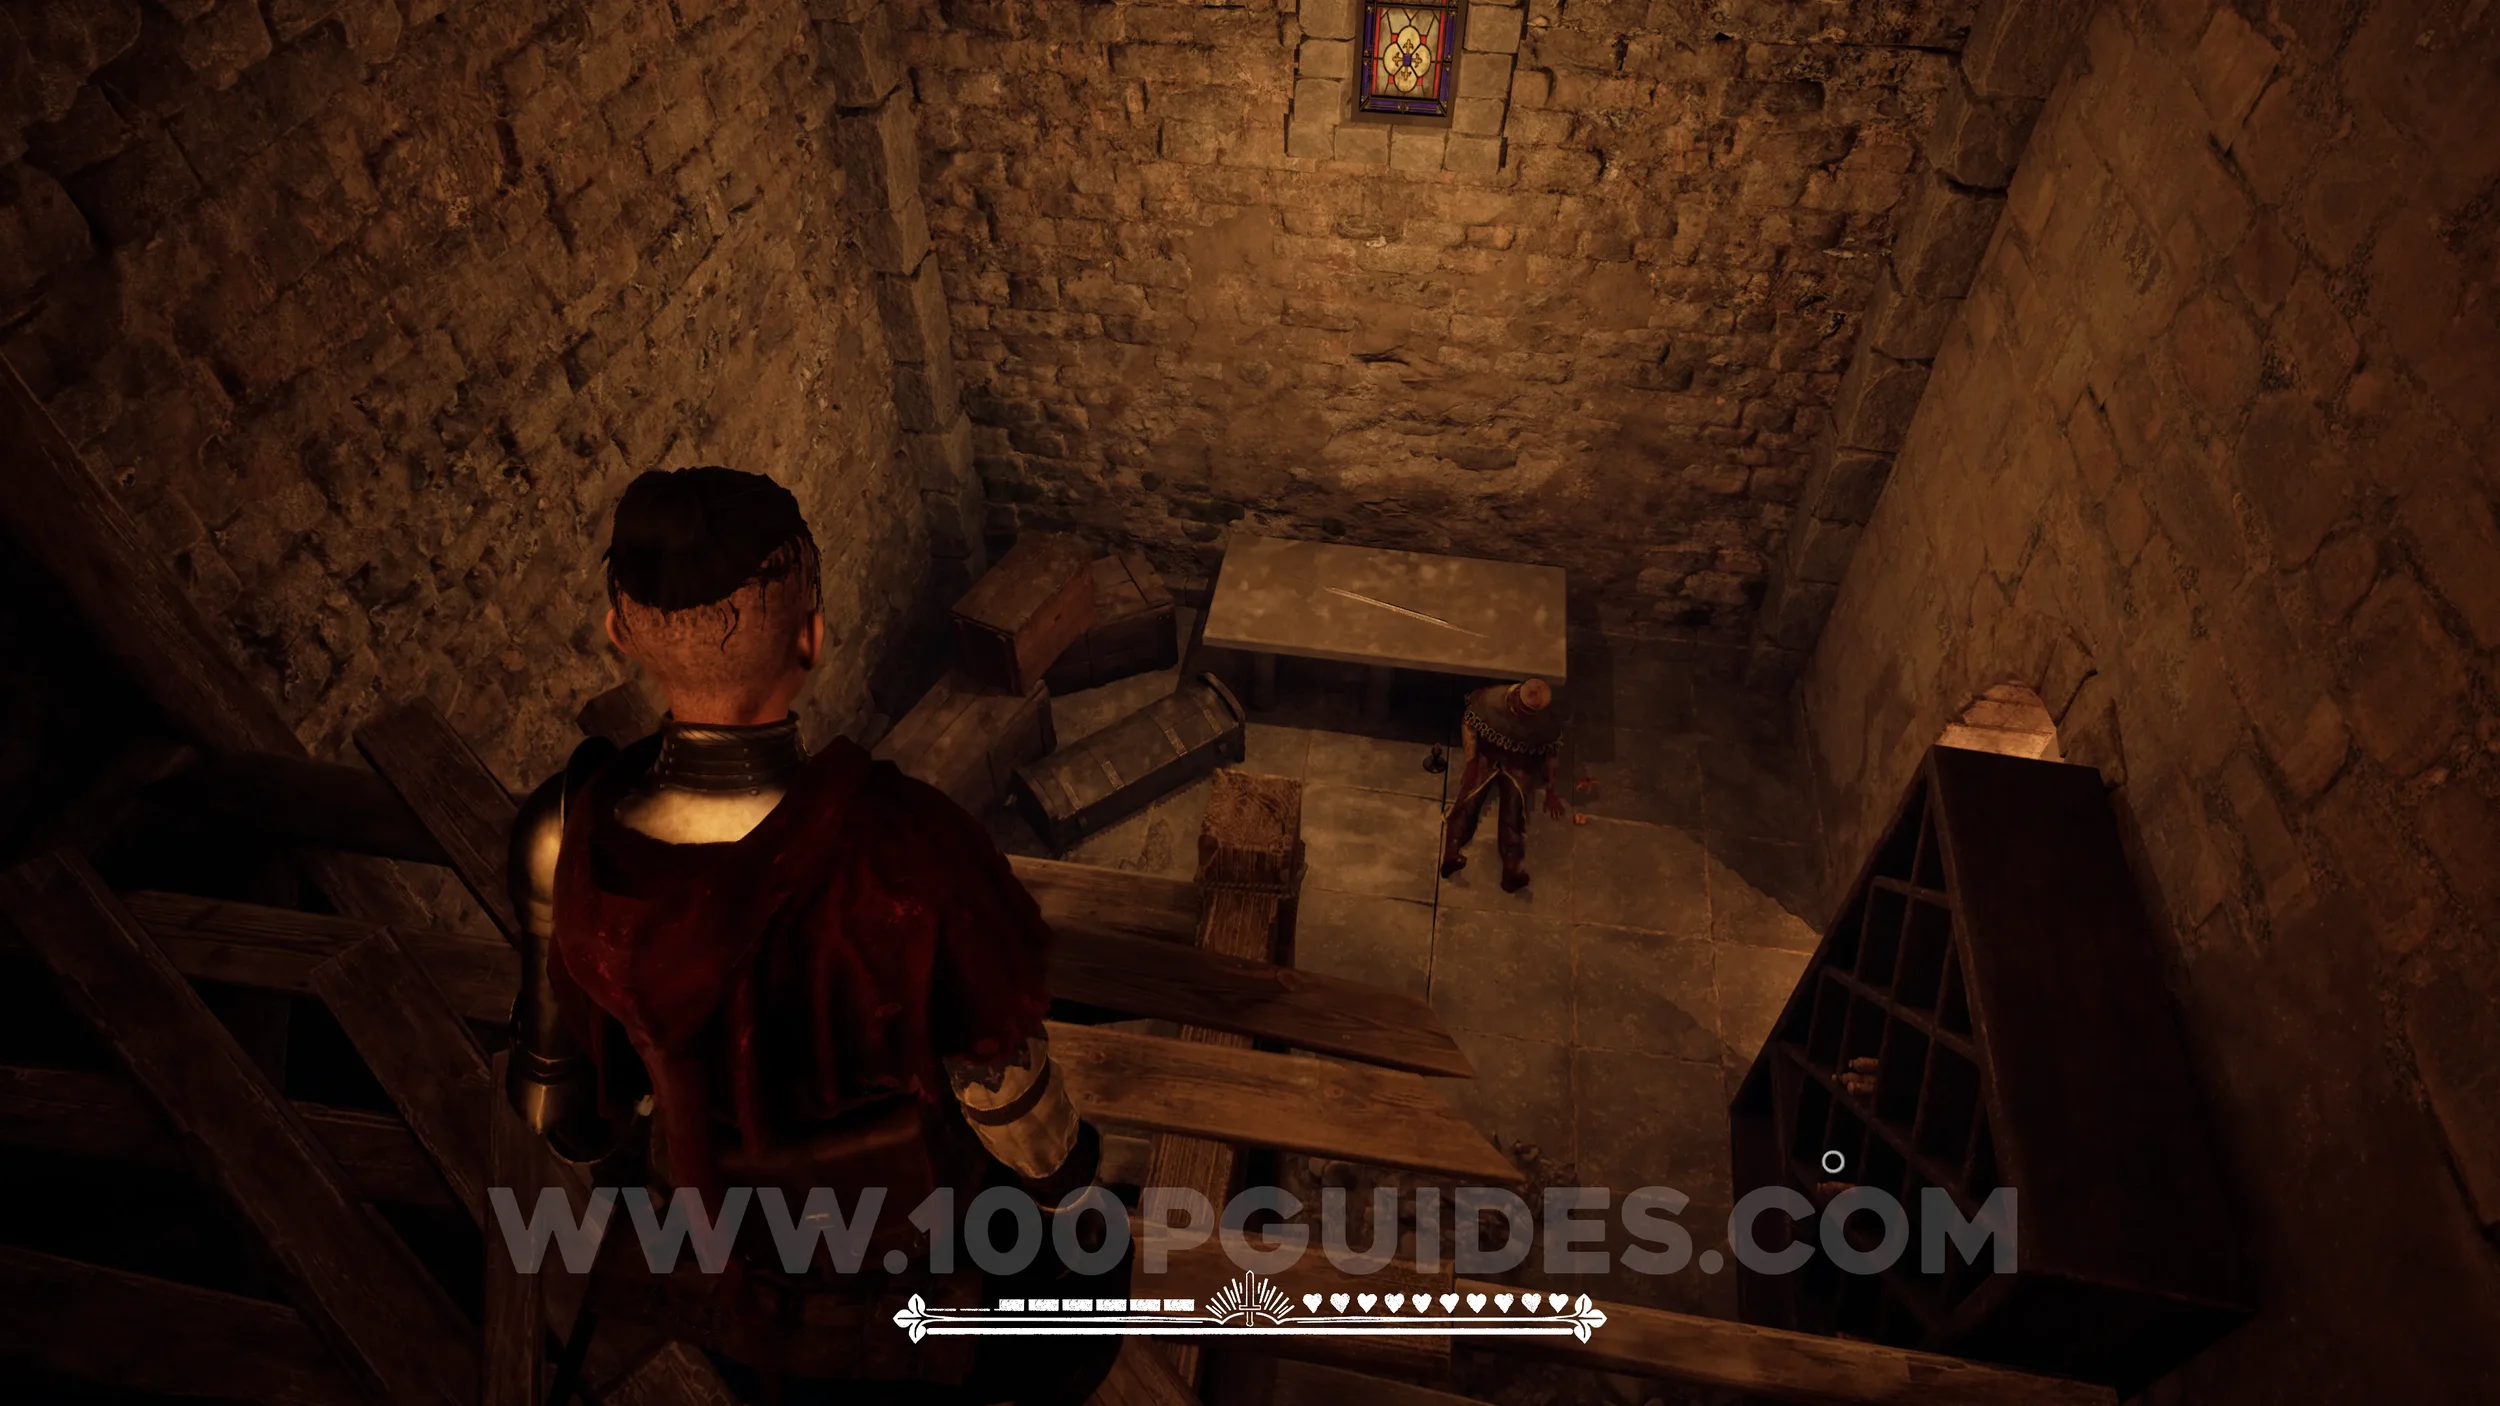
Paper #69 (Large). In the hall after the previous paper, go right and then enter the room on your left. The paper will be on the table.
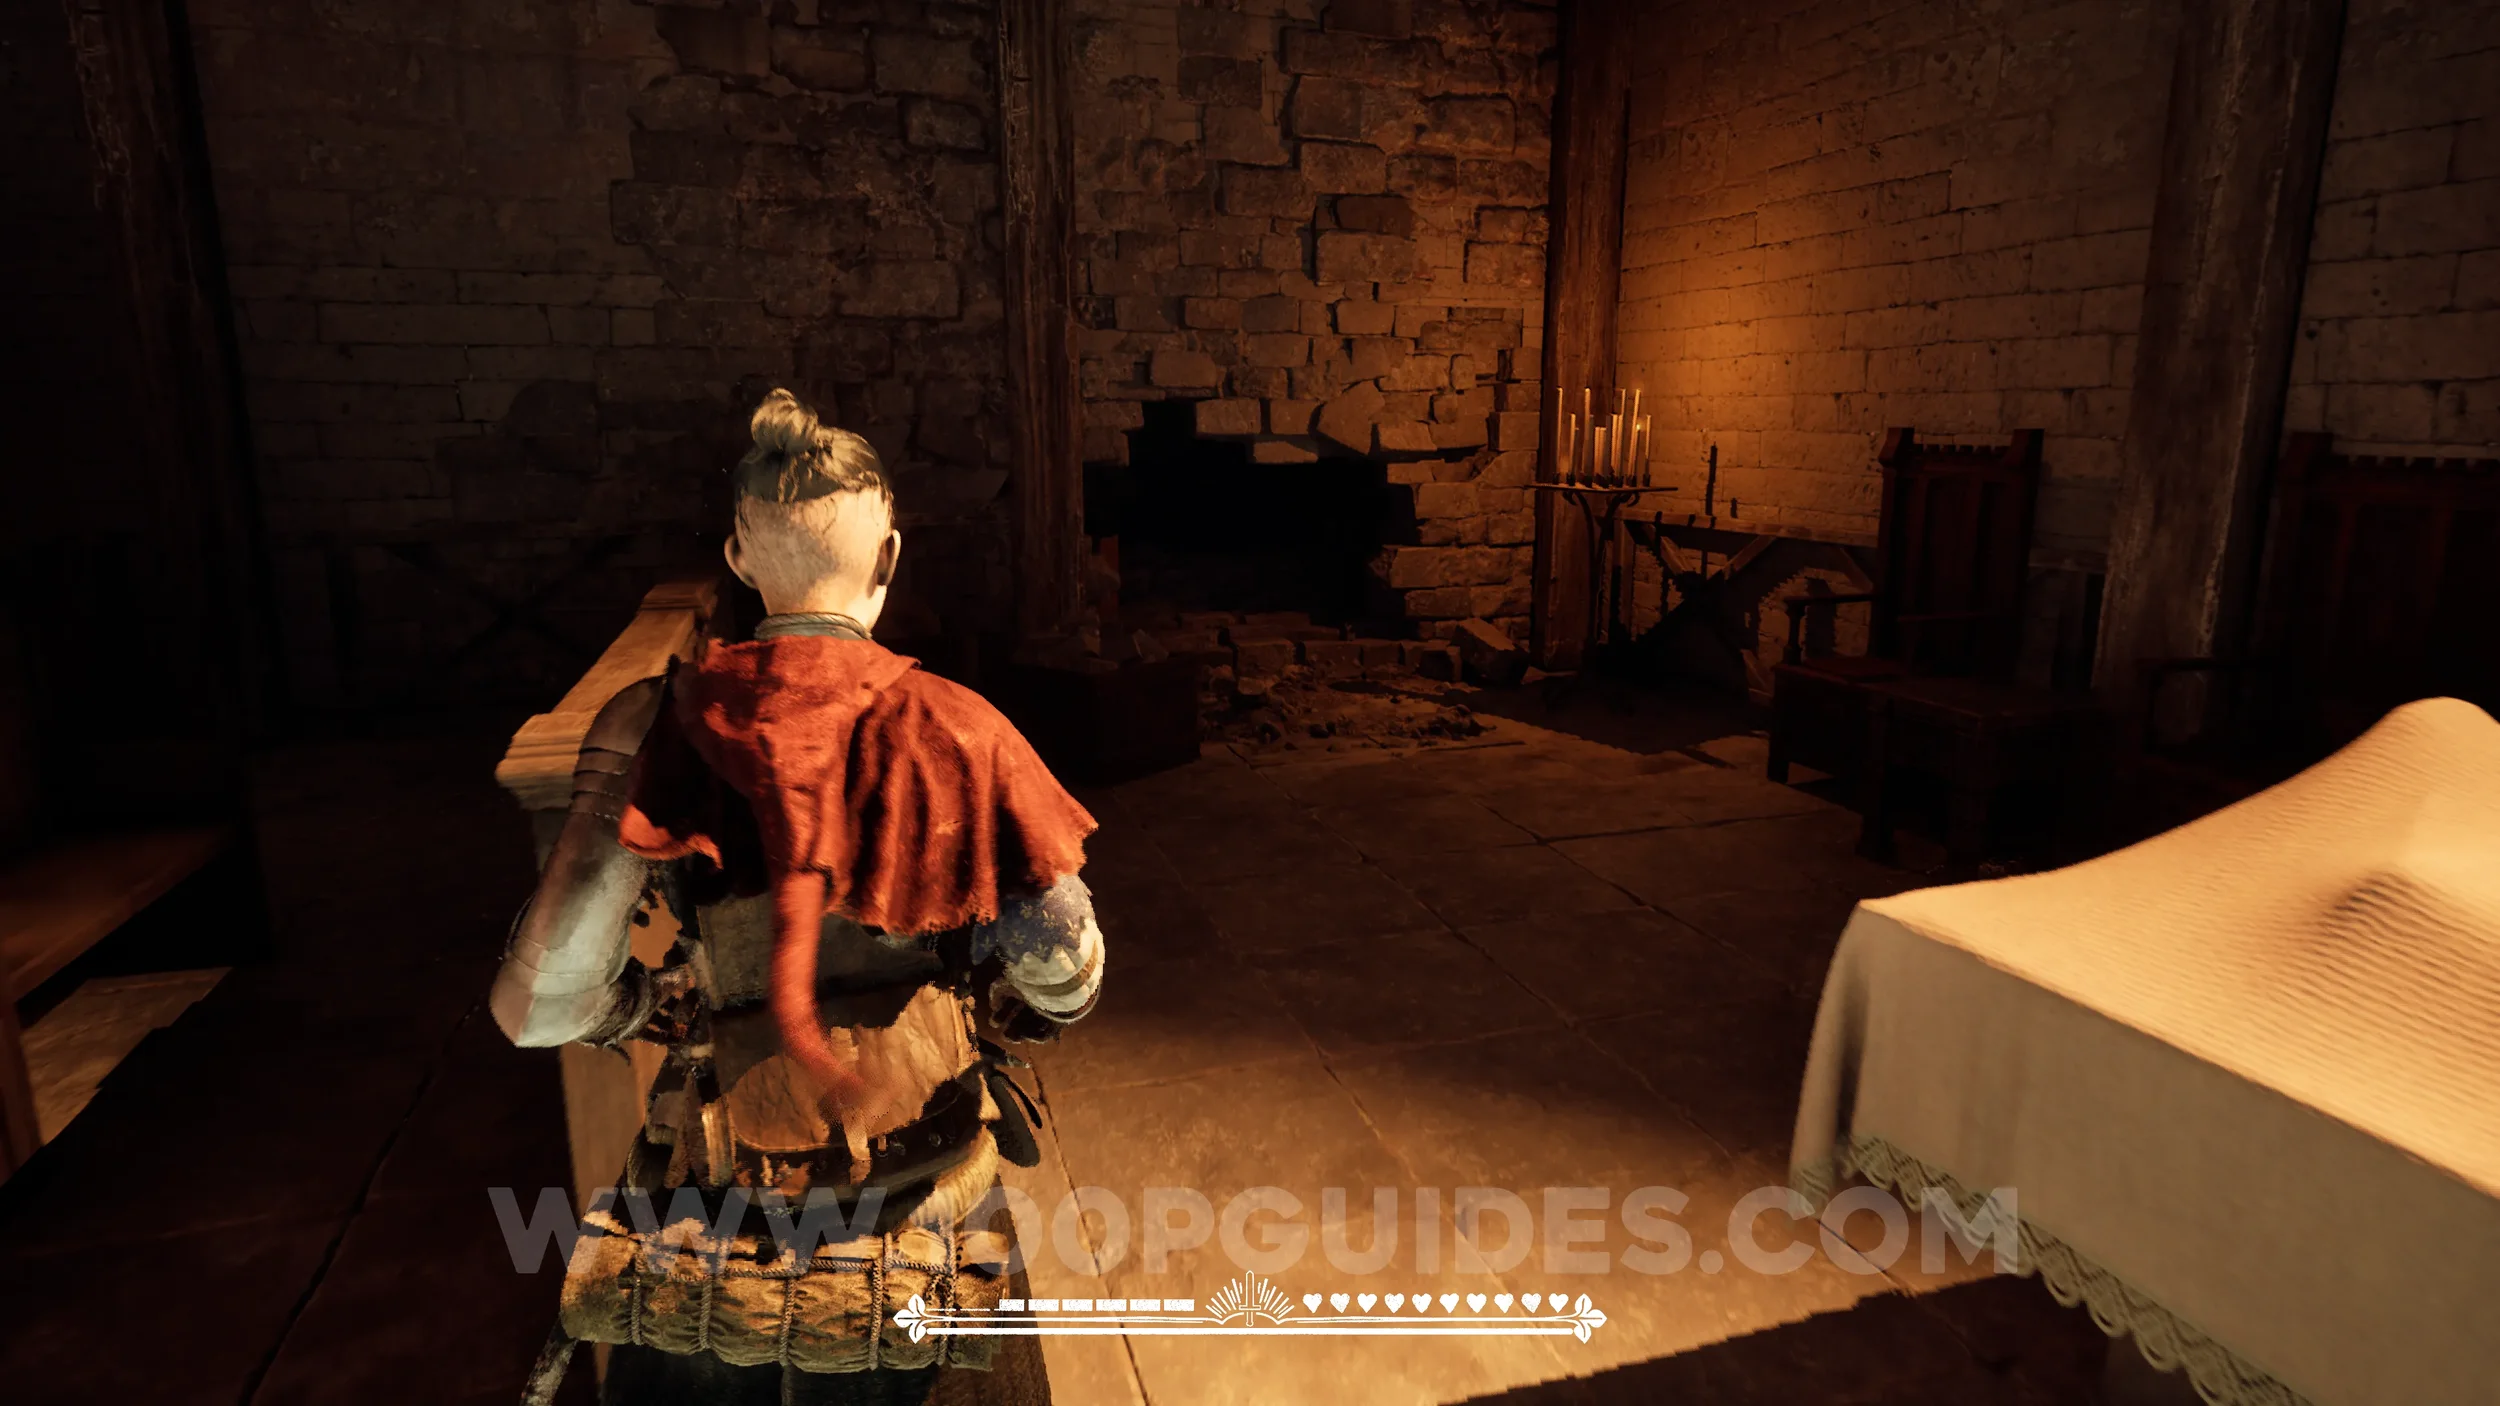
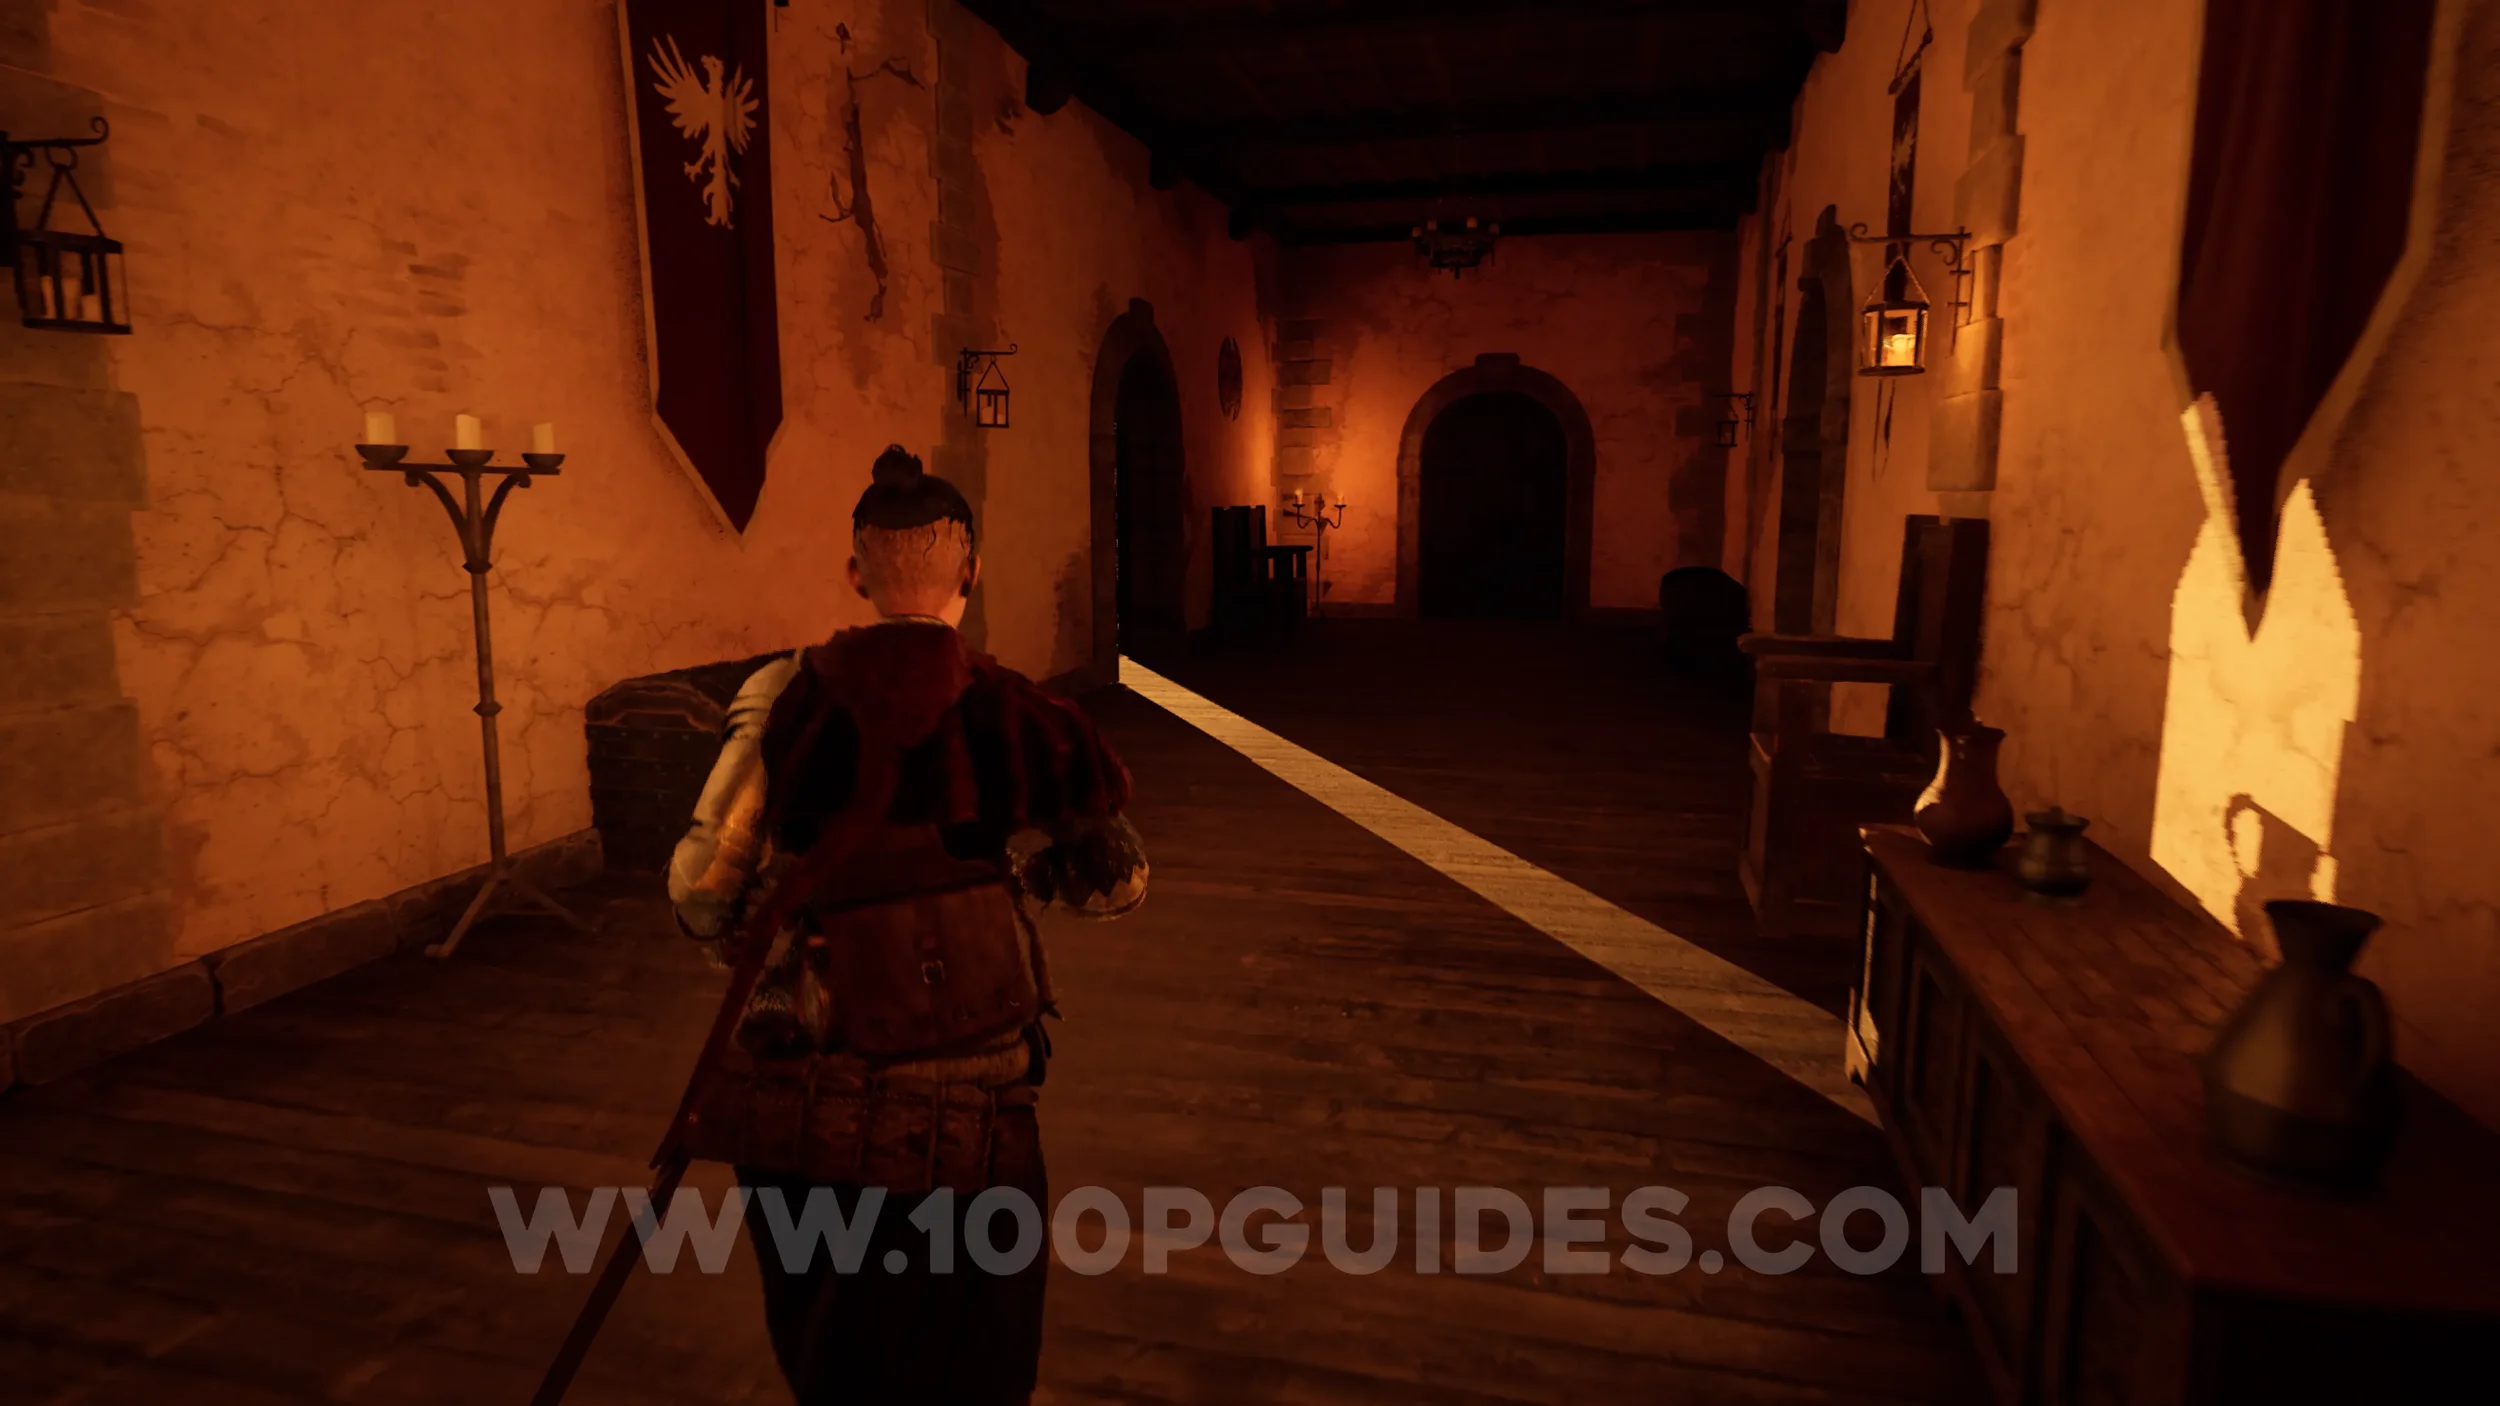
Paper #70-71 (Large). After going through a room with a fireplace and then going up the stairs, go through the door on the left at the end of the hall to find the paper on the table.

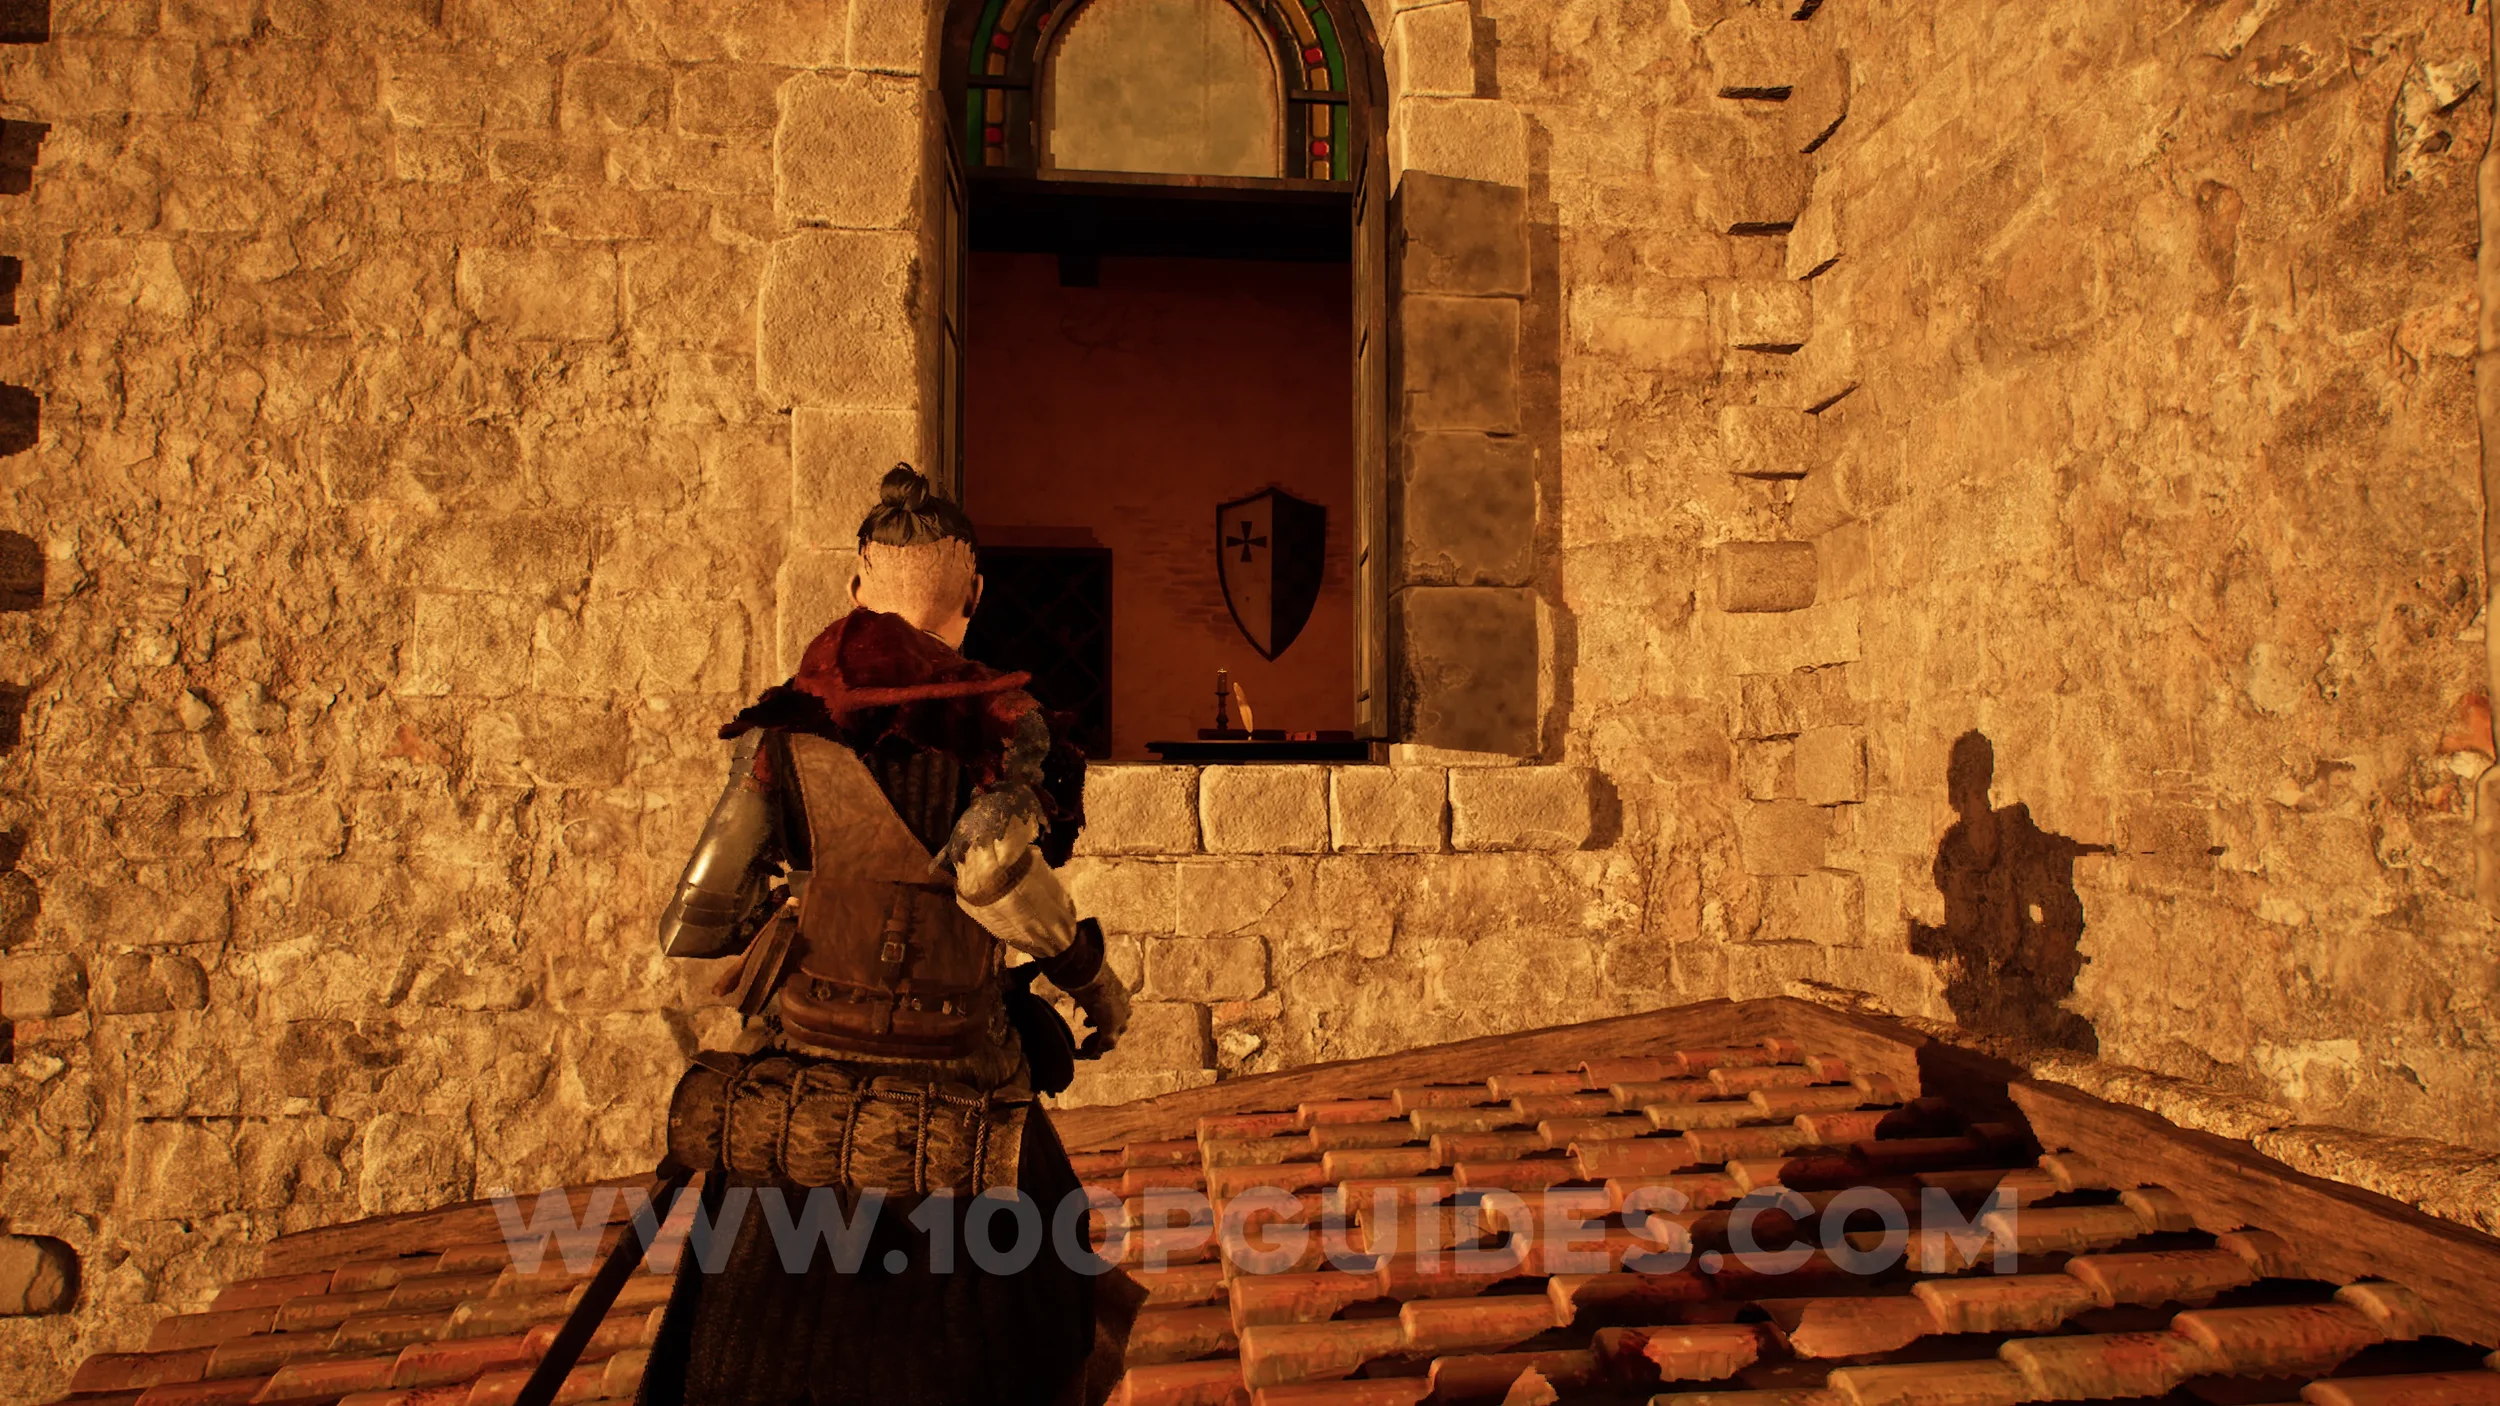
Trinket #9 - Signet Ring. Jump out of the window in the room where the previous collectible was and then through the window on your right. The trinket will be on the table inside this room.

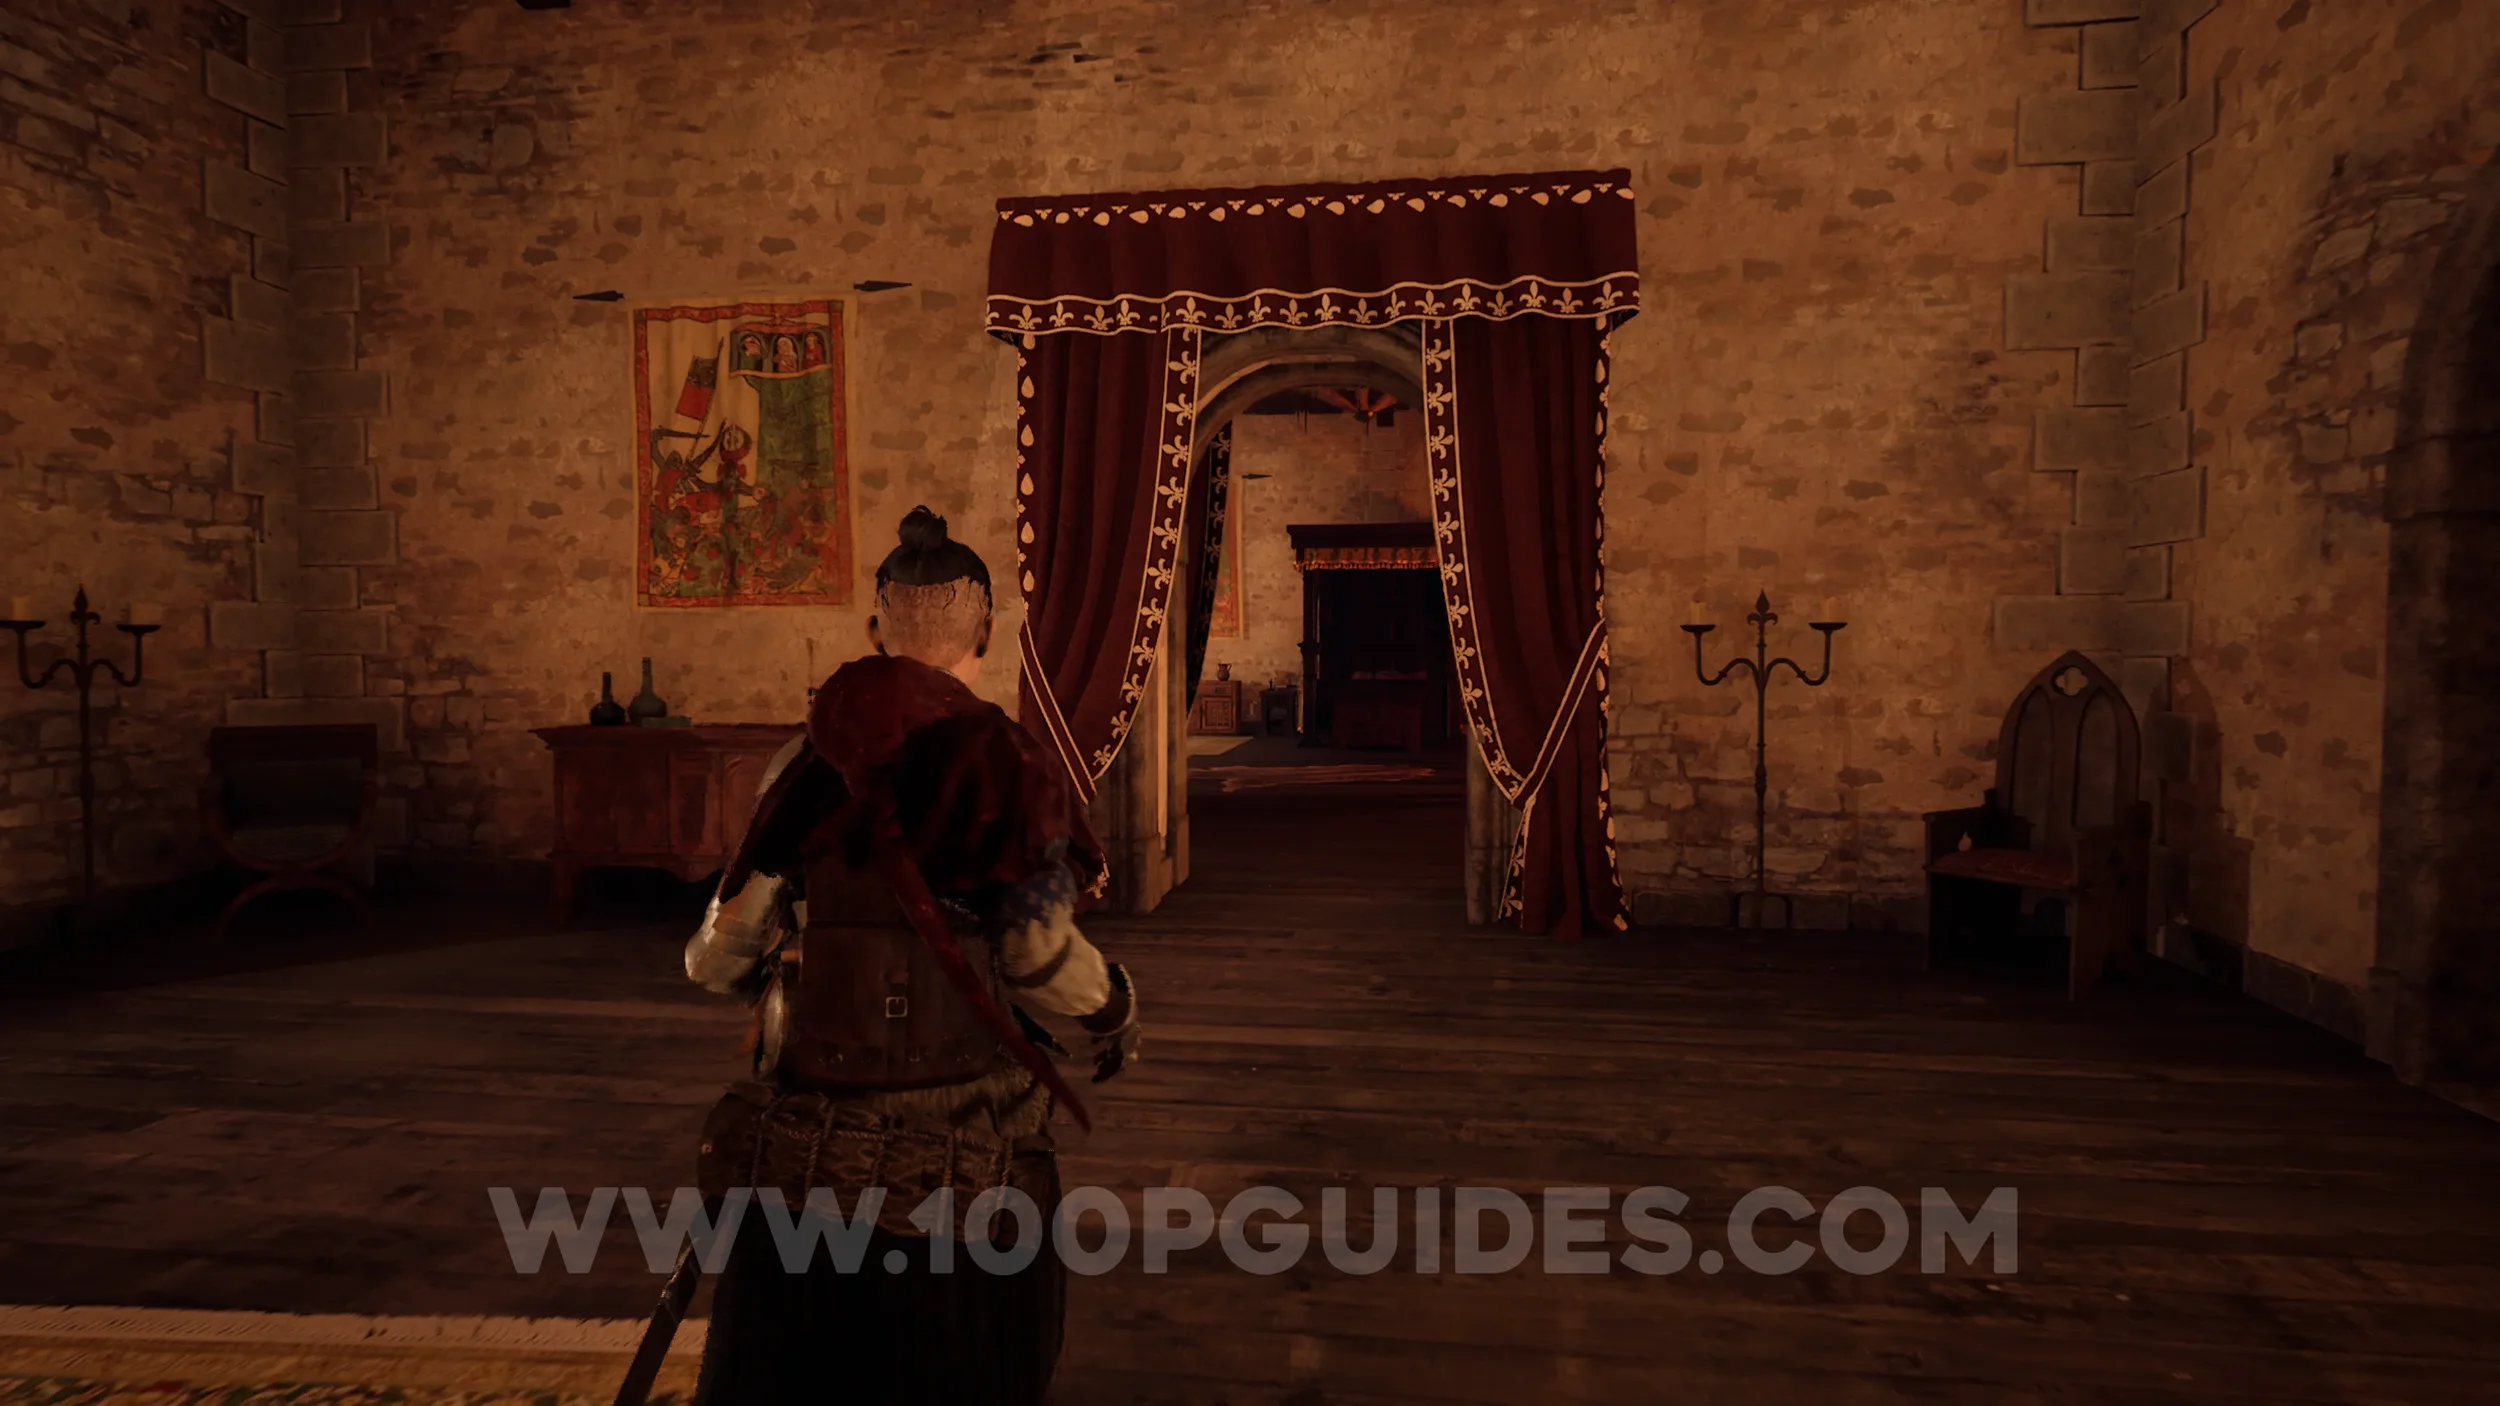
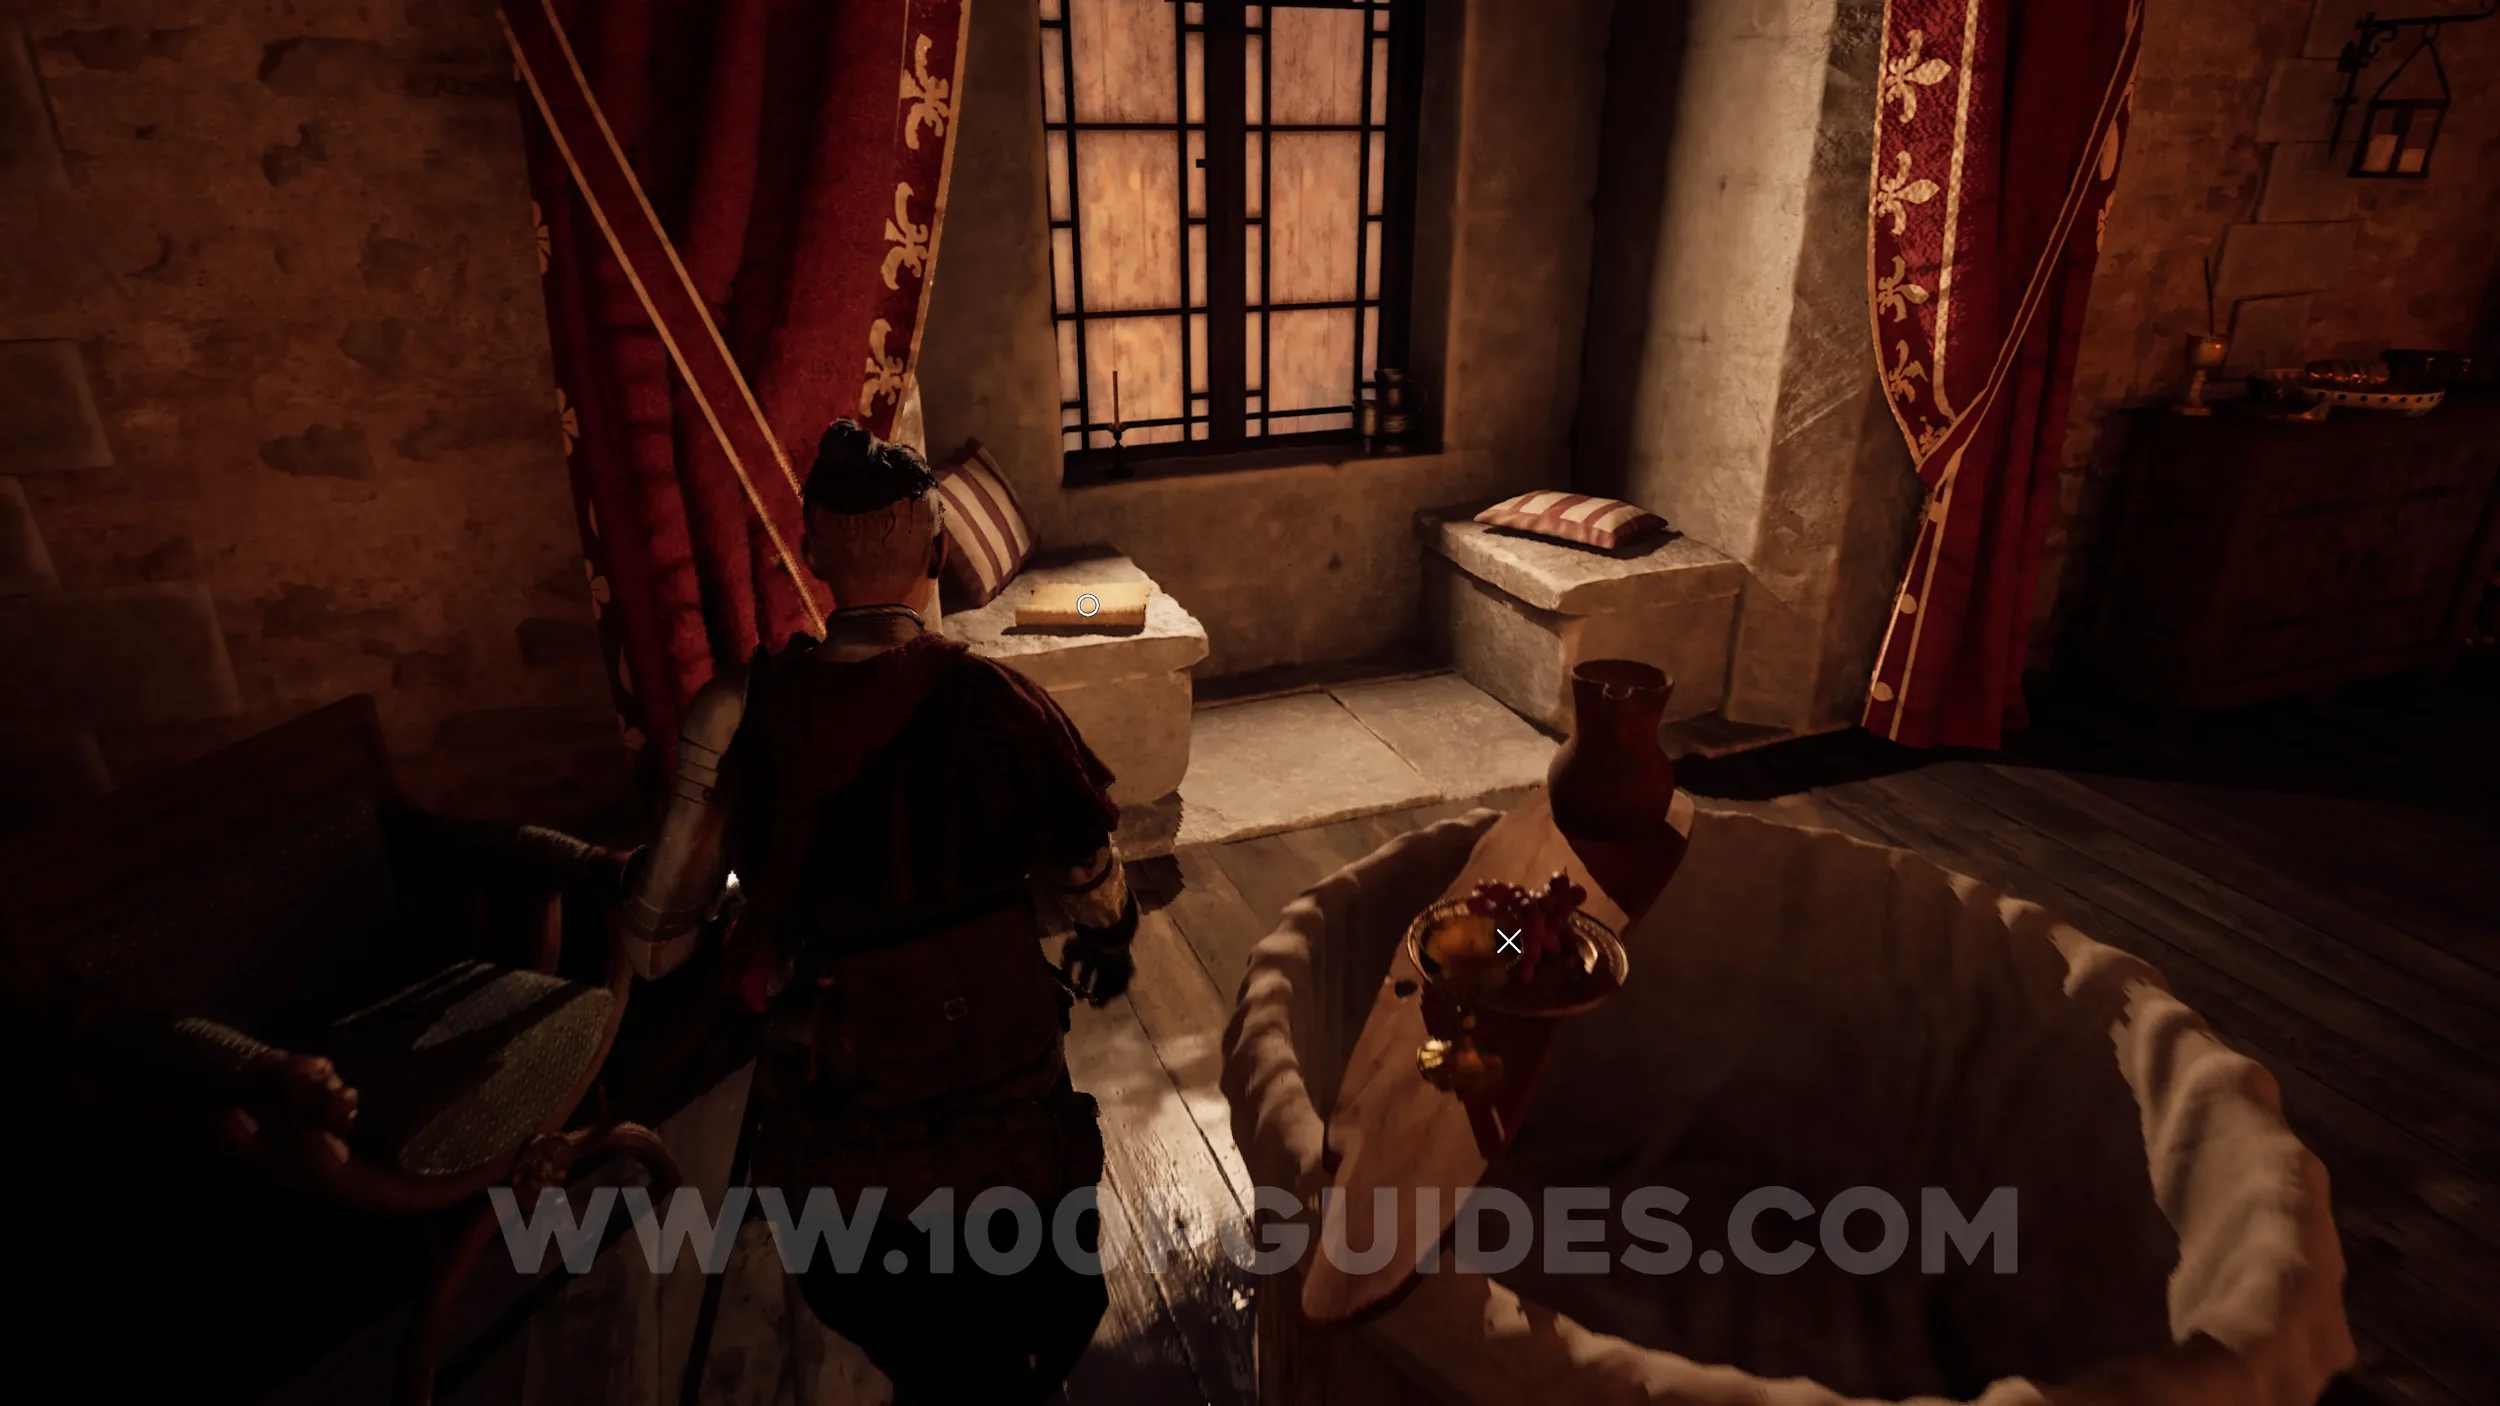
Paper #72 (Large). In the bedroom in the Lord’s Chambers, next to a window on the left.
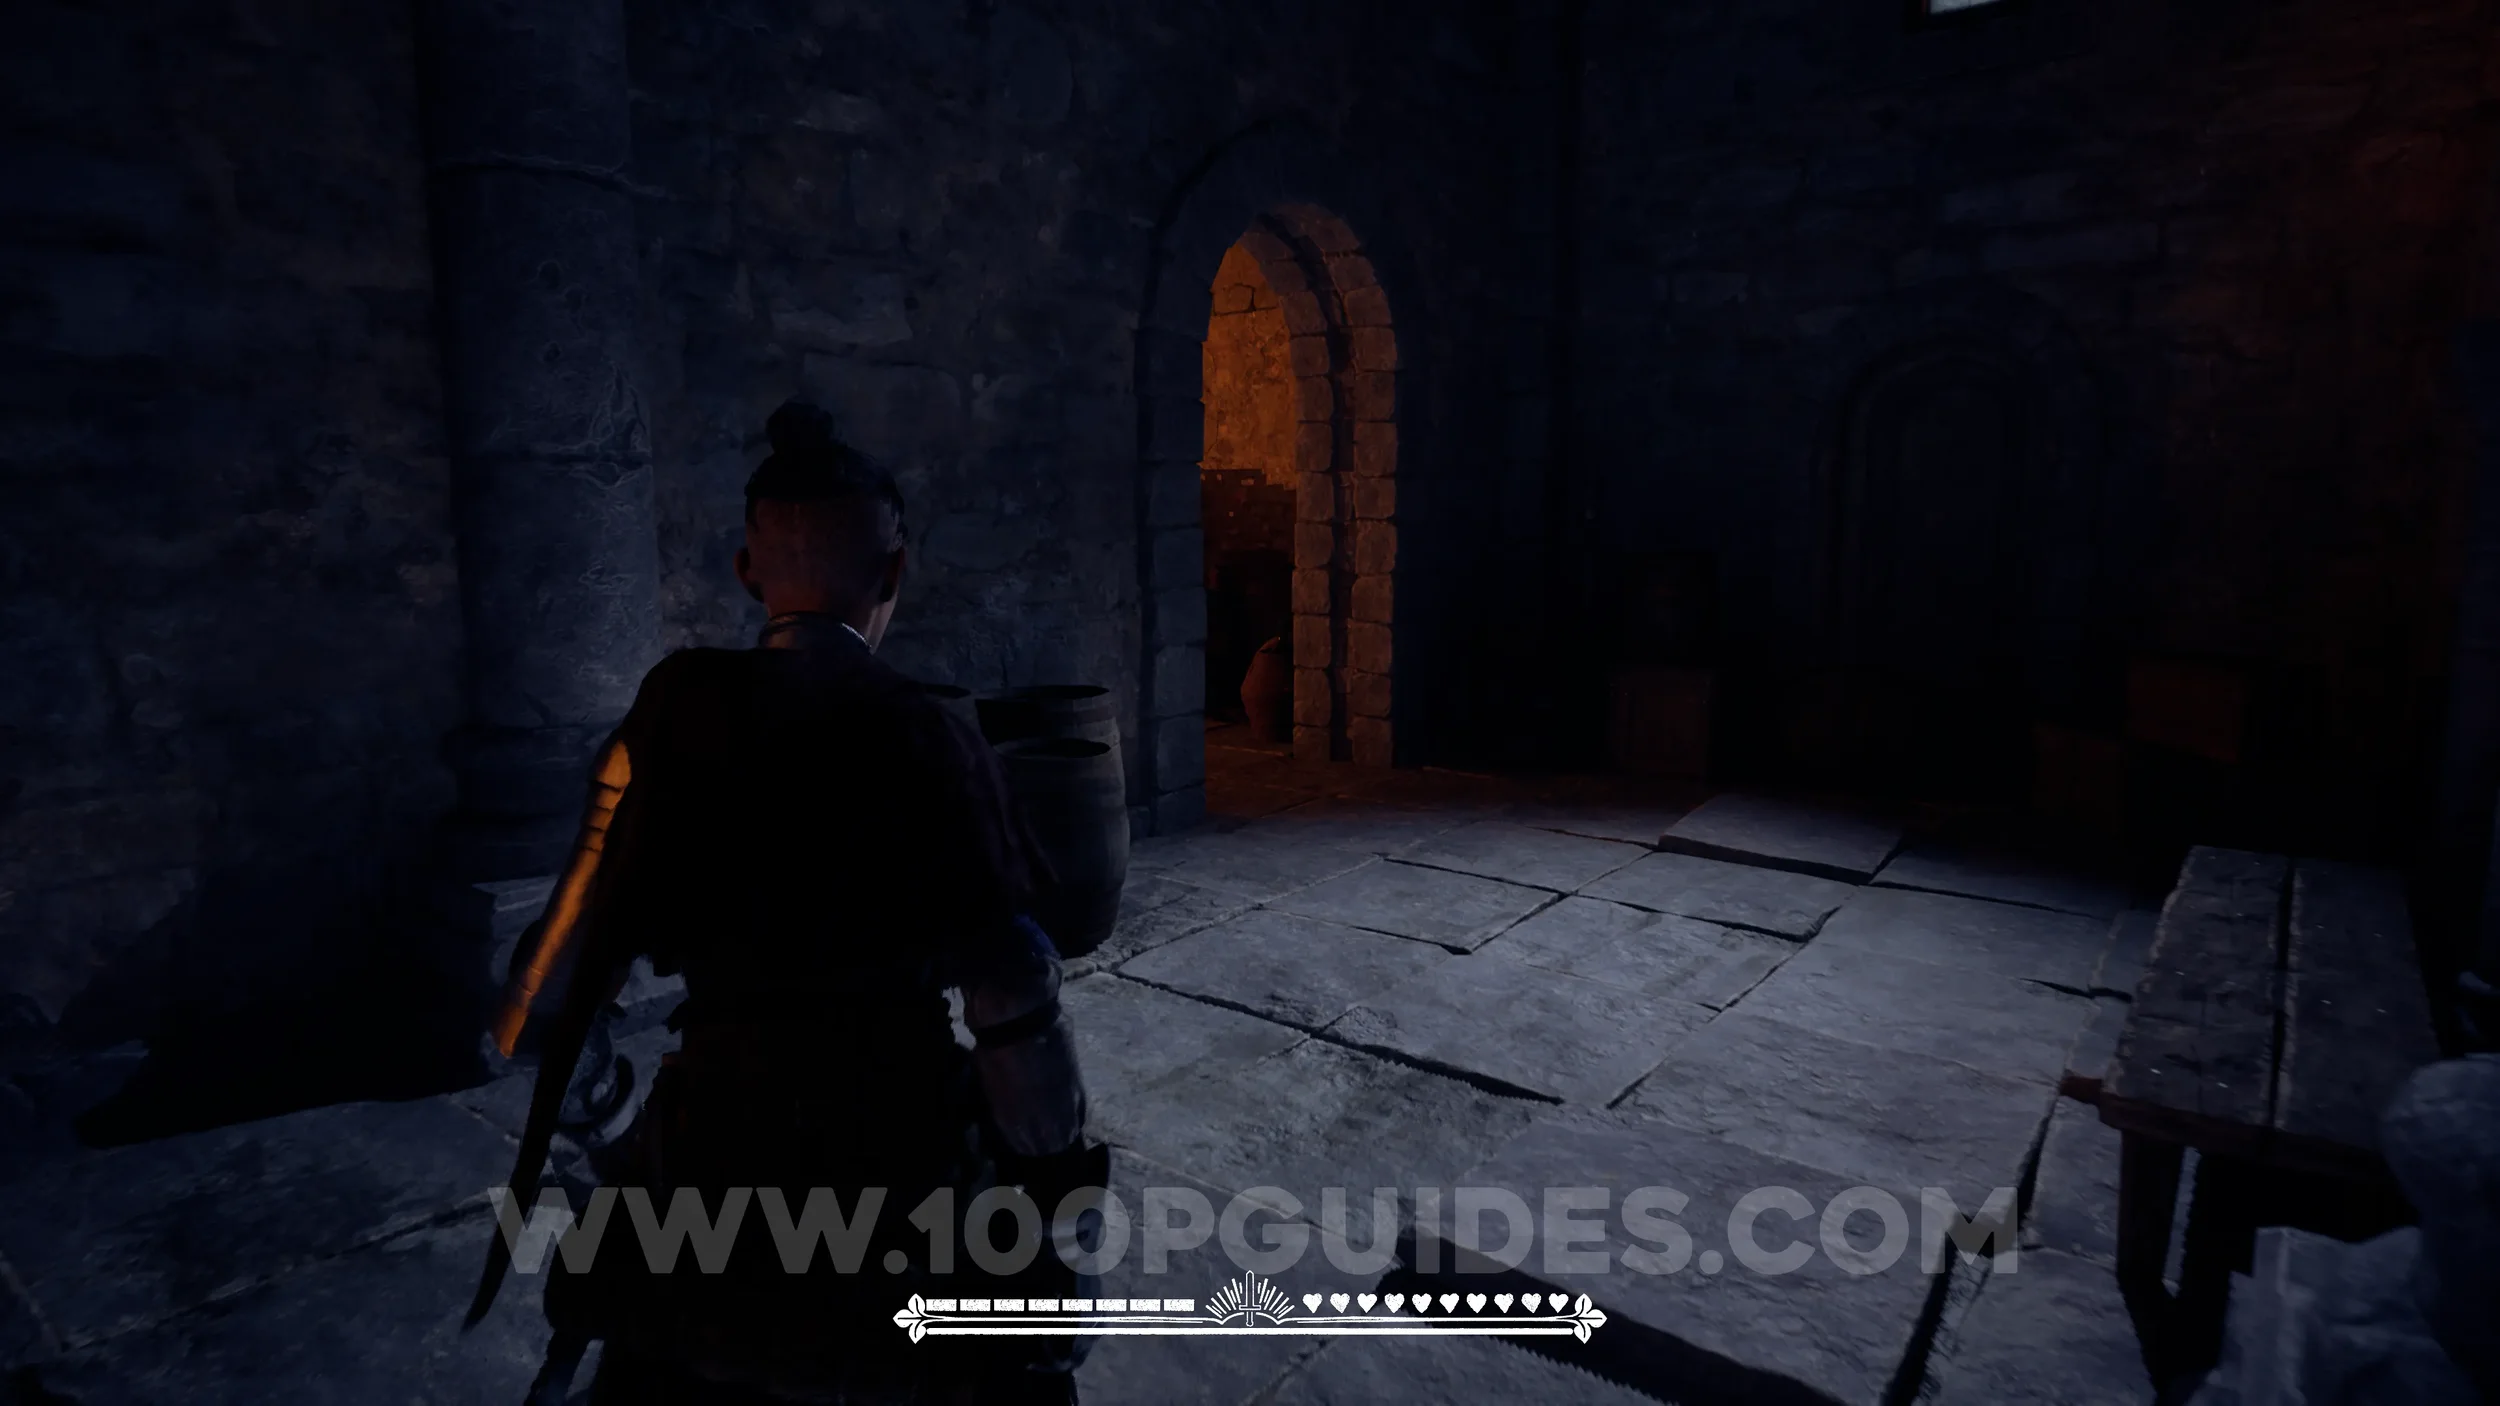
Treasure #9 - San Georgio. After the chambers, you’ll reach a garden. Go to the far end and enter the chapel on the right. The treasure will be in the dark corner.

Paper #73 (Large). Also in the chapel.