

Valor Mortis Trophy Guide
Welcome to our Valor Mortis Trophy Guide, where you can find everything you need to 100% the game.
SUMMARY
- Estimated Time to Platinum: 20-25 Hours
- Difficulty: 6/10
- Missable Trophies: 0
- Playthroughs Needed: 1
ROADMAP
Intro
Valor Mortis is a souls-like game with a twist: it is in first person. However, the trophies and the platinum are very similar to those of most other souls-likes: defeat some optional bosses, explore to find some collectibles, finish some side quests, and pick up a few combat and miscellaneous trophies along the way. Luckily, in the case of Valor Mortis nothing is missable, and you can clean up every trophy after defeating the final boss at the end of the game.
As far as collectibles go, there is really only one kind, the Ambers. These are basically the rings of Valor Mortis, which you can equip to get some extra buffs for your character. There are 29 different ones, but 15 of them can be upgraded by finding their other 2 copies (so 15 of the 29 have 3 copies). However, to unlock the  Ambersmith trophy you only need one of each, so finding the 29 different ones is enough.
Valor Mortis also has its fair share of side quests, but only a handful reward you with a trophy at the end (and a few reward you with Ambers for the Ambersmith trophy). Again, none are missable, and they can all be done after finishing the game.
Apart from that, you will also need to upgrade one of each type of weapon (Melee, Firearm and Transmutation) to max level, which, like in most souls-likes, means collecting materials of different rarities. There are 3 weapons of each type and 3 max-rarity materials for each type, so there are enough to upgrade all 9 if you want to, but it is not needed.
Then there are some miscellaneous and combat-related trophies. Nothing too crazy, and they are all covered in detail in the trophy guide below.
Step 1. Finish the Story.
Play through the game while picking up everything you come across. Valor Mortis is not the easiest game in the world, but the further you advance, and the more you explore and pick up optional things, the more doable it becomes. Don't worry about missing things or messing anything up. Just play the game, collect everything, explore, and do side quests if you come across them.
Step 2. Ambers
Now that you have finished the main story, you can freely explore the game (except for a small area at the end that is not needed for any trophies). Start by collecting at least one of each of the 29 Ambers. This will also clear a few of the side quests needed for trophies.
Step 3. Side Quests.
There are a few side quests in Valor Mortis that give you a trophy directly once you finish them. These are:
- Oathbound - We Wear the Same Colours.
- Laudanum -
 A Bitter Cure.
 - Curious Case of Seamus Diggory - Blood and Wine.
- Deserter - Hand in the Jar.
- Unheard Farewell - Aggressive Reconnaissance.
- Monster Hunt - The Book of Beasts.
Step 4. Miscellaneous & Combat.
At this point you may still have a few combat and miscellaneous trophies left. Clean them up, and congratulations on the platinum,  Nephtis Superioris!
TROPHY GUIDE

Obtain all trophies
Unlocks after obtaining all other trophies.

Kill General Lothaire, the Eagle-Bearer.
Story-related. Unmissable.

Defeat The Iron Marshall.
Story-related. Unmissable.

Defeat the Sphinx.
Story-related. Unmissable.
Defeat the Slaughtermill.
Story-related. Unmissable.

Defeat the Bride.
Story-related. Unmissable.
Defeat Justicar Aurelius.
Story-related. Unmissable.
Defeat Experiment 83.
Story-related. Unmissable.

Rendezvous with the Shrike.
Story-related. Unmissable.
Defeat the Orphan.
Story-related. Unmissable.
Defeat Nephtis Superioris.
Story-related. Unmissable.
Defeat the Entity.
Story-related. Unmissable.
Unlock all Weapons and Transmutations.
All Weapons and Transmutations are story-related, since most are linked to abilities needed to advance through the game, and the few that are not are all found in plain sight along the story path and impossible to miss.
Complete the Oathbound quest.
To finish the Oathbound side quest you must defeat all 7 Eternal Guards. These are optional elite enemies found around the game. None are missable, and they can all be defeated after finishing the game.
Upgrade a single Firearm to maximum.
Upgrade any of the 3 Firearms to max level. For the last level you will need Masterworks Firearm Parts. There are only 3 in the game (one for each of the 3 Firearms). Here are the locations:
- Found by going through the gate right next to the City of Orphans > Sewers lantern. You may need the Sewers key to open it, a story-related key you get in this same area.
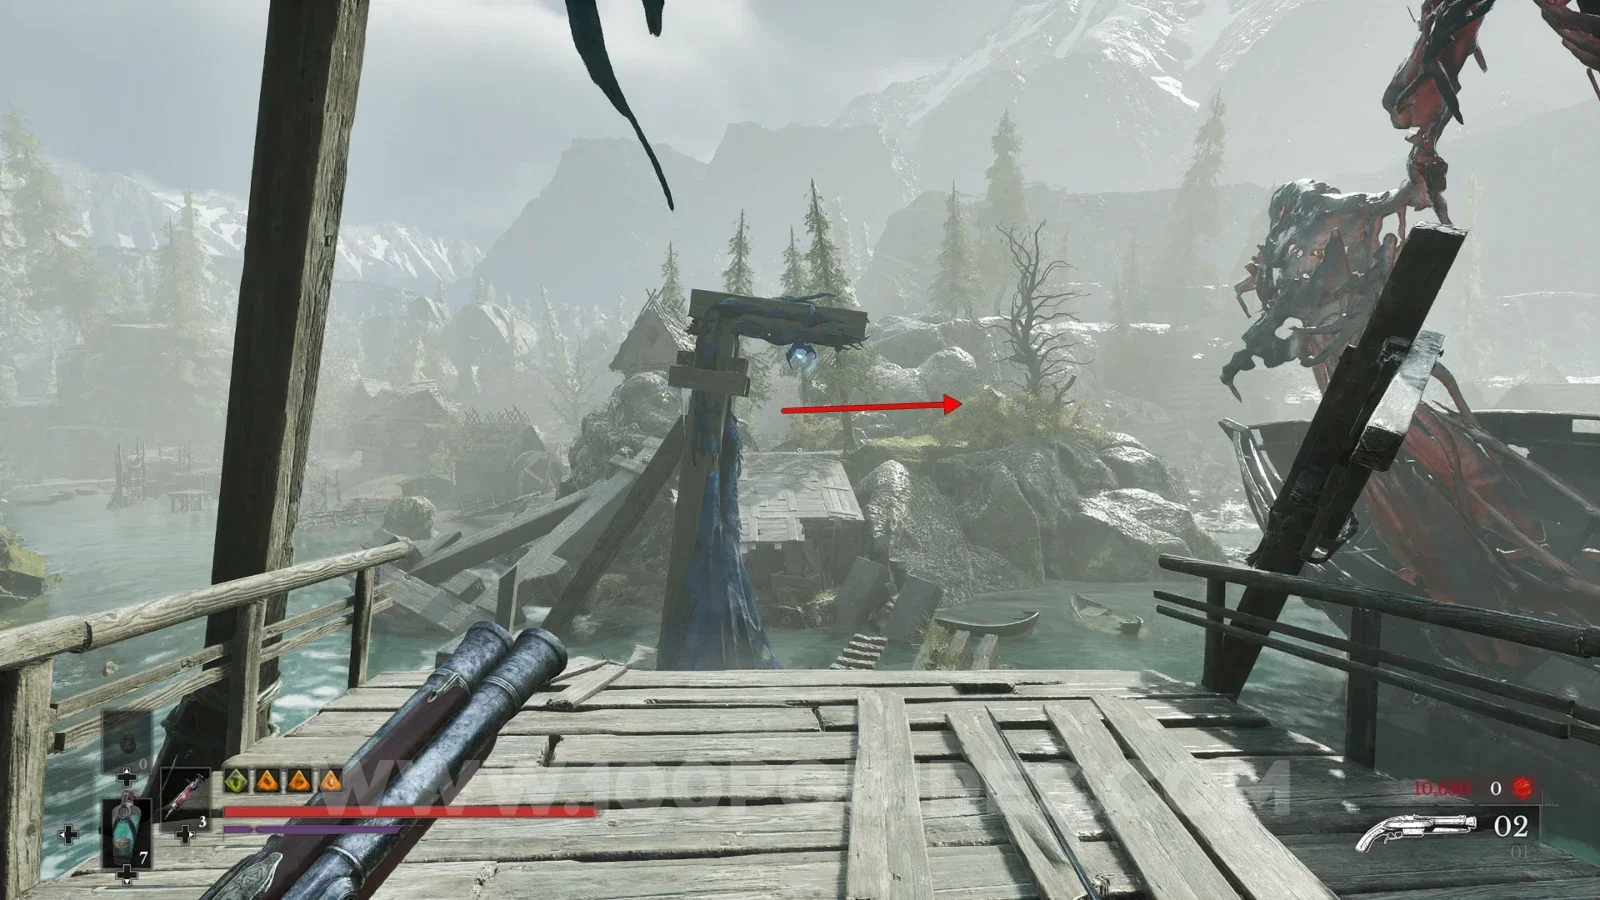
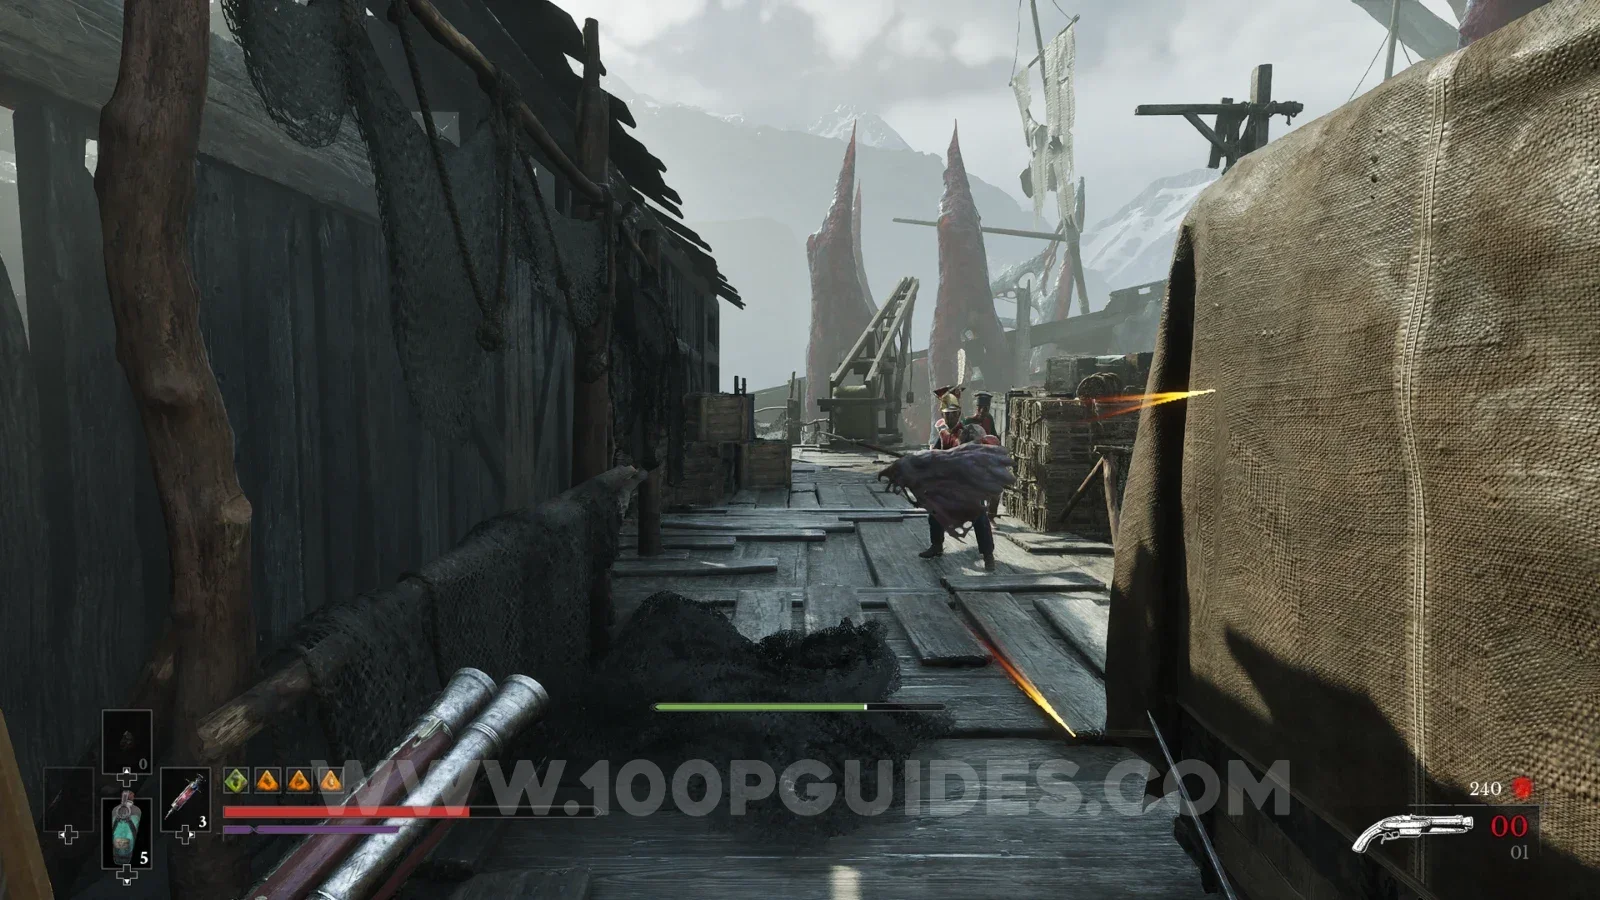
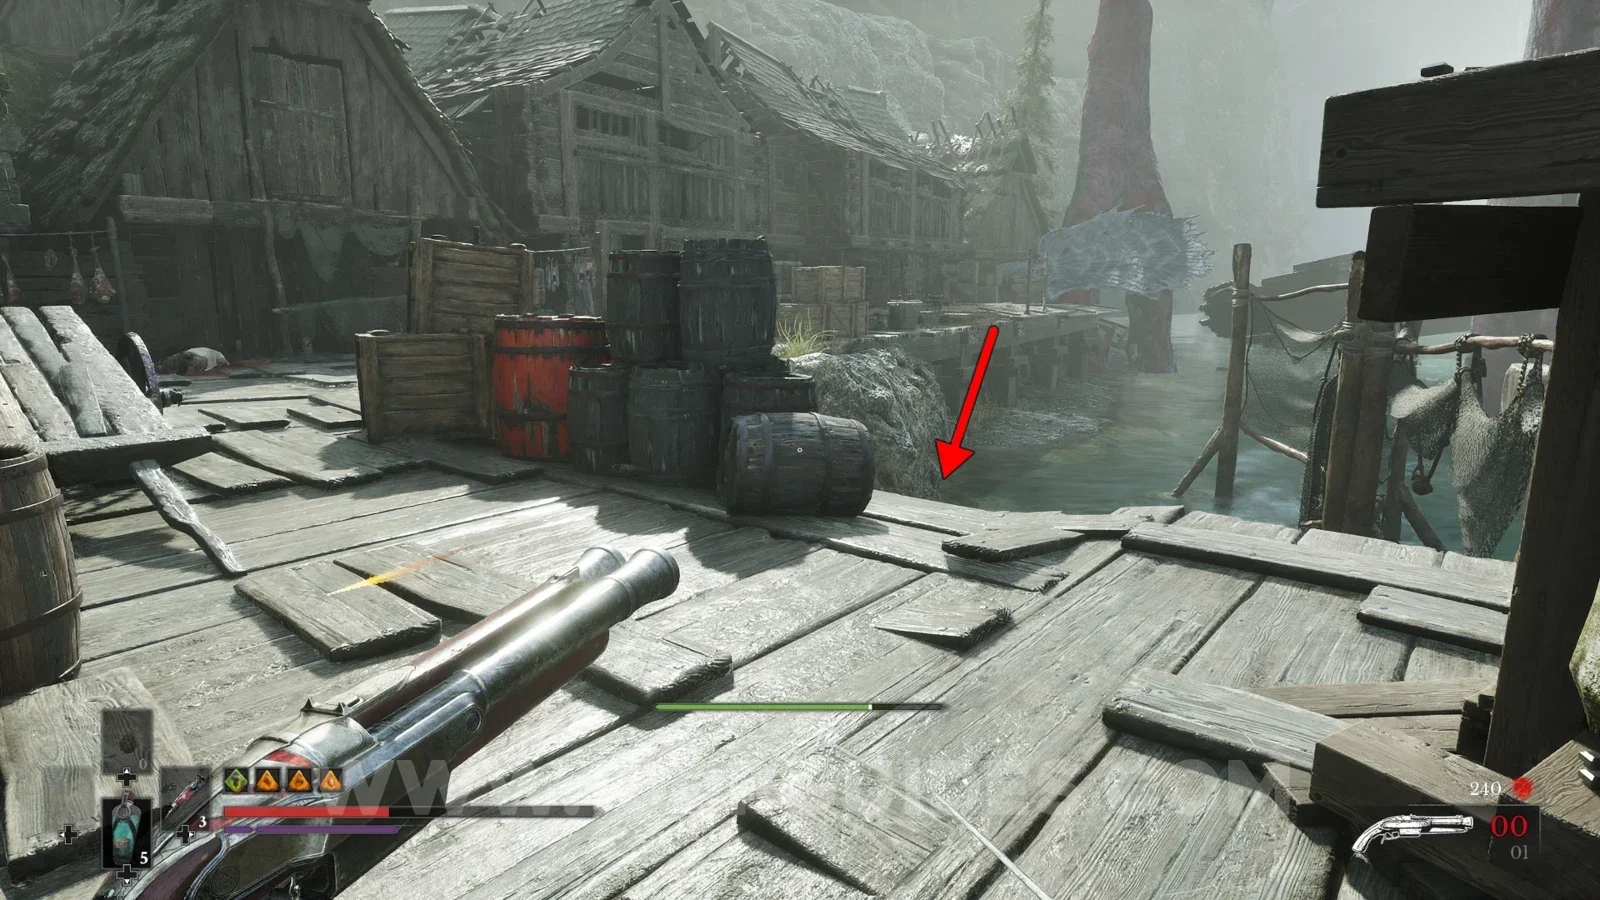
- From The Outskirts > Harbour lantern you will see a path covered with poison. Go down it (you will need the Shield Transmutation, which you get a little later in the main story). Once you come out the other side, head past the house and go right onto the large ship. Here, head left through the ship. Once you come out the other end, drop down to the lower deck and head inside, where you will find an elite enemy. Defeat him to get a key.
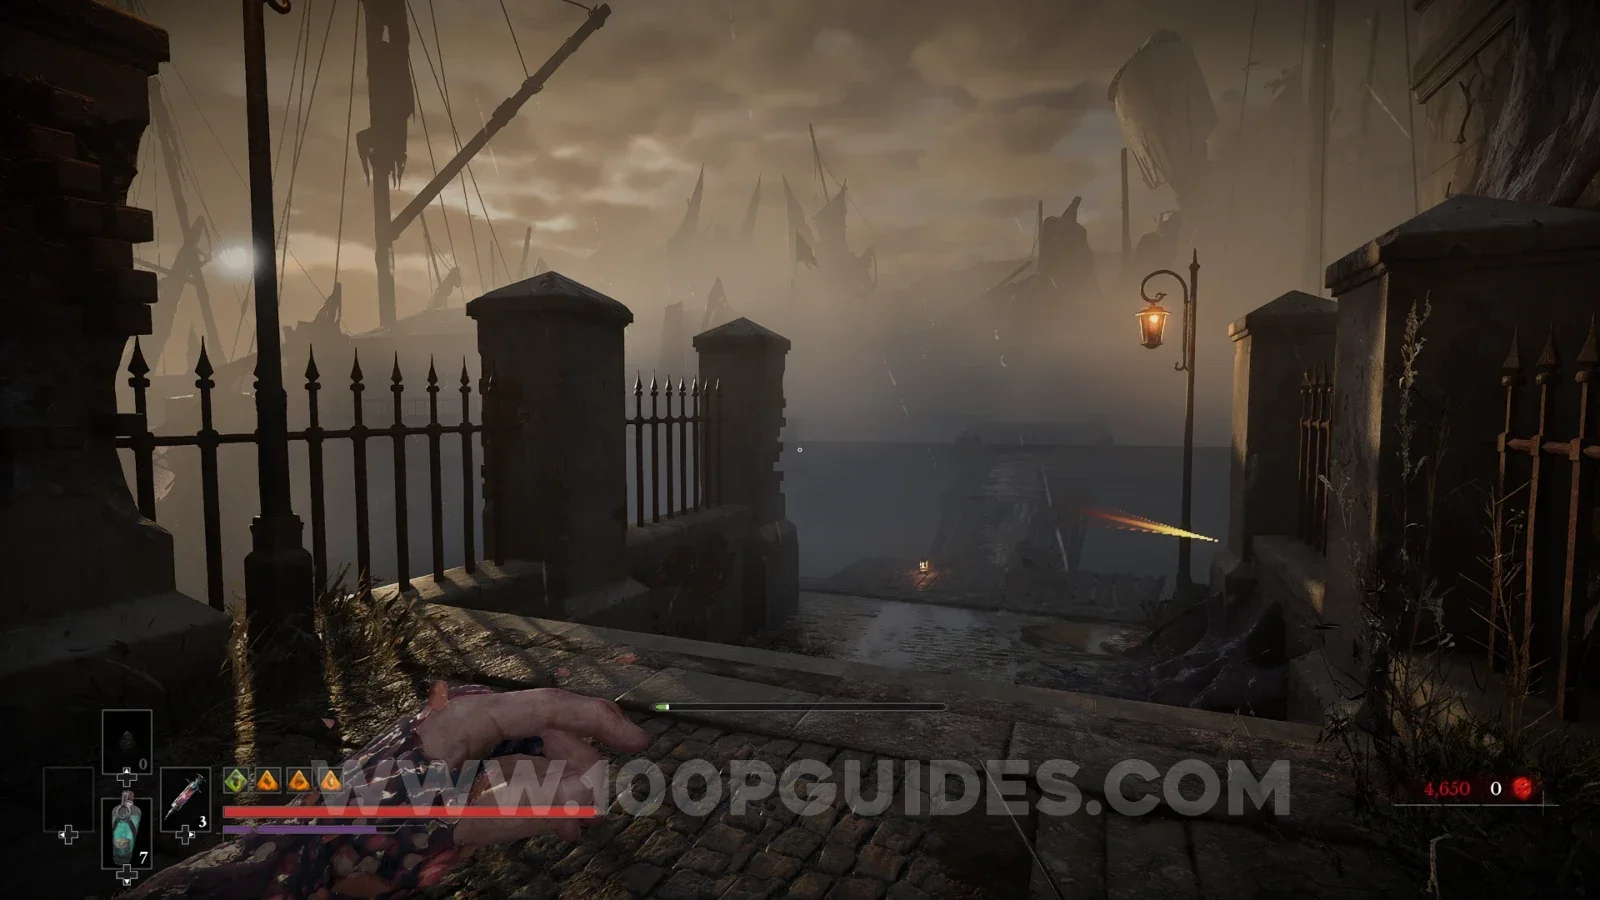
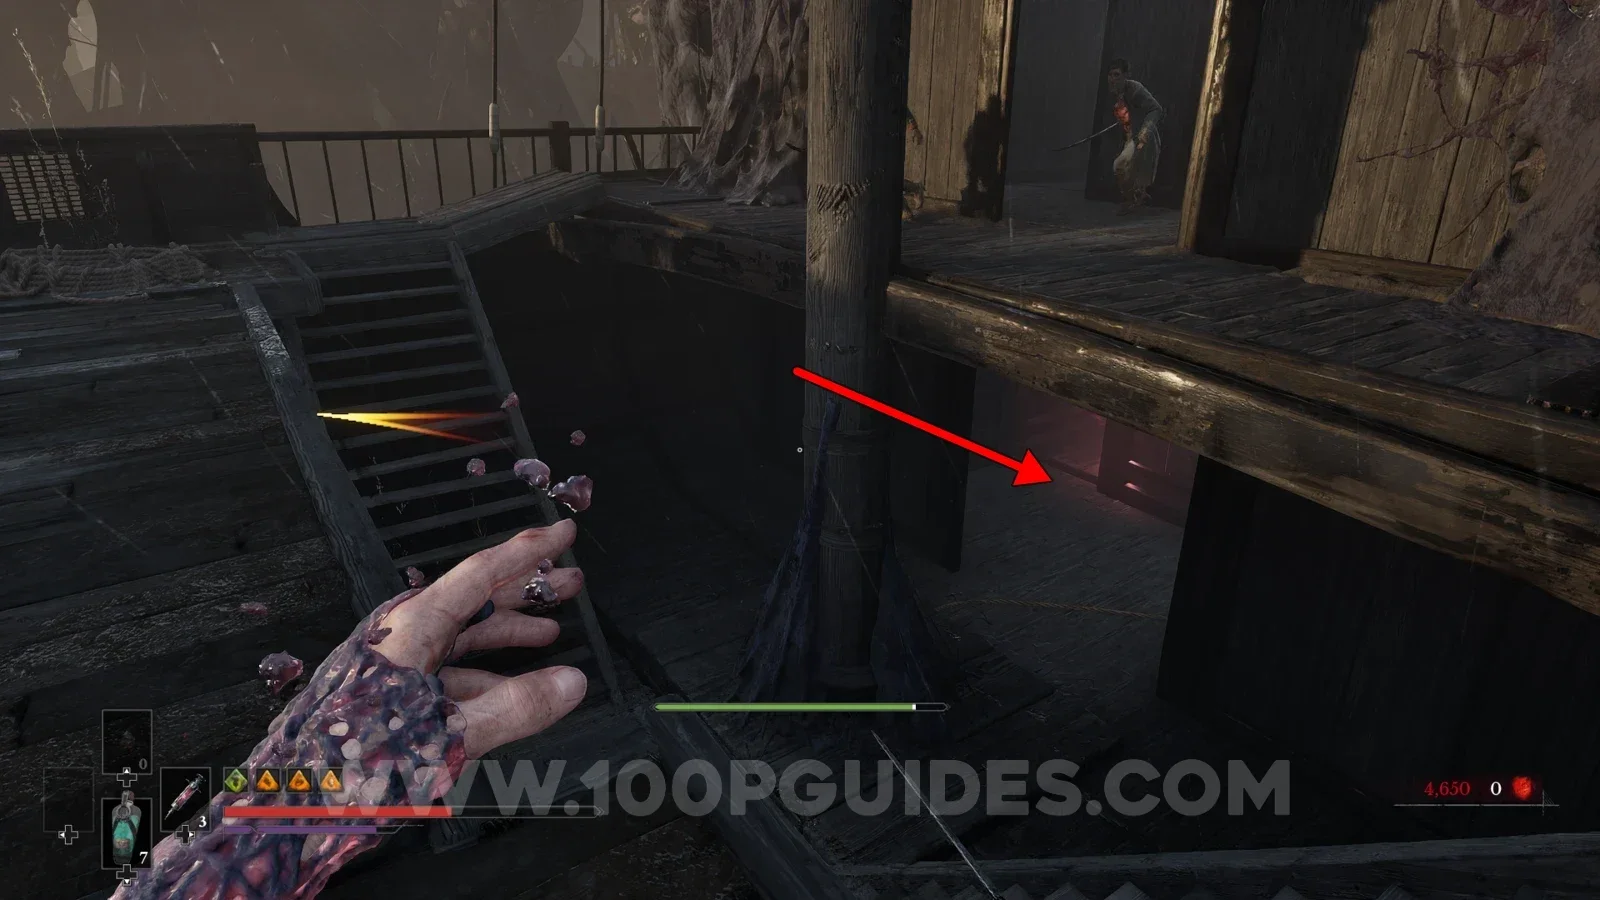
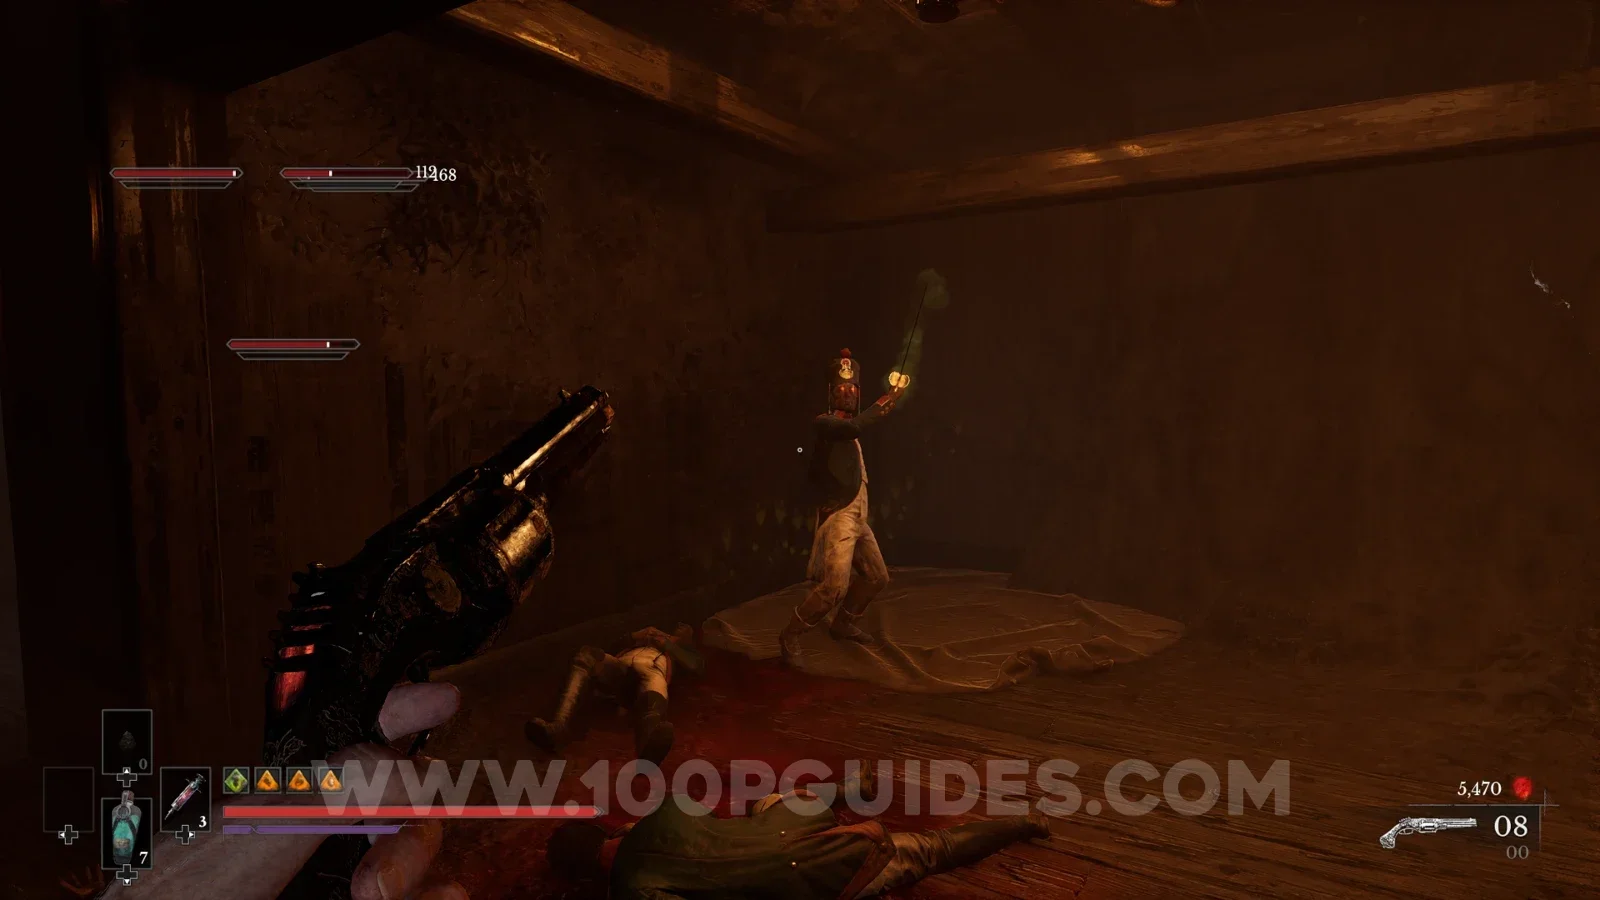
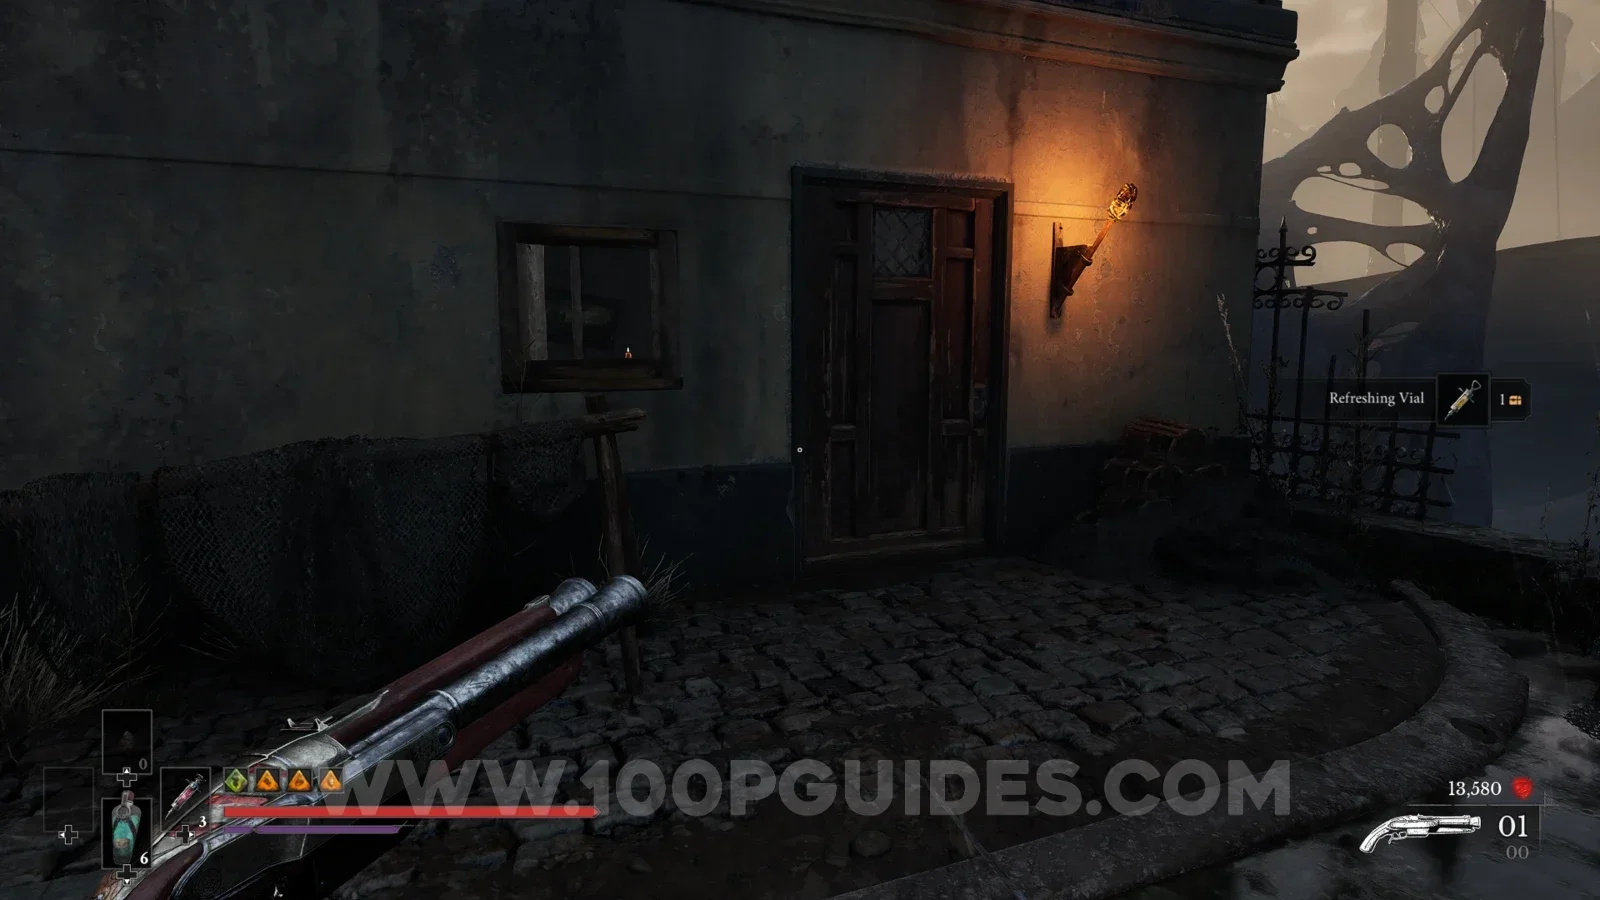
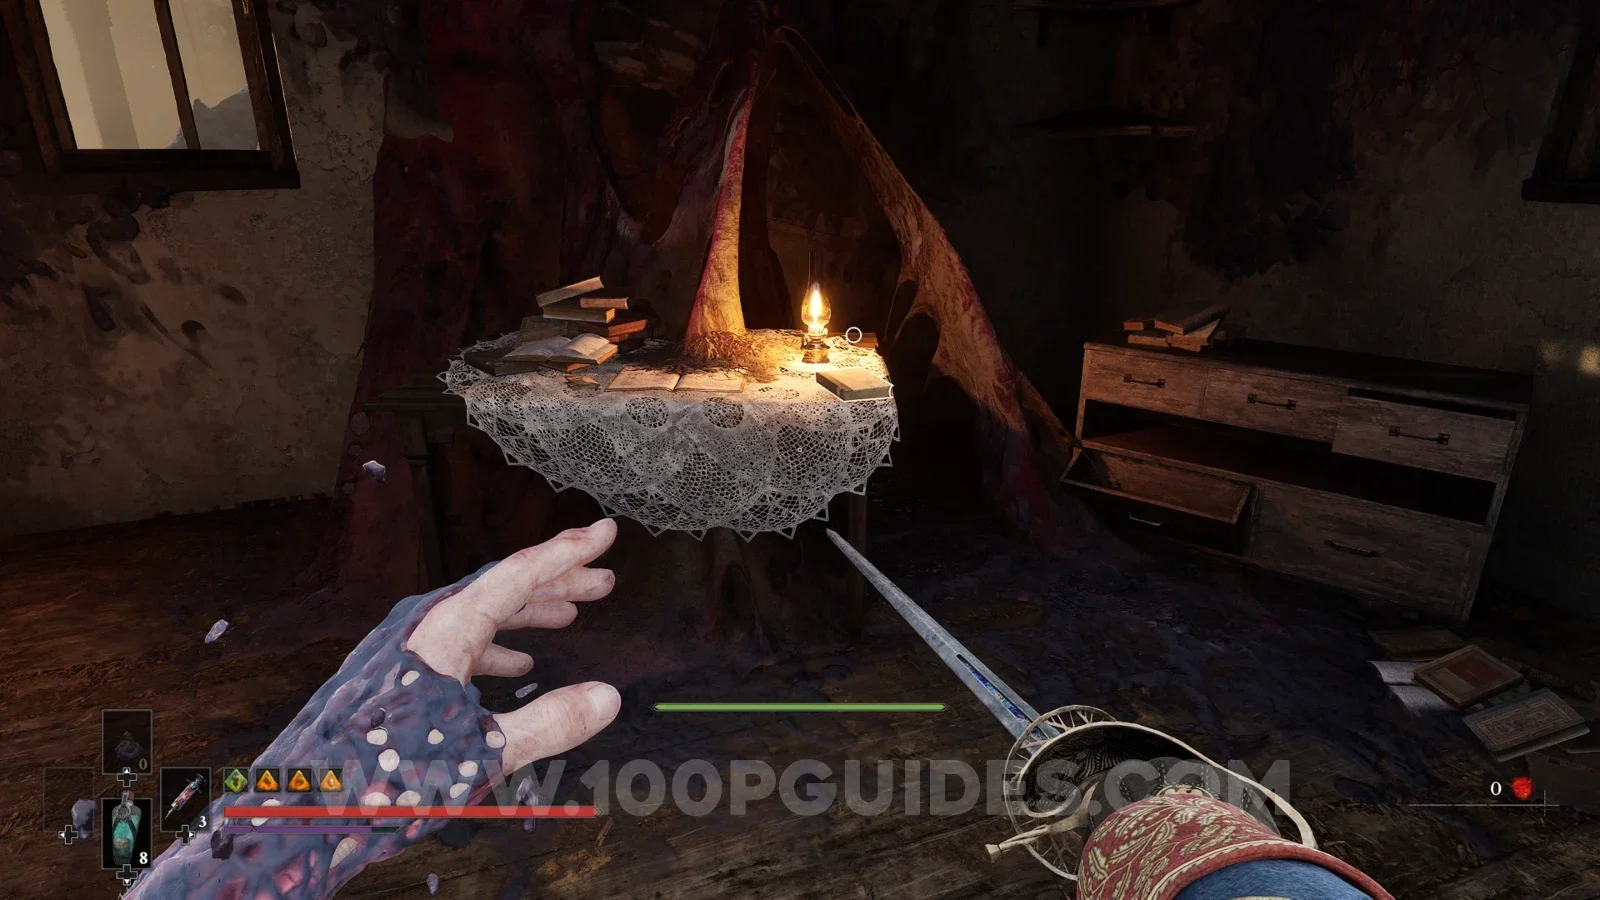
With the key, head back to the house you walked past at the end of the poison path and go inside. Head up to the top floor and pick up the note on the table to start "The King of Smugglers" side quest.
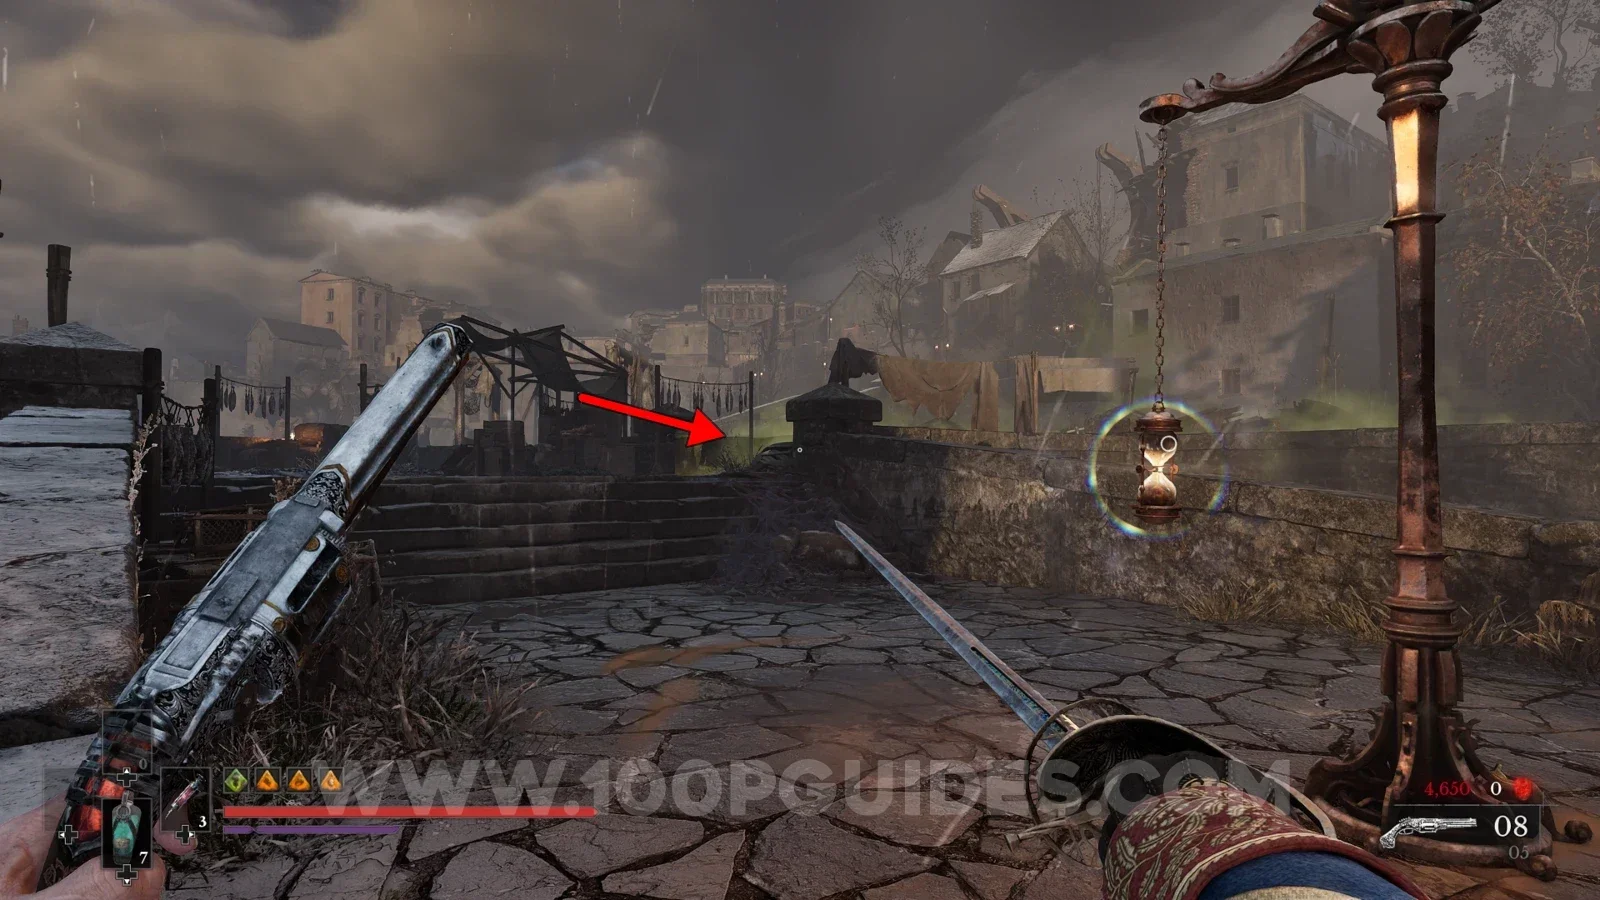
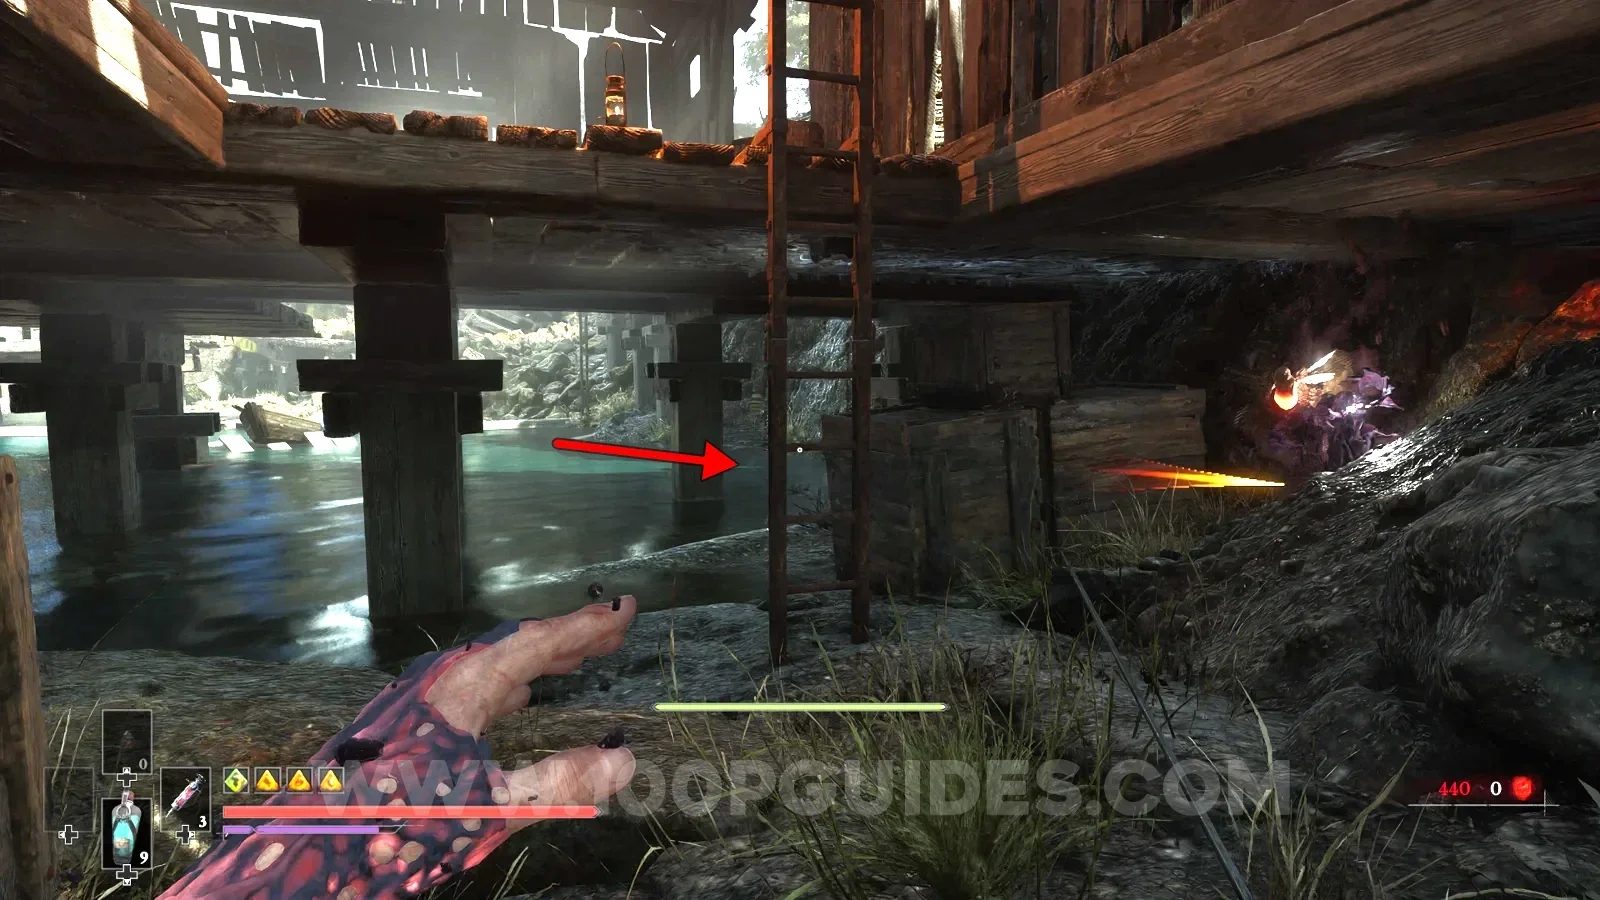
After that, from the Vale of Wrath > Ship Graveyard lantern, backtrack by grappling across the broken bridge. On the other side, head right over the poisoned ground (you will need the Shield Transmutation, which is obtained late in the main story). In the area on the other side, head past the long building on your left. At the end, drop down to the area under the building, turn around and you will see a ladder. Pick up the note hidden behind the boxes behind the ladder to finish the side quest.
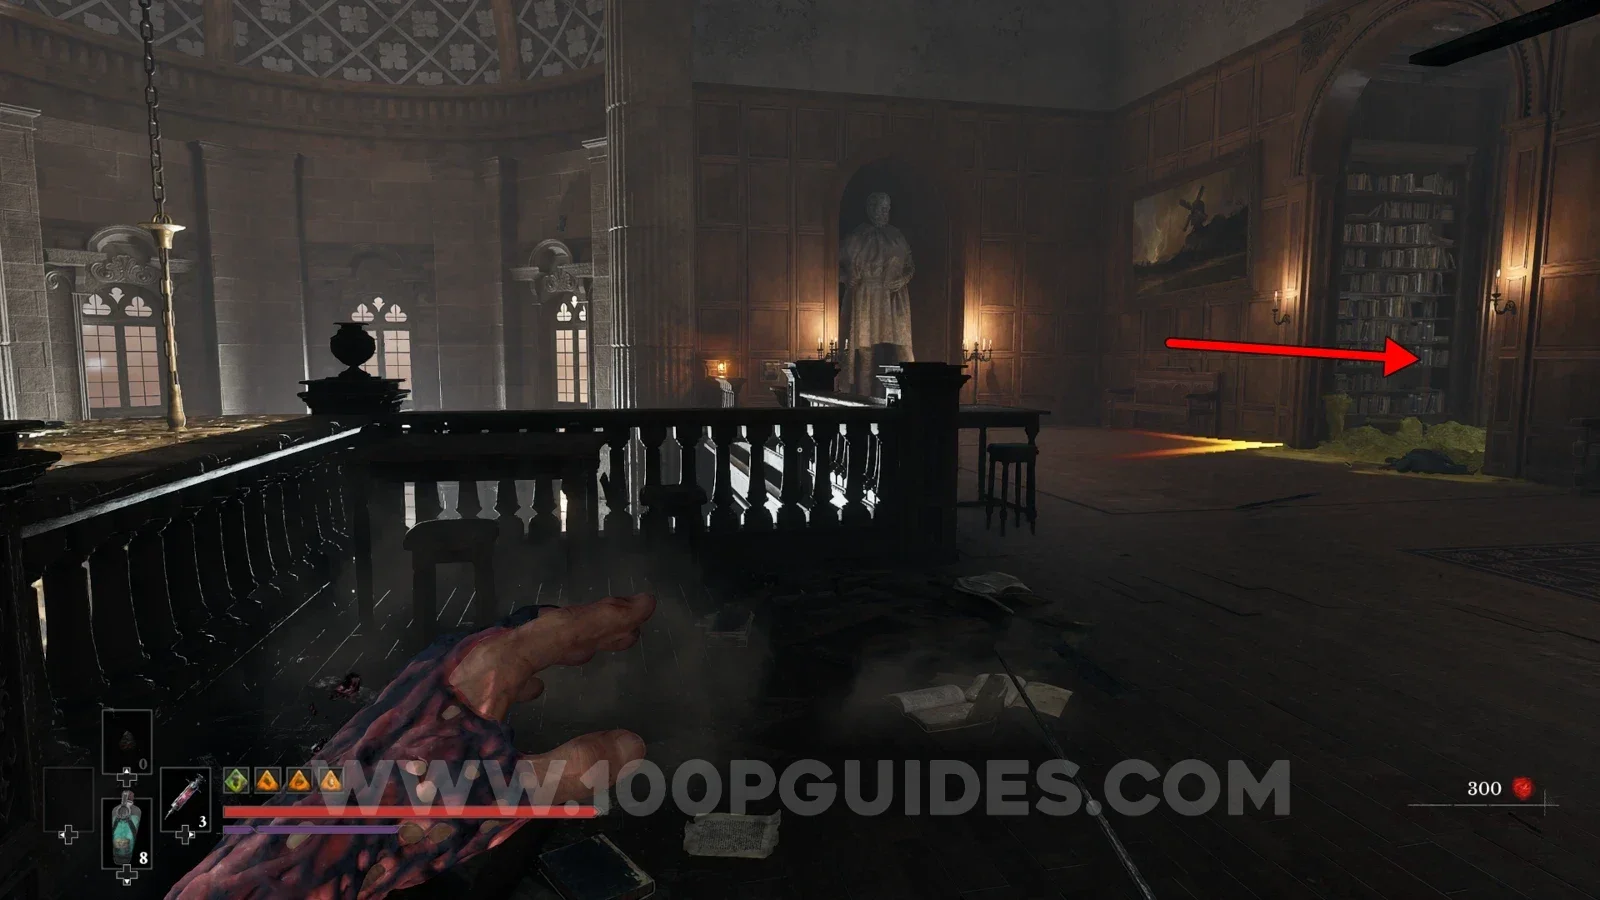
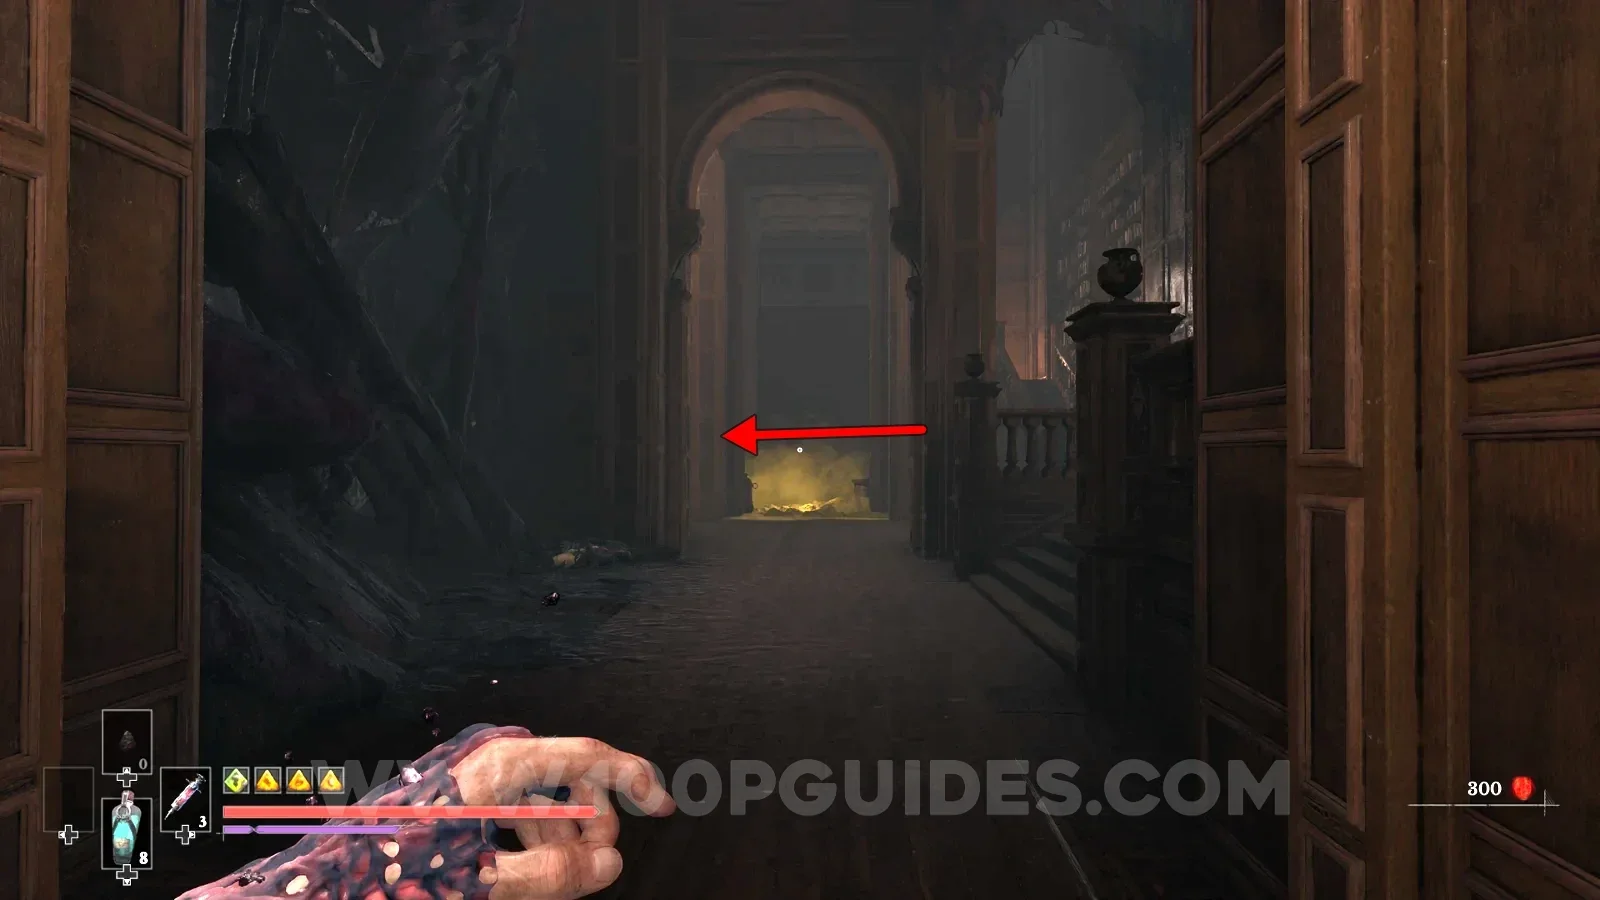
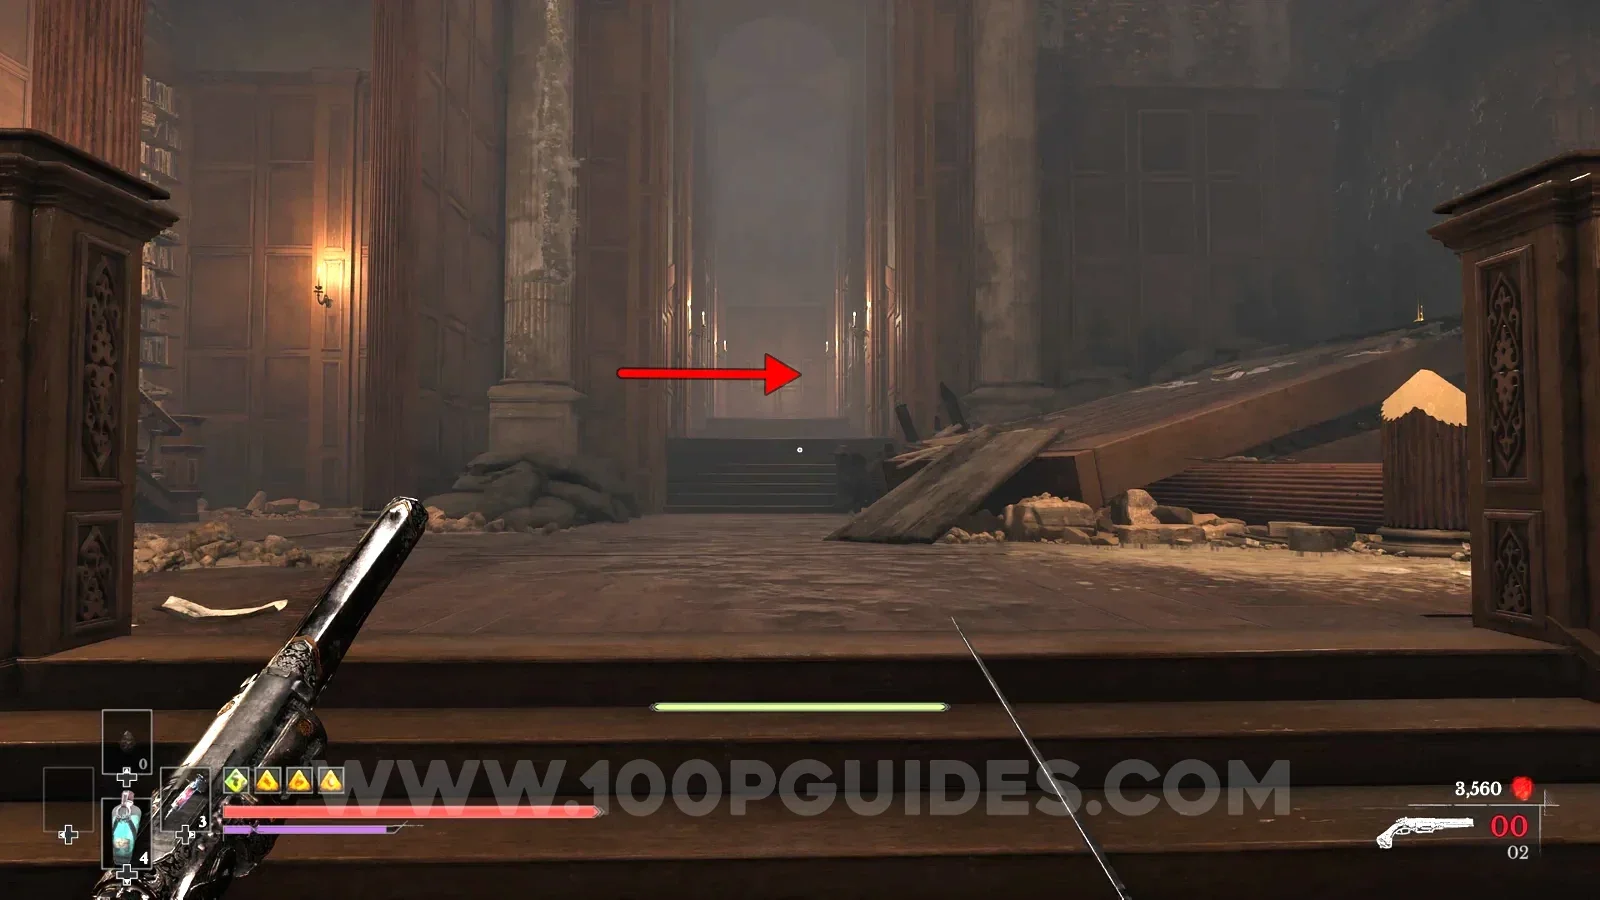
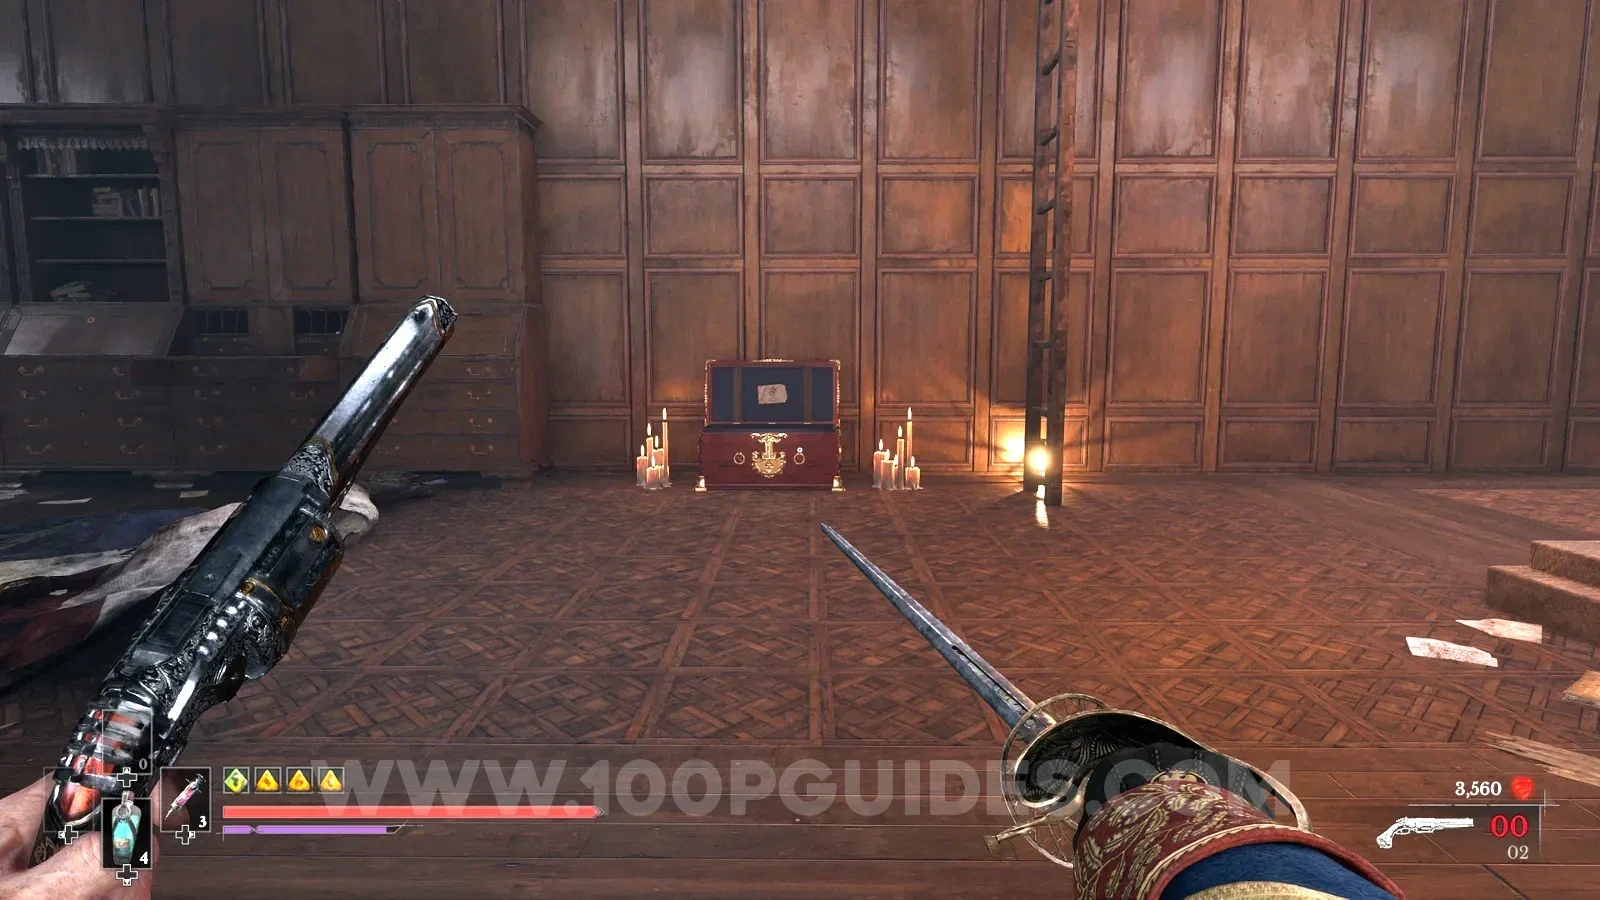
- Found in the University. Take the path towards where you unlock the Shield Transmutation until you get to the chandelier. Just before jumping across the chandelier, head right through the poison corridor and ride the lift down. Head towards the end of the next corridor, and just before the poison at the end, head left. Continue straight up the stairs past the enemies, then go right to reach a large circular room. You can find the material in the chest under a ladder.

Gather all Ambers.
Obtained once you find all 29 Ambers. None are missable, and they can all be found after finishing the game. There are 29 different Ambers, but 15 of them have 2 extra copies to upgrade them to level 3. As long as you have one copy of each of the 29, the trophy unlocks.

Upgrade a single Transmutation to maximum.
Upgrade any of the 3 Transmutations (magic skills) to max level. For the last level you will need a Quintessential Transmutation Material. There are only 3 in the game (one for each of the 3 magic skills). Here are the locations:
- Obtained by finding the 17 Drawings around the City of Orphans and finishing the Monster Hunt side quest.
- Found in the University. Follow the path as if you were heading towards the Shield Transmutation. Just after jumping across the chandelier, head right through the poison path and ride the lift down. At the bottom, open the shortcut back to the start if you haven't already, and call the lift back down. Get on it again, and this time it takes you to a higher floor. On this floor, head right and burn the growth to find the material in a chest on the other side.
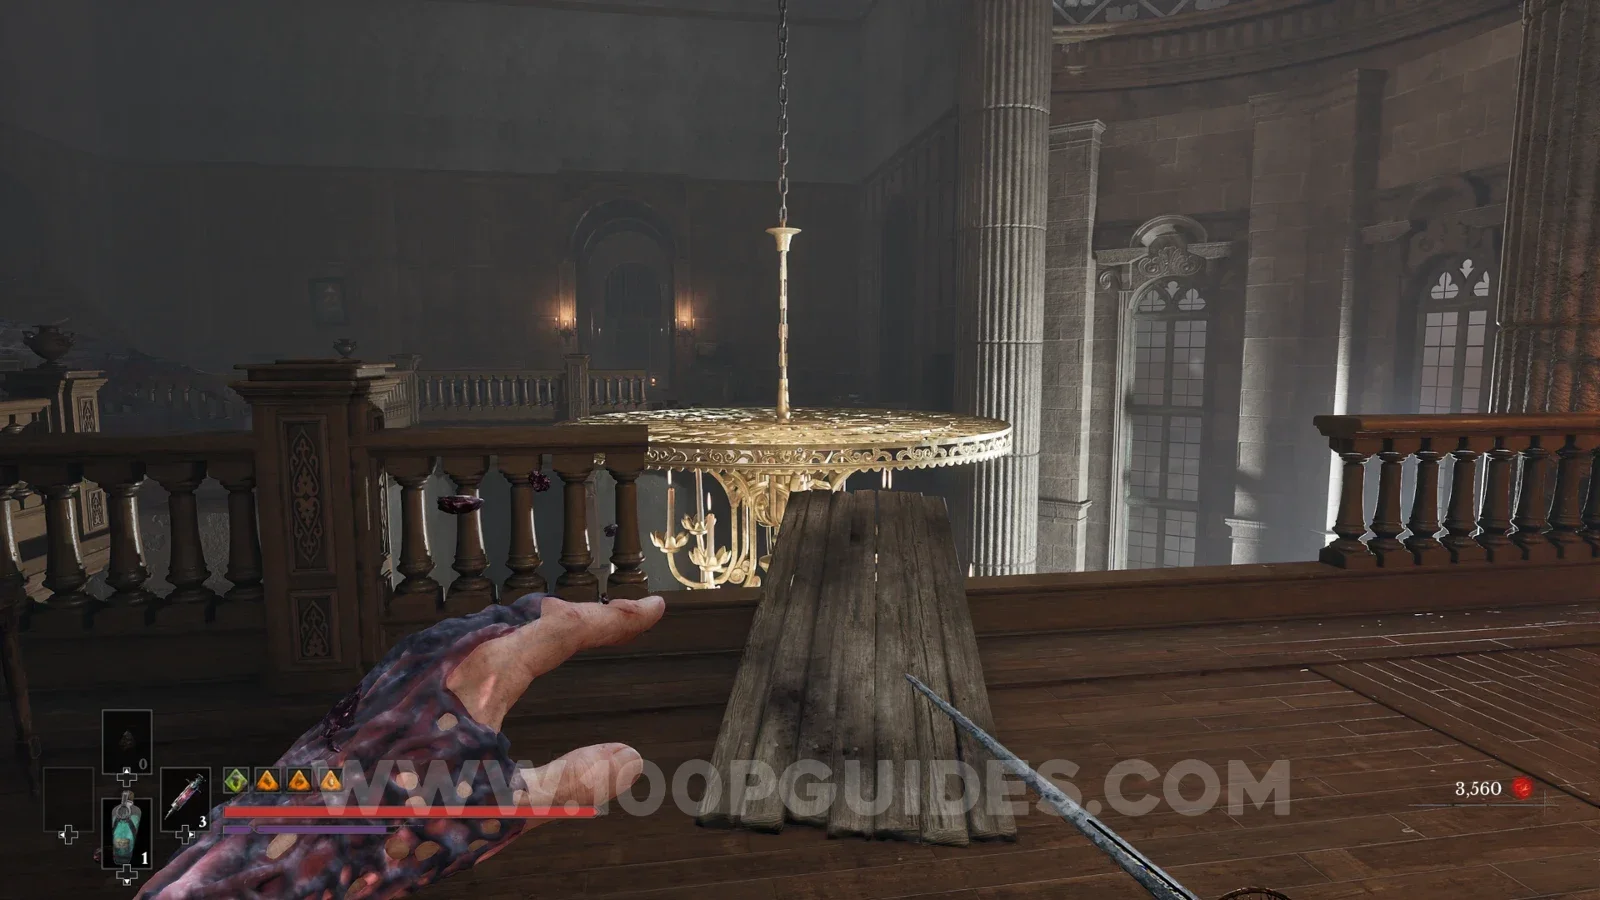
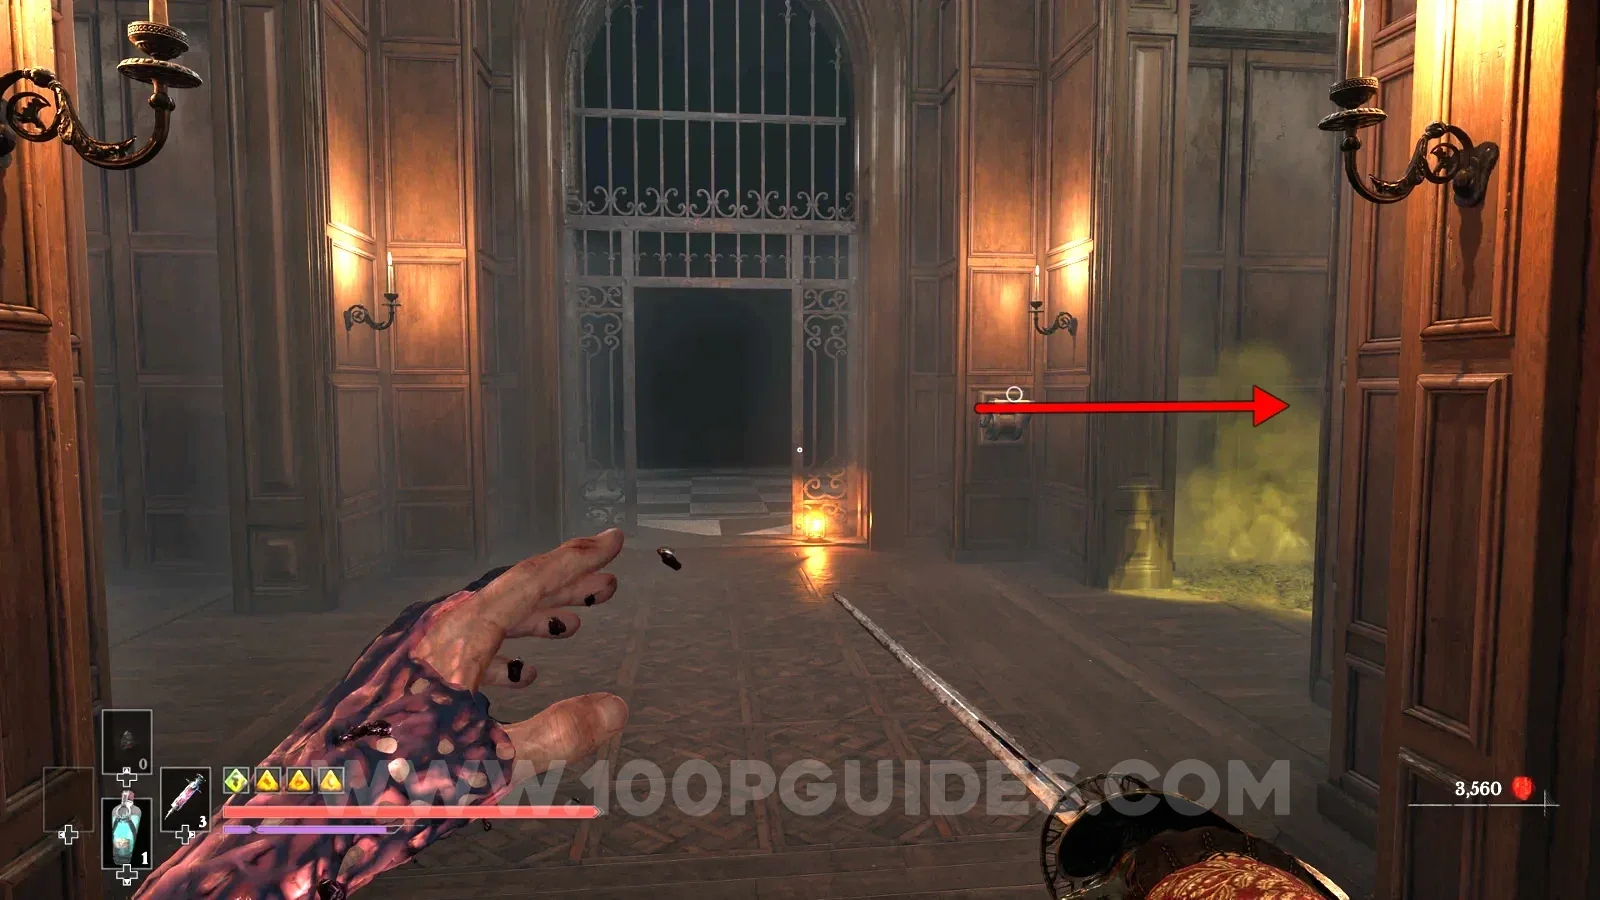
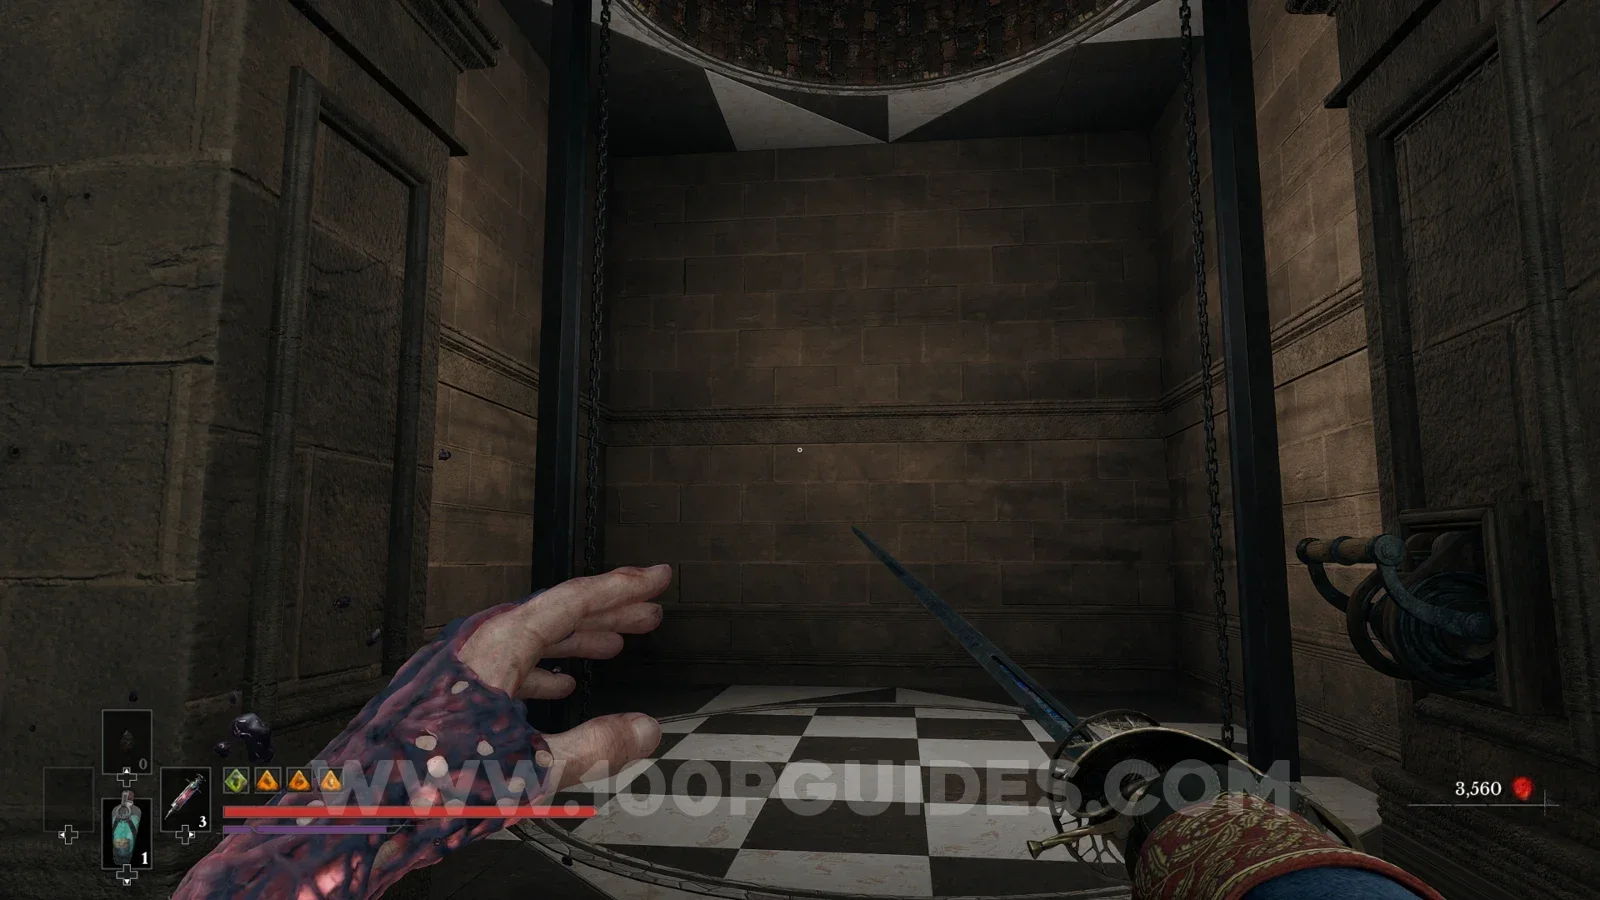
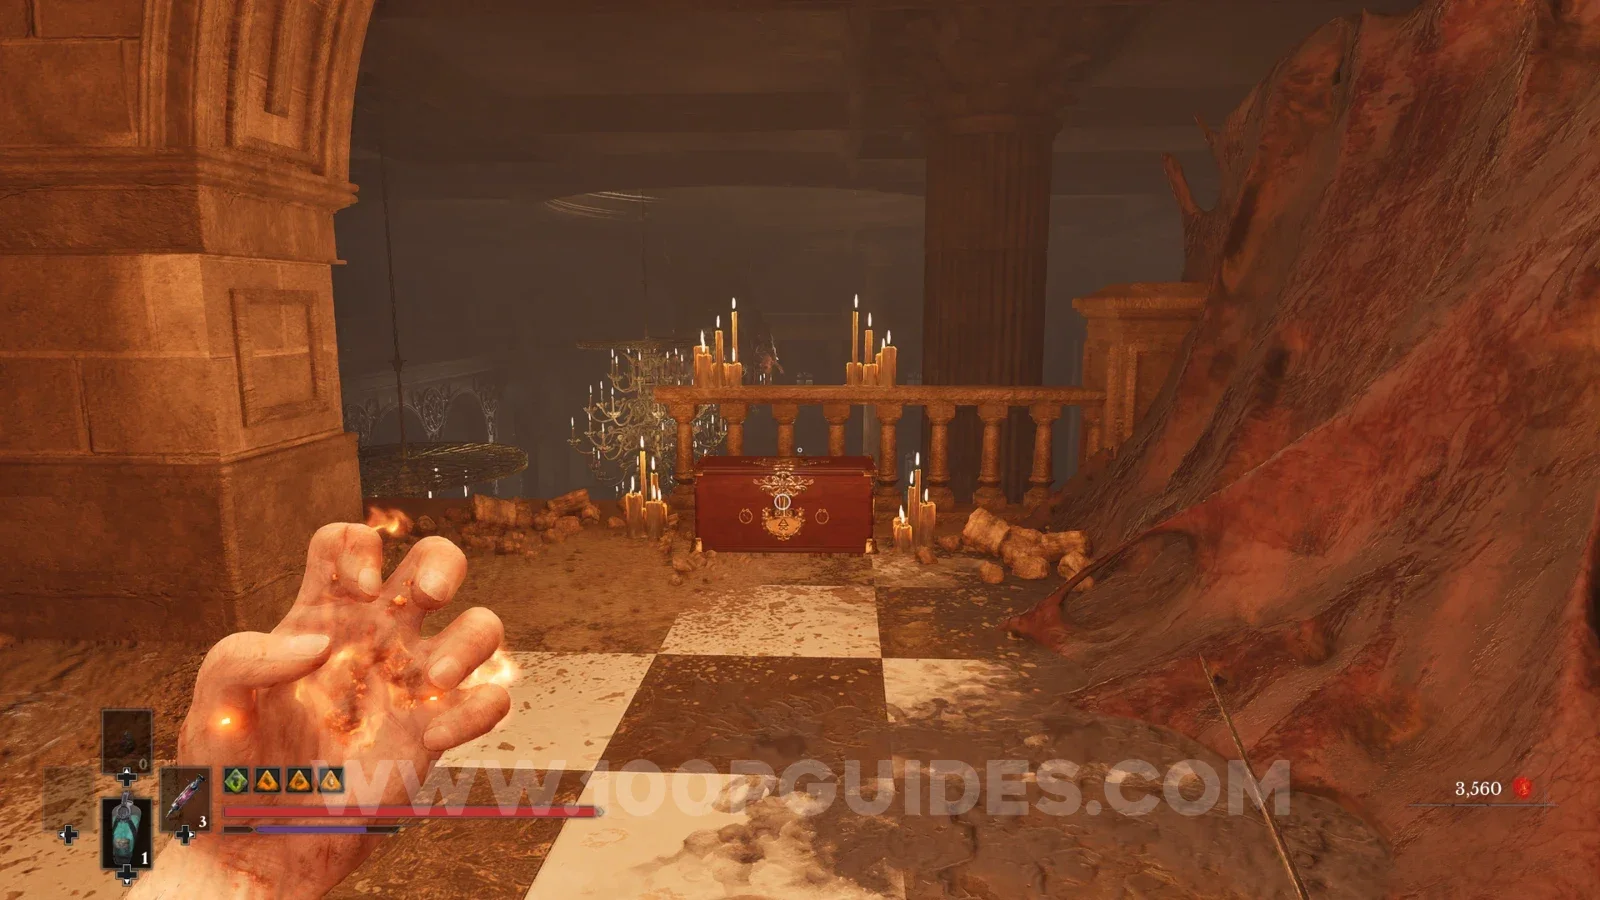
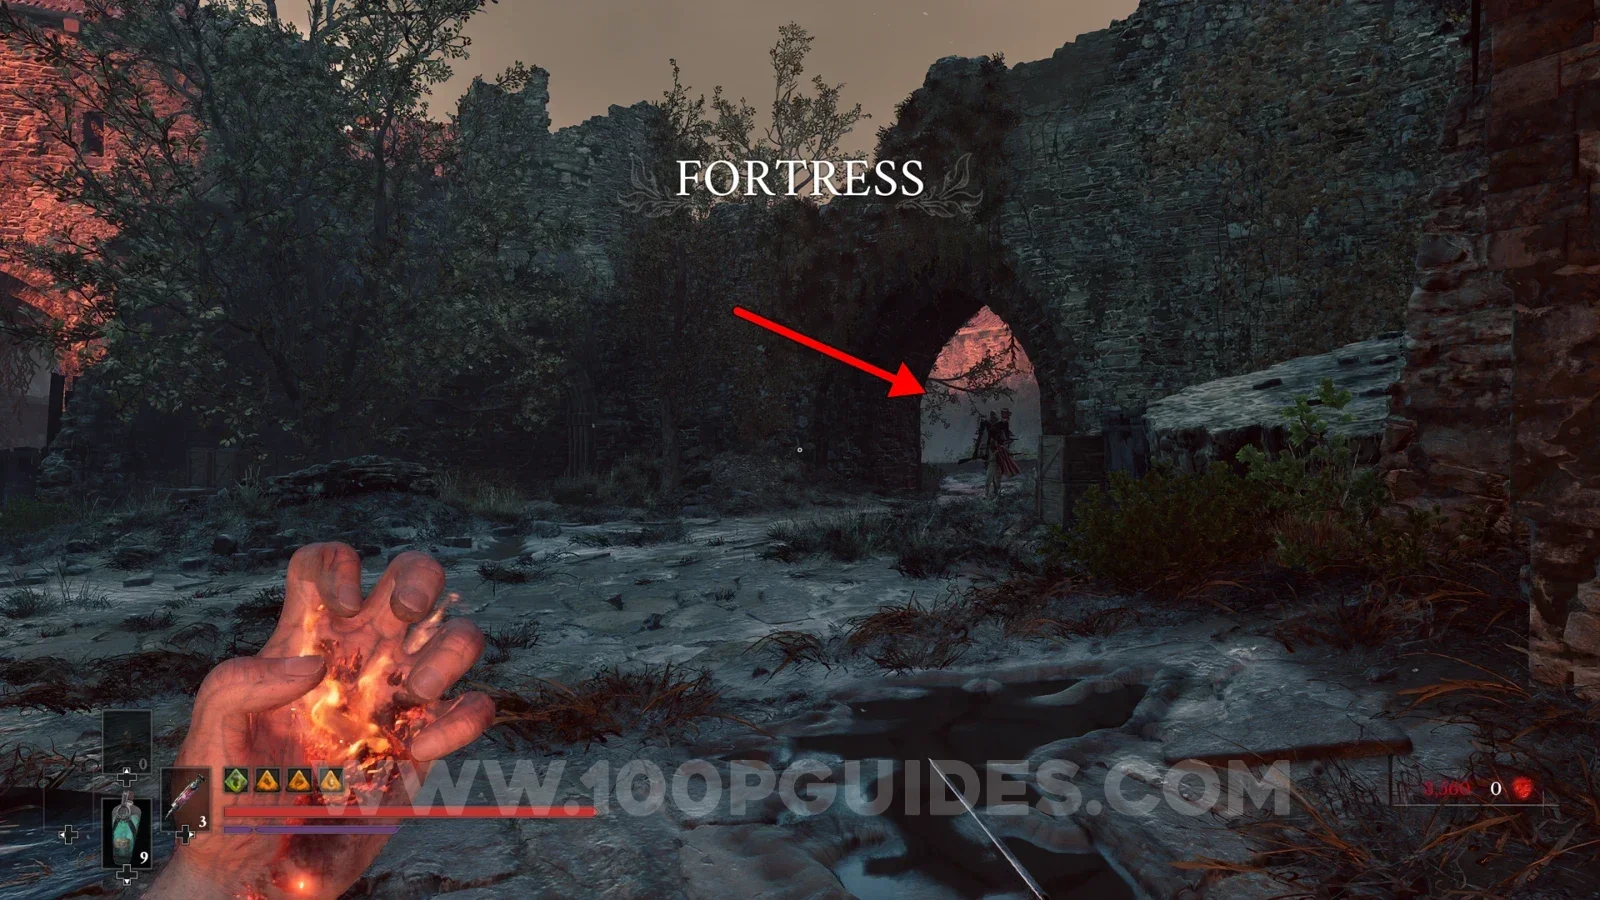
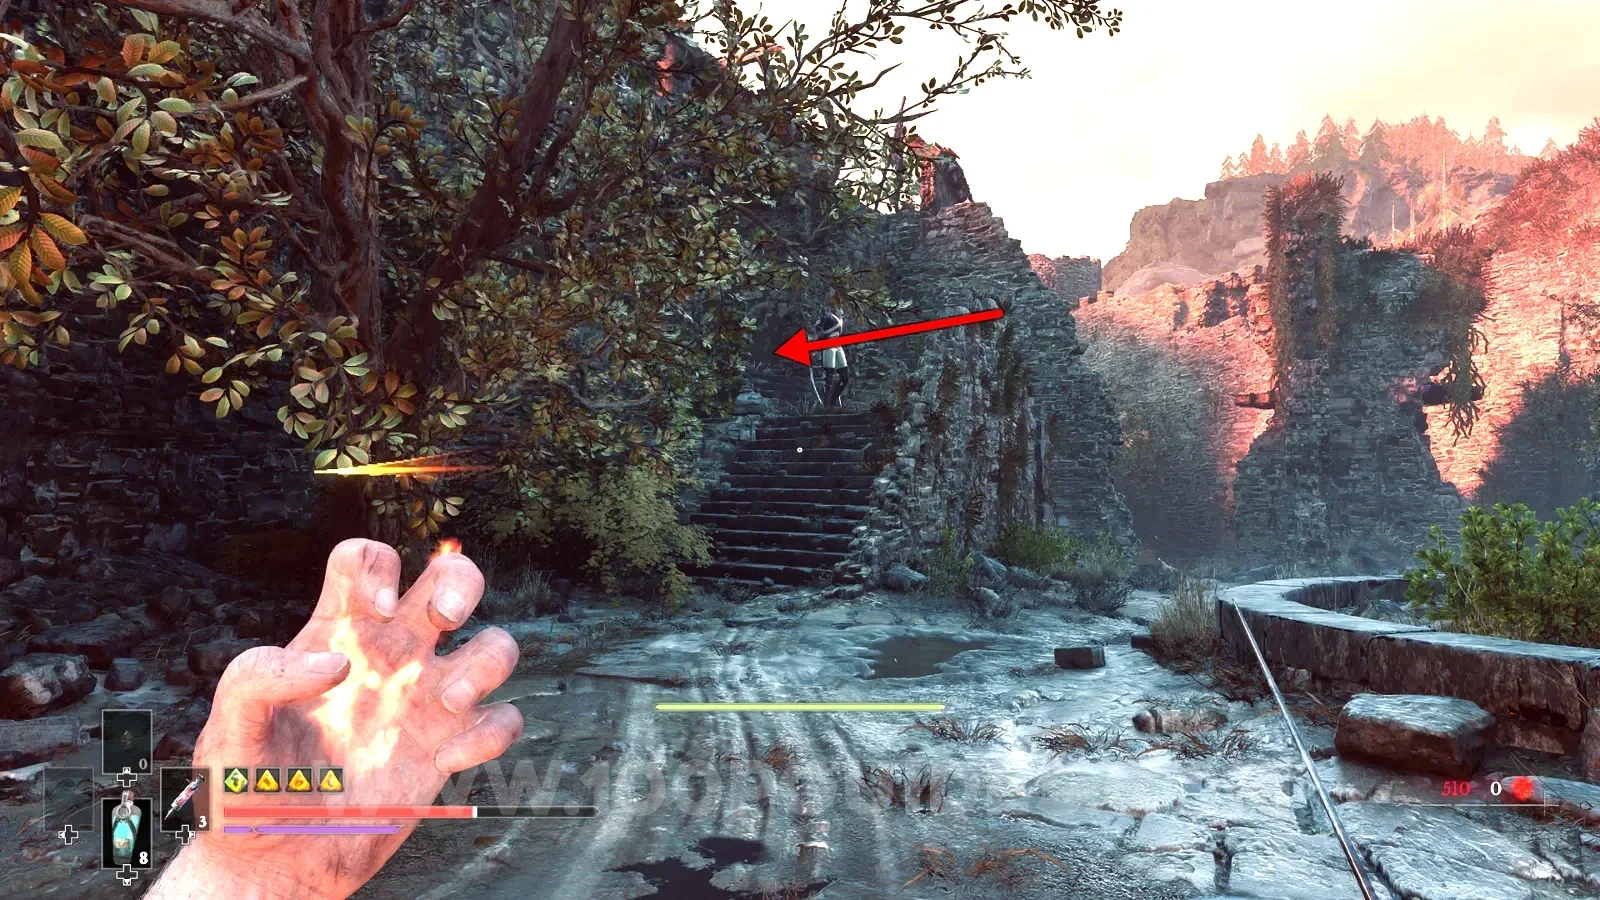
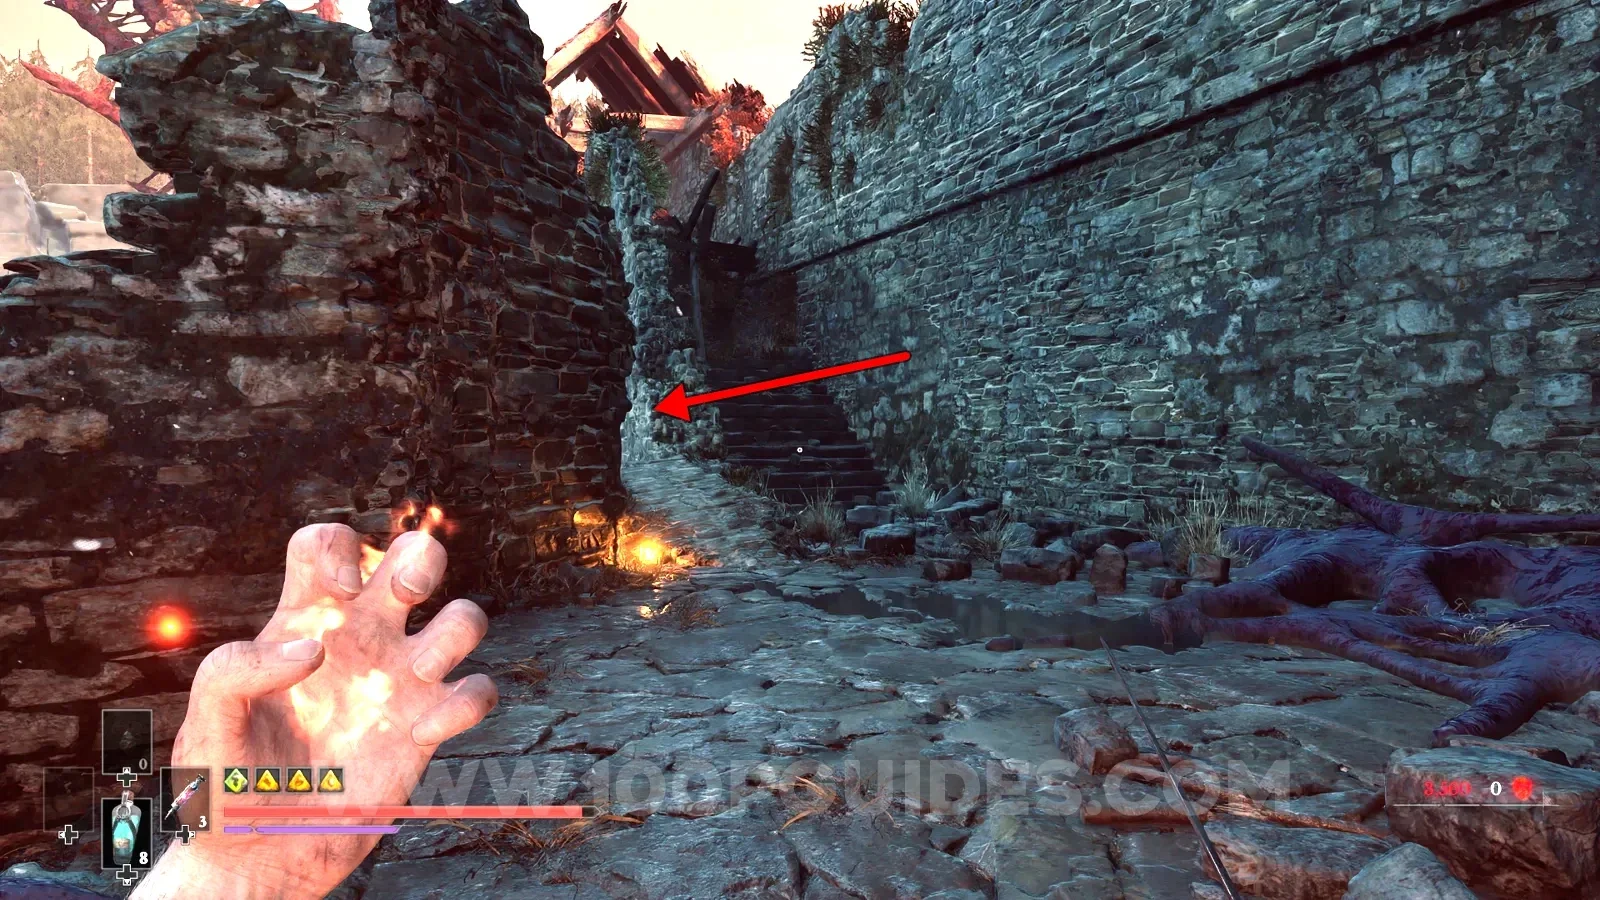
- Found between the double gates in the Fortress area, which open once you light both signal fires. To do this, start from Fortress > Traverse, turn around, head through the gate and then head right to the area with the fountain. Here, stick to the left side and head up the stairs. Continue by going right, then up the stairs, then swing across the main path below. Continue climbing until you grapple into a tower. Head up the stairs to find the first signal fire.
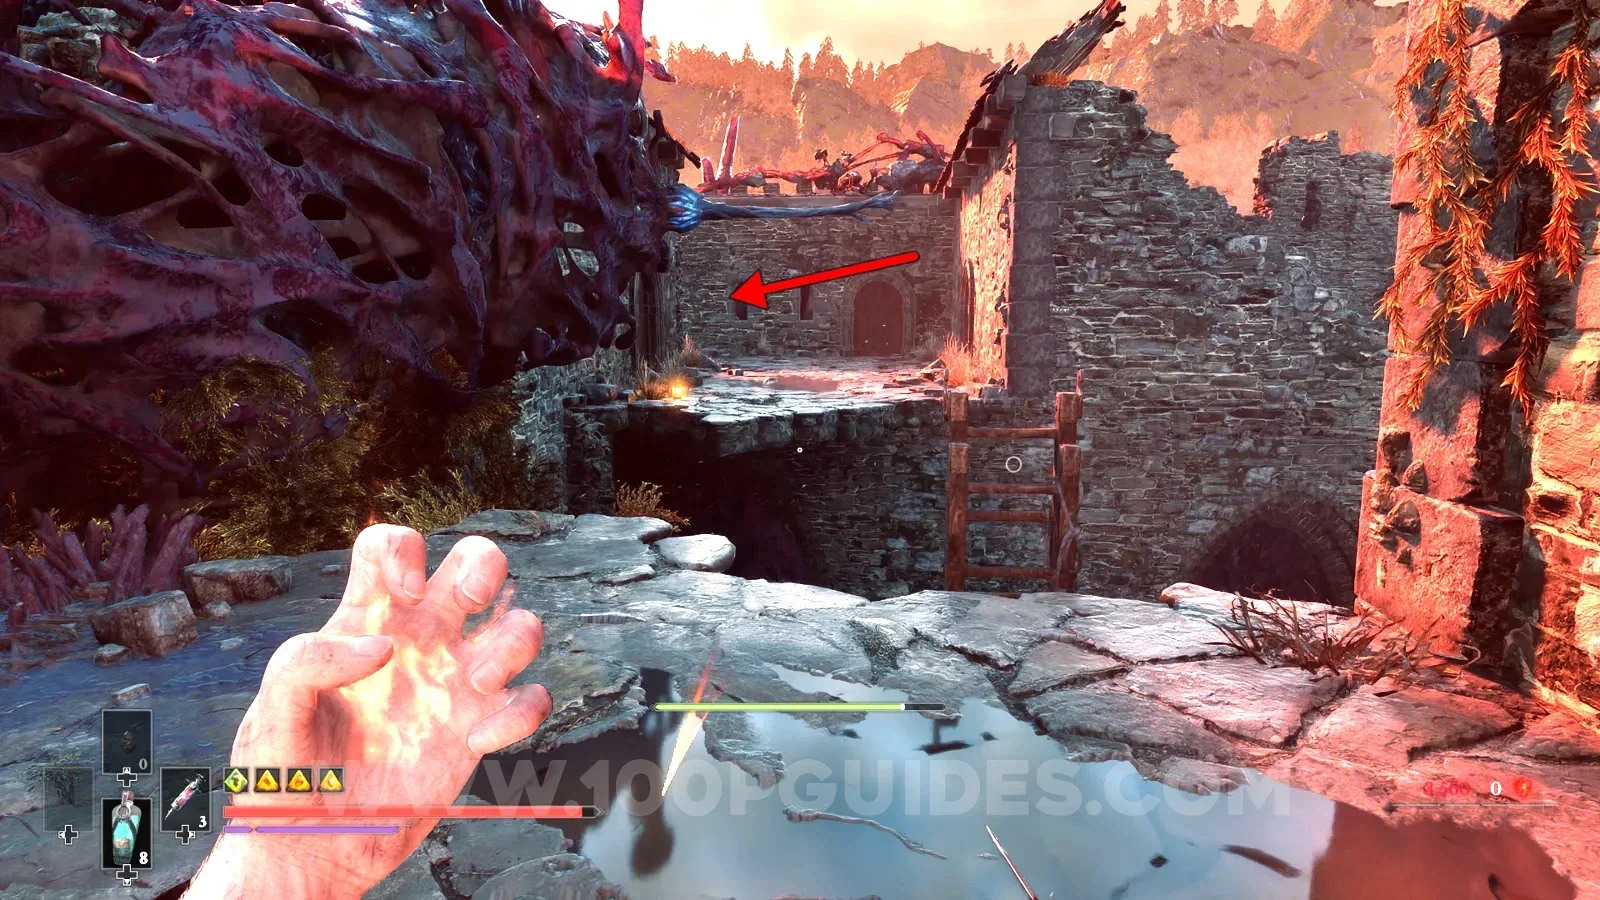
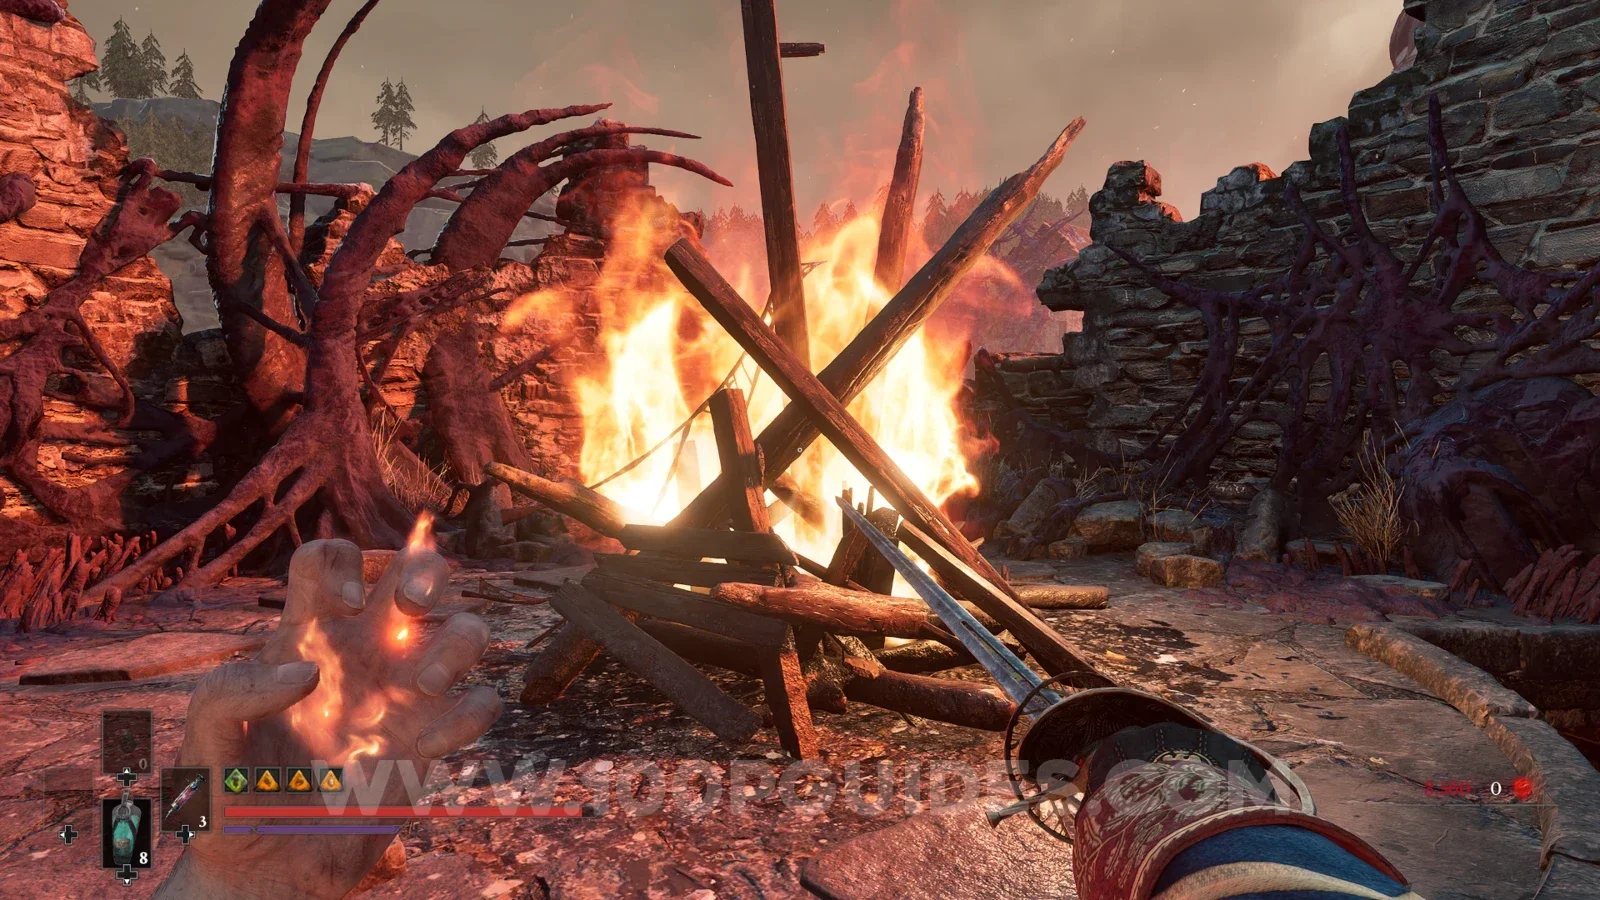
After lighting the first fire, climb down the tower and down the ladder inside. At the bottom, head forwards and use the growths on the side of the wall to climb across to the tower on the other side. Then climb to the top of that tower and light the second signal fire.
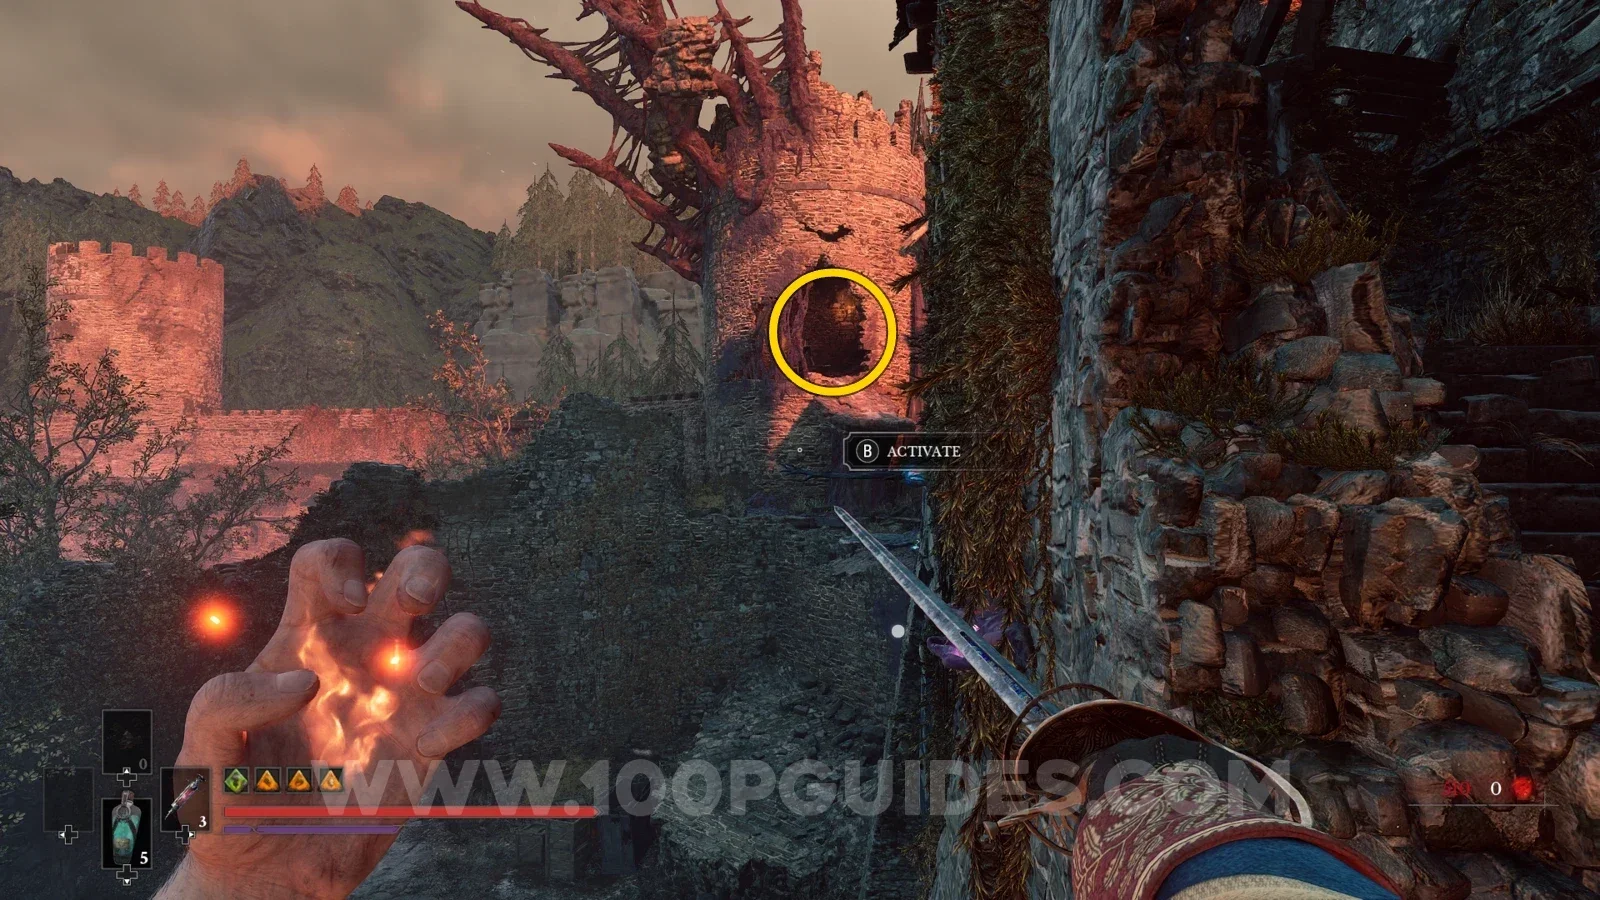
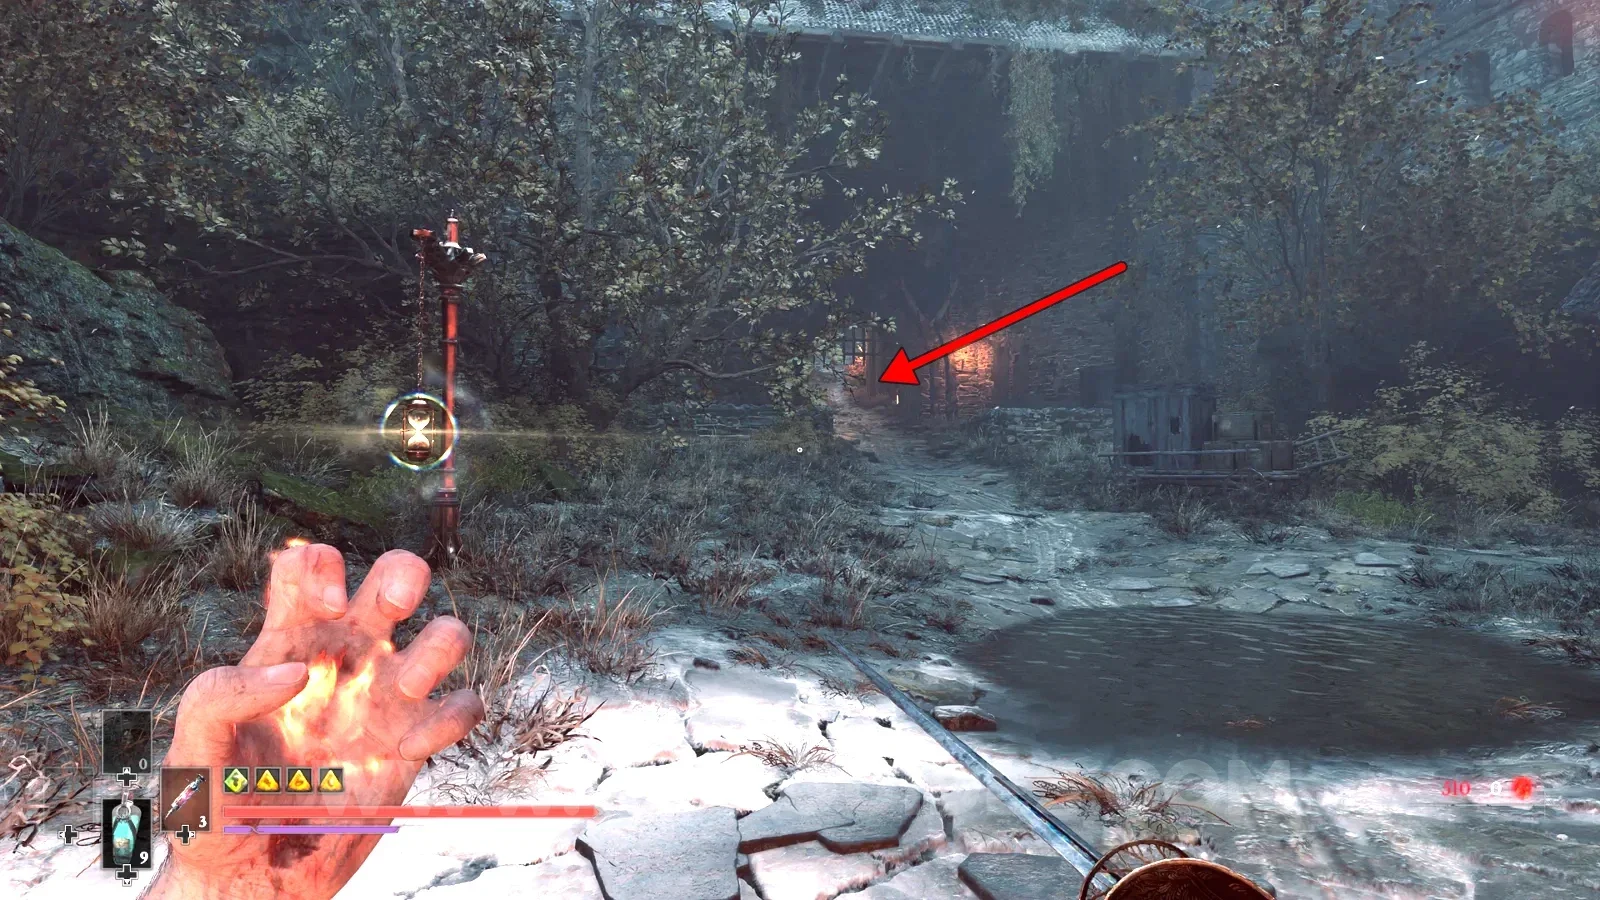
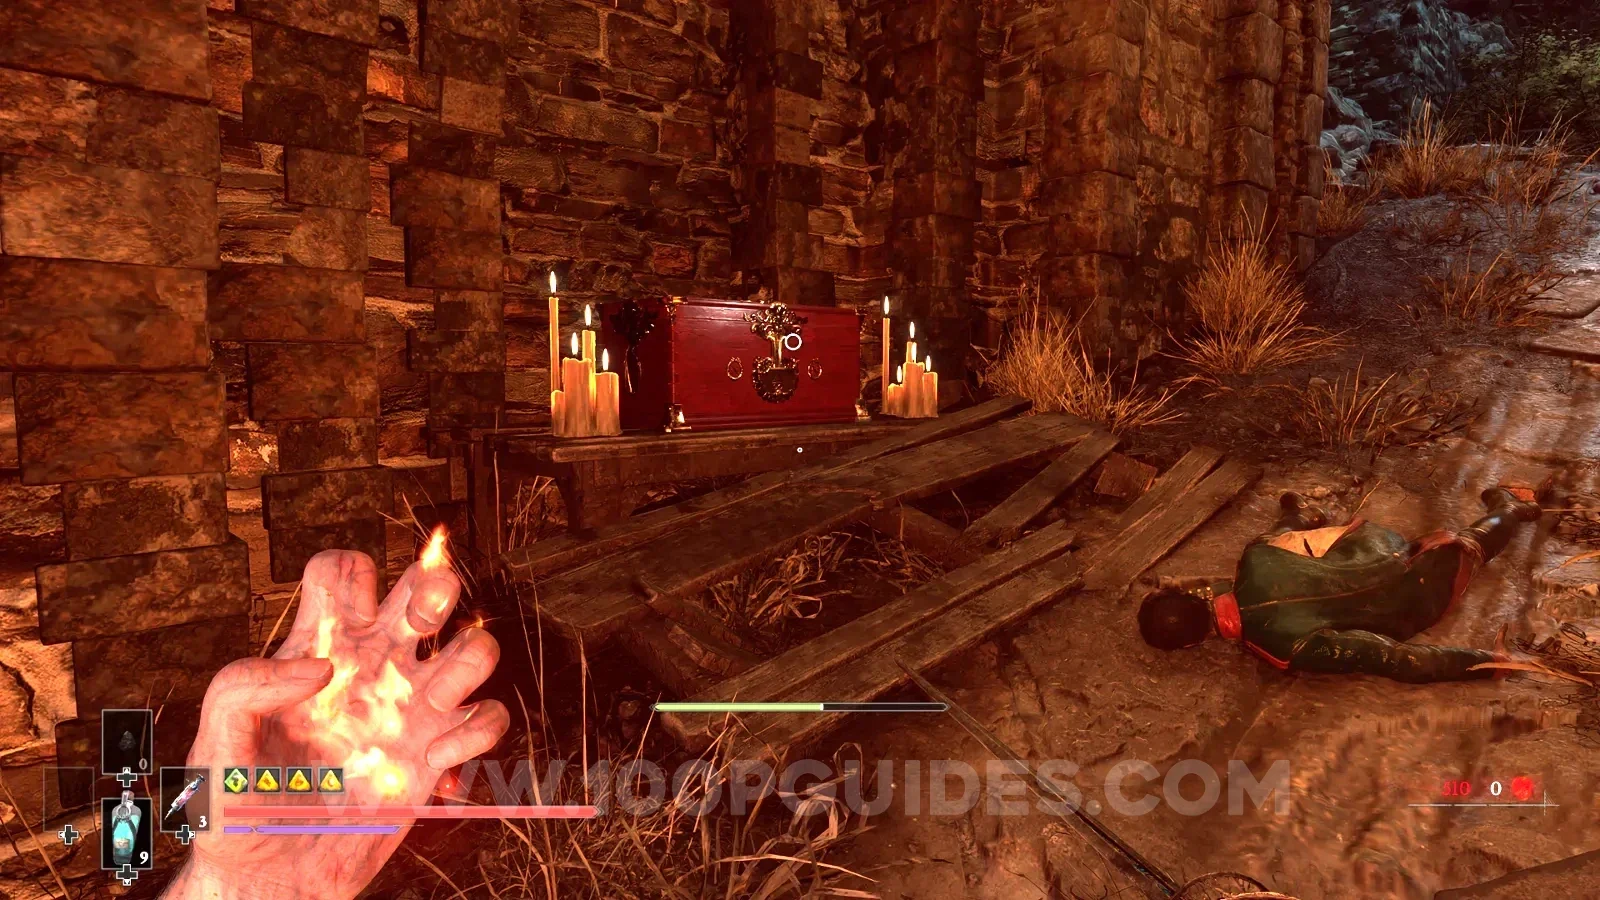
Once the gates are open, return to the Traverse lantern to find them. The chest containing the material is in between the two gates.
Upgrade a single Melee Weapon to maximum.
Upgrade any of the 3 melee weapons to max level. For the last level you will need a Quintessential Blade Material. There are only 3 in the game (one for each of the 3 melee weapons). Here are the locations:
- Found in one of the chests in the room where the Oathbound side quest ends.
- Inside the chest in the Lighthouse in The Outskirts, where you fight the Experiment 83 boss.
- Backtrack from the Fortress > Traverse lantern, and in the underground area head right, then pull out the blue node on the wall and use it to swing across. Follow this path until it splits into 3. Here, go right to find the material in the chest at the back of the poison-filled room.
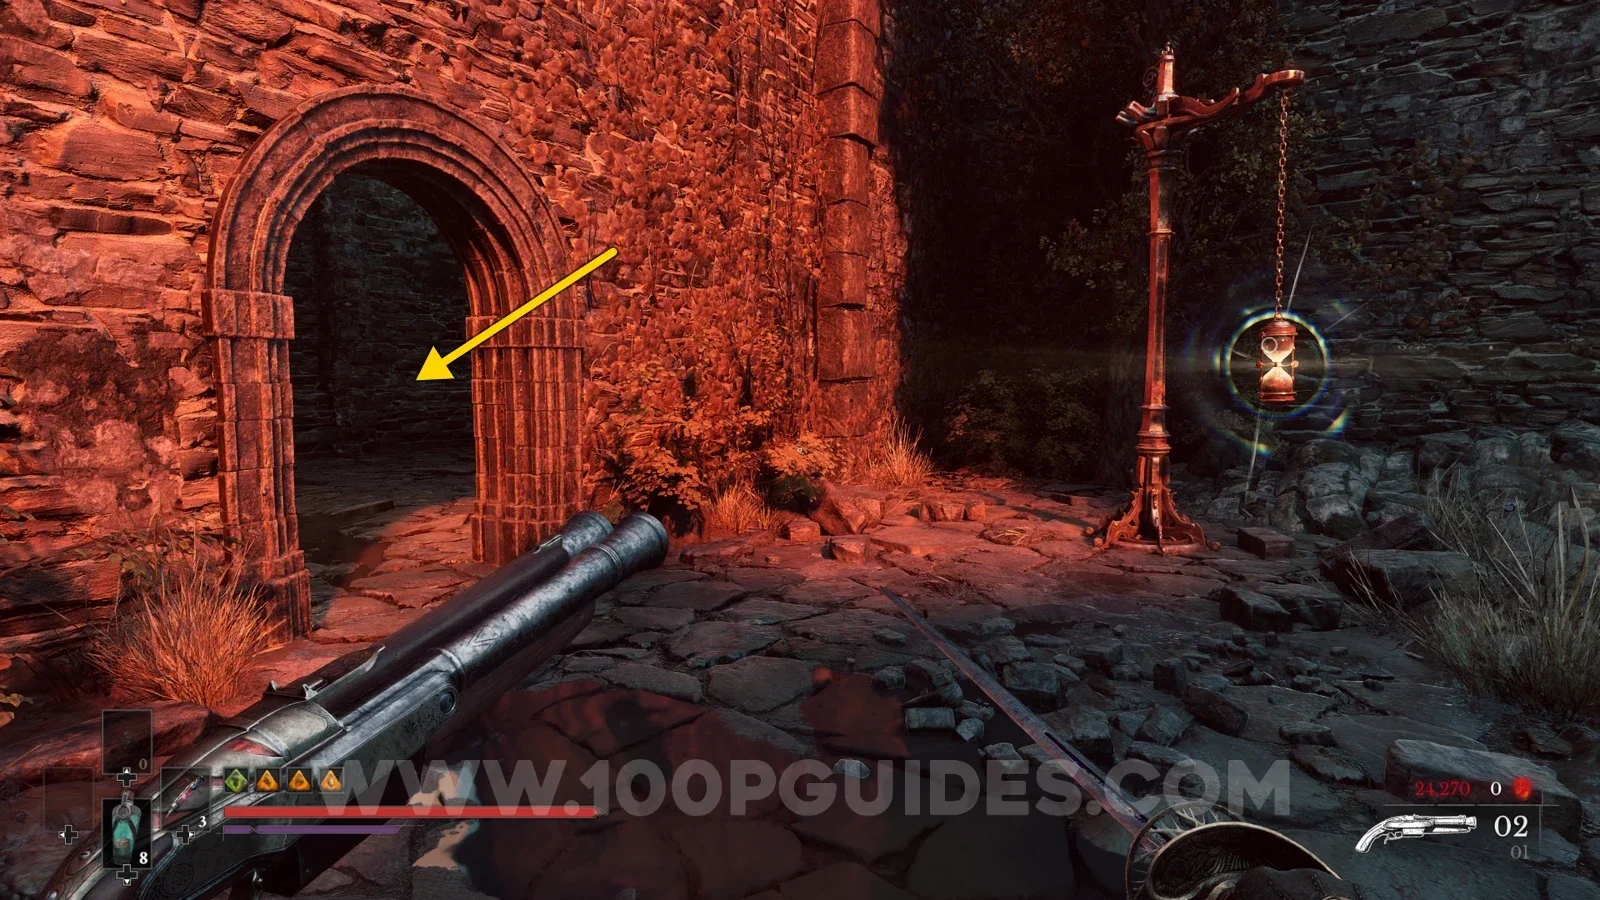
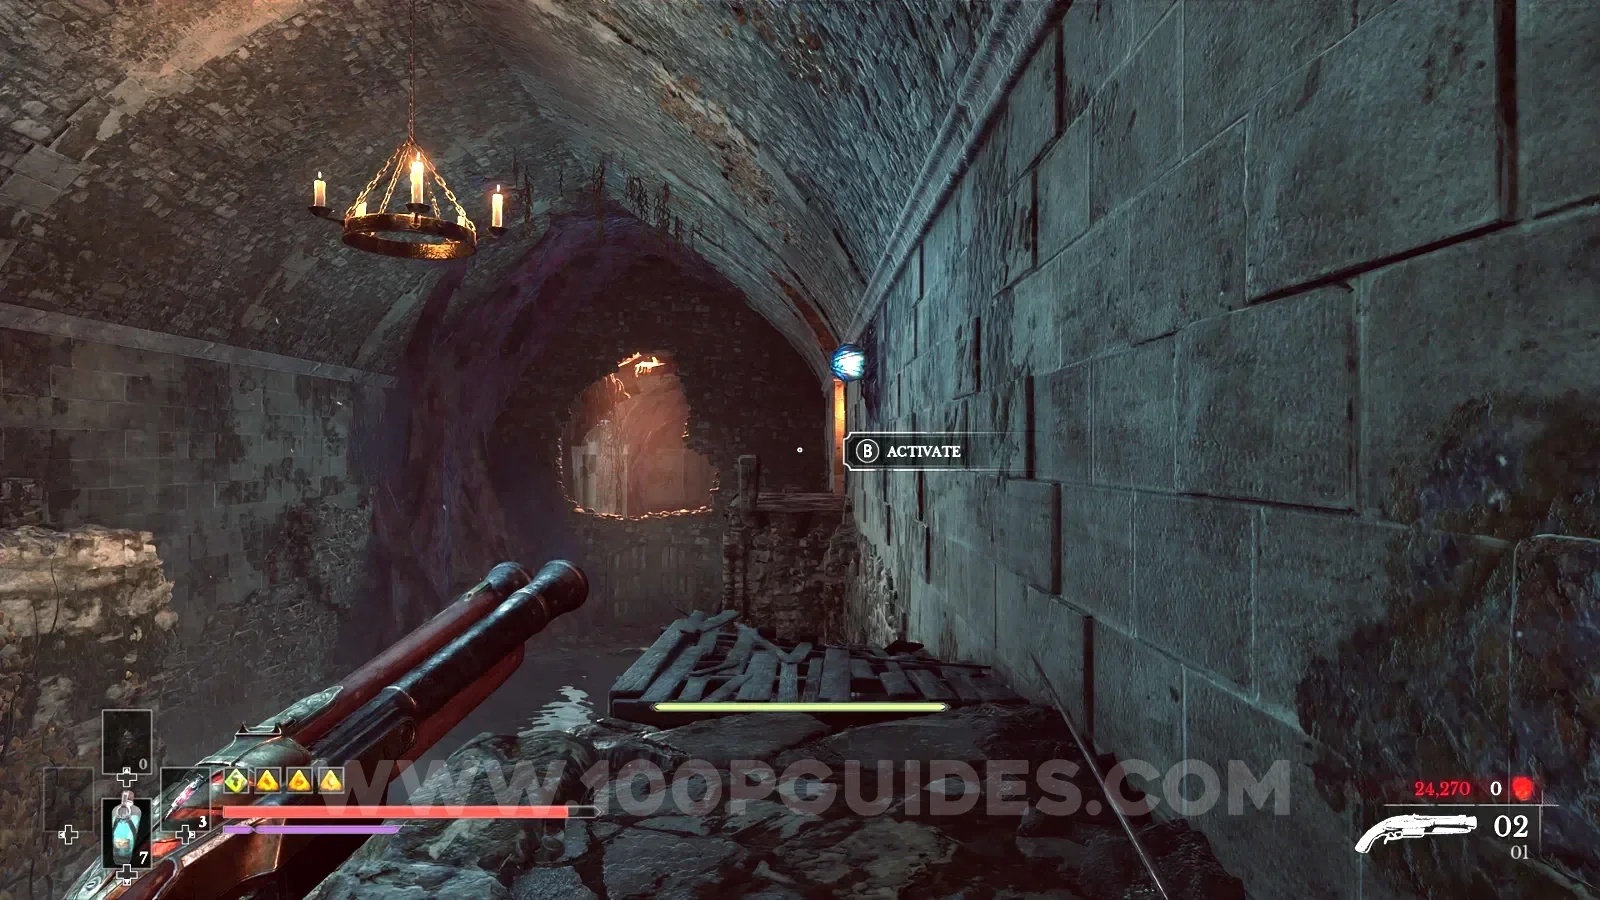
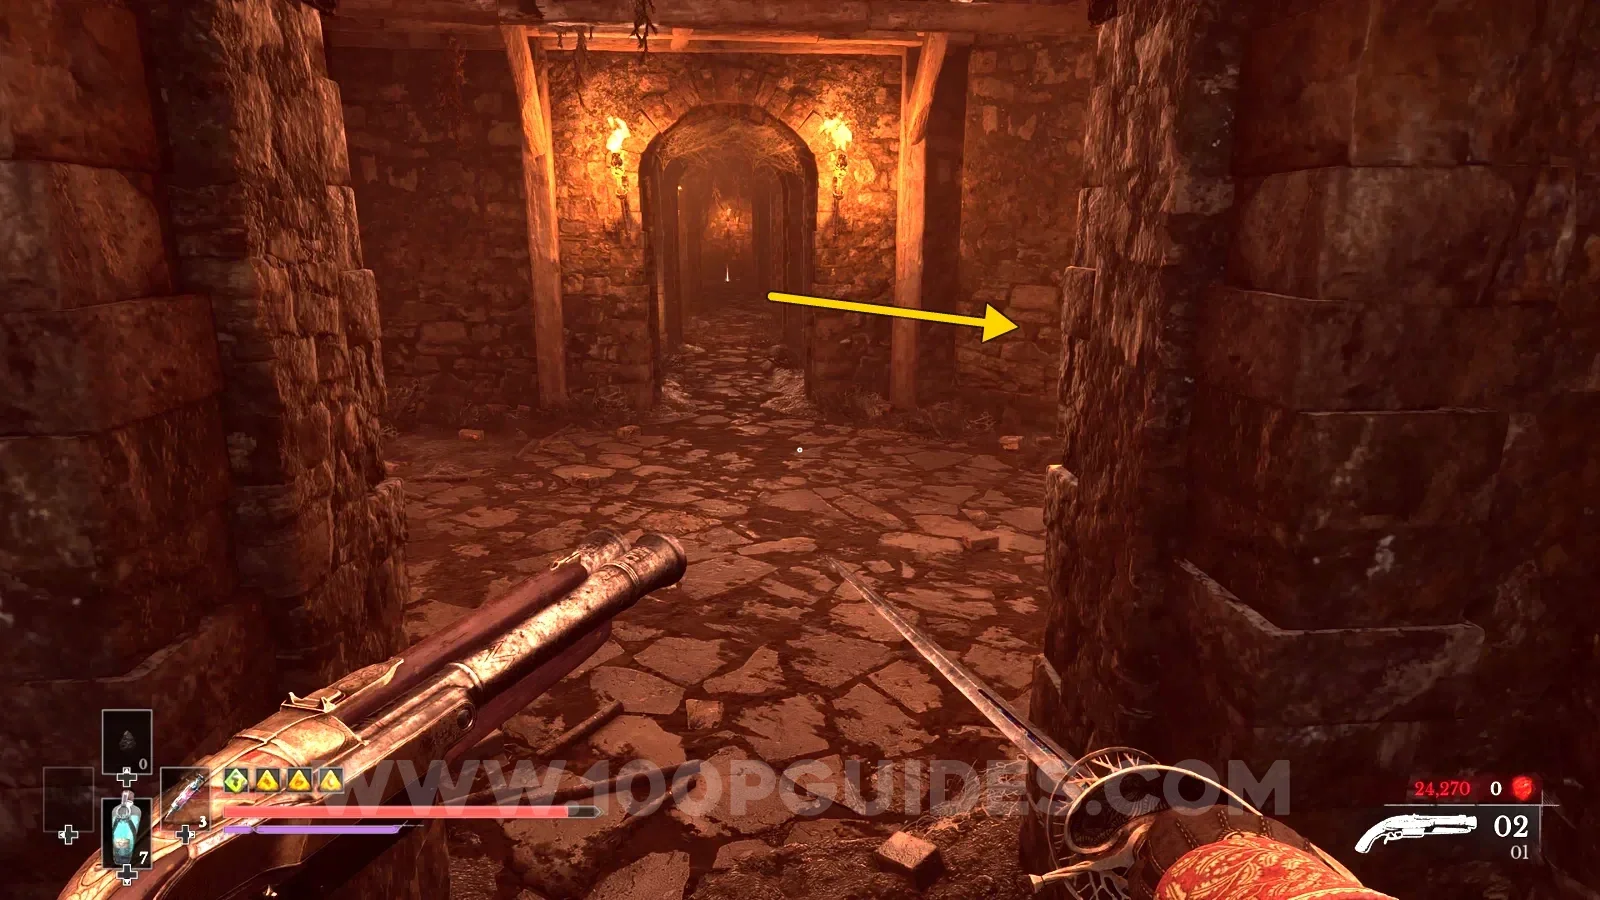
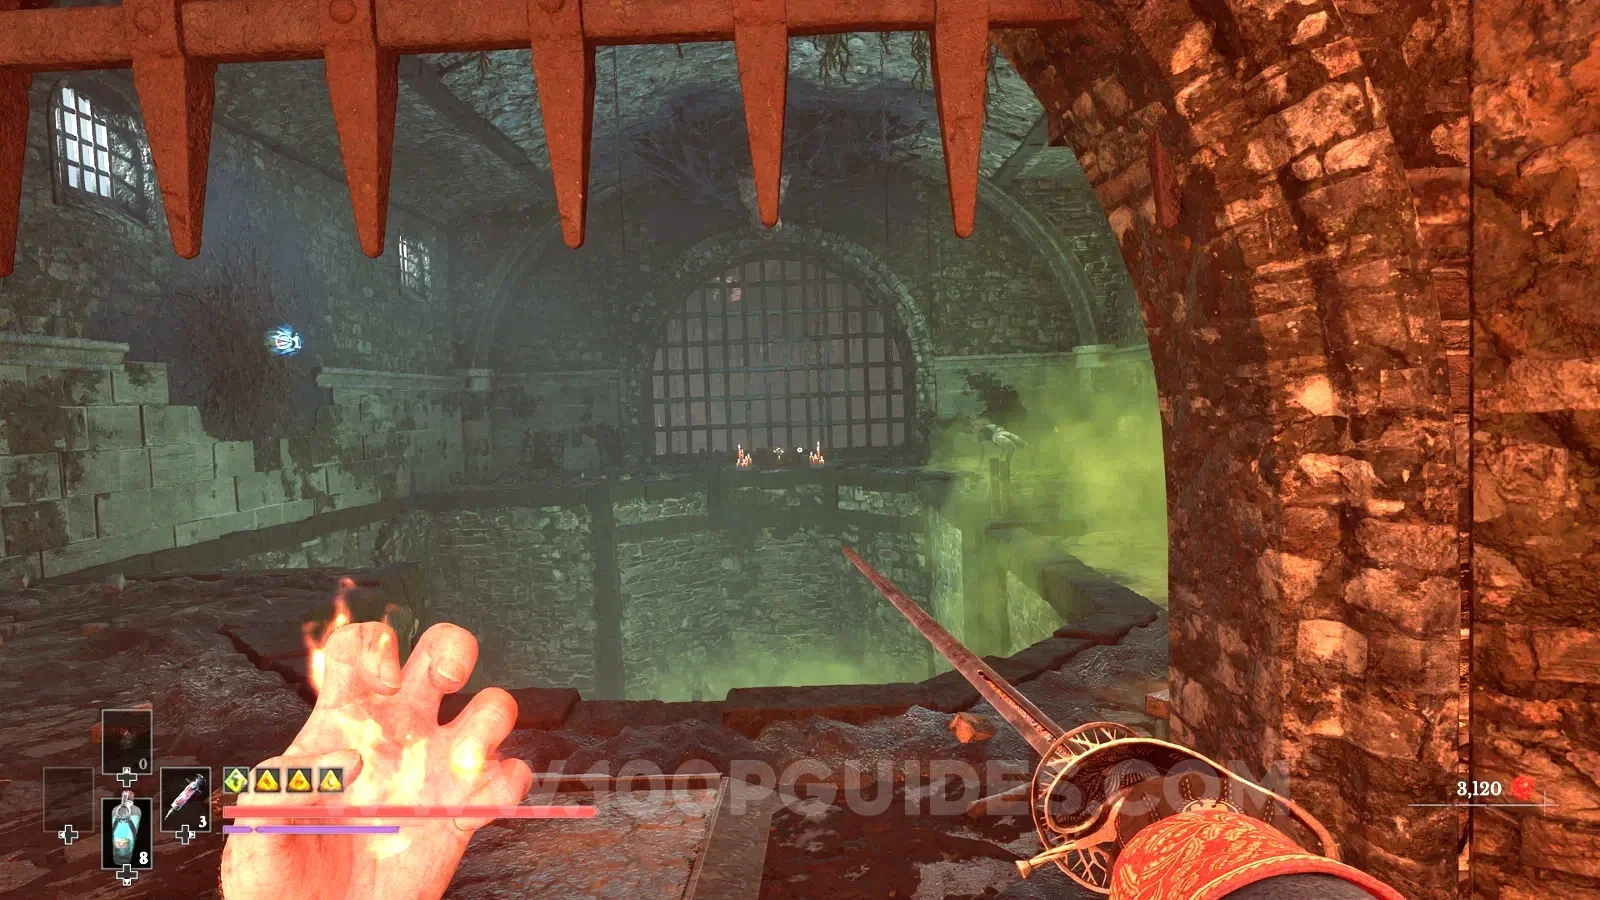

Kill an enemy with a headshot after a wall jump.
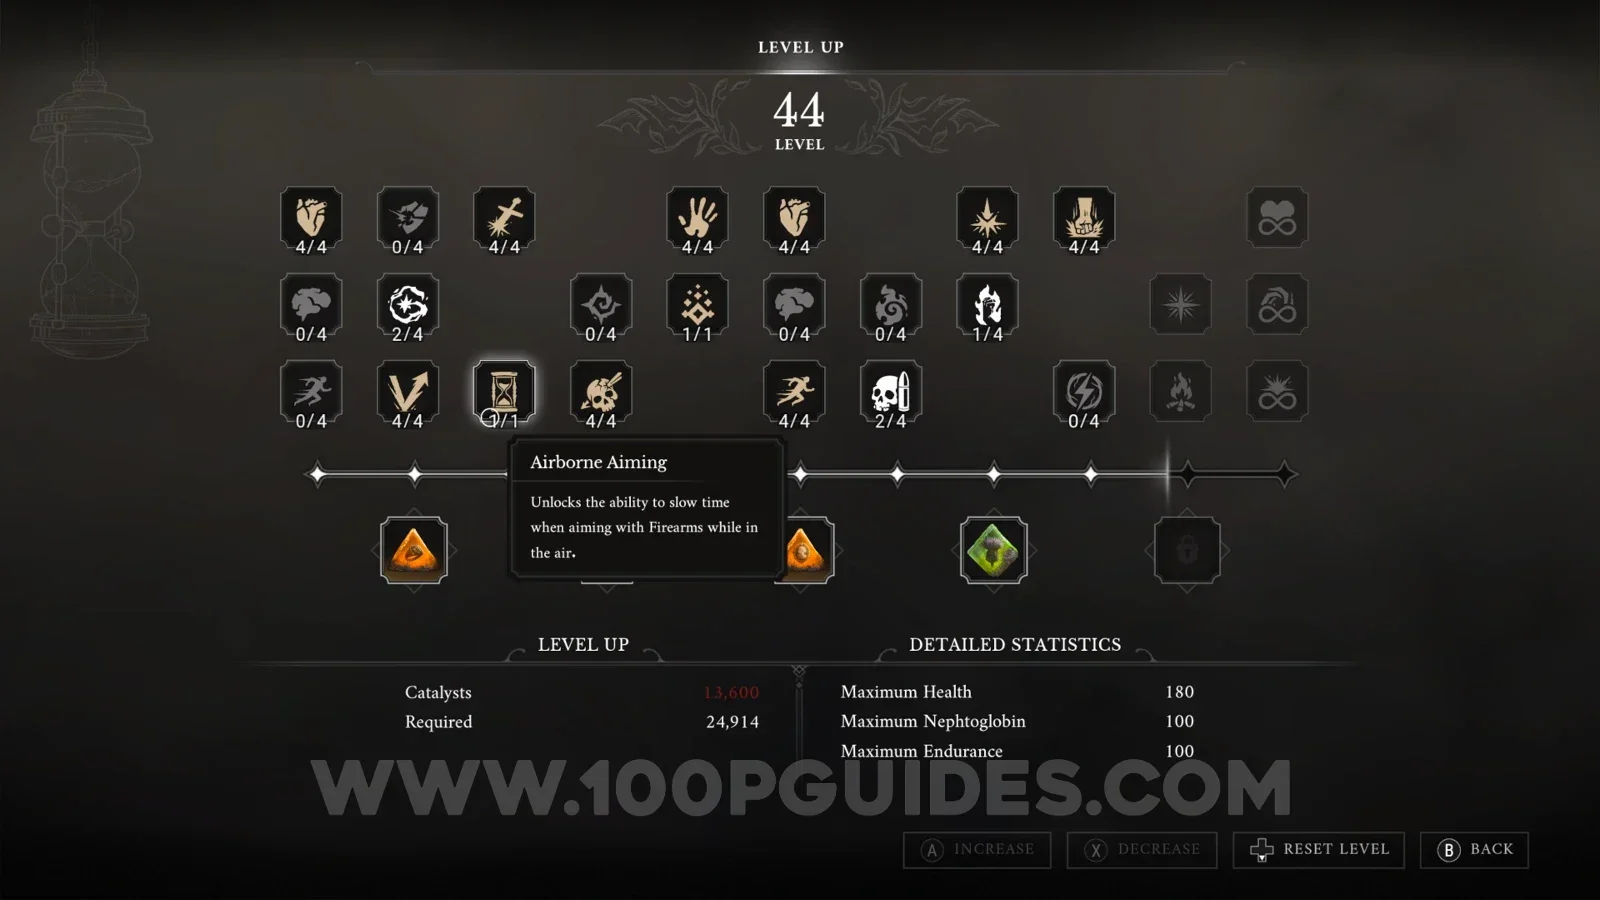
First, make things easier by learning the Airborne Aiming skill in the skill tree. This slows down time when you aim a firearm in the air.
Then head to The Outskirts > Beach, turn around and jump down to the area below. Here you have plenty of places to wall run and grapple for some air time, with lots of enemies whose weak spot is their head.
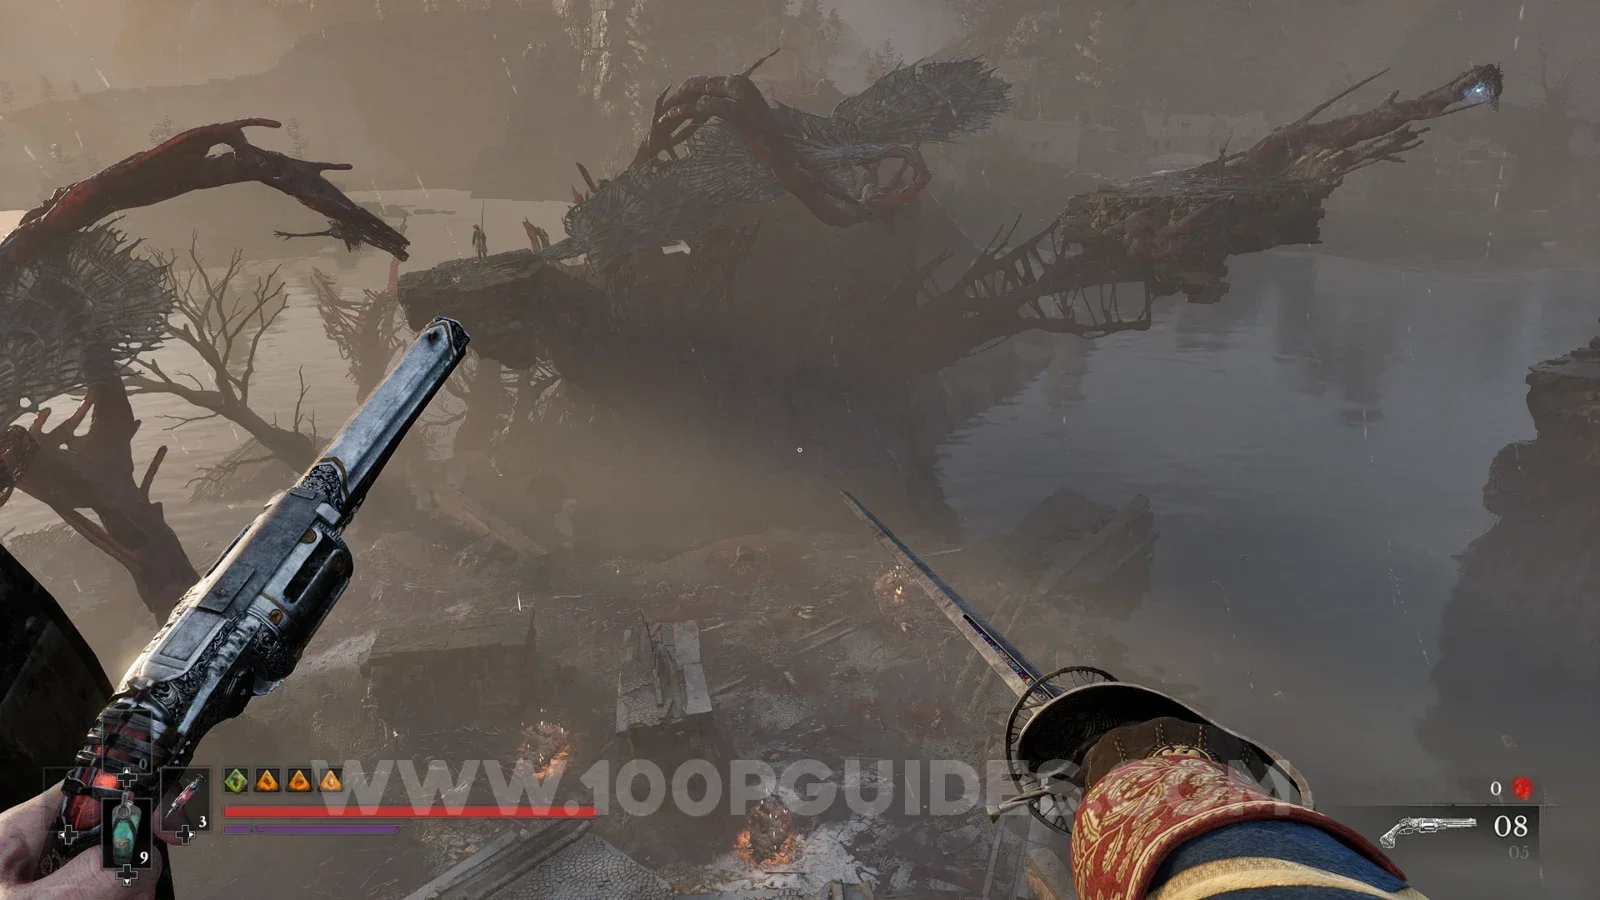
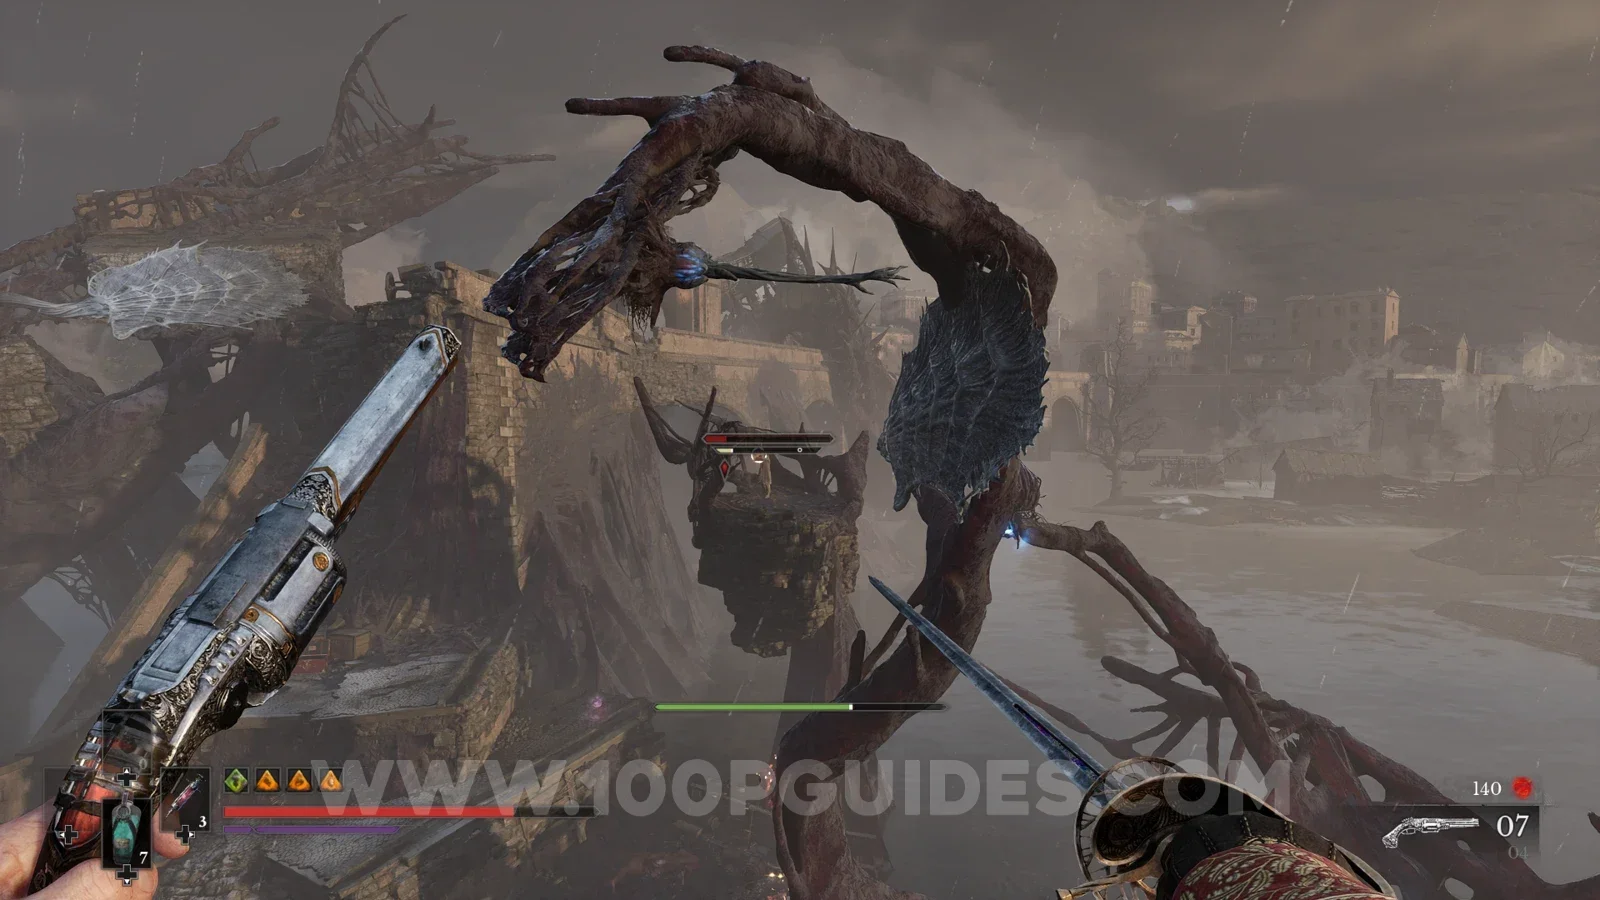

Kill 5 enemies with a single Blunderbuss shot.
Self-explanatory: group 5 enemies together and kill them all with a single shot of the Blunderbuss. A good spot for this is Valley of Ashes > The Other Side. Head down the hill past the first two enemies without killing them, then continue to the area with explosive barrels, where another 4 or 5 enemies attack you. Group them up and line them up to get the trophy. If you are not doing enough damage, hit them all a few times with your pistol or melee weapon first so they are on low HP.
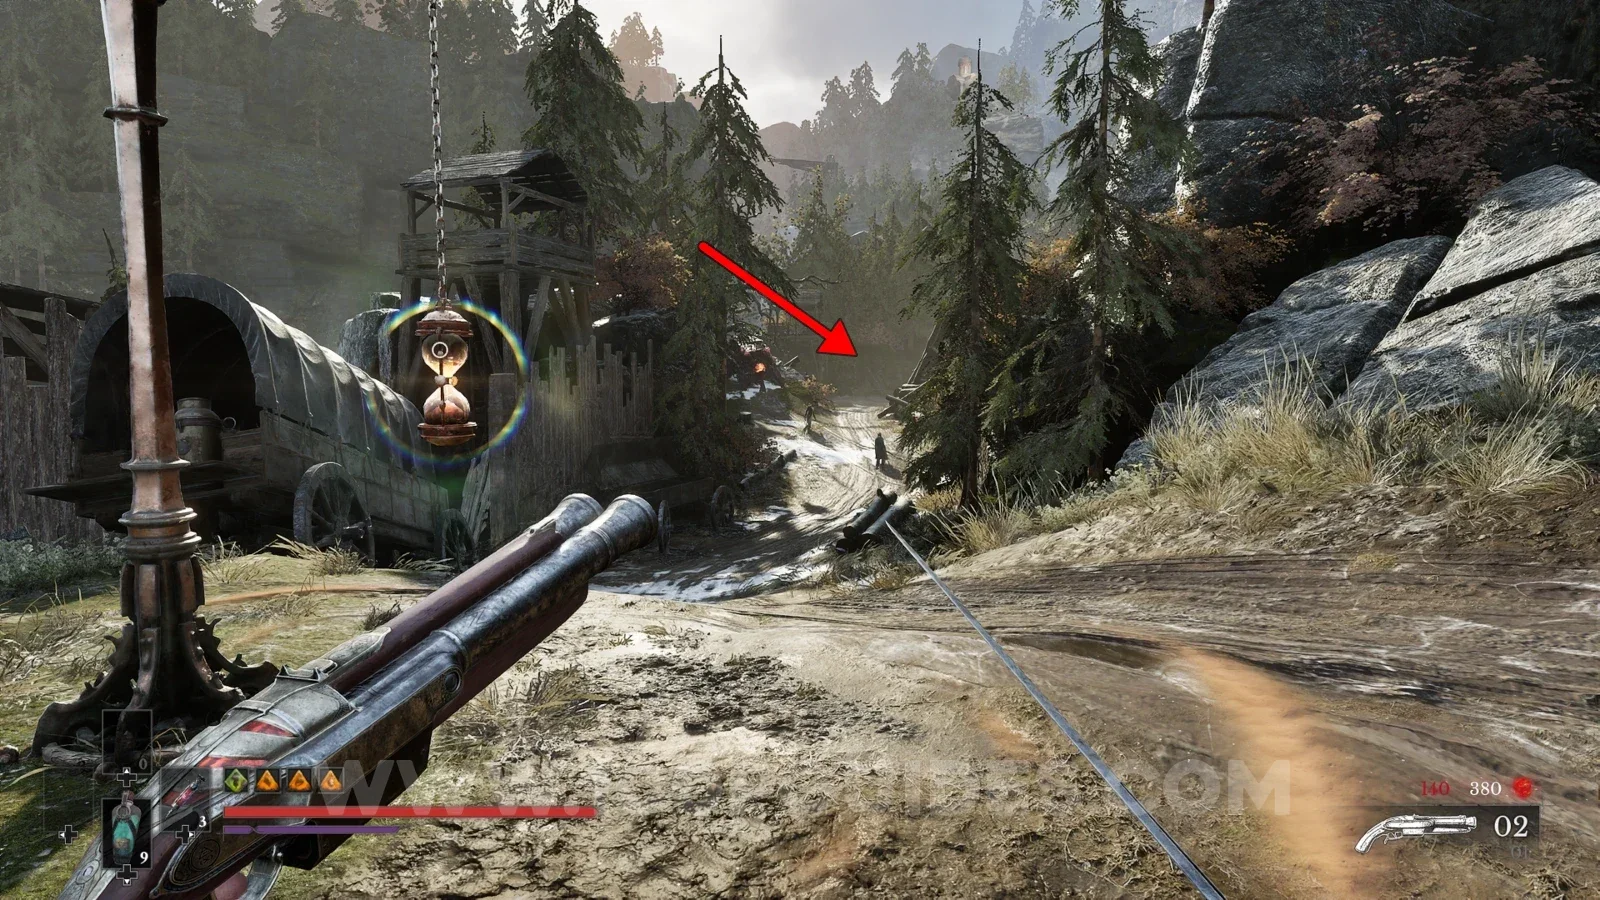
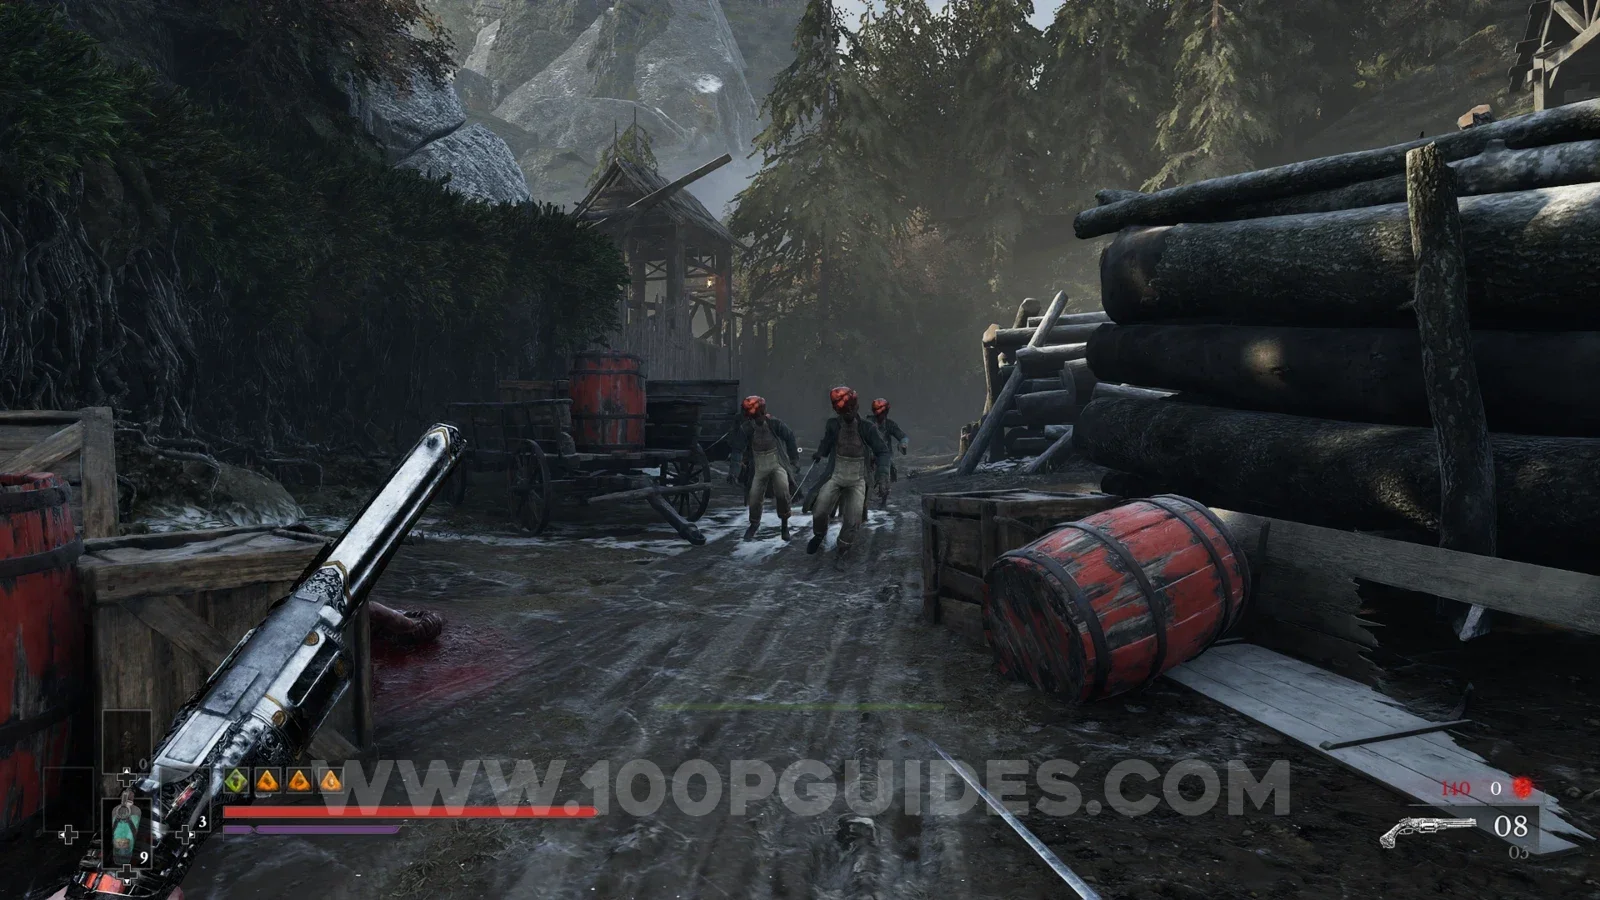

Kill 3 enemies with a Pistol while aiming in mid-air.
Kill 3 enemies with your pistol while in the air. They do not need to be in the same jump, just 3 times over the whole game.
First, make things easier by learning the Airborne Aiming skill in the skill tree. This slows down time when you aim a firearm in the air.
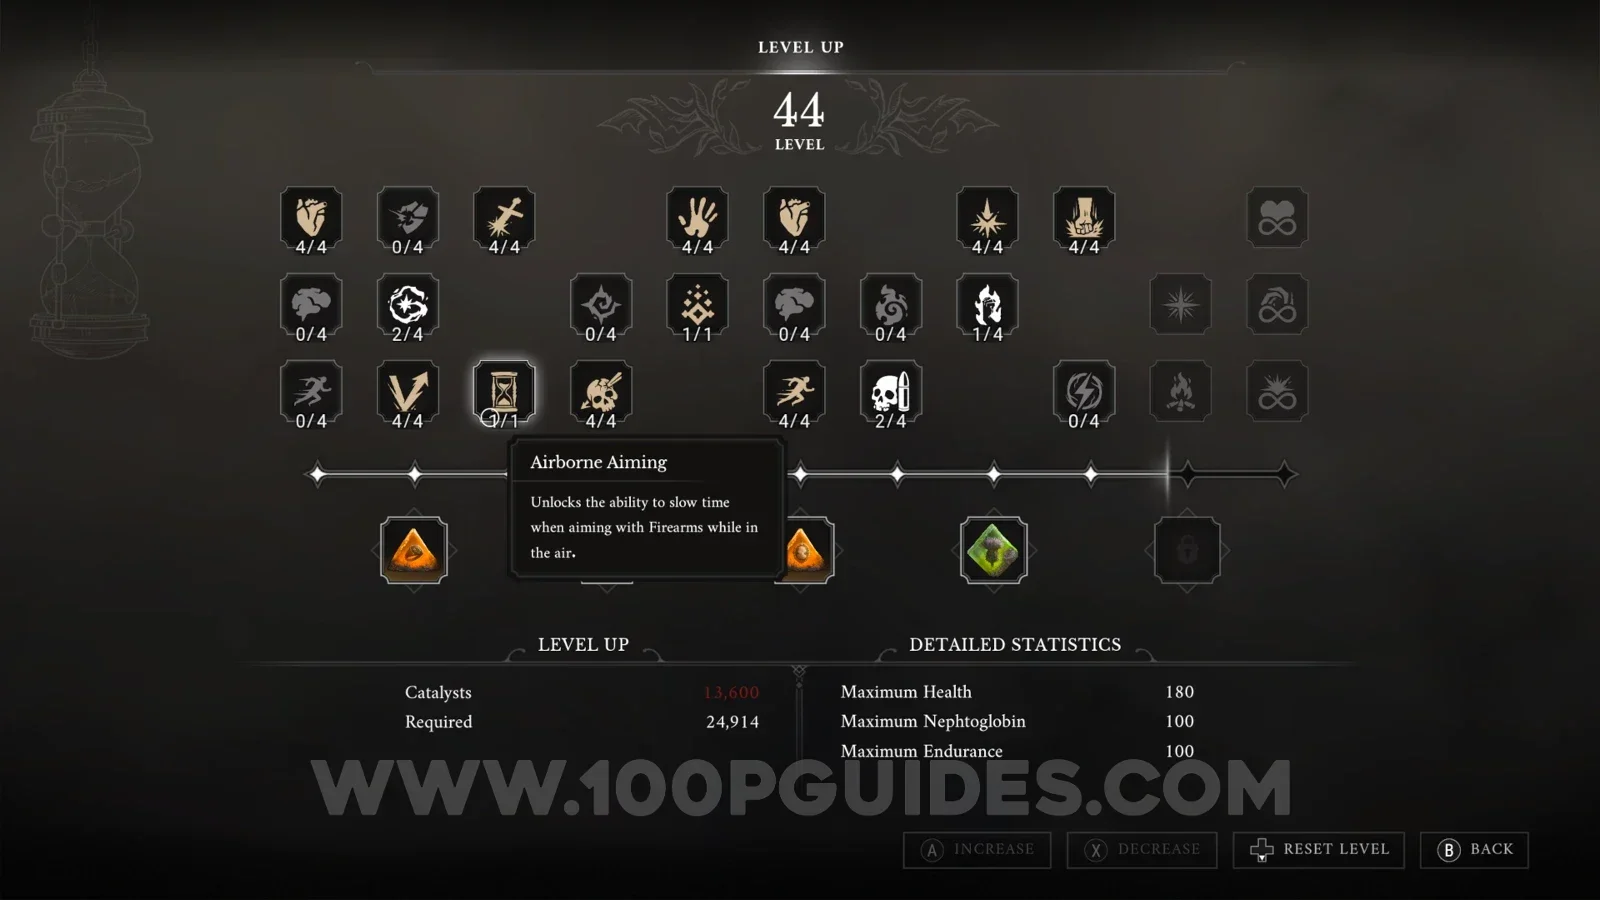
Then head to The Outskirts > Beach, turn around and jump down to the area below. Here you have plenty of places to wall run and grapple for some air time, with lots of weak enemies.
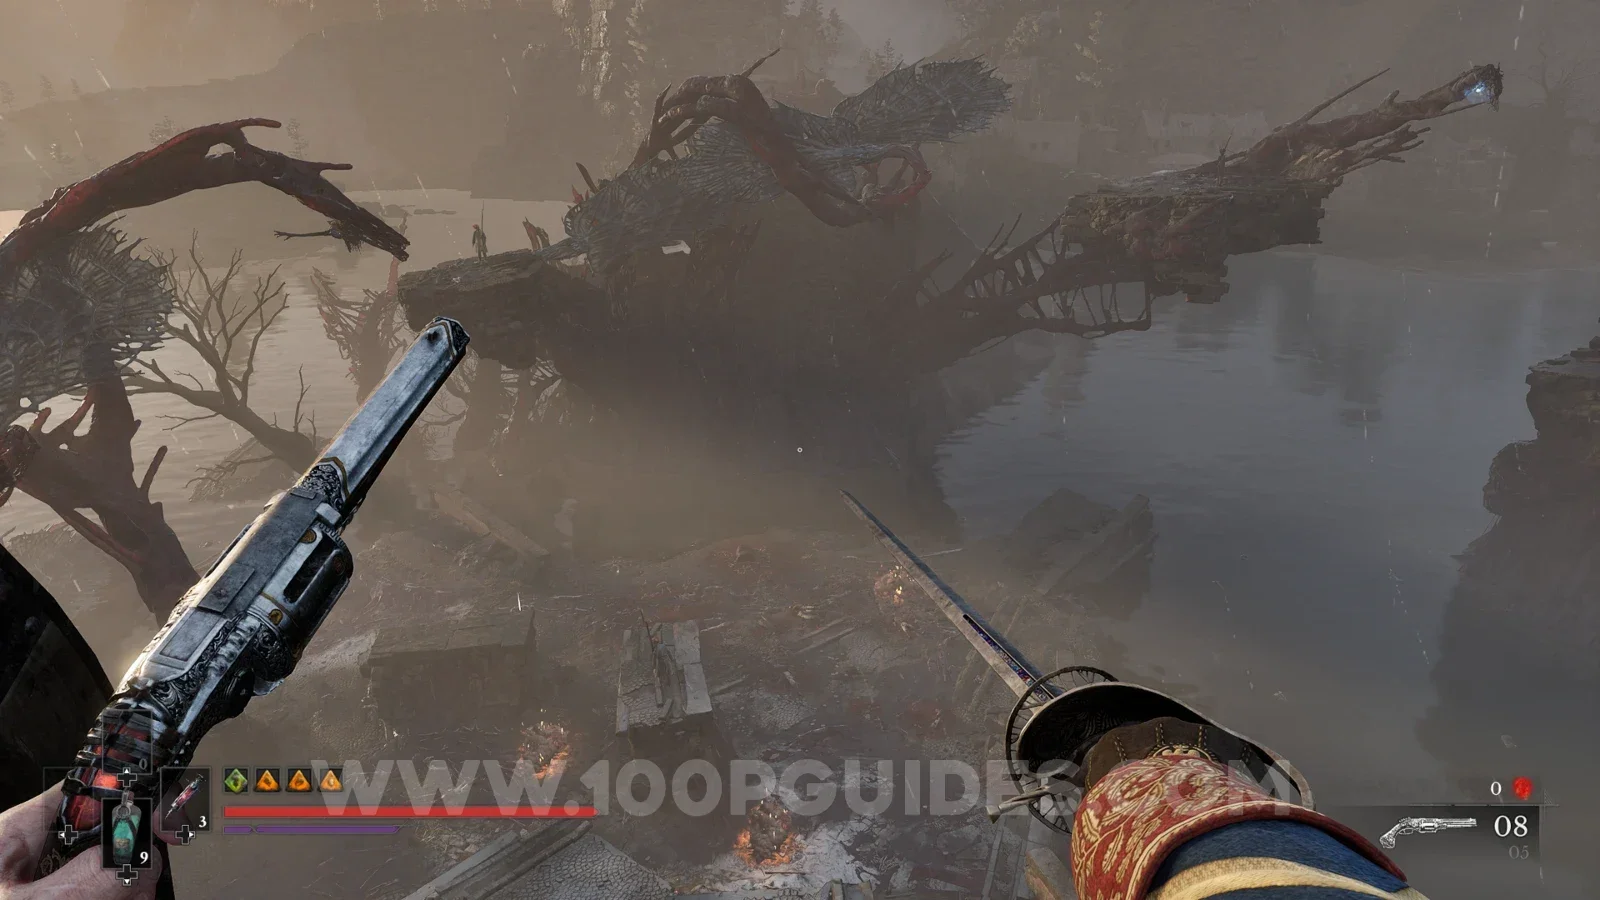
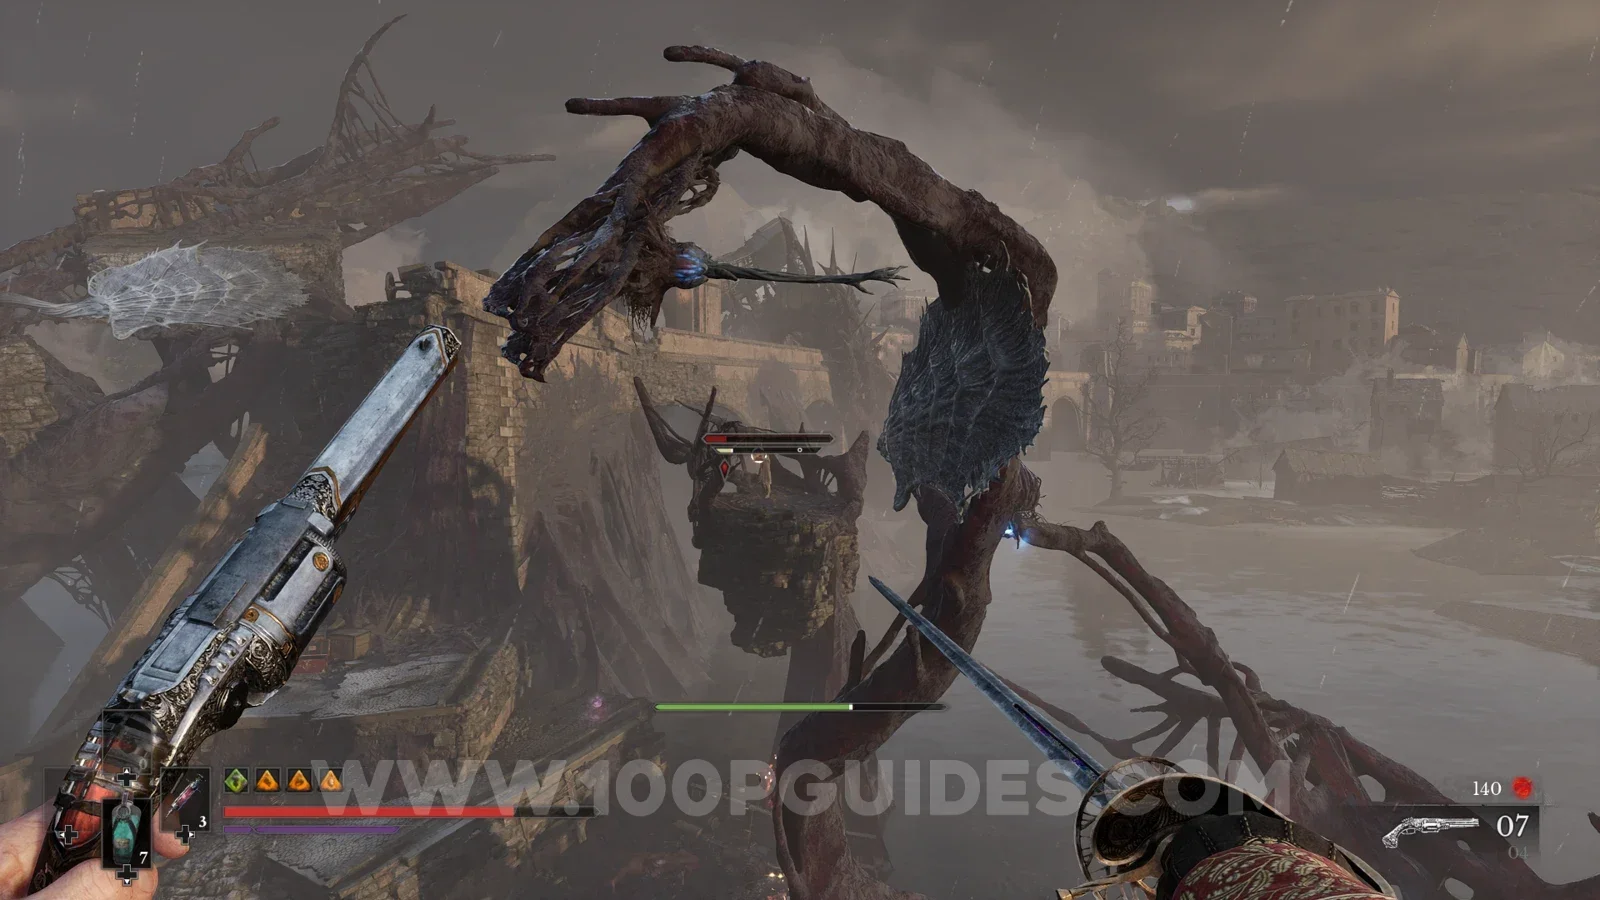

Decapitate 3 enemies with a single Claymore attack.
The Claymore is the final melee weapon you get in the game. With it, you can hold down to perform a strong attack, which decapitates weak enemies. To get the trophy you have to do this to 3 enemies with a single swing. A good spot for this is Valley of Ashes > The Other Side. From the lantern, run down the hill past the first 2 enemies without killing them. Once you get to the explosive barrels, another 4 or 5 enemies come out. Round them up with the previous two to get the trophy. If you are not doing enough damage, you may have to upgrade the Claymore a little, or hit them a few times with other weapons first to get them to low HP.
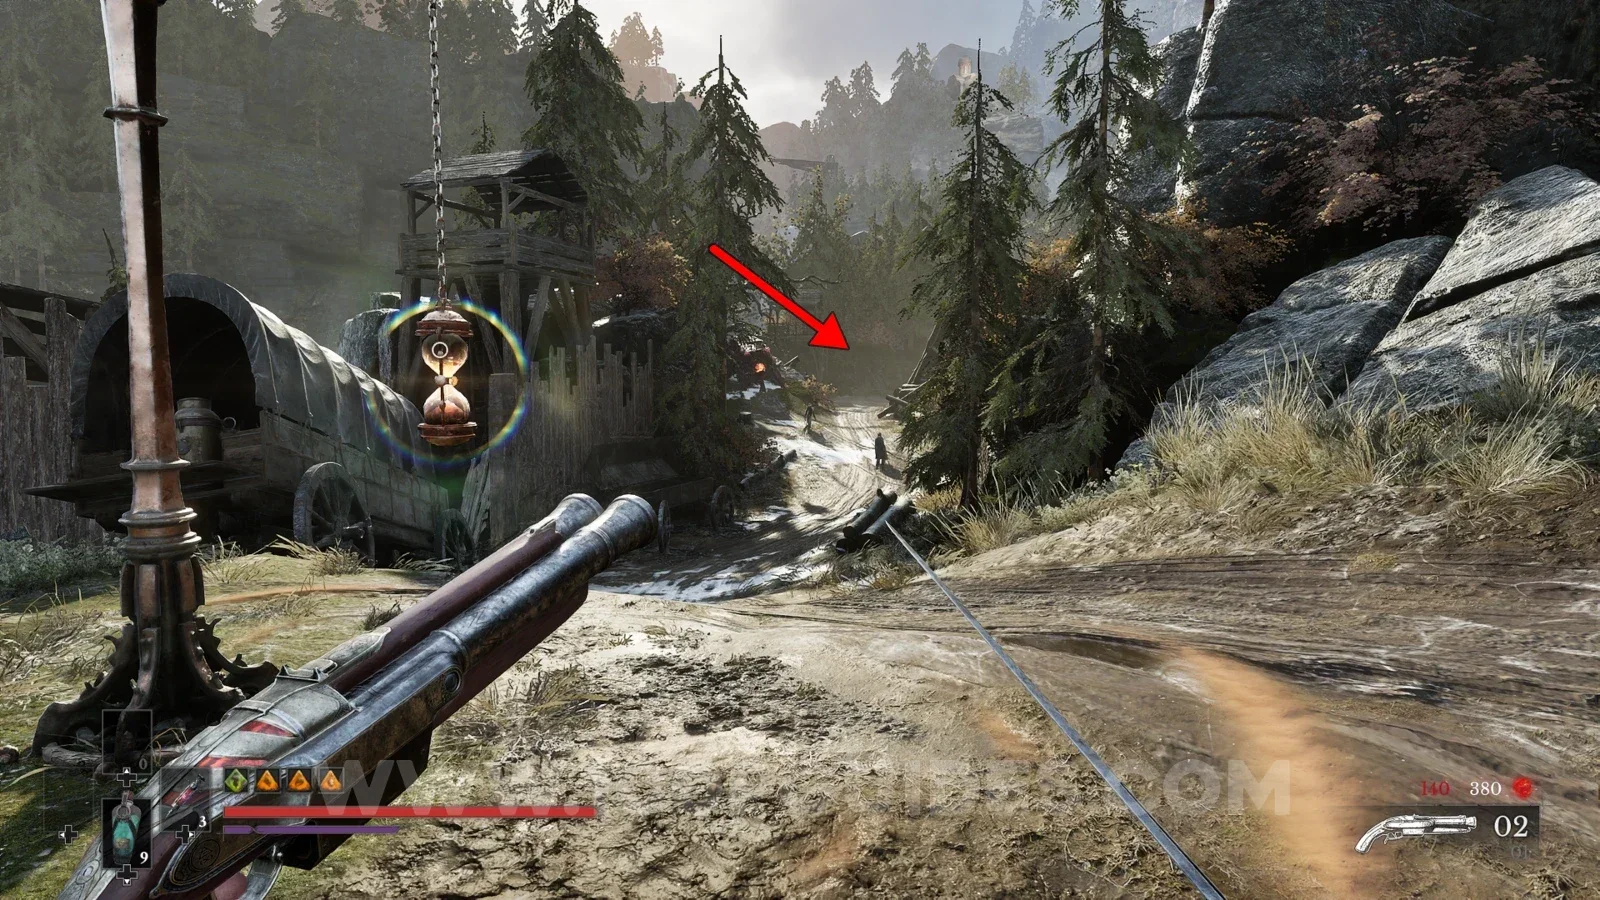
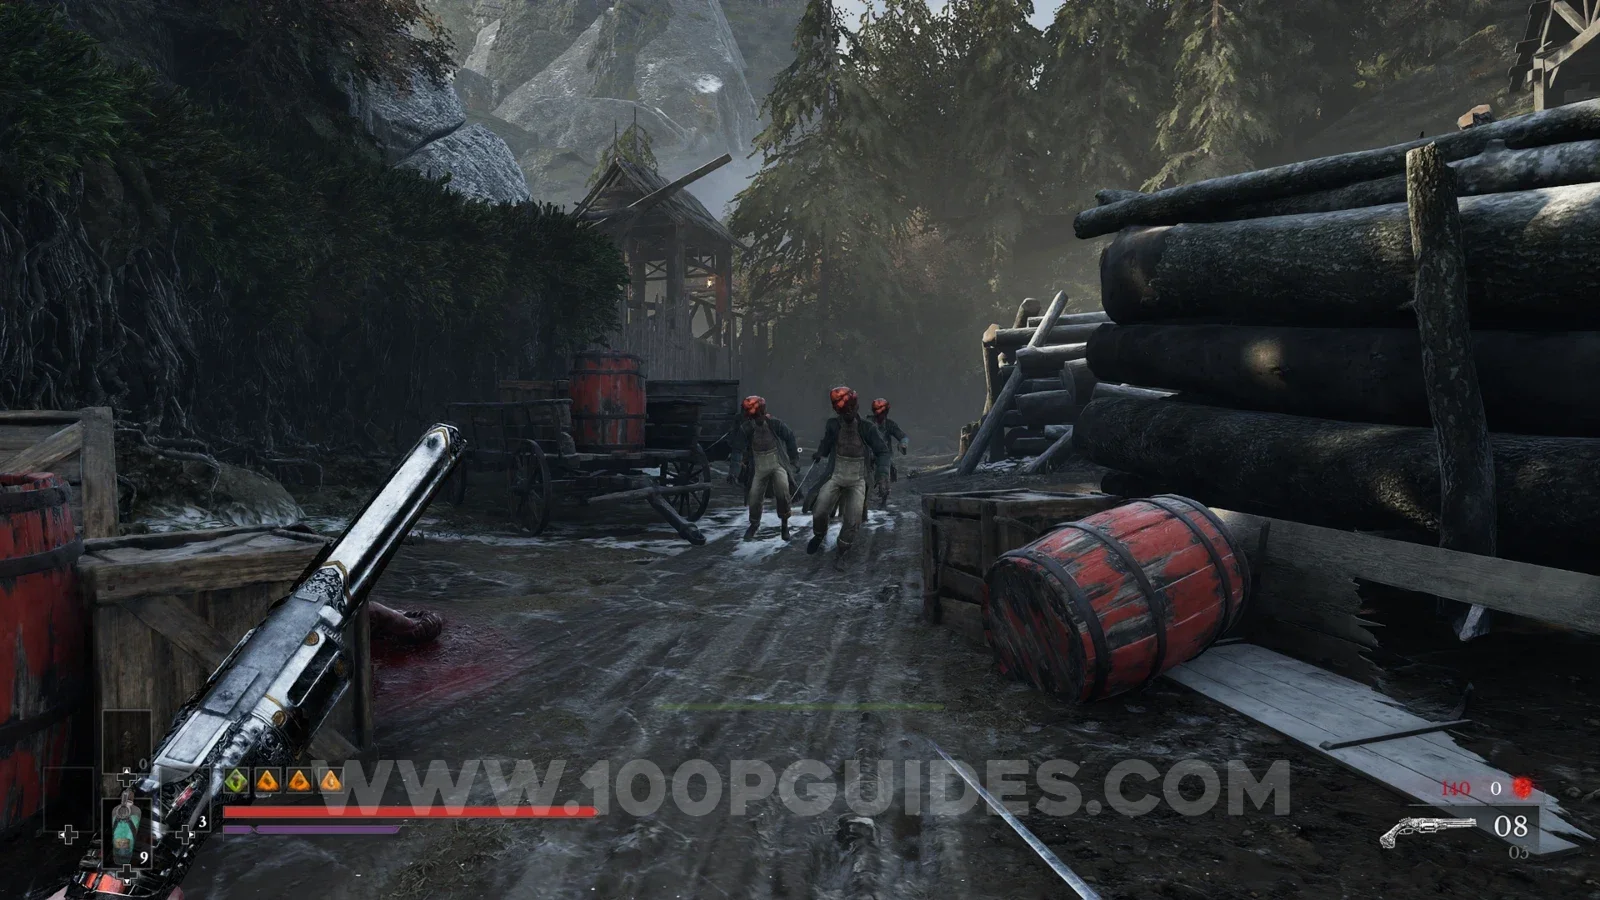
Perform 10 Parries without taking damage.
Self-explanatory: get 10 parries in a row without taking damage. You can do this against any basic enemy. If you want to make it a little easier, equip the Duellist's Focus Amber for a larger parry window.
Set 4 enemies on fire with a single Flamethrower use.
For this trophy you have to inflict the "Burn" status effect on 4 enemies with a single use of the Fire Transmutation. It is easily done with any group of weak enemies. Like before, a good spot is the group of enemies just down the hill from Valley of Ashes > The Other Side.
Fully lock Sergeant Gaspard 'Cannonhand' Dubois in Stasis.
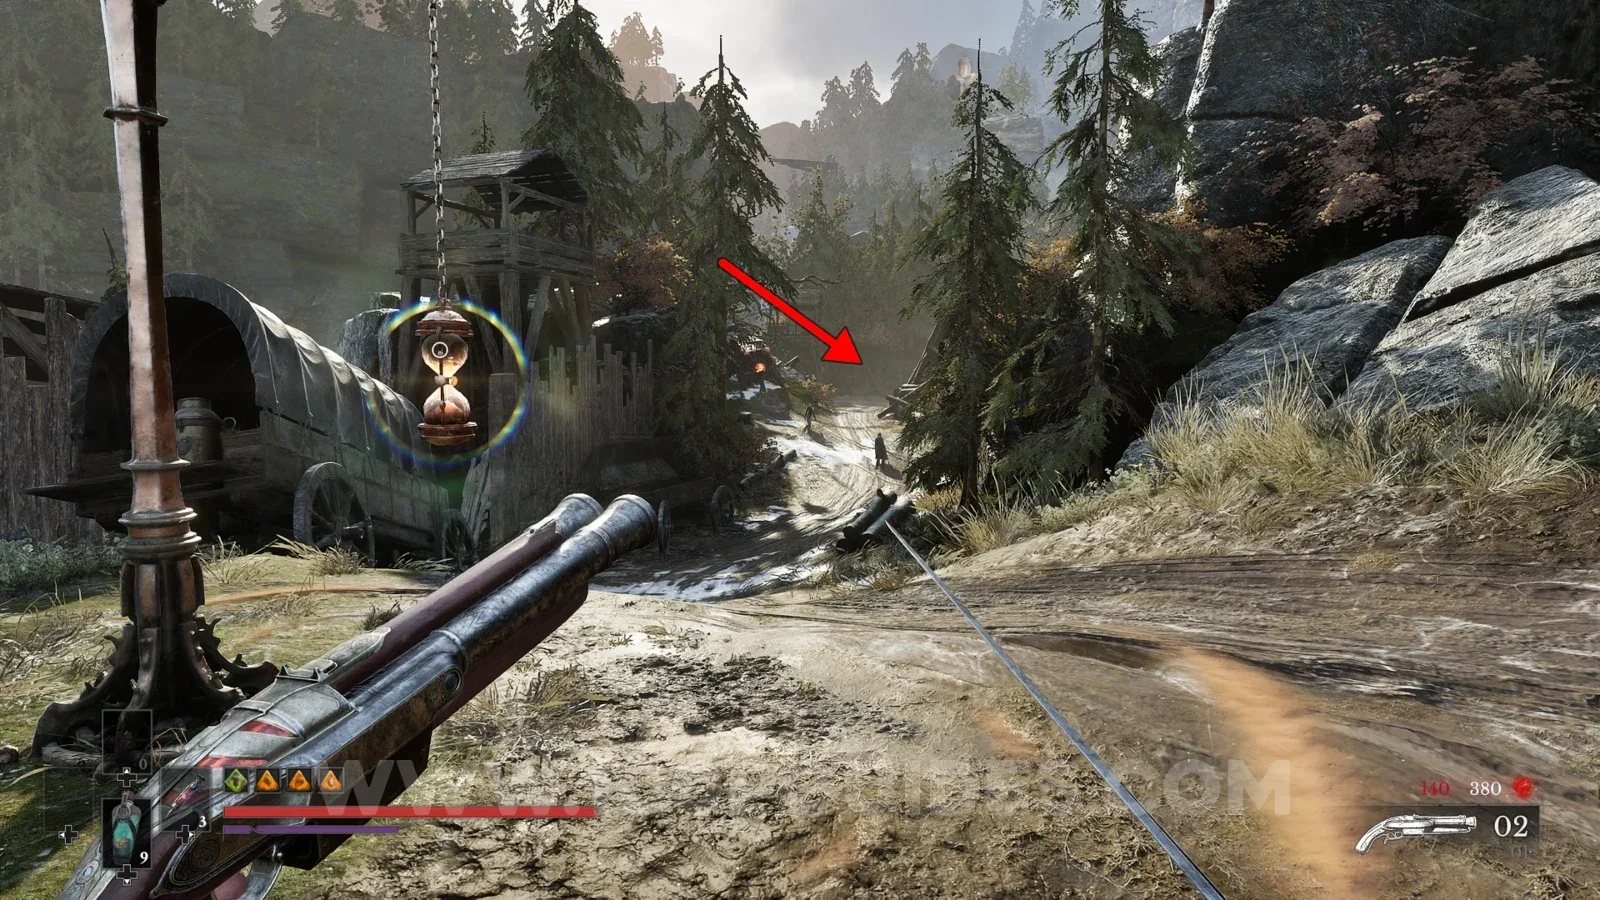
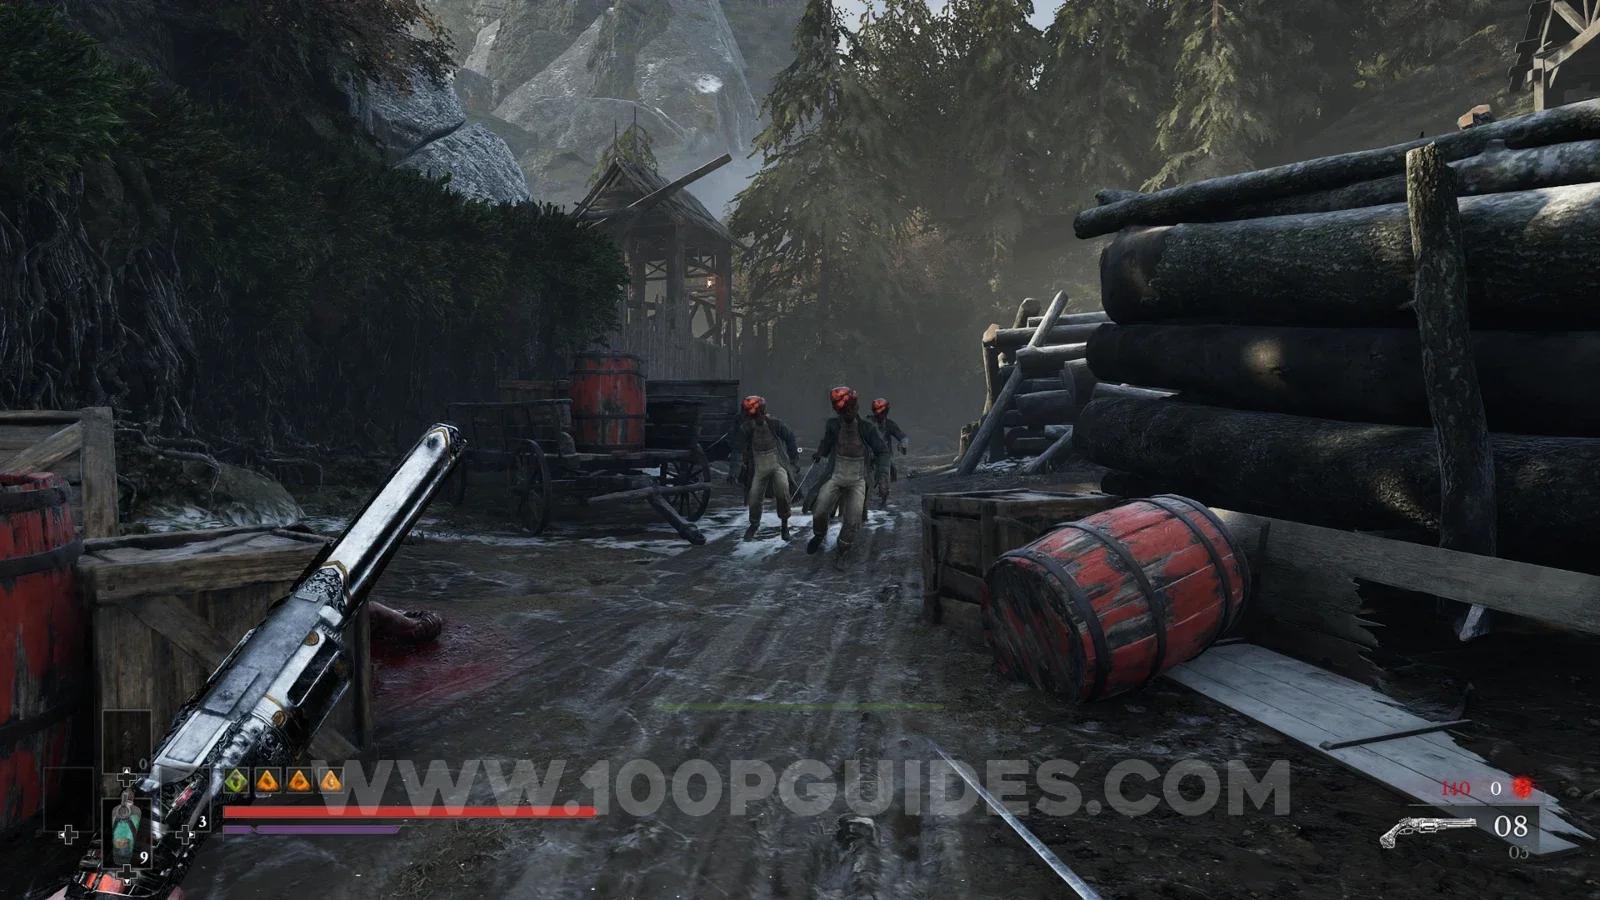
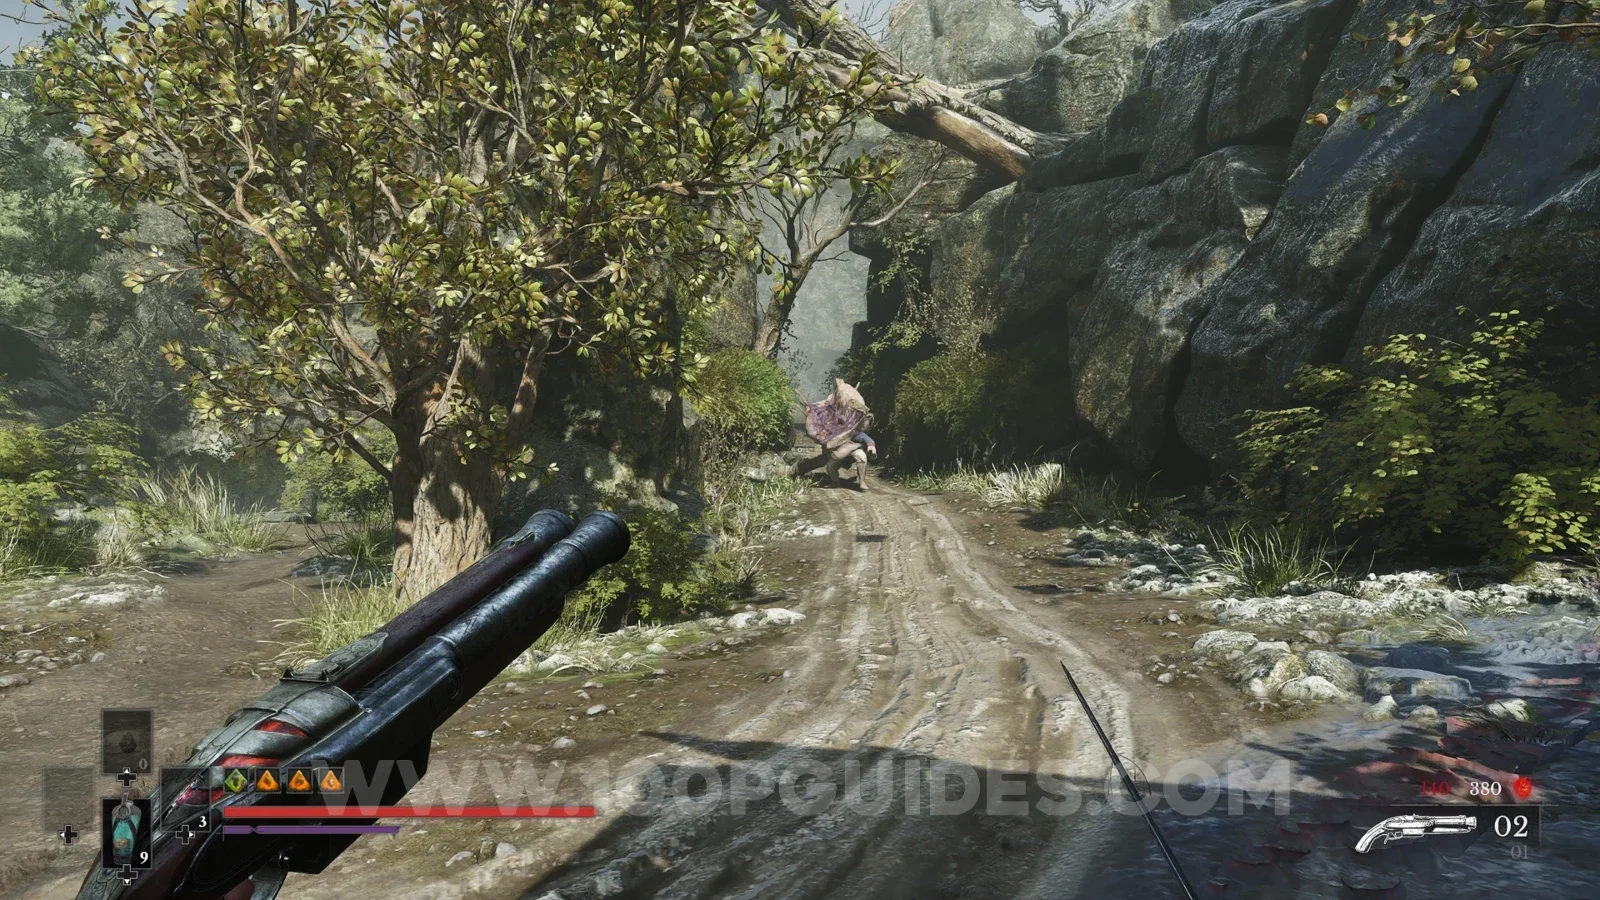
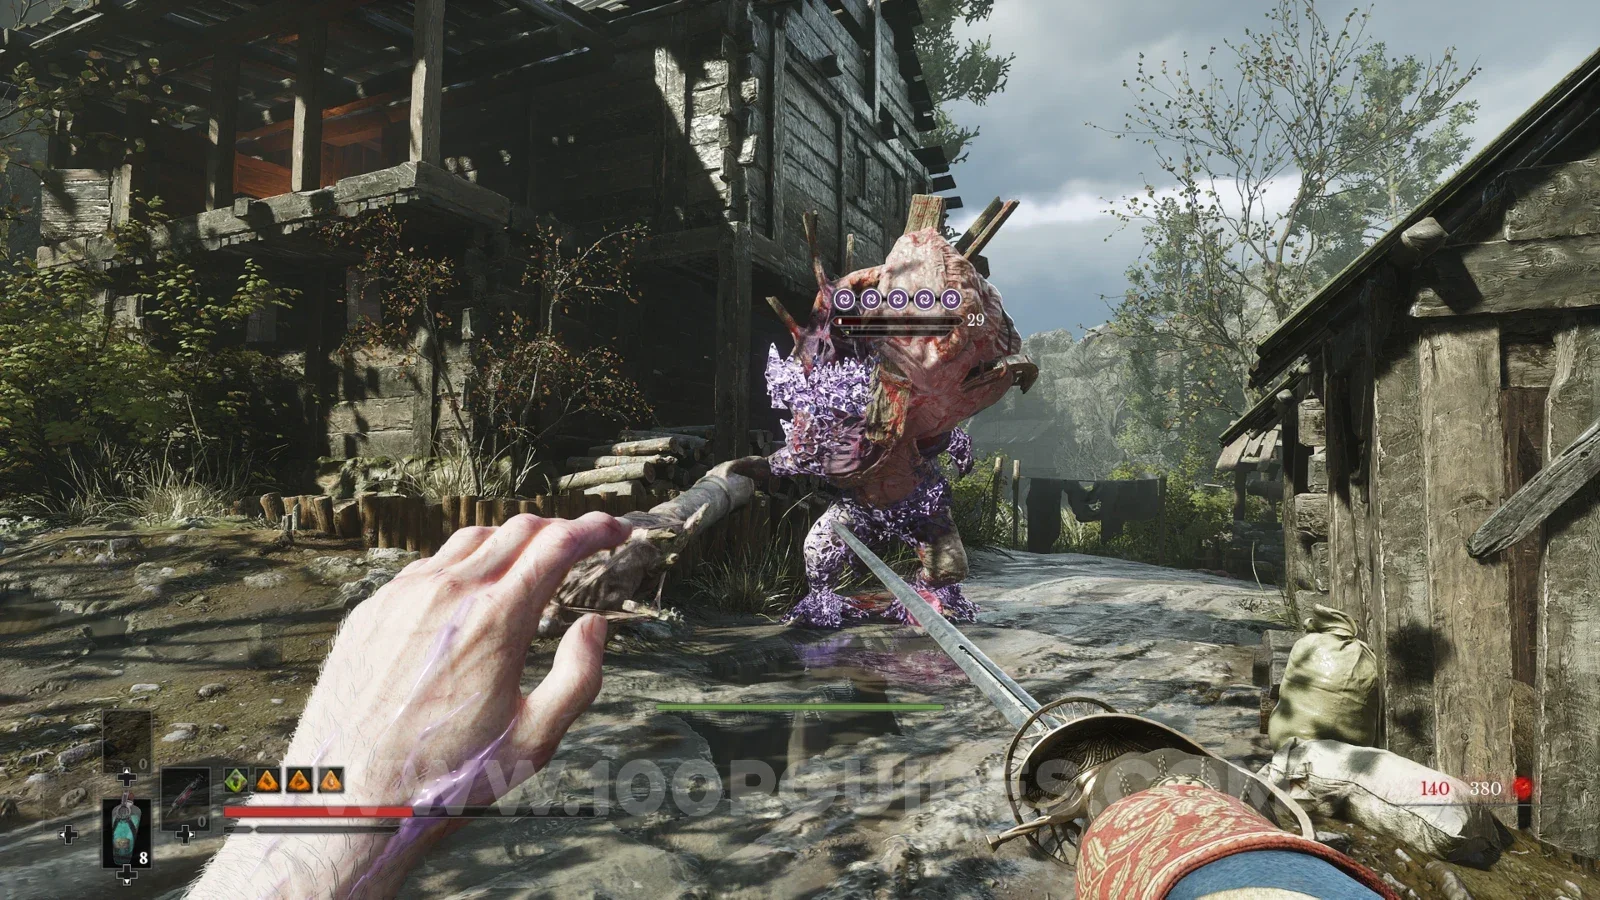
Use the Stasis Transmutation to fully paralyze a Cannonhand enemy. There are several of these in the game, but you can find one that respawns very close to the Vale of Wrath > Wolfbane Field lantern. It is the one that blocks the story path after you destroy the two nodes to get rid of the growth. To fully paralyze it with the Stasis Transmutation you have to fill up all of the orbs. Using the Transmutation consumes Nephtoglobin, so if you run out before filling all the orbs, you can hit the enemy with a melee weapon, or, if you don't want to risk killing it, just use the Nephtoglobin Vial consumables.
Kill an enemy by pushing them into the abyss with Shield Bash.
Obtained by pushing an enemy off a ledge with the Shield Transmutation's Shield Bash skill. This skill unlocks after you upgrade the Shield Transmutation to max level, meaning you will need a Quintessential Transmutation Material. There are 3 in the game (one for each Transmutation). See  Transmutation Artifex for the locations.
Once you have the ability unlocked, head somewhere like Vale of Wrath > Ship Graveyard and push any enemy off the edge by pressing while the shield is active by holding .
Shoot off a Risen Grenadier’s bucket.
Risen Grenadiers are the double-headed enemies that throw grenades at you. To get the trophy, simply shoot the red bucket of grenades they carry until it is destroyed.

Land 10 consecutive headshots or Weak Point hits without missing.
Self-explanatory: hit 10 enemy weak spots in a row with your firearms without missing a shot. Weak spots are the round orange-red growths that a lot of enemies have. You can hit them with melee attacks between shots, as long as you don't miss any shots.
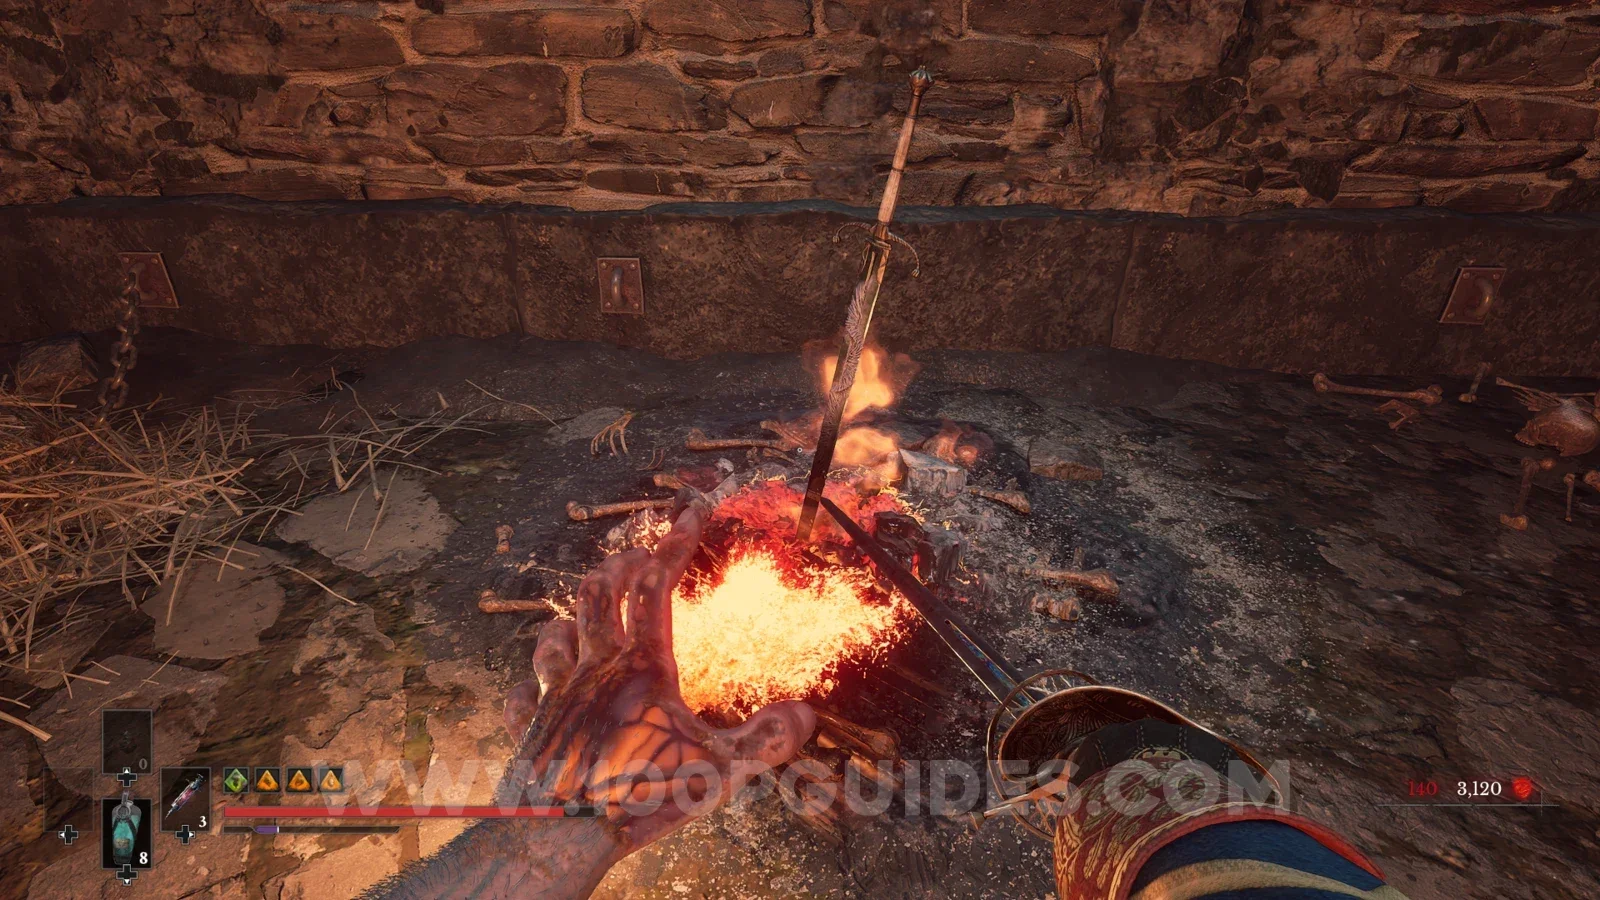
Ignite the bonfire in the castle.
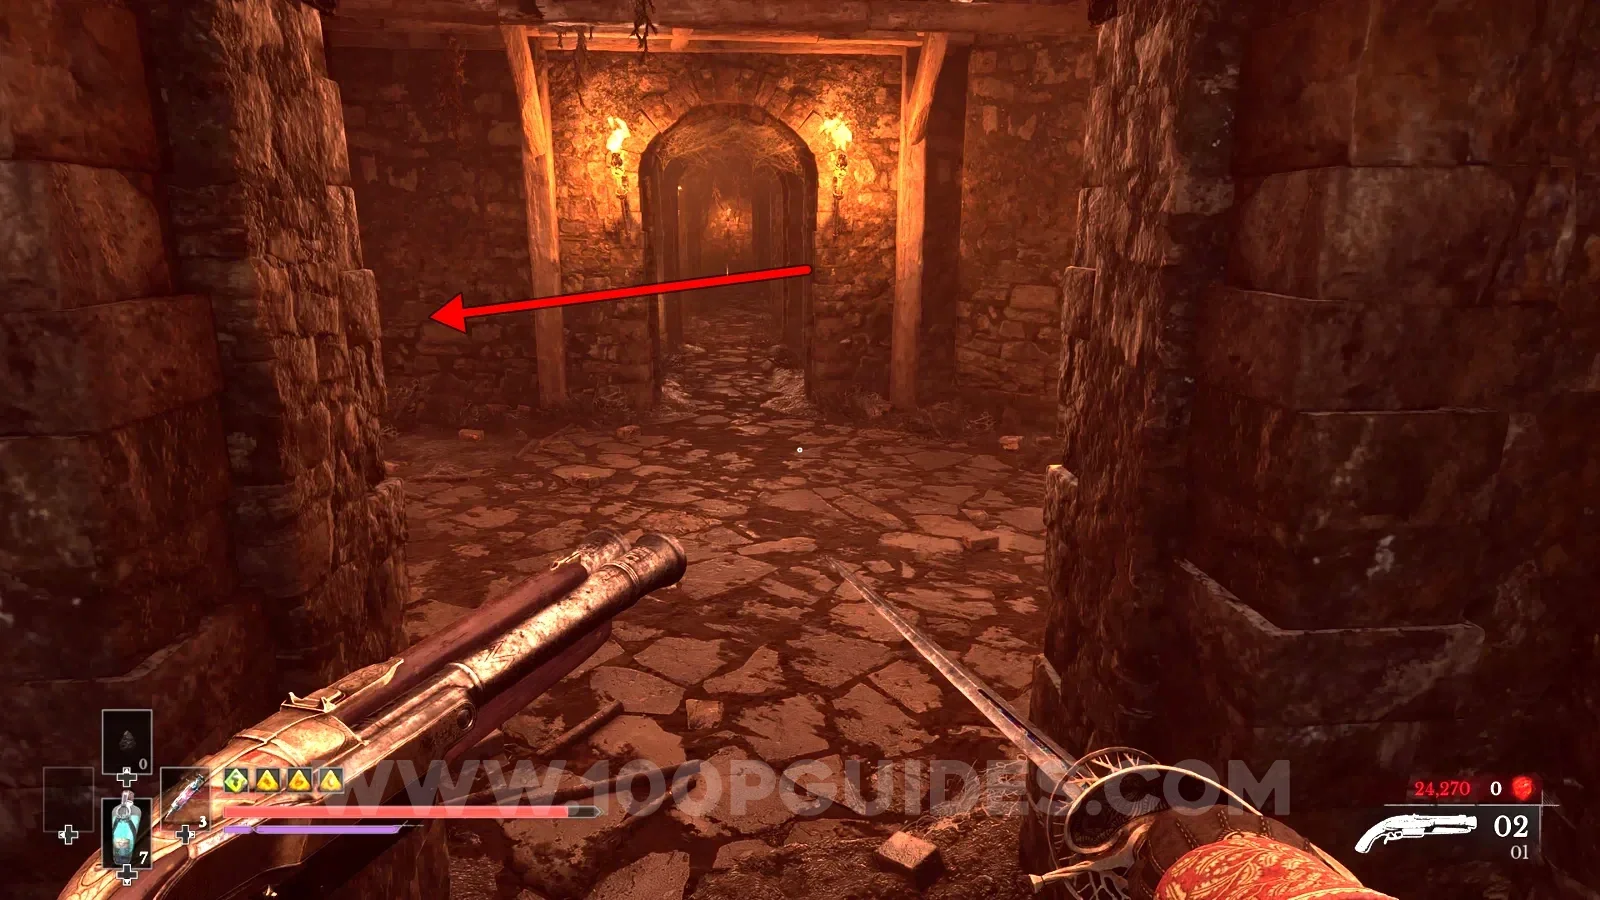
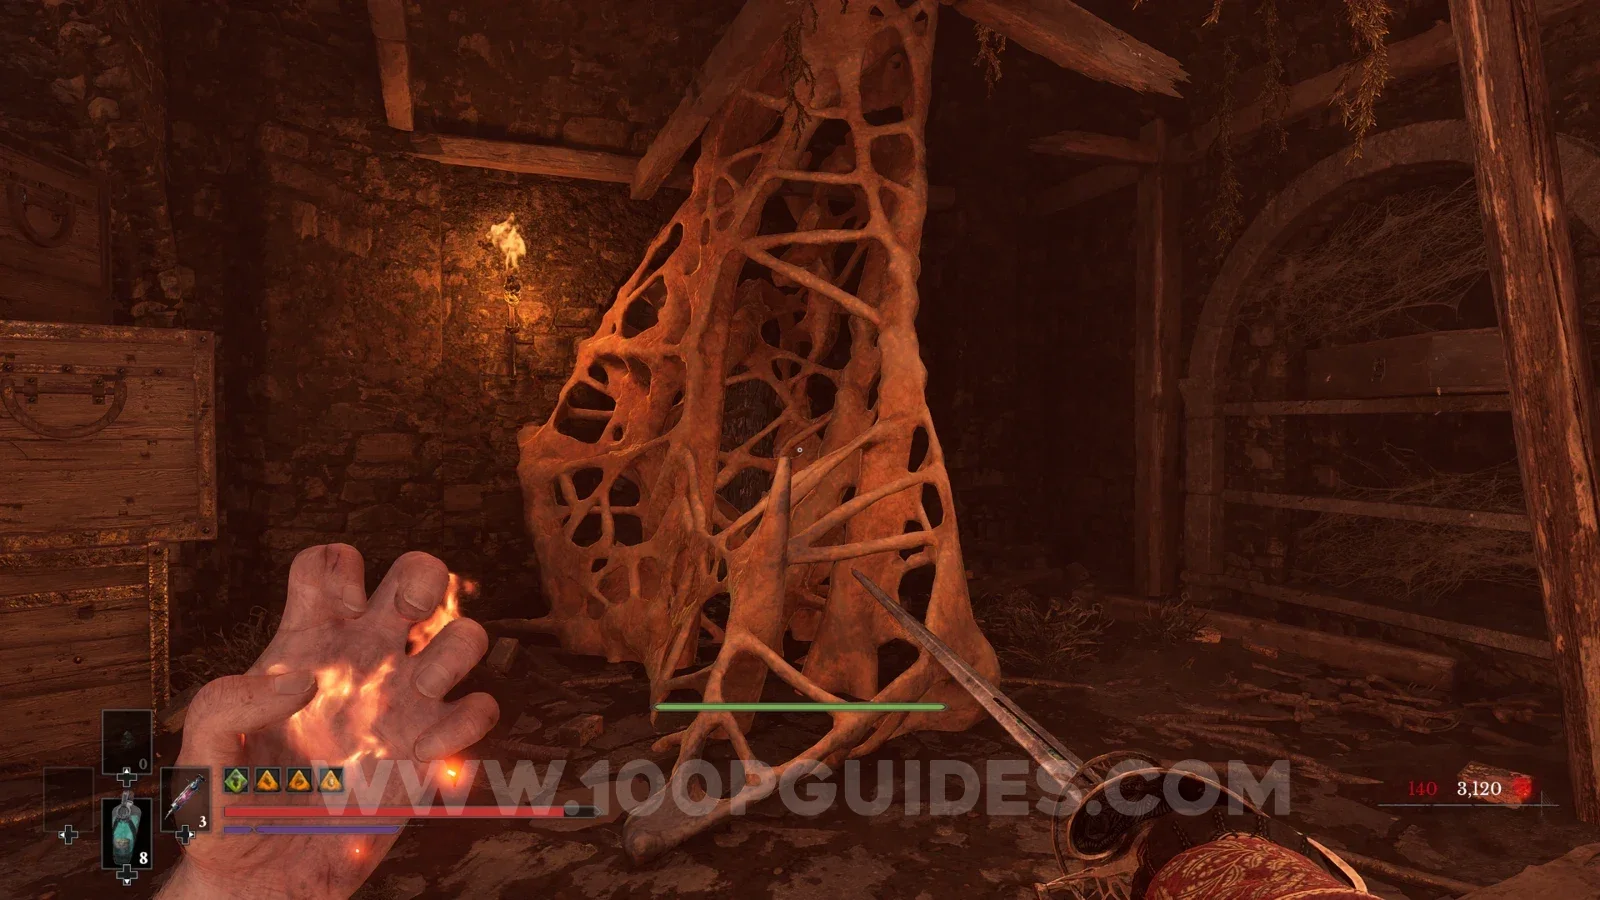
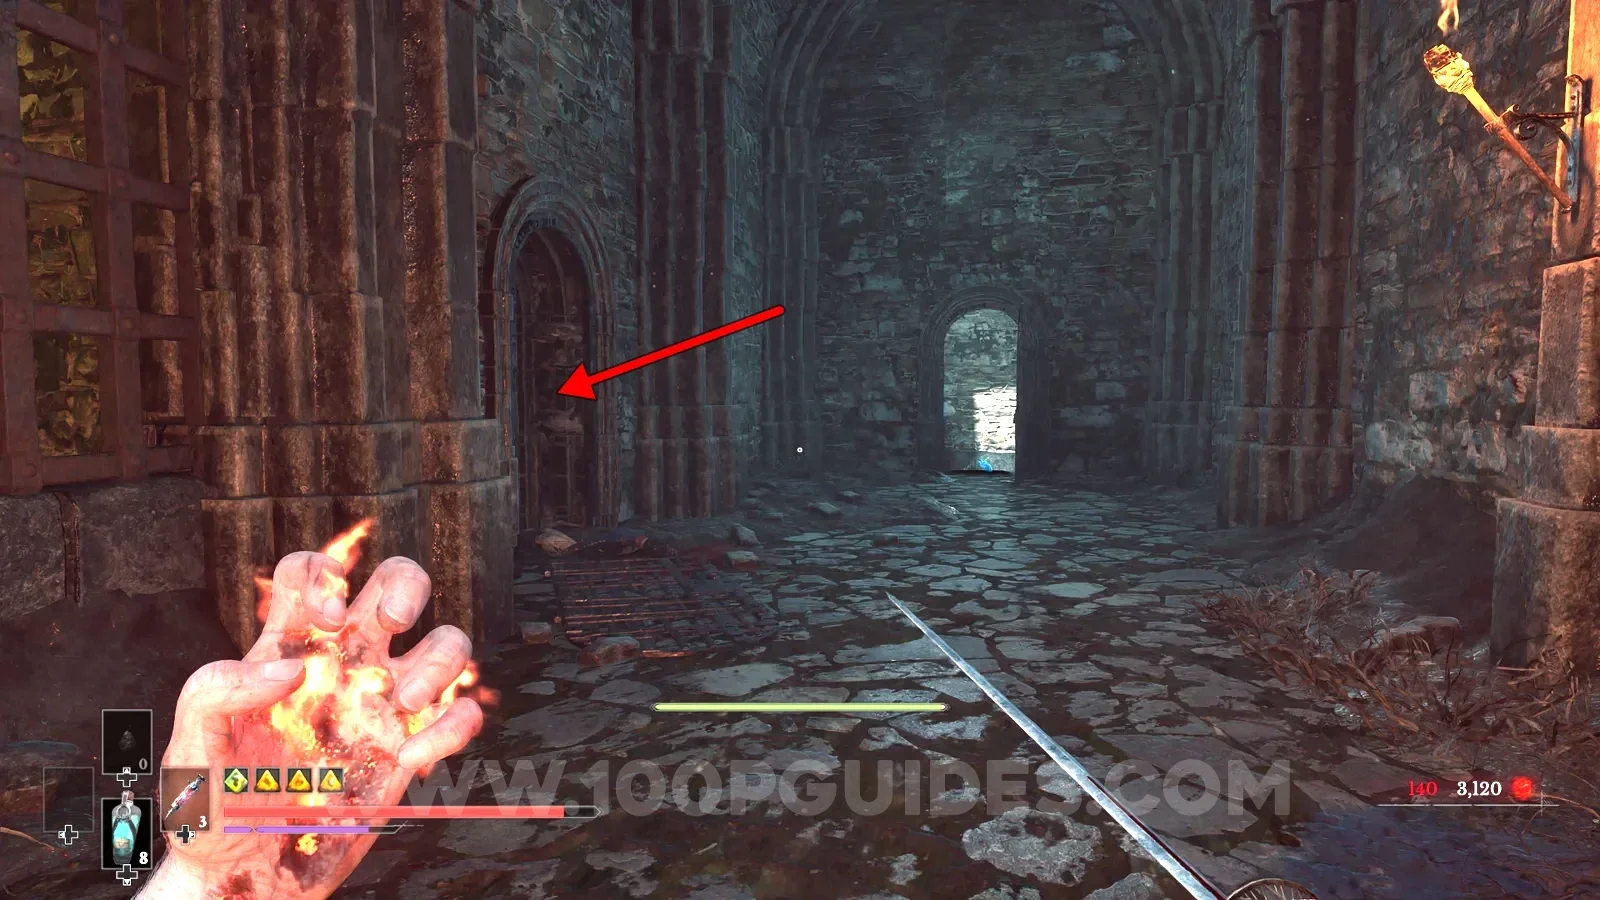
Backtrack from the Fortress > Traverse lantern, and in the underground area head right, then pull out the blue node on the wall and use it to swing across. Follow this path until it splits into 3. Here, go left and burn the growth to reveal a door behind it. At the end of the next long hall, head into the small room on the left and use the Fire Transmutation to light the bonfire.
Die by falling into the abyss.
Simply die from a fall anywhere that "resets" you and does a little damage. Just make sure the fall is what takes your last bit of health.
Attempt to use a Ferrofluid Flask with none remaining.
Simply press to try to heal when you are out of flasks.
Interact with a Lantern while below 20% Health and with no Flasks remaining.
Self-explanatory. Use up all your flasks, take some damage from falls or enemies until you are under 20% HP, and then interact with any lantern.

Ignite an enemy while you are also Ignited.
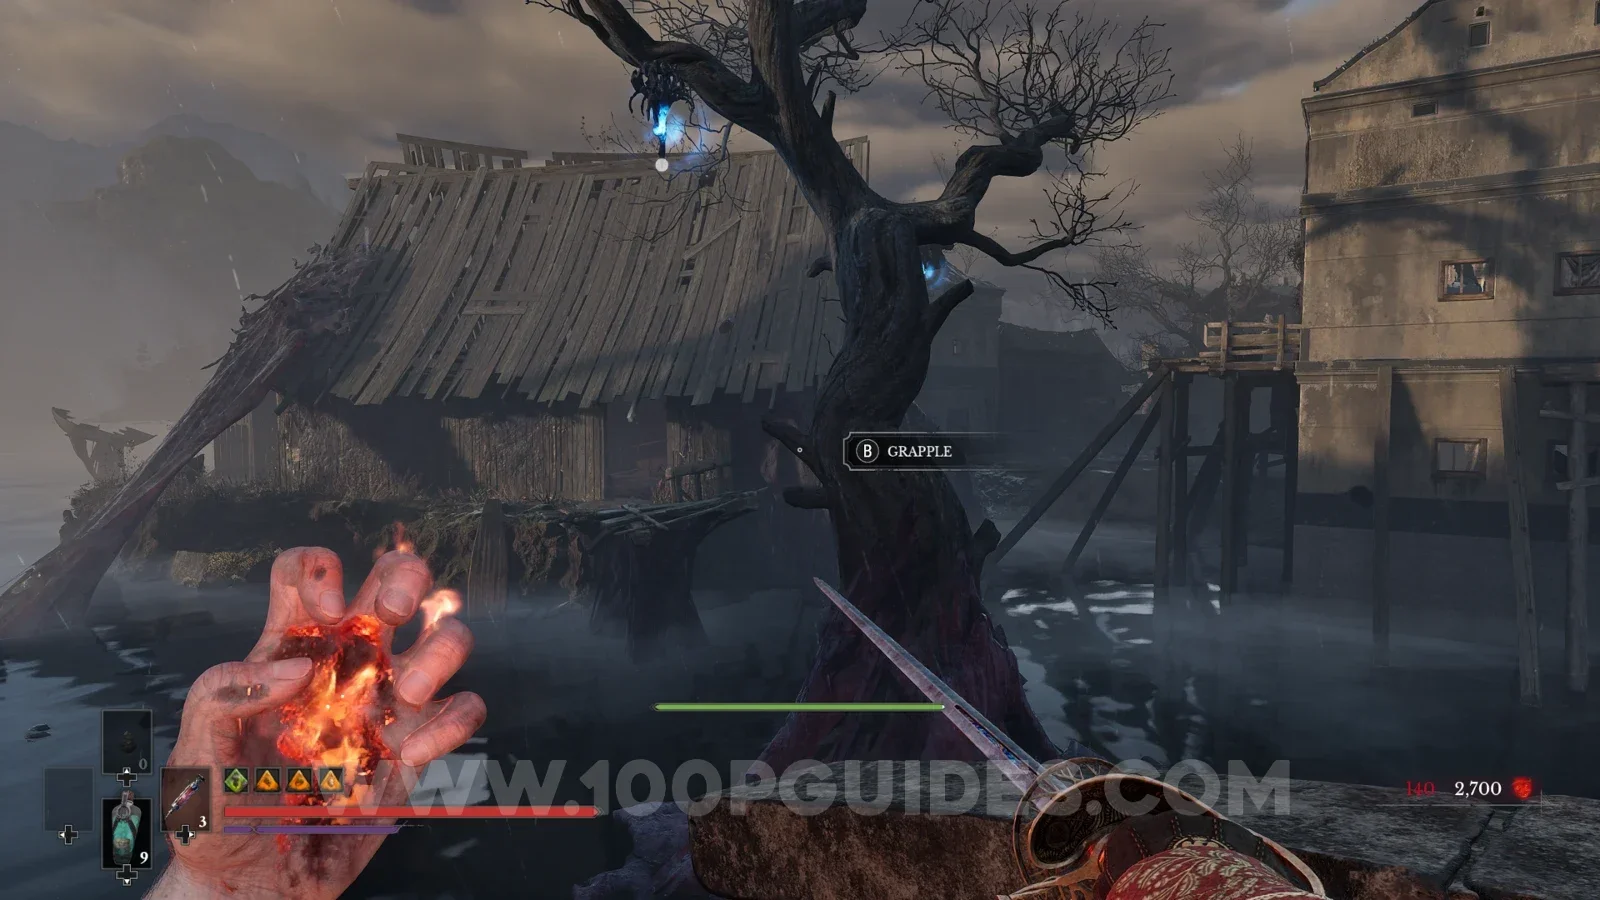
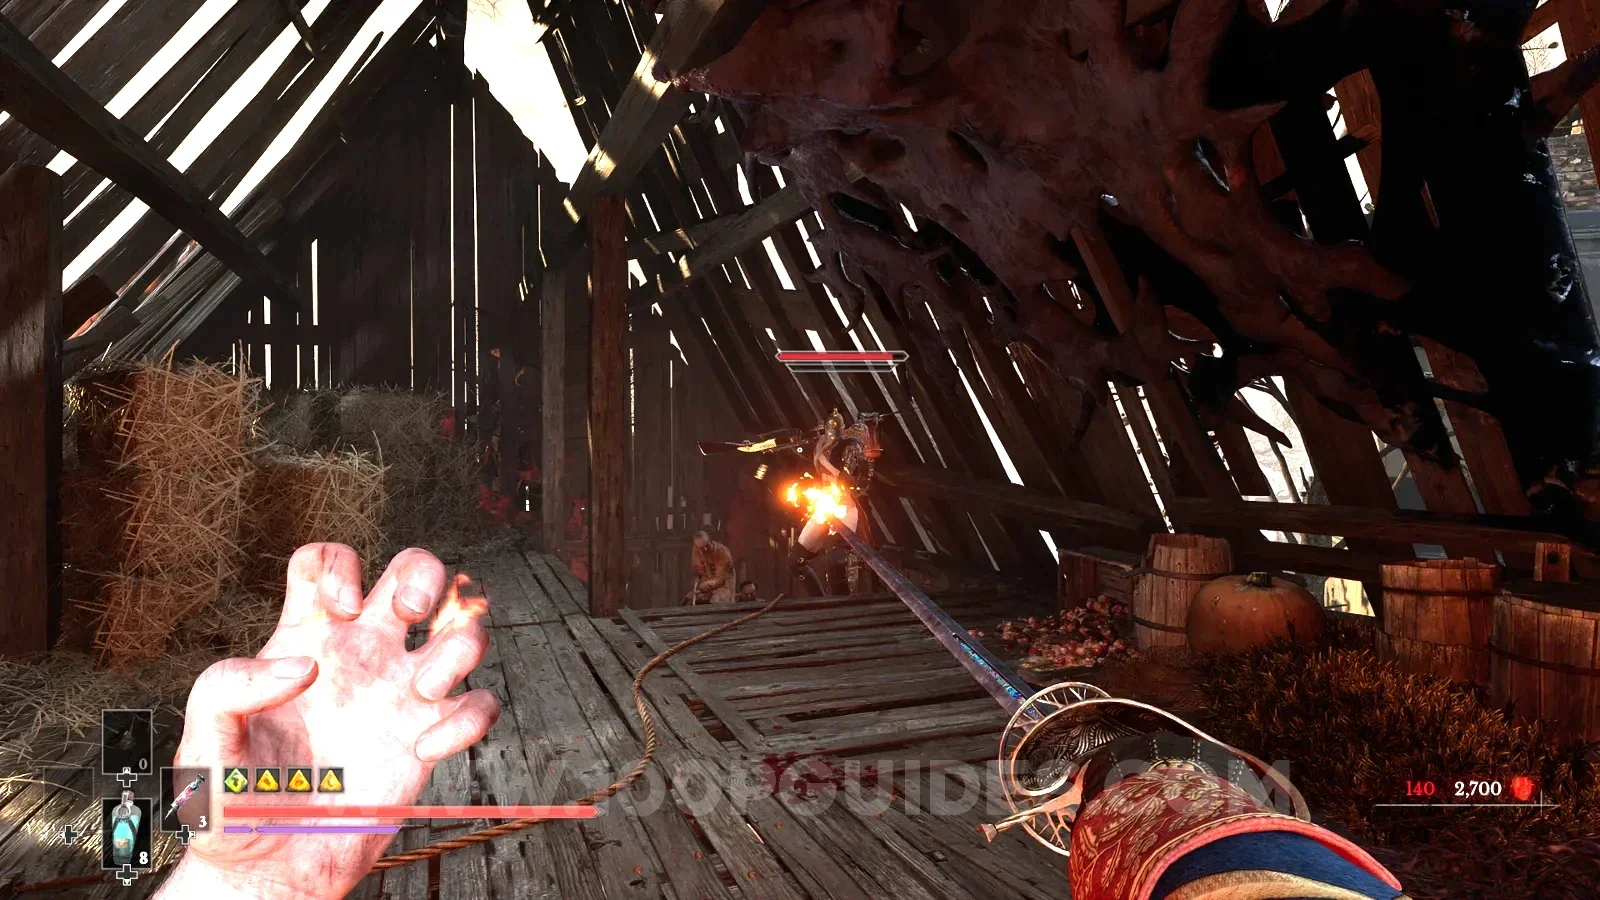
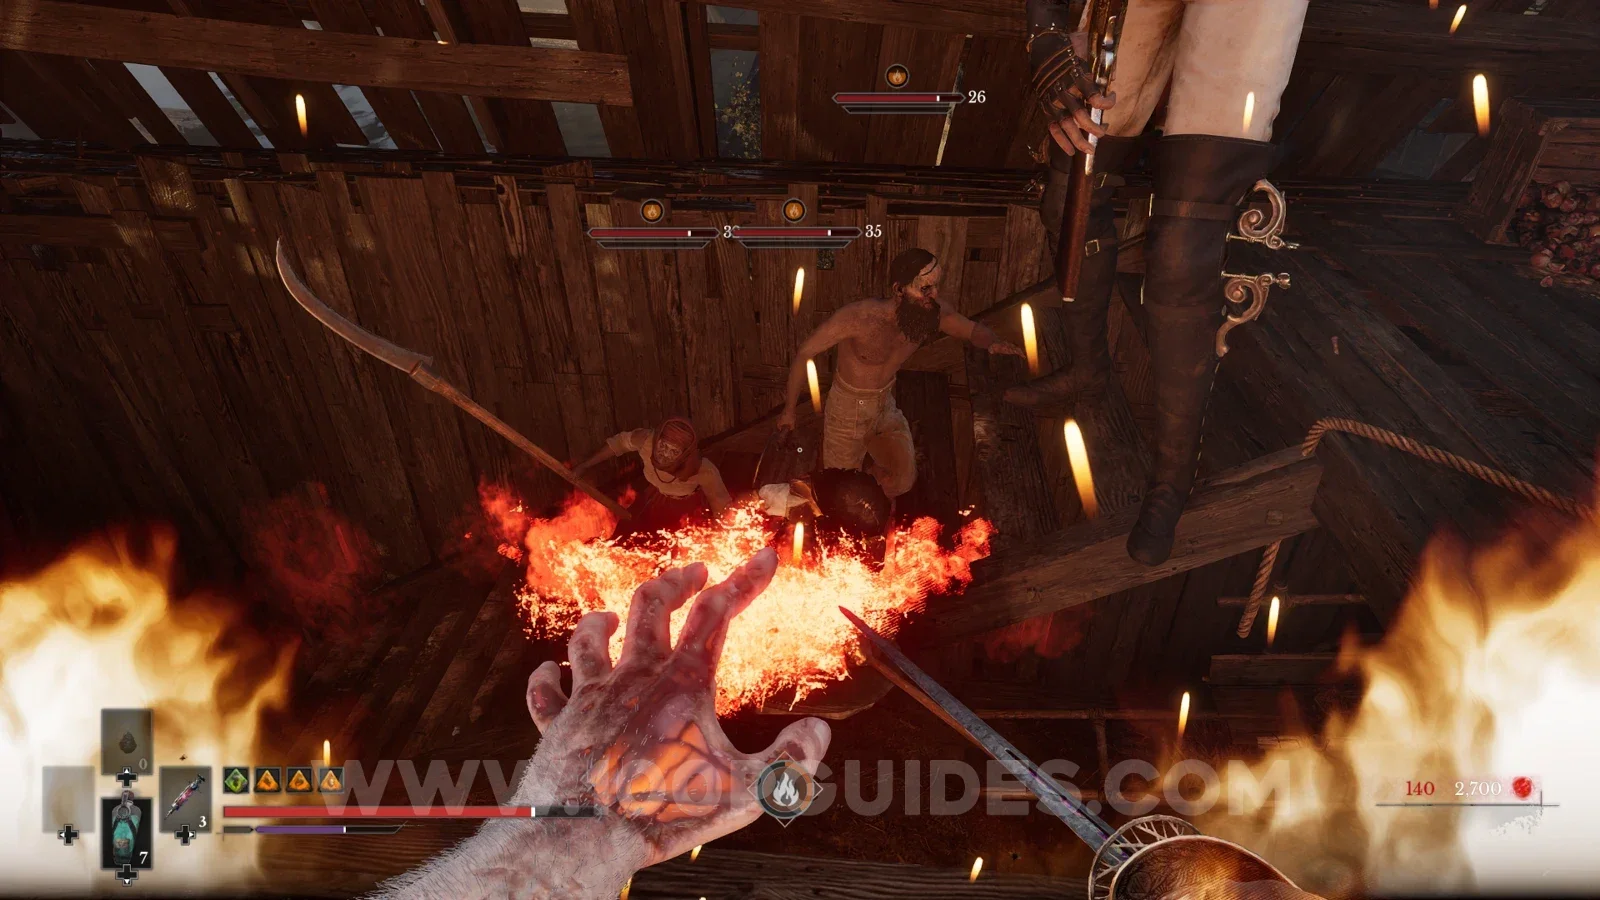
Ignite an enemy with your Fire Transmutation while you are on fire yourself. An easy place to do this is The Outskirts > Lighthouse. From the lantern, turn around and backtrack by grappling across to the barn on your left. Inside the barn, head to the top floor and get the tall enemy to burn you with its flamethrower. Make sure you heal as soon as you ignite. Then ignite one of the smaller enemies that followed you up from the bottom floor.
Deal damage with every Melee Weapon, Firearm, and Transmutation without dying.
Self-explanatory. All weapons and Transmutations are story-related, so once you have them all, rotate through them and deal damage with each one without dying. You don't need to kill the enemy with them, just damage it.
Complete the Laudanum quest.
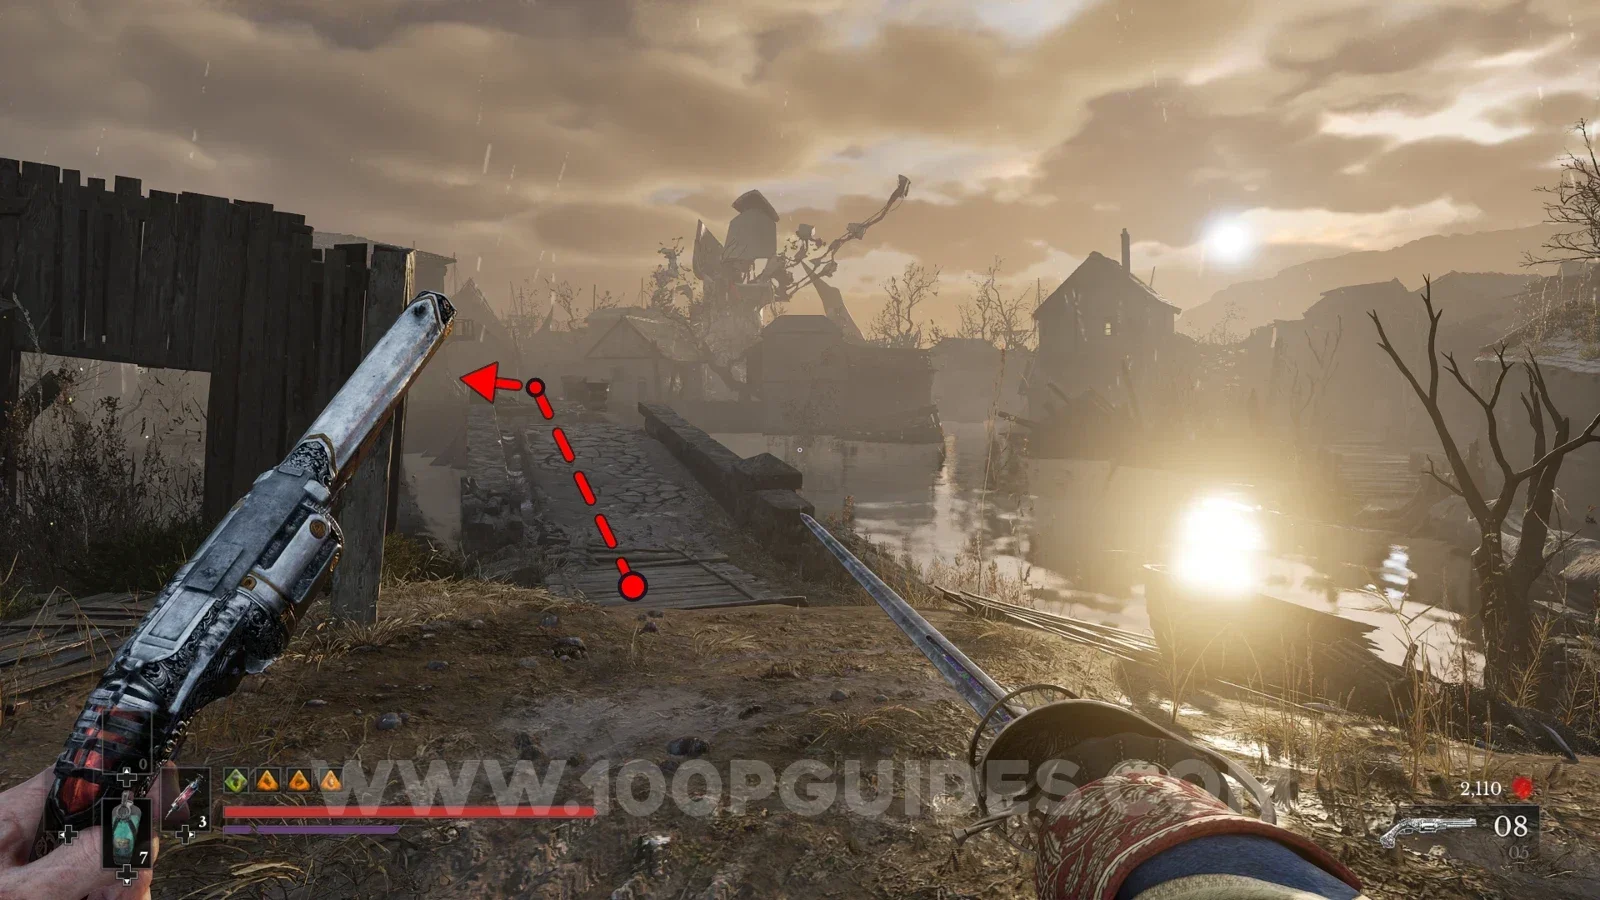
First, talk to the old lady in The Outskirts area. She can be found in the house on your left as soon as you cross the broken bridge shortcut from the Island of Whispers lantern. Here, talk to her through the door of the building on your right to start the side quest.
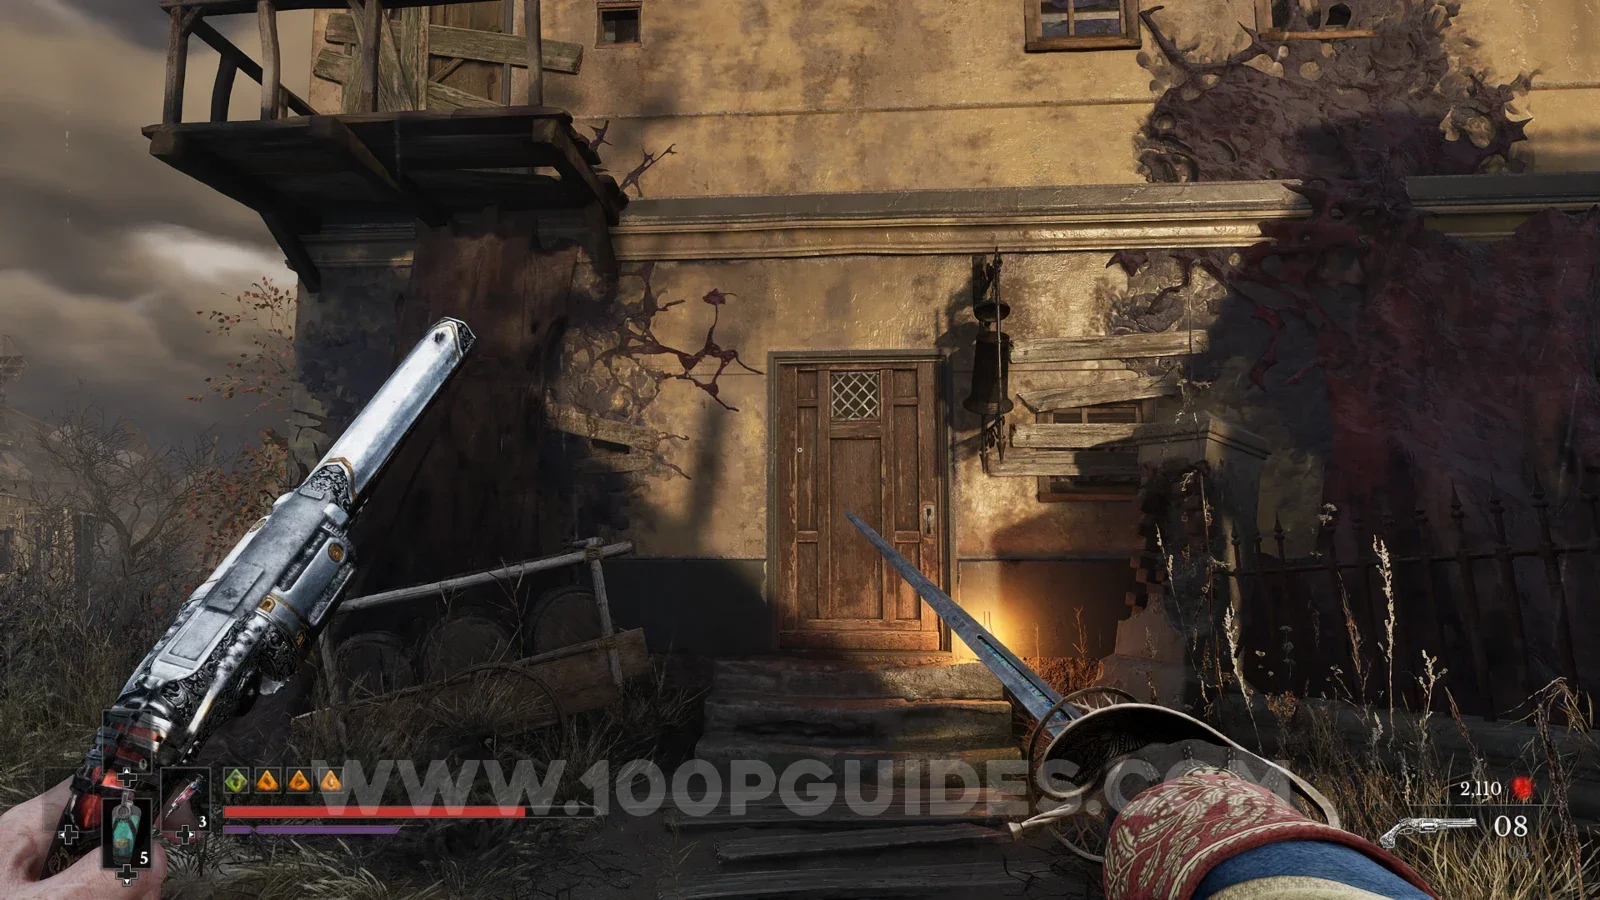
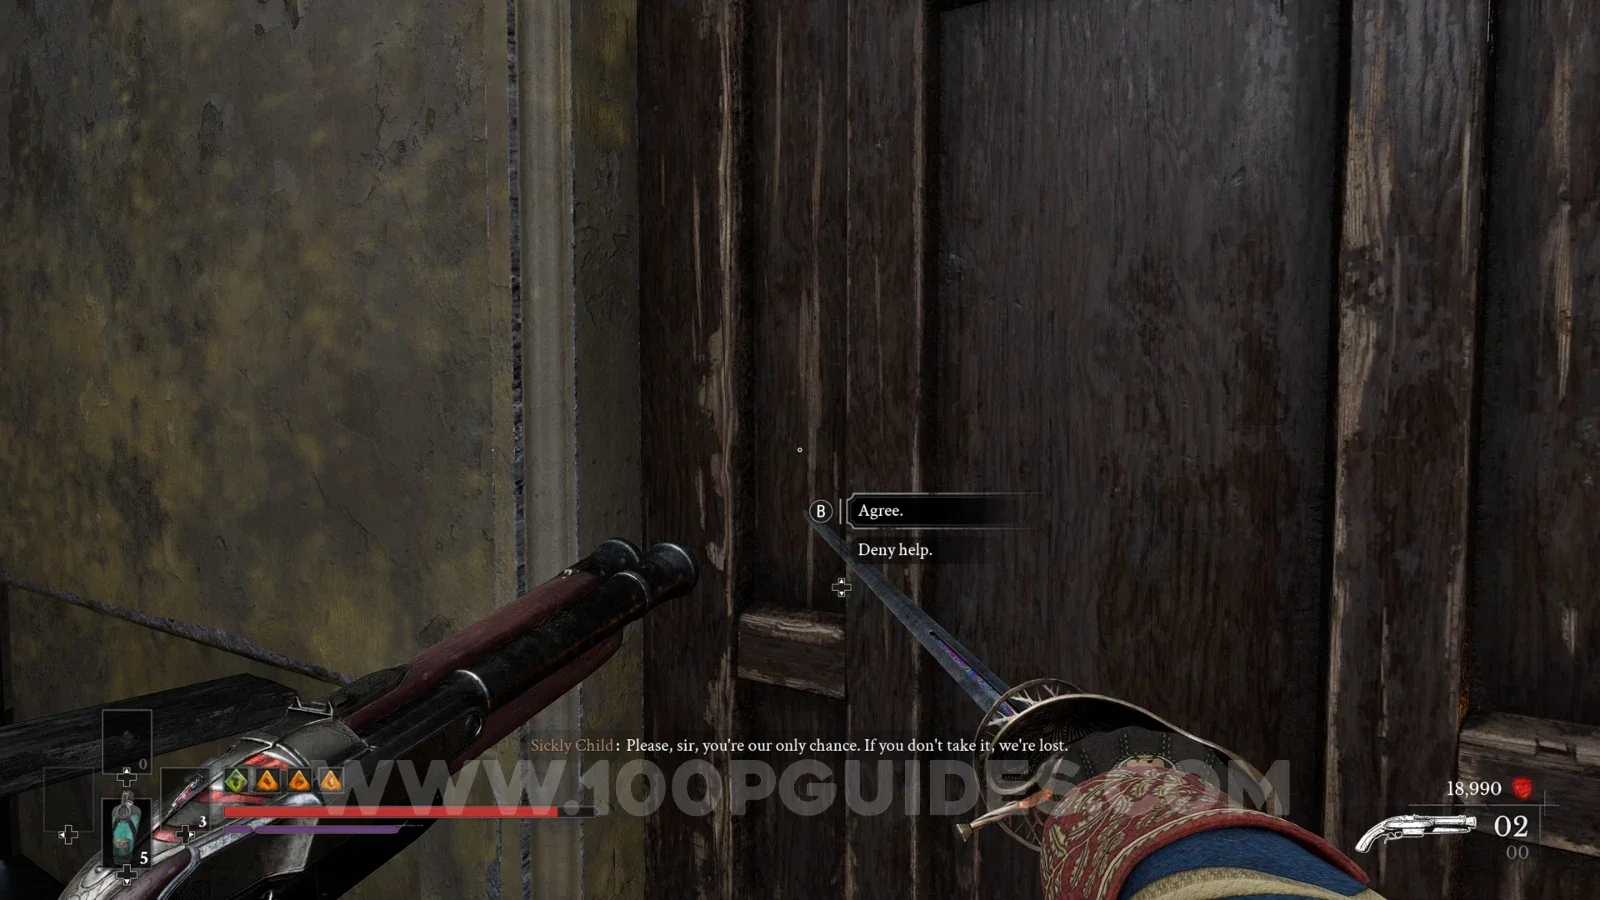
Next, head around the left side of the house to the top of the stairs, talk to the children and Agree to help them.
Now you must find the bottle of laudanum. Travel to the Market Square lantern and use the shortcut to climb up to the house behind you (this is the house you go through to get to the lighthouse during the main story). Head inside on the top floor, and in the second room drop down the hole on your left, next to the metal fireplace. The bottle can be found in the room below. Take it back to the old lady, then rest at any lantern and the house will be open. Head upstairs and pick up the book on the floor to finish the quest and get the trophy.
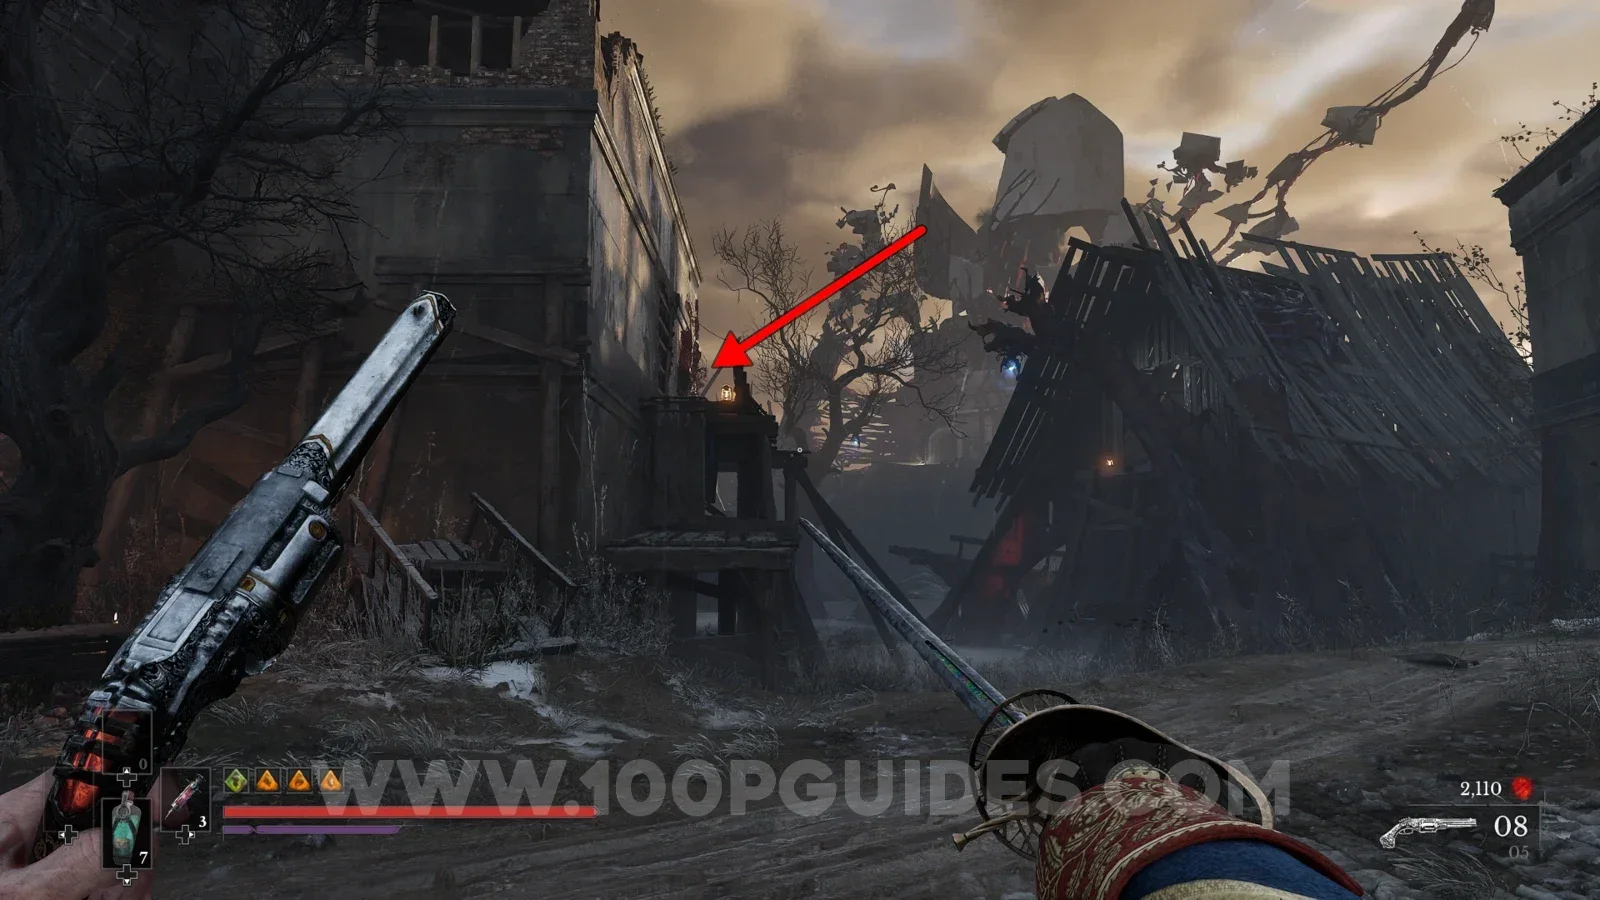
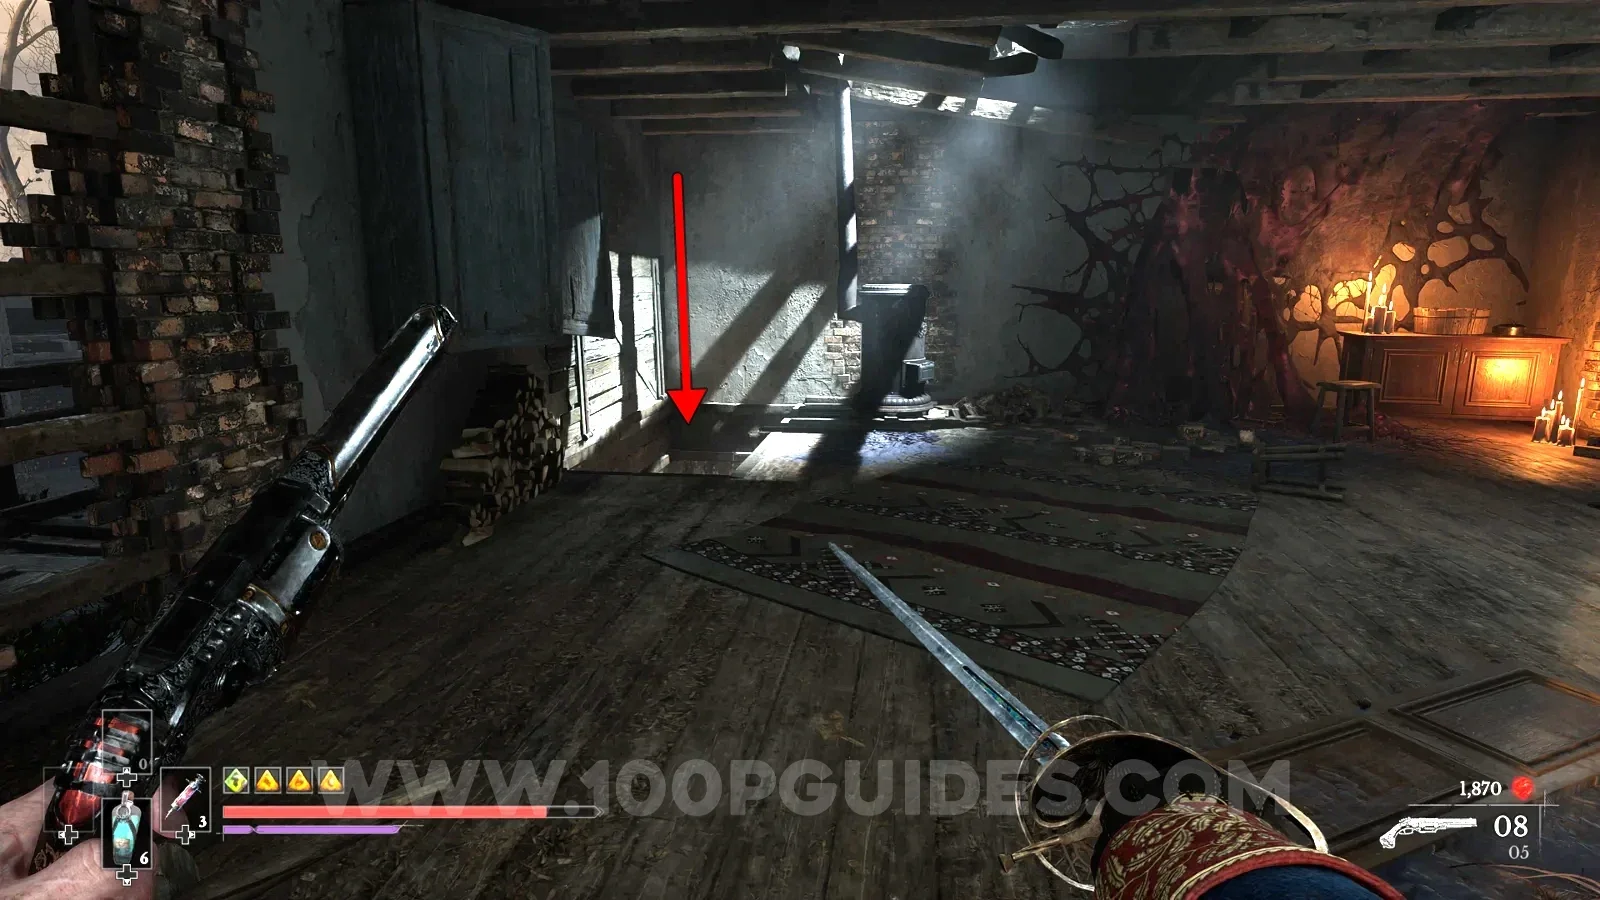
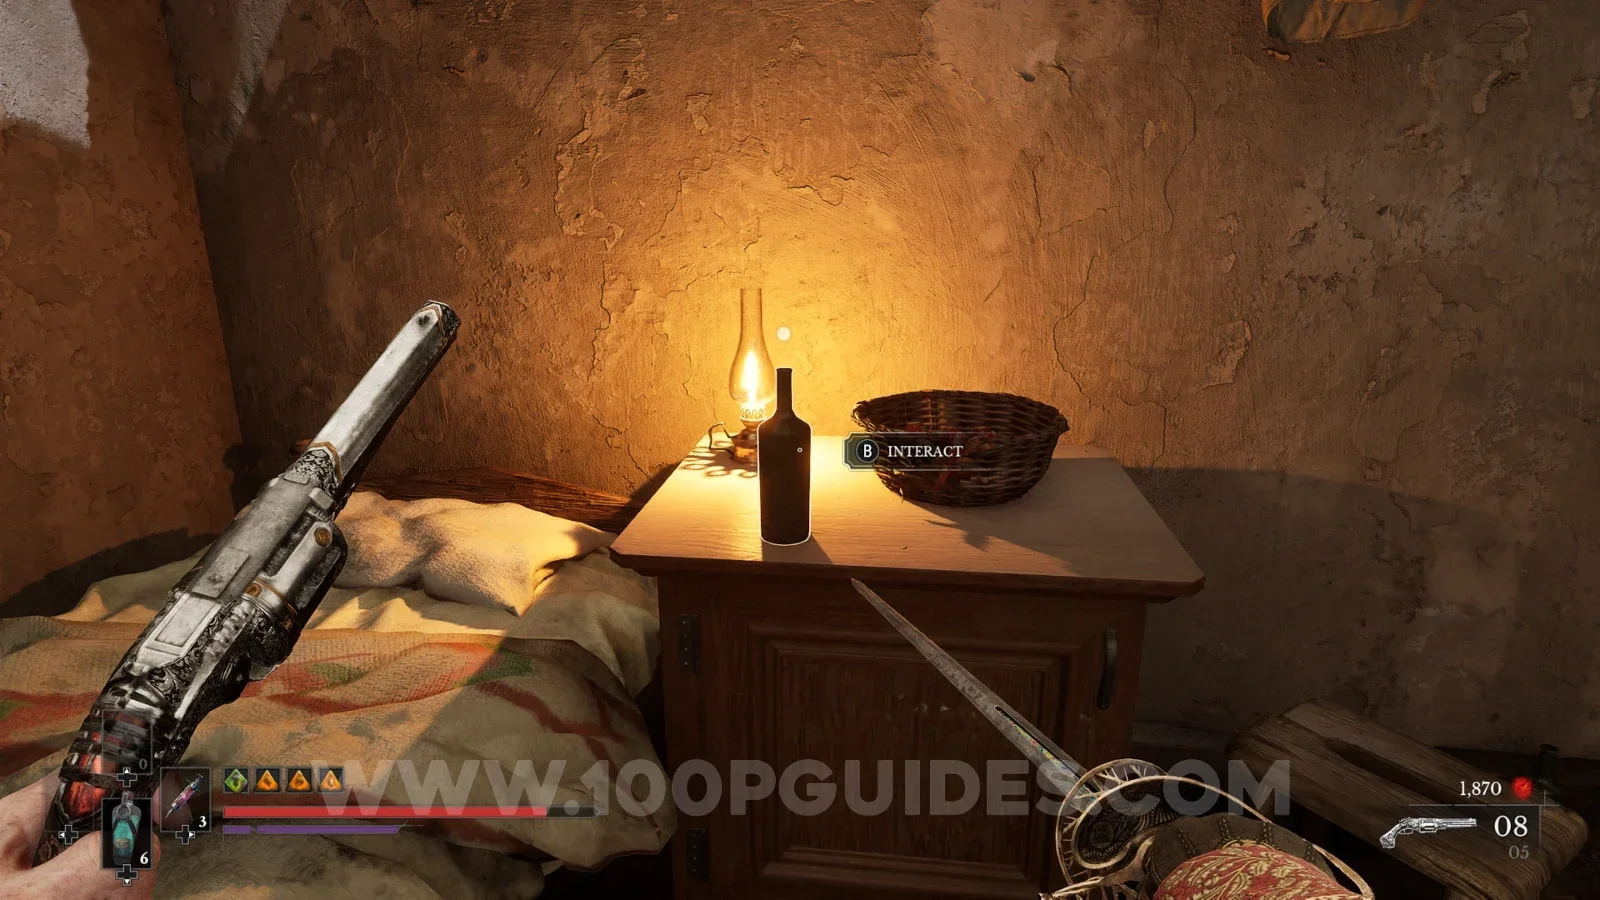

Complete the Curious Case of Seamus Diggory quest.
From the Cursed Hollow > Deep Water lantern, head through the shortcut as if you were going towards the church, but continue straight ahead and go through the small cave that takes you back to the water area with all the floating platforms. As soon as you come out the other side, wall run along the wall on your left. You will then reach an area with a hut. Talk to the NPC through the window to start the side quest.
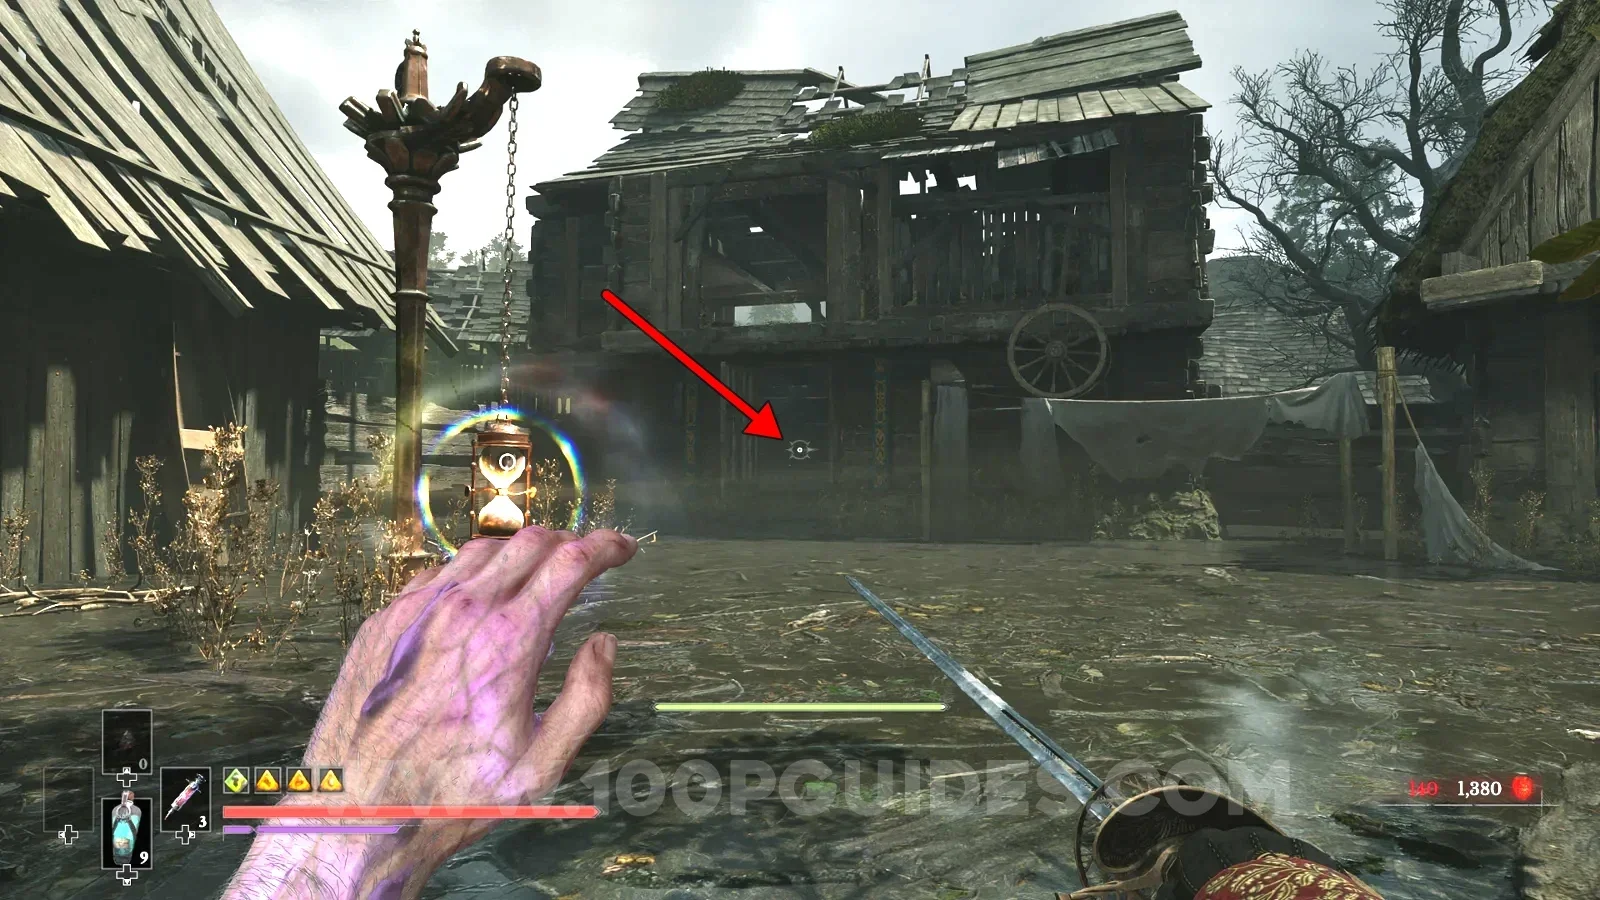
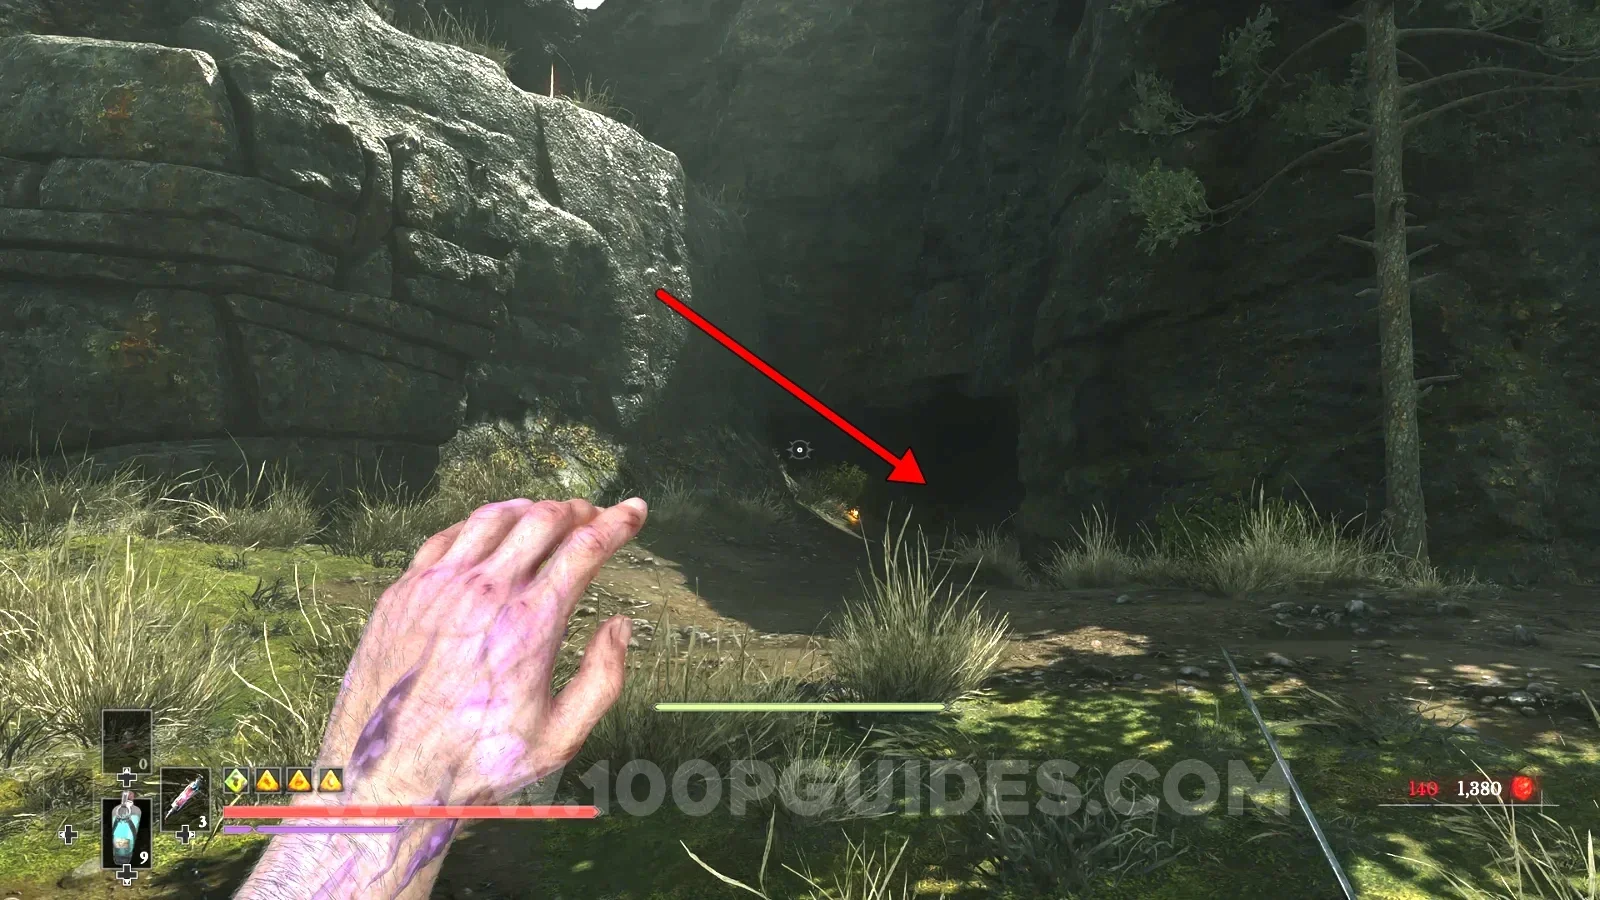
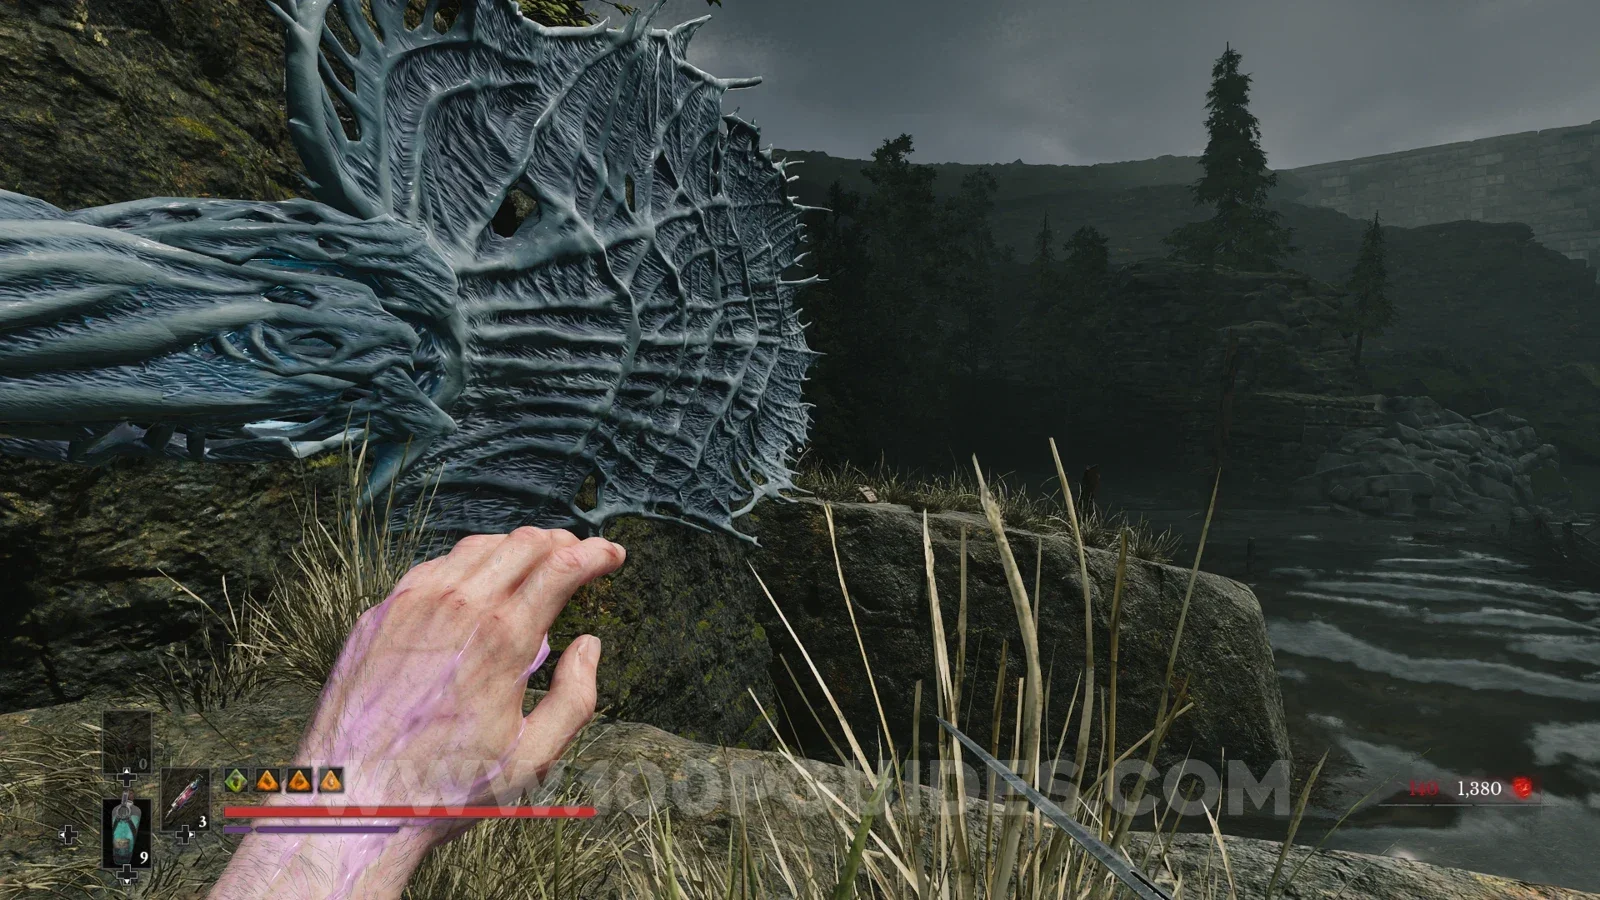
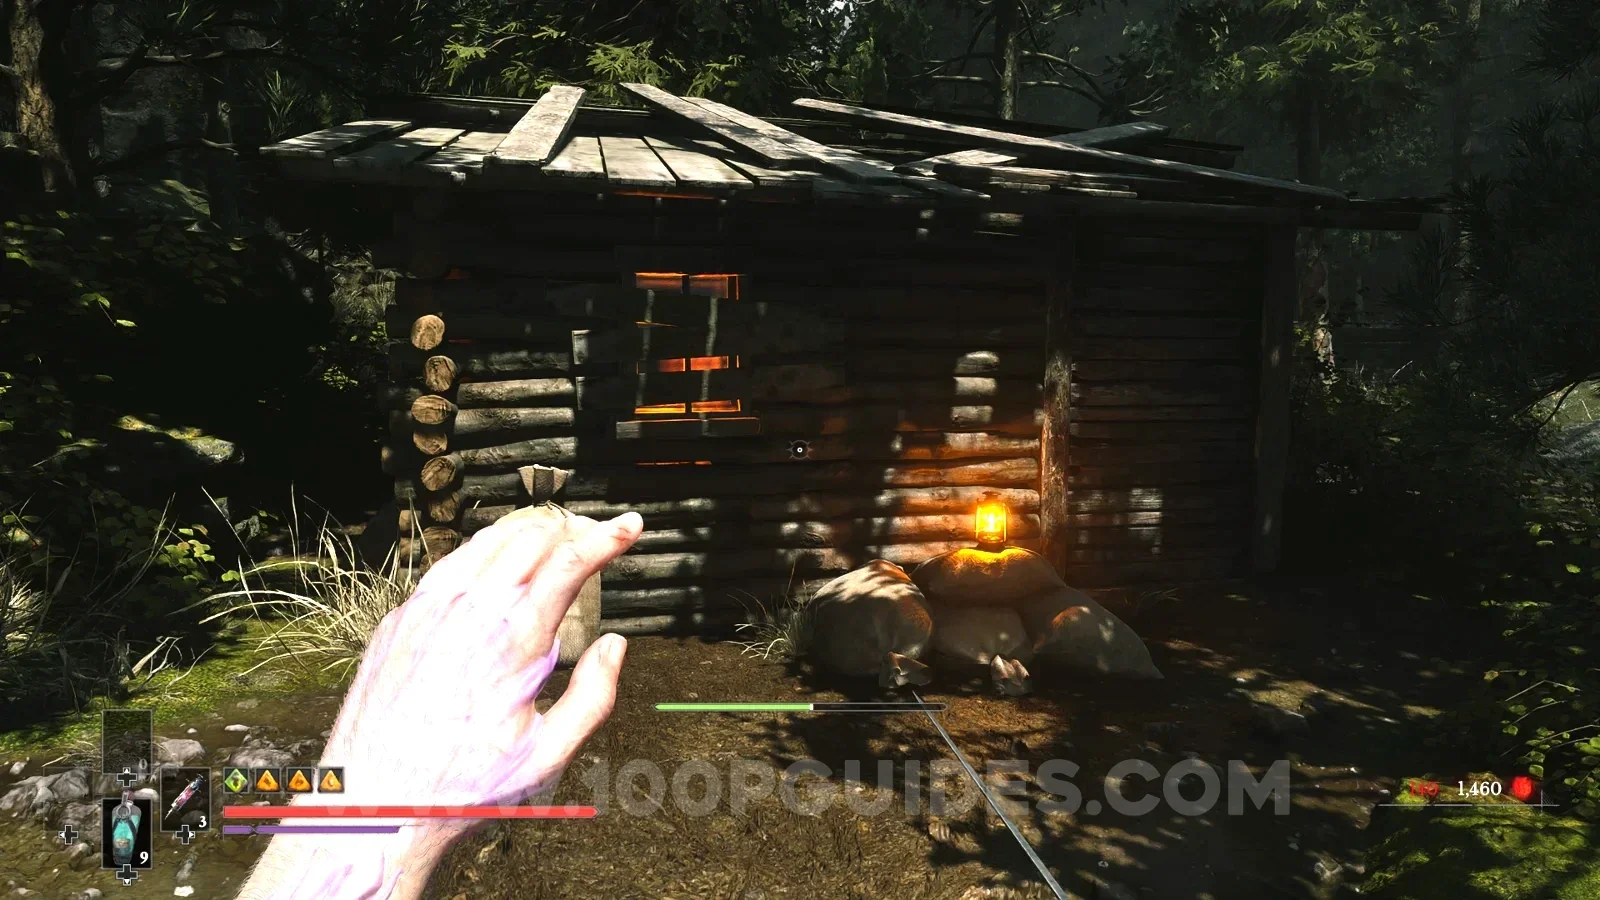
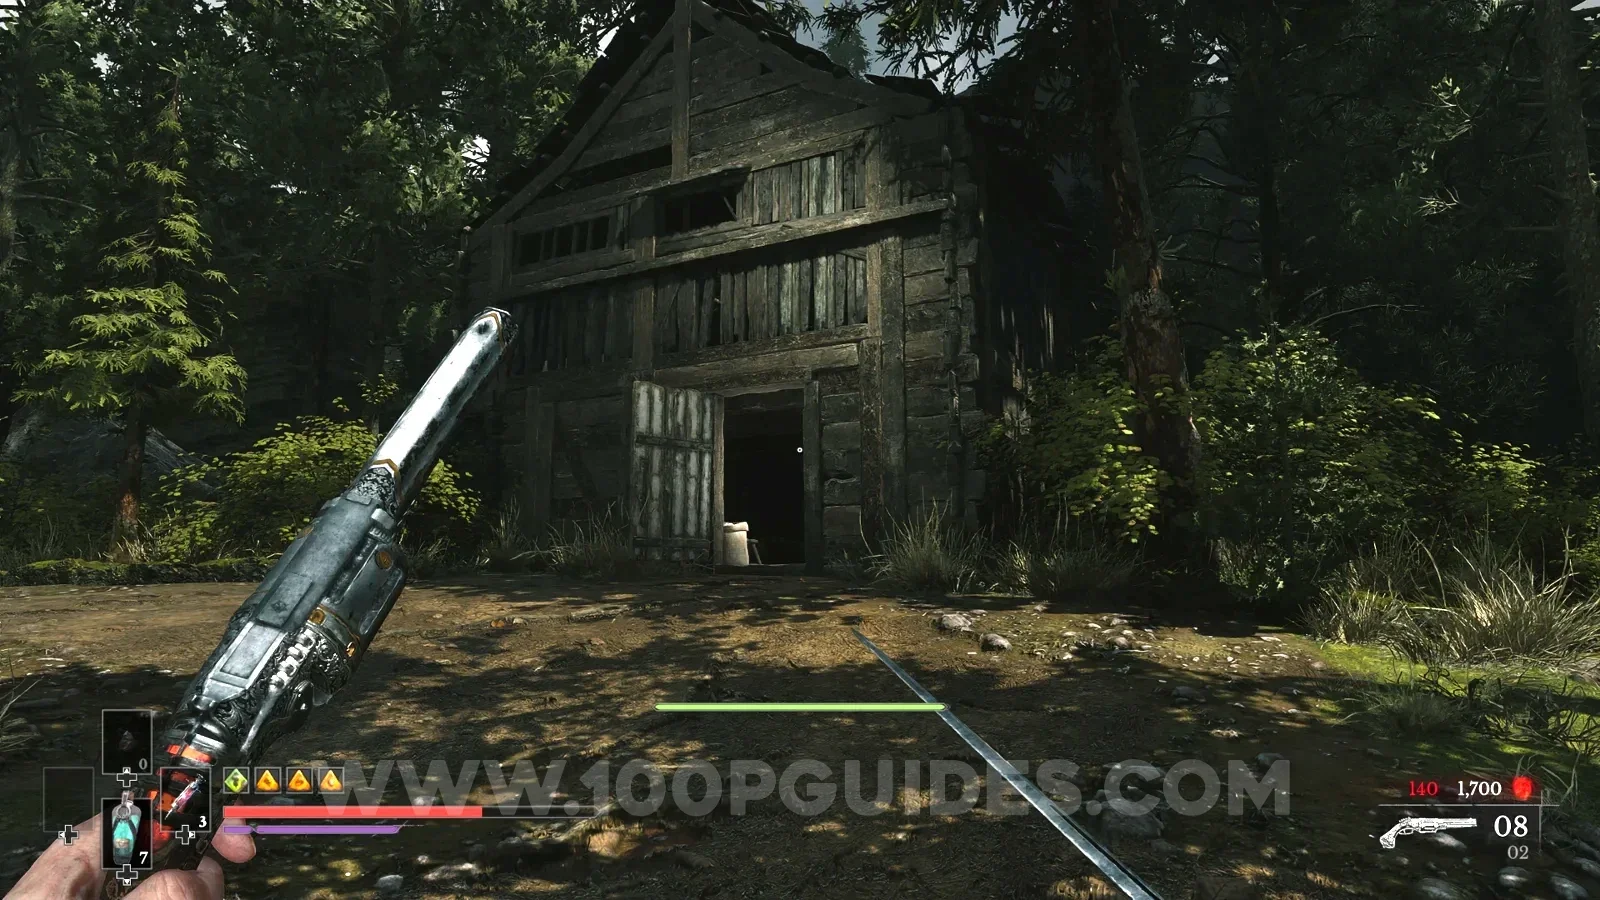
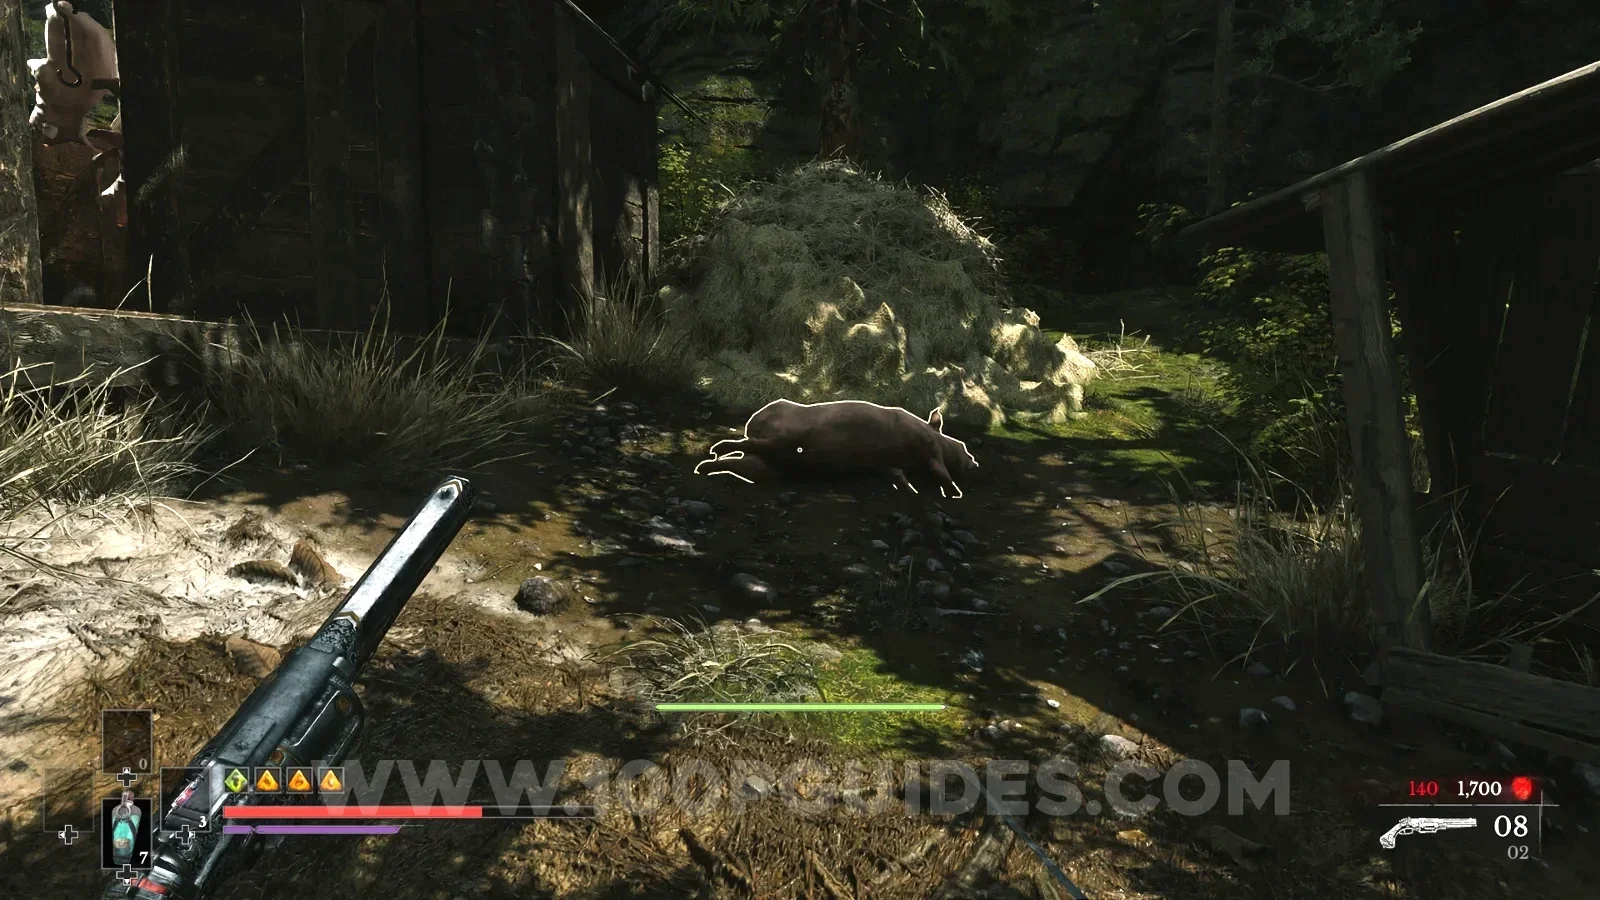
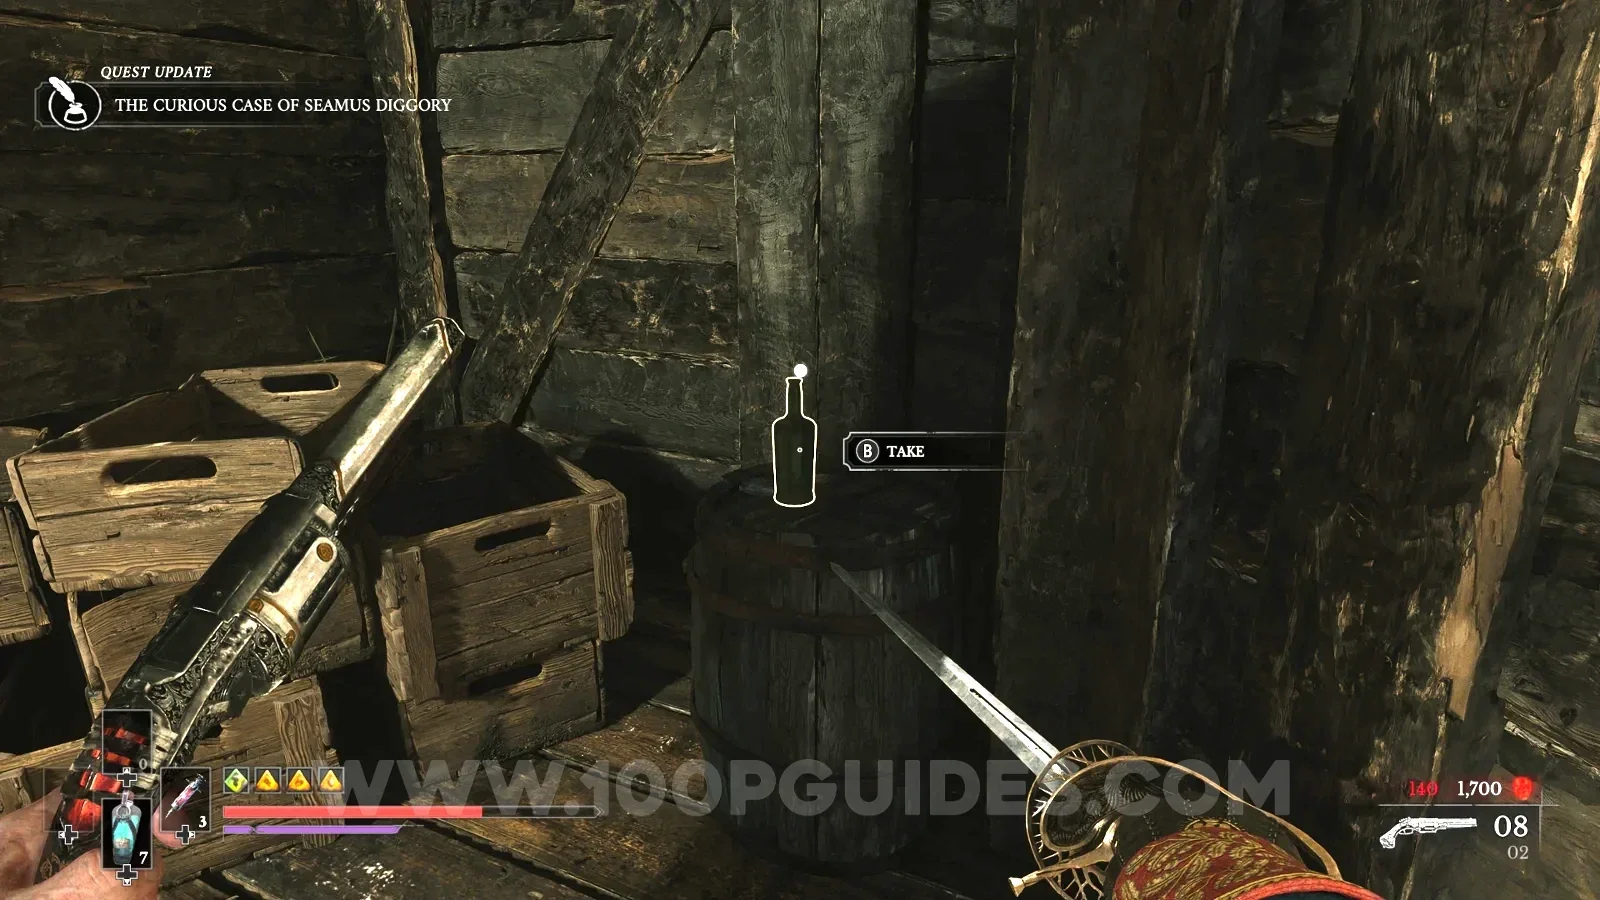
Next, head to the right of the hut and go through another wooden building. Once you come out the other side, you get attacked by an elite enemy. Defeat it and examine the pig on the ground to get one of the two quest items. Then head into the building next to the pig to find the other. Finally, head back to the original hut and talk to the NPC through the window again. Give him whichever of the 2 bottles you want to finish the side quest. The reward is the same no matter which you pick.
Complete the Deserter quest.
To finish this side quest, you must find the 3 parts of a figurine. They are all found in bee boxes around the Vale of Wrath area. Here are the locations.
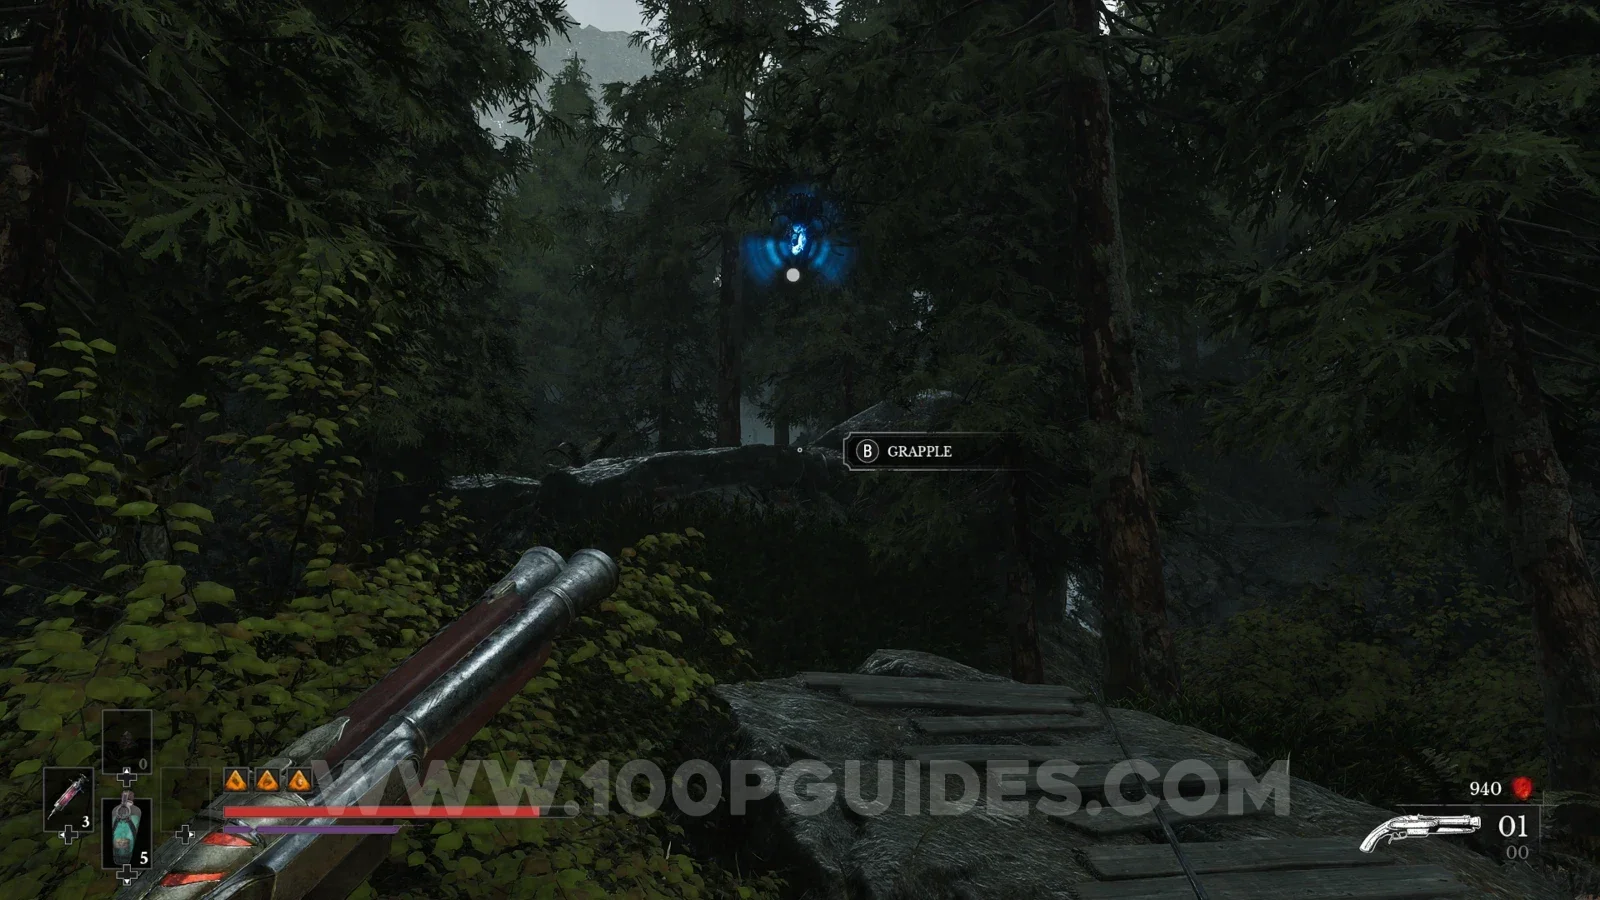
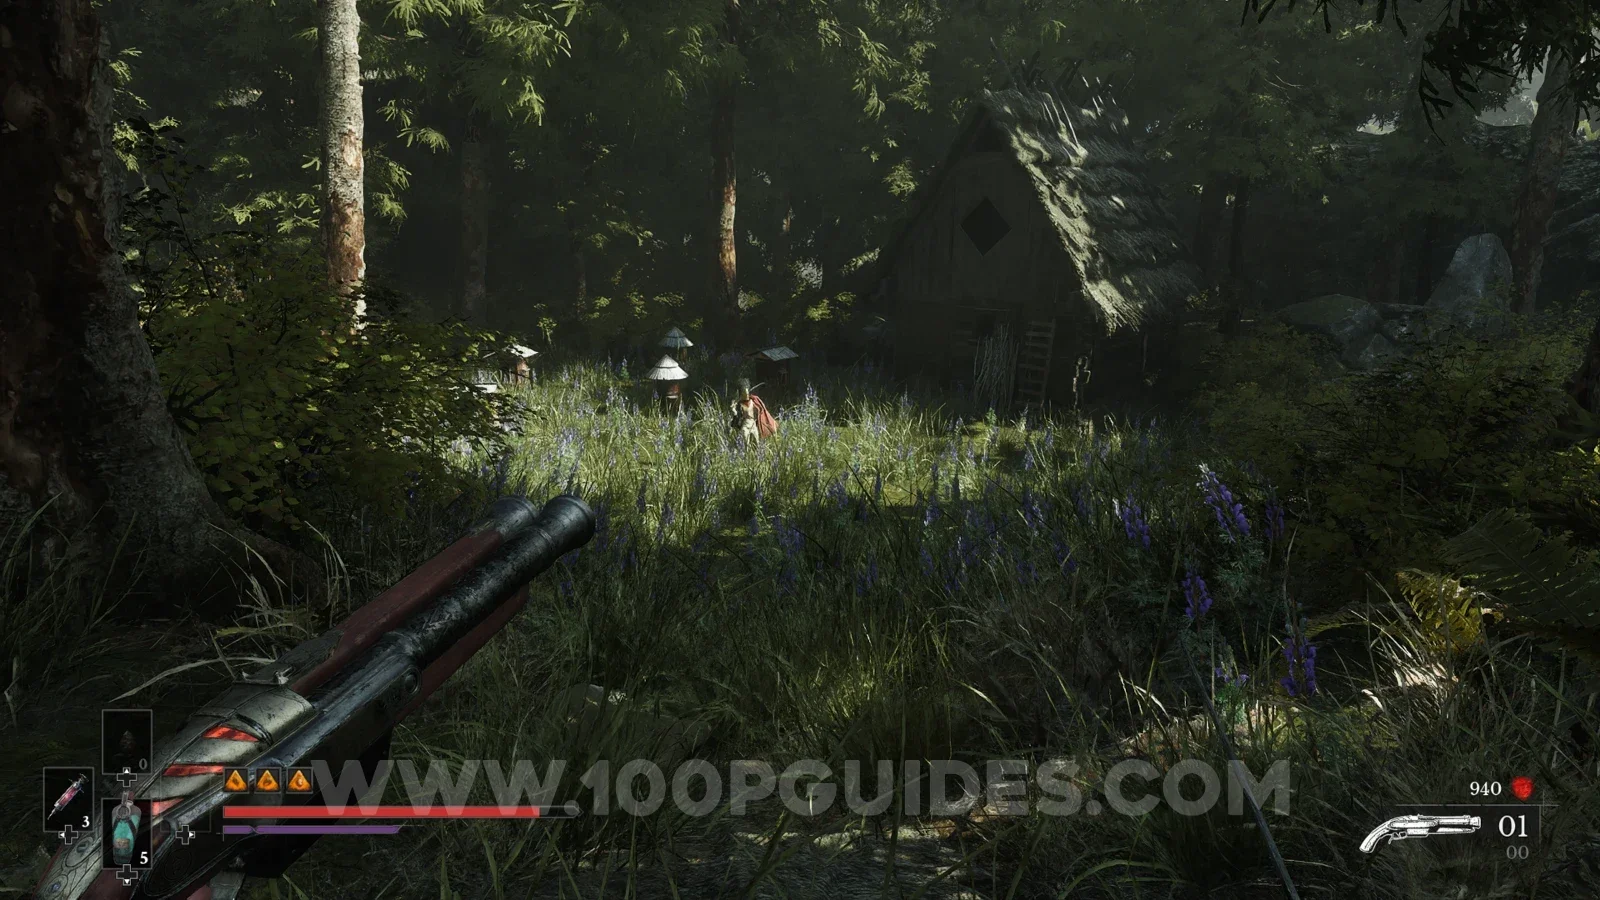
The first one can be found by starting at Vale of Wrath > Under the Bridge. Cross the lower section of the bridge and continue until the path splits. Take the right path and continue by using the grappling points. You will soon reach a clearing with bee boxes and an elite enemy. Defeat him, use the key to open the house and pick up the note (this part may not be needed to finish the side quest). Then head back outside and interact with the bee box that does not have a red X on it to get the first part.
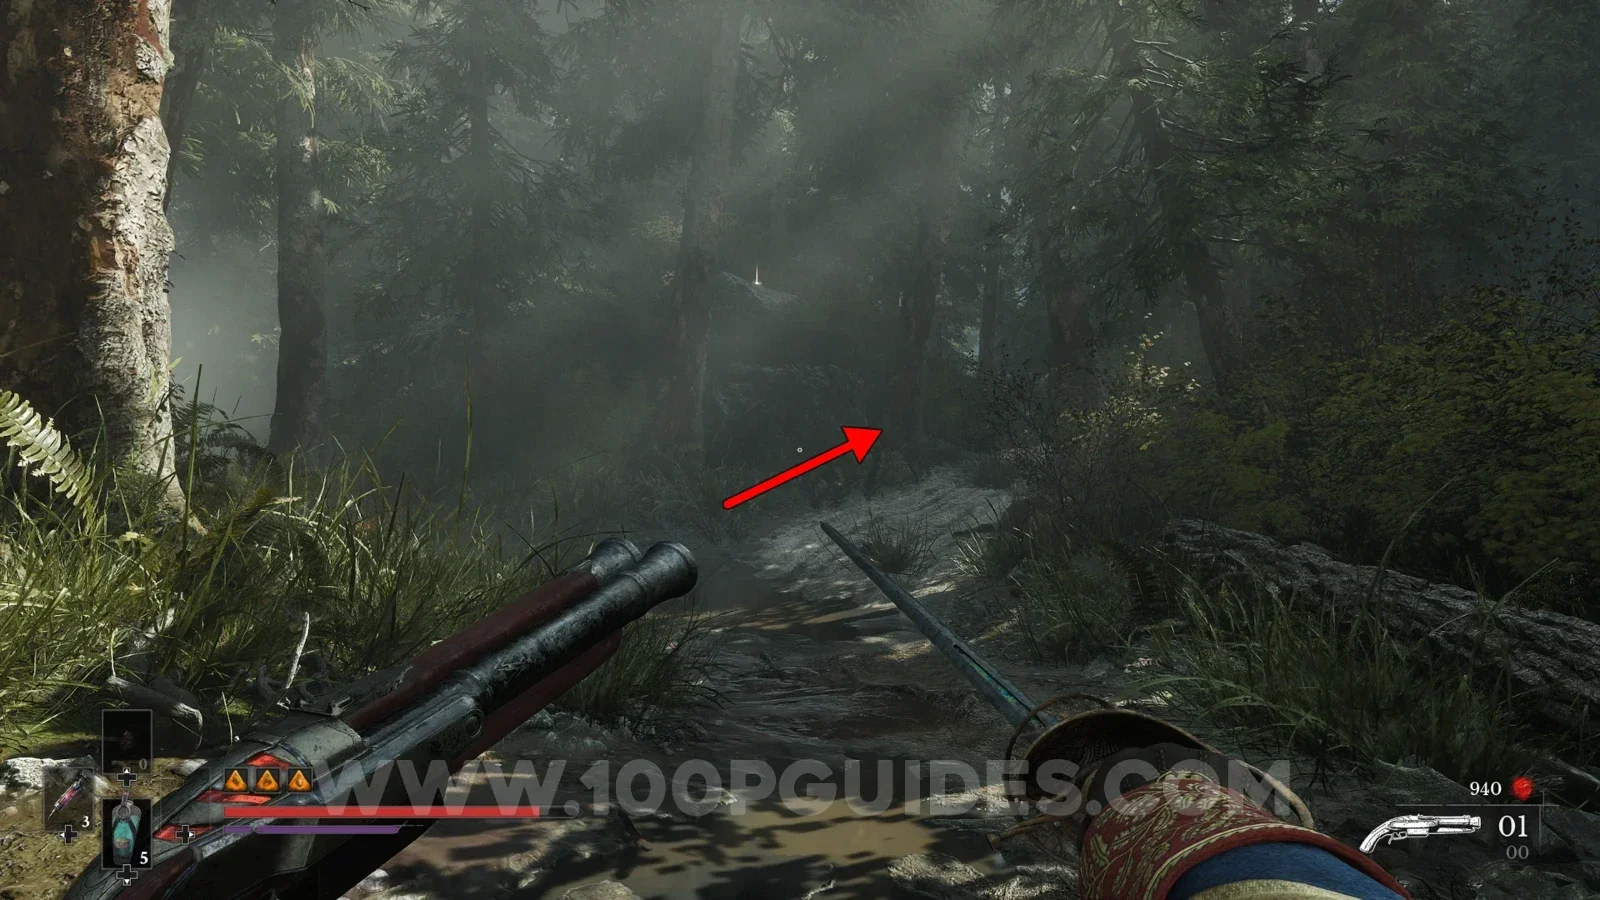
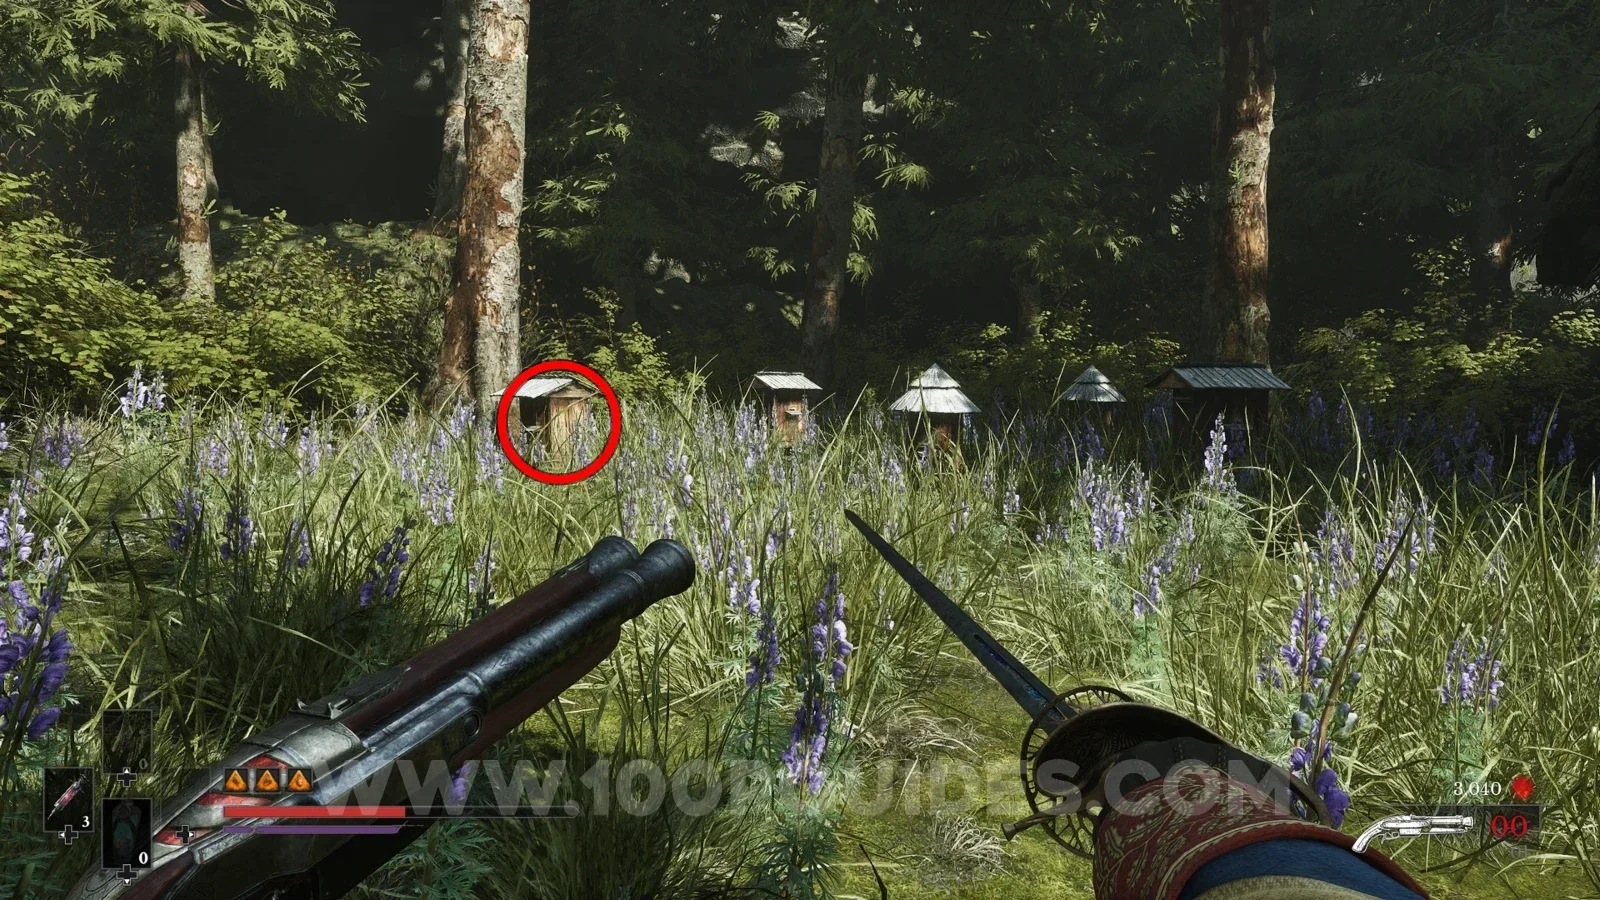
For the second one, go to Vale of Wrath > Poisoned Camp and backtrack to the entrance. Head out and left, and you will soon see some bee boxes on your left. Again, interact with the one with no red X.
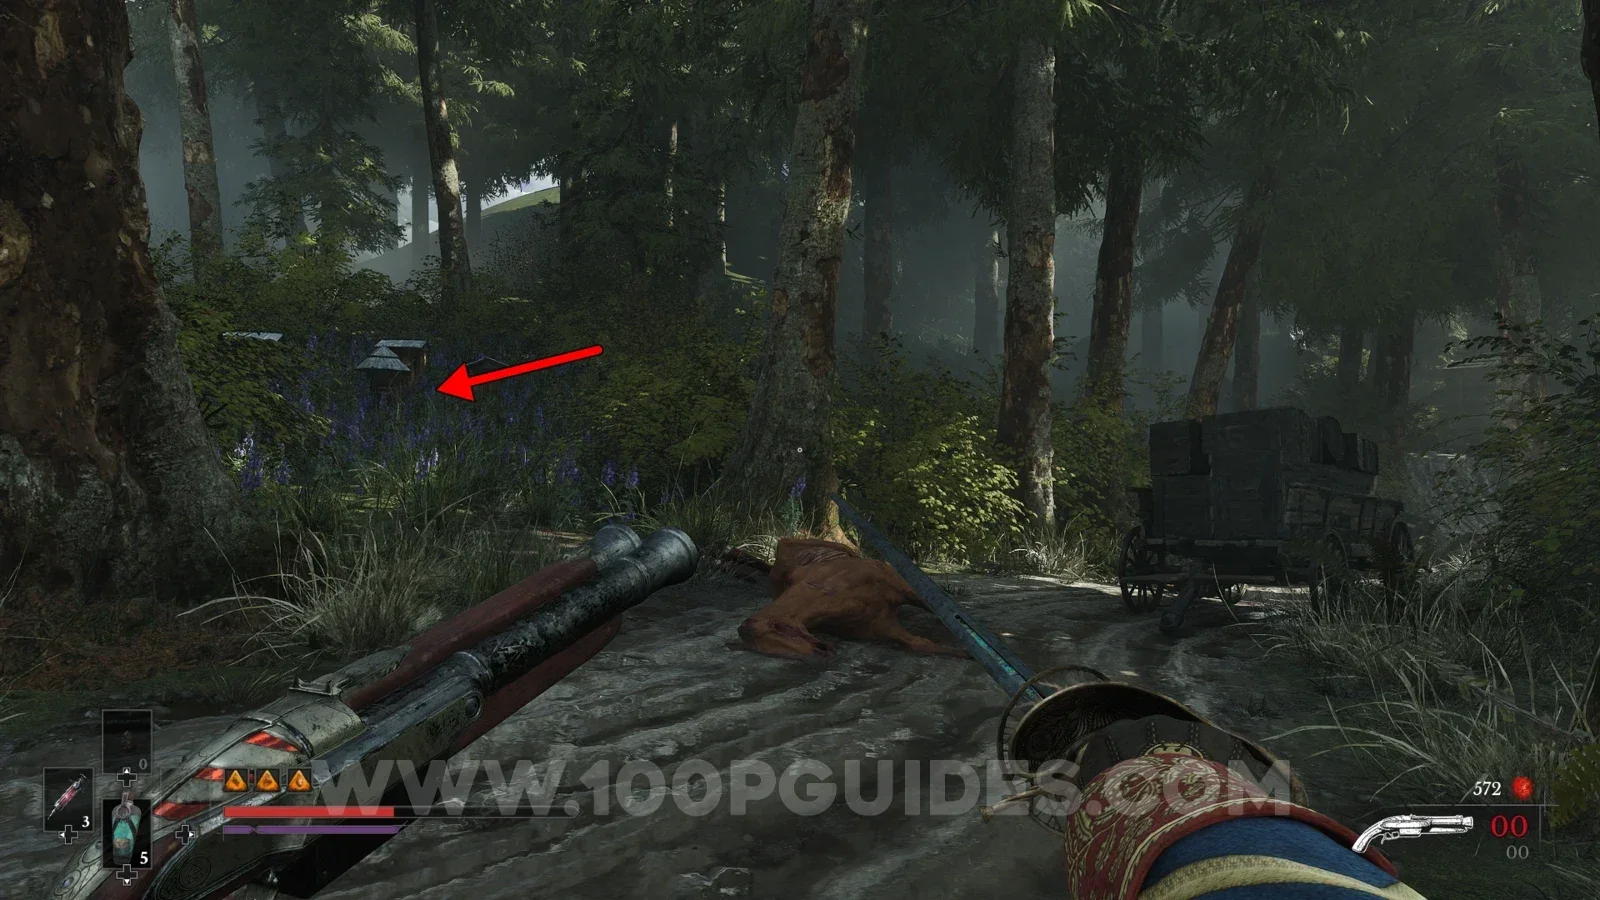
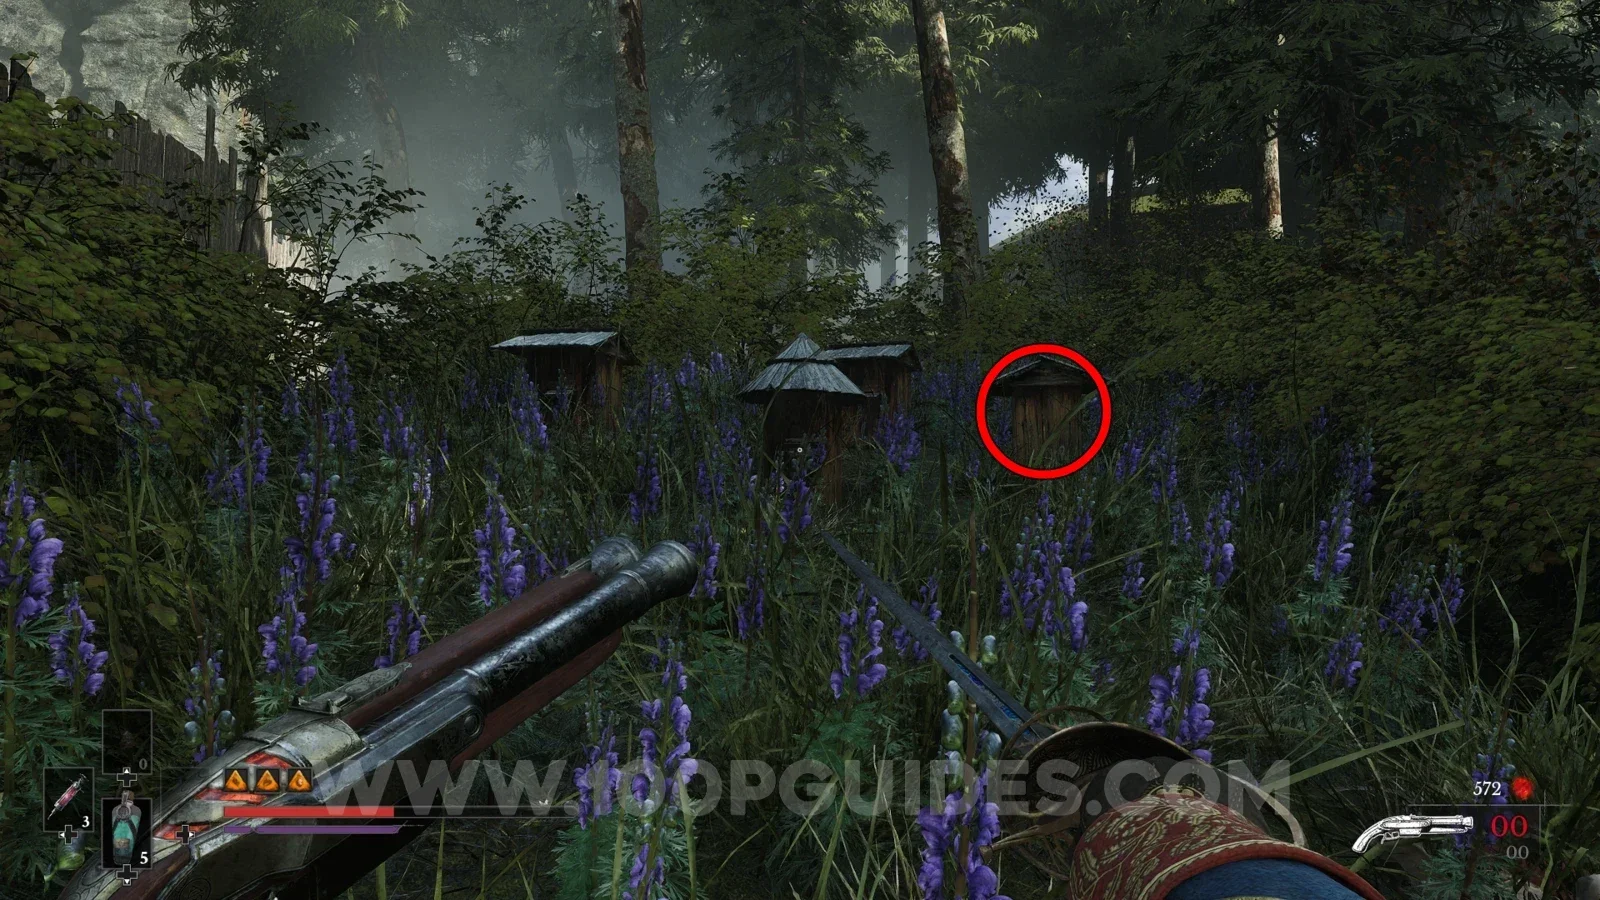
The final part can be found by going to Vale of Wrath > Under the Bridge and using the ladder shortcut right next to the lantern (if you don't have it, you will have to follow the story path through the Poisoned Camp and cross the large bridge). At the top, head through the small building where you needed to use Stasis to open the gates during the story. Then, as soon as you come out the other side, go through the house on your right to find the bee boxes on the other side. Like before, interact with the one with no red X to finish the side quest.
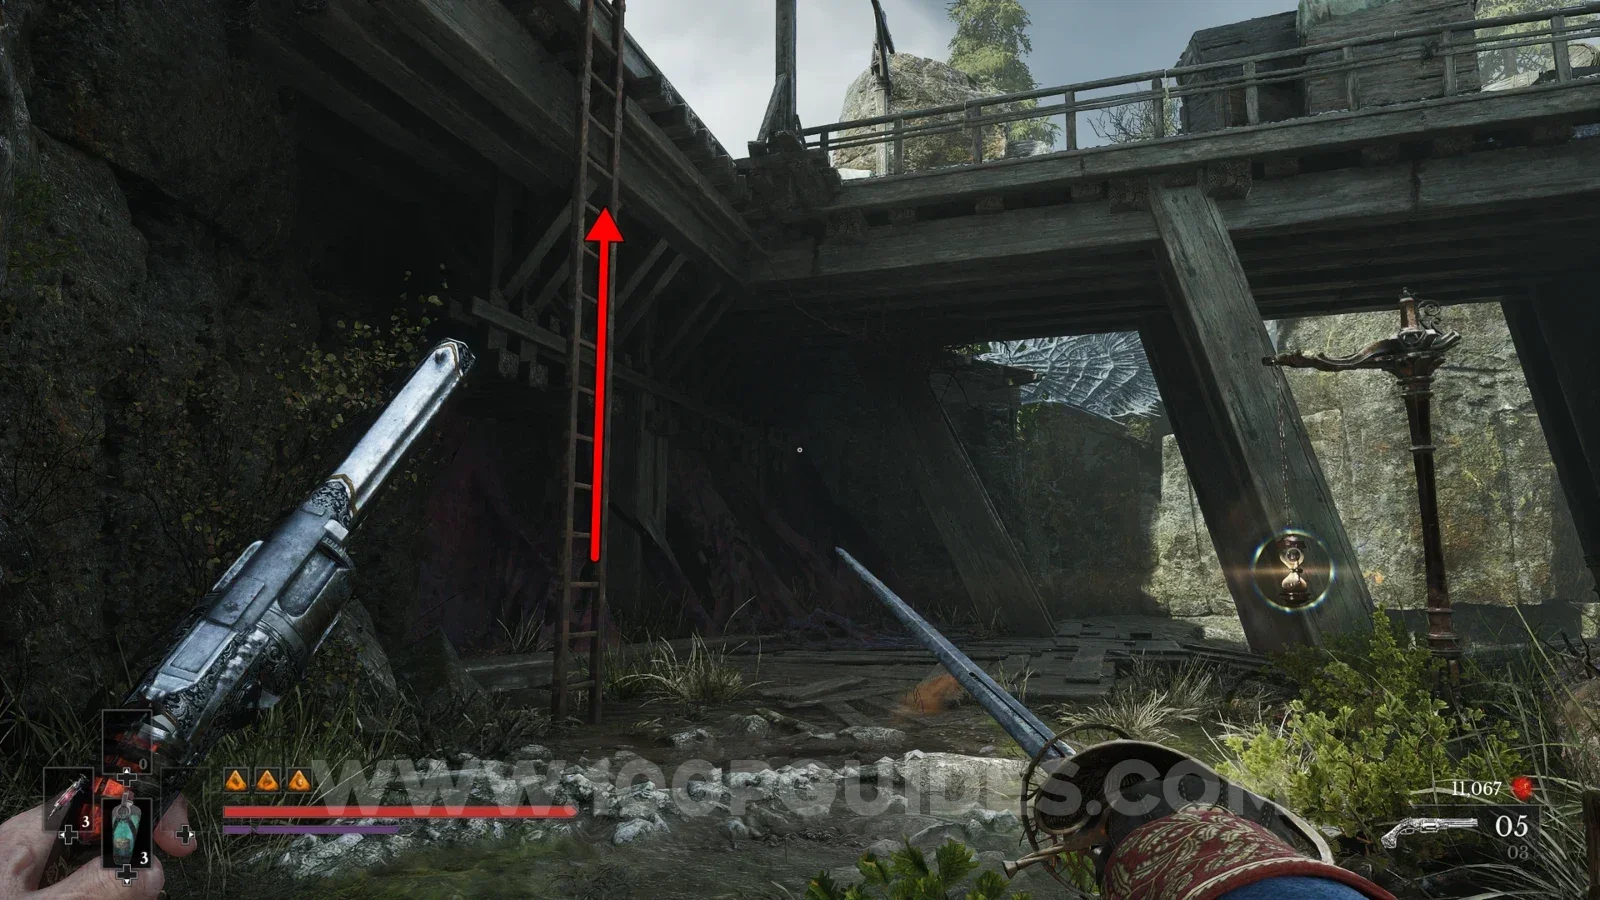
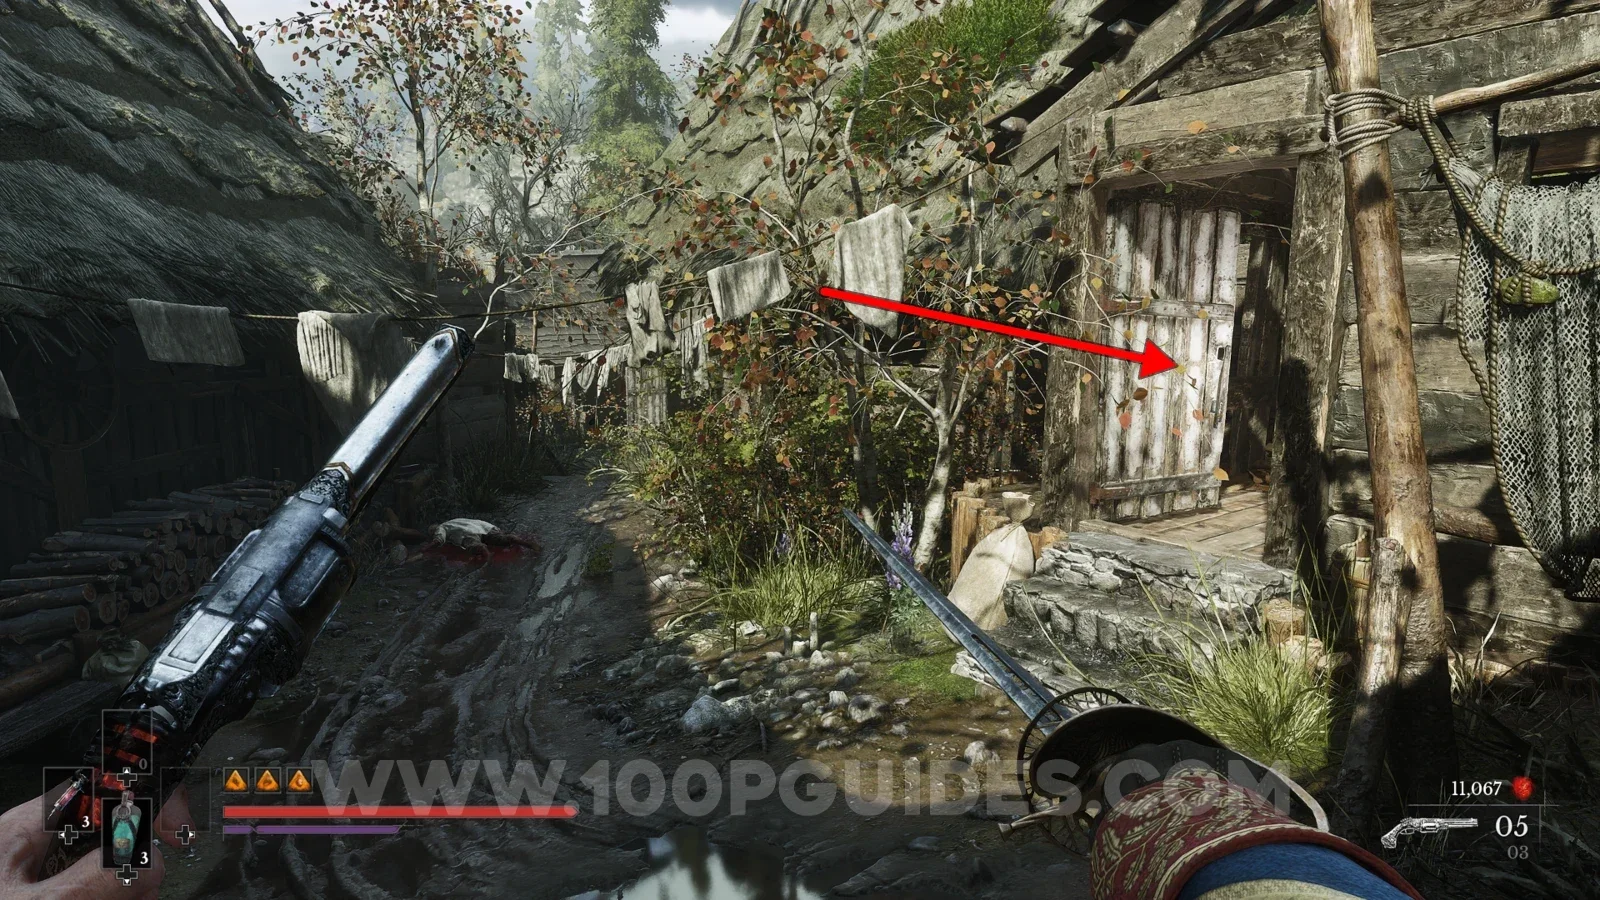
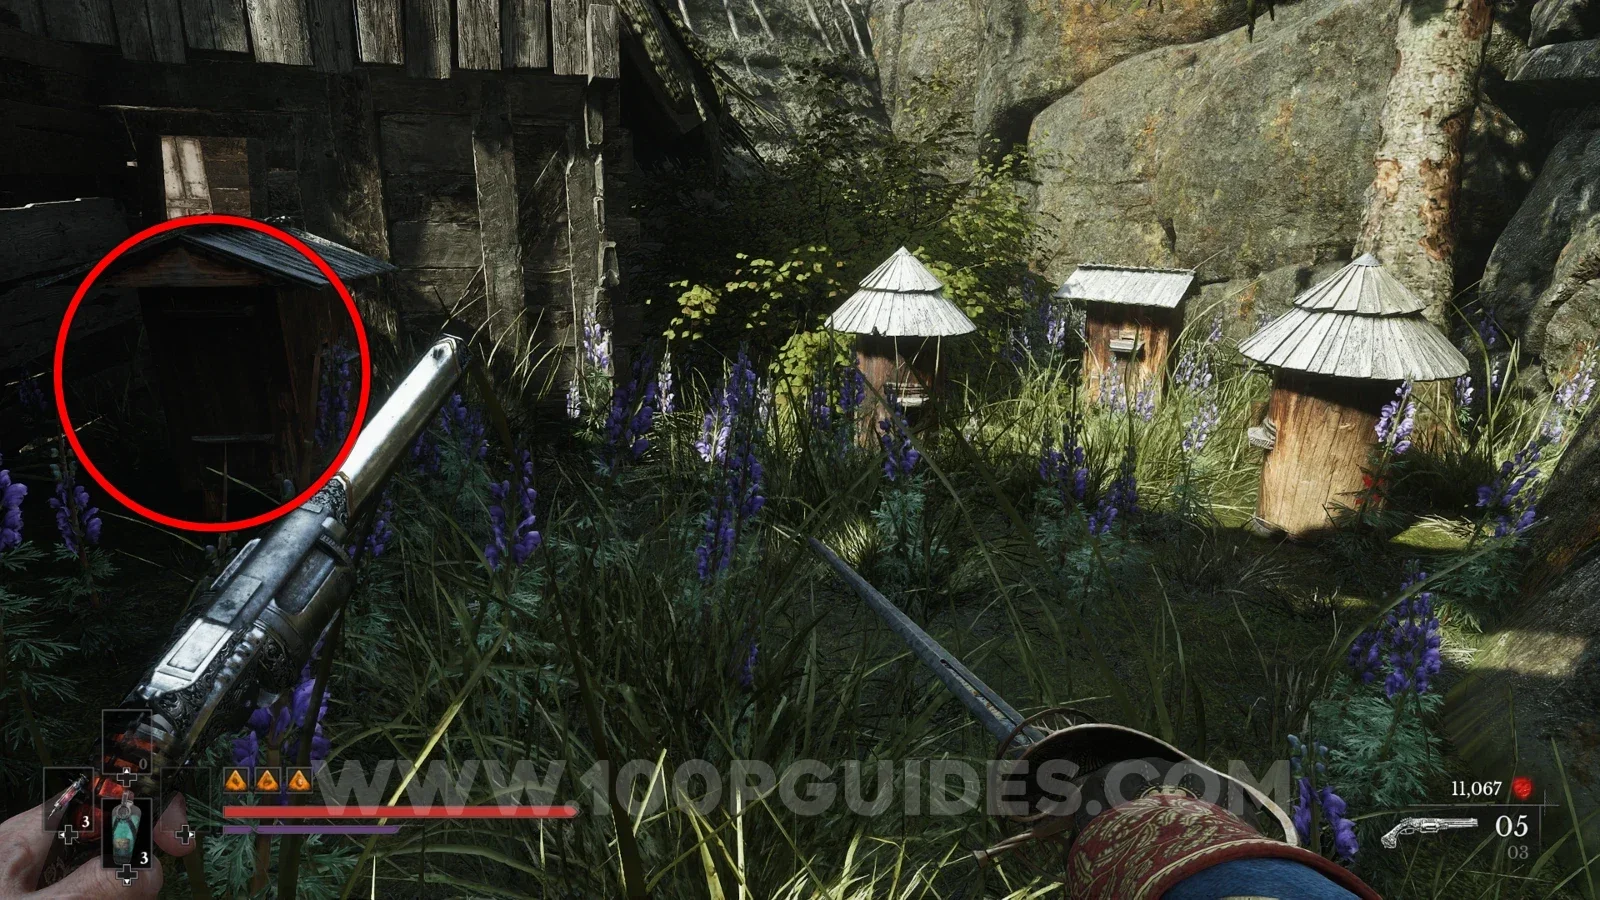
Complete the Unheard Farewell quest.
Unheard Farewell is the first side quest available in the game.
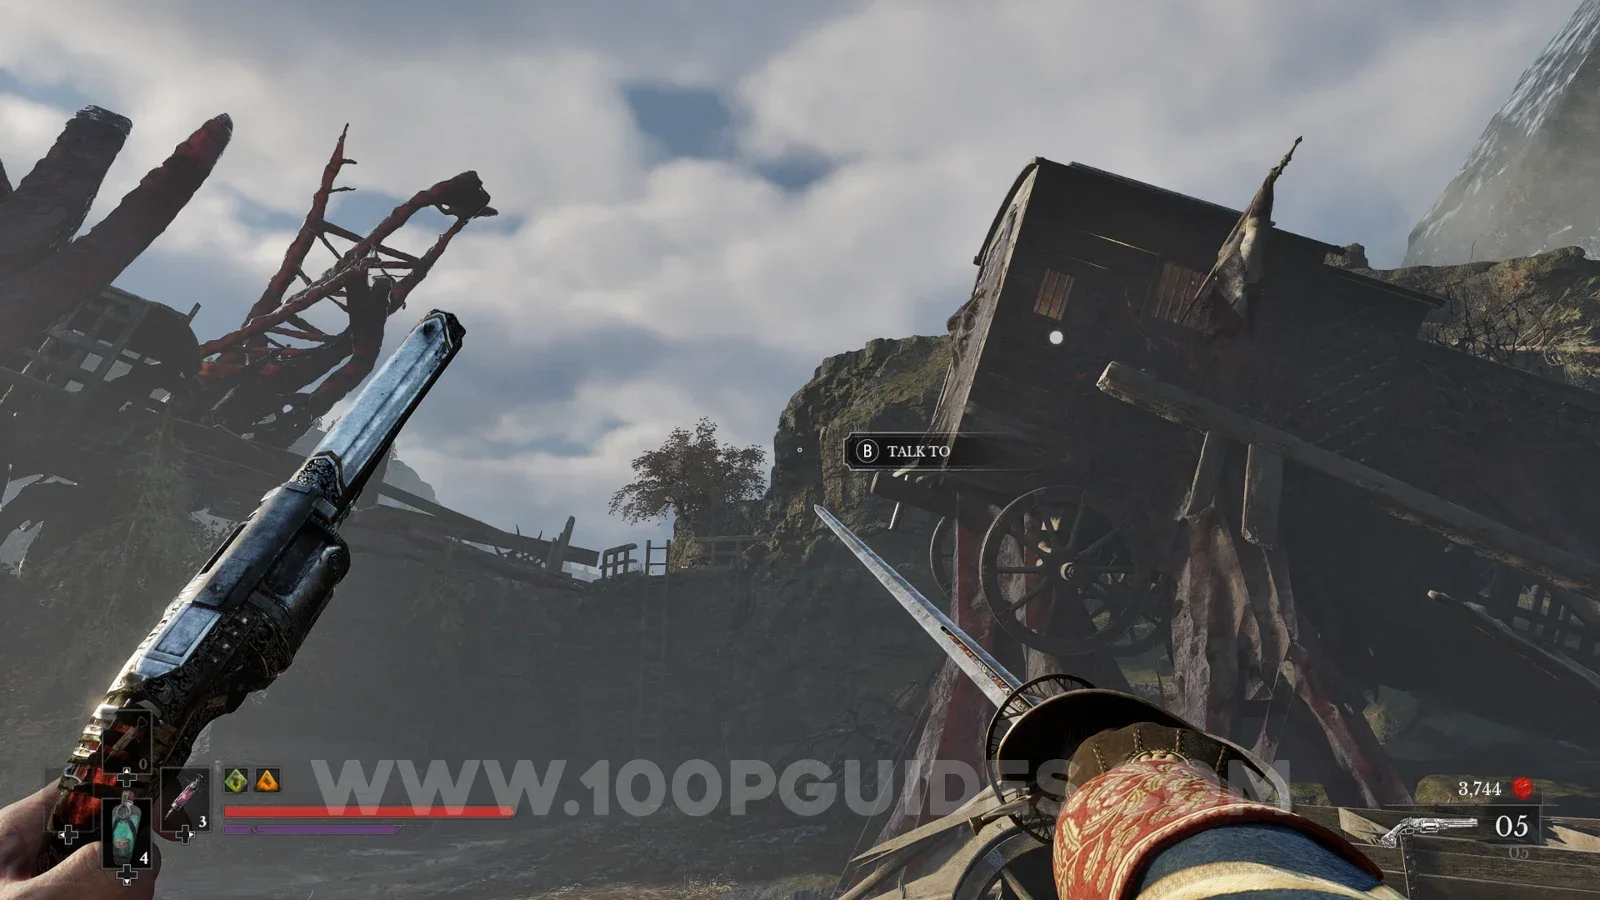
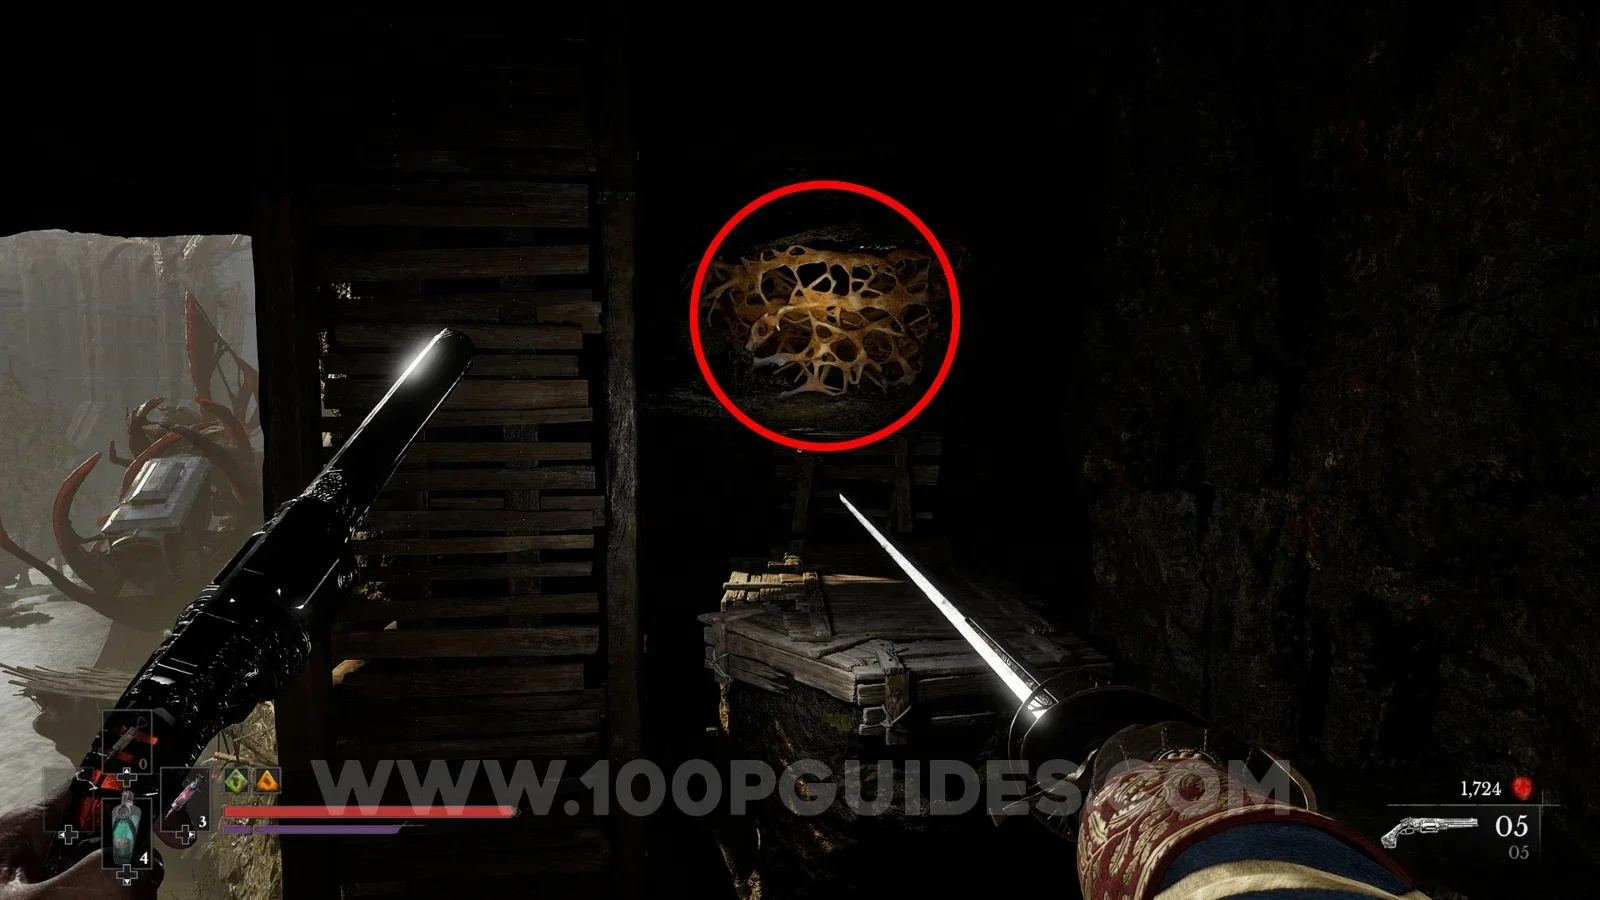
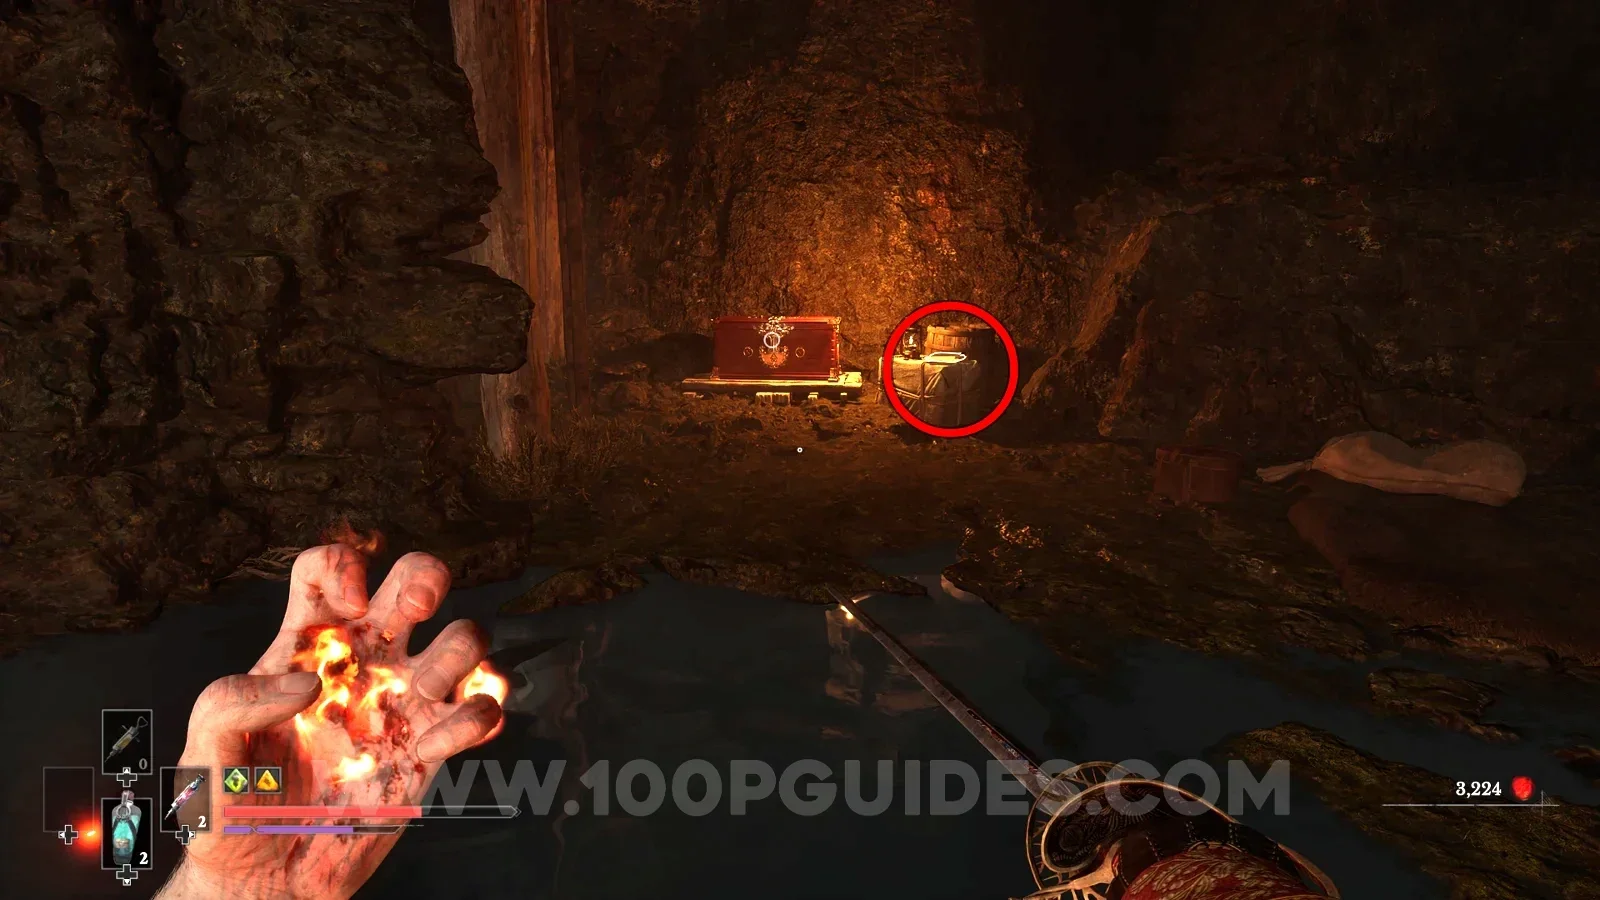
Start it by talking to the NPC in the large cart next to the Valley of Ashes > Demolished Path lantern. Then travel to Valley of Ashes > The Climb, get on the wooden lift and get off halfway up (if it is your first time, the lift stops here anyway). As soon as you get off the lift, jump across to the cave on the left side and head inside. Defeat the enemy and pick up the documents. Return them to the NPC in the cart to finish the quest.
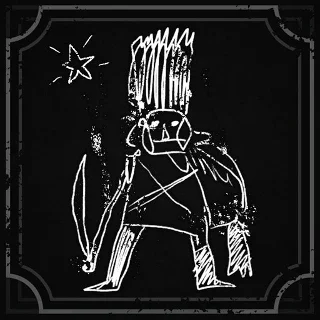
Complete the Monster Hunt quest.
To finish the "Monster Hunt" side quest you must find all 17 Drawings scattered around the City of Orphans.