Aphelion All Collectibles and Trophies
This guide will show you where to find every collectible and how to get every chapter-specific trophy in Aphelion.
This guide will show you where to find every collectible and how to get every chapter-specific trophy in Aphelion.
All collectibles are easy to find as most of them are directly on your path, however, they are all missable. Below you will find the location of all collectibles separated by chapters where they can be obtained, along with the missable trophies for each chapter. If you miss something, you can roll back your save from the main menu. Rolling back your save and collecting what you missed will count towards your total progress. Therefore, all collectibles are technically semi-missable since you can use chapter select to retrieve anything you missed.
Aphelion contains 58 collectibles in total.
5 Crewmember Bodies
8 Glyphs (Ice Sculptures)
18 Audiofiles and Datapads
27 Secondary Markers
CHAPTER 1 – THE WRECK
No collectibles in this chapter.
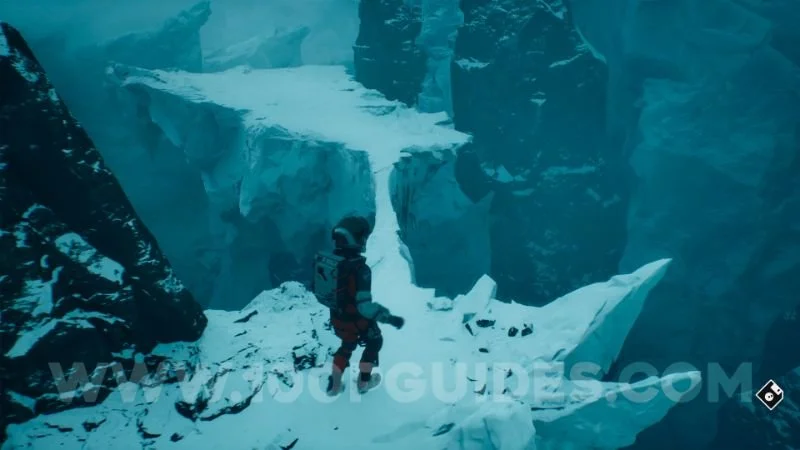
CHAPTER 2 – THE PULSE
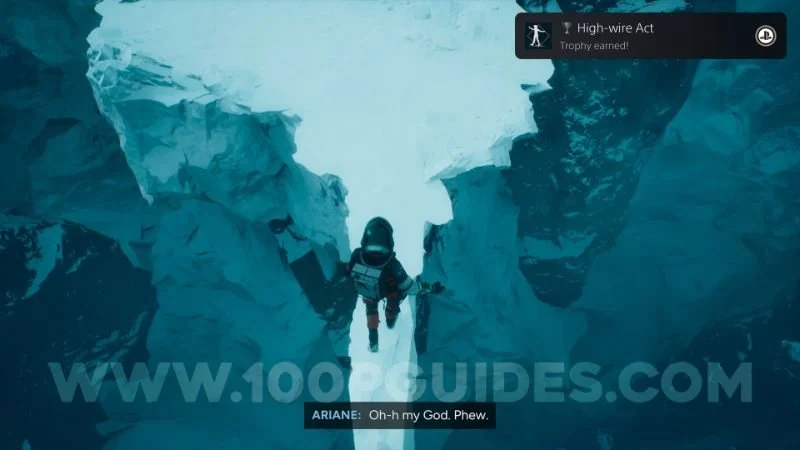
Trophy: High-wire Act
When crossing some bridges you will have to balance by moving the analogue stick left to right, do this perfectly 3 times to obtain this trophy.
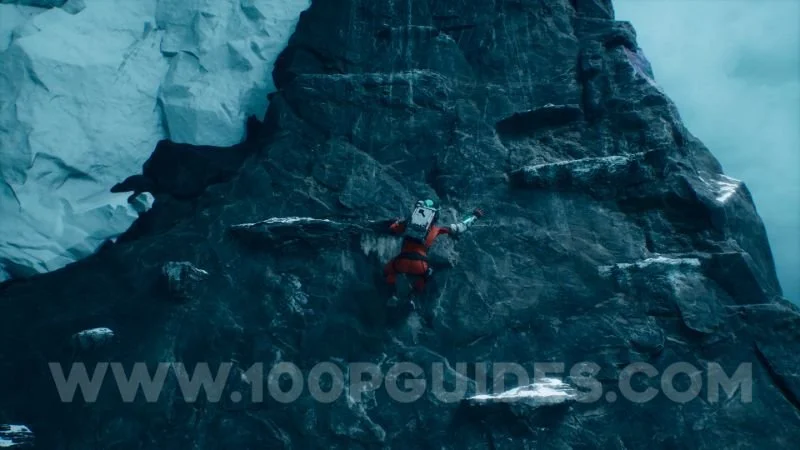
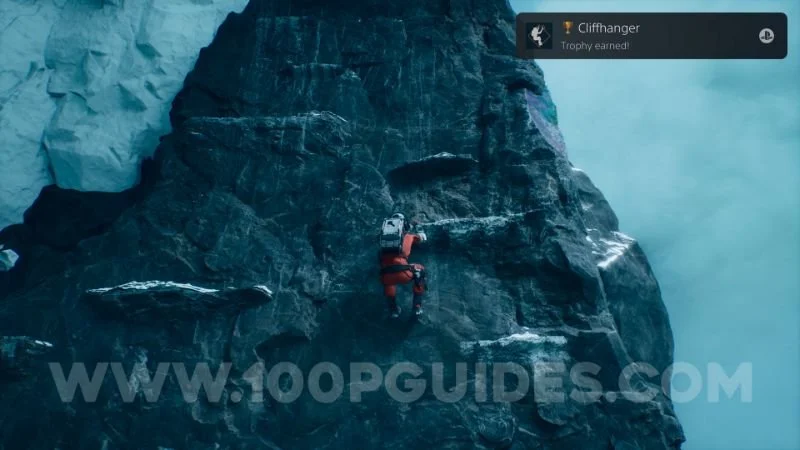
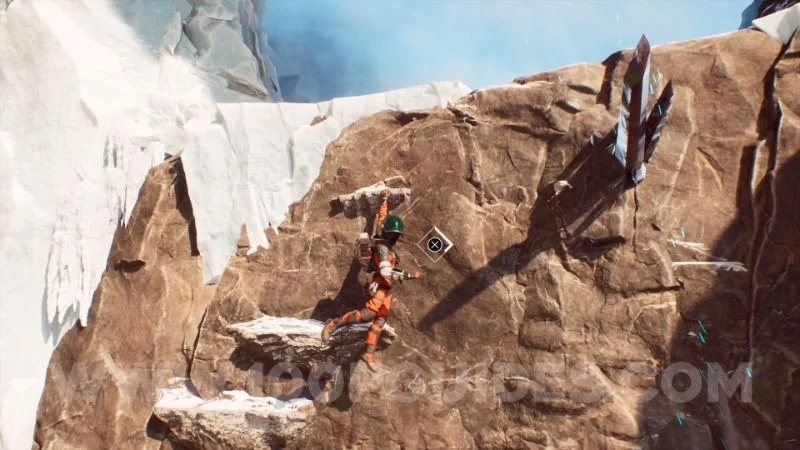
Trophy: Cliffhanger
When climbing you will have the option to jump and hang by pressing Square, for this trophy you will have to make this perfect jump by pressing Square 15 times.
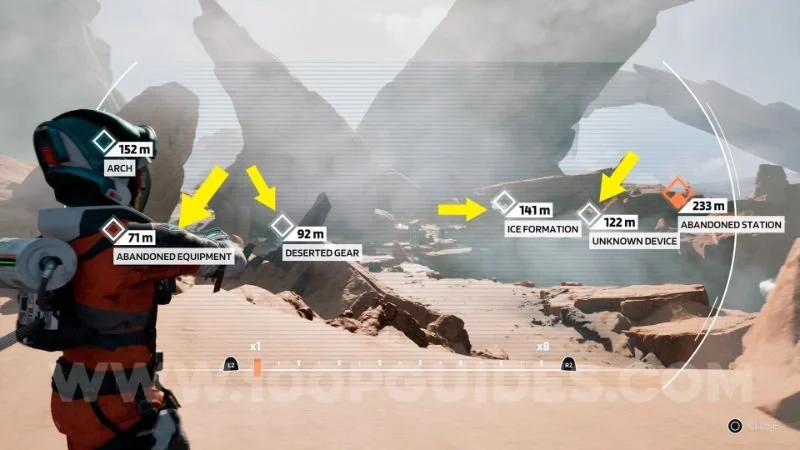
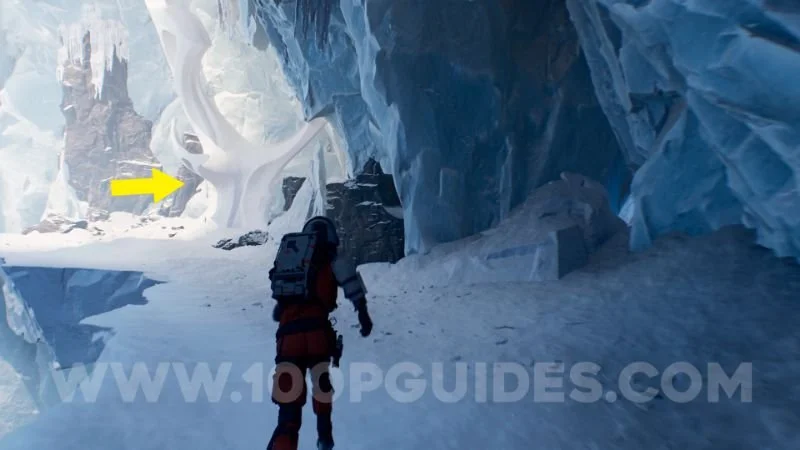
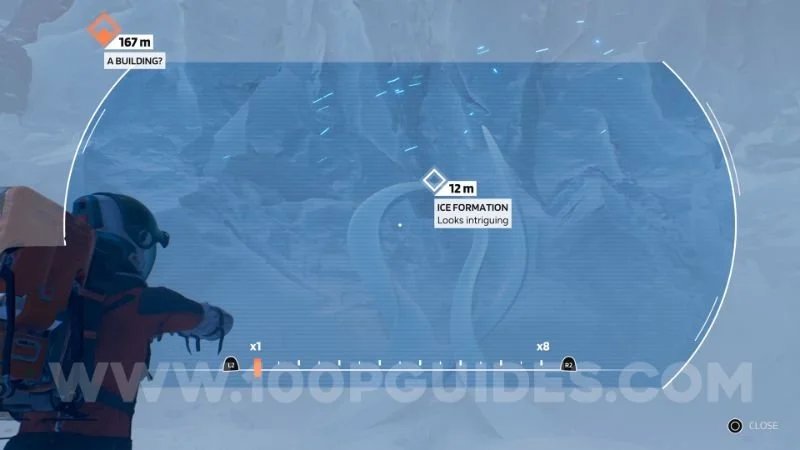
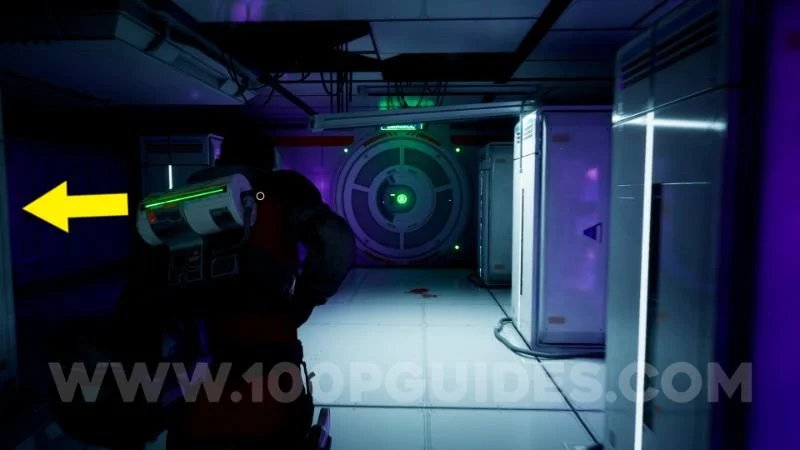
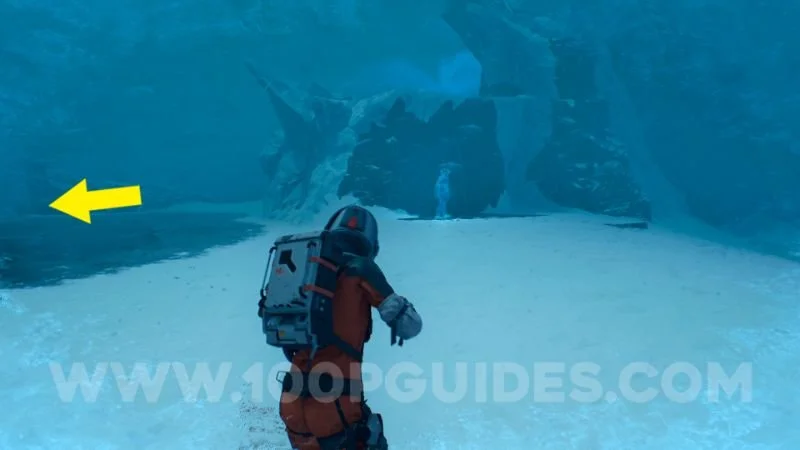
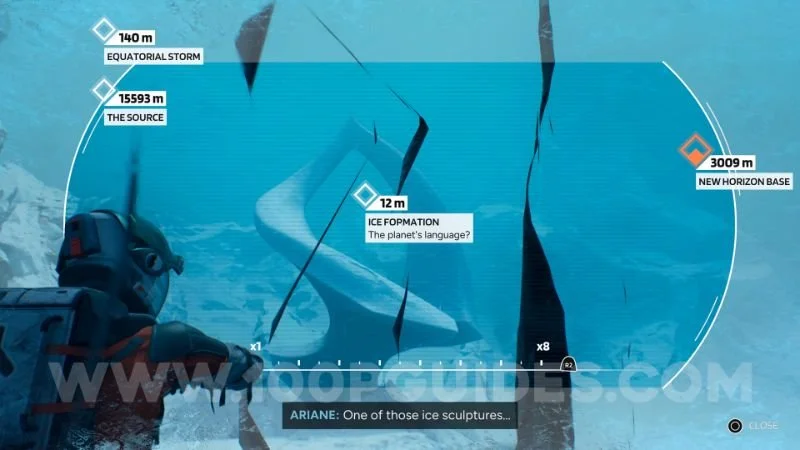
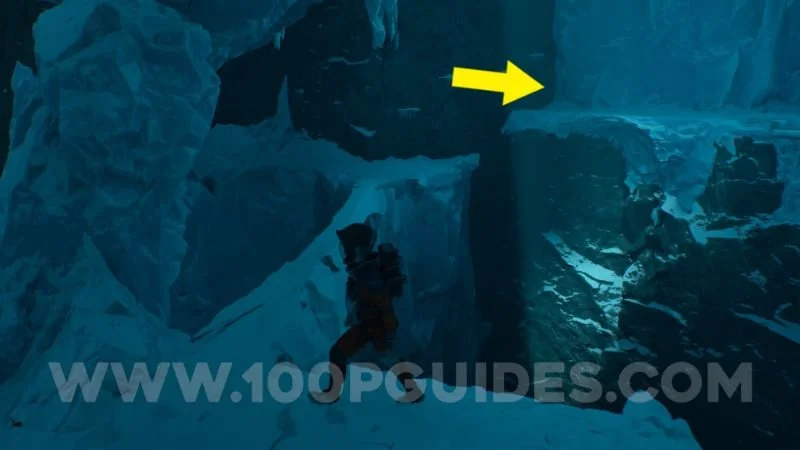
Secondary Marker #1 Opening + Secondary Marker #2 Ice Formation
At the entrance of the large ice cave.


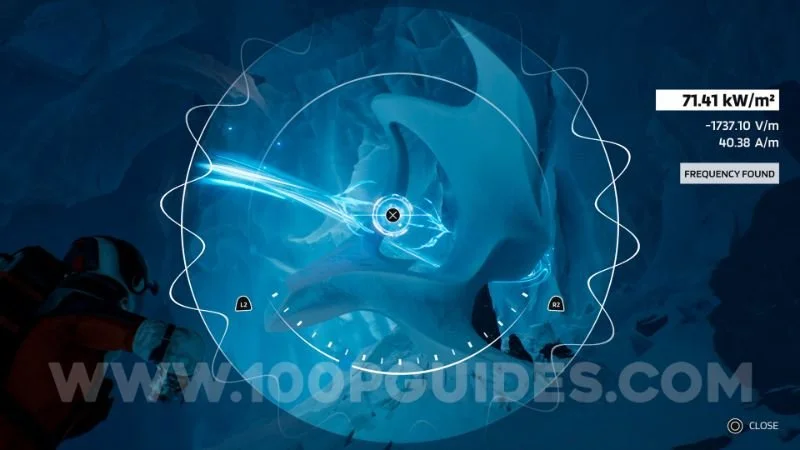
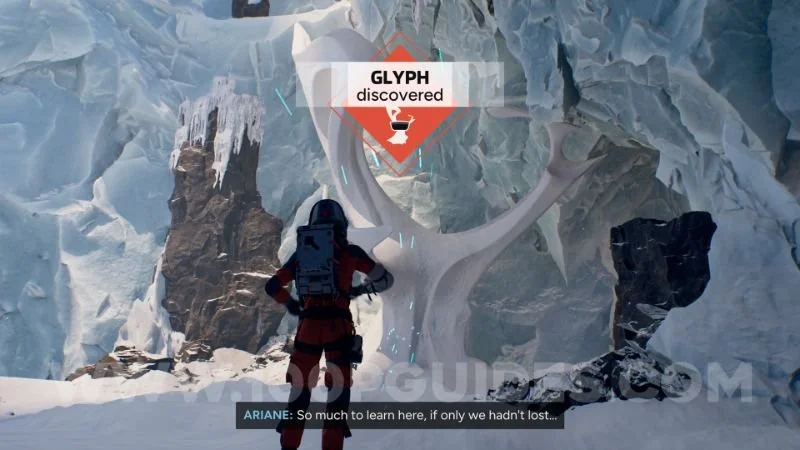
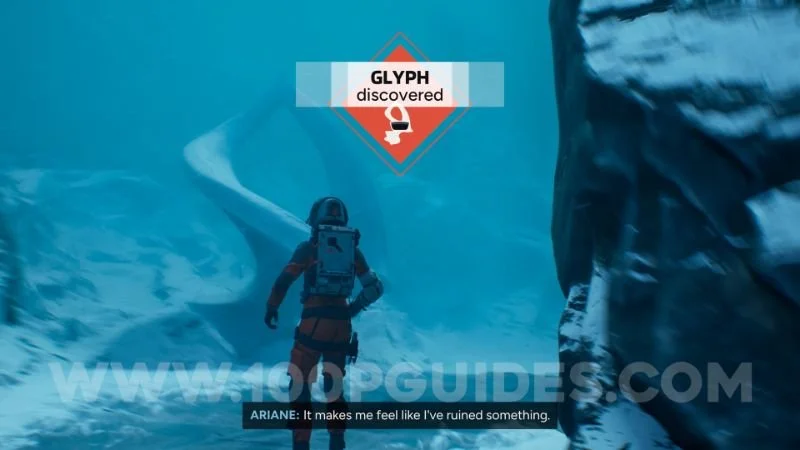
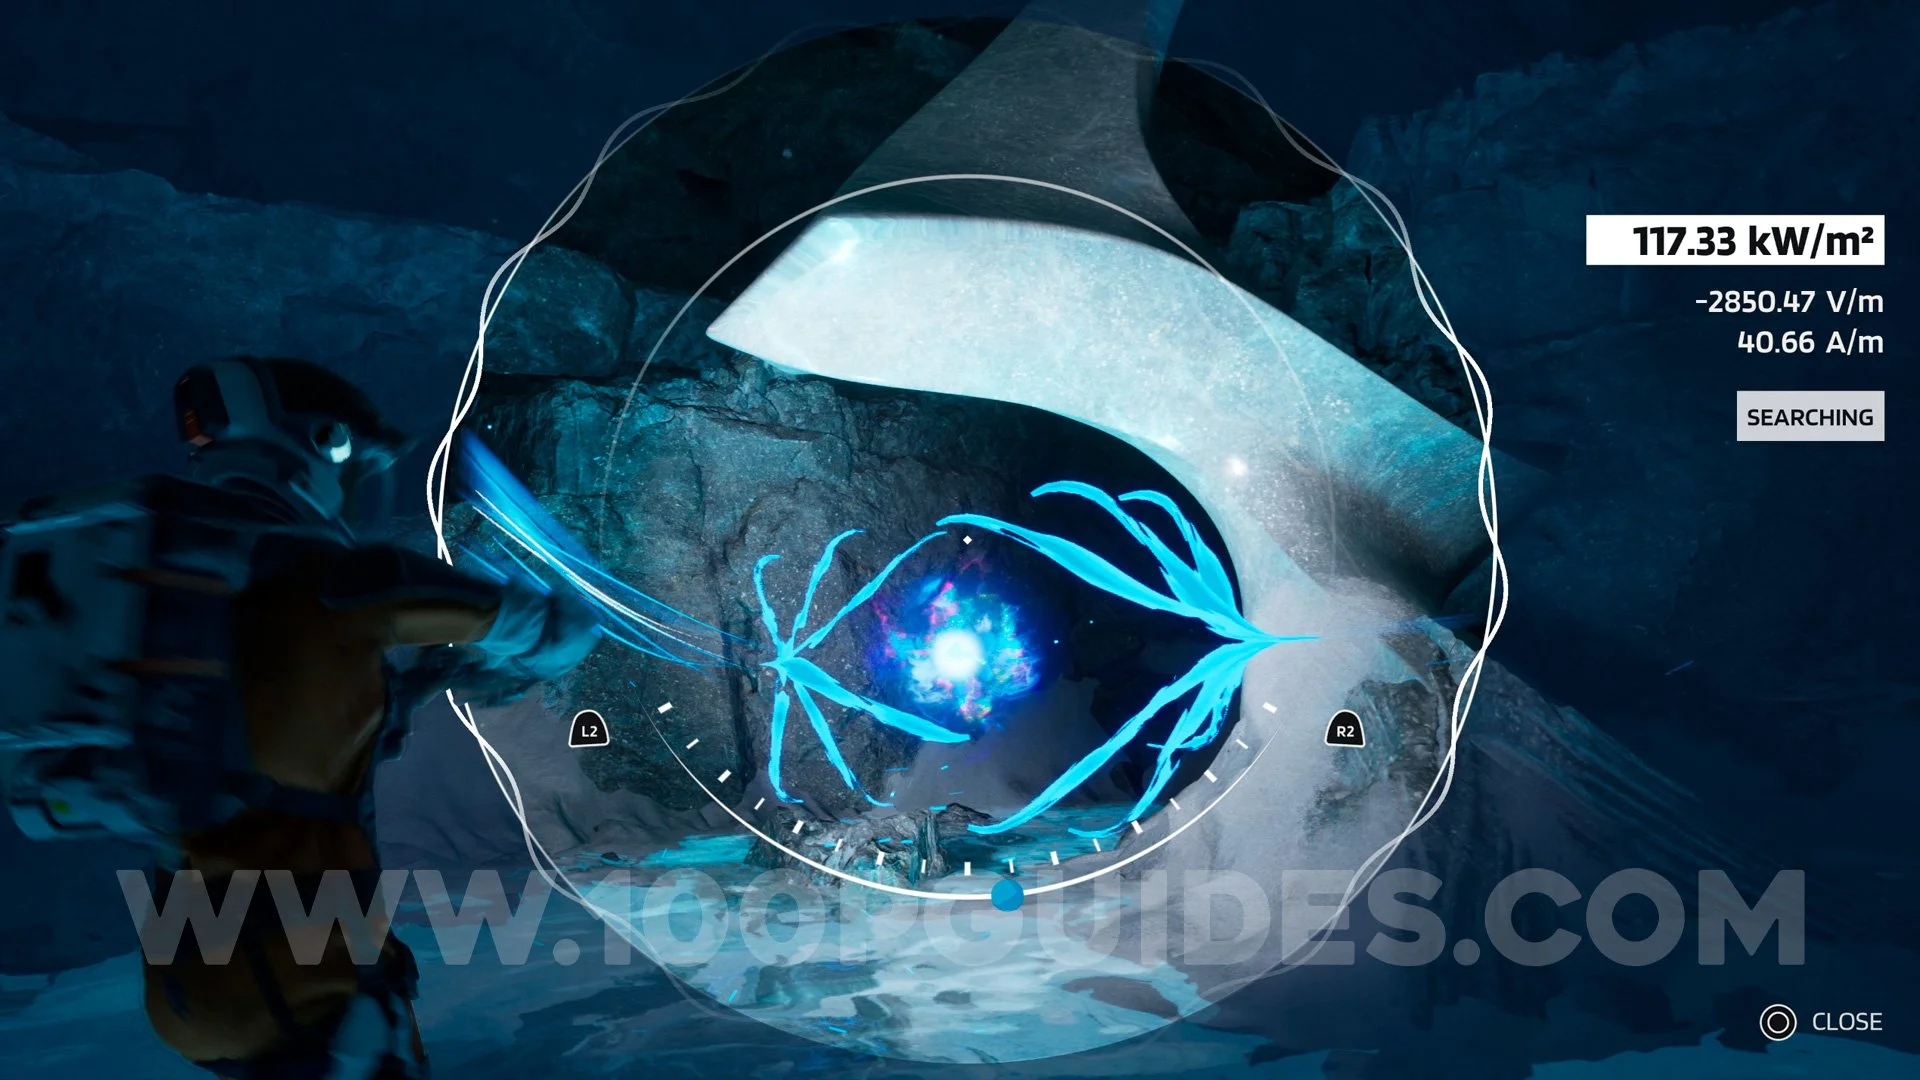
Glyph #1
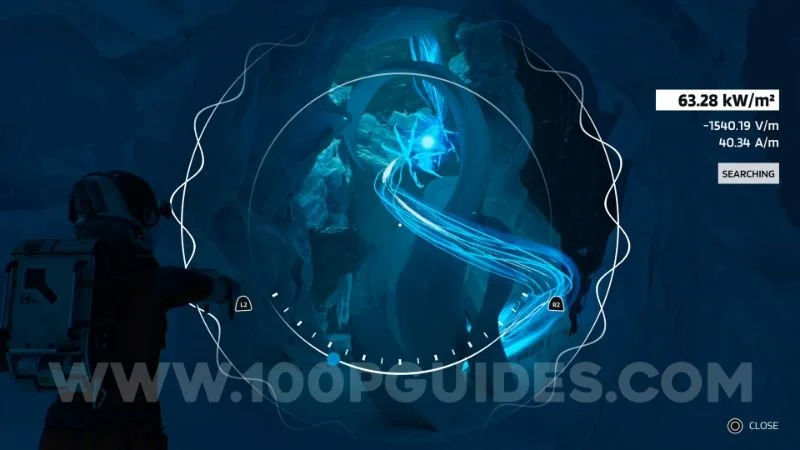
Same area as the previous collectible, use your EM Scanner to activate the glyph.
CHAPTER 3 – THE ESCAPE POD
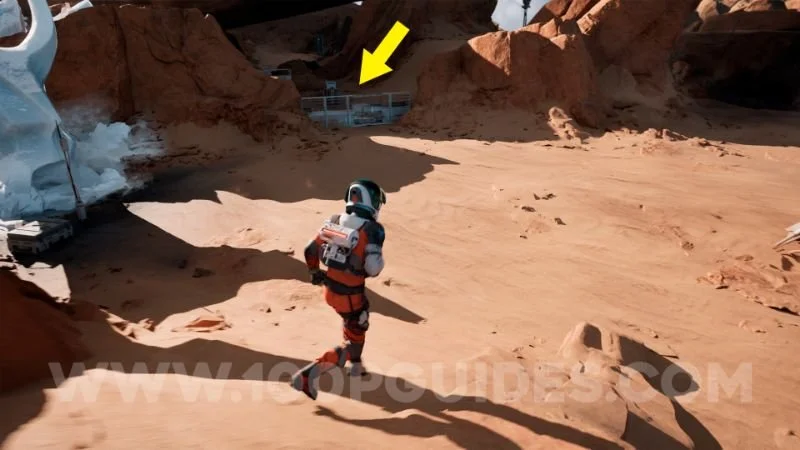
Secondary Marker #3-6
At the beginning of the chapter, after passing through a crevice, a brief cutscene will start. After the cutscene, you will have these 4 secondary markers right in front of you.

Secondary Marker #7
From the previous collectible, move forward a bit and you will start hearing a machine sound that you will need to investigate. After crawling and reaching the next area, you will find a Secondary Marker on top of the machine. Make sure to collect it before interacting with the machine.

Secondary Marker #8-11
From the previous collectible, continue following the story path until the next cutscene. This will give you a new objective to go to the abandoned station. Before going there, use the pathfinder to register these 4 secondary markers.
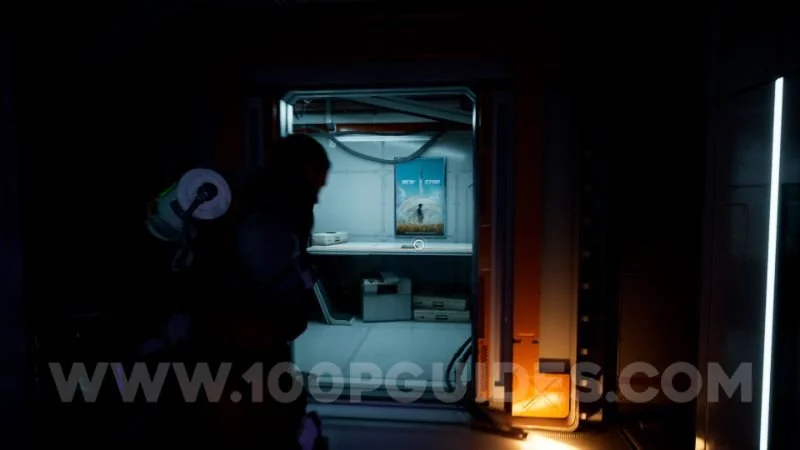
Audiofile and Datapad #1
From the previous collectible, continue following and connecting the cable that gives you oxygen. Eventually you will reach an area that has no oxygen and you will have to go around the area to connect to a new machine. Next to the oxygen machine you will find a table with this on top of it.


CHAPTER 4 – THE ONYX FOREST
Trophy: Killed by the Nemesis
At the beginning of the chapter, get defeated 10 times by the Alien.
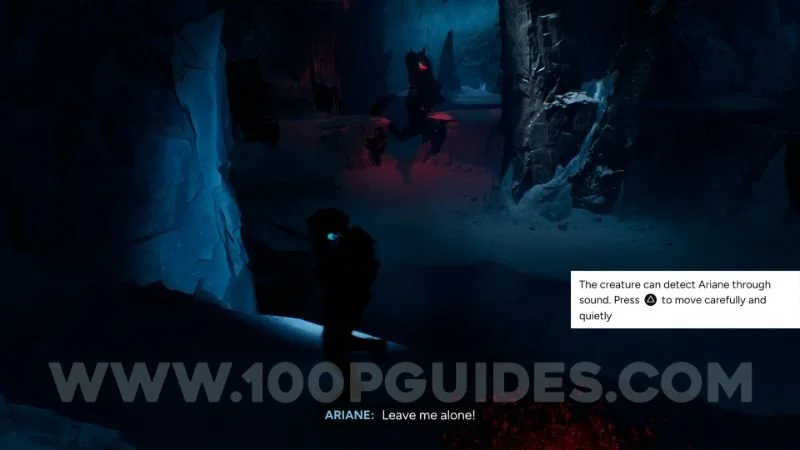
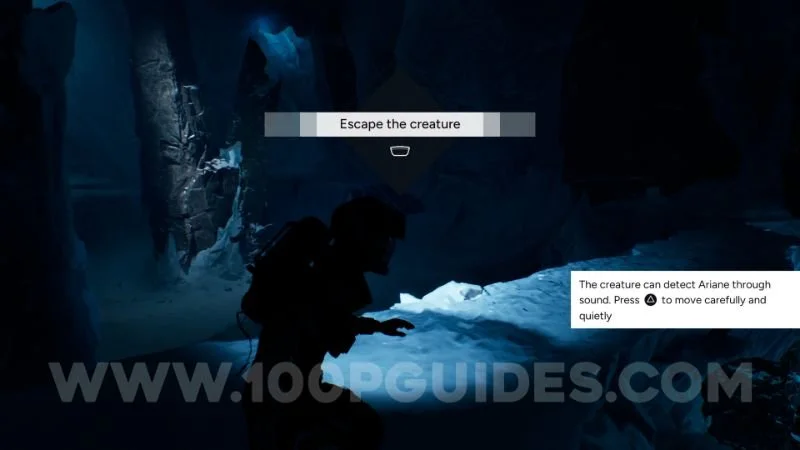
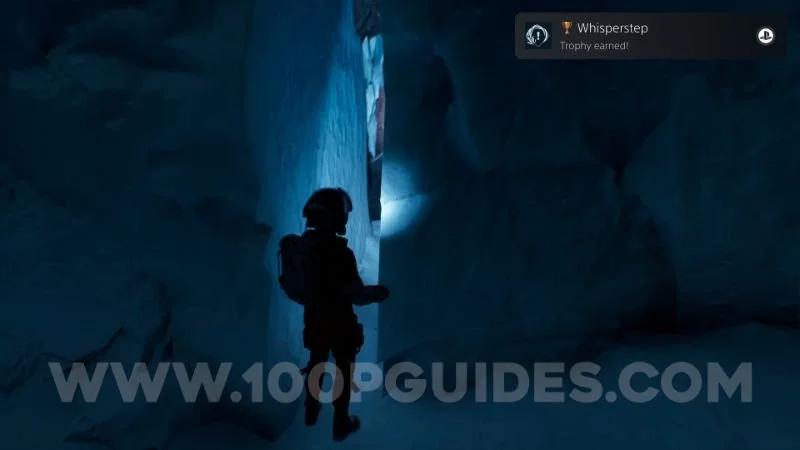
Trophy: Whisperstep
Same location as the previous trophy, now pass through the entire path without being detected by the alien.
Secondary Marker #12 + Secondary Marker #13
From the previous trophy, continue following until the next cutscene where you will see your next objective marked as light reflection. At this same point, you will find 2 more secondary markers.
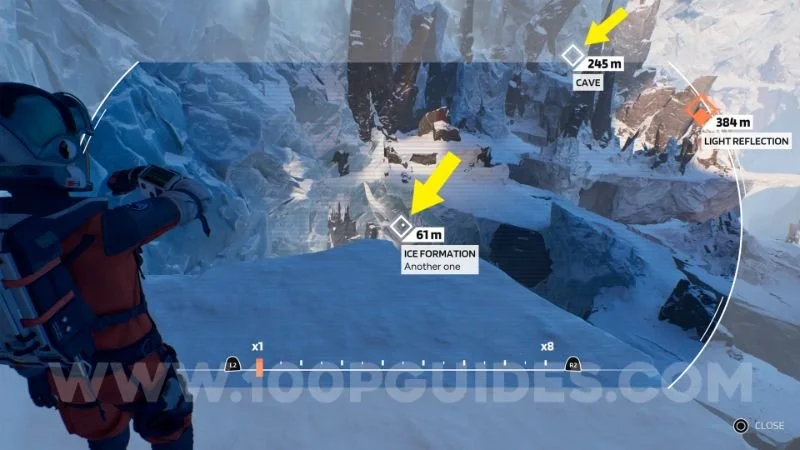
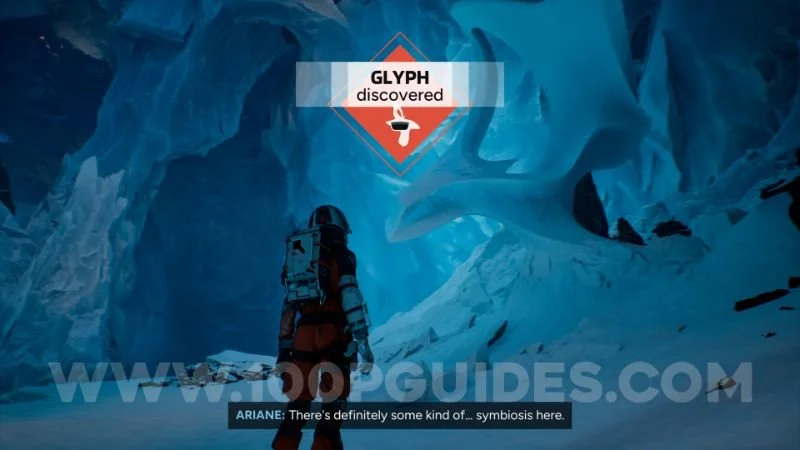
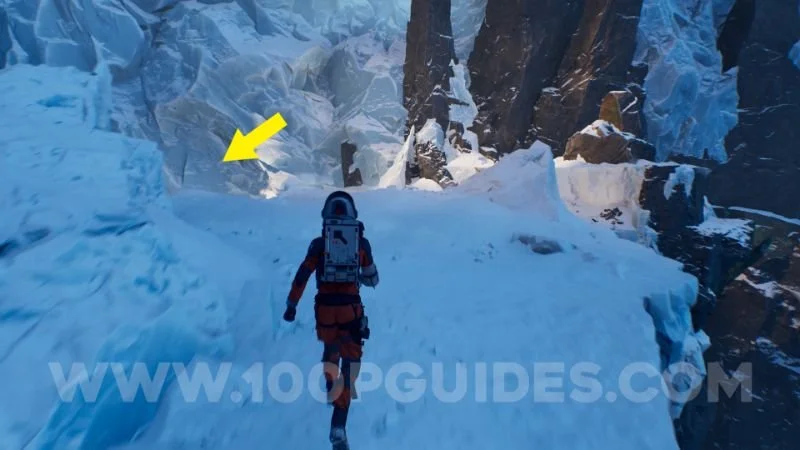
Glyph #2
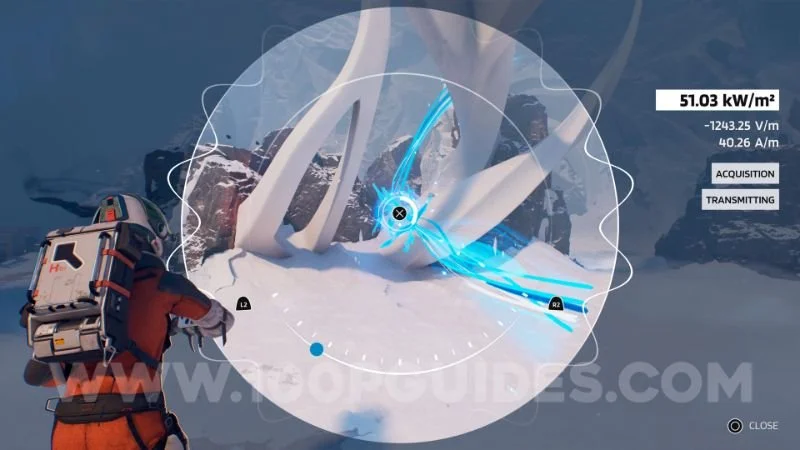
Notice that in the previous collectible you marked an Ice Formation, your objective is to go there. Follow the path normally by descending to the lower part of the mountain and then keep to the left. You will see that you can descend by the edge. Down there, use the EM Scanner to obtain this glyph.
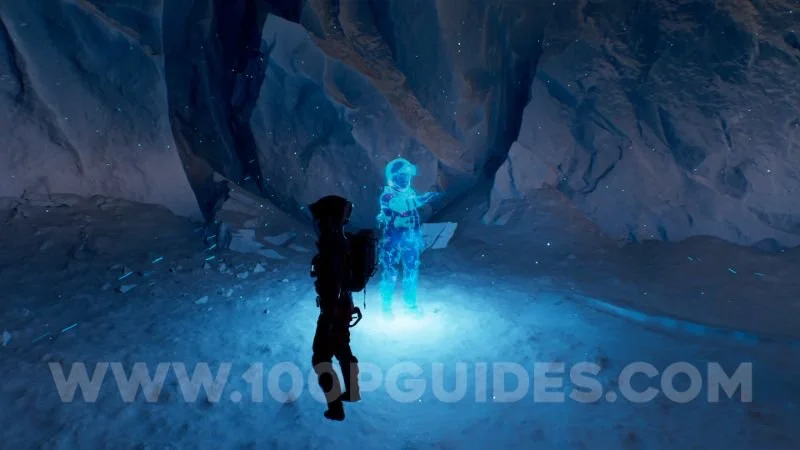
Trophy: Echo Seeker
Shortly after the previous collectible, you will see that your passage is blocked and you will have to solve a puzzle to proceed. After solving the puzzle, do not follow the ice bridge, go left to enter a new area. Climb to the top to reach a cave with a Thomas Echo. Listen to the Echo until the end to obtain this trophy.

Secondary Marker #14 + Glyph #3
Near the end of this chapter you will reach a part with some geysers. After passing the first one, turn right and jump across the ice platforms to find this area that contains the glyph and the secondary marker.


CHAPTER 5 – THE OUTPOST
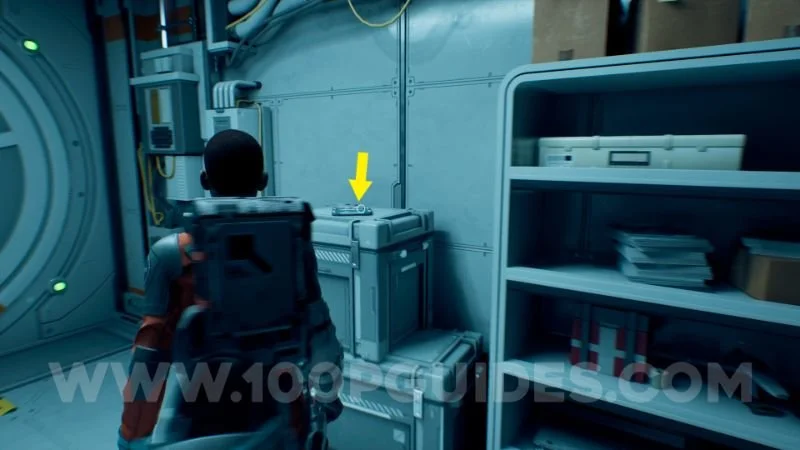
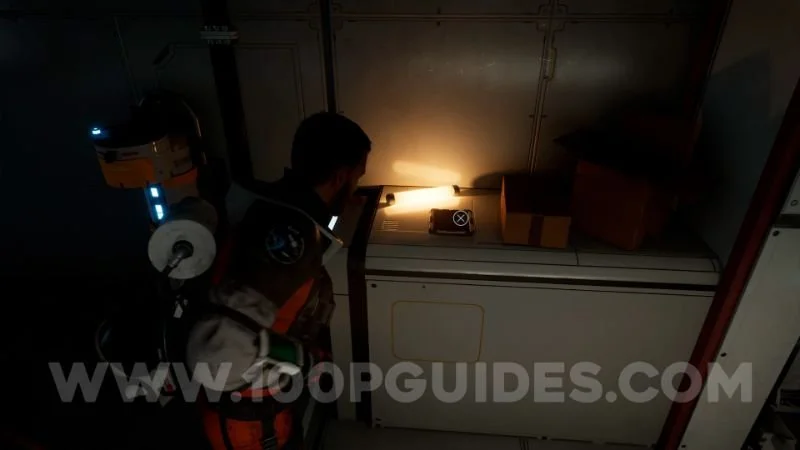
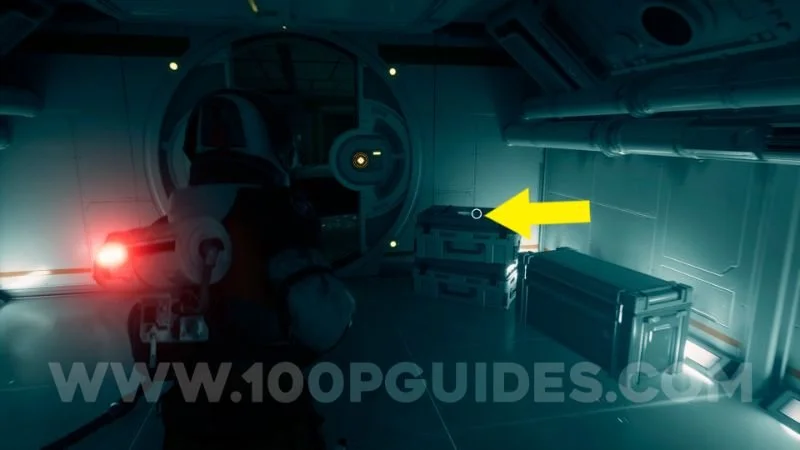
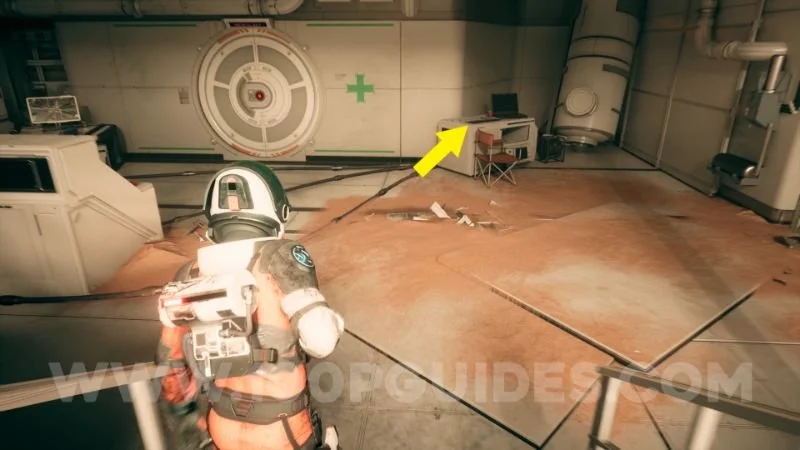
Audiofile and Datapad #2
At the beginning of the chapter, on top of a table in the kitchen.
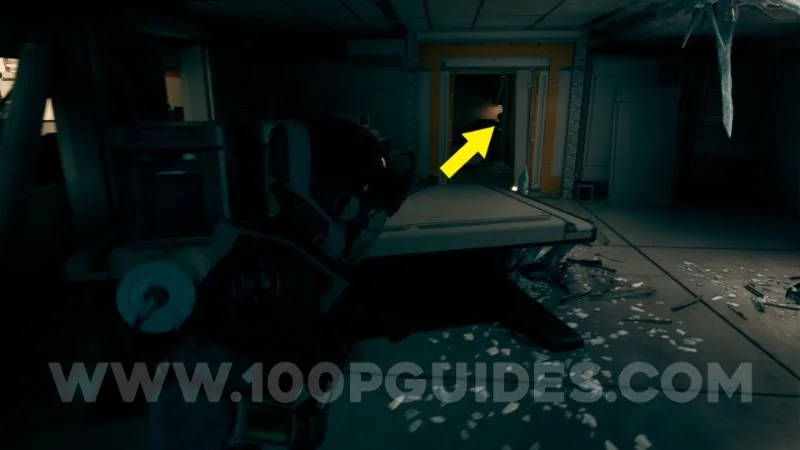
Audiofile and Datapad #3
From the previous collectible, turn around and go through the back door. This Audiofile and Datapad will be in front of you on top of a box.
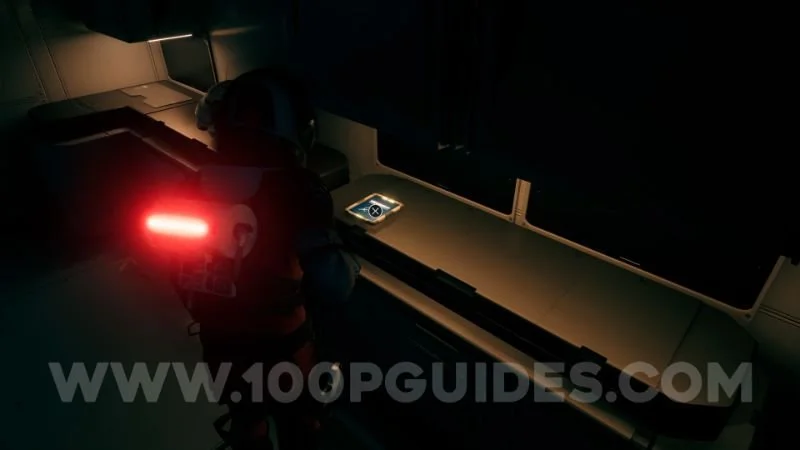
Audiofile and Datapad #4
In the outside annex.

Secondary Marker #15 + Glyph #4
Same location as the previous collectible, go outside and you will be able to see the ice formation and obtain the glyph.

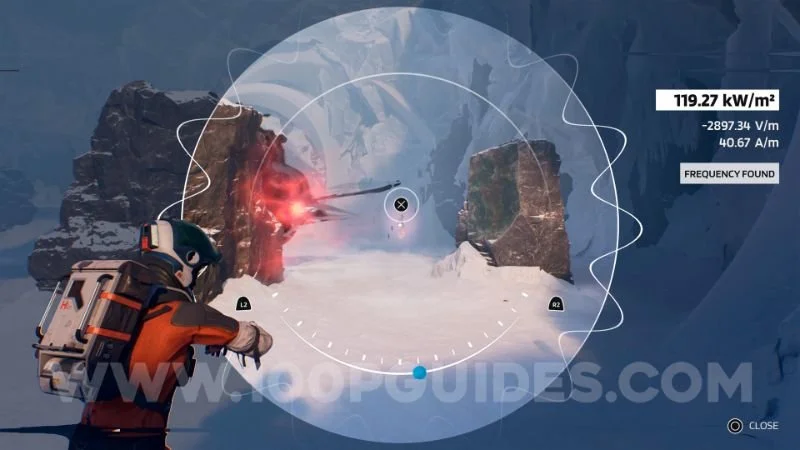
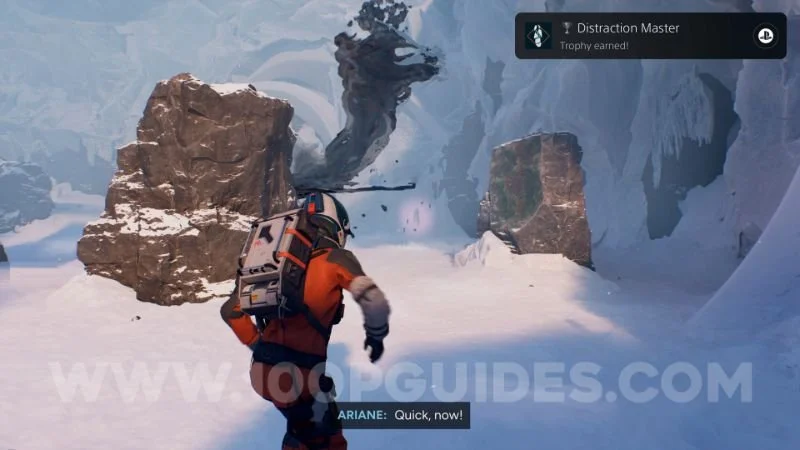
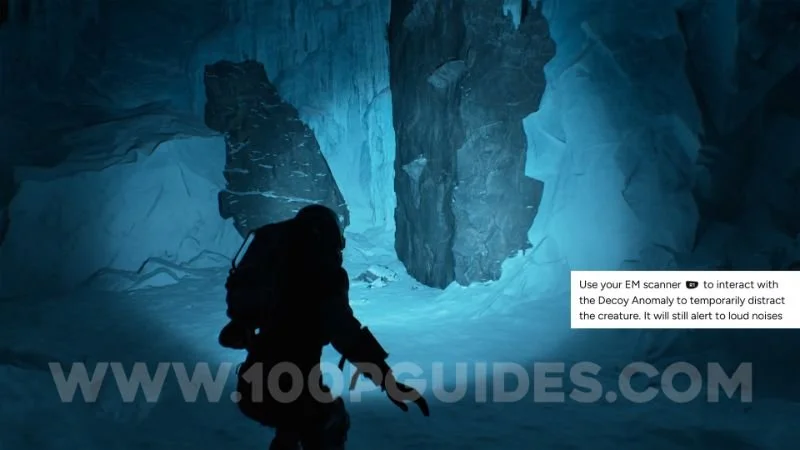
Trophy: Distraction Master
Same location as the previous collectible, on the right side you will find a Decoy Anomaly. Use it to distract the alien 10 times.
CHAPTER 6 – THE BASE
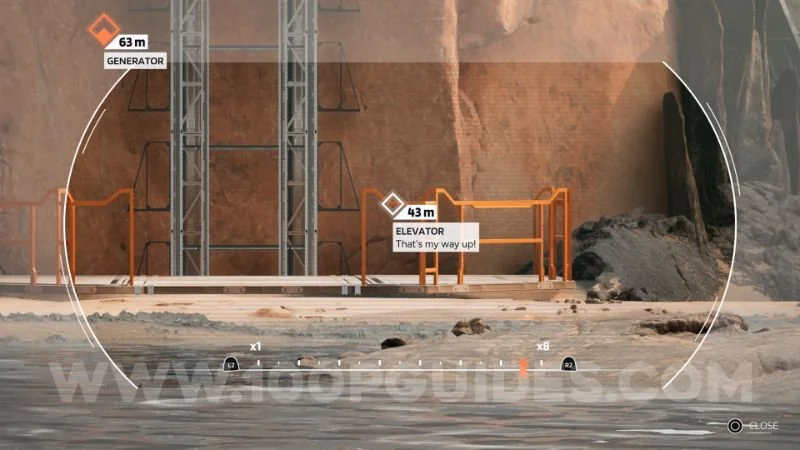
Secondary Marker #16
After trying to enter the base, use the pathfinder on the elevator to obtain this secondary marker.
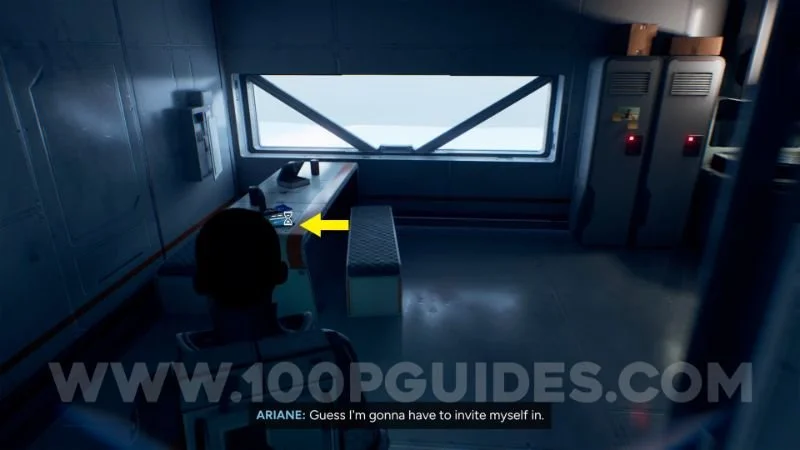
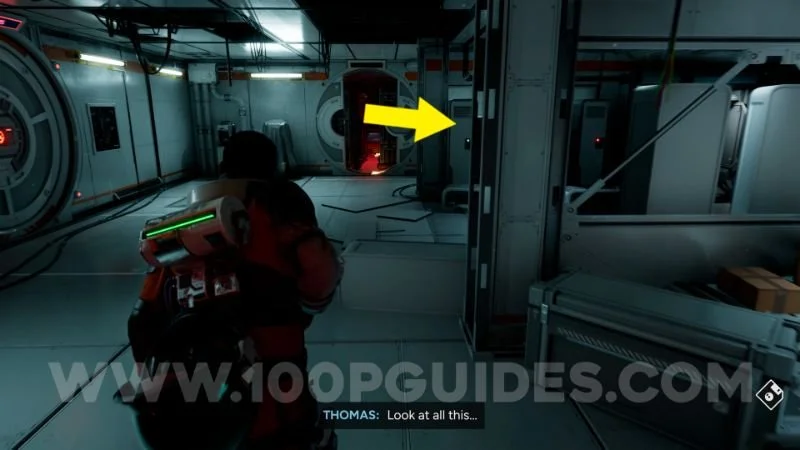
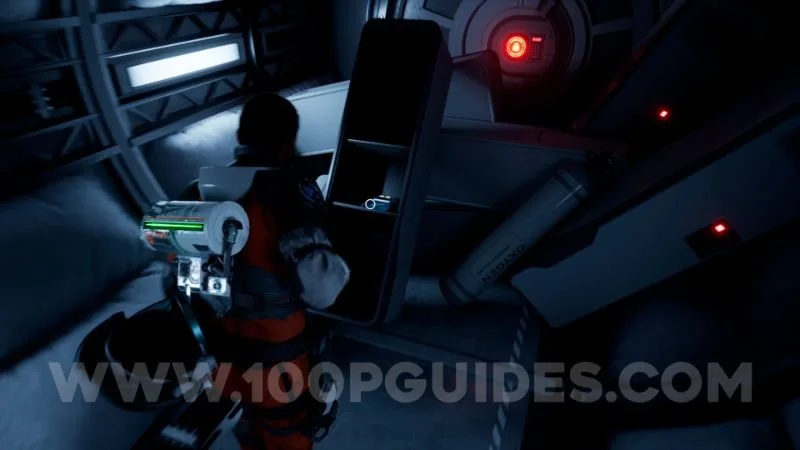
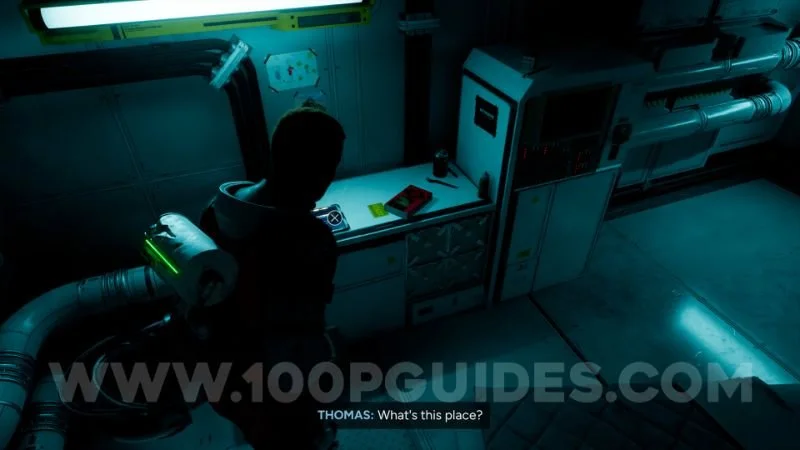
Audiofile and Datapad #5
In the barricaded corridor leading to the airlock
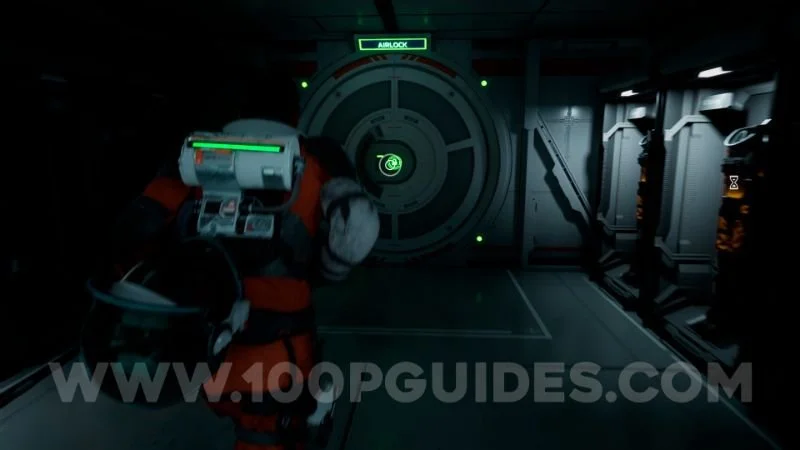
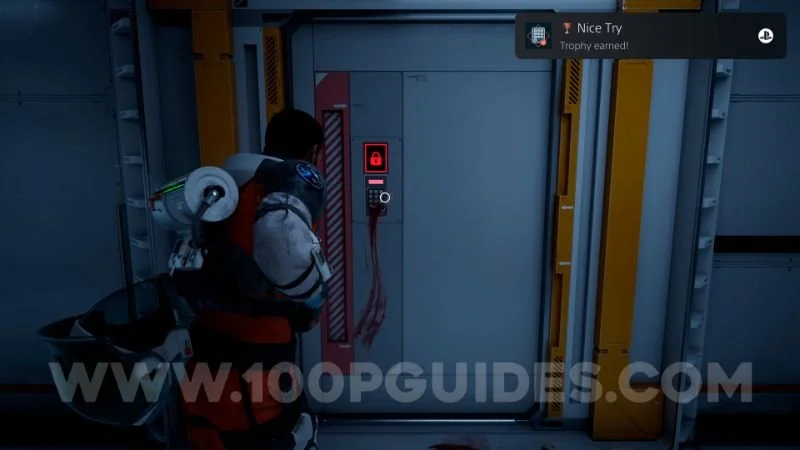
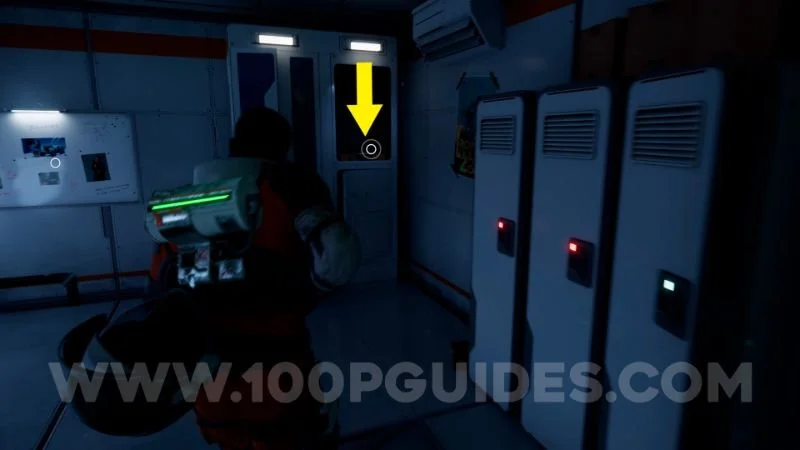
Trophy: Nice Try
From the previous collectible, go back and now pass through the malfunctioning door that is opening and closing, go to the end of the hallway and look at the door on the right, you will see a locked door, go to it and enter the wrong password 3 times to obtain the trophy. The correct password is 020845.
Audiofile and Datapad #6
Inside the dormitory.
Audiofile and Datapad #7
In the mess hall
Audiofile and Datapad #8
In the machinery room, near the room where you got the Nice try trophy.
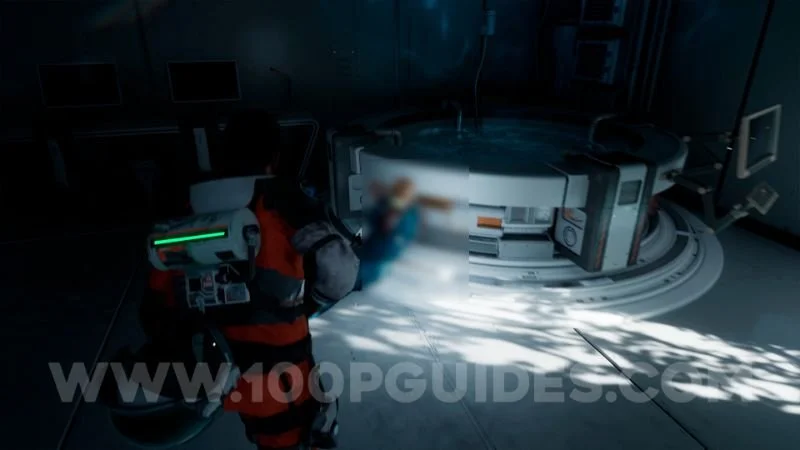
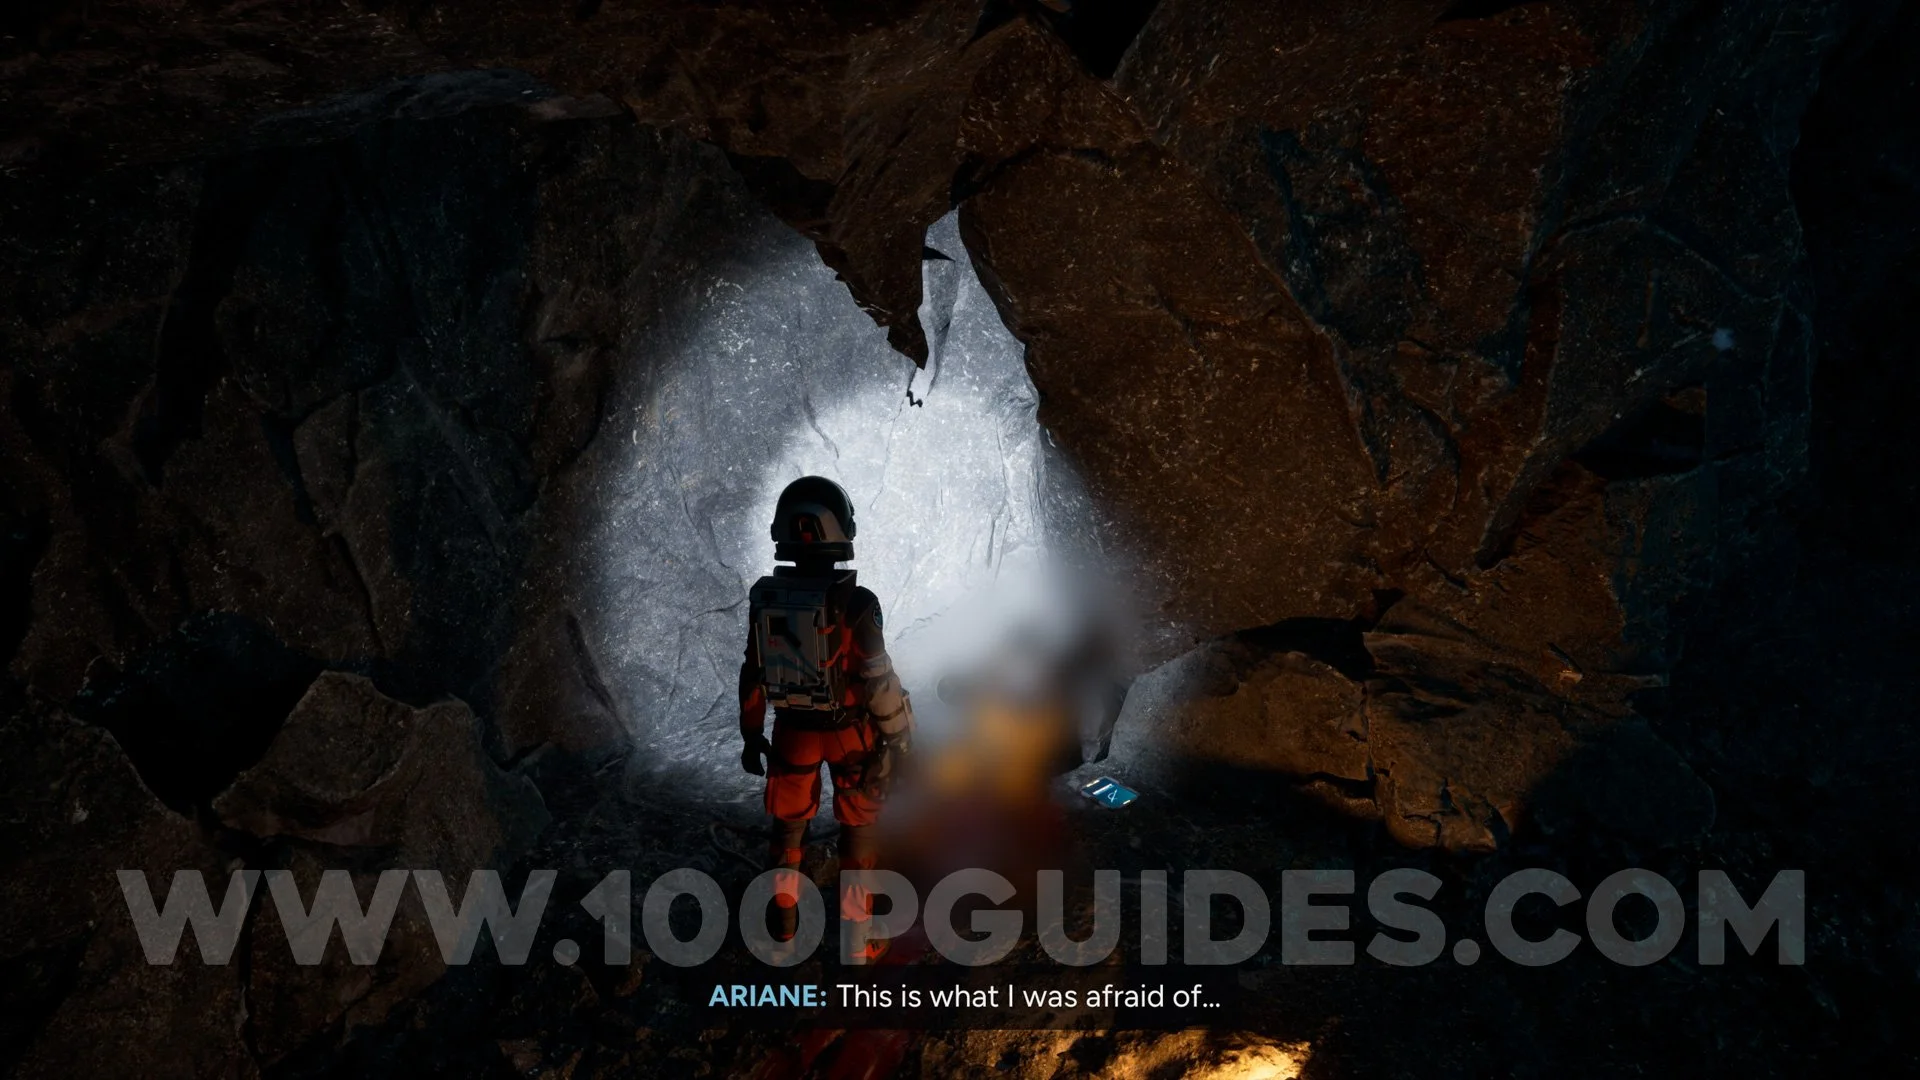
Crewmember Body #1 + Audiofile and Datapad #9
This is story-related and can’t be missed.

Audiofile and Datapad #10
In the medical bay
Audiofile and Datapad #11
Before passing through the greenhouse door, go to the left to find this.
Crewmember Body #2
After passing through the greenhouse door, turn left to find this at the end.
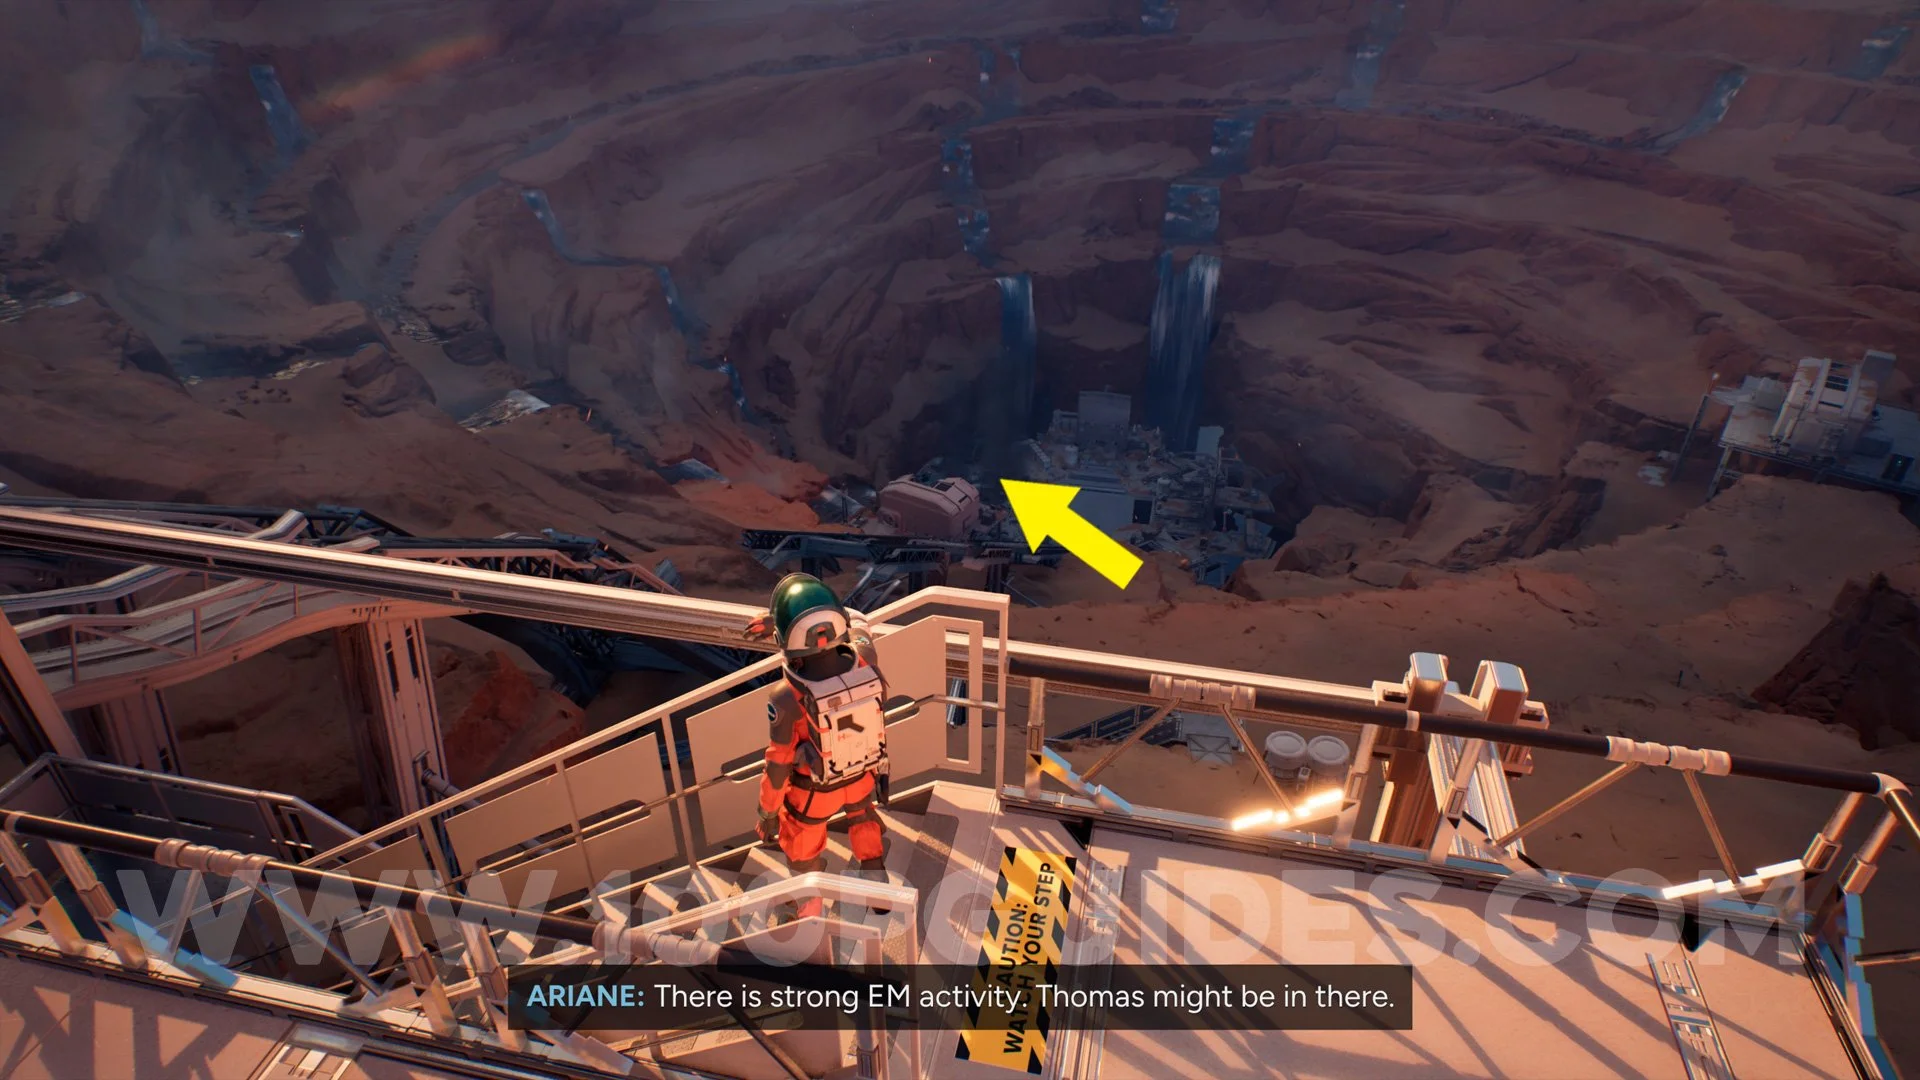
CHAPTER 7 – THE STORM
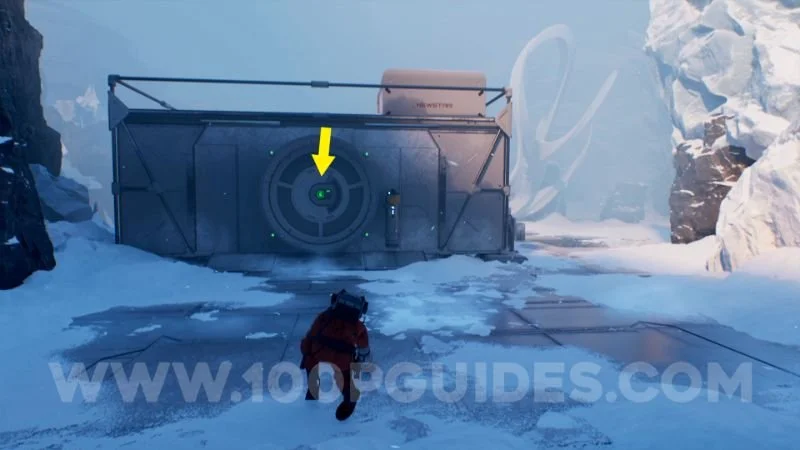
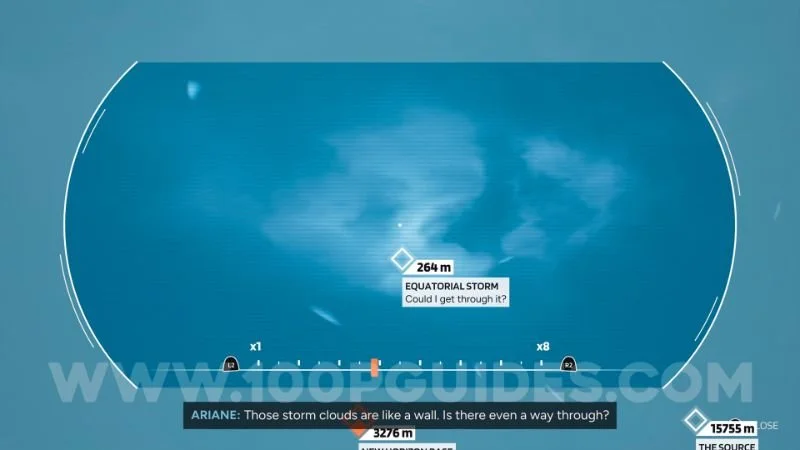
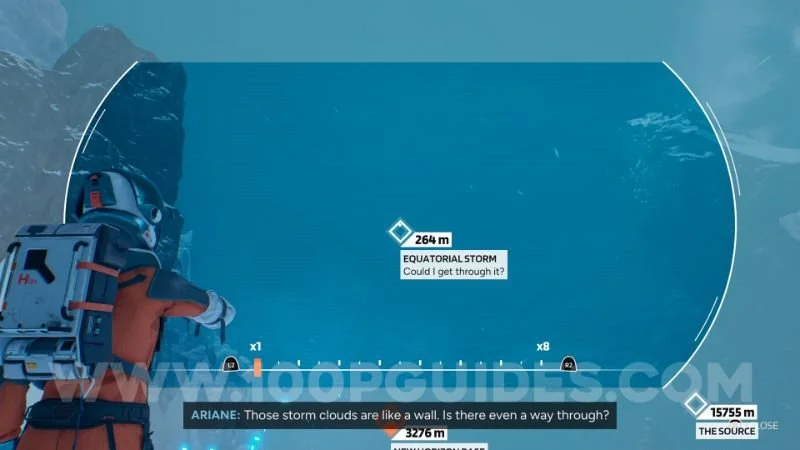
Secondary Marker #17
At the beginning of the chapter, right after using the rope to cross to the other side, you will see the equatorial storm in the background. Use the pathfinder to register this secondary marker.

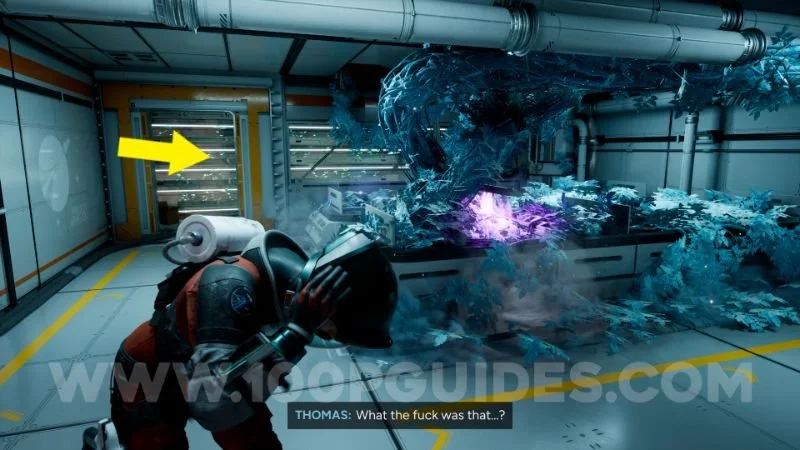
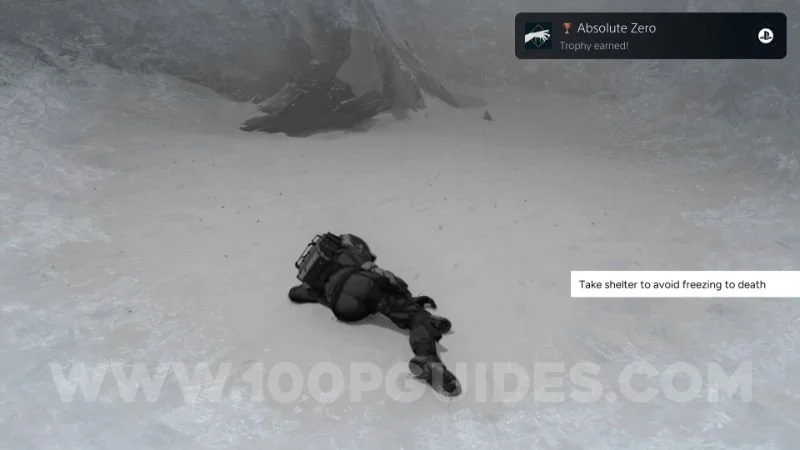
Trophy: Absolute Zero
Upon reaching the first area of the storm, die 3 times to the storm to obtain this trophy.
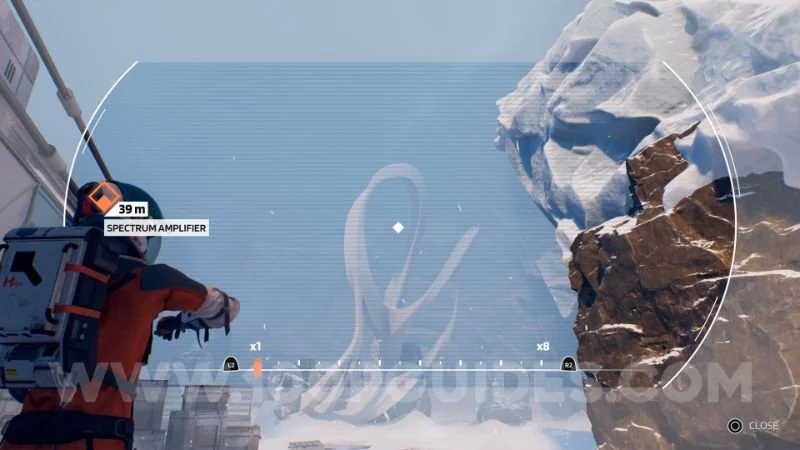
Secondary Marker #18 + Glyph #5
Same area as the previous trophy, keep to the left of the area passing through the storm and you will find an ice formation which counts as a Secondary marker and the glyph.
Secondary Marker #19
Later in the chapter you will encounter the alien again. To escape the area you will have to slide down a water slide. Before that, scan this area to obtain this secondary marker.

Secondary Marker #20 + Glyph #6
After escaping the alien, follow the path to the right after the ice bridge.
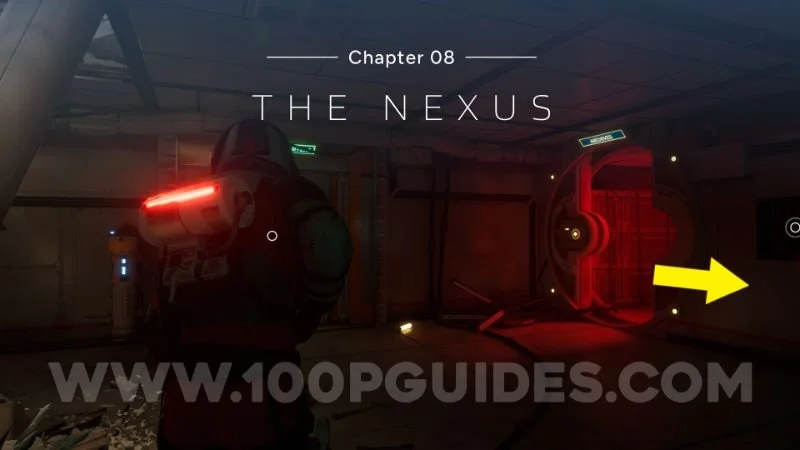
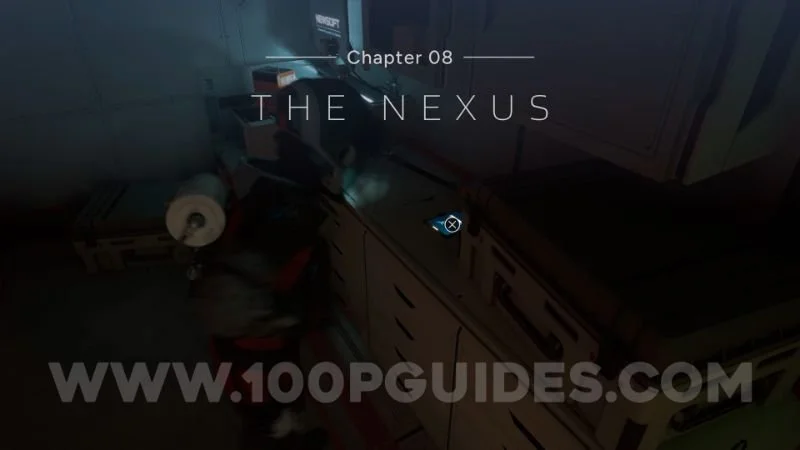
CHAPTER 8 – THE NEXUS
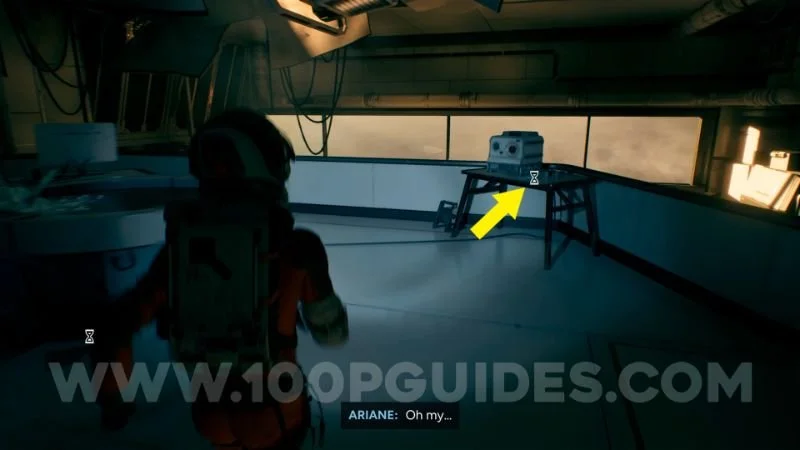
Audiofile and Datapad #12
At the beginning of the chapter, on top of the table next to the archives door.
Audiofile and Datapad #13
After crawling through some debris, it will be directly in front of you on top of a box.

Audiofile and Datapad #14
From the previous collectible, go straight ahead to the end of the hallway to find this.
Crewmember Body #3 + Audiofile and Datapad #15
In the open area, interact with the crewmember.
Audiofile and Datapad #16
From the previous collectible, go down the stairs and this Audiofile and Datapad will be directly in front of you.
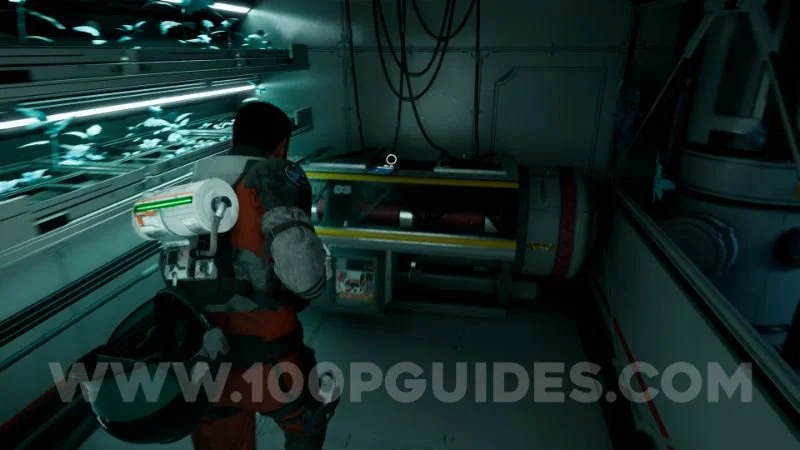
Secondary Marker #21
When going outside the area toward the nexus, look at the large ice wall with your pathfinder to obtain this secondary marker.
CHAPTER 9 – REUNION
Secondary Marker #22
At the beginning of the chapter, look up with your pathfinder to see the secondary marker Equatorial Storm.

Audiofile and Datapad #17
Go forward and you will pass by the Crewmember you saw earlier in Chapter 8, this will be on a table next to him.
Secondary Marker #23
From the previous collectible, continue going forward and you will have to go down some stairs. Before doing so, look down with the pathfinder to obtain this secondary marker.
Crewmember Body #4
In the annex halfway down the crater.


CHAPTER 10 – THE STYX
Secondary Marker #24
On the ledge with the anomaly.

Secondary Marker #25 + Glyph #7
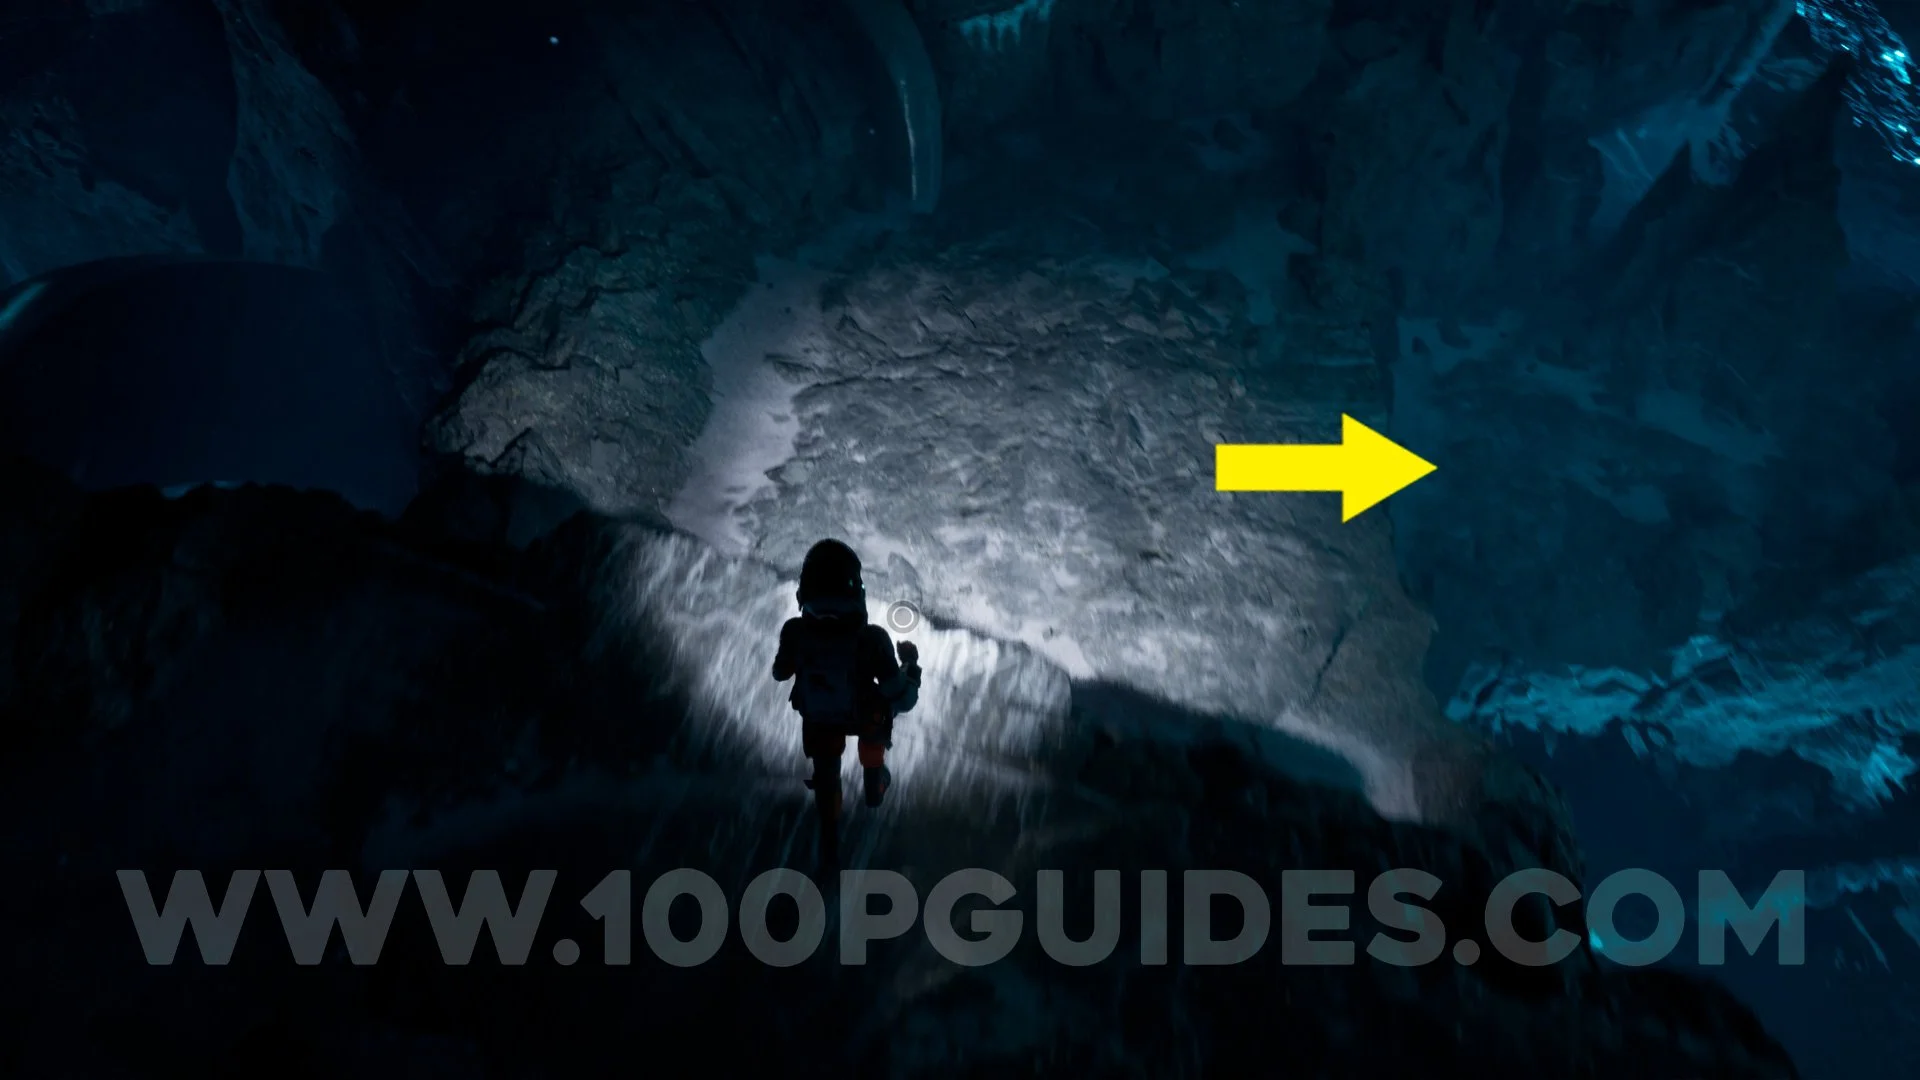
Same area as the previous collectible, interact with the anomaly and use the rope to cross to the other side, pass through the crack in the wall and go down. Once down there, use the pathfinder to obtain the Secondary Marker and the EM Scanner for the glyph.
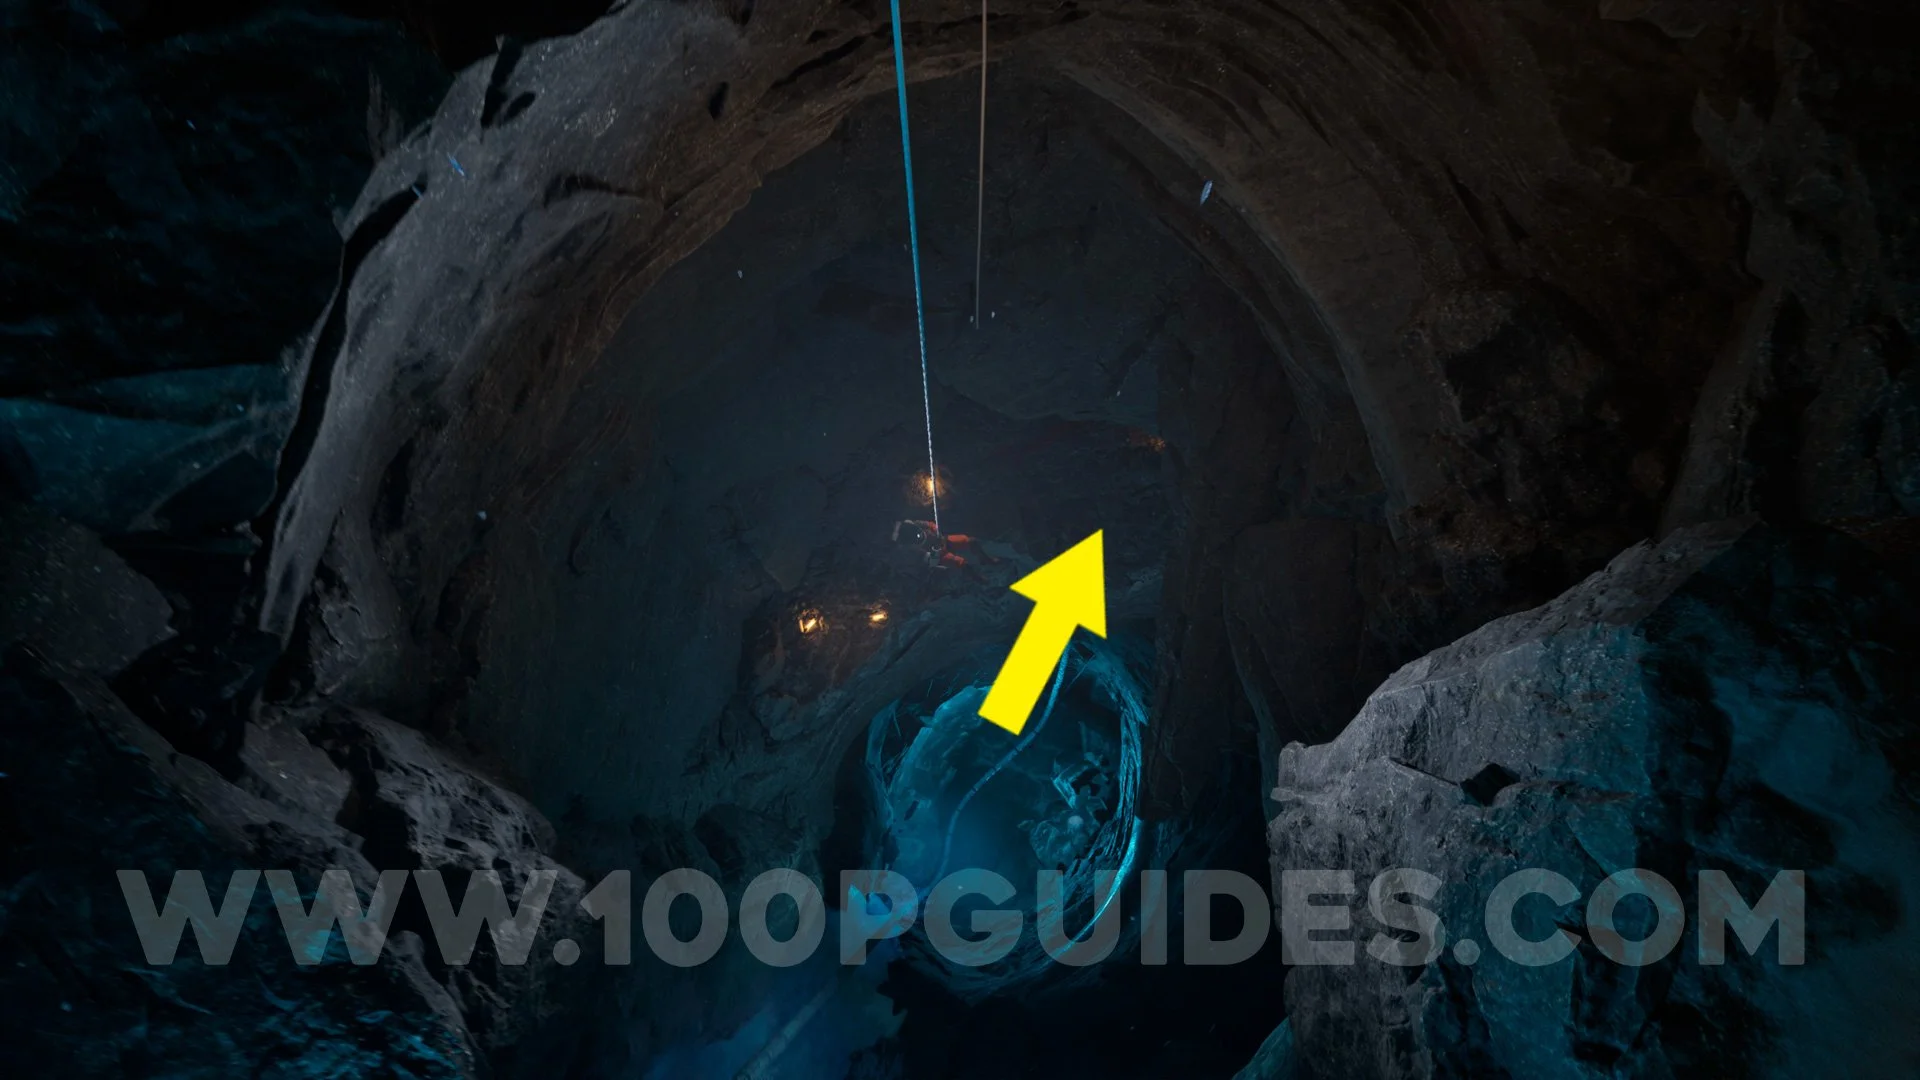
Crewmember Body #5 + Audiofile and Datapad #18
In the area where you rappel down, stop in the middle of the shaft where you are descending to collect this.
Secondary Marker #26
After you have to use the rope to open a passage and crawl to the other side, go to the edge of the area and use the pathfinder on the Styx River to obtain this secondary marker.

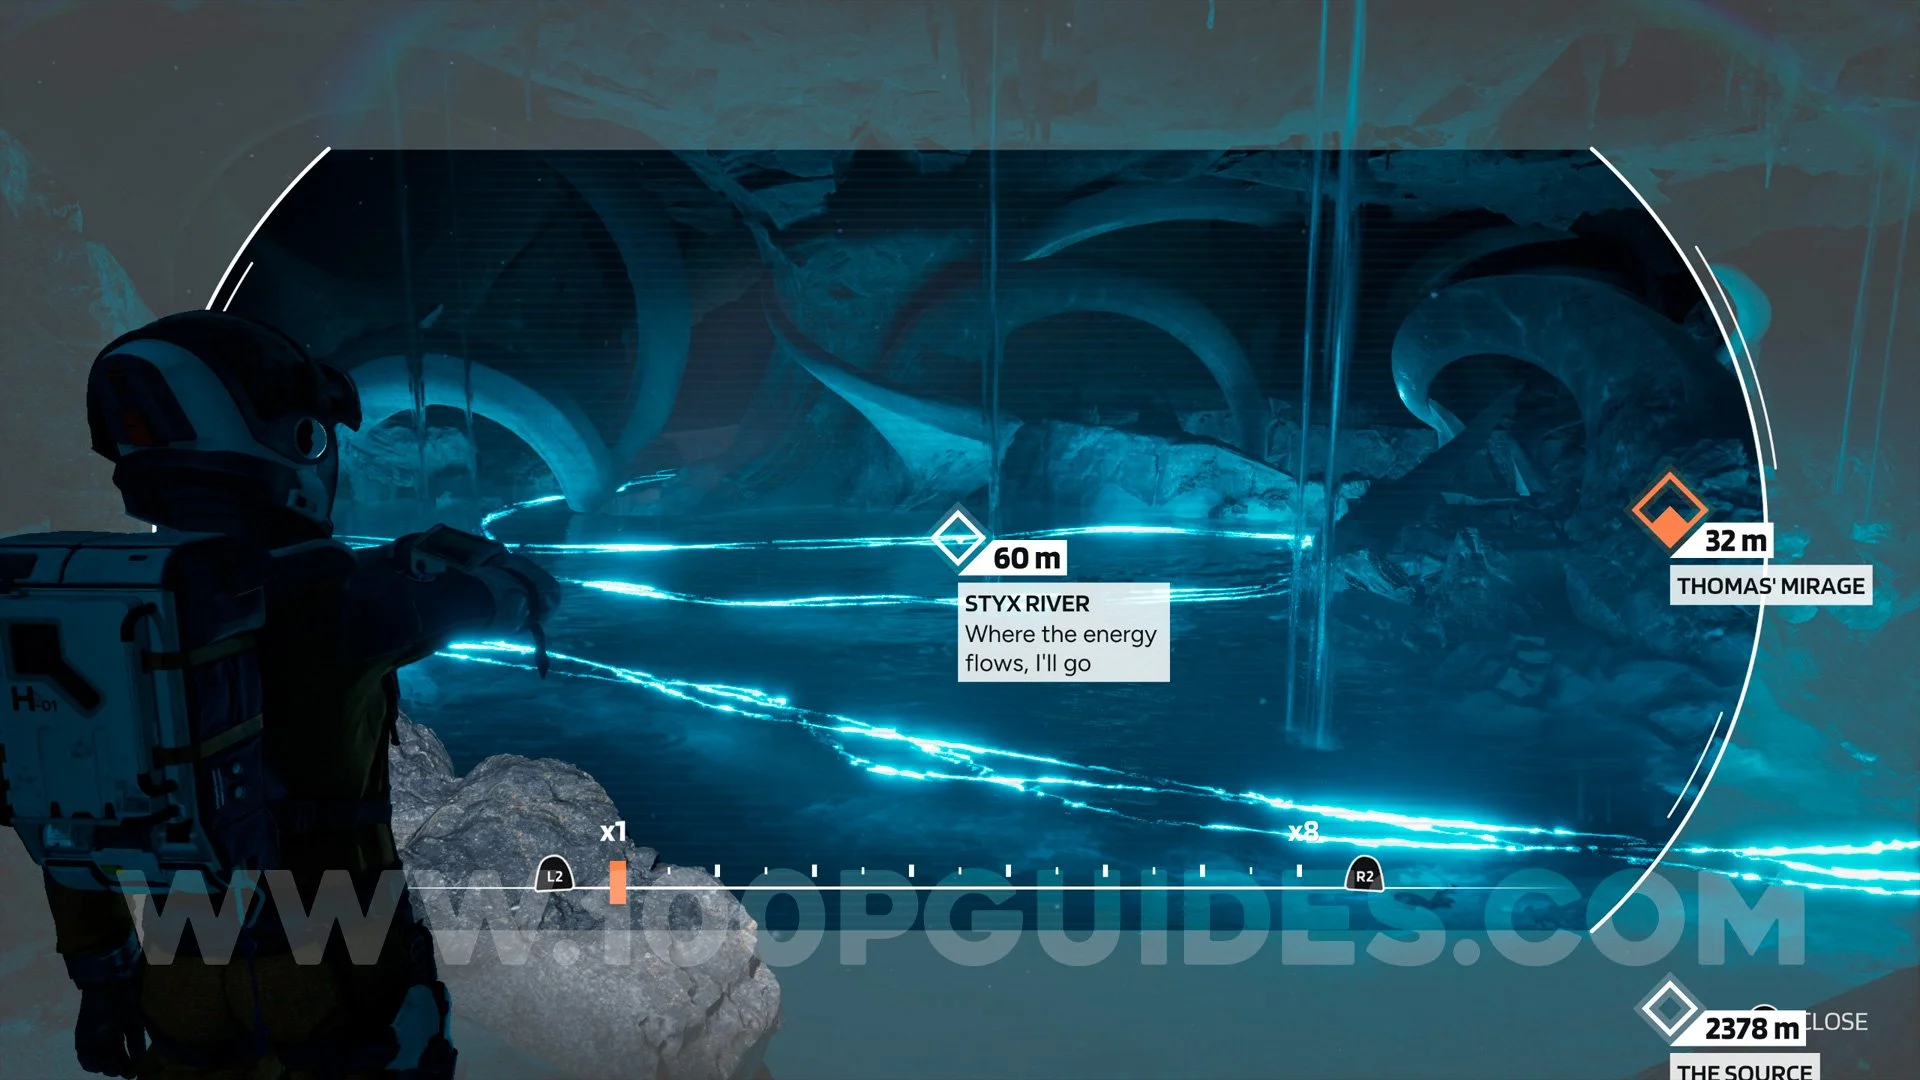
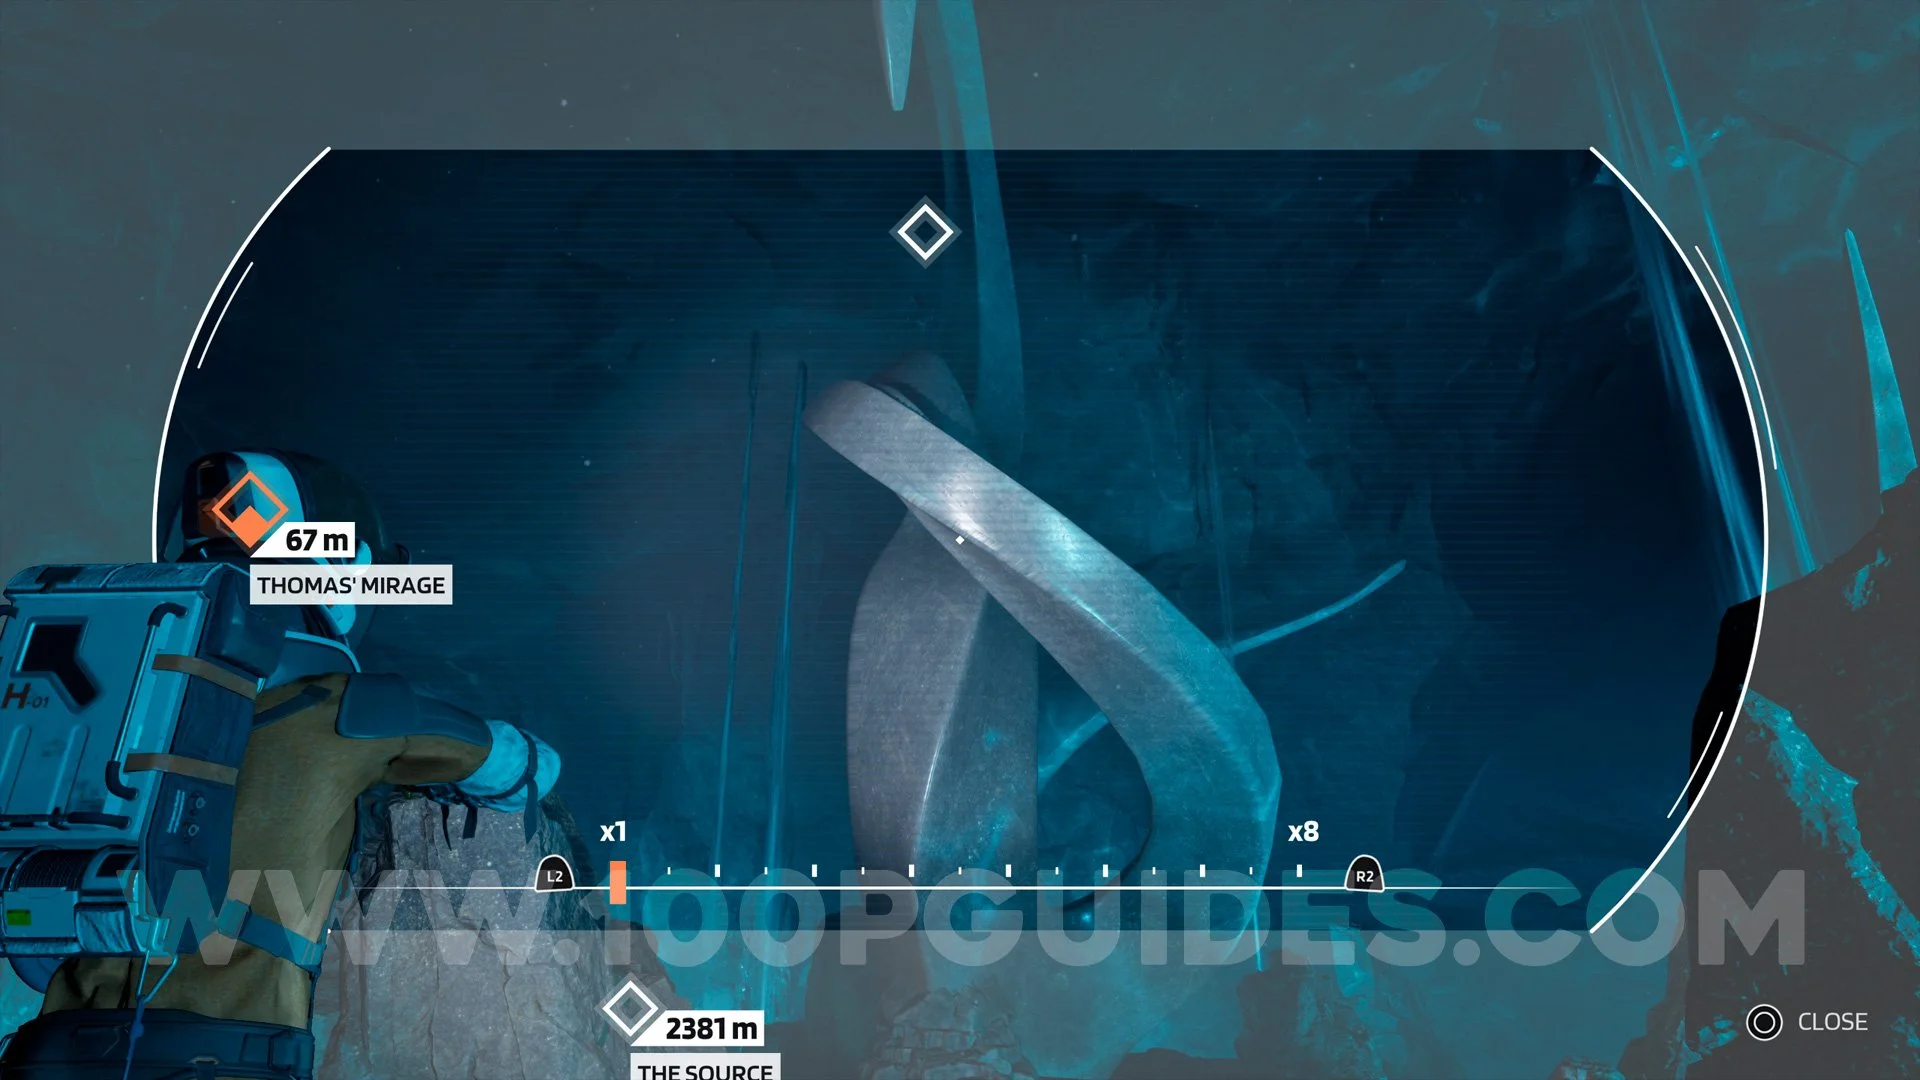
Secondary Marker #27 + Glyph #8
From the previous collectible, go down and go to the right until the end to find this.

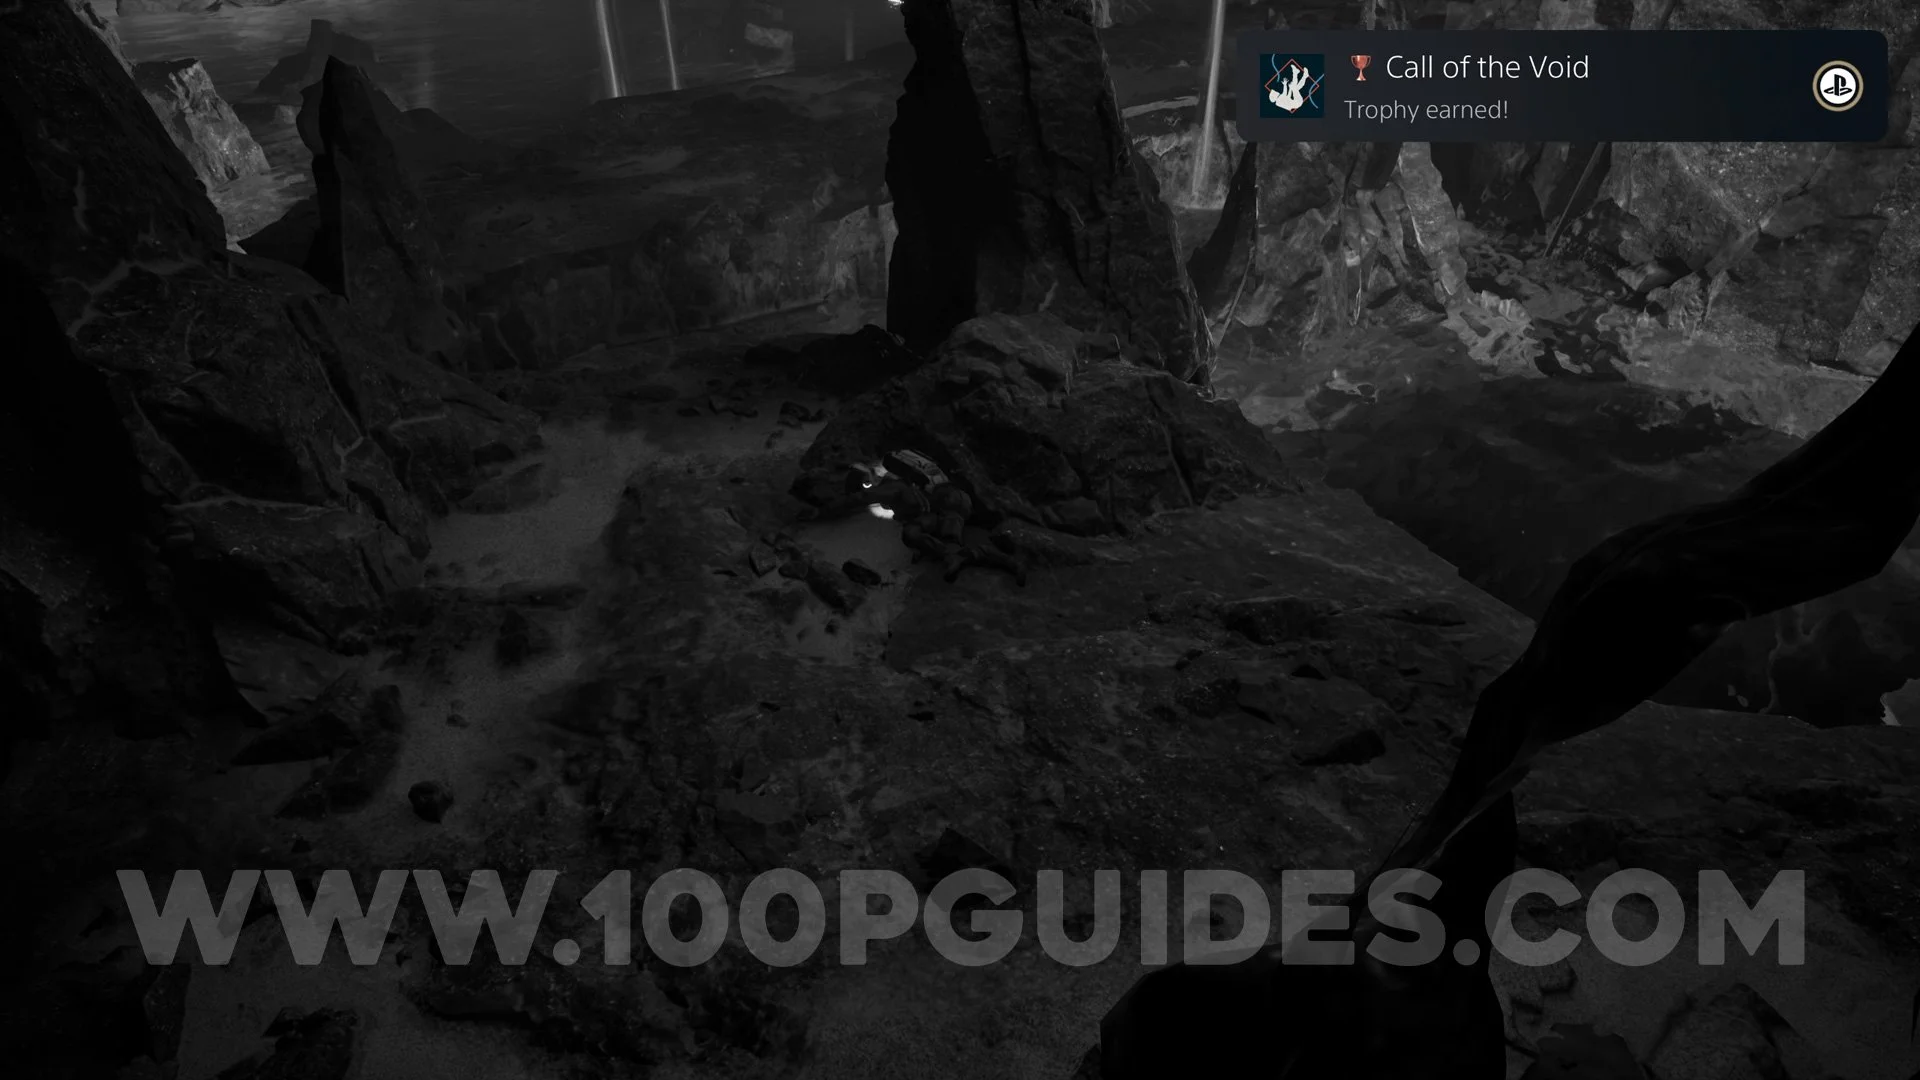
Trophy: Call of the Void
If you have not obtained this trophy yet, do it now, just die 20 times by falling.
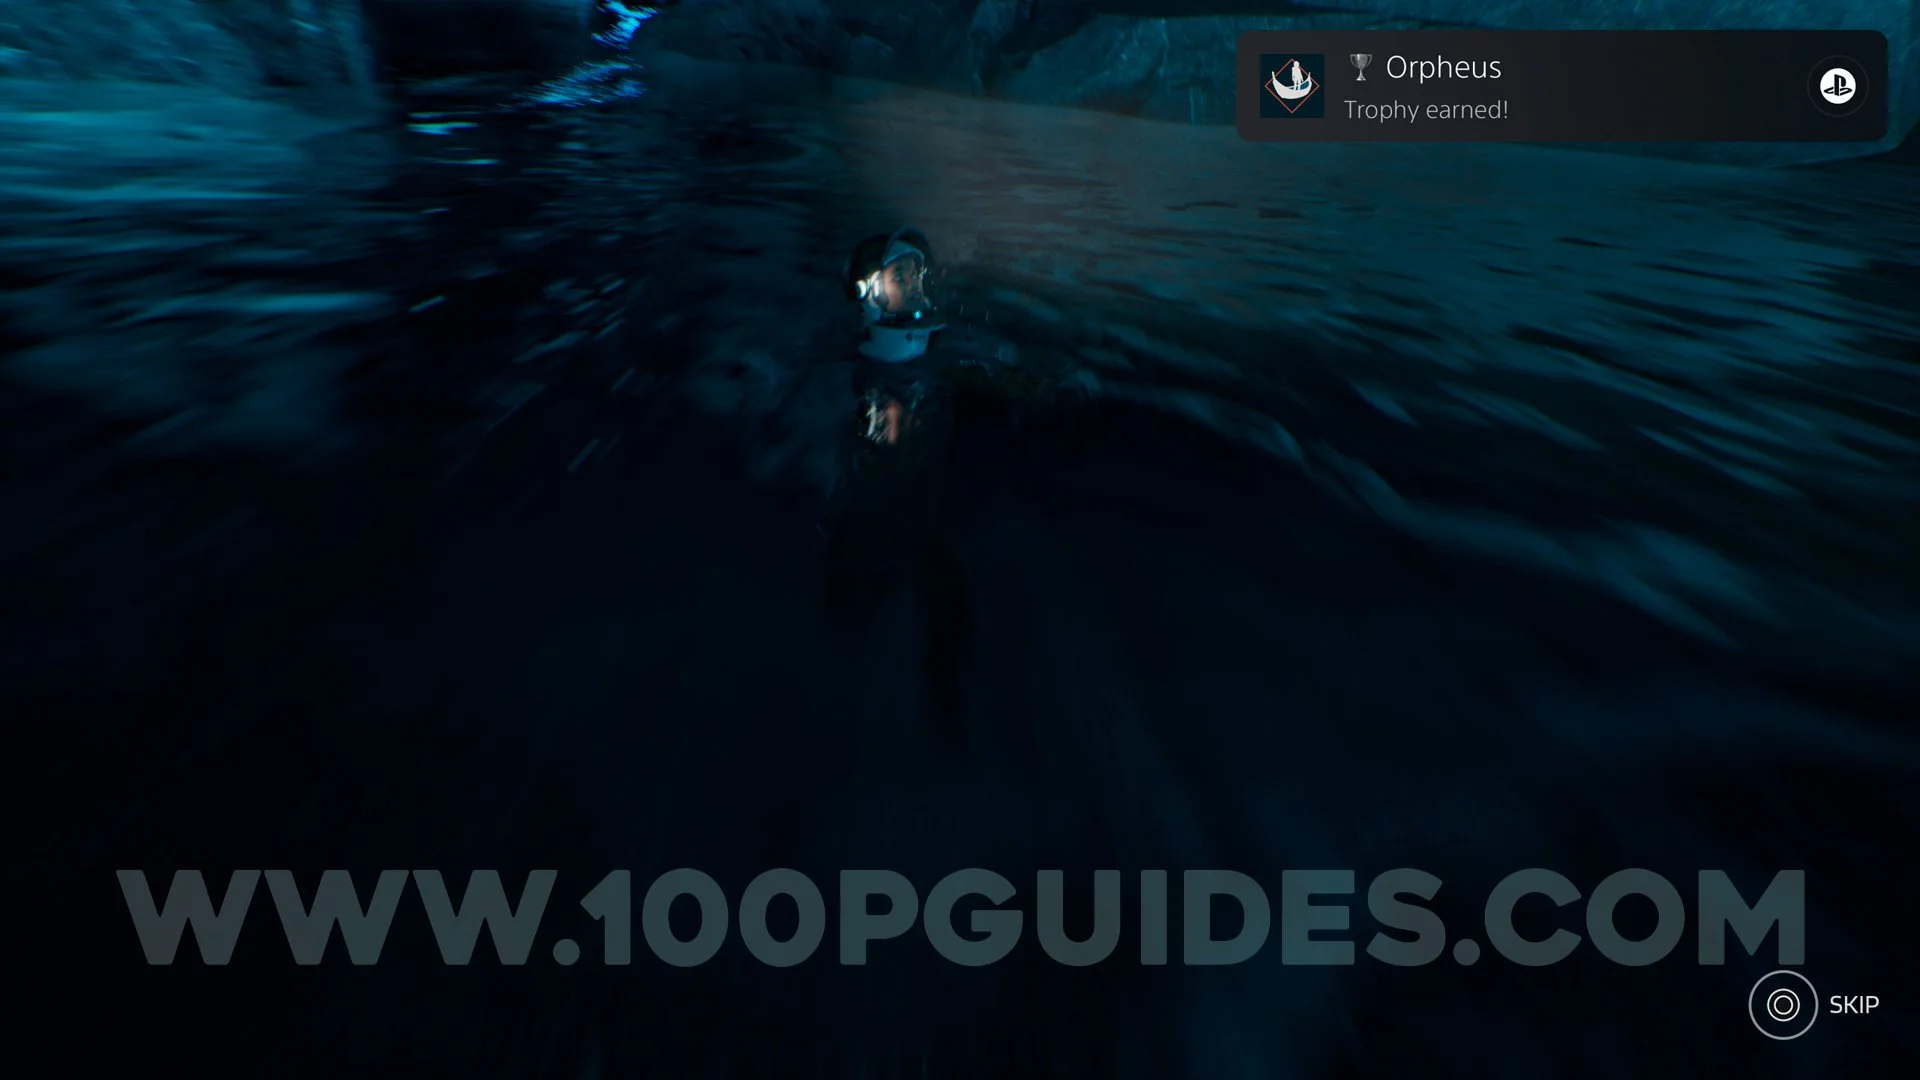
Trophy: Orpheus
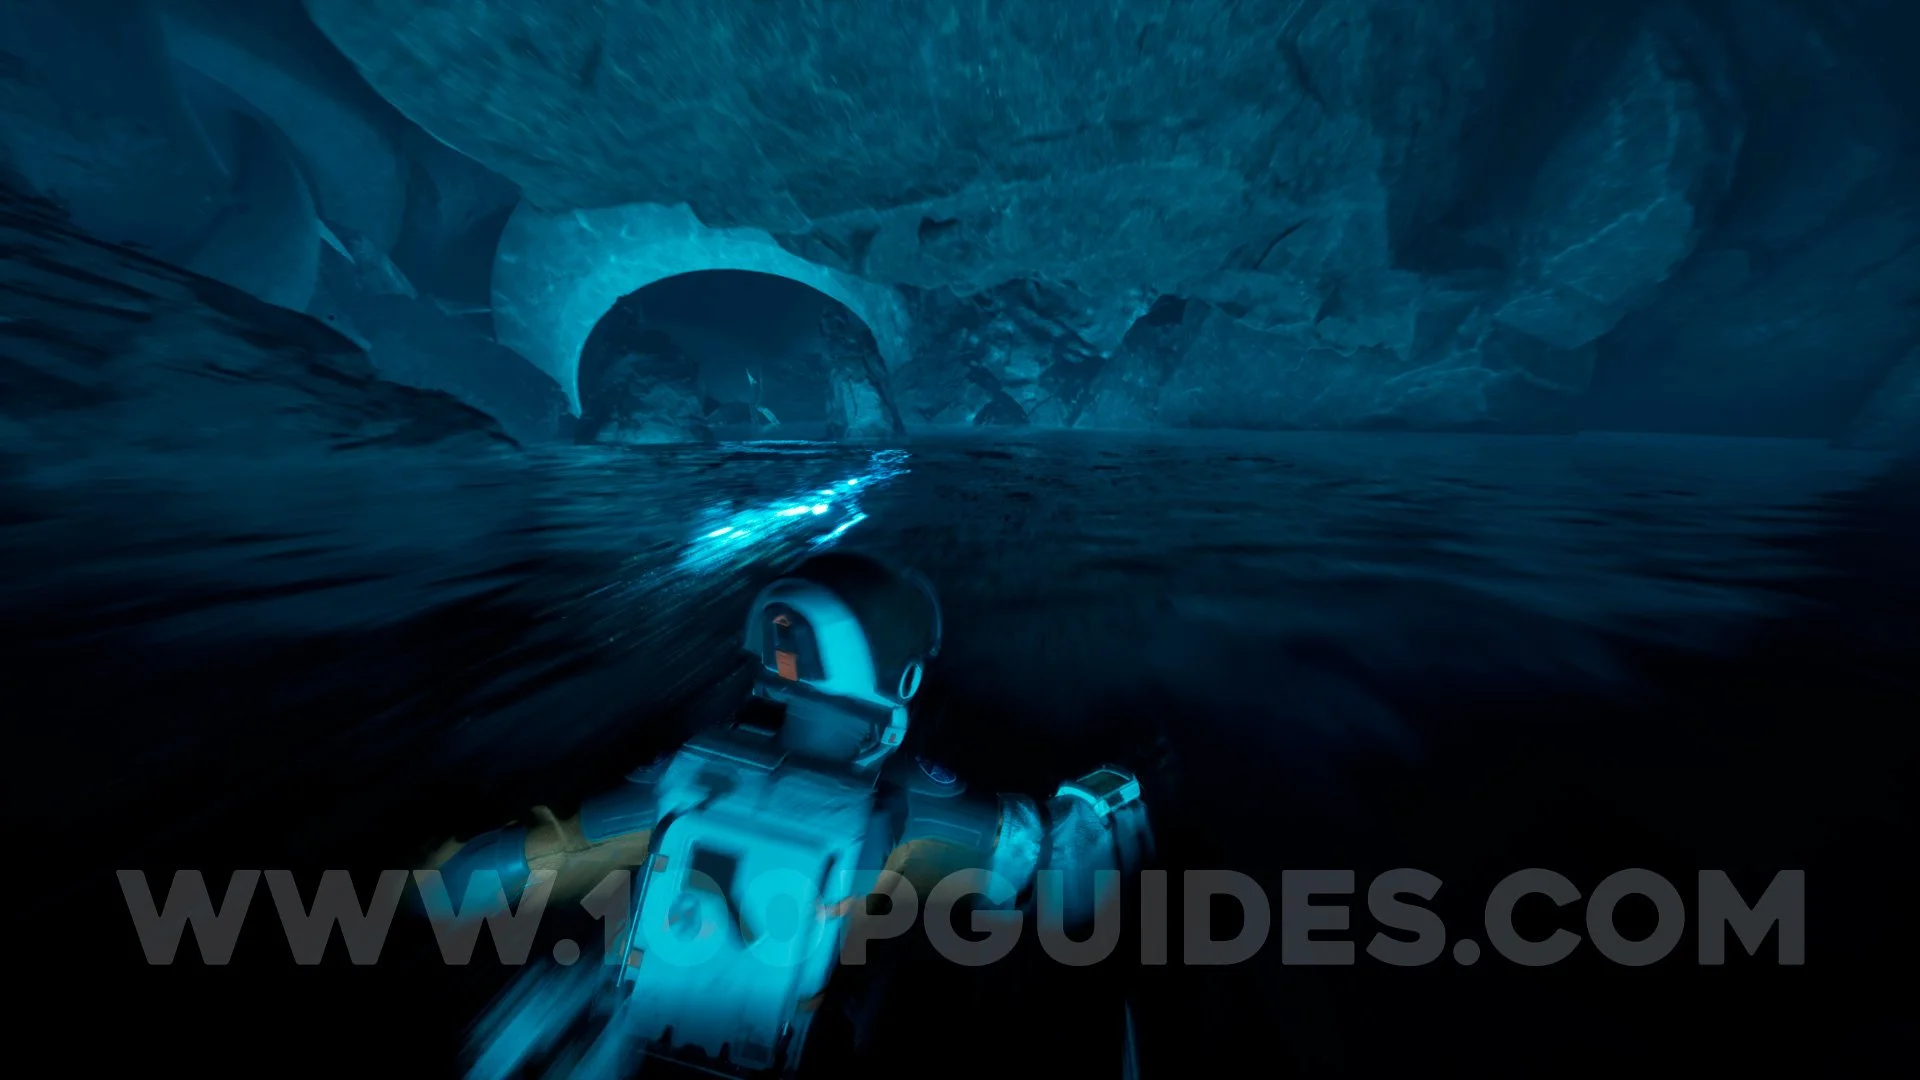
Near the end of the chapter you will be dragged by the current of the Styx River, your objective is not to die in this section, this will unlock the trophy.
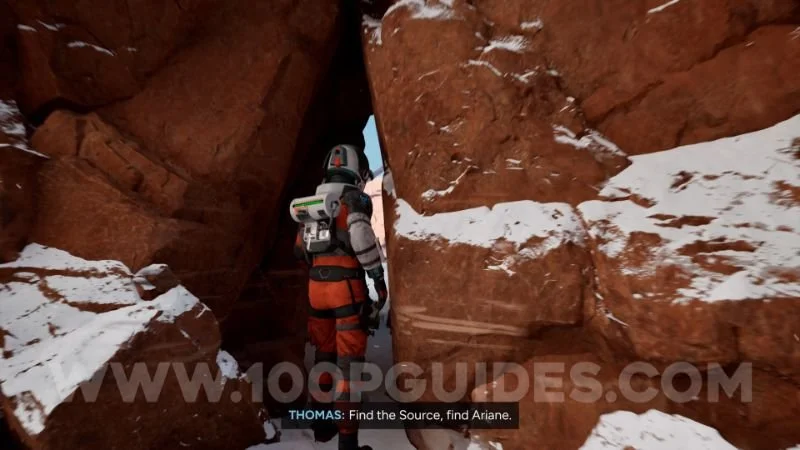
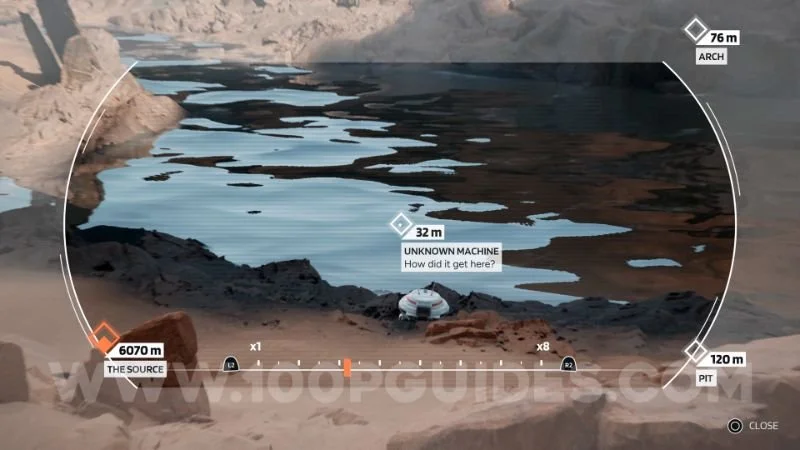
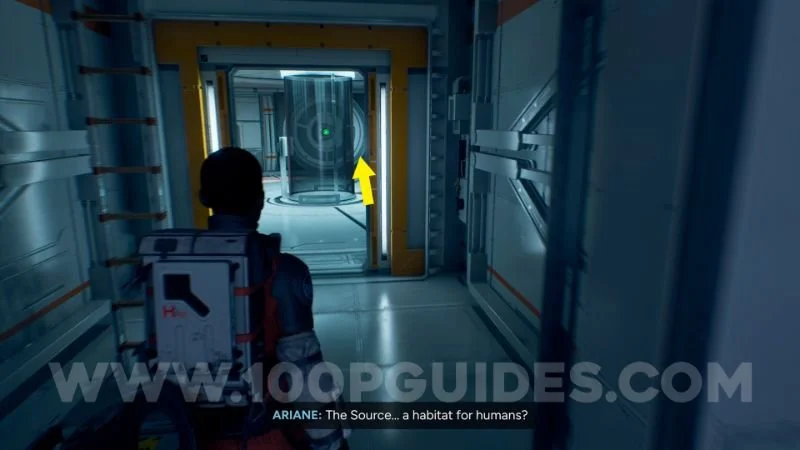
Chapter 11 – The Source
No collectibles in this chapter.