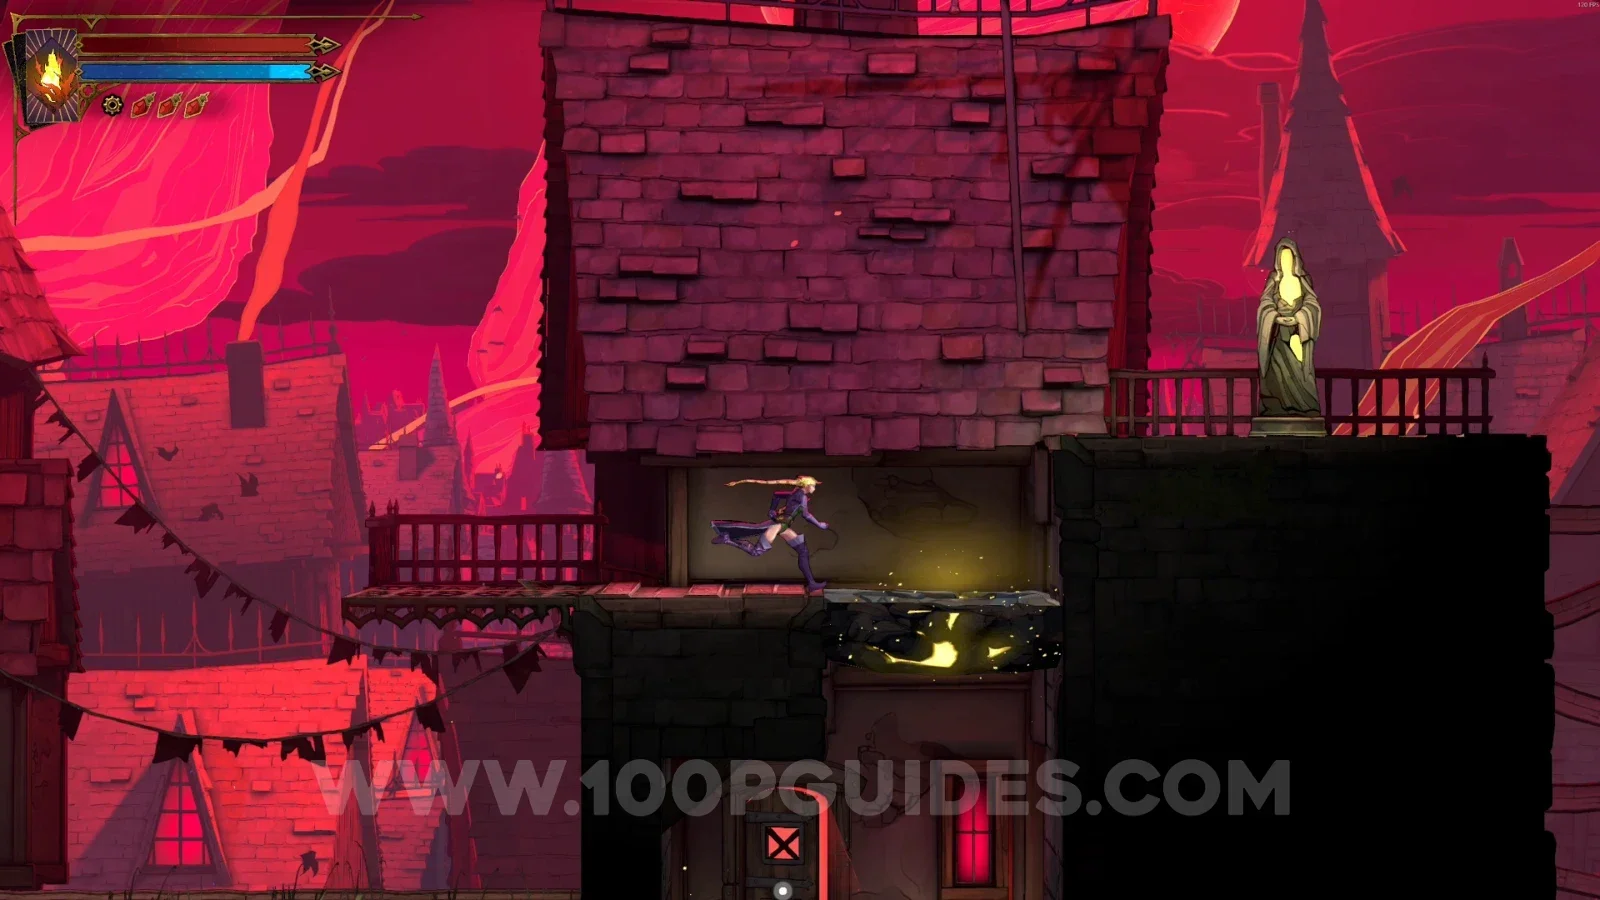
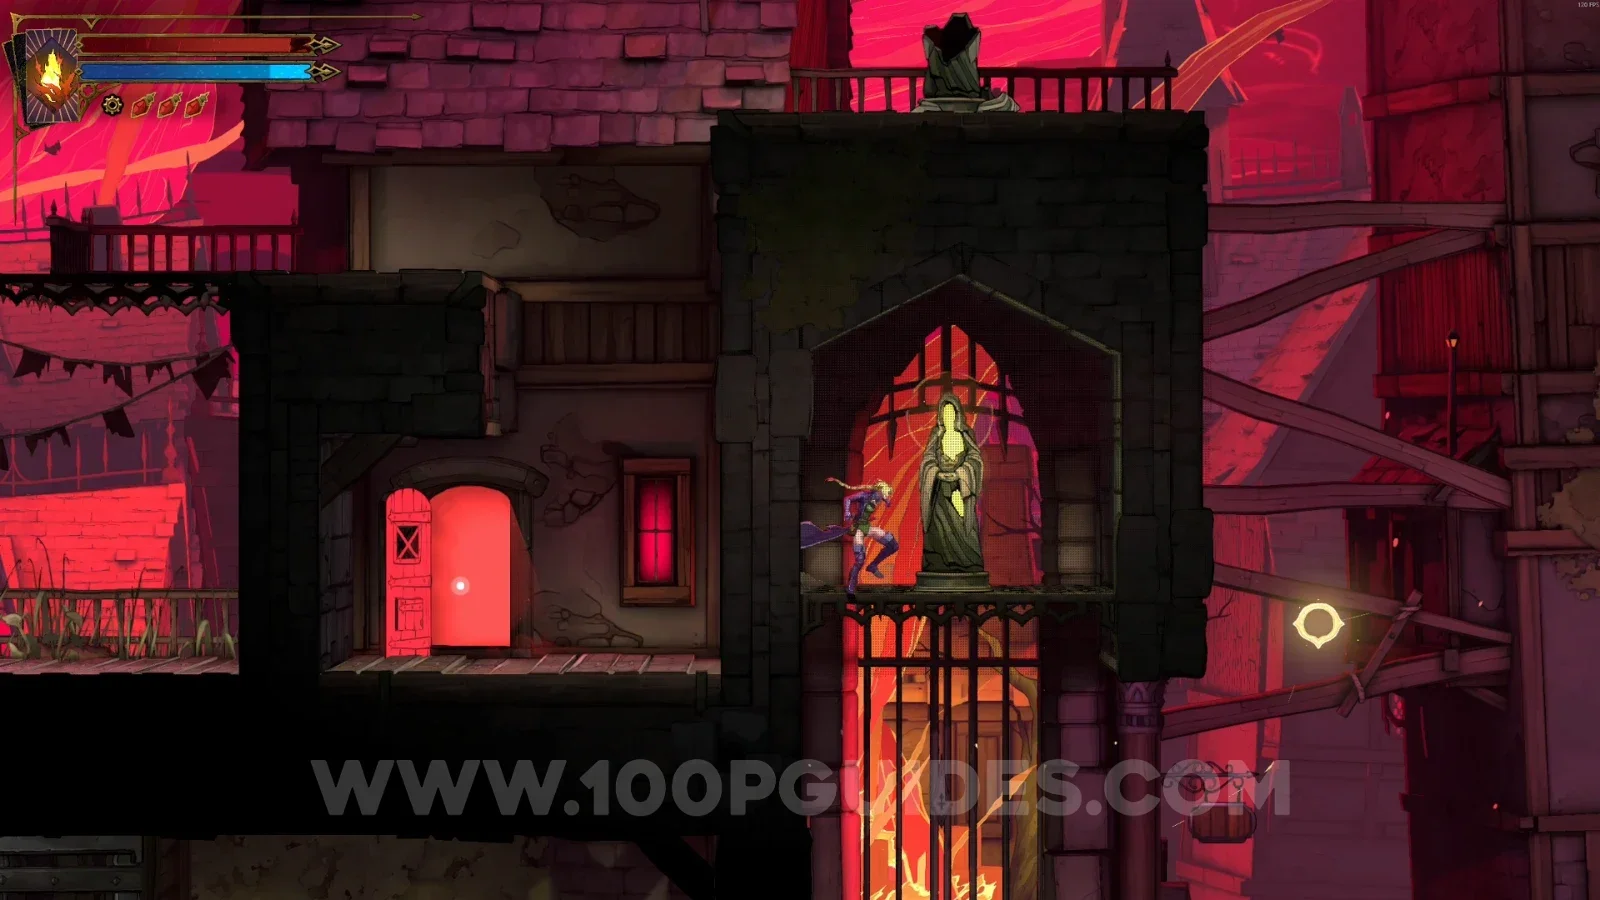
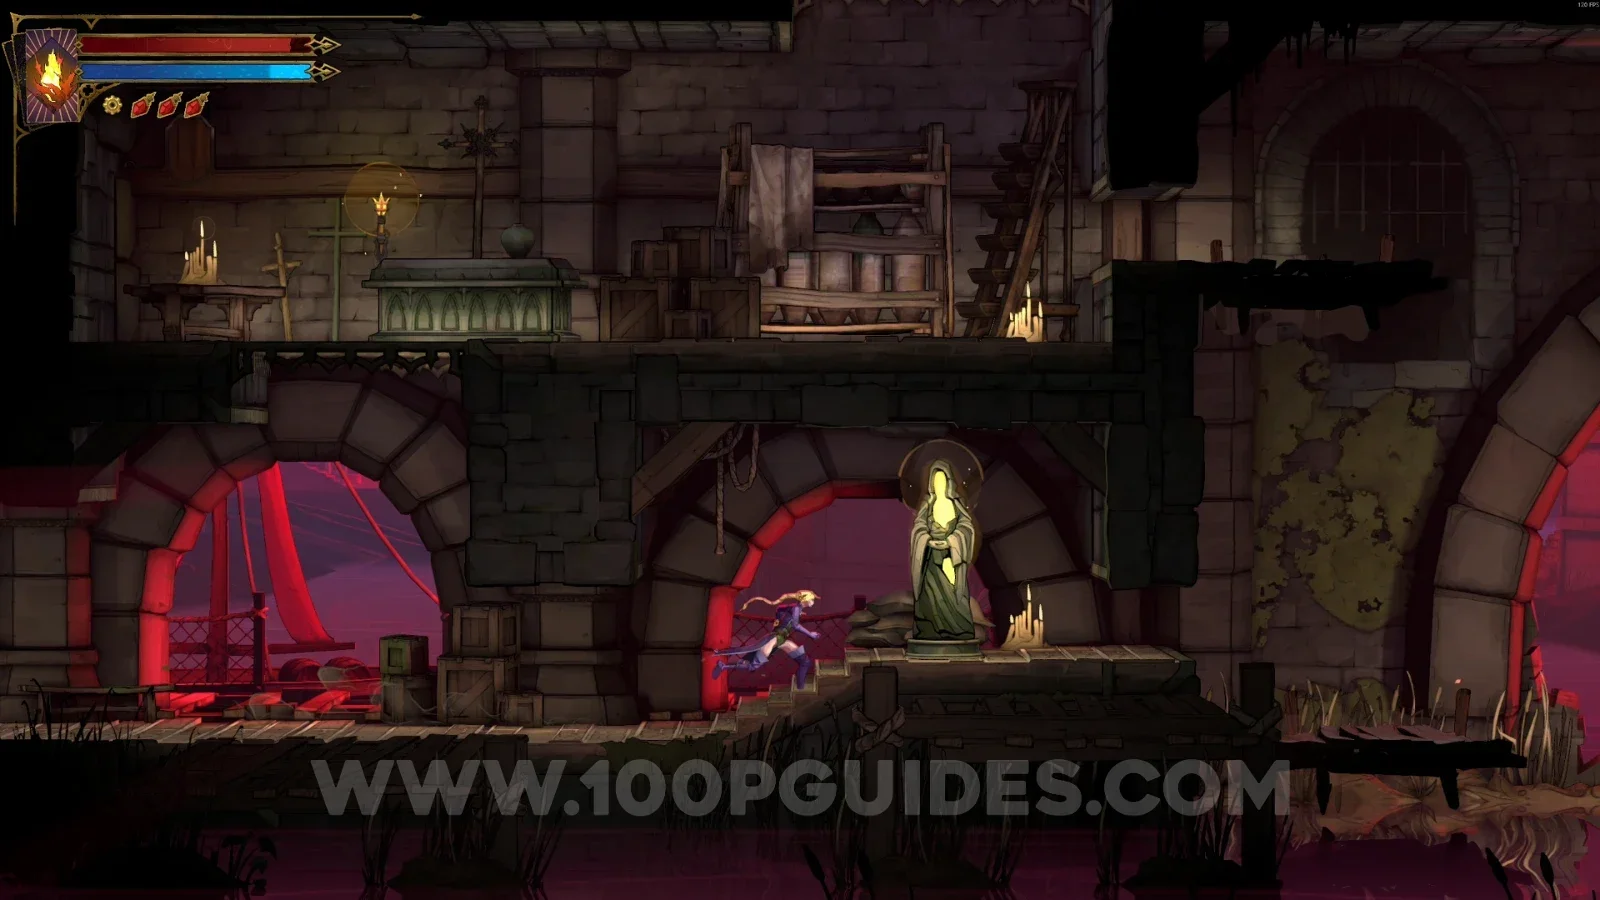
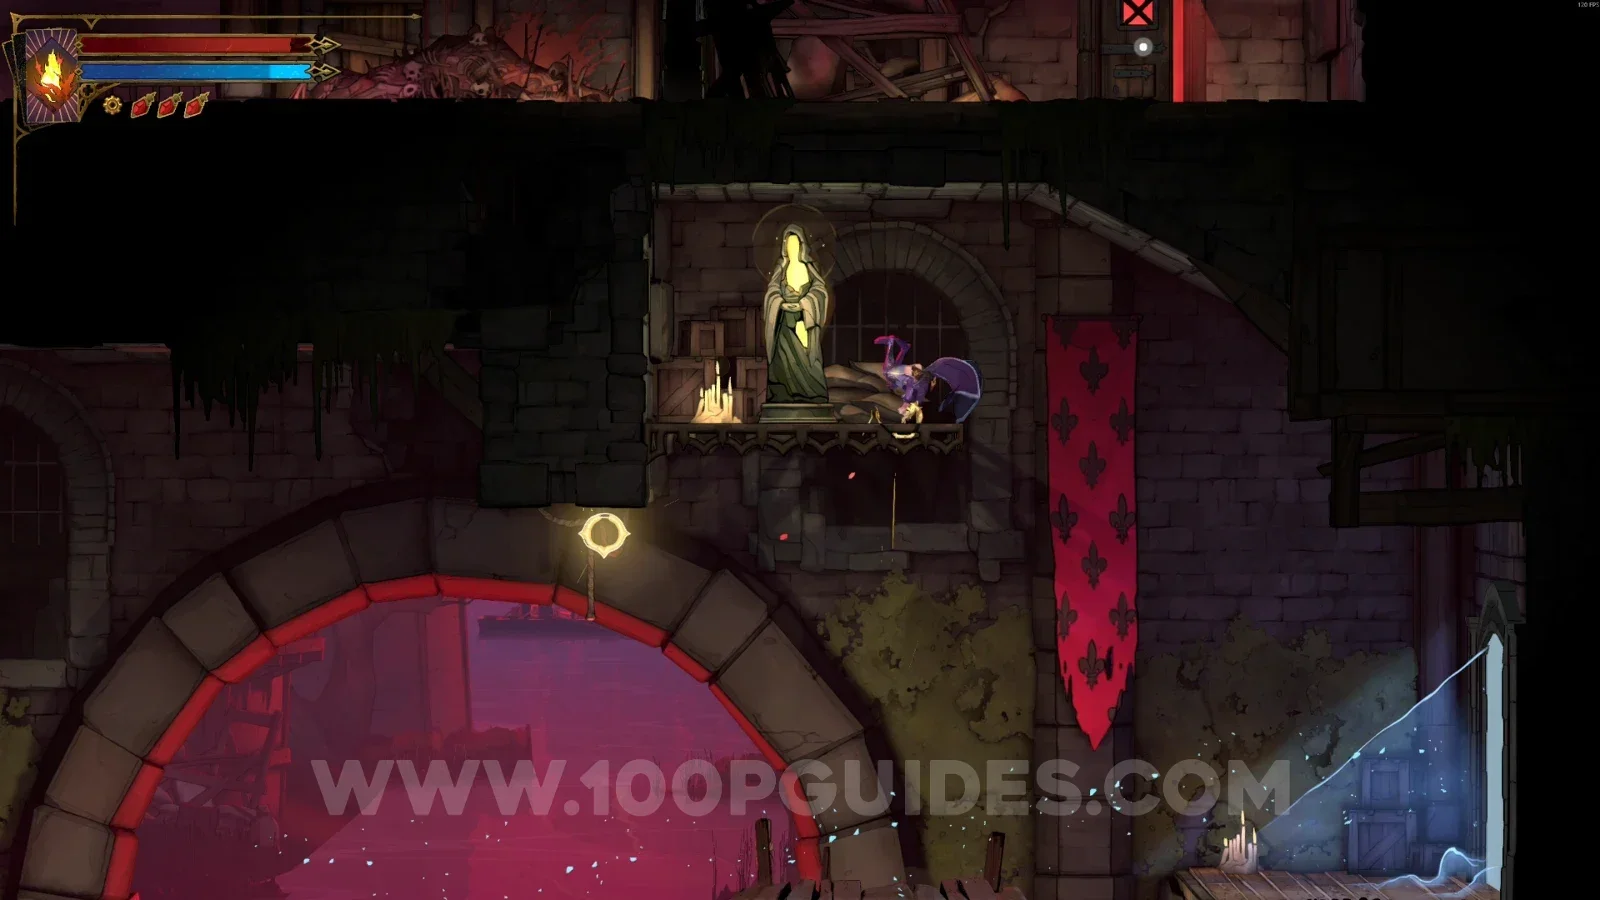
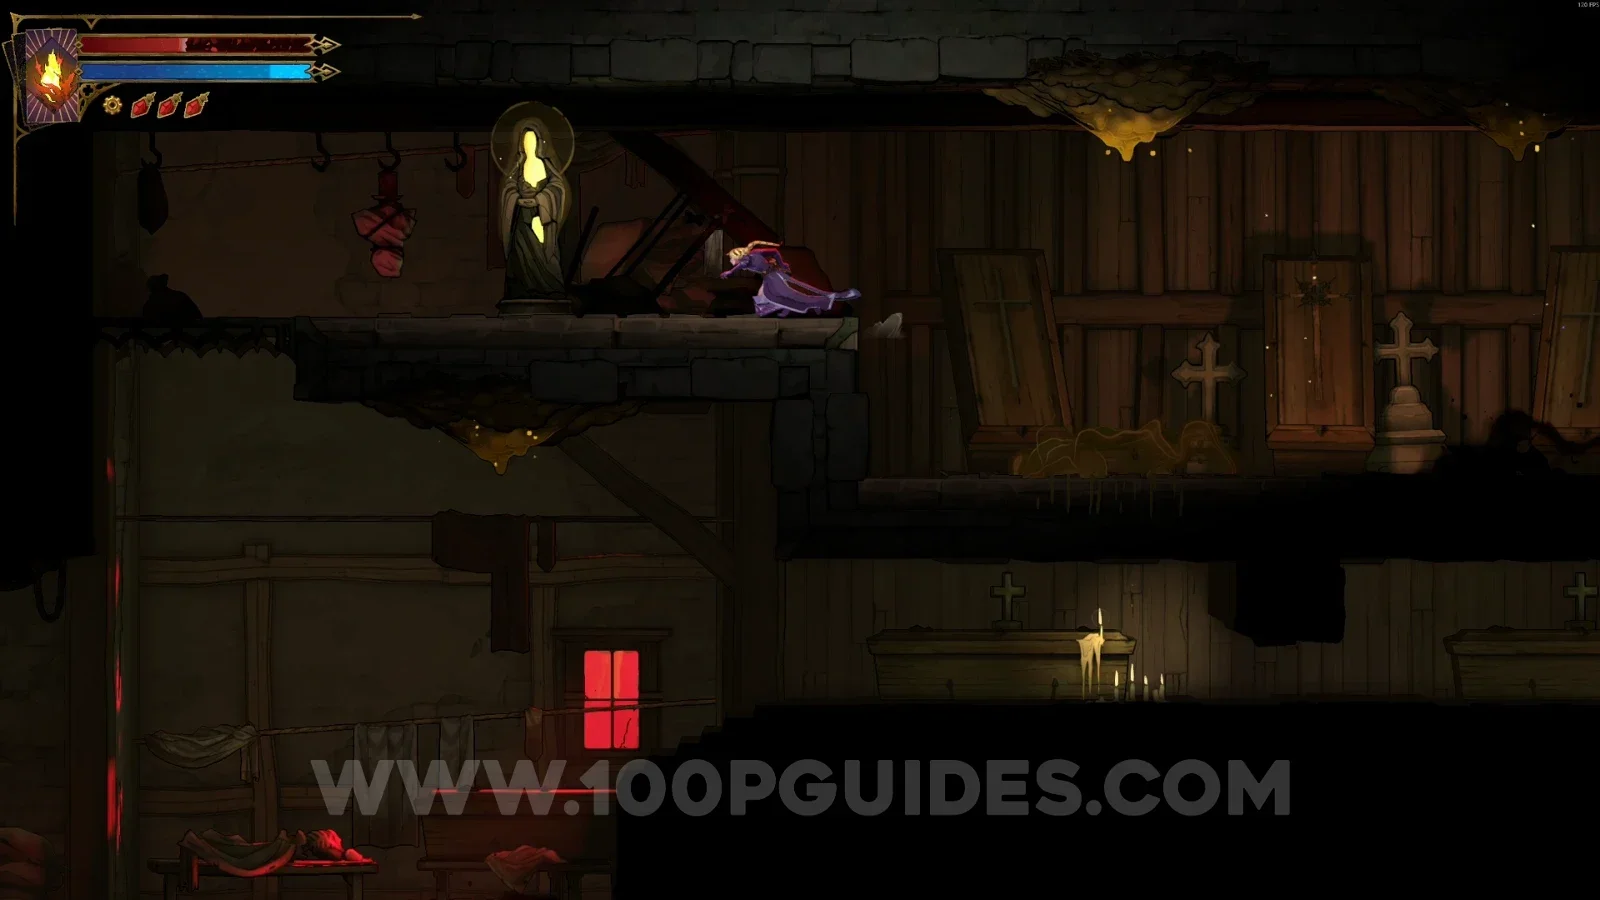
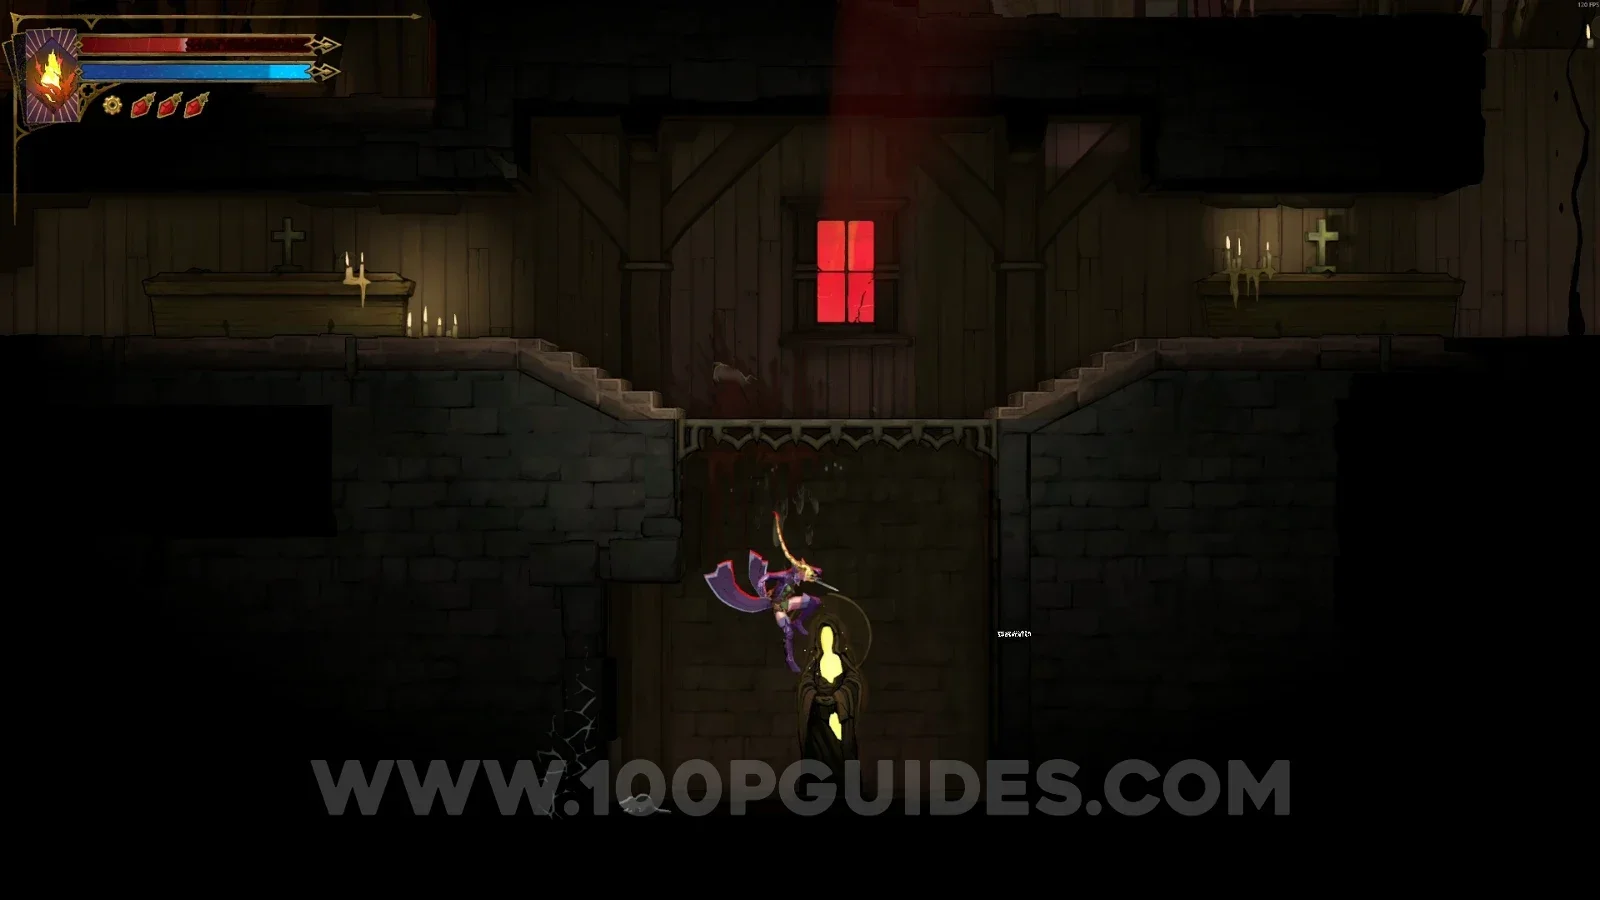
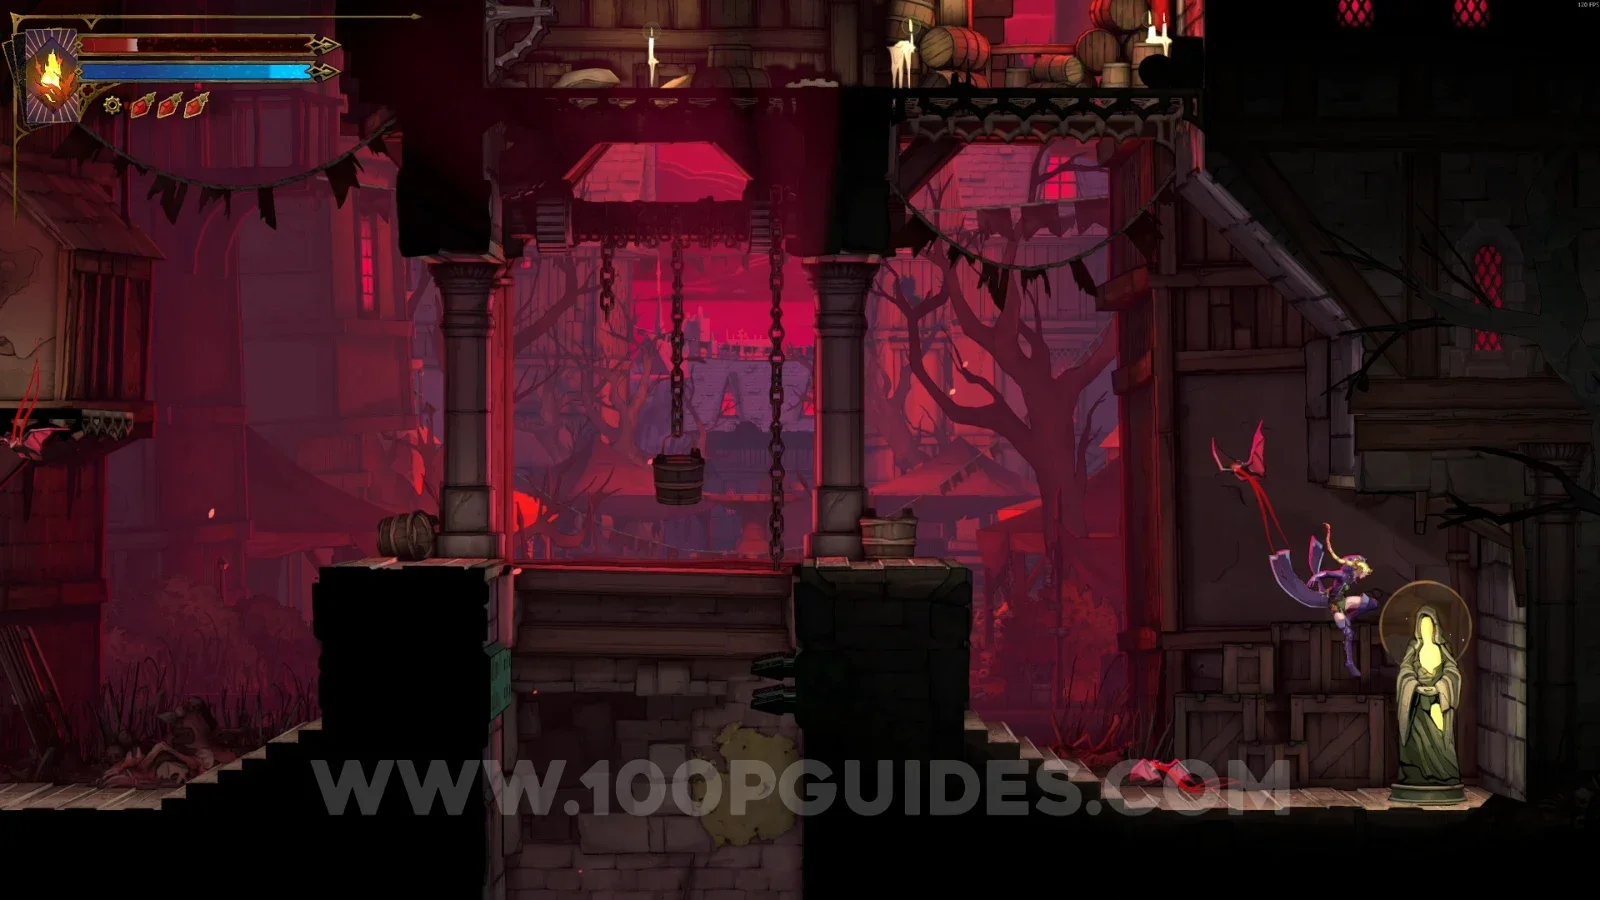
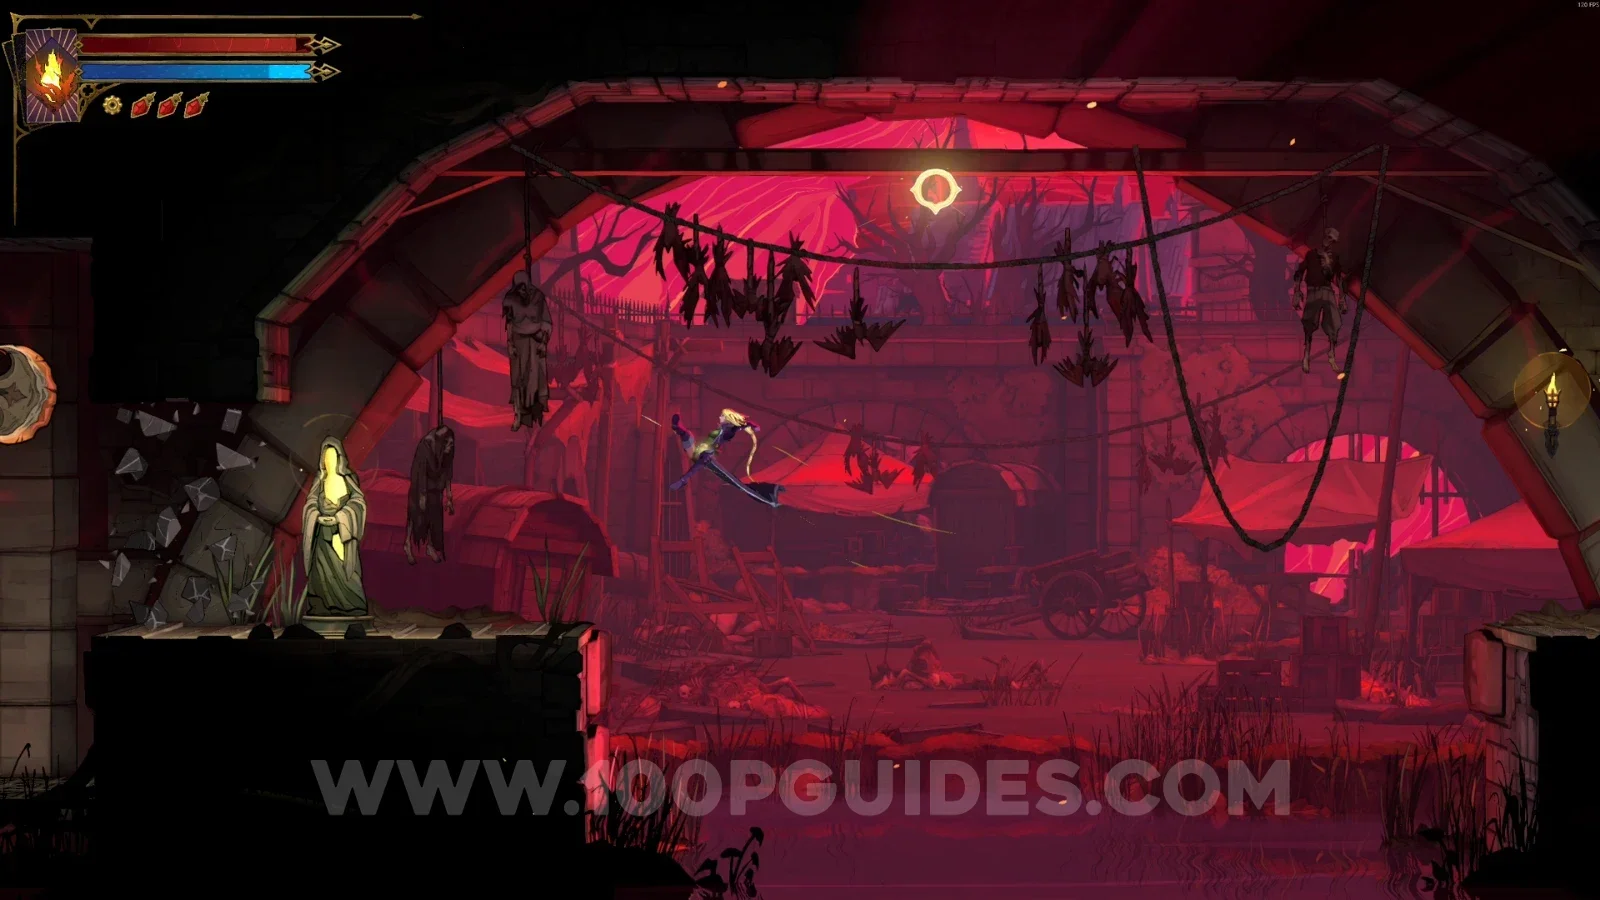
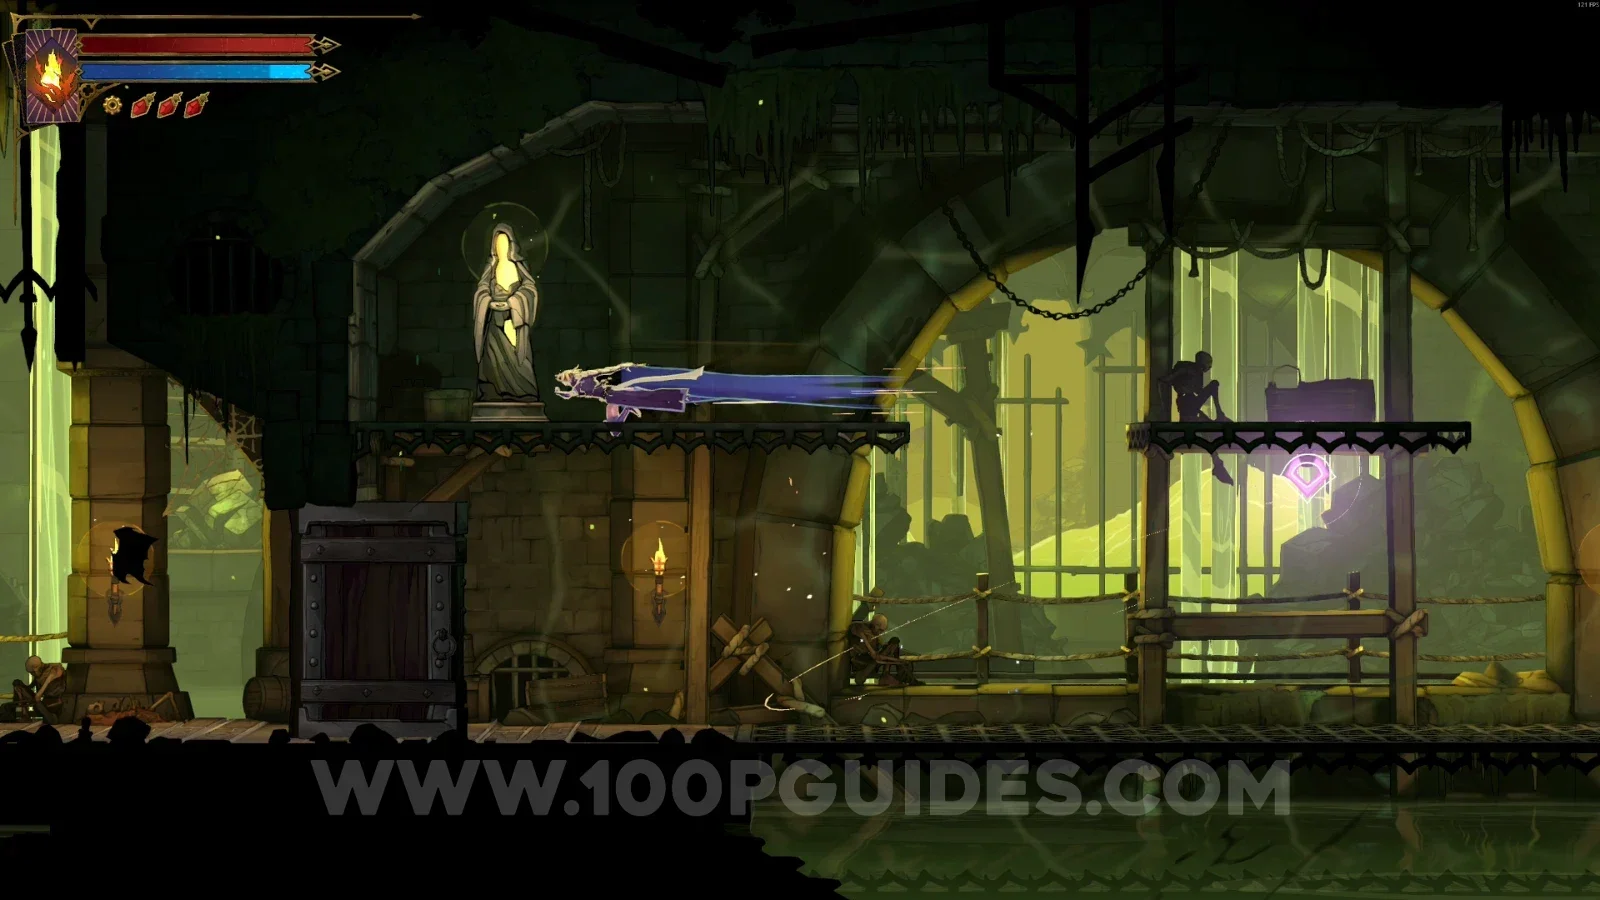
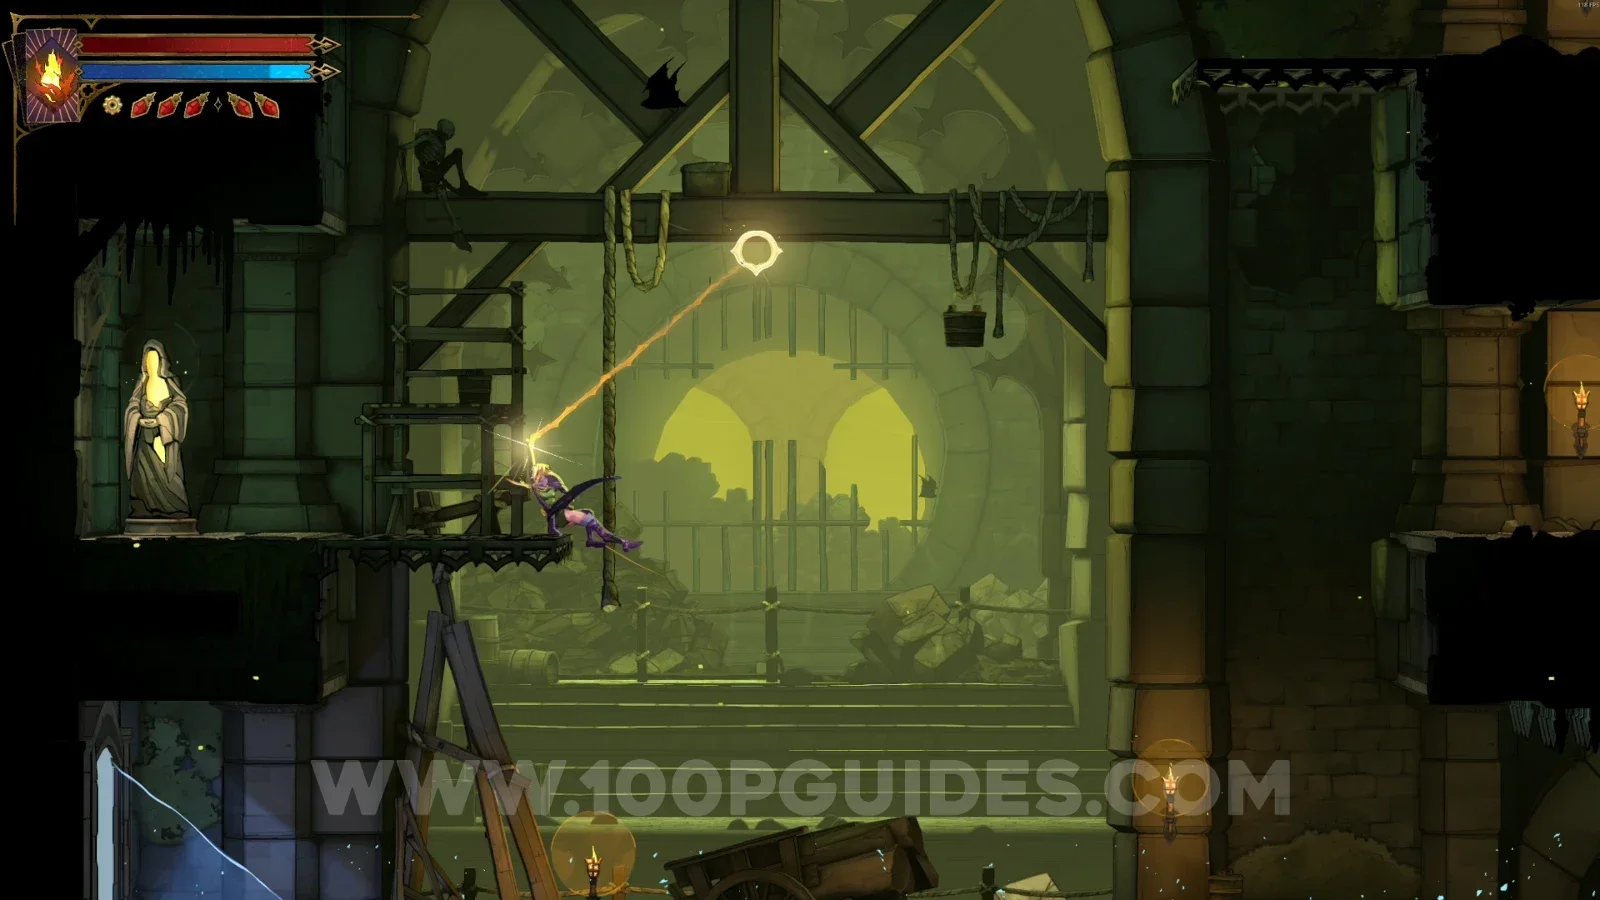
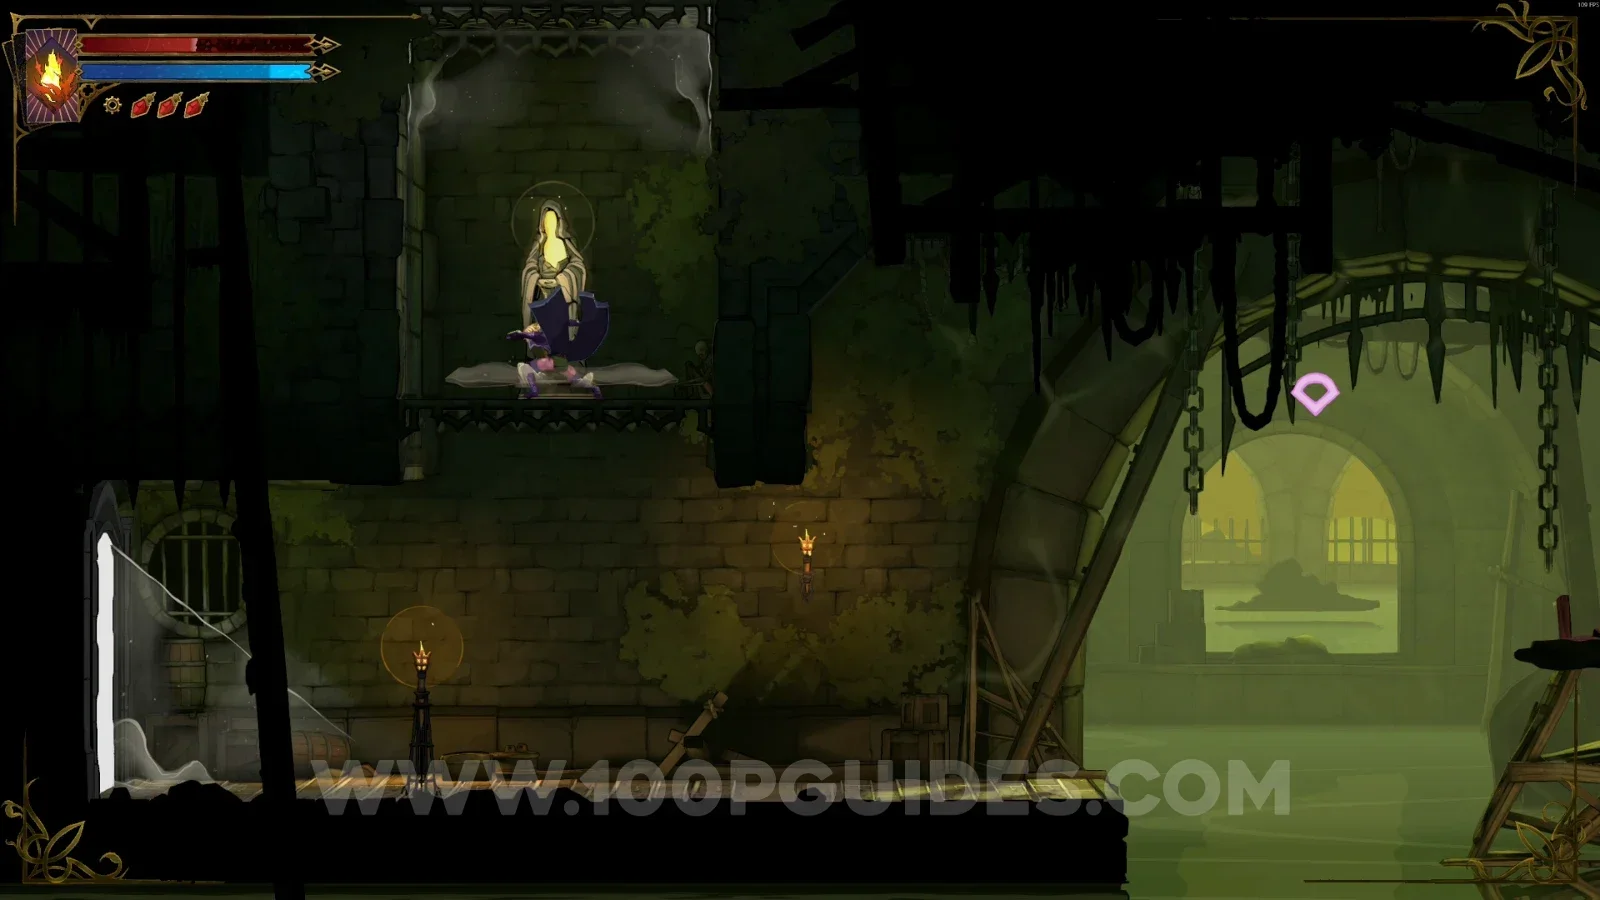
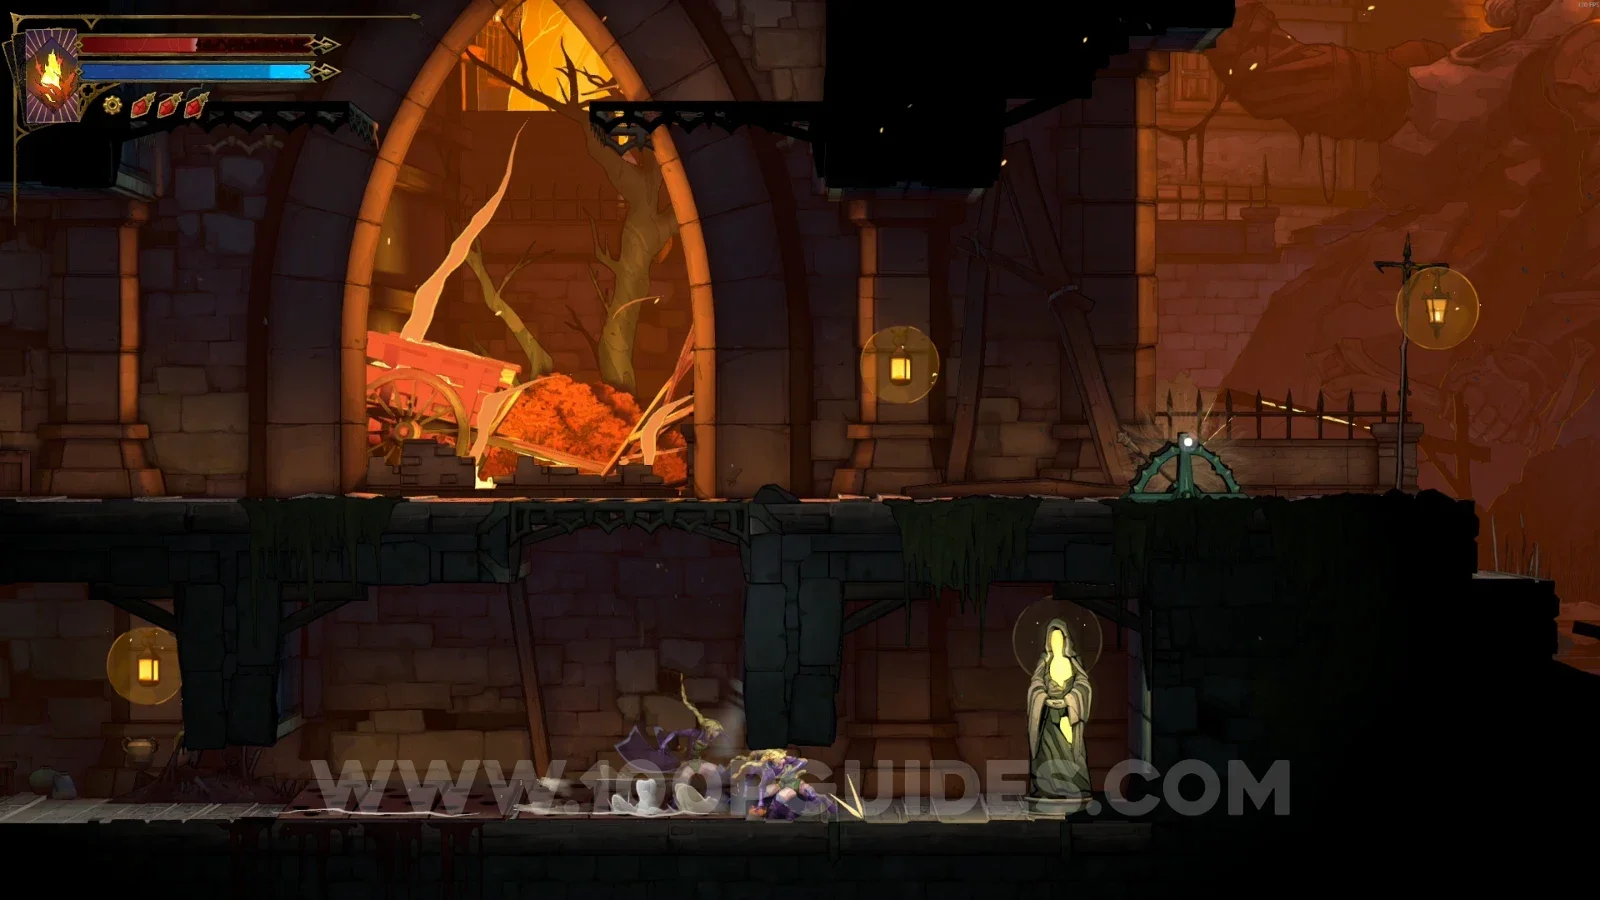
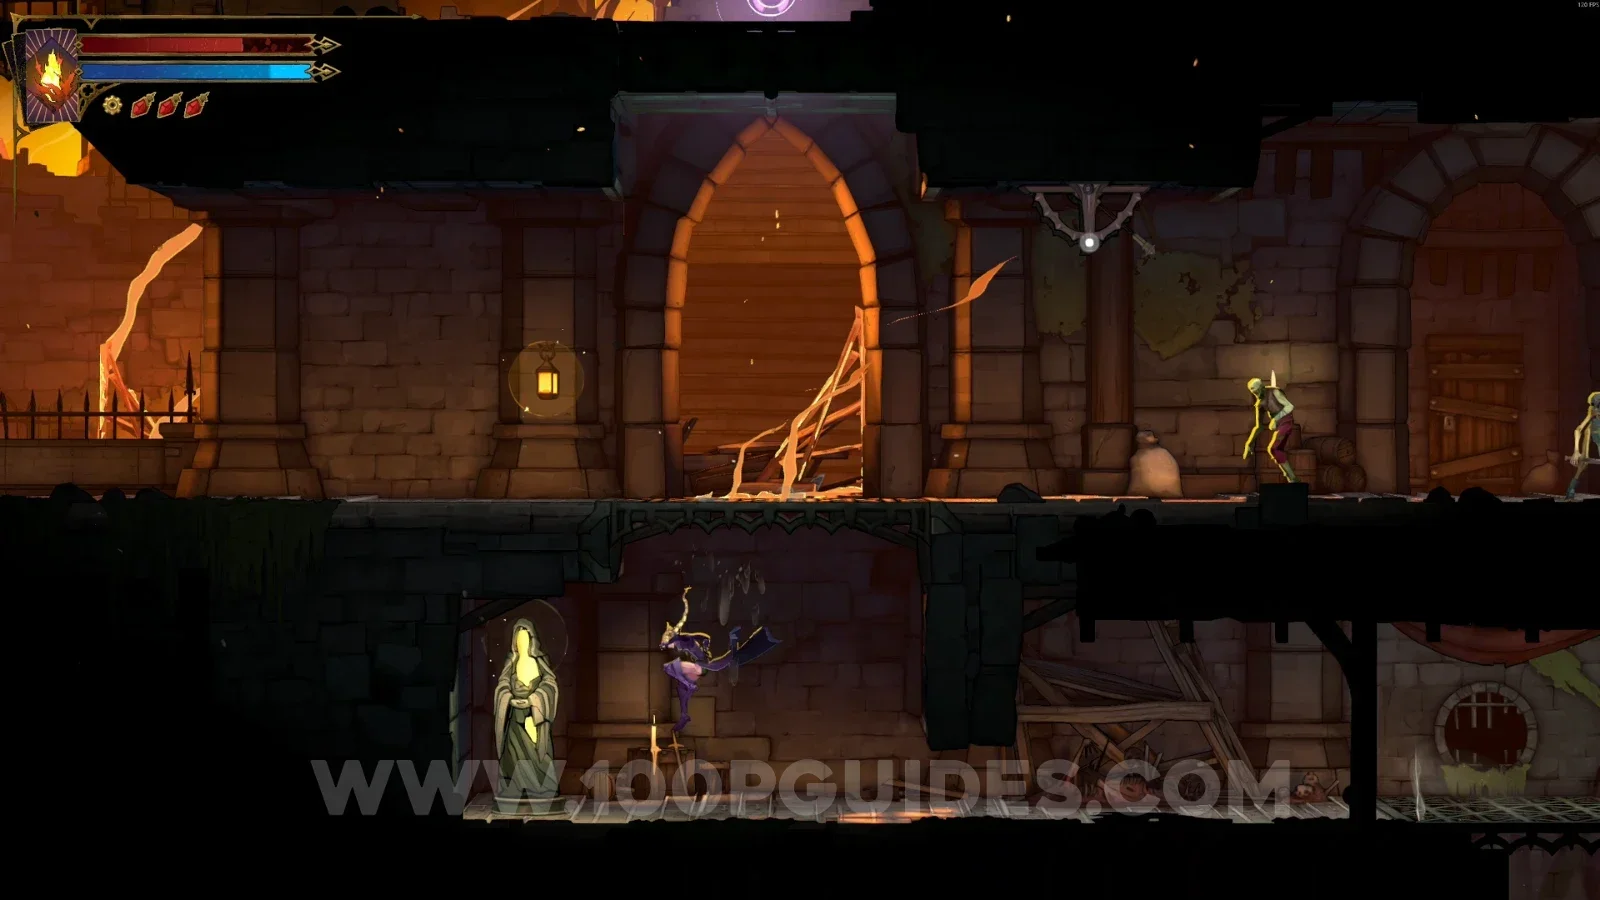
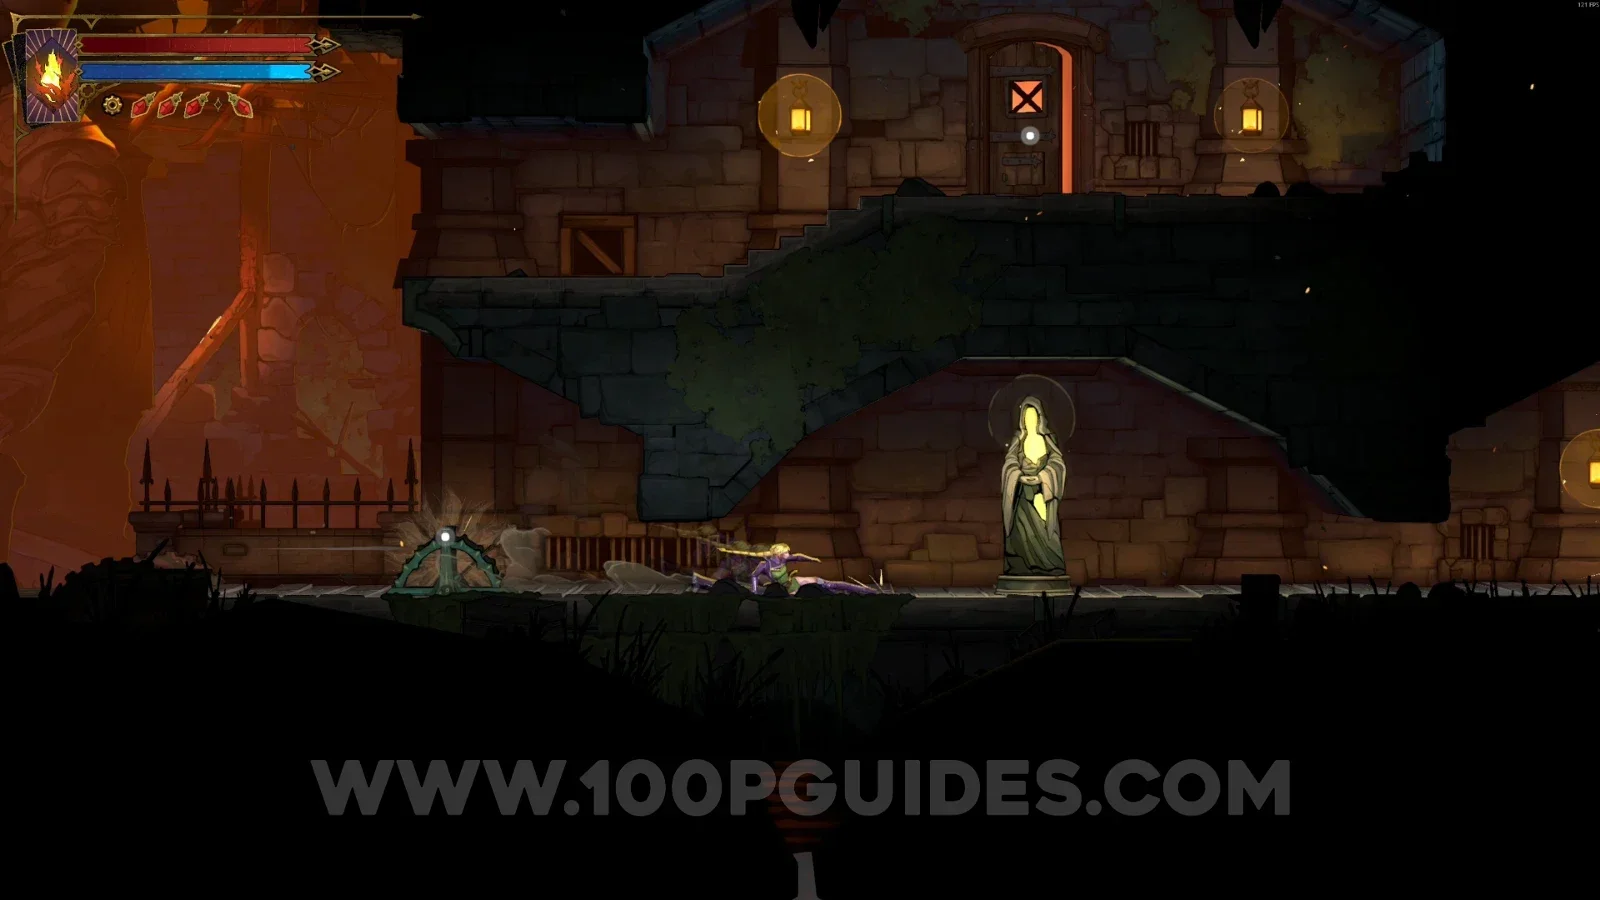
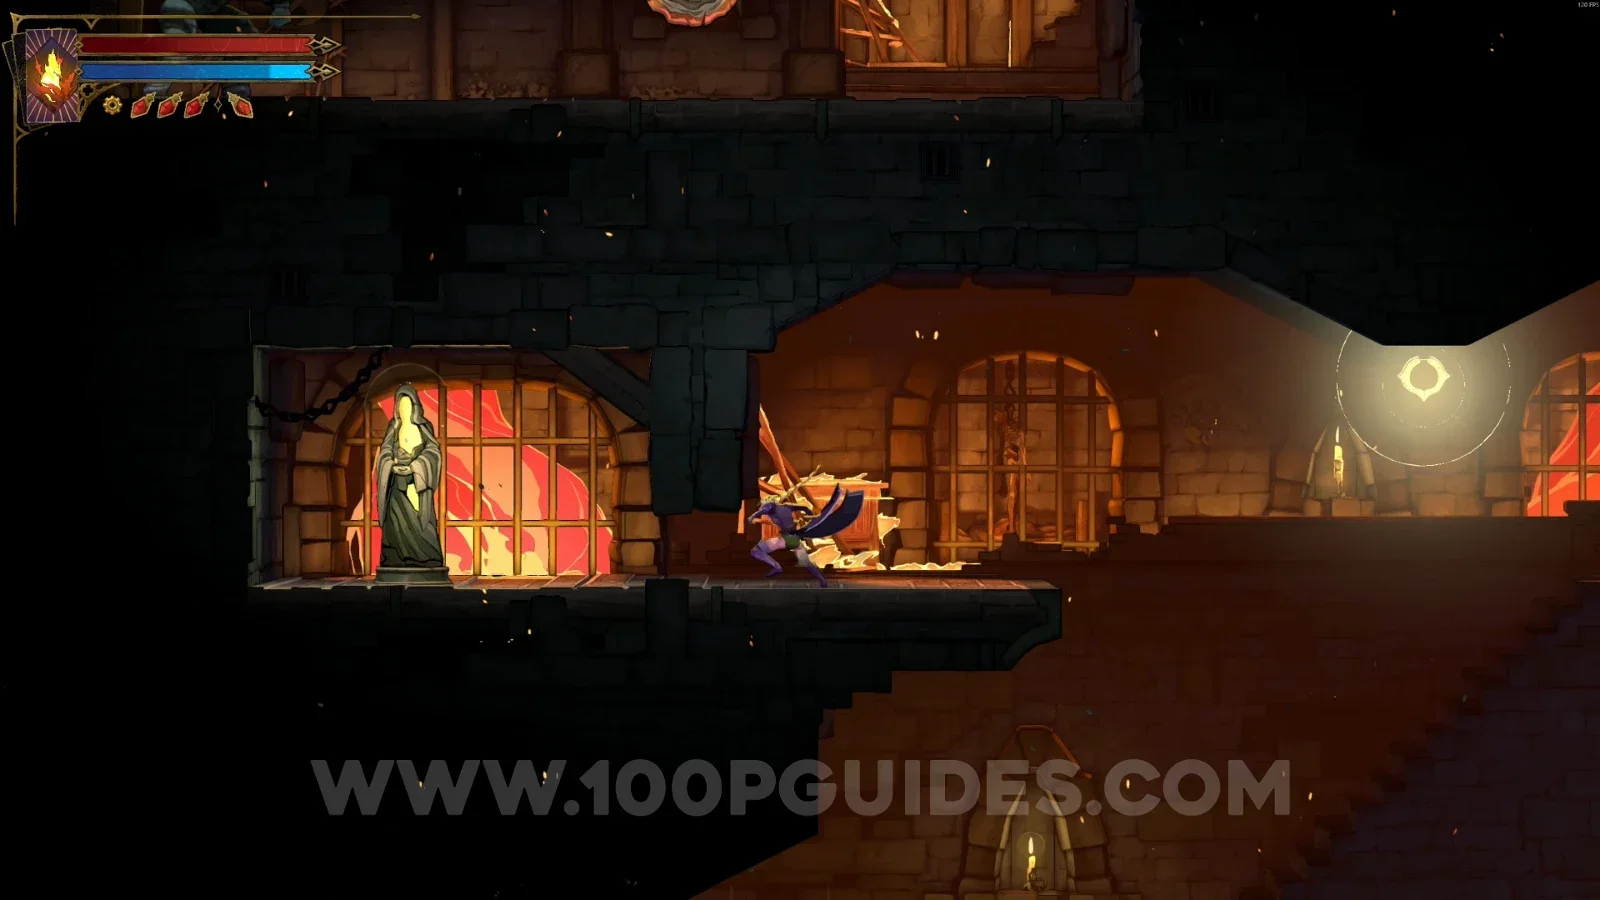
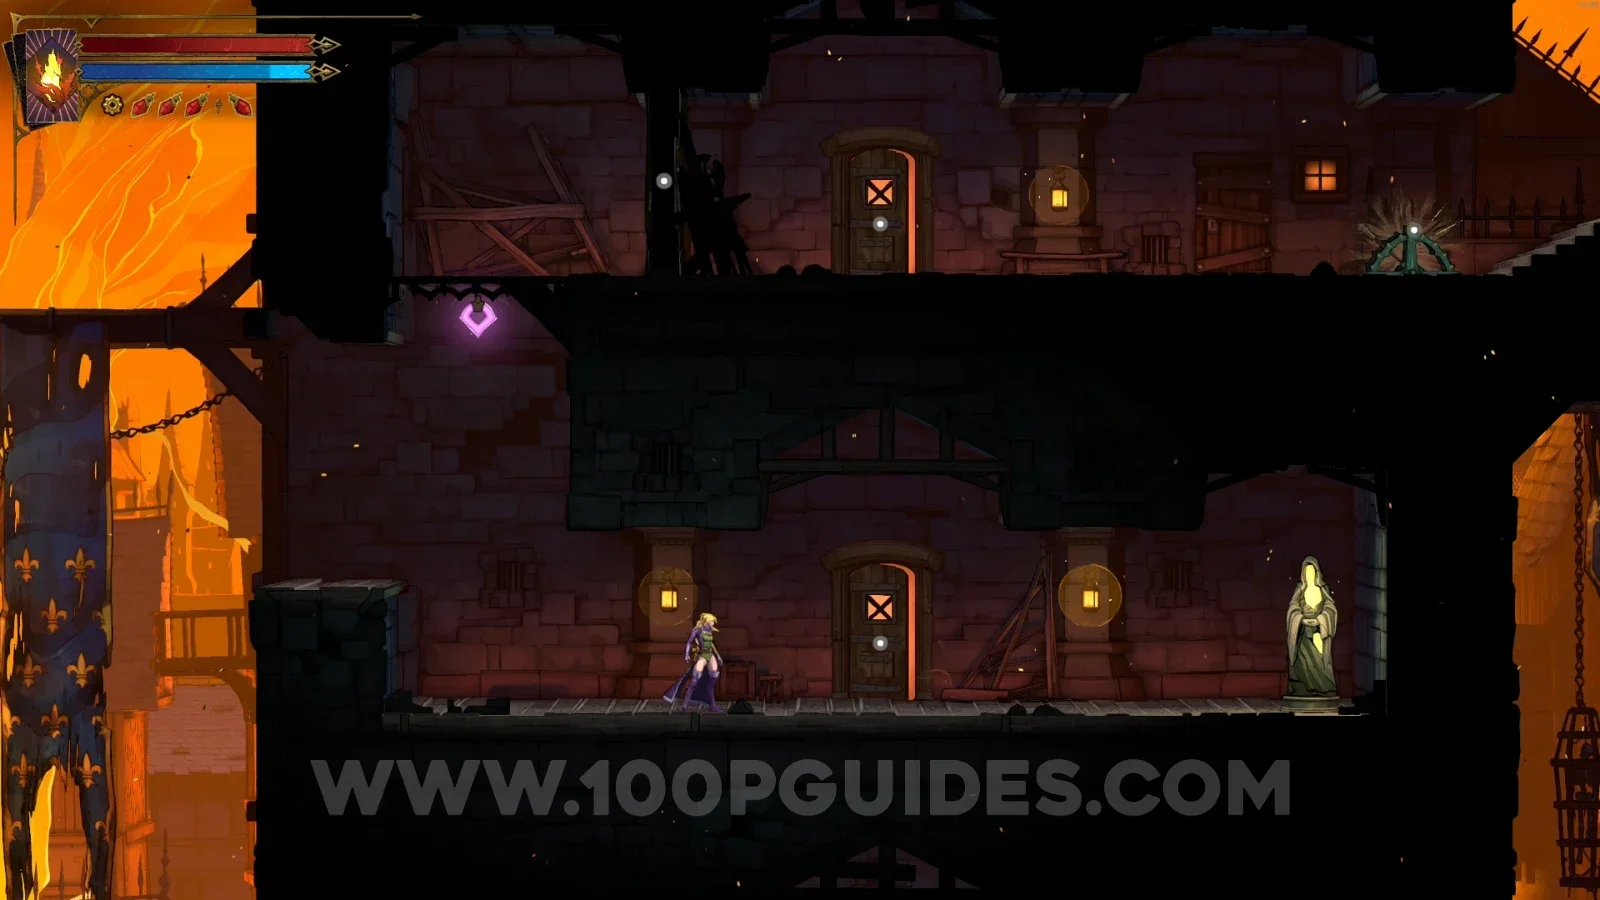
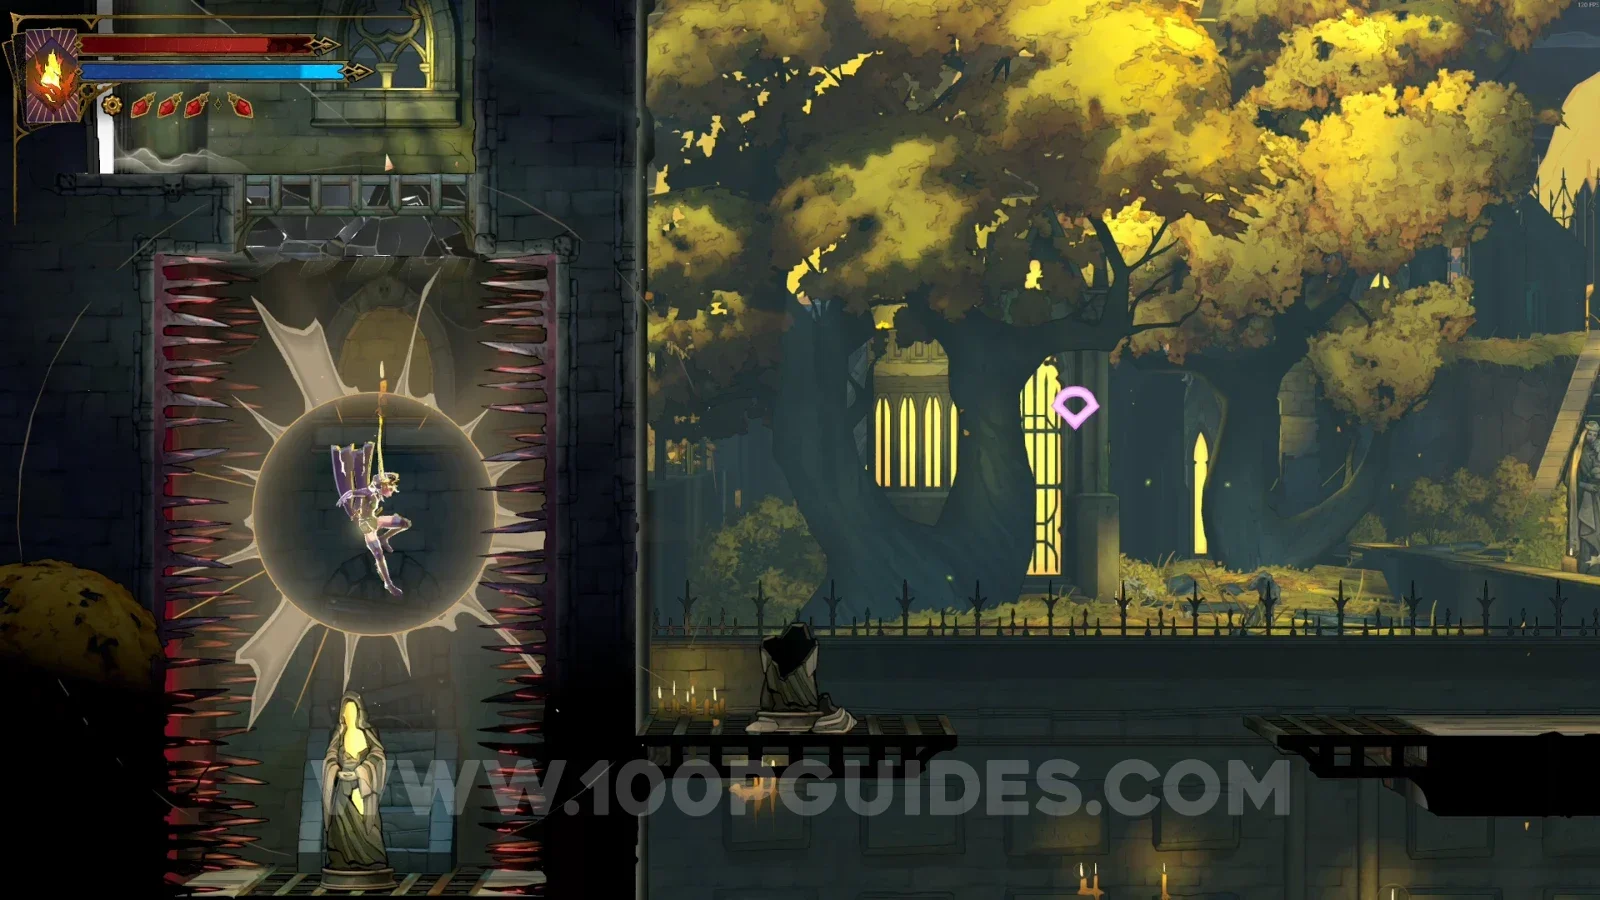
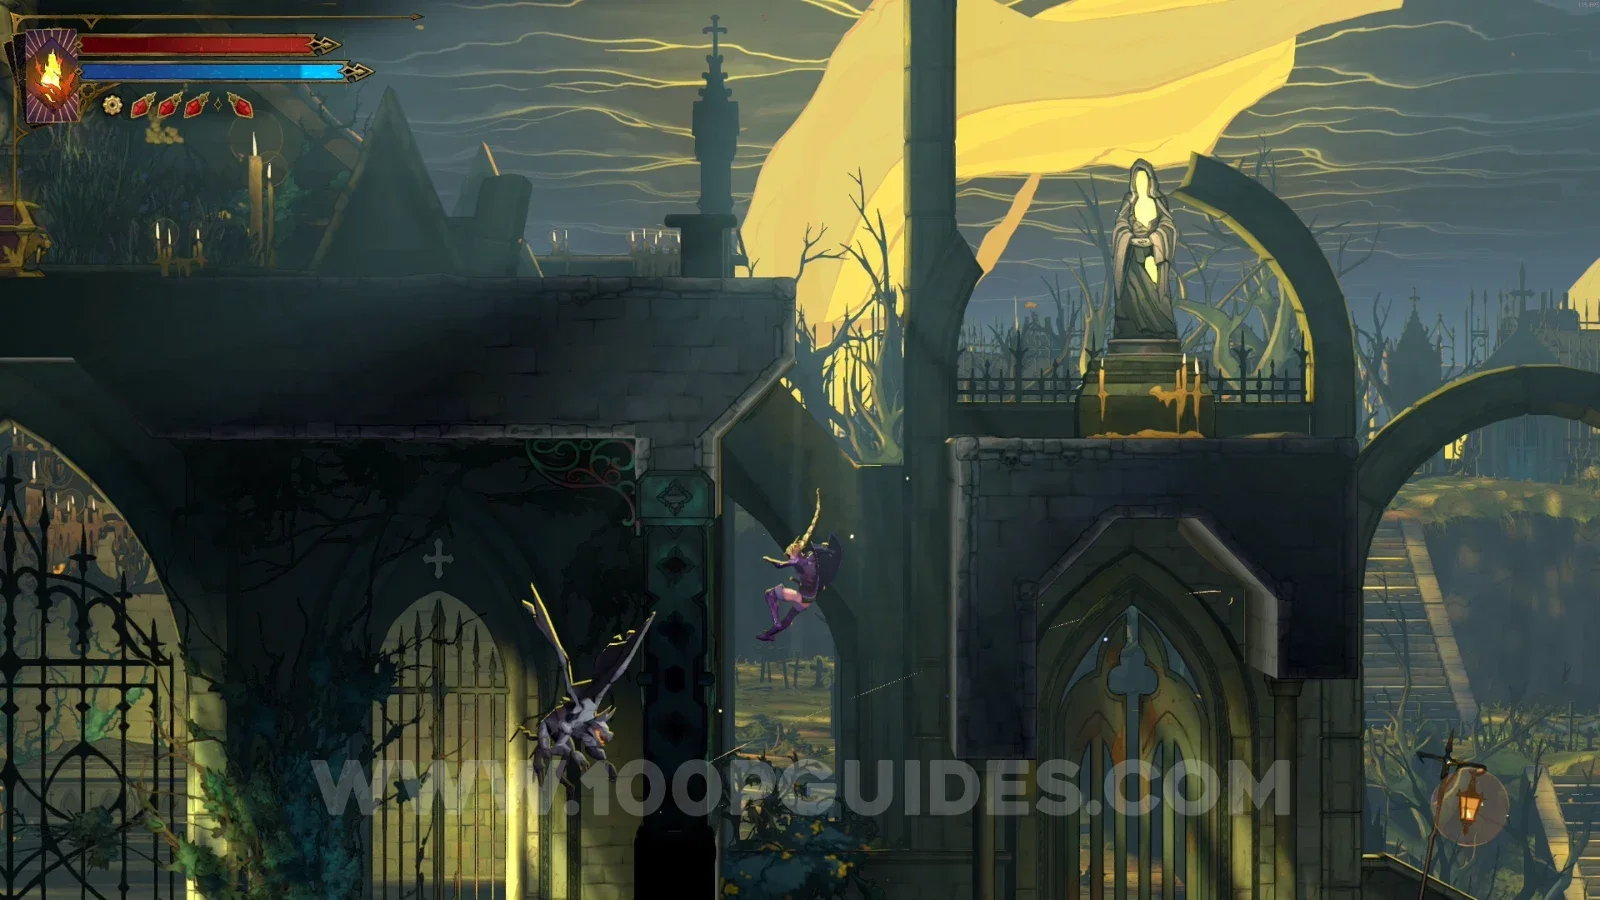
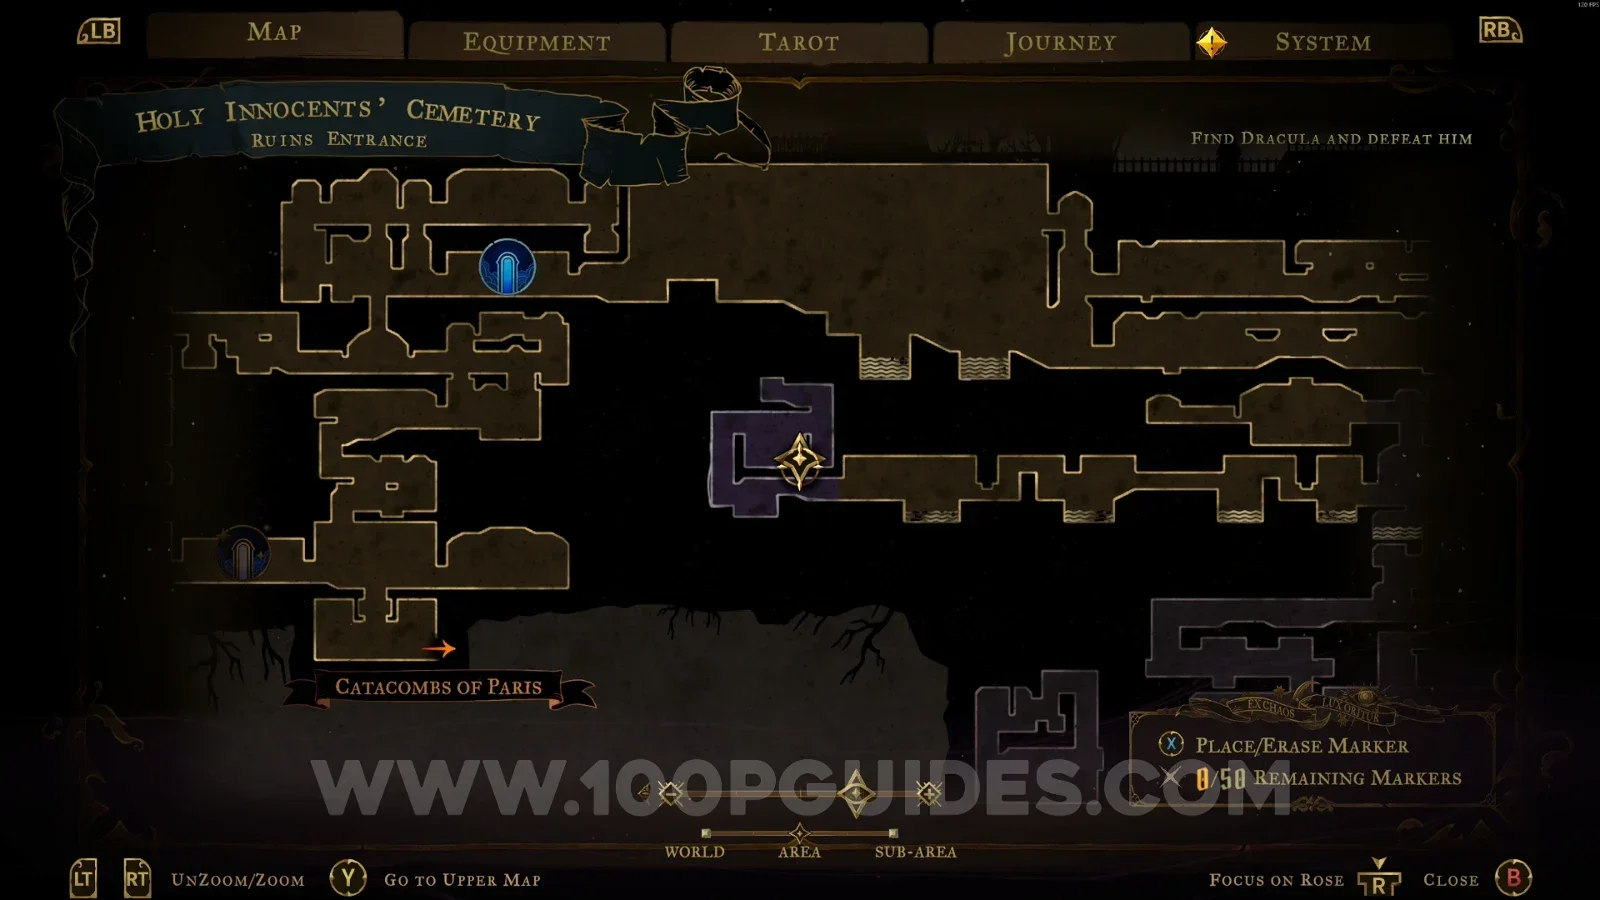
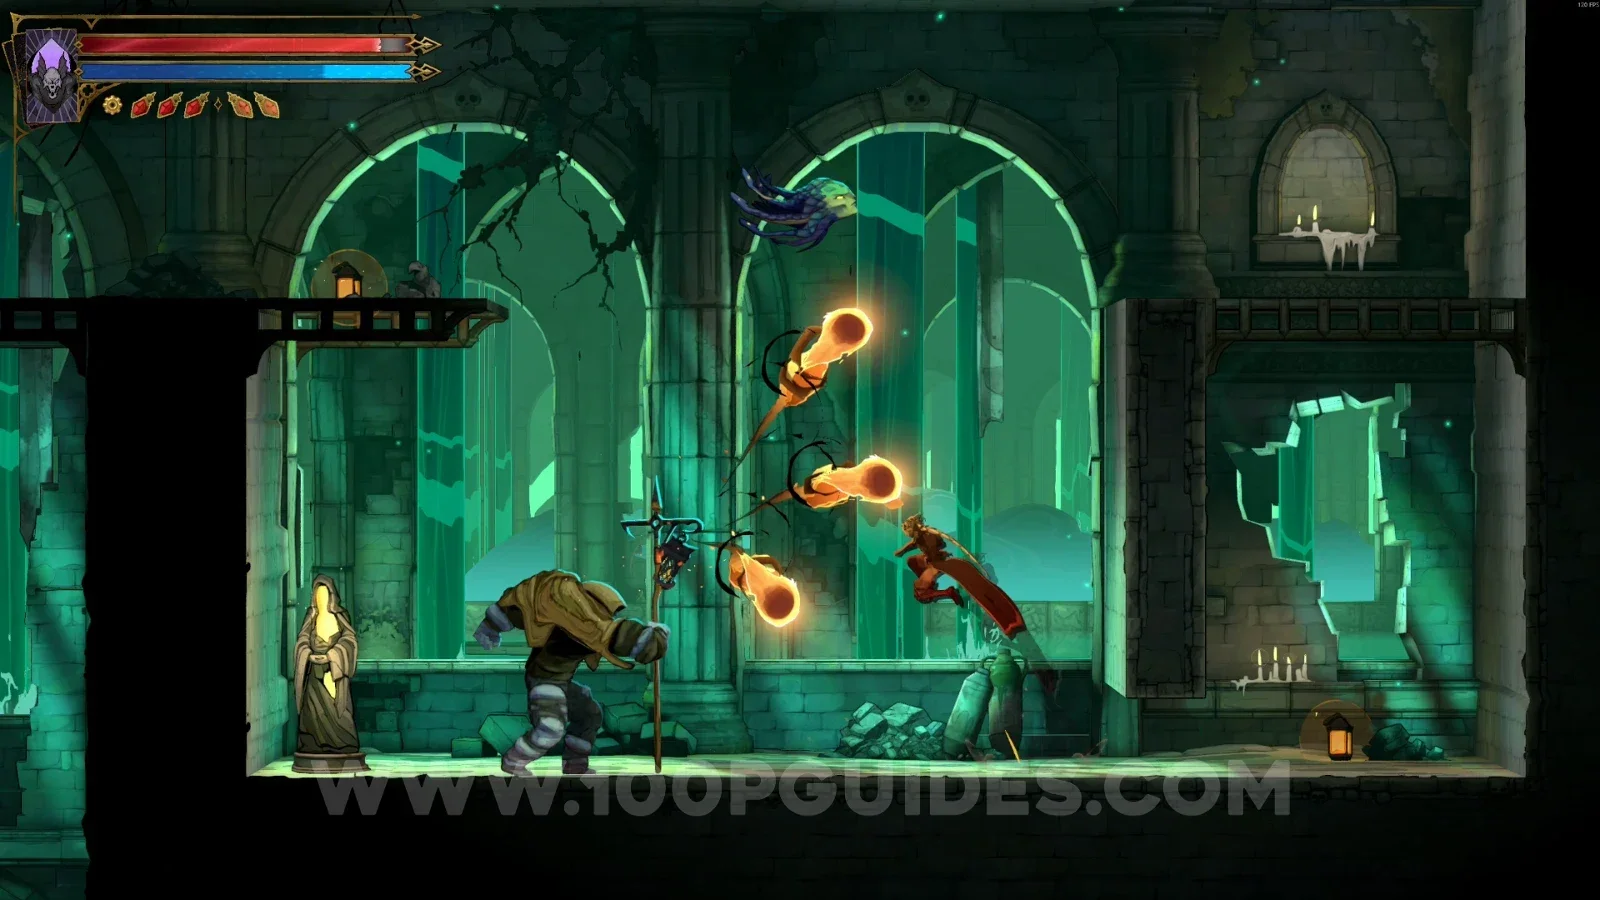
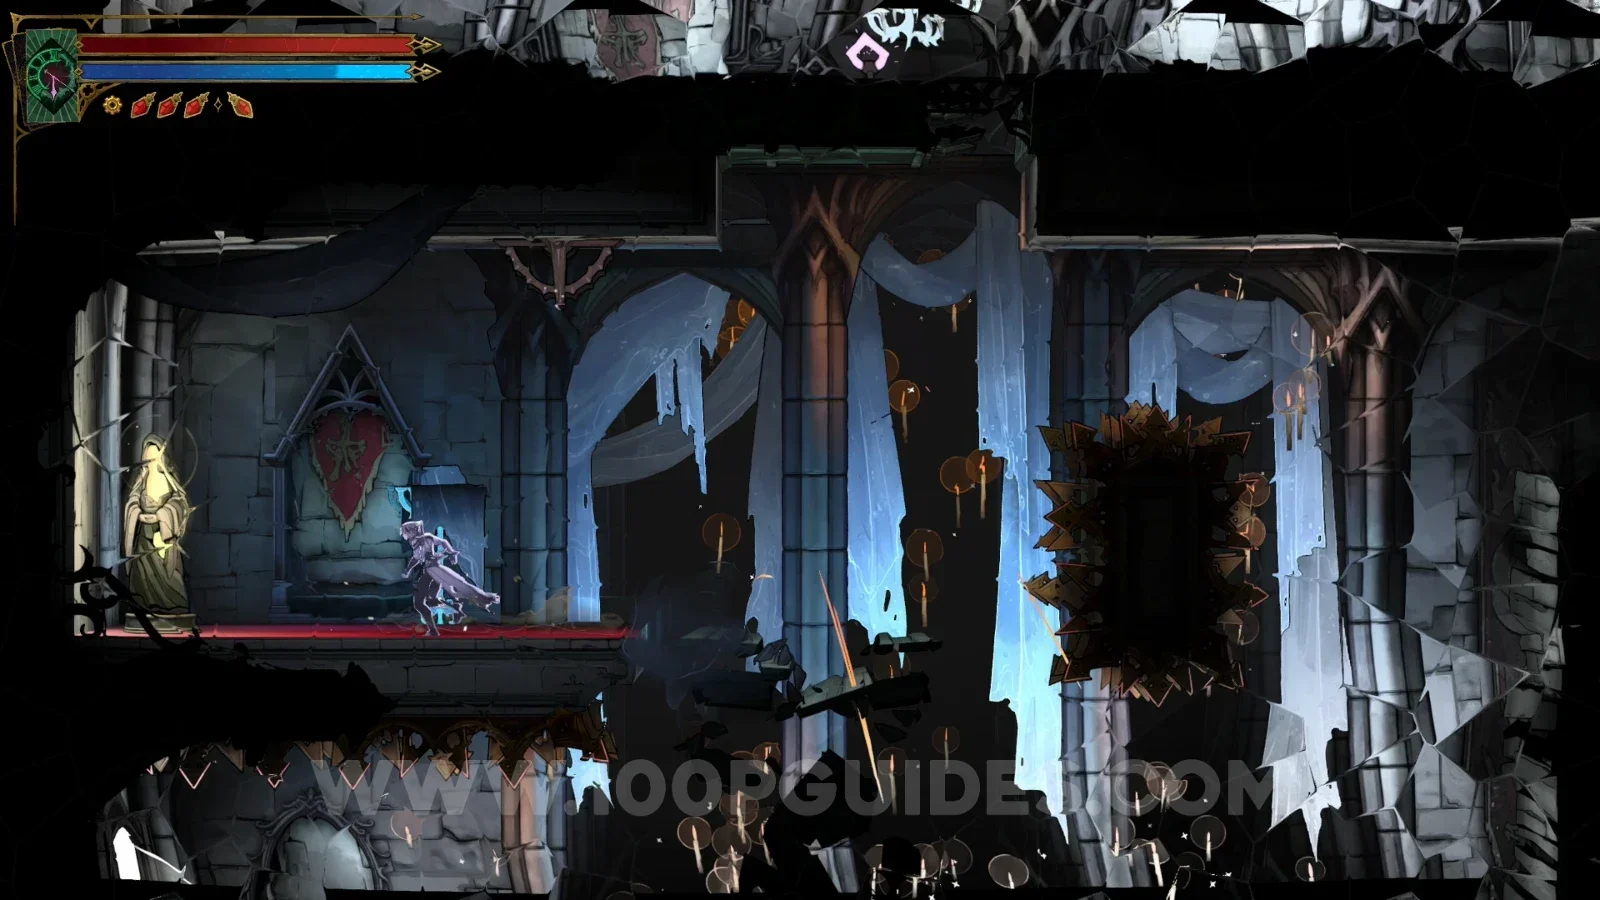
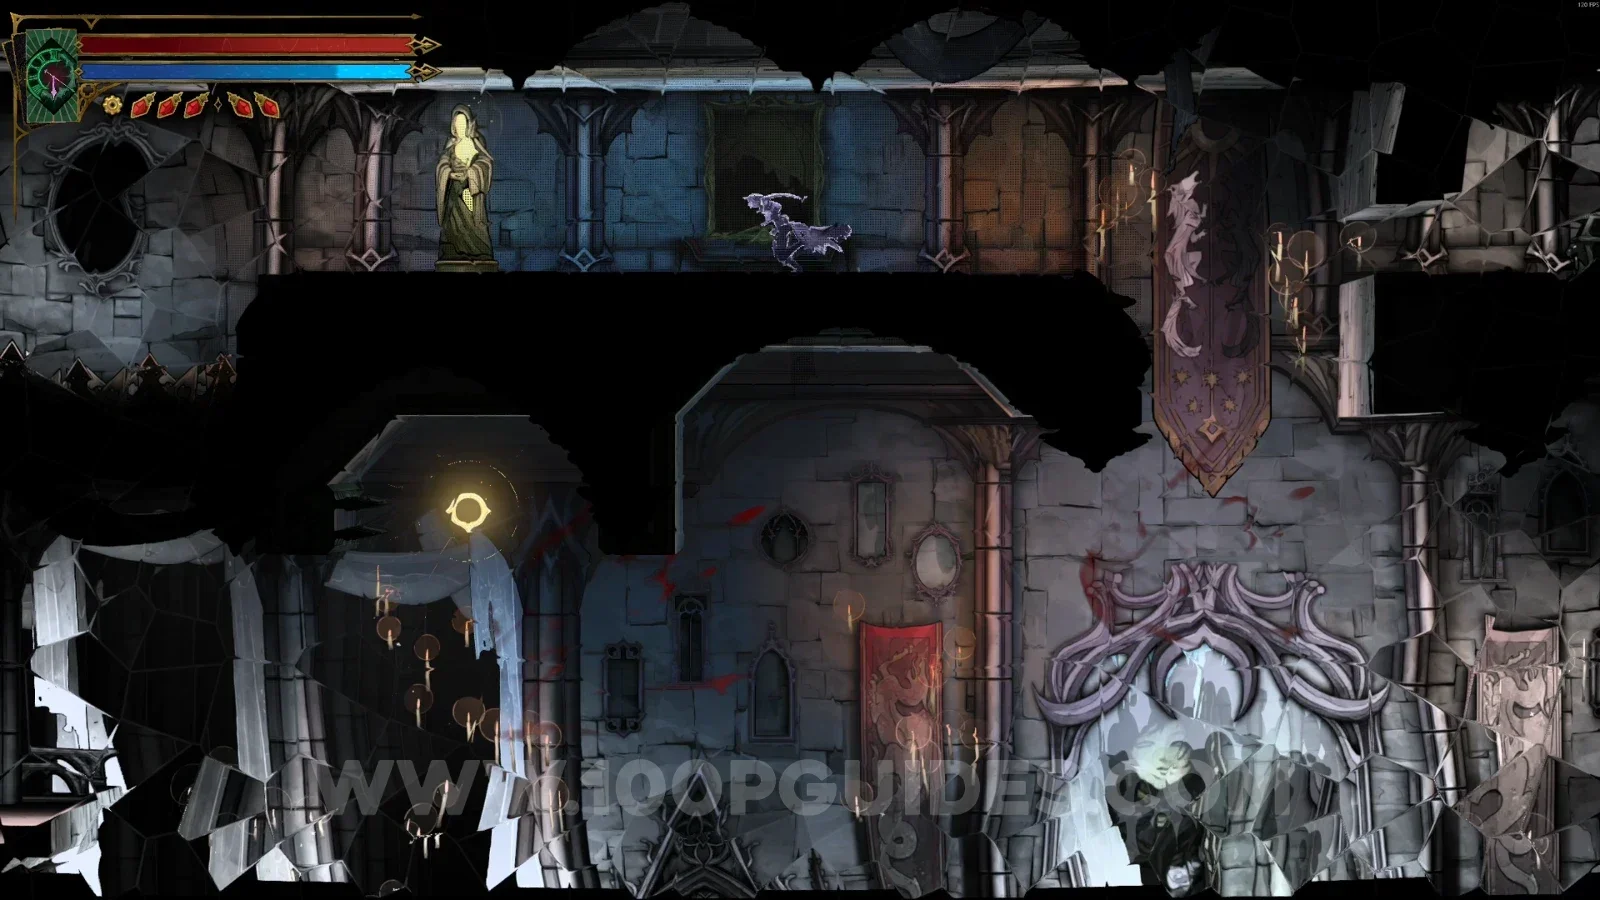
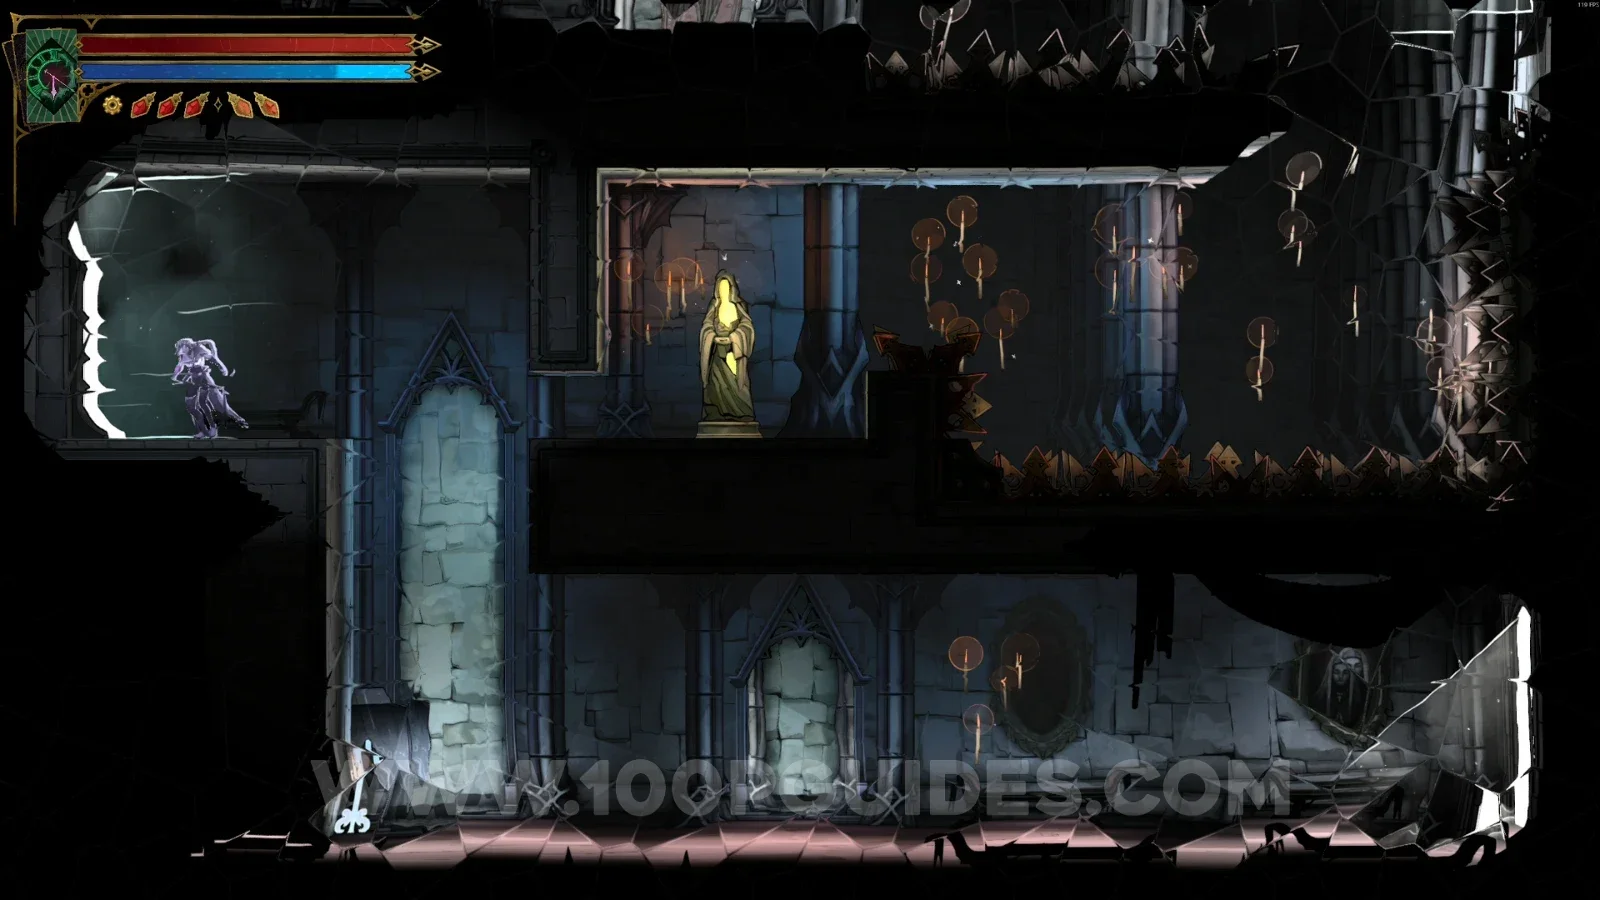
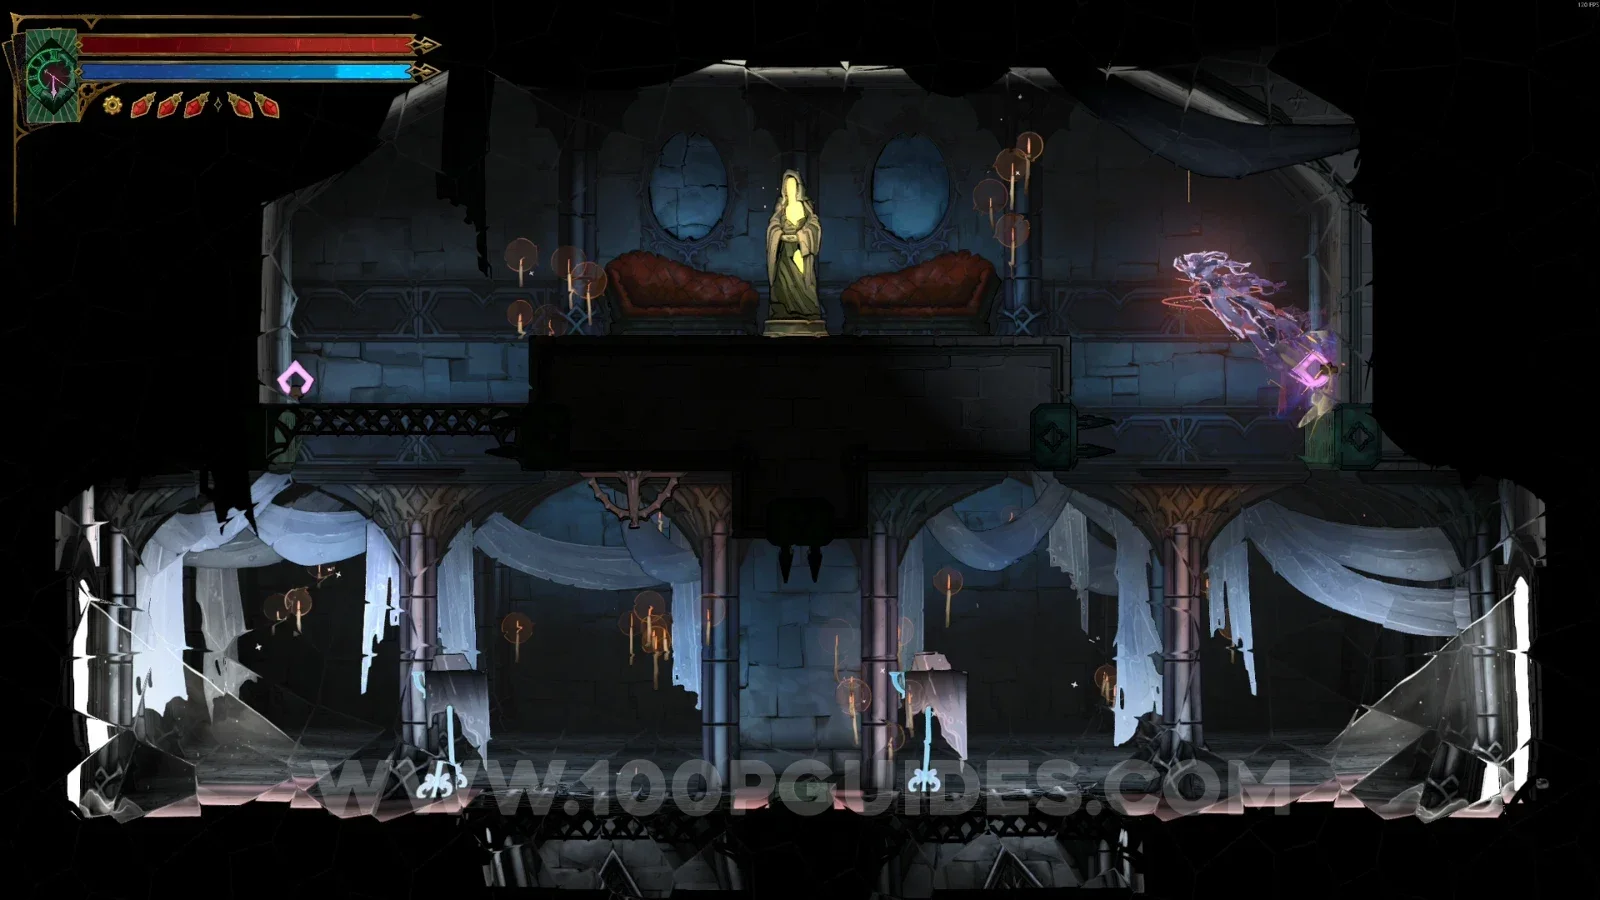
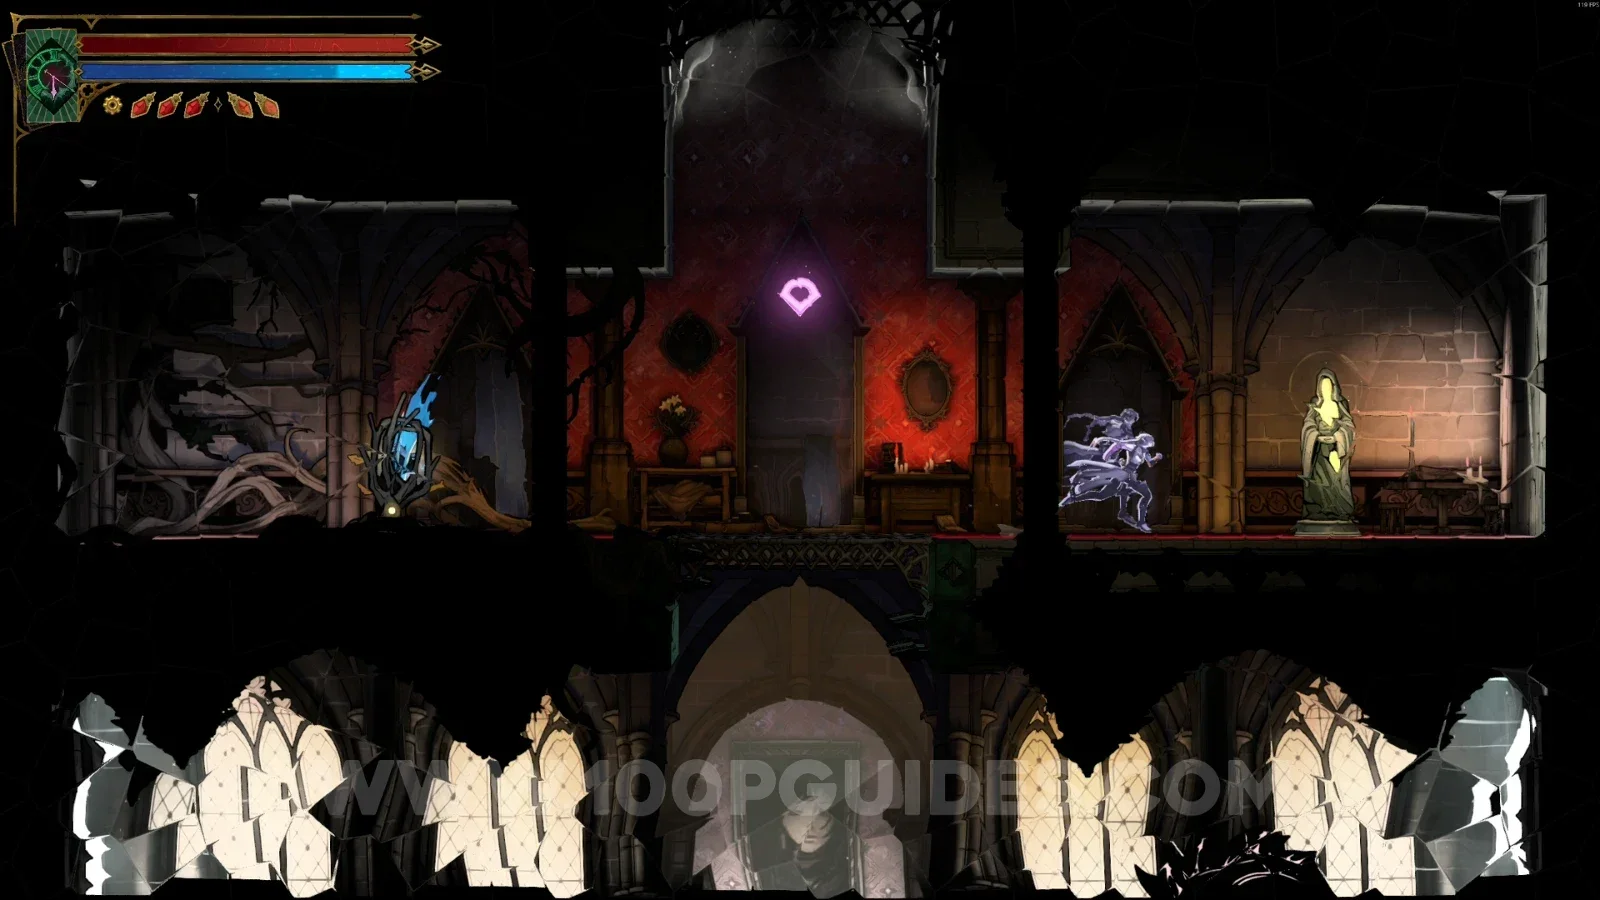
Castlevania: Belmont’s Curse All XP Statue Locations

This guide will show you the location of all XP Statues in Castlevania: Belmont's Curse.

Destroying all the statues is required for 100% completion of the game.

Paris Streets

Streets Of The Tomb Masons

XP Statue #1

In the area marked on the map.
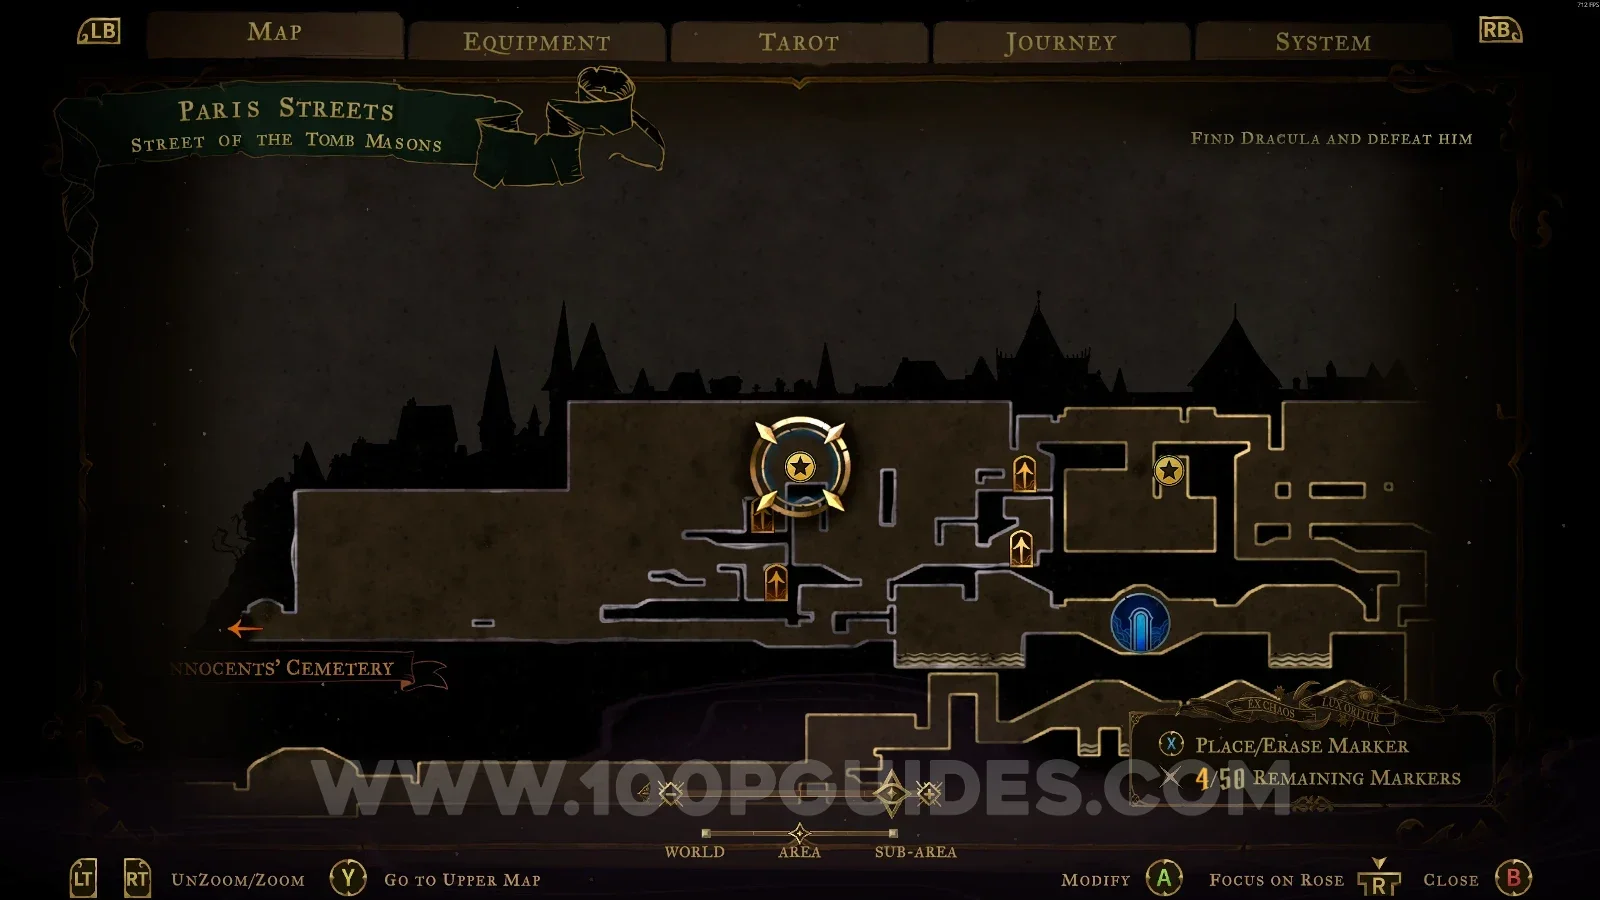
Castlevania Belmonts Curse Streets Of The Tomb Masons map with the area of XP Statue #1 marked Castlevania Belmonts Curse Streets Of The Tomb Masons: XP Statue #1 in the marked area

XP Statue #2

In the area marked on the map.
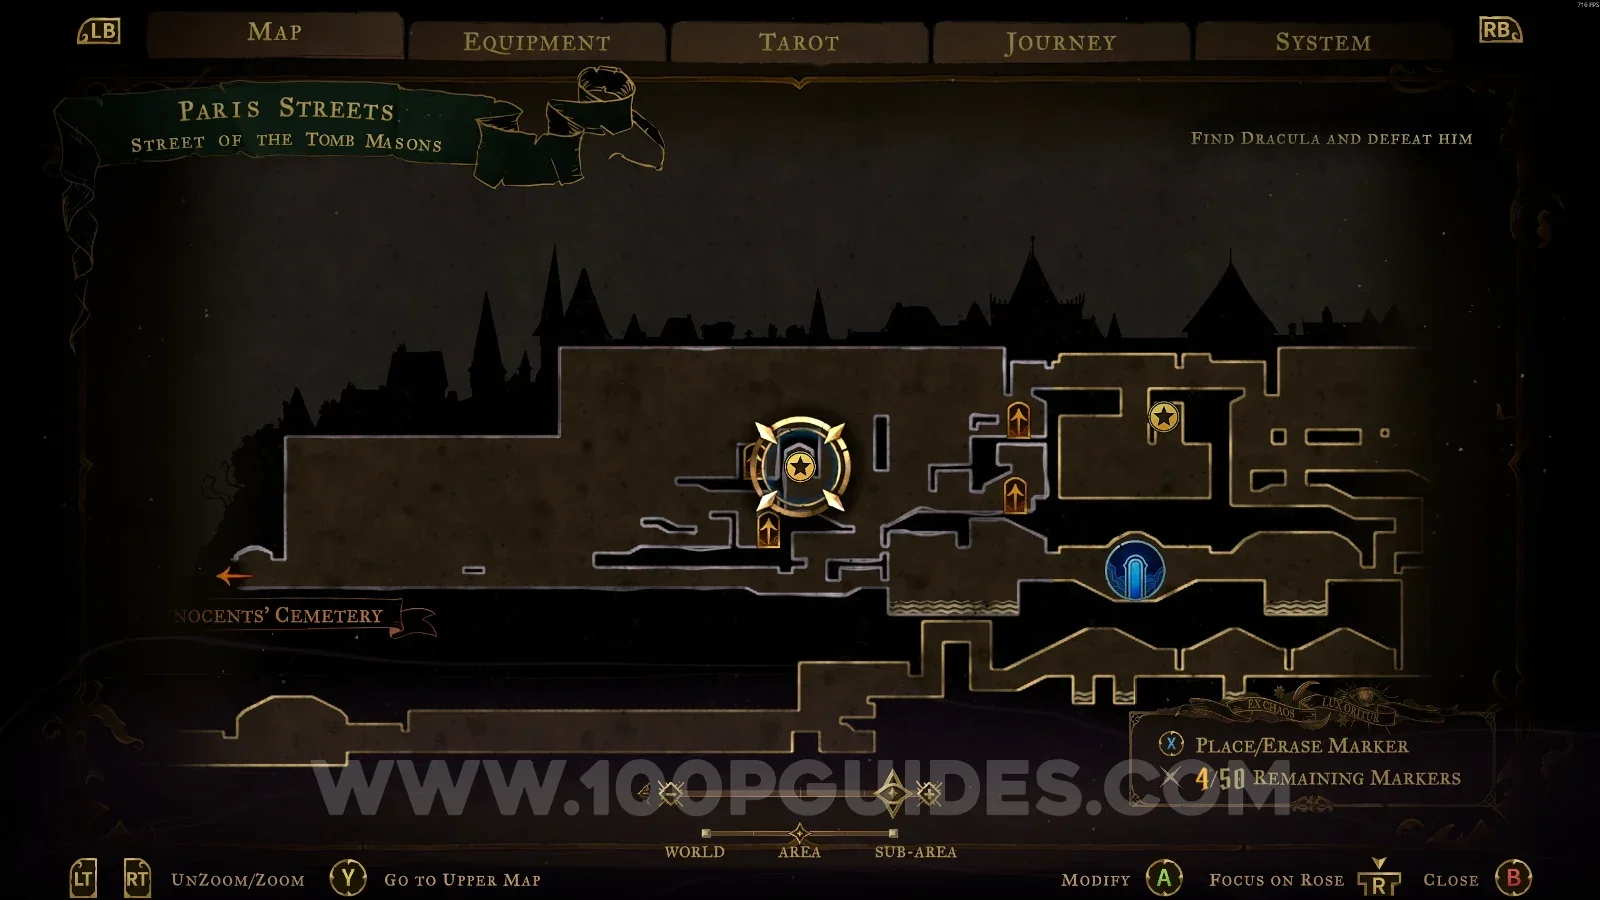
Castlevania Belmonts Curse Streets Of The Tomb Masons map with the area of XP Statue #2 marked Castlevania Belmonts Curse Streets Of The Tomb Masons: XP Statue #2 in the marked area

XP Statue #3

In the area marked on the map.
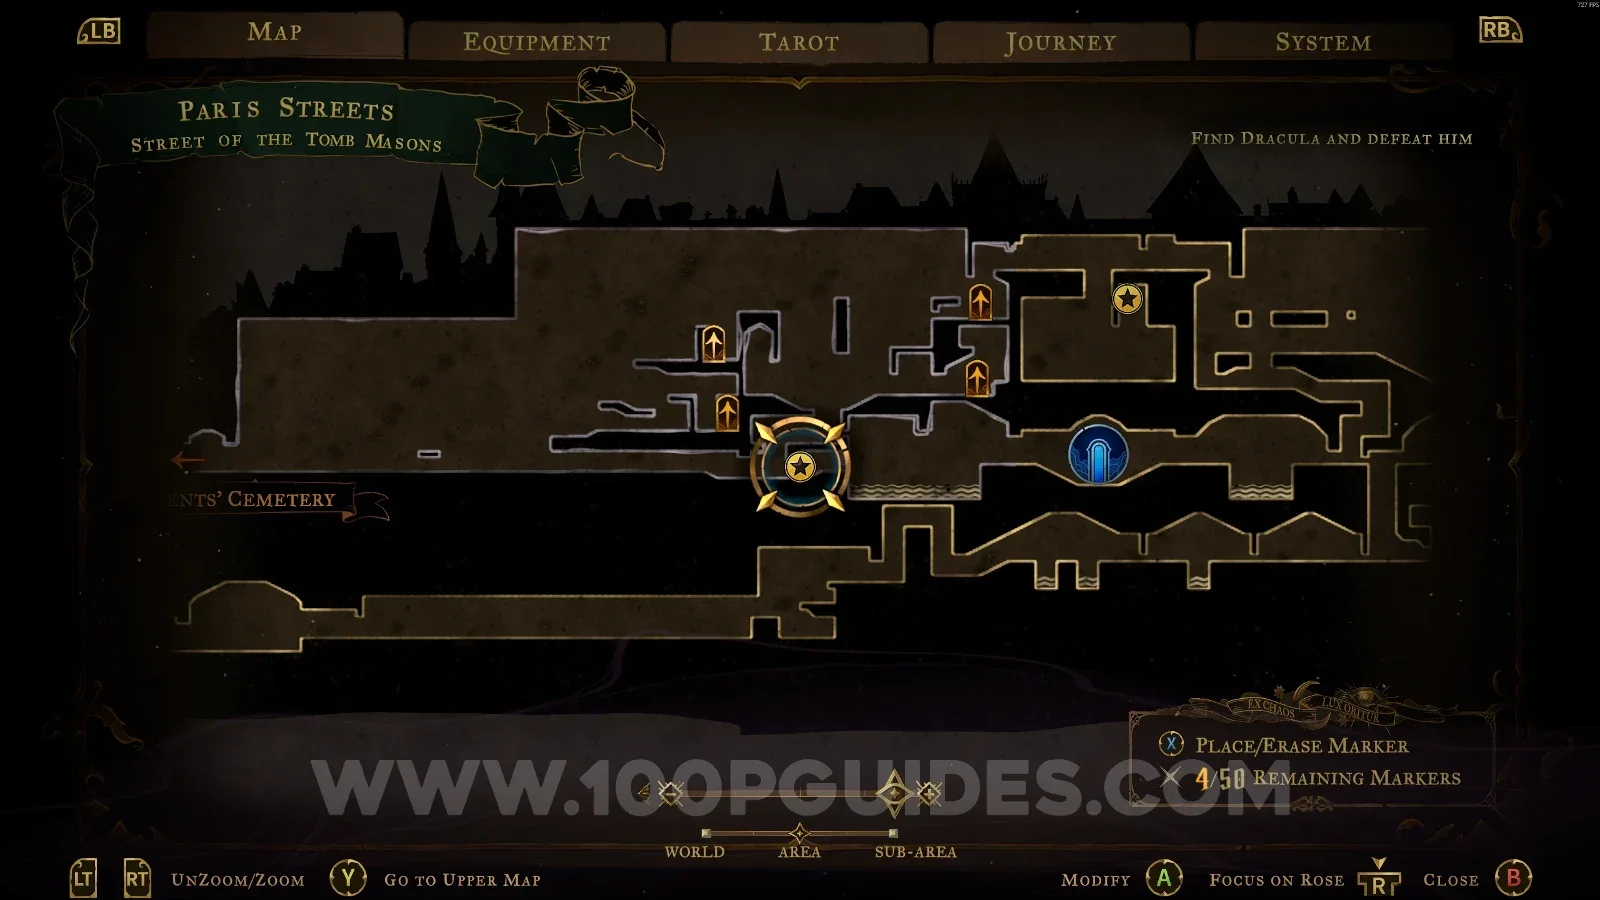
Castlevania Belmonts Curse Streets Of The Tomb Masons map with the area of XP Statue #3 marked Castlevania Belmonts Curse Streets Of The Tomb Masons: XP Statue #3 in the marked area

XP Statue #4

In the area marked on the map.
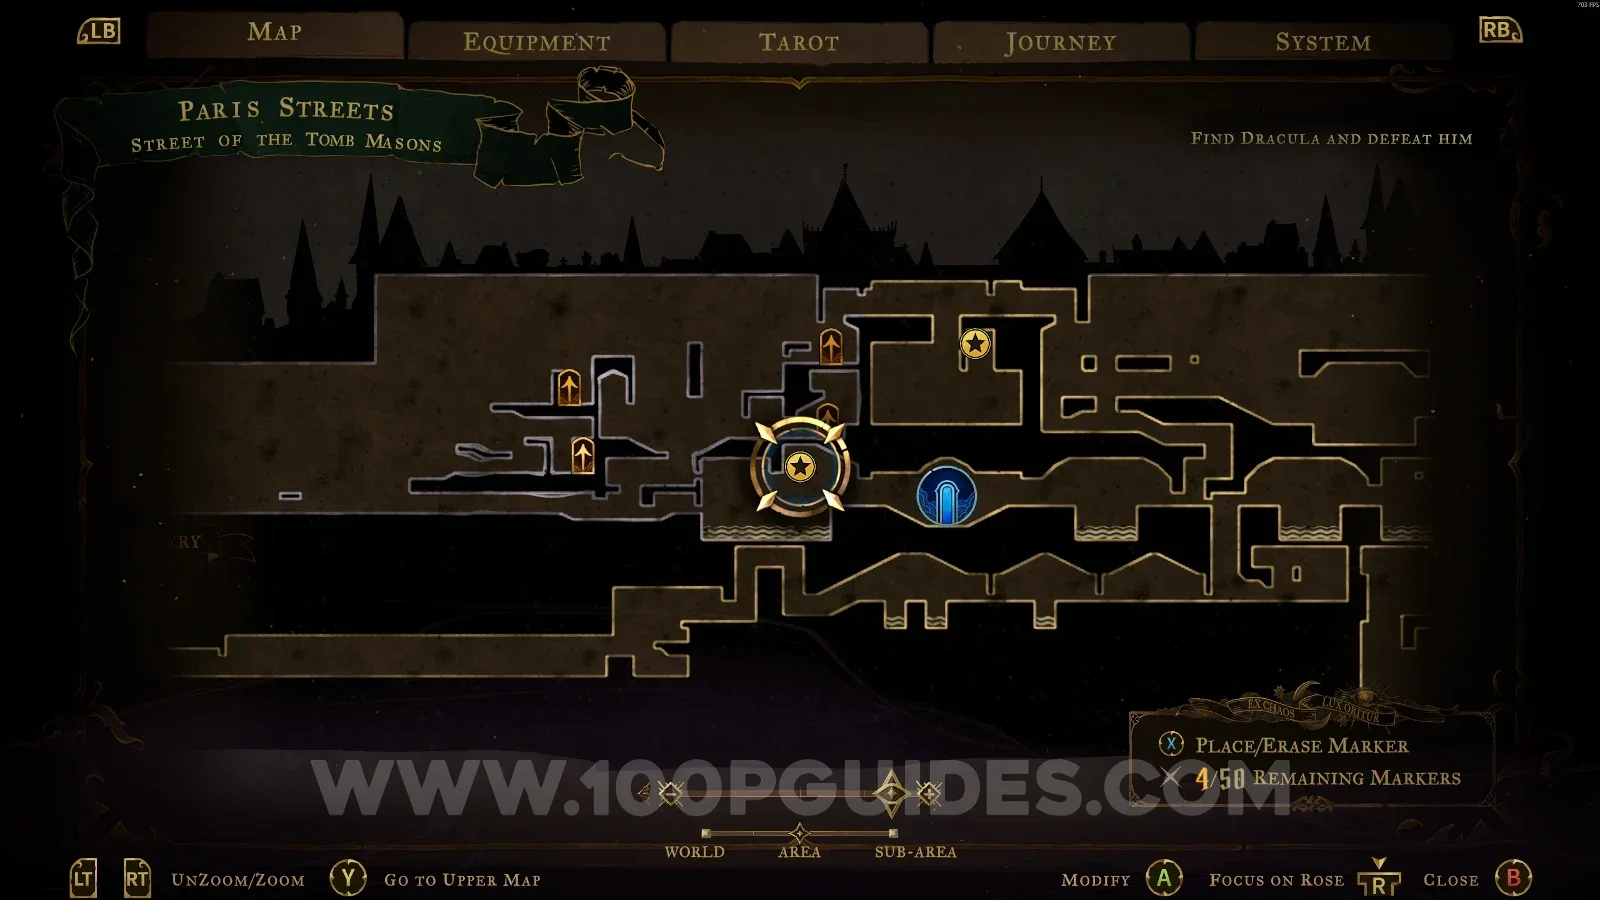
Castlevania Belmonts Curse Streets Of The Tomb Masons map with the area of XP Statue #4 marked Castlevania Belmonts Curse Streets Of The Tomb Masons: XP Statue #4 in the marked area

XP Statue #5 + #6

In the area marked on the map, inside the Morgue room.
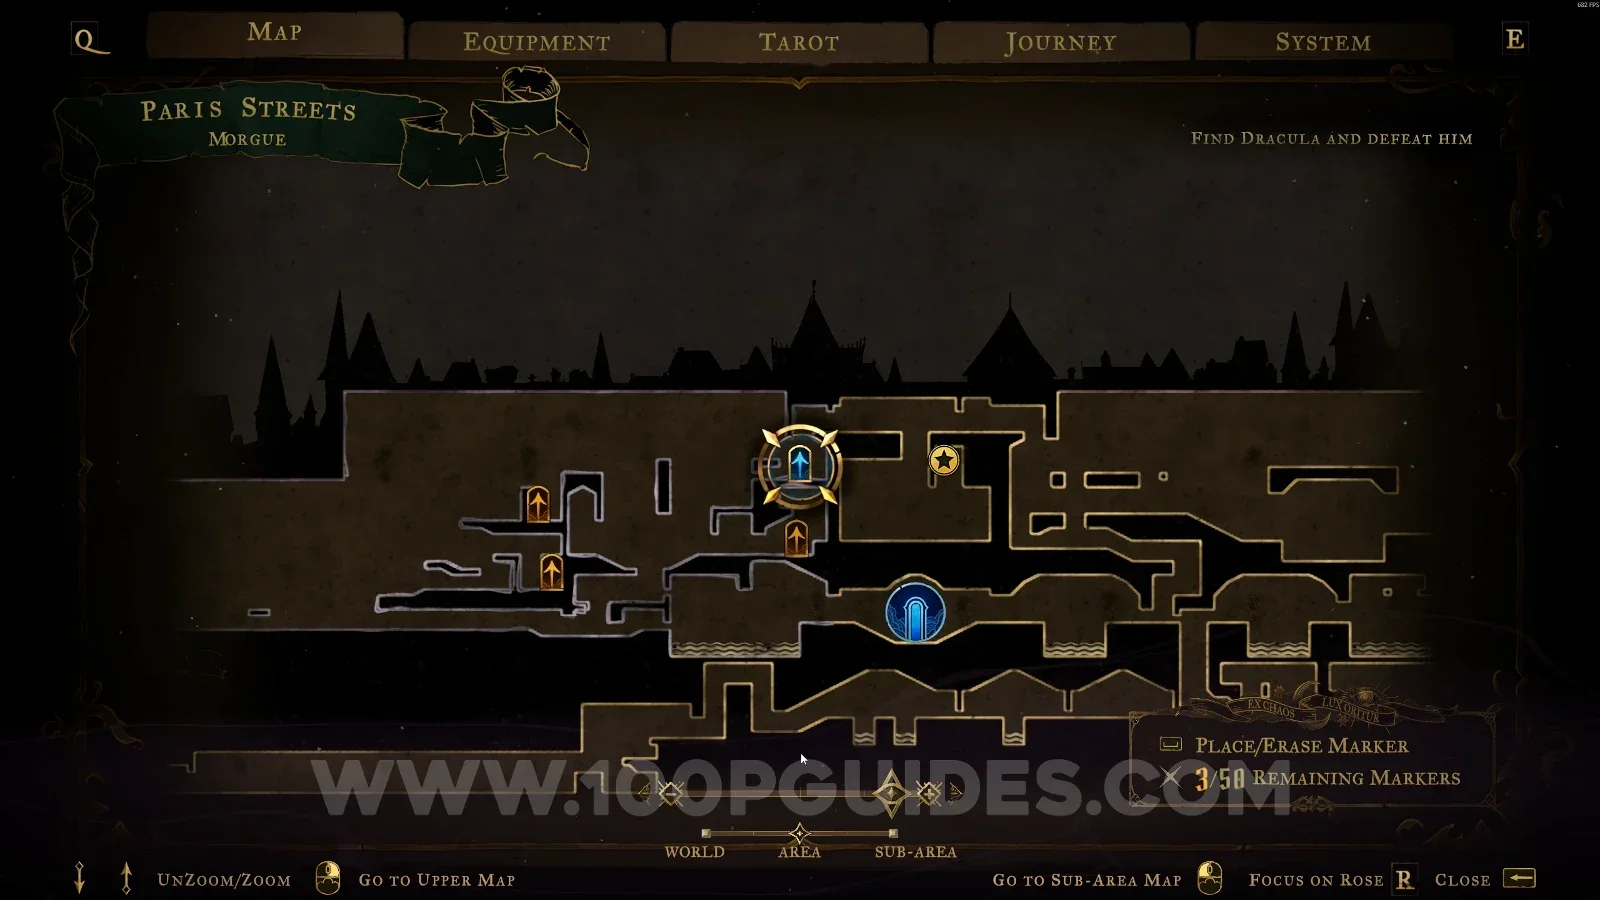
Castlevania Belmonts Curse Streets Of The Tomb Masons map marking the Morgue room with XP Statues #5 and #6 Castlevania Belmonts Curse Streets Of The Tomb Masons: inside the Morgue room on the way to XP Statues #5 and #6 Castlevania Belmonts Curse Streets Of The Tomb Masons: XP Statues #5 and #6 inside the Morgue room

Ruined Market

XP Statue #7

In the area marked on the map.
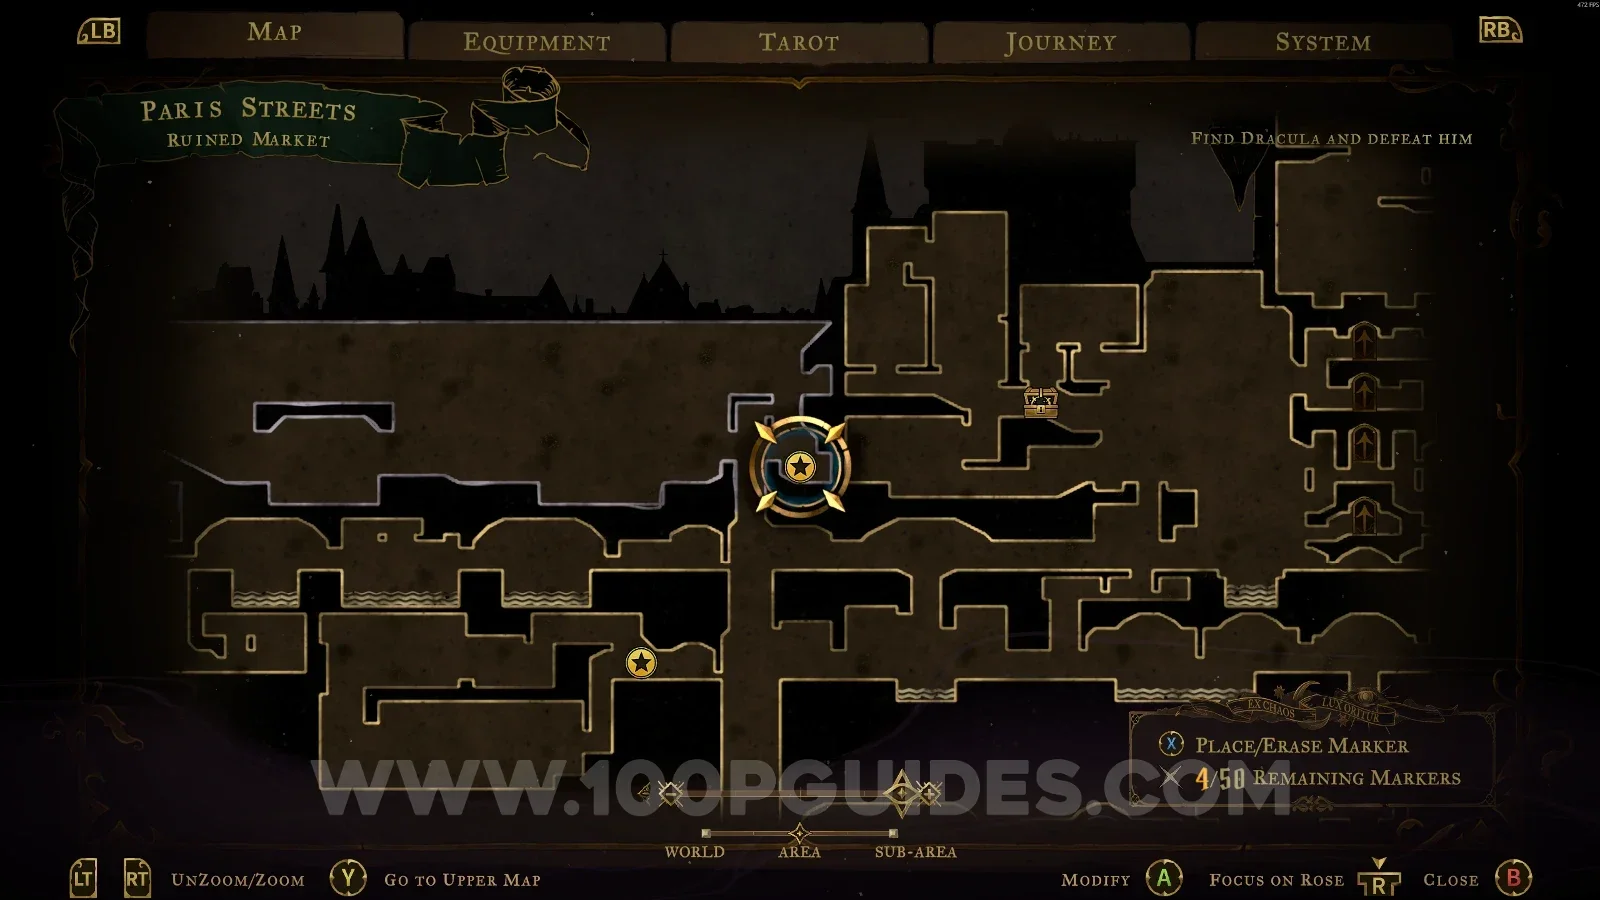
Castlevania Belmonts Curse Ruined Market map with the area of XP Statue #7 marked Castlevania Belmonts Curse Ruined Market: XP Statue #7 in the marked area

Undercity

XP Statue #8

In the area marked on the map.
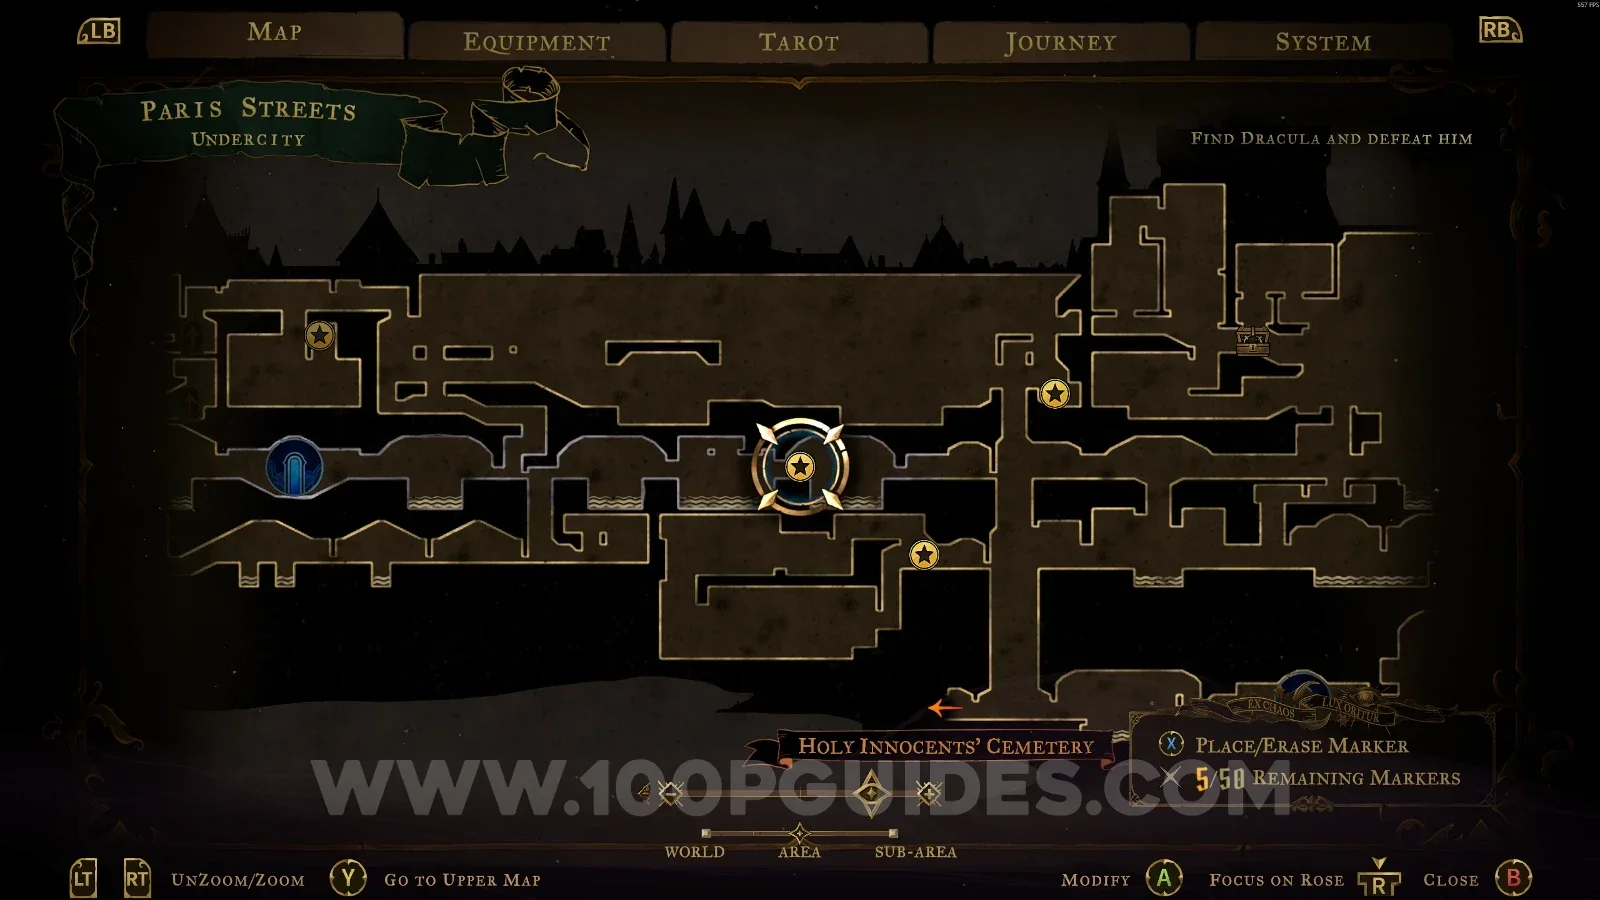
Castlevania Belmonts Curse Undercity map with the area of XP Statue #8 marked Castlevania Belmonts Curse Undercity: XP Statue #8 in the marked area

Central Sewer Drain

XP Statue #9

In the area marked on the map.
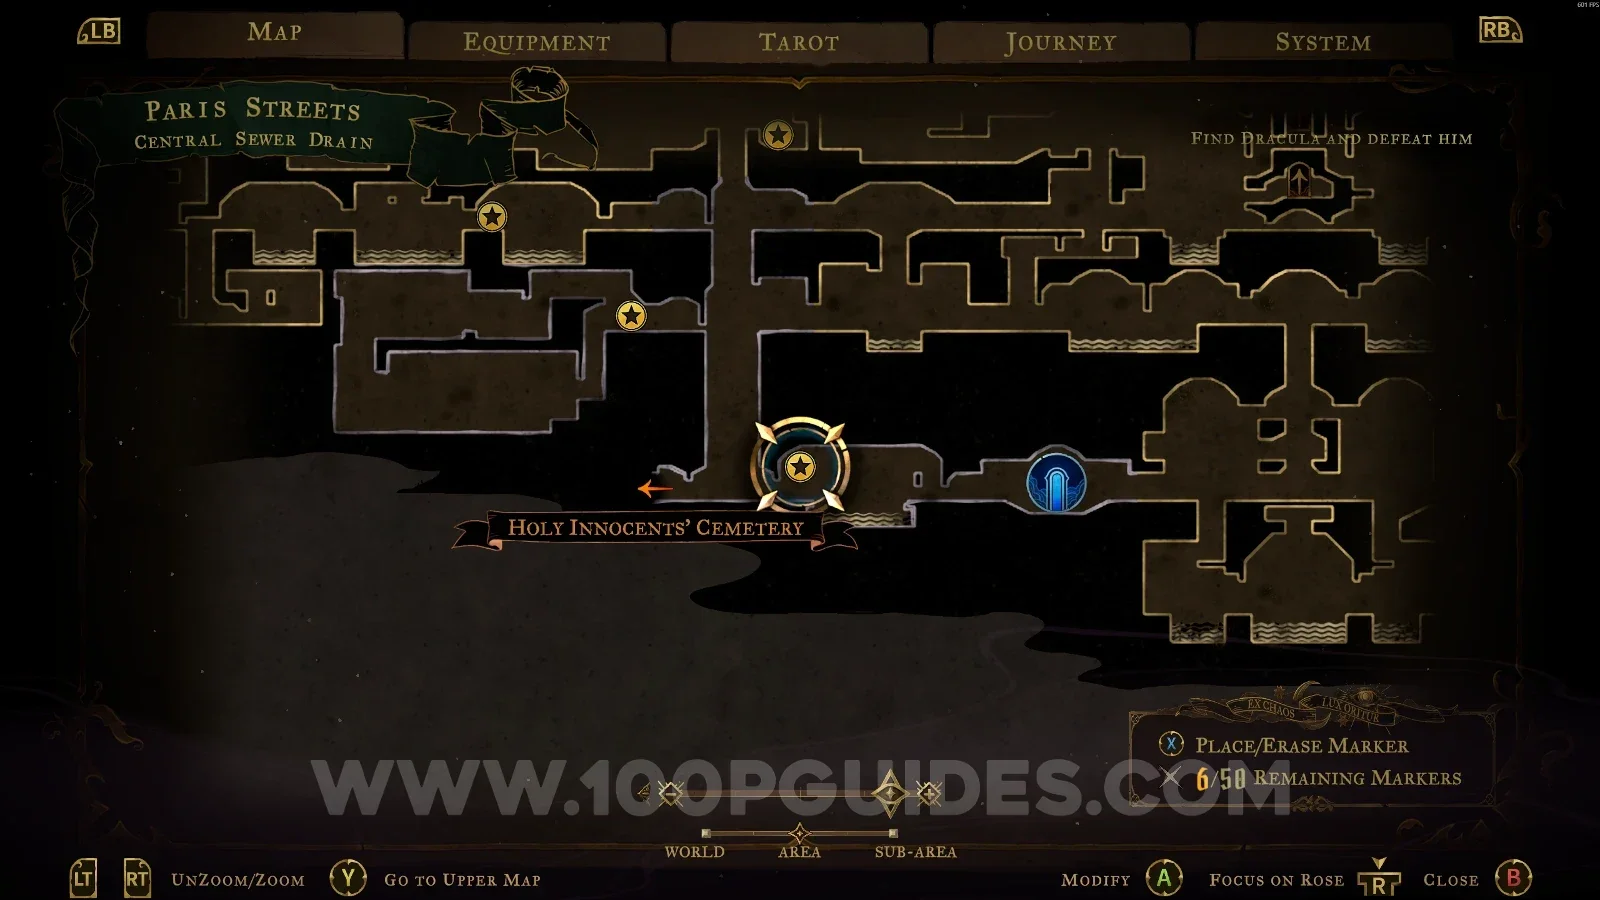
Castlevania Belmonts Curse Central Sewer Drain map with the area of XP Statue #9 marked Castlevania Belmonts Curse Central Sewer Drain: XP Statue #9 in the marked area

Sewer Reservoir

XP Statue #10

In the area marked on the map.
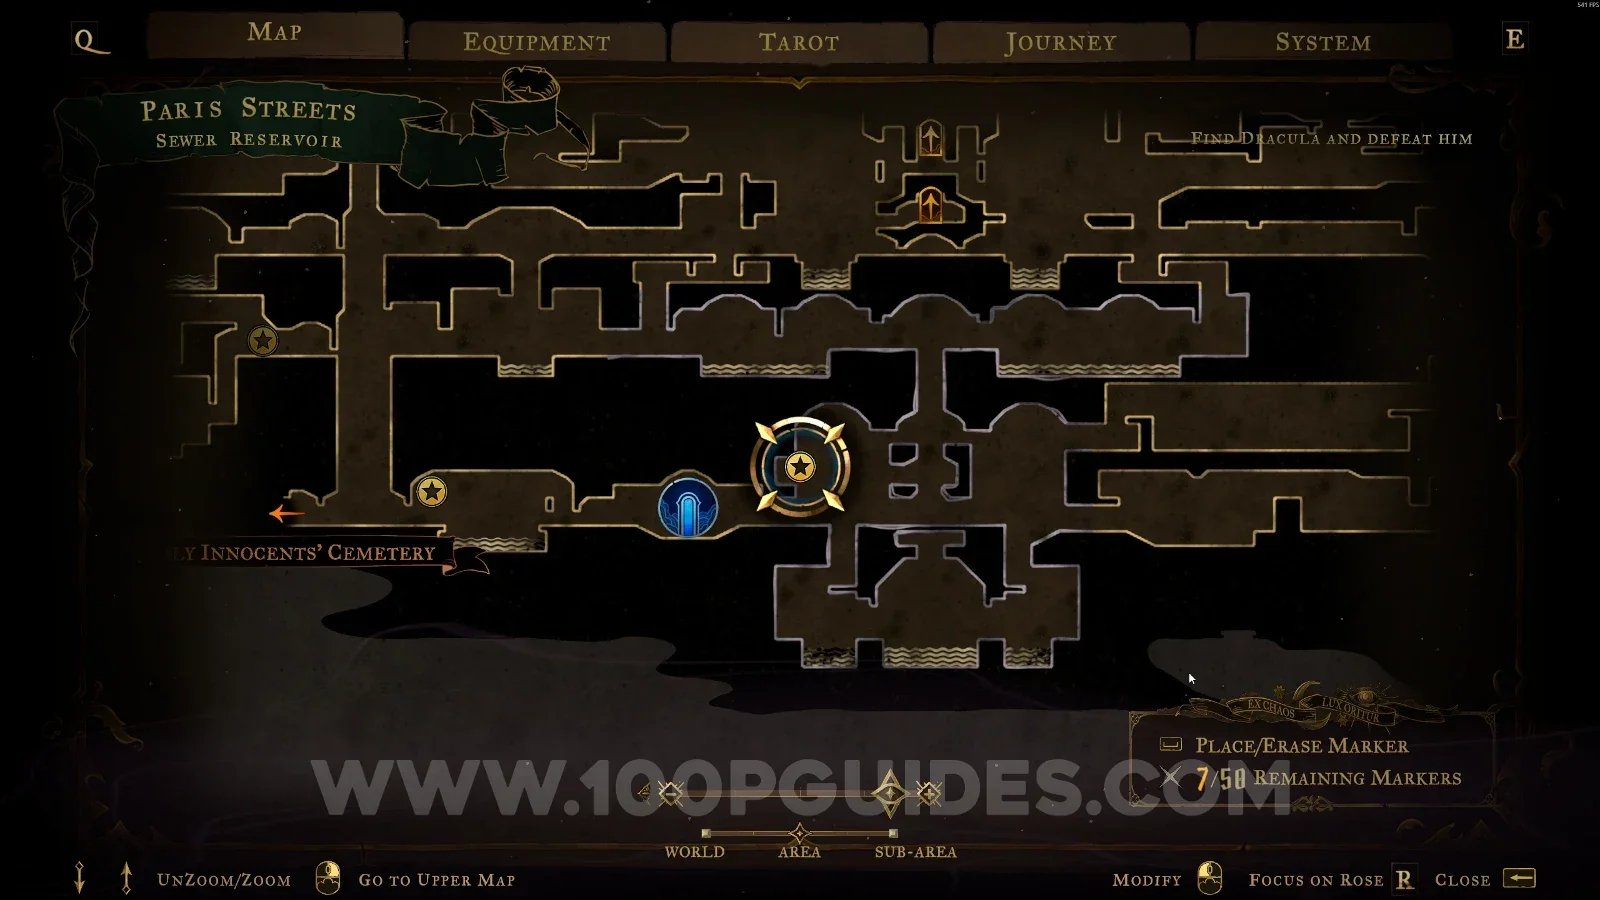
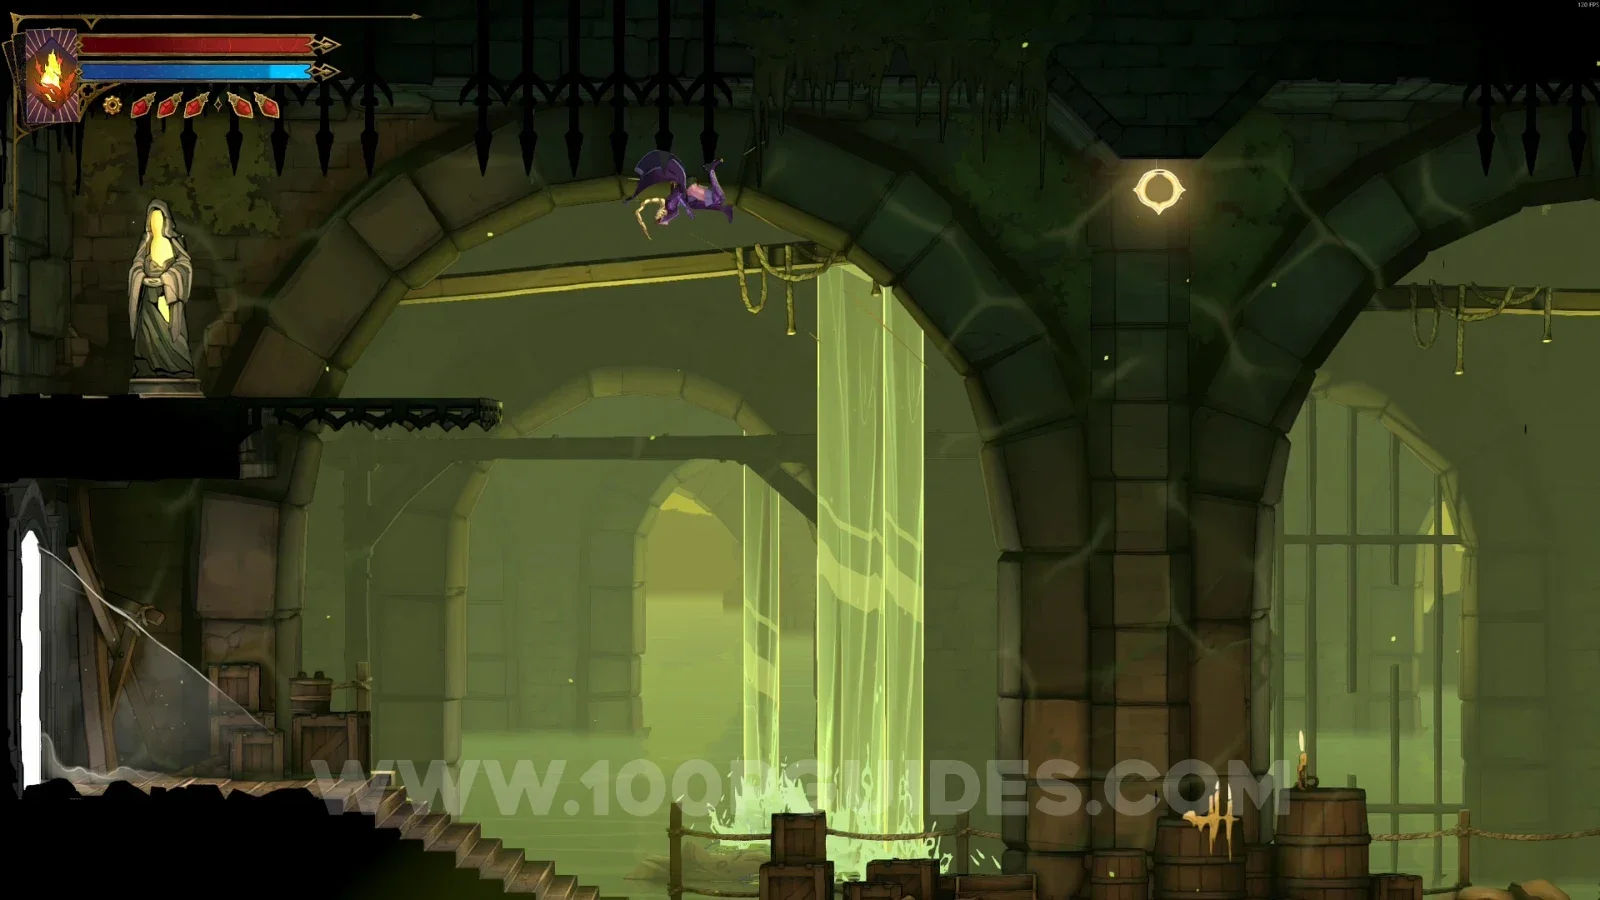
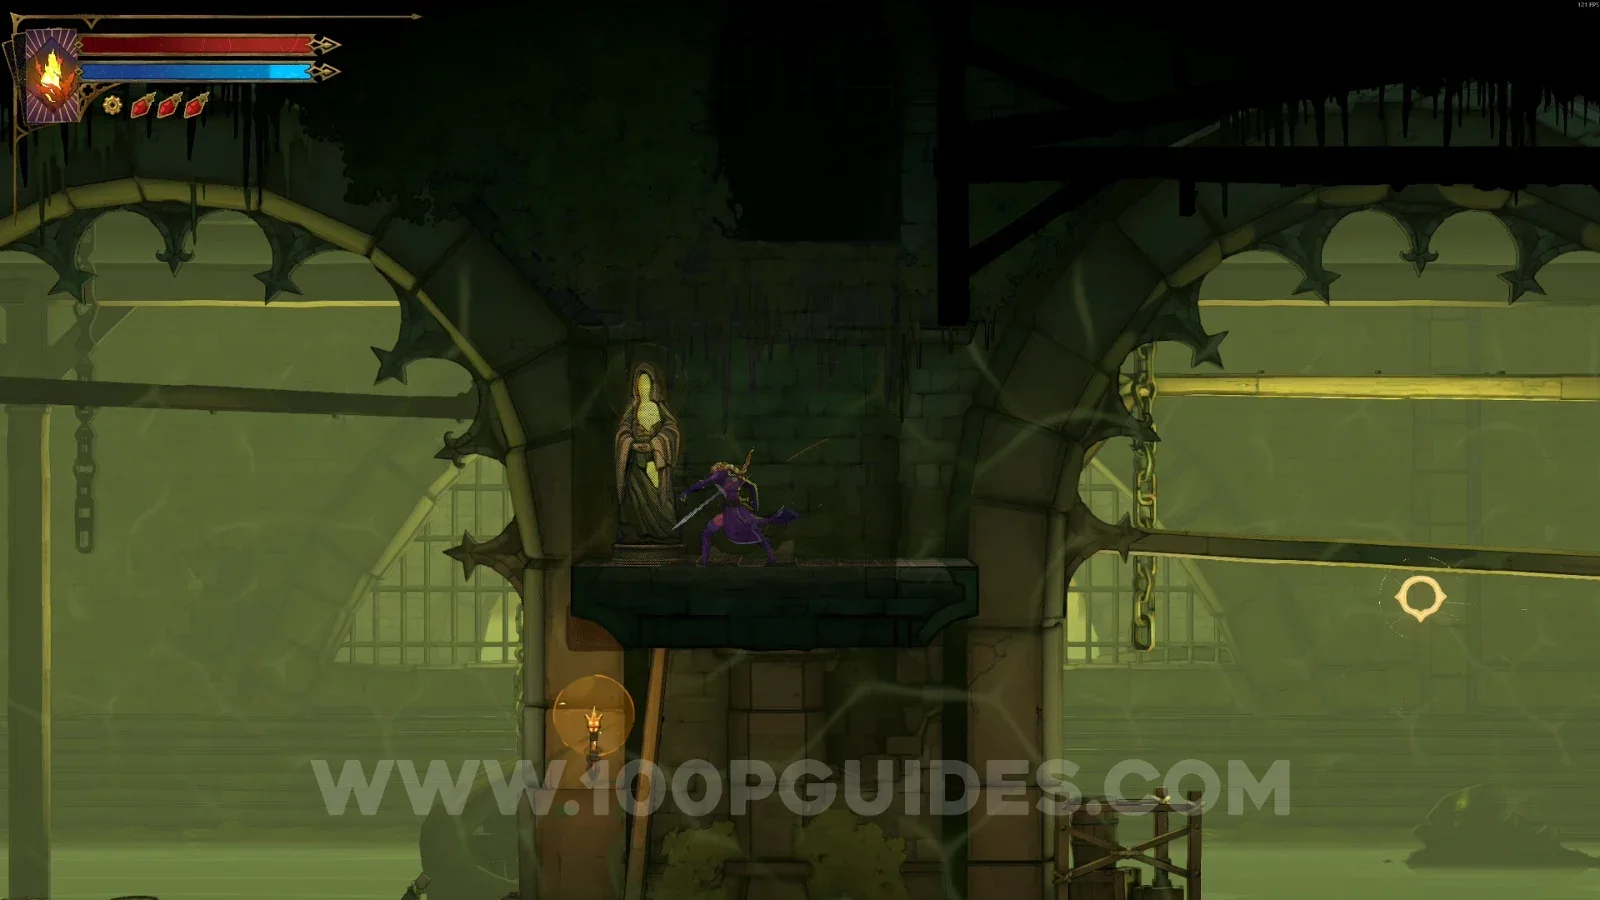
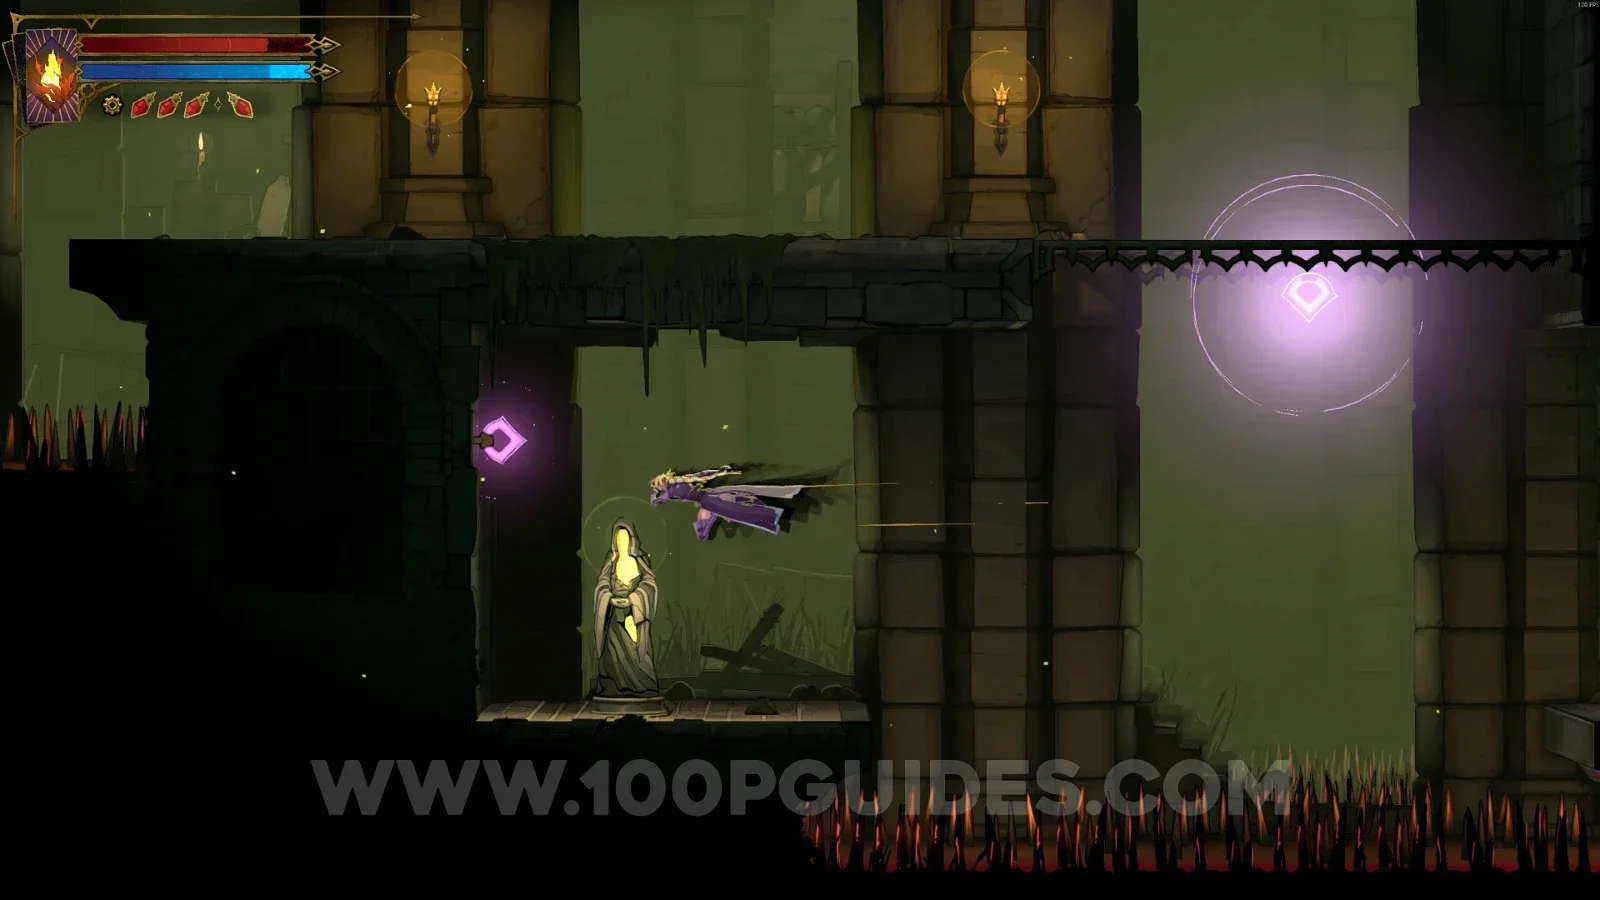
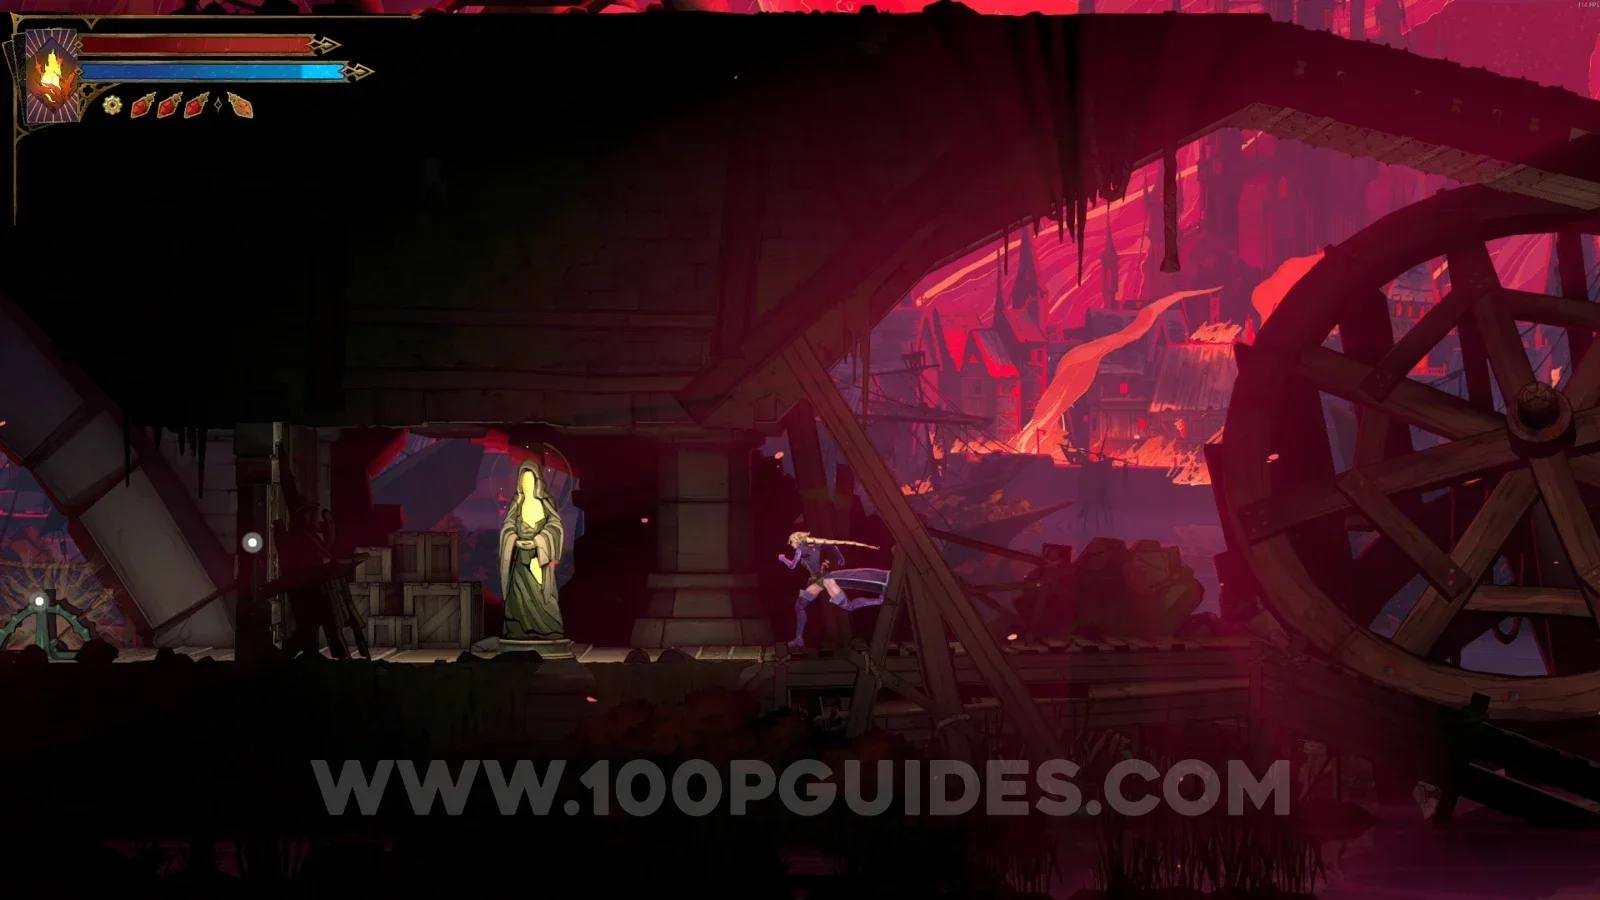
Castlevania Belmonts Curse Sewer Reservoir map with the area of XP Statue #10 marked Castlevania Belmonts Curse Sewer Reservoir: XP Statue #10 in the marked area

XP Statue #11

In the area marked on the map. It can only be reached with a double jump or from above.
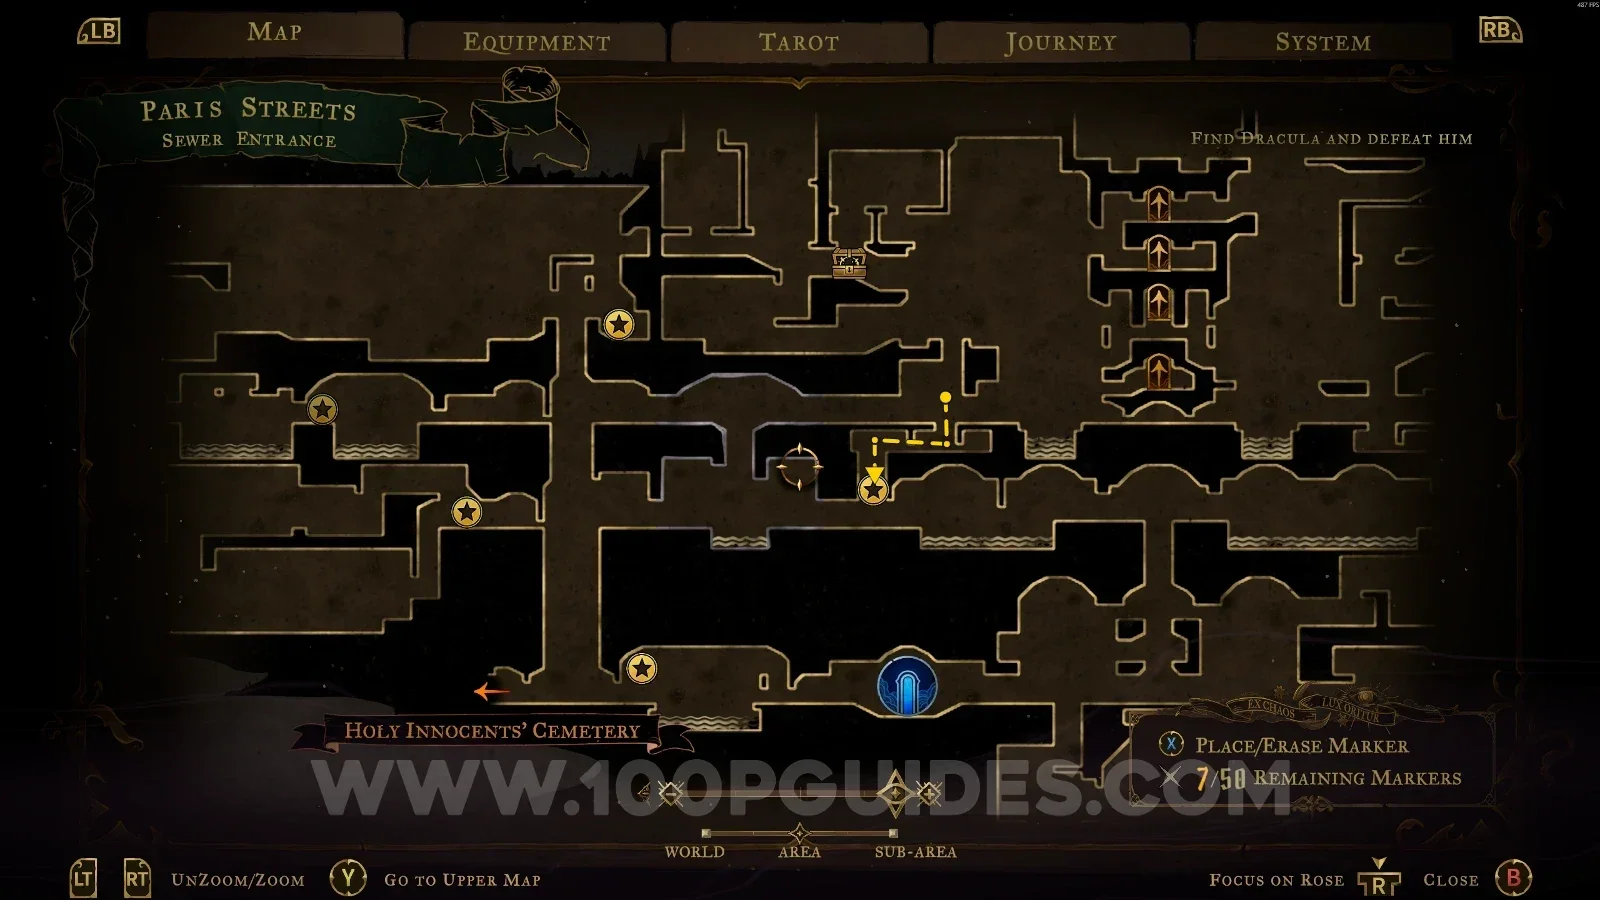
Castlevania Belmonts Curse Sewer Reservoir map with the area of XP Statue #11 marked Castlevania Belmonts Curse Sewer Reservoir: XP Statue #11, reached with a double jump or from above

Prison Tower

XP Statue #12

In the area marked on the map.
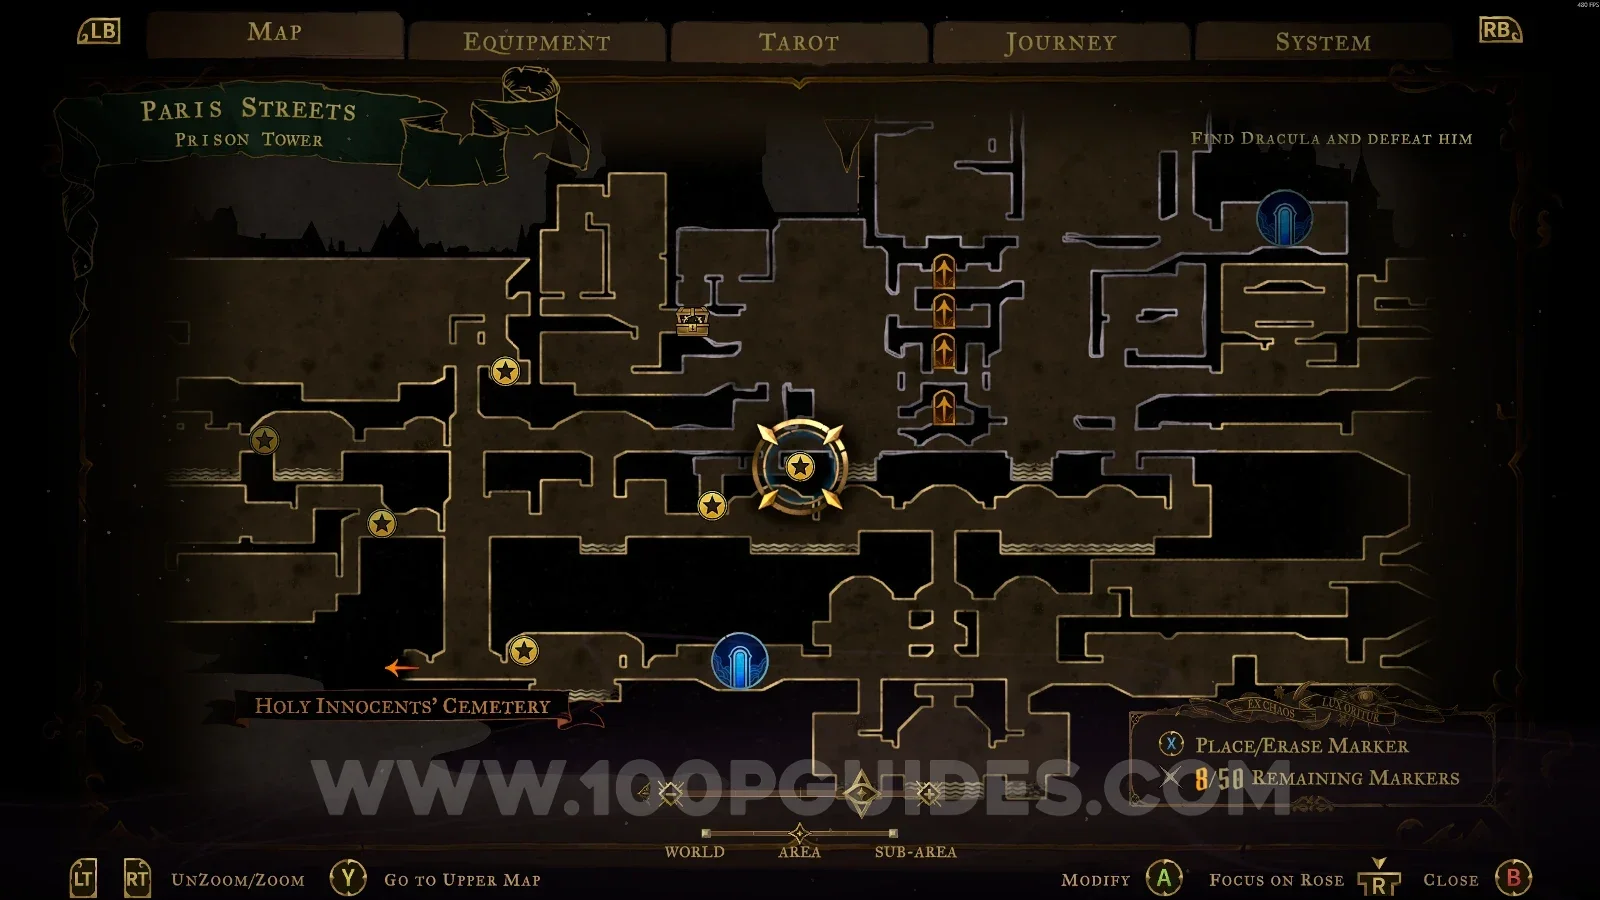
Castlevania Belmonts Curse Prison Tower map with the area of XP Statue #12 marked Castlevania Belmonts Curse Prison Tower: XP Statue #12 in the marked area

XP Statue #13

In the area marked on the map.
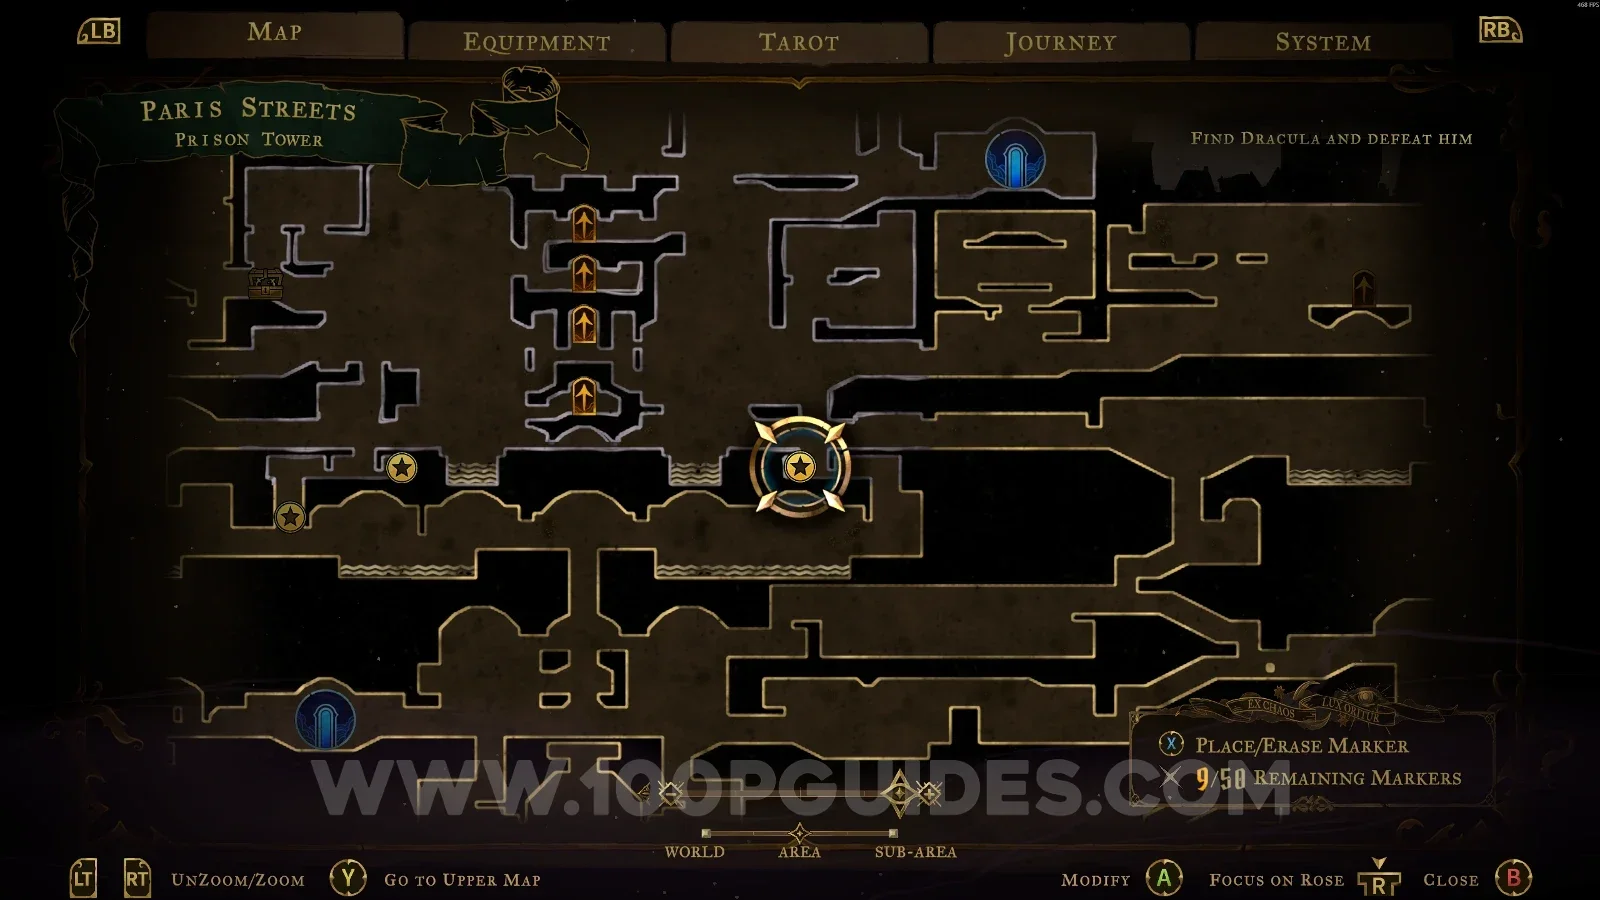
Castlevania Belmonts Curse Prison Tower map with the area of XP Statue #13 marked Castlevania Belmonts Curse Prison Tower: XP Statue #13 in the marked area

XP Statue #14

In the area marked on the map.
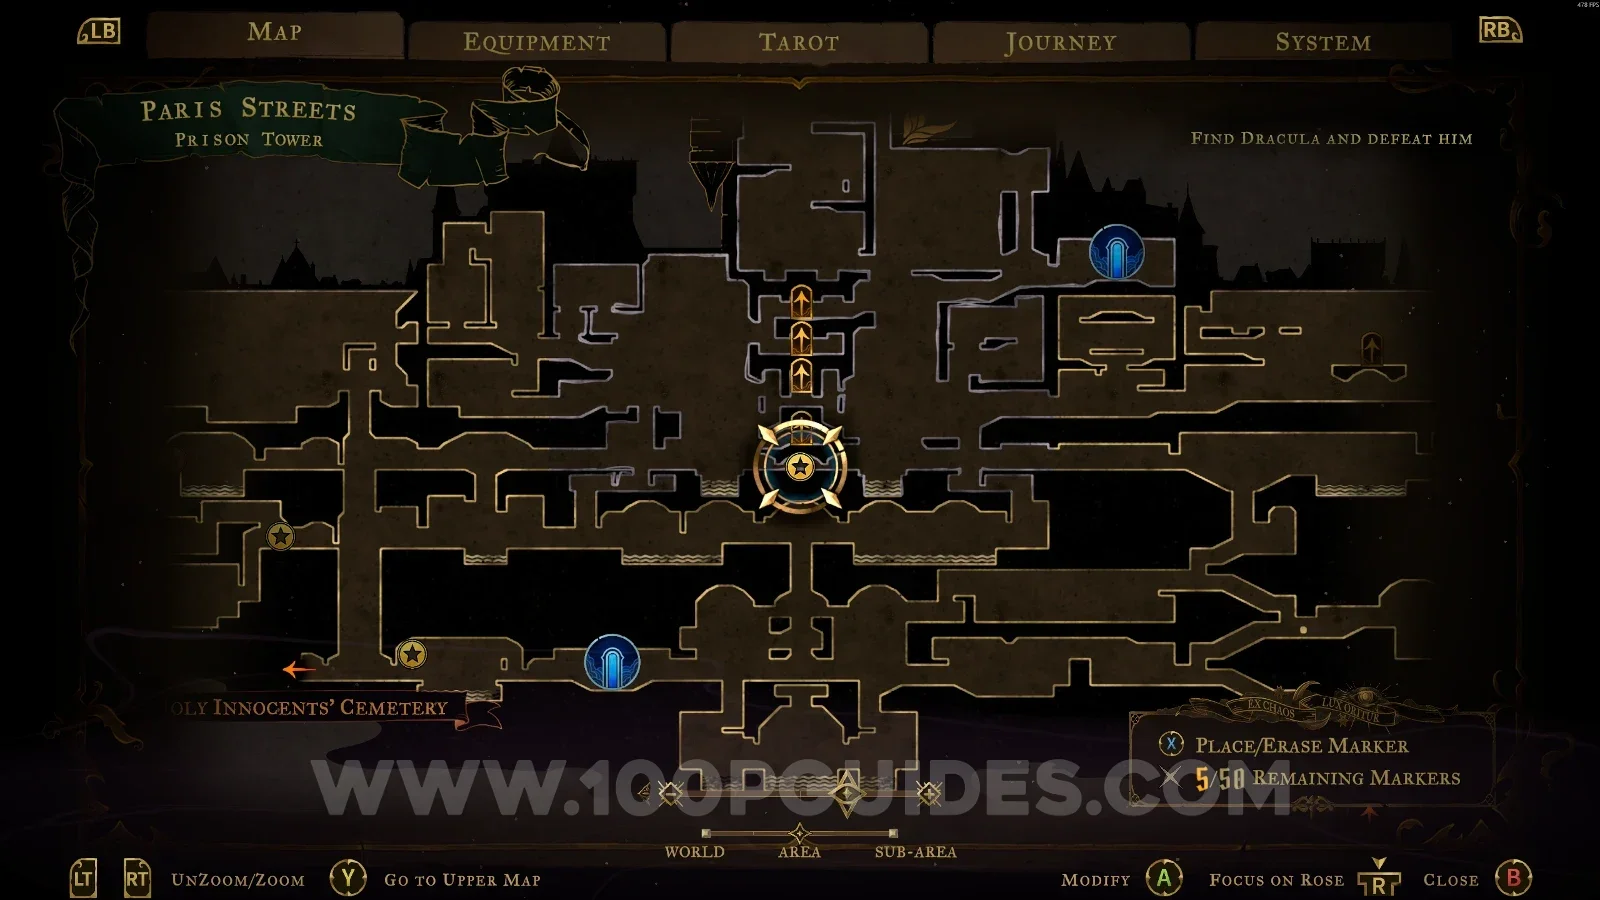
Castlevania Belmonts Curse Prison Tower map with the area of XP Statue #14 marked Castlevania Belmonts Curse Prison Tower: XP Statue #14 in the marked area

XP Statue #15

Inside the Guard Level room.
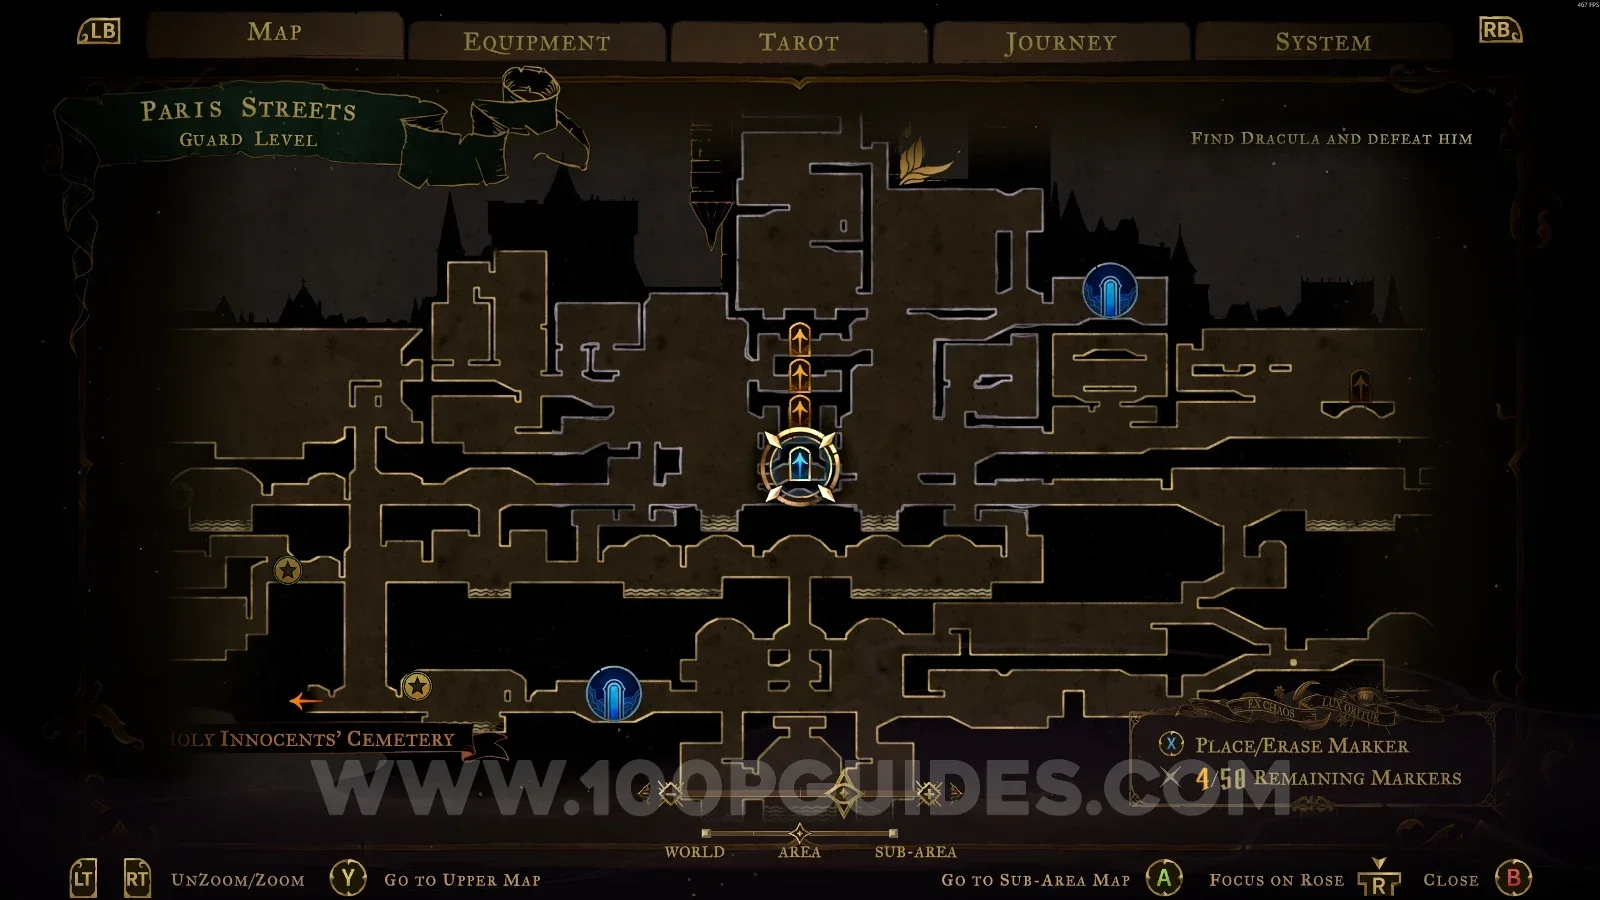
Castlevania Belmonts Curse Prison Tower map marking the Guard Level room with XP Statue #15 Castlevania Belmonts Curse Prison Tower: XP Statue #15 inside the Guard Level room

XP Statue #16

In the area marked on the map.
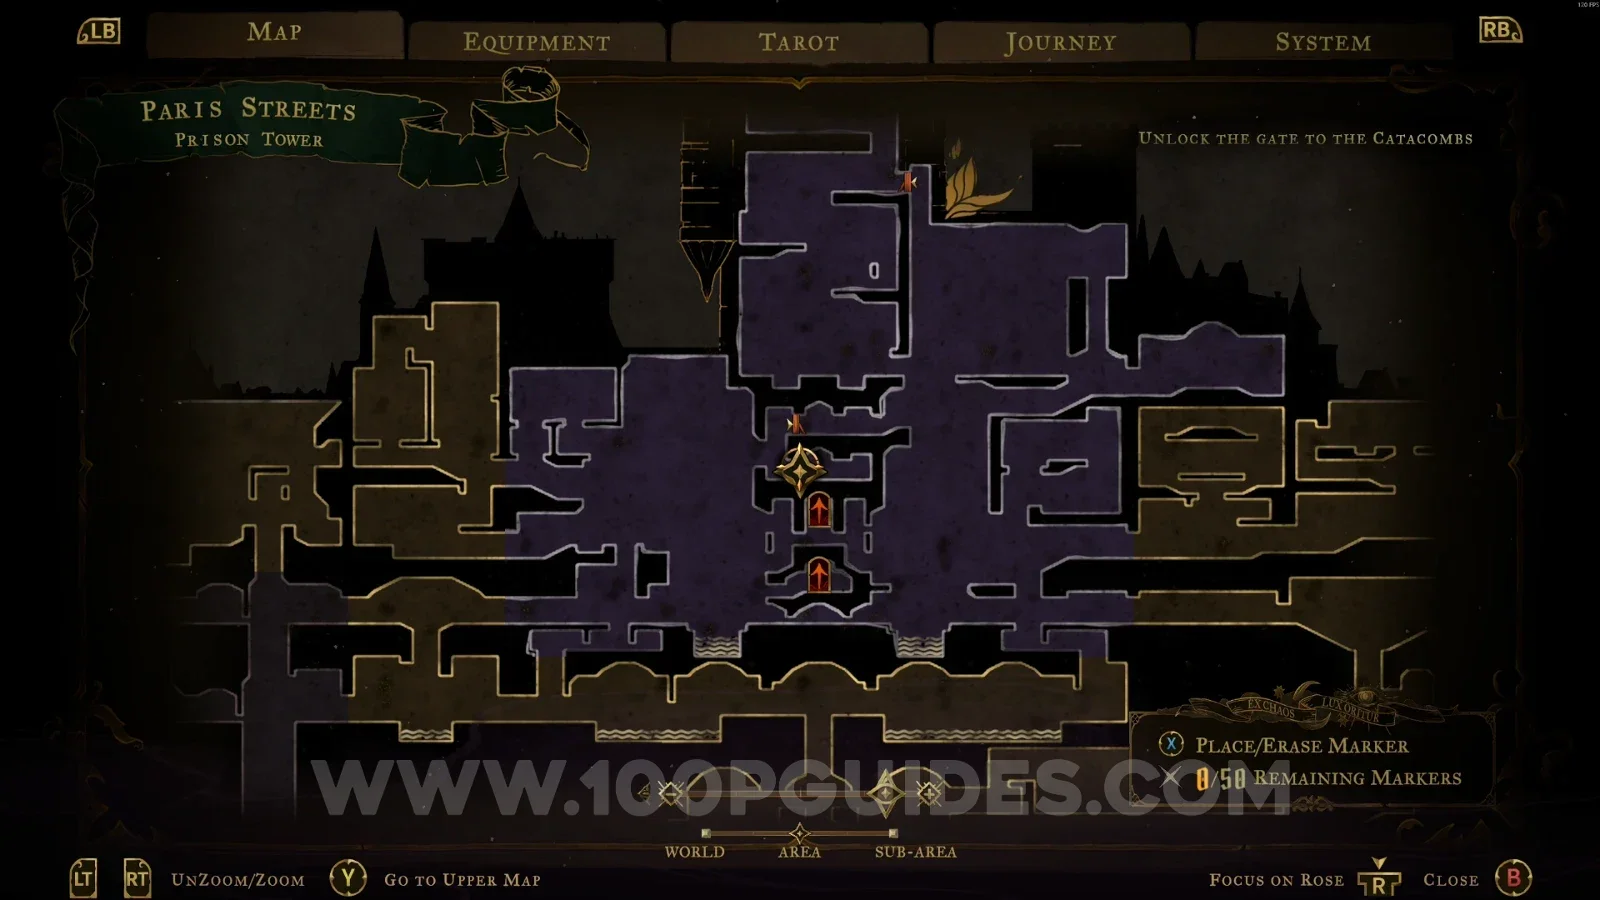
Castlevania Belmonts Curse Prison Tower map with the area of XP Statue #16 marked Castlevania Belmonts Curse Prison Tower: XP Statue #16 in the marked area

XP Statue #17

In the area marked on the map.
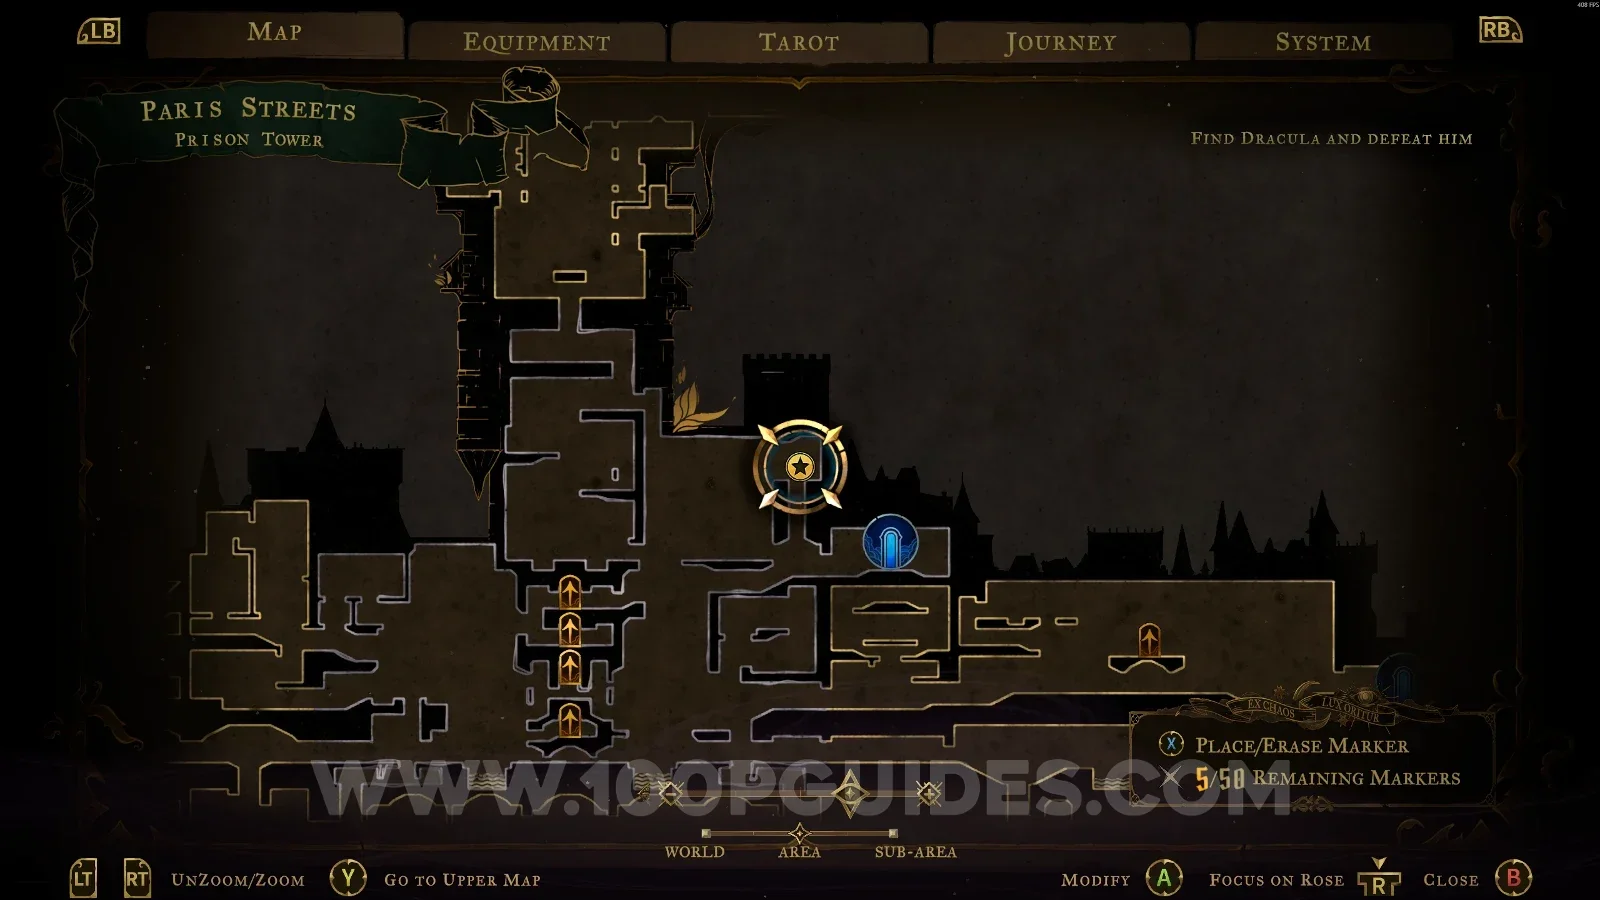
Castlevania Belmonts Curse Prison Tower map with the area of XP Statue #17 marked Castlevania Belmonts Curse Prison Tower: XP Statue #17 in the marked area

Upper Tower

XP Statue #18

In the area marked on the map.
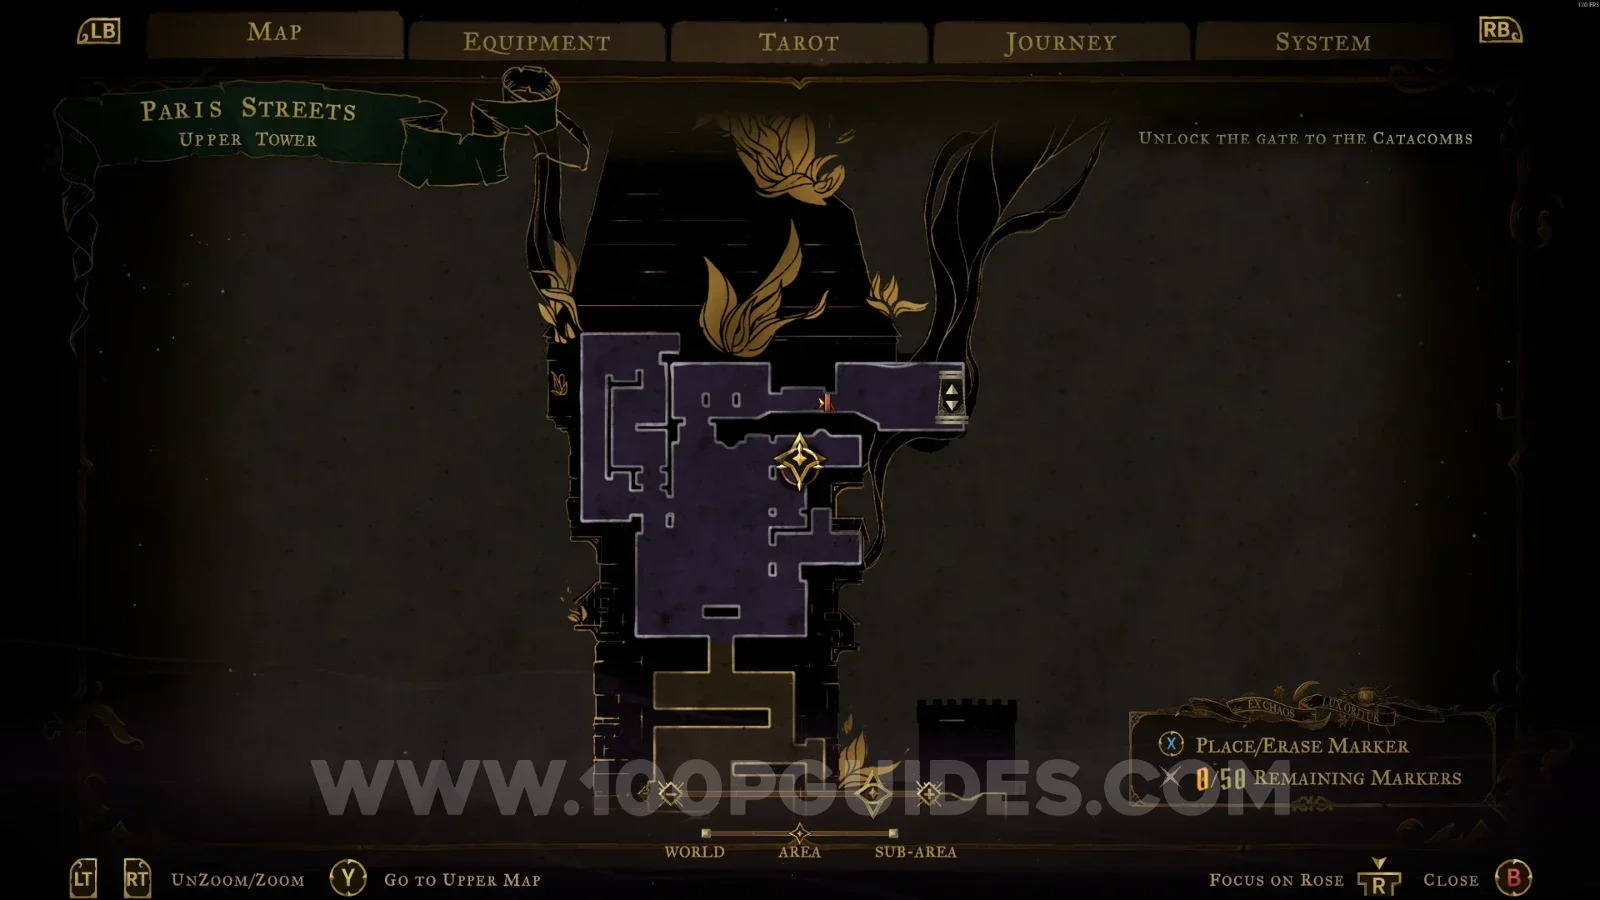
Castlevania Belmonts Curse Upper Tower map with the area of XP Statue #18 marked Castlevania Belmonts Curse Upper Tower: XP Statue #18 in the marked area

Burned District

XP Statue #19

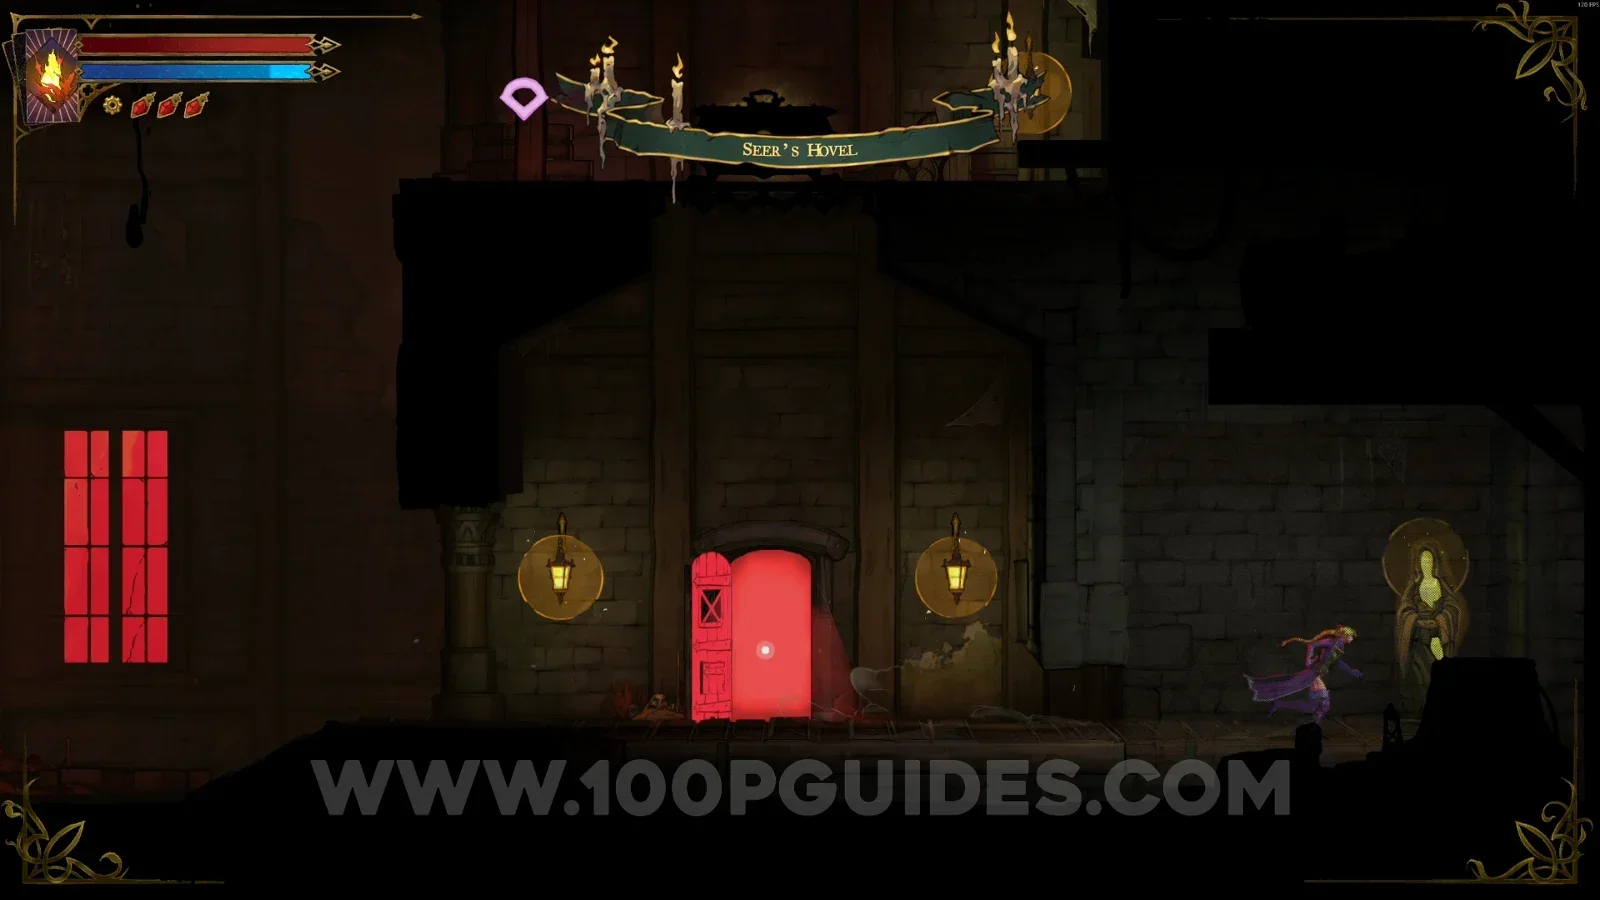
Inside the Seer's Hovel room, use the slide on the right side.
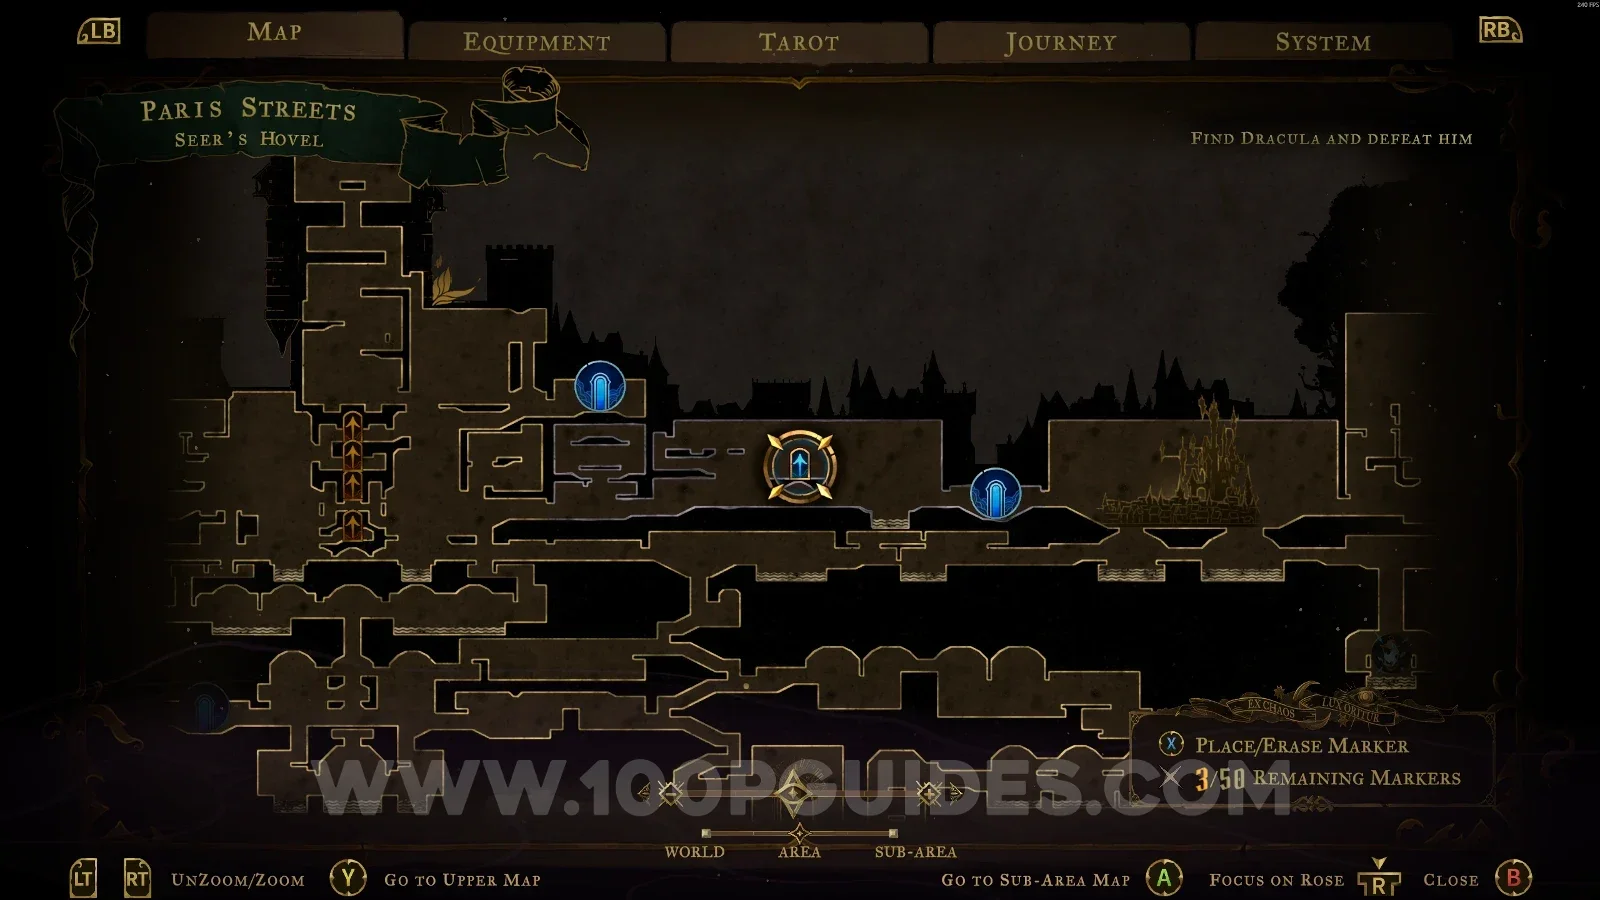
Castlevania Belmonts Curse Burned District map marking the Seer's Hovel room with XP Statue #19 Castlevania Belmonts Curse Seer's Hovel: XP Statue #19 reached with the slide on the right side

XP Statue #20

Break the wall on the left side and go down.
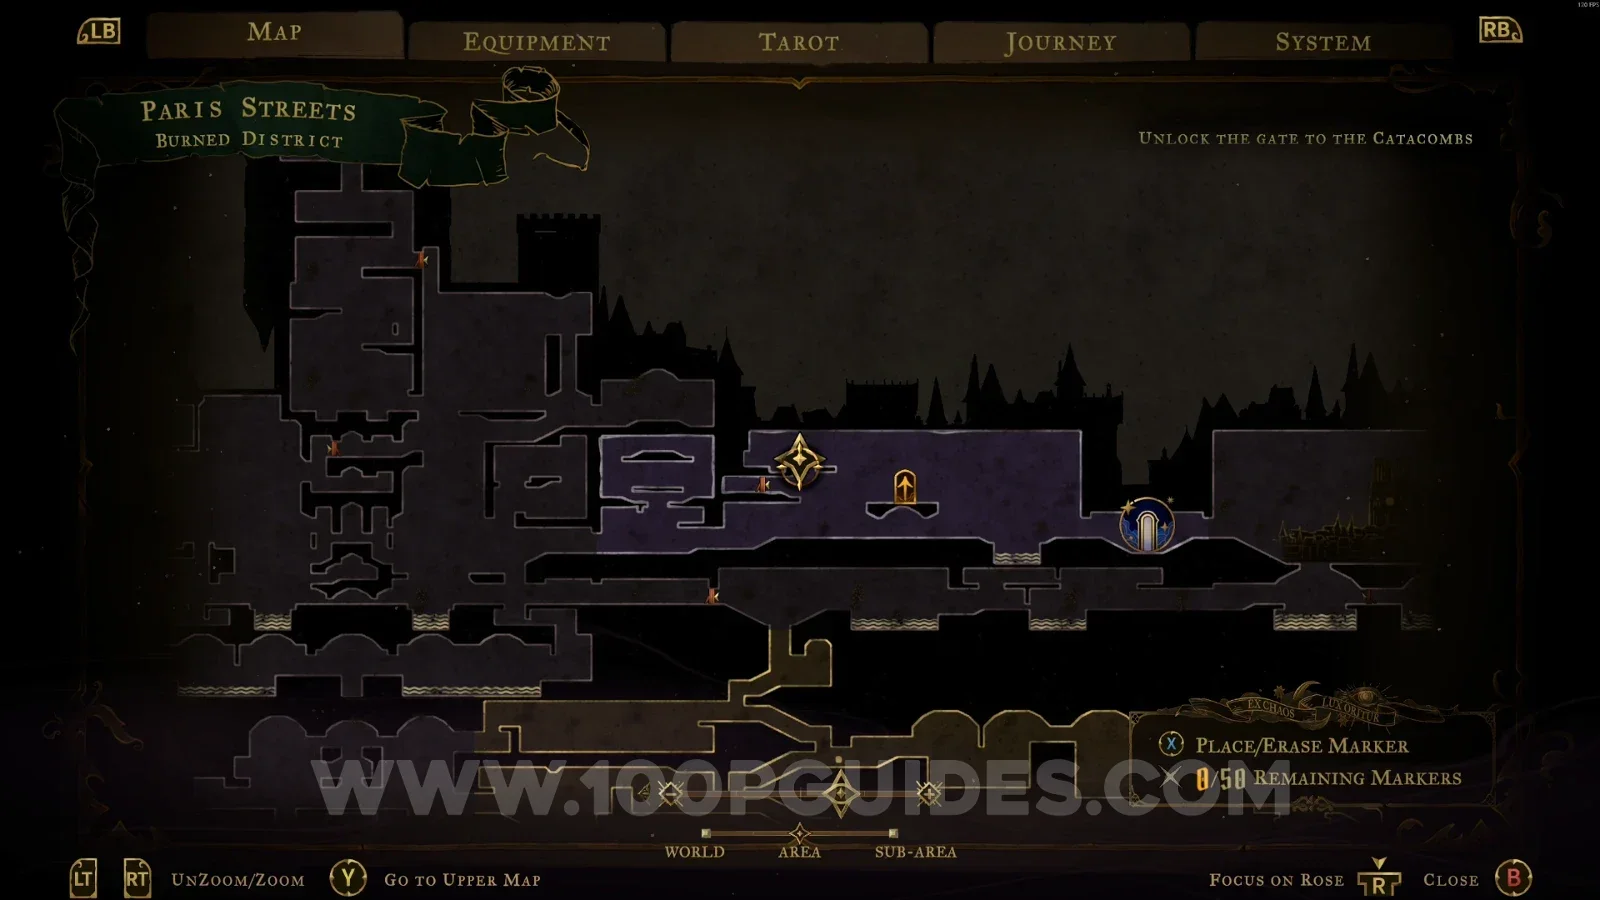
Castlevania Belmonts Curse Burned District: breakable wall on the left side leading down to XP Statue #20 Castlevania Belmonts Curse Burned District: XP Statue #20 below the broken left wall

XP Statue #21

In the area marked on the map.
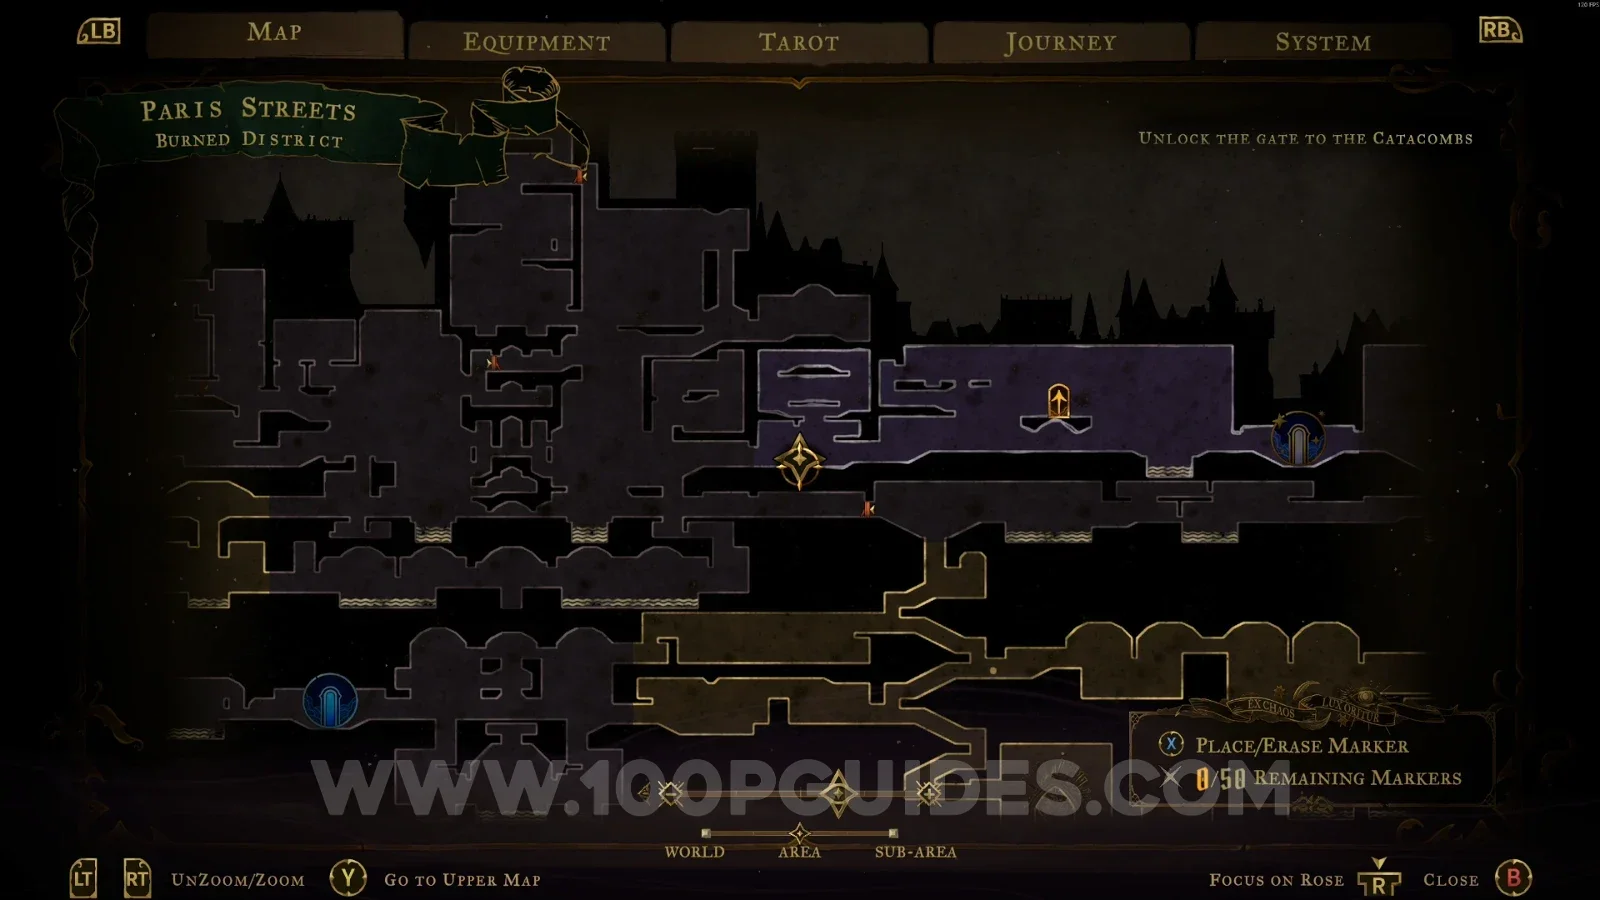
Castlevania Belmonts Curse Burned District map with the area of XP Statue #21 marked Castlevania Belmonts Curse Burned District: XP Statue #21 in the marked area

Court Of Miracles

XP Statue #22

In the area marked on the map.
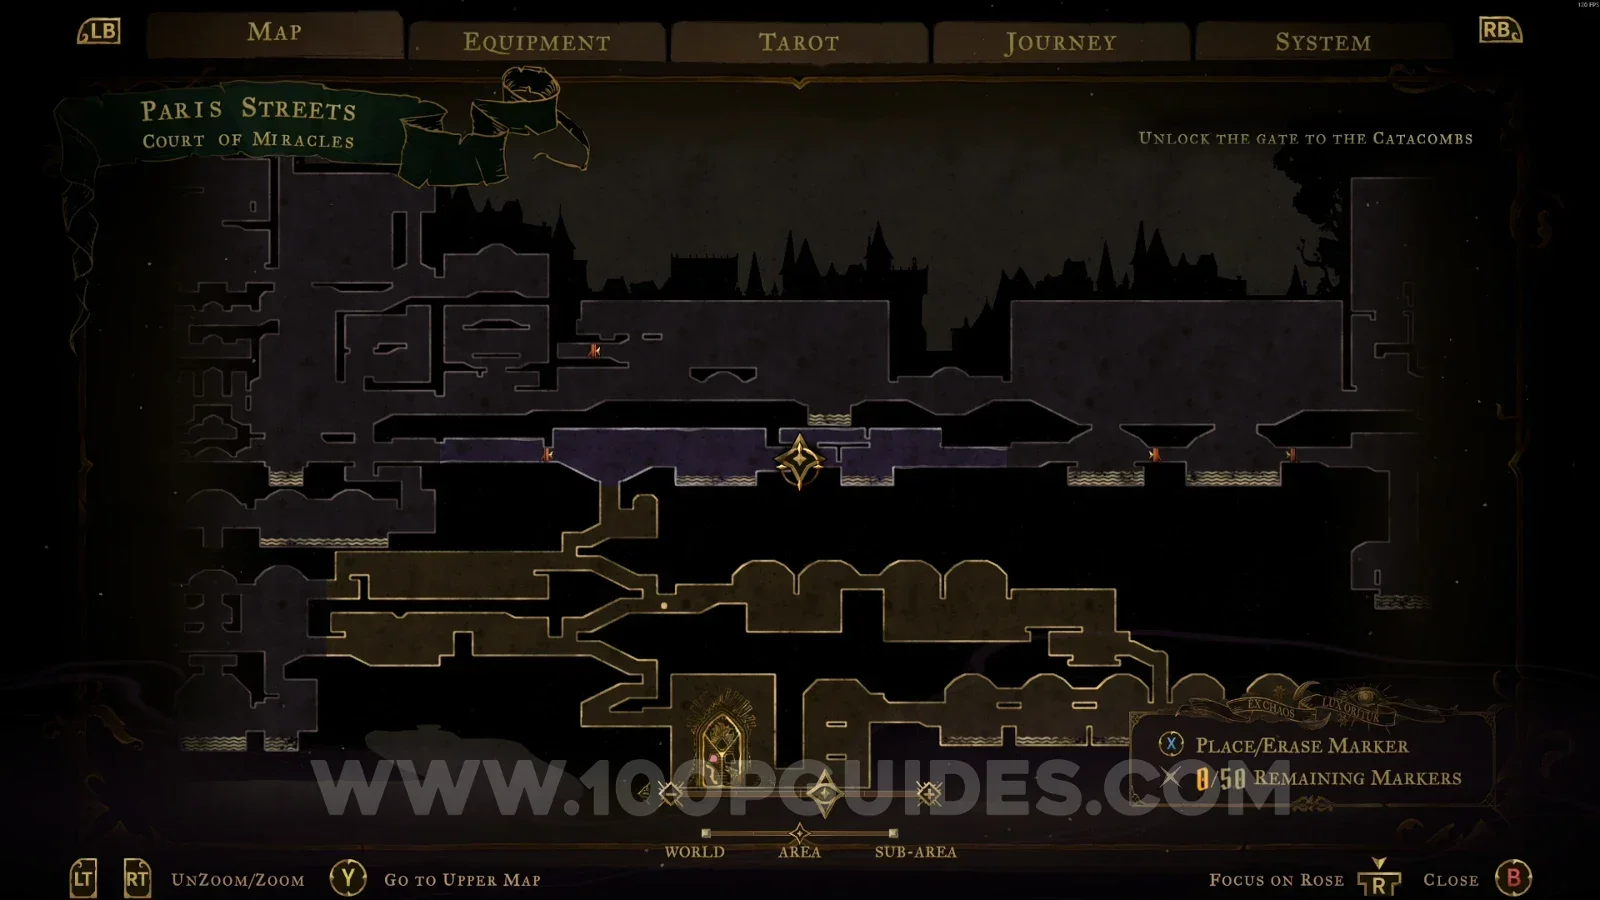
Castlevania Belmonts Curse Court Of Miracles map with the area of XP Statue #22 marked Castlevania Belmonts Curse Court Of Miracles: XP Statue #22 in the marked area

XP Statue #23

In the area marked on the map.
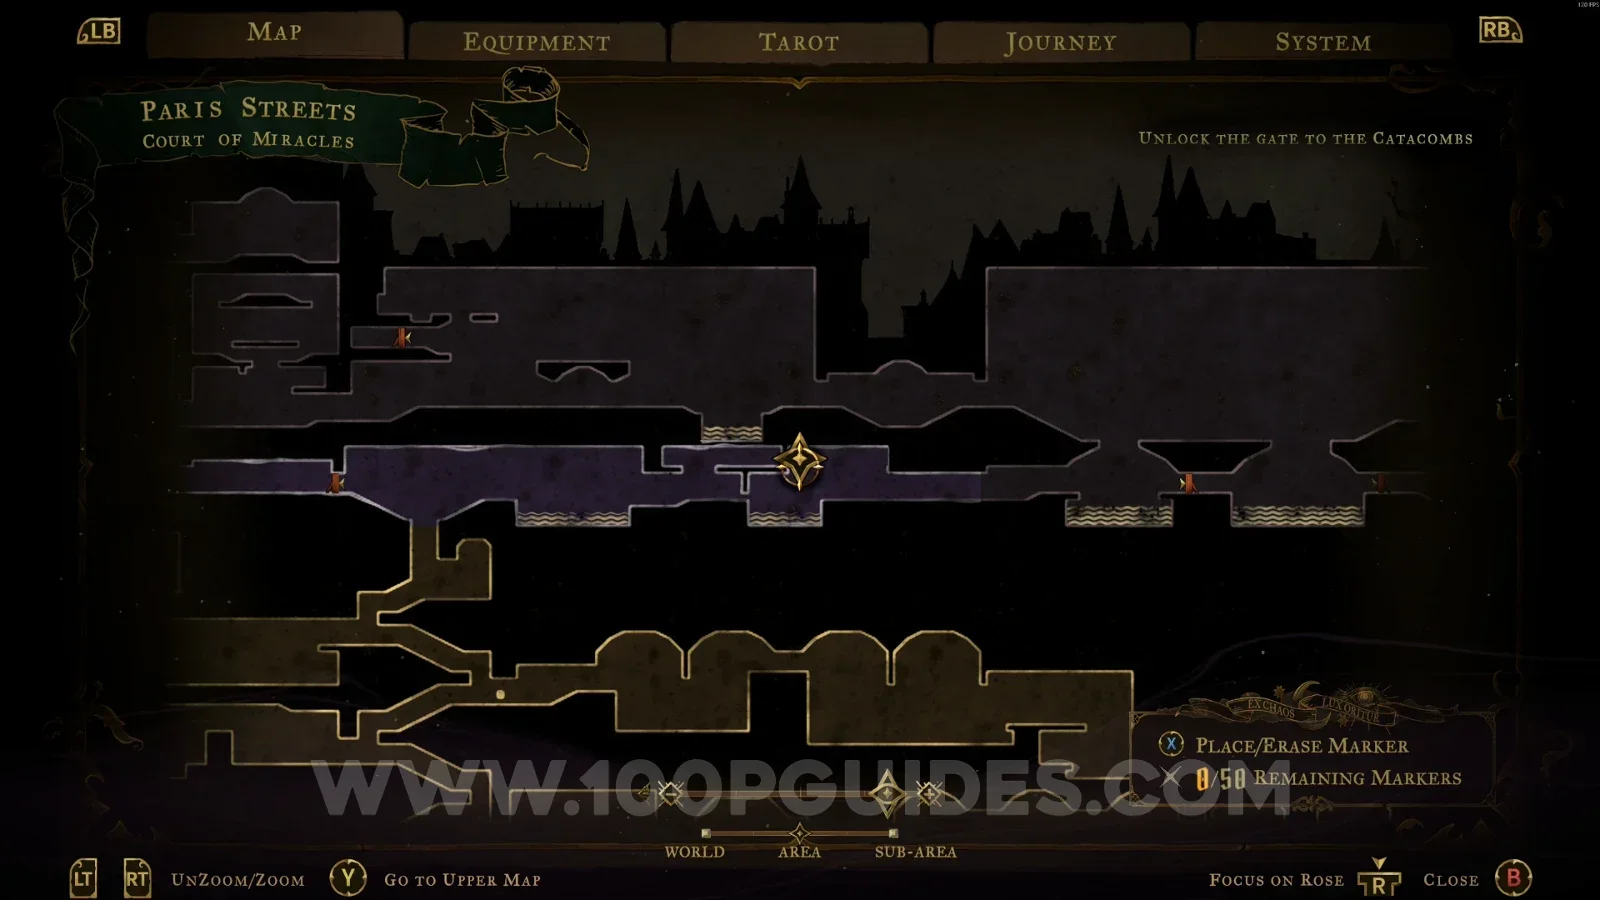
Castlevania Belmonts Curse Court Of Miracles map with the area of XP Statue #23 marked Castlevania Belmonts Curse Court Of Miracles: XP Statue #23 in the marked area

XP Statue #24

In the area marked on the map.
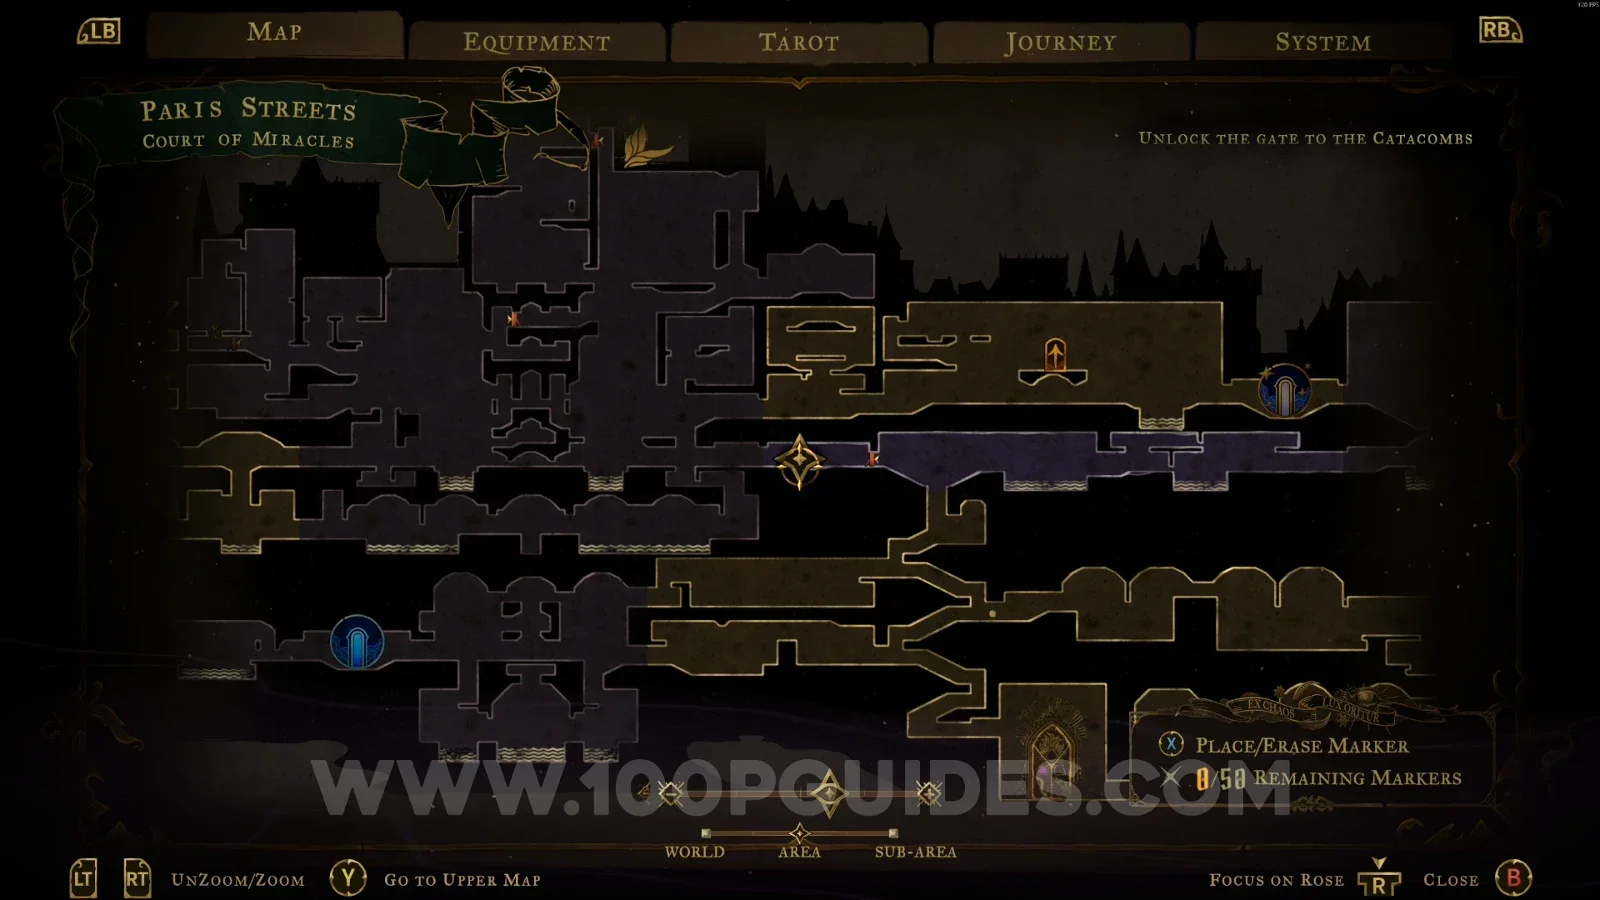
Castlevania Belmonts Curse Court Of Miracles map with the area of XP Statue #24 marked Castlevania Belmonts Curse Court Of Miracles: XP Statue #24 in the marked area

Path Of The Rat

XP Statue #25

In the area marked on the map.
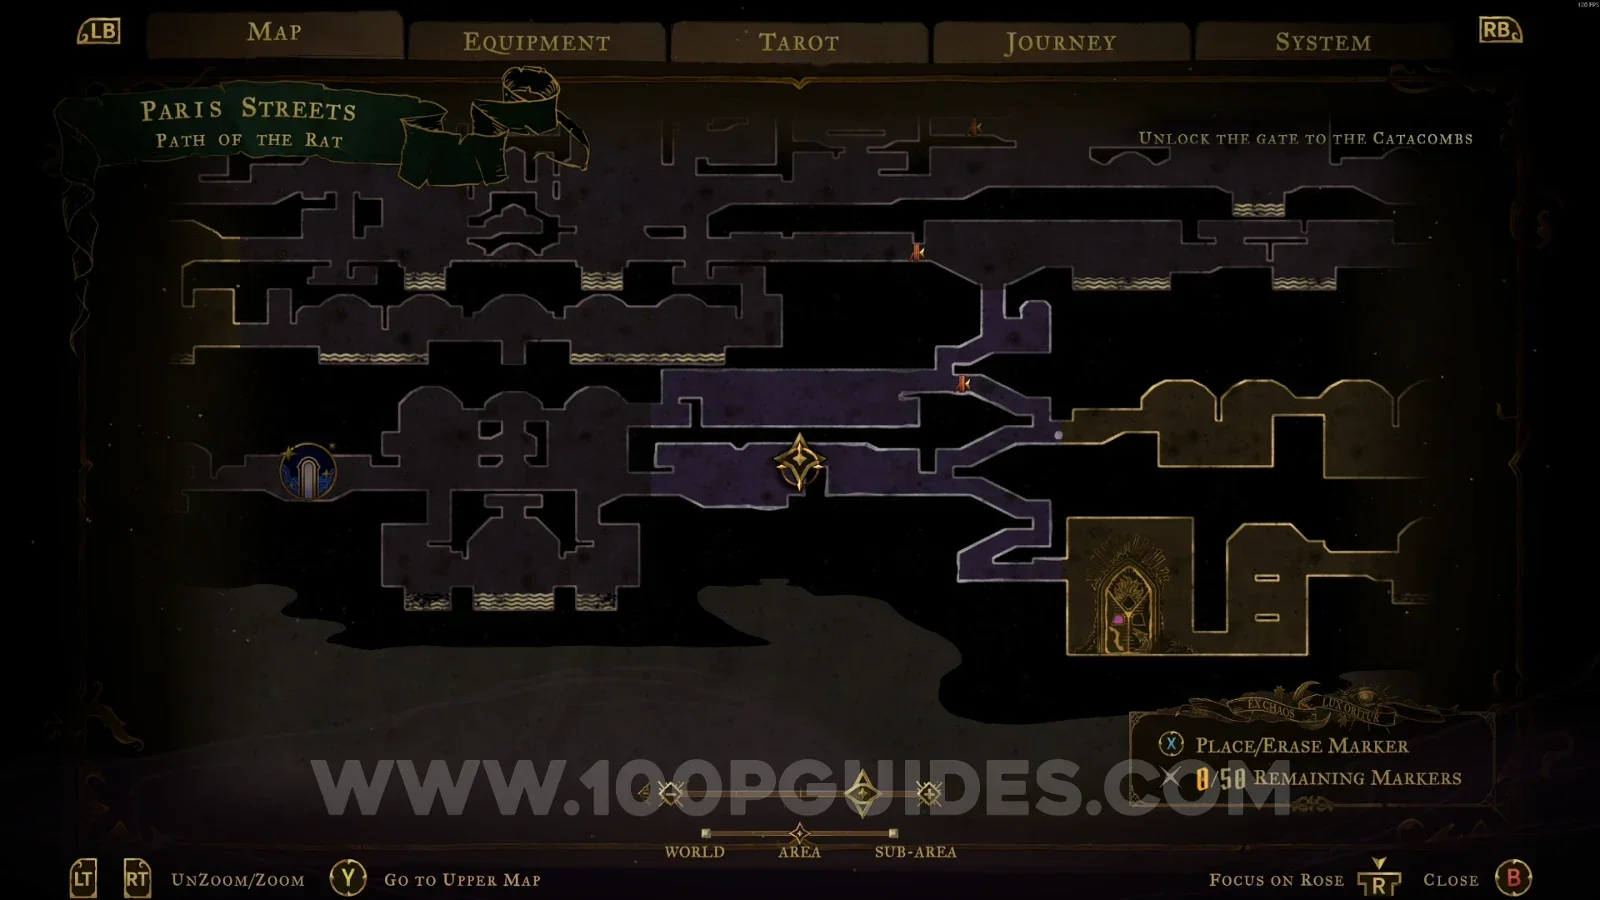
Castlevania Belmonts Curse Path Of The Rat map with the area of XP Statue #25 marked Castlevania Belmonts Curse Path Of The Rat: XP Statue #25 in the marked area

Abandoned Sewers

XP Statue #26

In the area marked on the map.
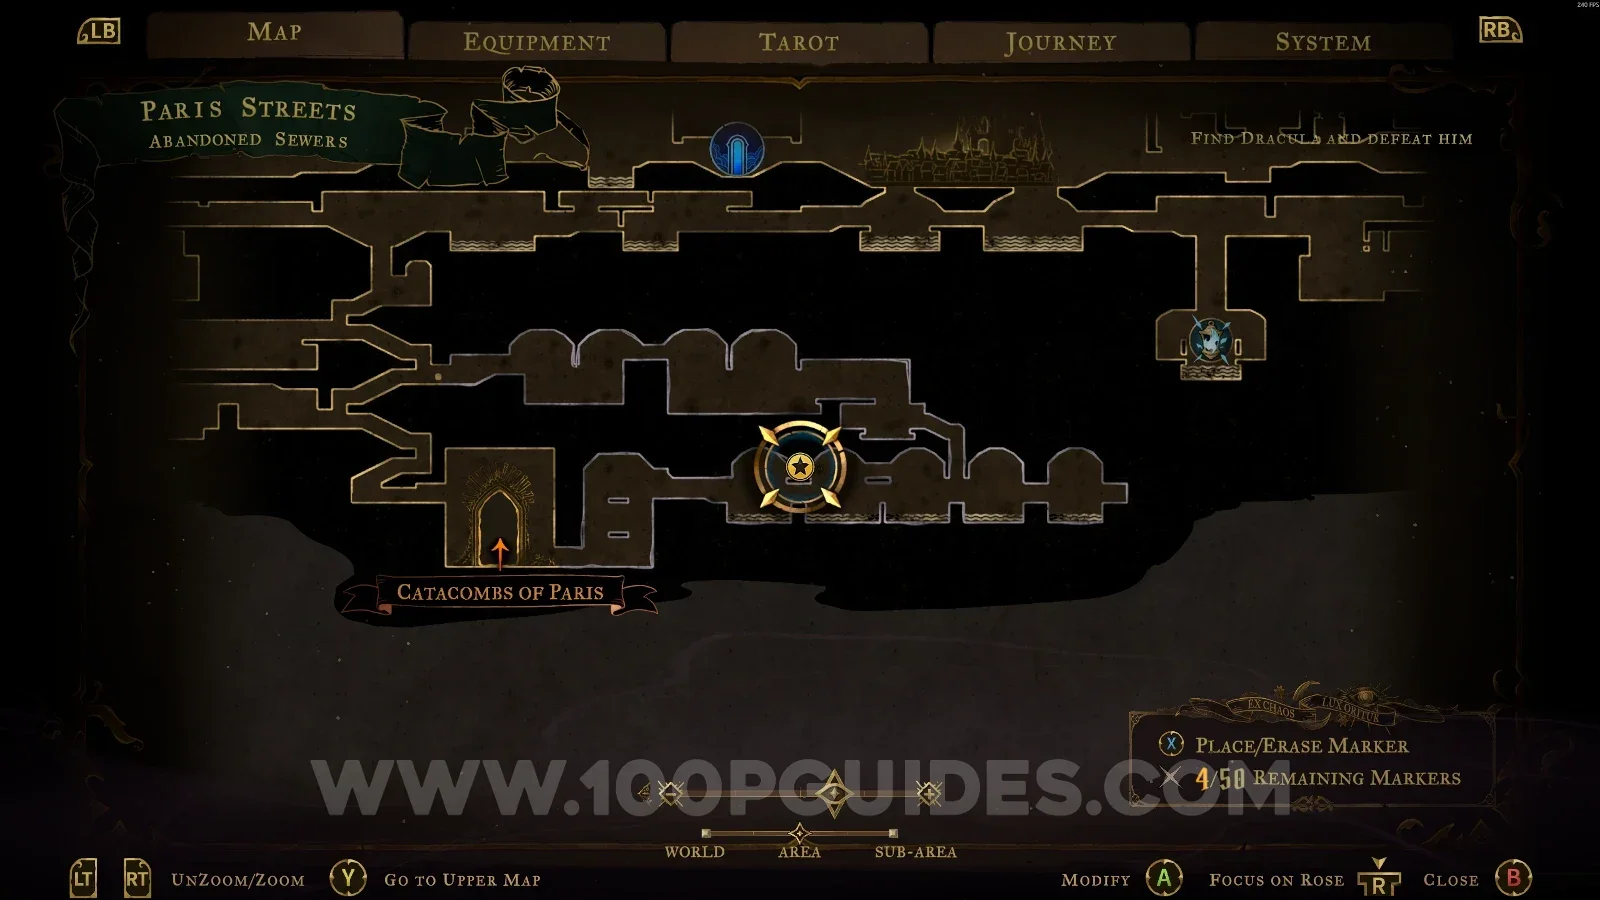
Castlevania Belmonts Curse Abandoned Sewers map with the area of XP Statue #26 marked Castlevania Belmonts Curse Abandoned Sewers: XP Statue #26 in the marked area

XP Statue #27

In the area marked on the map.
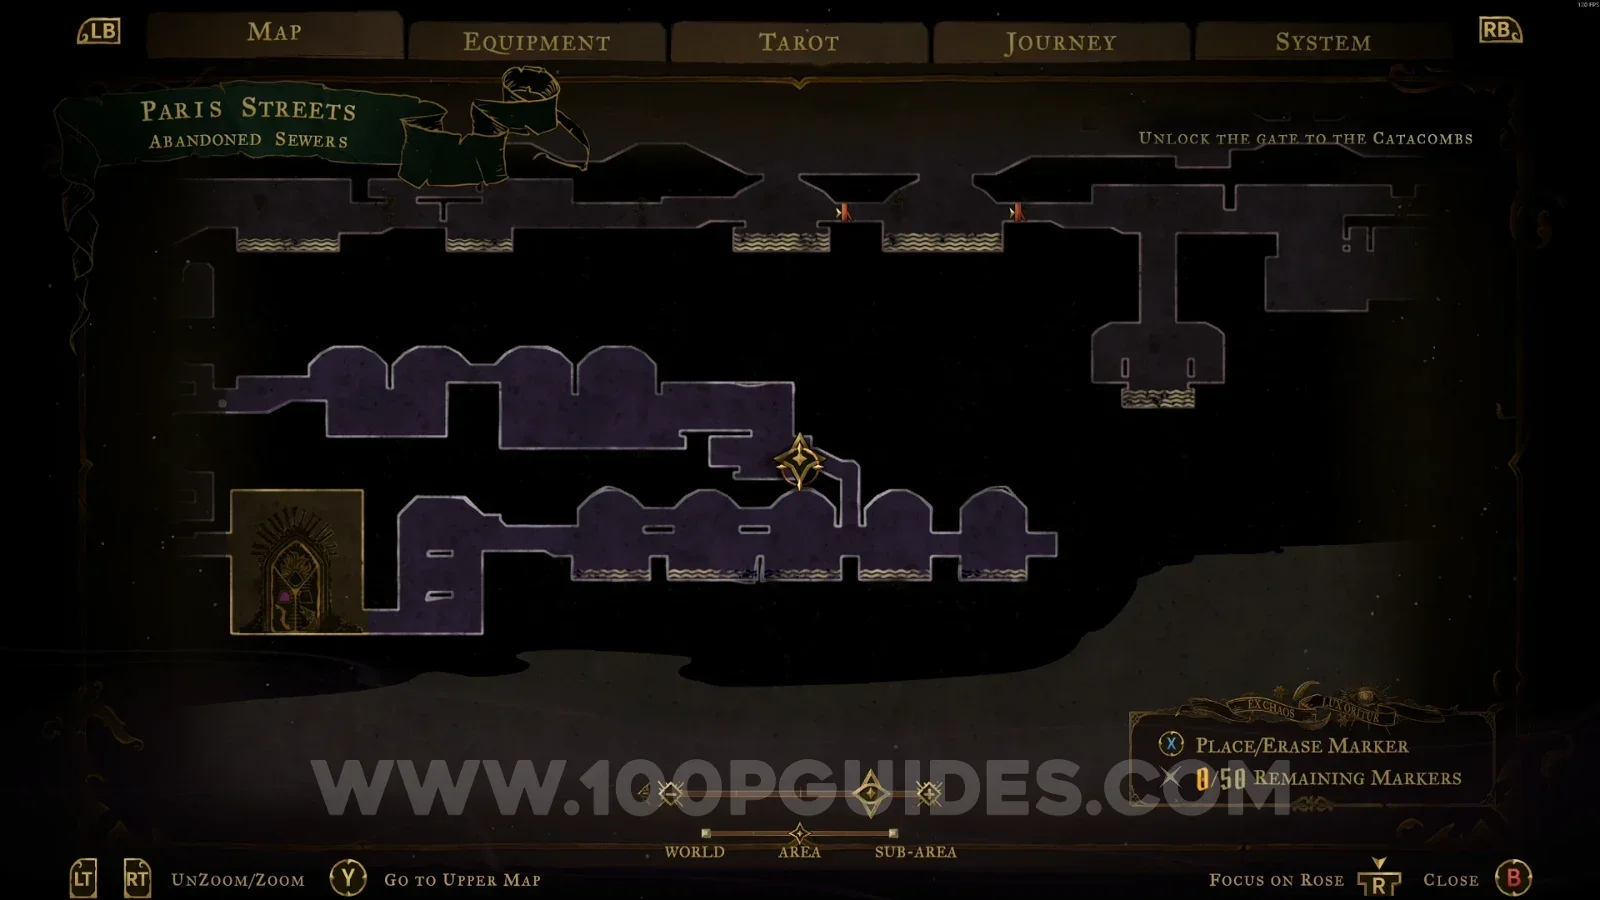
Castlevania Belmonts Curse Abandoned Sewers map with the area of XP Statue #27 marked Castlevania Belmonts Curse Abandoned Sewers: XP Statue #27 in the marked area

Bridge Of The Millers

XP Statue #28

In the area marked on the map.
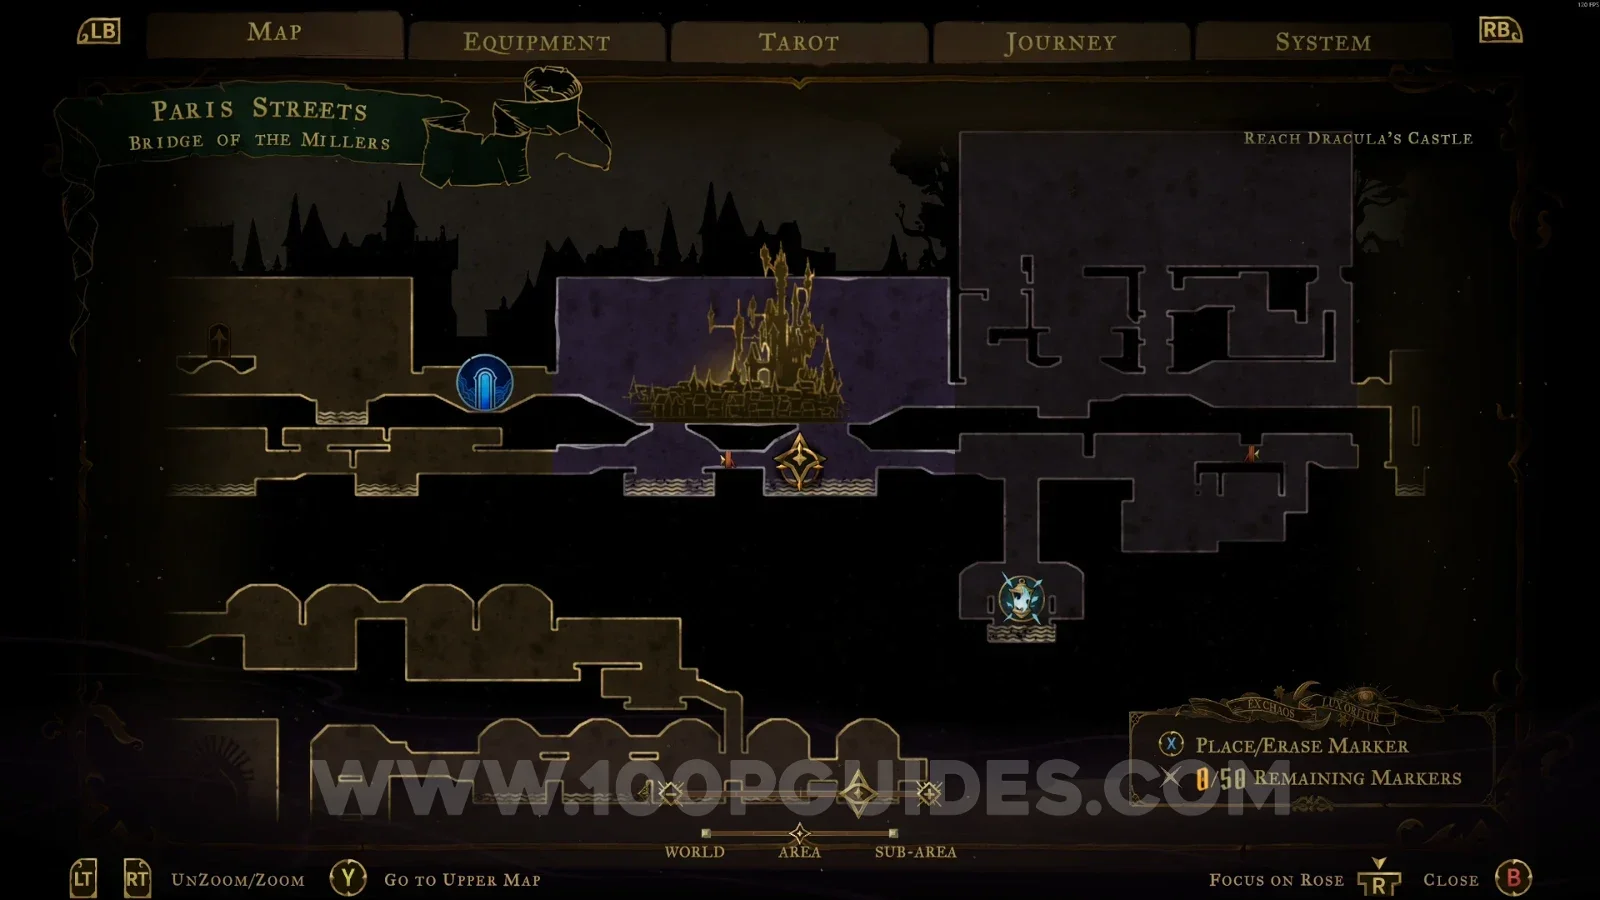
Castlevania Belmonts Curse Bridge Of The Millers map with the area of XP Statue #28 marked Castlevania Belmonts Curse Bridge Of The Millers: XP Statue #28 in the marked area

Holy Innocents' Cemetery

Cemetery Entrance

XP Statue #29

In the area marked on the map.
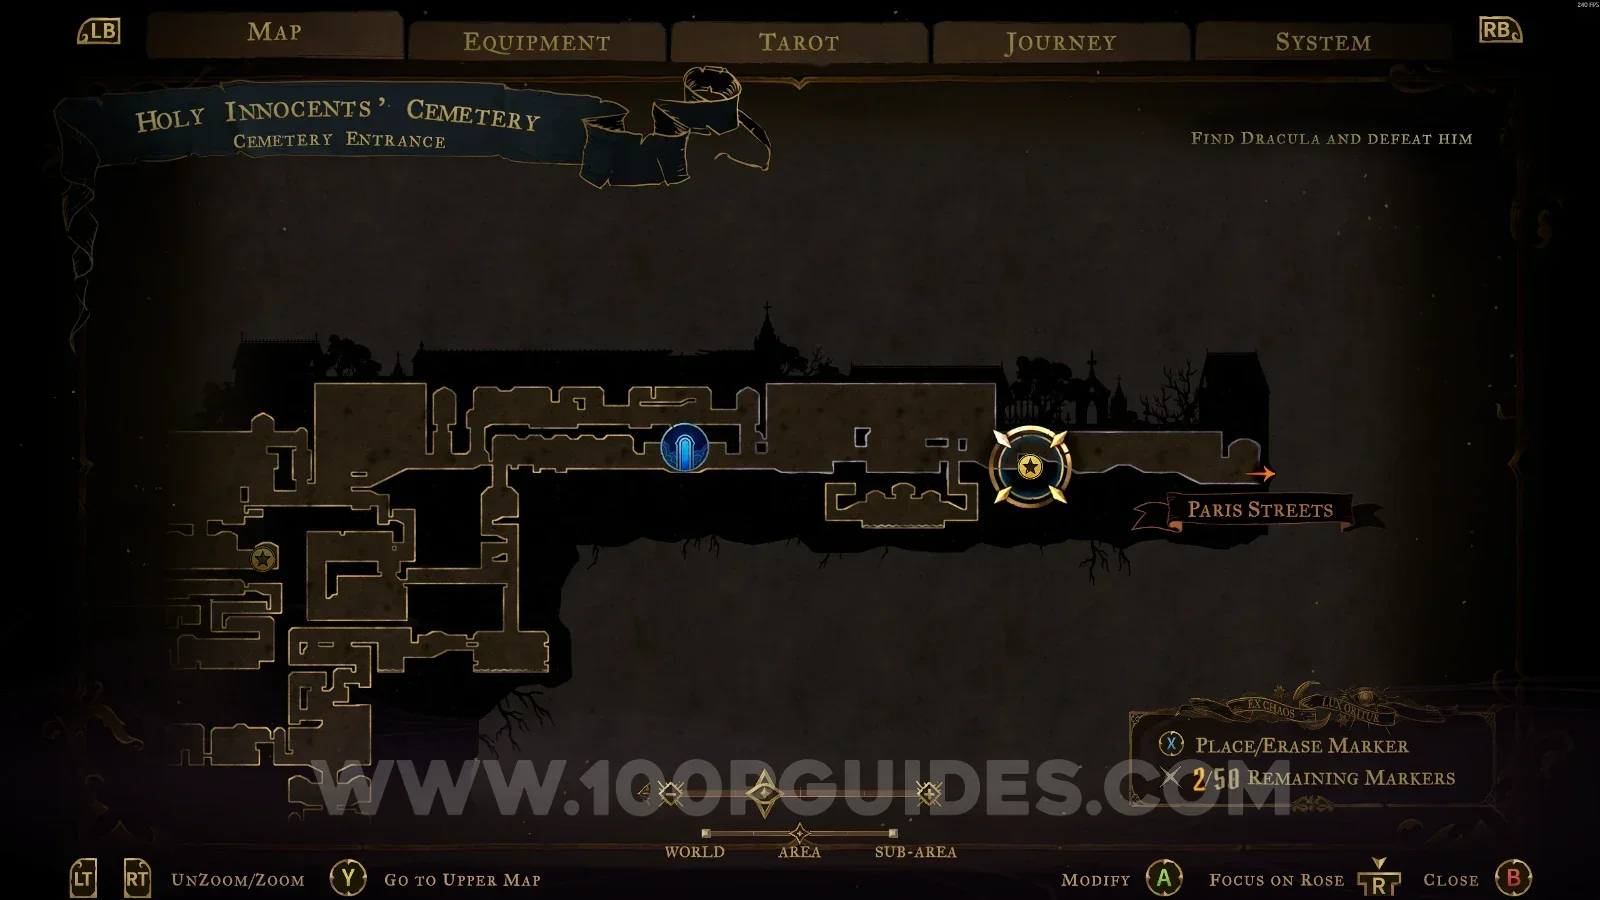
Castlevania Belmonts Curse Cemetery Entrance map with the area of XP Statue #29 marked Castlevania Belmonts Curse Cemetery Entrance: XP Statue #29 in the marked area

Sepulcher Of The Knight

XP Statue #30

In the area marked on the map.
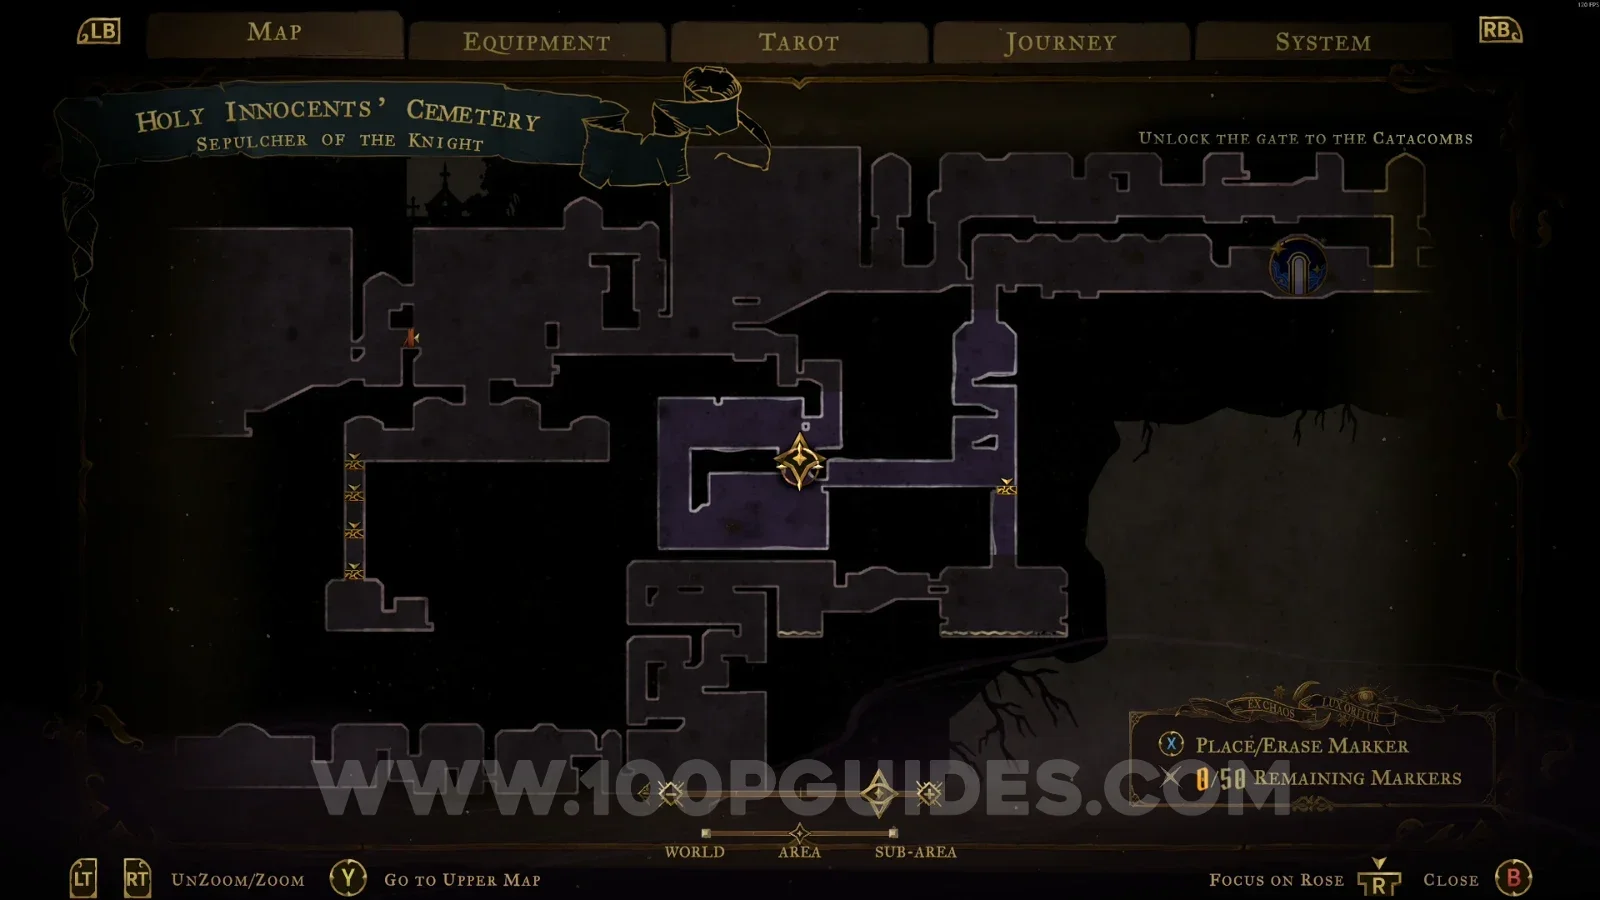
Castlevania Belmonts Curse Sepulcher Of The Knight map with the area of XP Statue #30 marked Castlevania Belmonts Curse Sepulcher Of The Knight: XP Statue #30 in the marked area

Memorial For The Dead

XP Statue #31

In the area marked on the map.
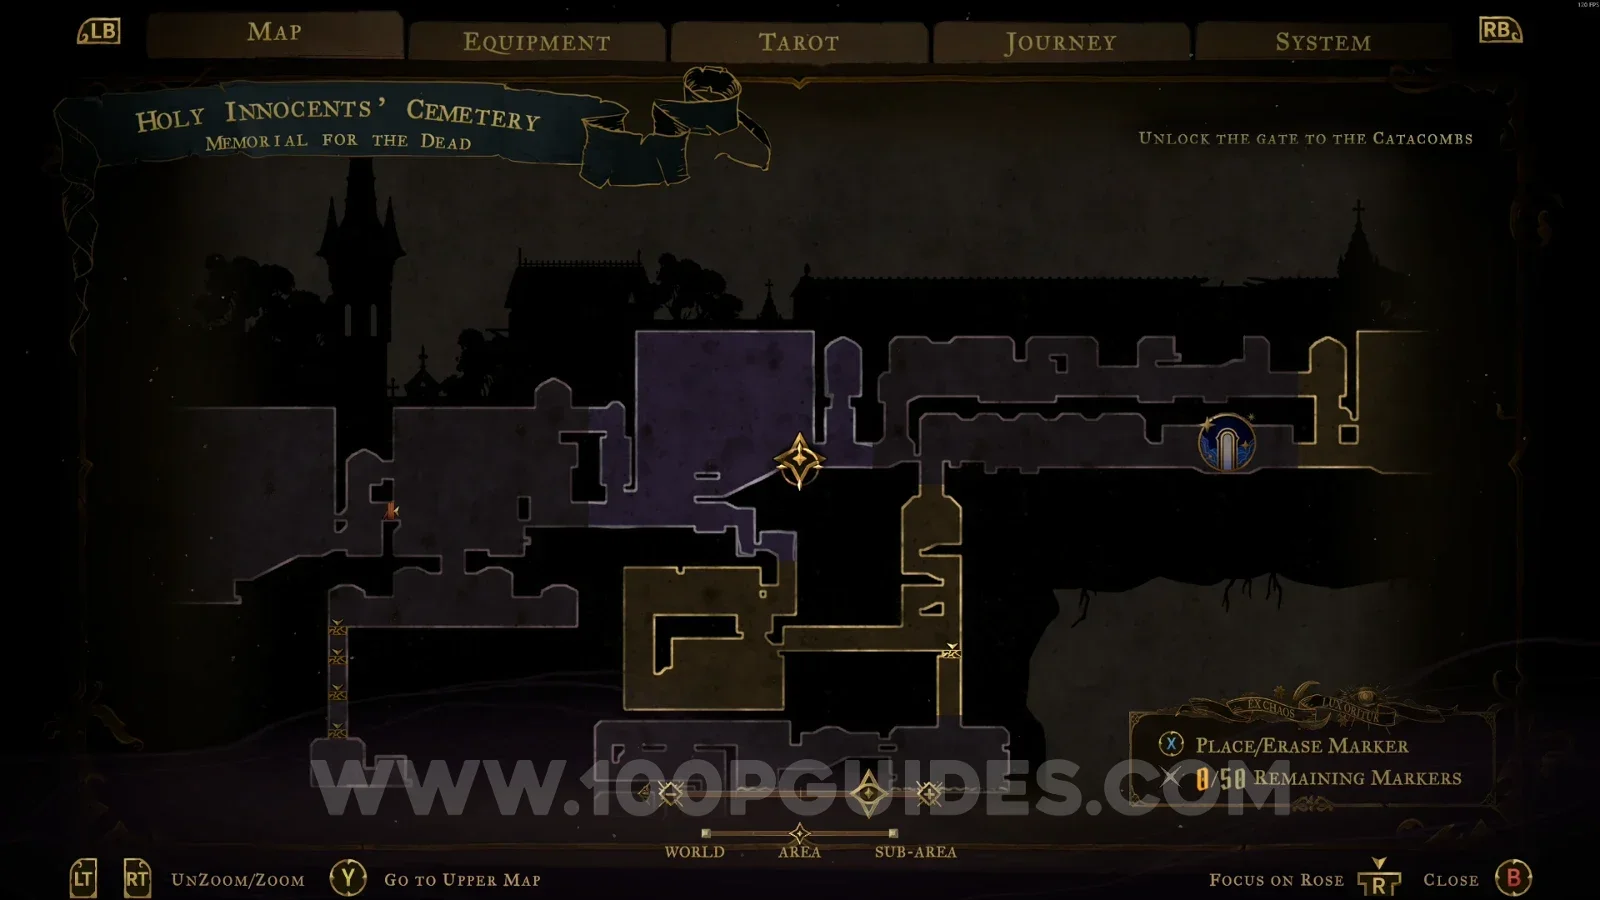
Castlevania Belmonts Curse Memorial For The Dead map with the area of XP Statue #31 marked Castlevania Belmonts Curse Memorial For The Dead: XP Statue #31 in the marked area

XP Statue #32

In the area marked on the map.
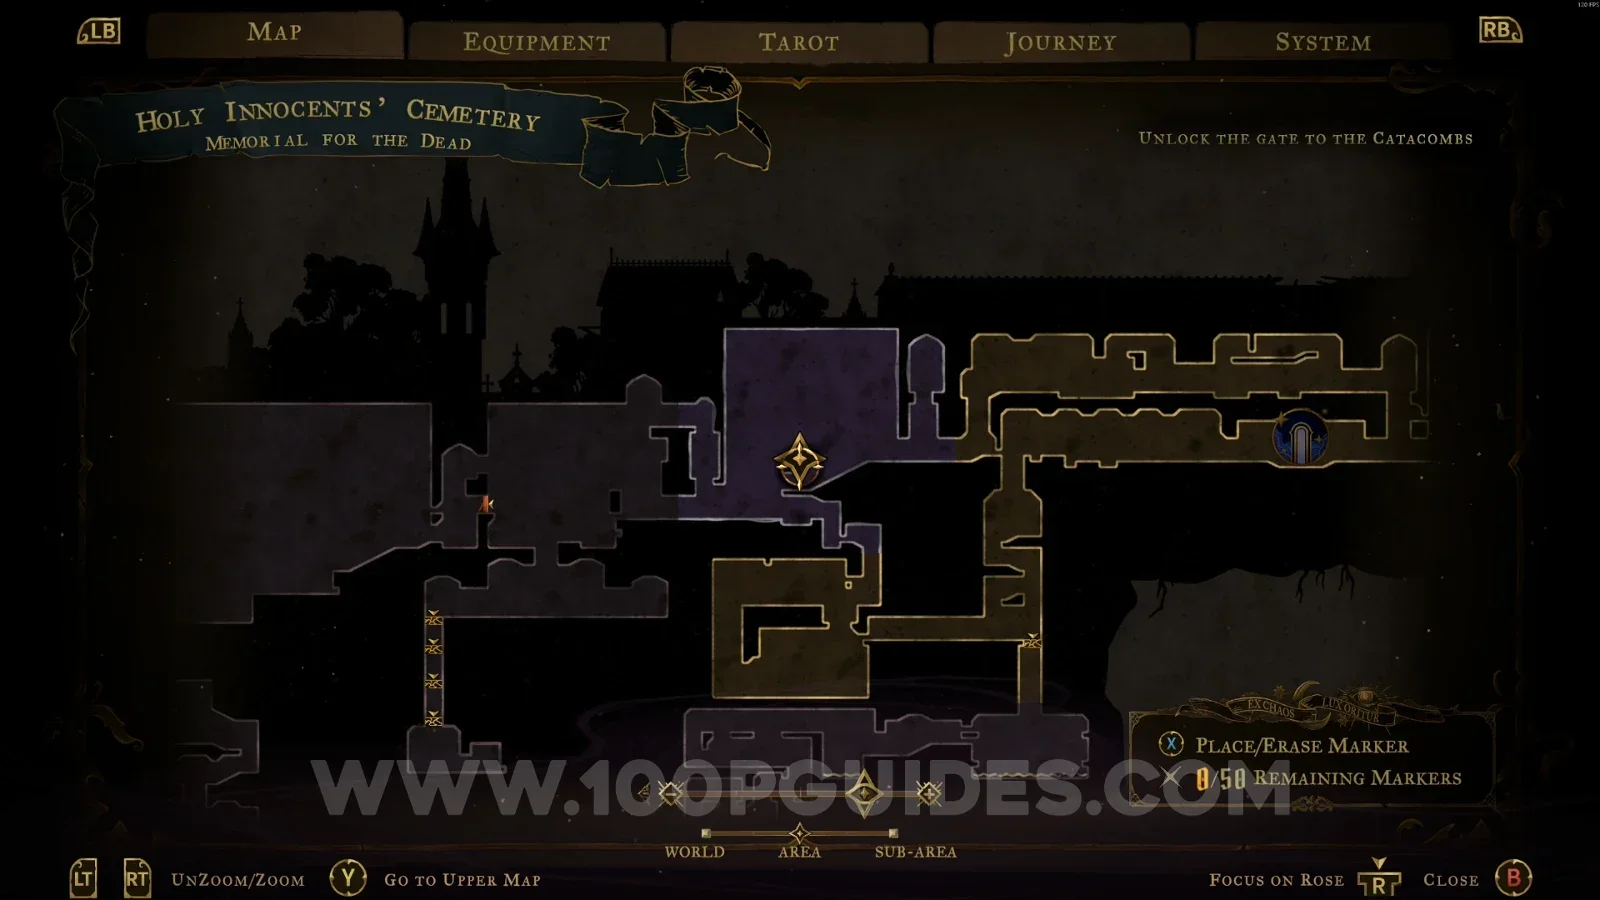
Castlevania Belmonts Curse Memorial For The Dead map with the area of XP Statue #32 marked Castlevania Belmonts Curse Memorial For The Dead: XP Statue #32 in the marked area

XP Statue #33

In the area marked on the map.
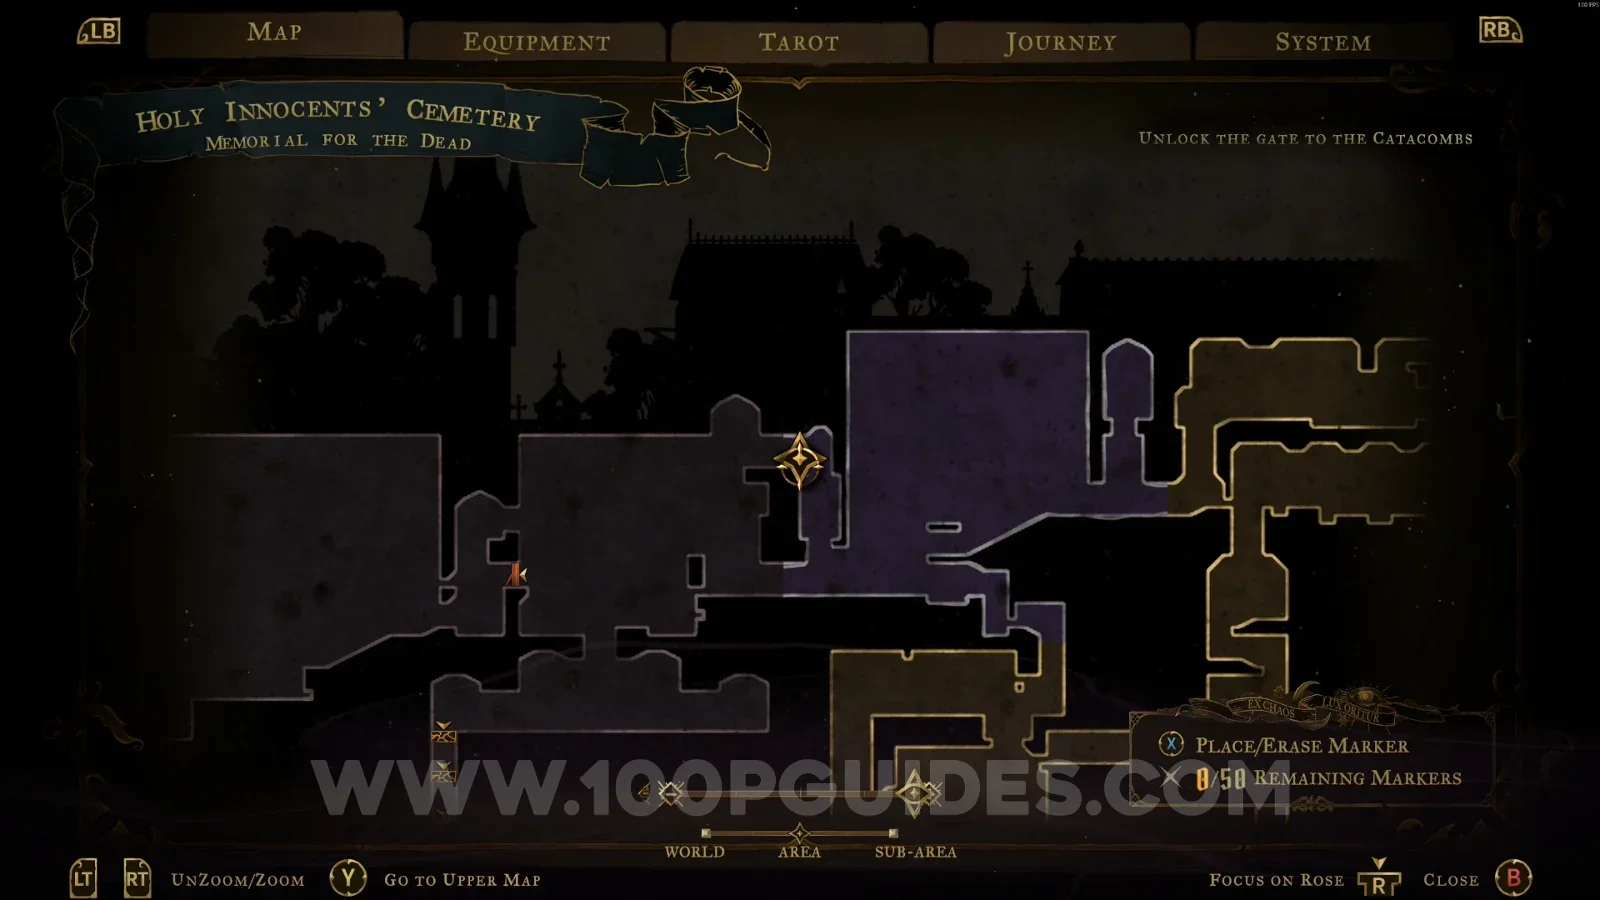
Castlevania Belmonts Curse Memorial For The Dead map with the area of XP Statue #33 marked Castlevania Belmonts Curse Memorial For The Dead: XP Statue #33 in the marked area

Fountain Of The Innocents

XP Statue #34

In the area marked on the map.
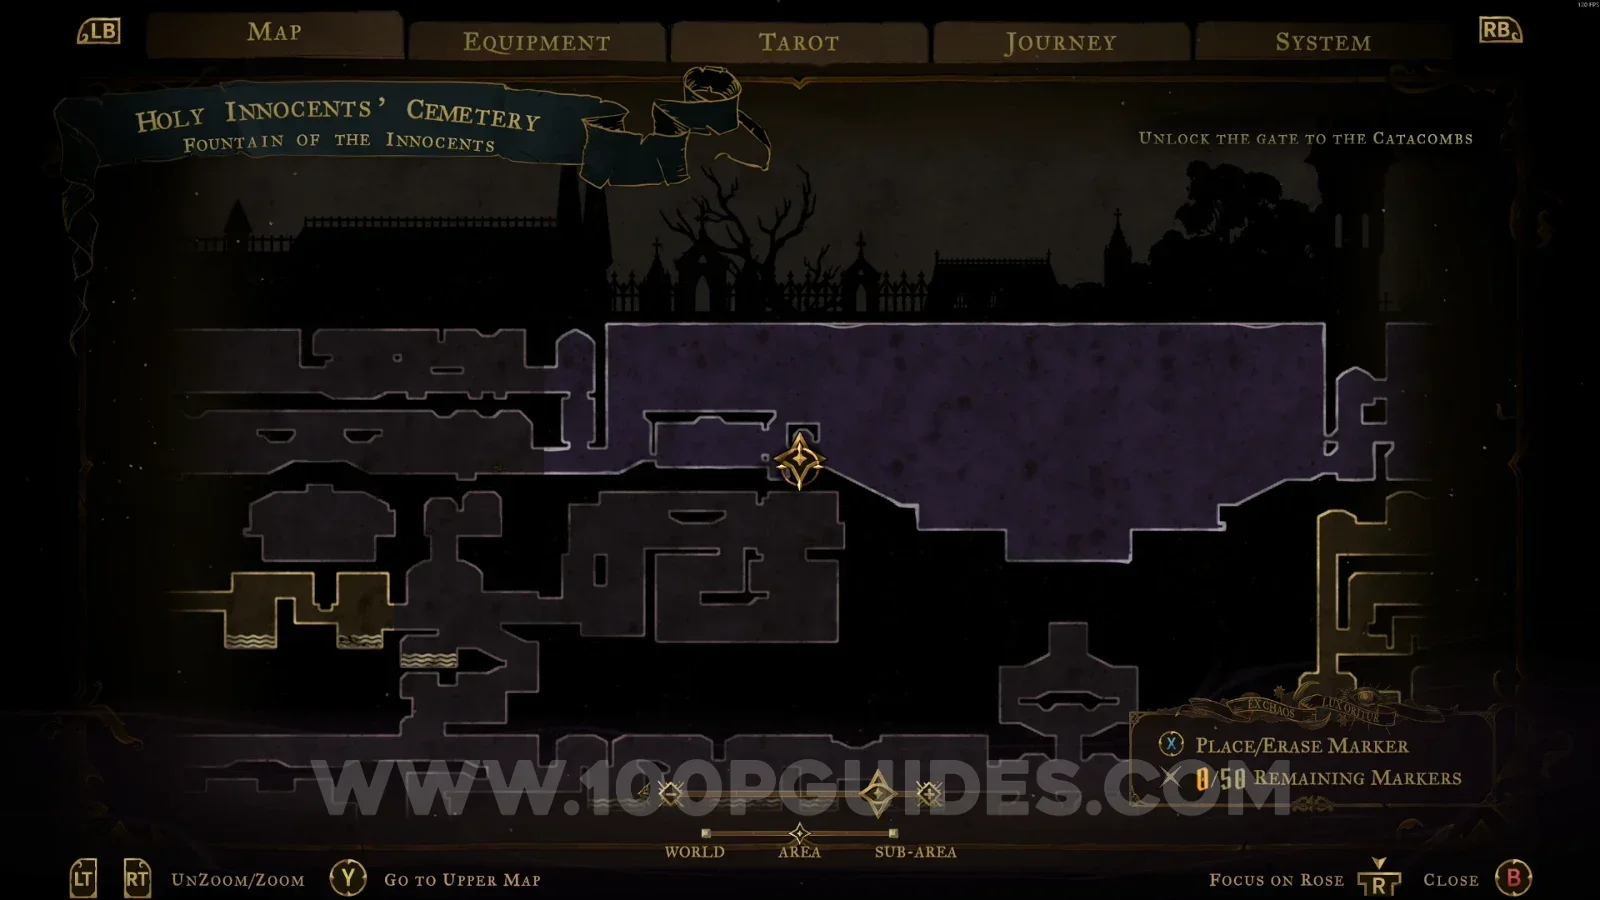
Castlevania Belmonts Curse Fountain Of The Innocents map with the area of XP Statue #34 marked Castlevania Belmonts Curse Fountain Of The Innocents: XP Statue #34 in the marked area

Pauper's Grave

XP Statue #35

In the area marked on the map, at the top of the area. You have to use your Arcane Whip to reach it.
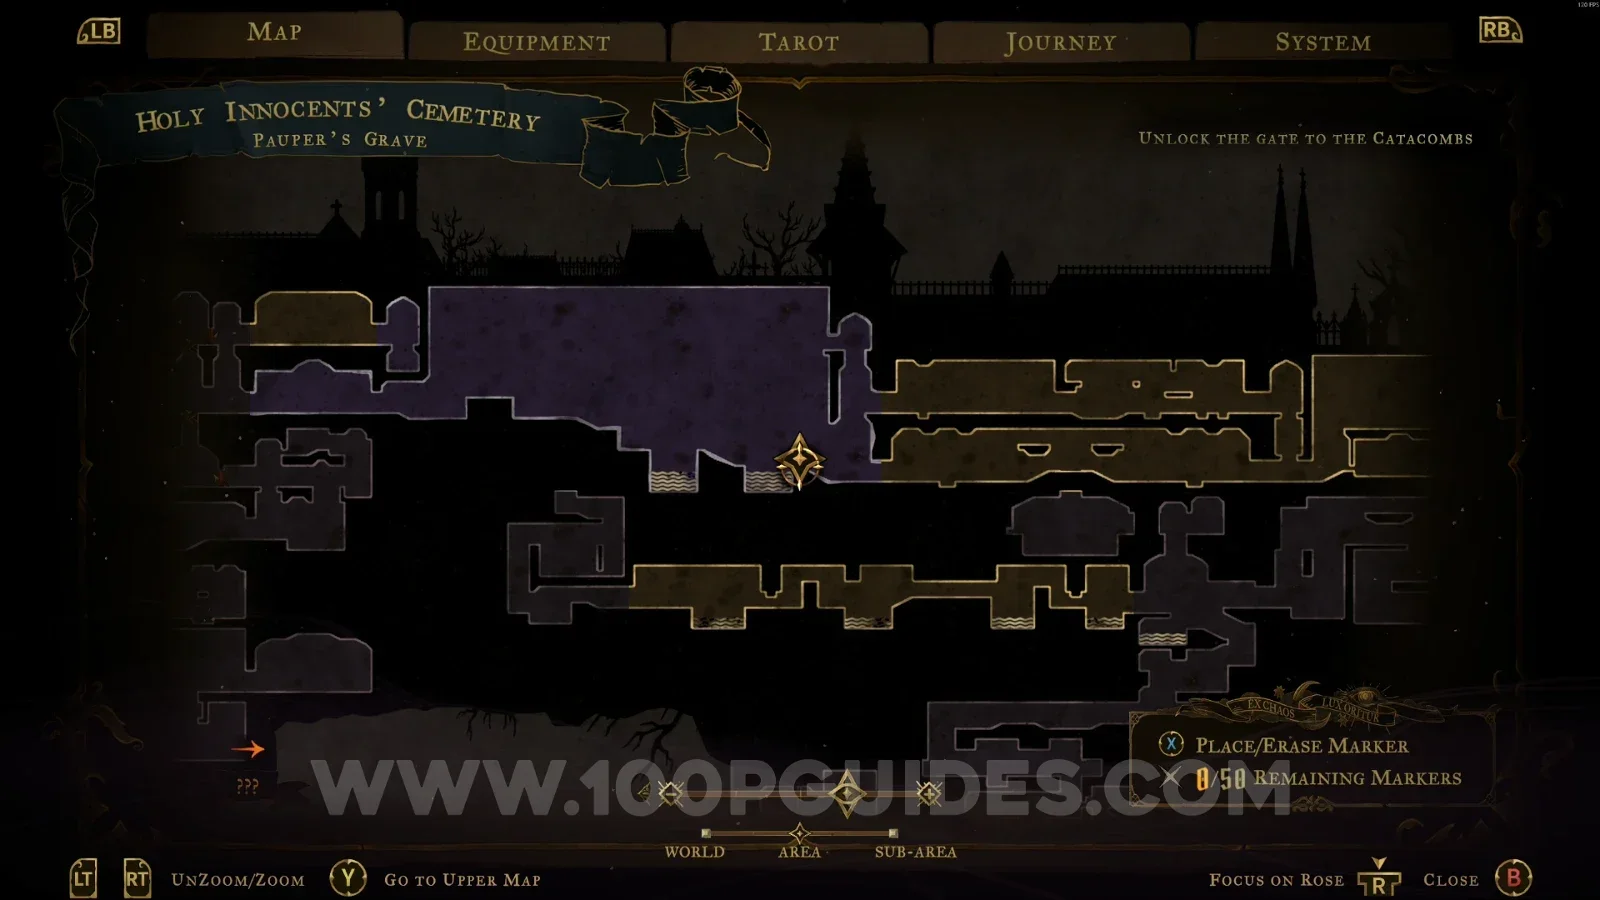
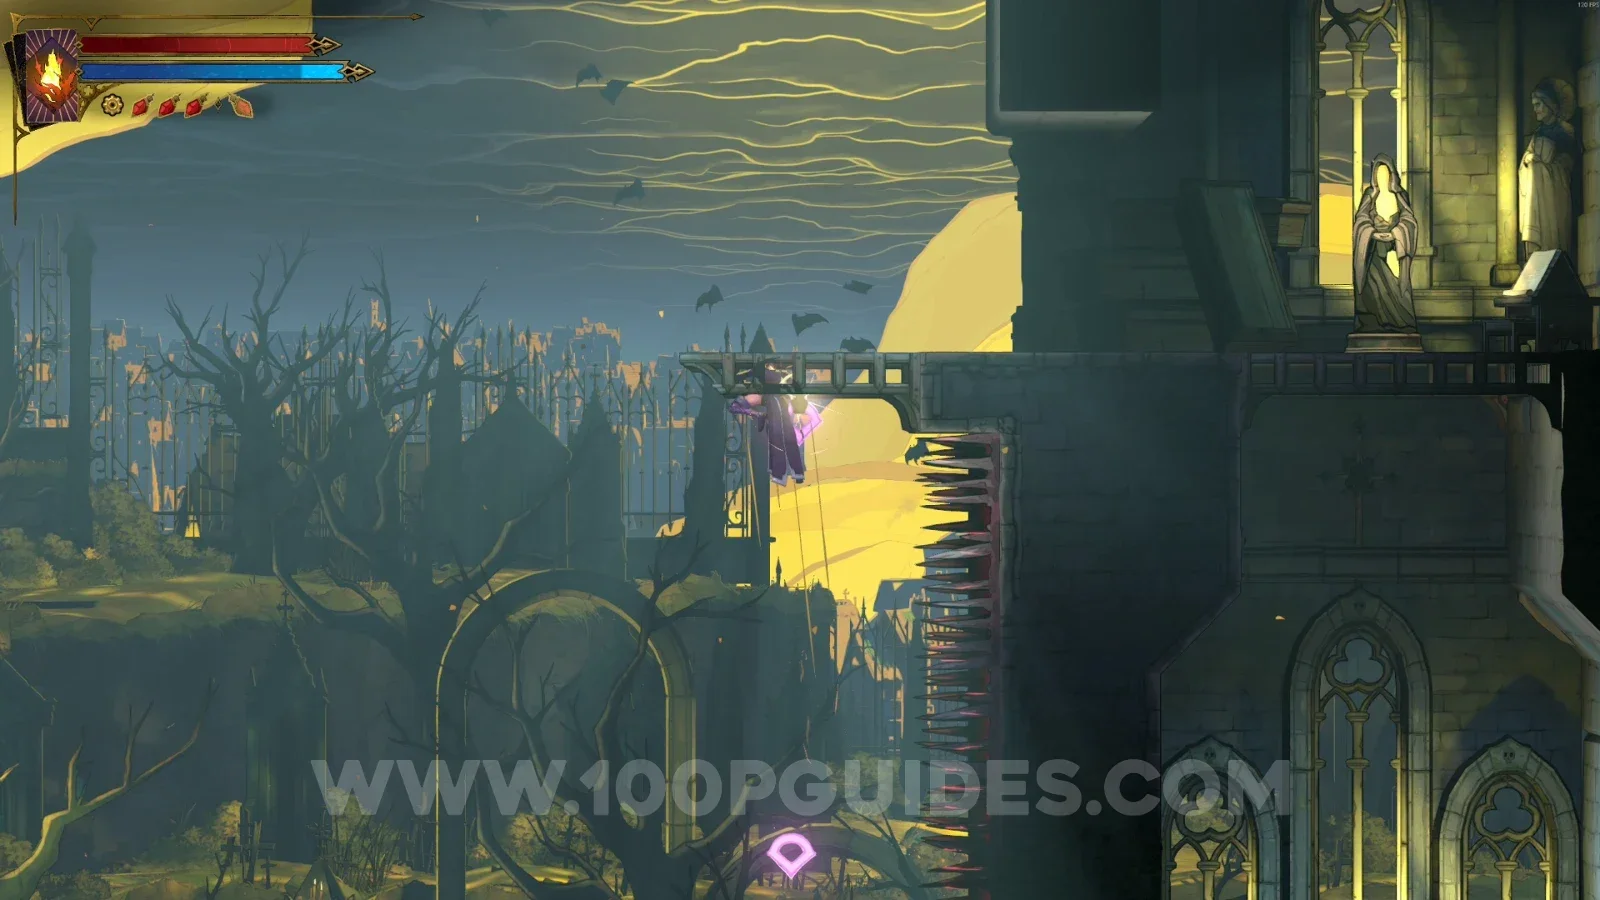
Castlevania Belmonts Curse Pauper's Grave map with the area of XP Statue #35 marked Castlevania Belmonts Curse Pauper's Grave: XP Statue #35 at the top, reached with the Arcane Whip

Overgrown Crypt

XP Statue #36 - #37

At the top of the area marked on the map.
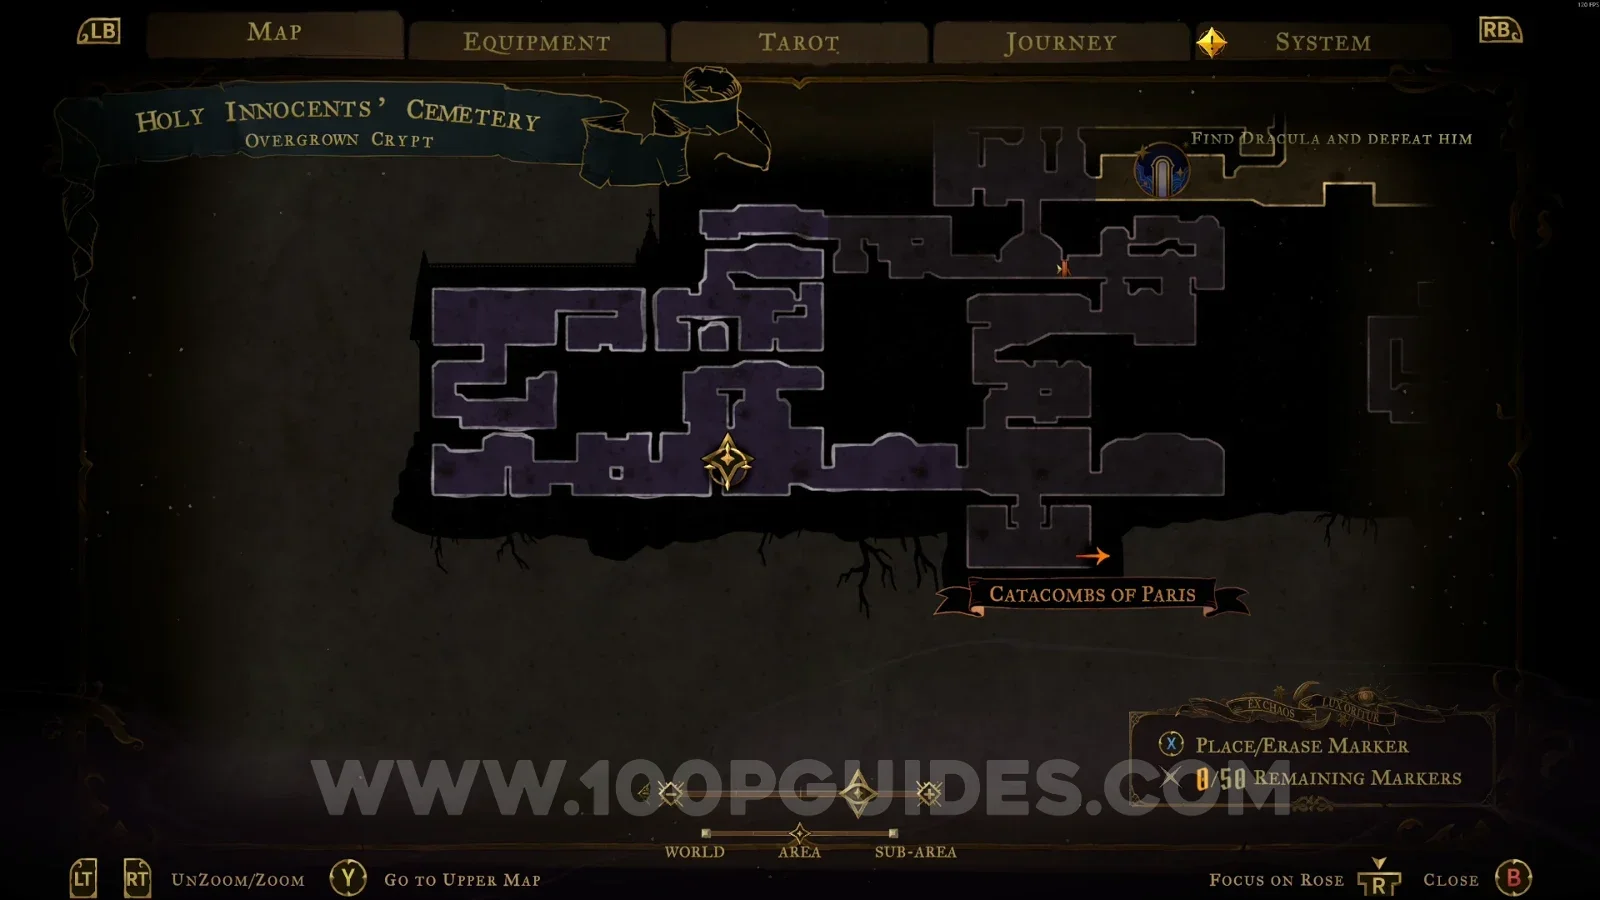
Castlevania Belmonts Curse Overgrown Crypt map with the area of XP Statues #36 and #37 marked Castlevania Belmonts Curse Overgrown Crypt: XP Statues #36 and #37 at the top of the marked area

Ruins Entrance

XP Statue #38

In the area marked on the map.

Castlevania Belmonts Curse Ruins Entrance map with the area of XP Statue #38 marked Castlevania Belmonts Curse Ruins Entrance: XP Statue #38 in the marked area

Roman Baths

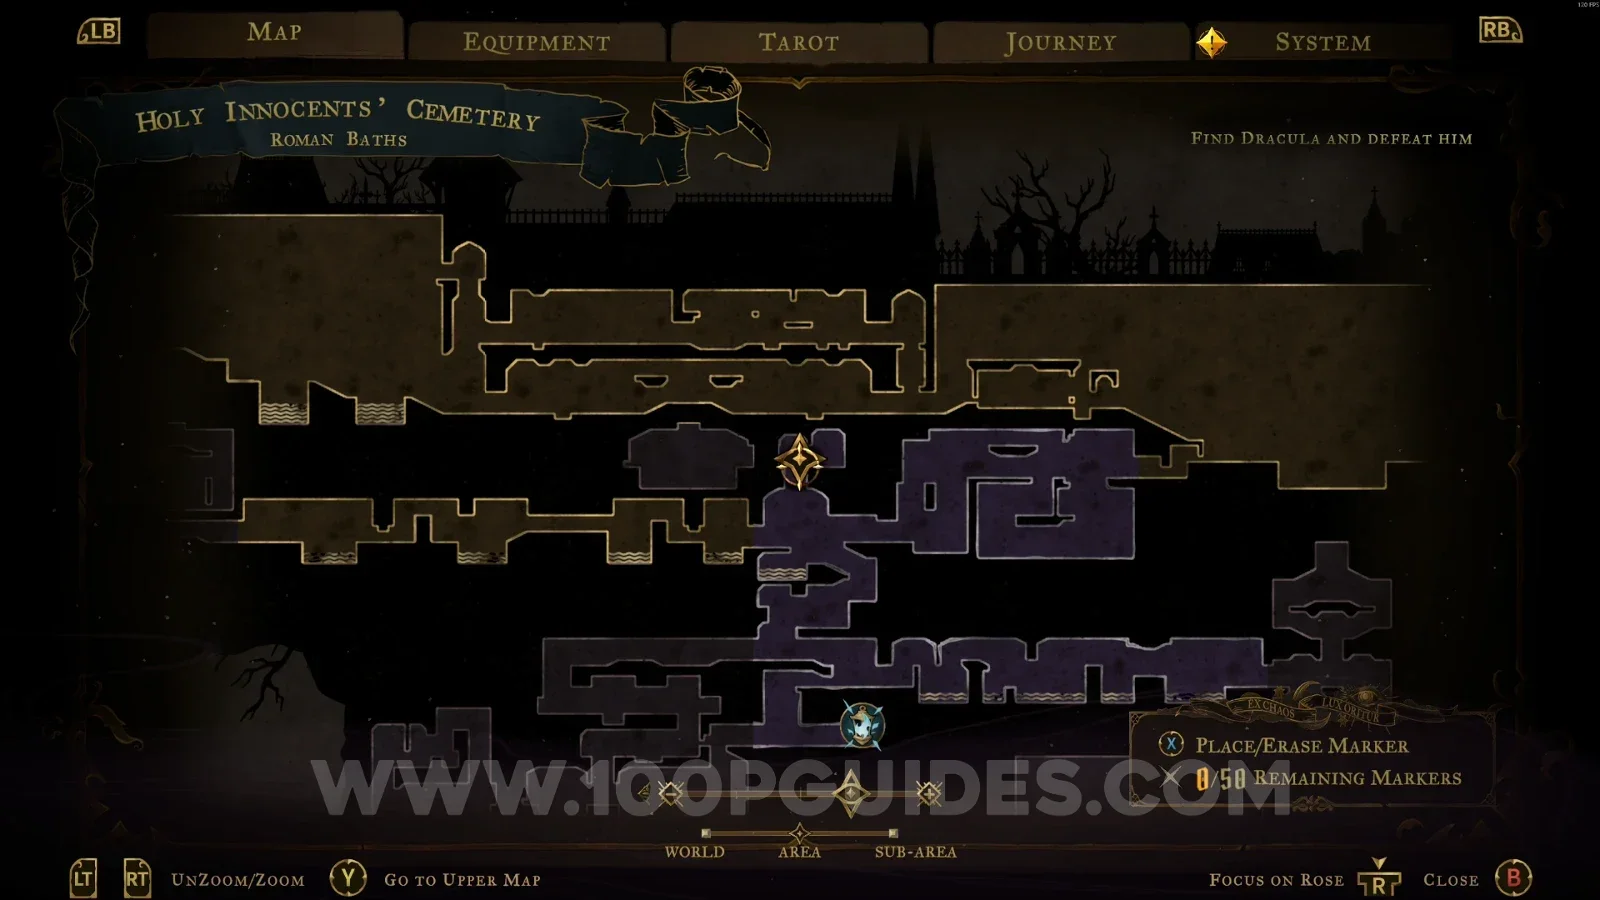
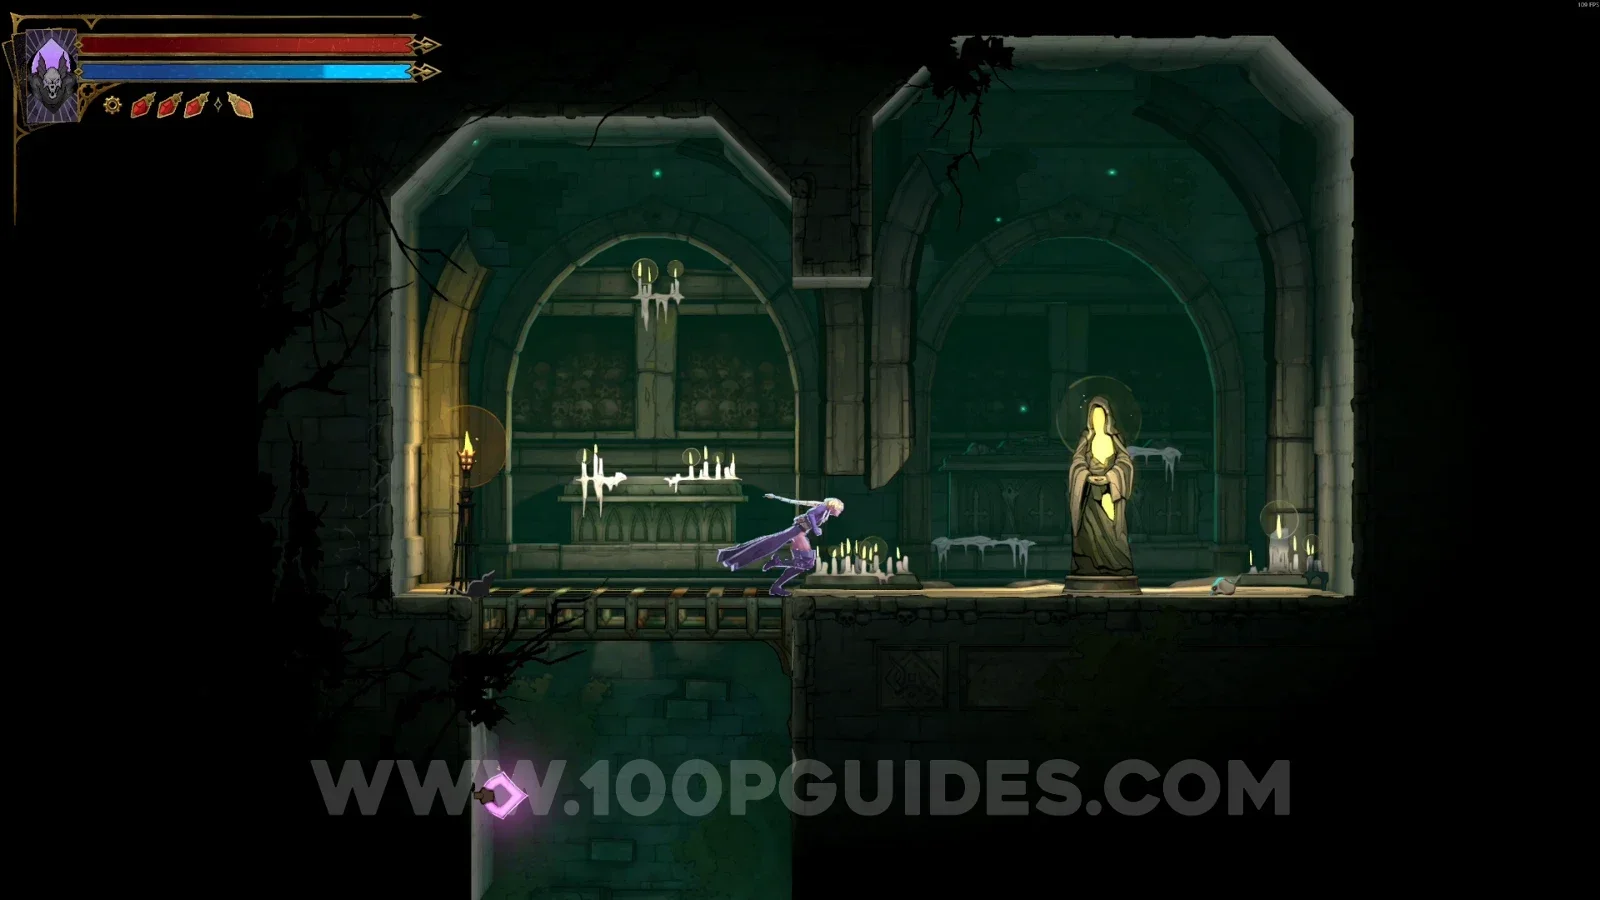
XP Statue #39

In the area marked on the map.

Castlevania Belmonts Curse Roman Baths map with the area of XP Statue #39 marked Castlevania Belmonts Curse Roman Baths: XP Statue #39 in the marked area

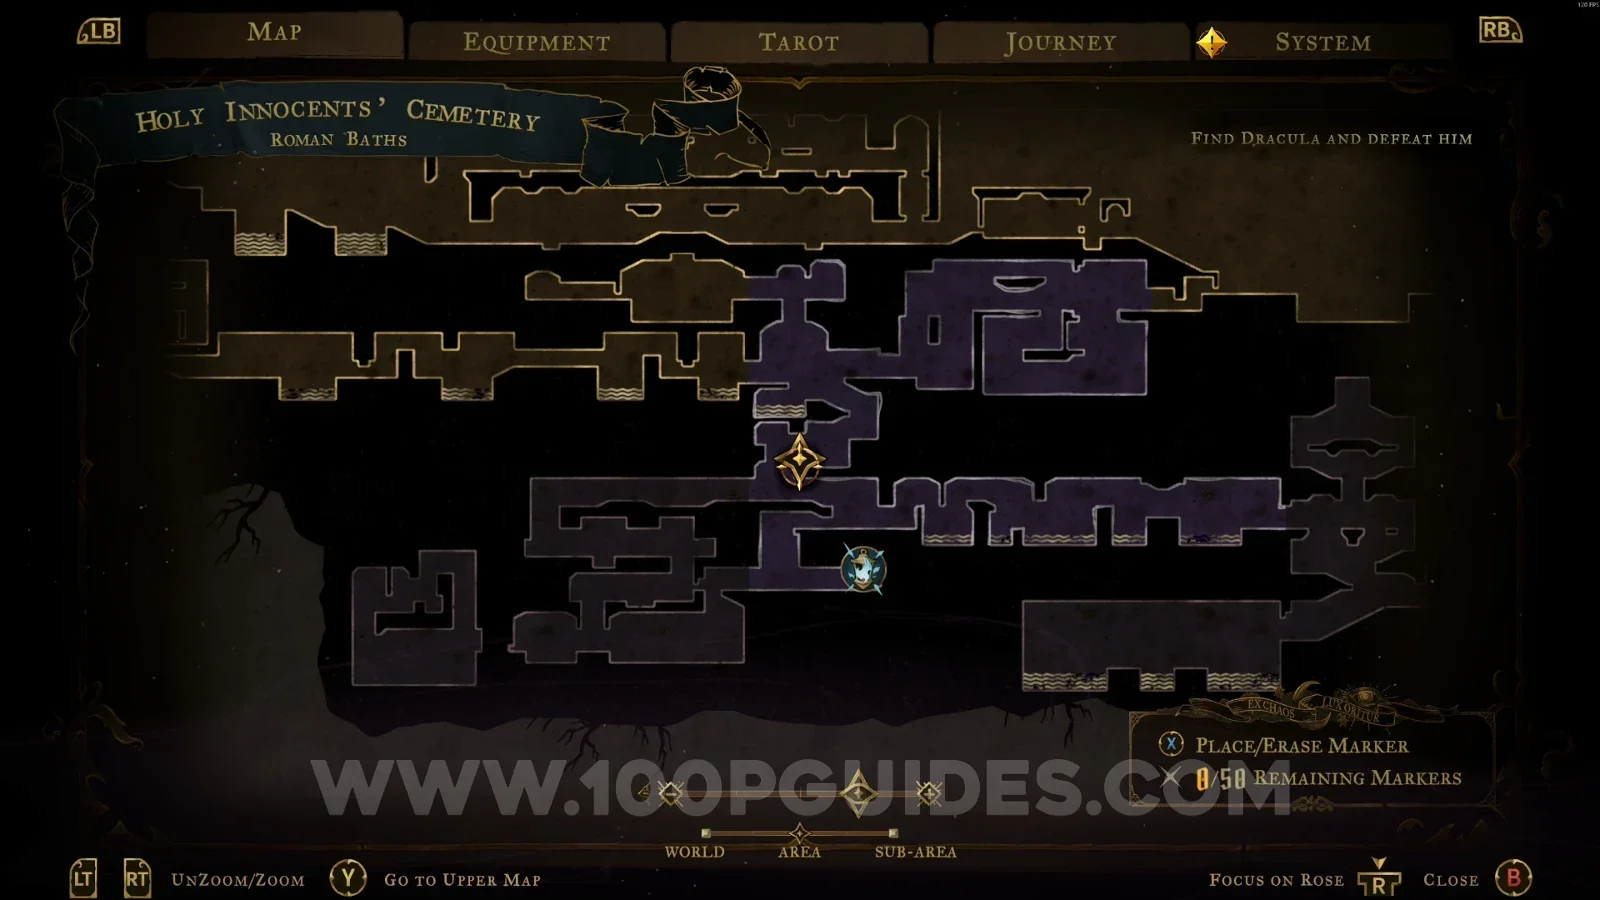
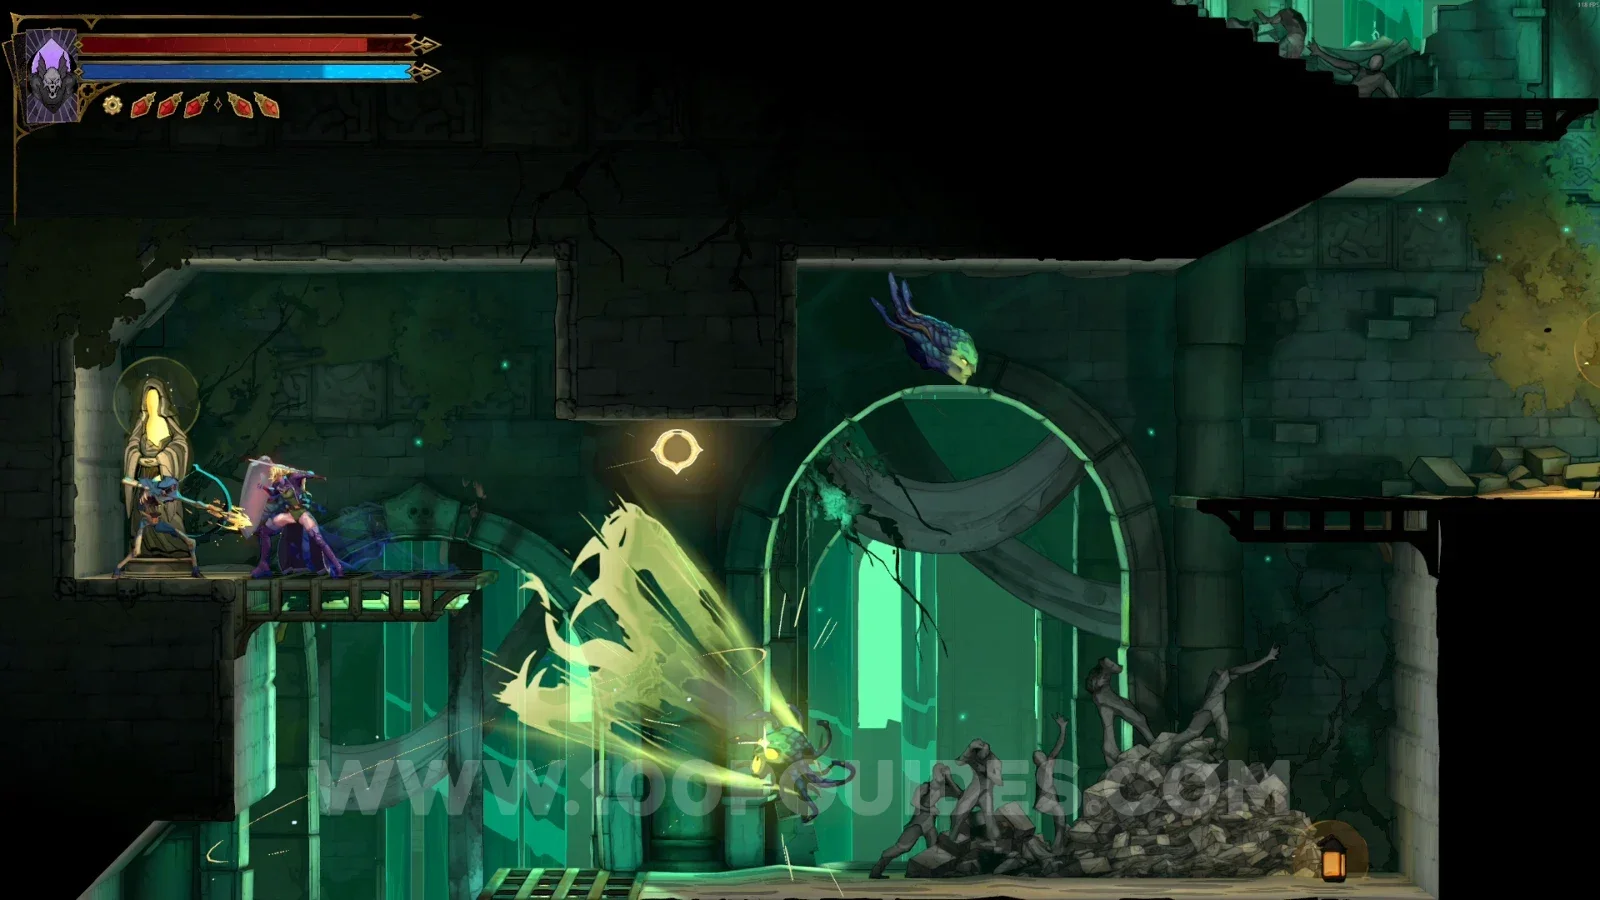
XP Statue #40

In the area marked on the map.

Castlevania Belmonts Curse Roman Baths map with the area of XP Statue #40 marked Castlevania Belmonts Curse Roman Baths: XP Statue #40 in the marked area

Hot Springs

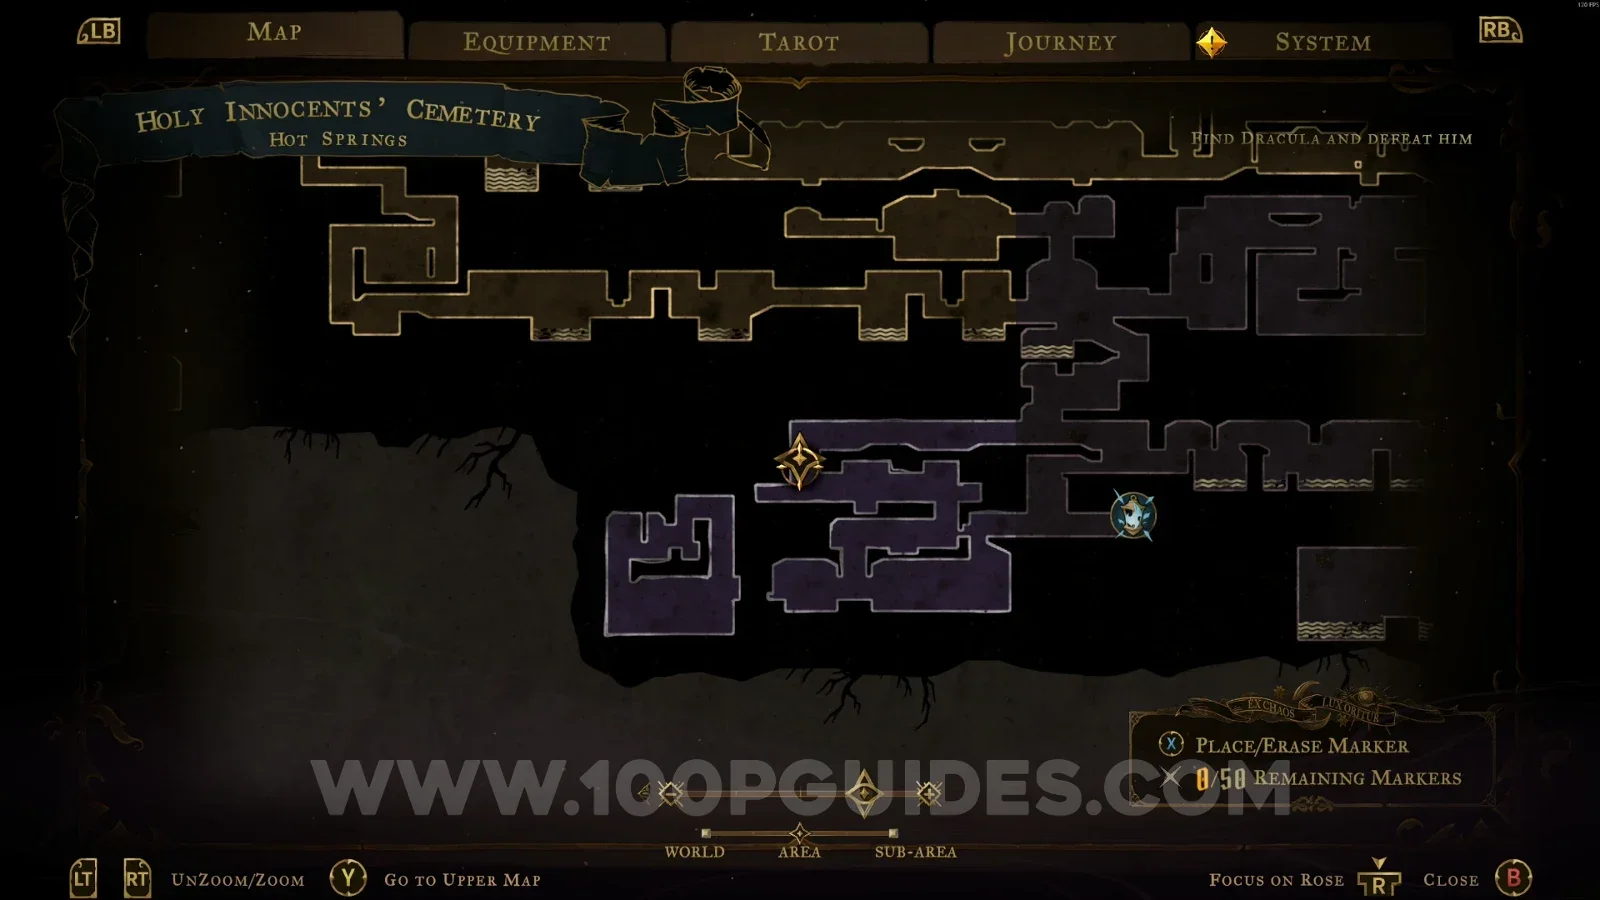
XP Statue #41

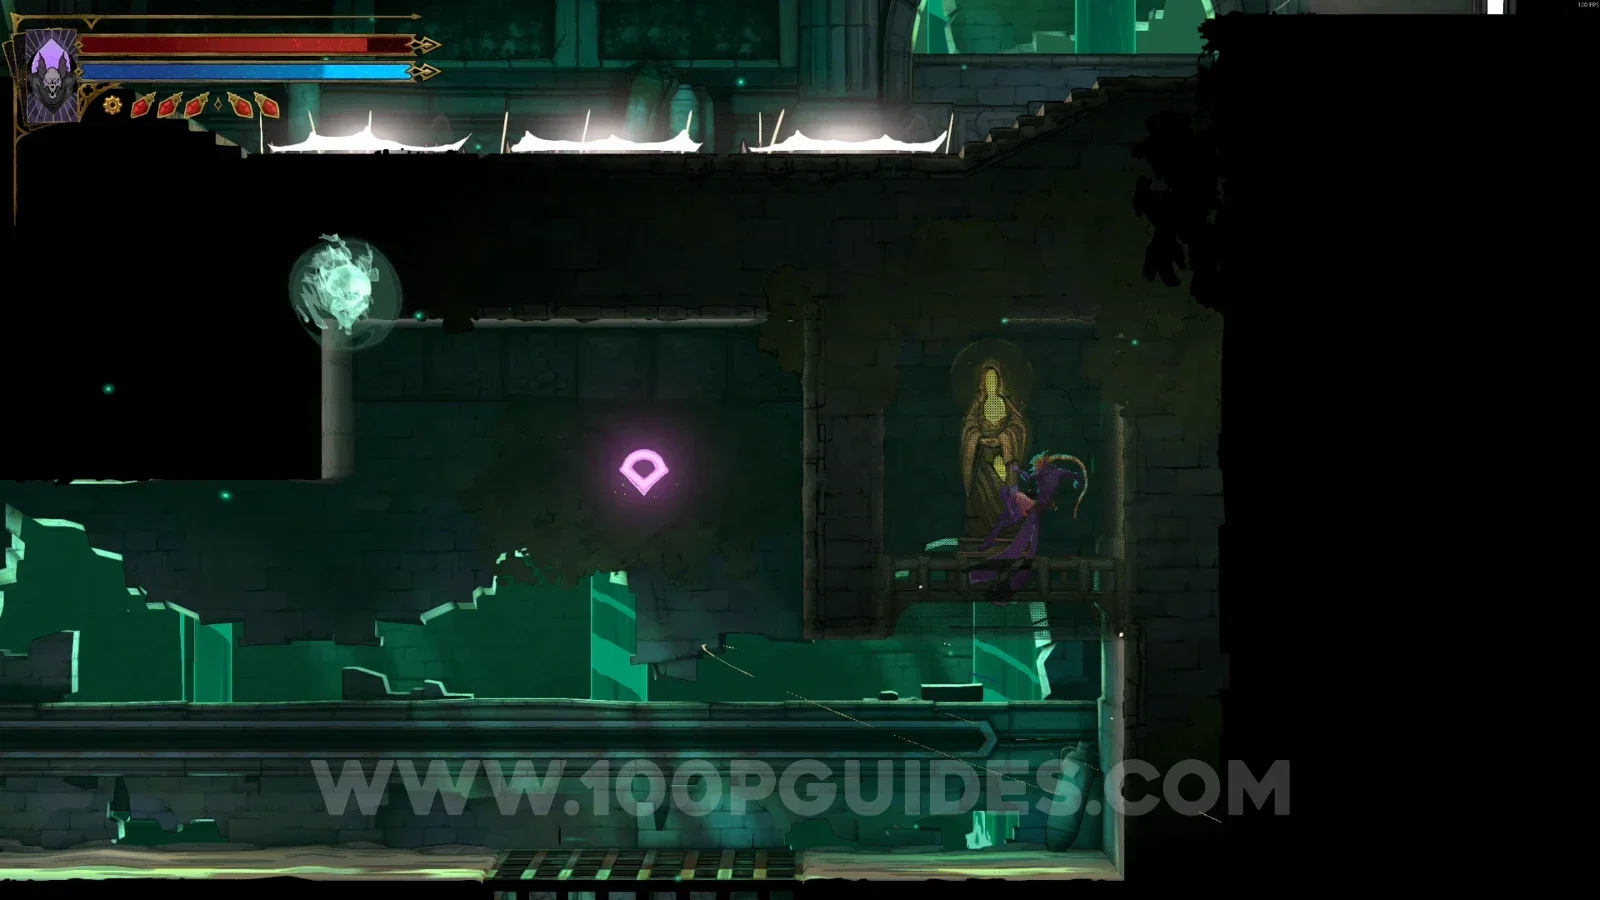
From the area marked on the map, go down and head right. It will be in a small secret room on the right side.

Castlevania Belmonts Curse Hot Springs map marking the area below which XP Statue #41 lies Castlevania Belmonts Curse Hot Springs: XP Statue #41 in a small secret room on the right side

Serpents' Lair

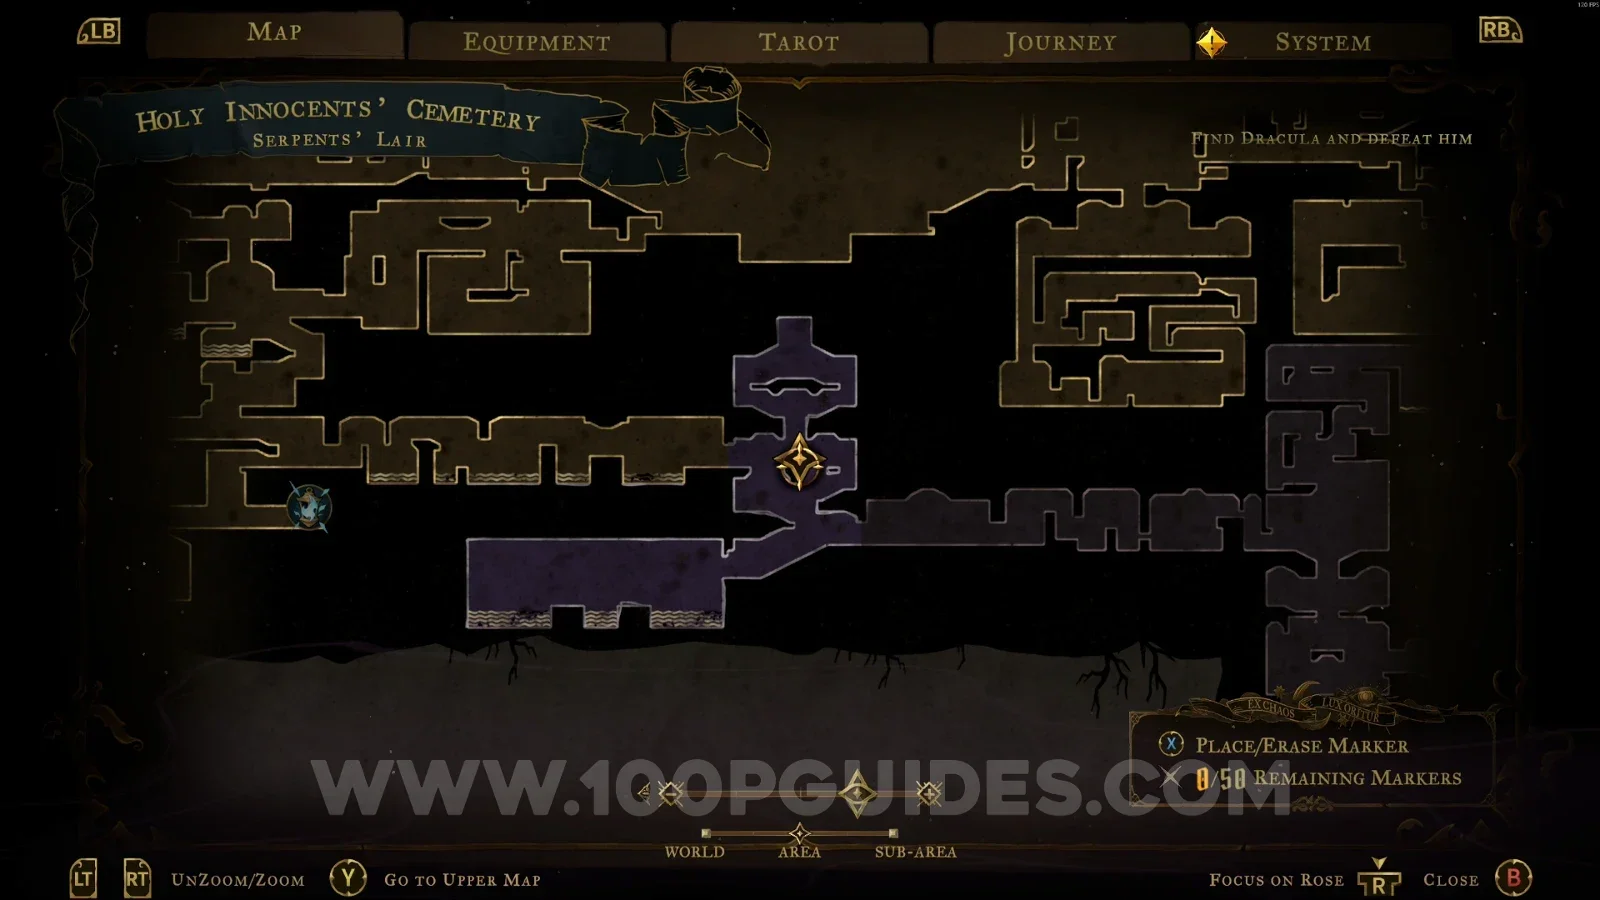
XP Statue #42

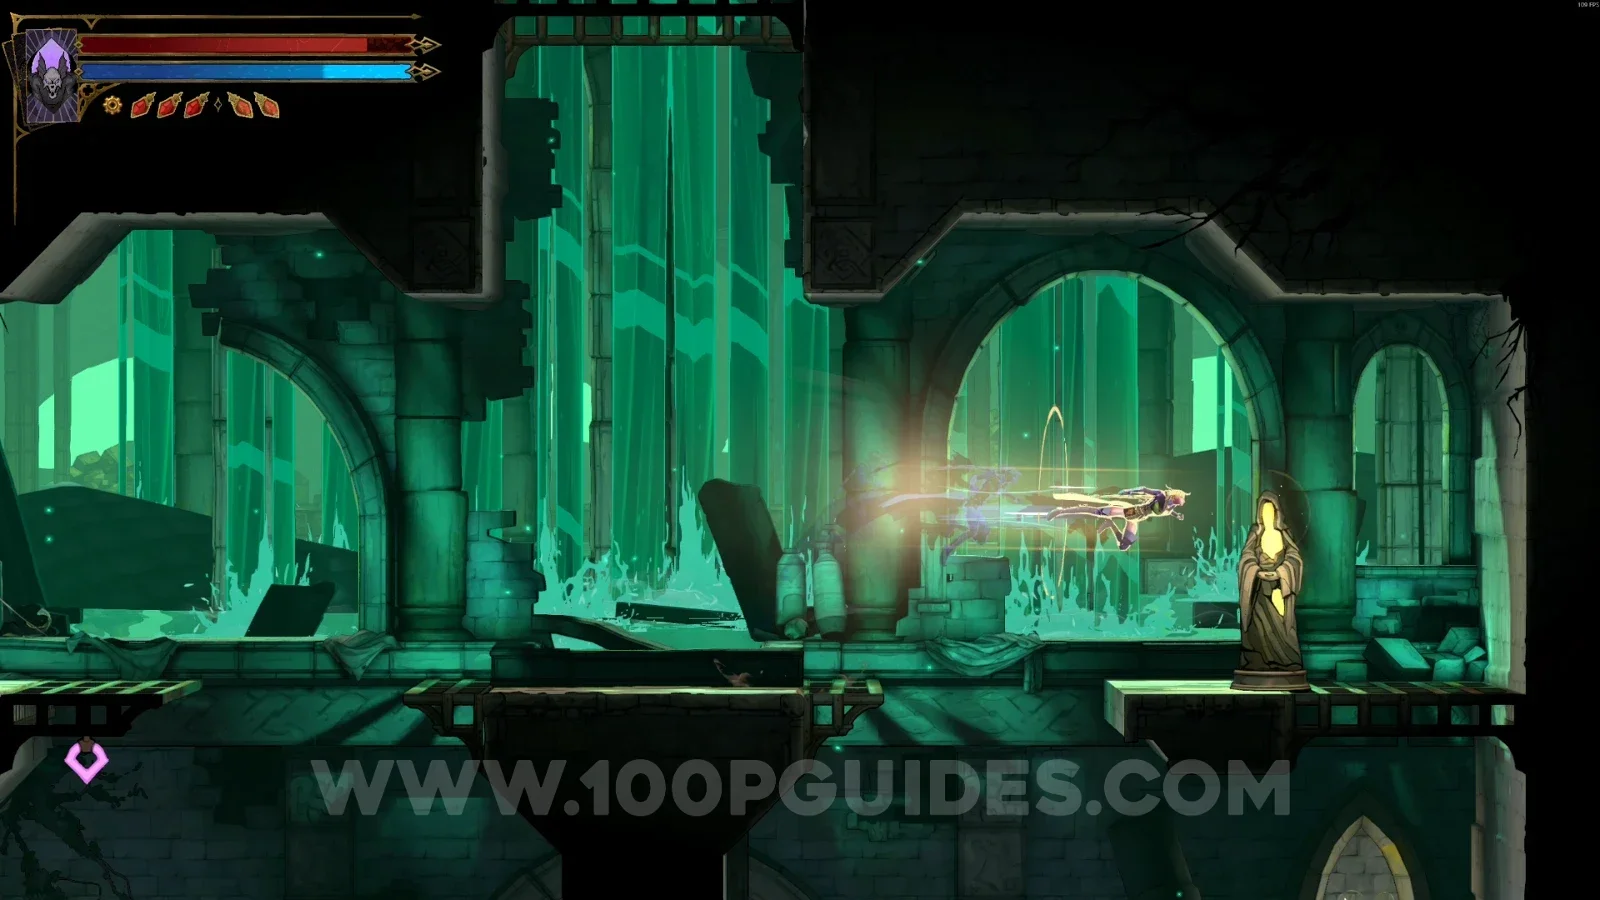
In the area marked on the map.

Castlevania Belmonts Curse Serpents' Lair map with the area of XP Statue #42 marked Castlevania Belmonts Curse Serpents' Lair: XP Statue #42 in the marked area

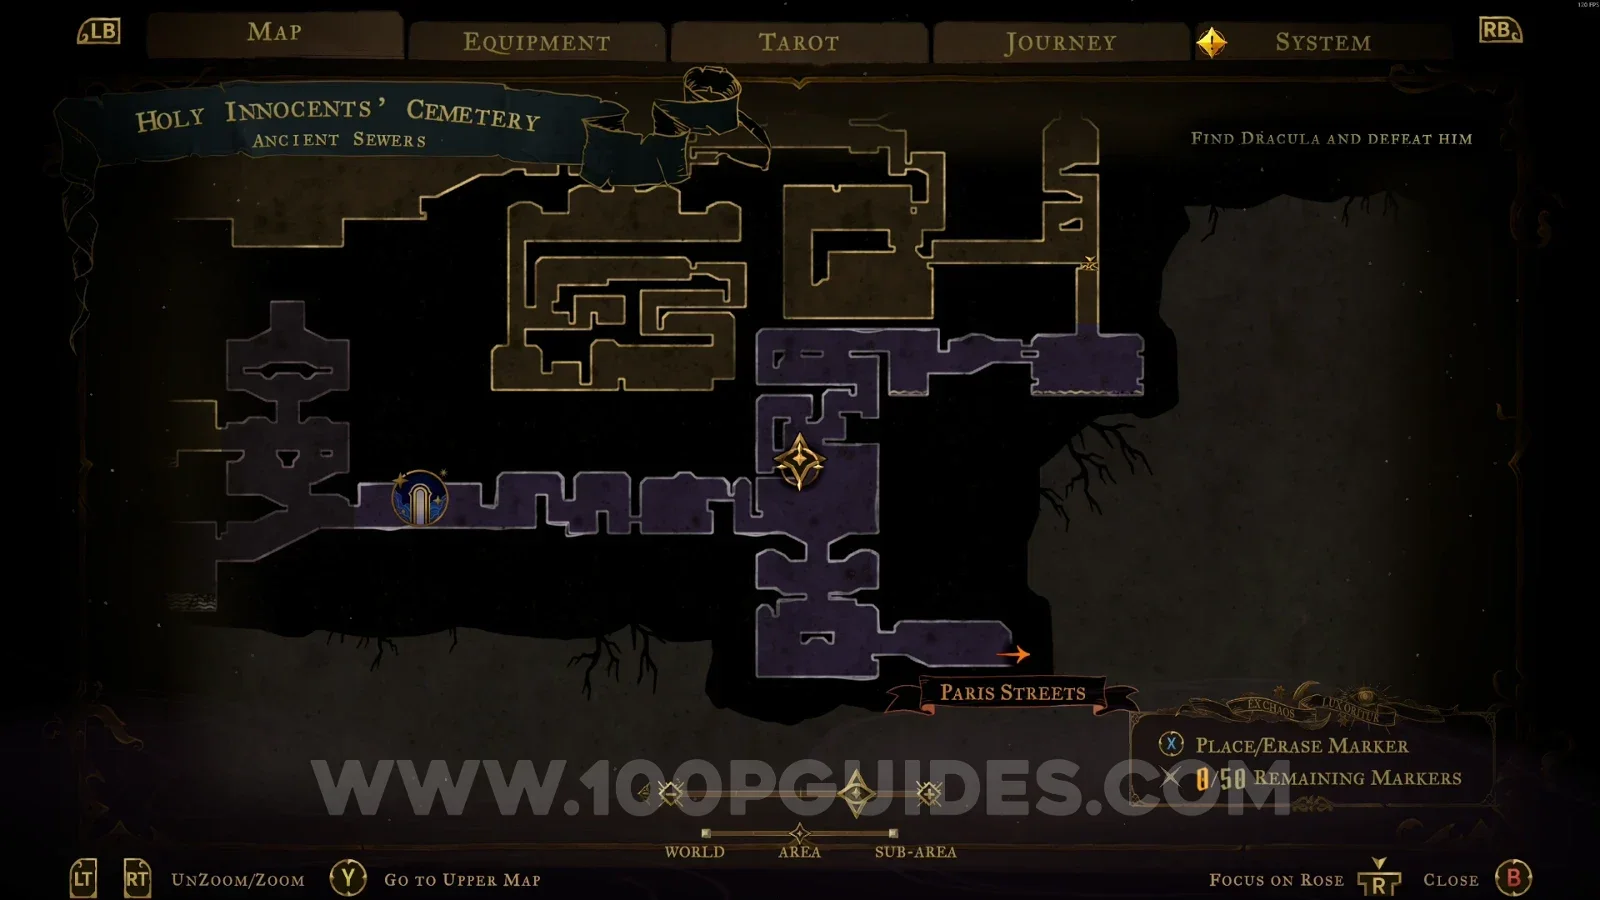
Ancient Sewers

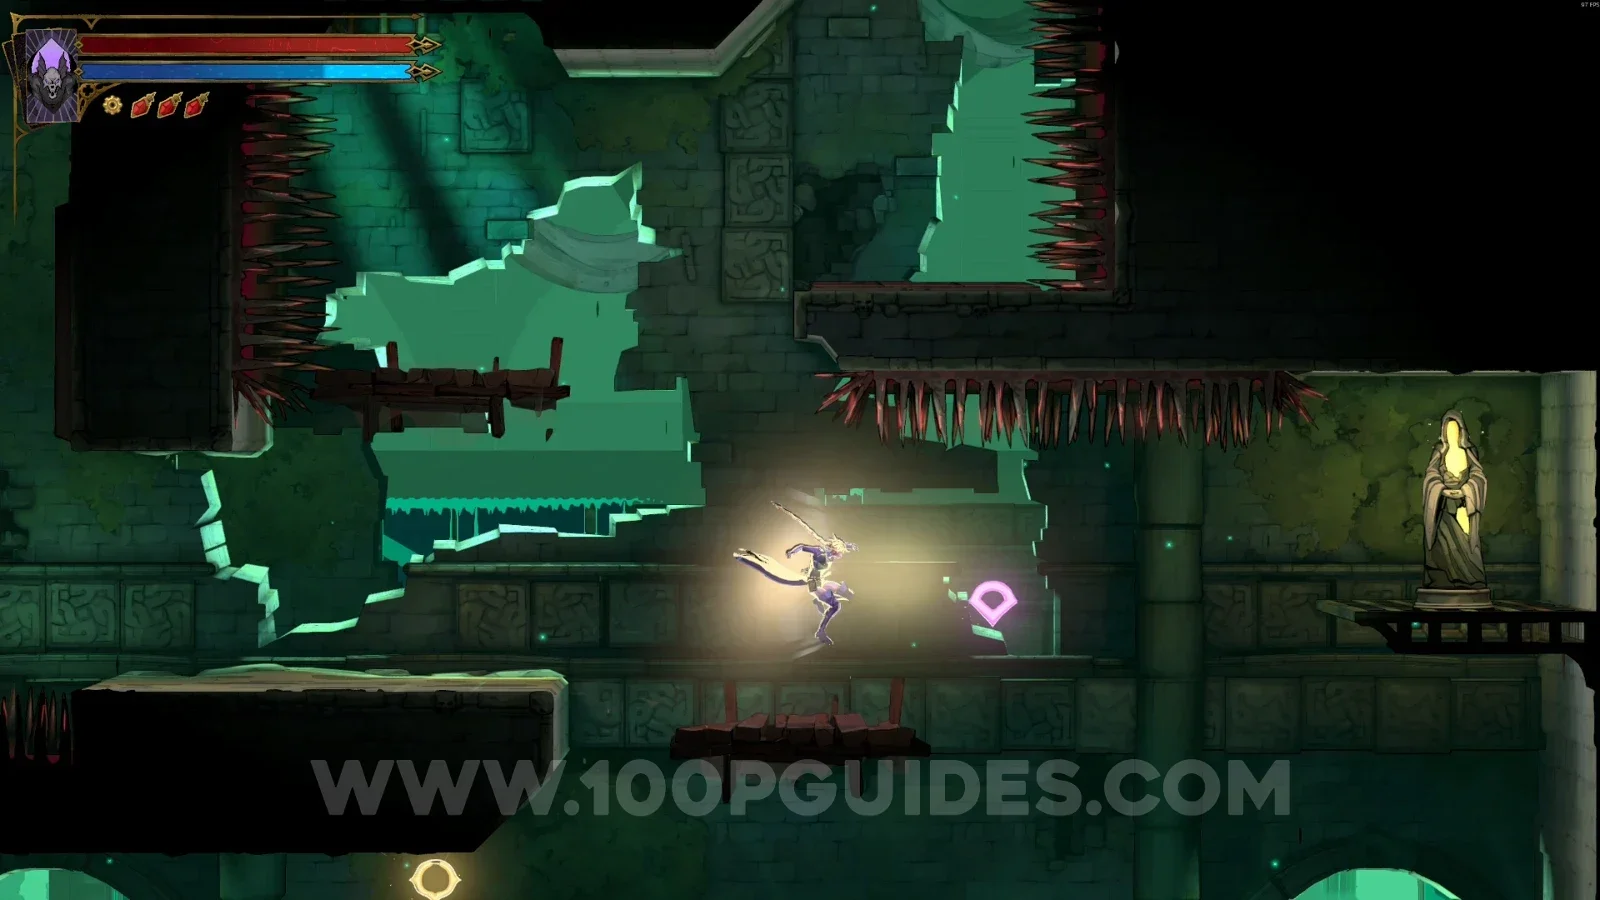
XP Statue #43

In the area marked on the map.

Castlevania Belmonts Curse Ancient Sewers map with the area of XP Statue #43 marked Castlevania Belmonts Curse Ancient Sewers: XP Statue #43 in the marked area

Catacombs Of Paris

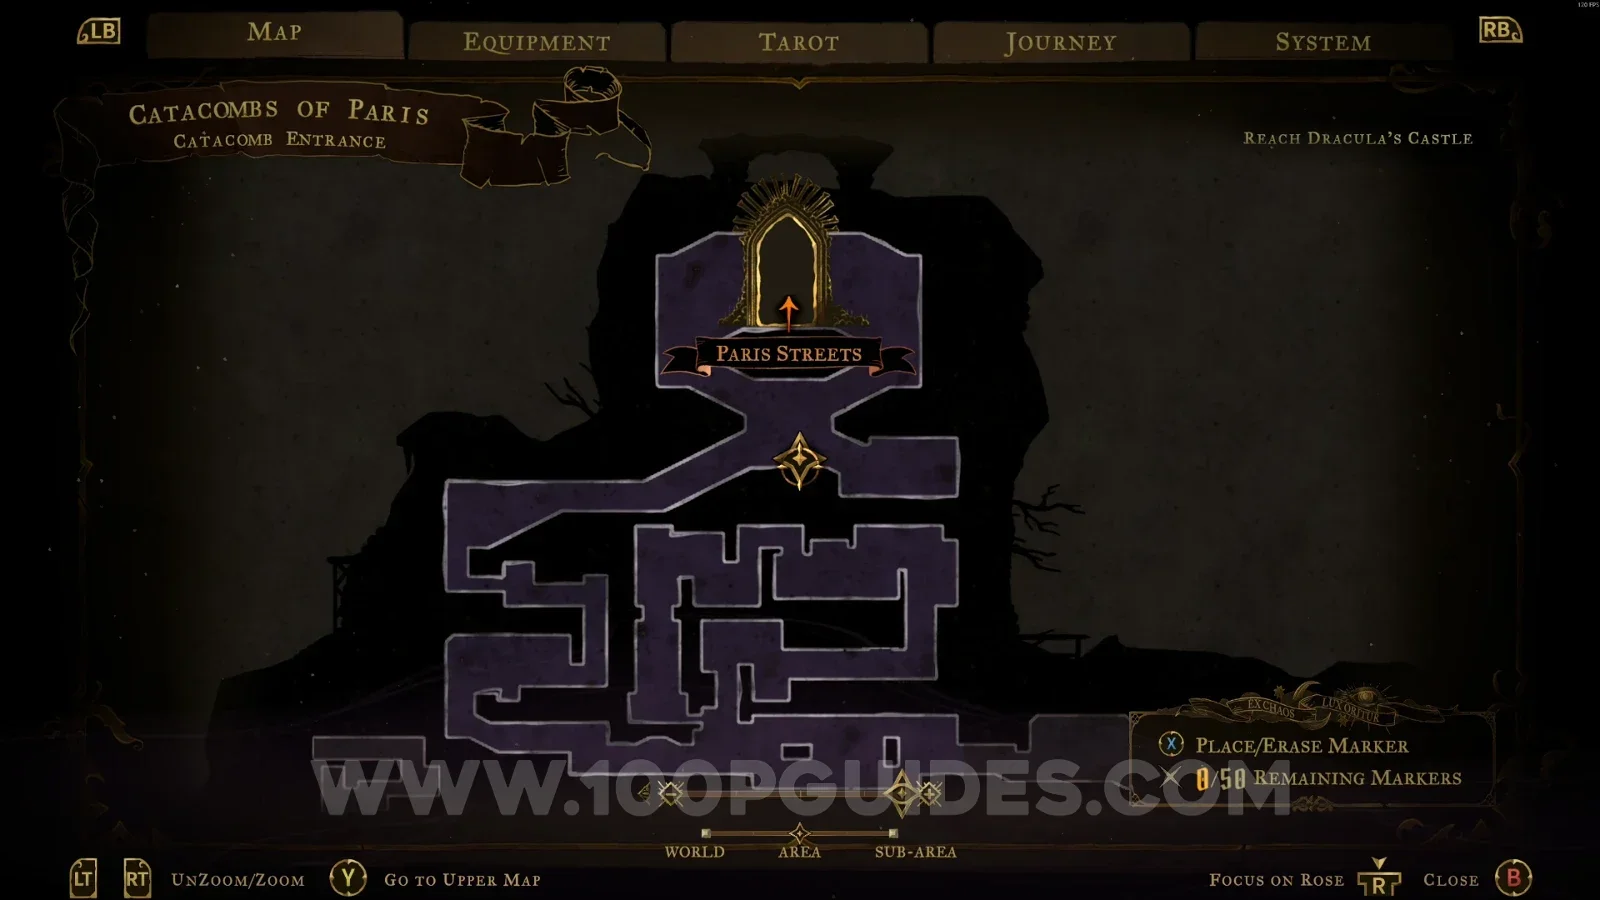
Catacomb Entrance

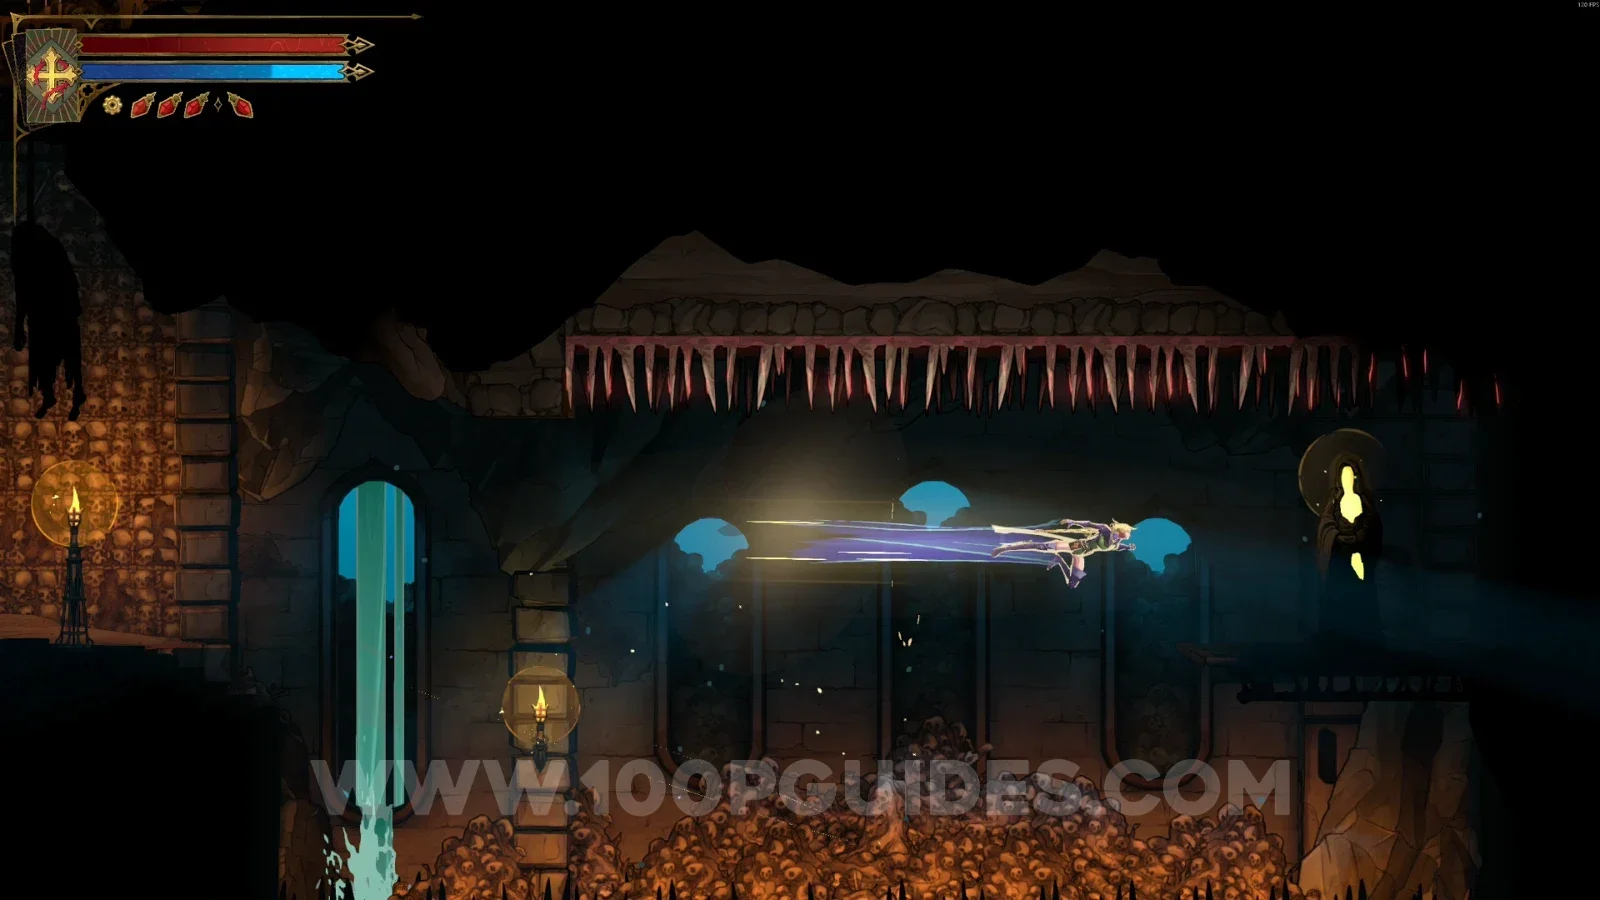
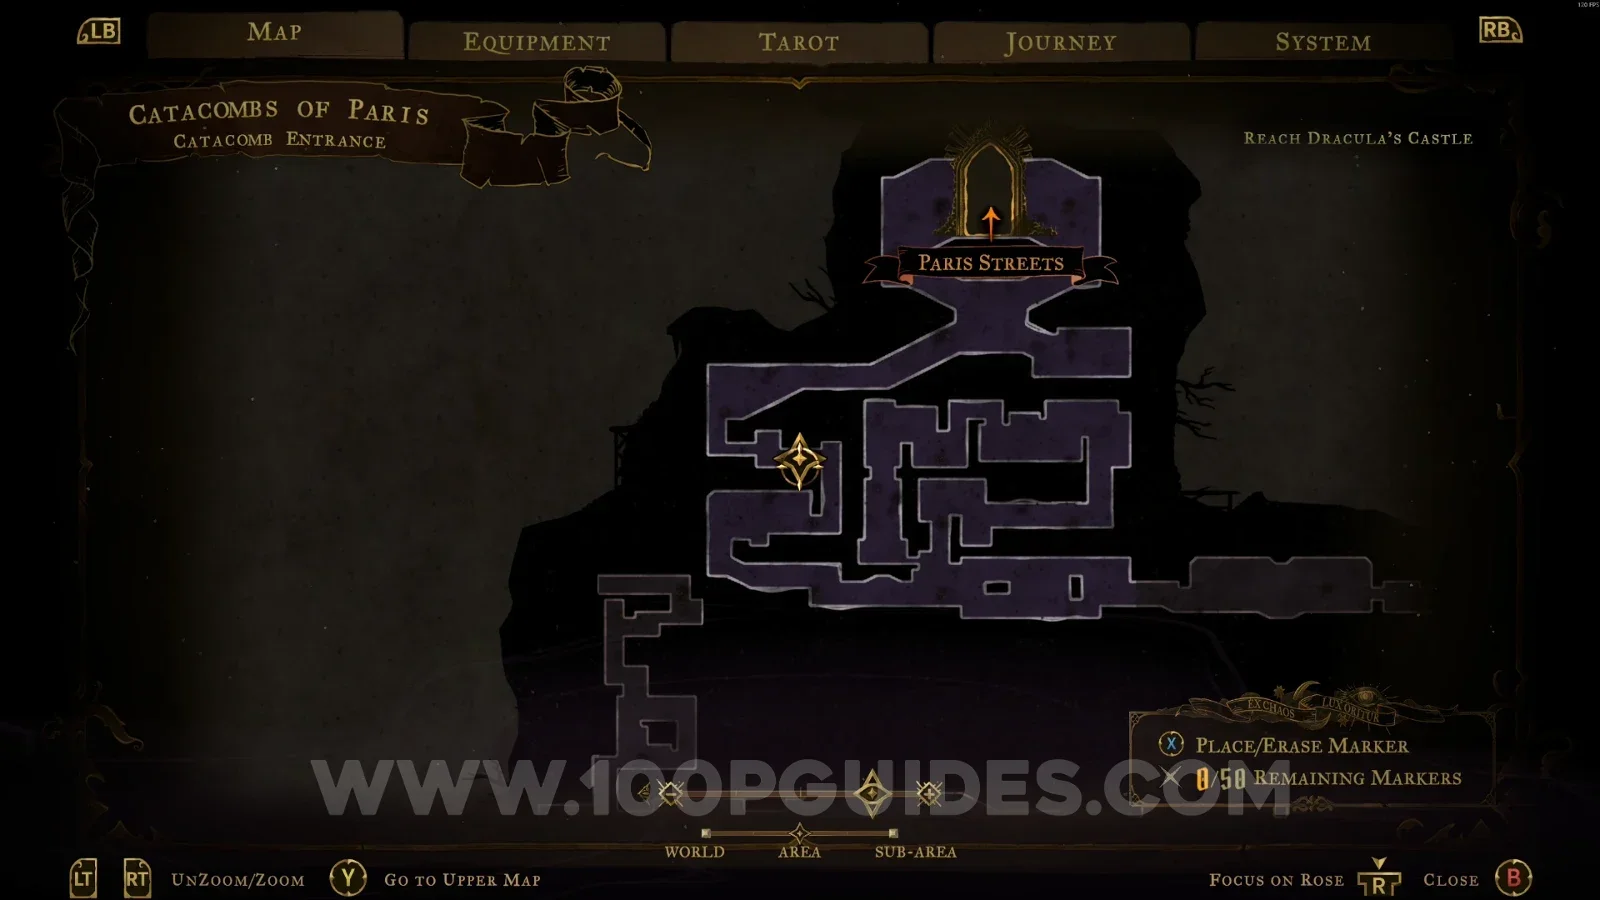
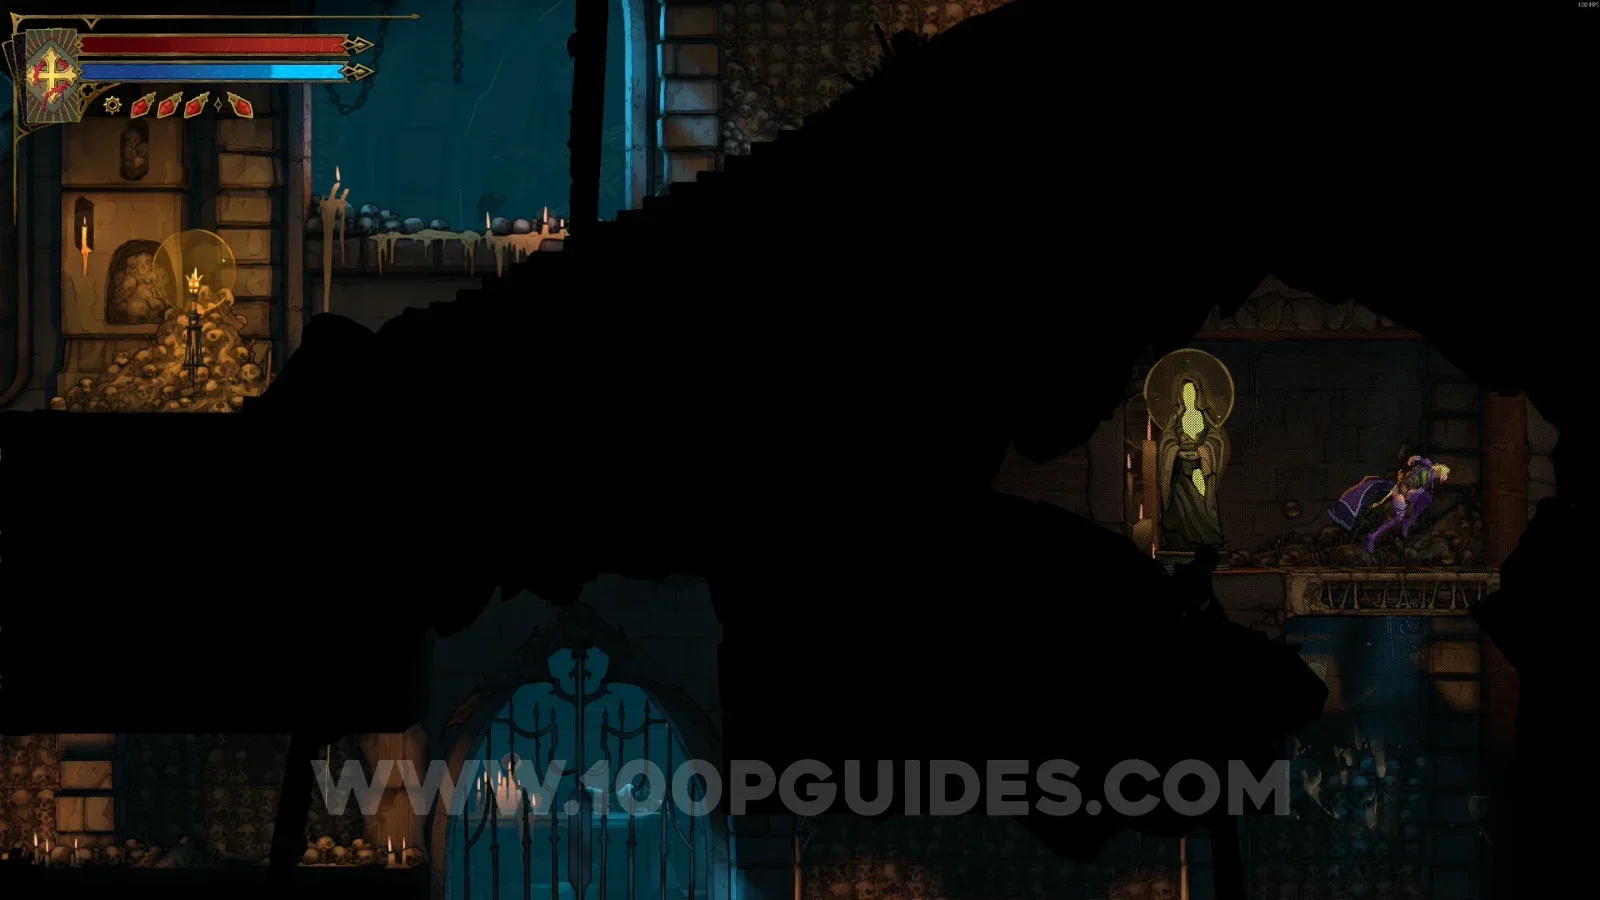
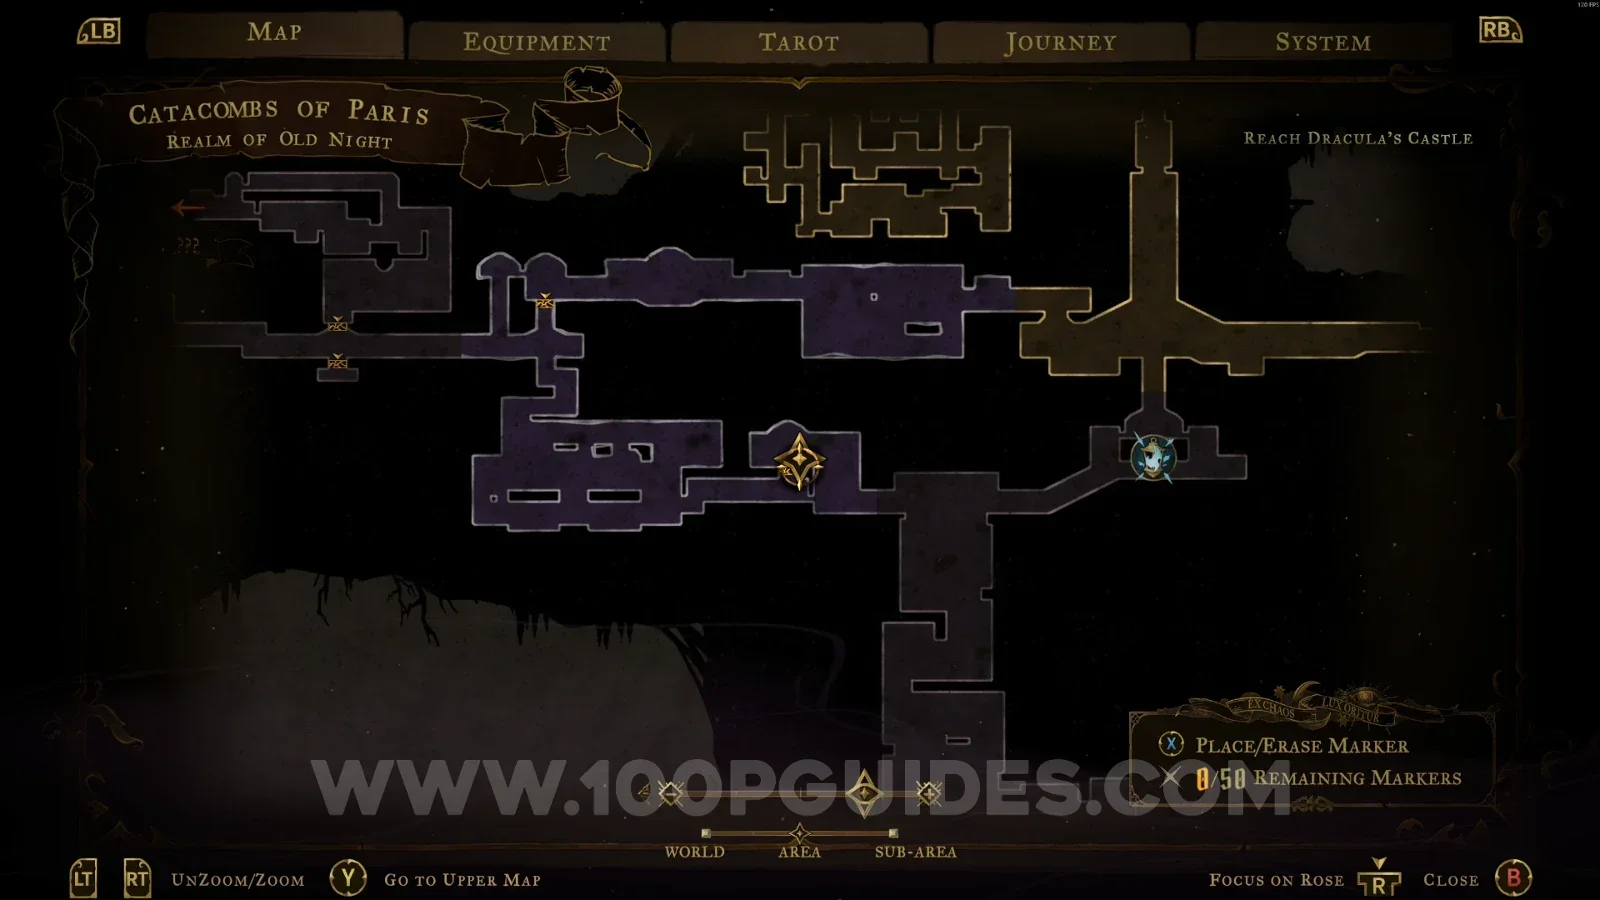
XP Statue #44

On the right side of the area marked on the map.

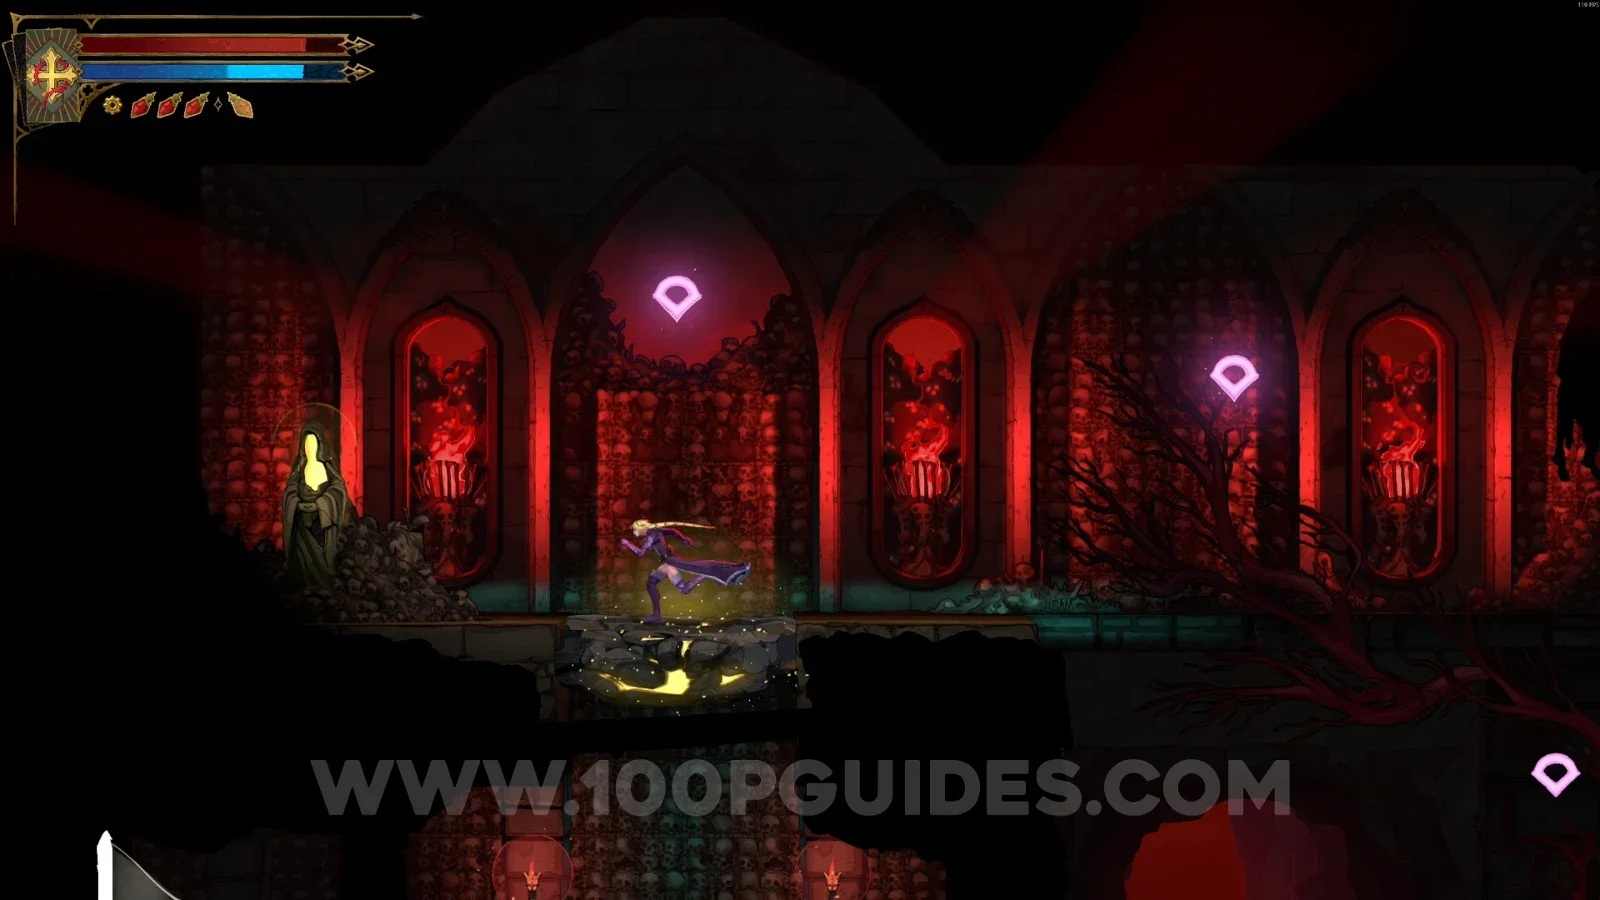
Castlevania Belmonts Curse Catacomb Entrance map with the area of XP Statue #44 marked Castlevania Belmonts Curse Catacomb Entrance: XP Statue #44 on the right side of the marked area

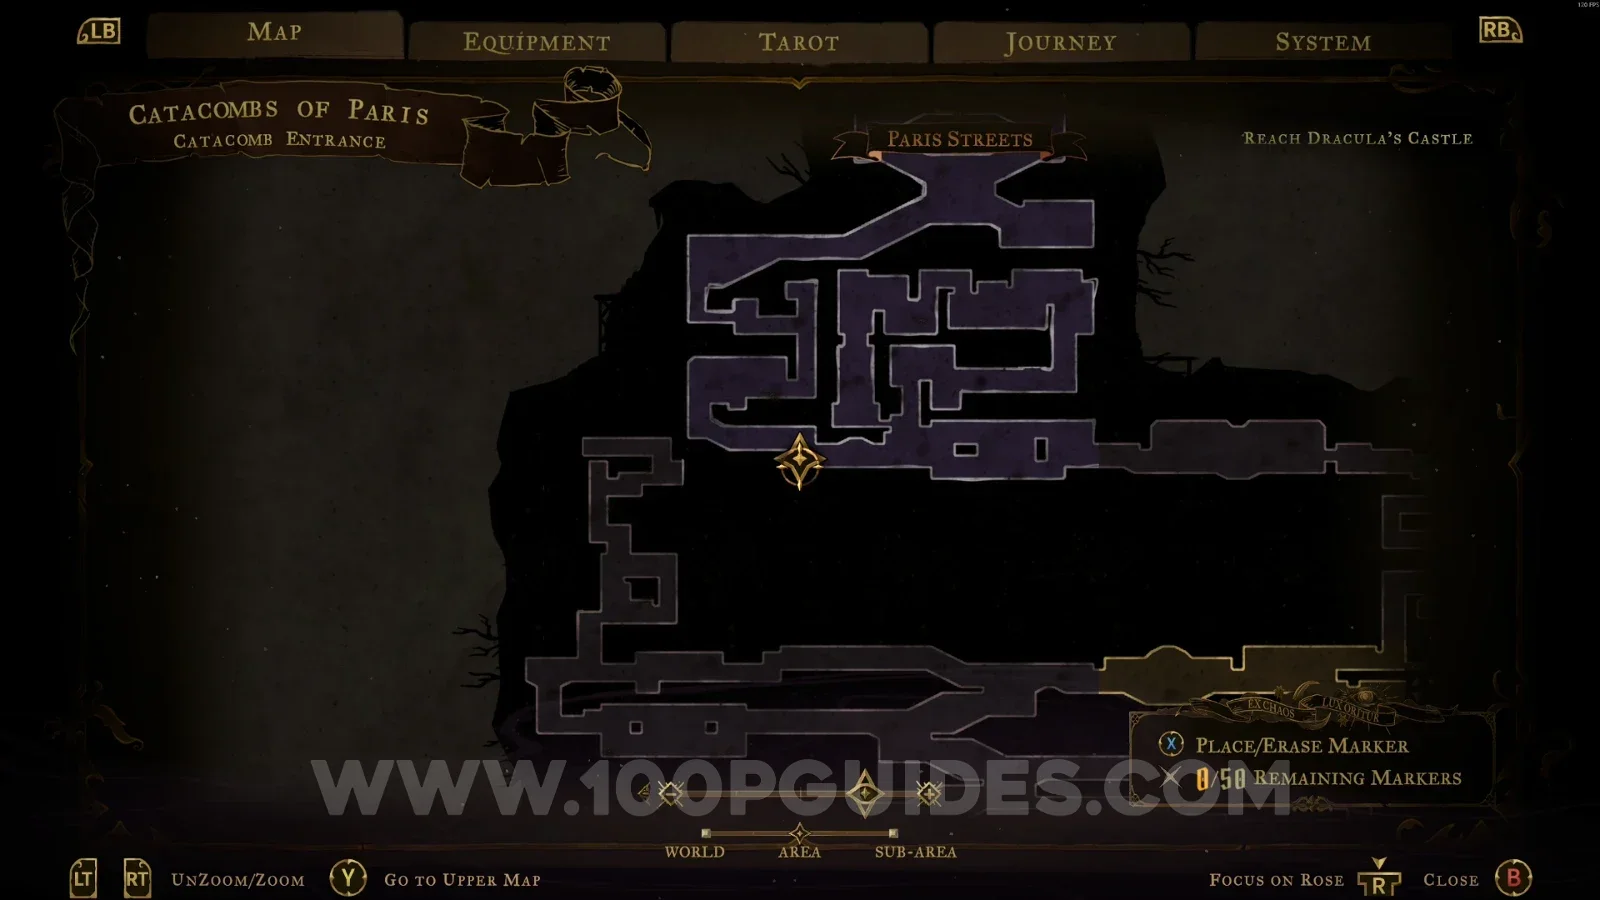
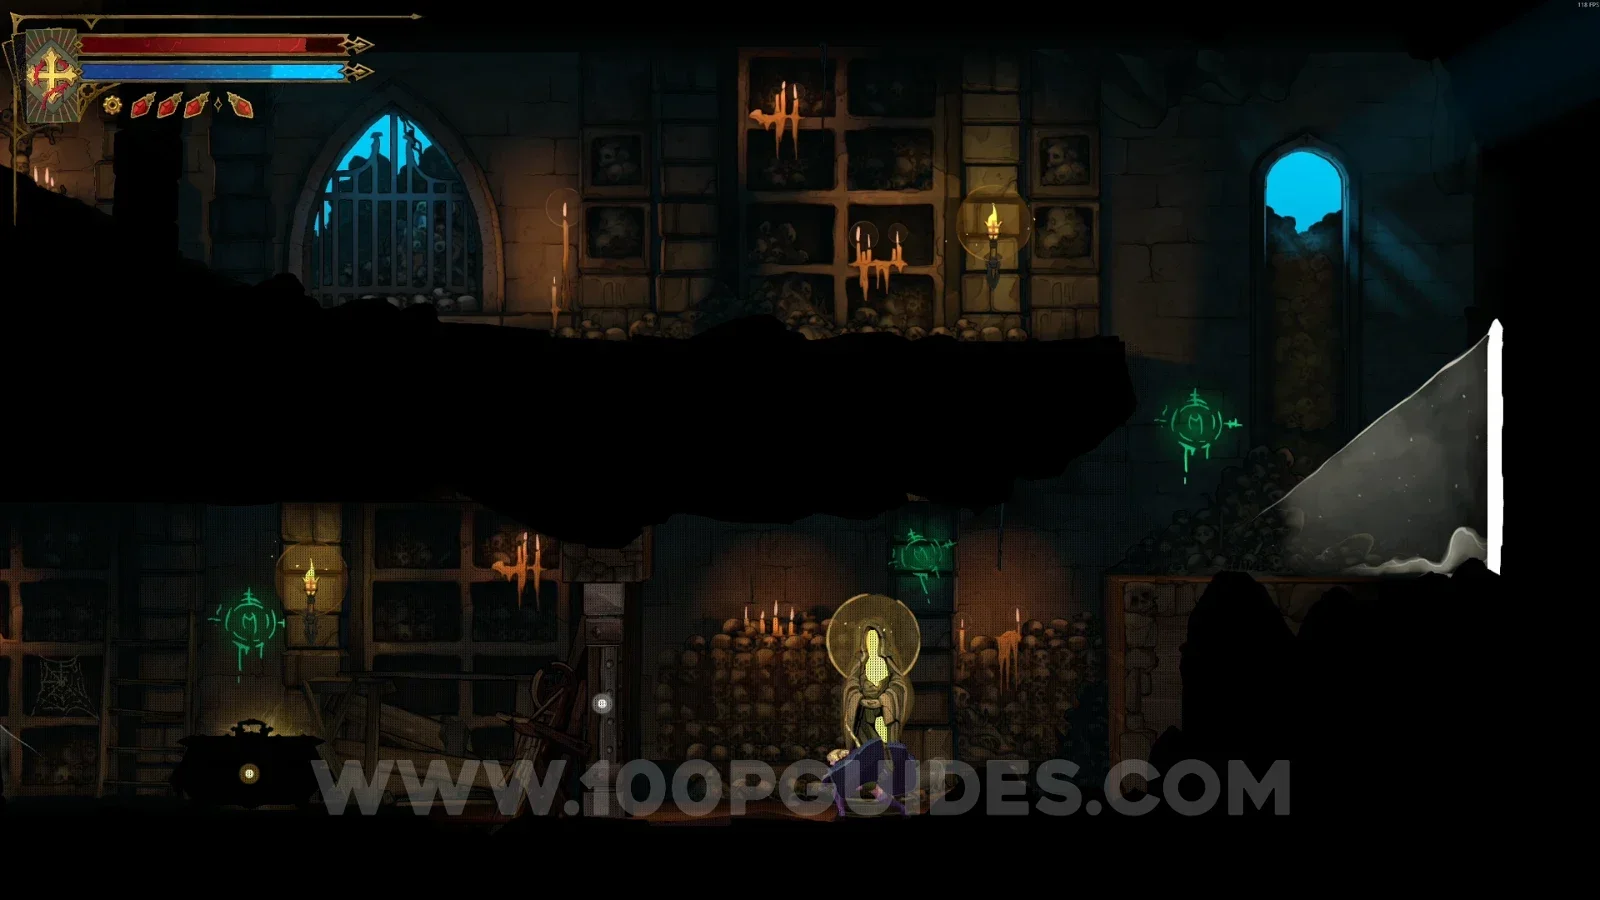
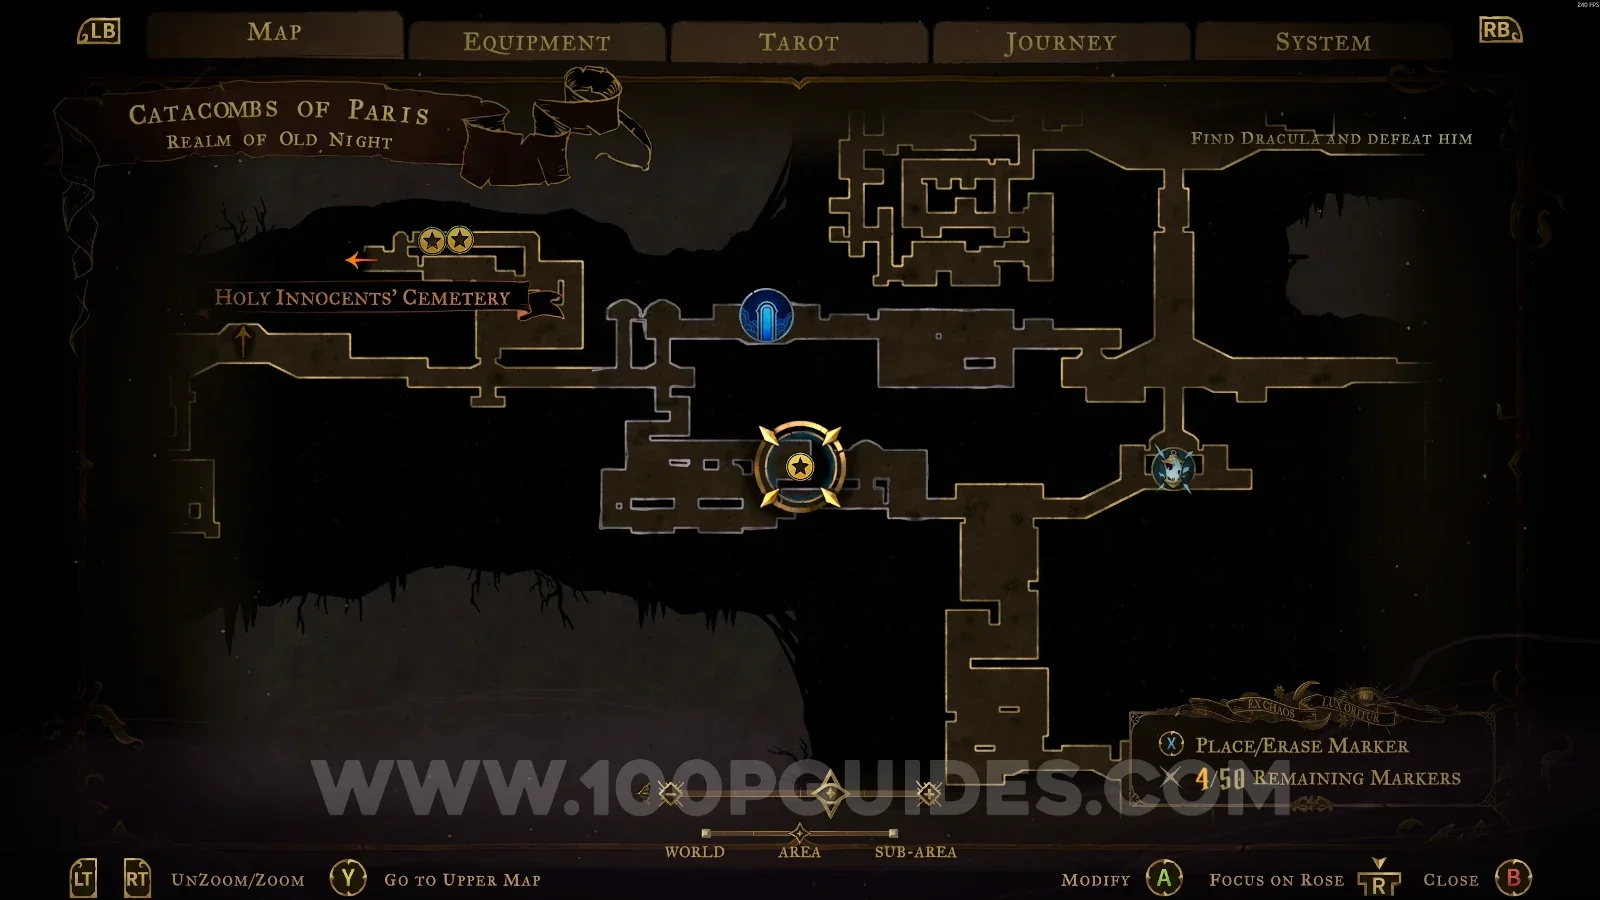
XP Statue #45

From the area marked on the map, head right and climb to the top of the platform to reveal a secret area with the statue.

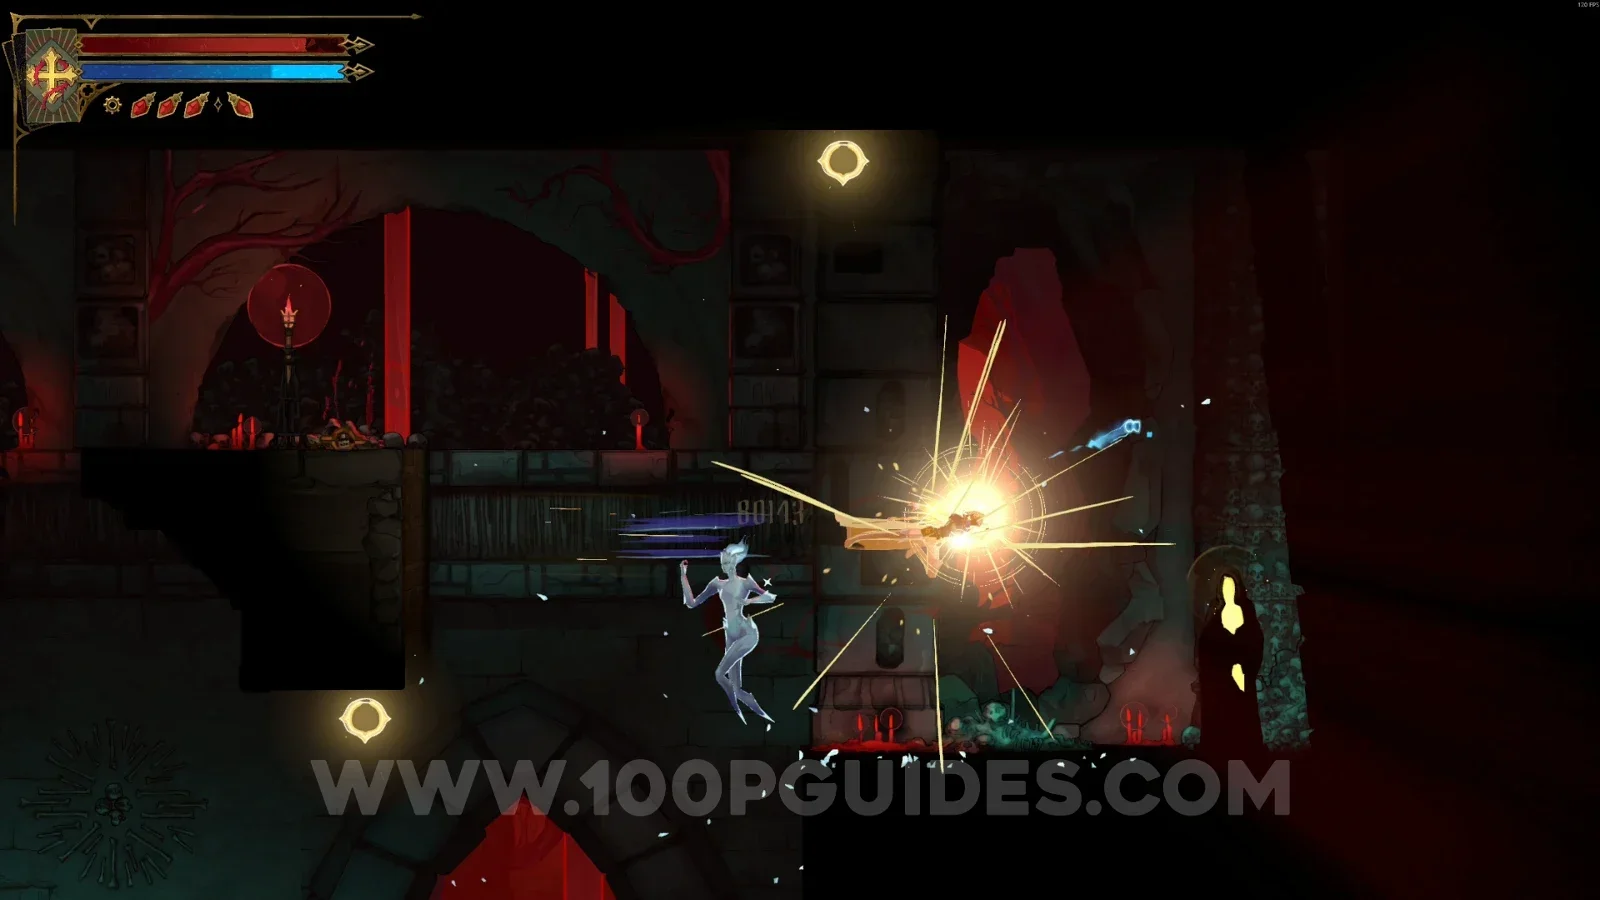
Castlevania Belmonts Curse Catacomb Entrance map marking the area to the left of XP Statue #45 Castlevania Belmonts Curse Catacomb Entrance: XP Statue #45 in a secret area atop the platform

XP Statue #46

In the area marked on the map, use the slide to reveal the room.

Castlevania Belmonts Curse Catacomb Entrance map with the area of XP Statue #46 marked Castlevania Belmonts Curse Catacomb Entrance: XP Statue #46 in the room revealed with the slide

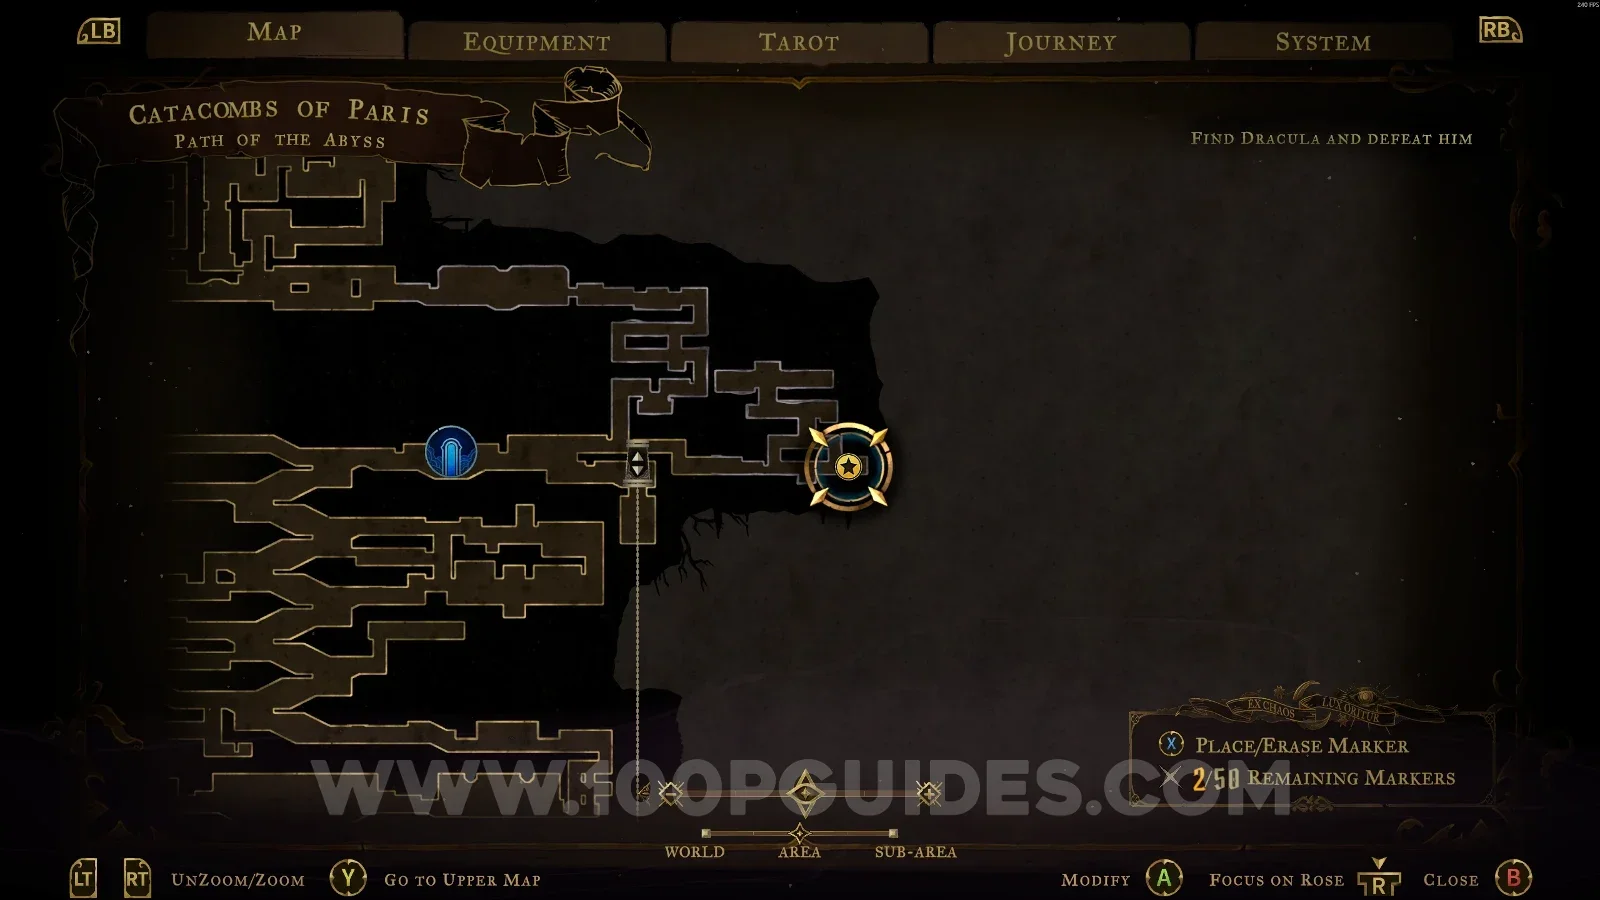
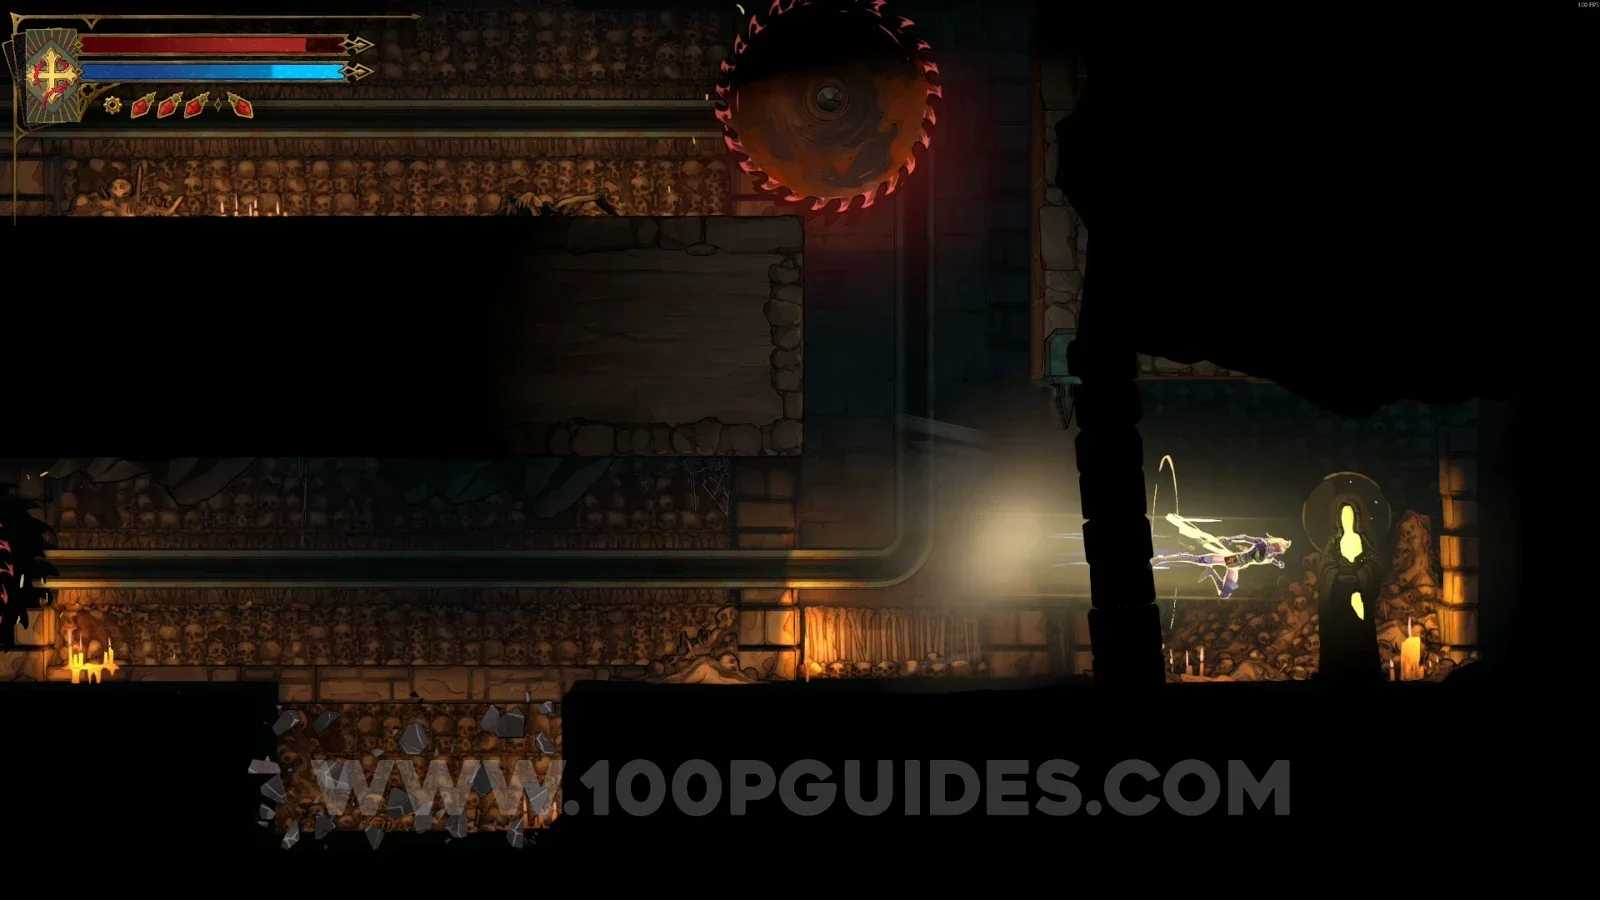
Path Of The Abyss

XP Statue #47

In the area marked on the map. You'll have to interact with the lever at the top of the area first.

Castlevania Belmonts Curse Path Of The Abyss map with the area of XP Statue #47 marked Castlevania Belmonts Curse Path Of The Abyss: XP Statue #47, opened with the lever at the top

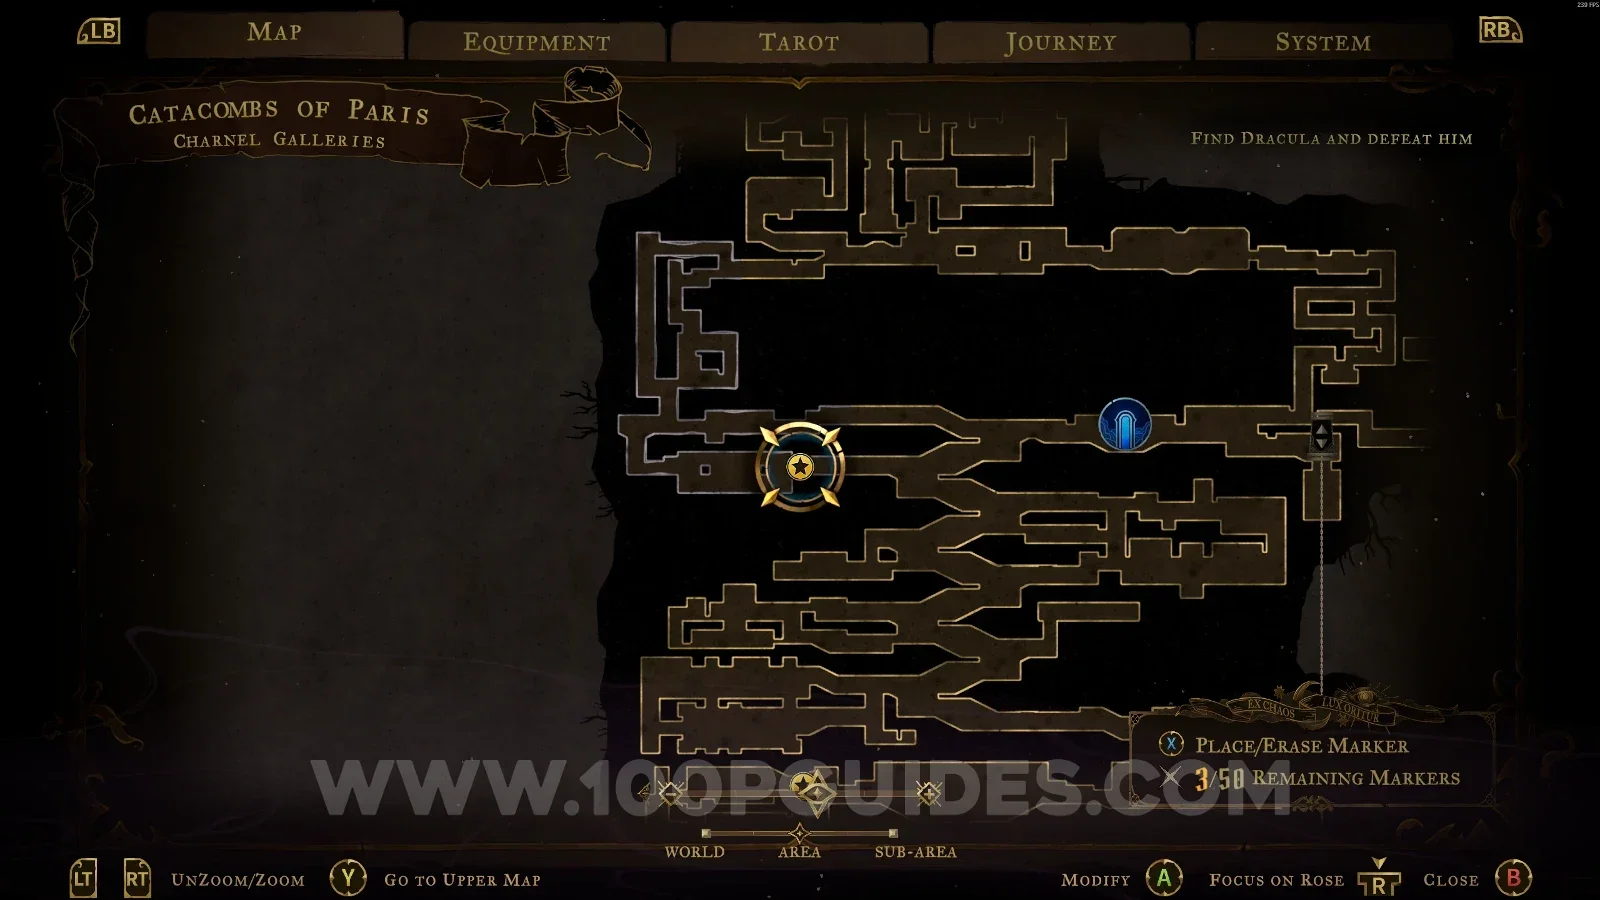
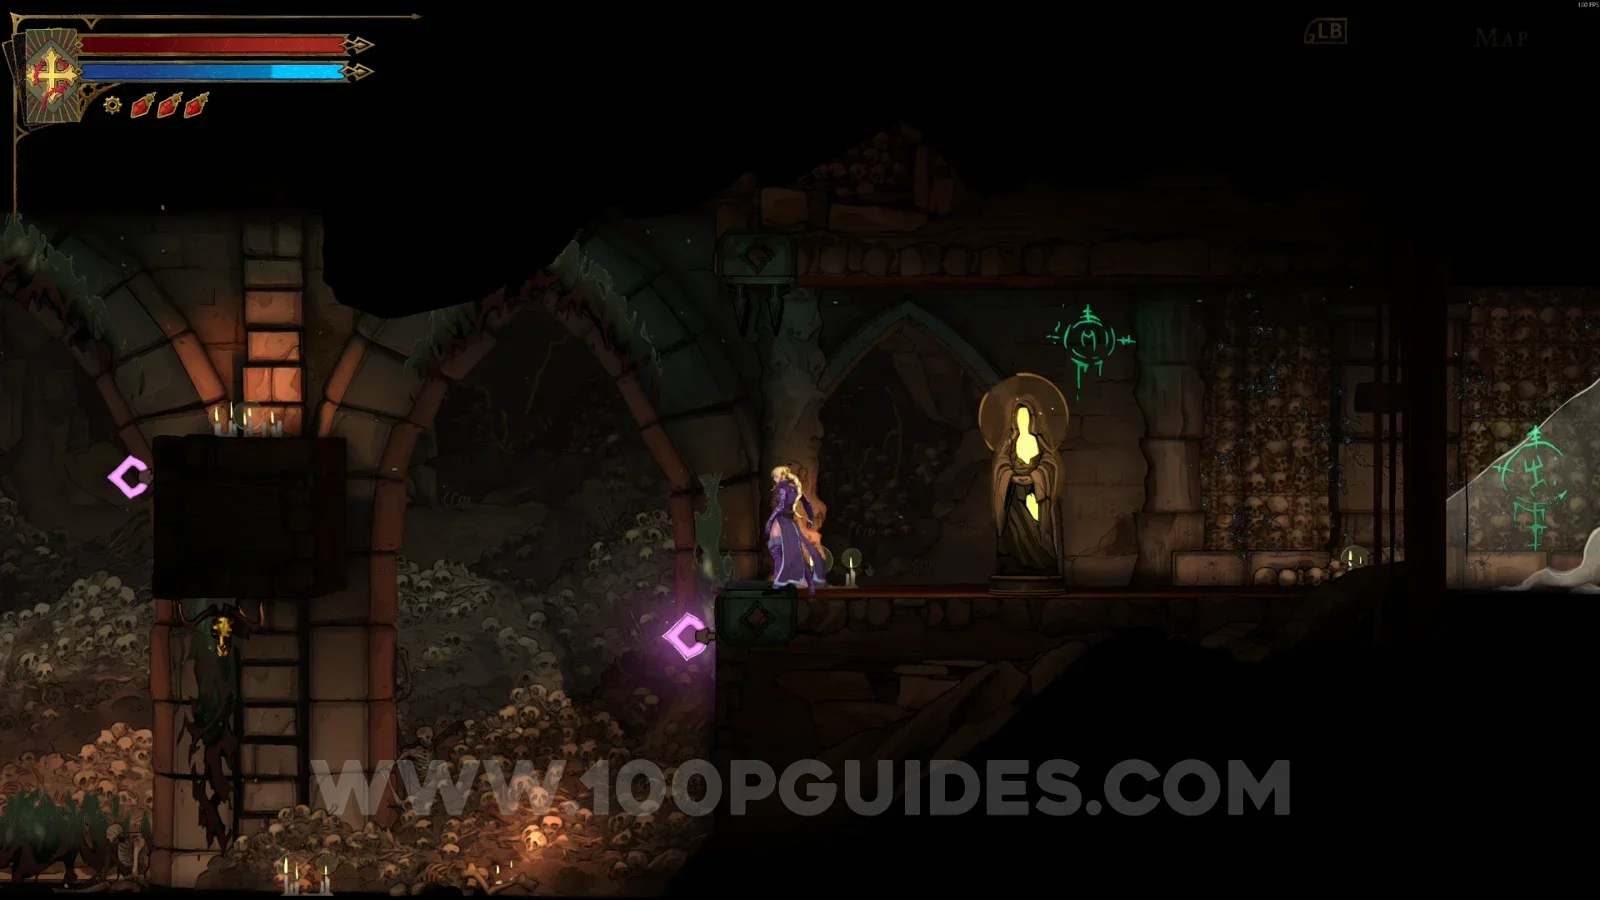
Charnel Galleries

XP Statue #48

In the area marked on the map.

Castlevania Belmonts Curse Charnel Galleries map with the area of XP Statue #48 marked Castlevania Belmonts Curse Charnel Galleries: XP Statue #48 in the marked area

Gallery Of Teeth

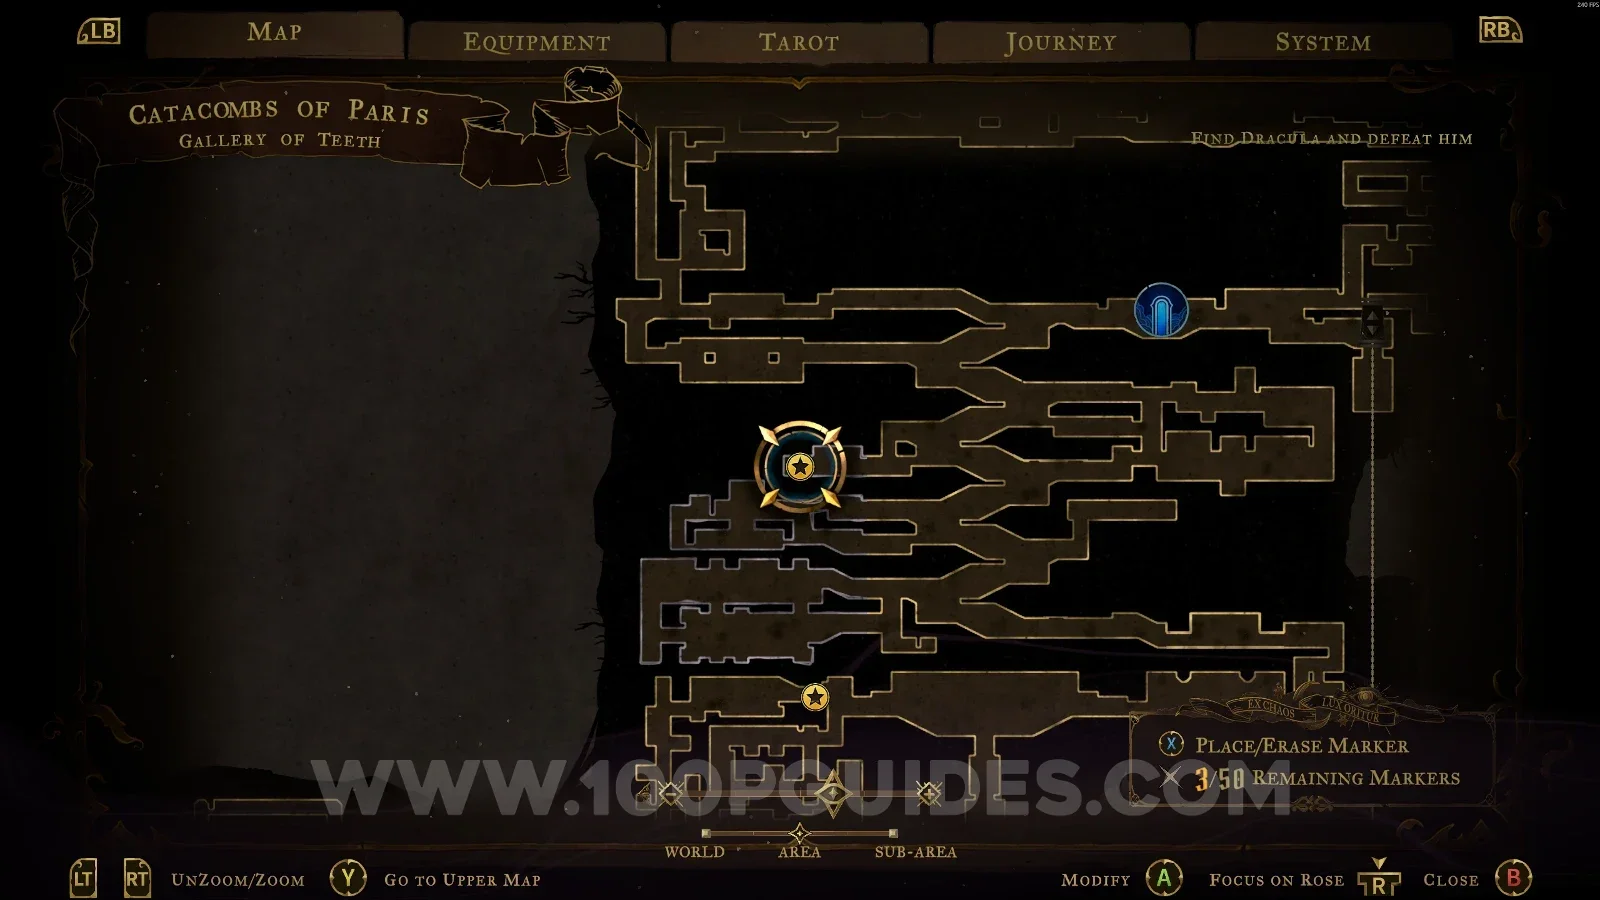
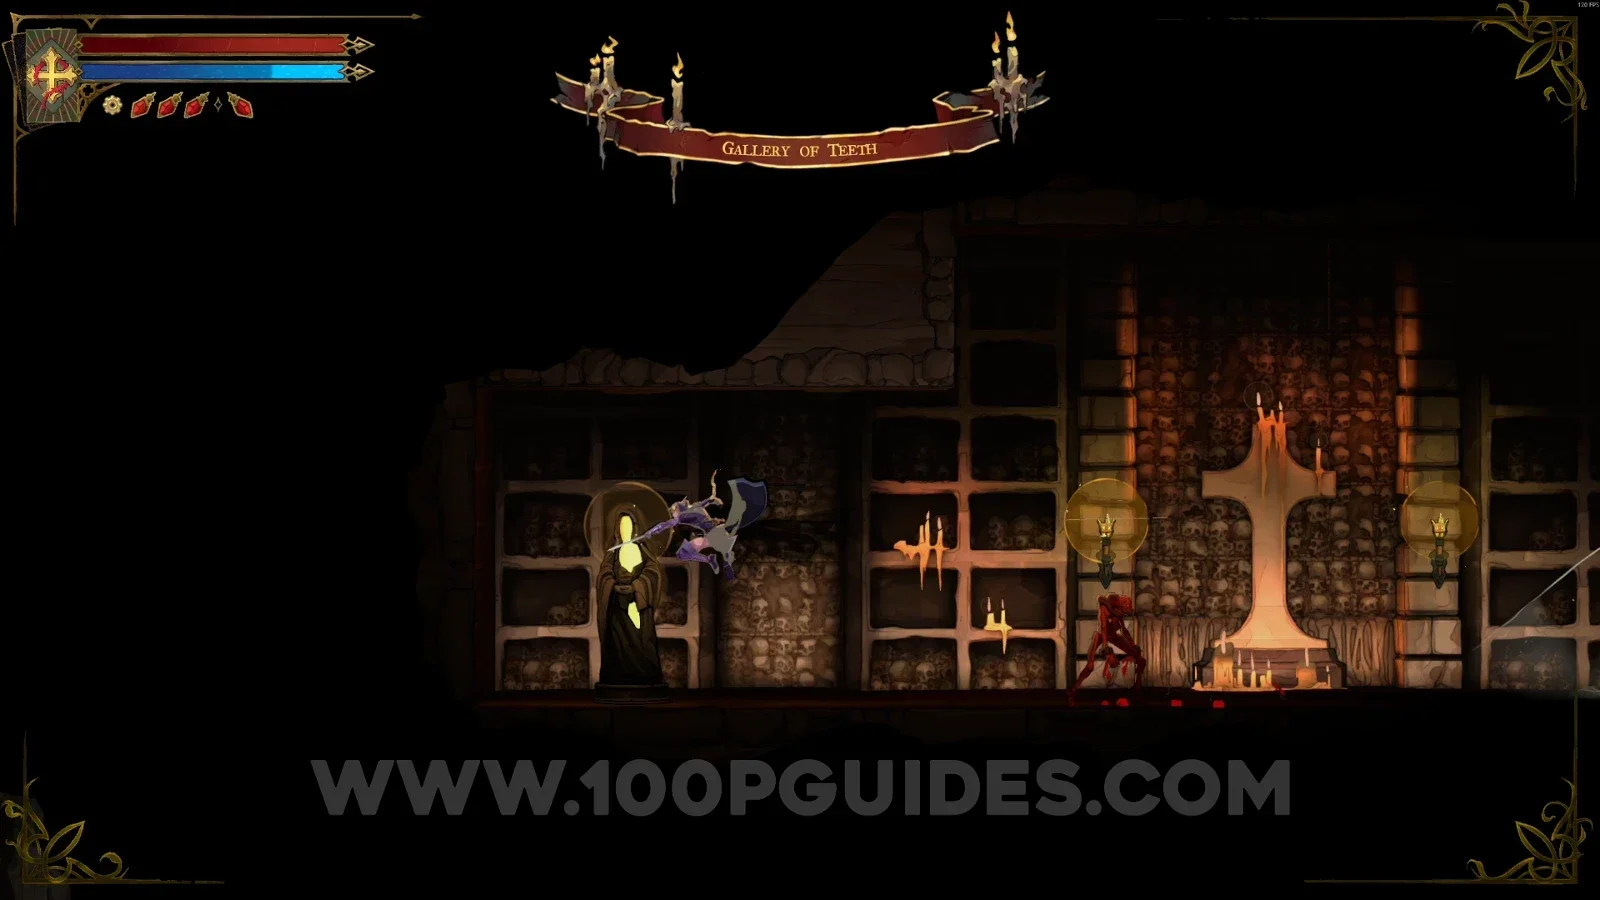
XP Statue #49

In the area marked on the map.

Castlevania Belmonts Curse Gallery Of Teeth map with the area of XP Statue #49 marked Castlevania Belmonts Curse Gallery Of Teeth: XP Statue #49 in the marked area

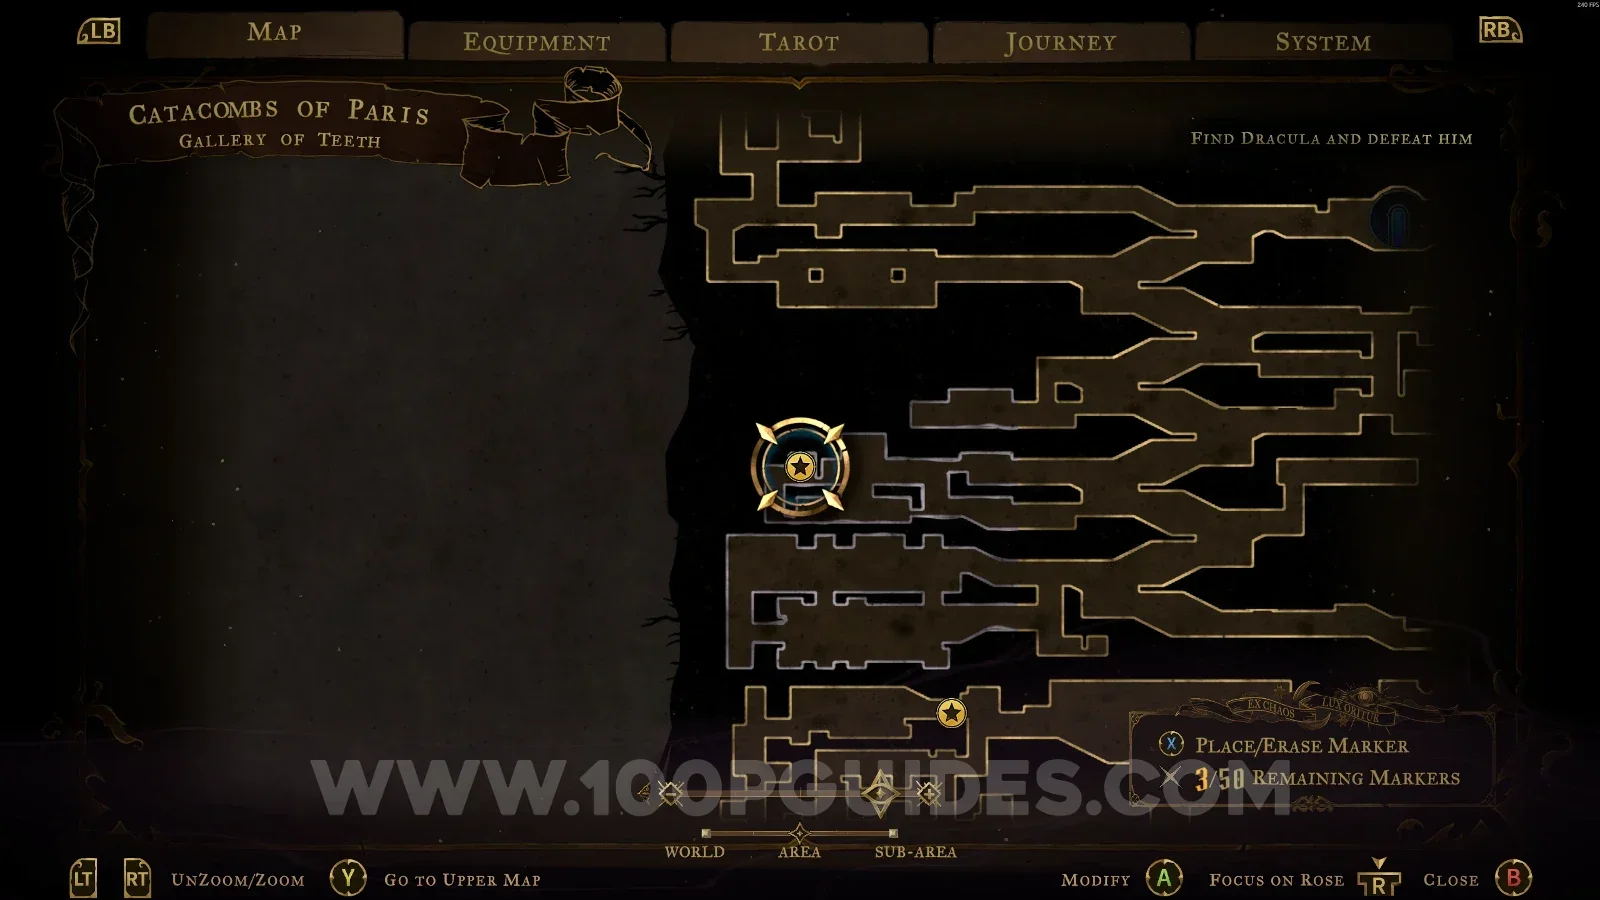
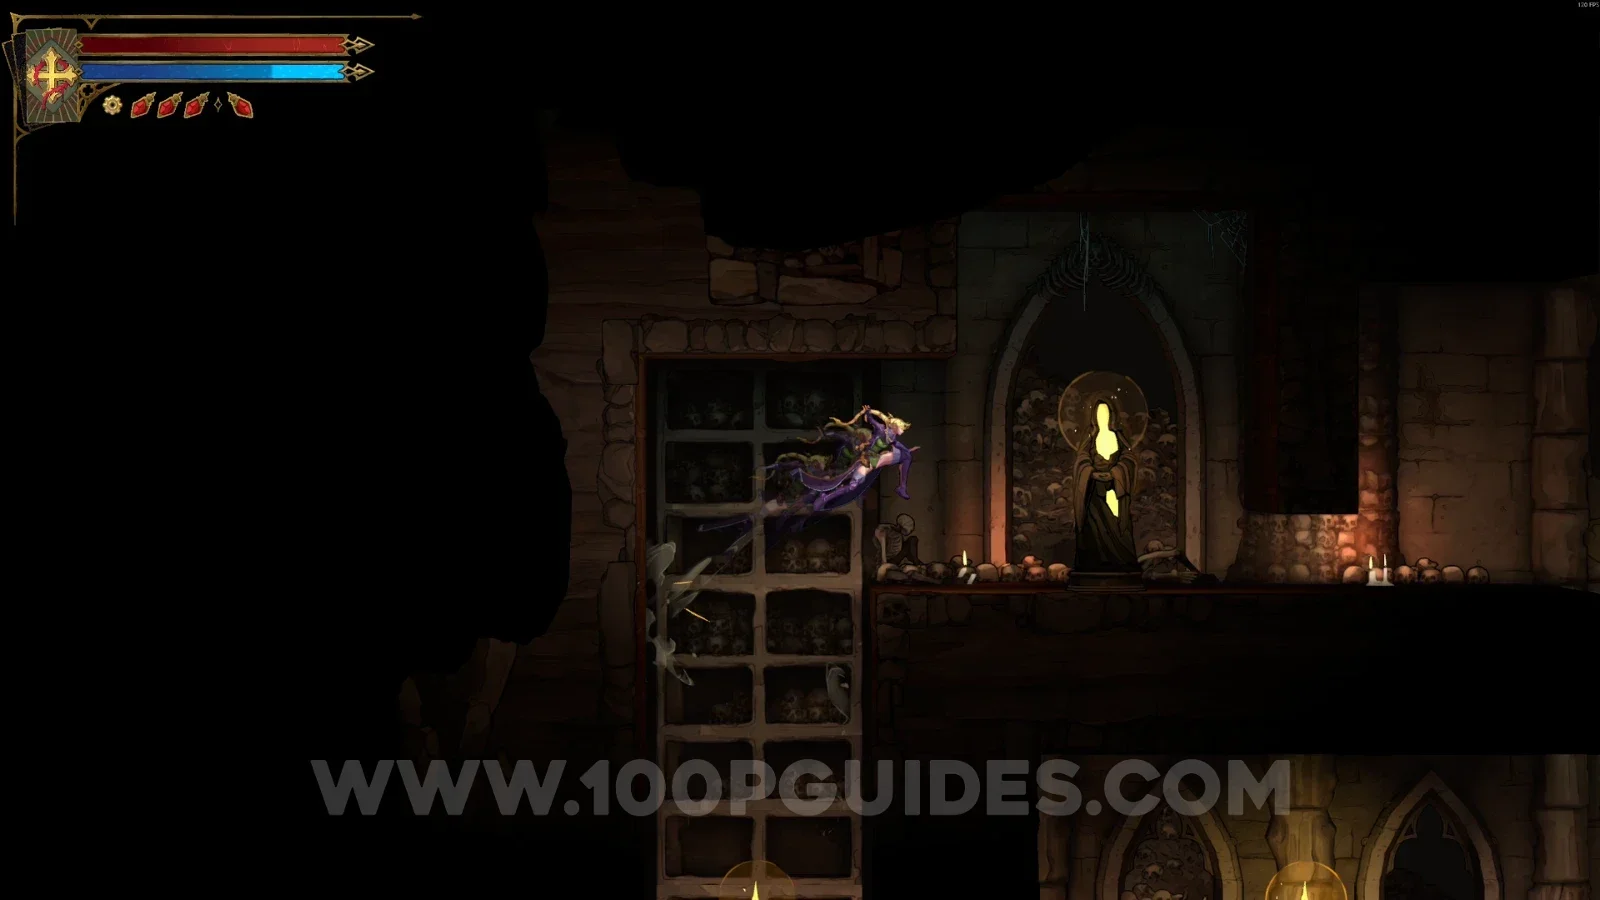
XP Statue #50

In the area marked on the map.

Castlevania Belmonts Curse Gallery Of Teeth map with the area of XP Statue #50 marked Castlevania Belmonts Curse Gallery Of Teeth: XP Statue #50 in the marked area

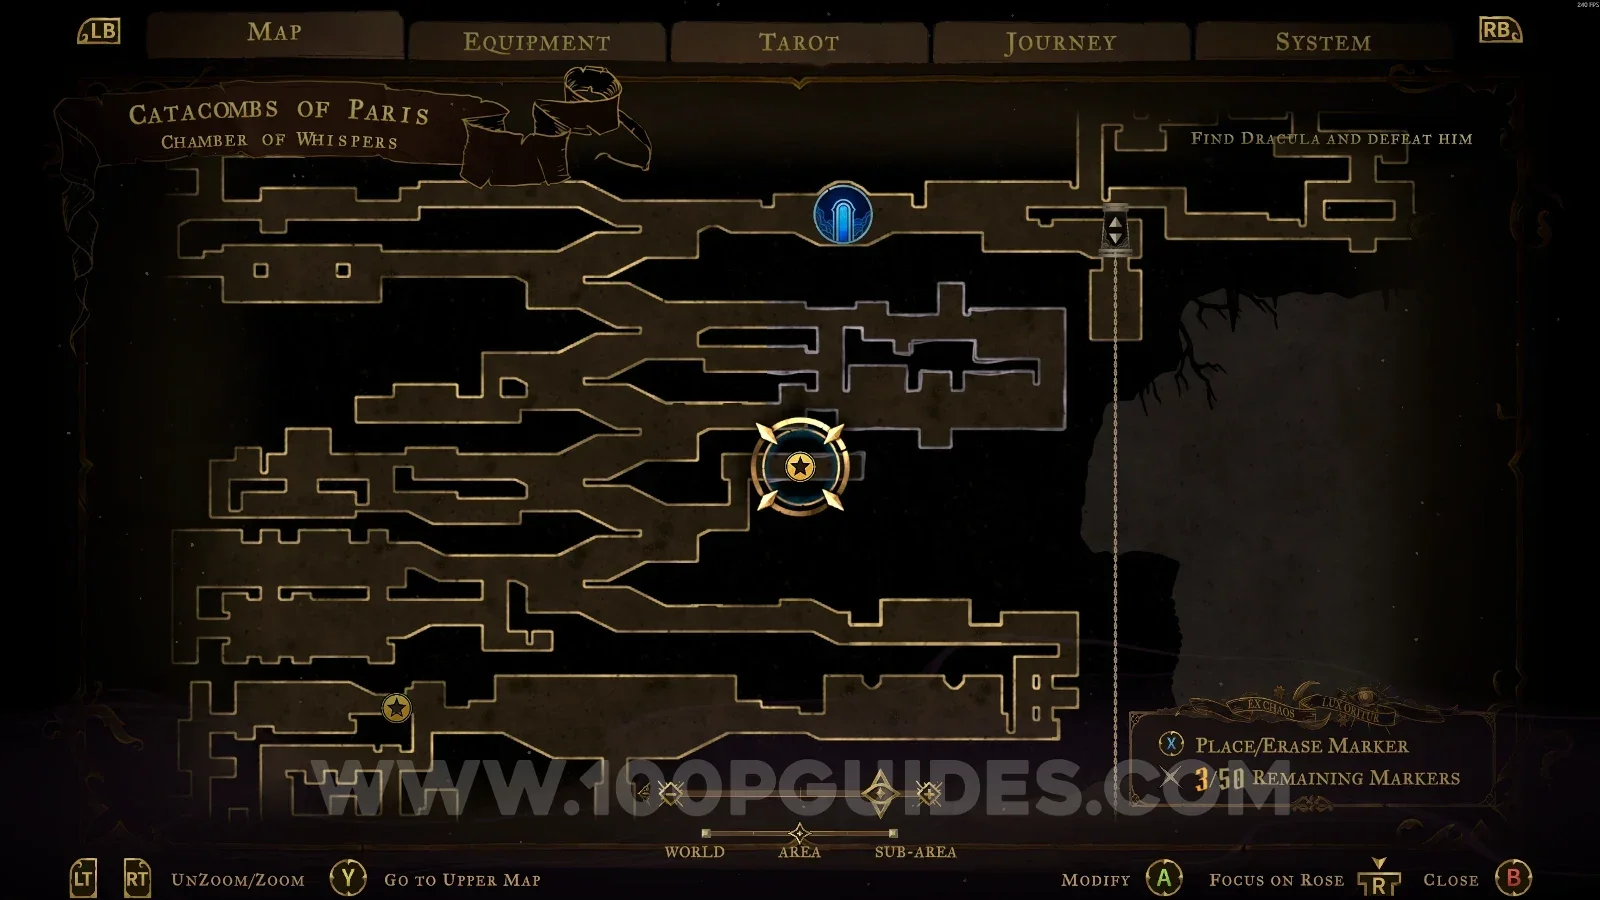
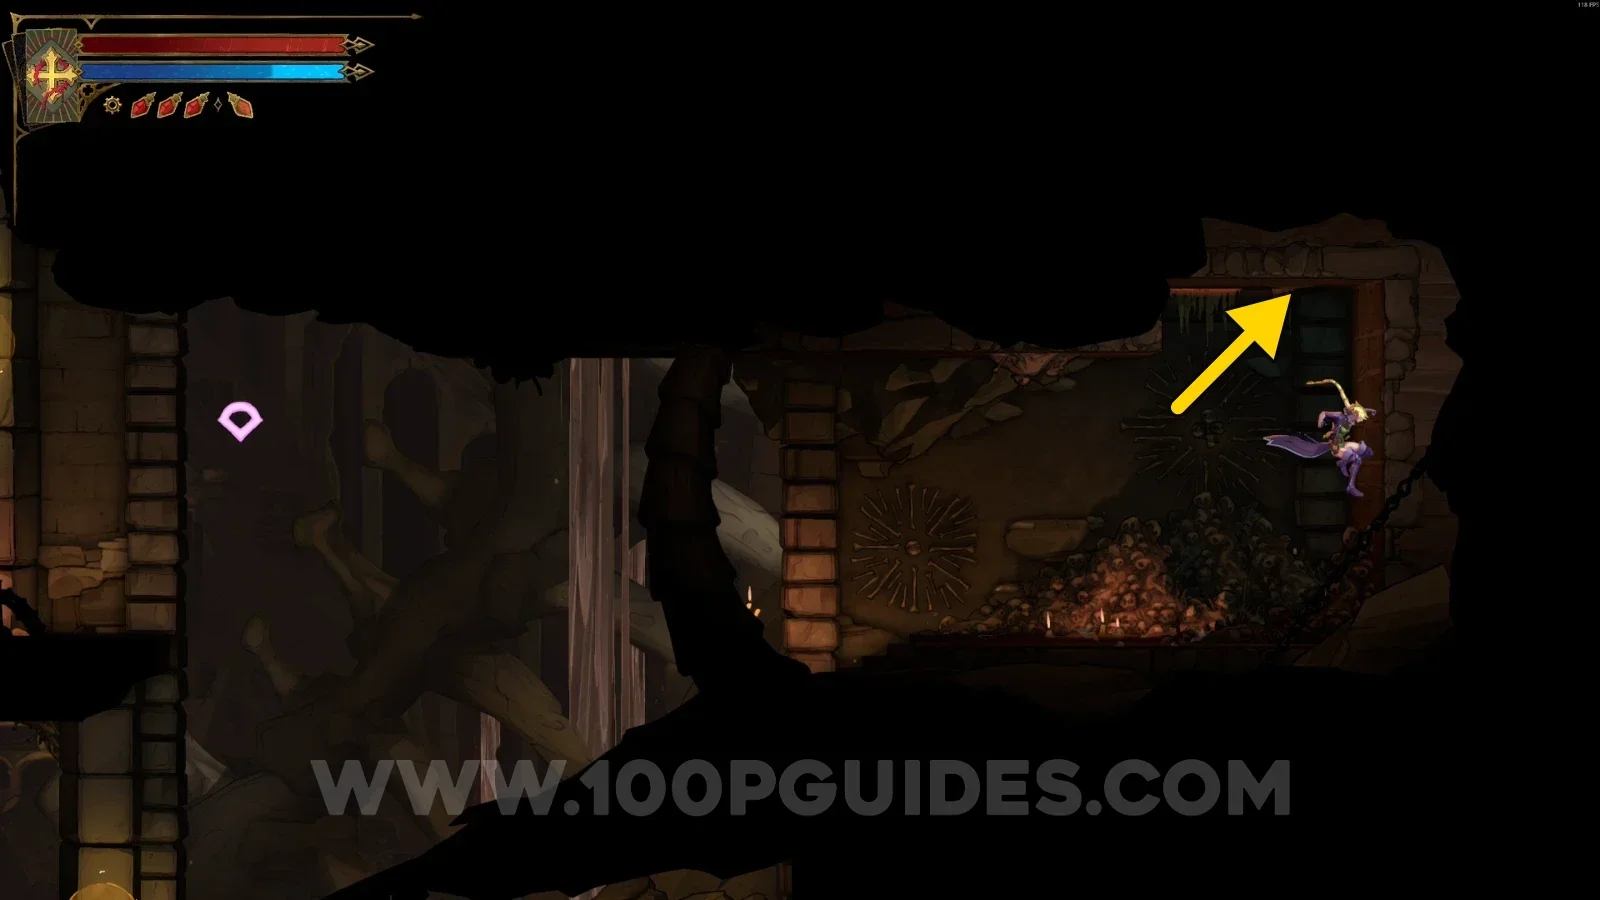
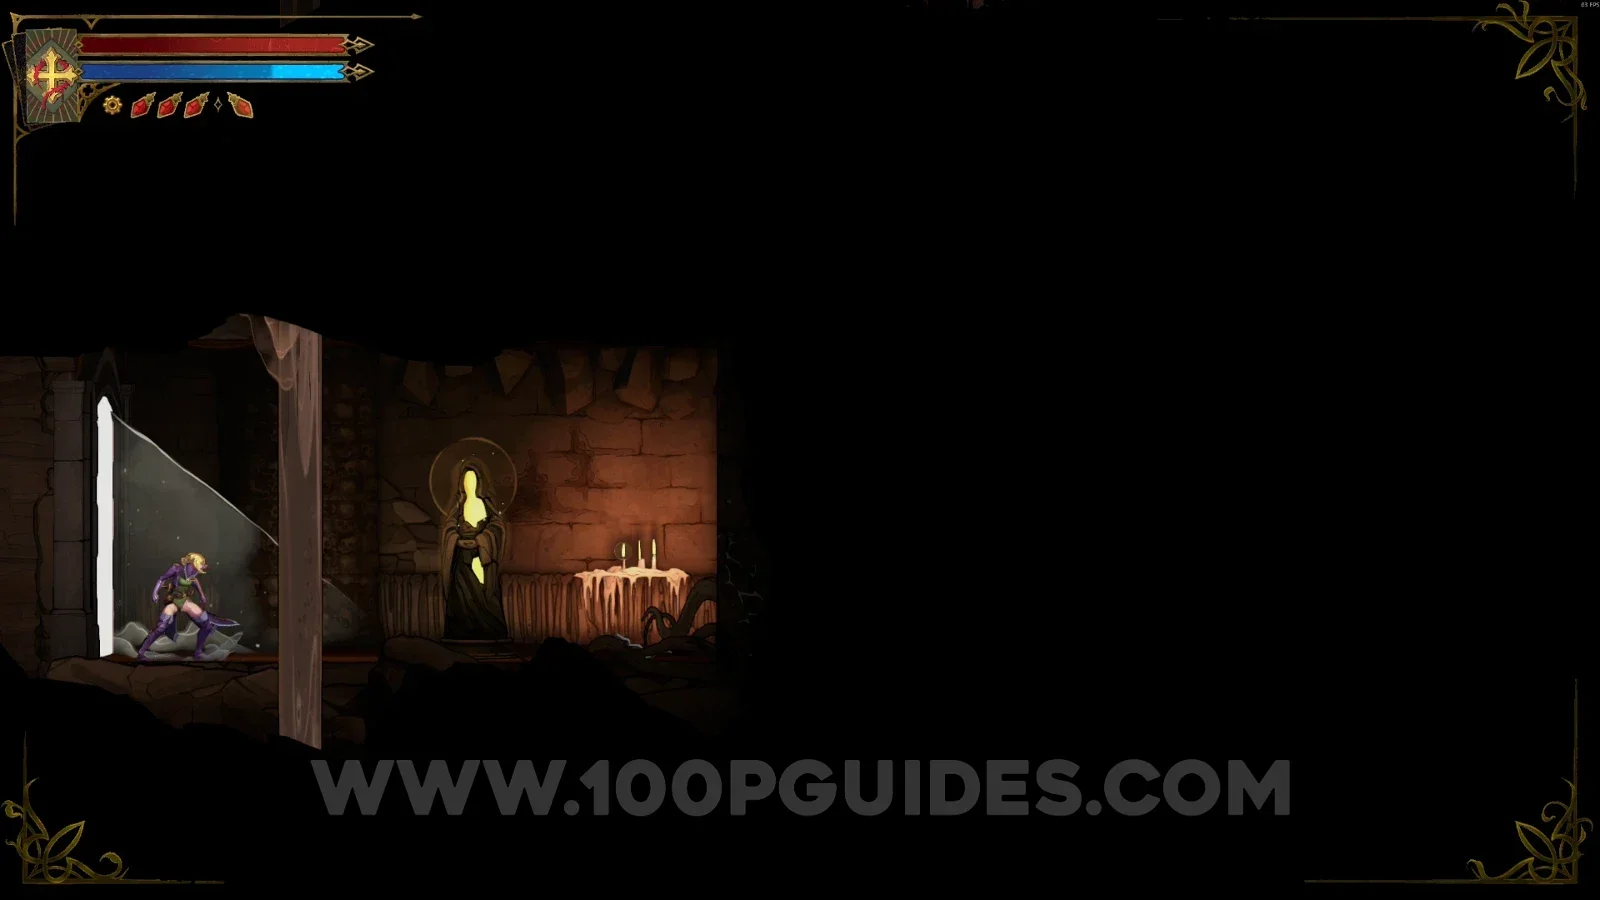
Chamber Of Whispers

XP Statue #51

In the area marked on the map, you have to jump to the upper part to reveal the room that leads to the statue.

Castlevania Belmonts Curse Chamber Of Whispers map with the area of XP Statue #51 marked Castlevania Belmonts Curse Chamber Of Whispers: jumping to the upper part to reveal the room to XP Statue #51 Castlevania Belmonts Curse Chamber Of Whispers: XP Statue #51 in the revealed room

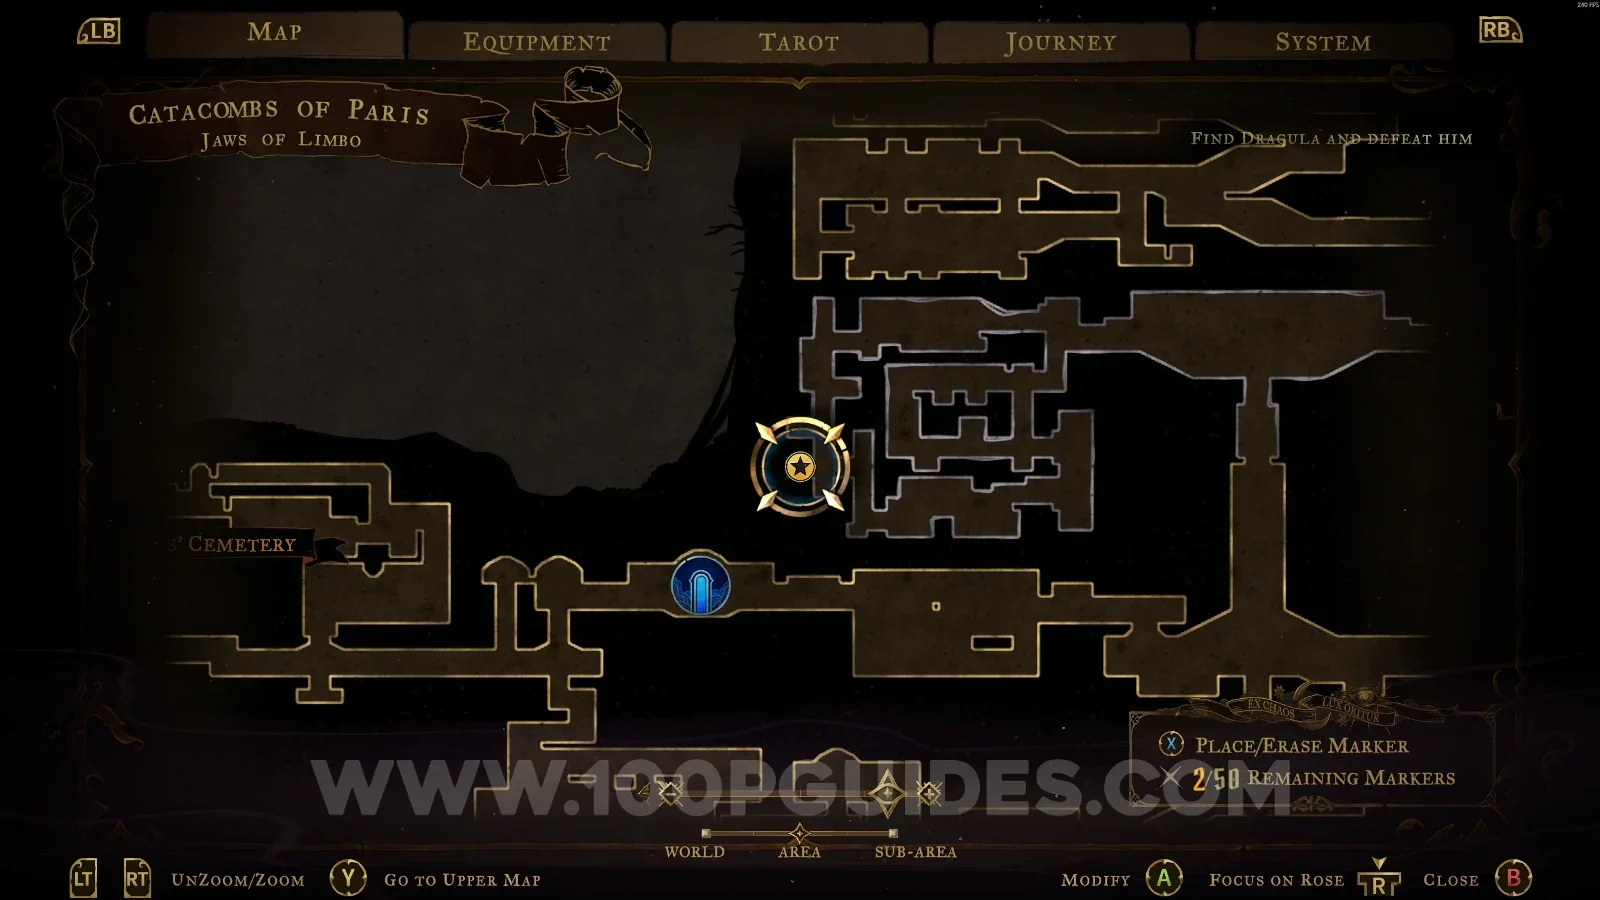
Jaws Of Limbo

XP Statue #52

In the area marked on the map, in the left corner, after getting past the saws.

Castlevania Belmonts Curse Jaws Of Limbo map with the area of XP Statue #52 marked Castlevania Belmonts Curse Jaws Of Limbo: XP Statue #52 in the left corner past the saws

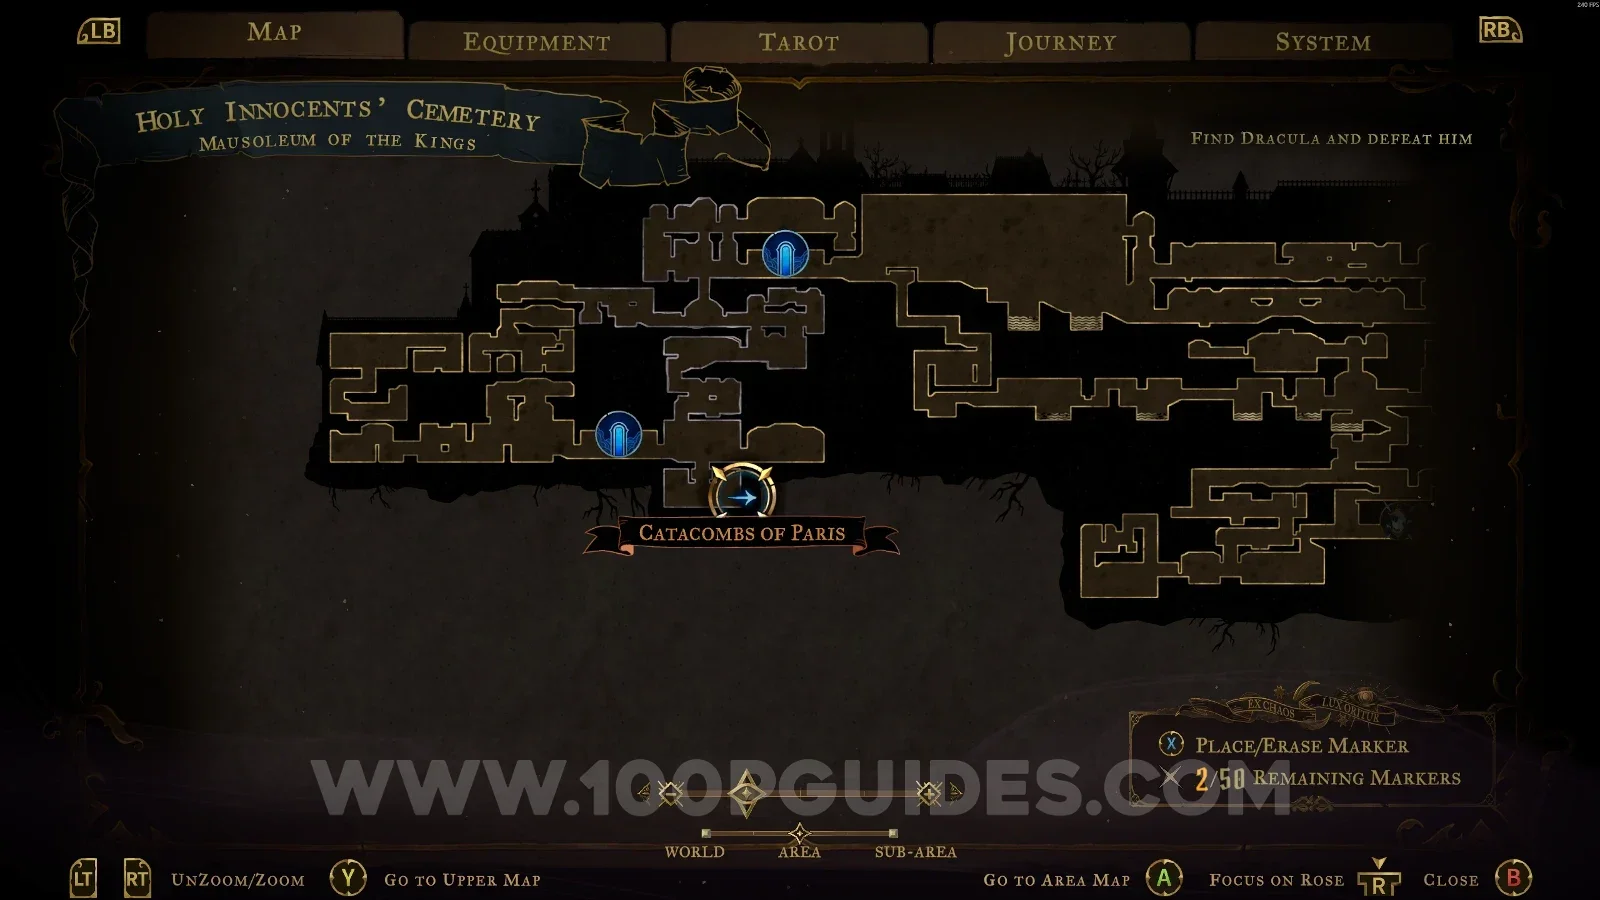
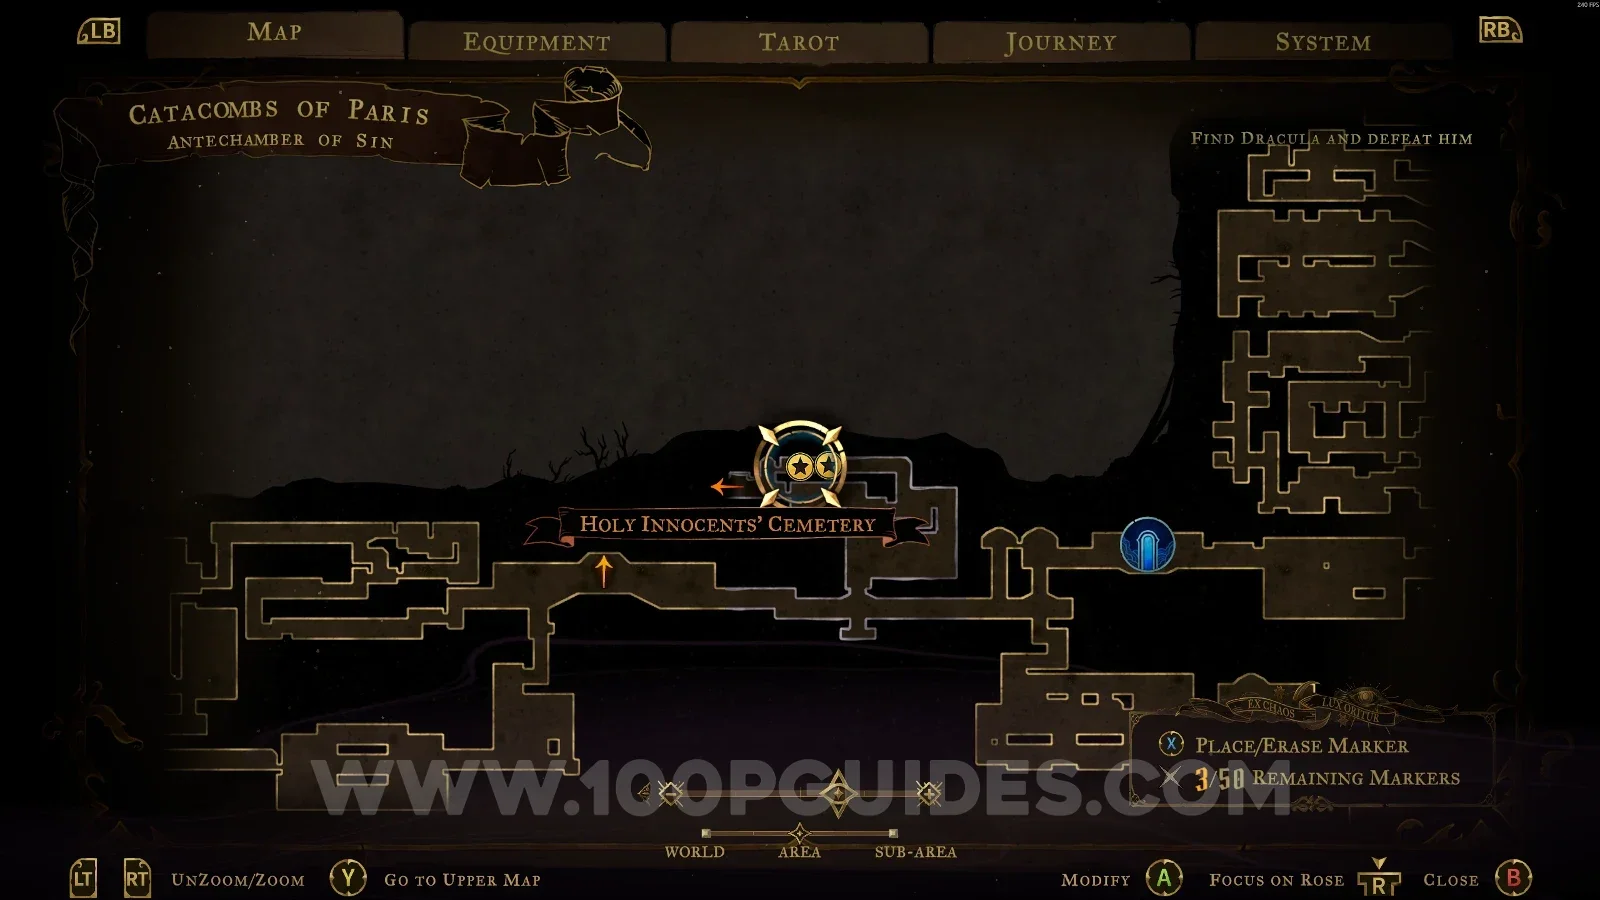
Antechamber Of Sin

XP Statue #53 - #54

In the area marked on the map. The first time, this area can only be reached from Holy Innocents' Cemetery.

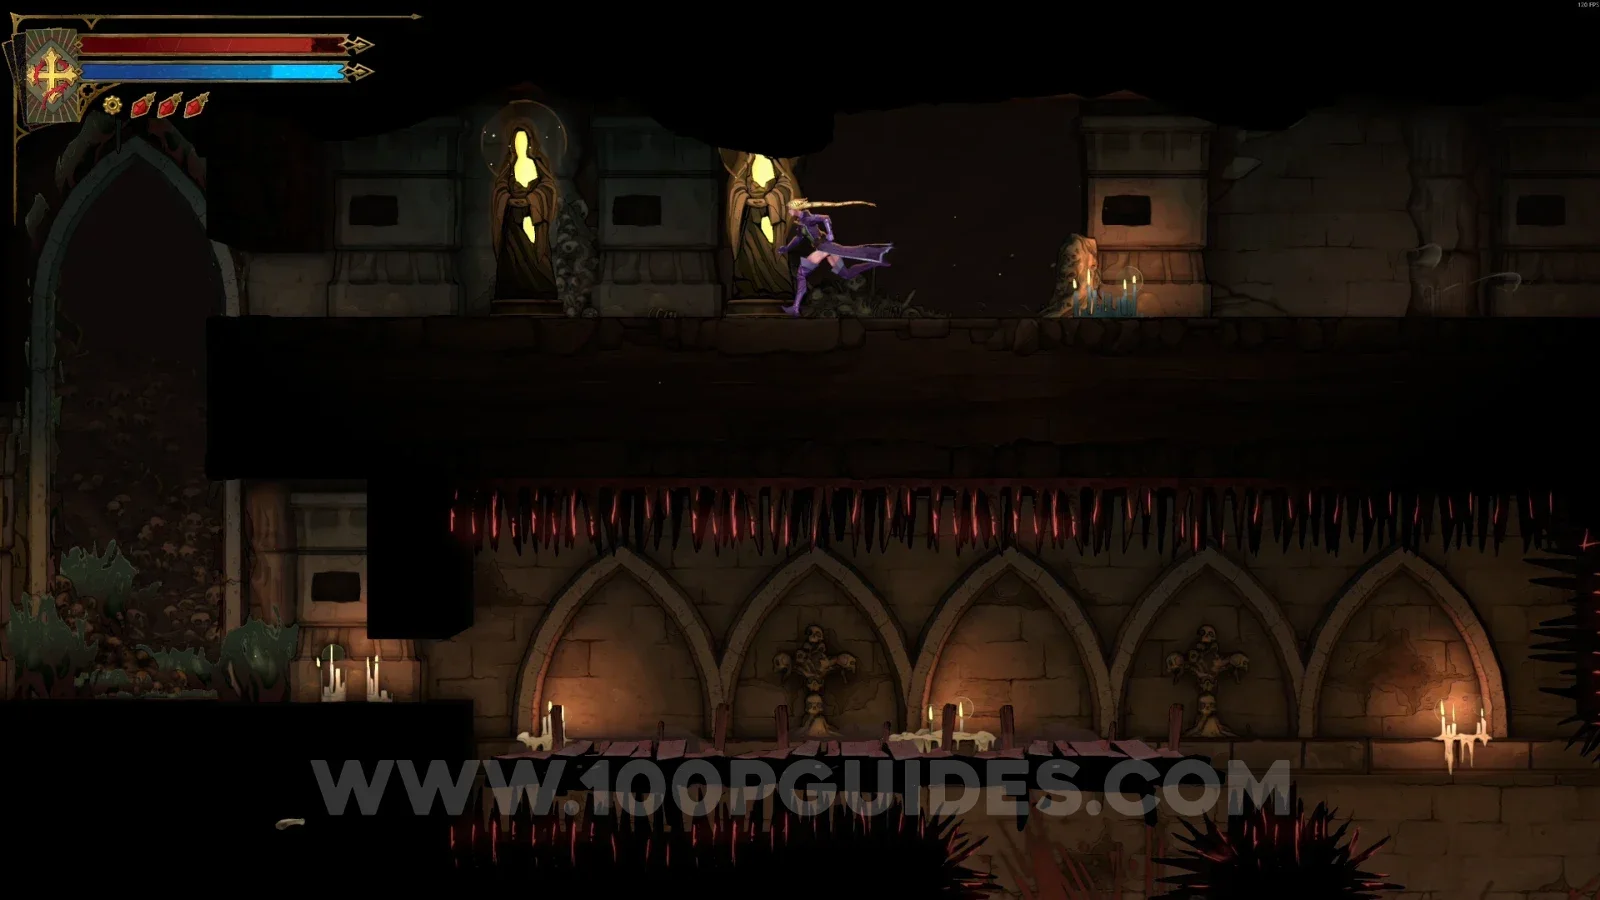
Castlevania Belmonts Curse Antechamber Of Sin map marking the area of XP Statues #53 and #54 Castlevania Belmonts Curse Antechamber Of Sin: XP Statue #53, first reached from Holy Innocents' Cemetery Castlevania Belmonts Curse Antechamber Of Sin: XP Statue #54 in the marked area

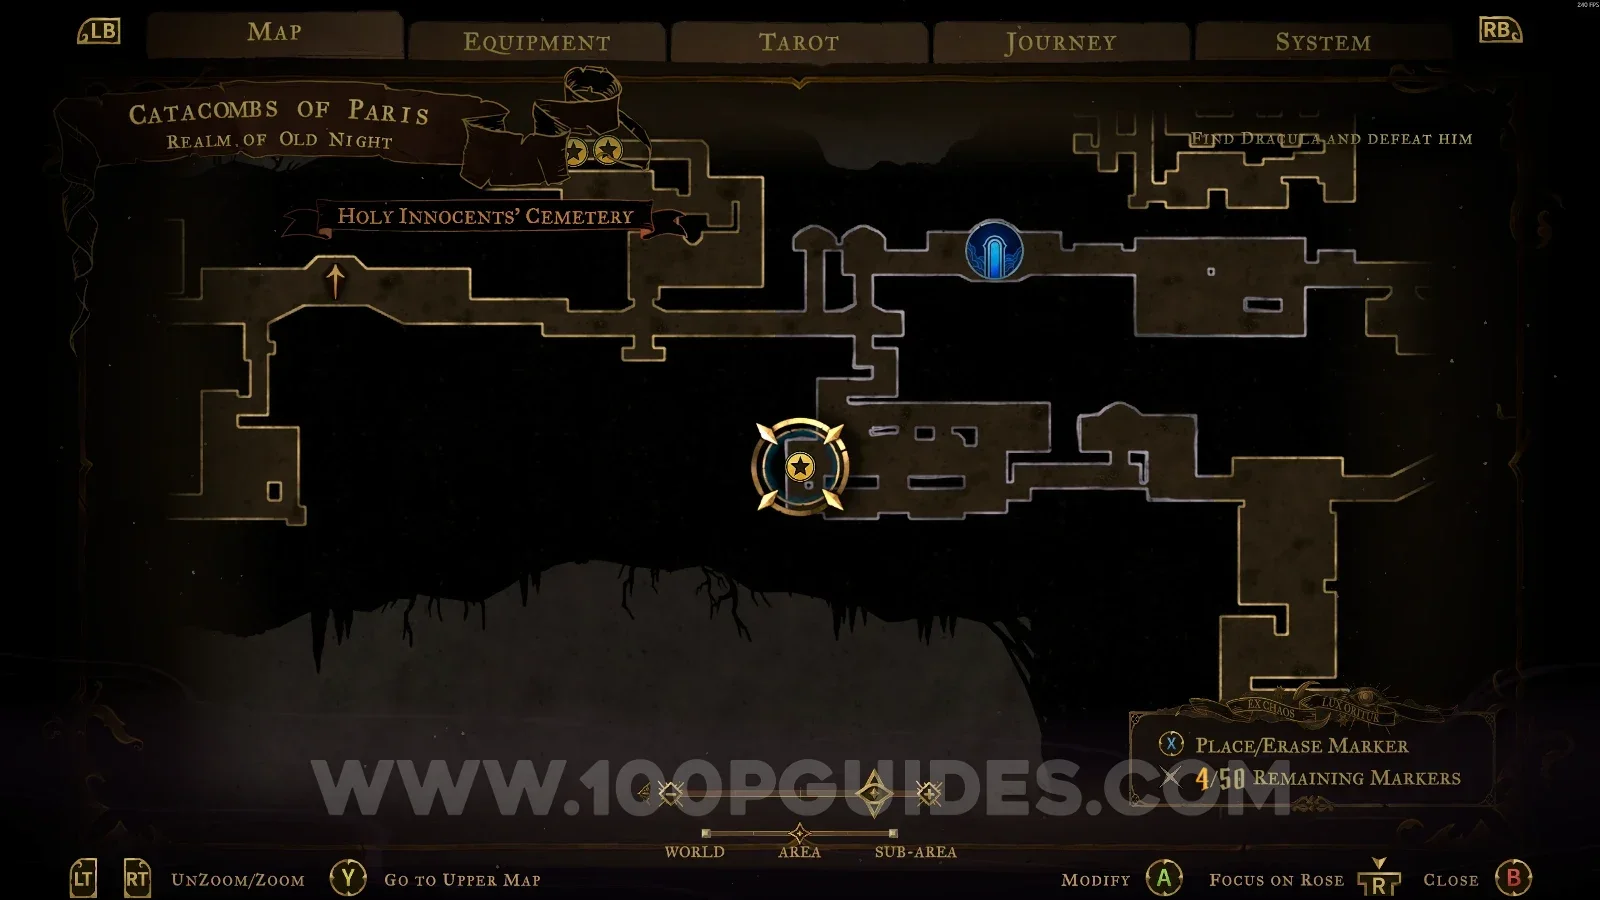
Realm Of The Old Night

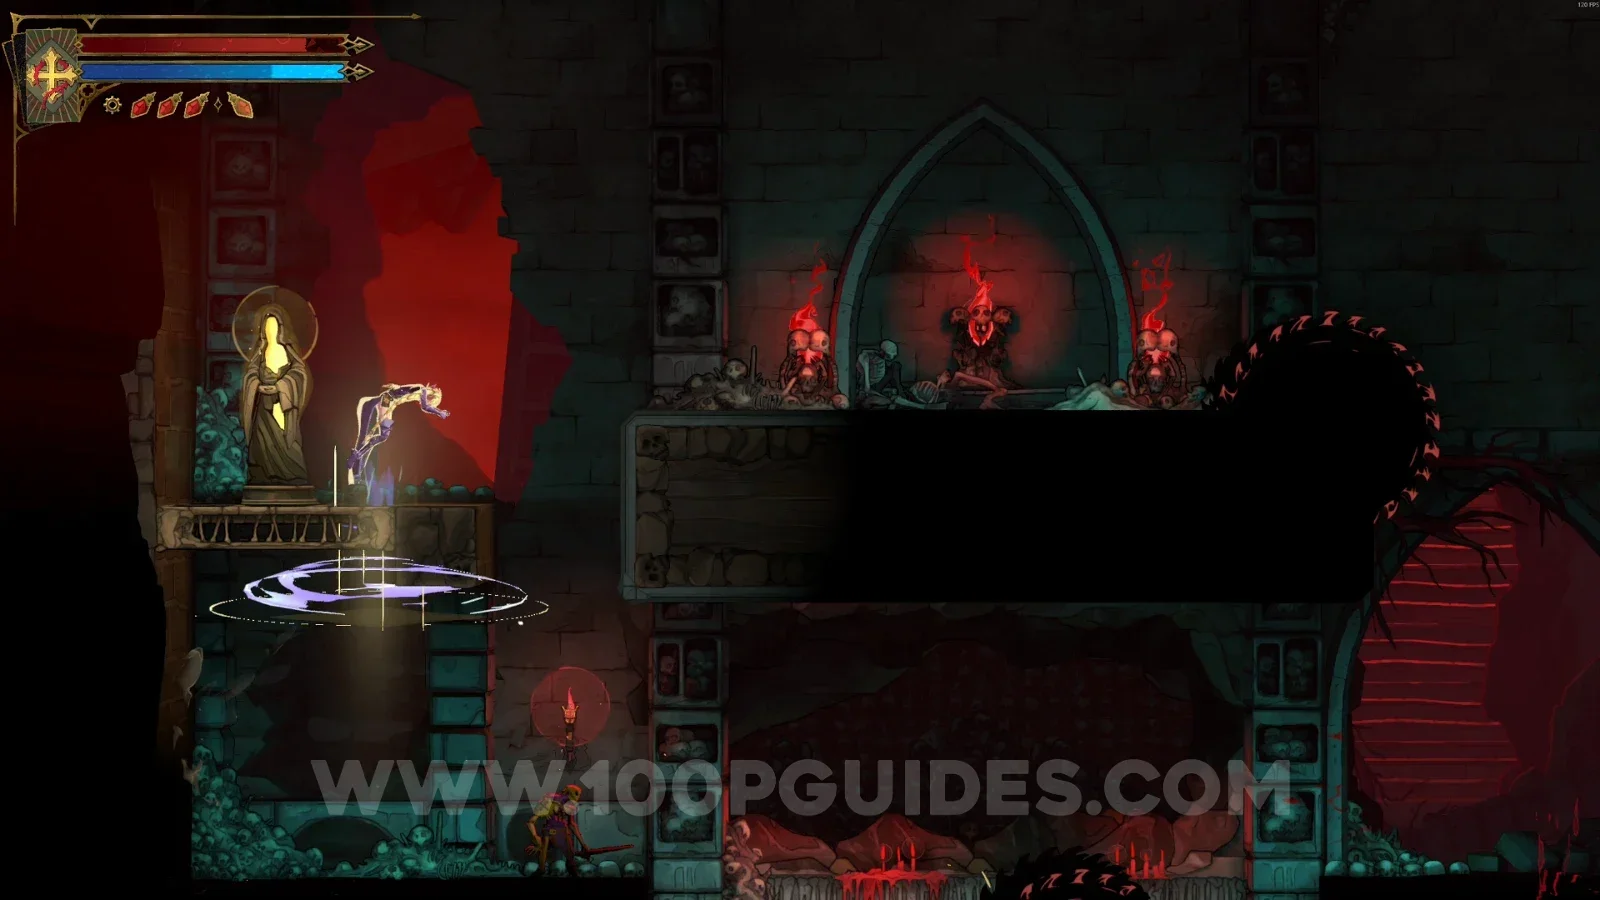
XP Statue #55

In the area marked on the map.

Castlevania Belmonts Curse Realm Of The Old Night map with the area of XP Statue #55 marked Castlevania Belmonts Curse Realm Of The Old Night: XP Statue #55 in the marked area

XP Statue #56

In the area marked on the map.

Castlevania Belmonts Curse Realm Of The Old Night map with the area of XP Statue #56 marked Castlevania Belmonts Curse Realm Of The Old Night: XP Statue #56 in the marked area

XP Statue #57

In the area marked on the map.

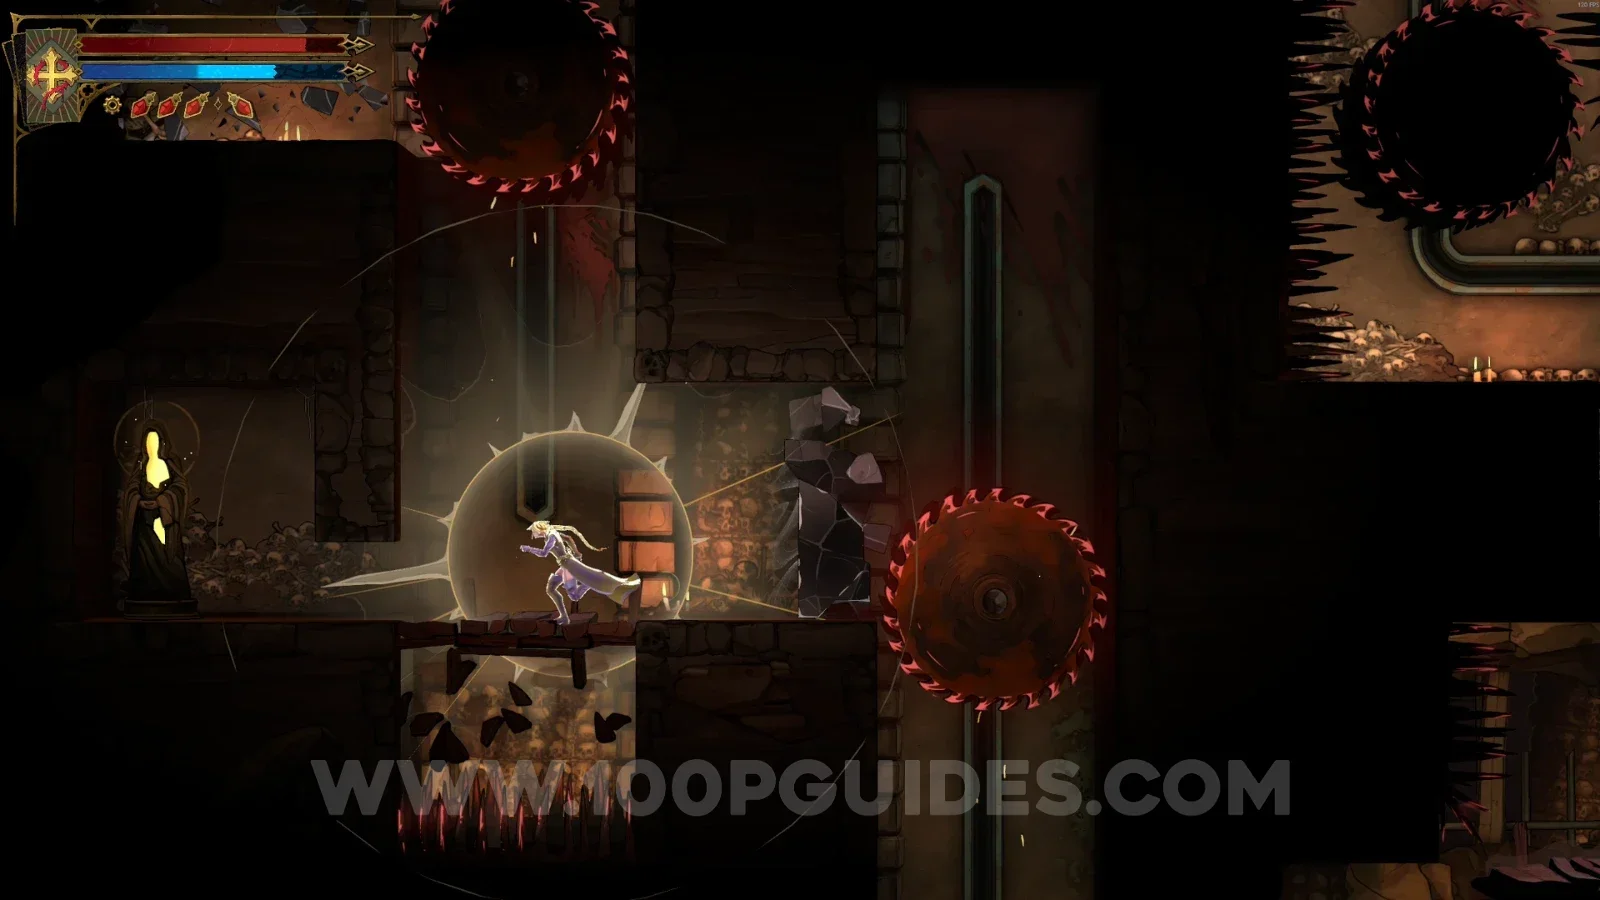
Castlevania Belmonts Curse Realm Of The Old Night map with the area of XP Statue #57 marked Castlevania Belmonts Curse Realm Of The Old Night: XP Statue #57 in the marked area

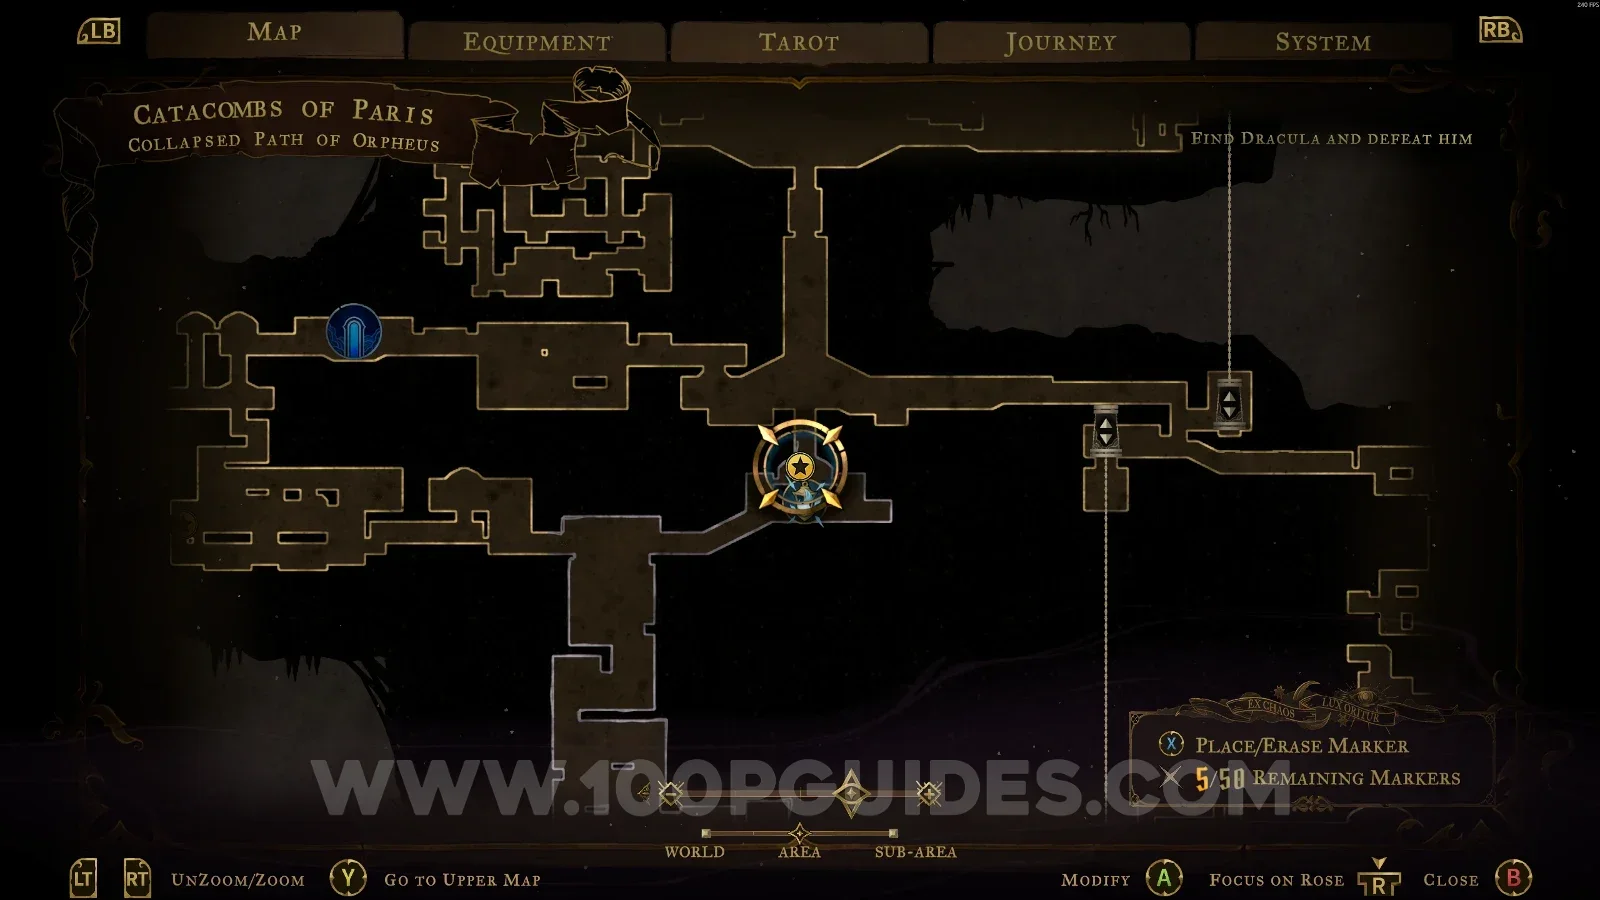
Collapsed Path Of Orpheus

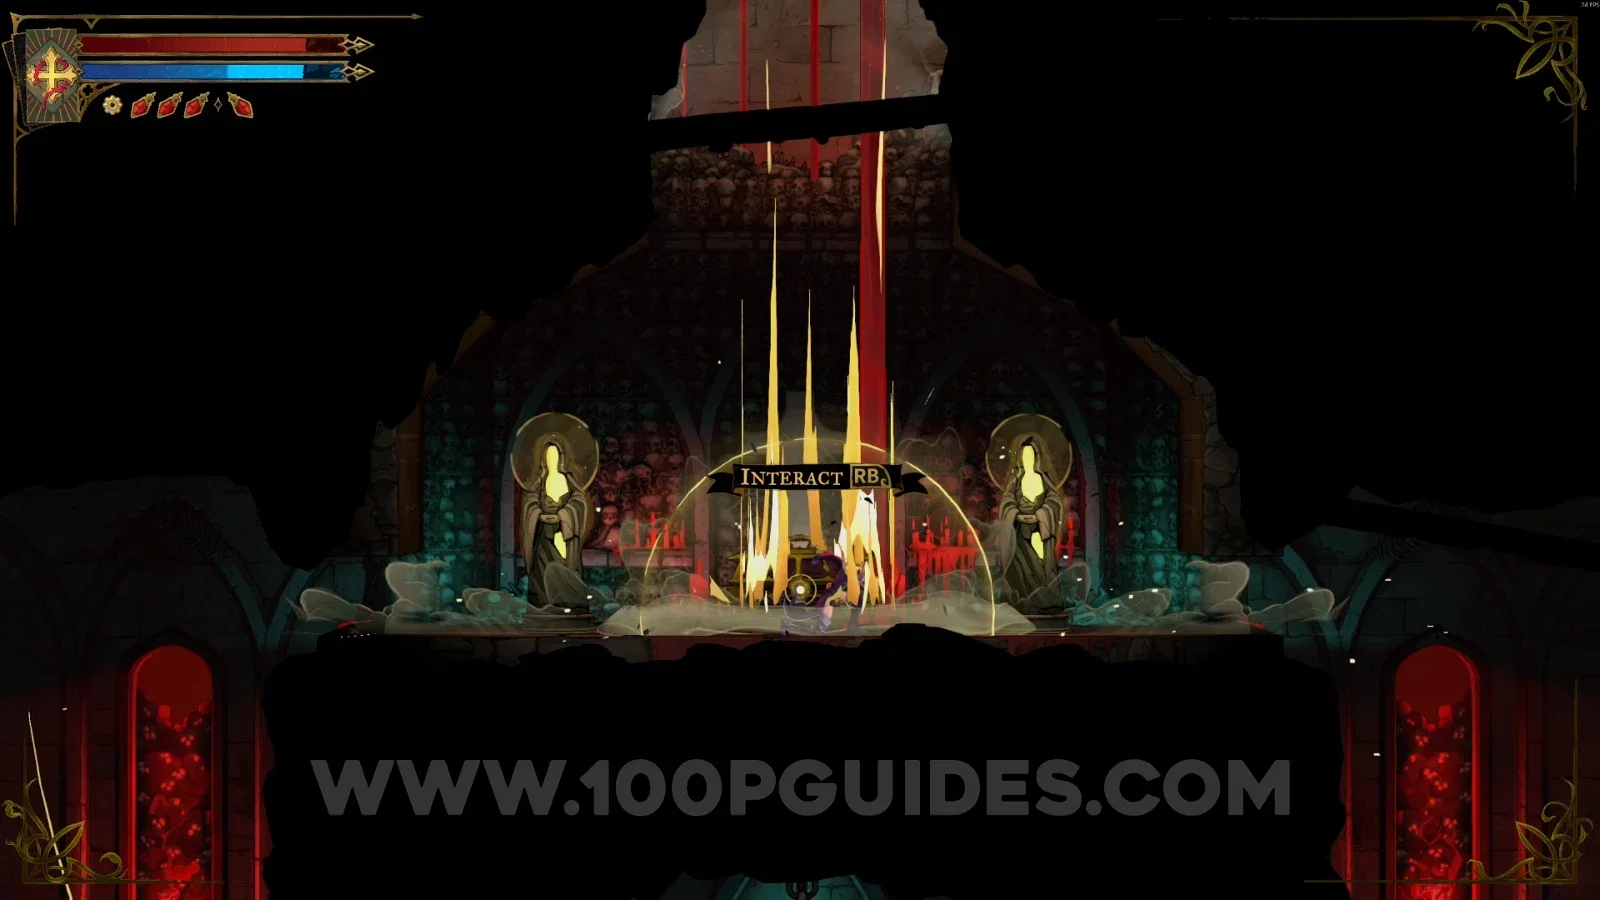
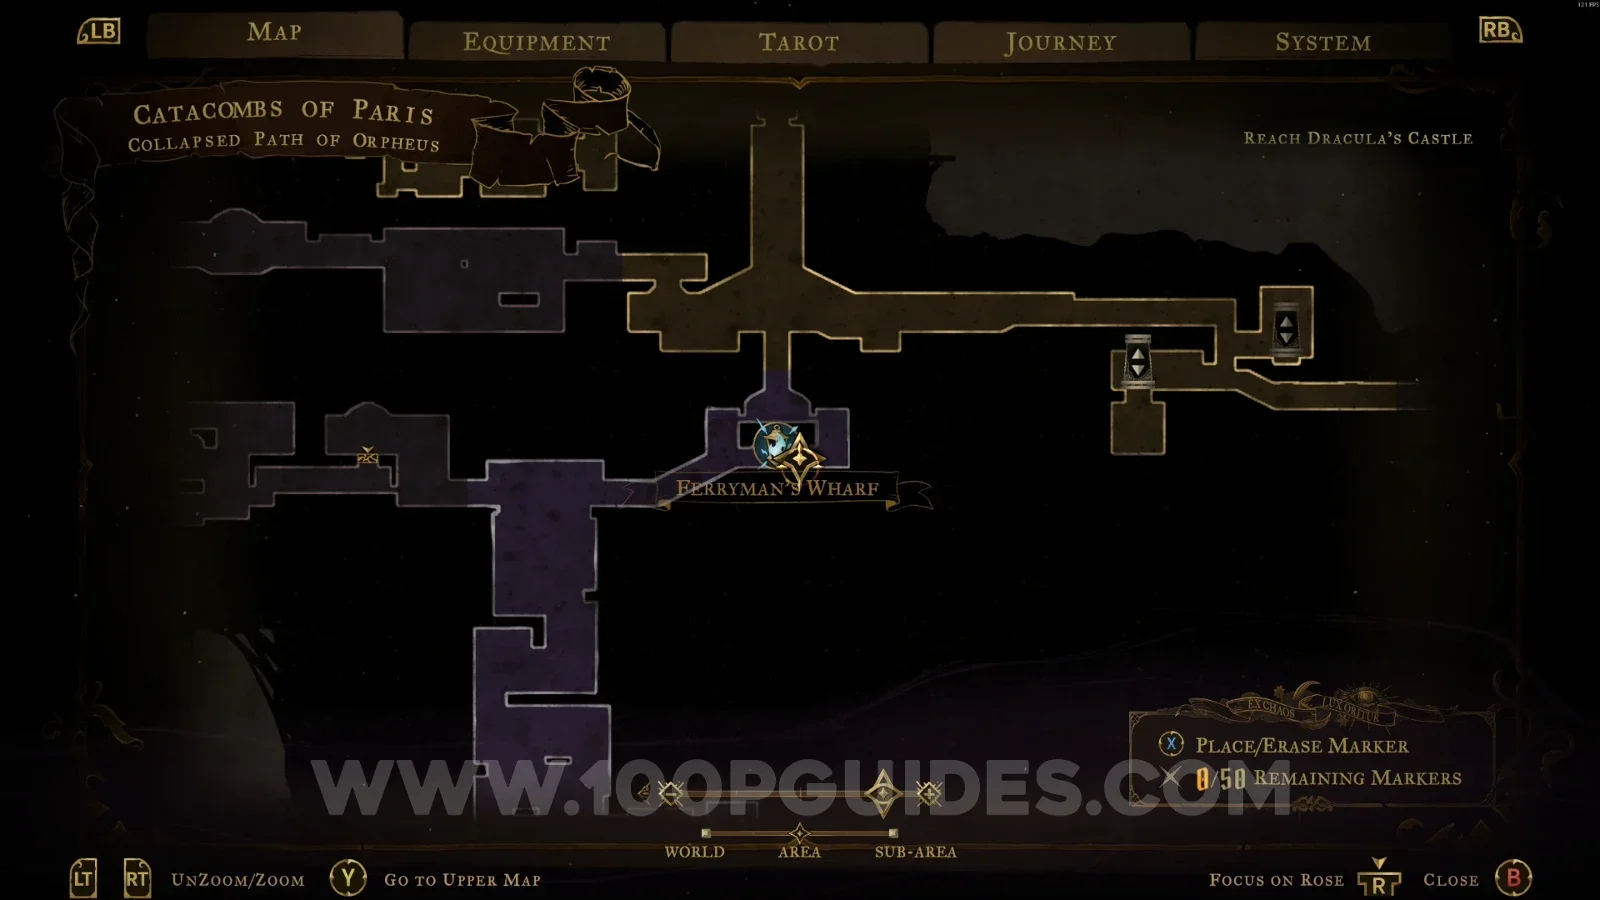
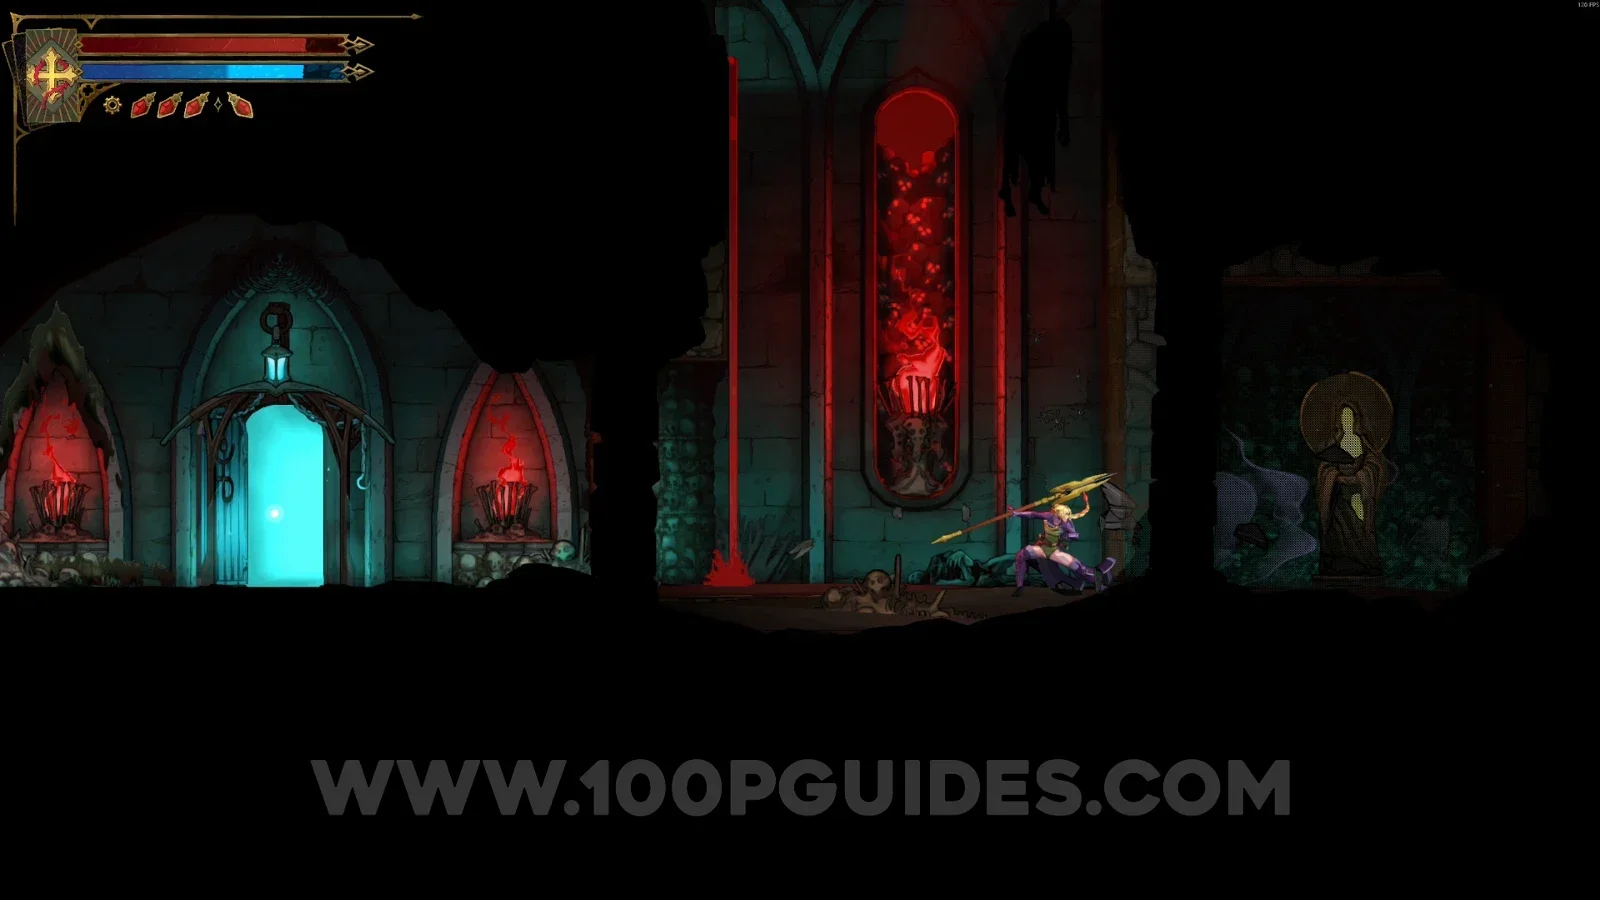
XP Statue #58 - #59

In the area marked on the map. It can only be reached after you break the floor in the Throat of Hell.

Castlevania Belmonts Curse Collapsed Path Of Orpheus map marking the area of XP Statues #58 and #59 Castlevania Belmonts Curse Collapsed Path Of Orpheus: XP Statues #58 and #59 below the Throat of Hell floor

XP Statue #60

In the area marked on the map.

Castlevania Belmonts Curse Collapsed Path Of Orpheus map with the area of XP Statue #60 marked Castlevania Belmonts Curse Collapsed Path Of Orpheus: XP Statue #60 in the marked area

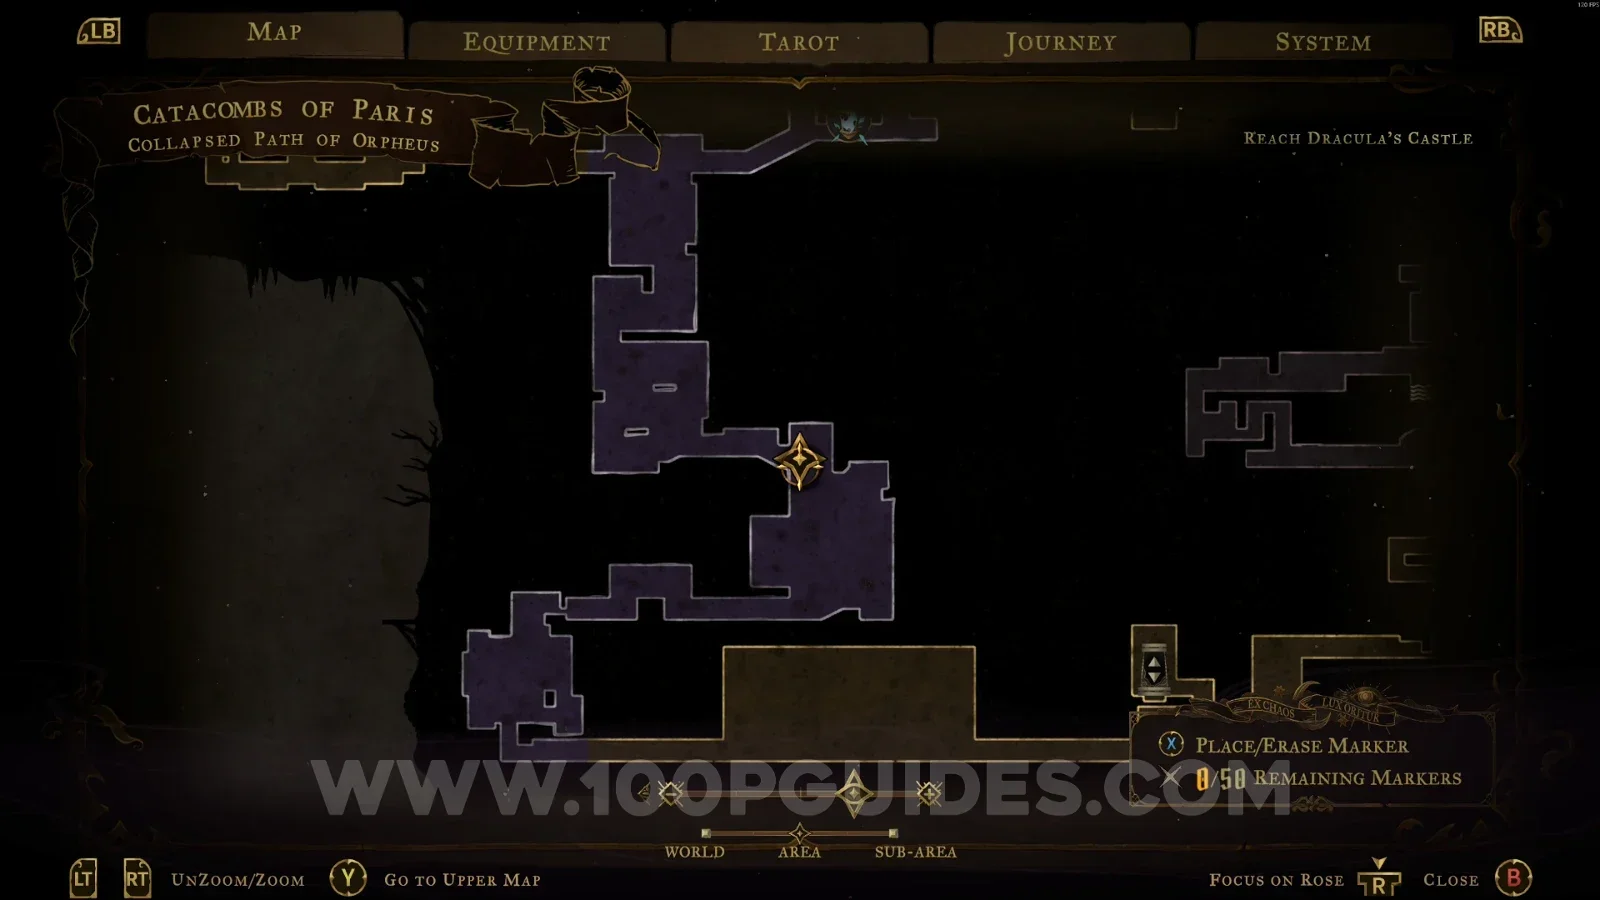
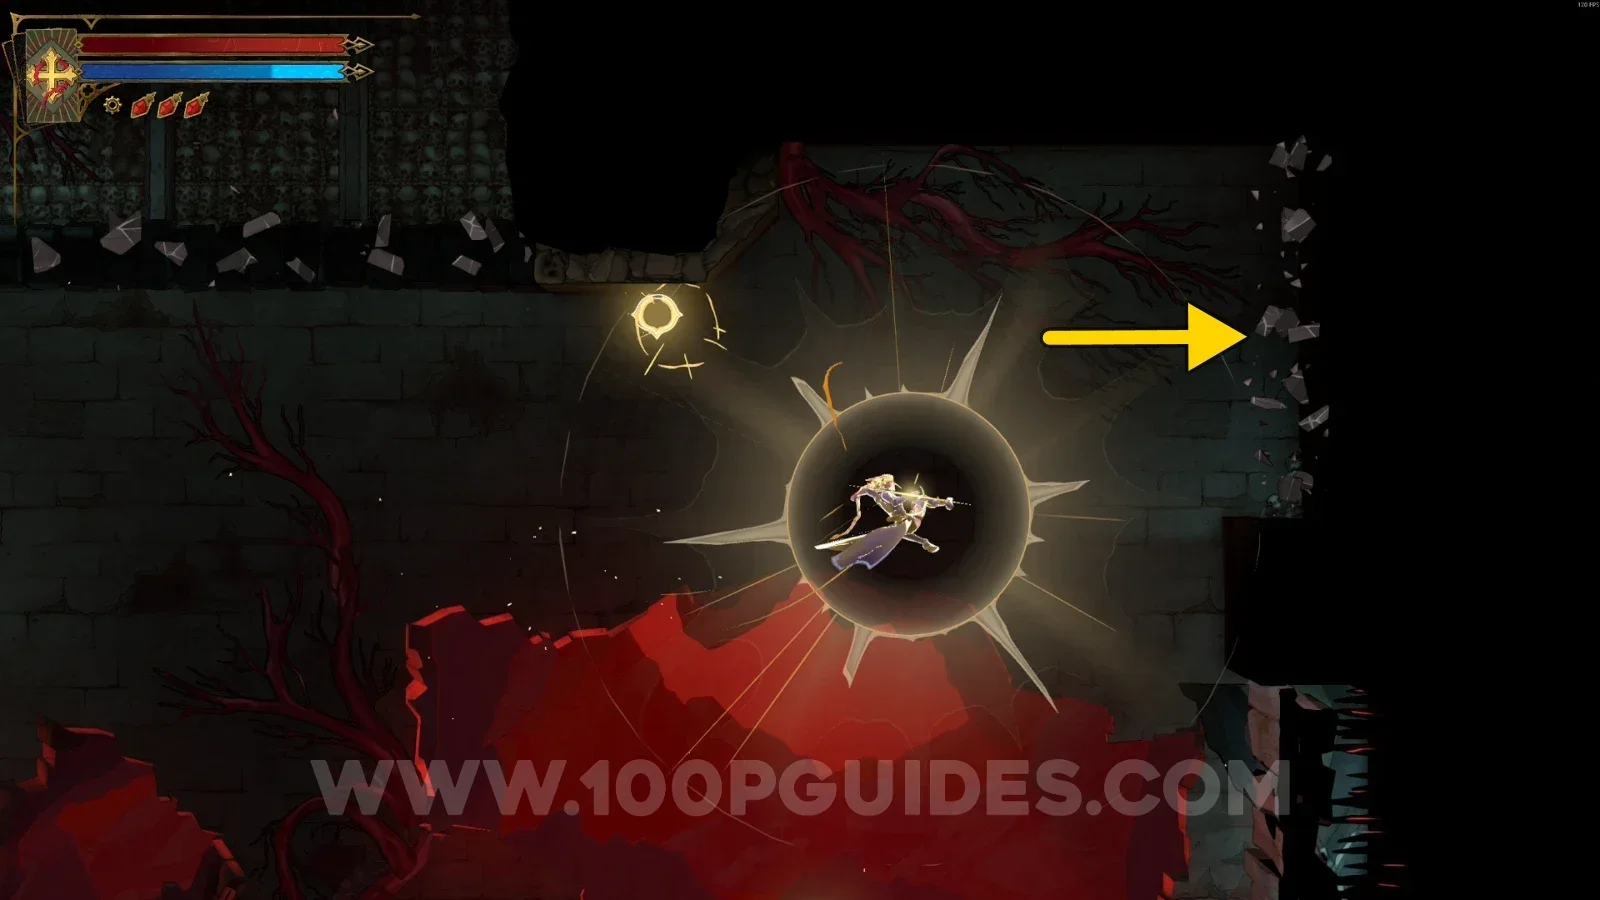
XP Statue #61

In the area marked on the map. You have to use the Arcane Whip to reach it.

Castlevania Belmonts Curse Collapsed Path Of Orpheus map with the area of XP Statue #61 marked Castlevania Belmonts Curse Collapsed Path Of Orpheus: using the Arcane Whip to reach XP Statue #61 Castlevania Belmonts Curse Collapsed Path Of Orpheus: XP Statue #61 reached with the Arcane Whip

Blood Pits

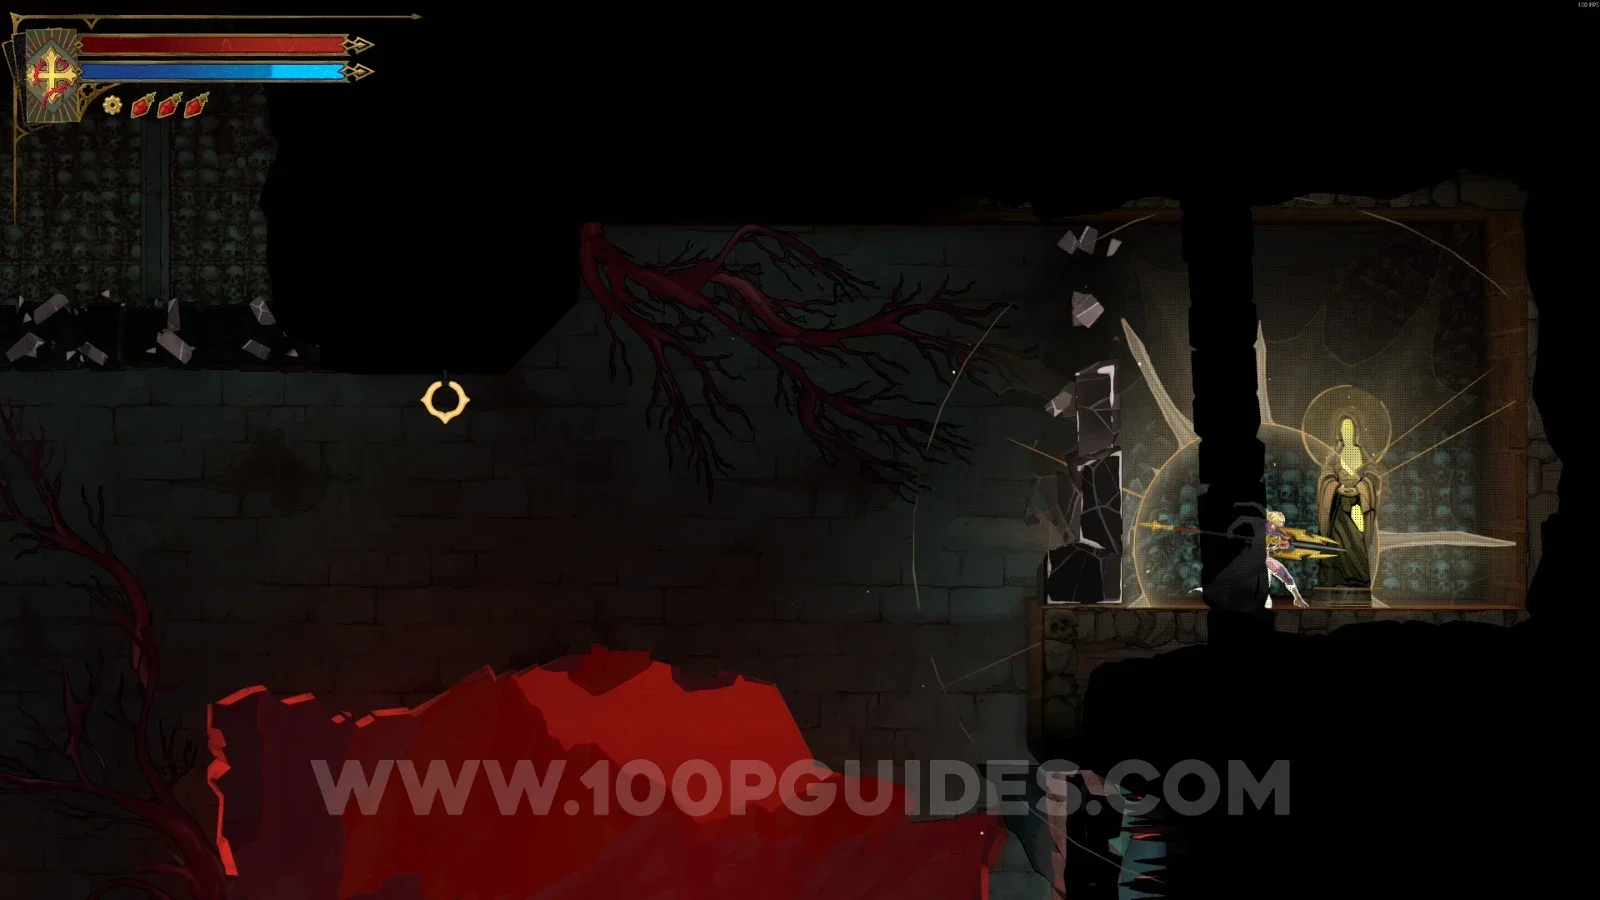
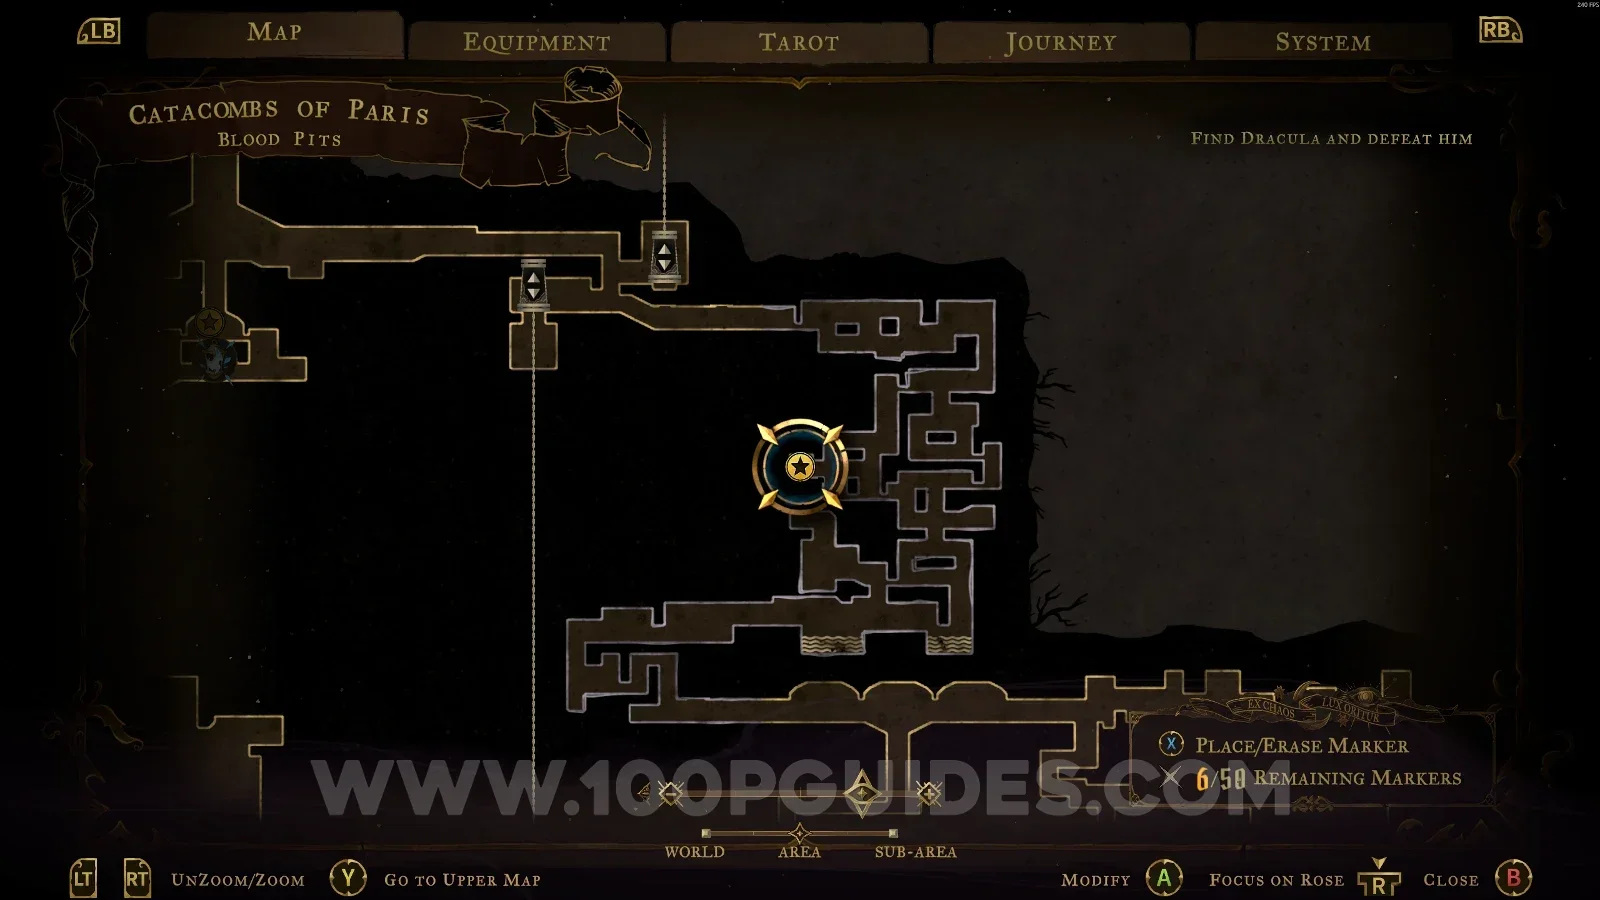
XP Statue #62

In the area marked on the map.

Castlevania Belmonts Curse Blood Pits map with the area of XP Statue #62 marked Castlevania Belmonts Curse Blood Pits: XP Statue #62 in the marked area

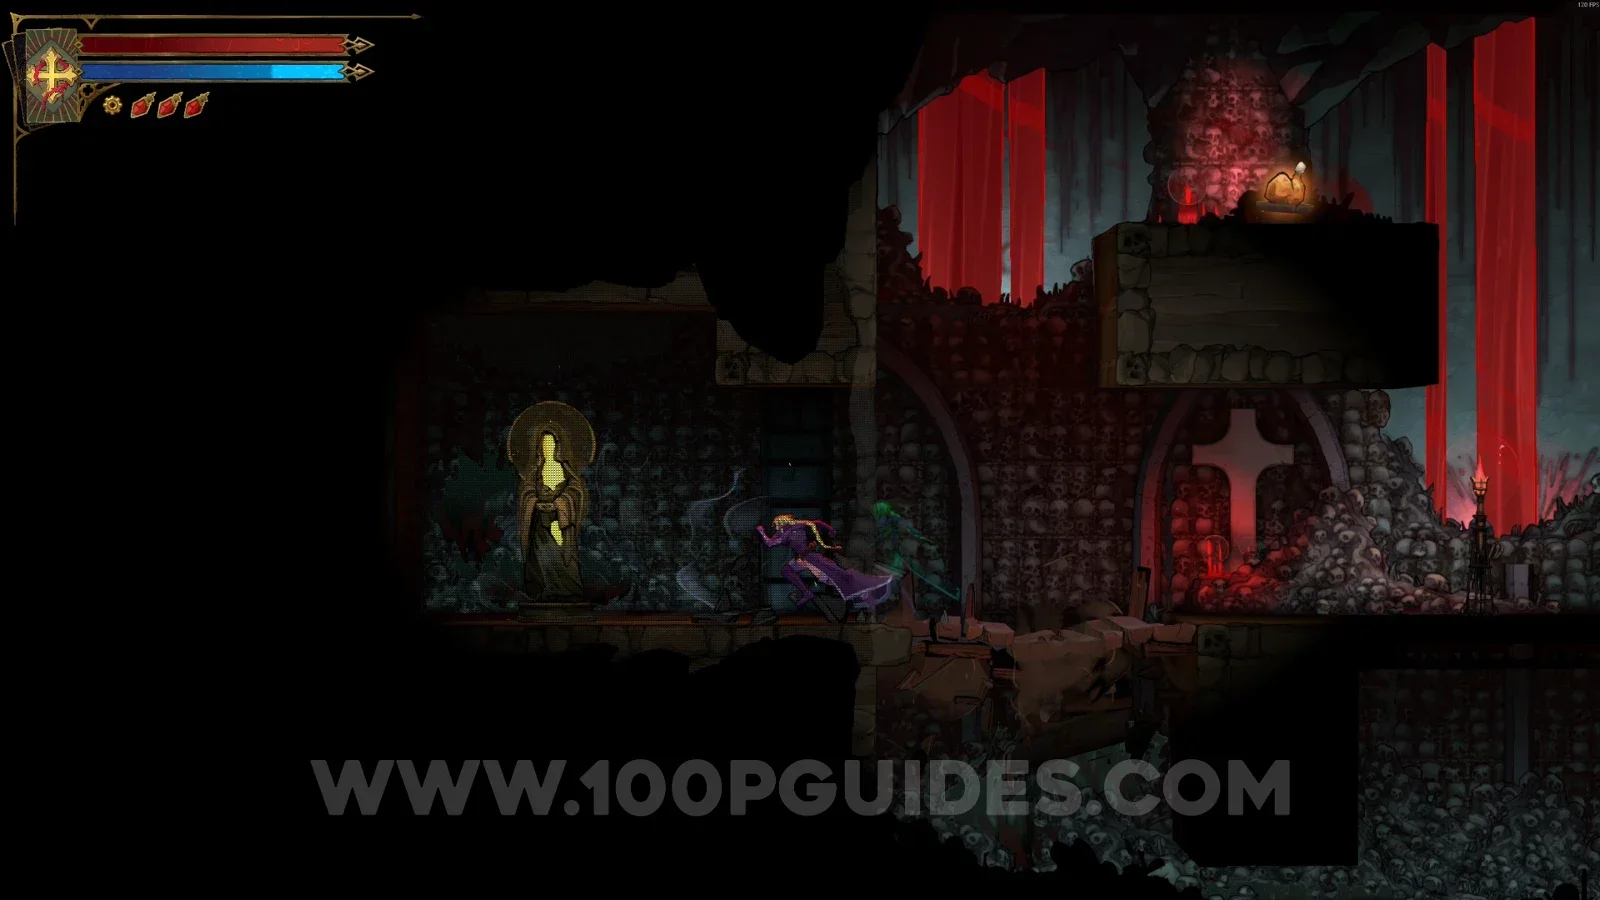
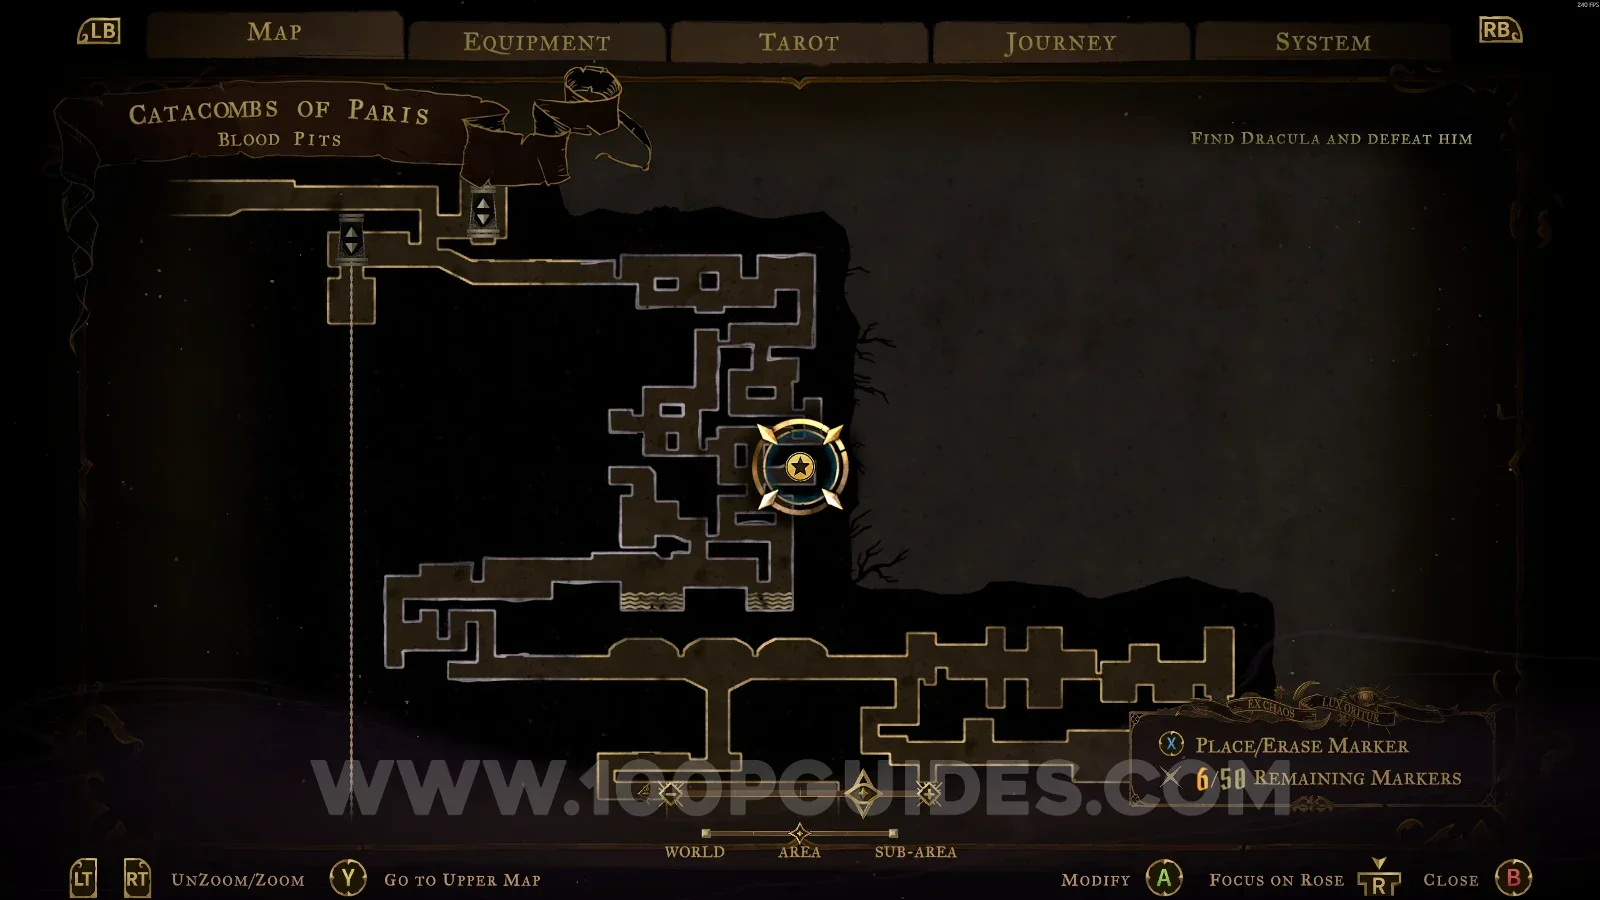
XP Statue #63

In the area marked on the map.

Castlevania Belmonts Curse Blood Pits map with the area of XP Statue #63 marked Castlevania Belmonts Curse Blood Pits: XP Statue #63 in the marked area

Main Hall

Entrance Corridor

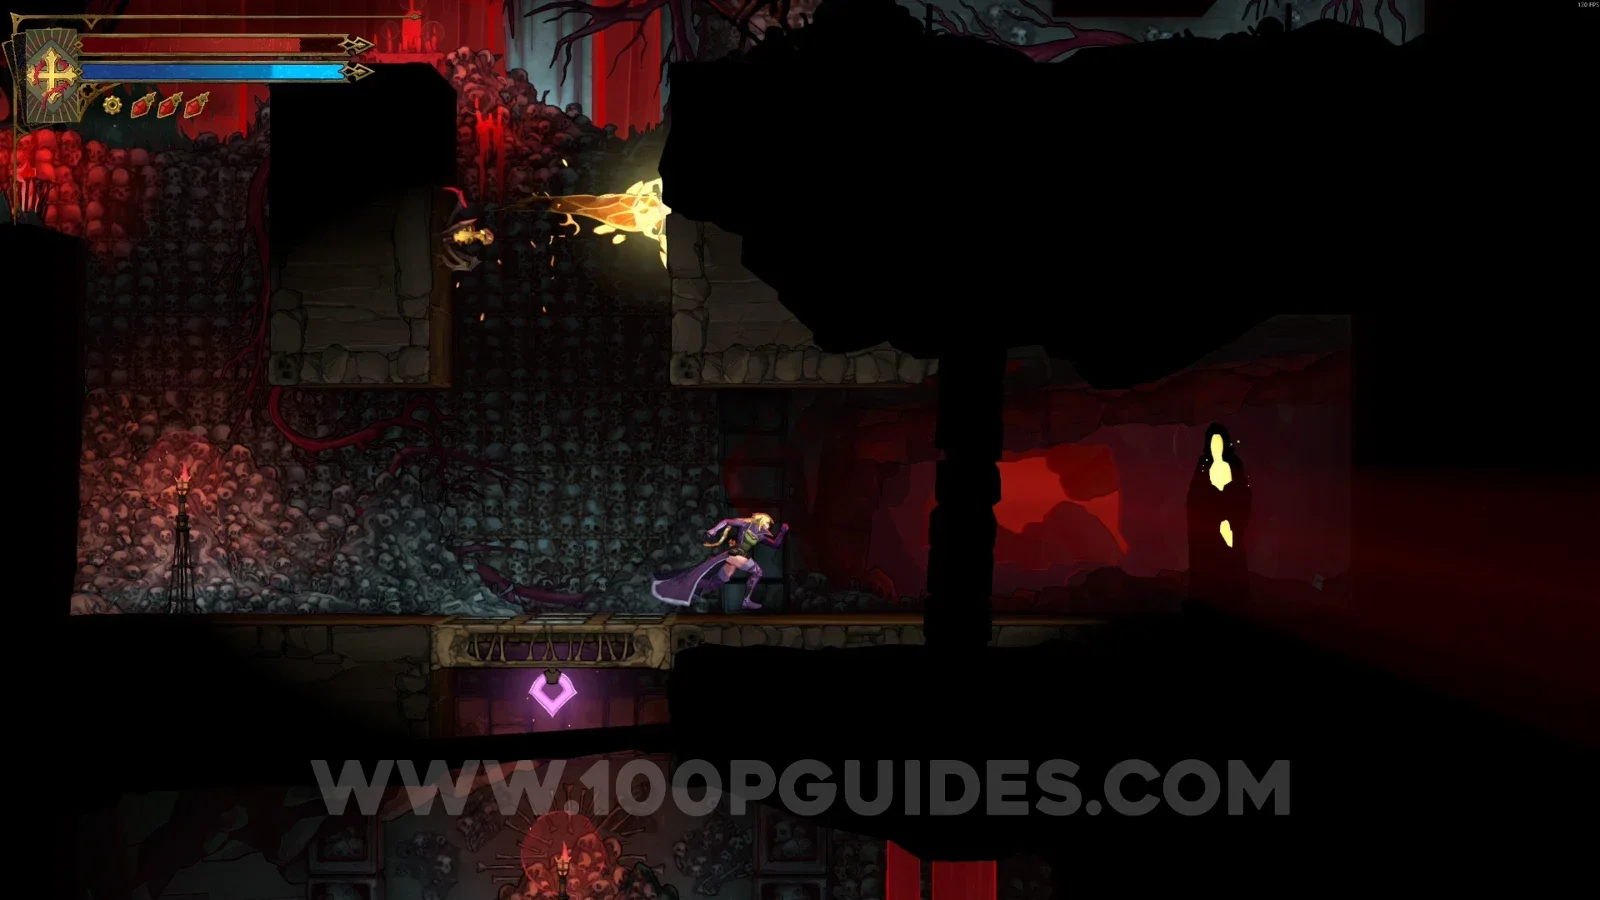
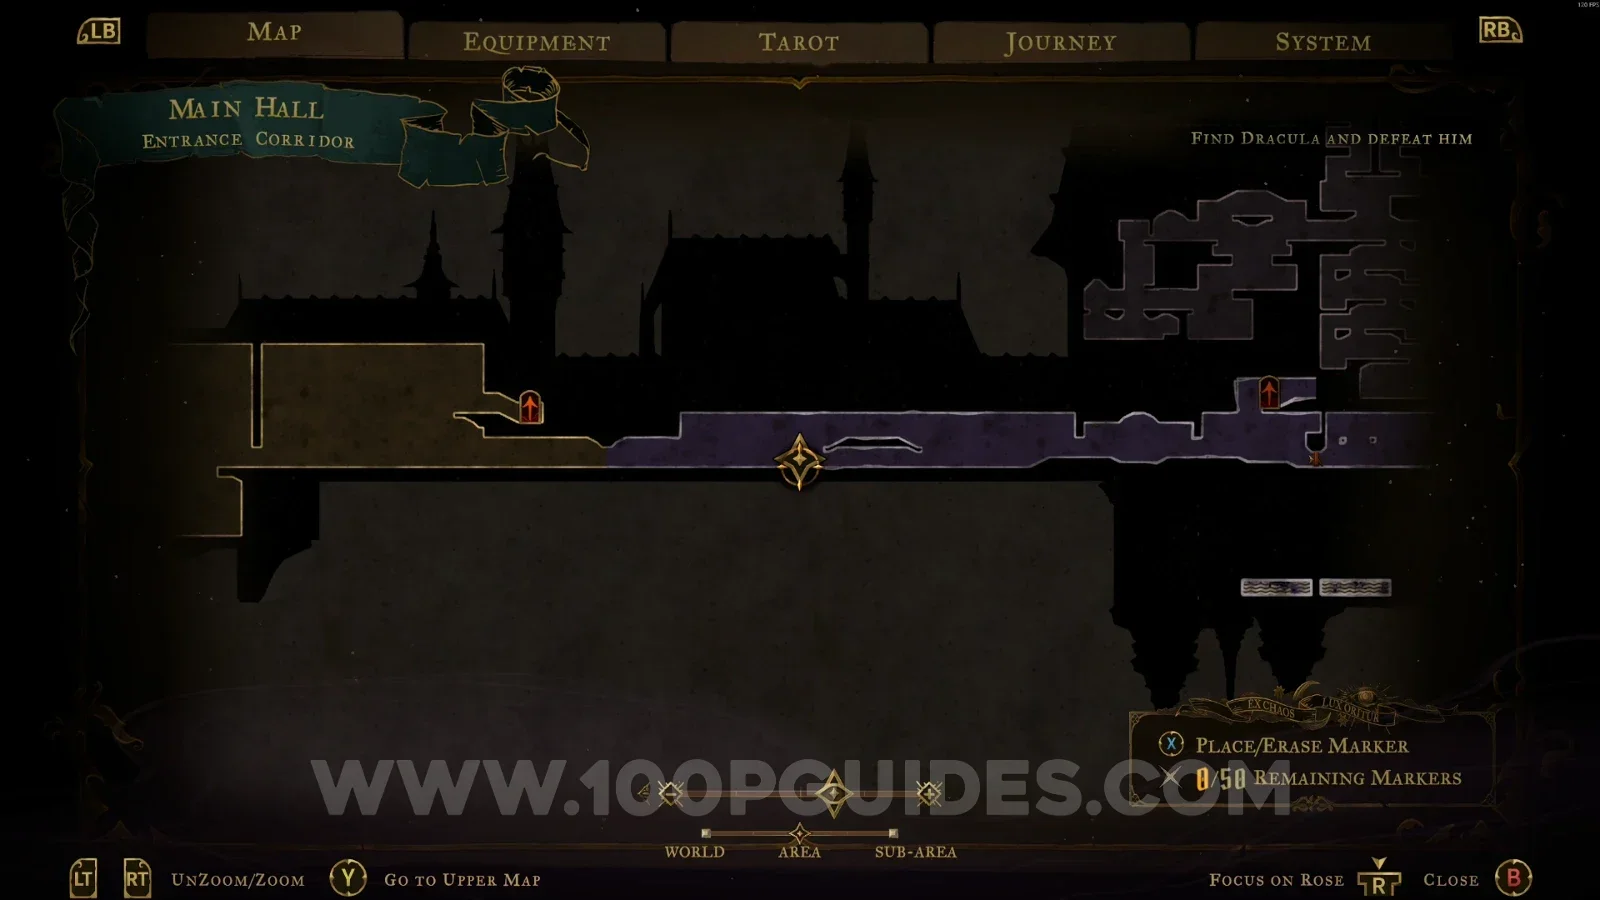
XP Statue #64

In the area marked on the map.

Castlevania Belmonts Curse Entrance Corridor map with the area of XP Statue #64 marked Castlevania Belmonts Curse Entrance Corridor: XP Statue #64 in the marked area

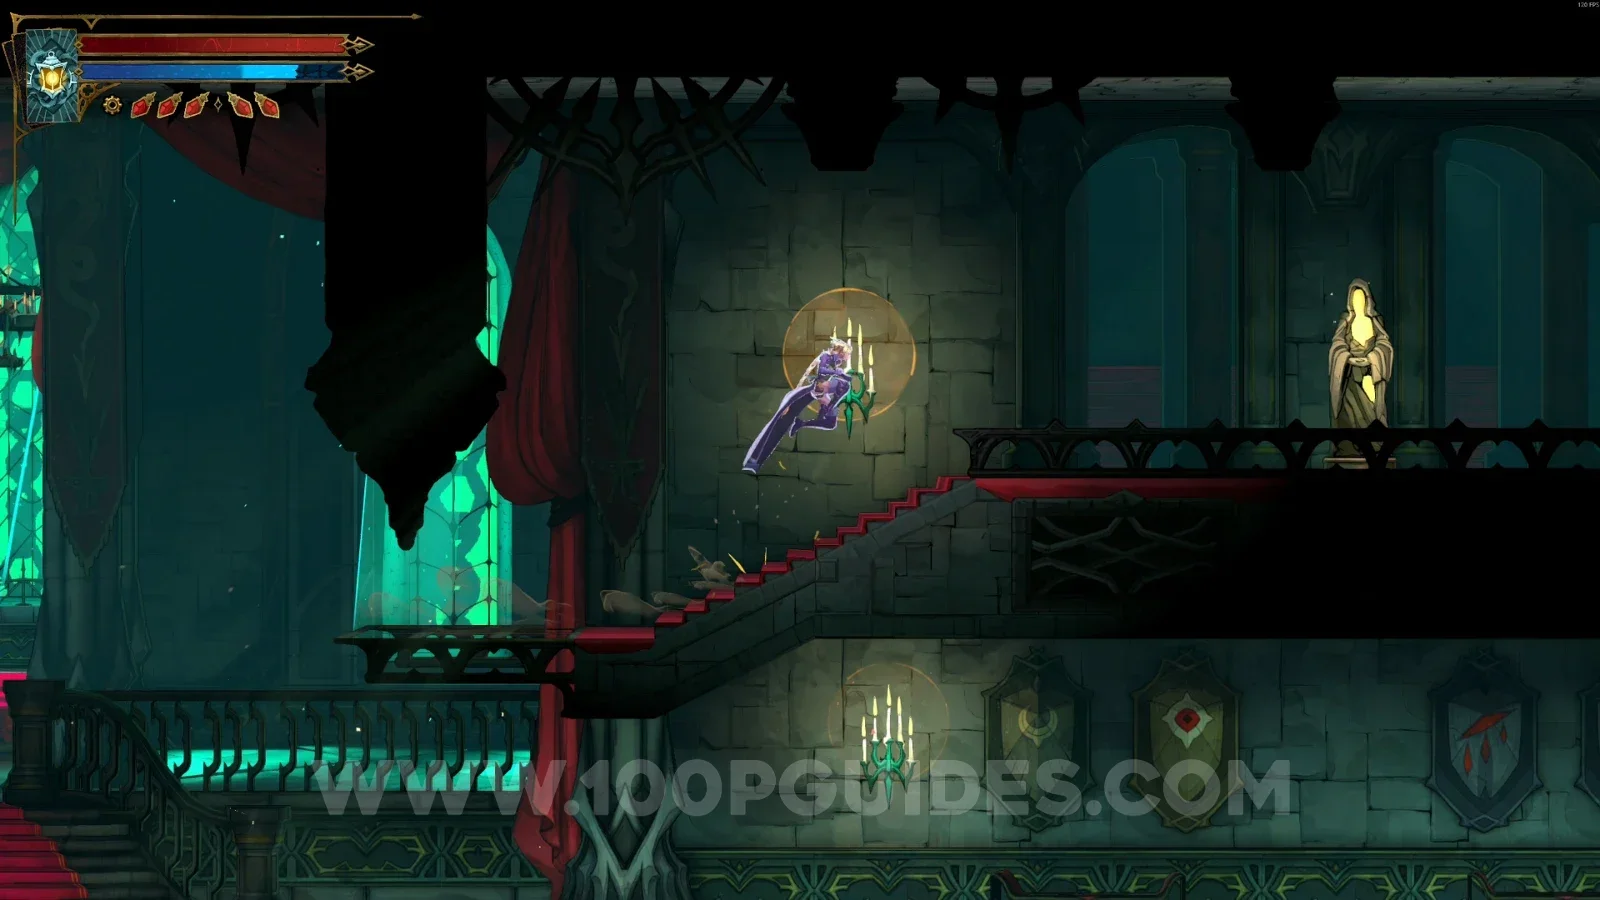
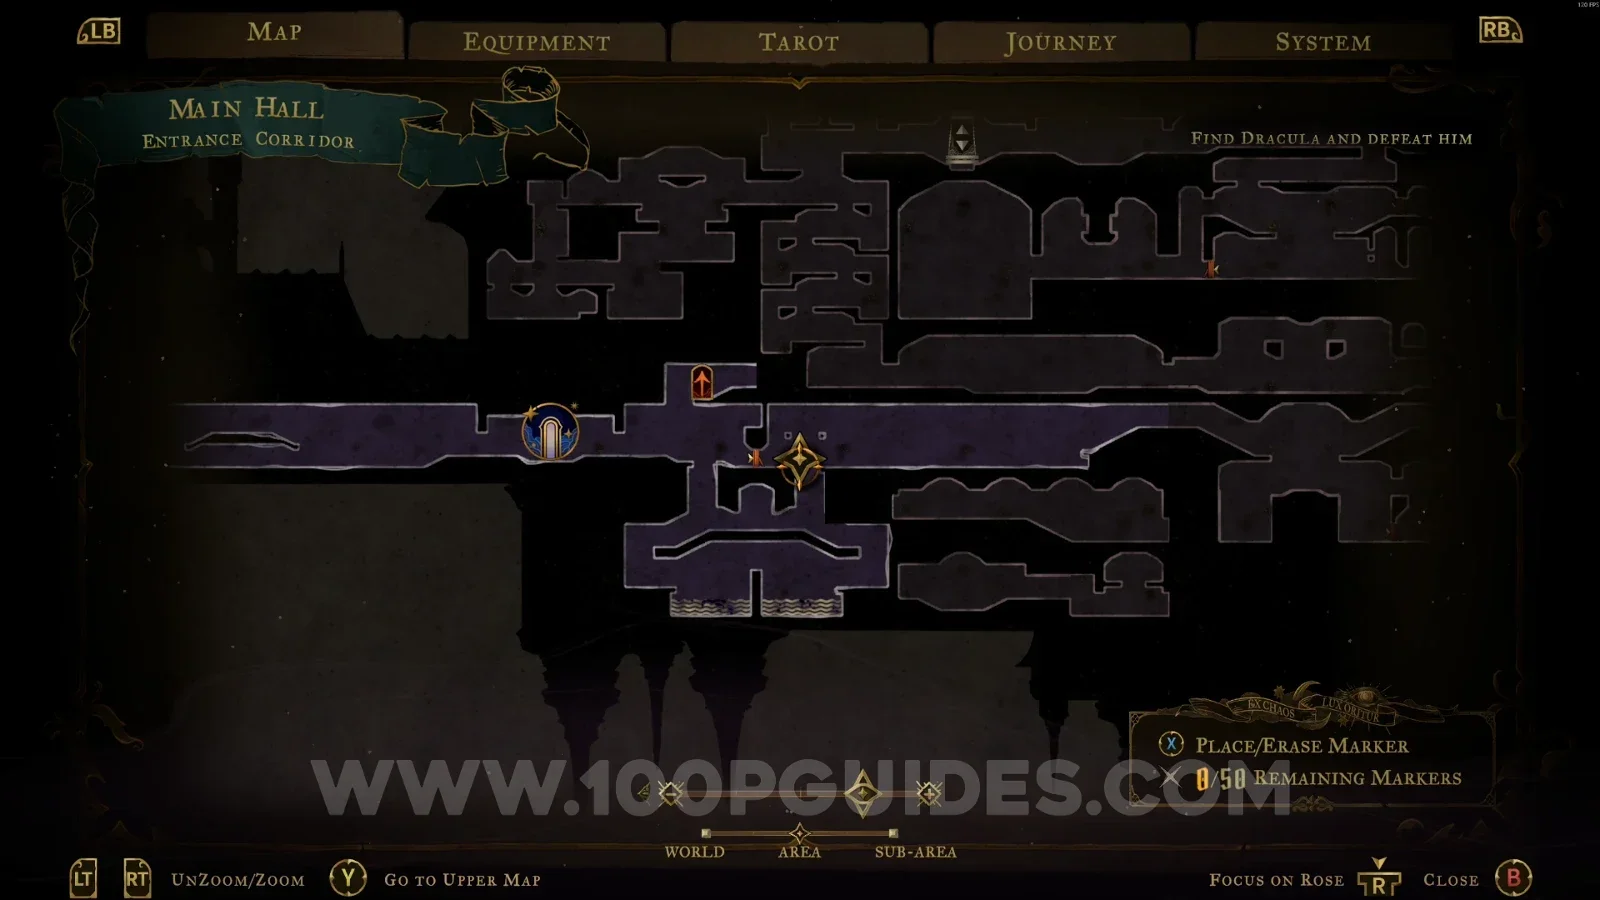
XP Statue #65

In the area marked on the map.

Castlevania Belmonts Curse Entrance Corridor map with the area of XP Statue #65 marked Castlevania Belmonts Curse Entrance Corridor: XP Statue #65 in the marked area

West Hall

XP Statue #66

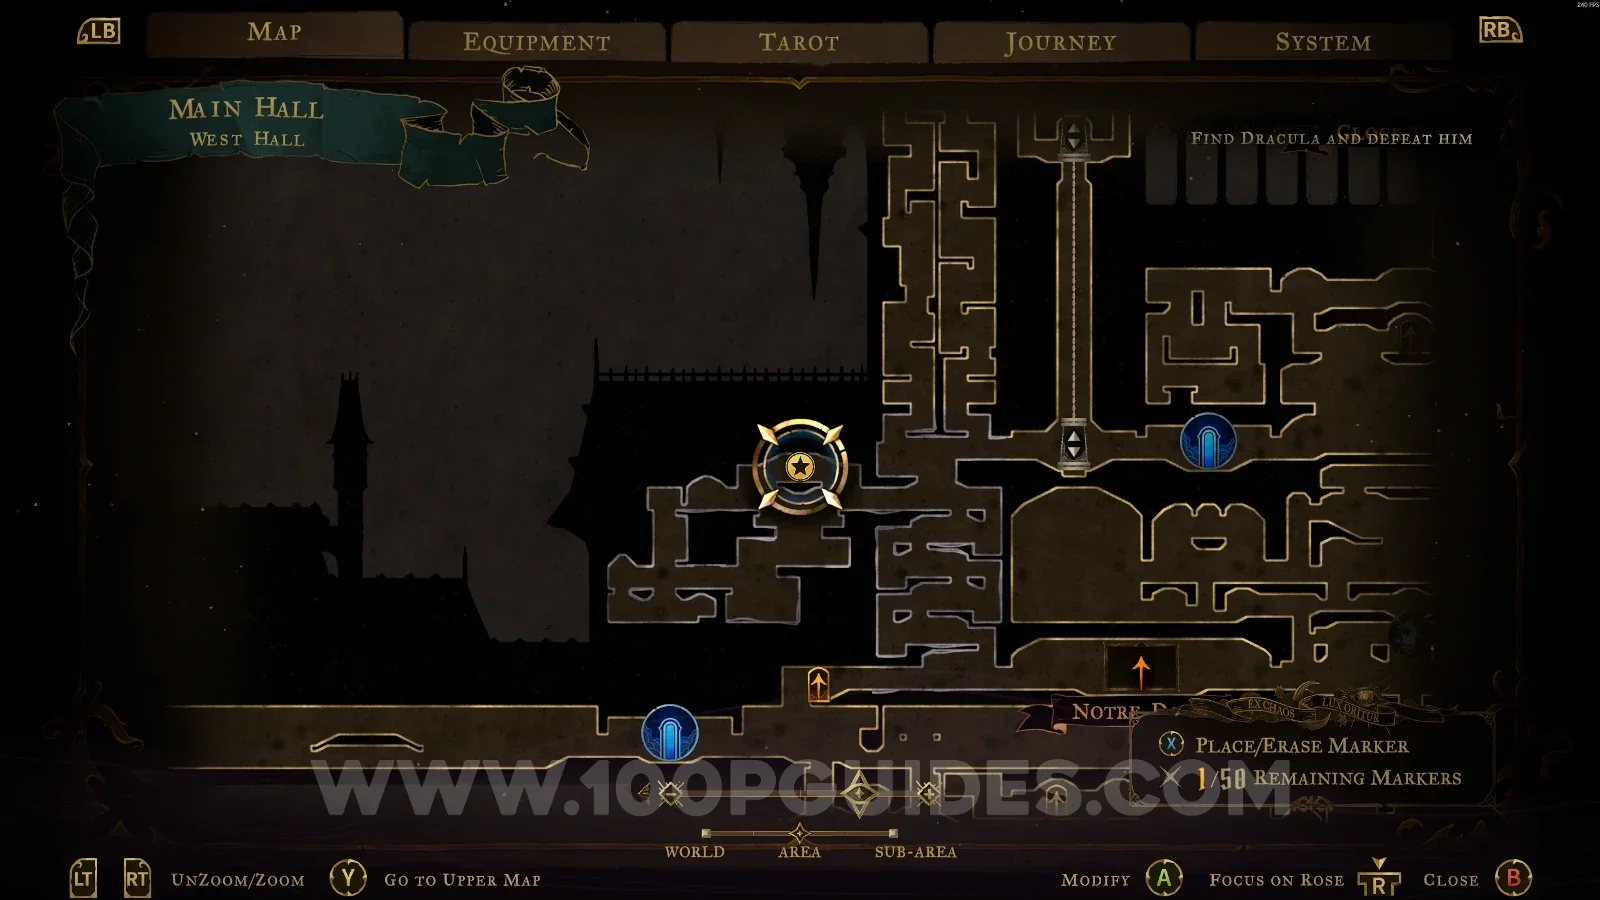
In the area marked on the map.

Castlevania Belmonts Curse West Hall map with the area of XP Statue #66 marked Castlevania Belmonts Curse West Hall: XP Statue #66 in the marked area

Grand Hall

XP Statue #67

In the area marked on the map.

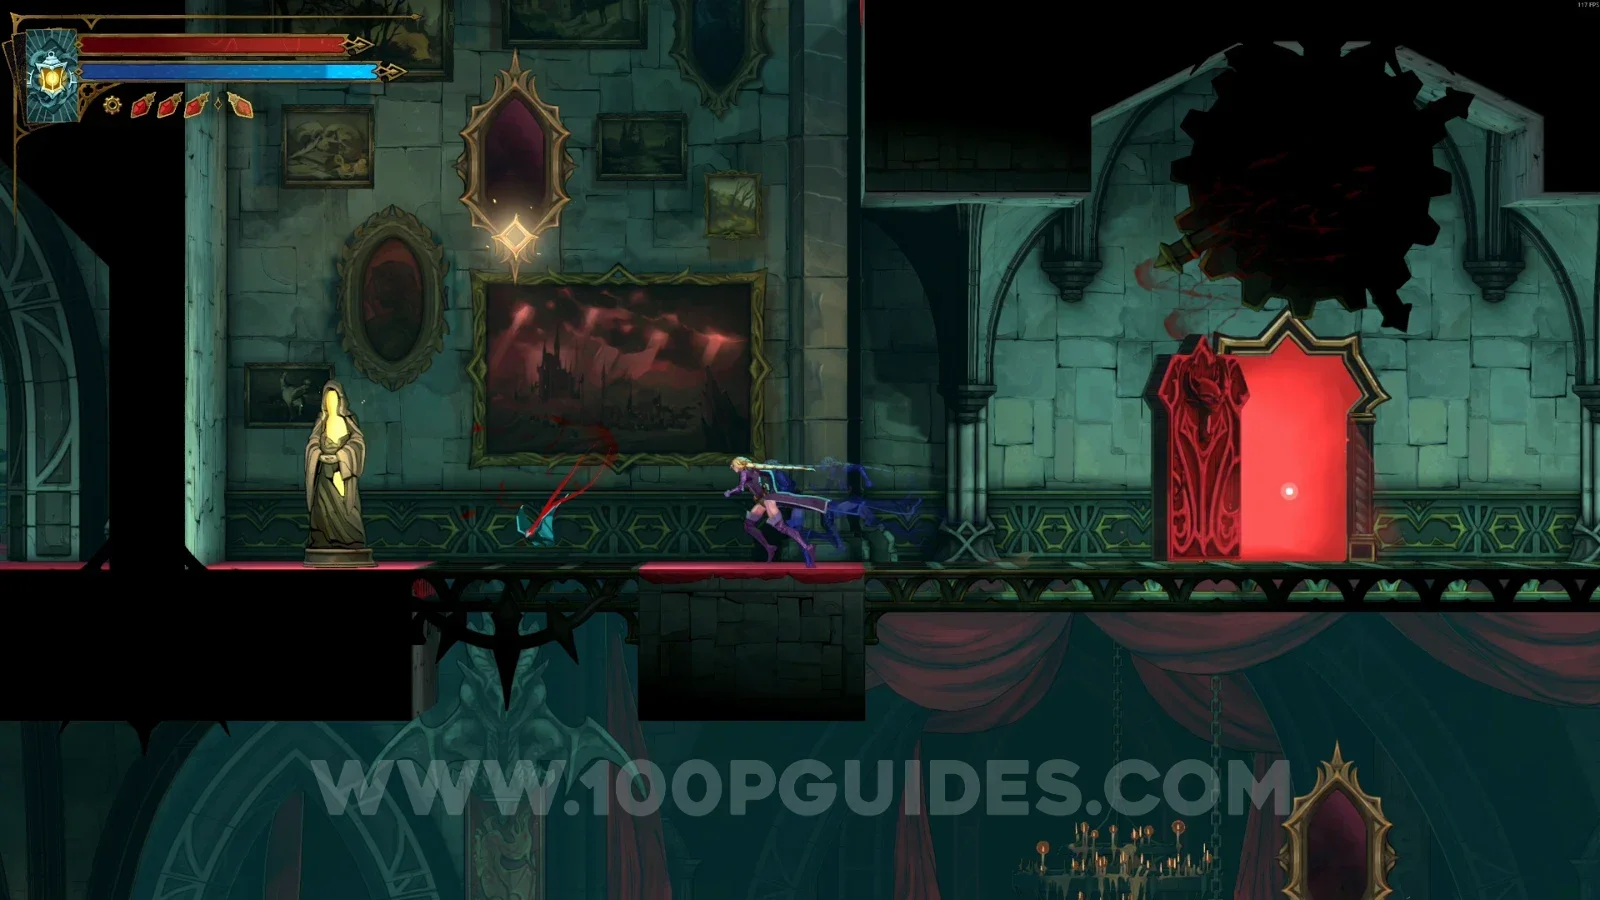
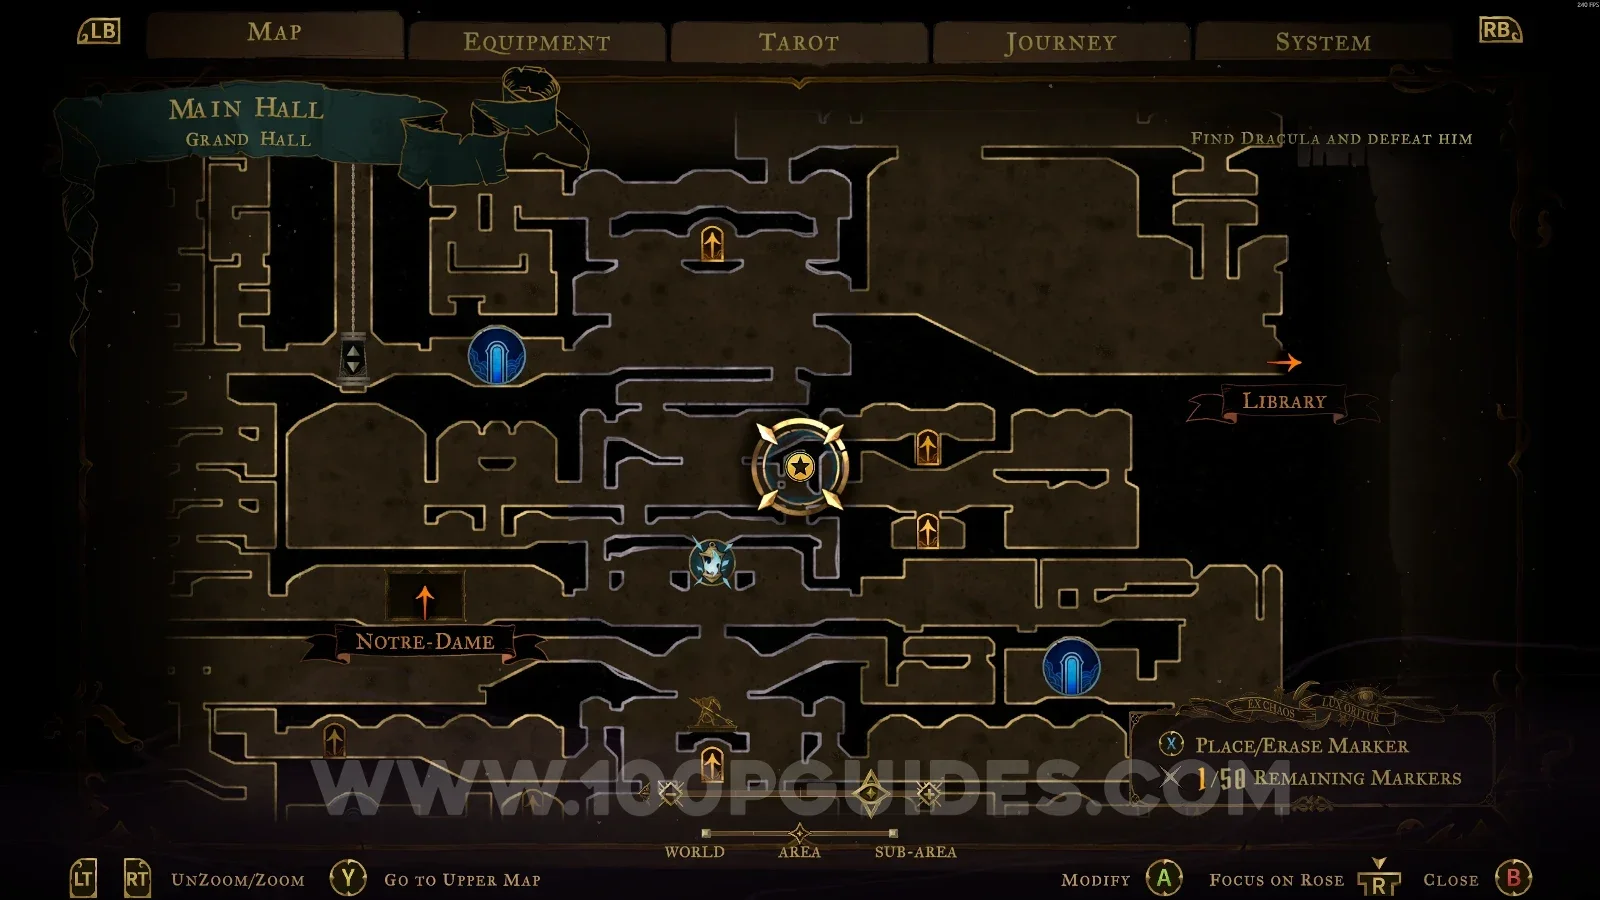
Castlevania Belmonts Curse Grand Hall map with the area of XP Statue #67 marked Castlevania Belmonts Curse Grand Hall: XP Statue #67 in the marked area

XP Statue #68

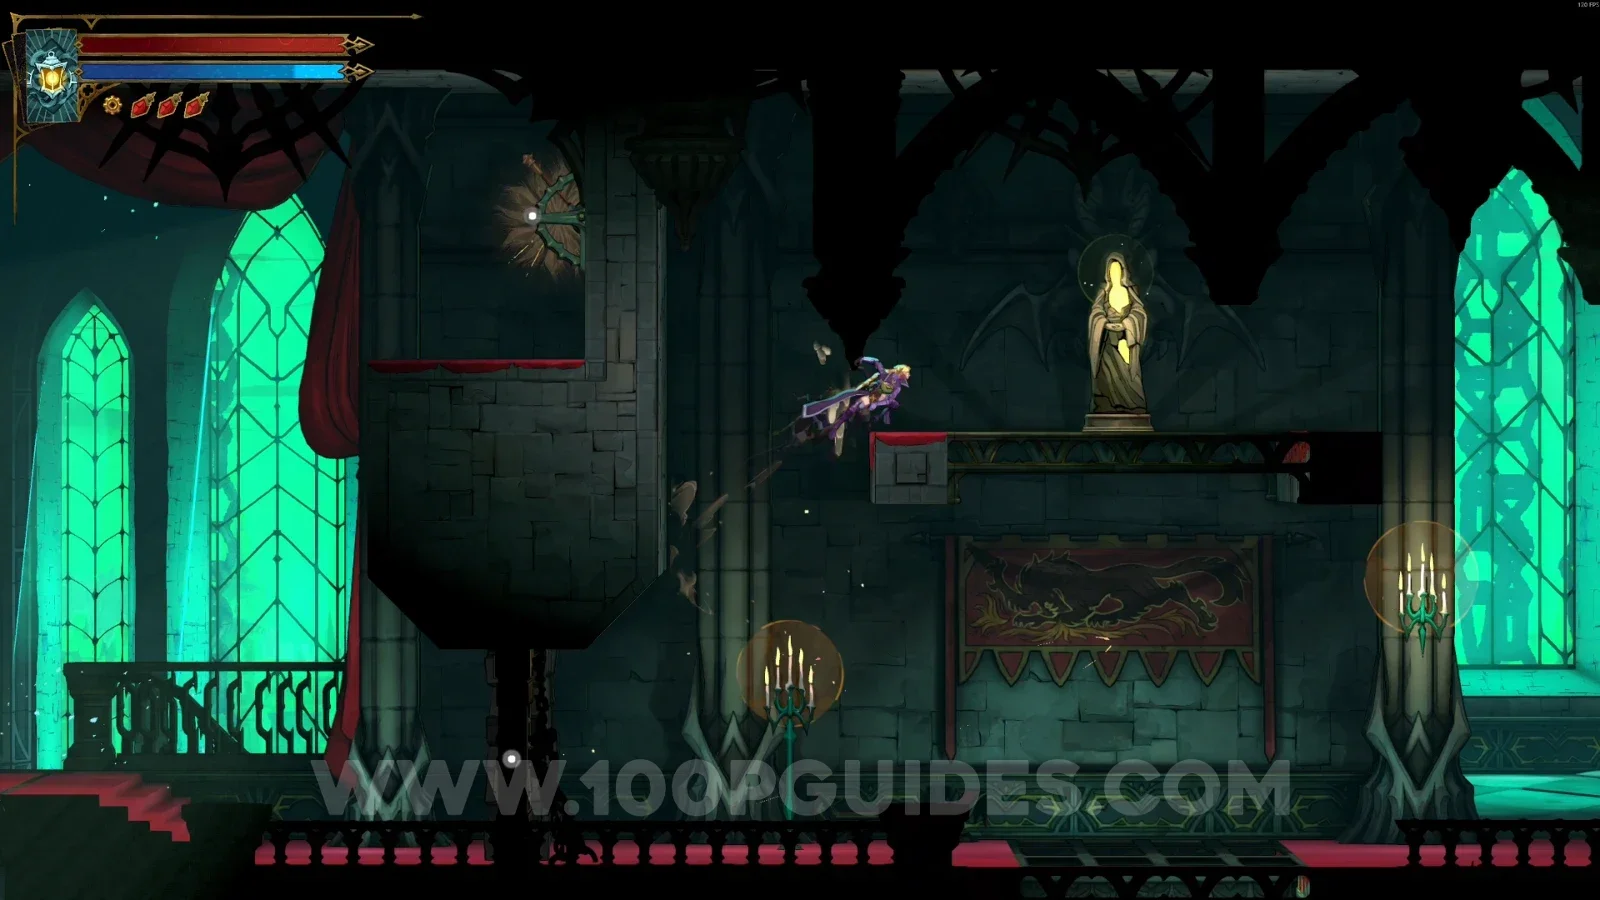
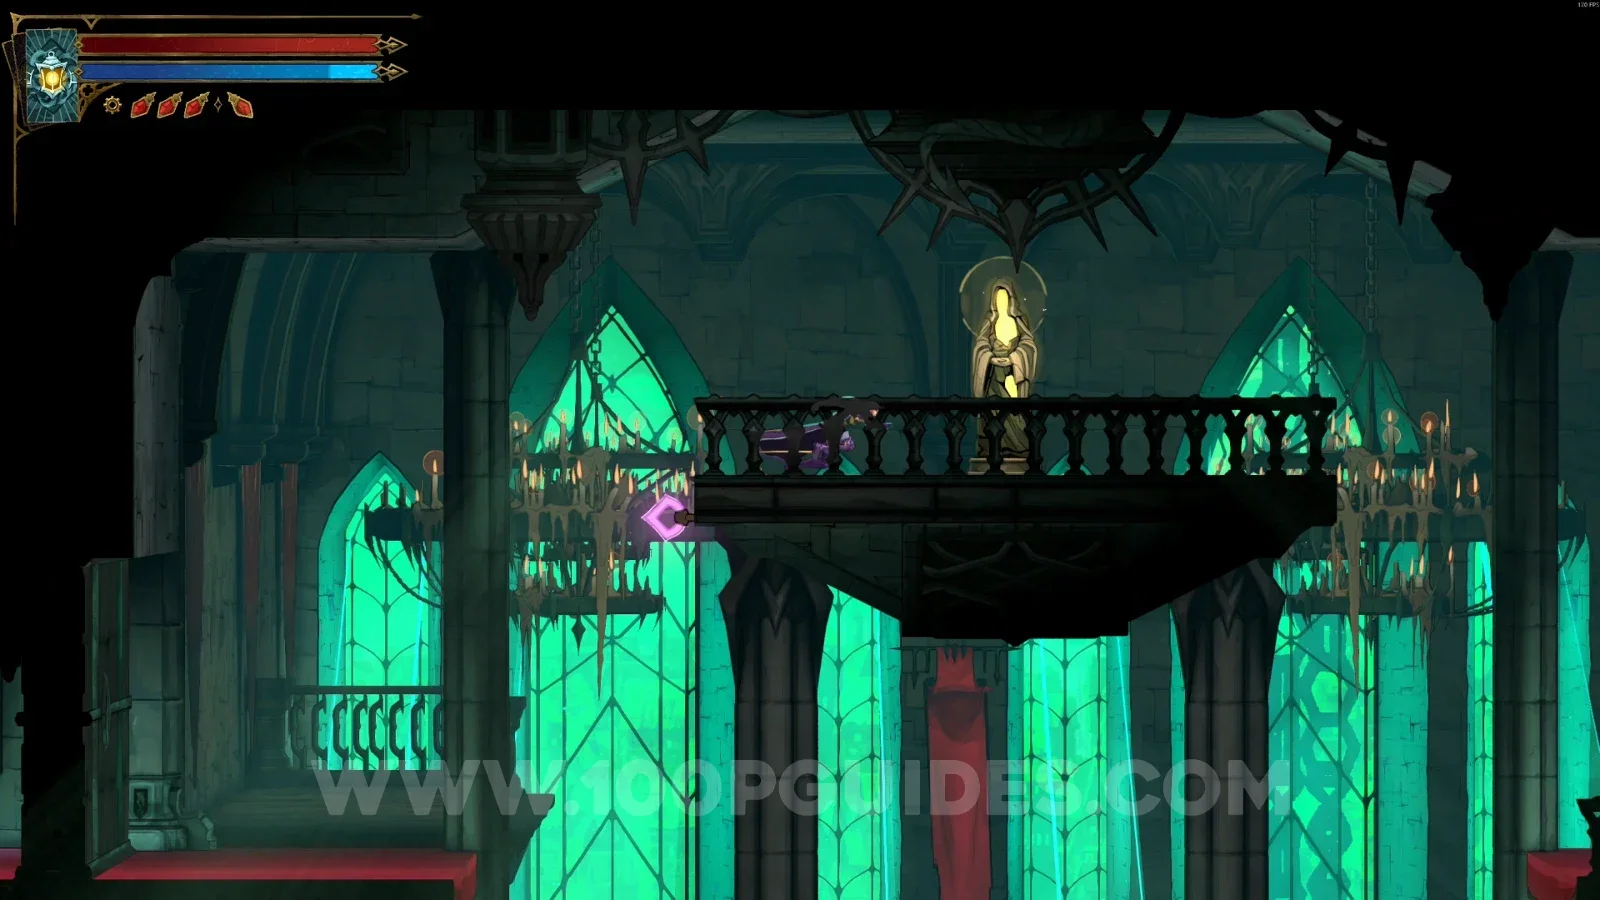
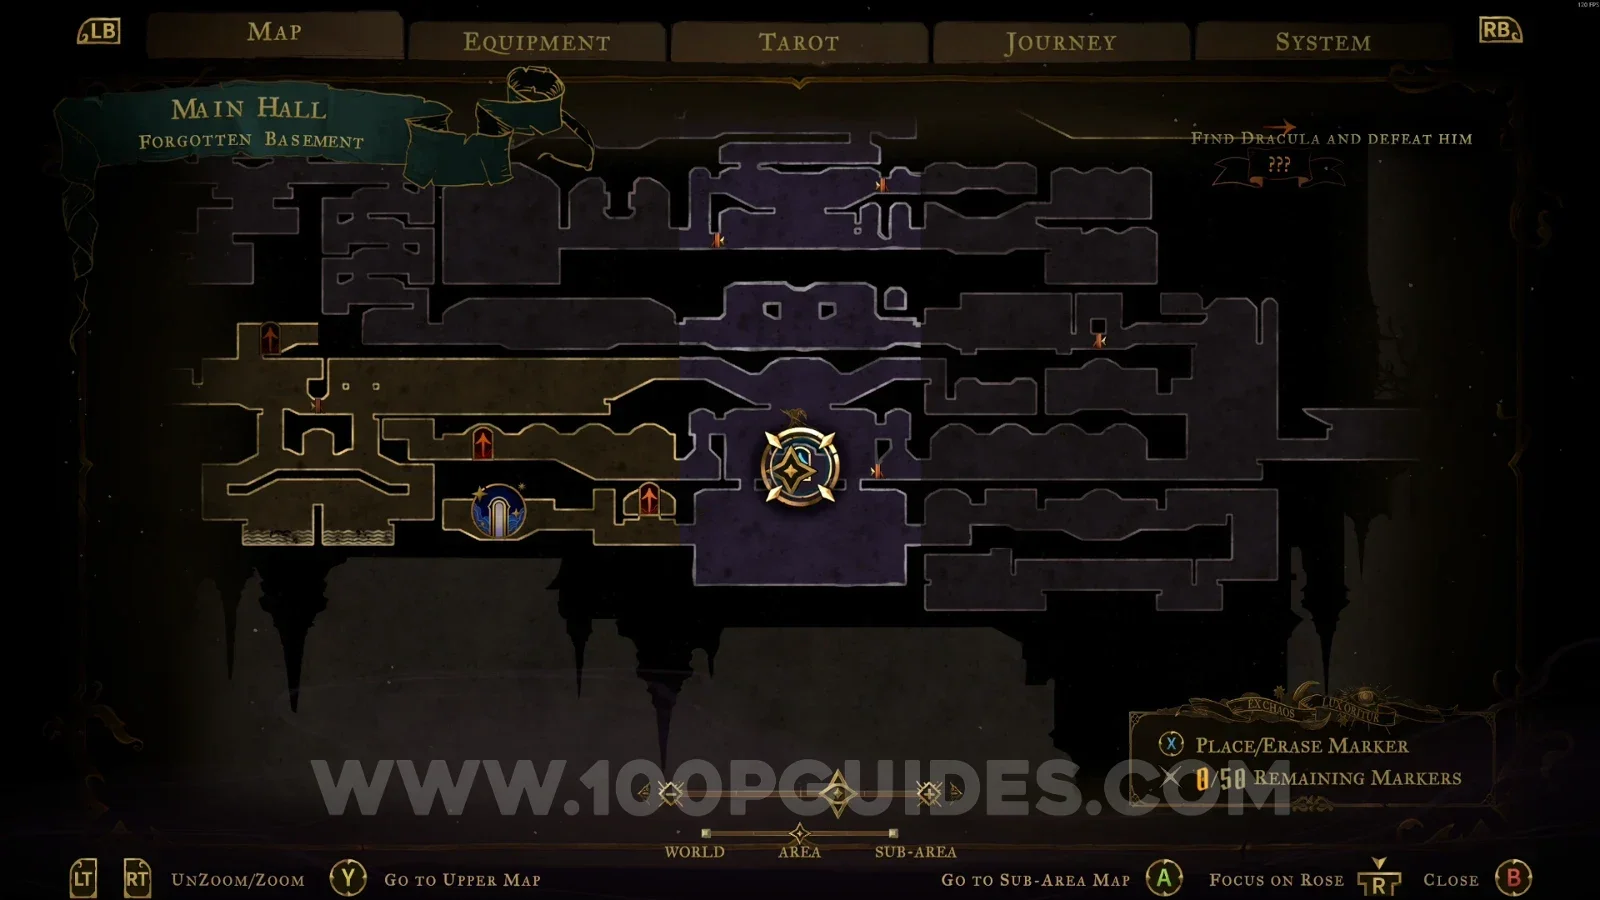
In the area marked on the map.

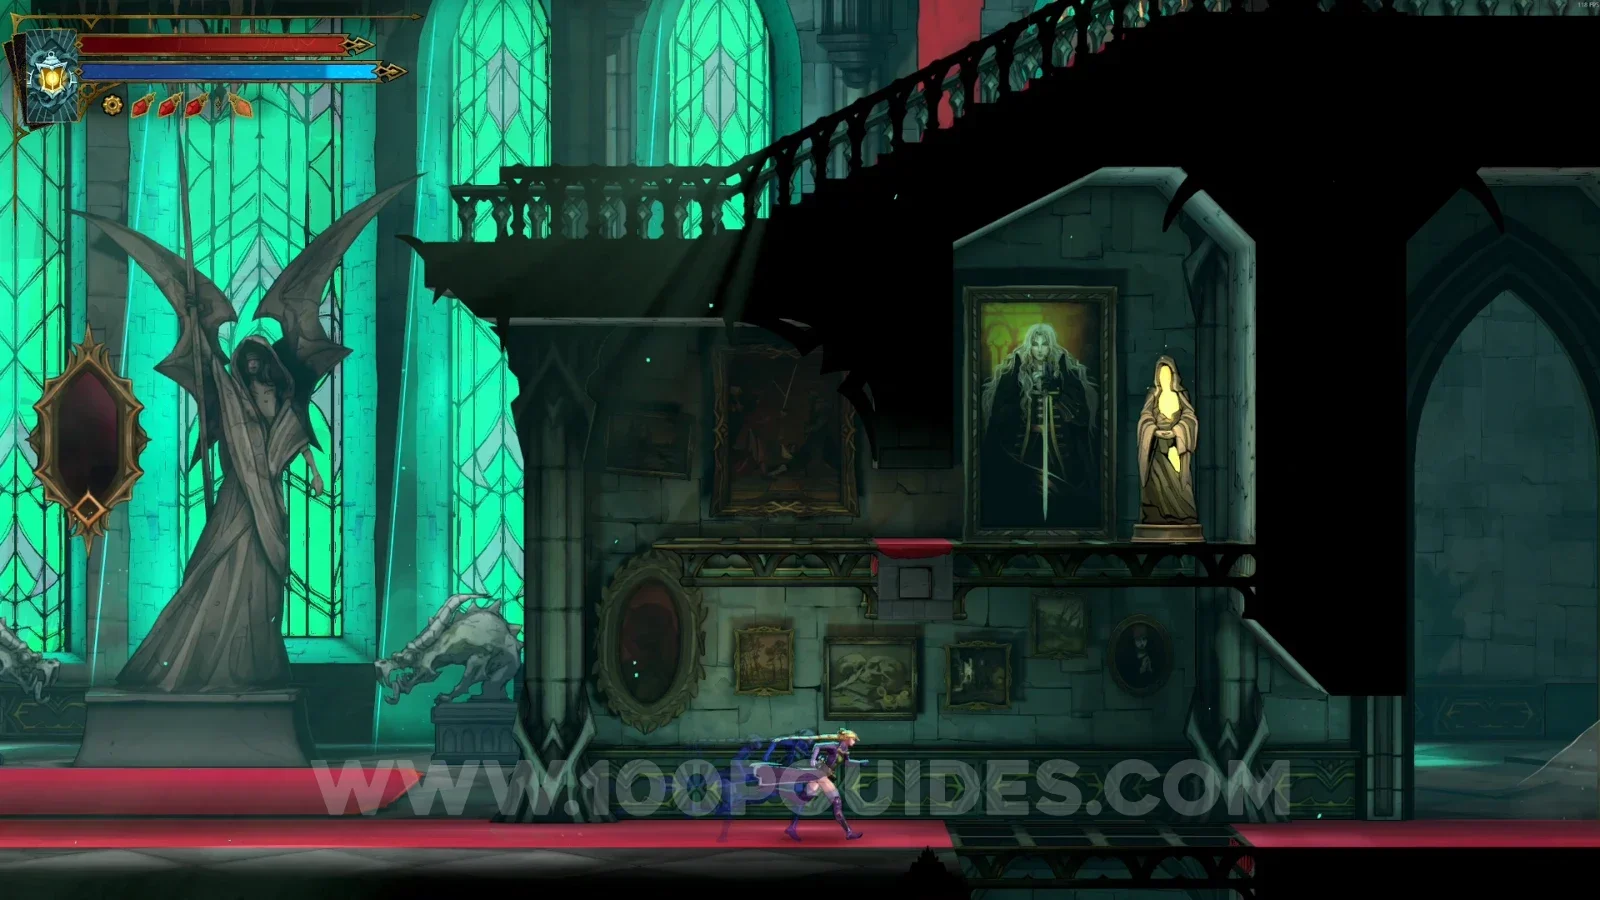
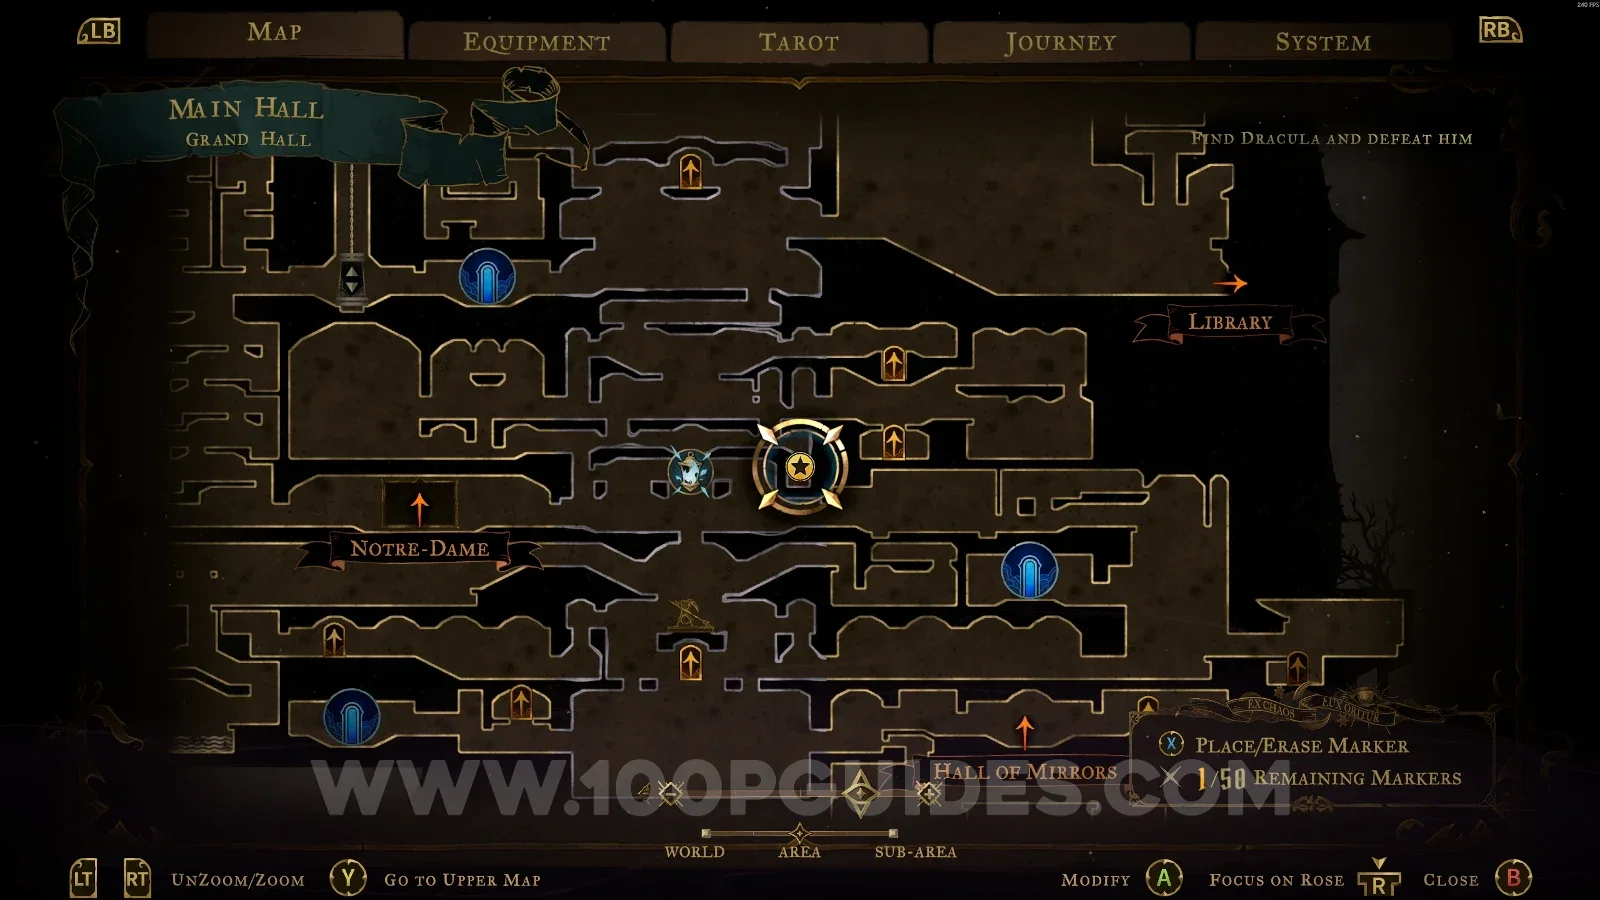
Castlevania Belmonts Curse Grand Hall map with the area of XP Statue #68 marked Castlevania Belmonts Curse Grand Hall: XP Statue #68 in the marked area

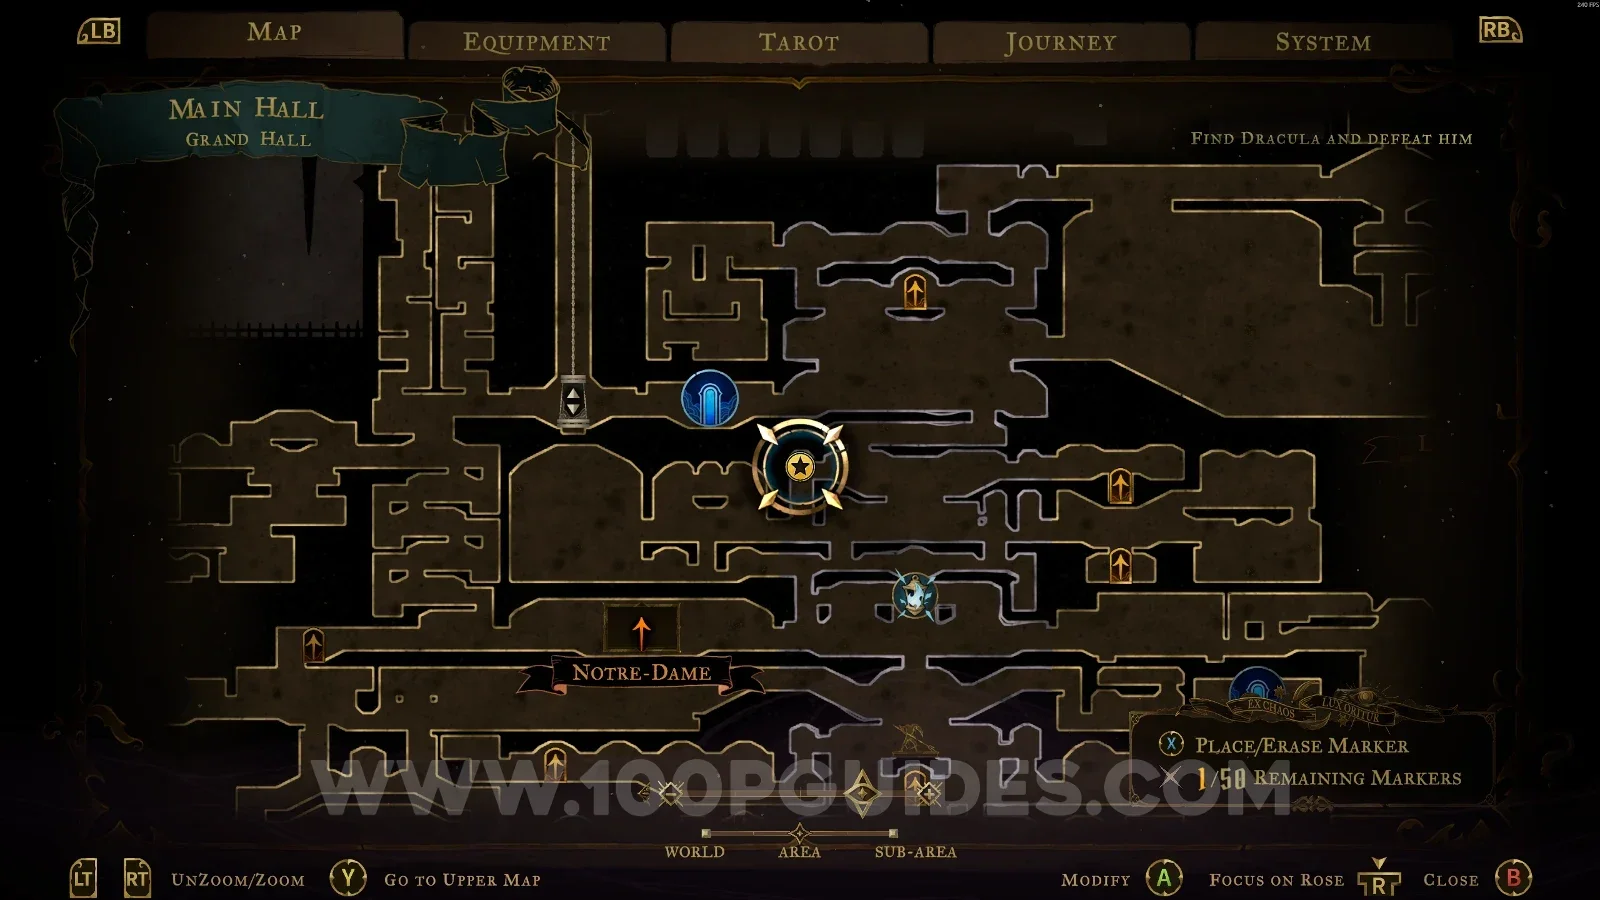
XP Statue #69

In the area marked on the map.

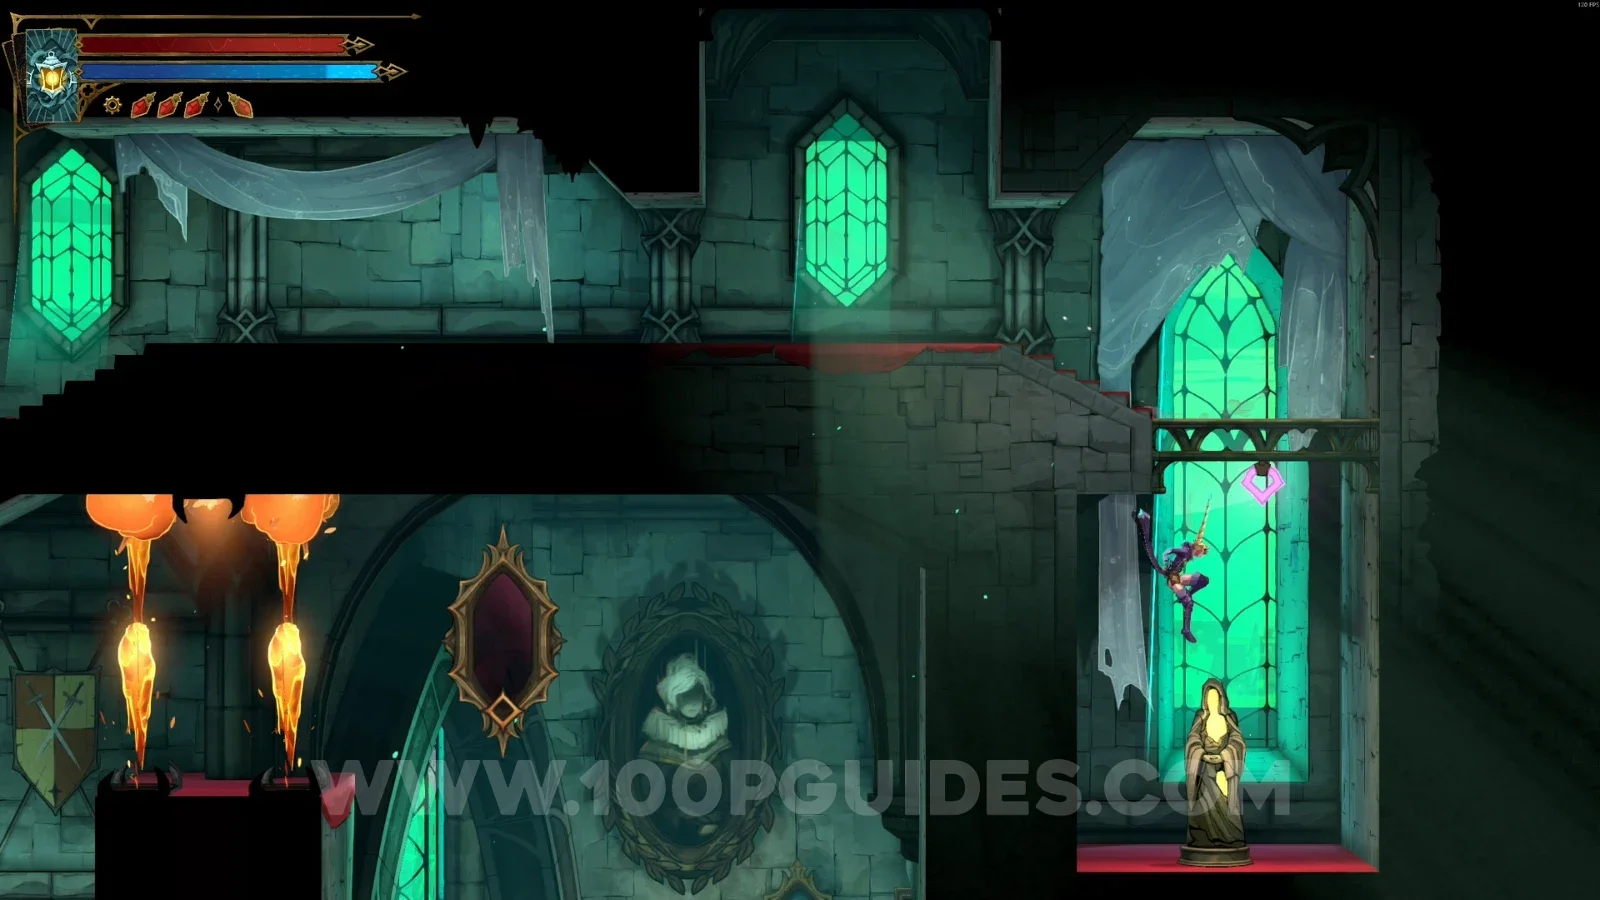
Castlevania Belmonts Curse Grand Hall map with the area of XP Statue #69 marked Castlevania Belmonts Curse Grand Hall: XP Statue #69 in the marked area

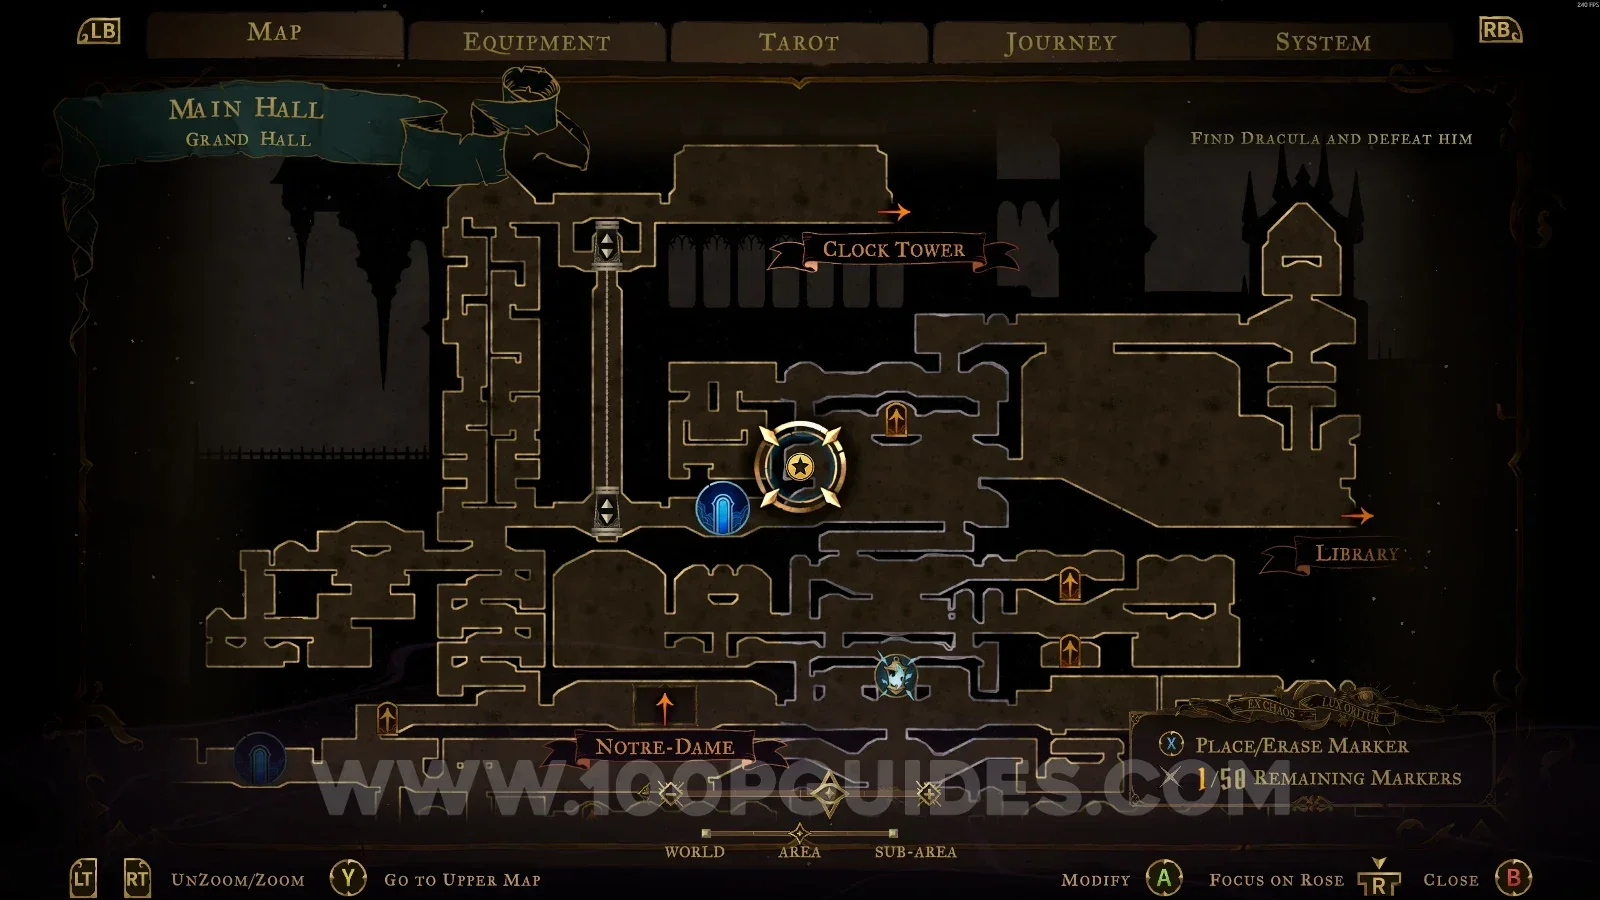
XP Statue #70

In the area marked on the map.

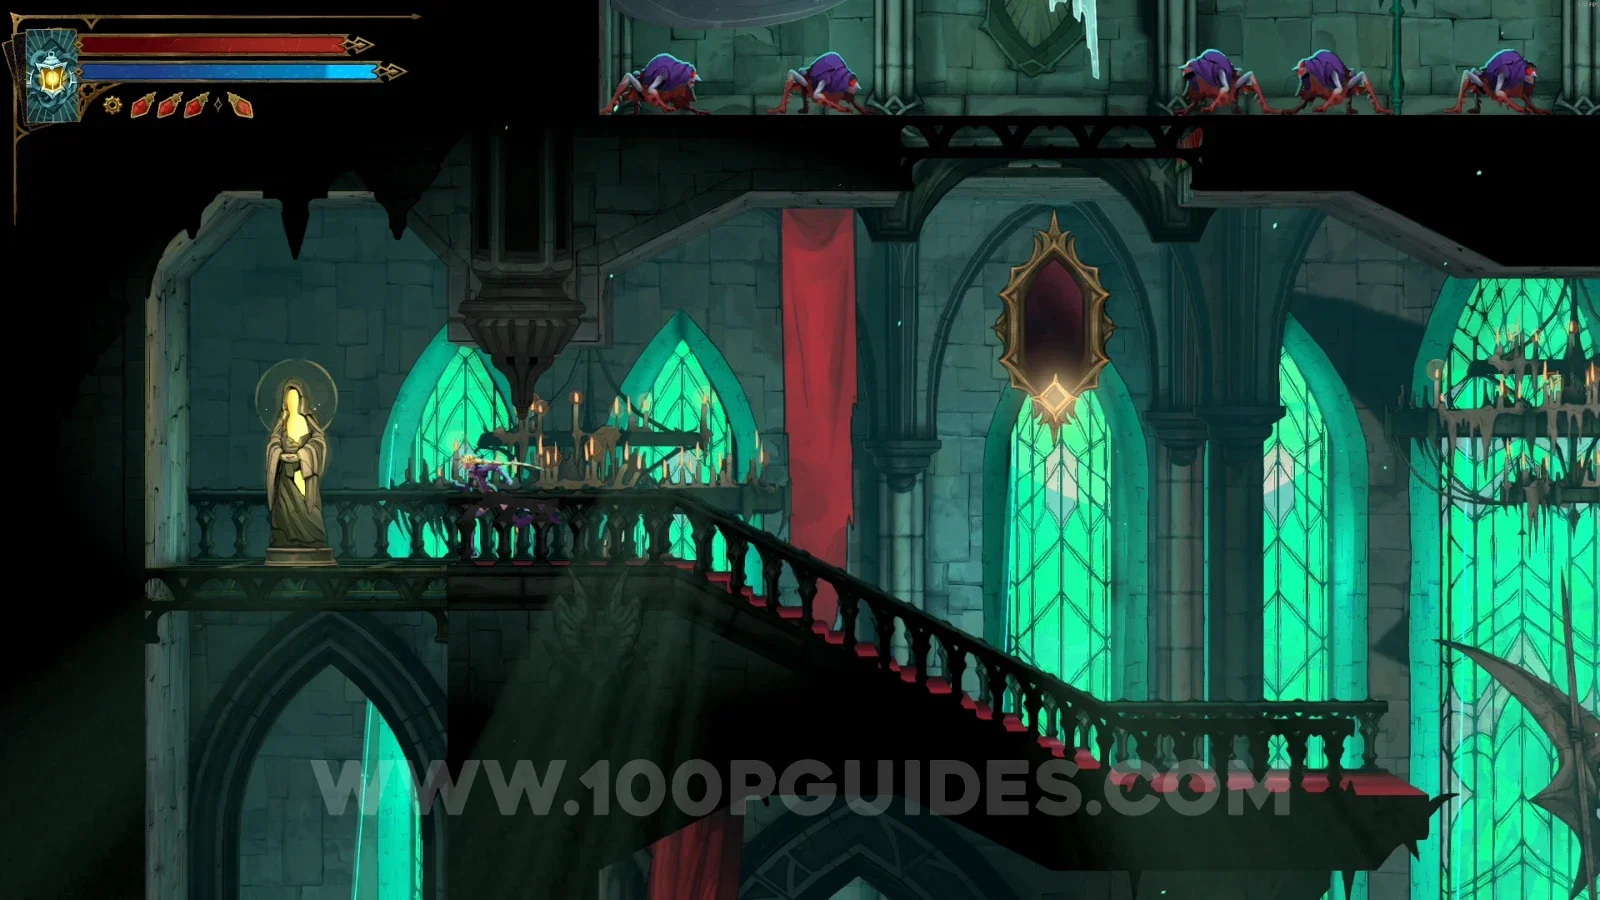
Castlevania Belmonts Curse Grand Hall map with the area of XP Statue #70 marked Castlevania Belmonts Curse Grand Hall: XP Statue #70 in the marked area

XP Statue #71

In the area marked on the map.

Castlevania Belmonts Curse Grand Hall map with the area of XP Statue #71 marked Castlevania Belmonts Curse Grand Hall: XP Statue #71 in the marked area

Dungeon

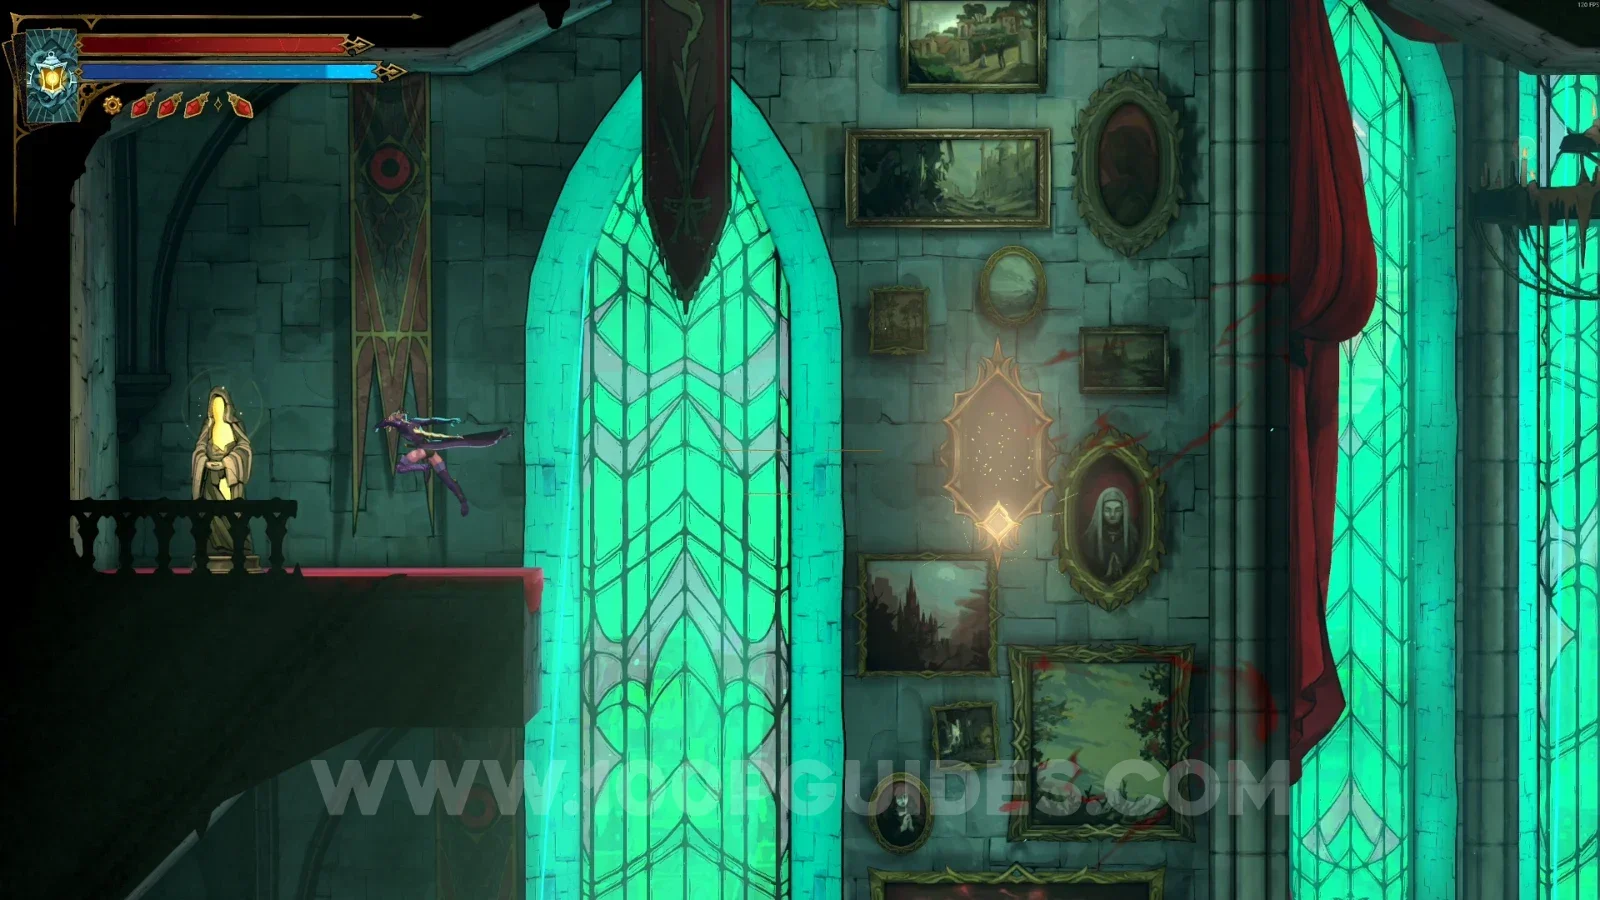
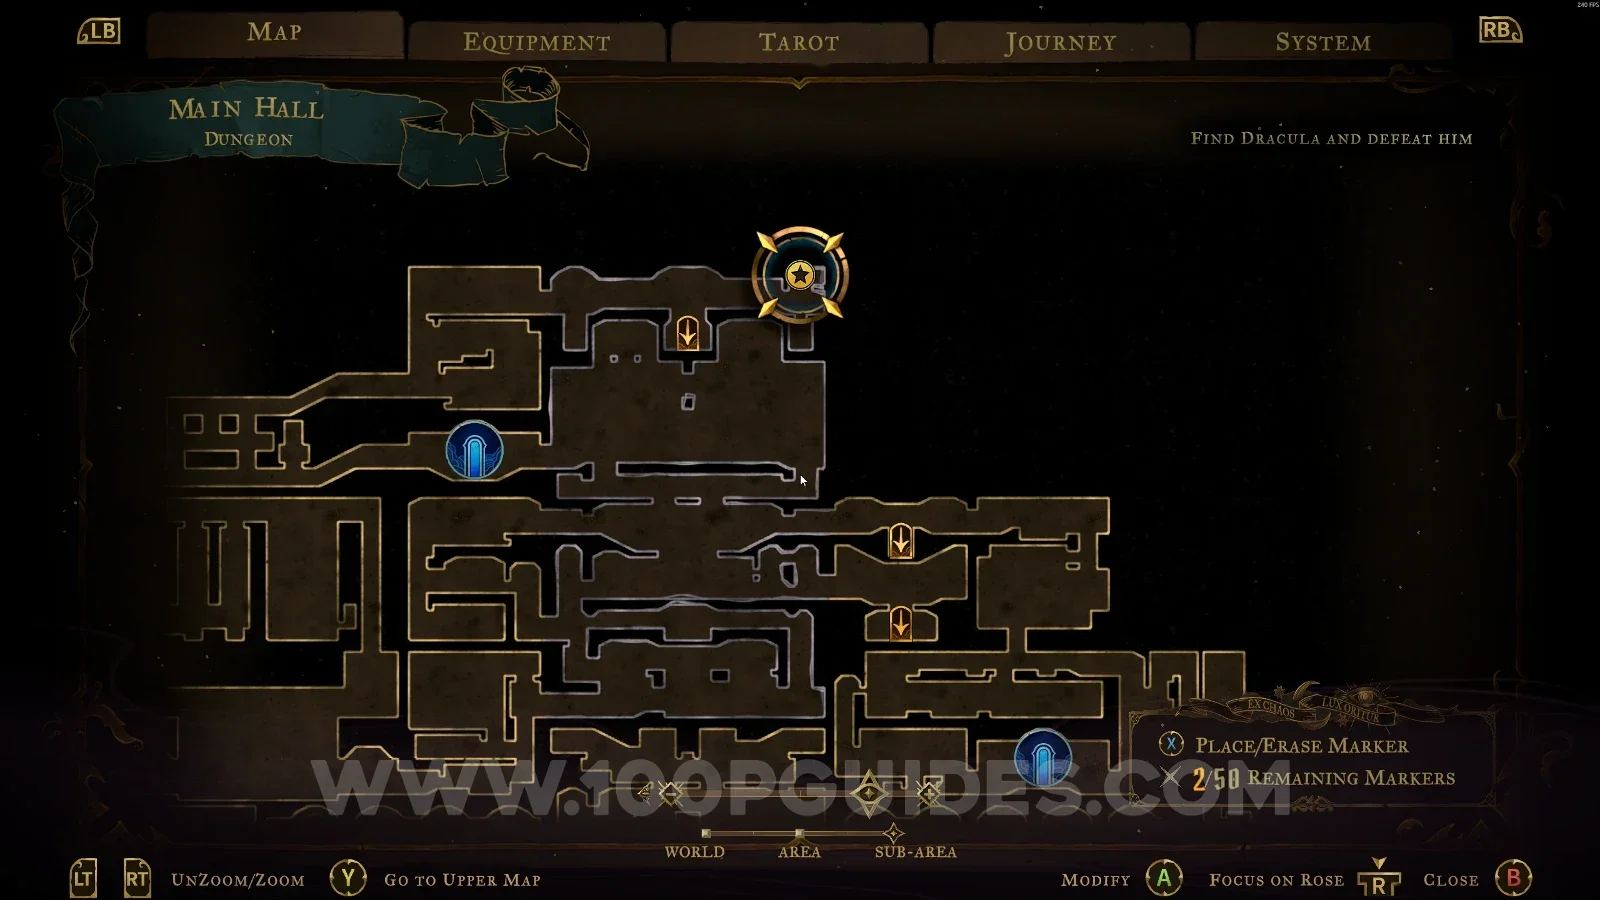
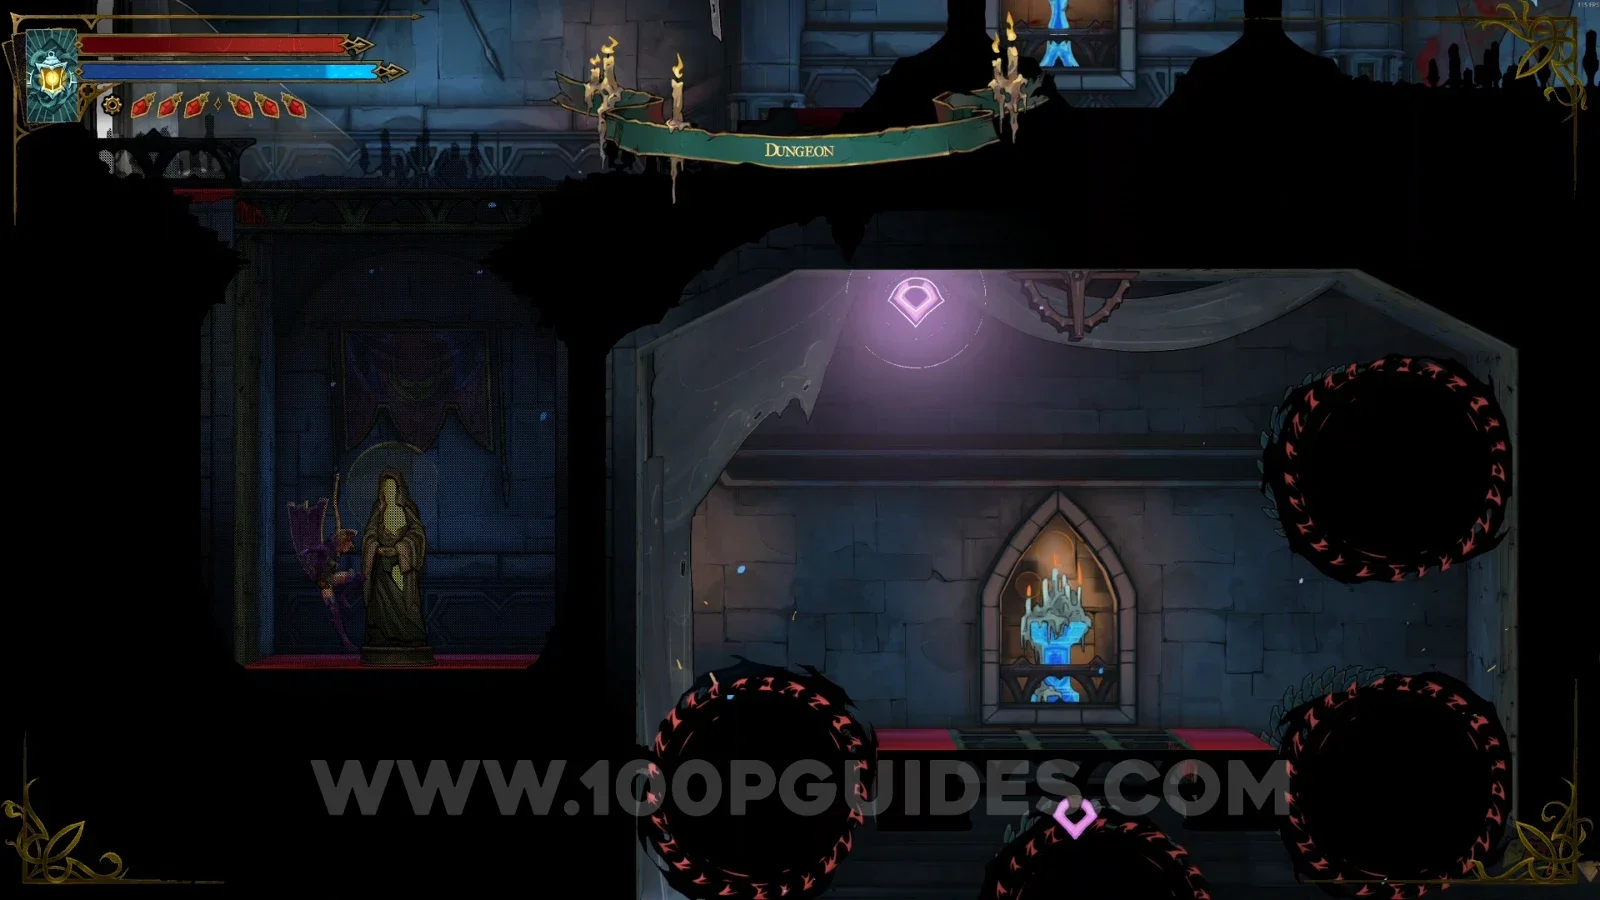
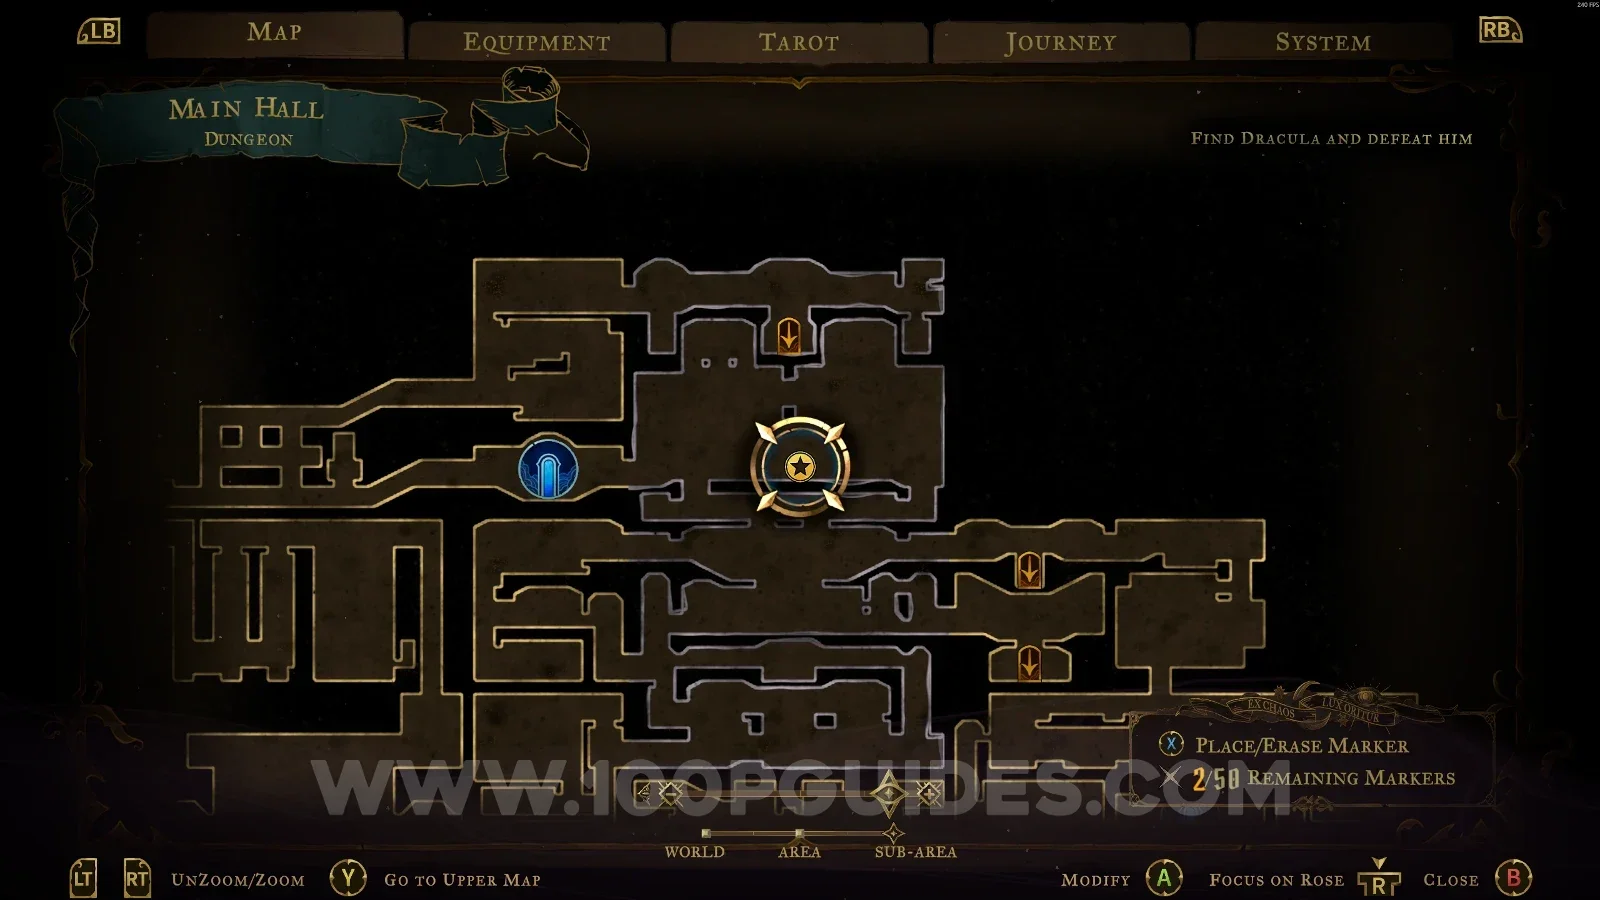
XP Statue #72

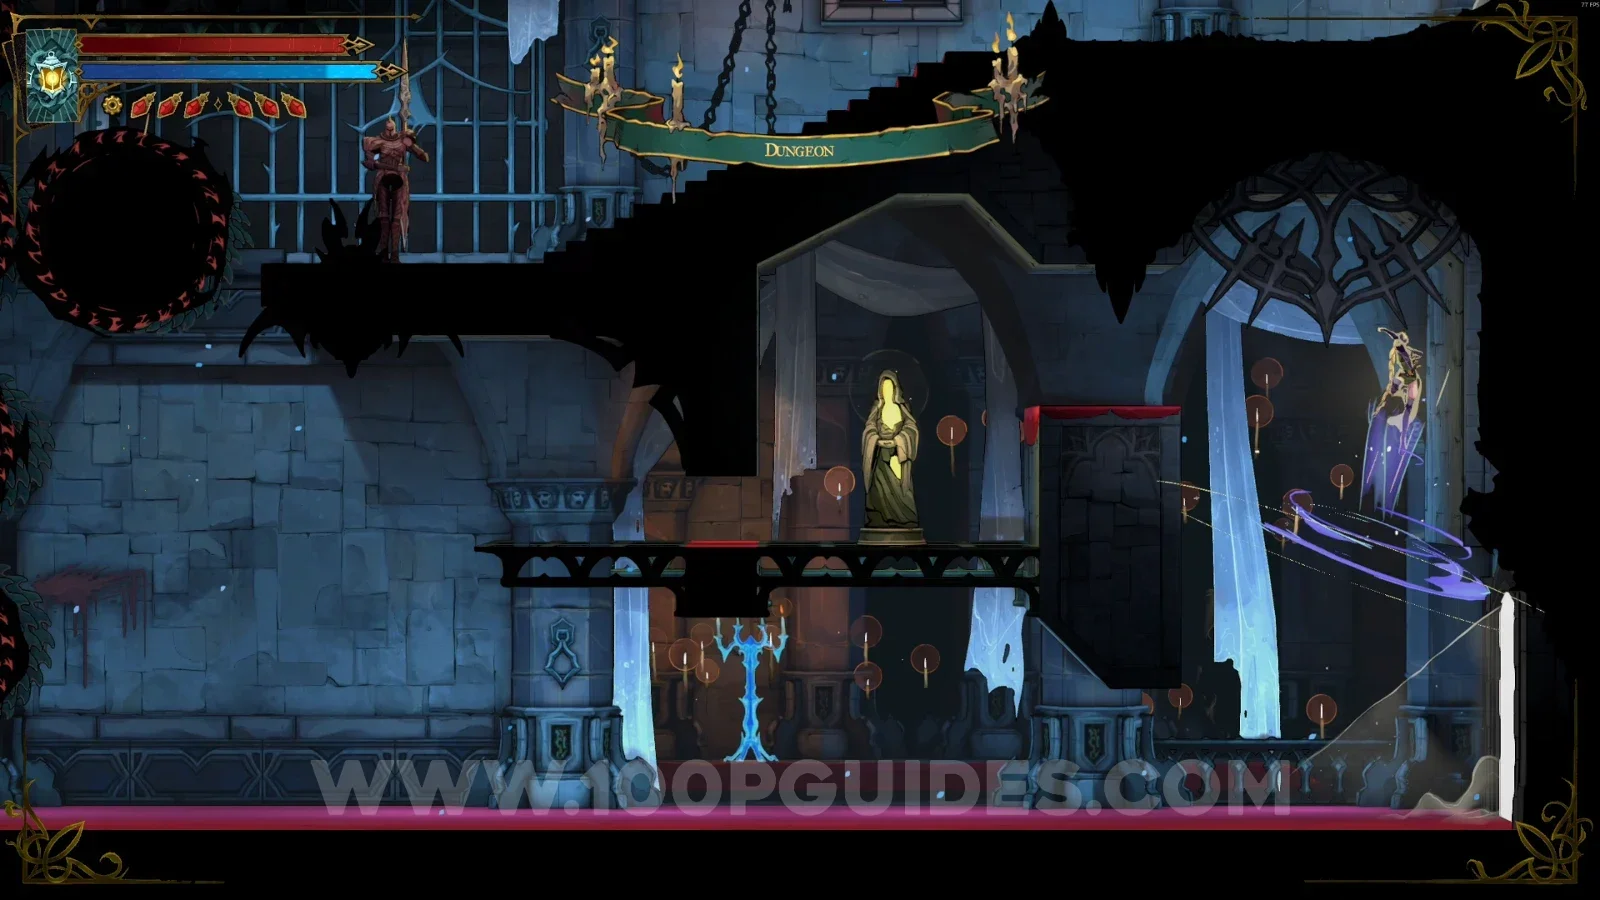
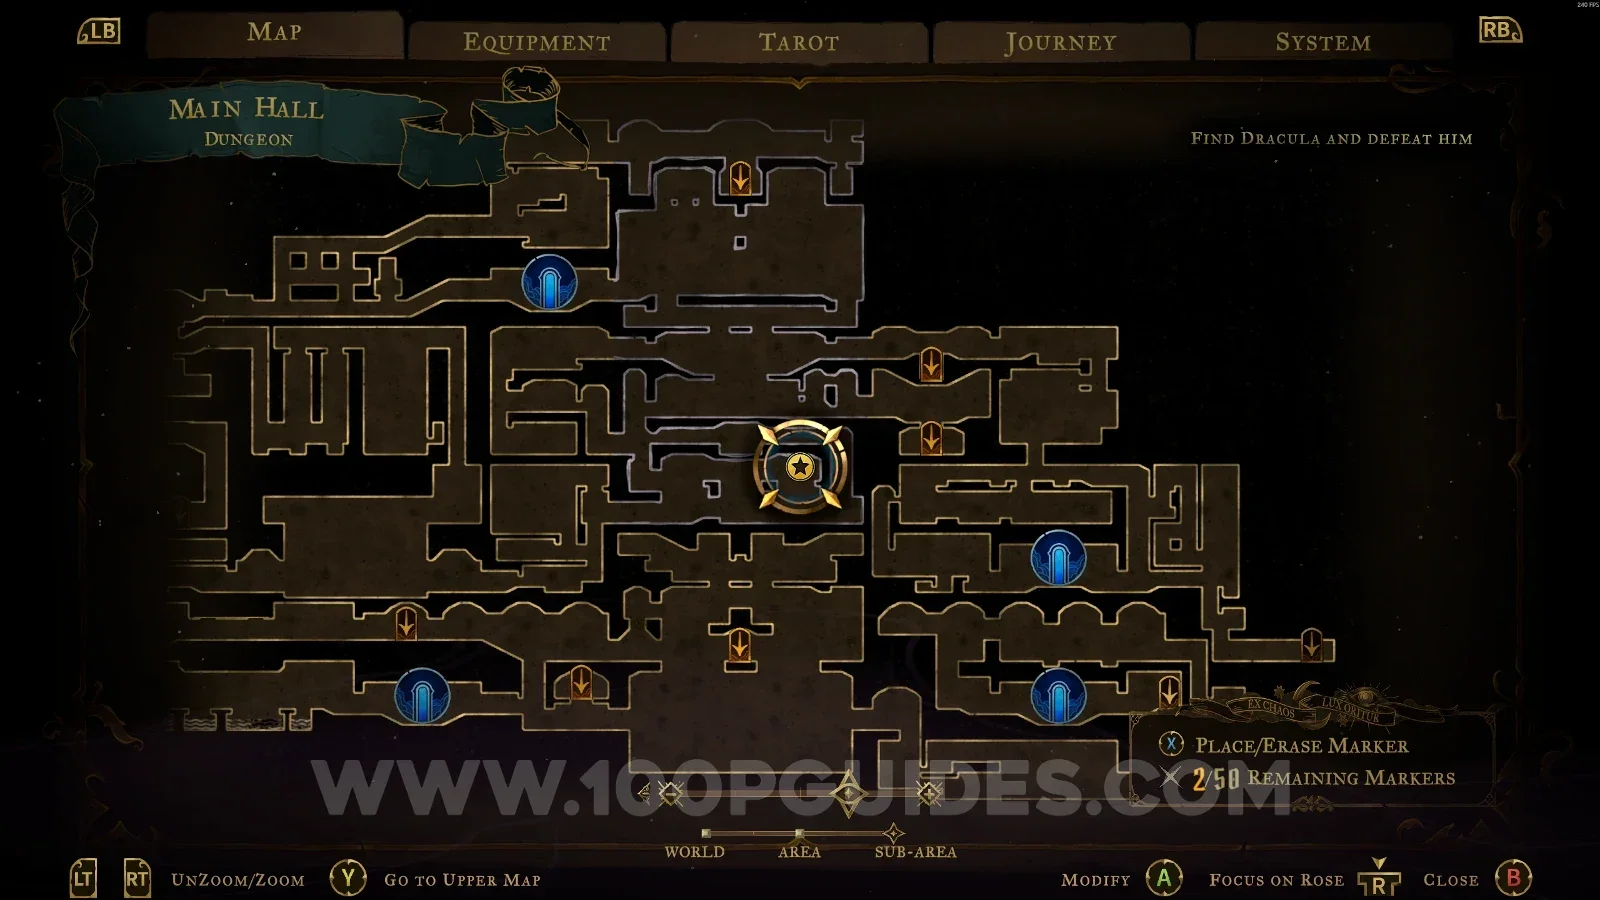
In the area marked on the map.

Castlevania Belmonts Curse Dungeon map with the area of XP Statue #72 marked Castlevania Belmonts Curse Dungeon: XP Statue #72 in the marked area

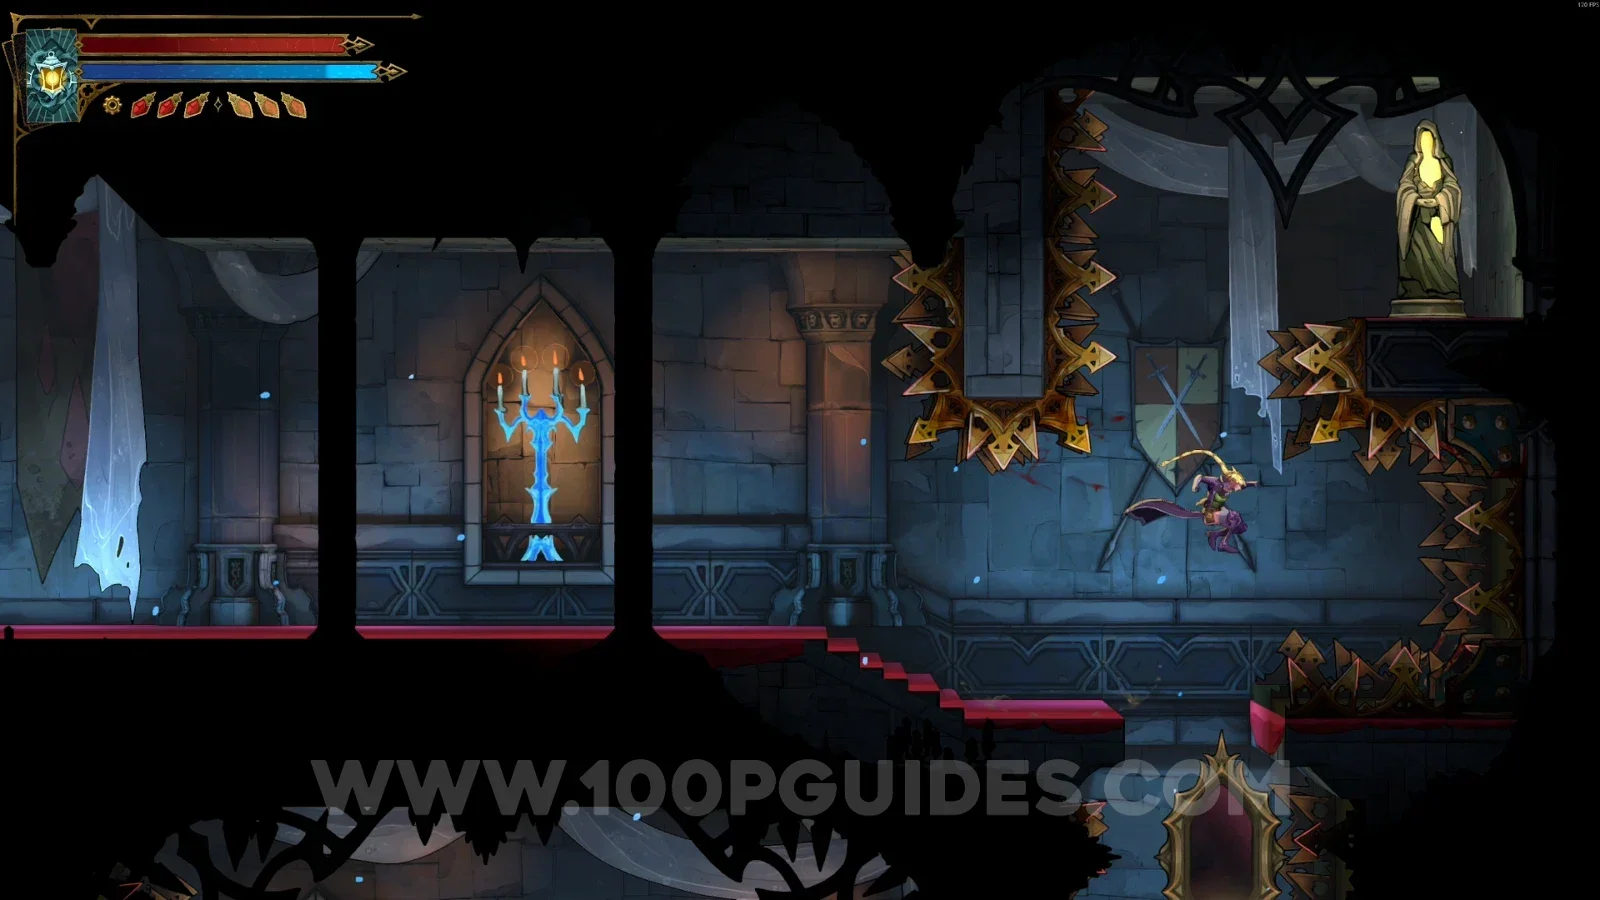
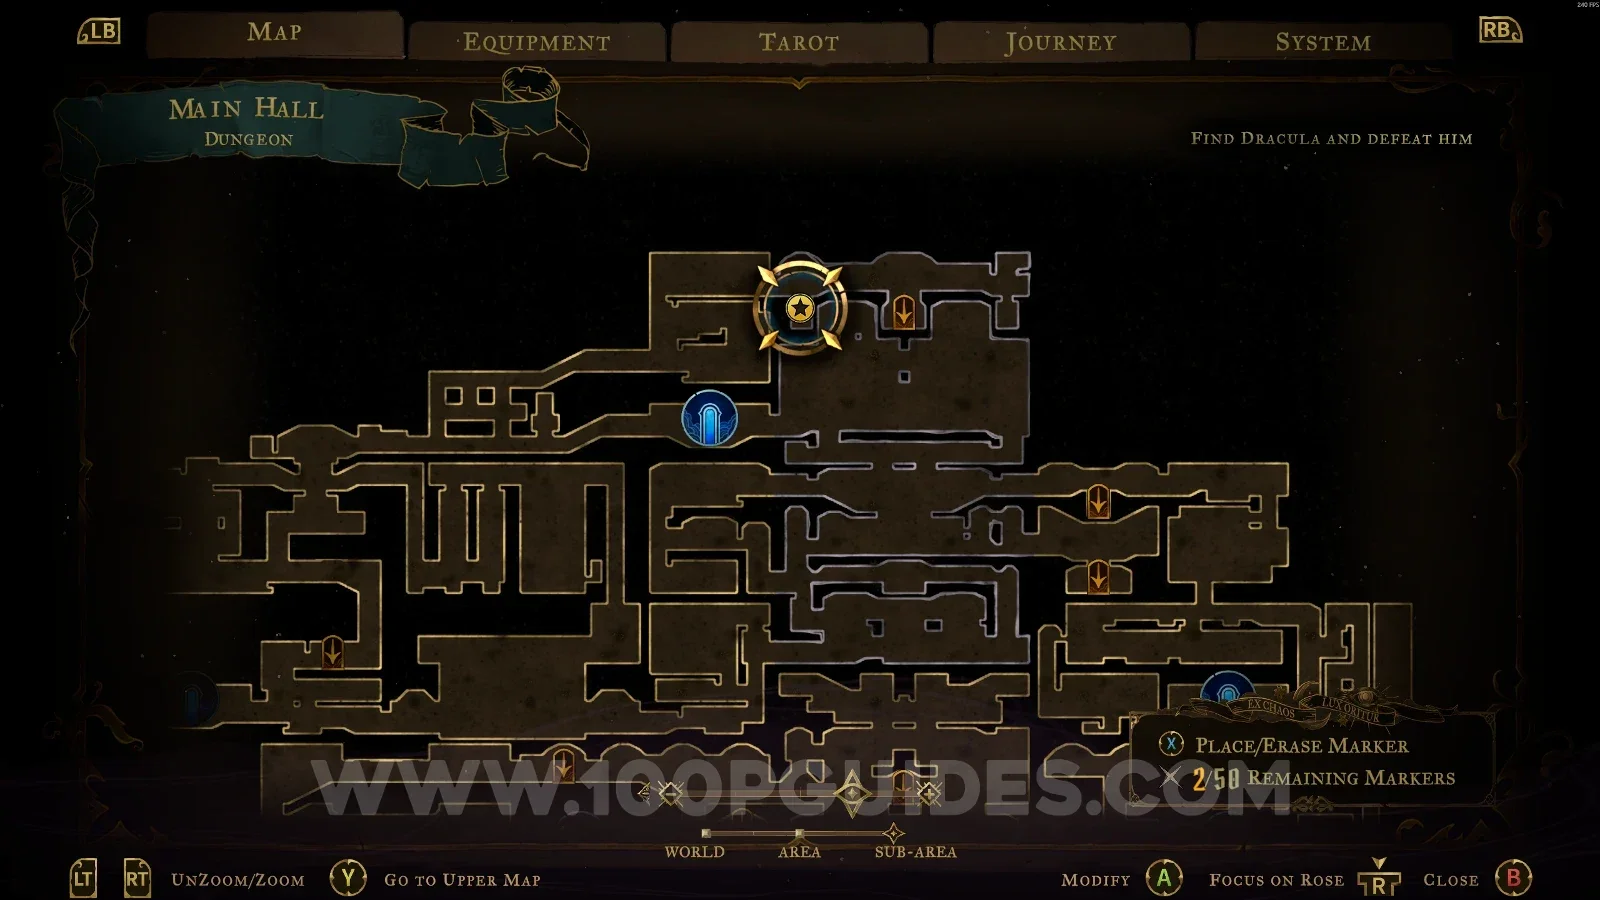
XP Statue #73

In the area marked on the map.

Castlevania Belmonts Curse Dungeon map with the area of XP Statue #73 marked Castlevania Belmonts Curse Dungeon: XP Statue #73 in the marked area

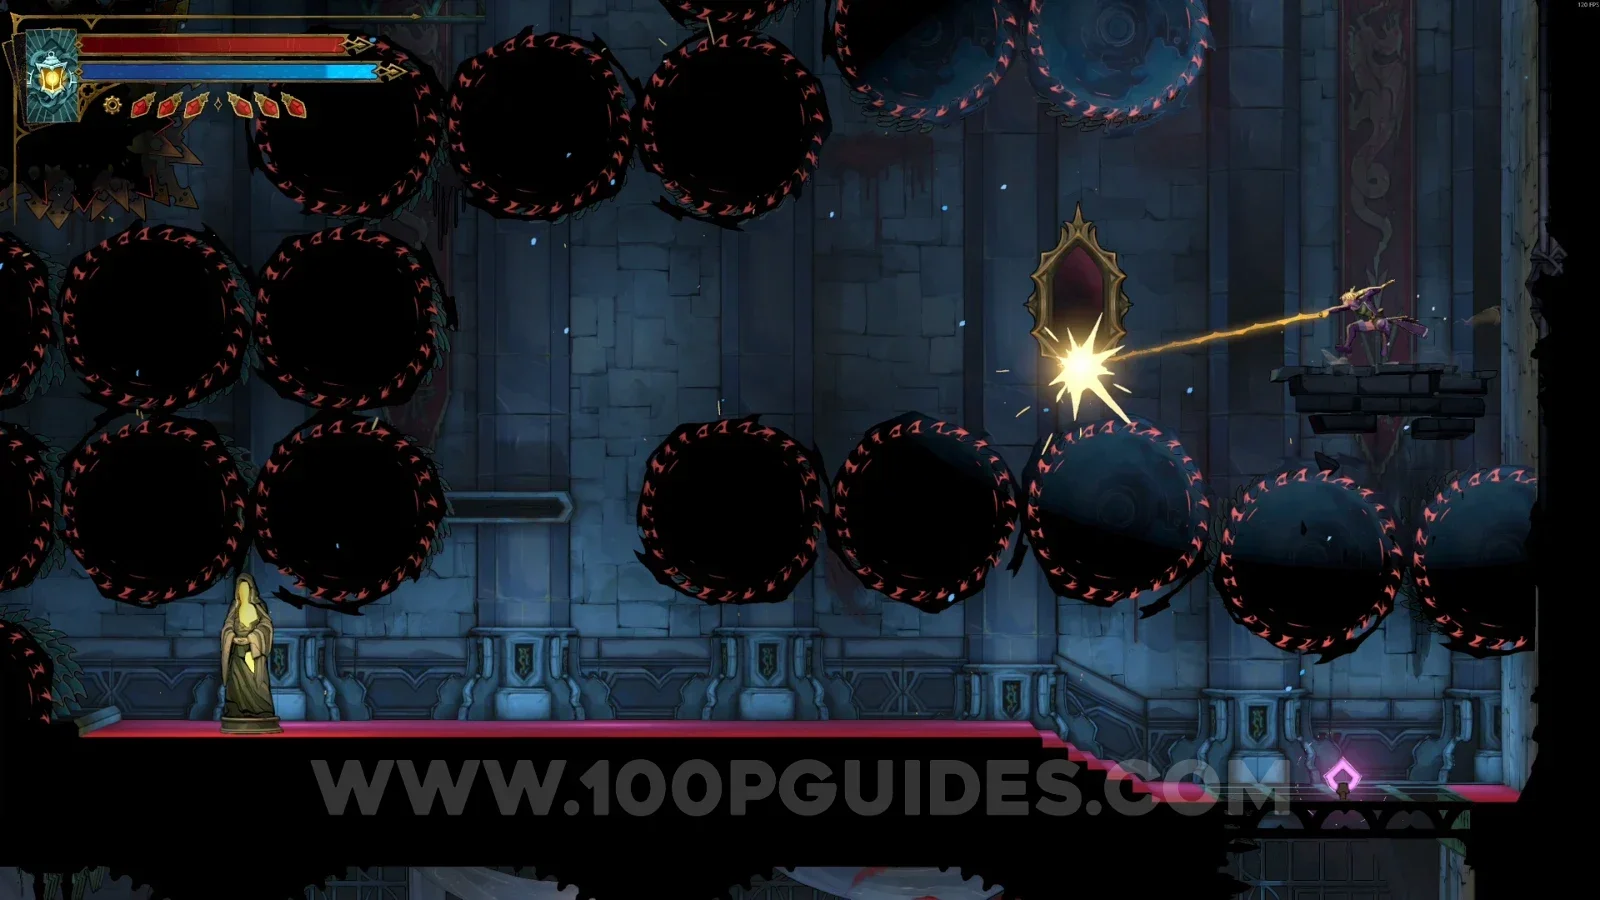
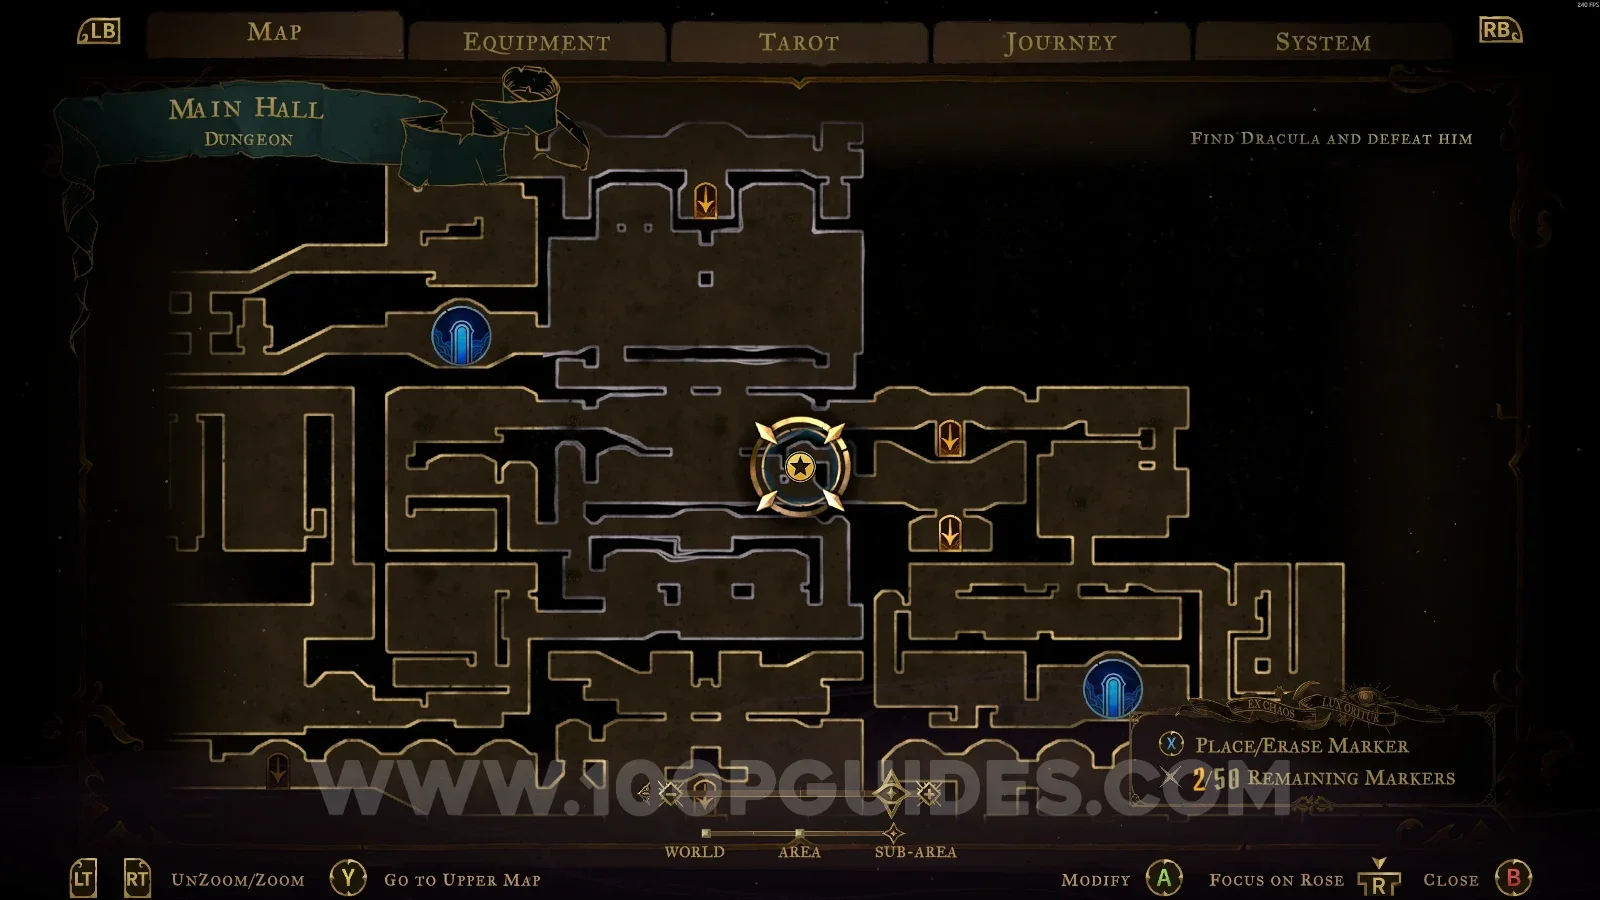
XP Statue #74

In the area marked on the map, after getting past the saws to go around the area.

Castlevania Belmonts Curse Dungeon map with the area of XP Statue #74 marked Castlevania Belmonts Curse Dungeon: XP Statue #74 reached after getting past the saws

XP Statue #75

In the area marked on the map.

Castlevania Belmonts Curse Dungeon map with the area of XP Statue #75 marked Castlevania Belmonts Curse Dungeon: XP Statue #75 in the marked area

XP Statue #76

In the area marked on the map.

Castlevania Belmonts Curse Dungeon map with the area of XP Statue #76 marked Castlevania Belmonts Curse Dungeon: XP Statue #76 in the marked area

Armoury

XP Statue #77

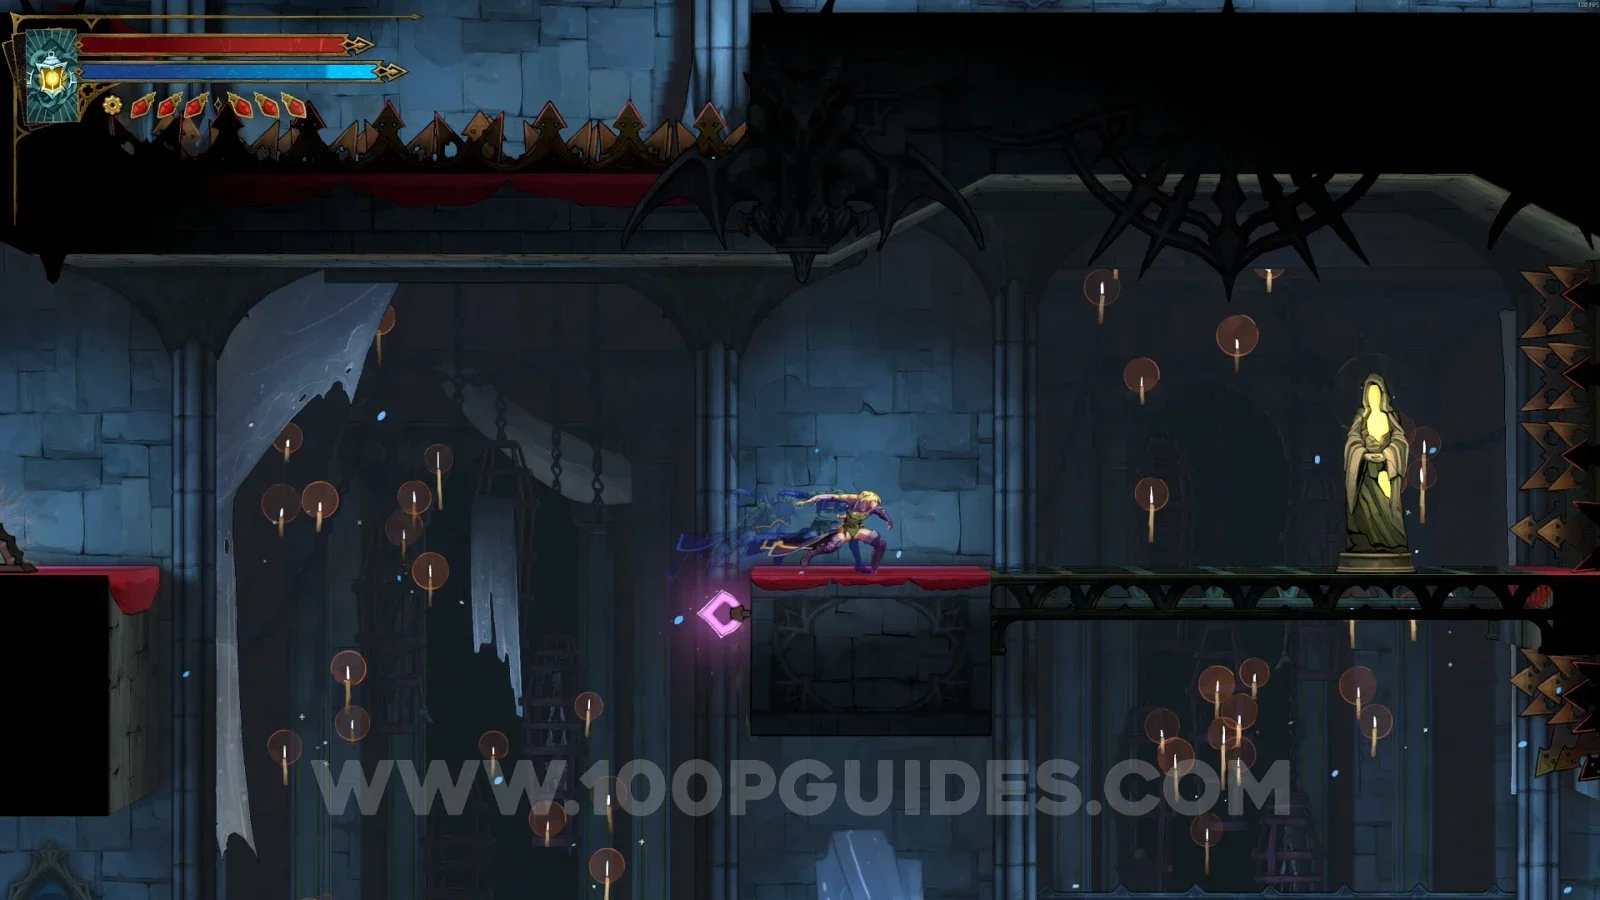
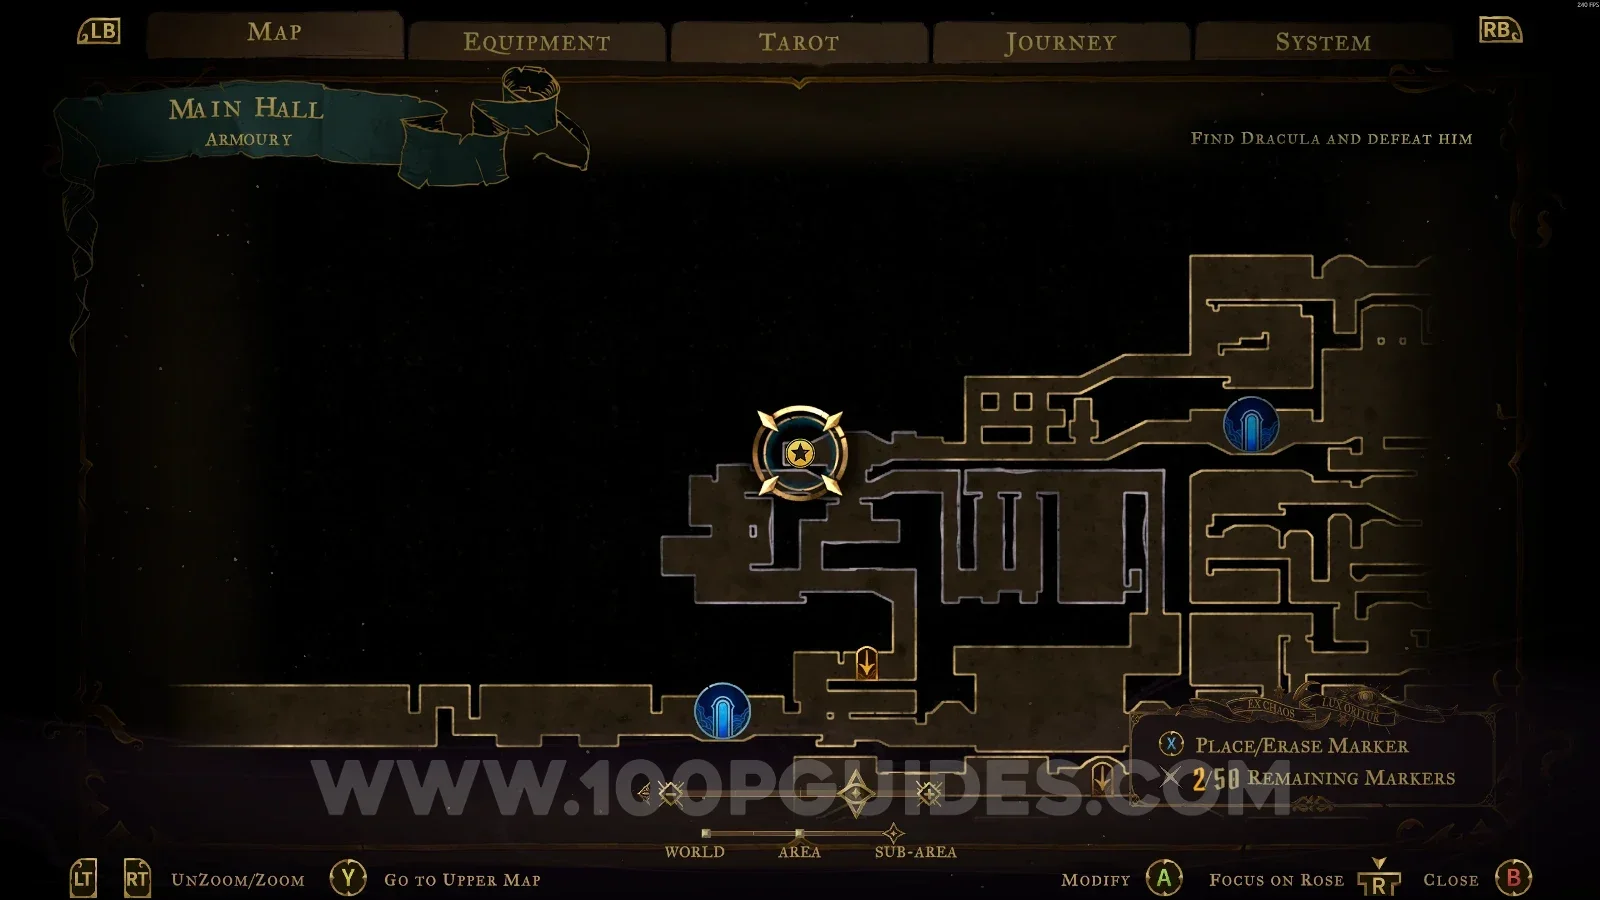
In the area marked on the map.

Castlevania Belmonts Curse Armoury map with the area of XP Statue #77 marked Castlevania Belmonts Curse Armoury: XP Statue #77 in the marked area

Boudoirs

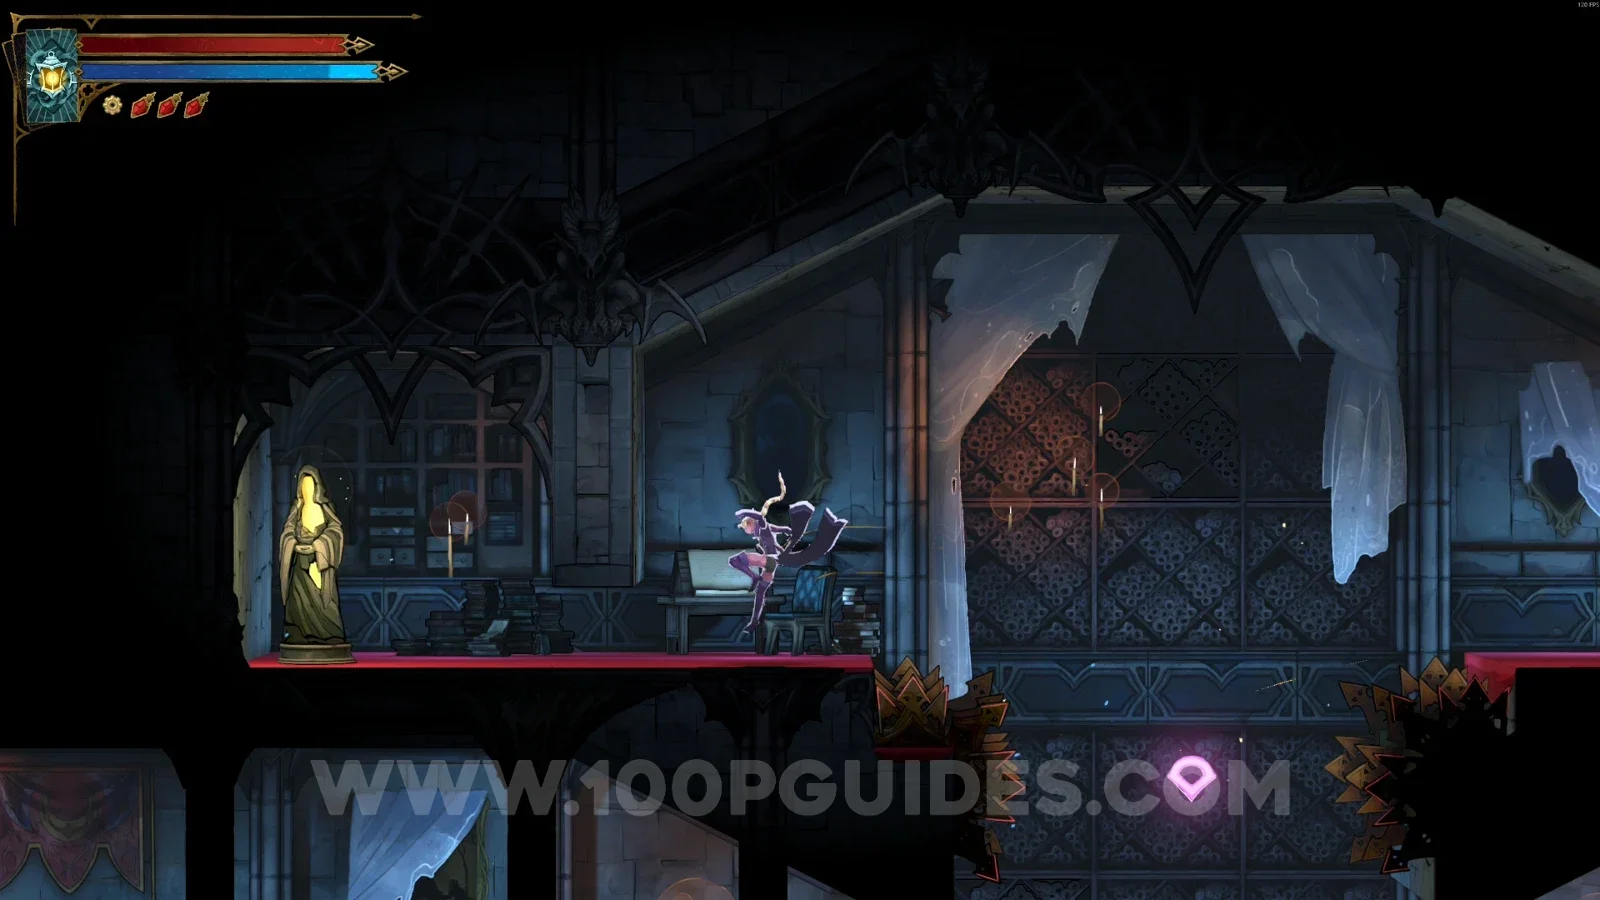
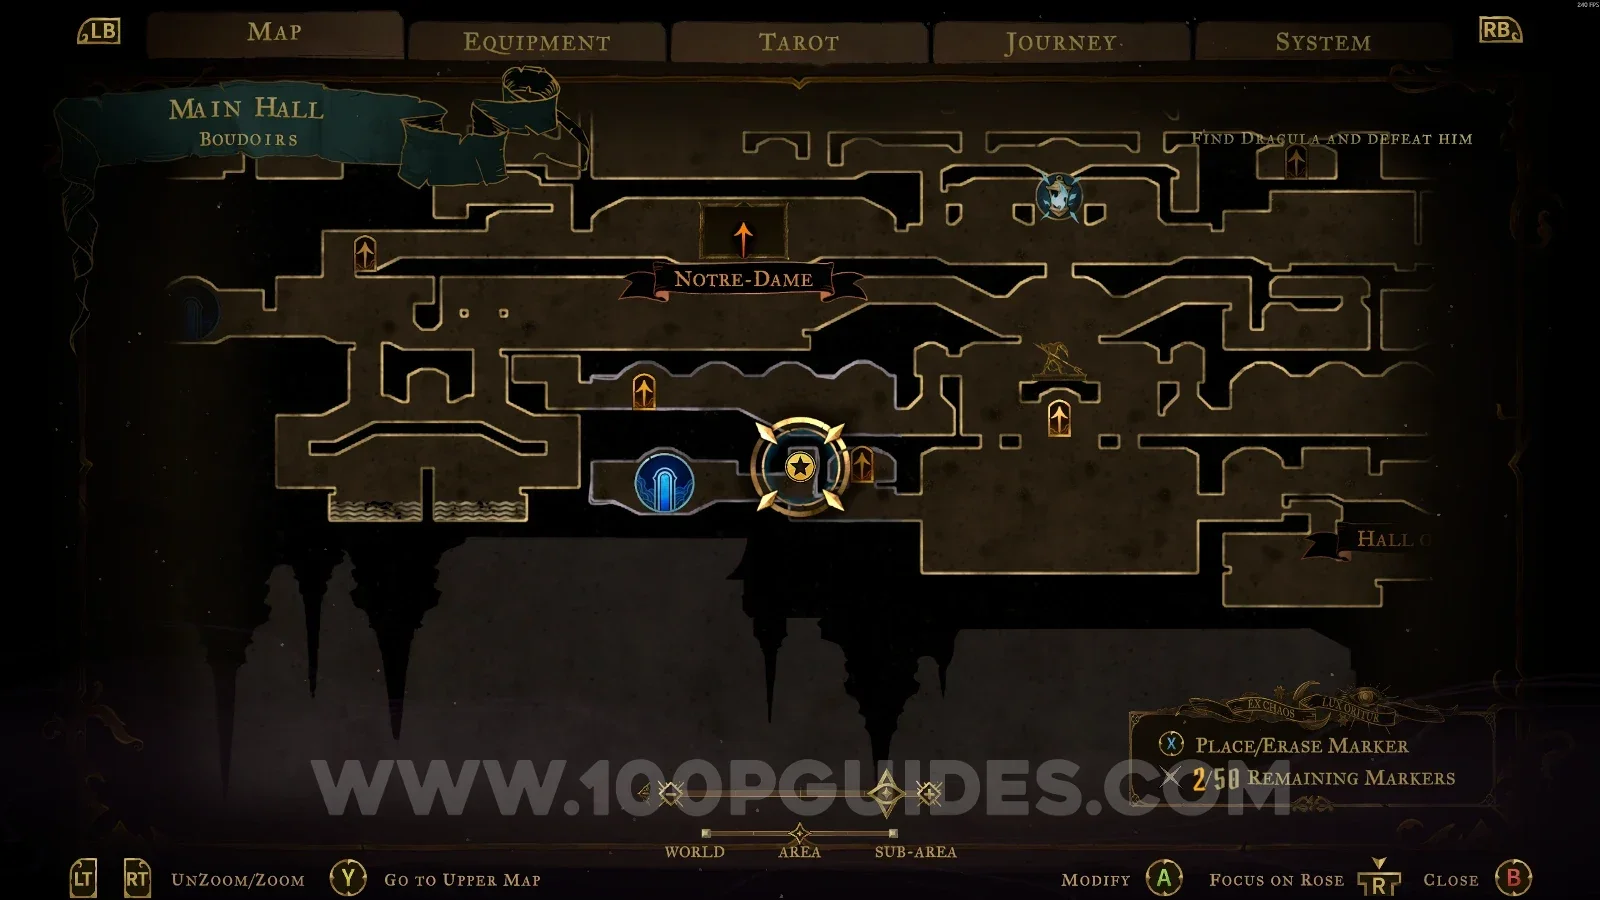
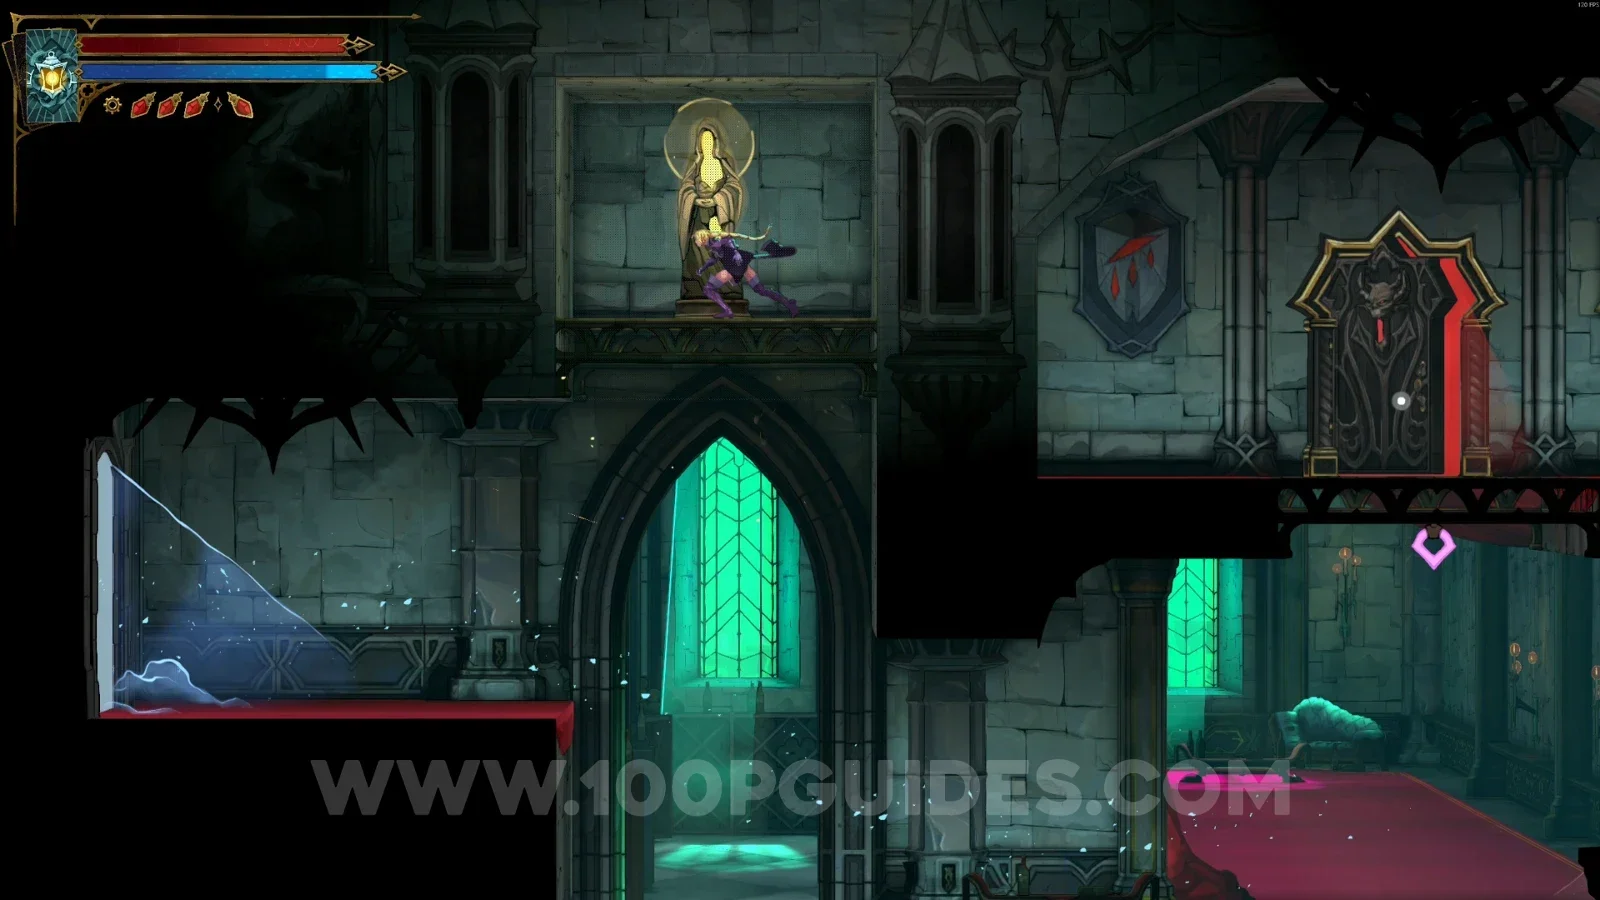
XP Statue #78

In a small secret room next to the red door.

Castlevania Belmonts Curse Boudoirs: the red door beside the secret room of XP Statue #78 Castlevania Belmonts Curse Boudoirs: XP Statue #78 in a small secret room next to the red door

Ballrooms

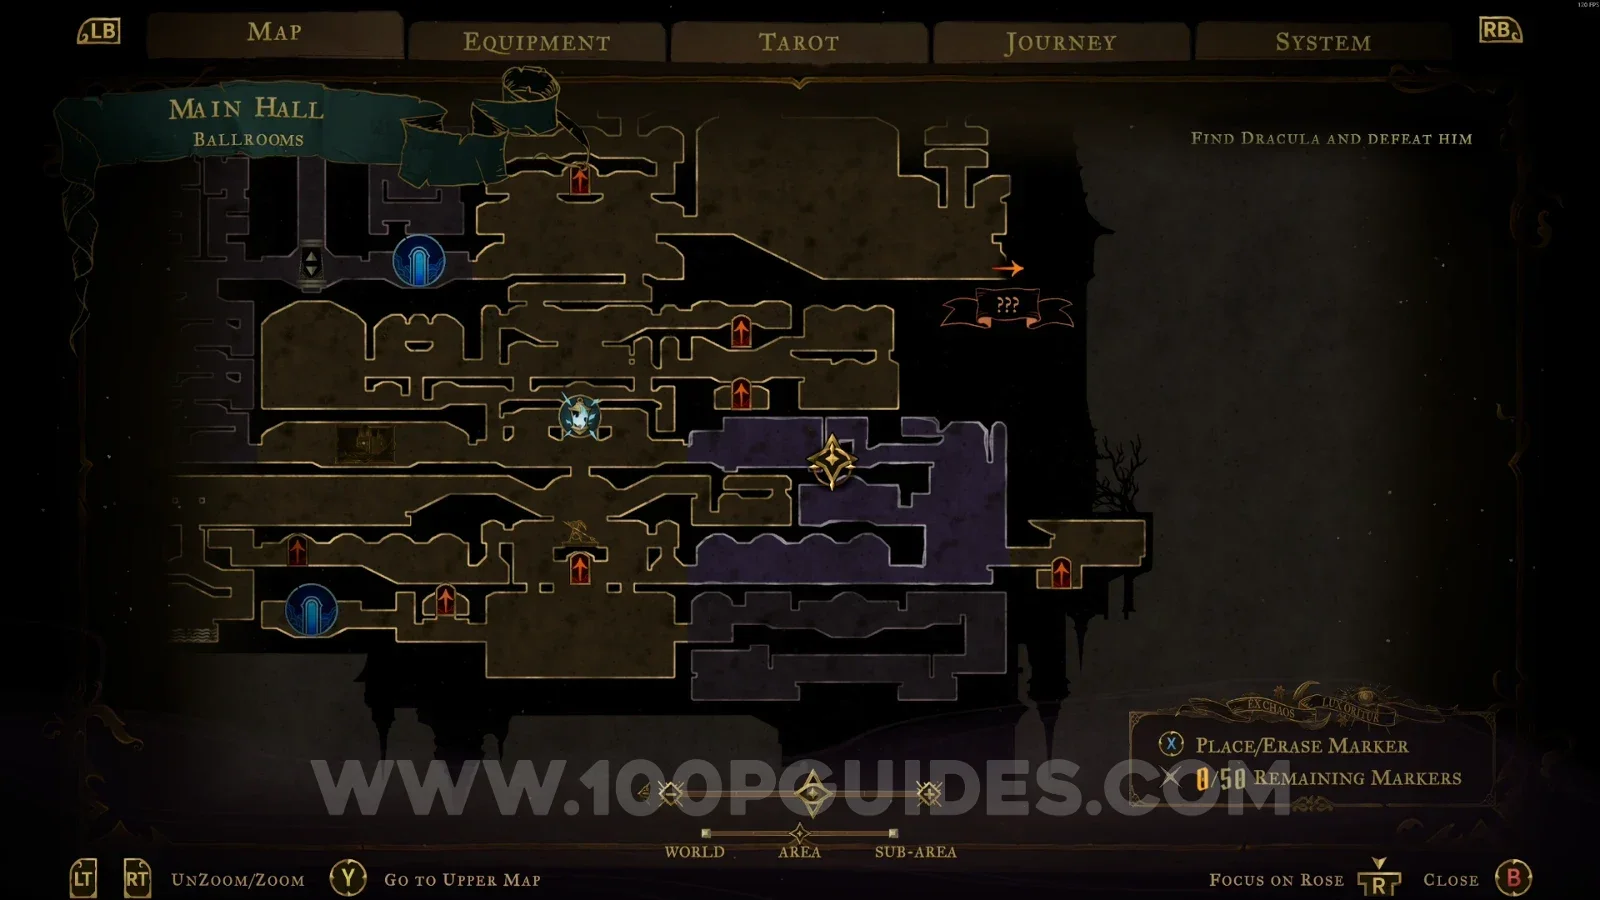
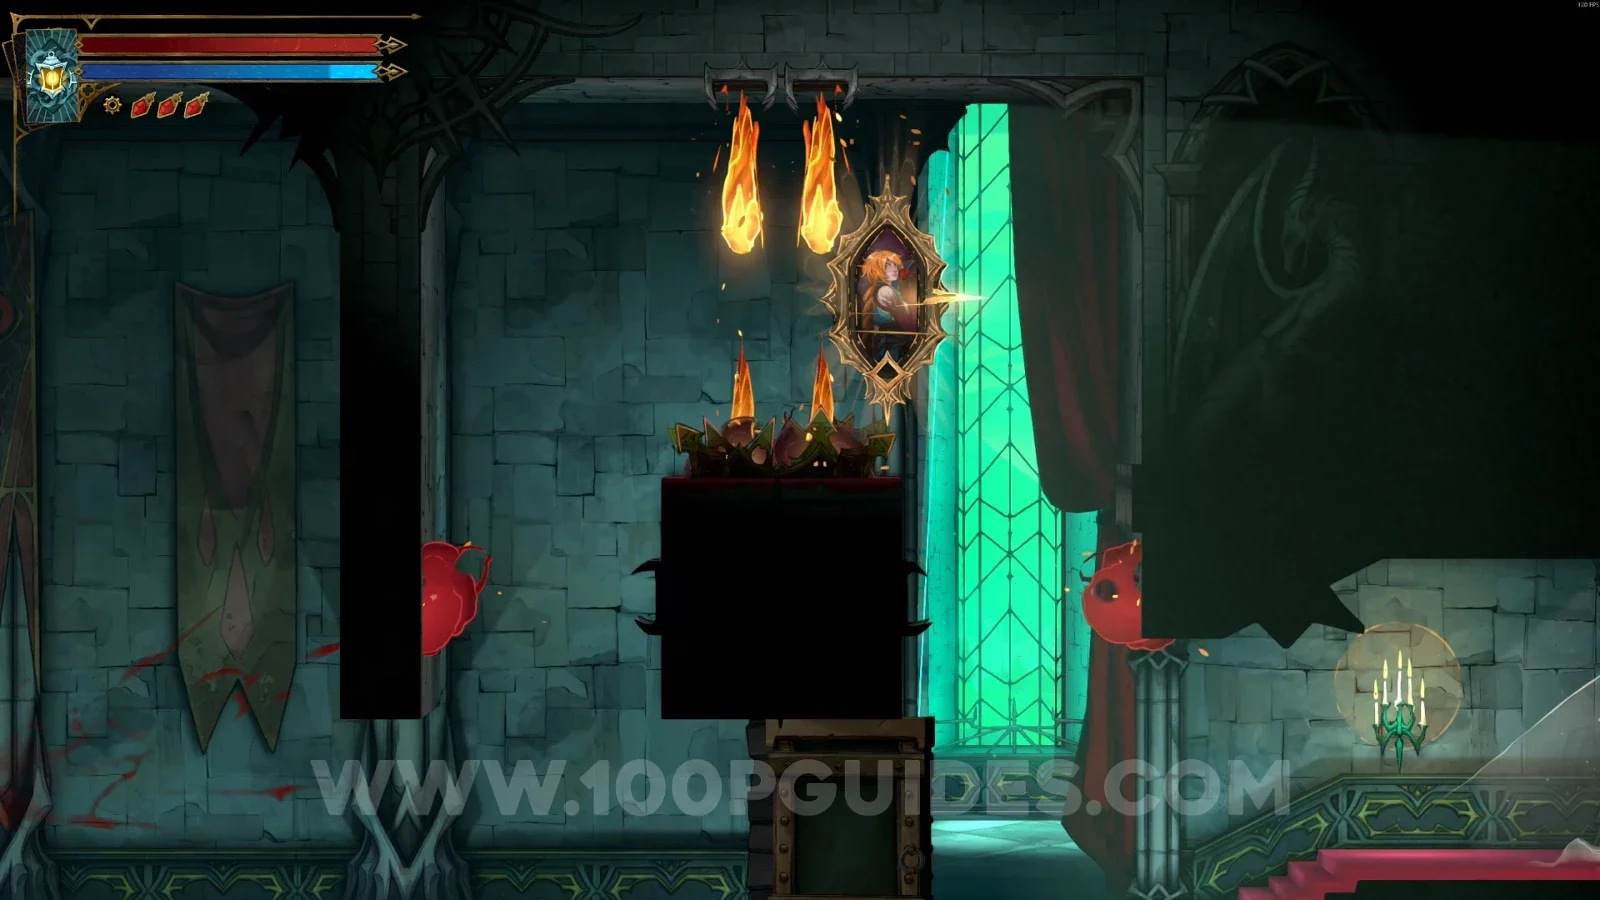
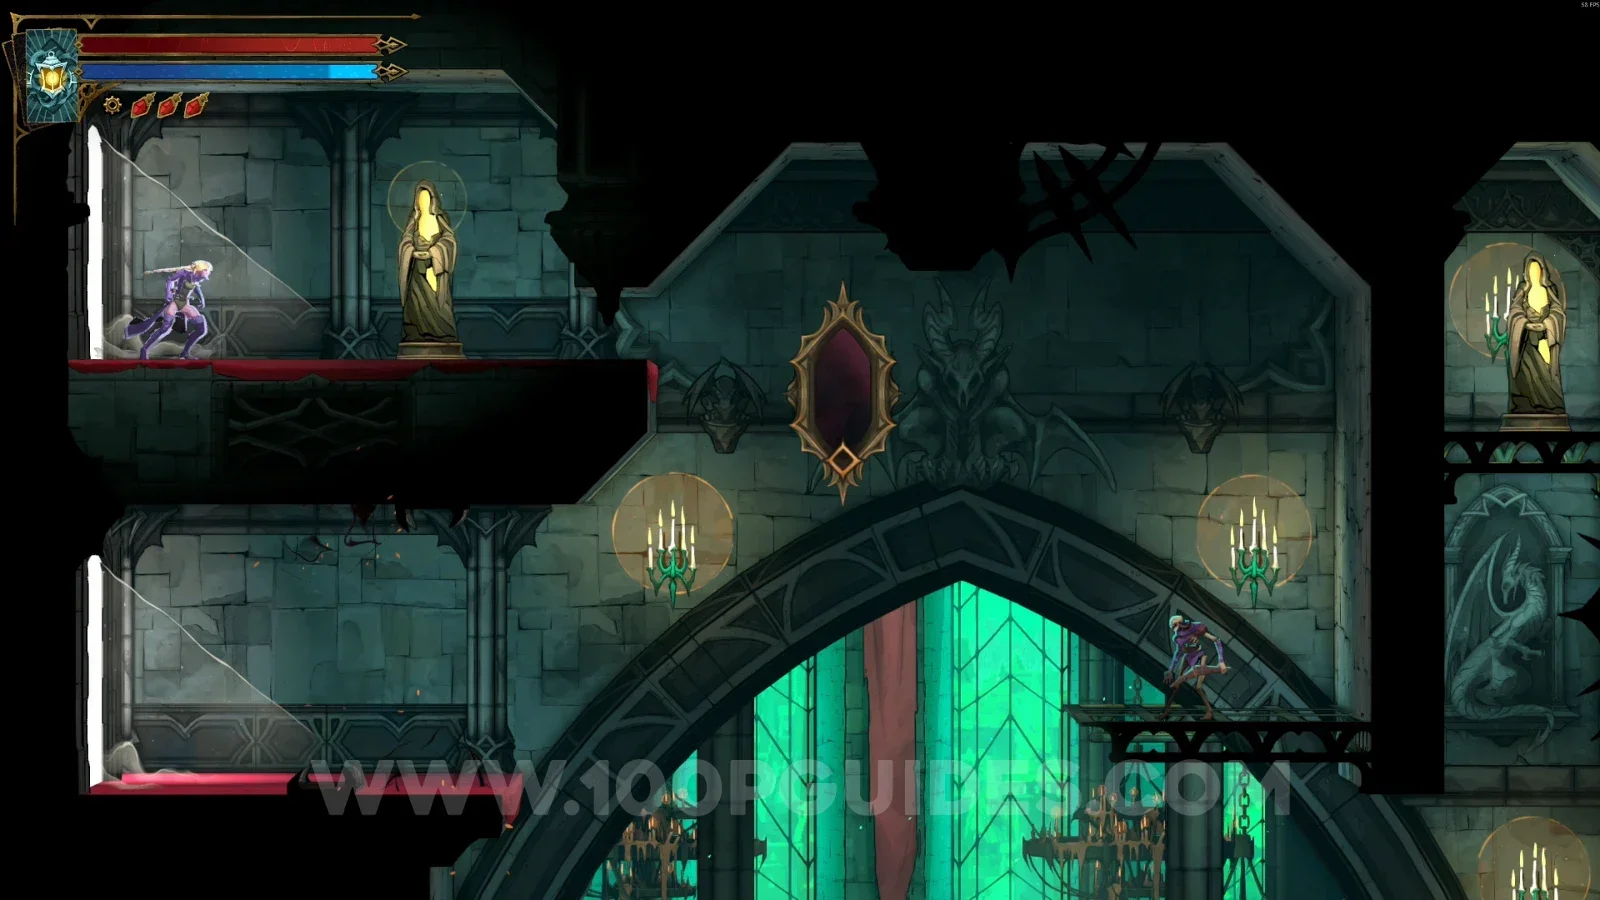
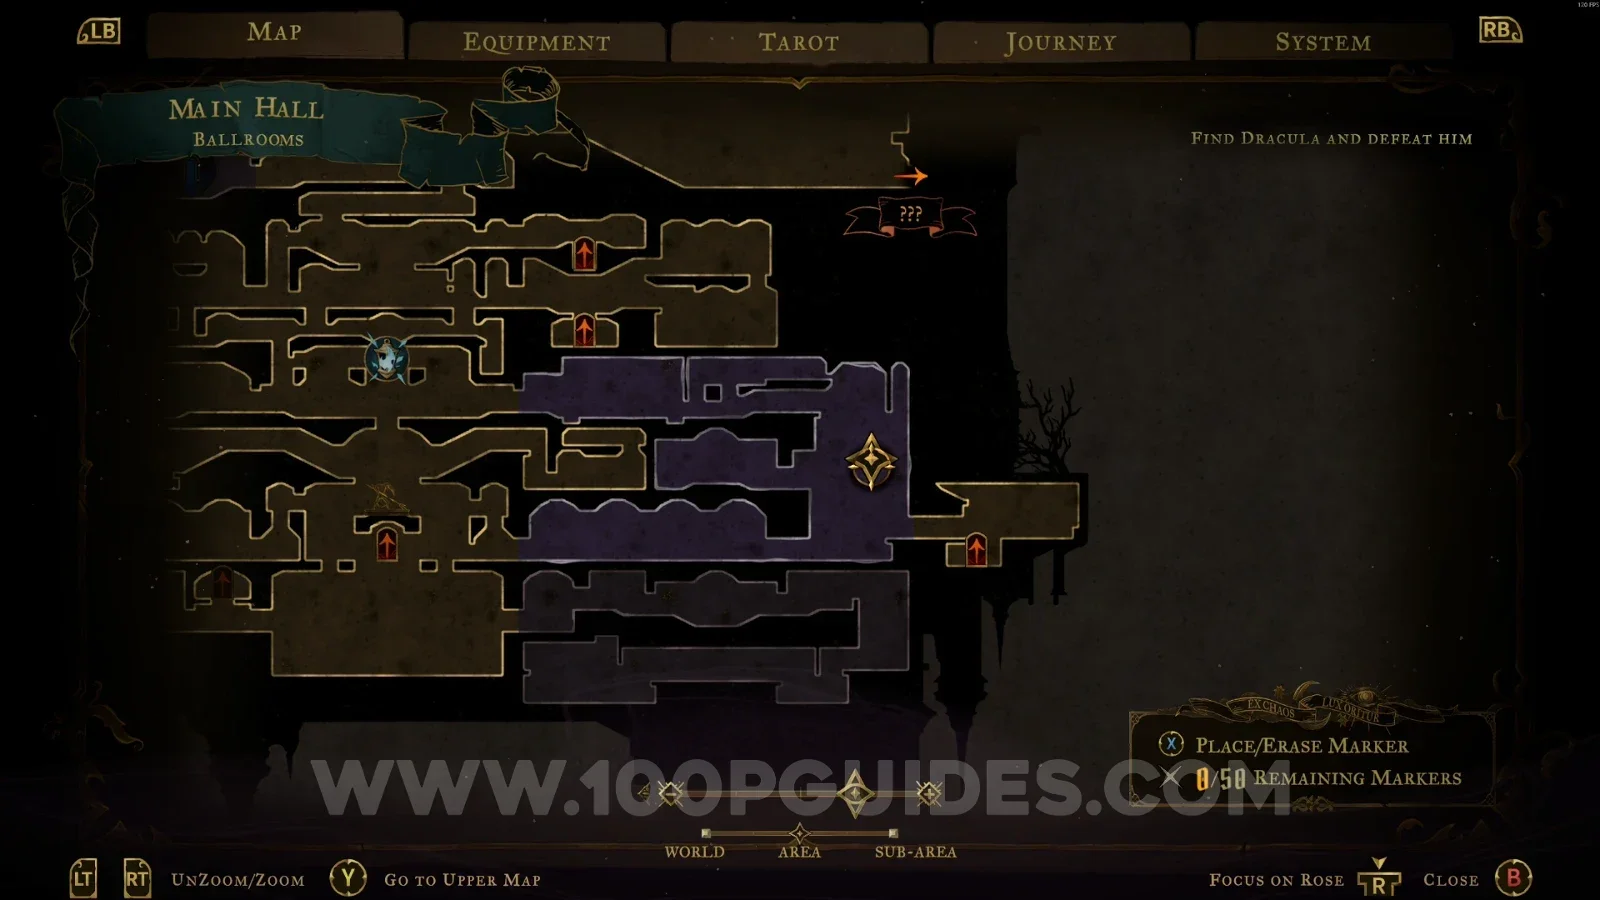
XP Statue #79

In the area marked on the map. You have to use the frame to reach it.

Castlevania Belmonts Curse Ballrooms map with the area of XP Statue #79 marked Castlevania Belmonts Curse Ballrooms: using the frame to reach XP Statue #79 Castlevania Belmonts Curse Ballrooms: XP Statue #79 reached with the frame

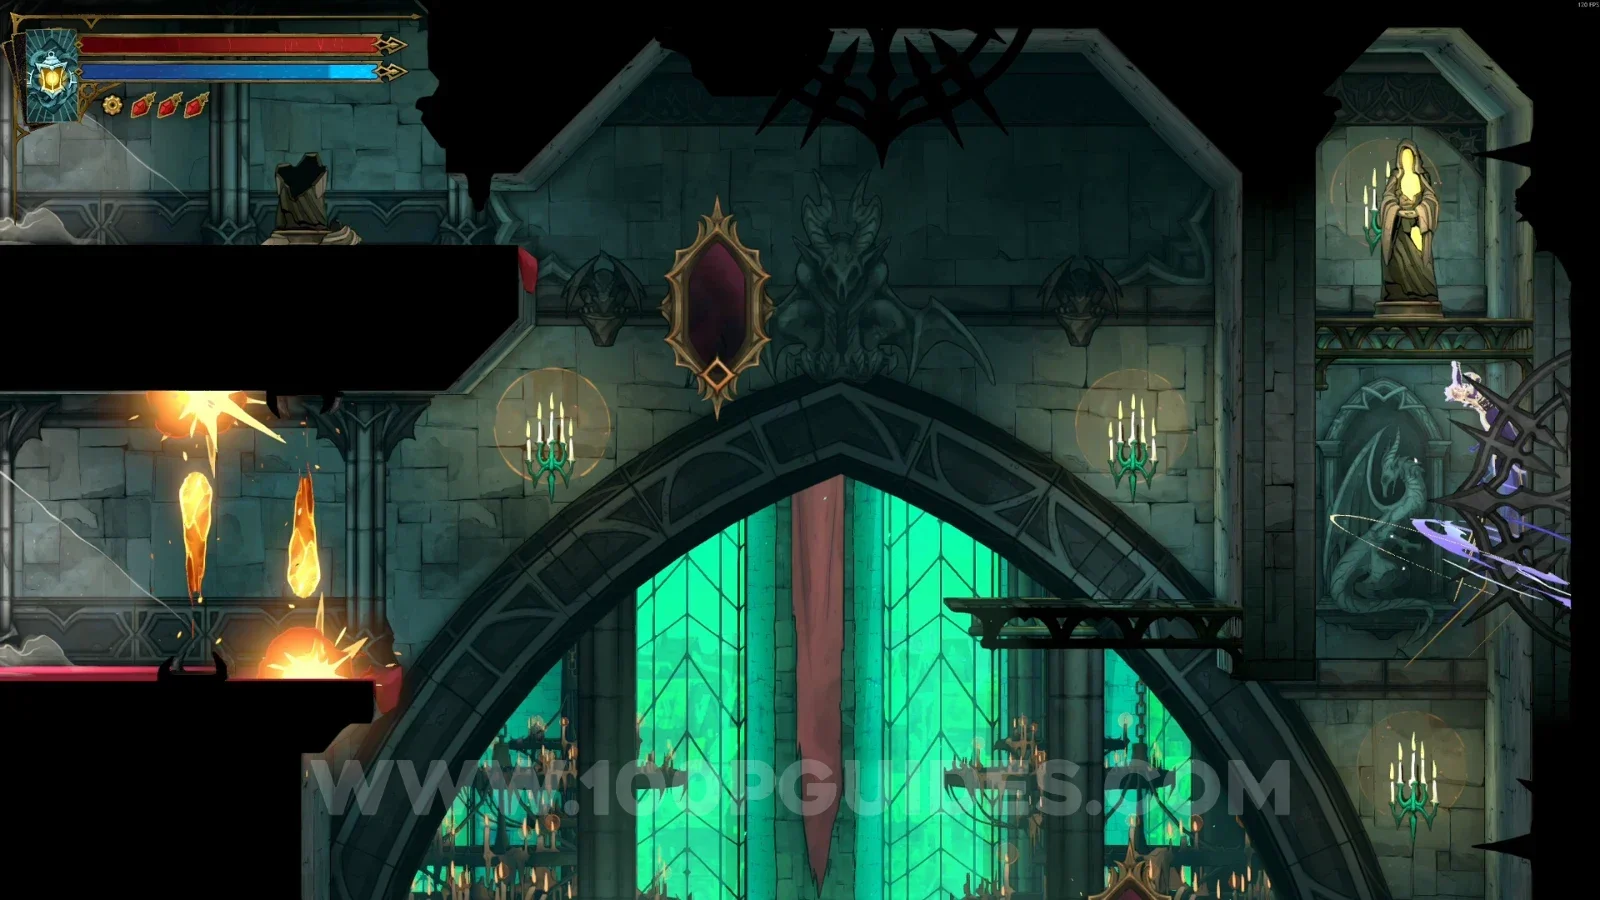
XP Statue #80

On the right side of the area. You have to use the frame to reach it.

Castlevania Belmonts Curse Ballrooms: the frame on the right side used to reach XP Statue #80 Castlevania Belmonts Curse Ballrooms: XP Statue #80 on the right side of the area

Wine Cellar

XP Statue #81

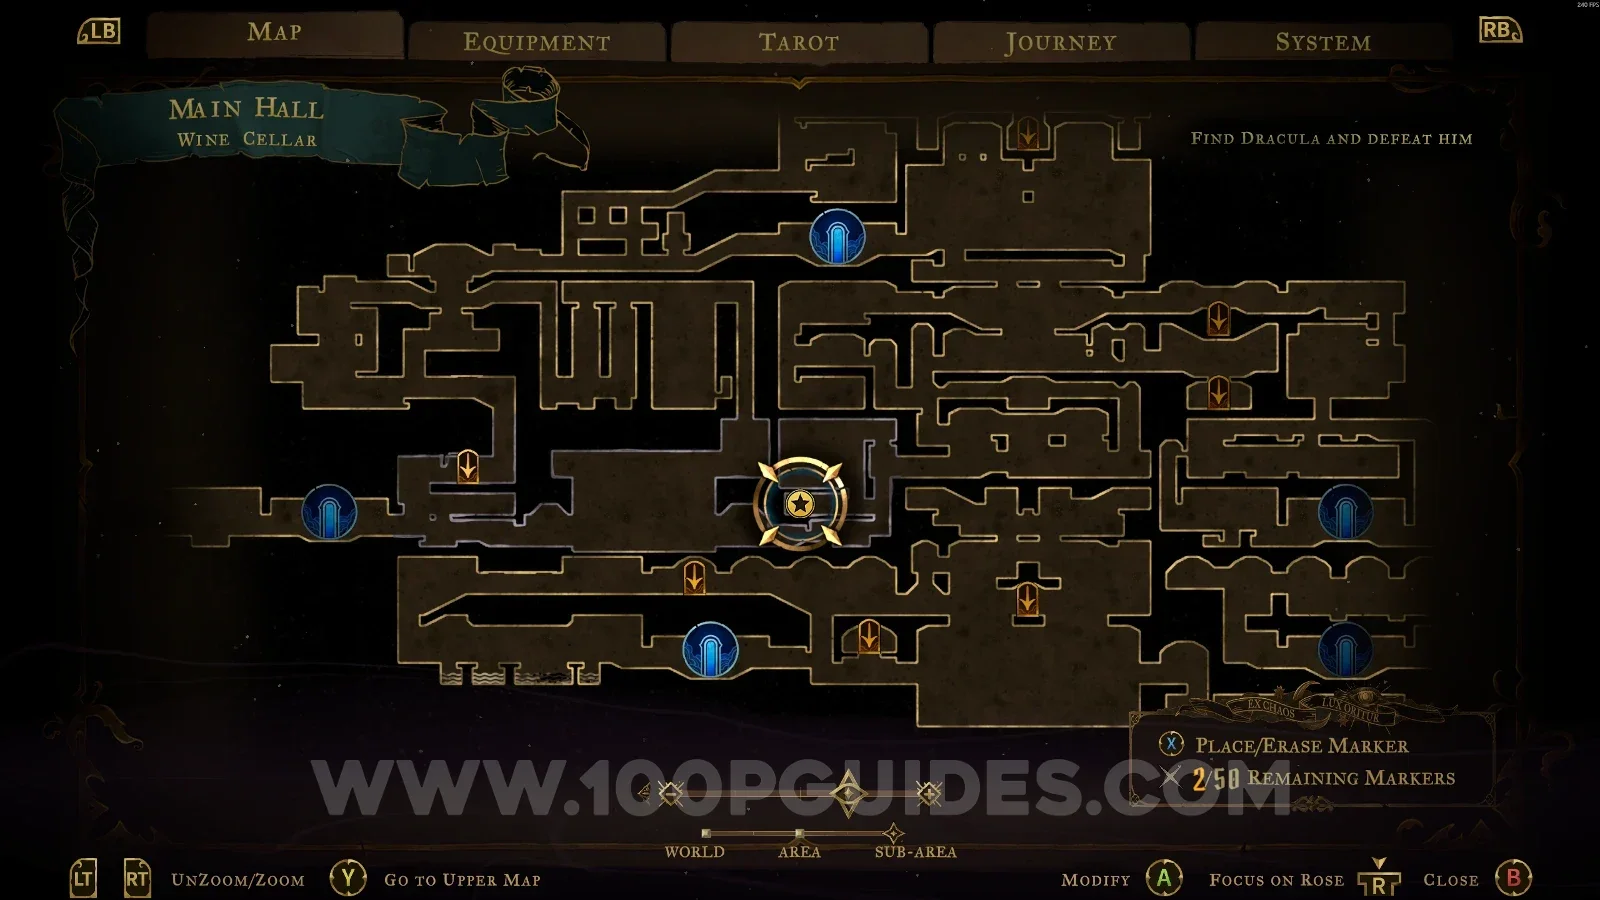
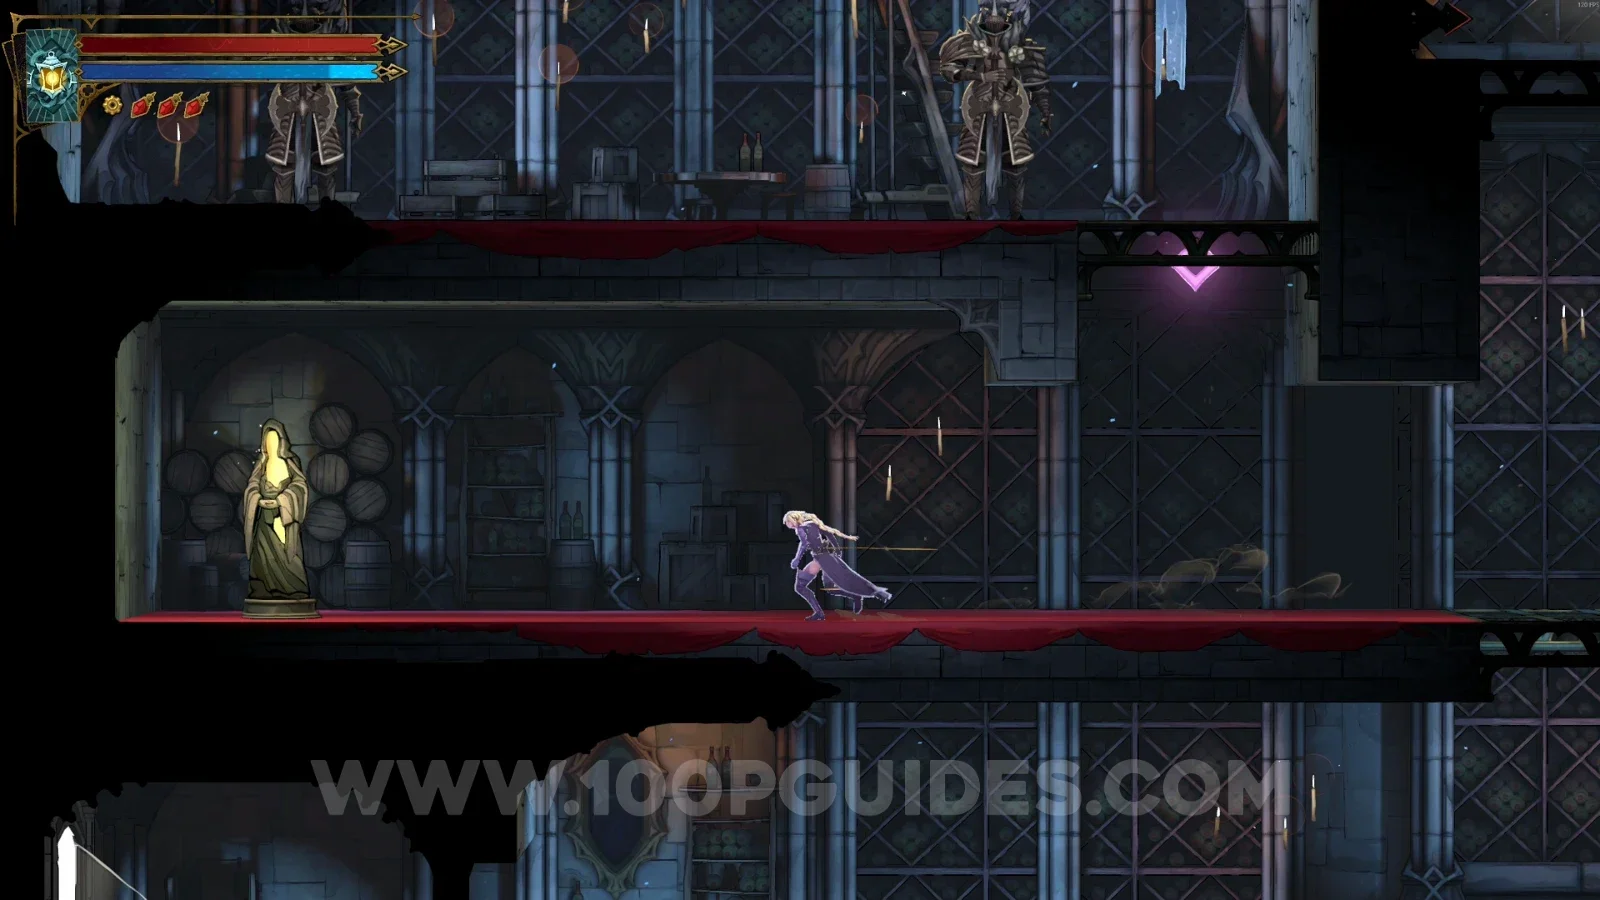
In the area marked on the map, you have to break the wall on the left side to reveal the room with the statue.

Castlevania Belmonts Curse Wine Cellar map with the area of XP Statue #81 marked Castlevania Belmonts Curse Wine Cellar: XP Statue #81 in the room behind the broken left wall

Torture Chambers

XP Statue #82

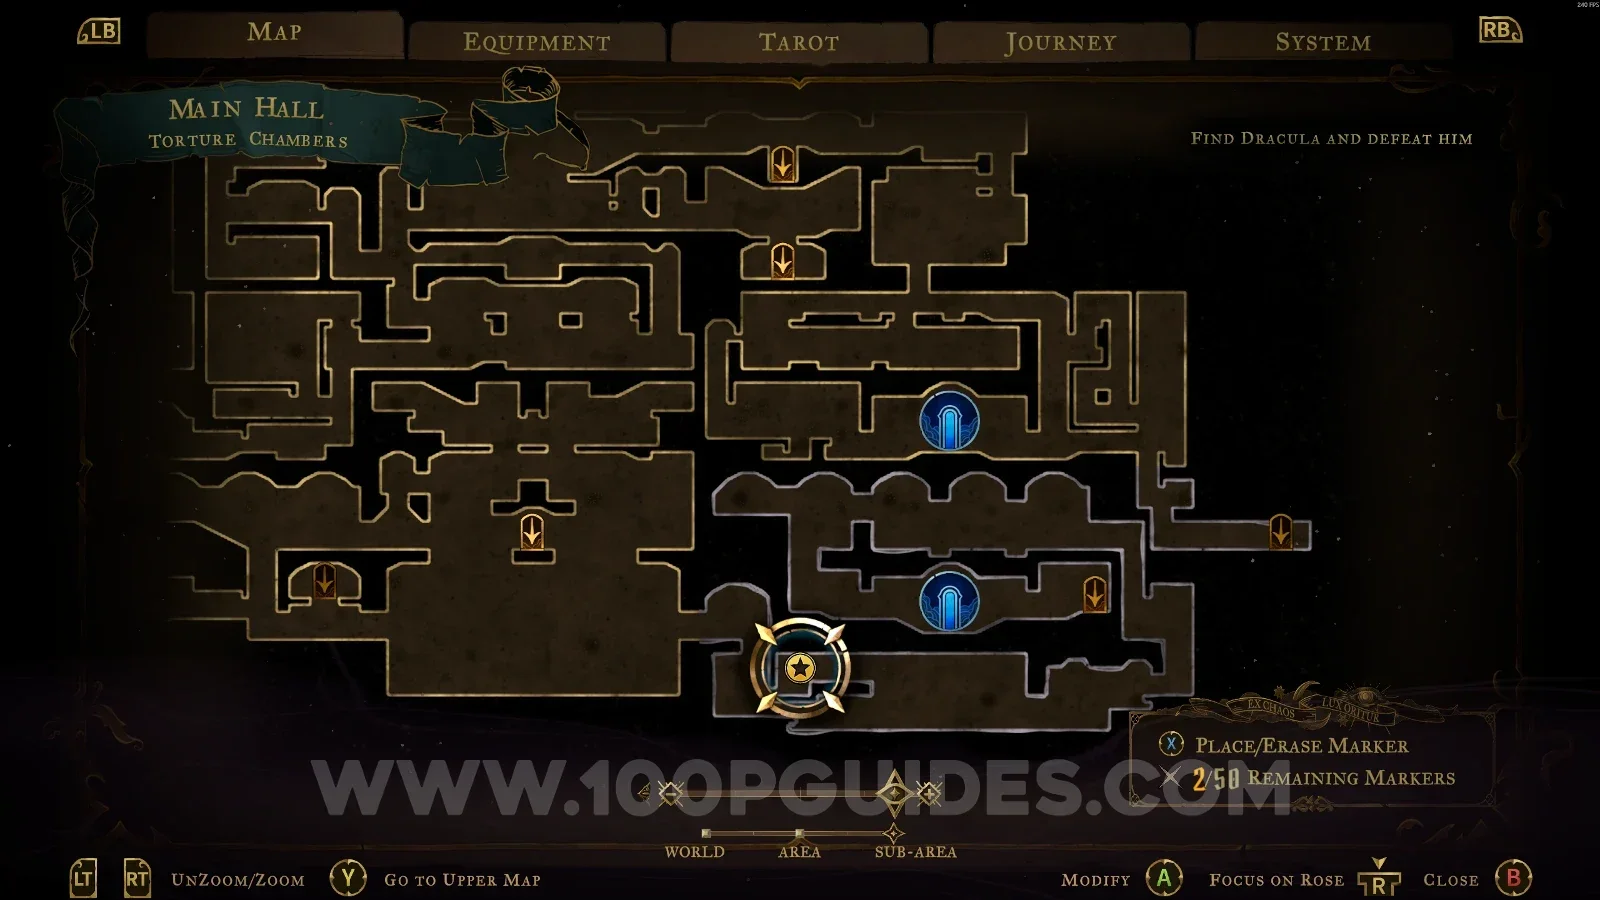
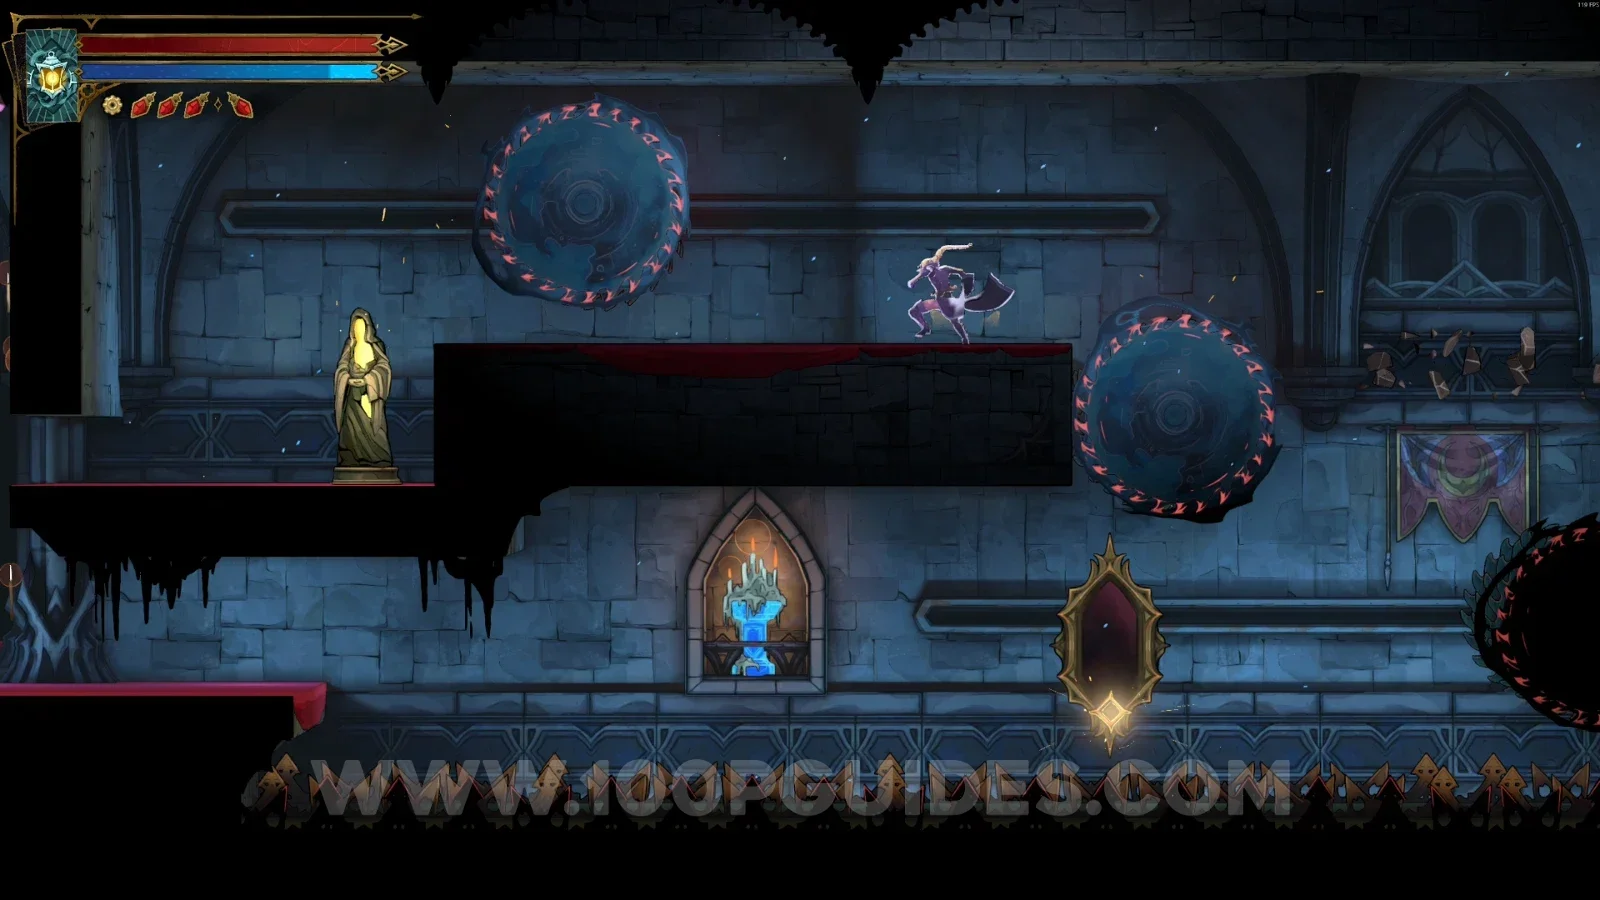
In the area marked on the map.

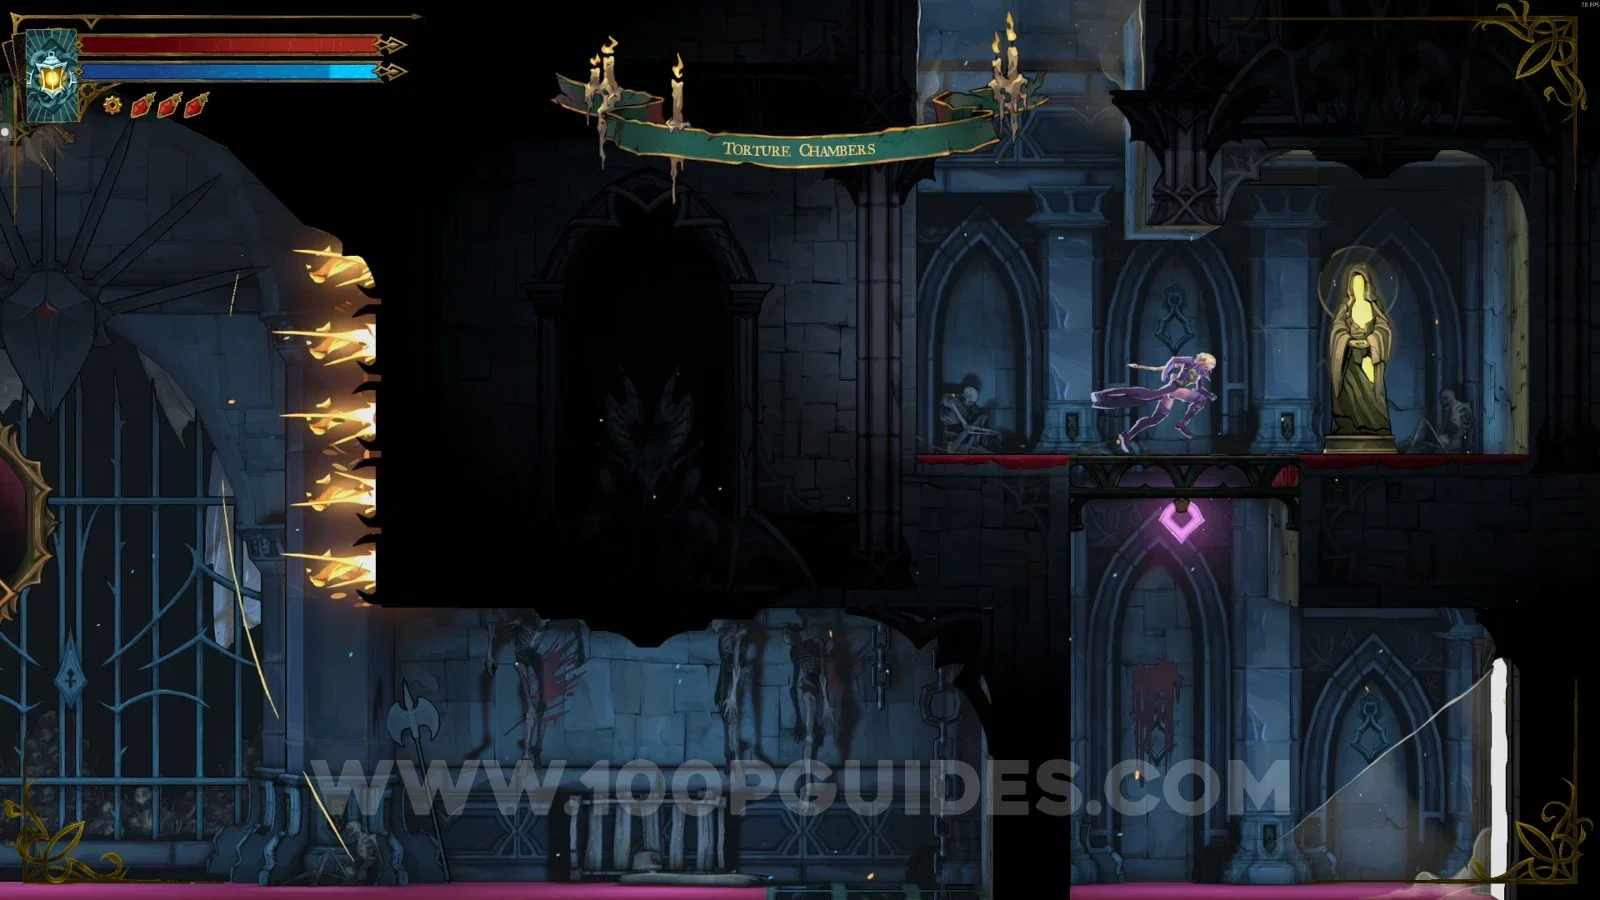
Castlevania Belmonts Curse Torture Chambers map with the area of XP Statue #82 marked Castlevania Belmonts Curse Torture Chambers: XP Statue #82 in the marked area

XP Statue #83

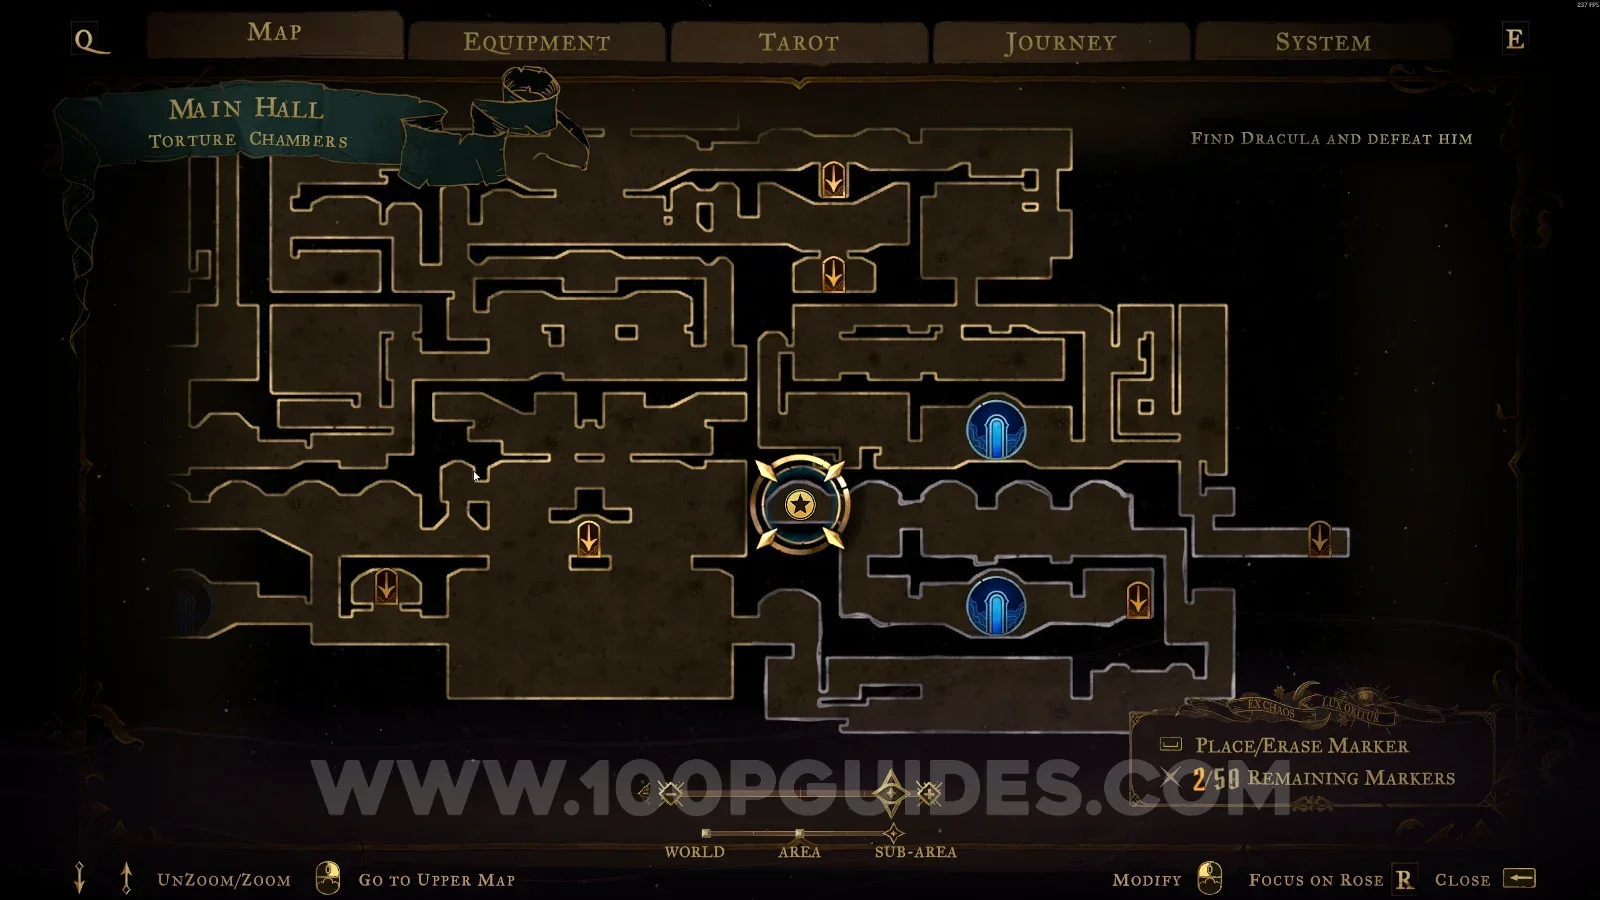
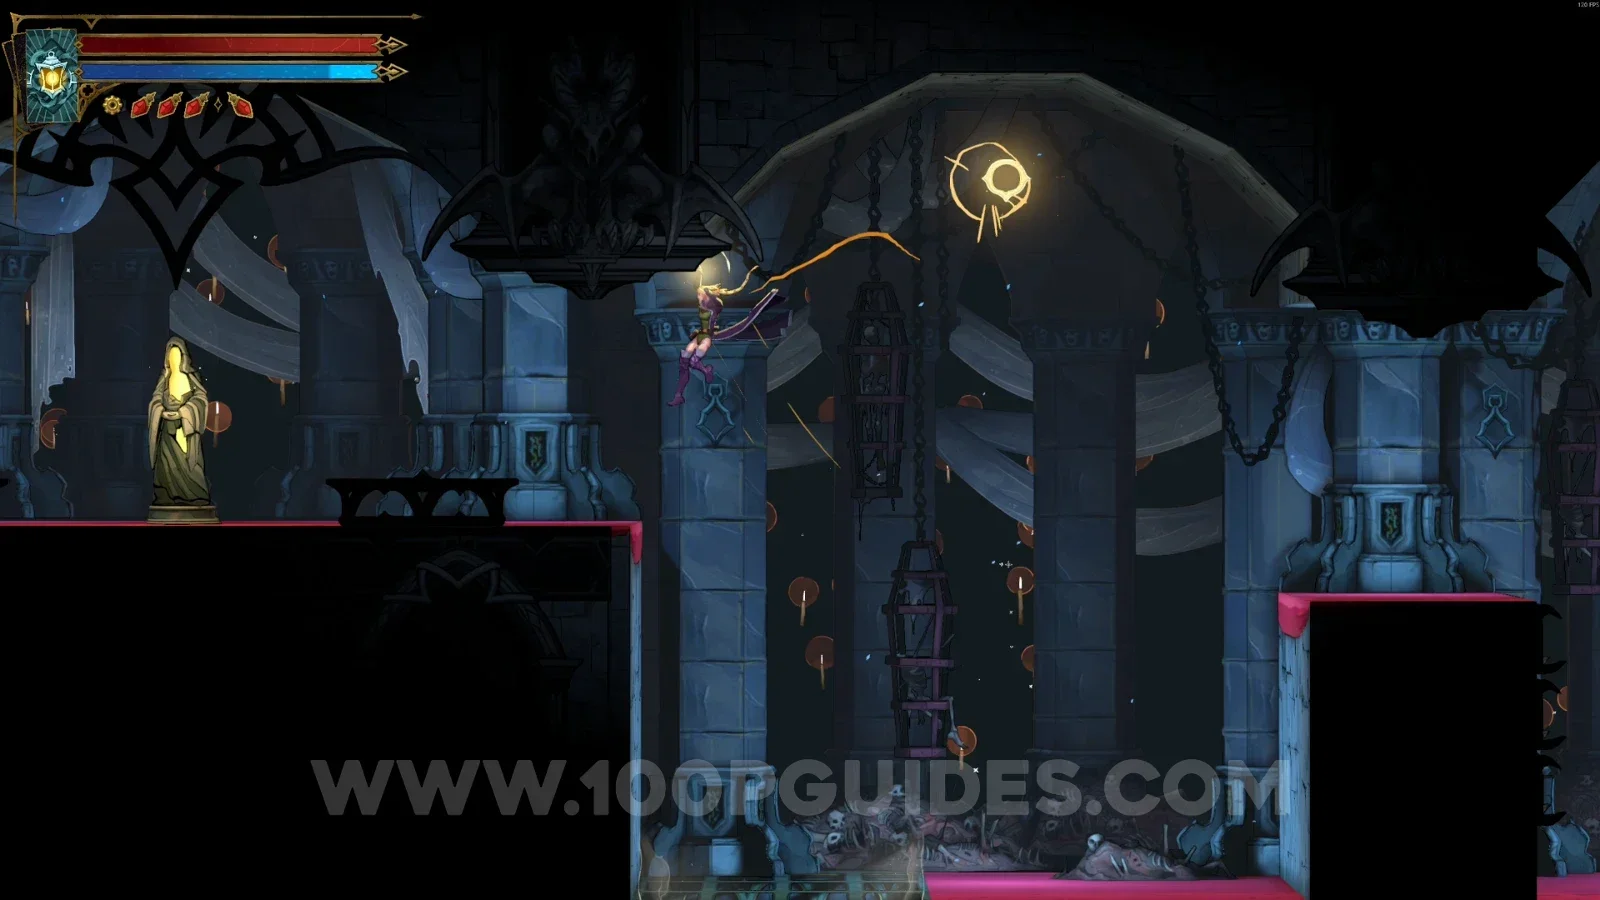
In the area marked on the map, you have to use the frame to reveal the secret area with the statue.

Castlevania Belmonts Curse Torture Chambers map with the area of XP Statue #83 marked Castlevania Belmonts Curse Torture Chambers: XP Statue #83 in the secret area revealed with the frame

XP Statue #84

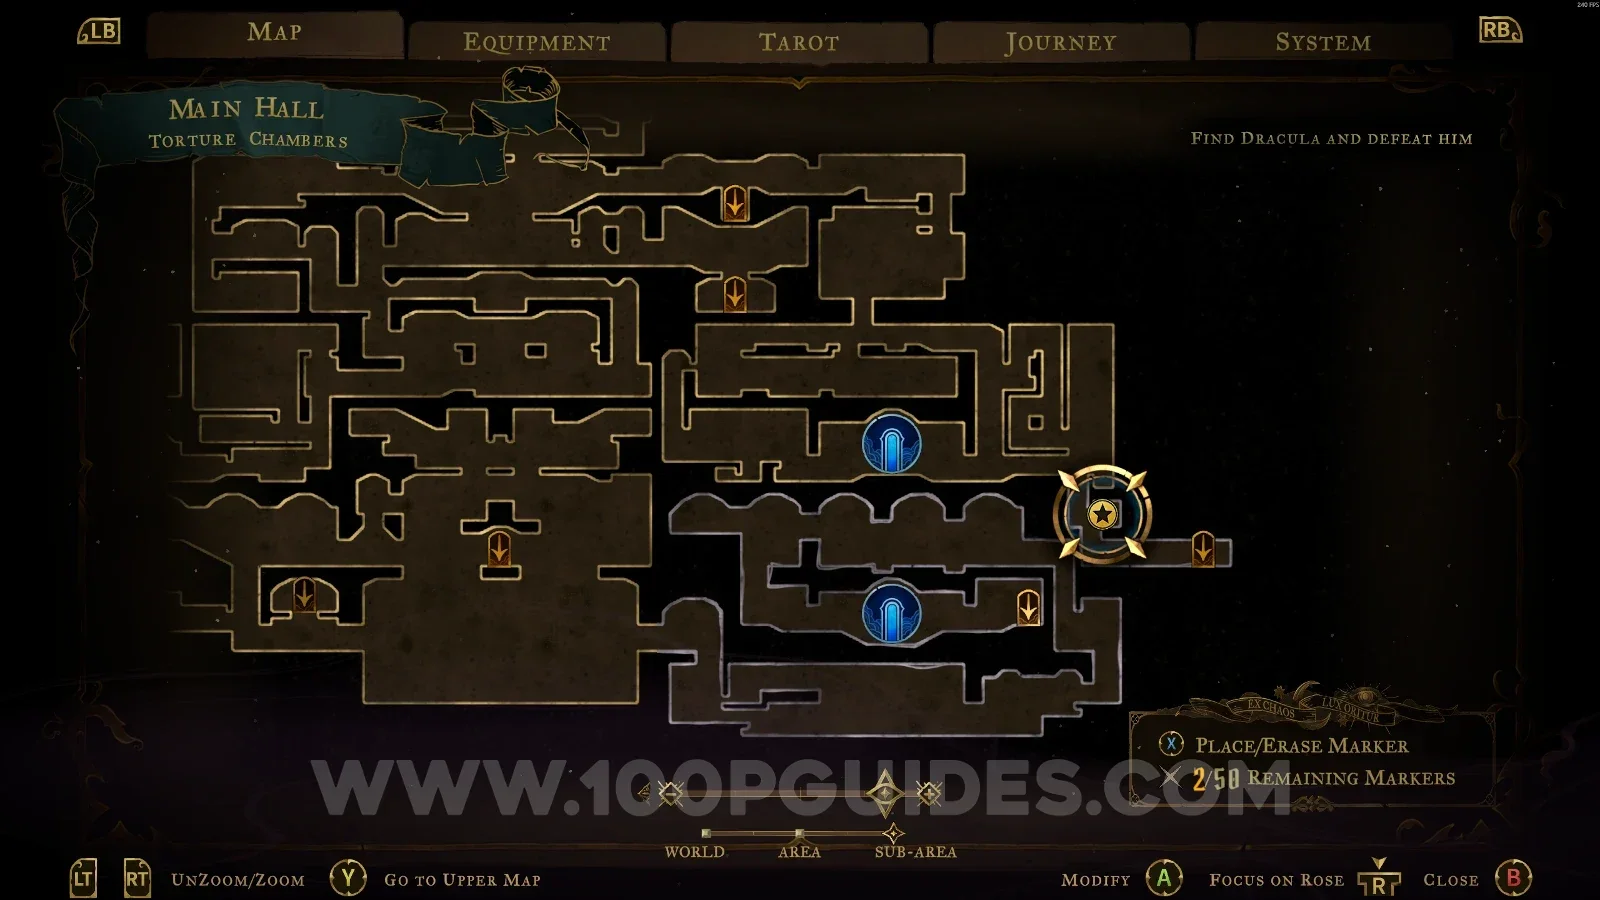
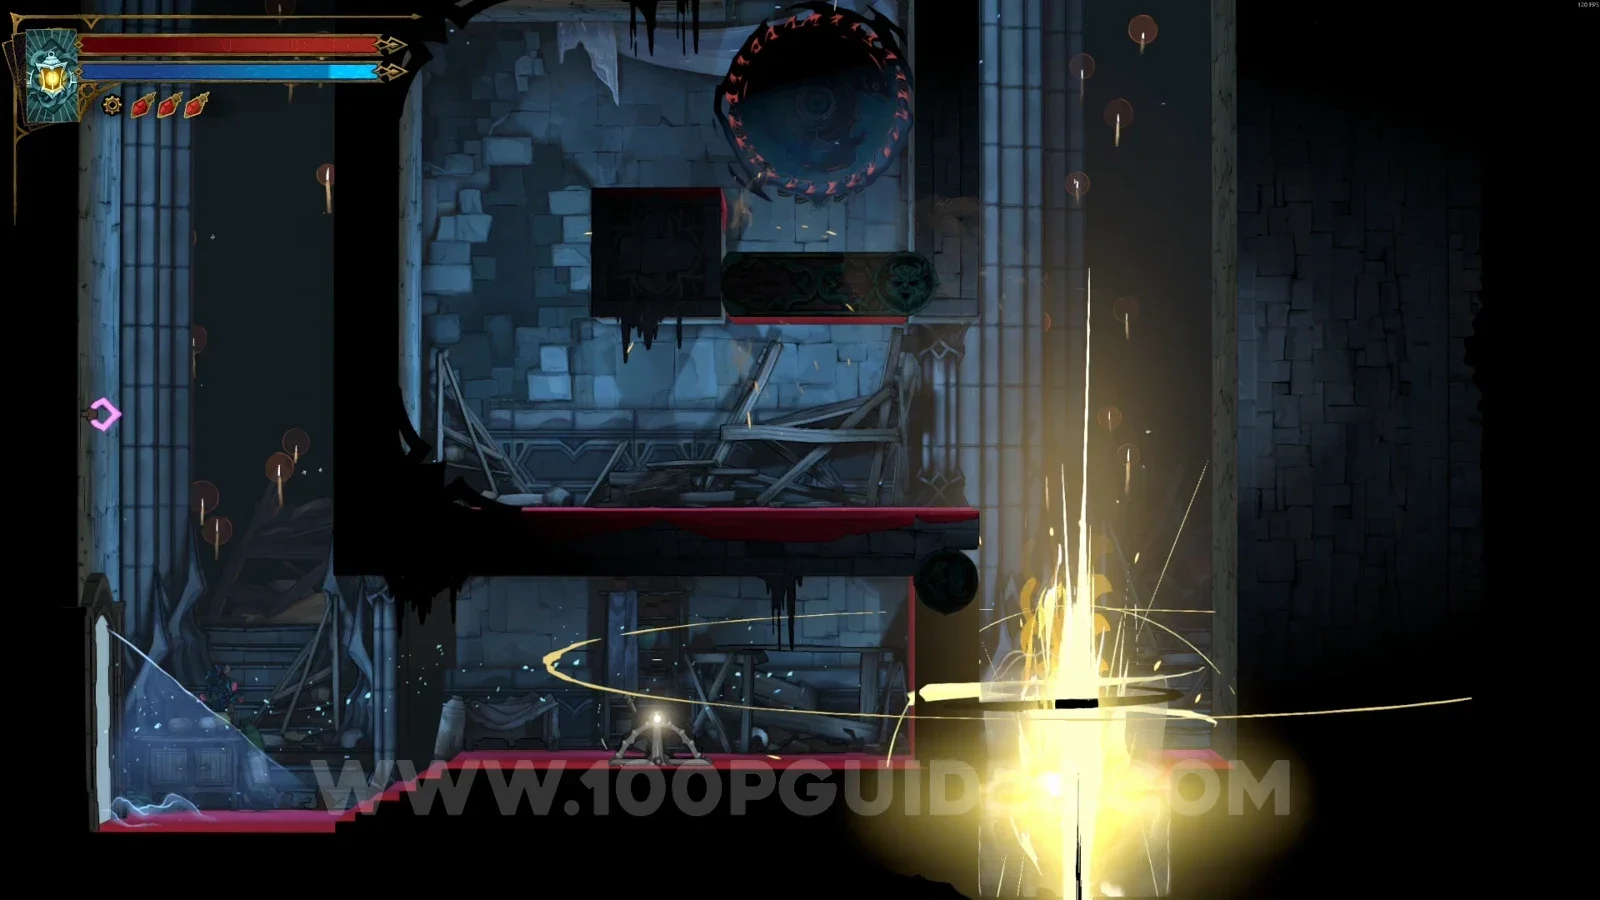
In the area marked on the map, but you can only reach this area from the Servants' Quarters.

Castlevania Belmonts Curse Torture Chambers map with the area of XP Statue #84 marked Castlevania Belmonts Curse Torture Chambers: the way from the Servants' Quarters to XP Statue #84 Castlevania Belmonts Curse Torture Chambers: XP Statue #84 in the marked area

Library

Library Foyer

XP Statue #85

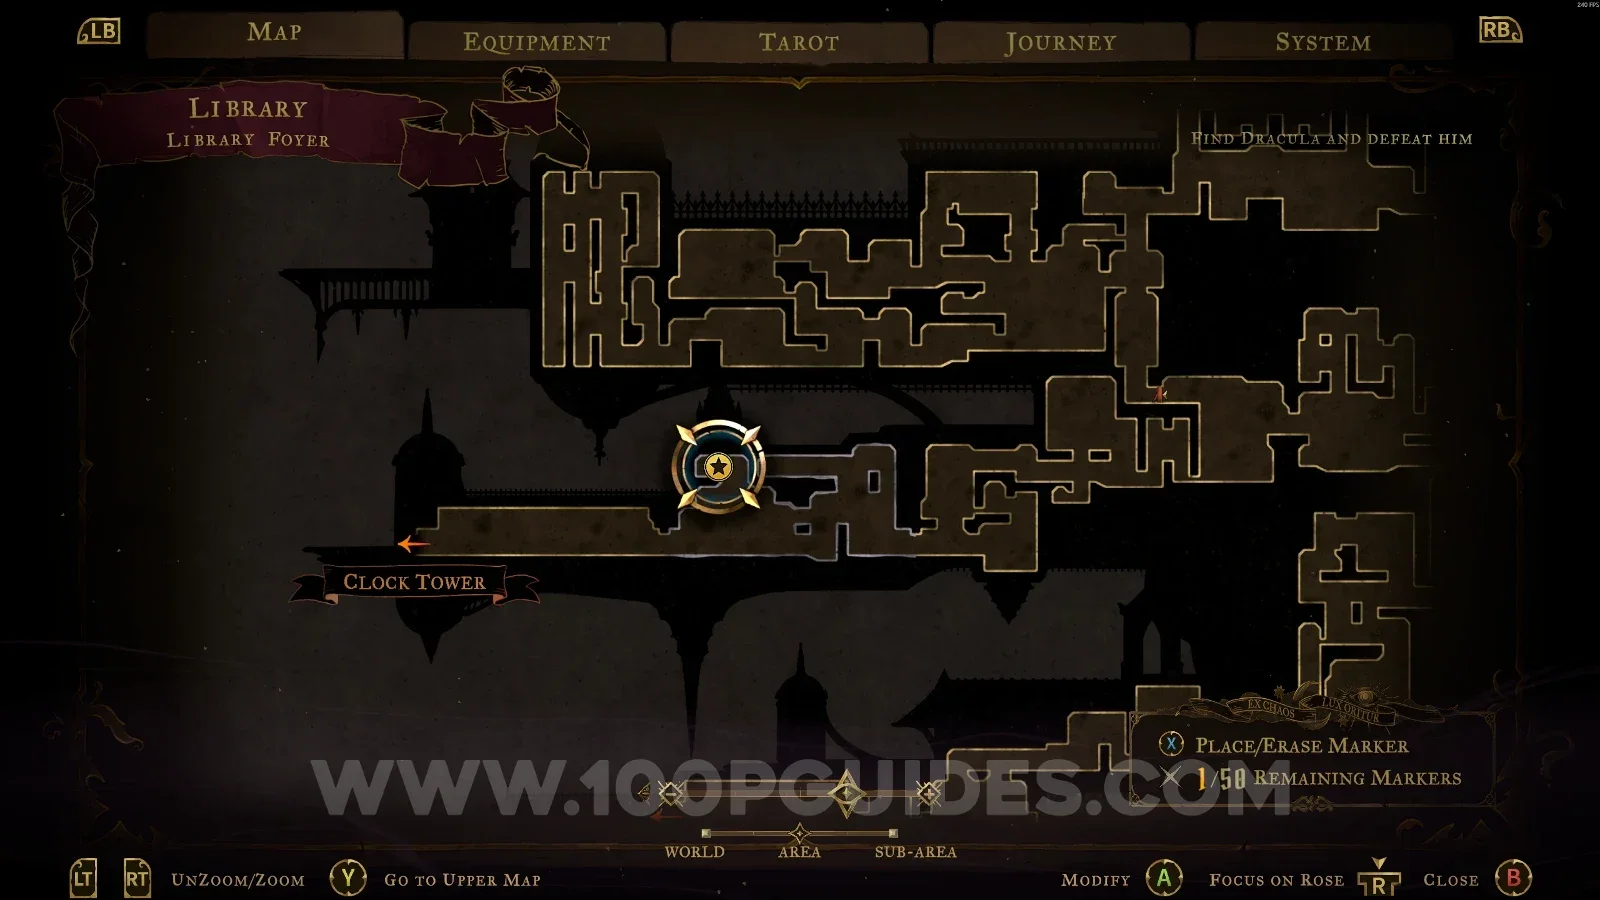
In the area marked on the map, you'll have to break the wall on the left side to reveal the statue.

Castlevania Belmonts Curse Library Foyer map with the area of XP Statue #85 marked Castlevania Belmonts Curse Library Foyer: the wall on the left side to break for XP Statue #85 Castlevania Belmonts Curse Library Foyer: XP Statue #85 revealed behind the broken left wall

Natural Philosophy Shelves

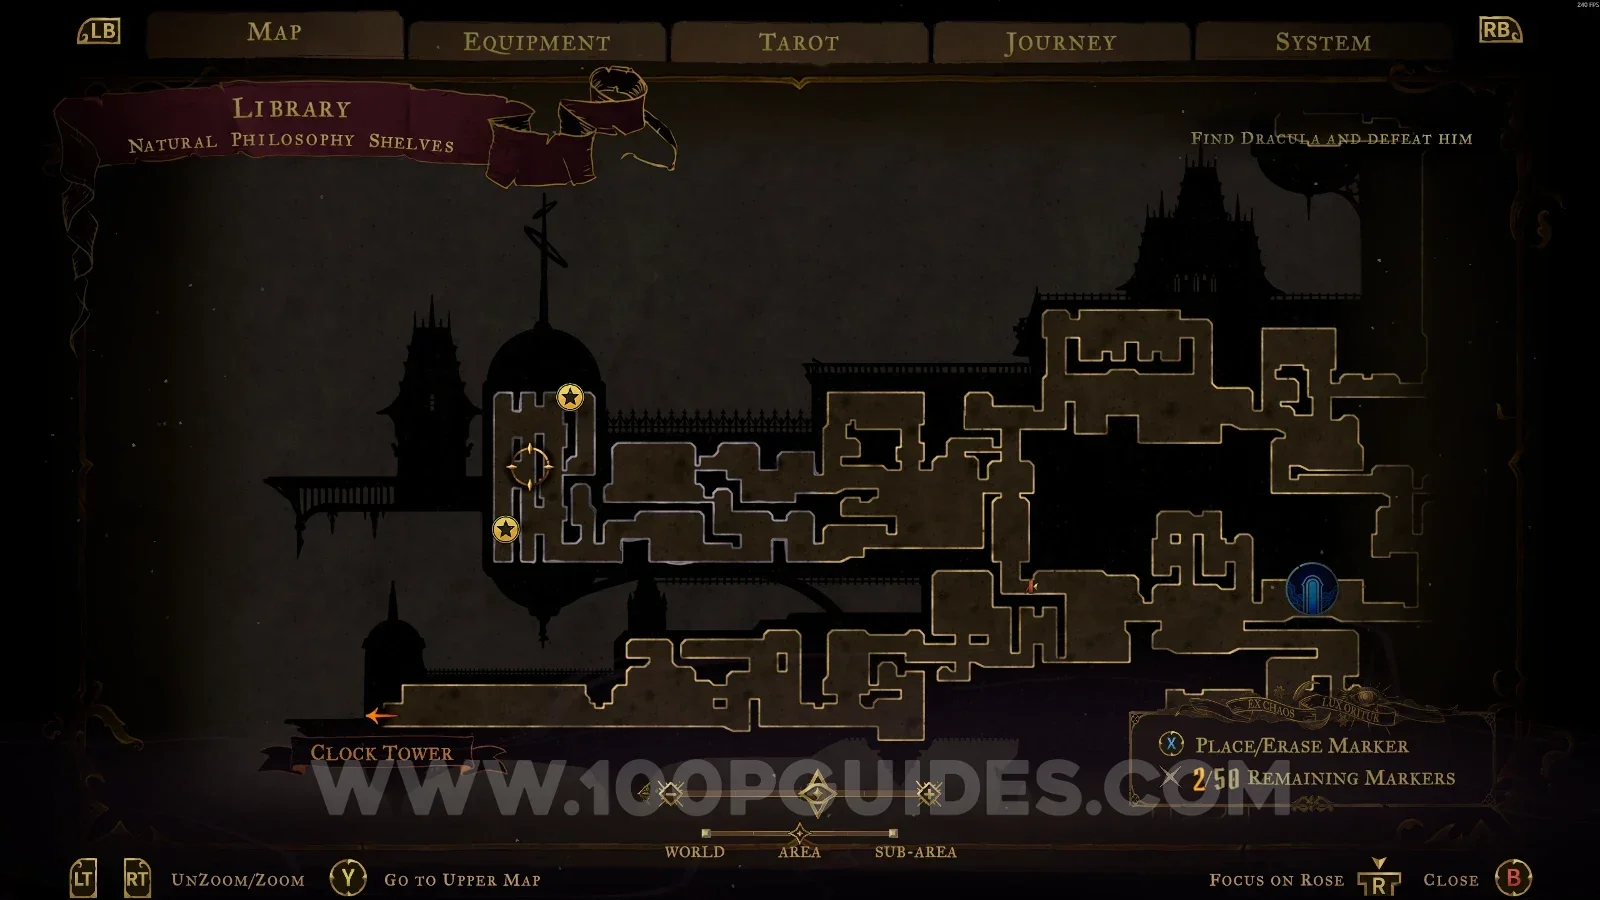
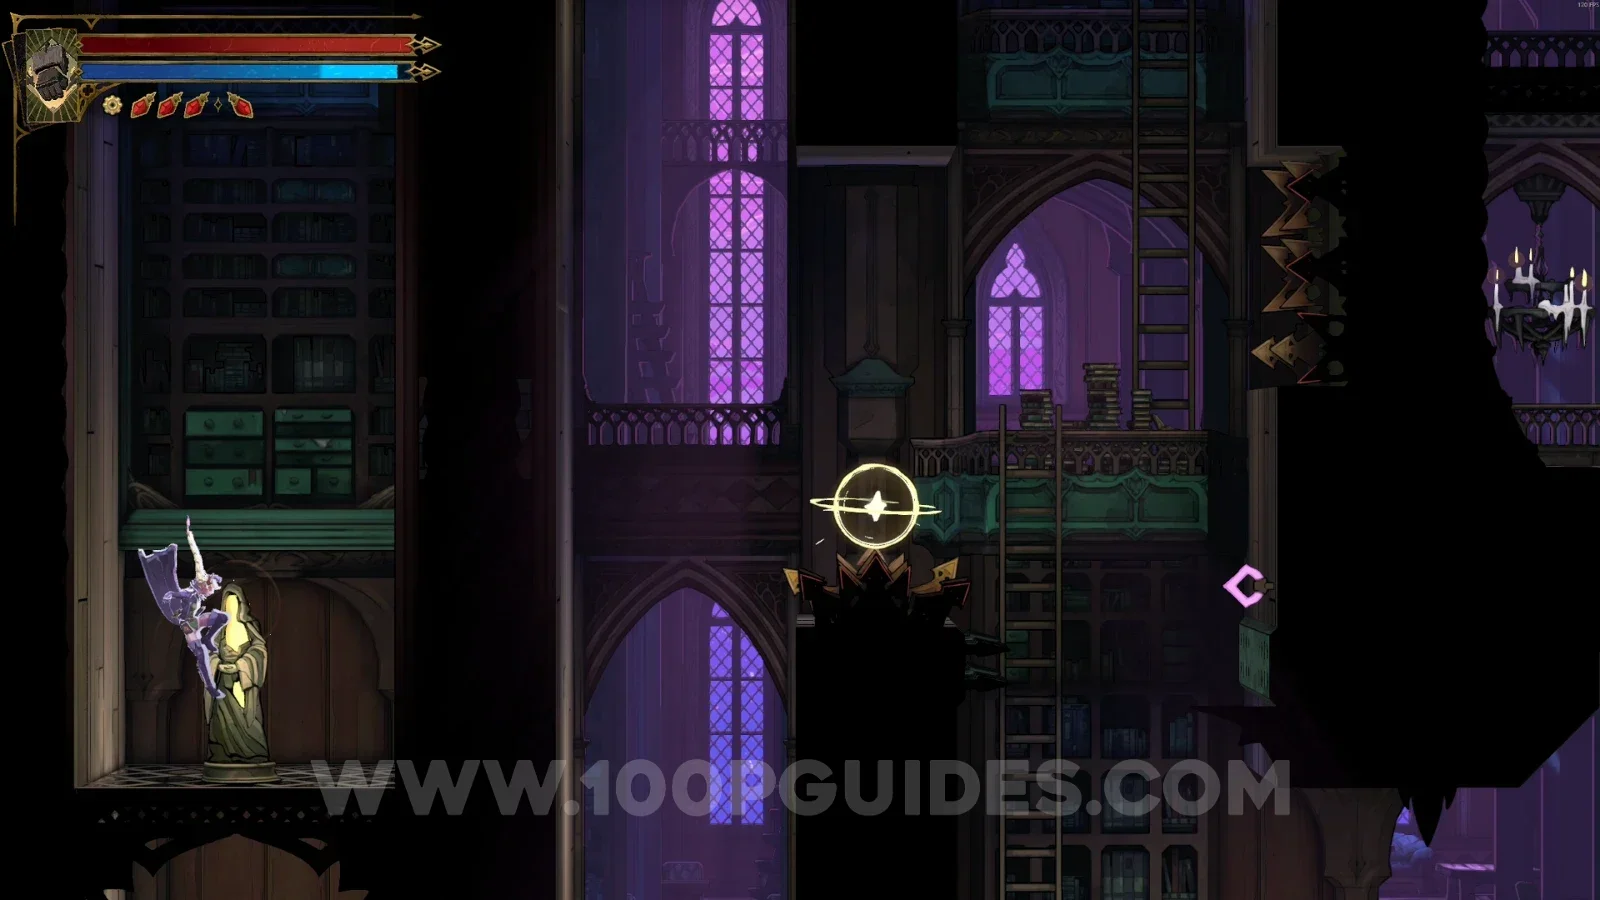
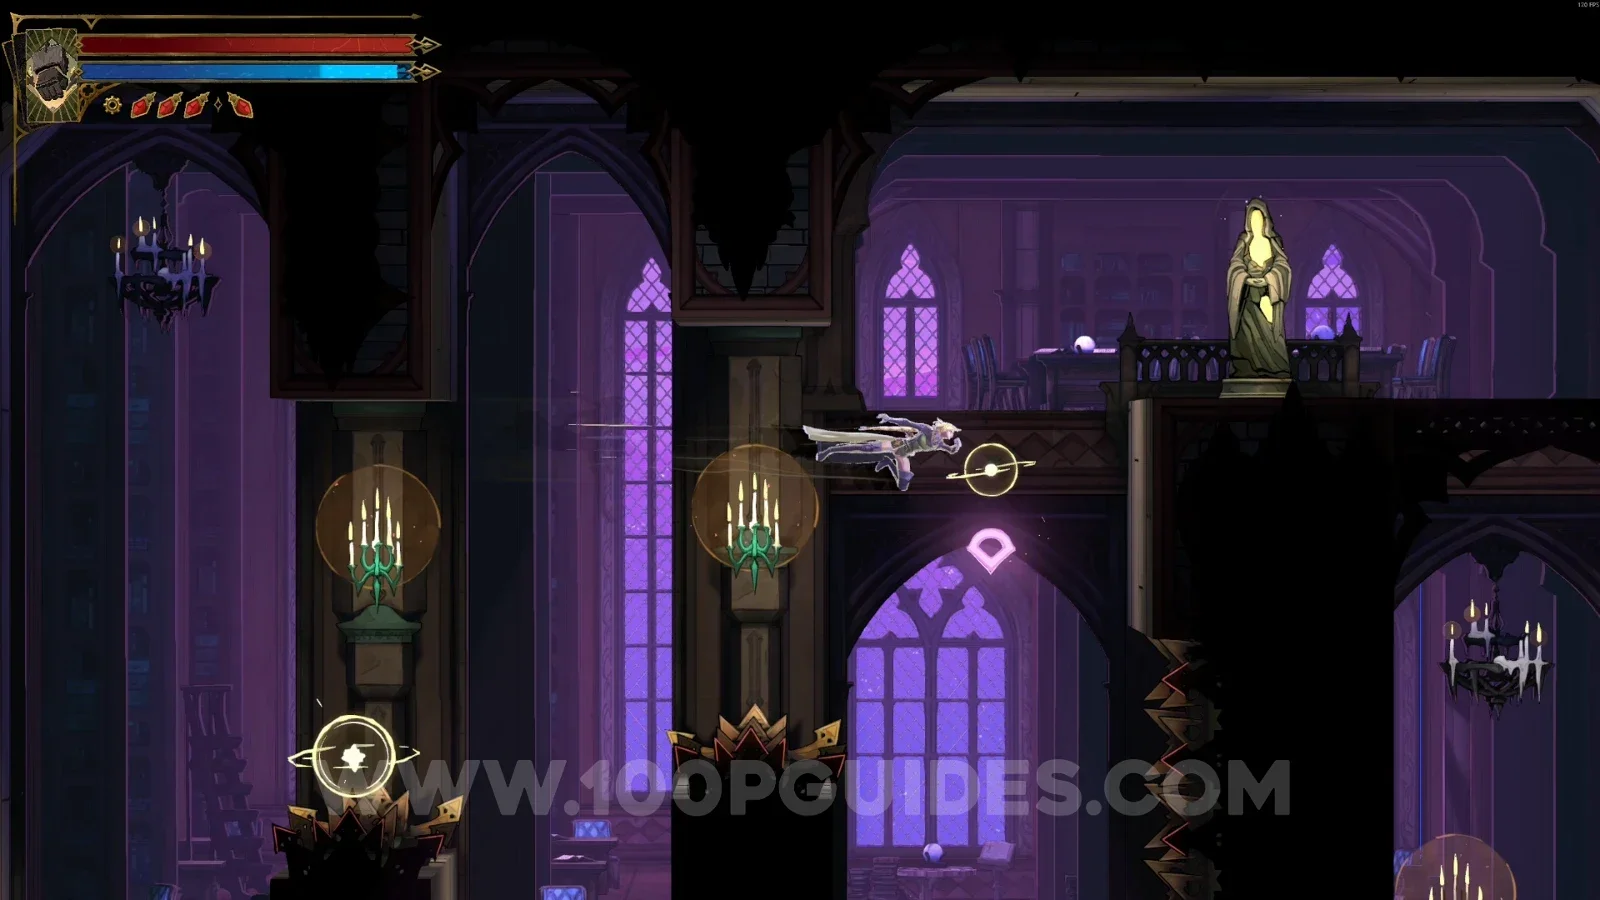
XP Statue #86 - #87

In the area marked on the map, one is in the lower left and the other is in the upper right.

Castlevania Belmonts Curse Natural Philosophy Shelves map marking the area of XP Statues #86 and #87 Castlevania Belmonts Curse Natural Philosophy Shelves: XP Statue #86 in the lower left Castlevania Belmonts Curse Natural Philosophy Shelves: XP Statue #87 in the upper right

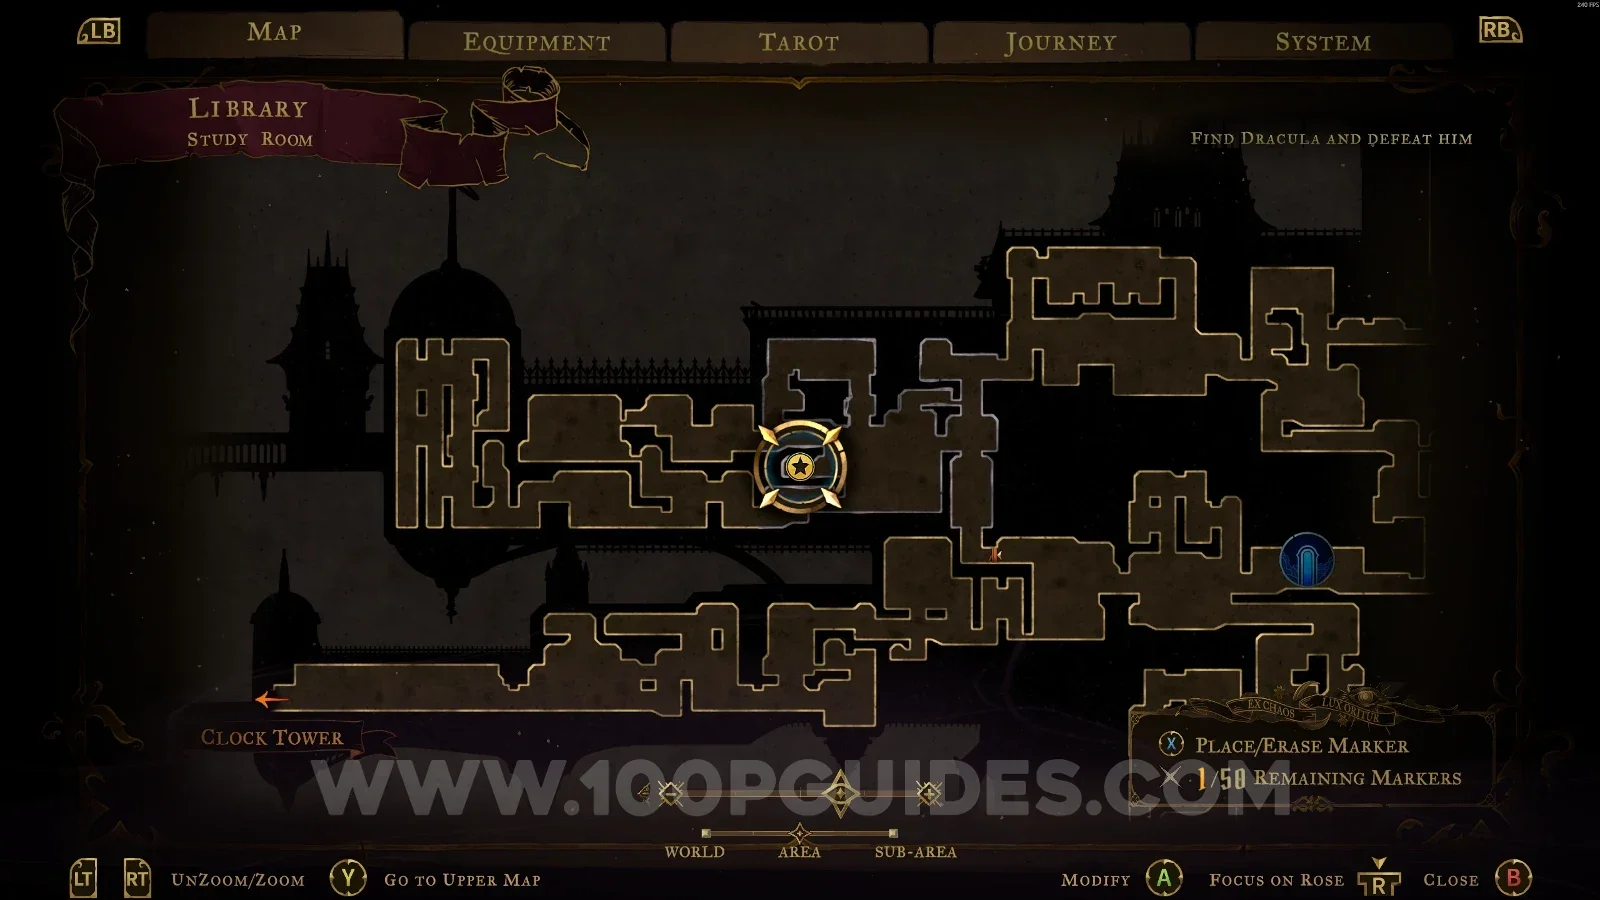
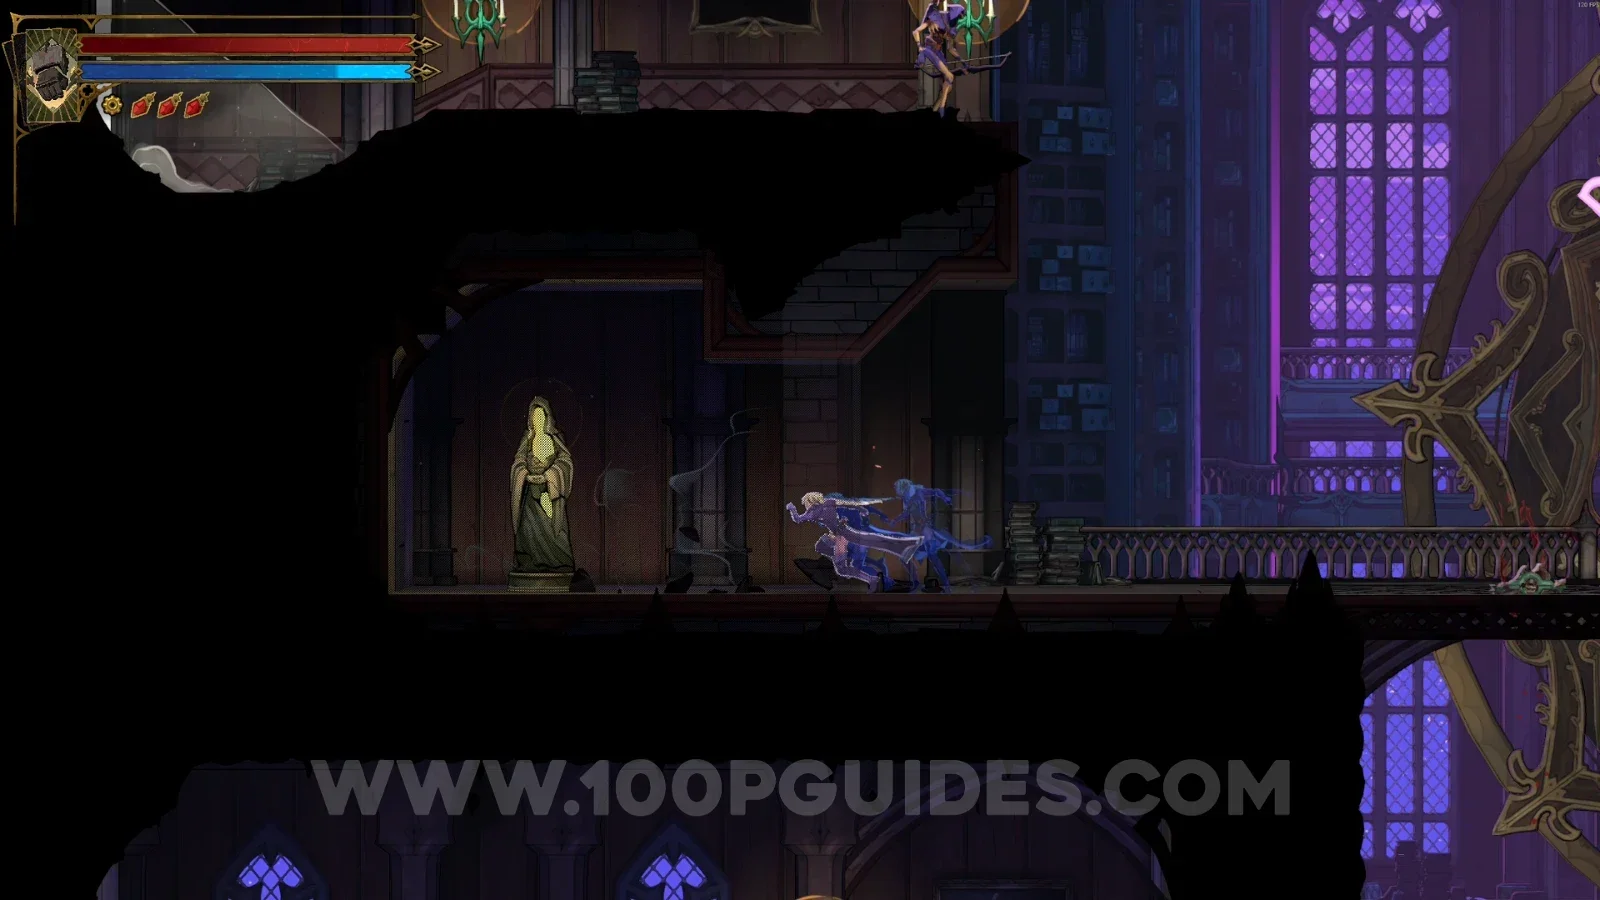
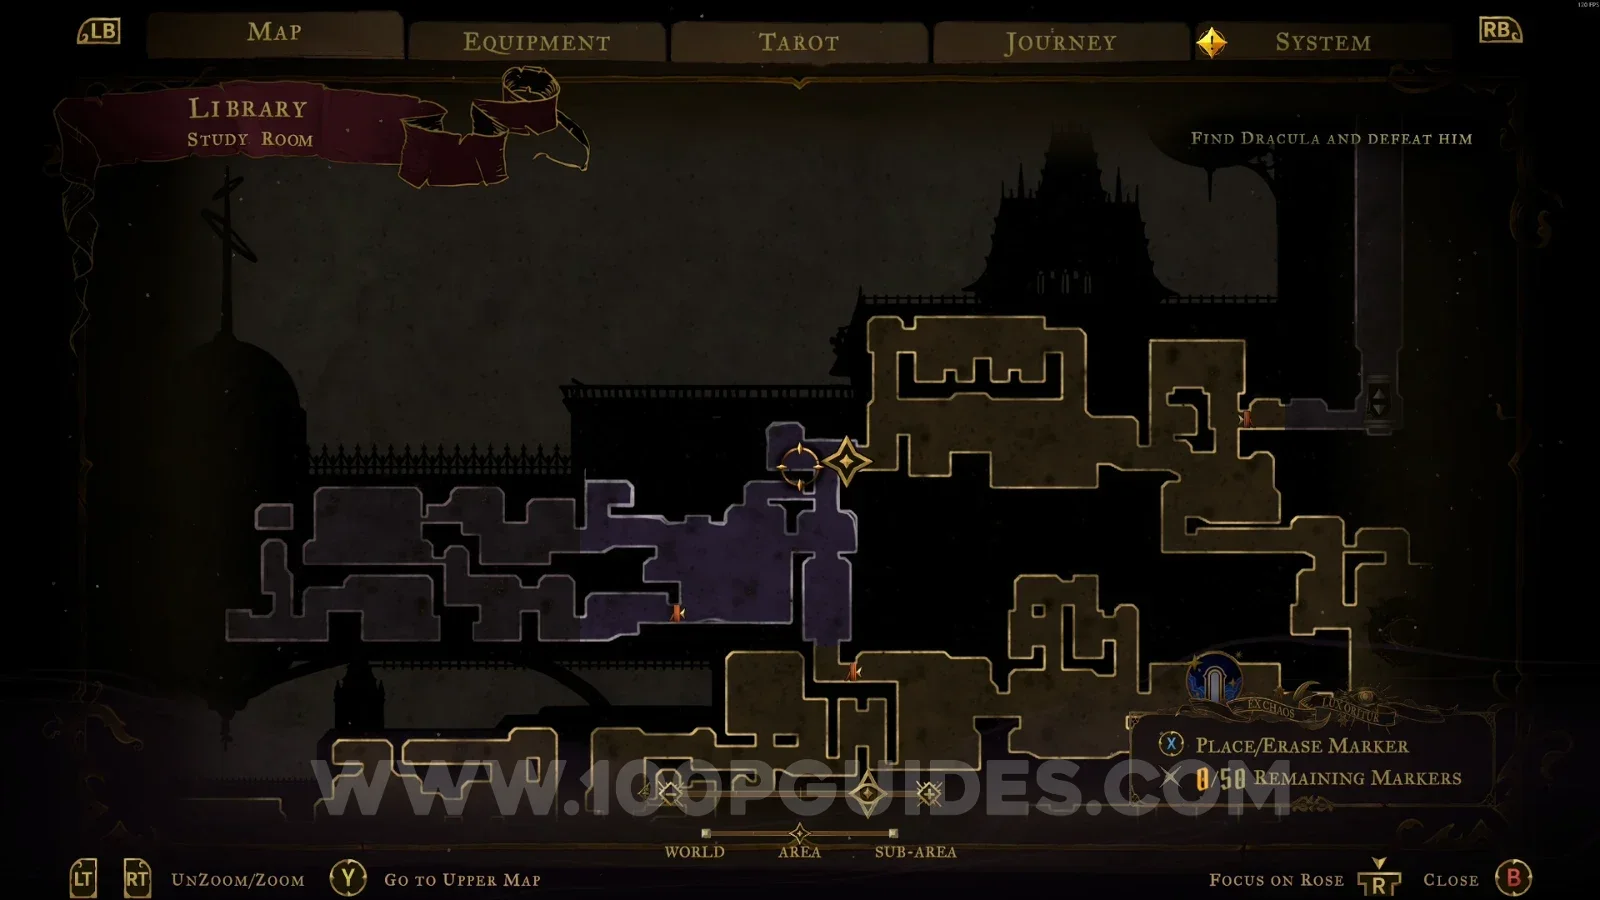
Study Room

XP Statue #88

In the area marked on the map.

Castlevania Belmonts Curse Study Room map with the area of XP Statue #88 marked Castlevania Belmonts Curse Study Room: XP Statue #88 in the marked area

XP Statue #89

In the area marked on the map.

Castlevania Belmonts Curse Study Room map with the area of XP Statue #89 marked Castlevania Belmonts Curse Study Room: XP Statue #89 in the marked area

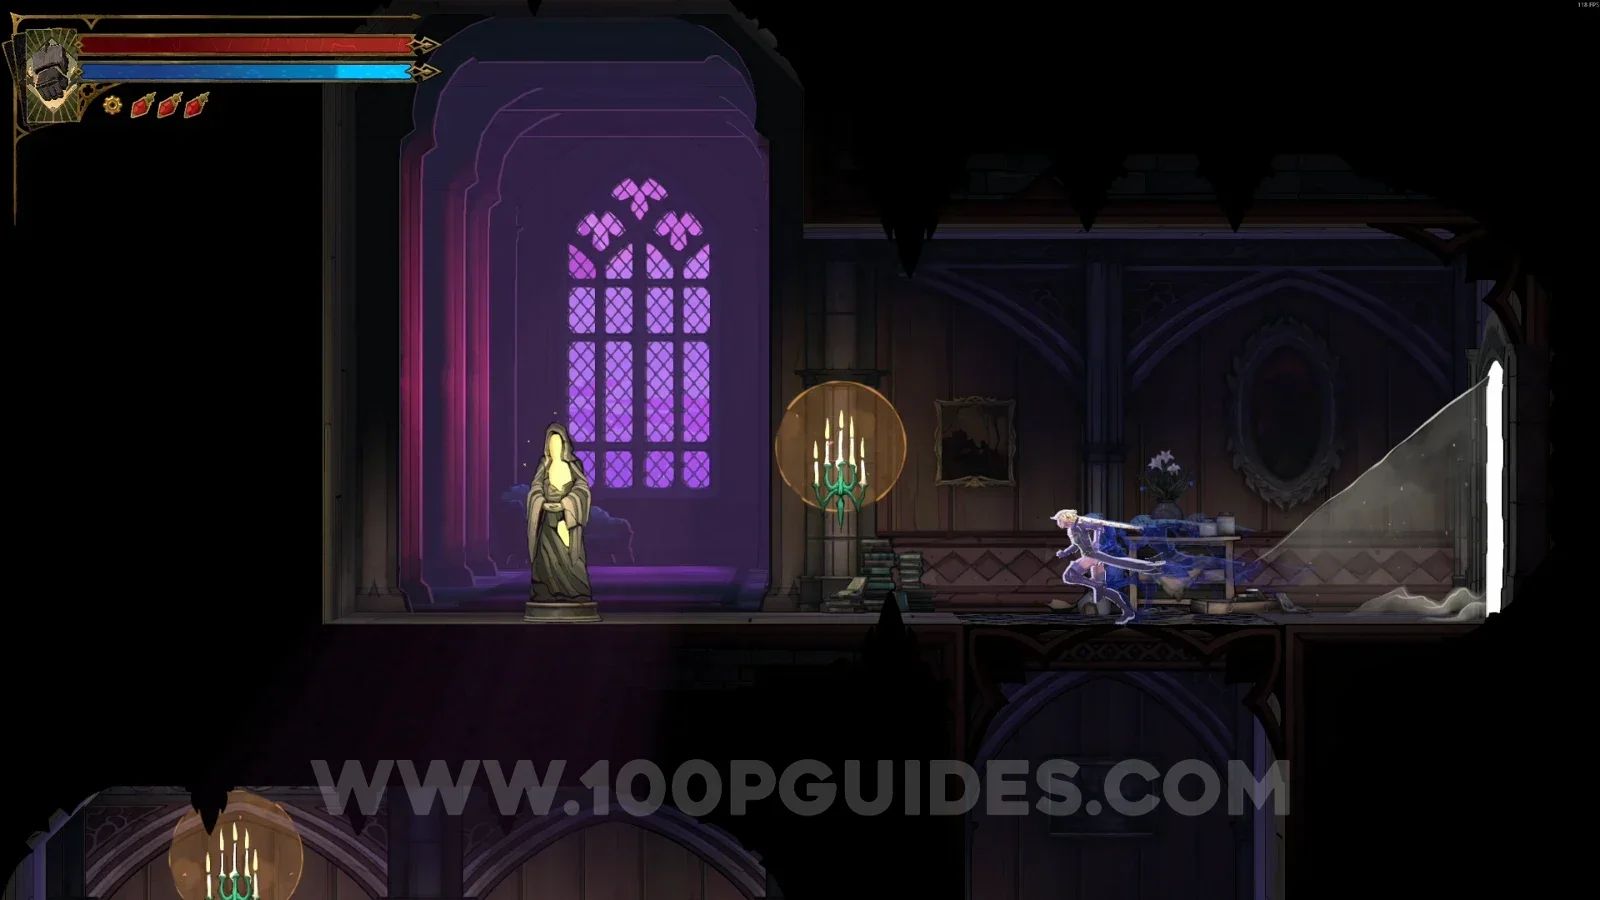
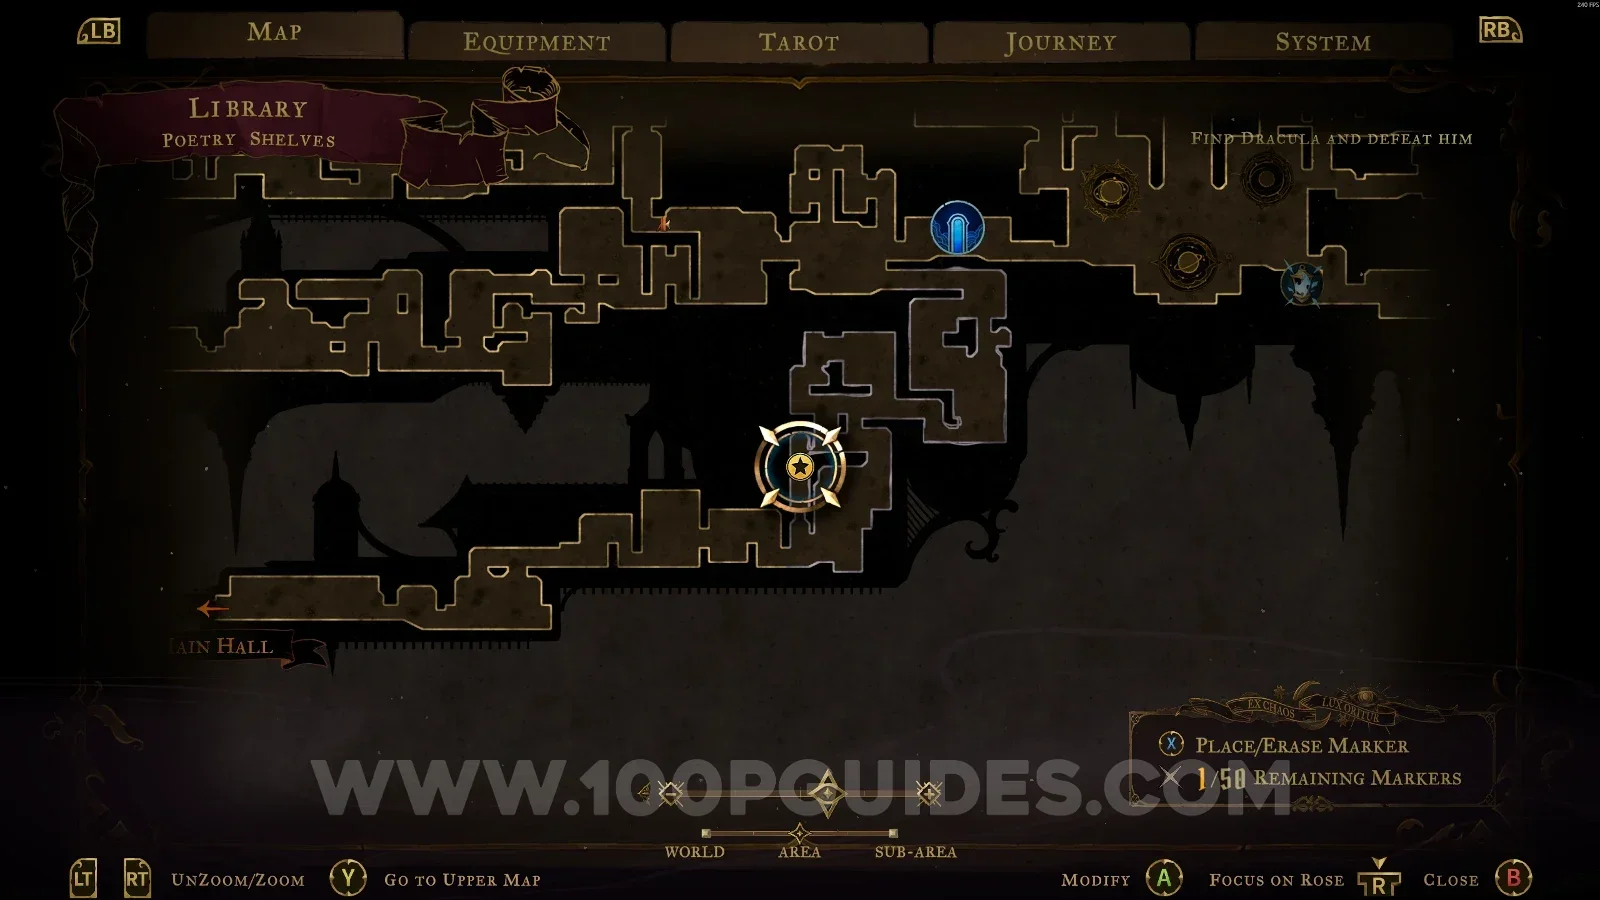
Poetry Shelves

XP Statue #90

In the area marked on the map, you have to use the slide on the left side to reveal a secret area with the statue.

Castlevania Belmonts Curse Poetry Shelves map with the area of XP Statue #90 marked Castlevania Belmonts Curse Poetry Shelves: XP Statue #90 in the secret area revealed by the left slide

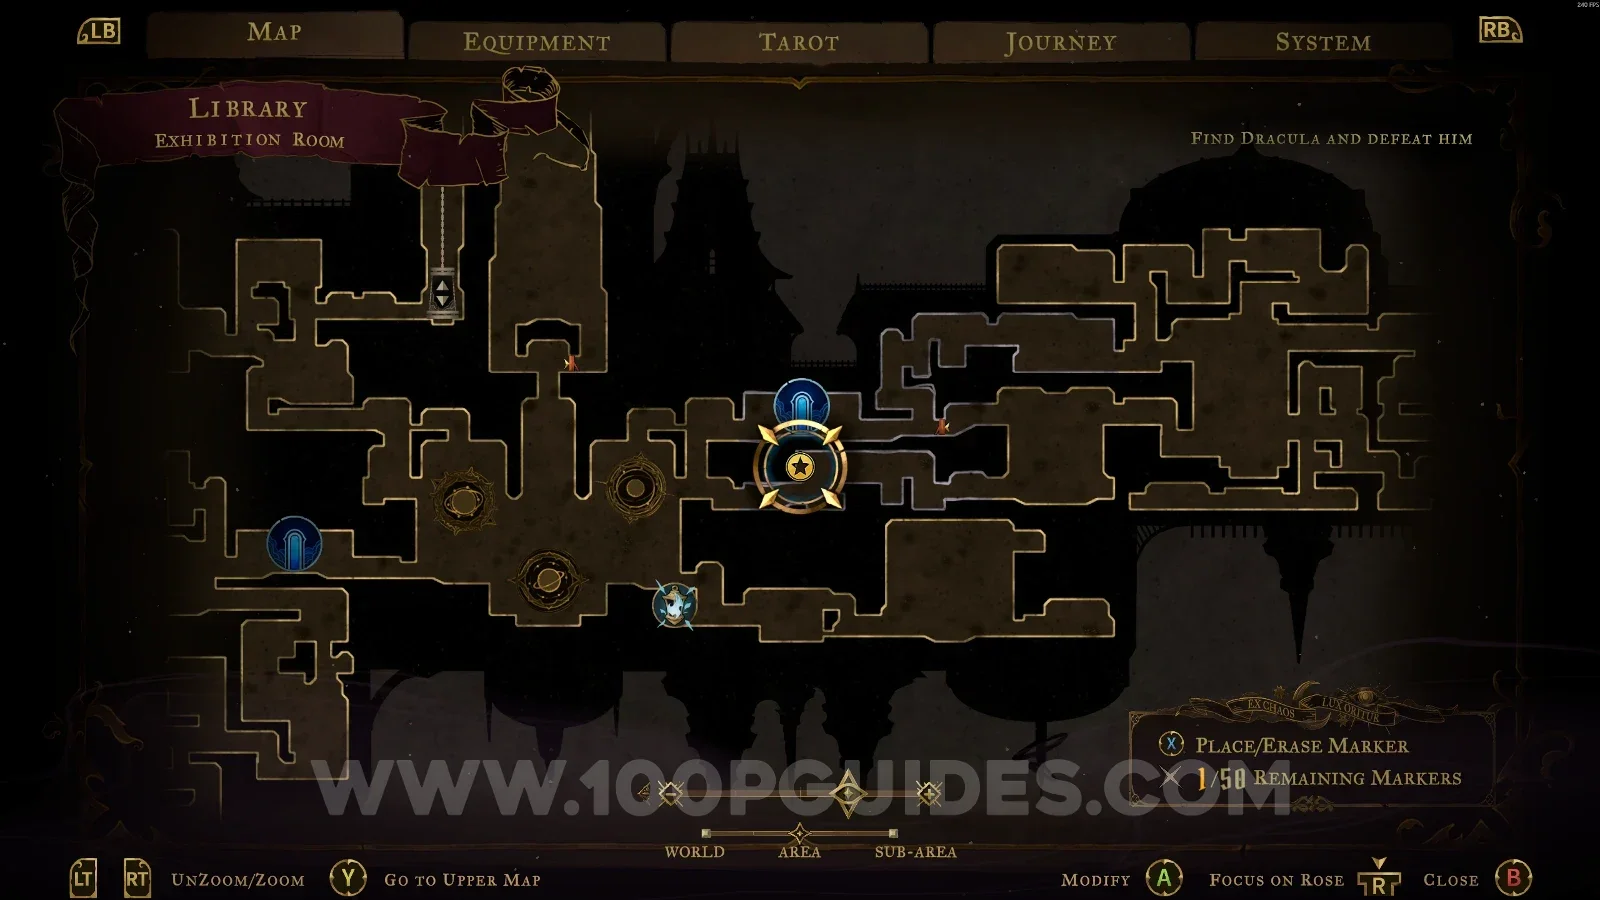
Exhibition Room

XP Statue #91

In the area marked on the map.

Castlevania Belmonts Curse Exhibition Room map with the area of XP Statue #91 marked Castlevania Belmonts Curse Exhibition Room: XP Statue #91 in the marked area

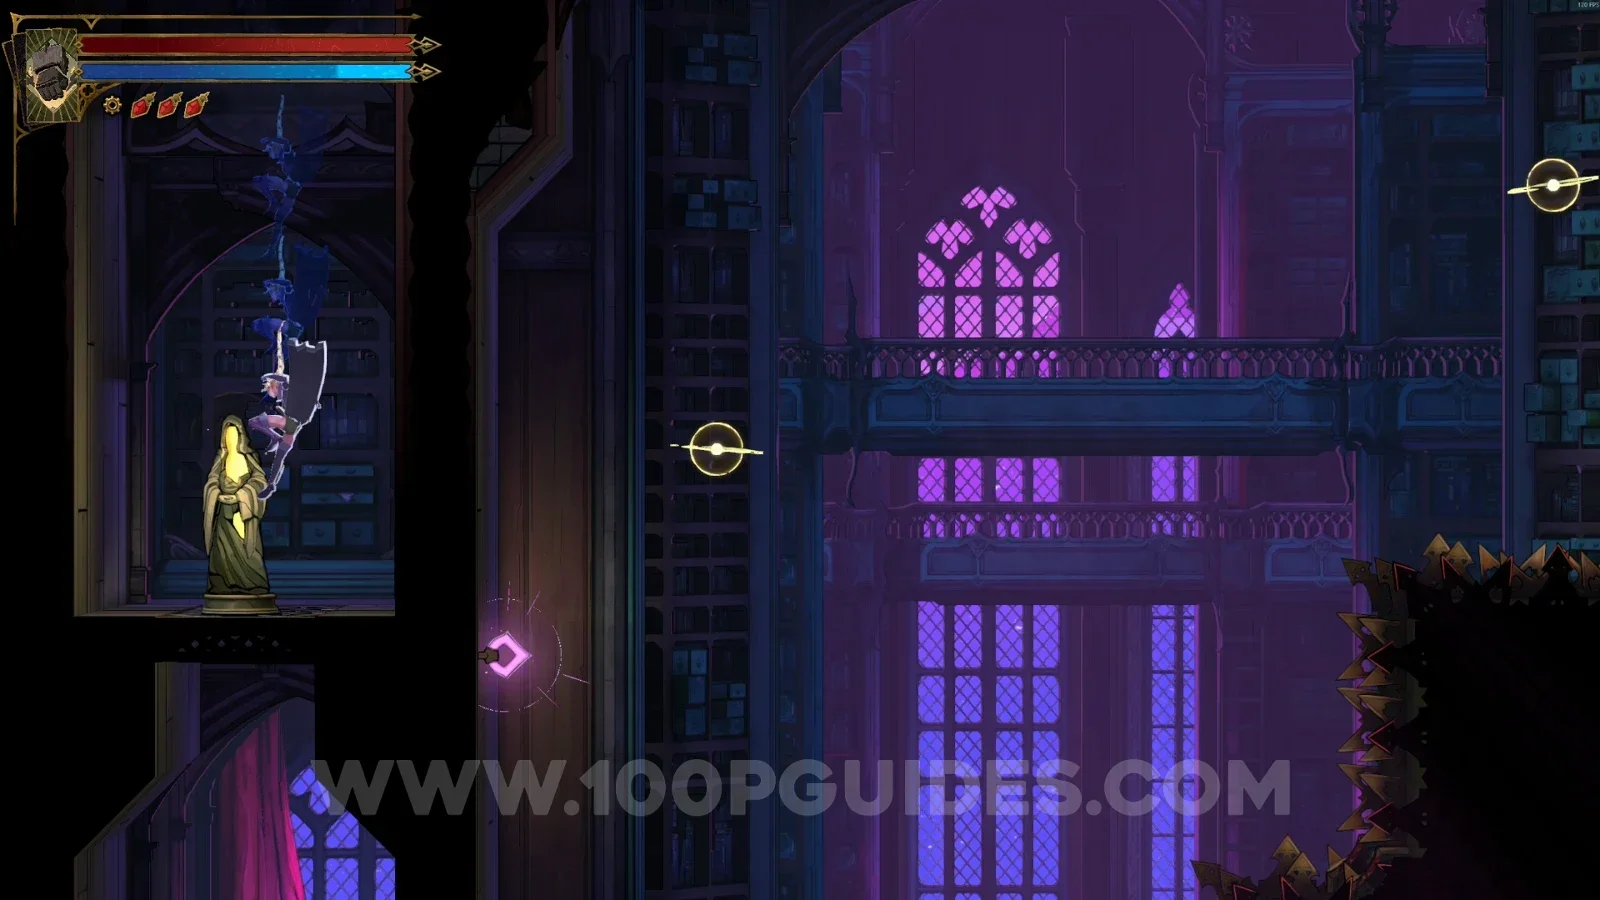
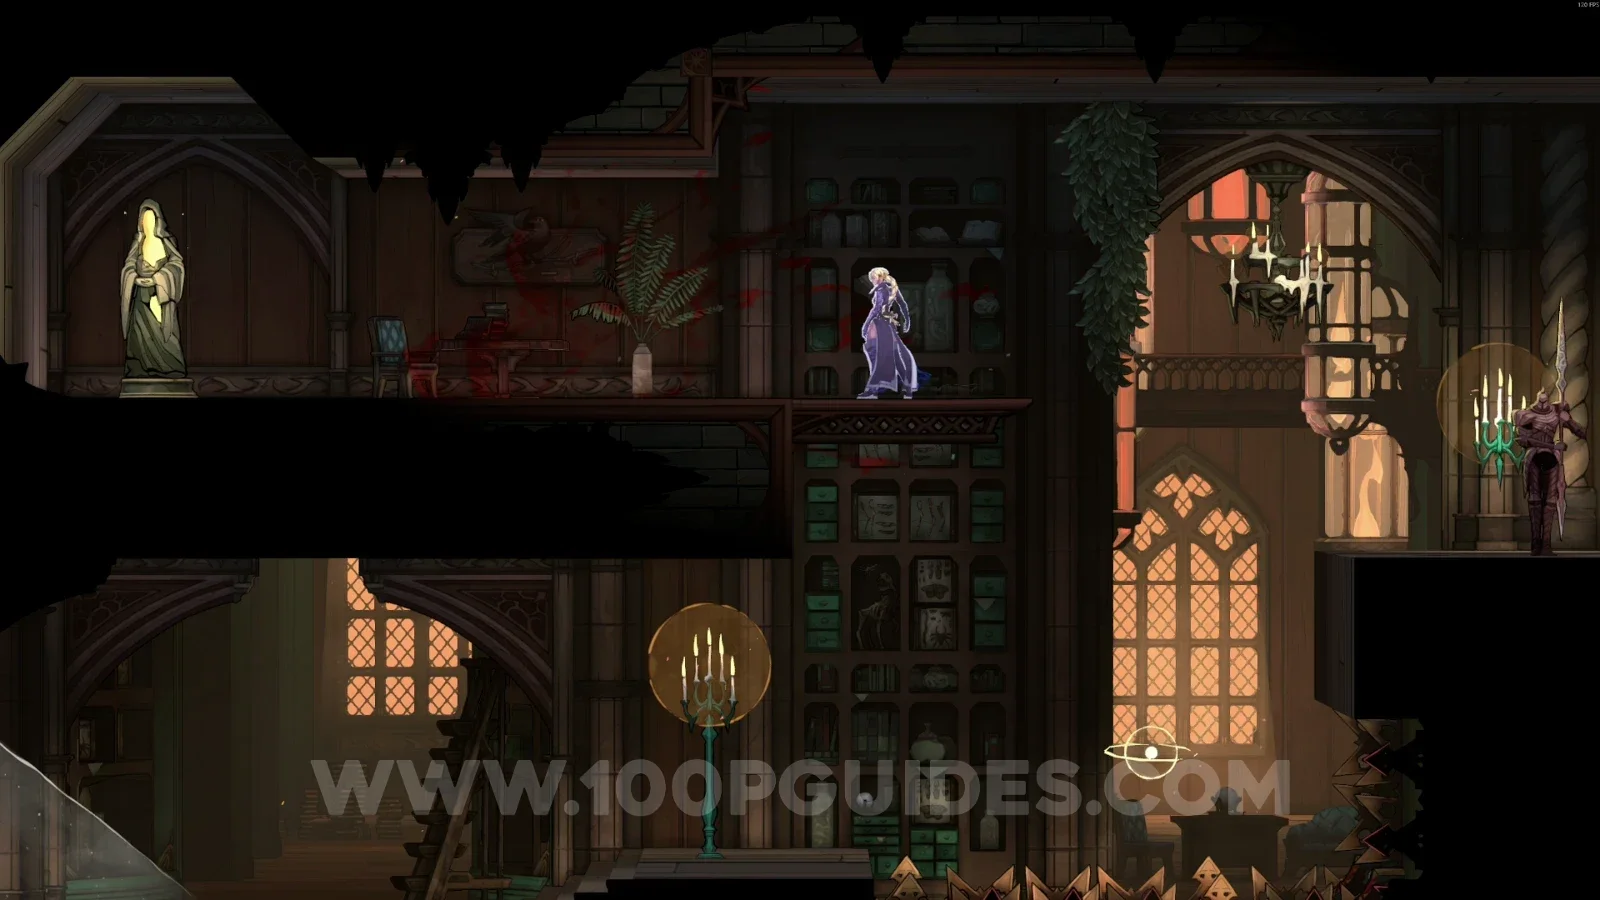
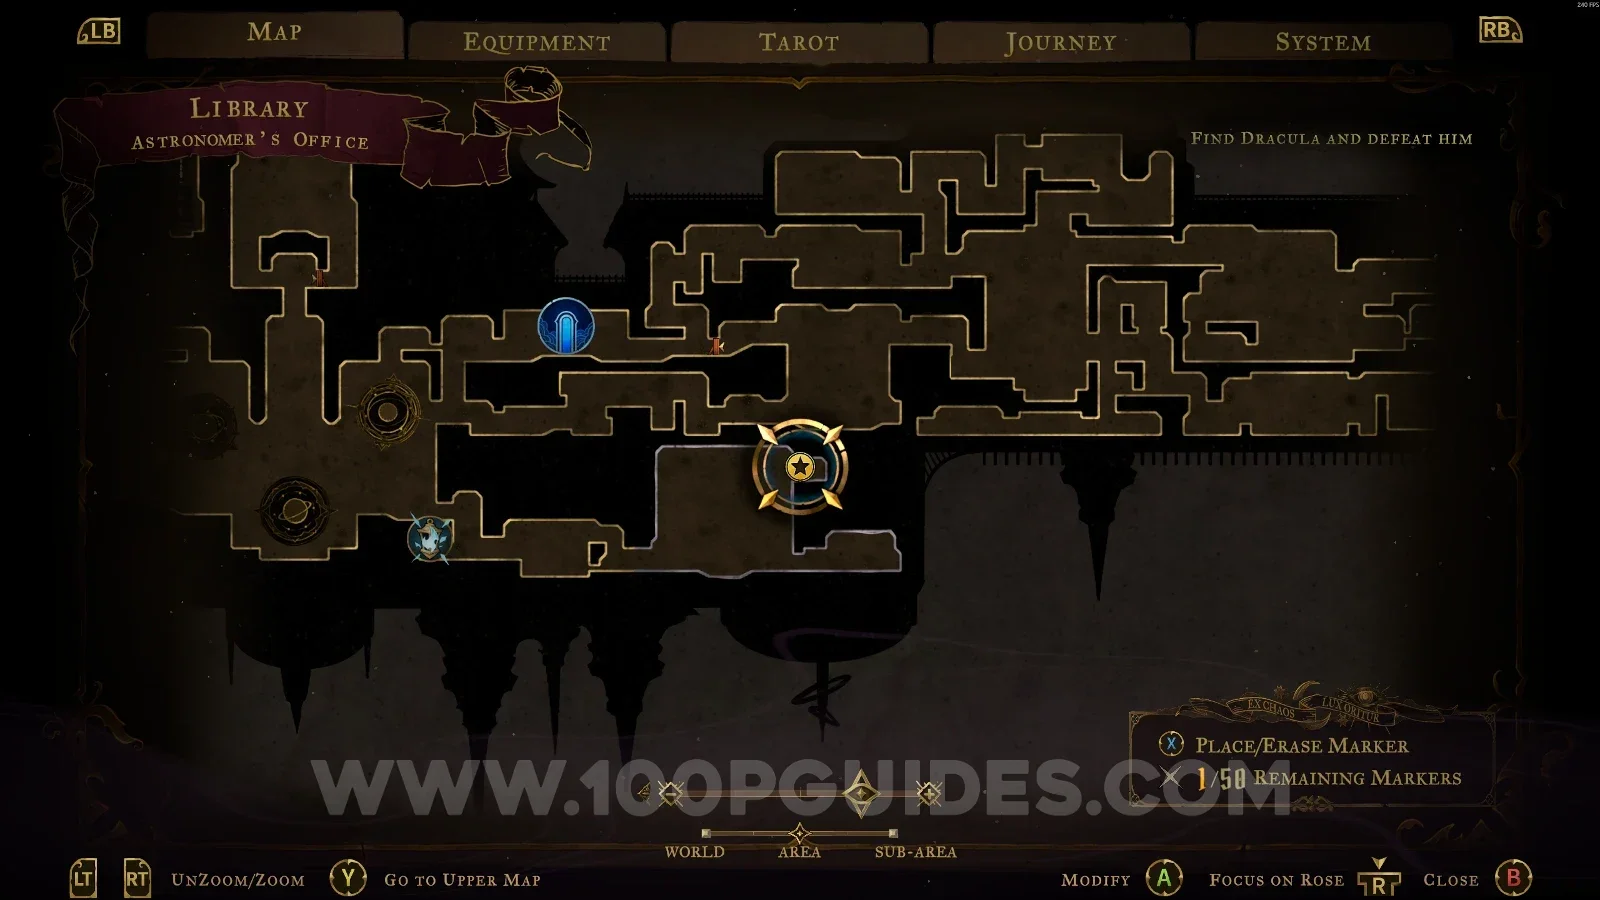
Astronomer's Office

XP Statue #92

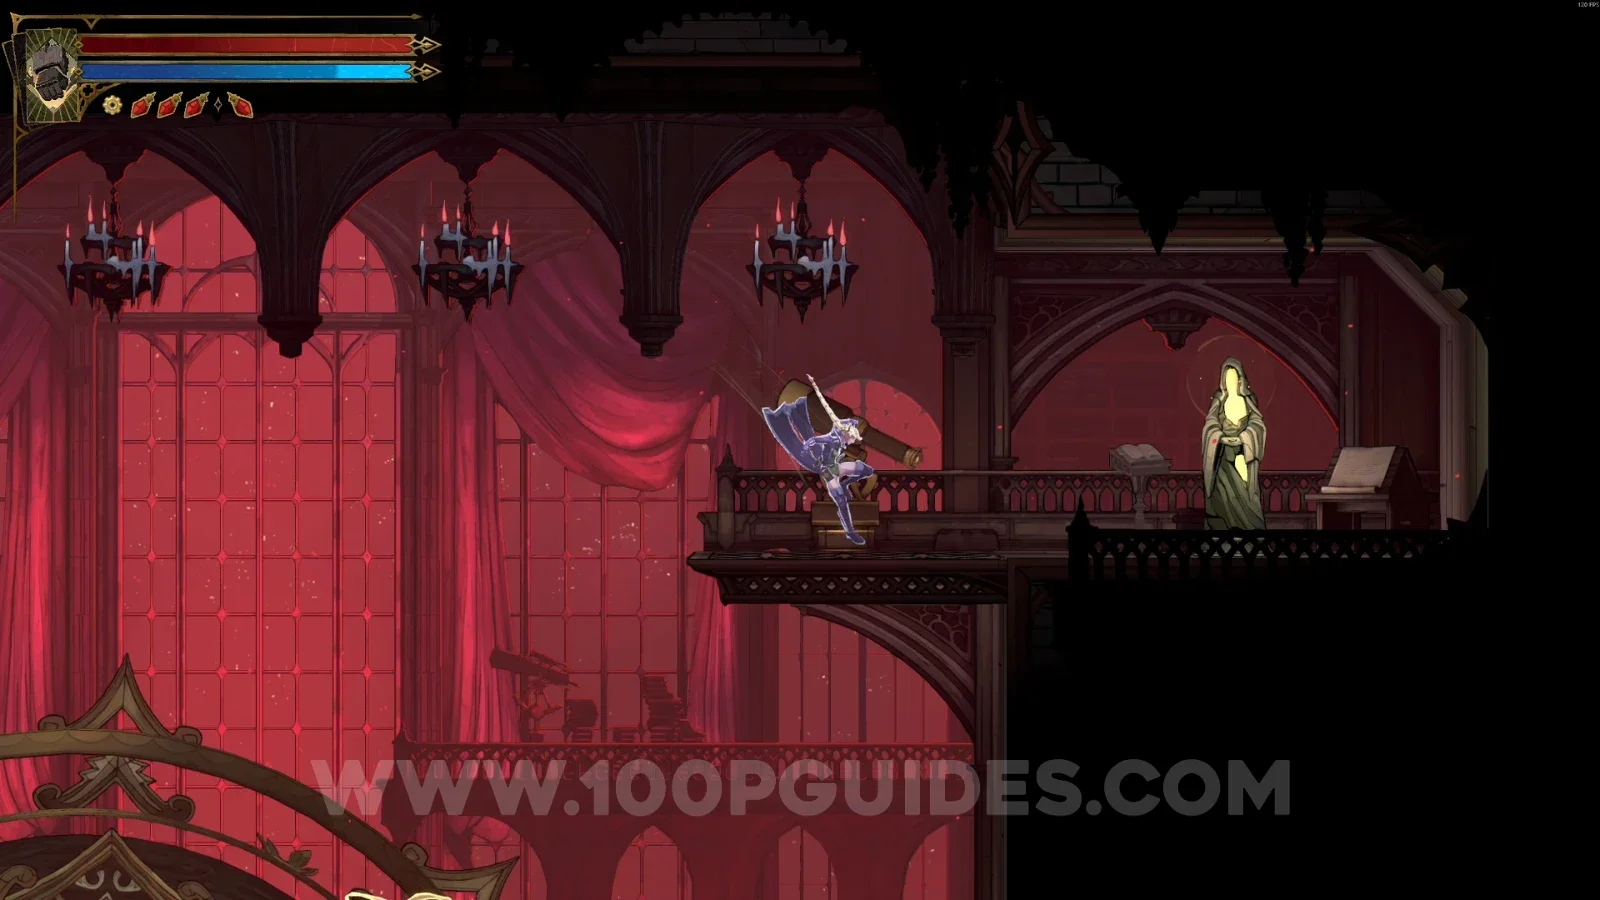
At the top of the area.

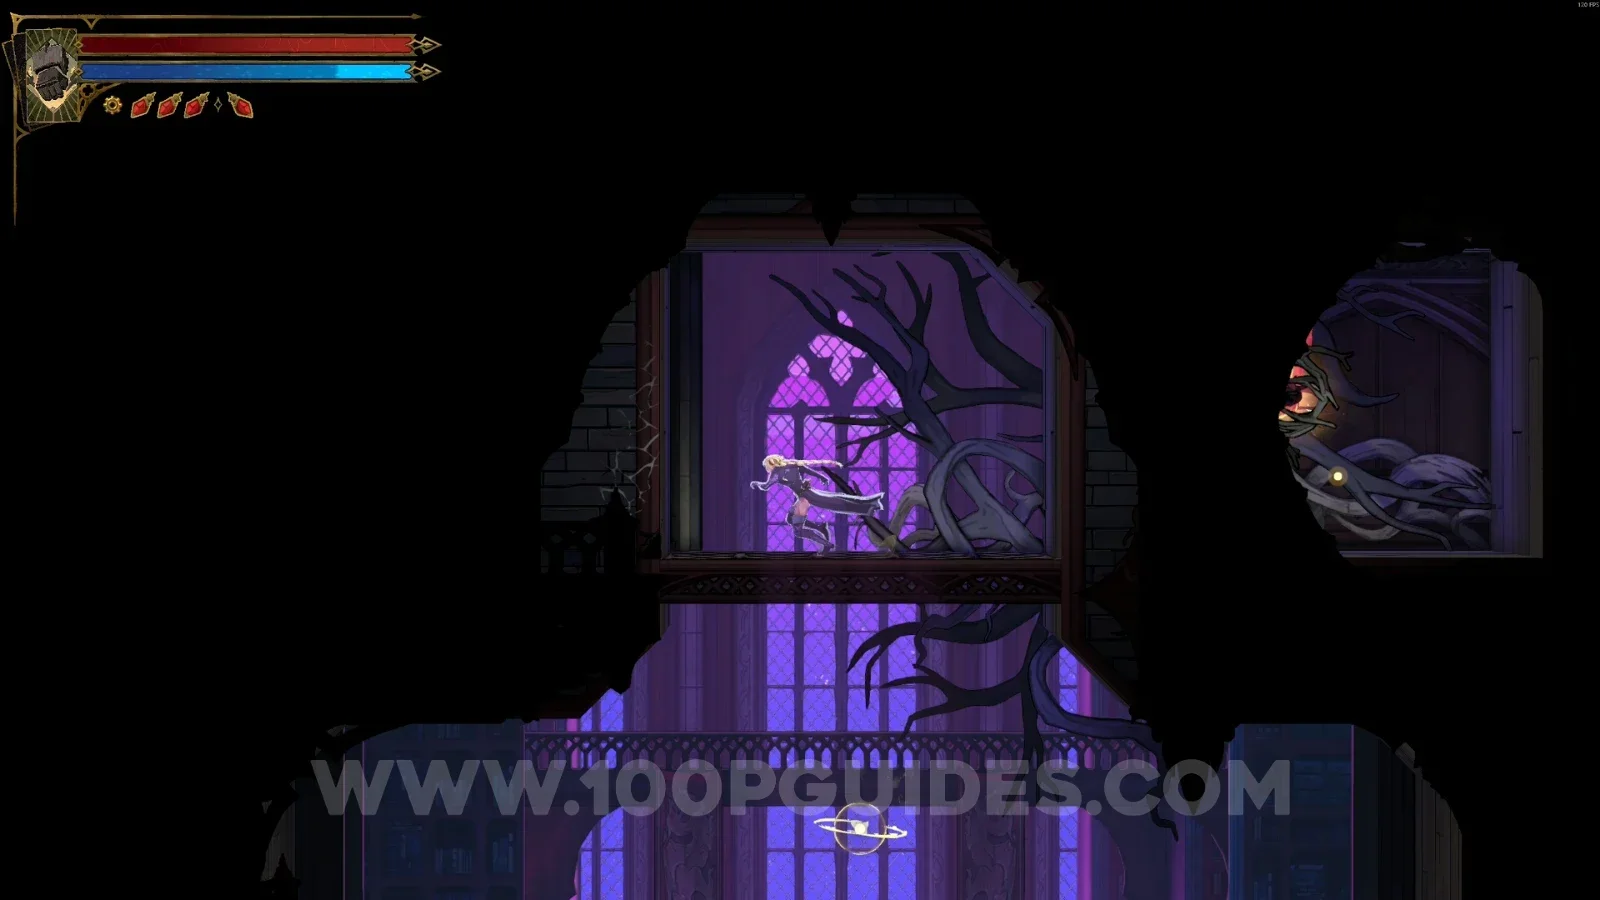
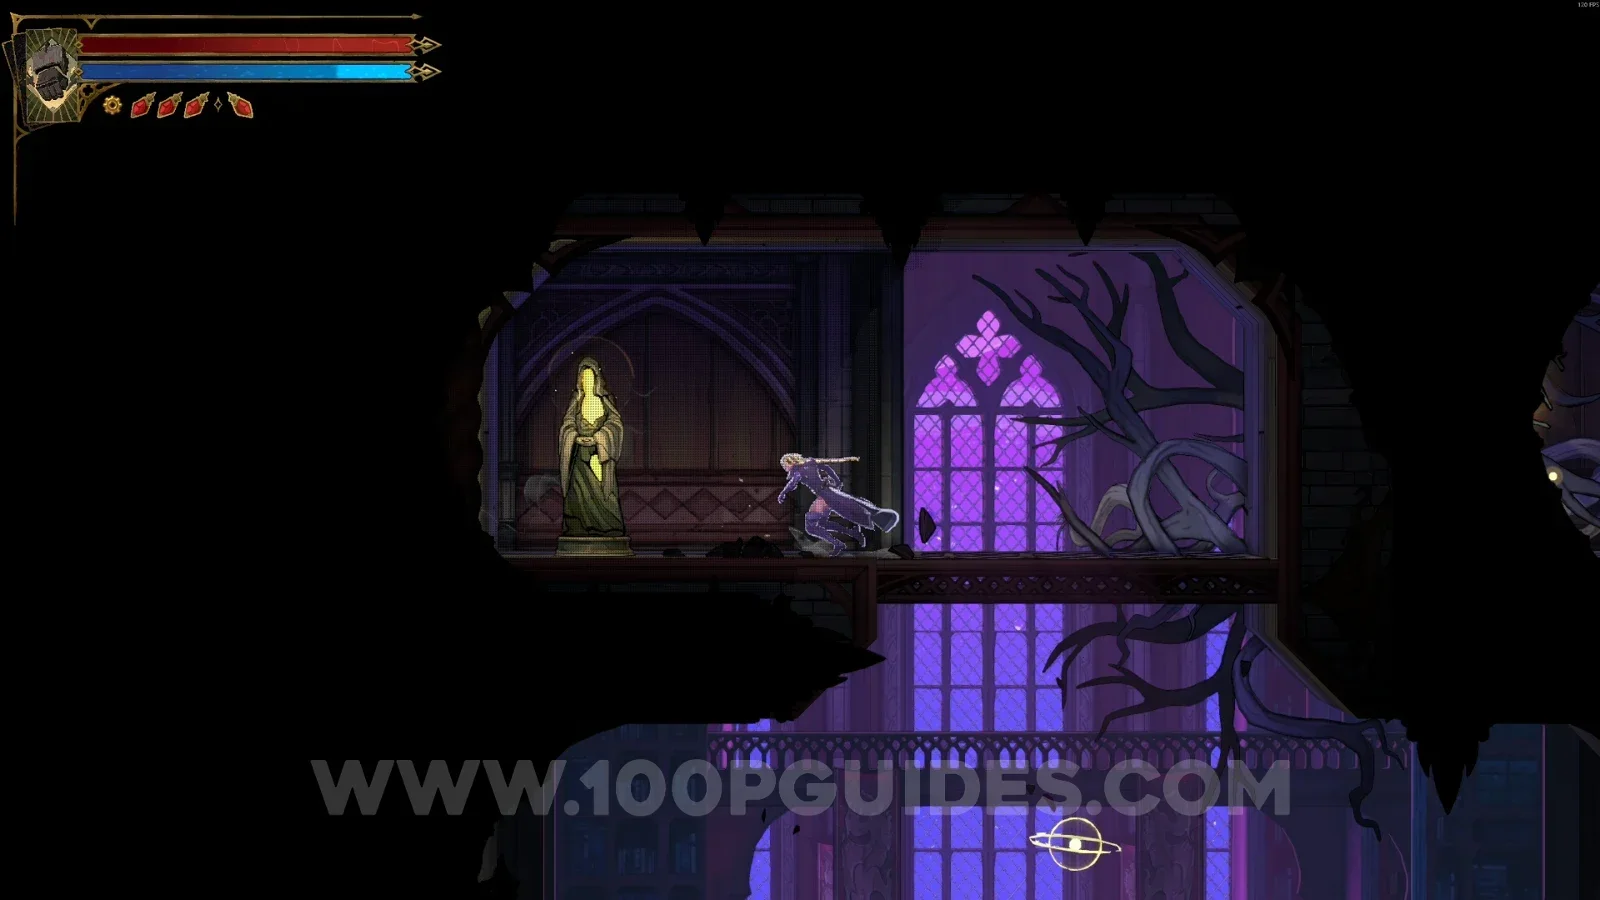
Castlevania Belmonts Curse Astronomer's Office map showing XP Statue #92 at the top of the area Castlevania Belmonts Curse Astronomer's Office: XP Statue #92 at the top of the area

Trophy Room

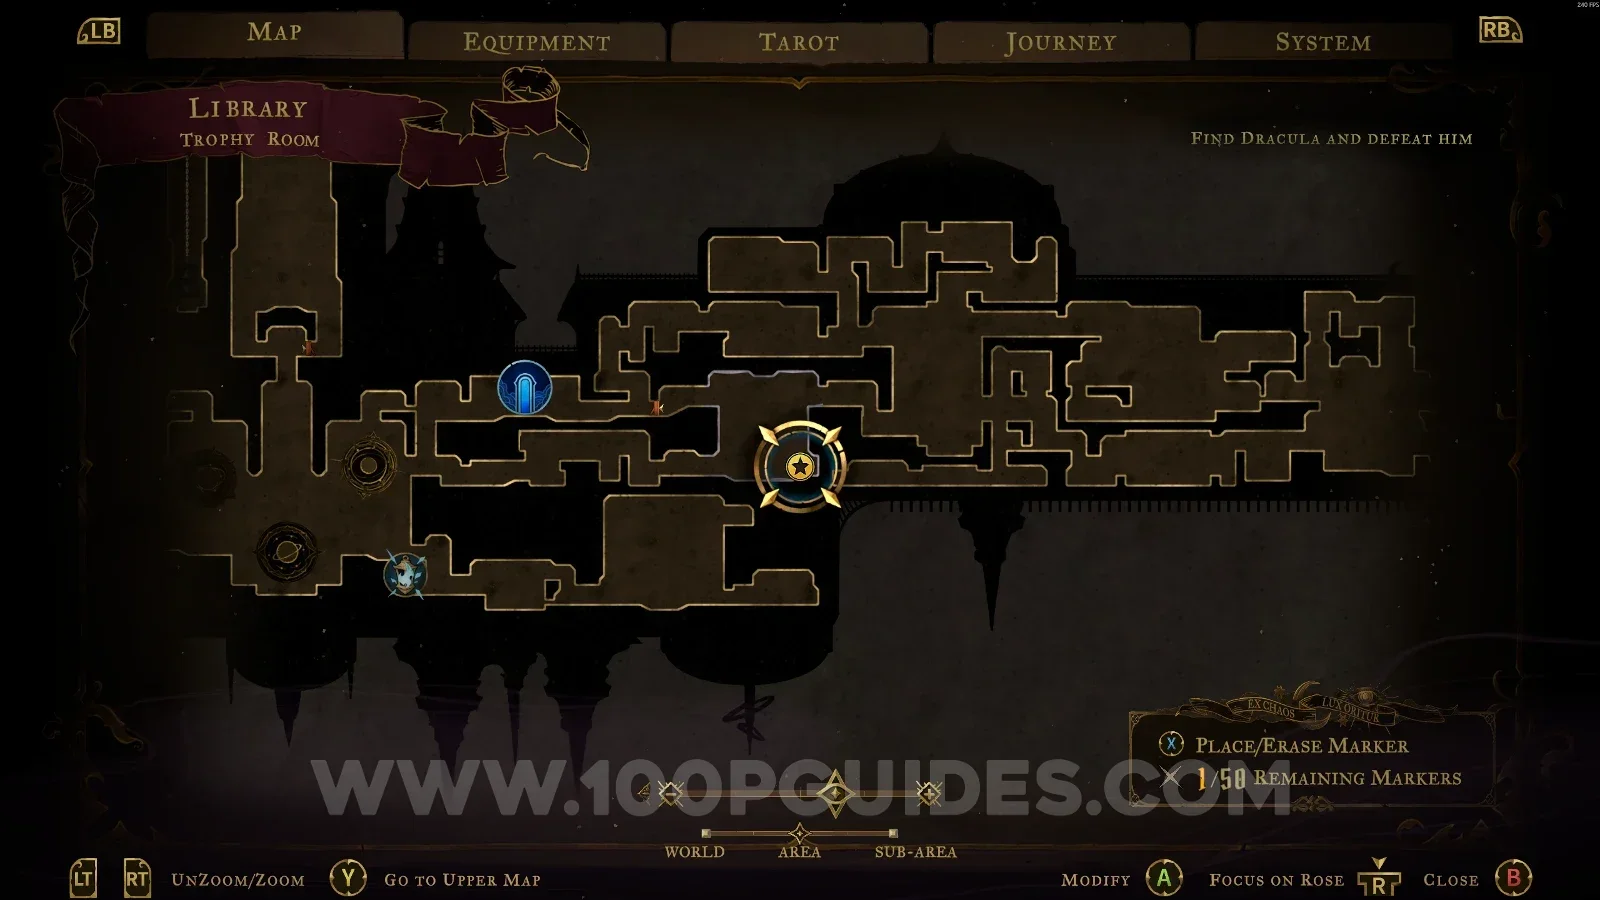
XP Statue #93

In the area marked on the map.

Castlevania Belmonts Curse Trophy Room map with the area of XP Statue #93 marked Castlevania Belmonts Curse Trophy Room: XP Statue #93 in the marked area

Clock Tower

Path Of The Builder

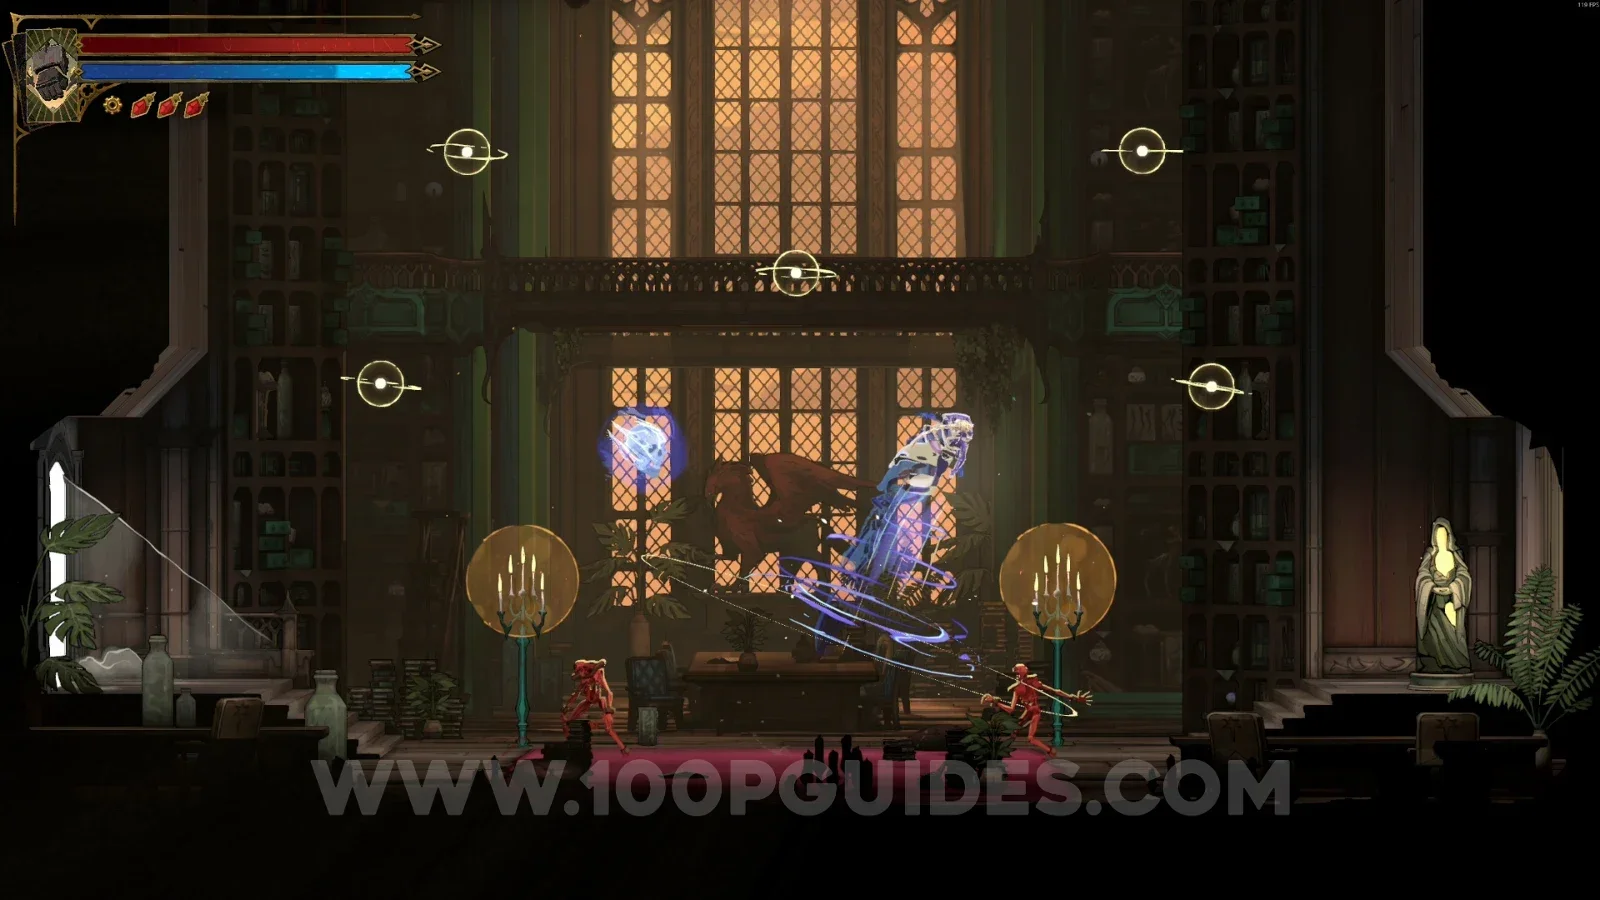
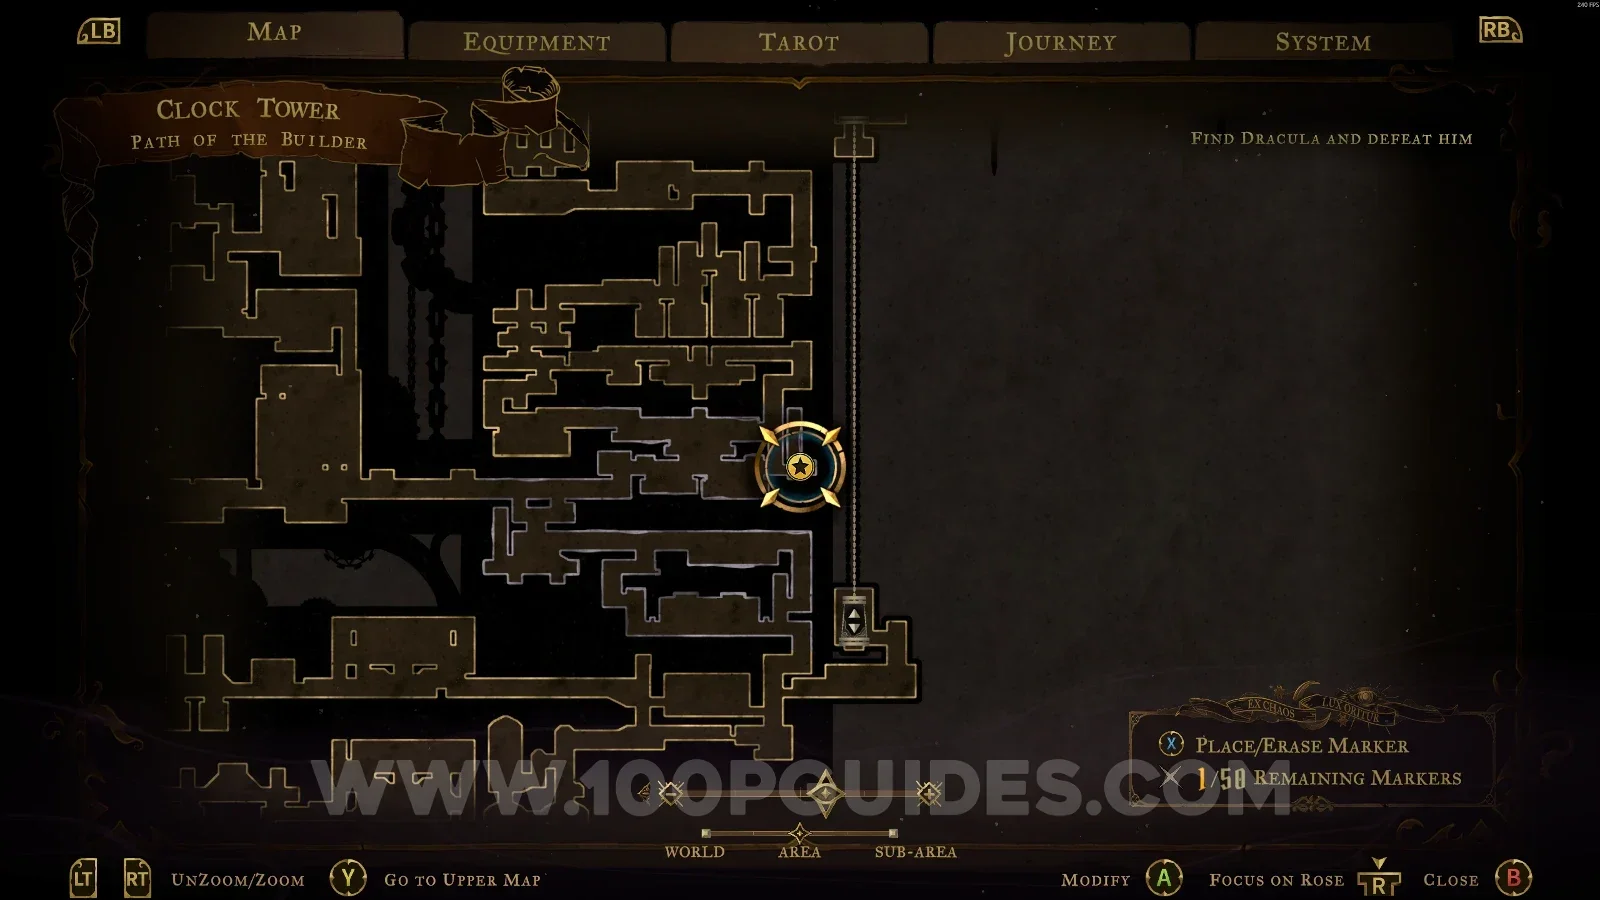
XP Statue #94

In the area marked on the map.

Castlevania Belmonts Curse Path Of The Builder map with the area of XP Statue #94 marked Castlevania Belmonts Curse Path Of The Builder: XP Statue #94 in the marked area

Eastern Access Shaft

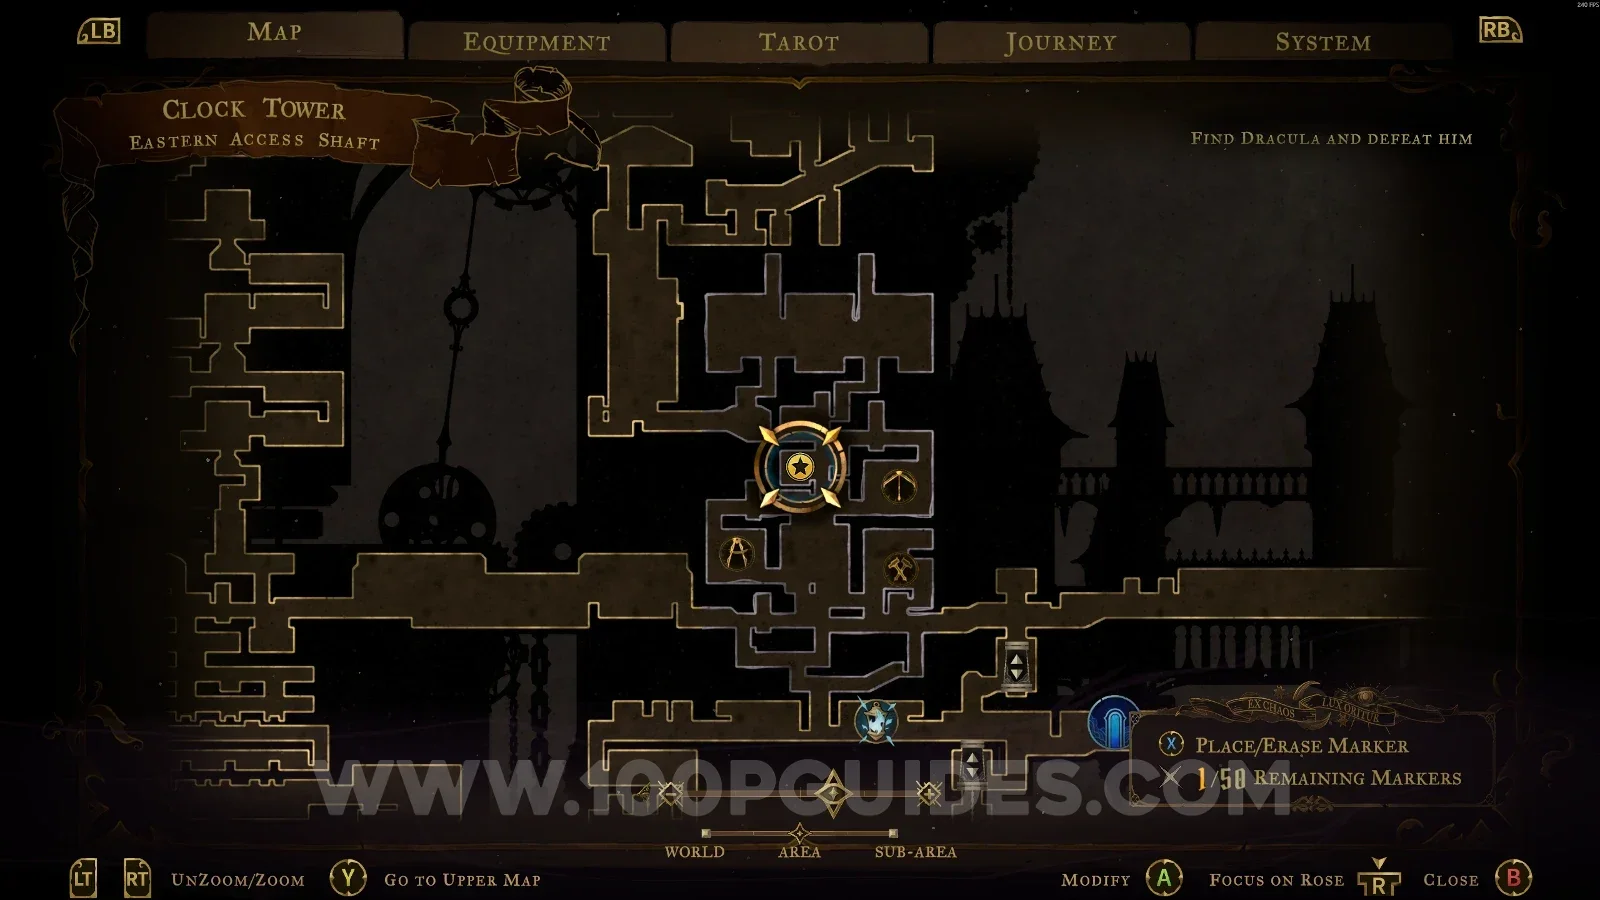
XP Statue #95

In the area marked on the map.

Castlevania Belmonts Curse Eastern Access Shaft map with the area of XP Statue #95 marked Castlevania Belmonts Curse Eastern Access Shaft: XP Statue #95 in the marked area

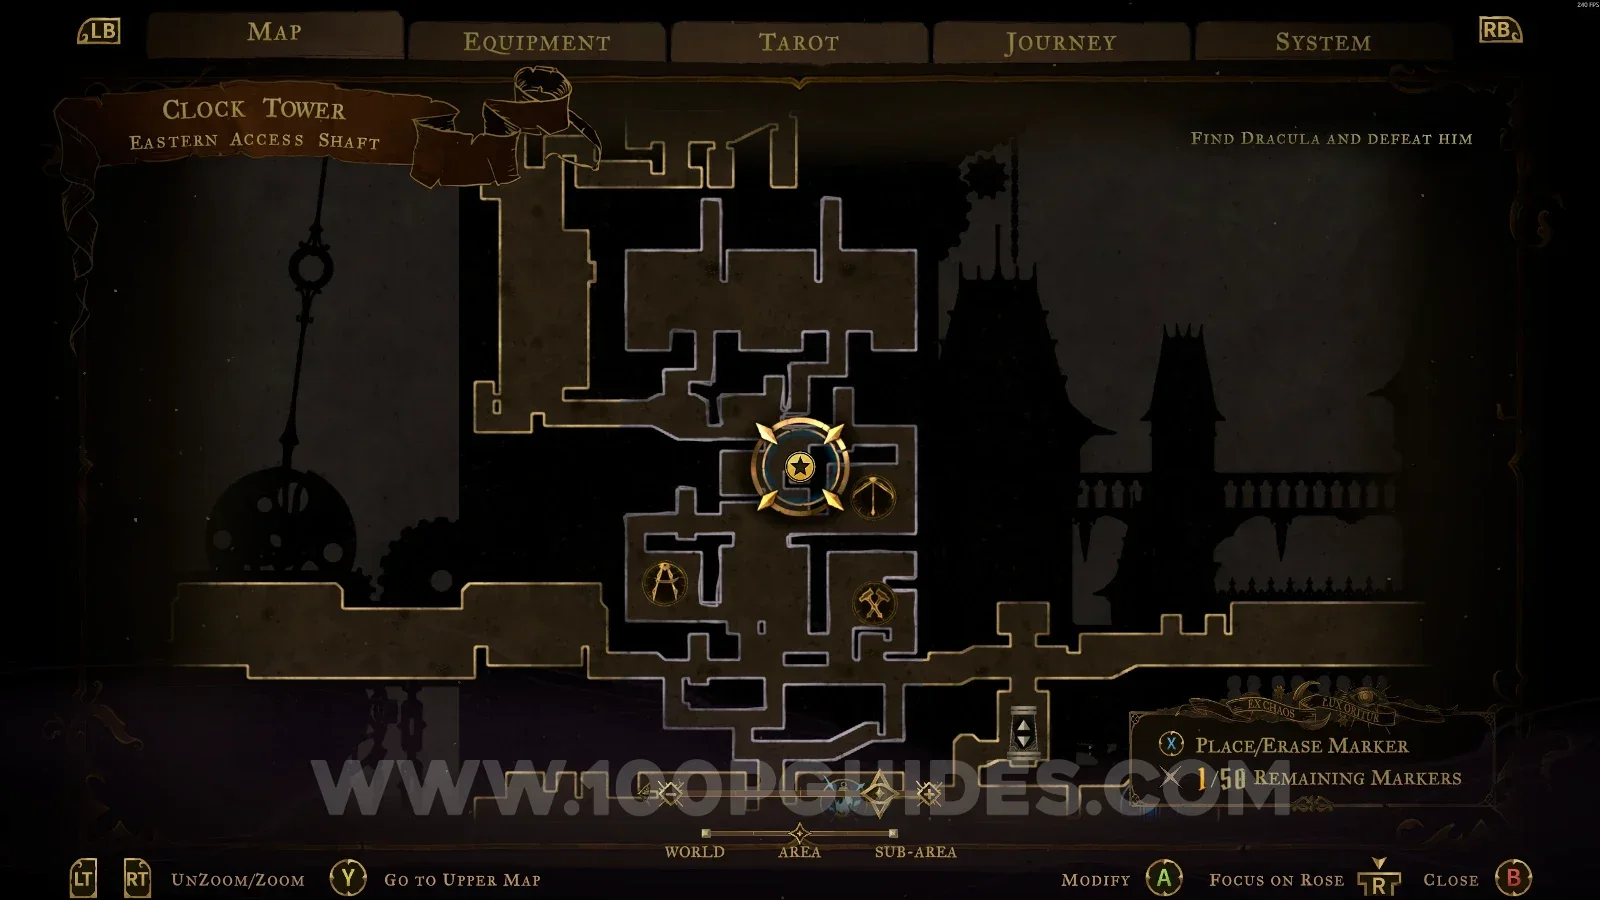
XP Statue #96 - #97

In the area marked on the map.

Castlevania Belmonts Curse Eastern Access Shaft map marking the area of XP Statues #96 and #97 Castlevania Belmonts Curse Eastern Access Shaft: XP Statues #96 and #97 in the marked area

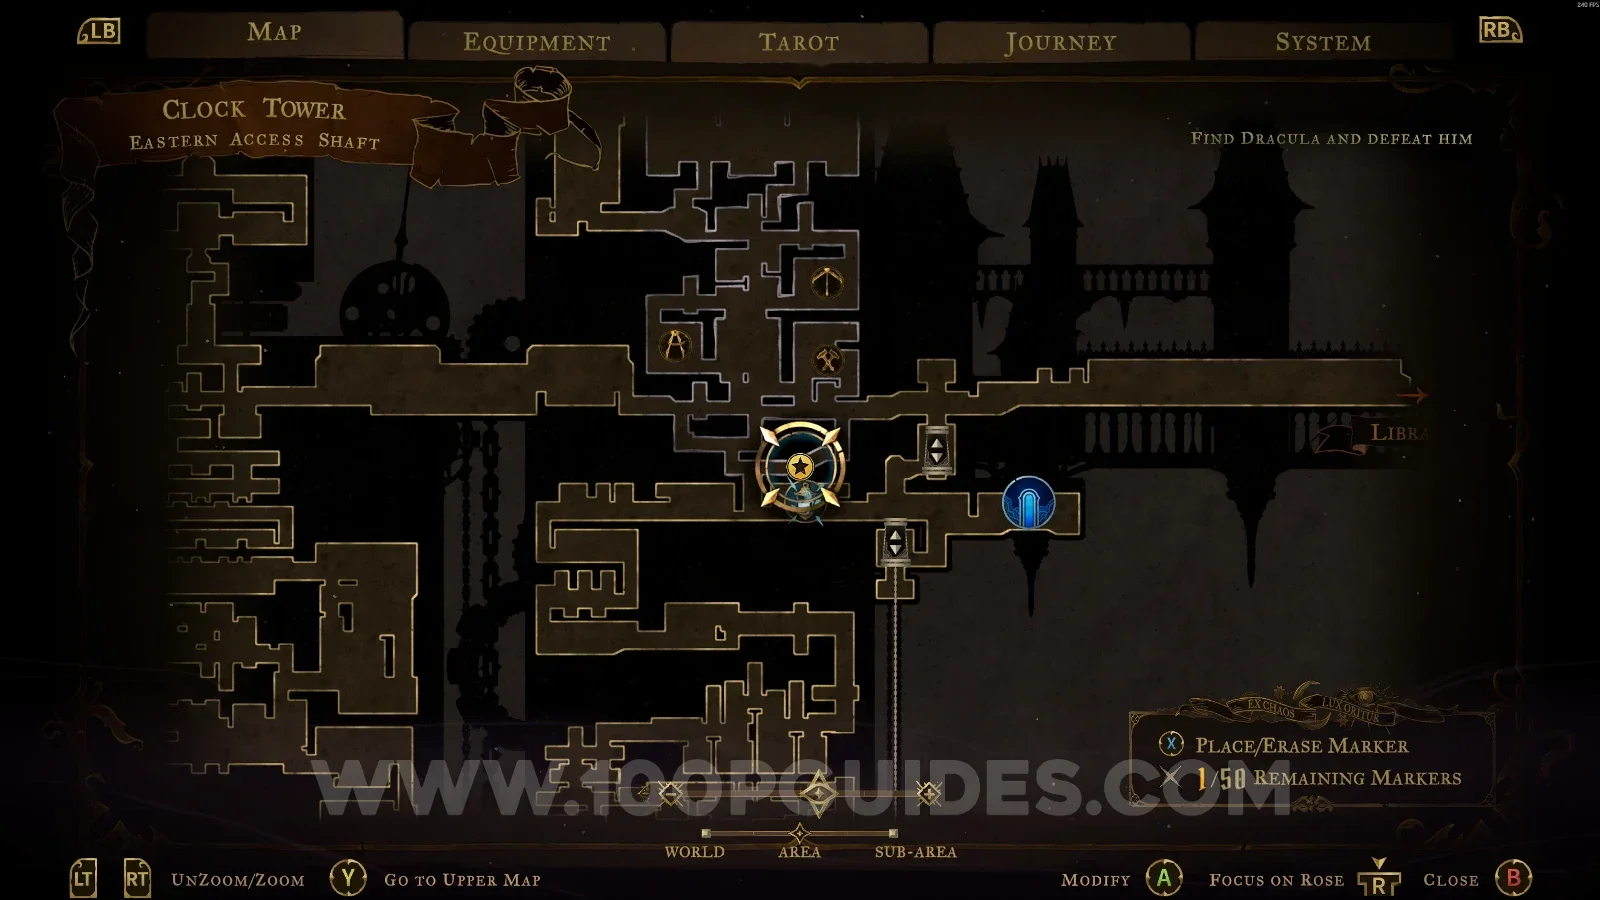
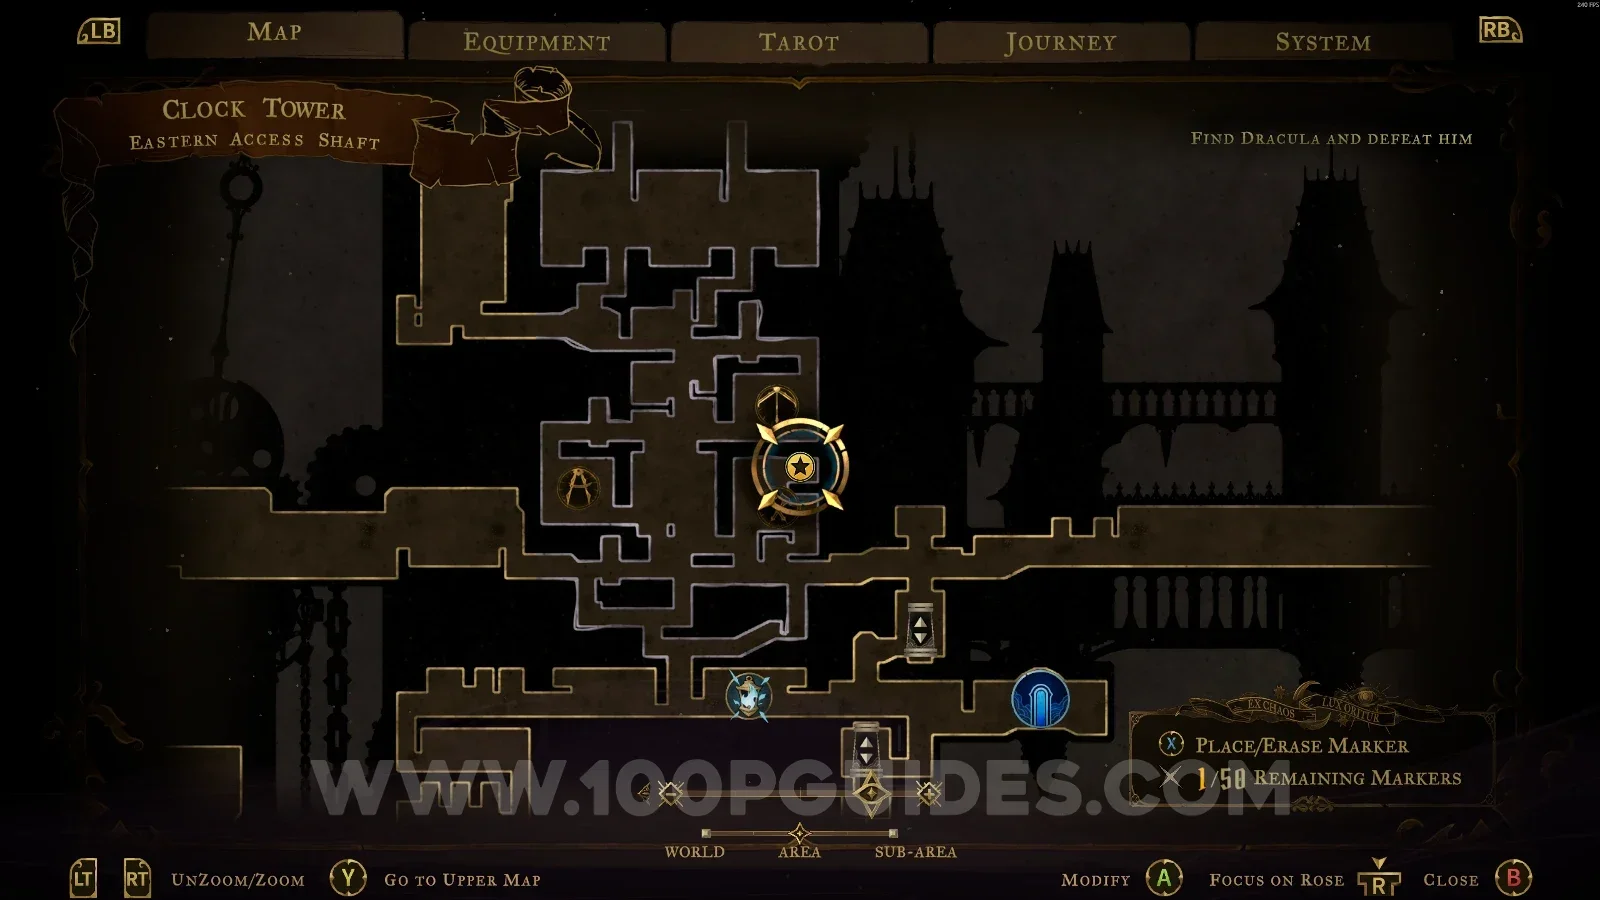
XP Statue #98

In the area marked on the map, make the block hit the floor to rotate the platform so you can reach the statue.

Castlevania Belmonts Curse Eastern Access Shaft map with the area of XP Statue #98 marked Castlevania Belmonts Curse Eastern Access Shaft: XP Statue #98 on the platform rotated by the falling block

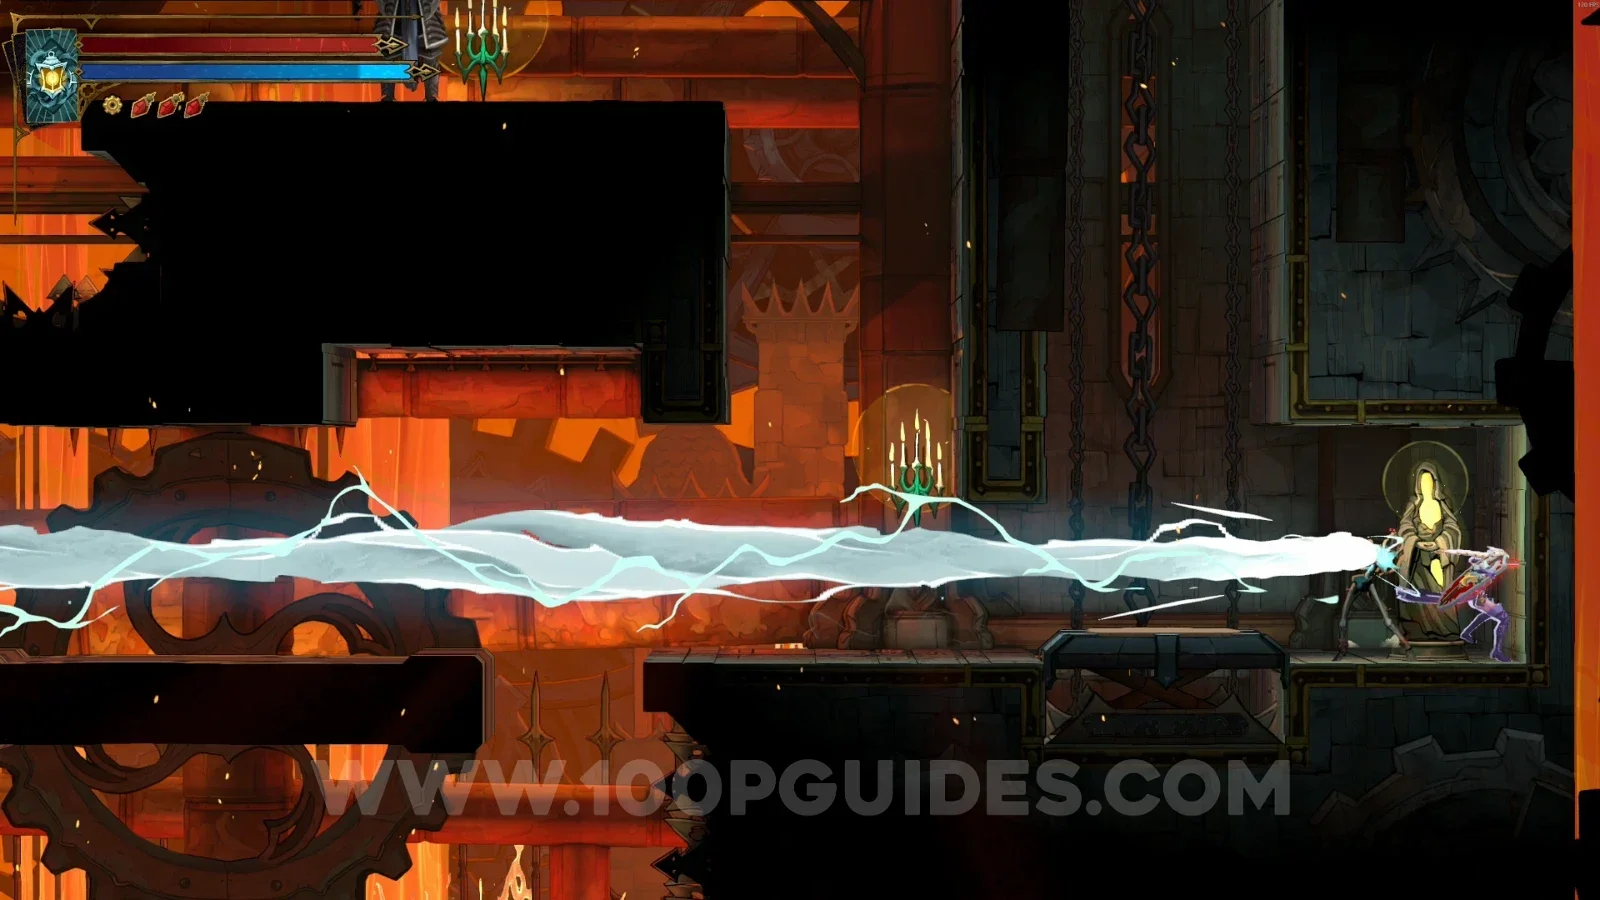
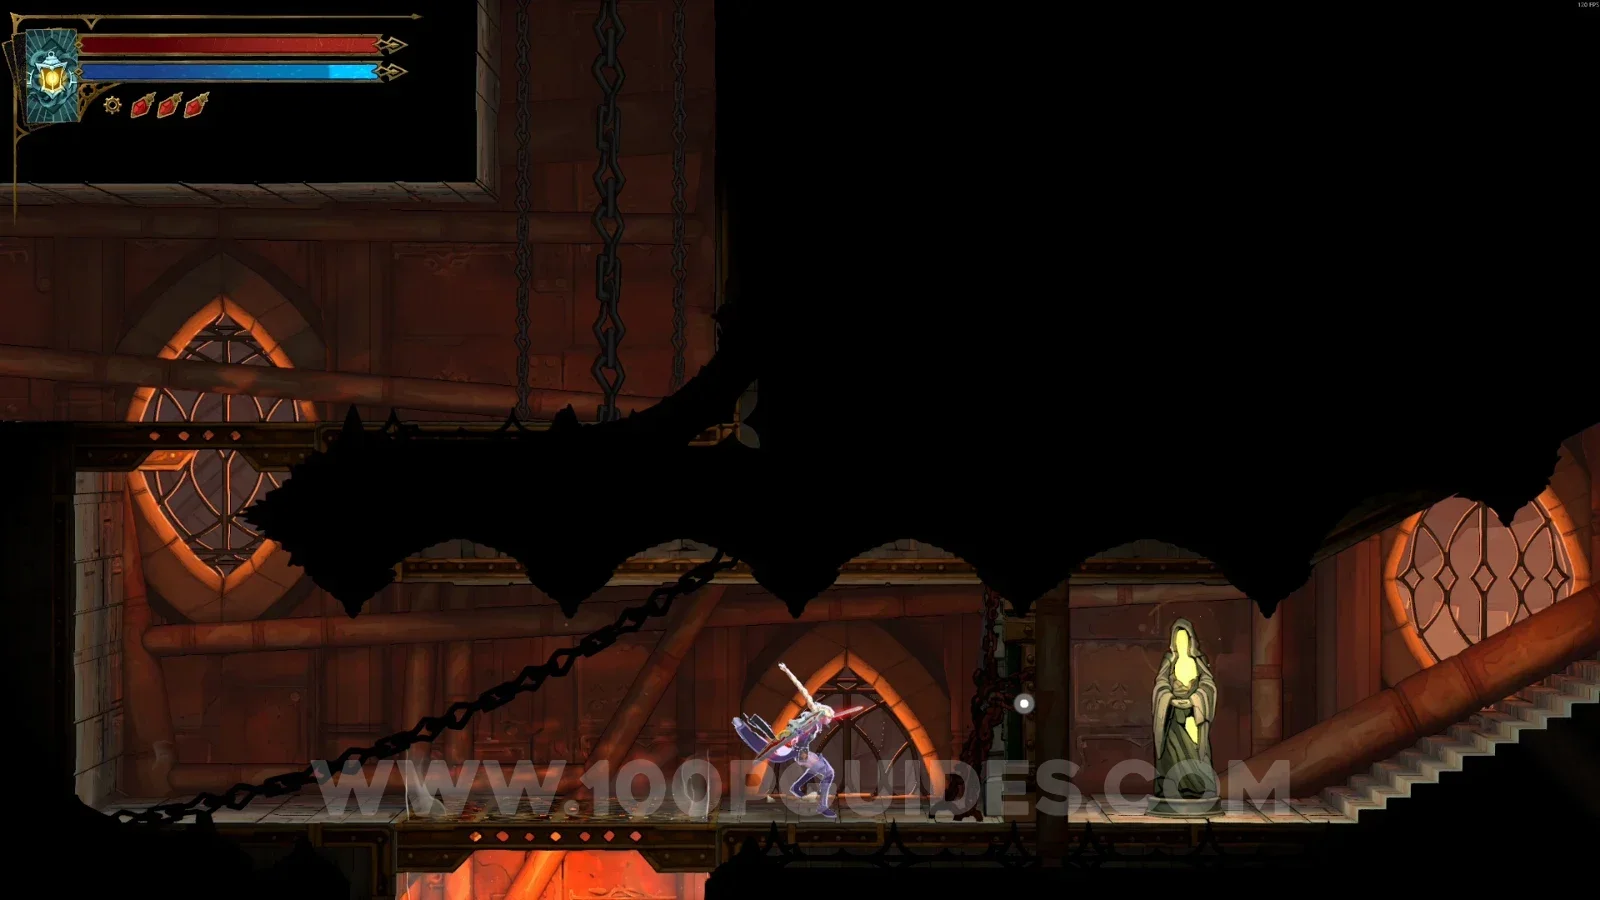
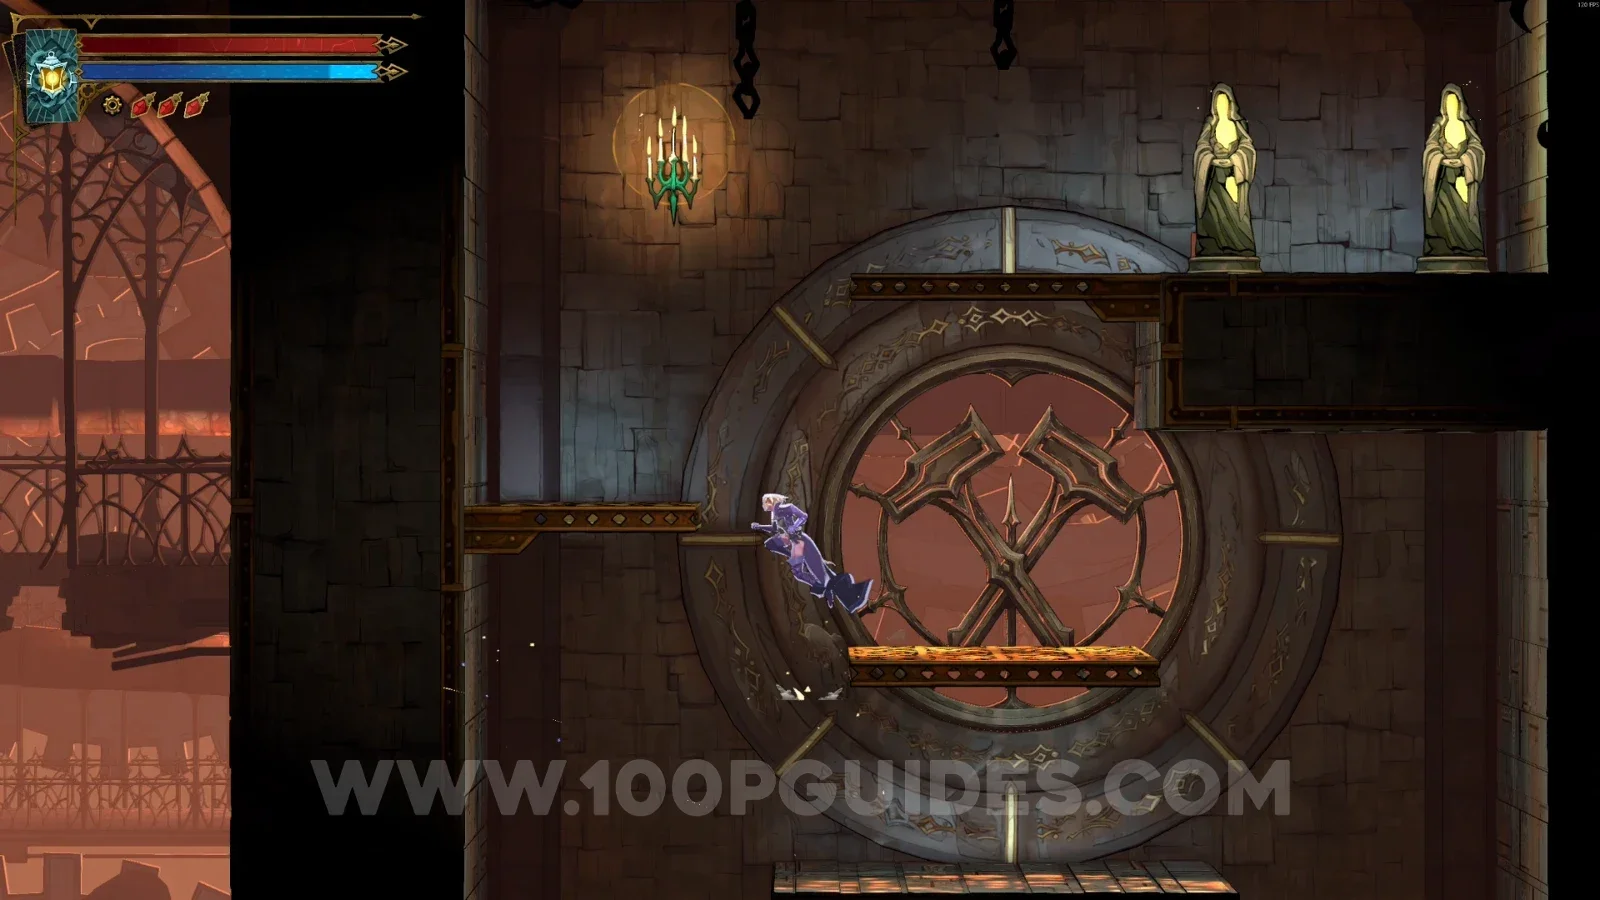
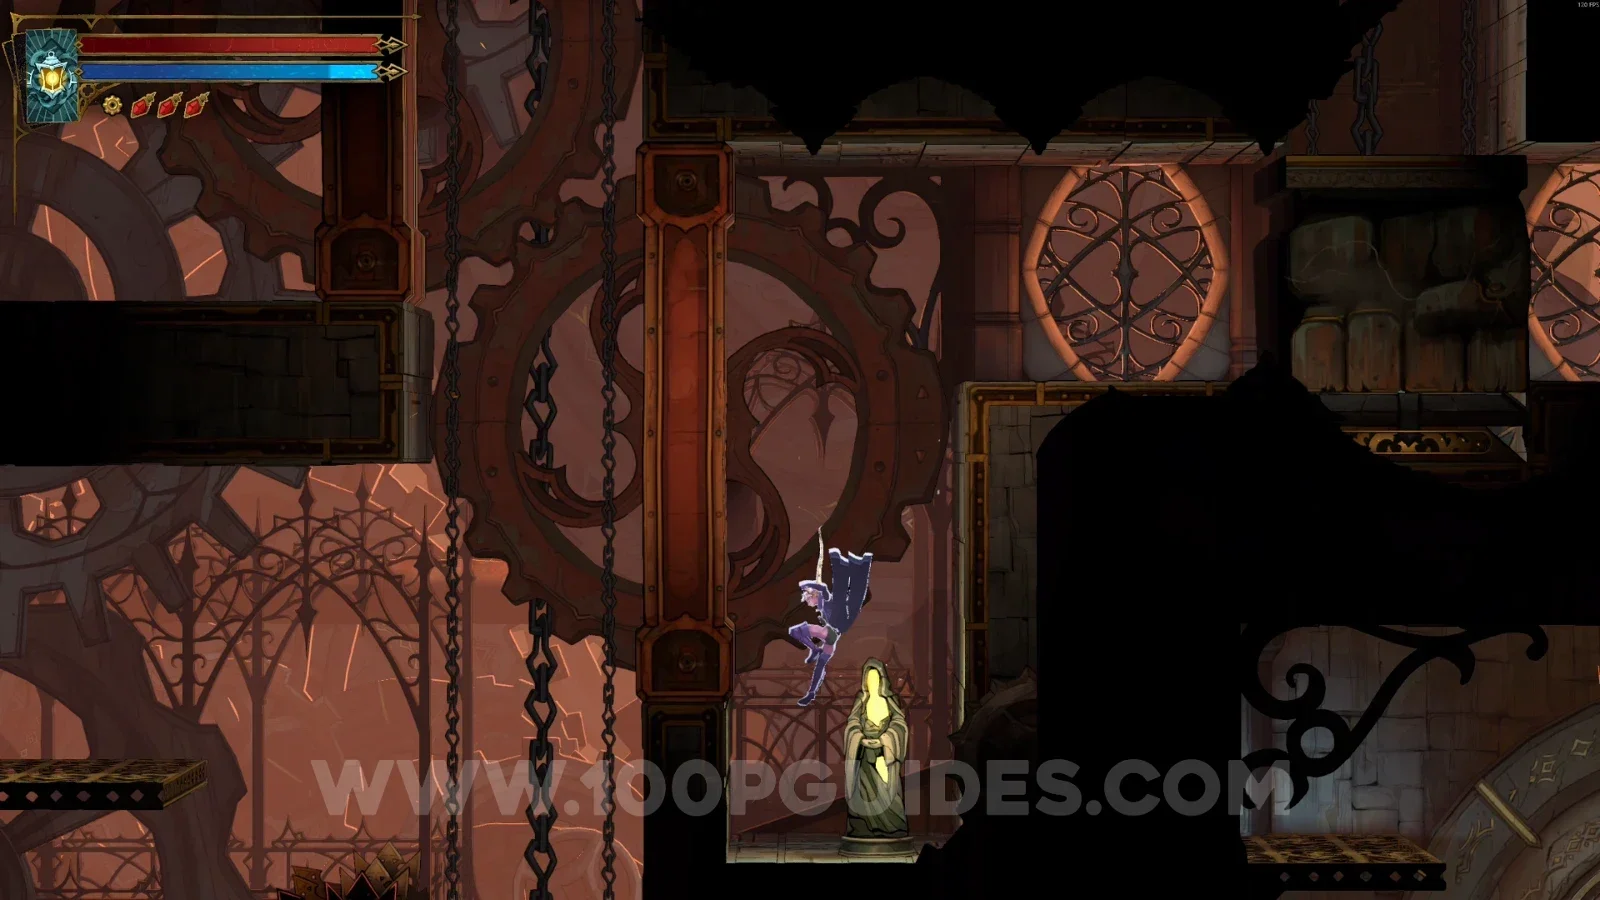
XP Statue #99

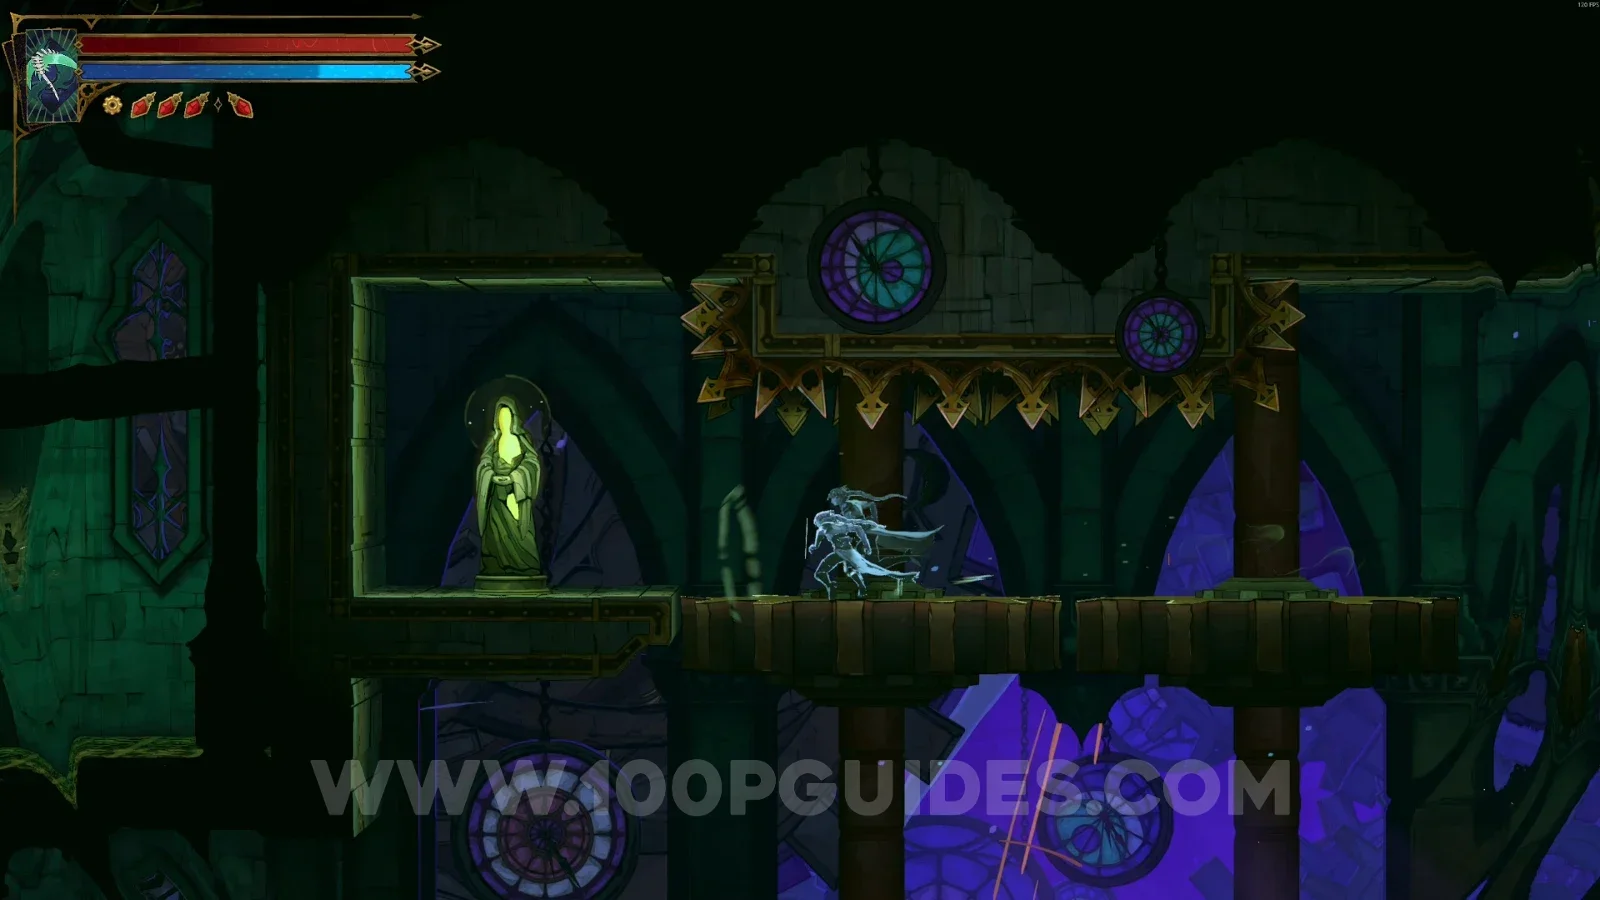
Same spot as before. Go down and make the block drop next to you, then climb on top of it. As it returns to its position, jump left to break this statue.

Castlevania Belmonts Curse Eastern Access Shaft: riding the dropped block back up toward XP Statue #99 Castlevania Belmonts Curse Eastern Access Shaft: XP Statue #99 reached by jumping left from the block

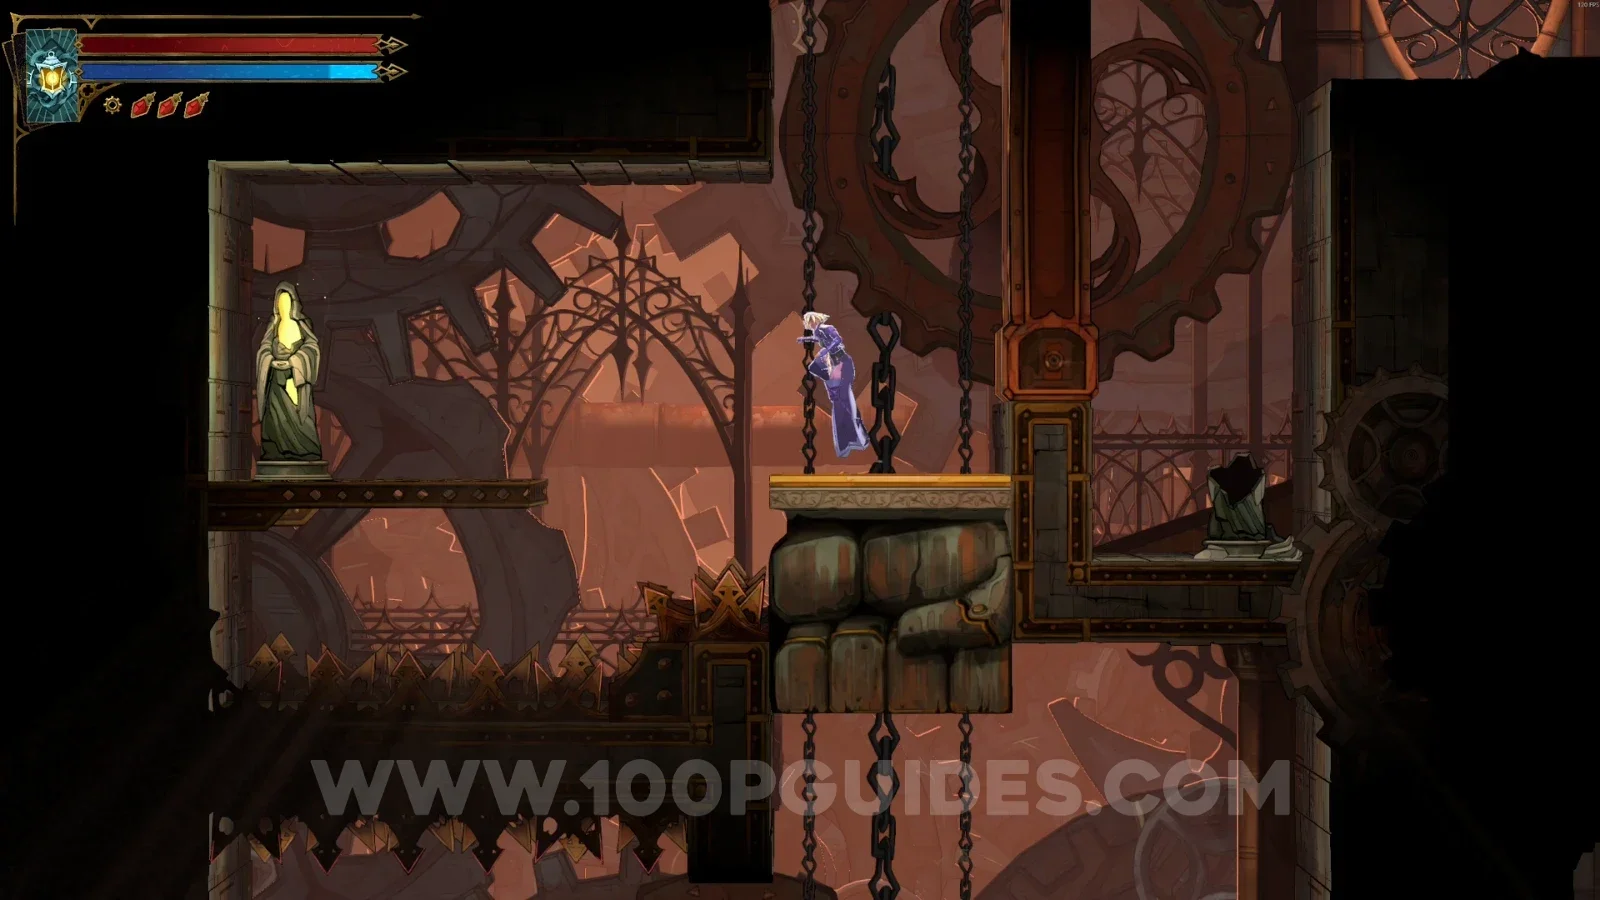
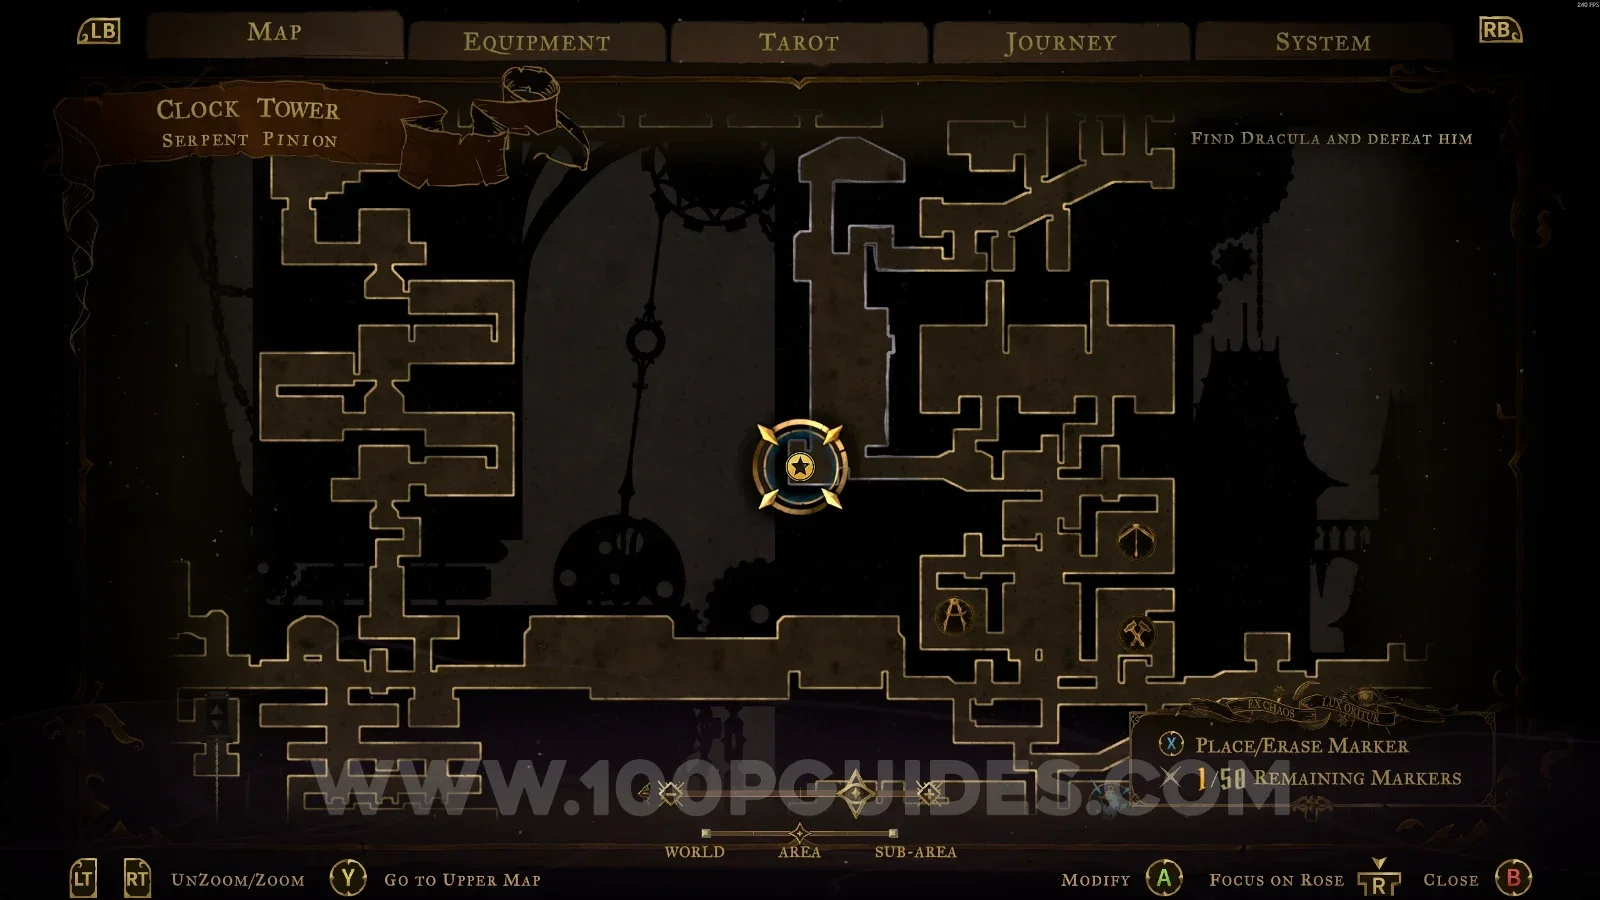
Serpent Pinion

XP Statue #100

In the area marked on the map.

Castlevania Belmonts Curse Serpent Pinion map with the area of XP Statue #100 marked Castlevania Belmonts Curse Serpent Pinion: XP Statue #100 in the marked area

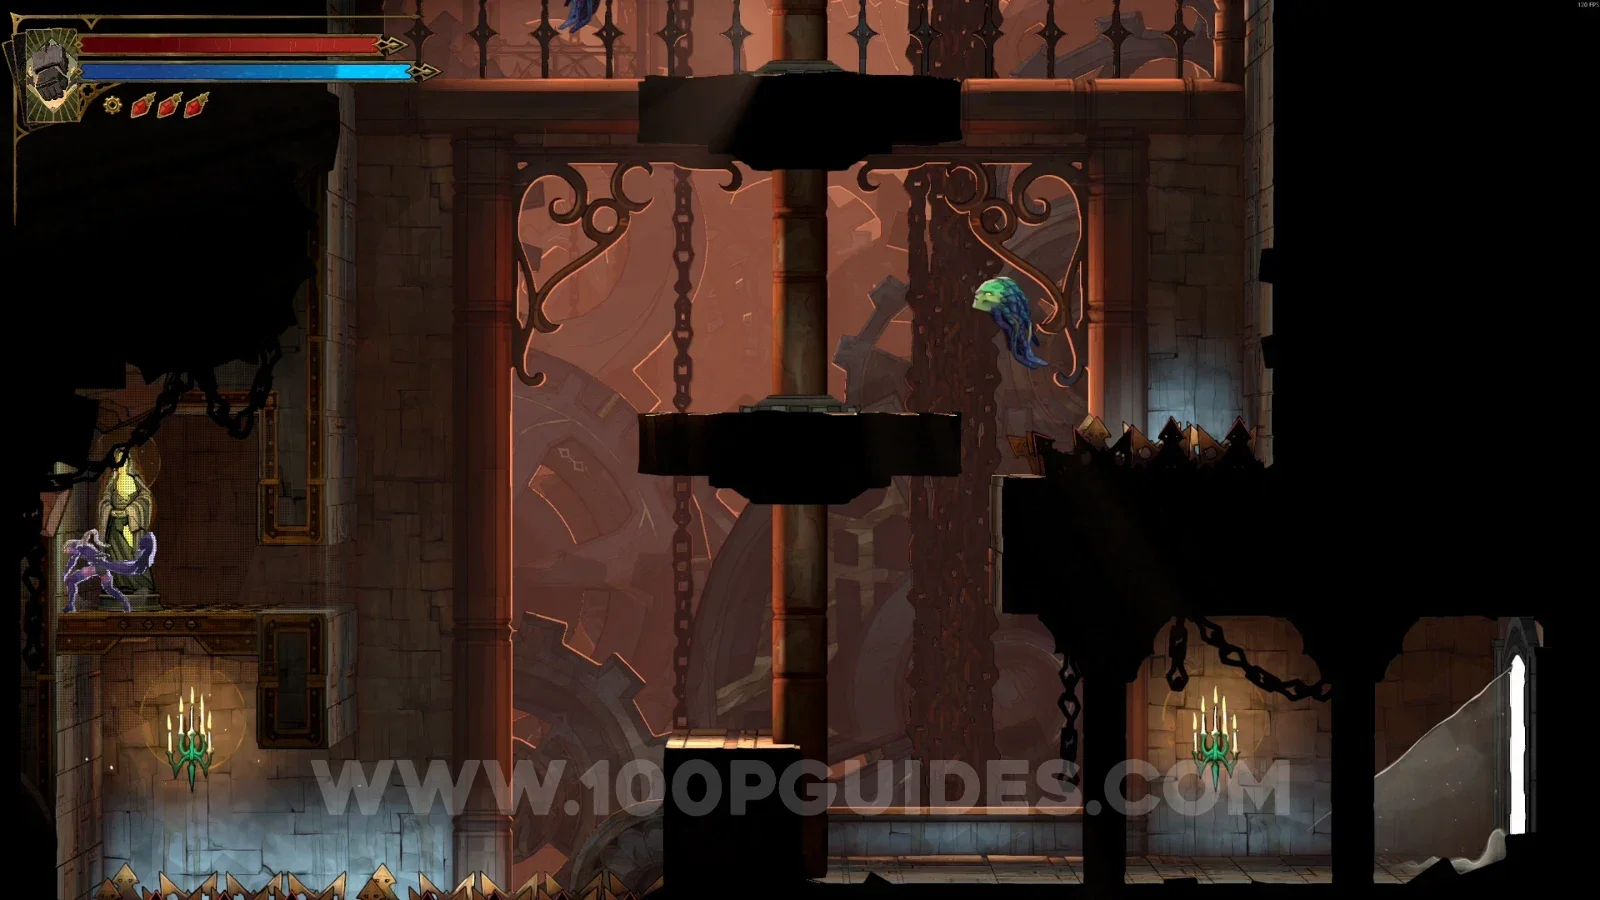
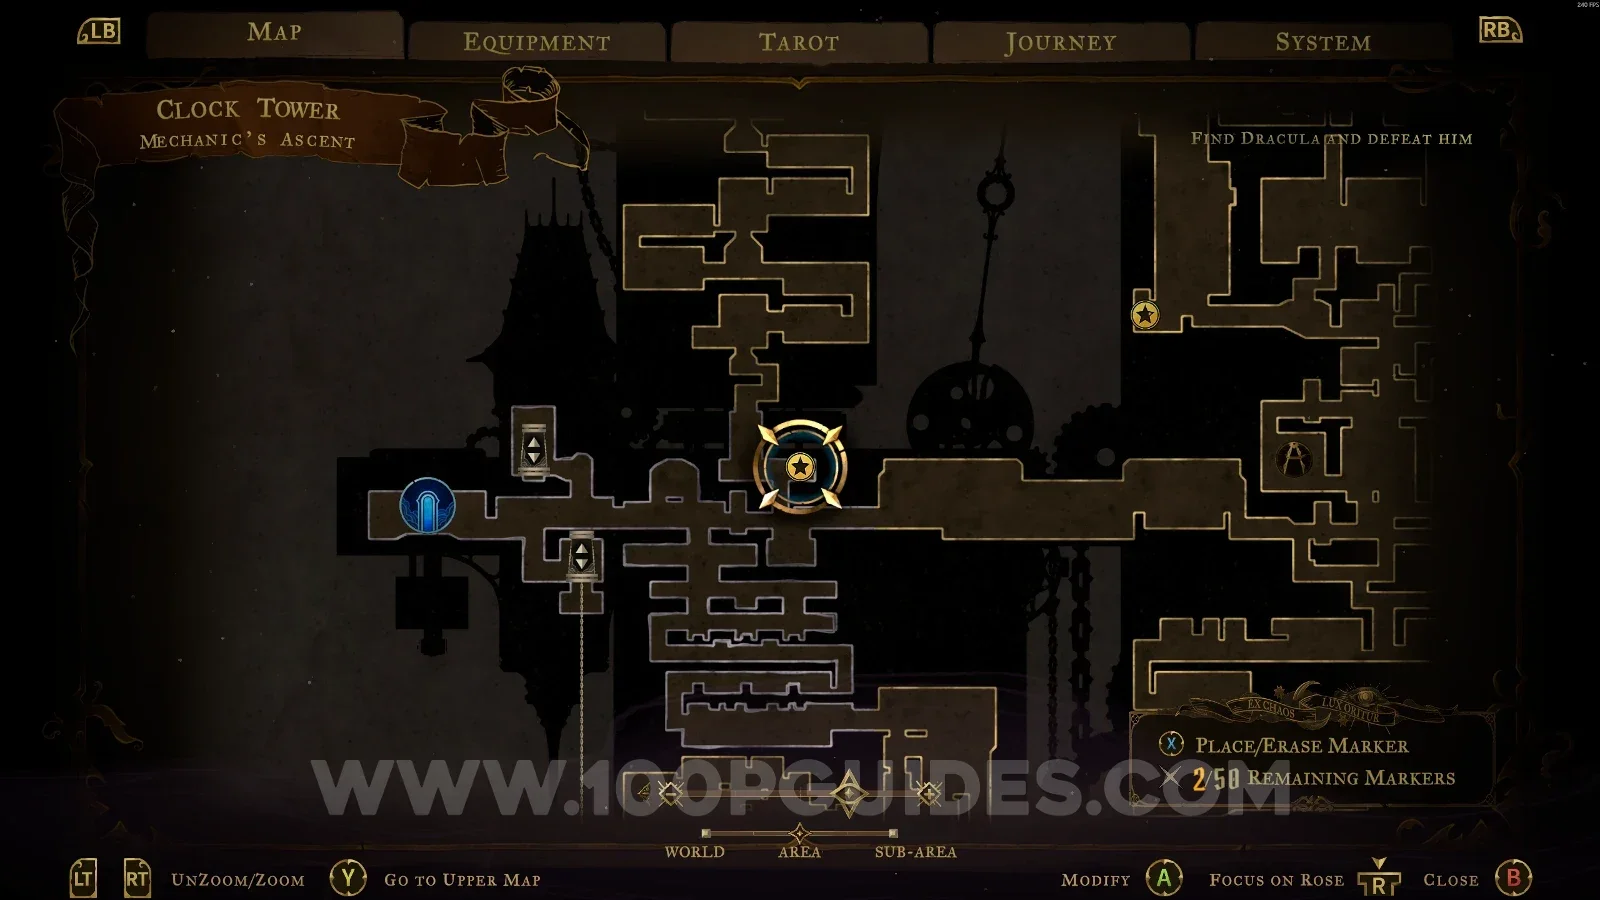
Mechanic's Ascent

XP Statue #101

In the area marked on the map.

Castlevania Belmonts Curse Mechanic's Ascent map with the area of XP Statue #101 marked Castlevania Belmonts Curse Mechanic's Ascent: XP Statue #101 in the marked area

Daedalus Crossing

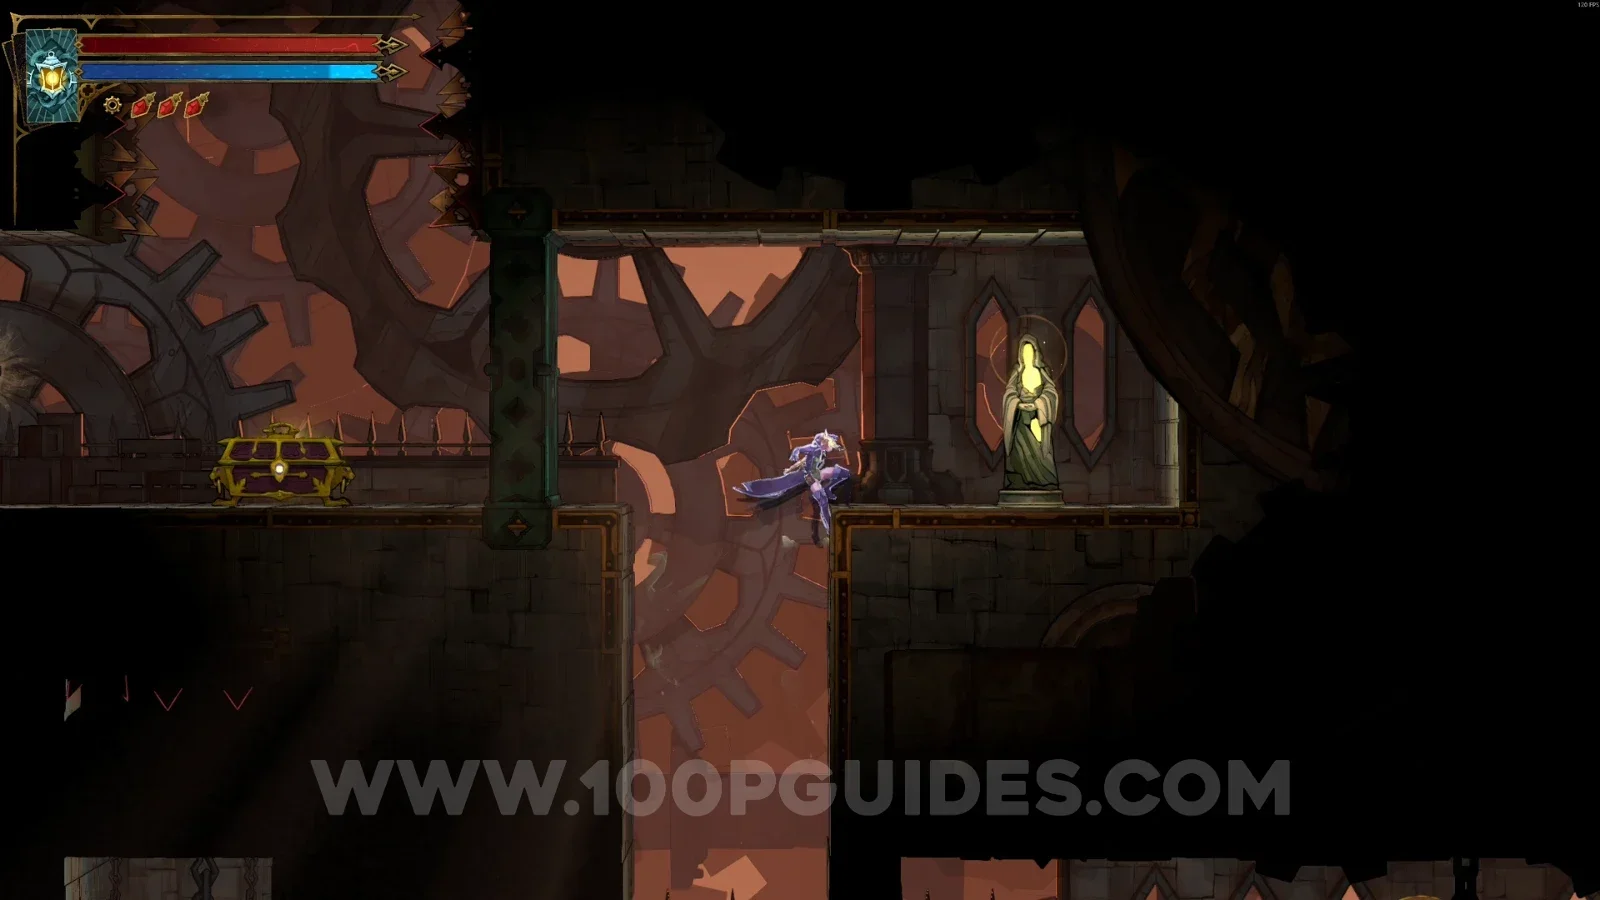
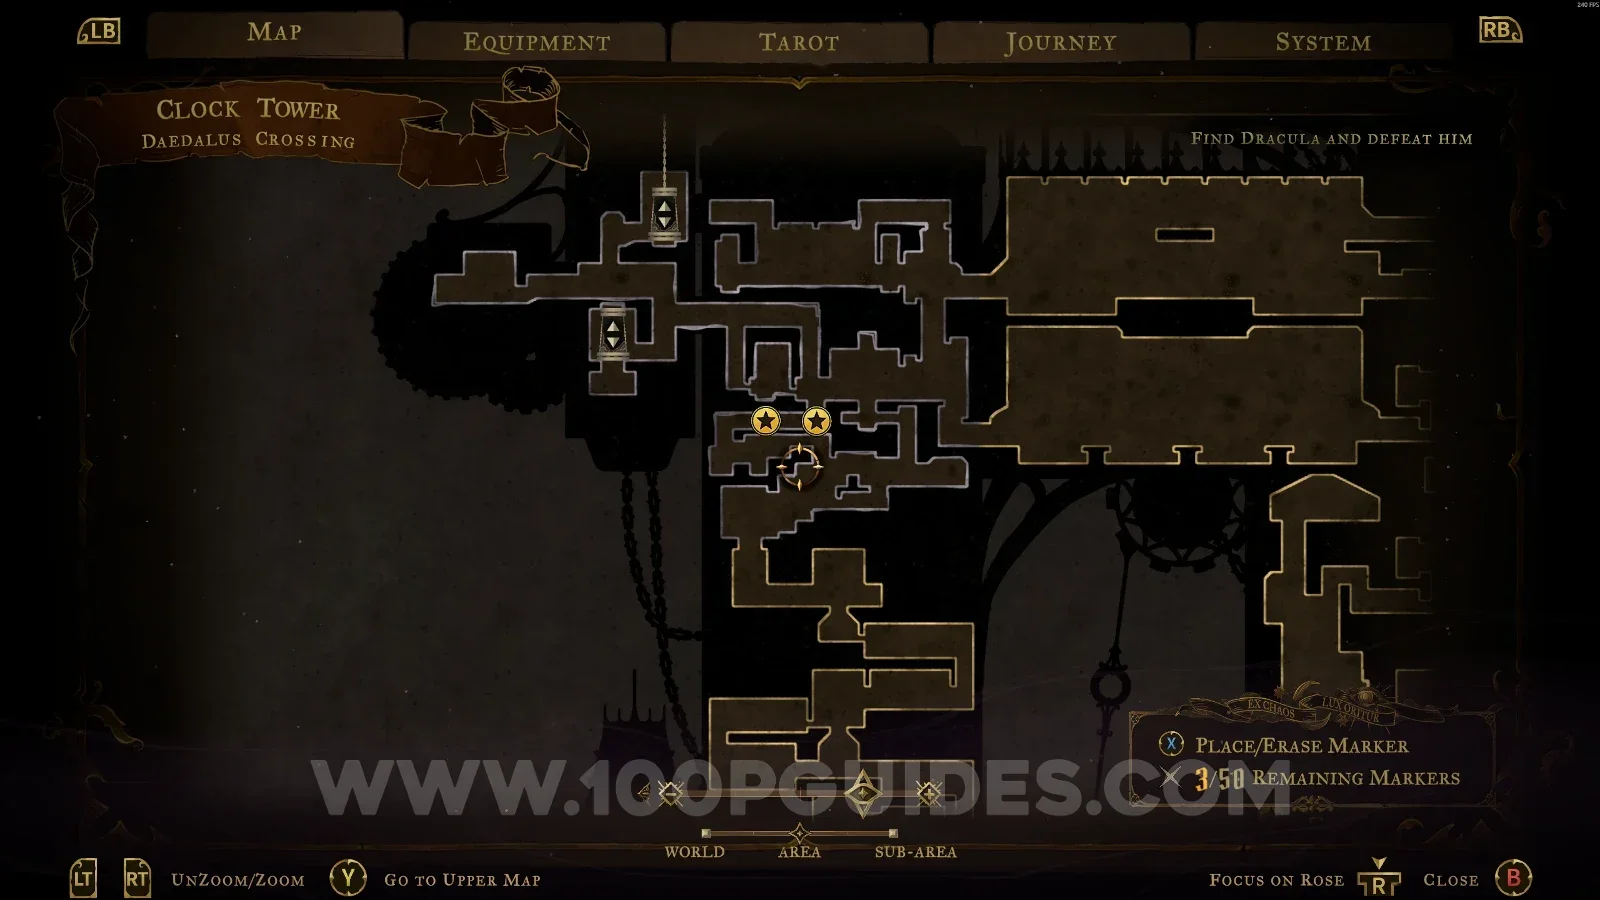
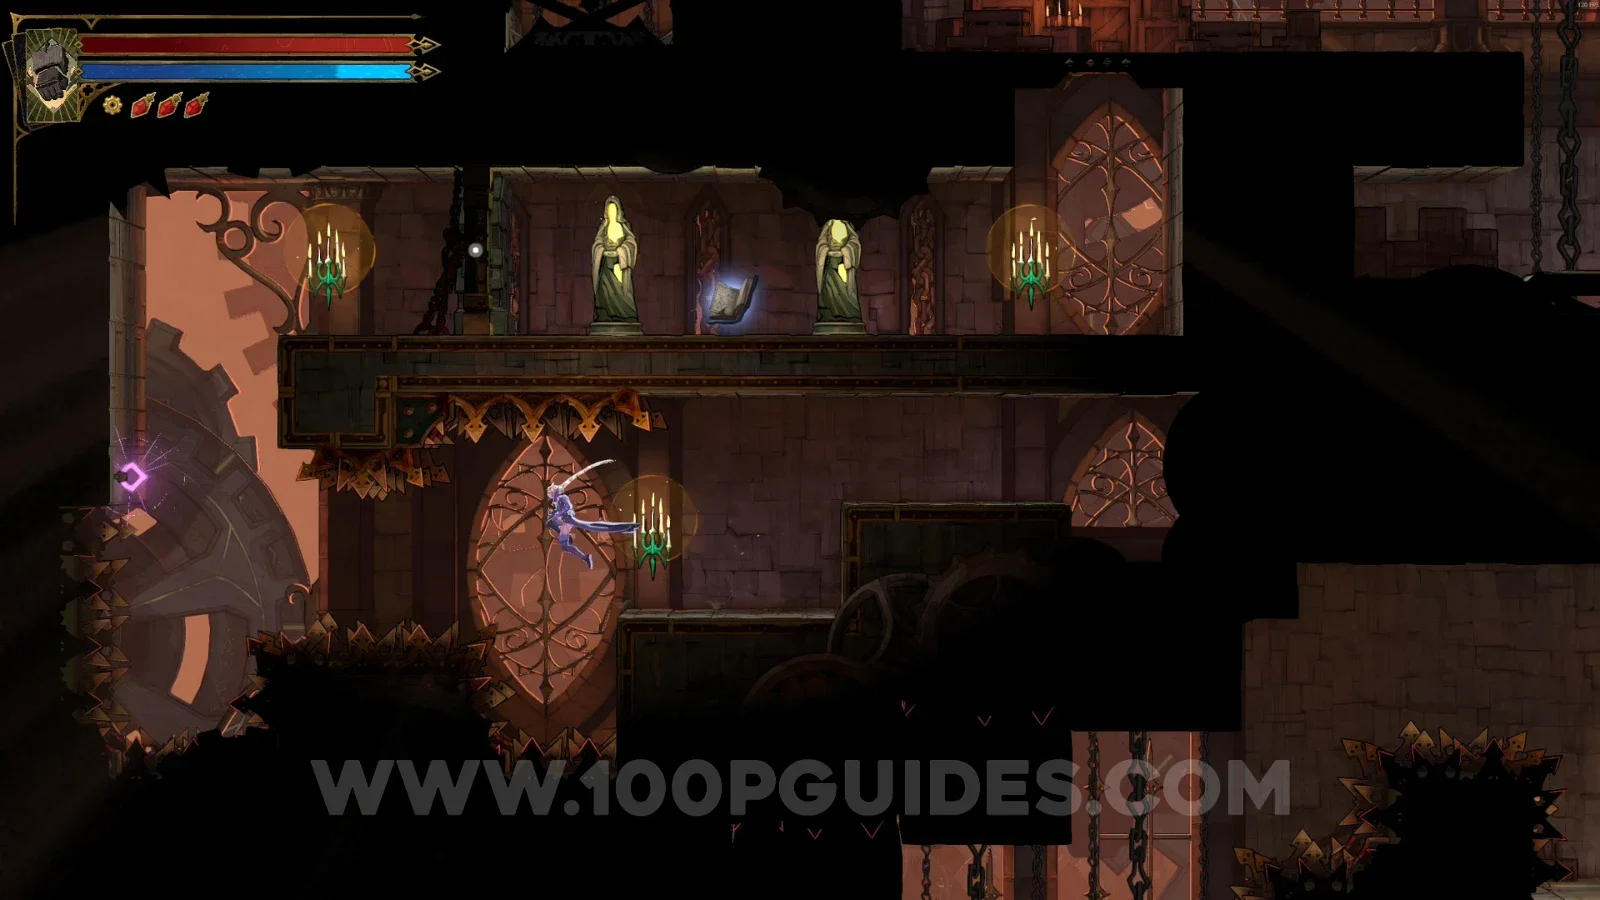
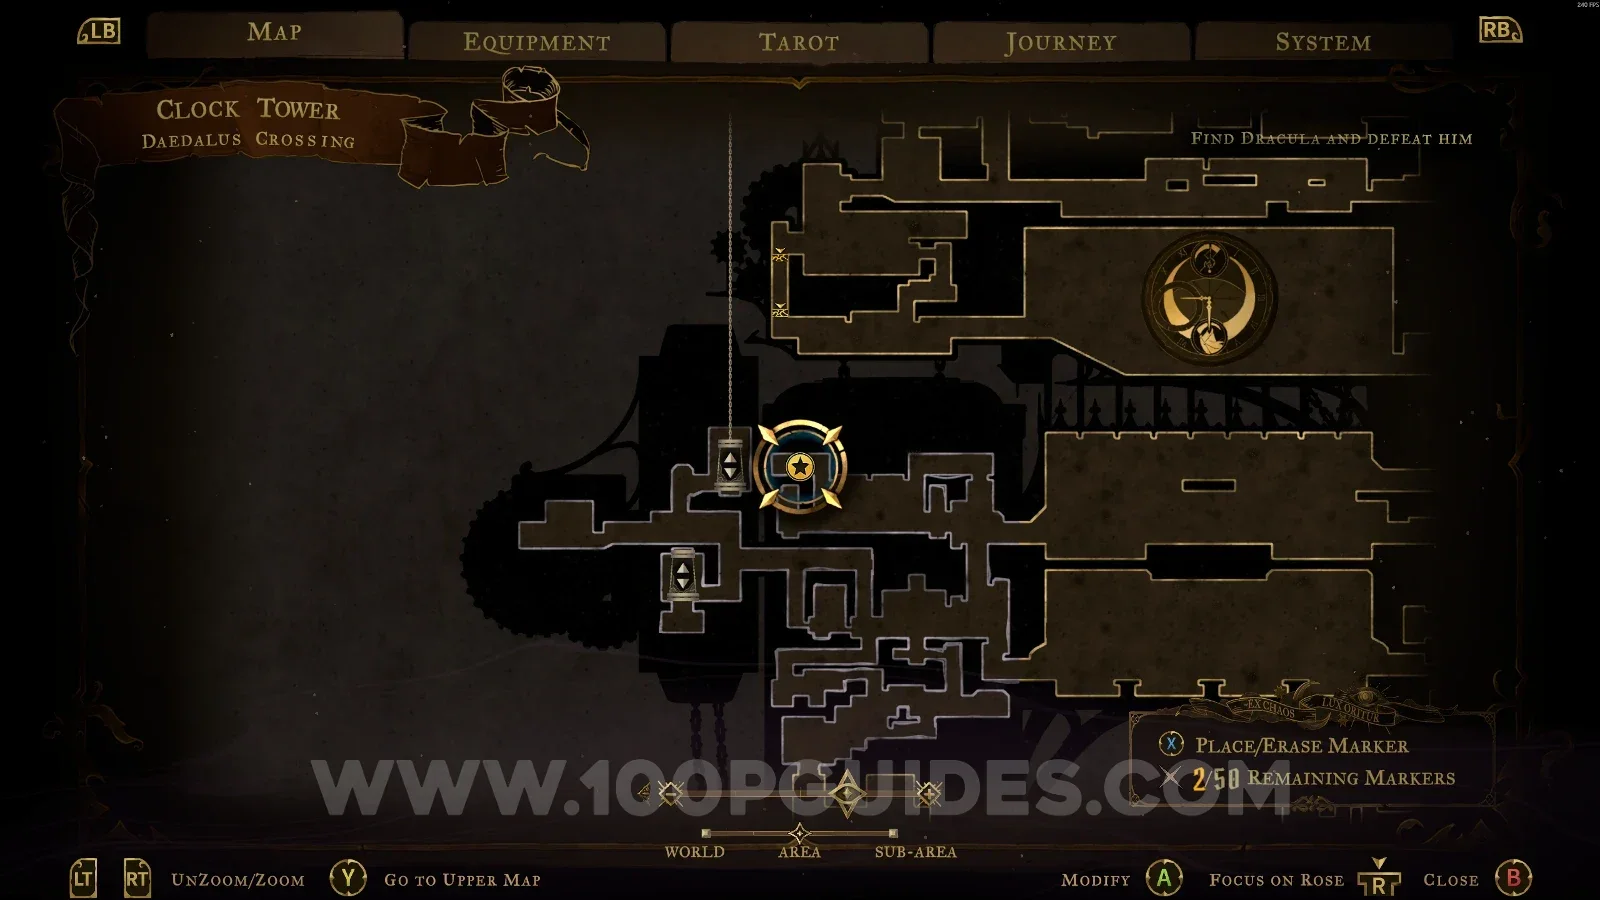
XP Statue #102 - #103

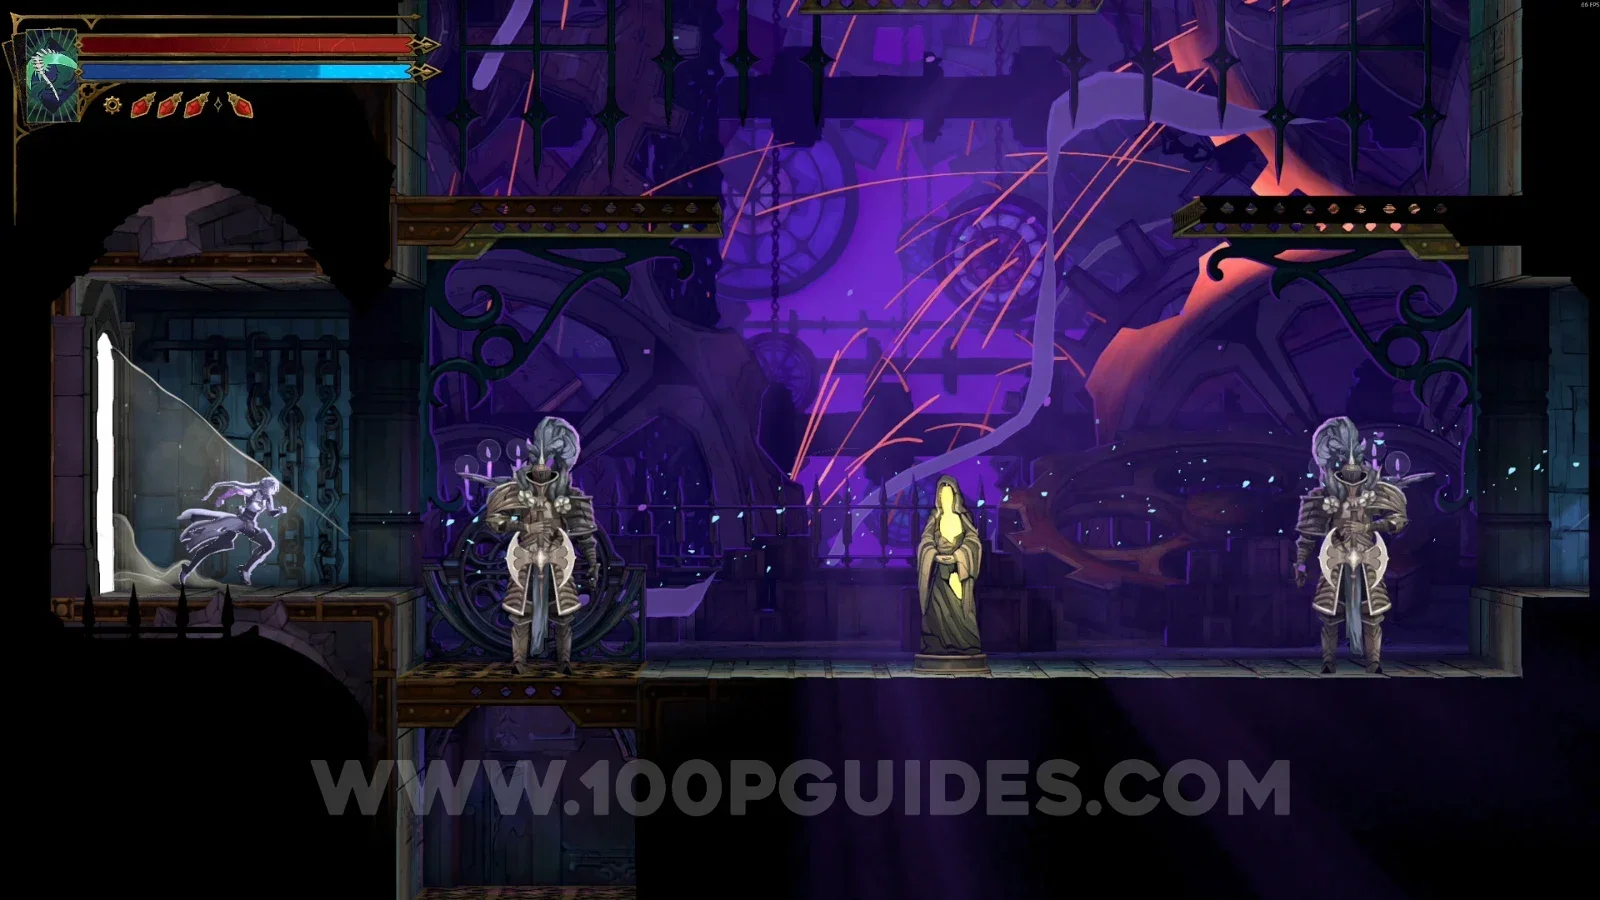
In the area marked on the map. To reach it, you'll have to wait for the block to come down, then climb on top of it to reveal a secret area in the upper part that contains the statues.

Castlevania Belmonts Curse Daedalus Crossing map marking the area of XP Statues #102 and #103 Castlevania Belmonts Curse Daedalus Crossing: XP Statues #102 and #103 in the secret upper area above the block

XP Statue #104

In the area marked on the map.

Castlevania Belmonts Curse Daedalus Crossing map with the area of XP Statue #104 marked Castlevania Belmonts Curse Daedalus Crossing: XP Statue #104 in the marked area

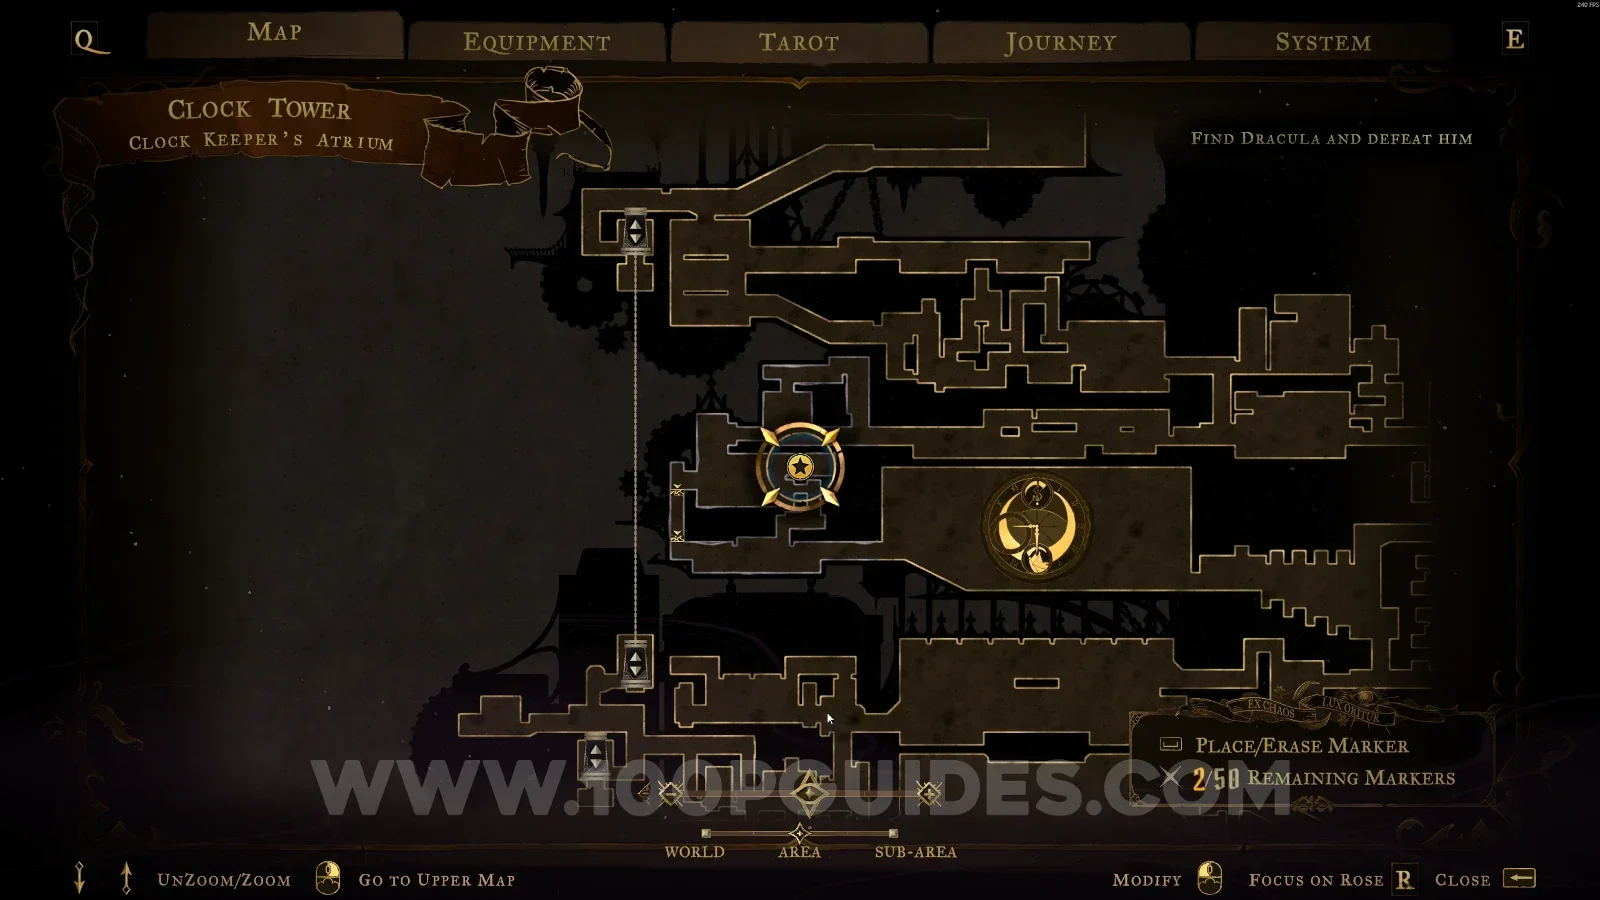
Clock Keeper's Atrium

XP Statue #105

In the area marked on the map.

Castlevania Belmonts Curse Clock Keeper's Atrium map with the area of XP Statue #105 marked Castlevania Belmonts Curse Clock Keeper's Atrium: XP Statue #105 in the marked area

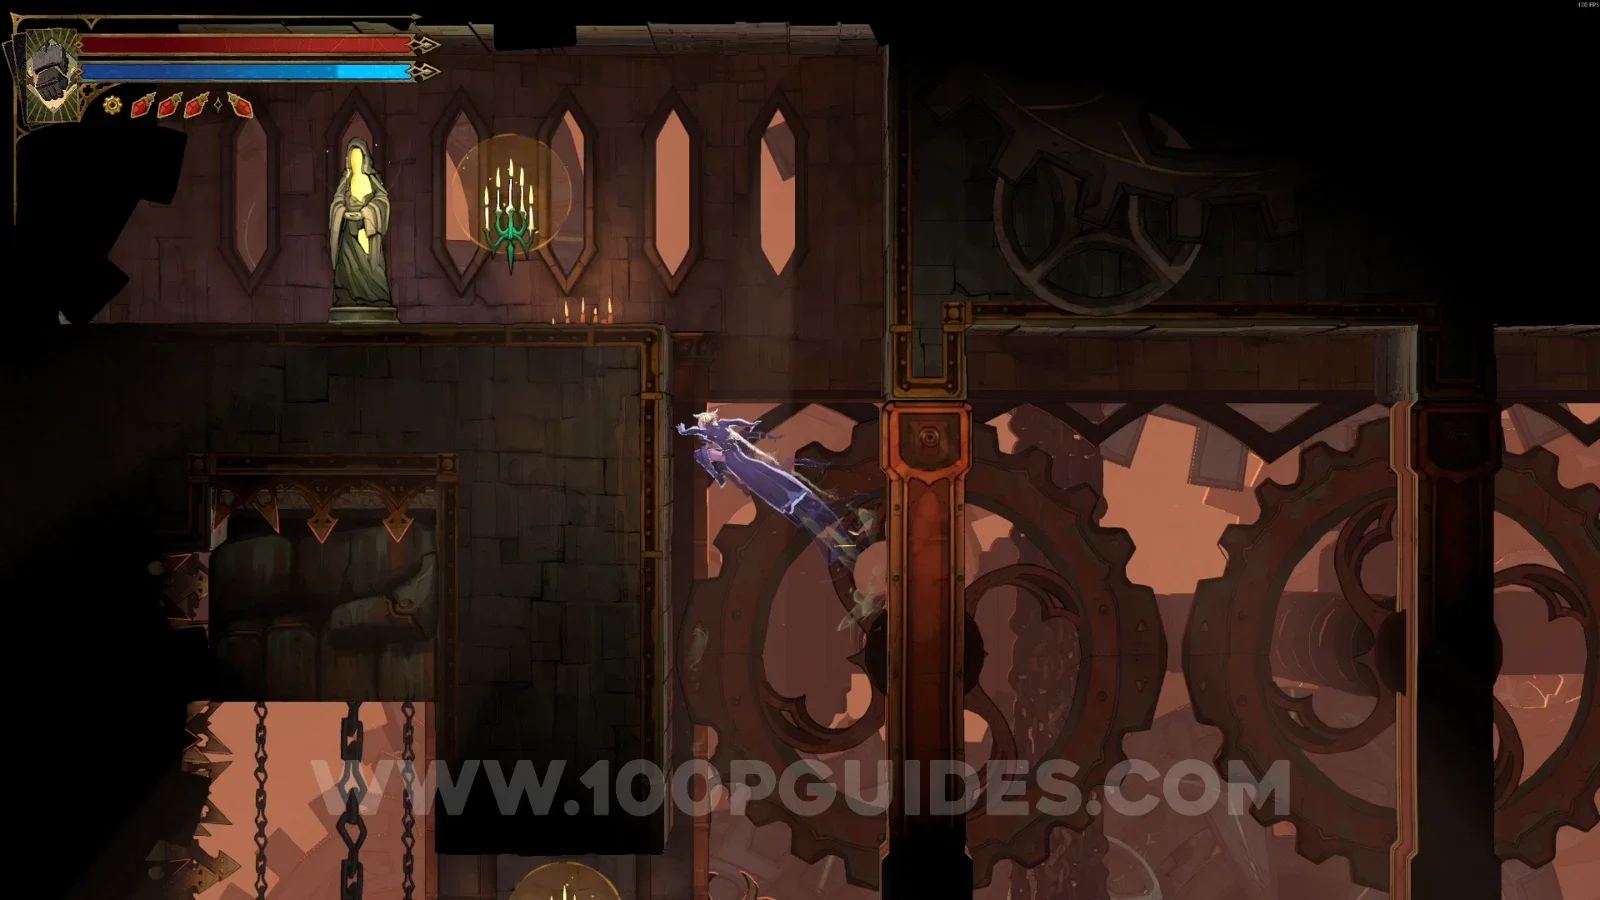
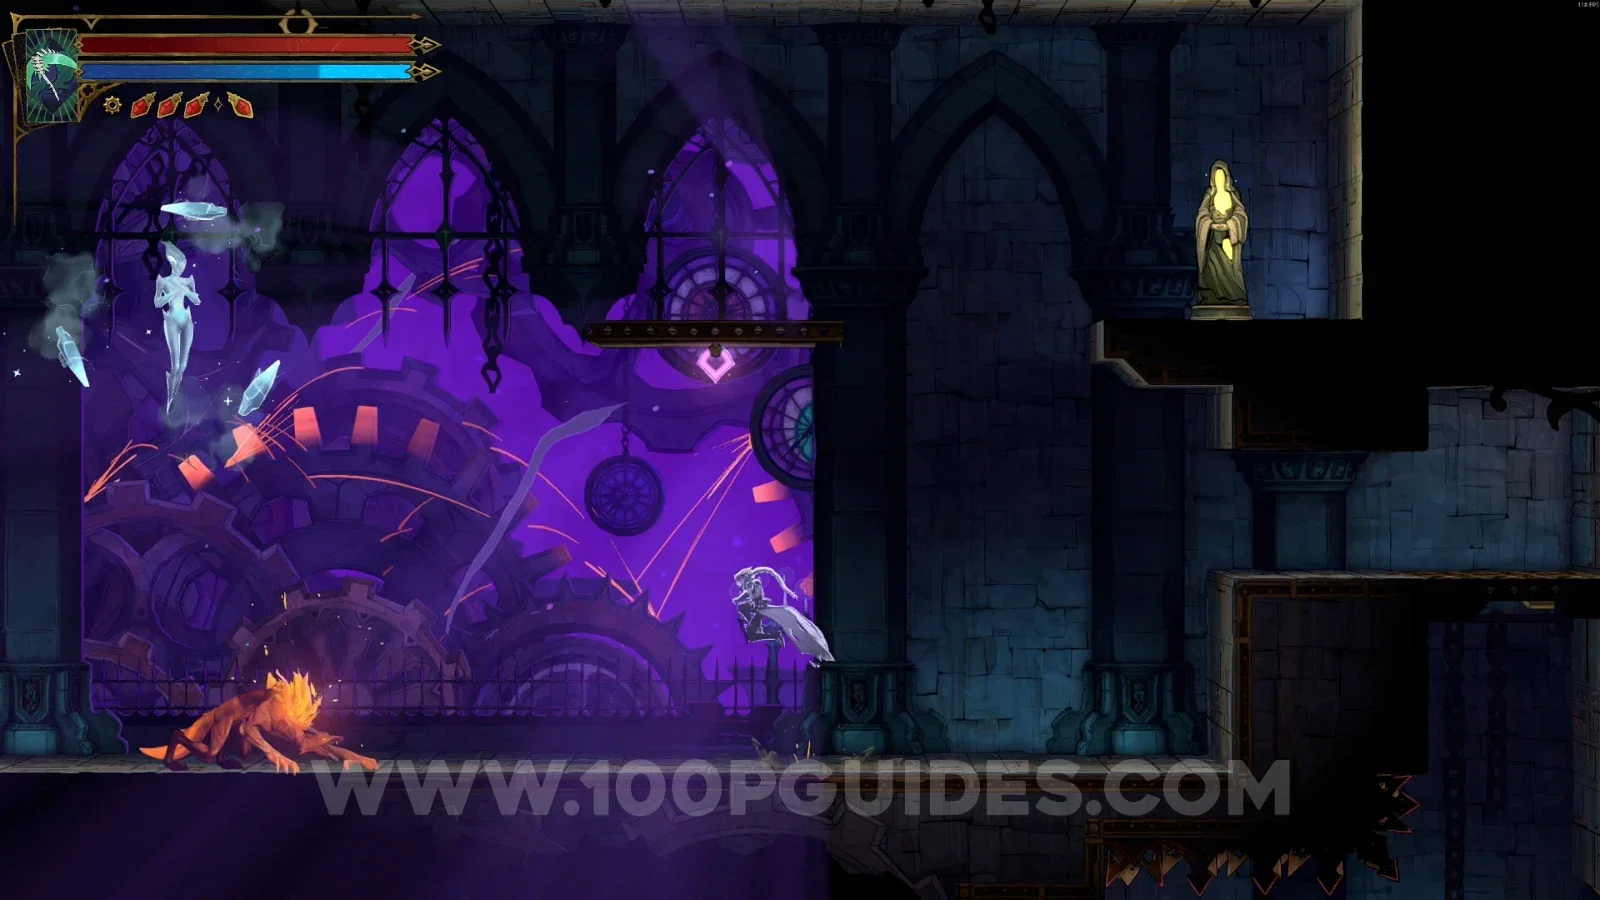
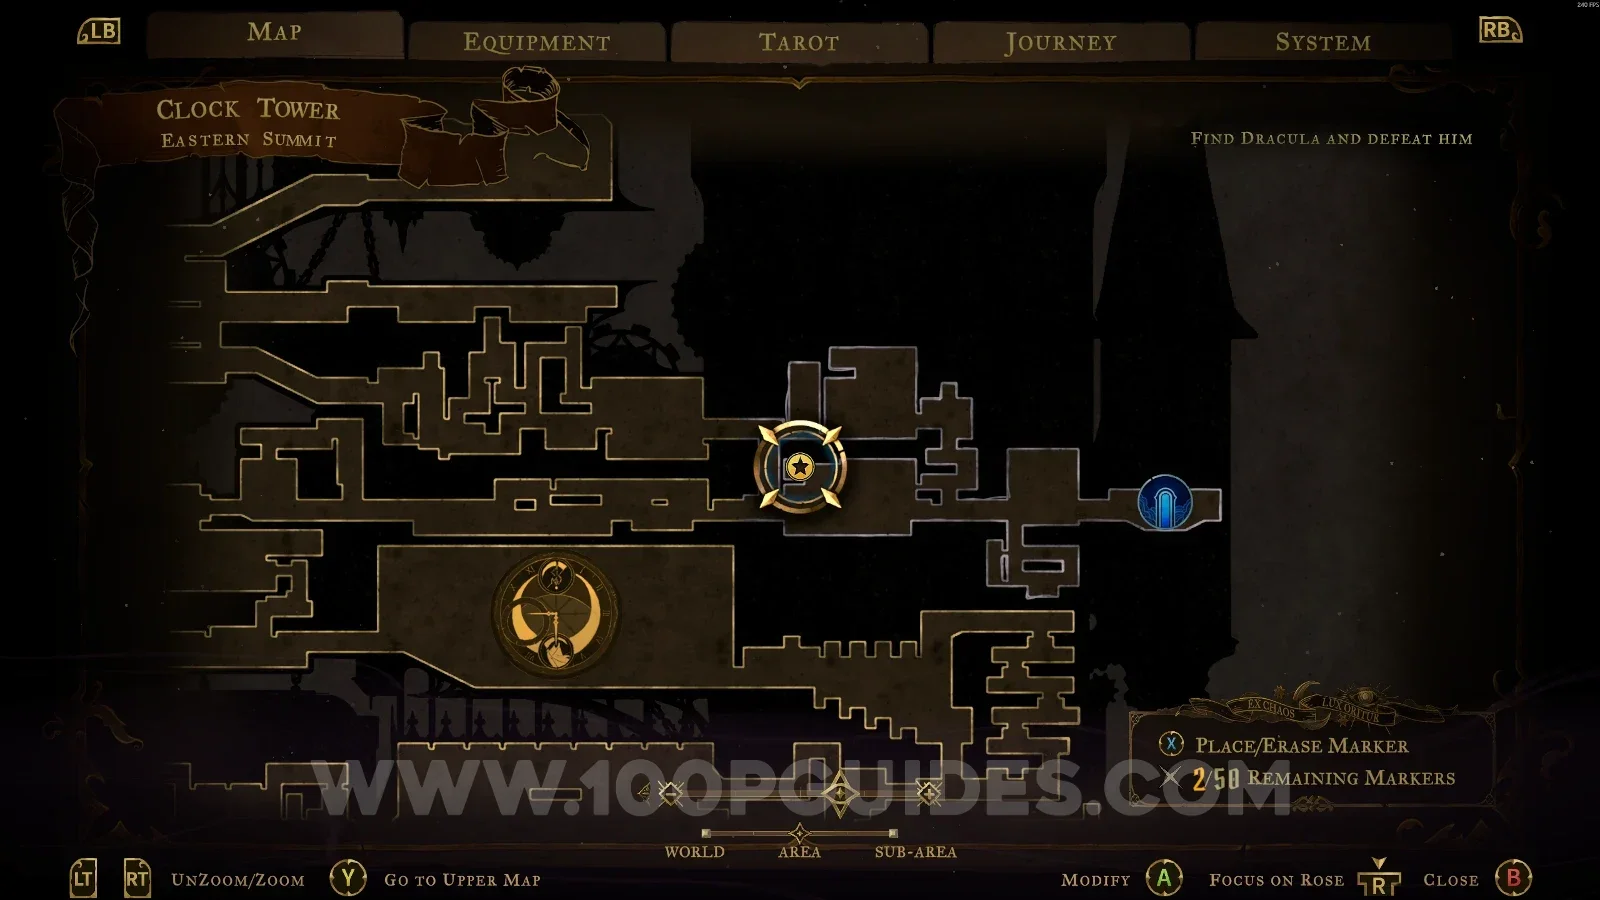
Eastern Summit

XP Statue #106

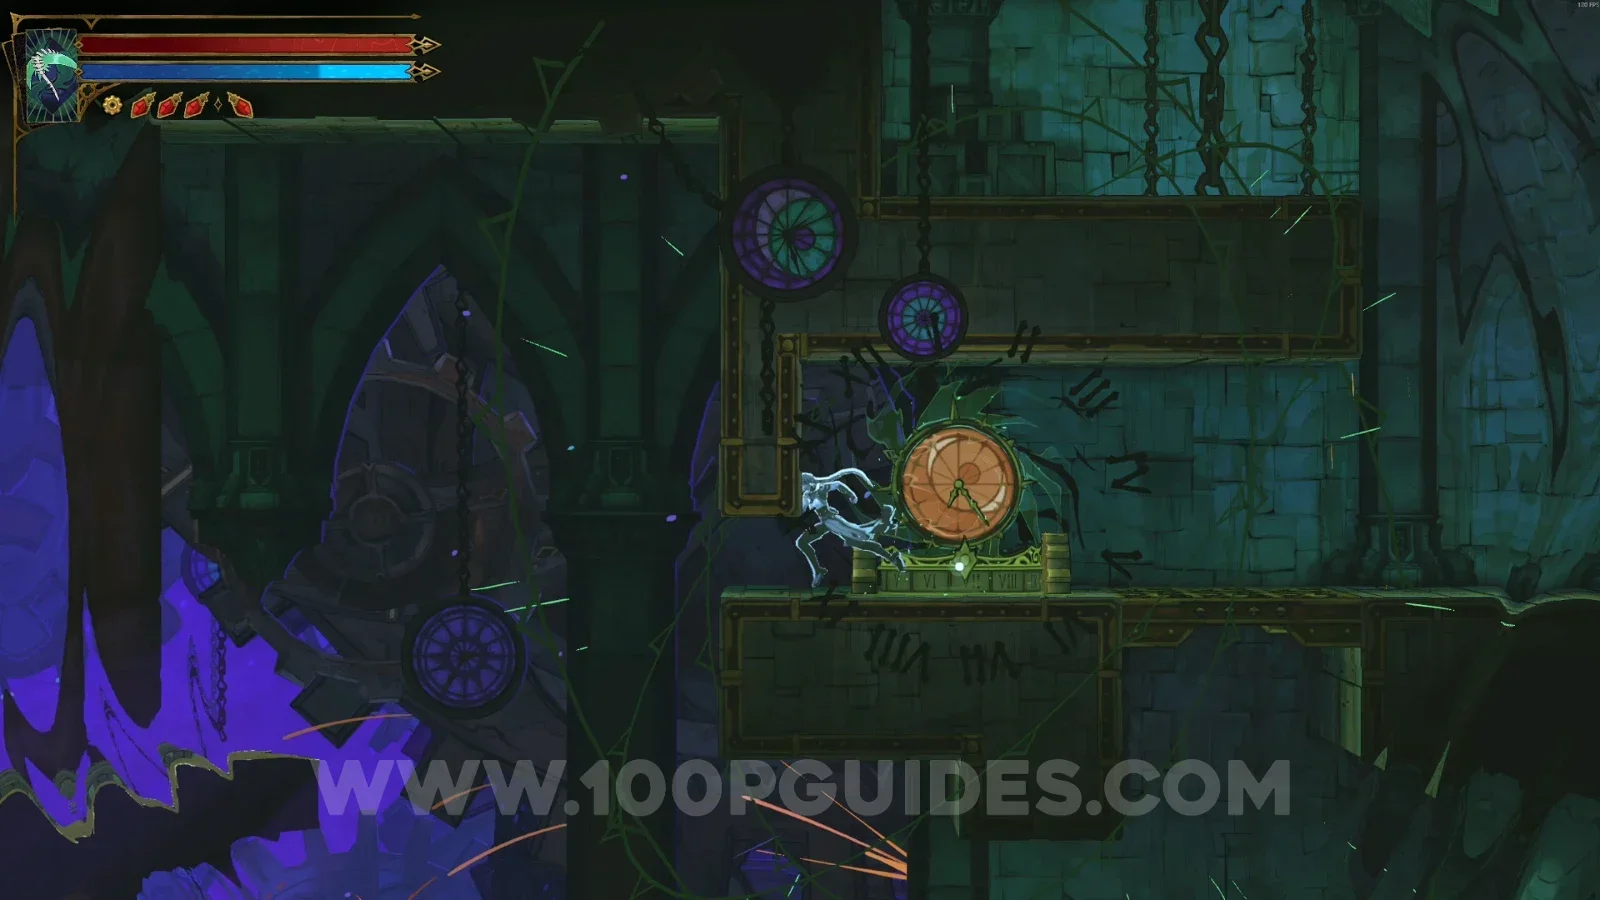
In the area marked on the map, interact with the clock, then head left to find it.

Castlevania Belmonts Curse Eastern Summit map with the area of XP Statue #106 marked Castlevania Belmonts Curse Eastern Summit: interacting with the clock before heading left to XP Statue #106 Castlevania Belmonts Curse Eastern Summit: XP Statue #106 to the left of the clock

XP Statue #107

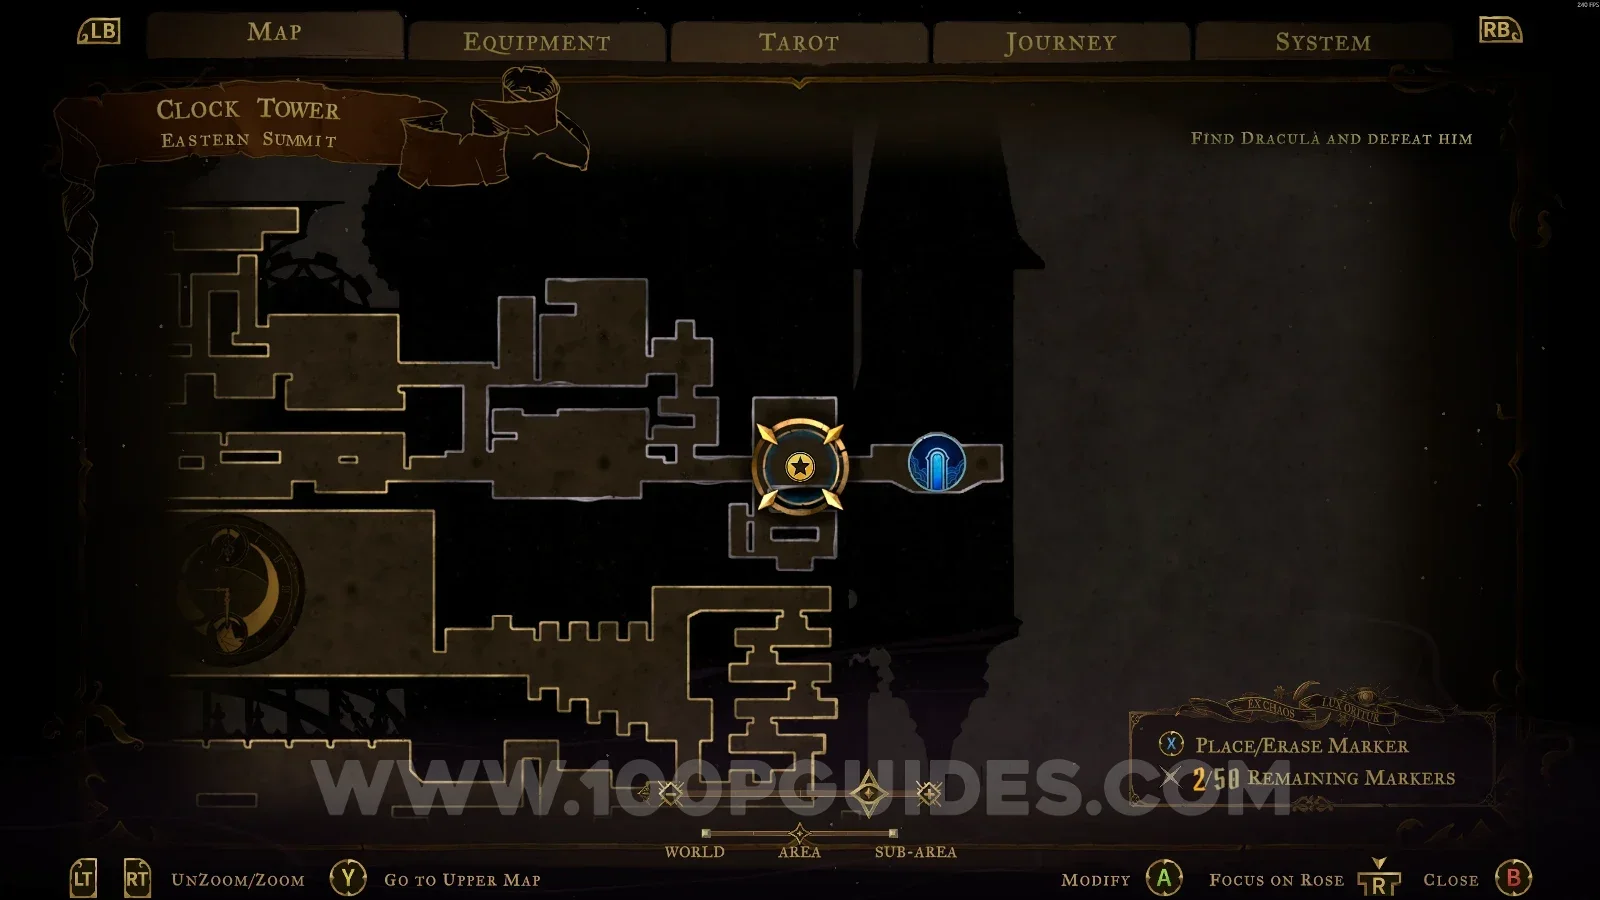
In the area marked on the map.

Castlevania Belmonts Curse Eastern Summit map with the area of XP Statue #107 marked Castlevania Belmonts Curse Eastern Summit: XP Statue #107 in the marked area

Notre-Dame

Great Organ Room

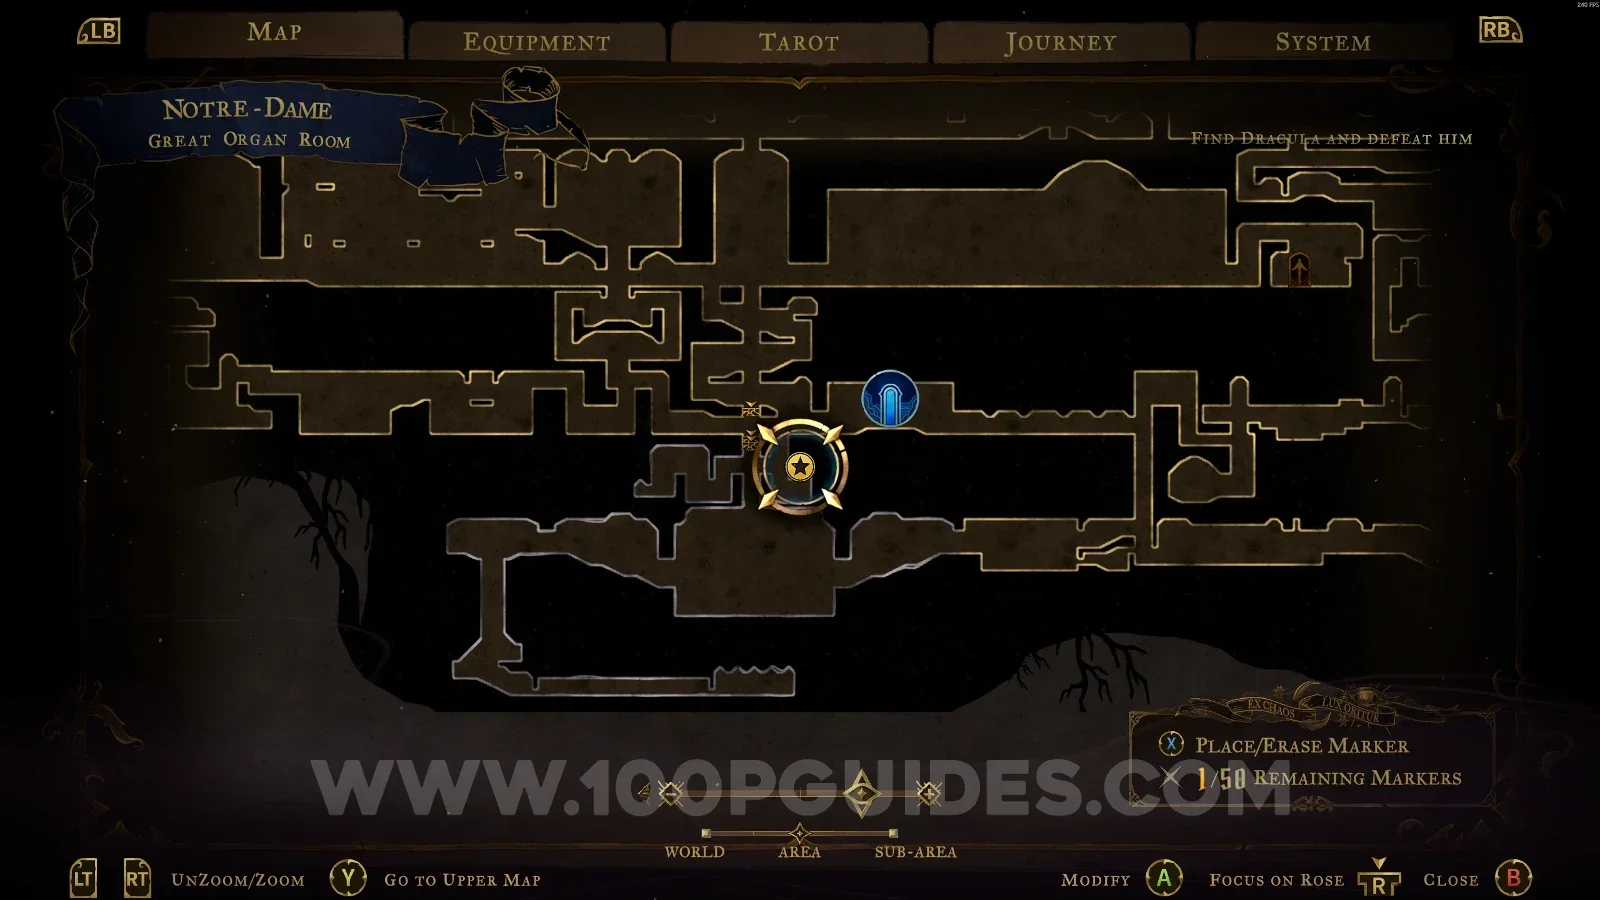
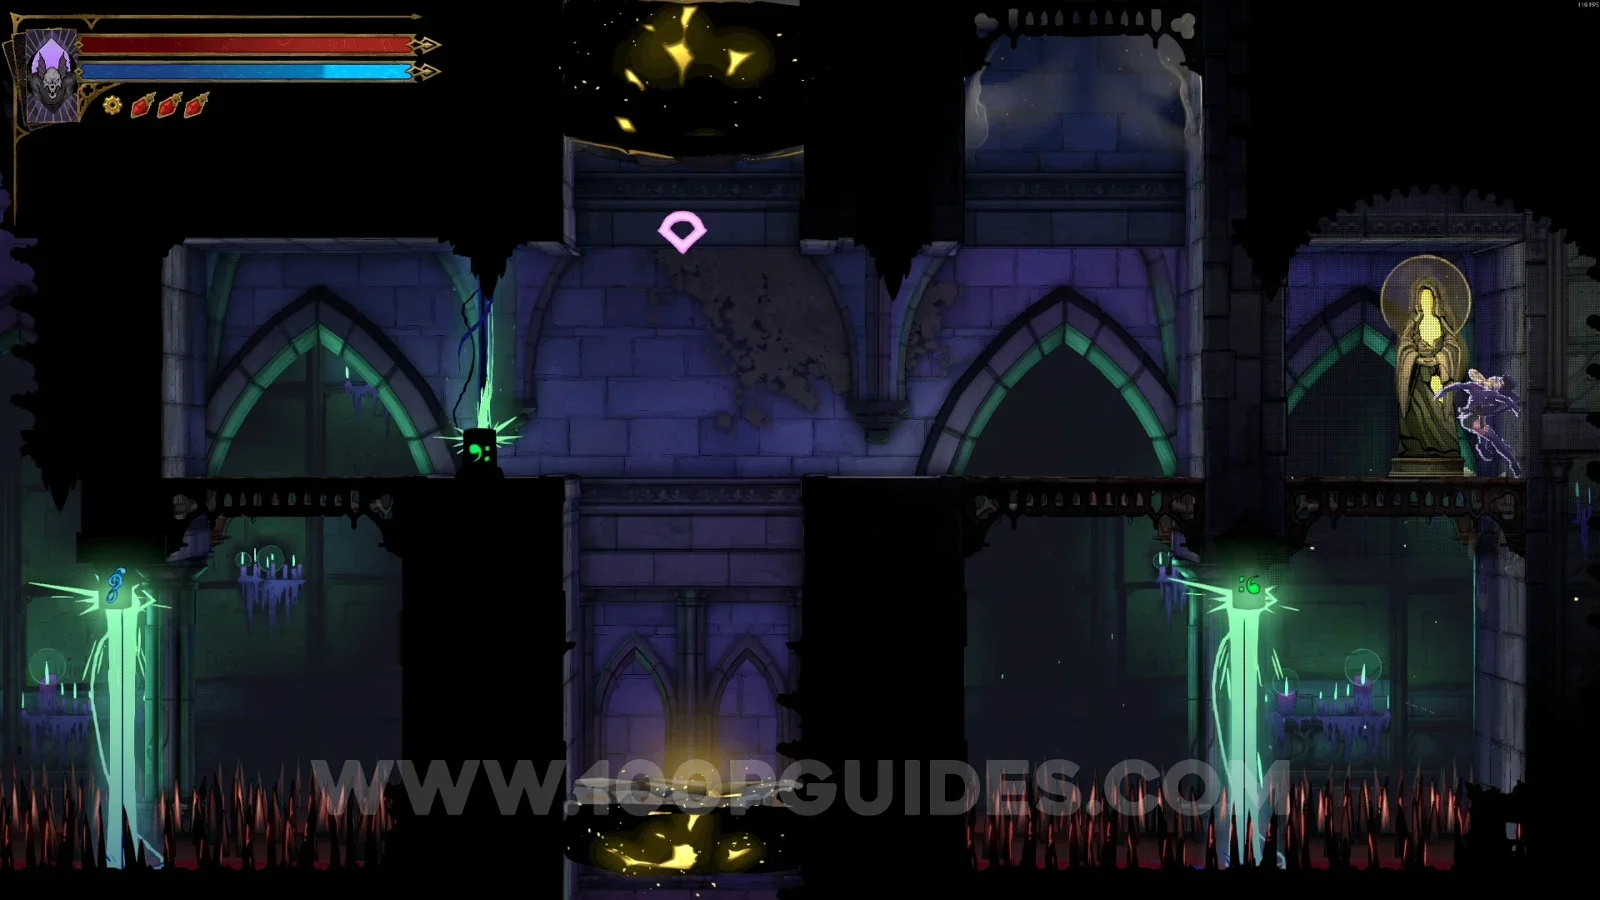
XP Statue #108

In the area marked on the map.

Castlevania Belmonts Curse Great Organ Room map with the area of XP Statue #108 marked Castlevania Belmonts Curse Great Organ Room: XP Statue #108 in the marked area

Path Of The Penitent

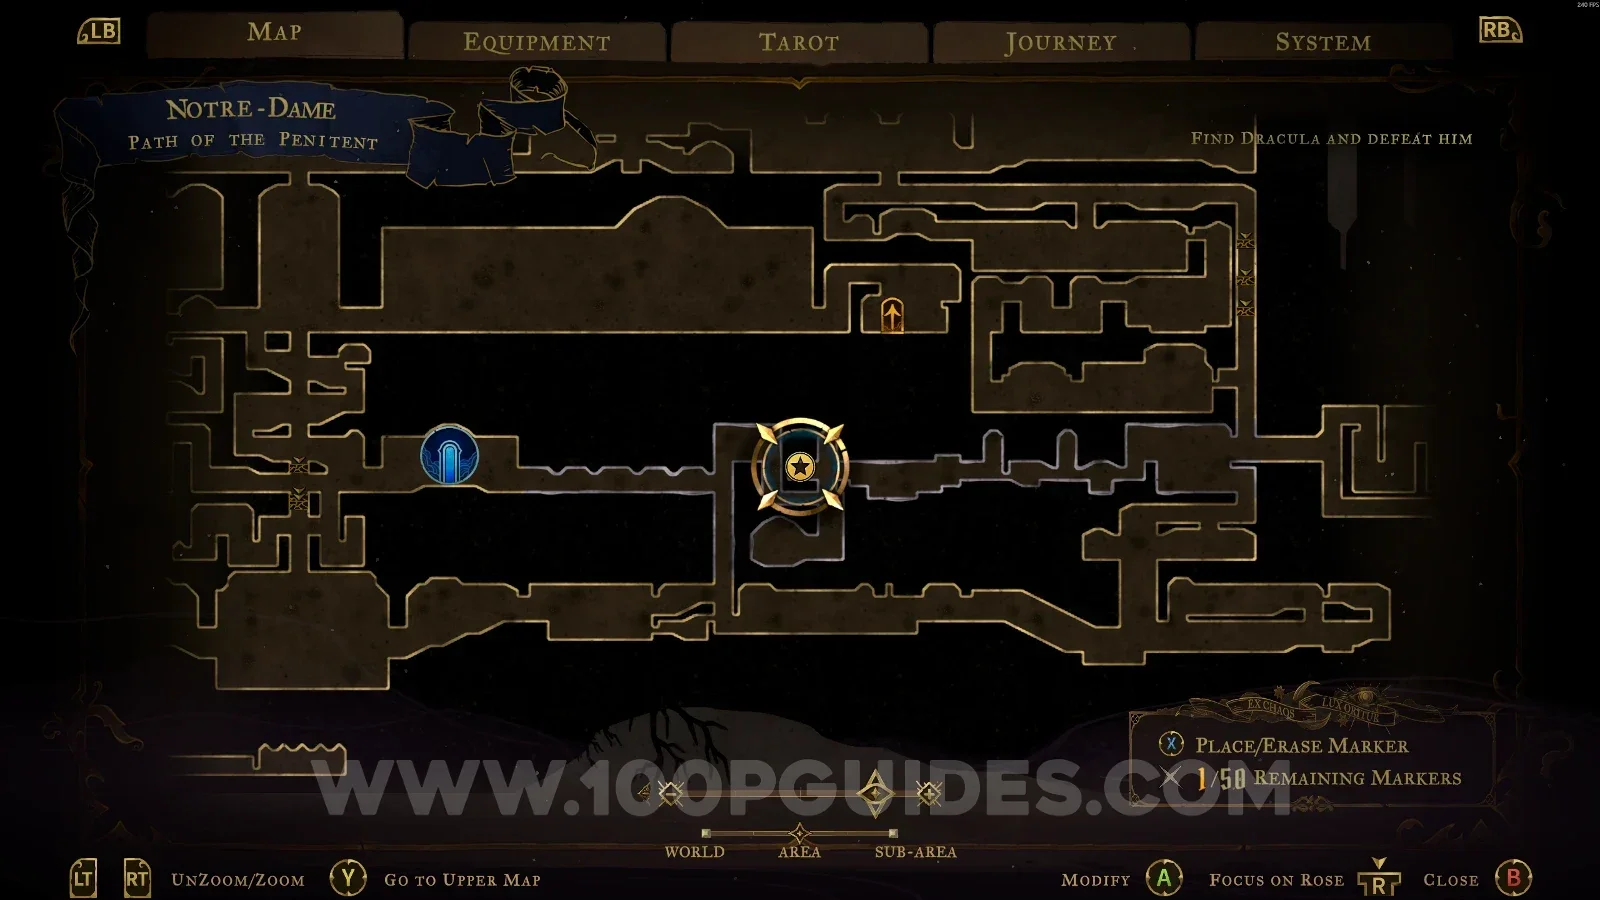
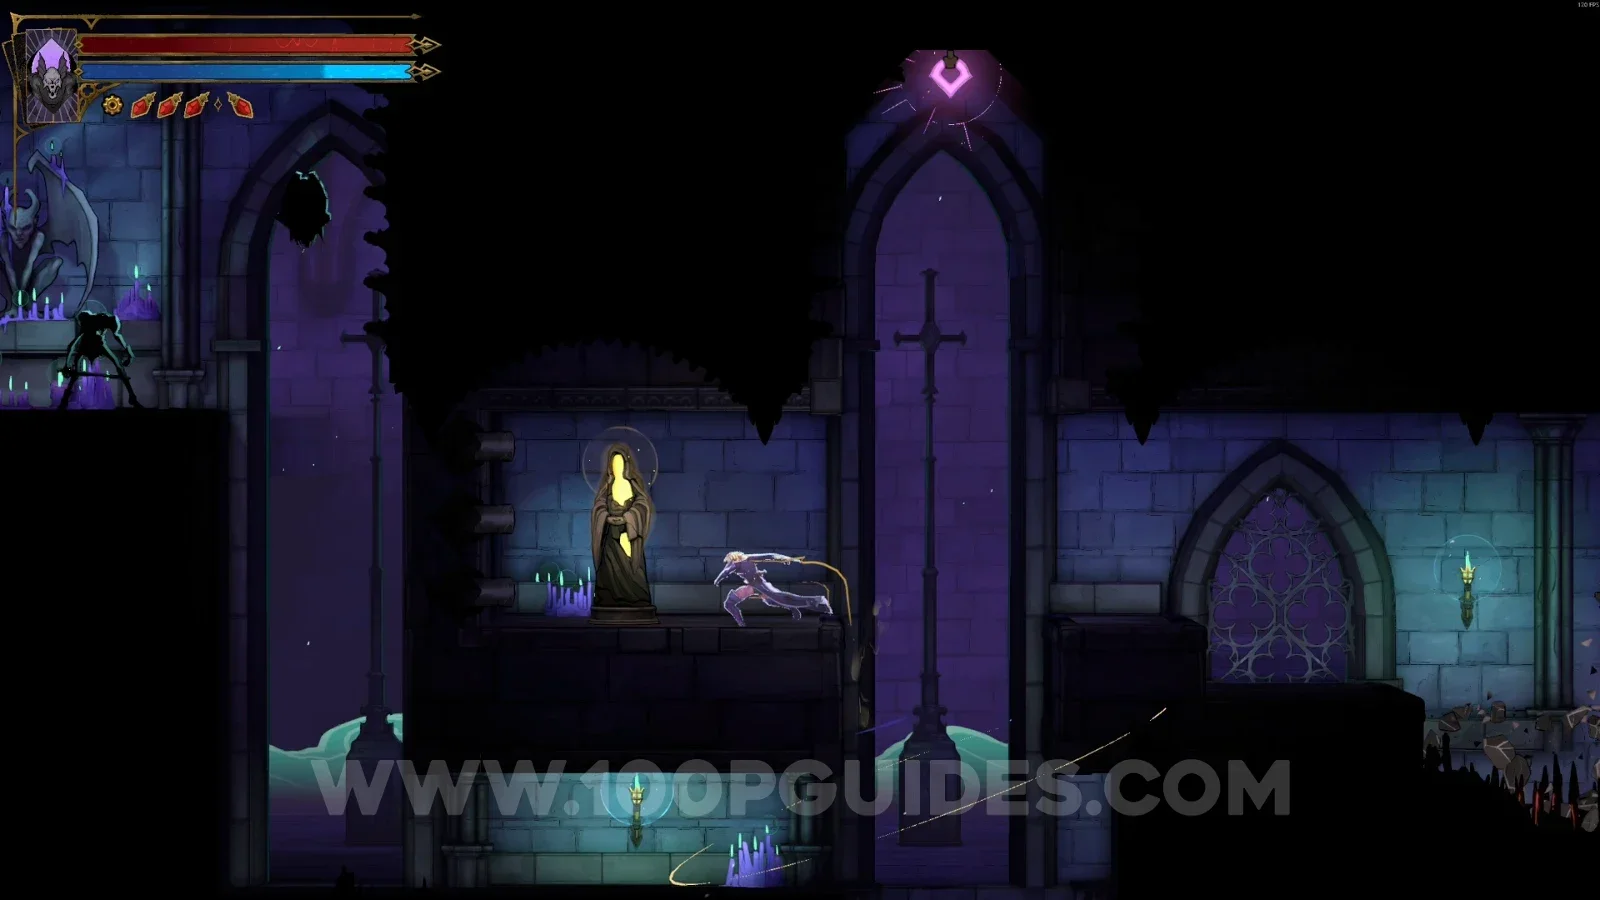
XP Statue #109

In the area marked on the map.

Castlevania Belmonts Curse Path Of The Penitent map with the area of XP Statue #109 marked Castlevania Belmonts Curse Path Of The Penitent: XP Statue #109 in the marked area

Chapel Of Patience

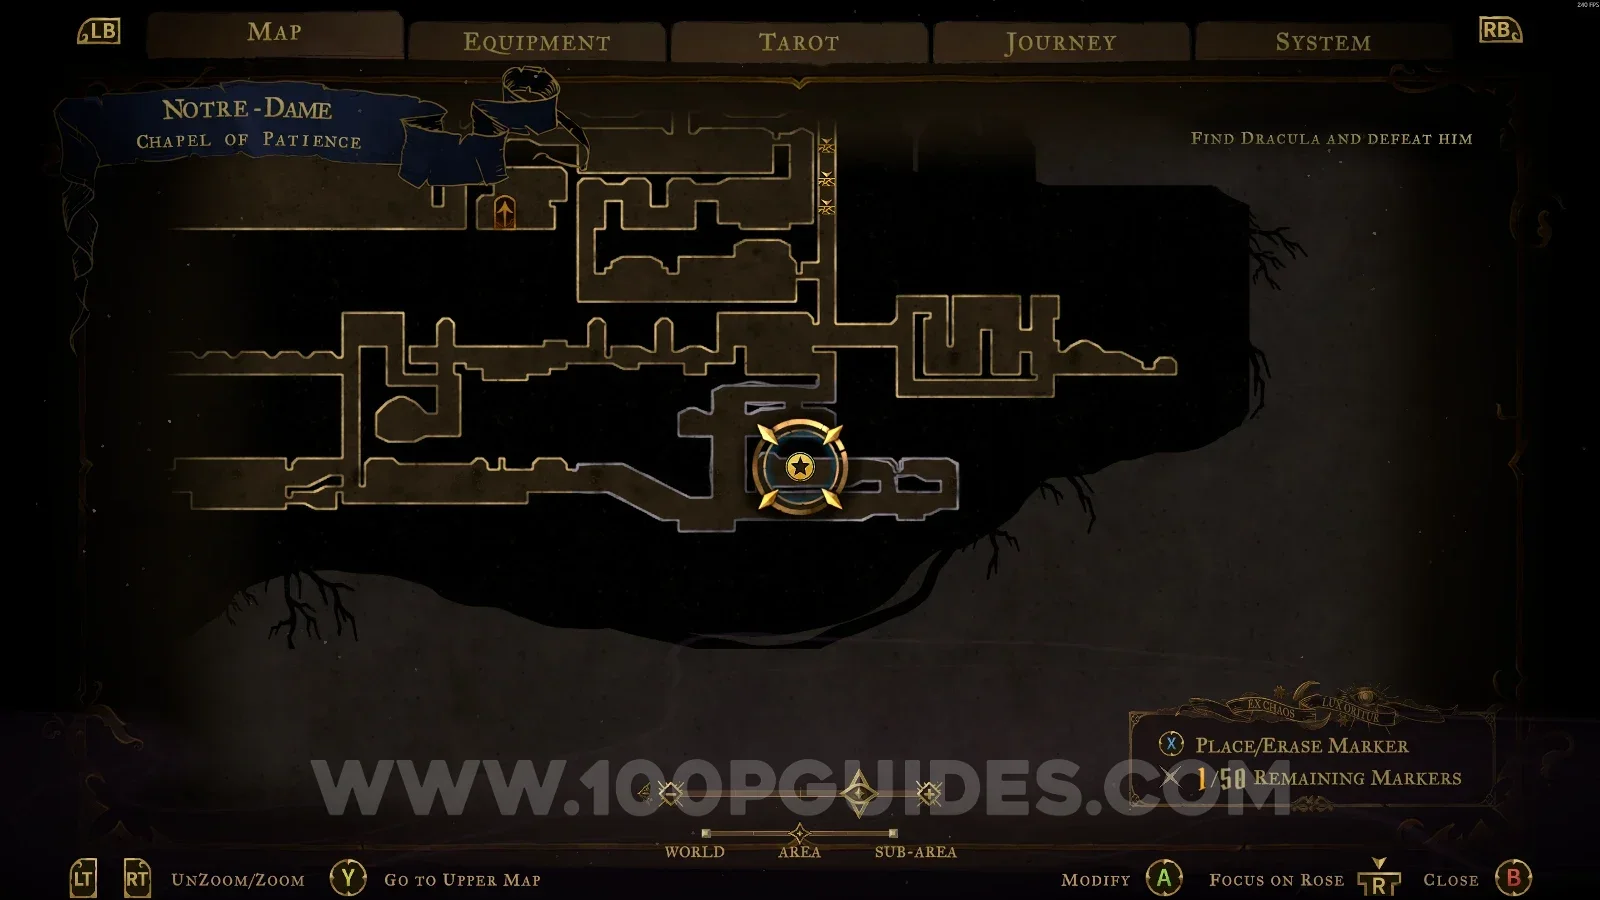
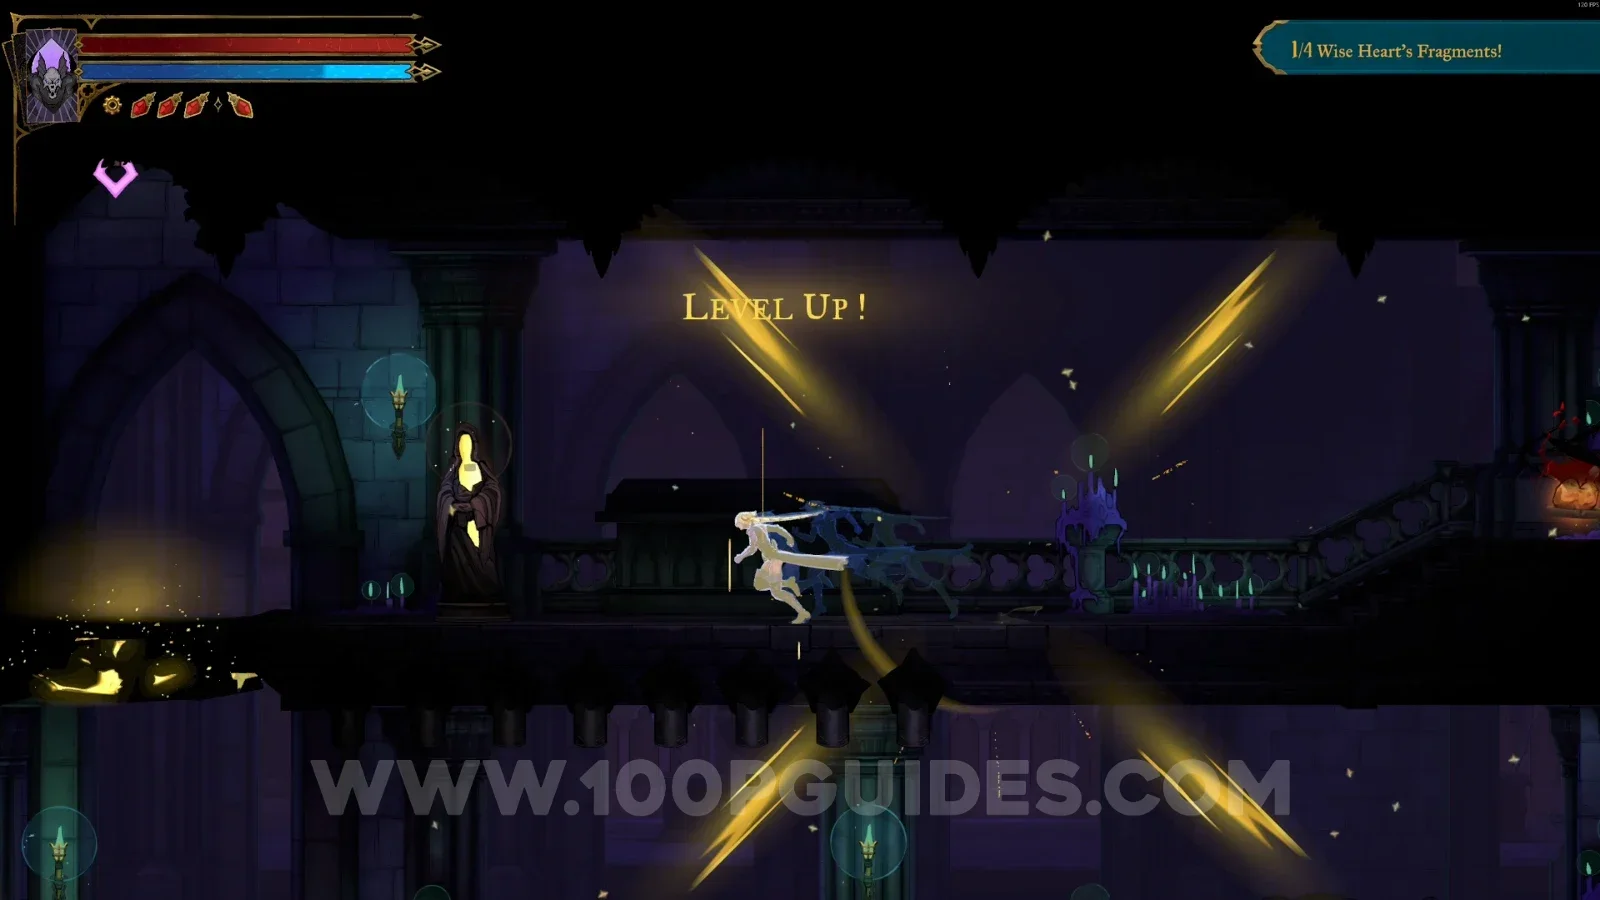
XP Statue #110

In the area marked on the map.

Castlevania Belmonts Curse Chapel Of Patience map with the area of XP Statue #110 marked Castlevania Belmonts Curse Chapel Of Patience: XP Statue #110 in the marked area

Reliquary

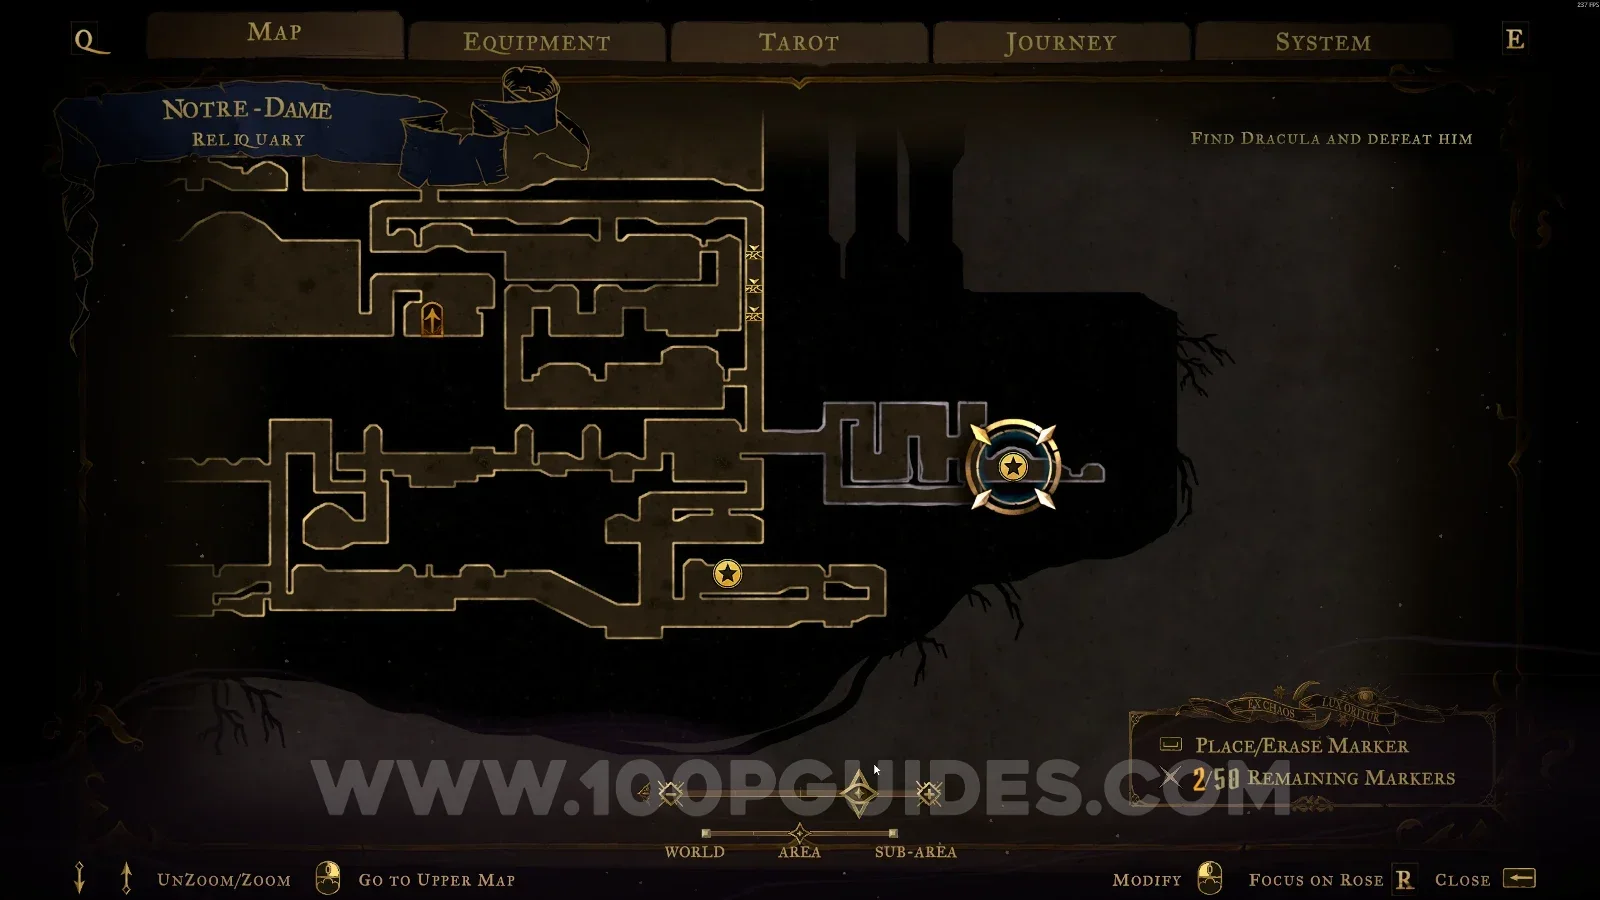
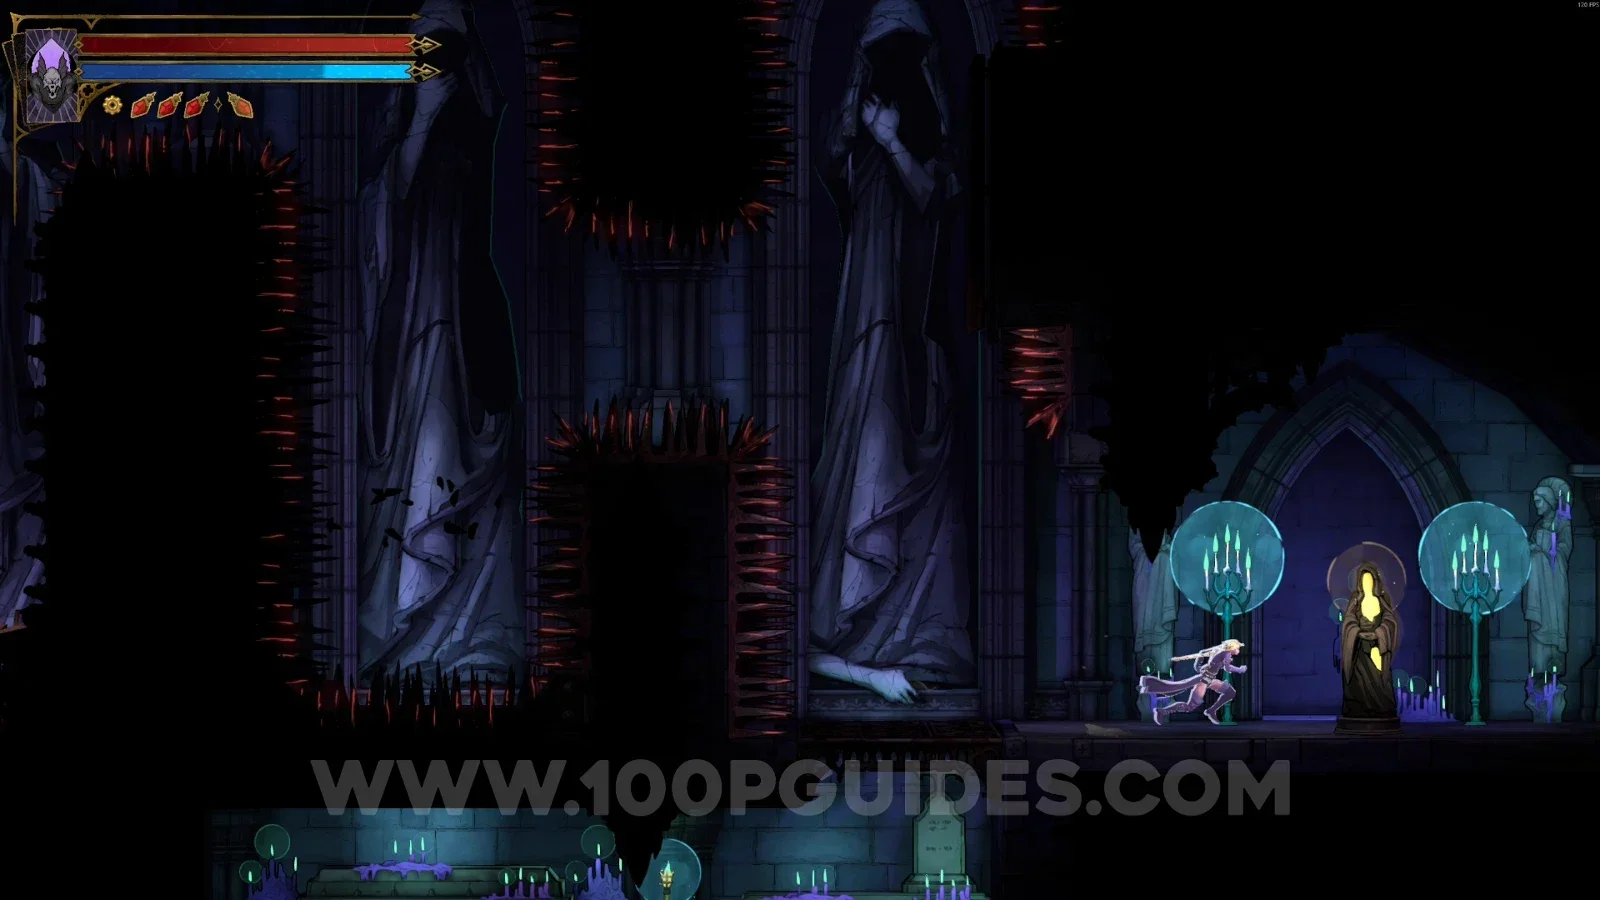
XP Statue #111

In the area marked on the map.

Castlevania Belmonts Curse Reliquary map with the area of XP Statue #111 marked Castlevania Belmonts Curse Reliquary: XP Statue #111 in the marked area

Apse

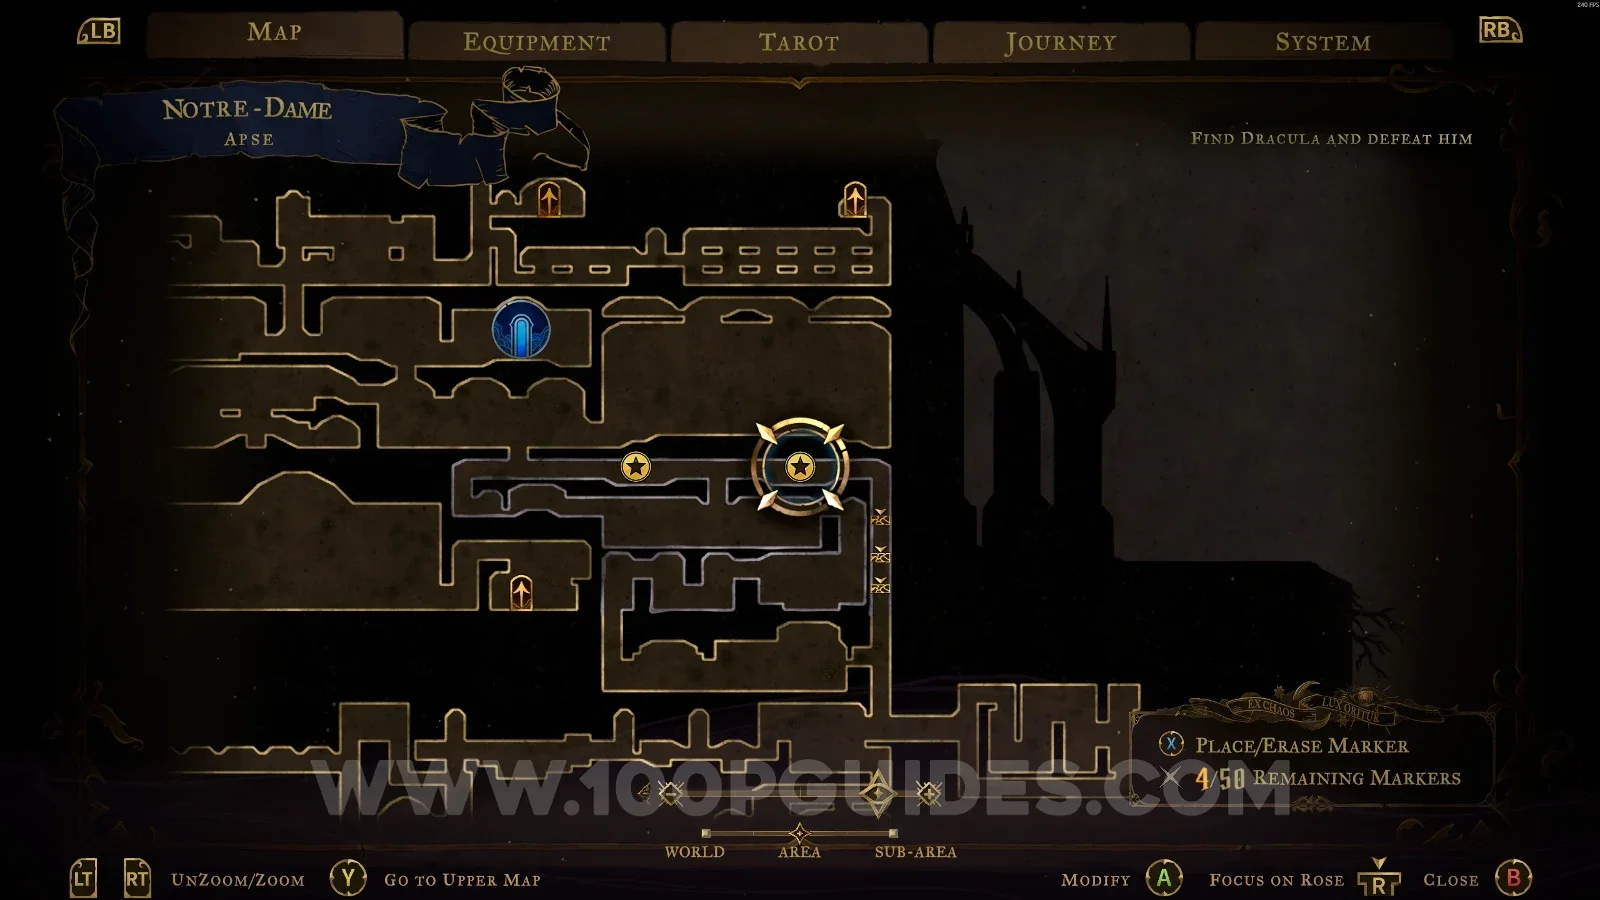
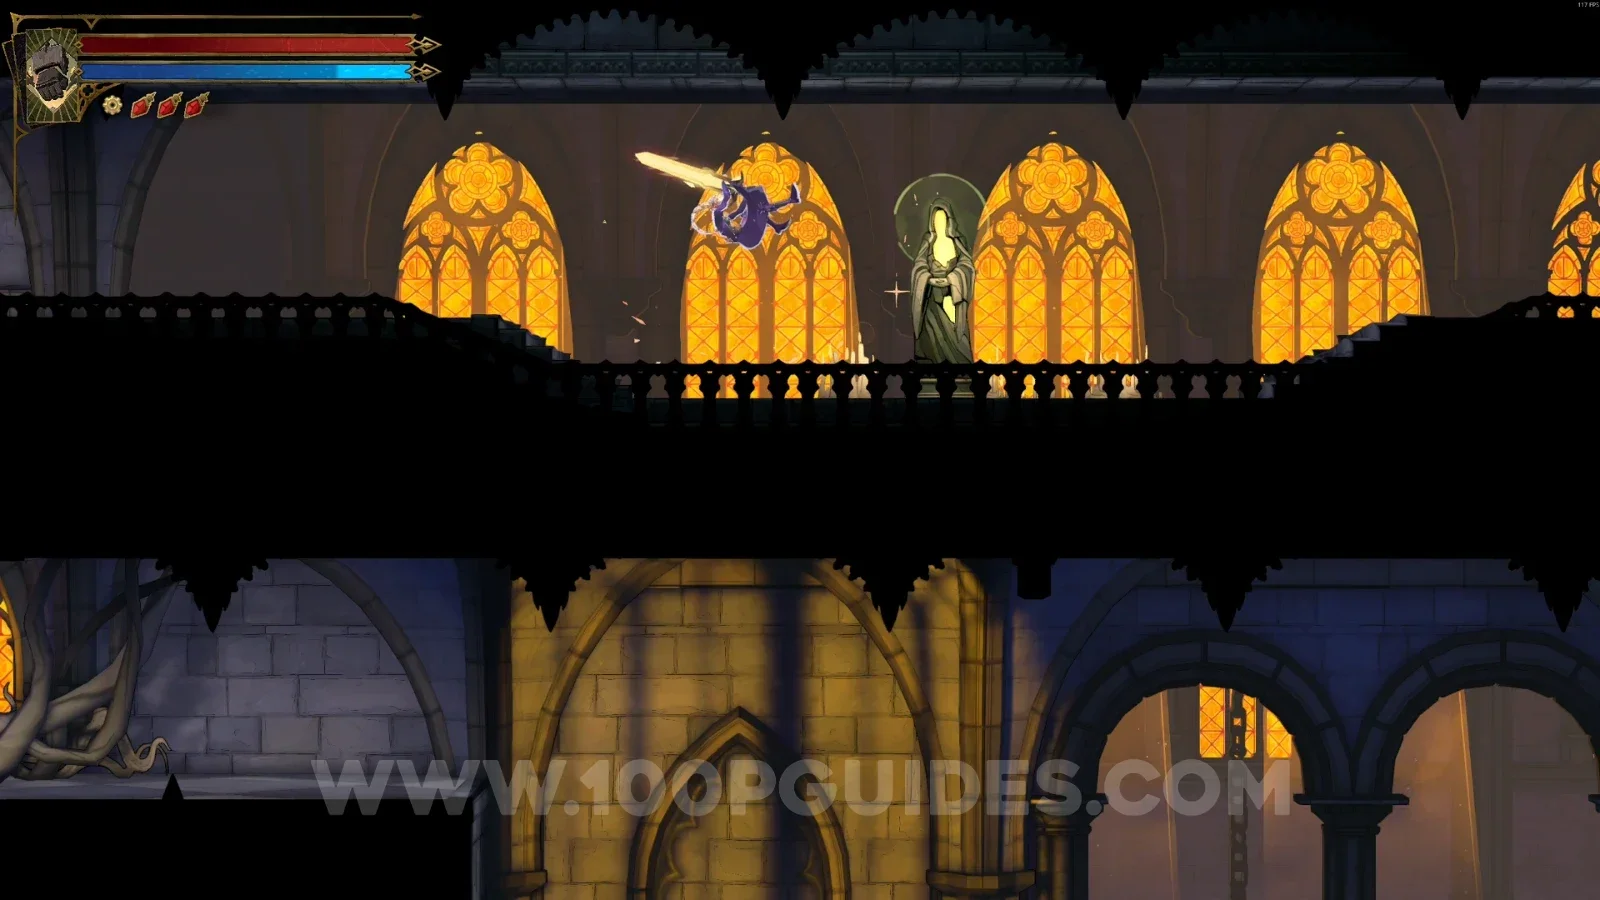
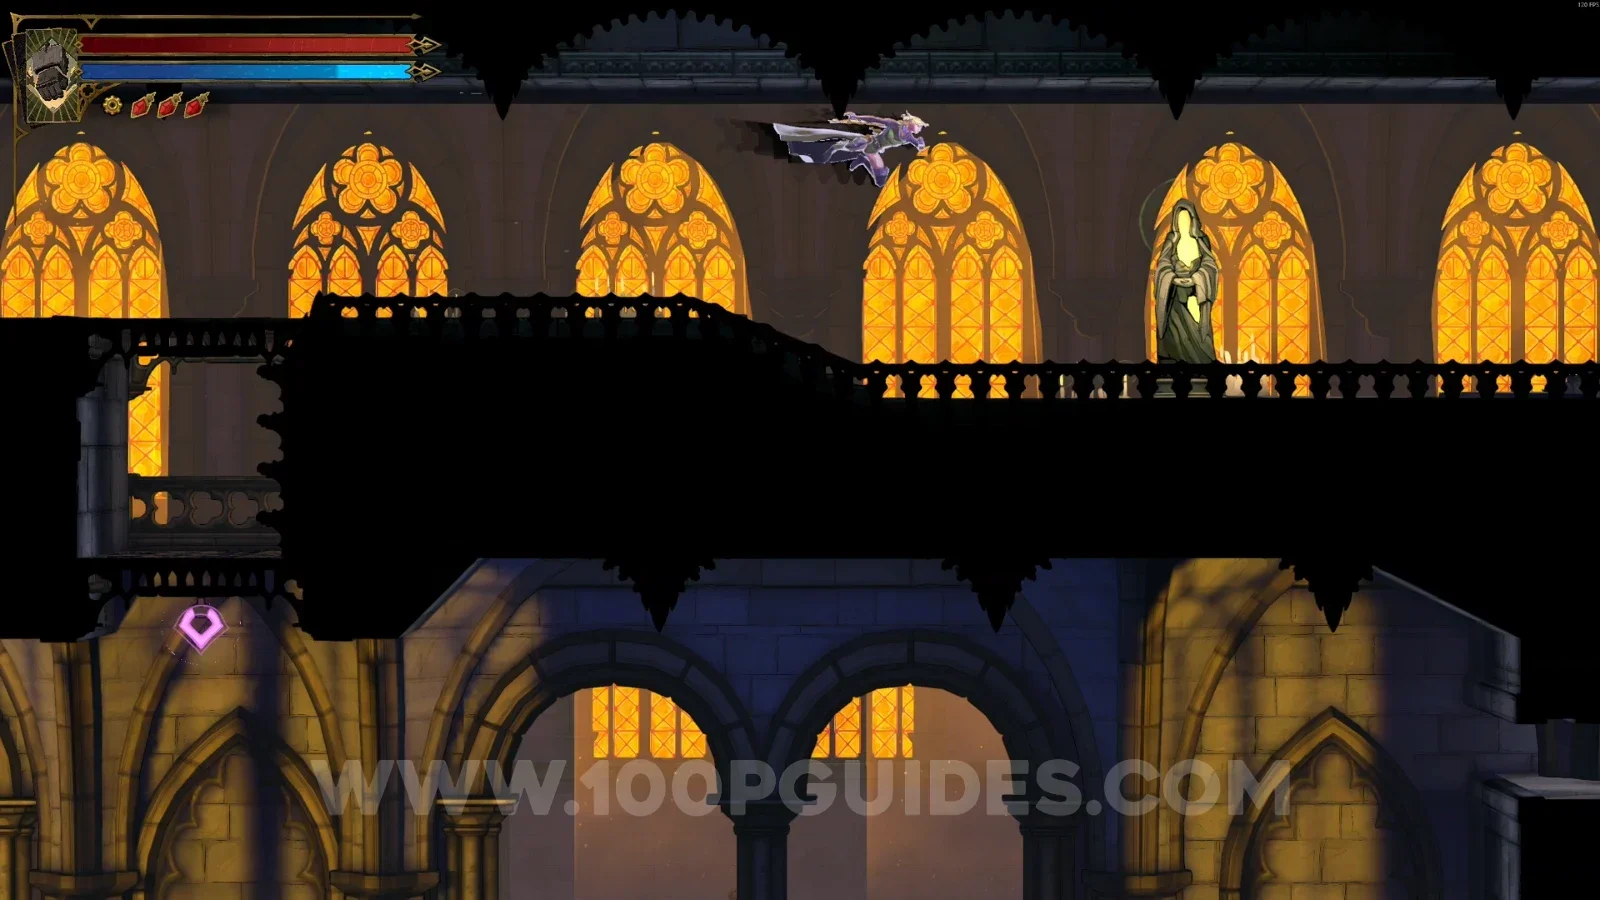
XP Statue #112 - #113

In the area marked on the map.

Castlevania Belmonts Curse Apse map marking the area of XP Statues #112 and #113 Castlevania Belmonts Curse Apse: XP Statue #112 in the marked area Castlevania Belmonts Curse Apse: XP Statue #113 in the marked area

East Gallery

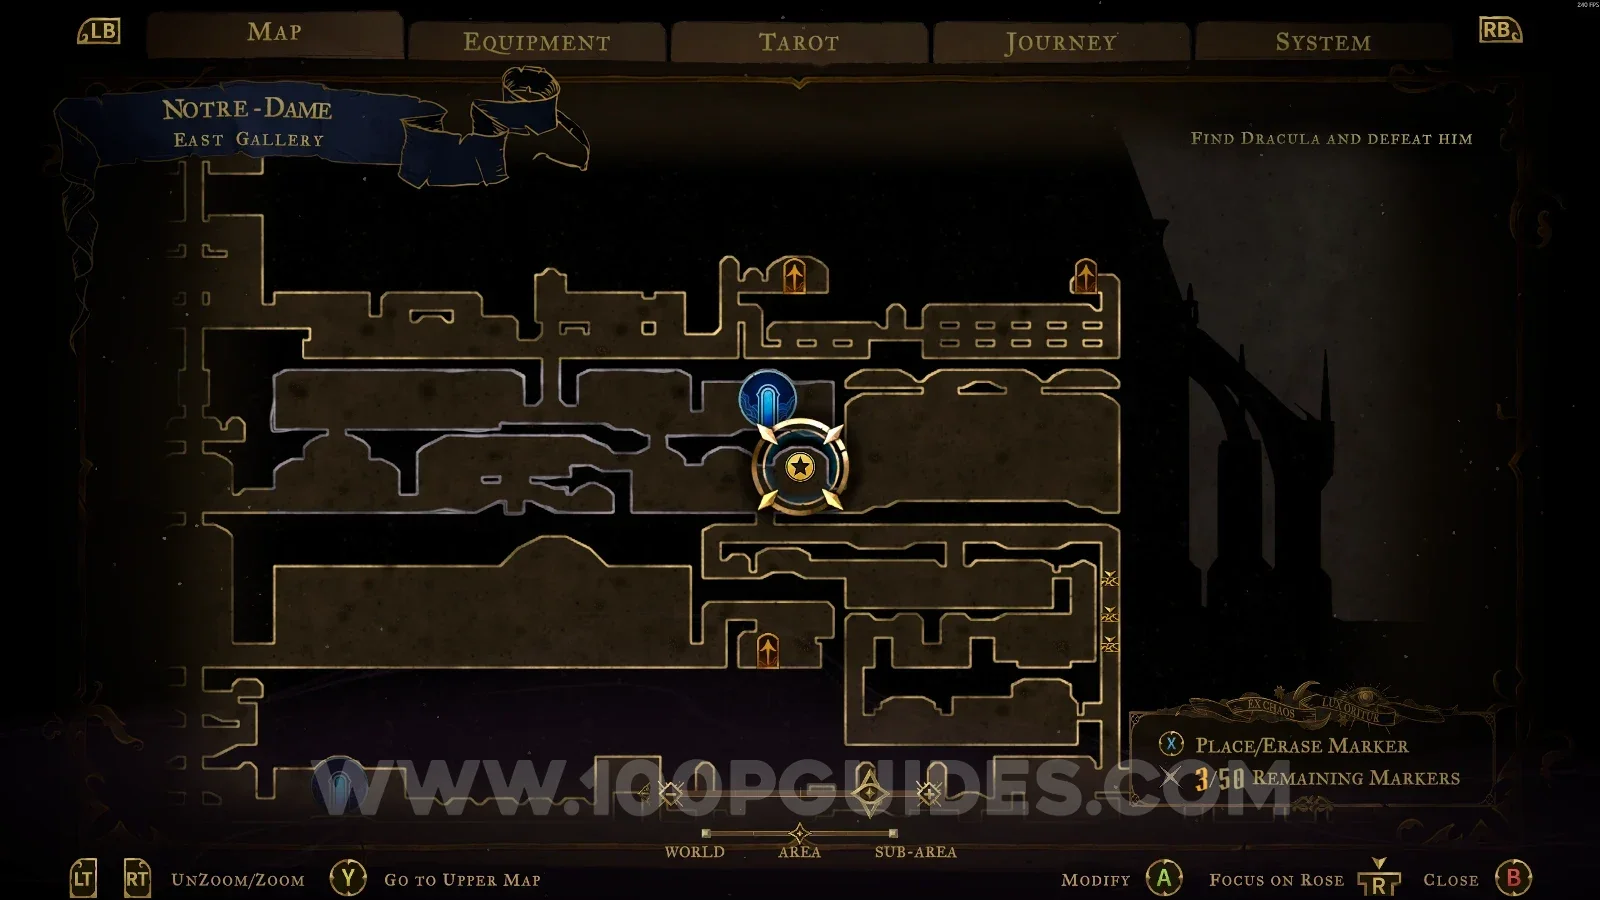
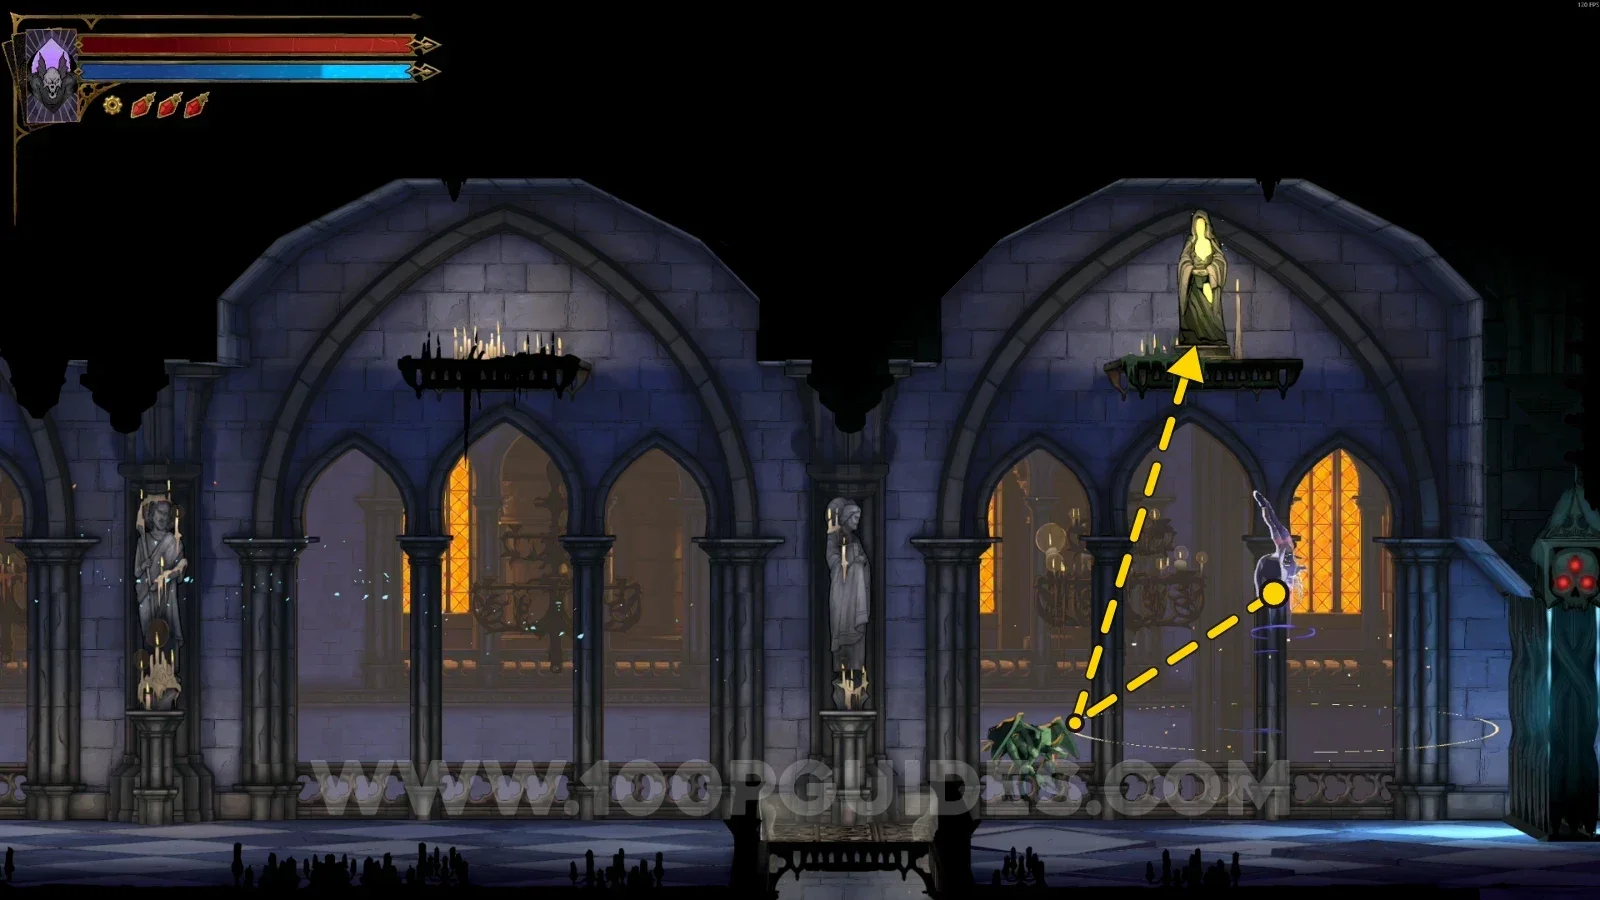
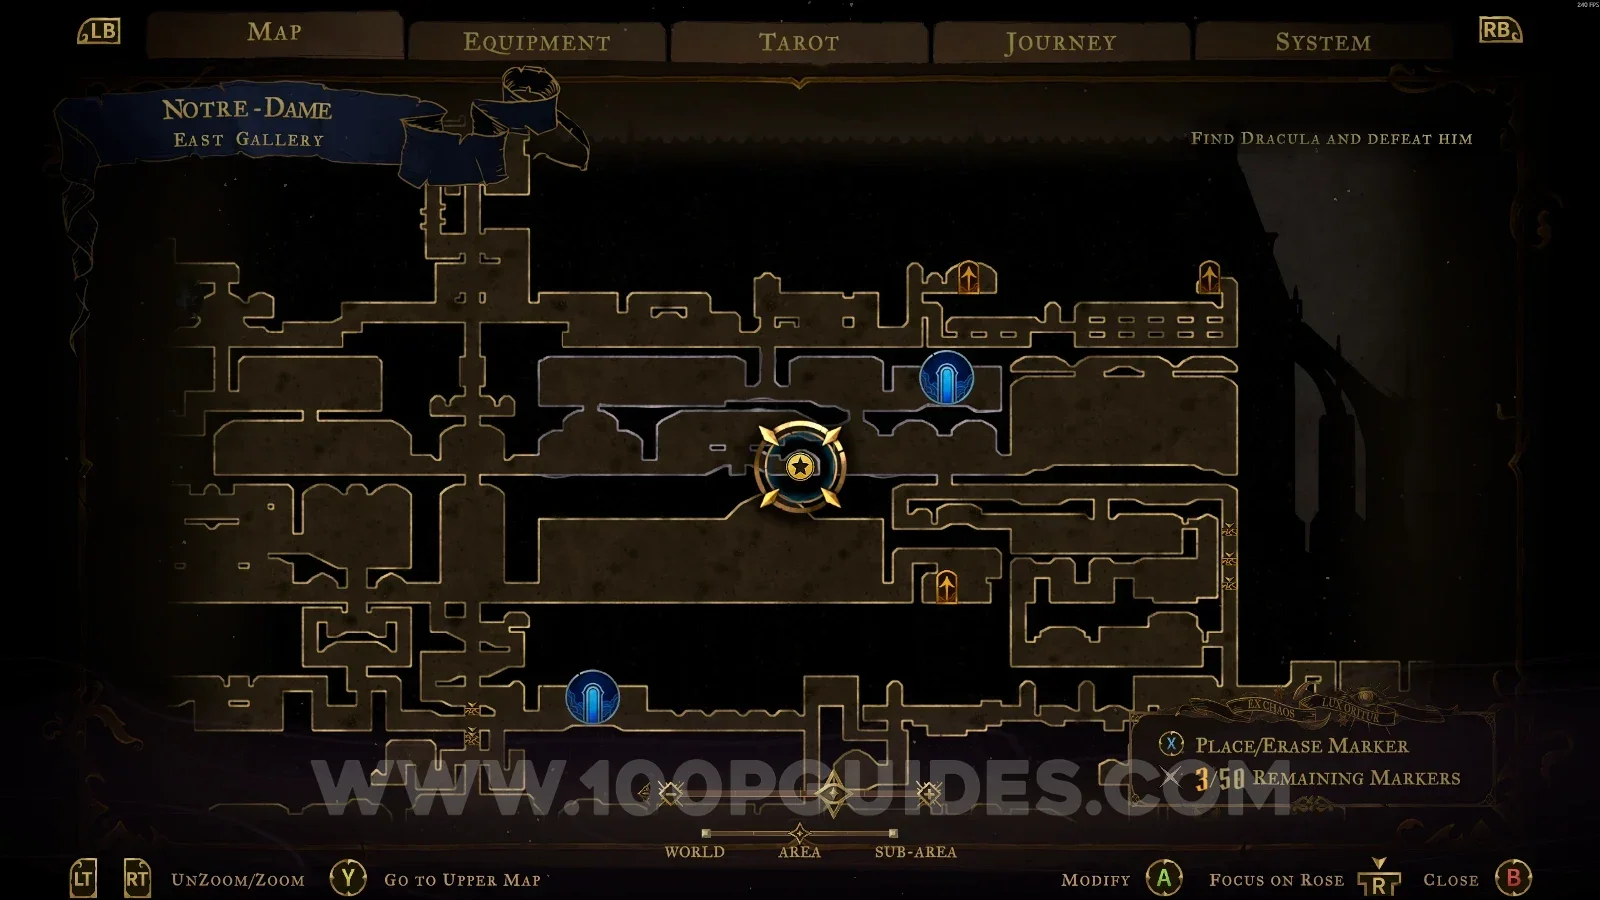
XP Statue #114

In the area marked on the map, you have to use the gargoyle to launch yourself to the upper part.

Castlevania Belmonts Curse East Gallery map with the area of XP Statue #114 marked Castlevania Belmonts Curse East Gallery: XP Statue #114 in the upper part reached via the gargoyle

XP Statue #115

In the area marked on the map.

Castlevania Belmonts Curse East Gallery map with the area of XP Statue #115 marked Castlevania Belmonts Curse East Gallery: XP Statue #115 in the marked area

Chapel

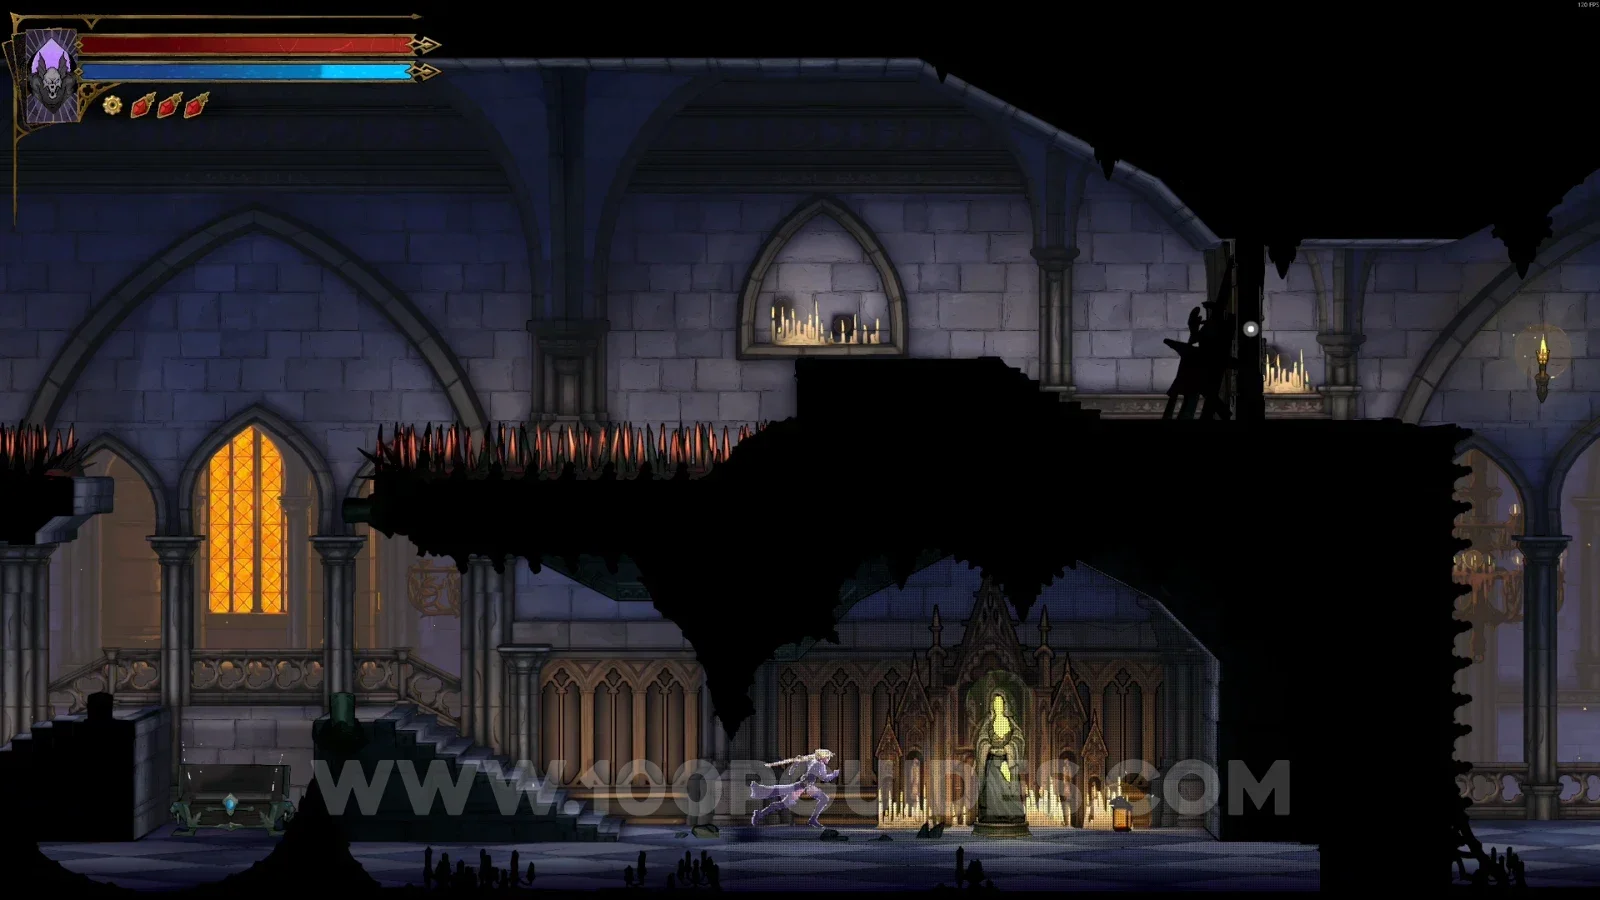
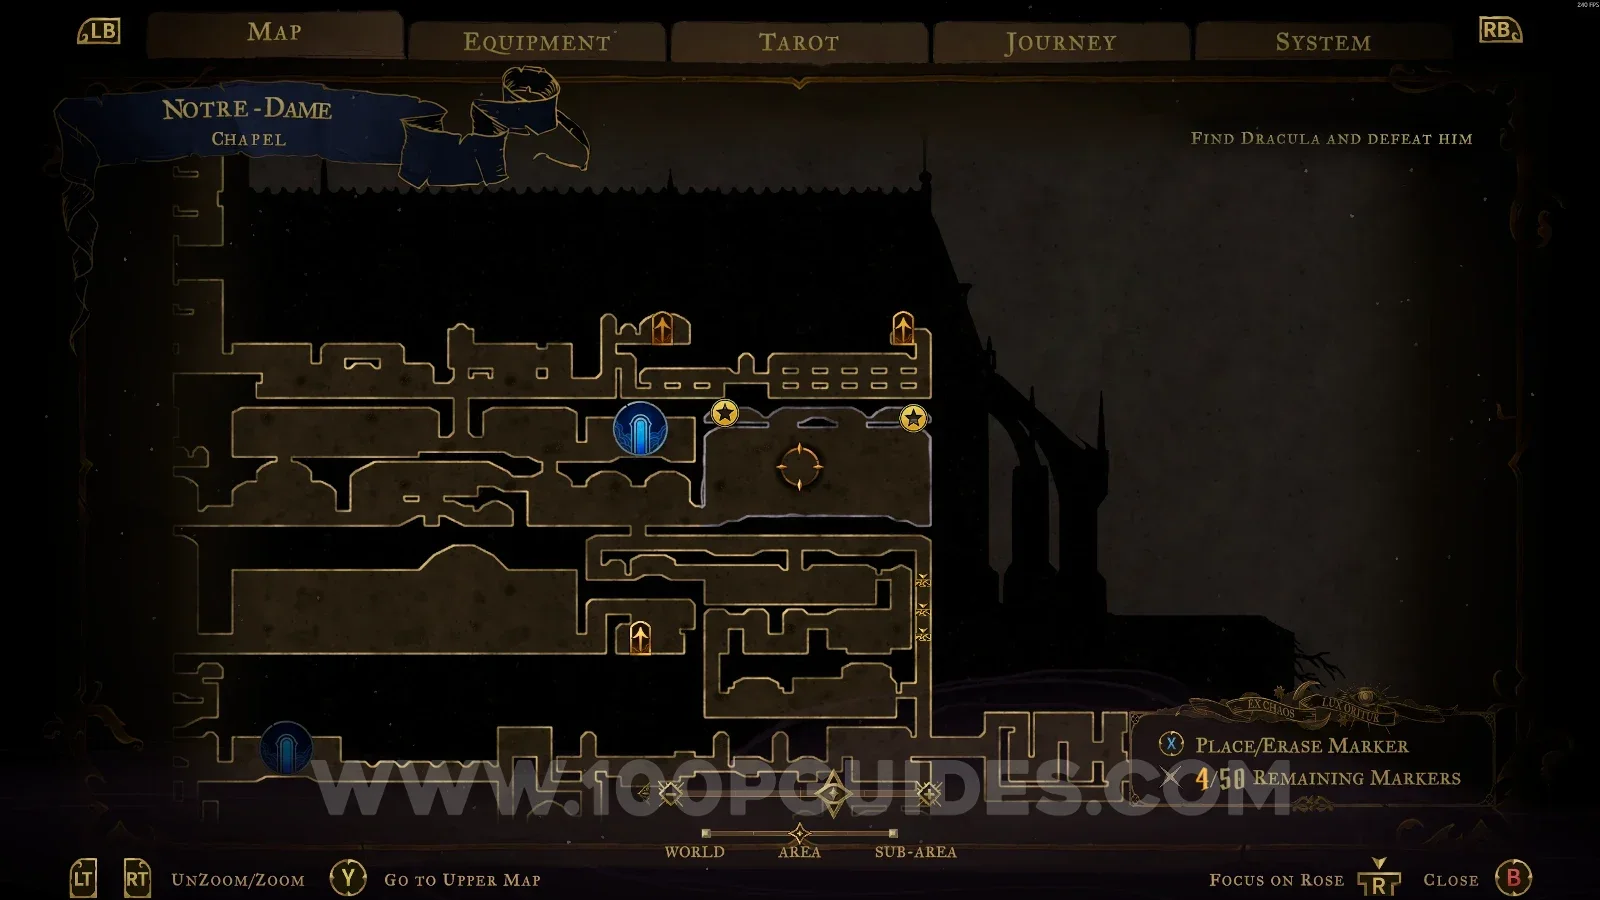
XP Statue #116 - #117

At the top of the area, one on each side. You have to use the slide to reveal the secret room.

Castlevania Belmonts Curse Chapel map showing XP Statues #116 and #117 at the top of the area Castlevania Belmonts Curse Chapel: using the slide to reveal the secret room of XP Statues #116 and #117 Castlevania Belmonts Curse Chapel: XP Statues #116 and #117, one on each side of the secret room

The Forest

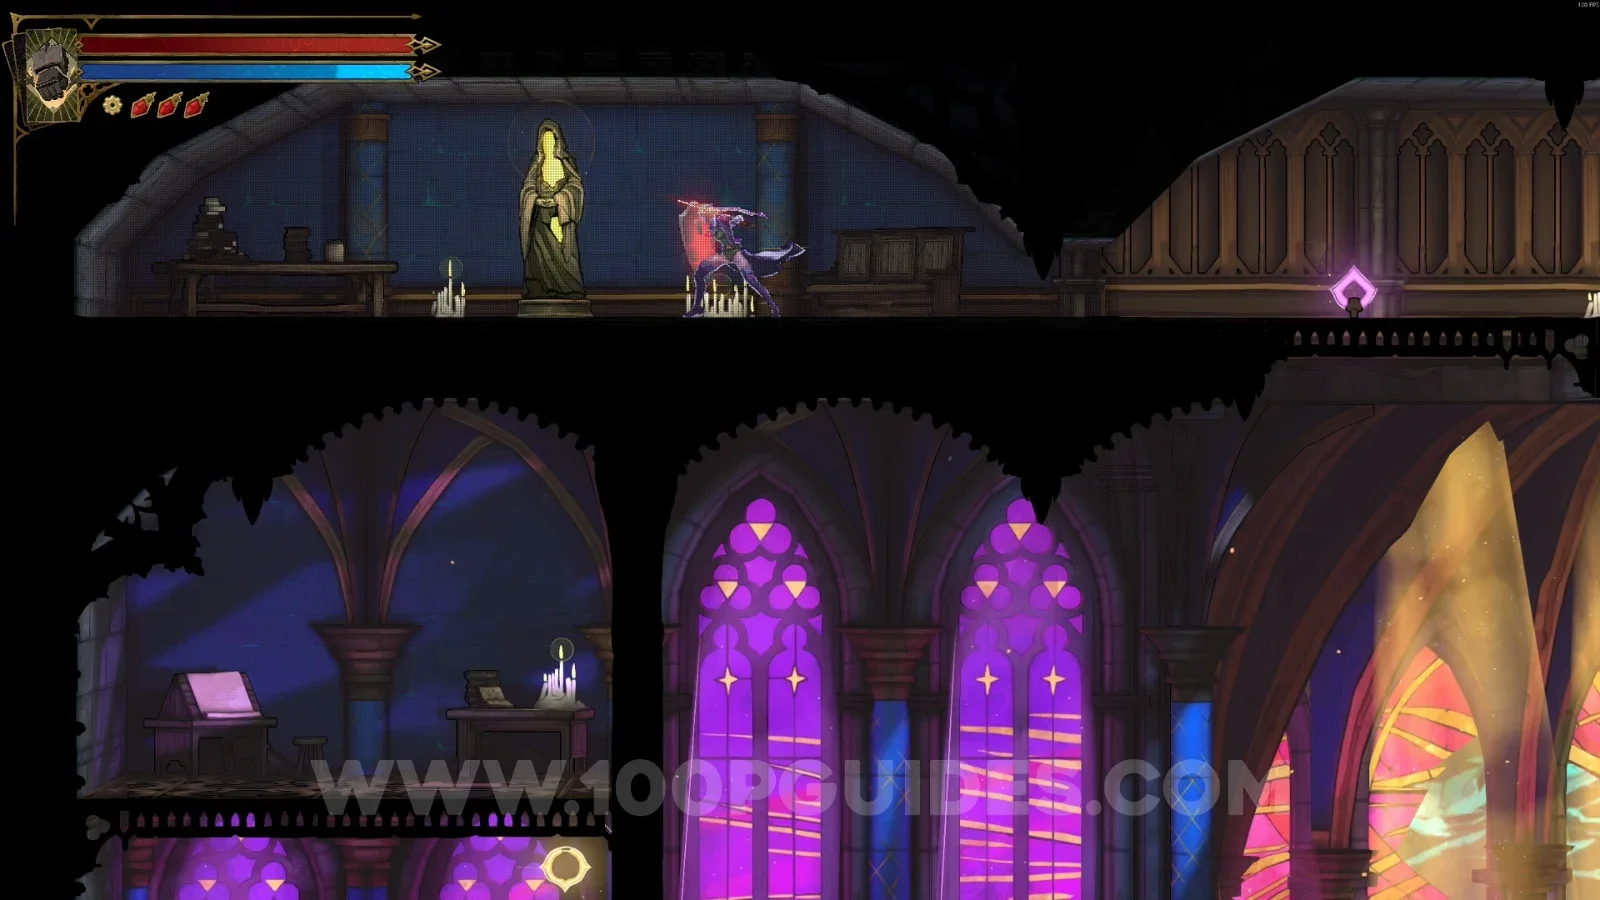
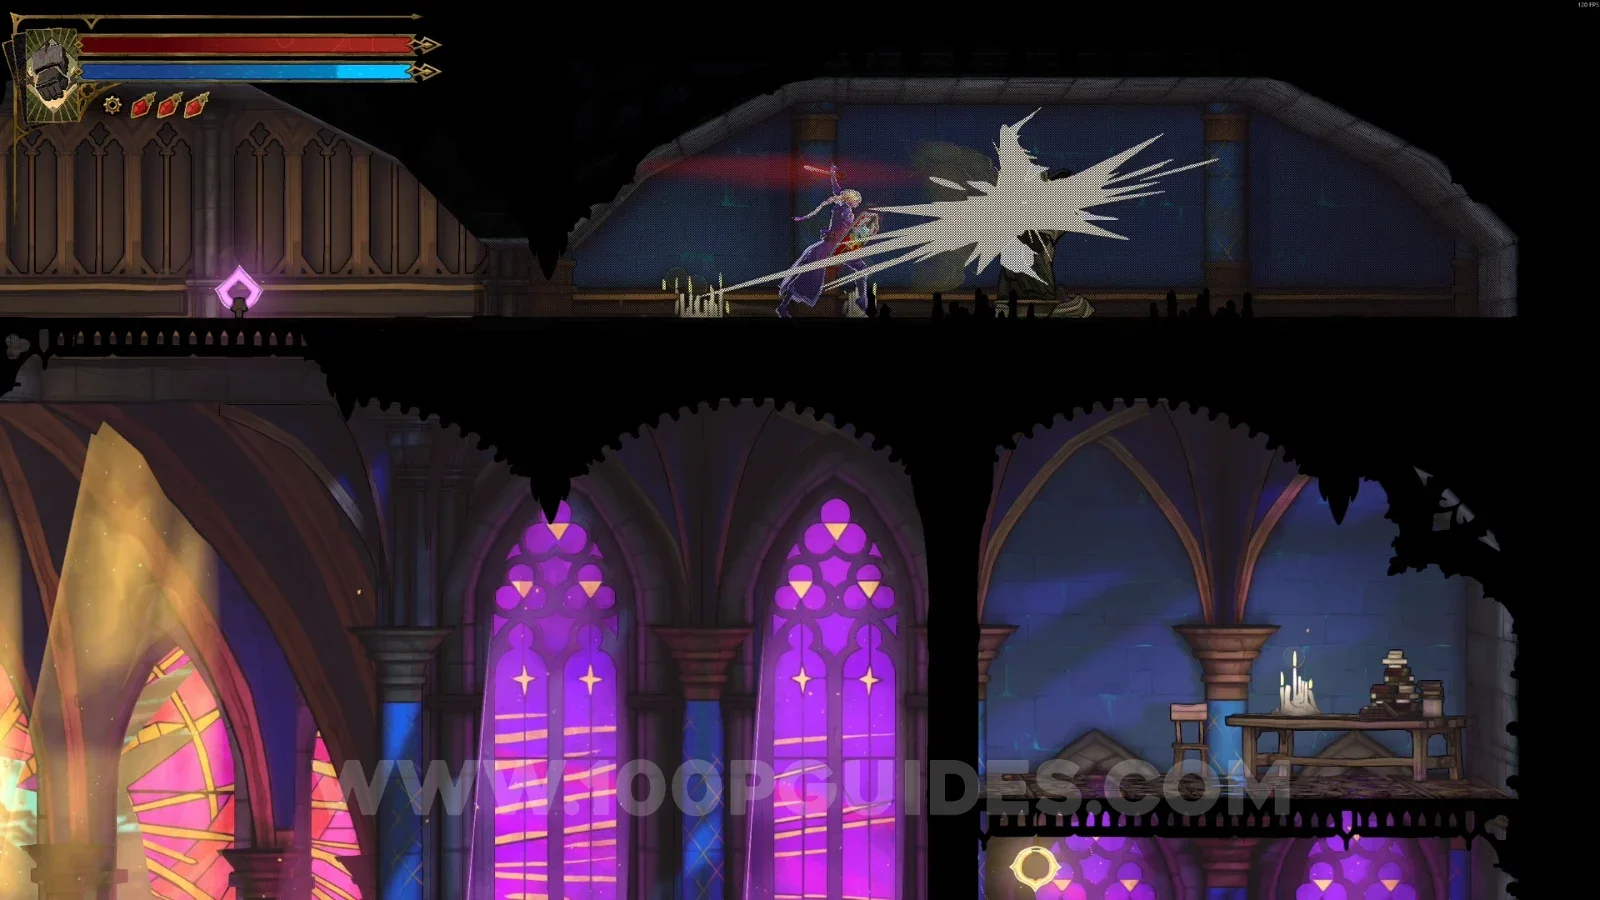
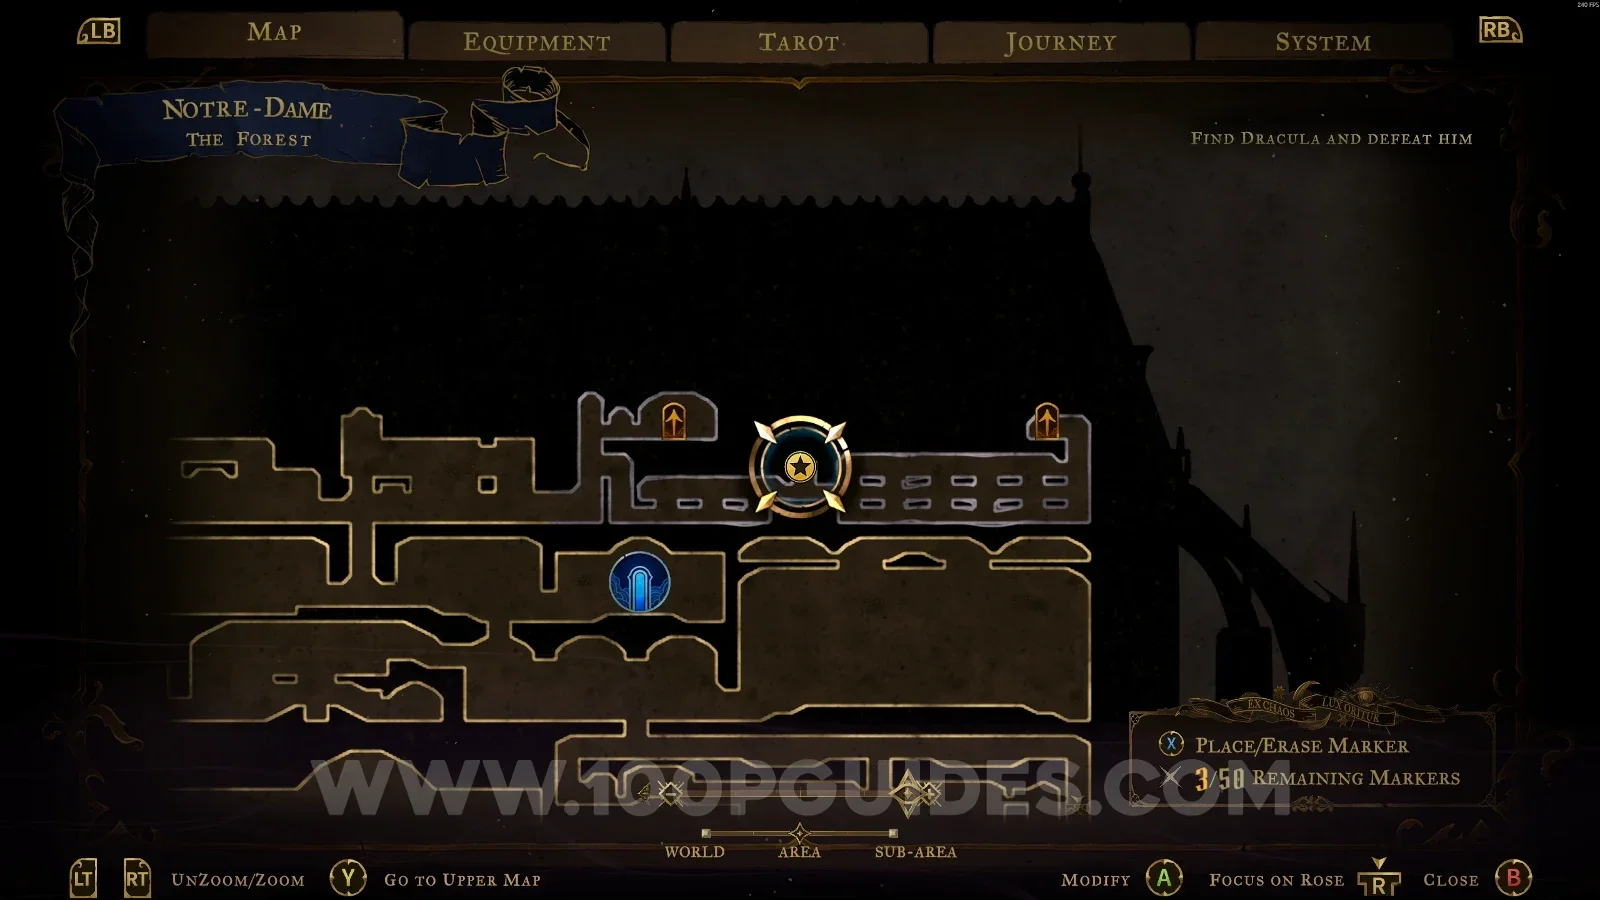
XP Statue #118

In the area marked on the map.

Castlevania Belmonts Curse The Forest map with the area of XP Statue #118 marked Castlevania Belmonts Curse The Forest: XP Statue #118 in the marked area

Transept

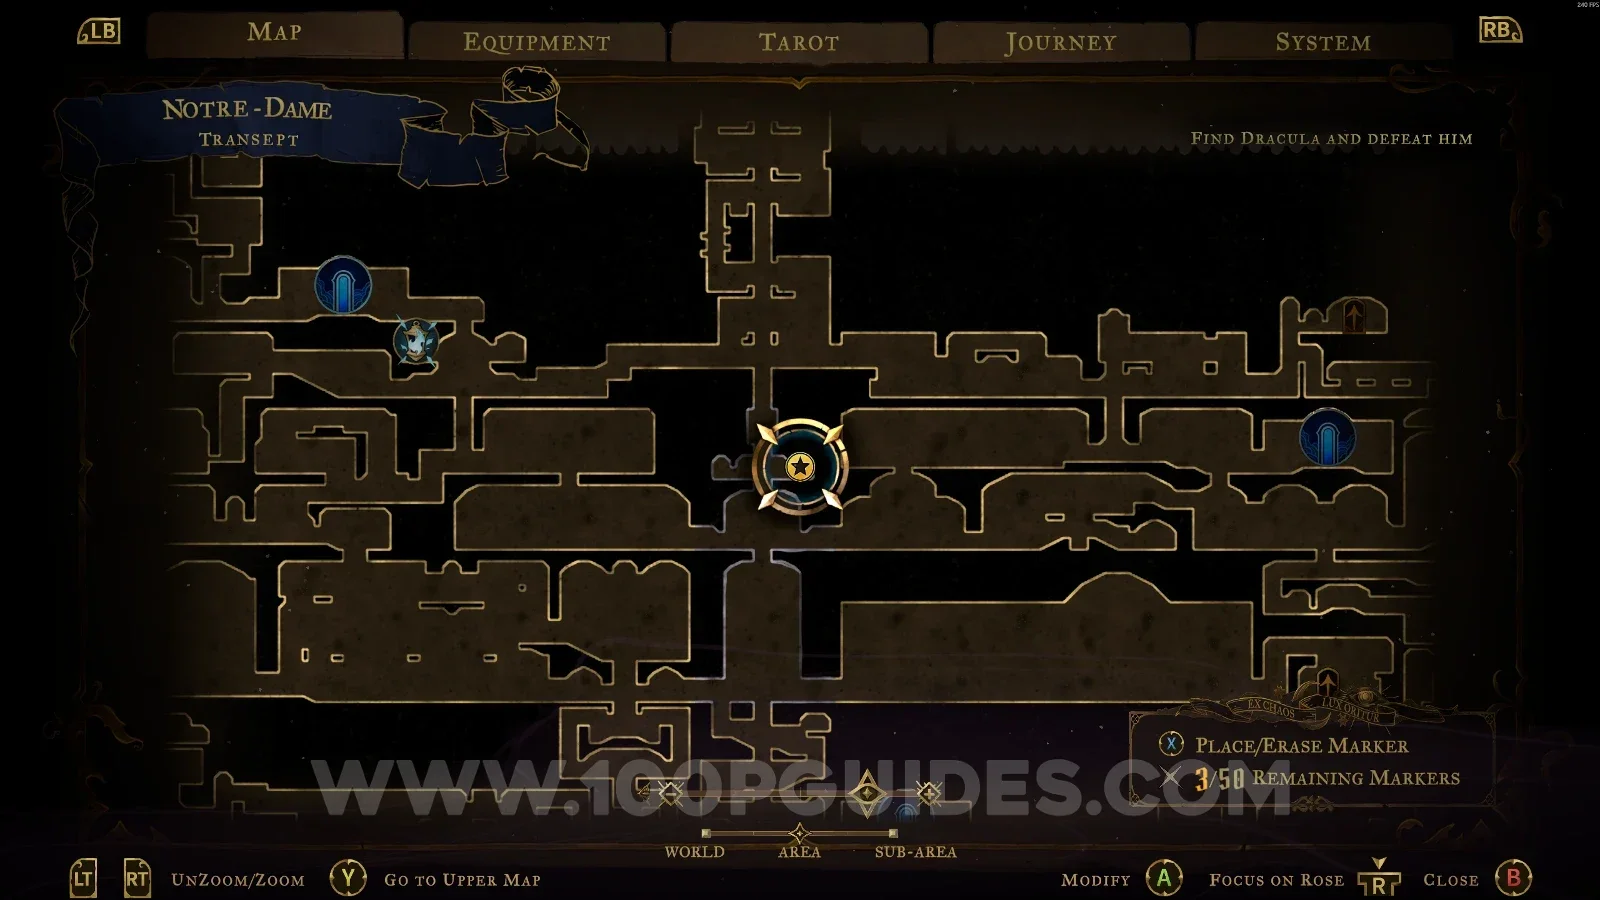
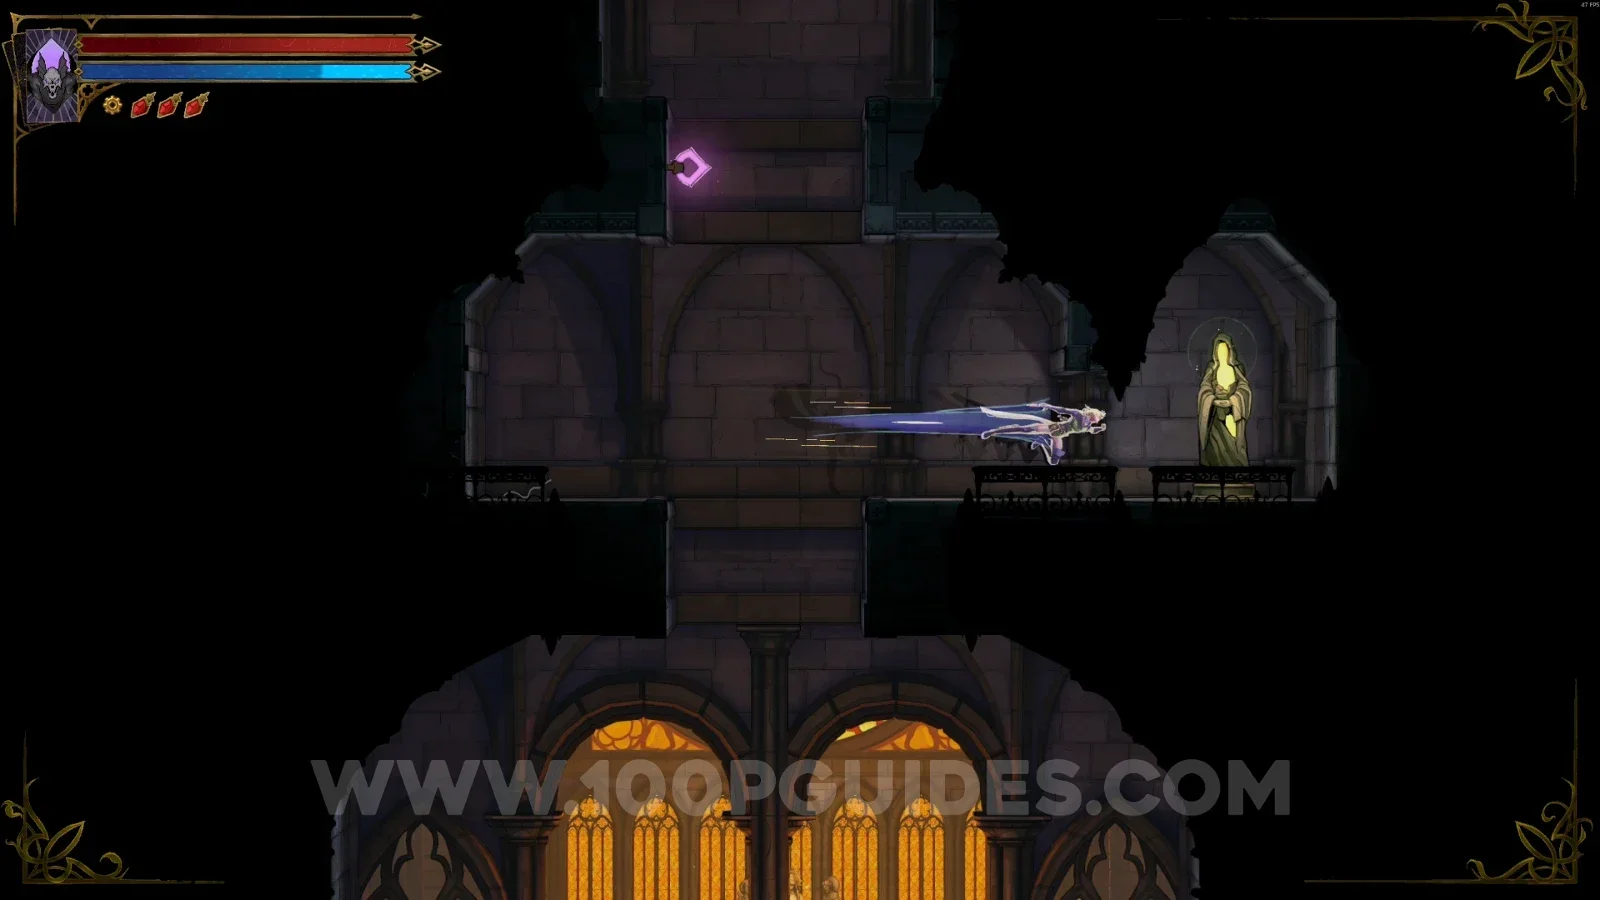
XP Statue #119

In the area marked on the map.

Castlevania Belmonts Curse Transept map with the area of XP Statue #119 marked Castlevania Belmonts Curse Transept: XP Statue #119 in the marked area

West Triforium

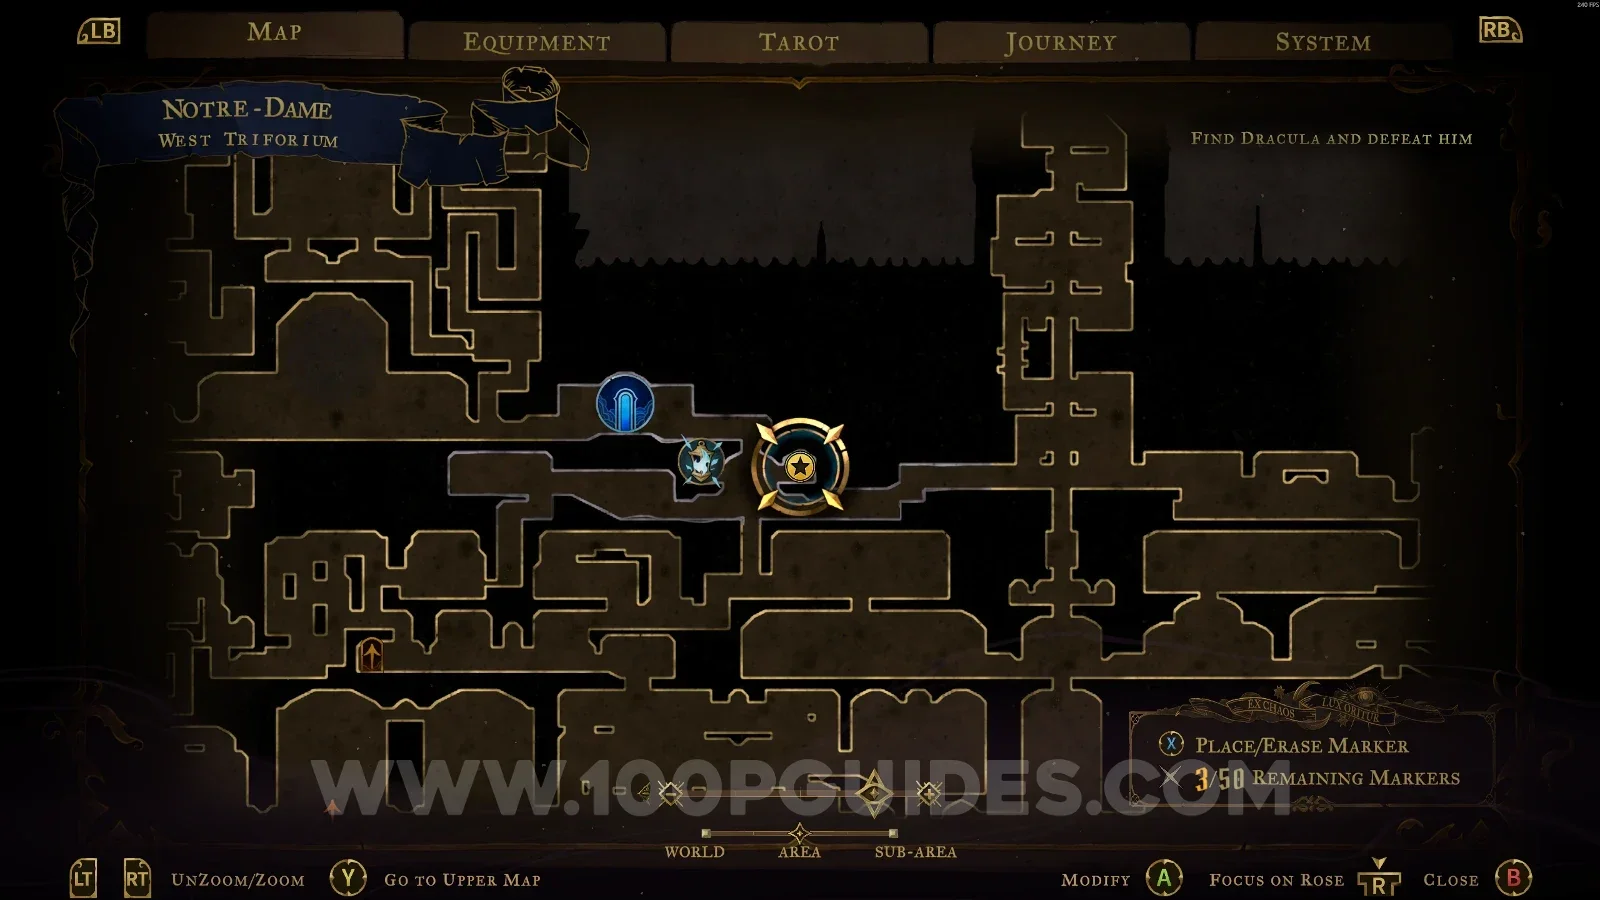
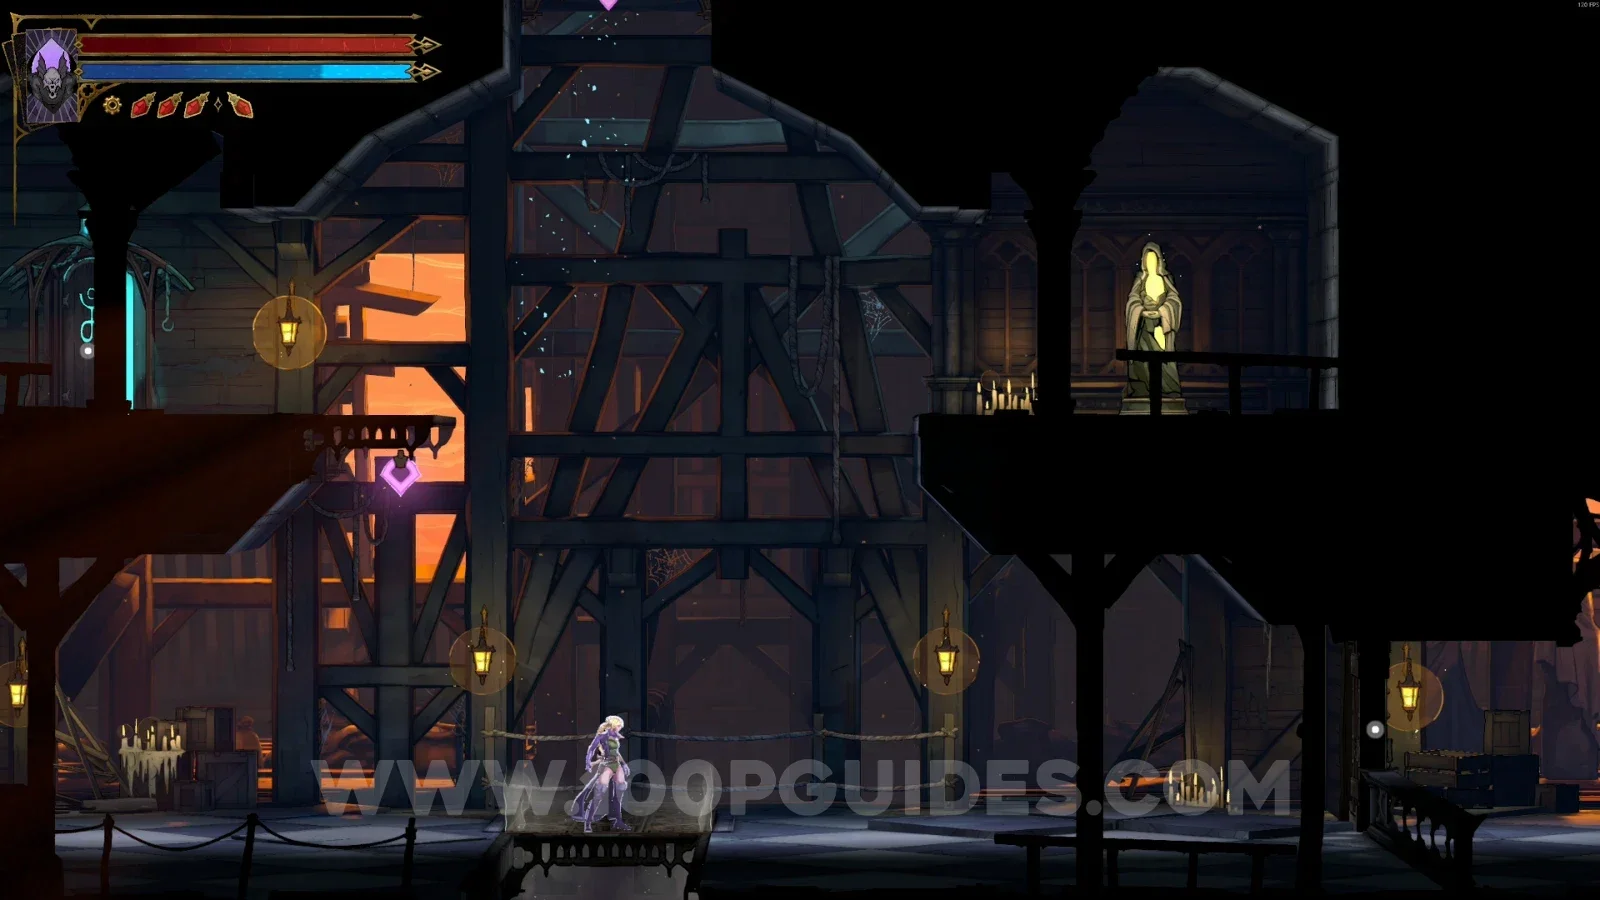
XP Statue #120

In the area marked on the map.

Castlevania Belmonts Curse West Triforium map with the area of XP Statue #120 marked Castlevania Belmonts Curse West Triforium: XP Statue #120 in the marked area

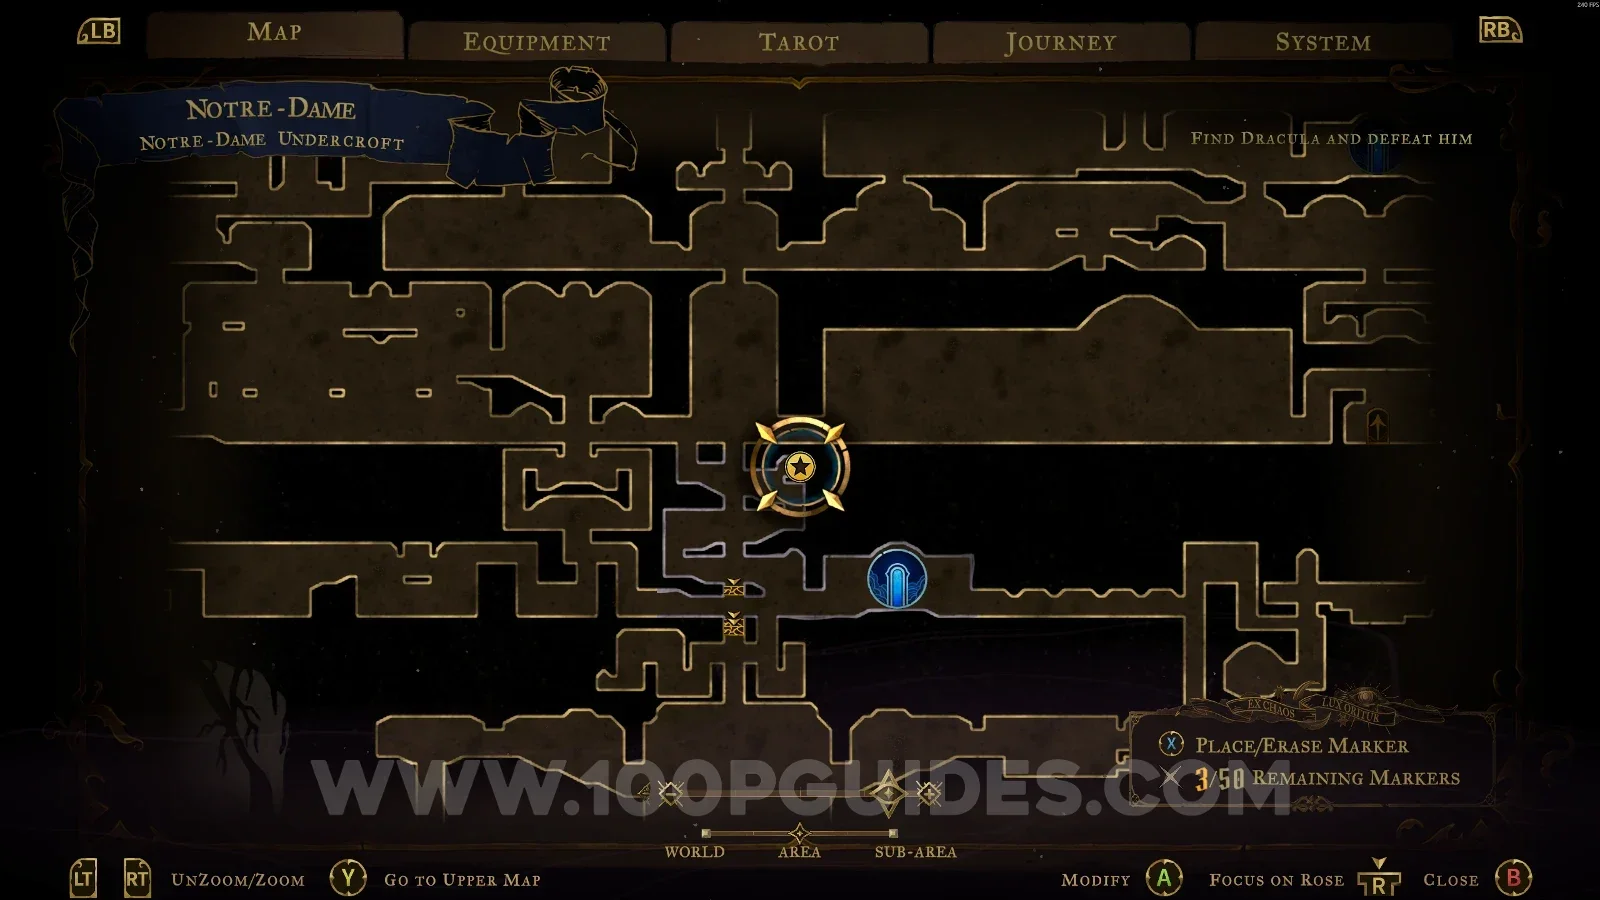
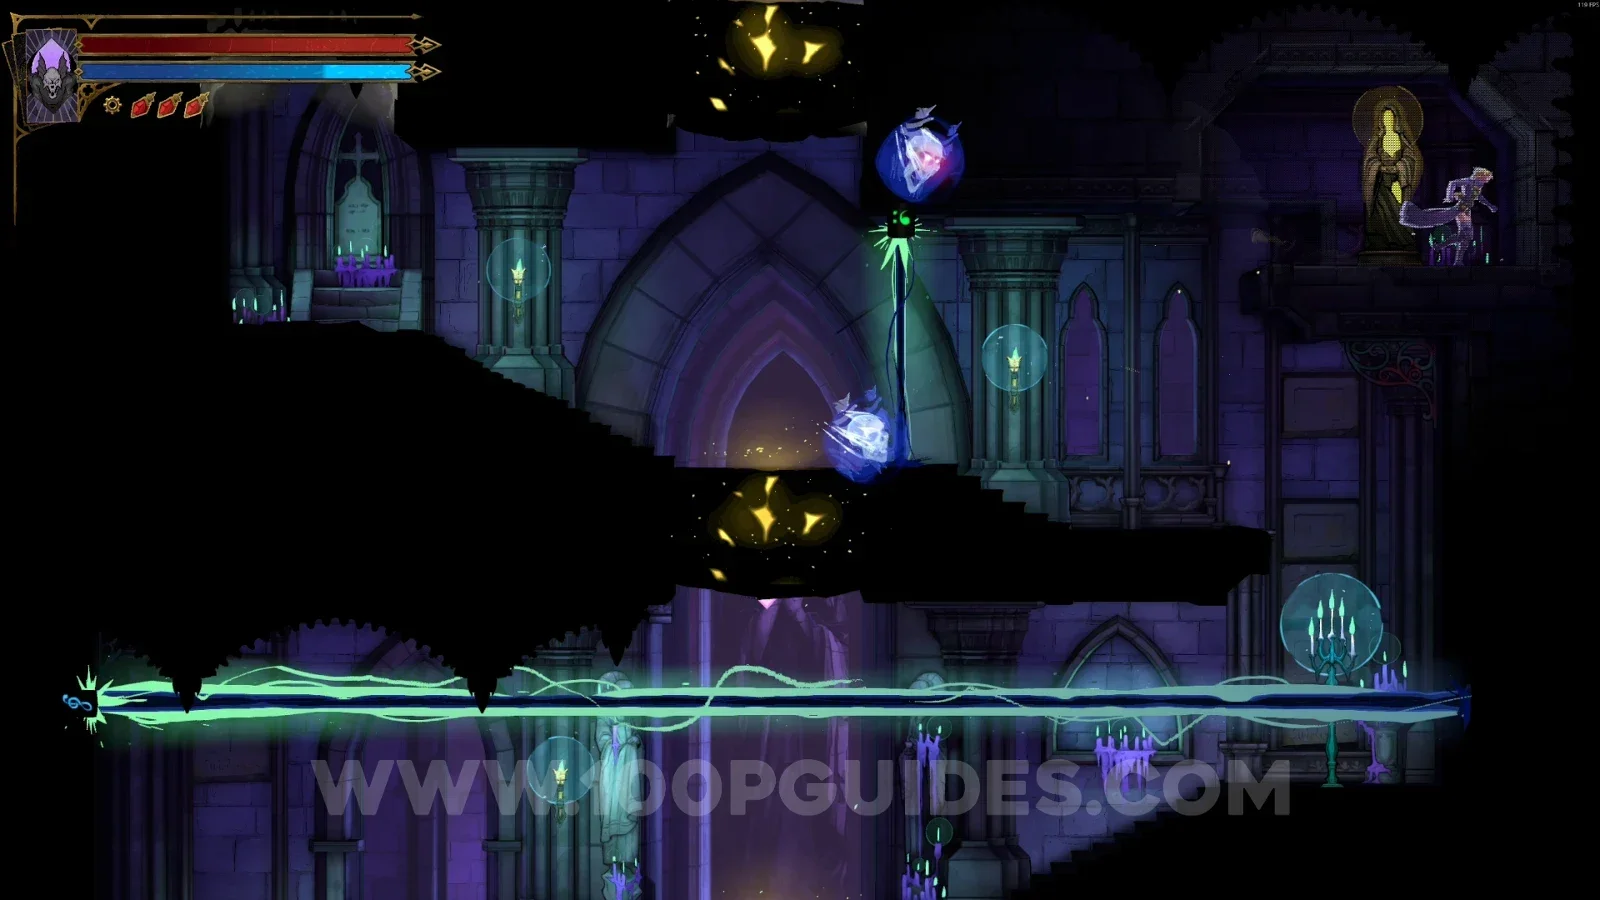
Notre-Dame Undercroft

XP Statue #121

In the area marked on the map.

Castlevania Belmonts Curse Notre-Dame Undercroft map with the area of XP Statue #121 marked Castlevania Belmonts Curse Notre-Dame Undercroft: XP Statue #121 in the marked area

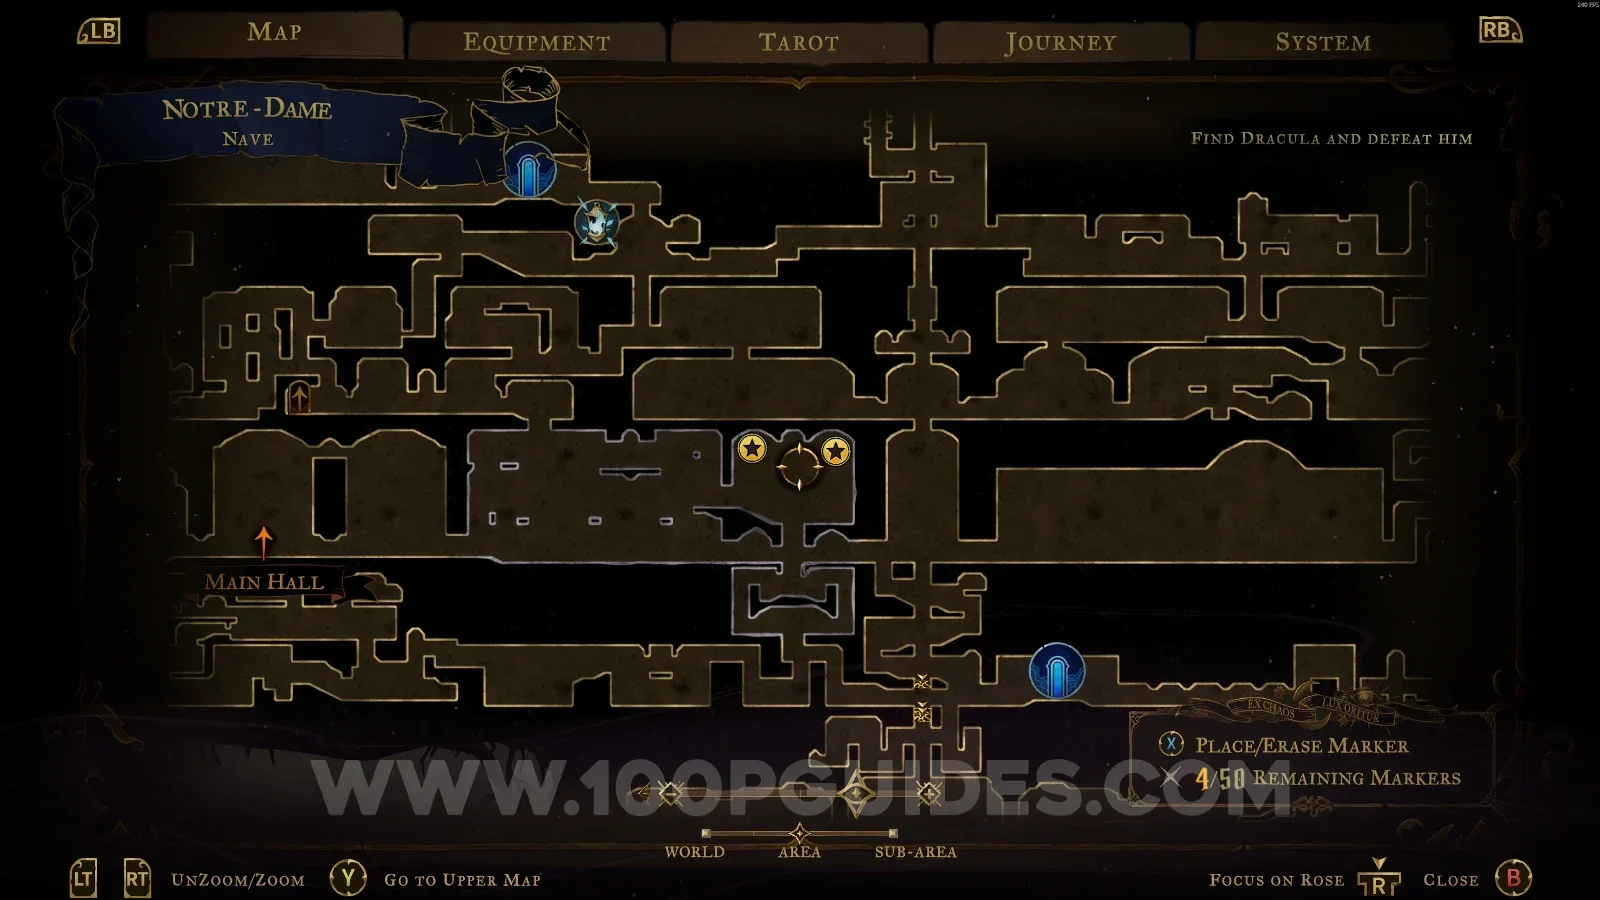
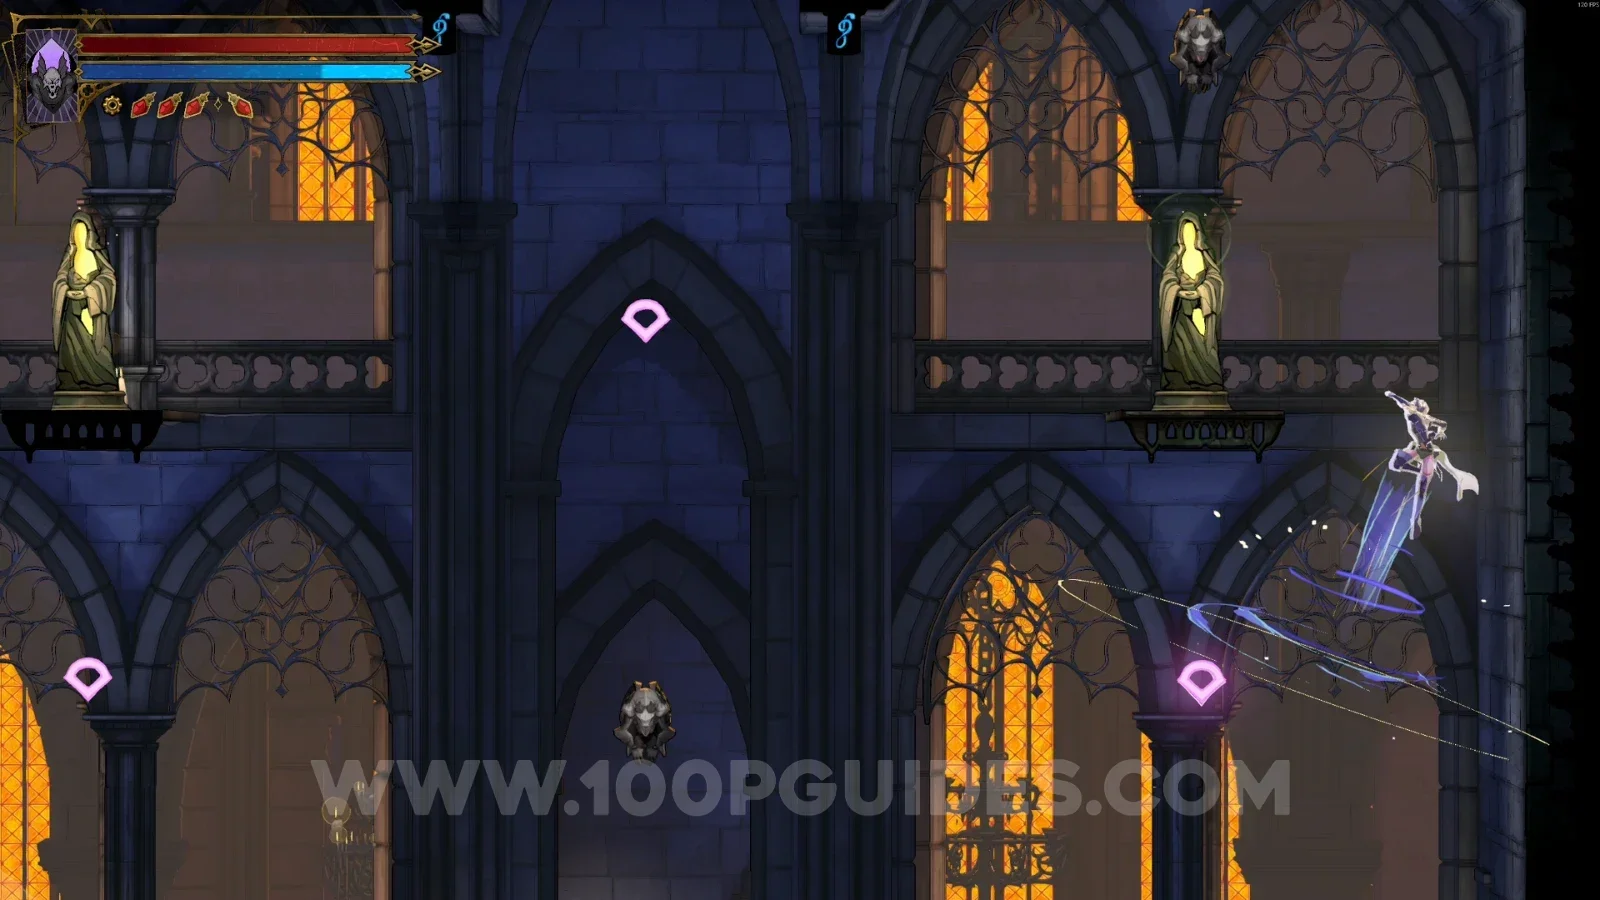
Nave

XP Statue #122 - #123

At the top of the area, right next to each other.

Castlevania Belmonts Curse Nave map showing XP Statues #122 and #123 at the top of the area Castlevania Belmonts Curse Nave: XP Statues #122 and #123 side by side at the top

Tomb Of The Chevaliers

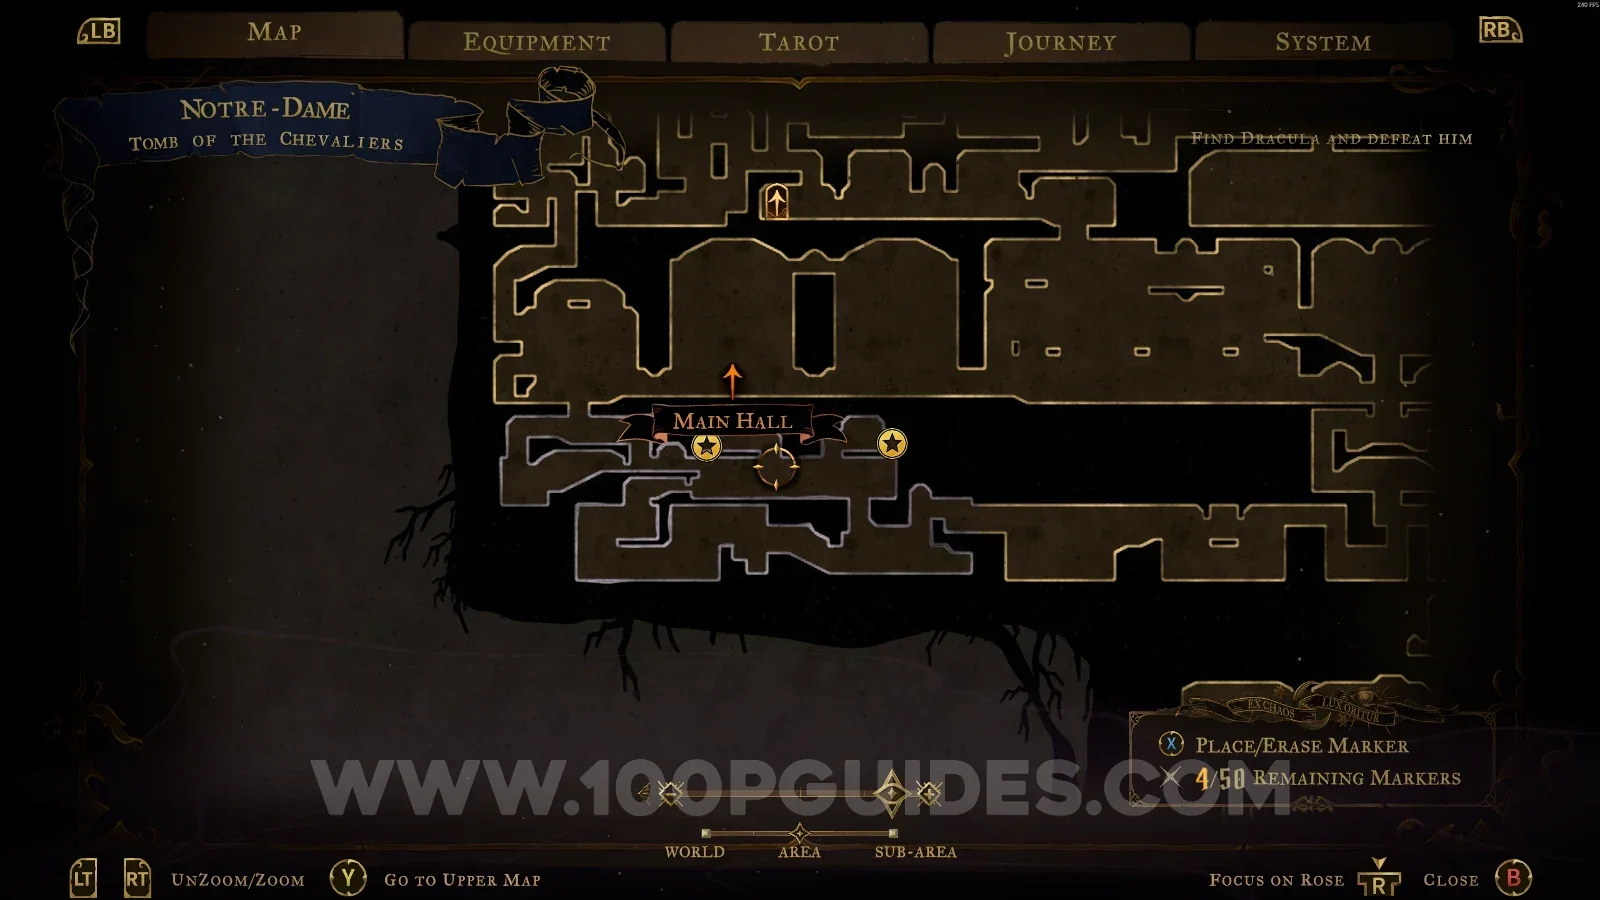
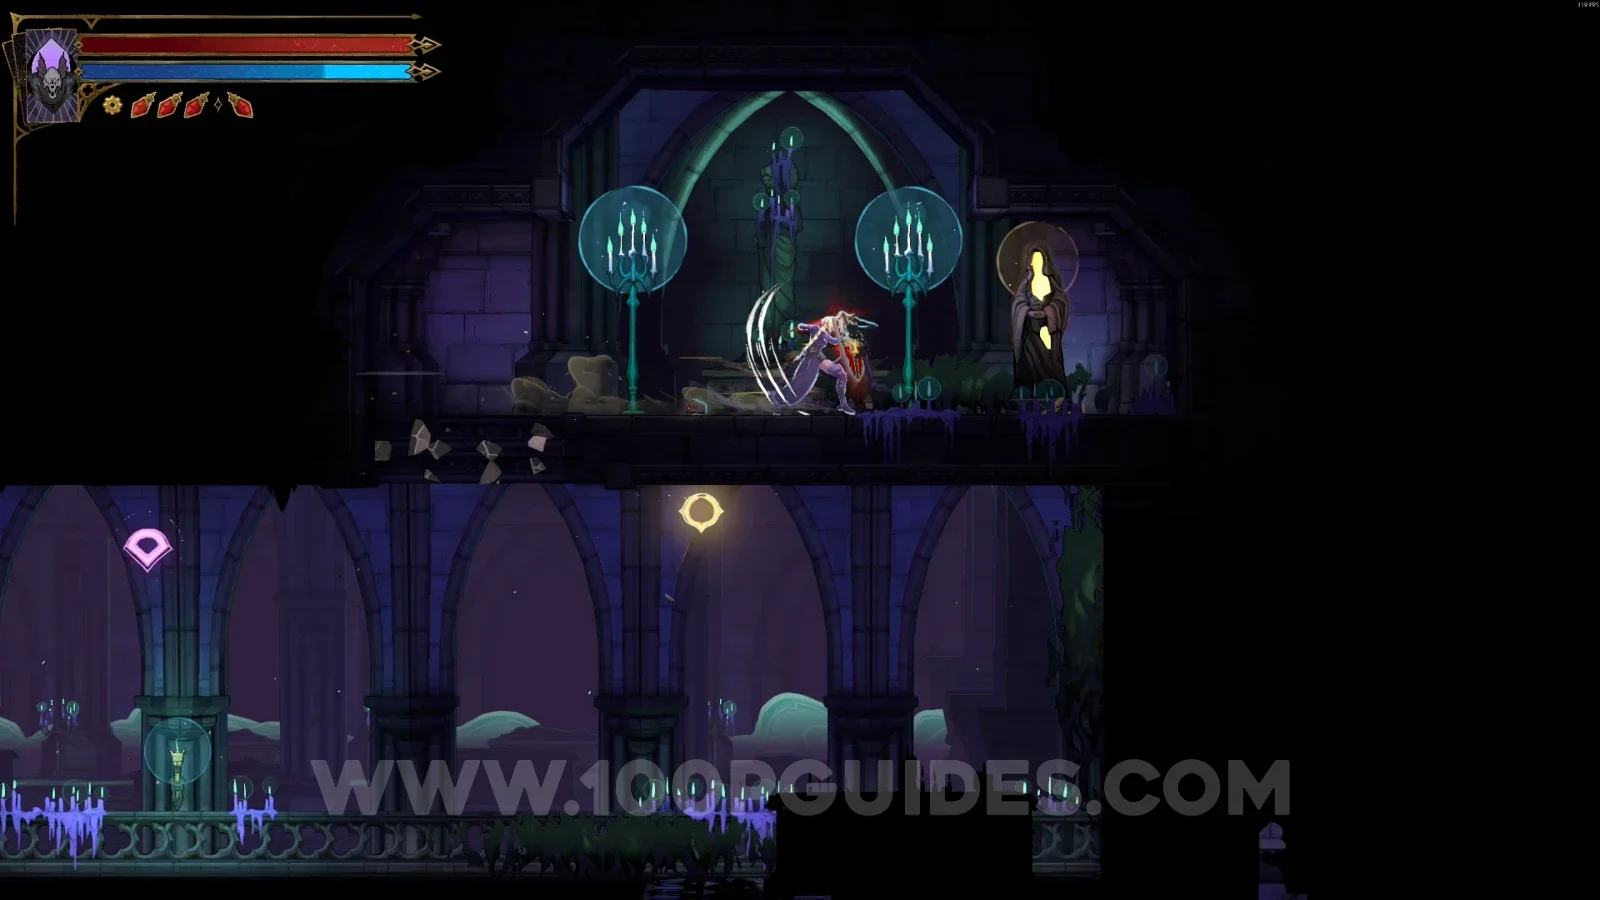
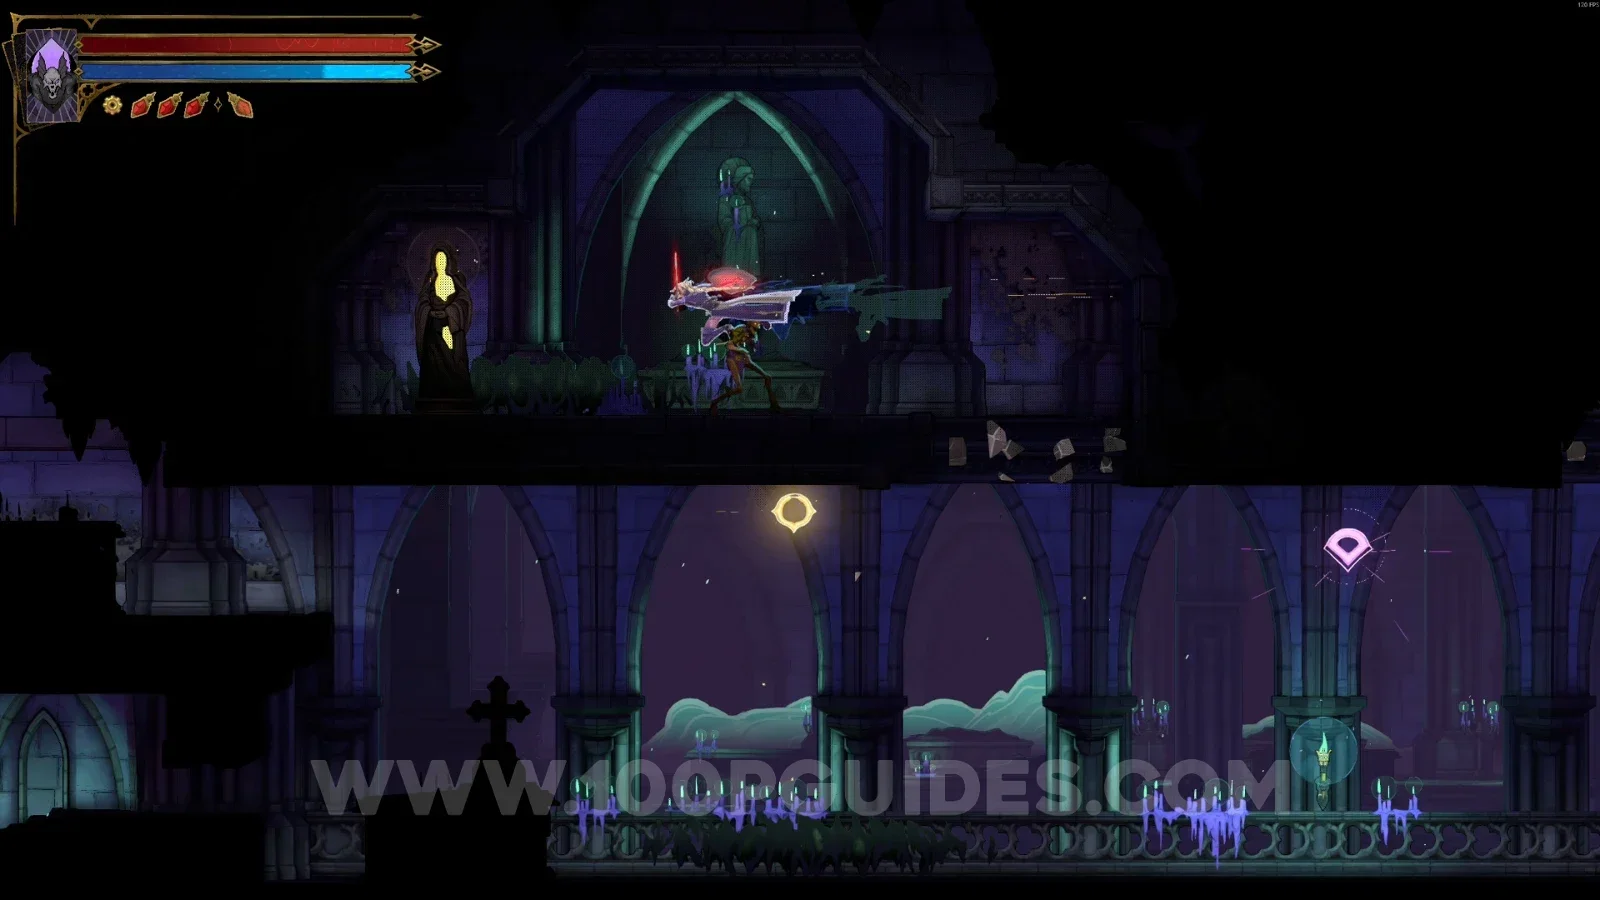
XP Statue #124 - #125

At the top of the area, right next to each other.

Castlevania Belmonts Curse Tomb Of The Chevaliers map showing XP Statues #124 and #125 at the top Castlevania Belmonts Curse Tomb Of The Chevaliers: heading to the top of the area for XP Statues #124 and #125 Castlevania Belmonts Curse Tomb Of The Chevaliers: XP Statues #124 and #125 right next to each other

Narthex

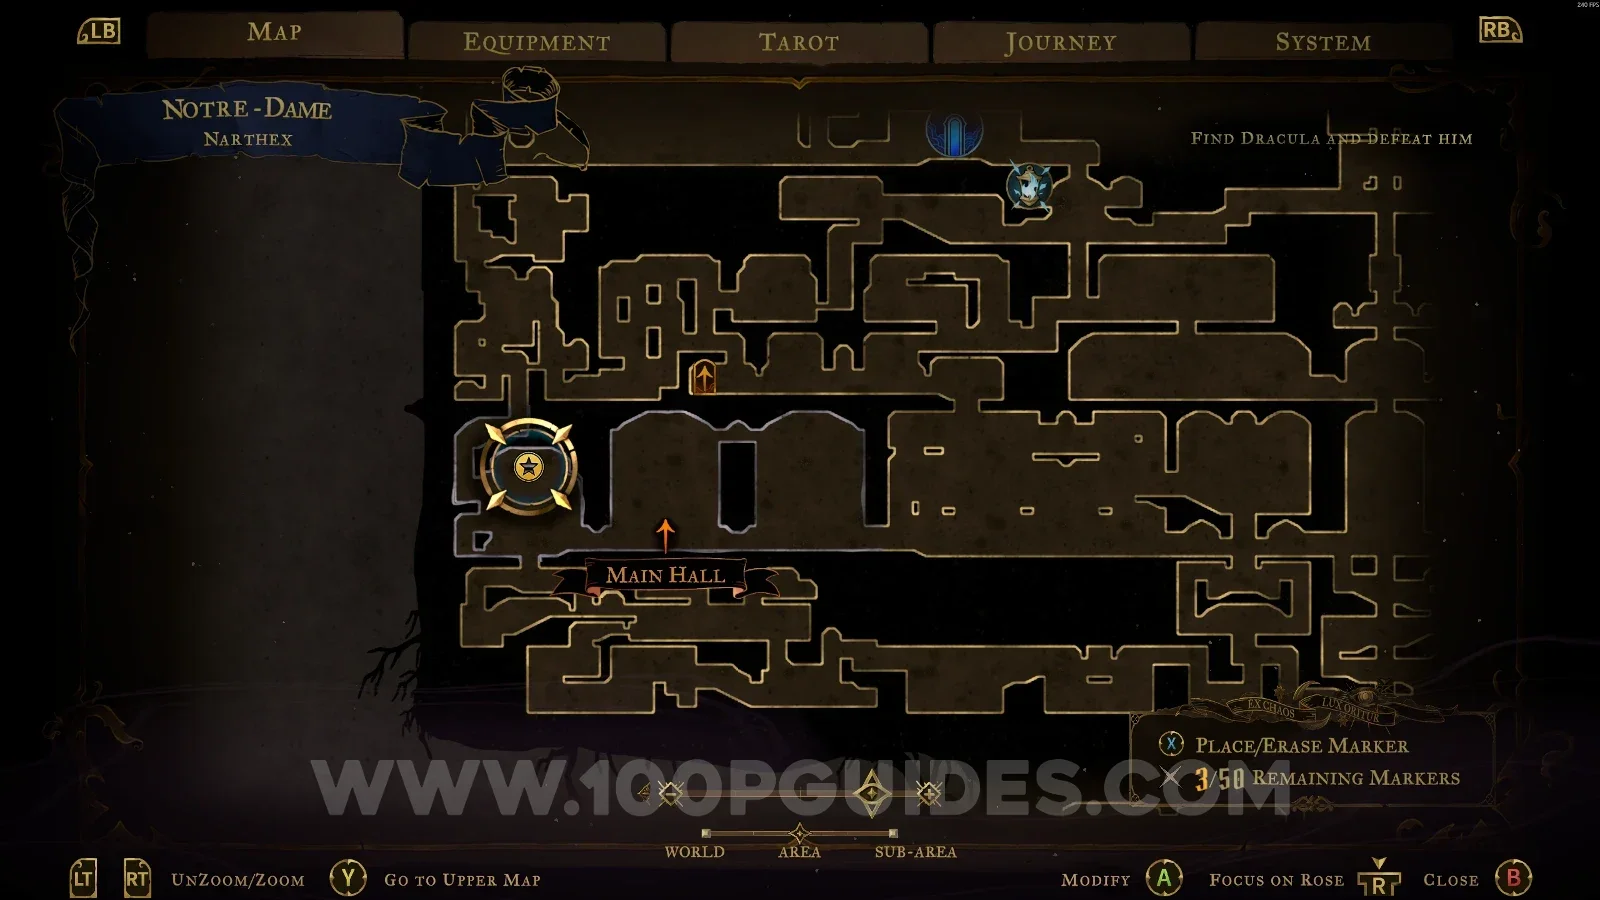
XP Statue #126

In the area marked on the map.

Castlevania Belmonts Curse Narthex map with the area of XP Statue #126 marked Castlevania Belmonts Curse Narthex: XP Statue #126 in the marked area

Hall Of Mirrors

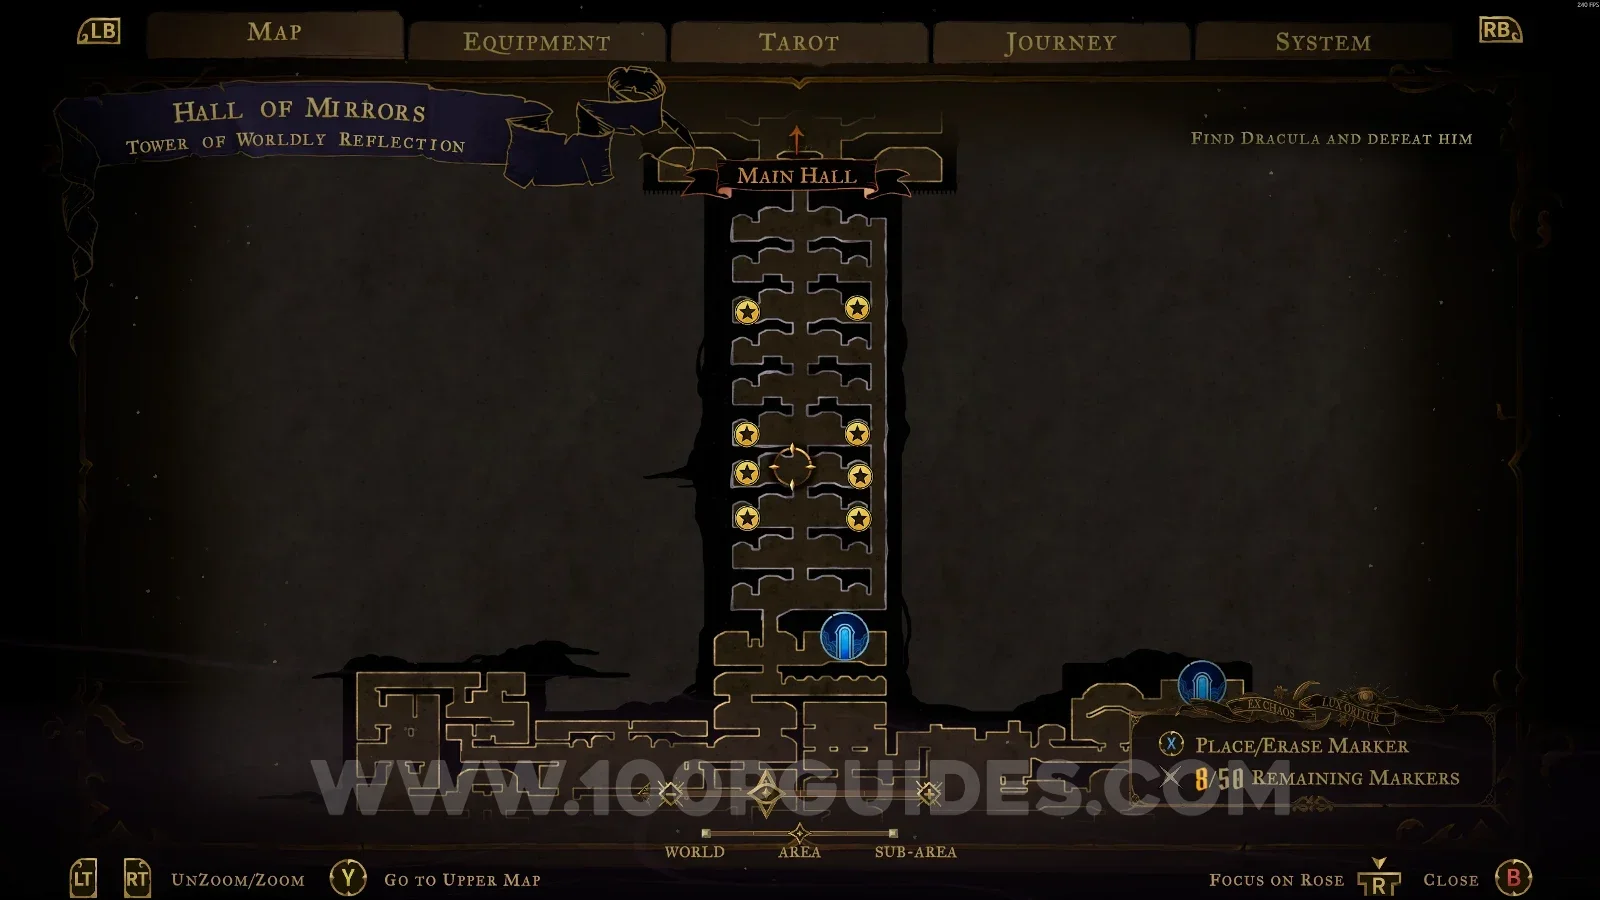
Tower Of Worldly Reflection

XP Statue #127 - #134

In the corridors marked on the map, there will be one on each side of each corridor.

Castlevania Belmonts Curse Tower Of Worldly Reflection map marking the corridors of XP Statues #127 to #134 Castlevania Belmonts Curse Tower Of Worldly Reflection: XP Statues on each side of a corridor

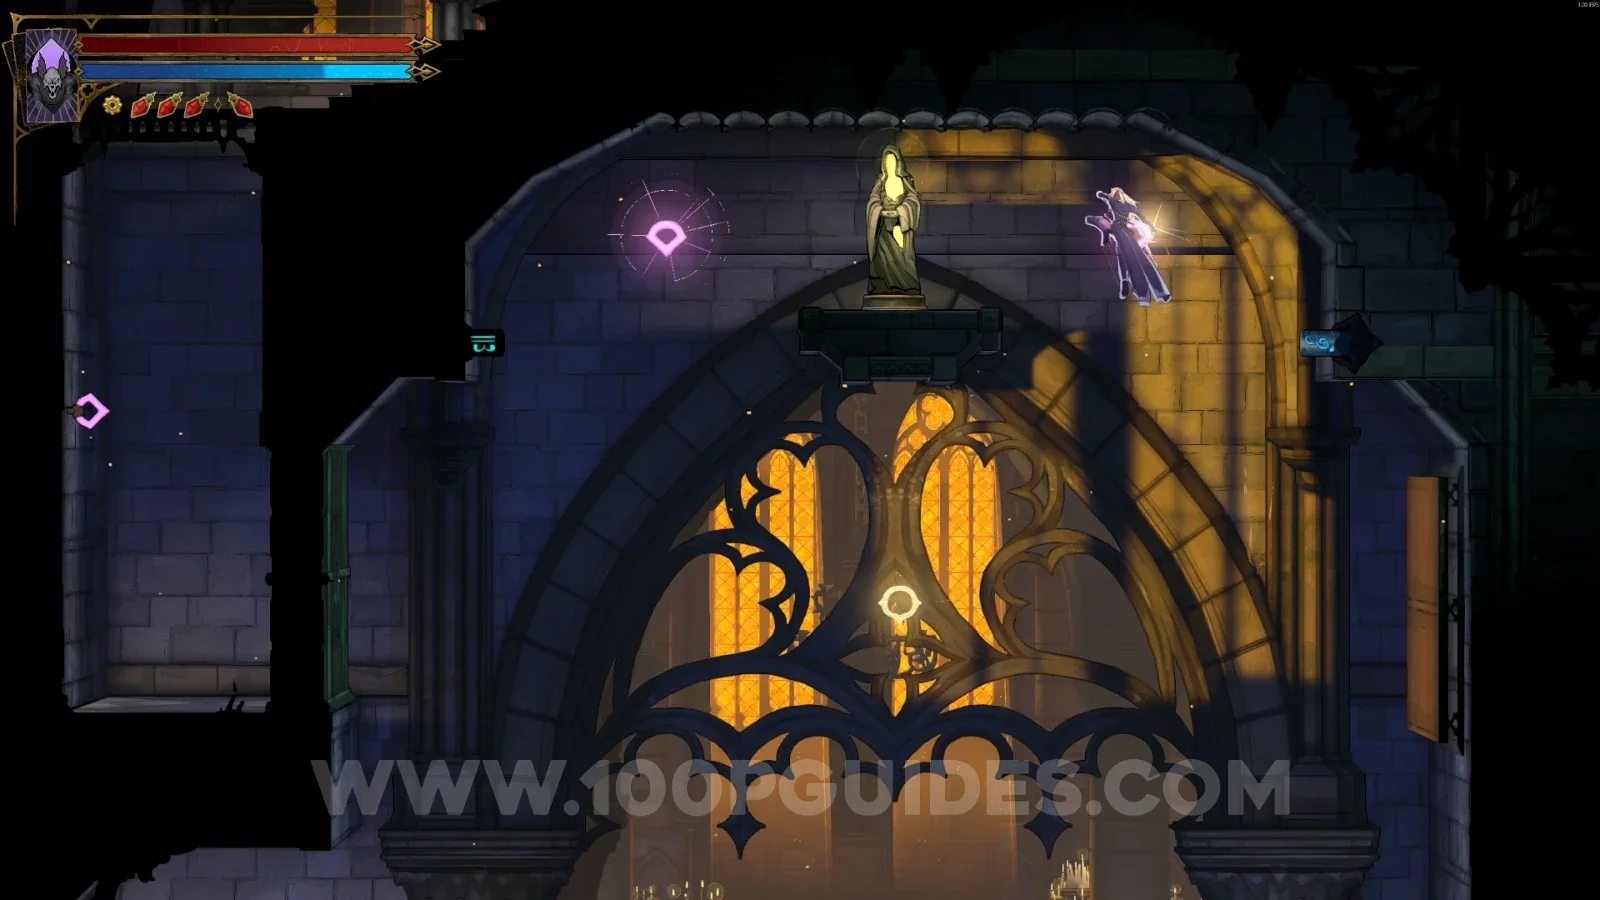
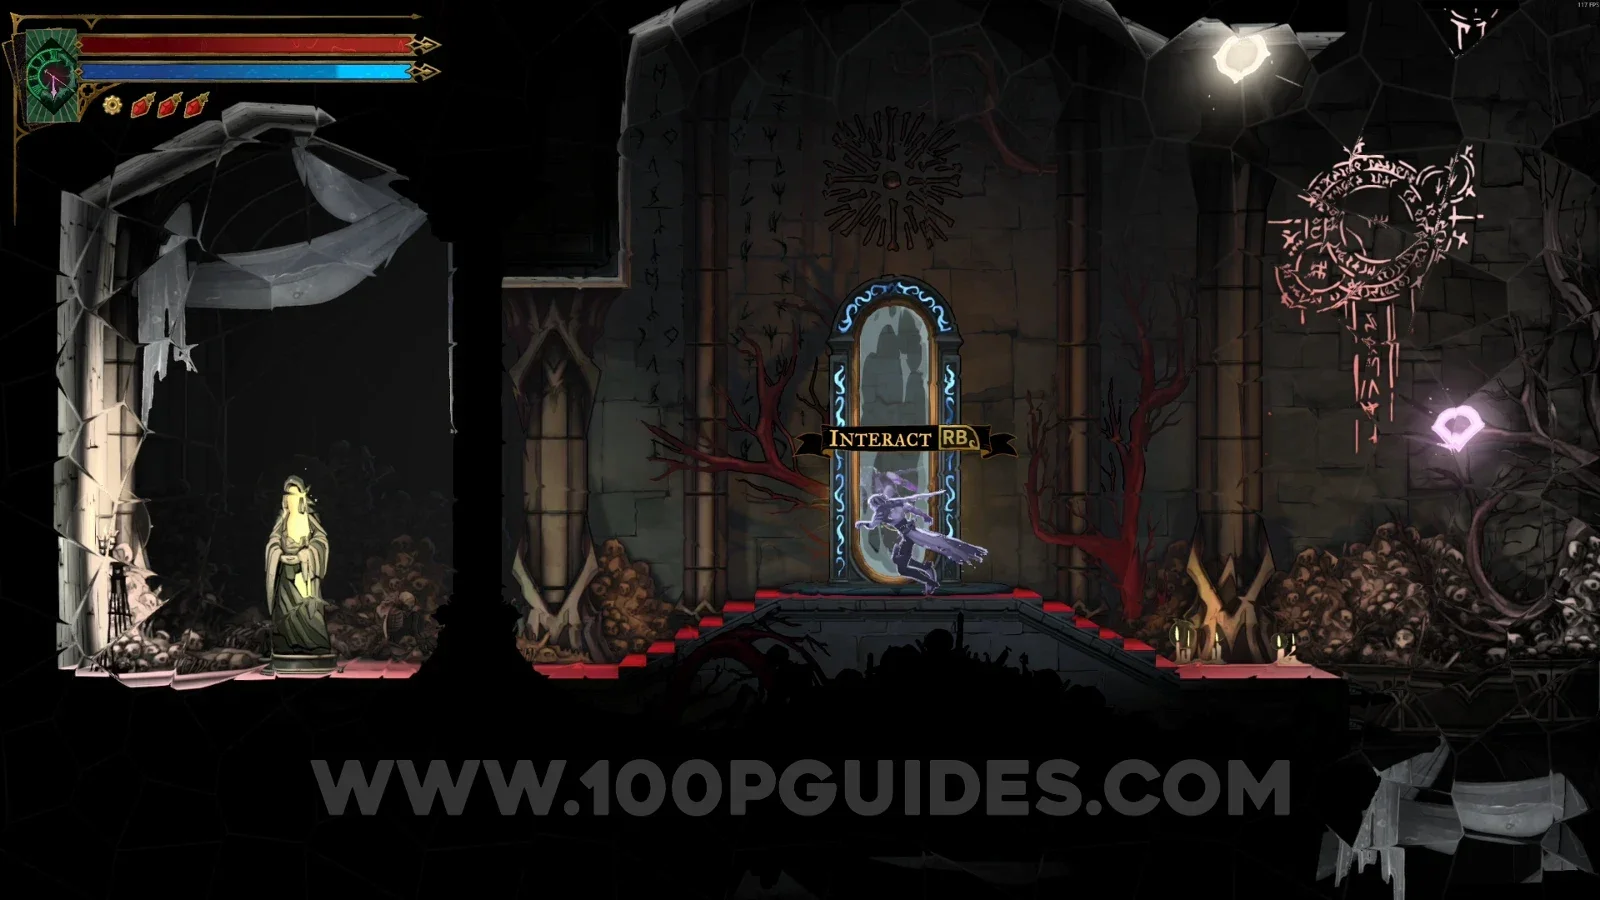
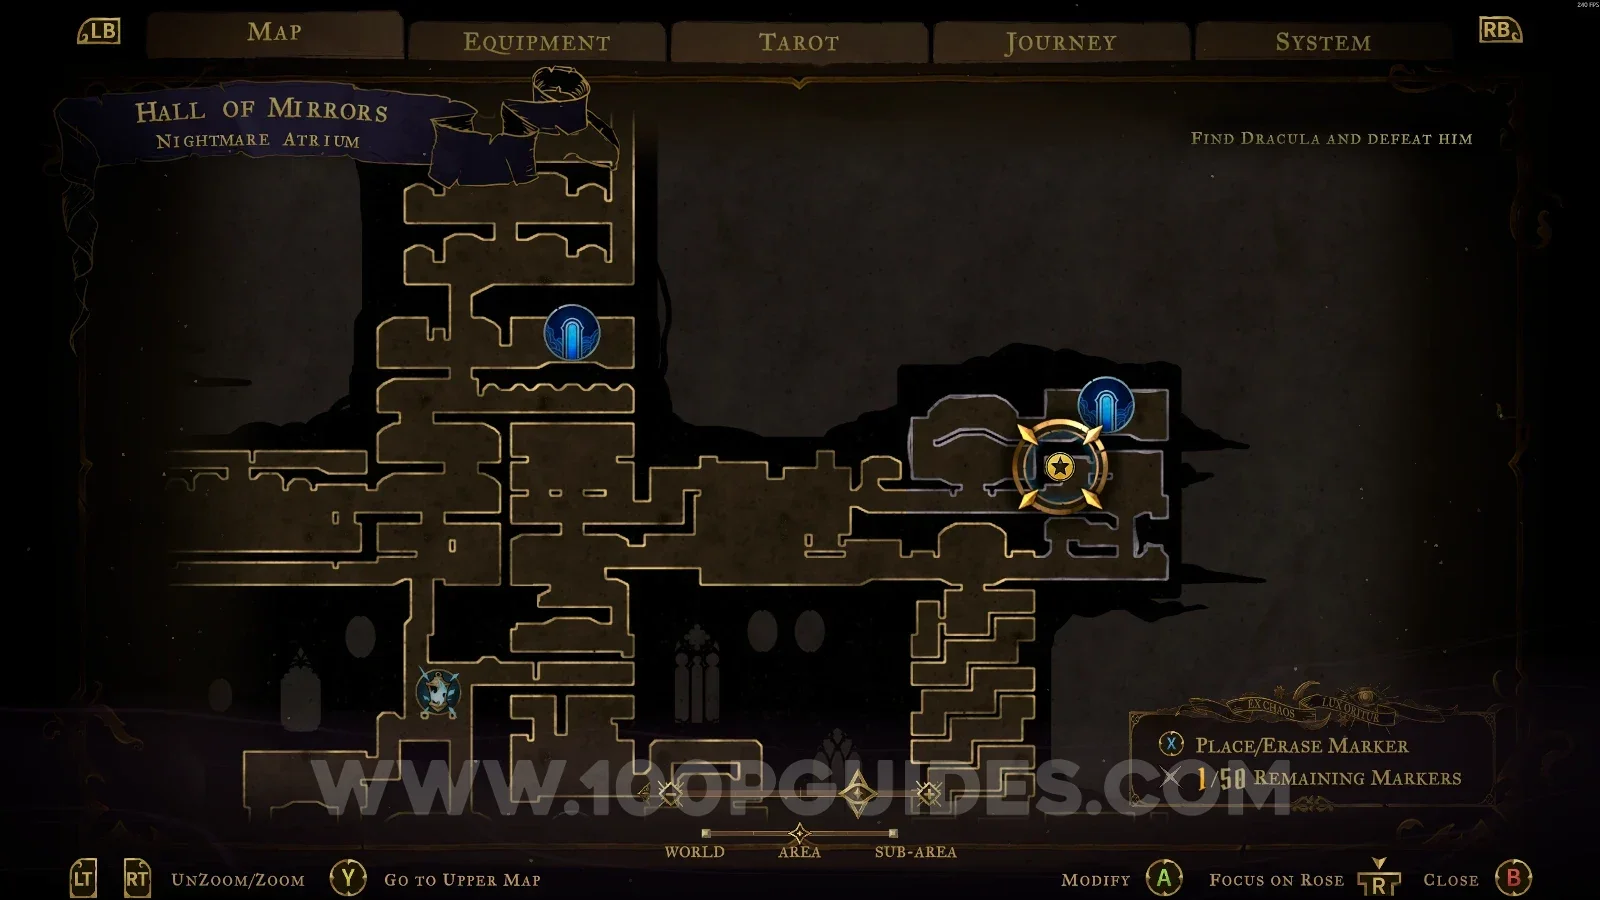
Nightmare Atrium

XP Statue #135

In the area marked on the map.

Castlevania Belmonts Curse Nightmare Atrium map with the area of XP Statue #135 marked Castlevania Belmonts Curse Nightmare Atrium: XP Statue #135 in the marked area

Level Deviled

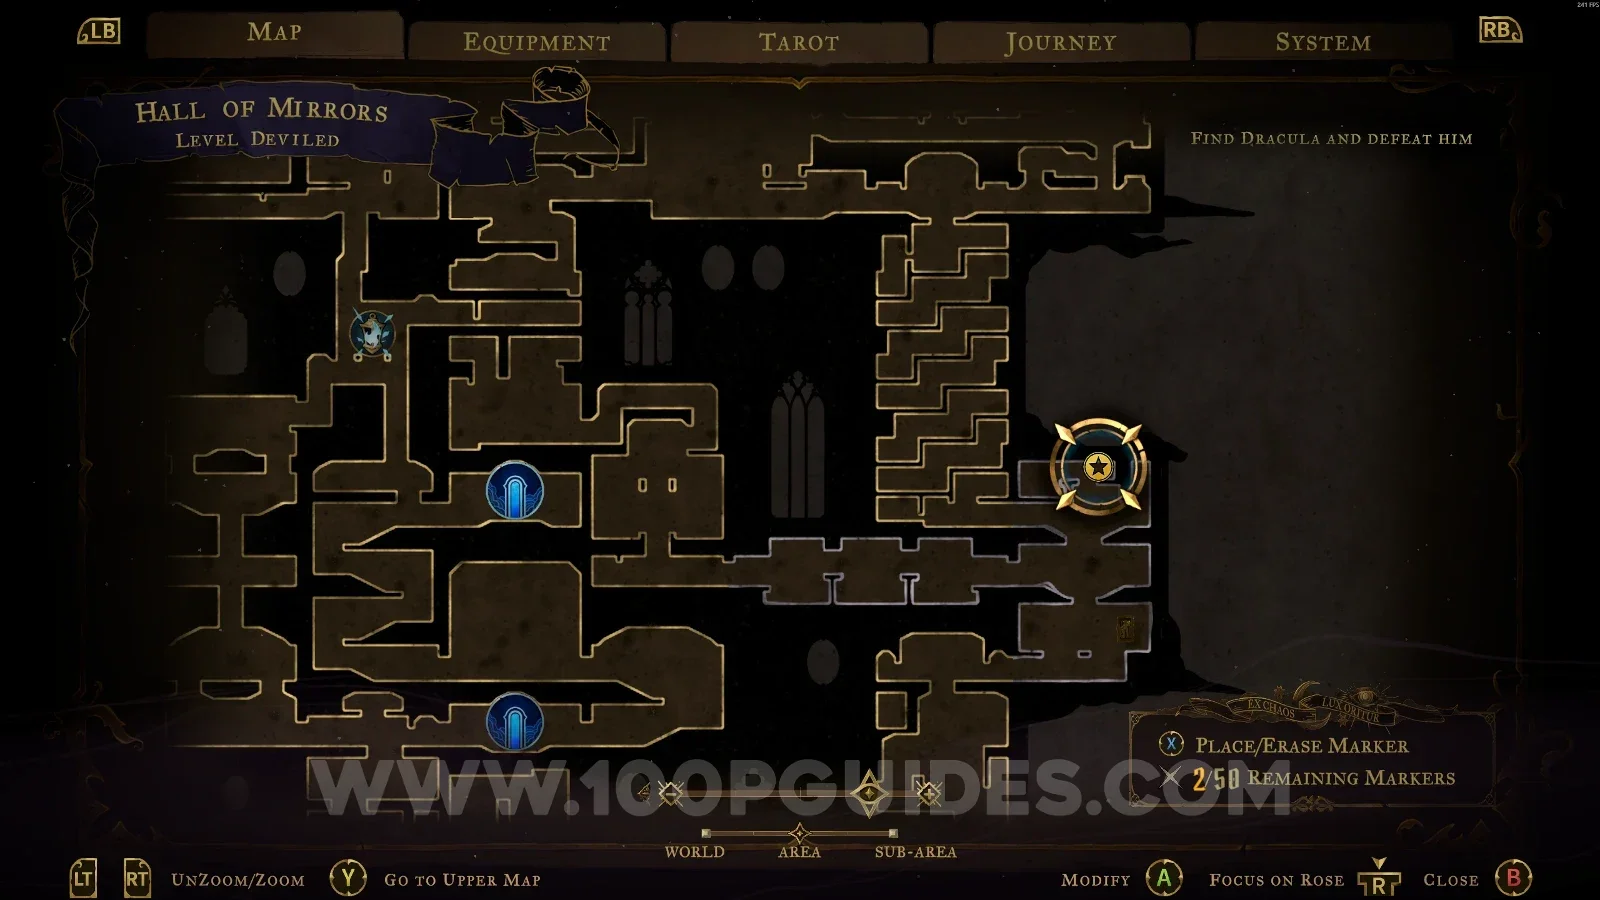
XP Statue #136

In the area marked on the map.

Castlevania Belmonts Curse Level Deviled map with the area of XP Statue #136 marked Castlevania Belmonts Curse Level Deviled: XP Statue #136 in the marked area

Dead-End Tower

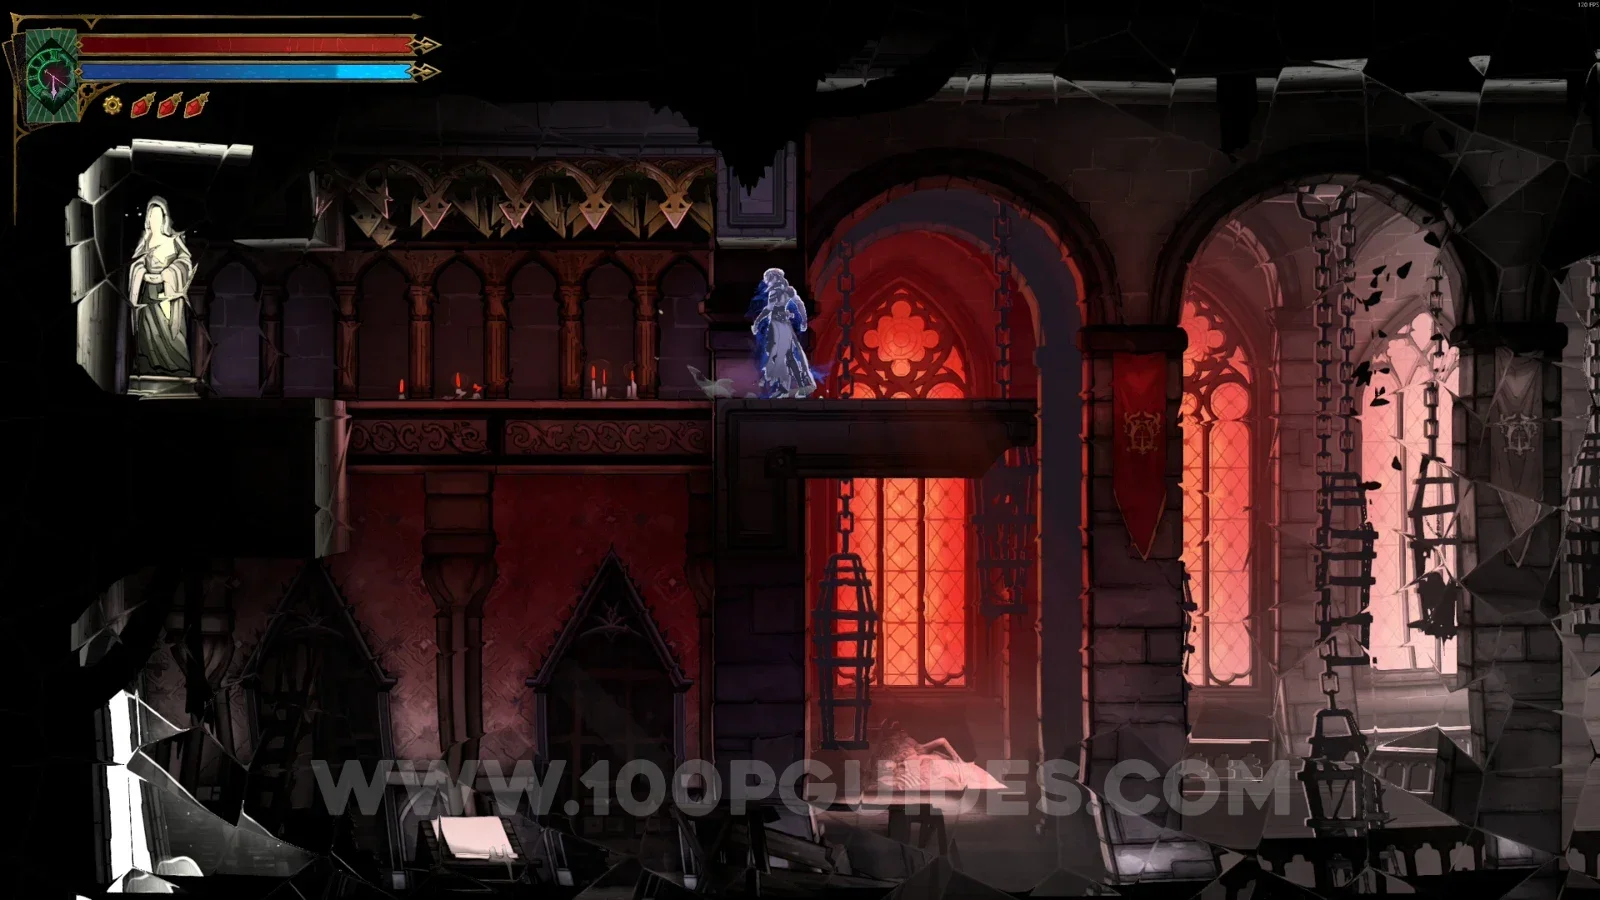
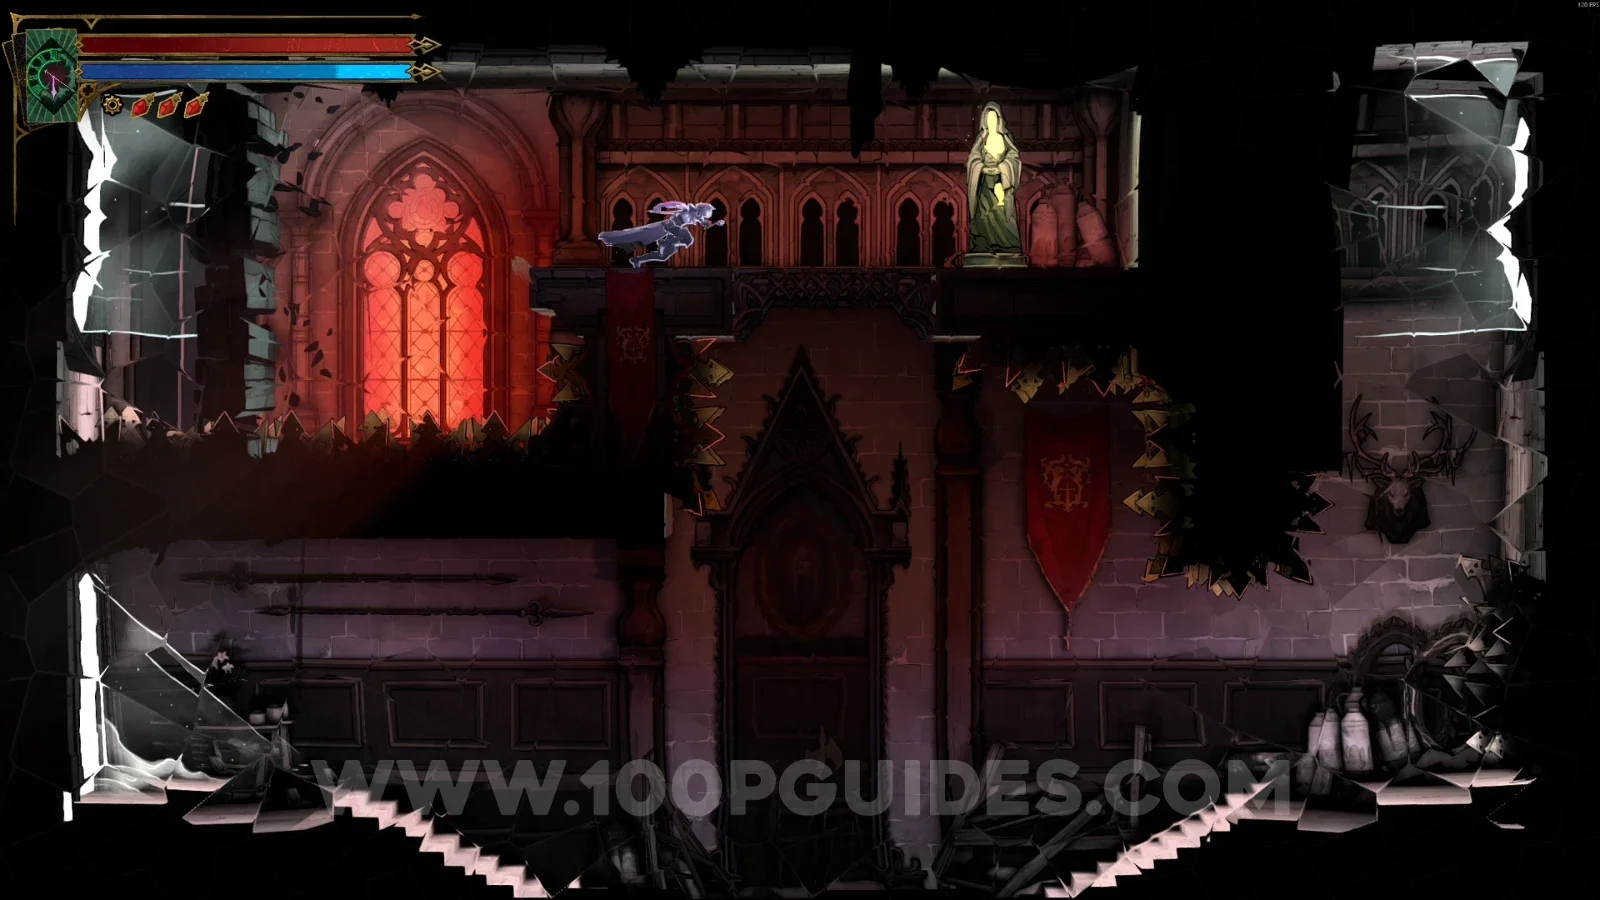
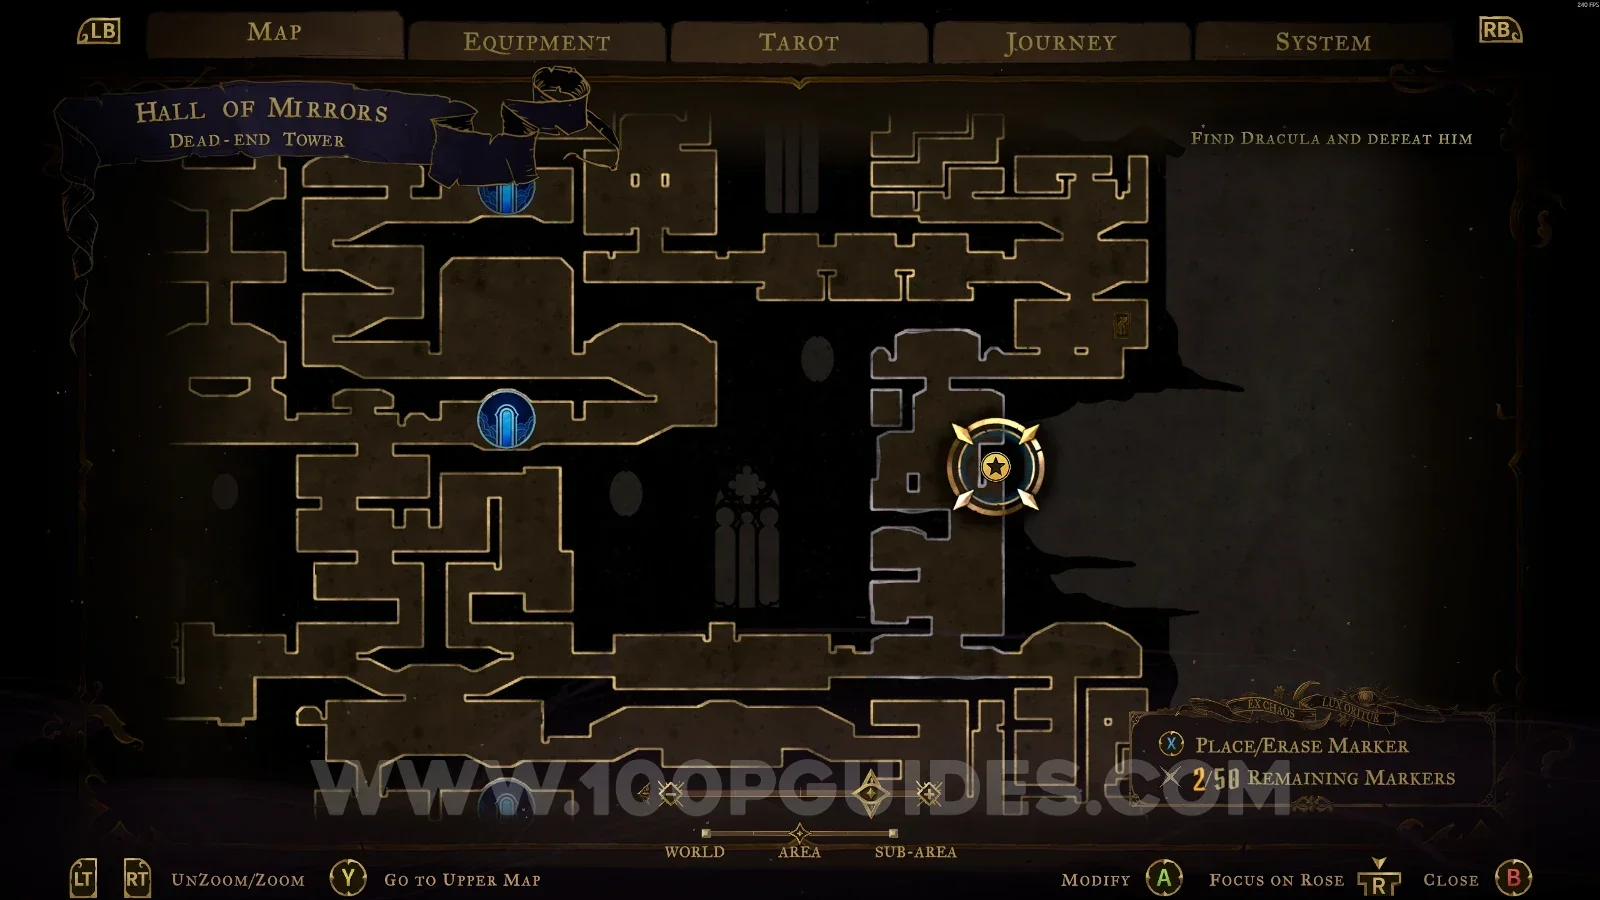
XP Statue #137

On the right side of the area marked on the map, in a secret room.

Castlevania Belmonts Curse Dead-End Tower map with the area of XP Statue #137 marked Castlevania Belmonts Curse Dead-End Tower: XP Statue #137 in a secret room on the right side

Familiar Way

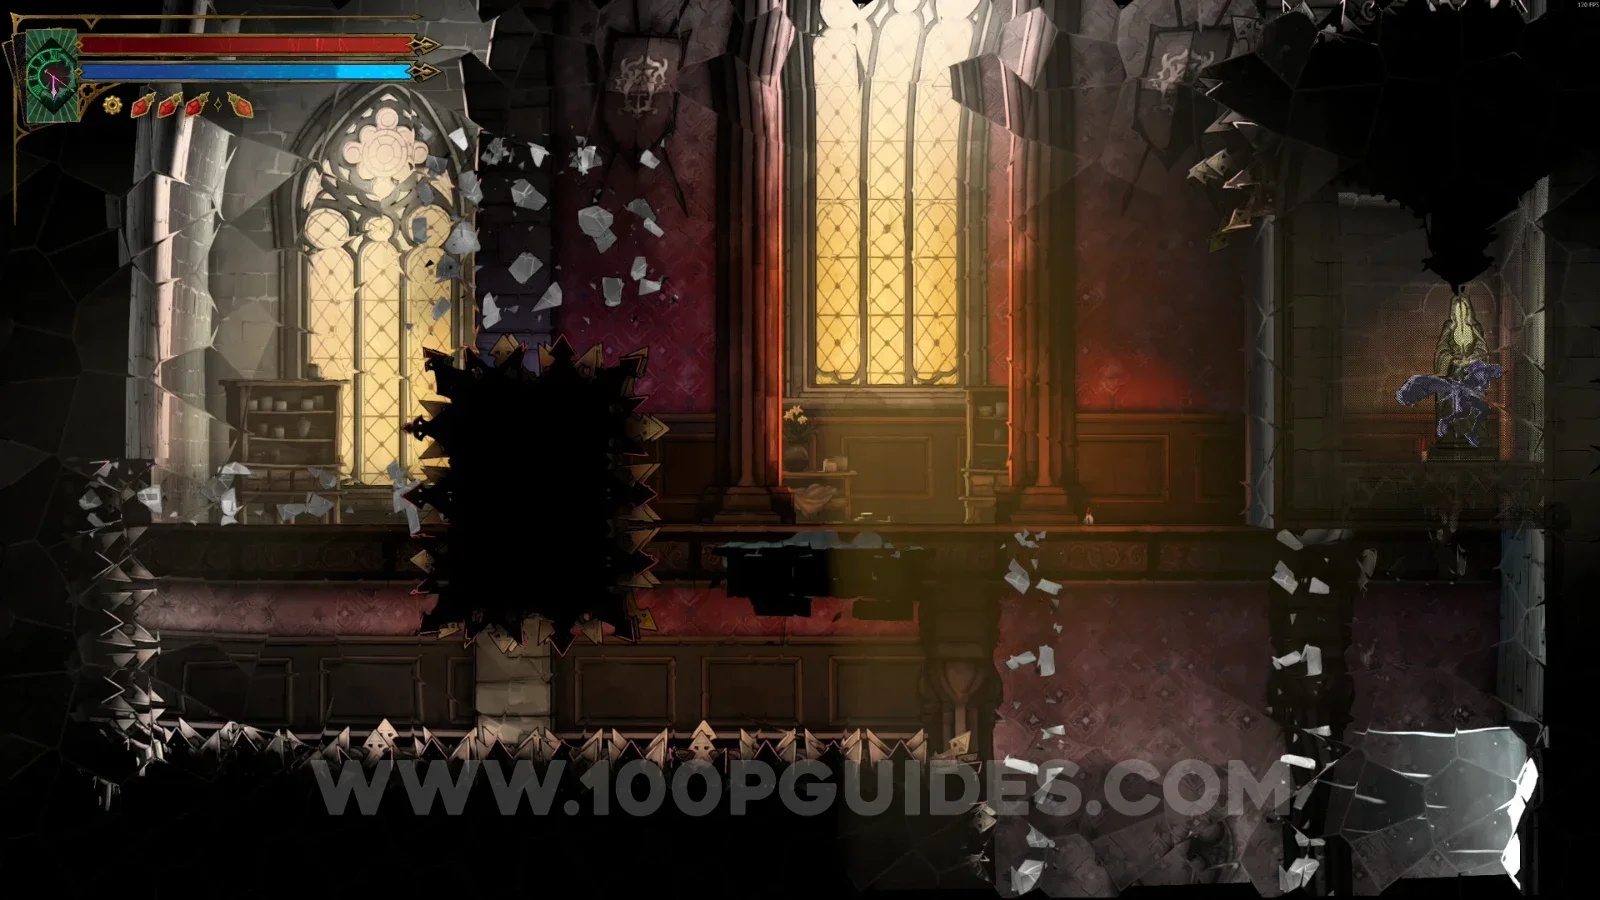
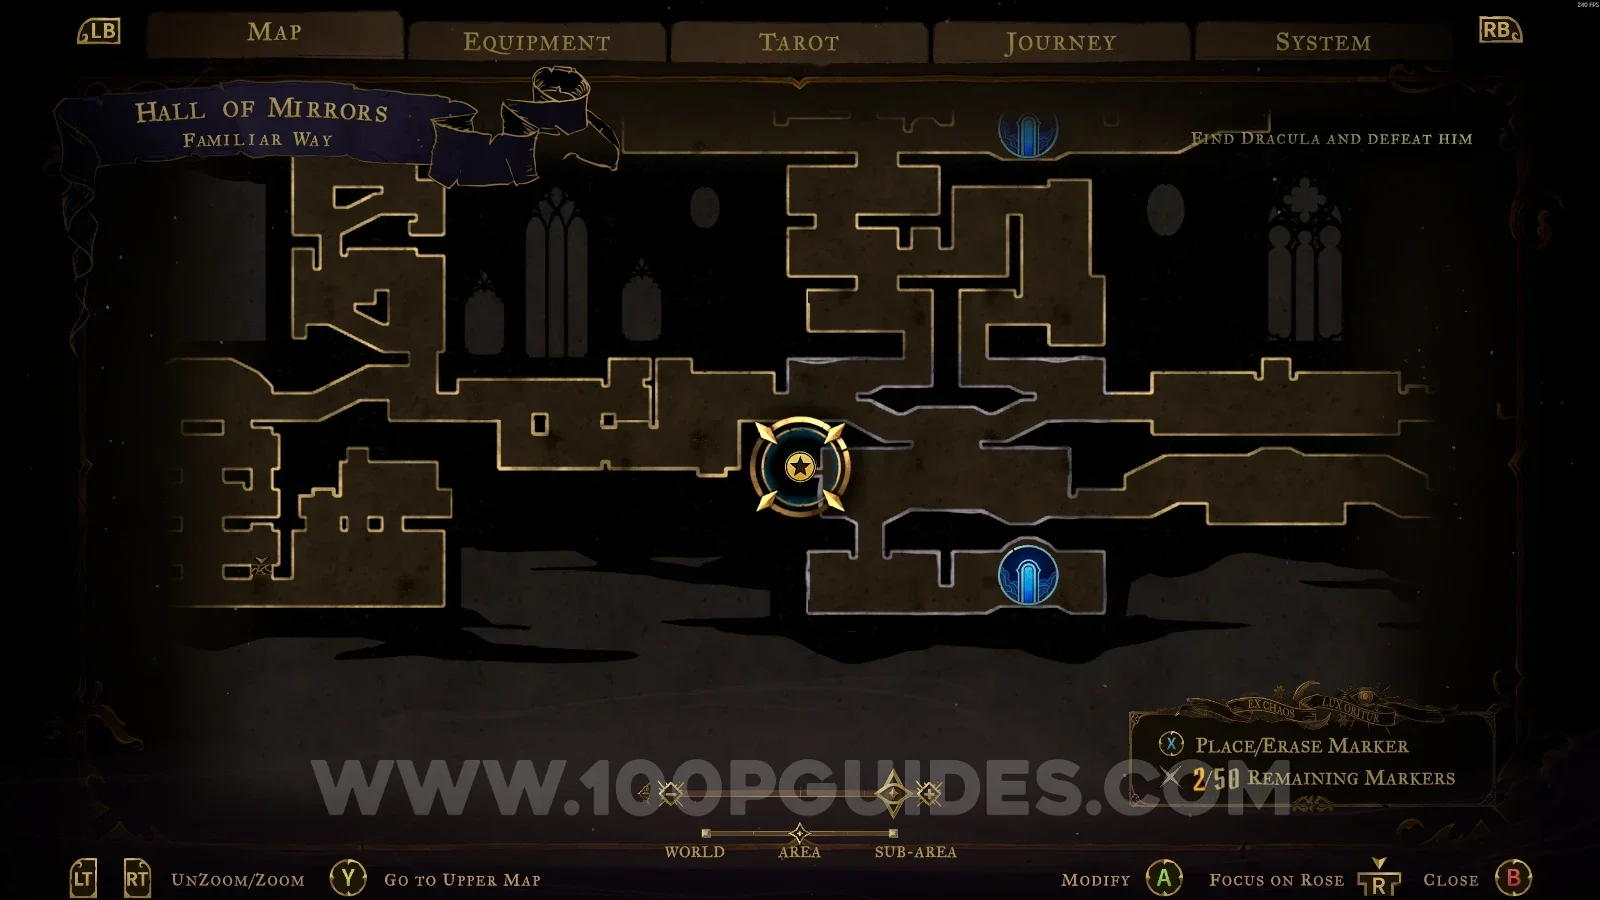
XP Statue #138

In the area marked on the map.

Castlevania Belmonts Curse Familiar Way map with the area of XP Statue #138 marked Castlevania Belmonts Curse Familiar Way: XP Statue #138 in the marked area

Gallery Of Glass

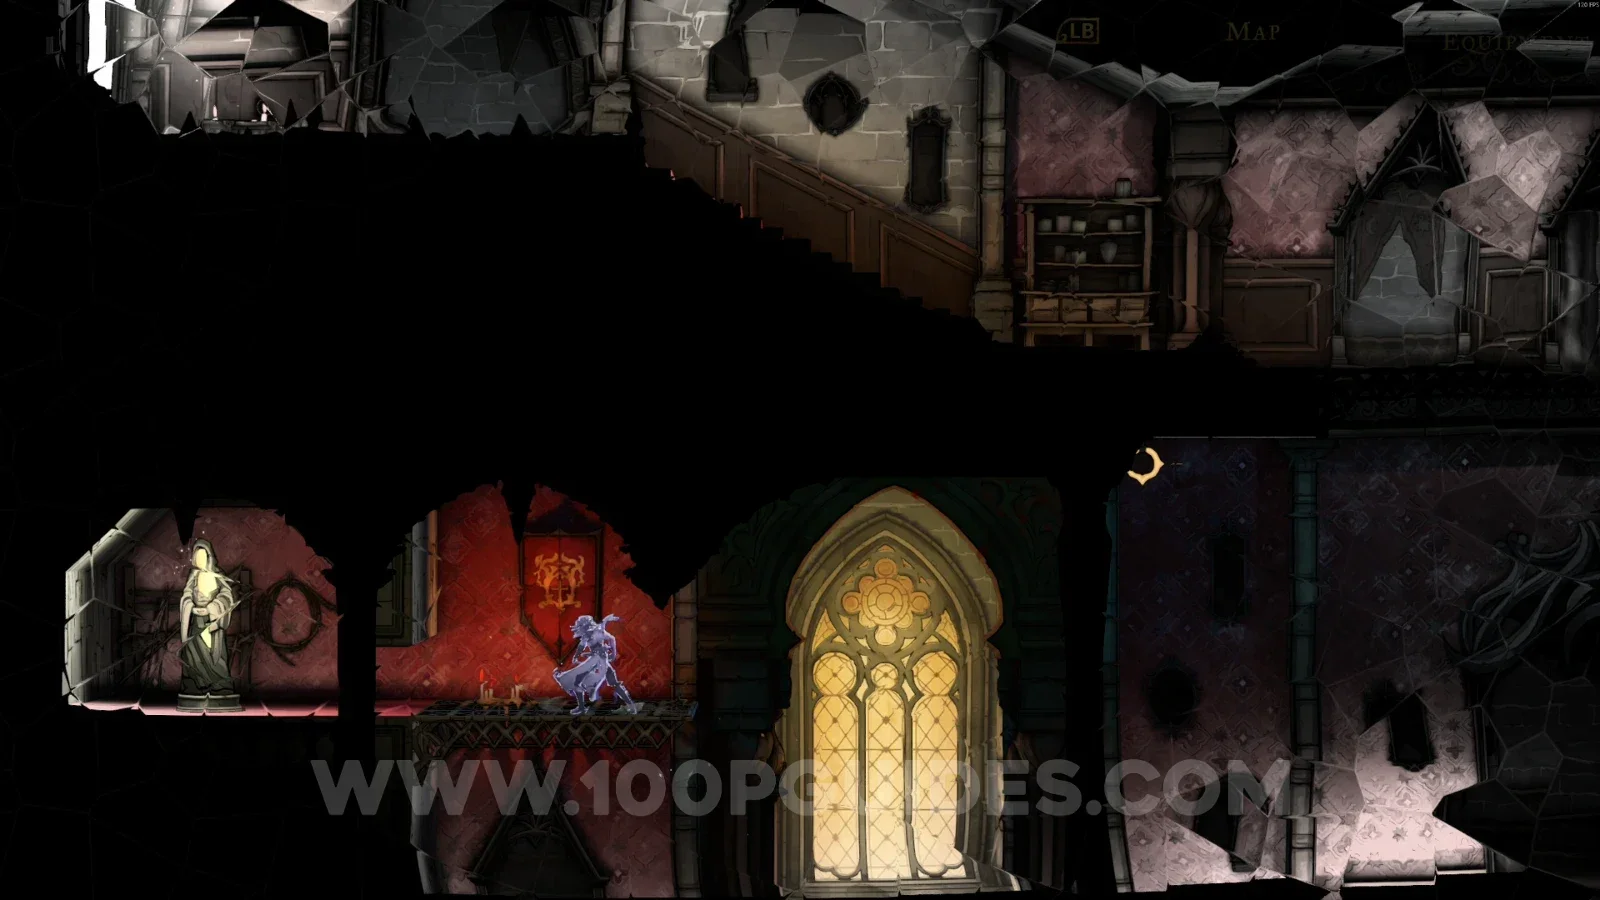
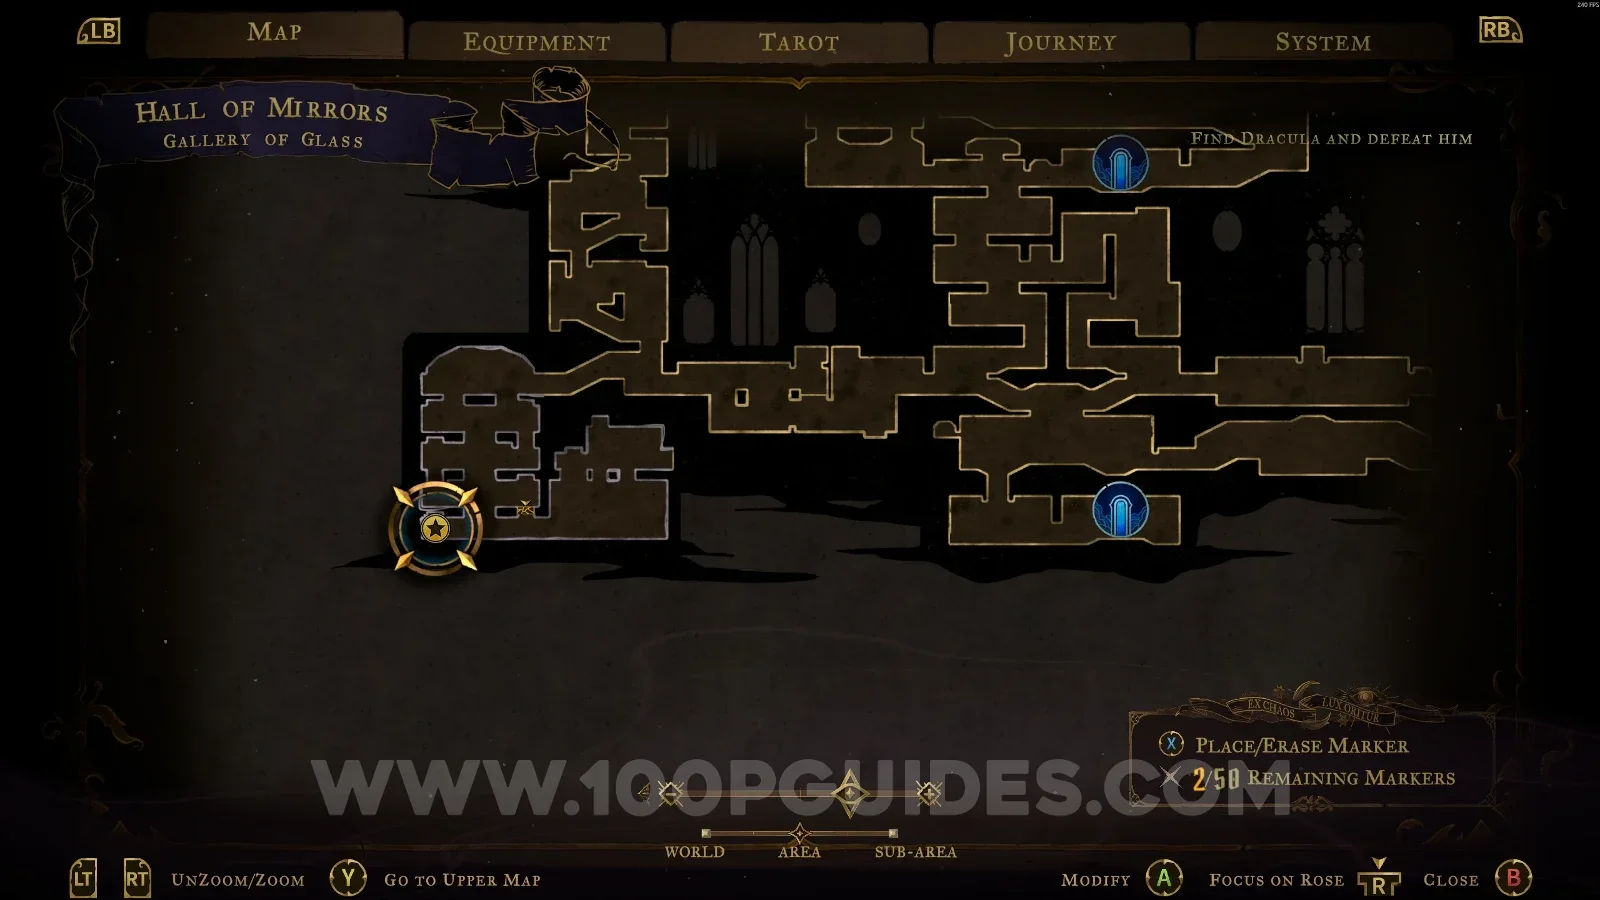
XP Statue #139

In the area marked on the map.

Castlevania Belmonts Curse Gallery Of Glass map with the area of XP Statue #139 marked Castlevania Belmonts Curse Gallery Of Glass: XP Statue #139 in the marked area

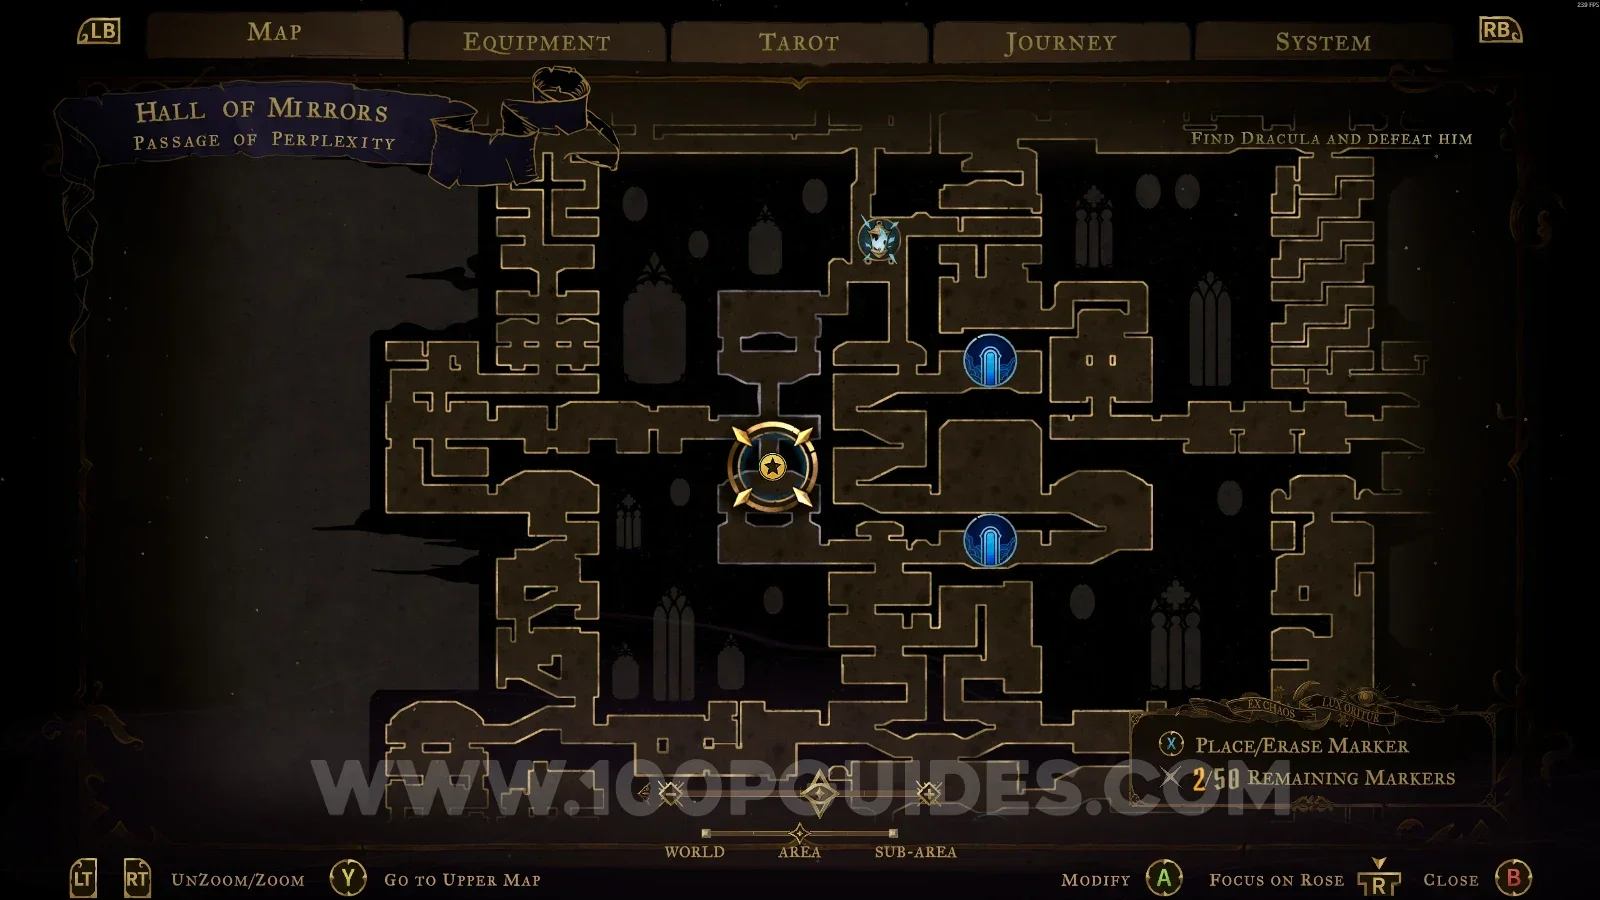
Passage Of Perplexity

XP Statue #140

At the top of the area marked on the map.
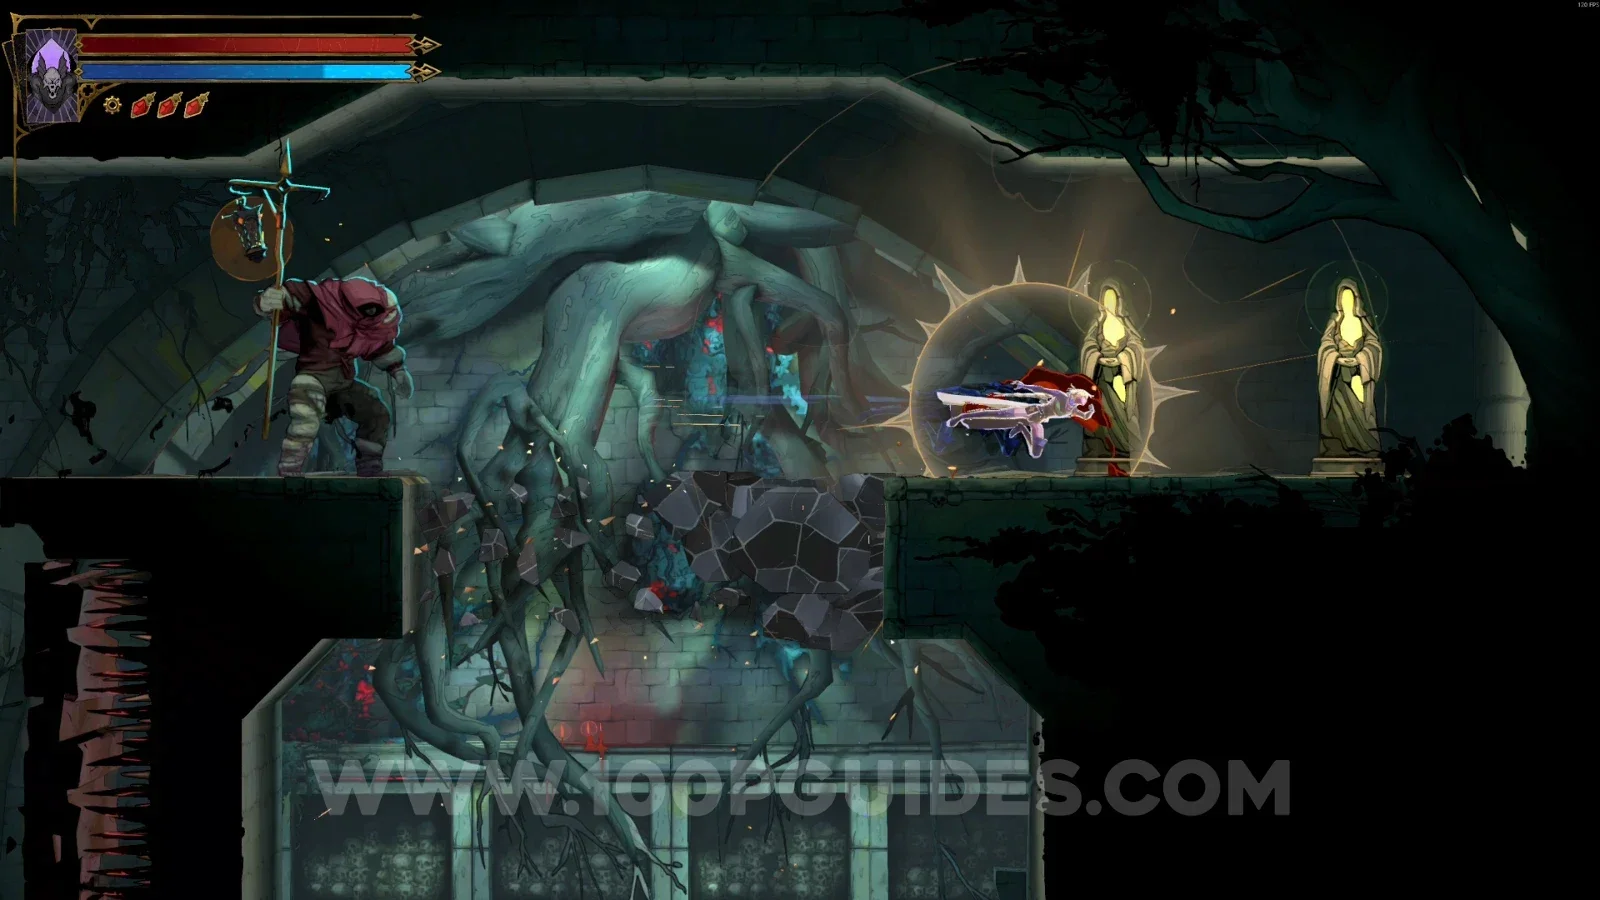
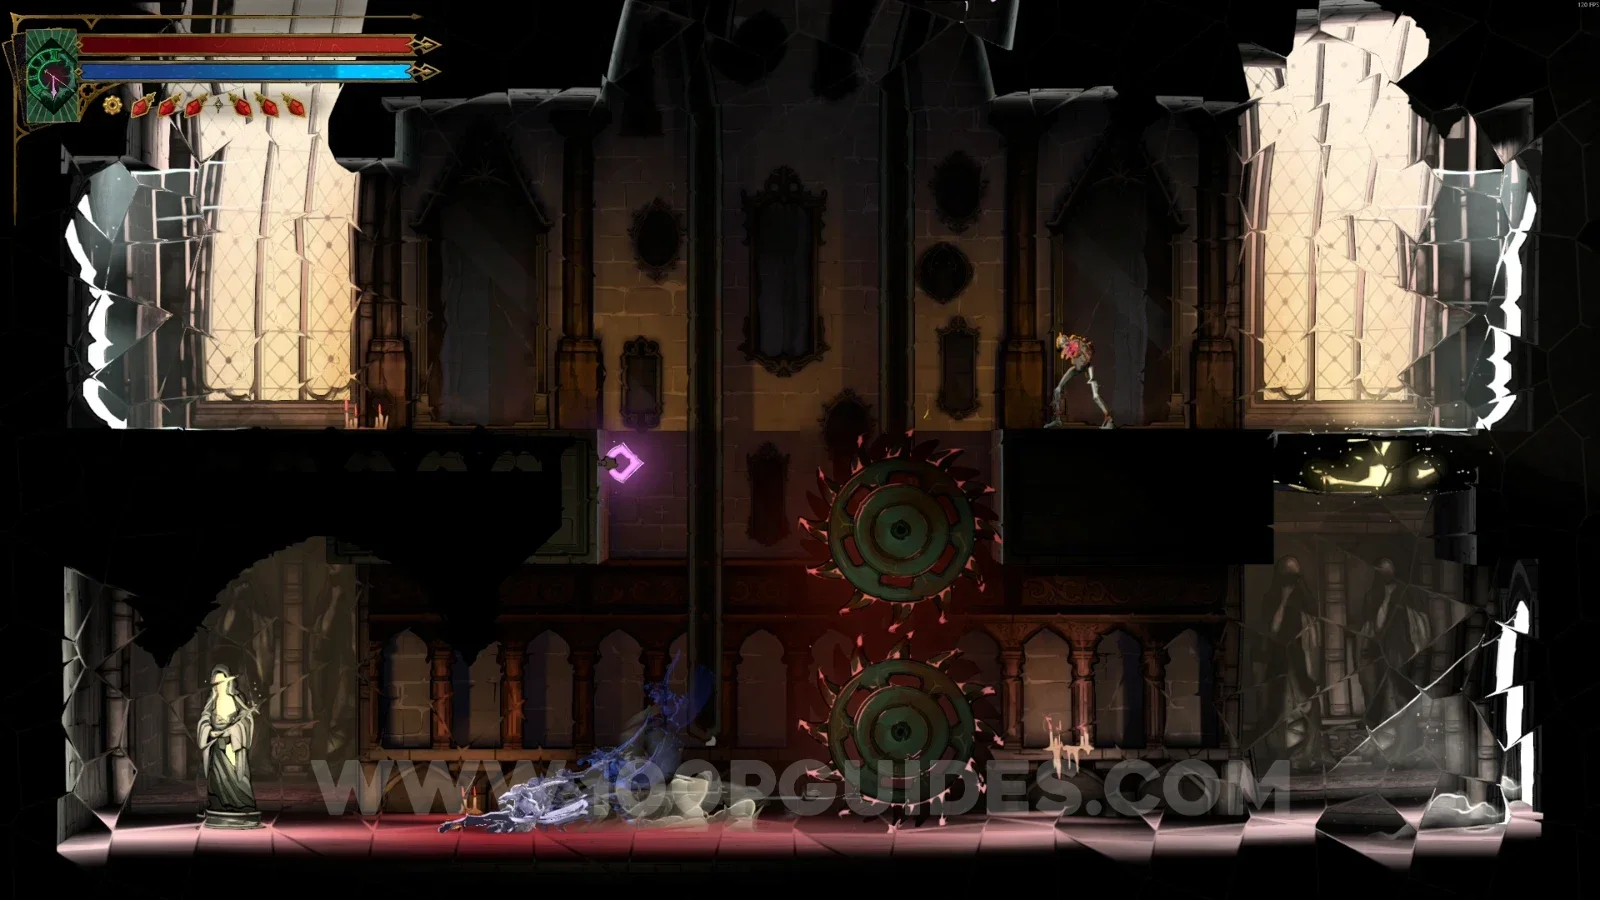
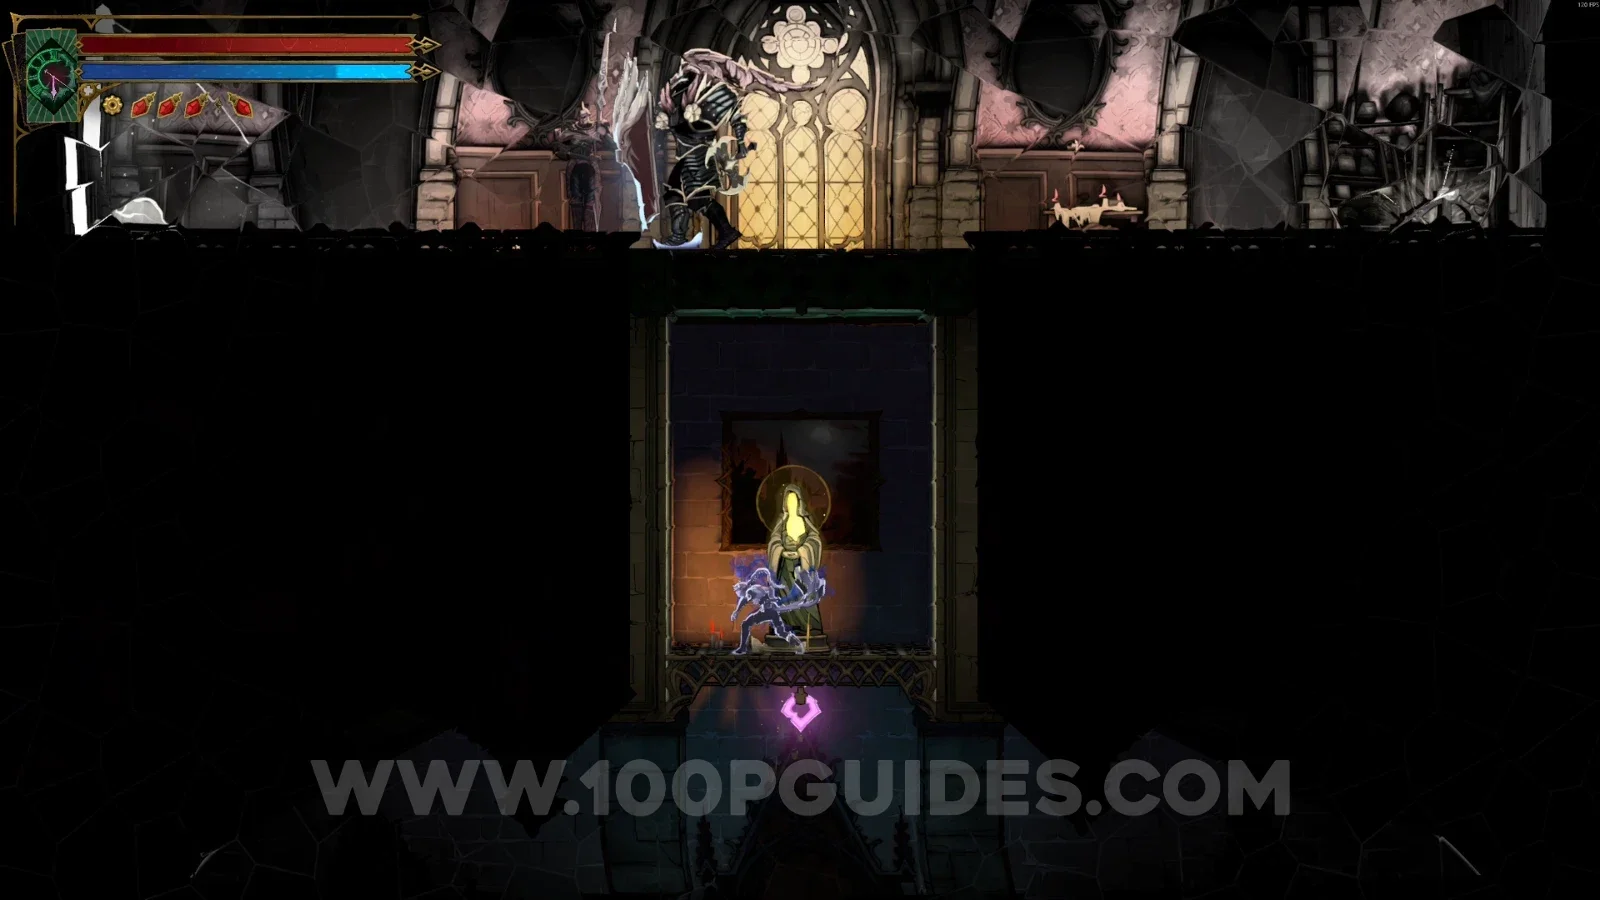
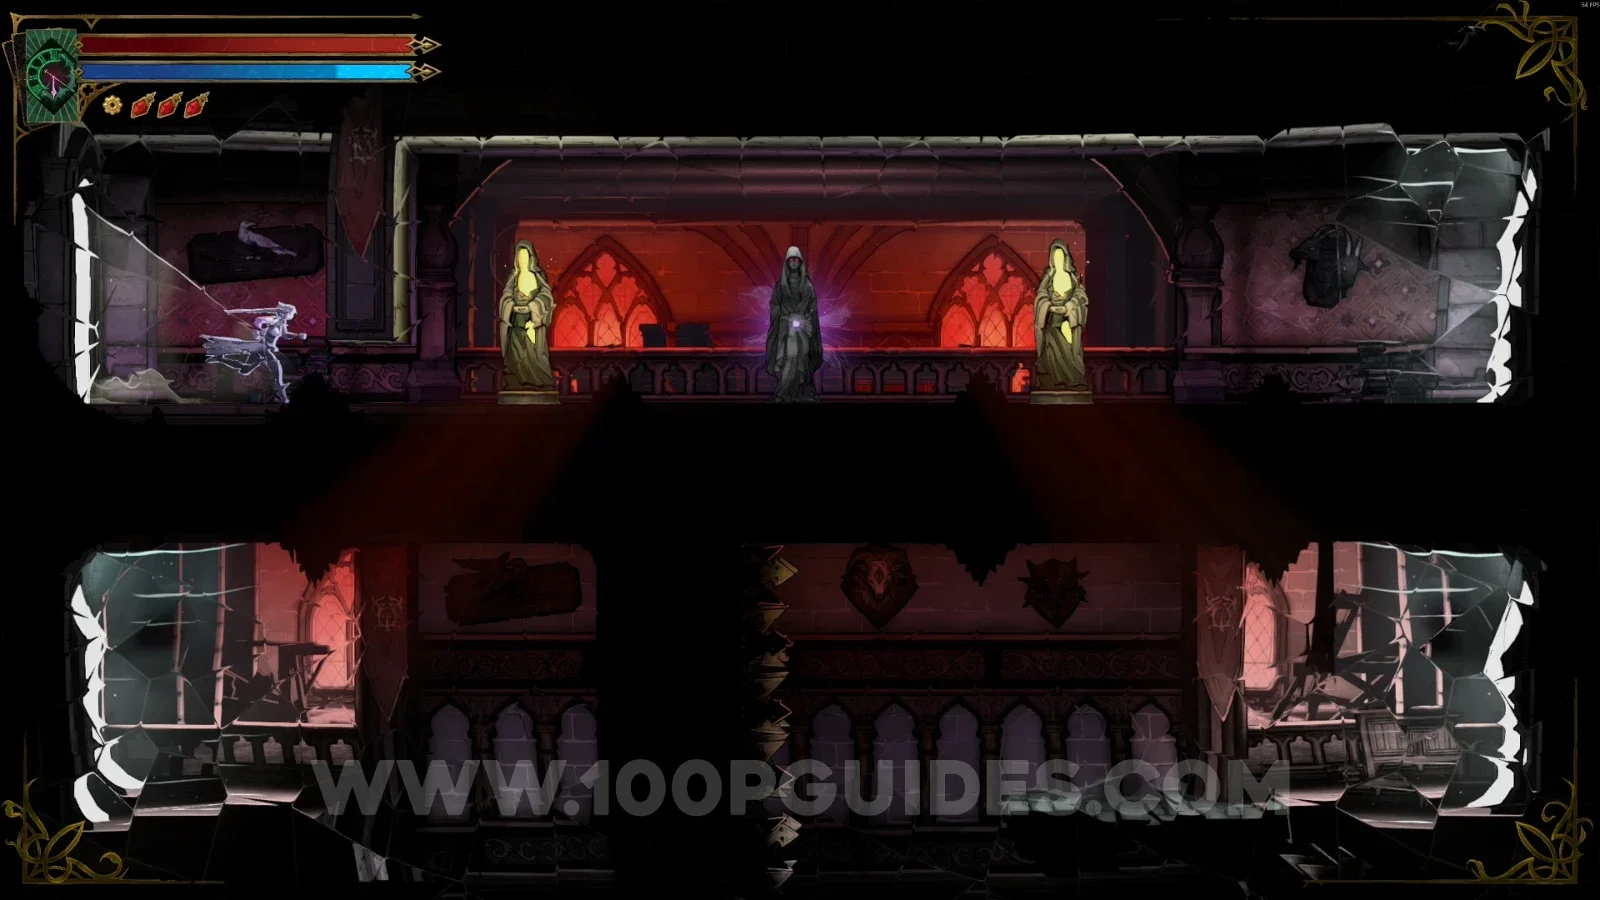
Castlevania Belmonts Curse Passage Of Perplexity map with the area of XP Statue #140 marked Castlevania Belmonts Curse Passage Of Perplexity: XP Statue #140 at the top of the marked area

Steps Of Misdirection

XP Statue #141 - #142

In the area marked on the map.
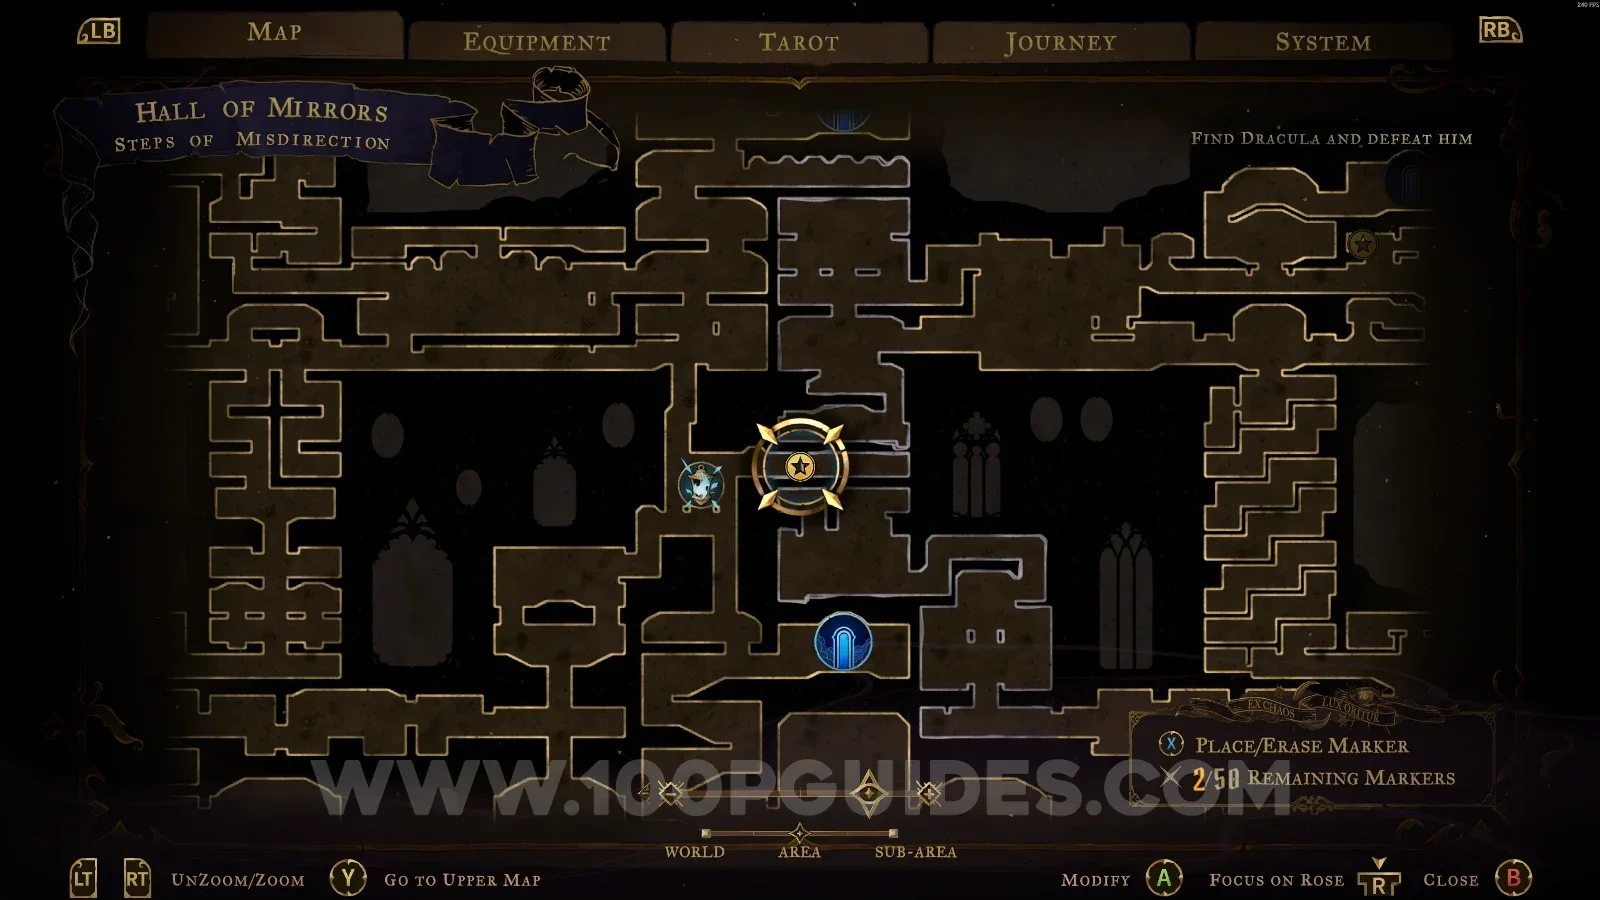
Castlevania Belmonts Curse Steps Of Misdirection map marking the area of XP Statues #141 and #142 Castlevania Belmonts Curse Steps Of Misdirection: XP Statues #141 and #142 in the marked area

Threshold Of Vision

XP Statue #143

In the area marked on the map.
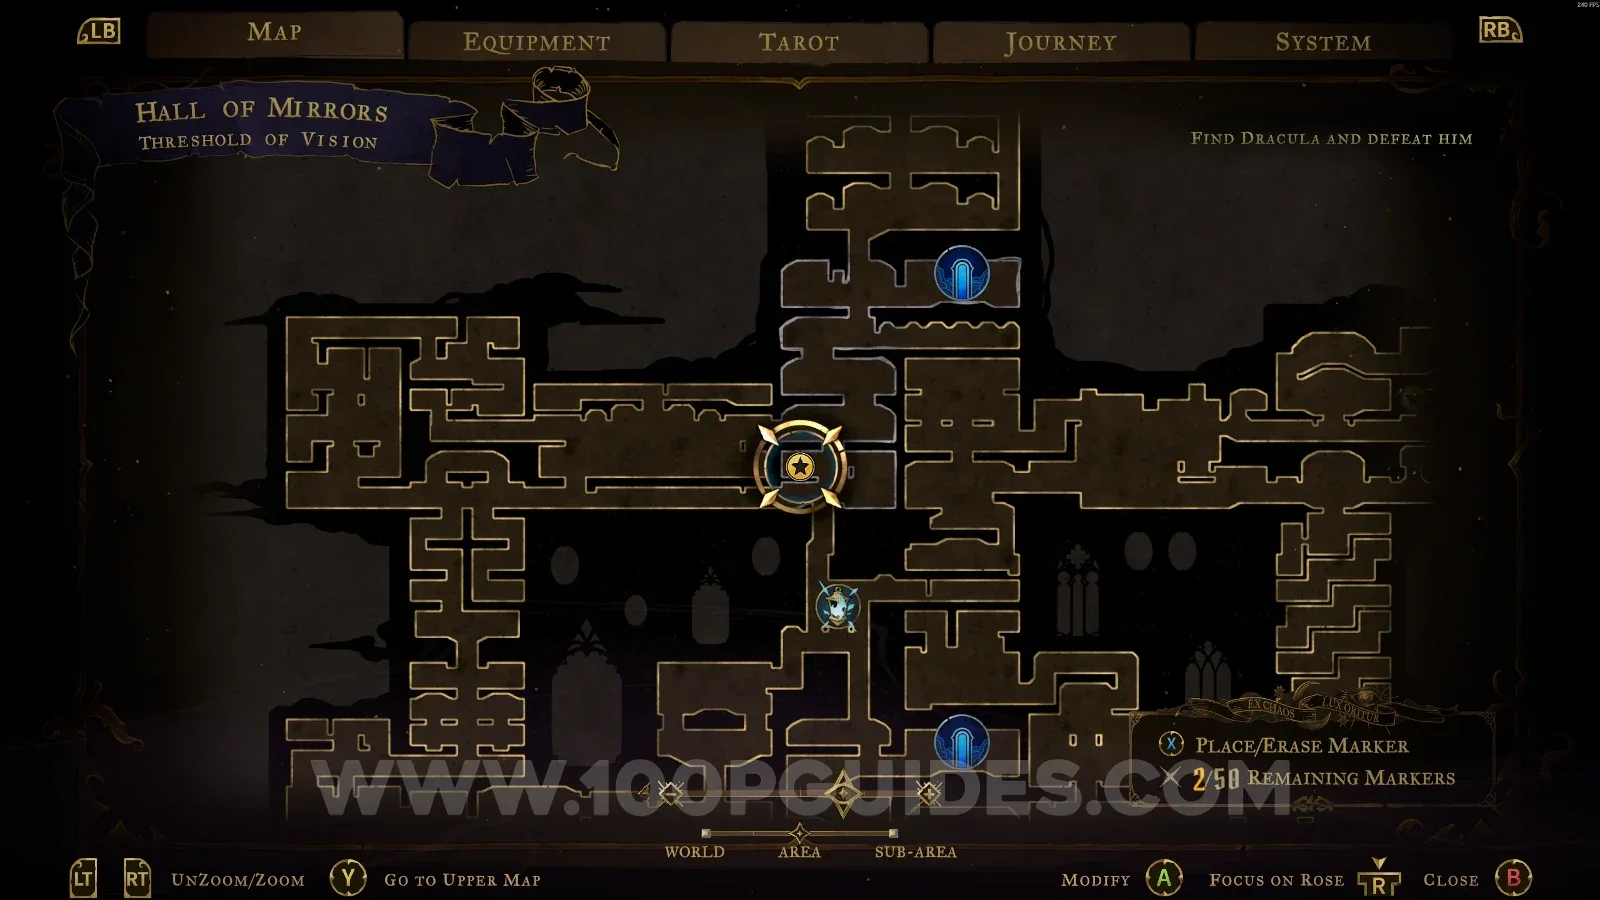
Castlevania Belmonts Curse Threshold Of Vision map with the area of XP Statue #143 marked Castlevania Belmonts Curse Threshold Of Vision: XP Statue #143 in the marked area

Servants' Refectory

XP Statue #144

You'll have to use your Arcane Whip to reach this statue in a secret room at the top.
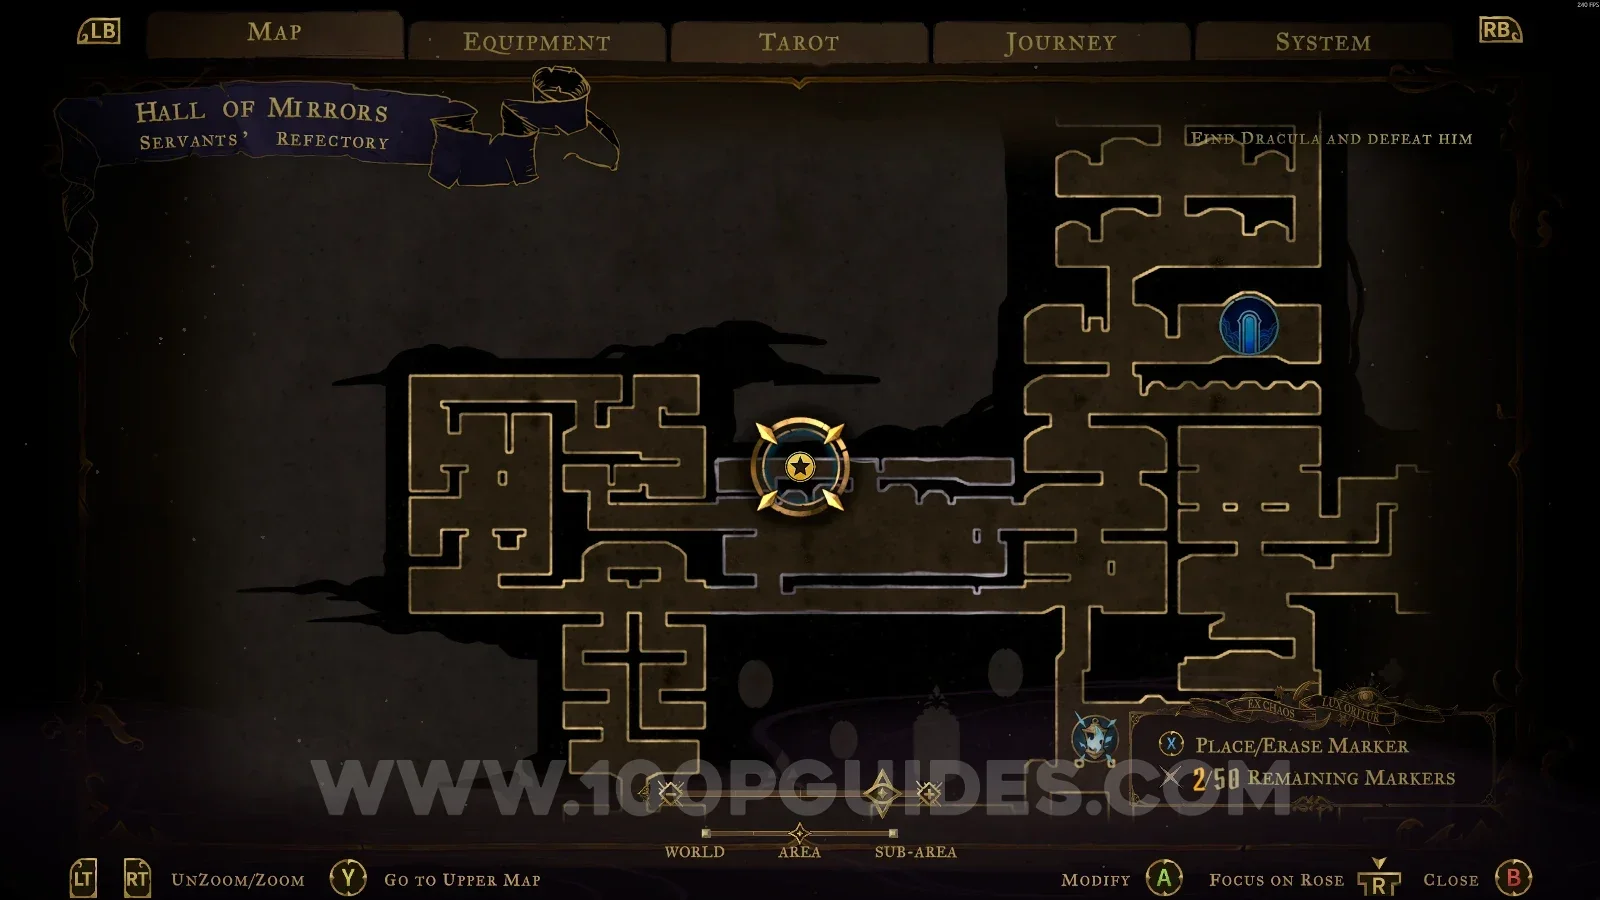
Castlevania Belmonts Curse Servants' Refectory: using the Arcane Whip to reach XP Statue #144 at the top Castlevania Belmonts Curse Servants' Refectory: XP Statue #144 in a secret room at the top

Looping Hallways

XP Statue #145

In the area marked on the map, you have to use the portals to reach it.
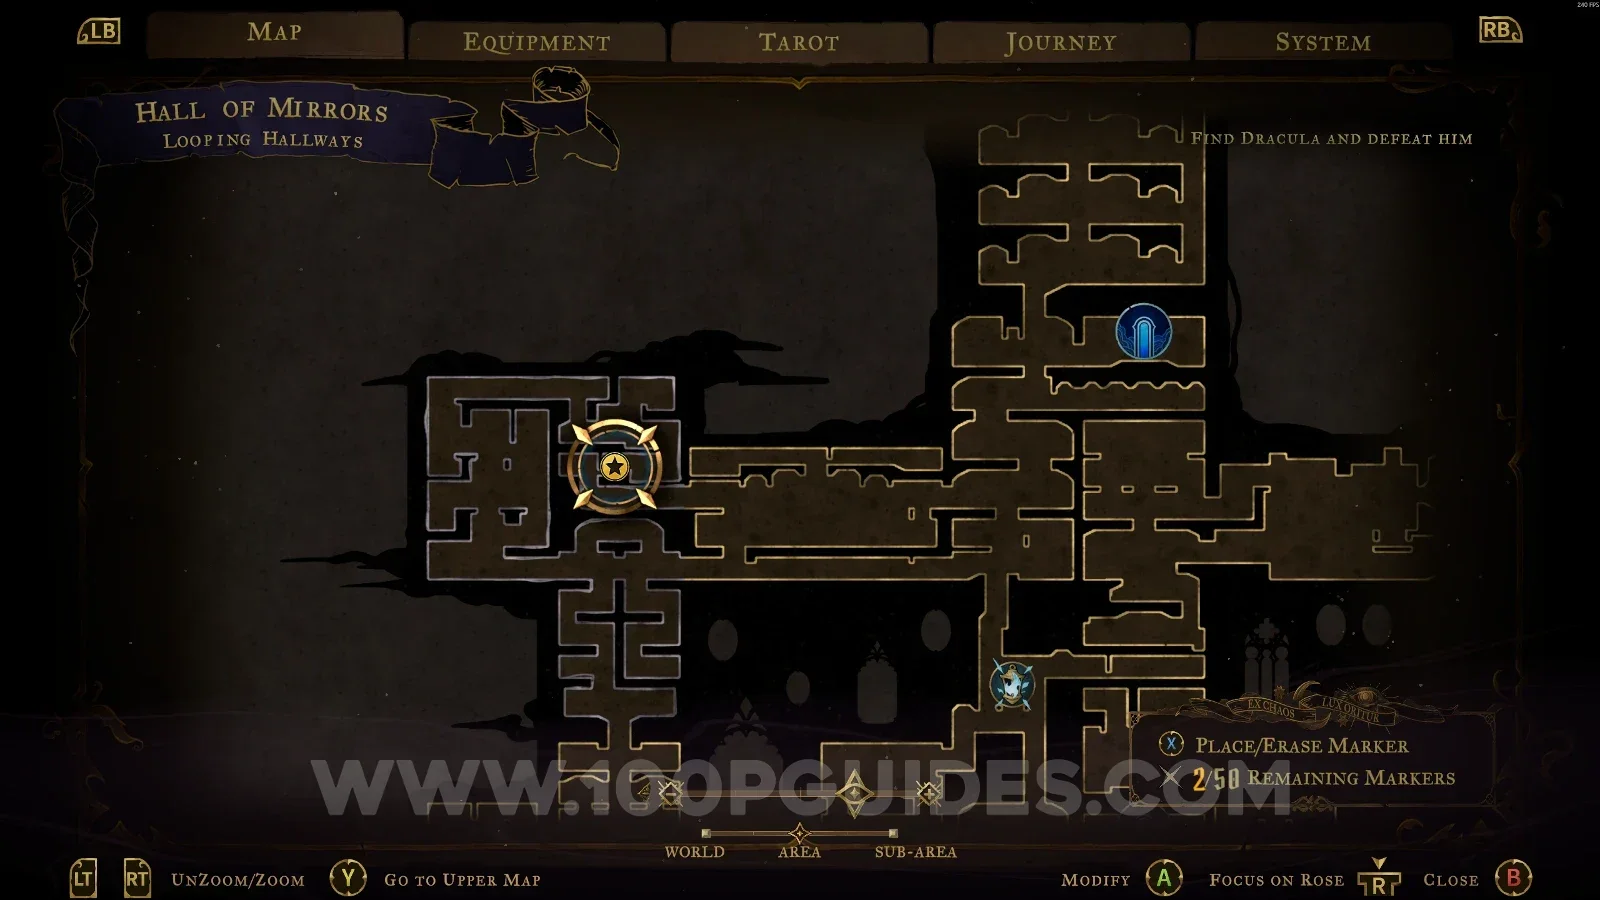
Castlevania Belmonts Curse Looping Hallways map with the area of XP Statue #145 marked Castlevania Belmonts Curse Looping Hallways: XP Statue #145 reached through the portals

XP Statue #146

In the area marked on the map.
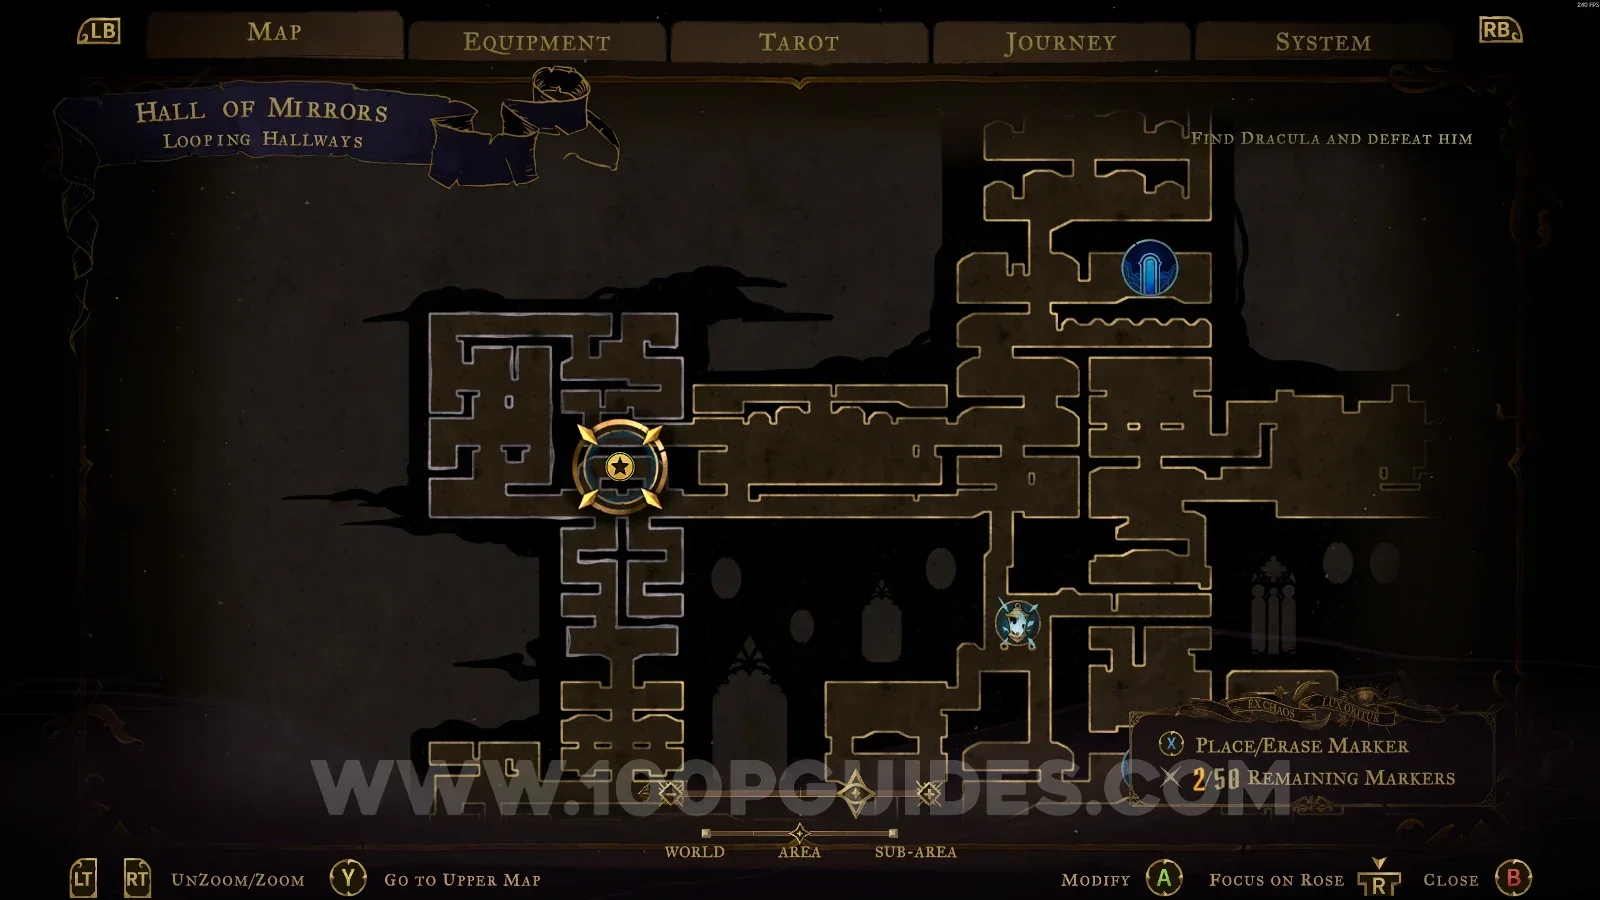
Castlevania Belmonts Curse Looping Hallways map with the area of XP Statue #146 marked Castlevania Belmonts Curse Looping Hallways: XP Statue #146 in the marked area

Boudoir Of Bewilderment

XP Statue #147

In the area marked on the map.
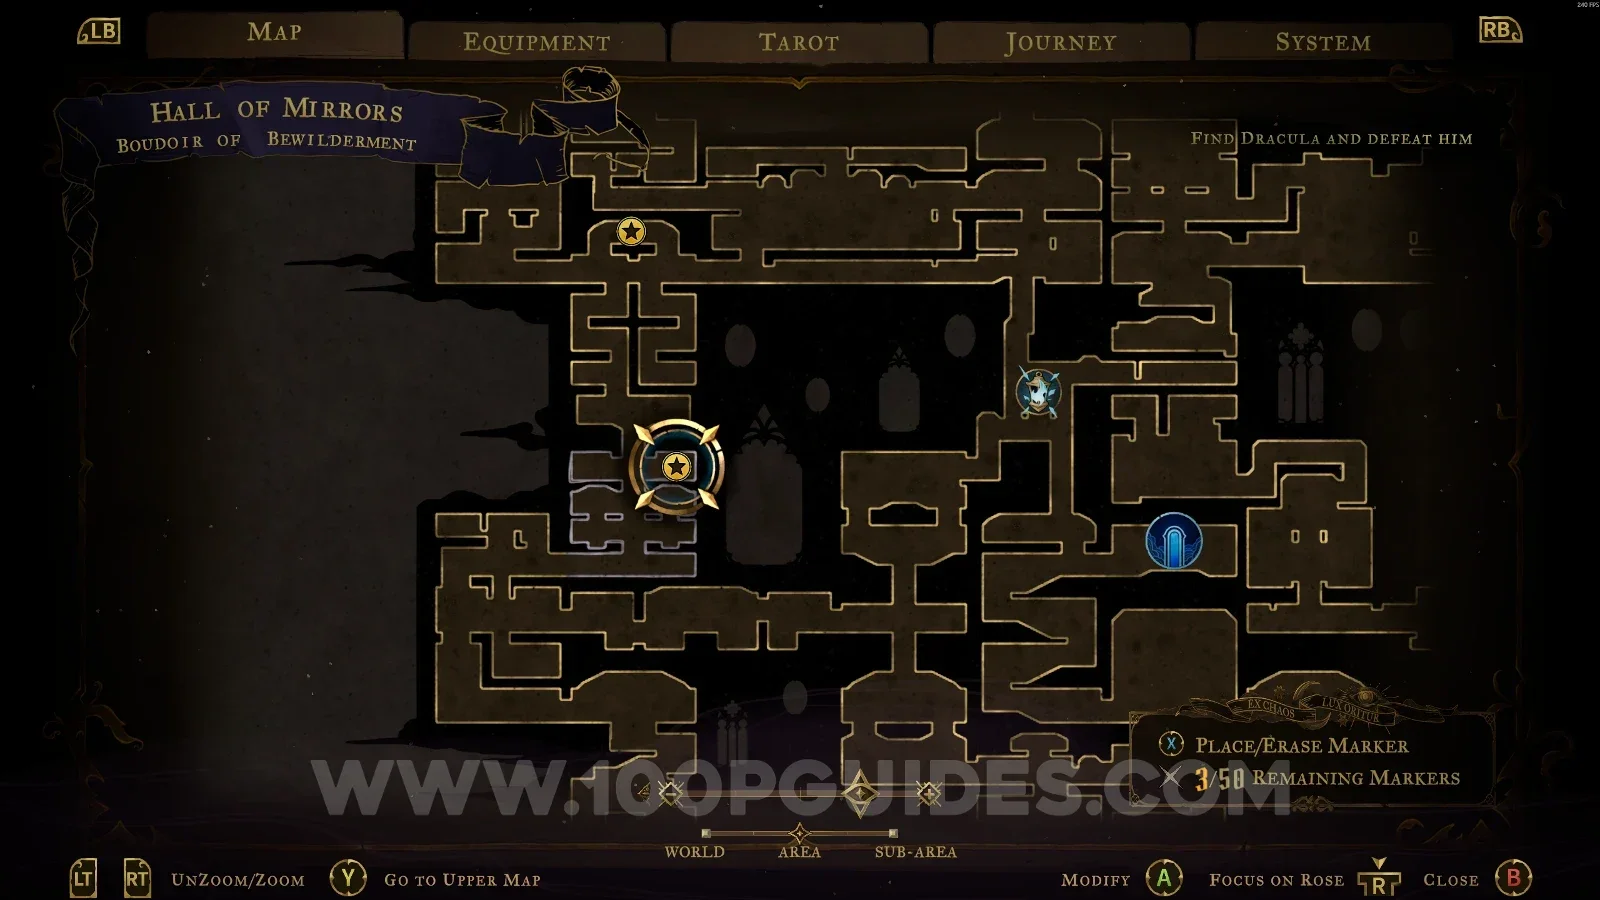
Castlevania Belmonts Curse Boudoir Of Bewilderment map with the area of XP Statue #147 marked Castlevania Belmonts Curse Boudoir Of Bewilderment: XP Statue #147 in the marked area

These are all the XP Statues you can find in Castlevania: Belmont's Curse.

Next
Next

Castlevania: Belmont’s Curse All Ferryman’s Wharf Locations