Directive 8020 All Collectible Locations
This guide will show you where to find every collectible in Directive 8020.
This guide will show you where to find every collectible in Directive 8020.
There are 65 collectibles in total. All of them are classified as Secrets, but the game splits them into three categories:
50 Normal Secrets
10 The Simms Recordings Secrets
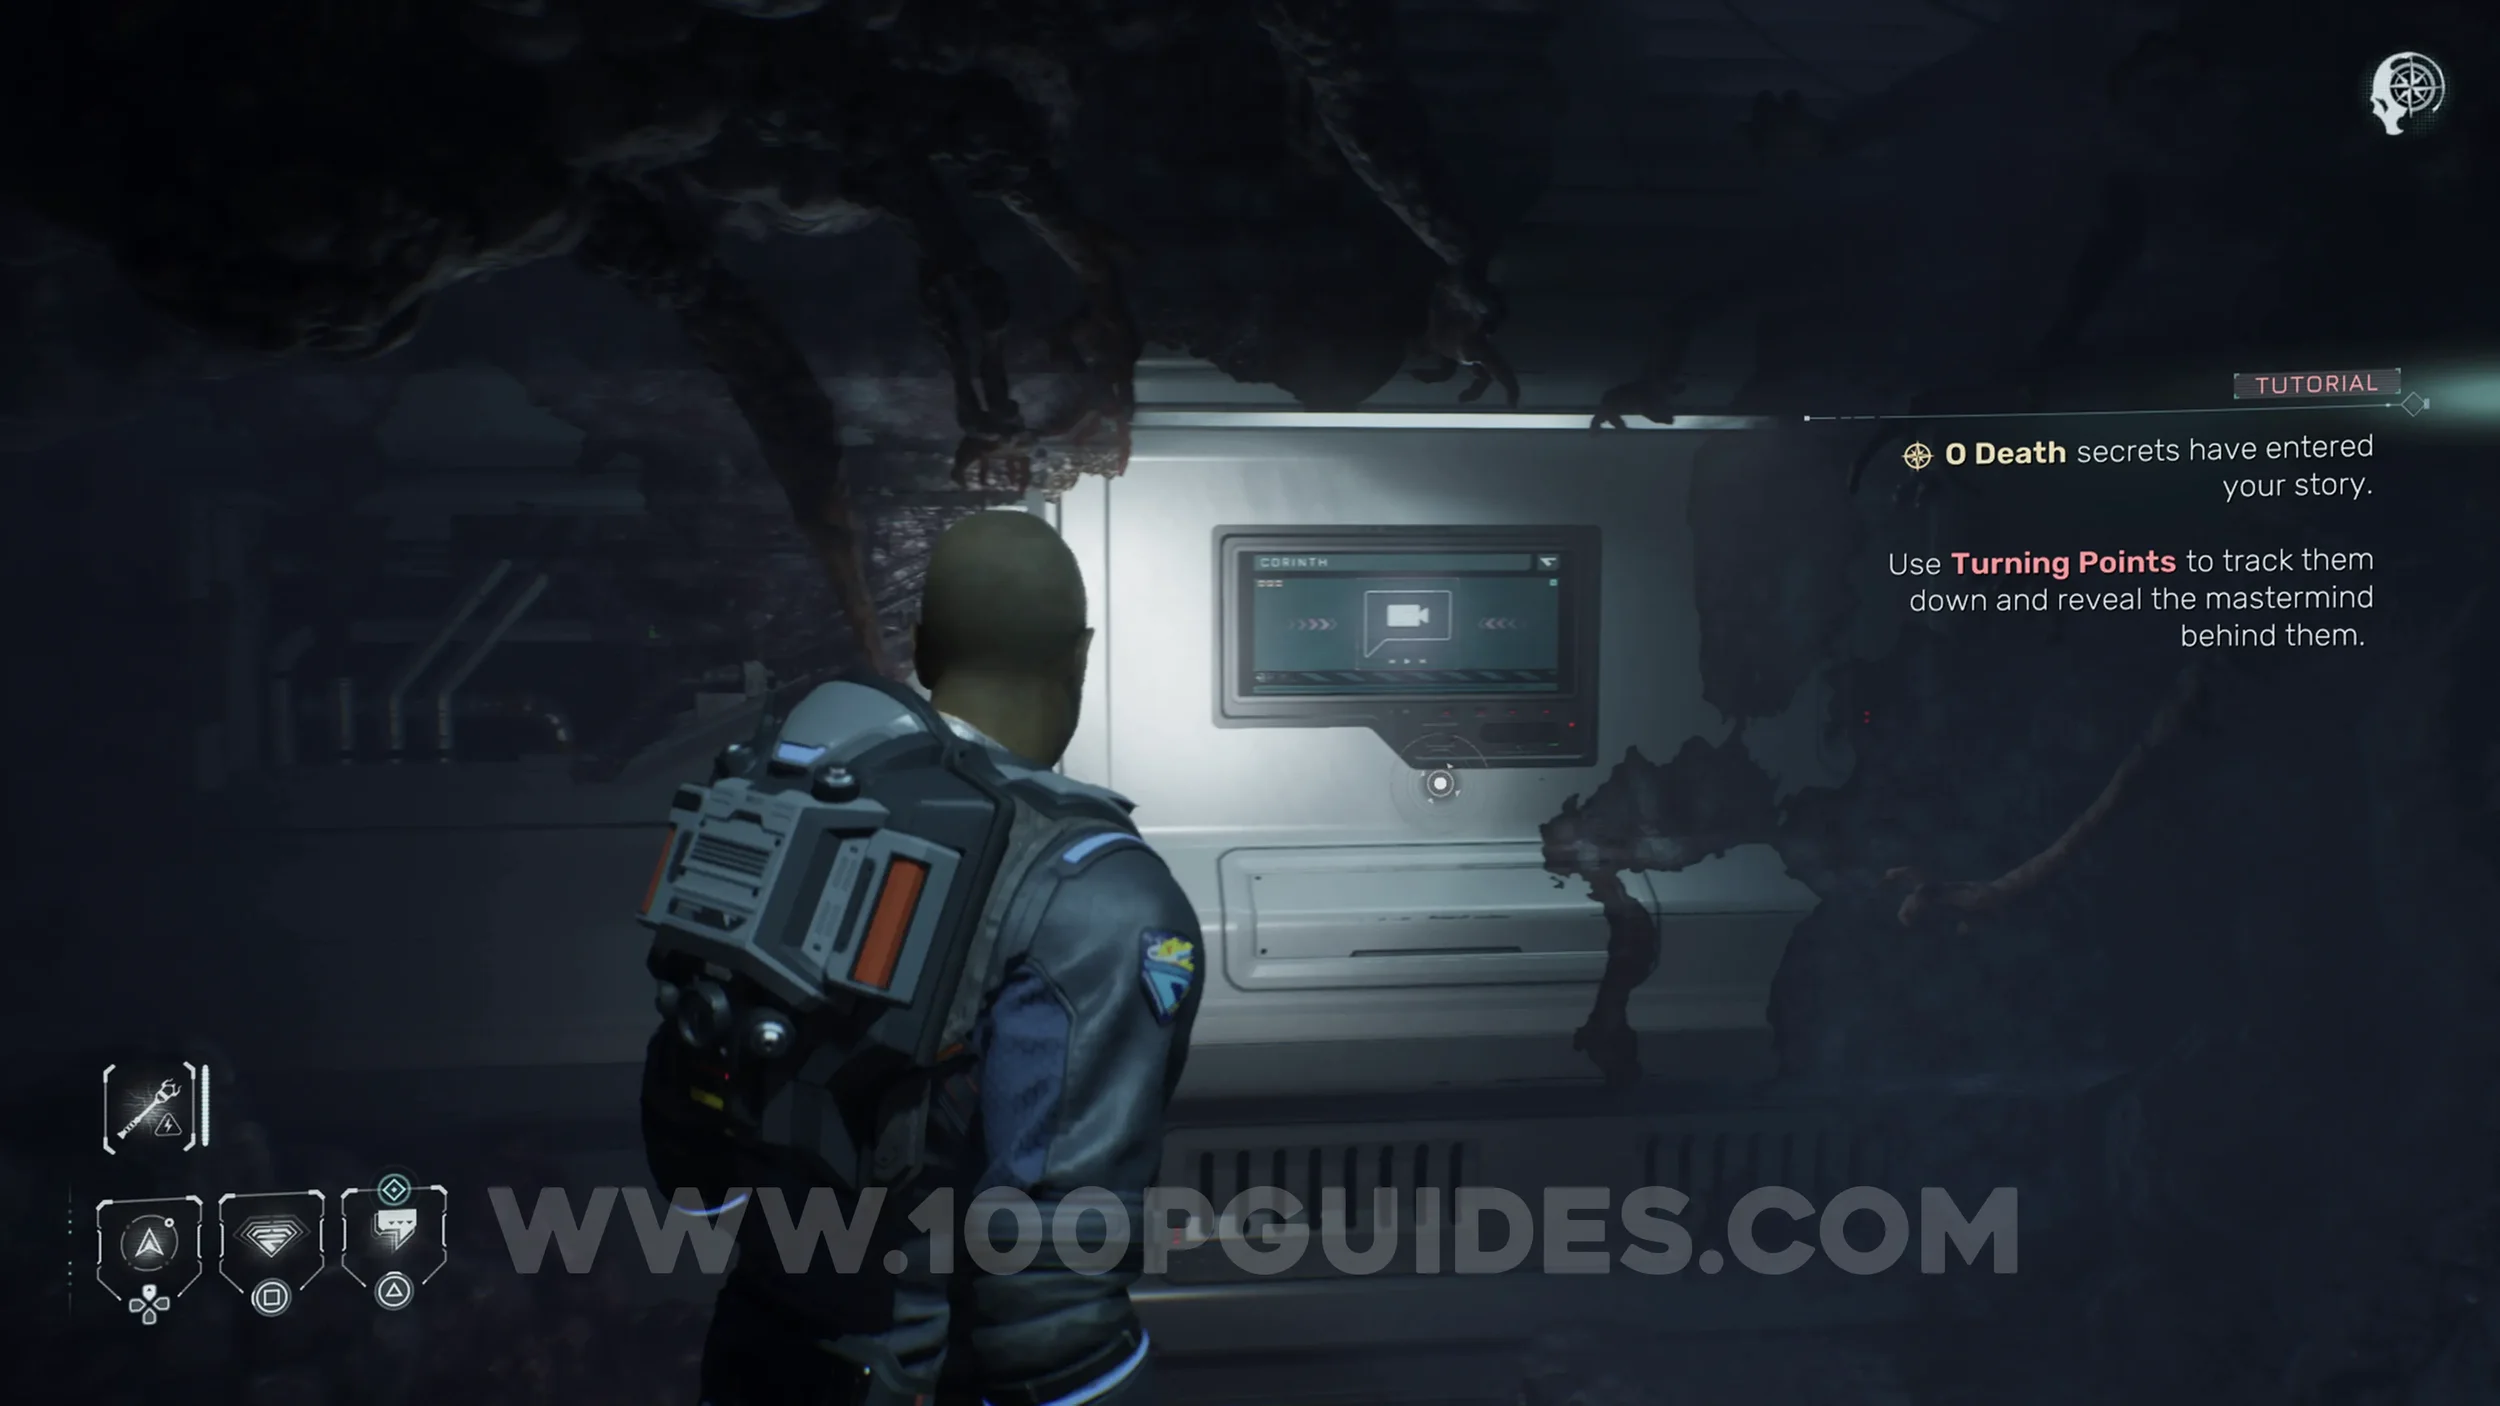
5 O Death Secrets
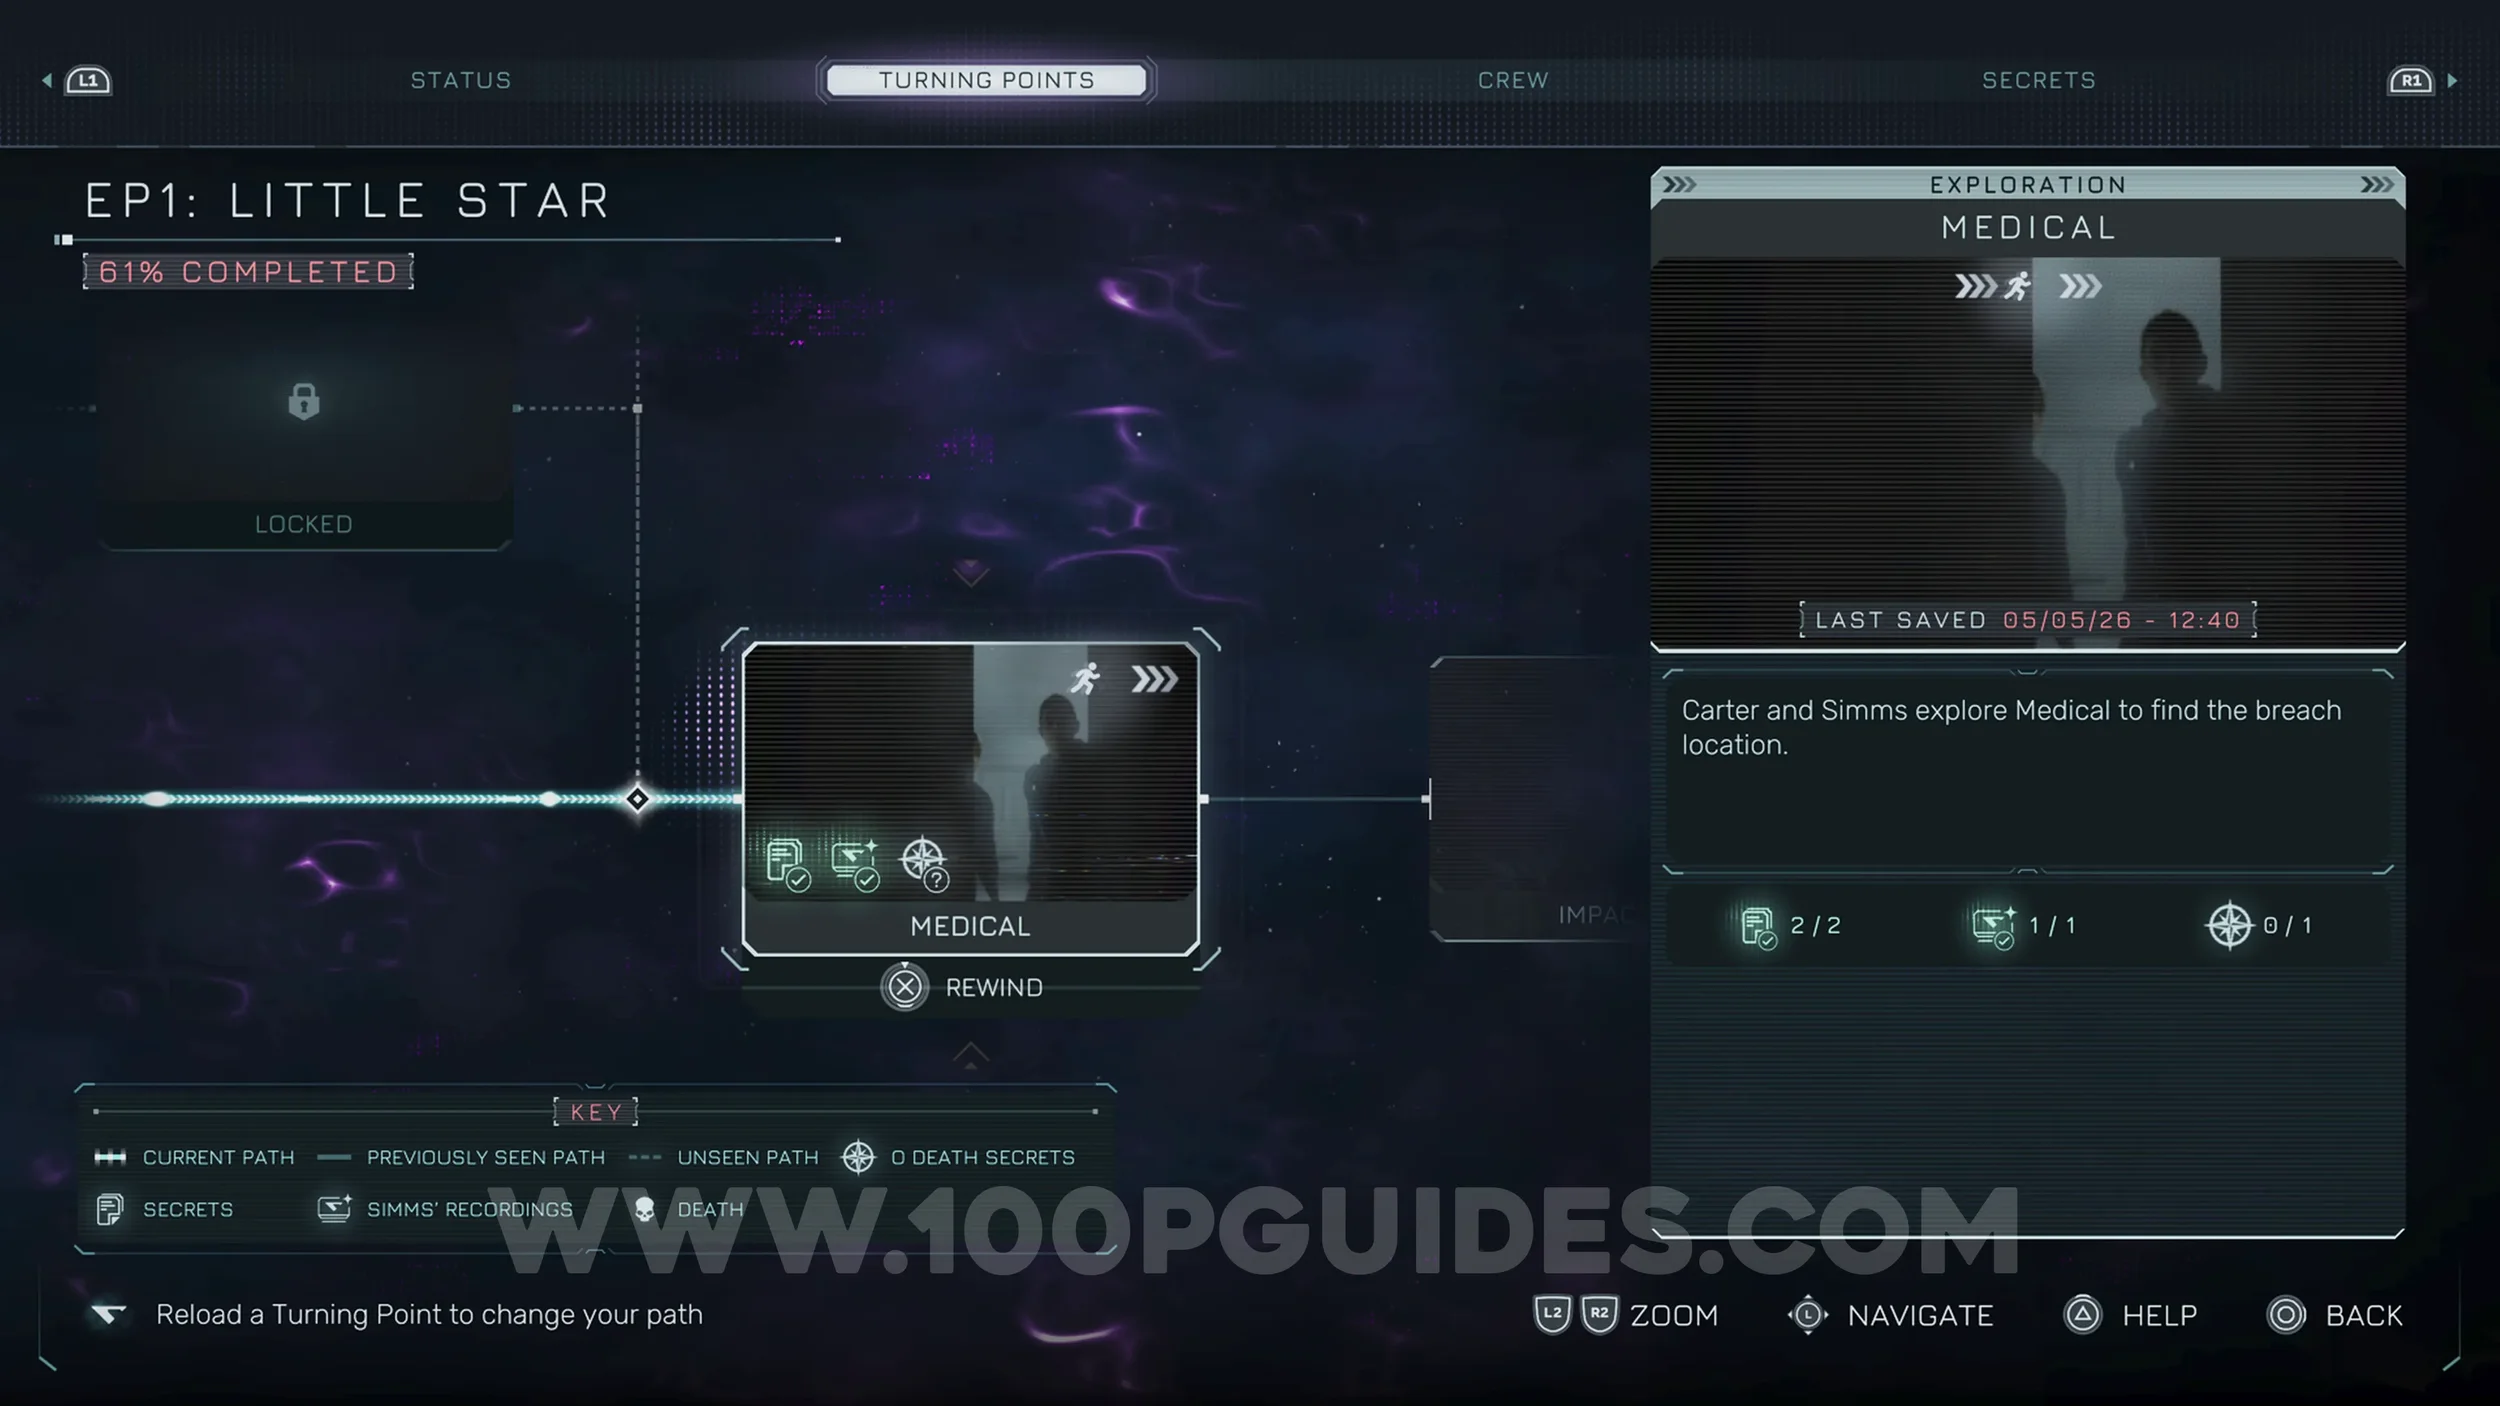
None of the collectibles are missable, as you can use the Turning Points flowchart to rewind to any point in the game once you finish (or at any point if playing on Explorer difficulty).
The O Death Secrets only appear after you collect the first one near the end of the game. To obtain the remaining four, you’ll need to use the flowchart to revisit earlier sections. These will be covered at the end of the guide.
If a character dies early in the game, you’ll skip certain sections that may contain collectibles. Because of this, it’s recommended to collect them during your “Everyone Lives” run, or play on the Explorer difficulty and use the flowchart to rewind to a point where that character is still alive and change their fate.
EPISODE 1
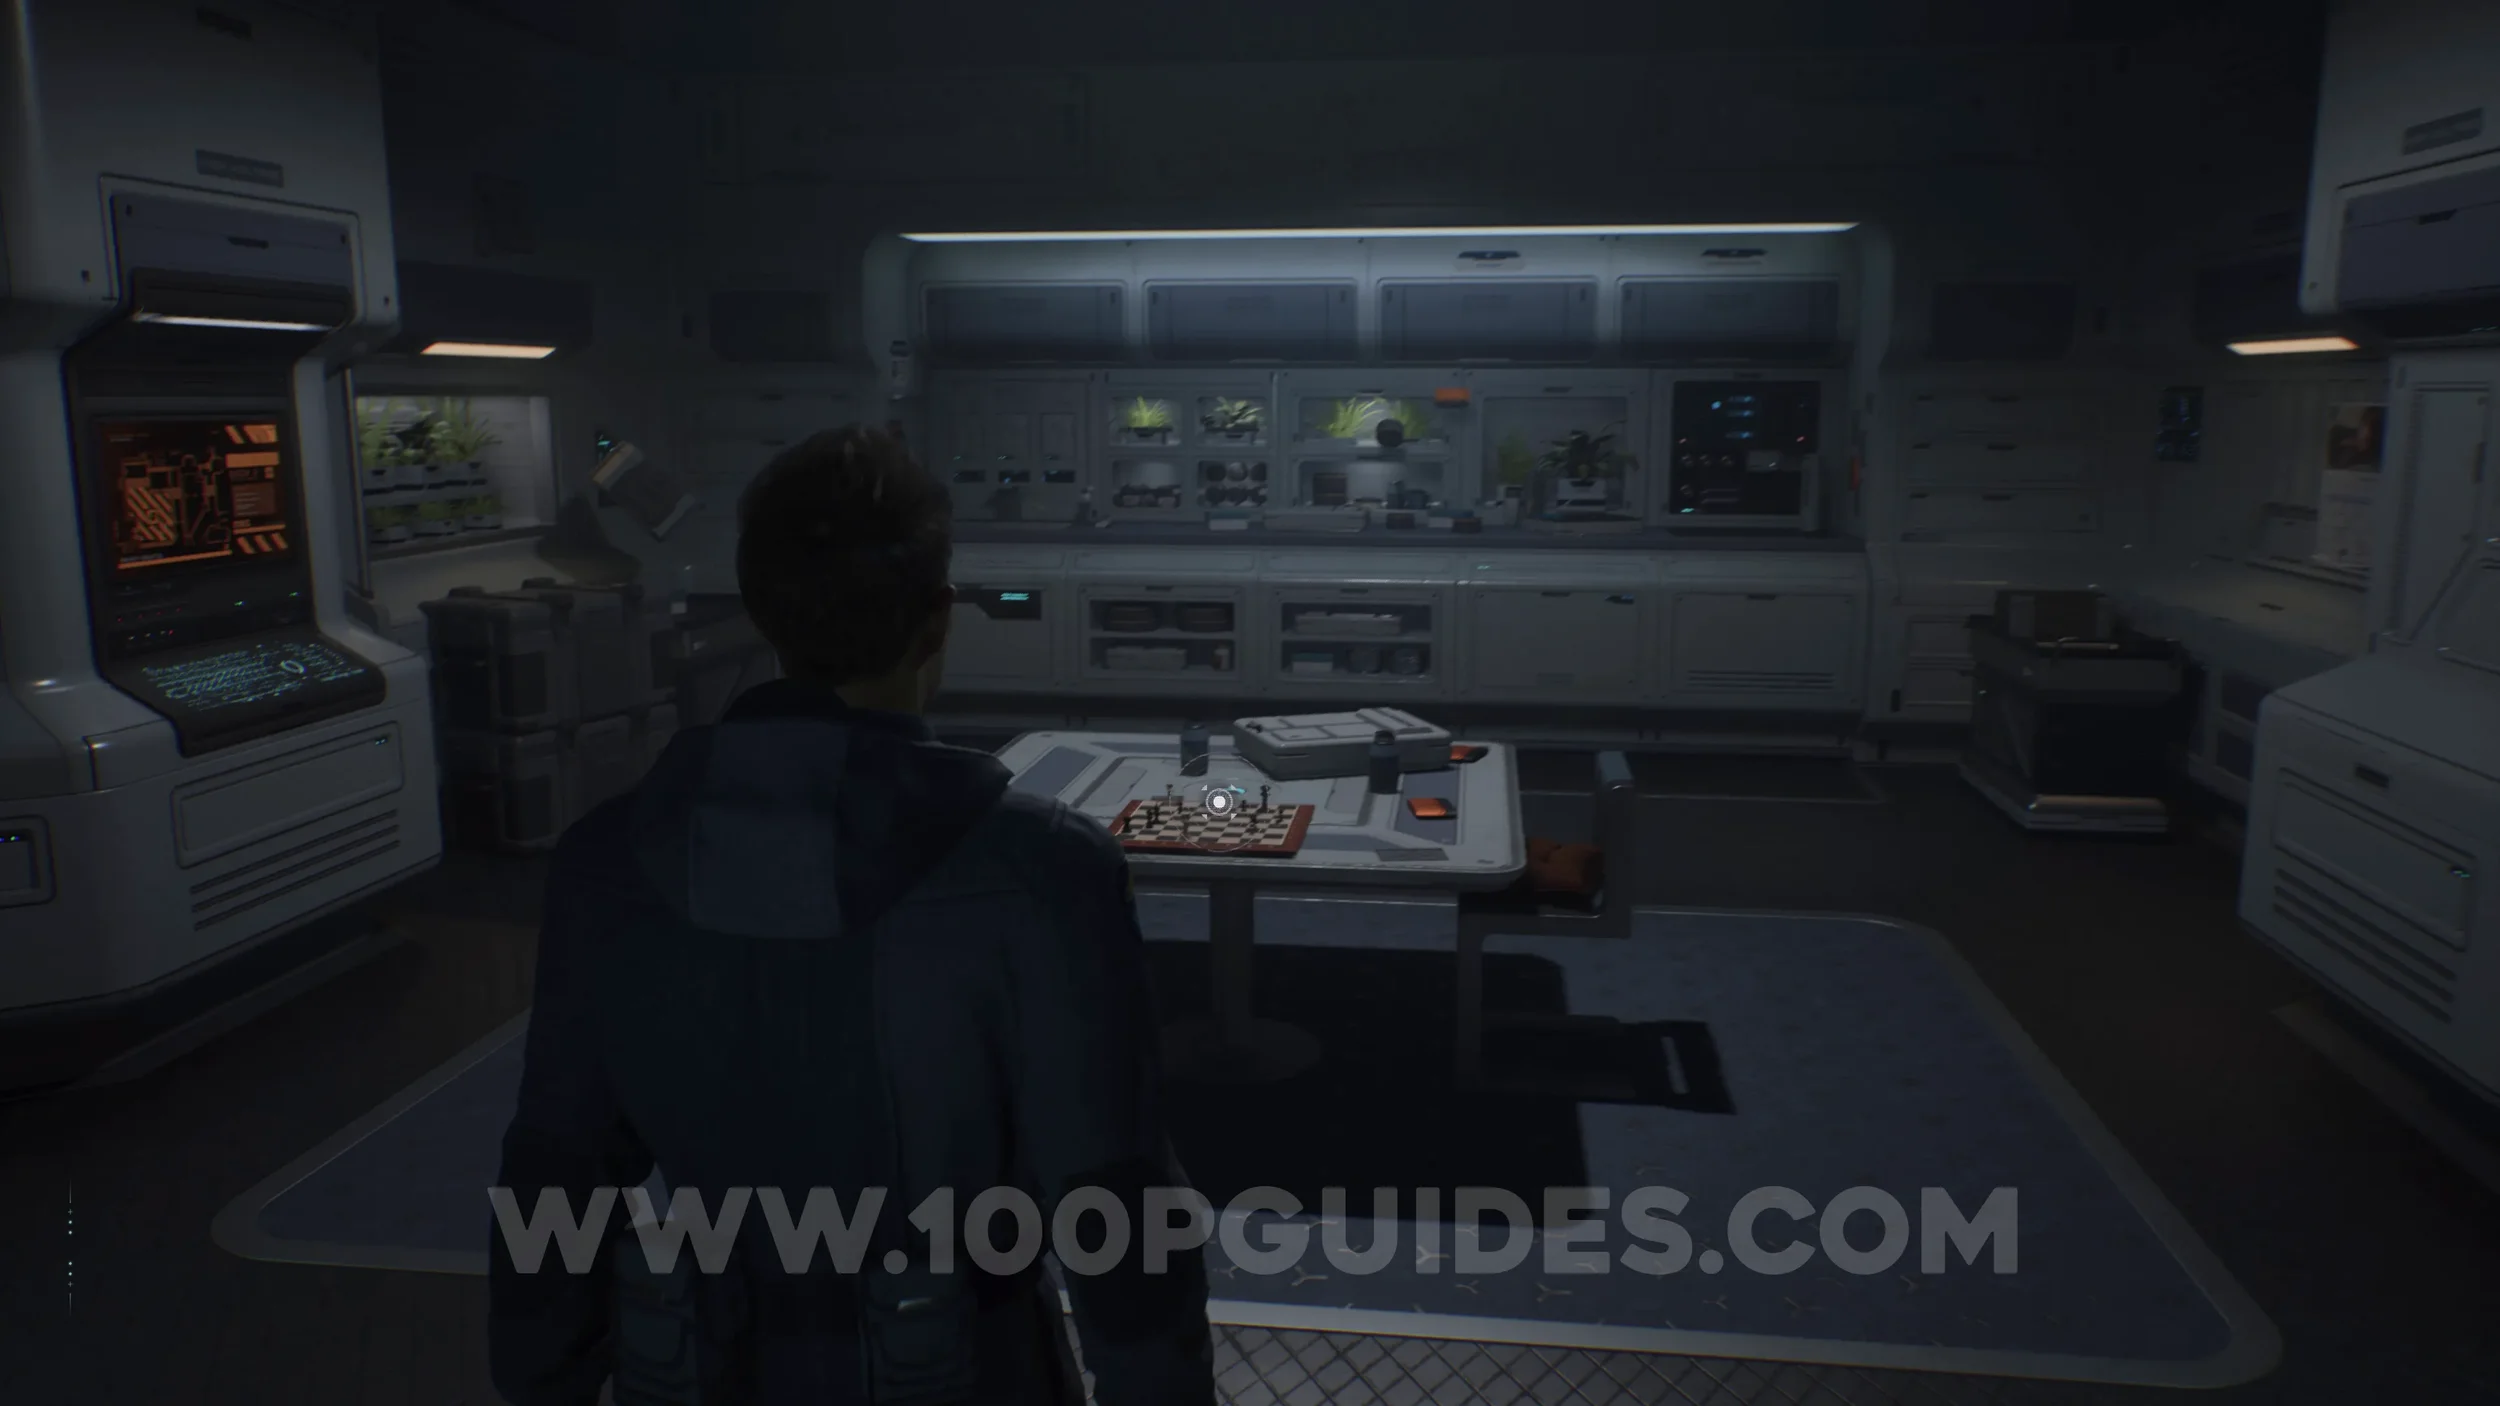
Secret #1 - Sleep Crew (Stalemate). As soon as you gain control of Tomas, examine the chessboard on the table.
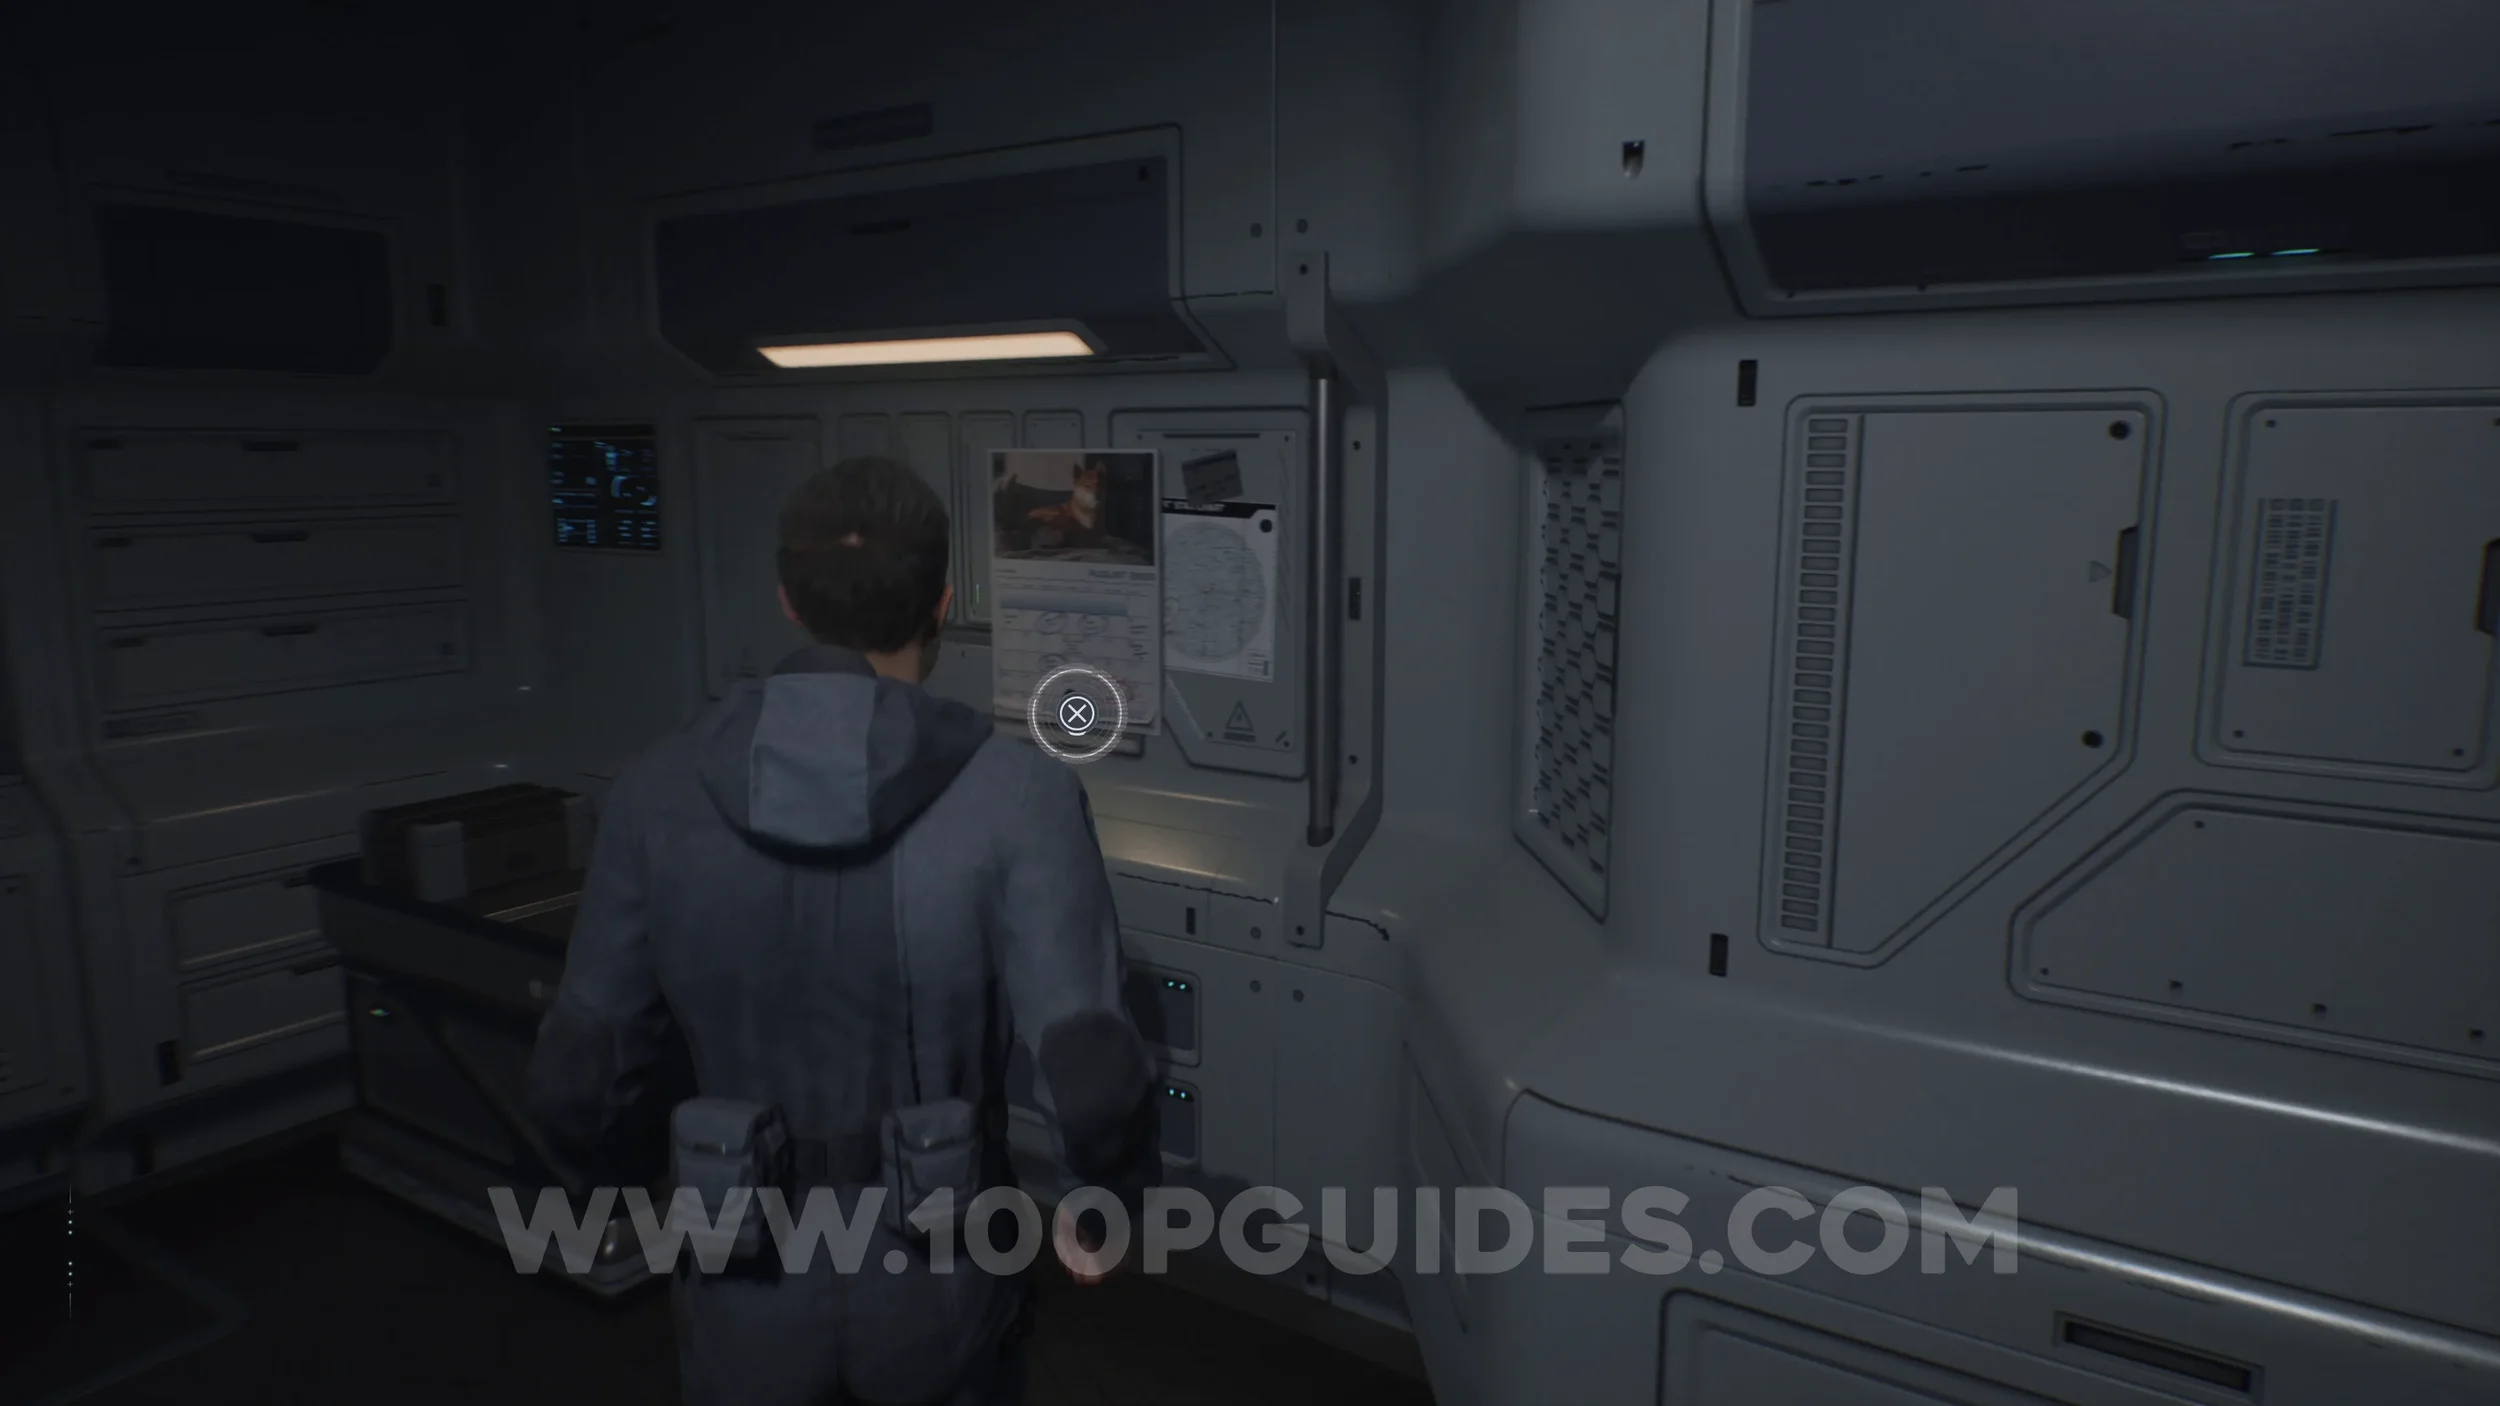
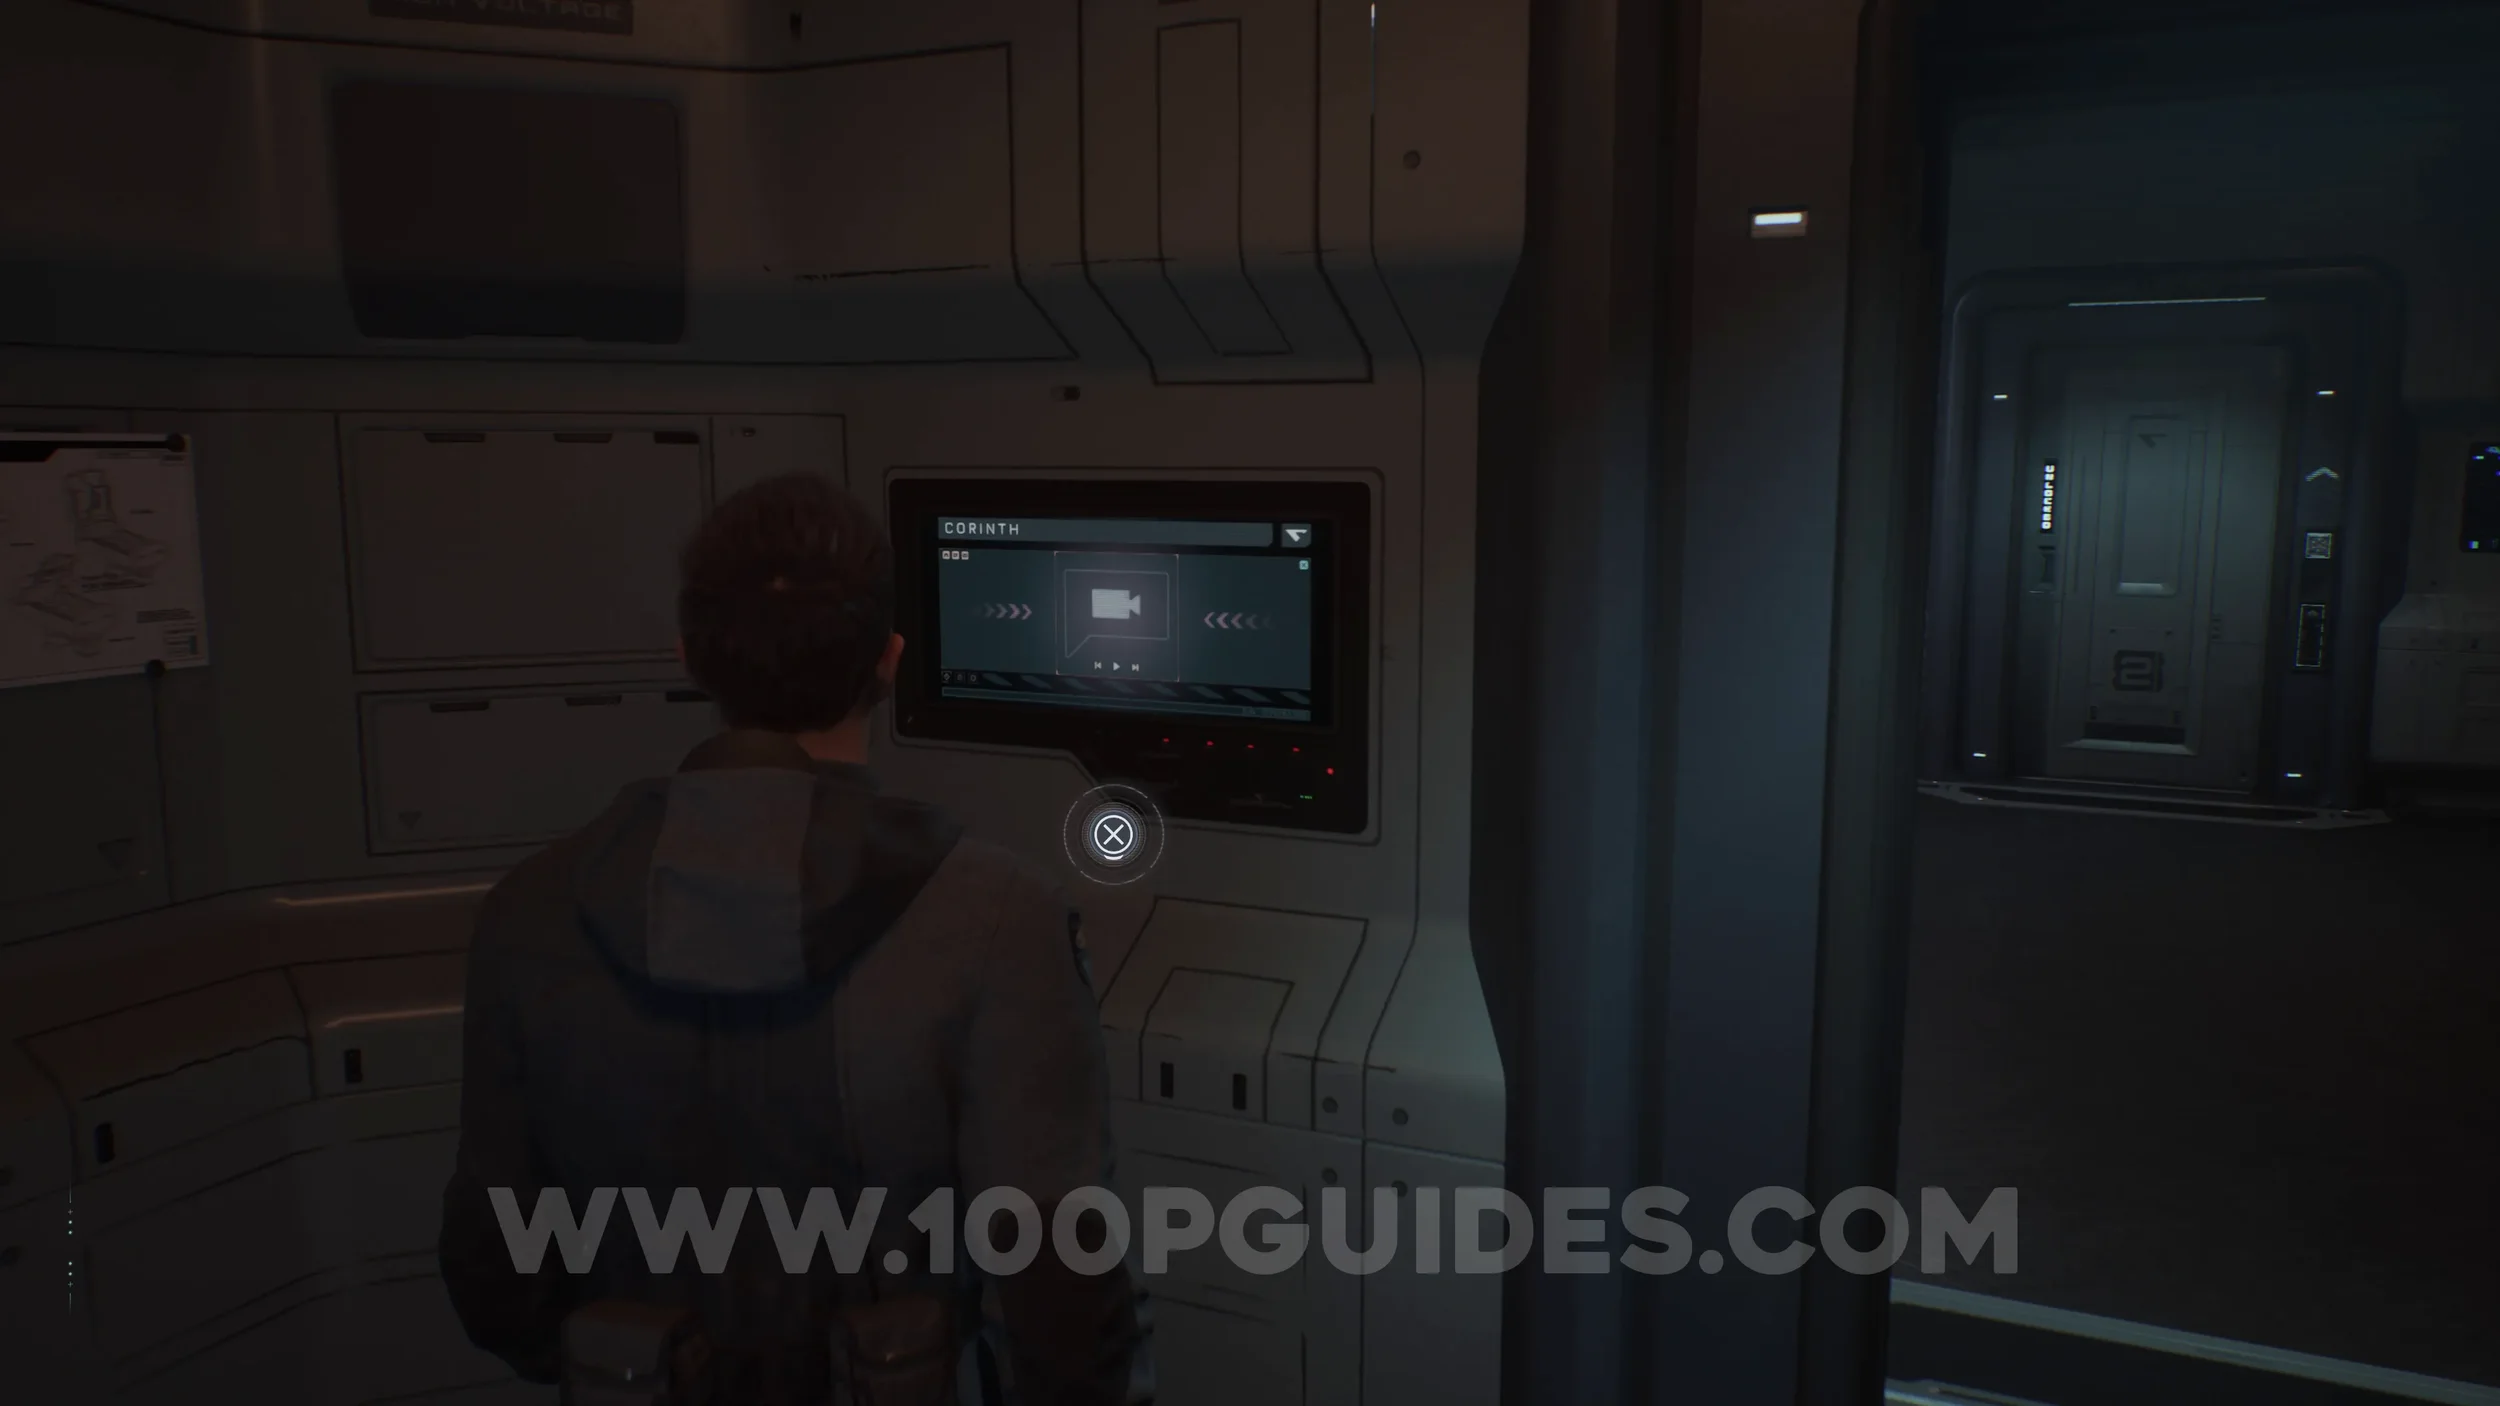
Secret #2 - Cetus Mission (Count Down). Examine the calendar on the wall in the same room.
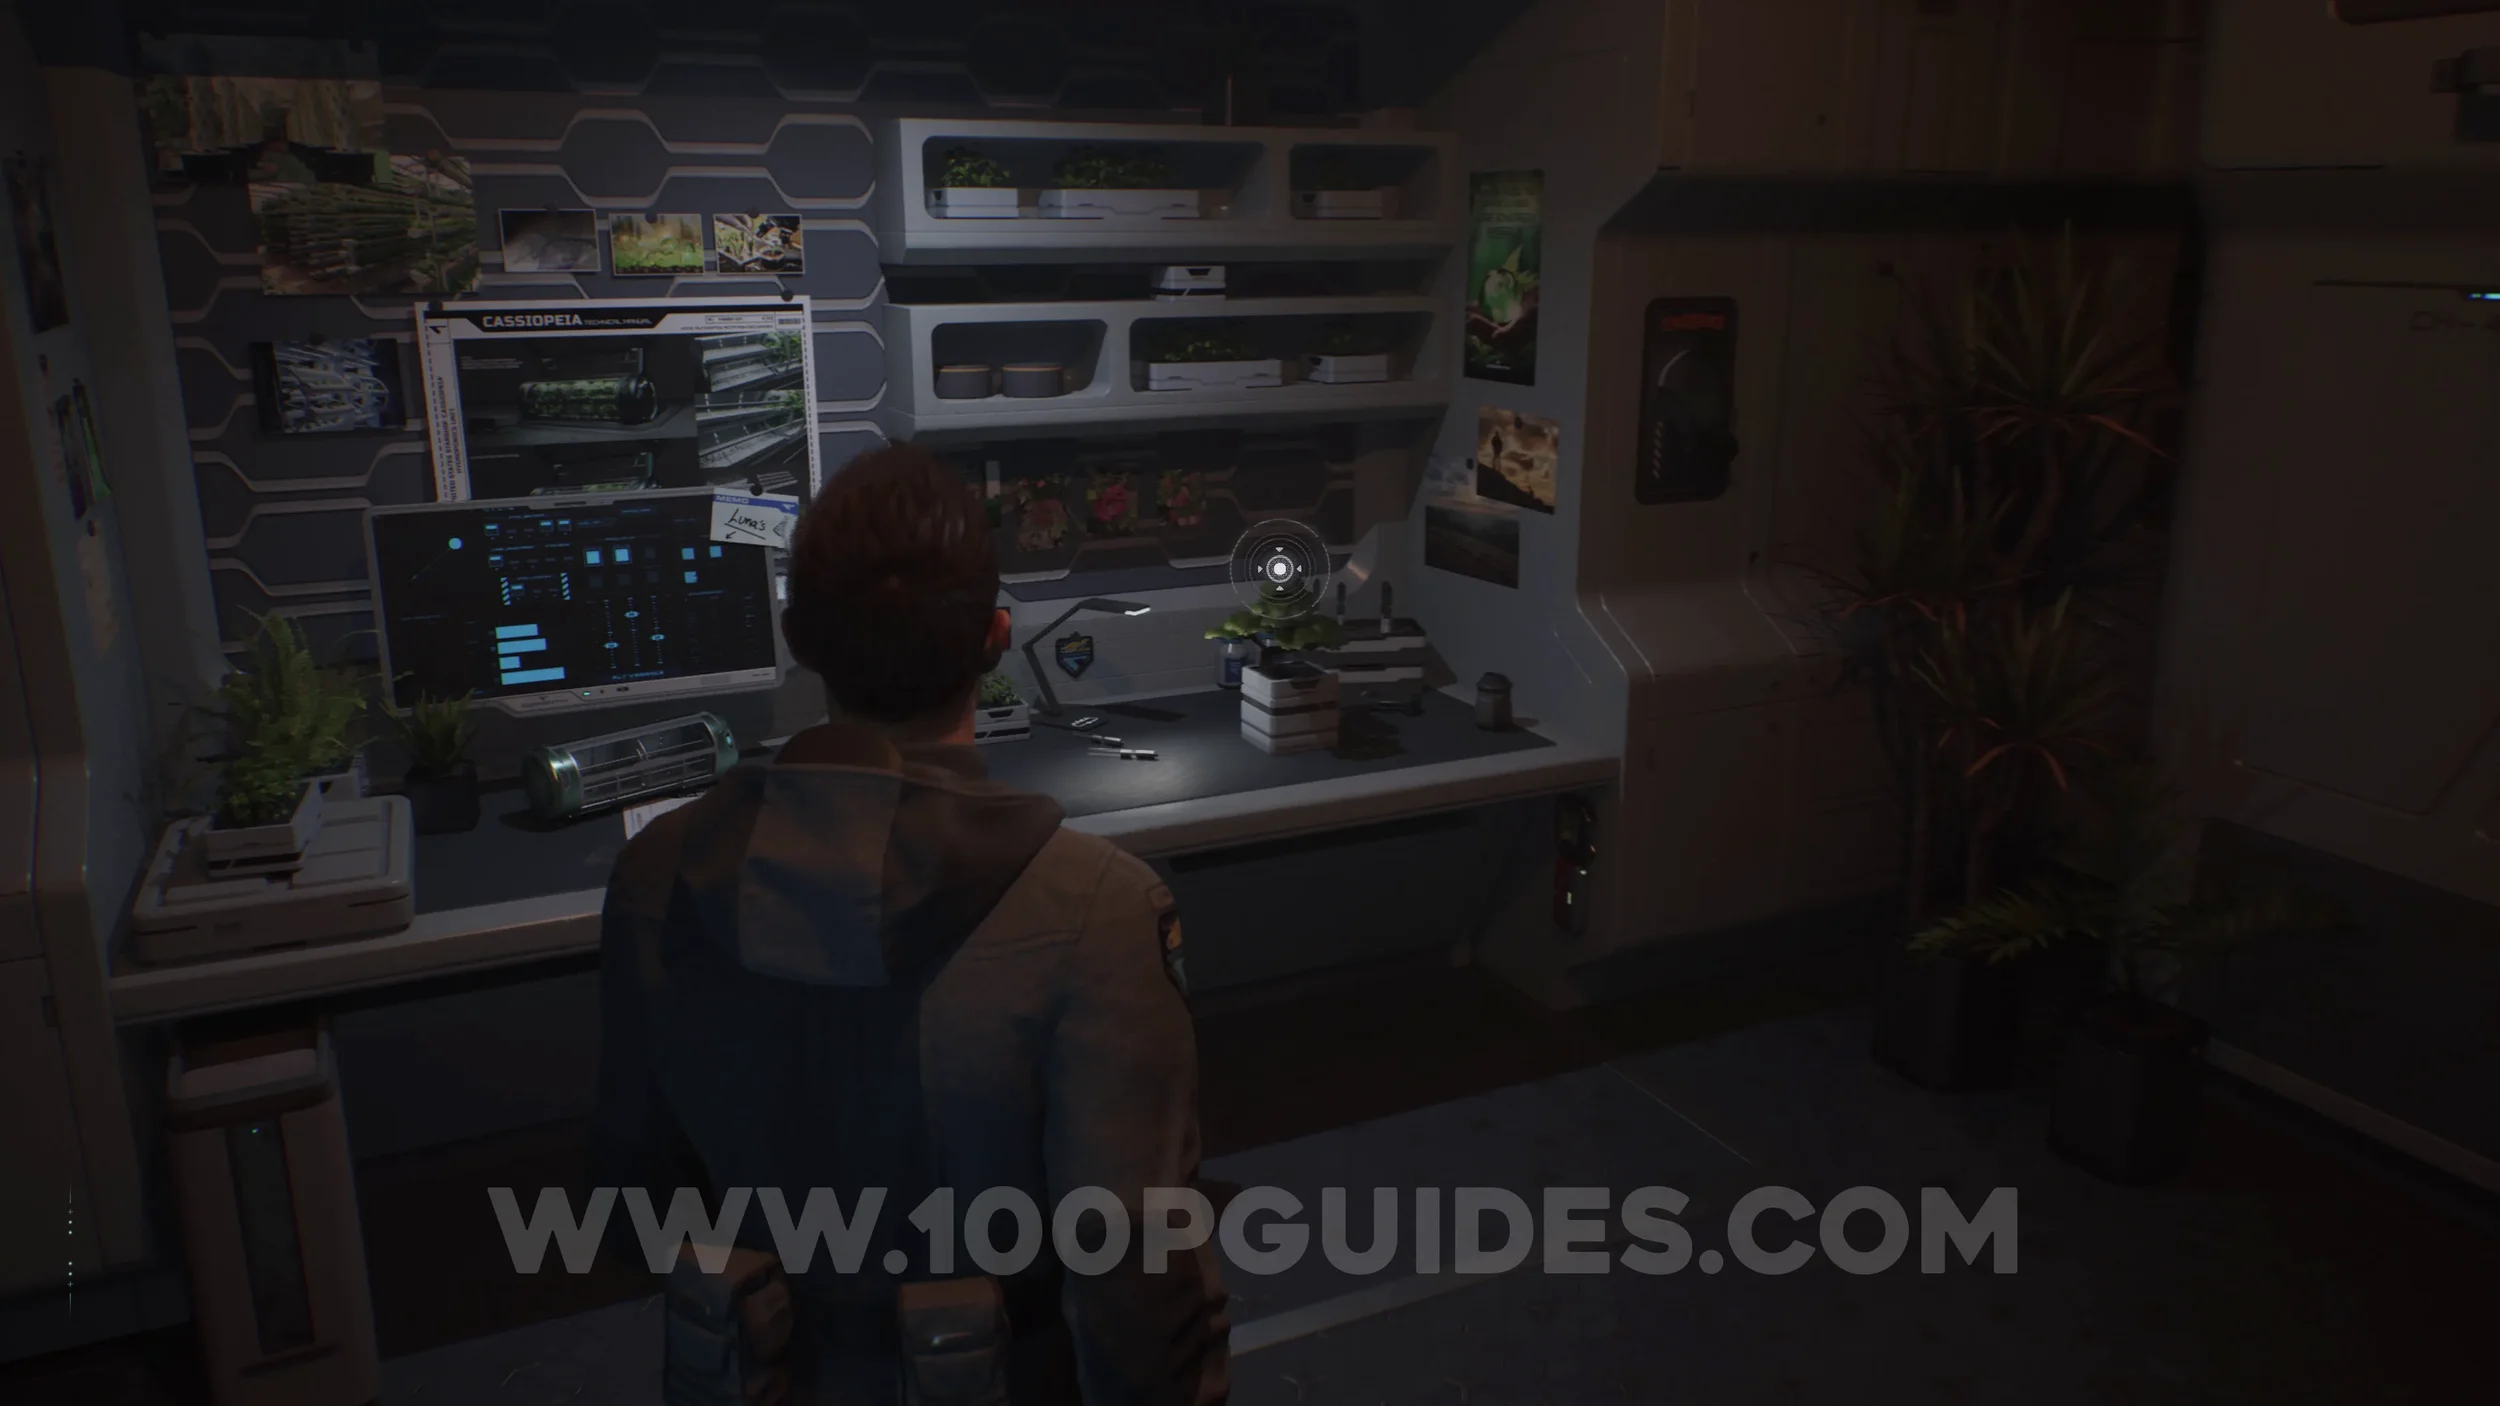
Secret #3 - Sleep Crew (Balance). Enter Tomas’s room, the room to the right of the chessboard, and examine the bonsai.
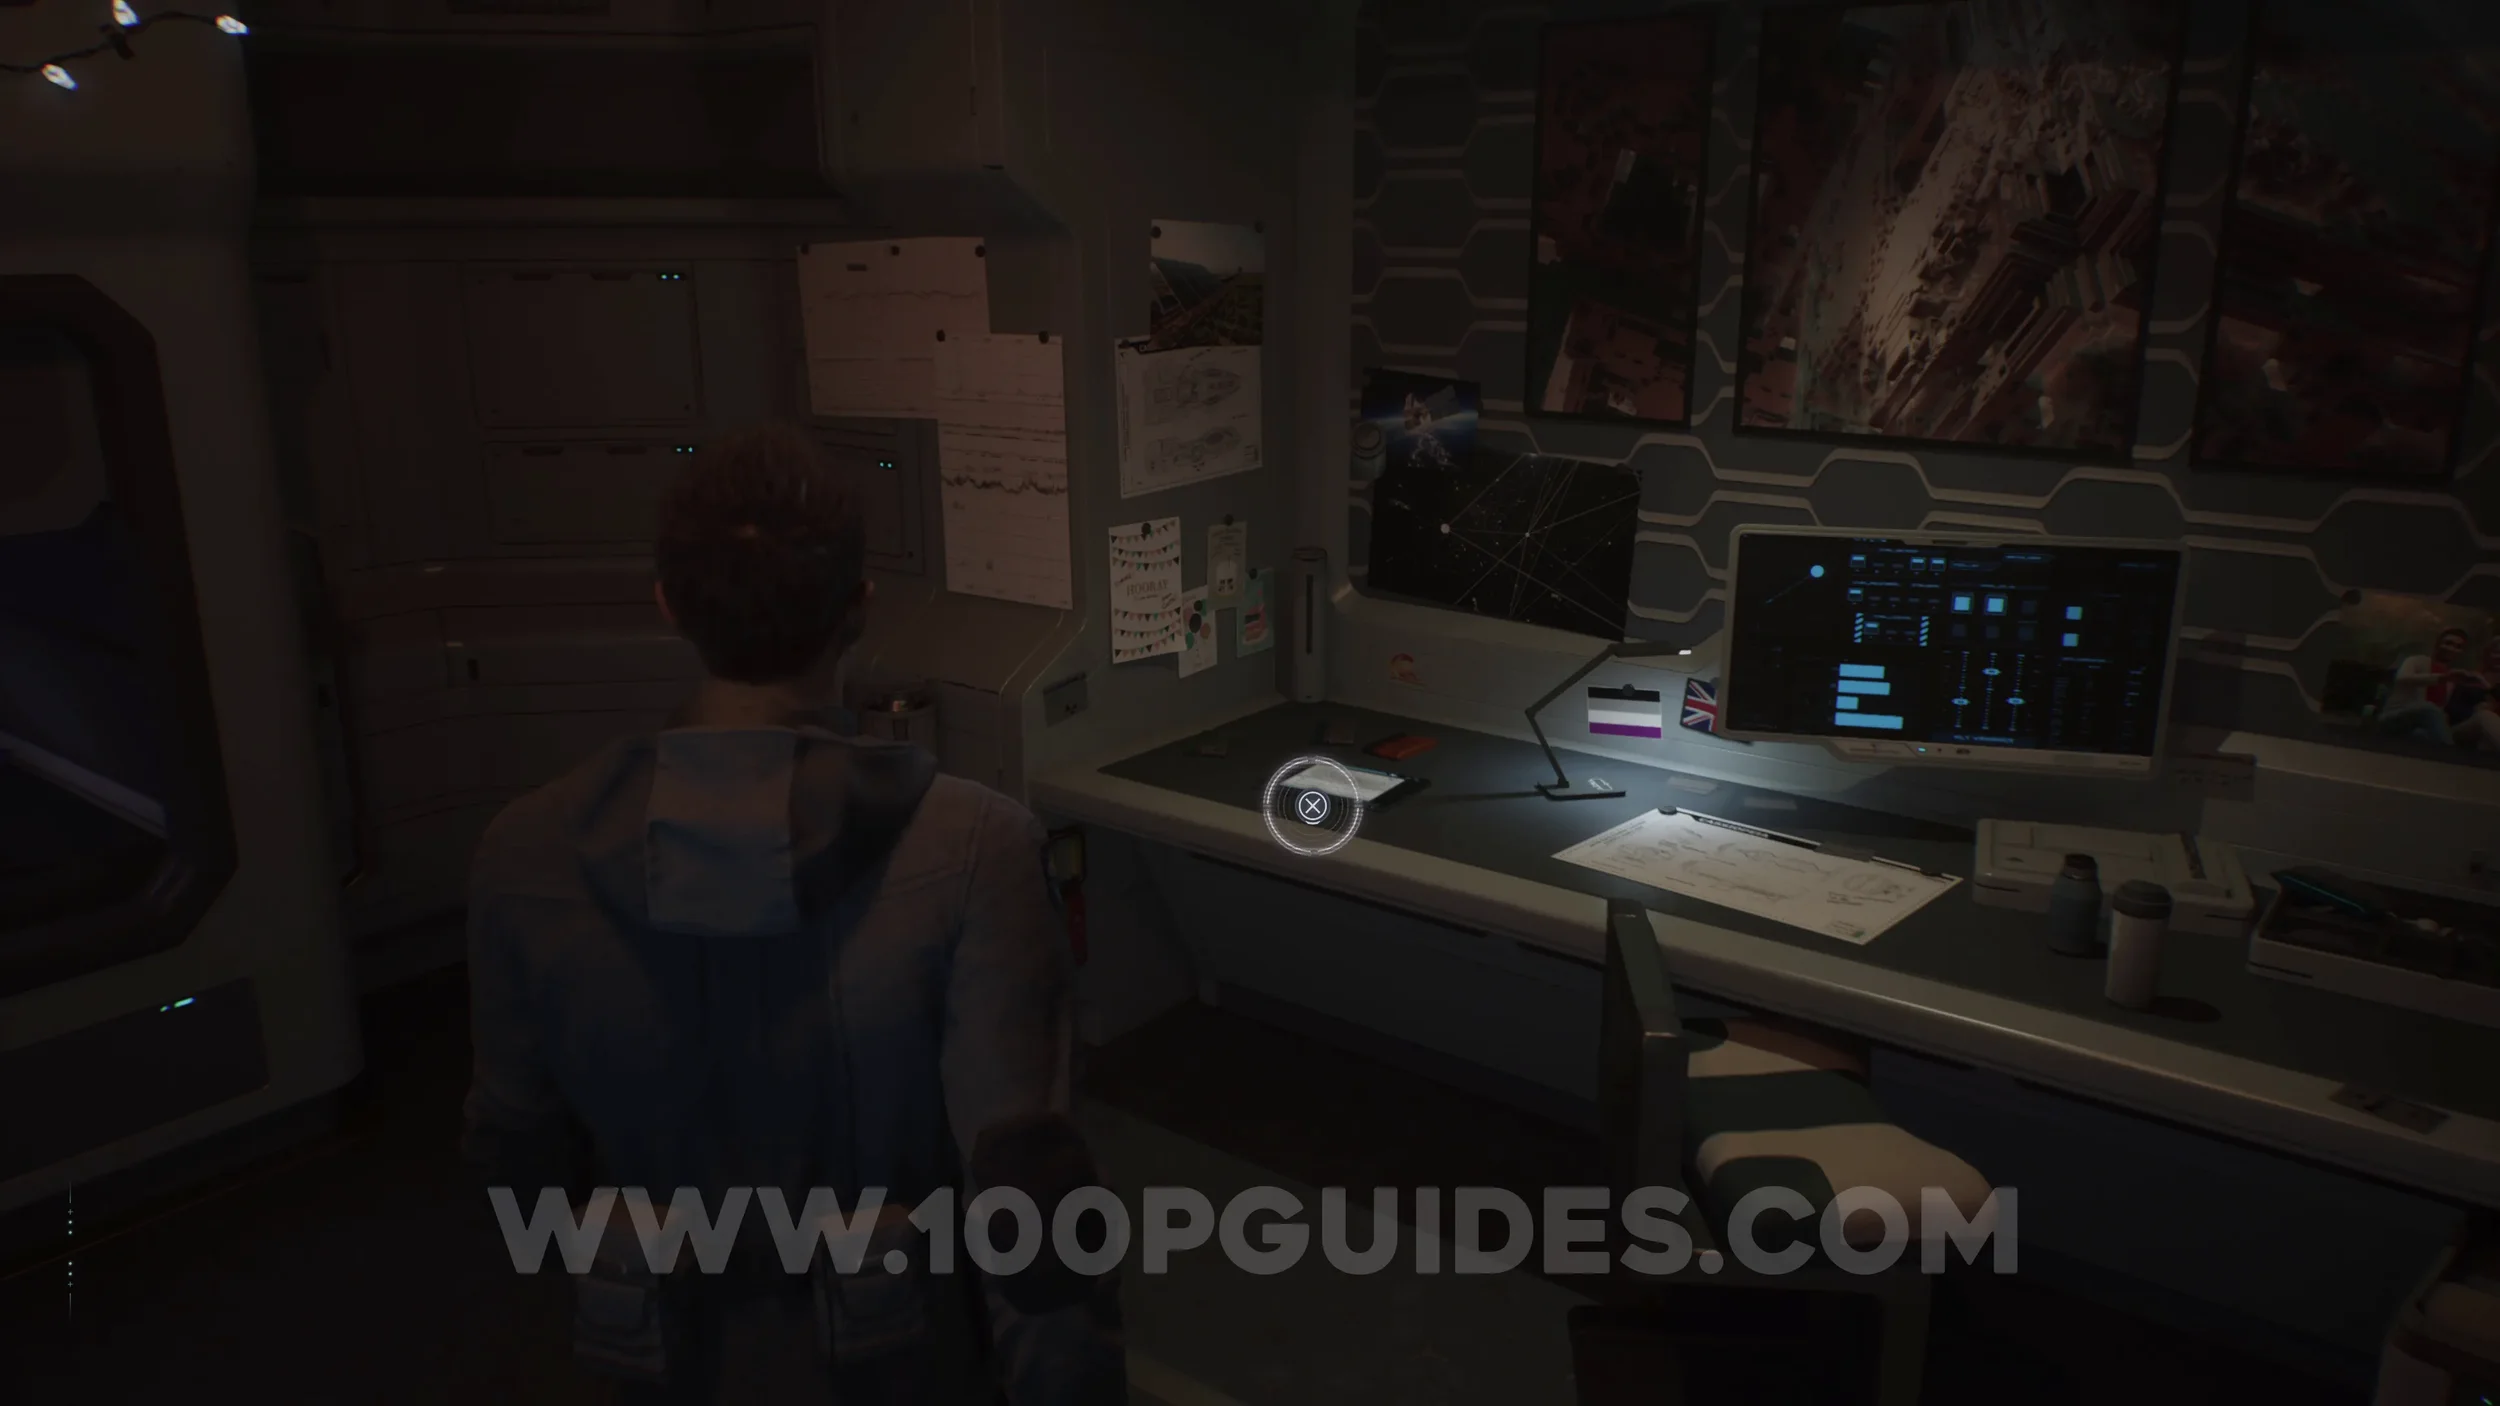
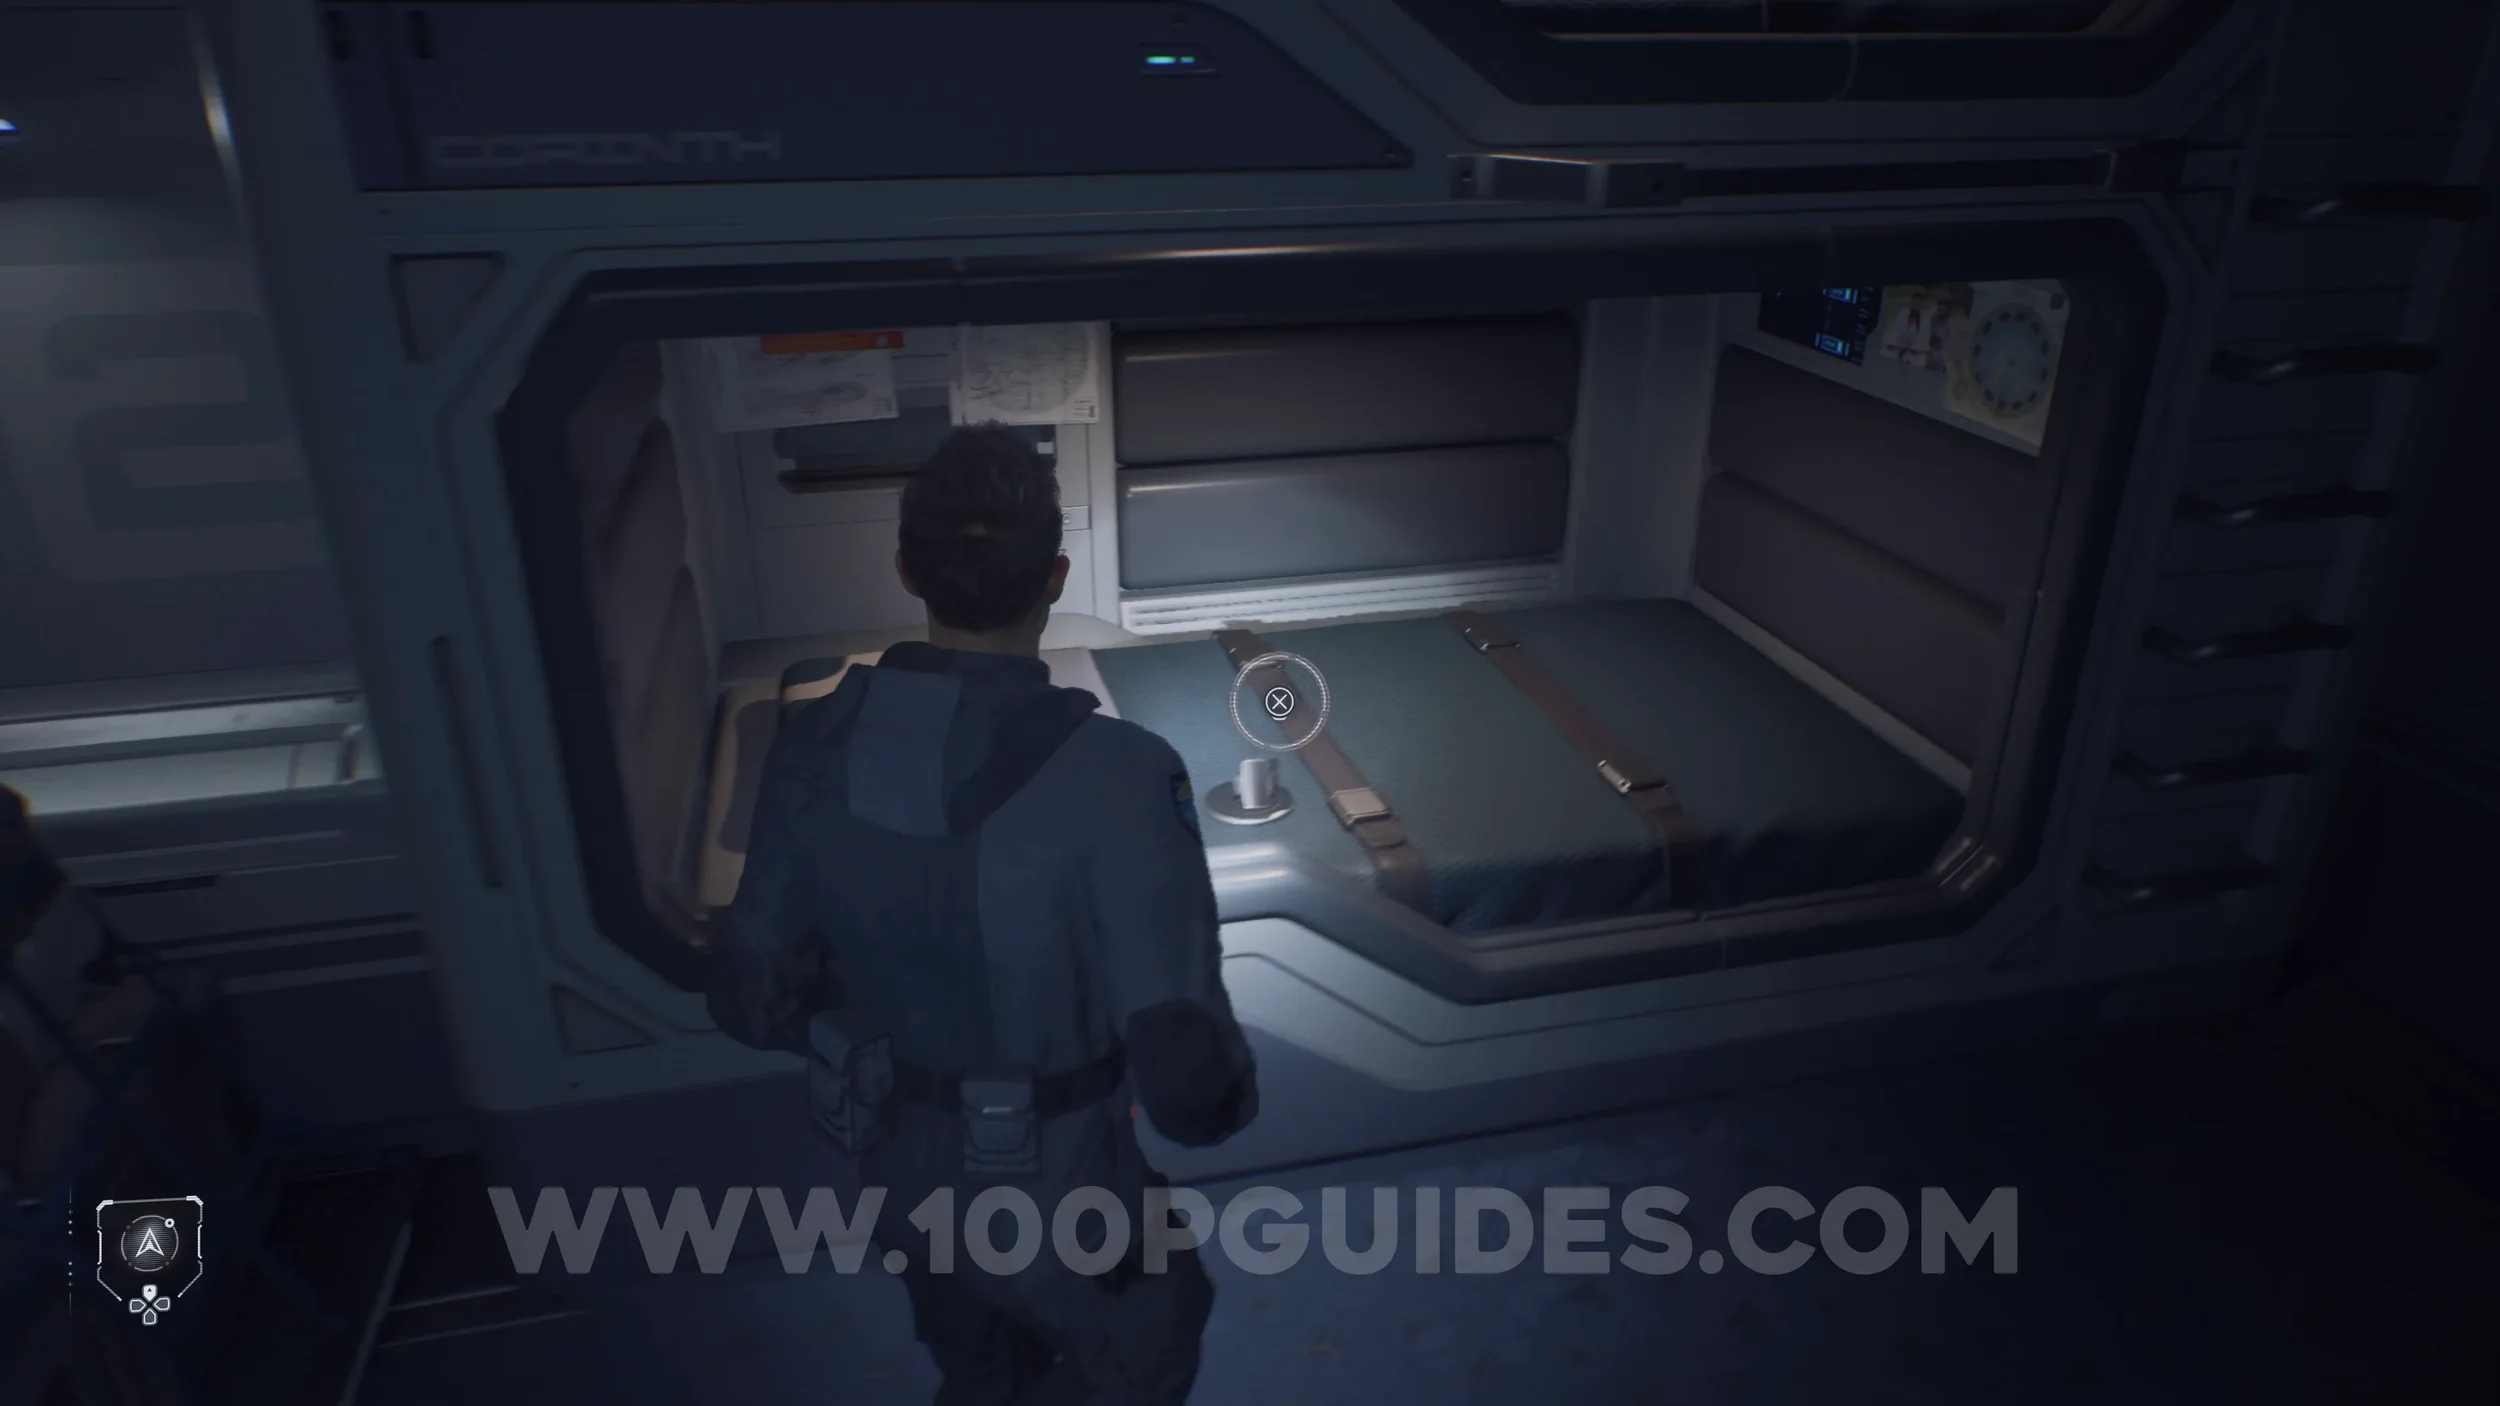
Secret #4 - Sleep Crew (Daddy in Space). Examine the datapad in Tomas’s room.

Secret #5 - Sleep Crew (Night Shift). Found in Simms’s room, the room to the left of the chessboard.

The Simms Recordings #1 - Green Tea. On the wall in Simms’s room.
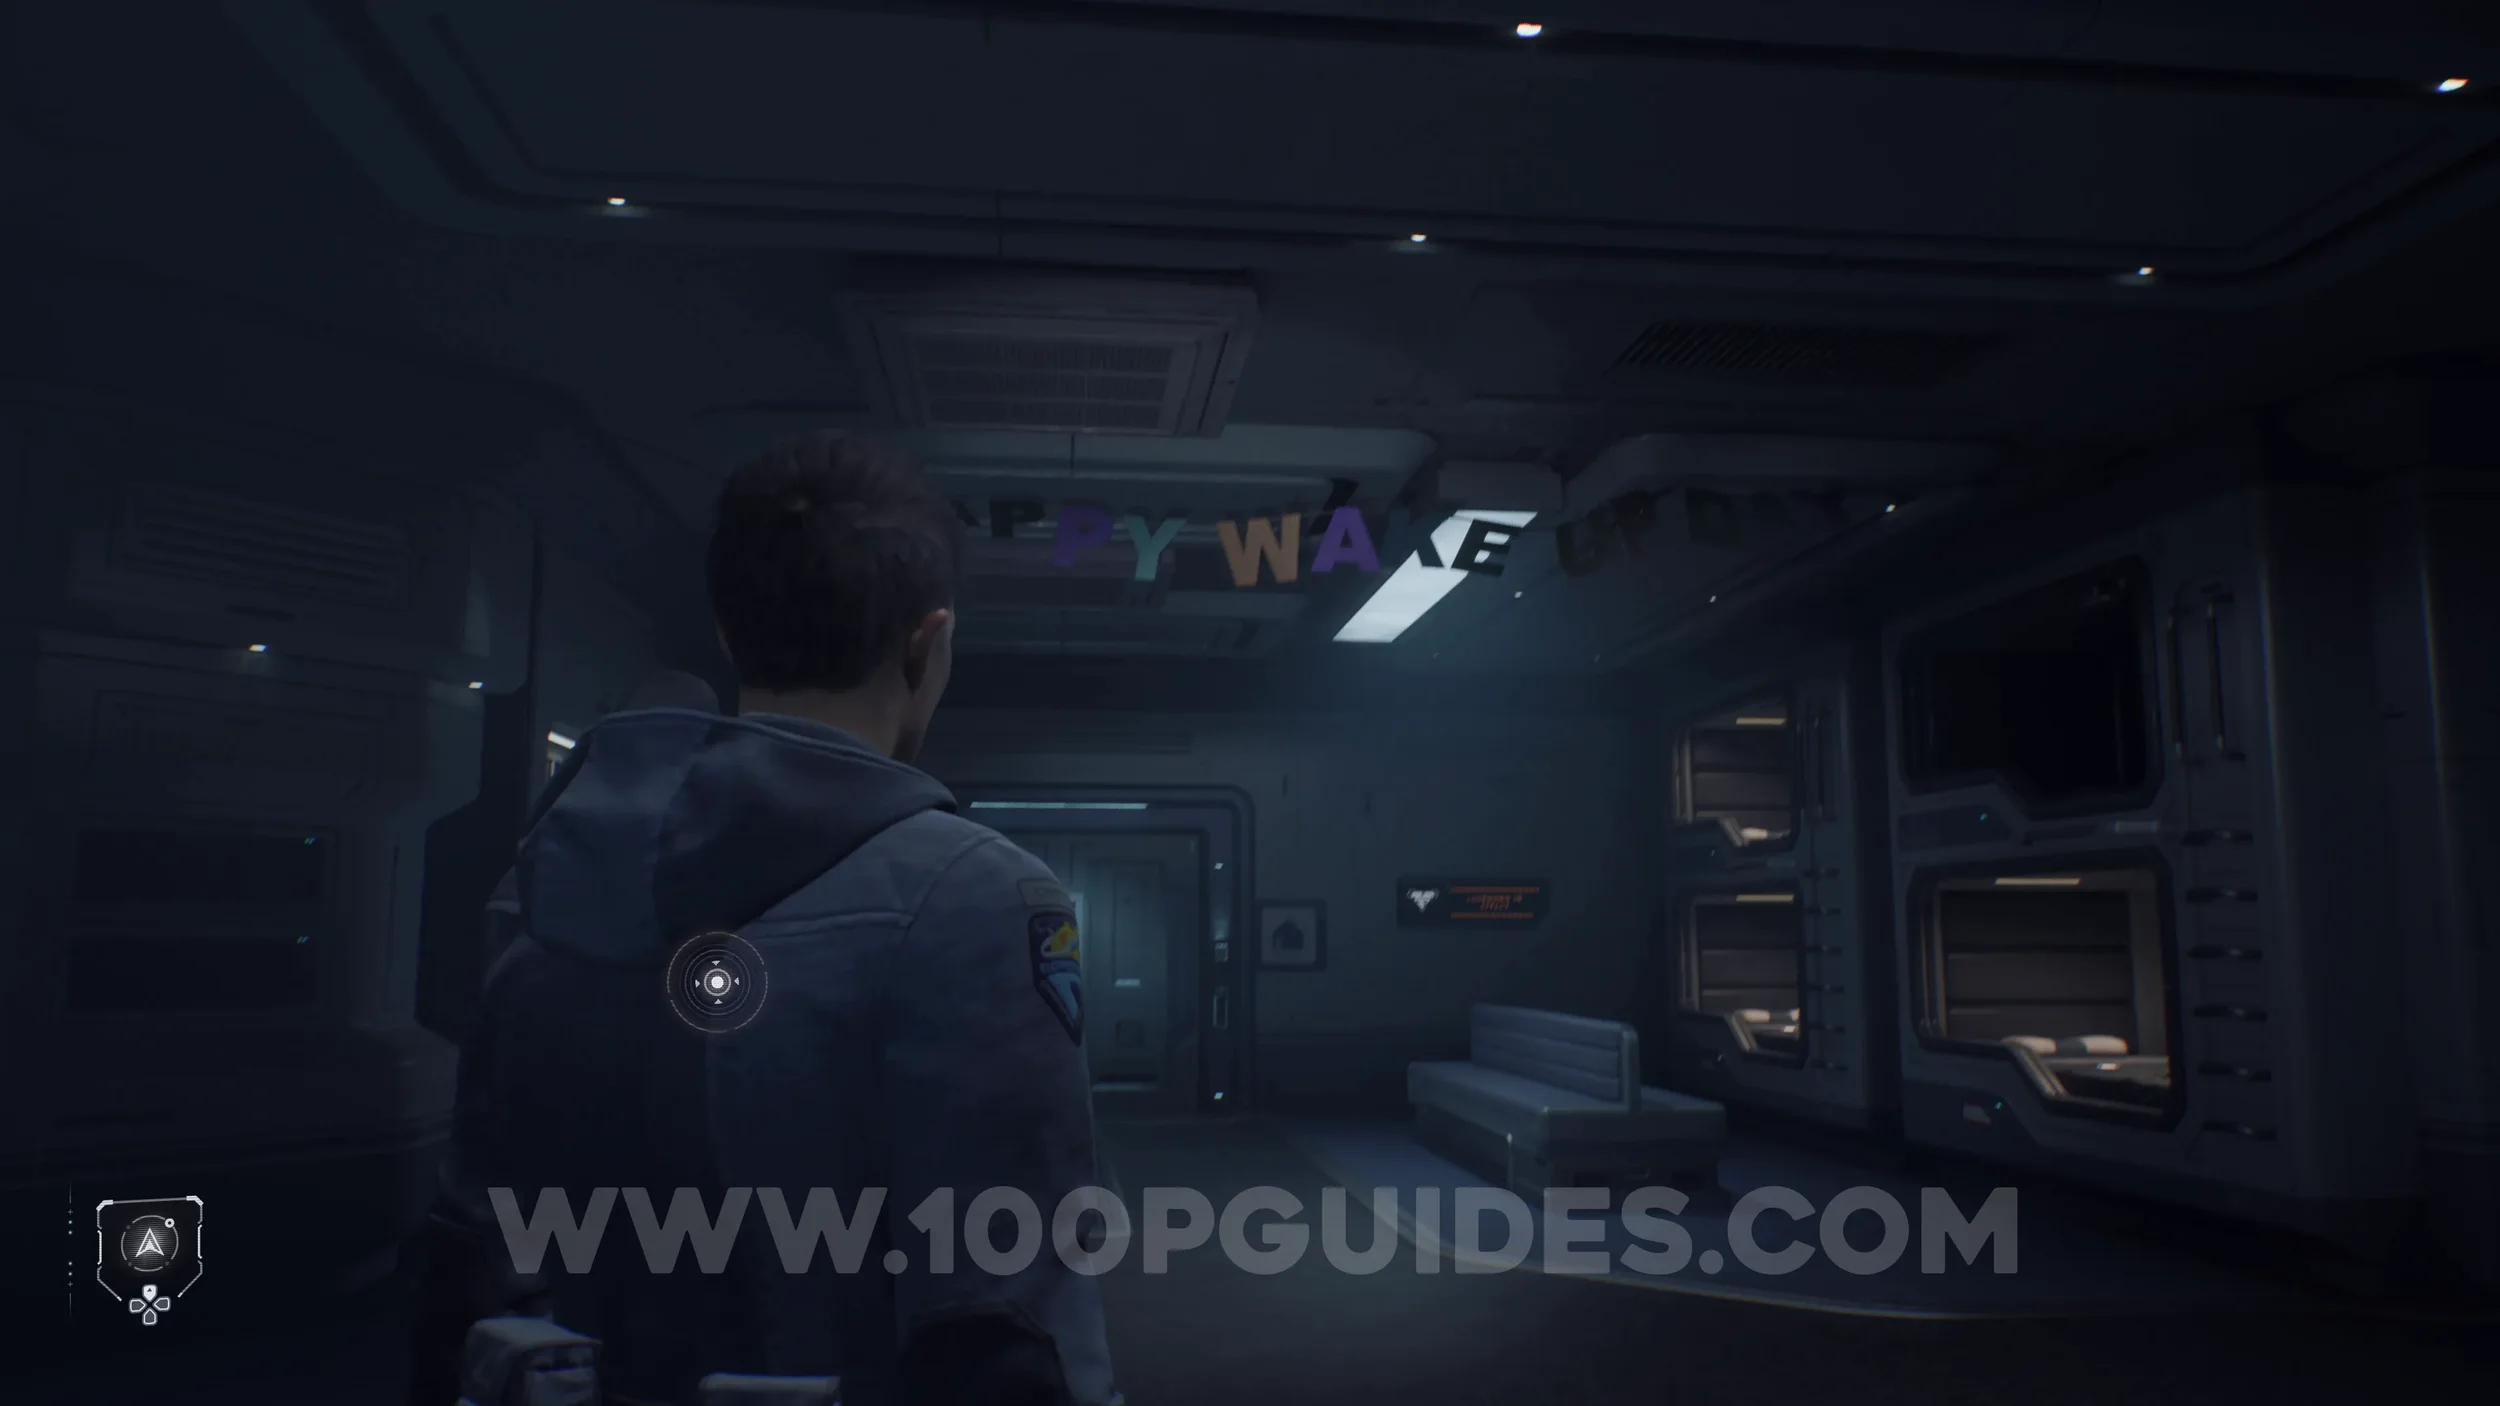
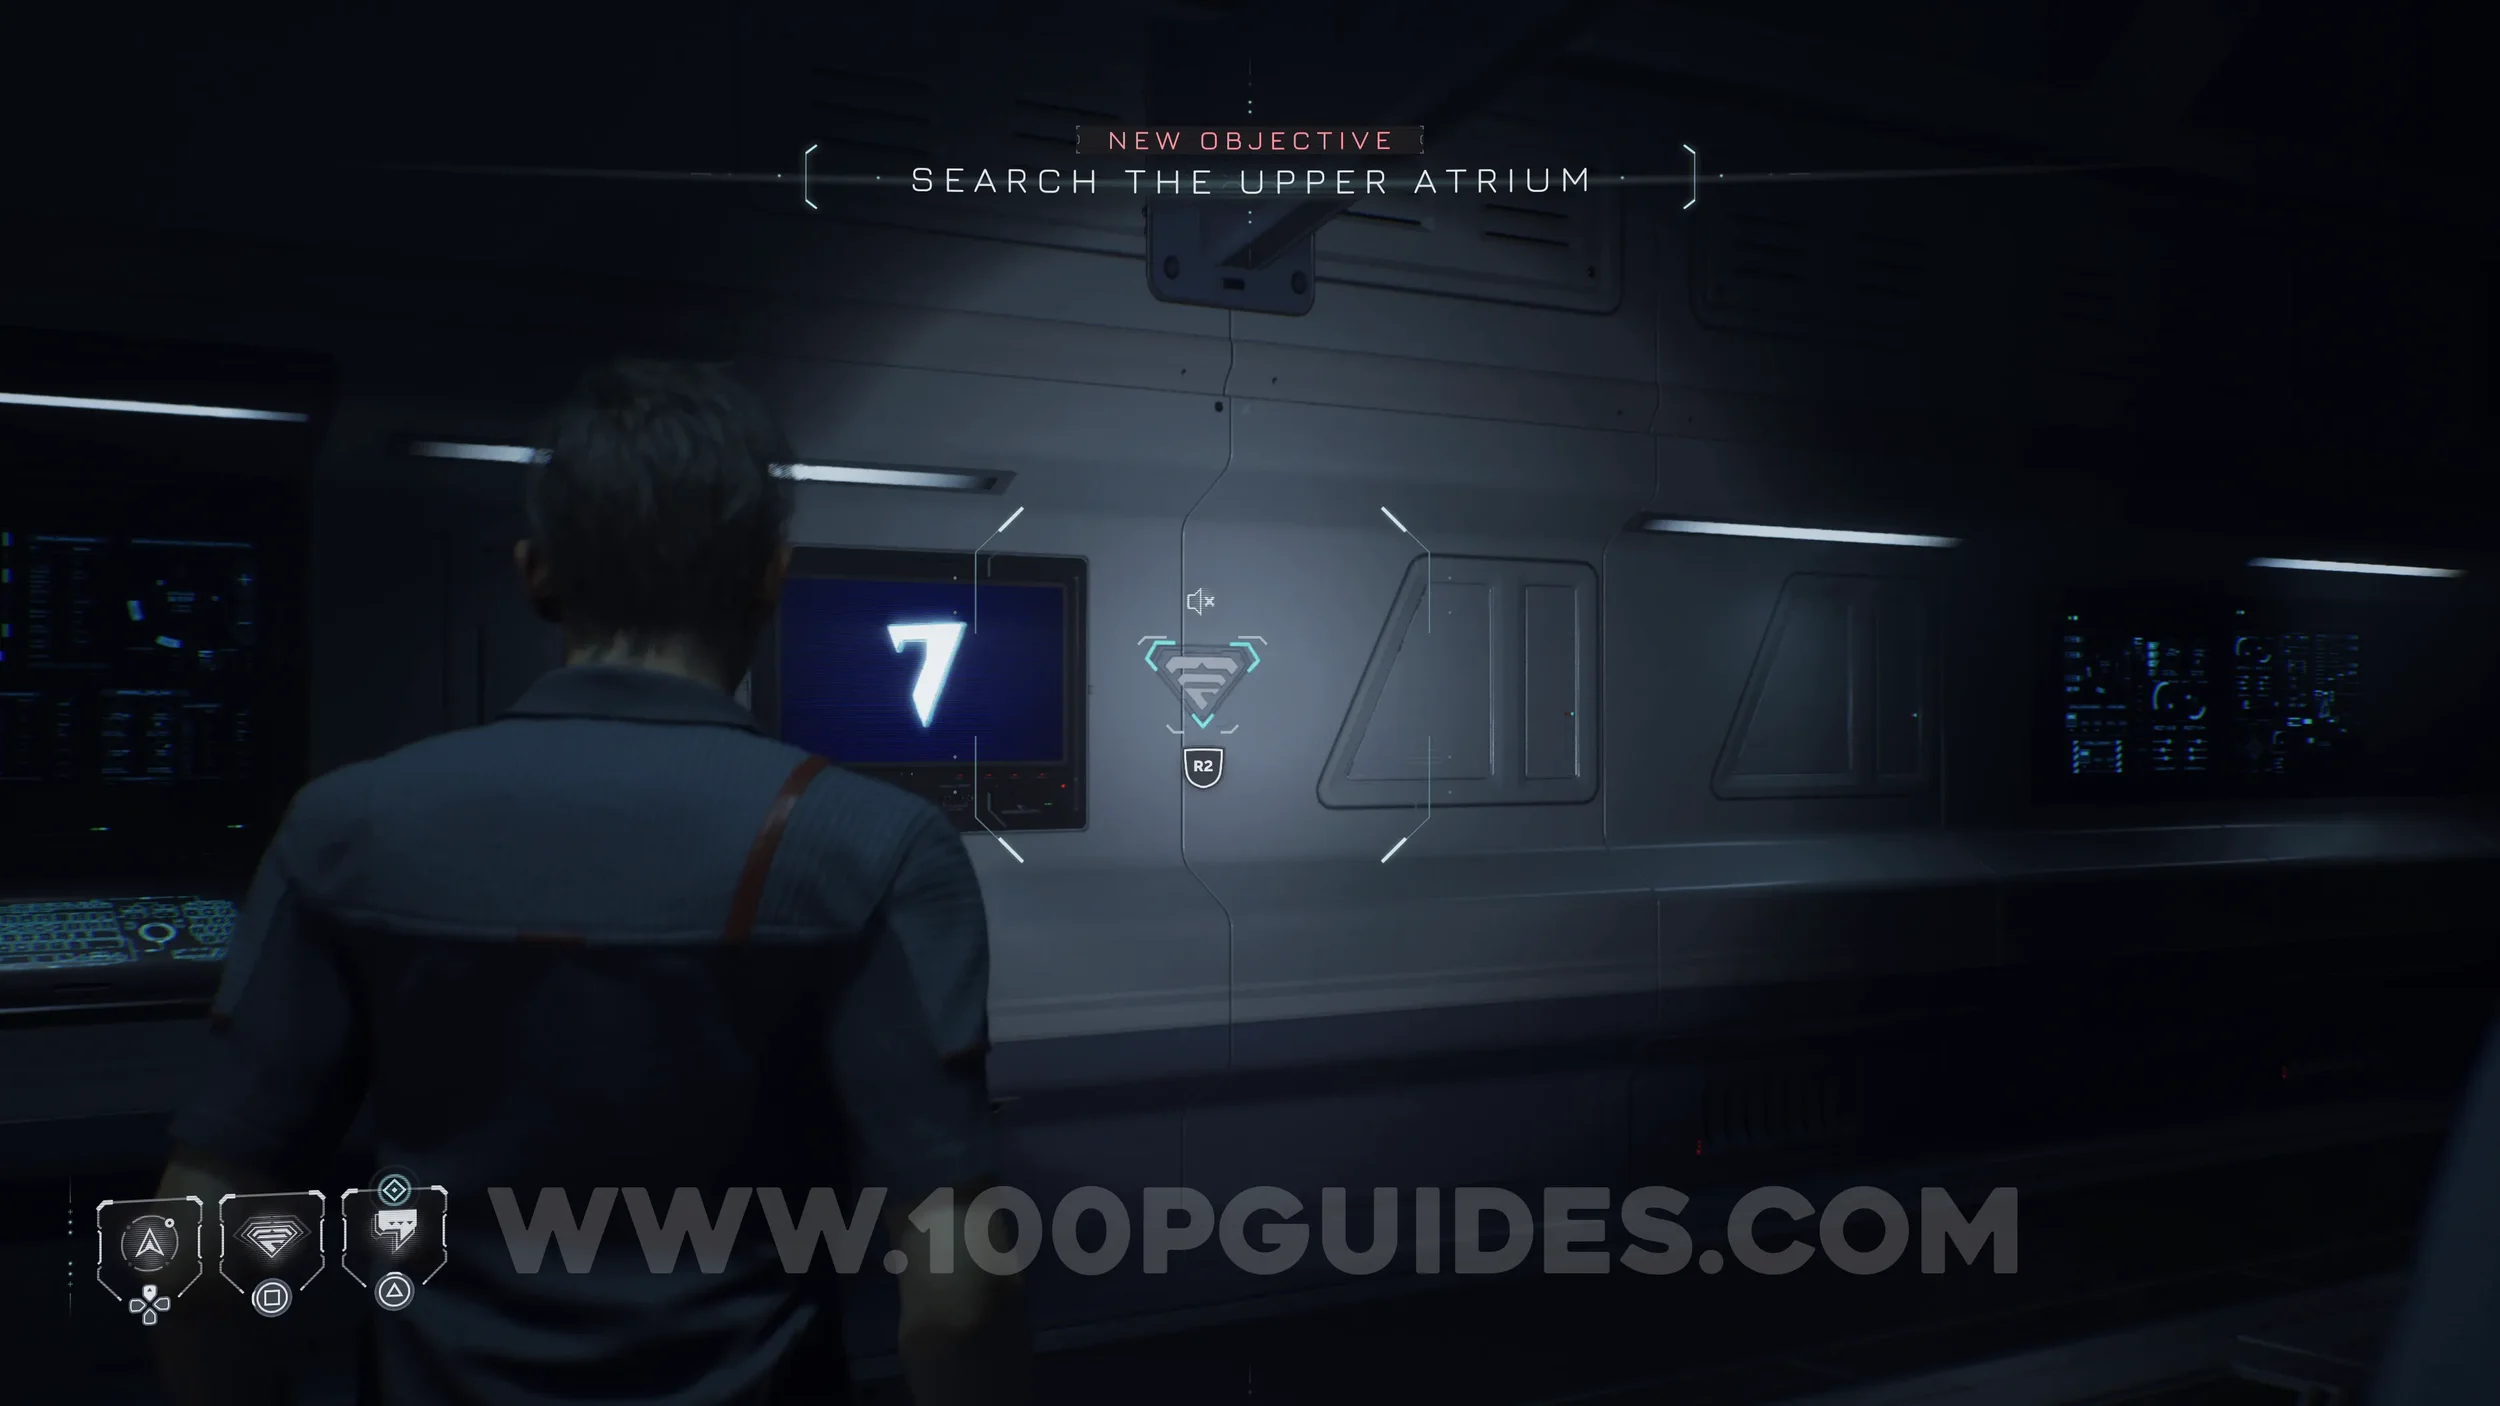
Secret #6 - Cetus Mission (Mission Summary). After leaving the sleeping crew quarters, you will enter a room with letters hanging from the ceiling that spell “Happy Wake Up Day.” In this room, look to the left to find the collectible on the wall.
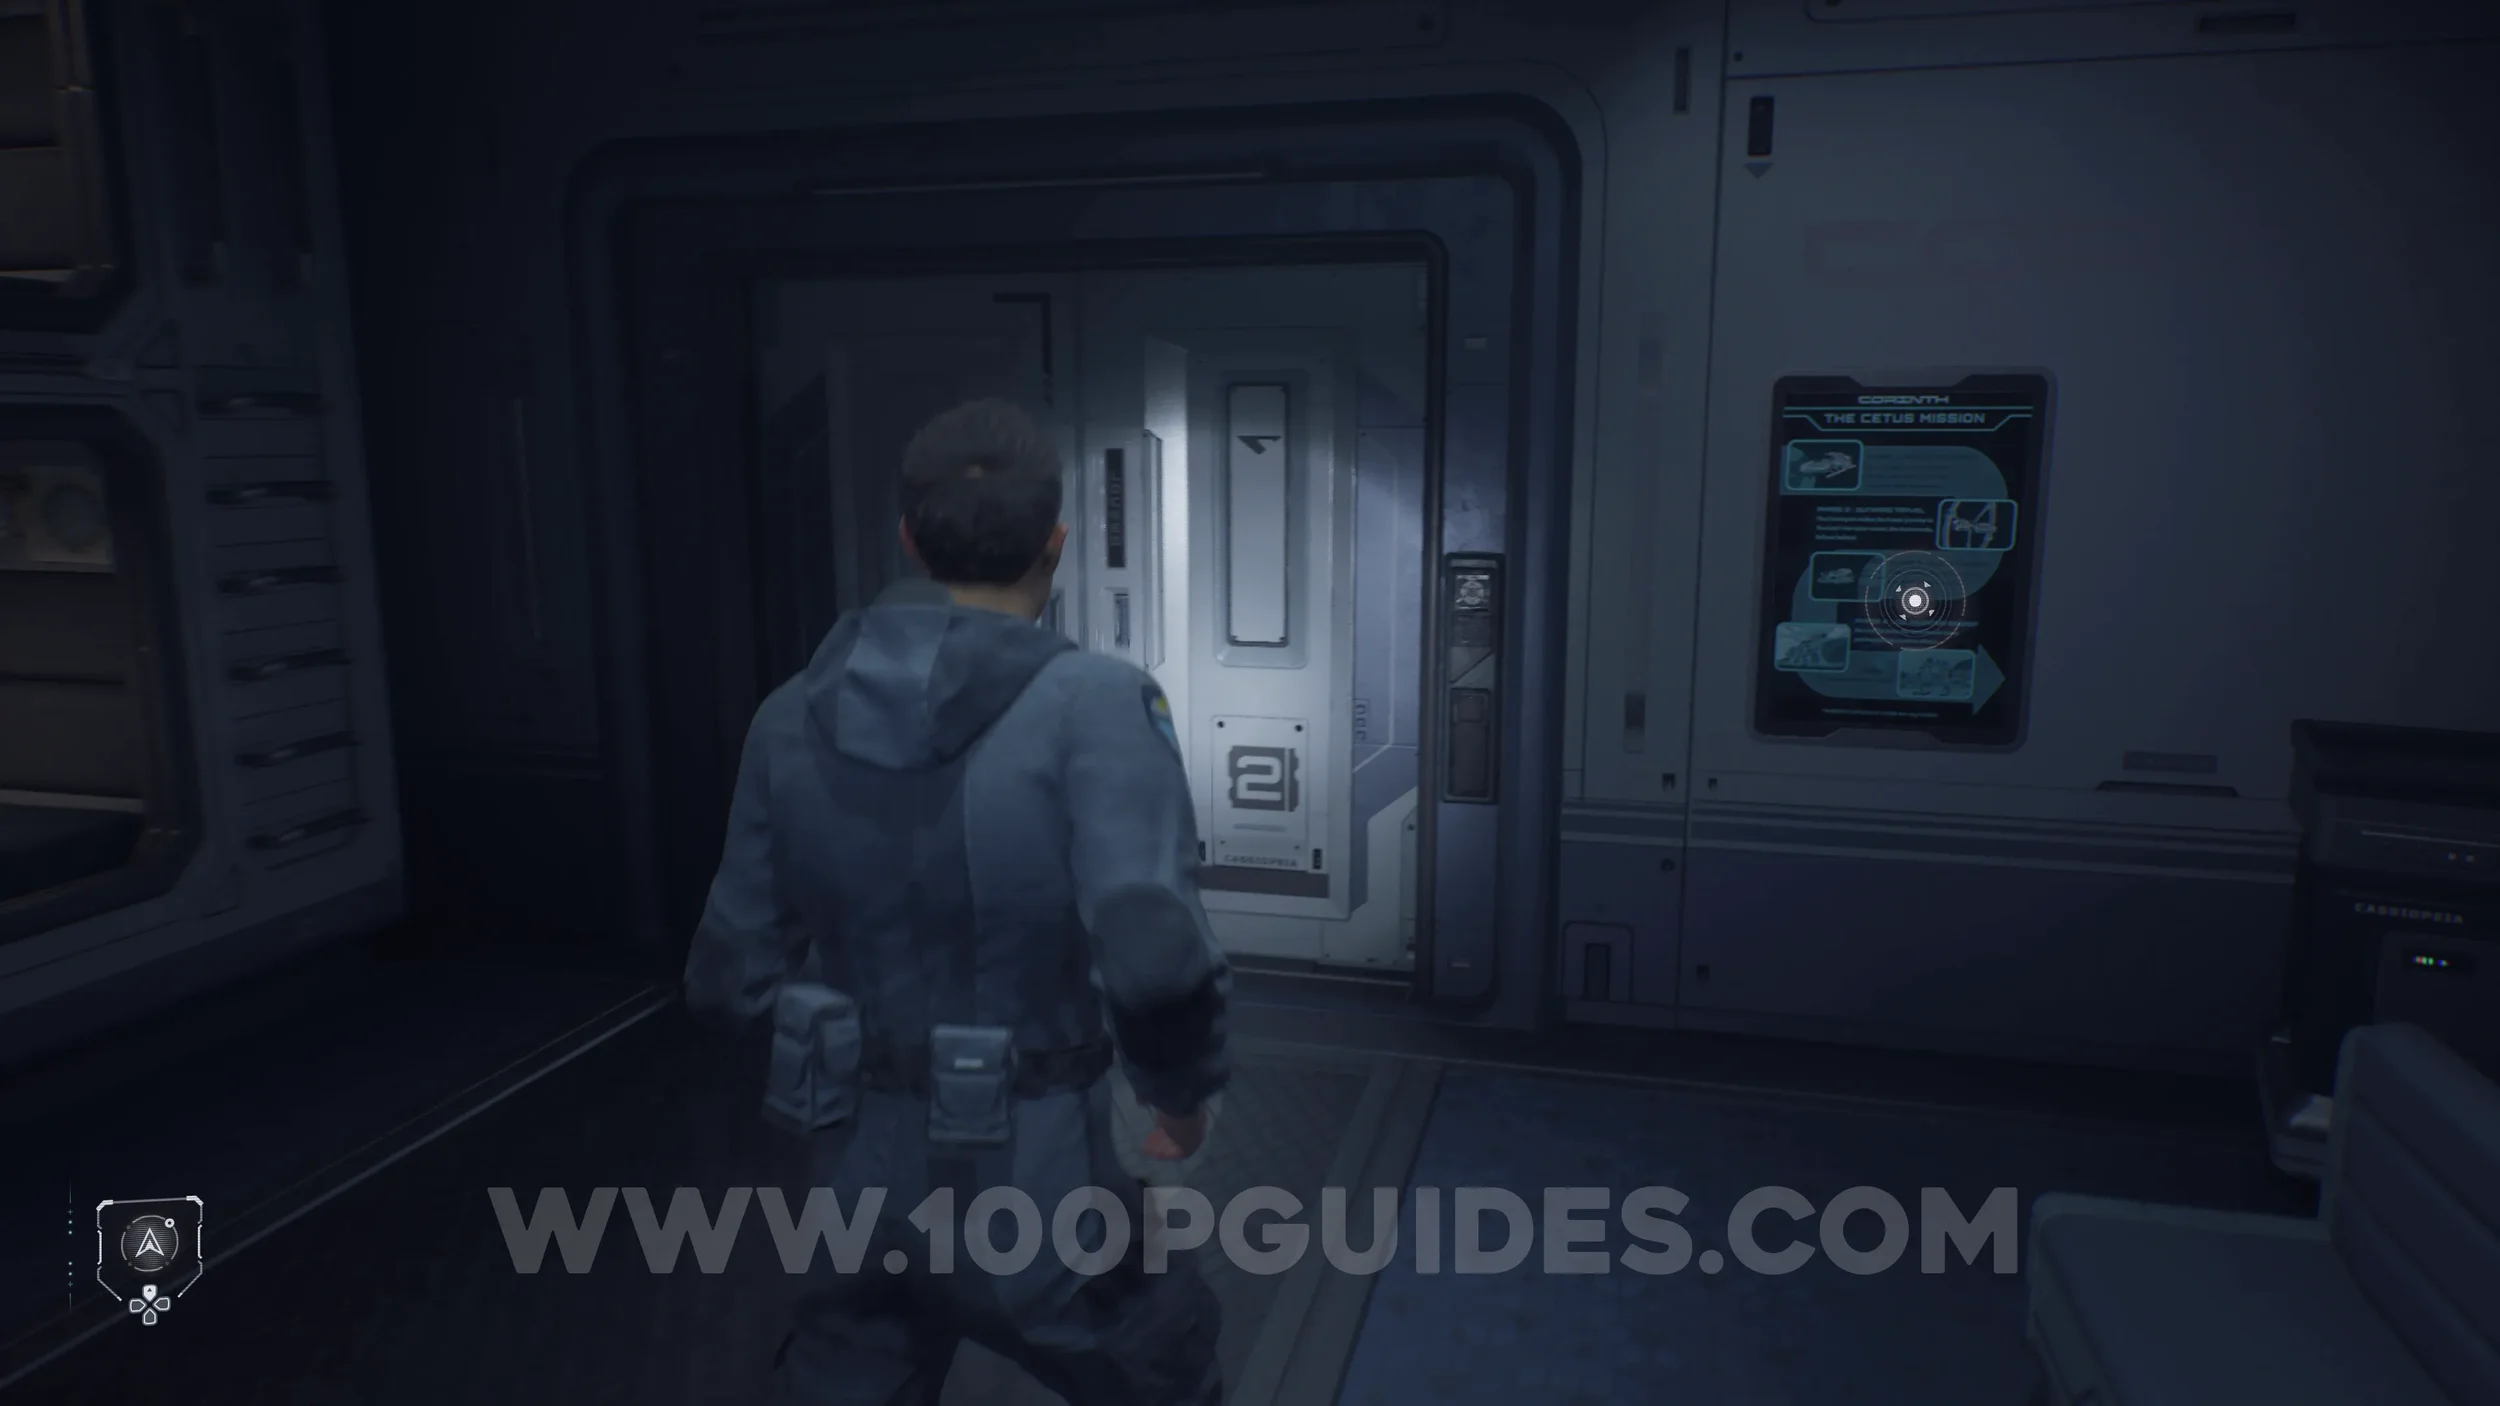
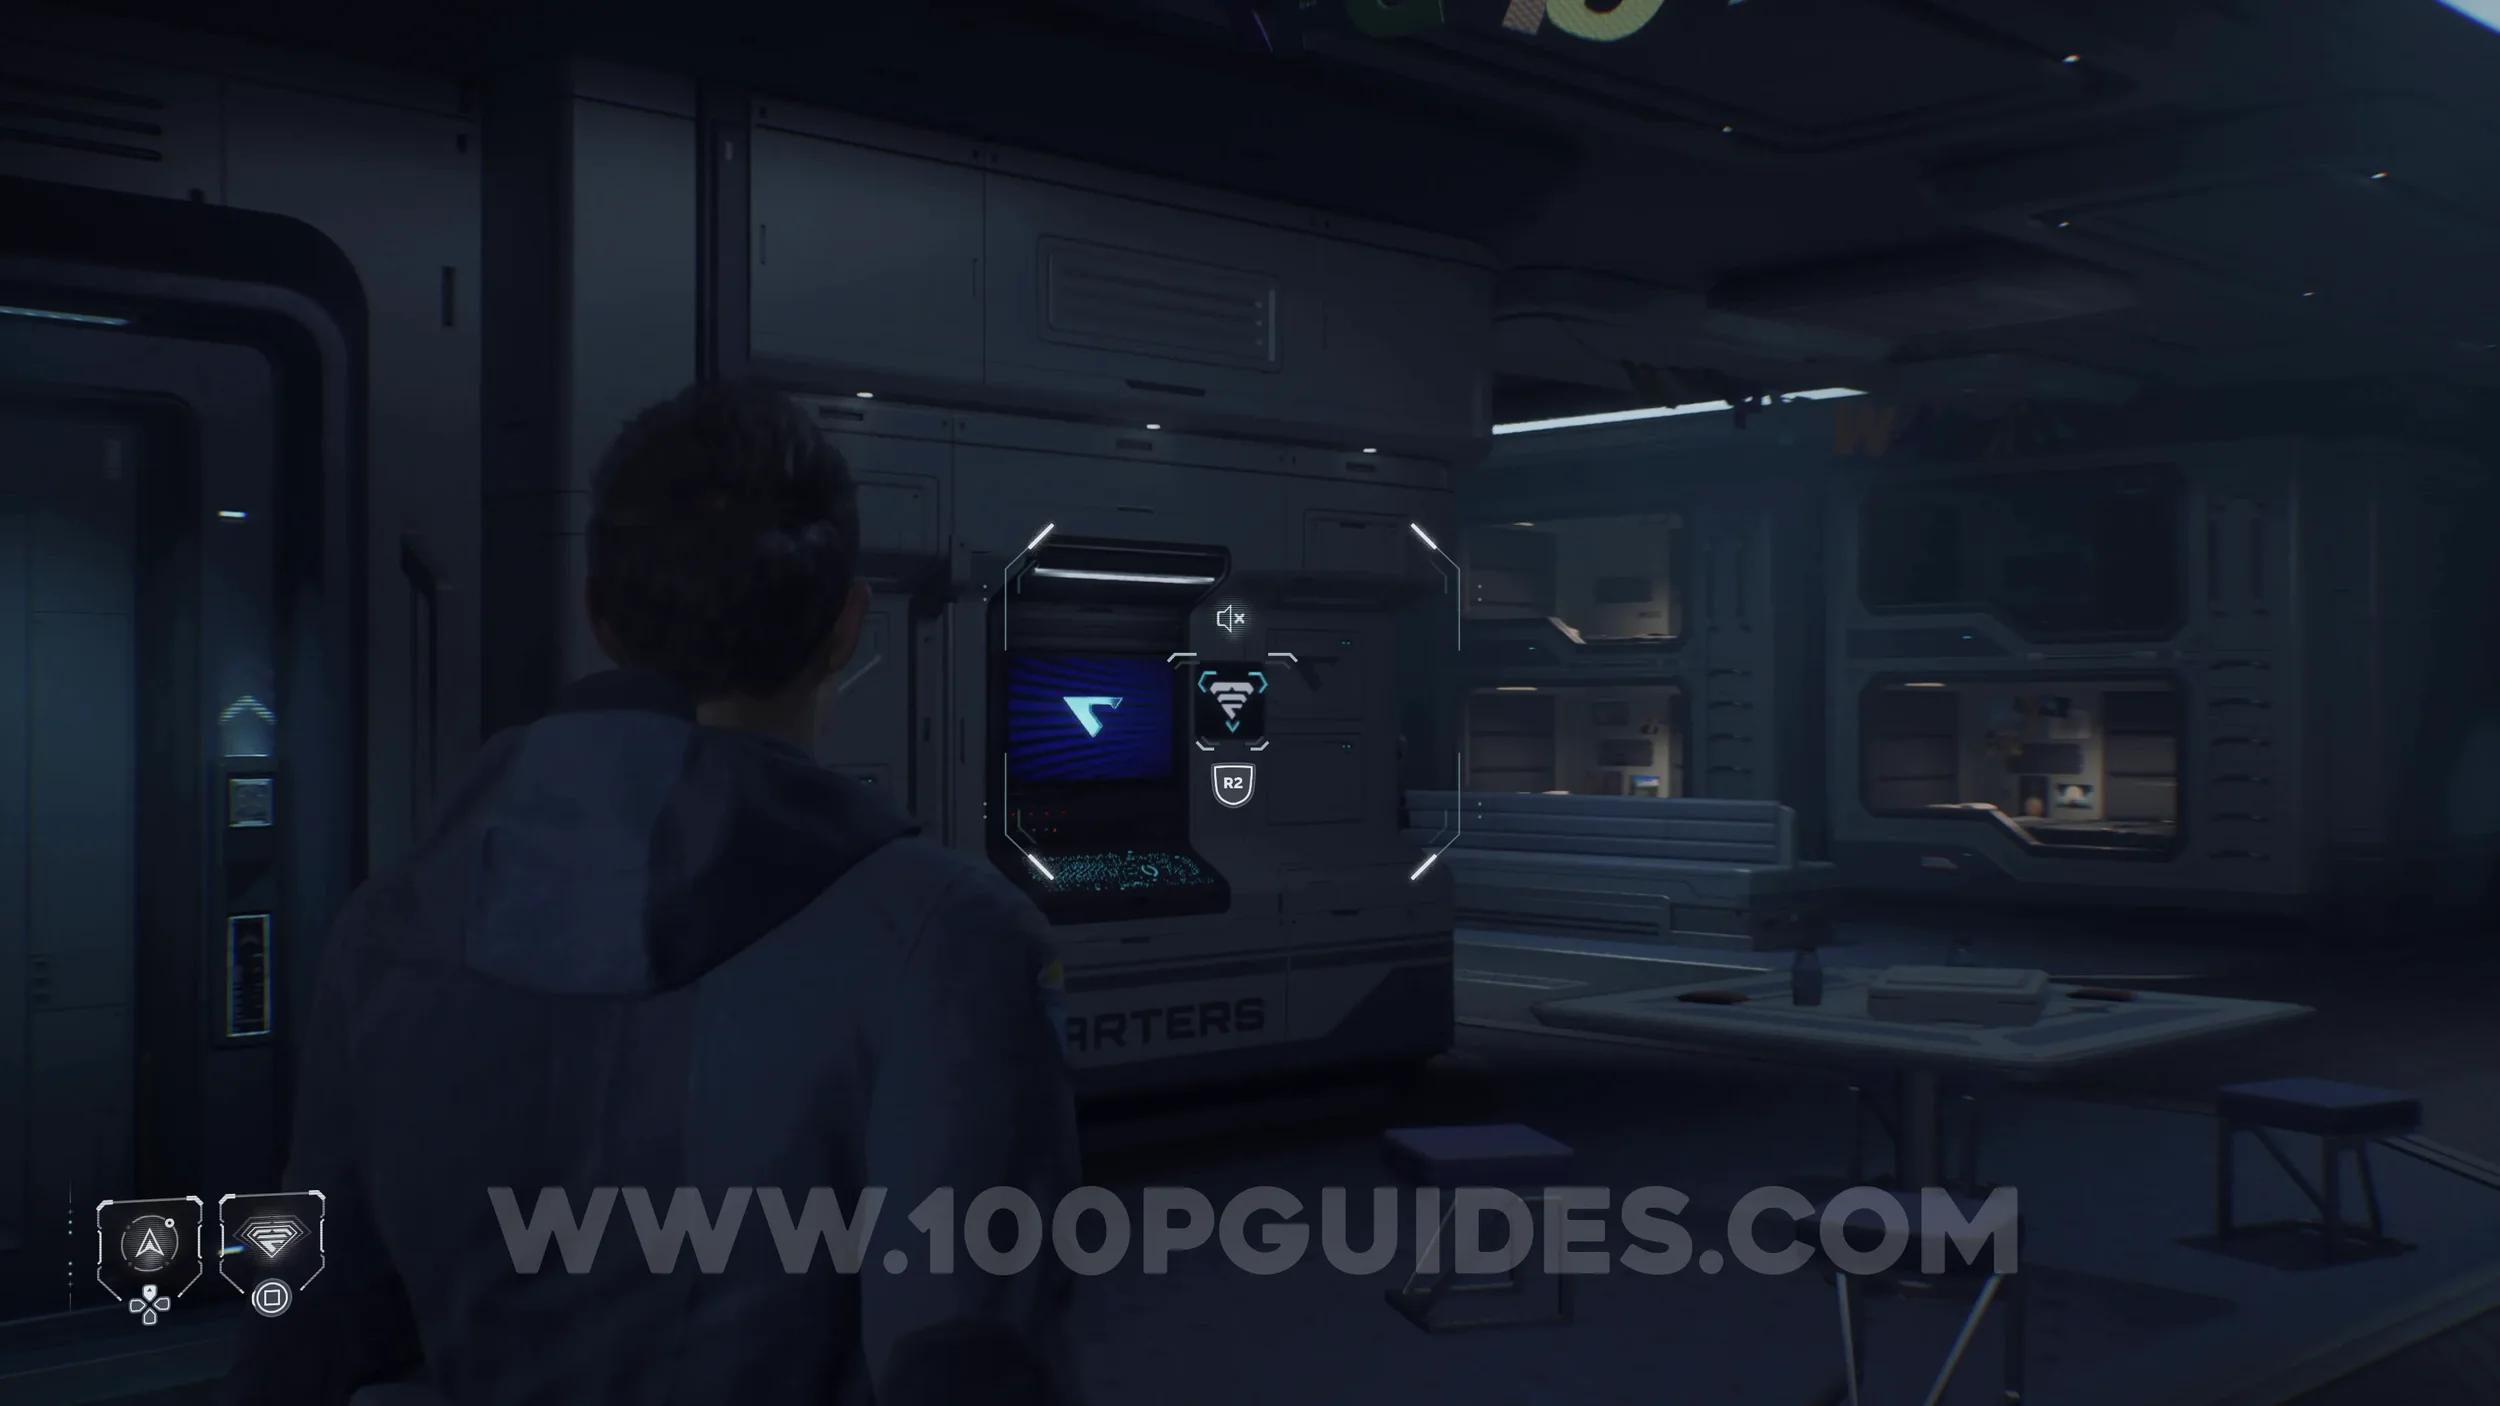
Secret #7 - Cestus Mission (Pioneers). After picking up the wrist datapad in the same room as the previous collectible, which is story related, aim it at the screen on the wall to the right of the door to turn it on and obtain the collectible.
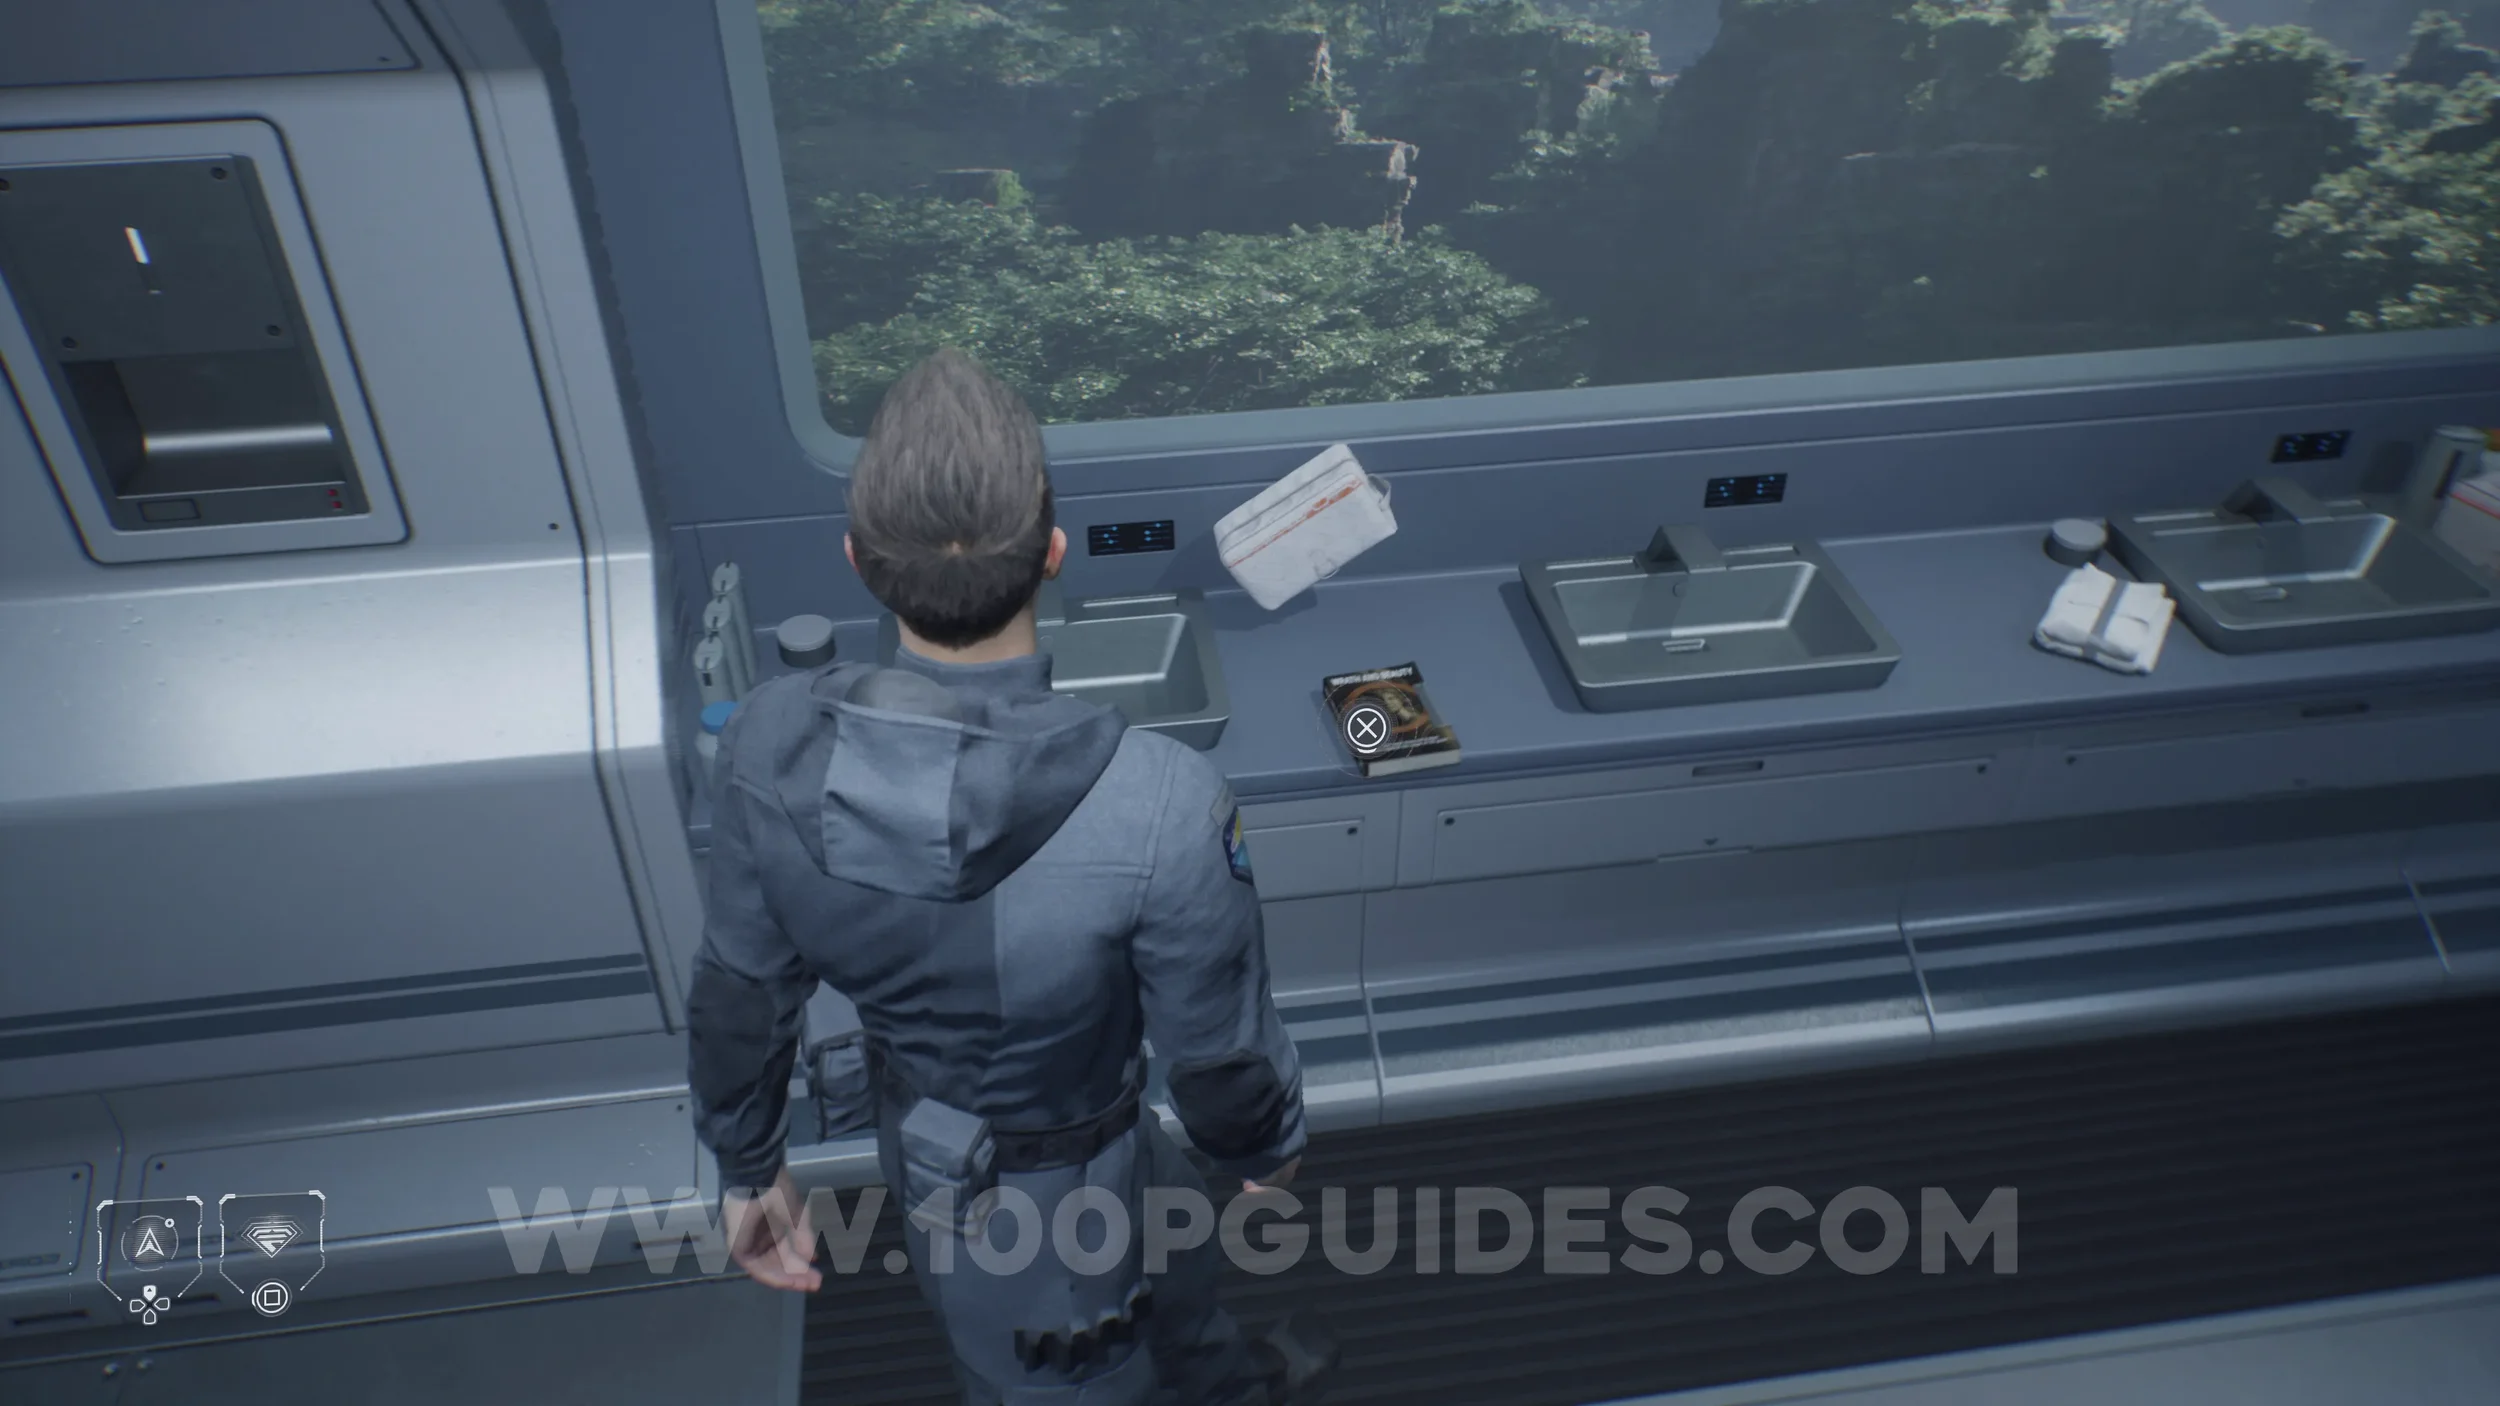
Secret #8 - Cassiopeia (Myths Retold). In the same area, go through the door to the right of the letters hanging from the ceiling to enter the bathrooms. Once inside, look to the left and examine the book.
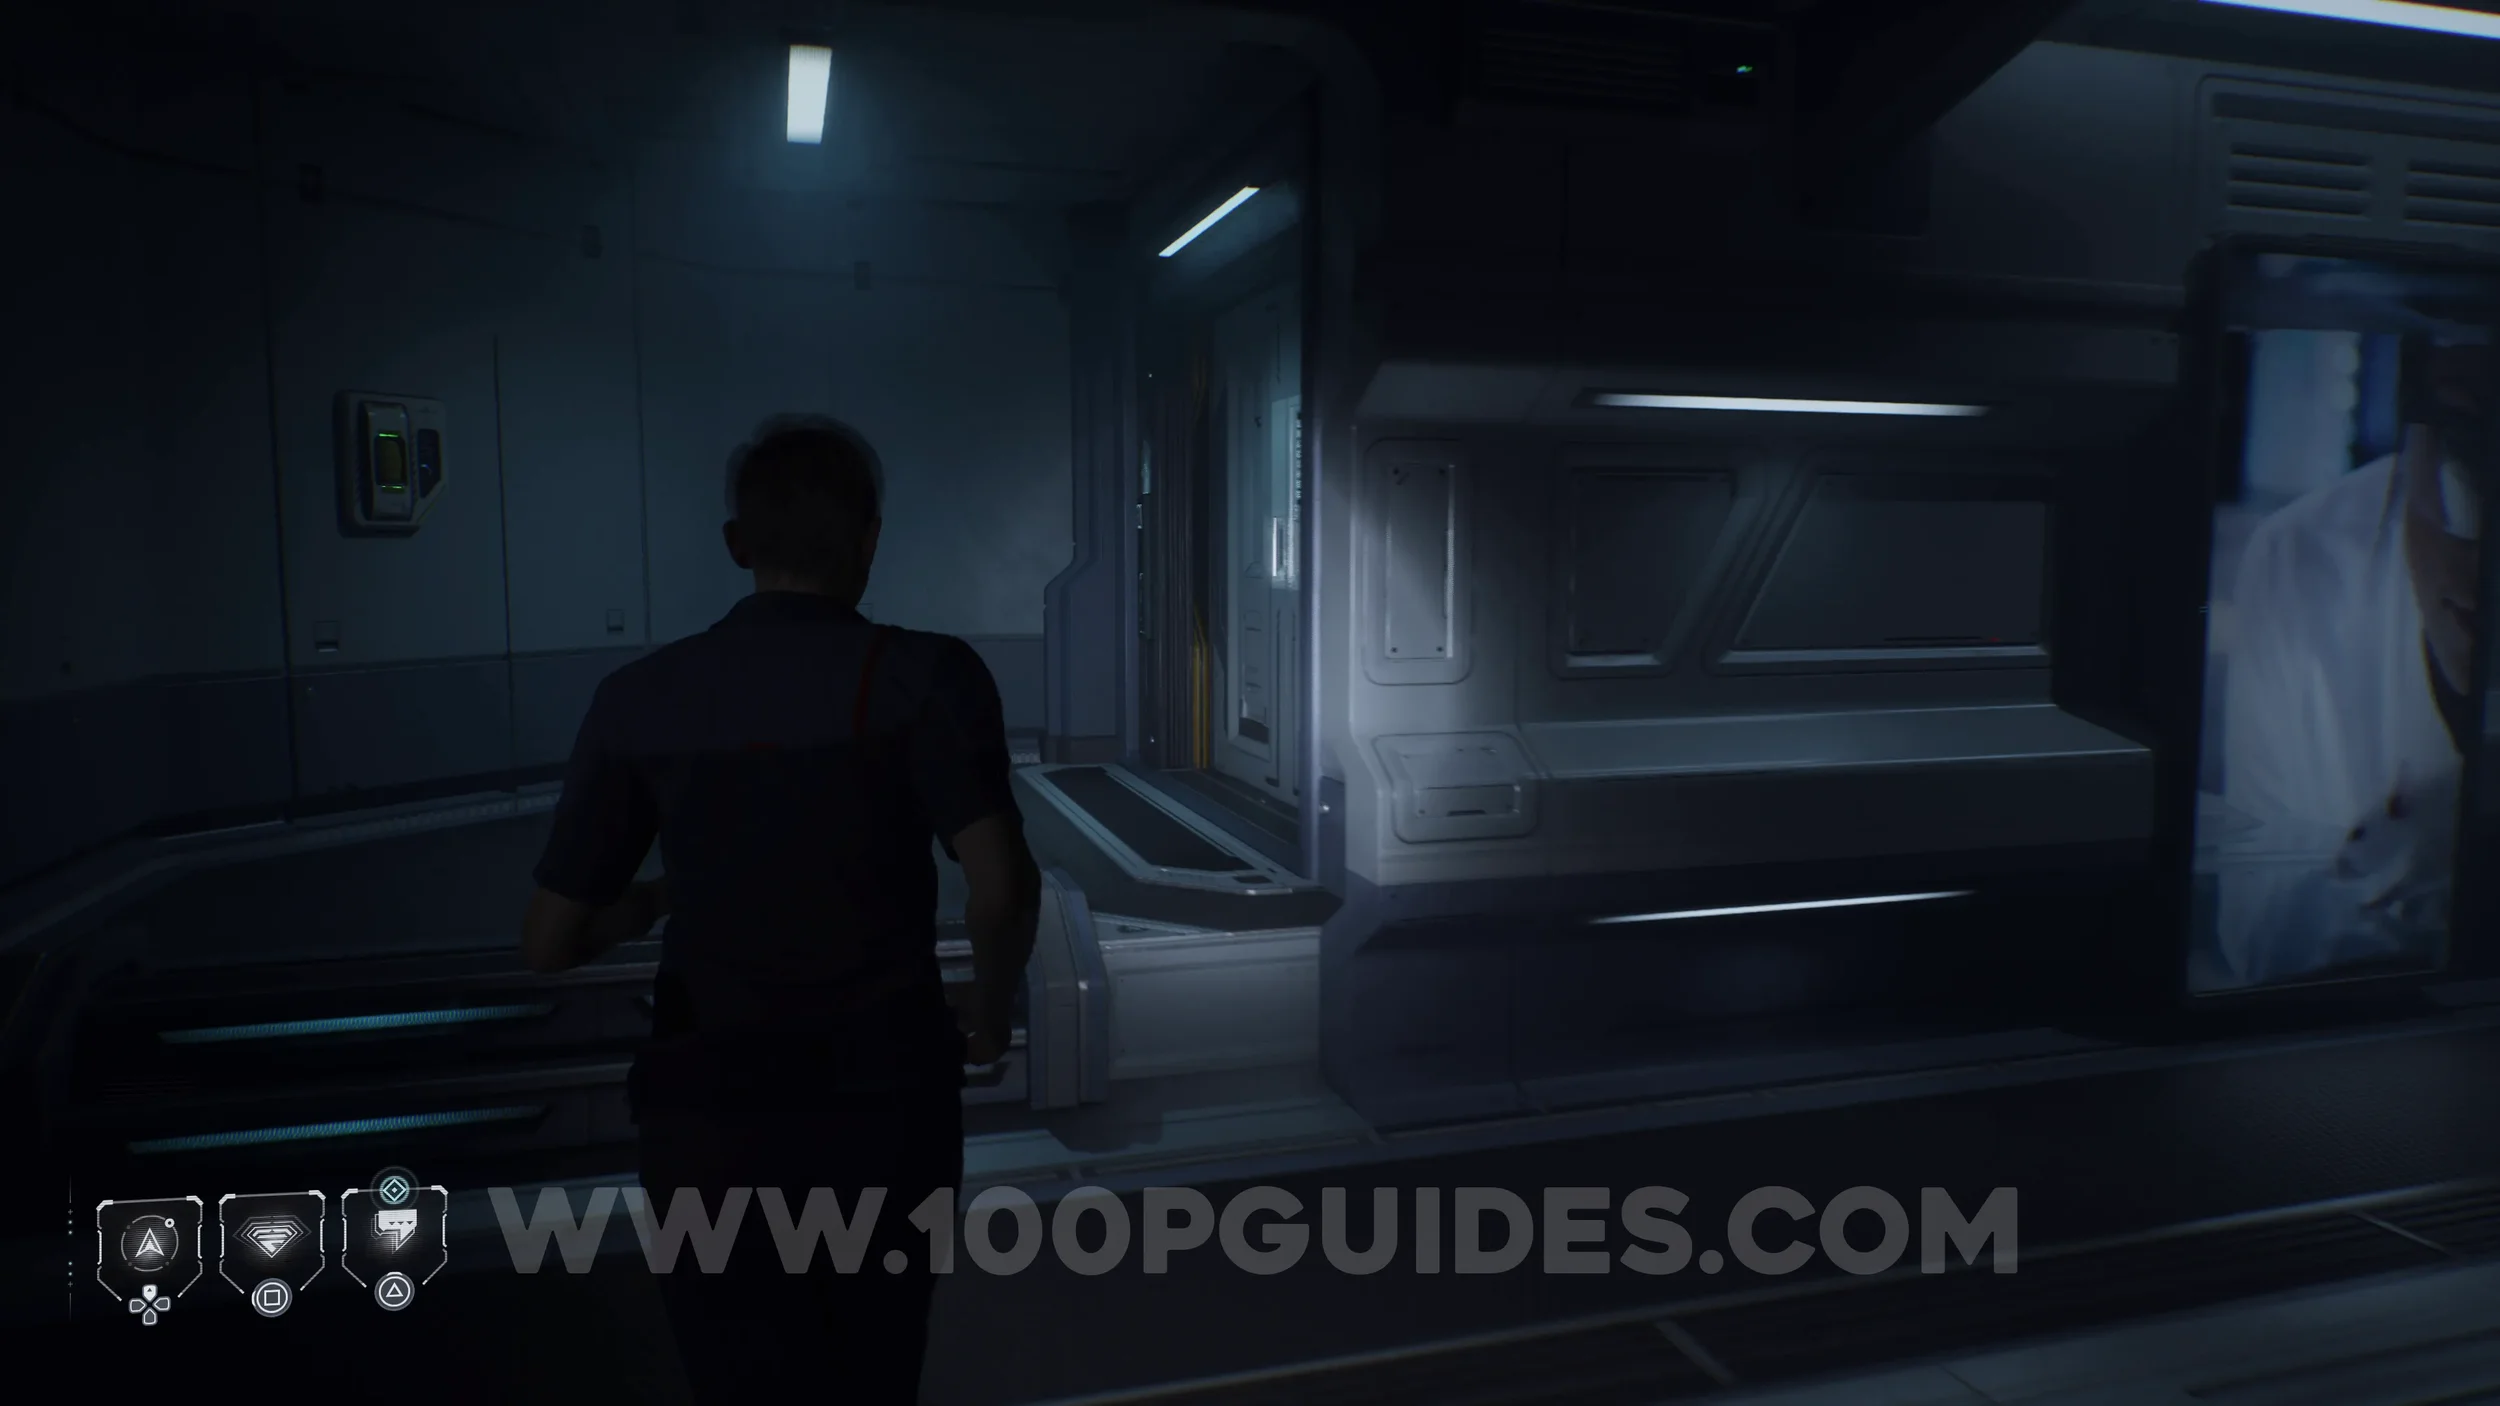
Secret #9 - Cetus Mission (Brave New World). Once you reach the Medical Bay by opening a door by repeatedly pressing a button, you will enter a dark room. Look for a poster on the left wall.

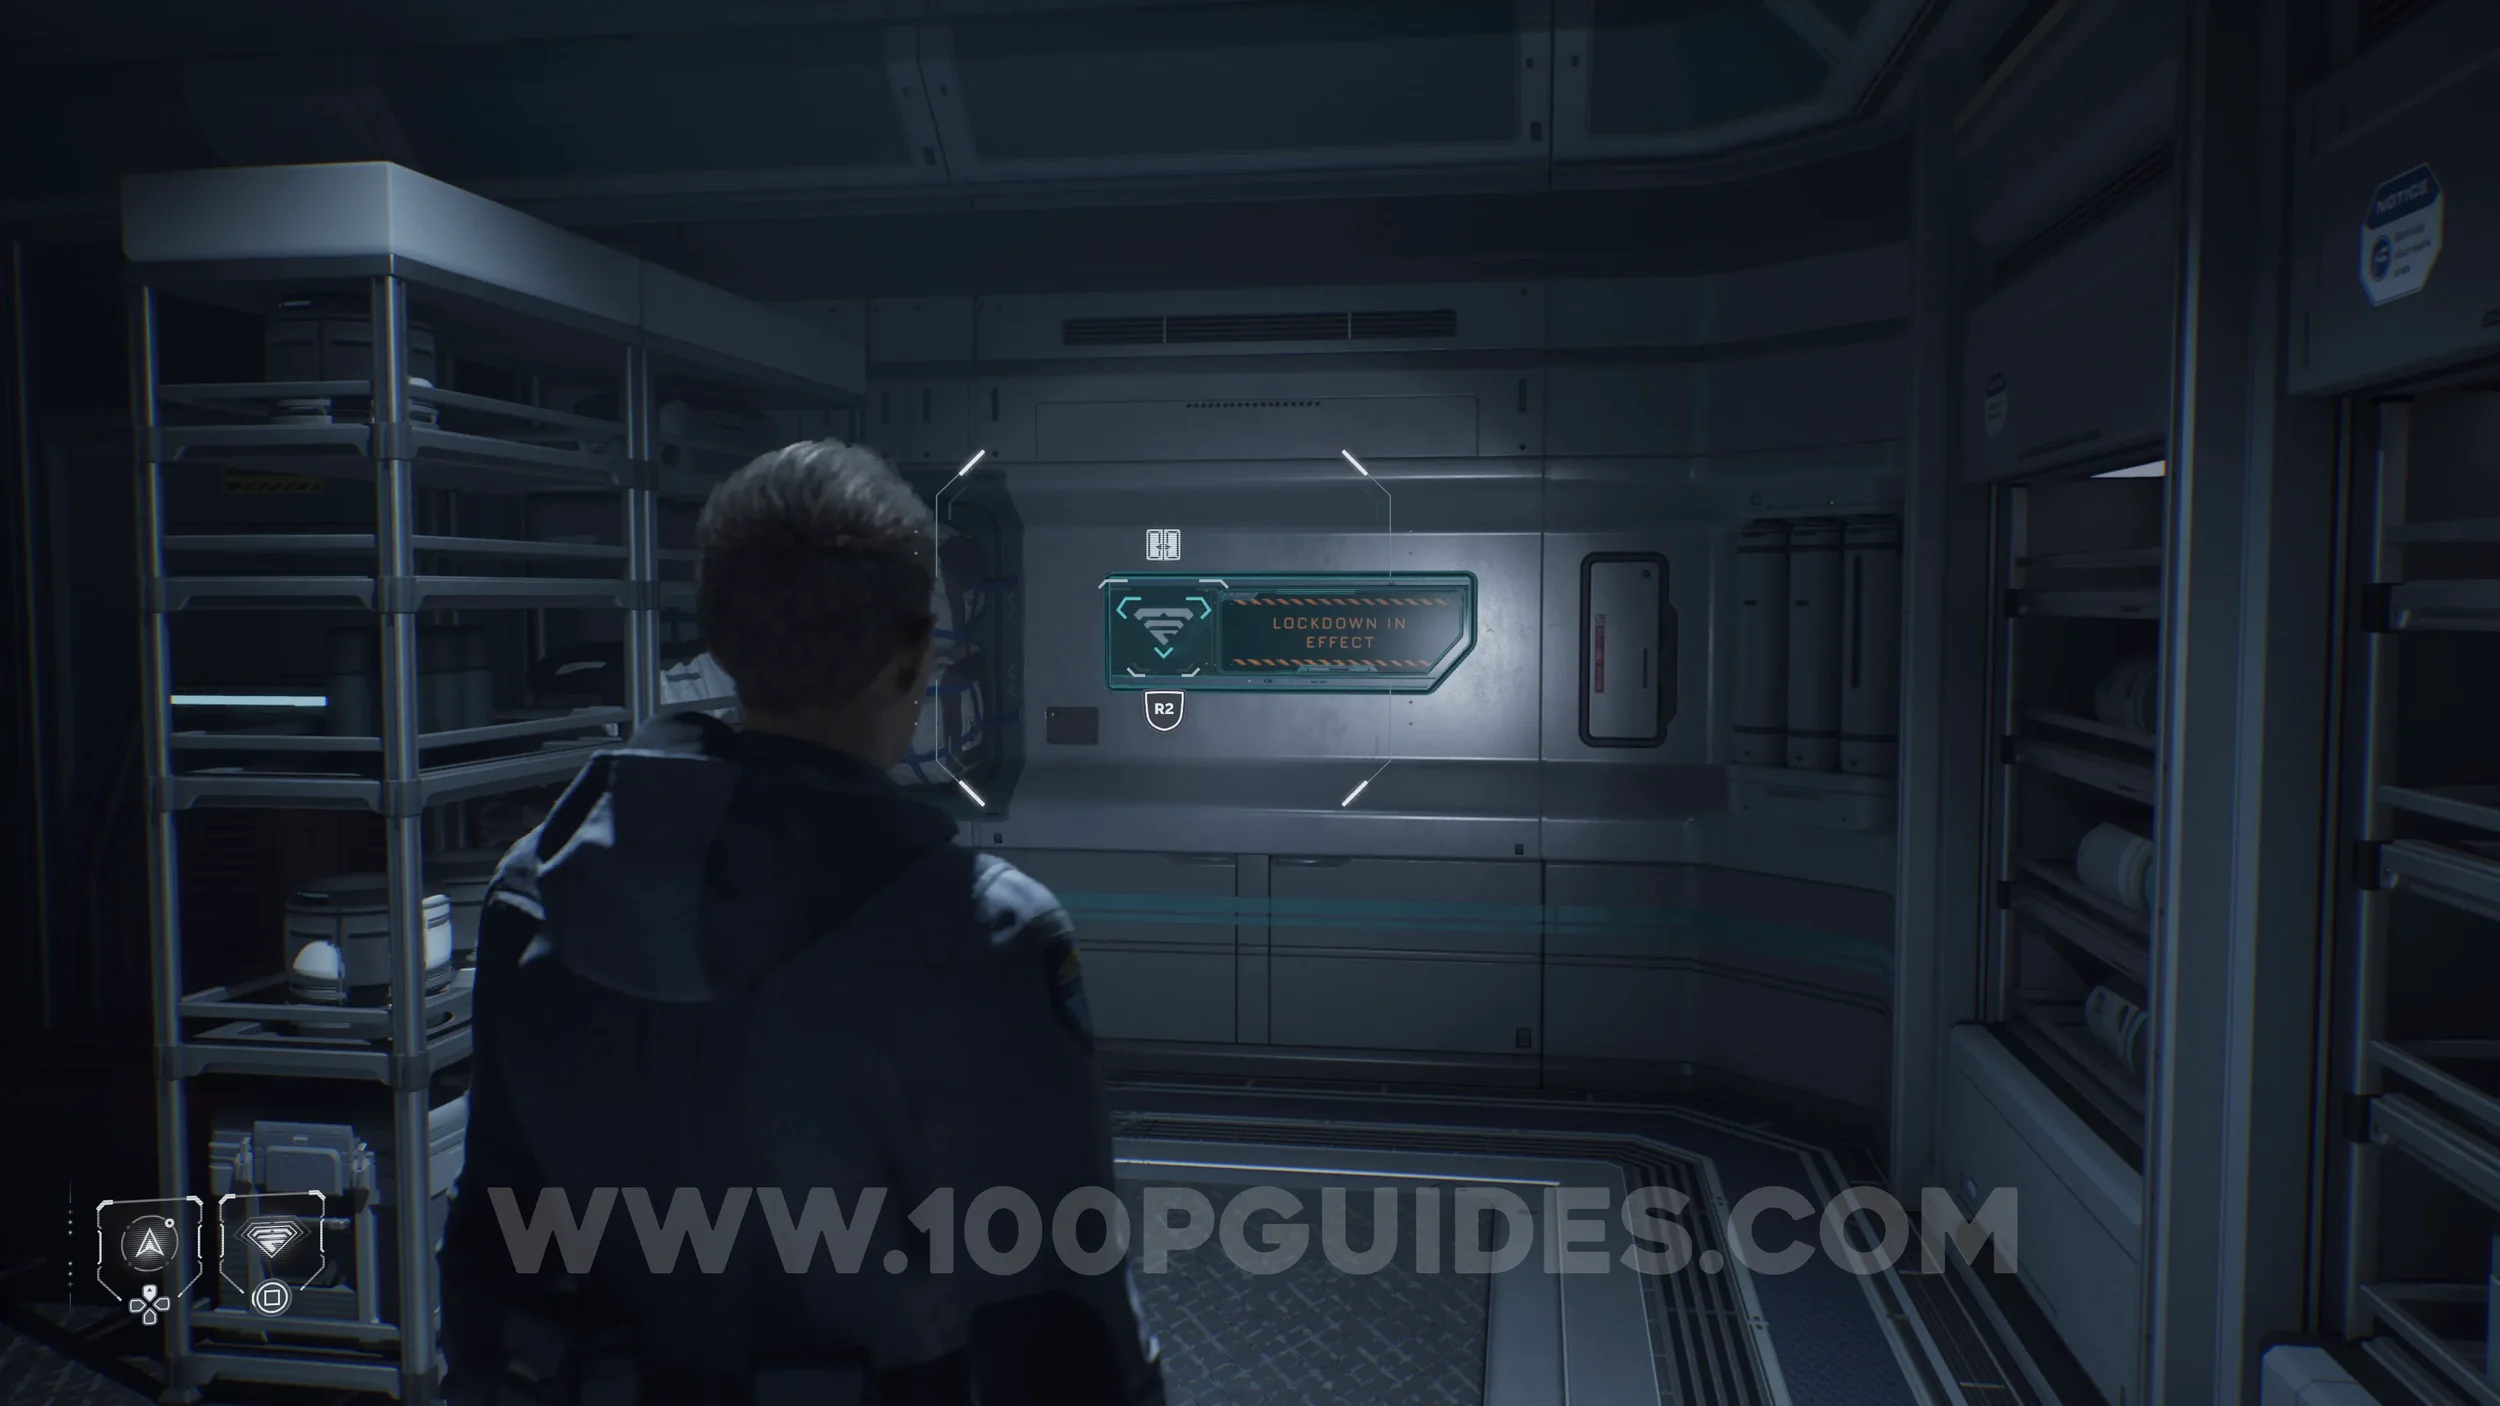
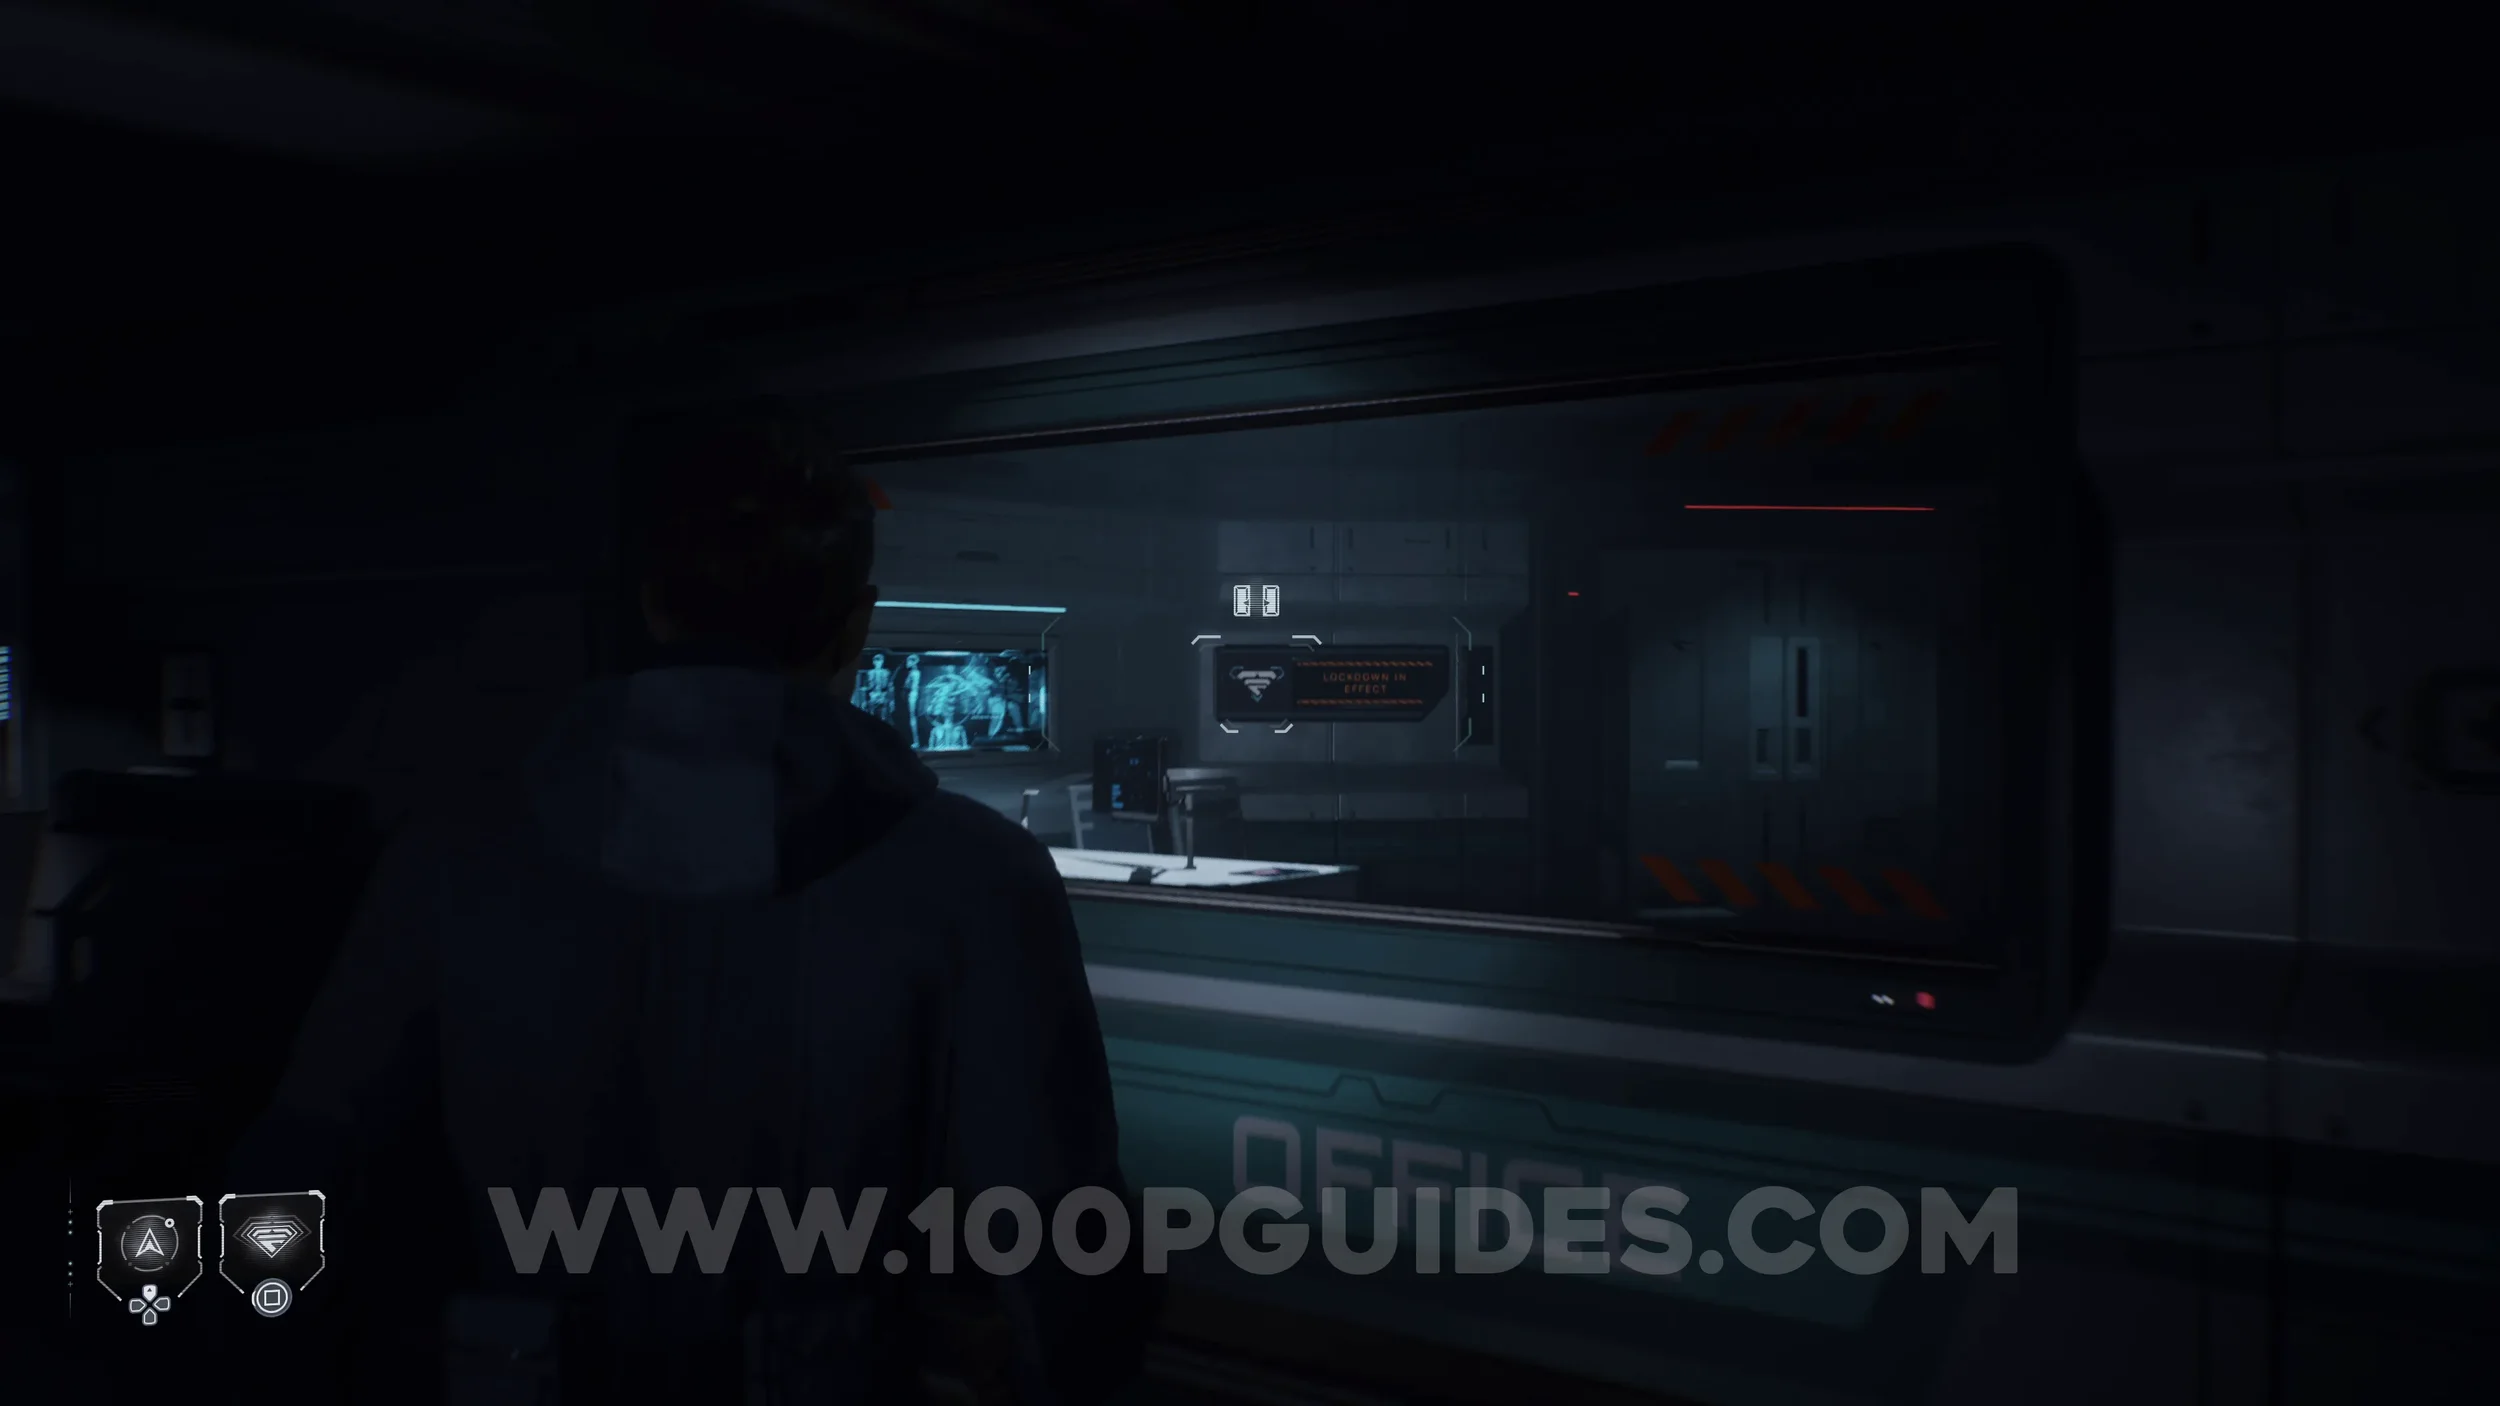
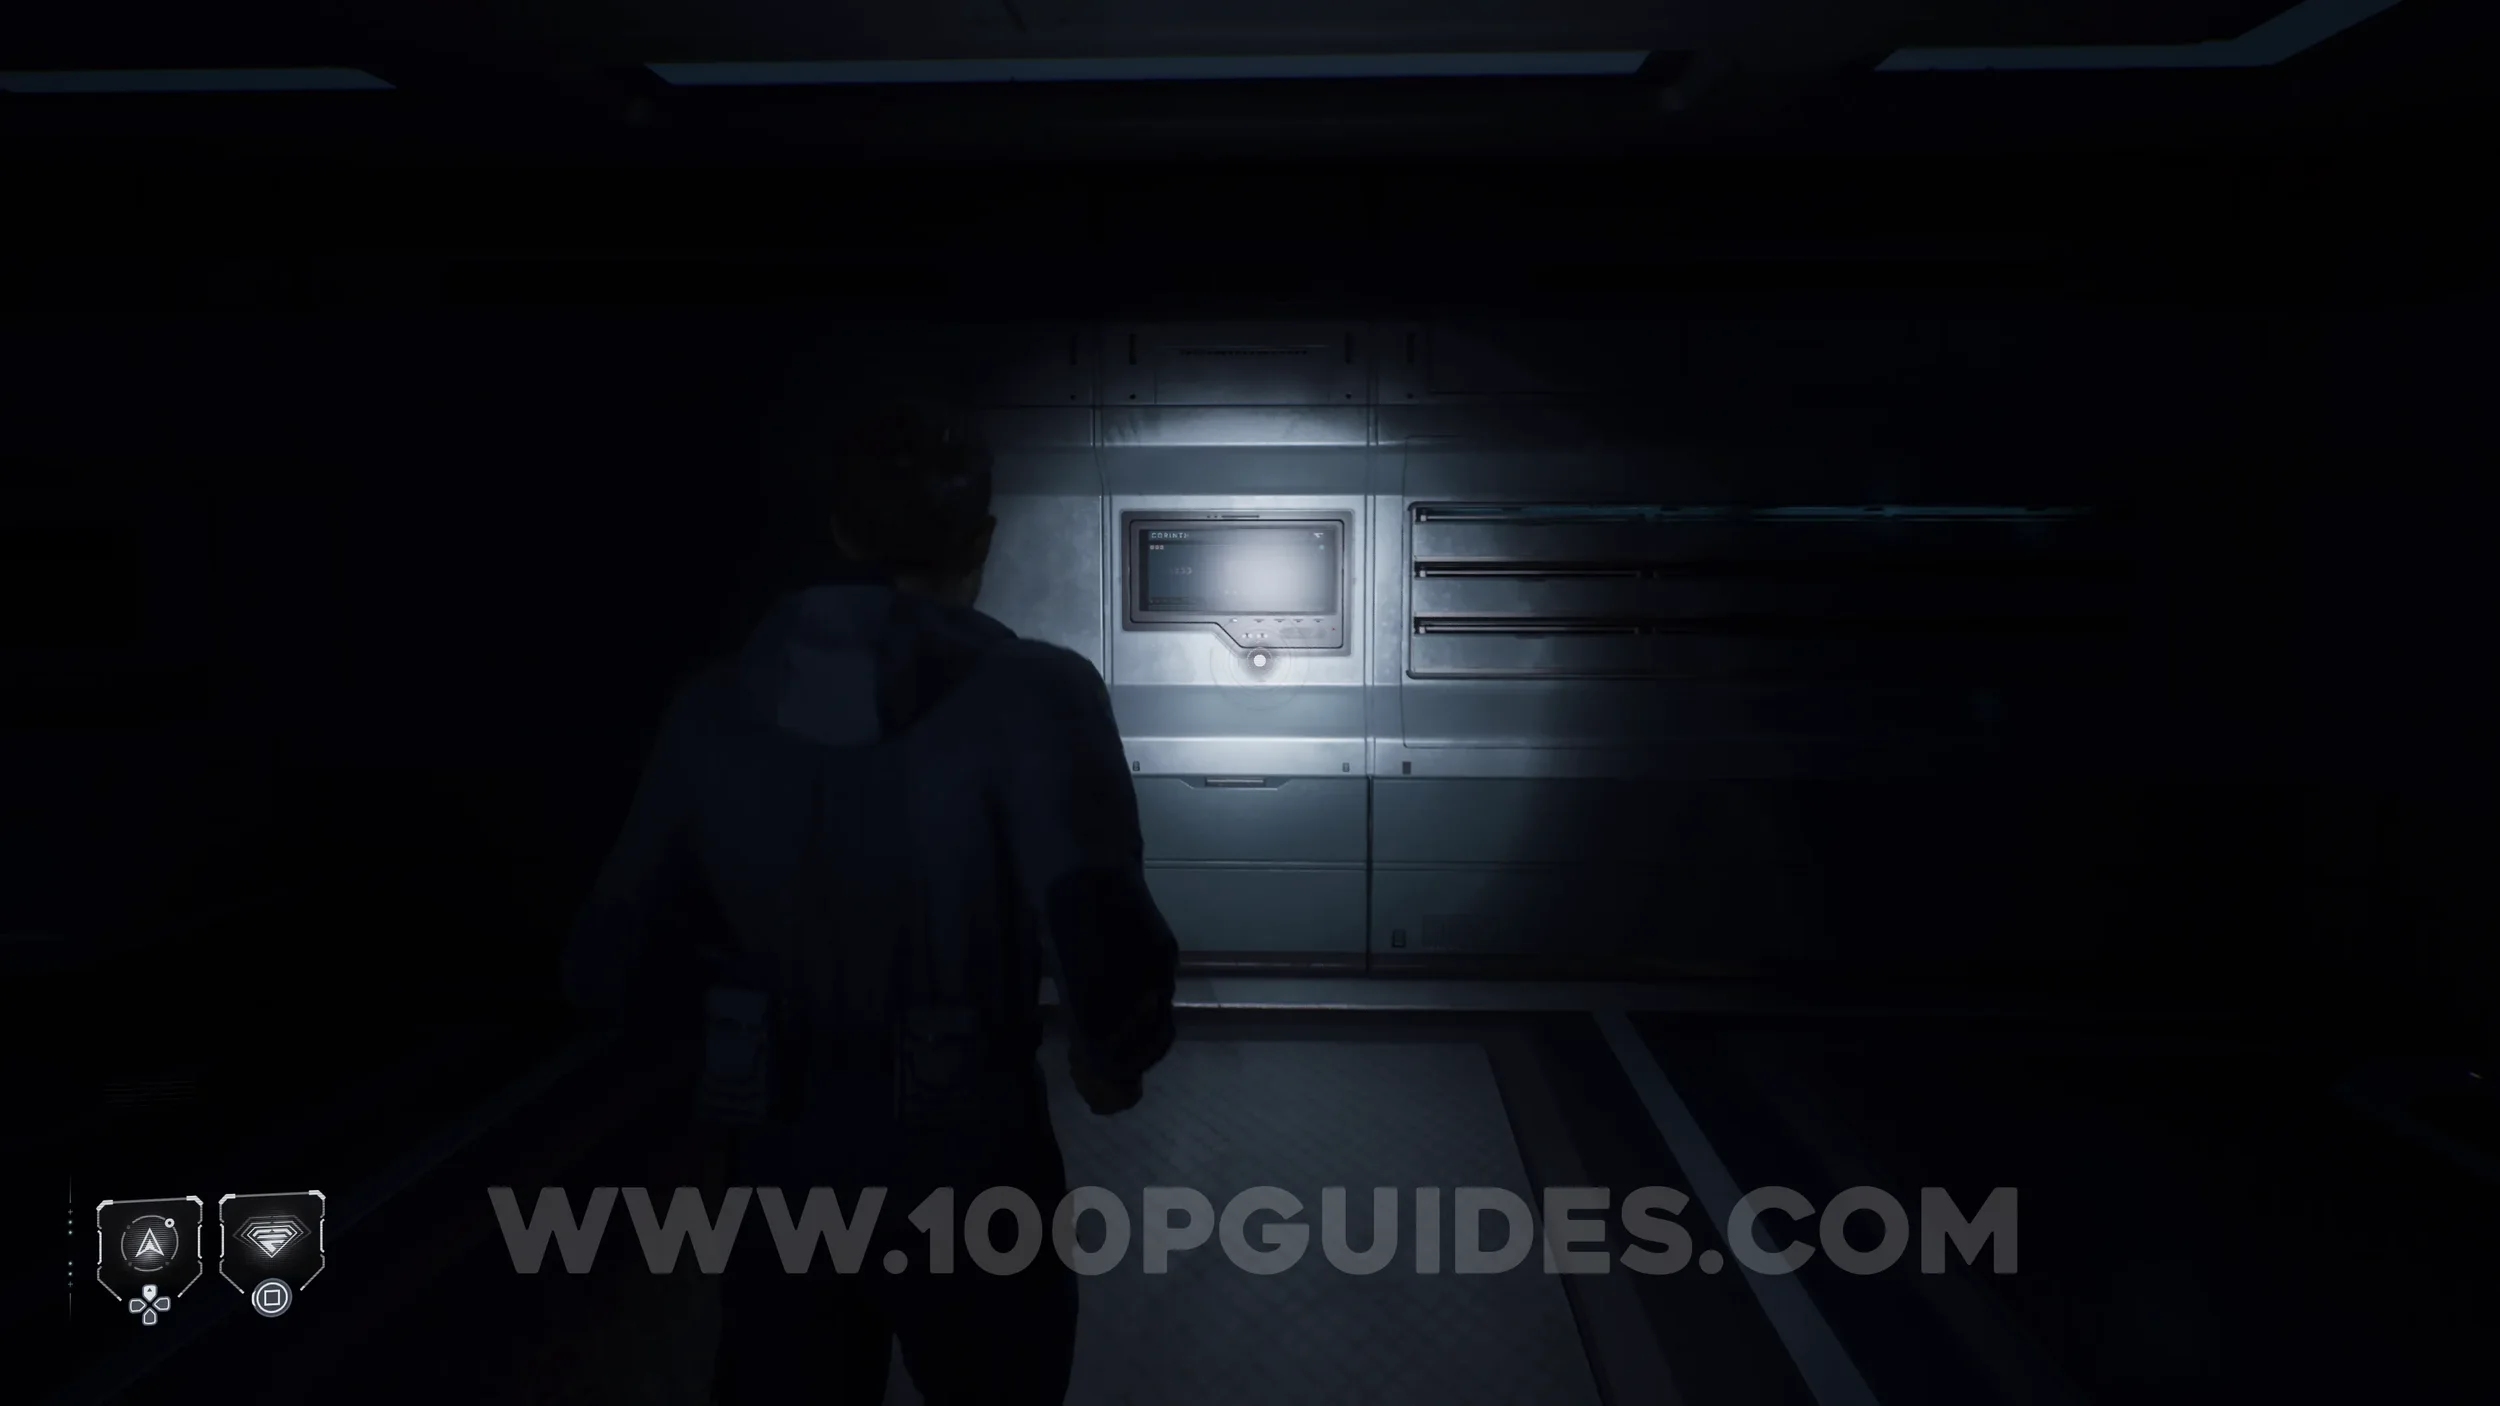
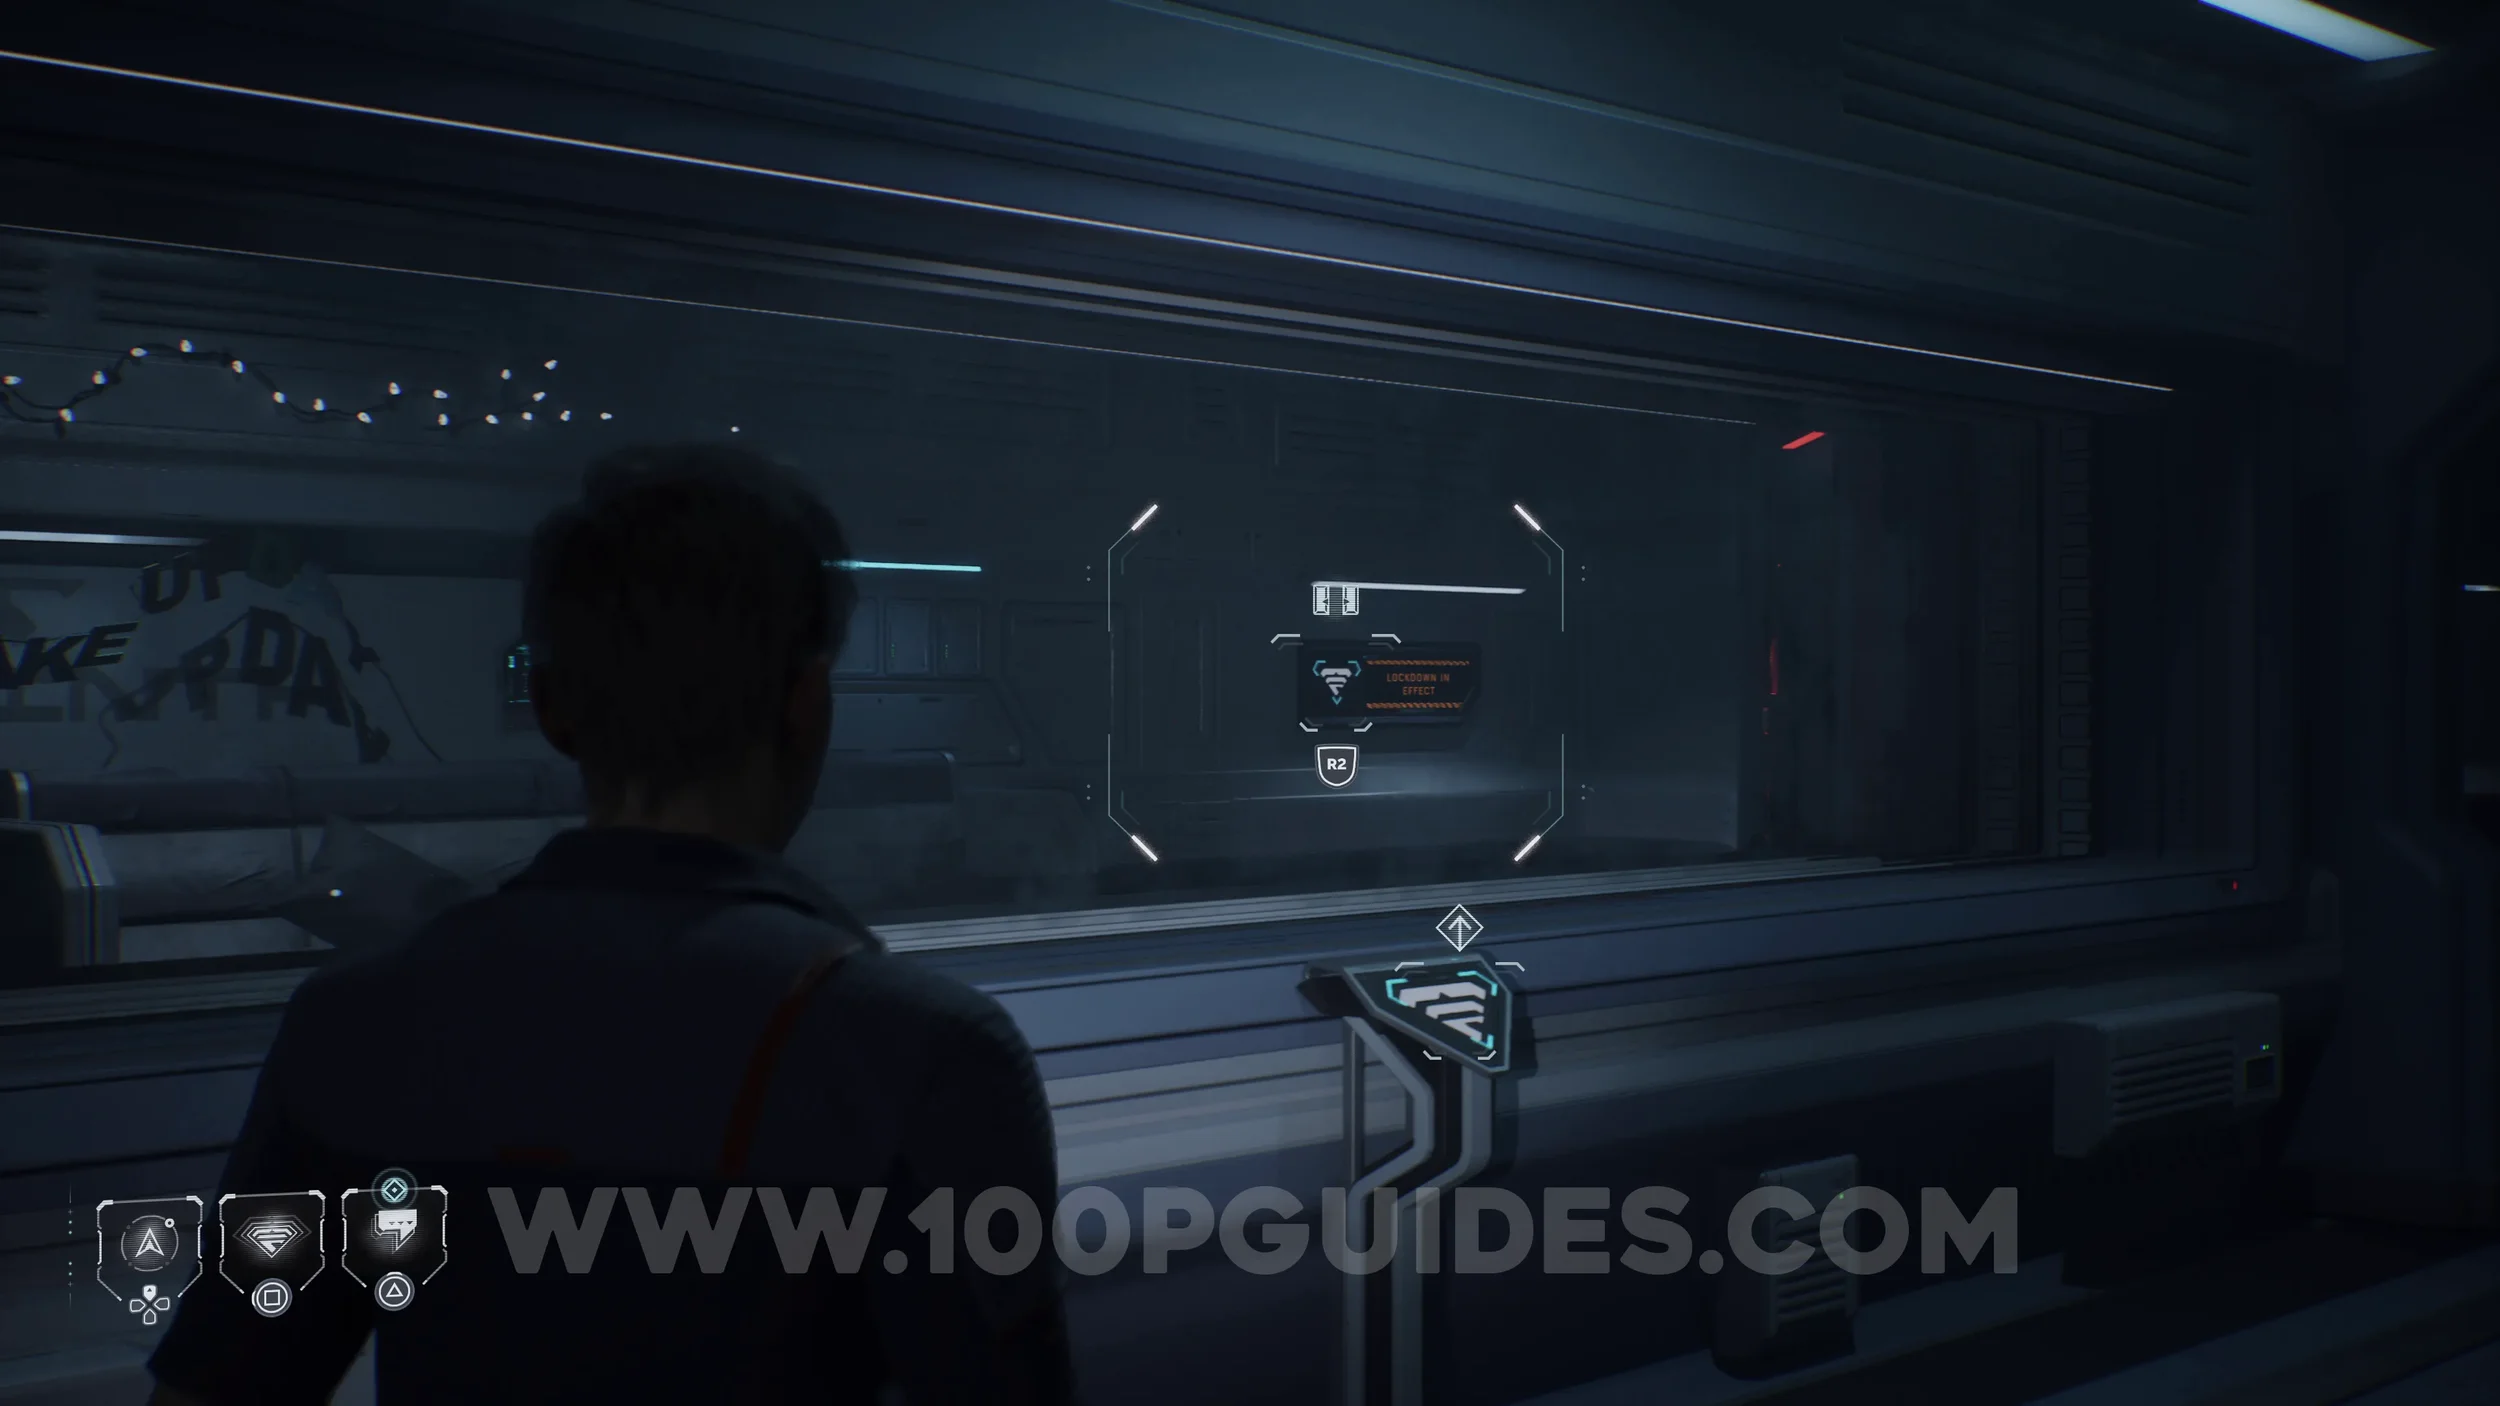
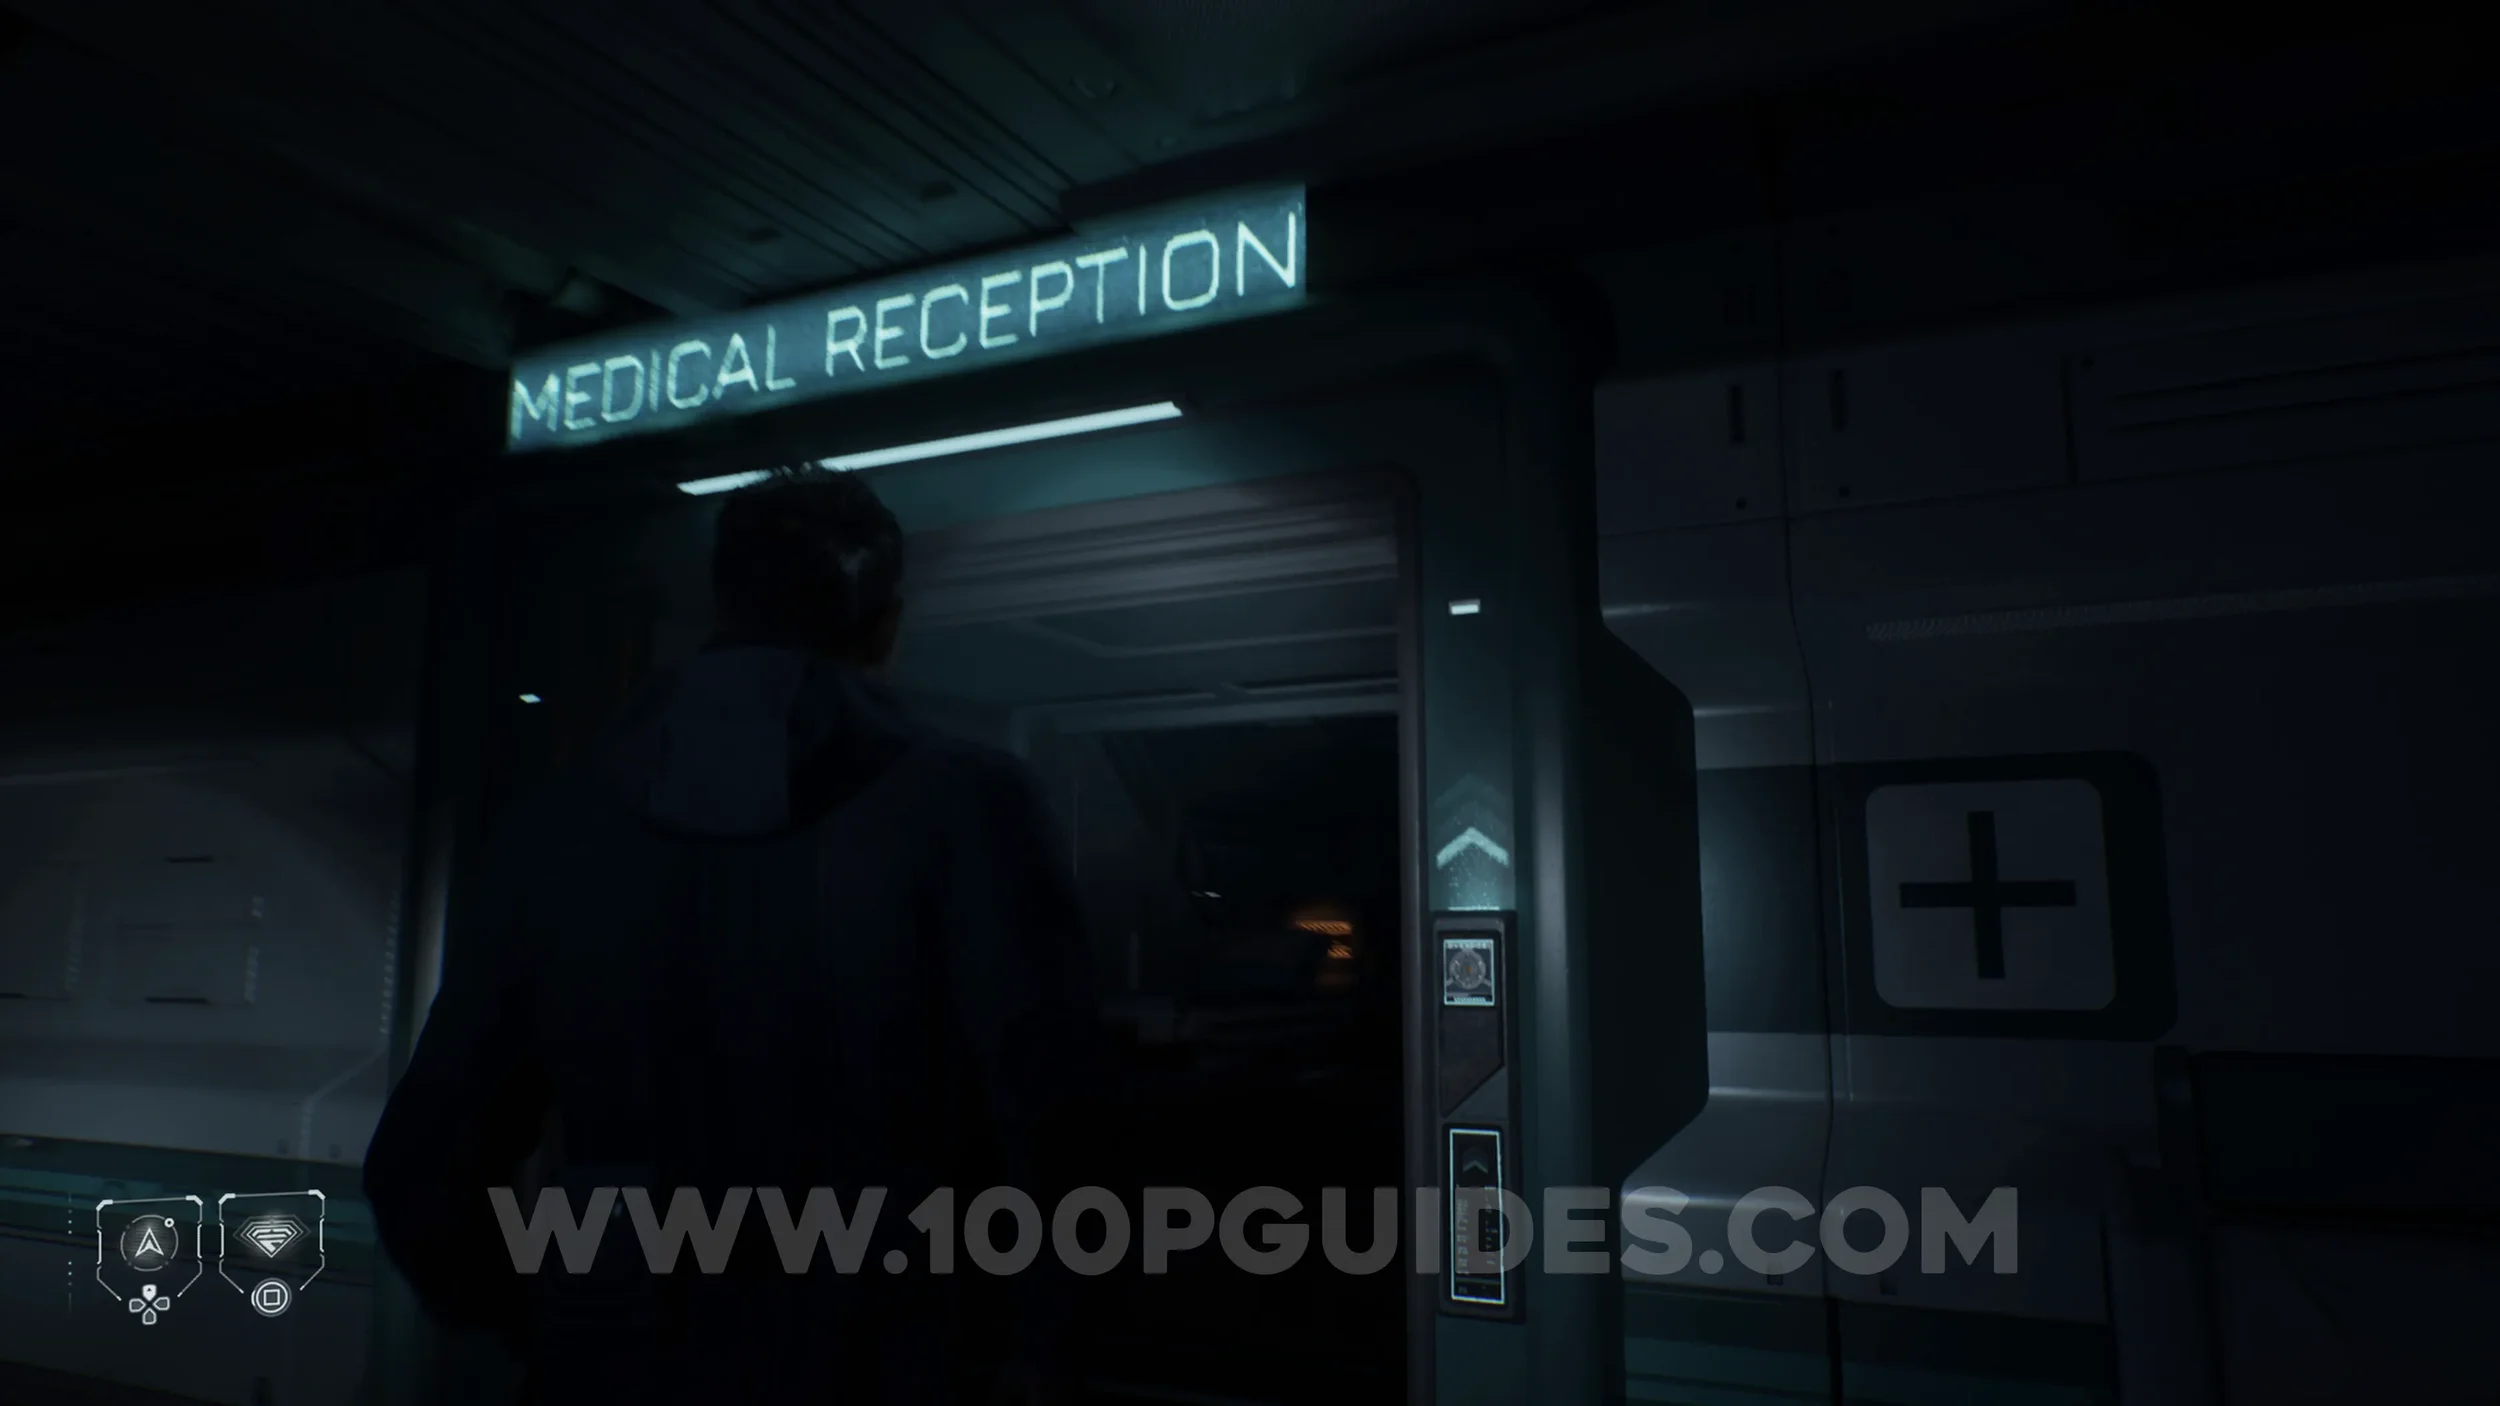
Secret #10 - Cetus Mission (The Goldilocks Planet). After rerouting power to the Medical Reception room, look through the window to the right of the door you just opened before going through it and remotely activate the panel on the wall. Then go through the Medical Reception door and enter the room on your right to find the collectible.
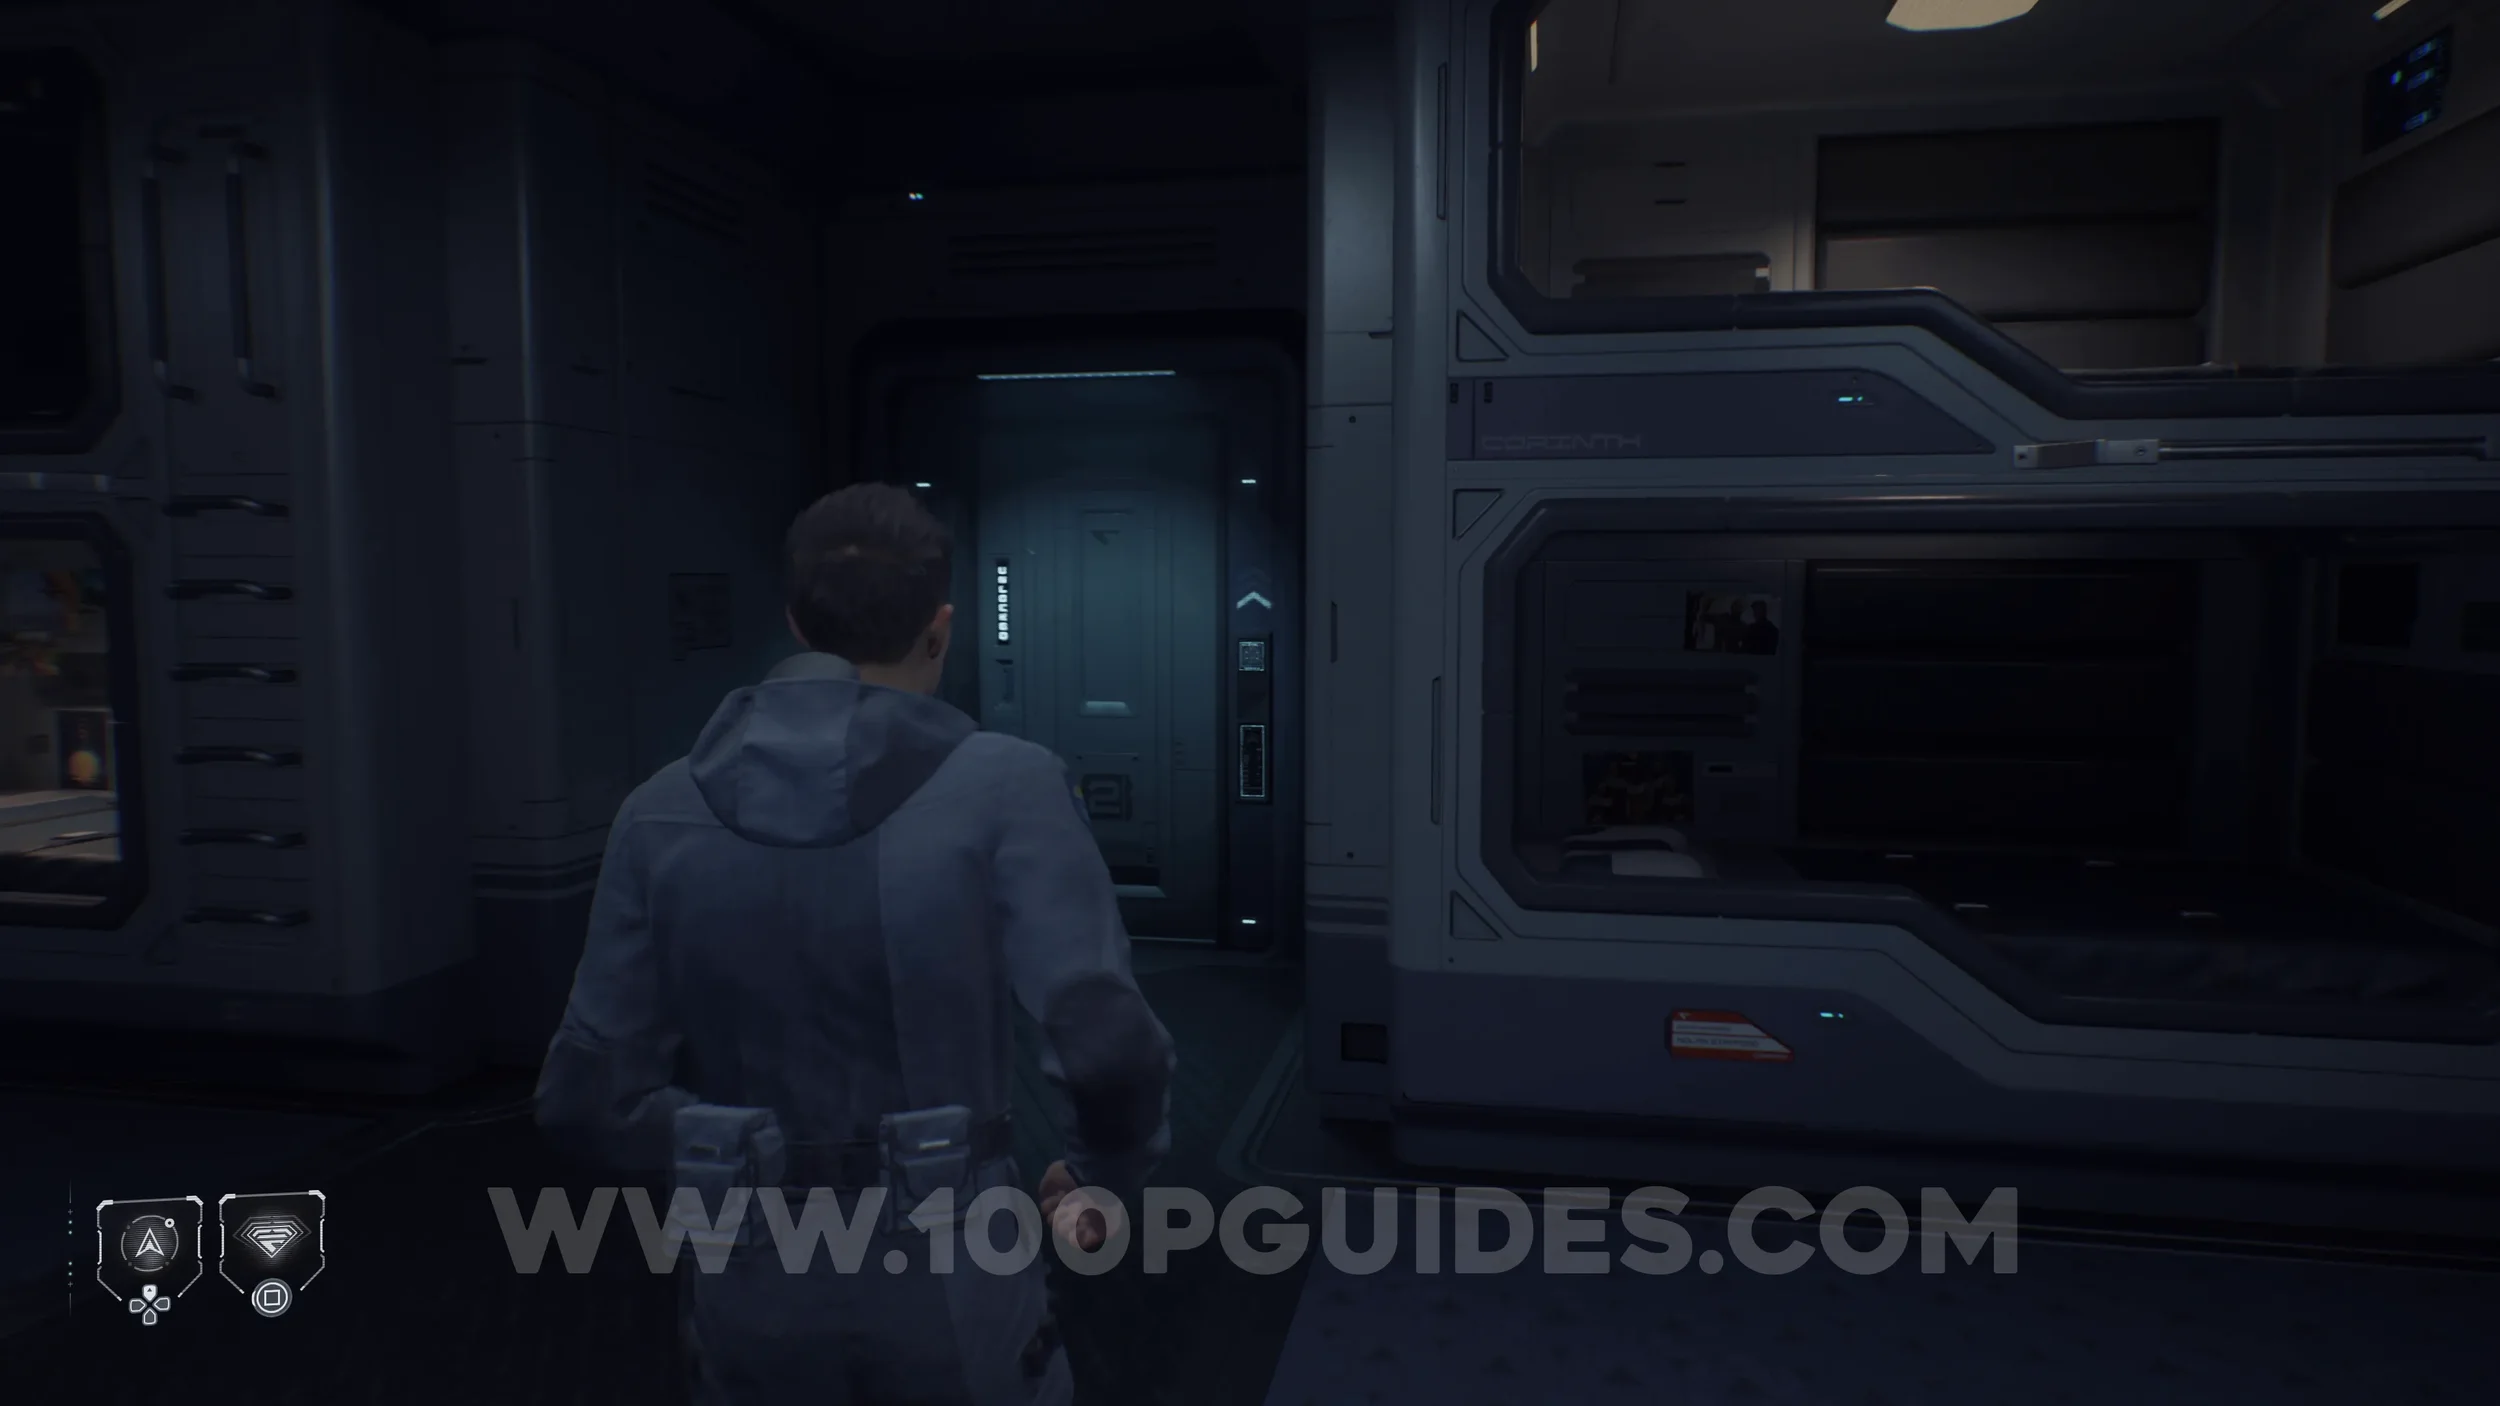
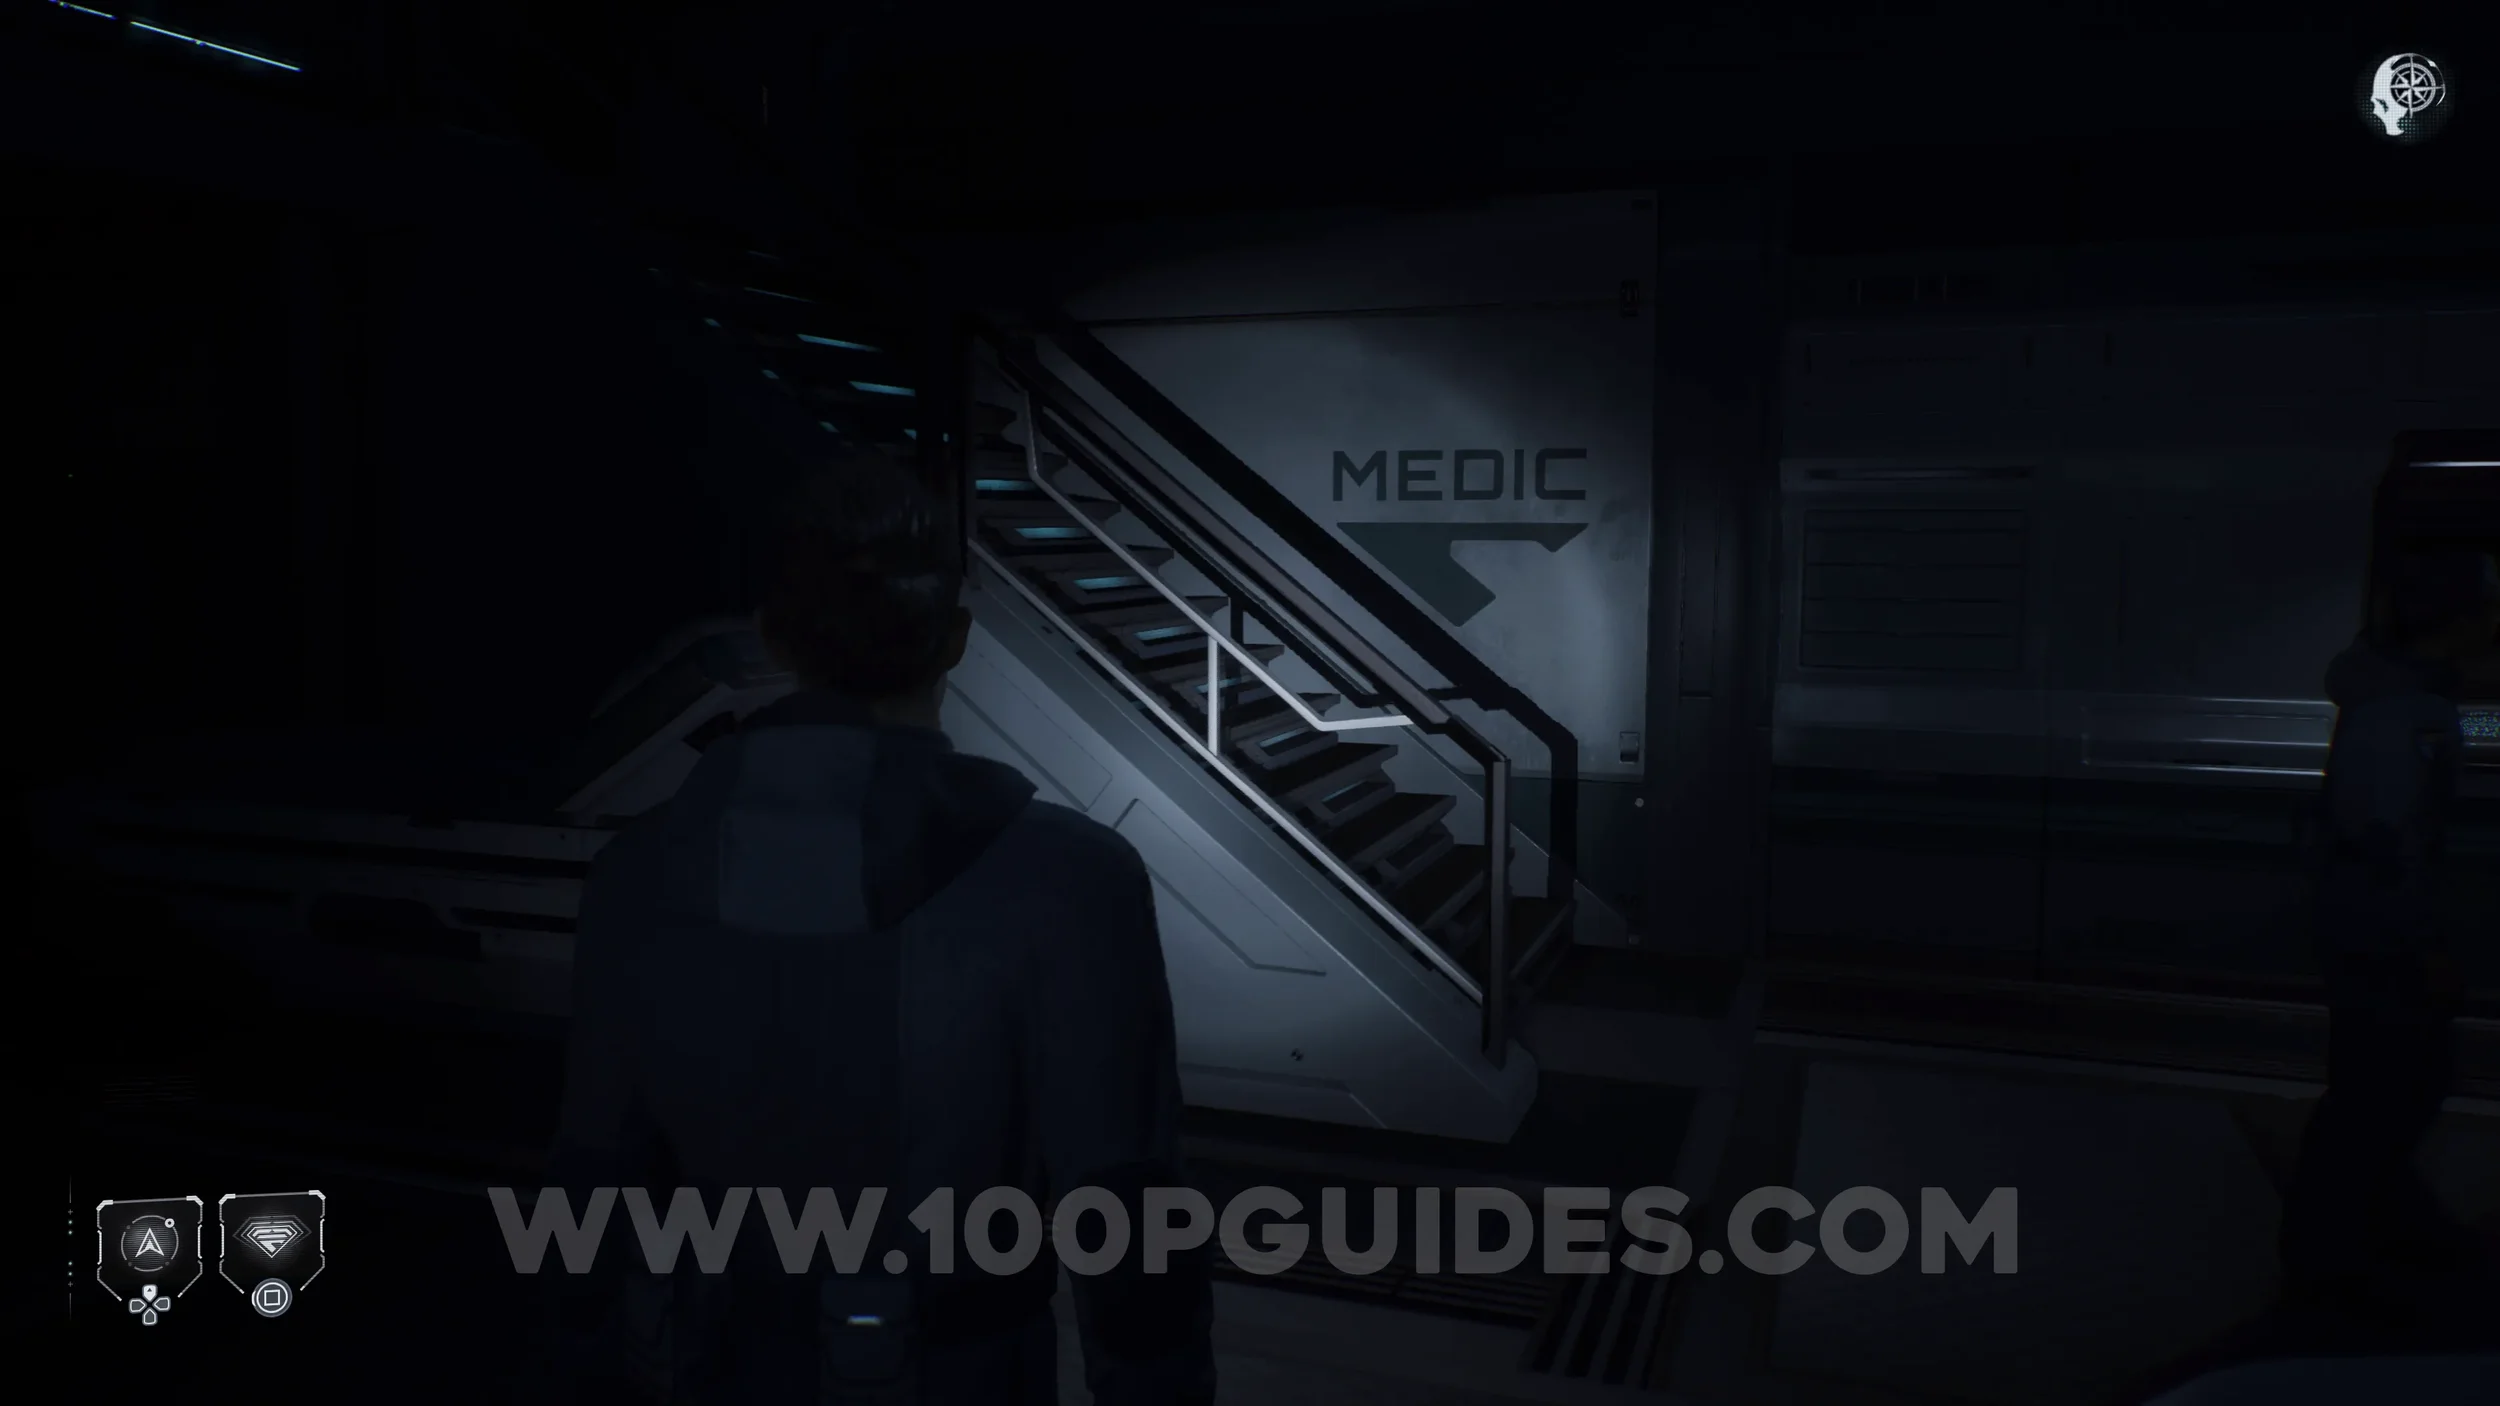
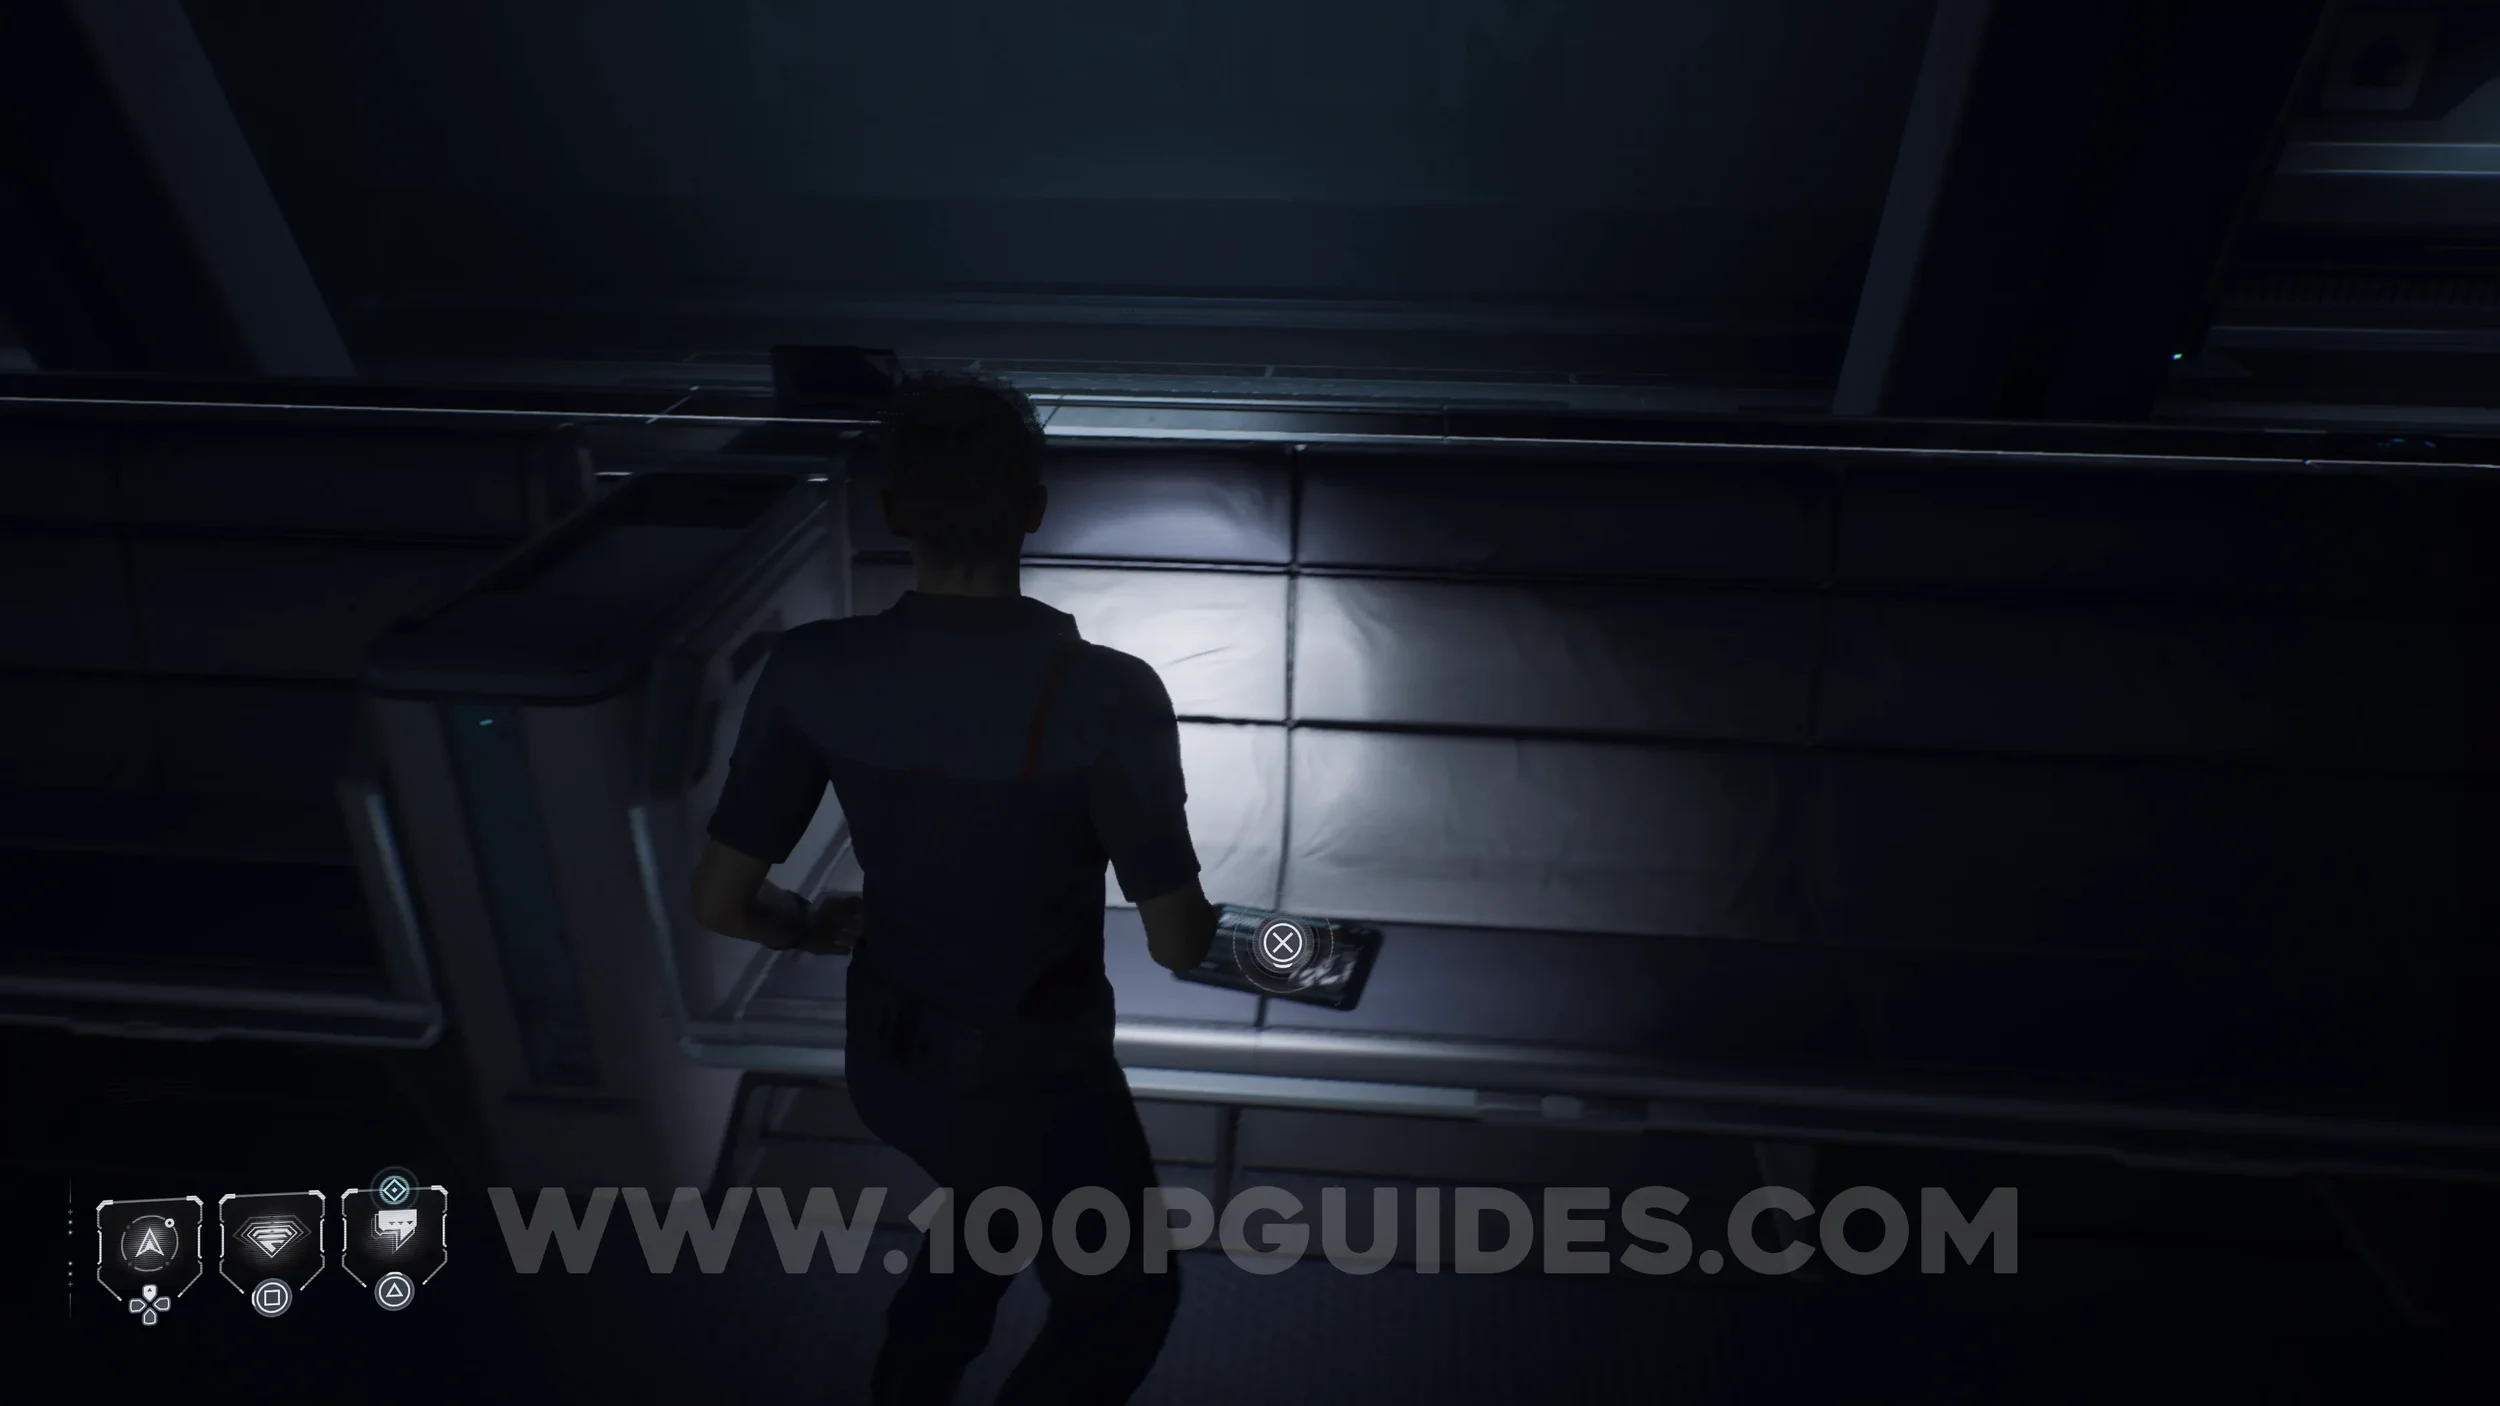
The Simms Recordings #2 - Patches. From the previous collectible, exit the room and you will see the point of no return door in front of you. Before going through it, go up the stairs on your left to find the collectible at the top.
EPISODE 2
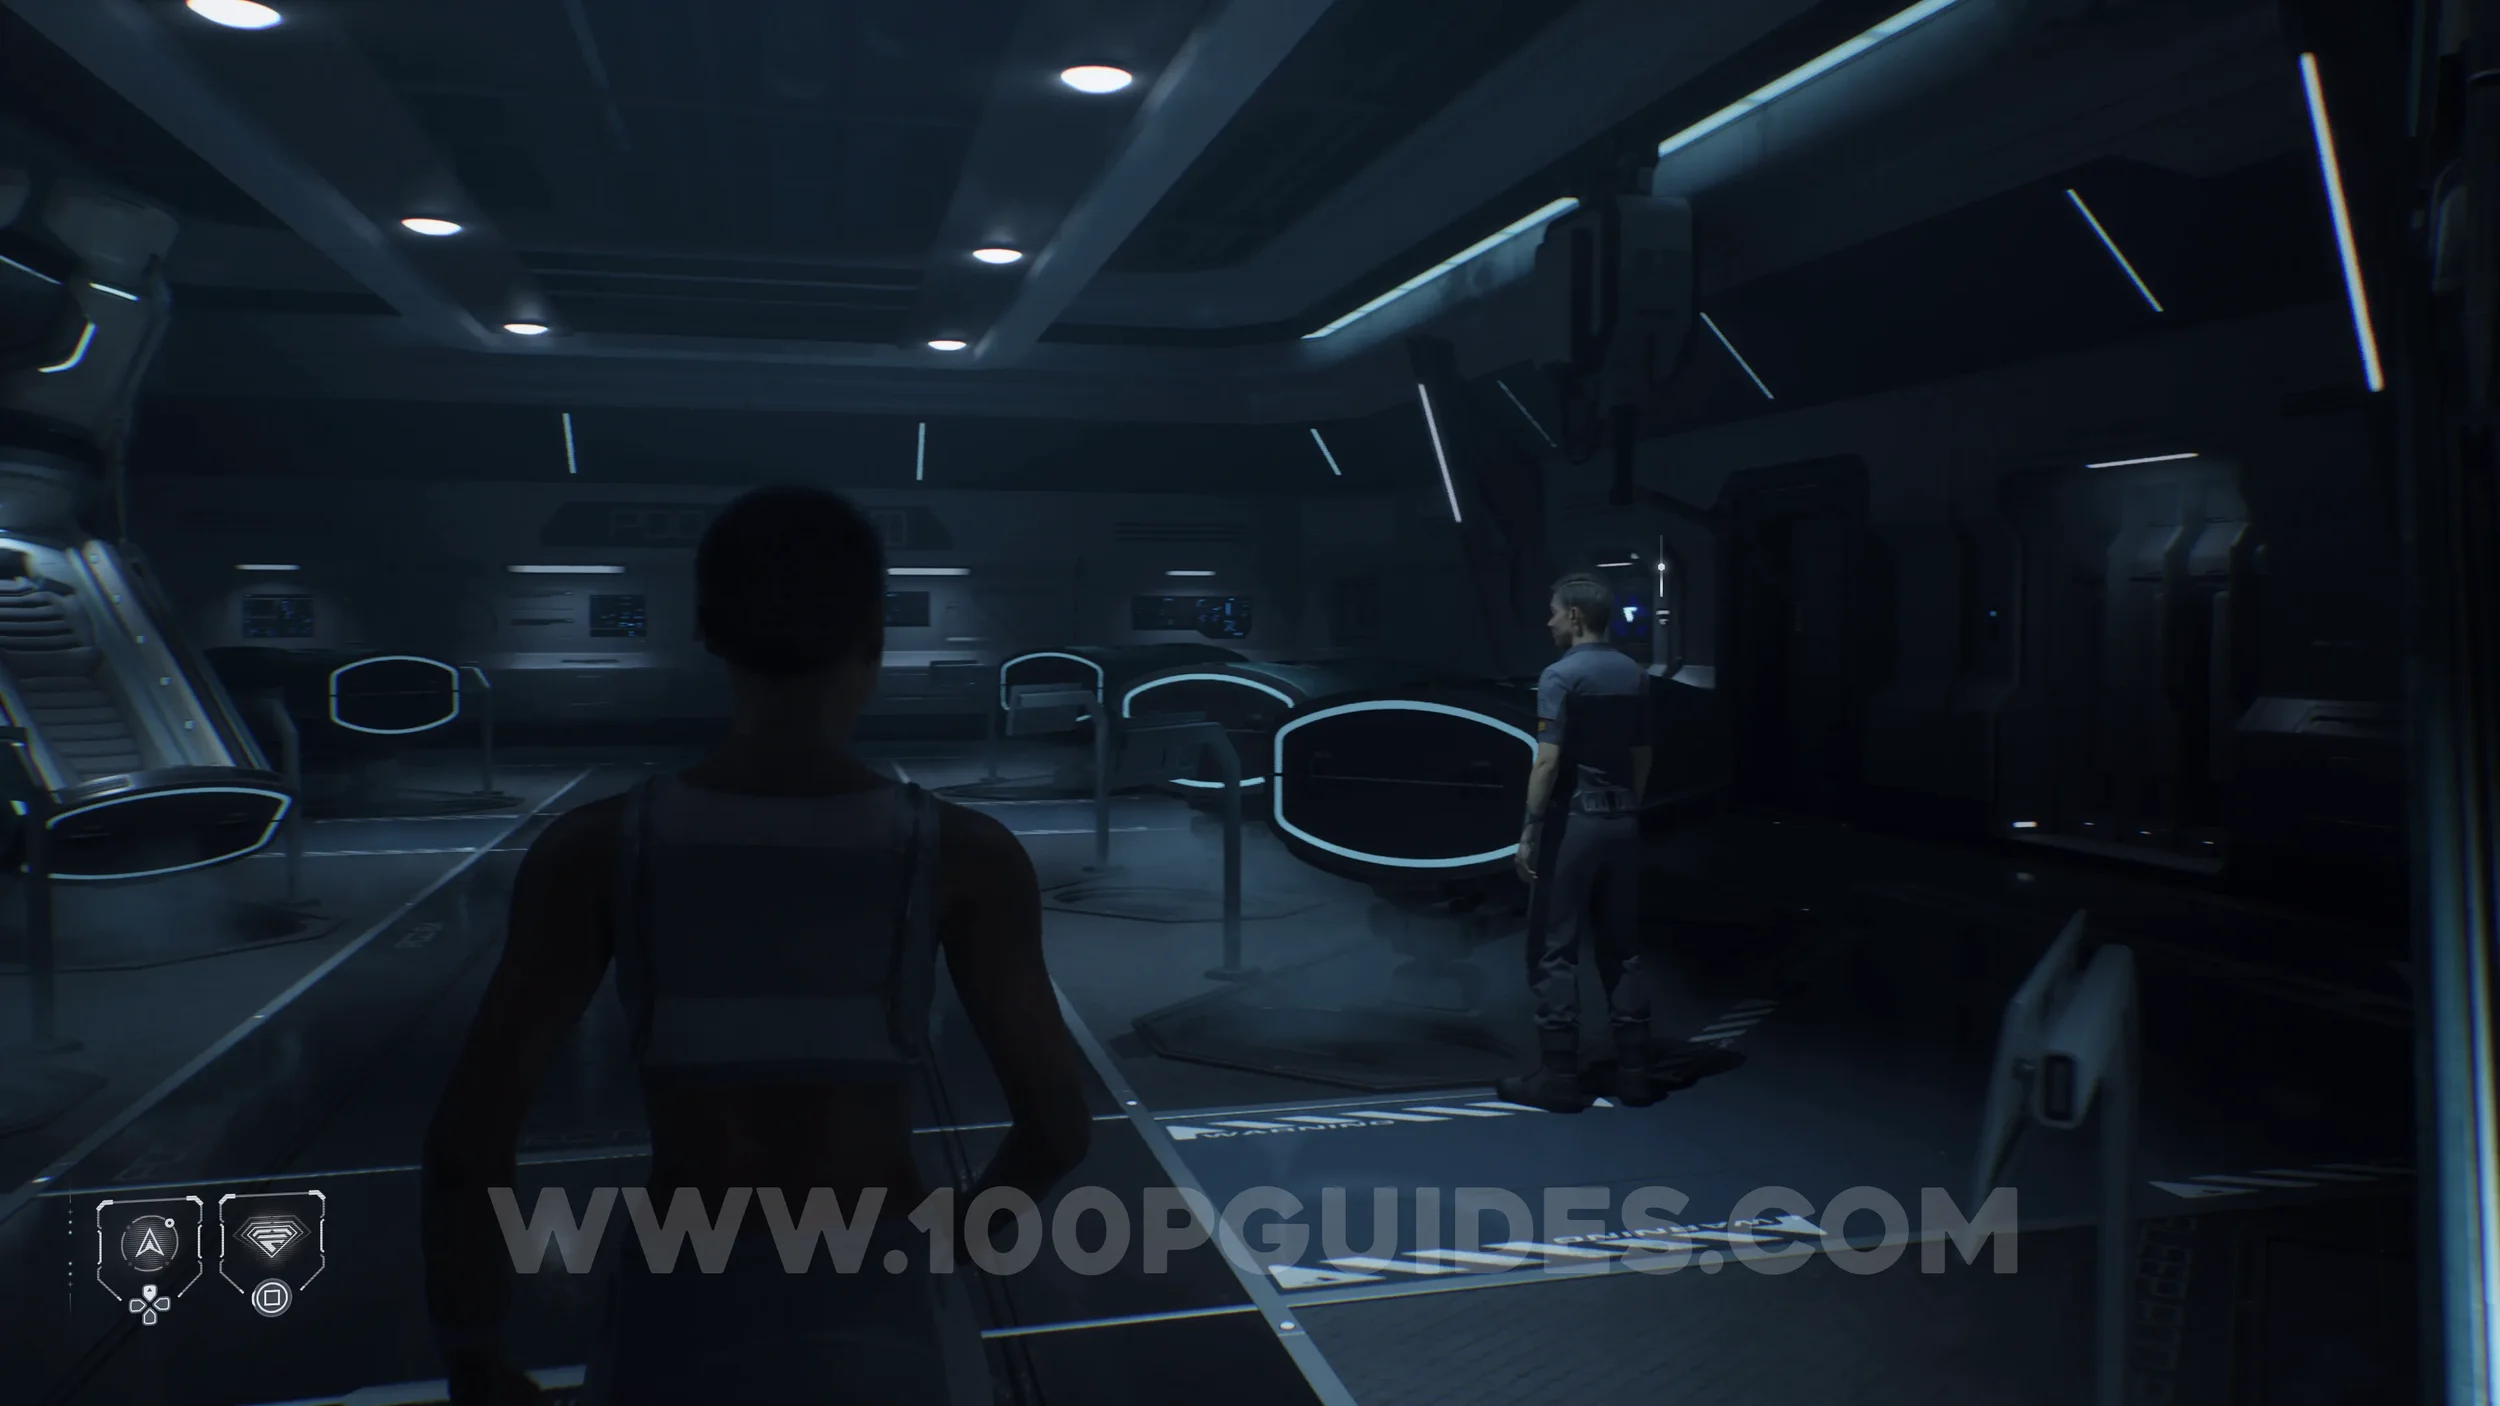
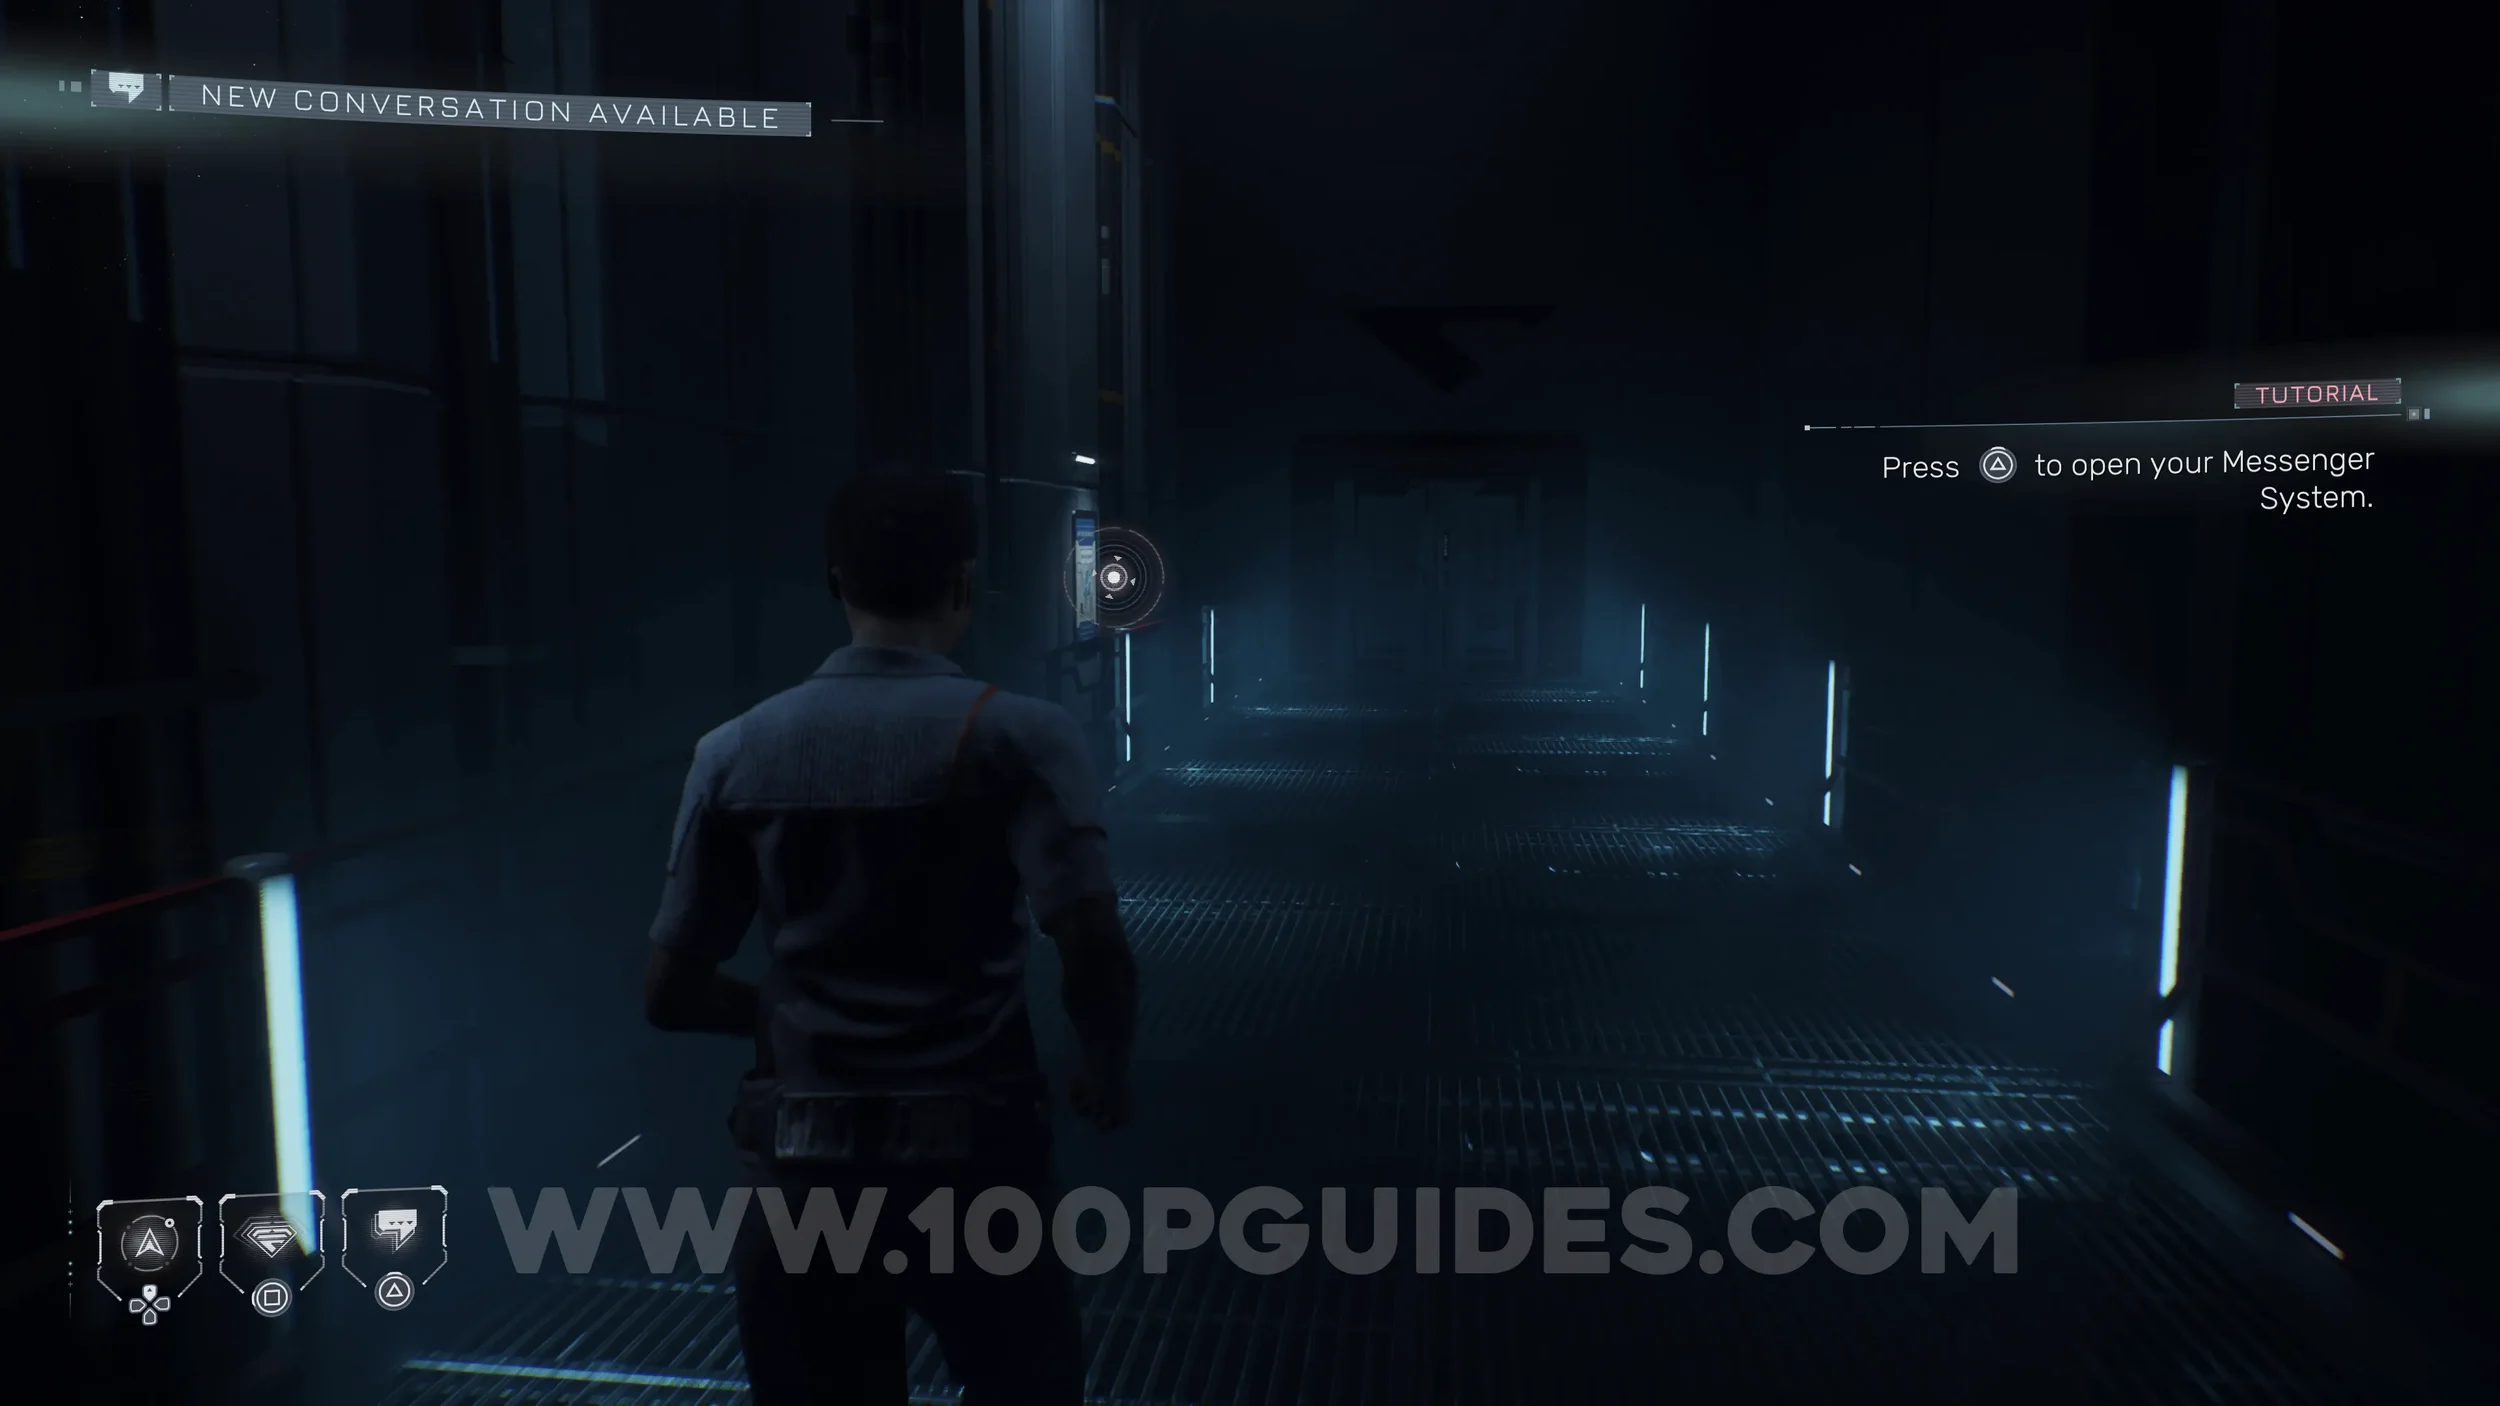
Secret #11 - Cassiopeia (Perfect Replica). On the wall, in the first room, as soon as you take control of Brianna.
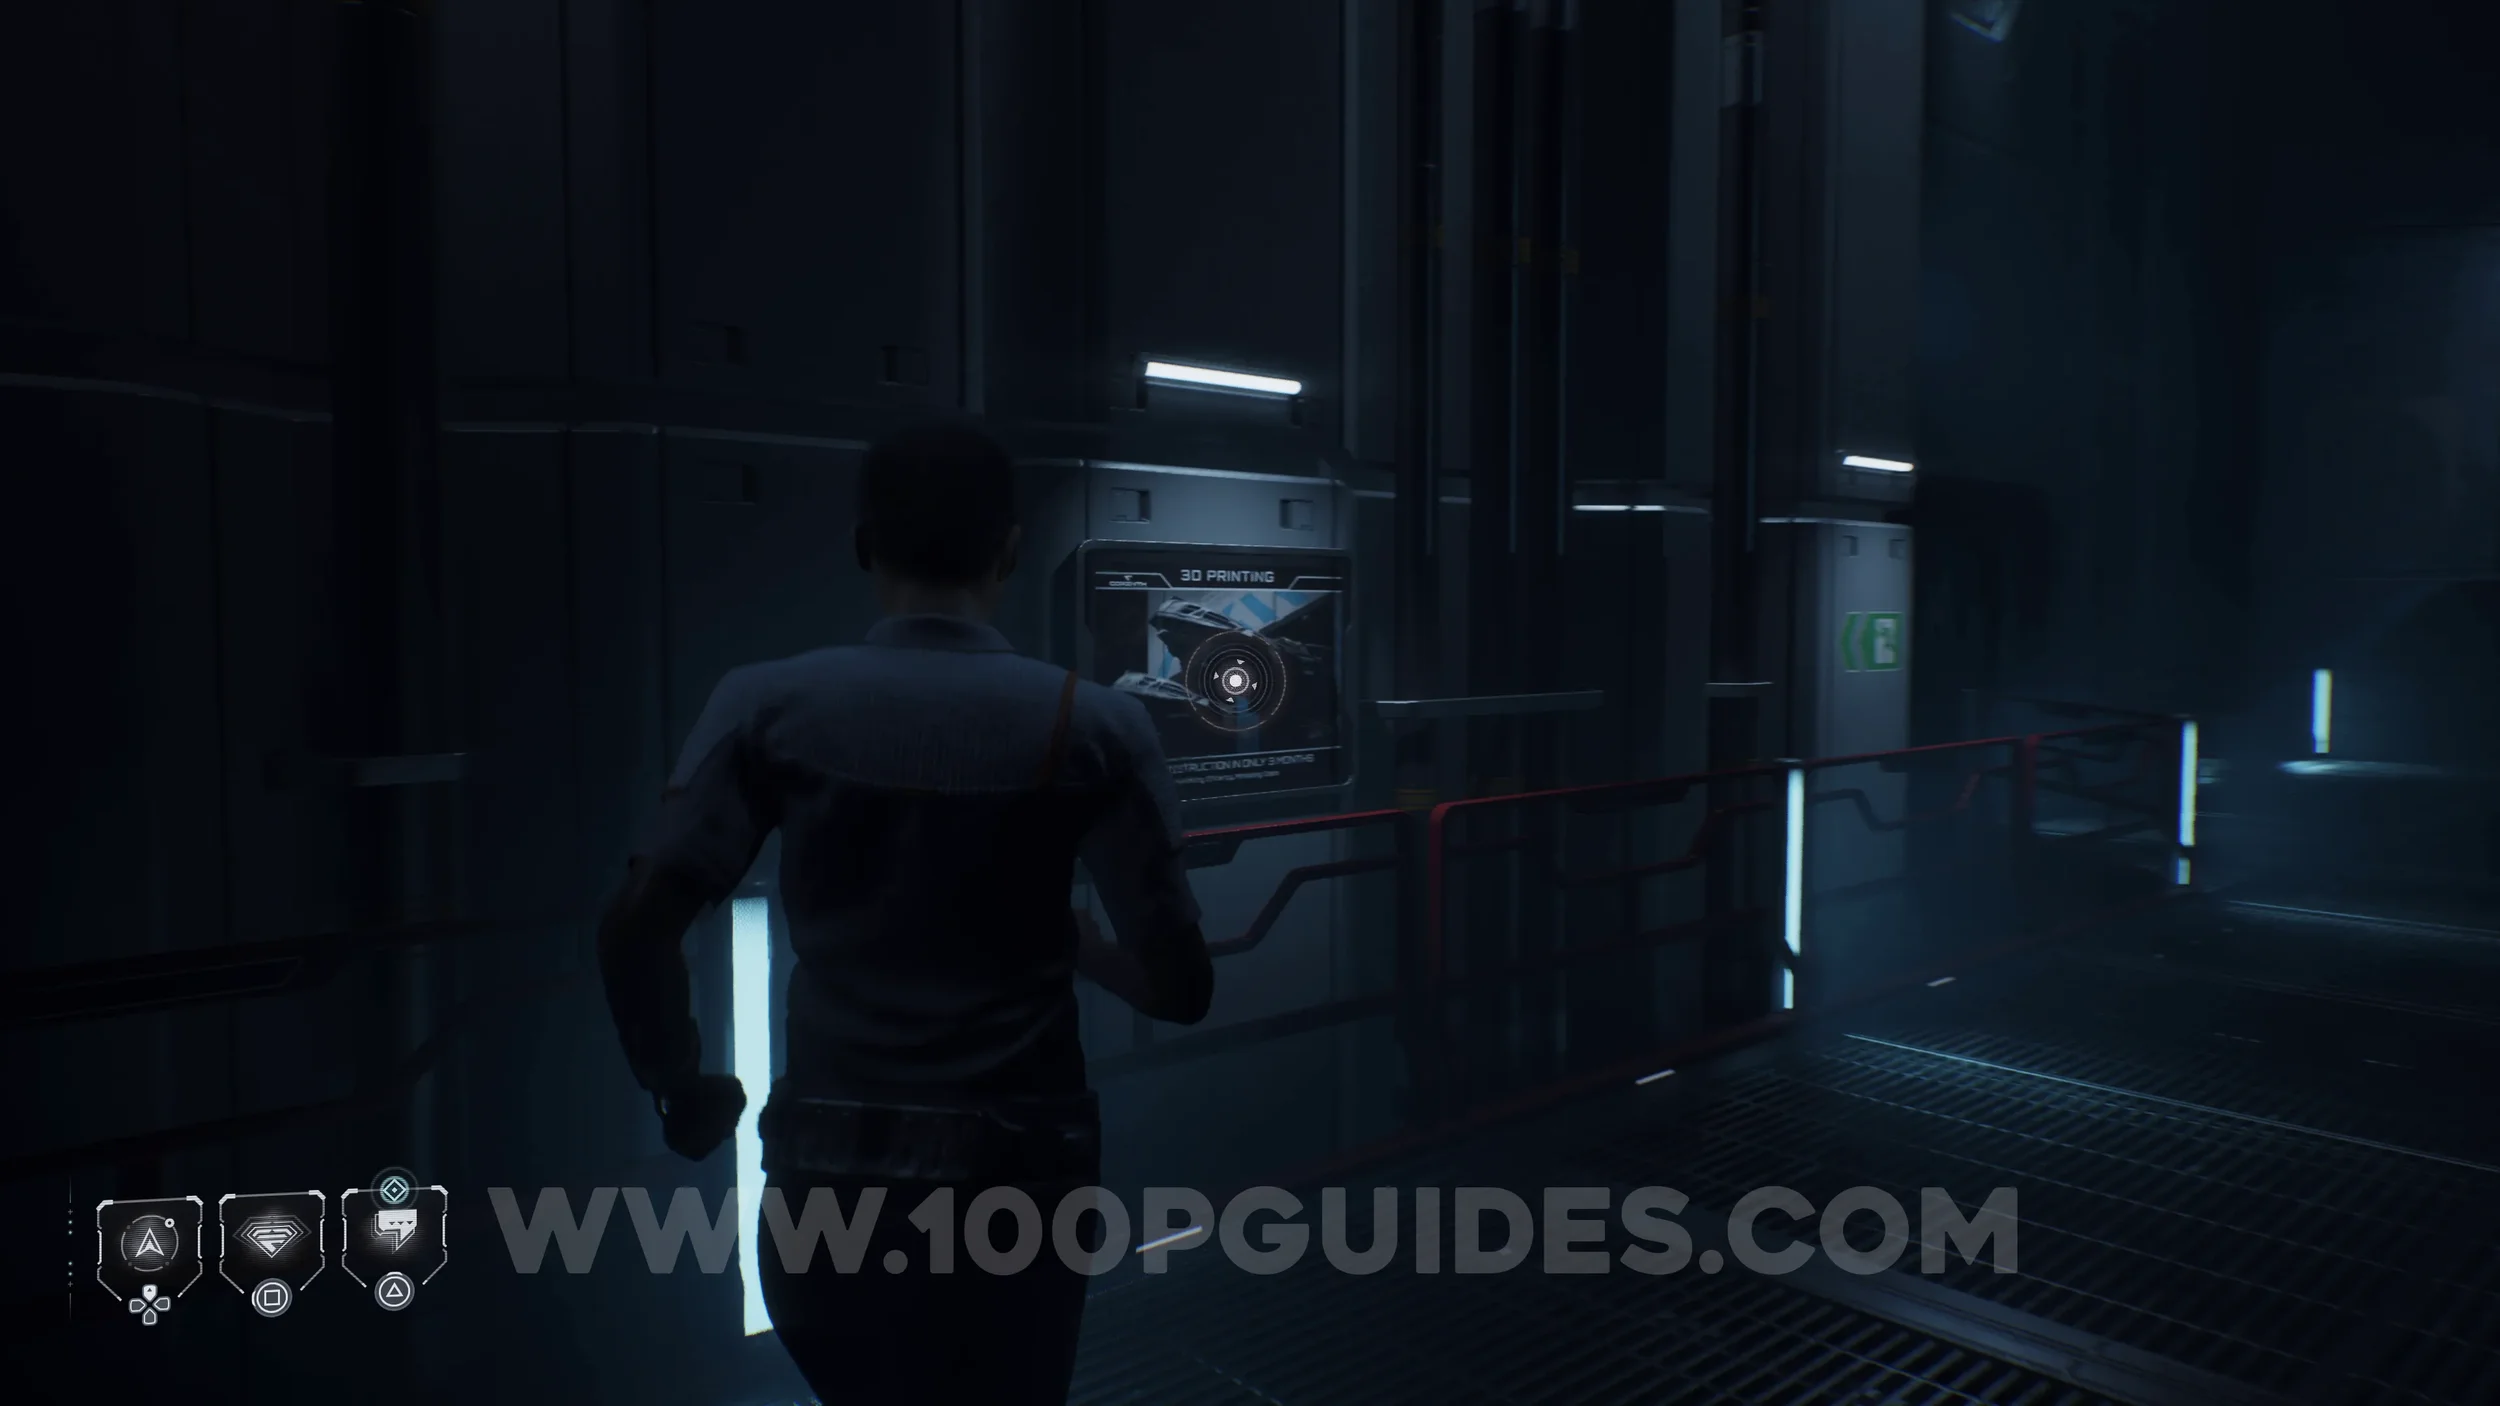
Secret #12 - Cassiopeia (Print As Needed). On your left, as soon as you take control of Brianna in the Reactor room.
Secret #13 - Dark Future (In Denial). Once you take control of Brianna in the Reactor room, continue straight before following Laura to find the collectible on the wall.
The Simms Recordings #3 - Red Alert. Before interacting with the console in the Reactor room near Laura, head up the stairs to the right of the console to find the collectible on the wall.
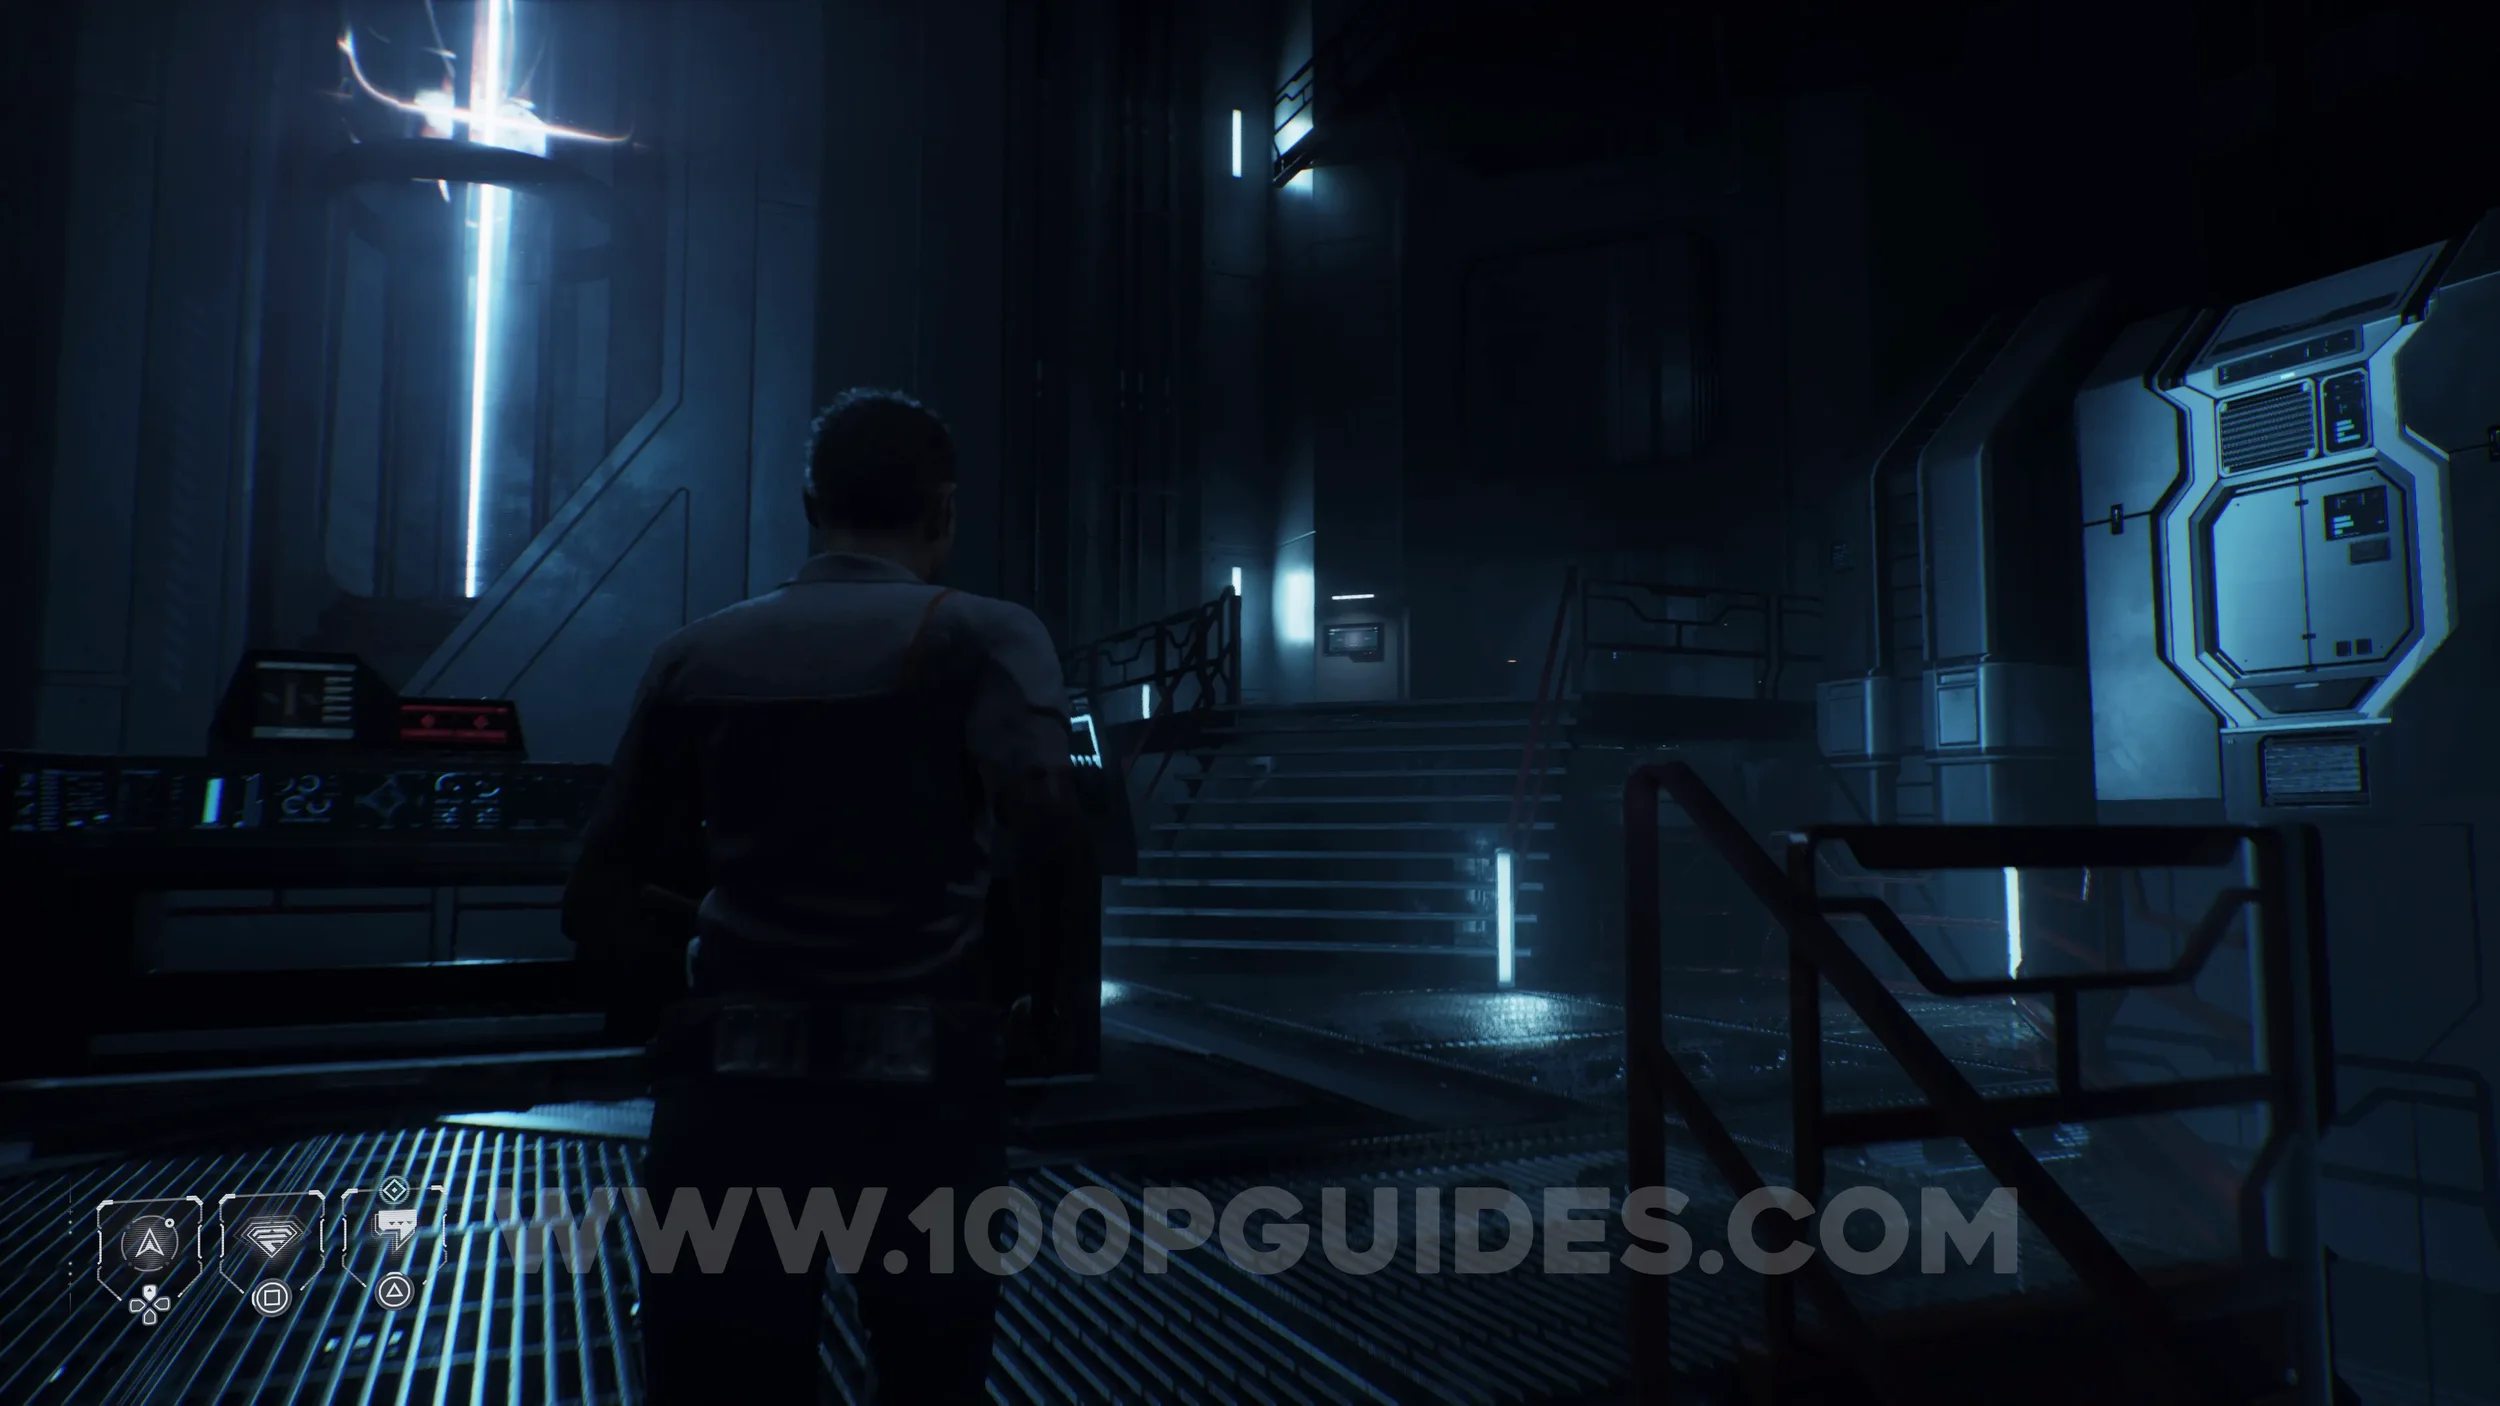
Secret #14 - Sleep Crew (Carter). On the wall to your left as soon as you take control of Laura in the Atrium, the large room with a big head statue in the middle.
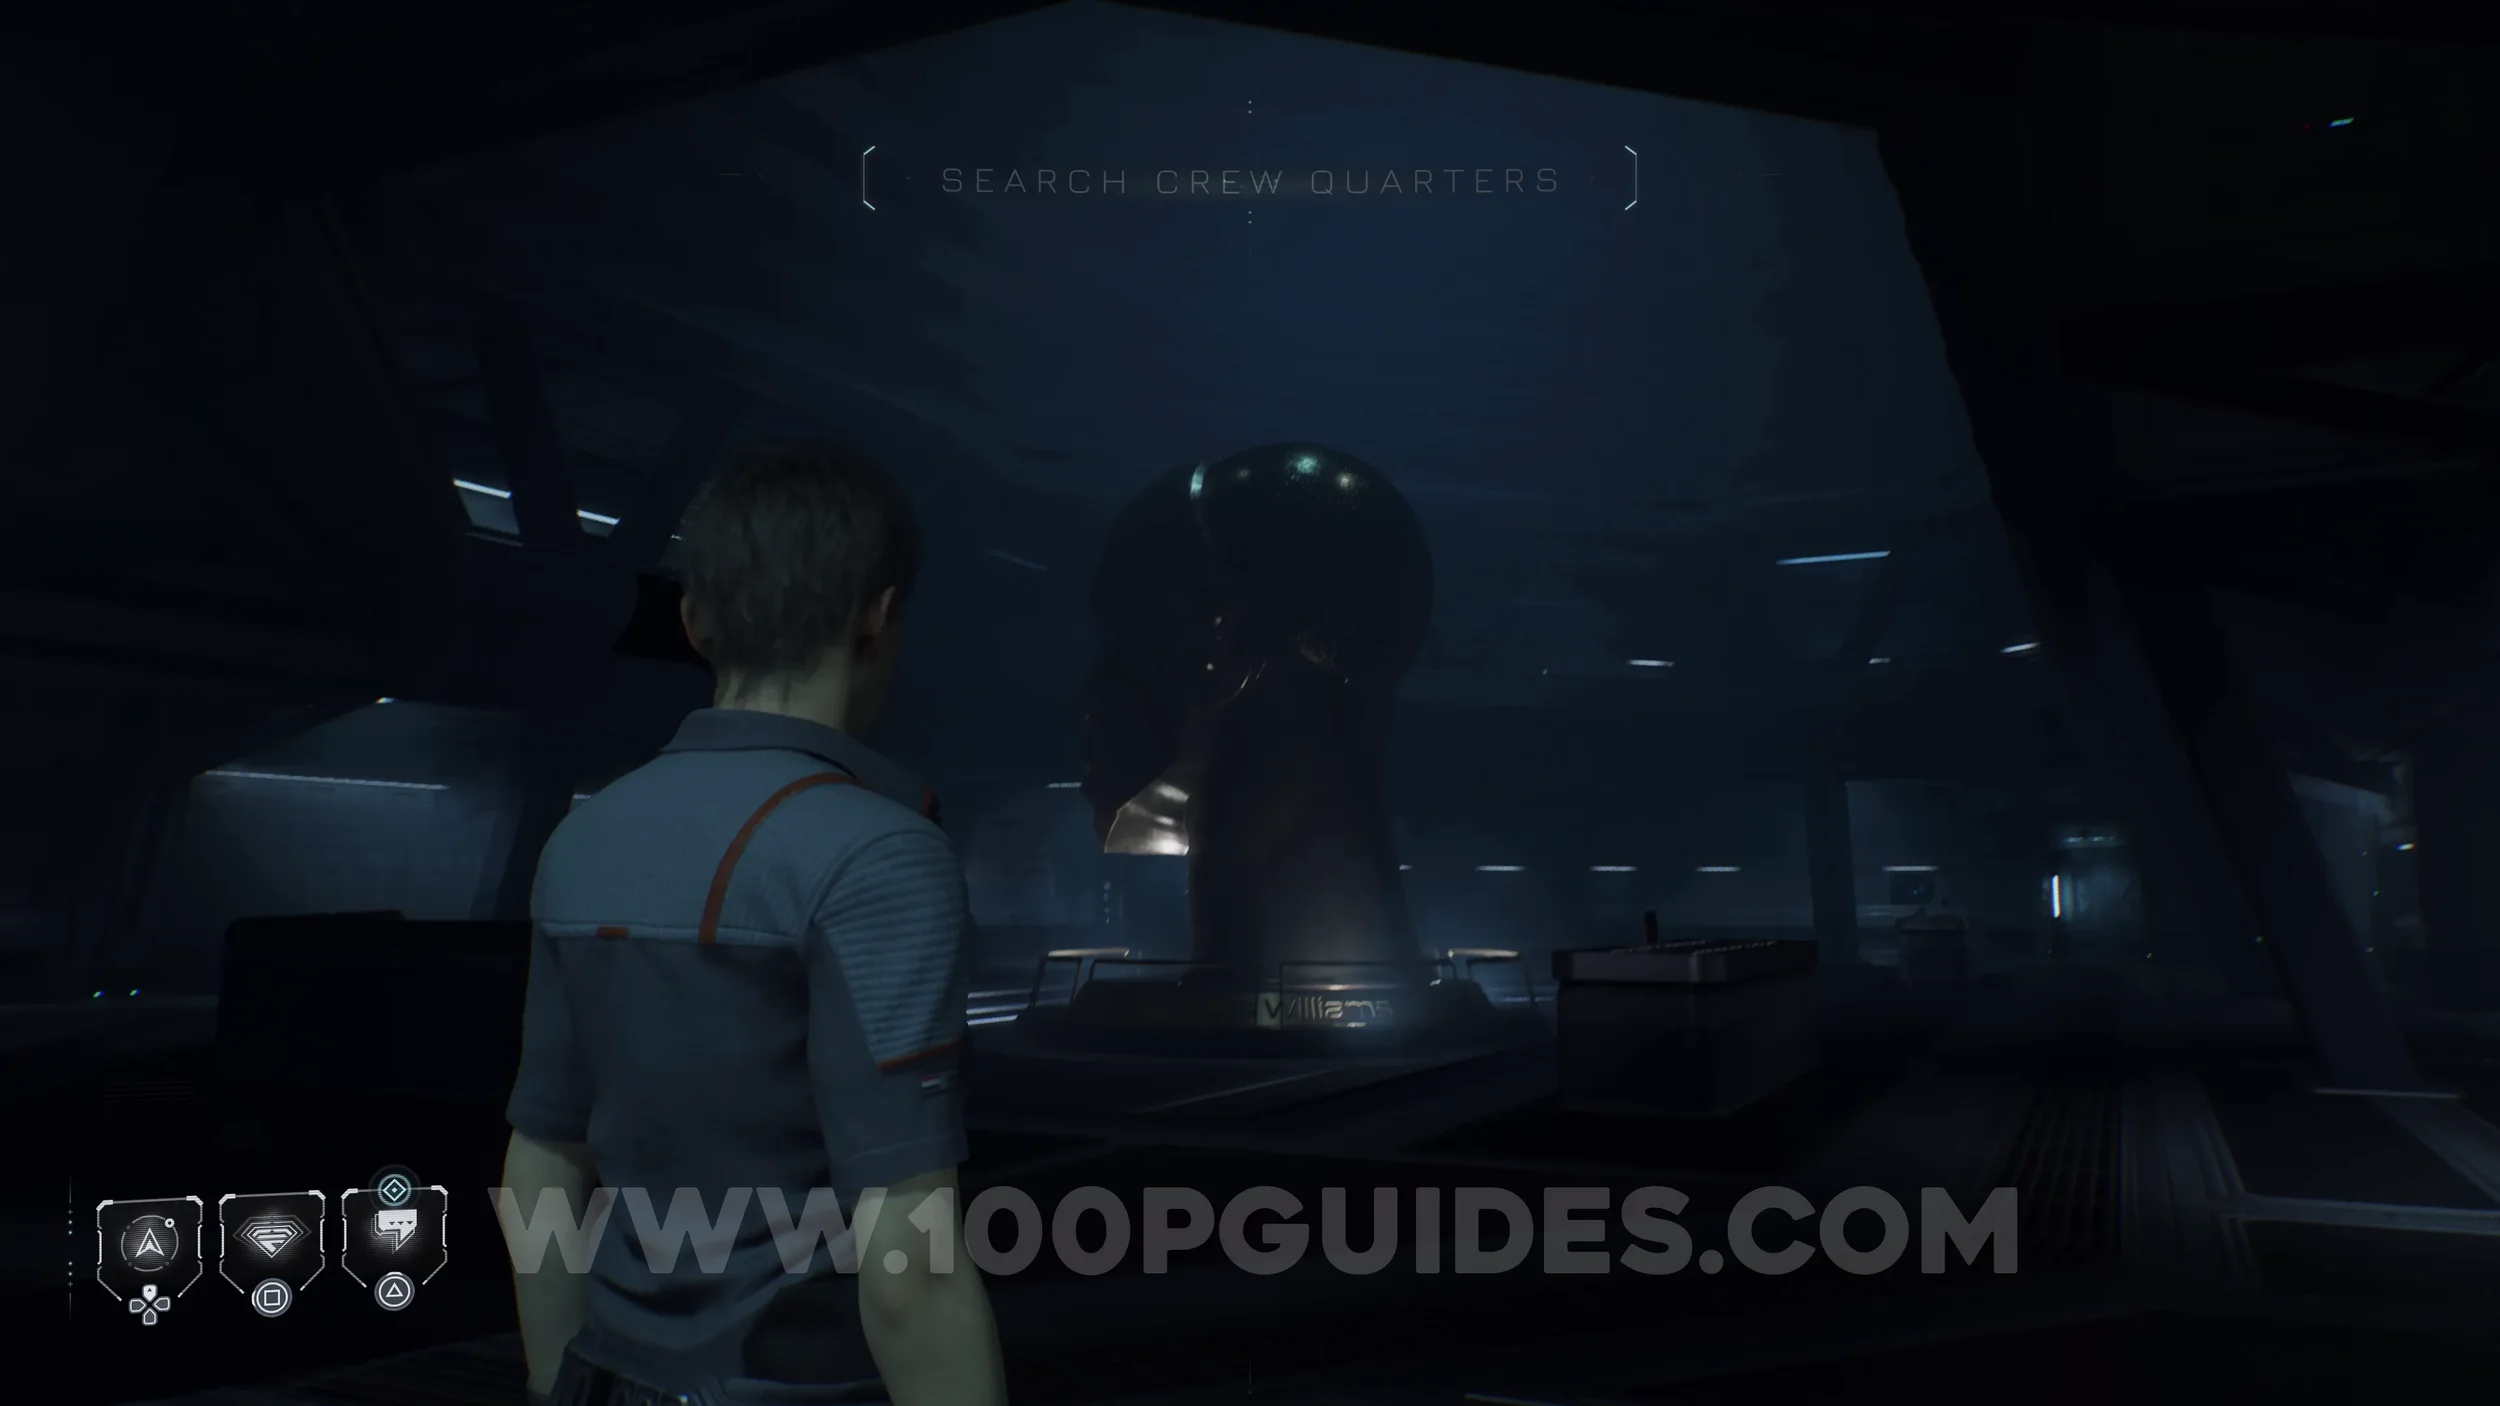
Secret #15 - Conspiracy (Bad Press). On a bench in front of the large head statue in the same room as the previous collectible.
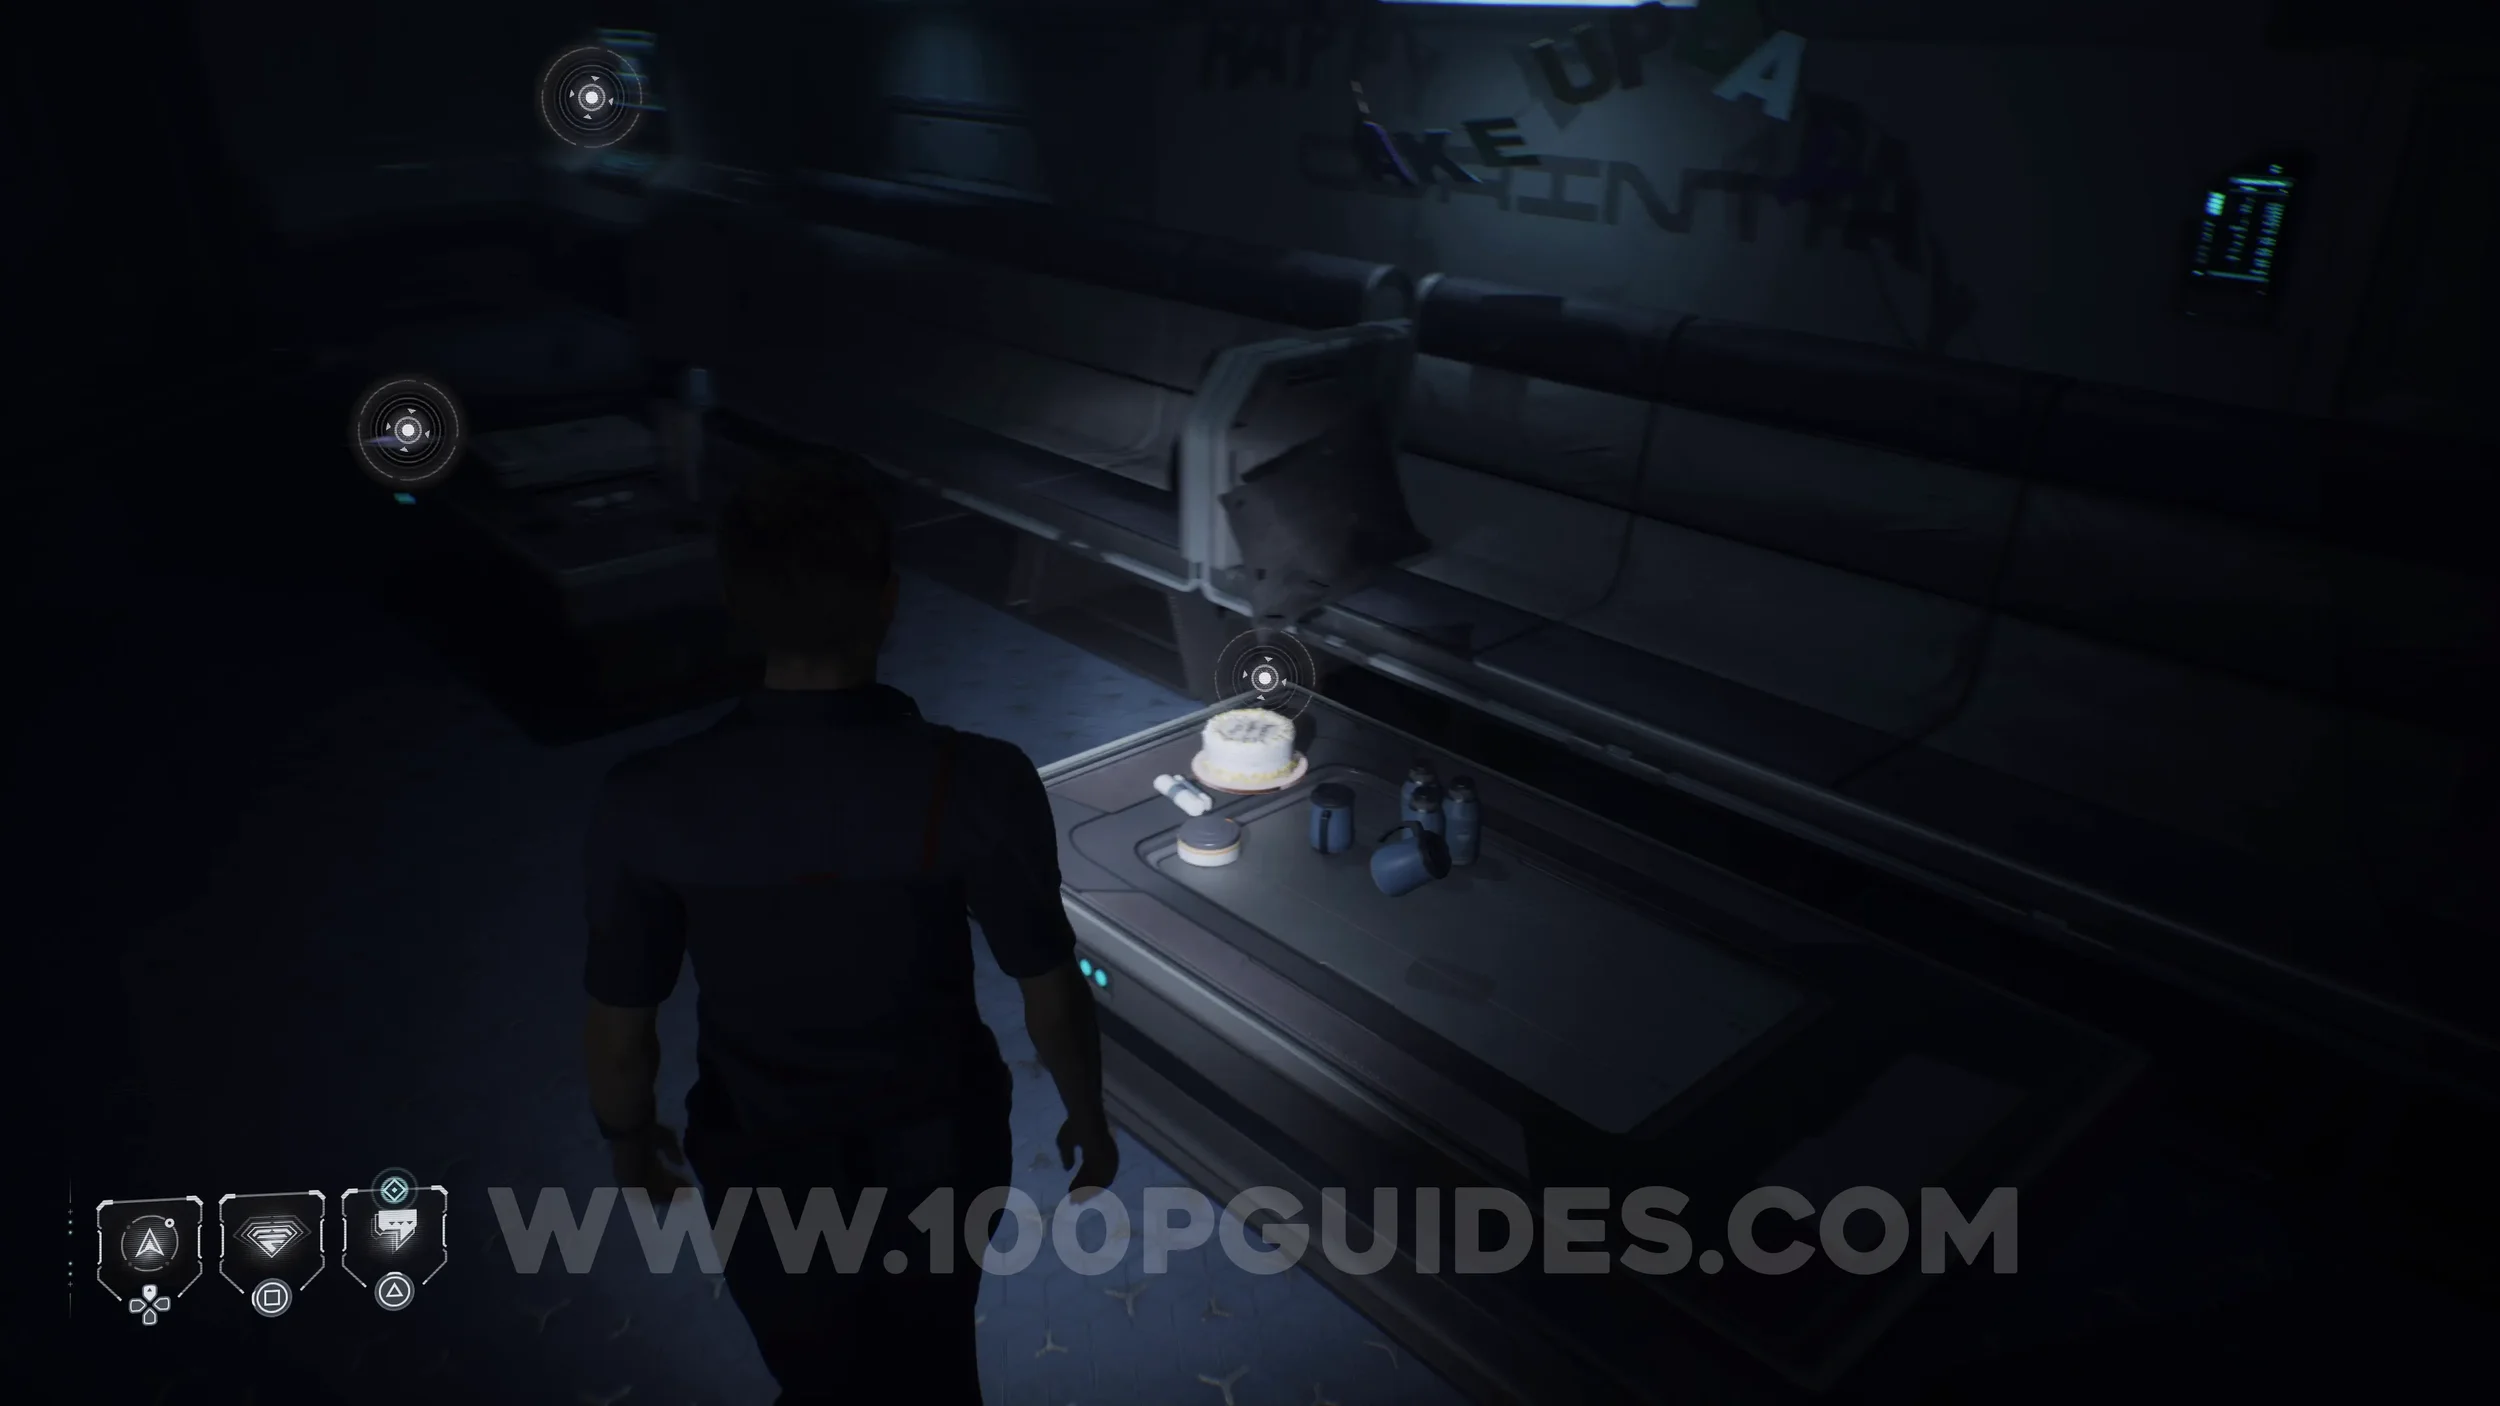
Secret #16 - Sleep Crew (Frosted). In the Atrium, the room with the large head statue, head to the second floor by using one of the doors behind the statue, then circle around to the shutter you can open with your wristband. Look through the window and remotely activate the panel on the wall to open the door. Go through it and examine the cake on the table.
Secret #17 - Cetus Mission (No Object). On the other table in the same room as the previous collectible.
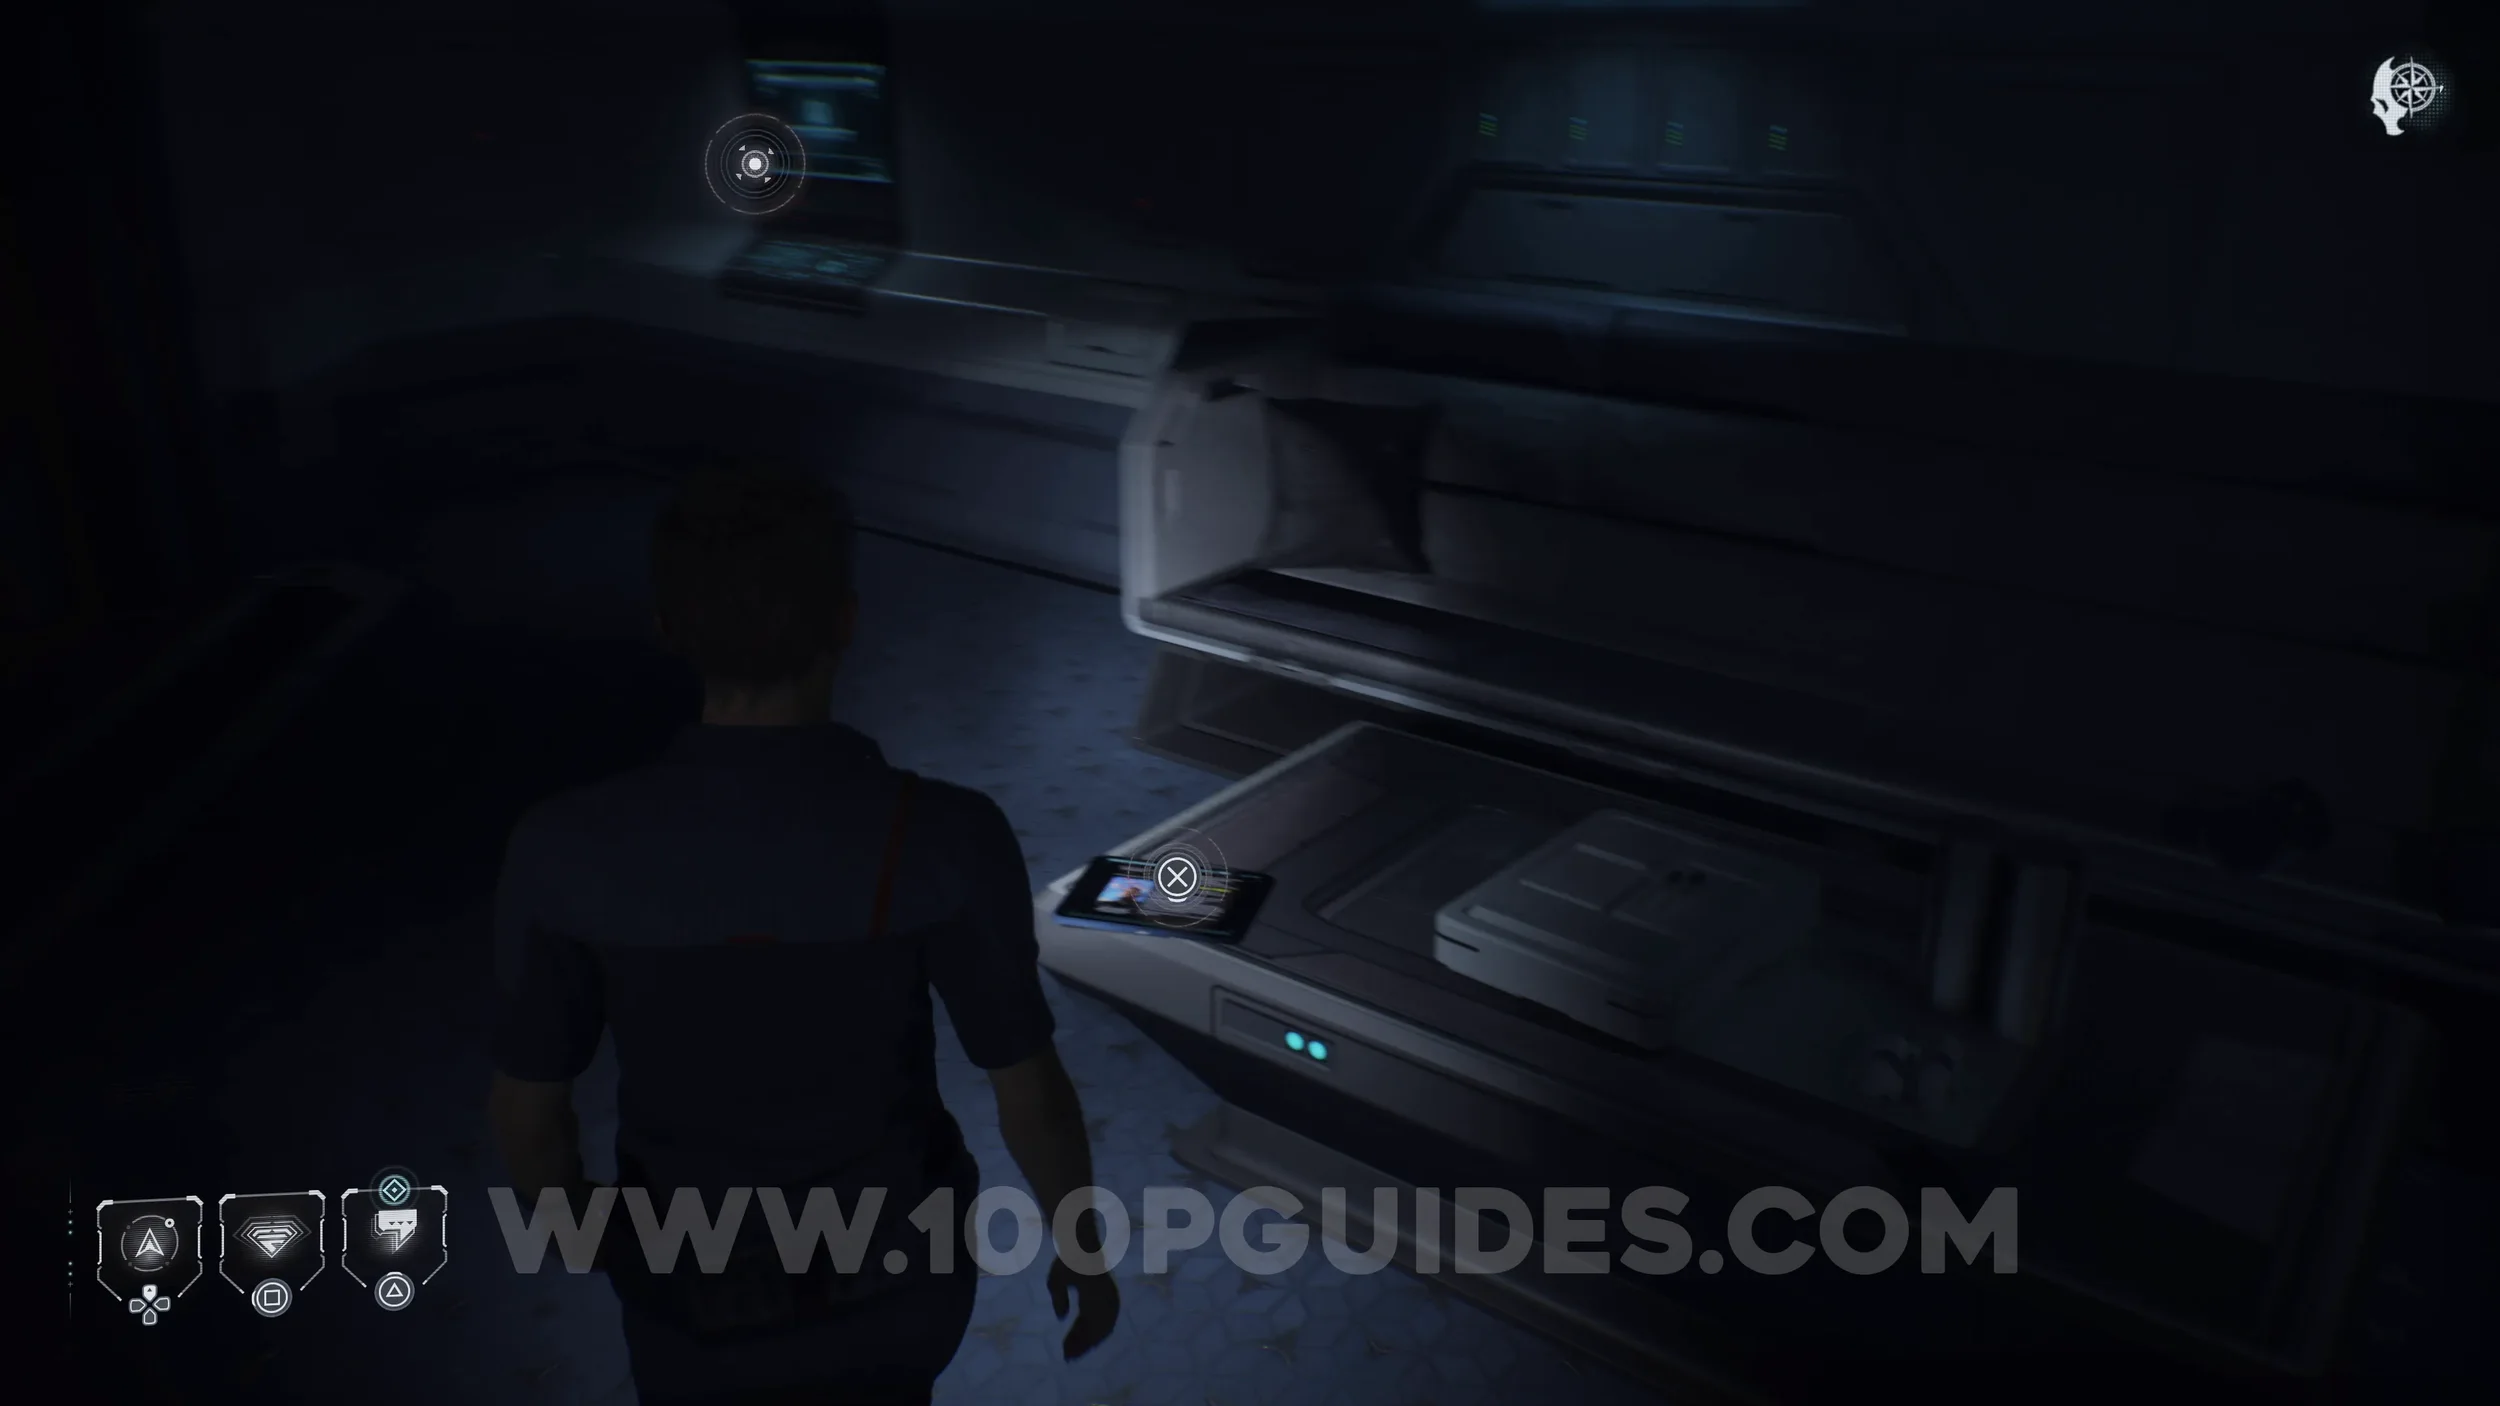
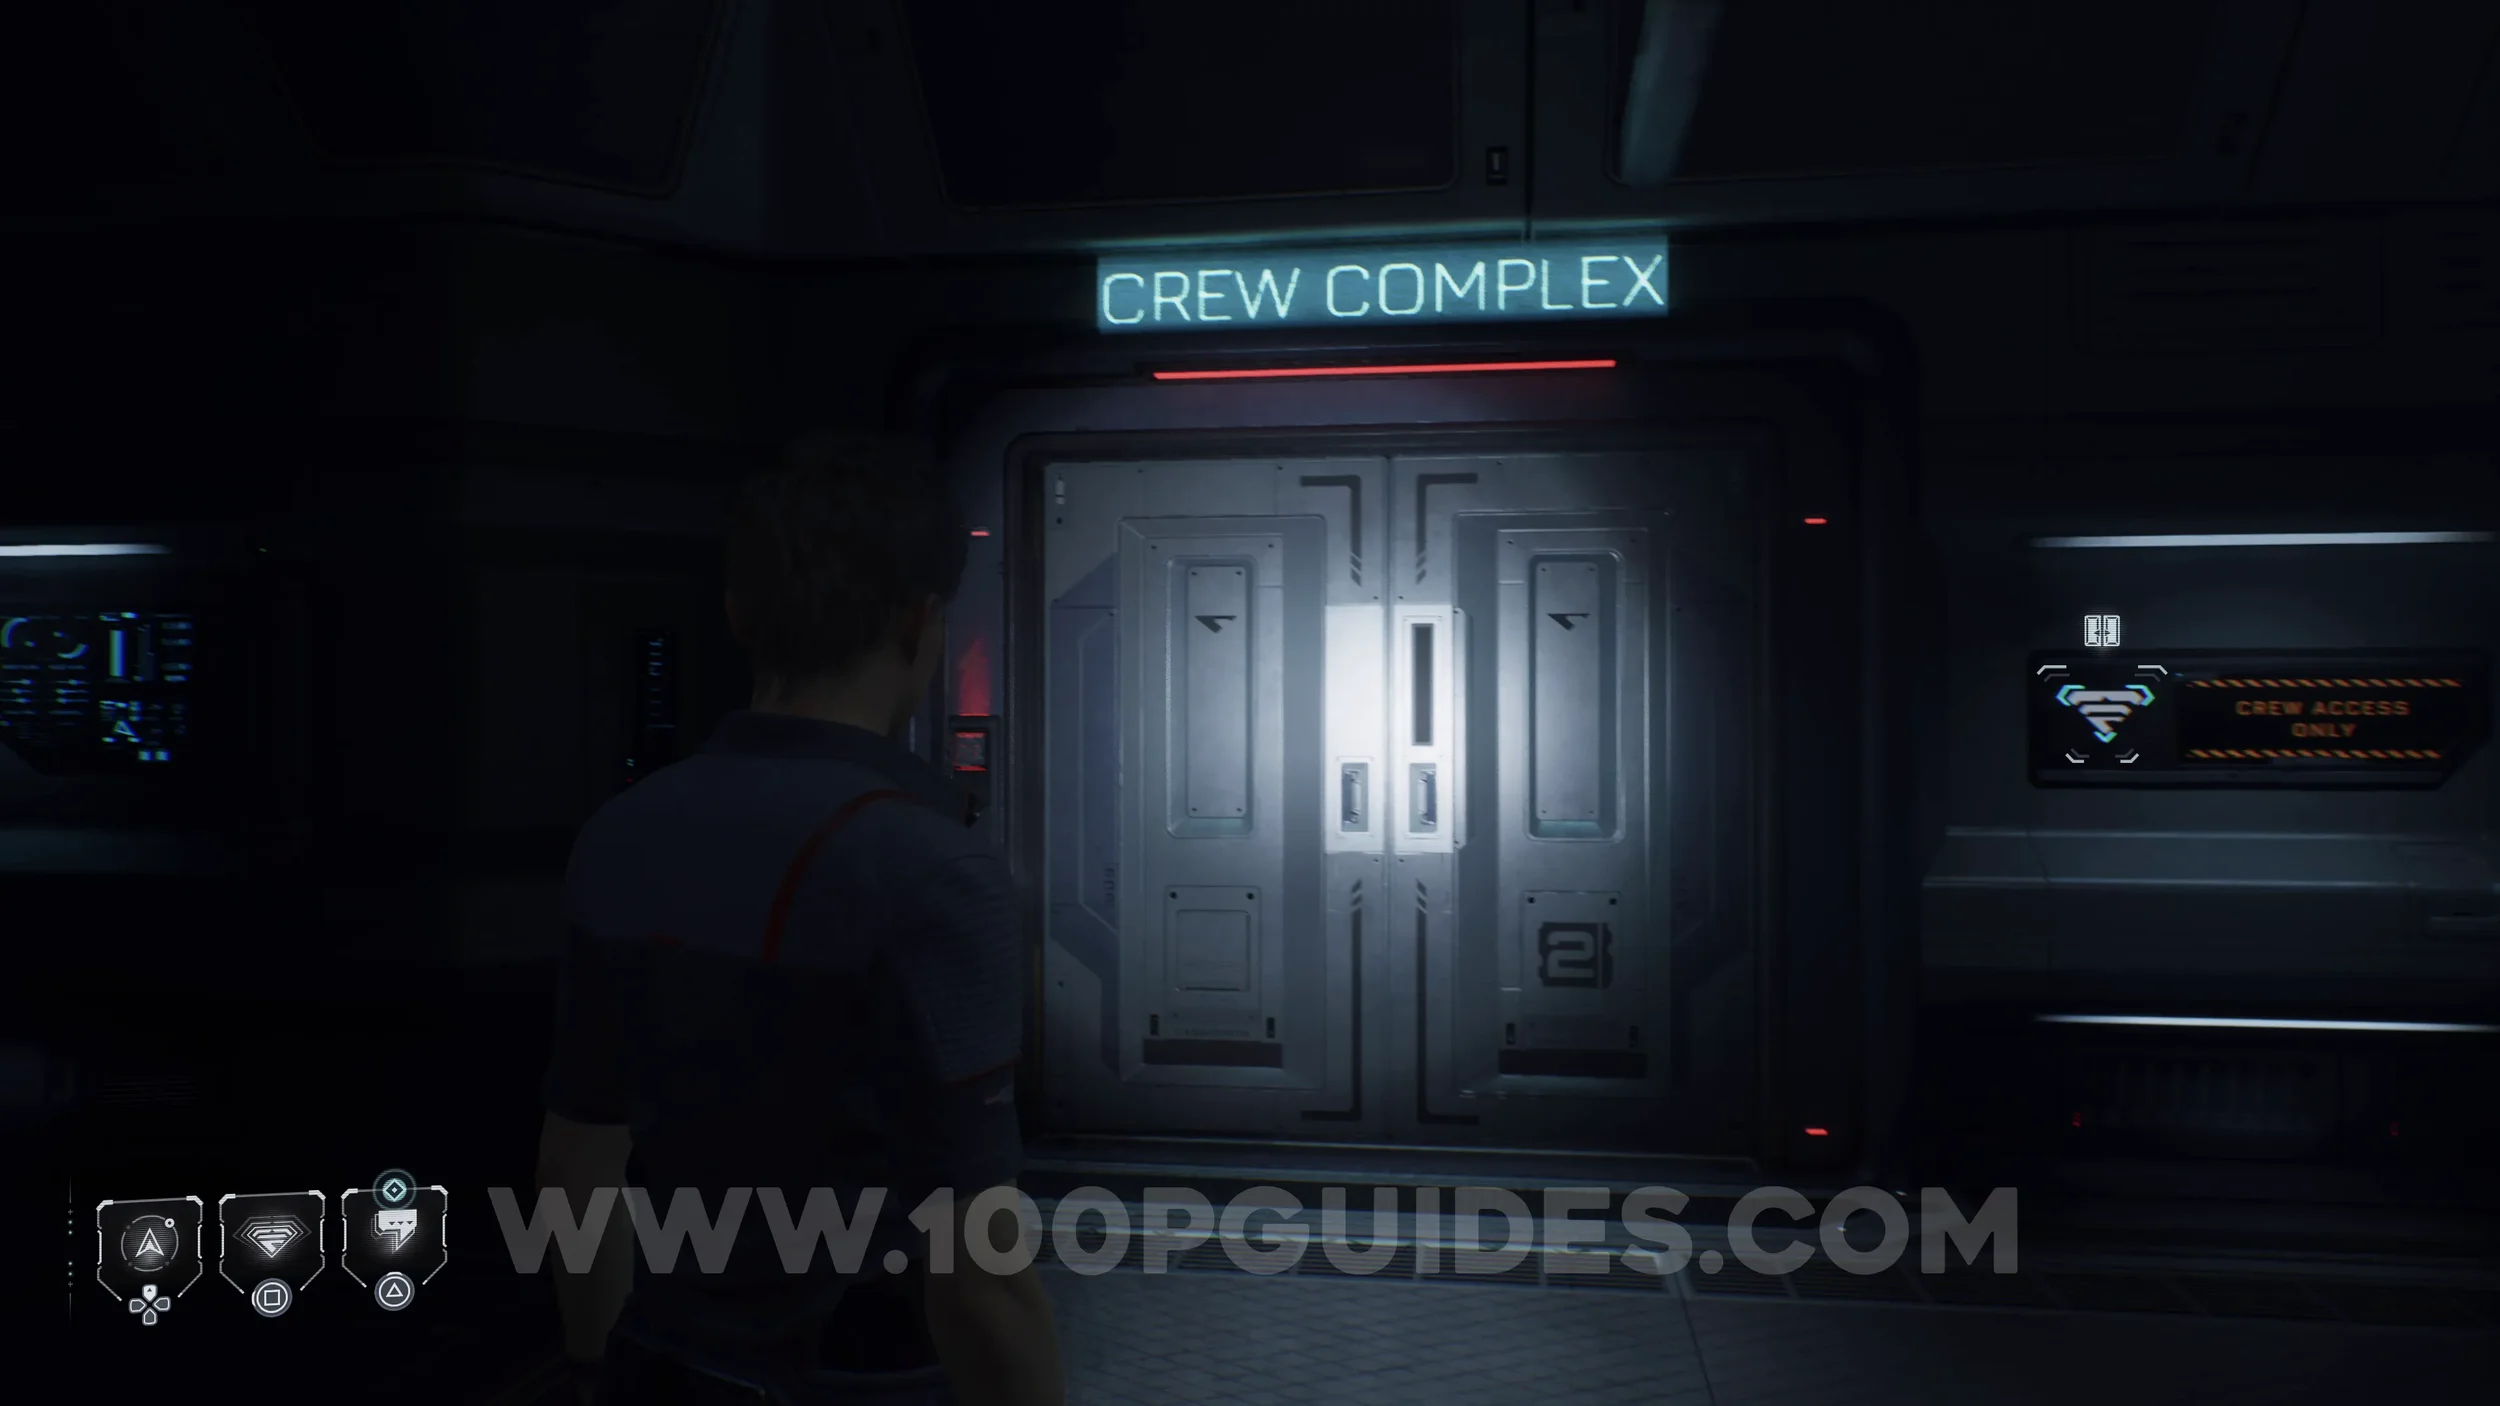
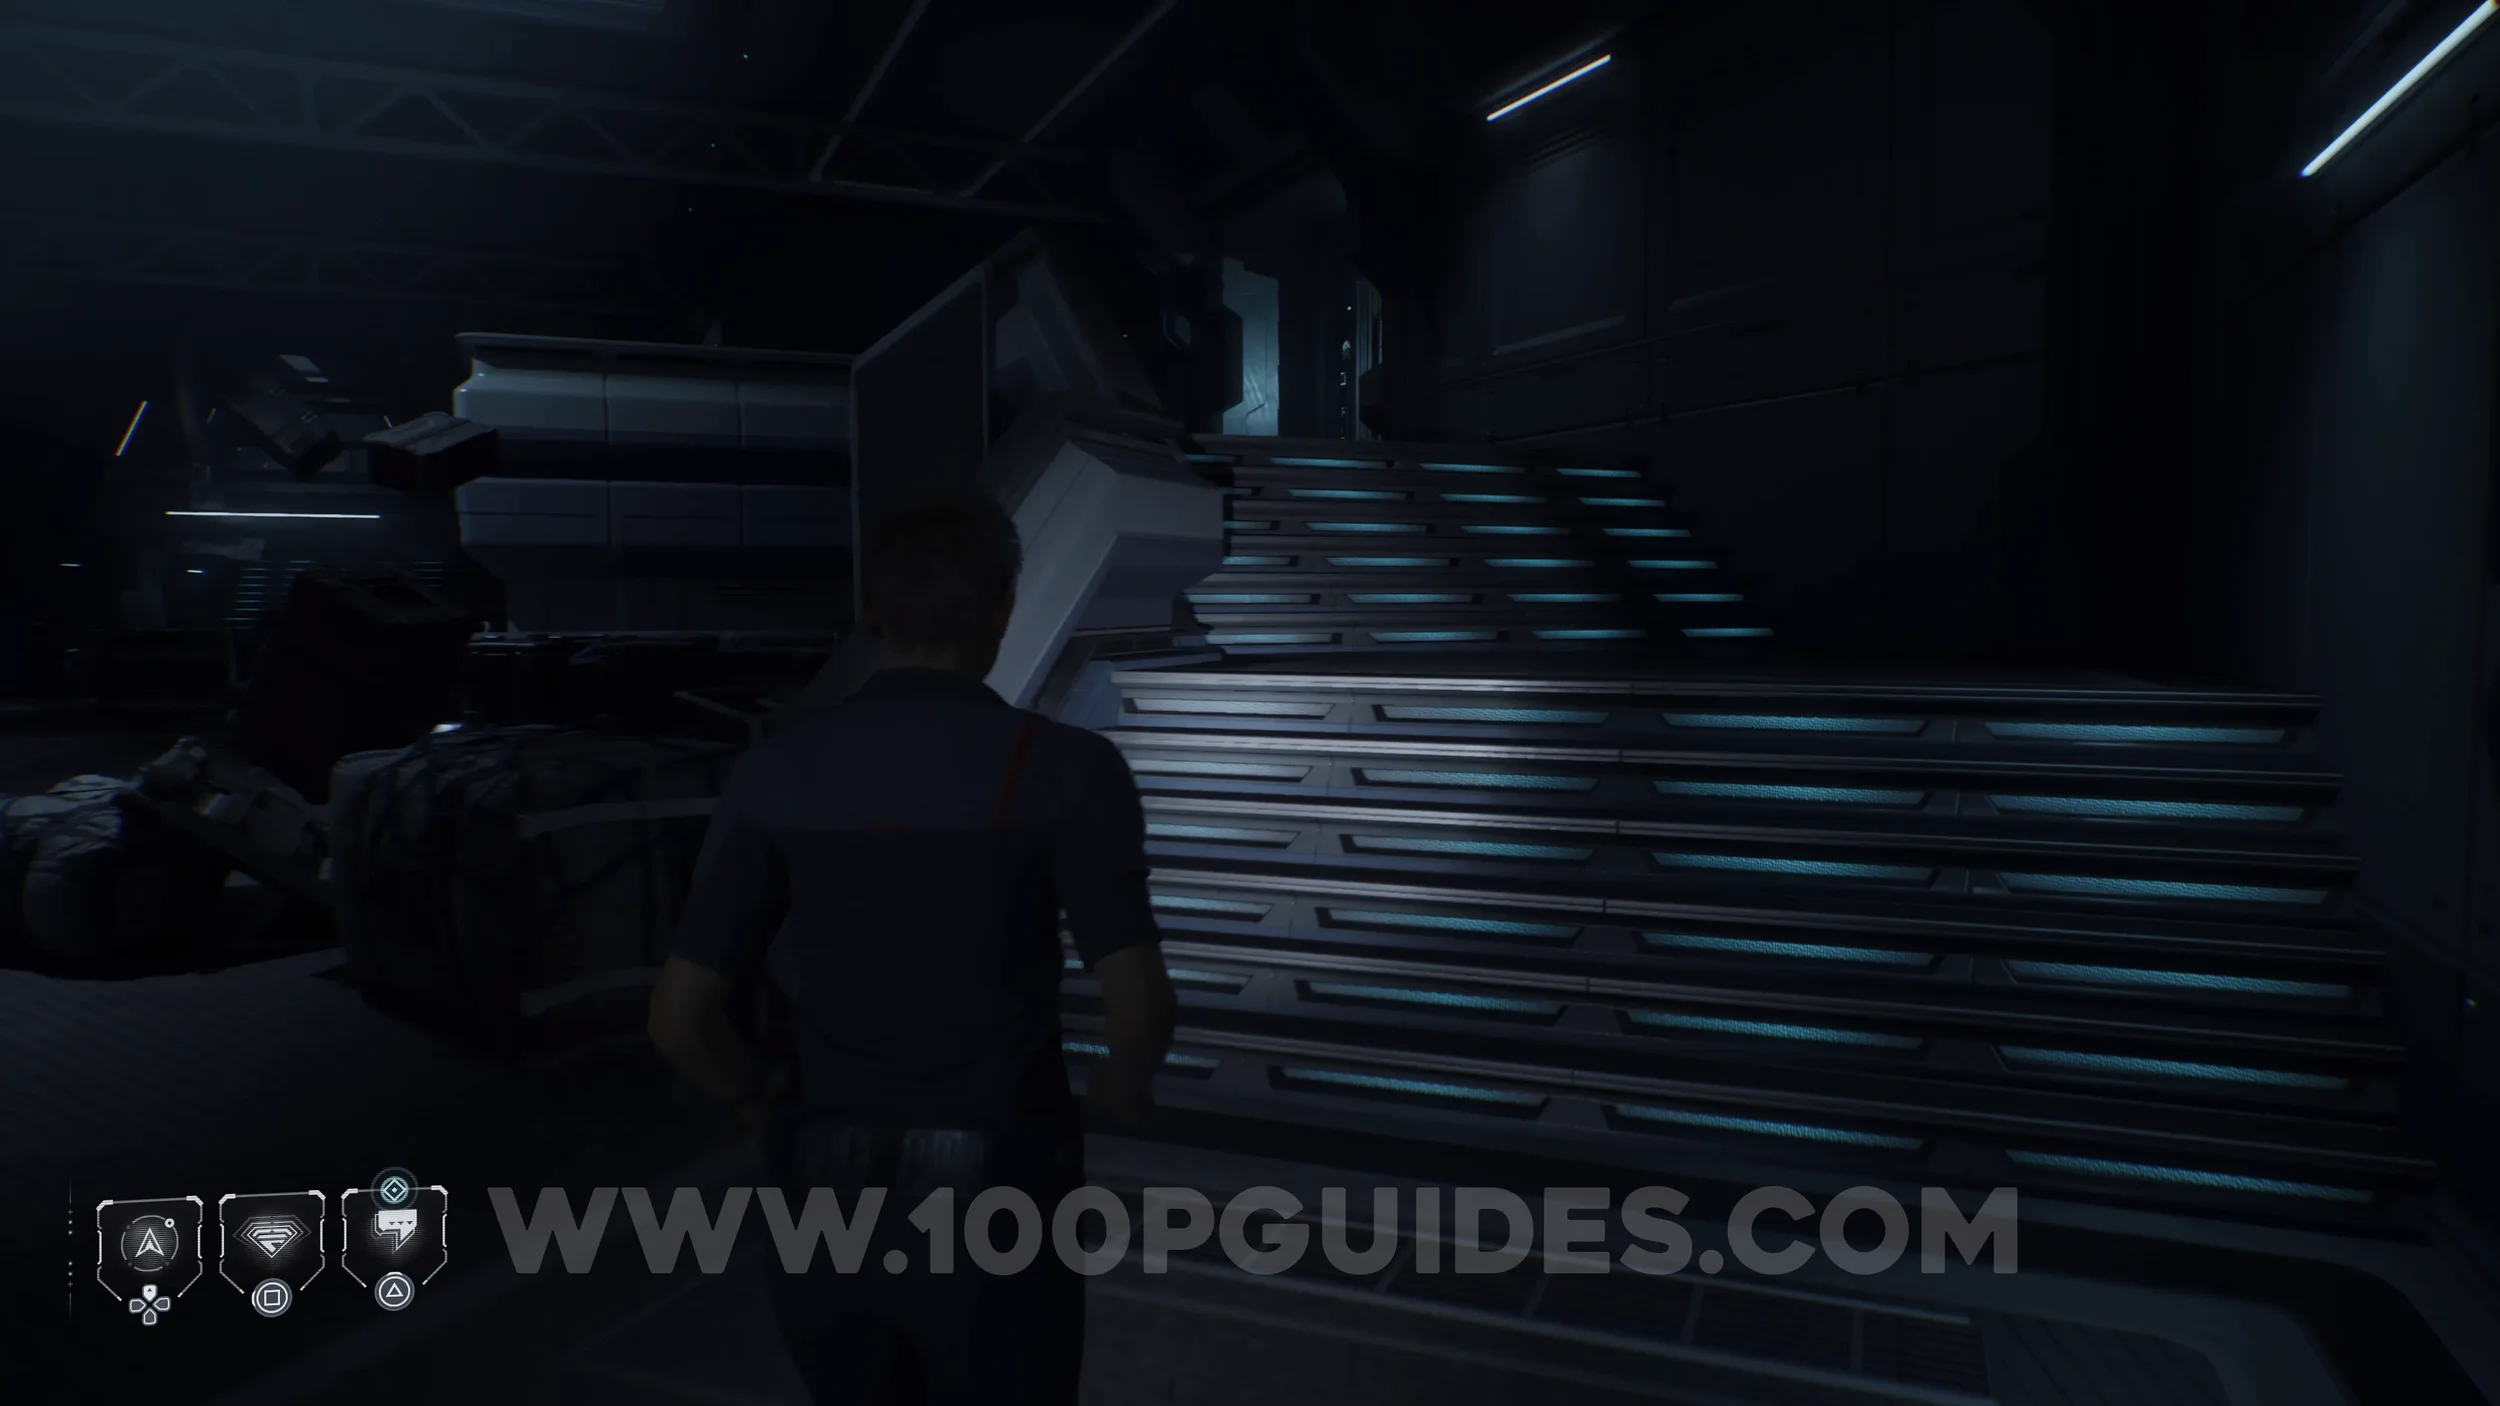
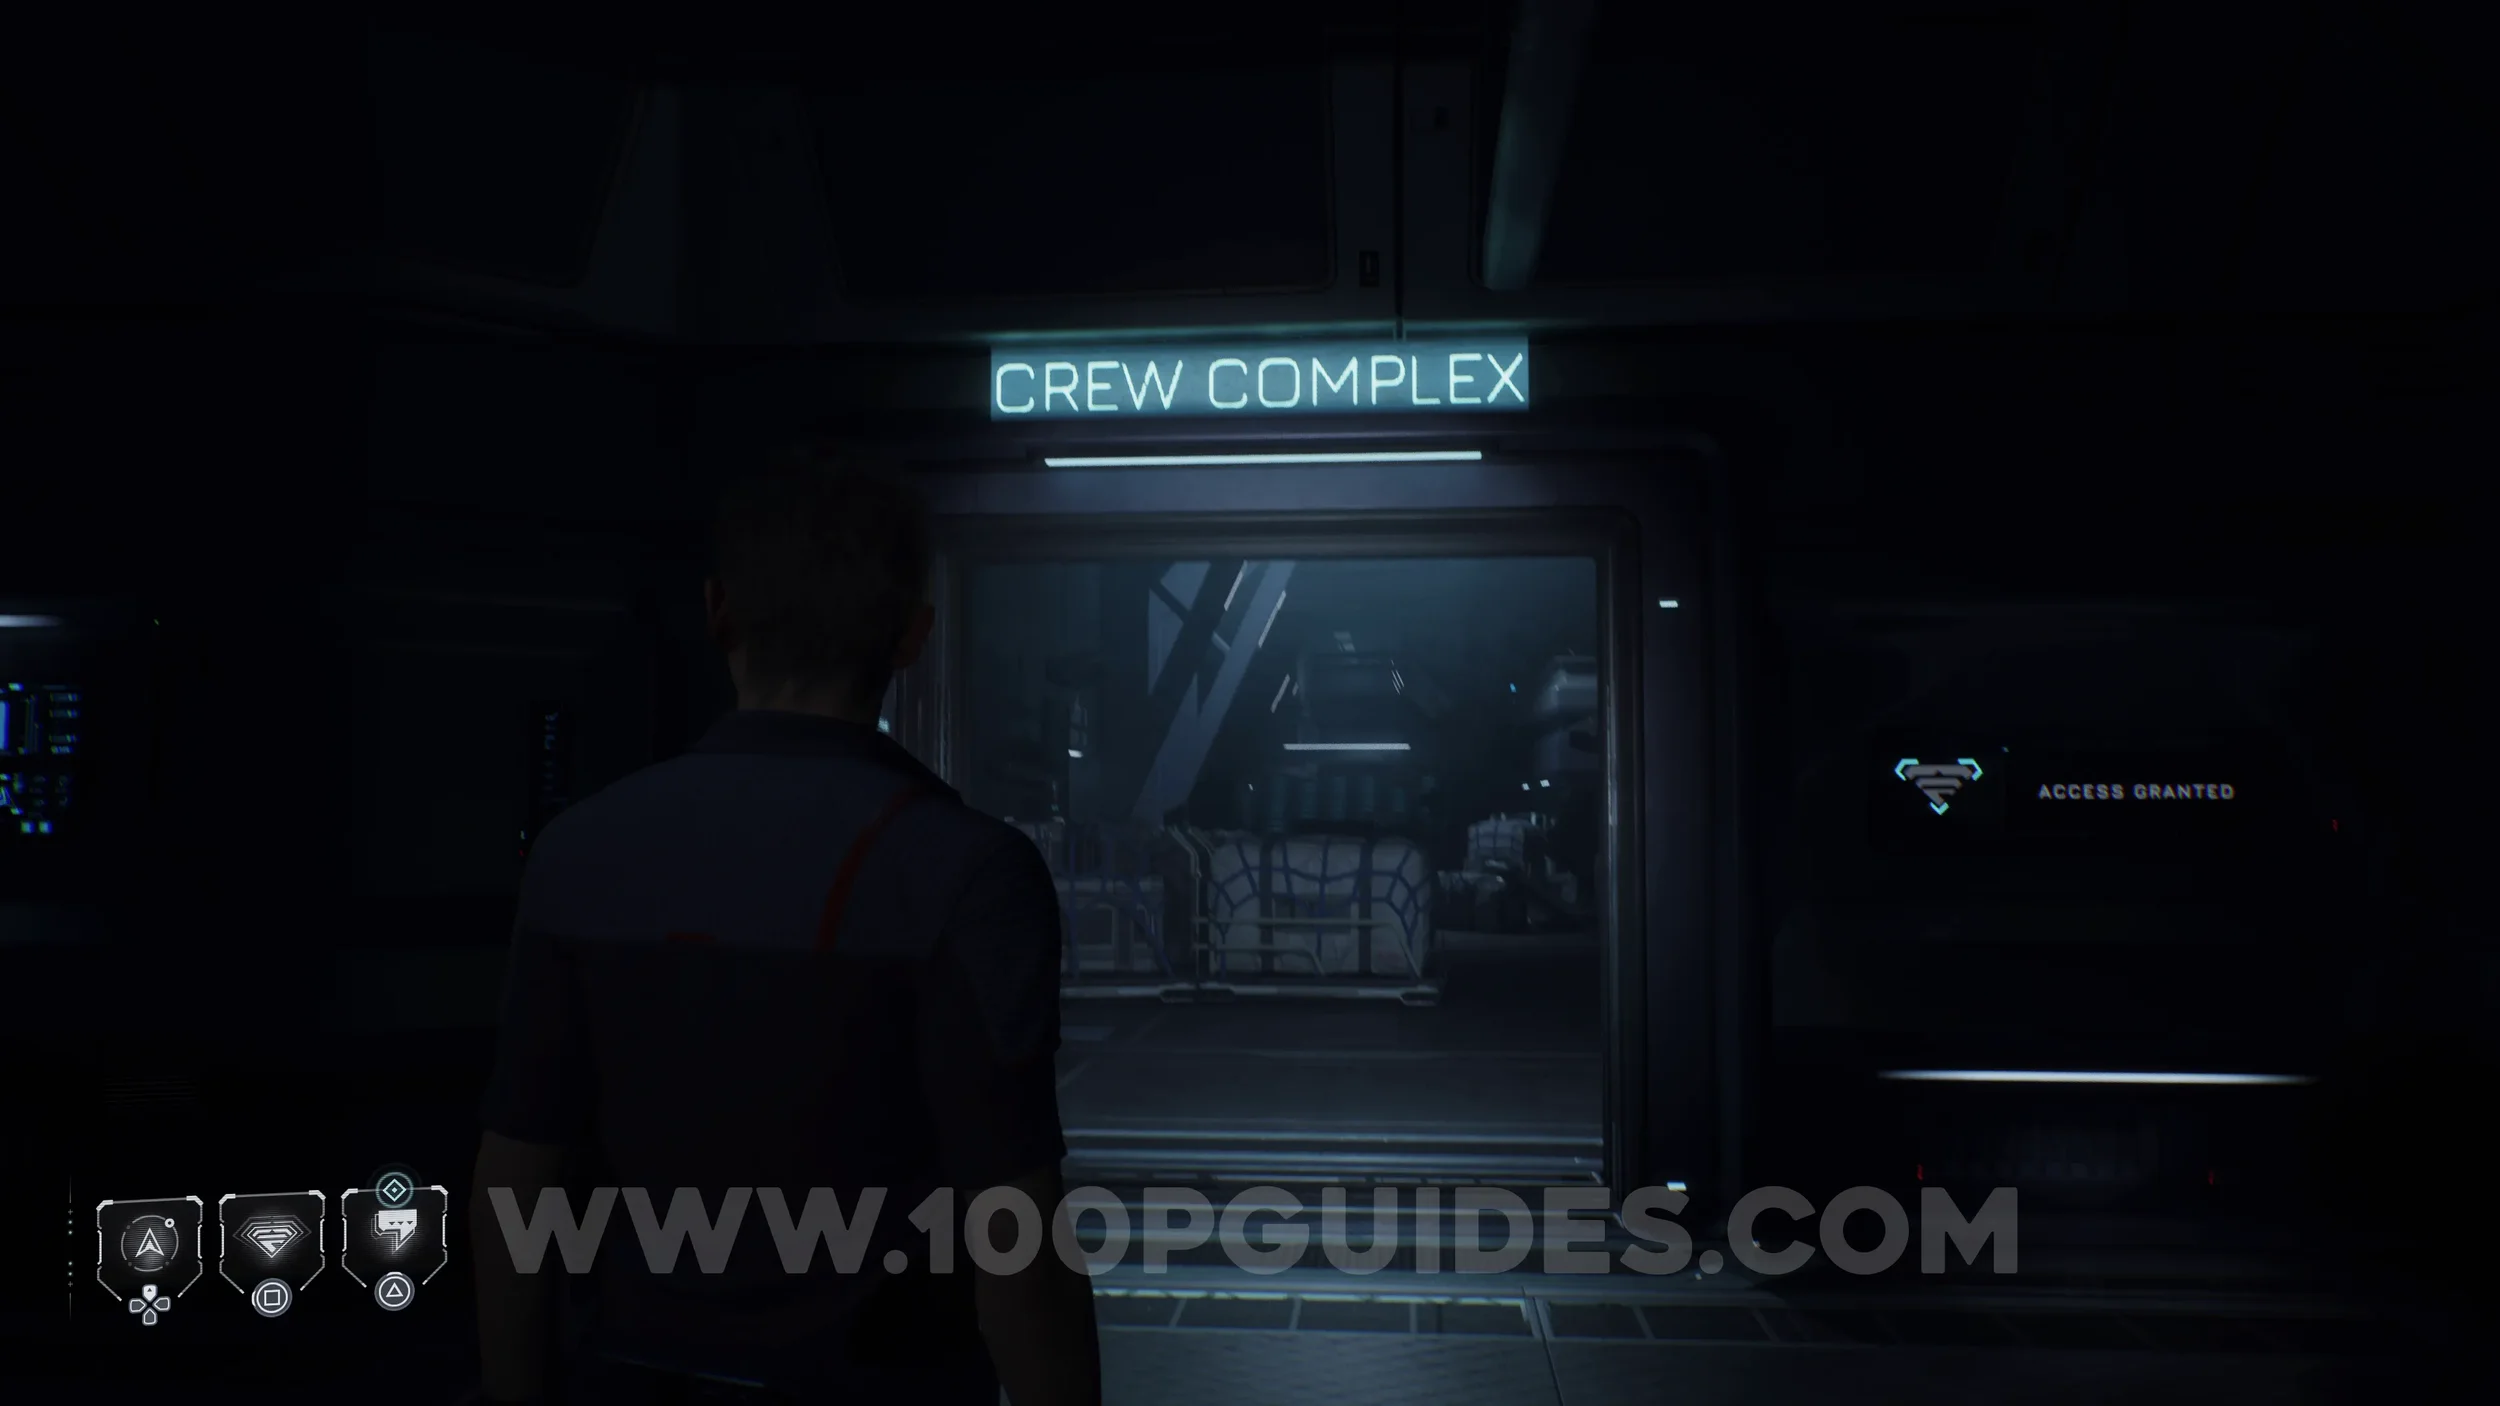
Secret #18 - Dark Future (Wish You Were Here). As soon as you go through the Crew Complex door, head up the stairs on your right to find the collectible on the bench.
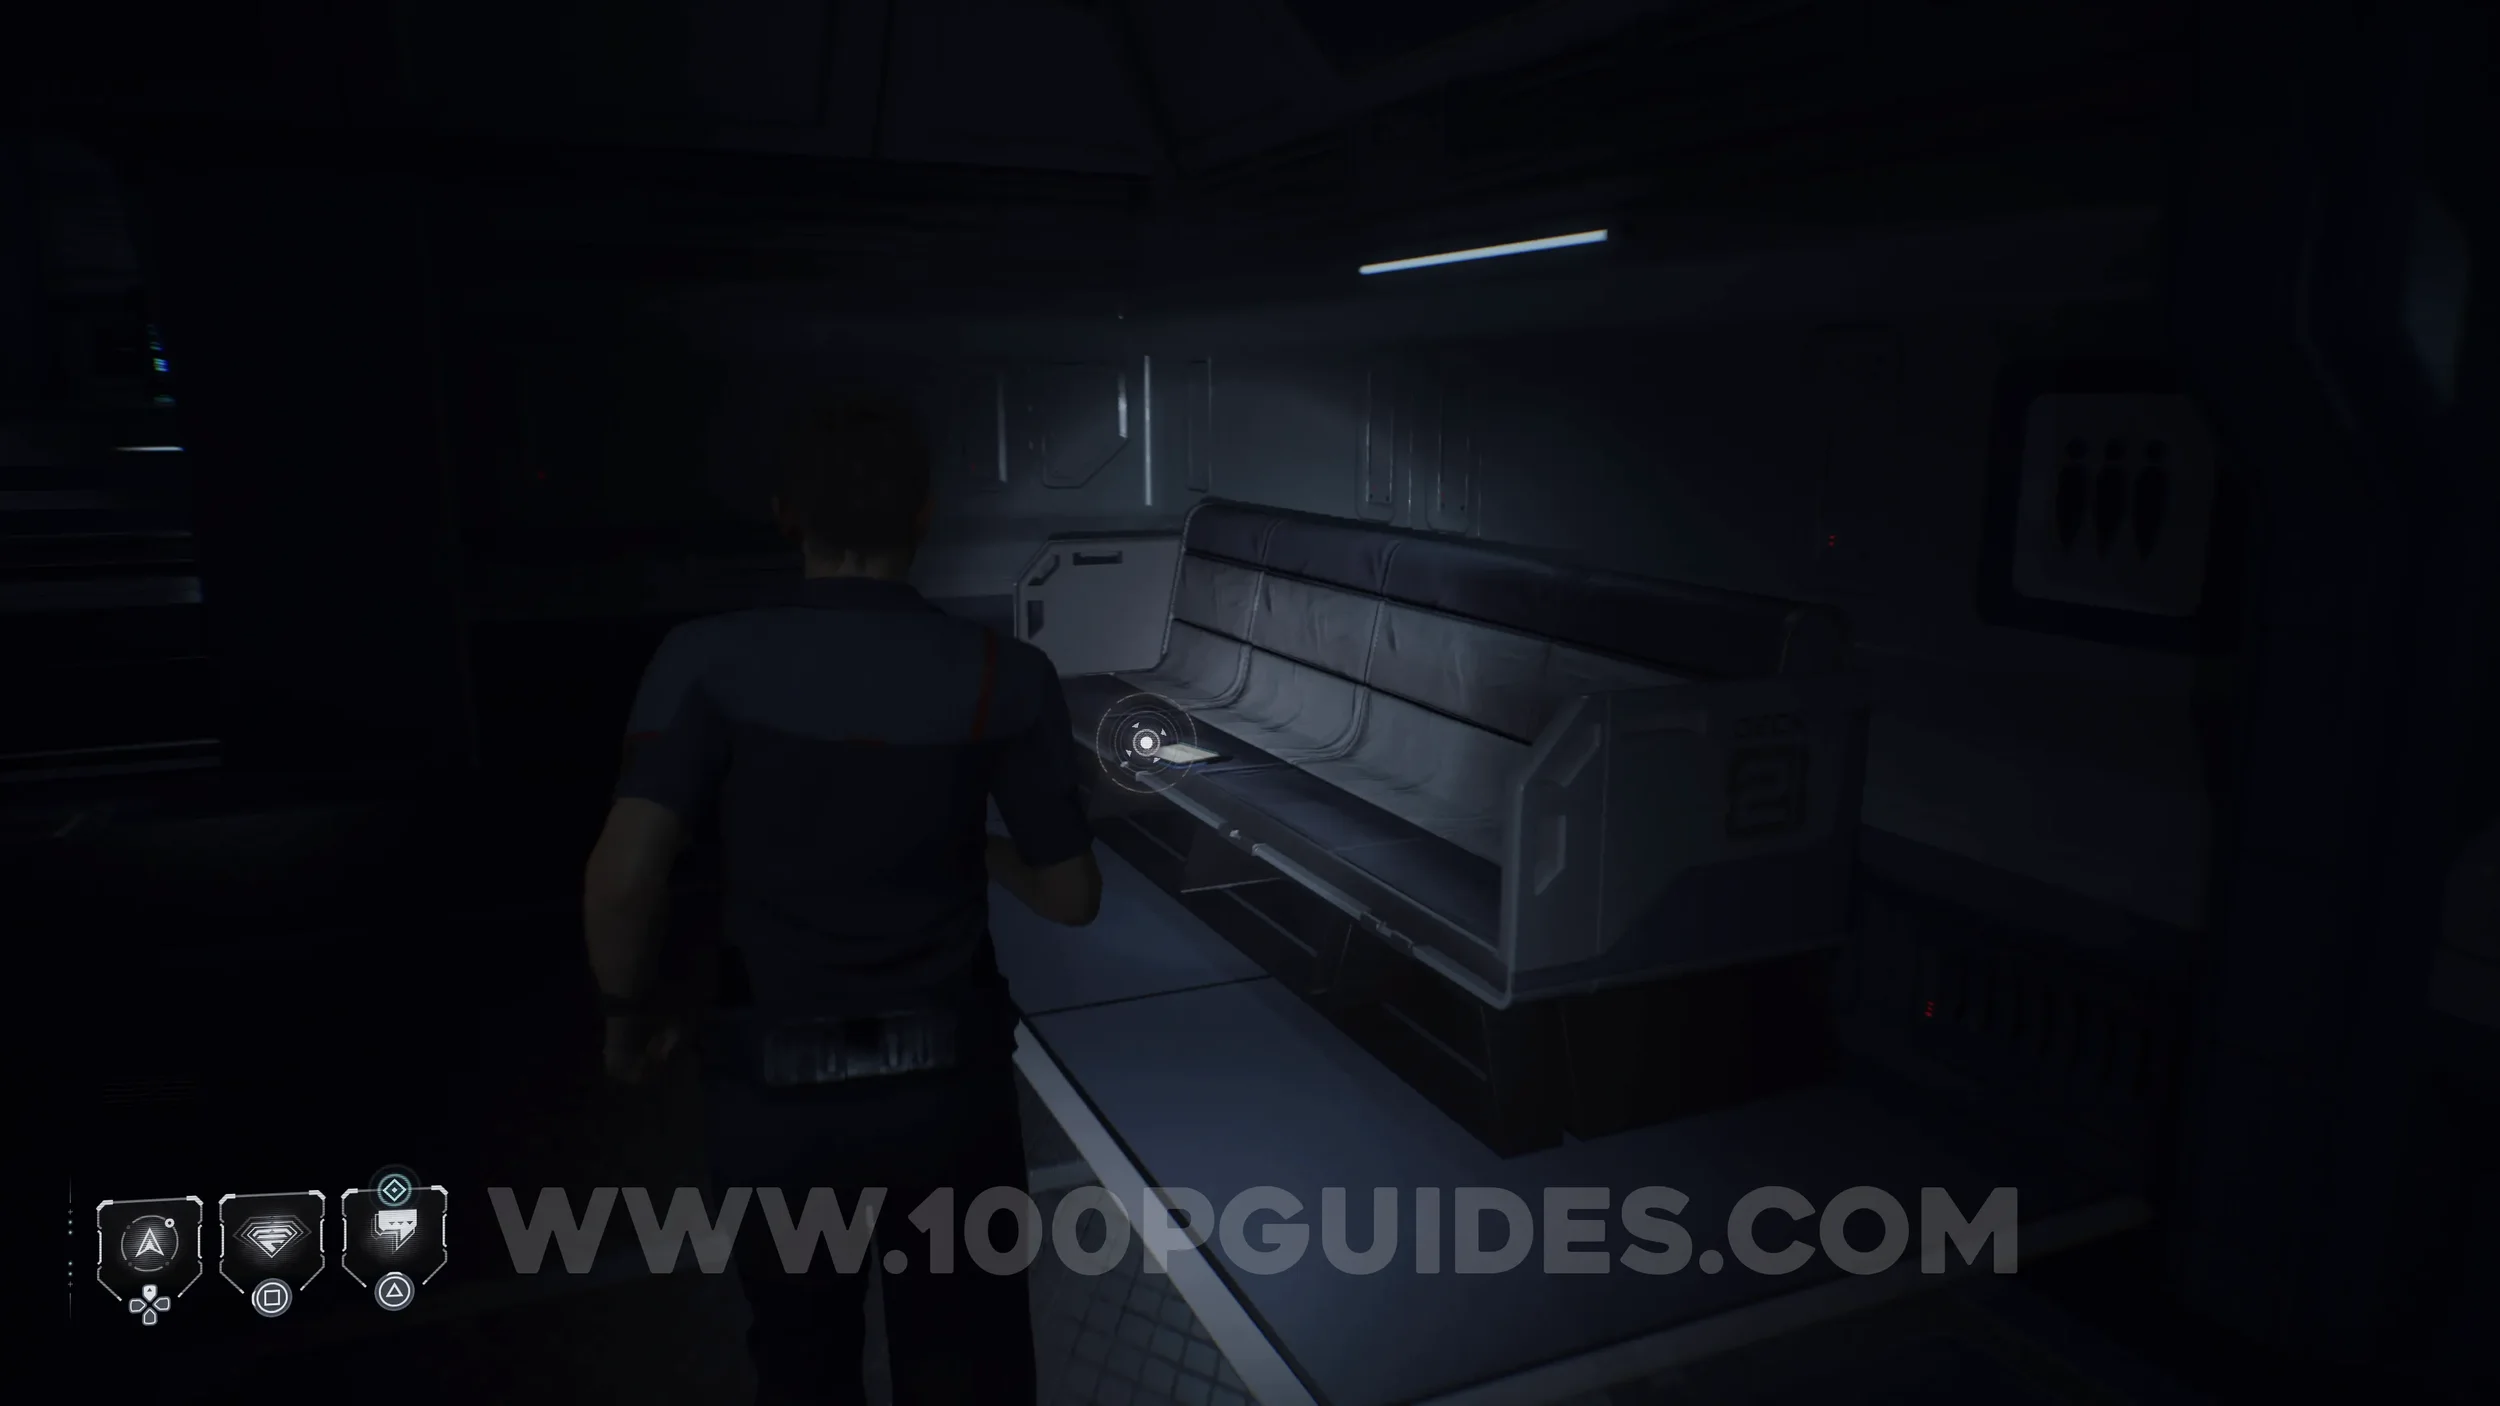
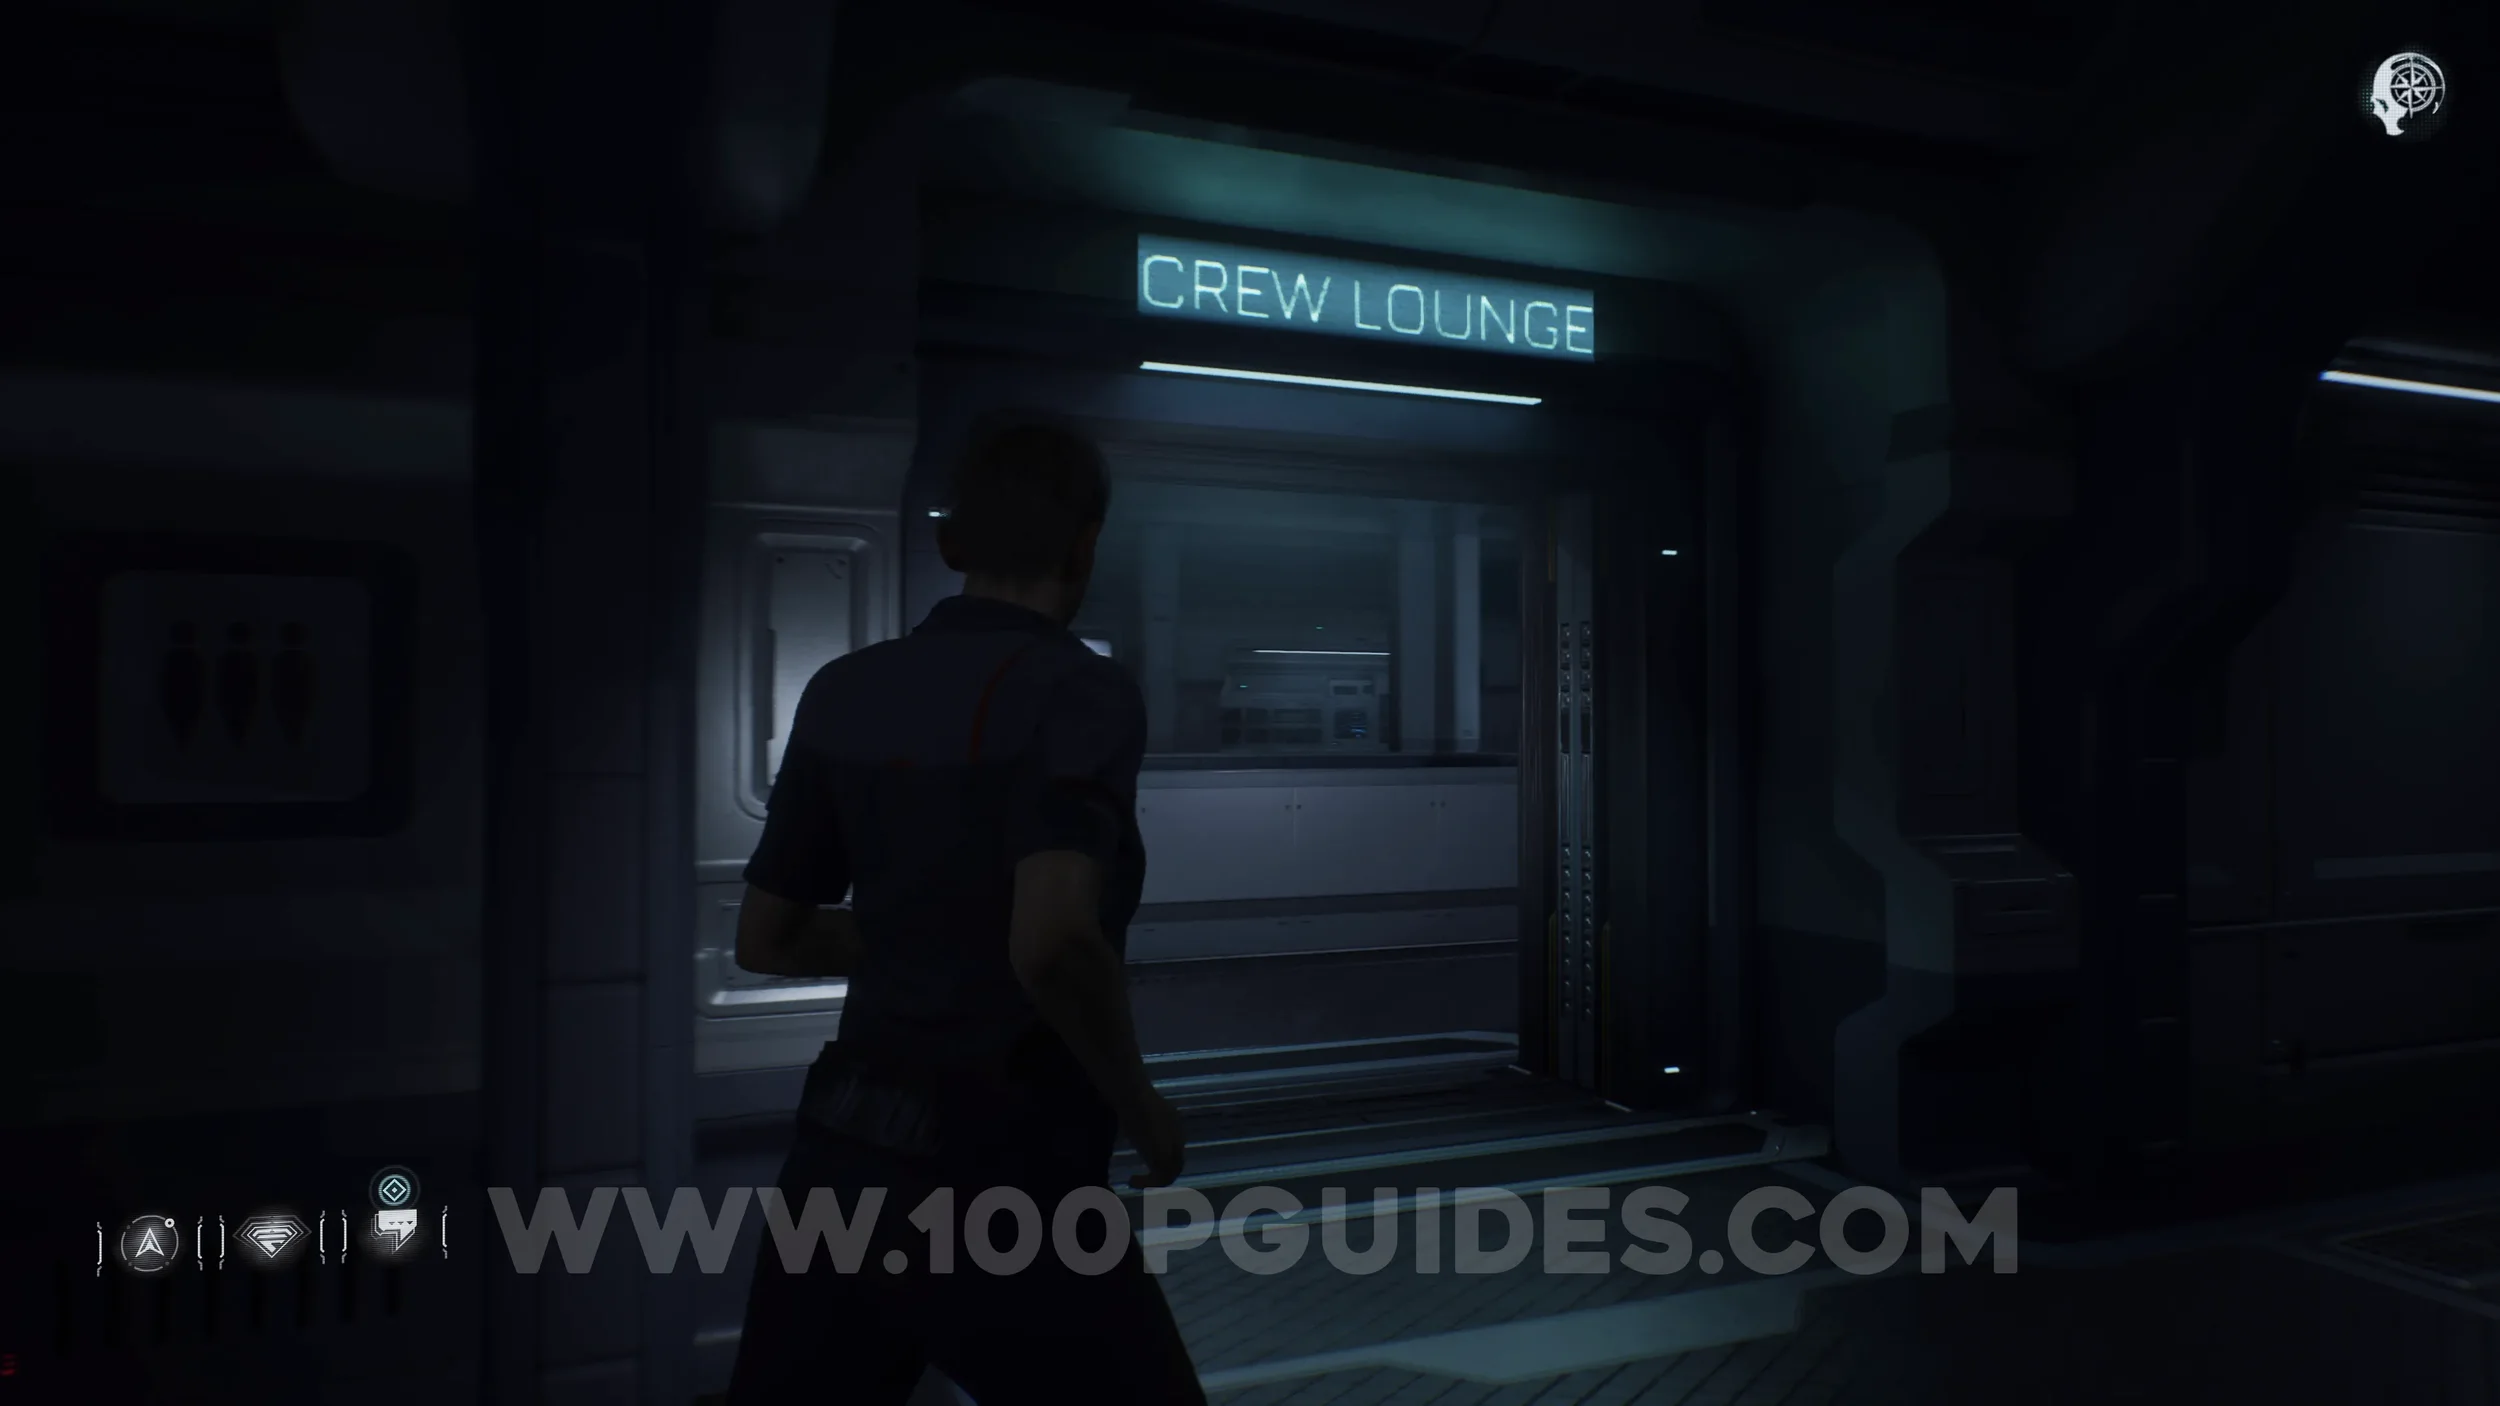
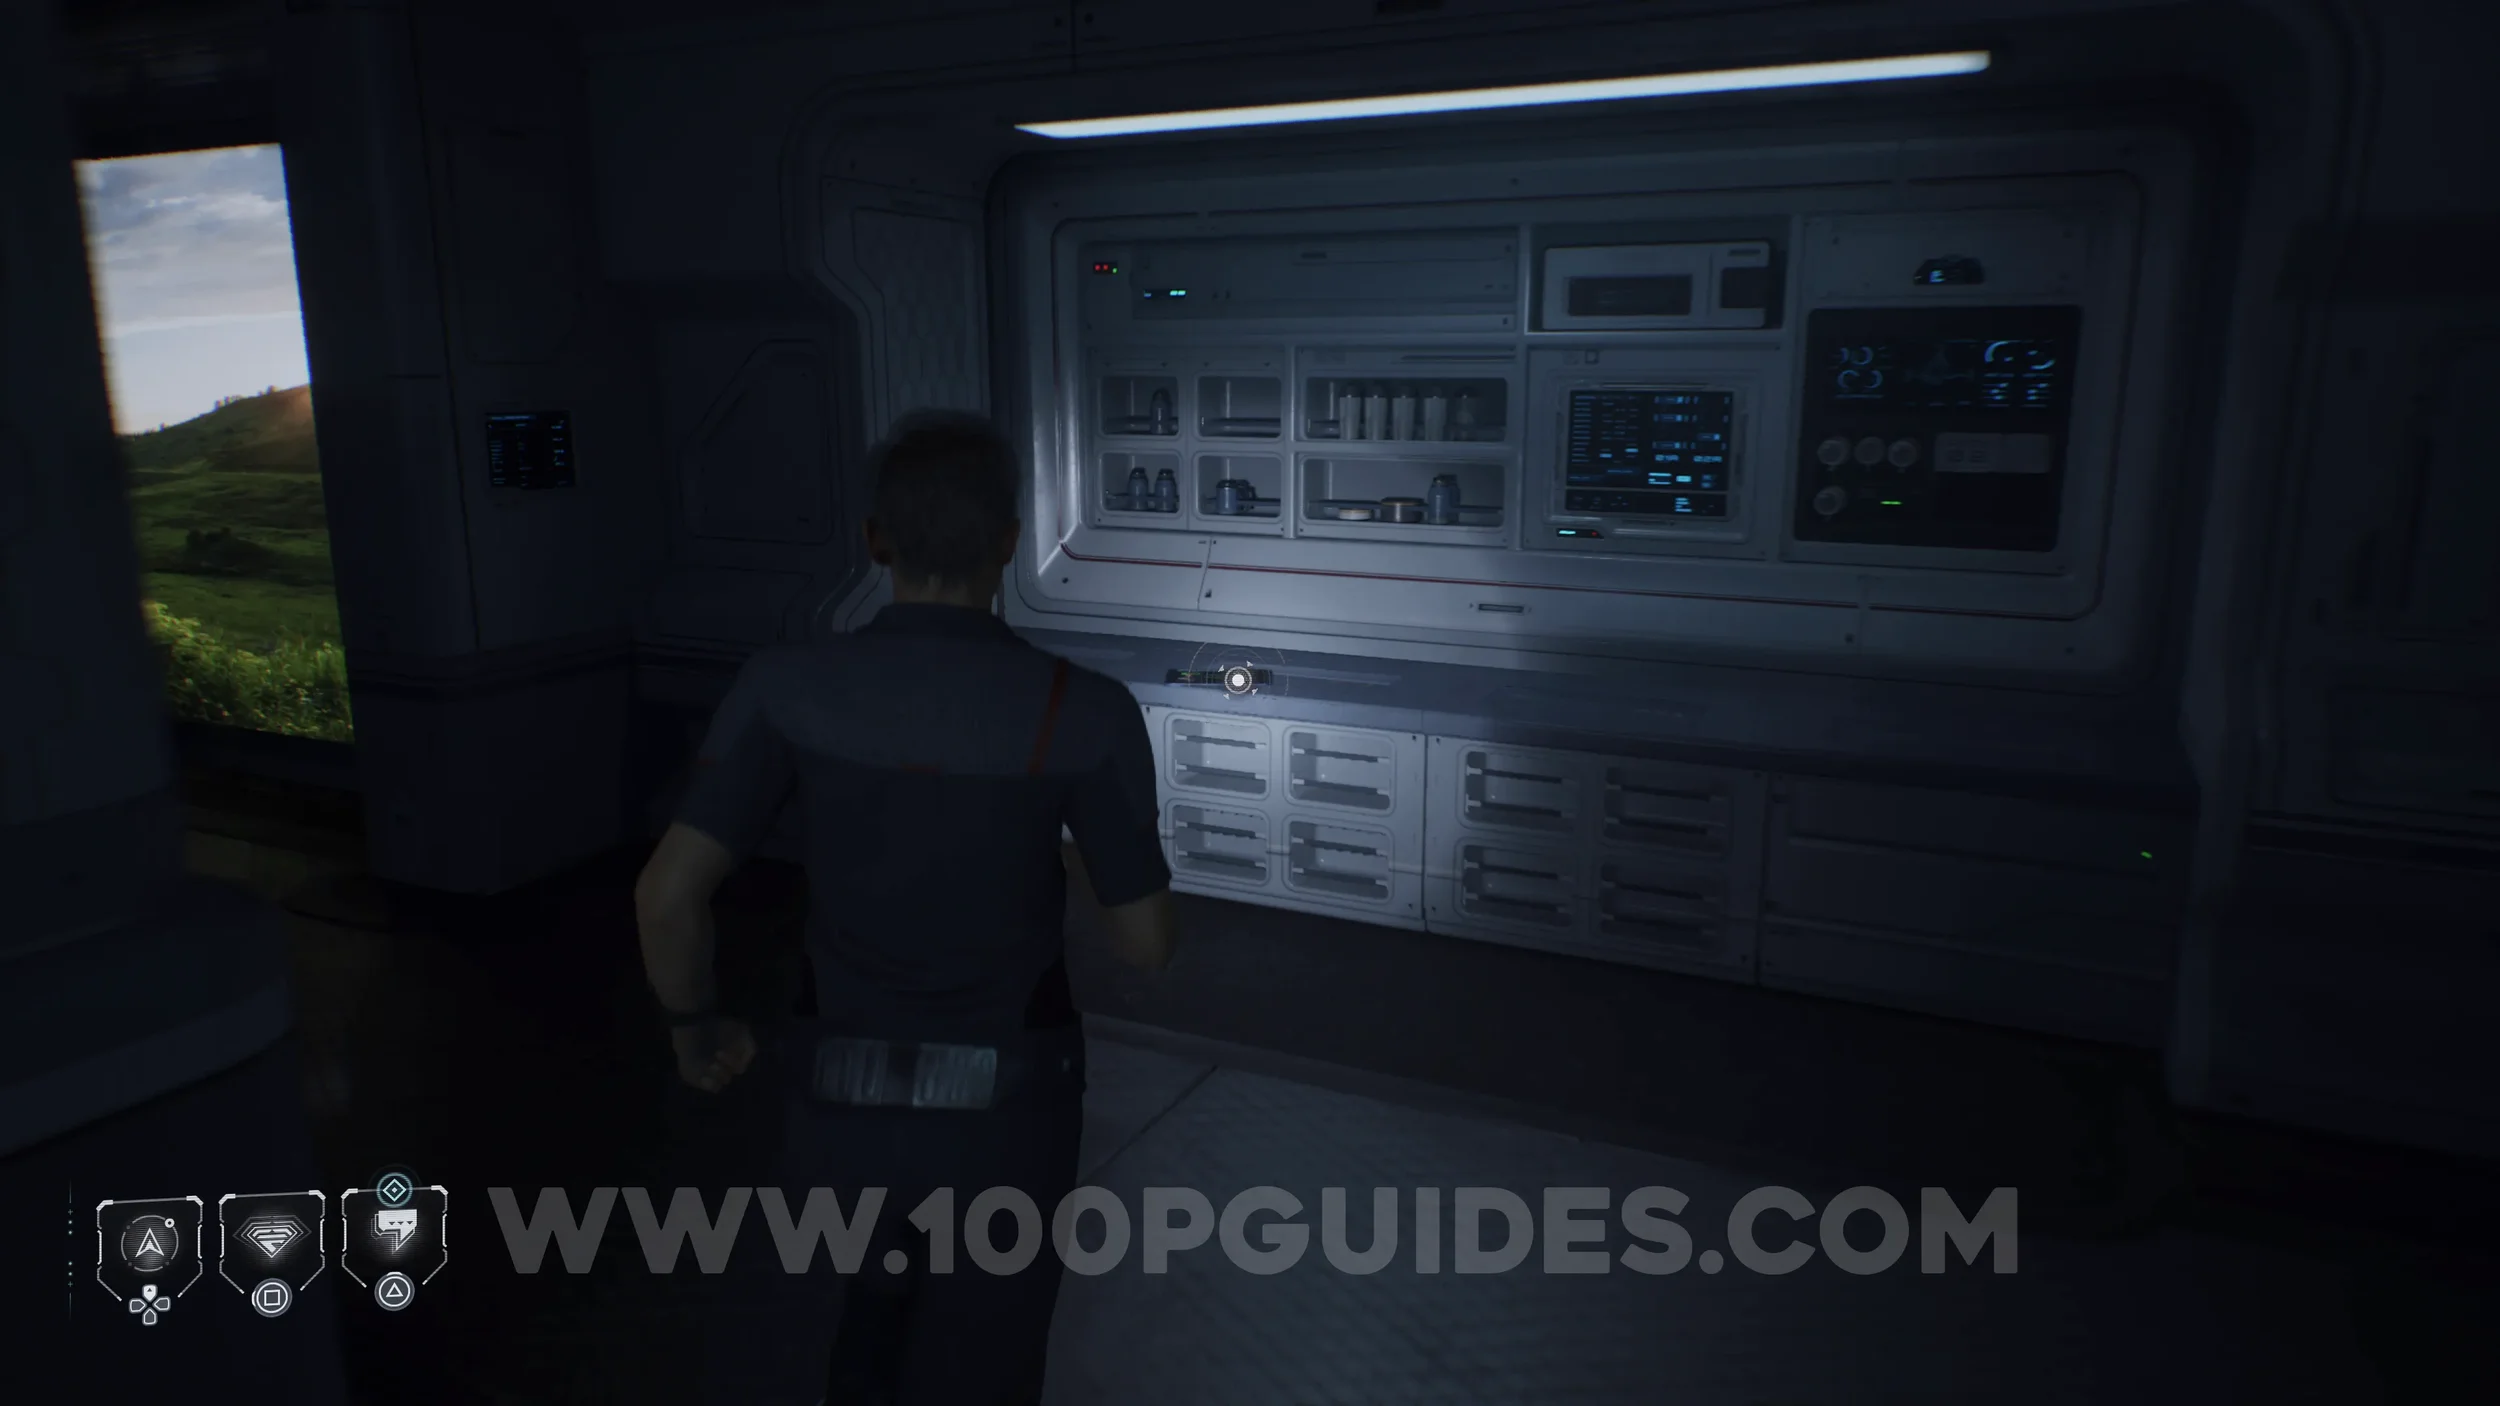
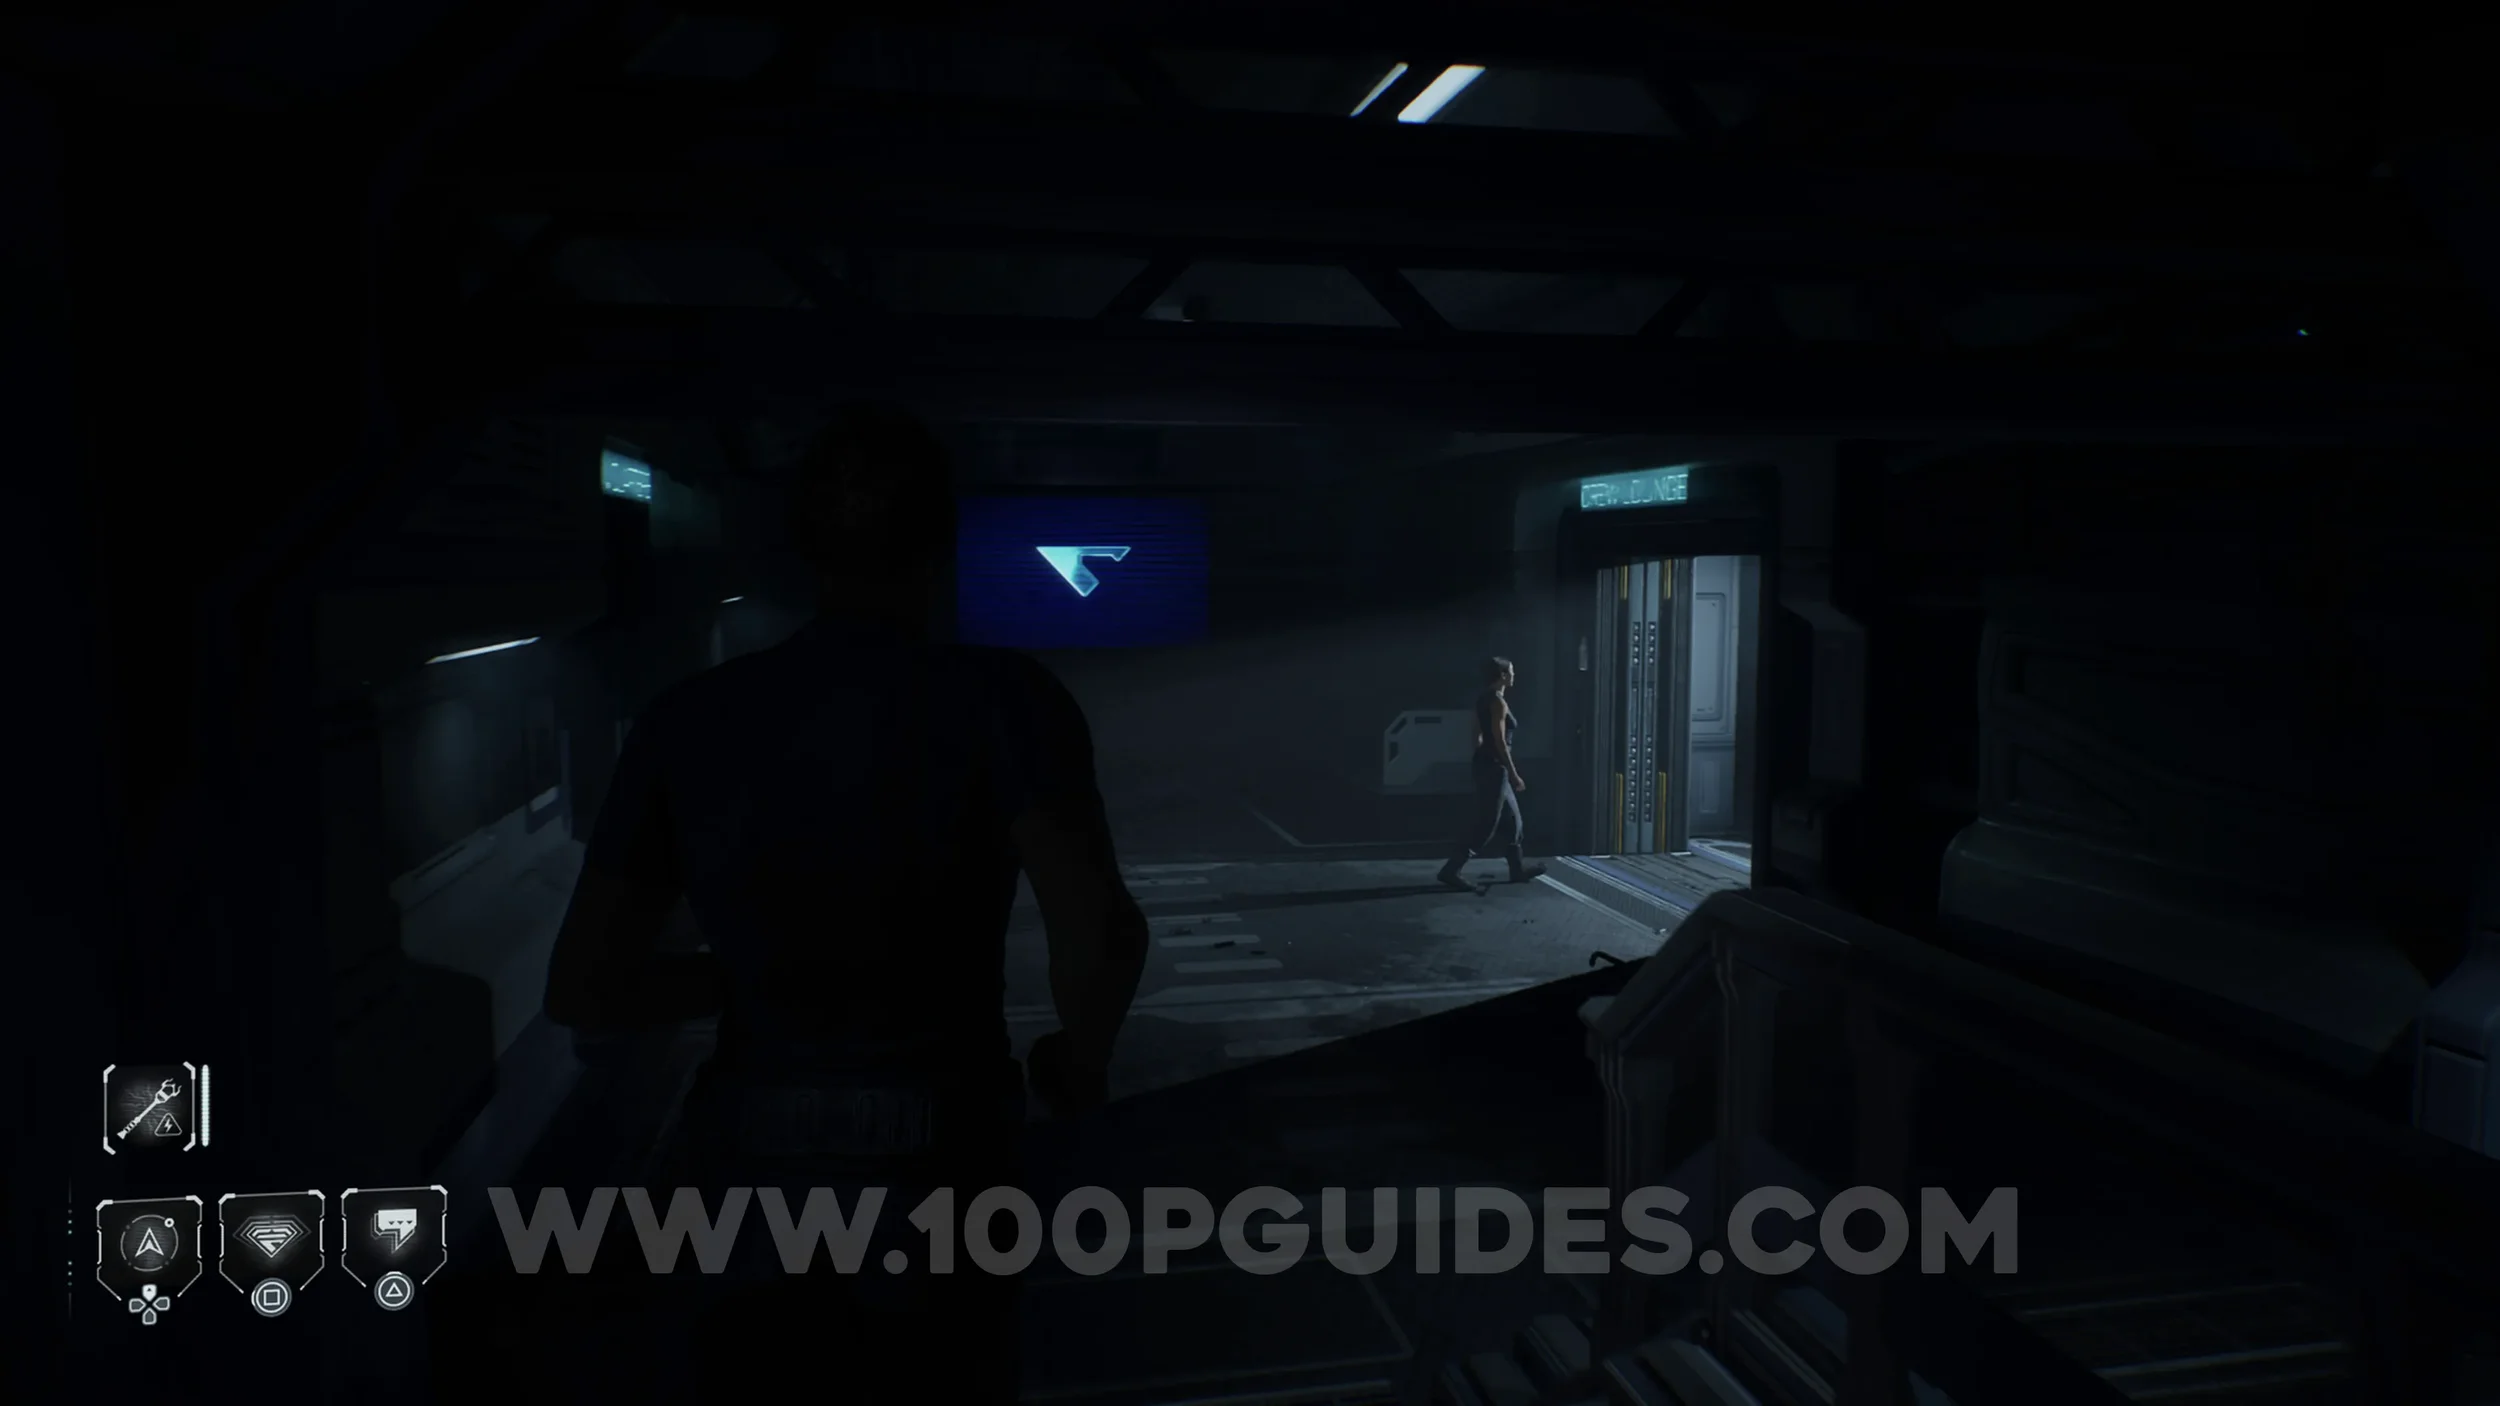
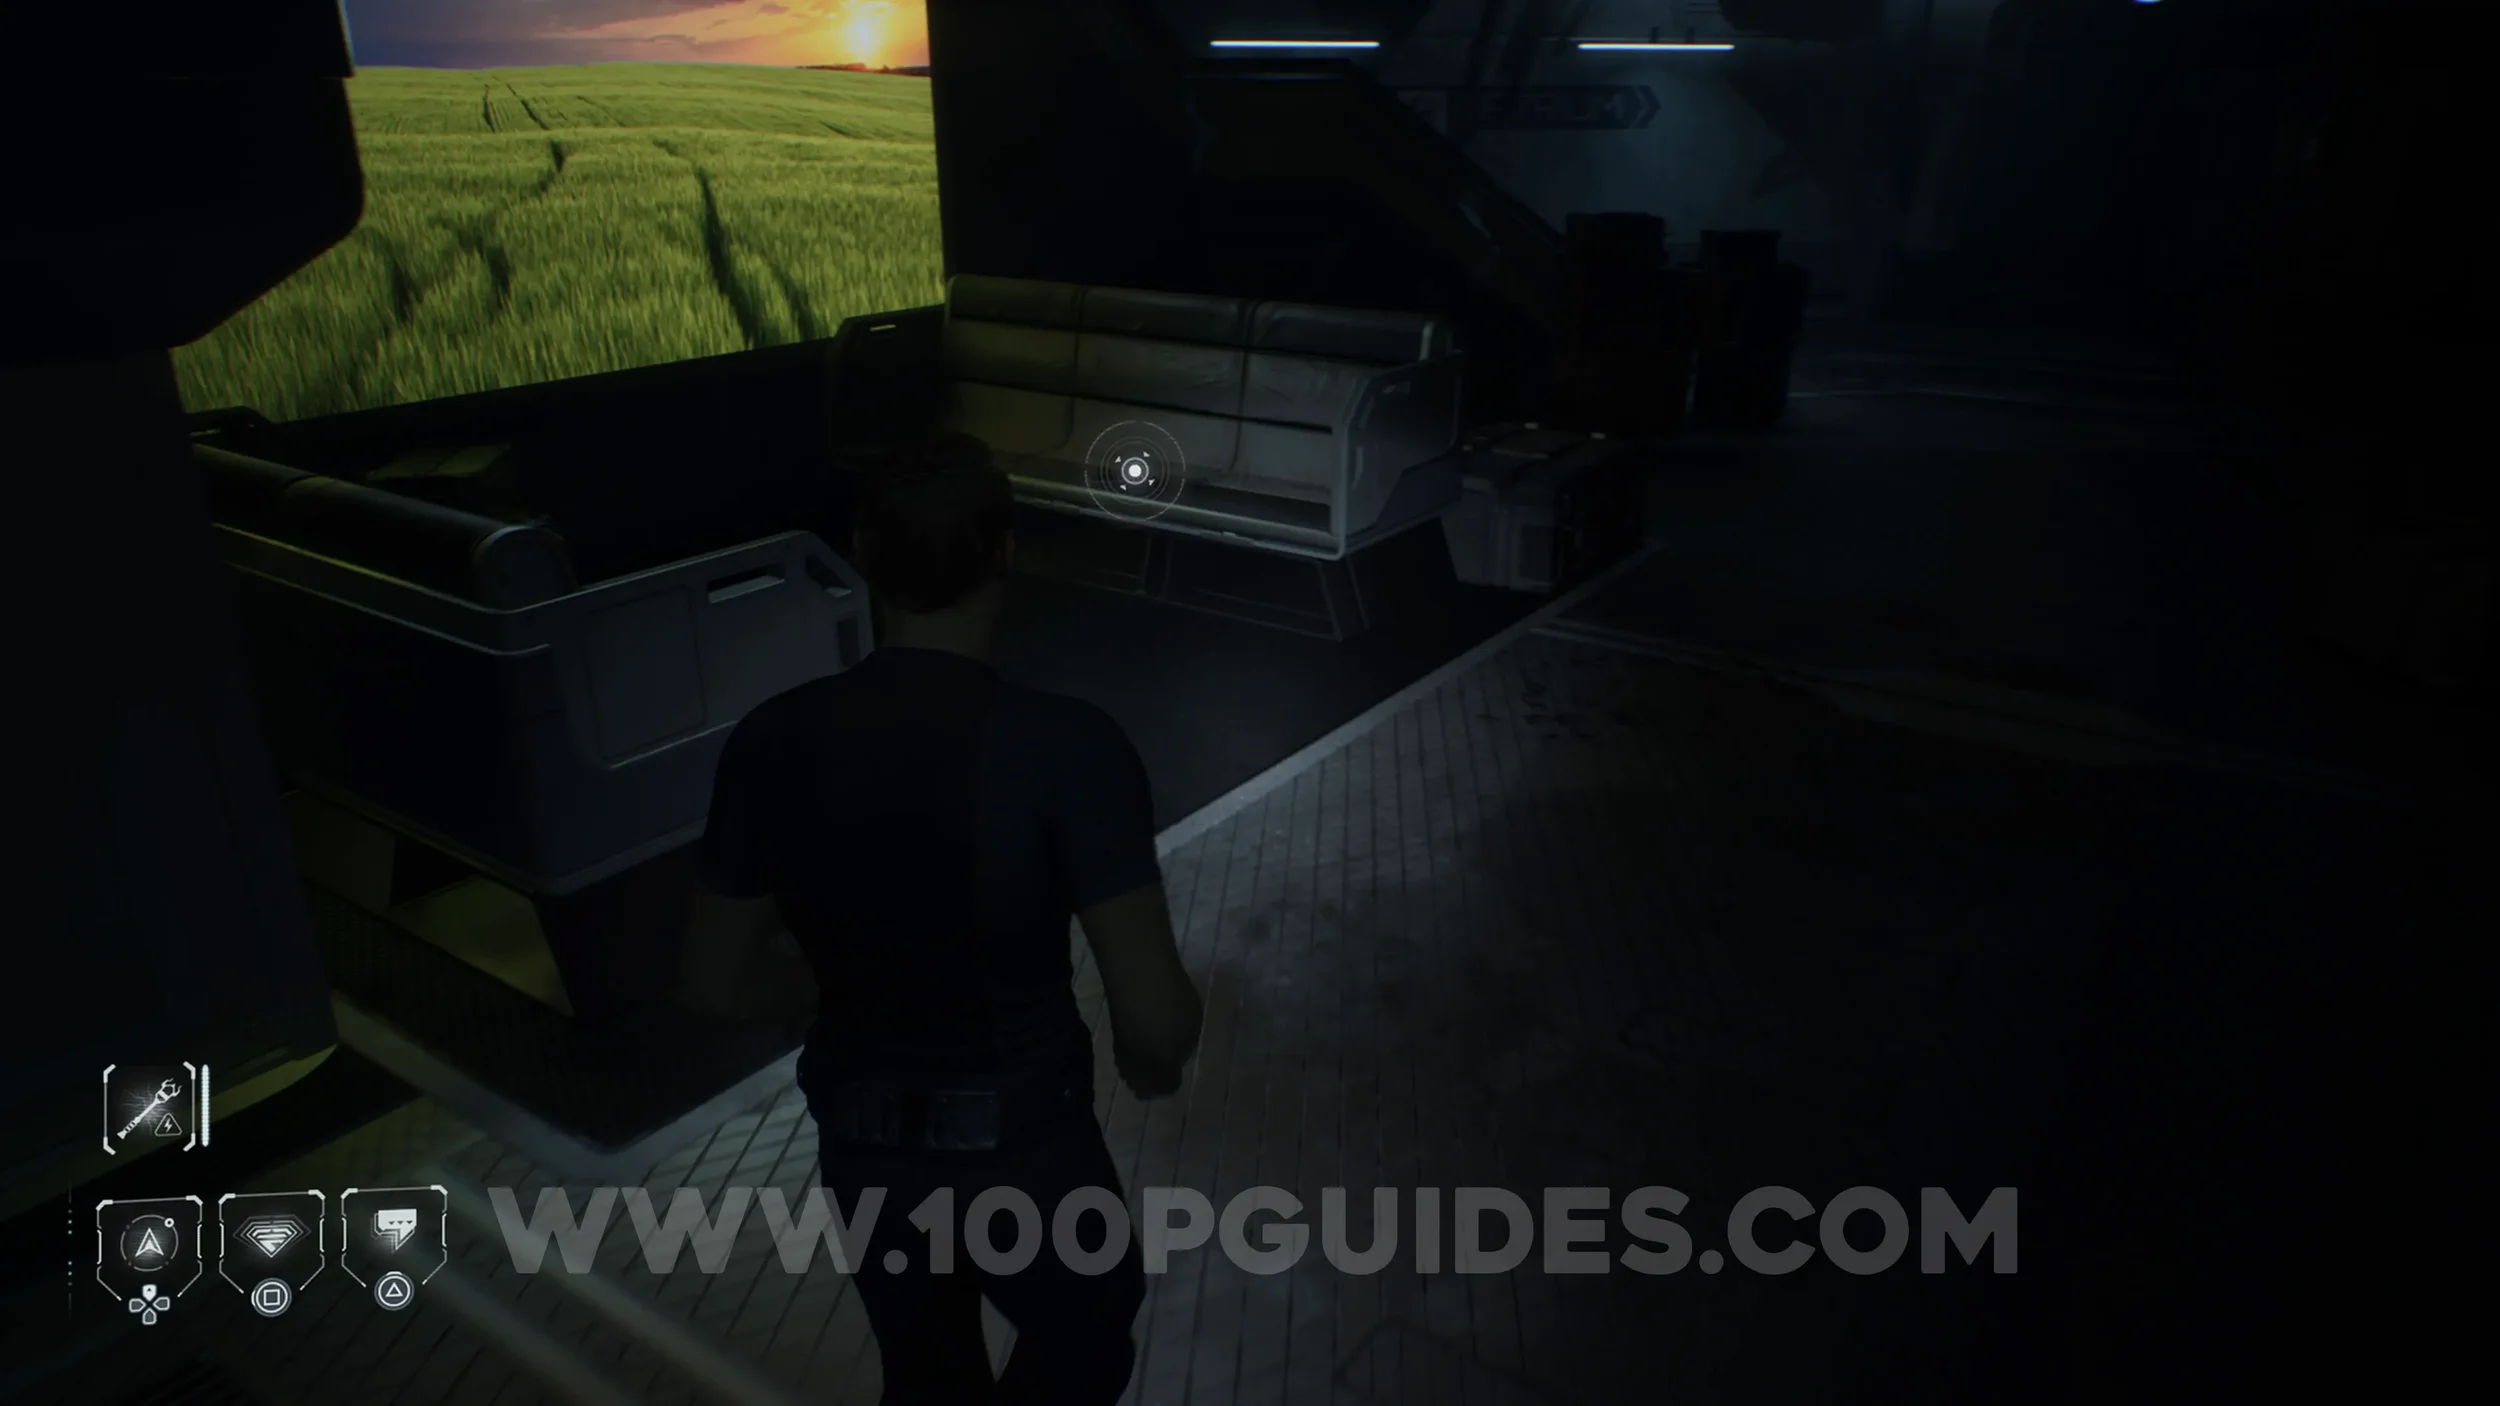
Secret #19 - Sleep Crew (Professional Chemistry). Go through the door to the right of the previous collectible to enter the Crew Lounge. The collectible can be found on the opposite side of the room.
Secret #20 - Flight Crew (Weak Spots). Return to the start of the Crew Complex and, instead of heading up the stairs on your right, continue straight and look for the collectible on a bench to your right.
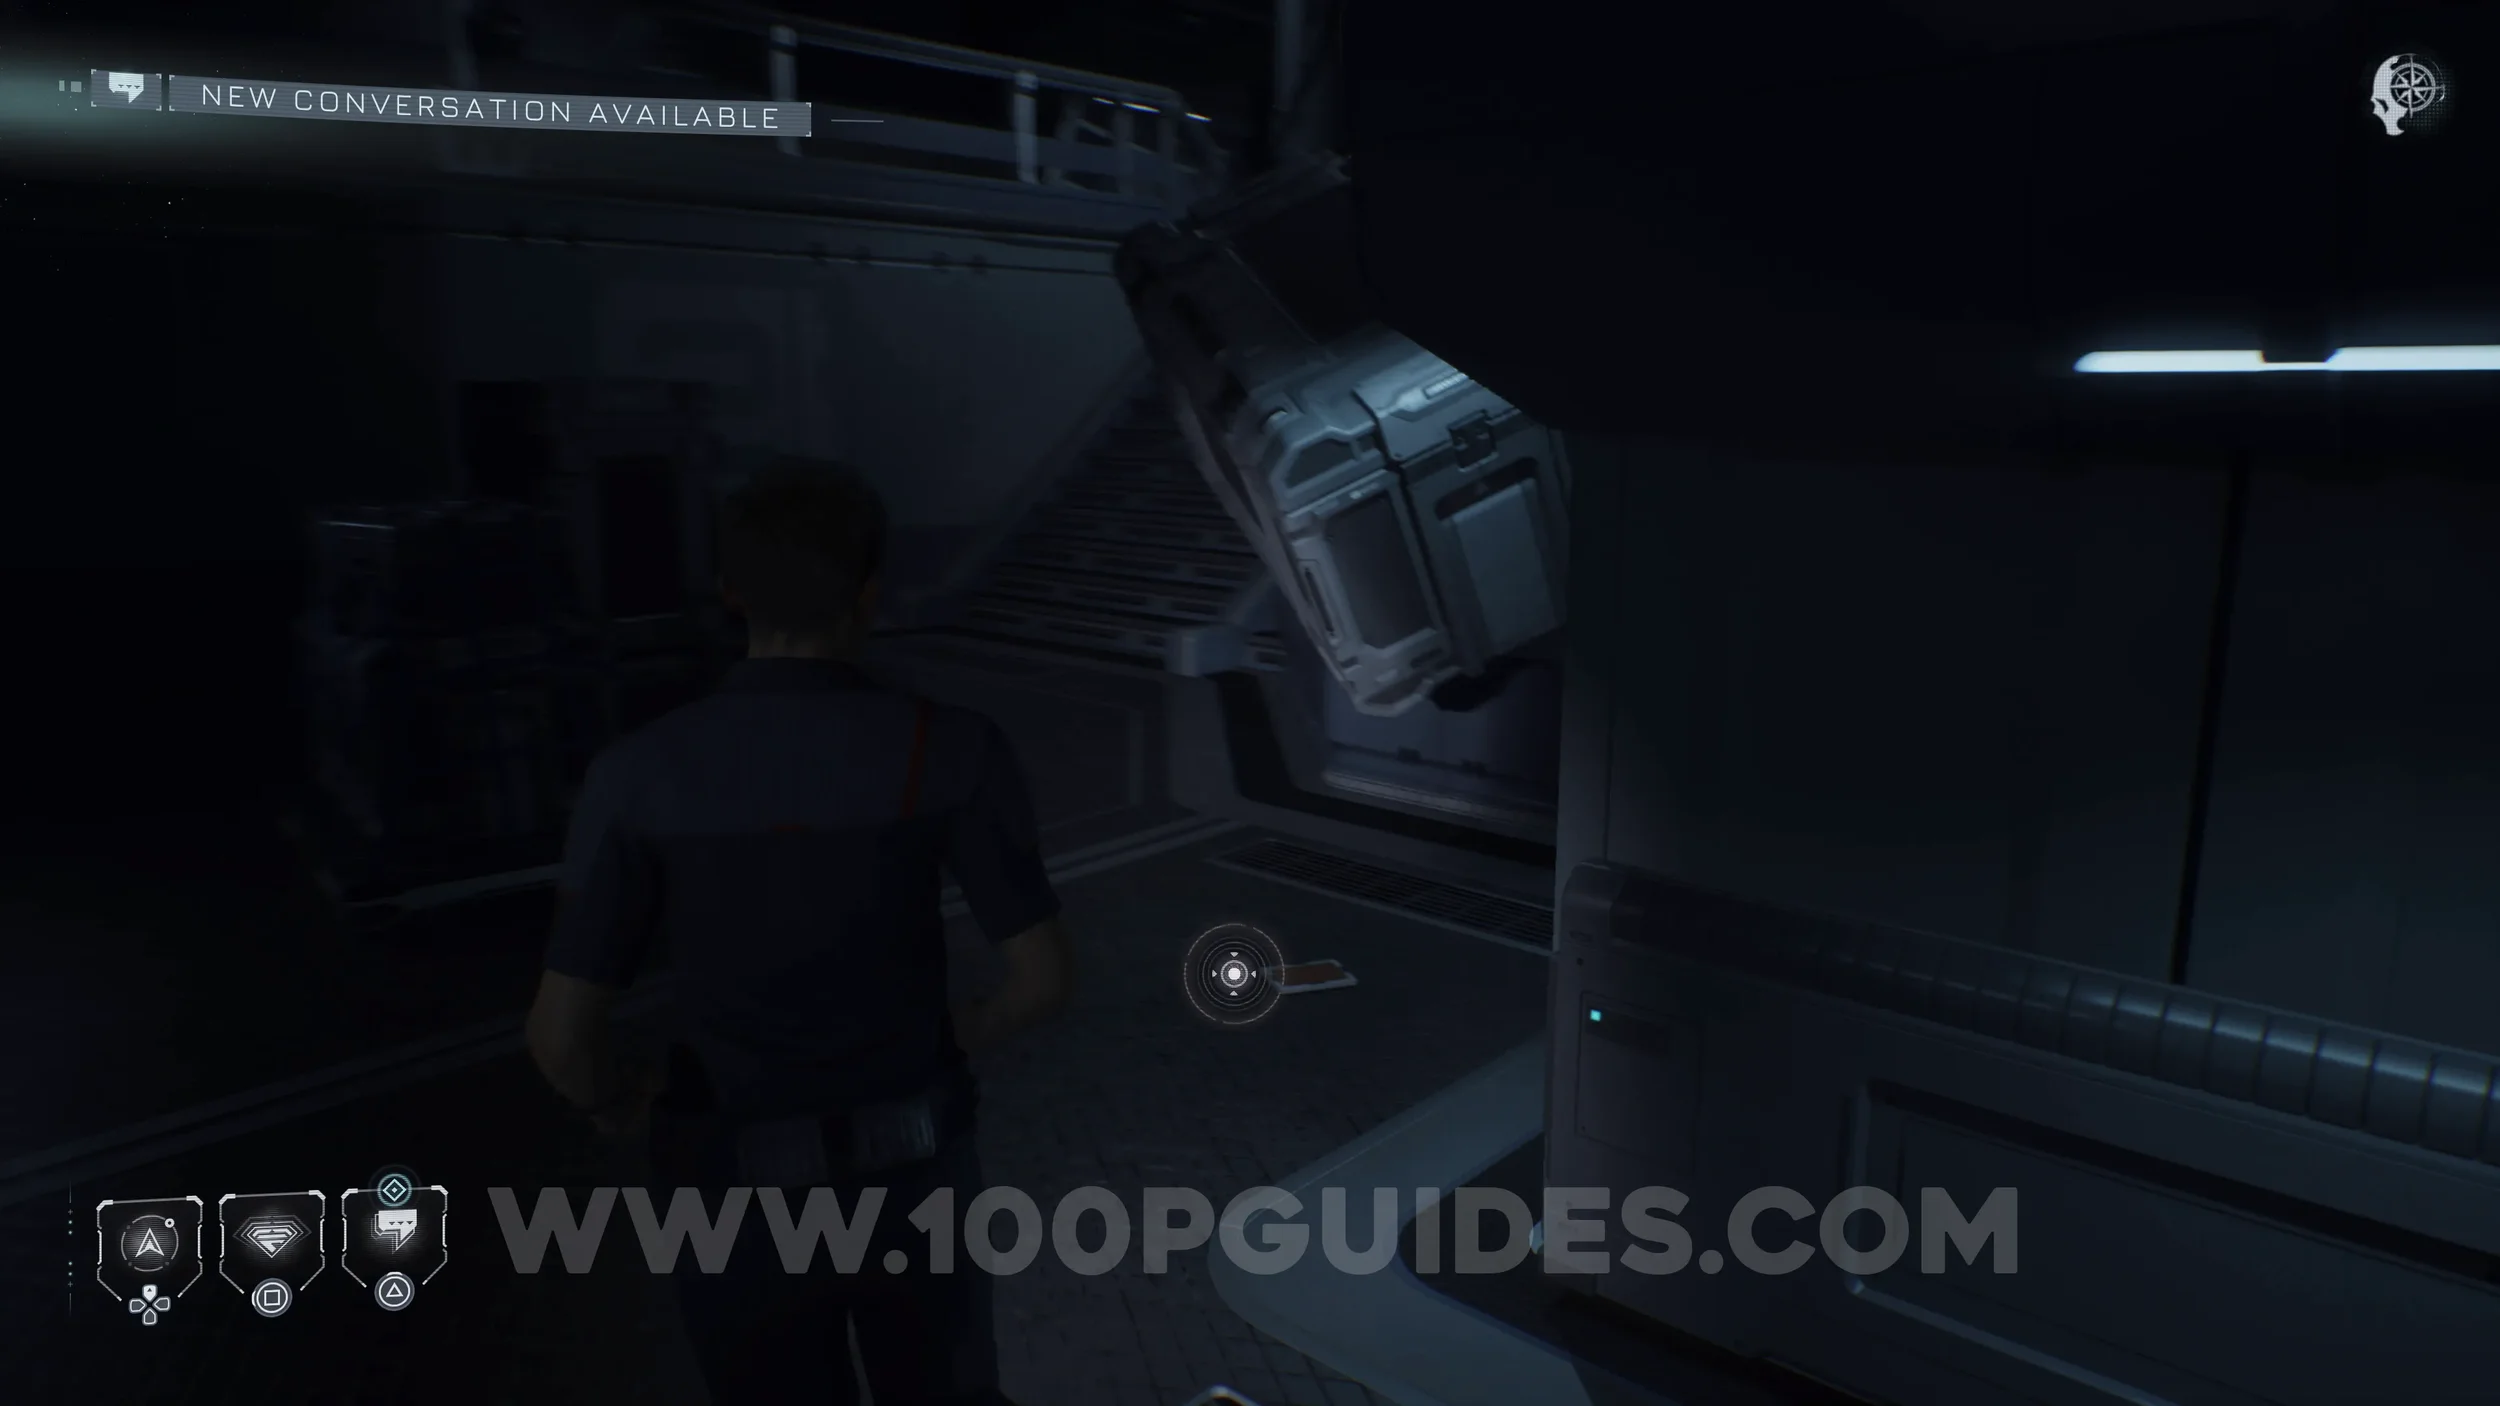
Secret #21 - Flight Crew (Father’s Footsteps). From the previous collectible, continue straight until you see the door to the Main Hall on your left. Here, look to the right to find the collectible on the ground.
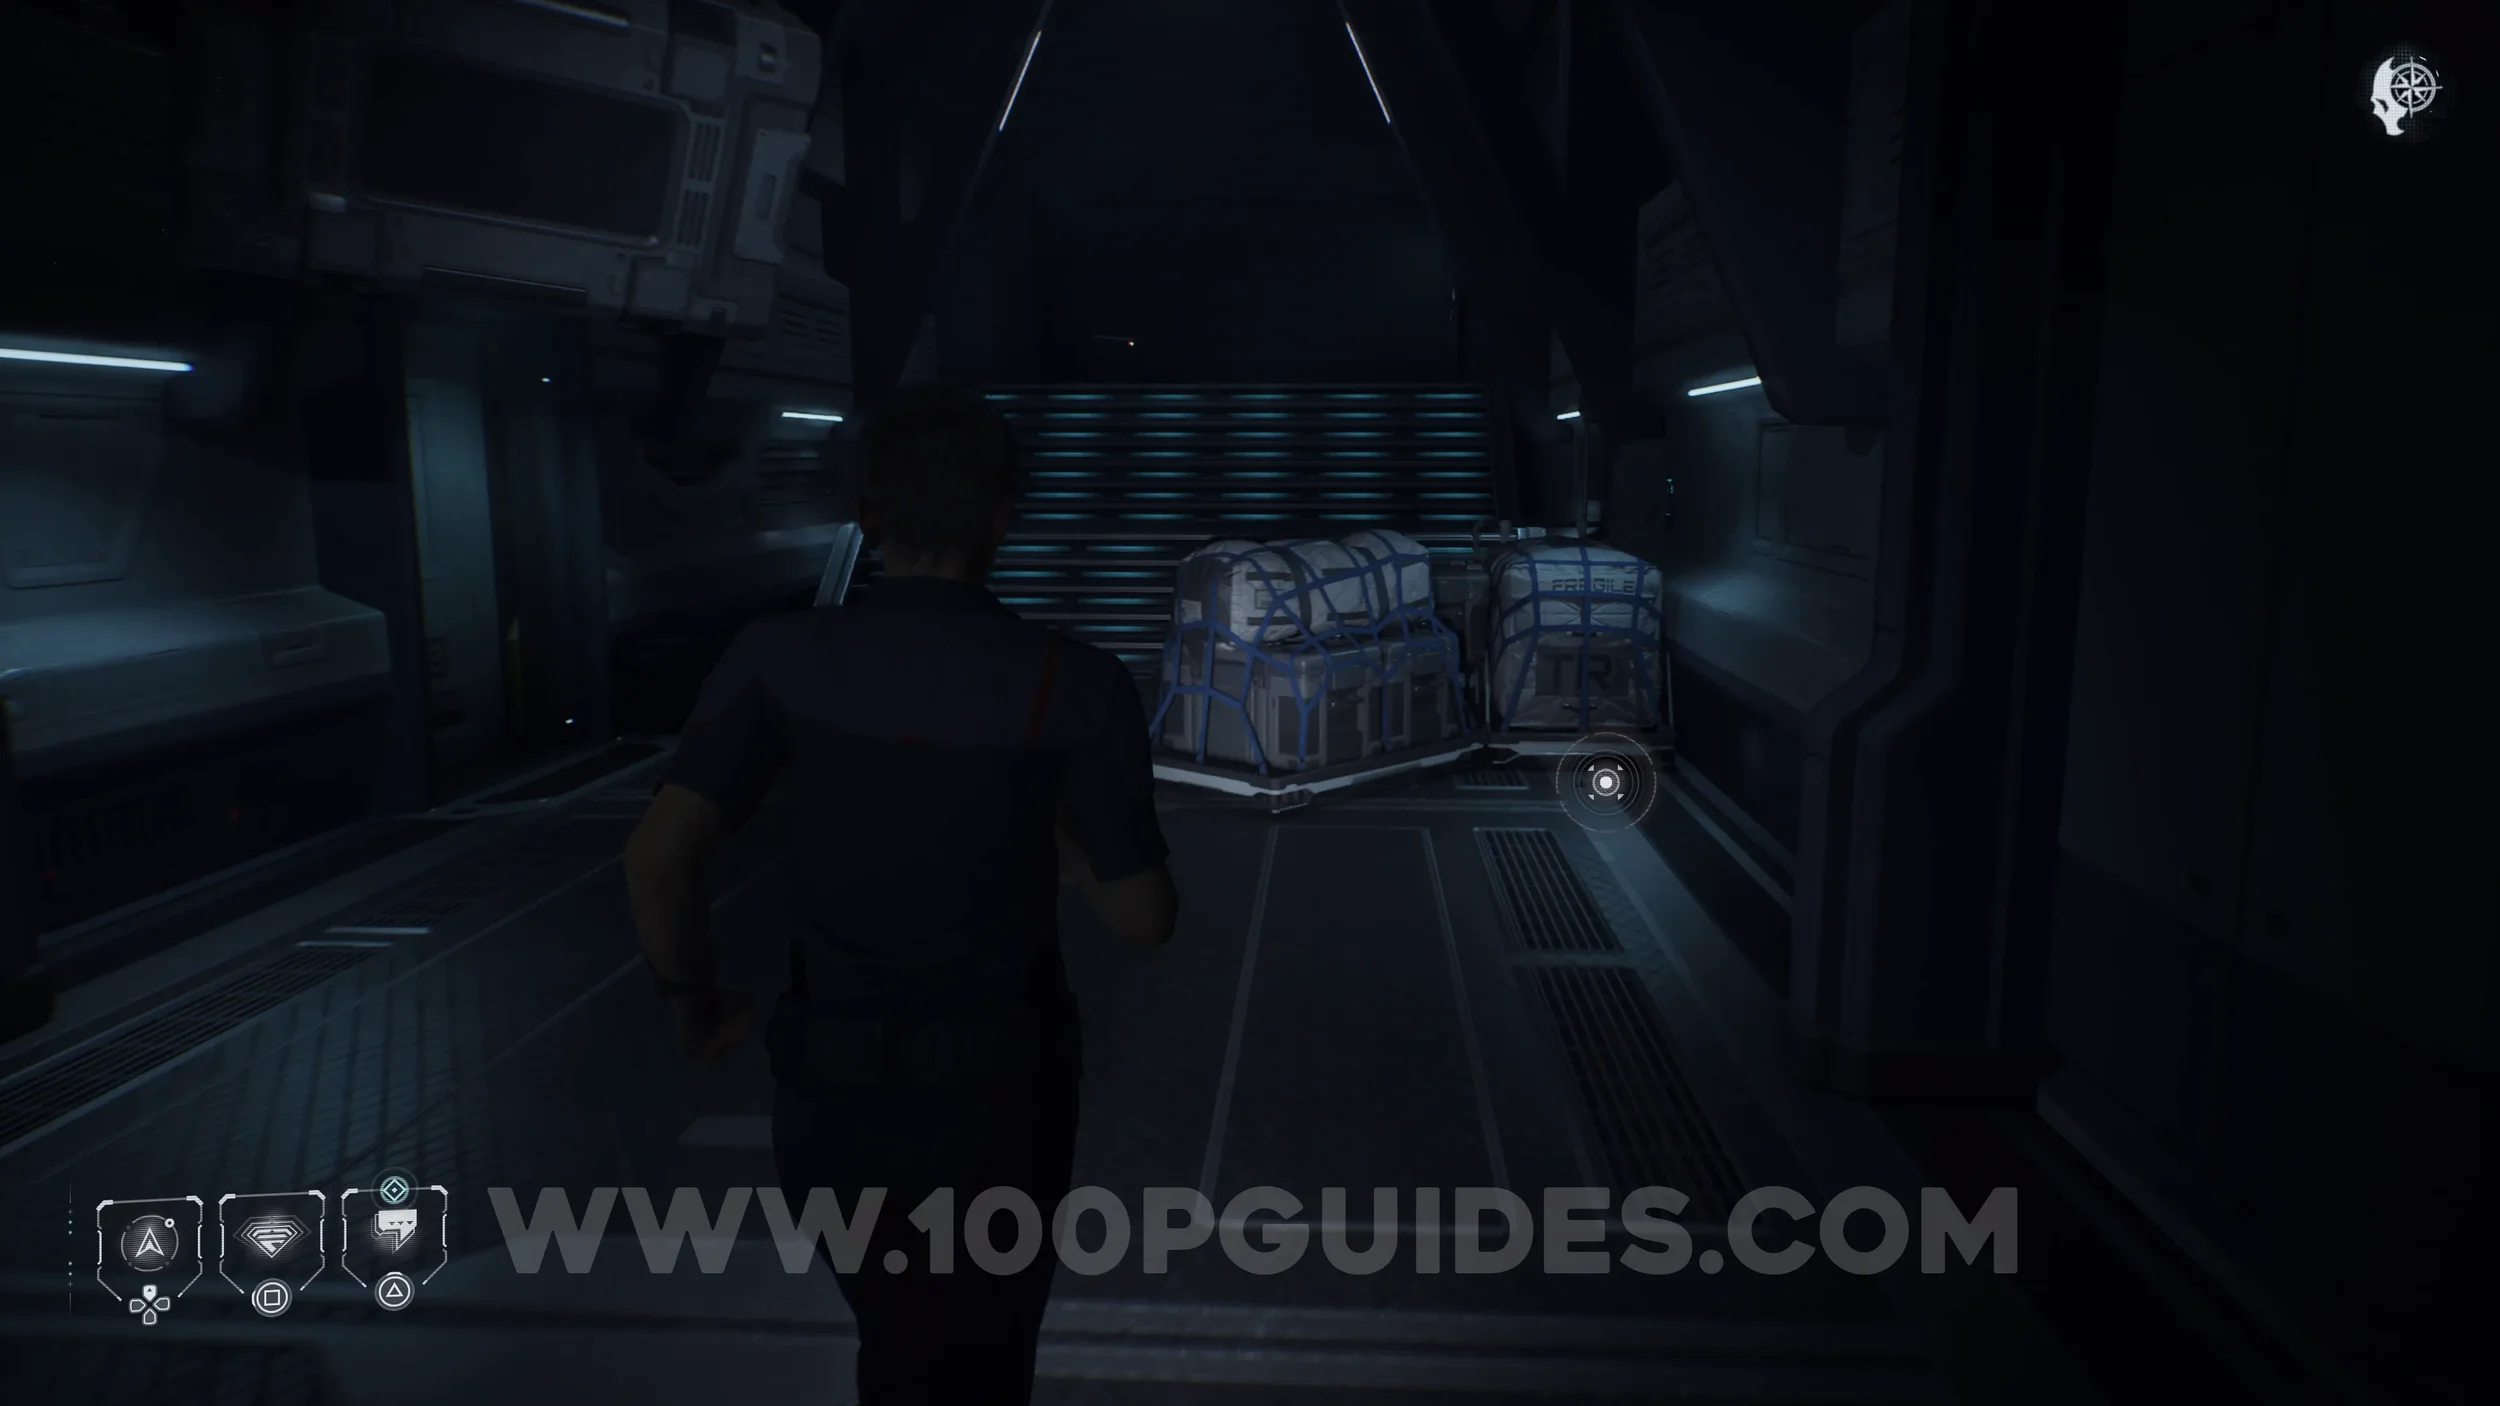
Secret #22 - Flight Crew (Paving The Way). Continue straight from the previous collectible to find the collectible on the floor.
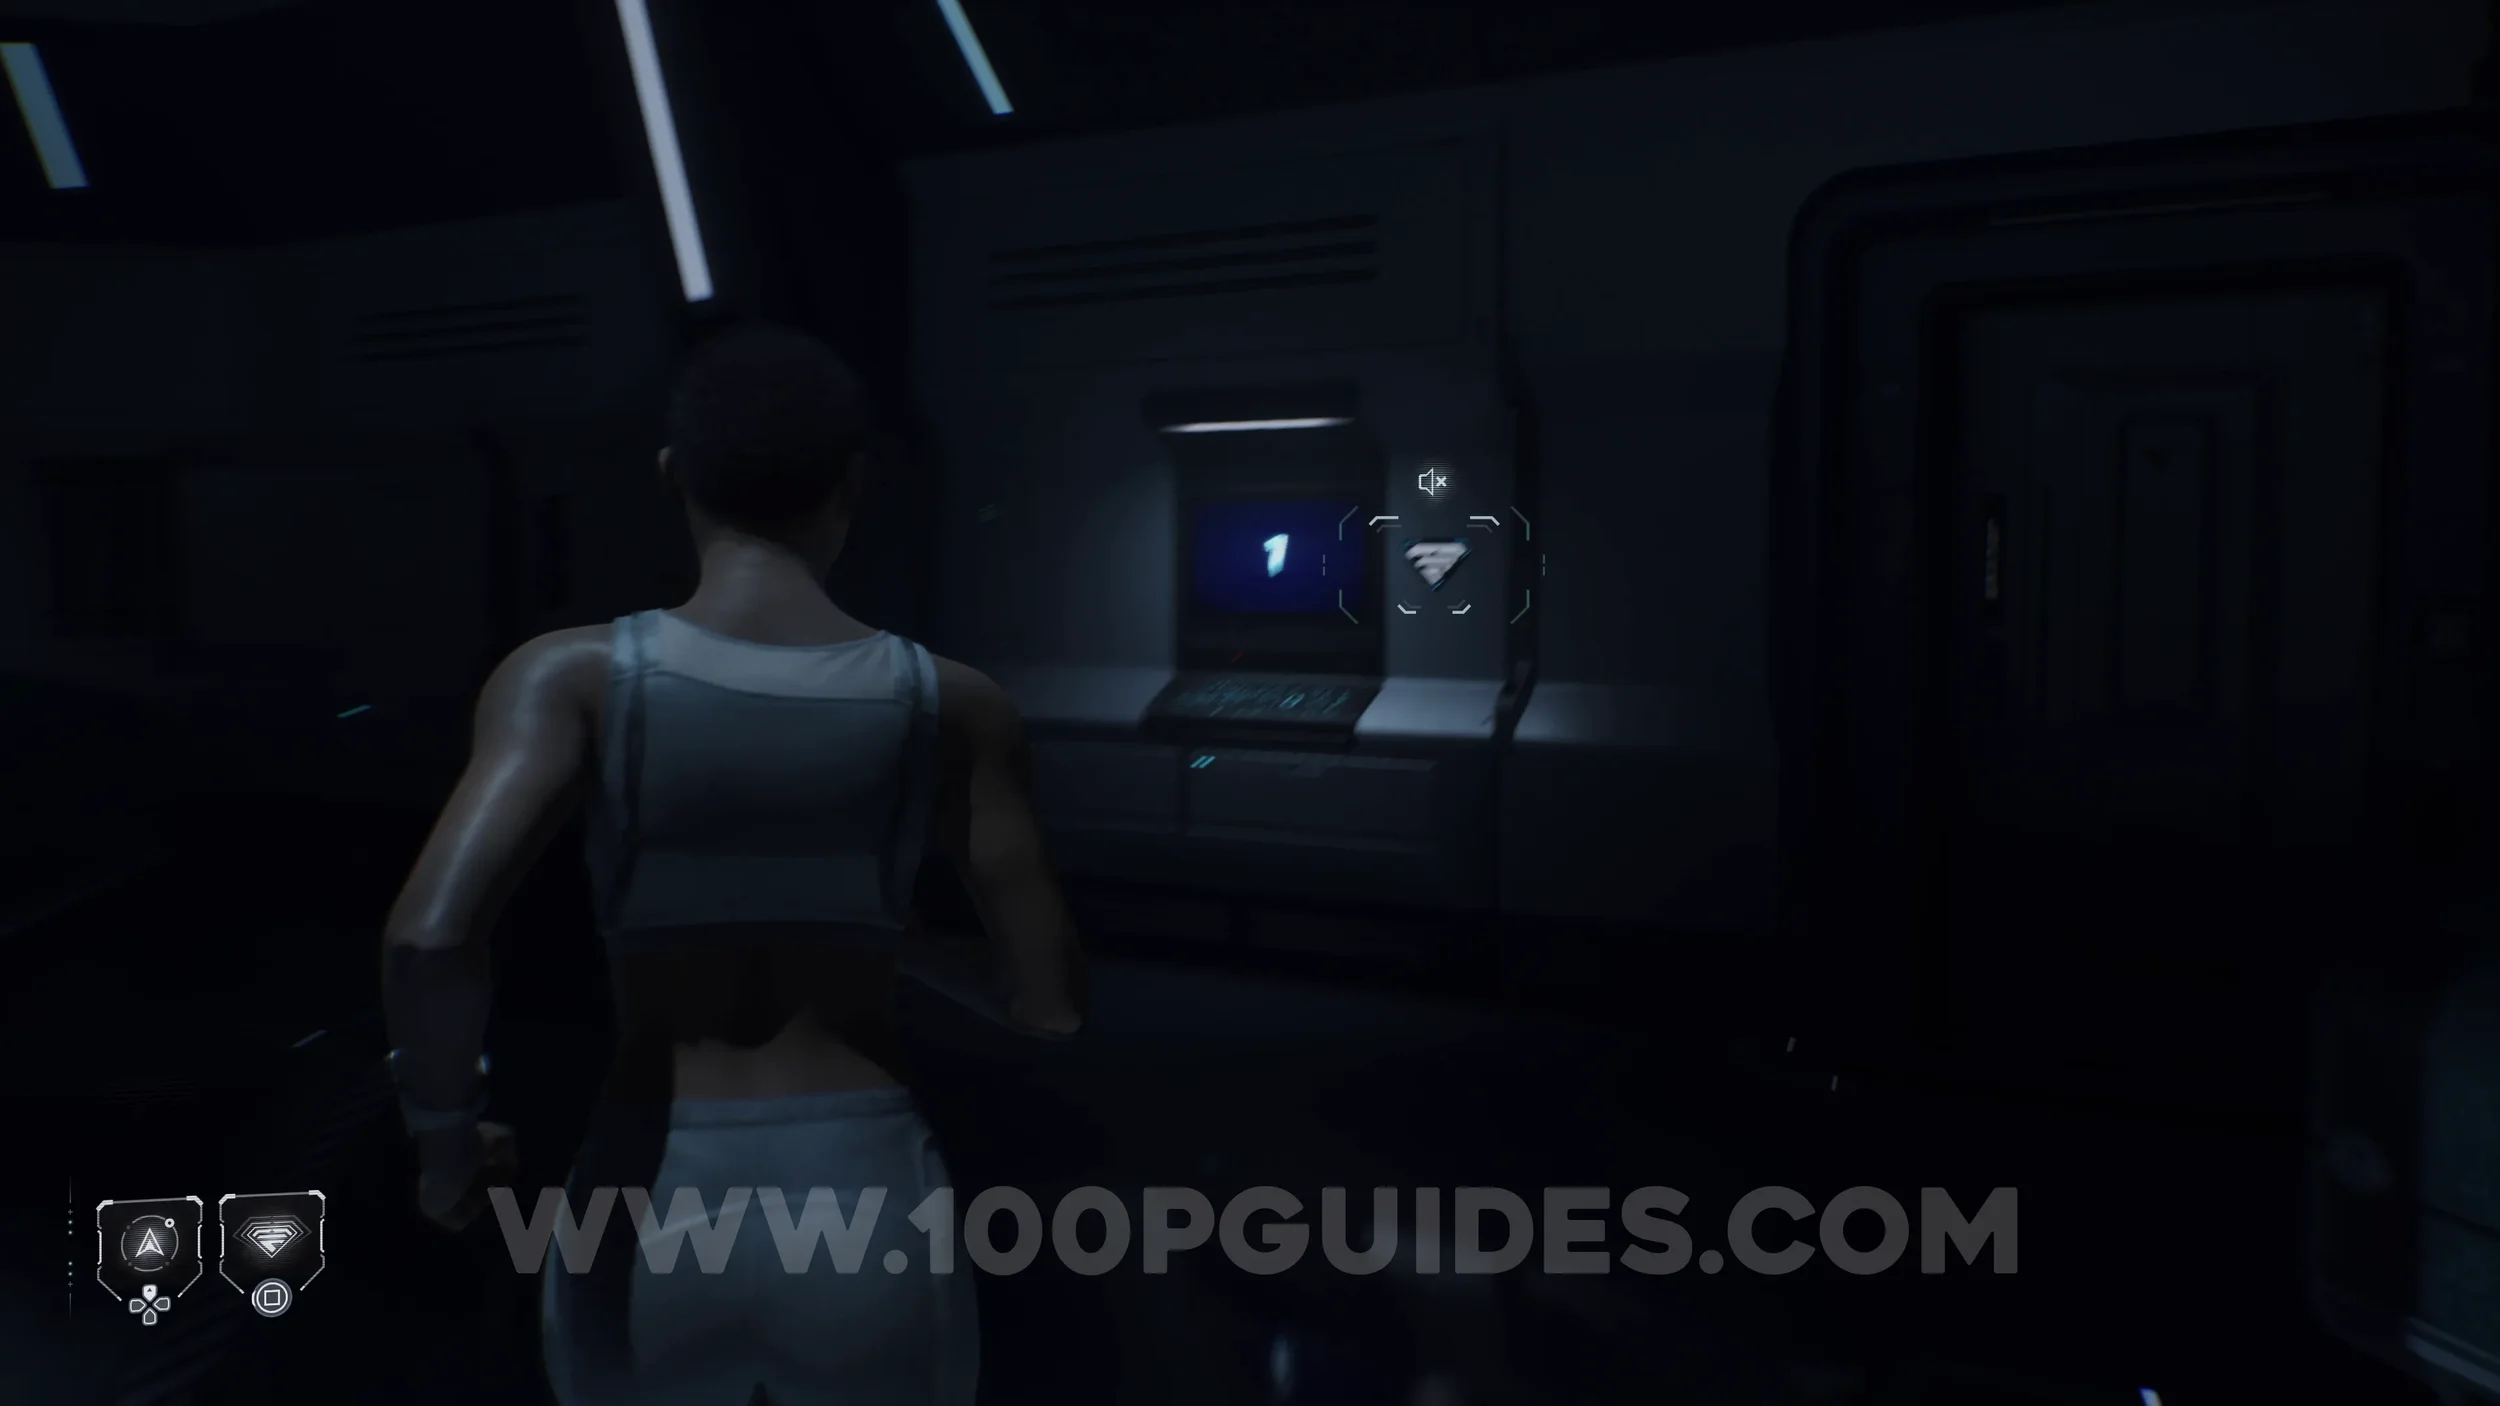
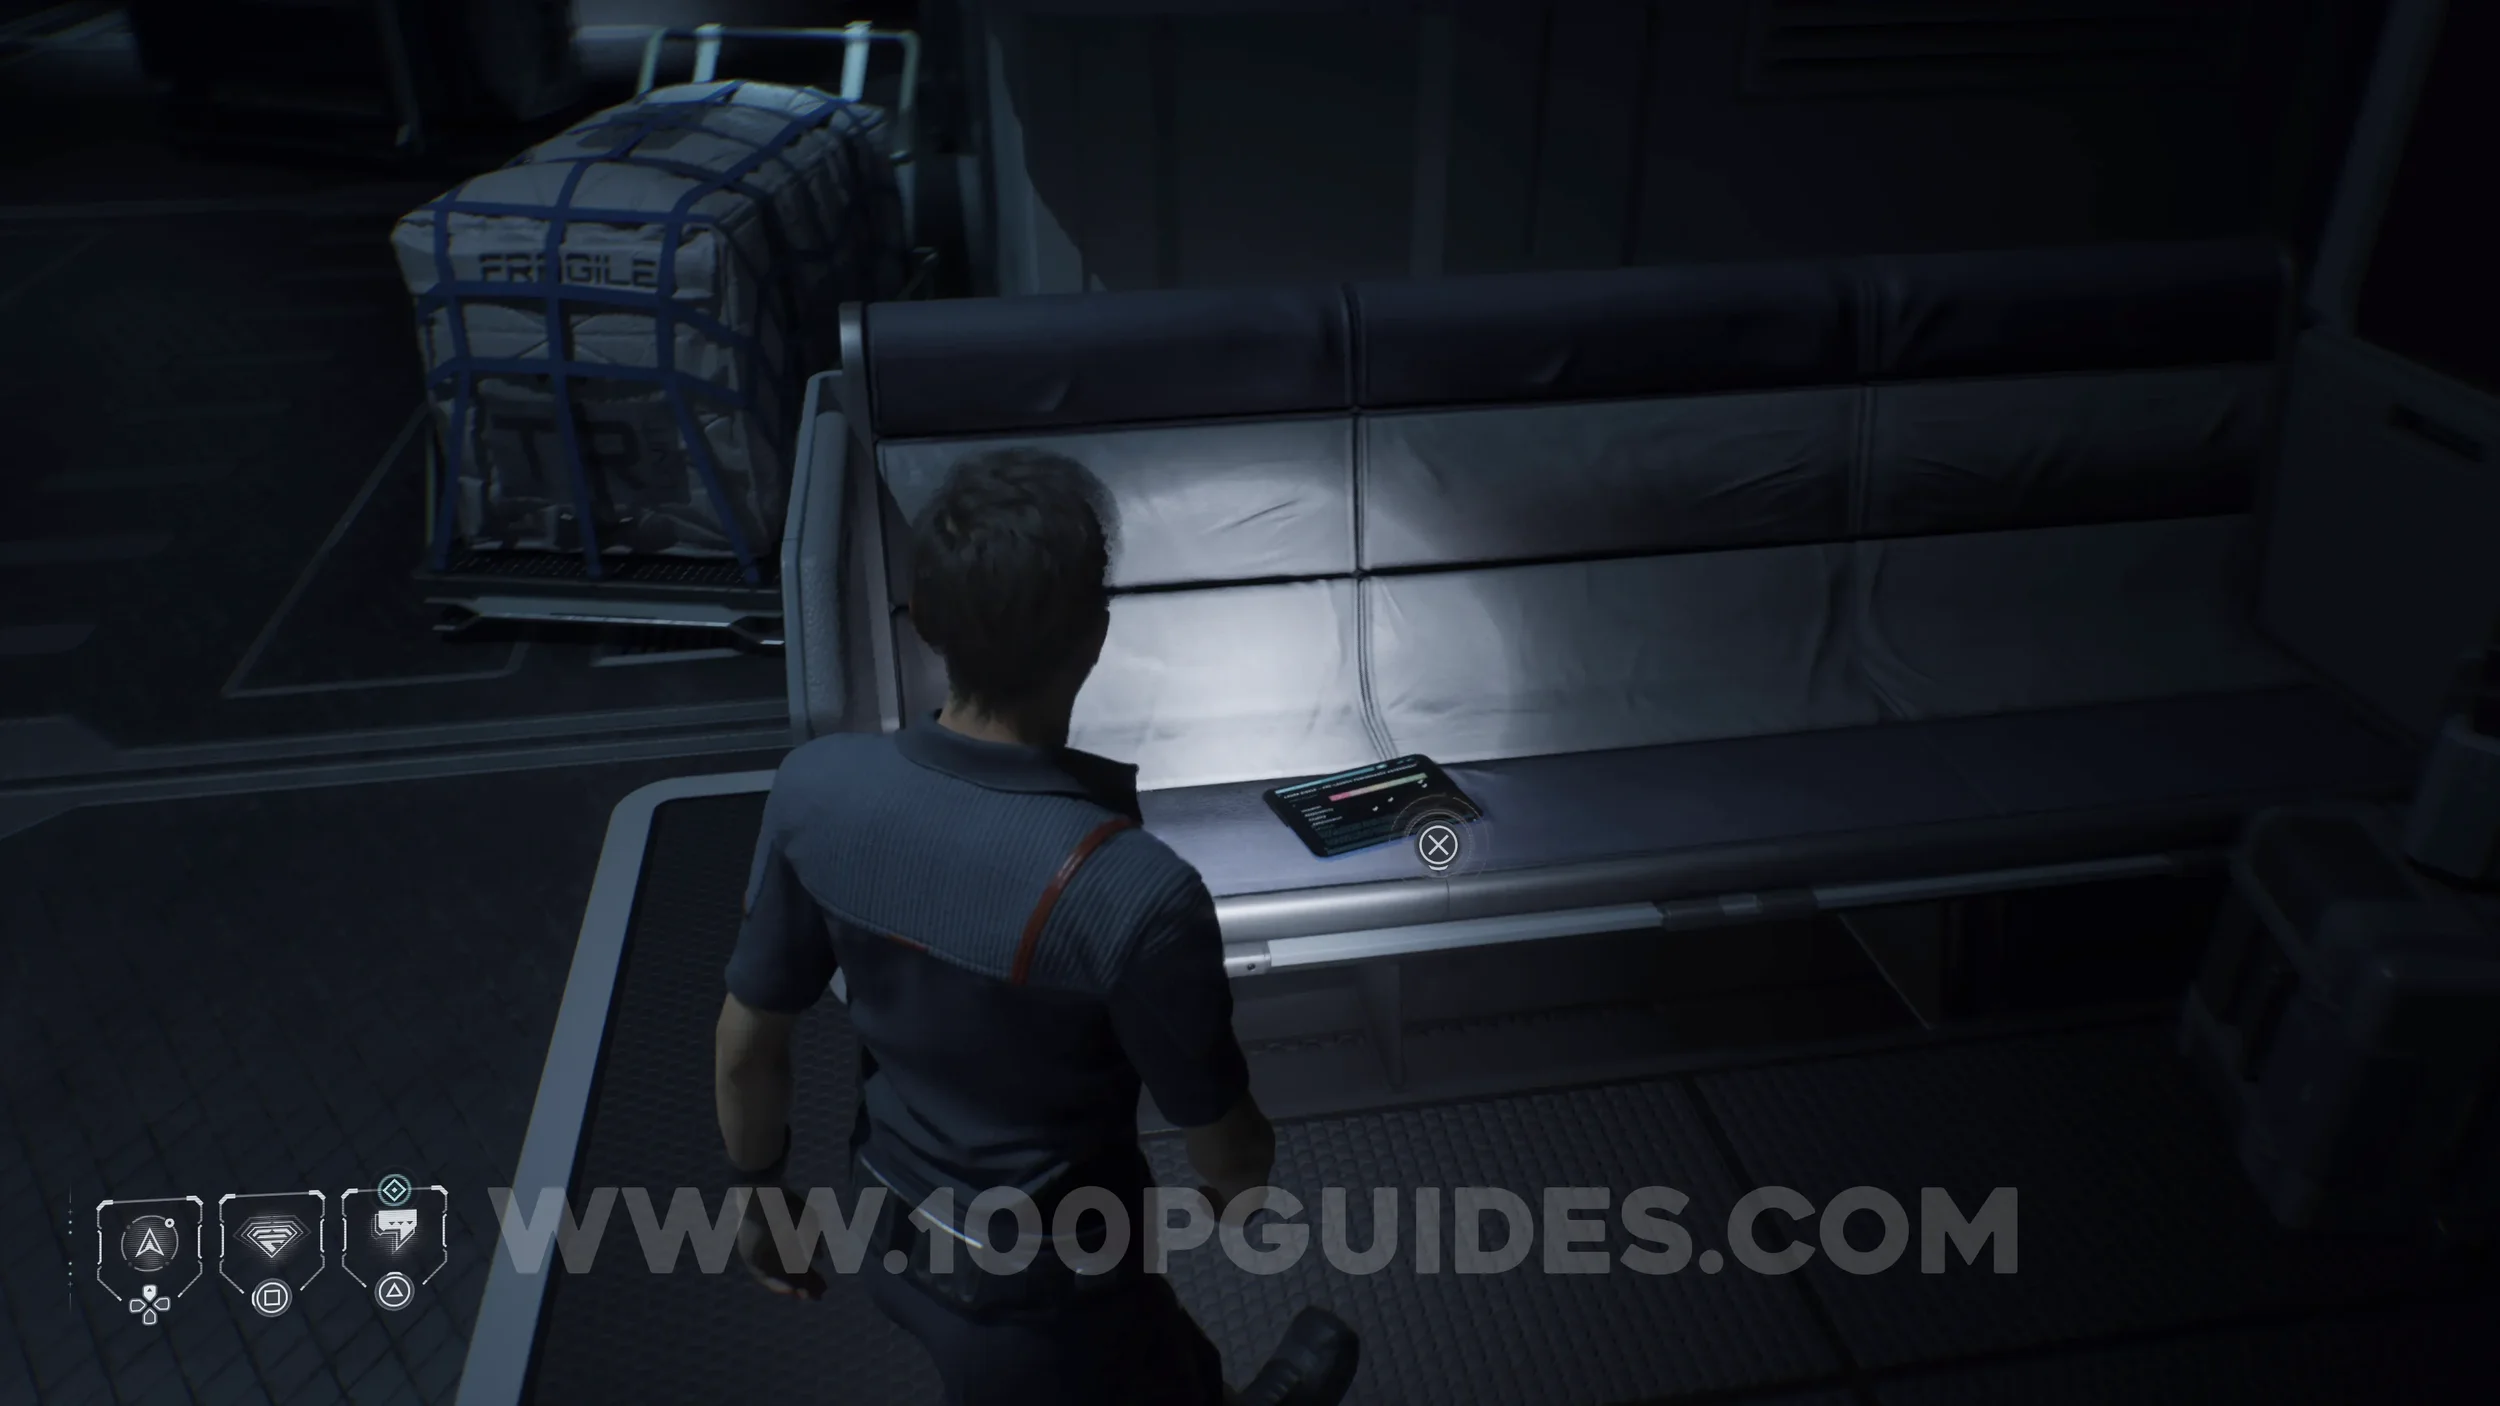
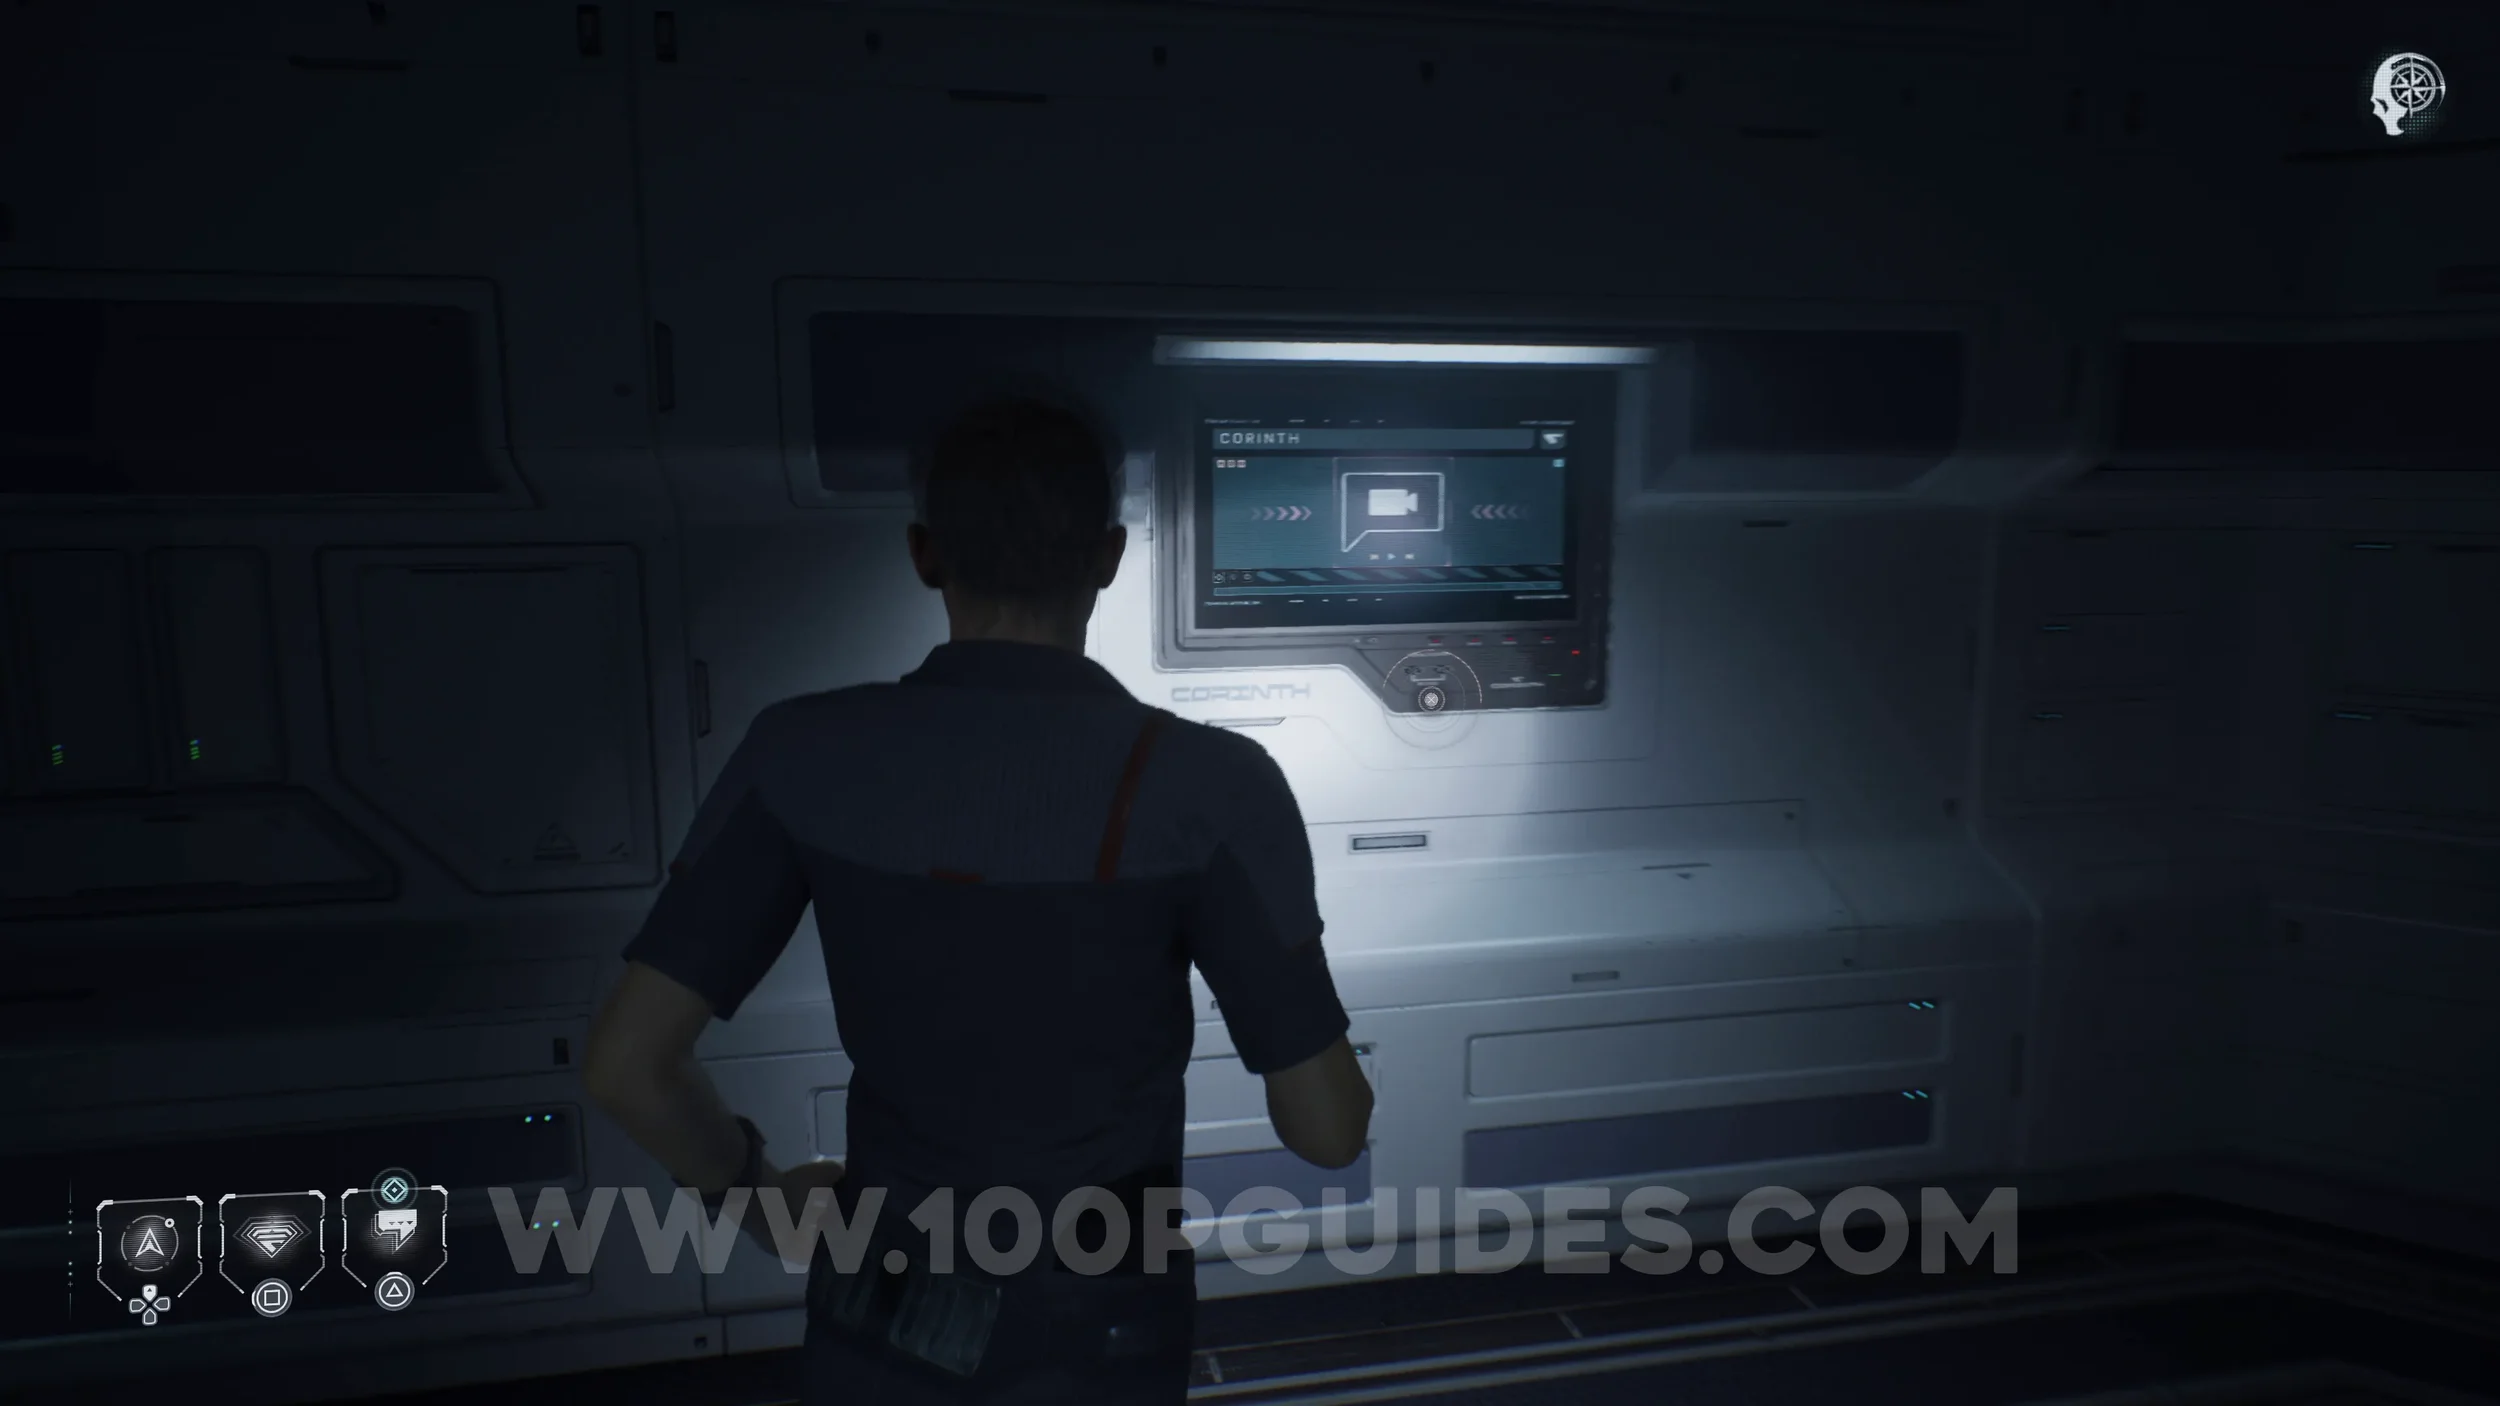
The Simms Recordings #4 - Sweet Dreams. Enter the locker room through the door to the left of the previous collectible and examine the screen on the wall.
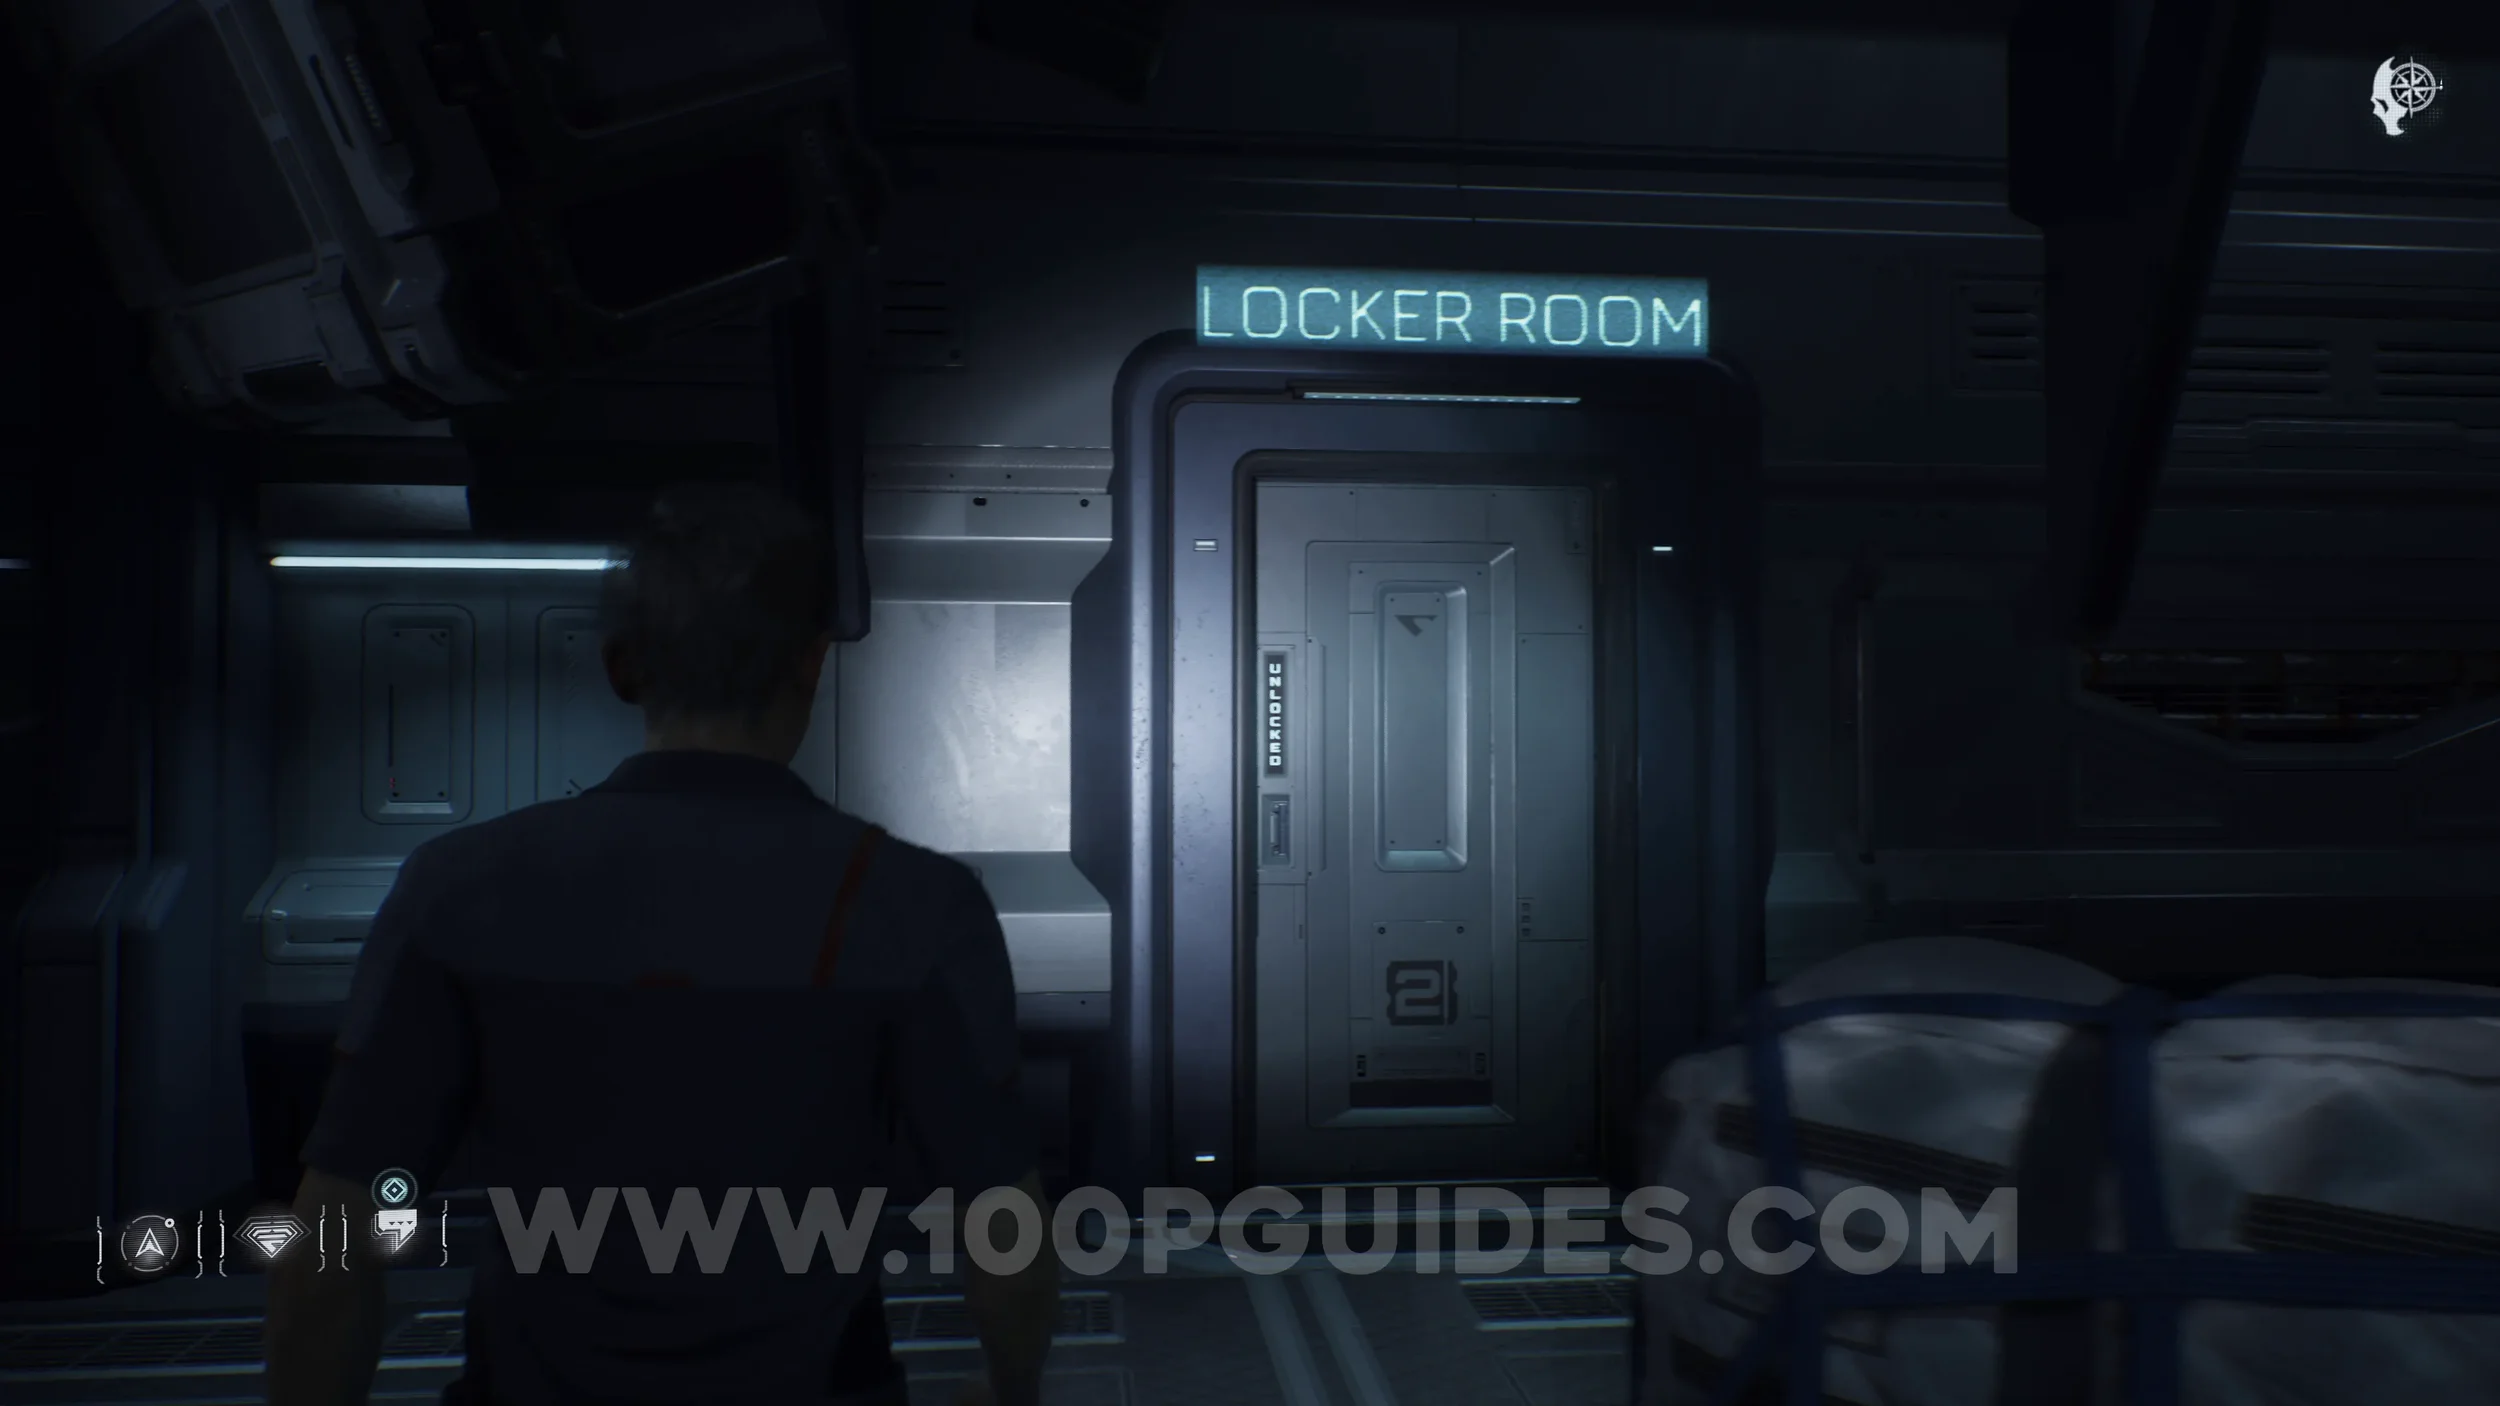
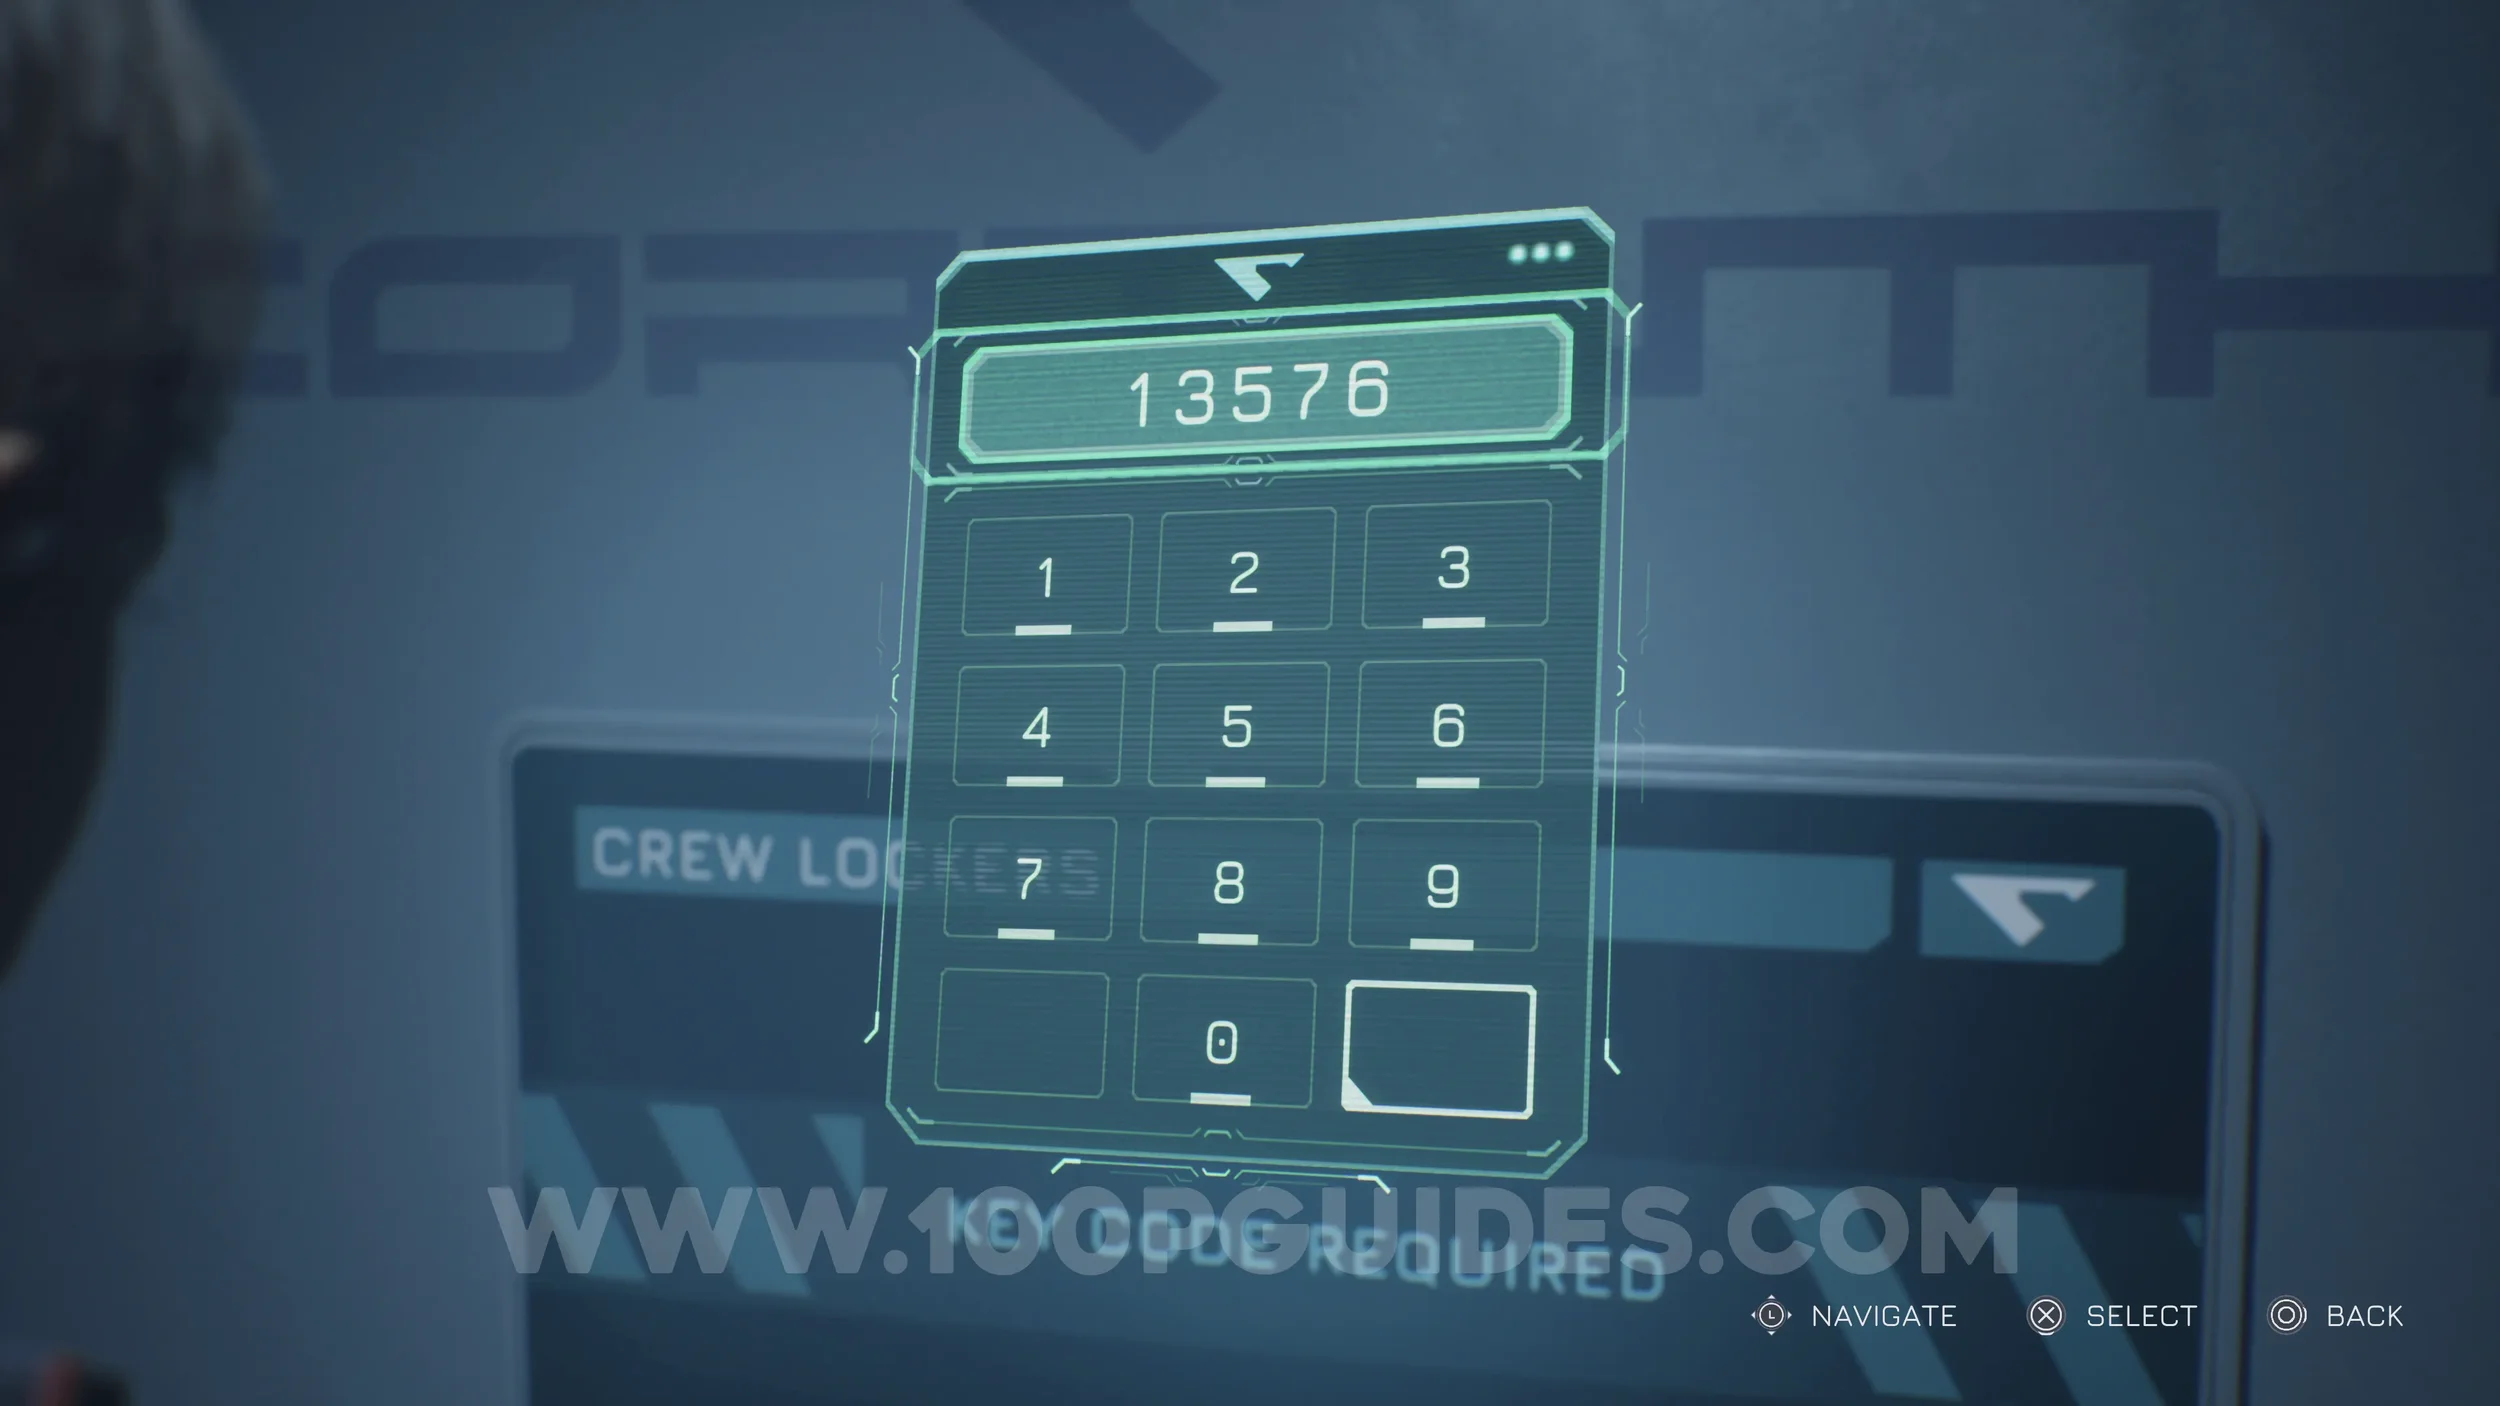
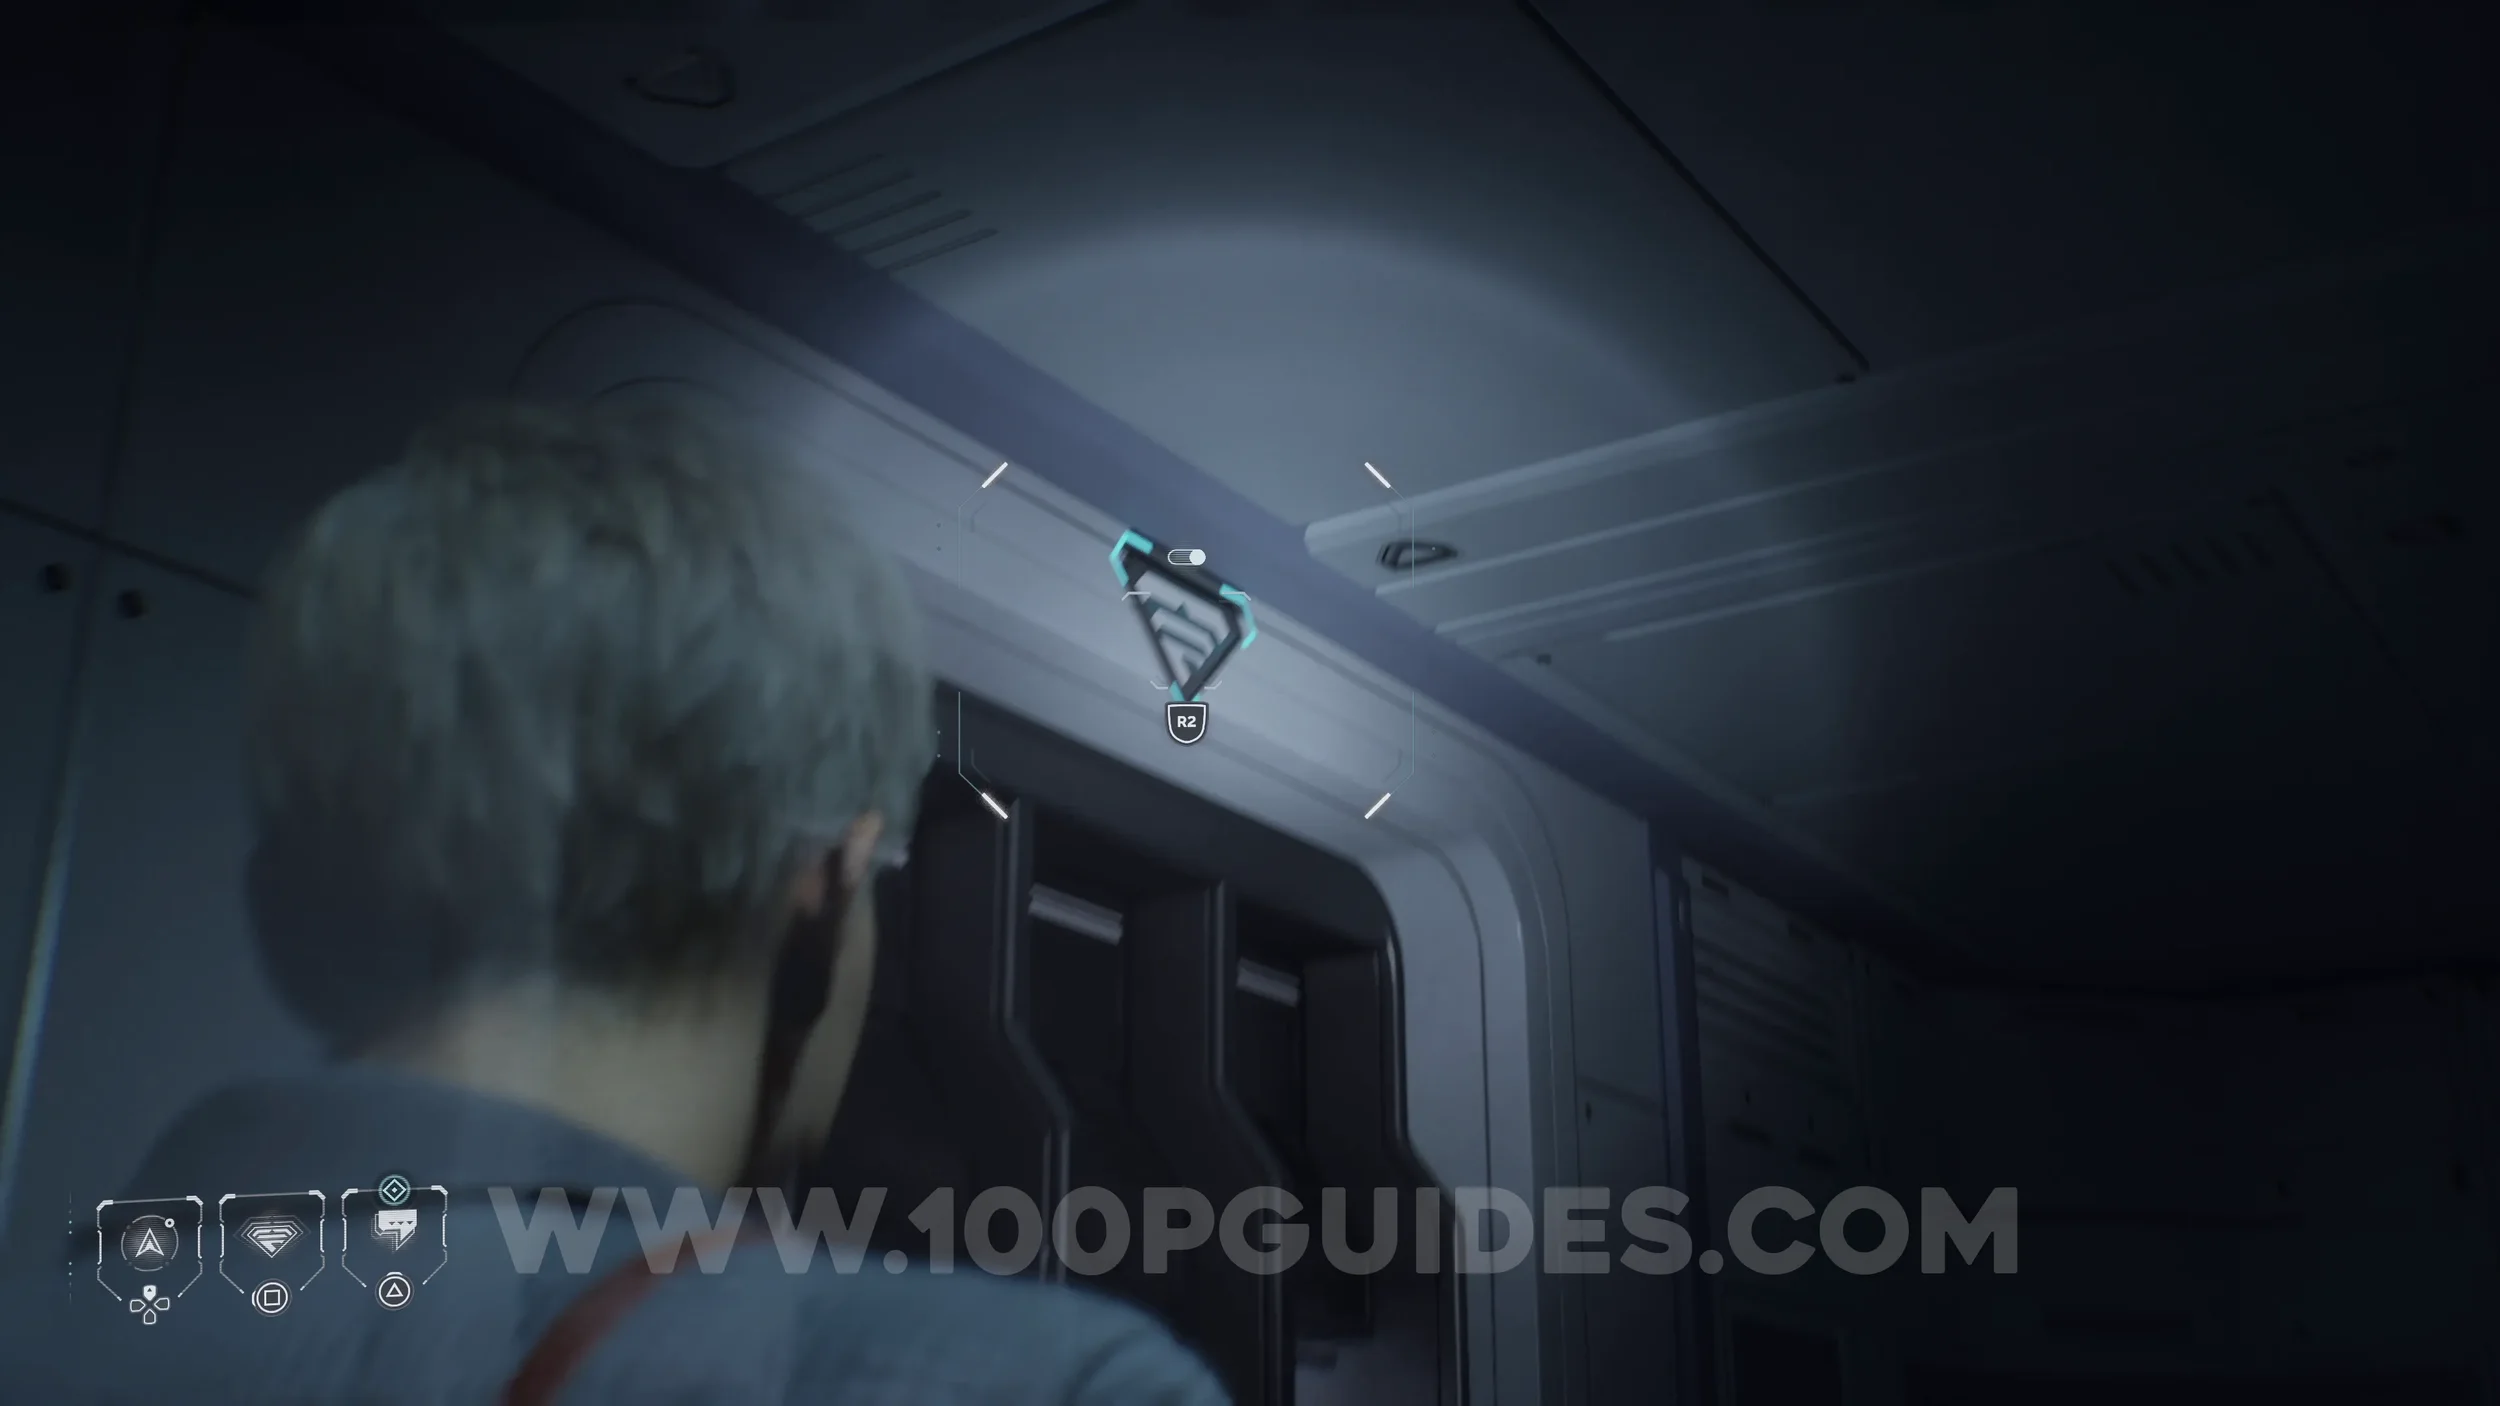
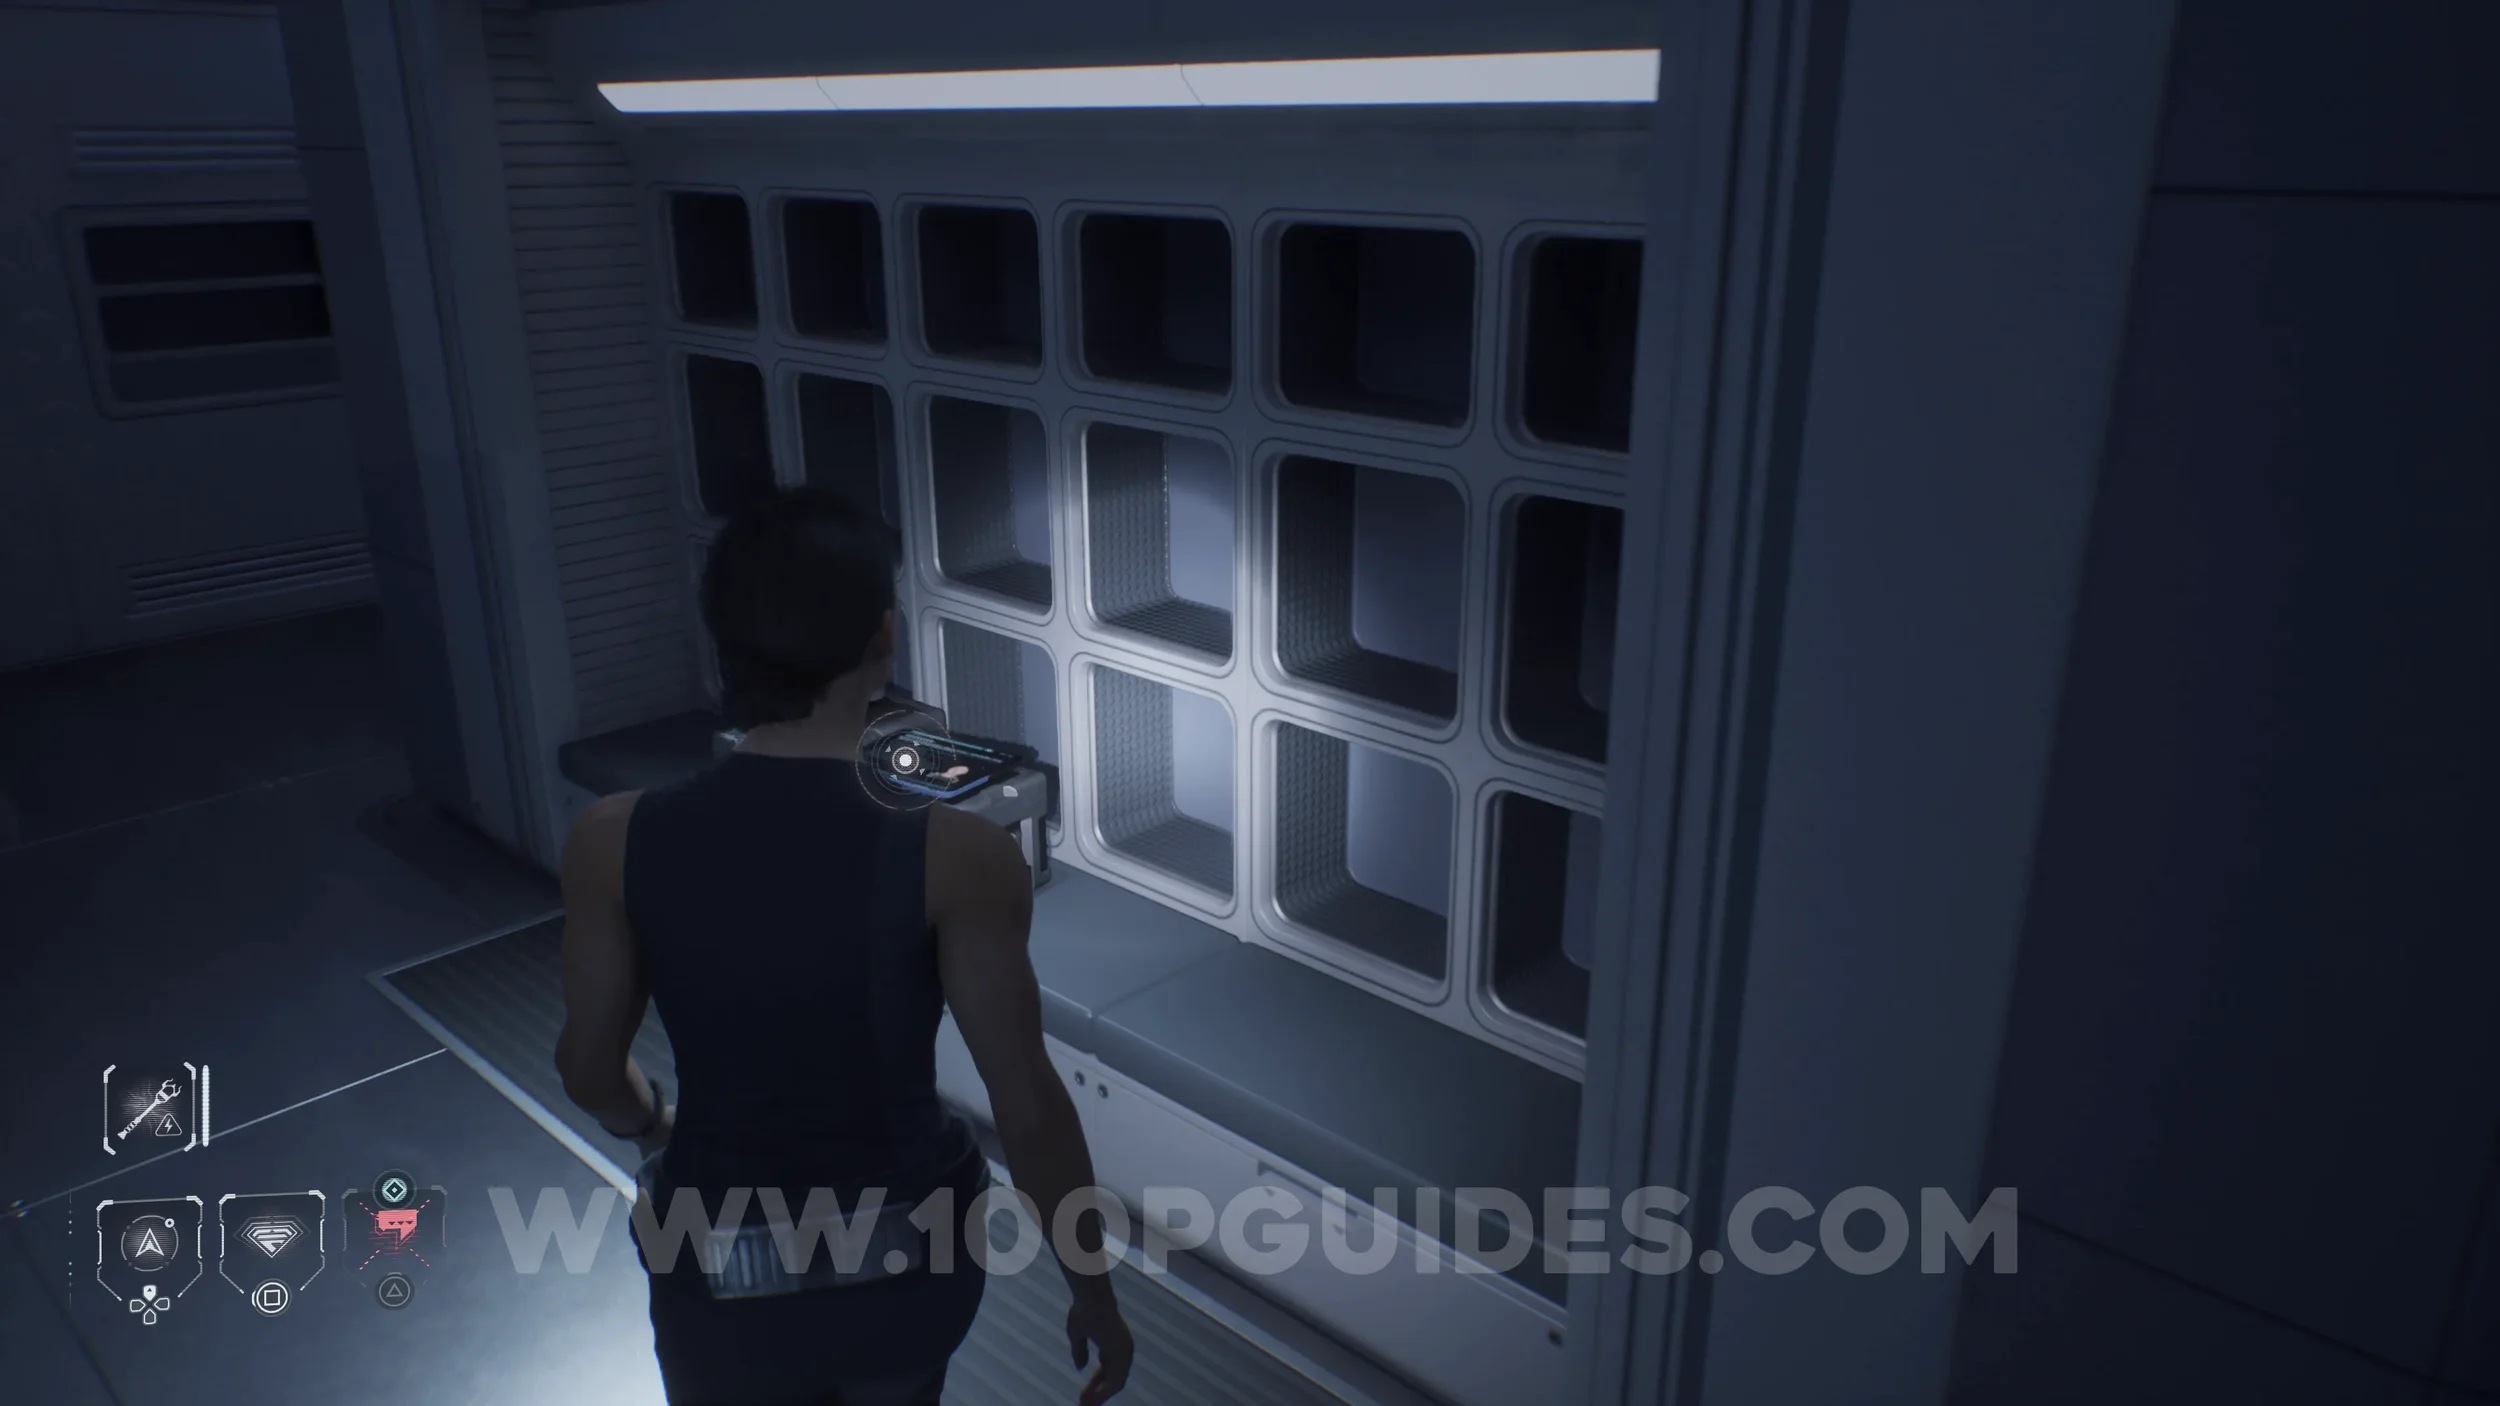
Secret #23 - Science Crew (At Any Cost). Use code 13576 on the terminal in the middle of the locker room to unlock the locker on the right. Then use your wristband to open it and find the collectible.
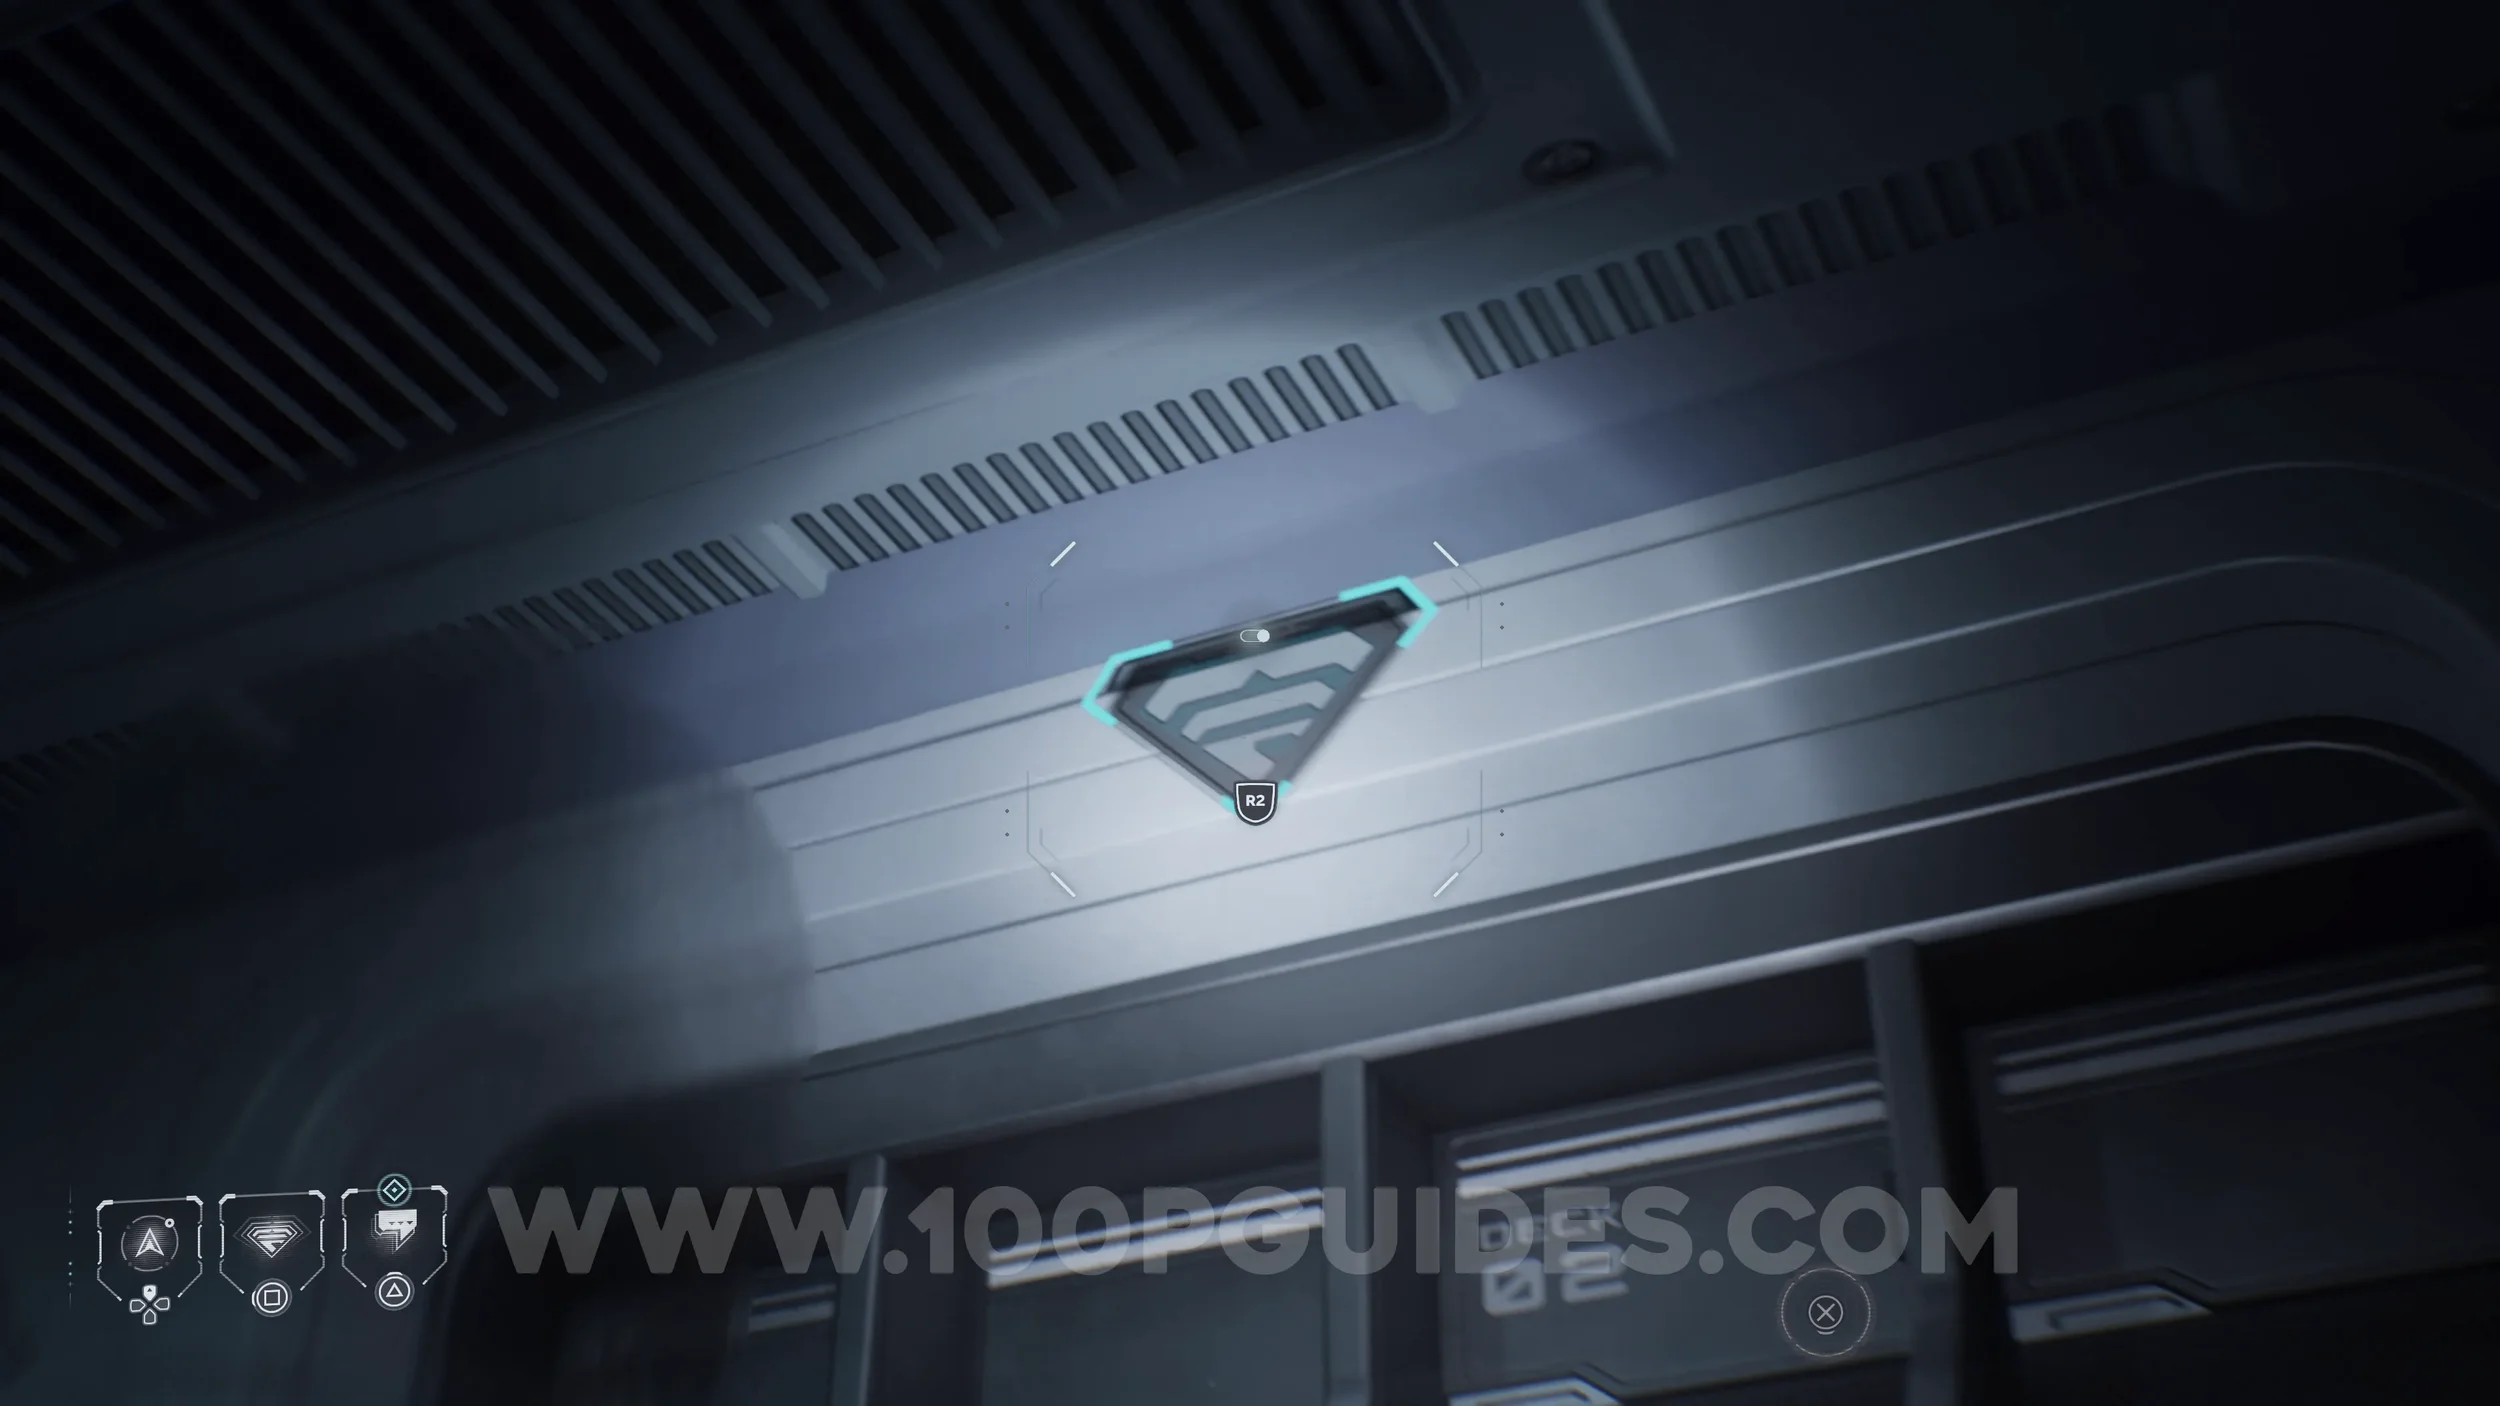
Secret #24 - Flight Crew (Promises). In the locker on the opposite side of the locker room. Open it with your wristband to find the collectible.
EPISODE 3
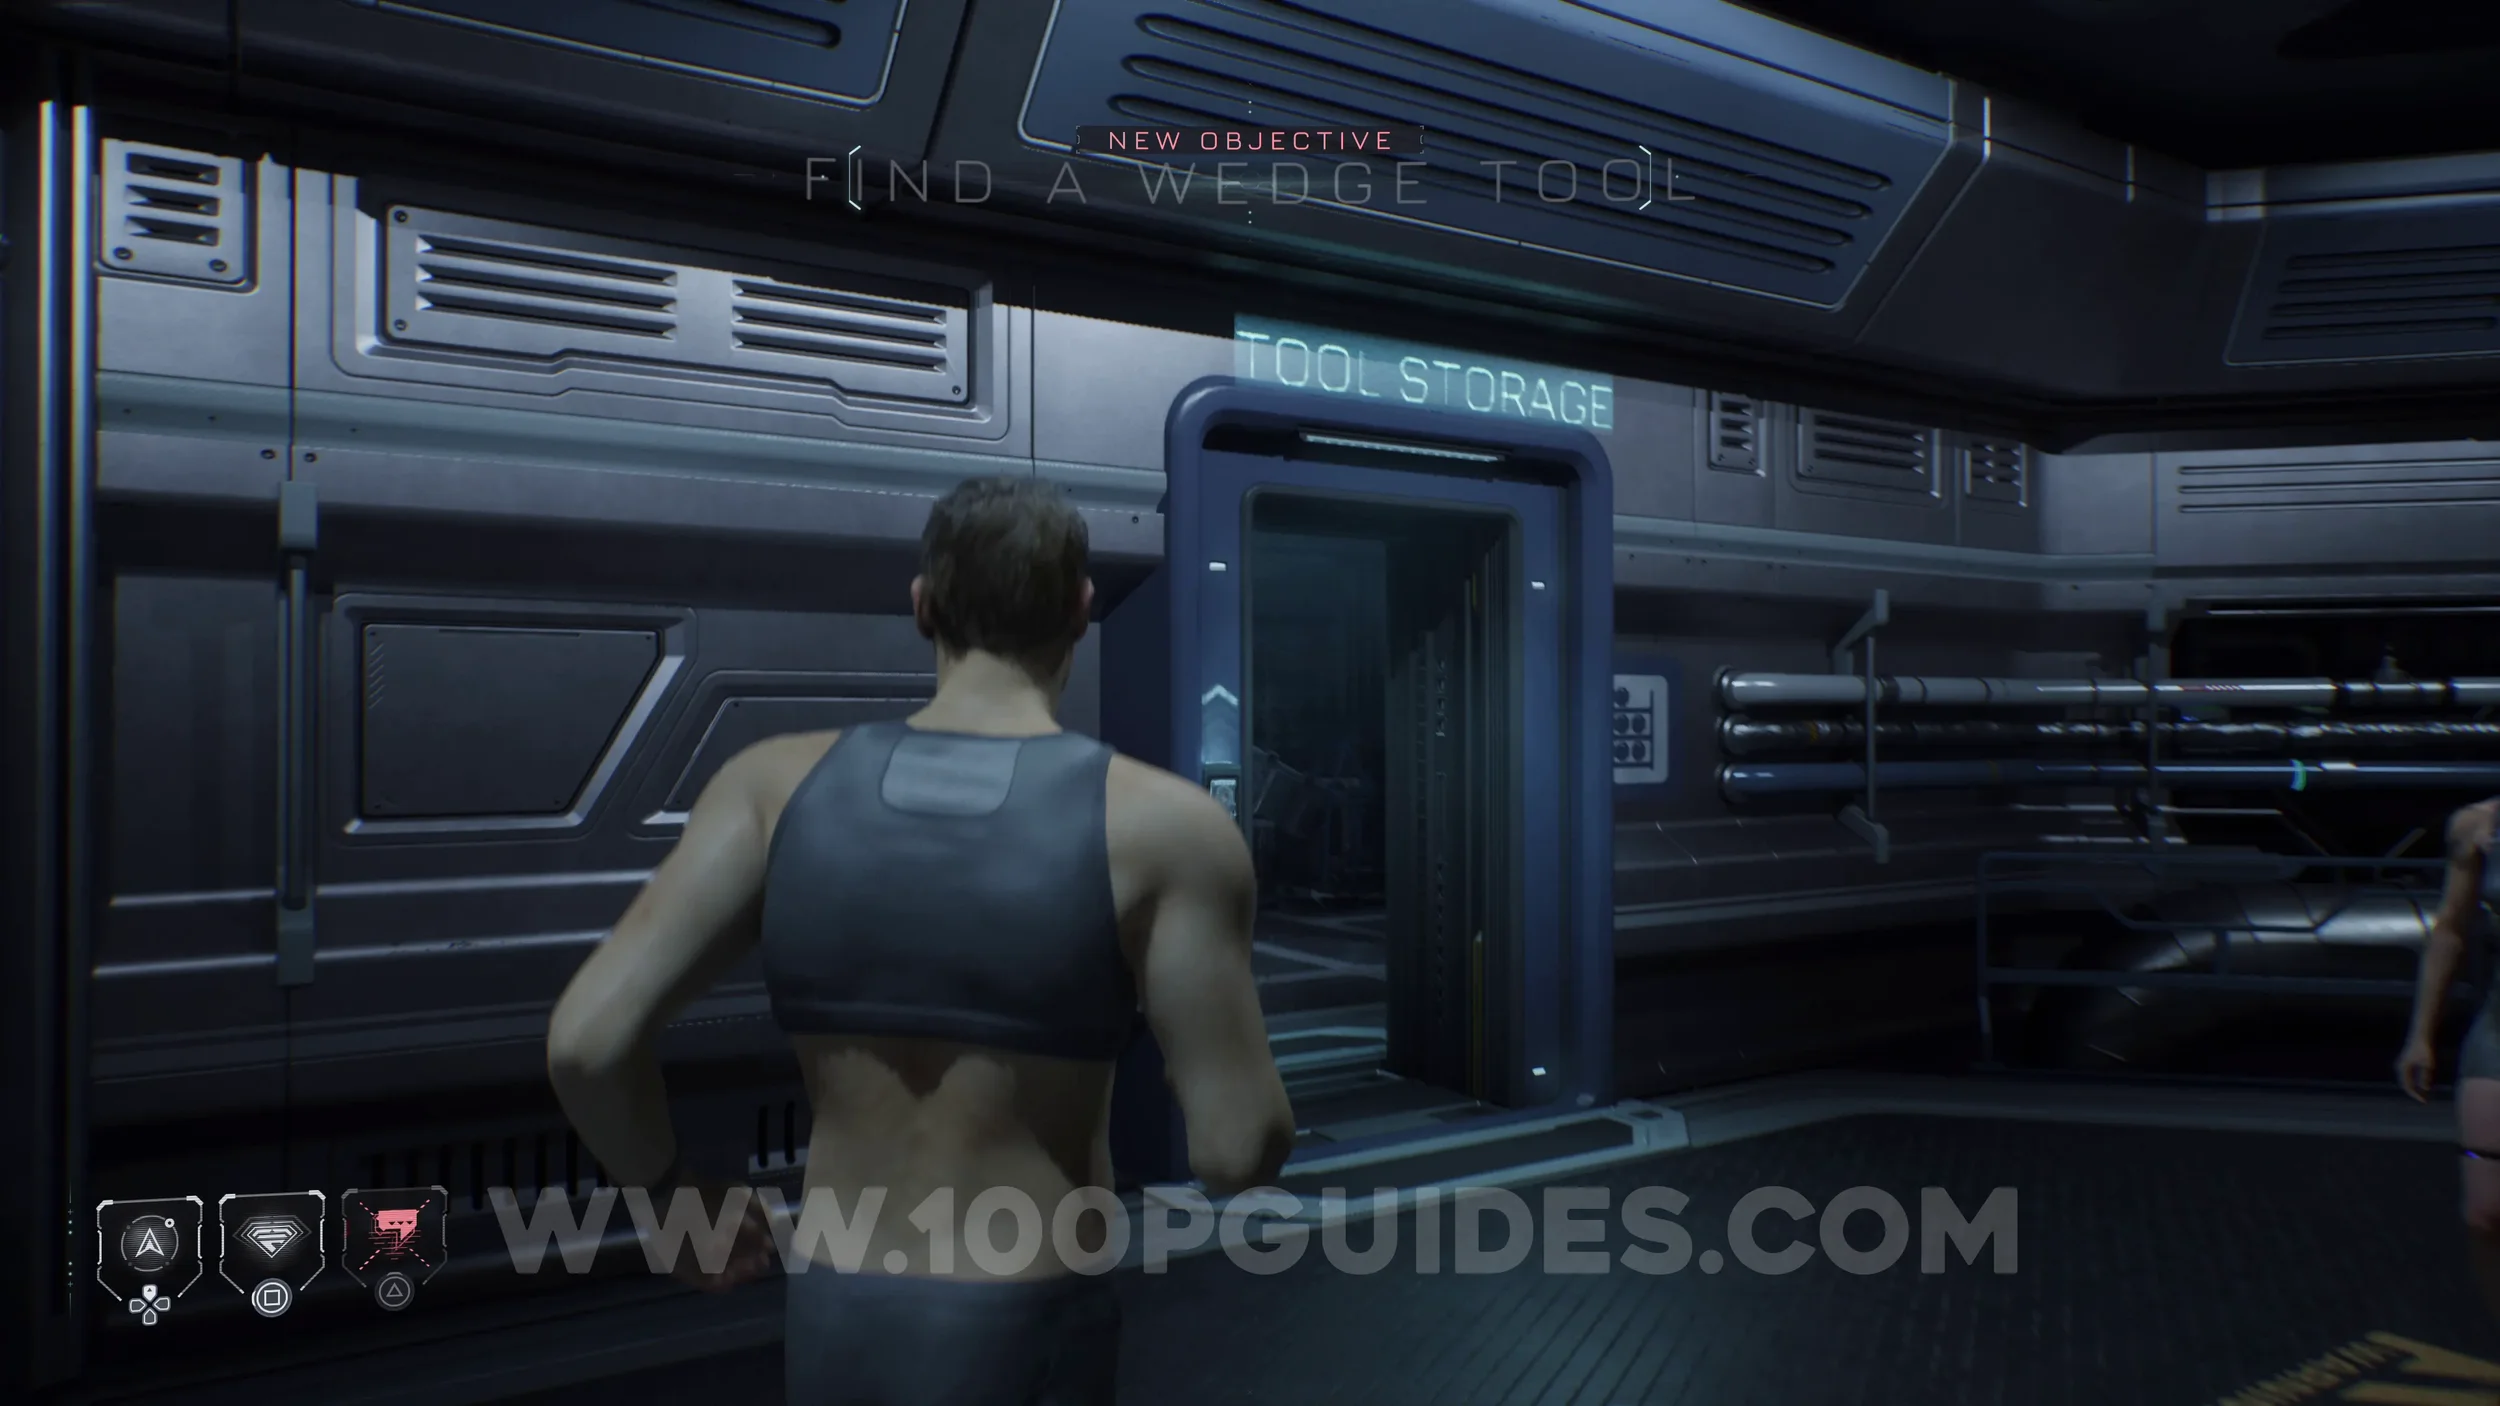
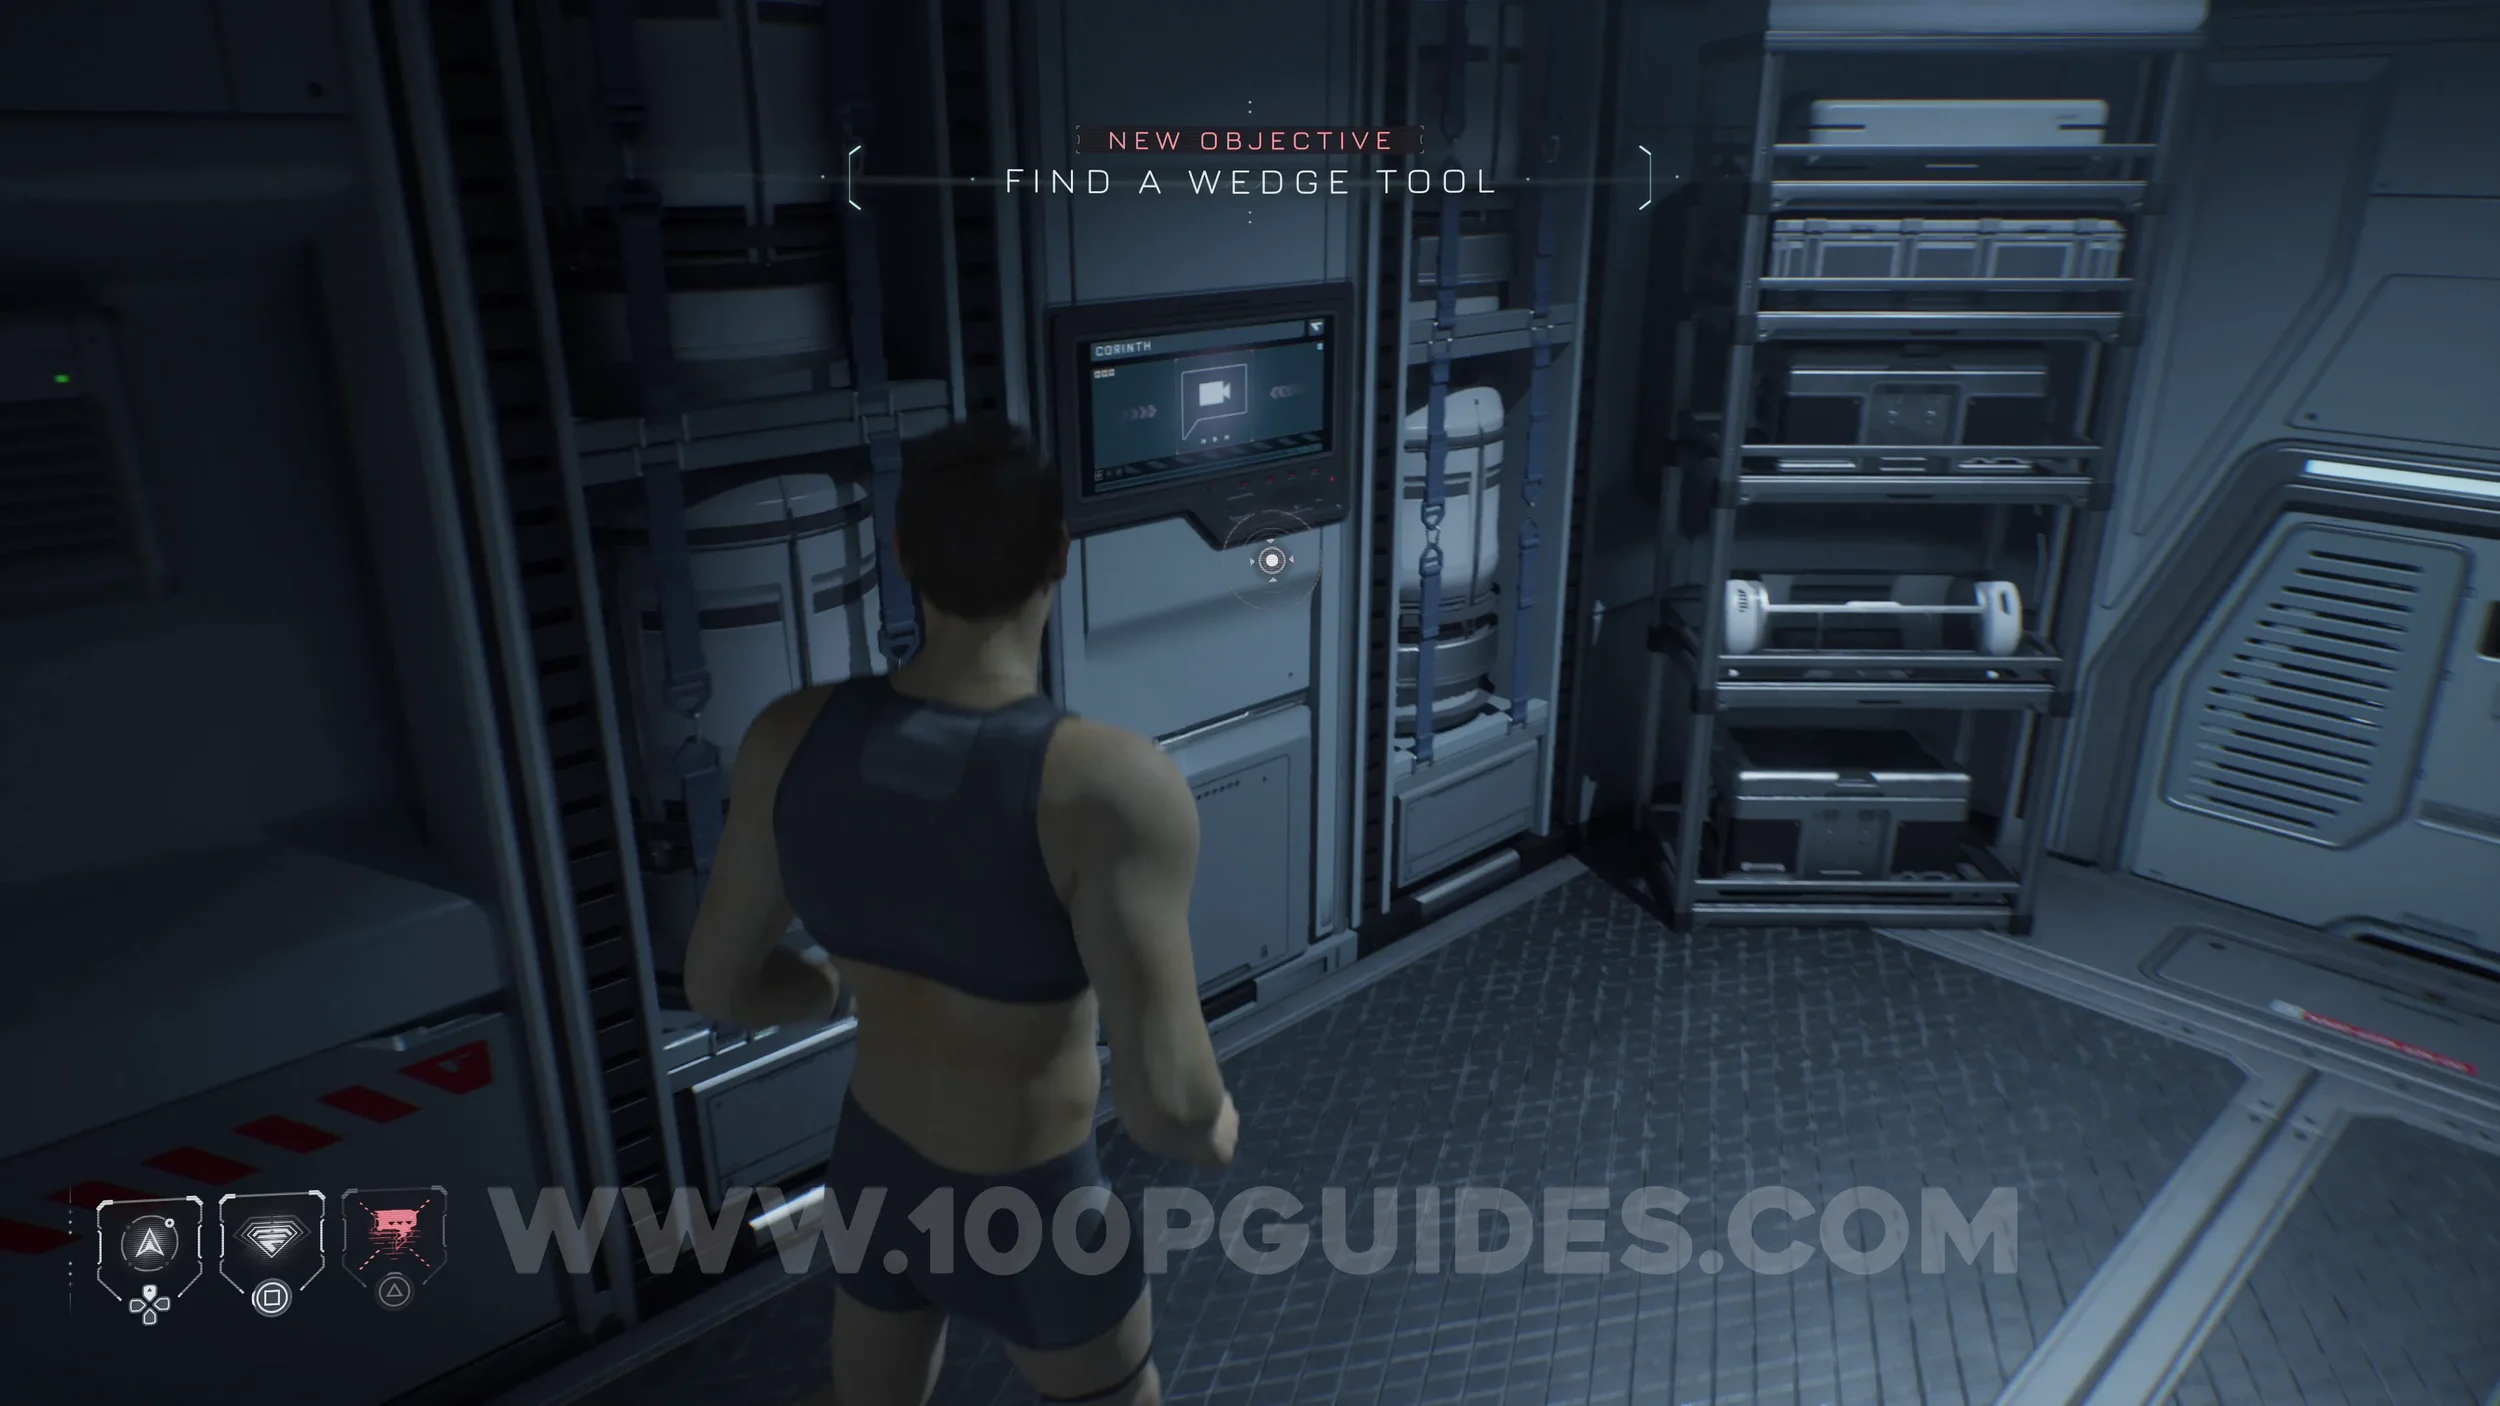
The Simms Recordings #5 - Slingshot. As Josef, make your way through the vents to reach the Tool Storage. Once inside, look to the left to find the screen on the wall.
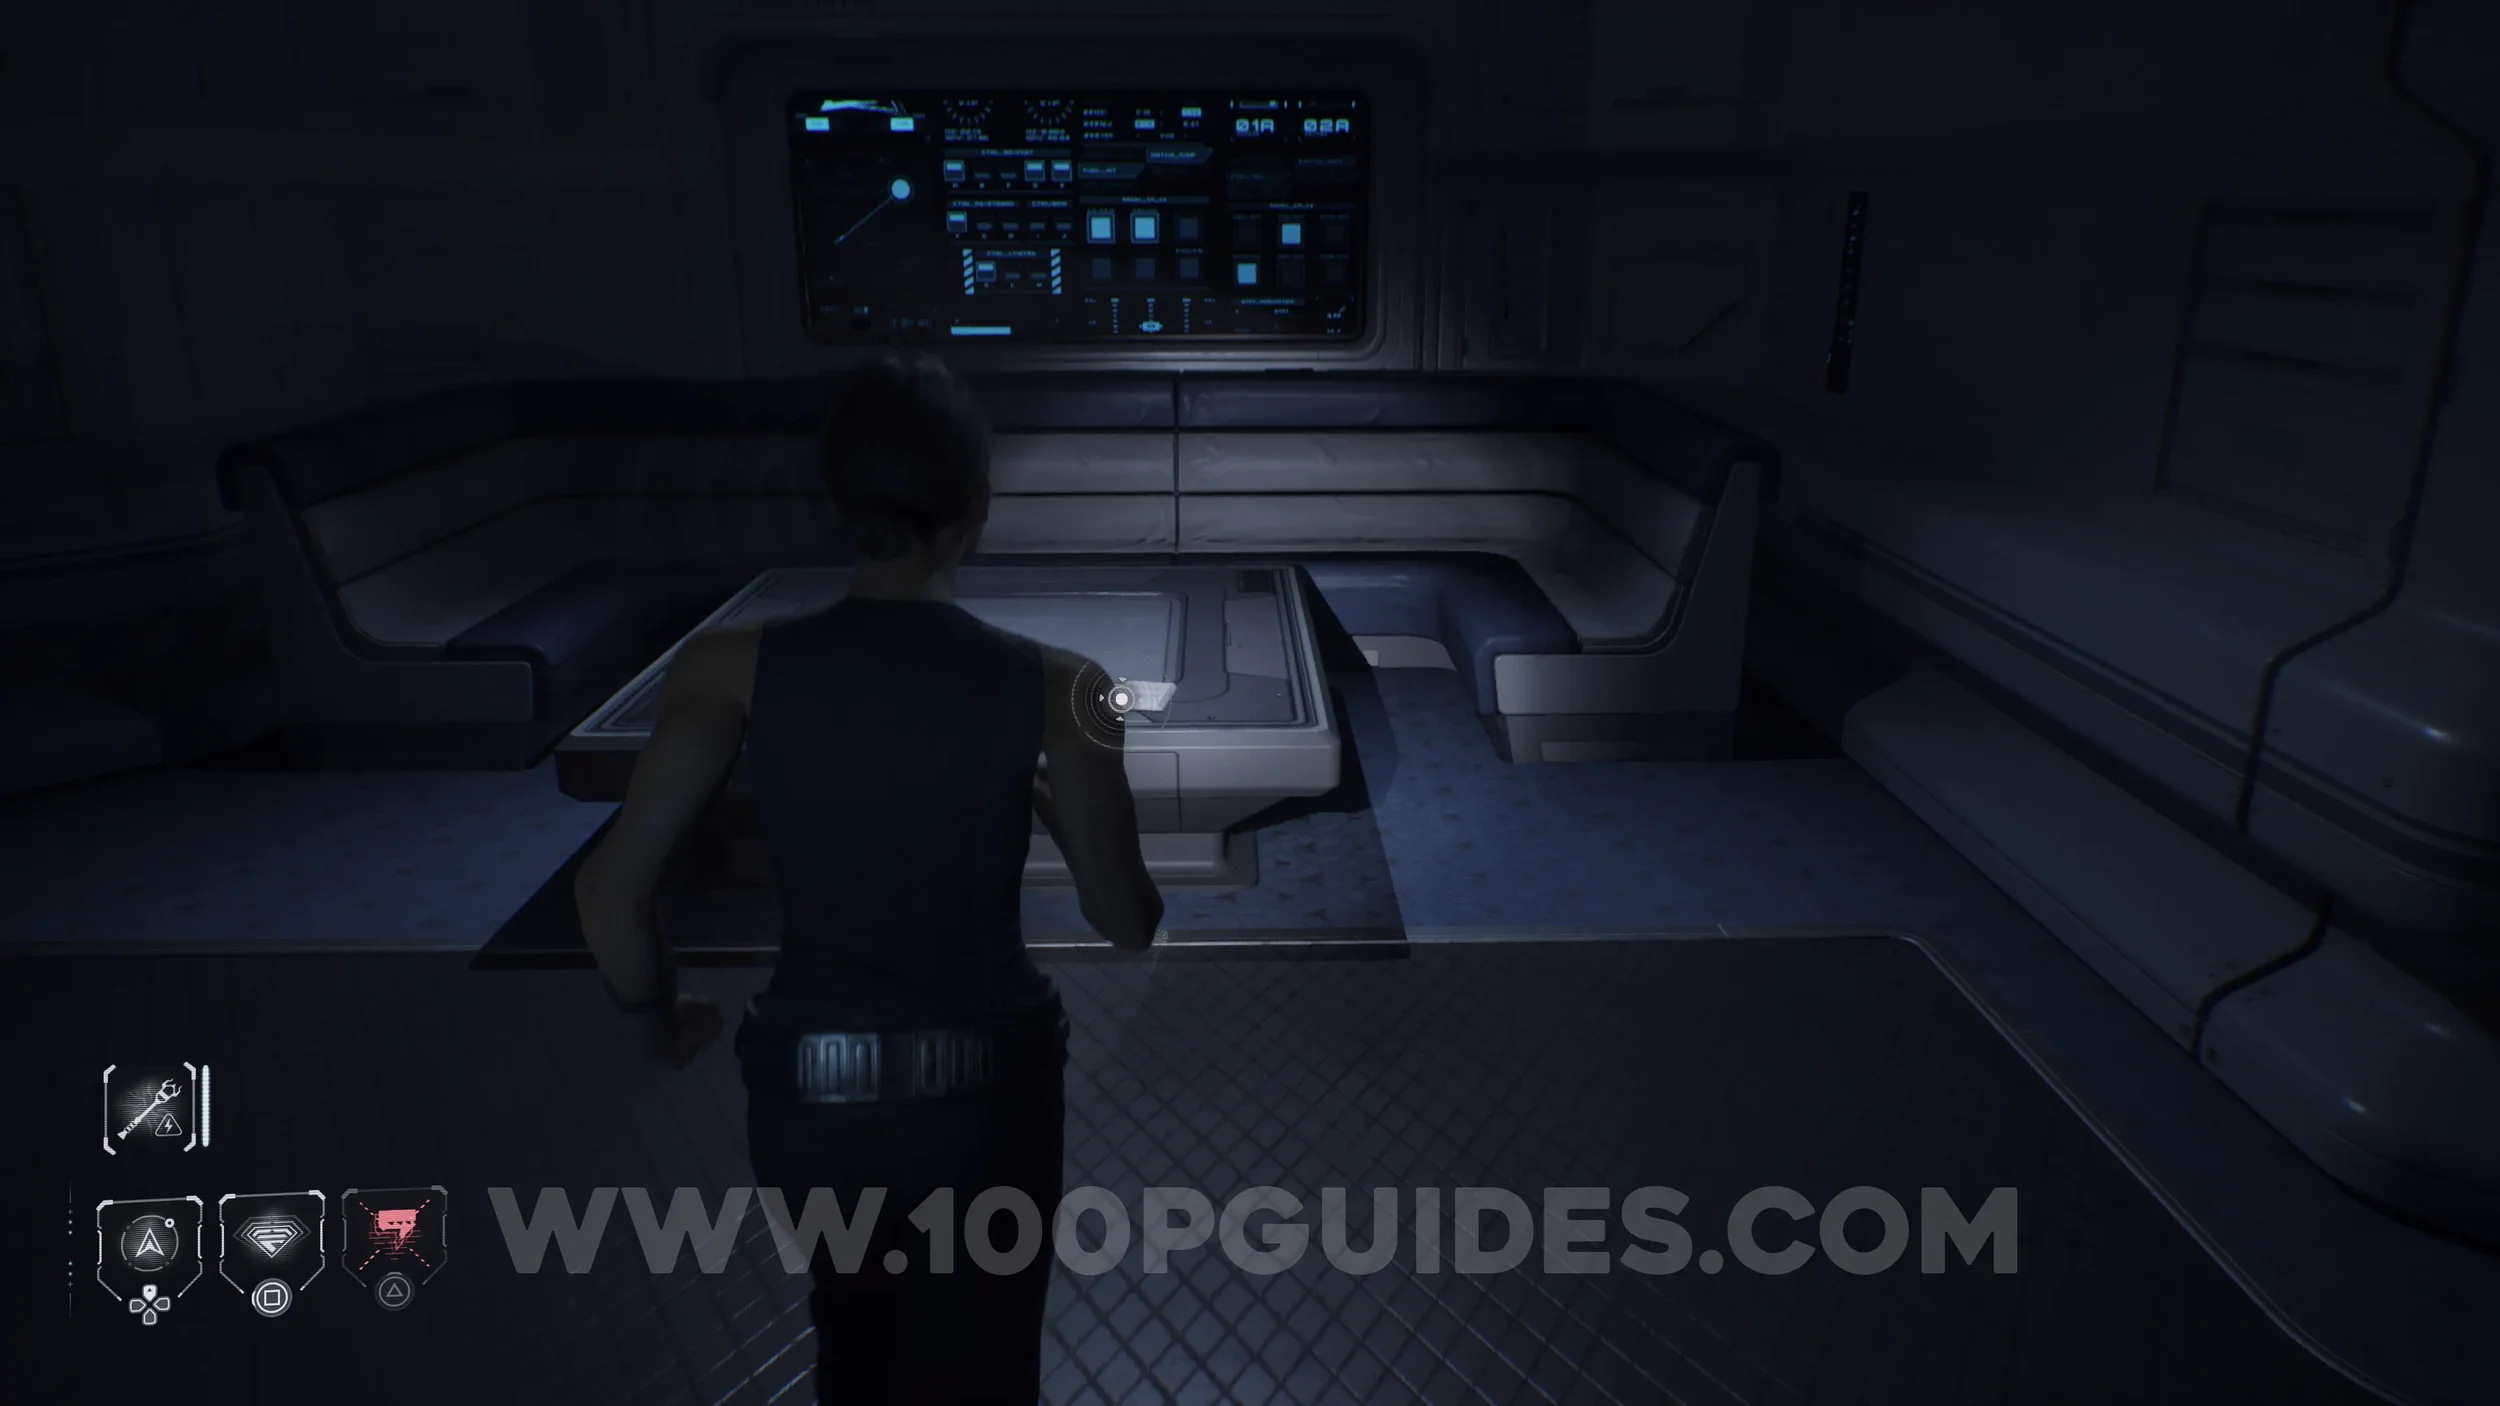
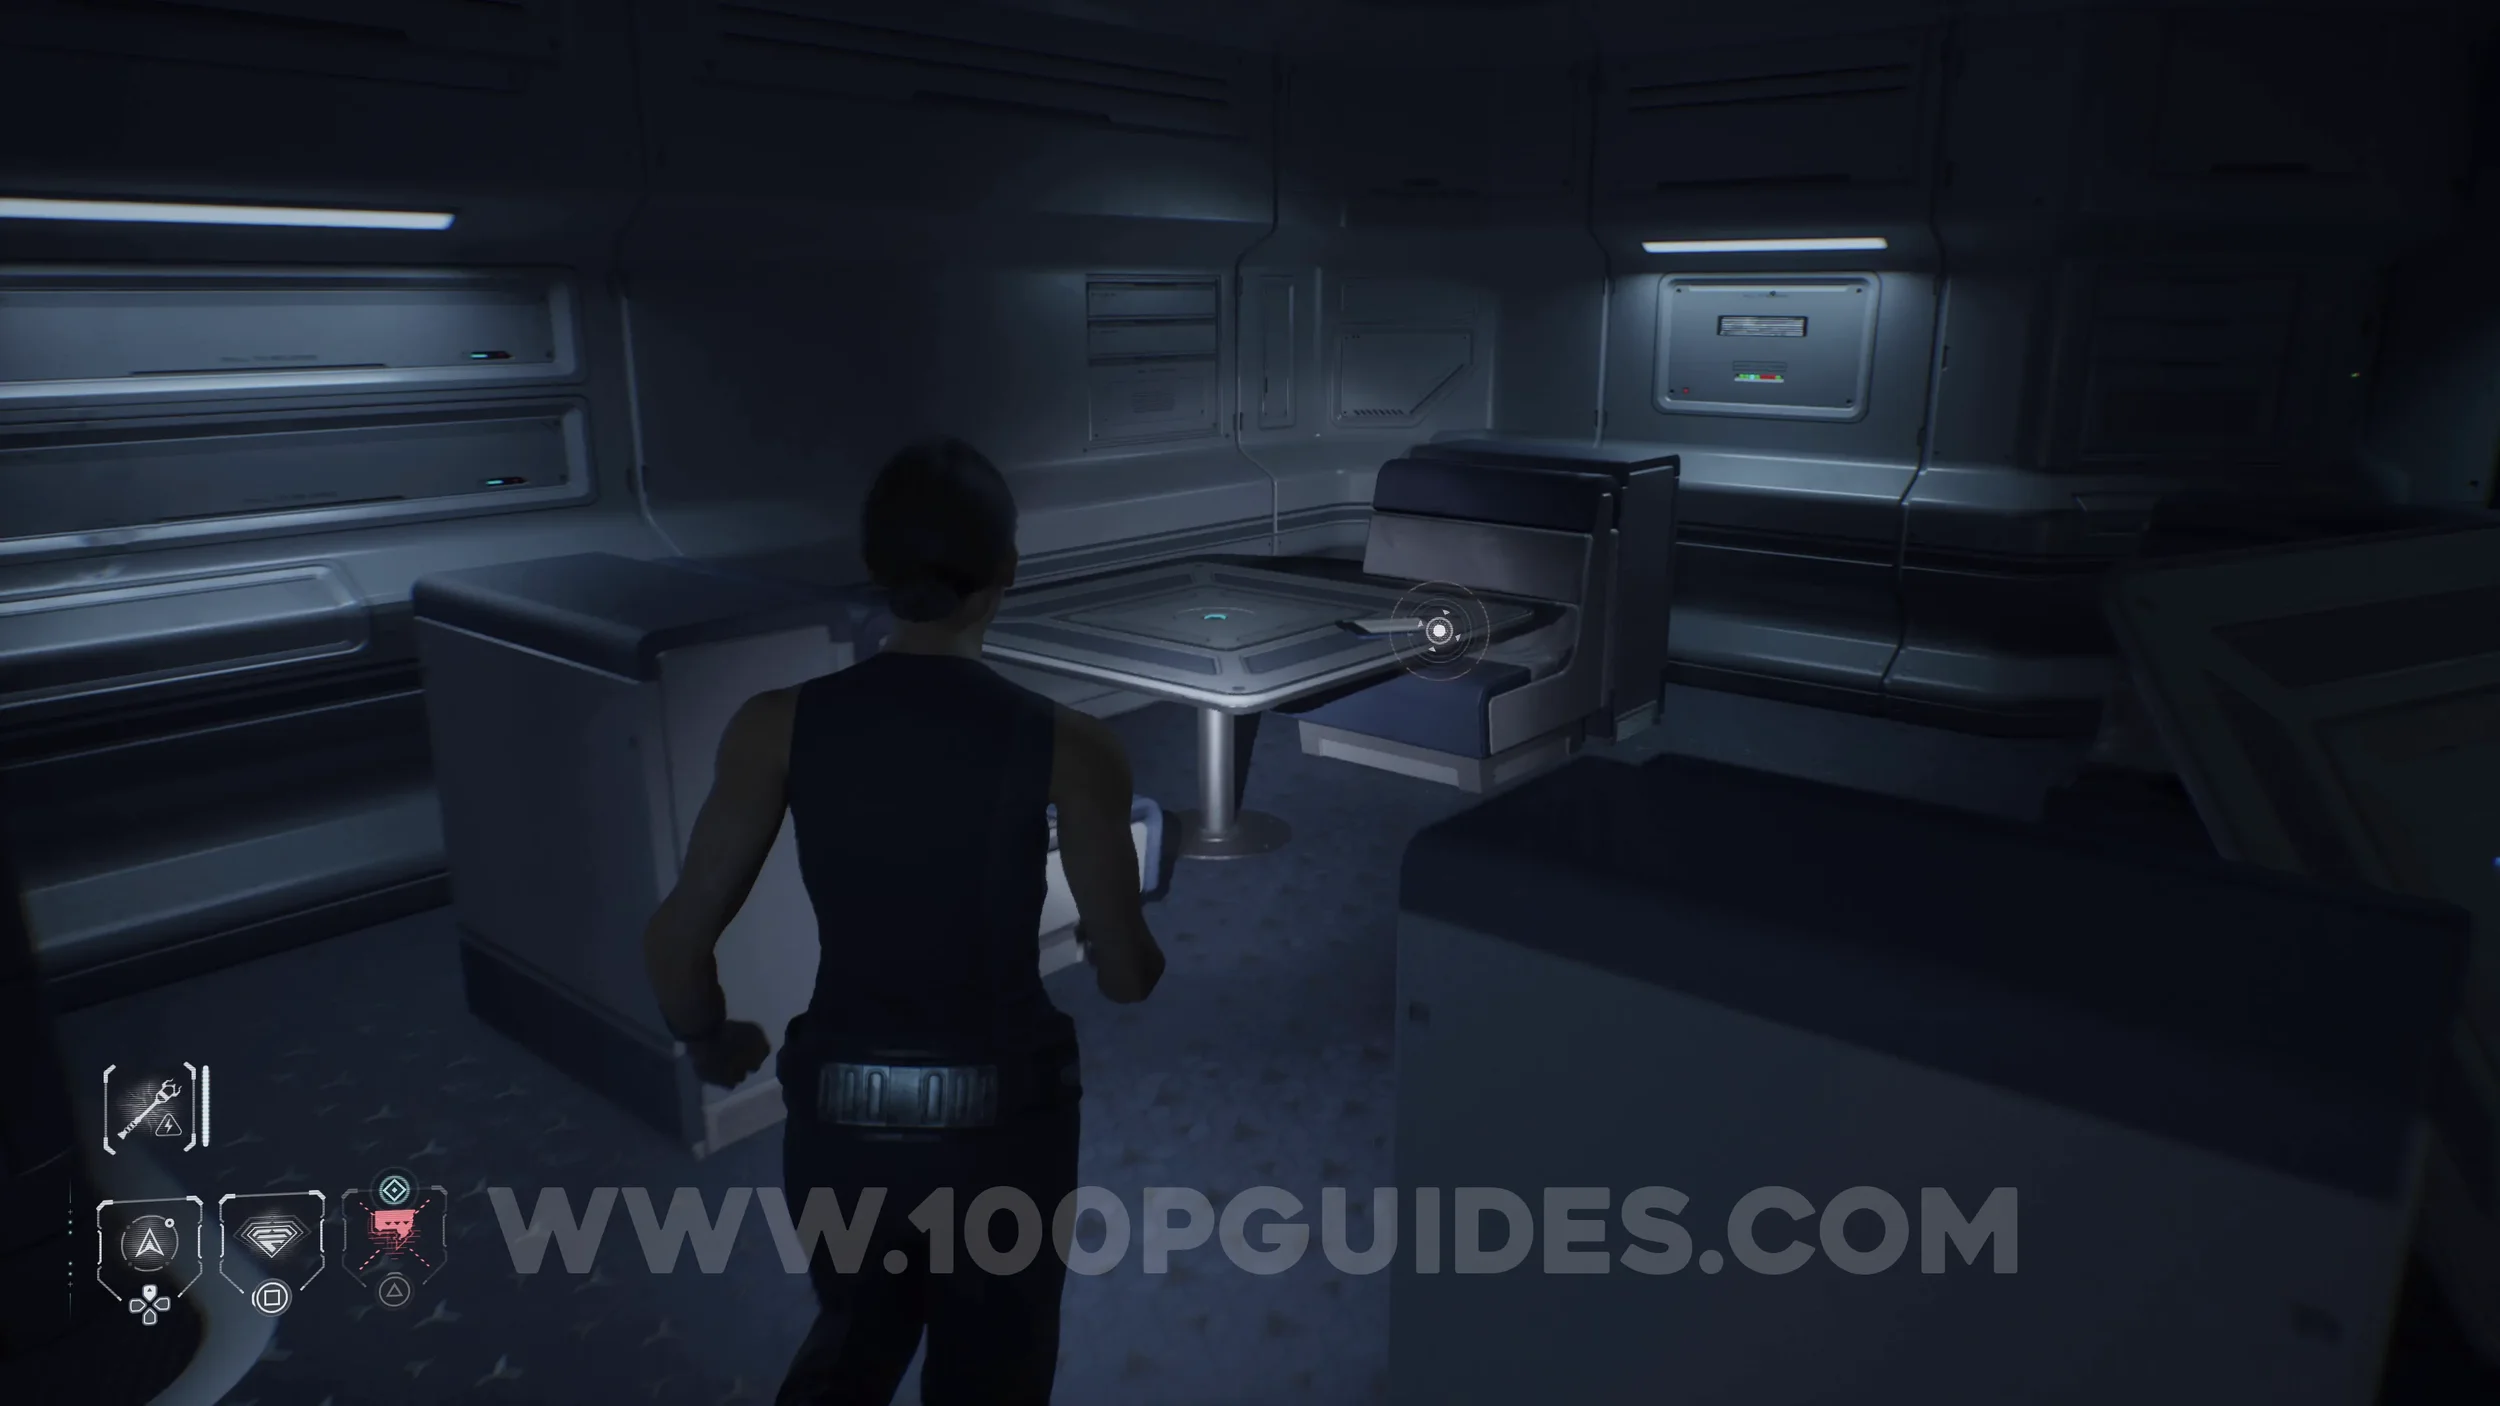
Secret #25 - Conspiracy (Words of Affirmation). After the crew splits up and you gain control of Samantha, look for the collectible on the table to your right.
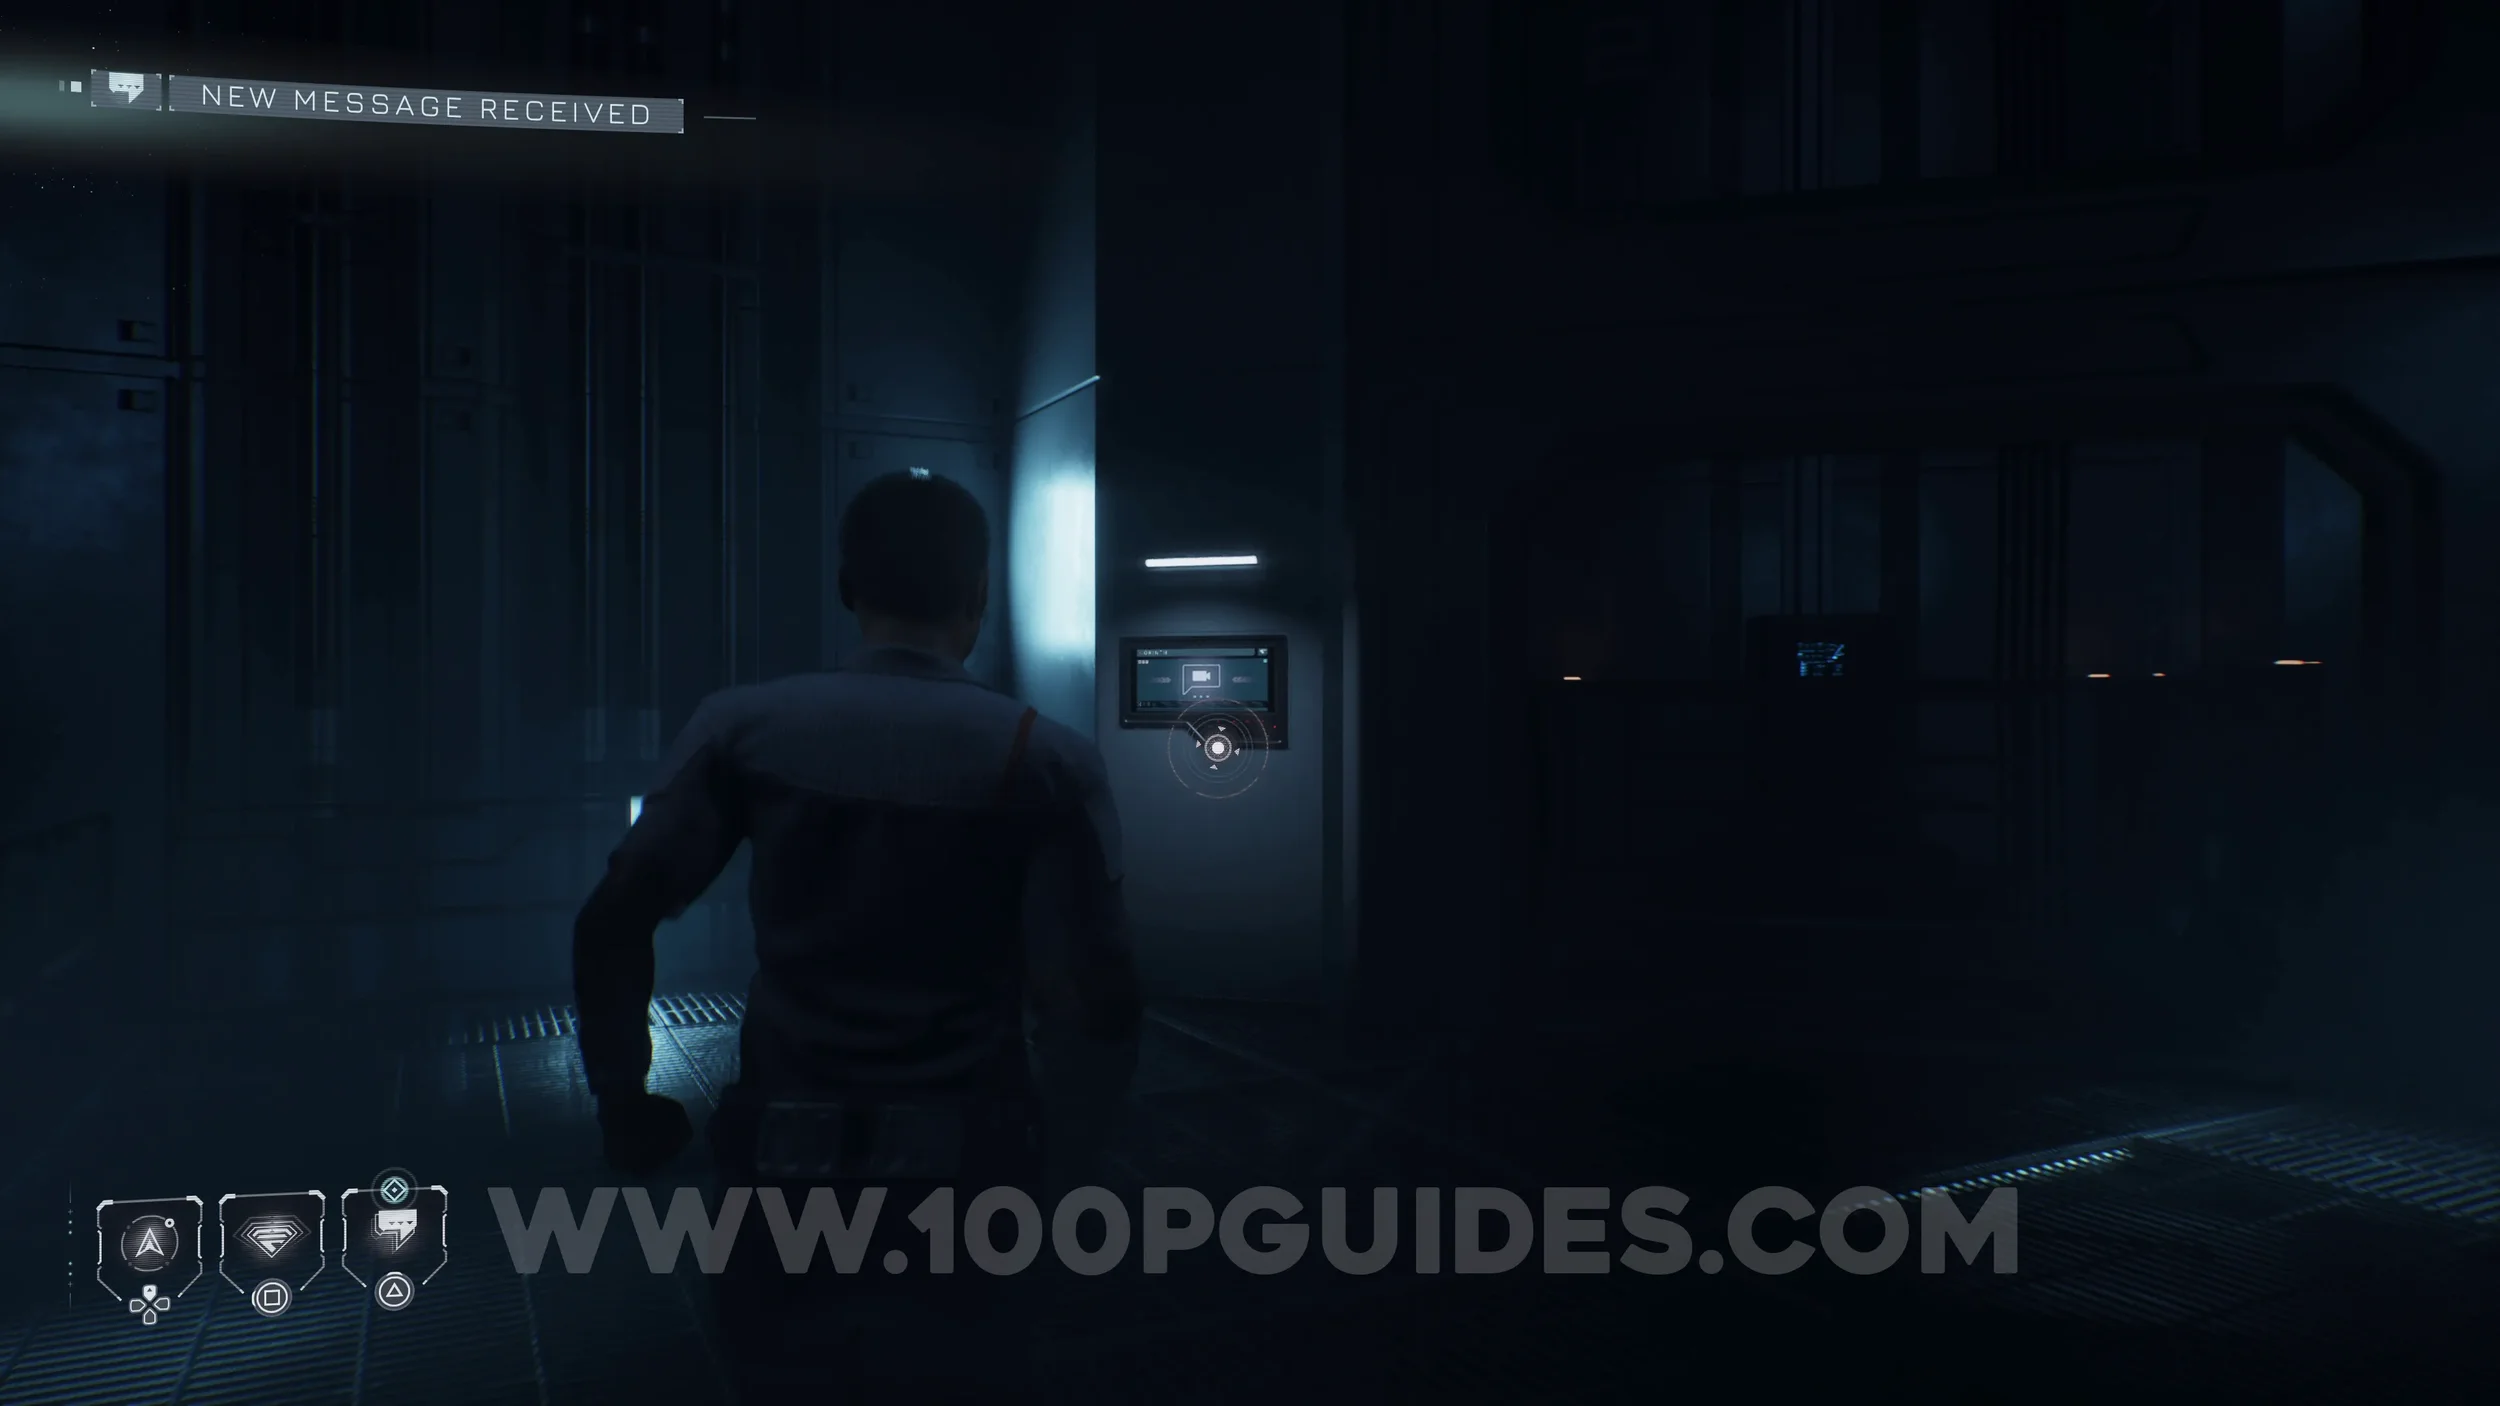
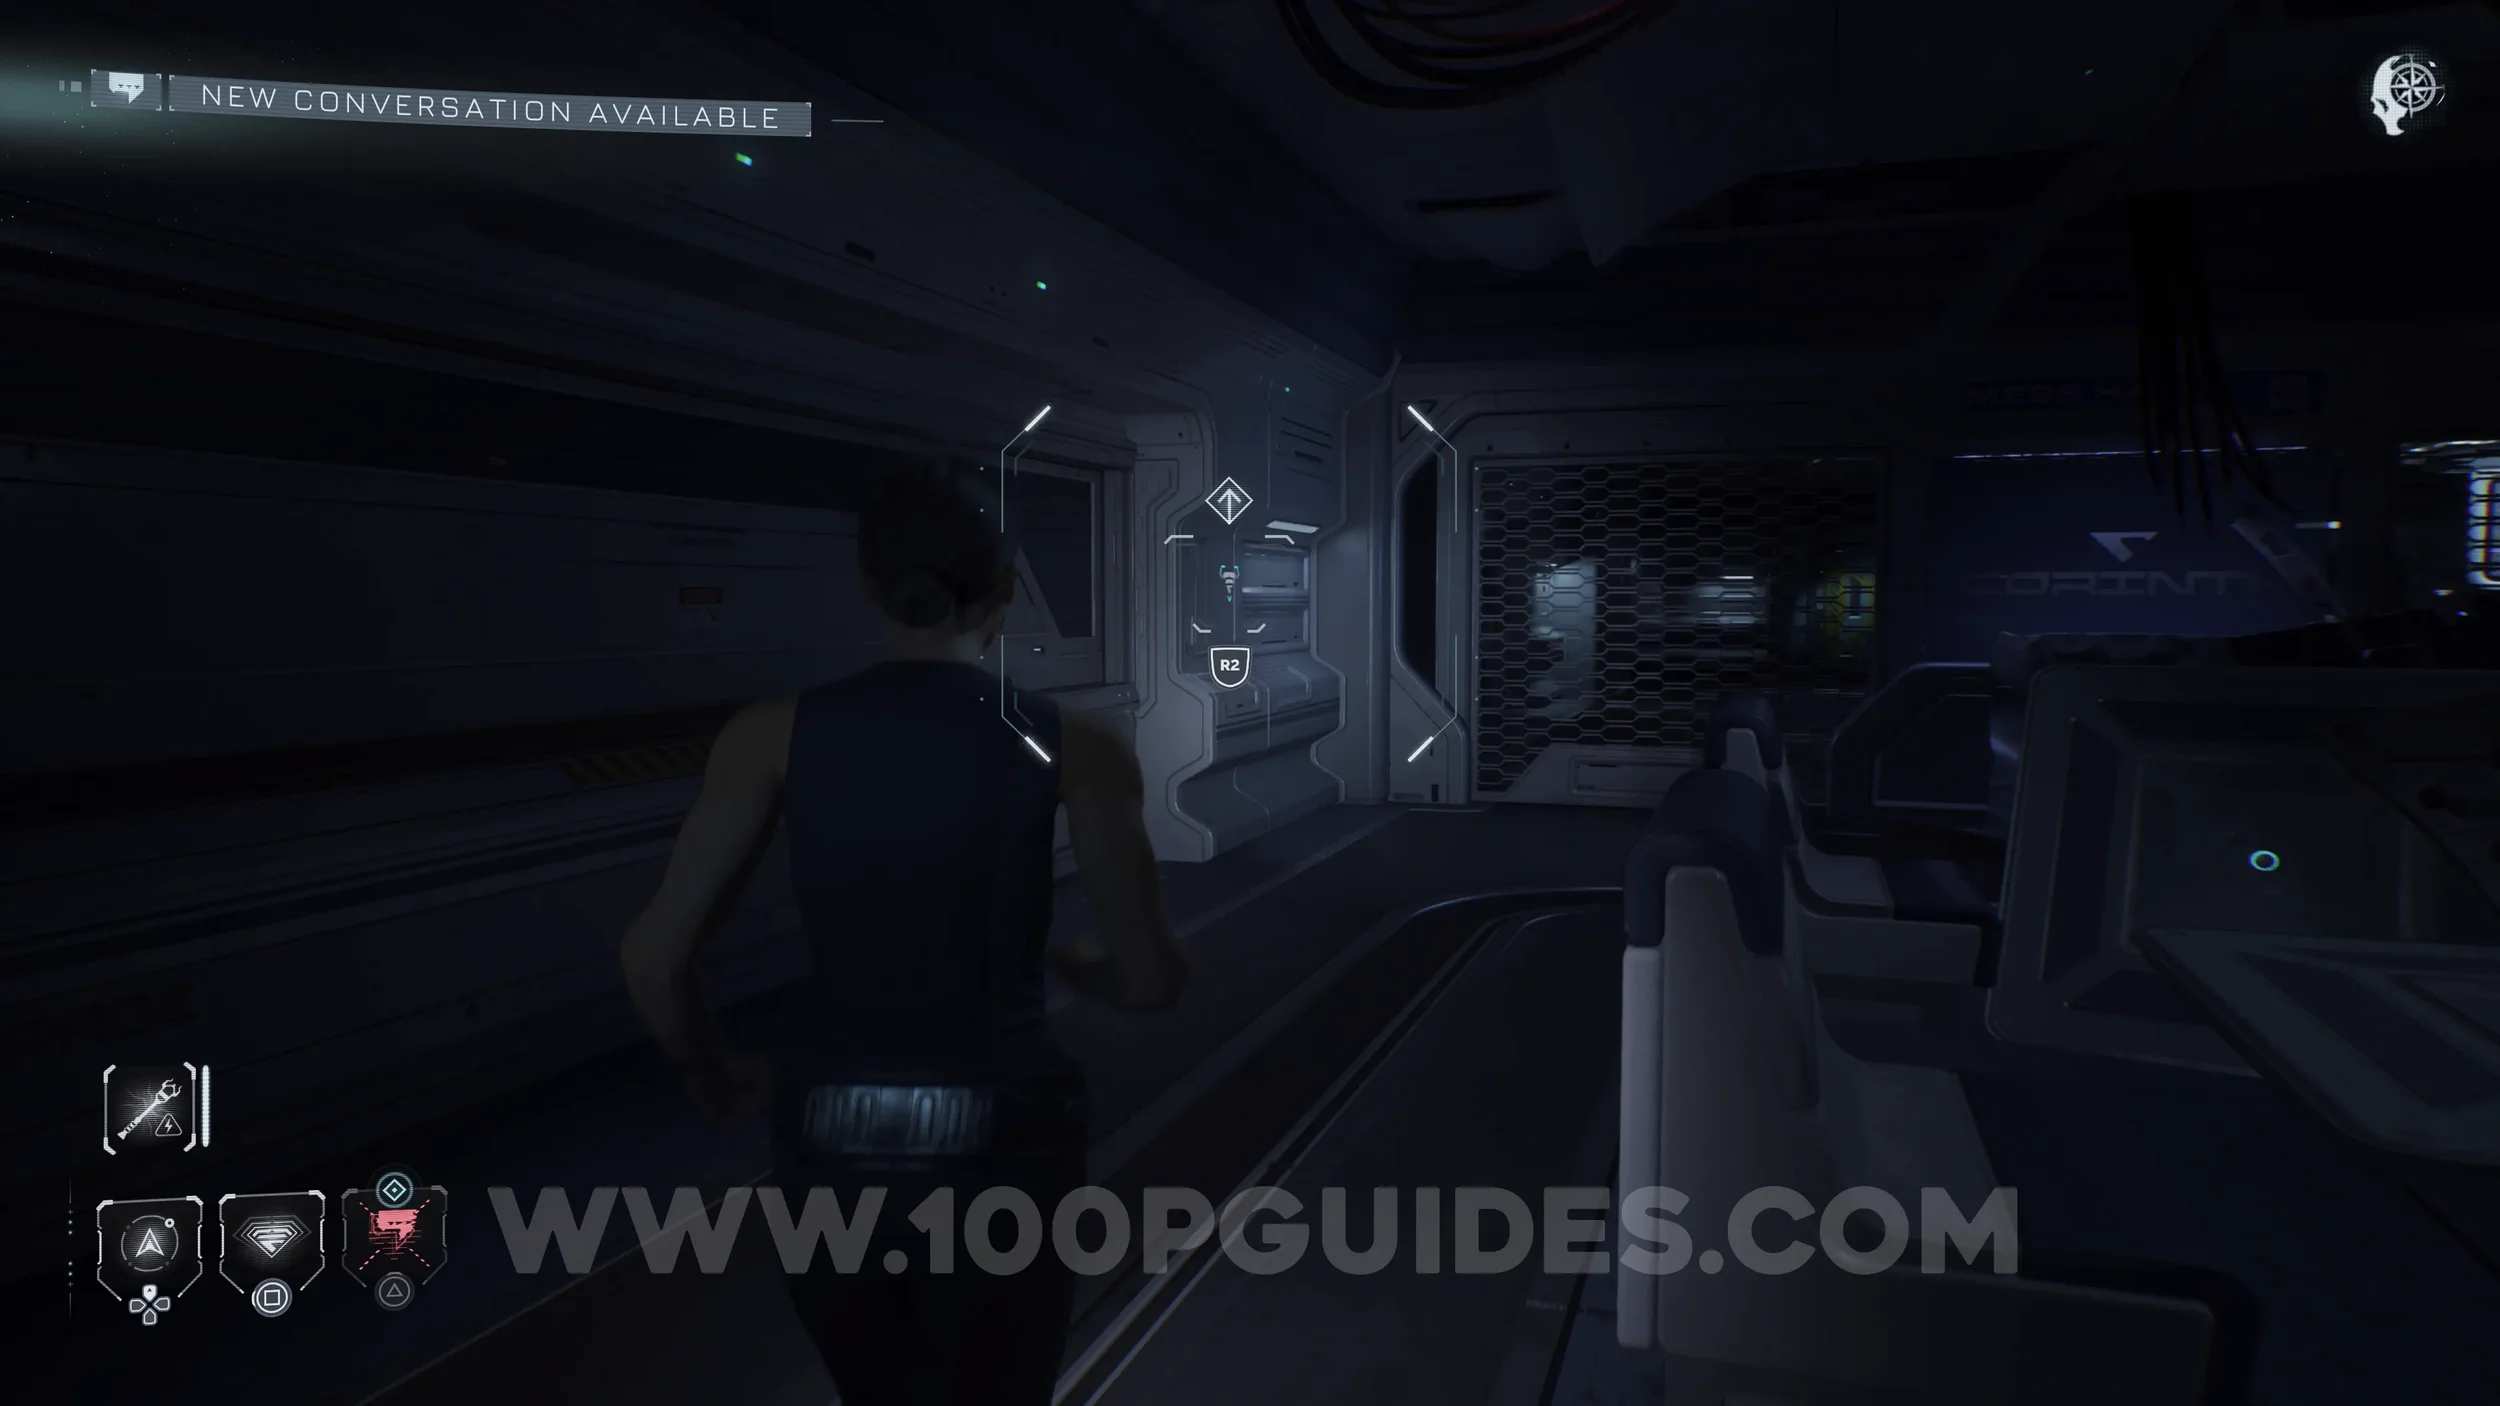
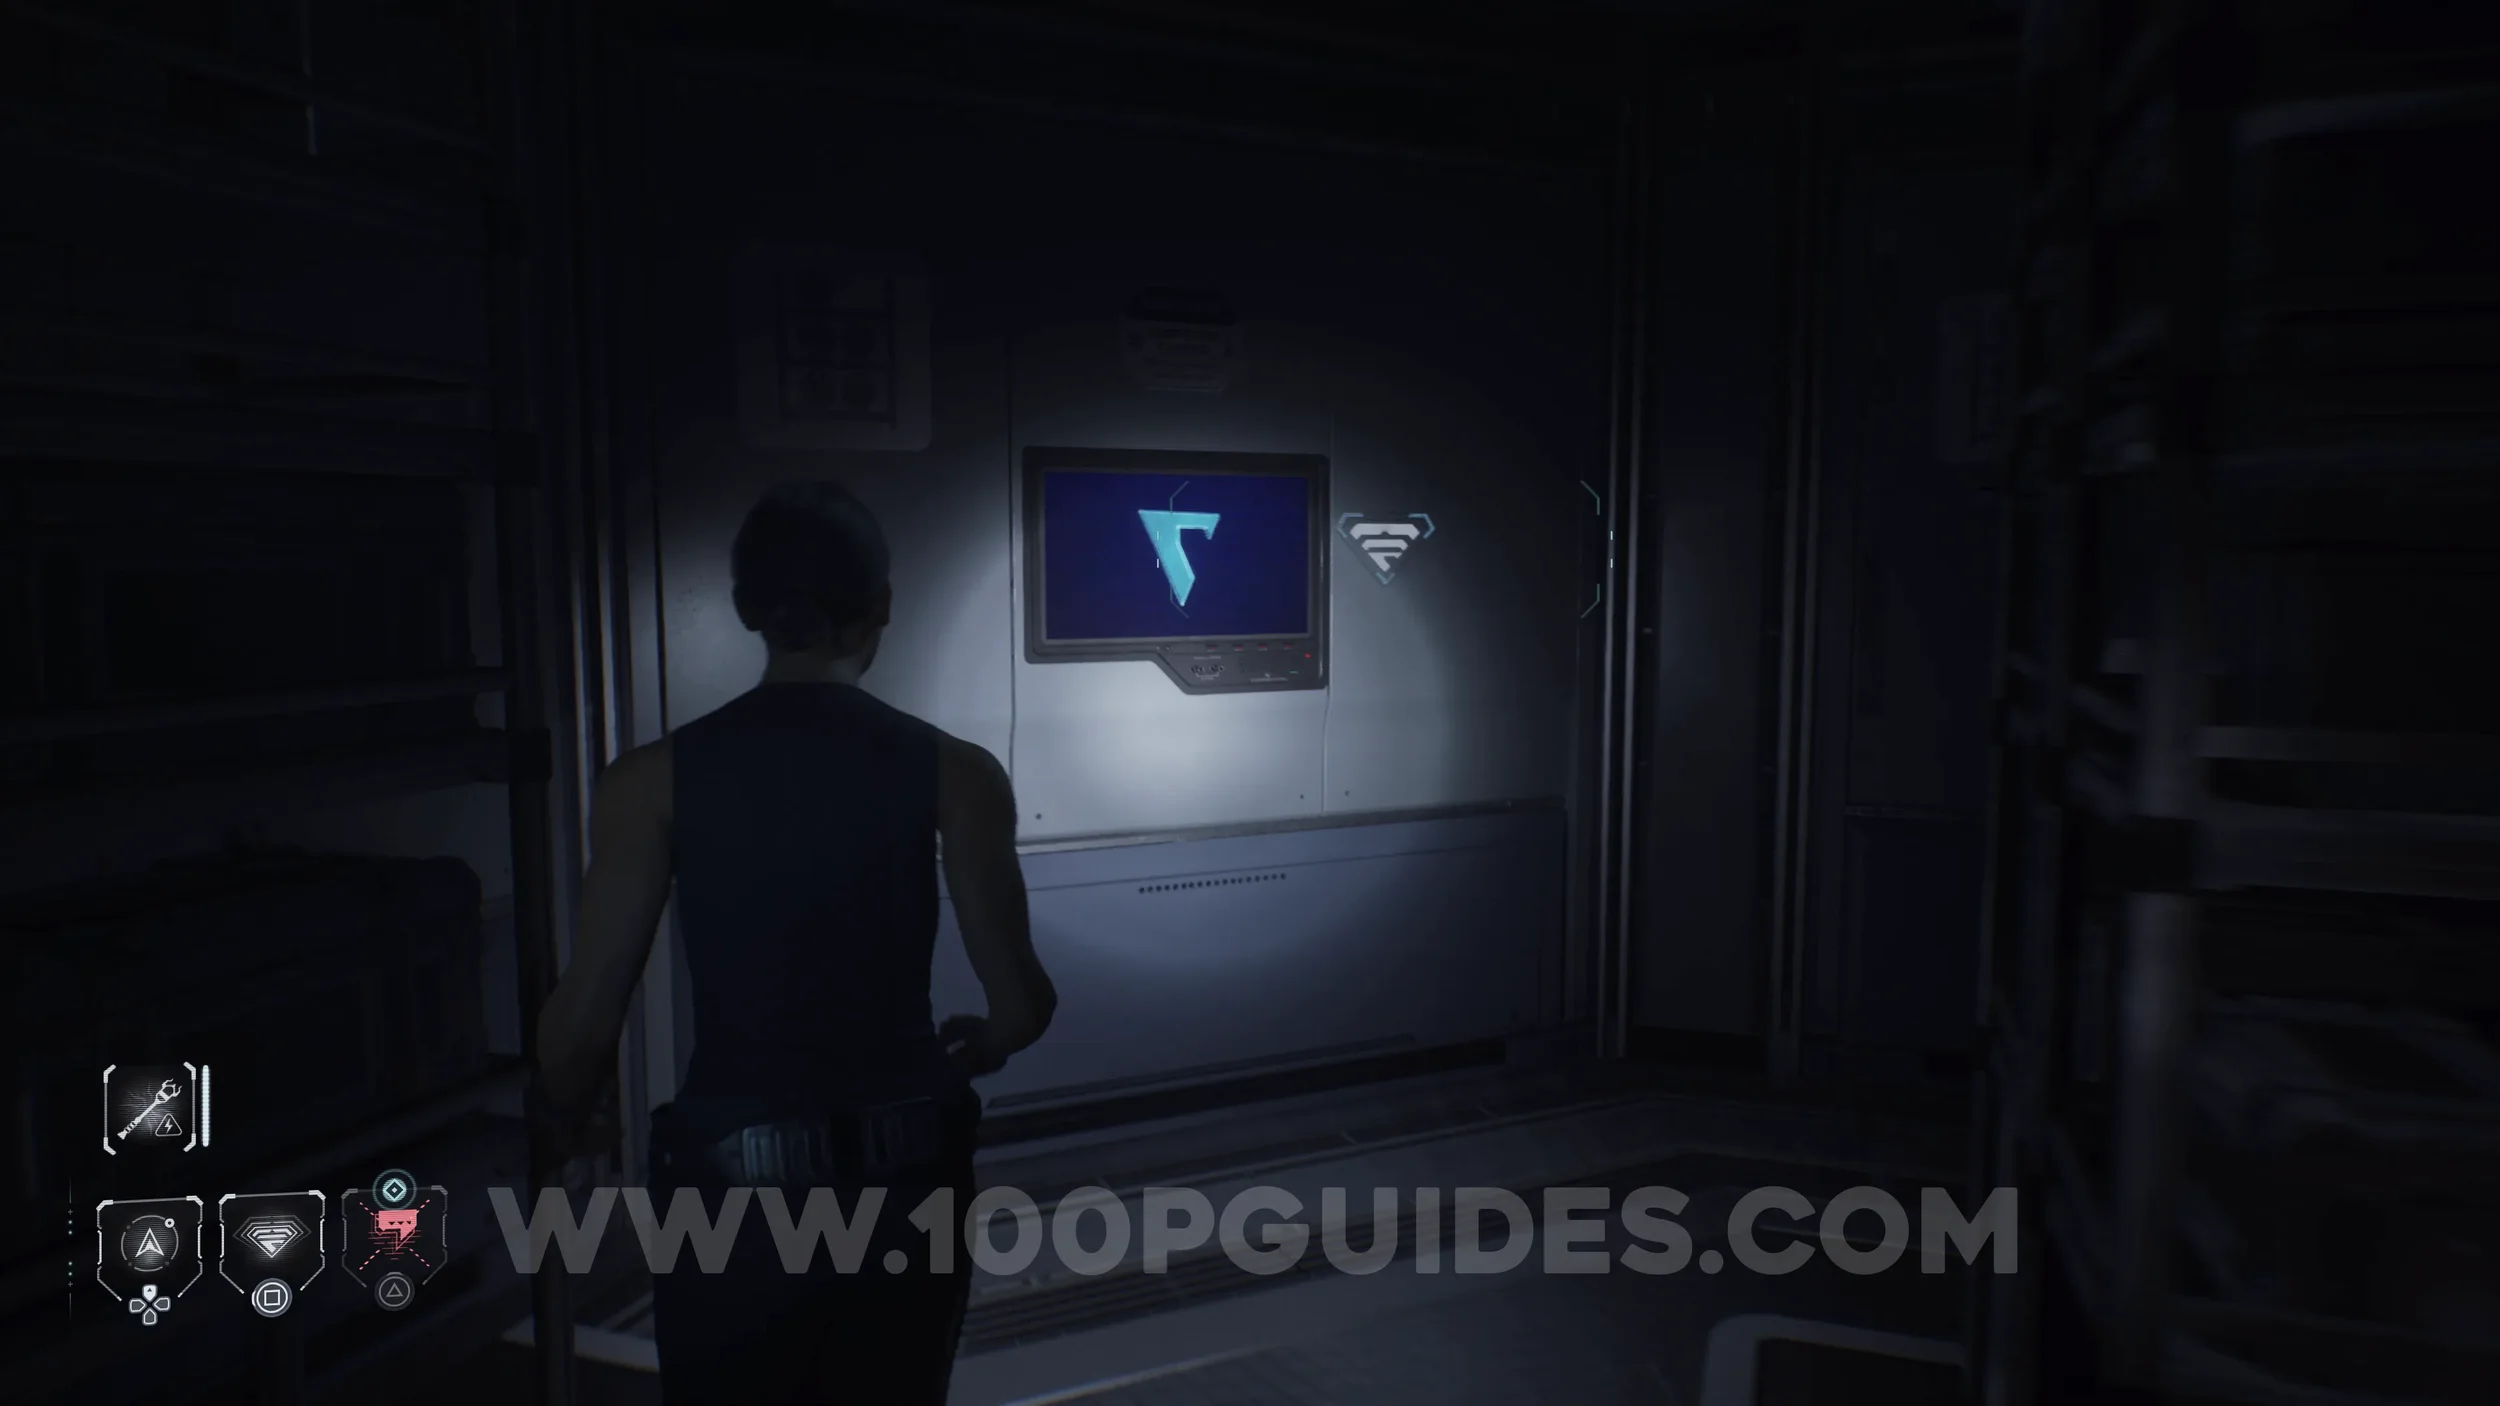
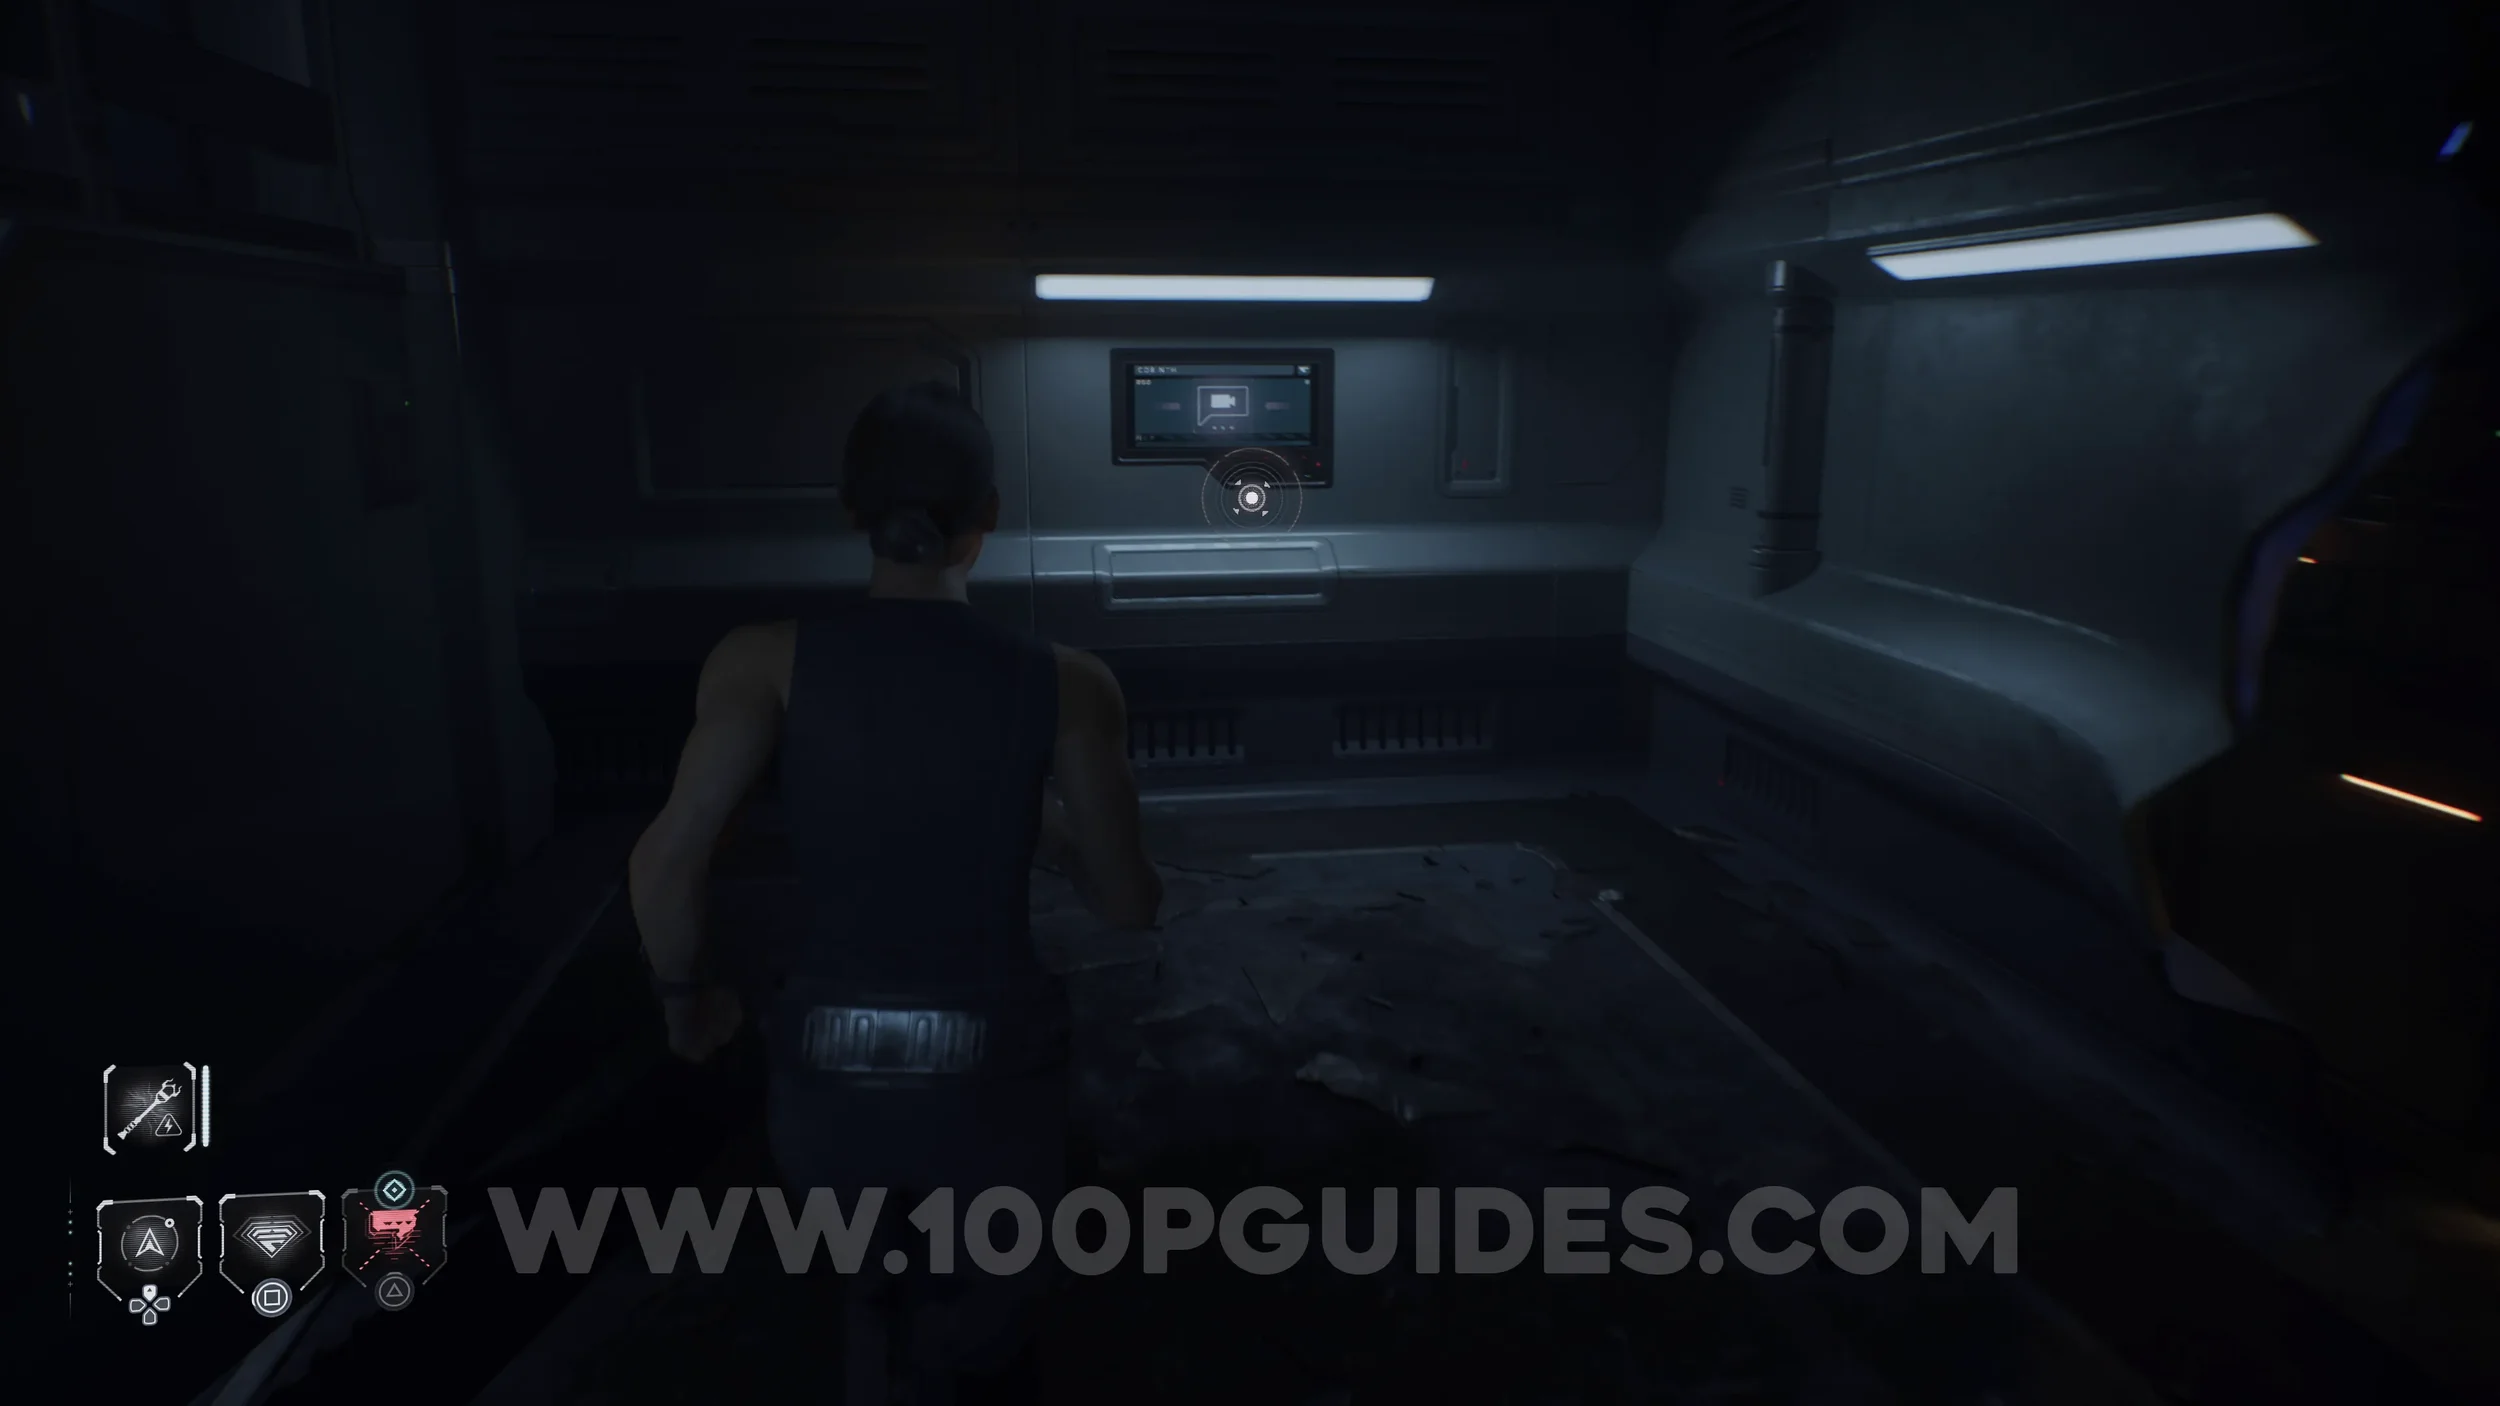
Secret #26 - Sleep Crew (Simms). In the room where the previous collectible was found, open the shutter on the left side and jump through the window. Then go left to find a screen on the wall to get the collectible.
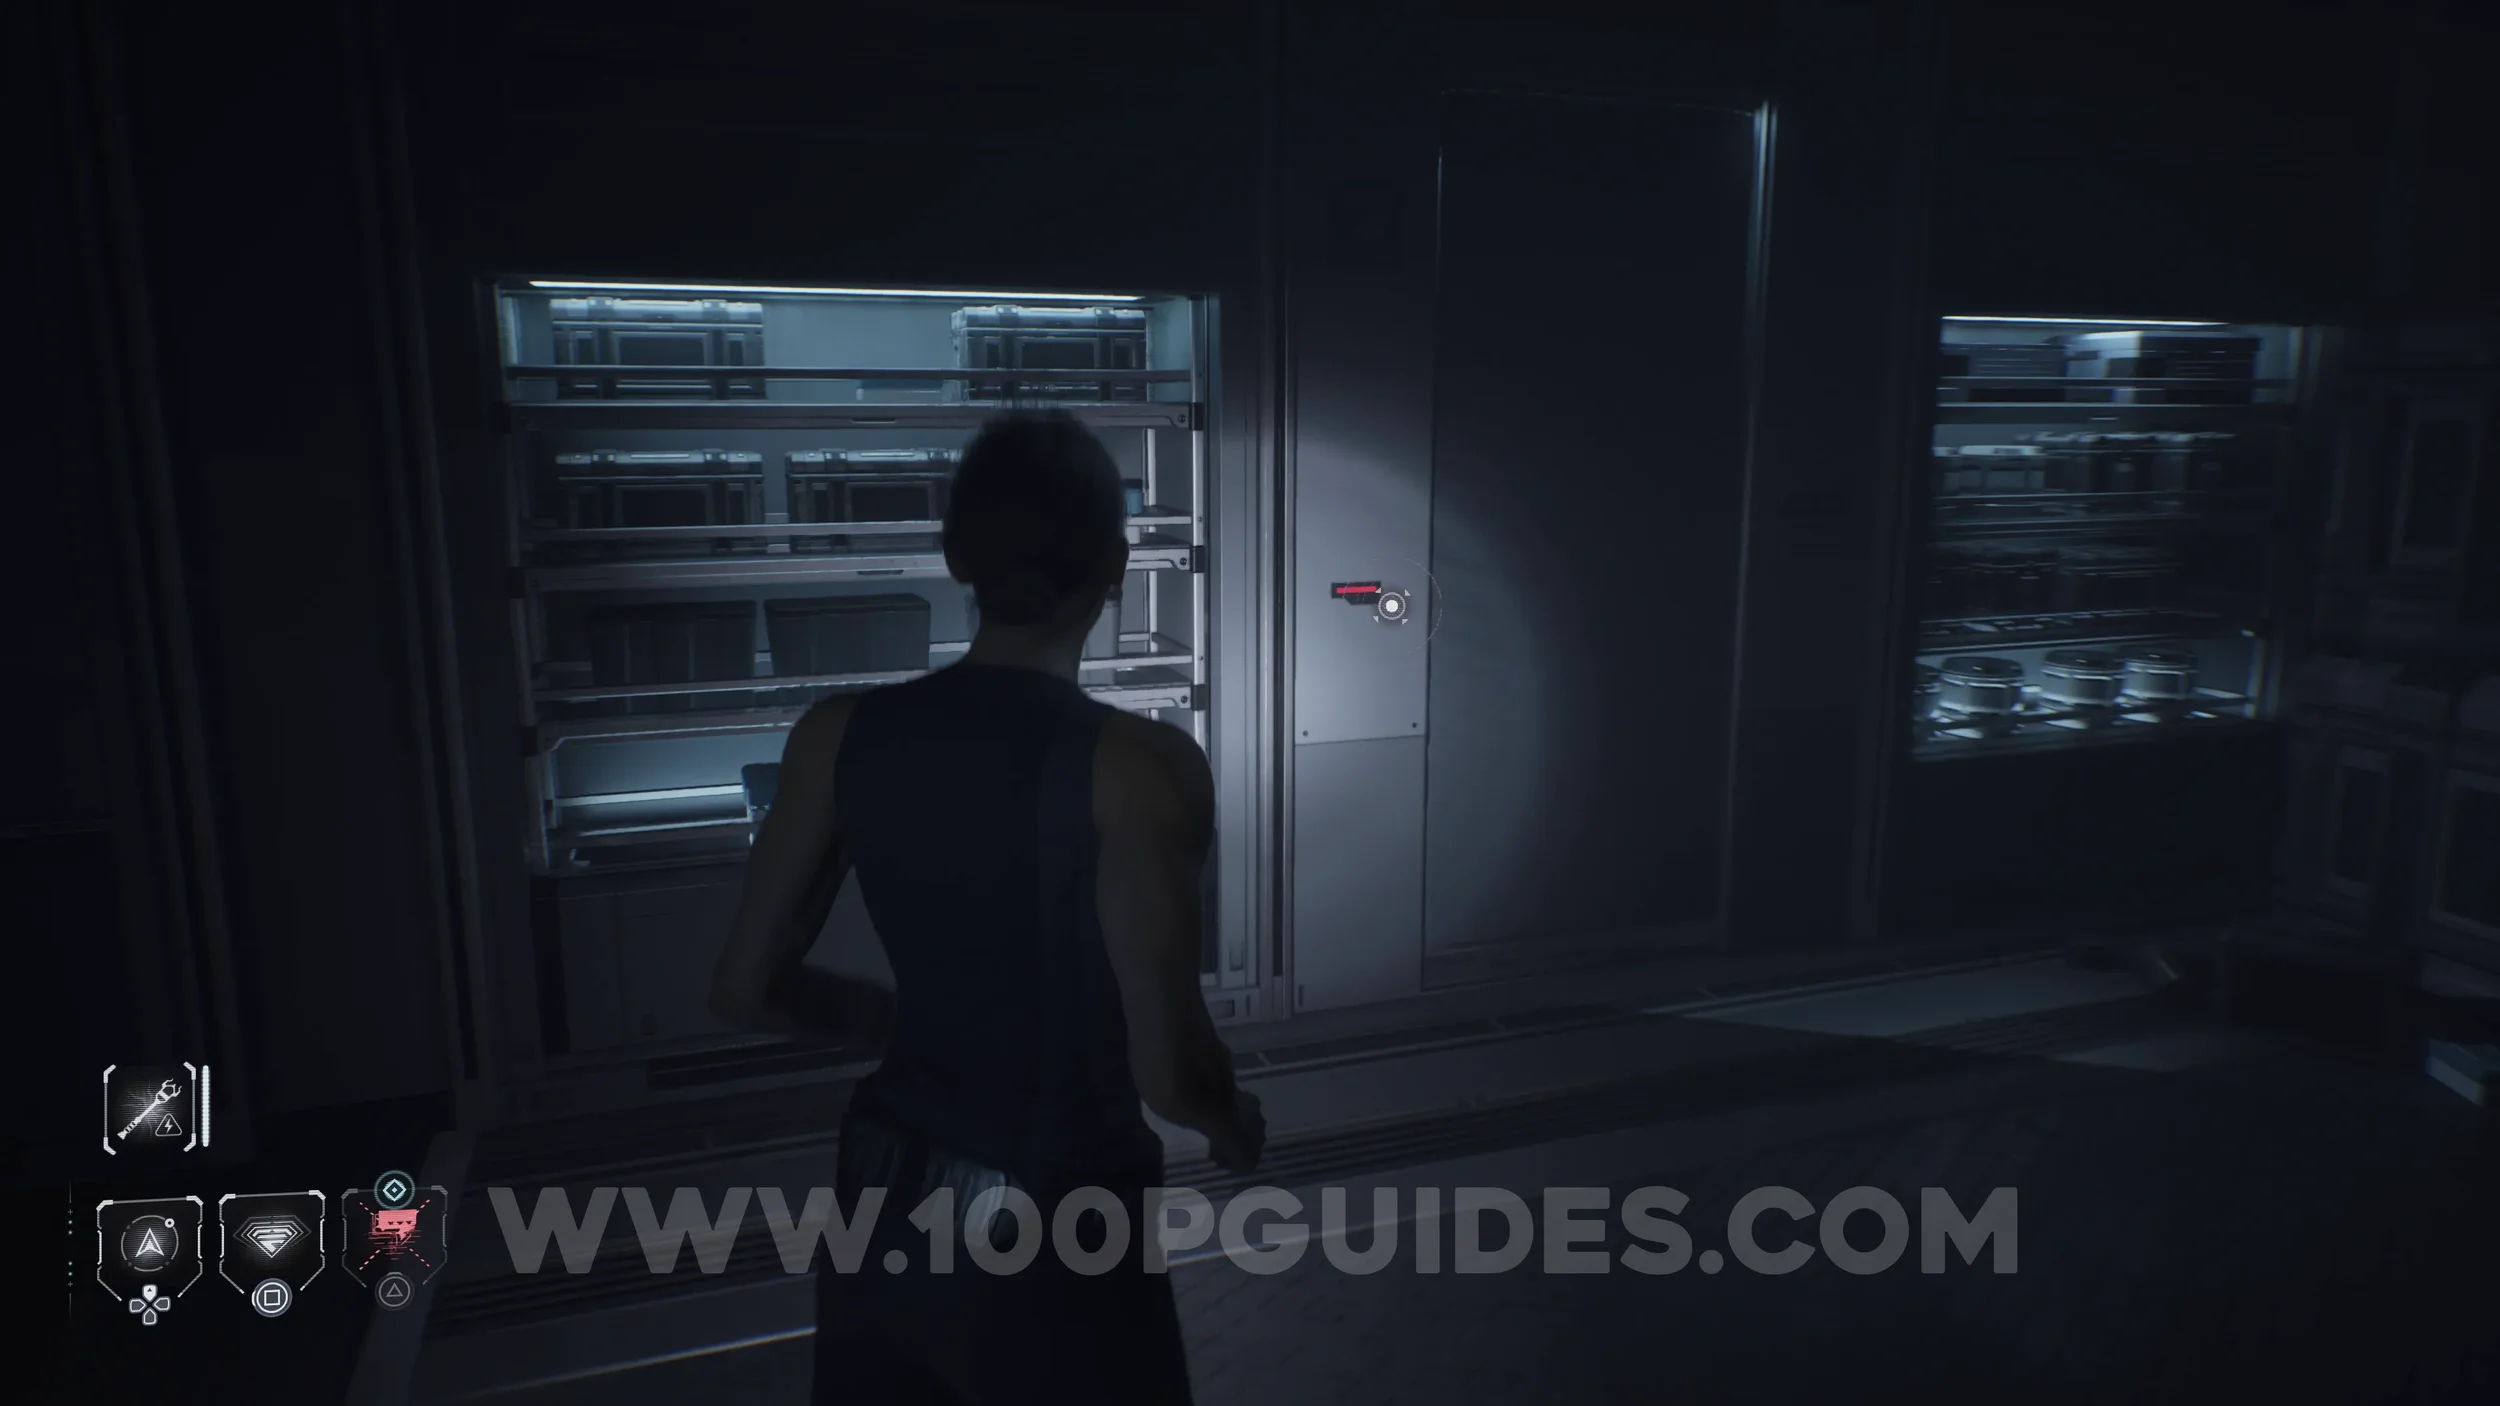
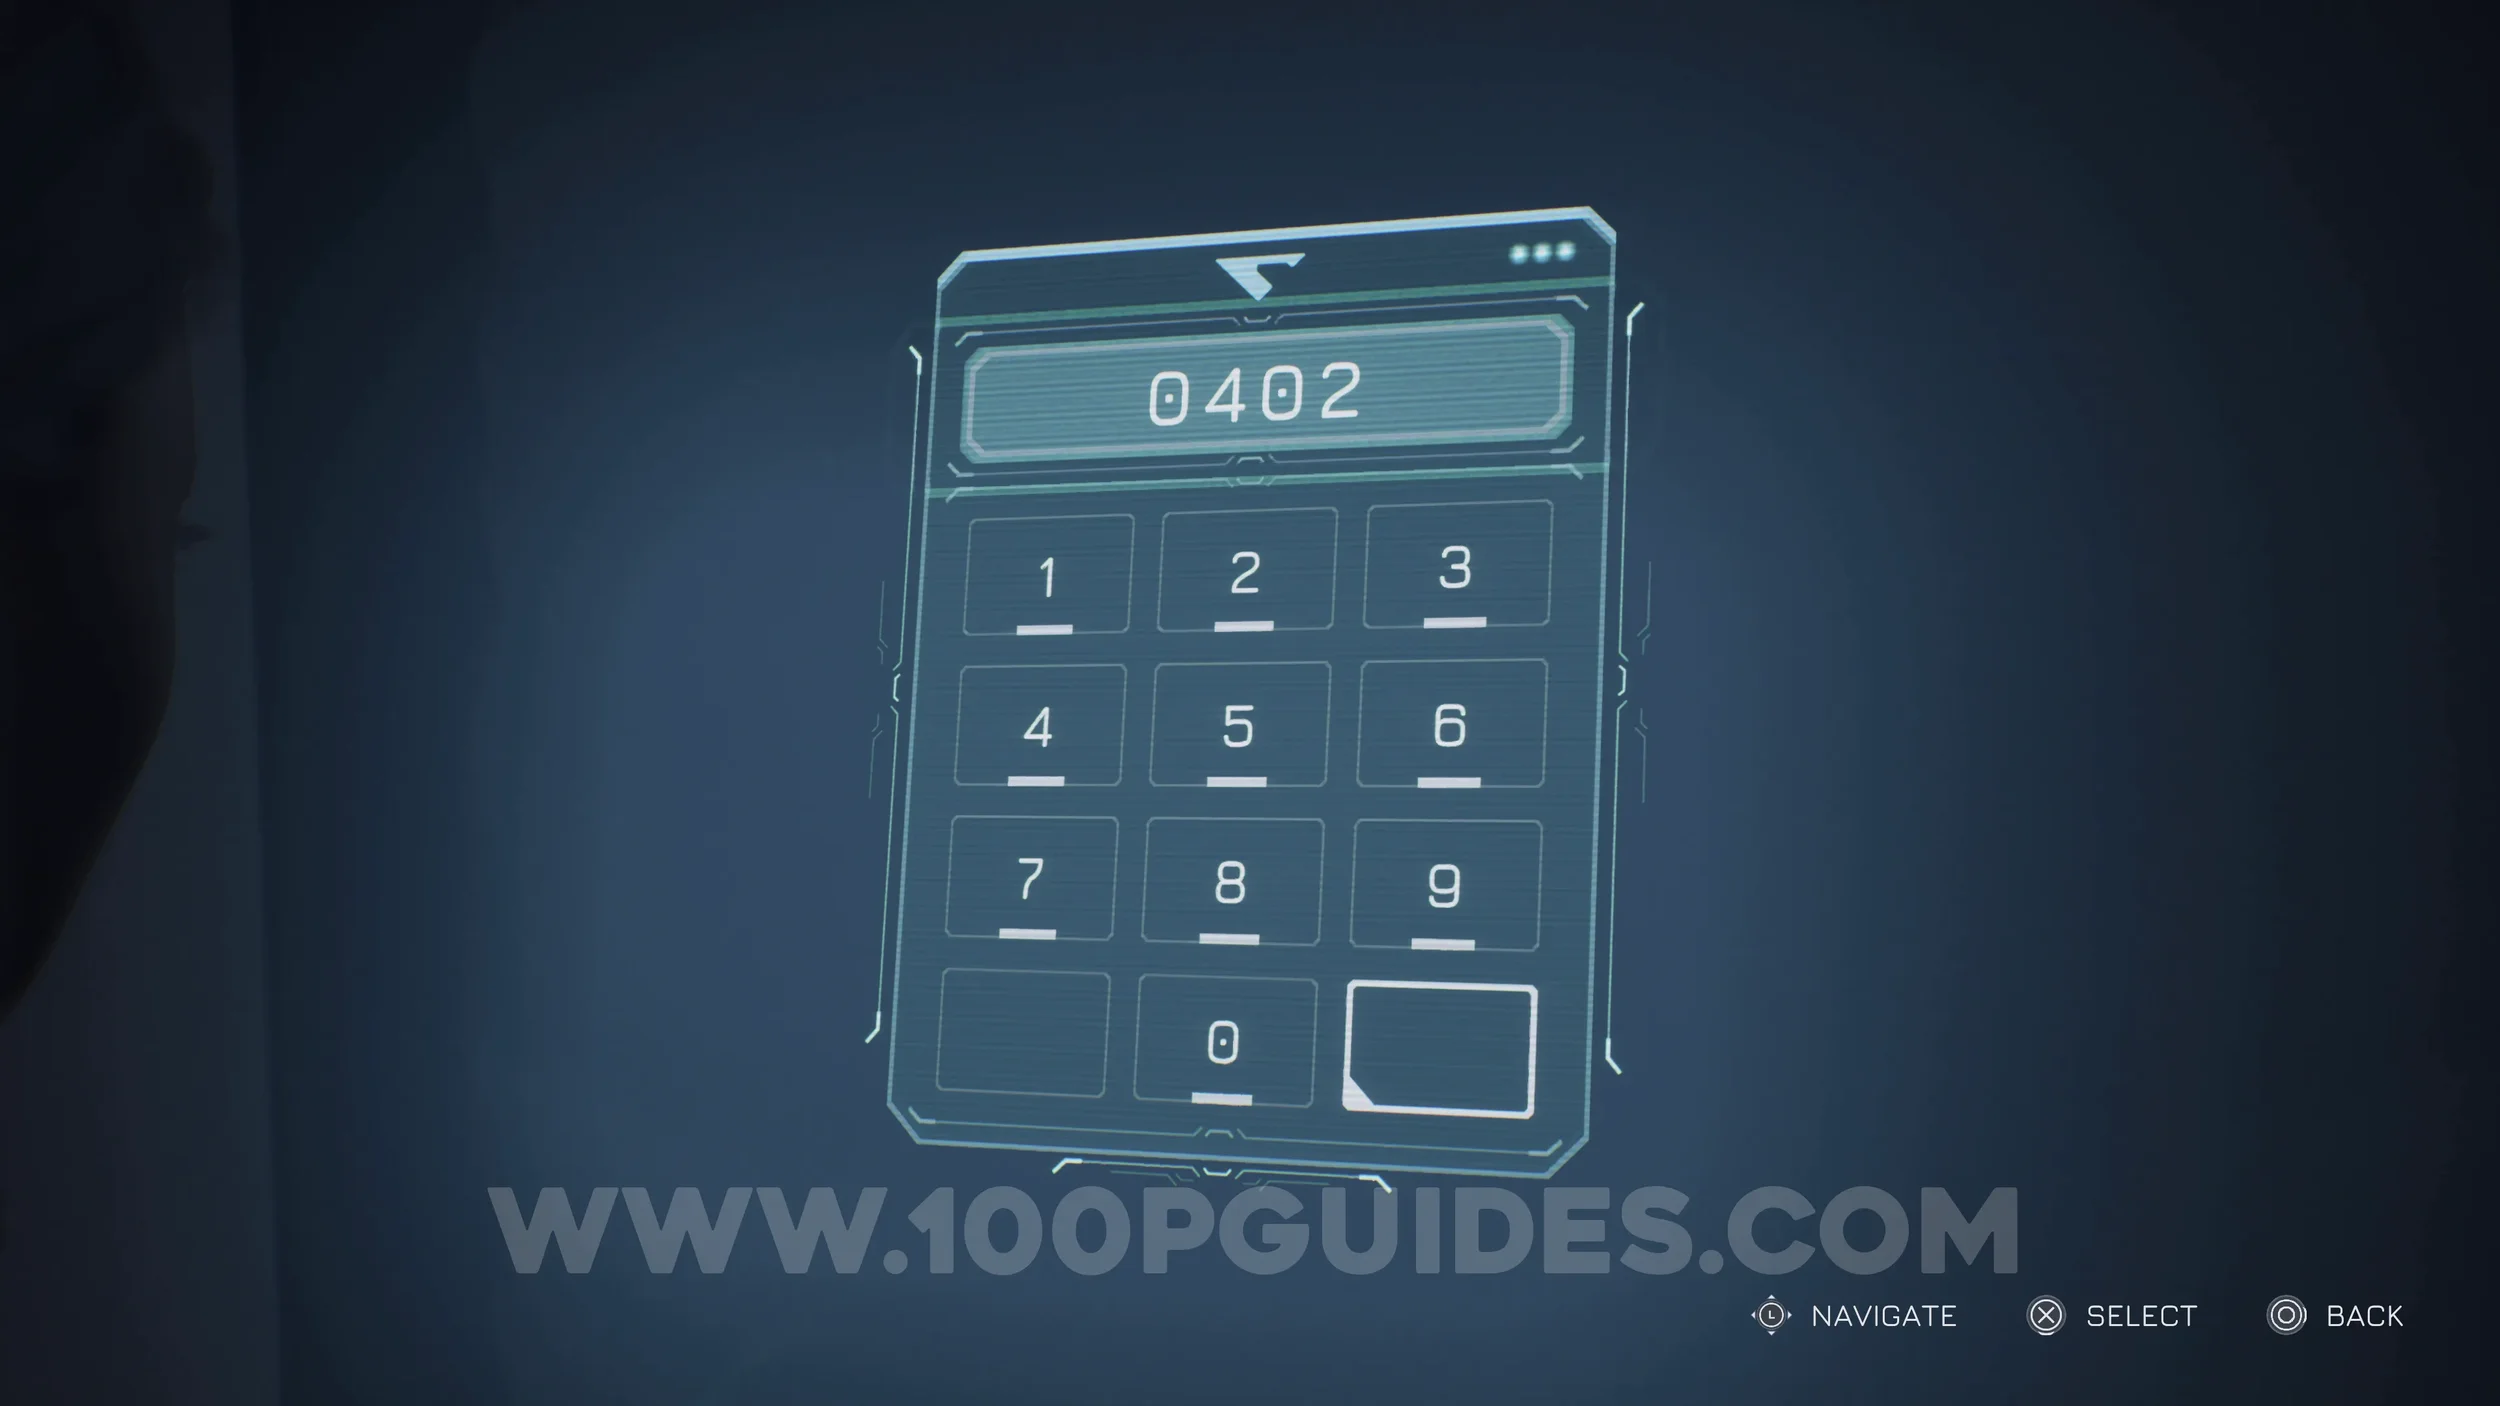
Secret #27 - Dark Future (Nutrimito). In the same area as the previous collectible, vault over a metal shelf and look to your left to find a locked door that requires a code. Use code 0402 to open it and grab the collectible on the other side.
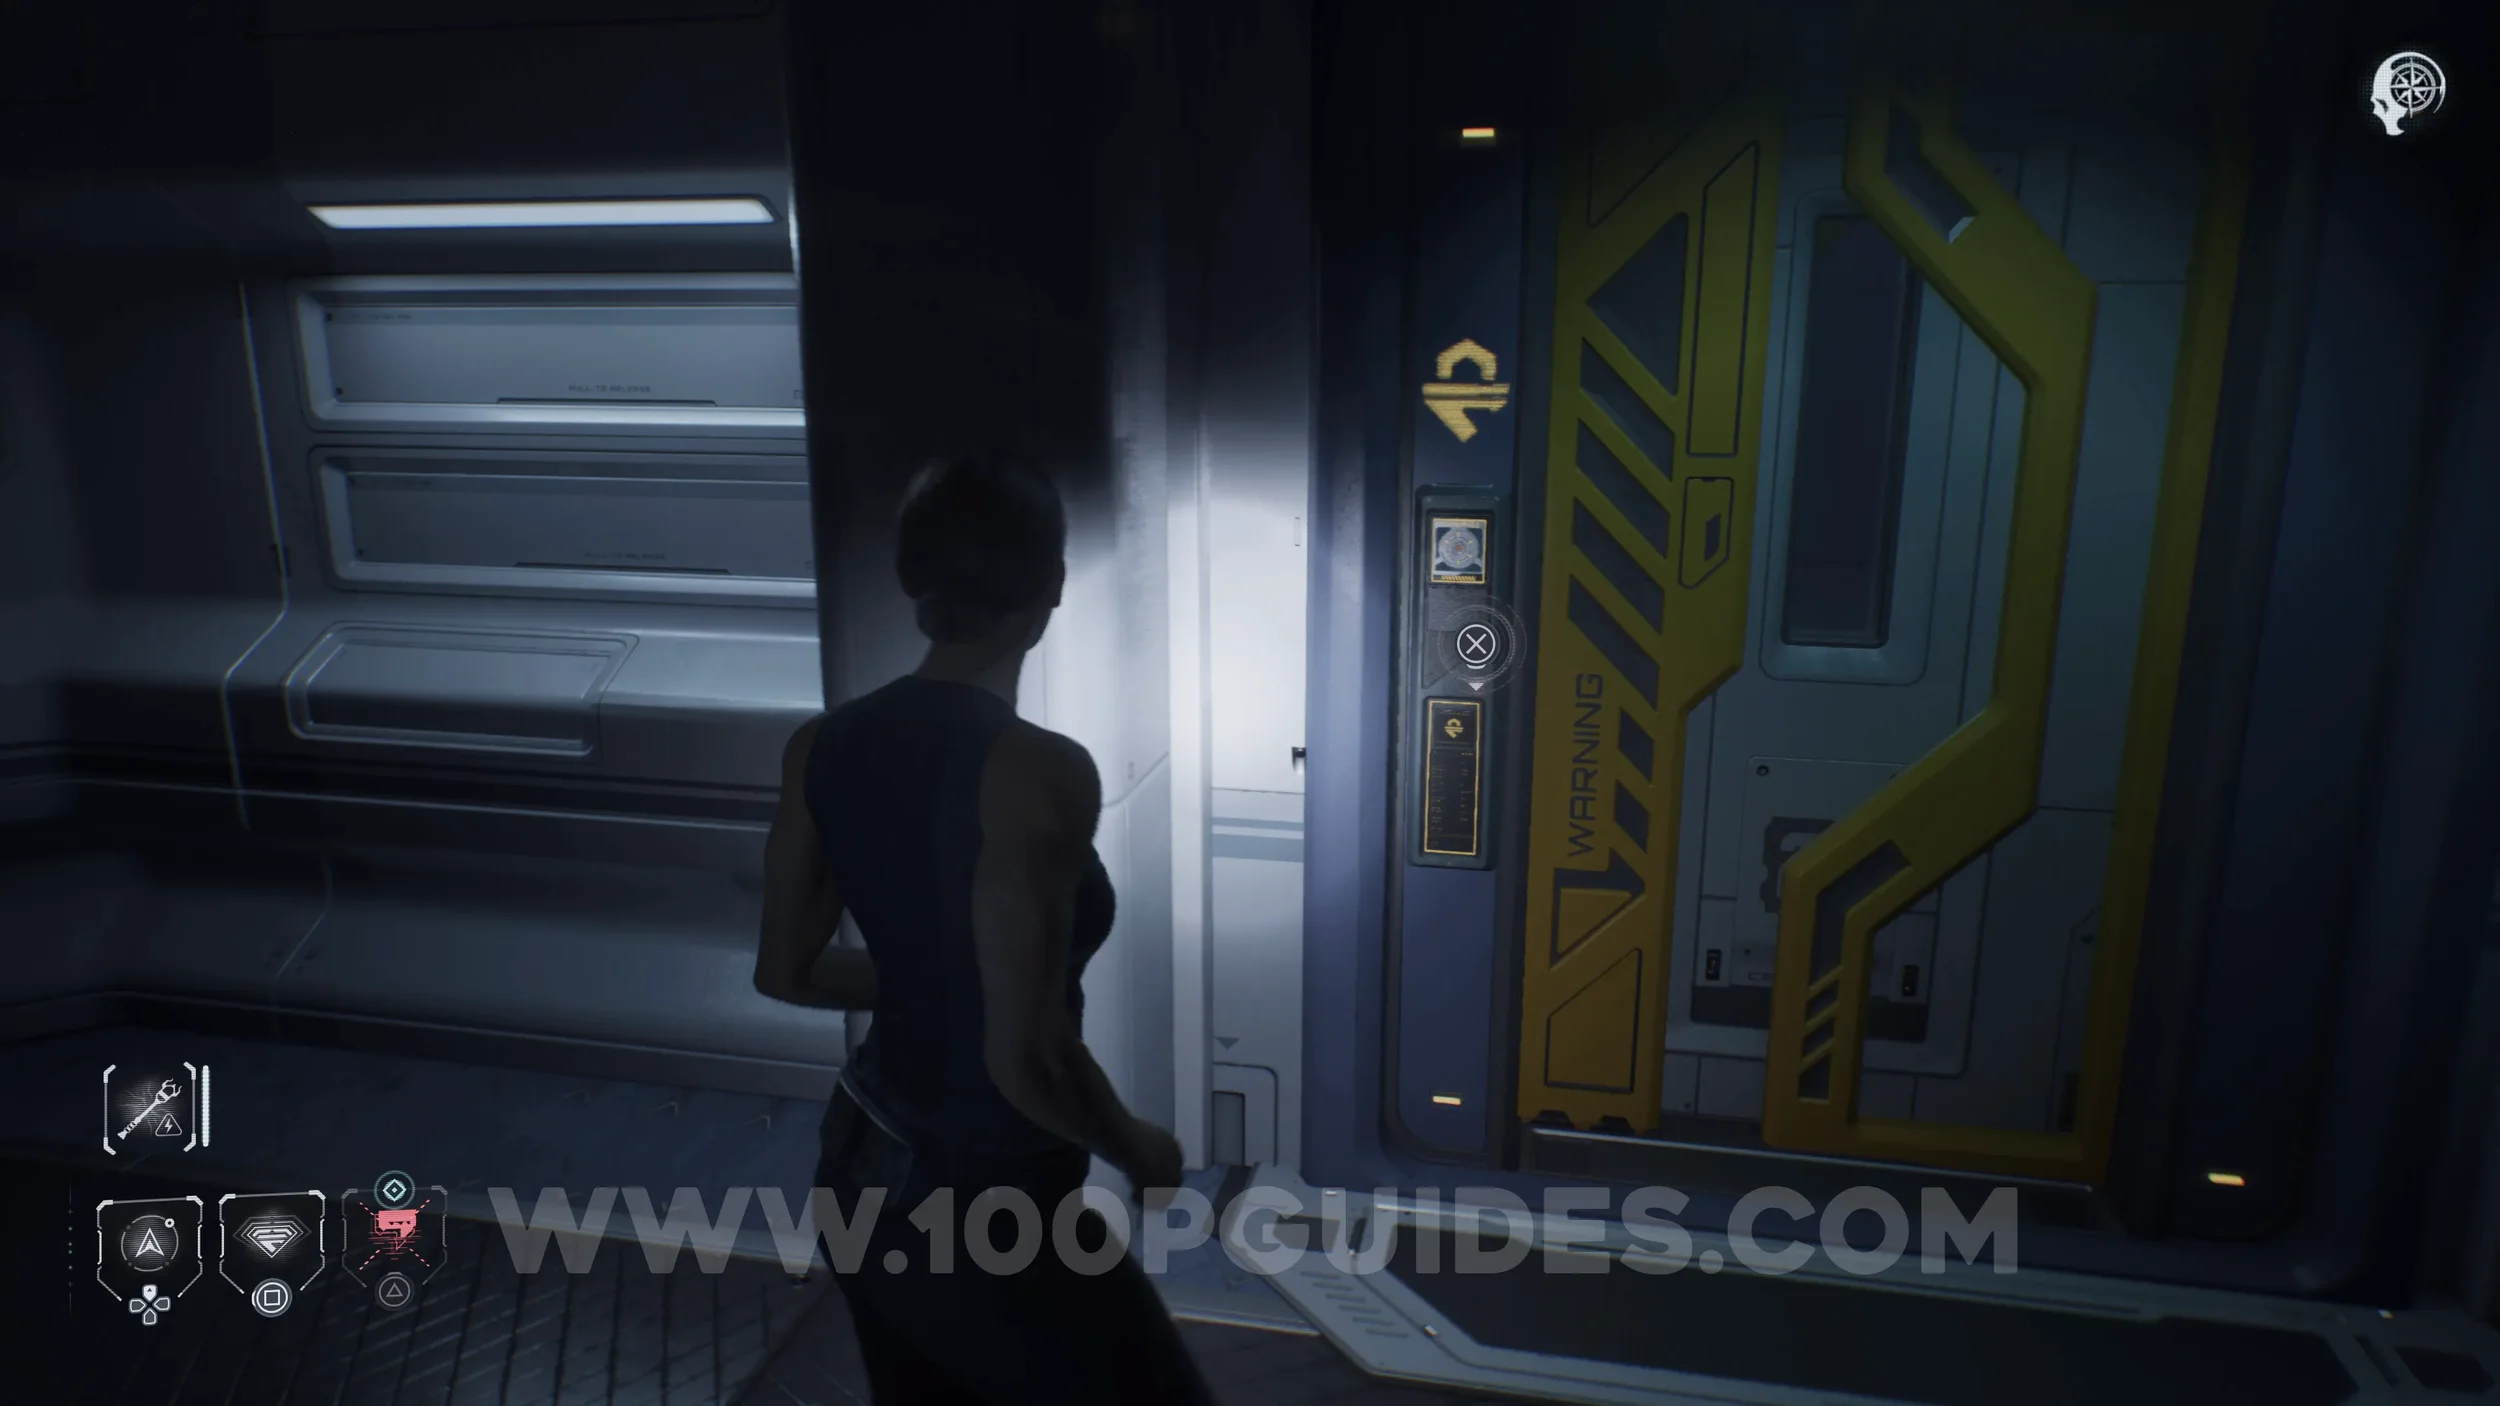
Secret #28 - Conspiracy (Game Changer). After using the power cell to open the door, go through it and look to the left to find the collectible.

Secret #29 - Science Crew (Fit To Fly). Override the door to the right of the previous collectible to find this one in the room on the other side.
Secret #30 - Science Crew (A Freind Indeed). From the previous collectible, return to the large room and go to the far left side to find the collectible on a table.
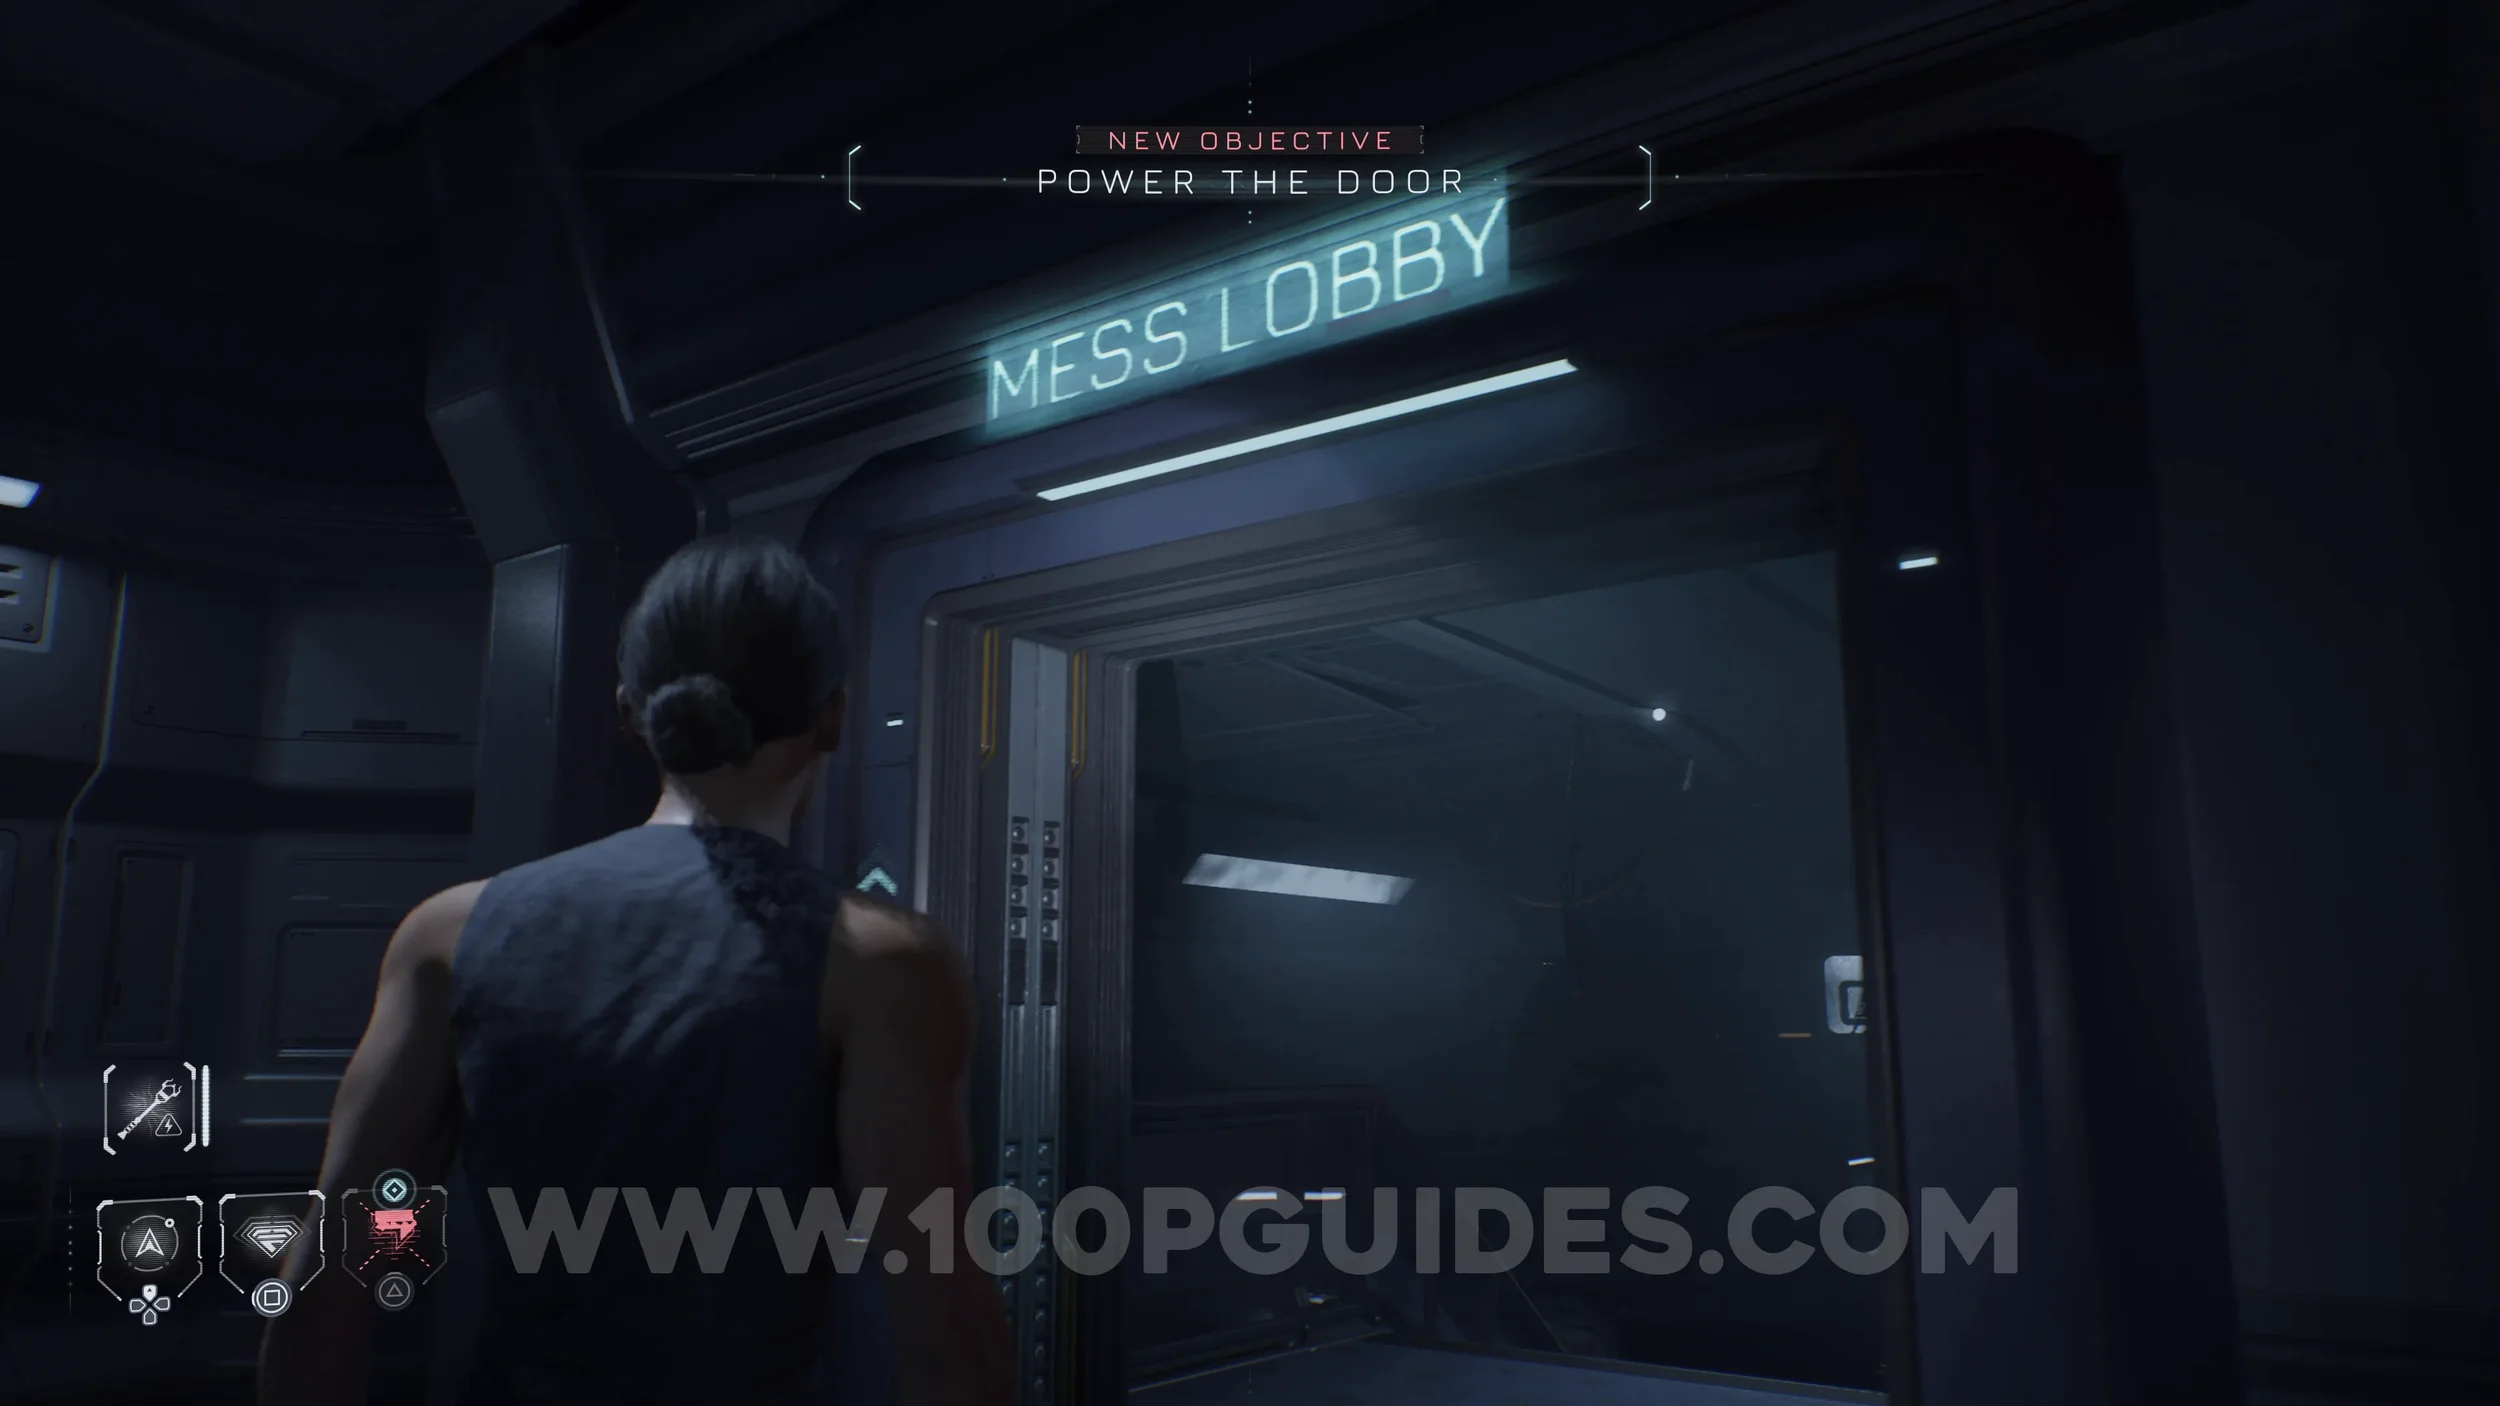
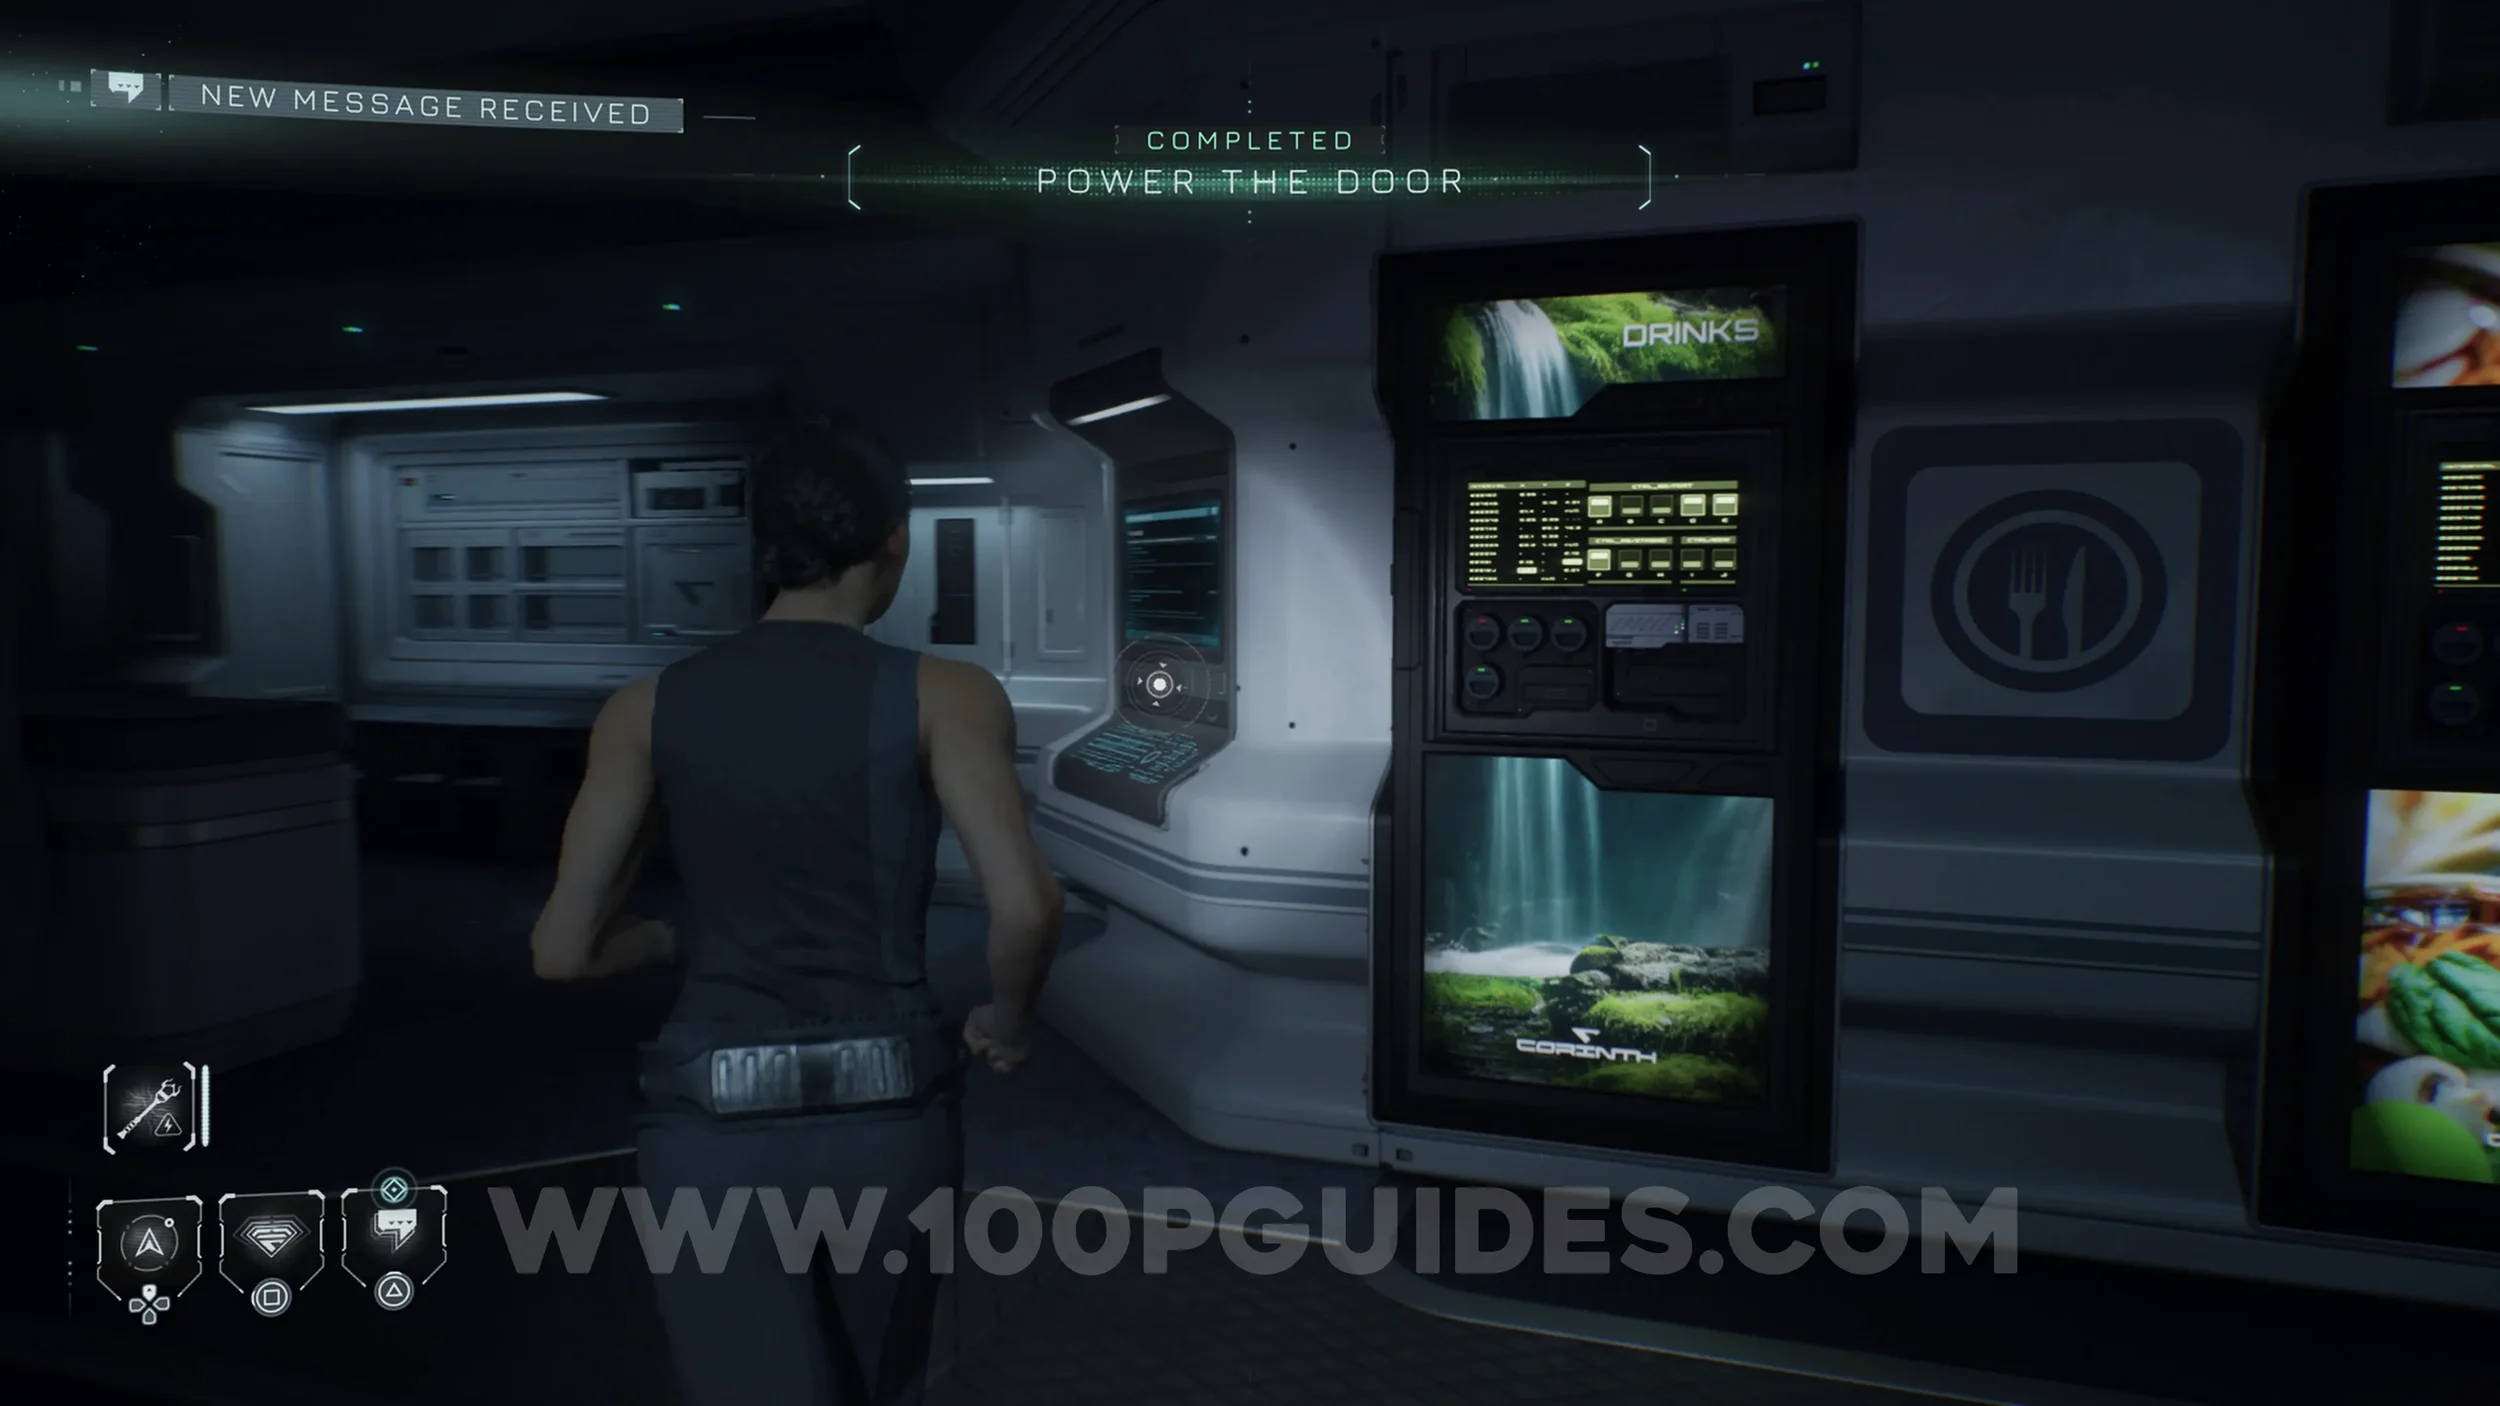
The Simms Recordings #6 - Special Permission. After using the power cell to open the Mess Hall door, go through it and head down the stairs. At the bottom, turn left to find the screen on the wall.
EPISODE 4
No collectibles in this chapter.
EPISODE 5
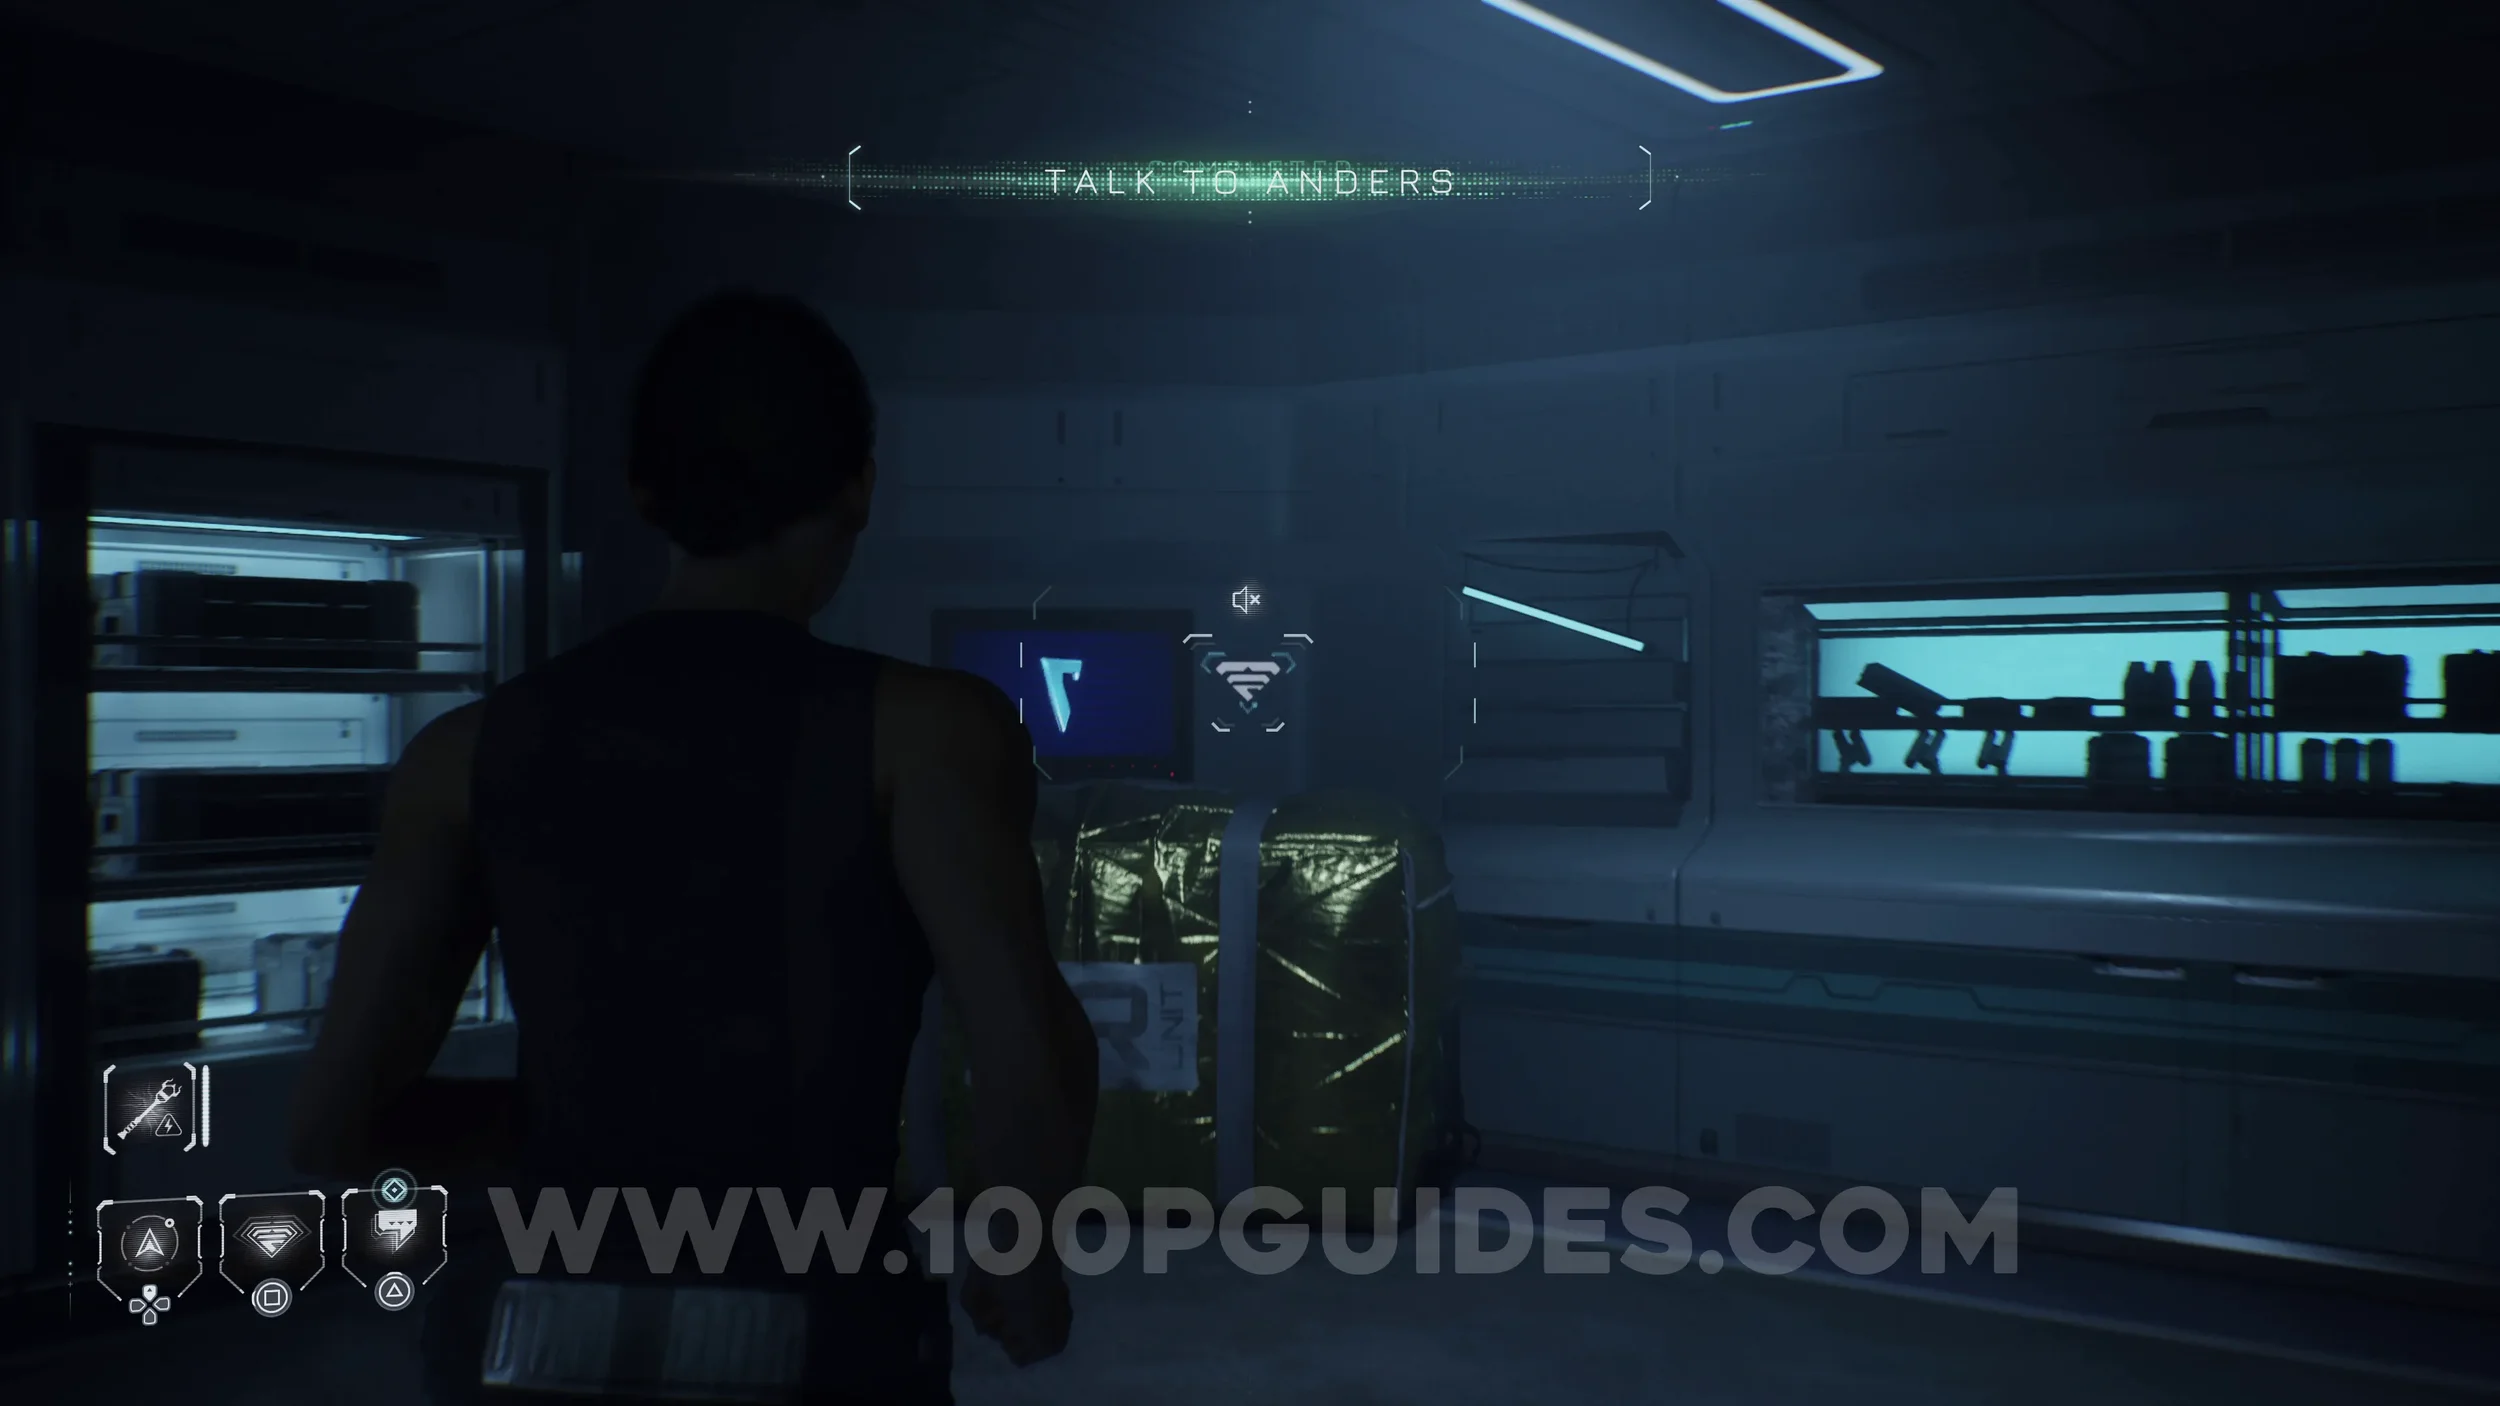
Secret #31 - Cetus Mission (Terraformation). On the wall in the storage room where you talk to Anders about the sedative.
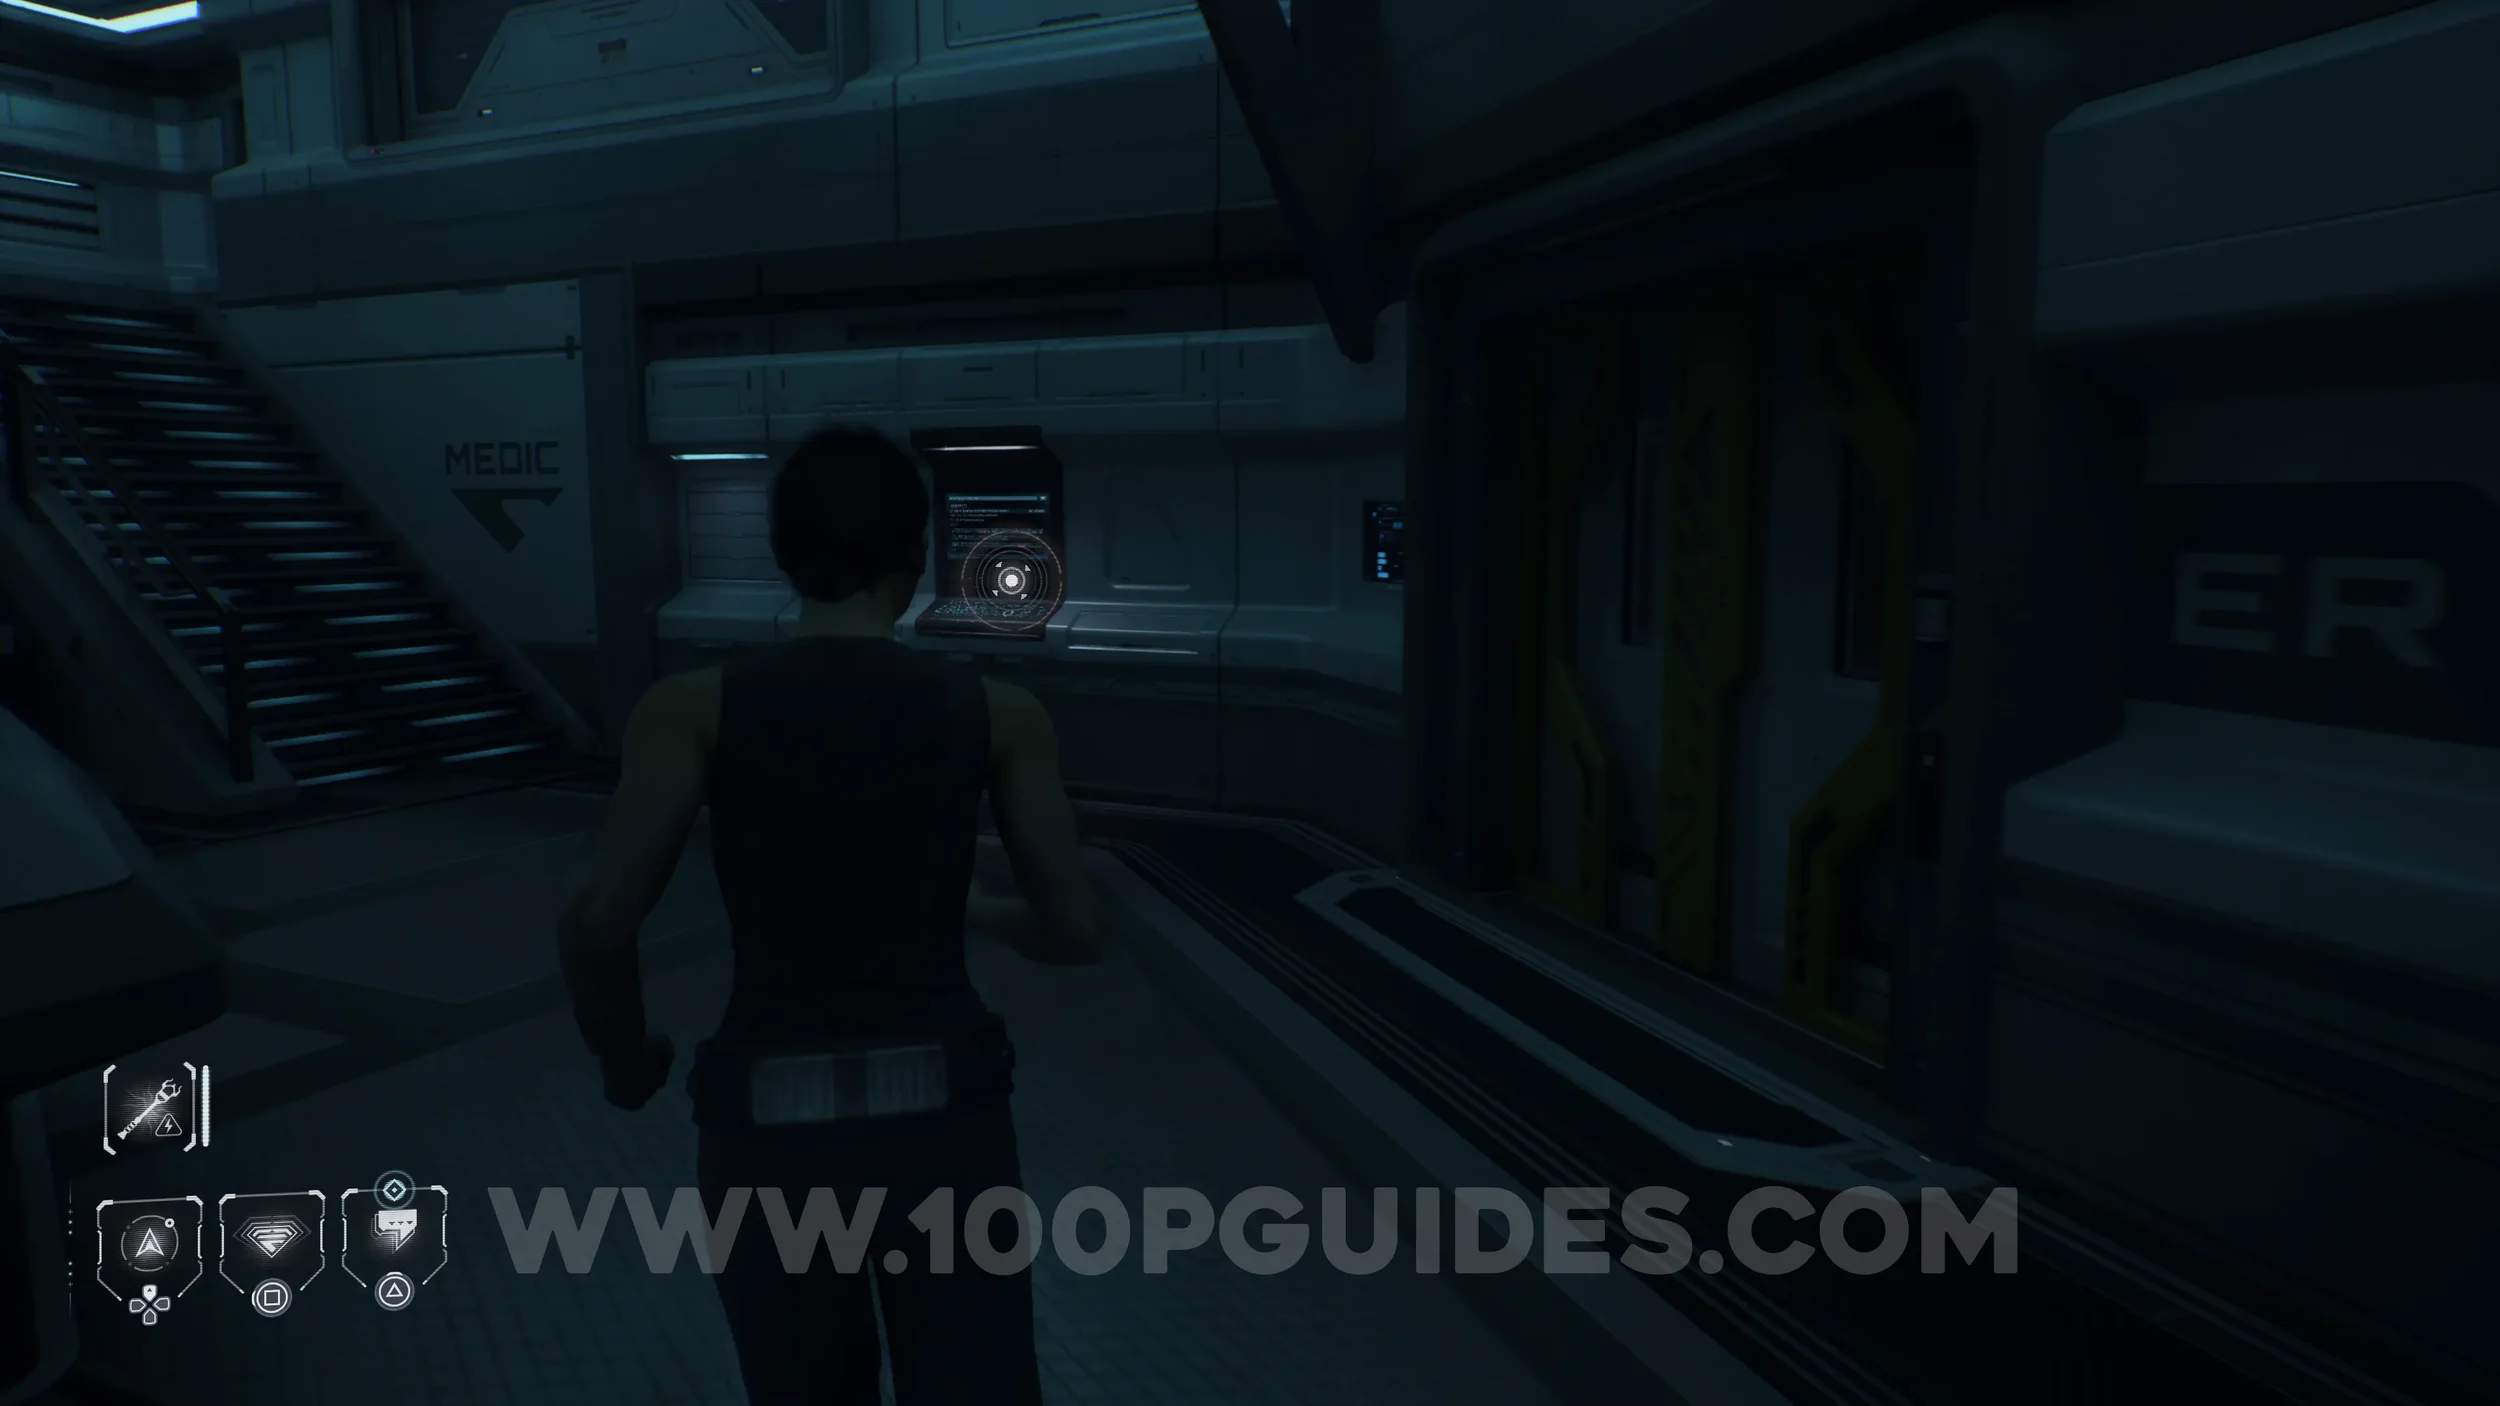
Secret #32 - Conspiracy (Charybdis). From the previous collectible, head back to the room where Williams is, then take the door on the right. In the next room, find the collectible on the wall to your right.
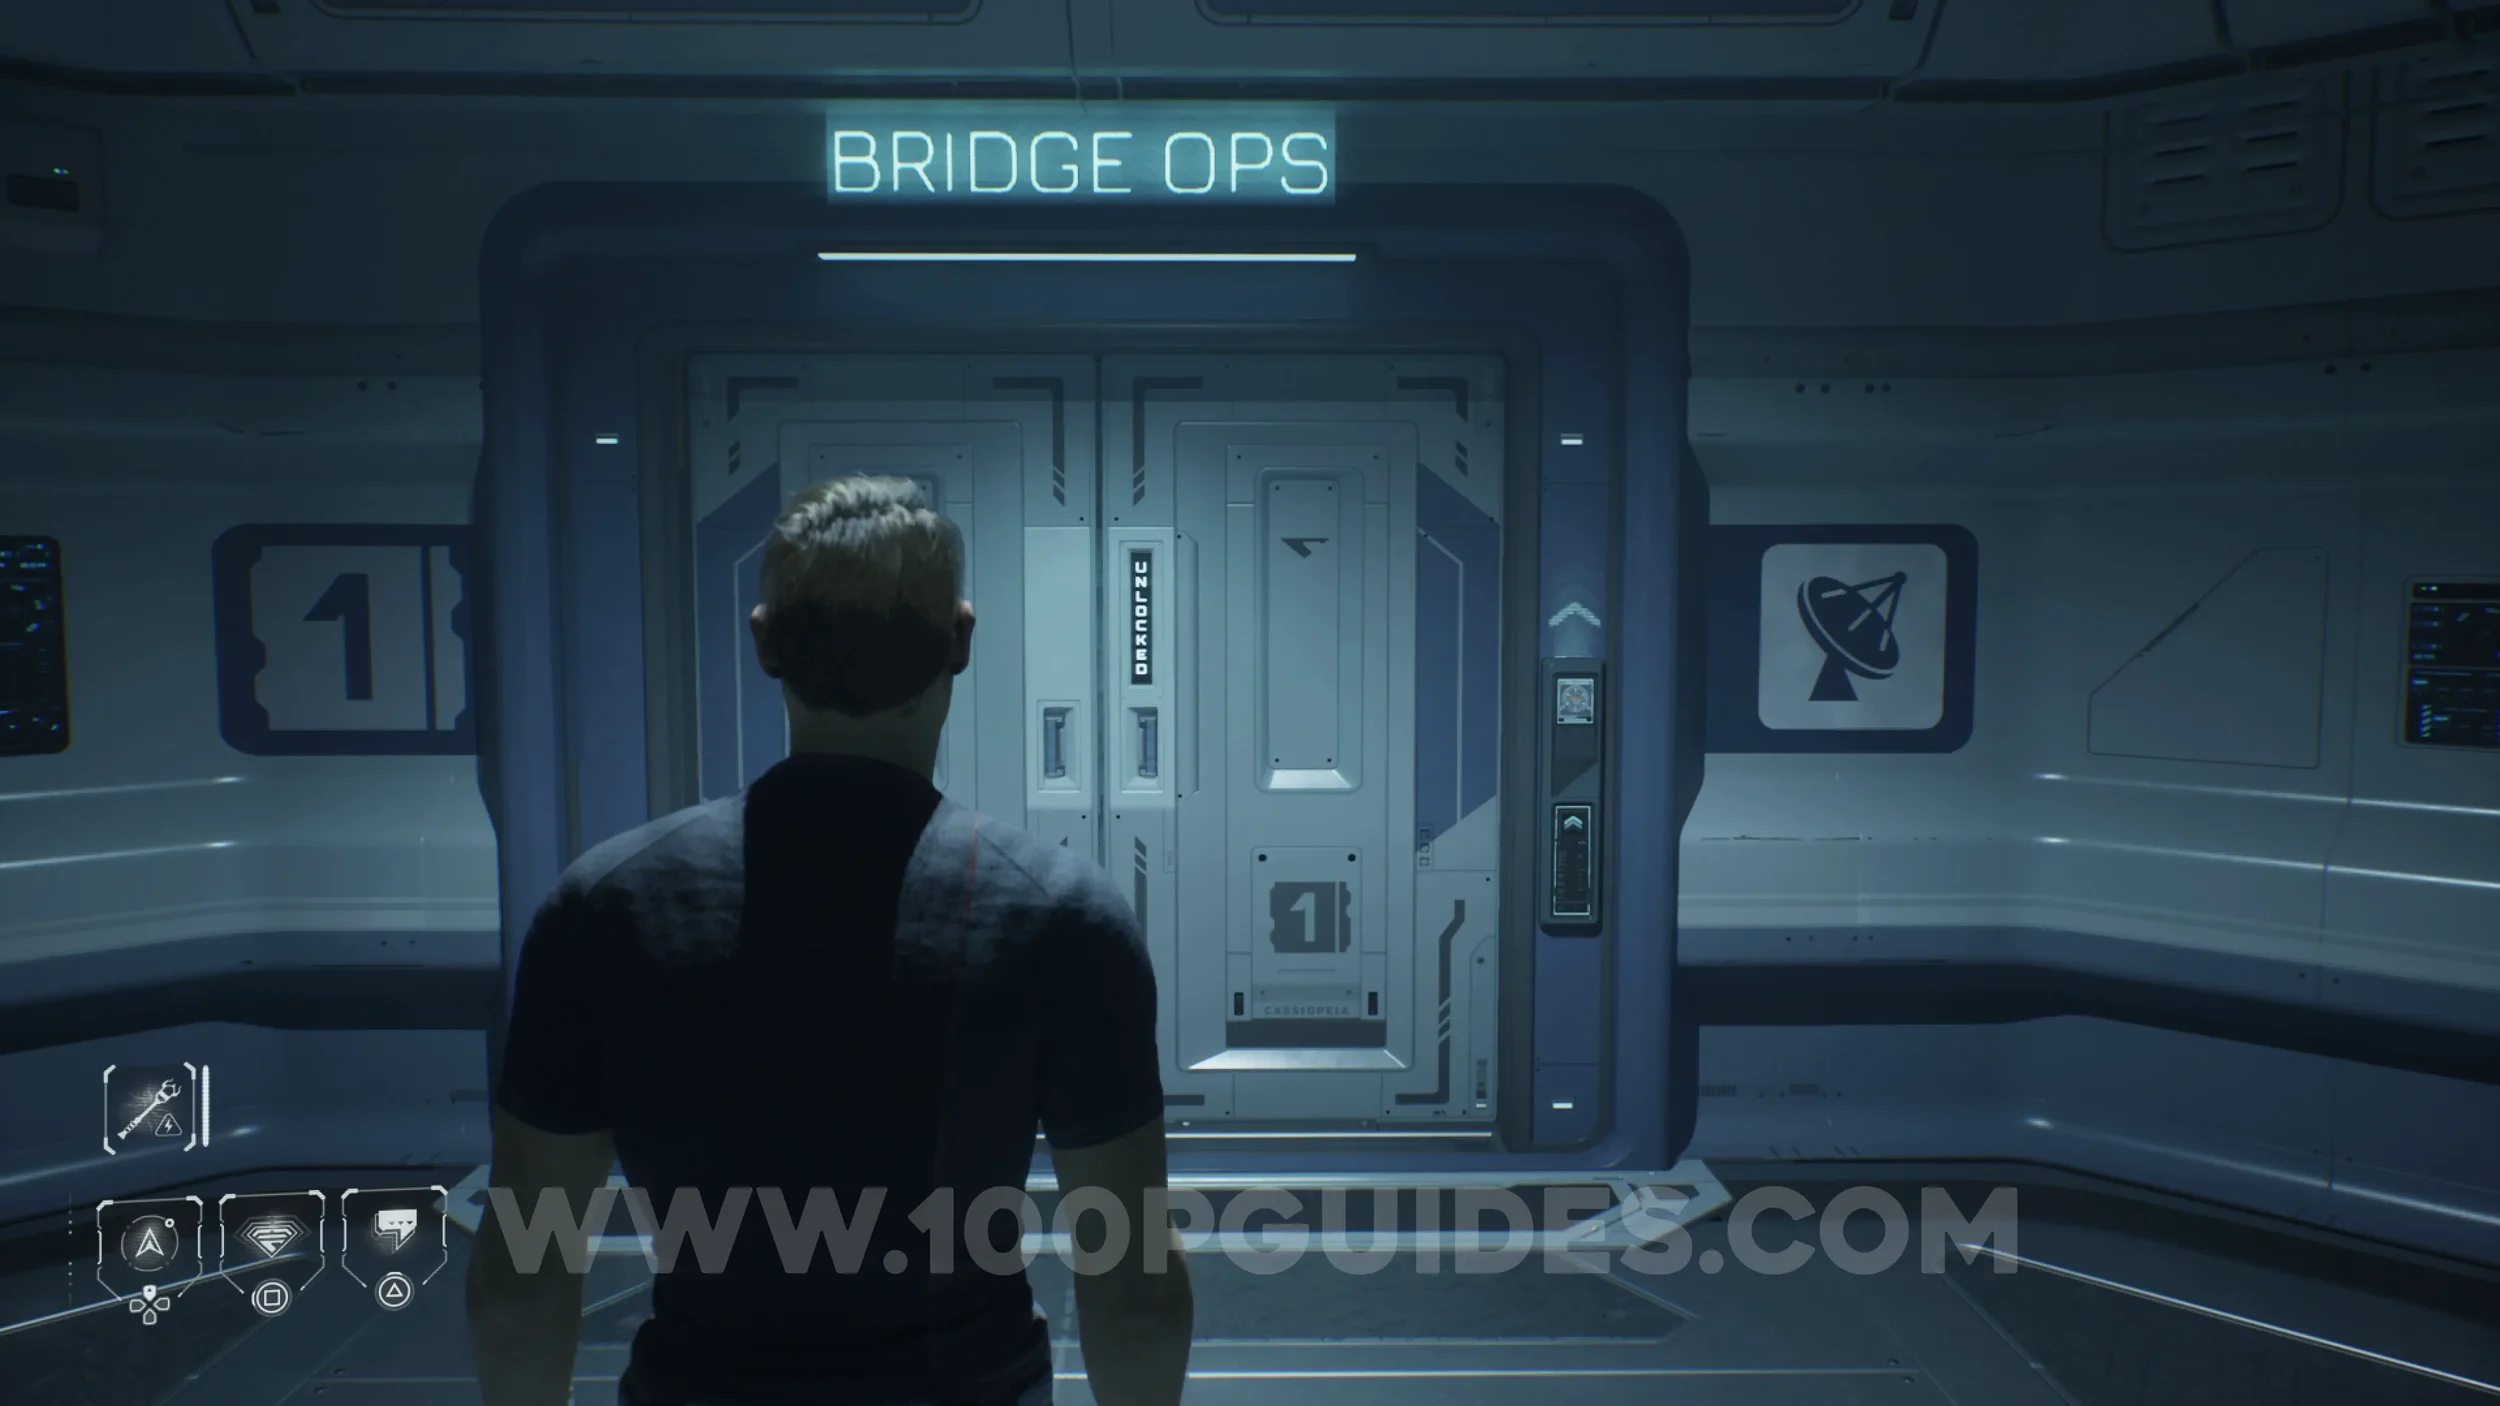
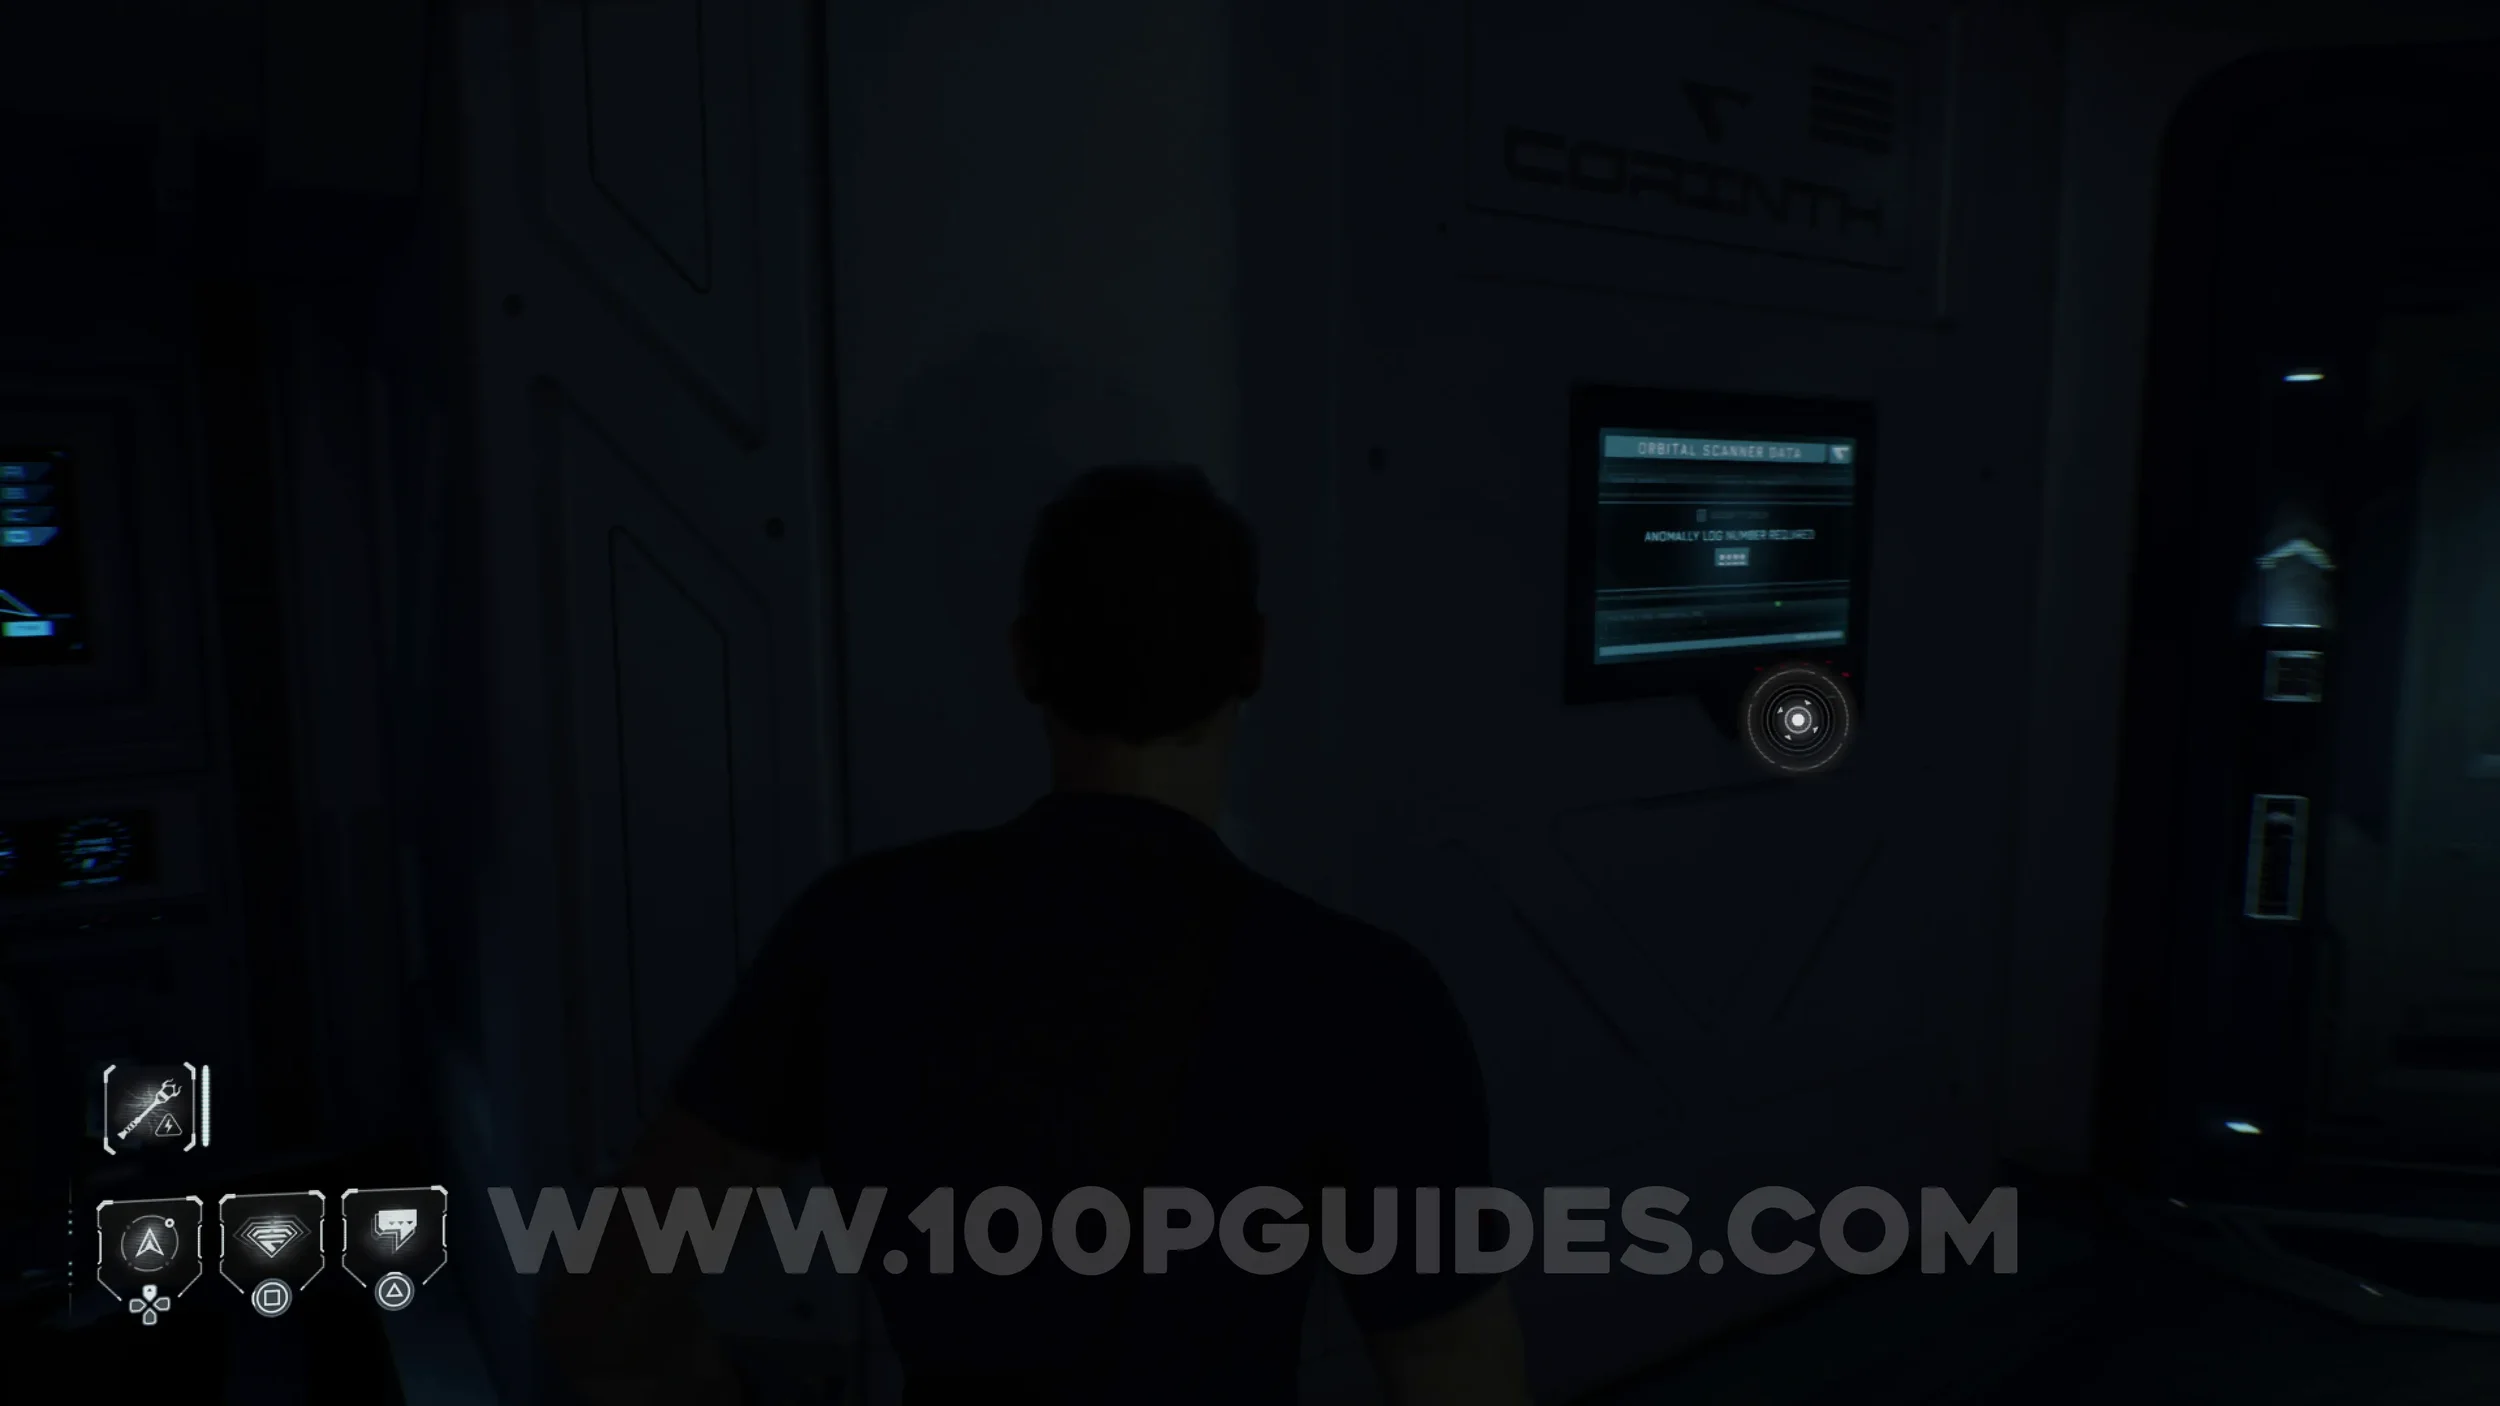
Secret #33 - Cassiopeia (Orbital Oddities). Once you take control of Josef Cernan during Bridge Ops, head up the stairs on the right side and interact with the computer mounted on the wall. Enter the code 3196 to access it. To make the collectible count, press X to read the document and flip through every page.
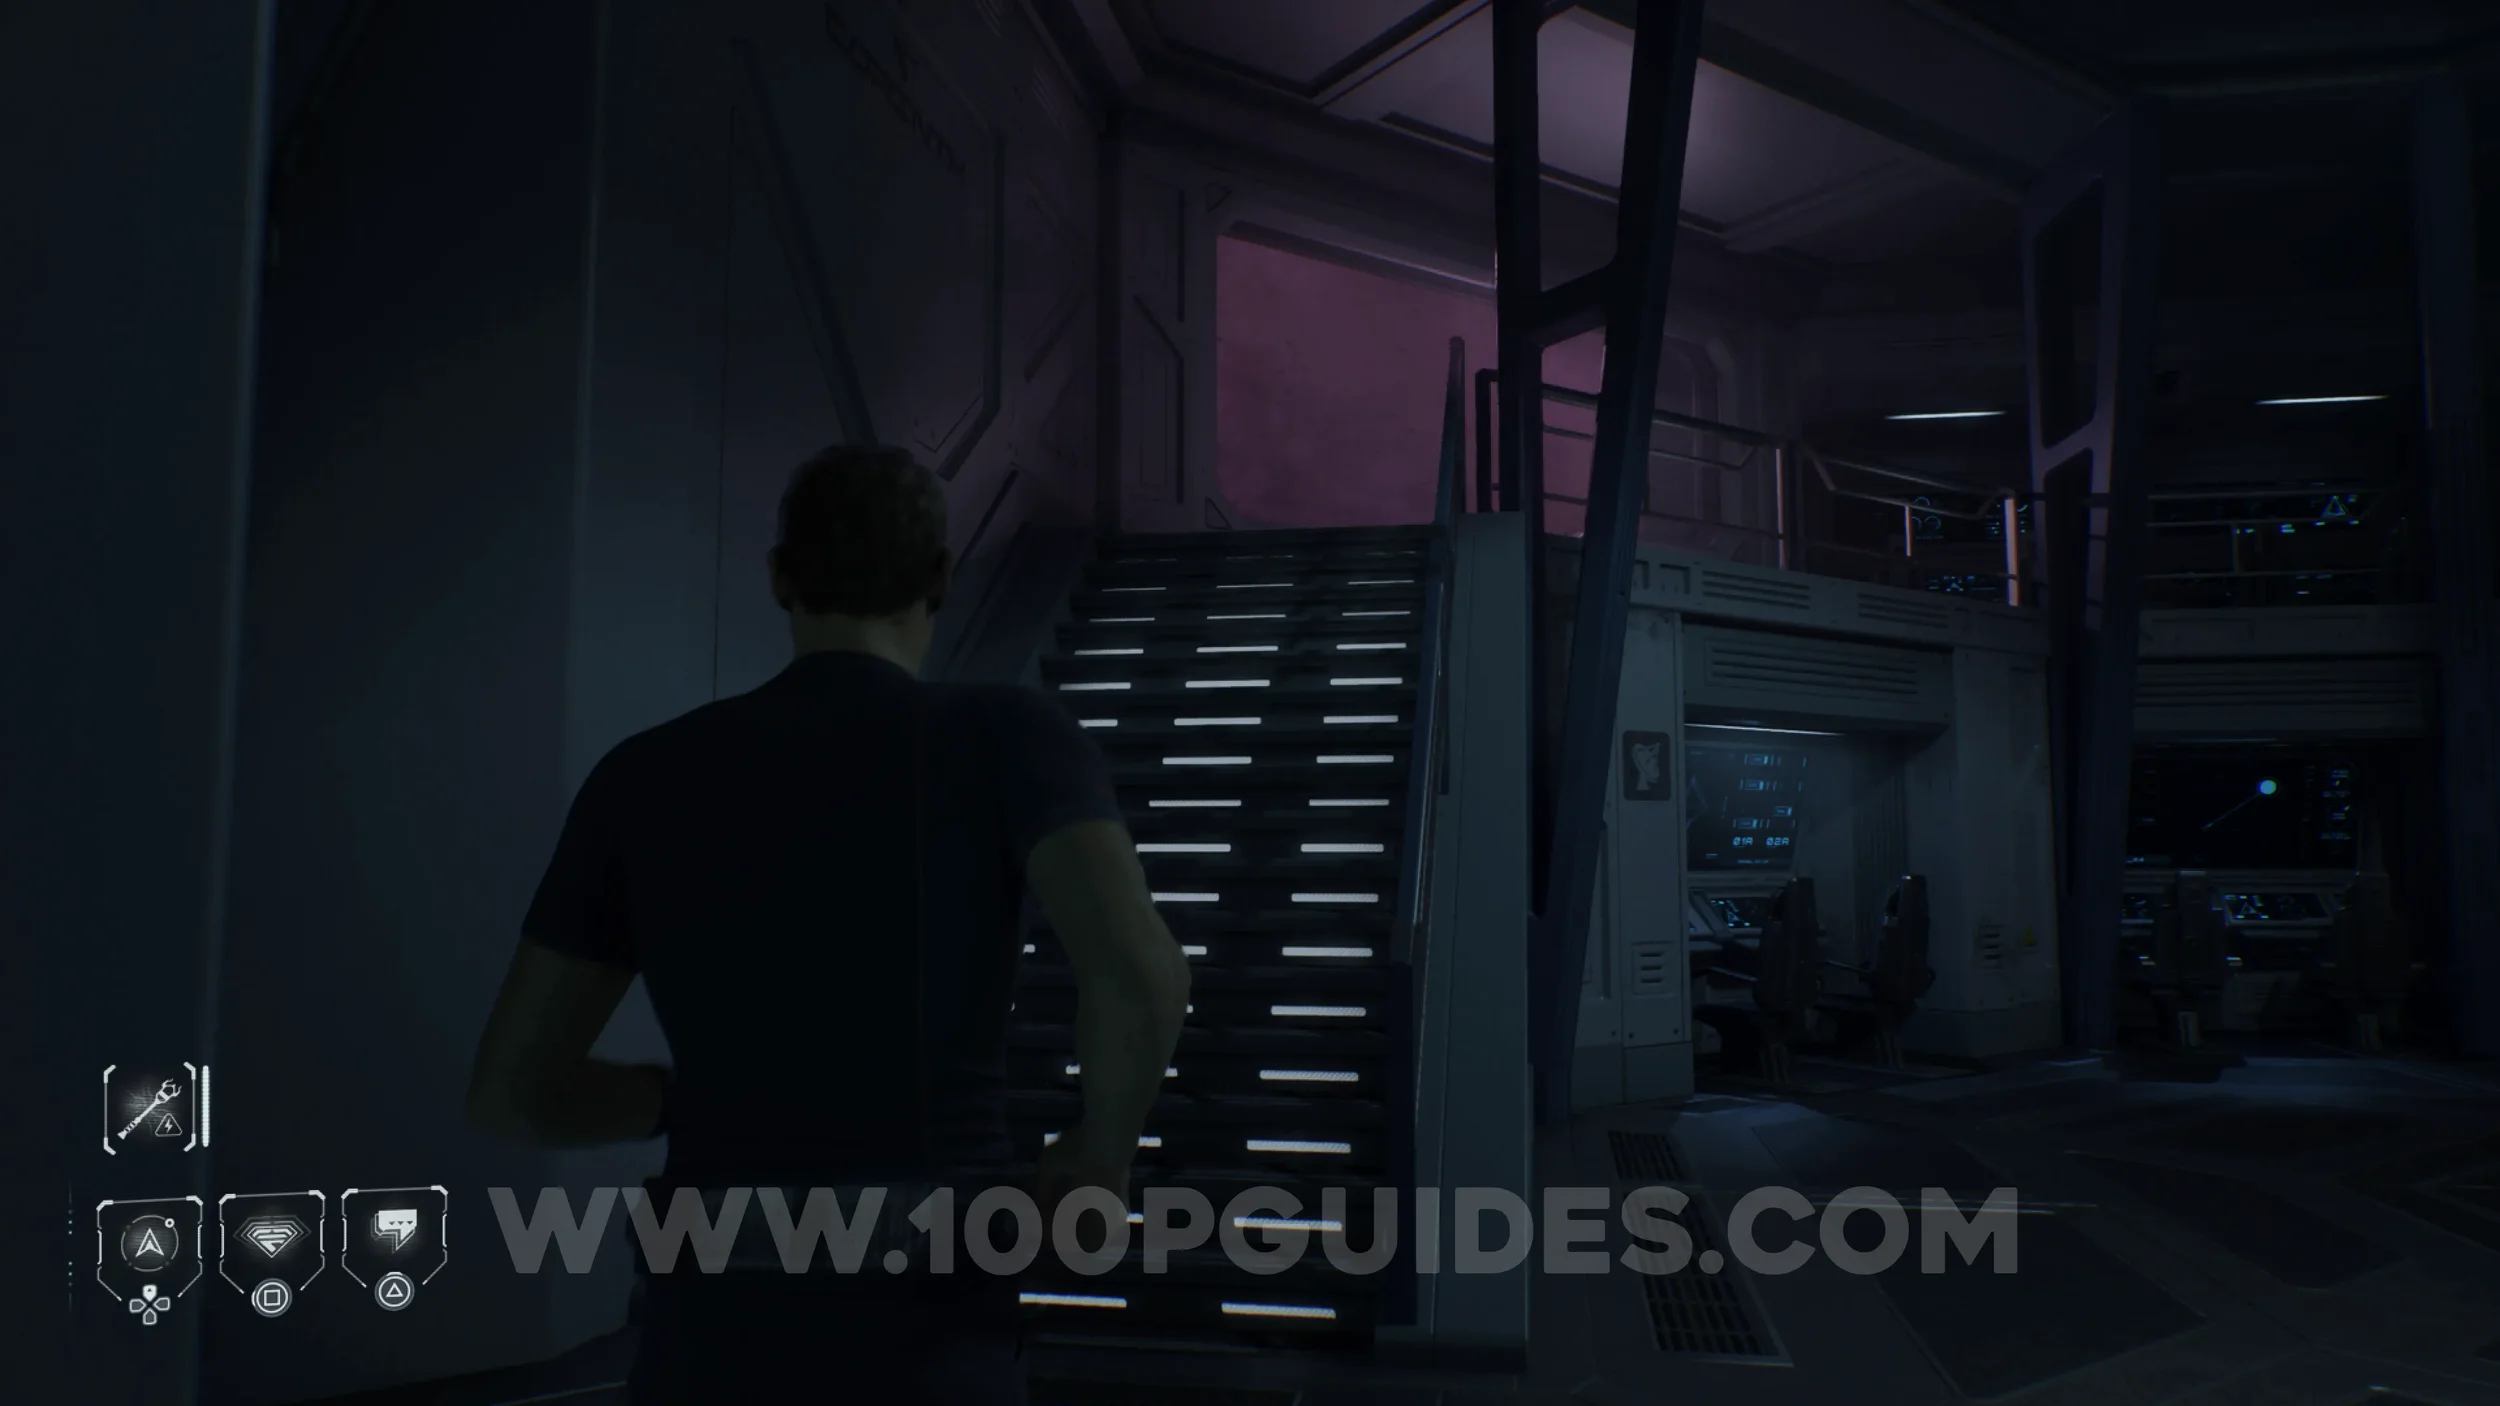
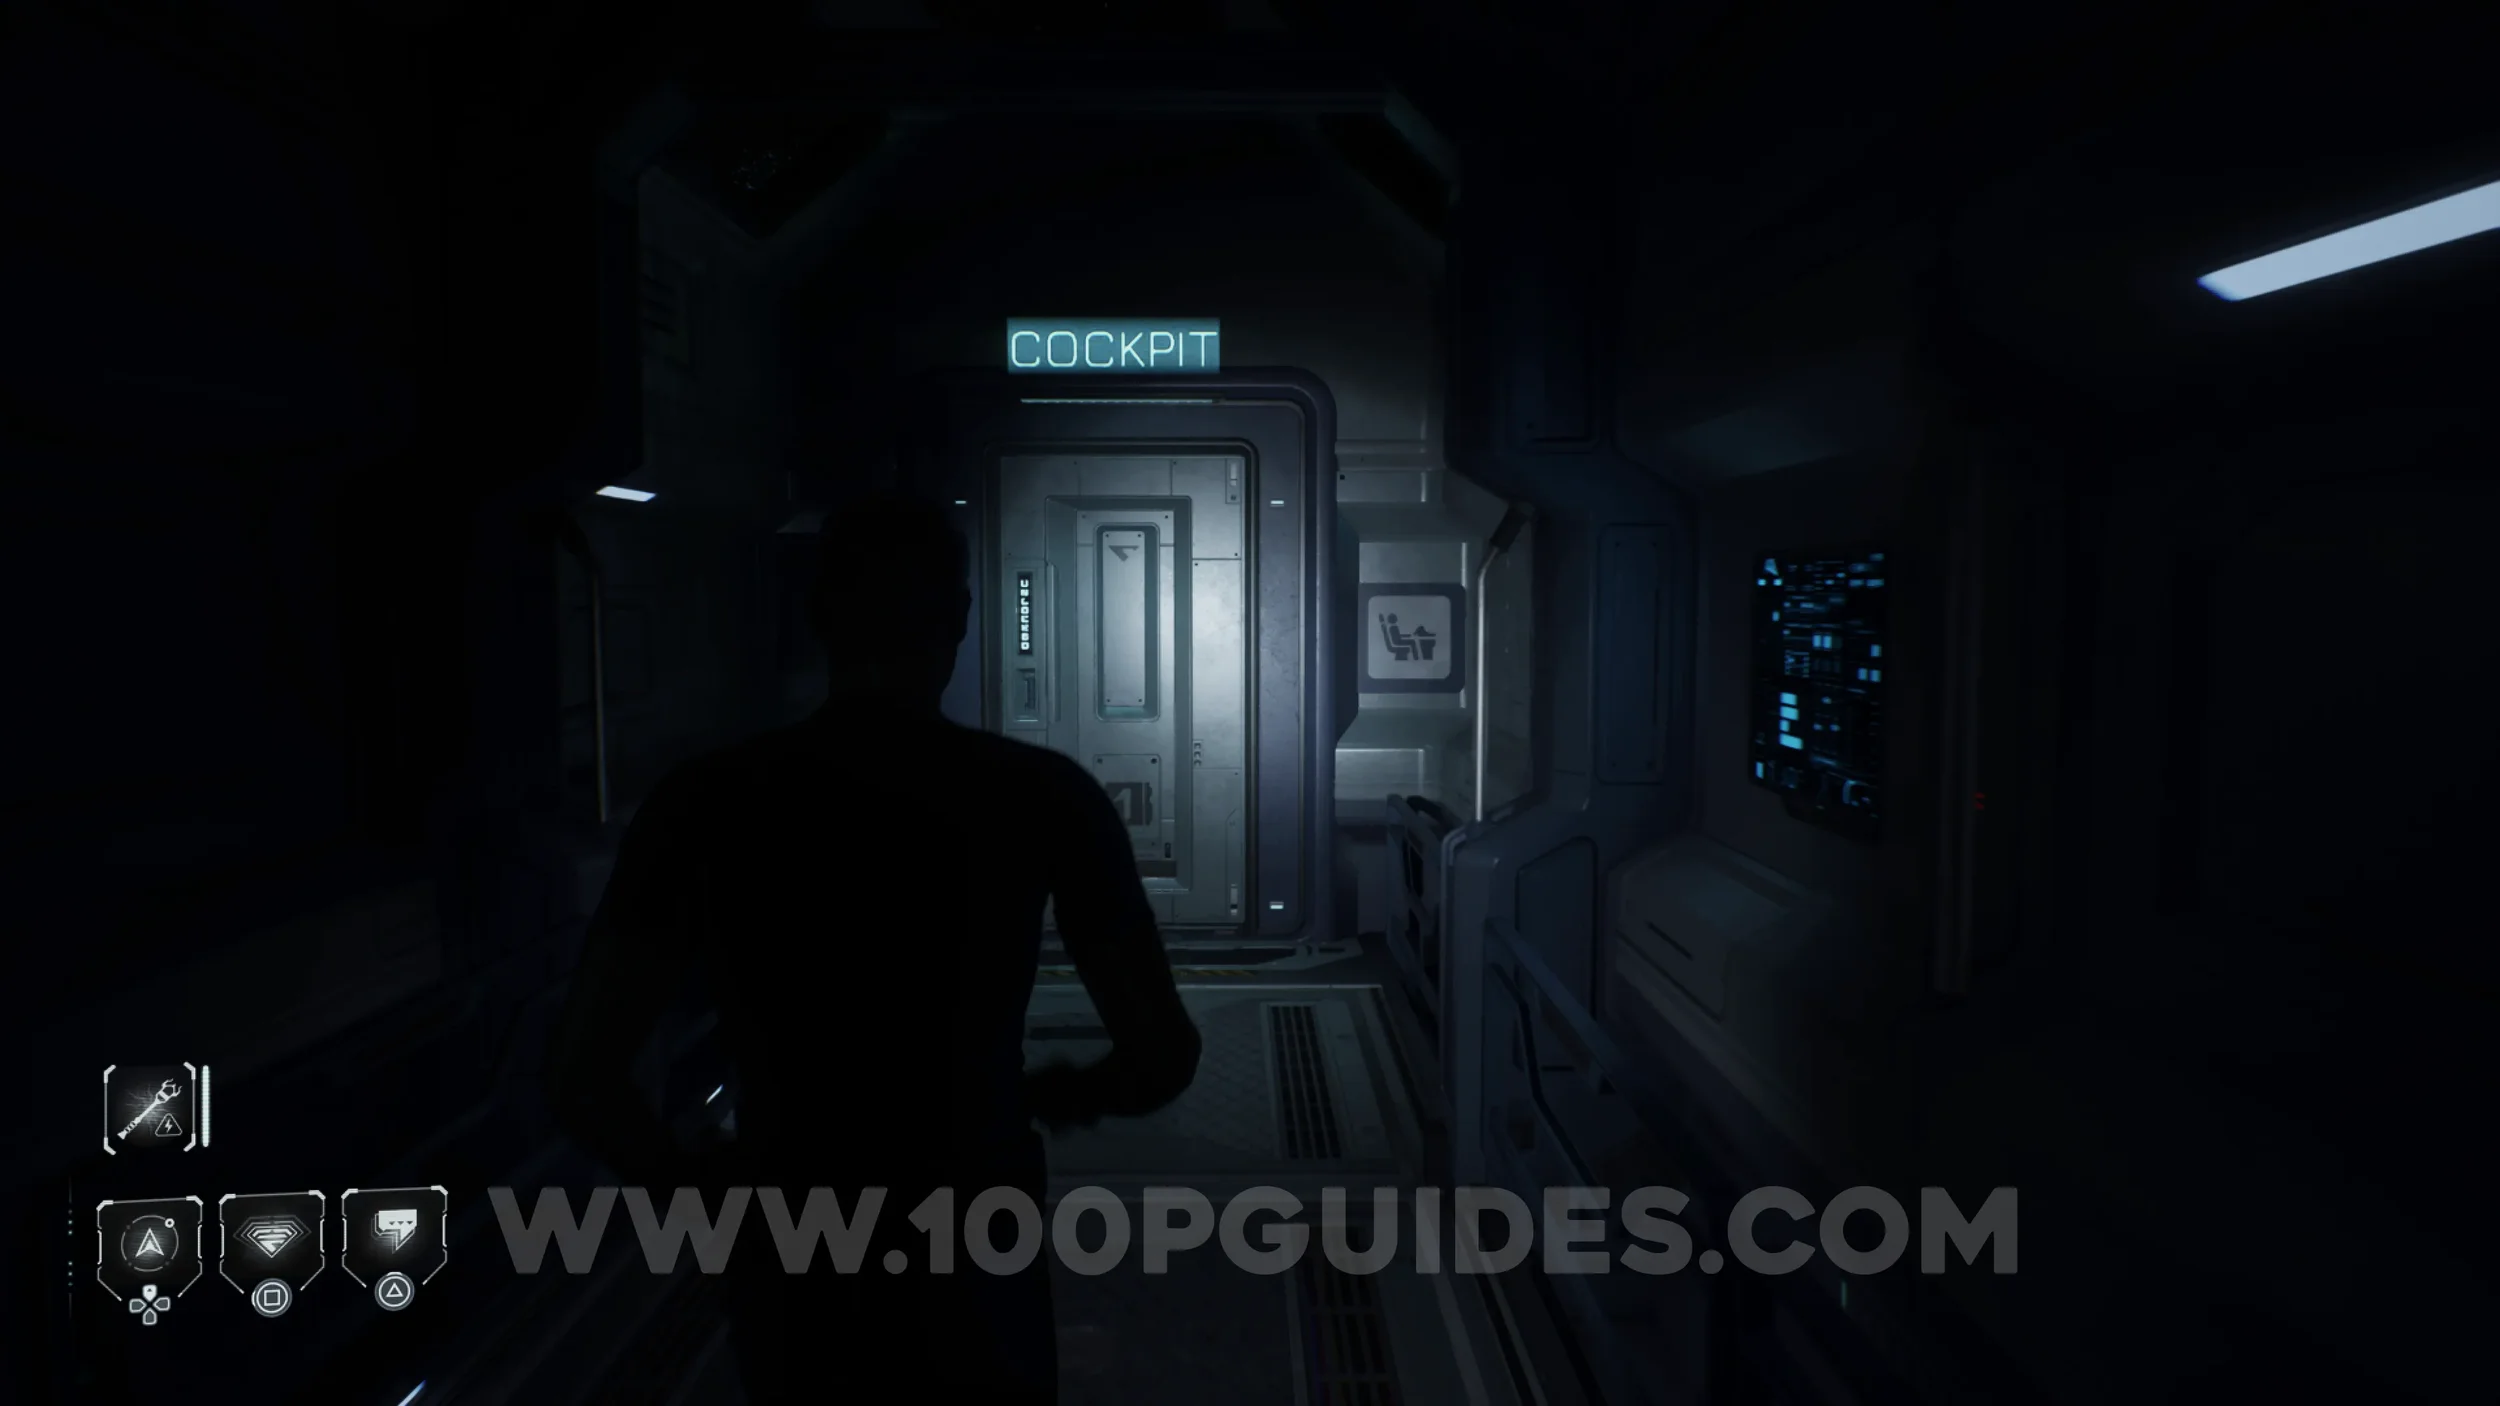
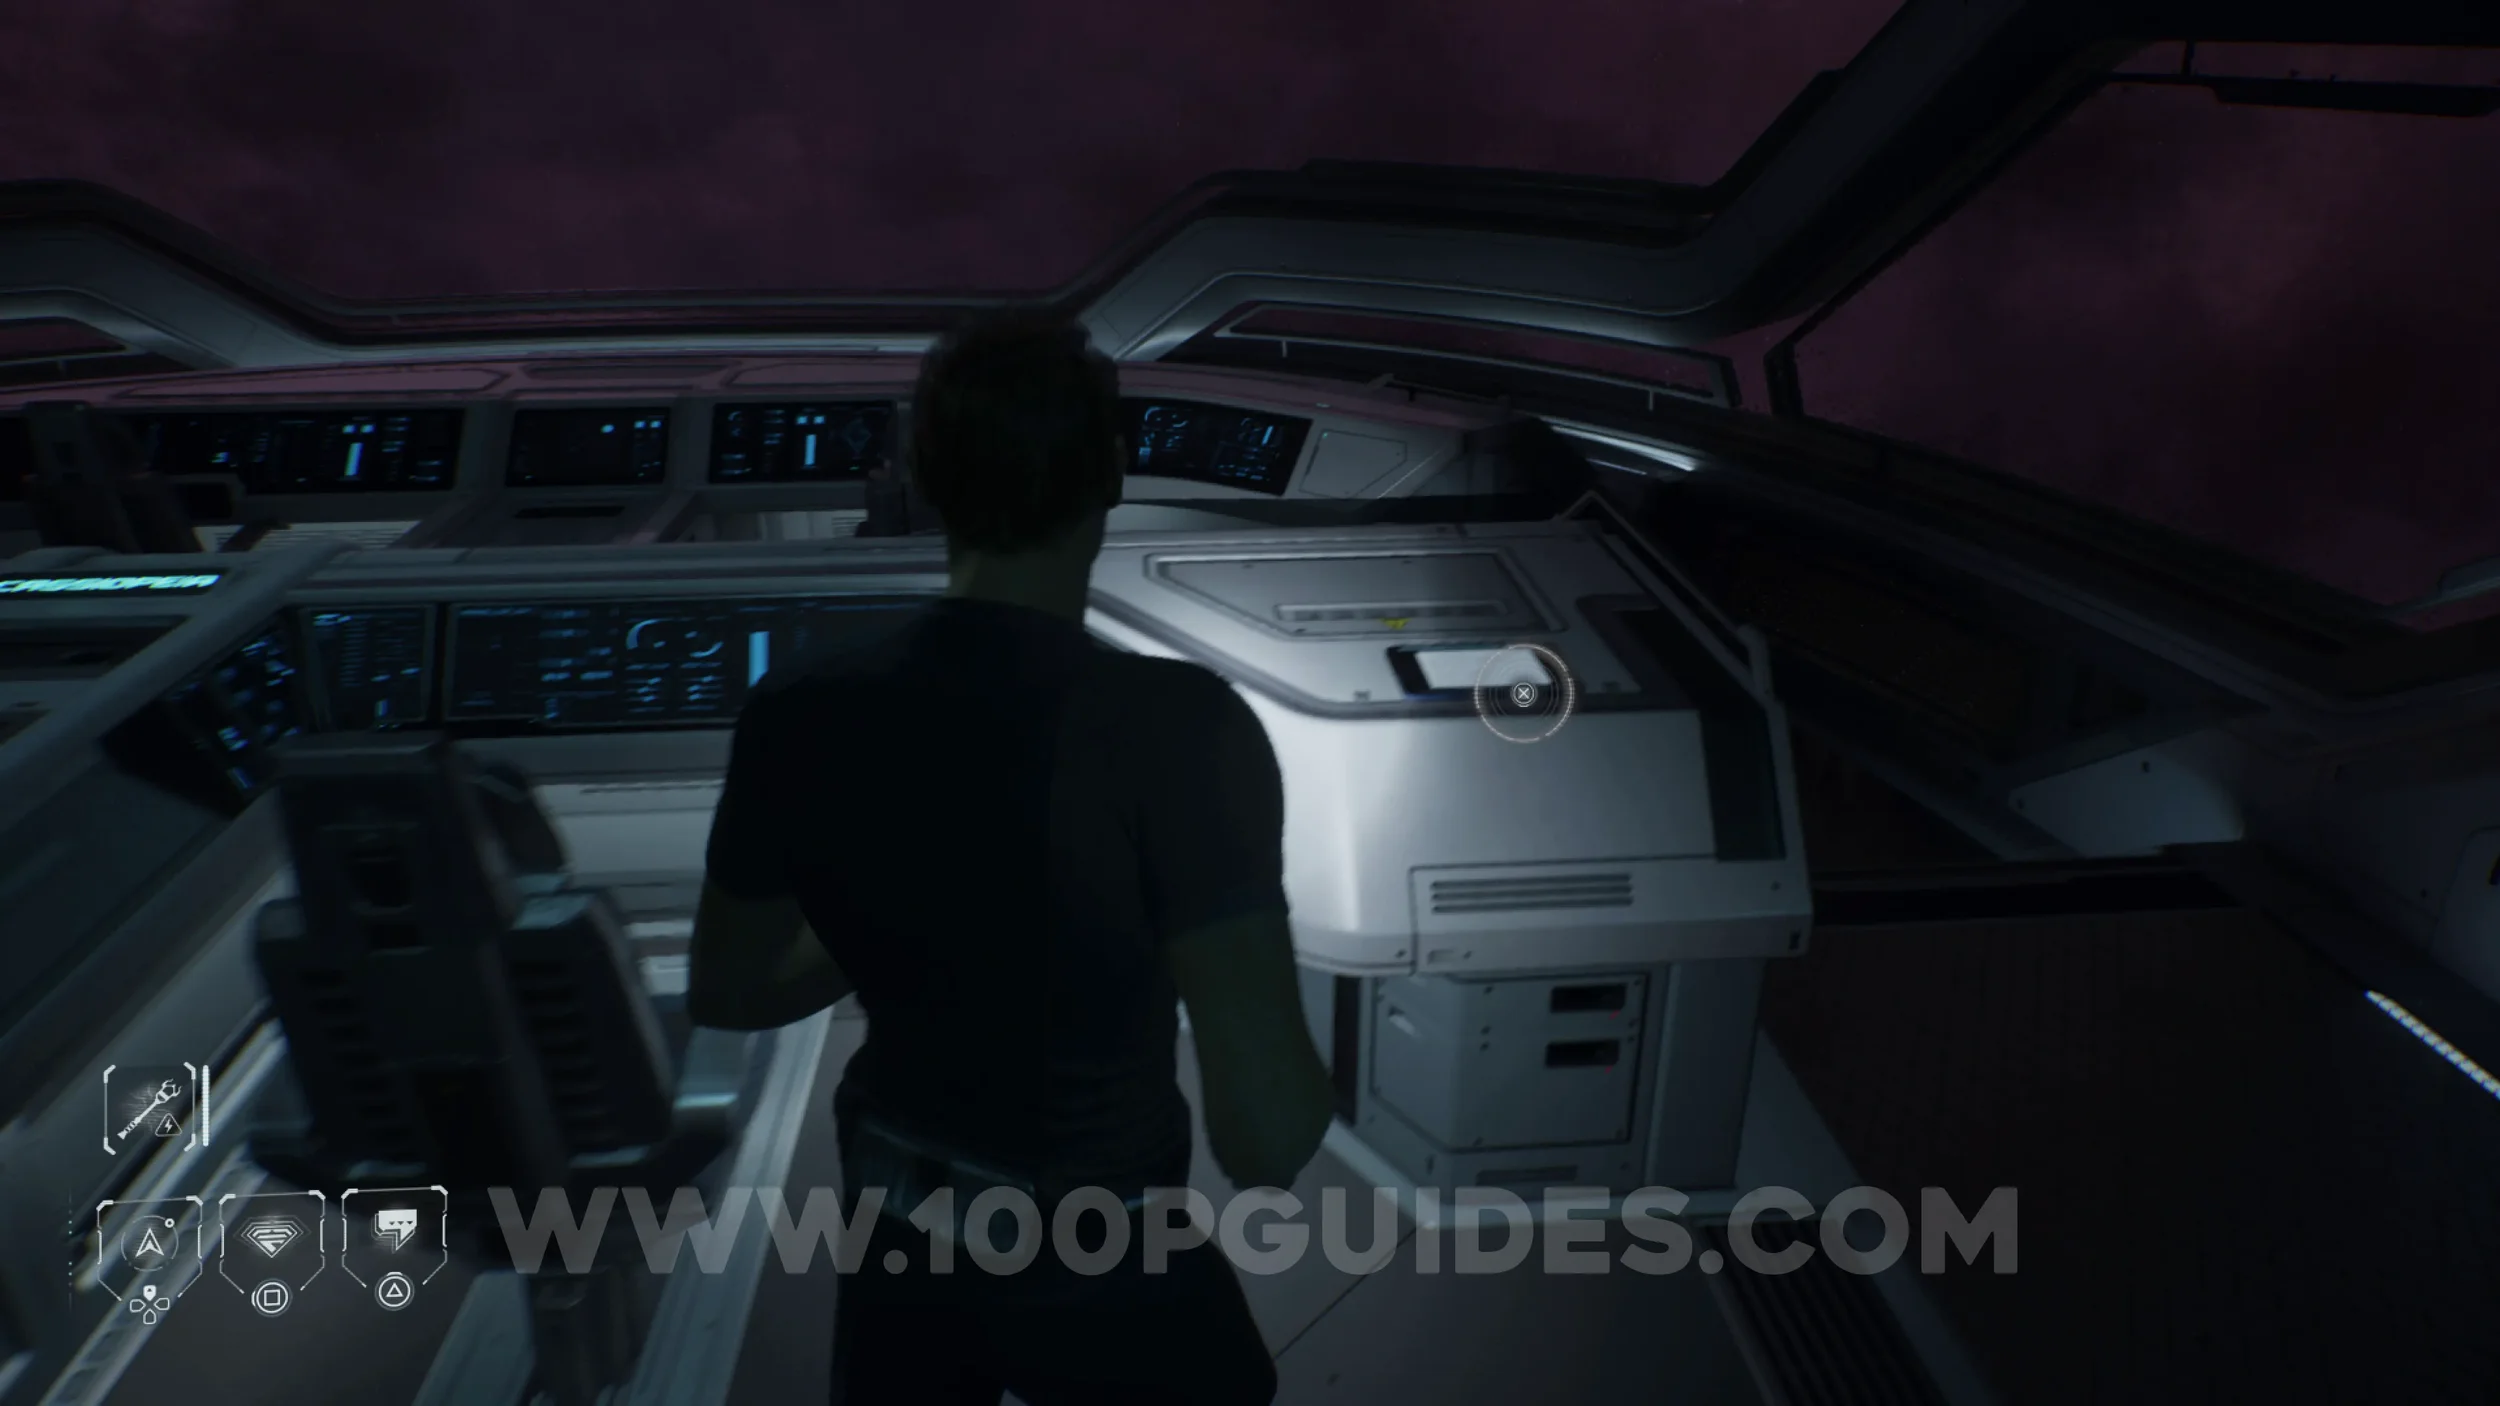
Secret #34 - Cassiopeia (To Do List). From the previous collectible, go down the hall to the right to reach the cockpit. You will find the collectible on your right.

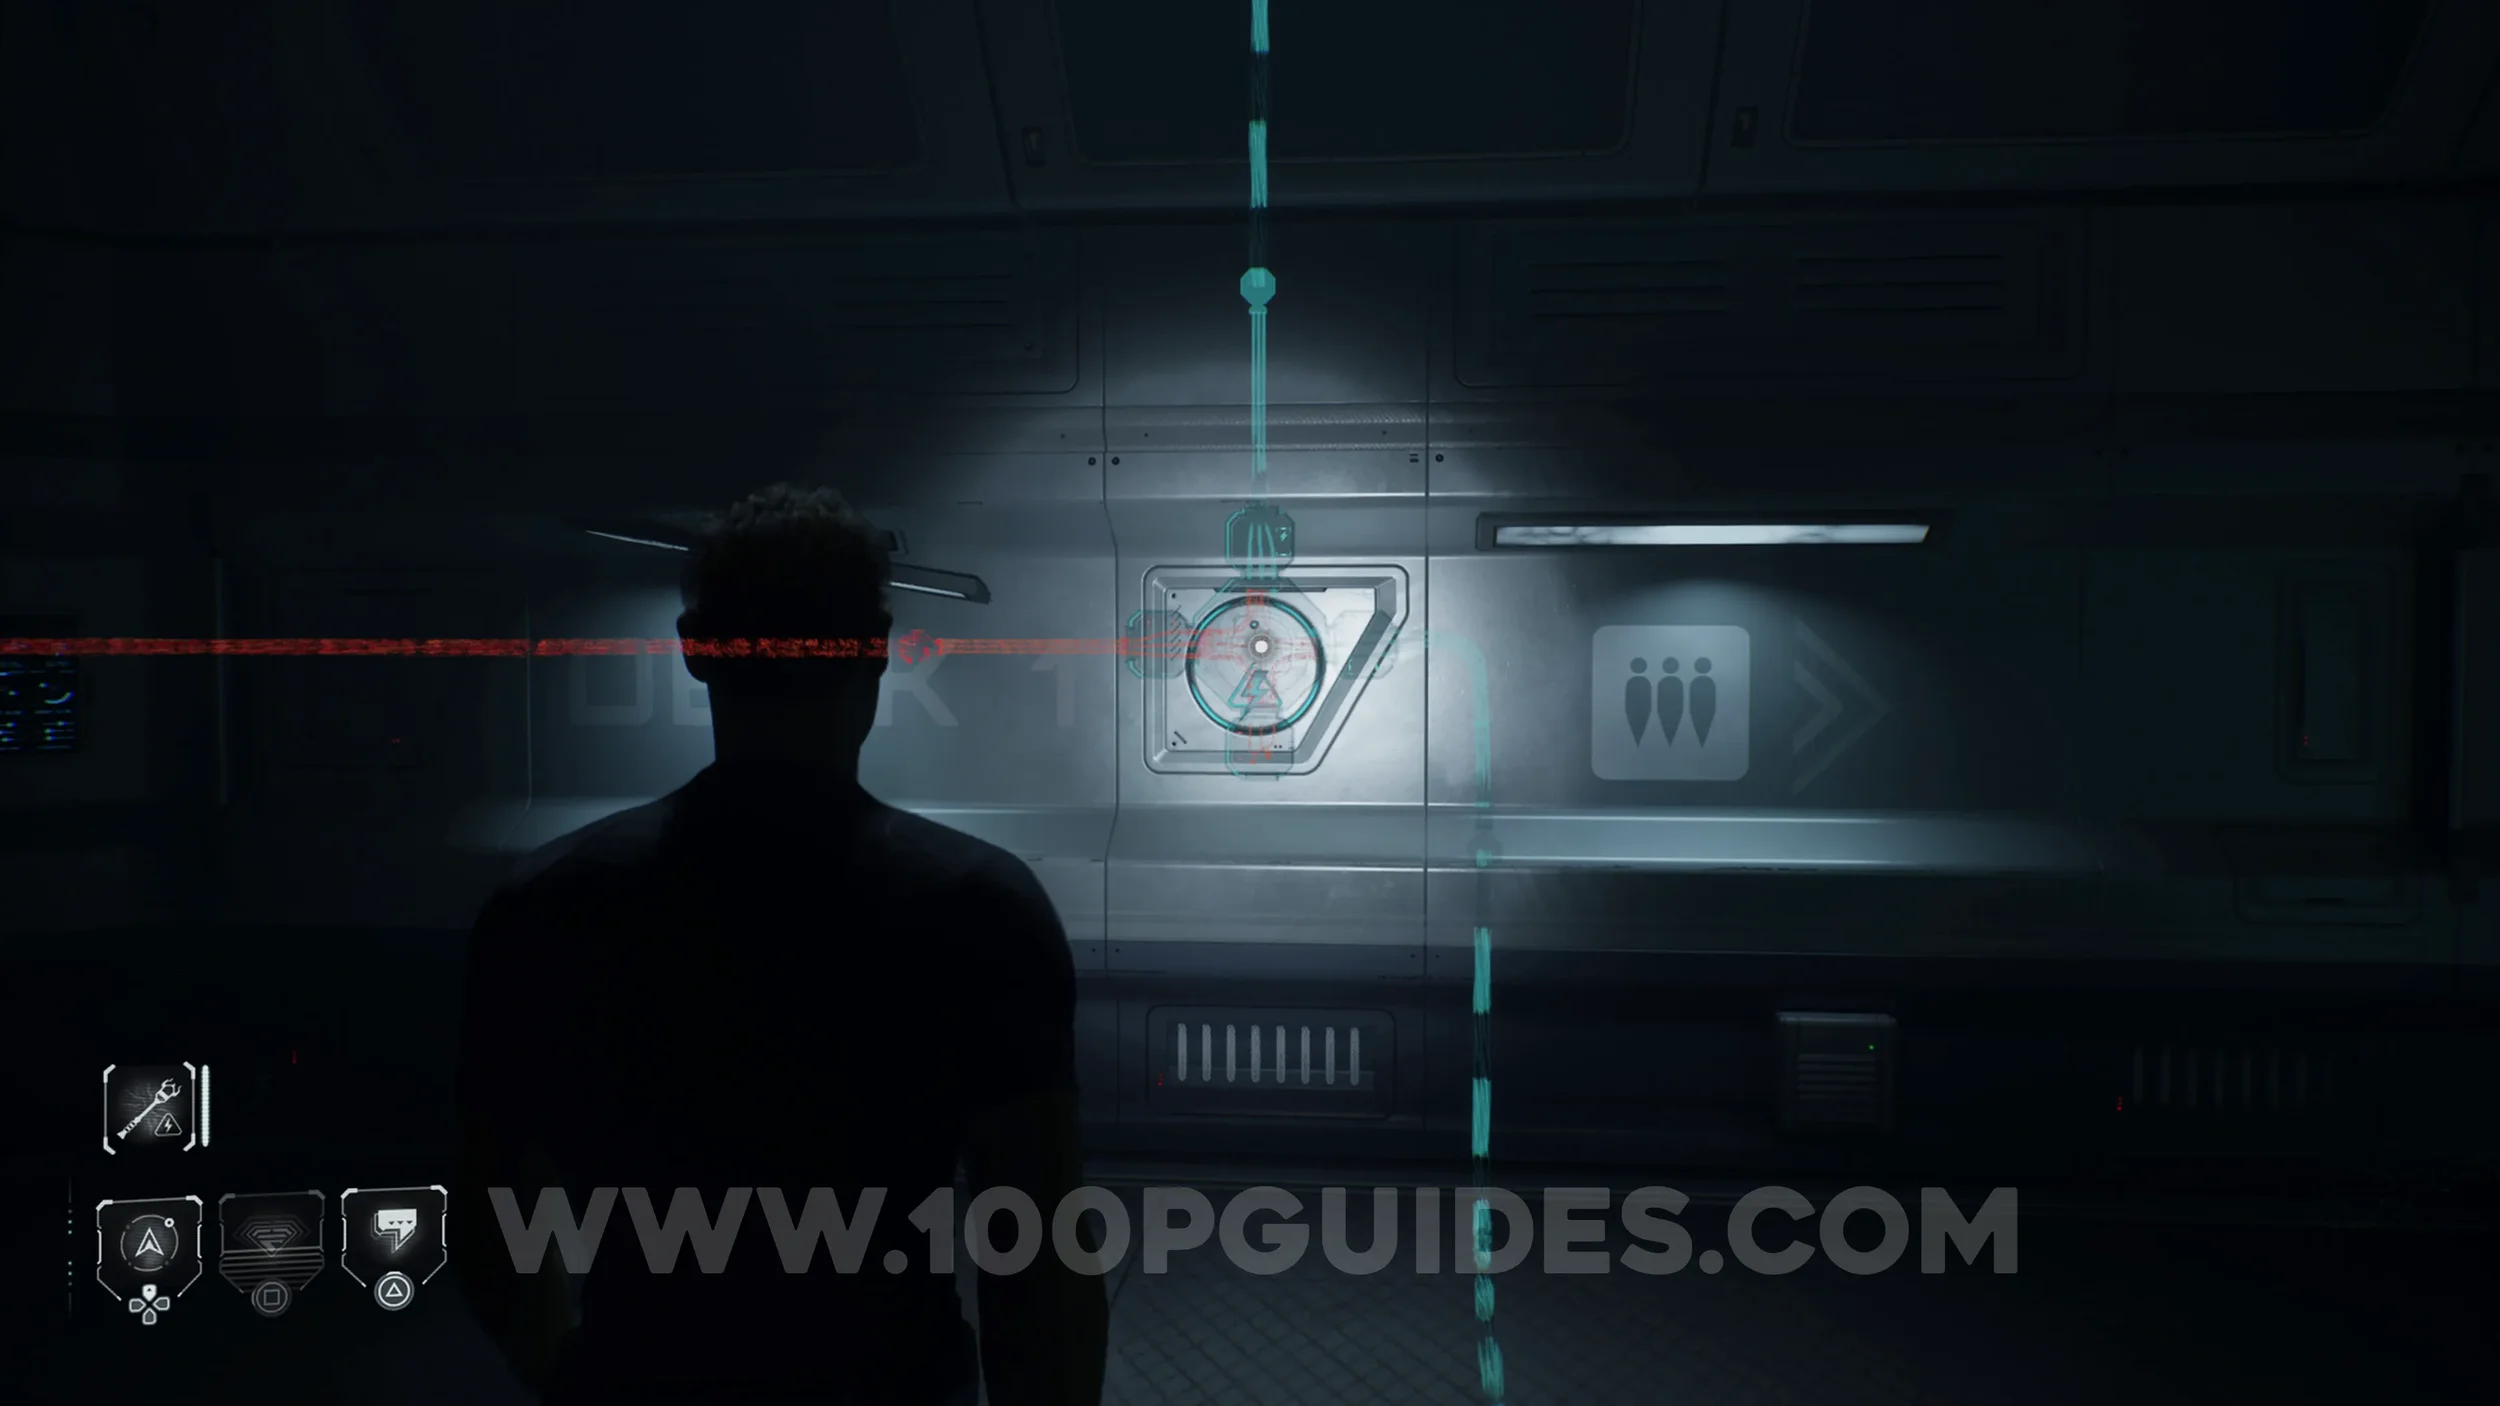
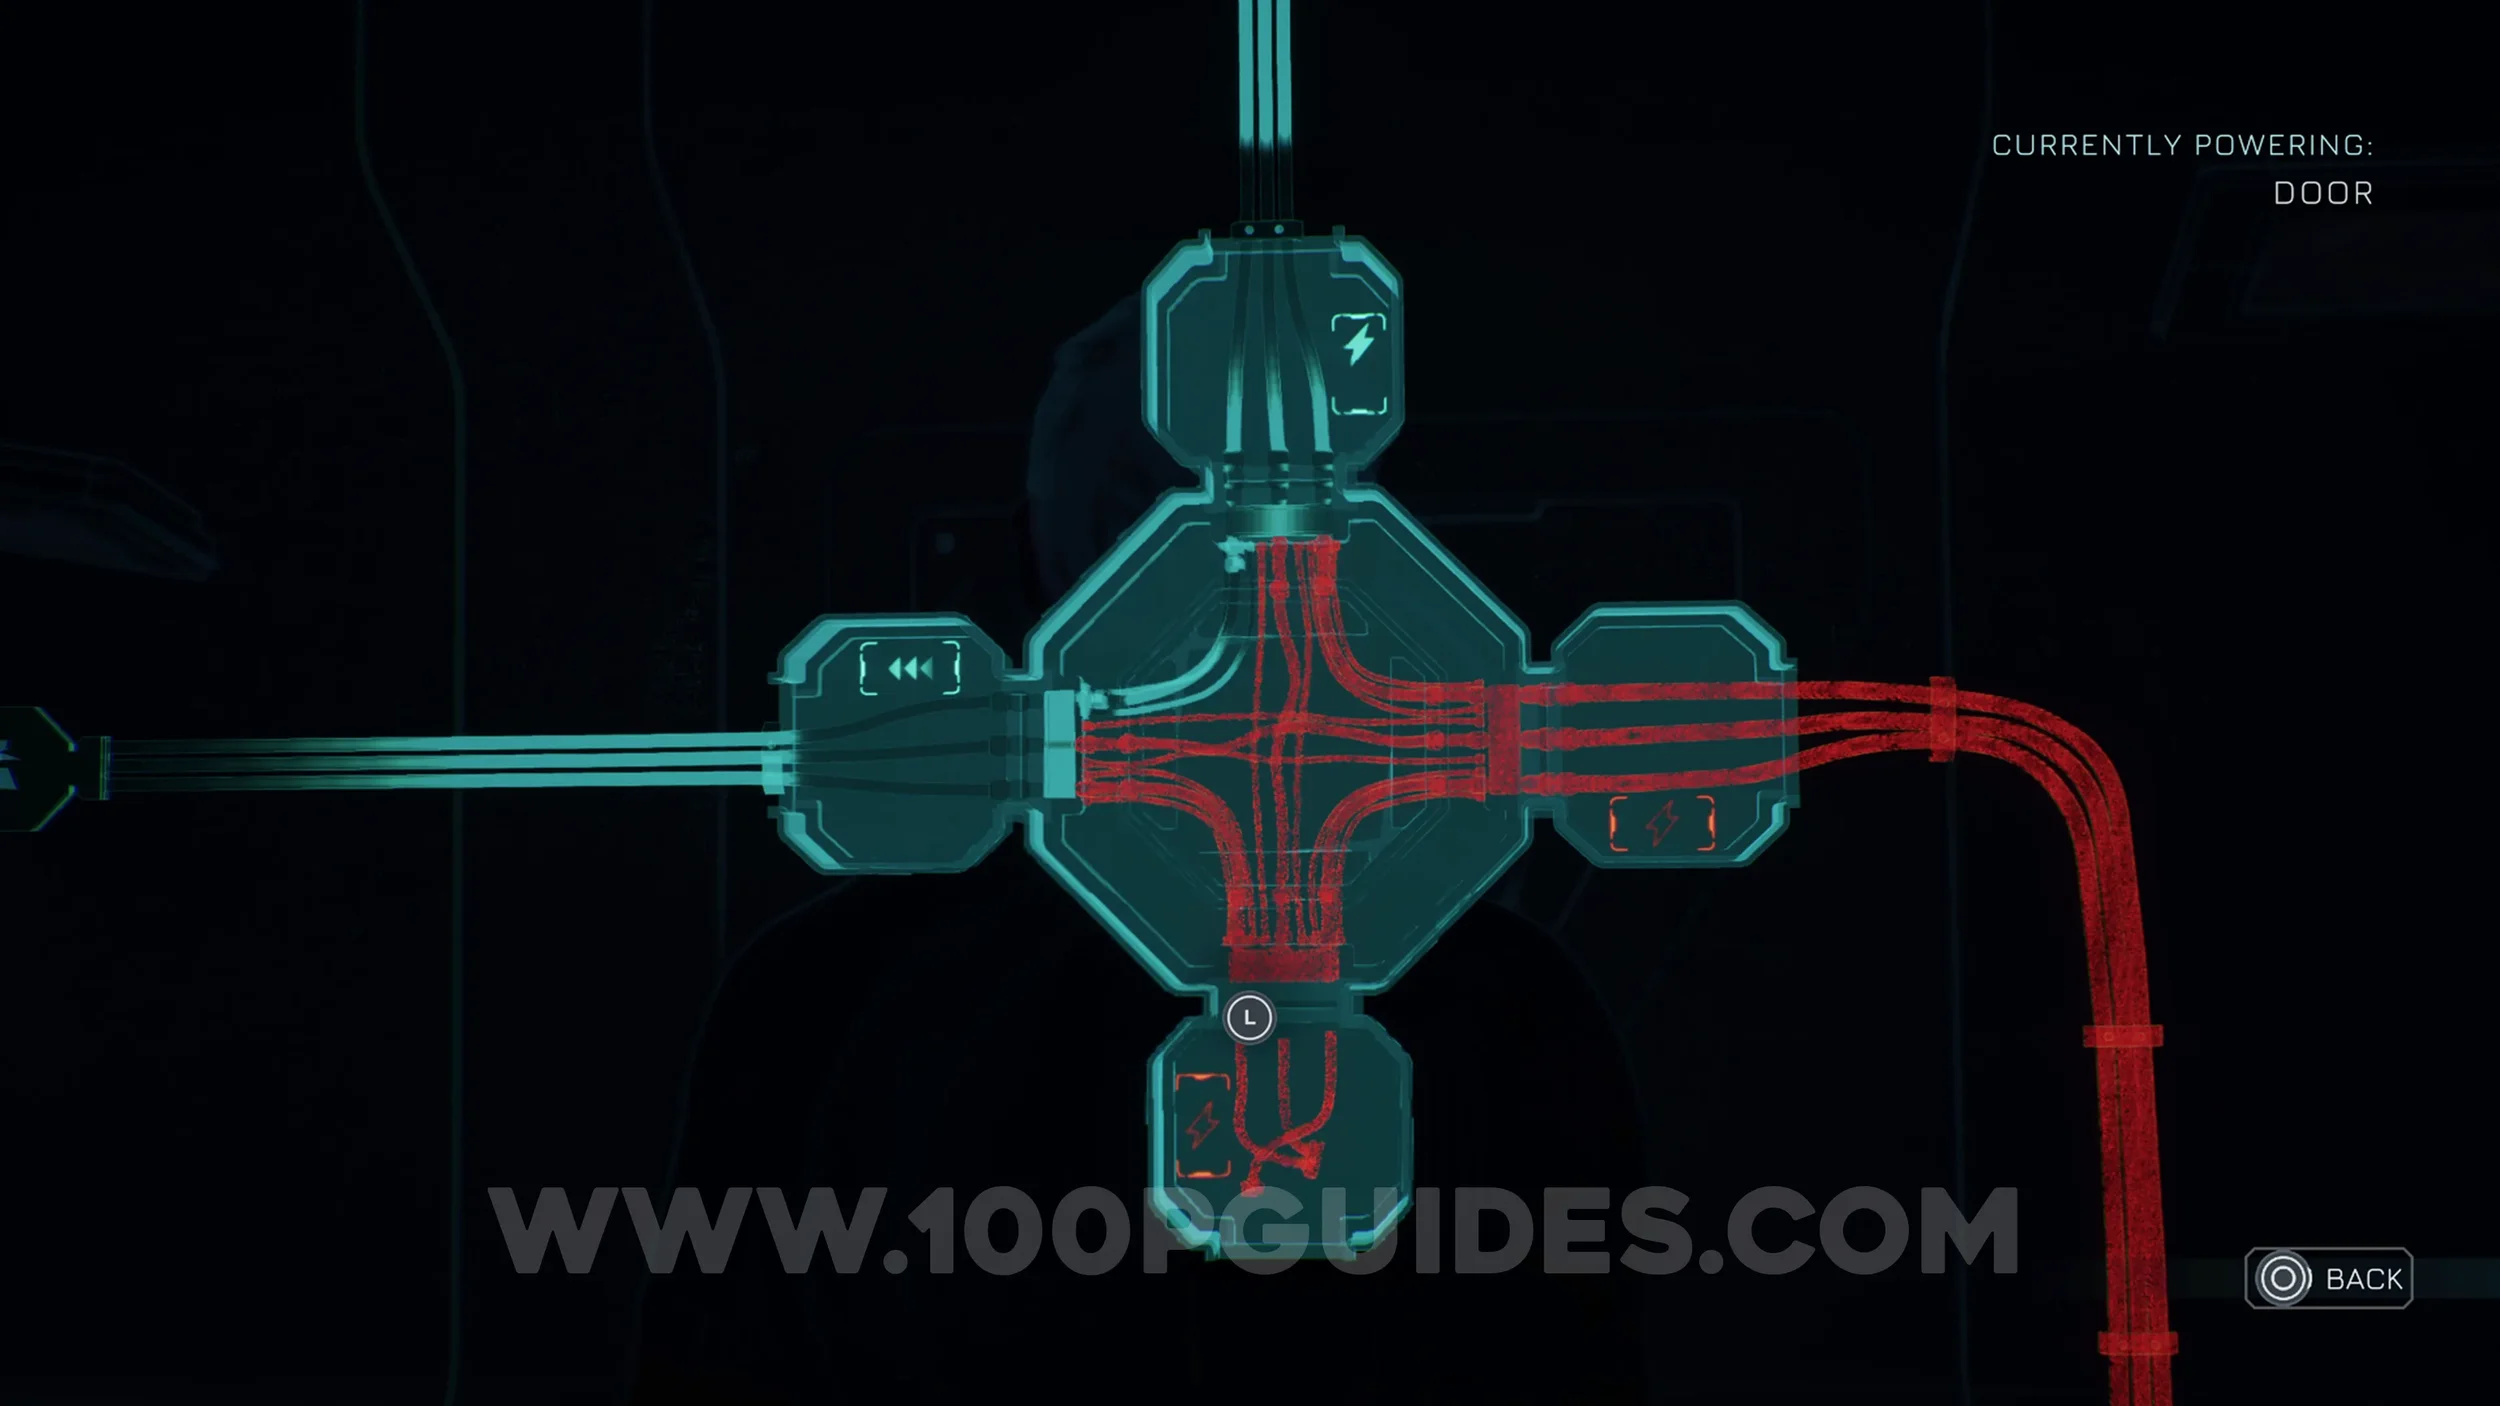
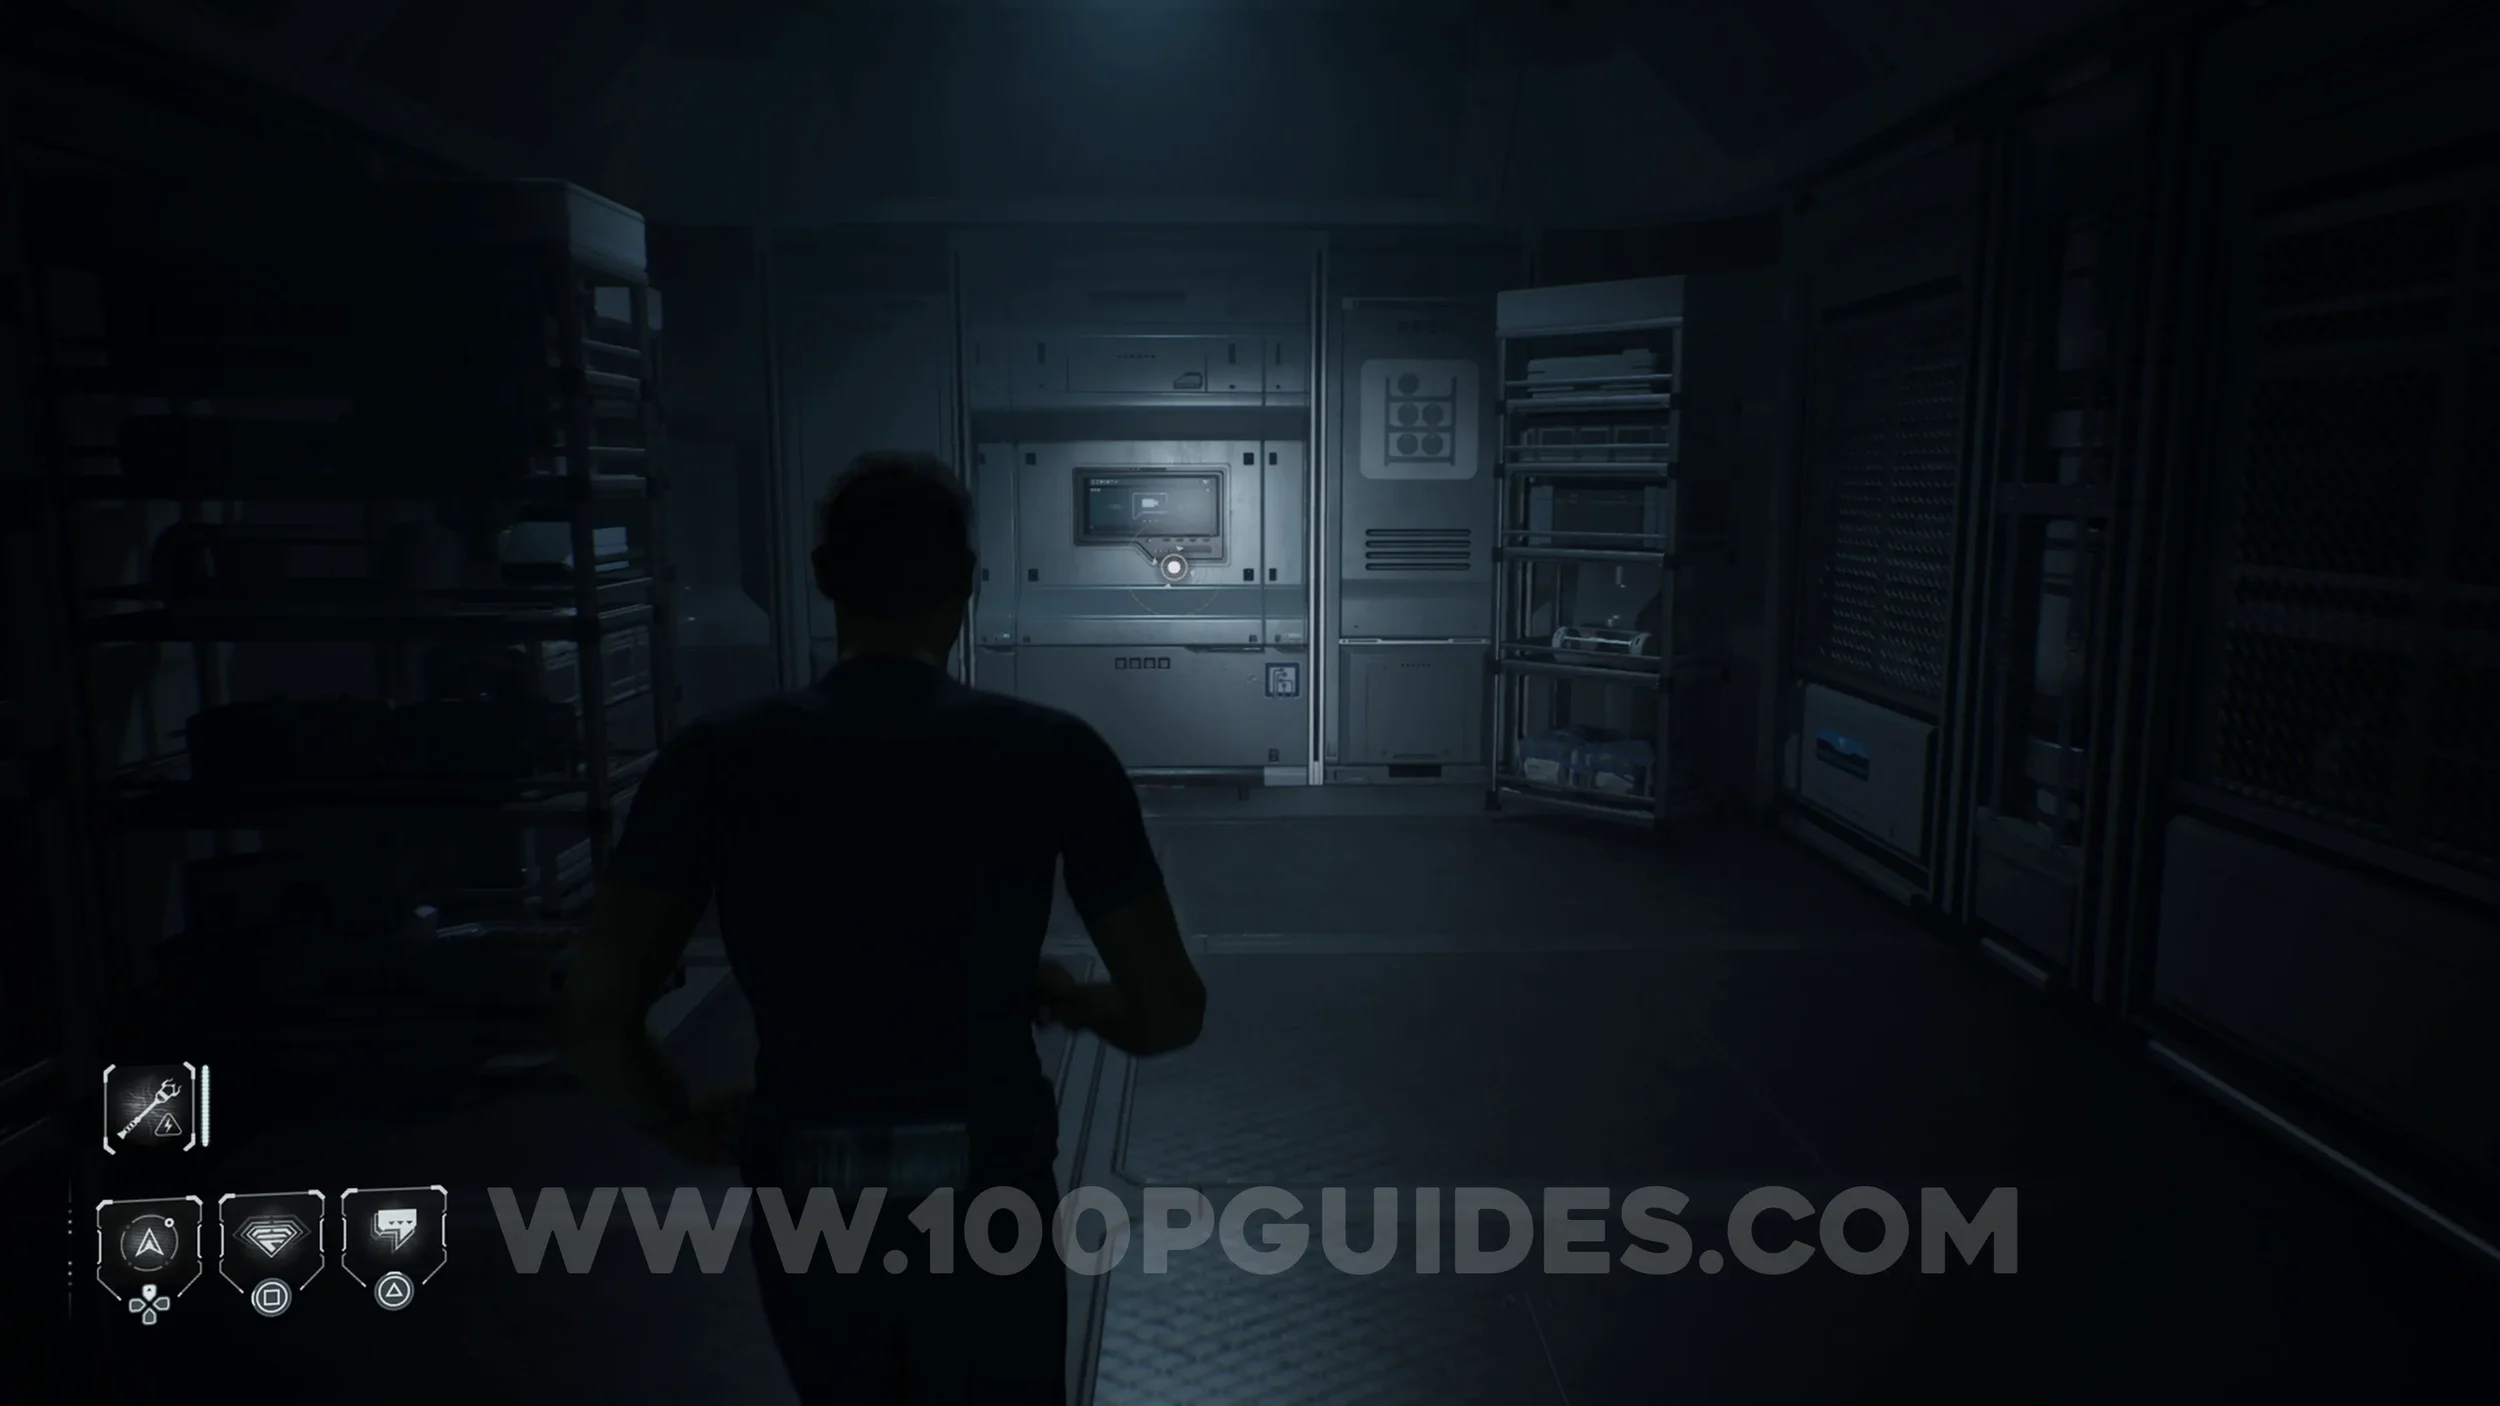
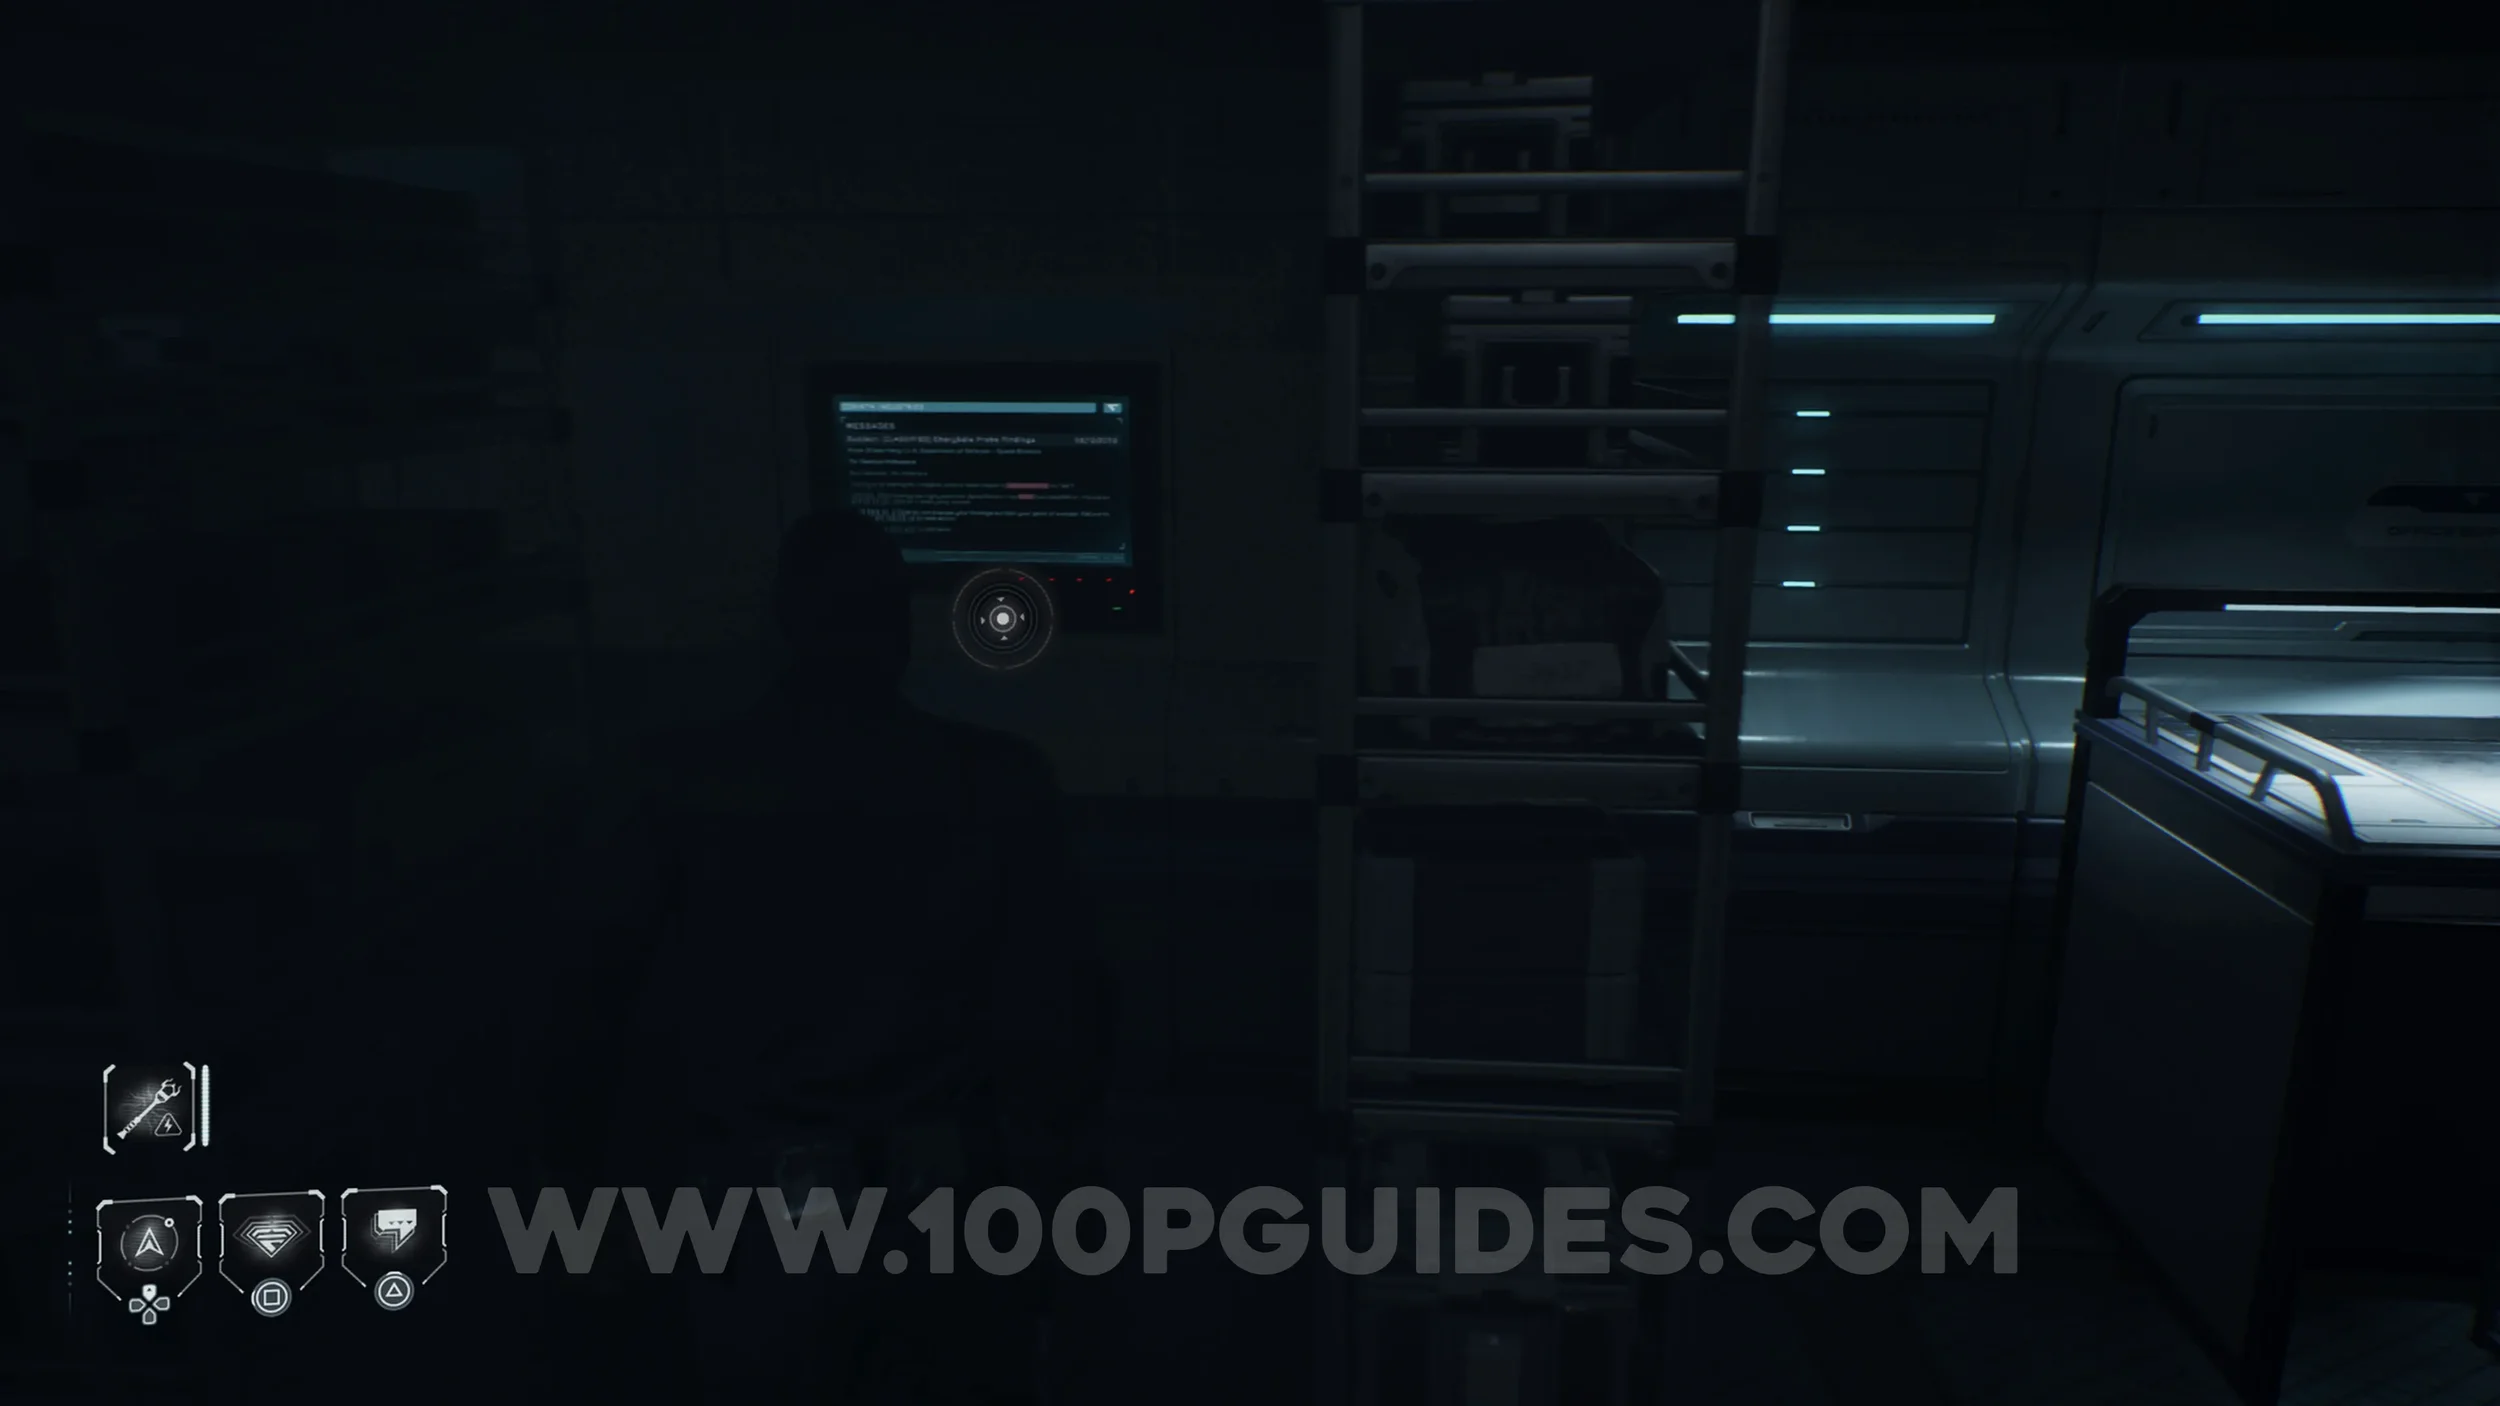
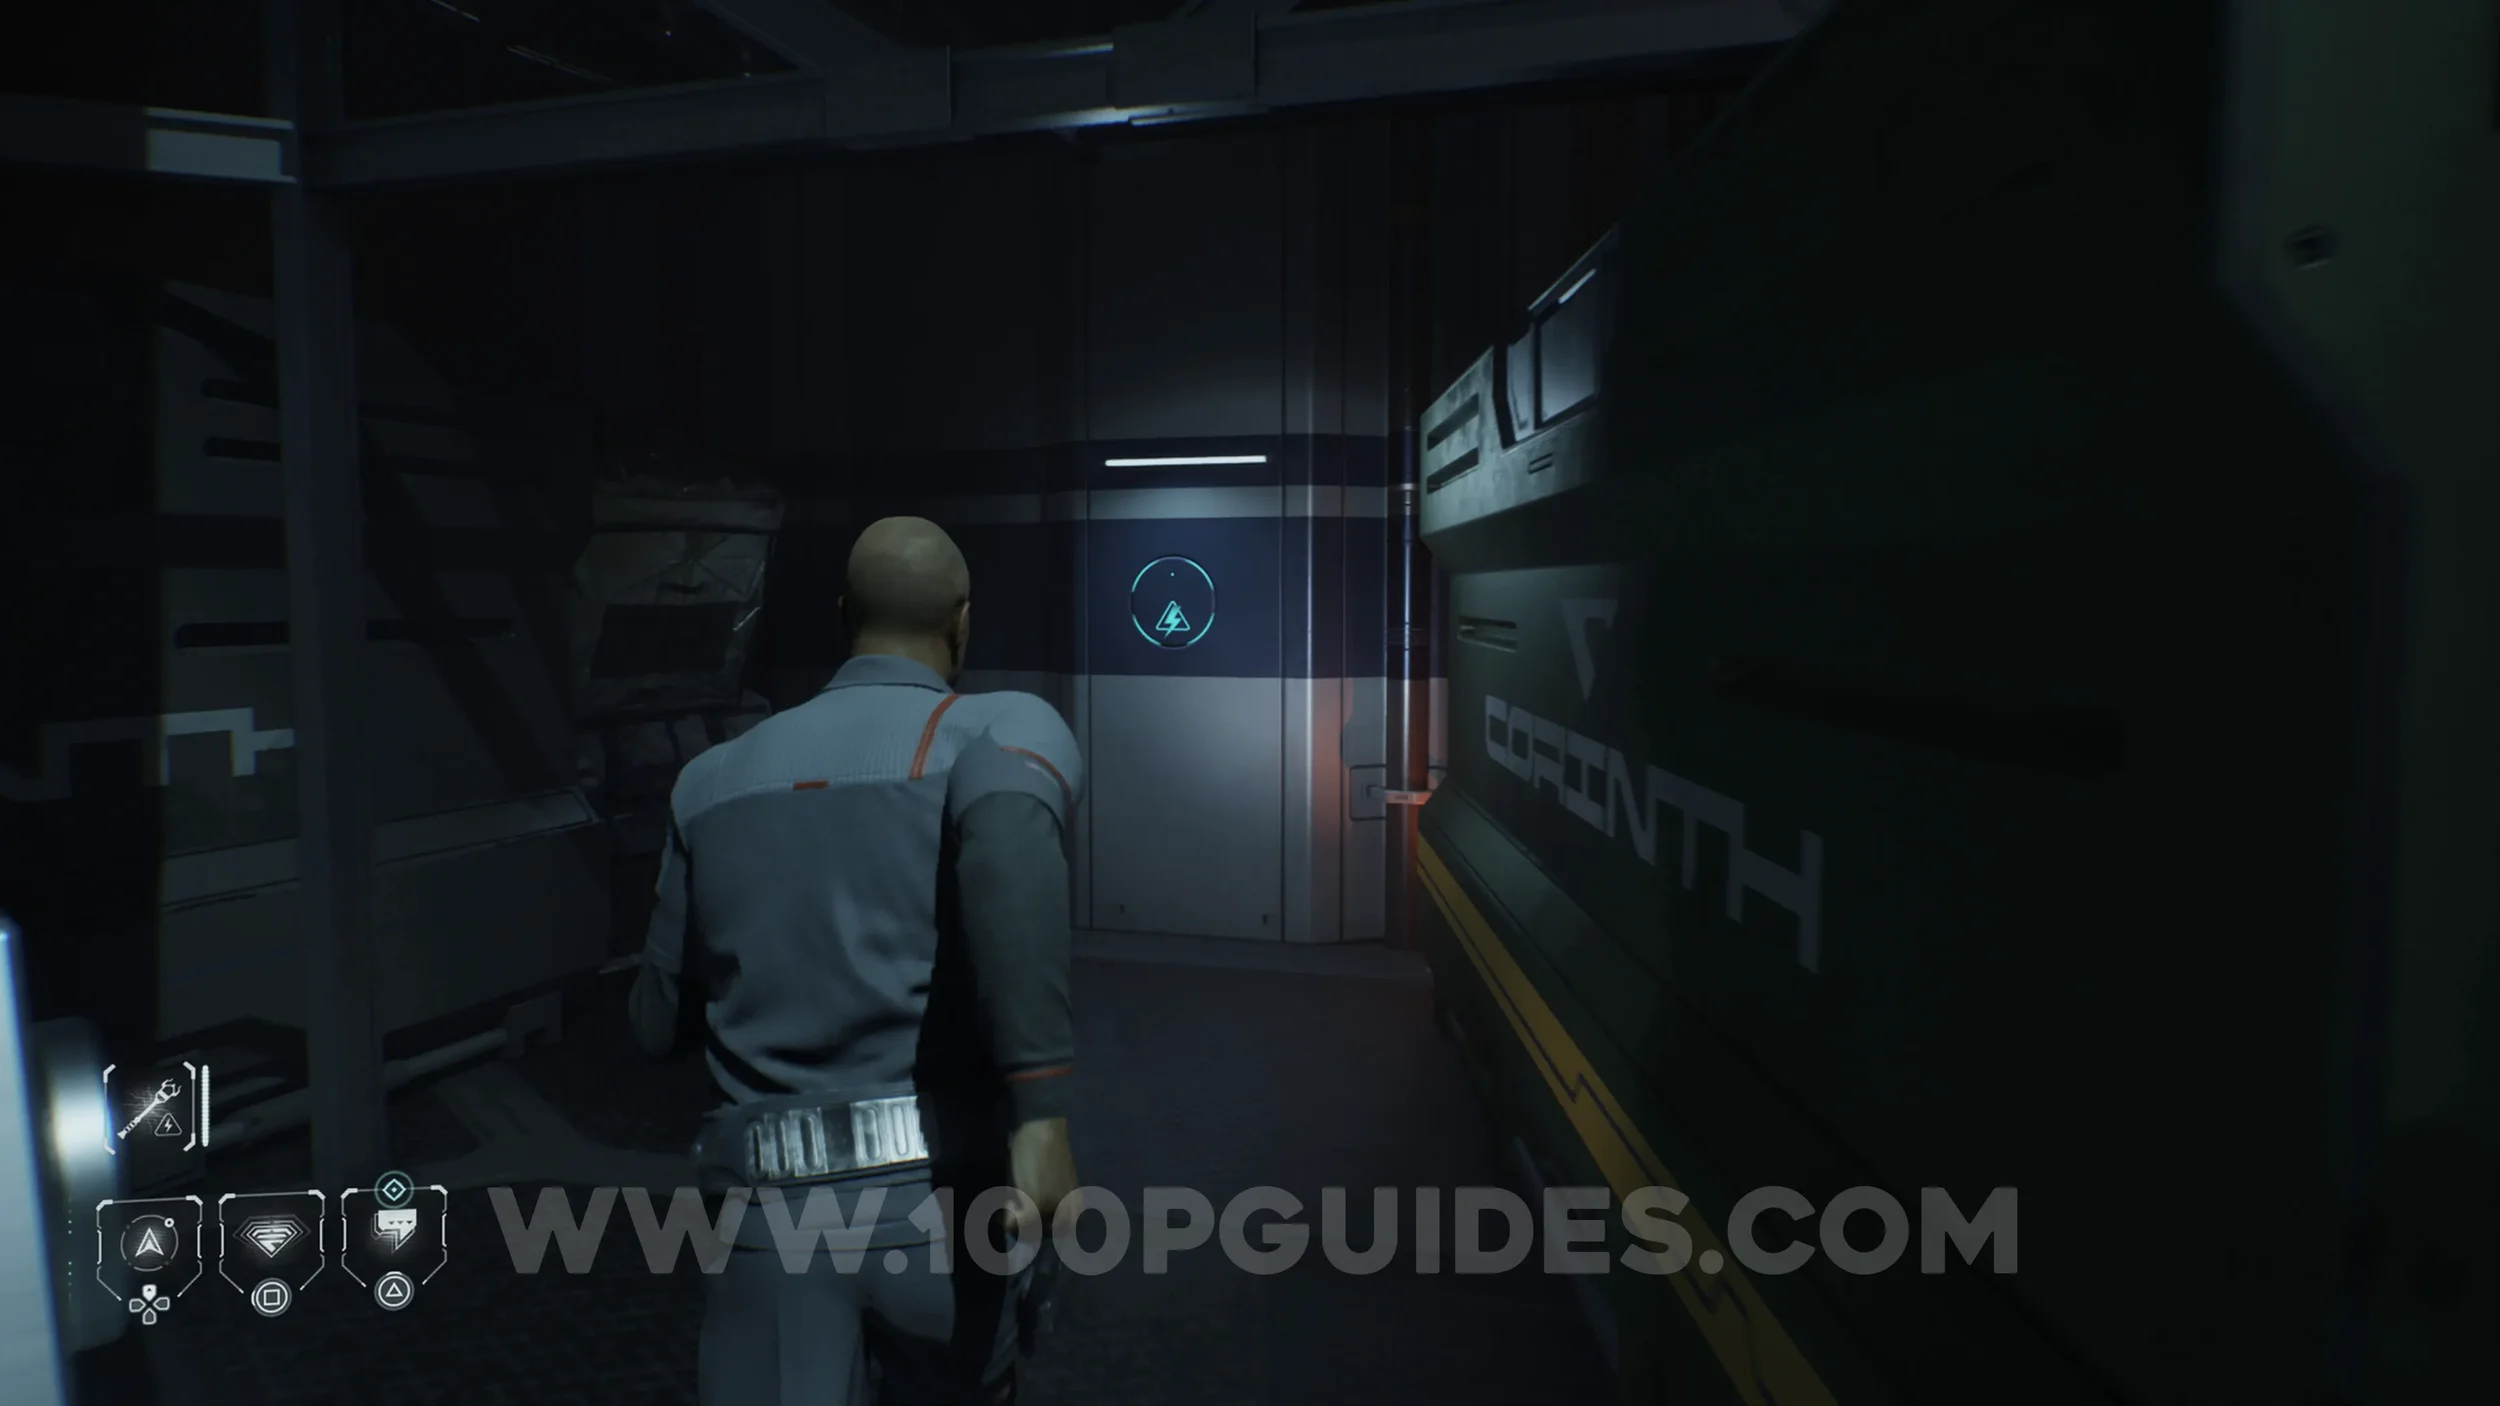
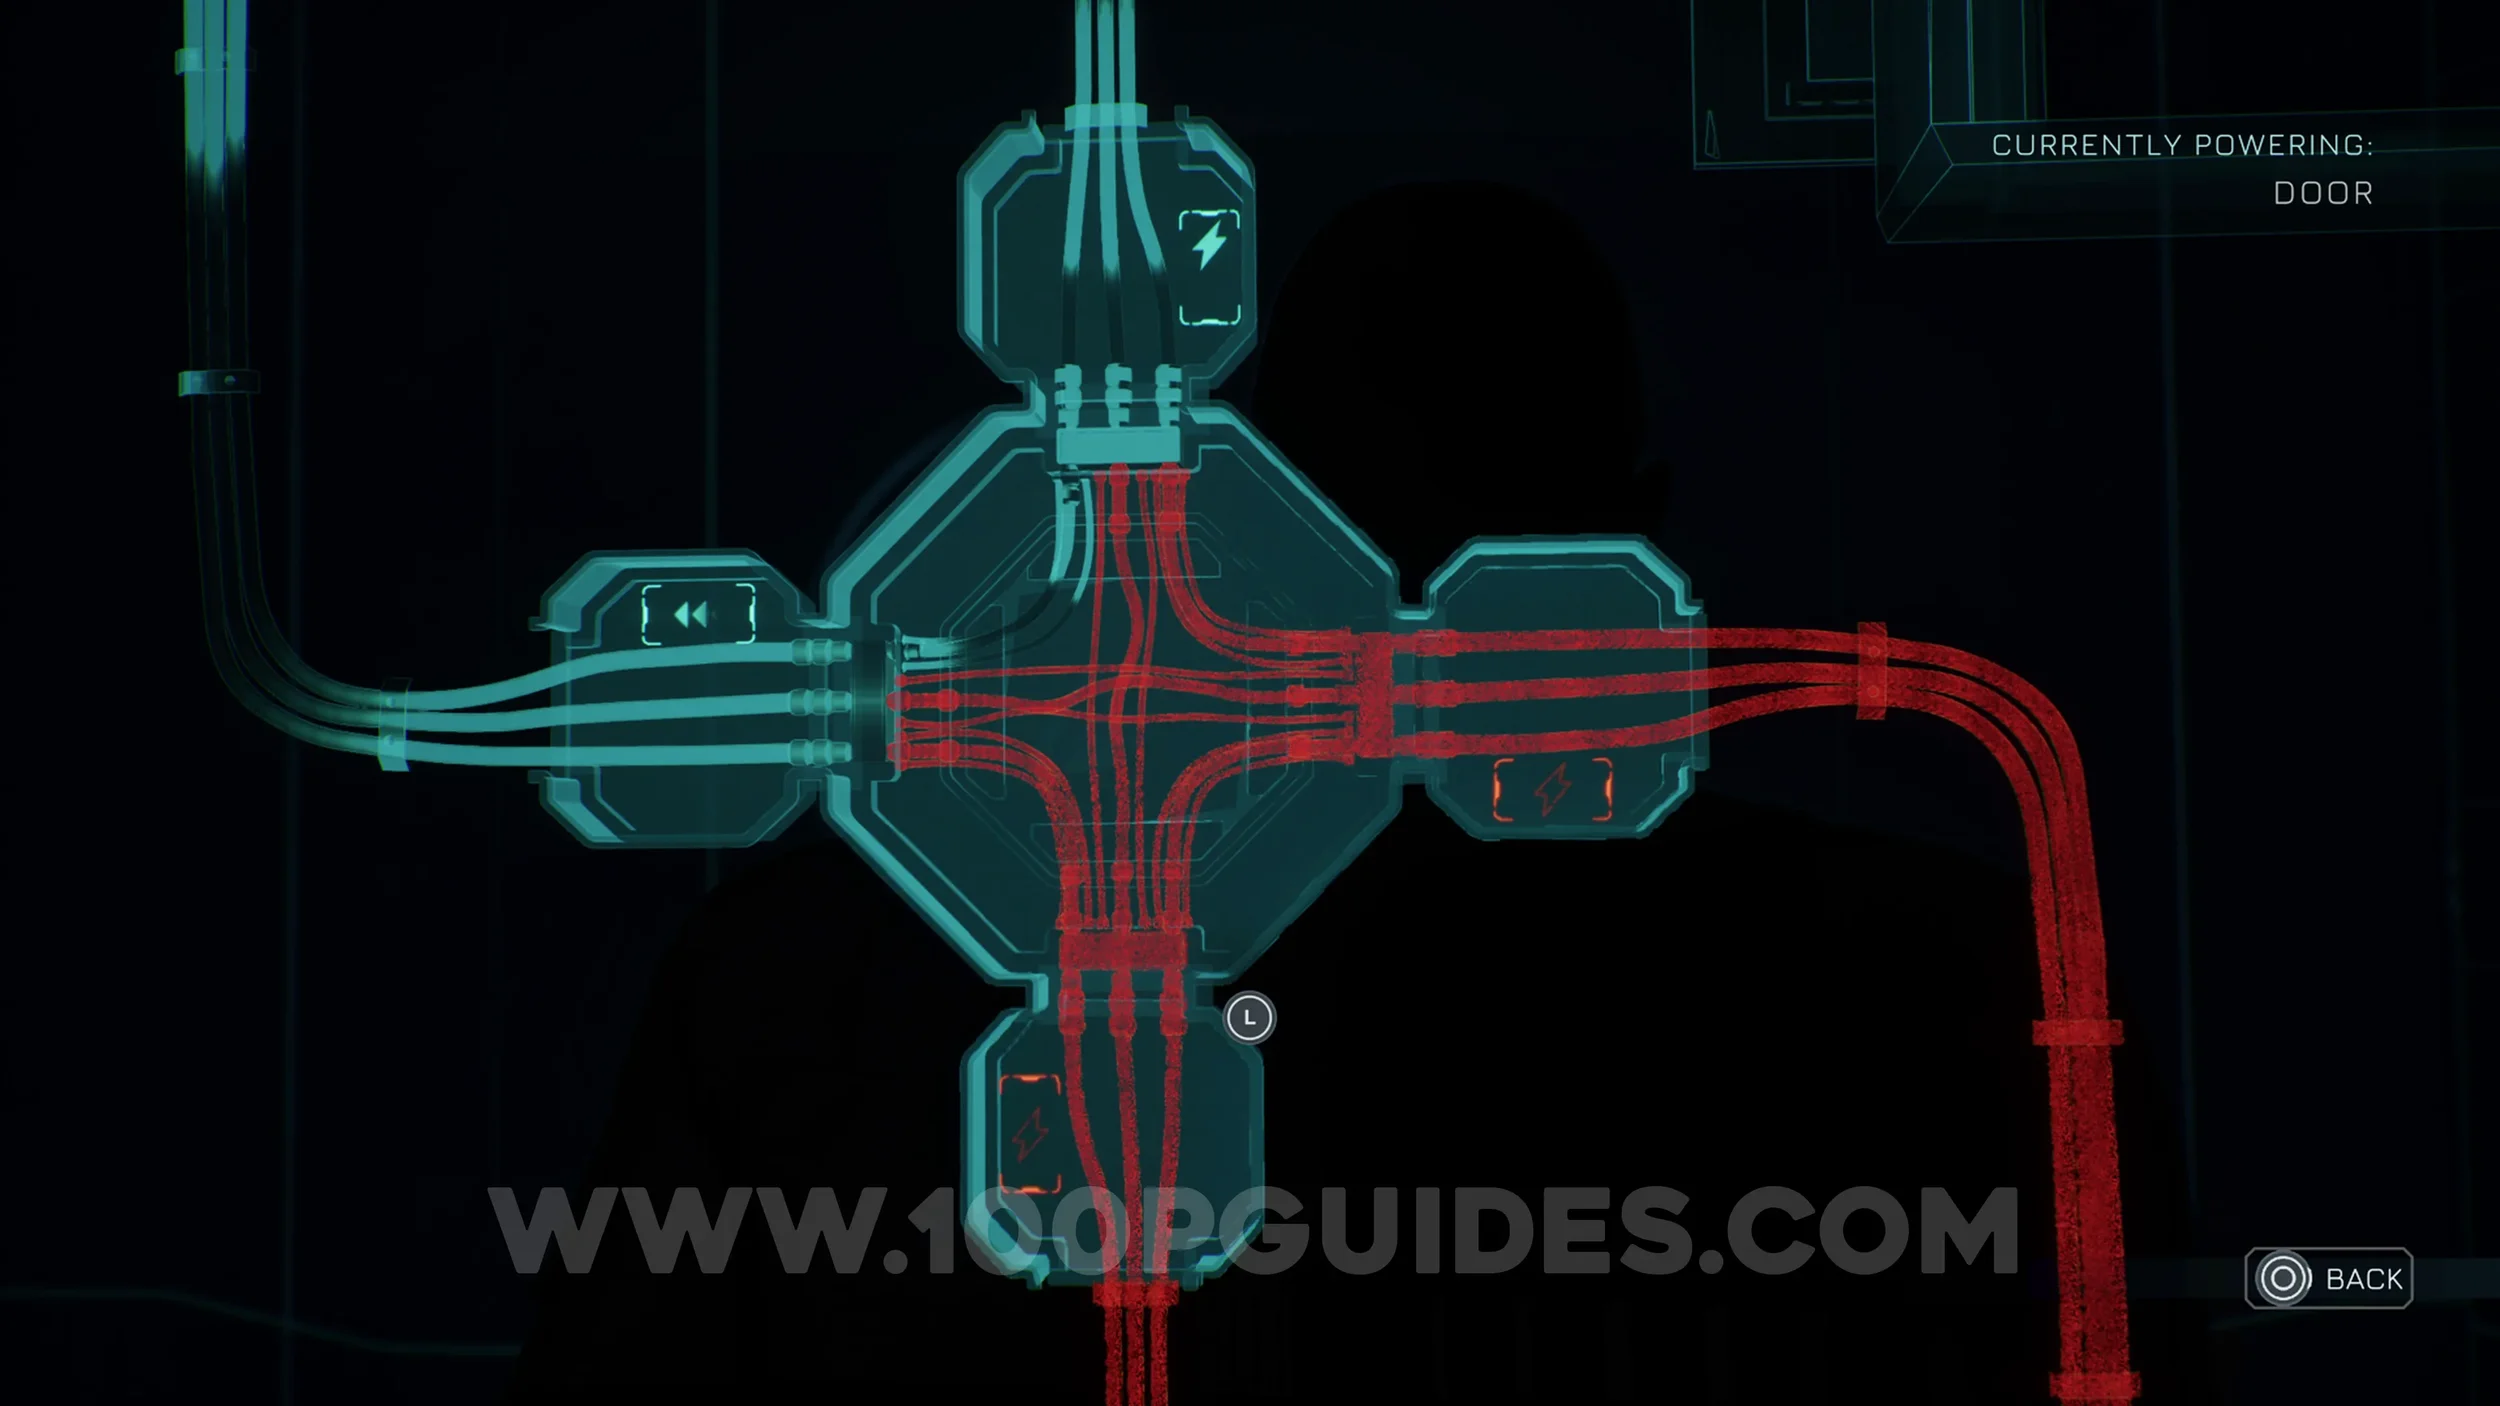
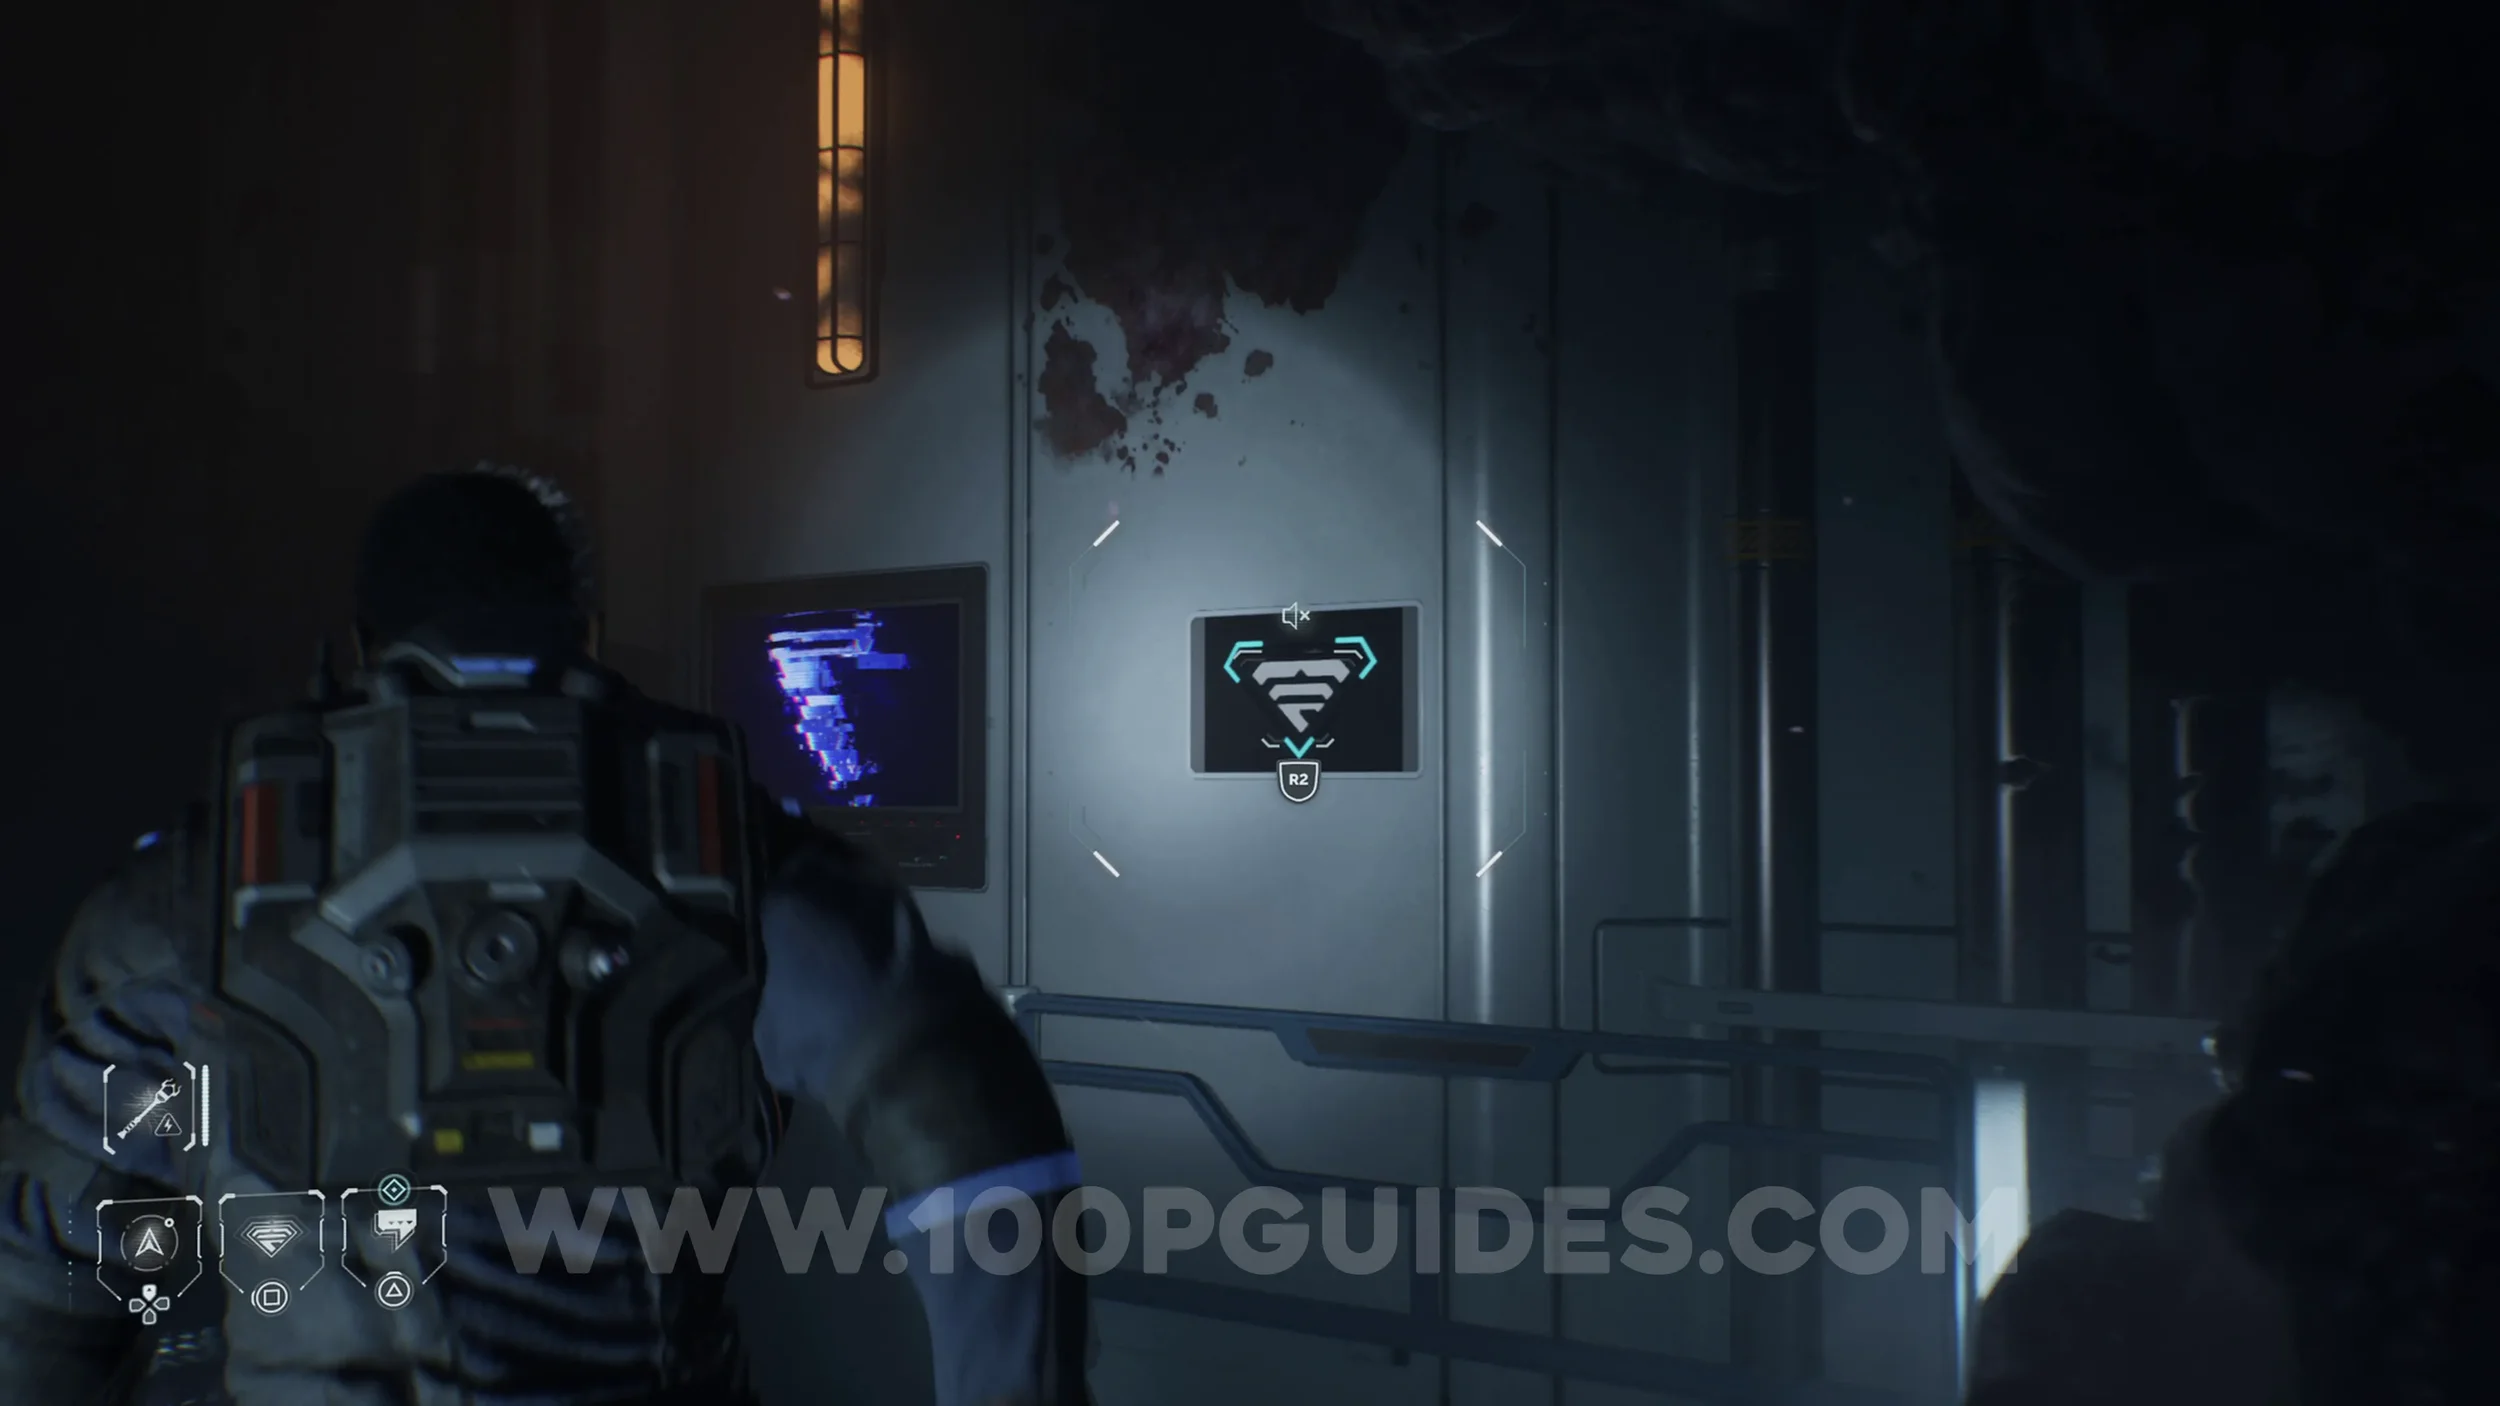
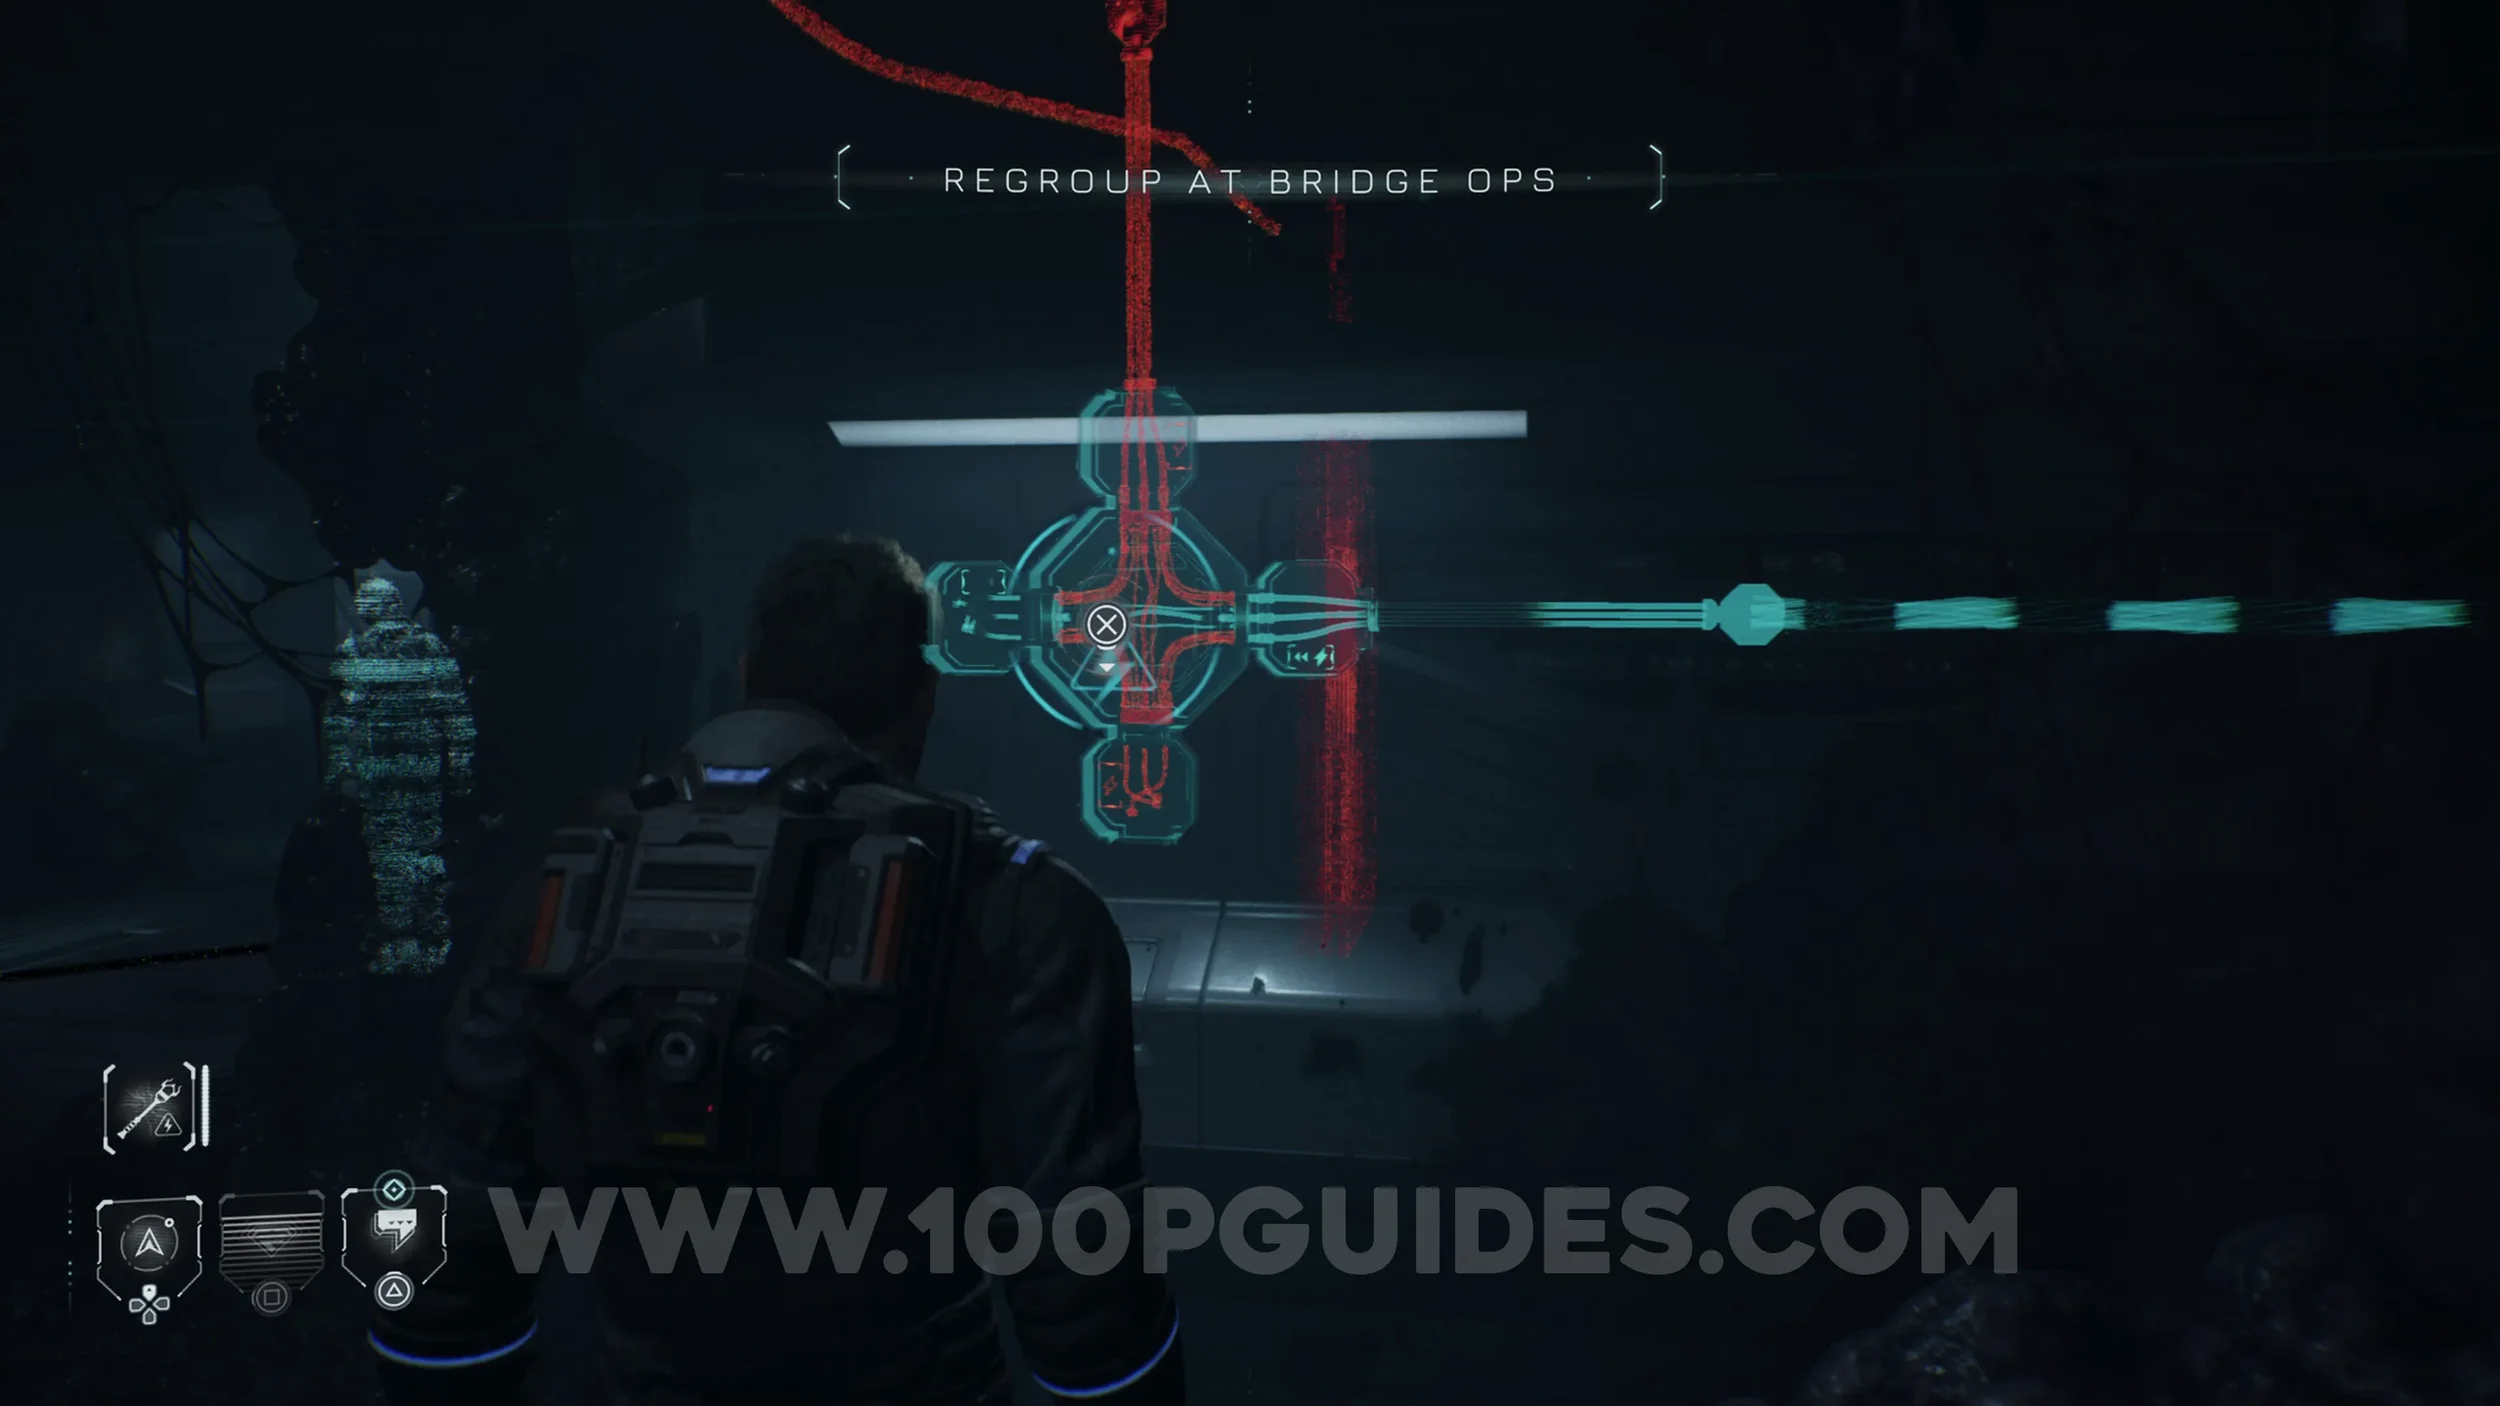
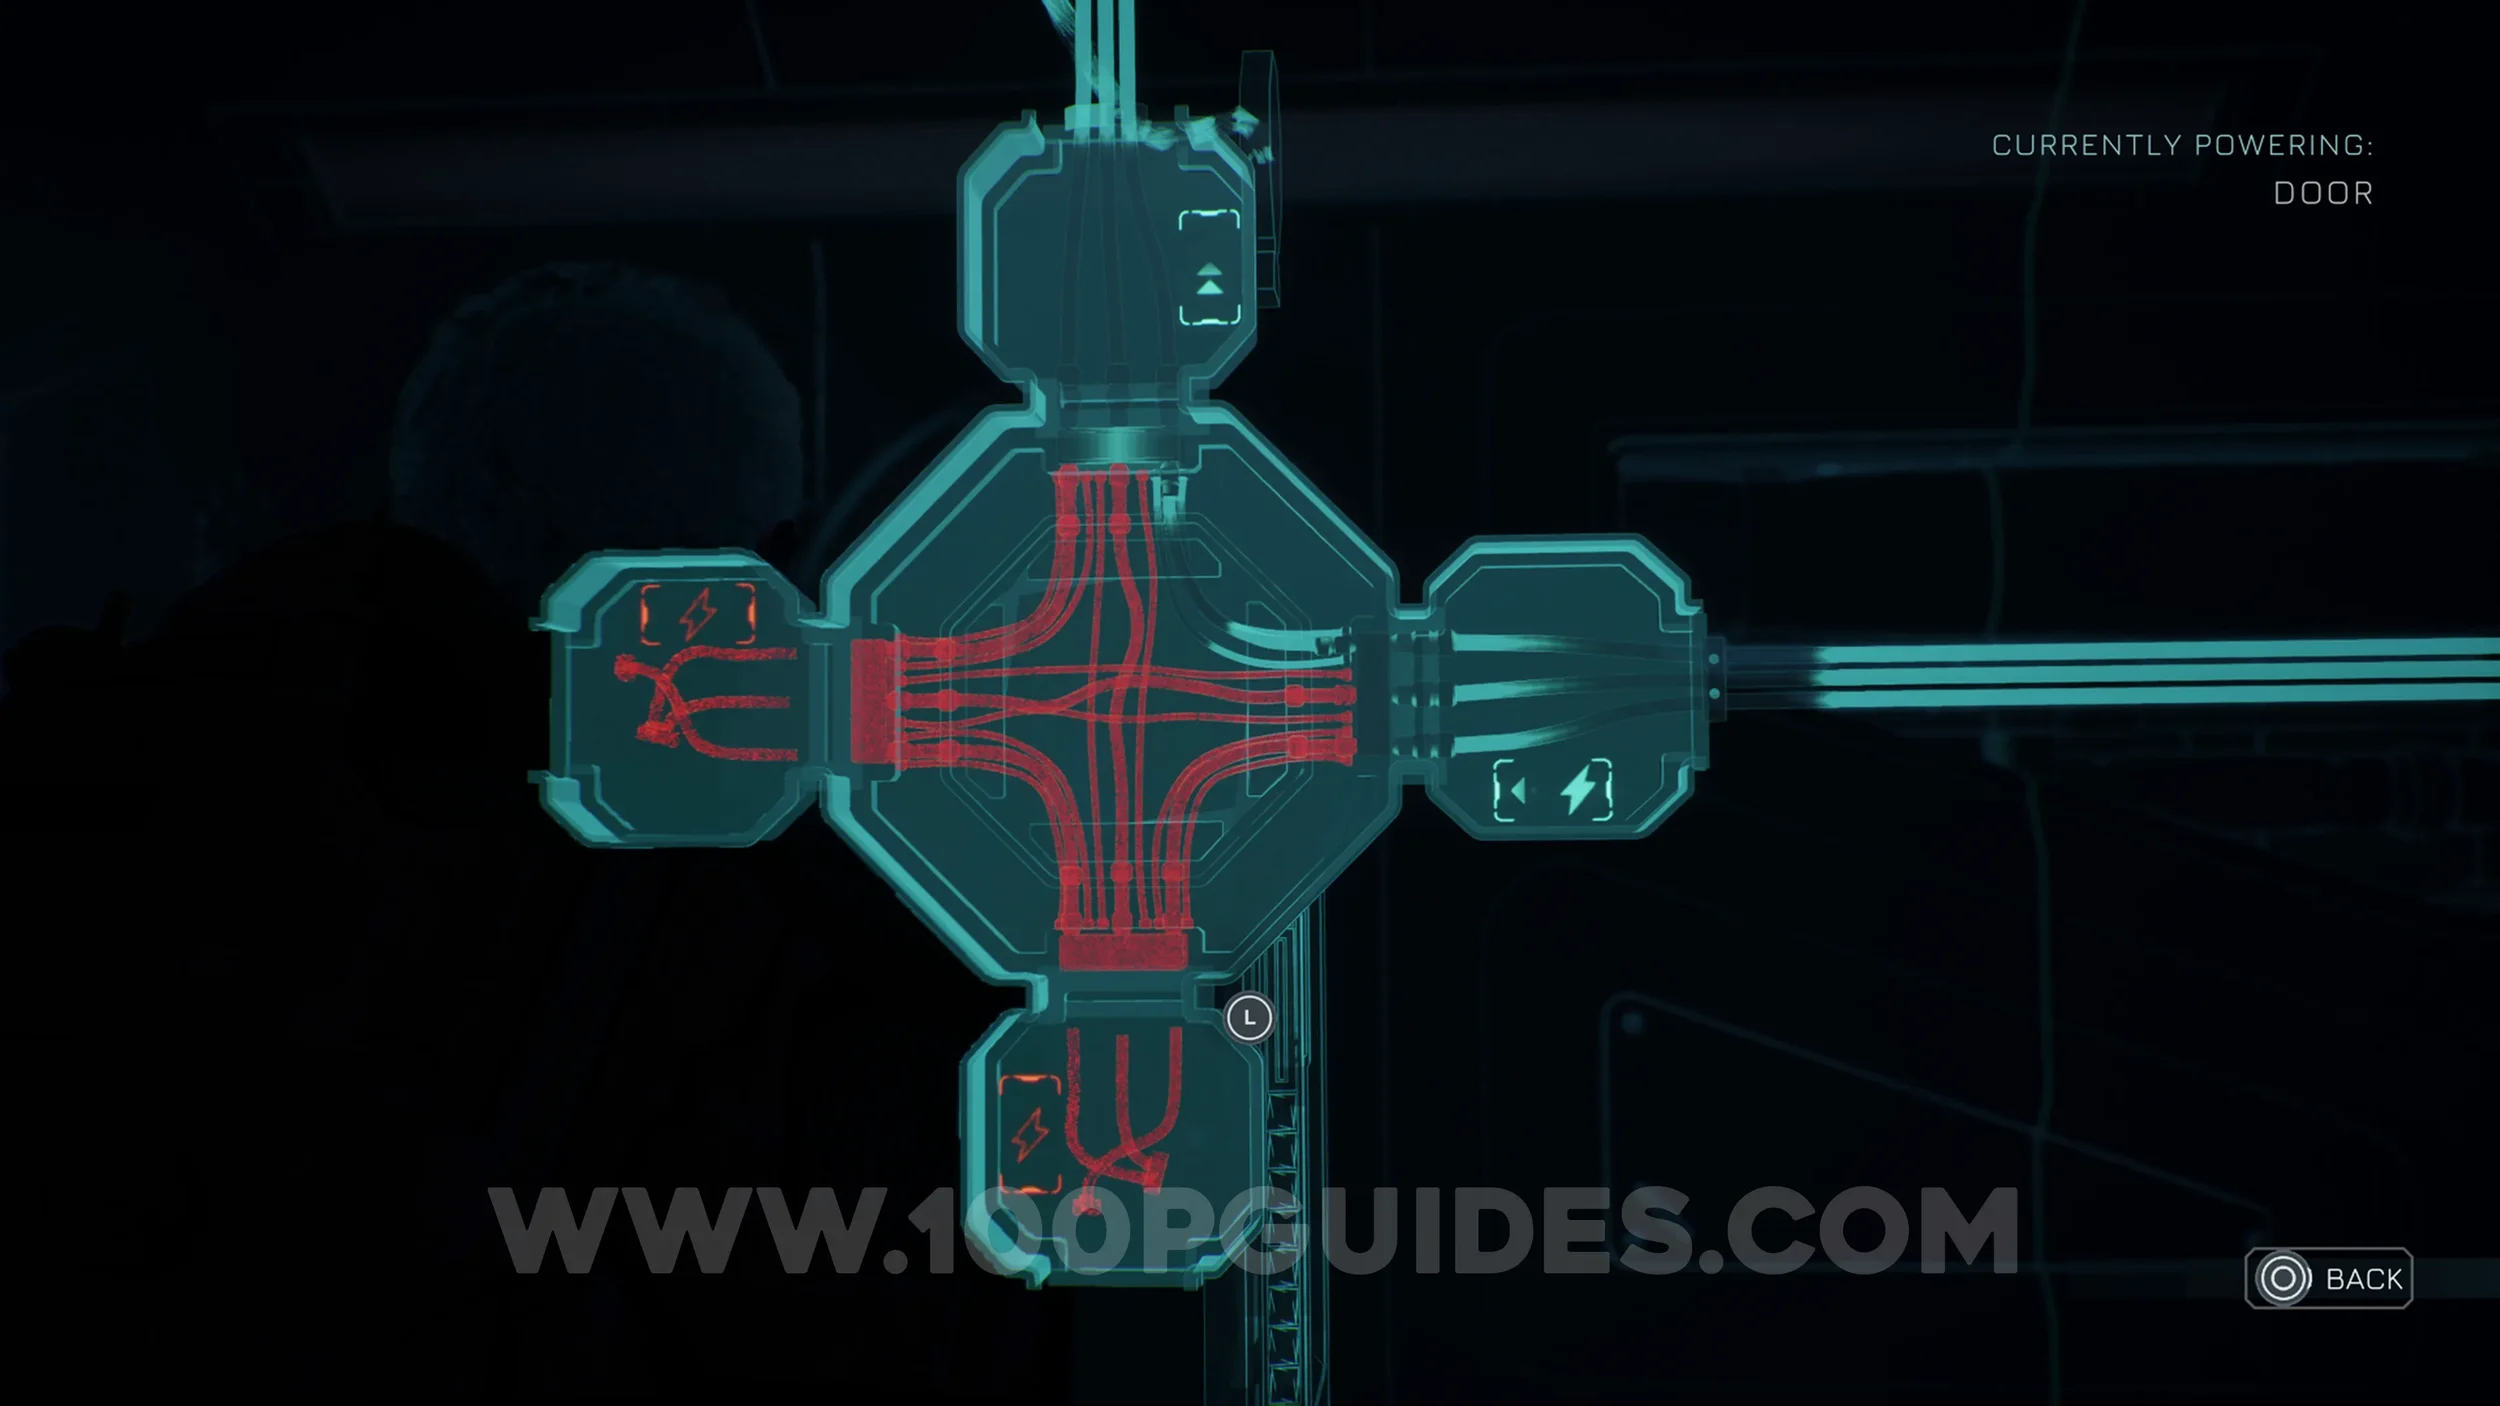
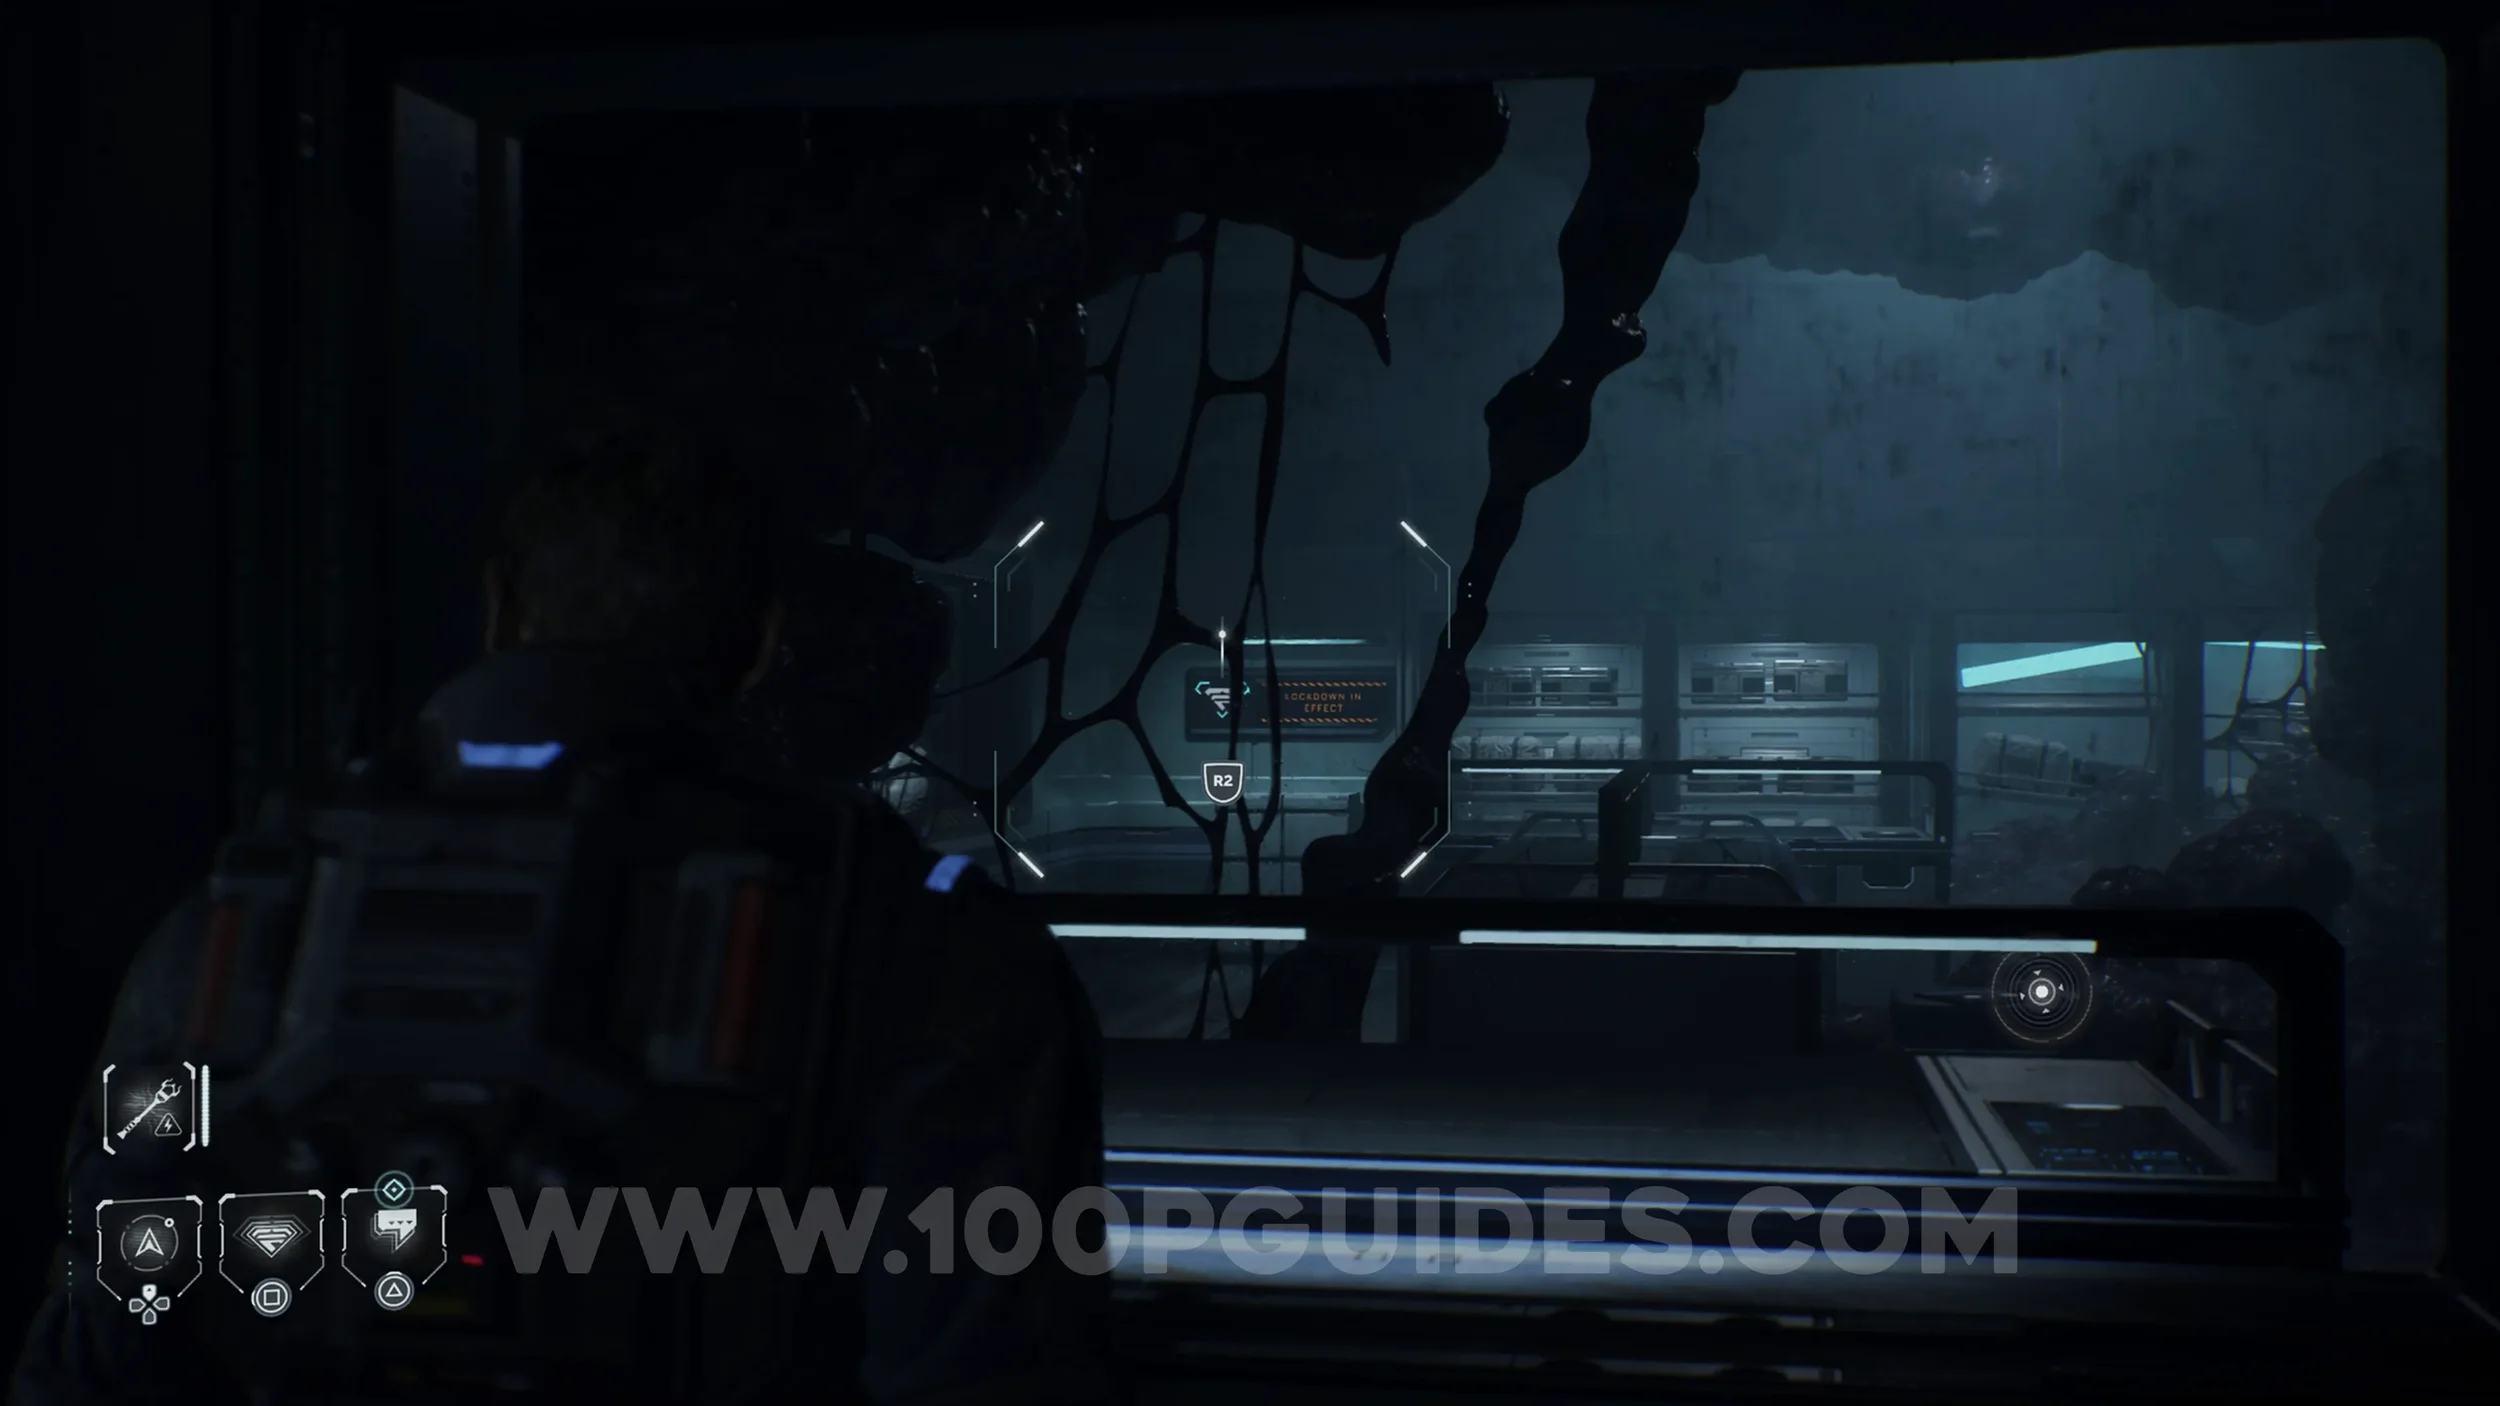
The Simms Recordings #7 - Hostile Fire. From the Bridge Ops room, exit through the bottom floor until you can go left or right. Go left and vault over the obstacle. At the end press Square to scan the cables and the power panel on the wall in front of you. Interact with it to send power to the door on the left. Go through it to find the collectible on the wall.
Secret #35 - Science Crew (Love Lost). Soon after going down the lift, you will see Cooper head into a door. Before following her, go down the stairs and then left to find the collectible on a chair to your left.
EPISODE 6
The Simms Recordings #8 - Field Agent. As soon as you take control of Nolan, override the Exec Office door. Then go through it to find the collectible on the wall.

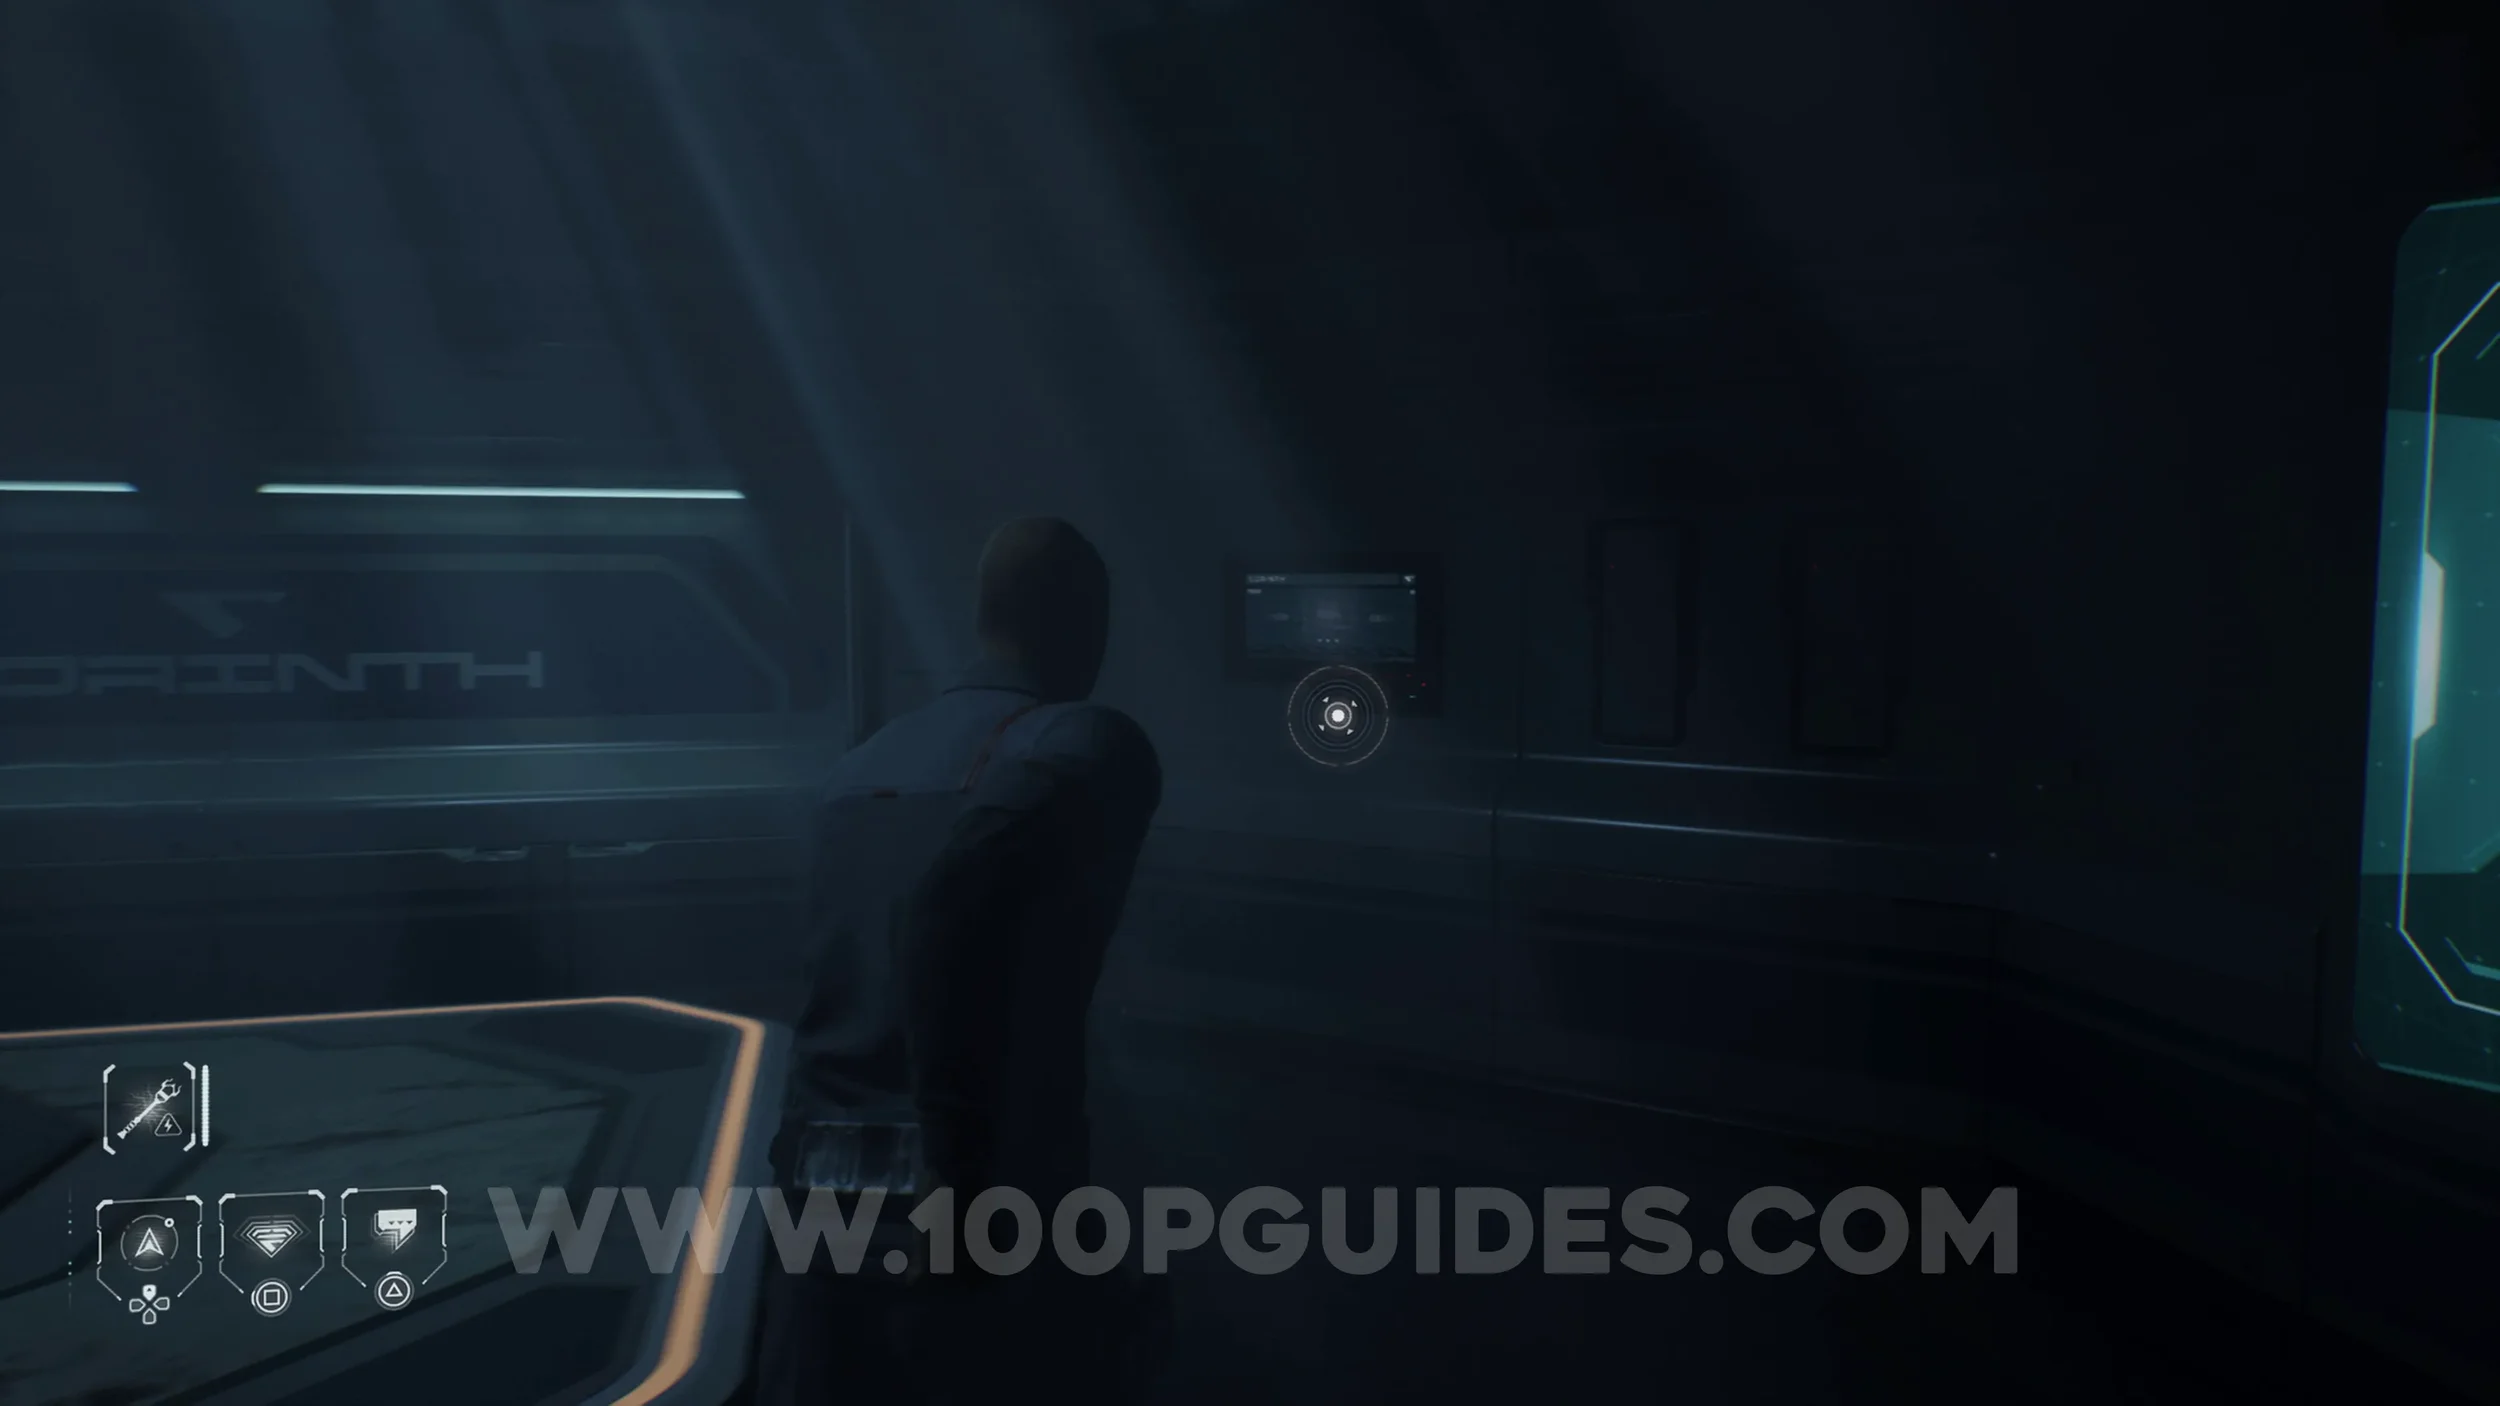
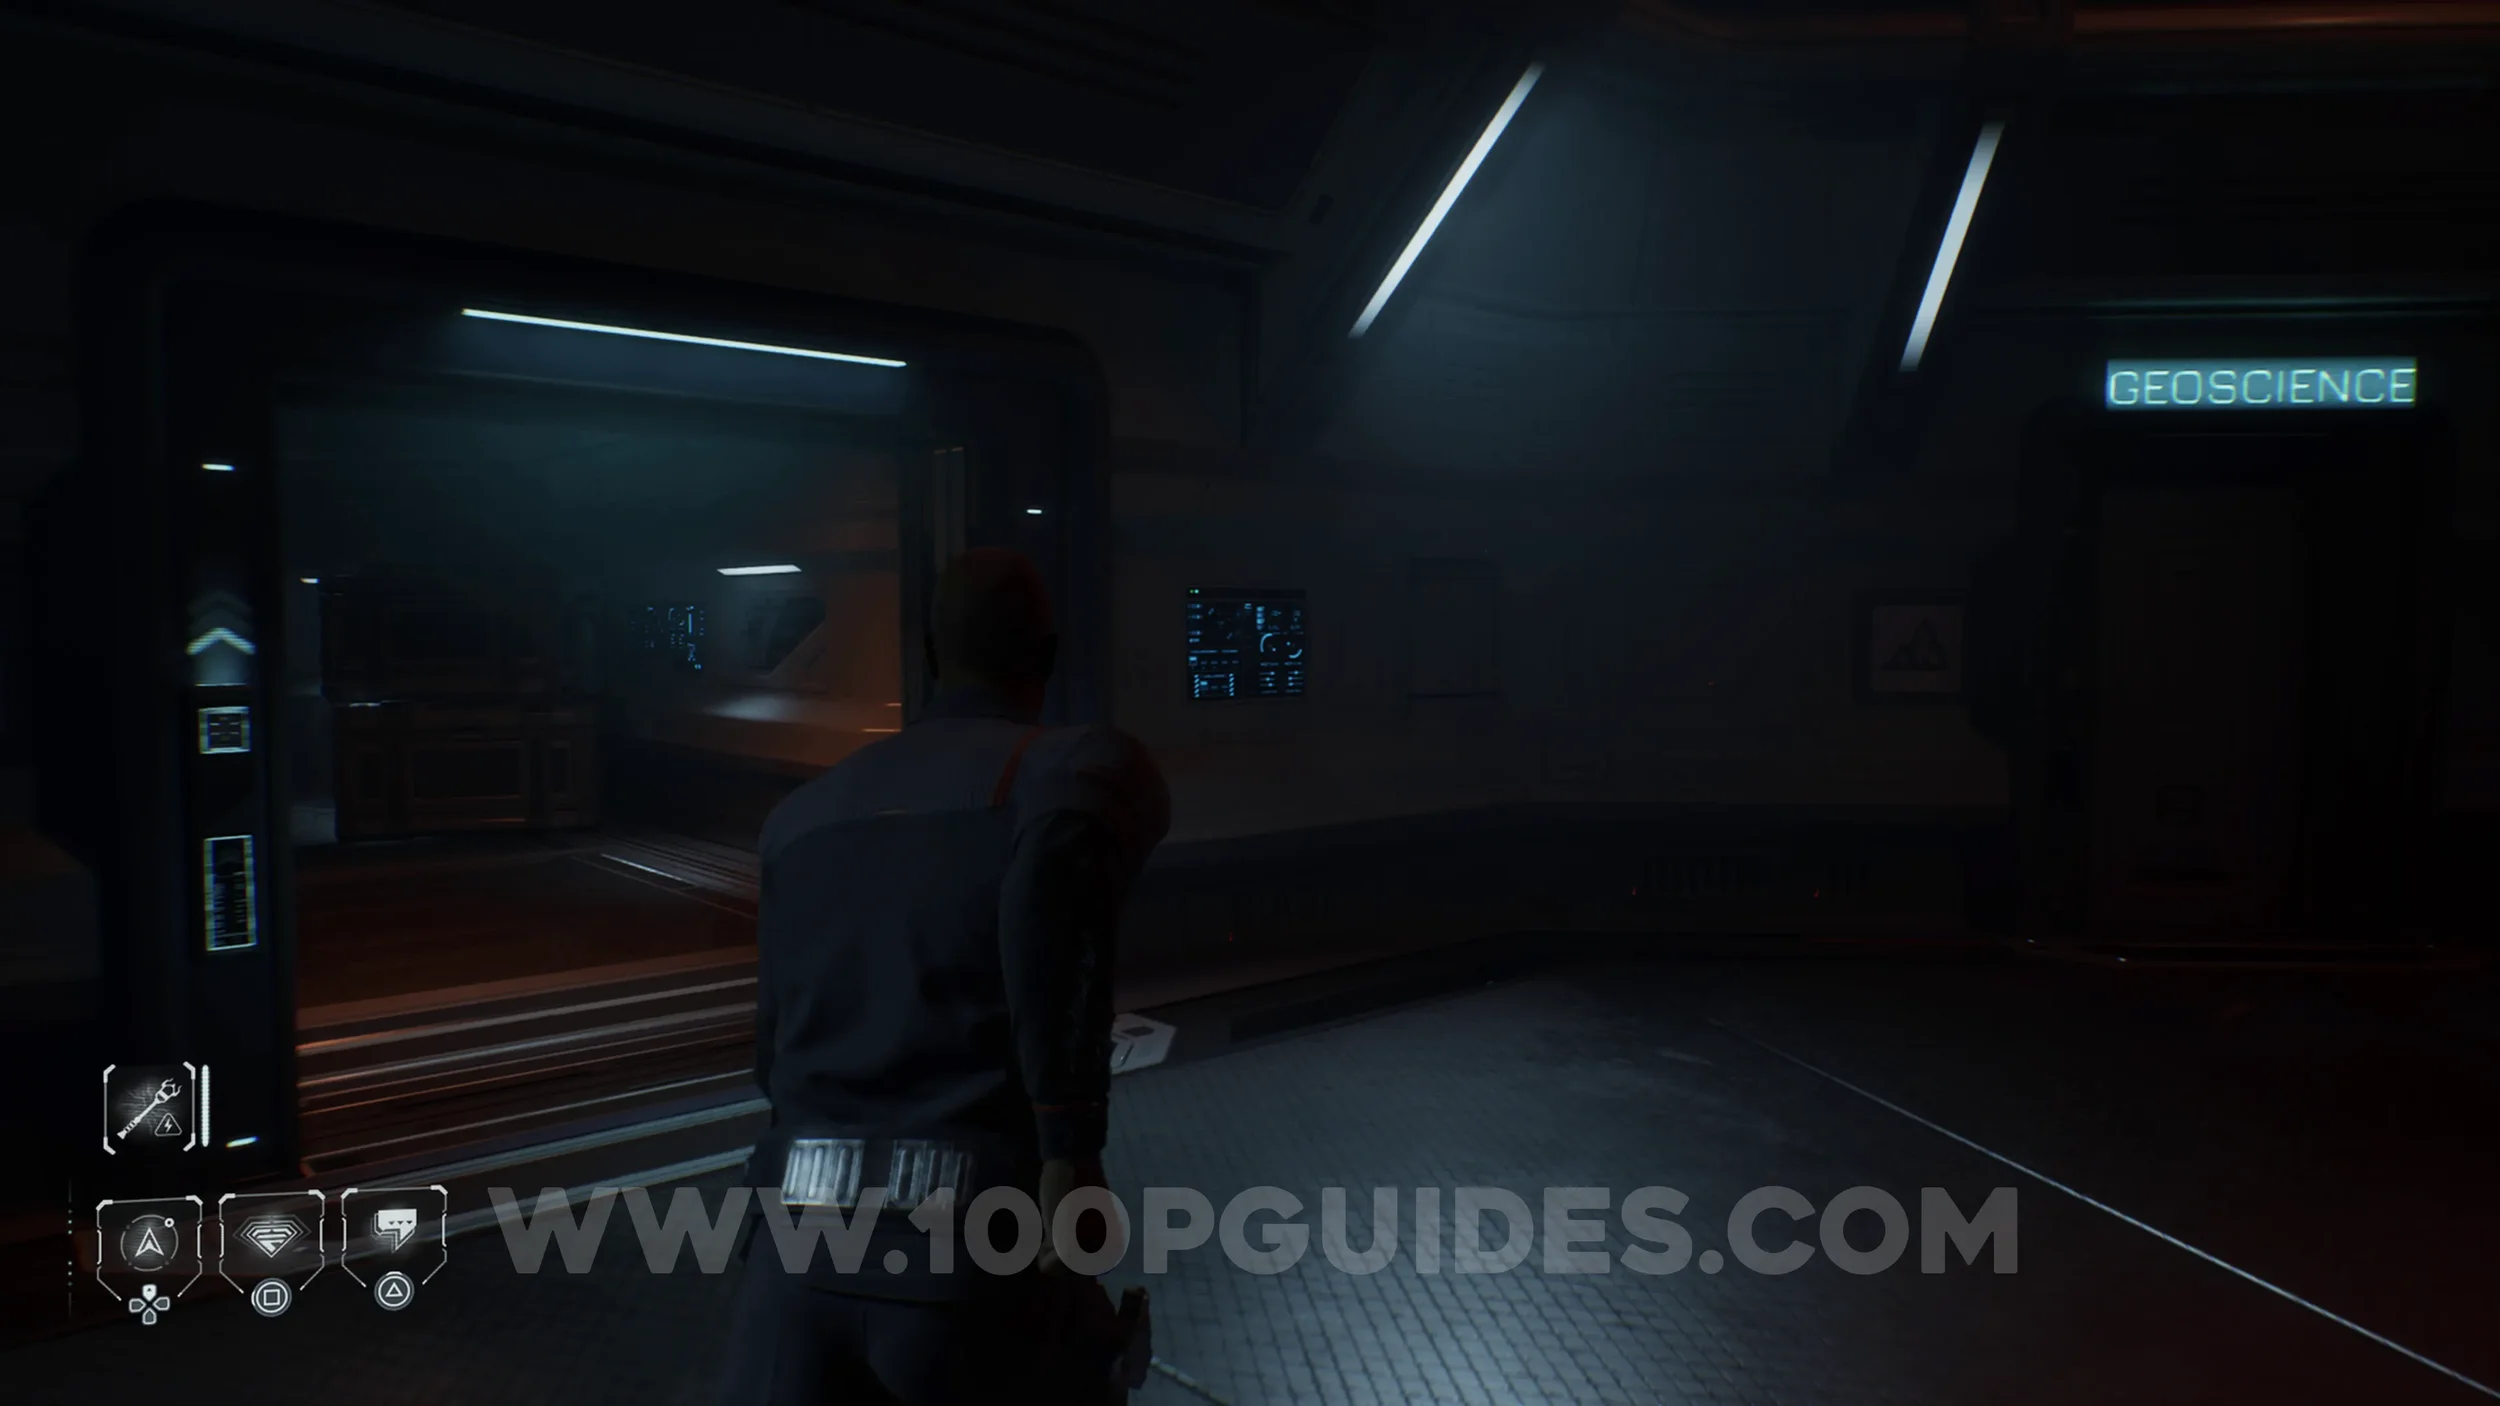
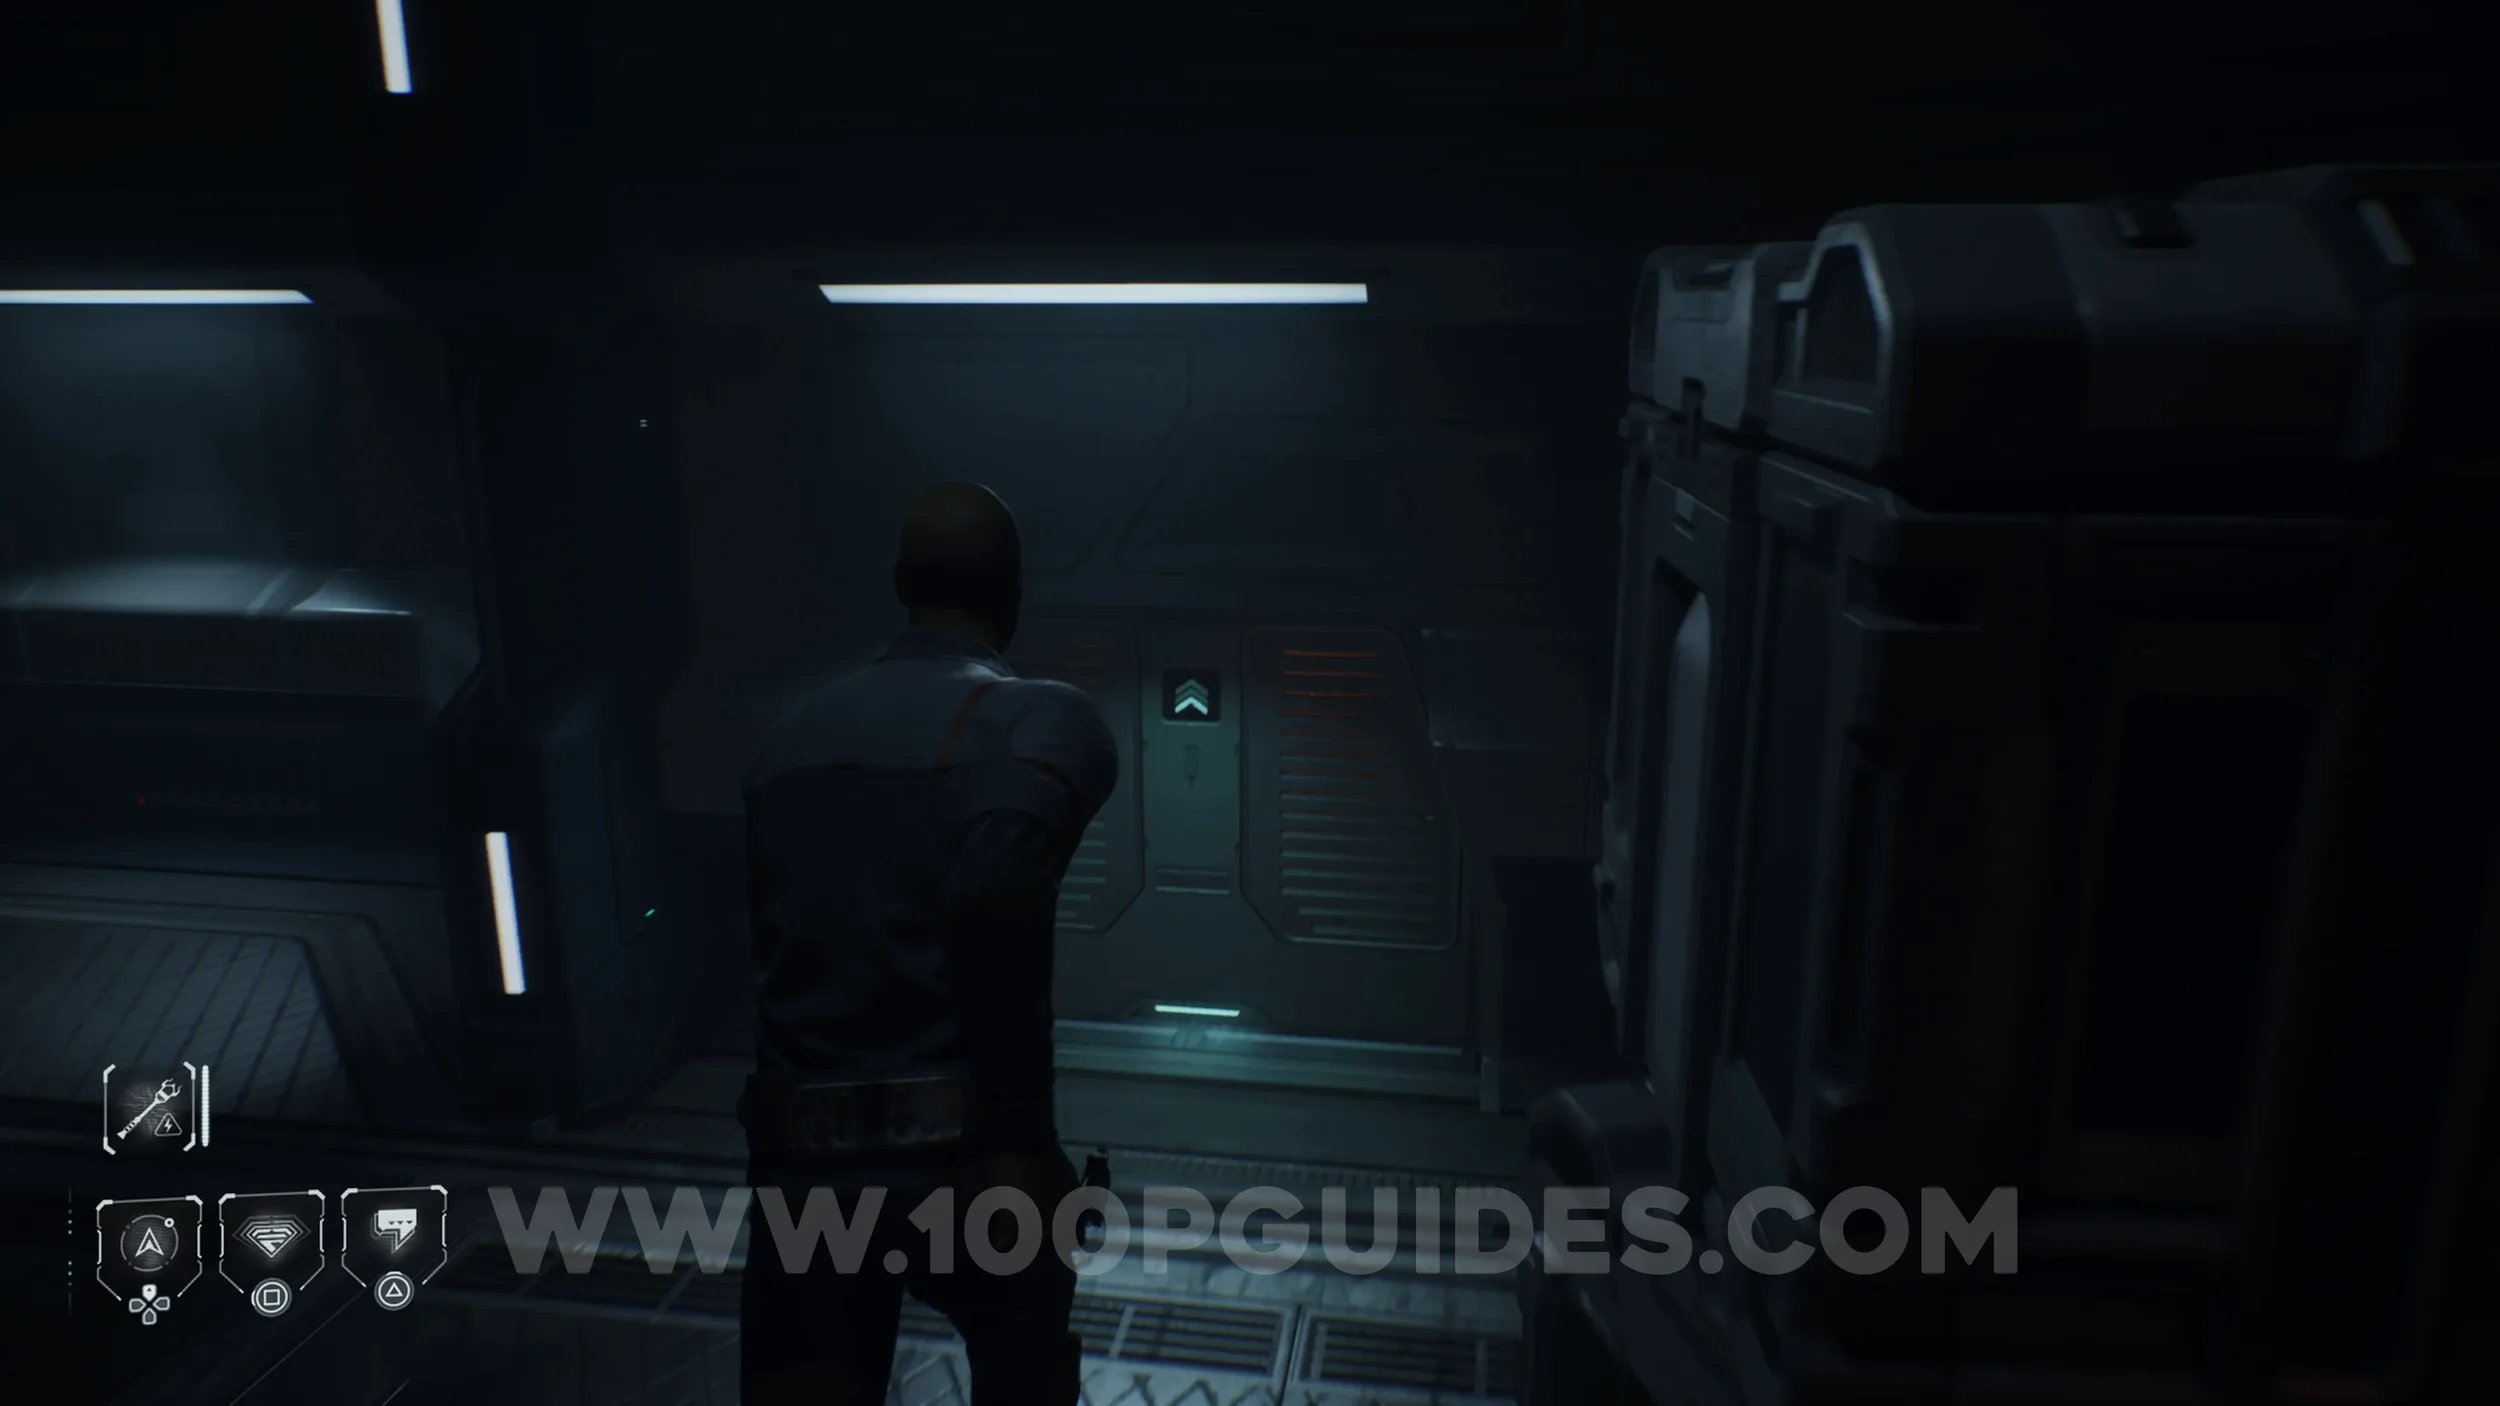
Secret #36 - Science Crew (Cernan). Return to the first circular room where you start and go through the door to the left of the Geoscience door. Then look for a vent on your right. Go through the vent and turn left as soon as you can to enter a room where you will find the collectible on the wall.
Secret #37 - Conspiracy (Mcmara’s Secret). From the previous collectible, go through the door on your right to find the collectible on the wall on the right side of the room.
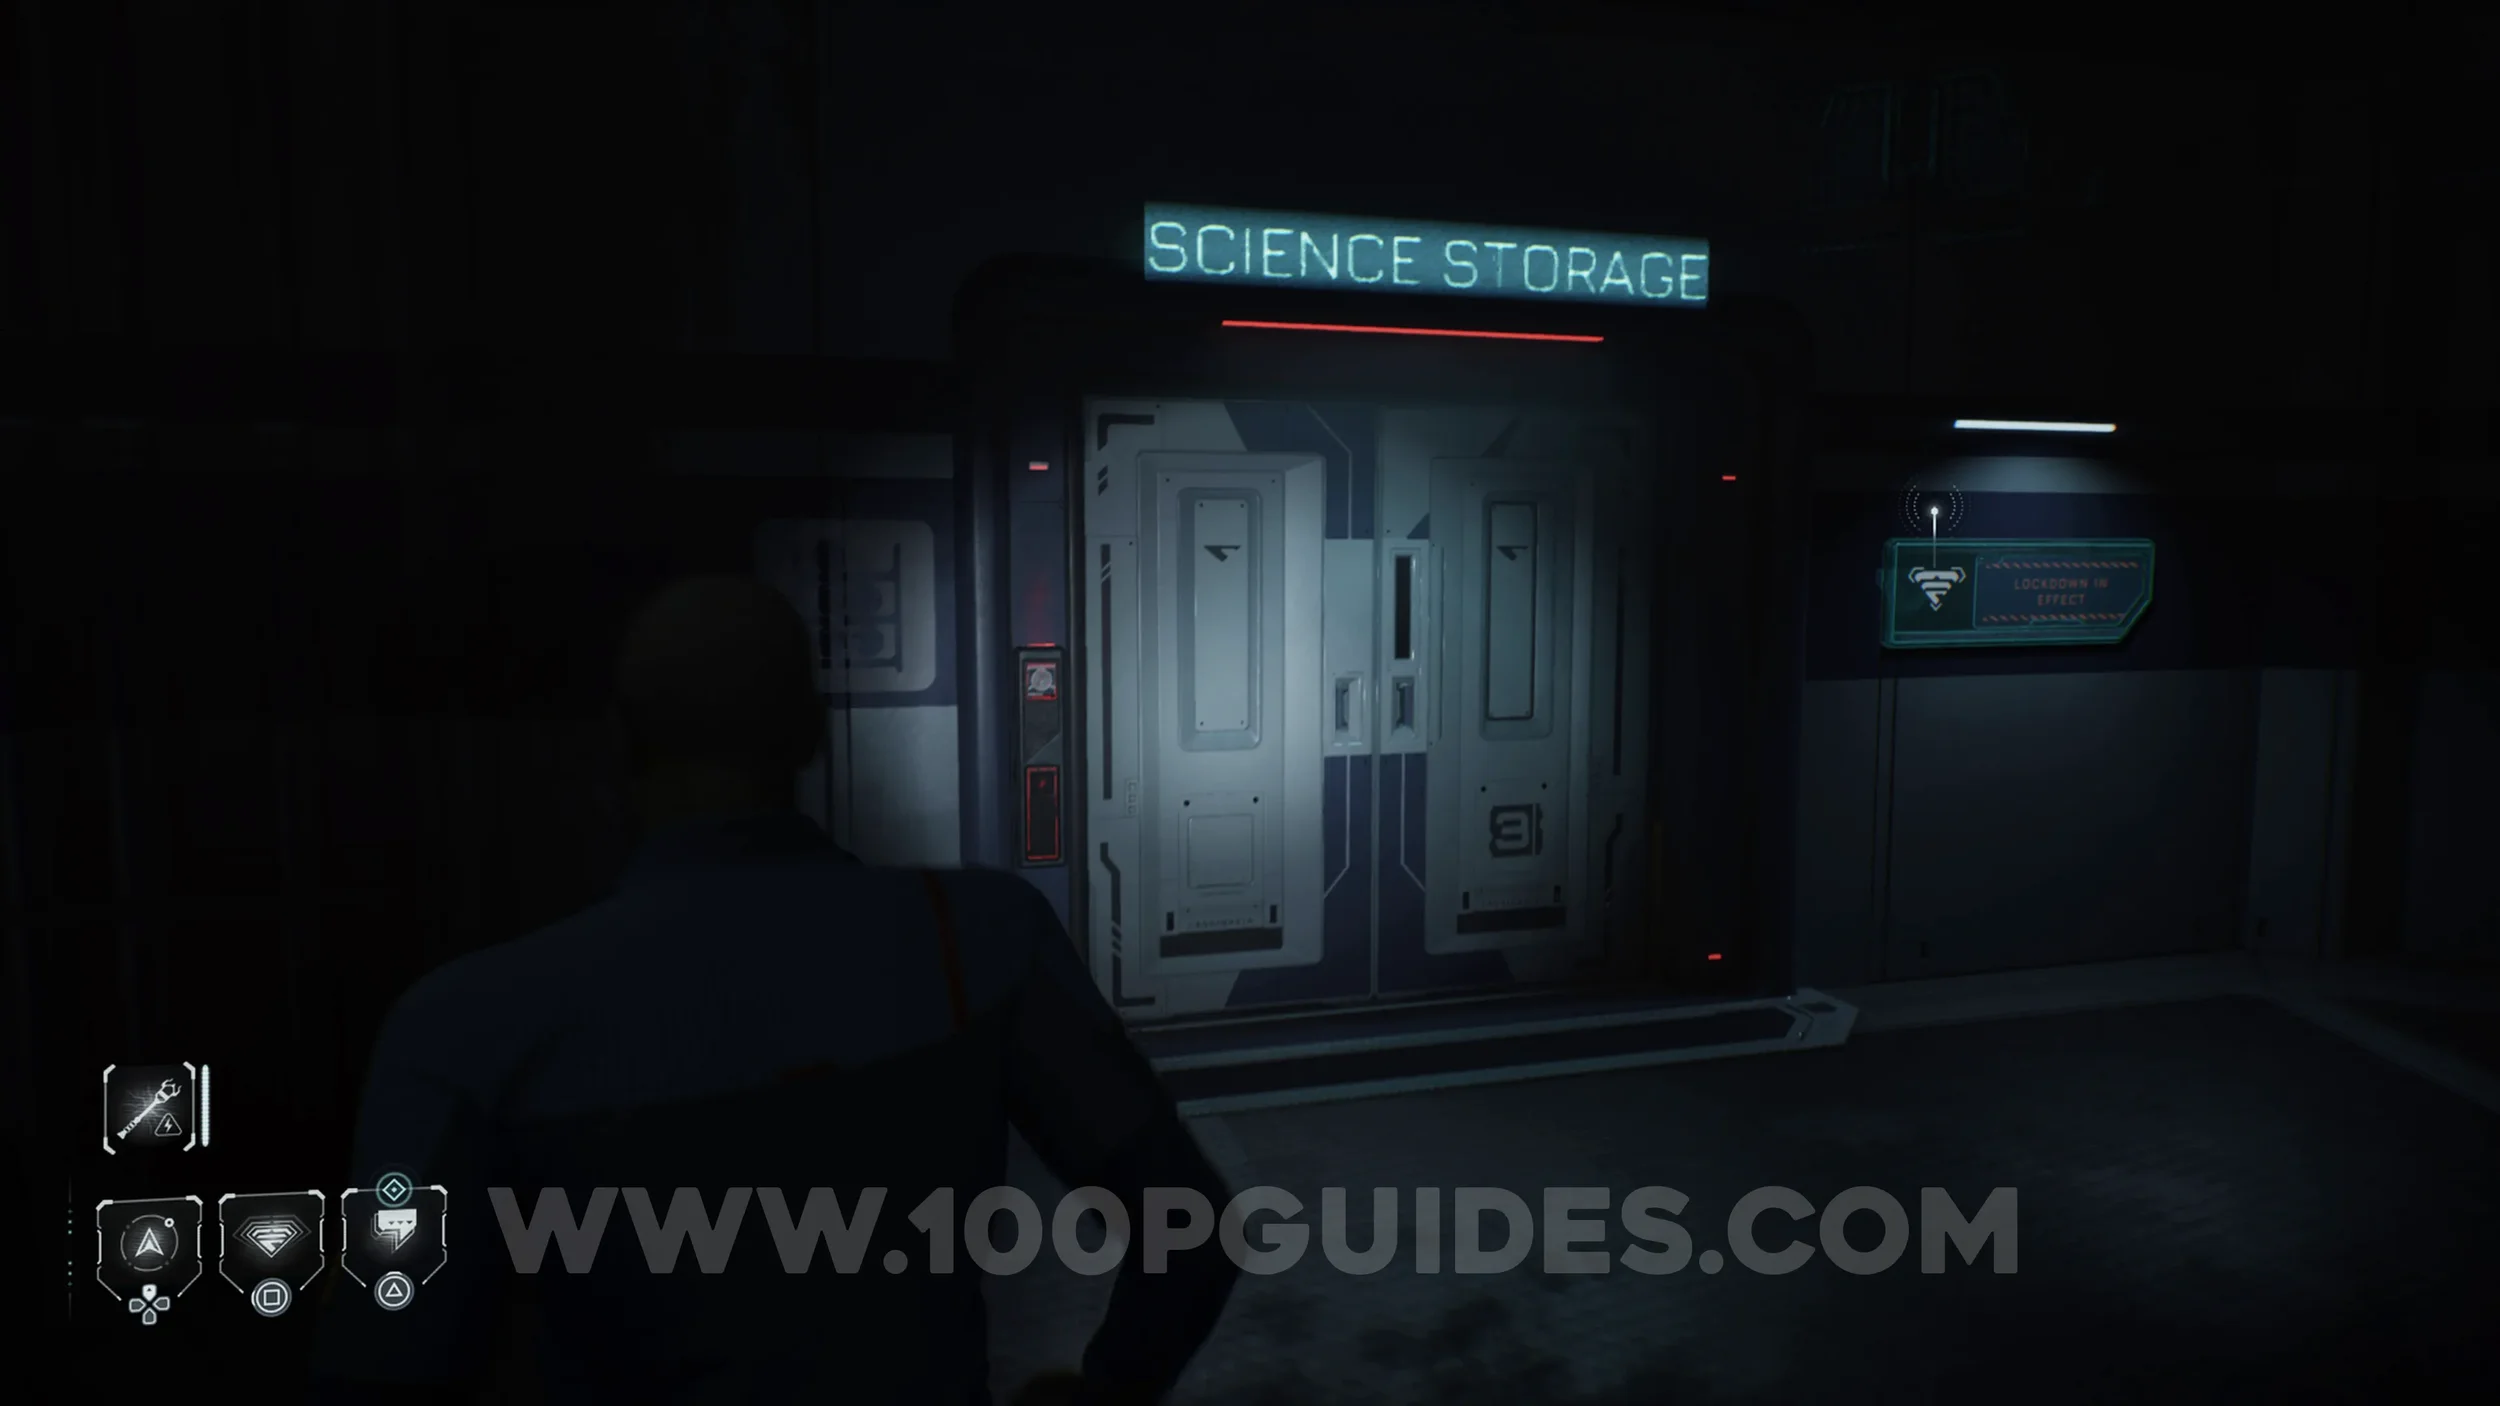
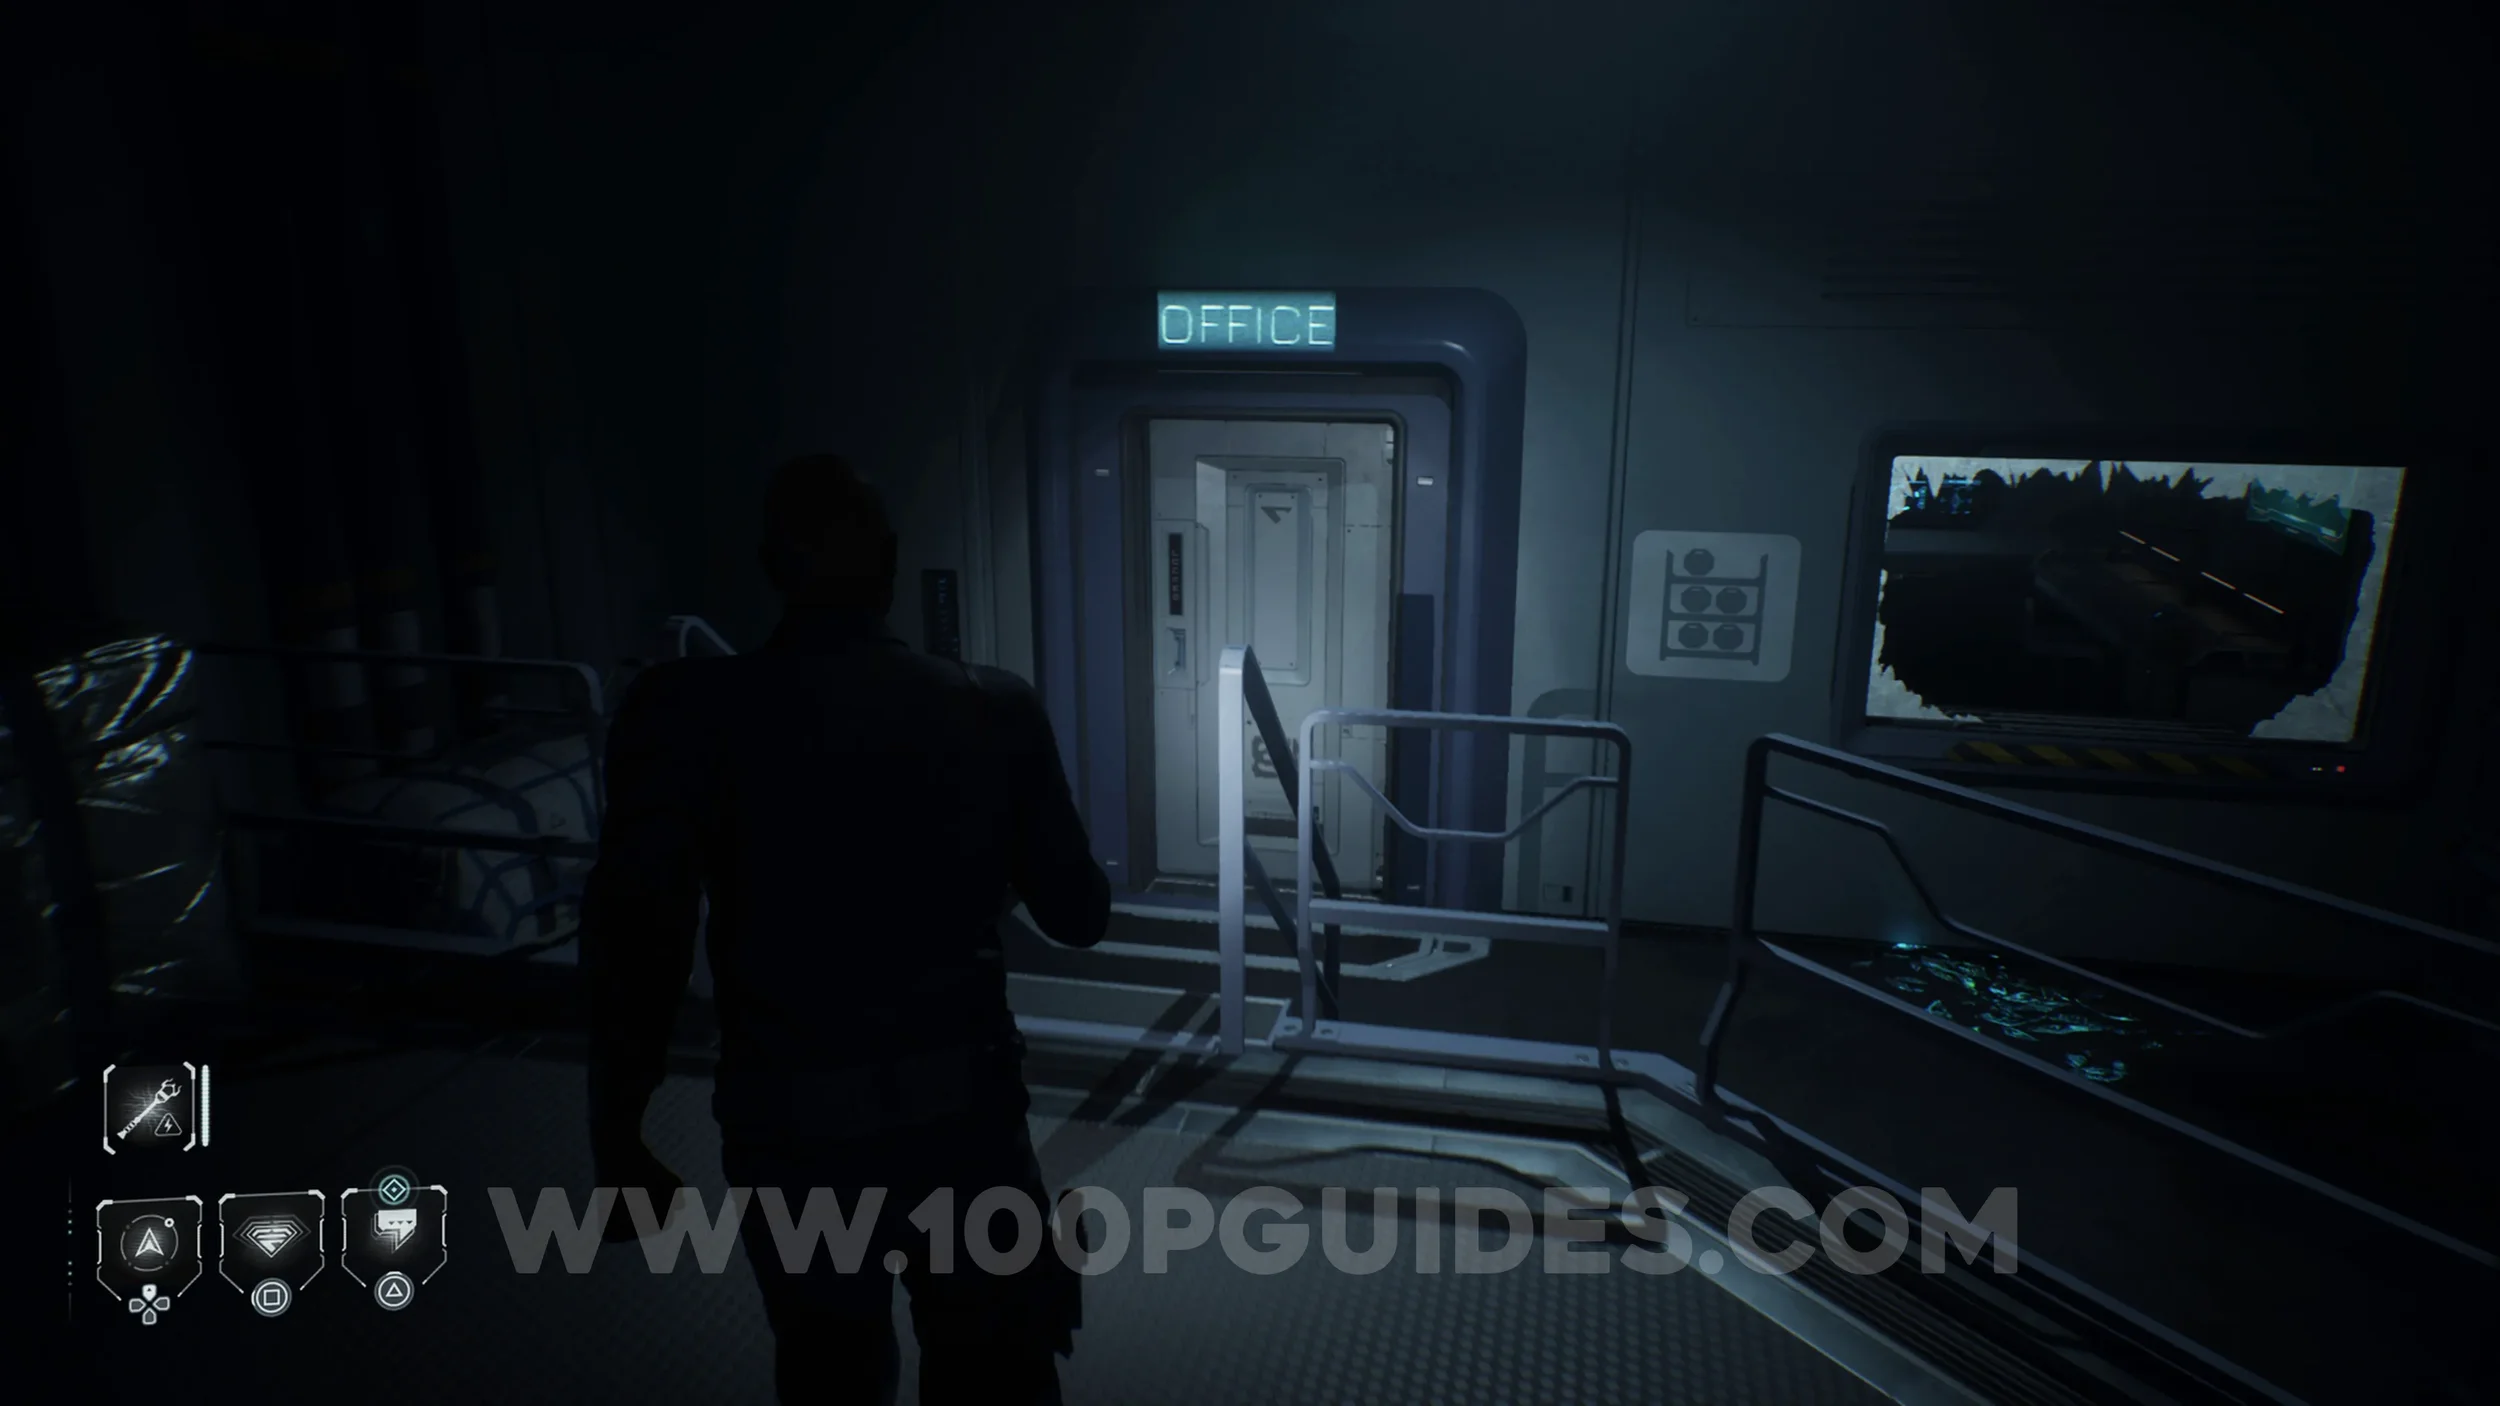
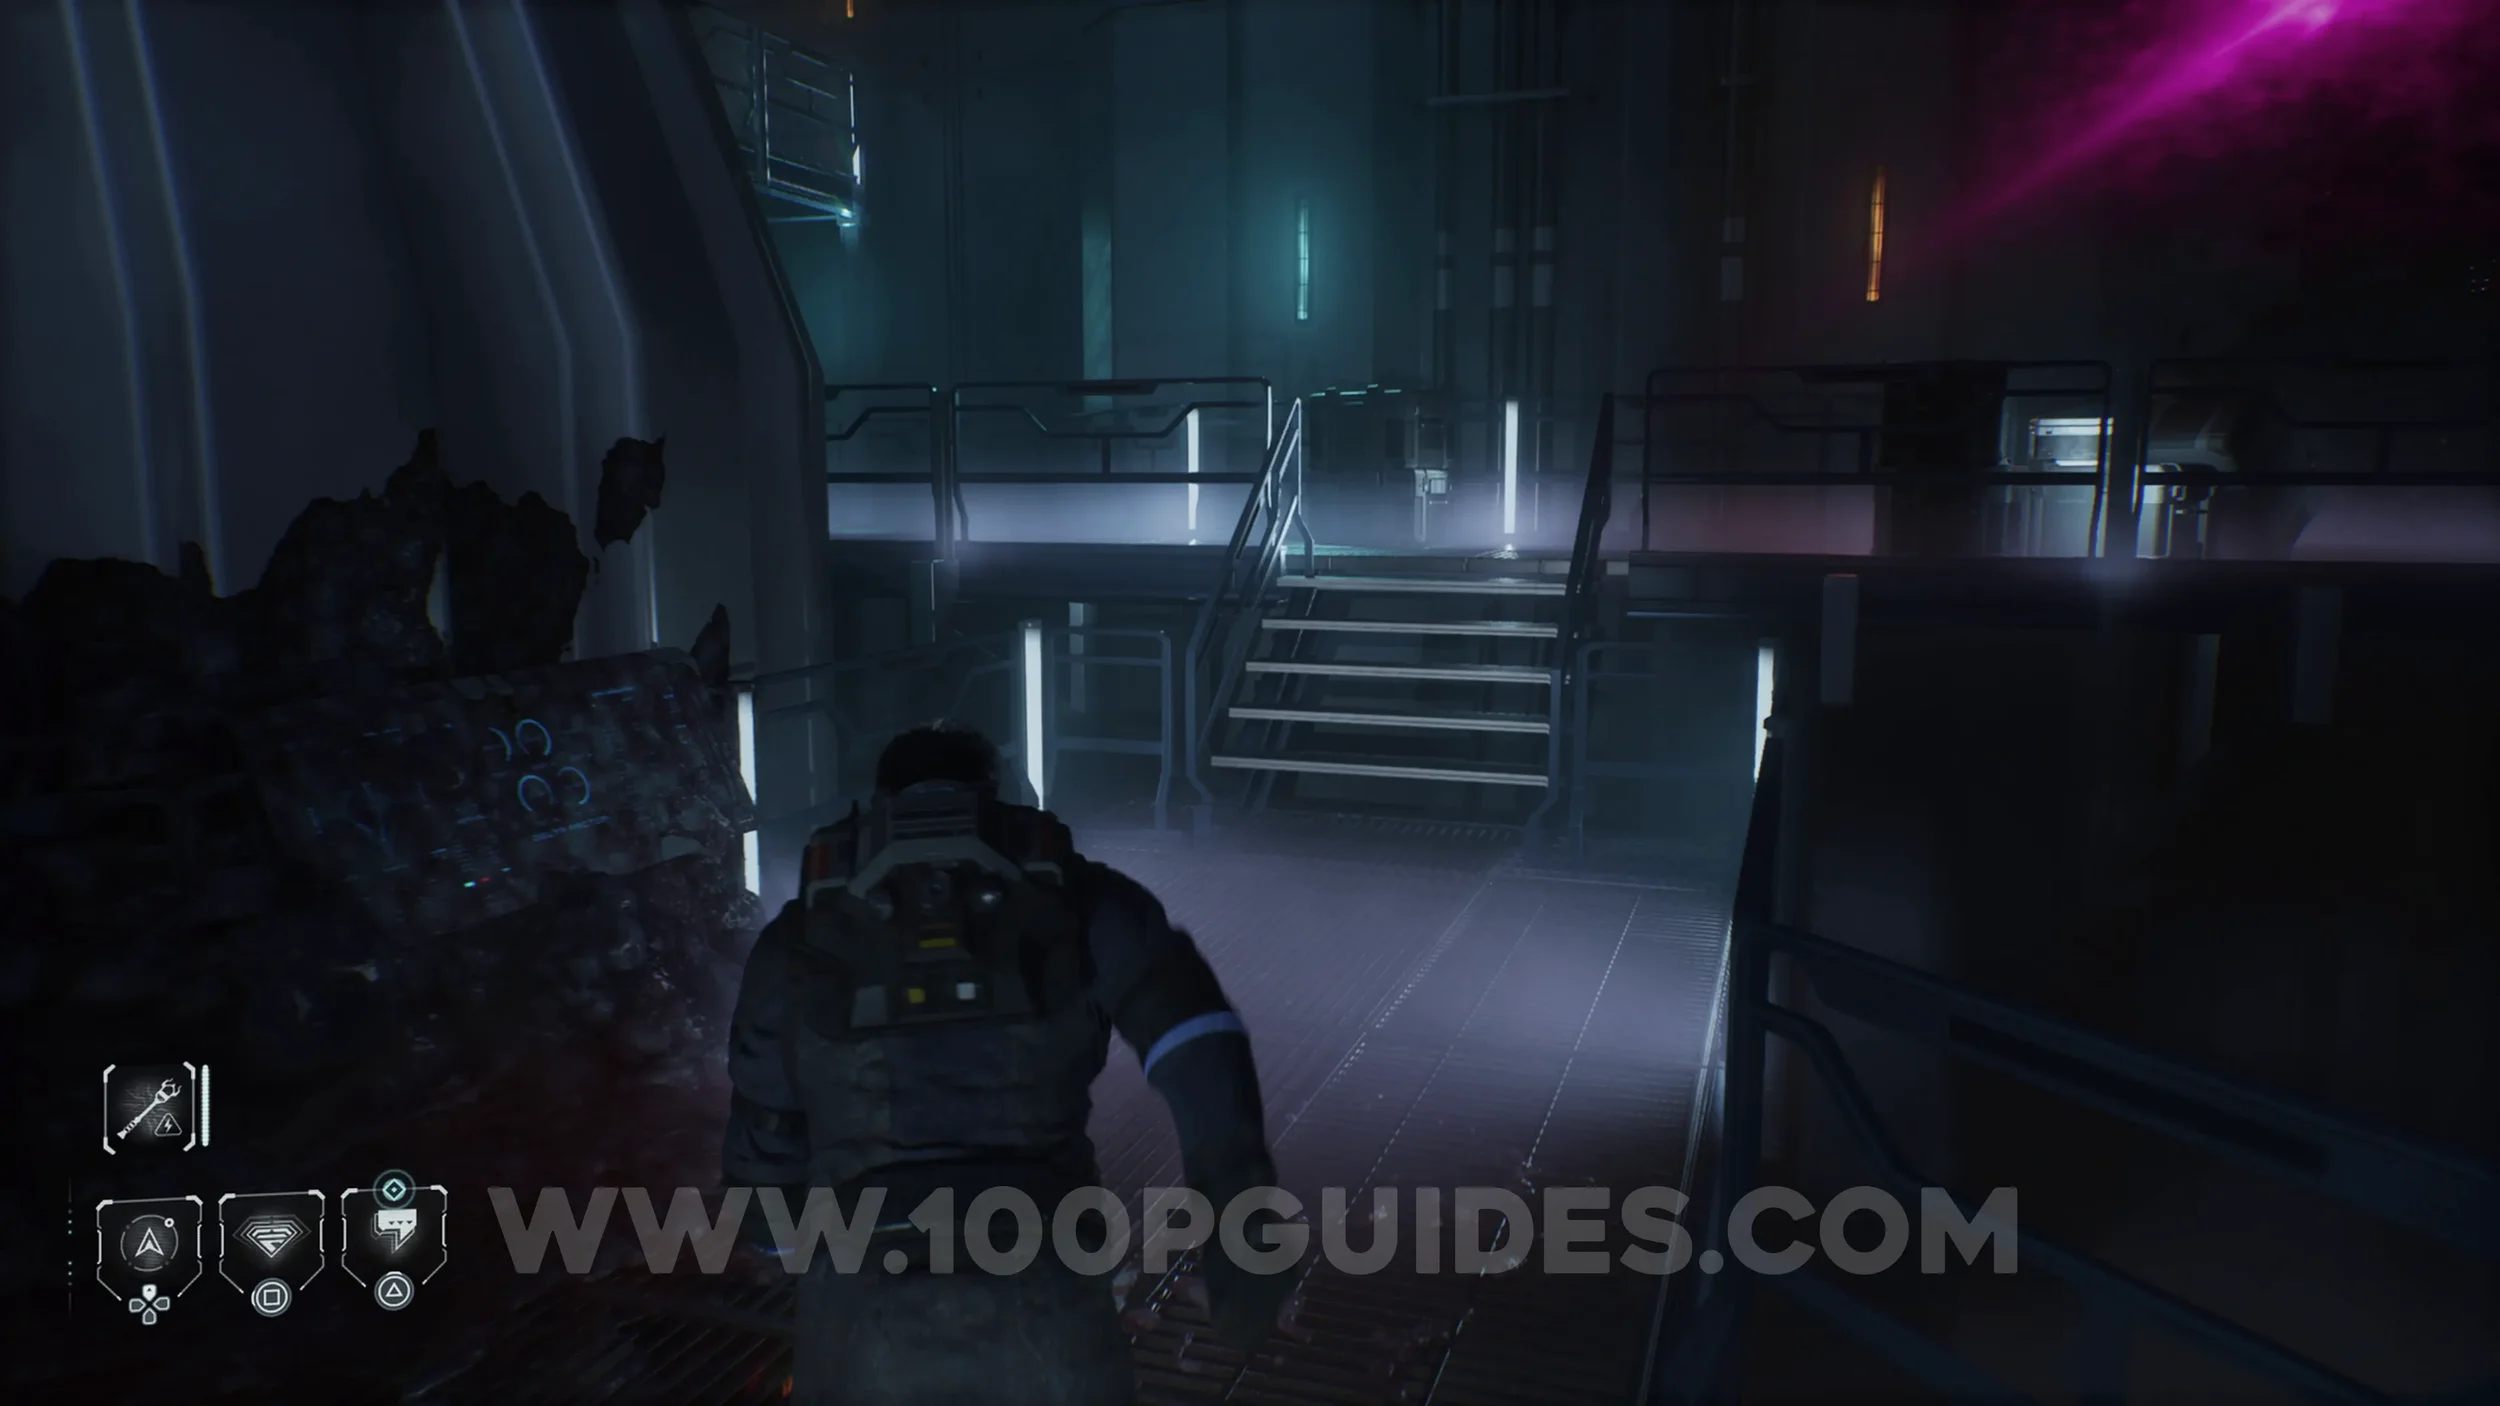
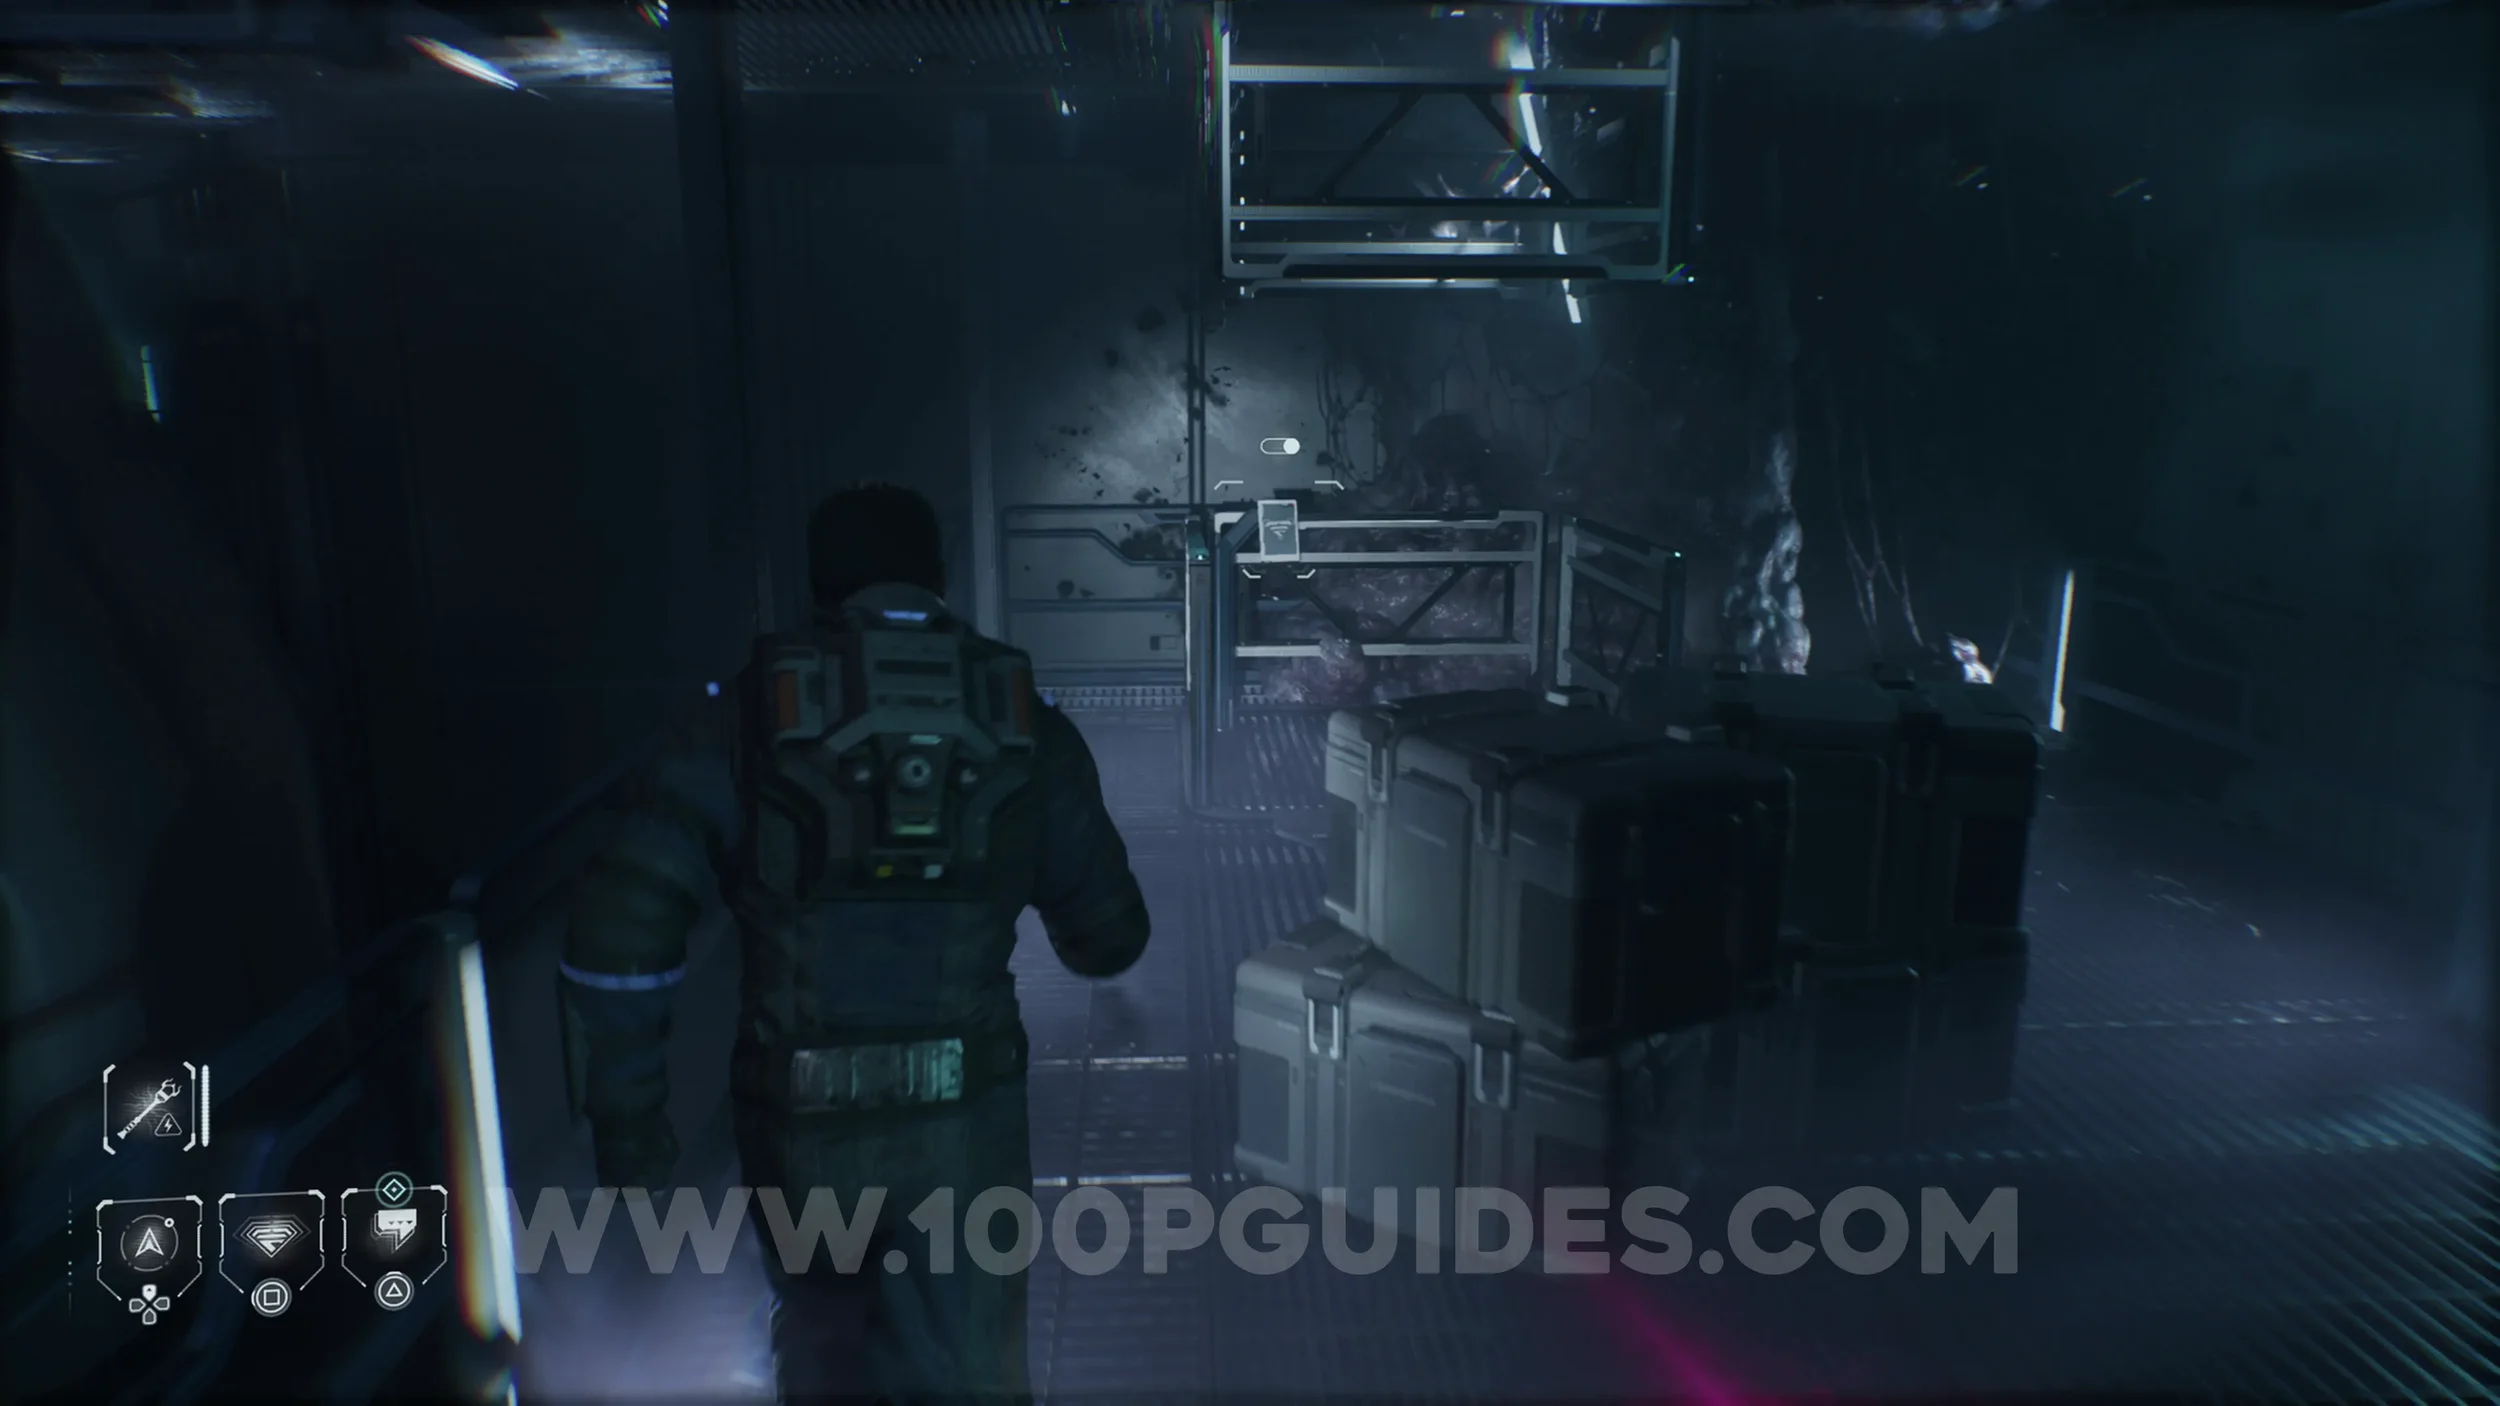
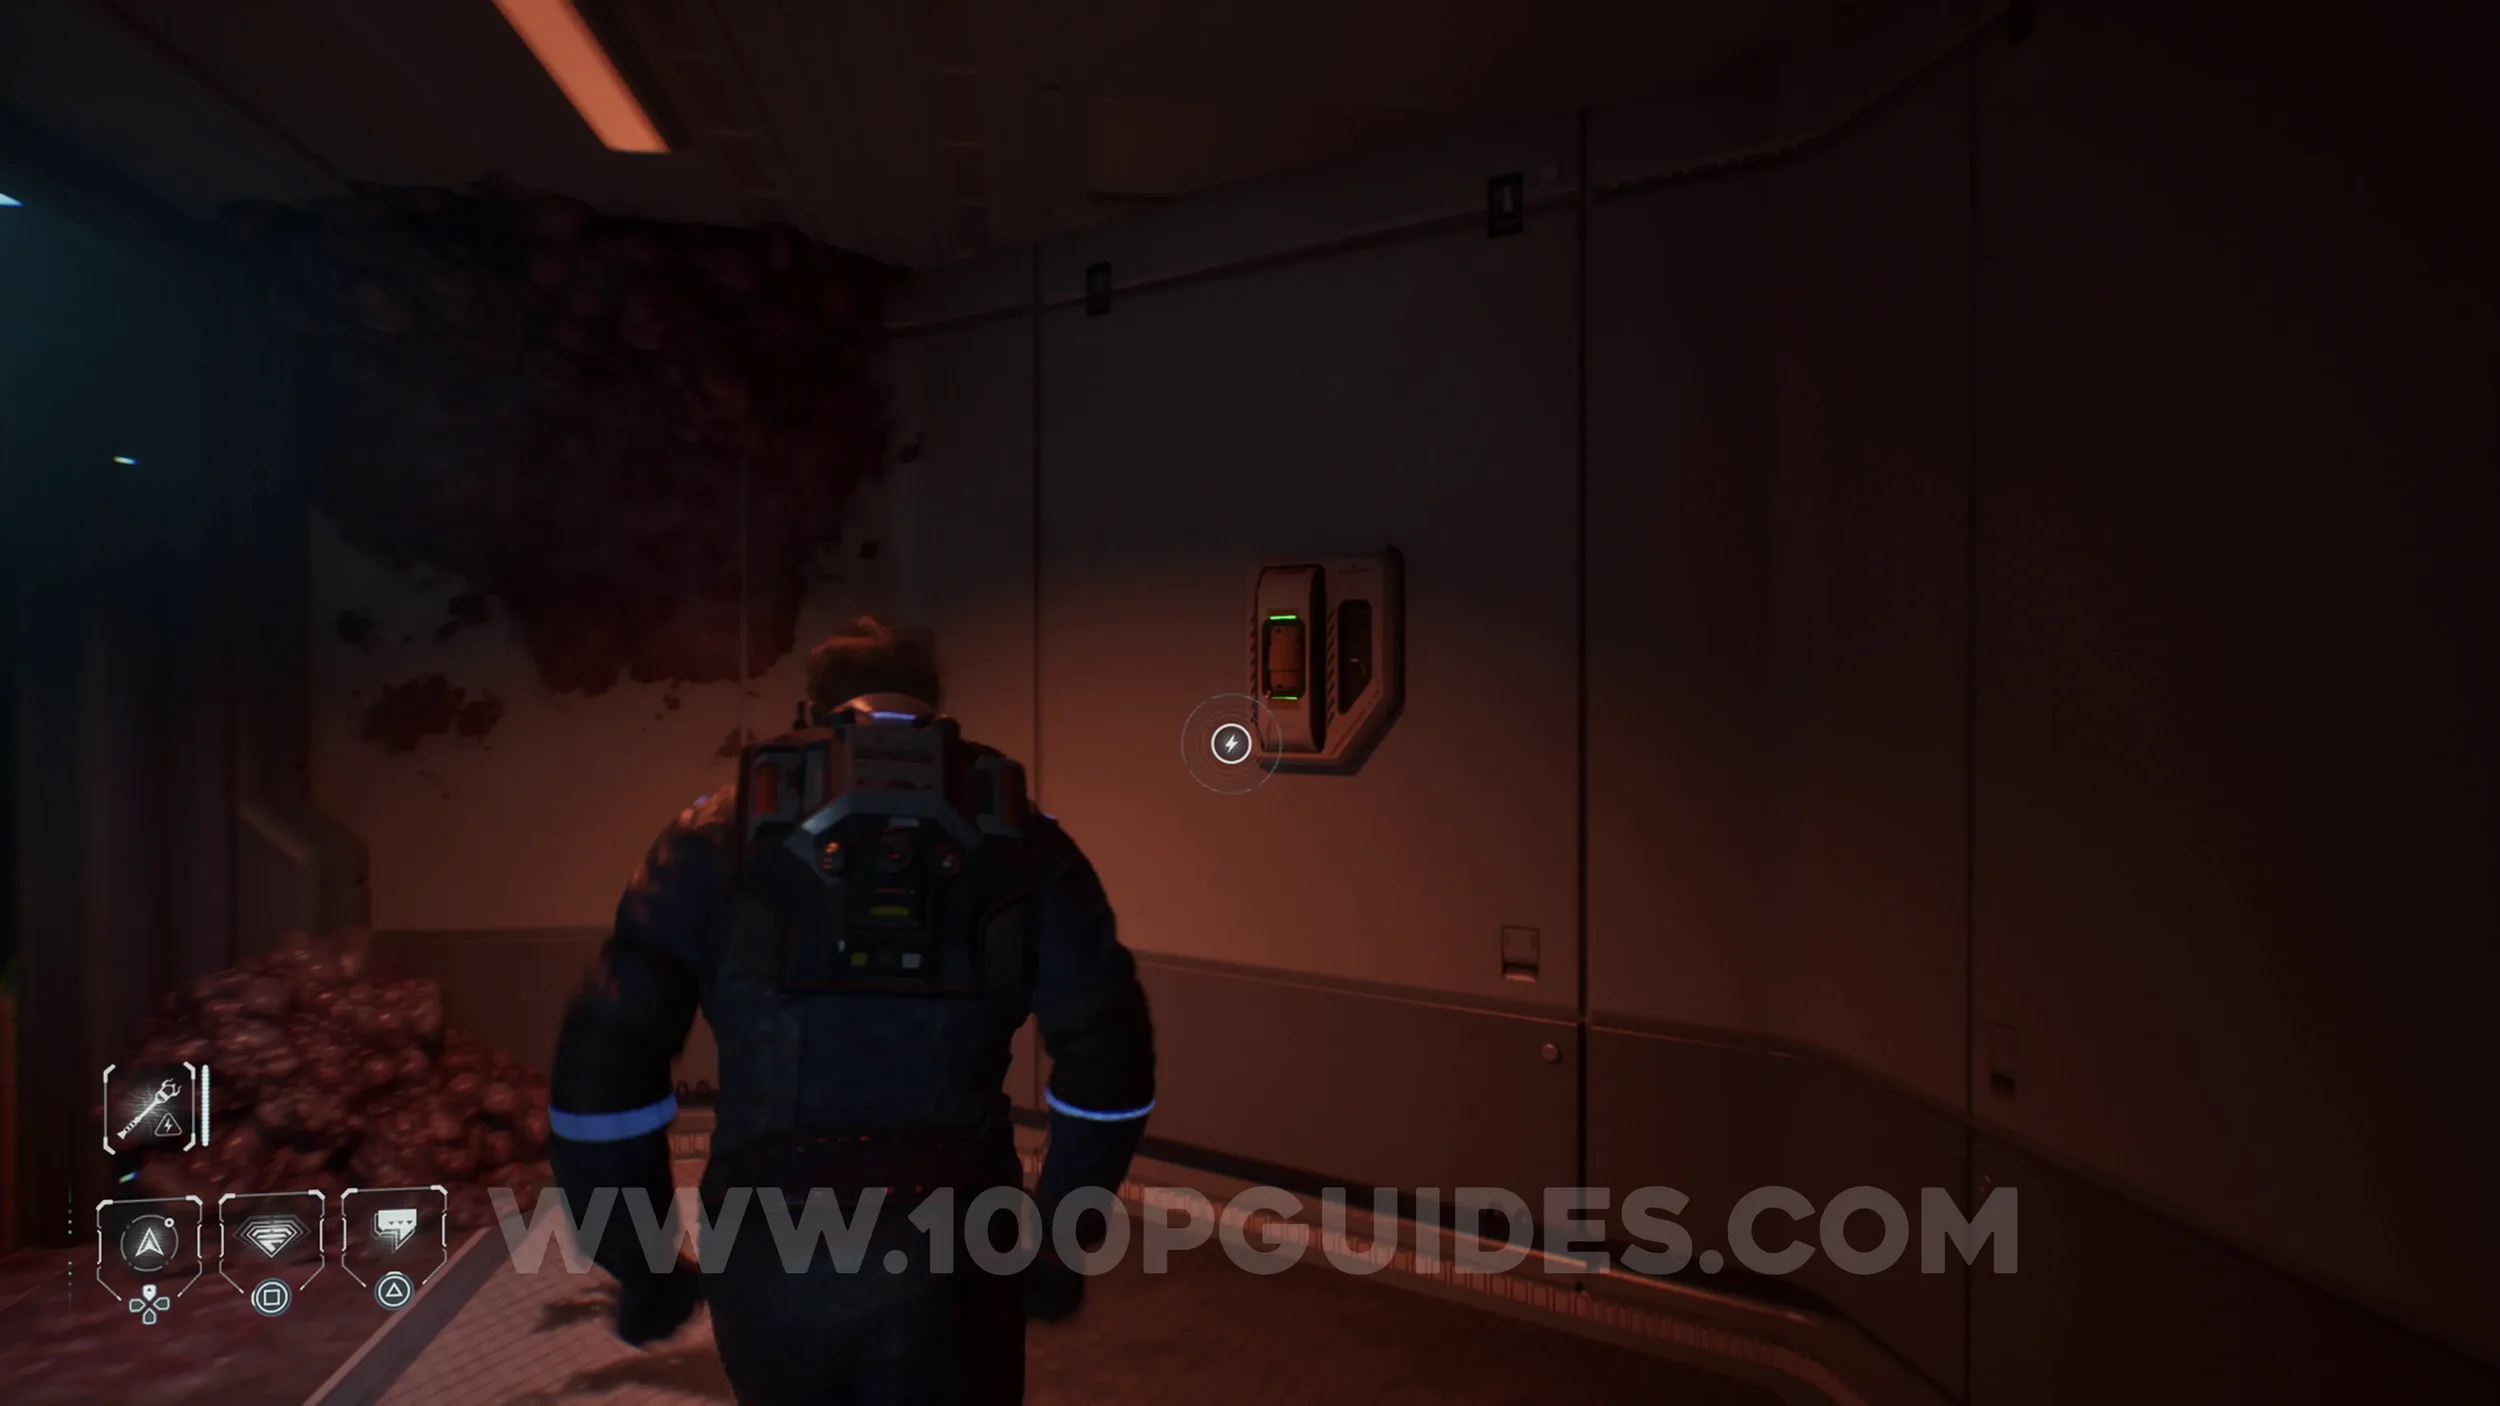
Secret #38 - Cetus Mission (Making The Call). Once you reach the large room with the crane in the middle, use the electrical panel on the wall to reroute power to the Science Storage. This will allow you to unlock the door and go through. Inside, go to the other end and jump through the broken window to enter the small office. The collectible can be found inside.
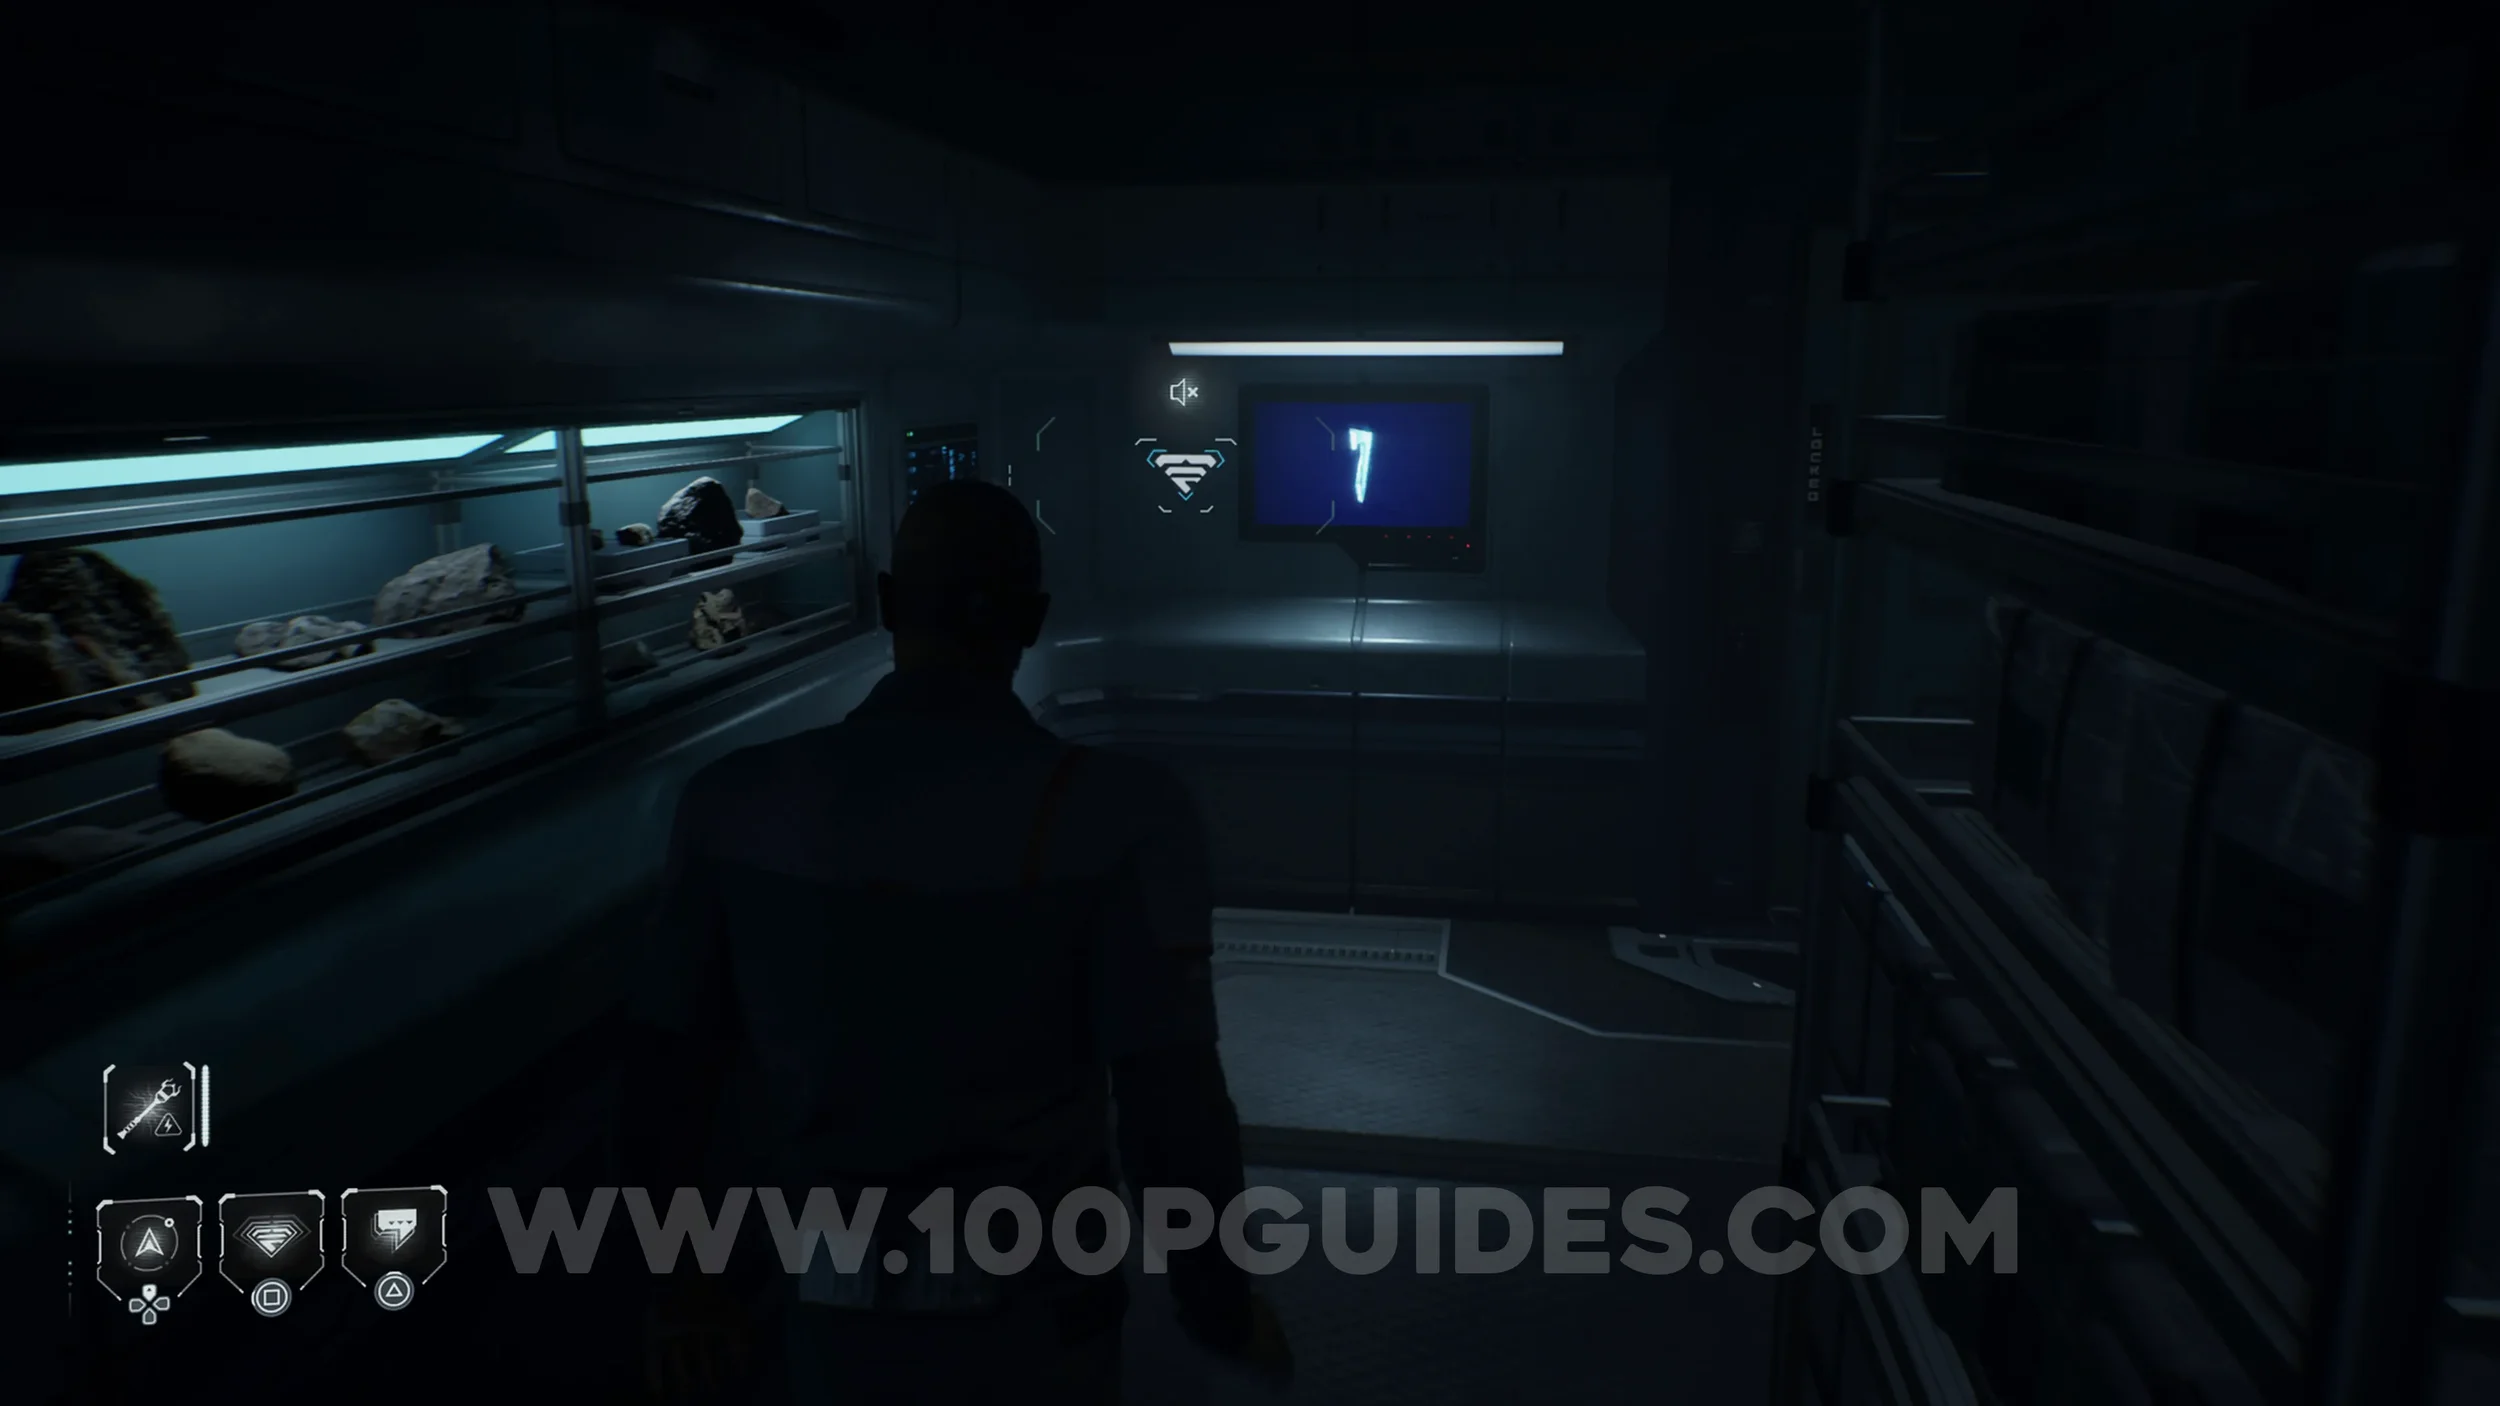
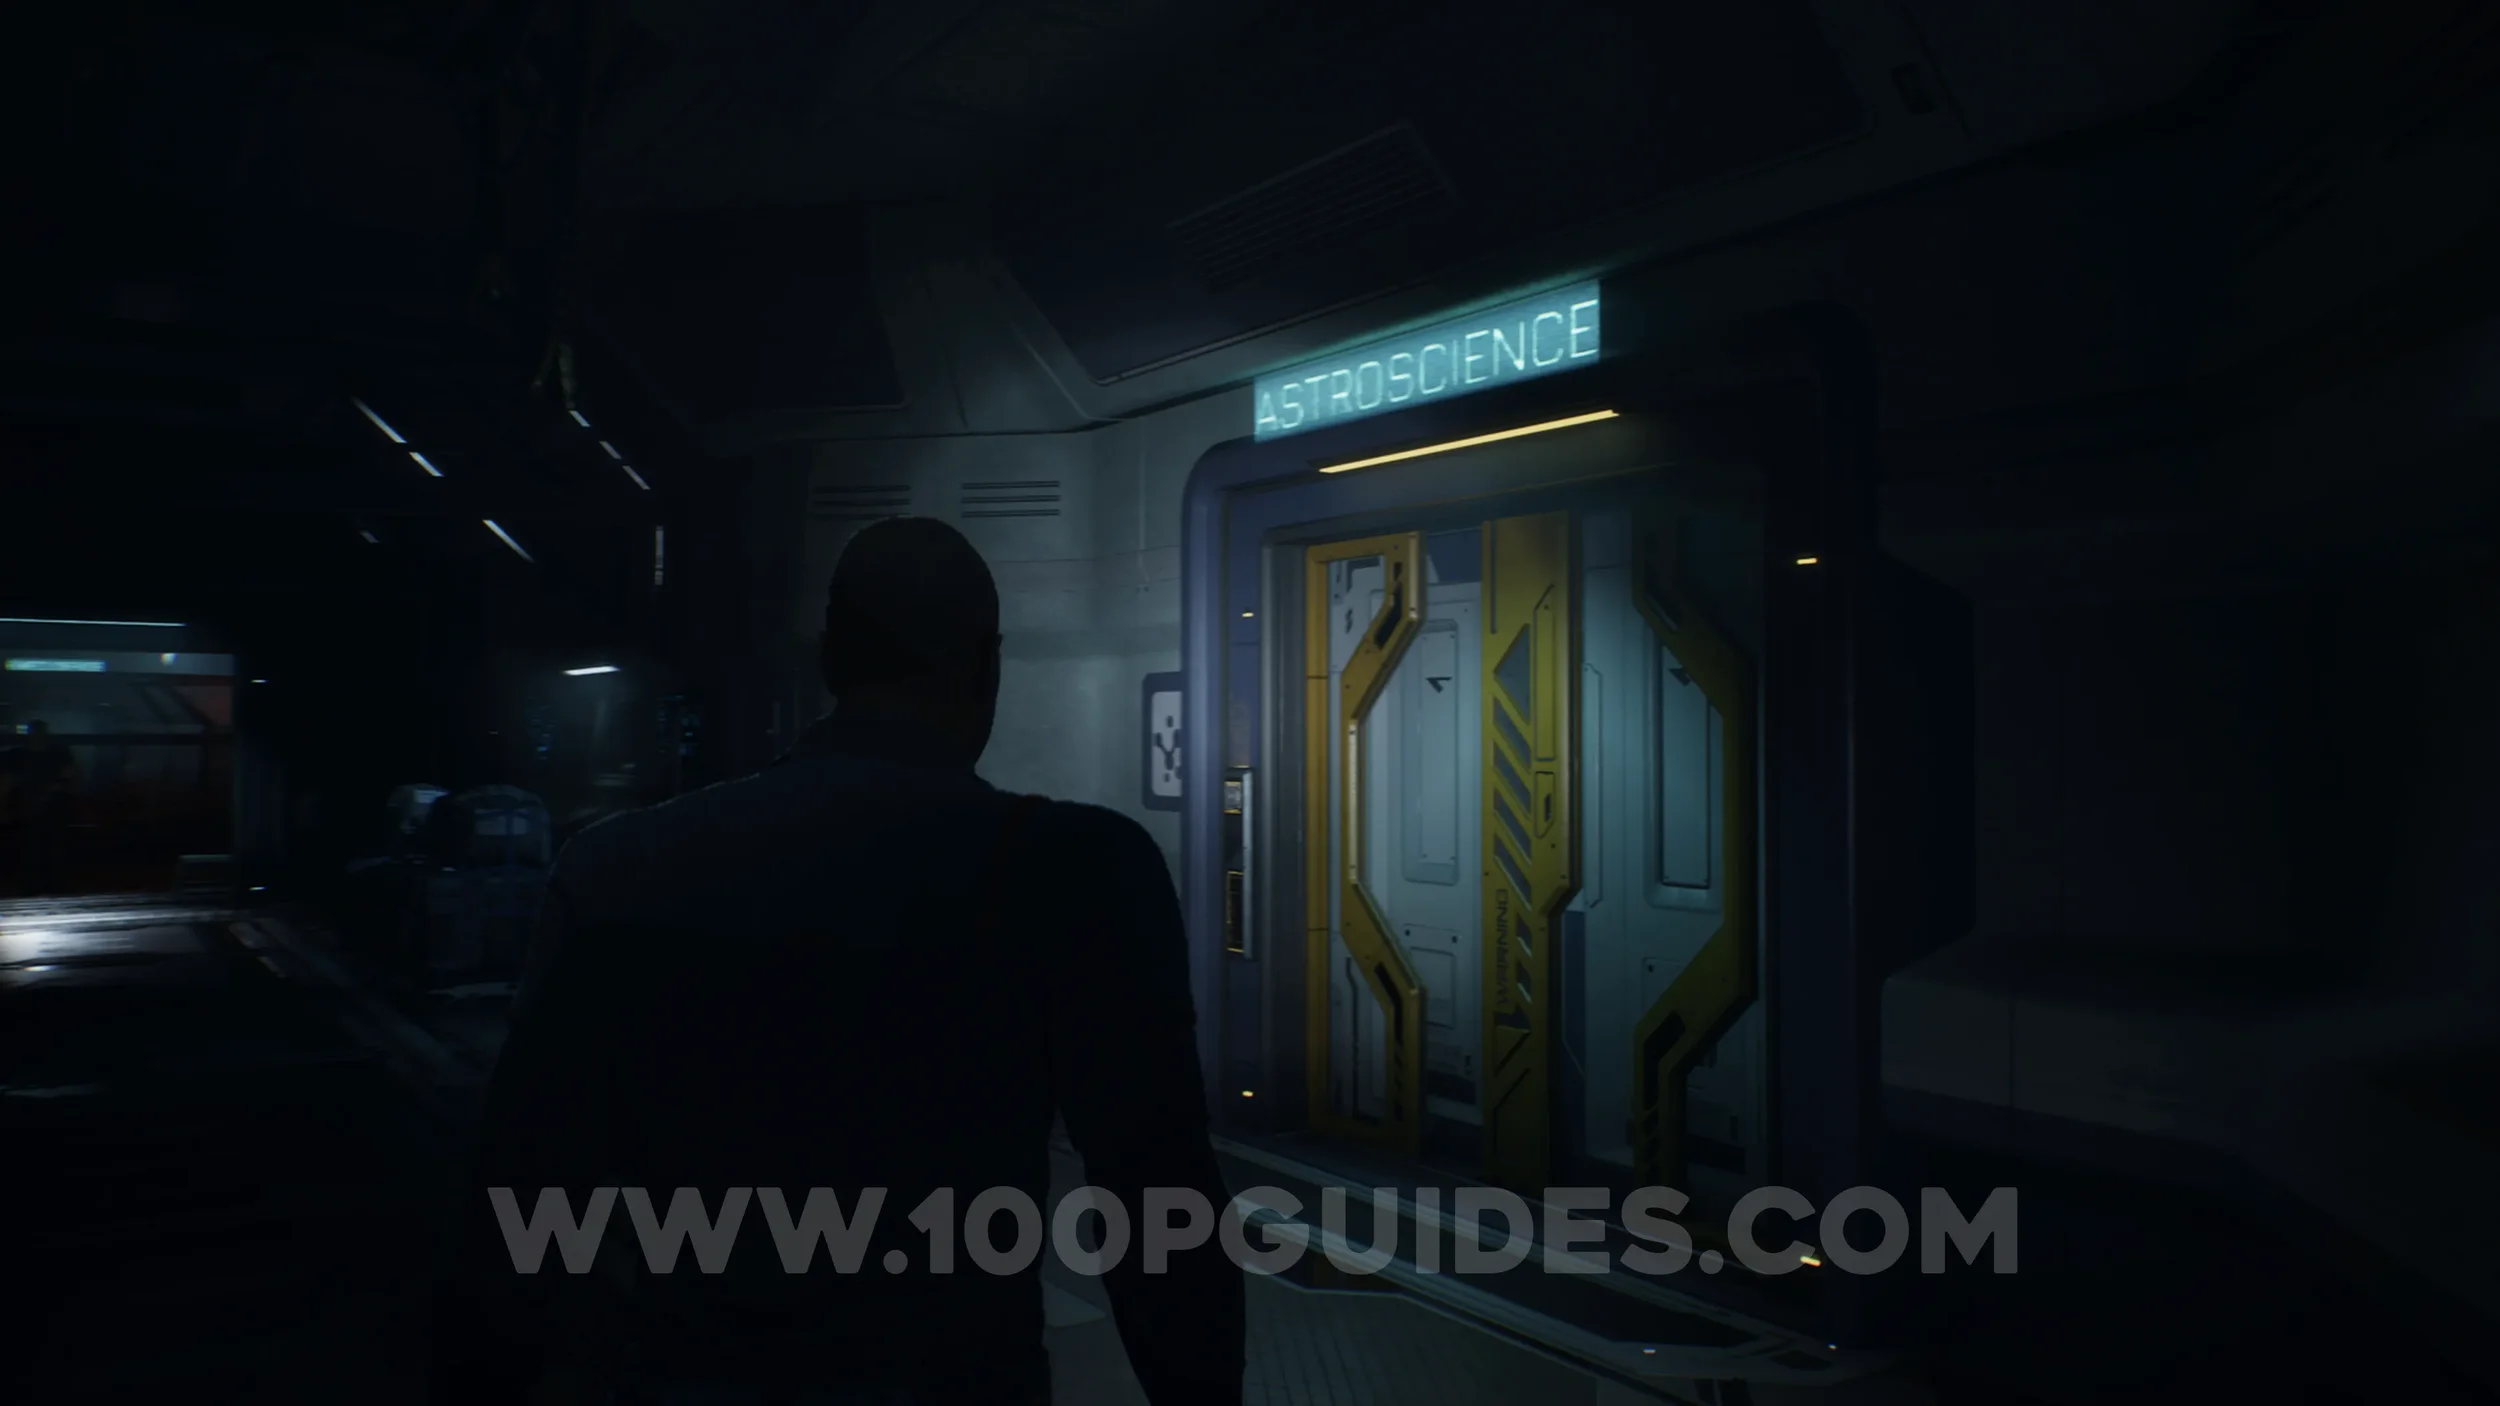
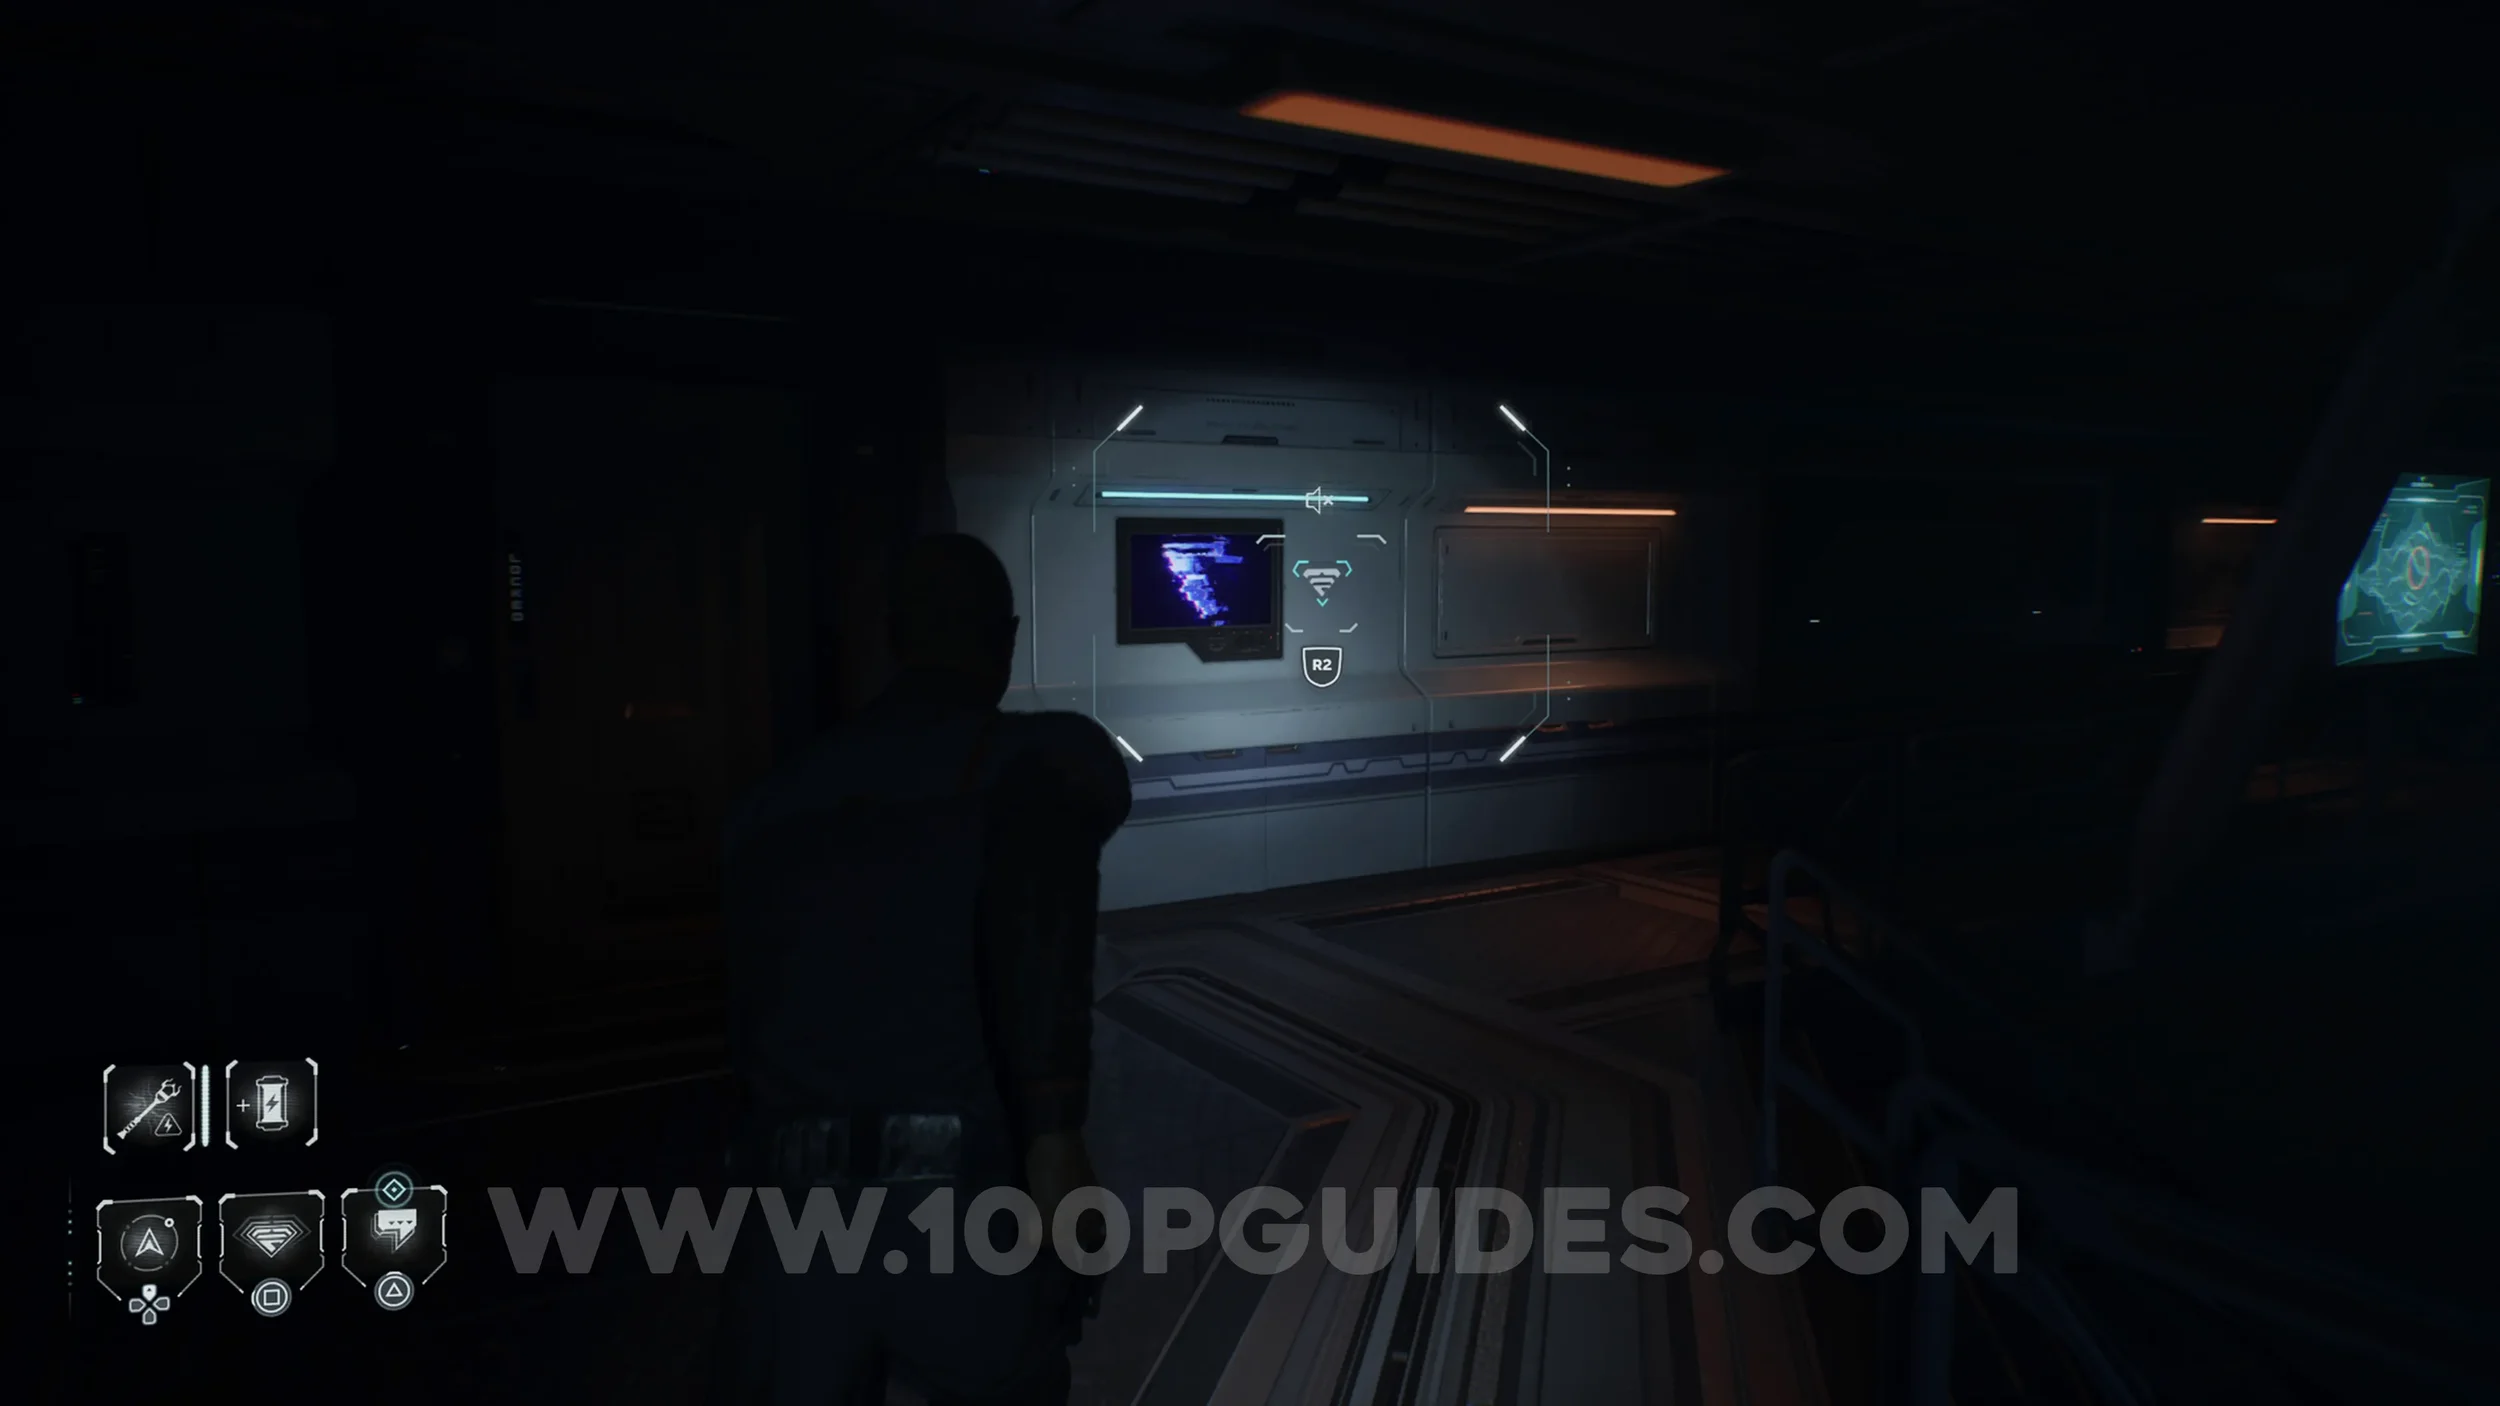
Secret #39 - Cetus Mission (Meet The Tardigrades). After leaving the room with the crane, through the Science Central door, you will enter a dark hall. In this hall, open the door on your right to enter the Astroscience room. Inside, look for the collectible on the wall.
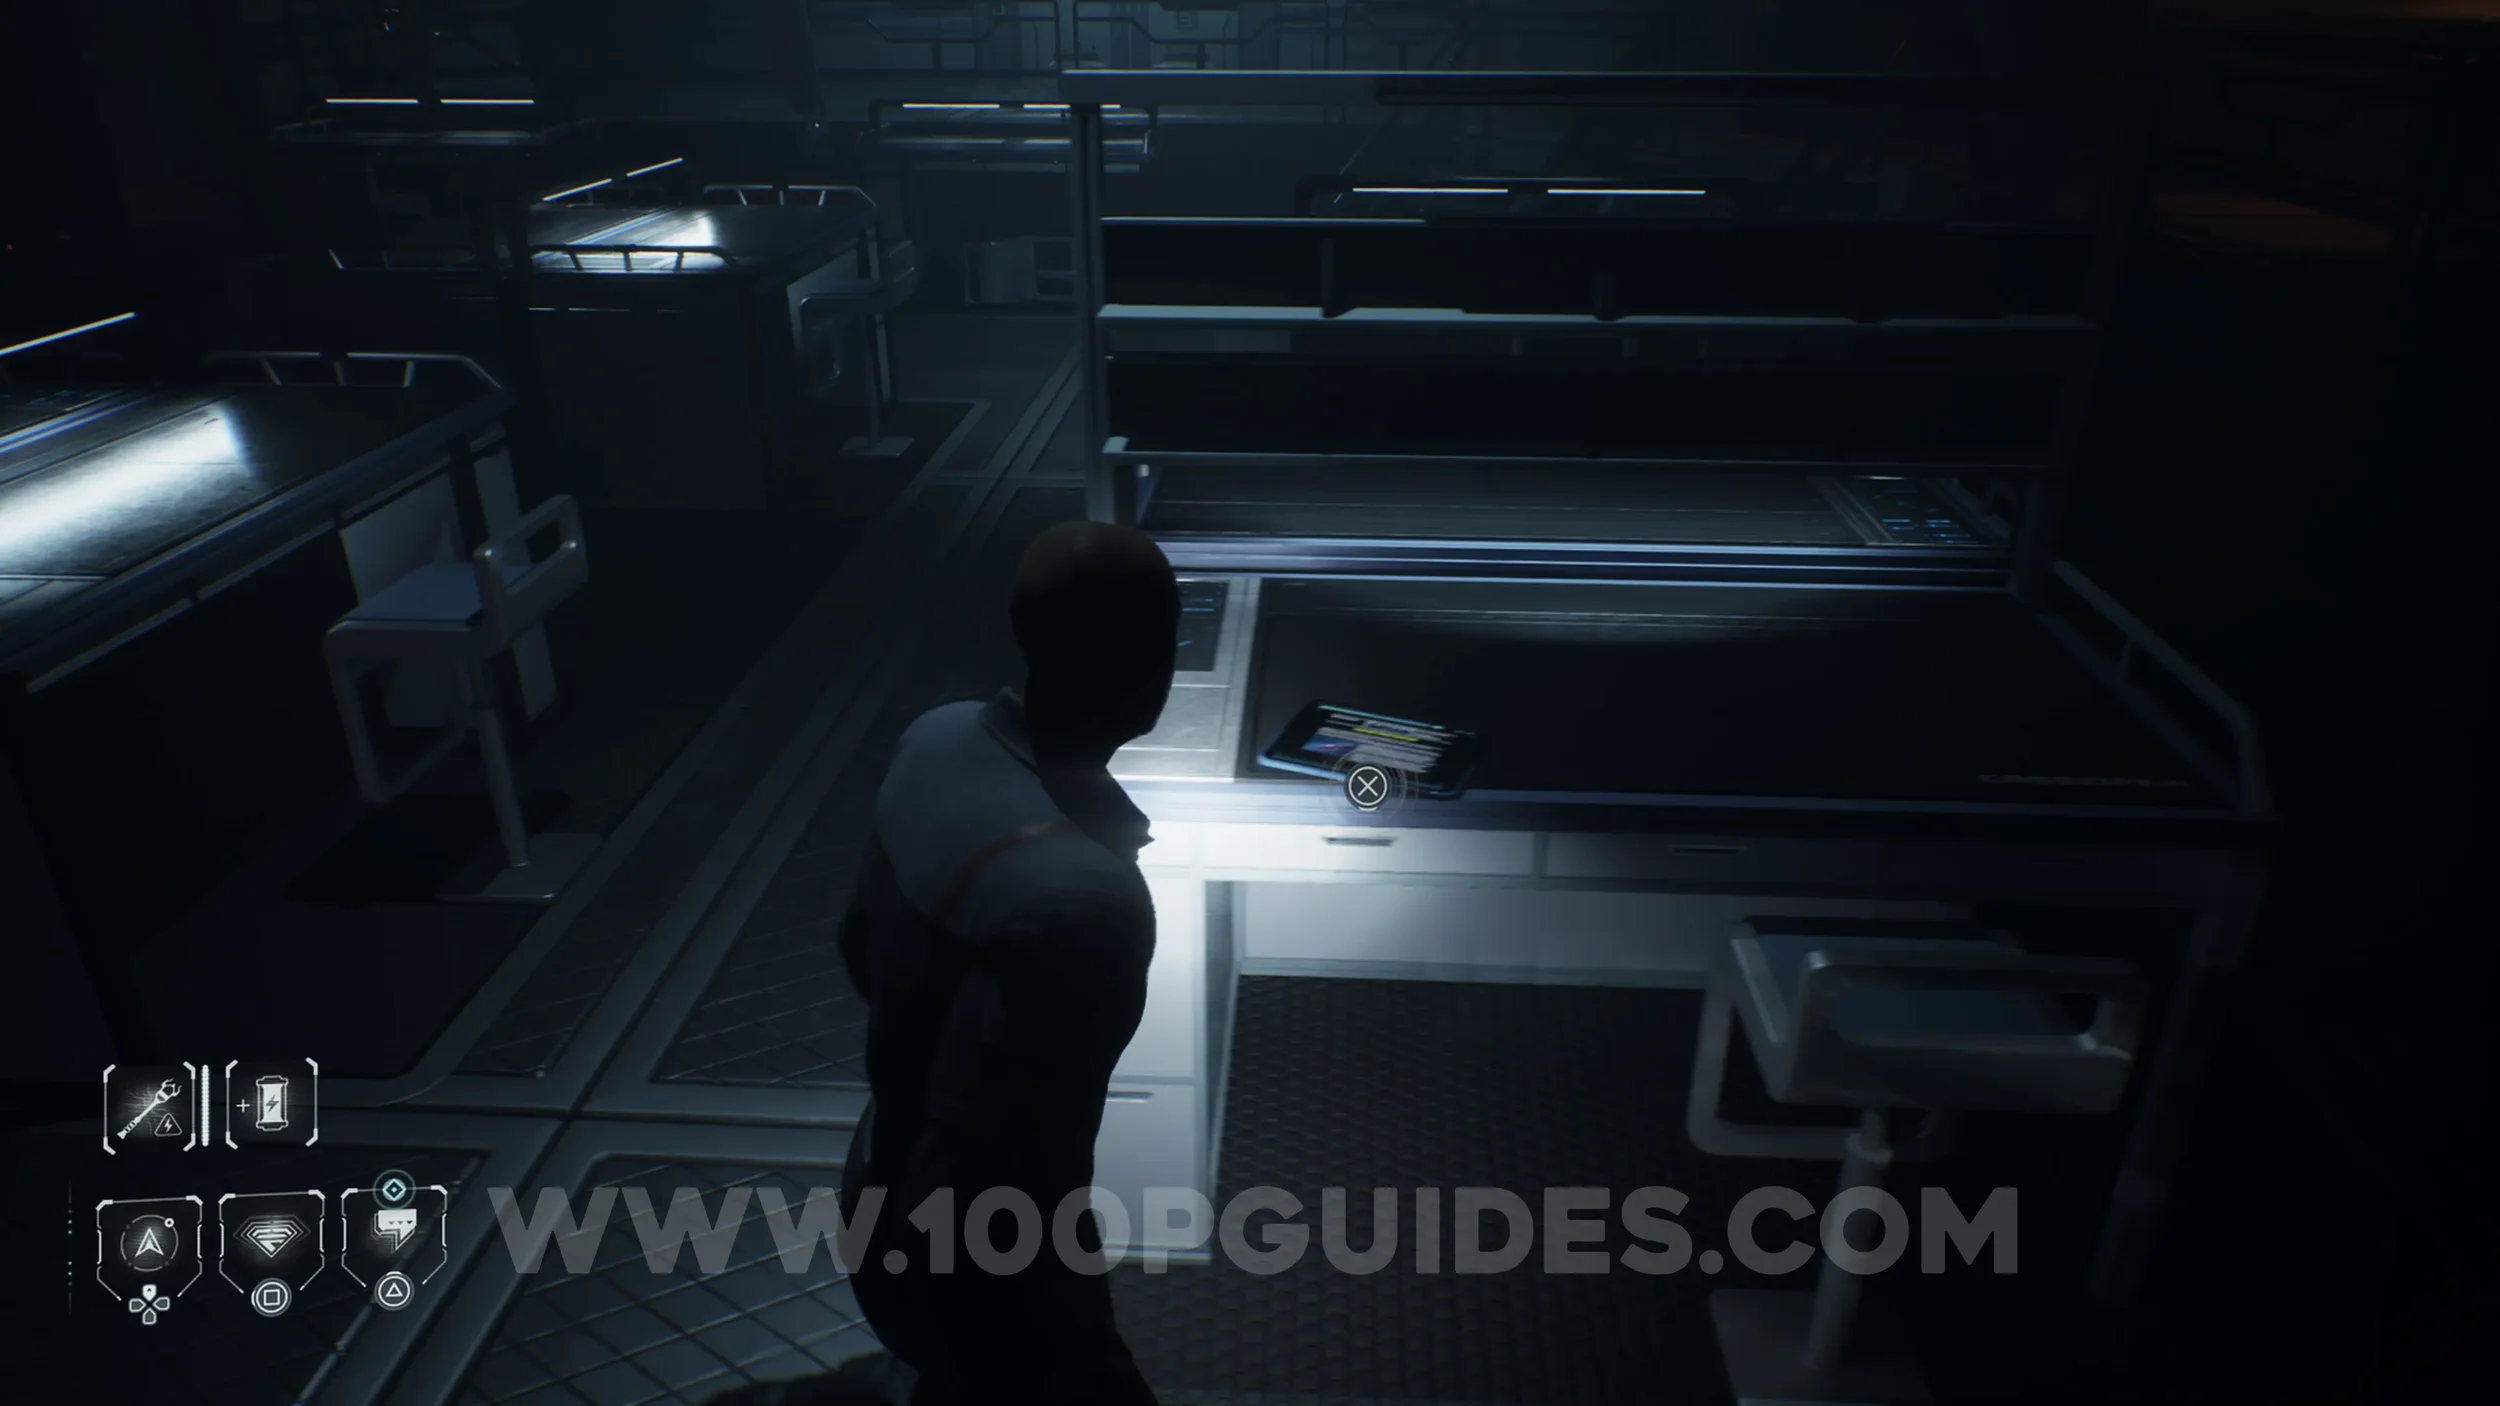
Secret #40 - Conspiracy (Faster Than Fiction). On a table in the middle of the same room as the previous collectible.
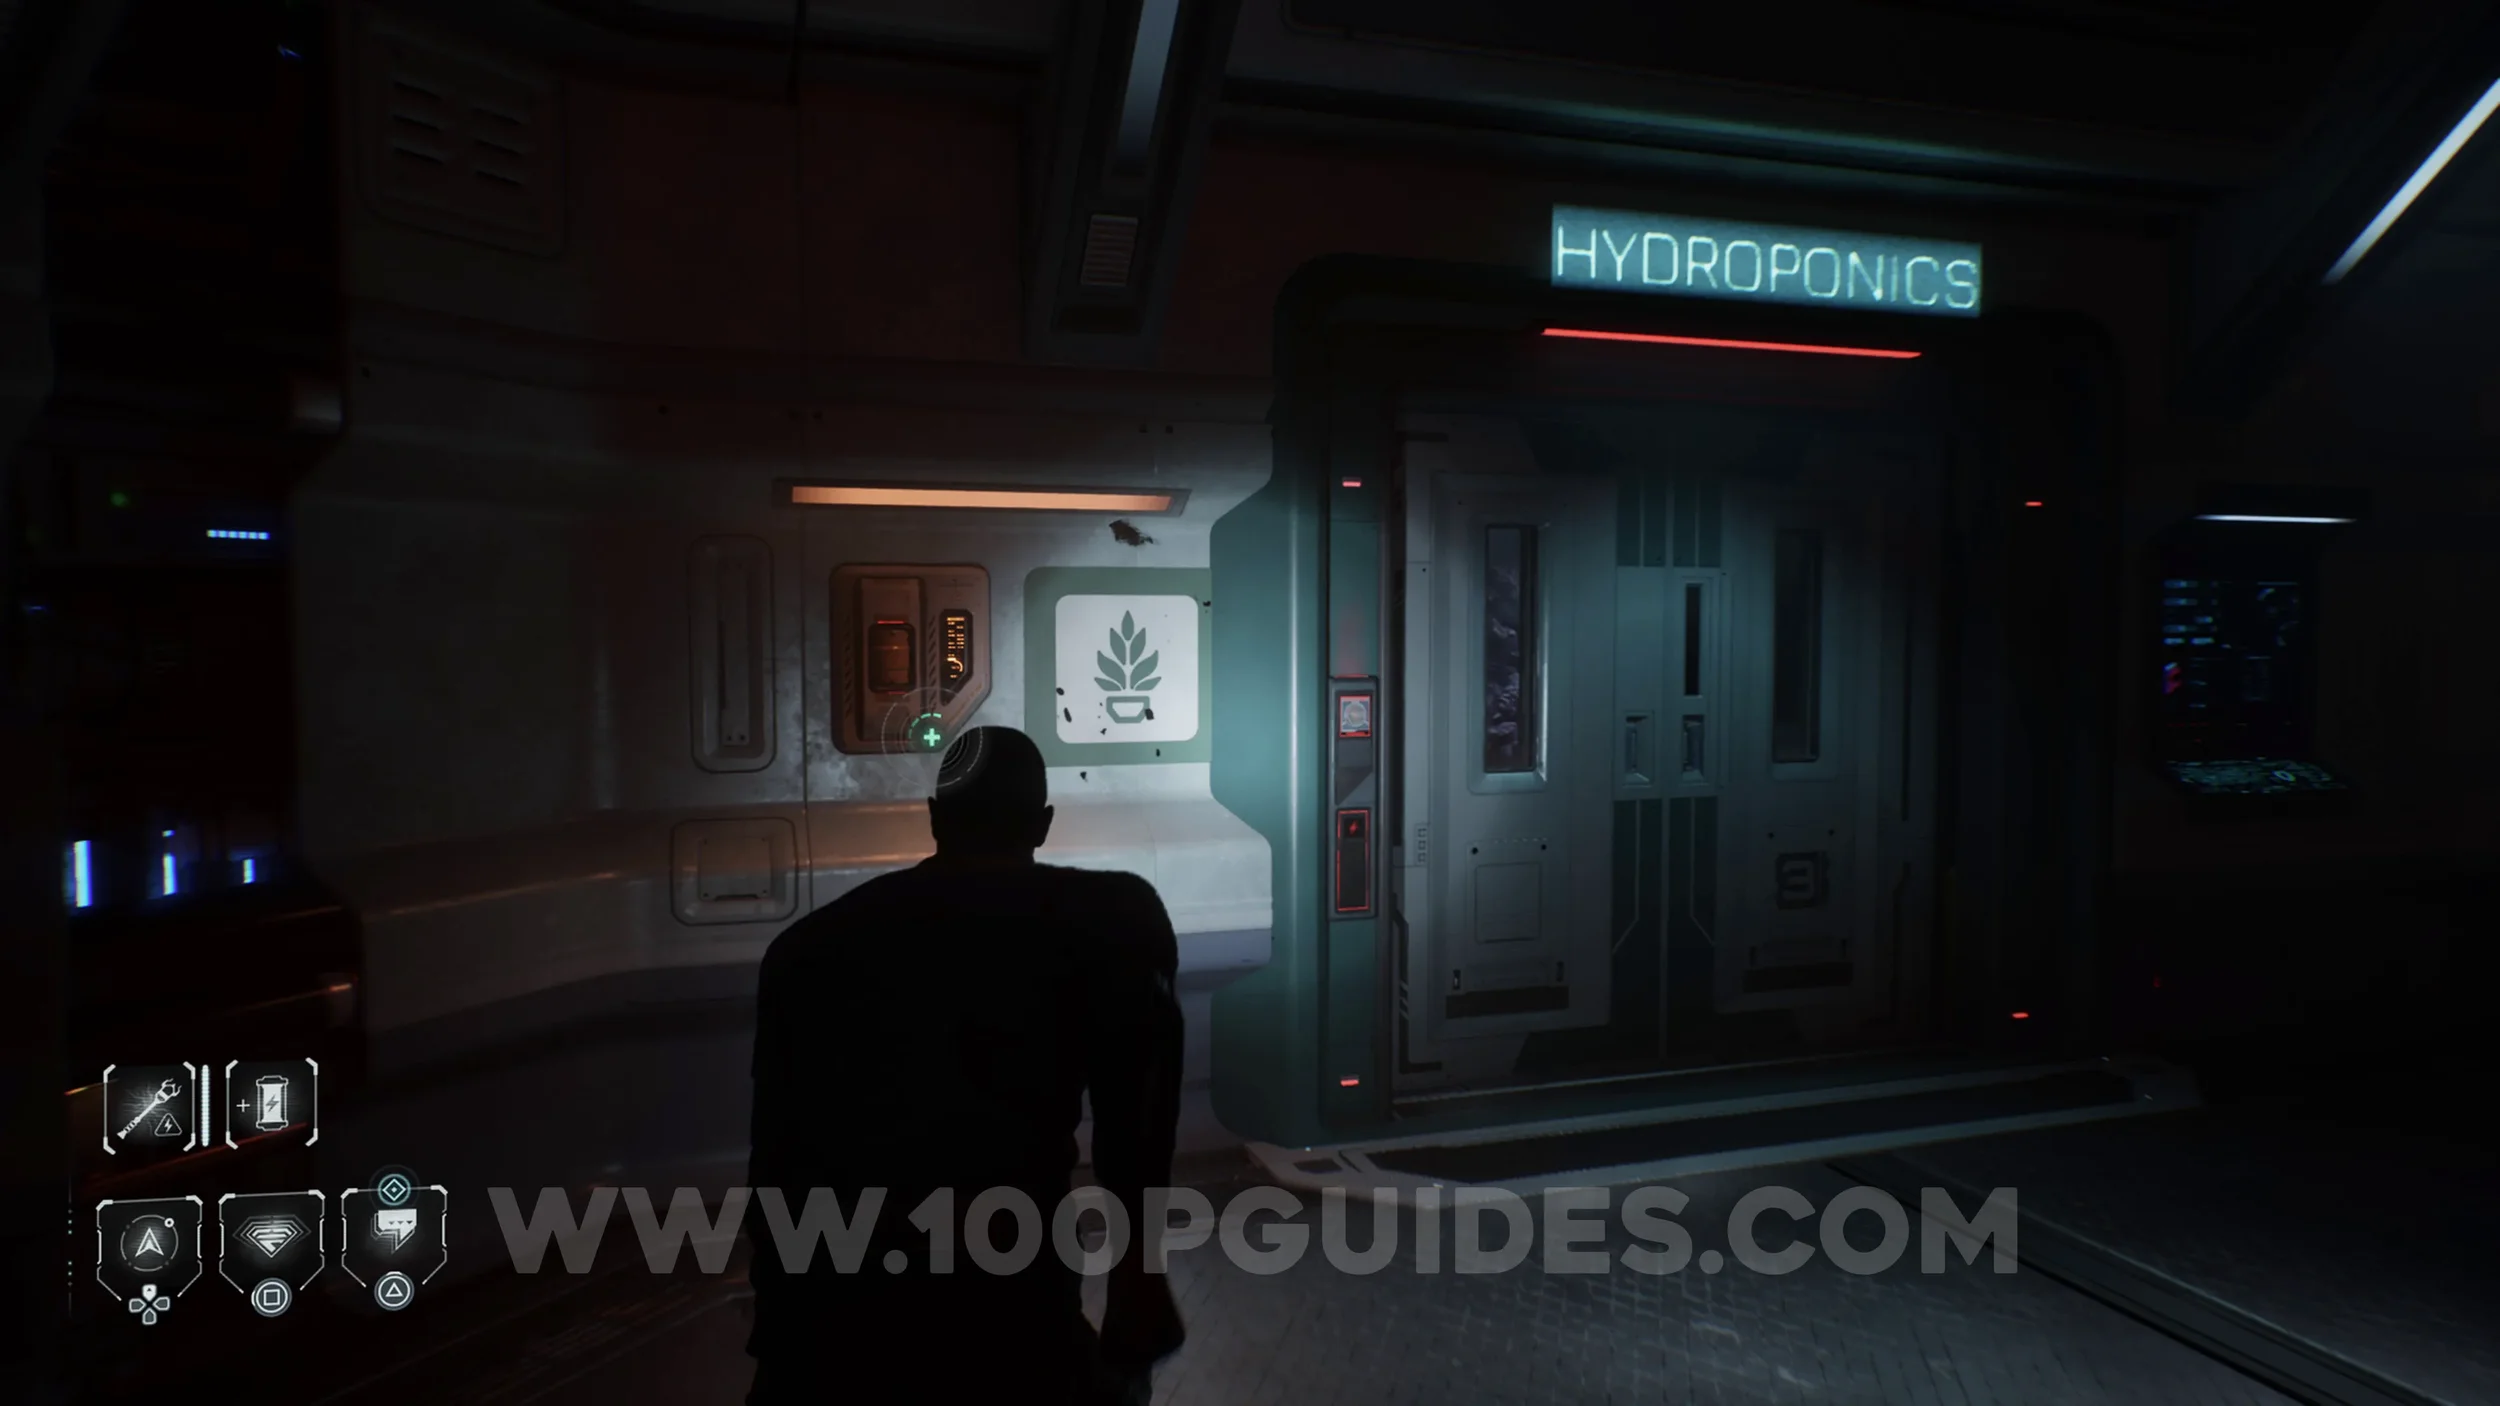
Secret #41 - Flight Crew (Stafford). After using the power cell to open the Hydroponics door, continue until you reach another Hydroponics door. Before going through it, look to the left to find the collectible on the wall.
EPISODE 7
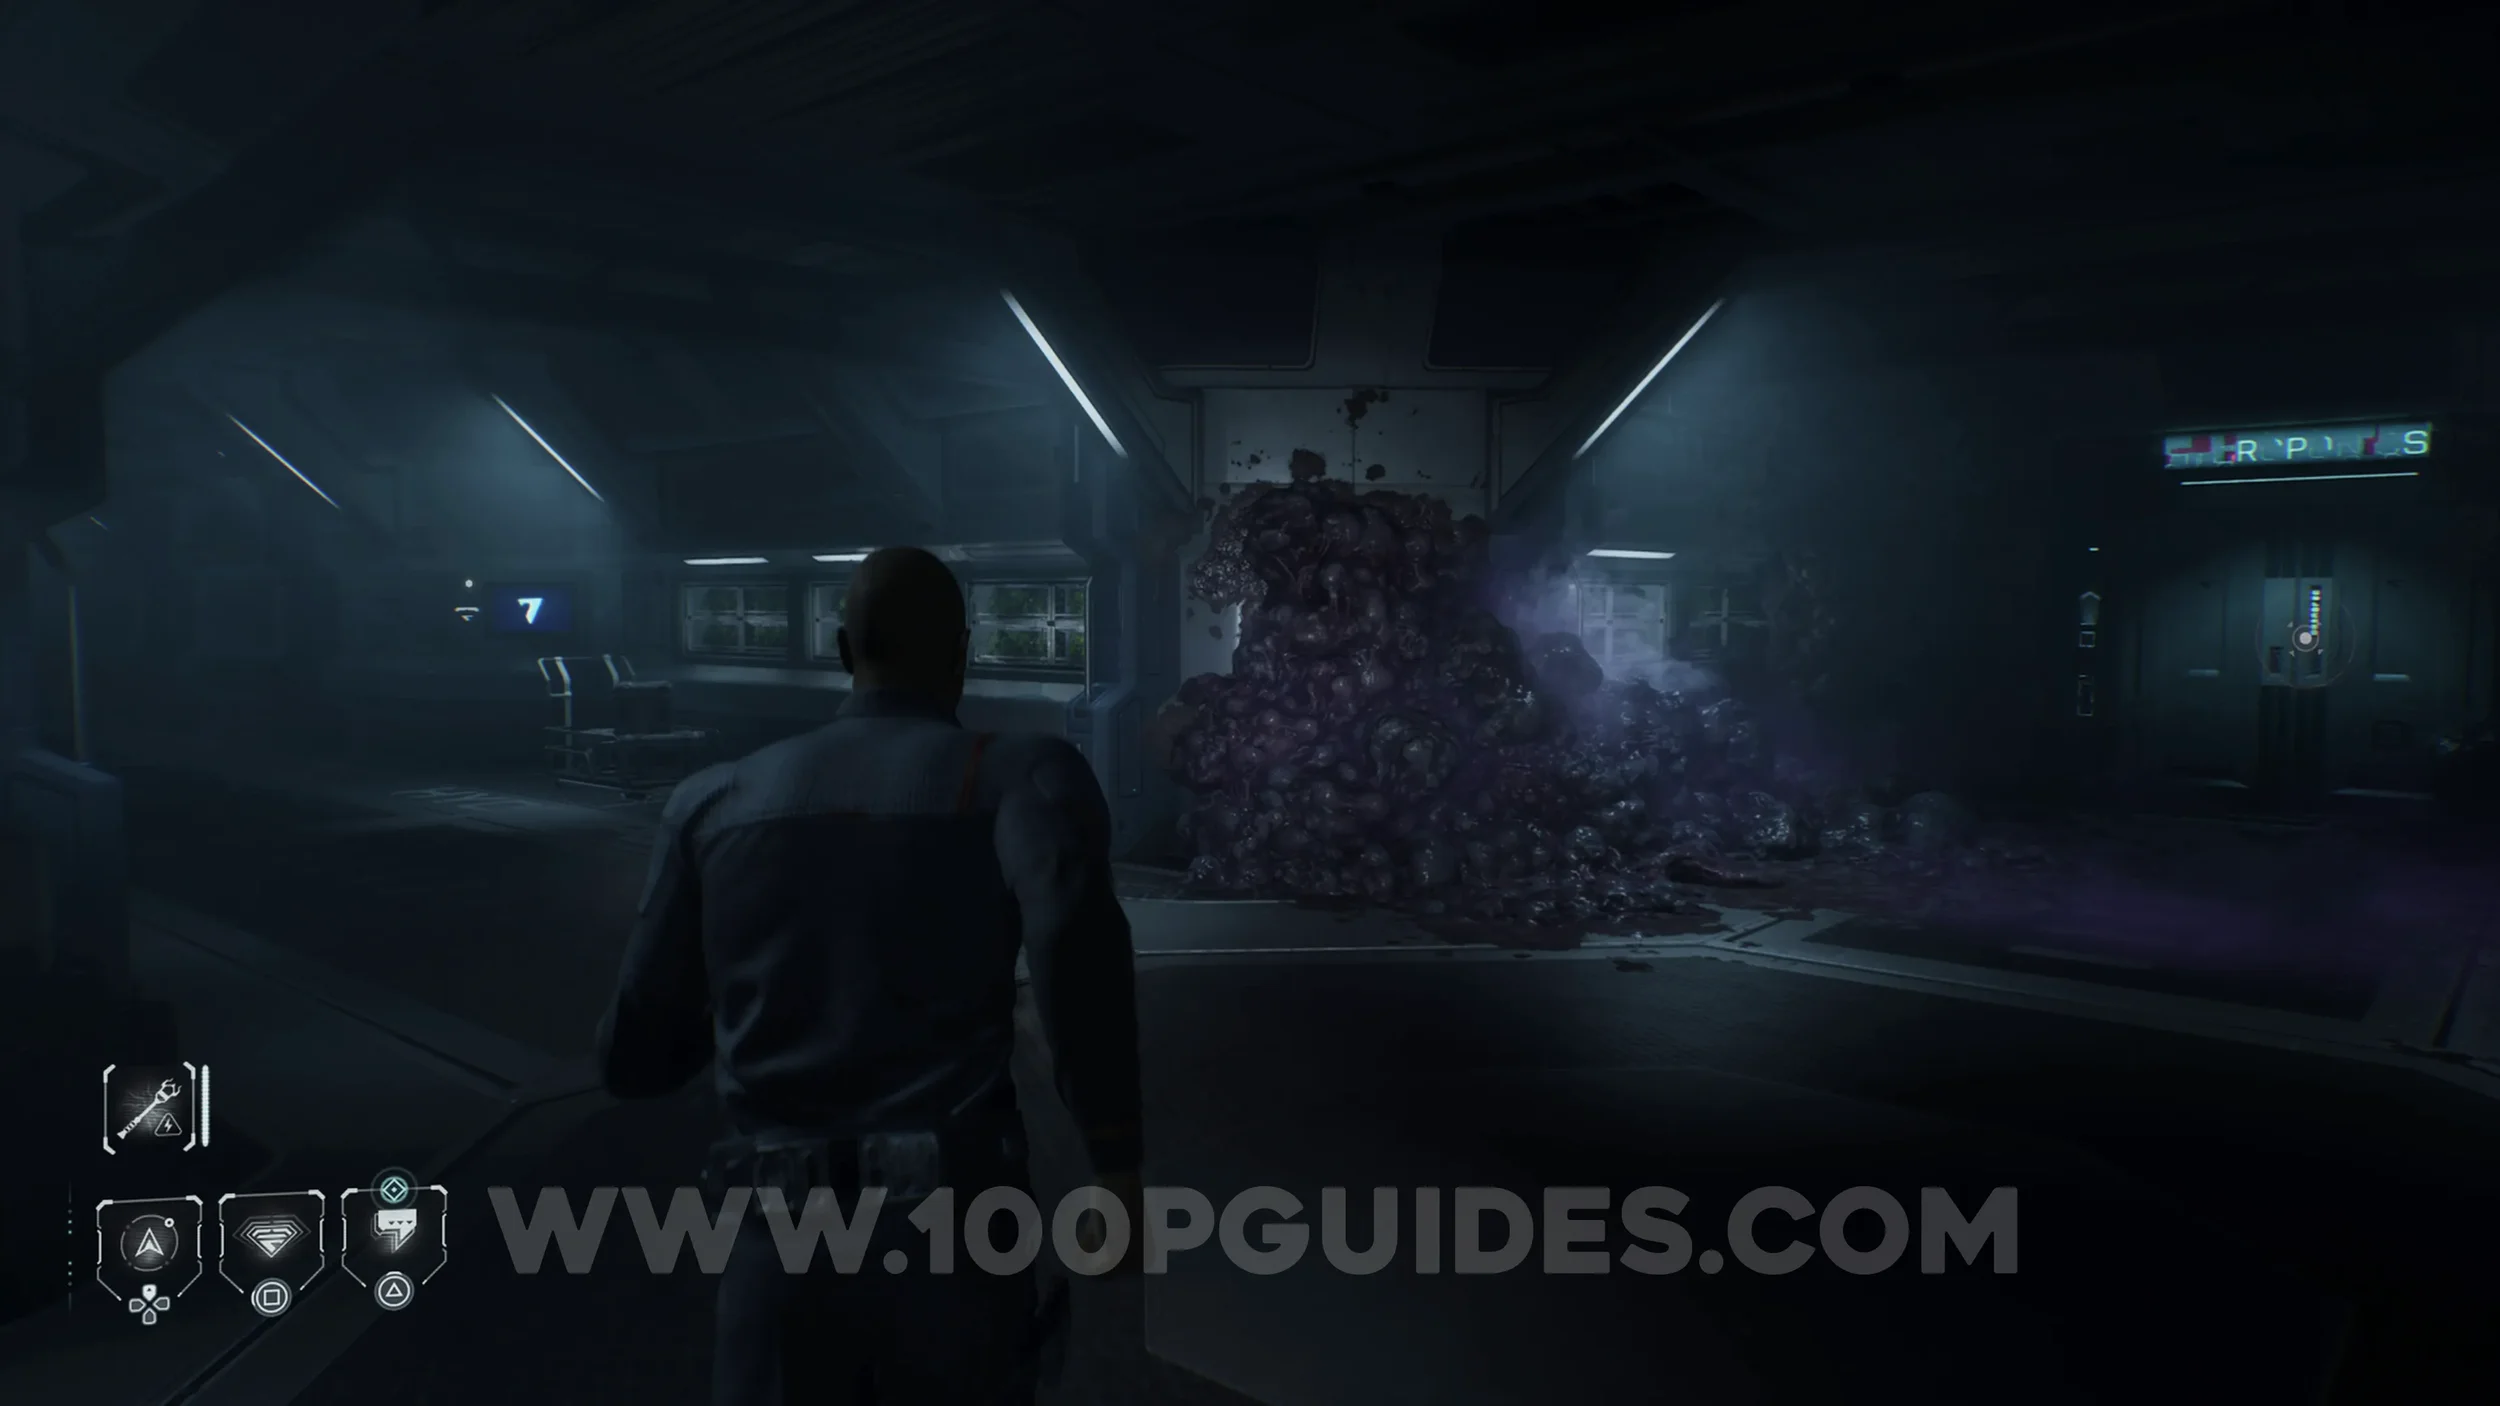
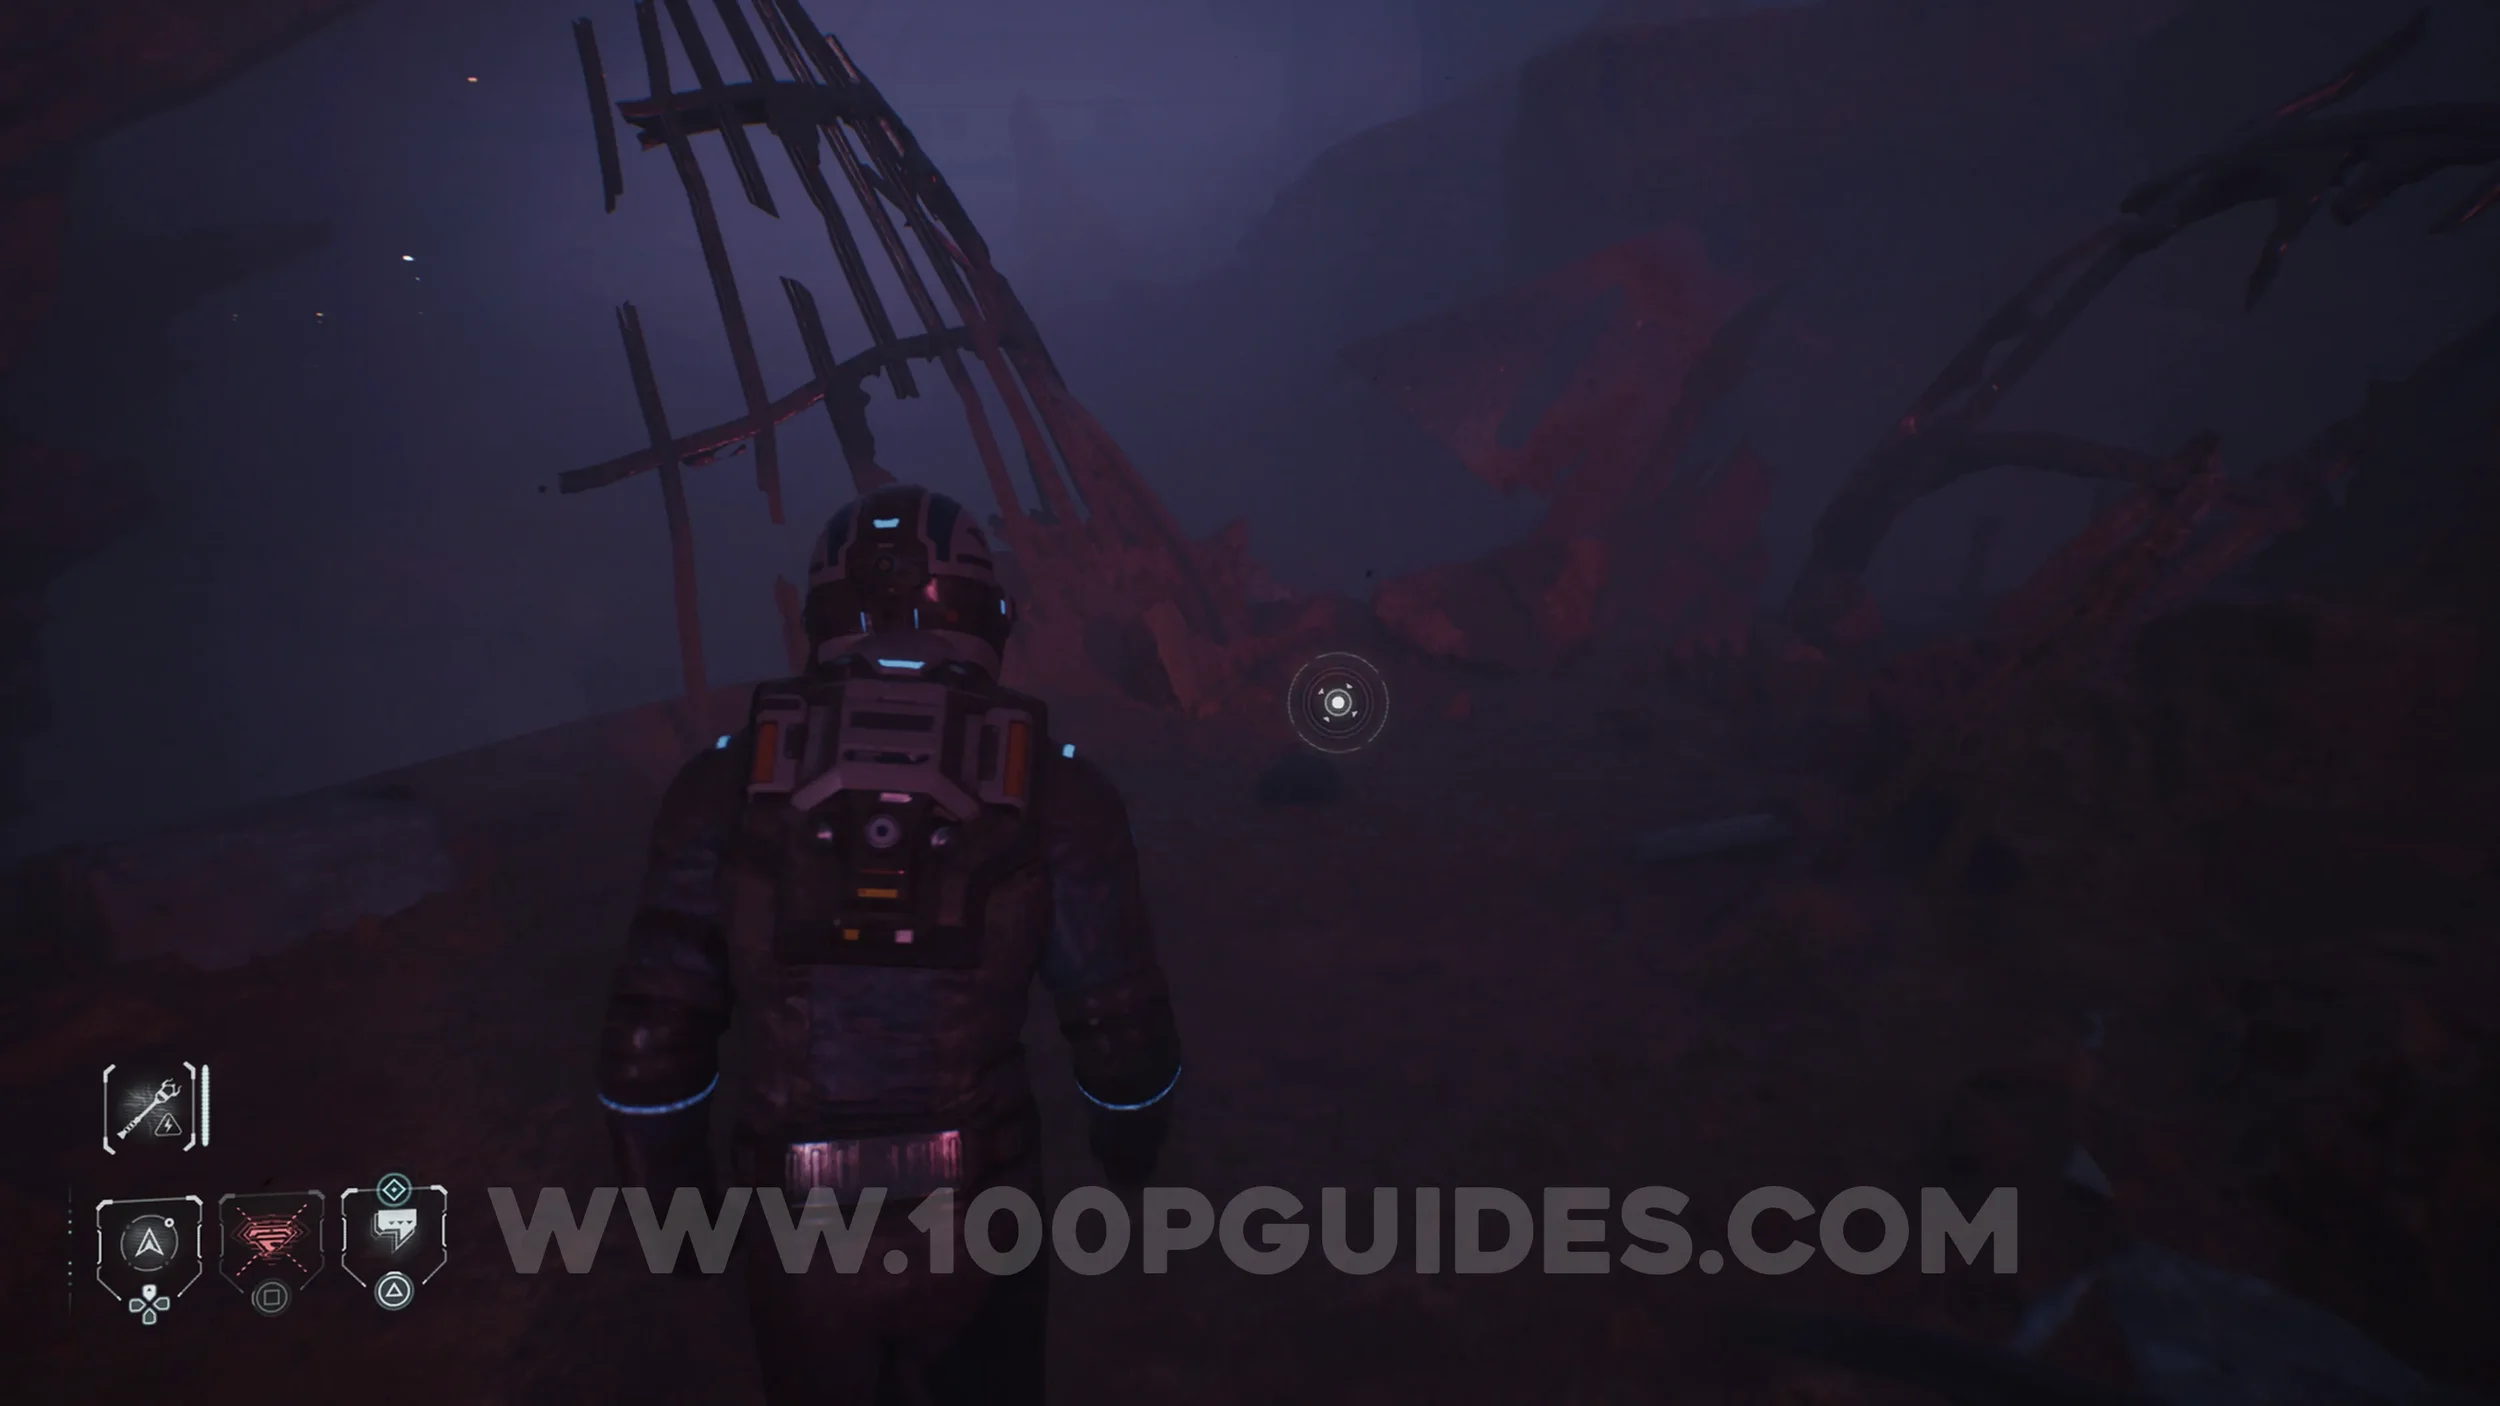
Secret #42 - Cassiopeia (Cracks Appear). Soon after getting separated from Anders, you will shimmy under a waterfall and then squeeze through two rocks. After that, you will see a slope on the left. Head to the top to find the collectible.


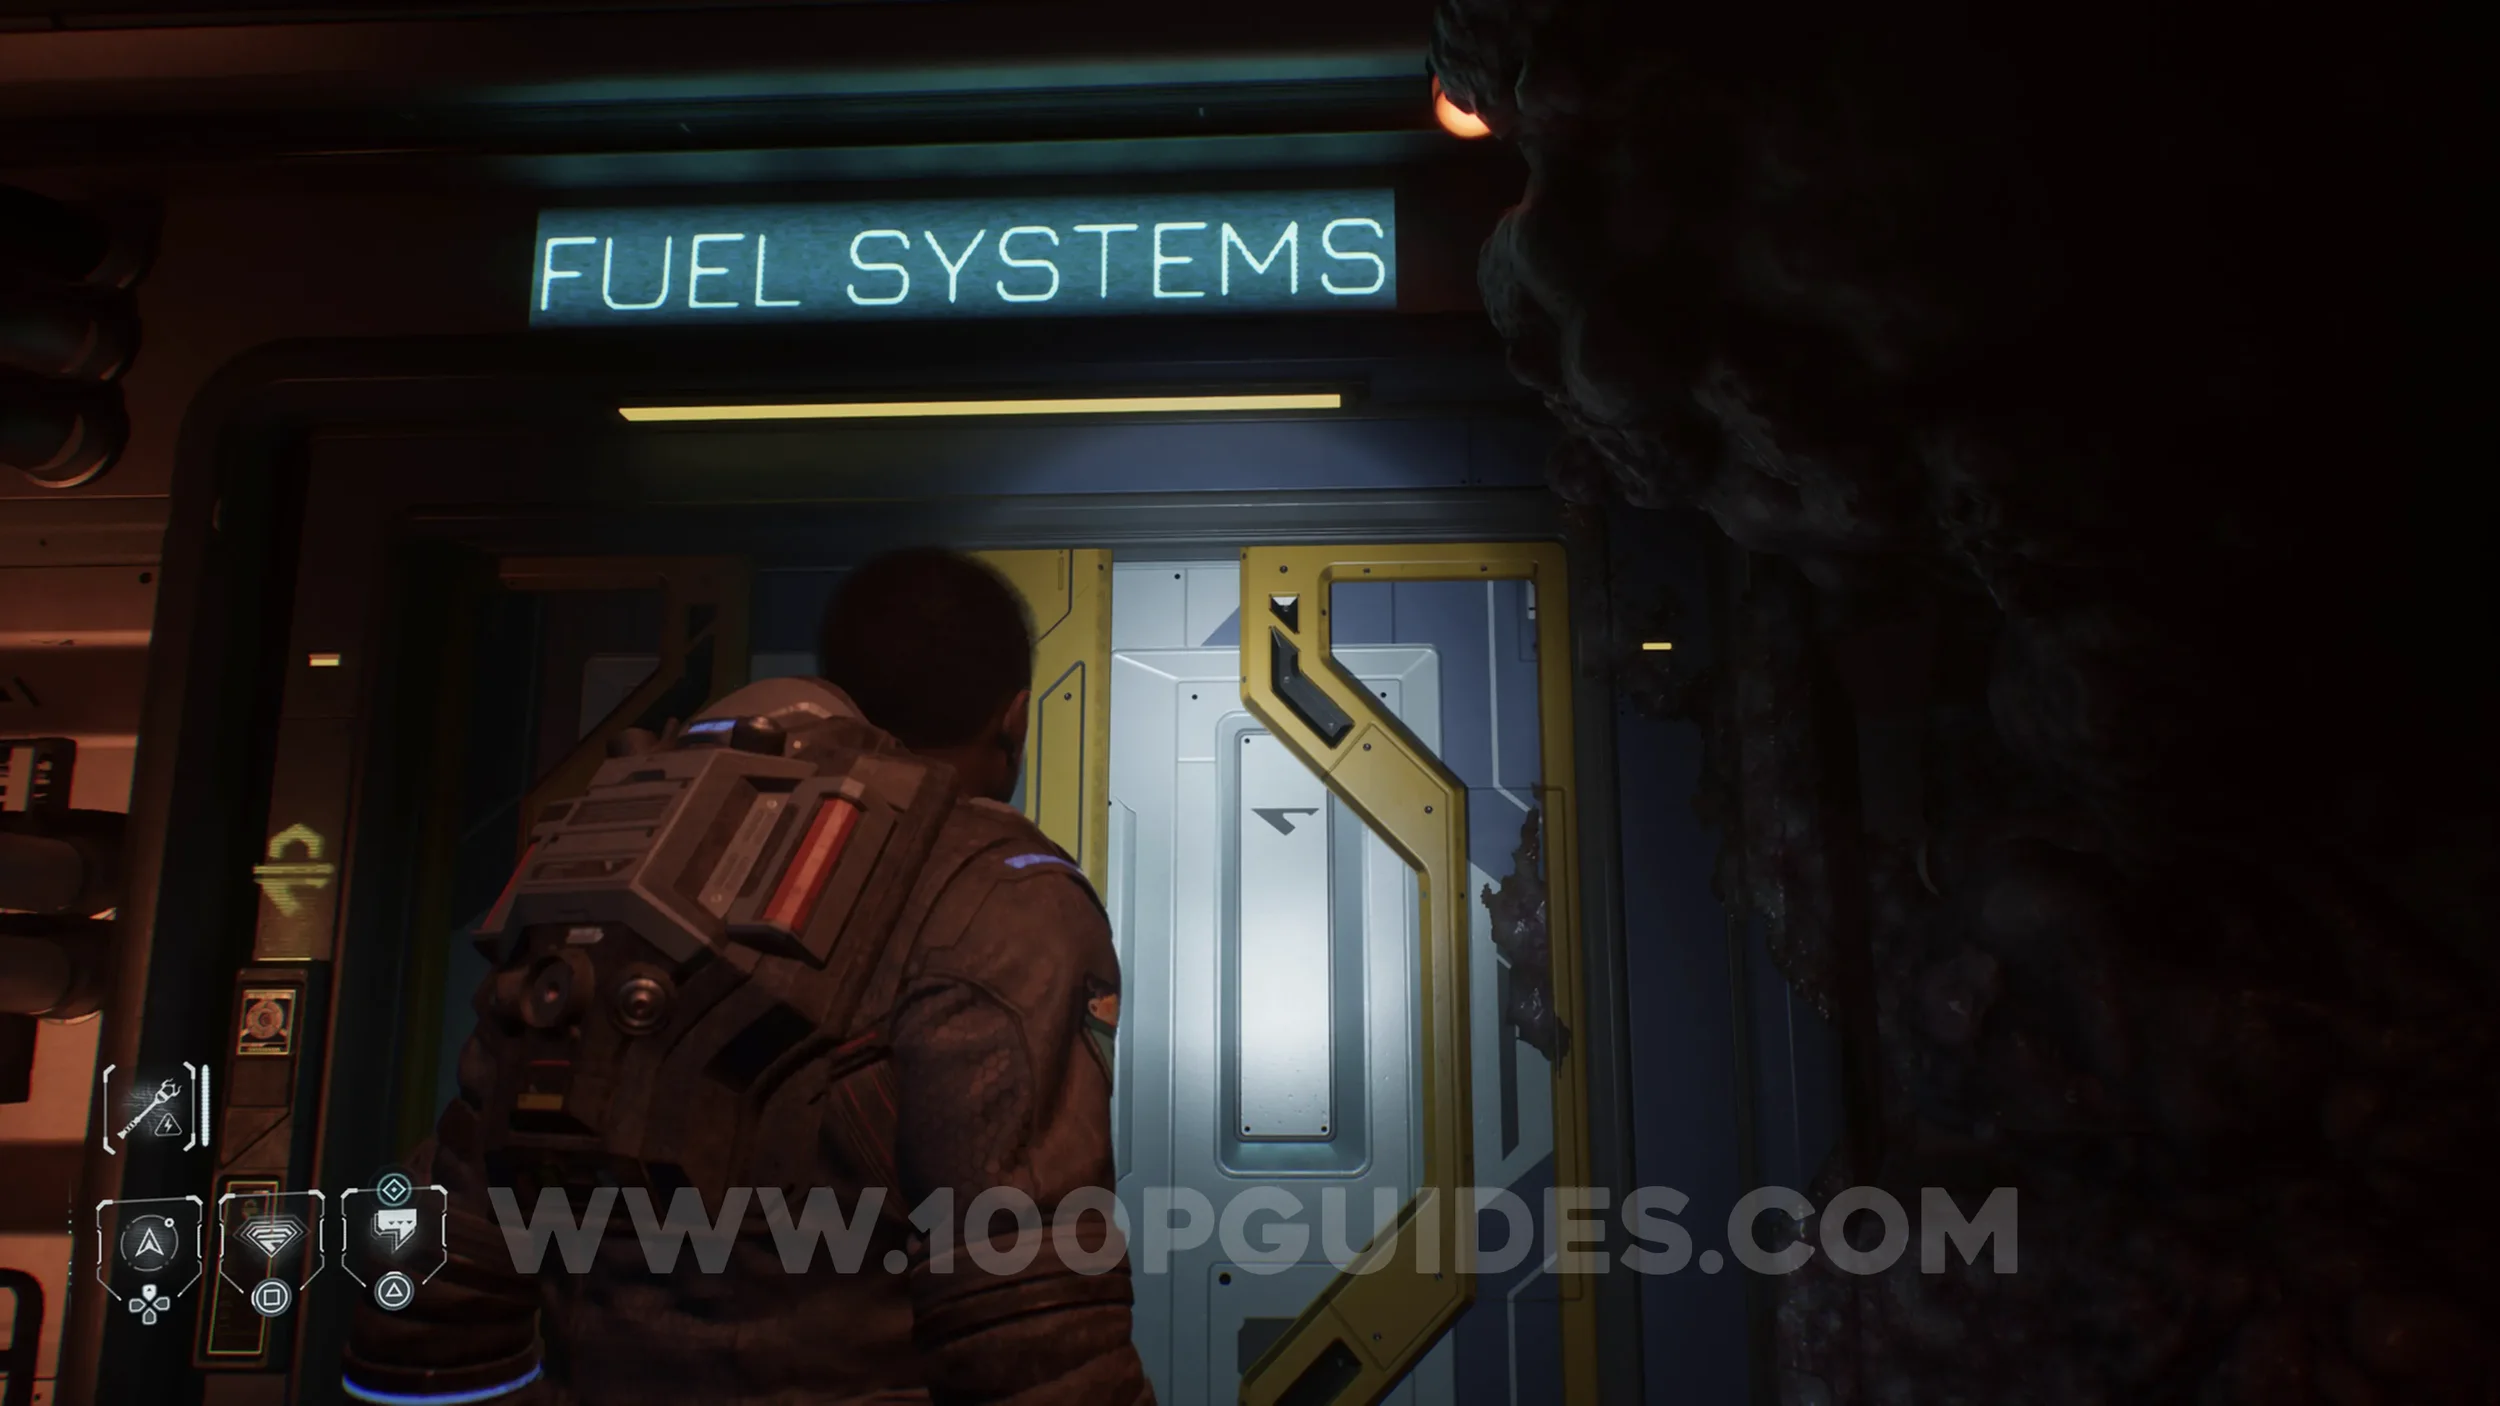
Secret #43 - Conspiracy (Mcnamara’s Confession). Once you reach another version of the Cassiopeia on the planet, you will need to avoid a creature, then go through a corridor and through a door you must override to reach the Fuel Systems room. Inside, go down the middle until you are cut off by some tentacles. Before heading straight, turn left, then left again. Activate the datapad and climb the ladder. At the top, go to the end to find the collectible.
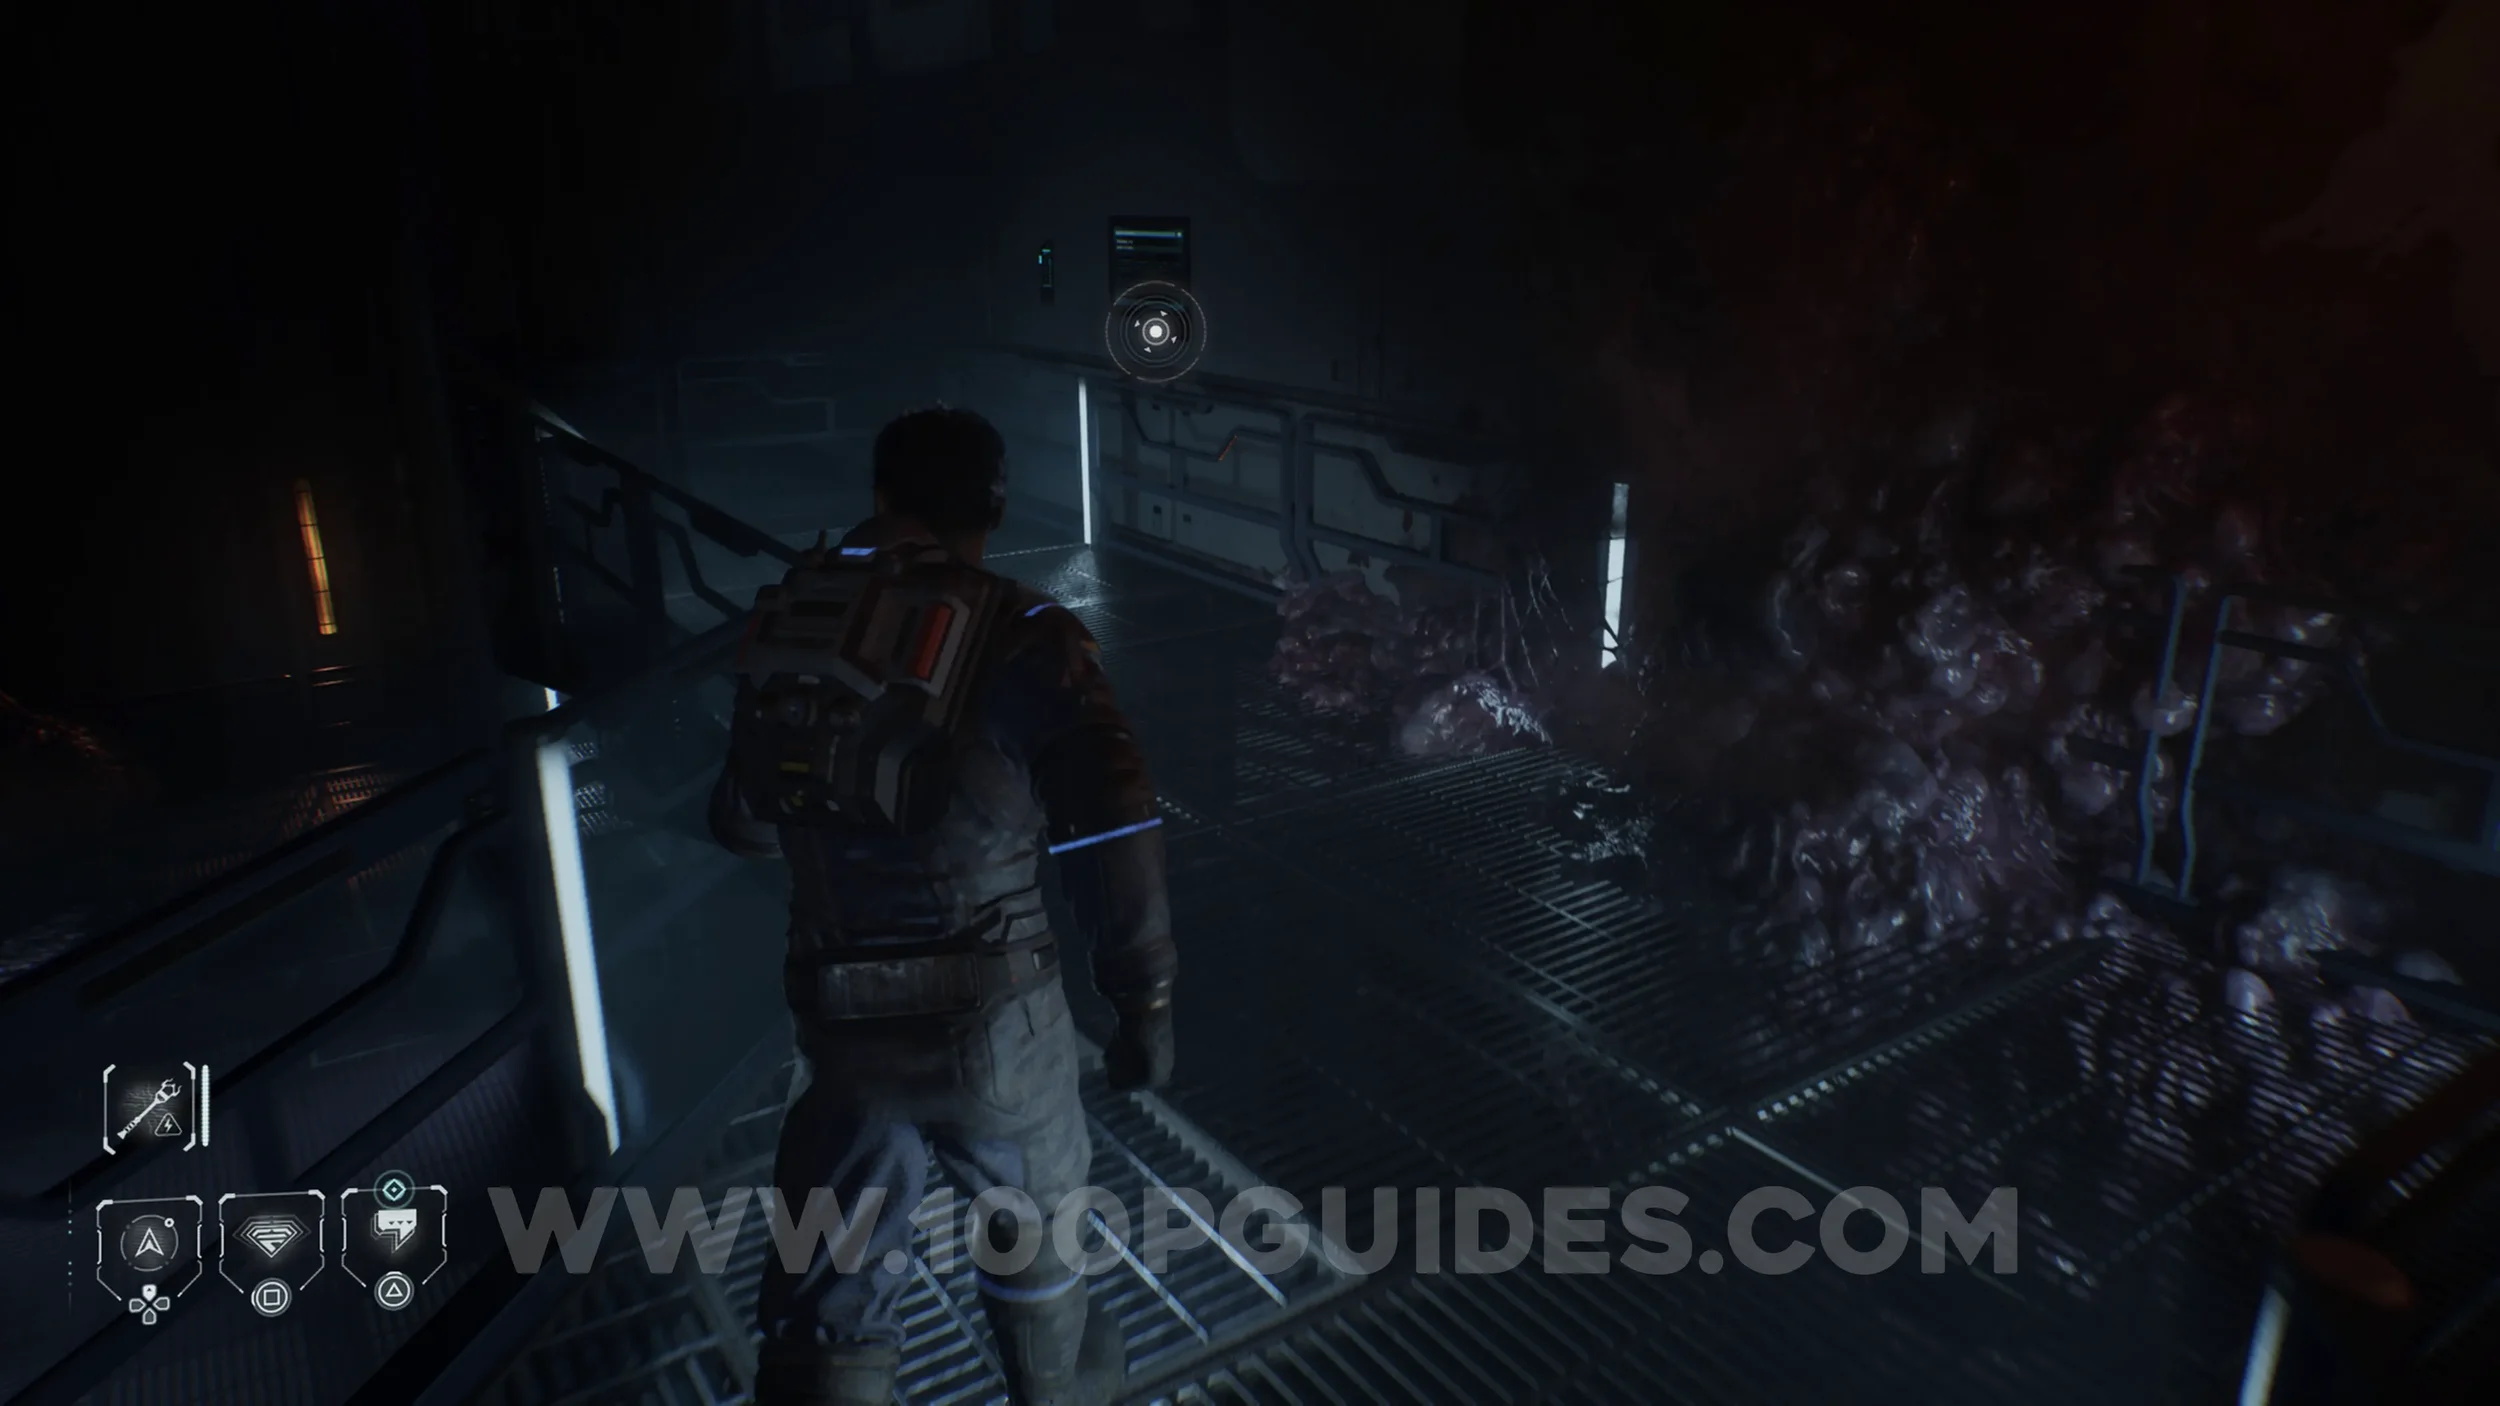
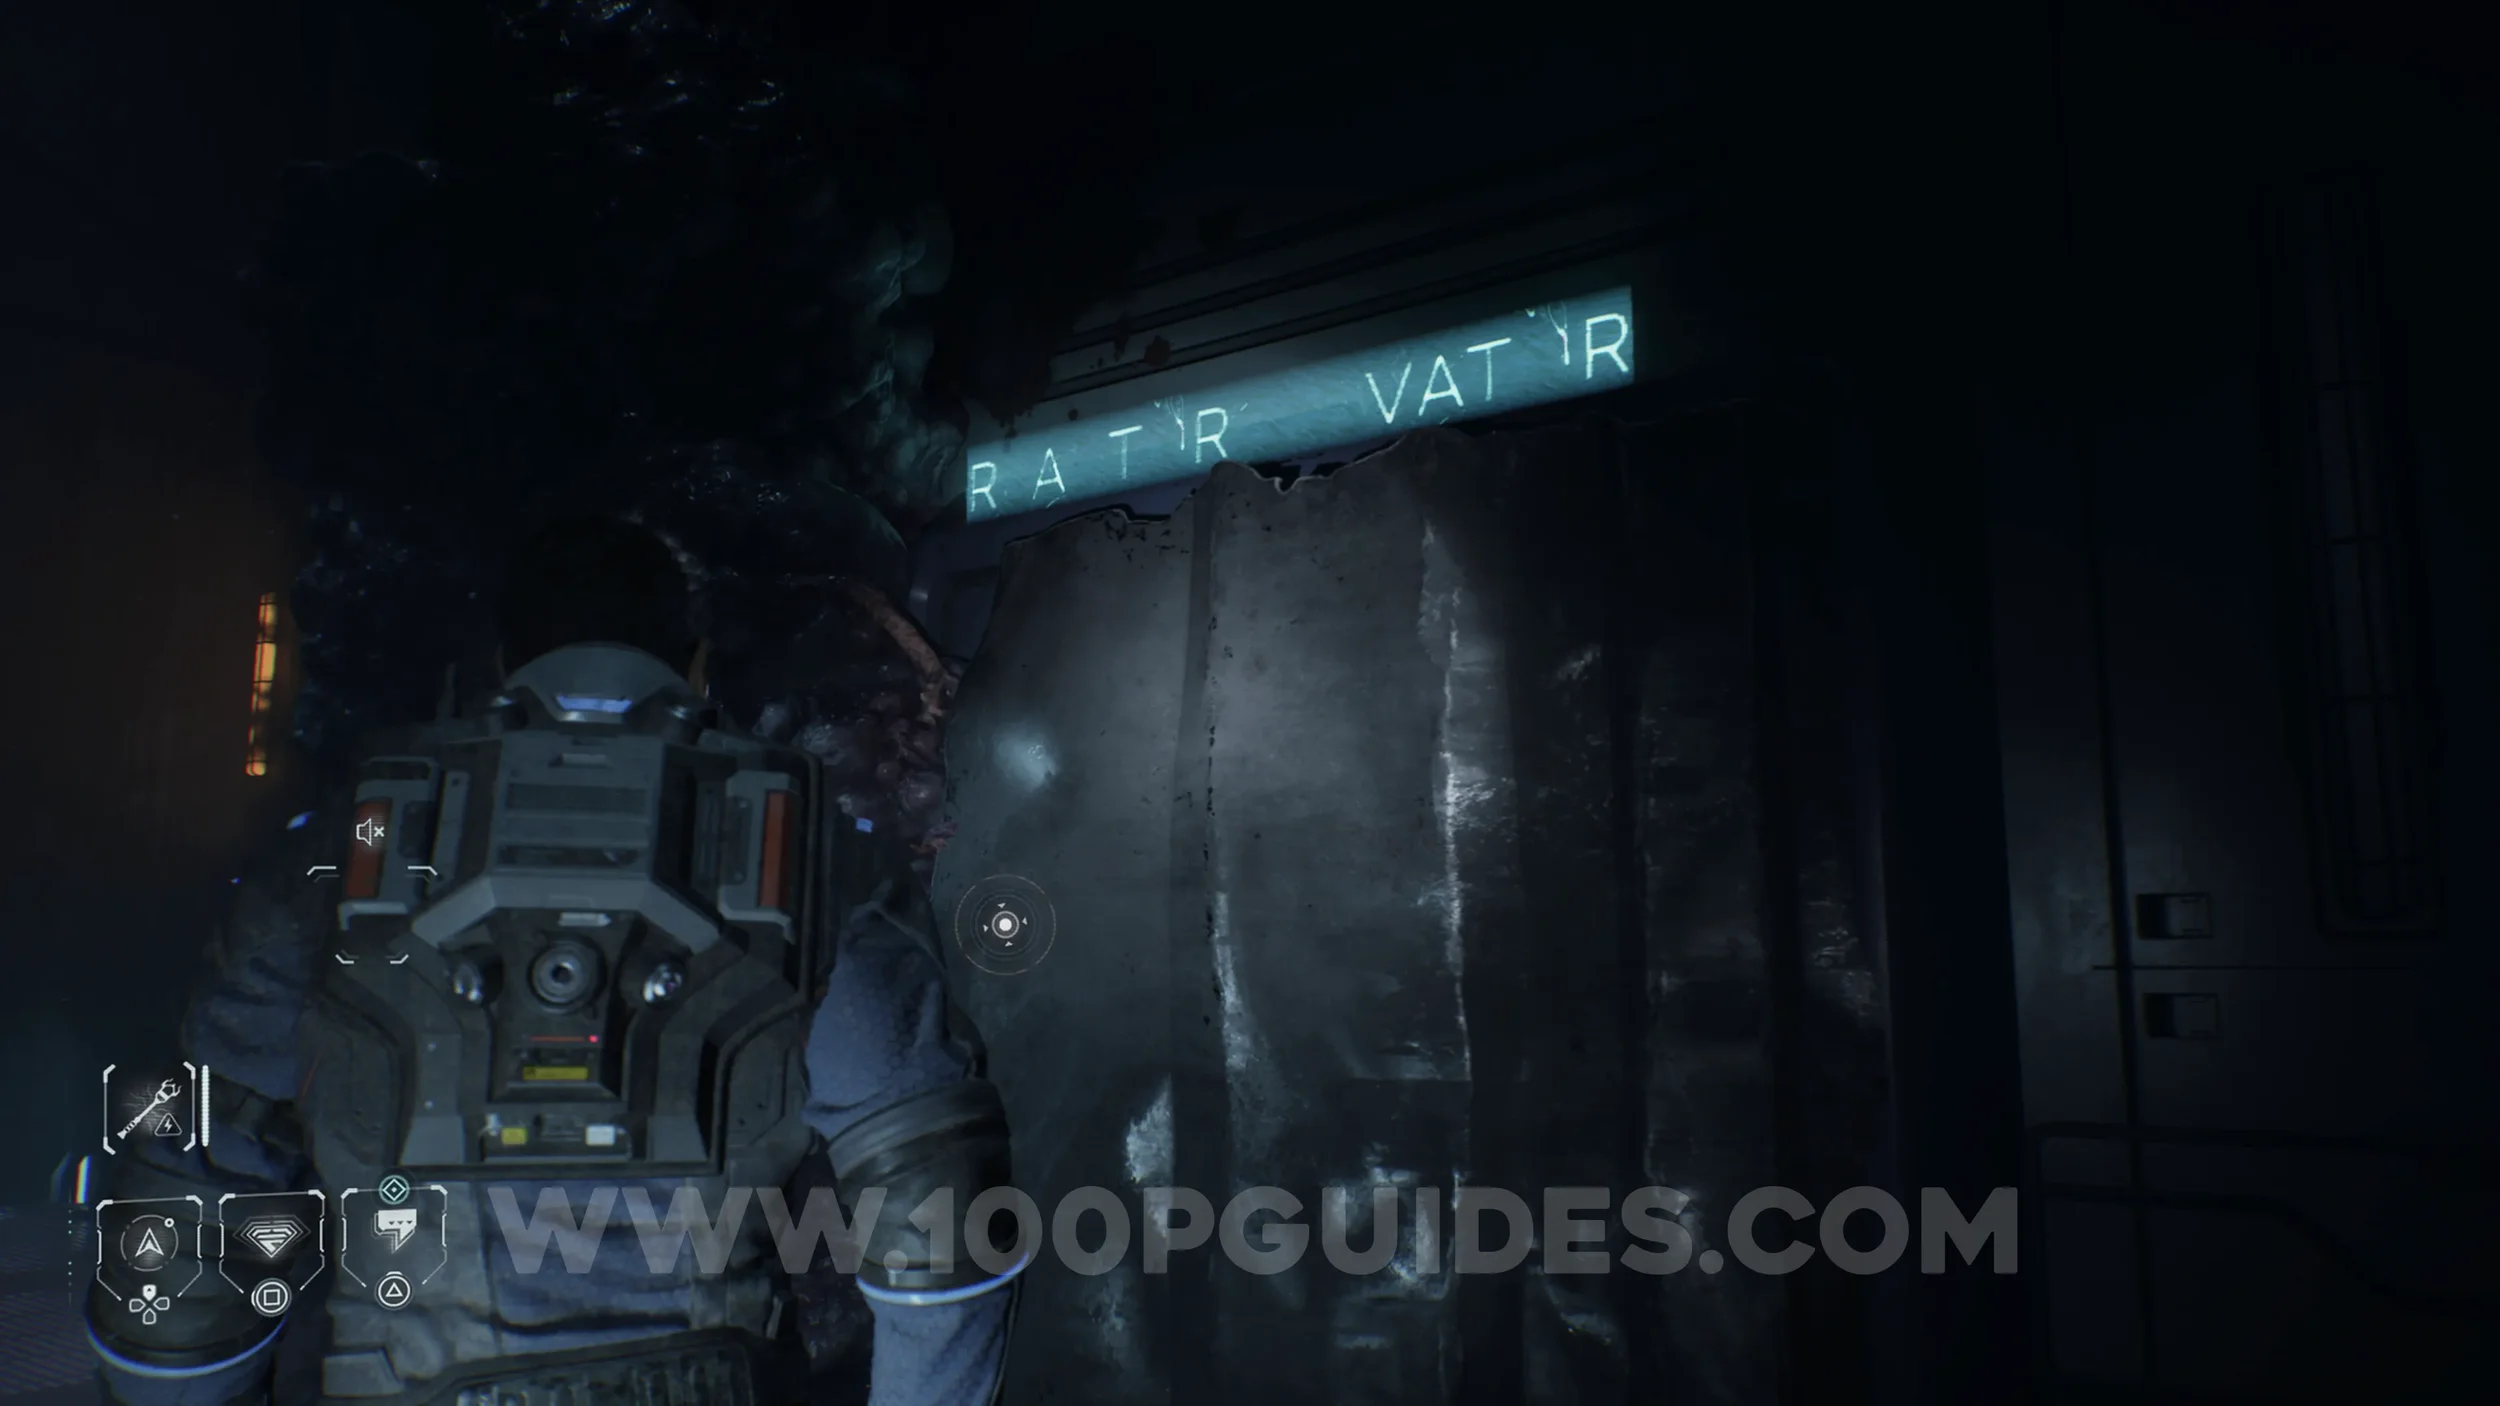
Secret #44 - Flight Crew (Mitchell). Once you reach the Reactor Elevator door, the point of no return, before going through it, look to the left to find the collectible.
Secret #45 - Conspiracy (Duplication Analysis). As soon as you take control of Joseph on the other Cassiopeia, turn around and look for an electrical control panel on the wall at the end. Send the current to the top to open the first door on the right down the corridor. Go through it and look through the window to the left to remotely activate a panel that opens the shutter. Return to the corridor and jump through the window you just opened. The collectible will be on a table in this room.
EPISODE 8
Secret #46 - Conspiracy (See Attachment). On your right as soon as you take control of Nolan.
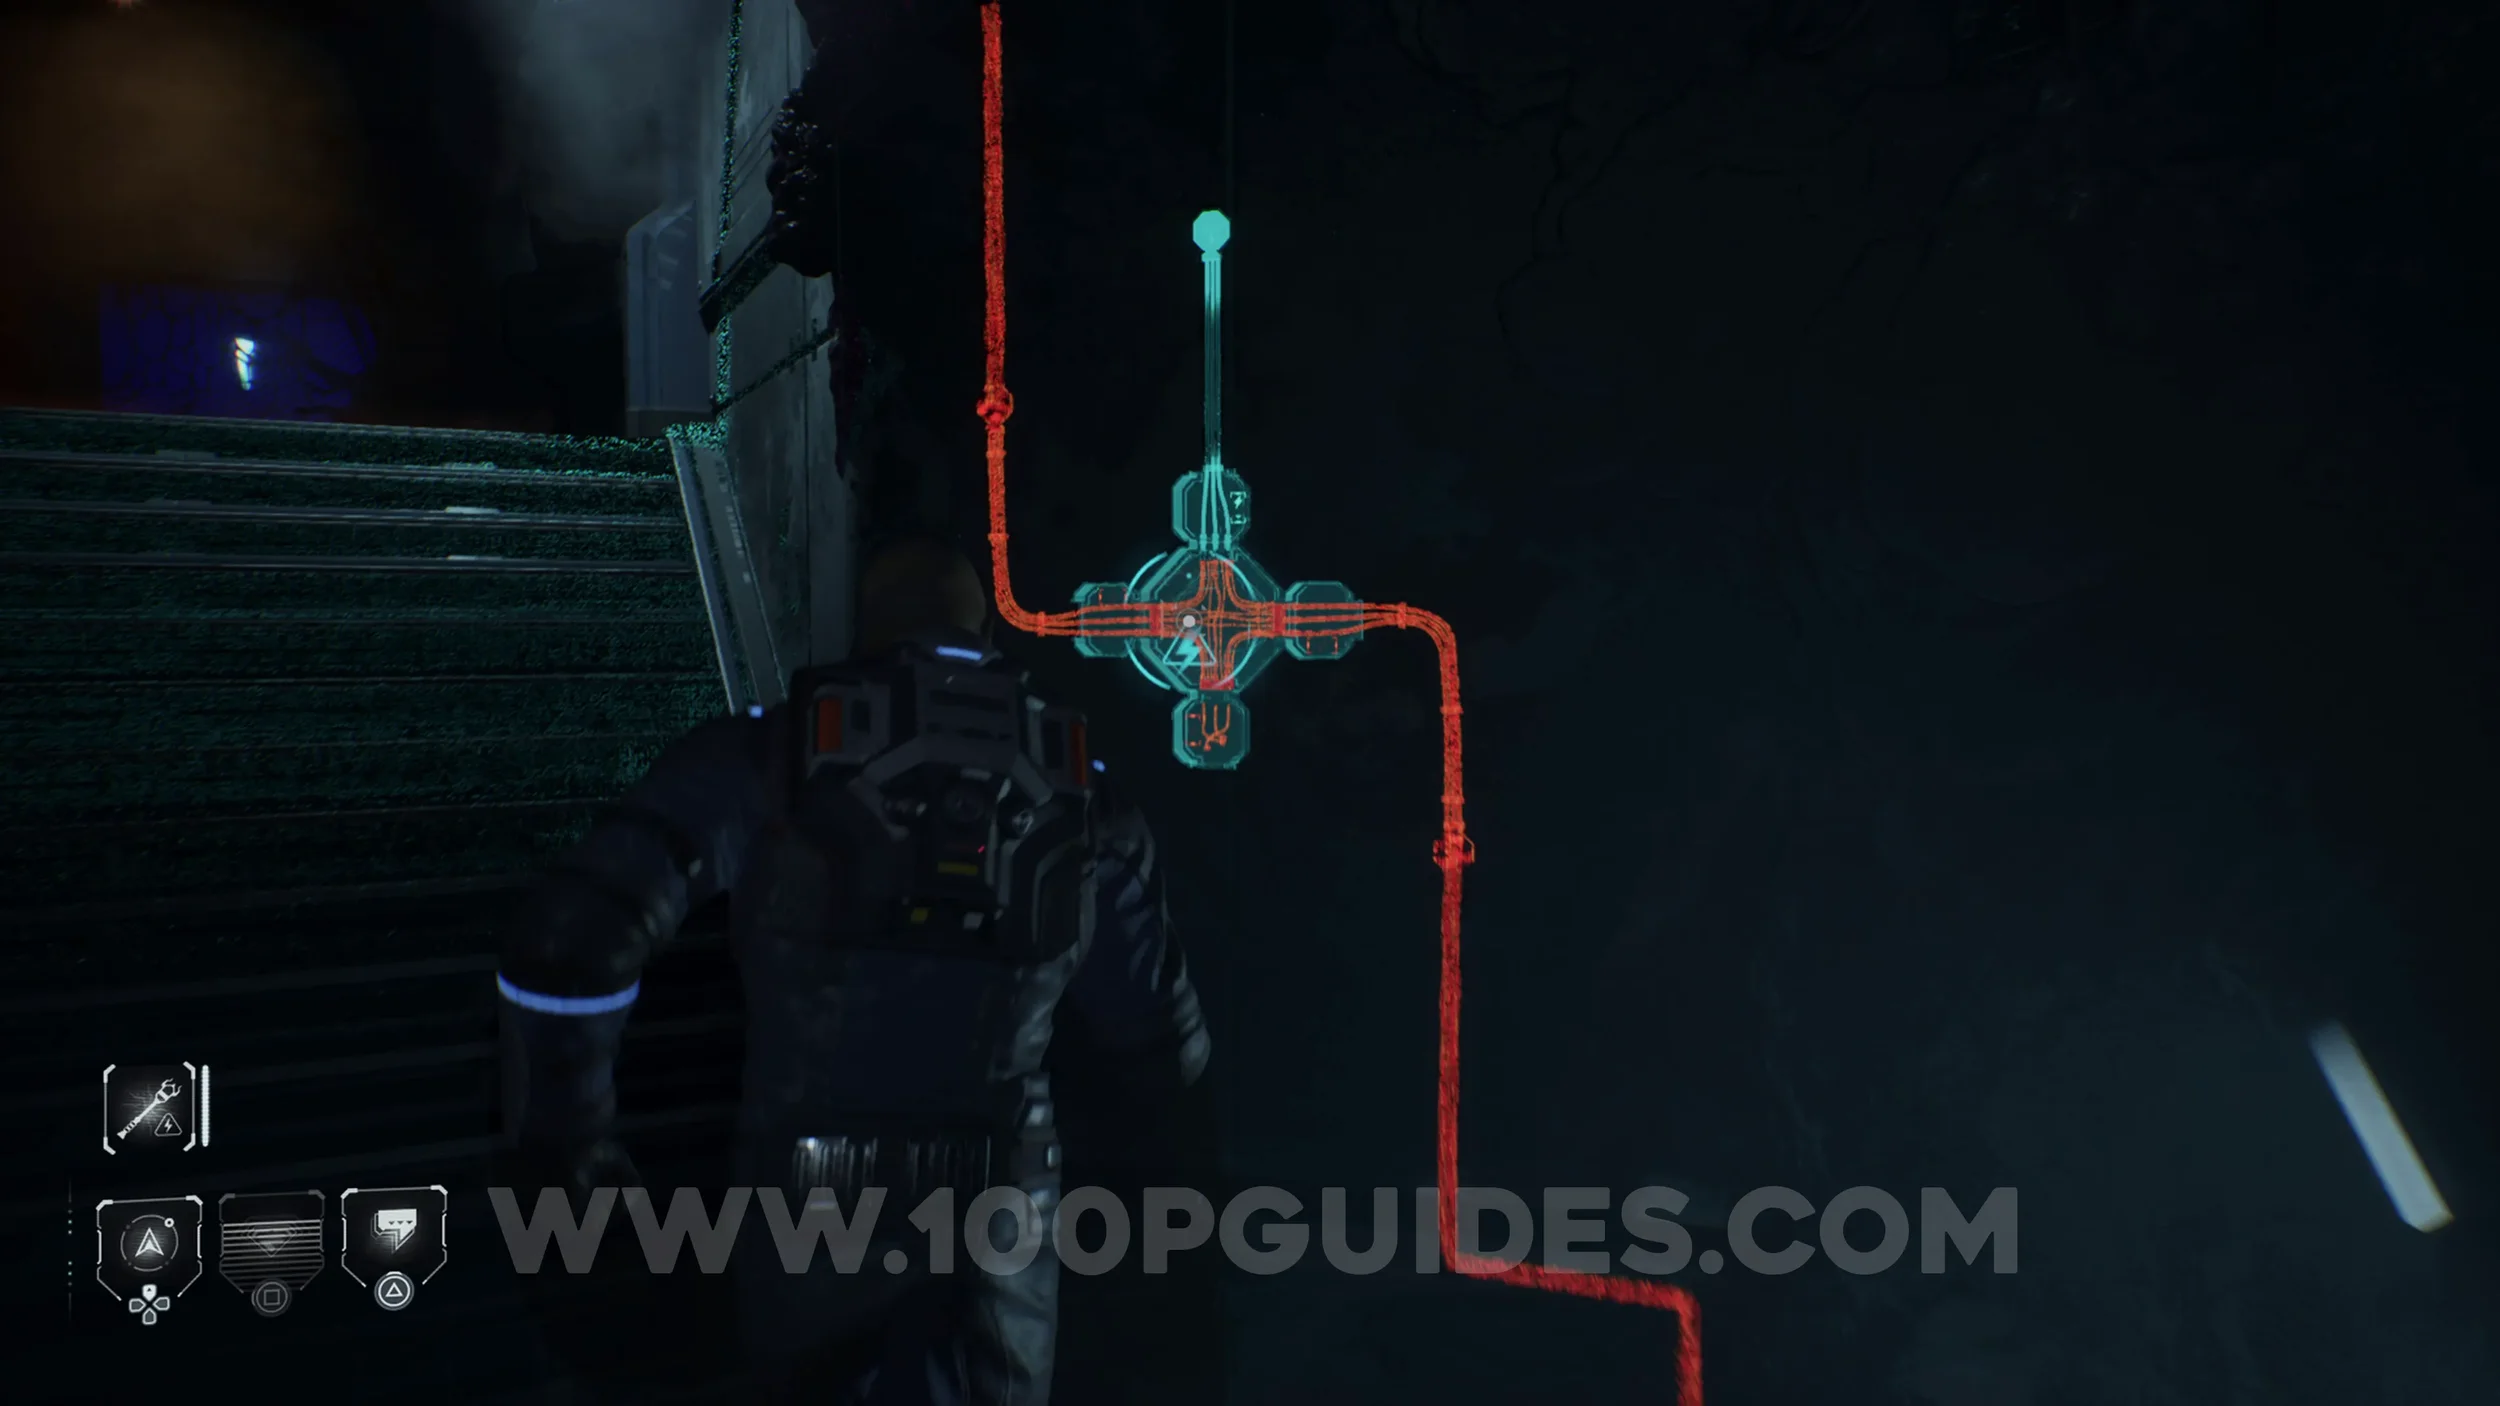
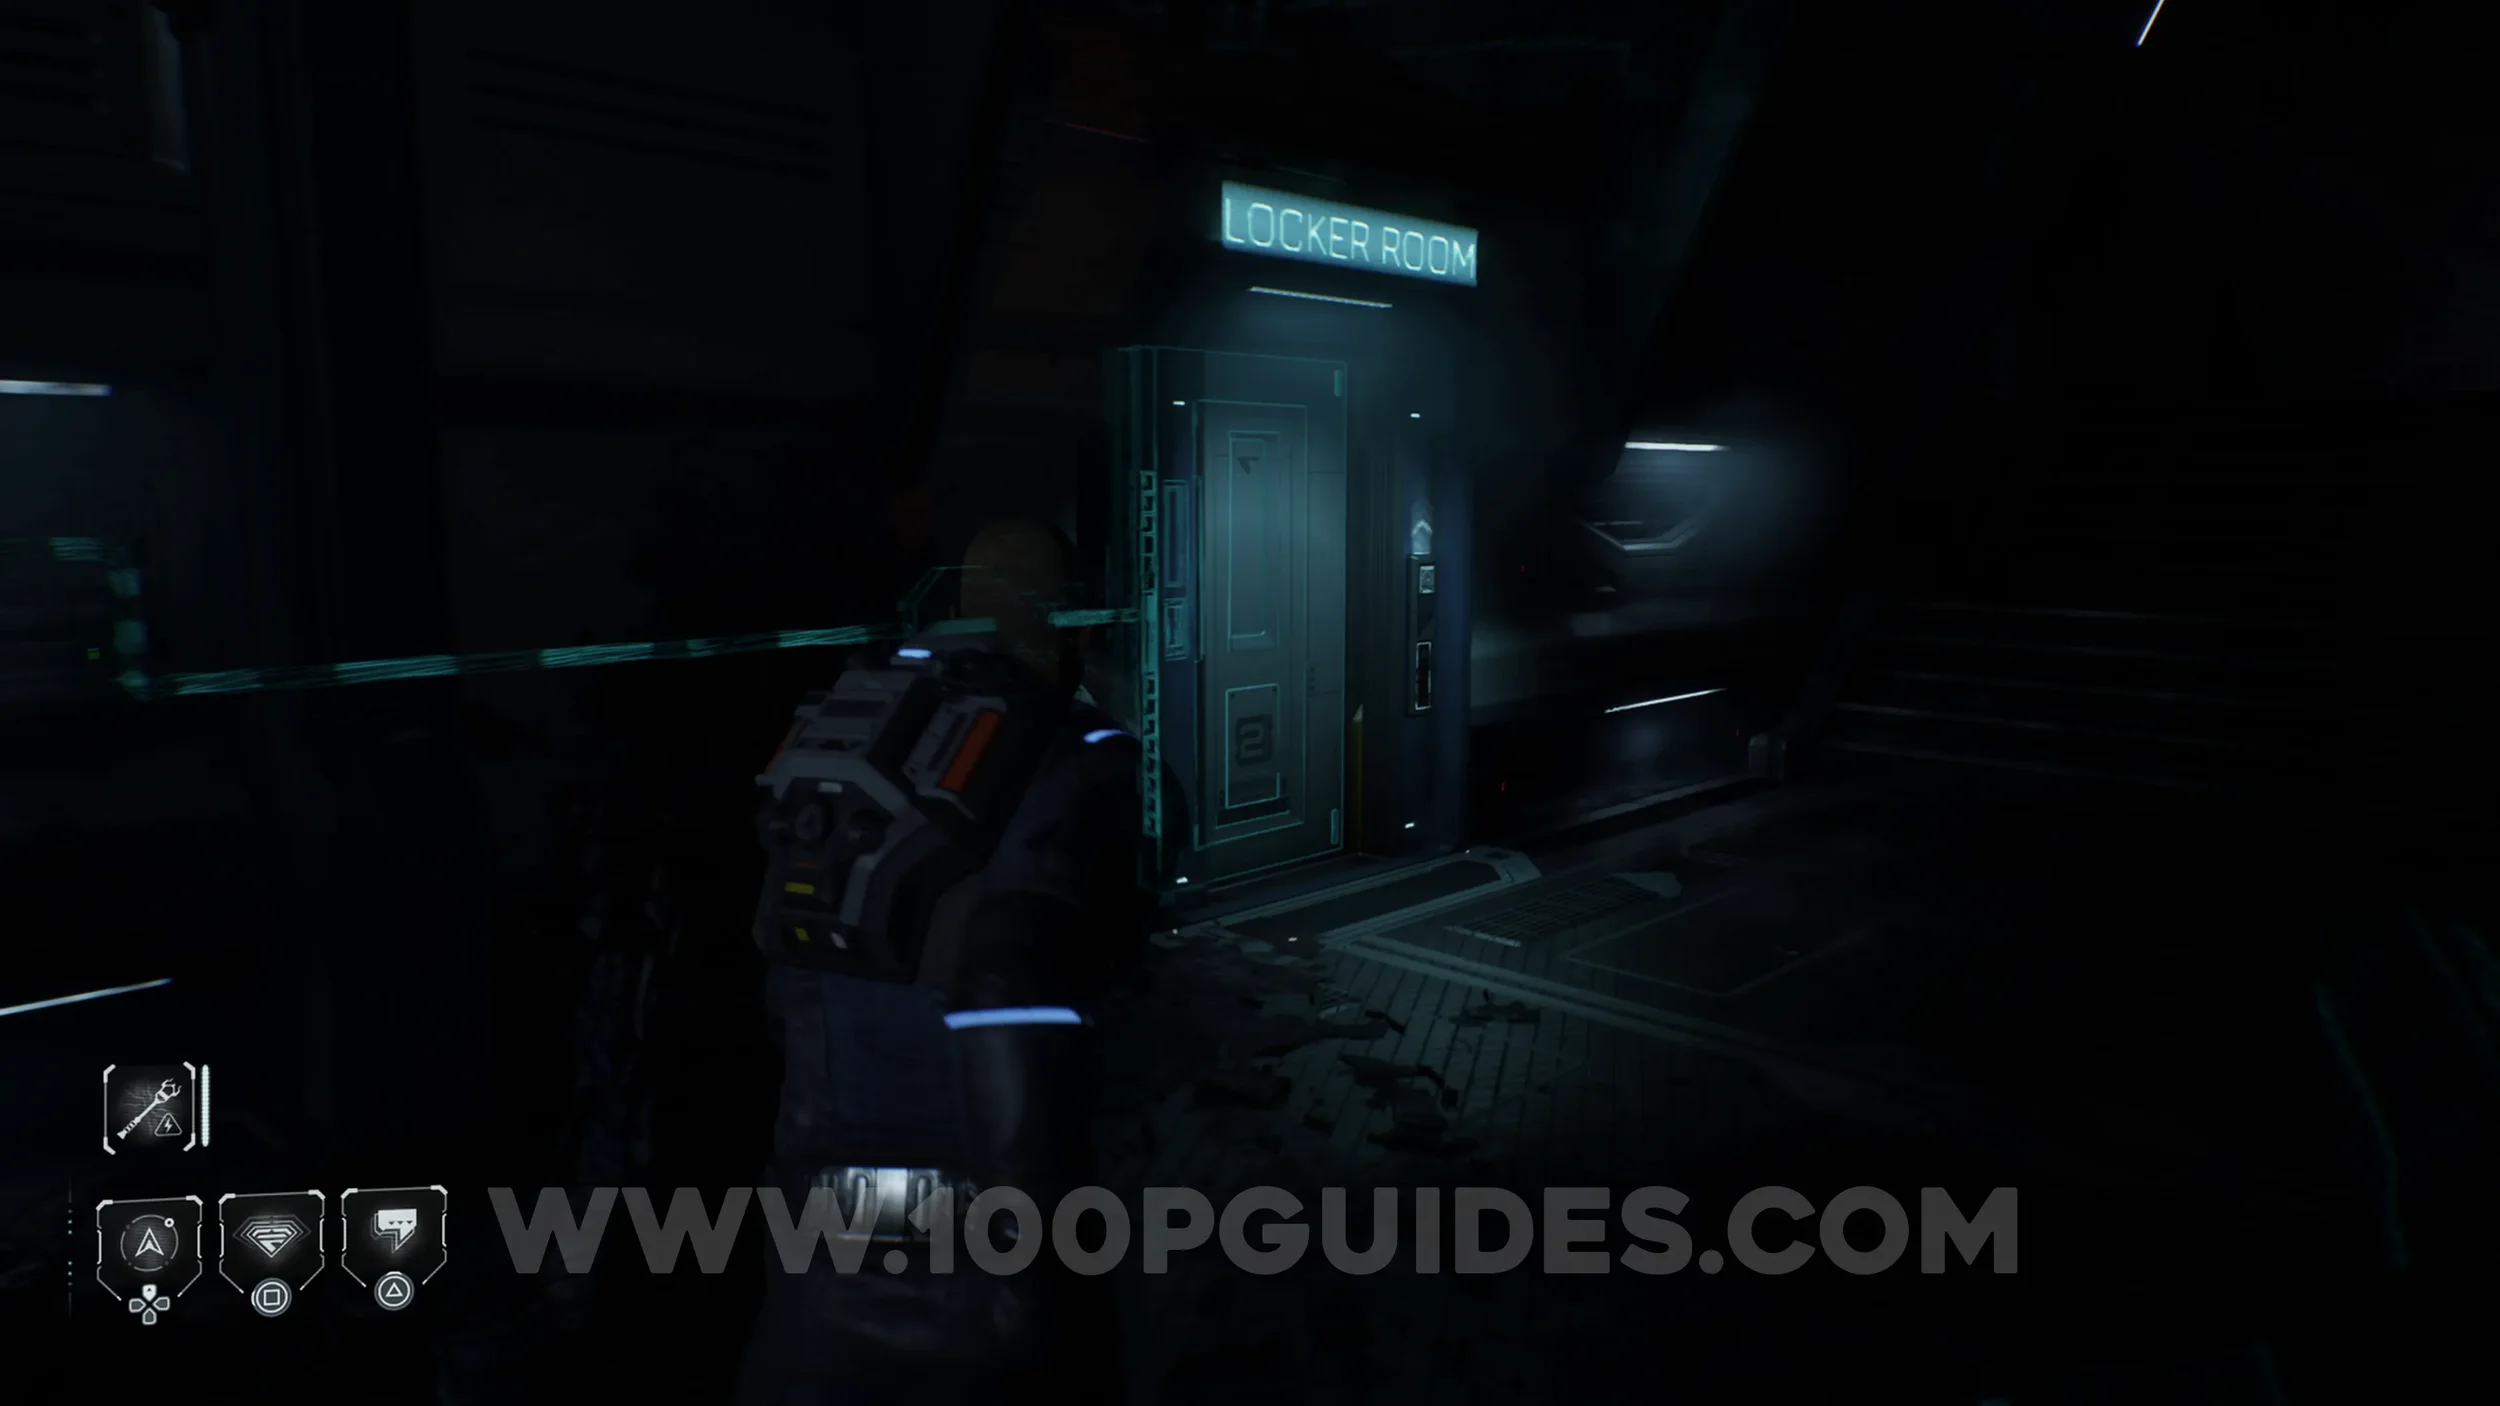
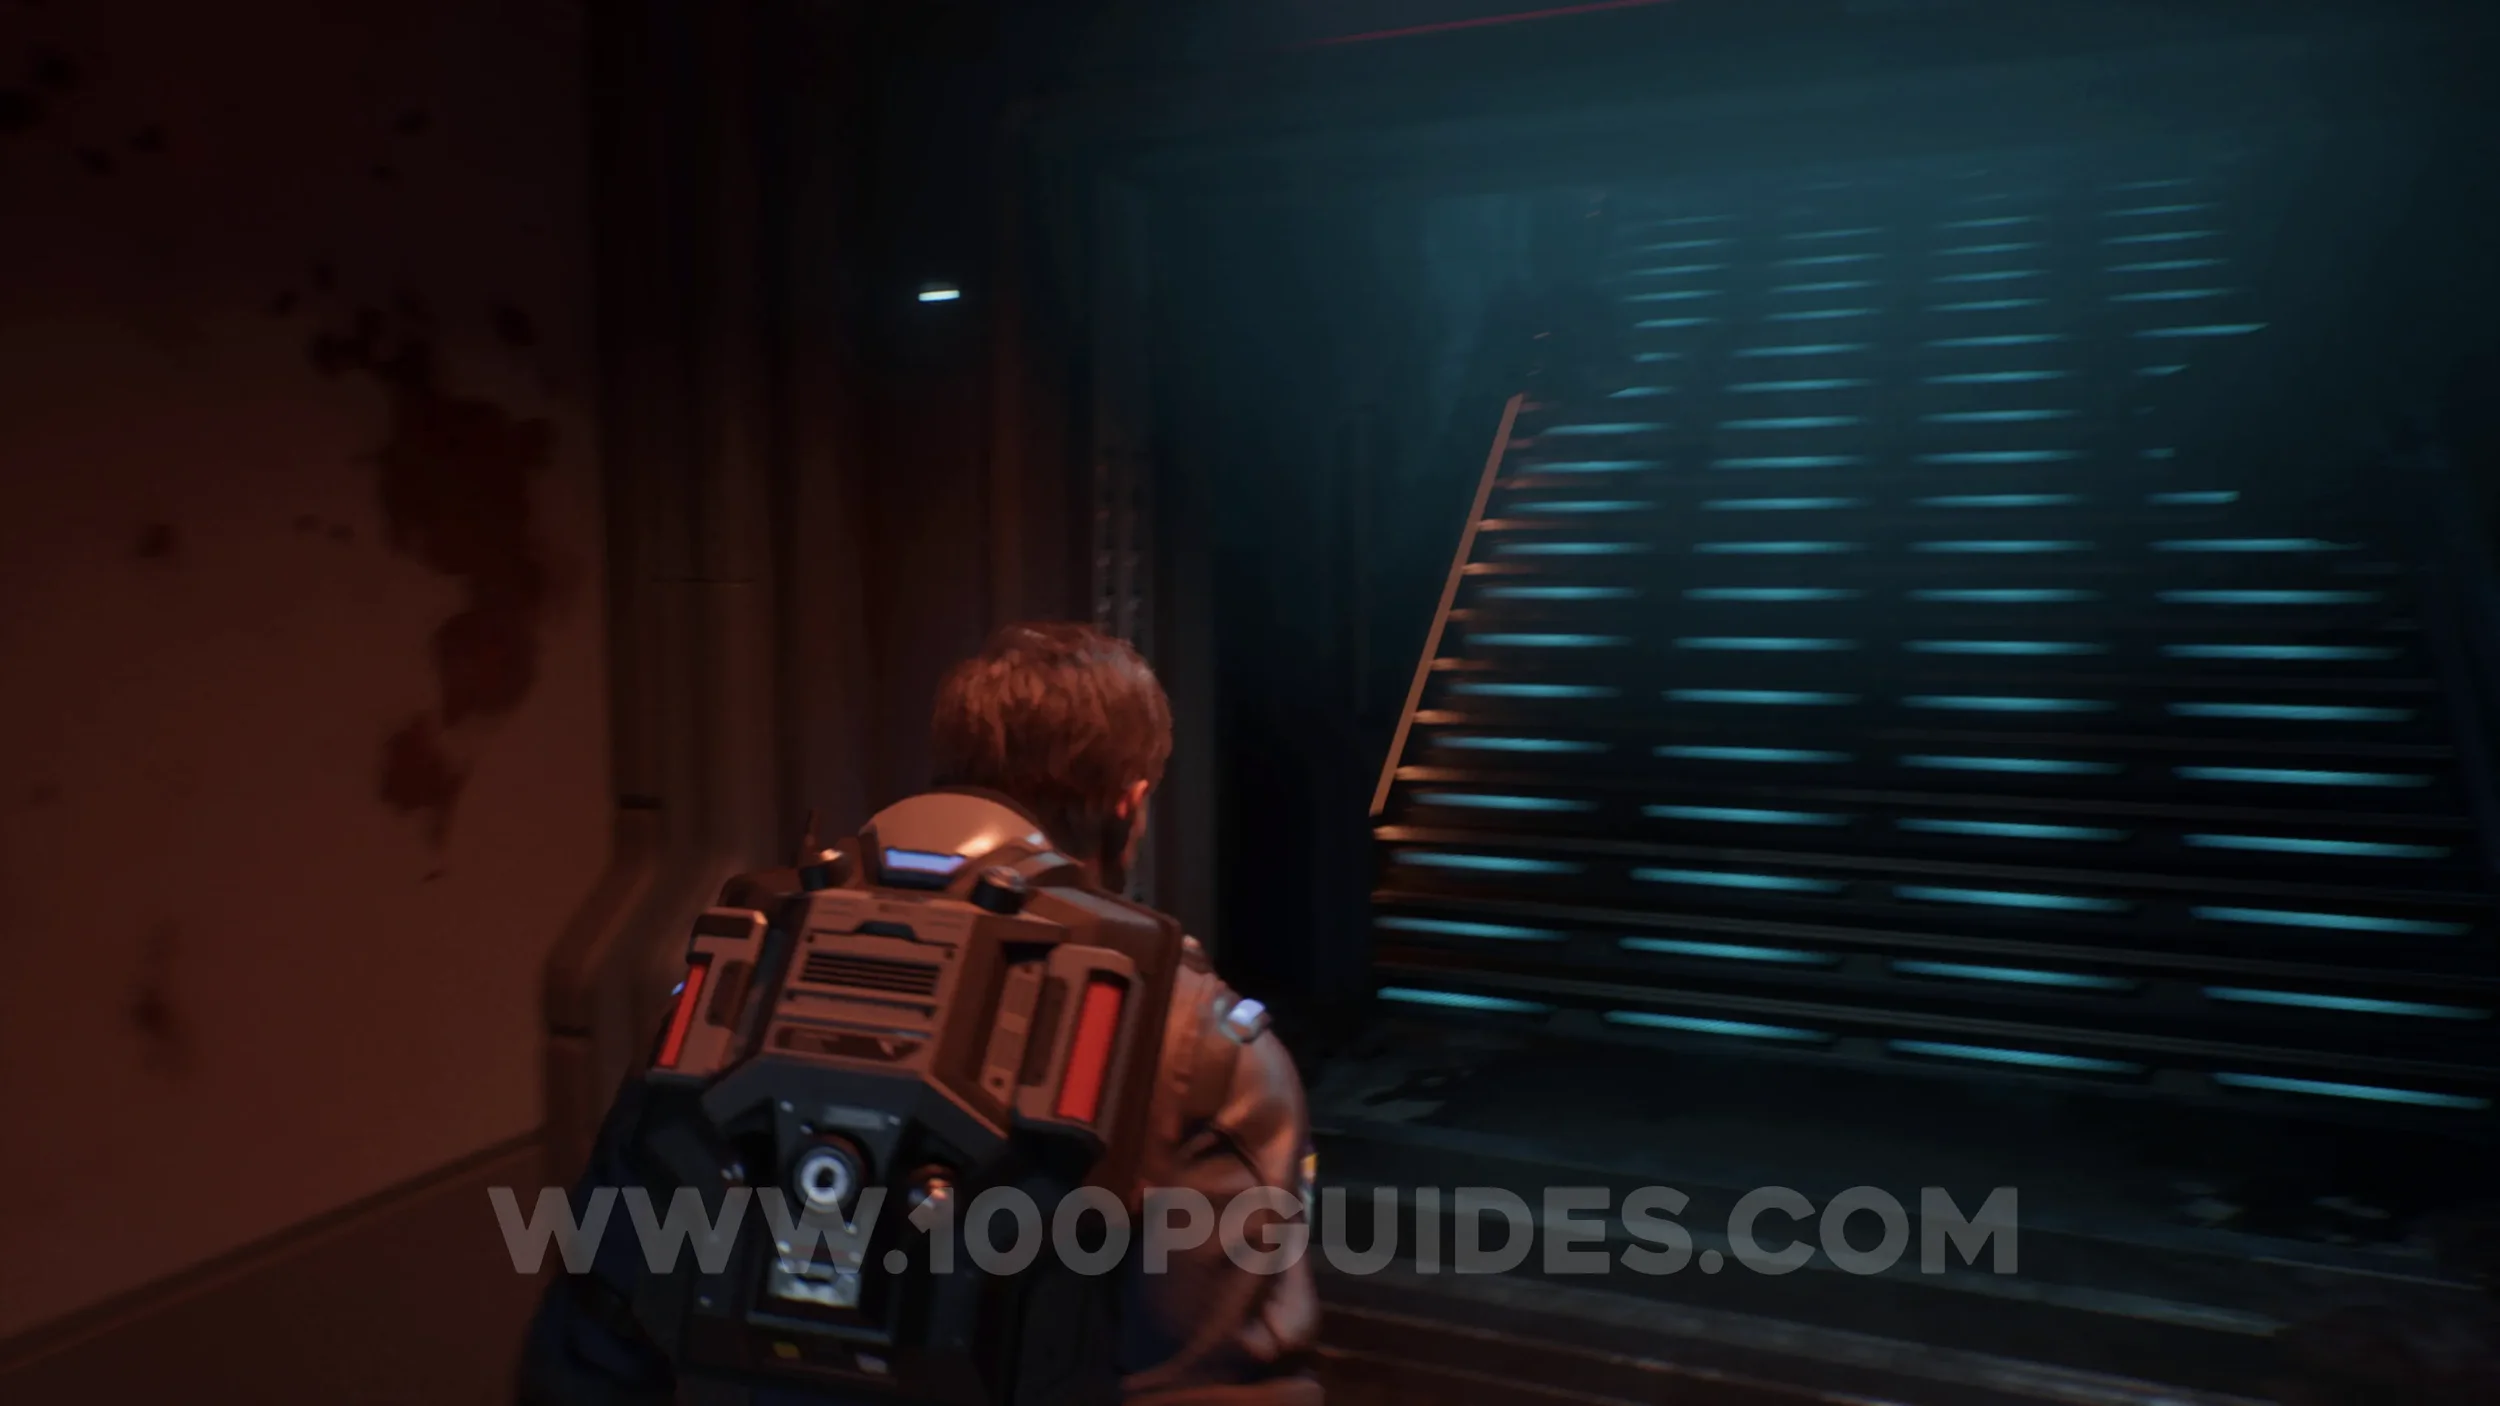
The Simms Recordings #9 (Rabbit Hole). Soon after the previous collectible, you will enter a hall where you must avoid an enemy. At the bottom of the stairs, activate the electrical panel on the wall to your left and redirect the power to the right to open the Locker Room. The collectible will be inside.
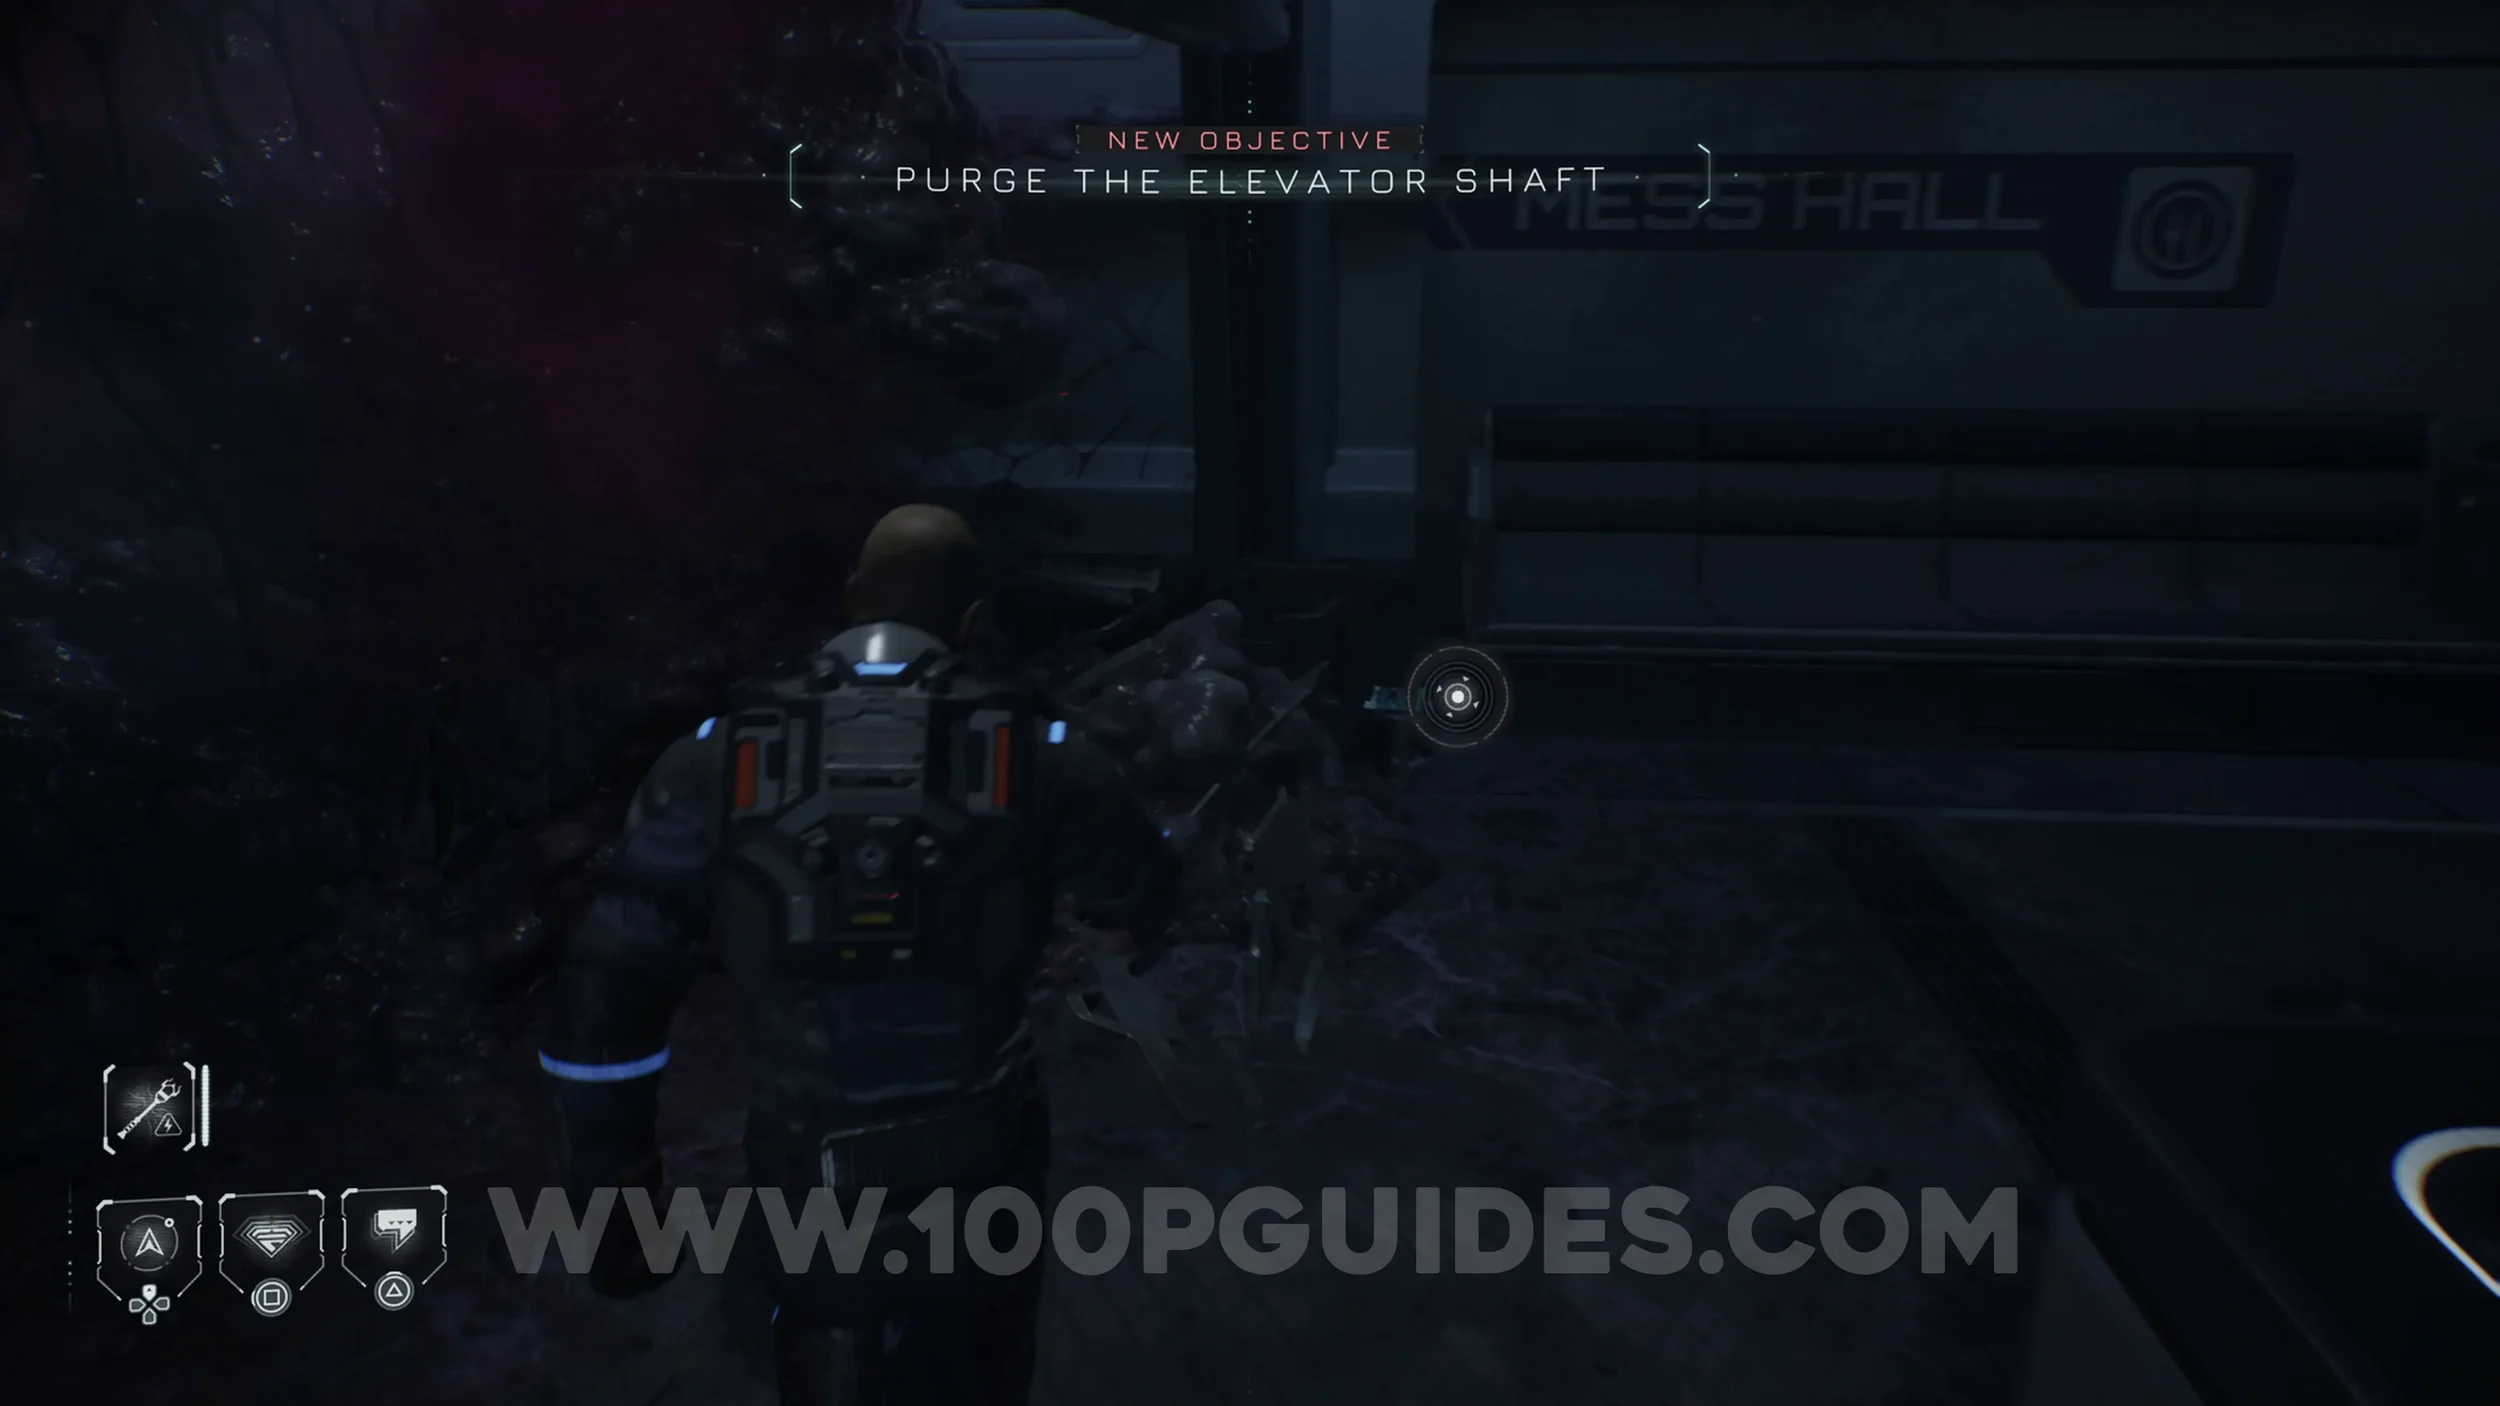
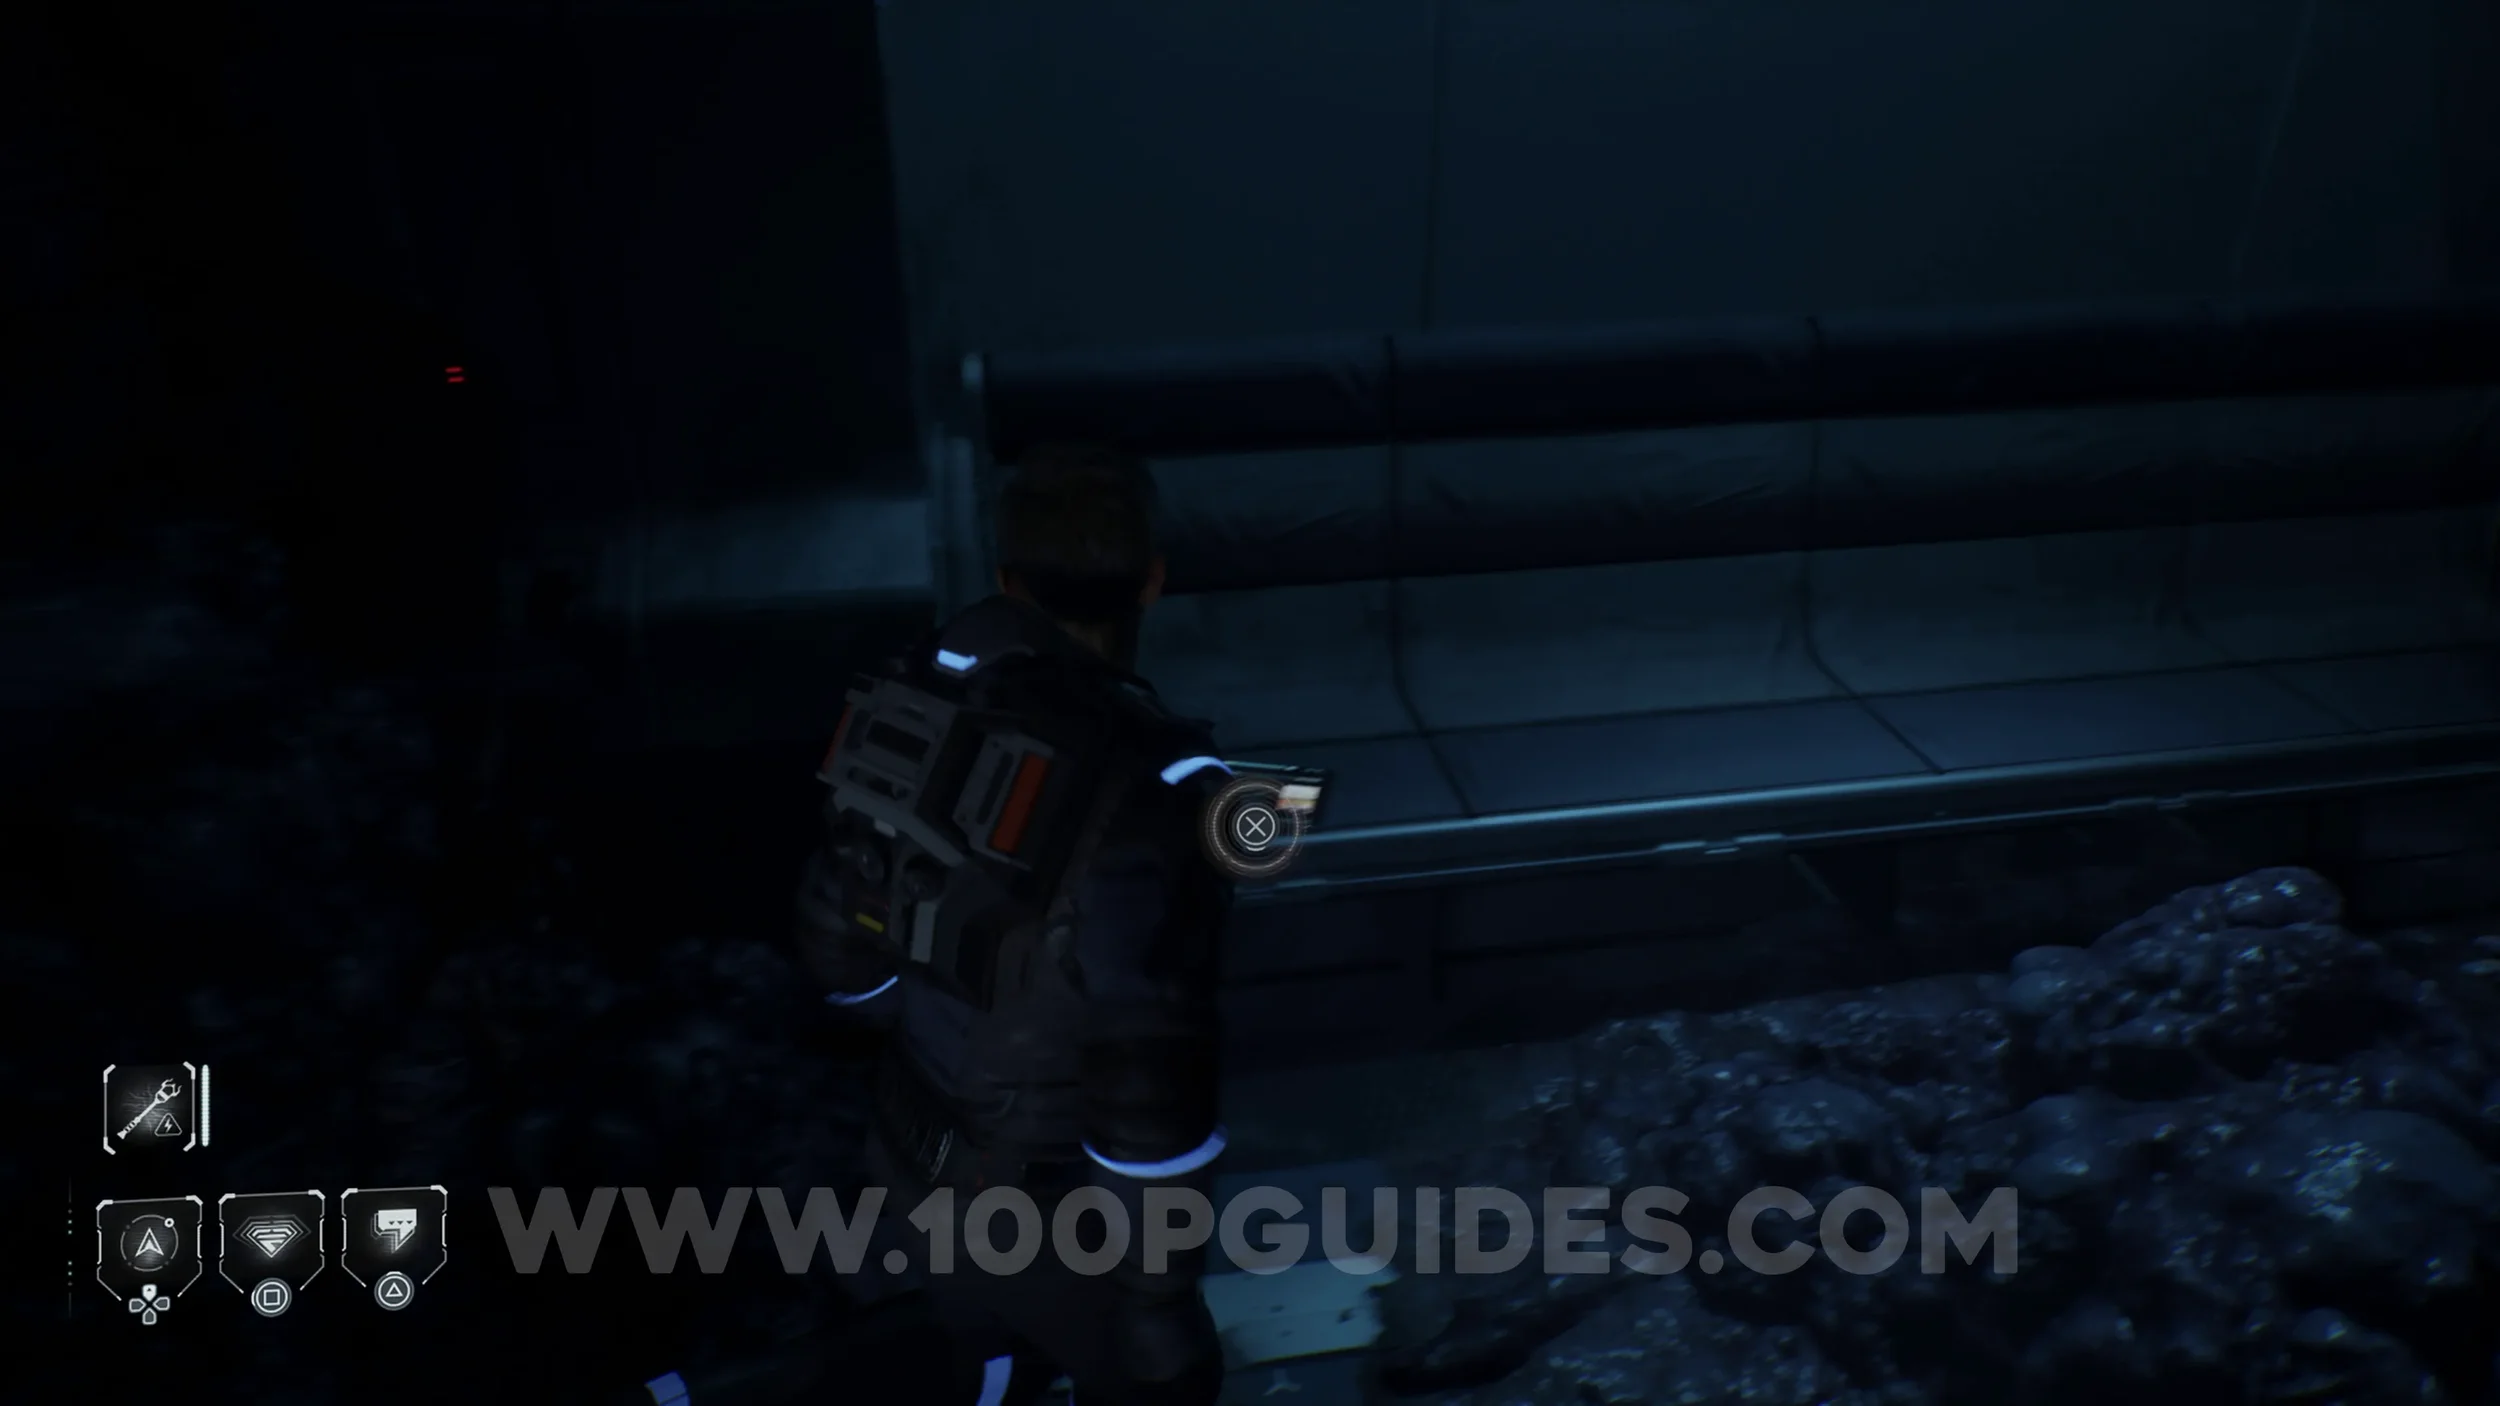
Secret #47 - Cetus Mission (Worth Fighting For). Once you take control of Laura in the area with an enemy, you will need to retrieve a power core from one door and use it to open another. After opening the door, head upstairs and then go left to find the collectible on a bench.
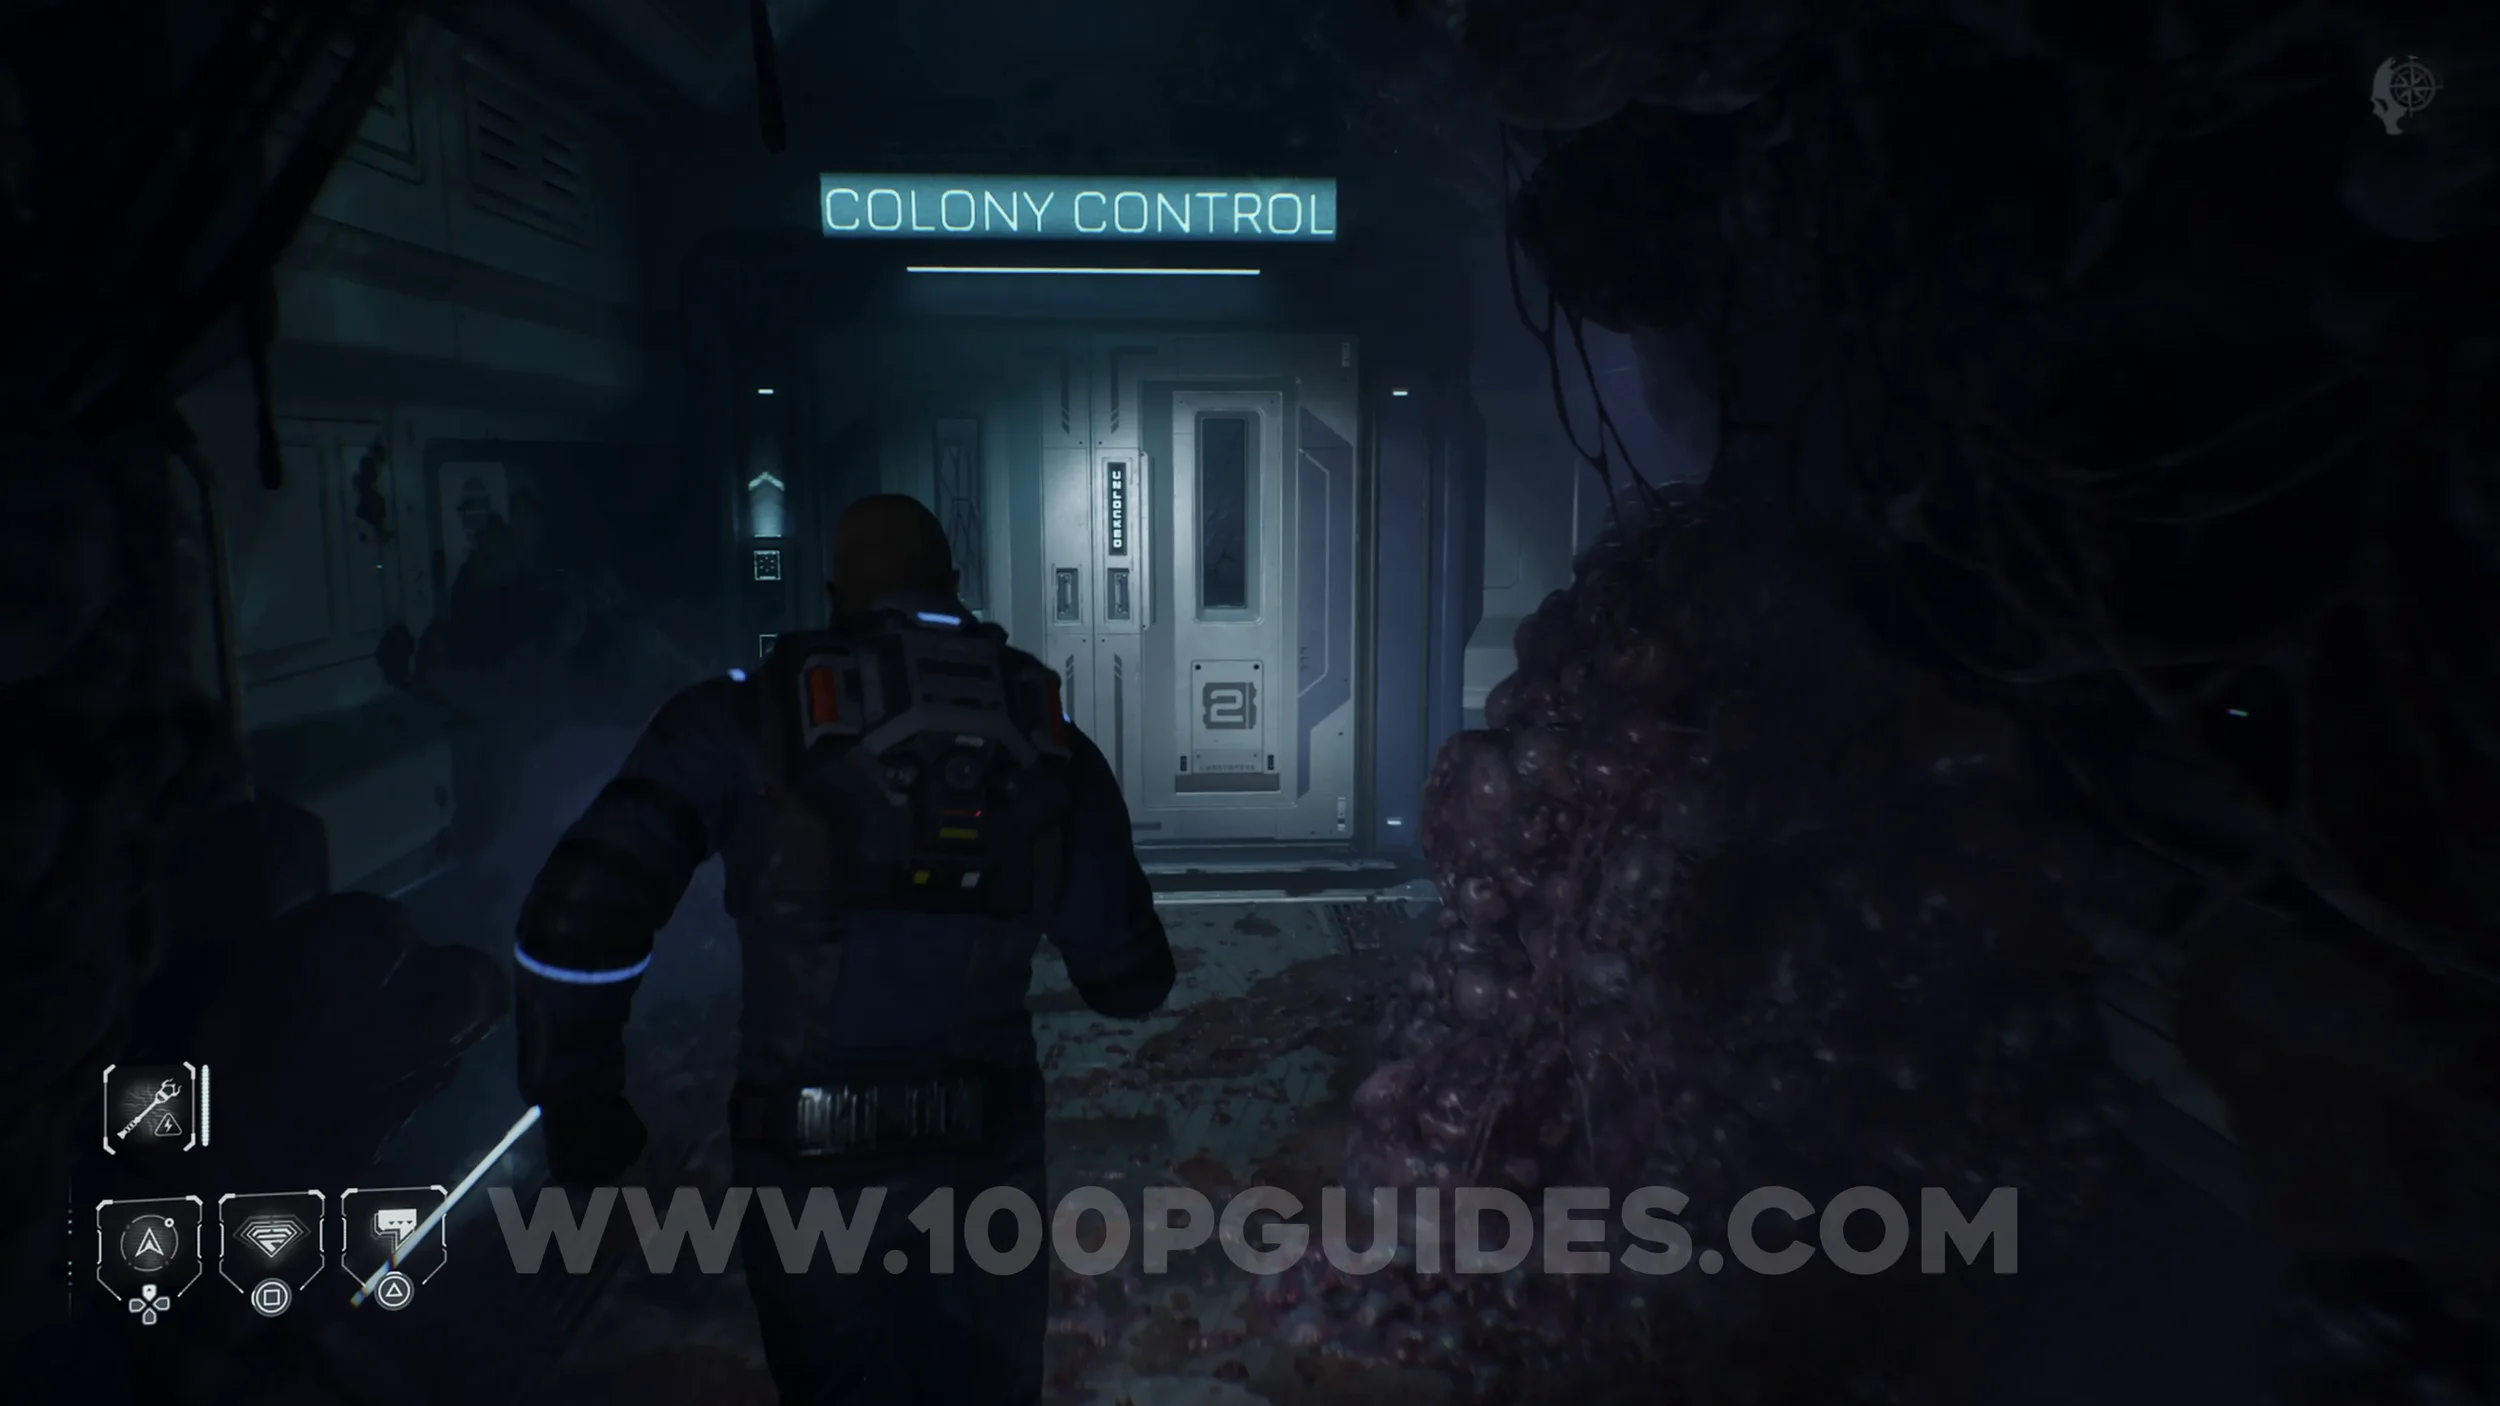
Secret #48 - Conspiracy (Keeping Tabs). Once you regain control of Nolan, head straight down the hall and continue until you reach a small room with a projection on a table. The collectible will be in this room.
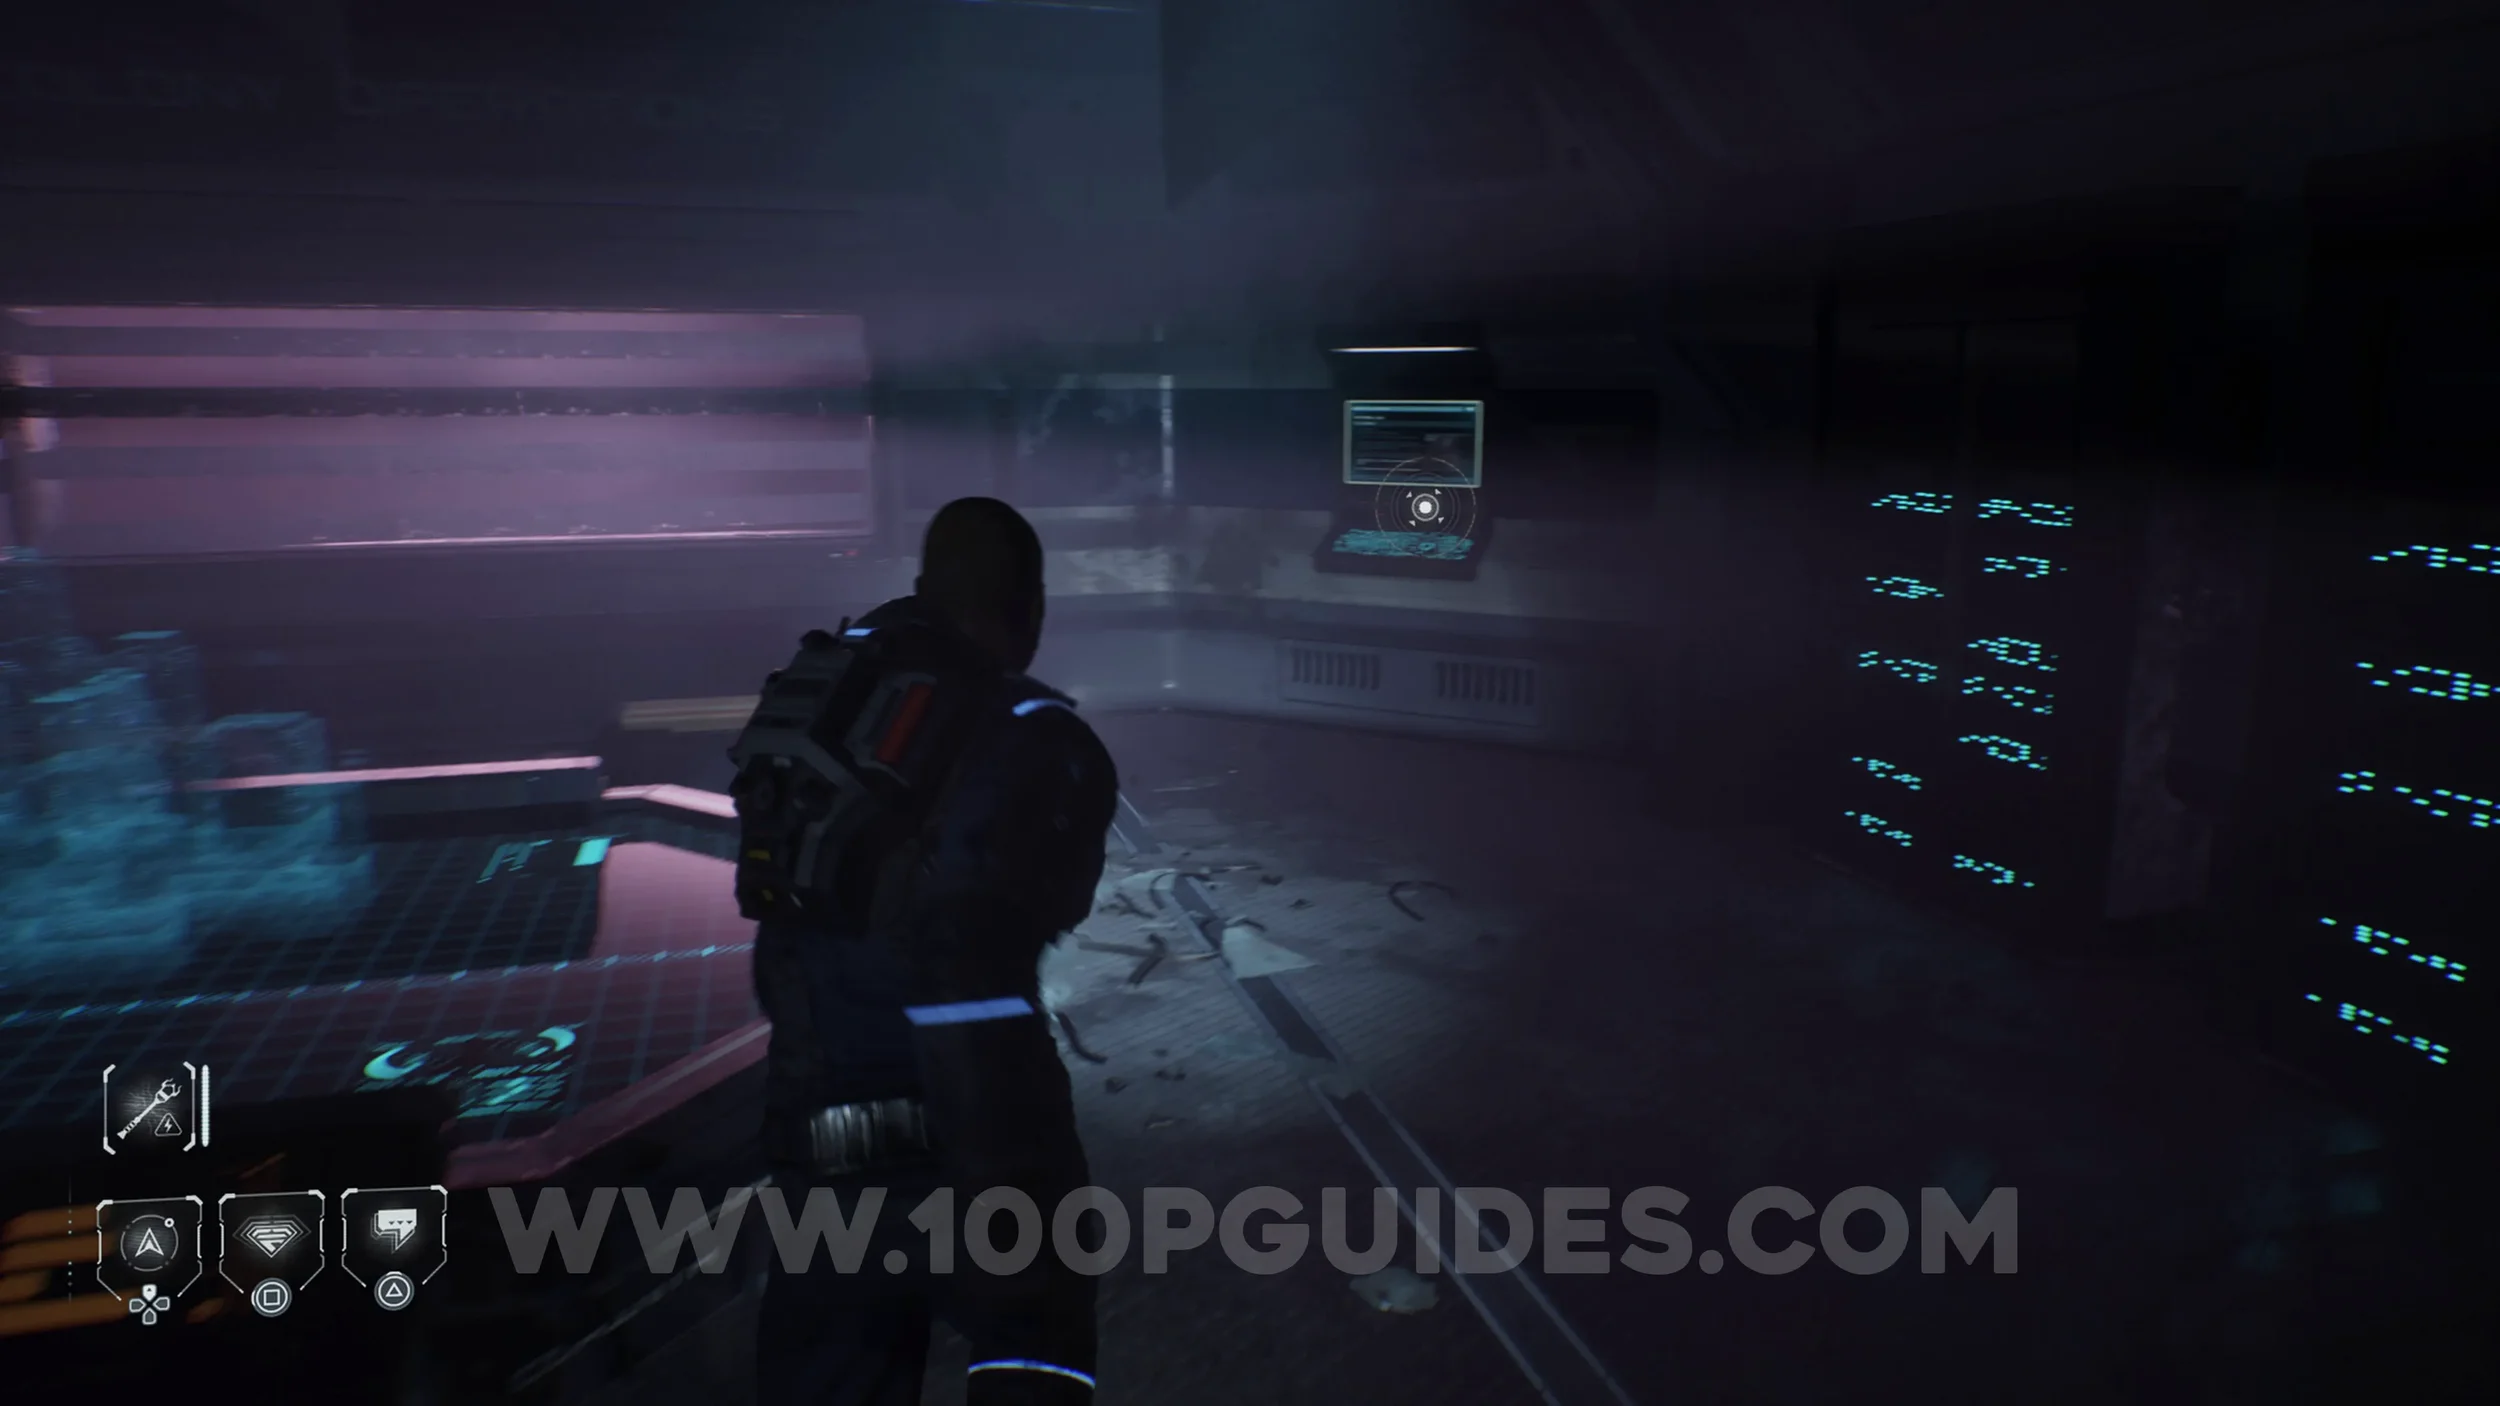
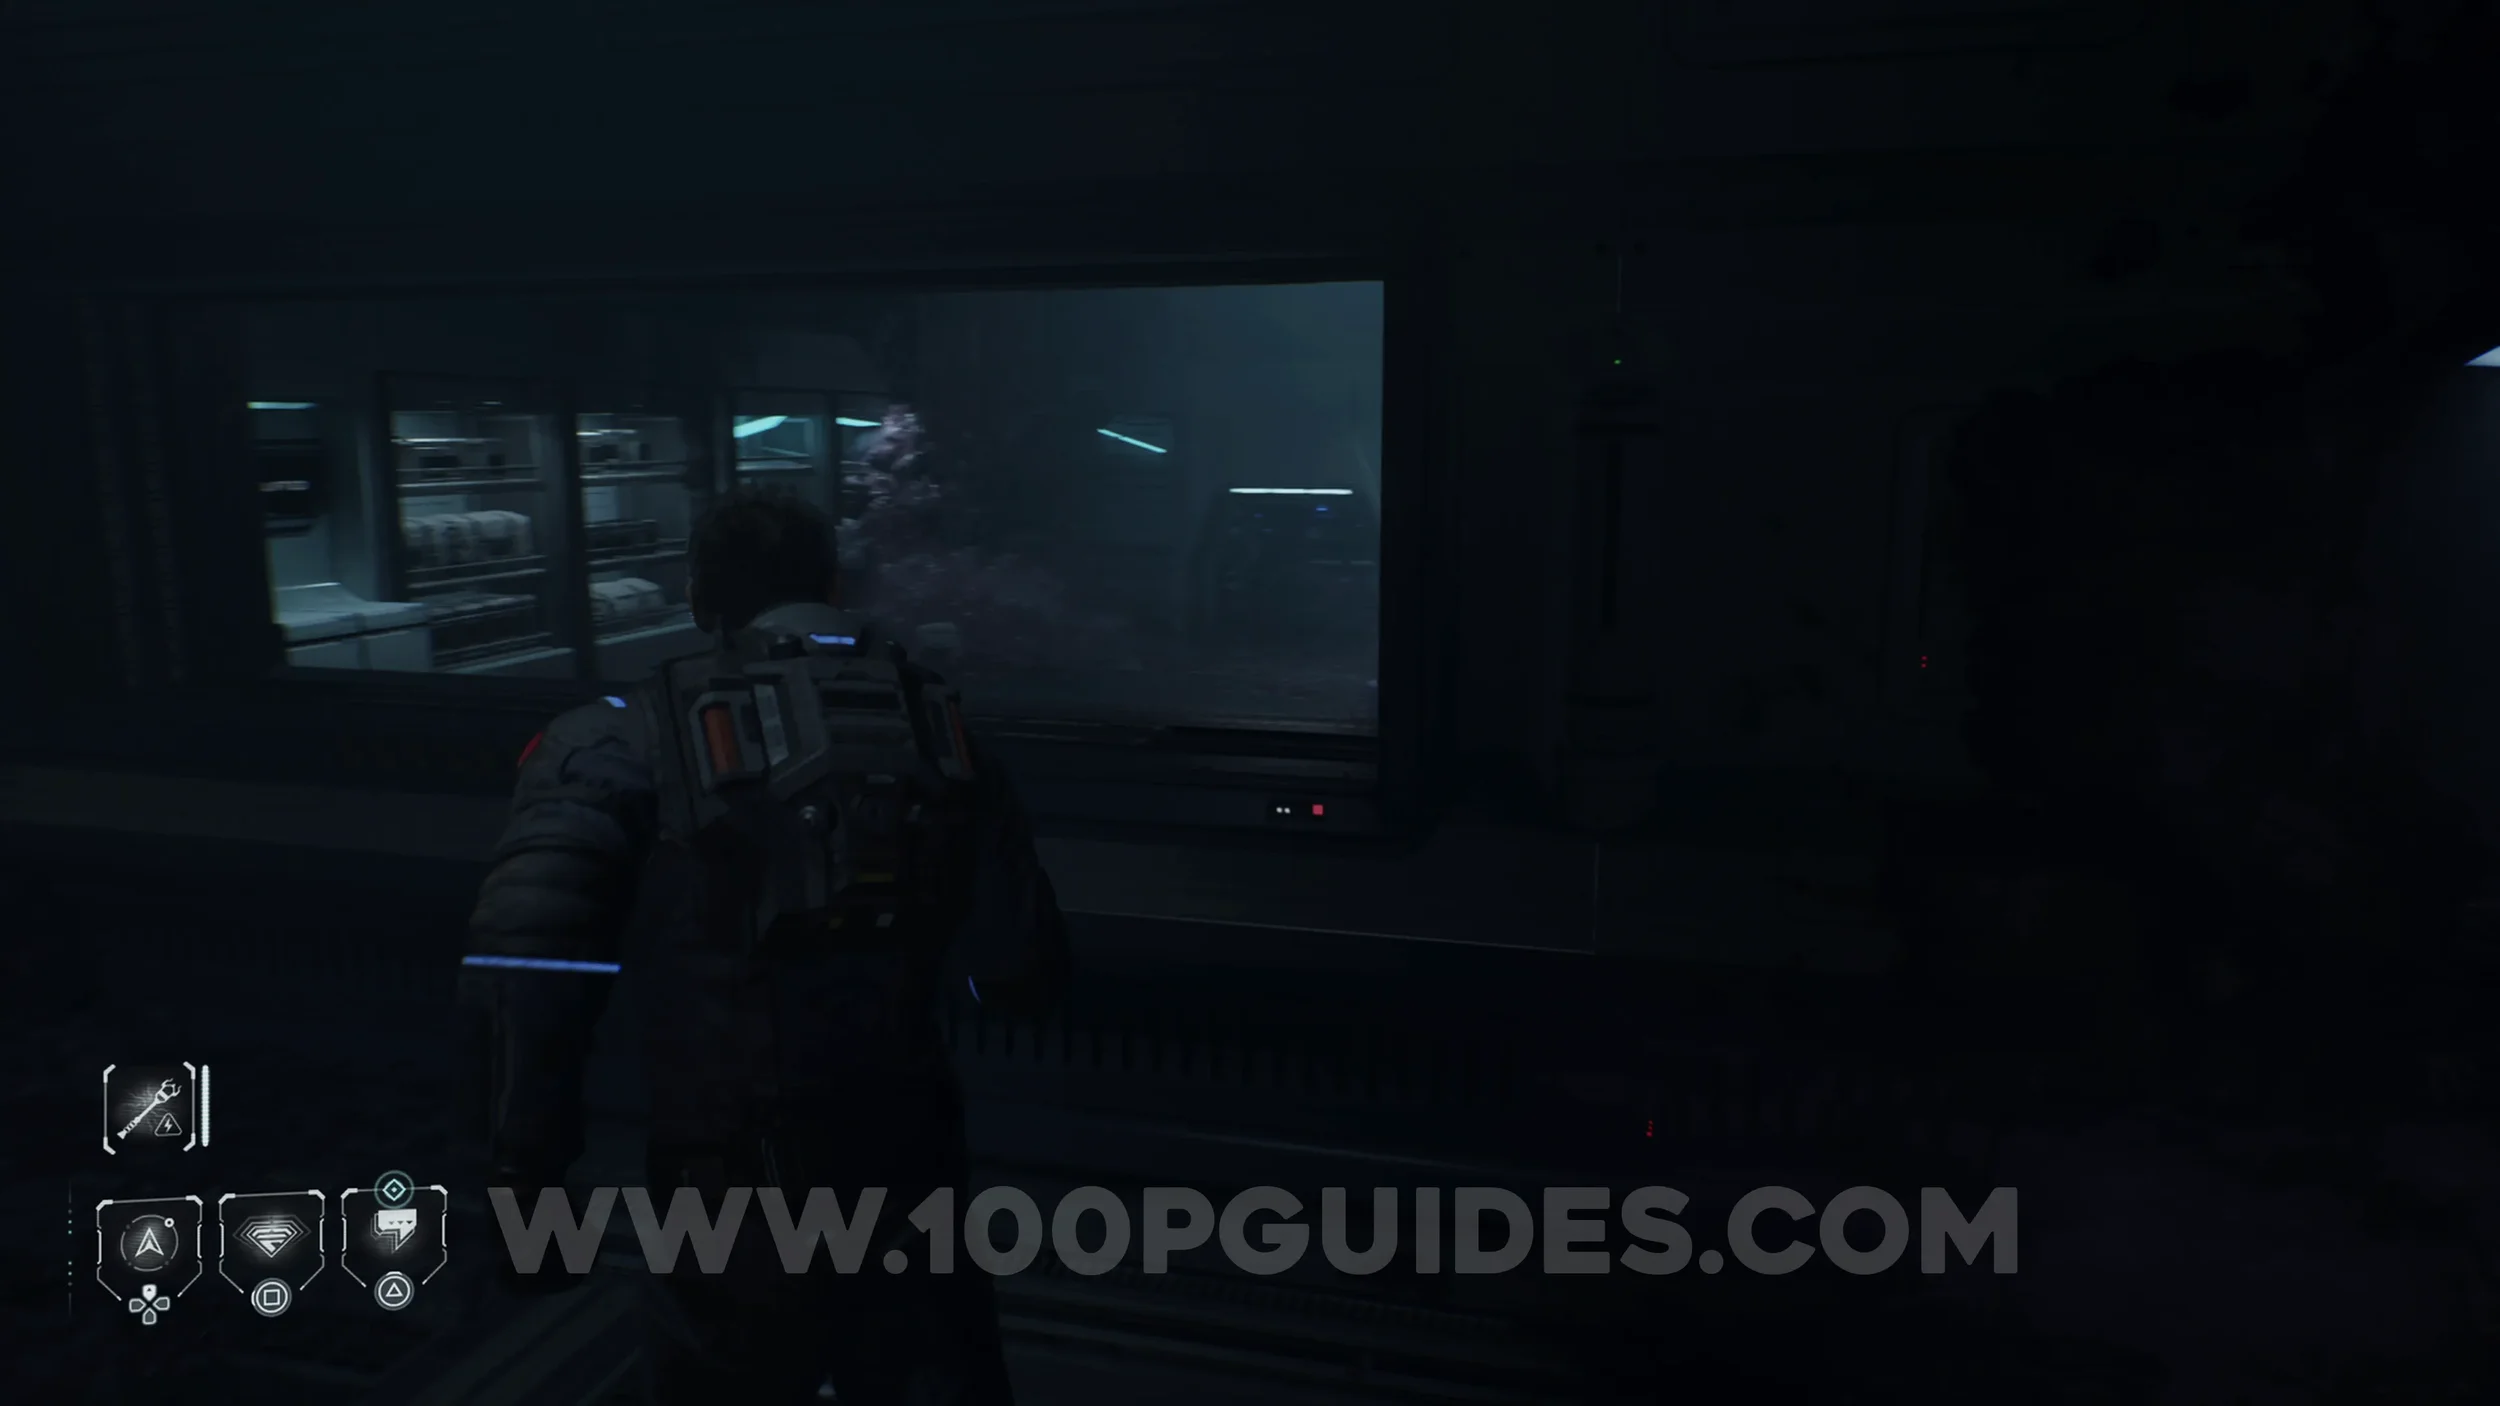
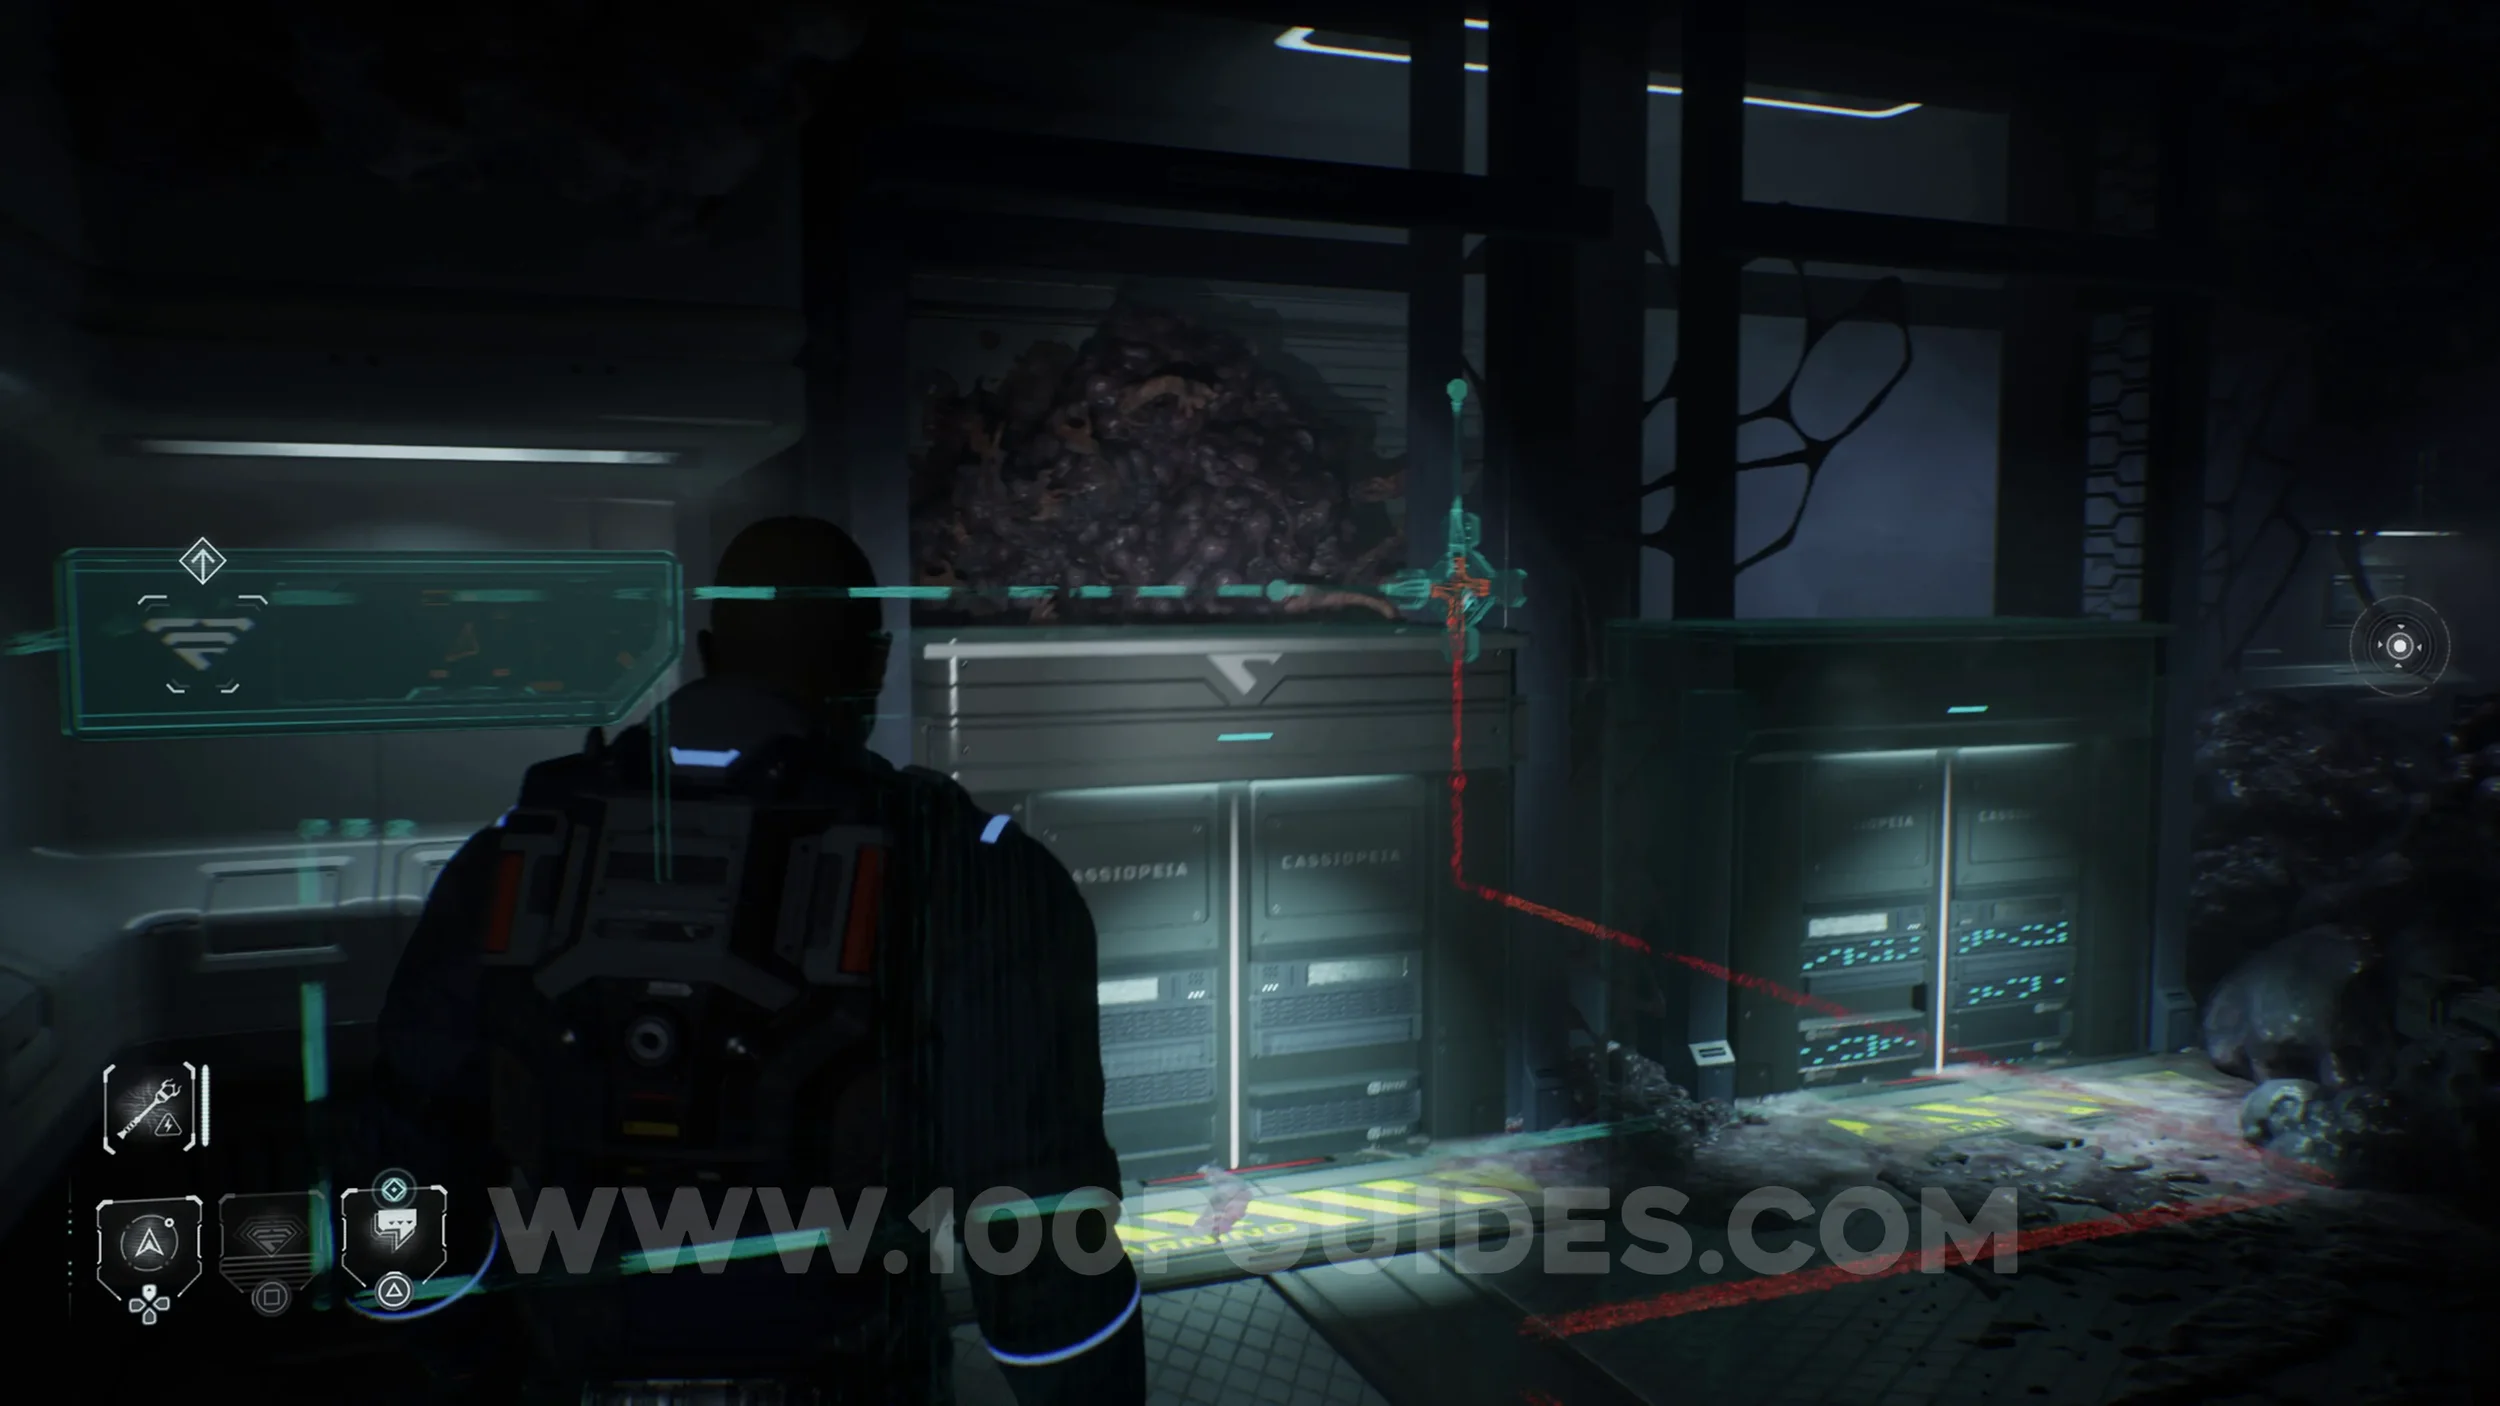
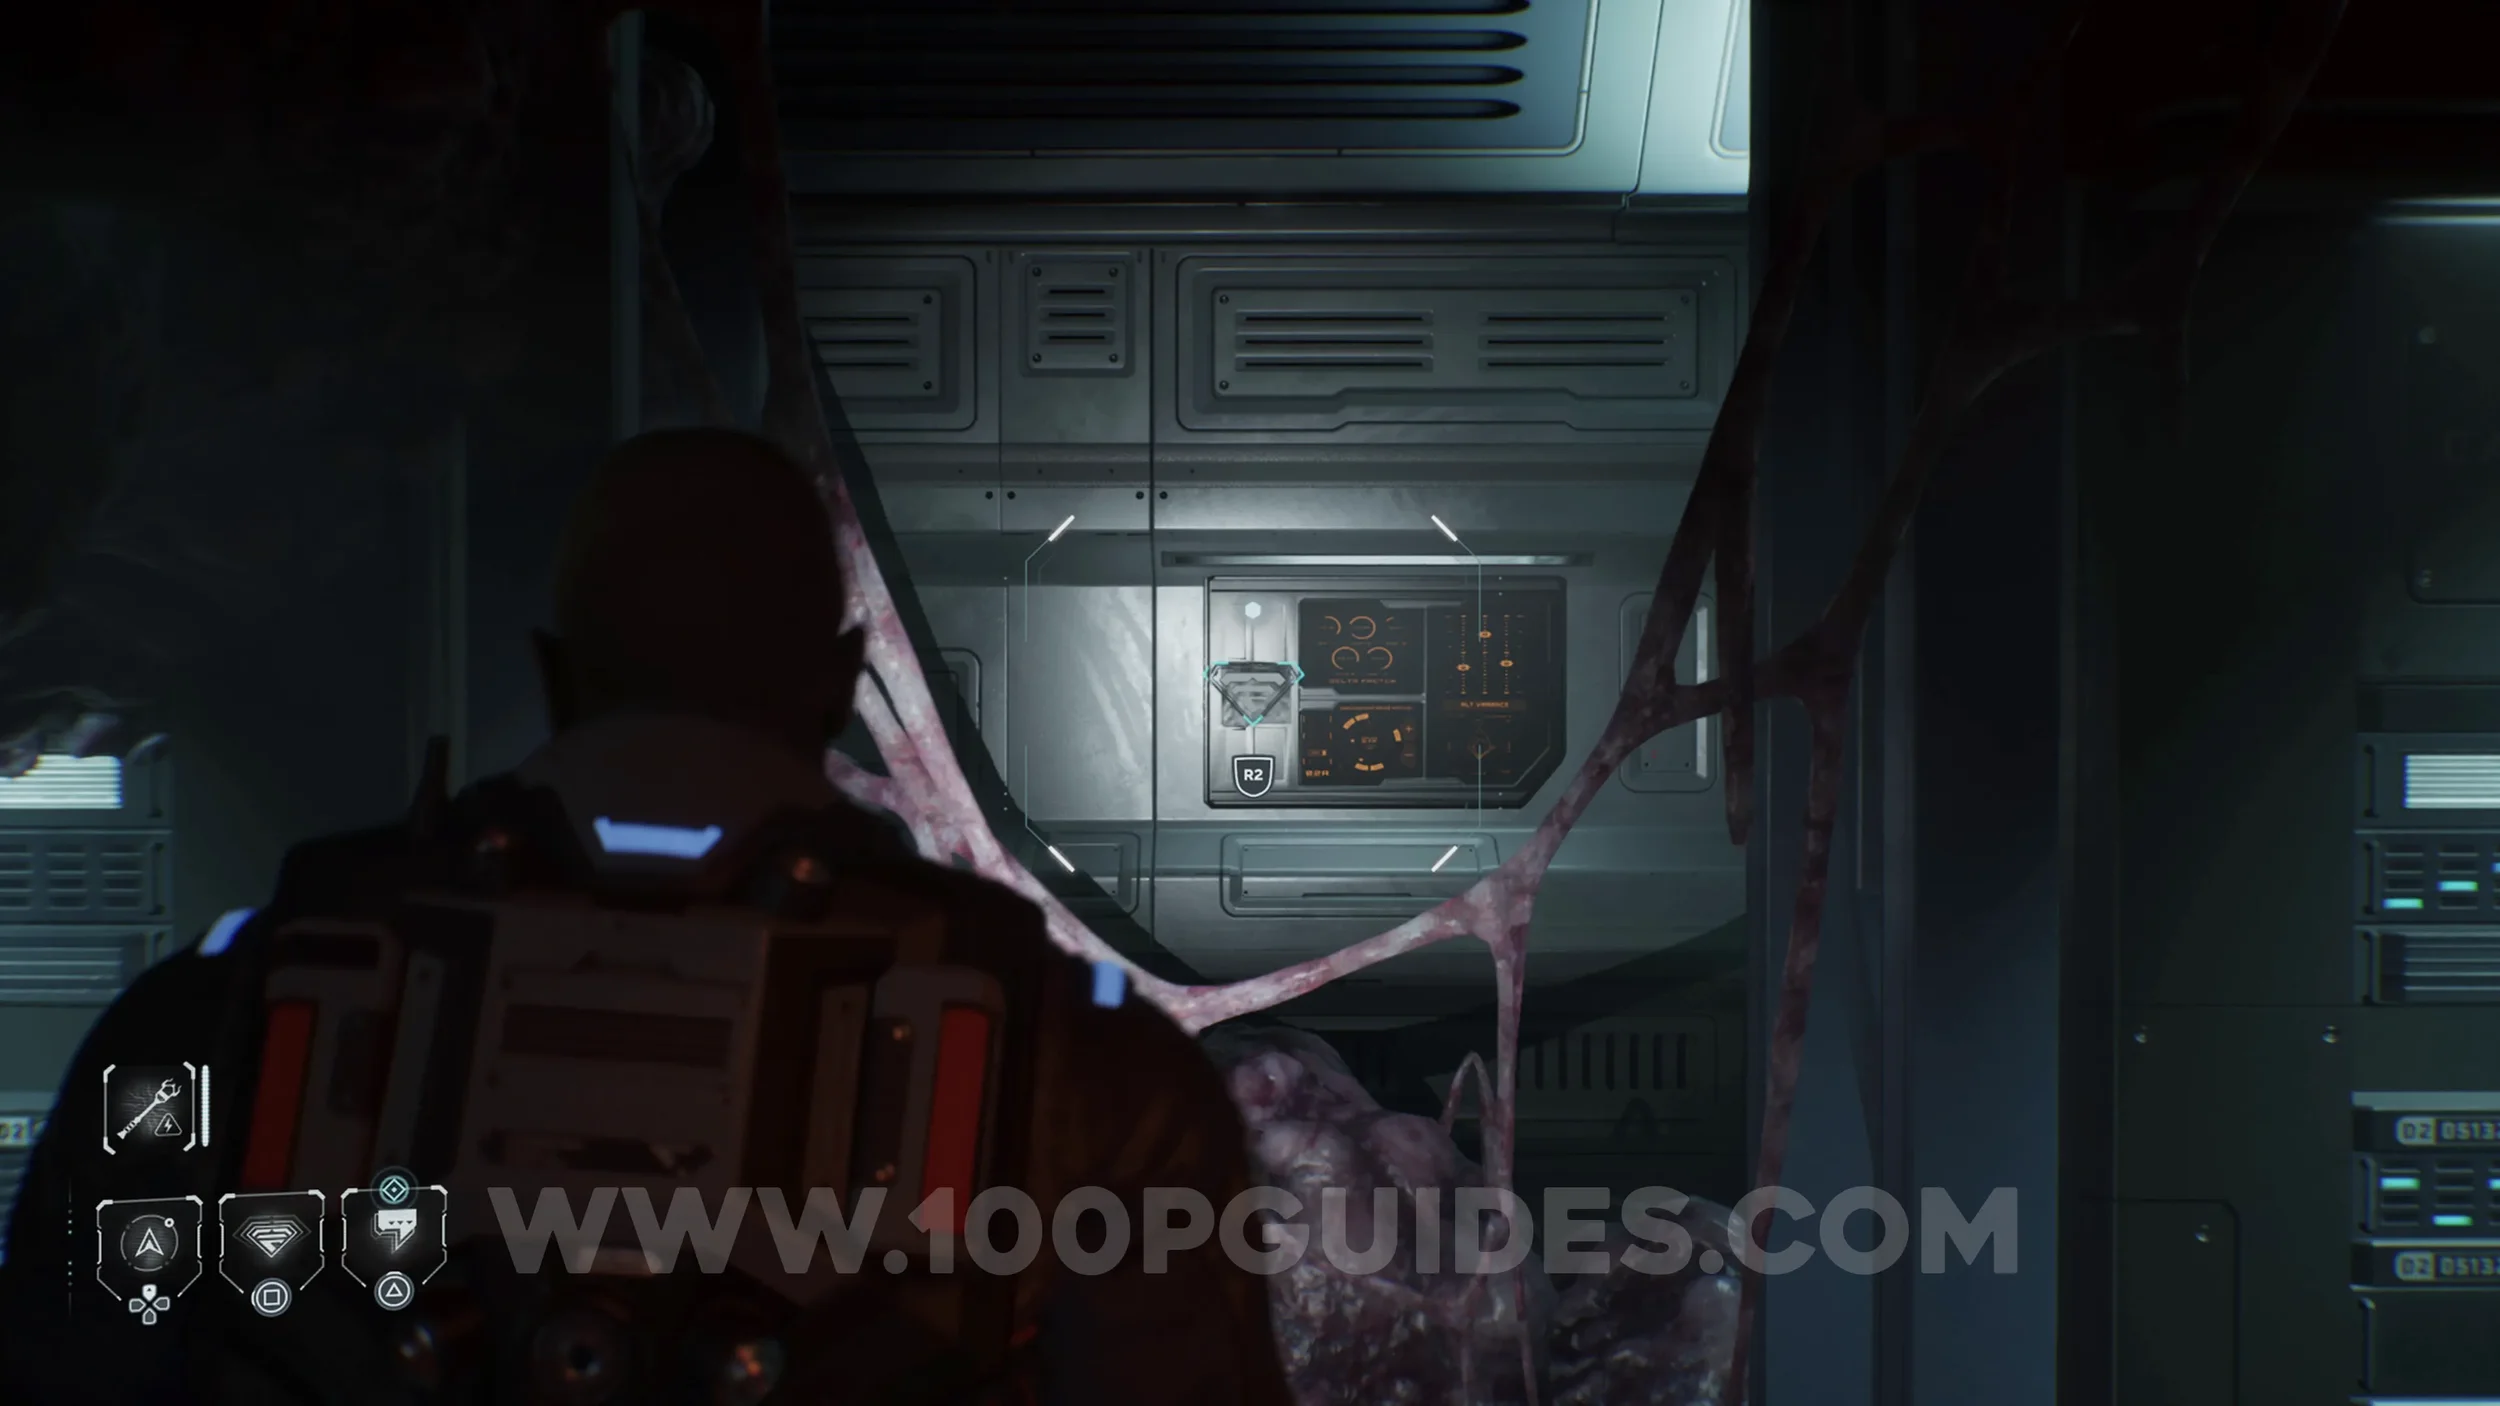
Secret #49 - Conspiracy (Classified Orders). Examine the screen on the wall in the room where you purge the elevator shaft.
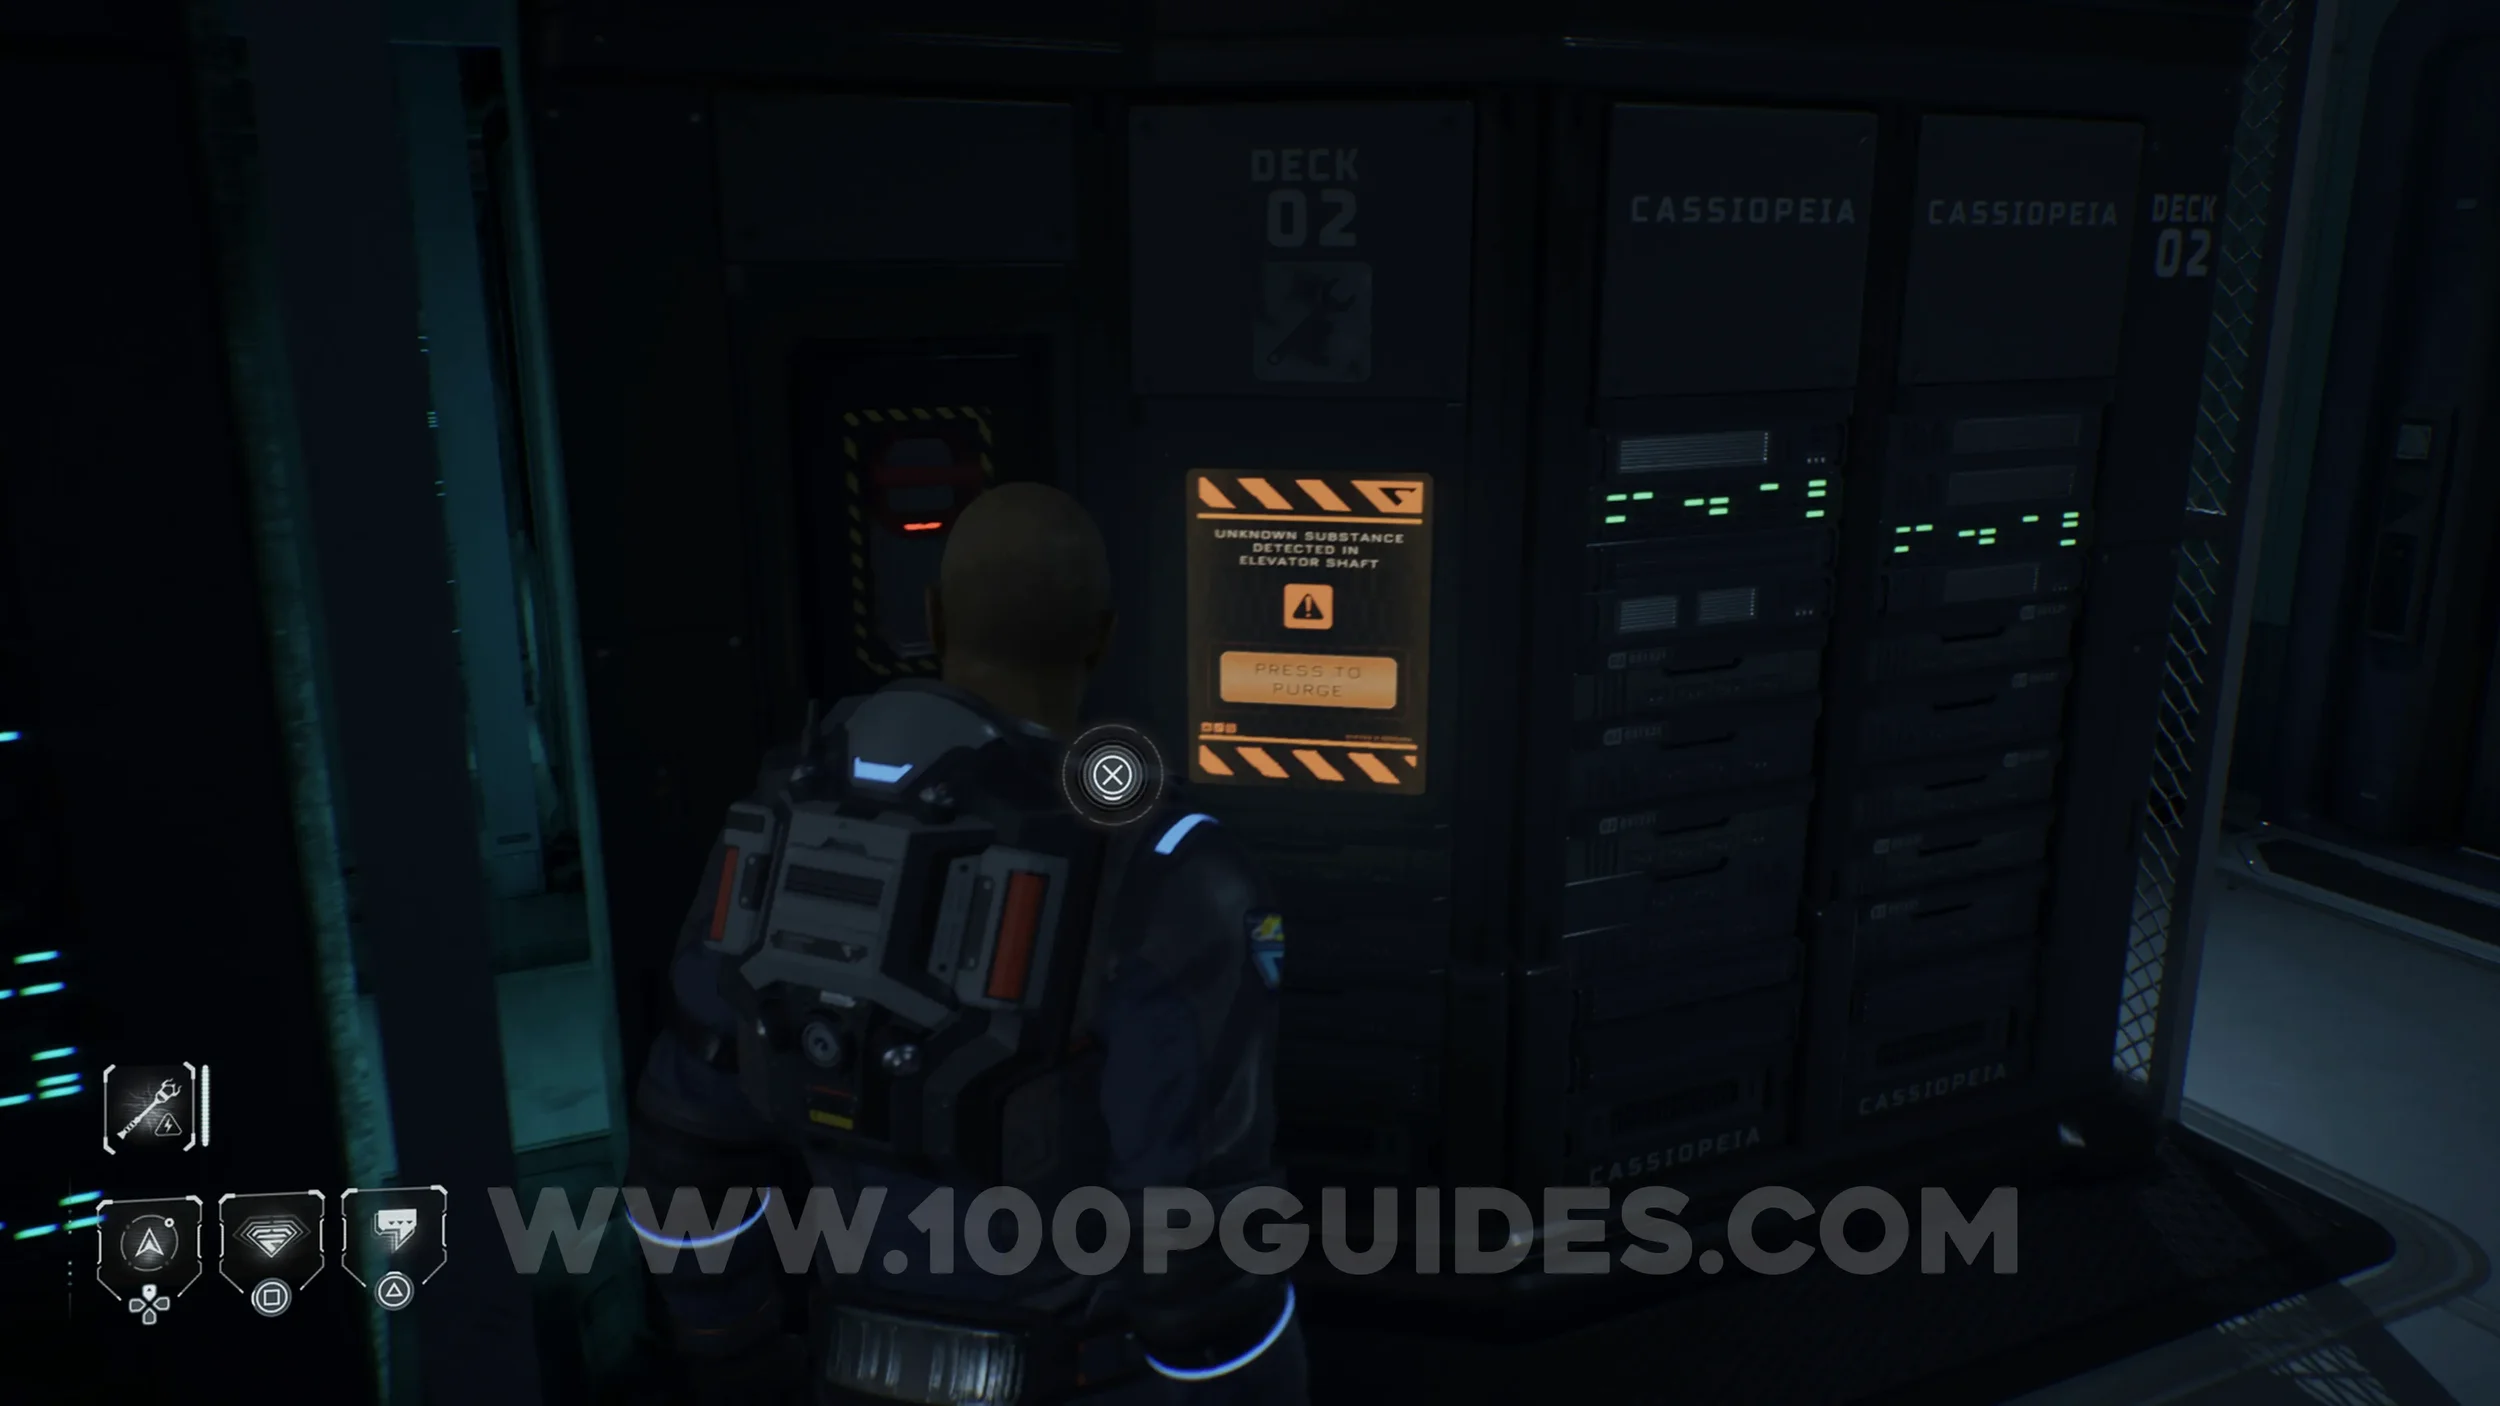
Secret #50 - Conspiracy (Williams 2.0). Also in the room where you purge the elevator shaft. Look for it on a bench next to the servers.
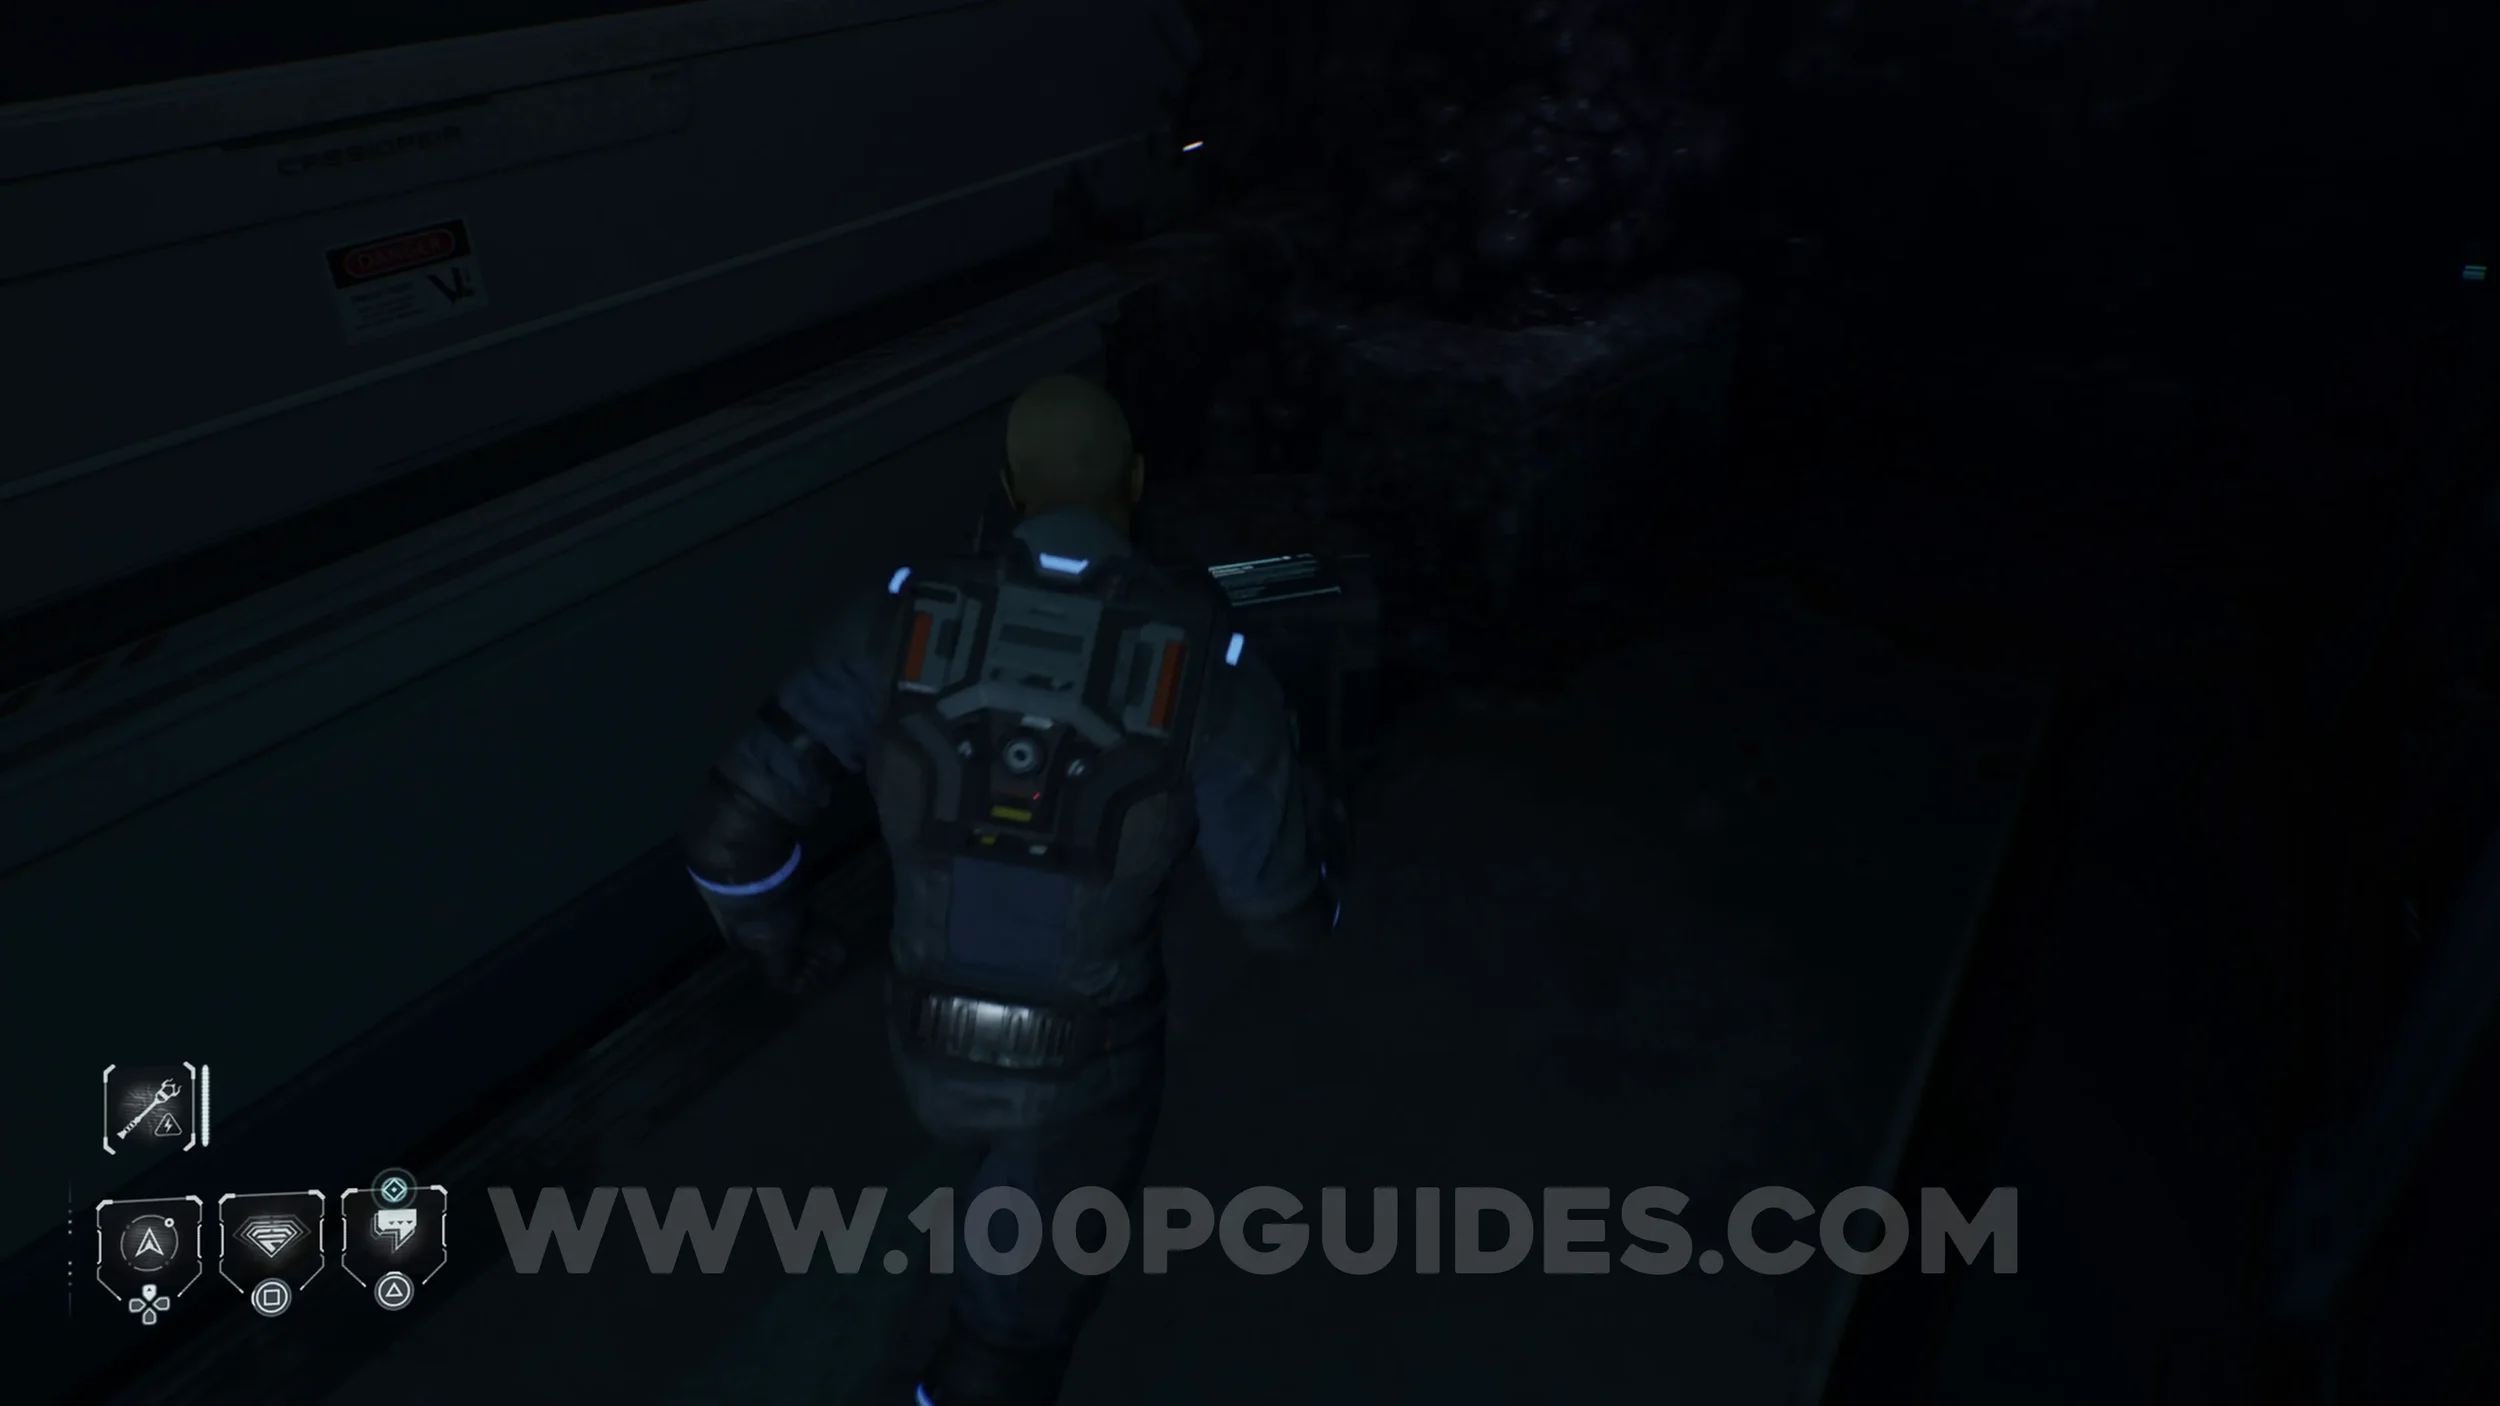
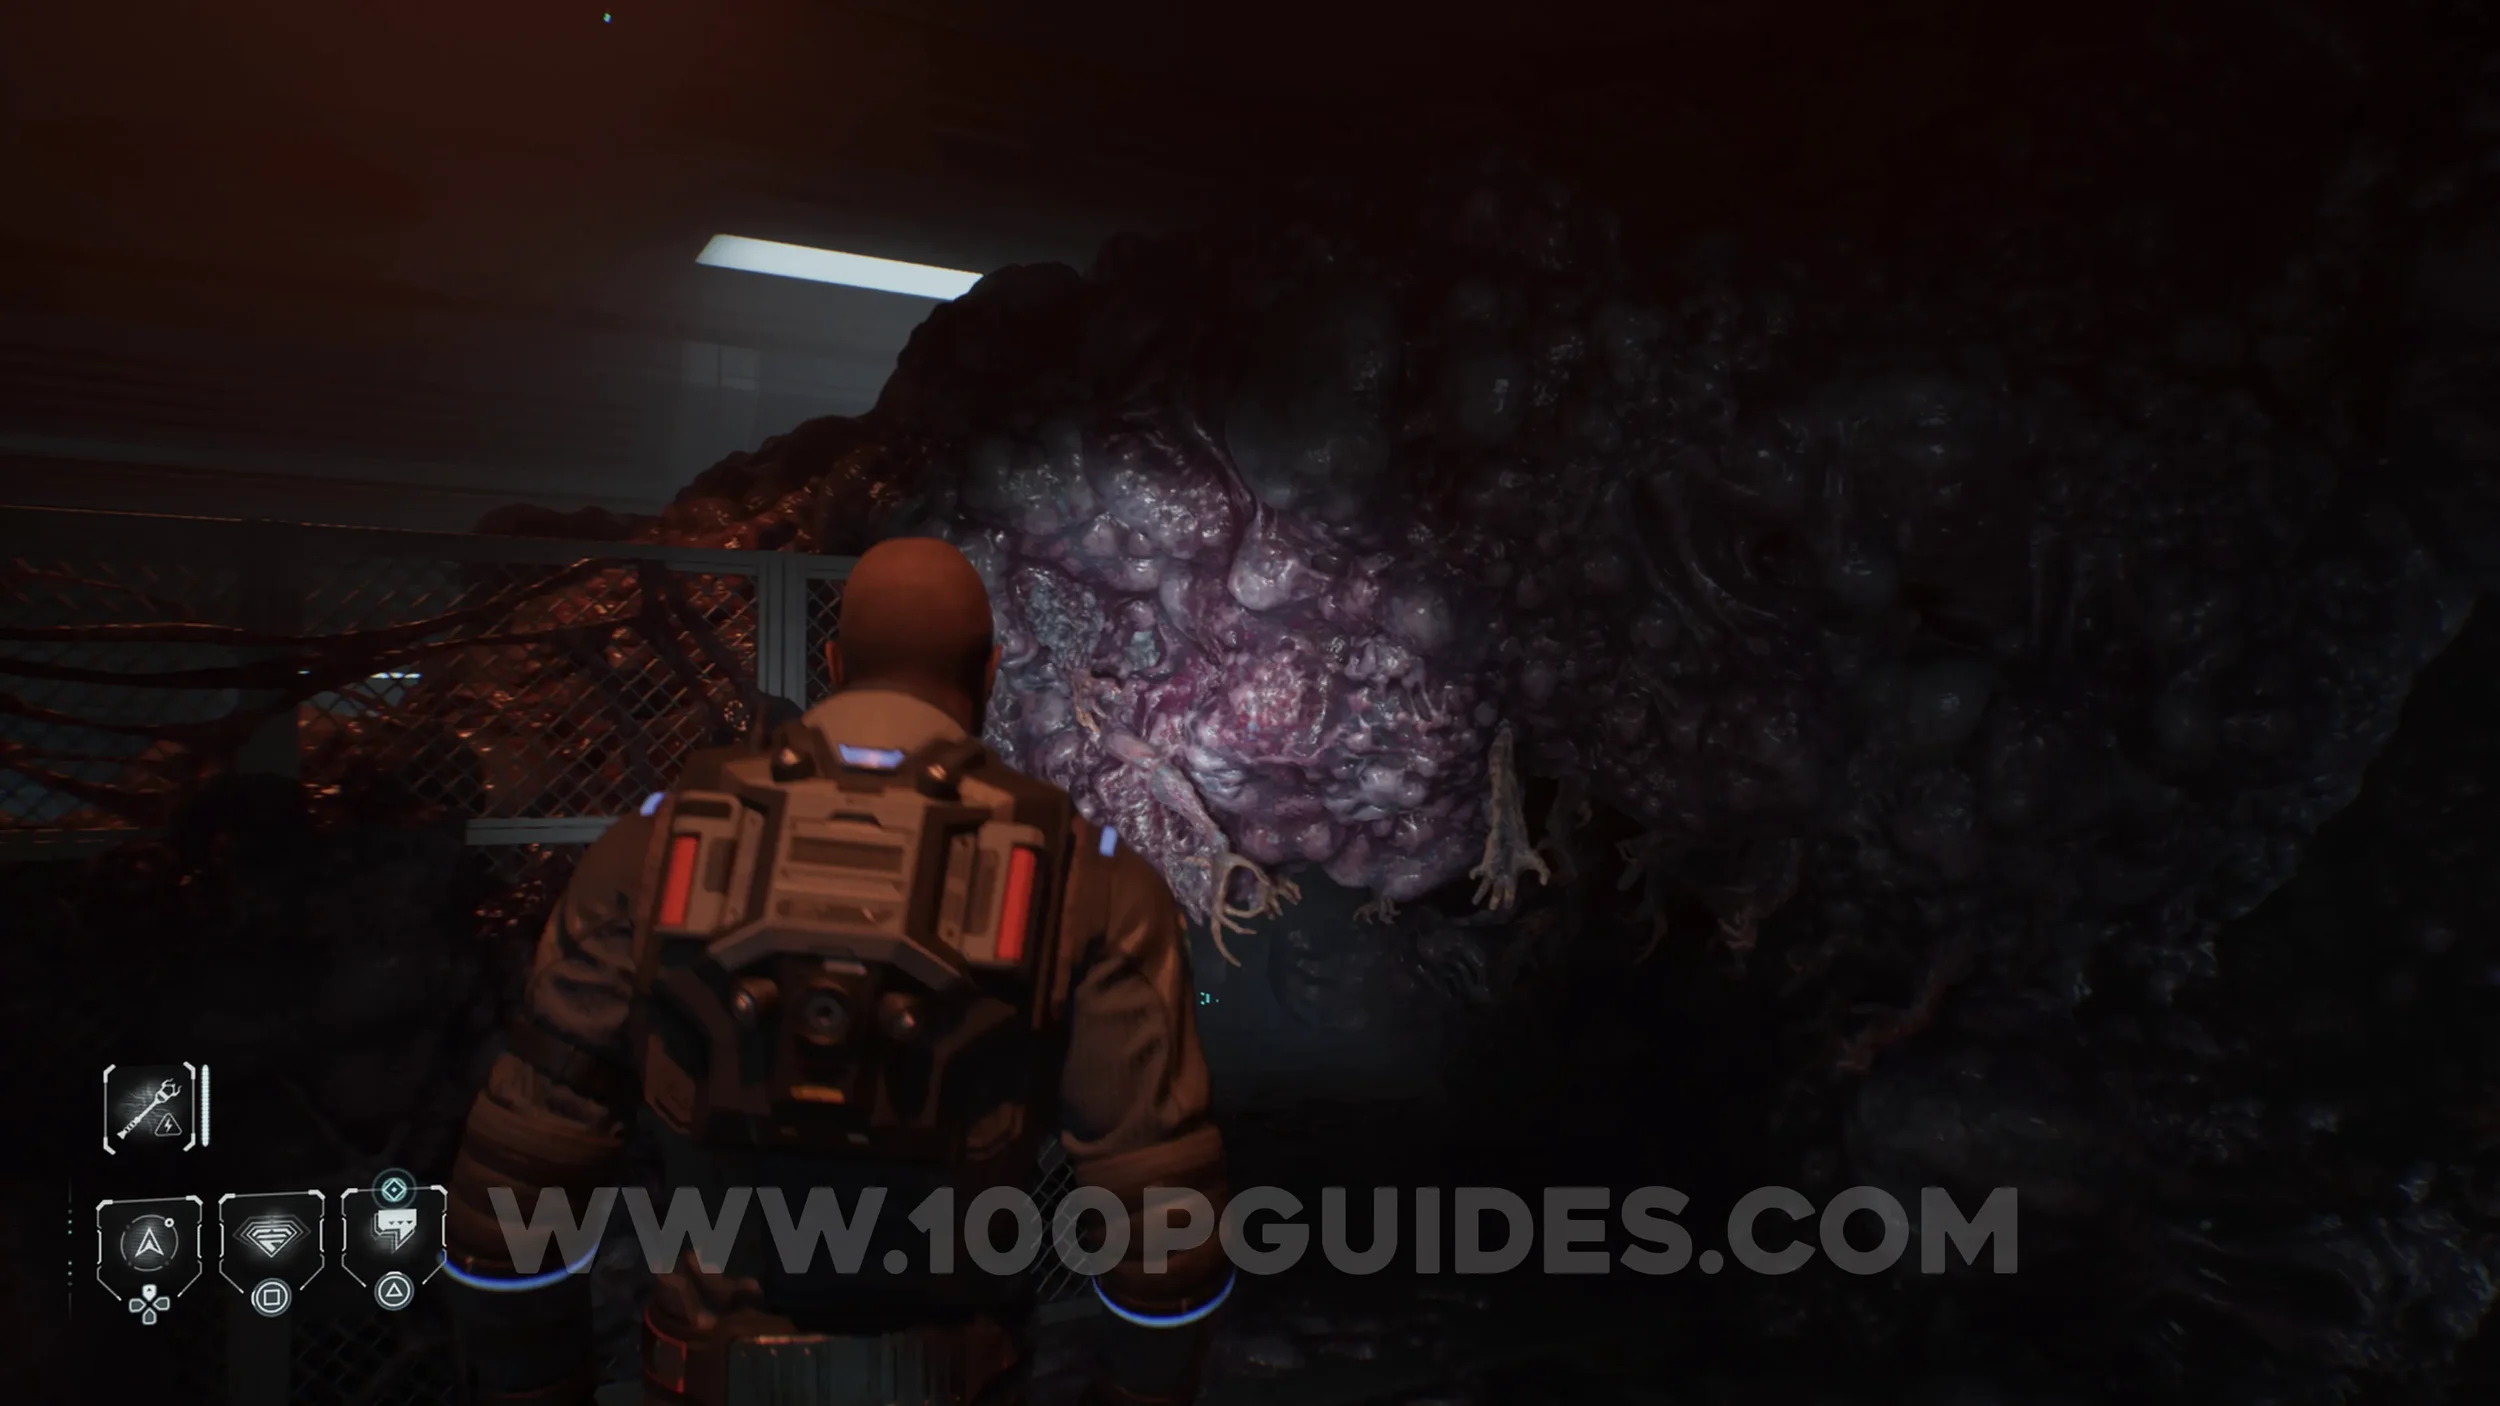
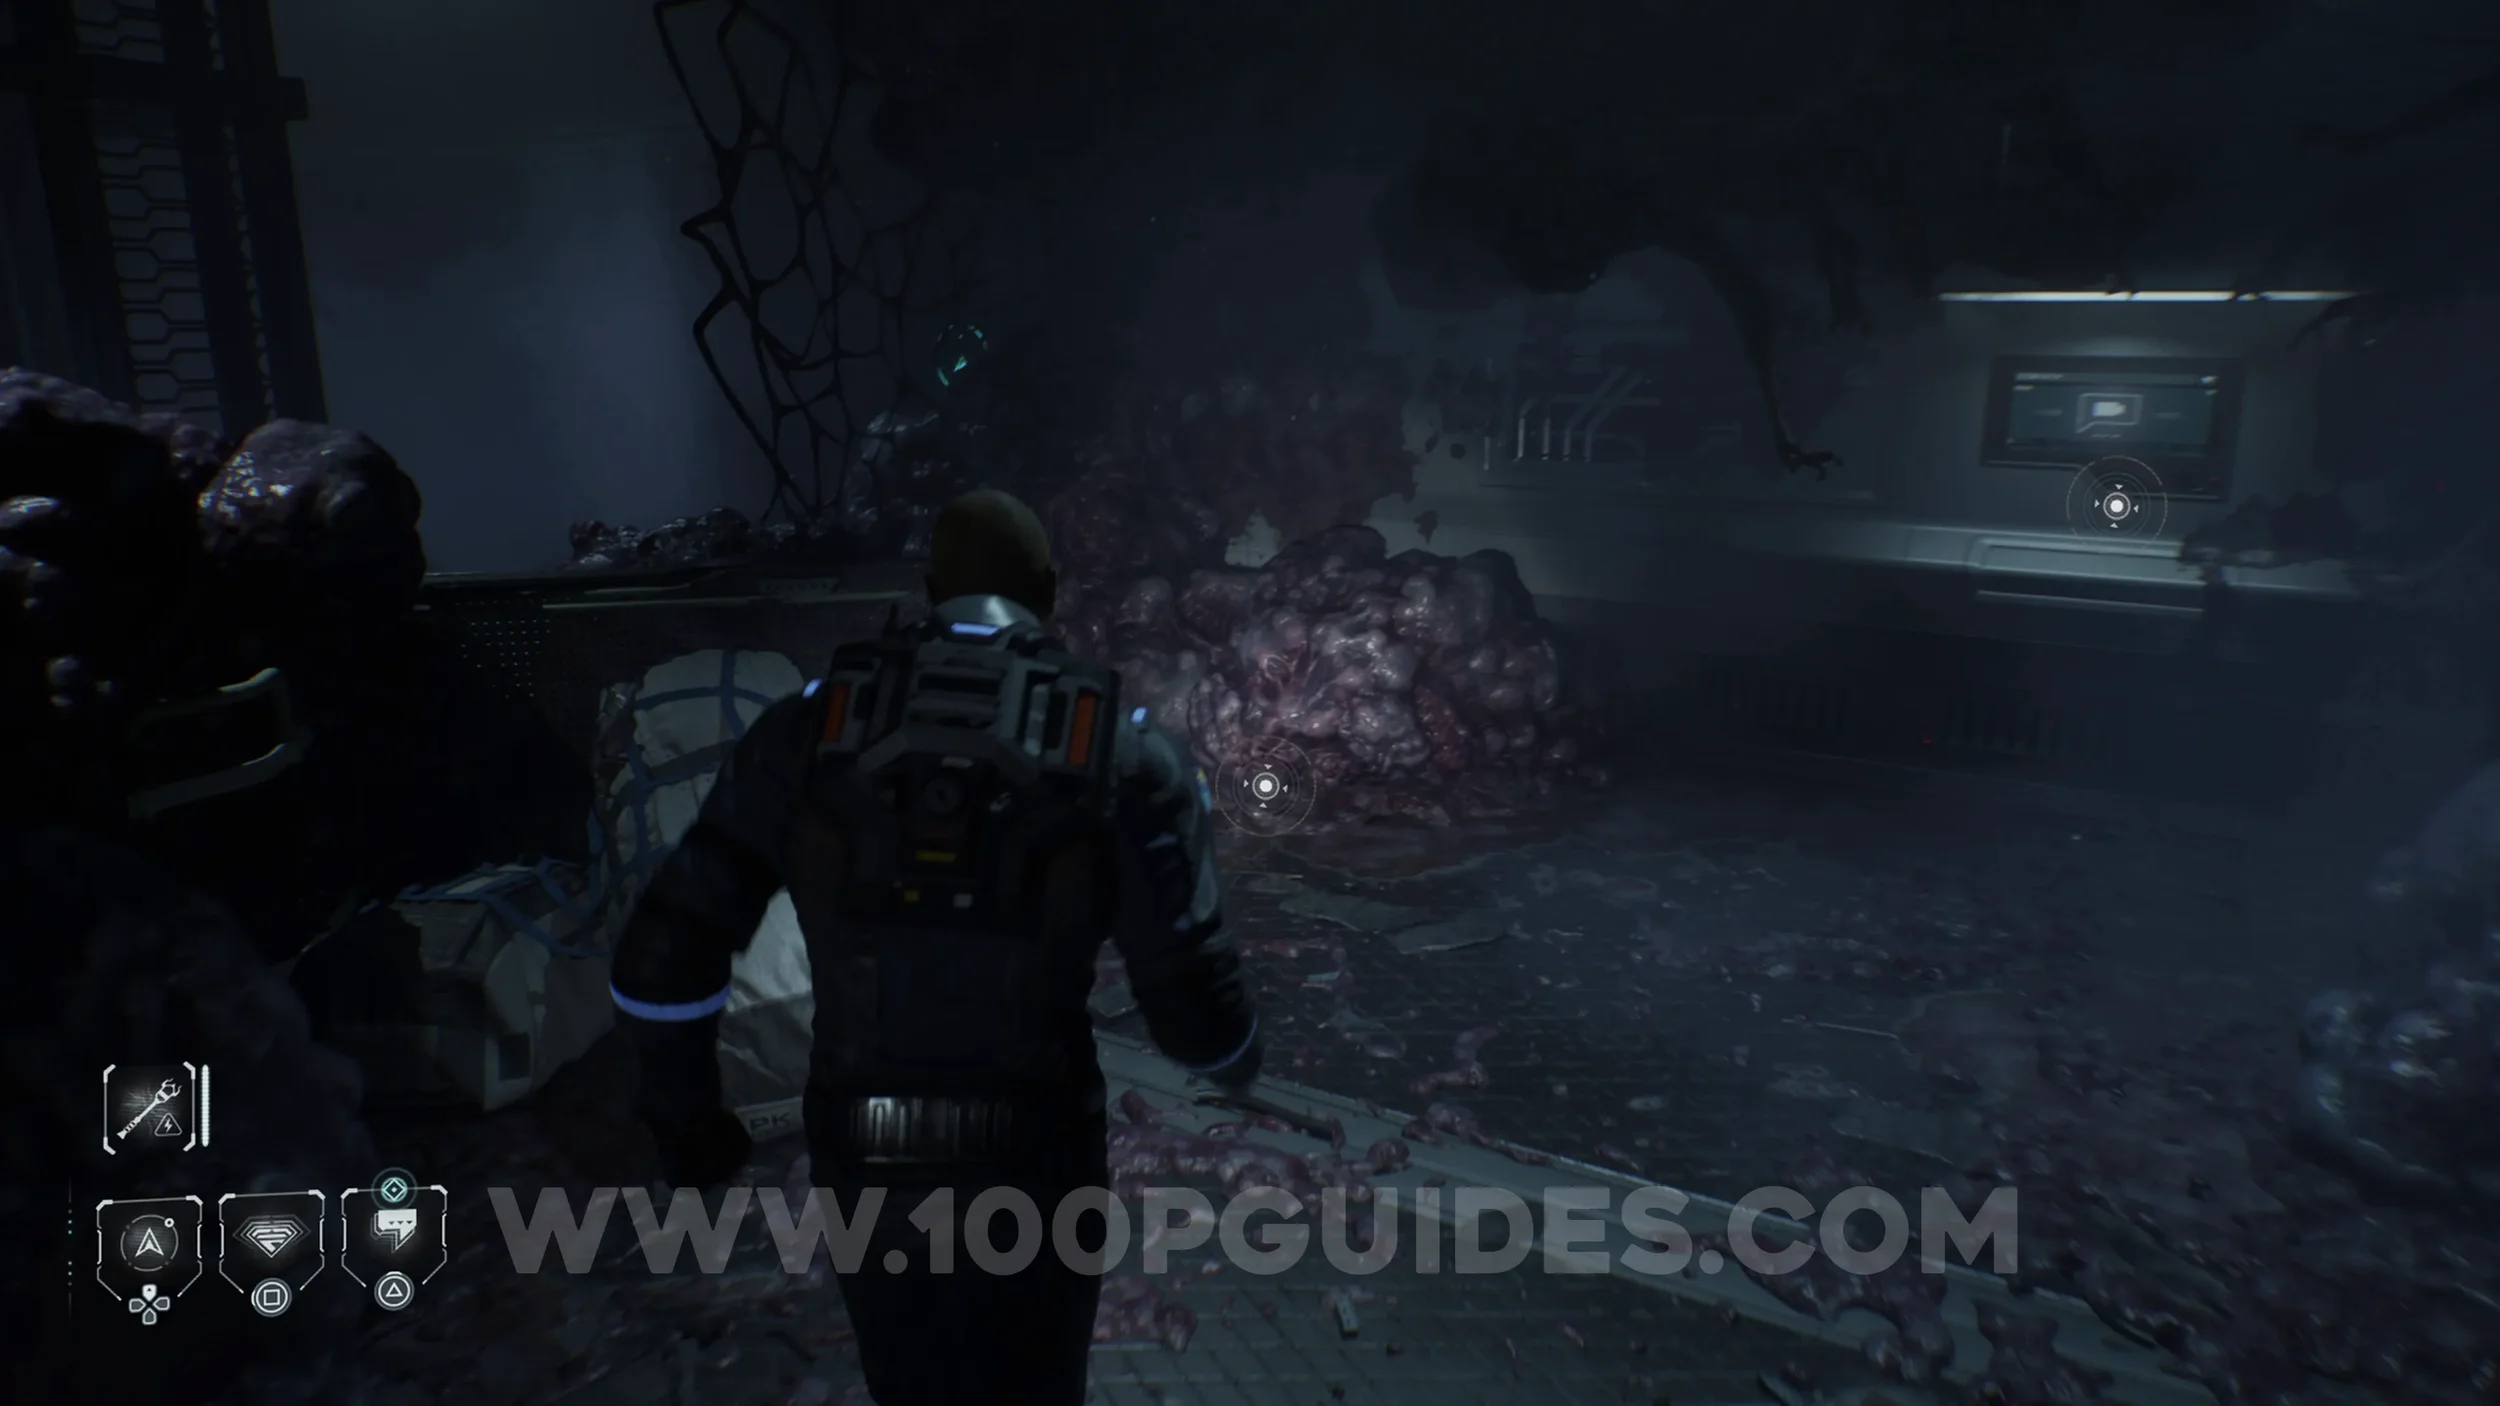
O Death #1 - This Doesn’t Belong Here. After redirecting the fuel, you will go through a corridor. Just before exiting through the door at the other end, pick up the power core from the wall on your right. Then head back down the corridor and look for a slot on your left where you can place it to open a vent. Go through the vent until you come out the other side. On your left, activate the panel to move the servers. Go behind them and redirect the power to the door. Go through the door and look through the gap in the servers to remotely activate the panel and lower them, allowing you to pass through the right side.
Here, look for a power panel on the wall and redirect the power to the panel on the wall to the left. Use it to lower the servers and go through the narrow gap. Once you come out the other end, look for a small tunnel on your right. Go through it and activate the panel on the wall to move the servers. Behind them, use the panel to redirect the power to the left. Then go back through the tunnel and look through the servers in front of you to remotely use the panel and move them out of the way. On the other side, go through the door to find the collectible on the ground.


This collectible will now allow you to collect the other four O Death collectibles in the game. They are all found in previous episodes, but you can quickly pick them up using the Rewind feature on the flowchart. We will cover them at the end of the guide.
The Simms Recordings #10 - At Peace. On the wall next to the previous collectible.
POST GAME
After finishing the game, use the Turning Points Flowchart to return to earlier parts of the game and collect the remaining four O Death collectibles.
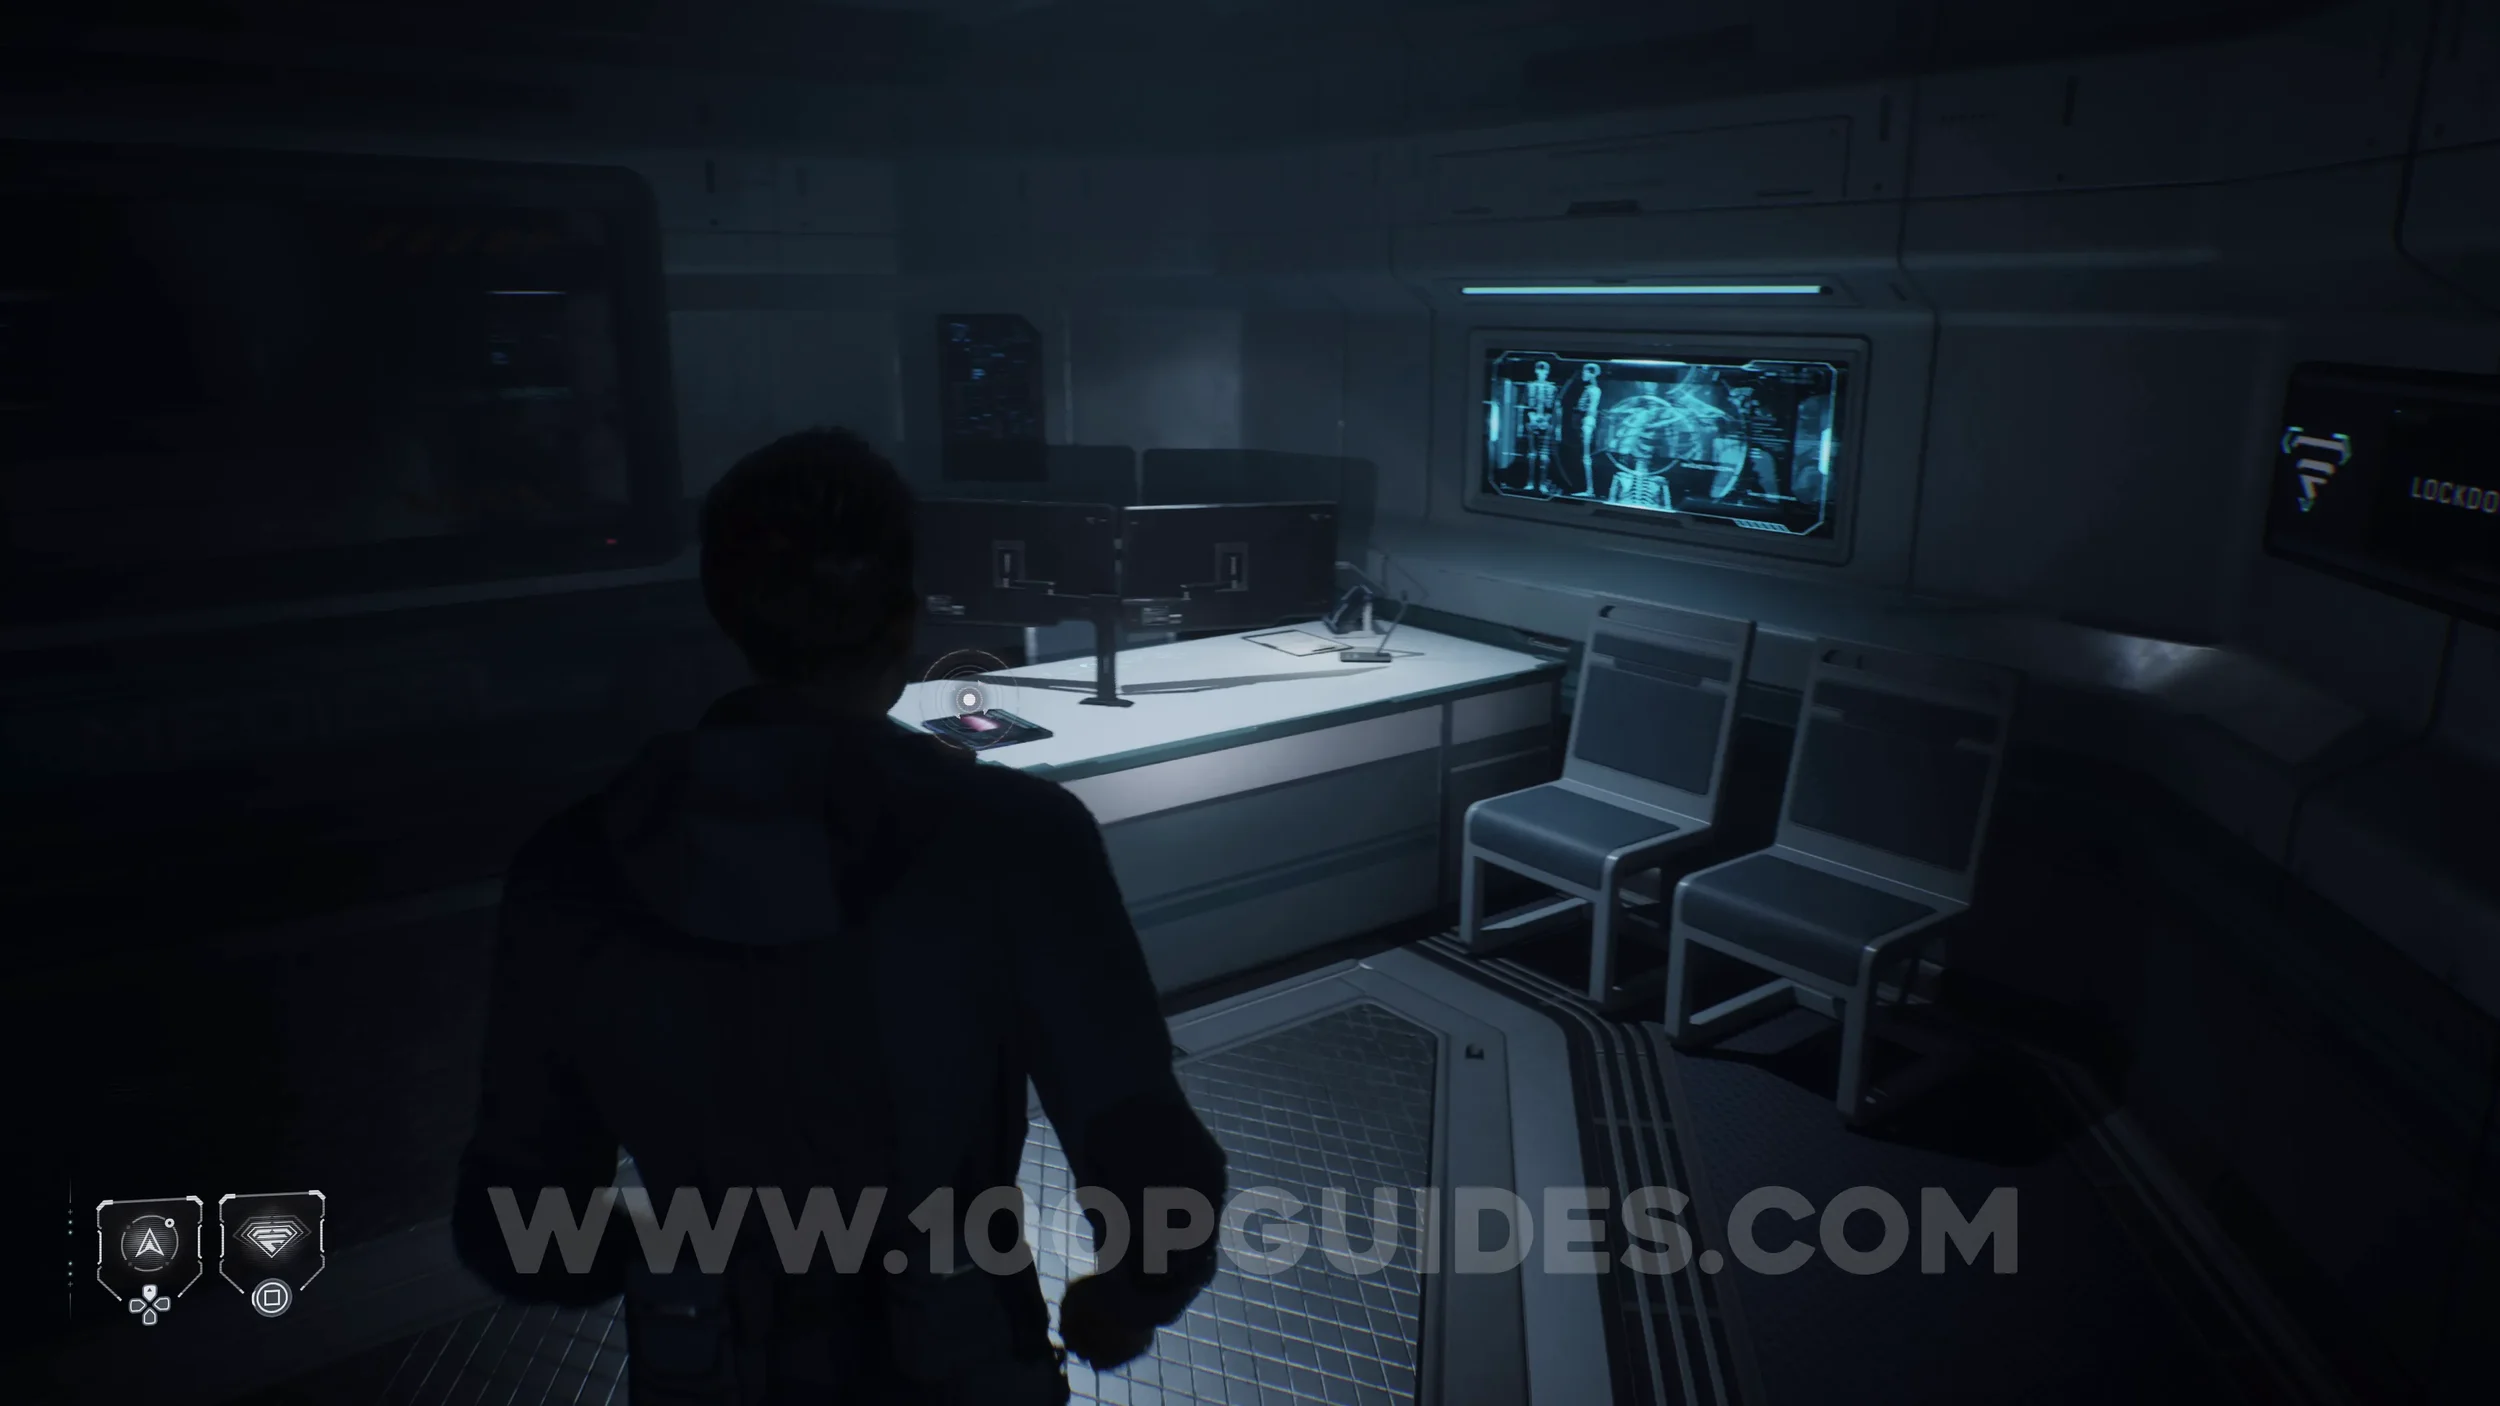
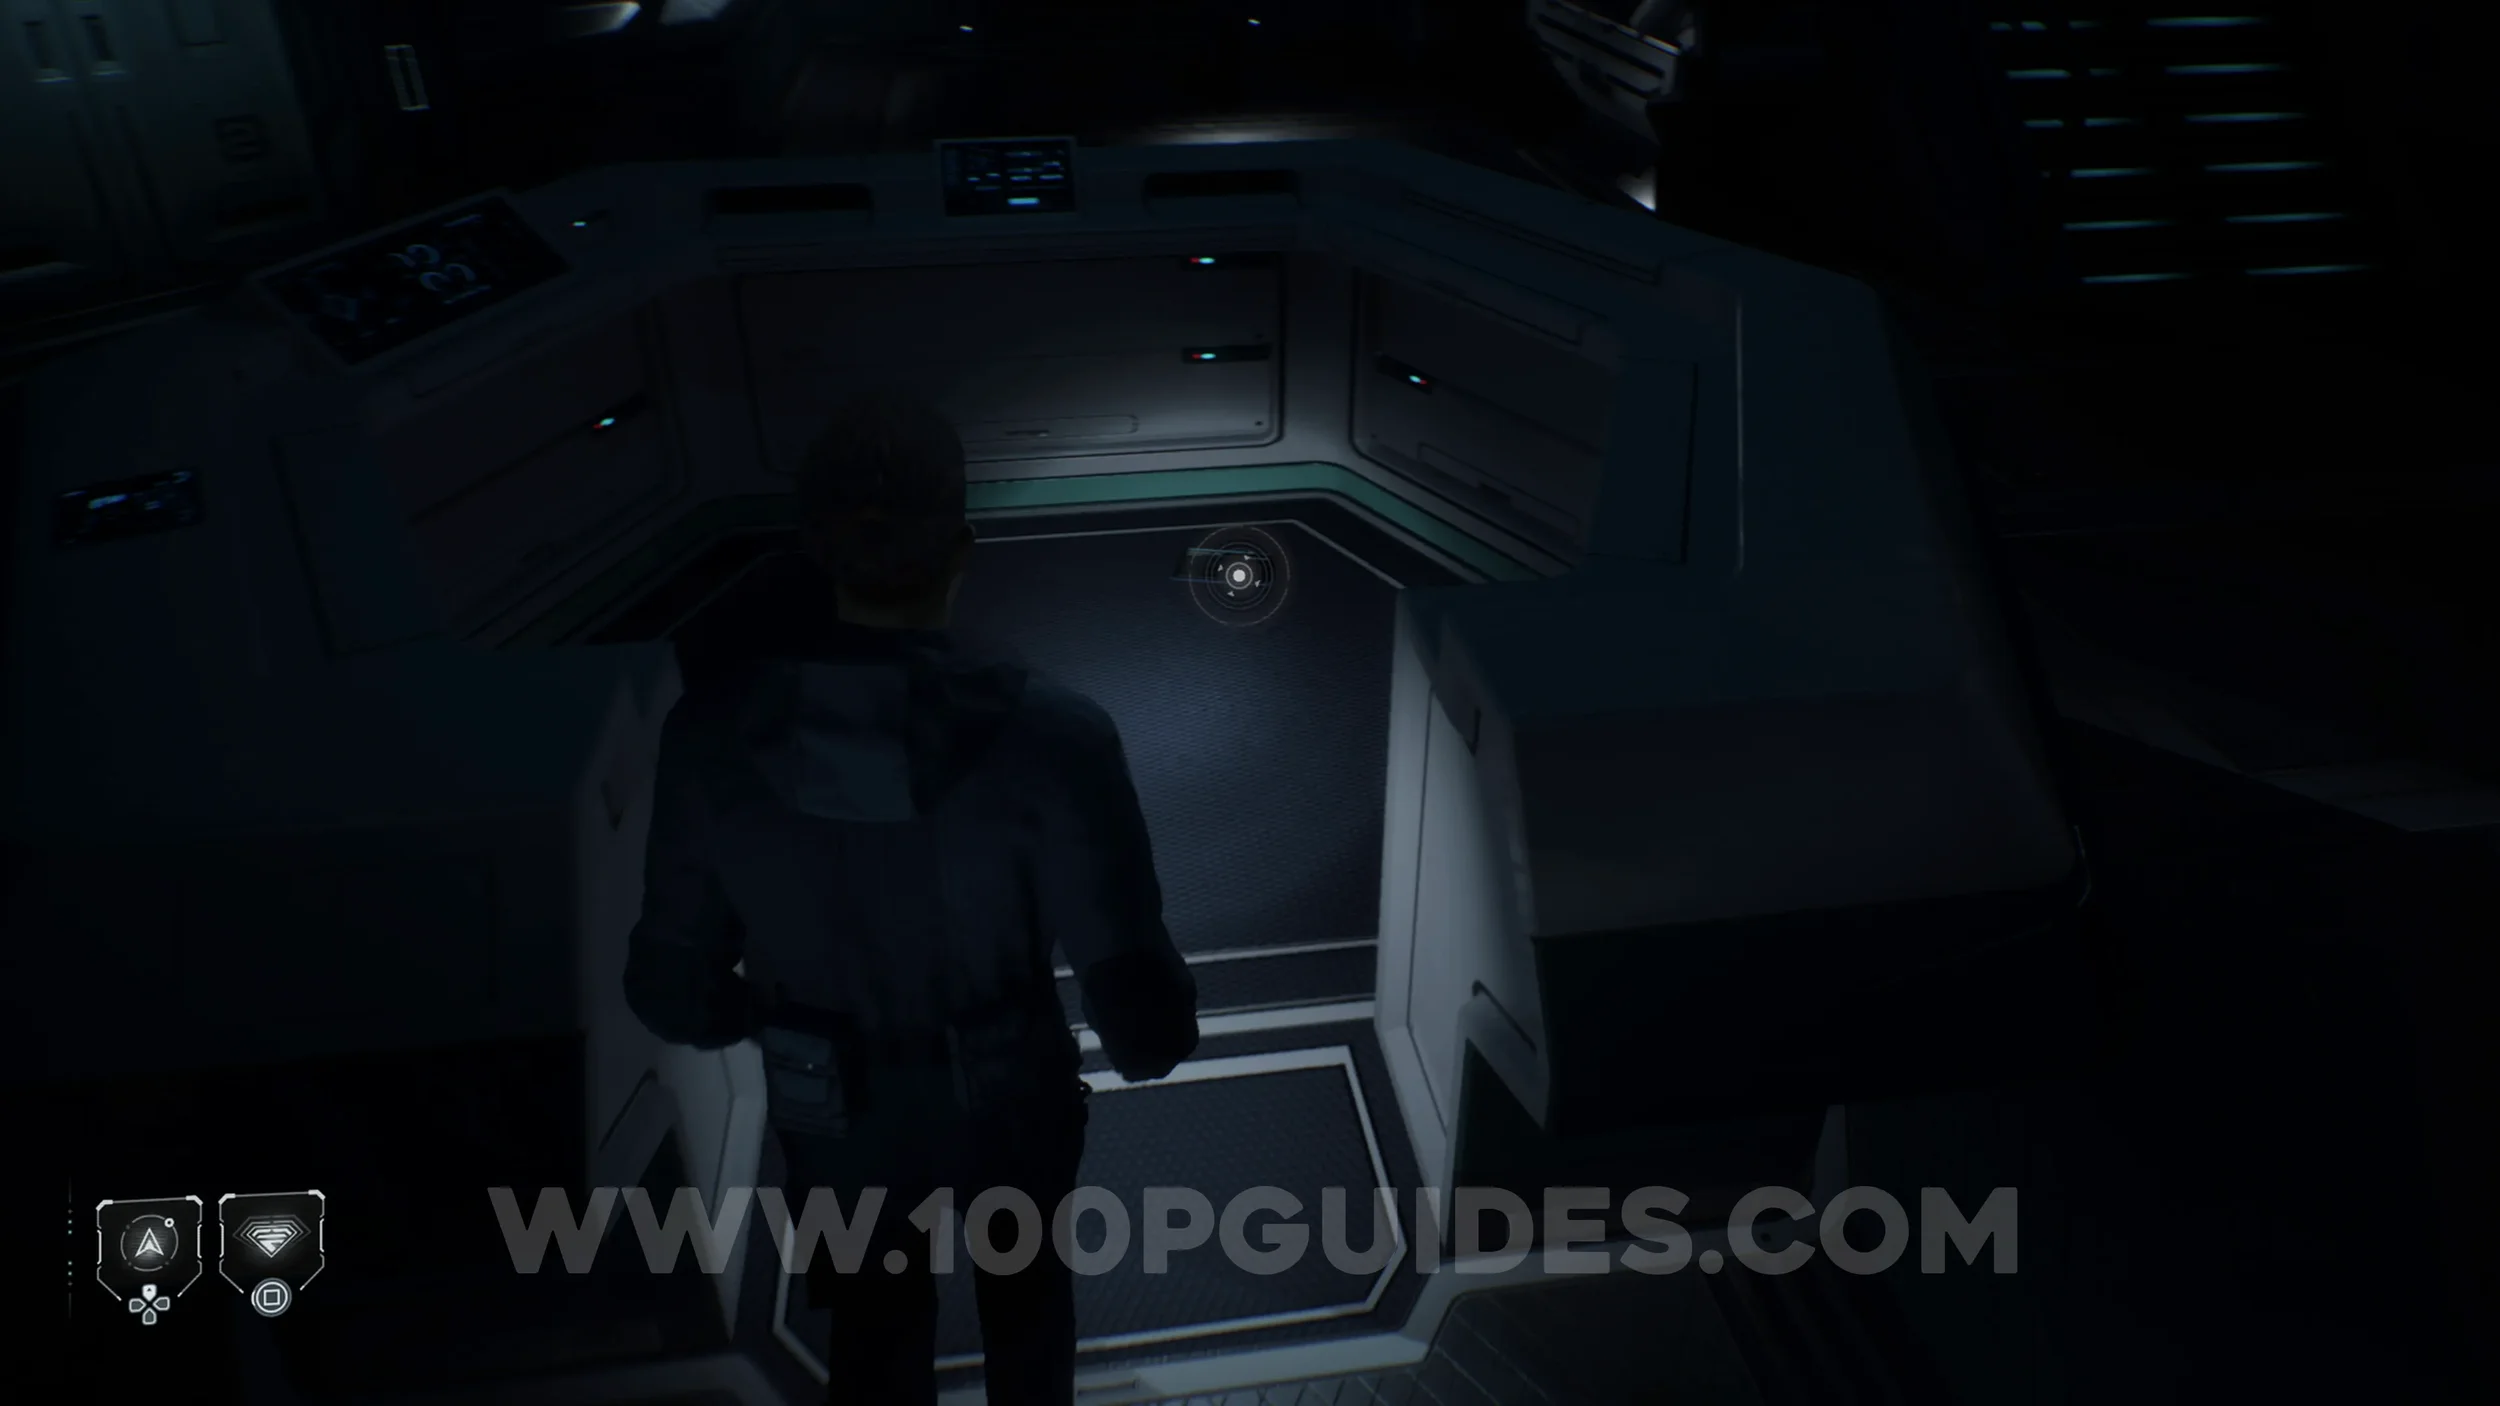
O Death #2 - The Man In The Bowler Hat. Episode 1 - Medical. After opening the Medical Reception door with the panel, go through it and you will see a small circular receptionist desk in front of you. The collectible can be found inside it.
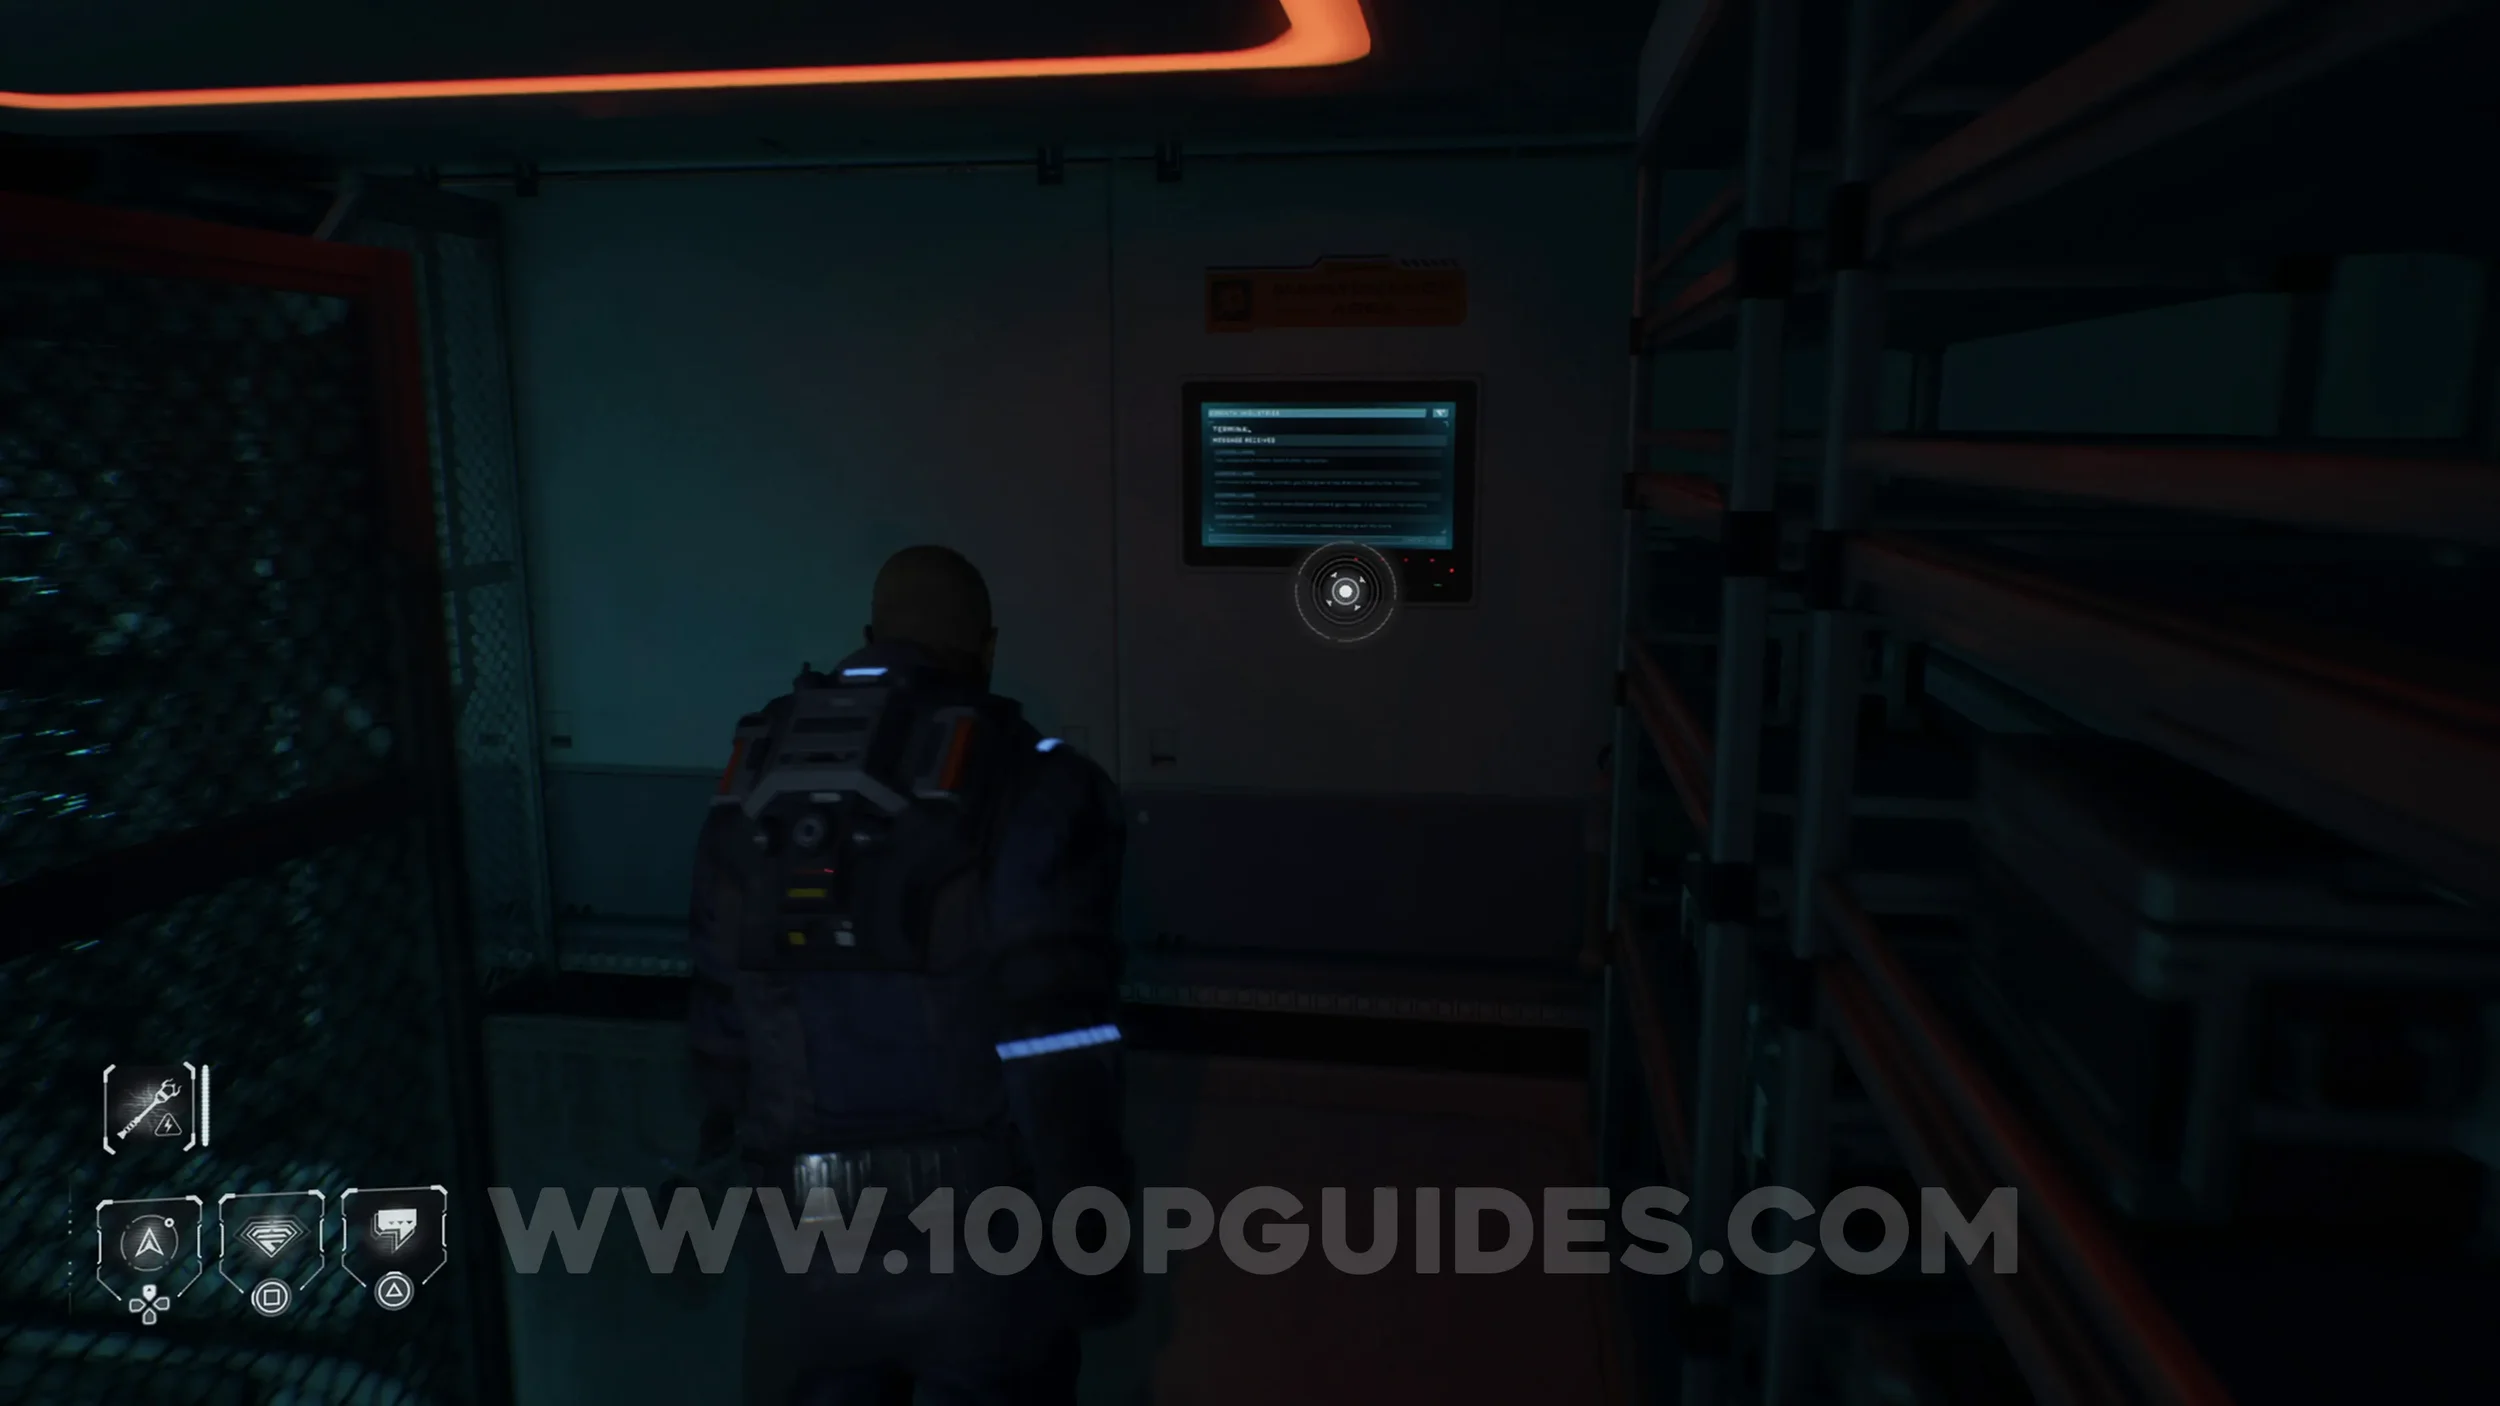
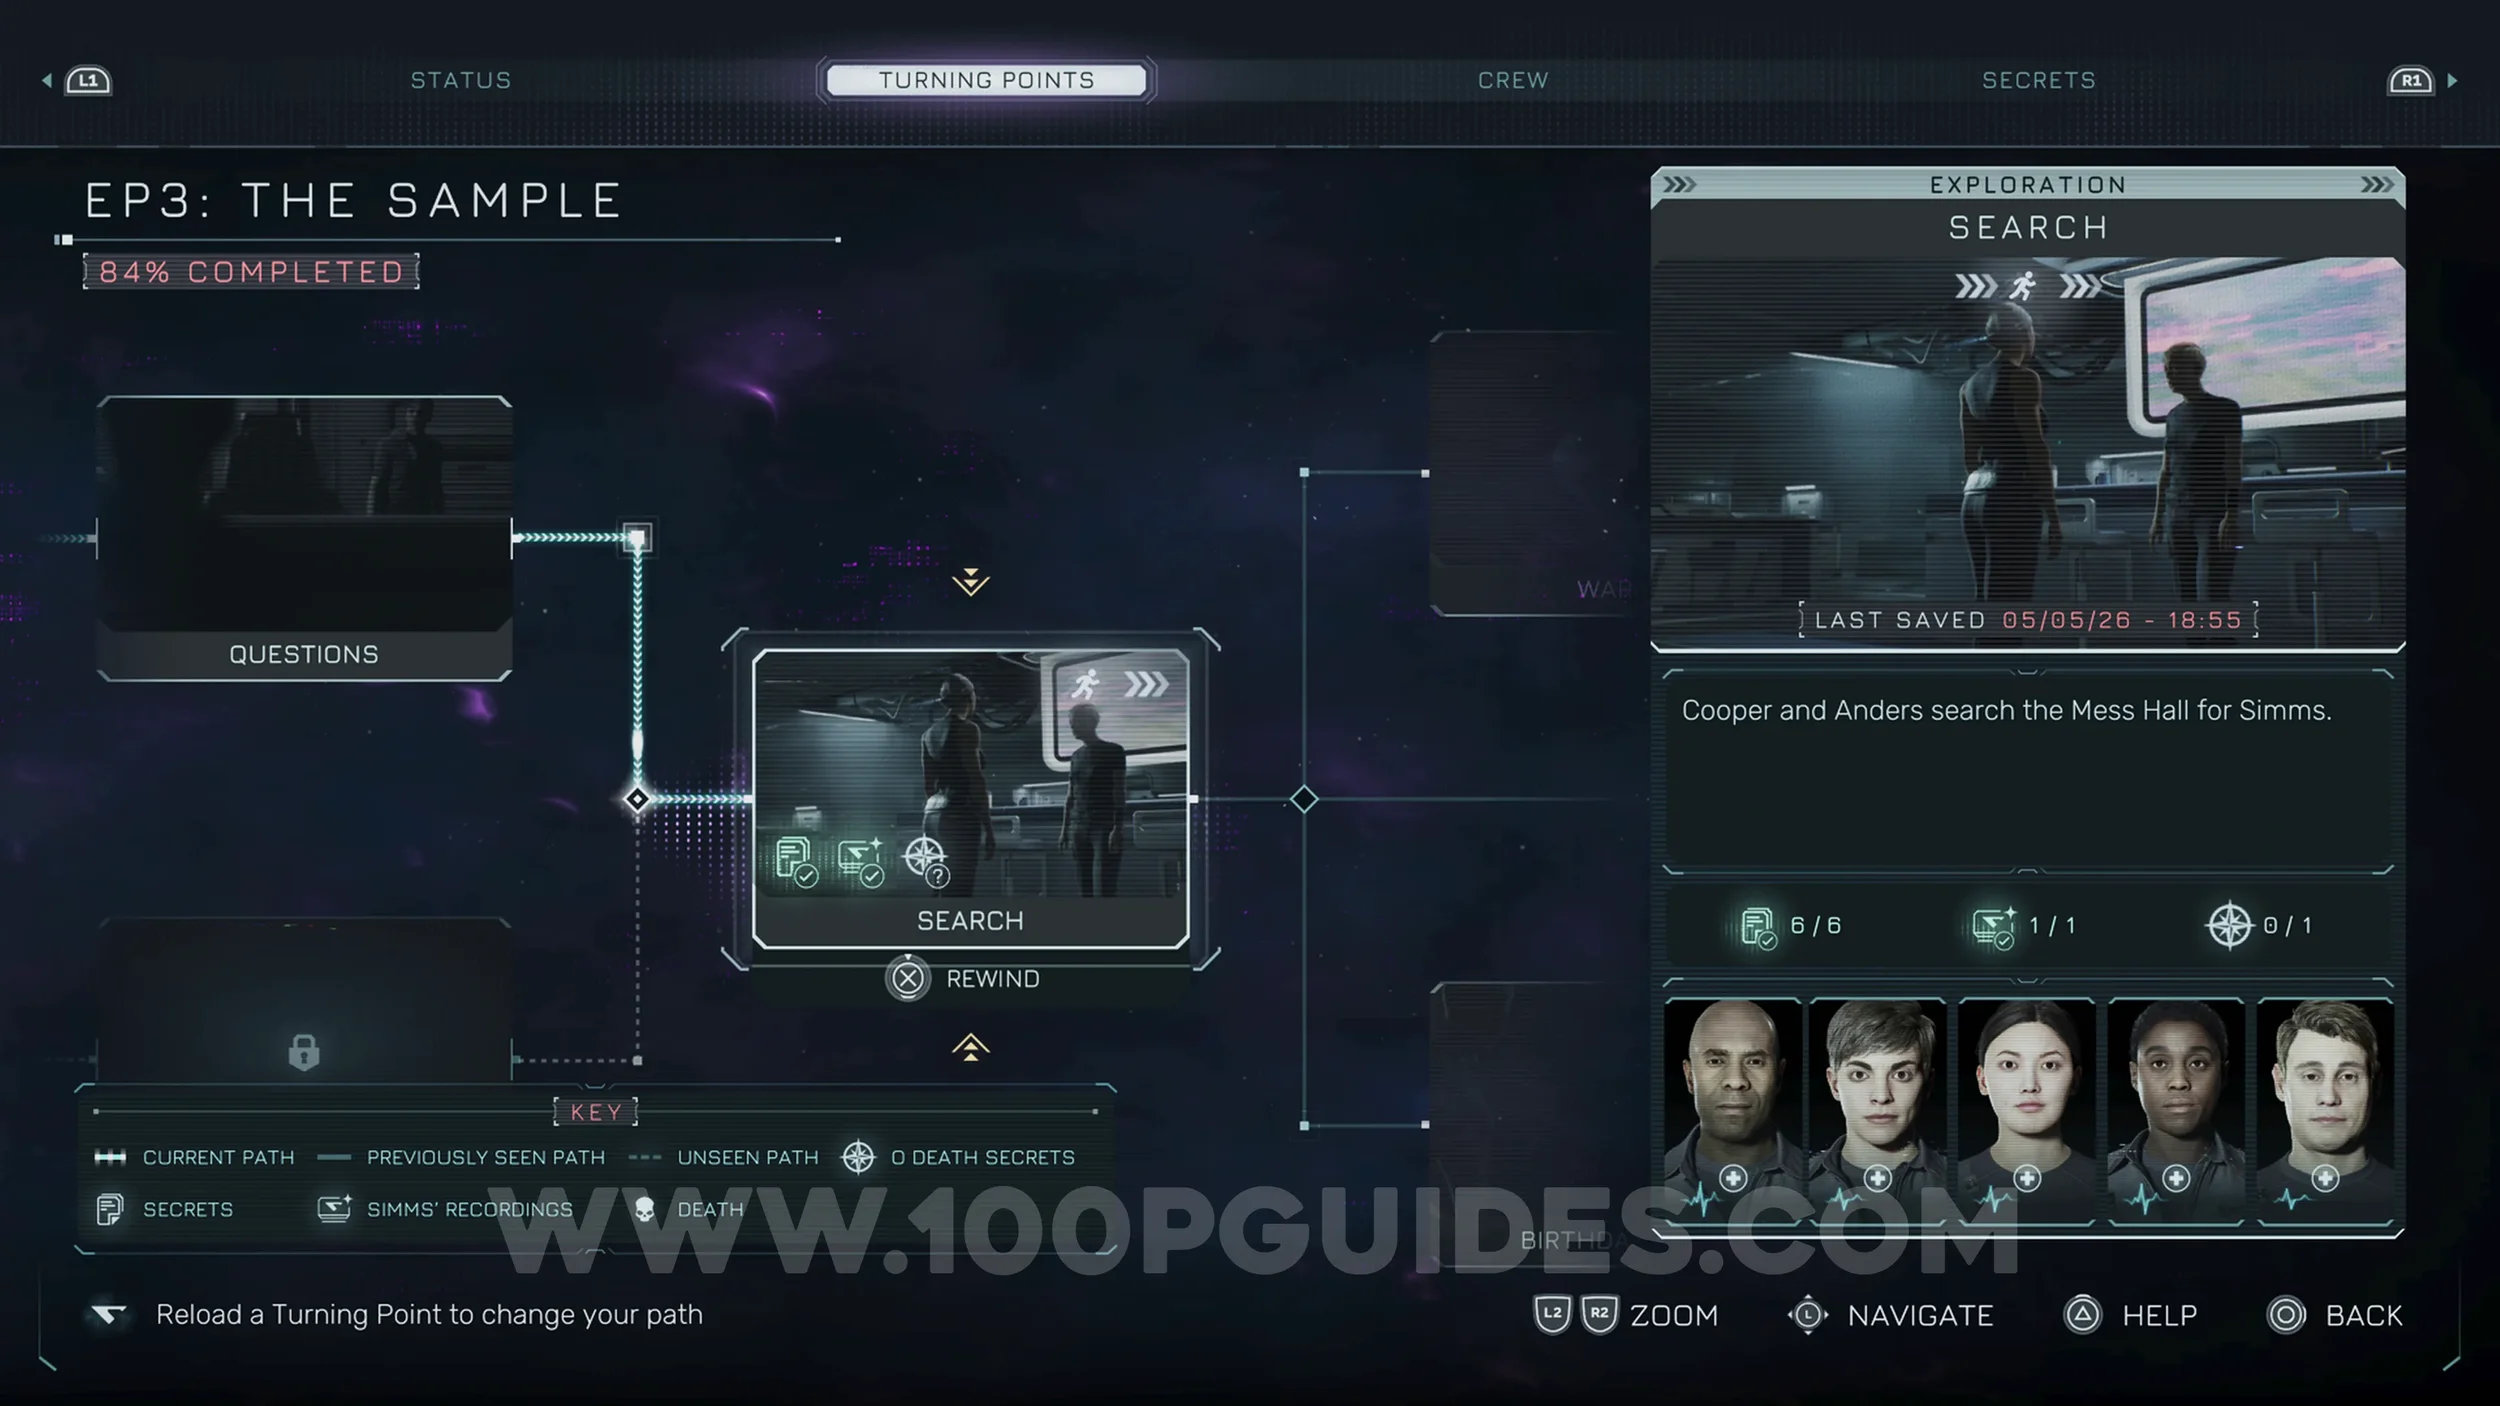
O Death #3 - Paranoia. Episode 3 - Search. After using the power cell to open the first door and entering the room with the massive screen in the middle, look for a terminal on the right wall and interact with it.
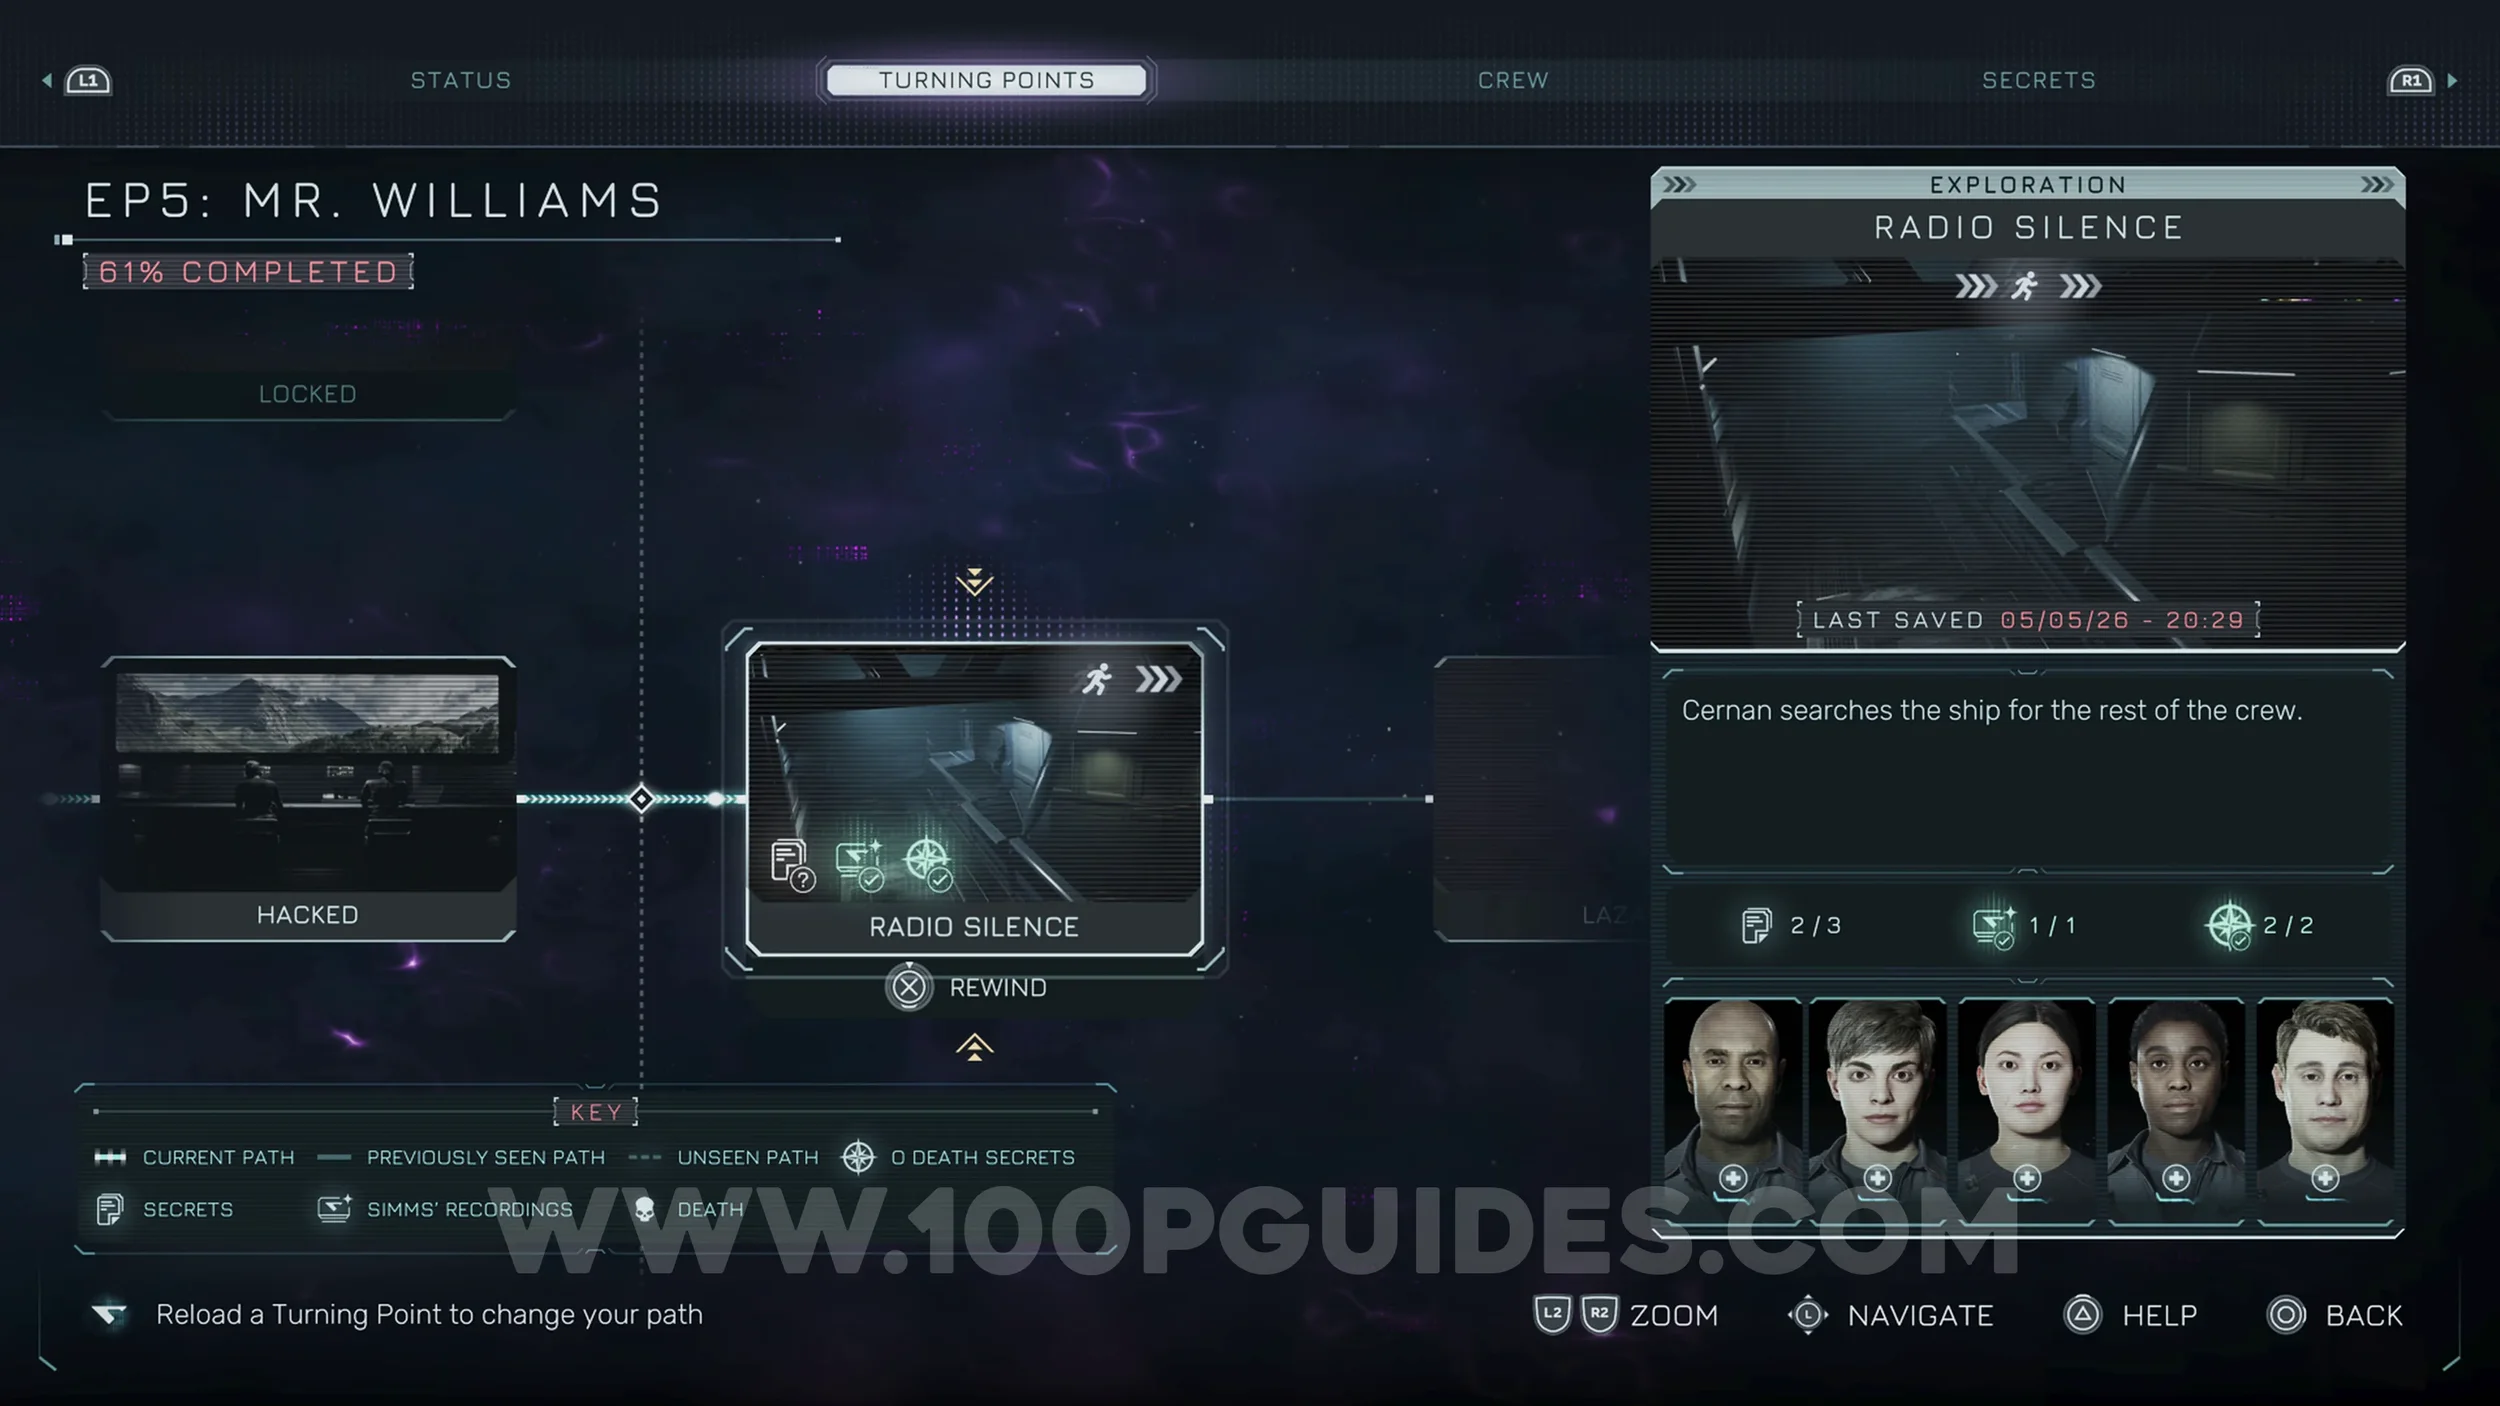
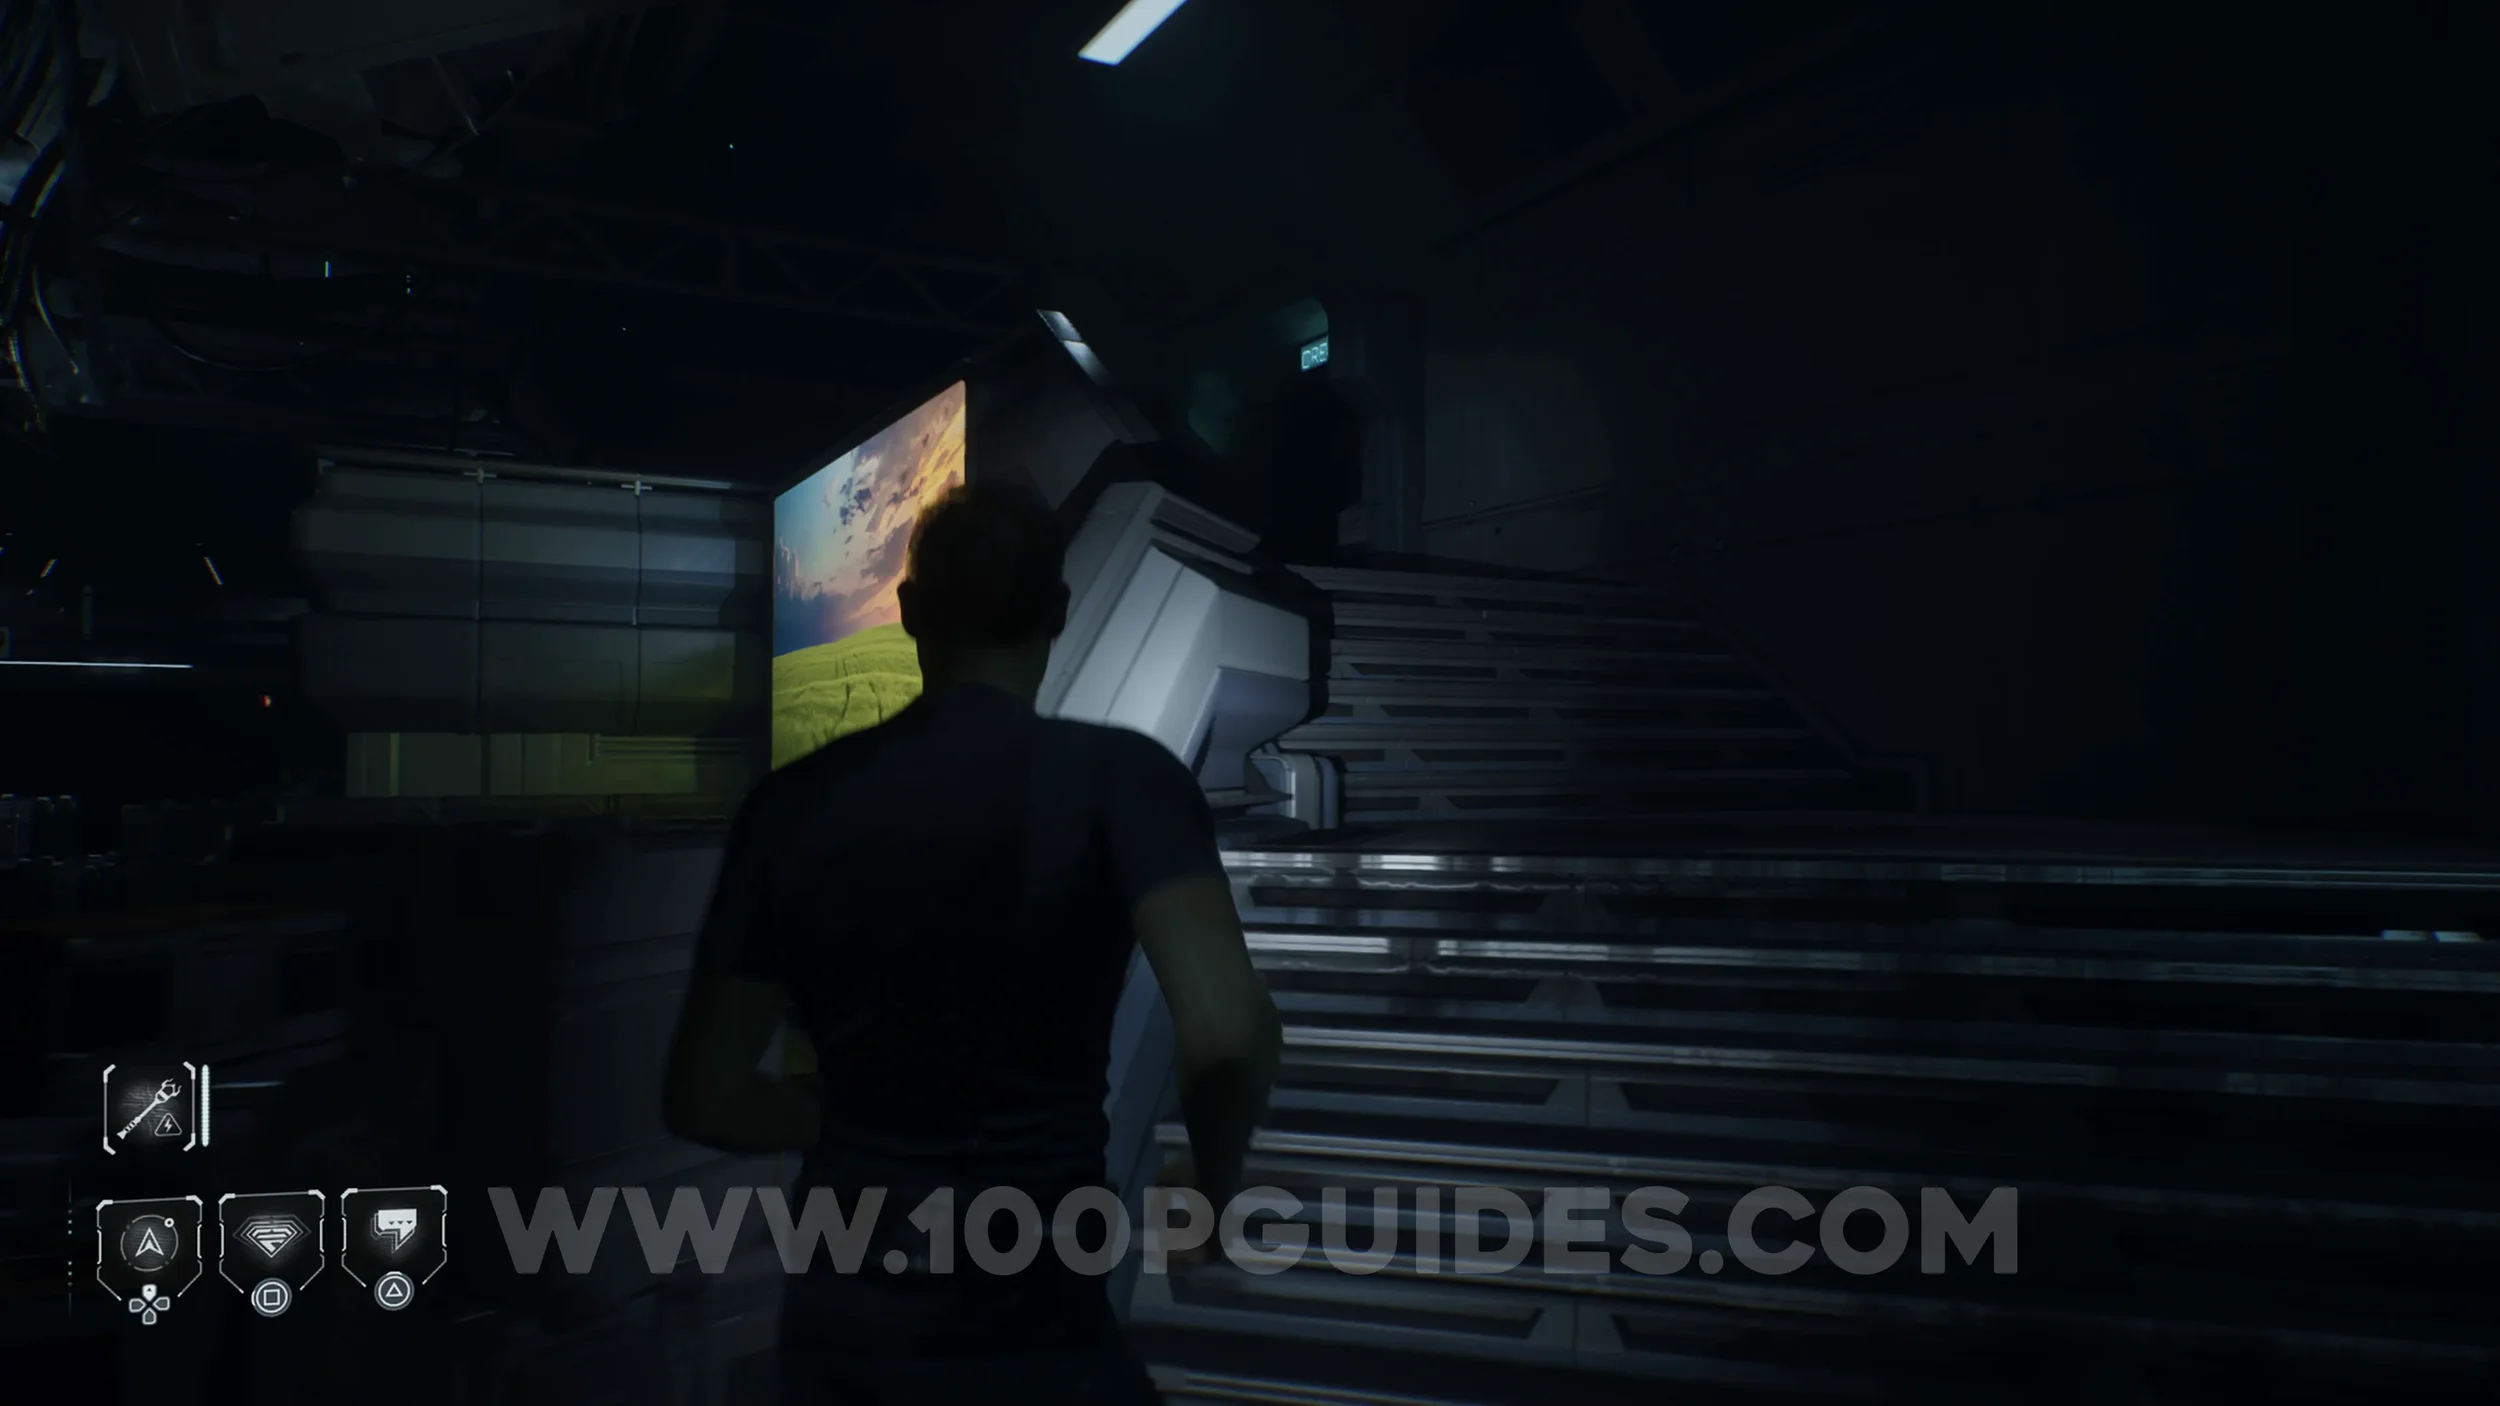
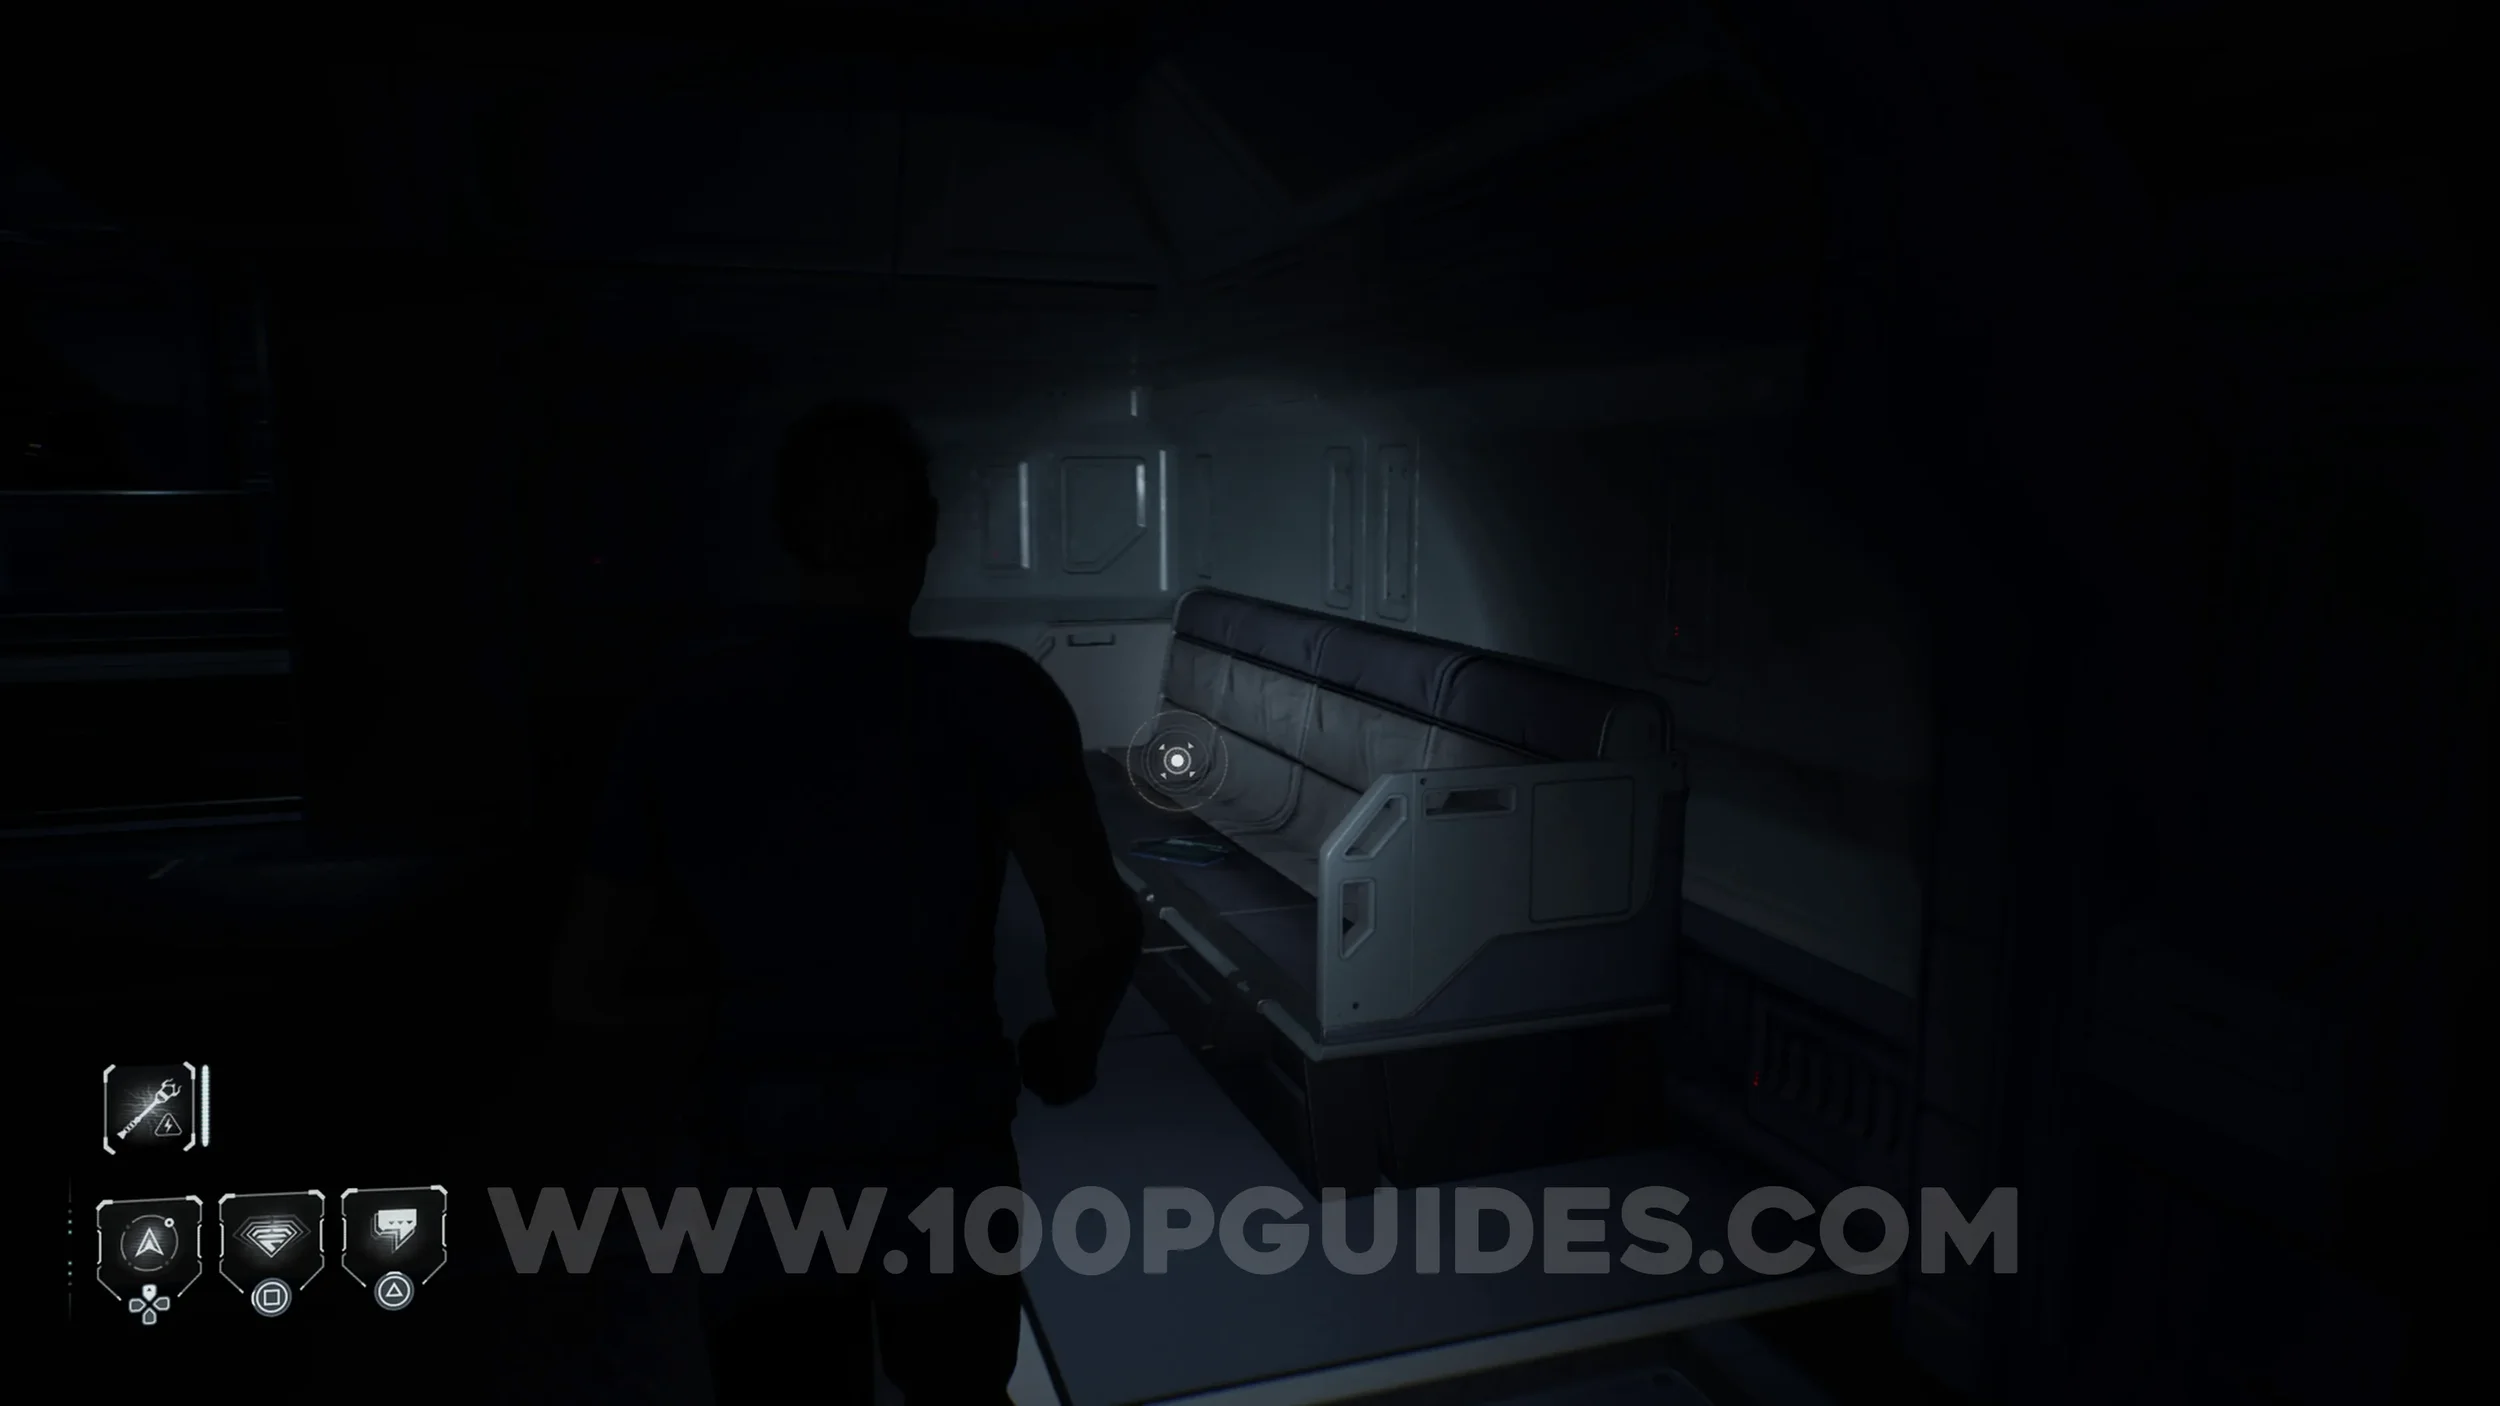
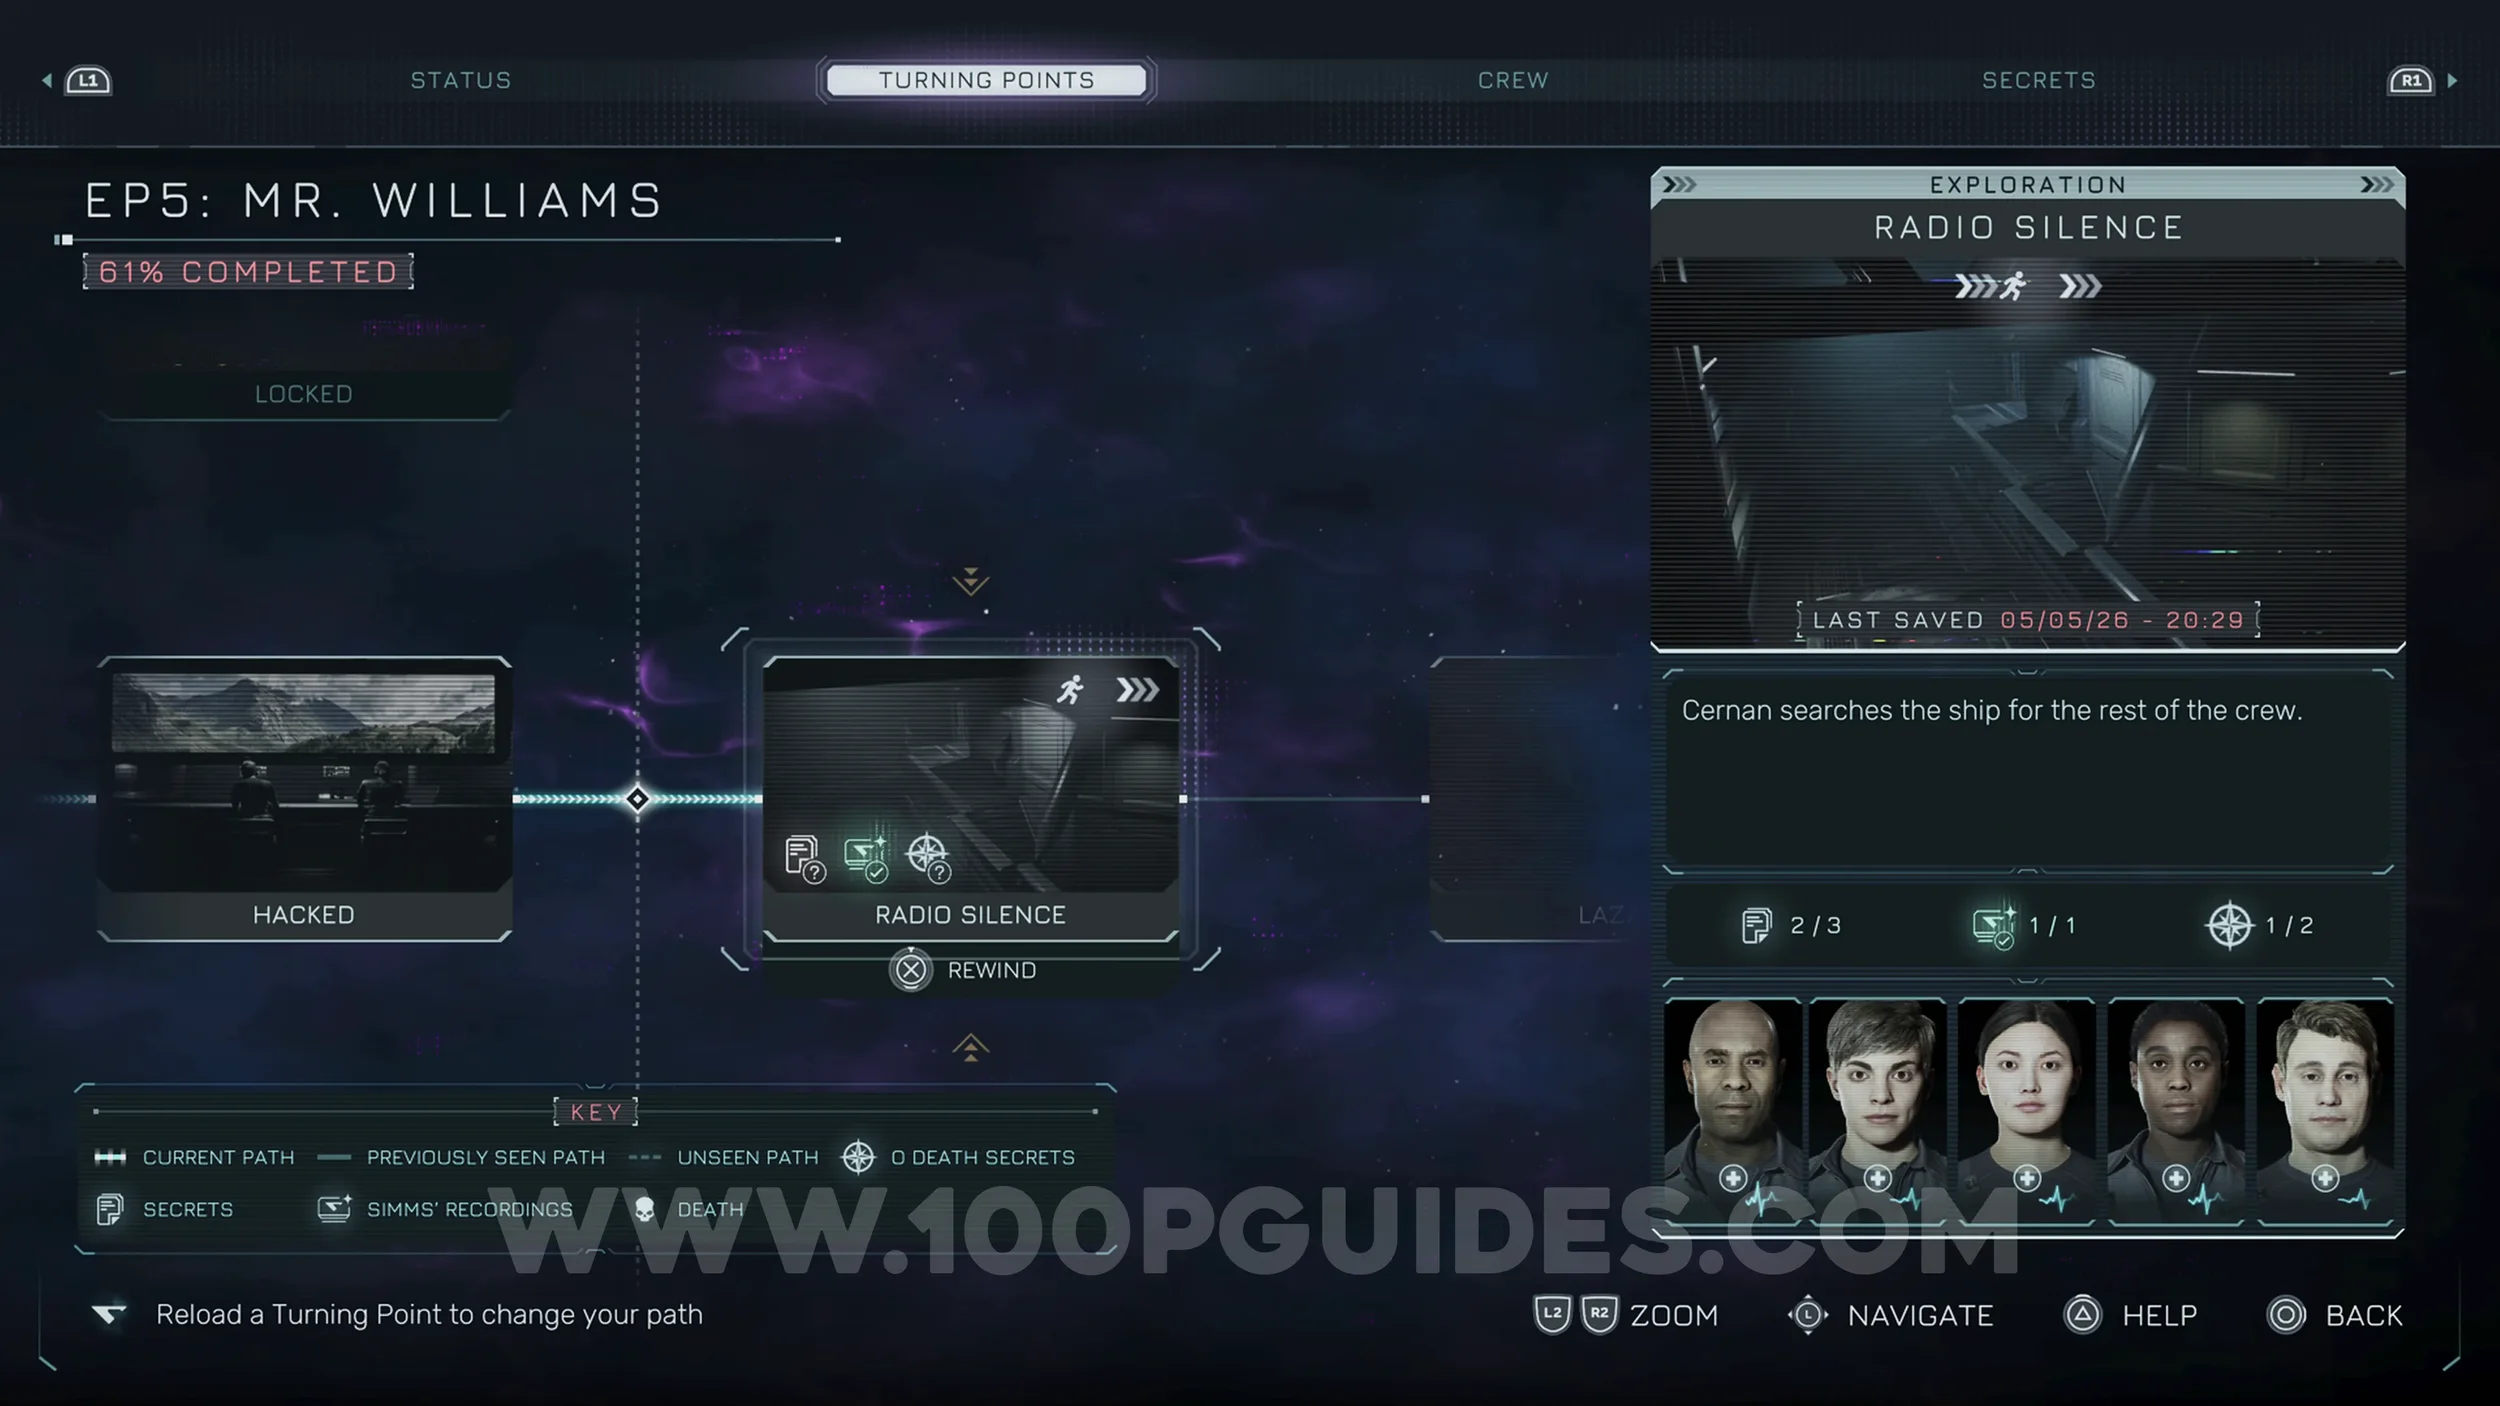
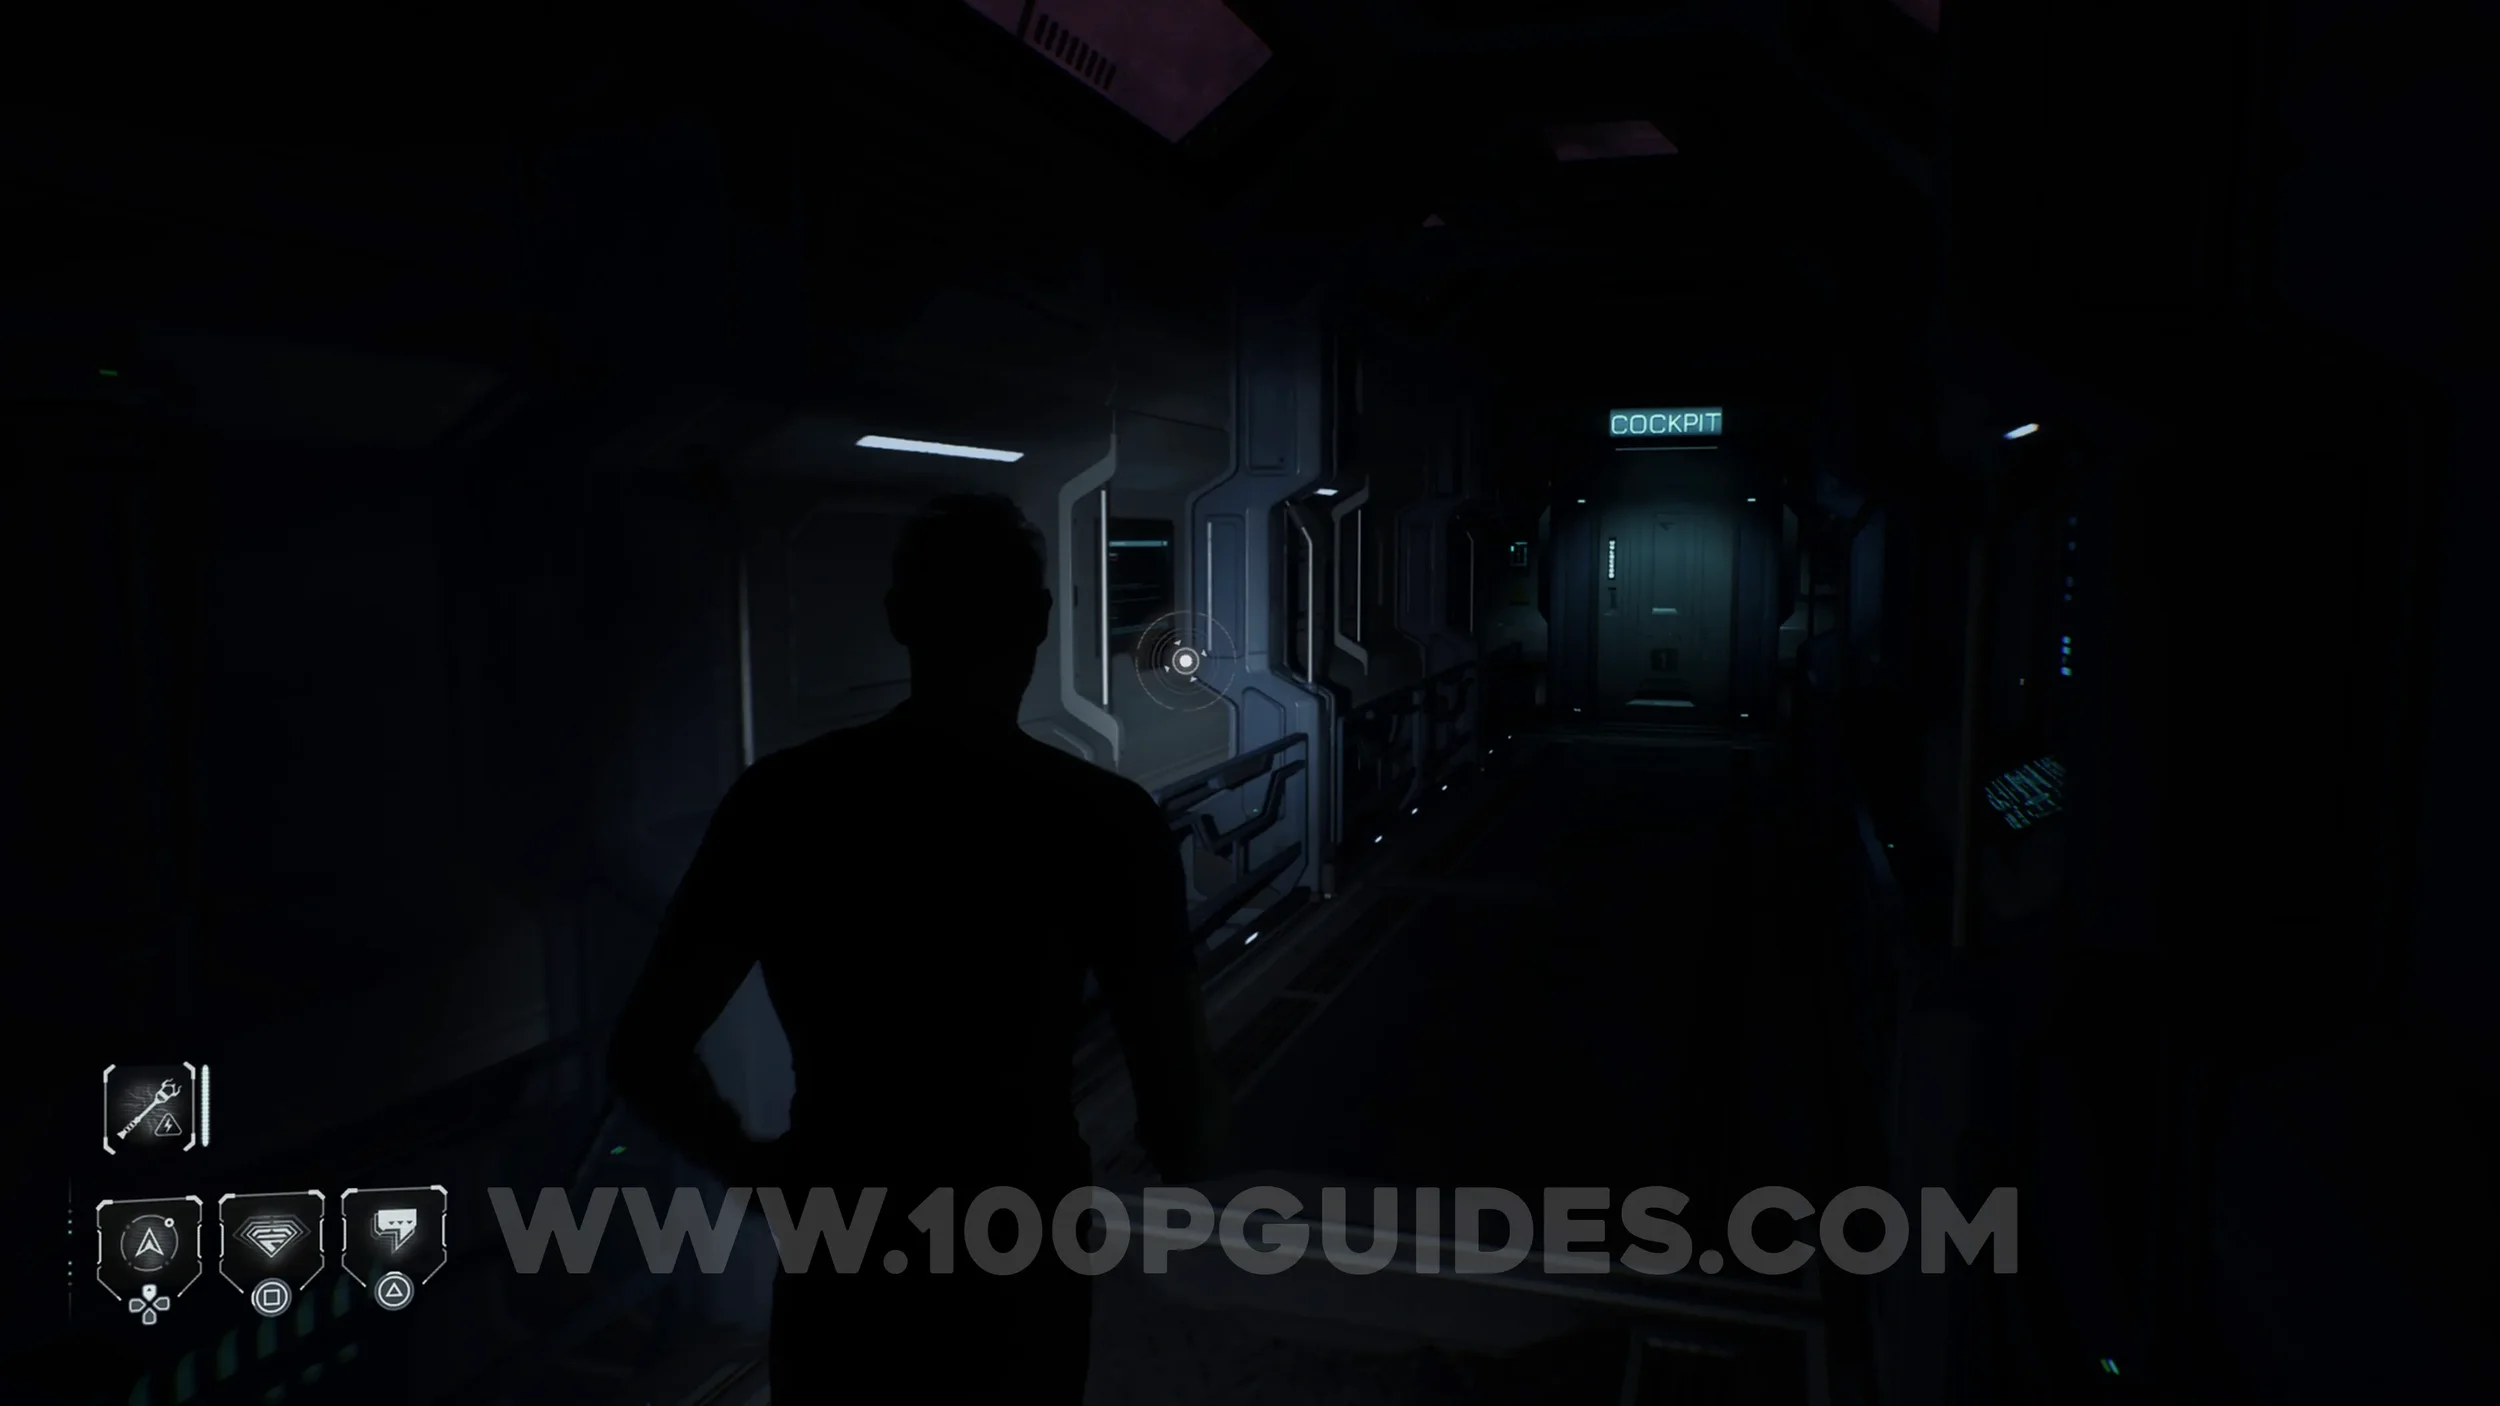
O Death #4 - O_DTH. Episode 5 - Radio Silence. Head up the stairs and down the hall toward the Cockpit door. Just before you reach it, you will see a terminal on your left.
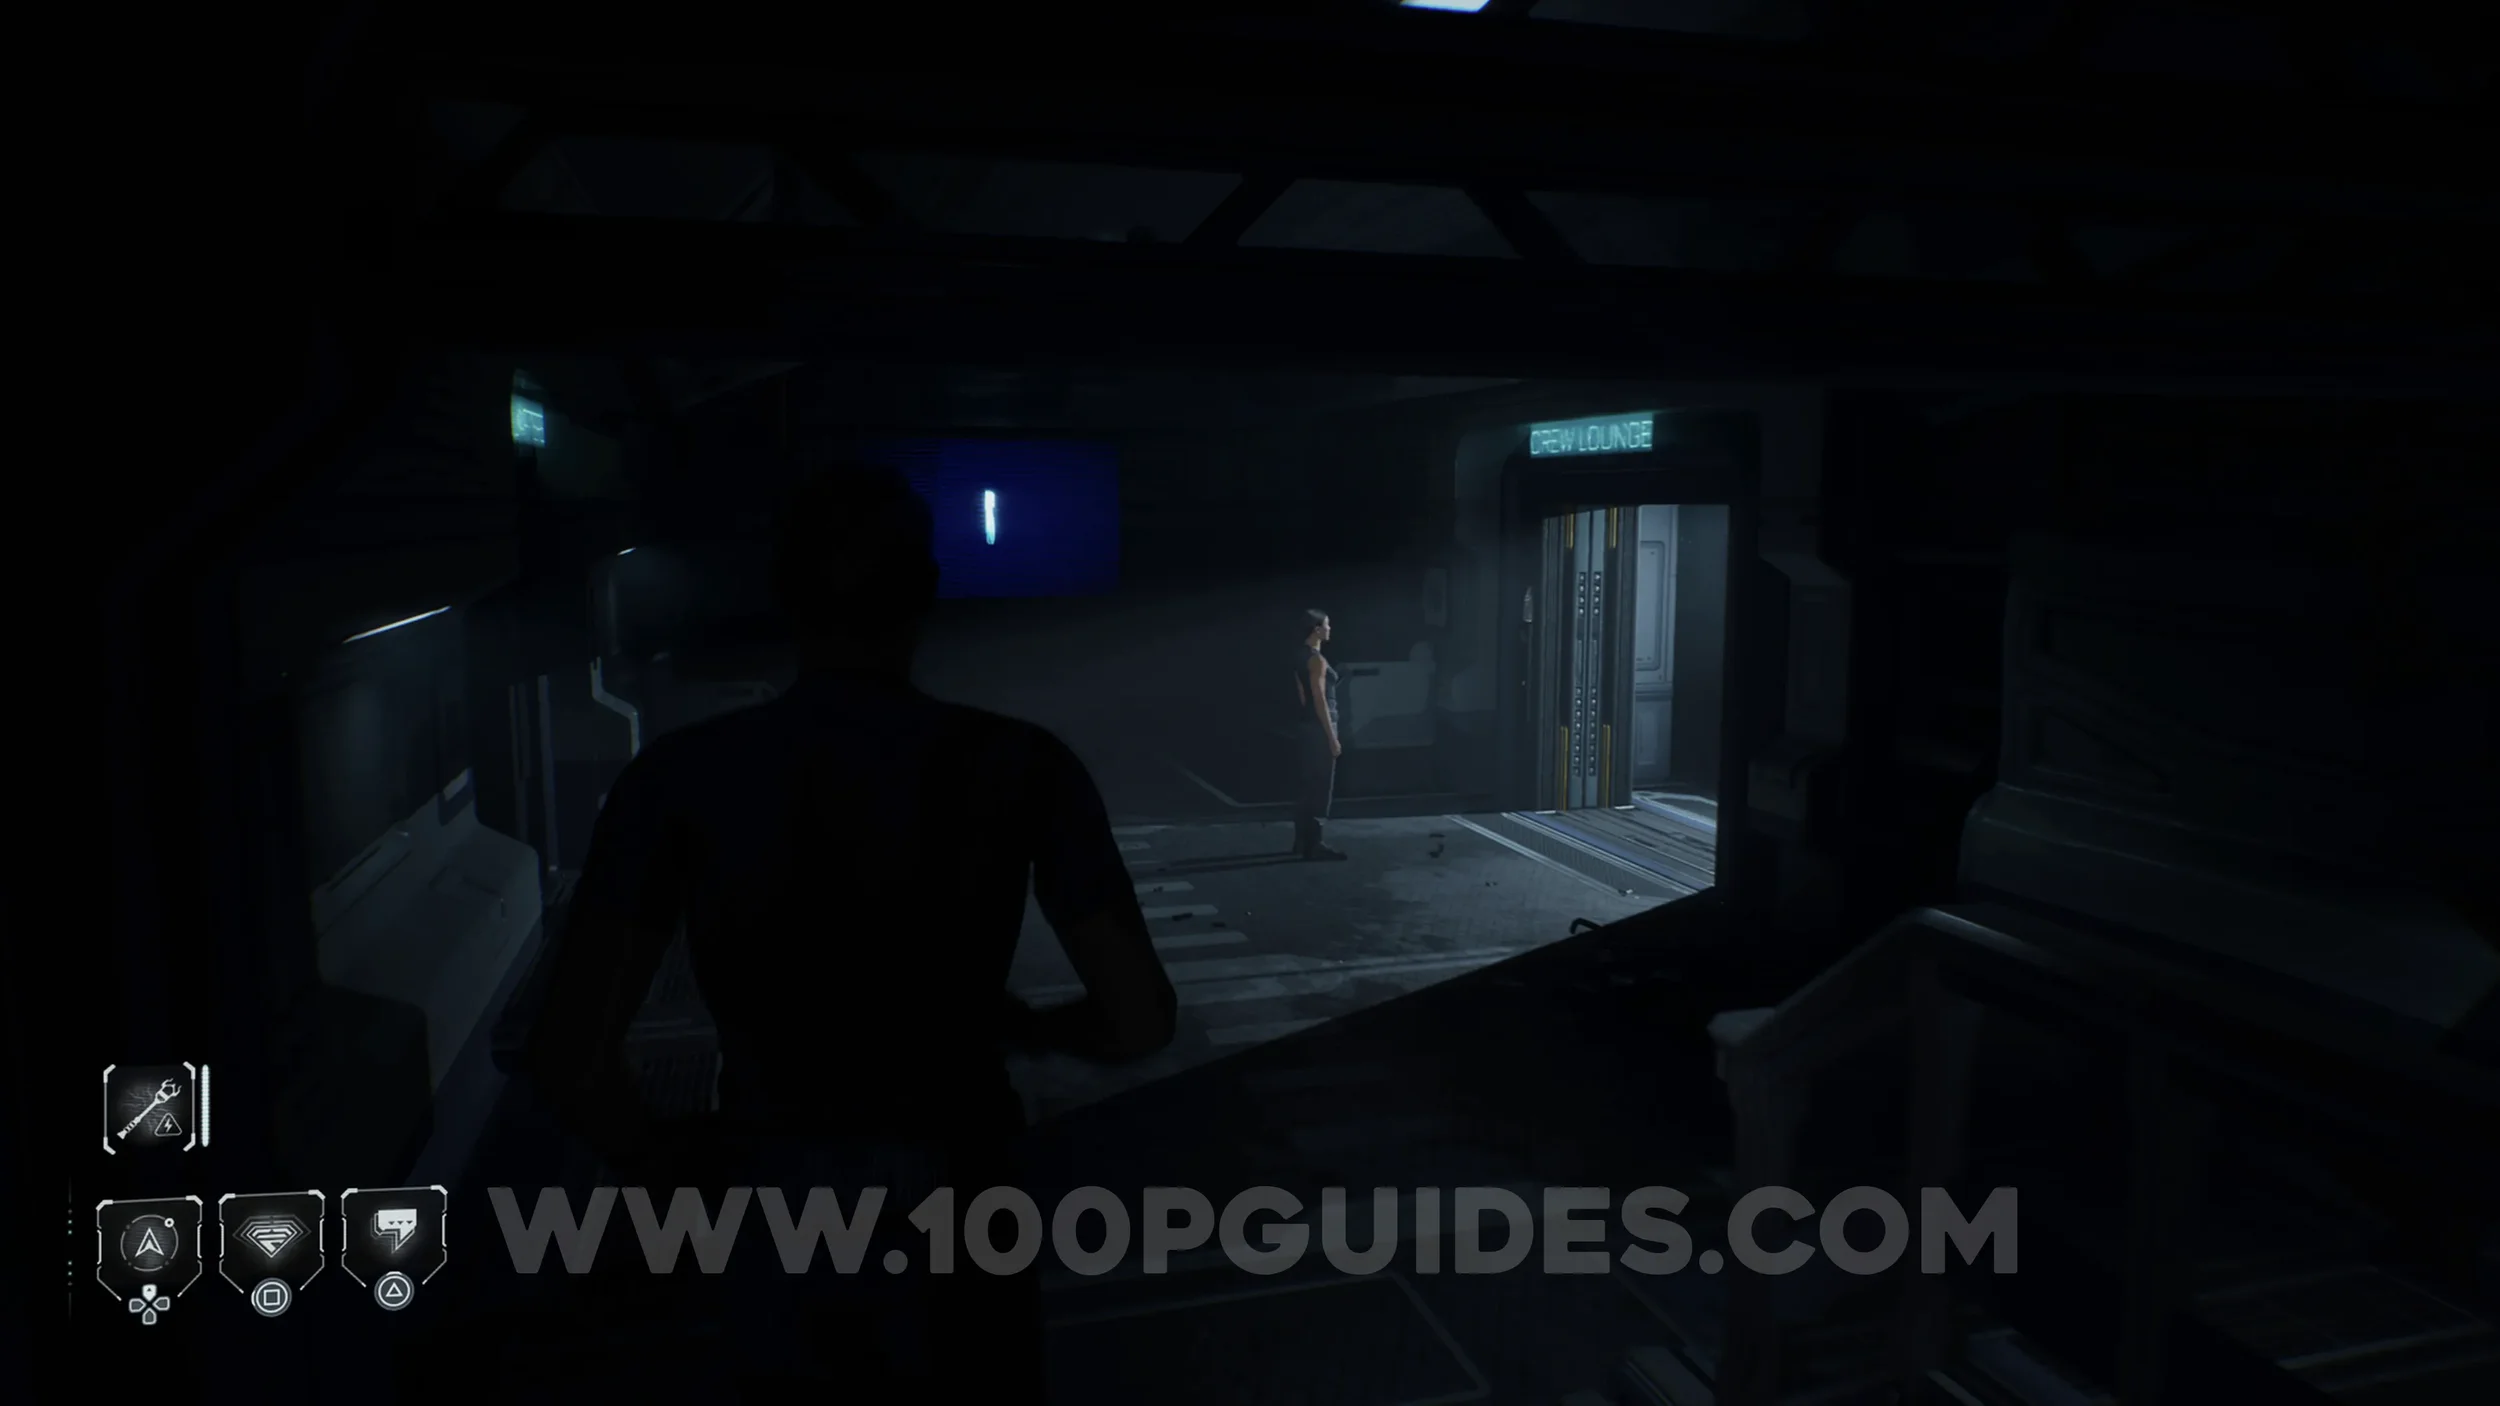
O Death #5 - Bloodlines. Episode 5 - Radio Silence. Soon after going down the lift, you will see Cooper head through a door in front of you. Before following her, go down the stairs to your right and then go left. At the end, head up the stairs on your left to find the final collectible on the bench.