Luna Abyss All Collectible Locations
This guide will show you where to find every collectible in Luna Abyss.
This guide will show you where to find every collectible in Luna Abyss.
There are a total of 116 collectibles in Luna Abyss. These are:
87 Lore Entries
10 Health Increases
15 Drift Crystals
4 Weapon Upgrades
There are also weapons and skills. However, these are not included in the guide since they are story-related and unmissable.
Nothing is missable since you can use the Select Level option in the menu to replay any sub-chapter. Just make sure you reach a checkpoint and then use the Exit Level Select option after picking up a collectible during Level Select for it to save and count.
The in-game collectible counters for some sub-chapters appear to be slightly off, and you can also find some collectibles in earlier chapters than the one they count towards. As a result, this guide may differ slightly from the in-game counter.
Index
CHAPTERS
Prologue
Chapter 1
Chapter 5
Chapter 6
PROLOGUE - A NEW SCOUT
No Collectibles in this chapter.
CHAPTER 1 - SORROW CANYON
Lore Entry #1 (Memory - Entry #543 - The Last Stand). Hard to miss. It’s leaning against the door right at the start of the chapter.
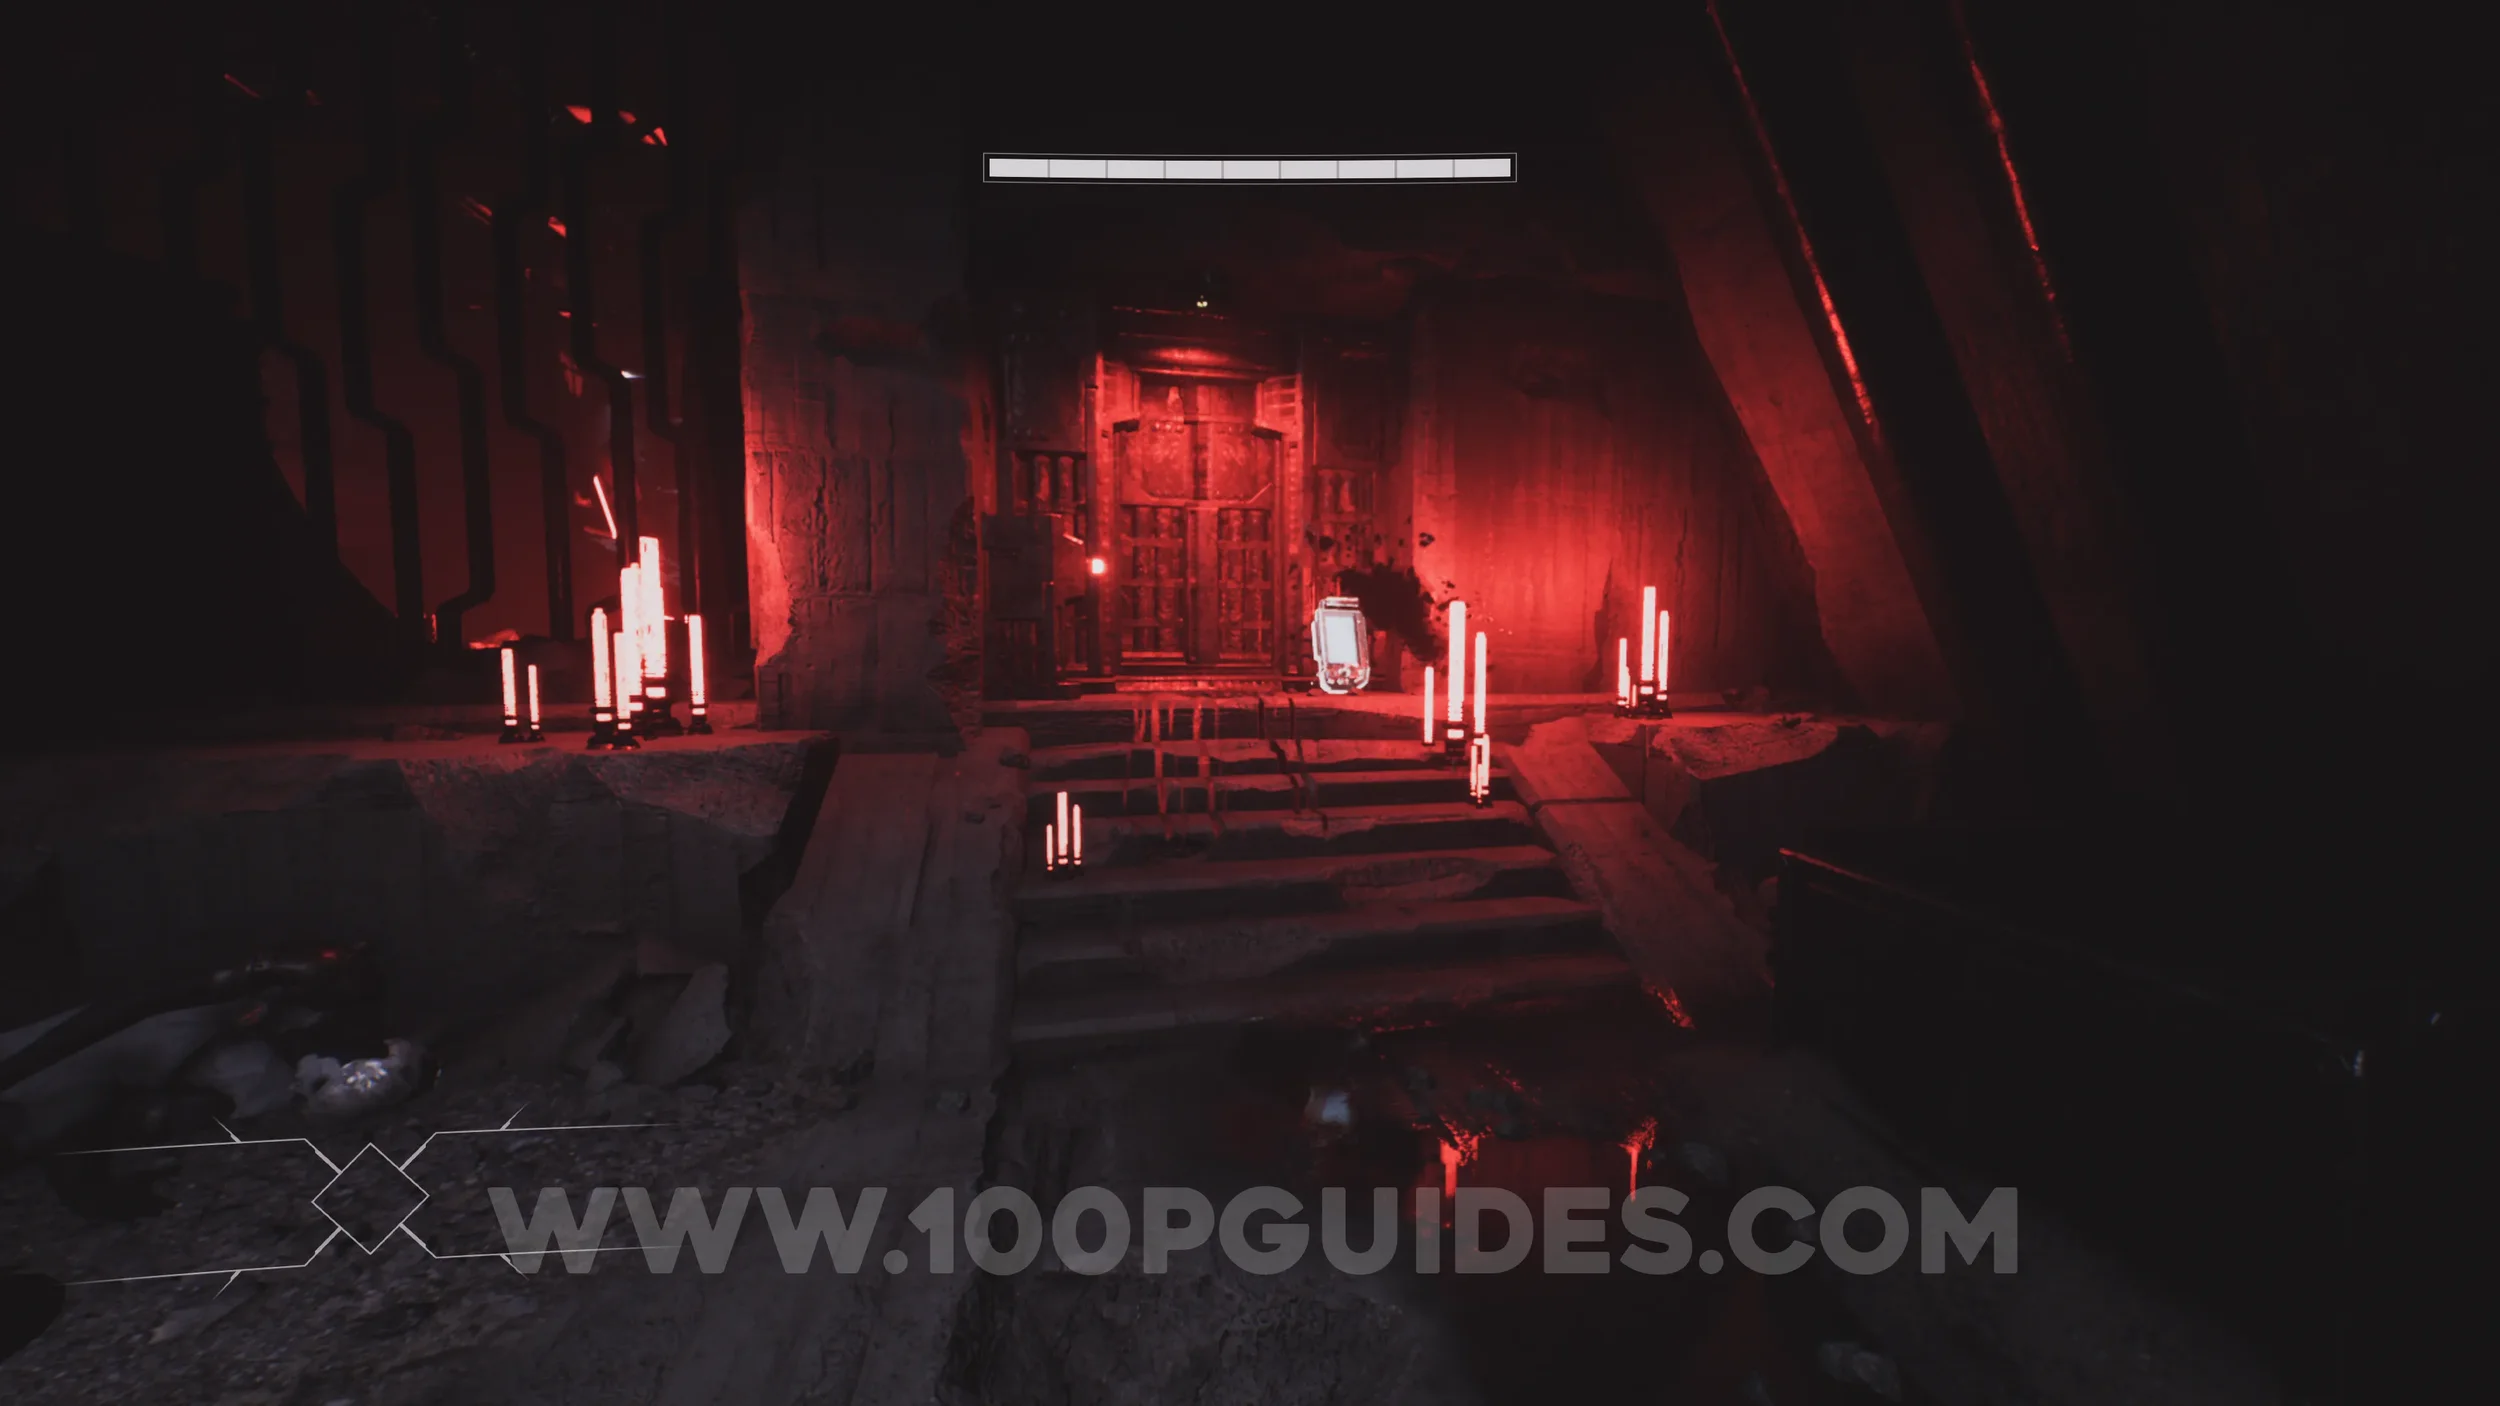
Lore Entry #2 (Memory - Entry #2 - Help Us). Found in plain sight along the main path shortly after a shadow runs across the area when you emerge from the pipe.
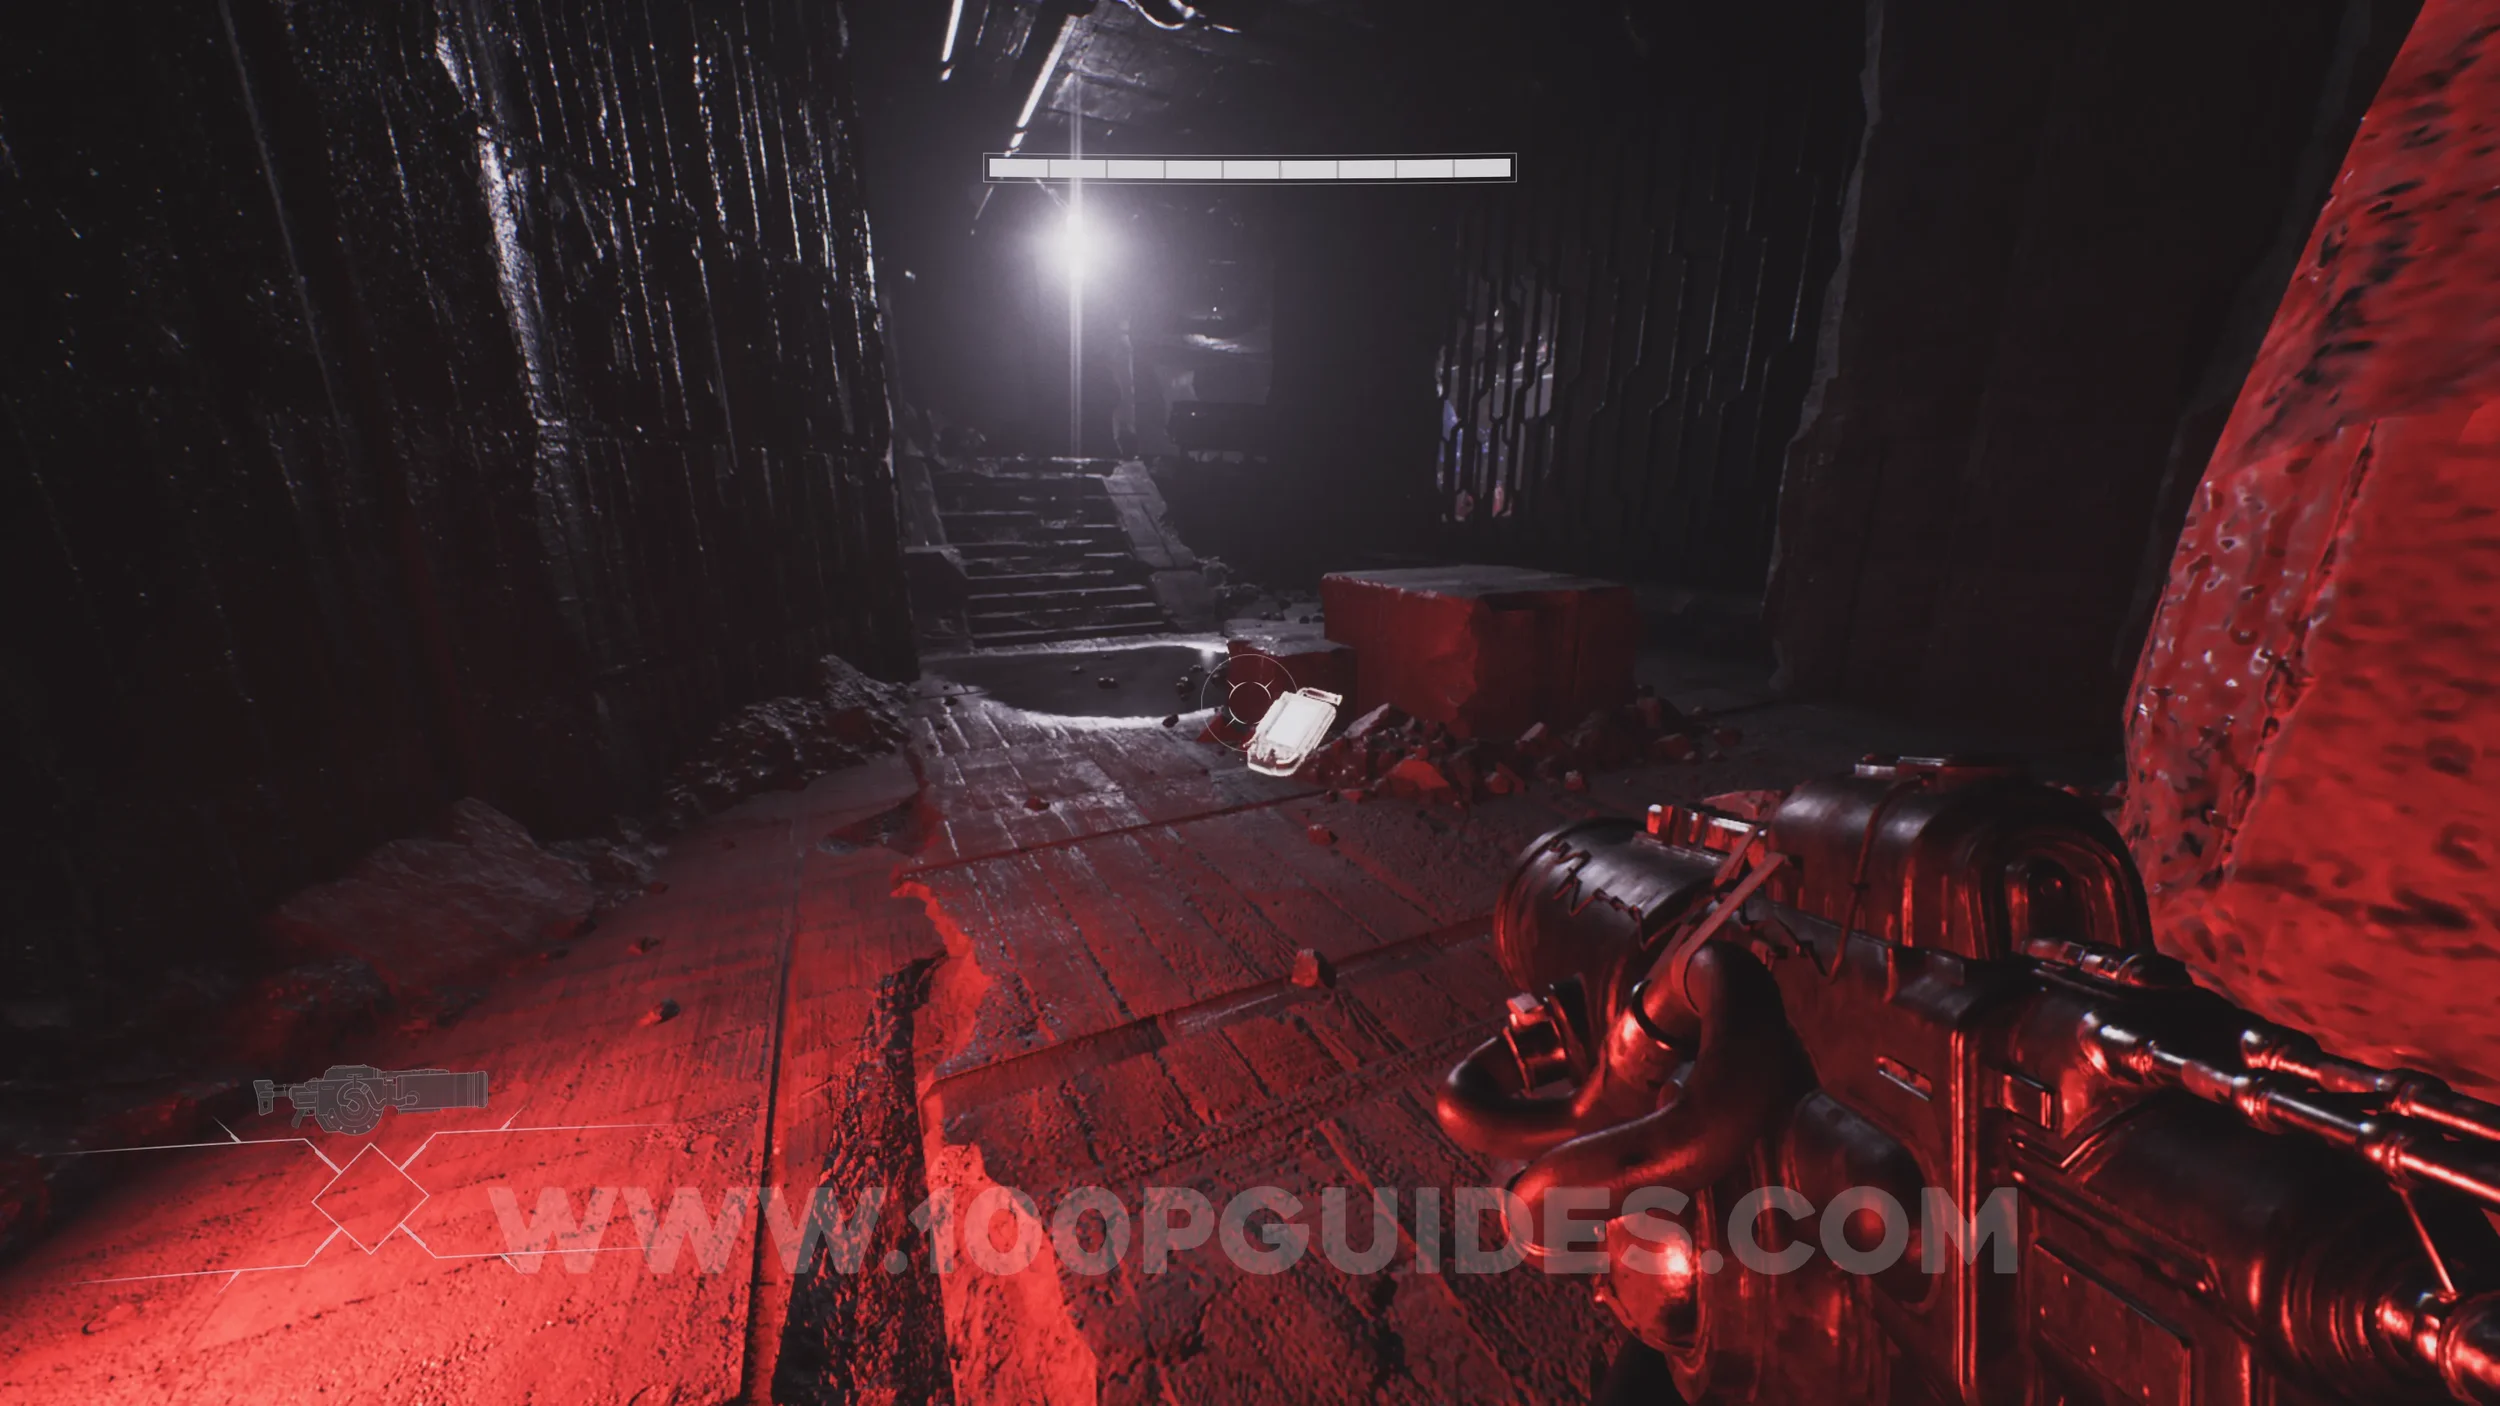
Lore Entry #3 (Character - The Waif). After speaking to the Waif NPC, go through the metal door with the red light beside it and walk across the pipes ahead. On the left side, look for a set of pipes that forms a ramp leading down to the collectible.
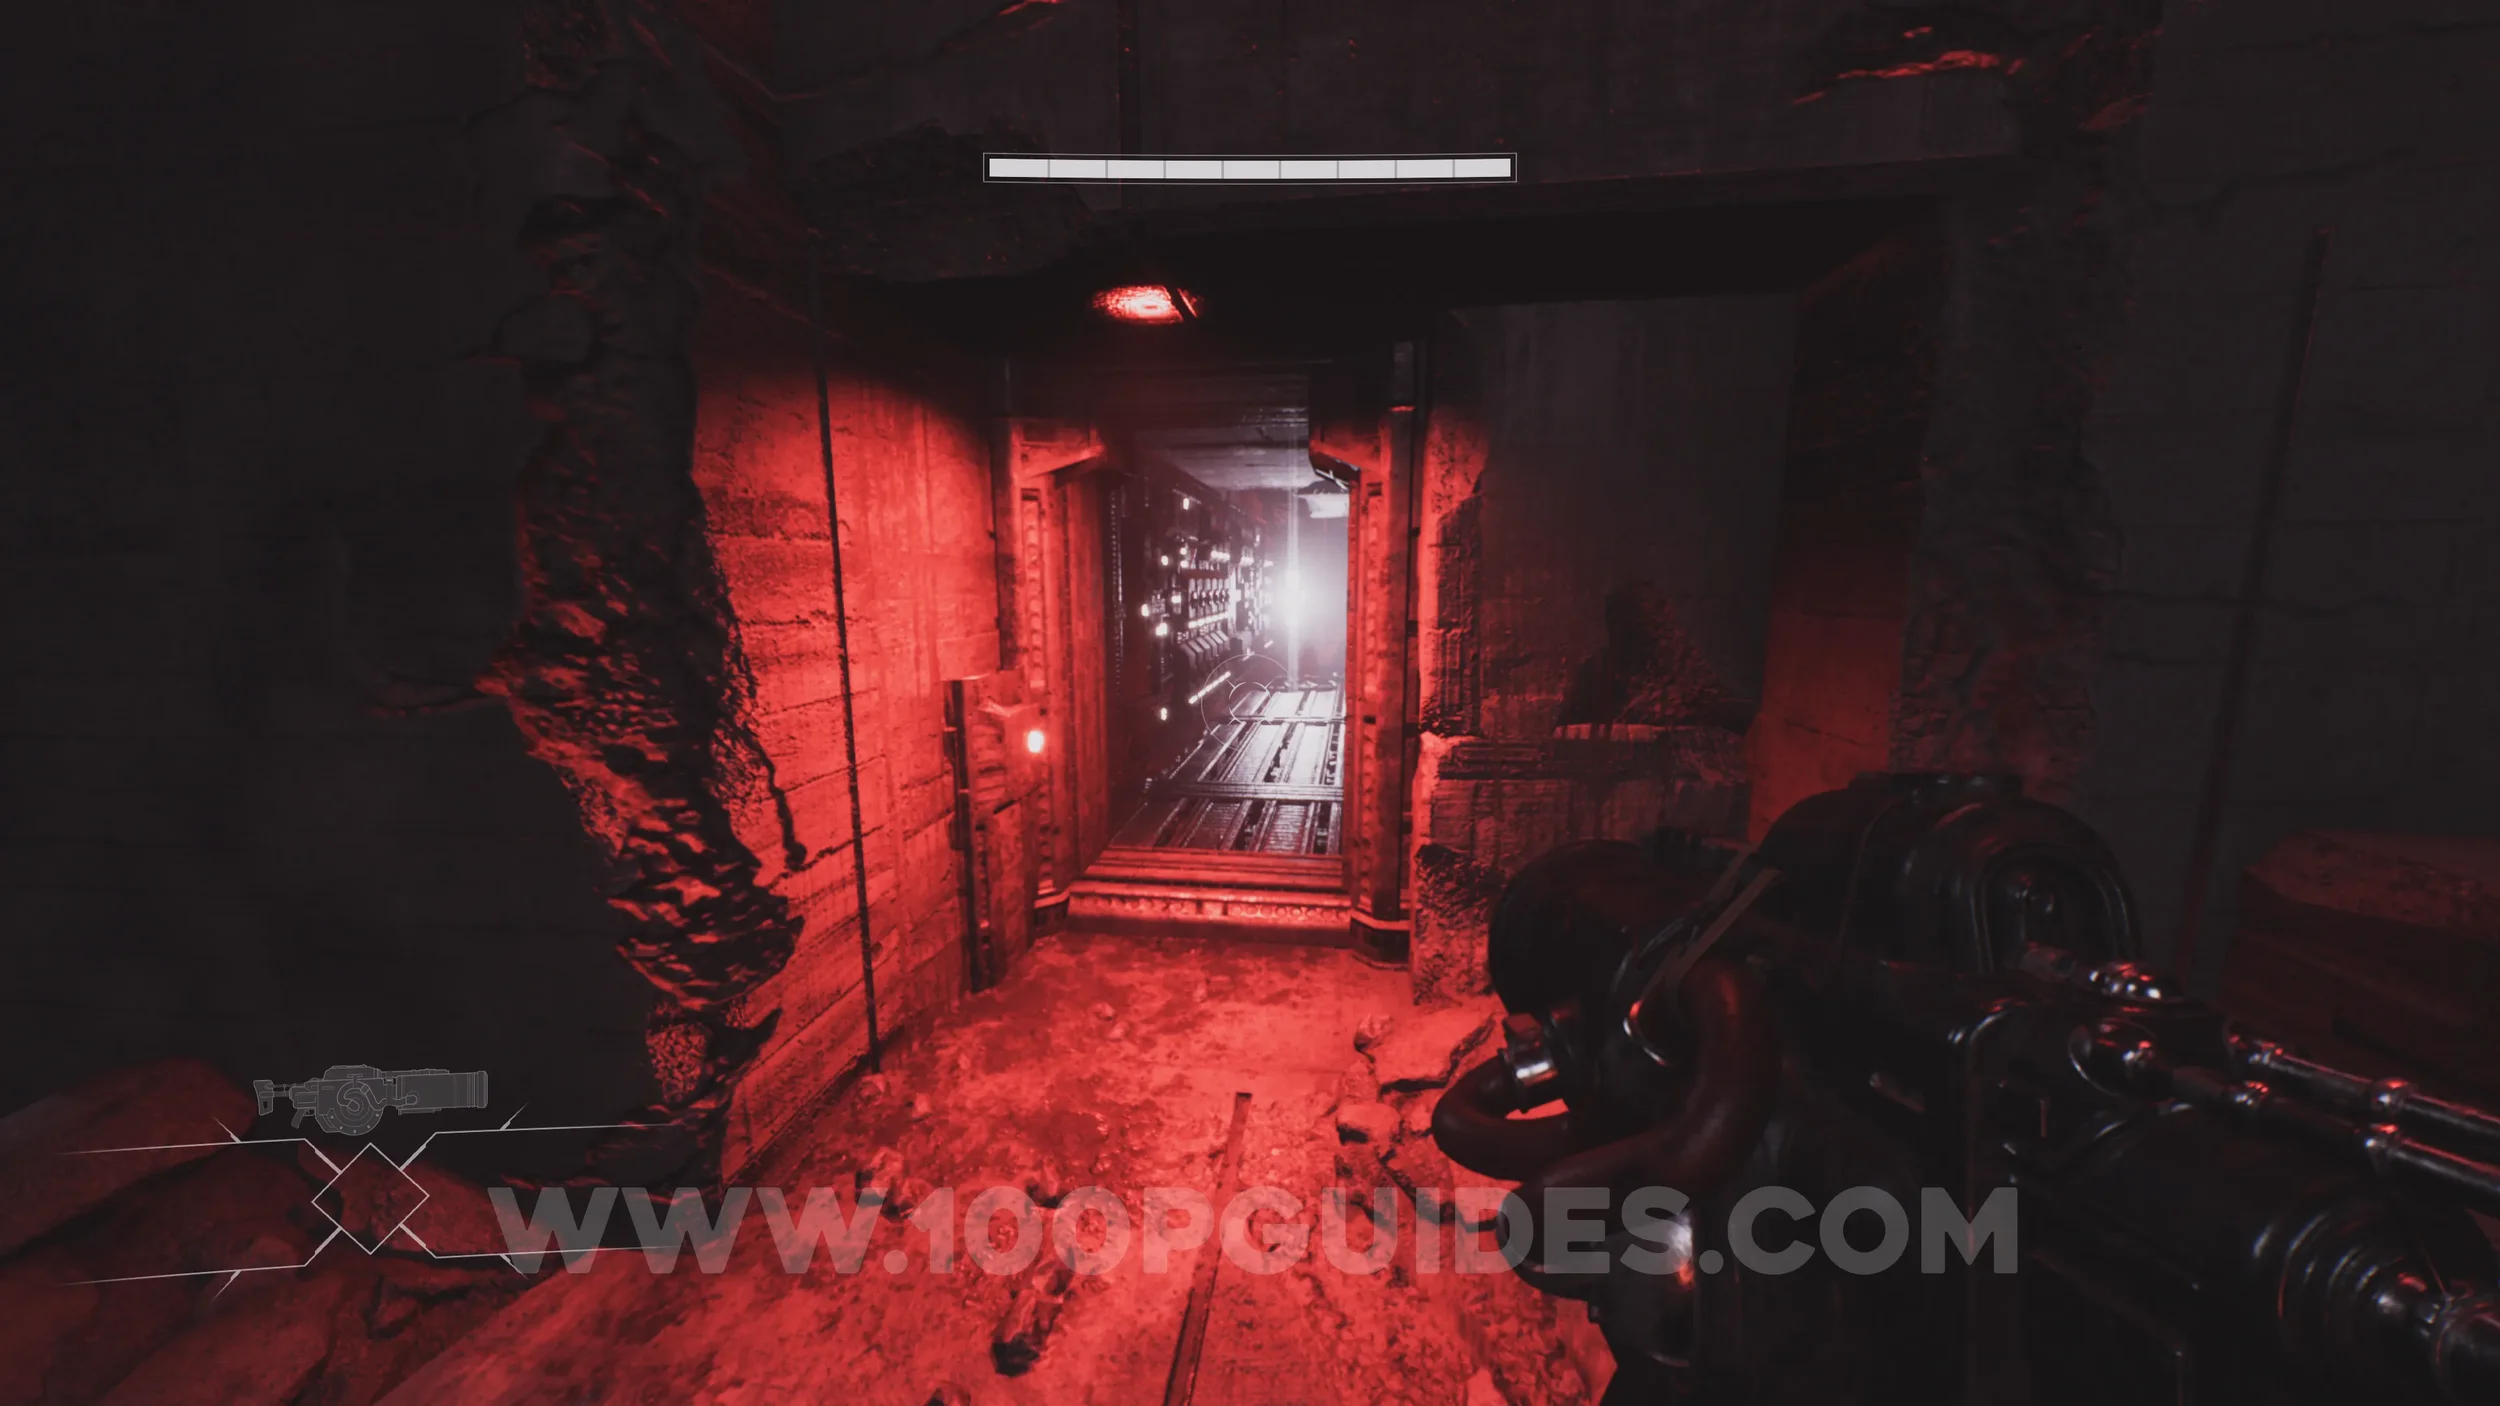
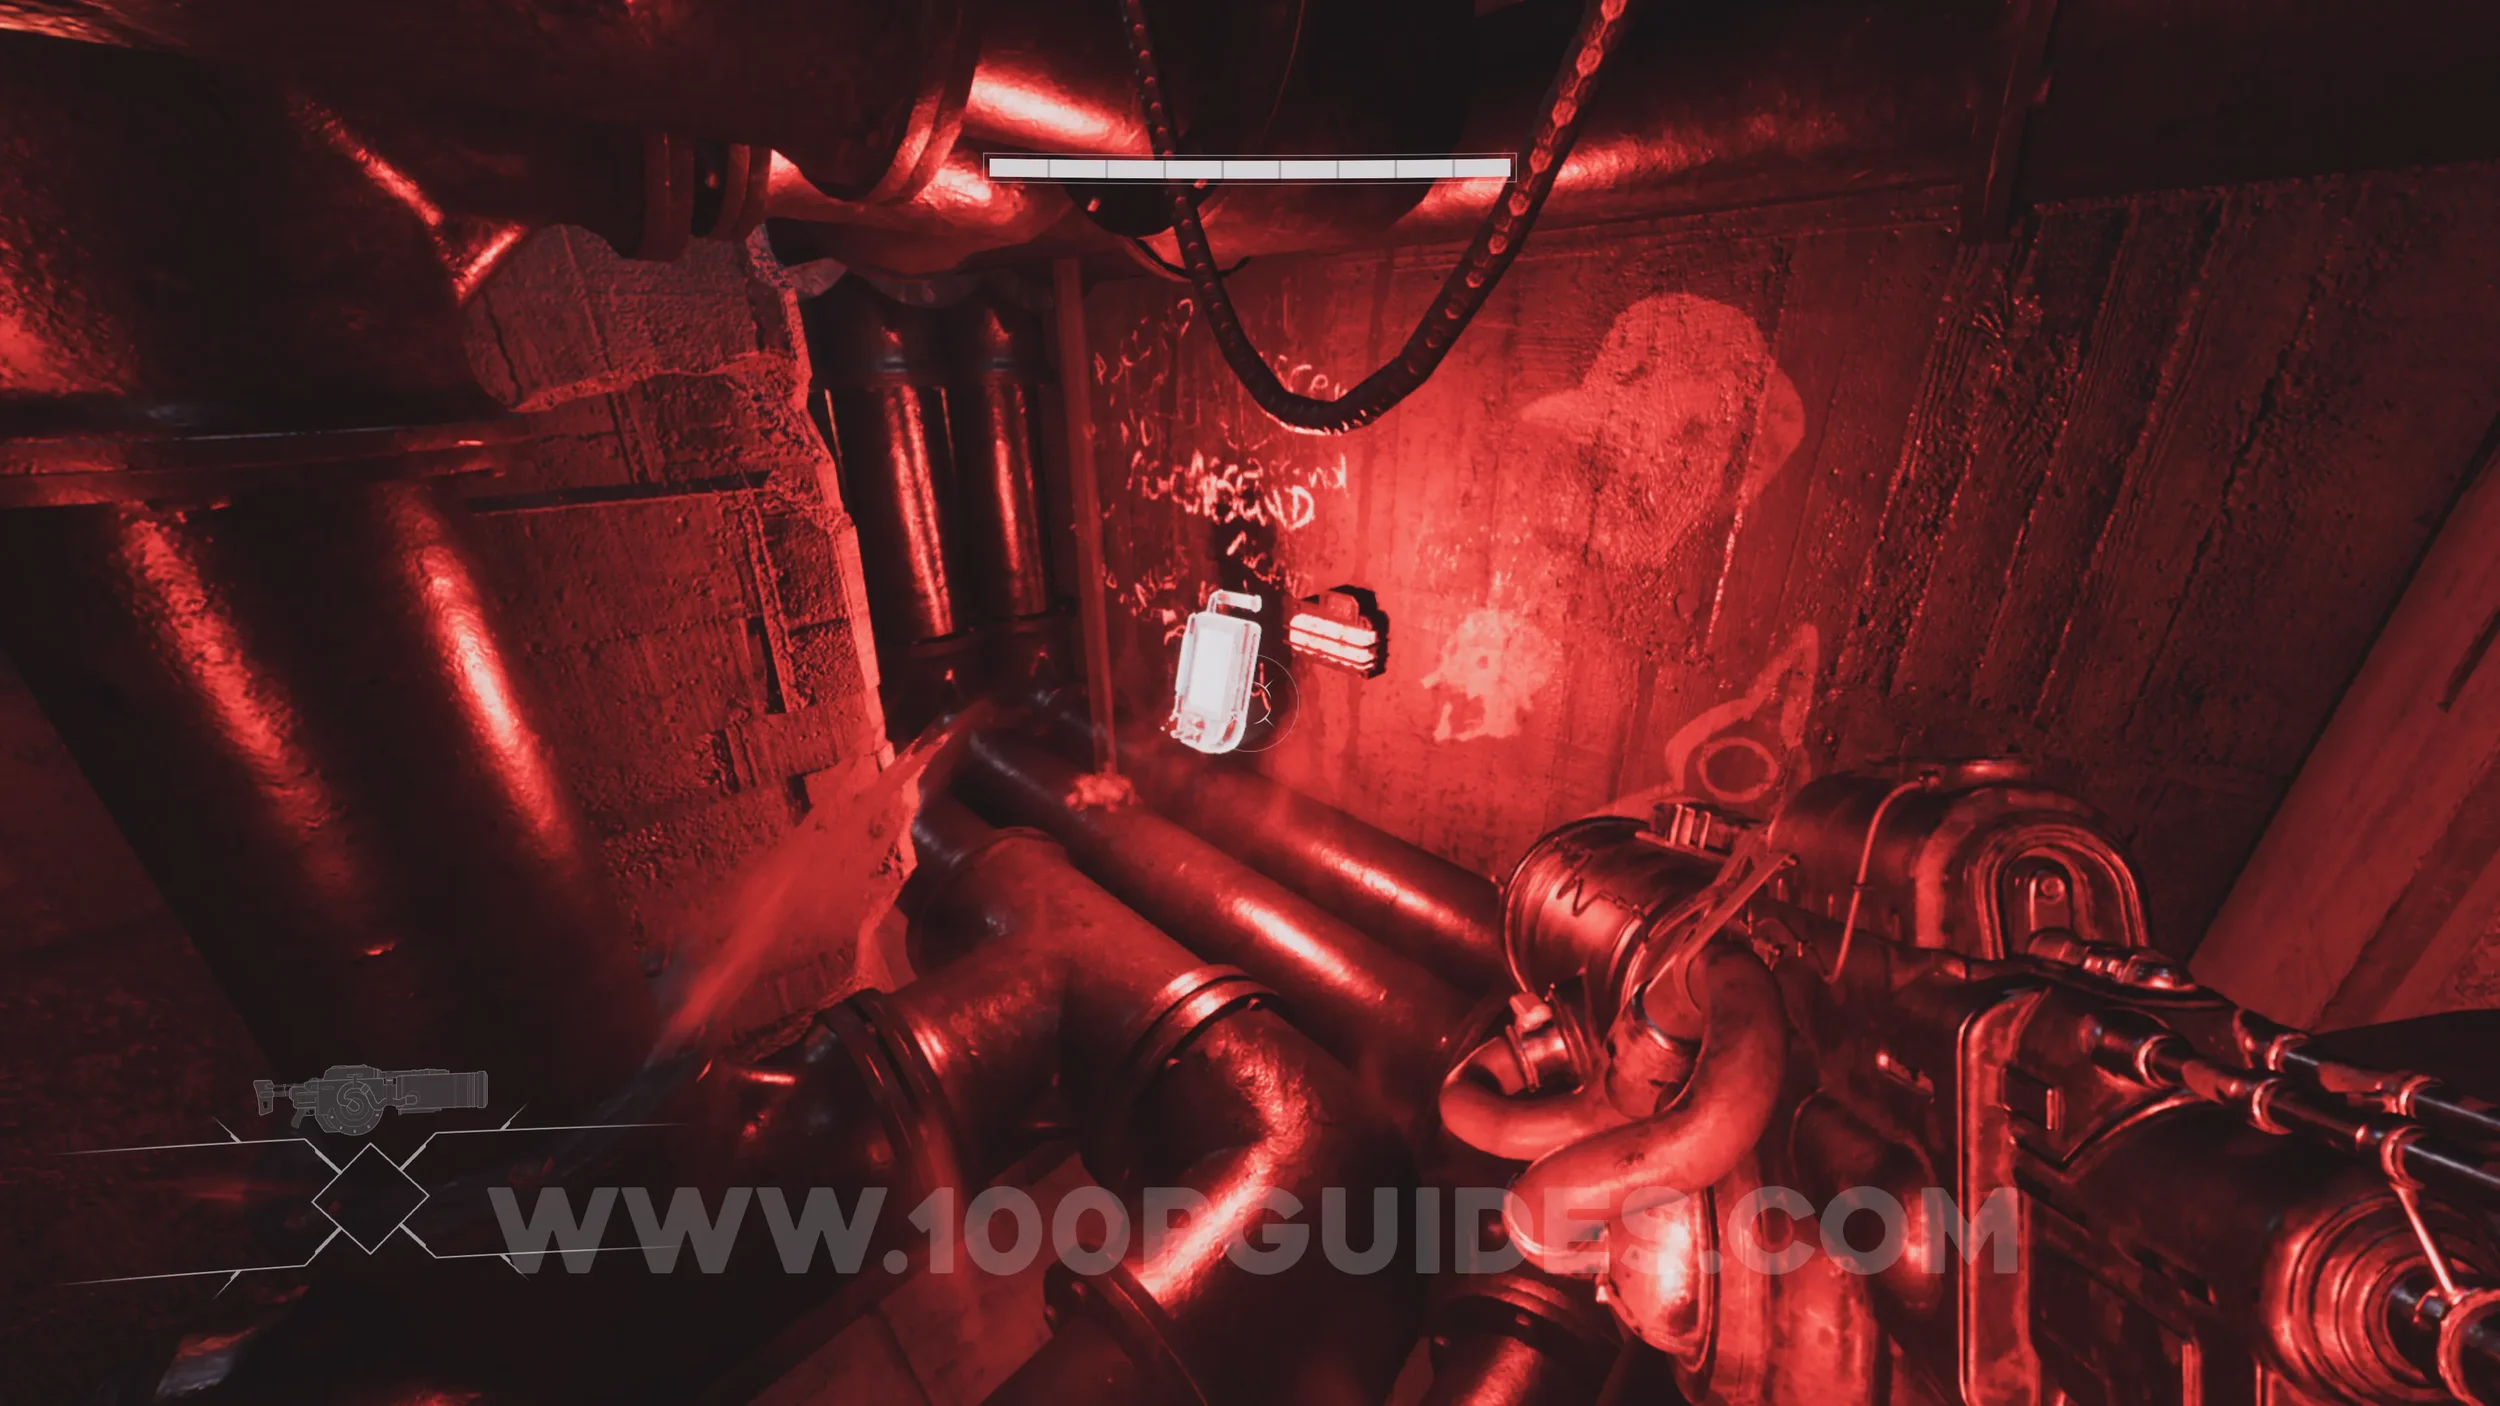
Drift Crystal #1. After learning to crouch and going through the pipe, follow the path around to the right along the pipes and jump onto the moving platform. At the top, take the pipe leading down to the left to find the crystal. Shoot it to collect it.
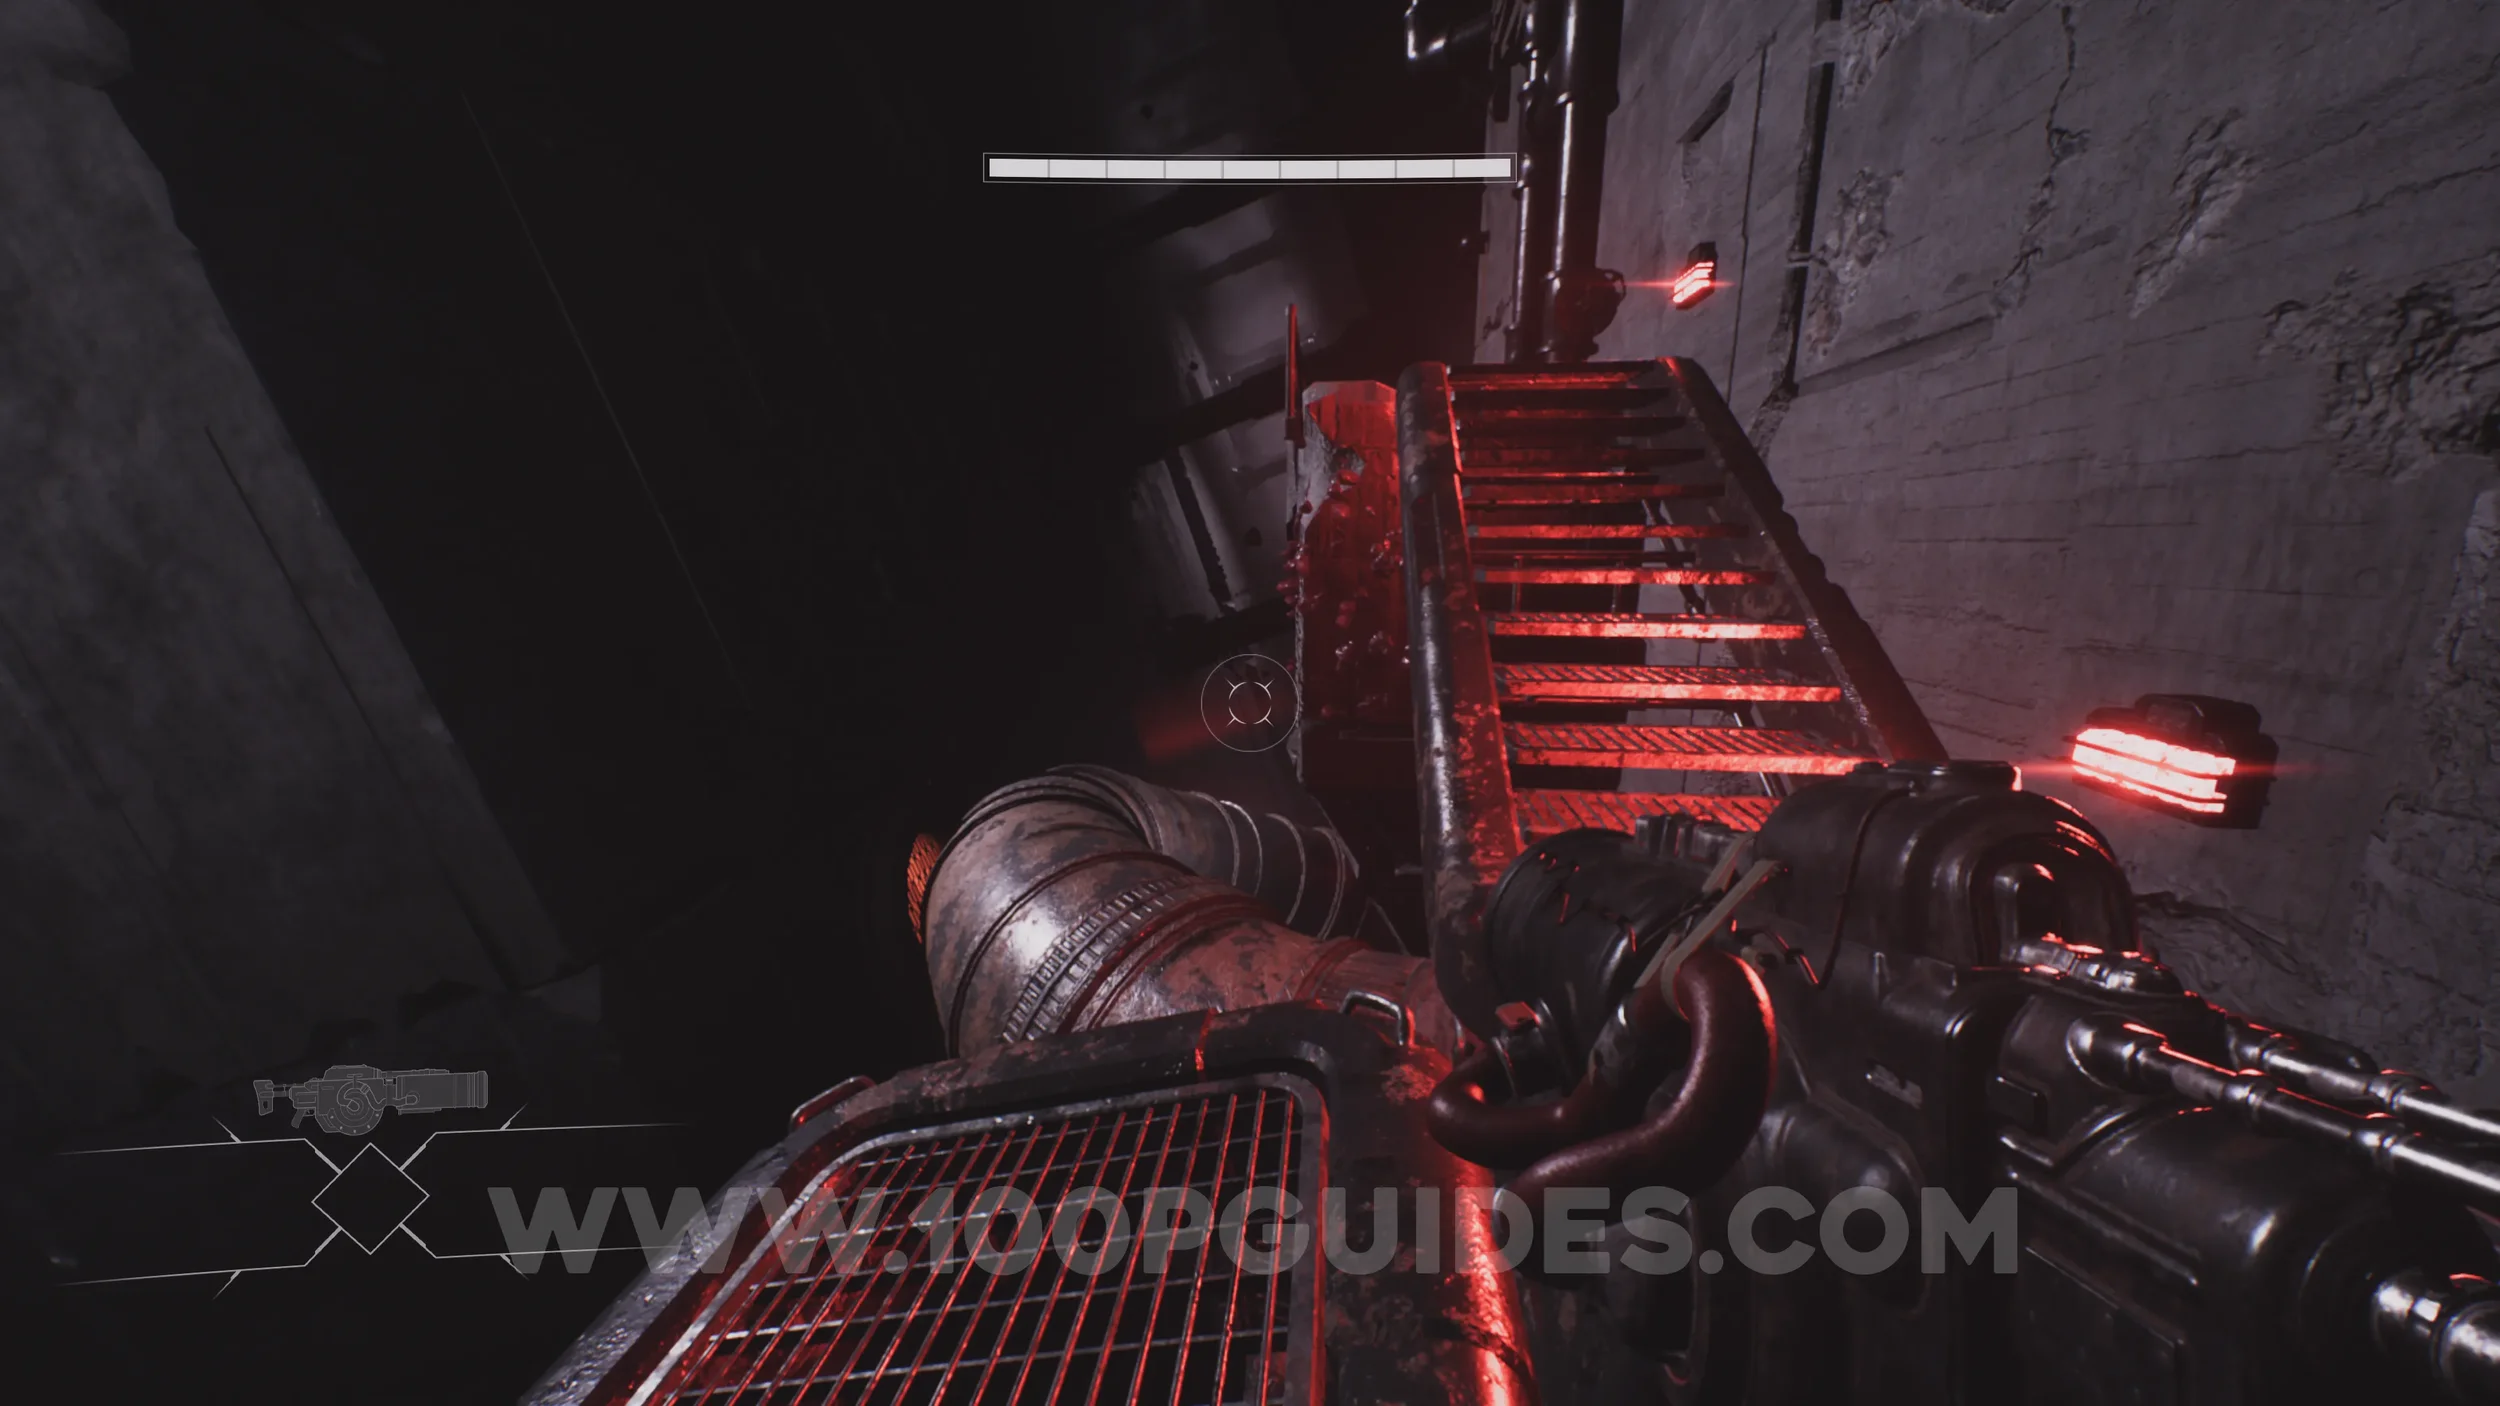
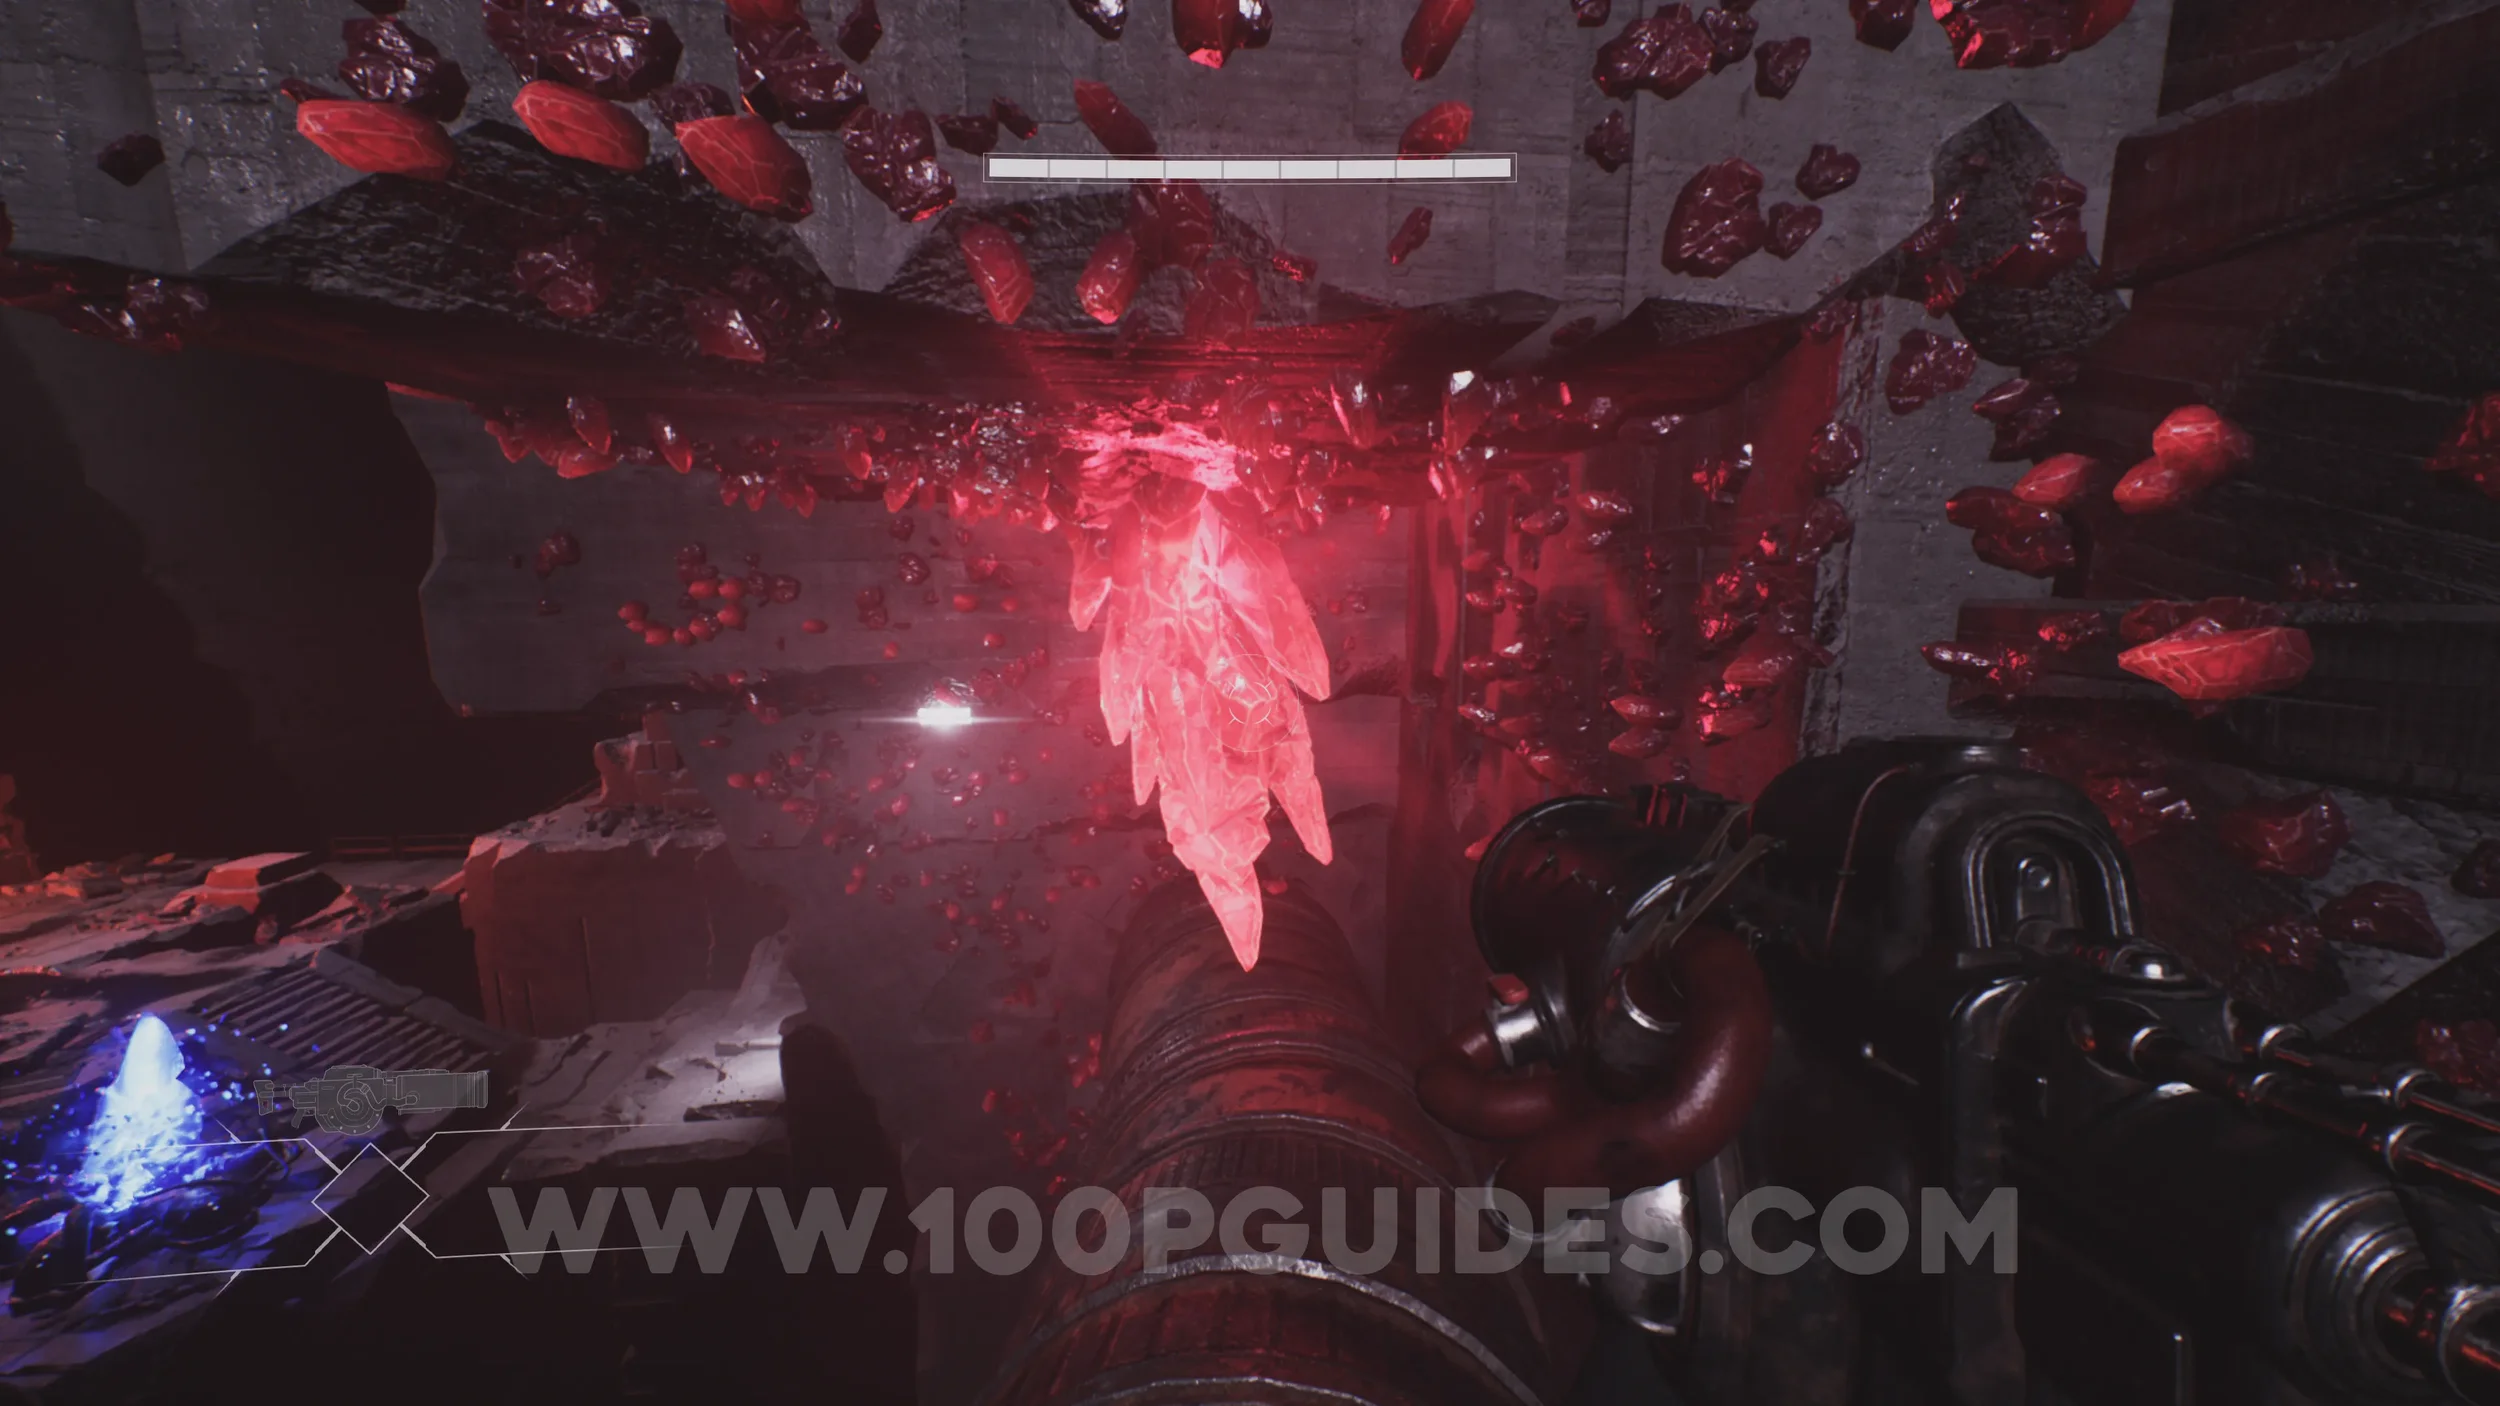
Lore Entry #4 (Monsters - Mother - Eyes). After sliding under the first purple lasers, you will soon reach a walkway made of pipes. Use the pipes on the right to jump across to the collectible.
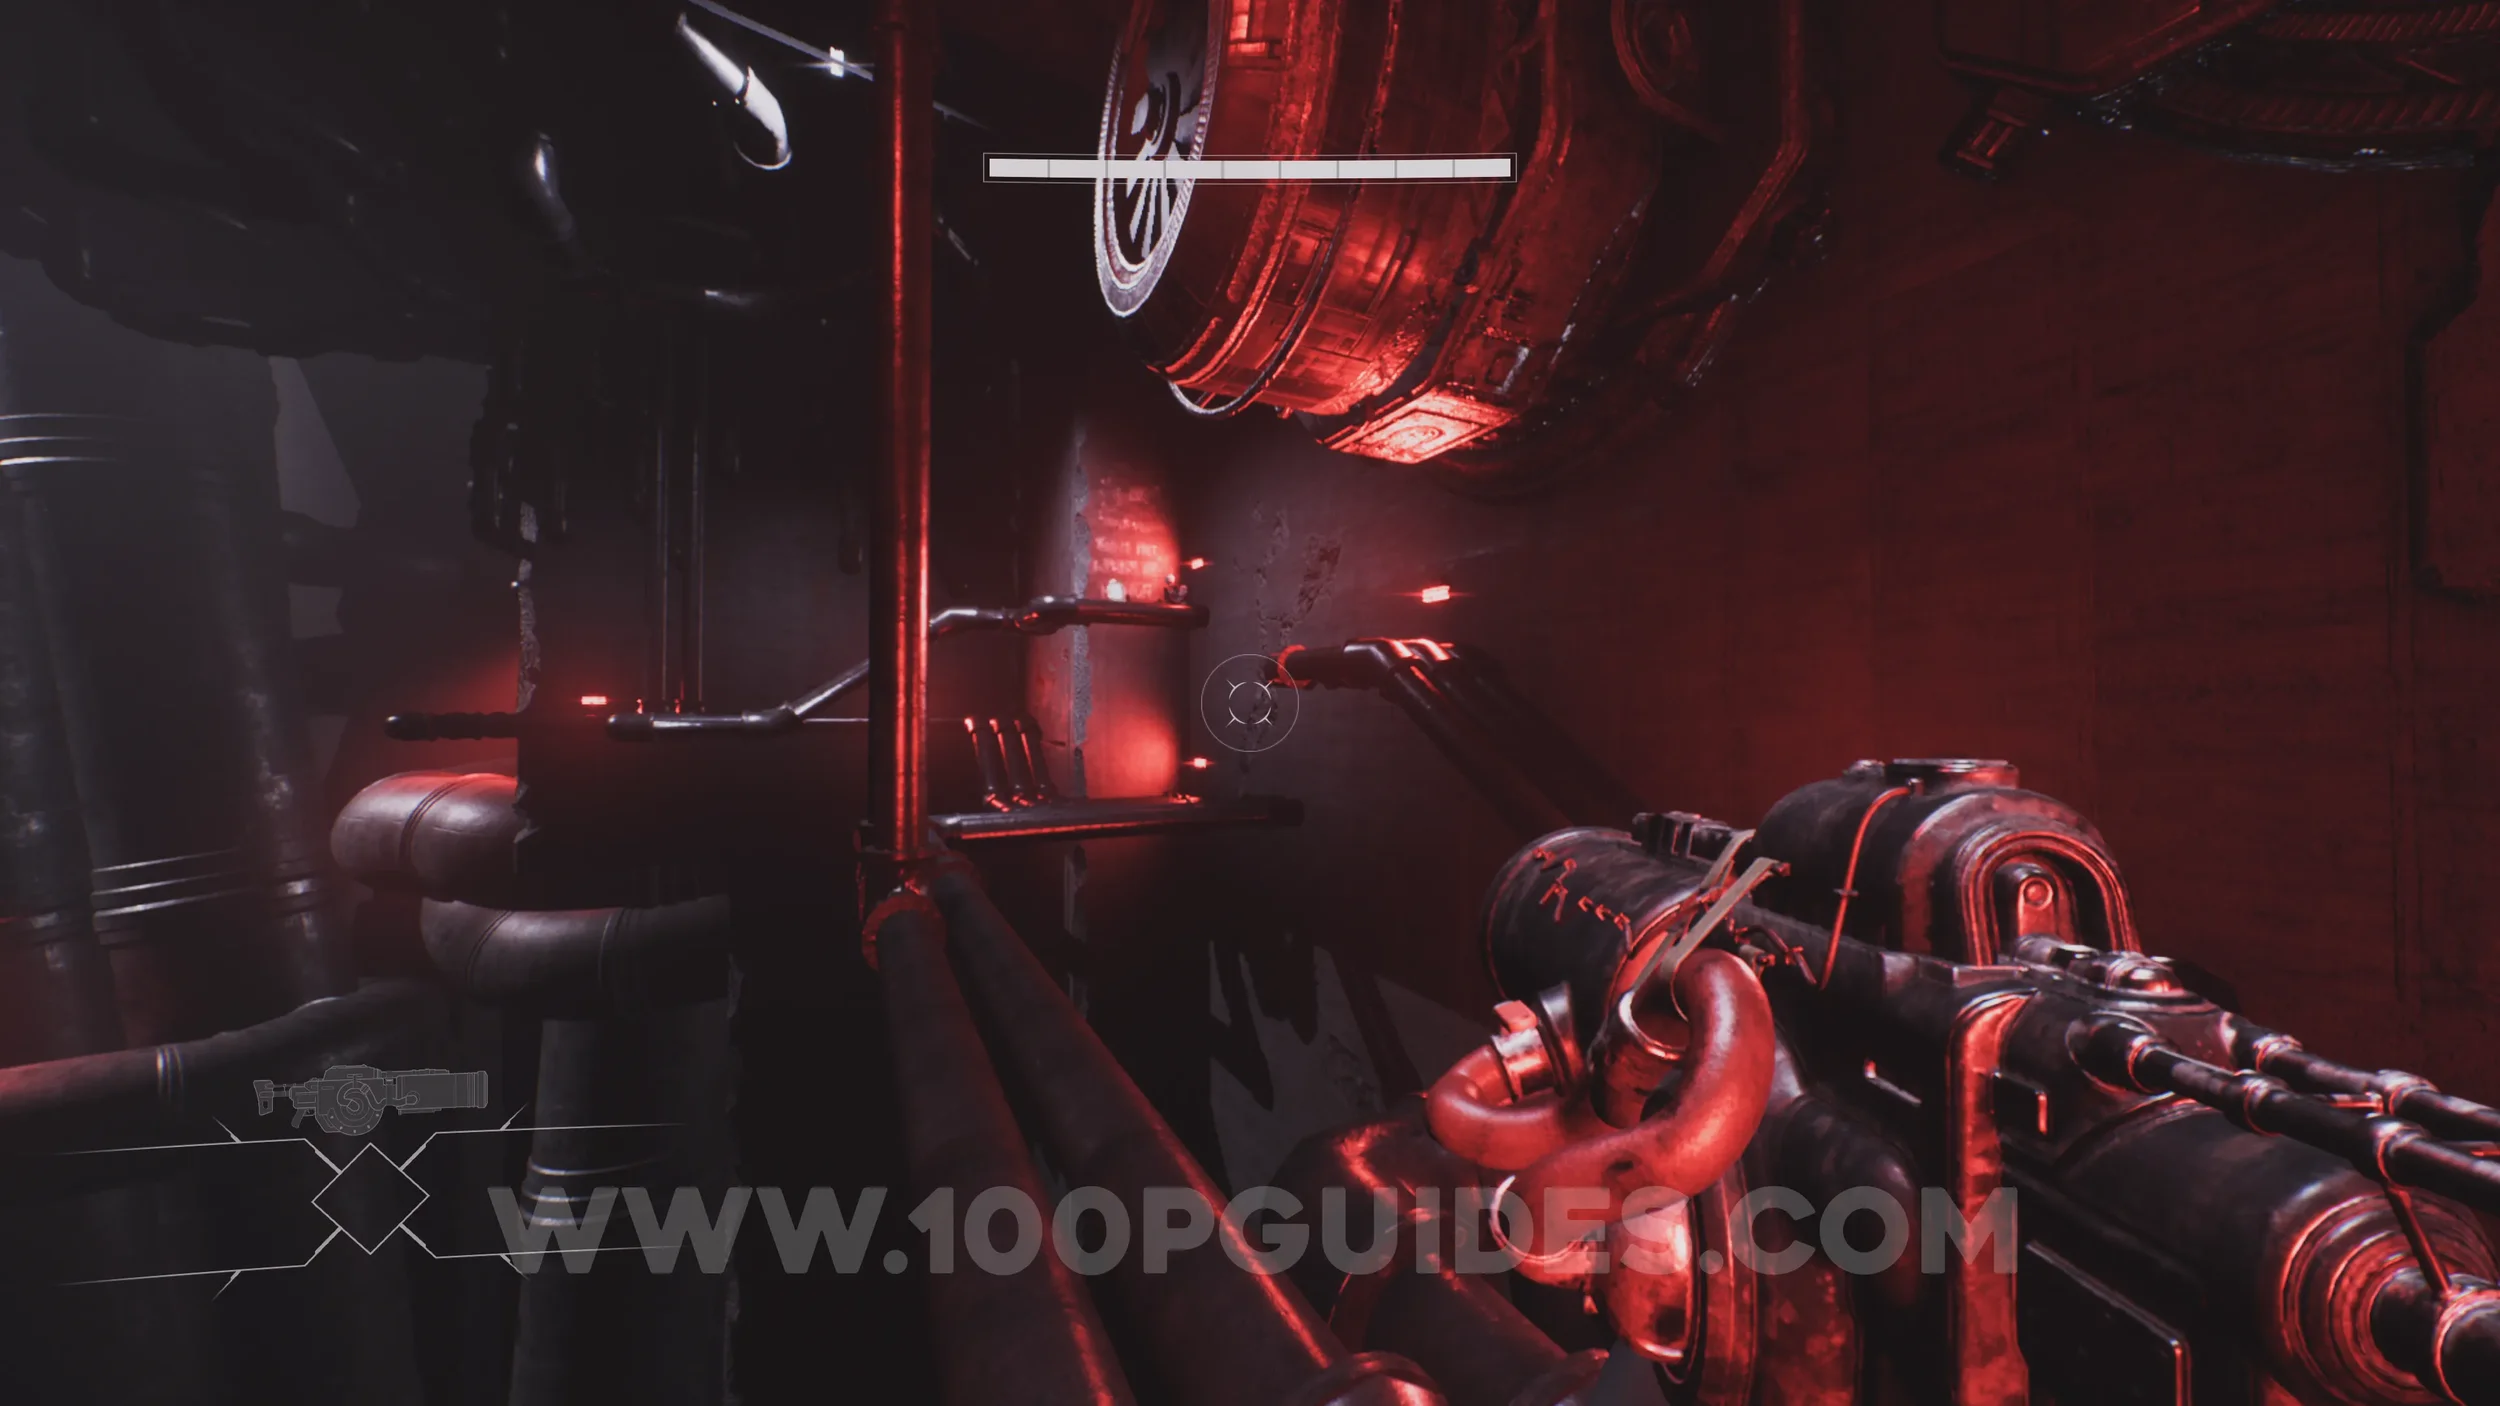
Lore Entry #5 (Memory - Entry #56743 - Crystalisation). Located to the left of the Shield Breaker Shotgun.
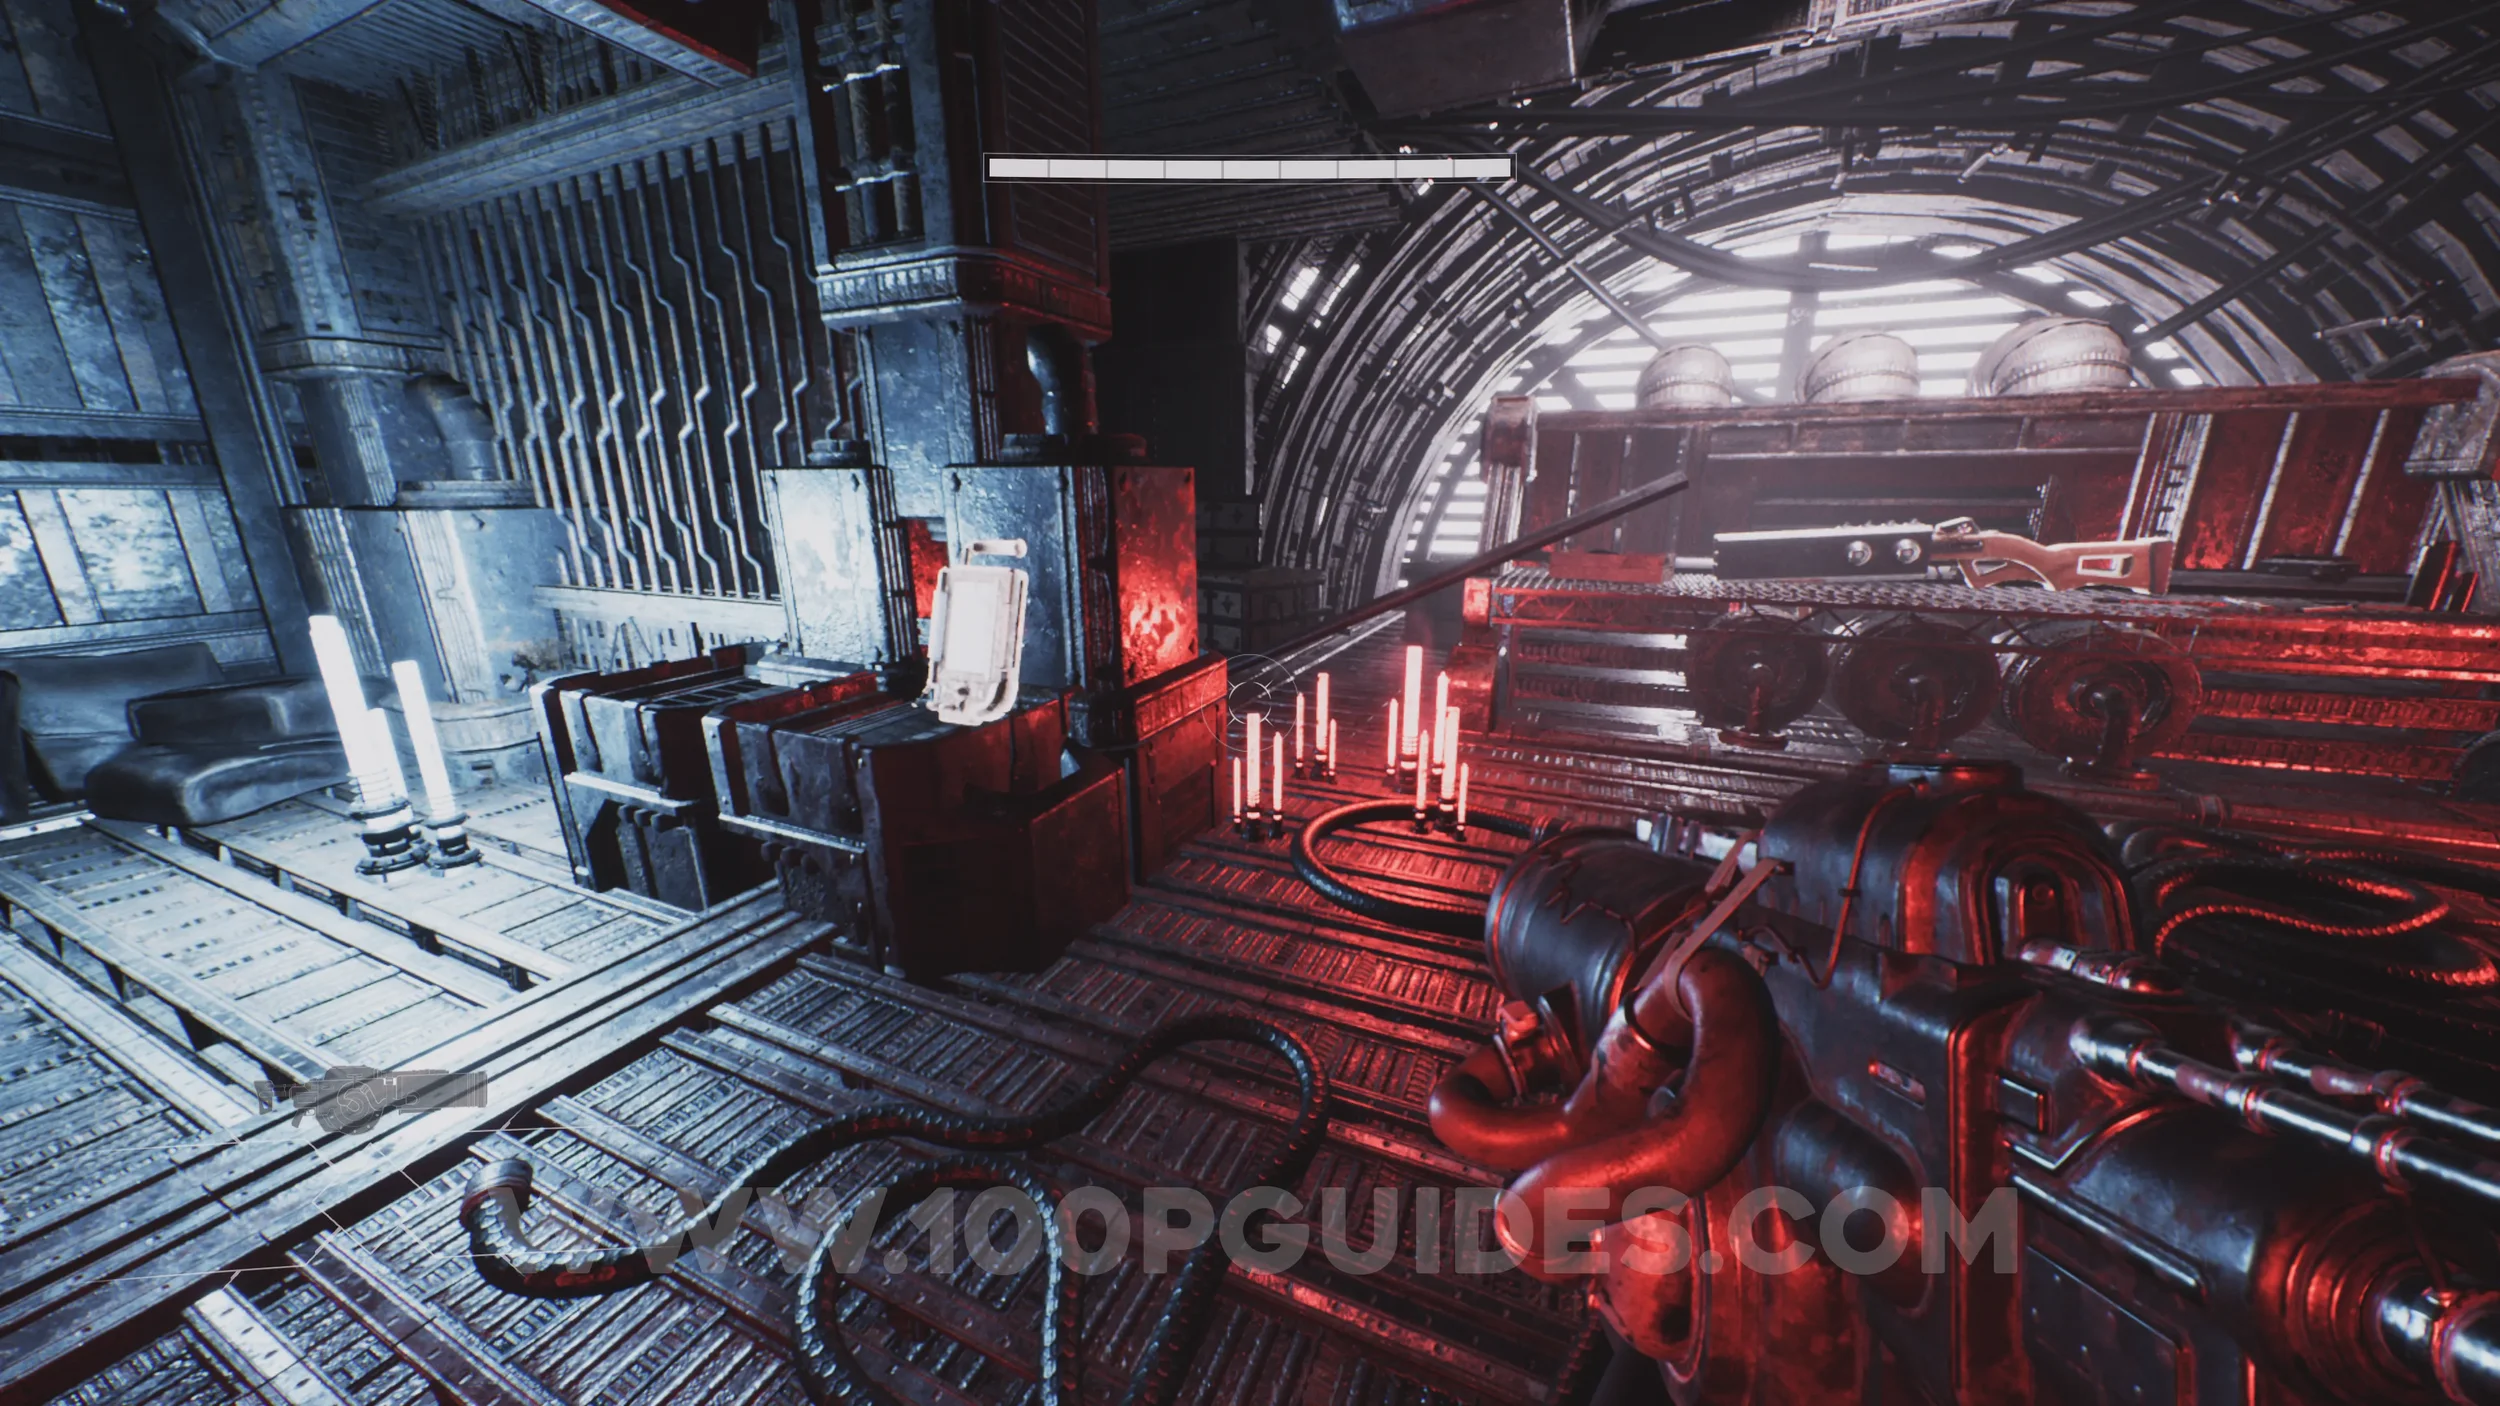
Health Increase #1. Continue through the level until a strange glitch message appears on the screen, as if someone is trying to disconnect you. Shortly after, you will fight some enemies in a room with a checkpoint on the upper level. Just past the checkpoint, you will see a yellow chest. Shoot the orb on the chest to open it and collect the upgrade.
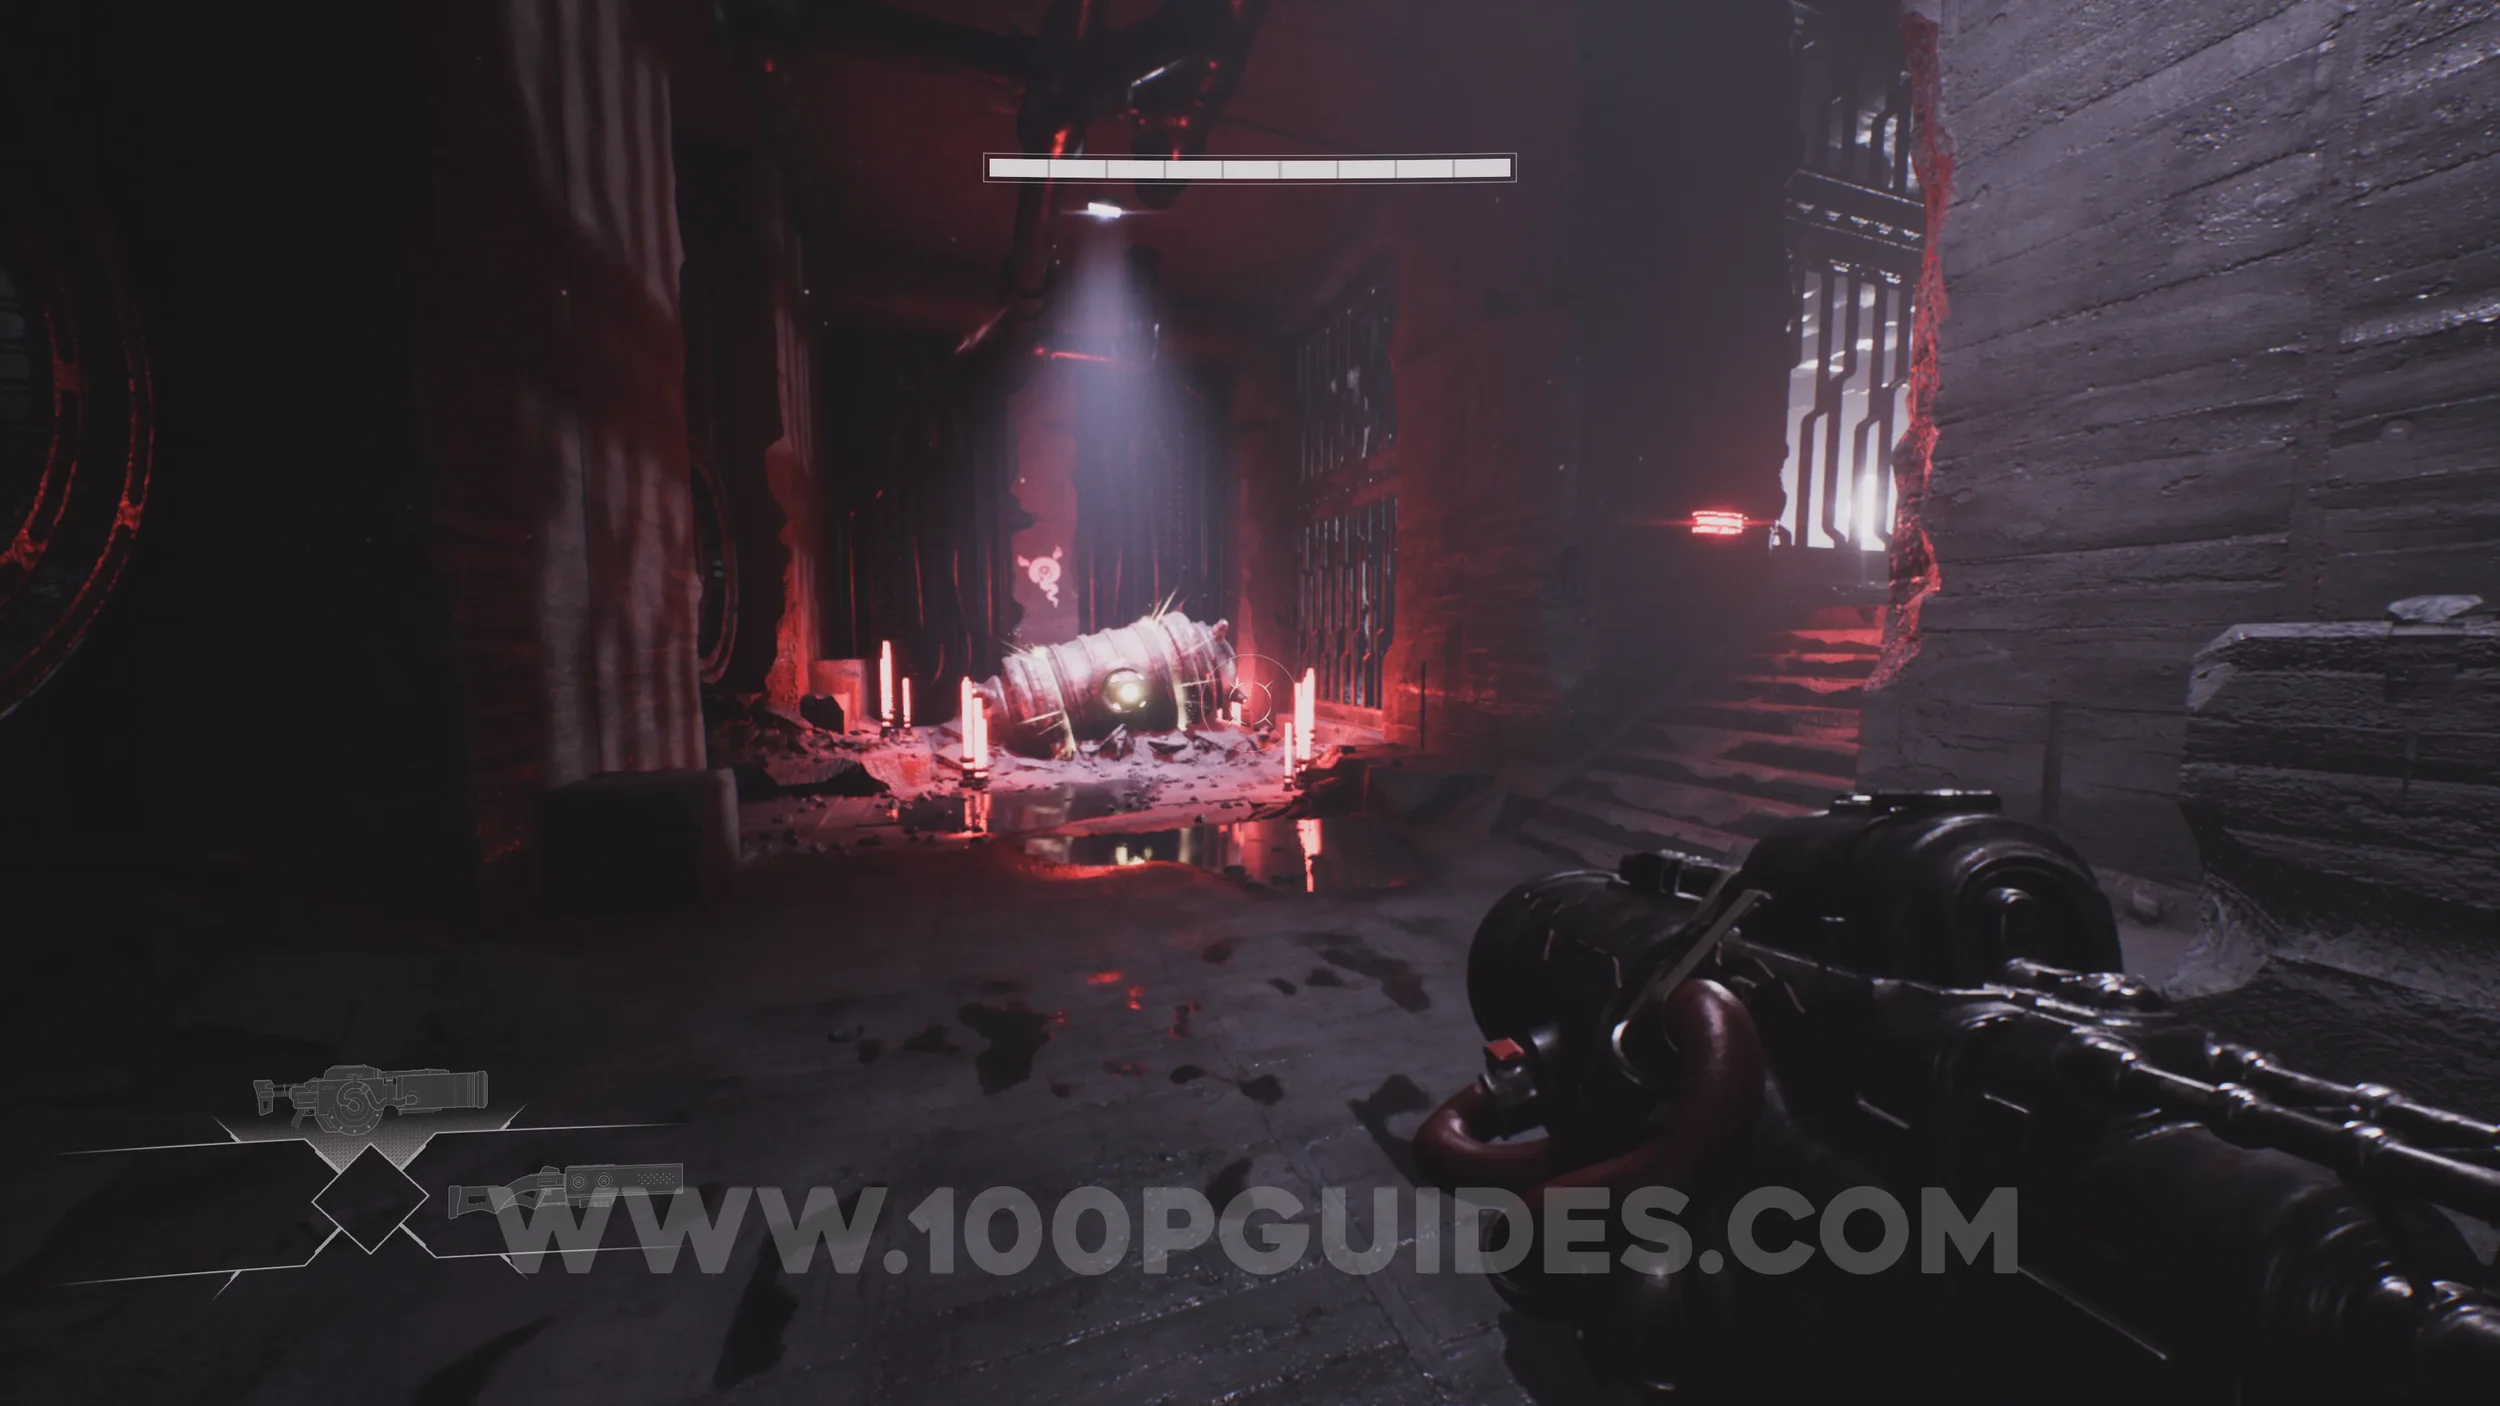
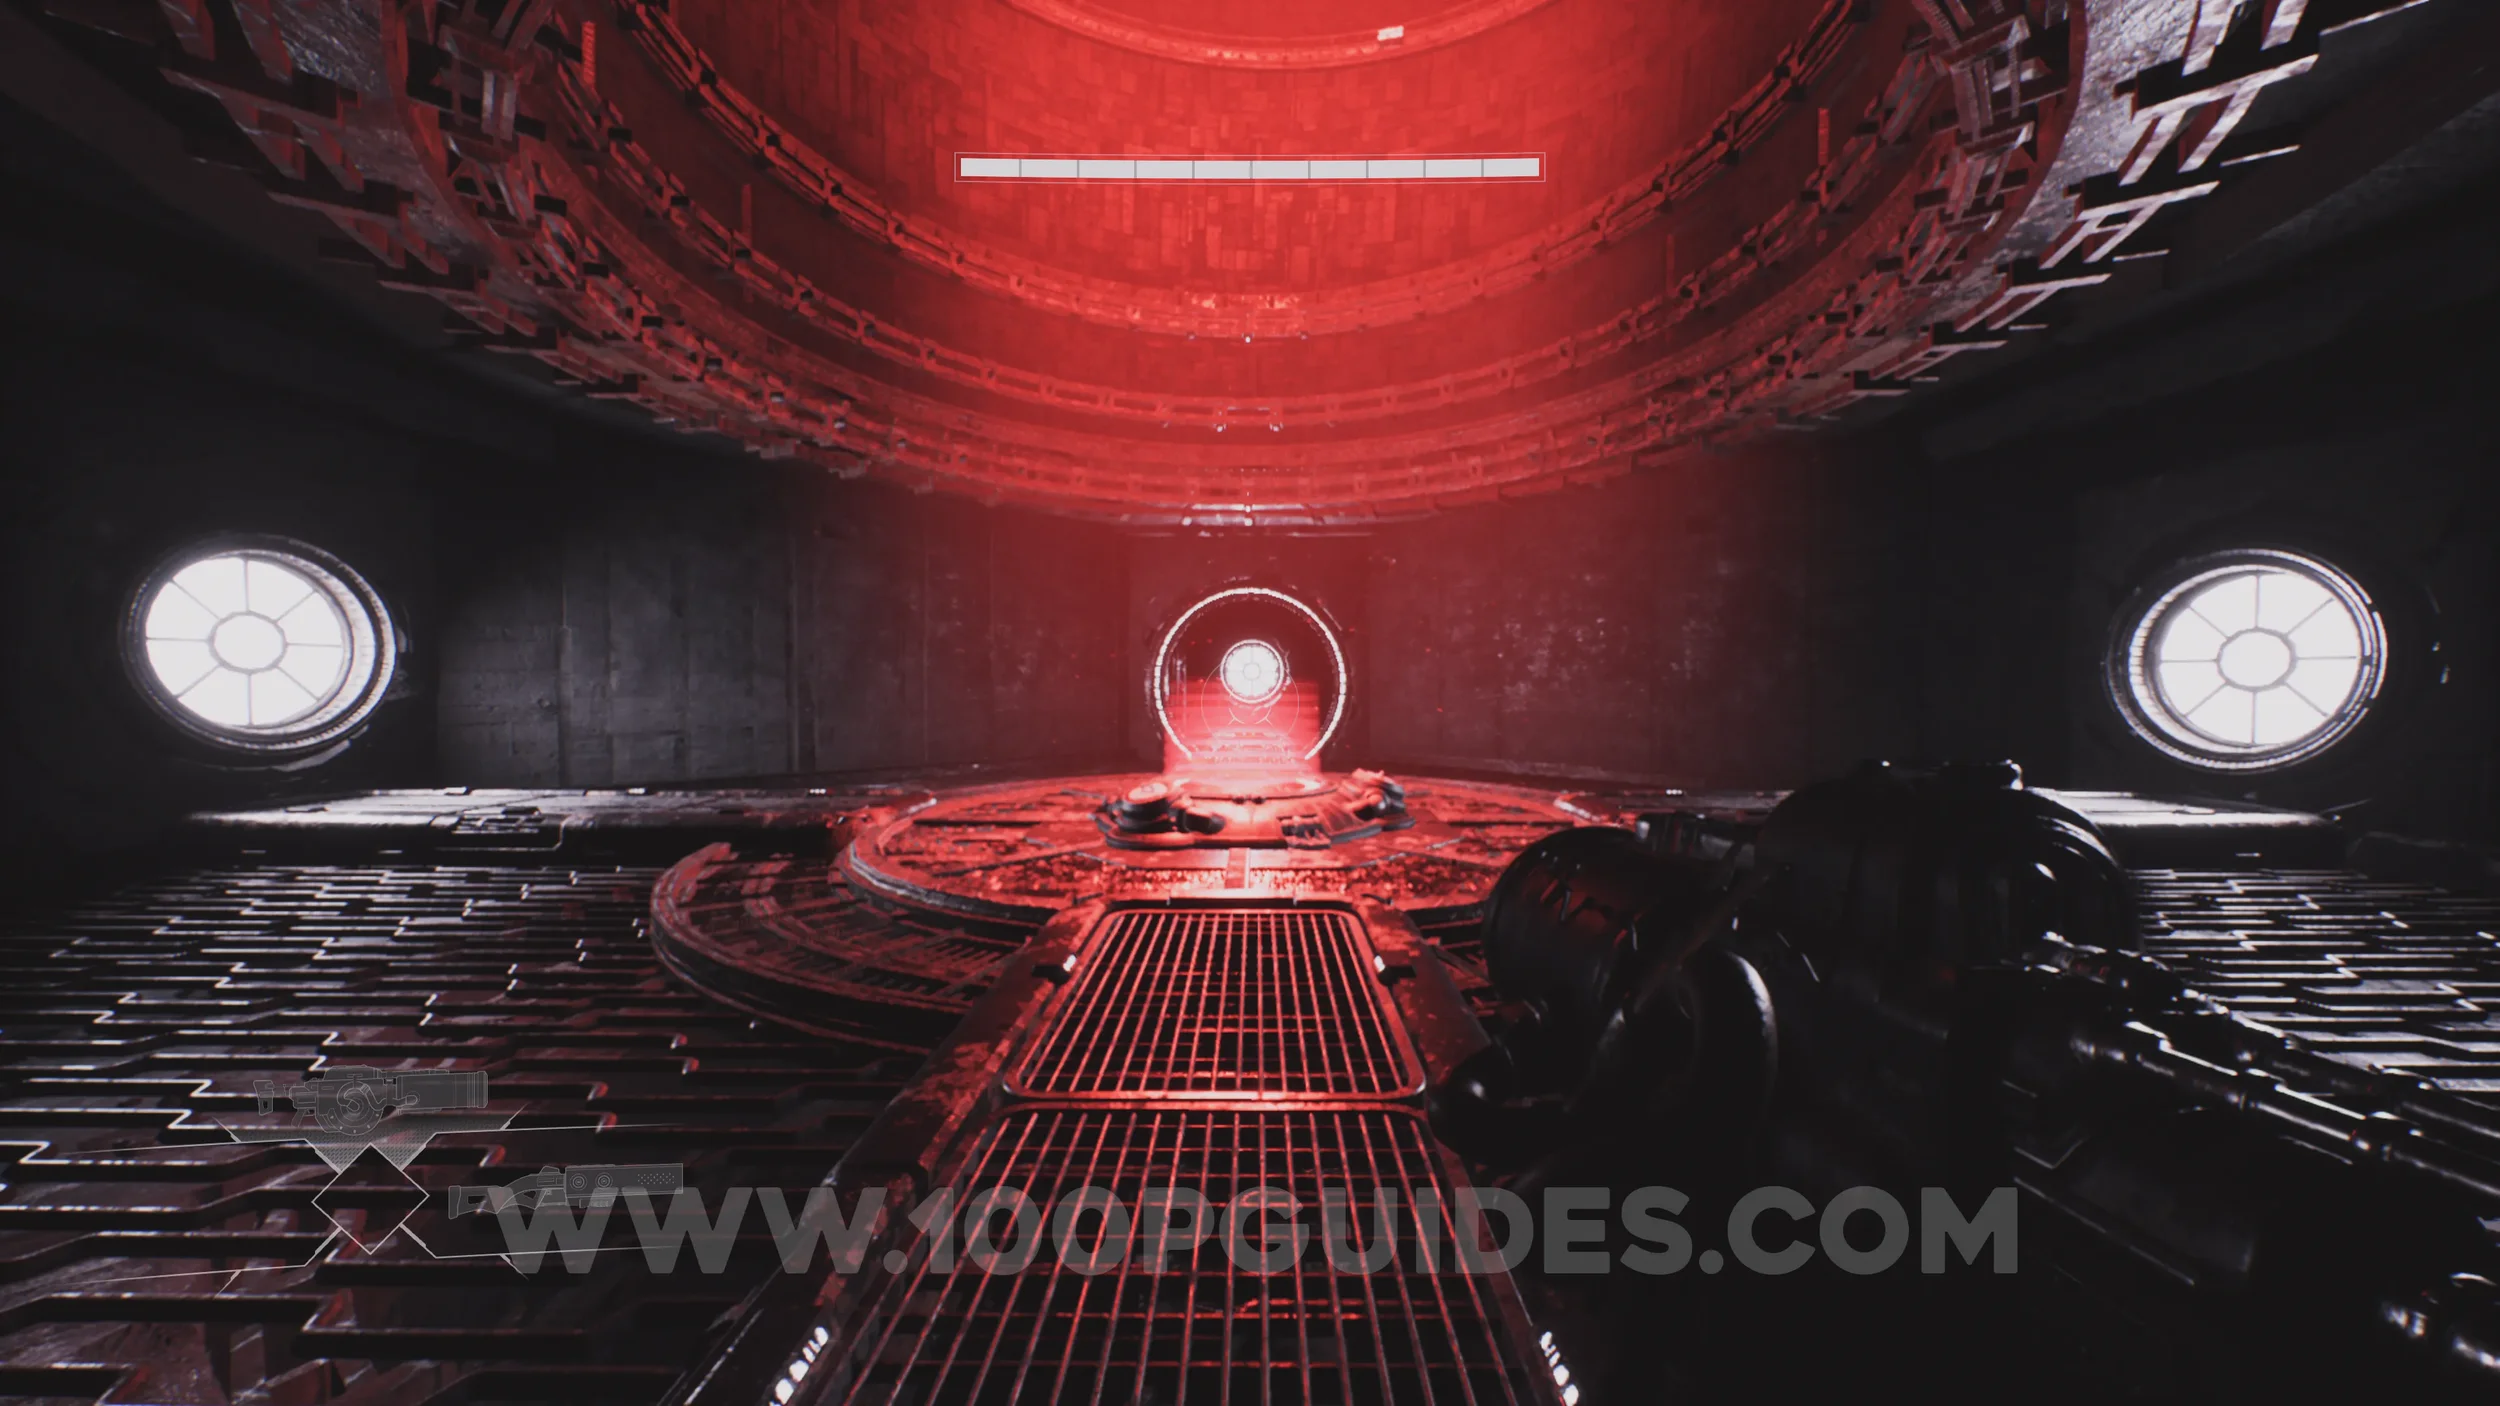
Lore Entry #6 (Memory - Entry 1031 - The One Who Answers). After defeating the first boss, continue until you reach a massive circular room with a jump pad in the center. Use it to reach the upper level, where you will find the collectible before heading down the next pipe.
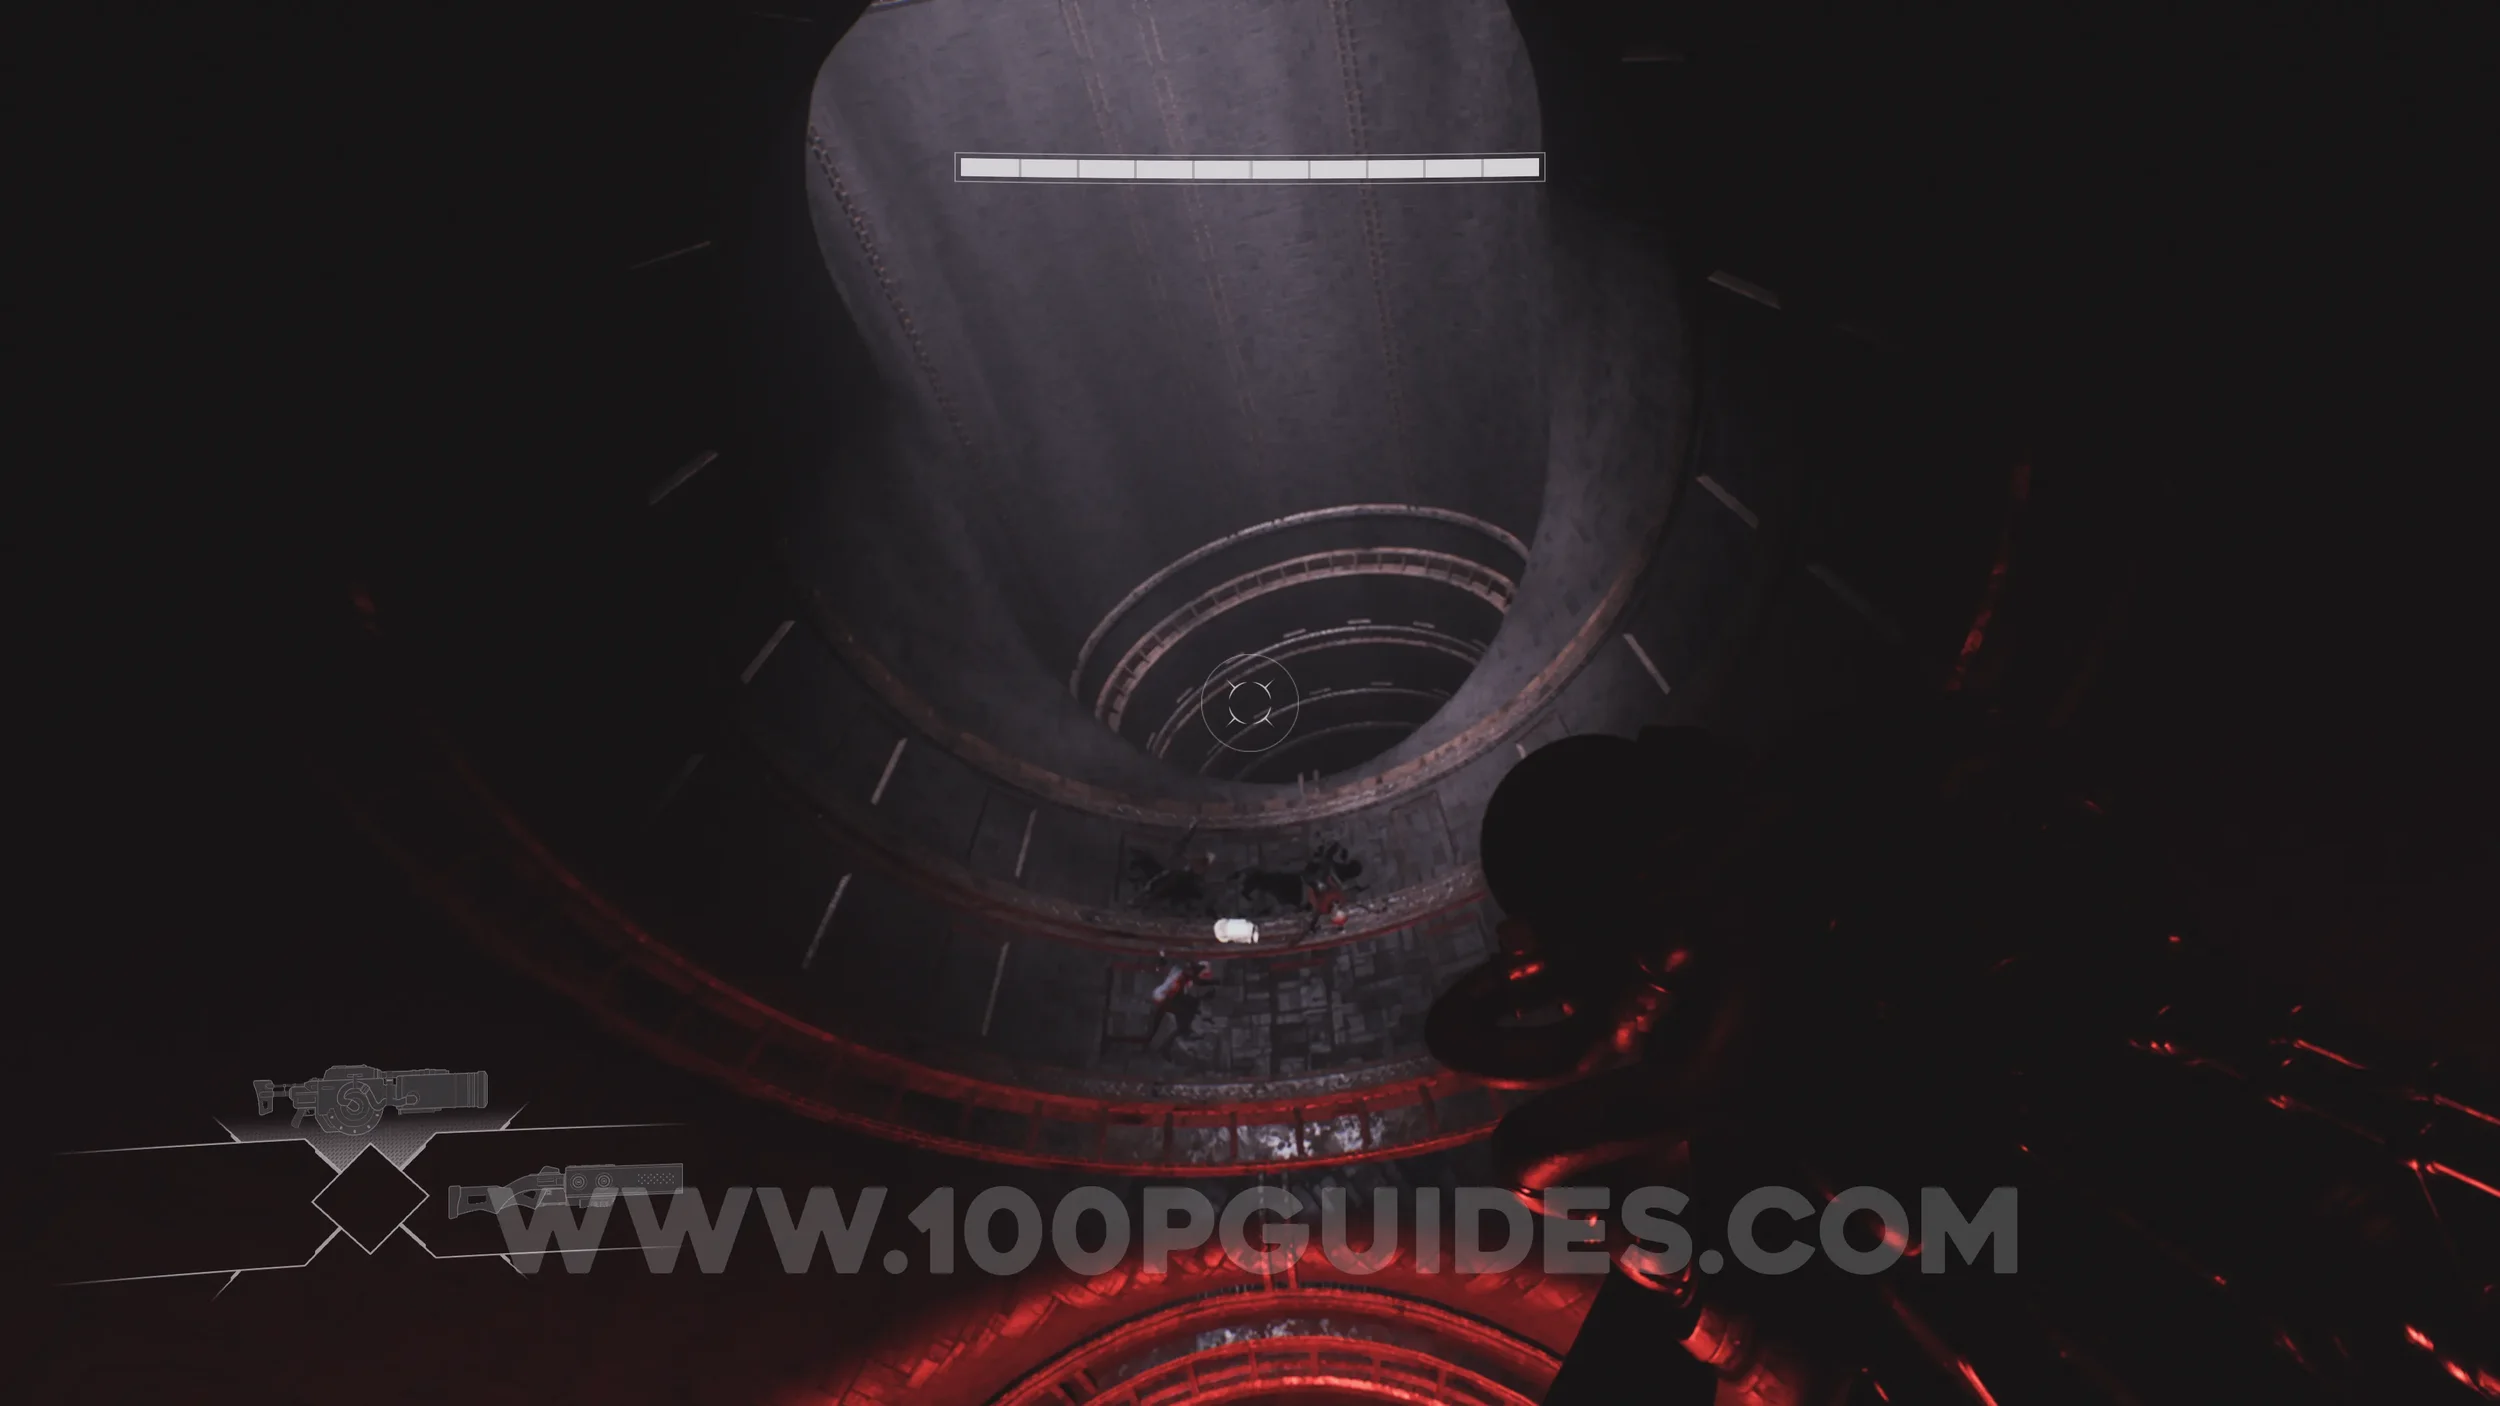
CHAPTER 1 - WARDENS REGRET
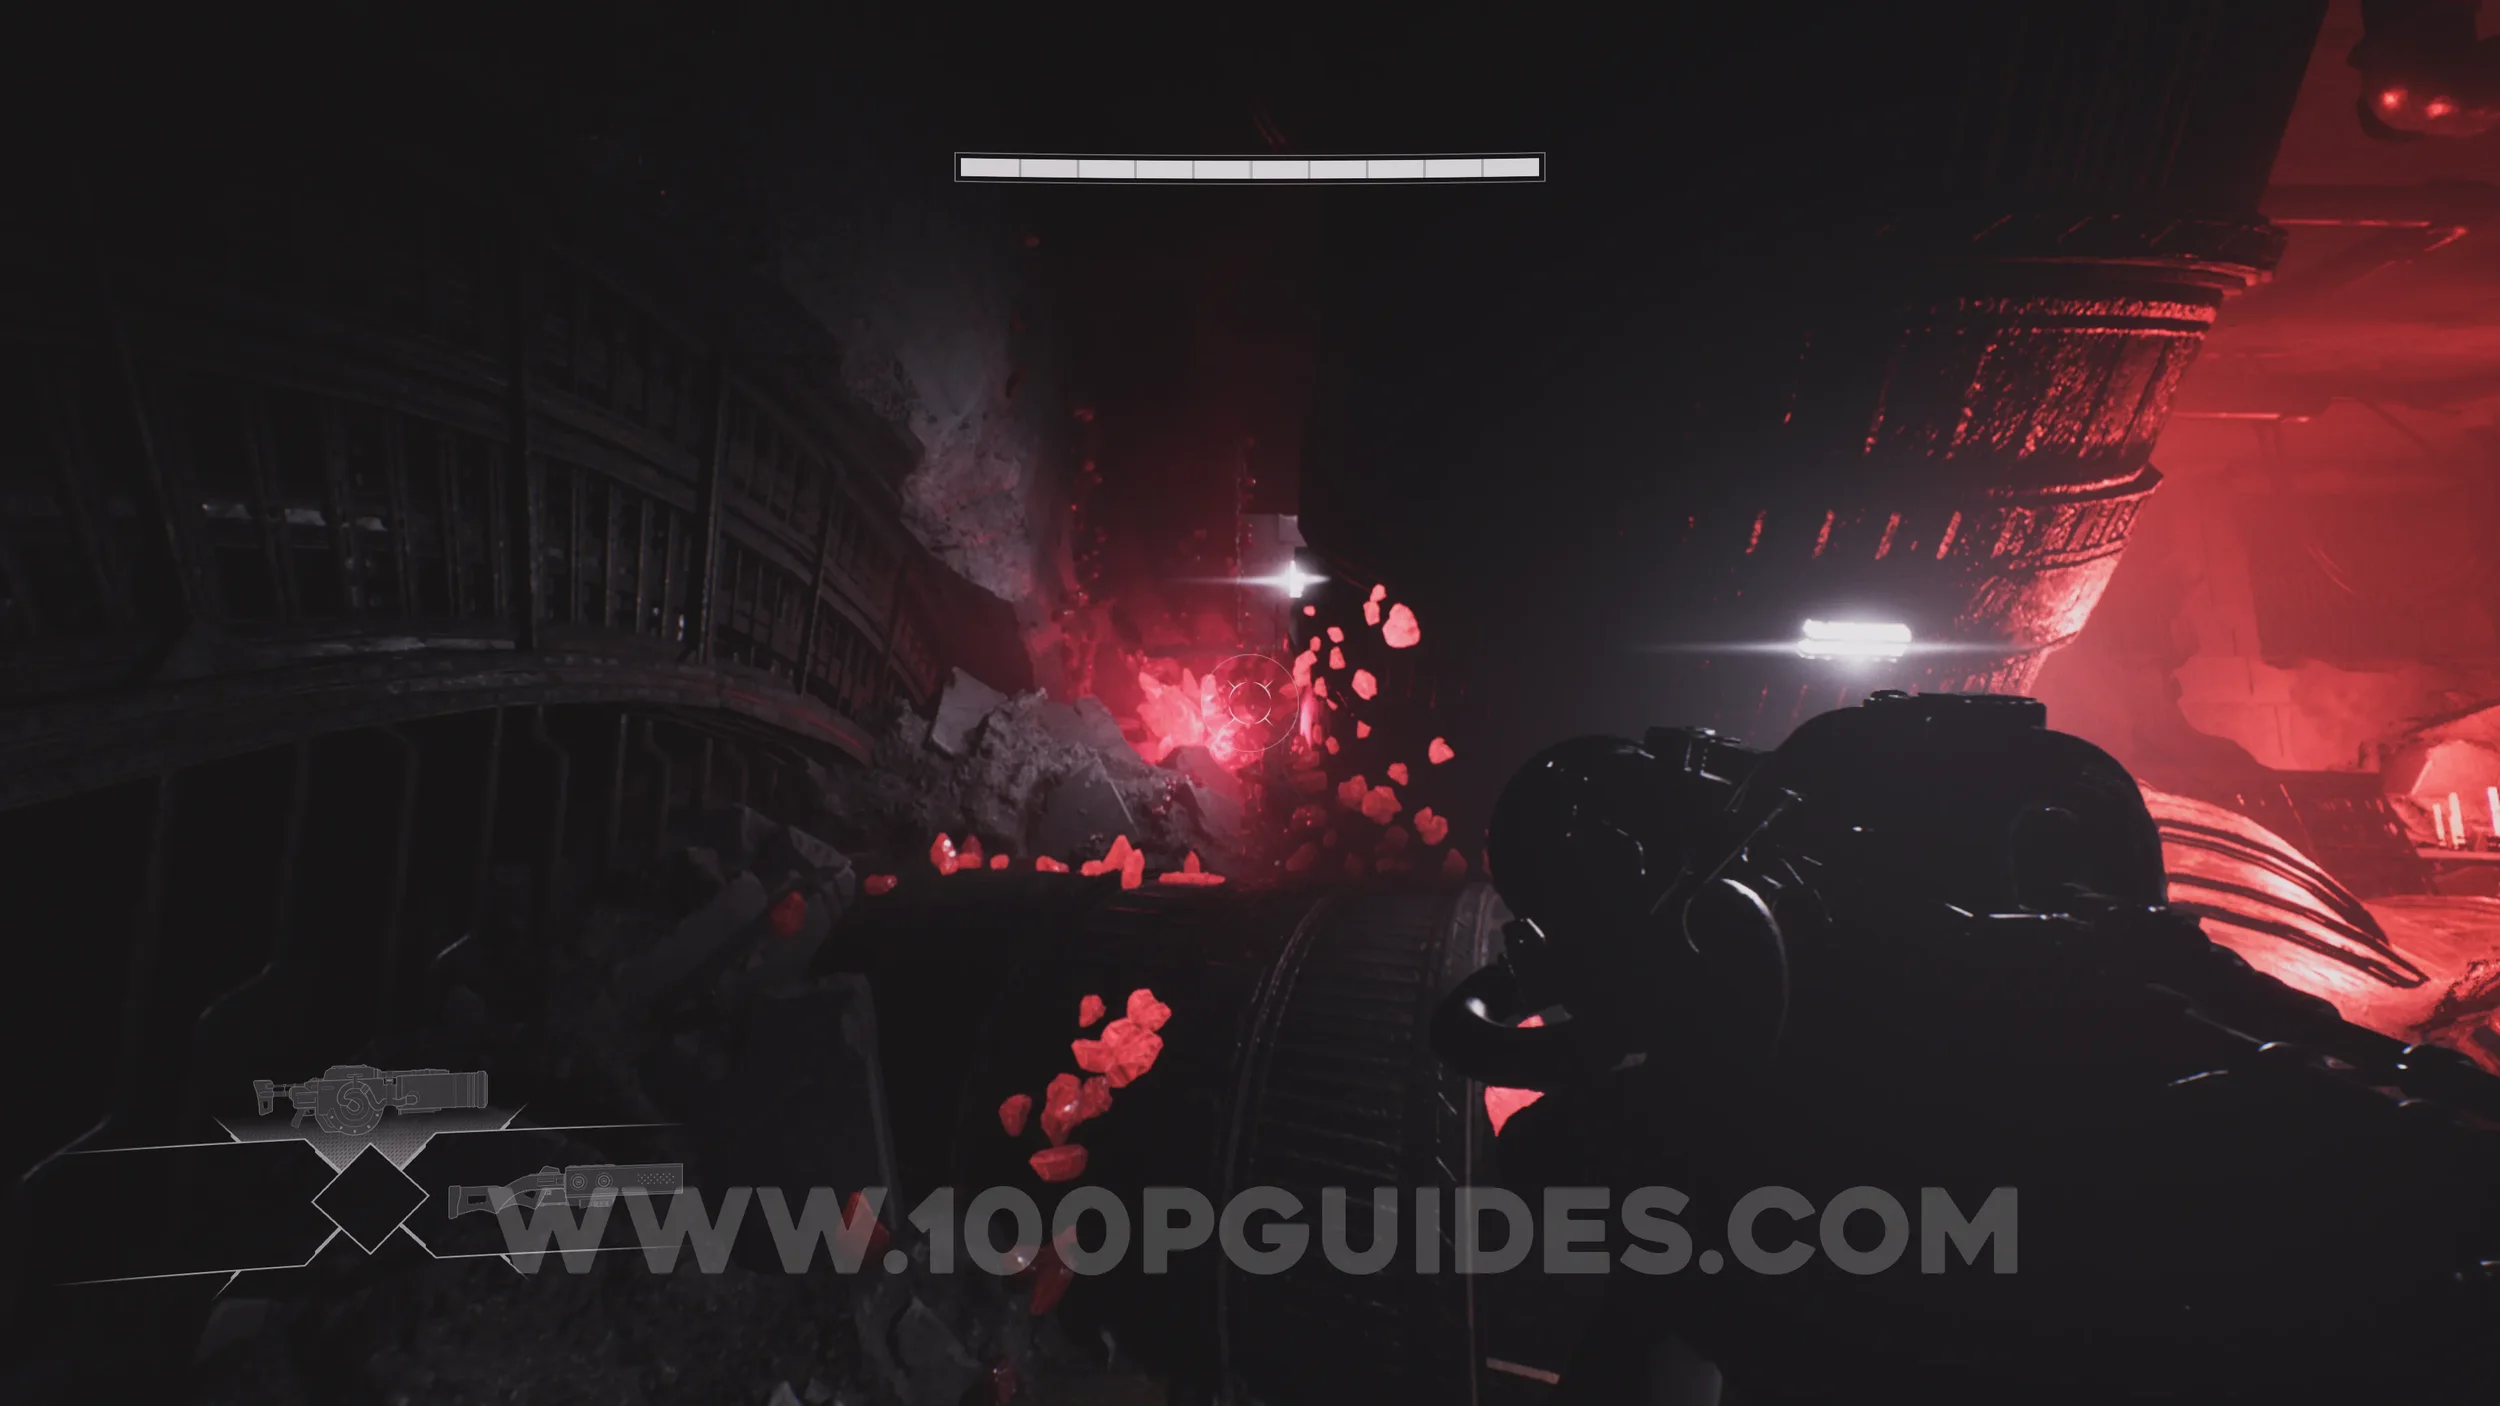
Drift Crystal #2. In the room with the checkpoint that marks the start of the sub-chapter, head to the far left side to find some pipes covered in red crystals. The collectible crystal is hidden behind these pipes.
Health Increase #2. In the next room, defeat the enemies and you will come across a door blocked by a barrier that must be destroyed with the shotgun. To the right of this door, look for a small gap you can crouch through. The chest containing the upgrade is on the other side.
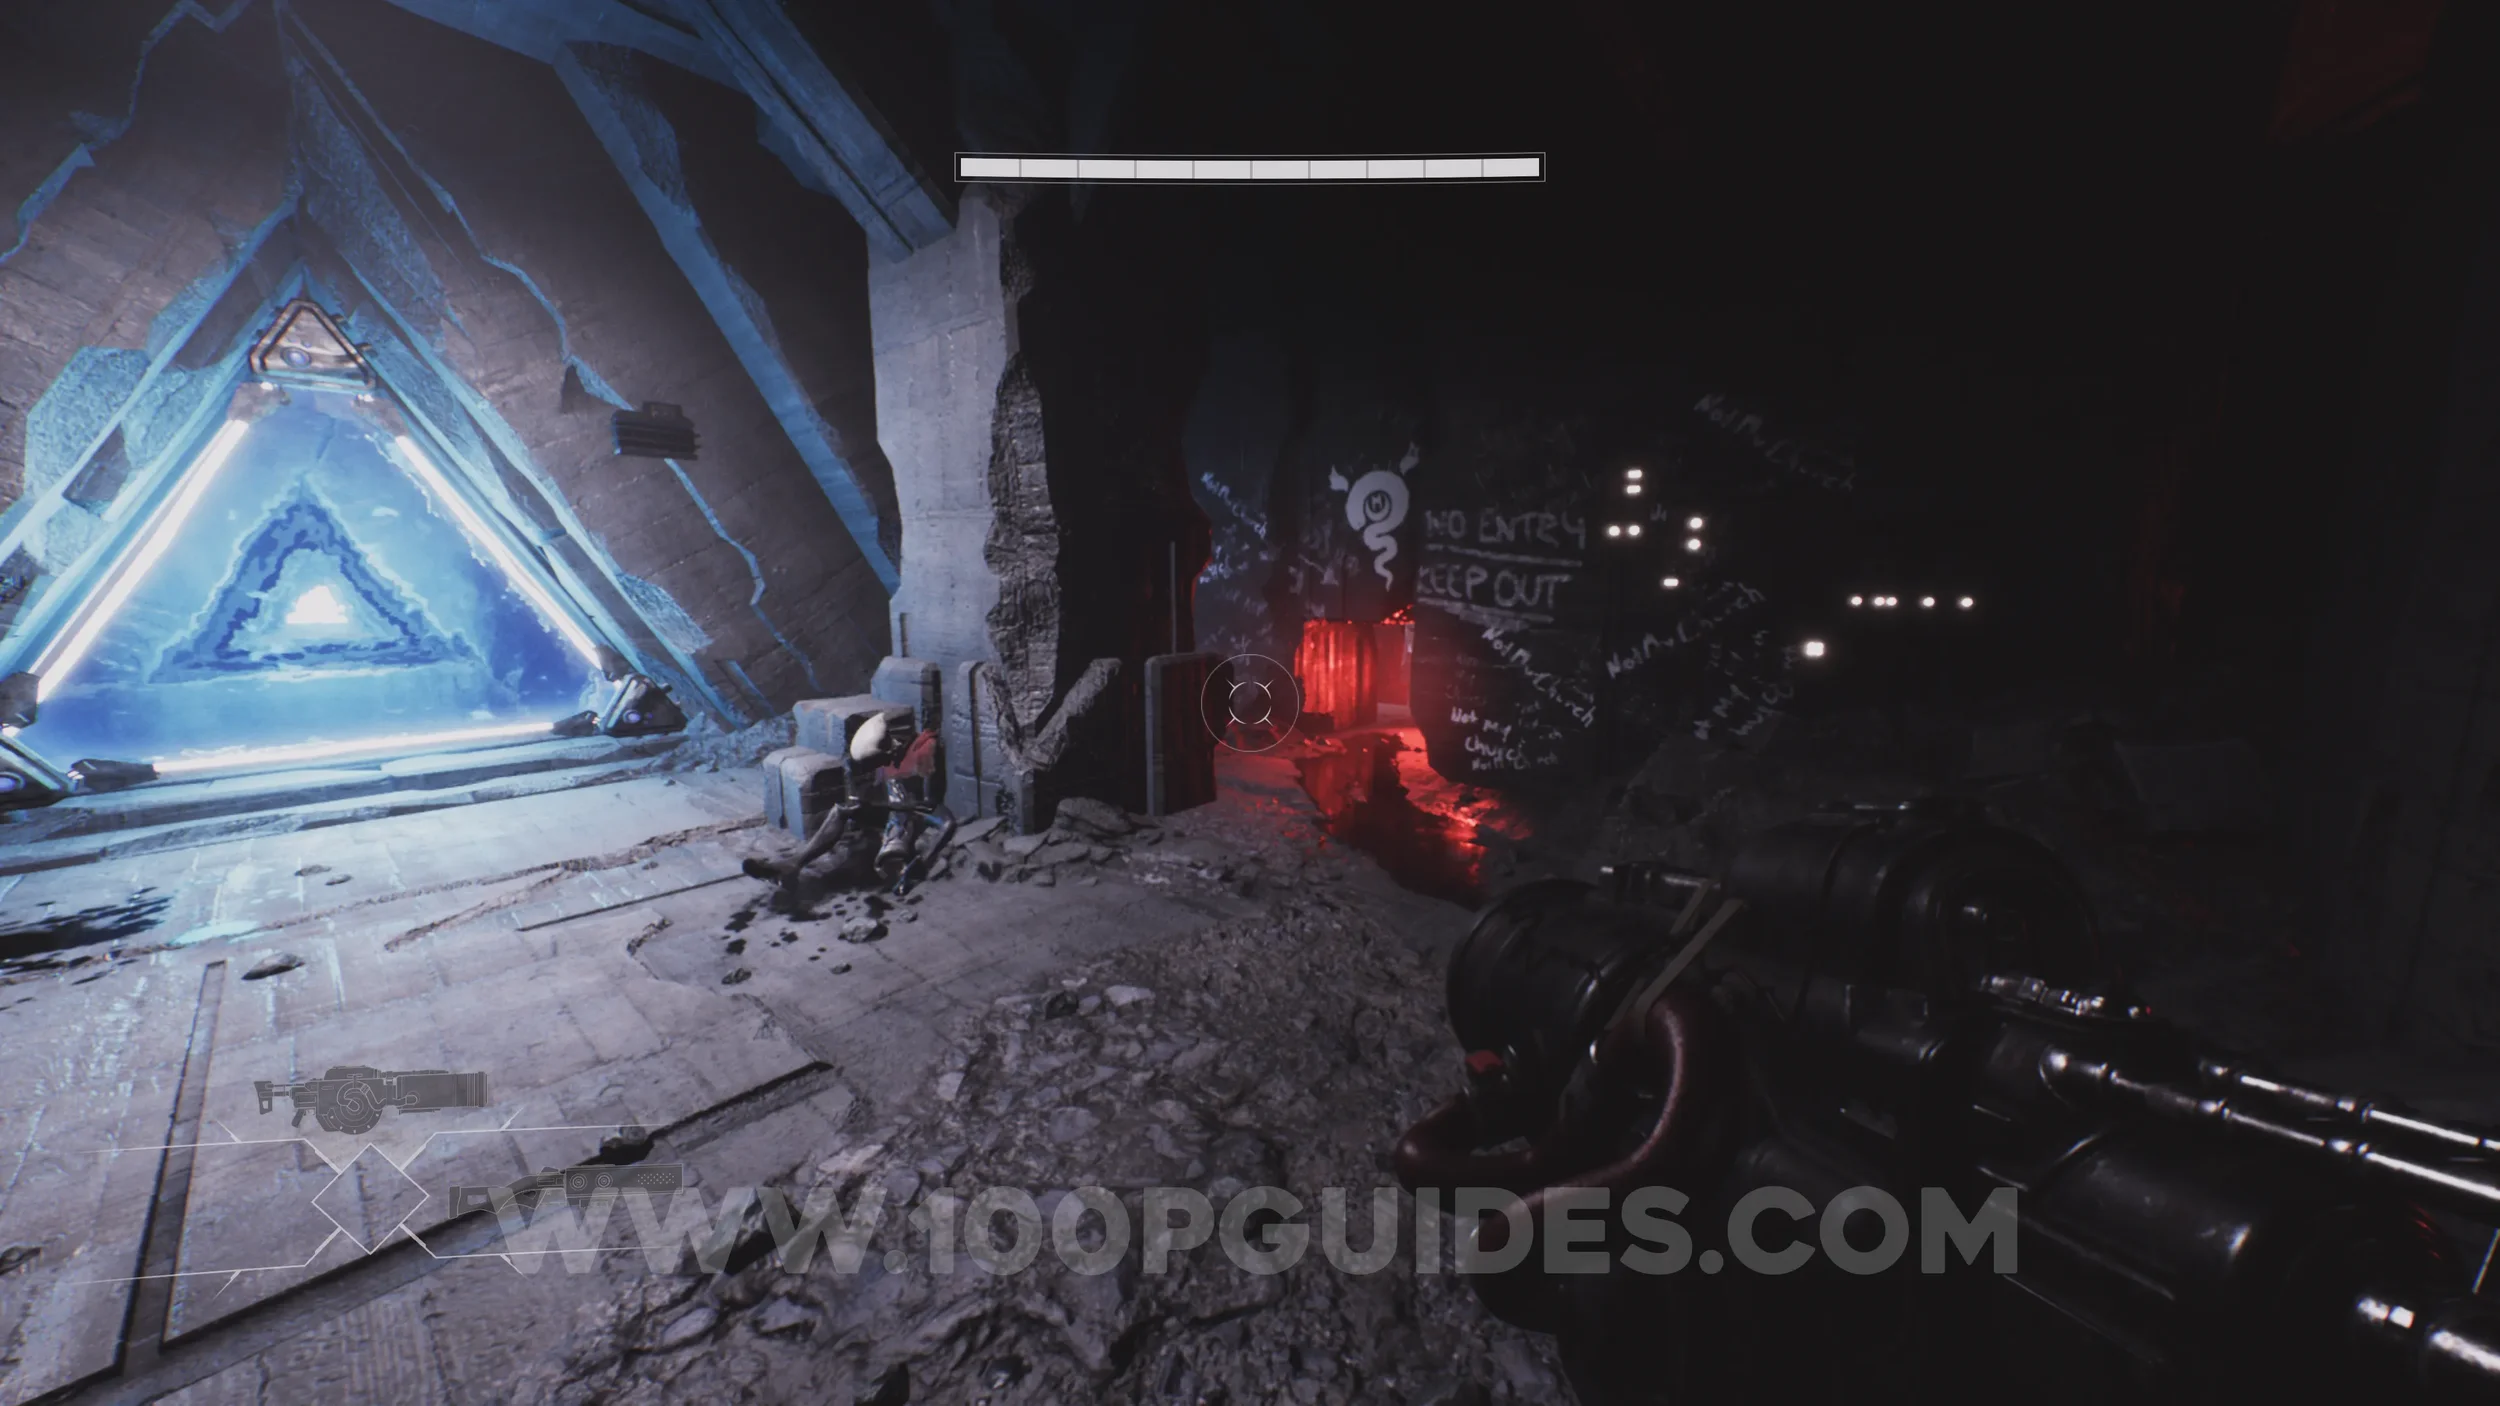
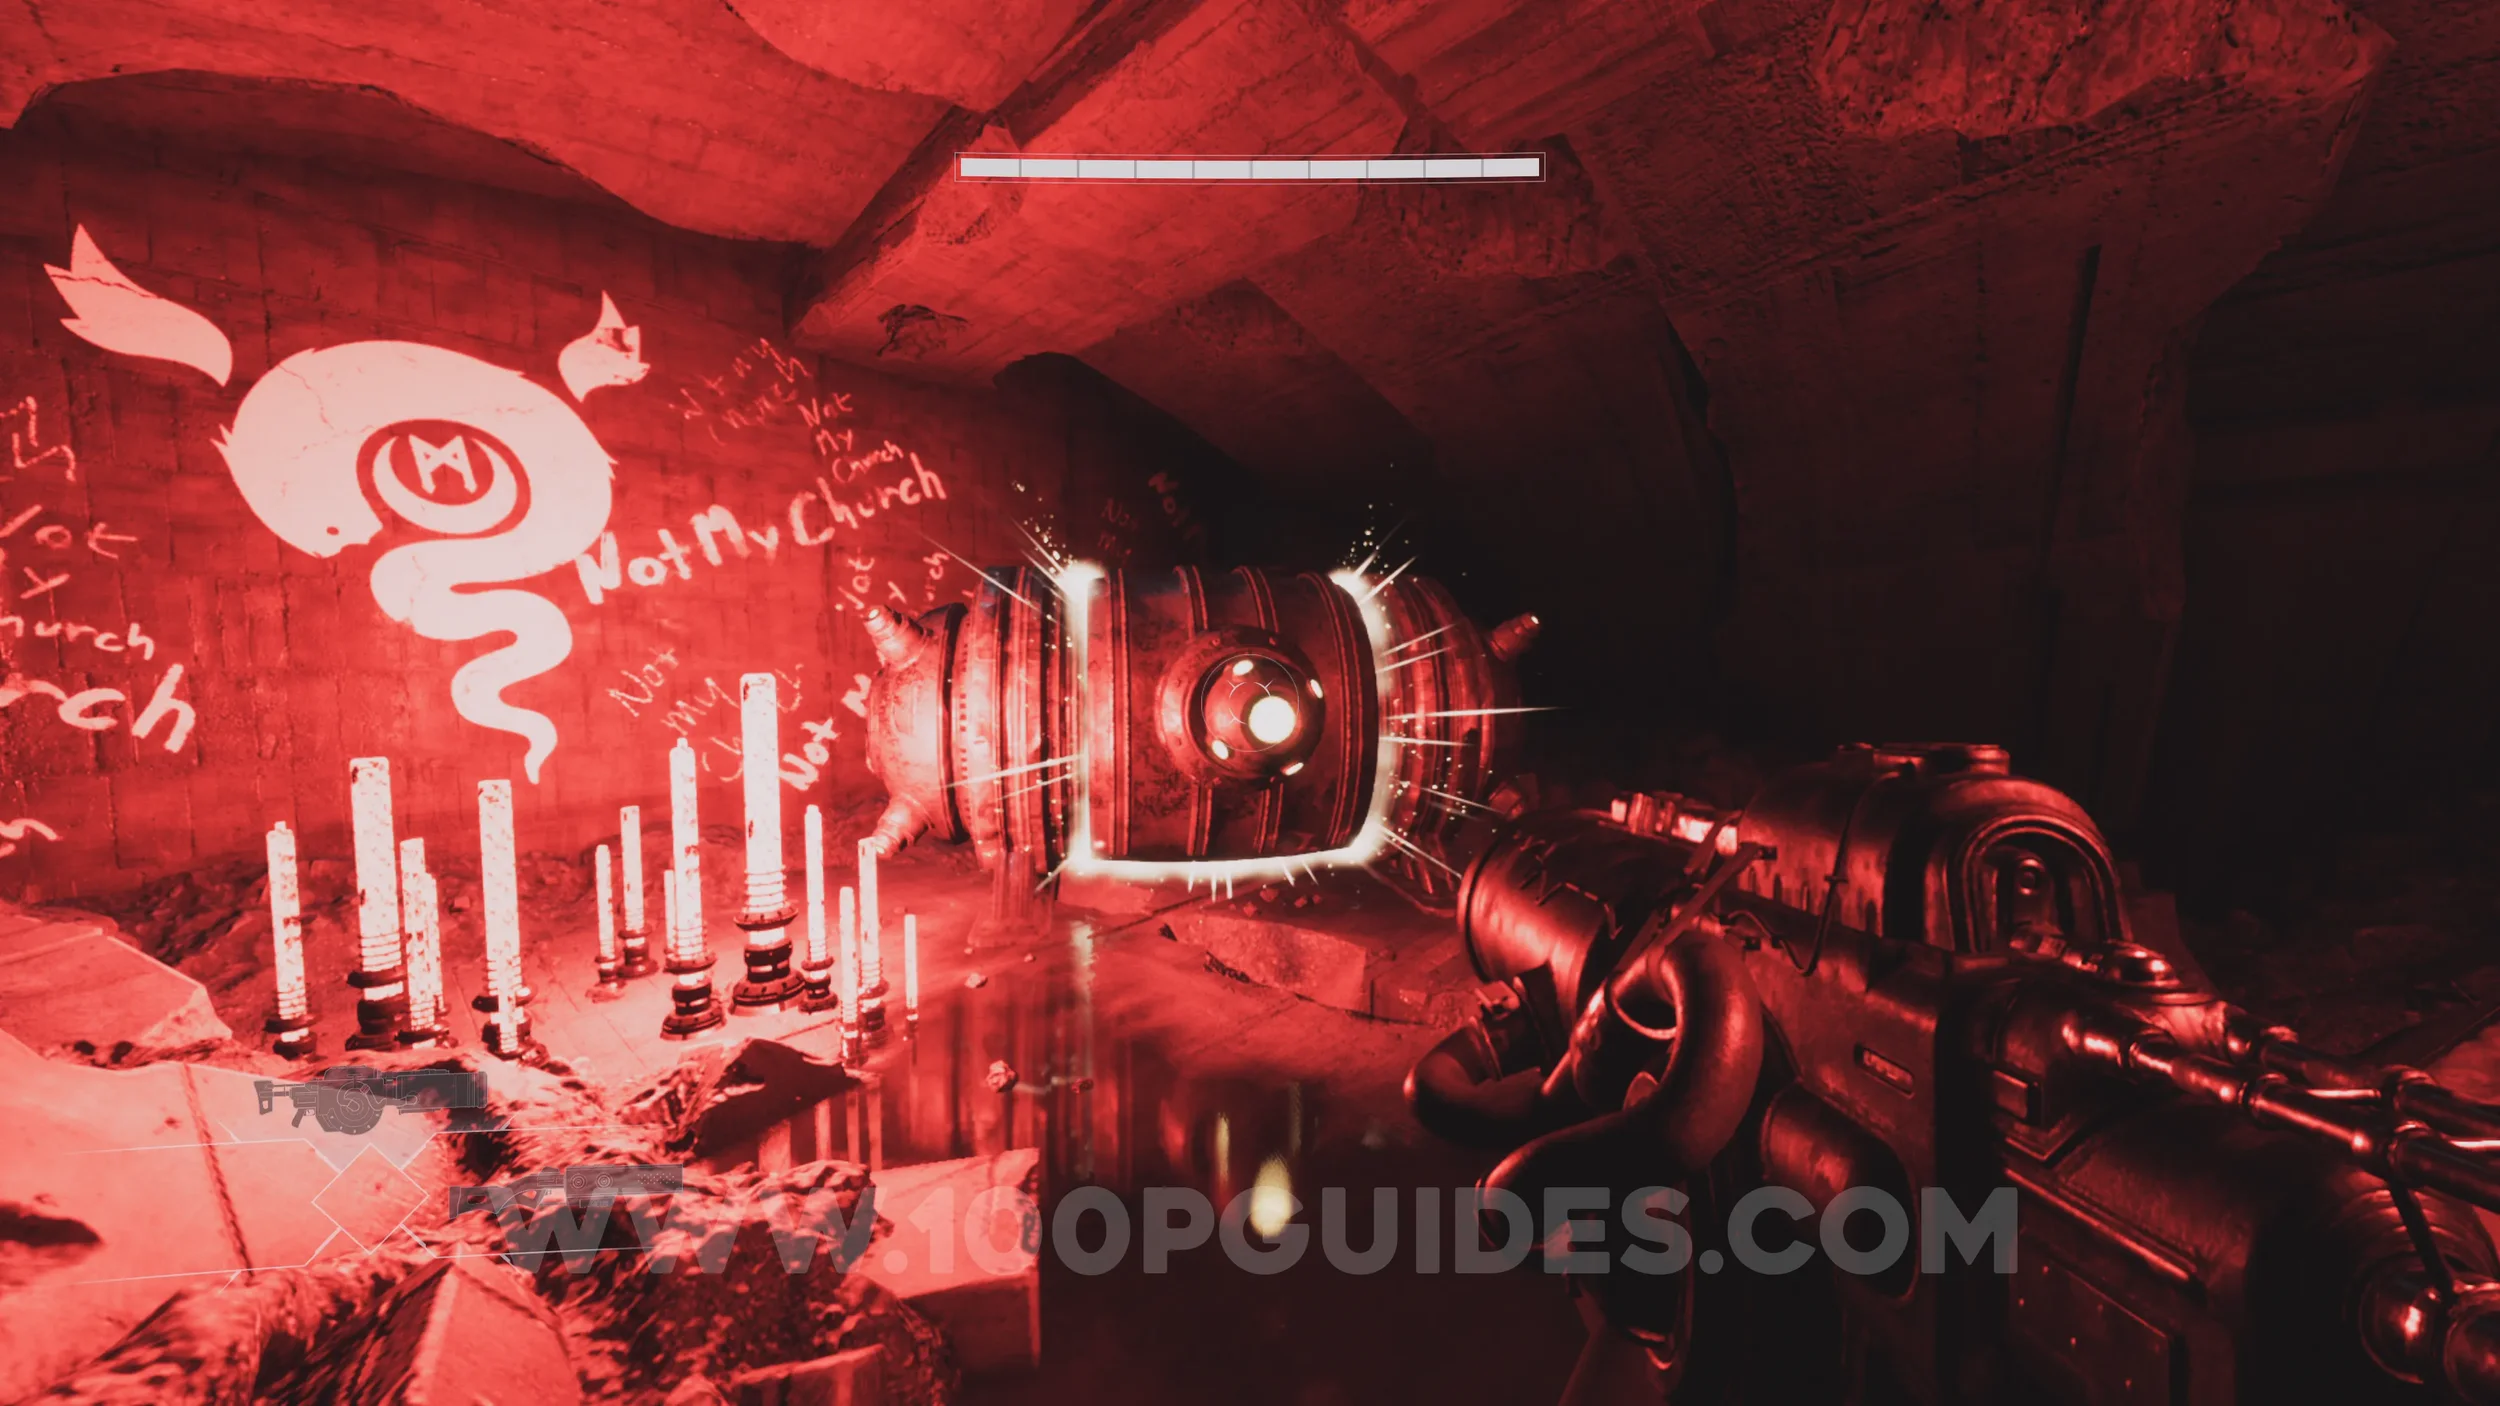
Lore Entry #7 (Memory - Entry #092 - Hidden). Soon after going through the door with the blue barrier, you will fall into a room with several enemies. In this room, do not drop down the red hole yet. Instead, head to the opposite side of the room and go left to find the collectible on a corpse beneath the stairs.
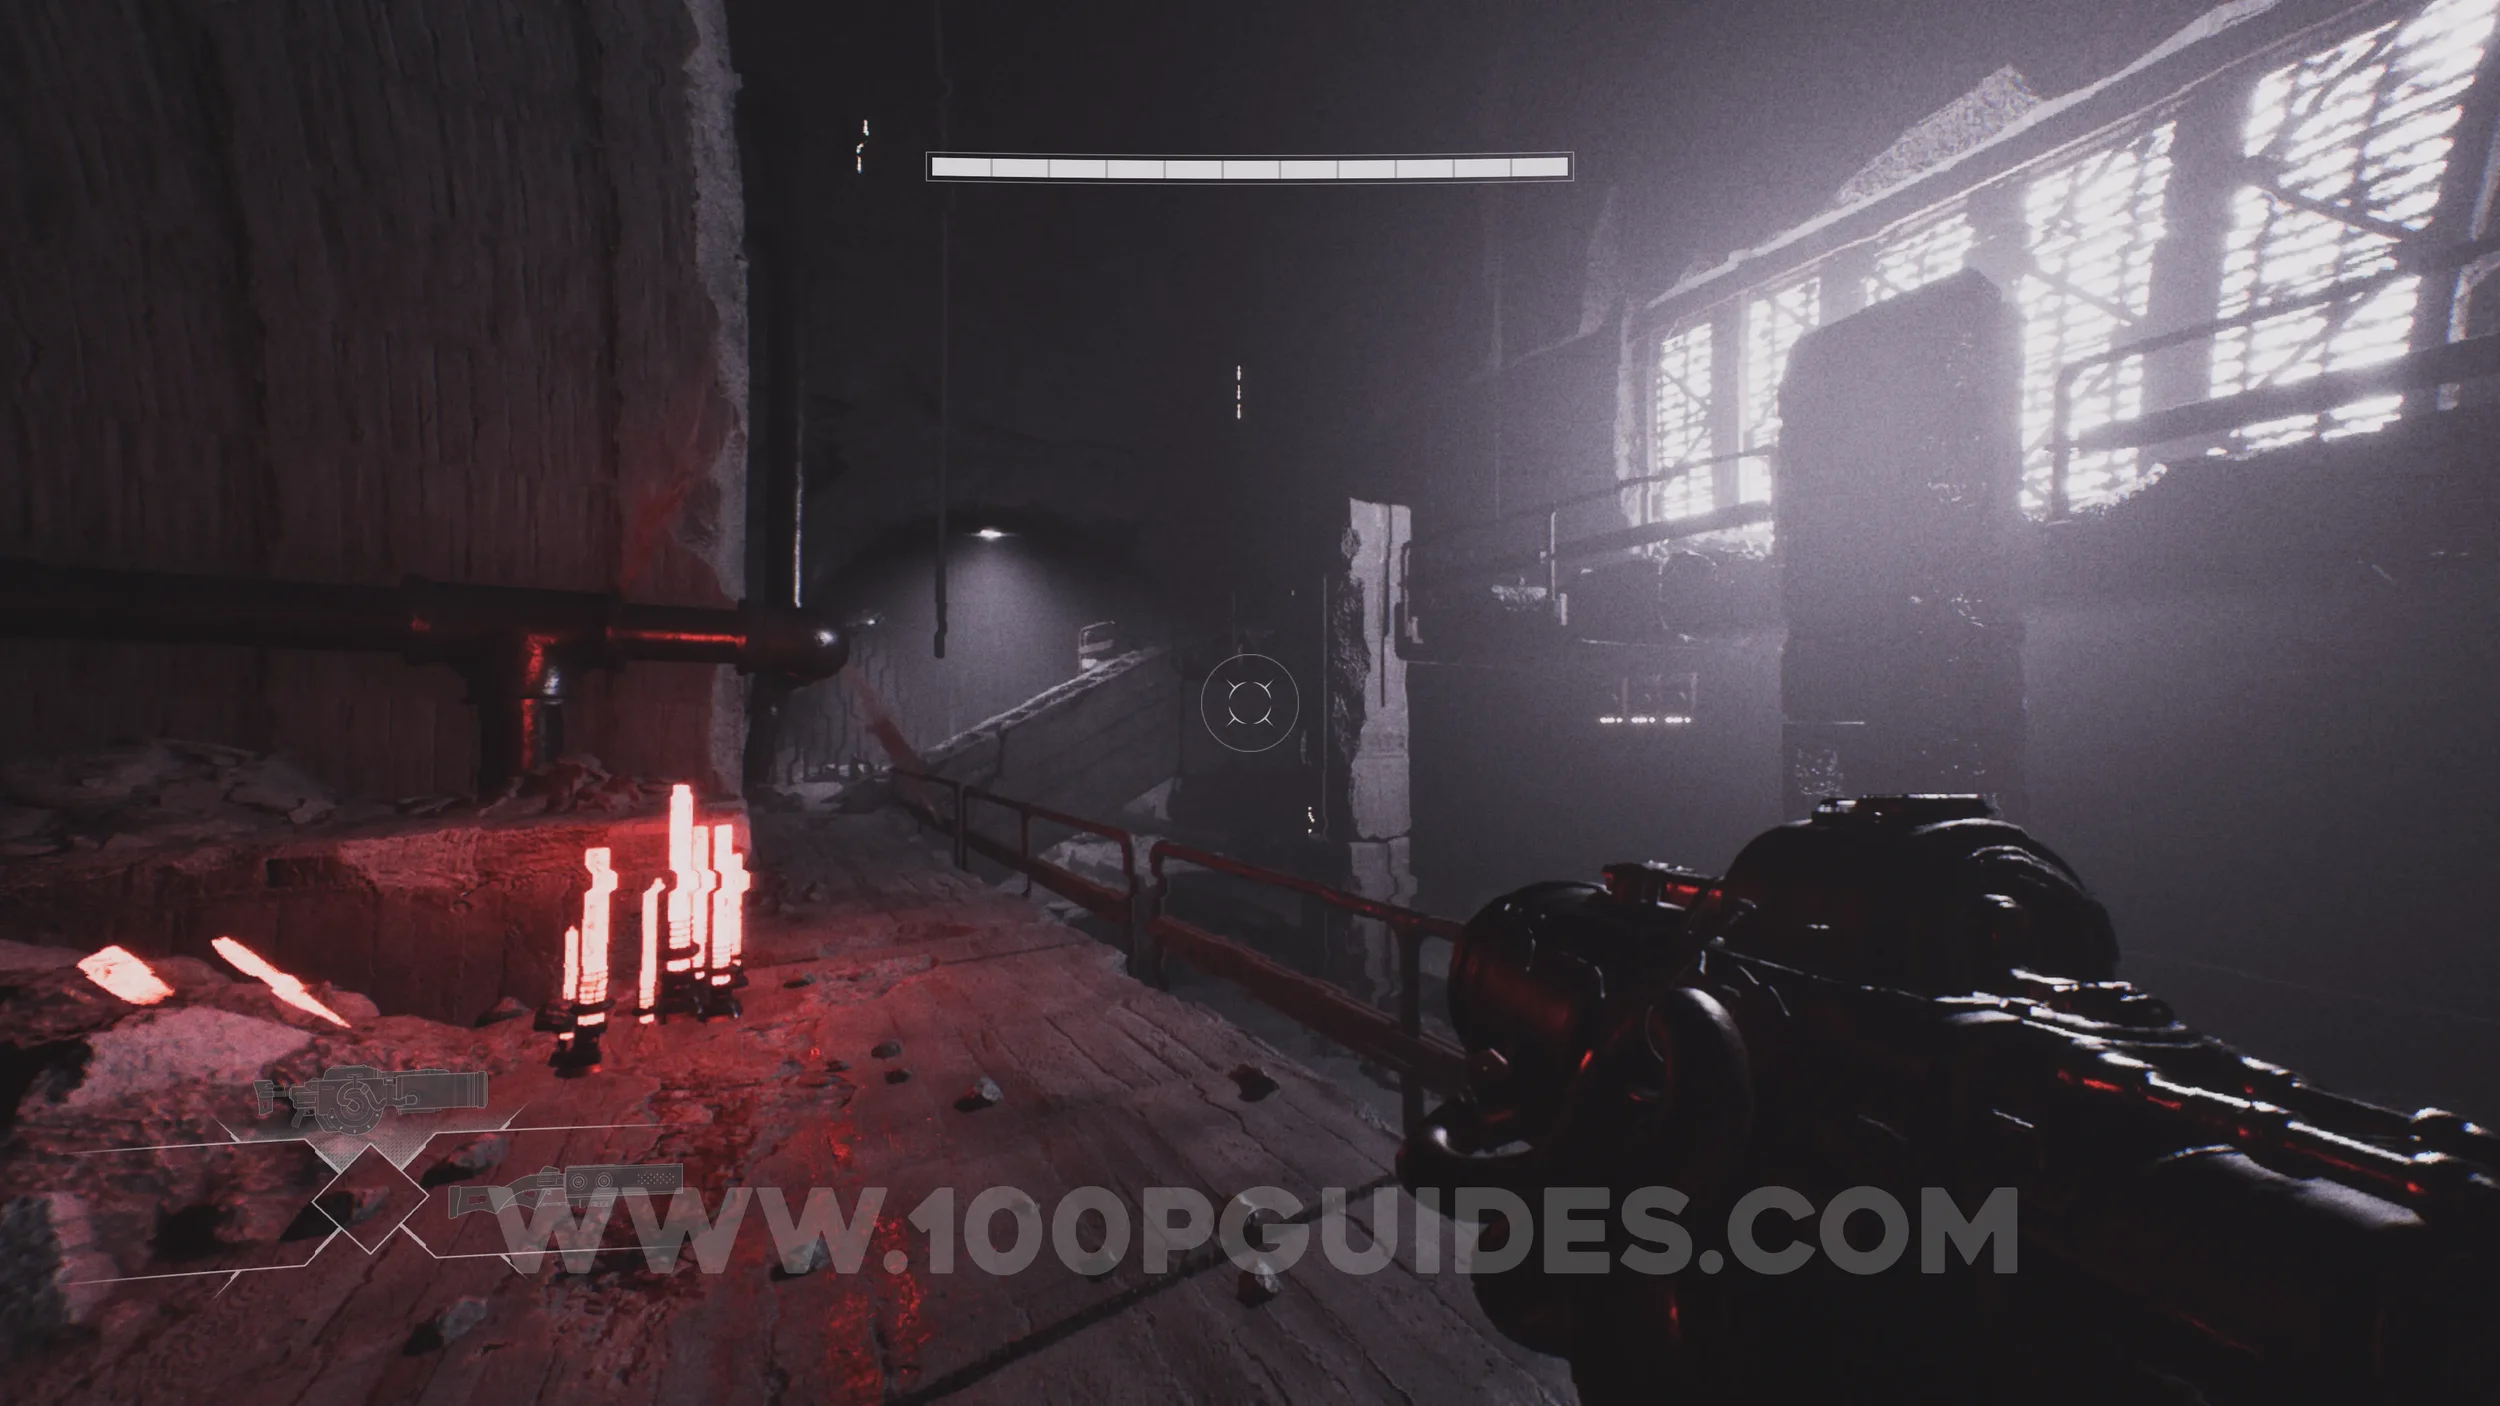
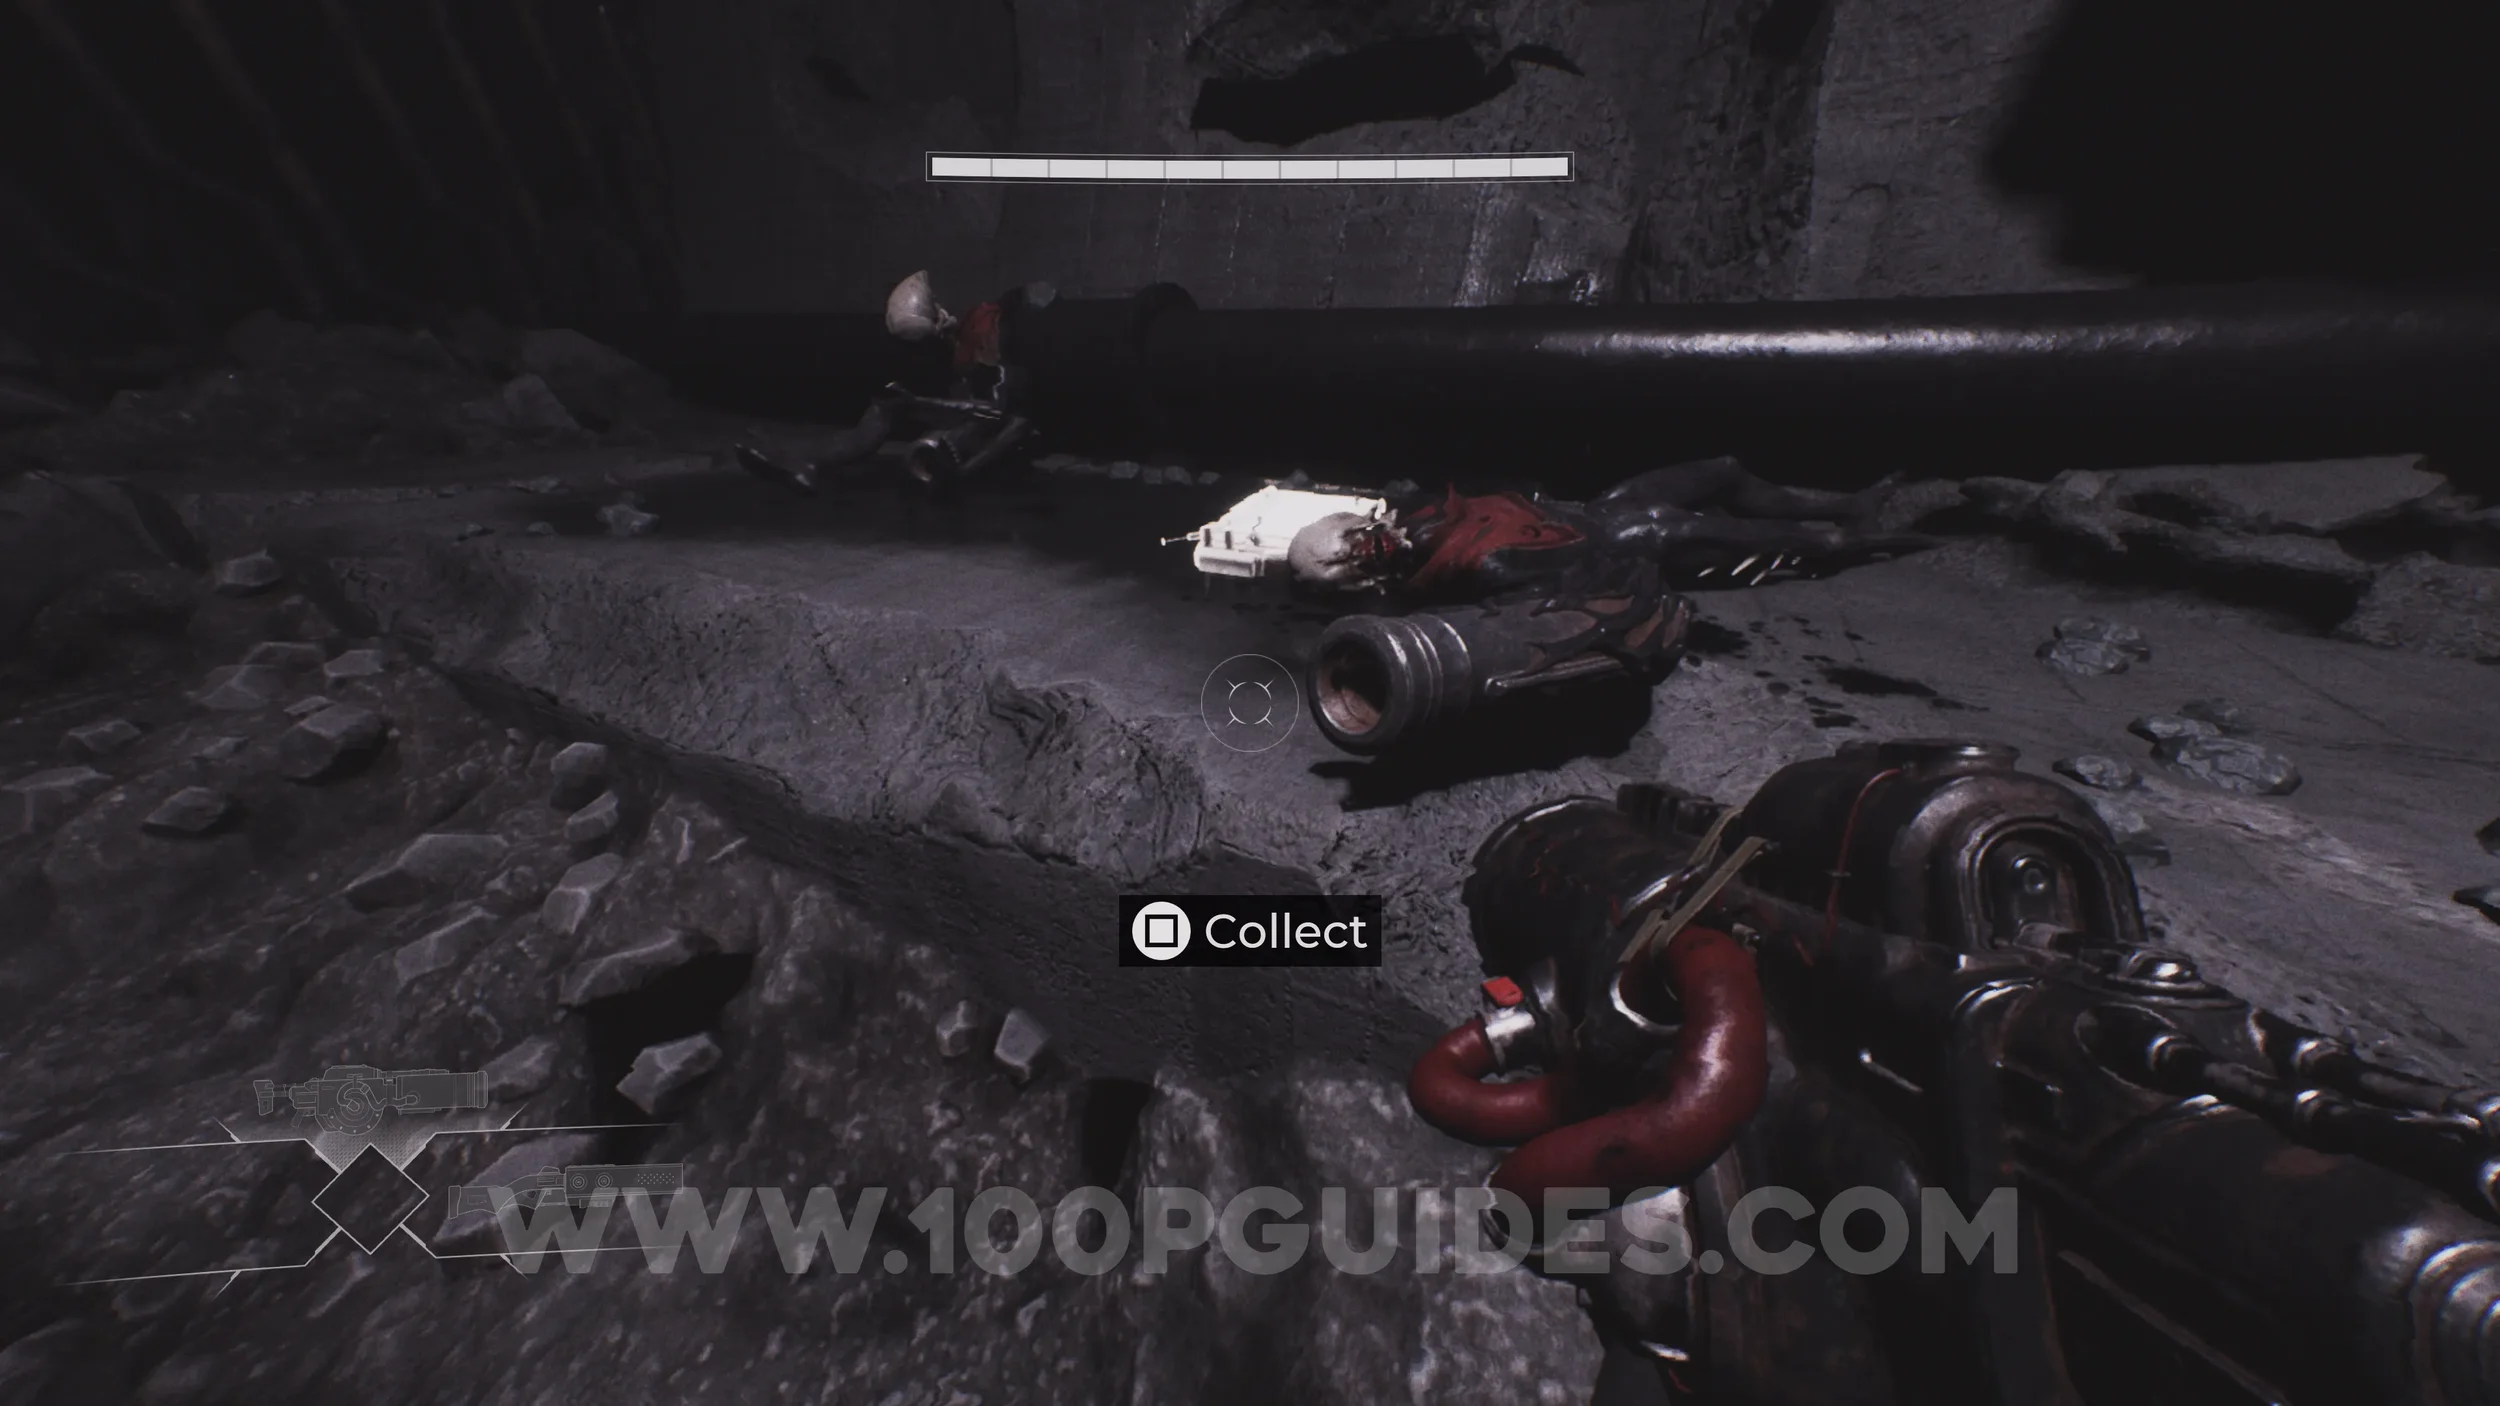
Lore Entry #8 (Memory - Entry #60806 - The Calling). Continue through the level and, shortly after losing contact with Aylin, you will drop down a long pipe into a large room with a massive red window at the far end while the screen is still affected by glitch effects. The collectible can be found on a corpse leaning against a column in this room.
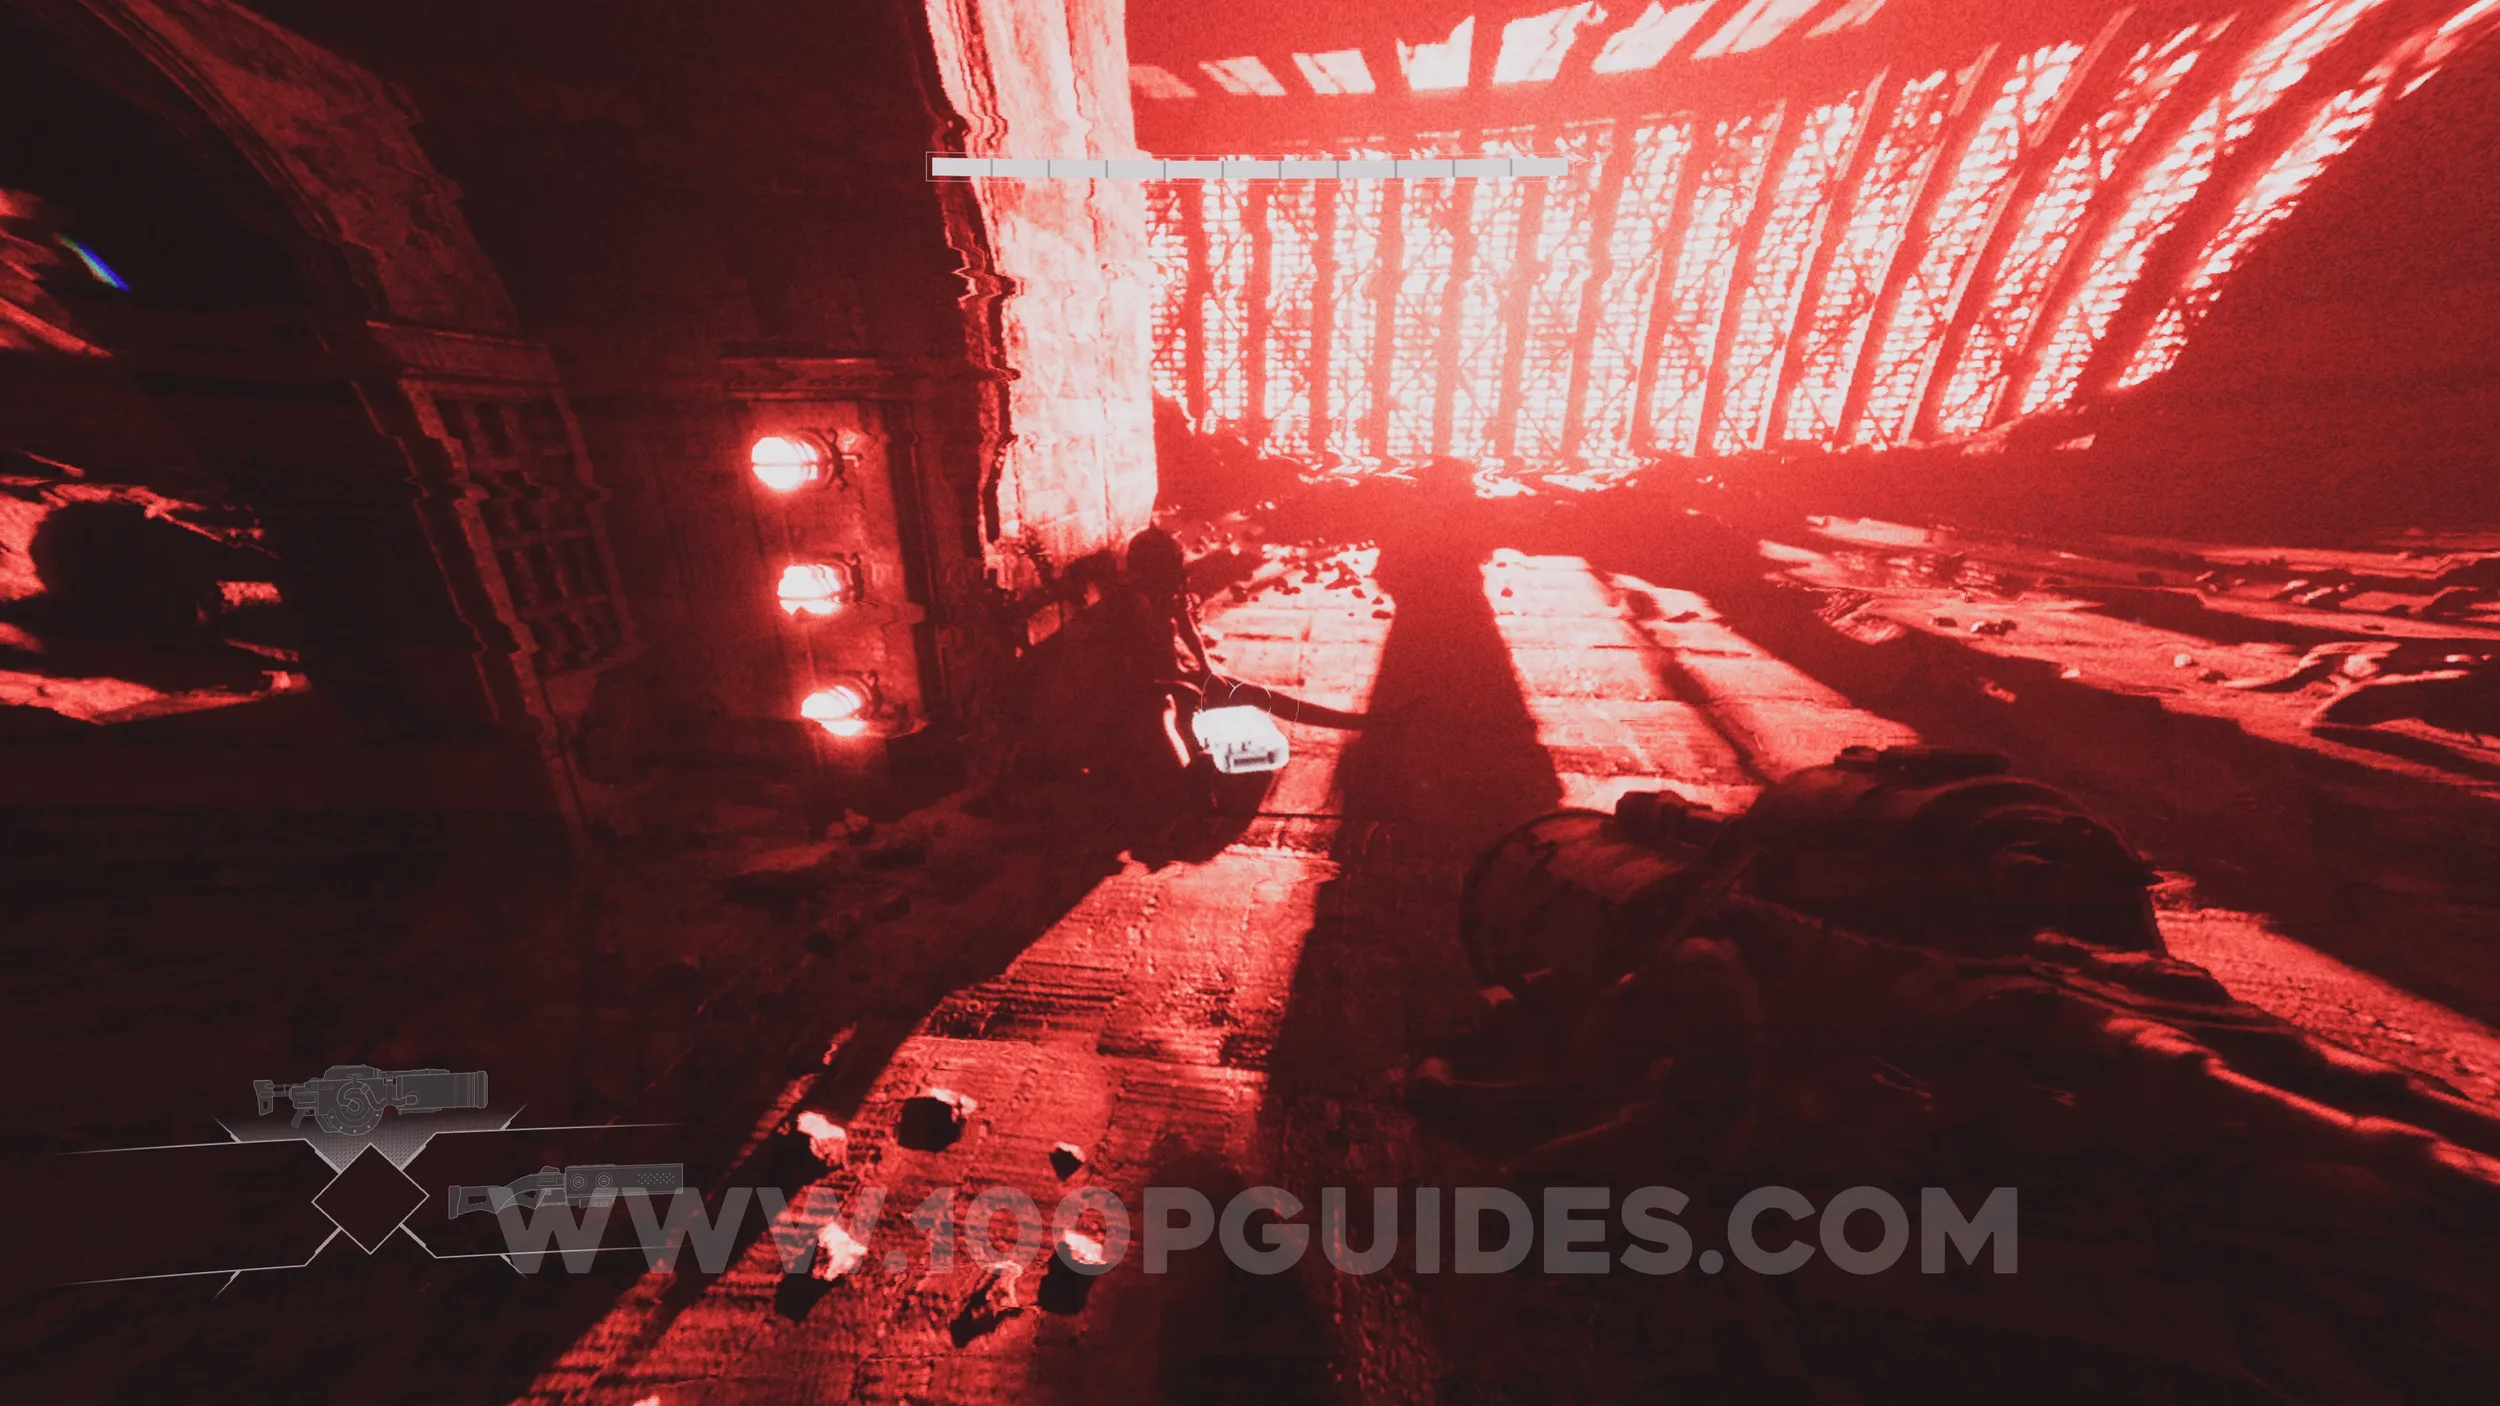
Lore Entry #9 (Character - Urien Caldecott). Continue through the level until you use the Watcher Neural Patterns skill to dash between Watchers while climbing around a large circular structure. About halfway up, you will need to dash to a Watcher above a metal grate blocking the path forward. After this, shoot the blue switch to spawn another Watcher above you and continue climbing. Use the newly spawned Watcher to reach the platform in the middle, where you will find the collectible.
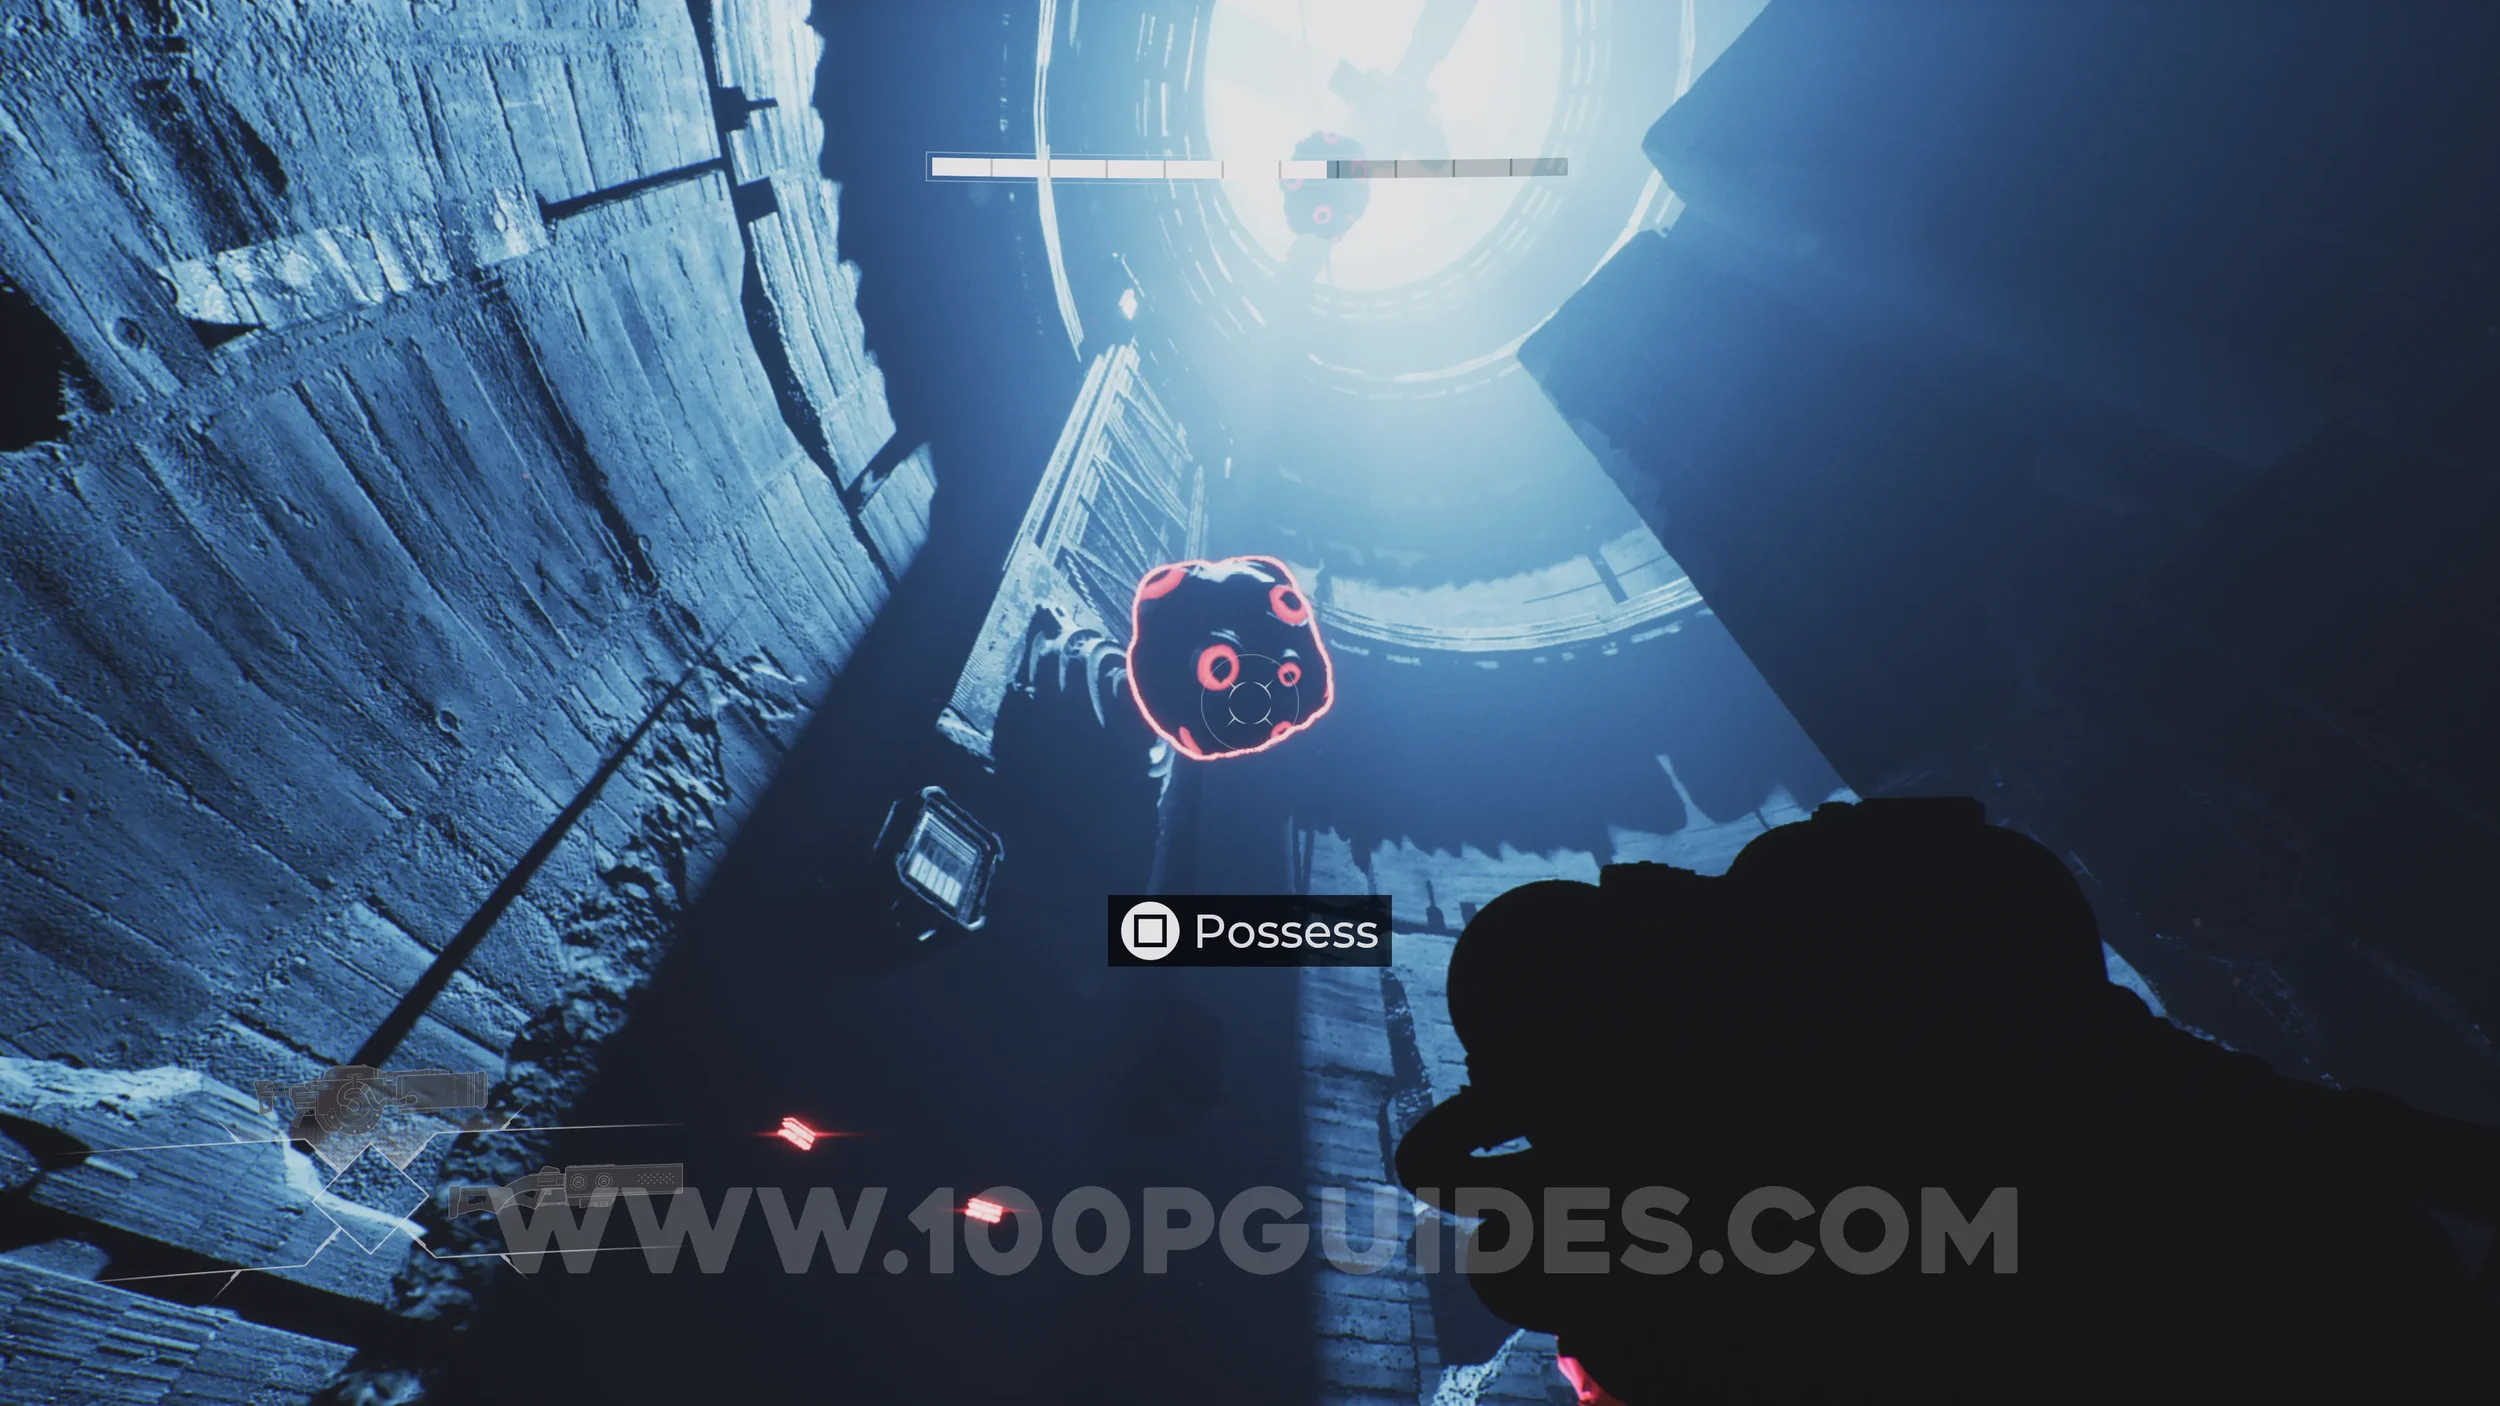
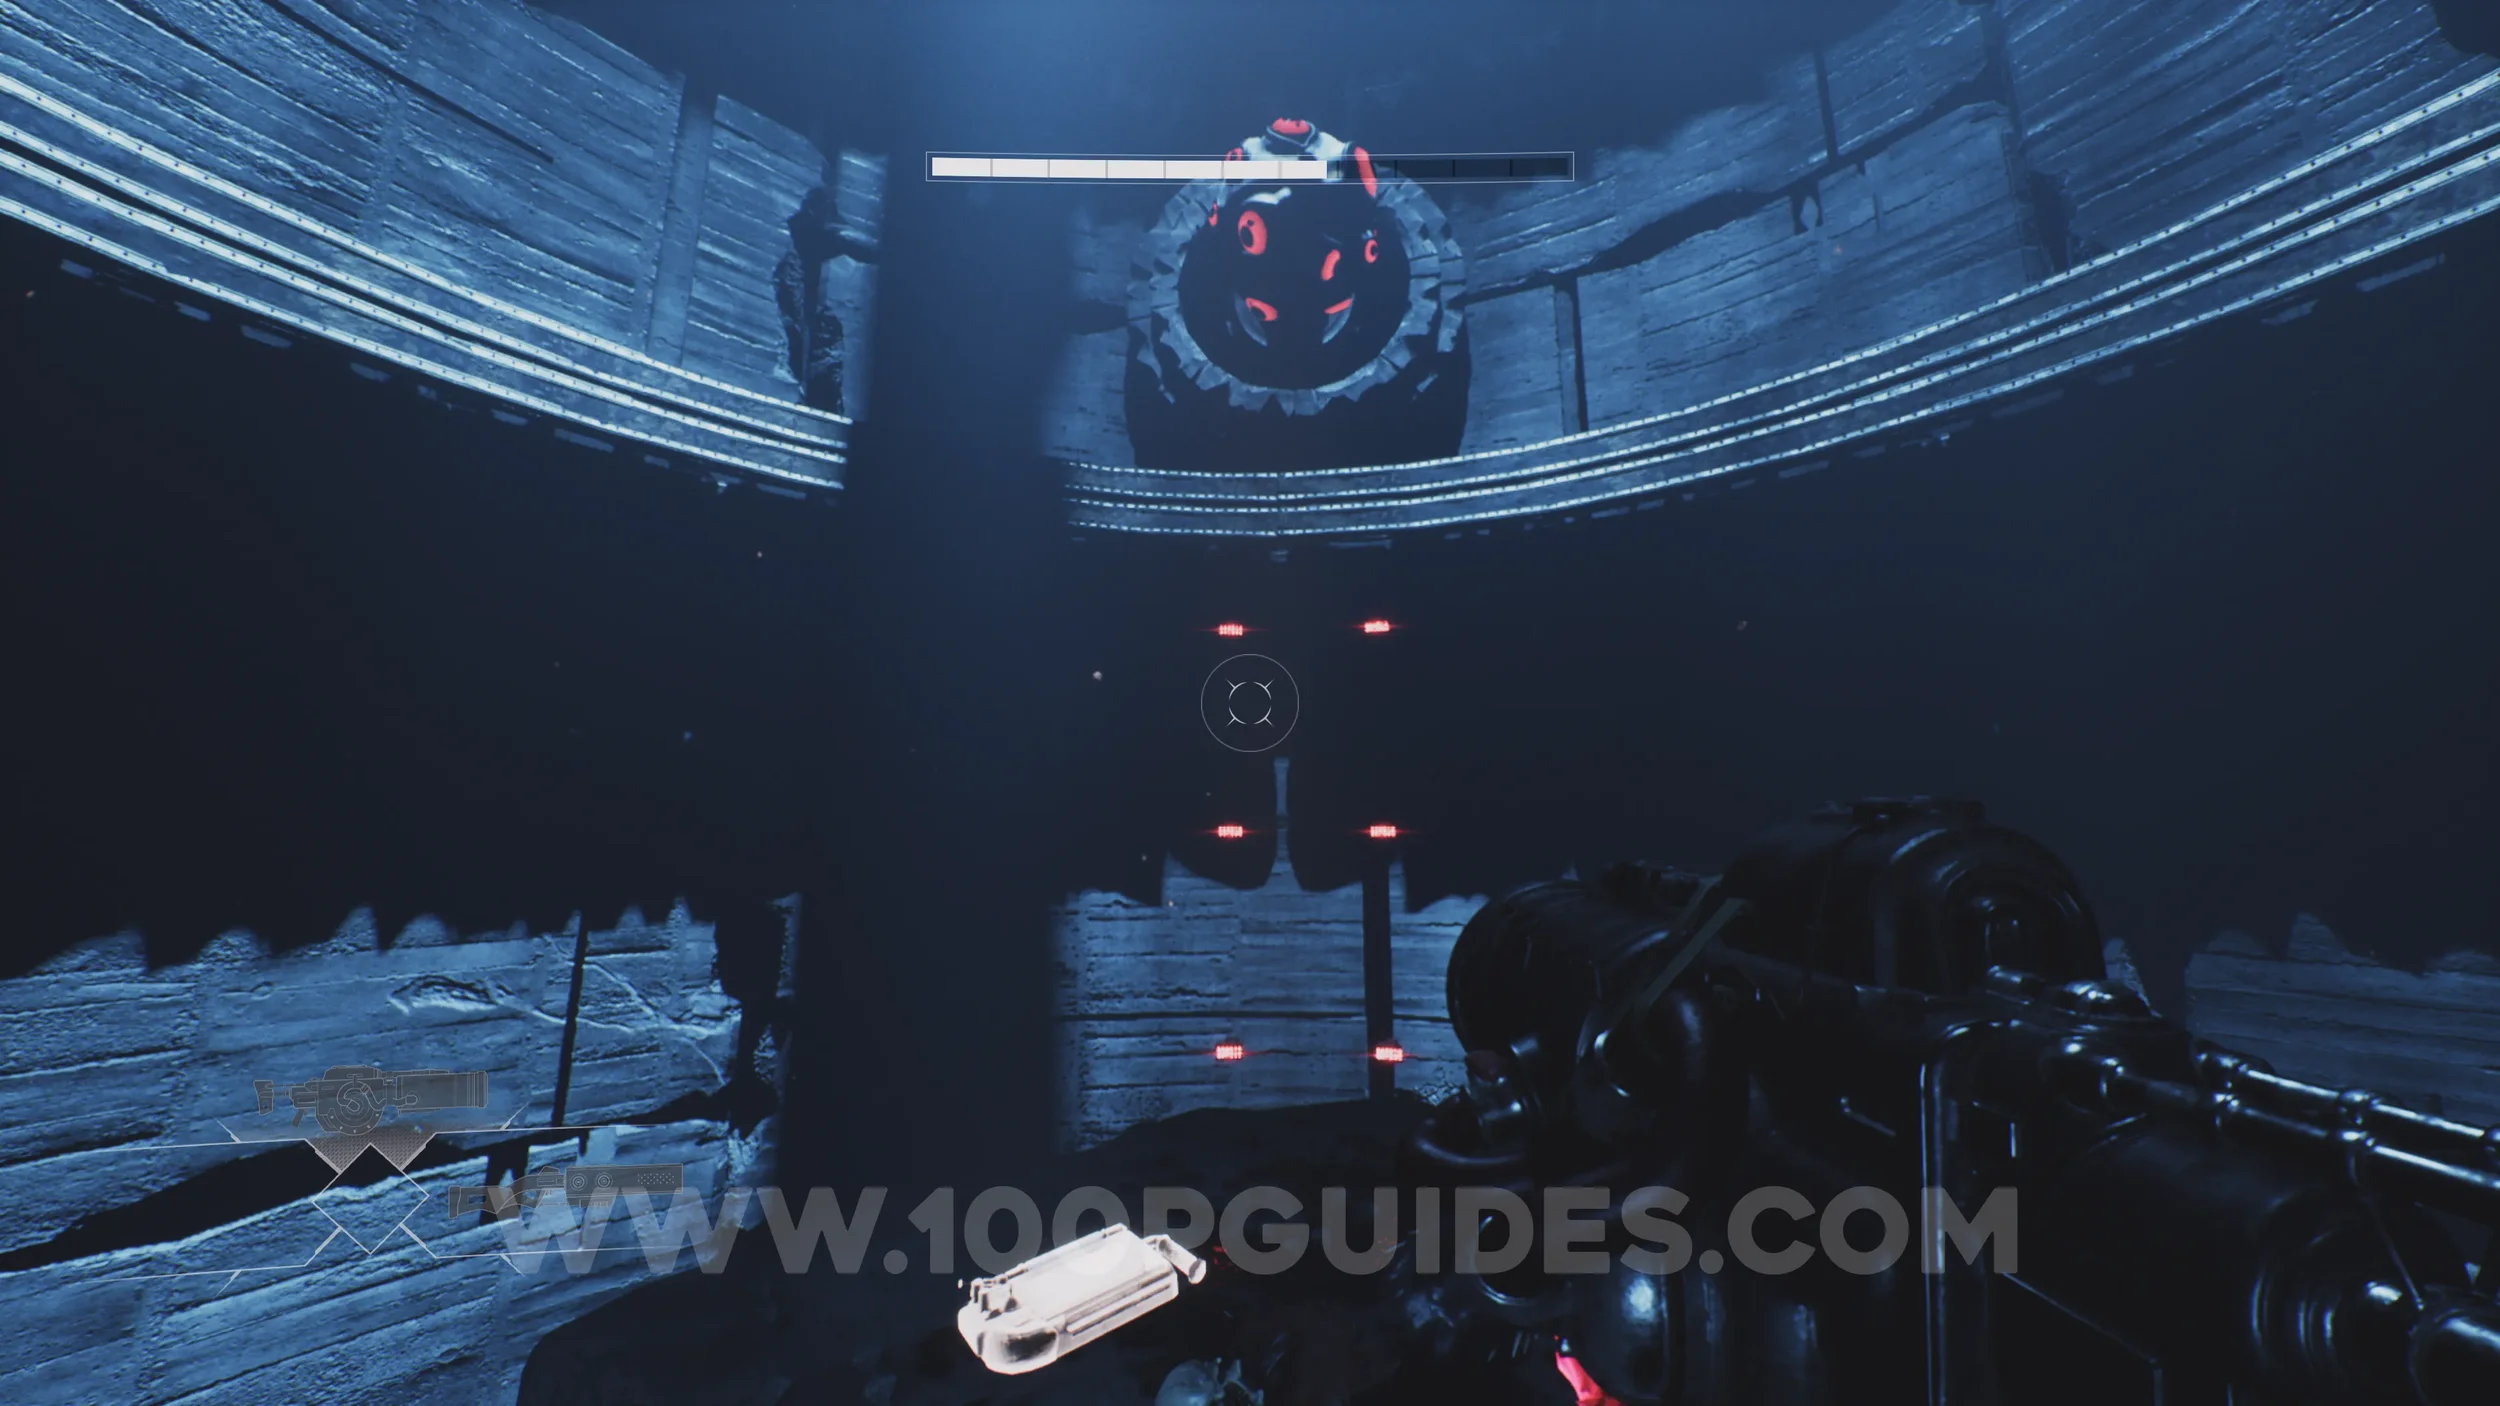
Lore Entry #10 (Monsters - Watchers). Continue through the chapter and you will eventually return to the checkpoint from the start of the area. Continue past it and use the Watchers to cross the gap that could not be crossed during your first visit. Afterward, you will travel through a massive pipe filled with blobs that can be shot, with a checkpoint waiting at the end beside a large fan.
Continue through the next pipe, jump to a Watcher, and then use the jump pad to reach another Watcher higher up. From this Watcher, look to the left to spot the collectible instead of continuing toward the pipe in the wall.
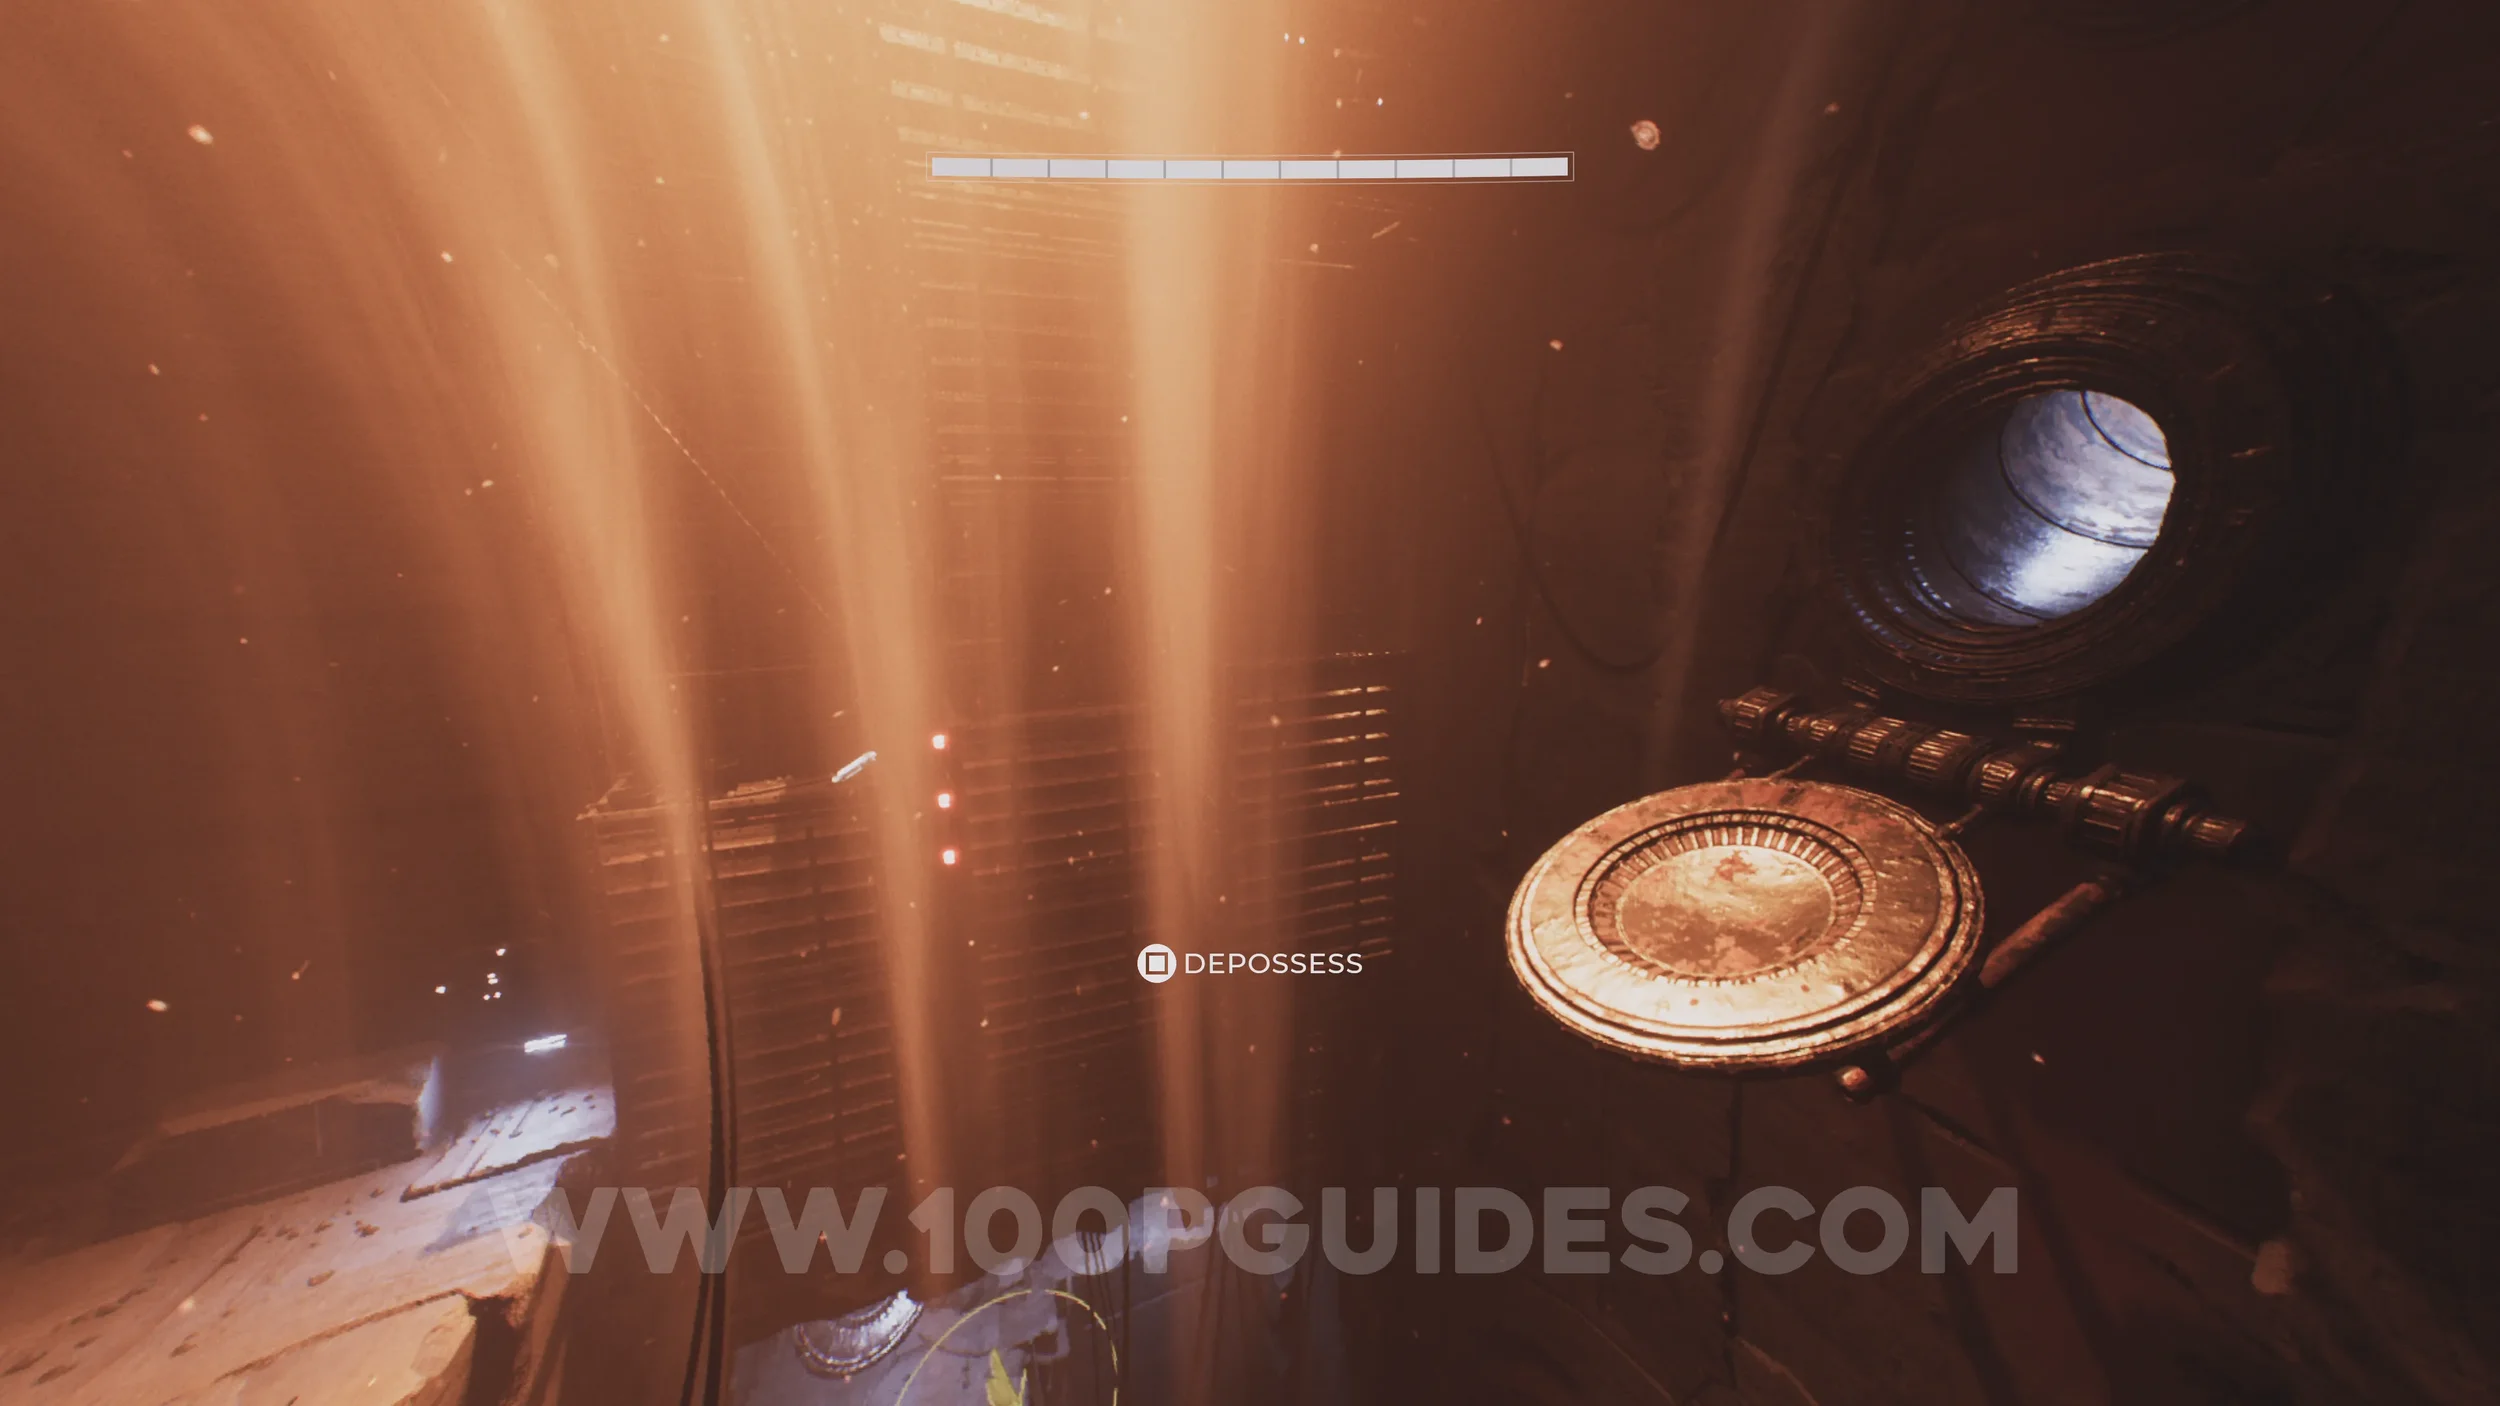
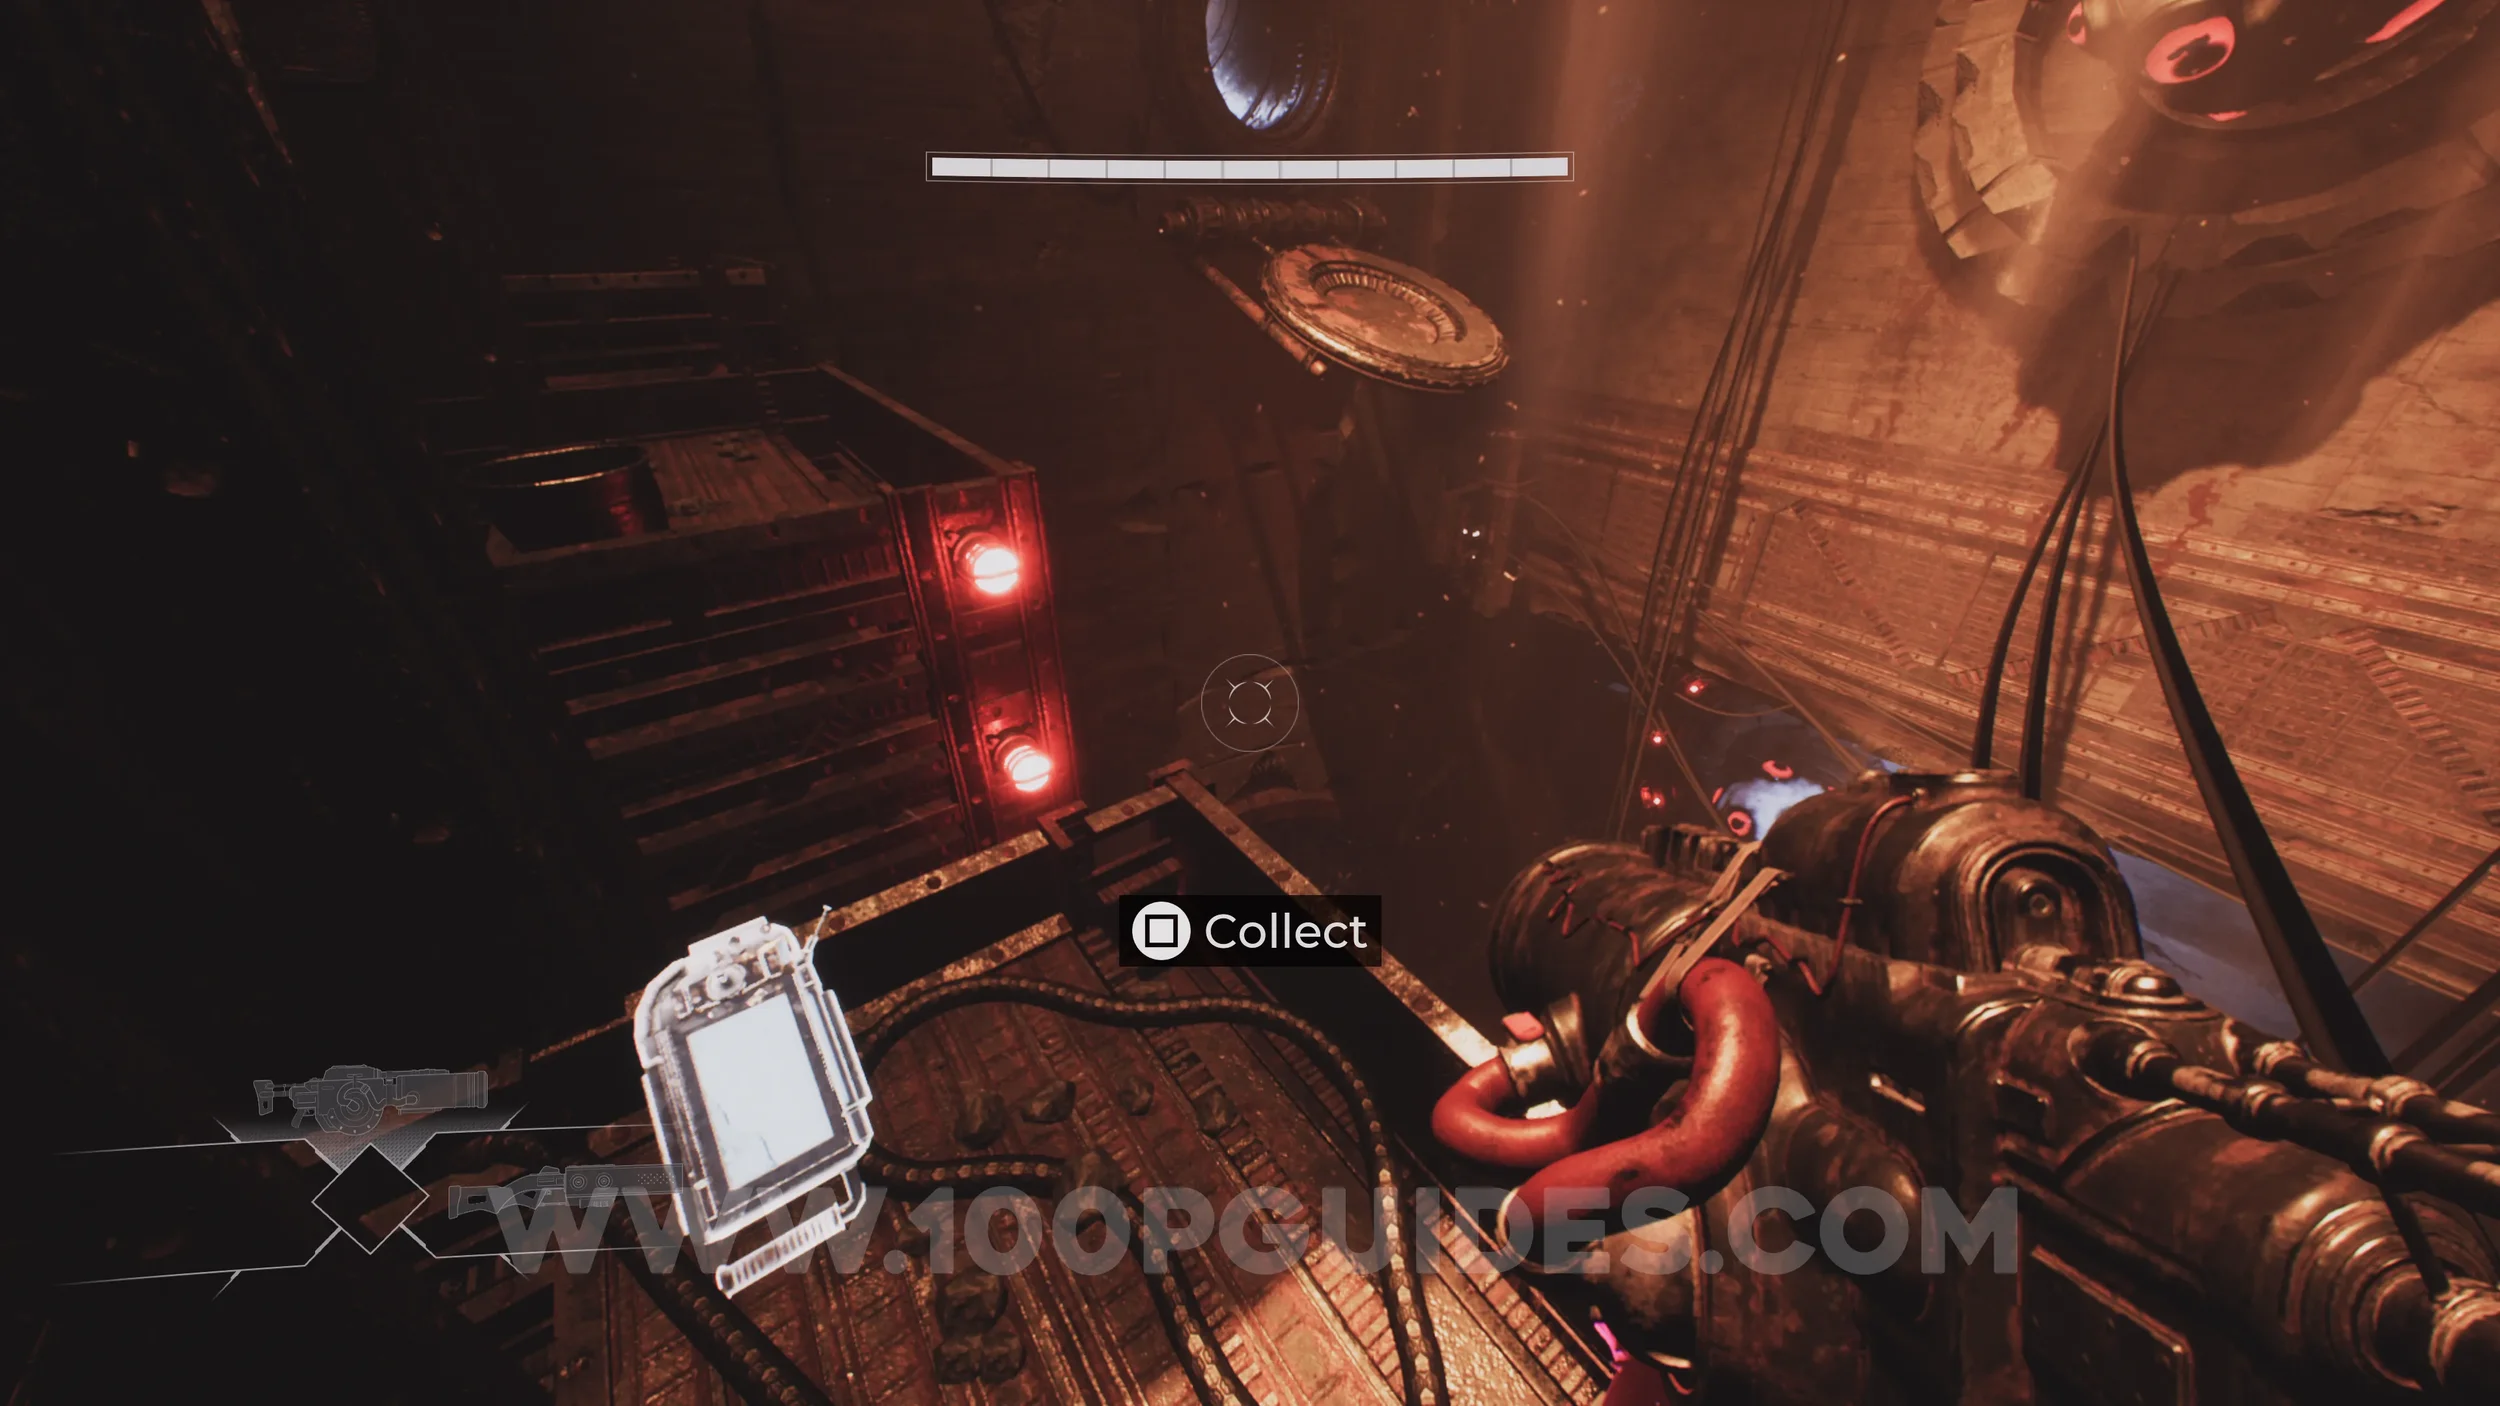
Lore Entry #11 (Memory - Entry #877 -The Giant). Soon after the previous collectible, you will go through a large pipe with a spinning purple laser. Afterwards, you will fall into another large pipe where you must dash to a Watcher on the other side of some metal bars. Before dashing through the bars, turn around to find the collectible behind you.
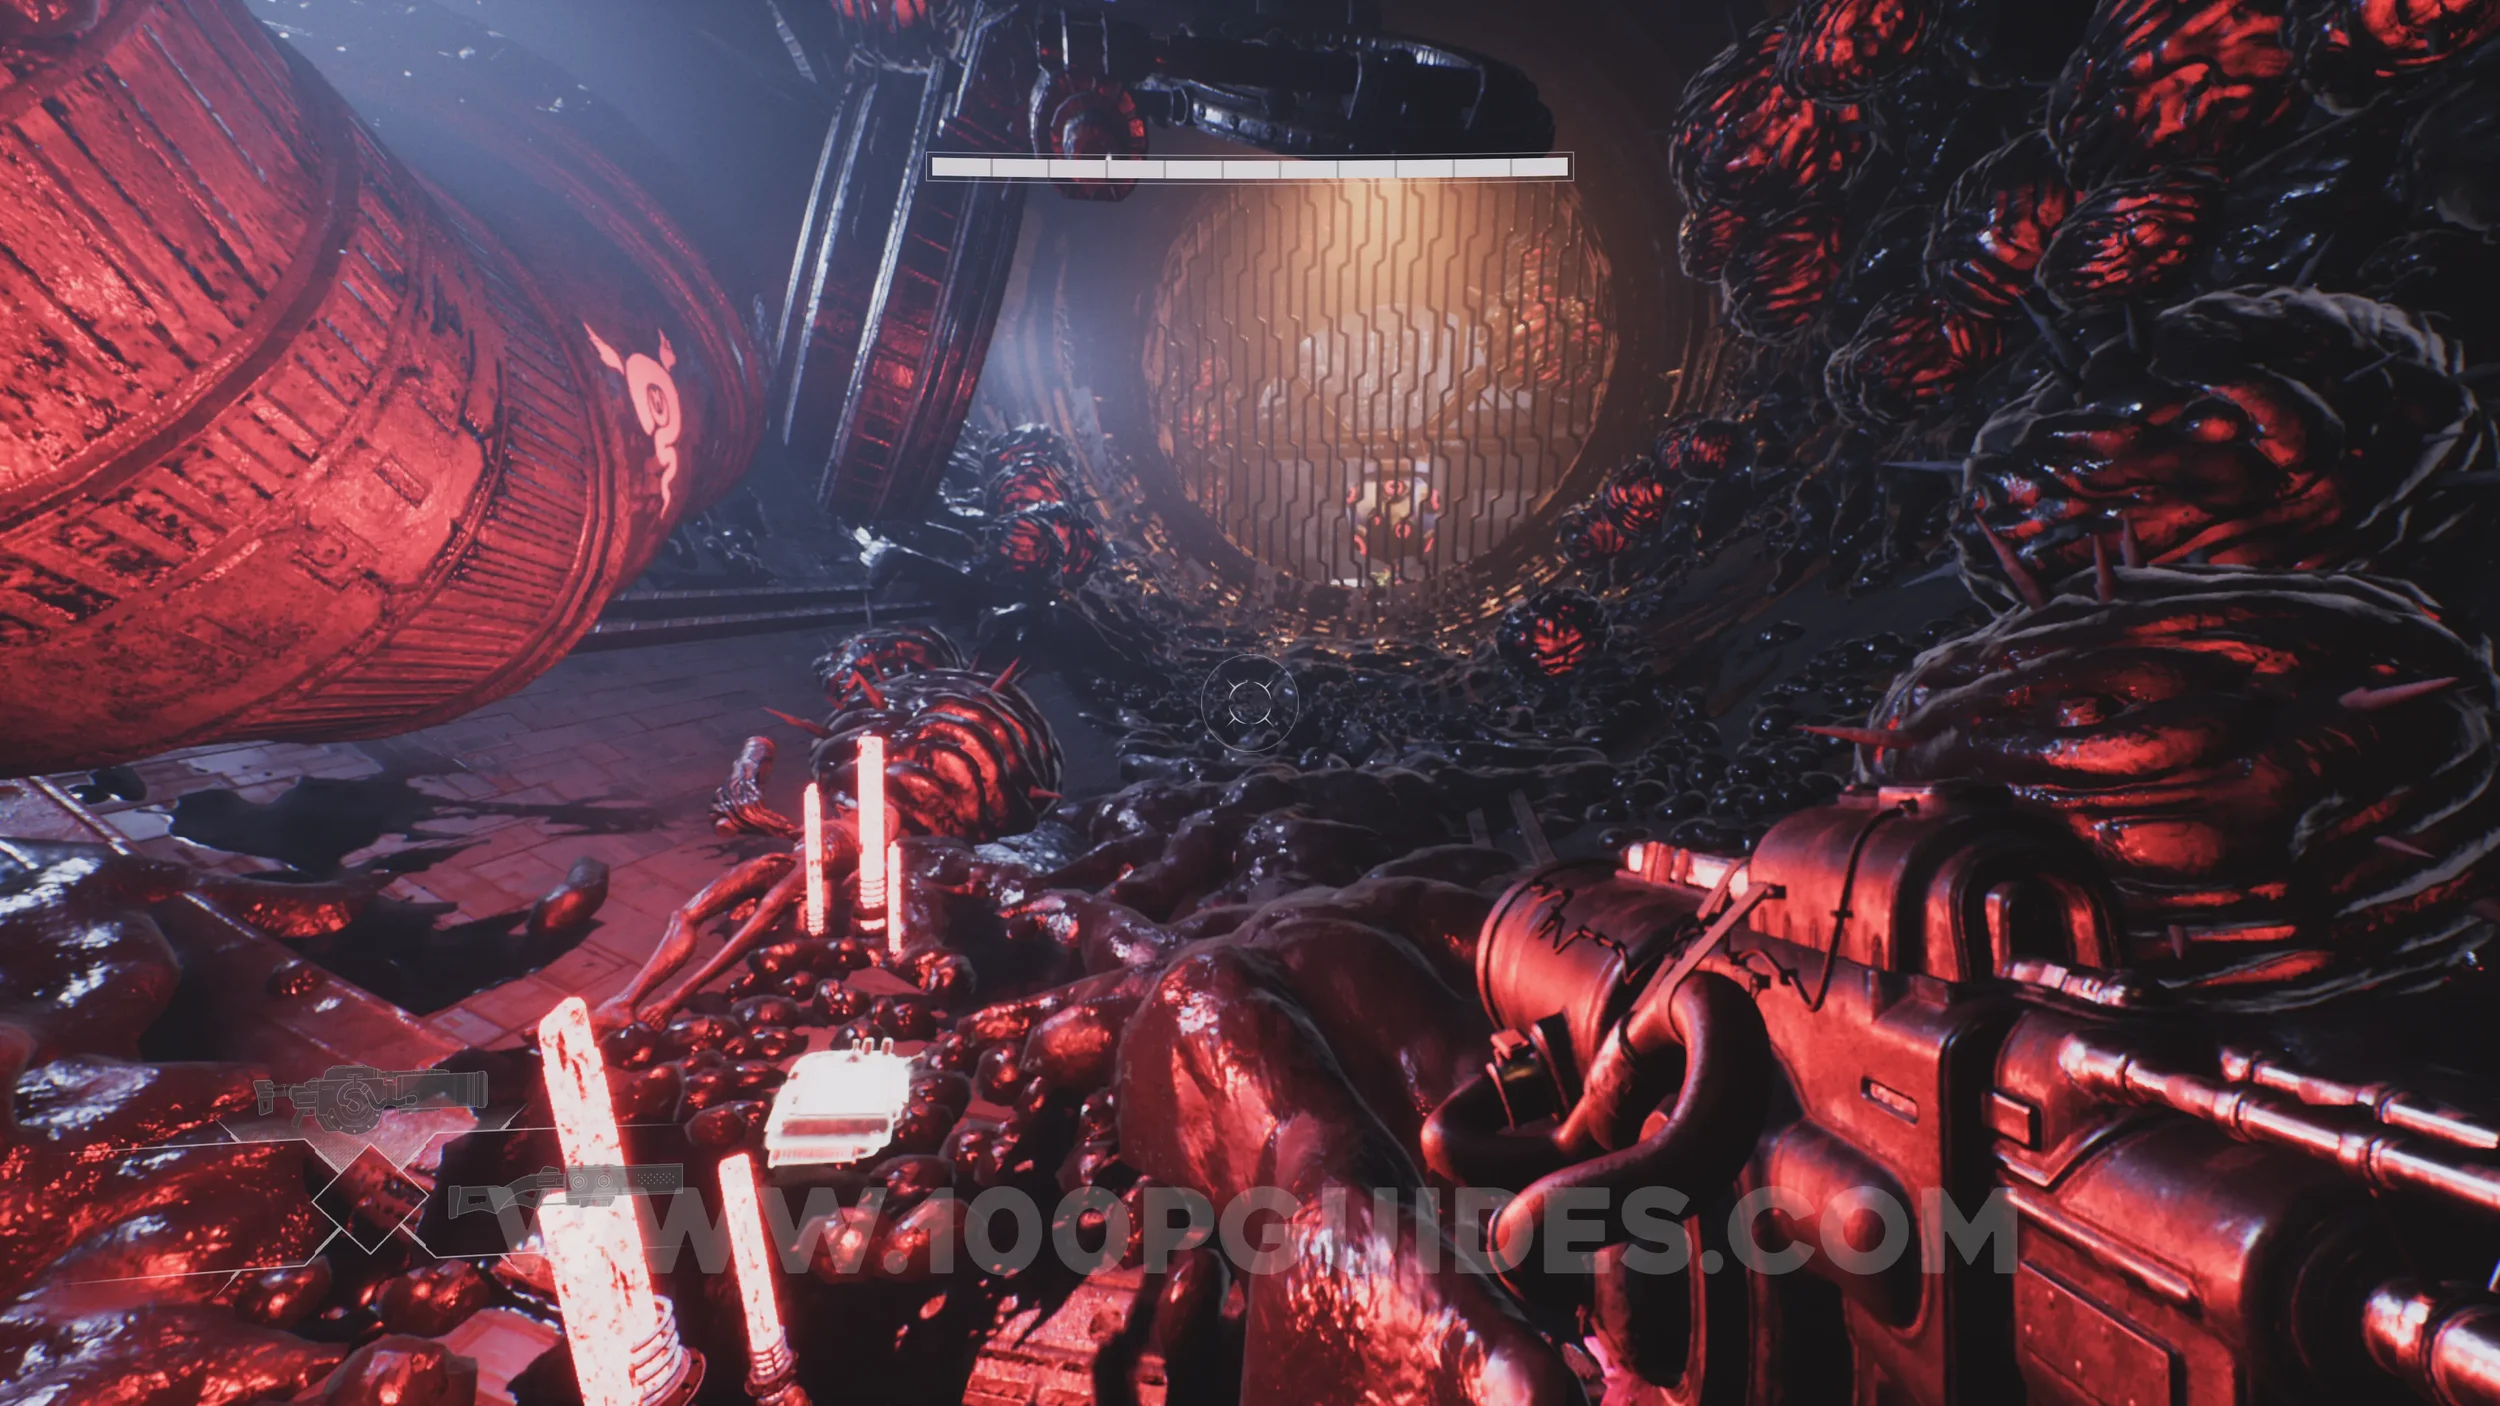
Health Increase #3. After going through a large pipe with four spinning purple lasers, you will reach another Watcher. From here, dash to the pipe on the right side to find a chest inside containing the health increase.
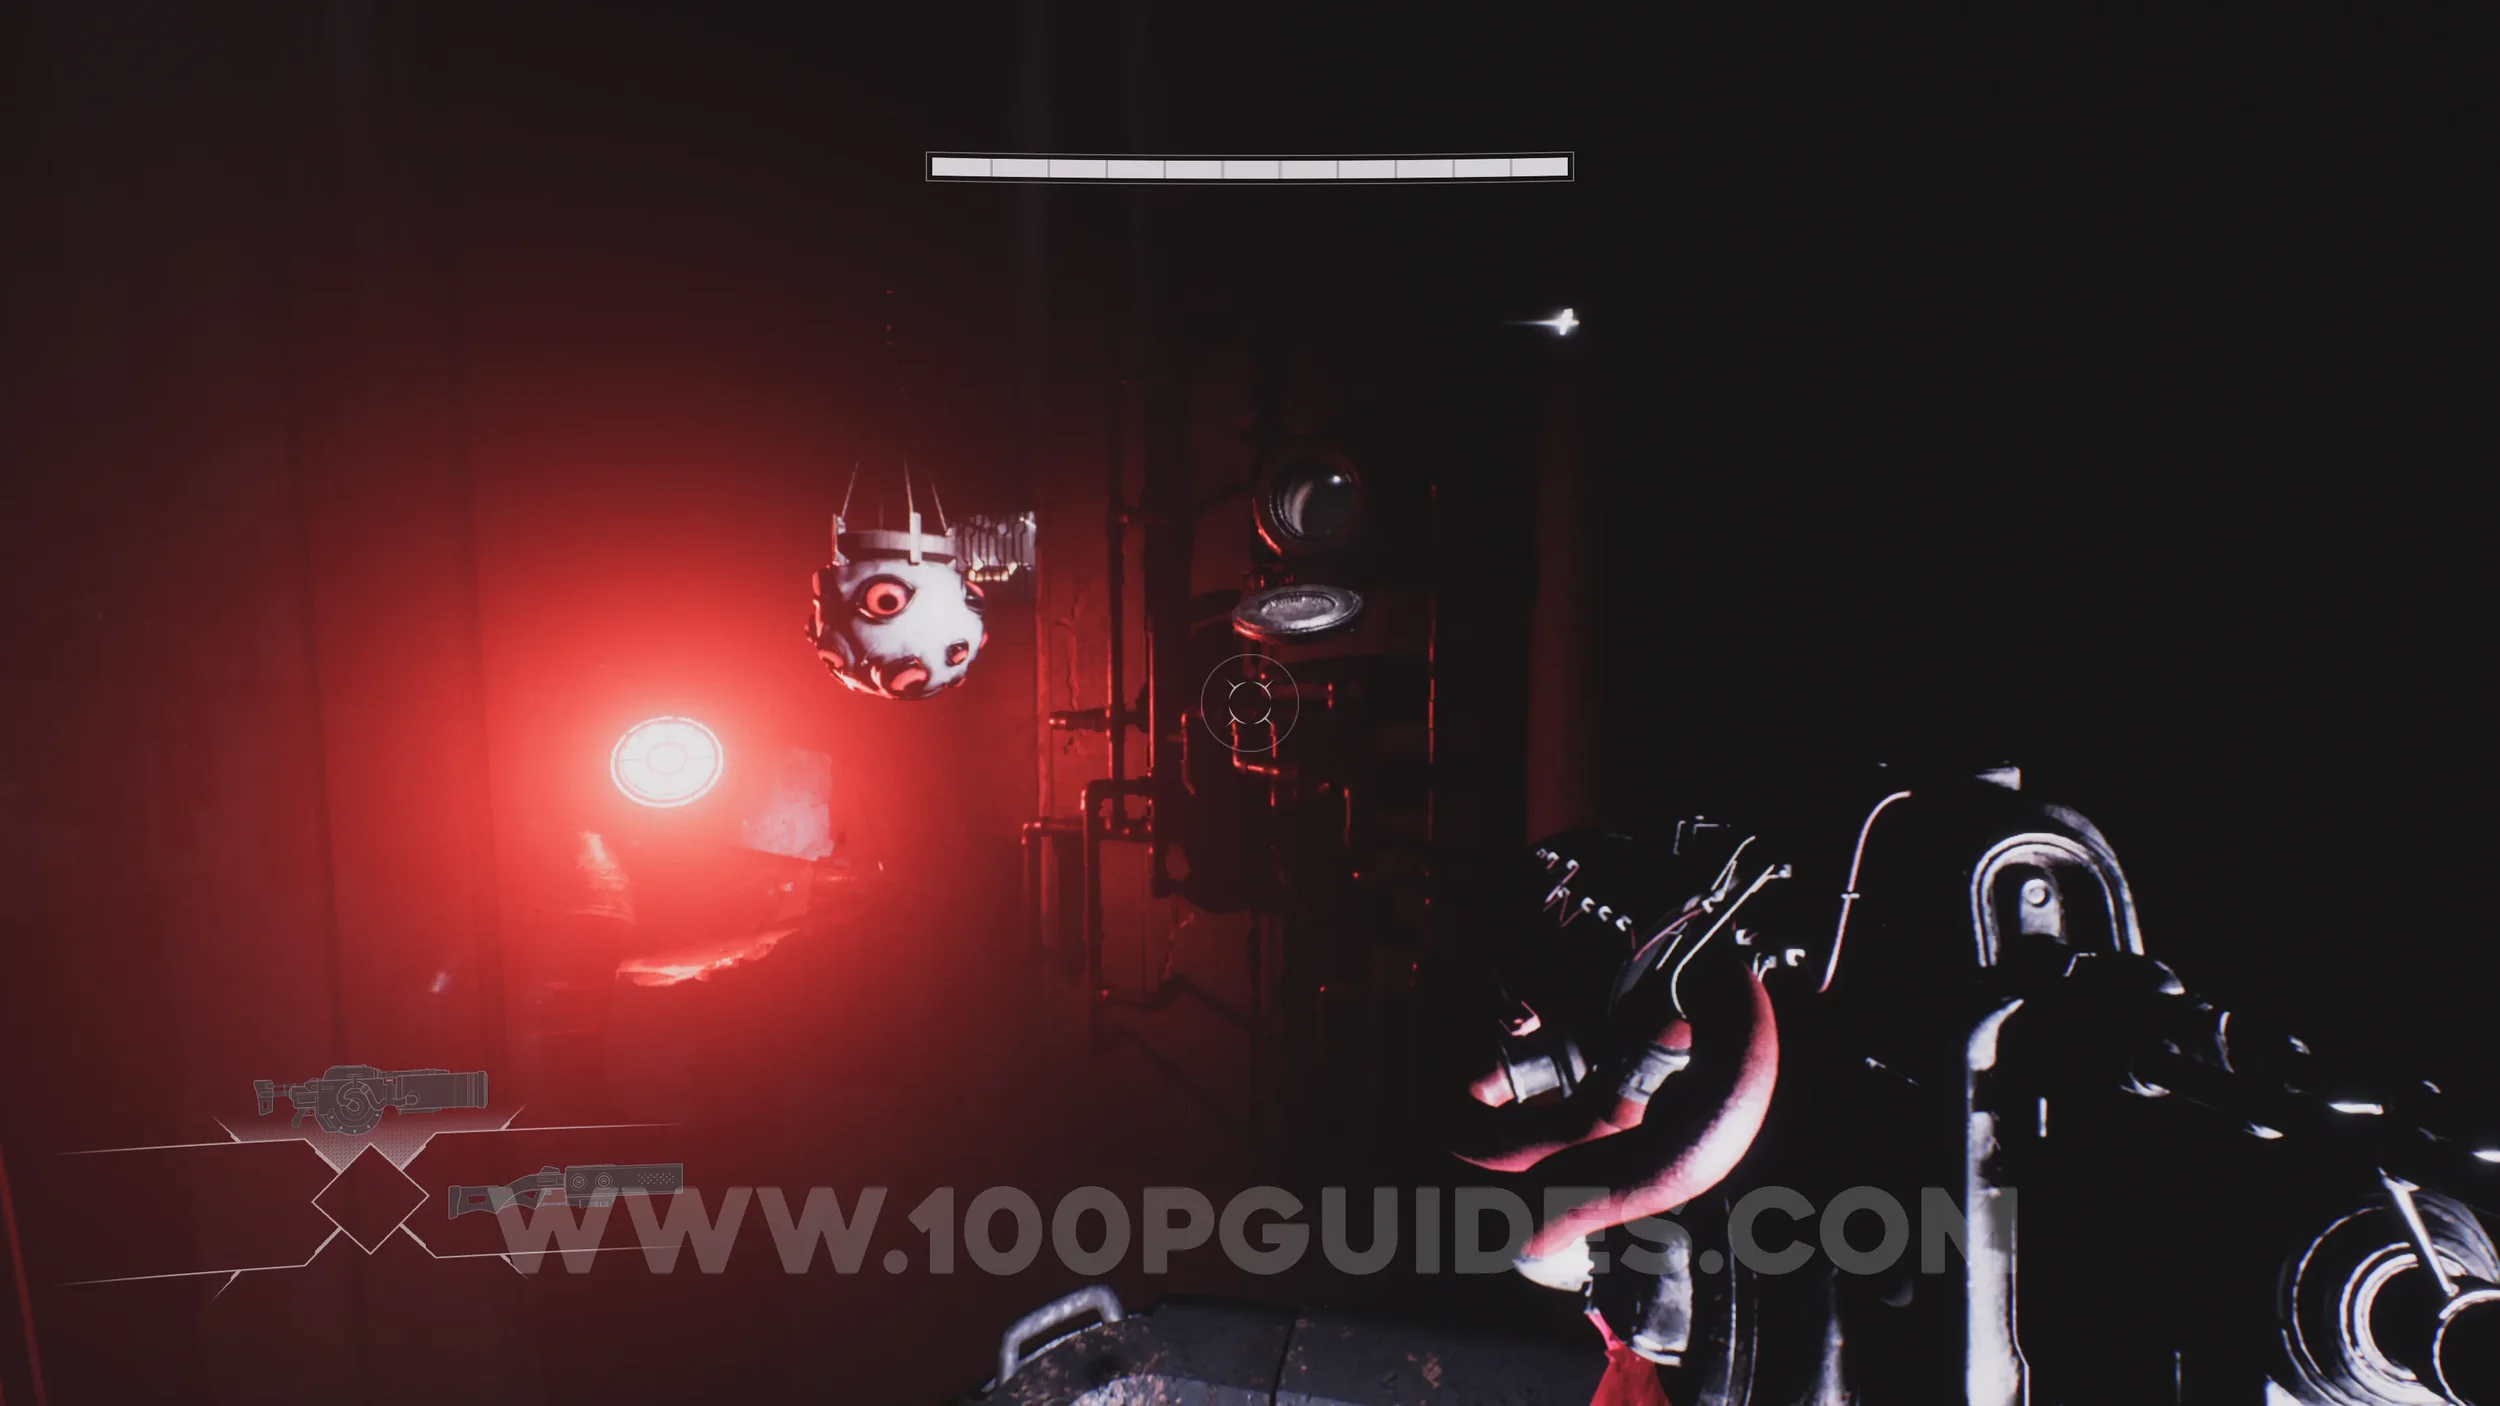
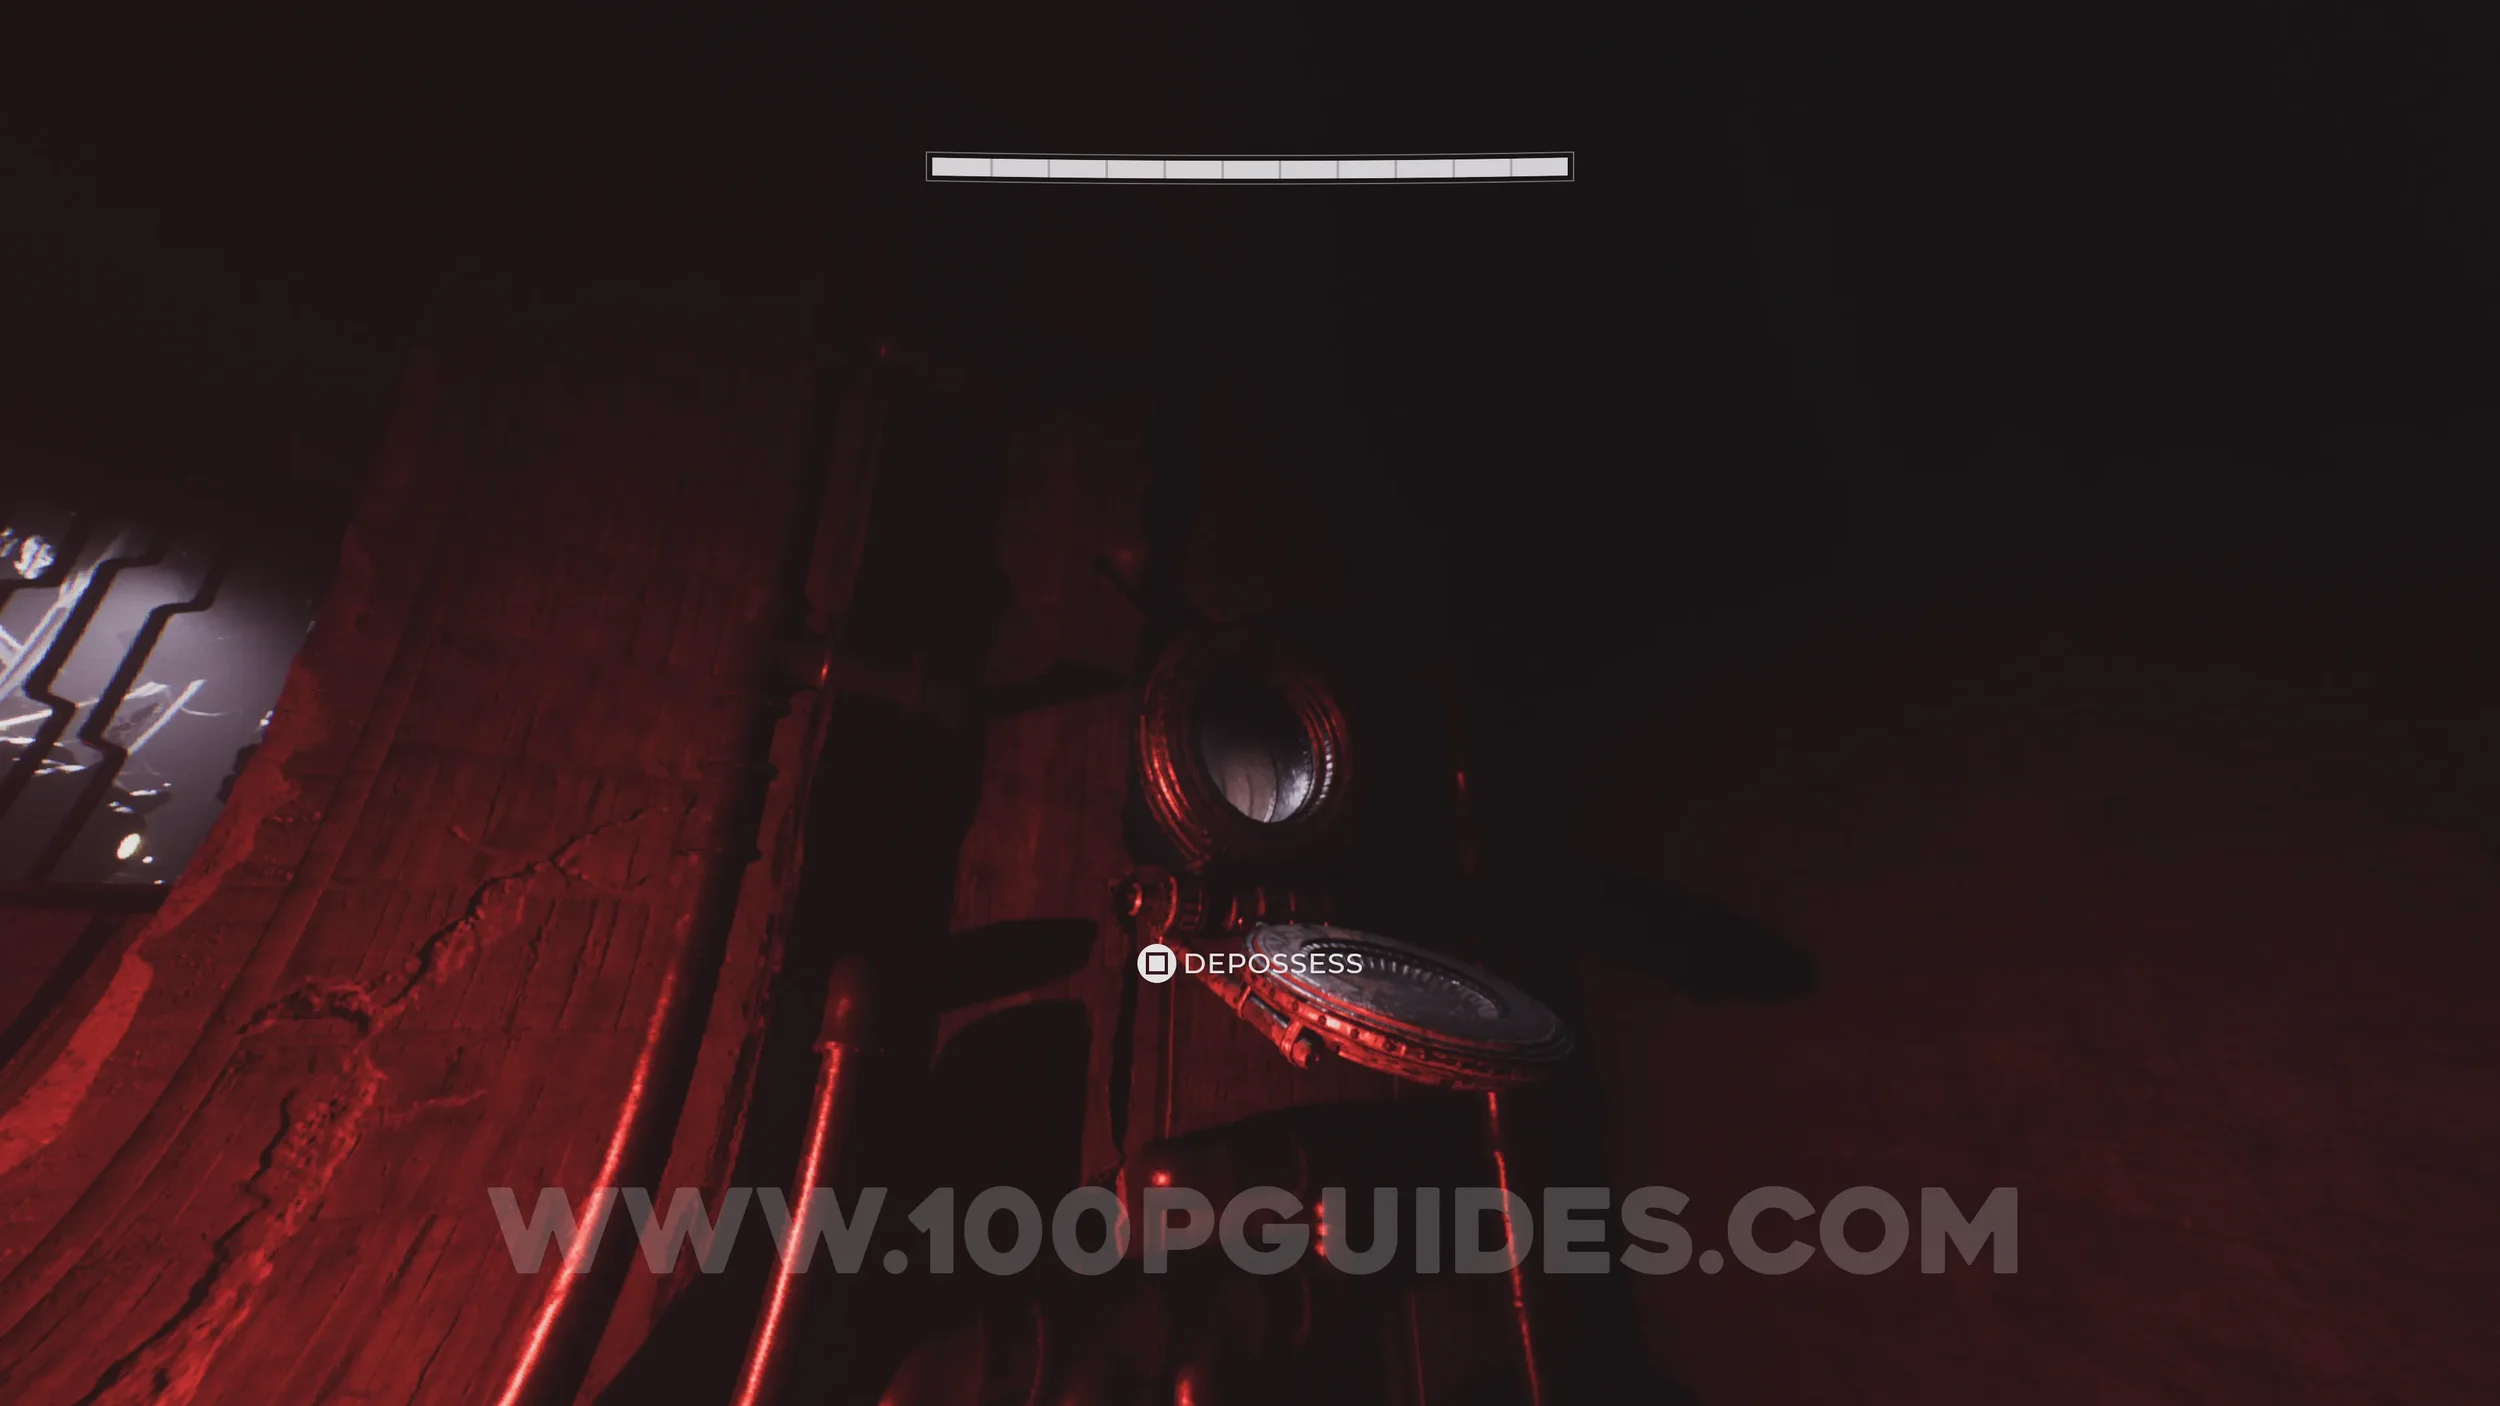
Lore Entry #12 (Memory - Entry #4823 - F.A.T.E Warden). Continue through the chapter and you will soon dash to several Watchers through metal bars twice before reaching a checkpoint with metal bars on its left side. Go through the pipe to the right of the checkpoint to find the collectible on the ground just before the jump pad.
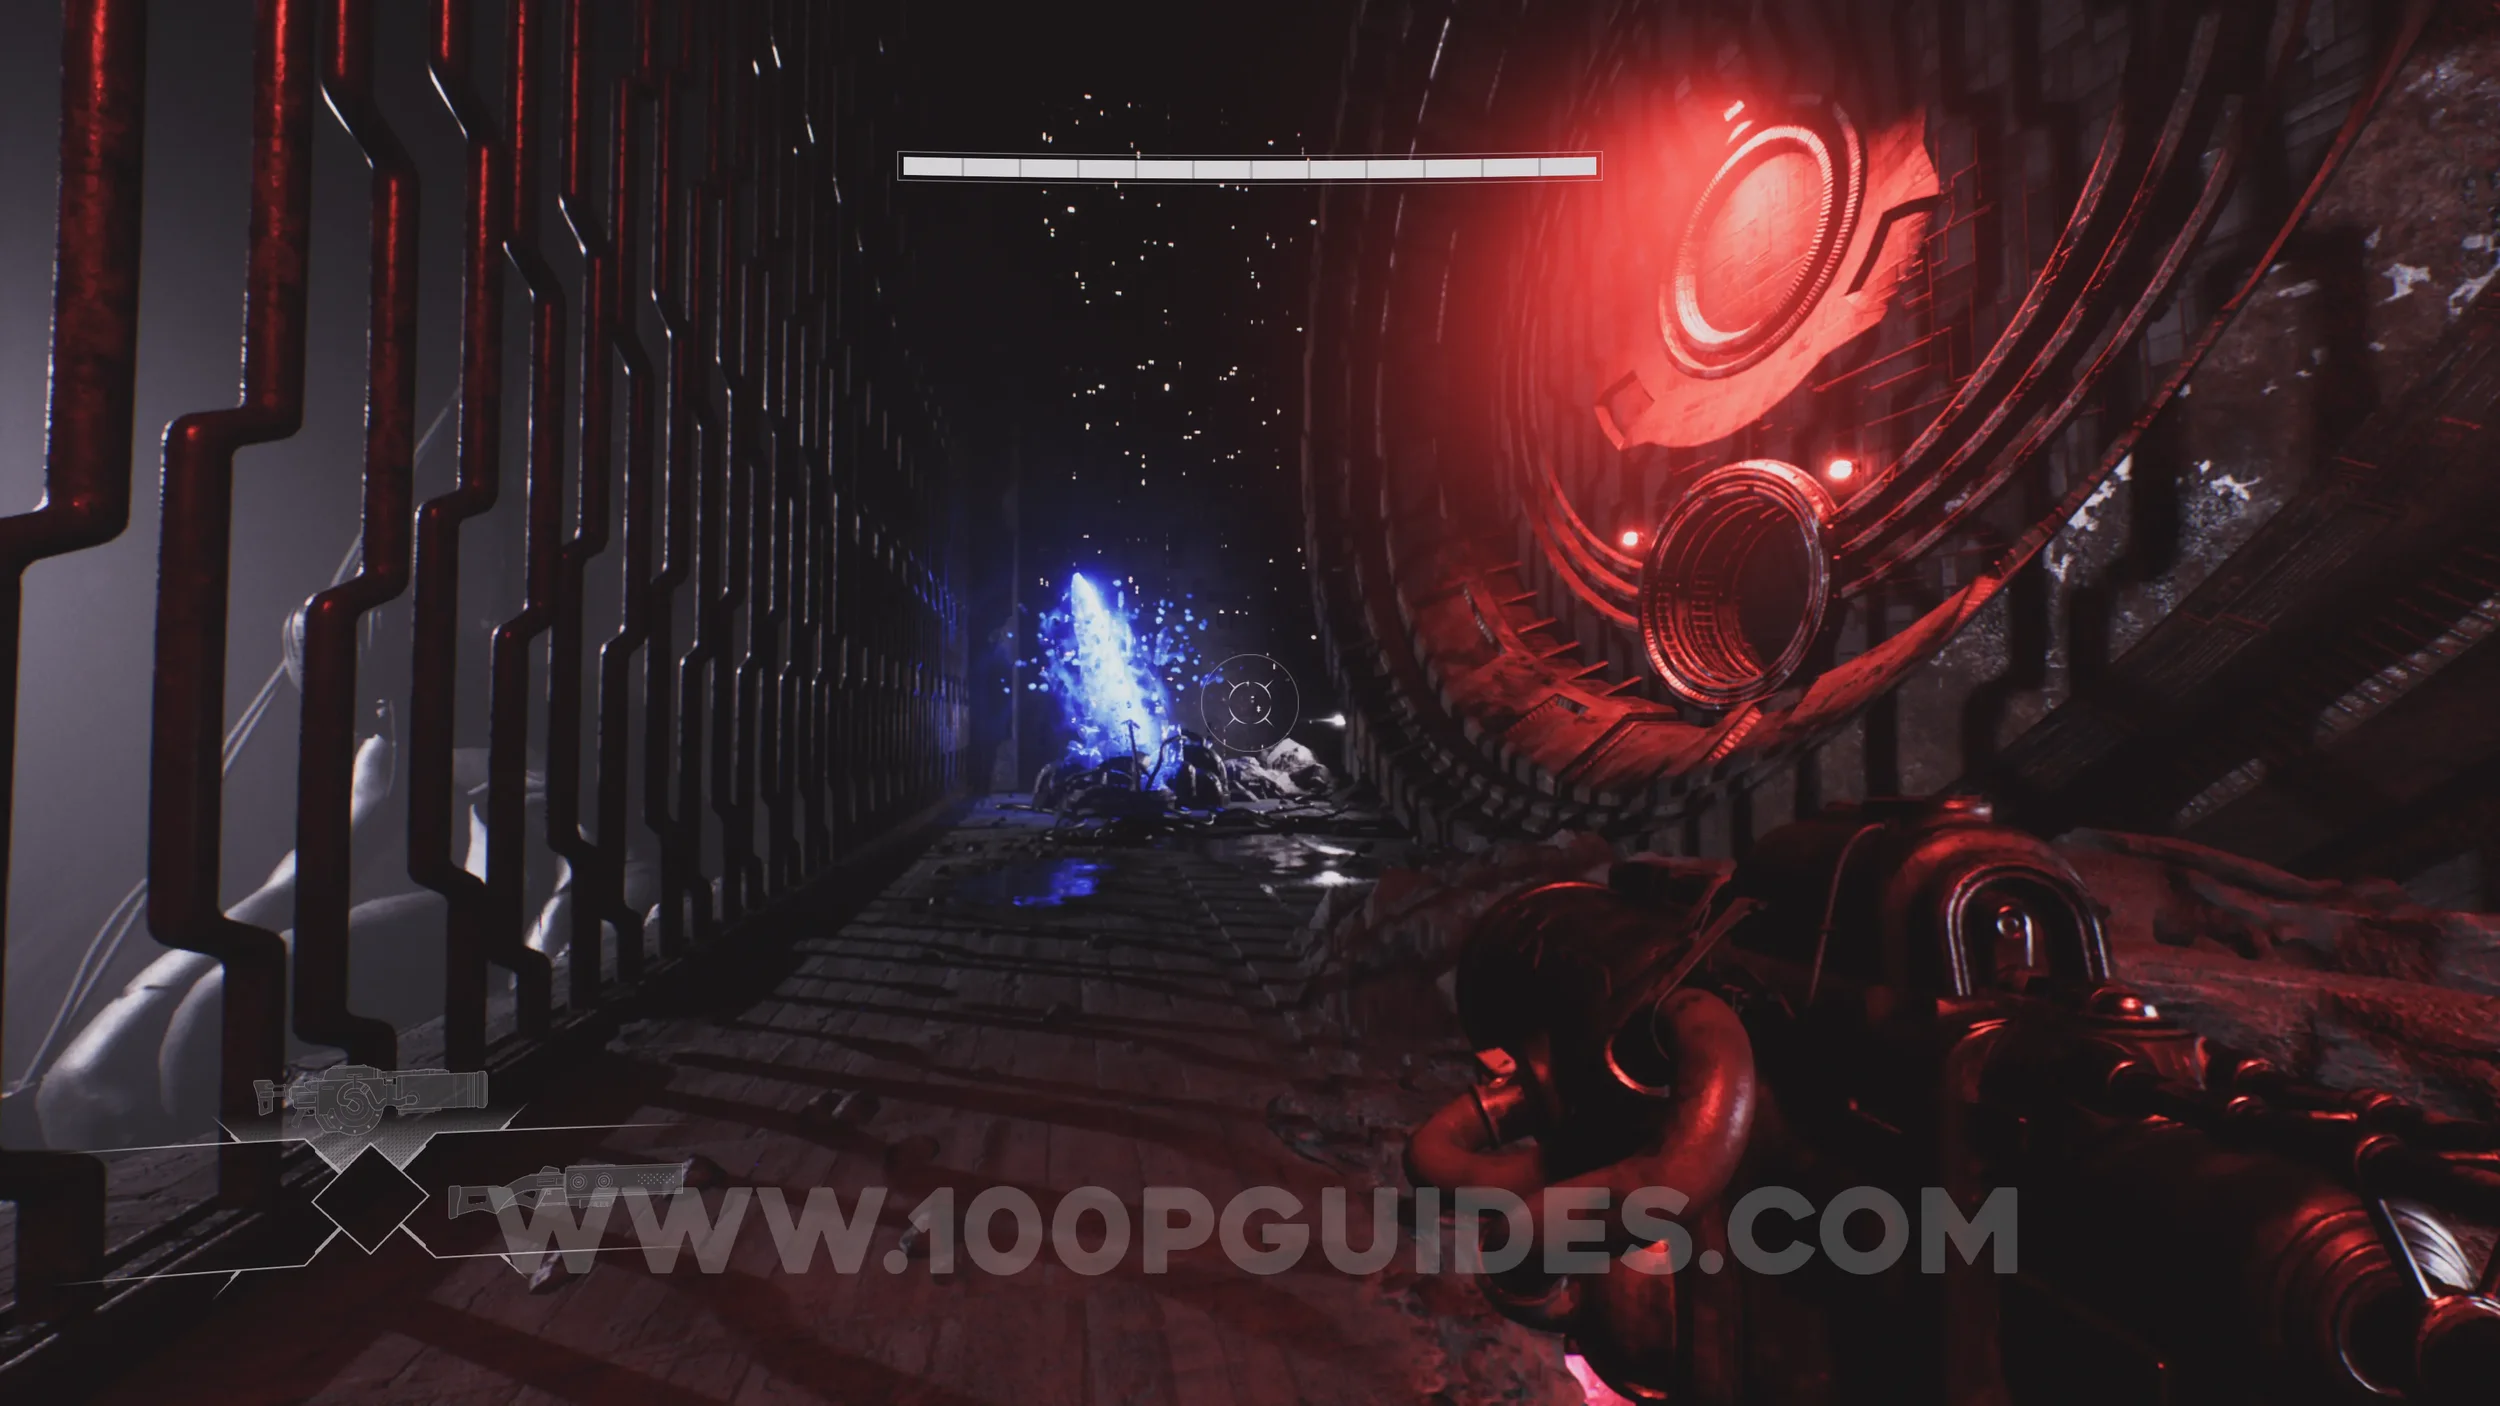
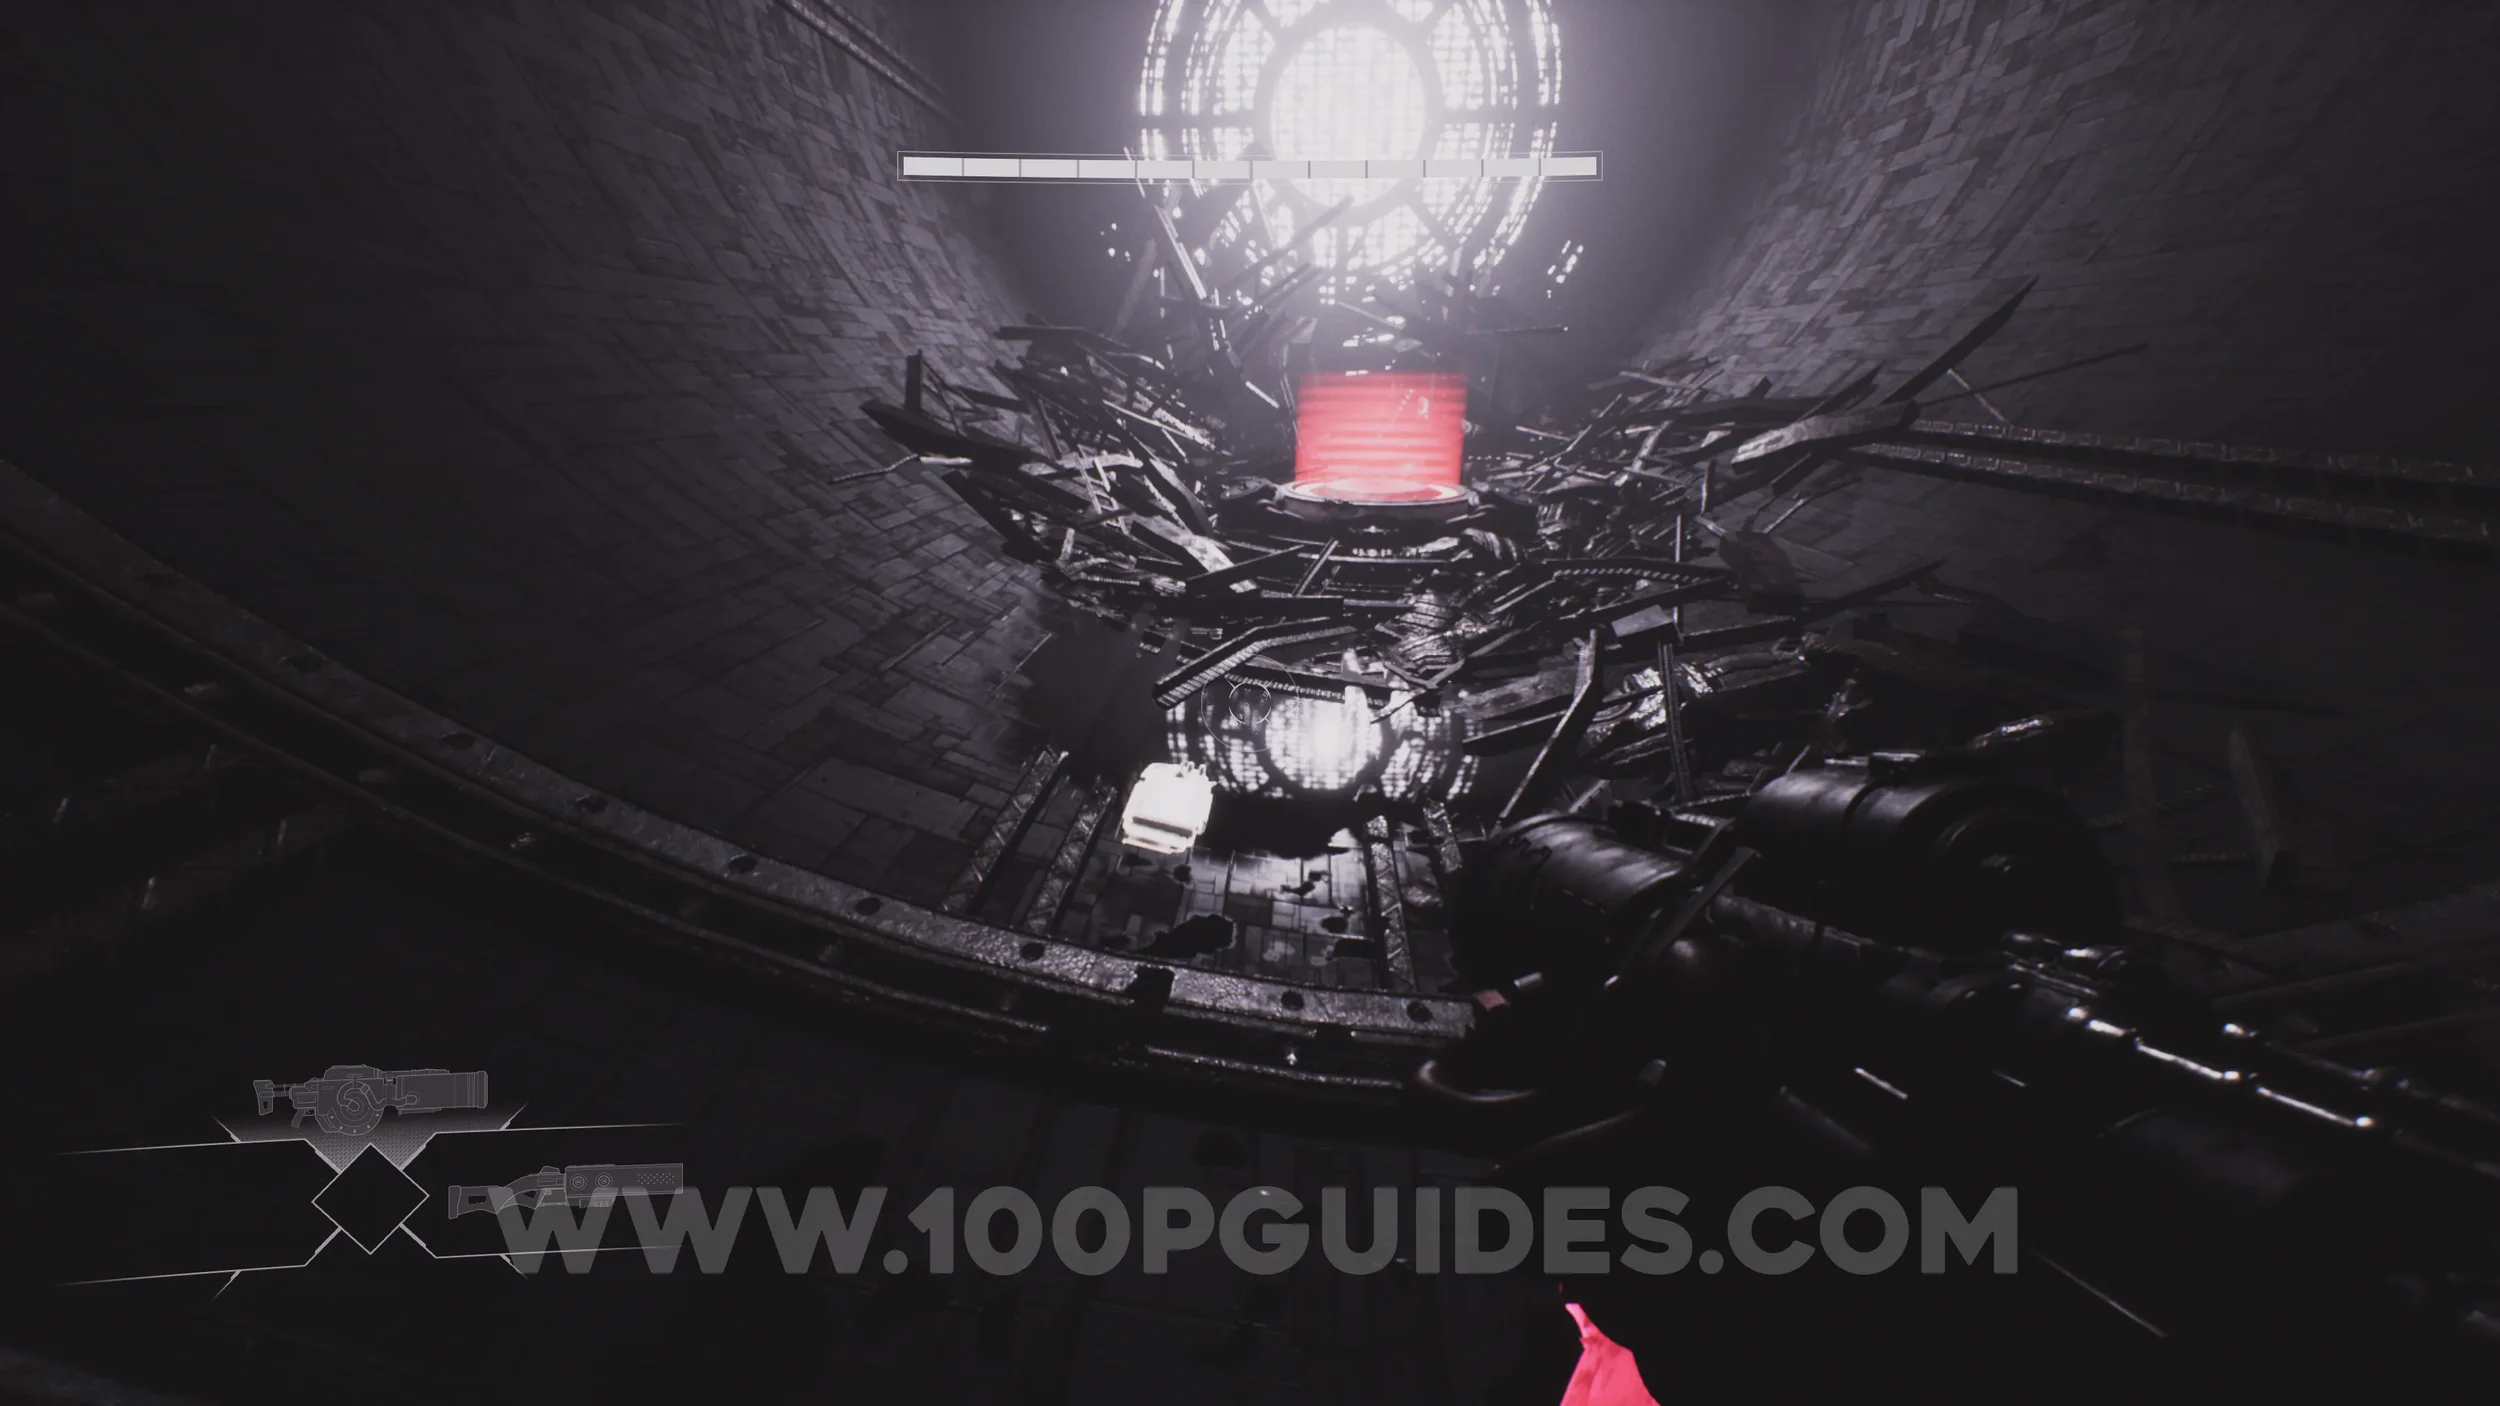
Lore Entry #13 (Character - Ellie). After riding the lift up with Ellie, you will go through a thin corridor lined with square rocks along the sides. The collectible can be seen on your right just before entering the next pipe.
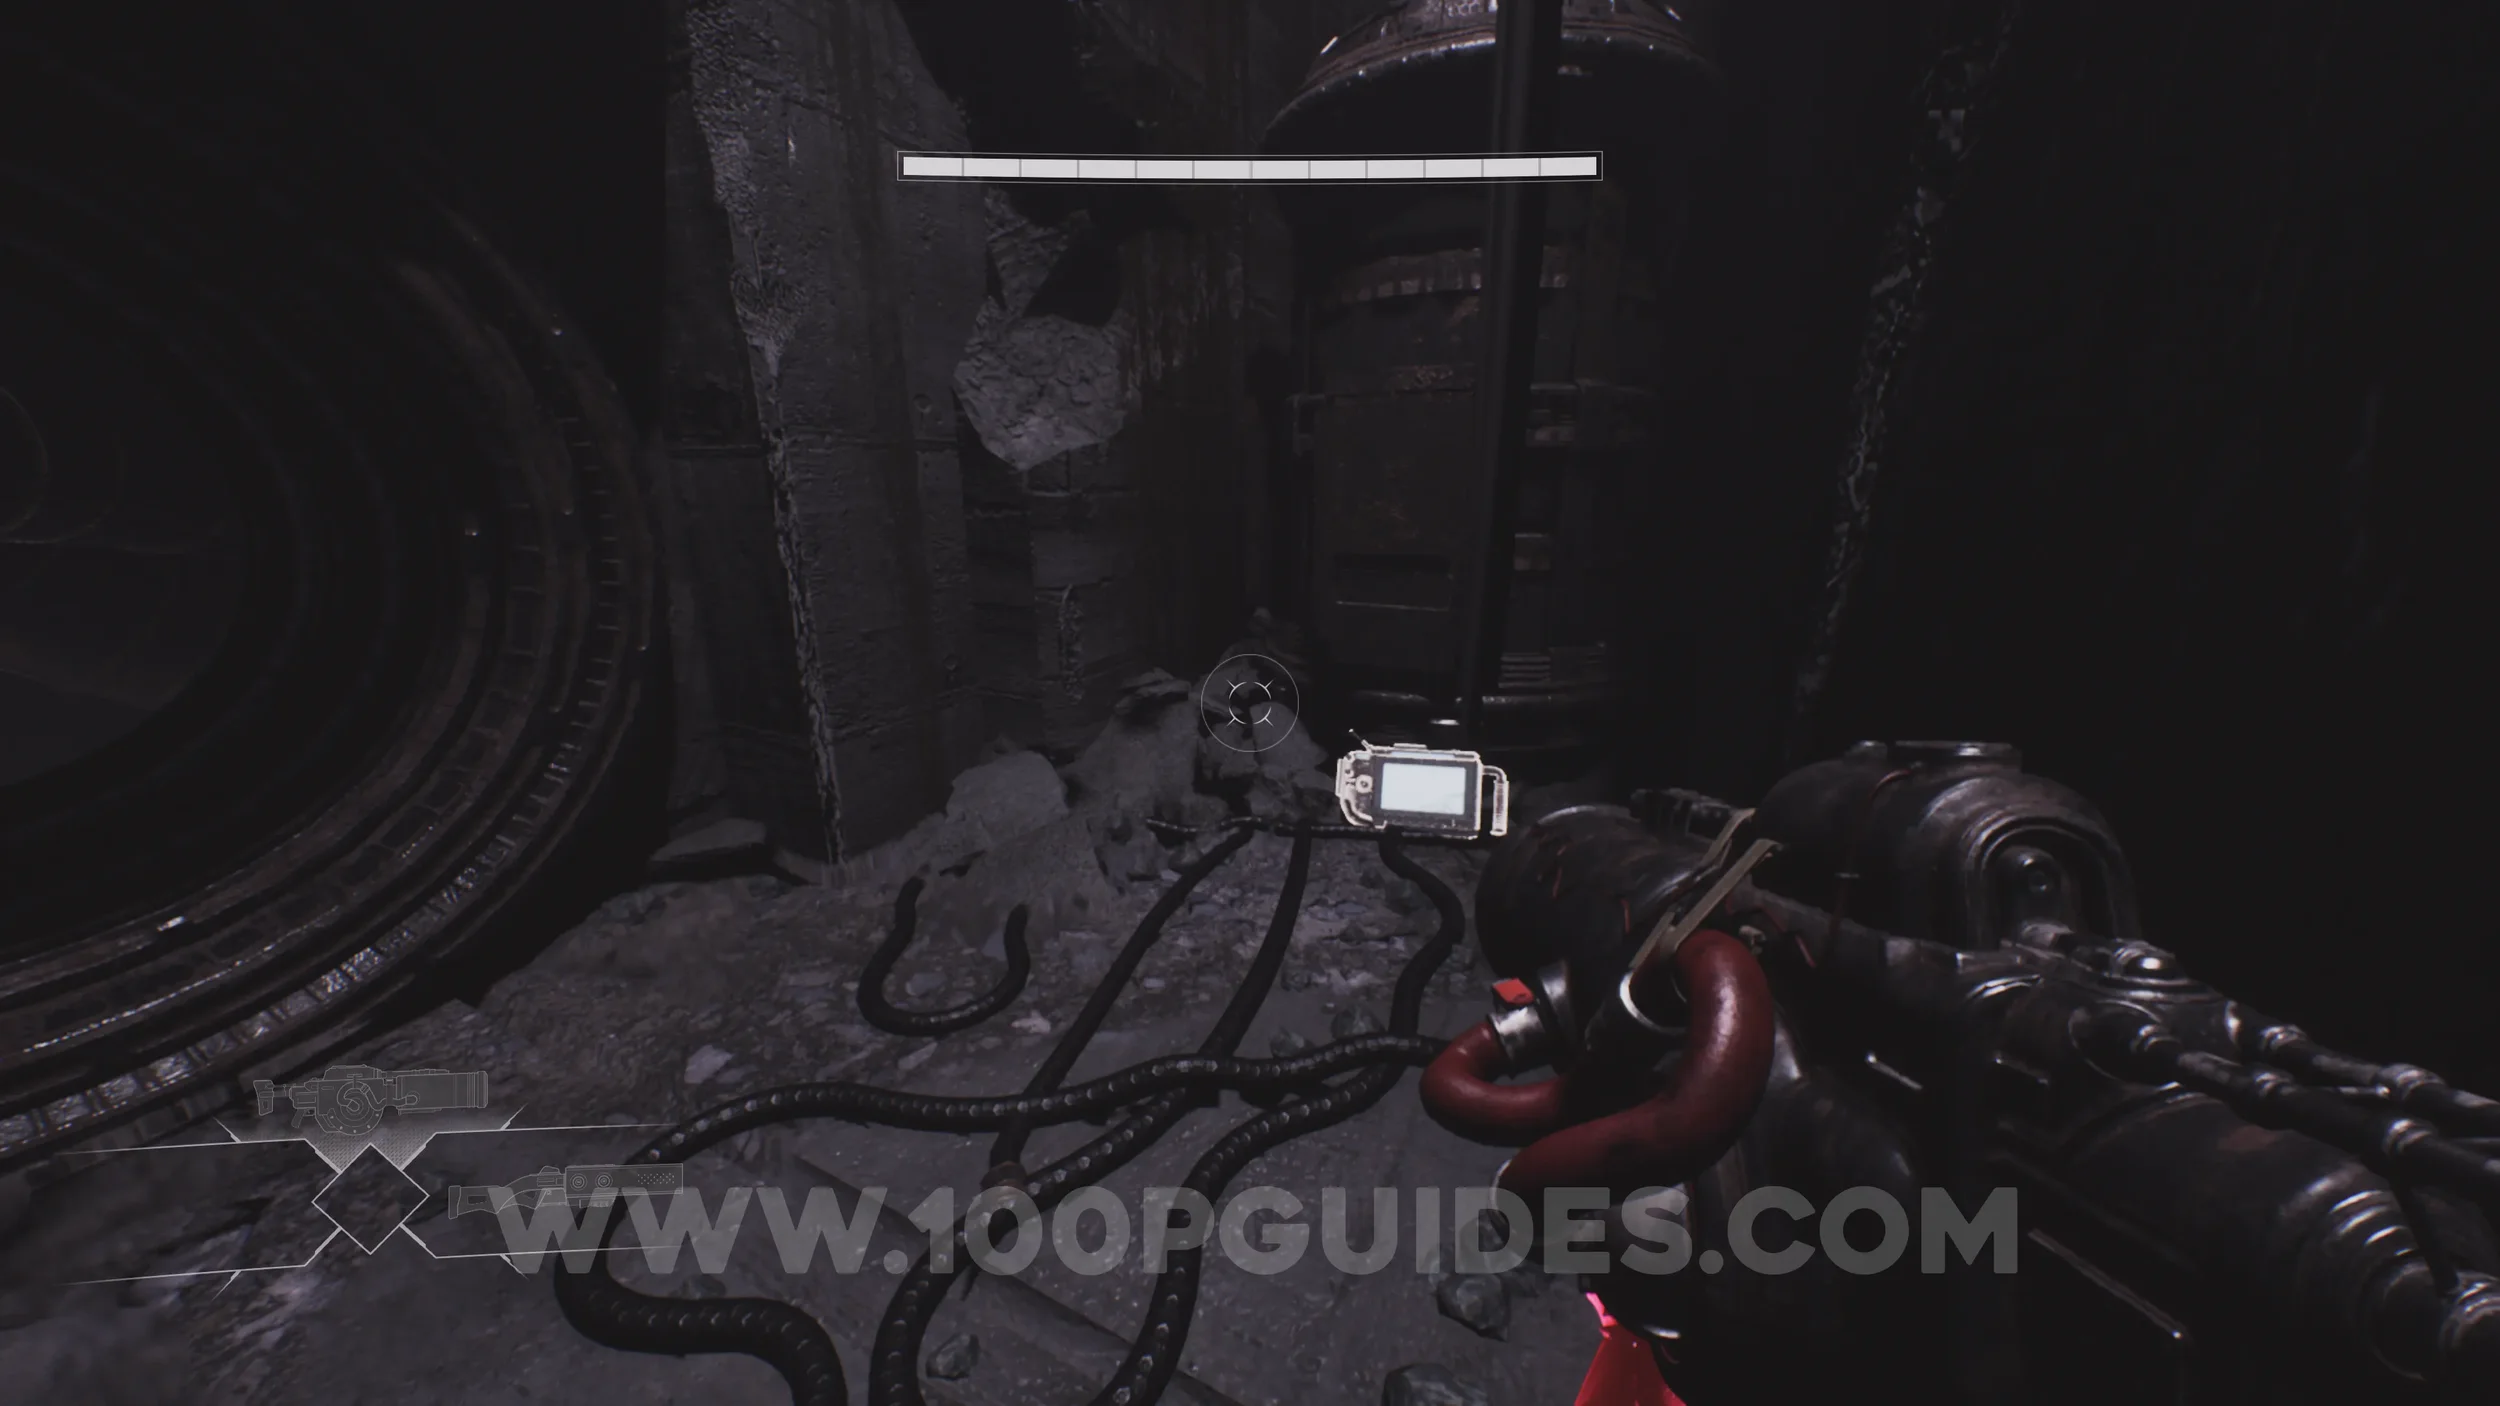
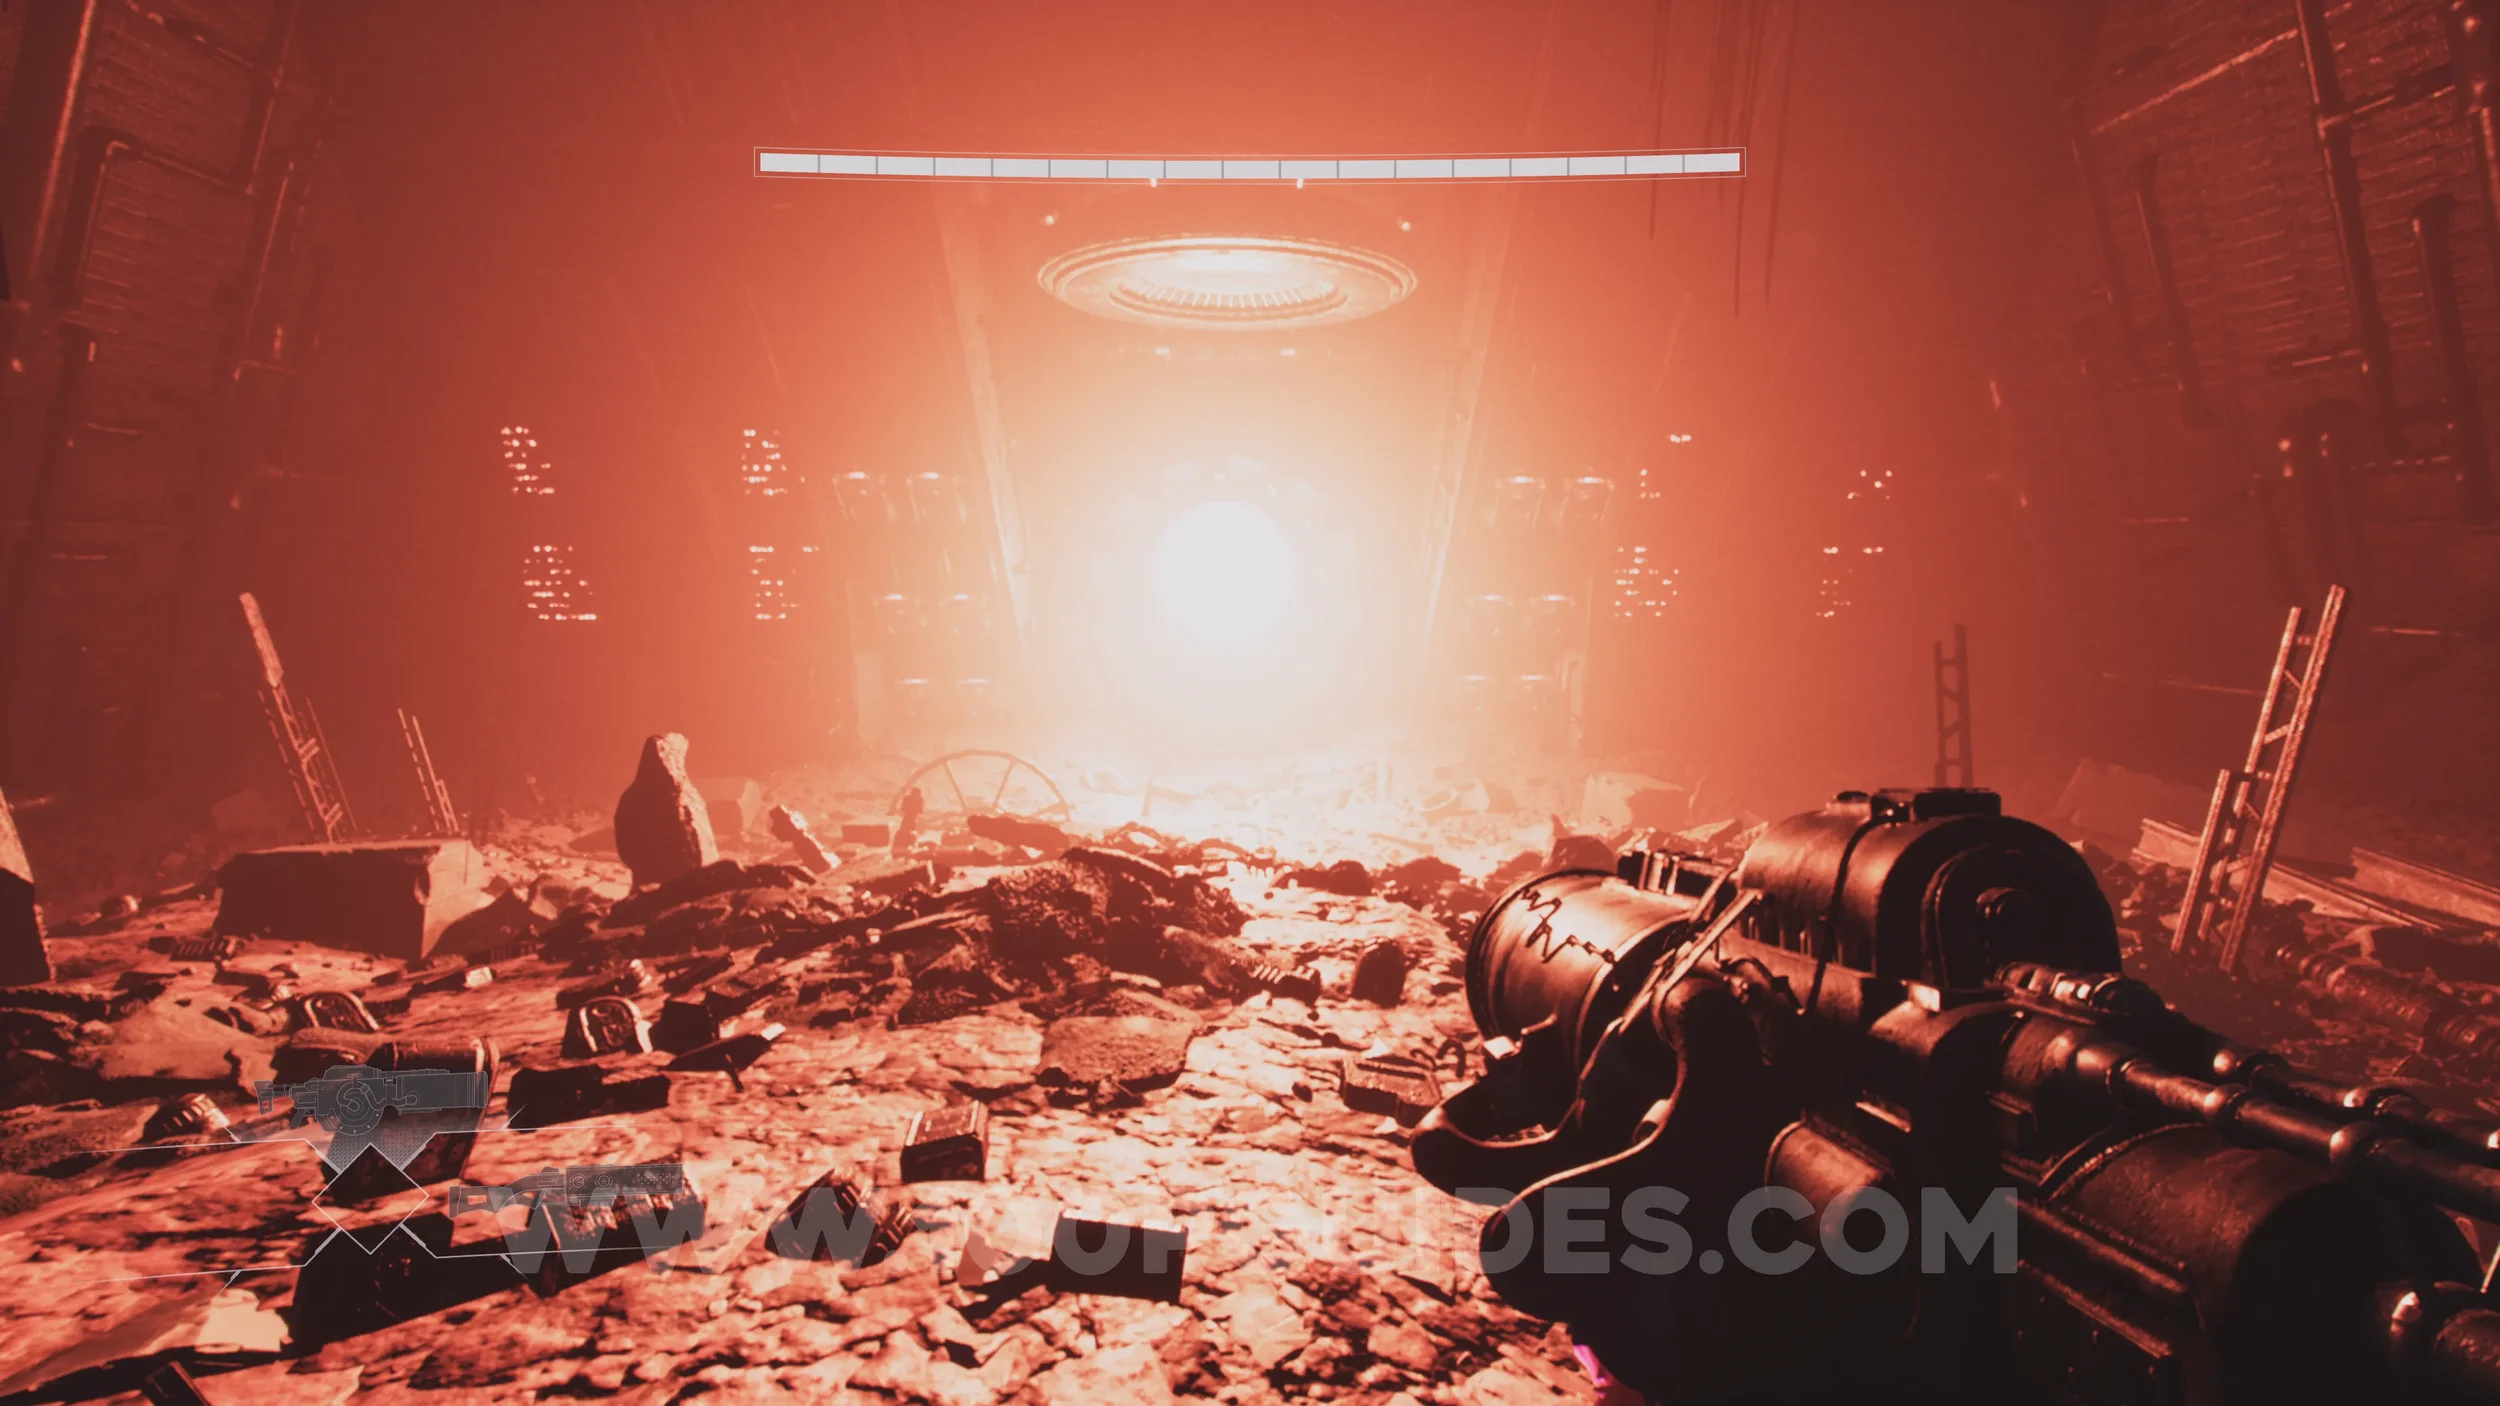
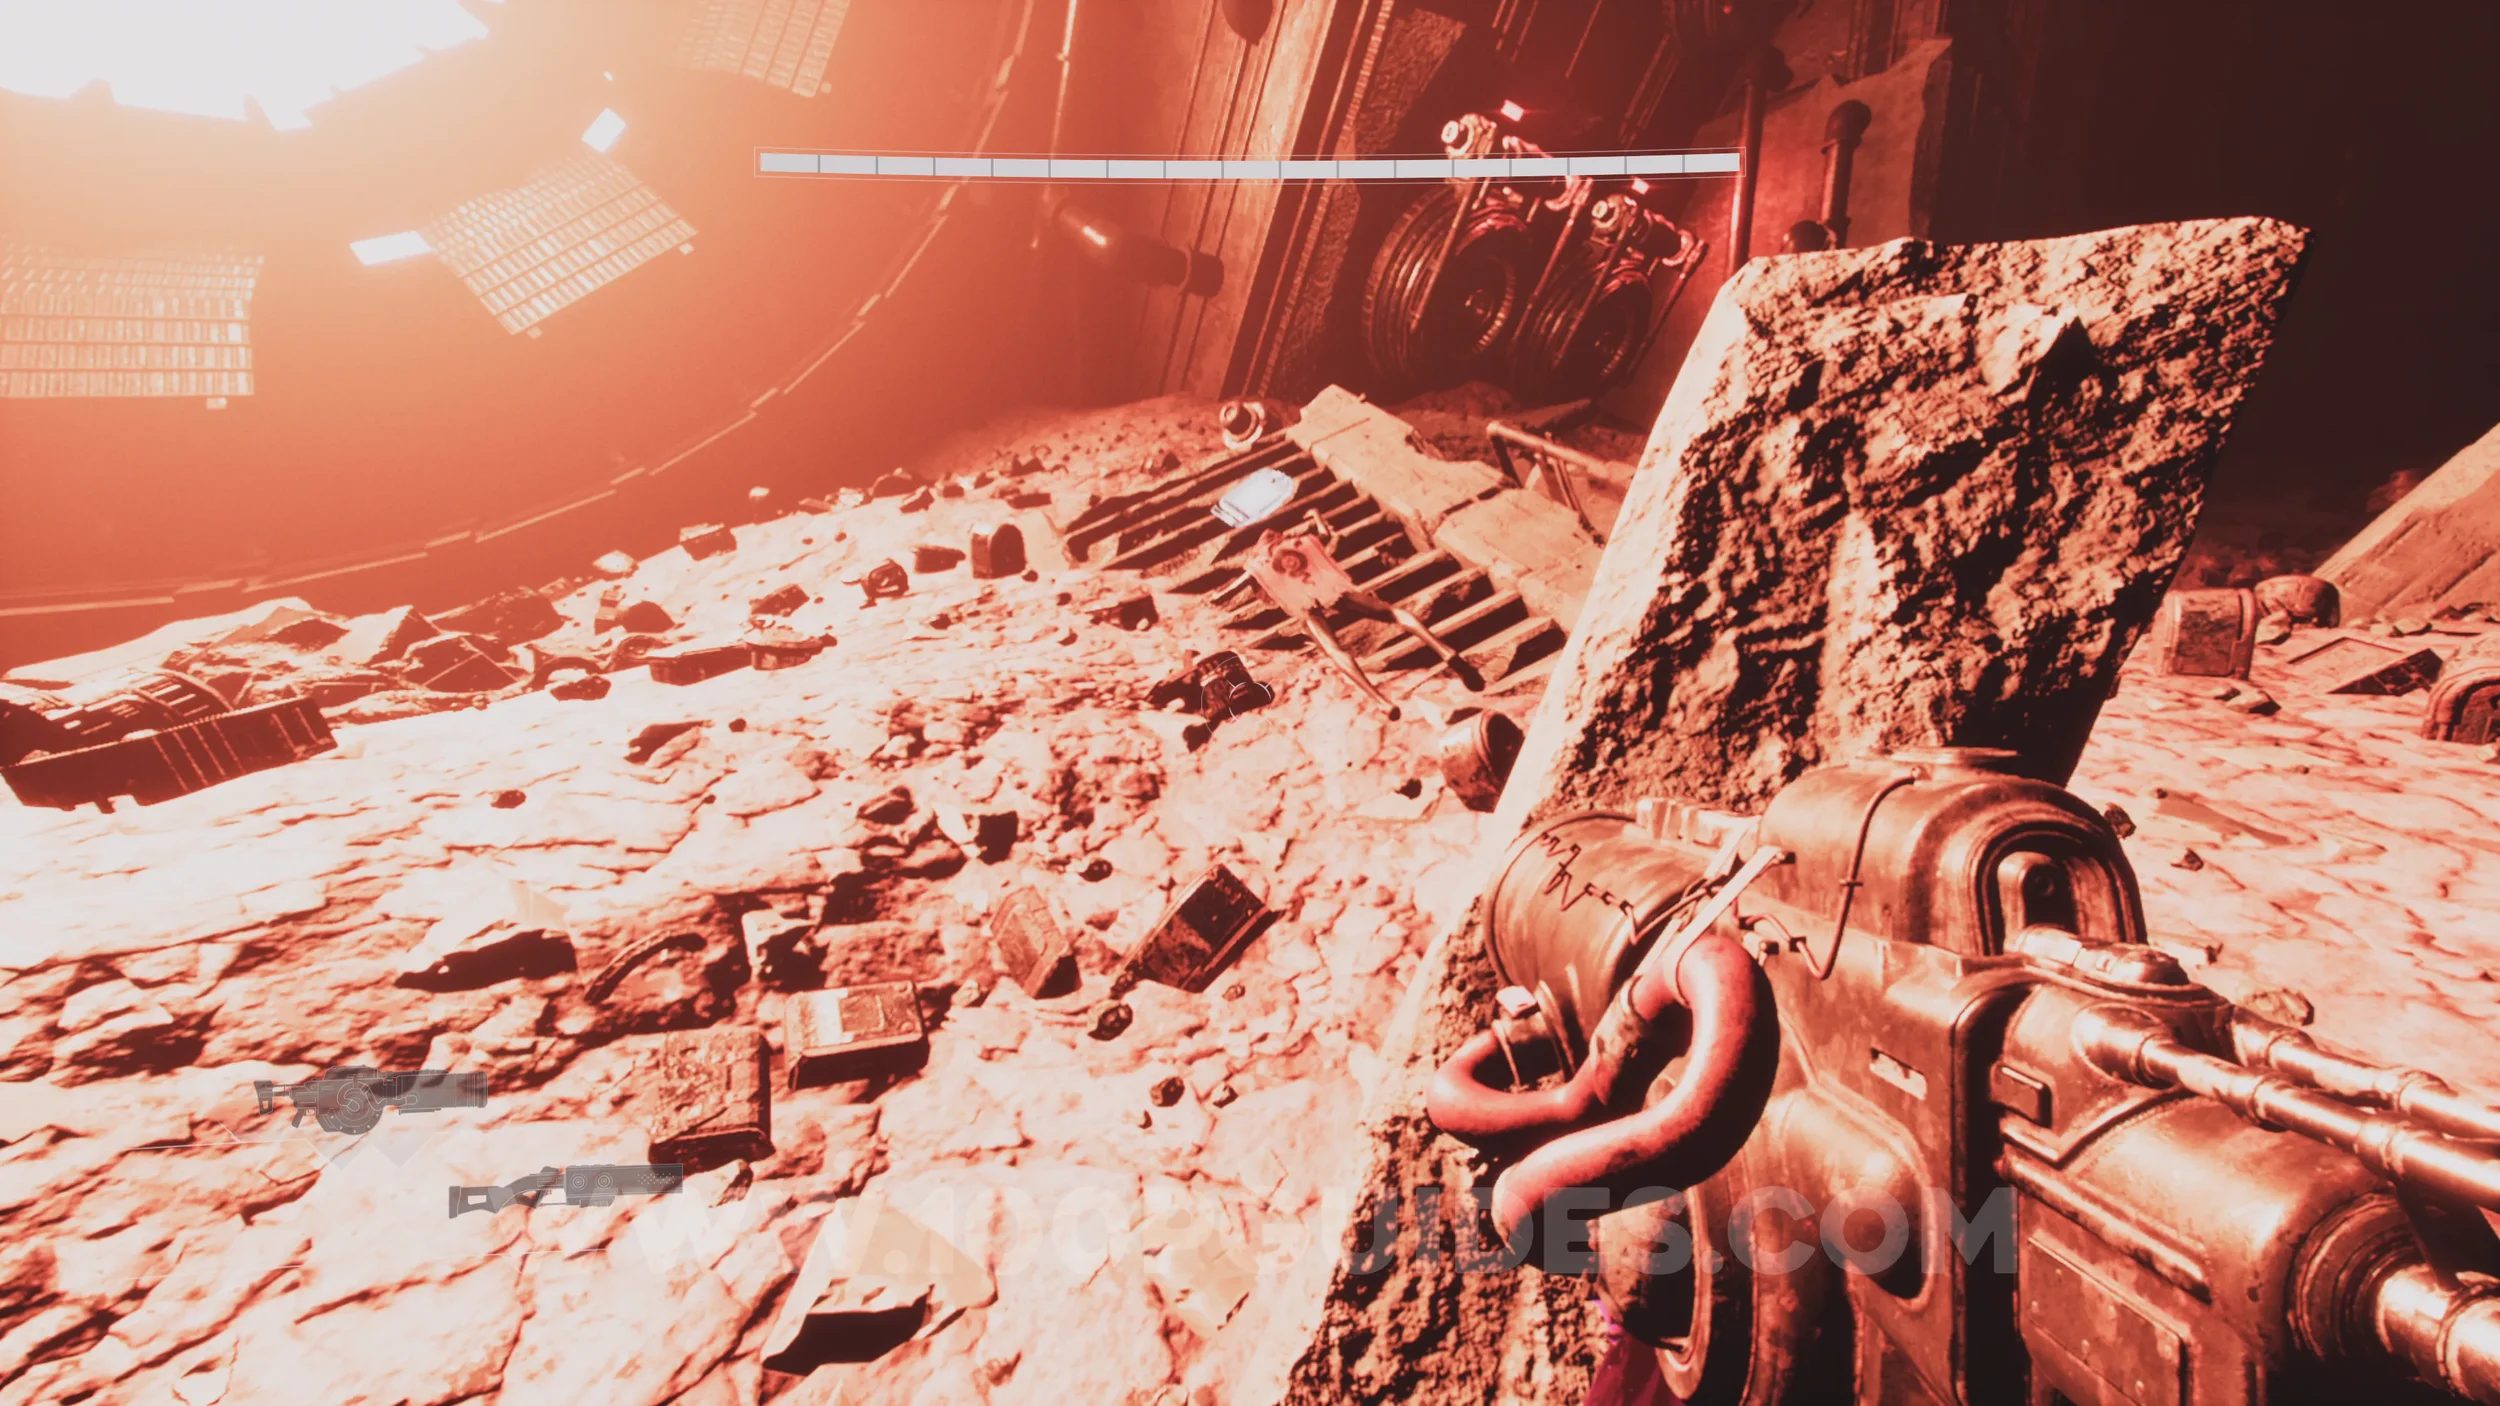
Lore Entry #14 (Memory - Entry #606 - Burn). Close to the end of the level, you'll fall into a massive room filled with debris with a bright light at the end. As soon as you land, head straight forward until you see the collectible near a corpse close to the bright light.
CHAPTER 2 - NEW ORDERS
No collectibles in this sub-chapter.
CHAPTER 2 - KING’S REACH
Lore Entry #15 (Memory - Entry #72109 - Panic). At the feet of the statue at the top of the stairs on your right at the start of the chapter.
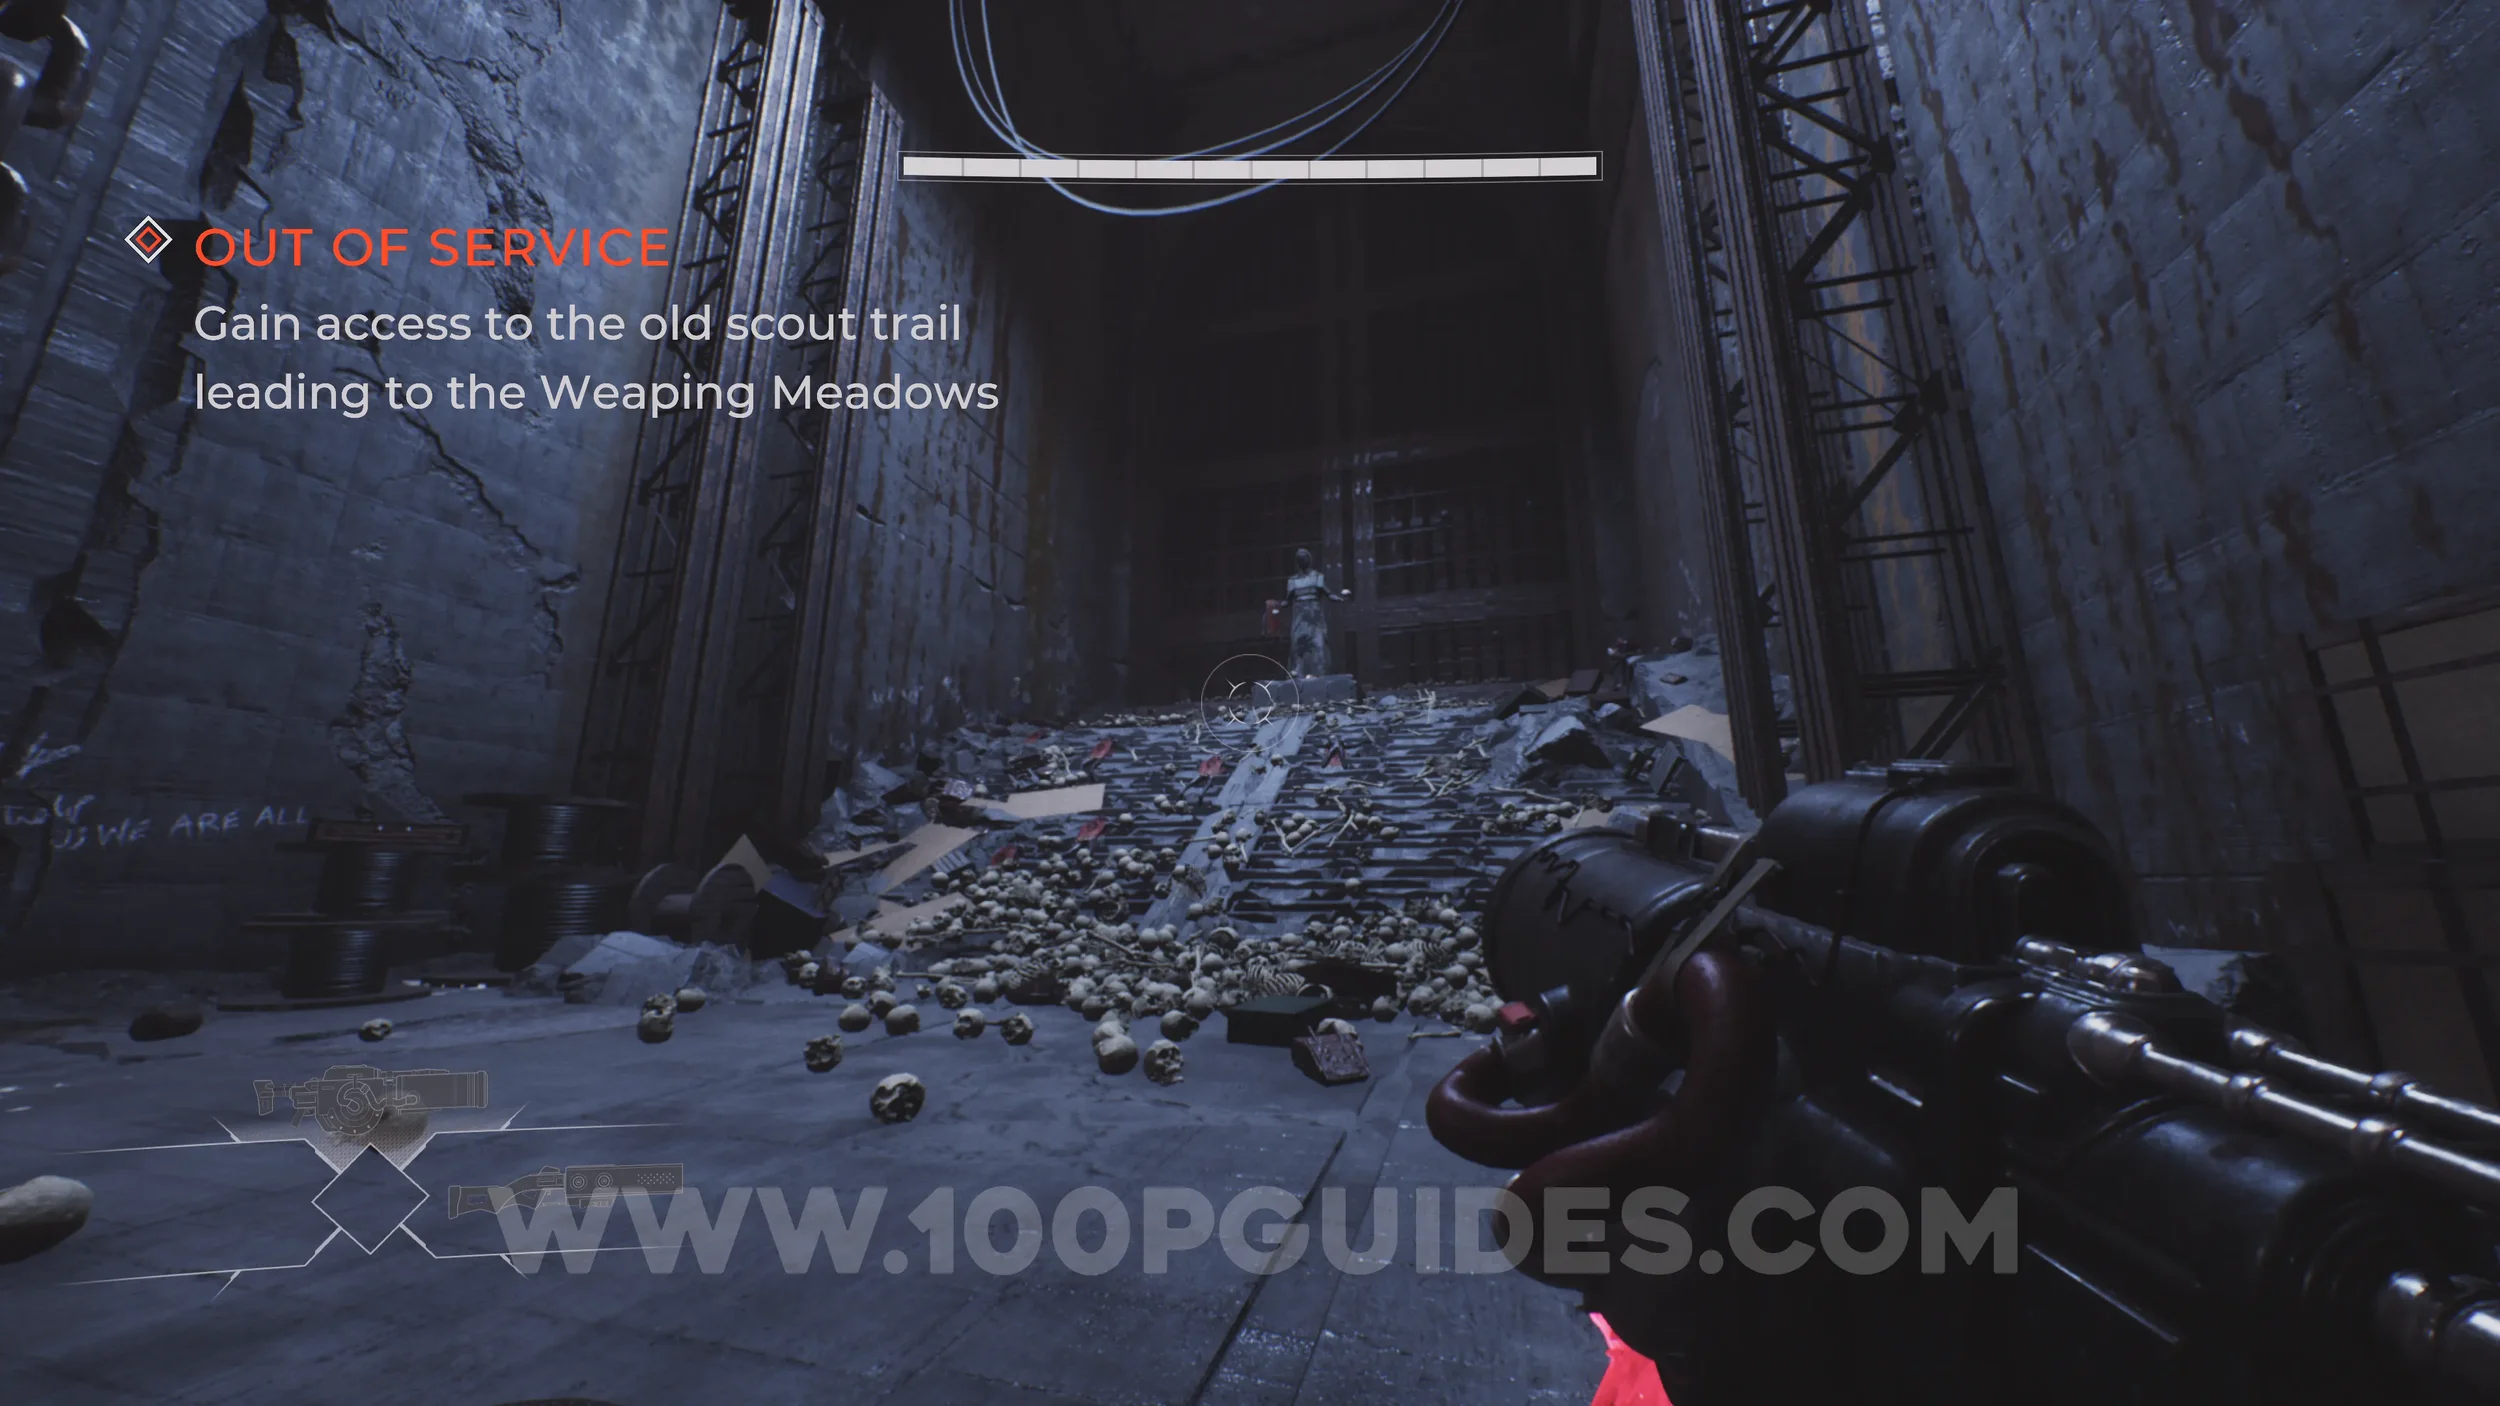
Lore Entry #16 (Character - Everett). Straight ahead from the start of the sub chapter, you will see a red barrier leading to the mines. Just before reaching the portal, look to the right to spot an alley lit by a blue light. The collectible can be found at the end of this alley.
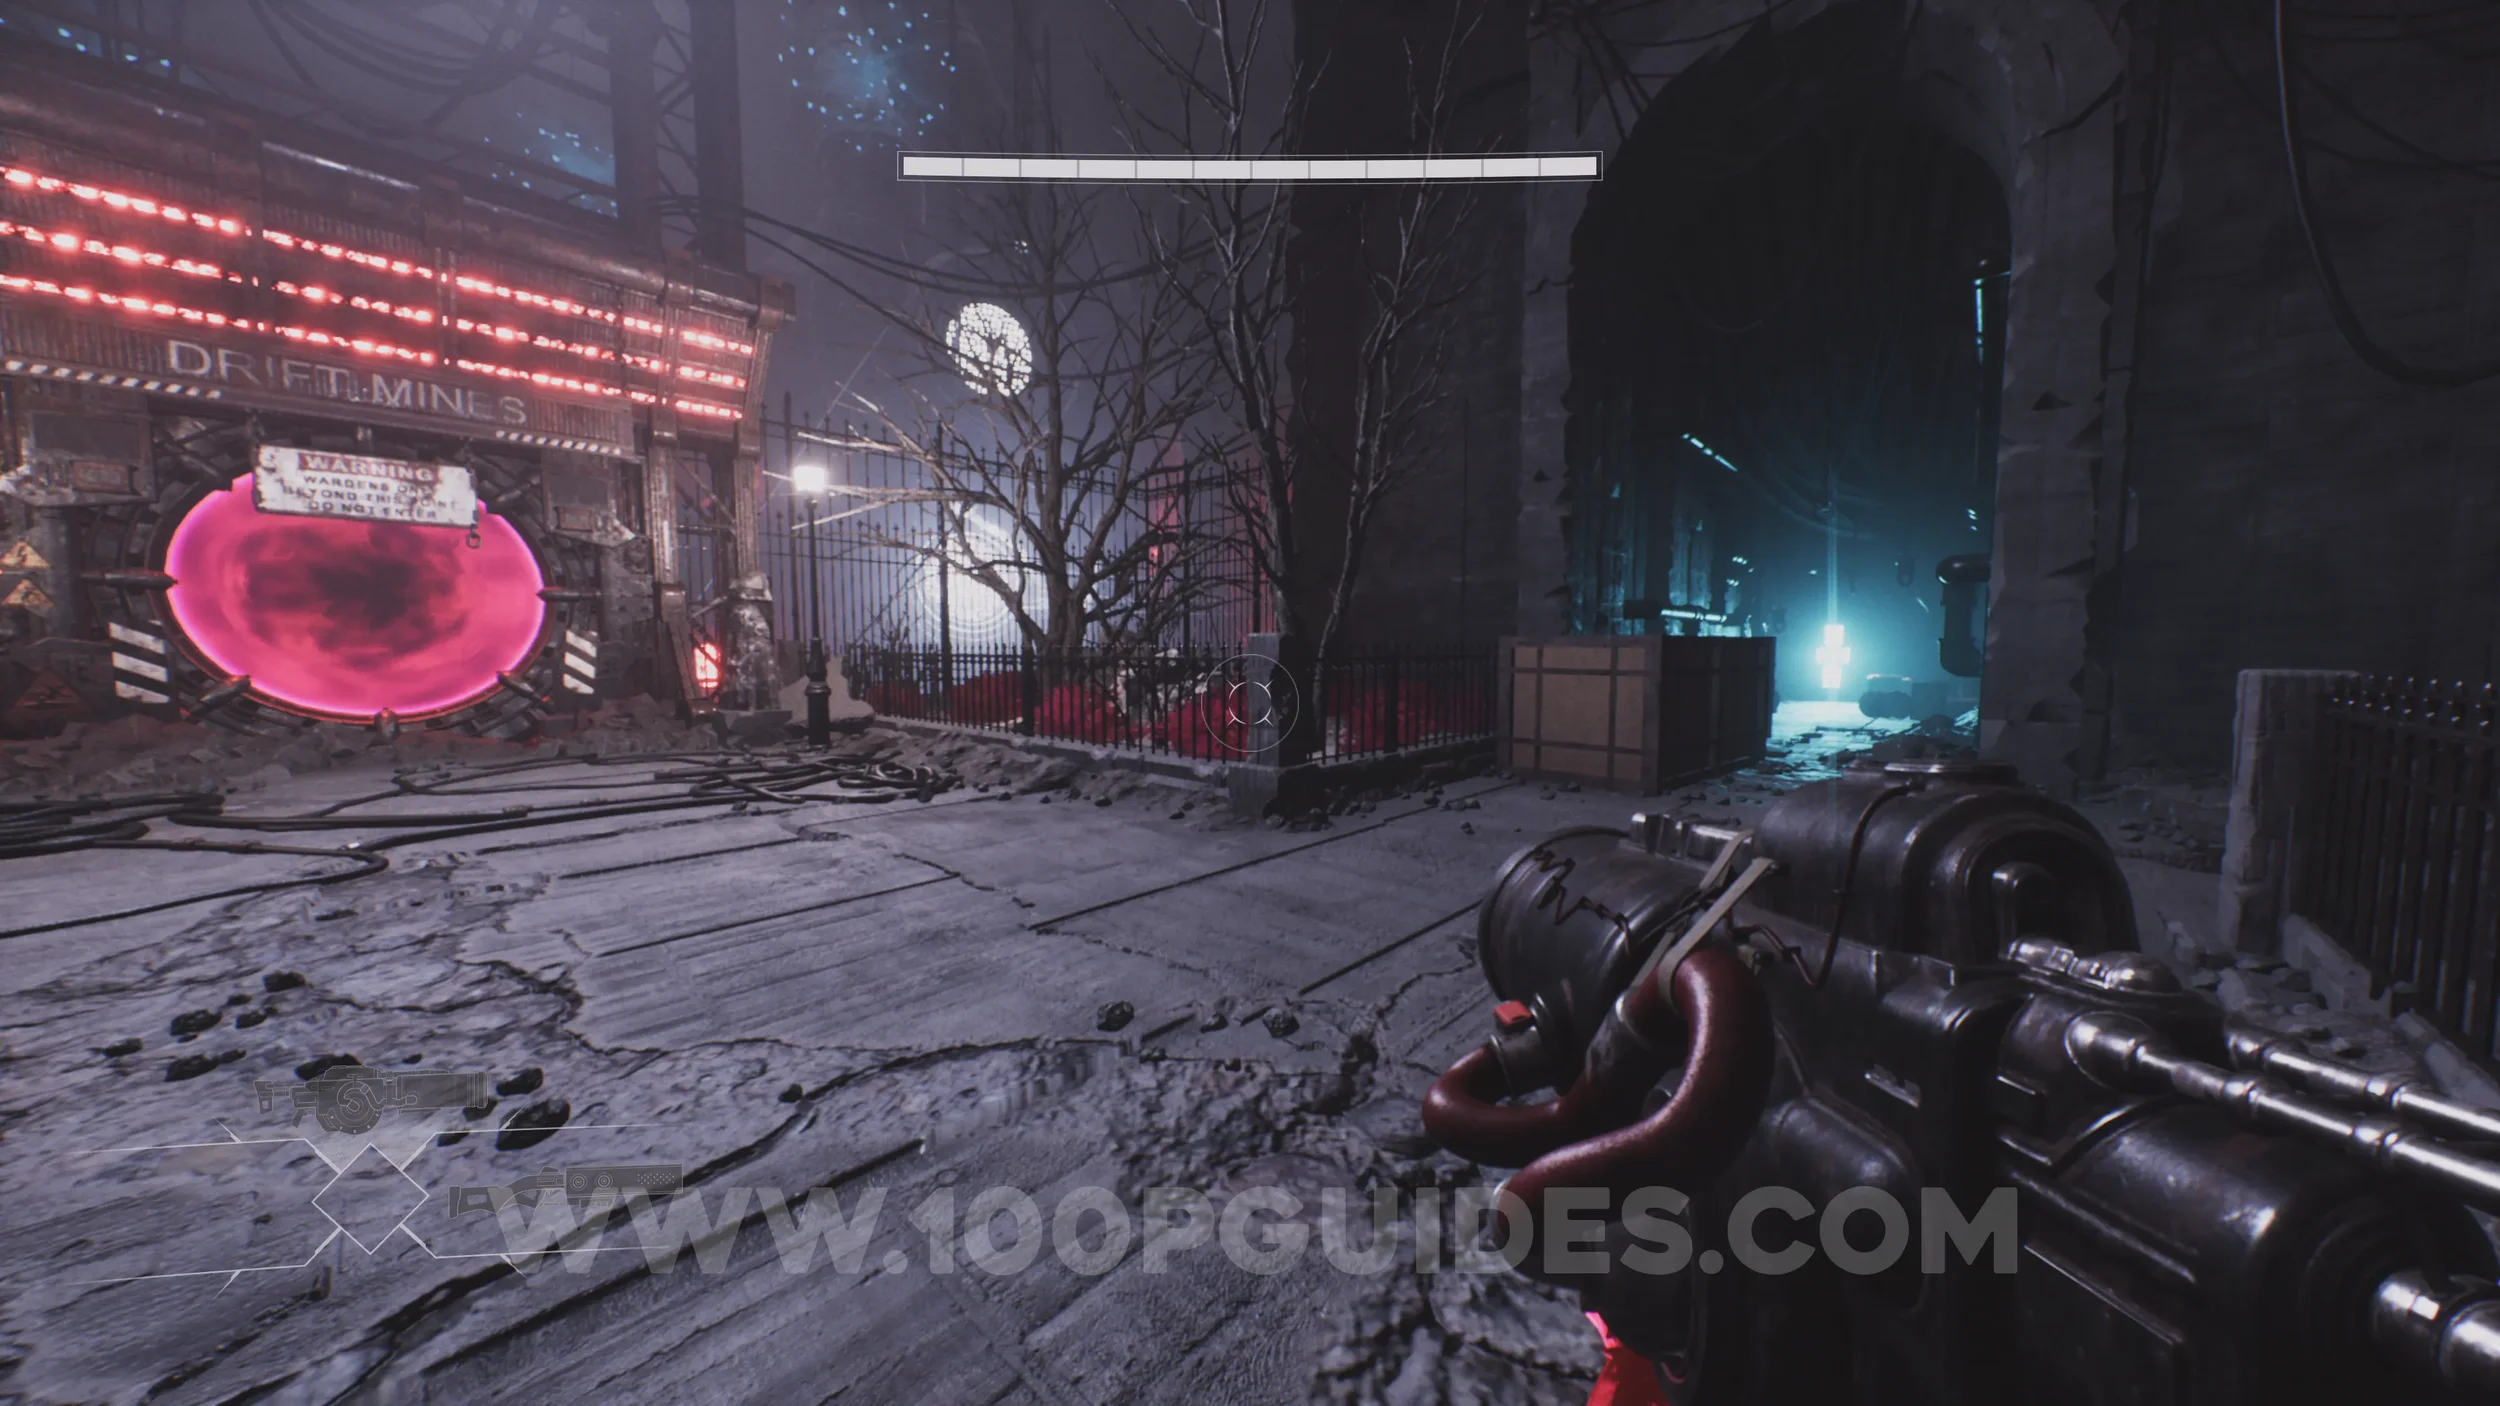
Lore Entry #17 (Memory - Entry #11909 - Uncanny Valley). Head down the main stairs toward the objective marker. At the broken statue, turn right and go down the stairs to find the Waif NPC. The collectible is located behind him.
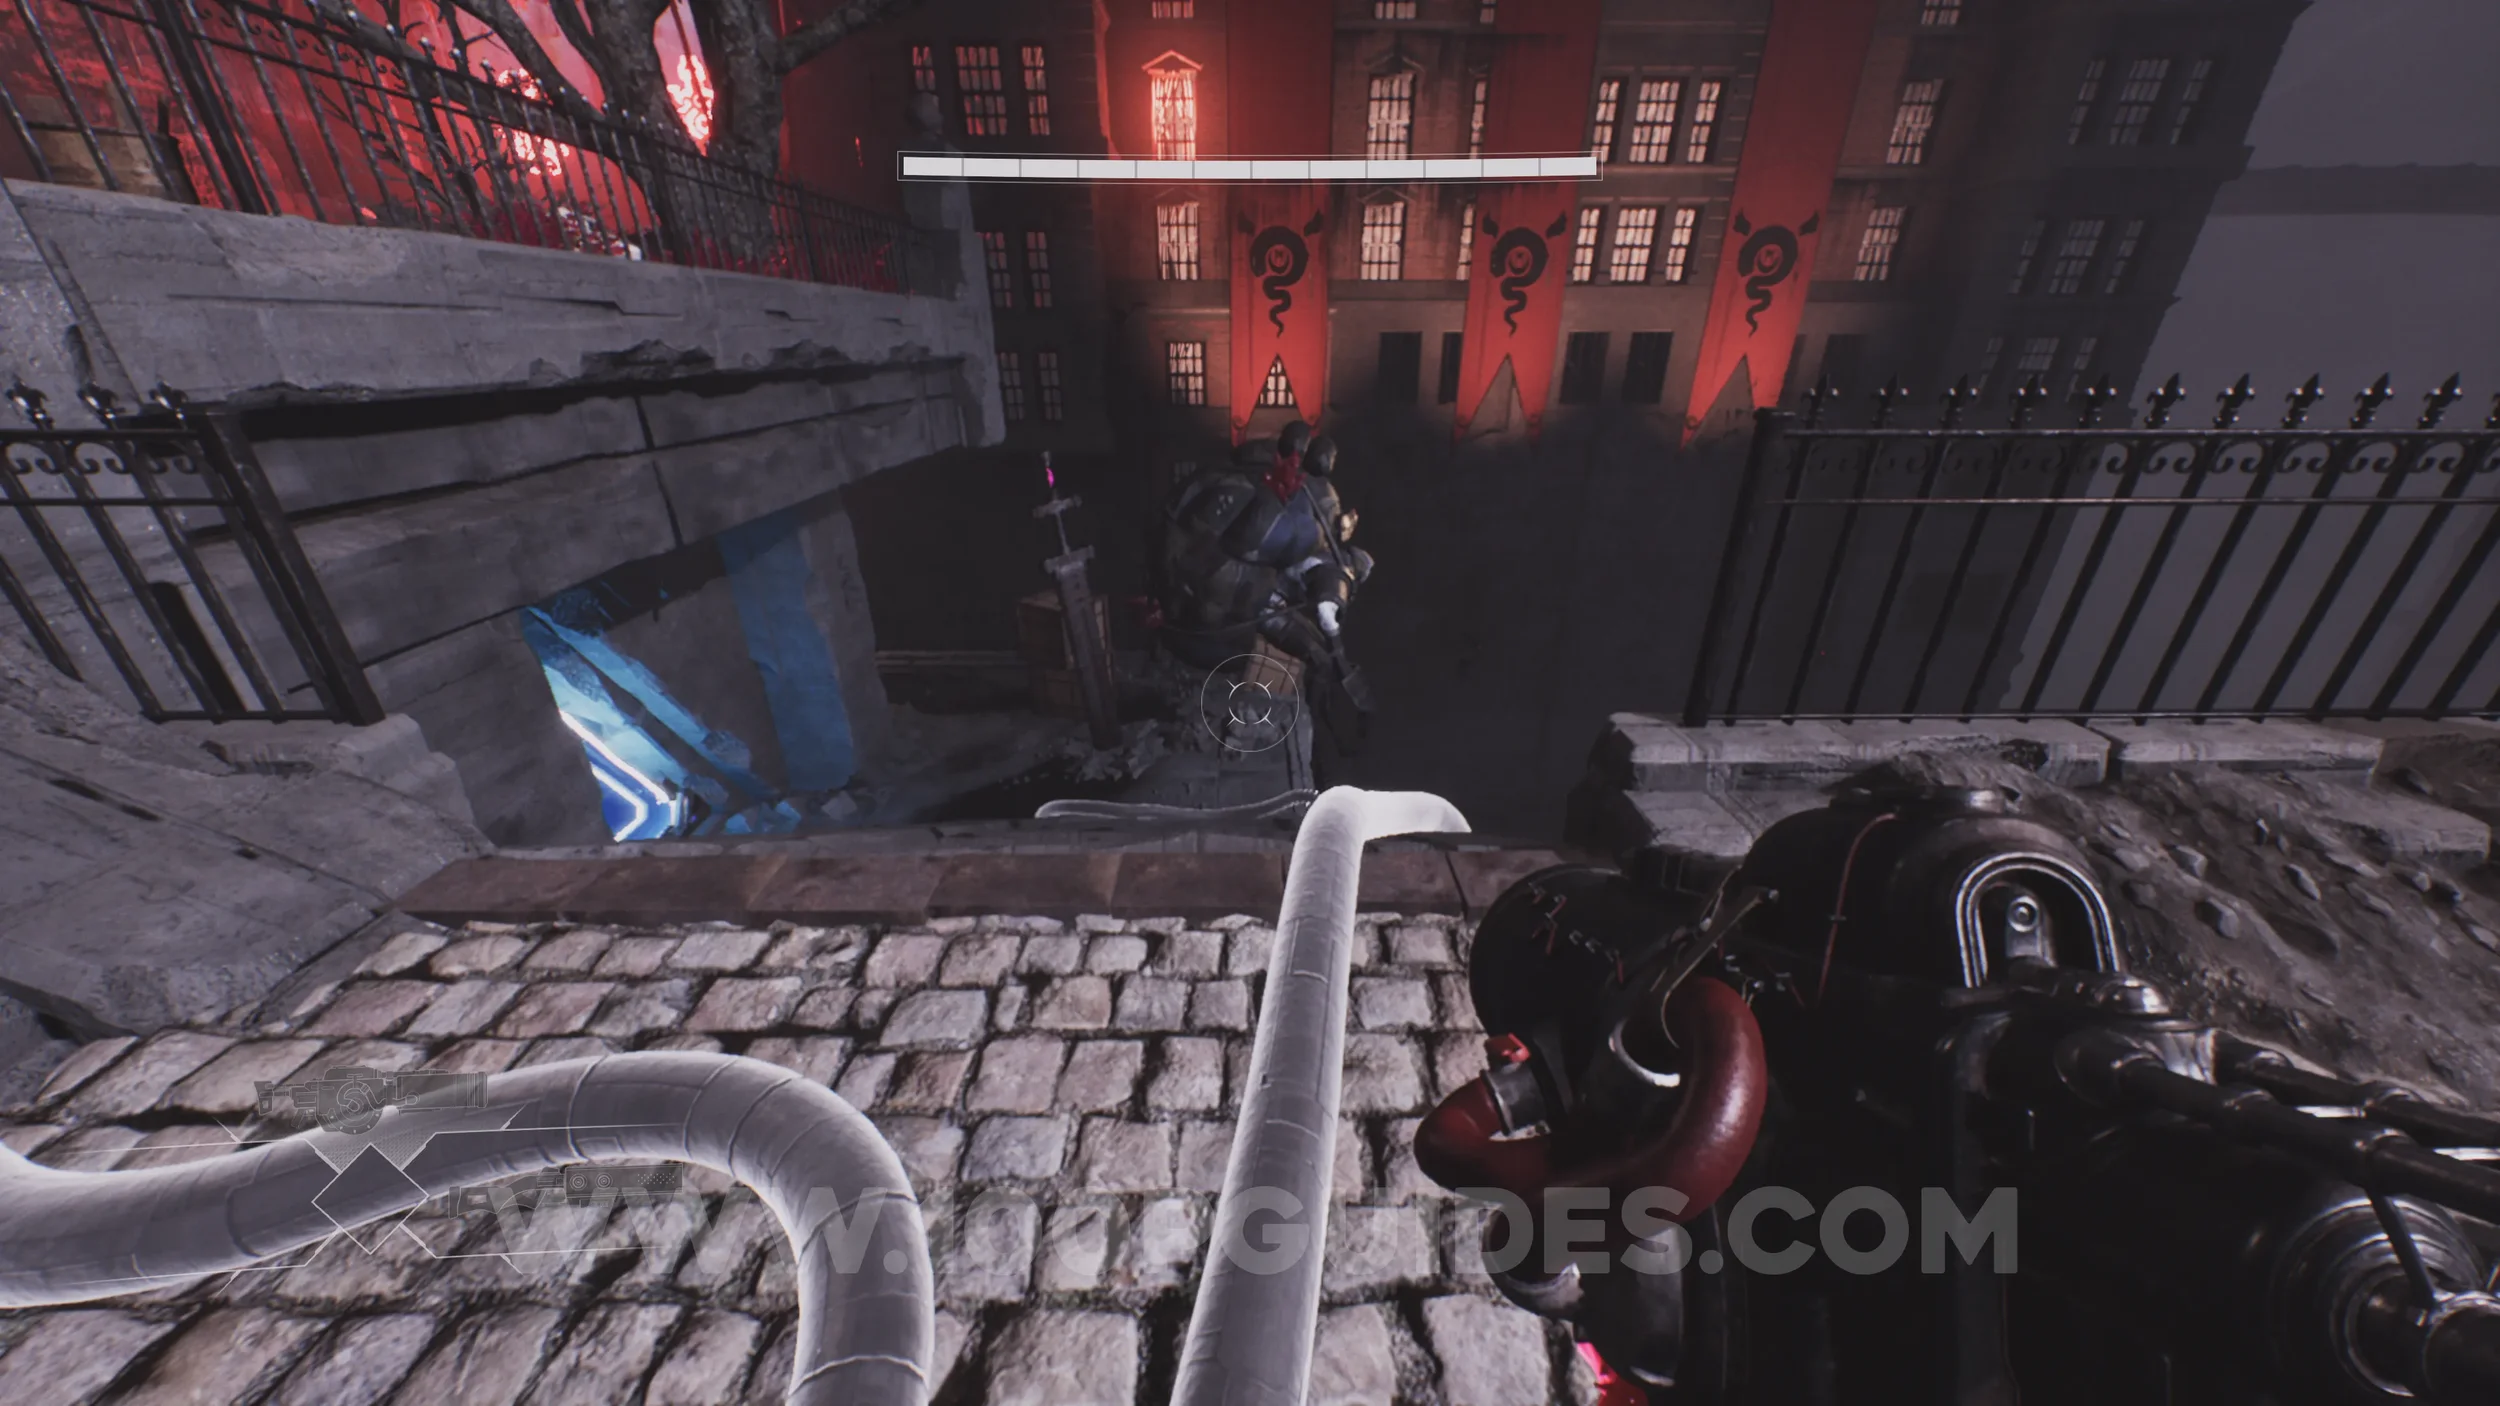
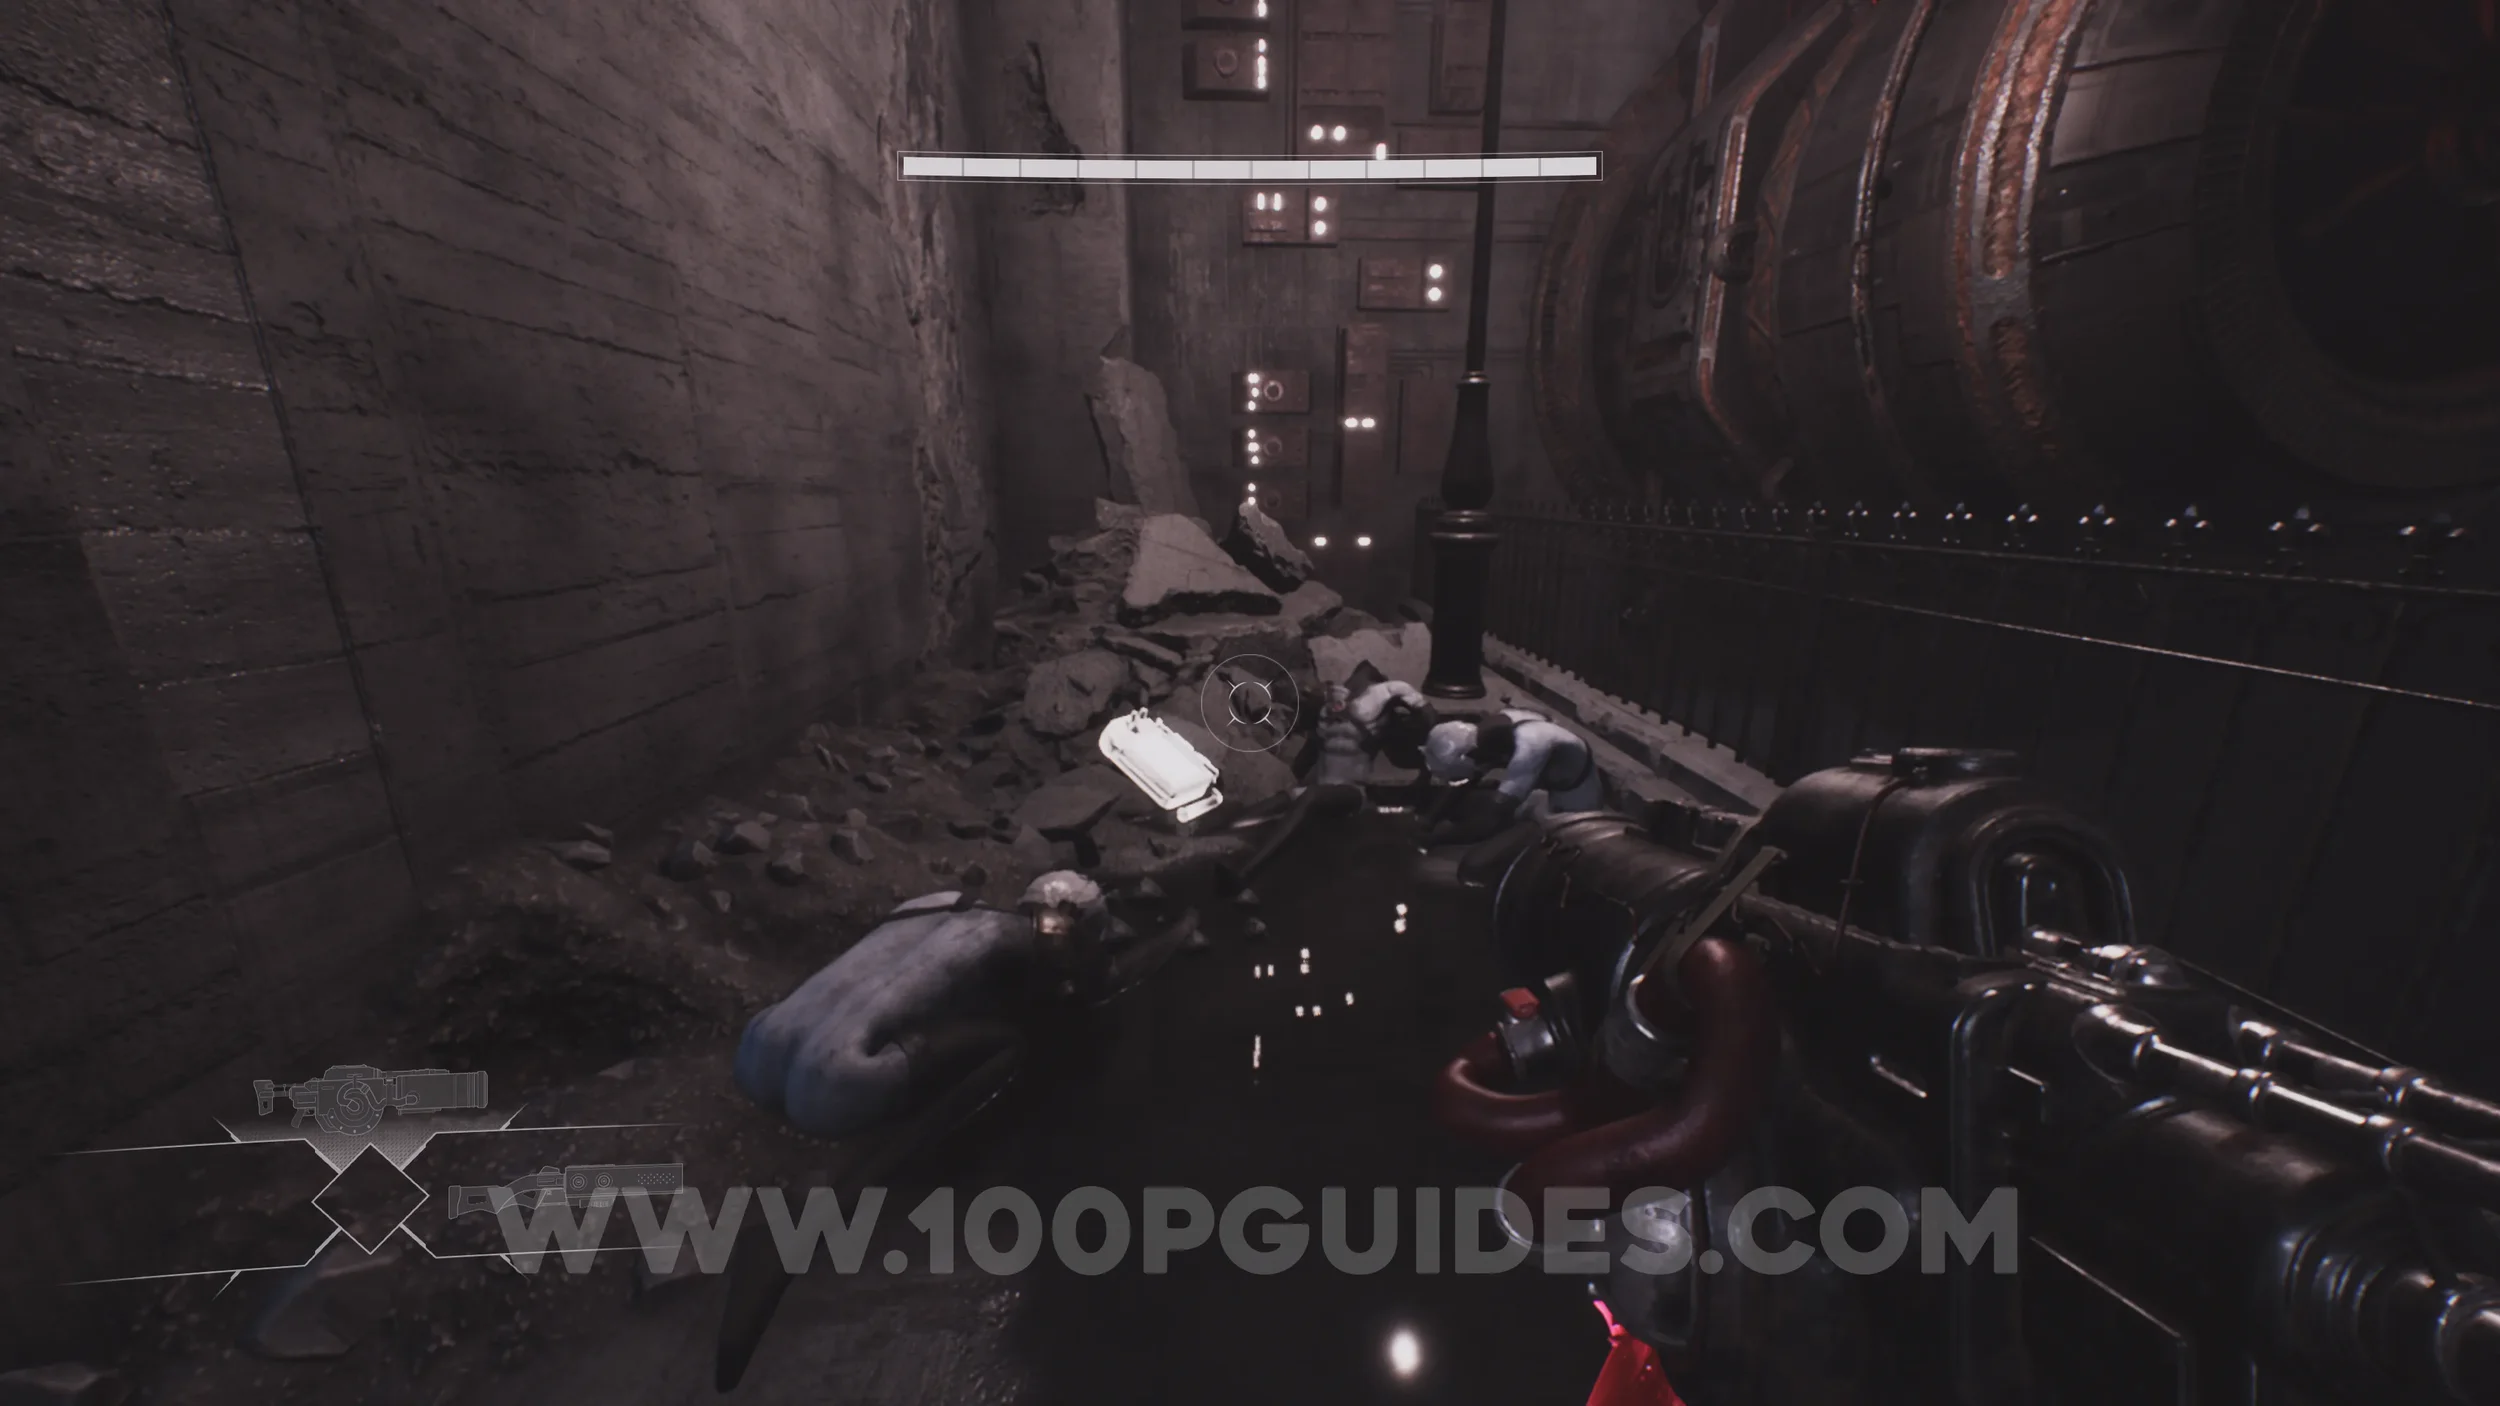
Lore Entry #18 (Memory - Entry #2932 - Gifts). After obtaining the double jump skill and passing through the next room, you will cross several metal catwalks before using a jump pad to reach another catwalk above. As soon as you land, look to the right for a pillar marked with a white symbol. Jump to the platform behind it, then jump to the platform at the end to find the collectible.
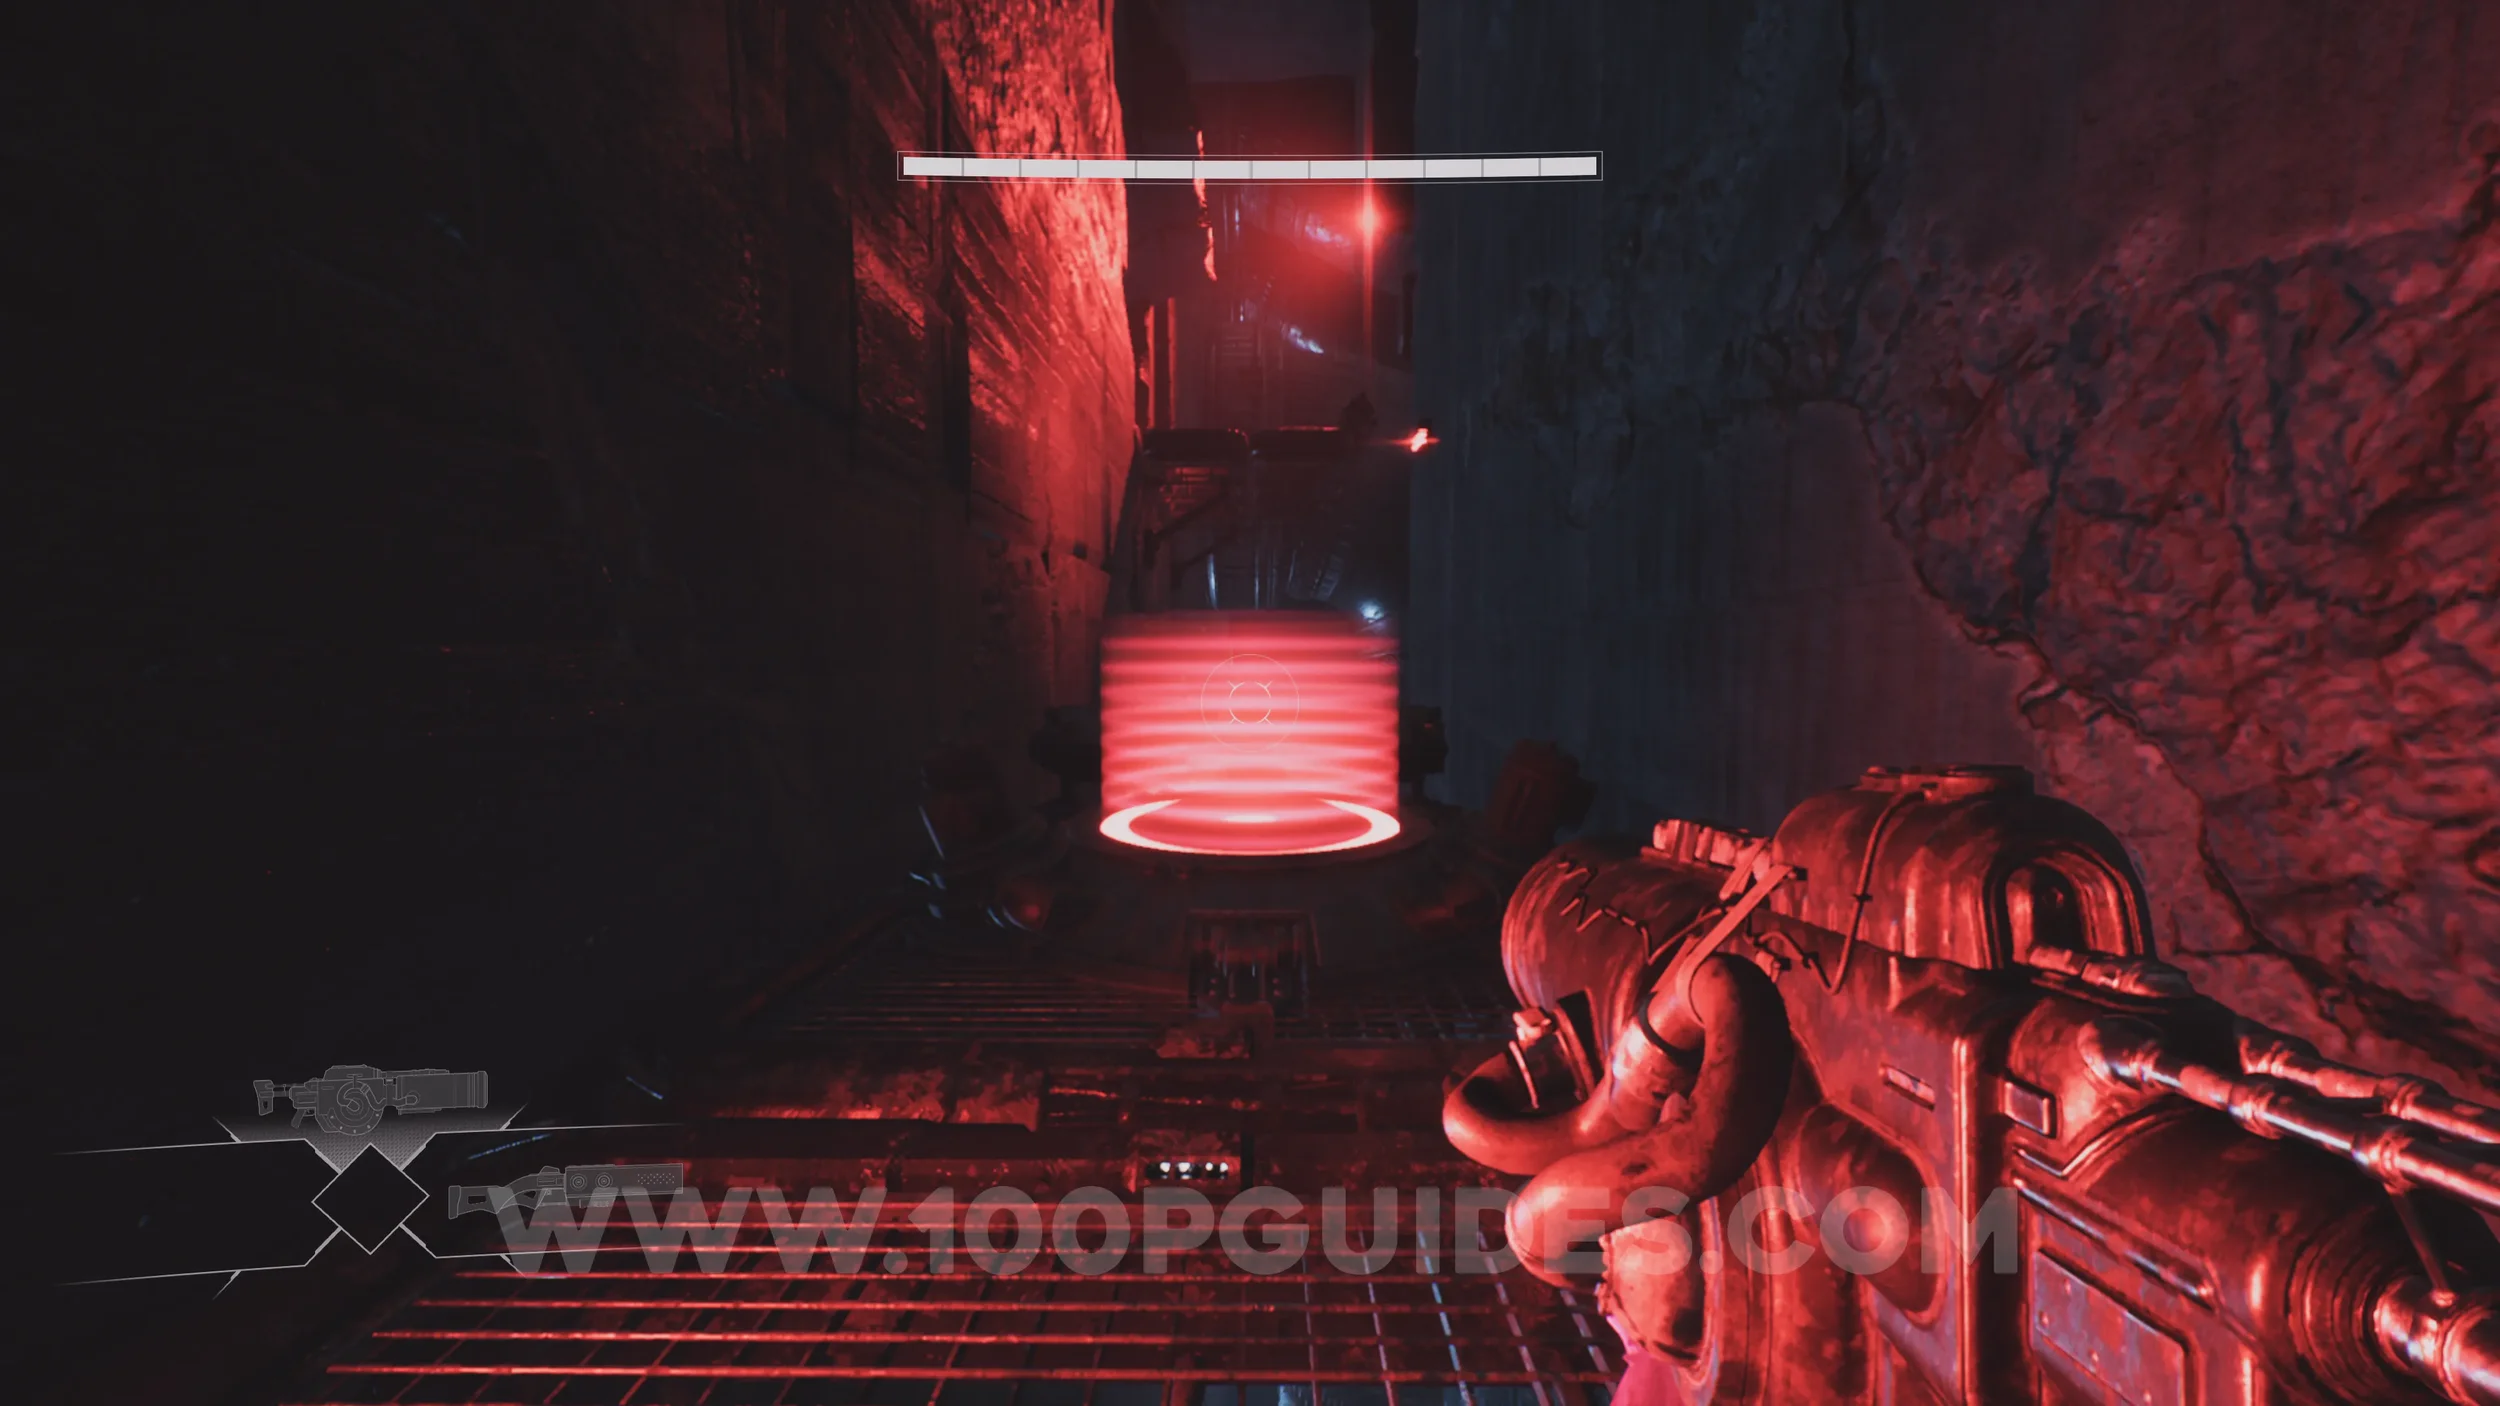
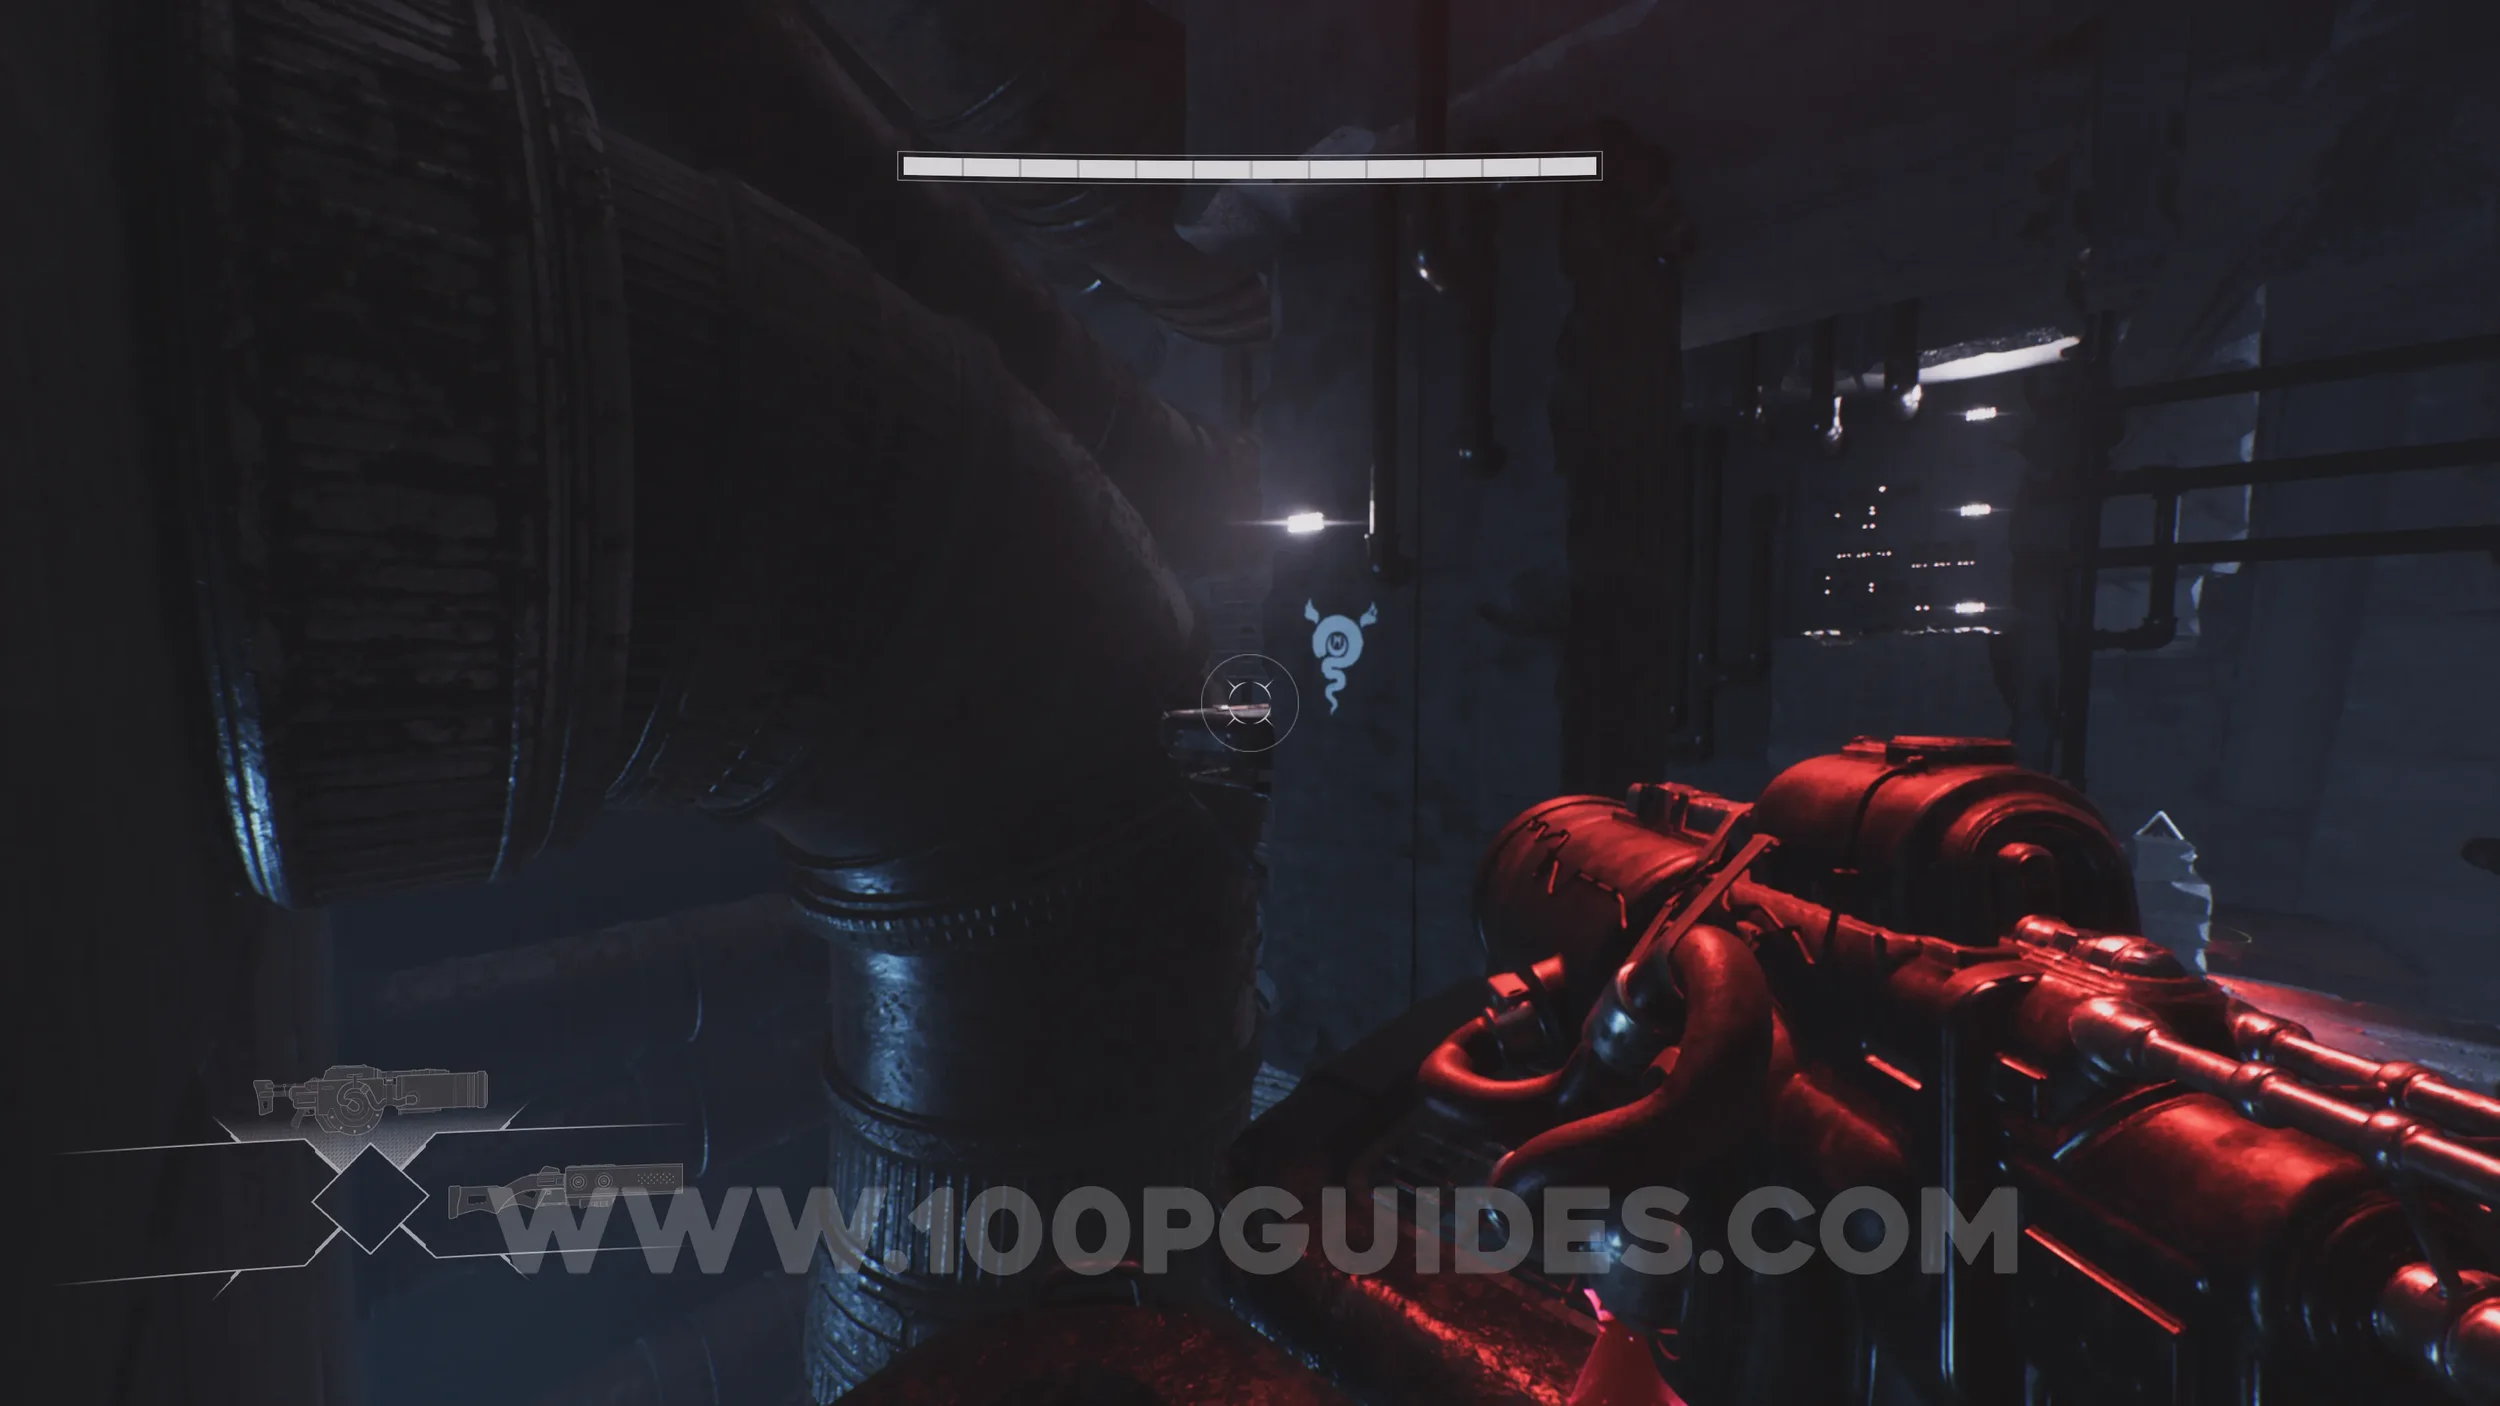
Lore Entry #19 (Location - Scout Trails). Continue through the level until you reach a section where you must jump across thin bridge like structures. The collectible can be found on the lower platform to the right.
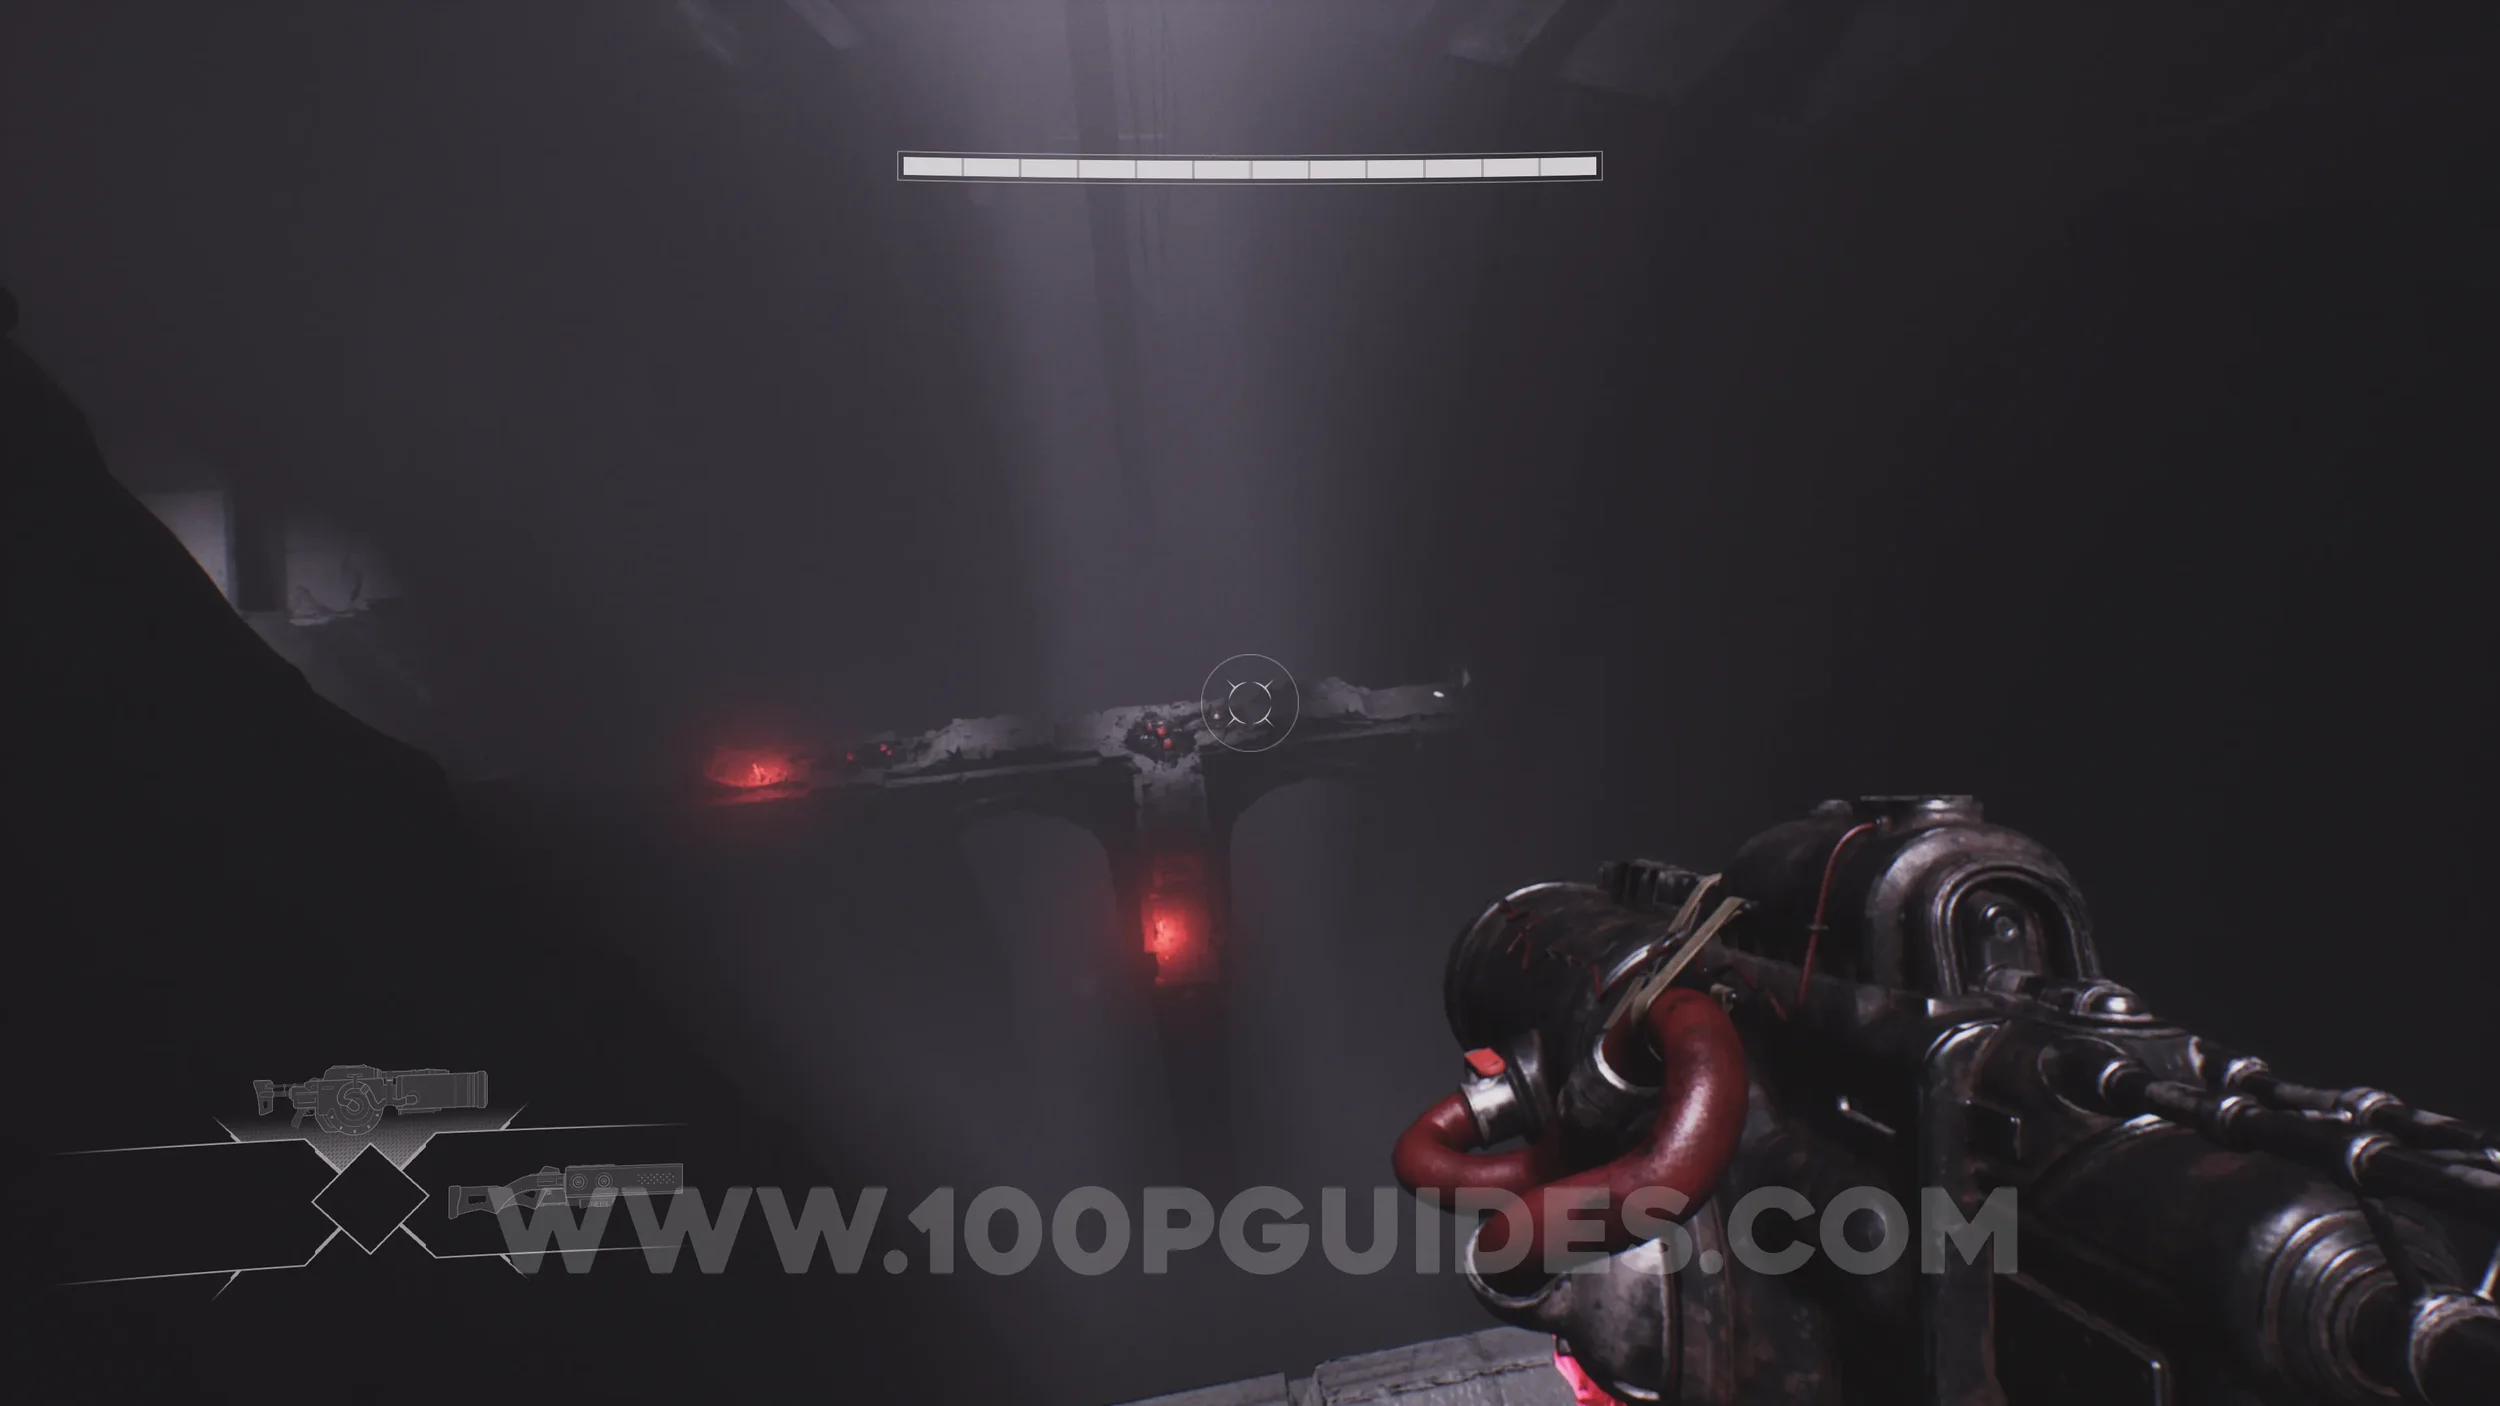
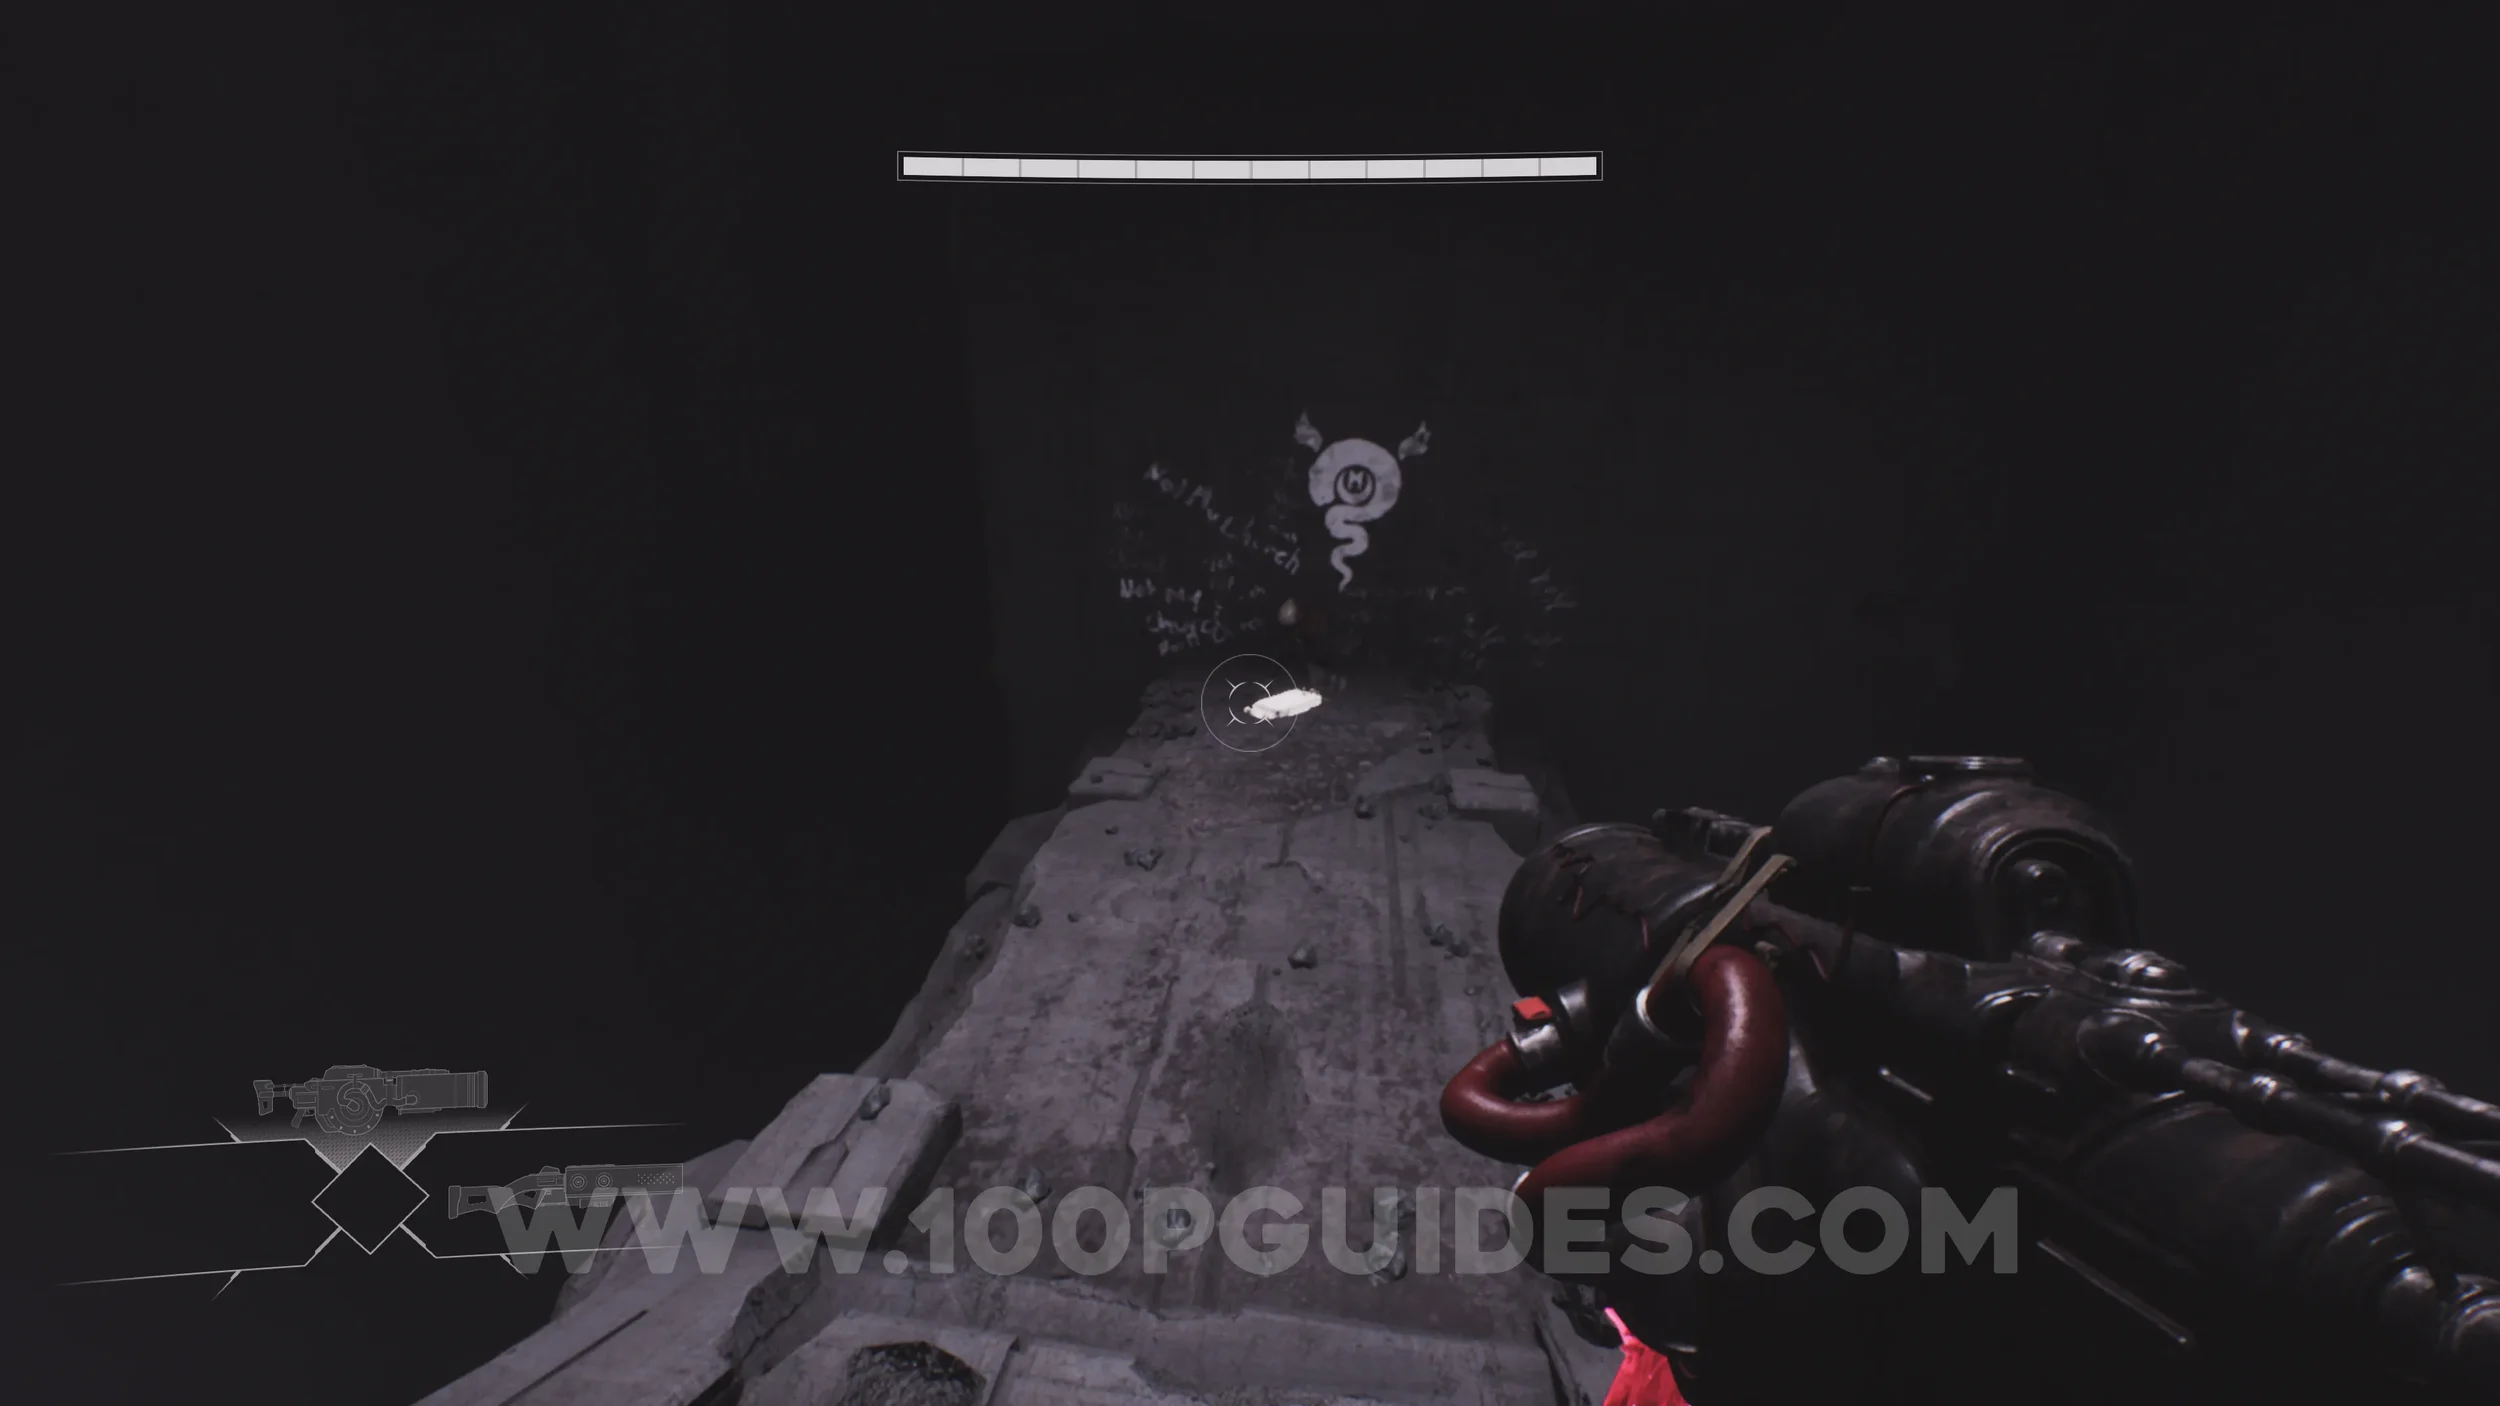
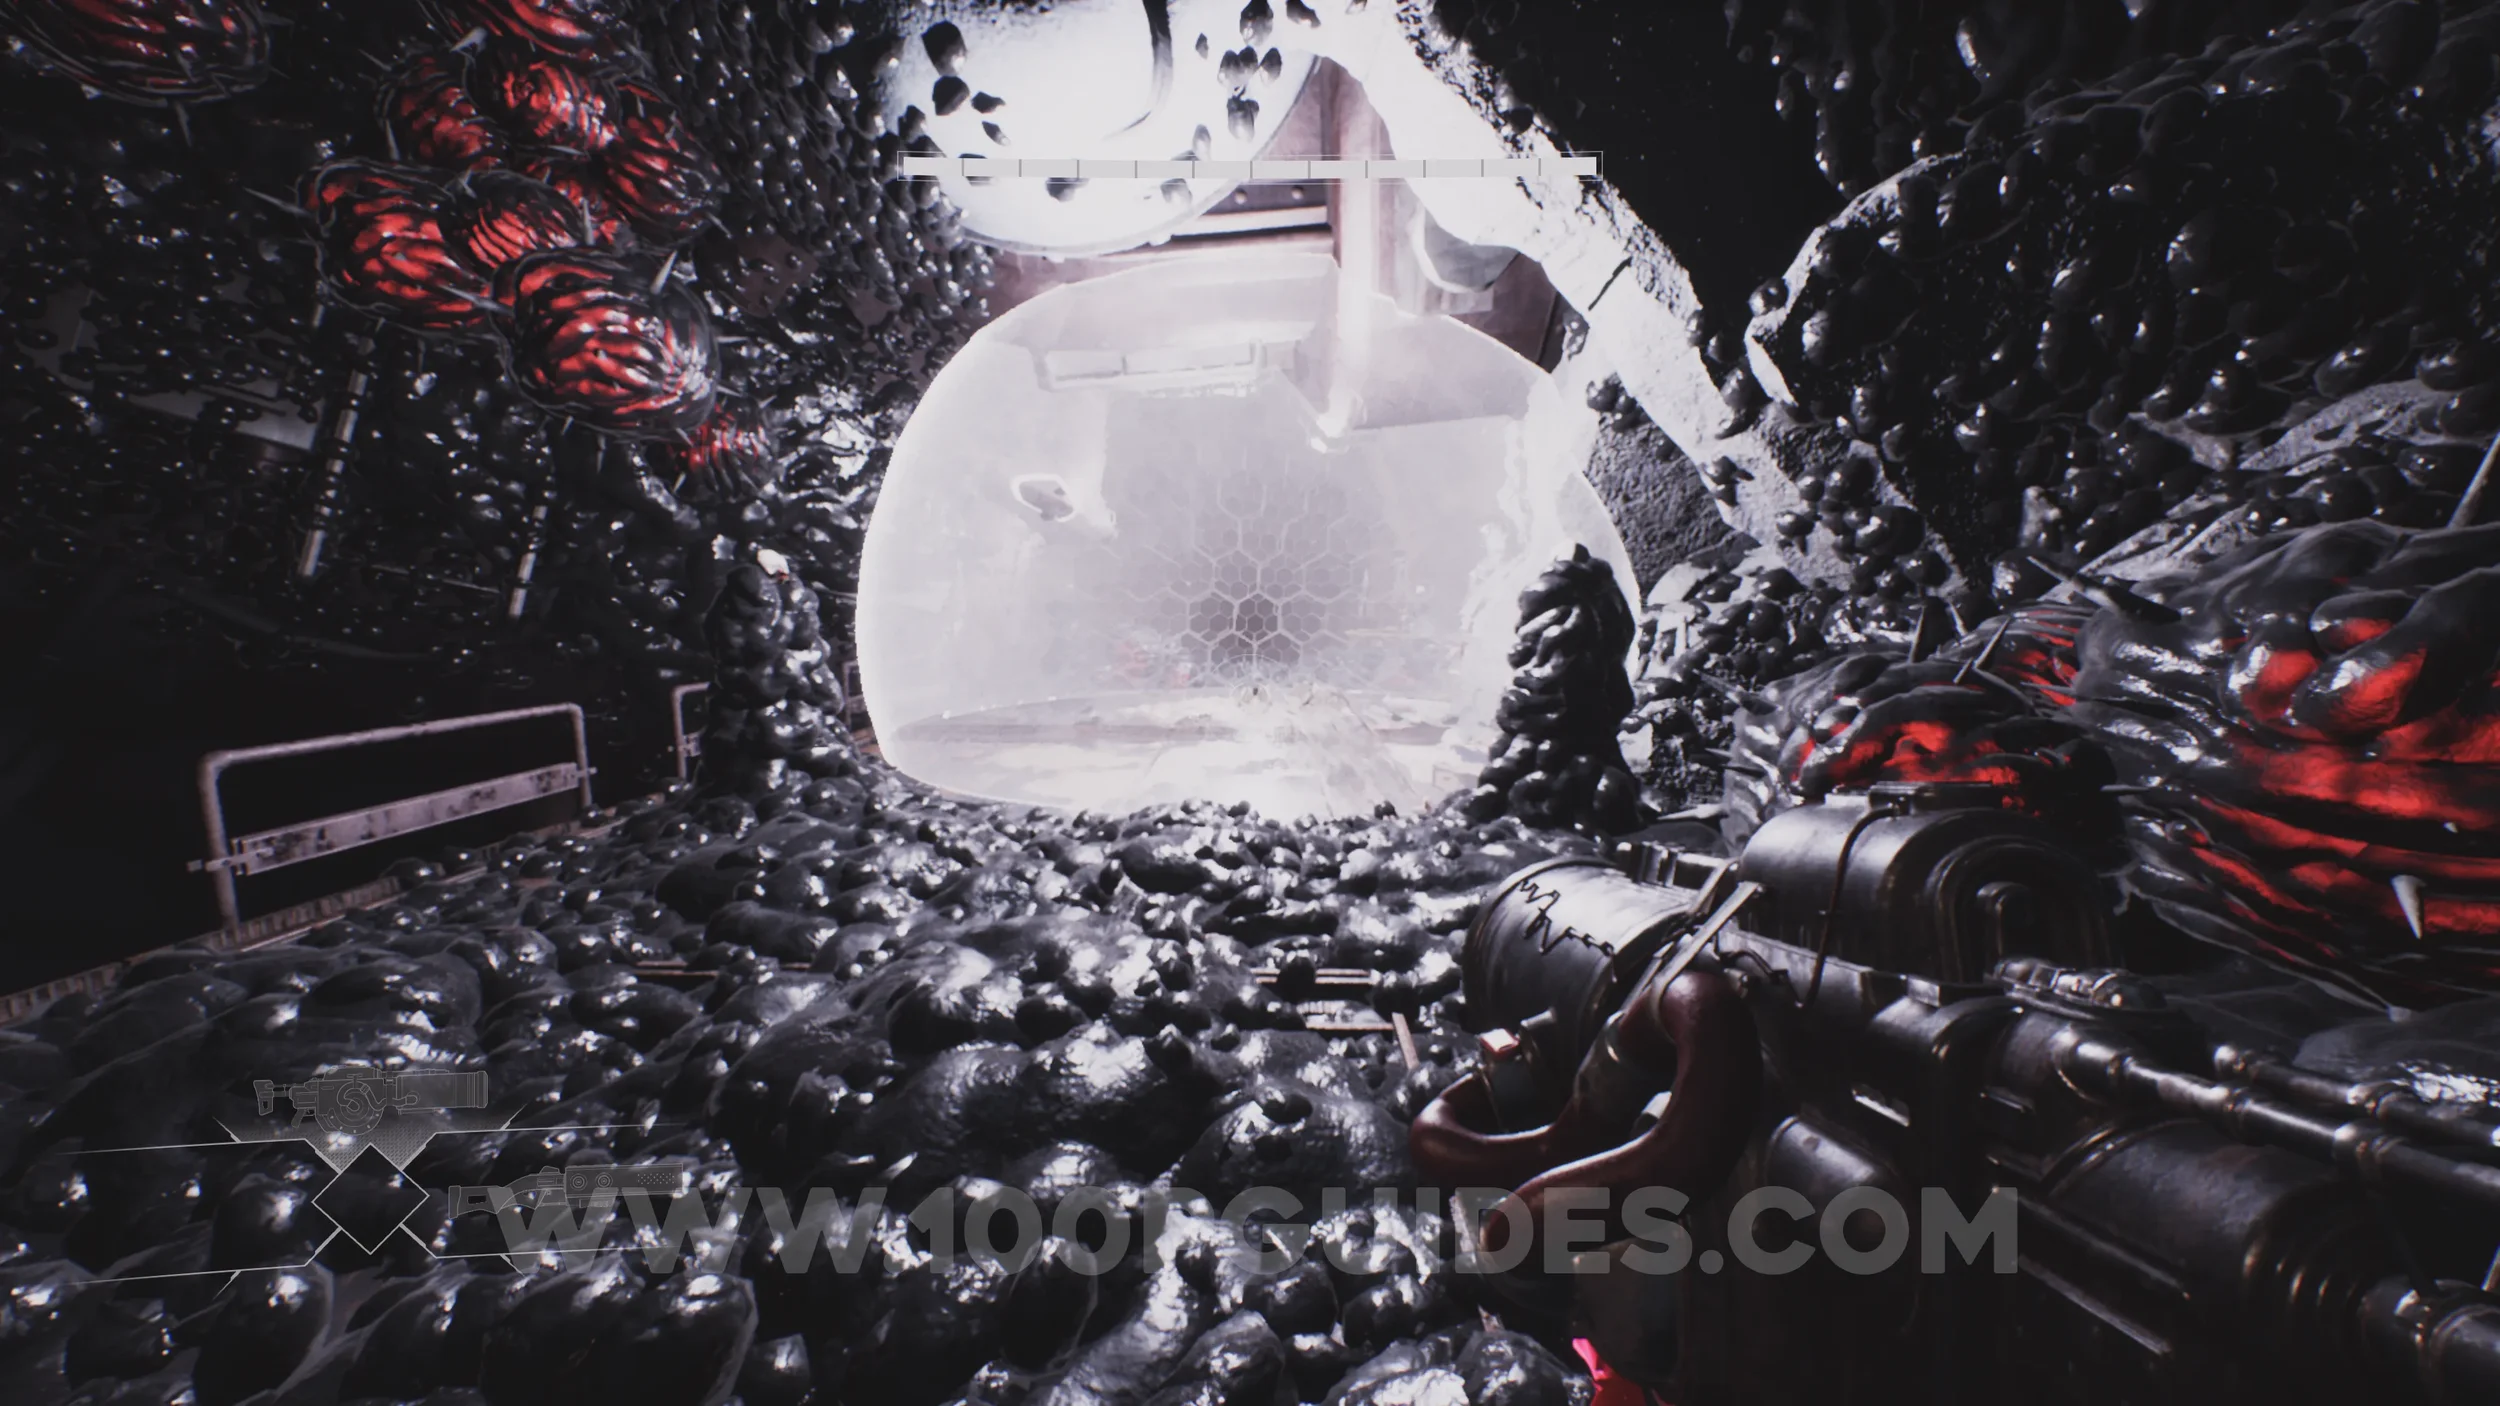
Lore Entry #20 (Memory - Entry #111 - Entombed). After jumping across the suspended train carriages, you will need to walk through a white shield bubble. The collectible is located on the ground inside the bubble.
Lore Entry #21 (Memory - Entry #72109 - Panic). After using the Shield Wall ability for the first time to block the bullets in the hallway, you will see the collectible in plain sight beside the door covered by the blue barrier.
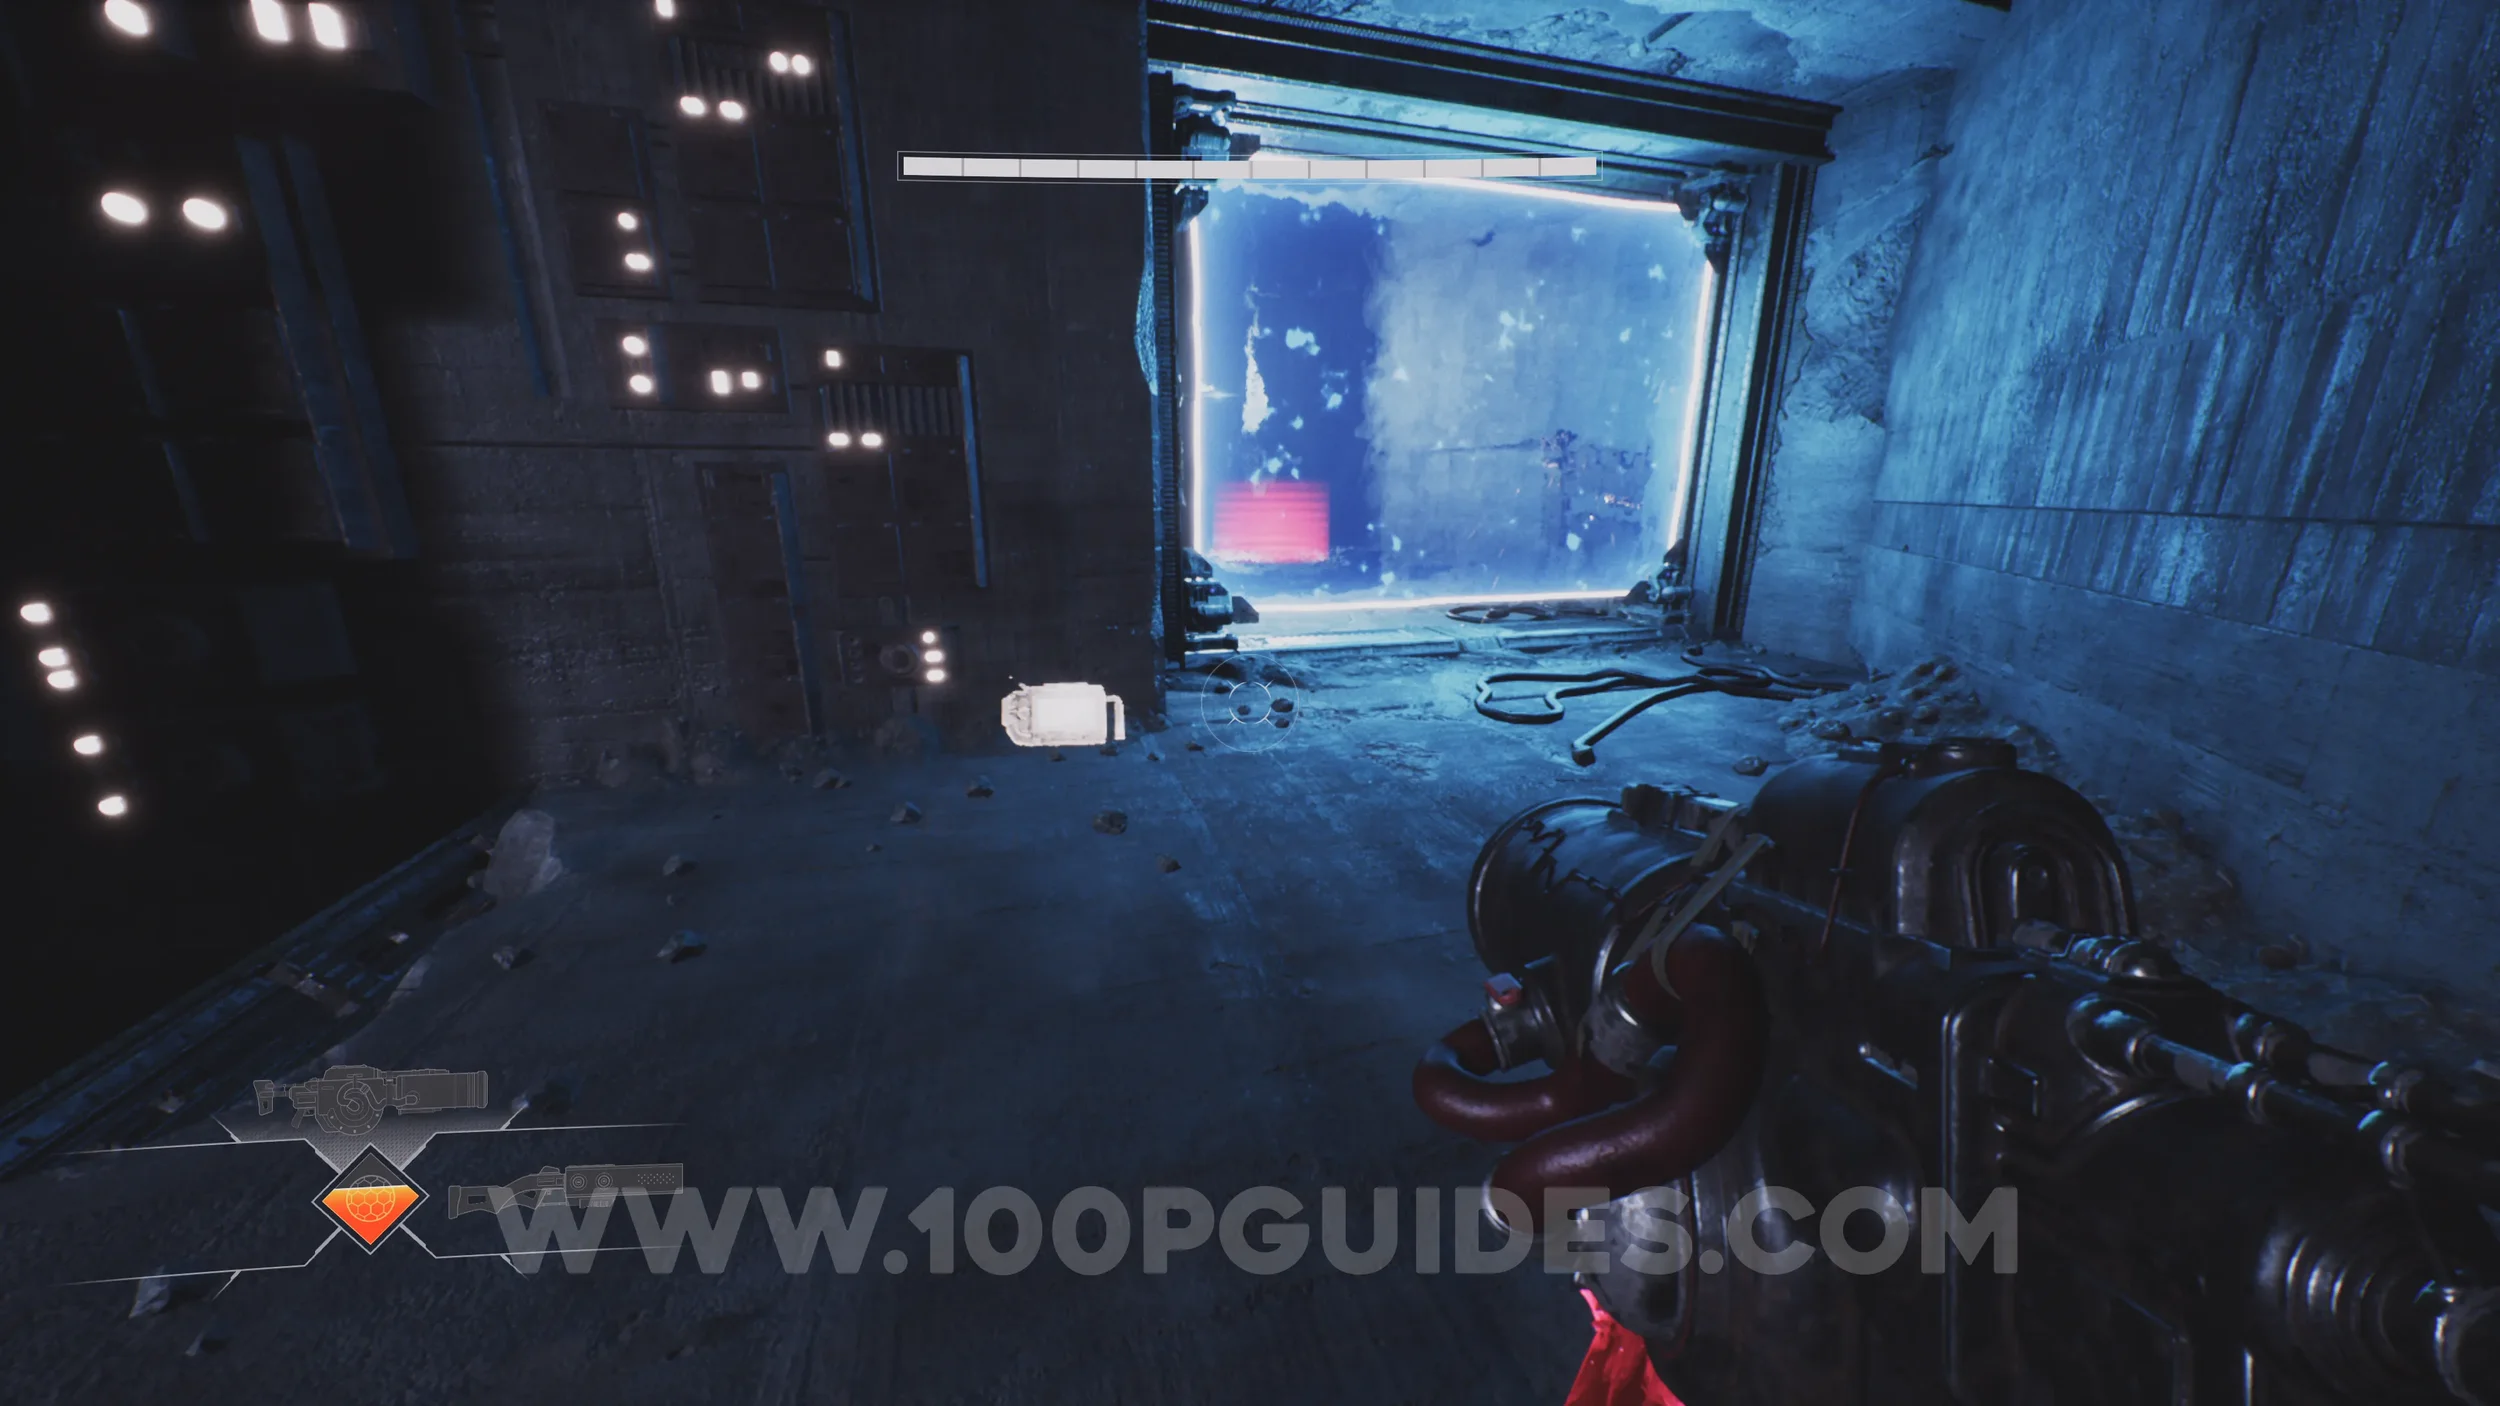
CHAPTER 2 - WEEPING MEADOWS
Lore Entry #22 (Memory - Entry #4487 - Growths). Once you reach the outdoor area with trees, continue until you make your first jumps and reach a switch used to open a round door. Before going through the door, head up the destroyed stairs to the right of the switch to reach a pipe filled with growths. The collectible can be found at the end of the pipe.
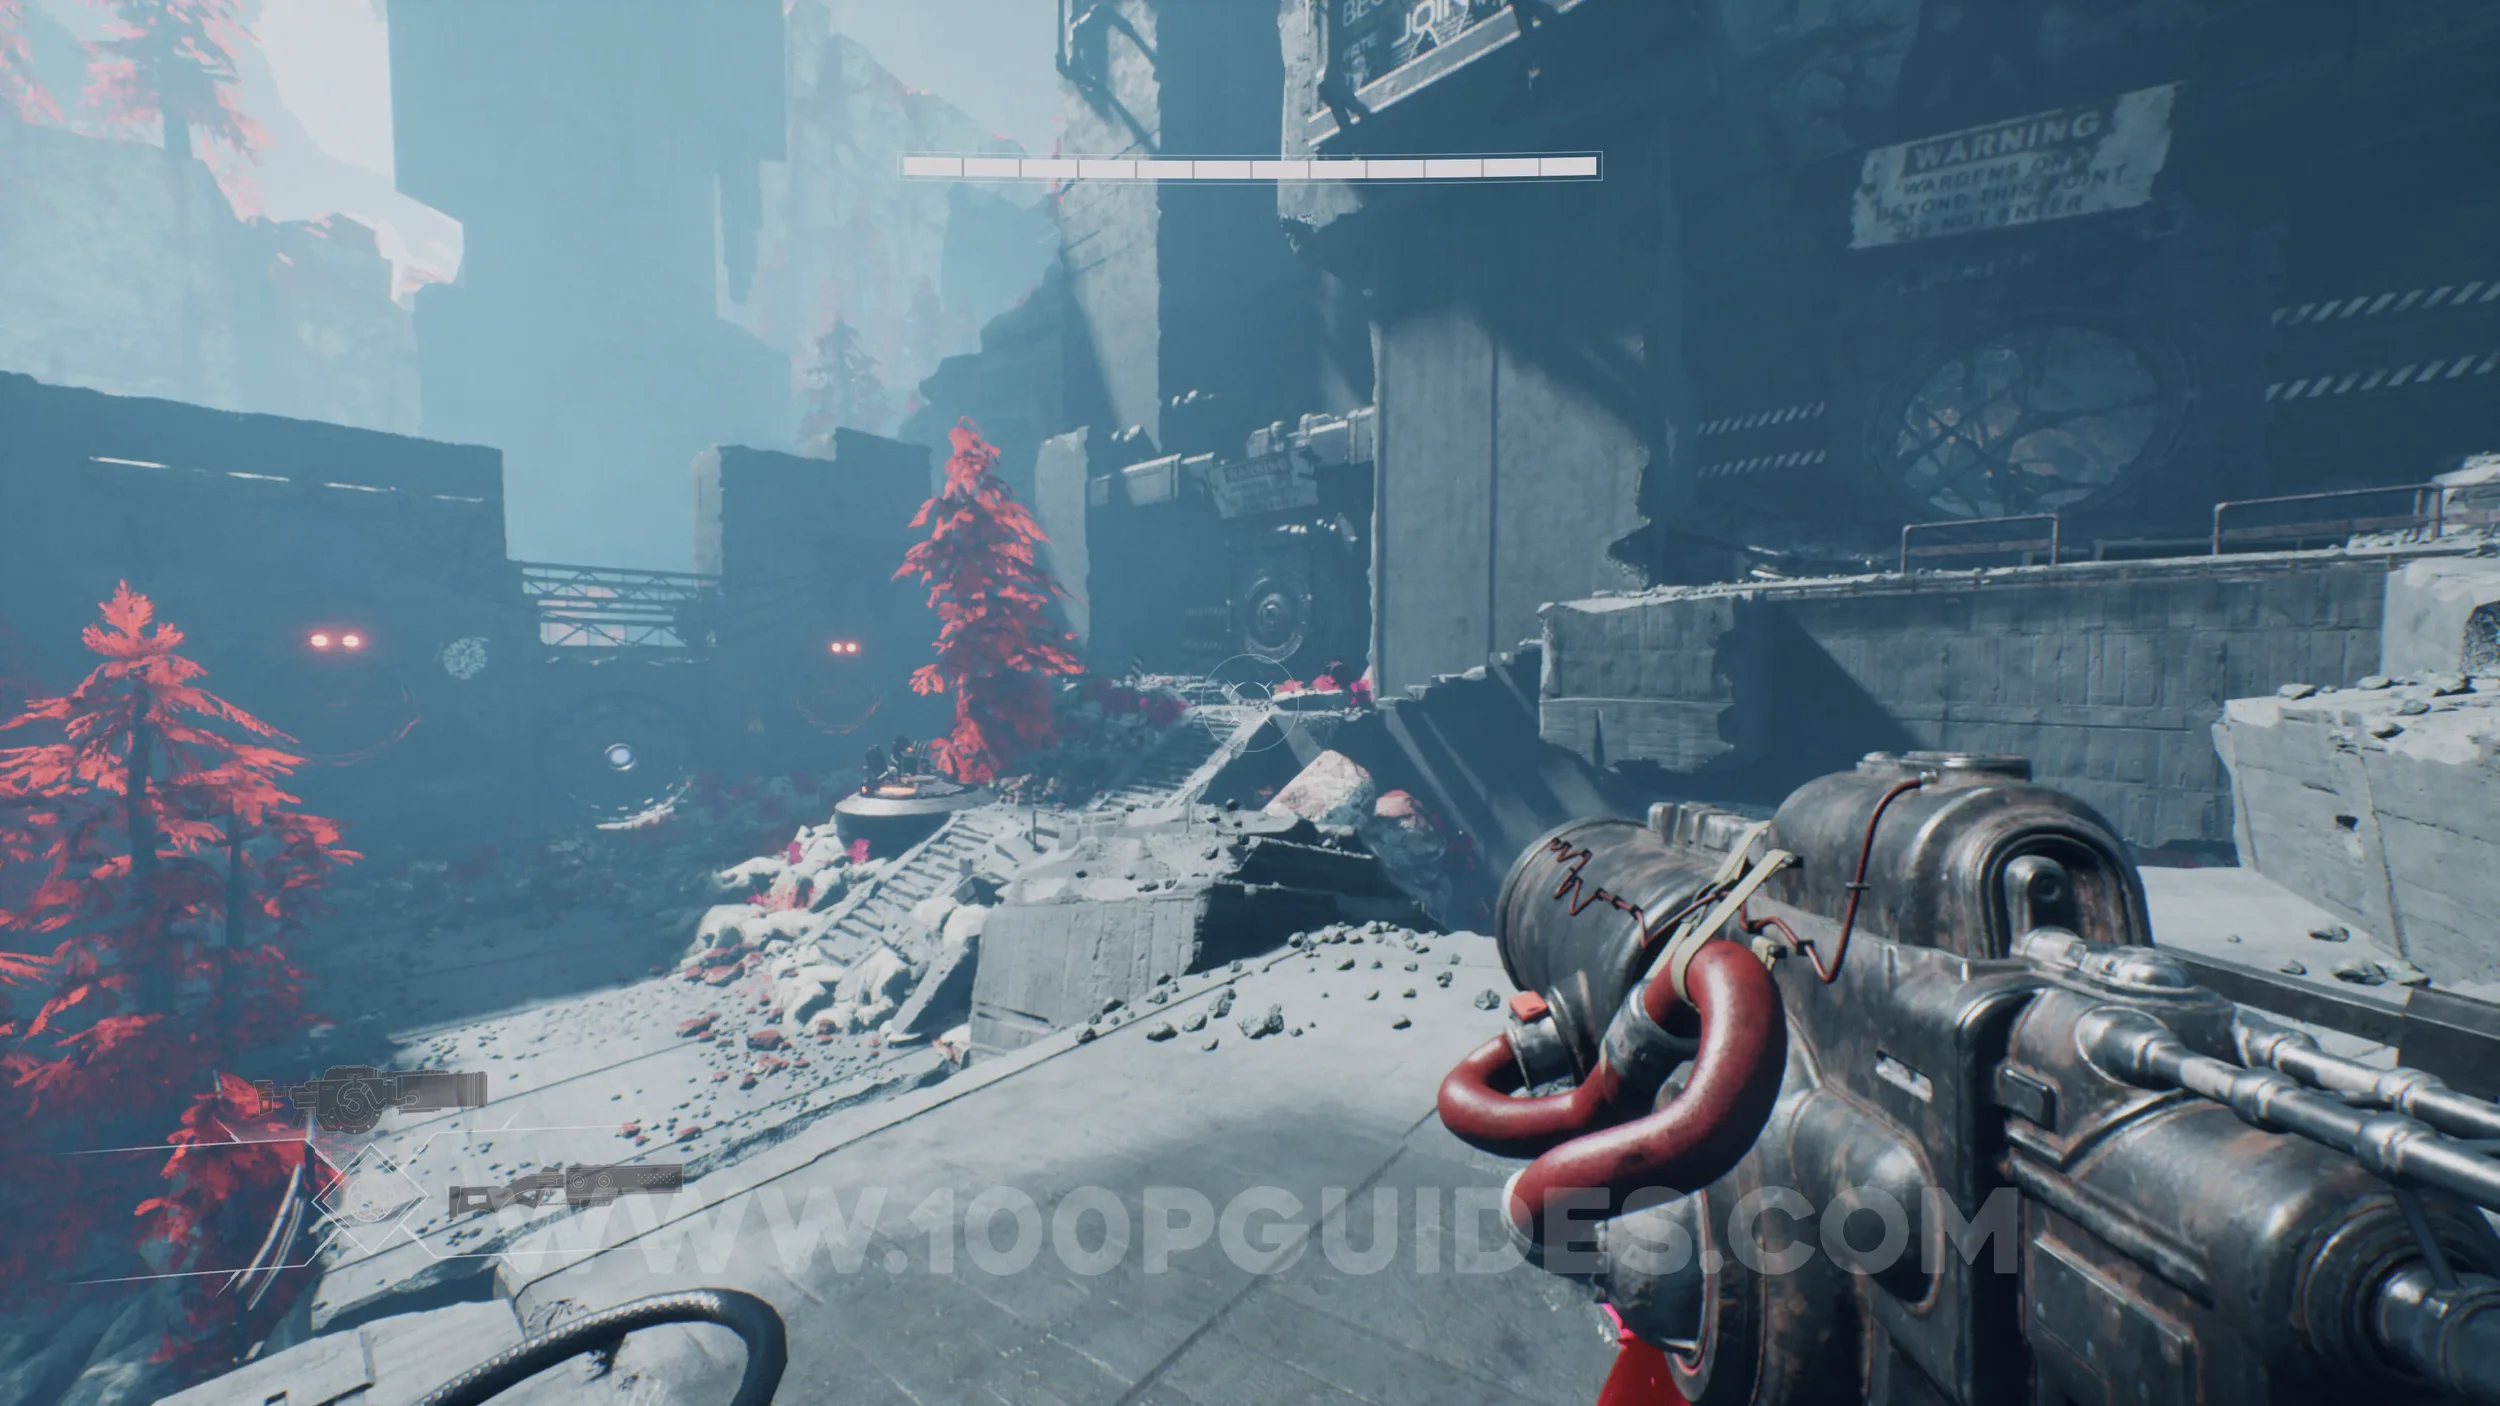
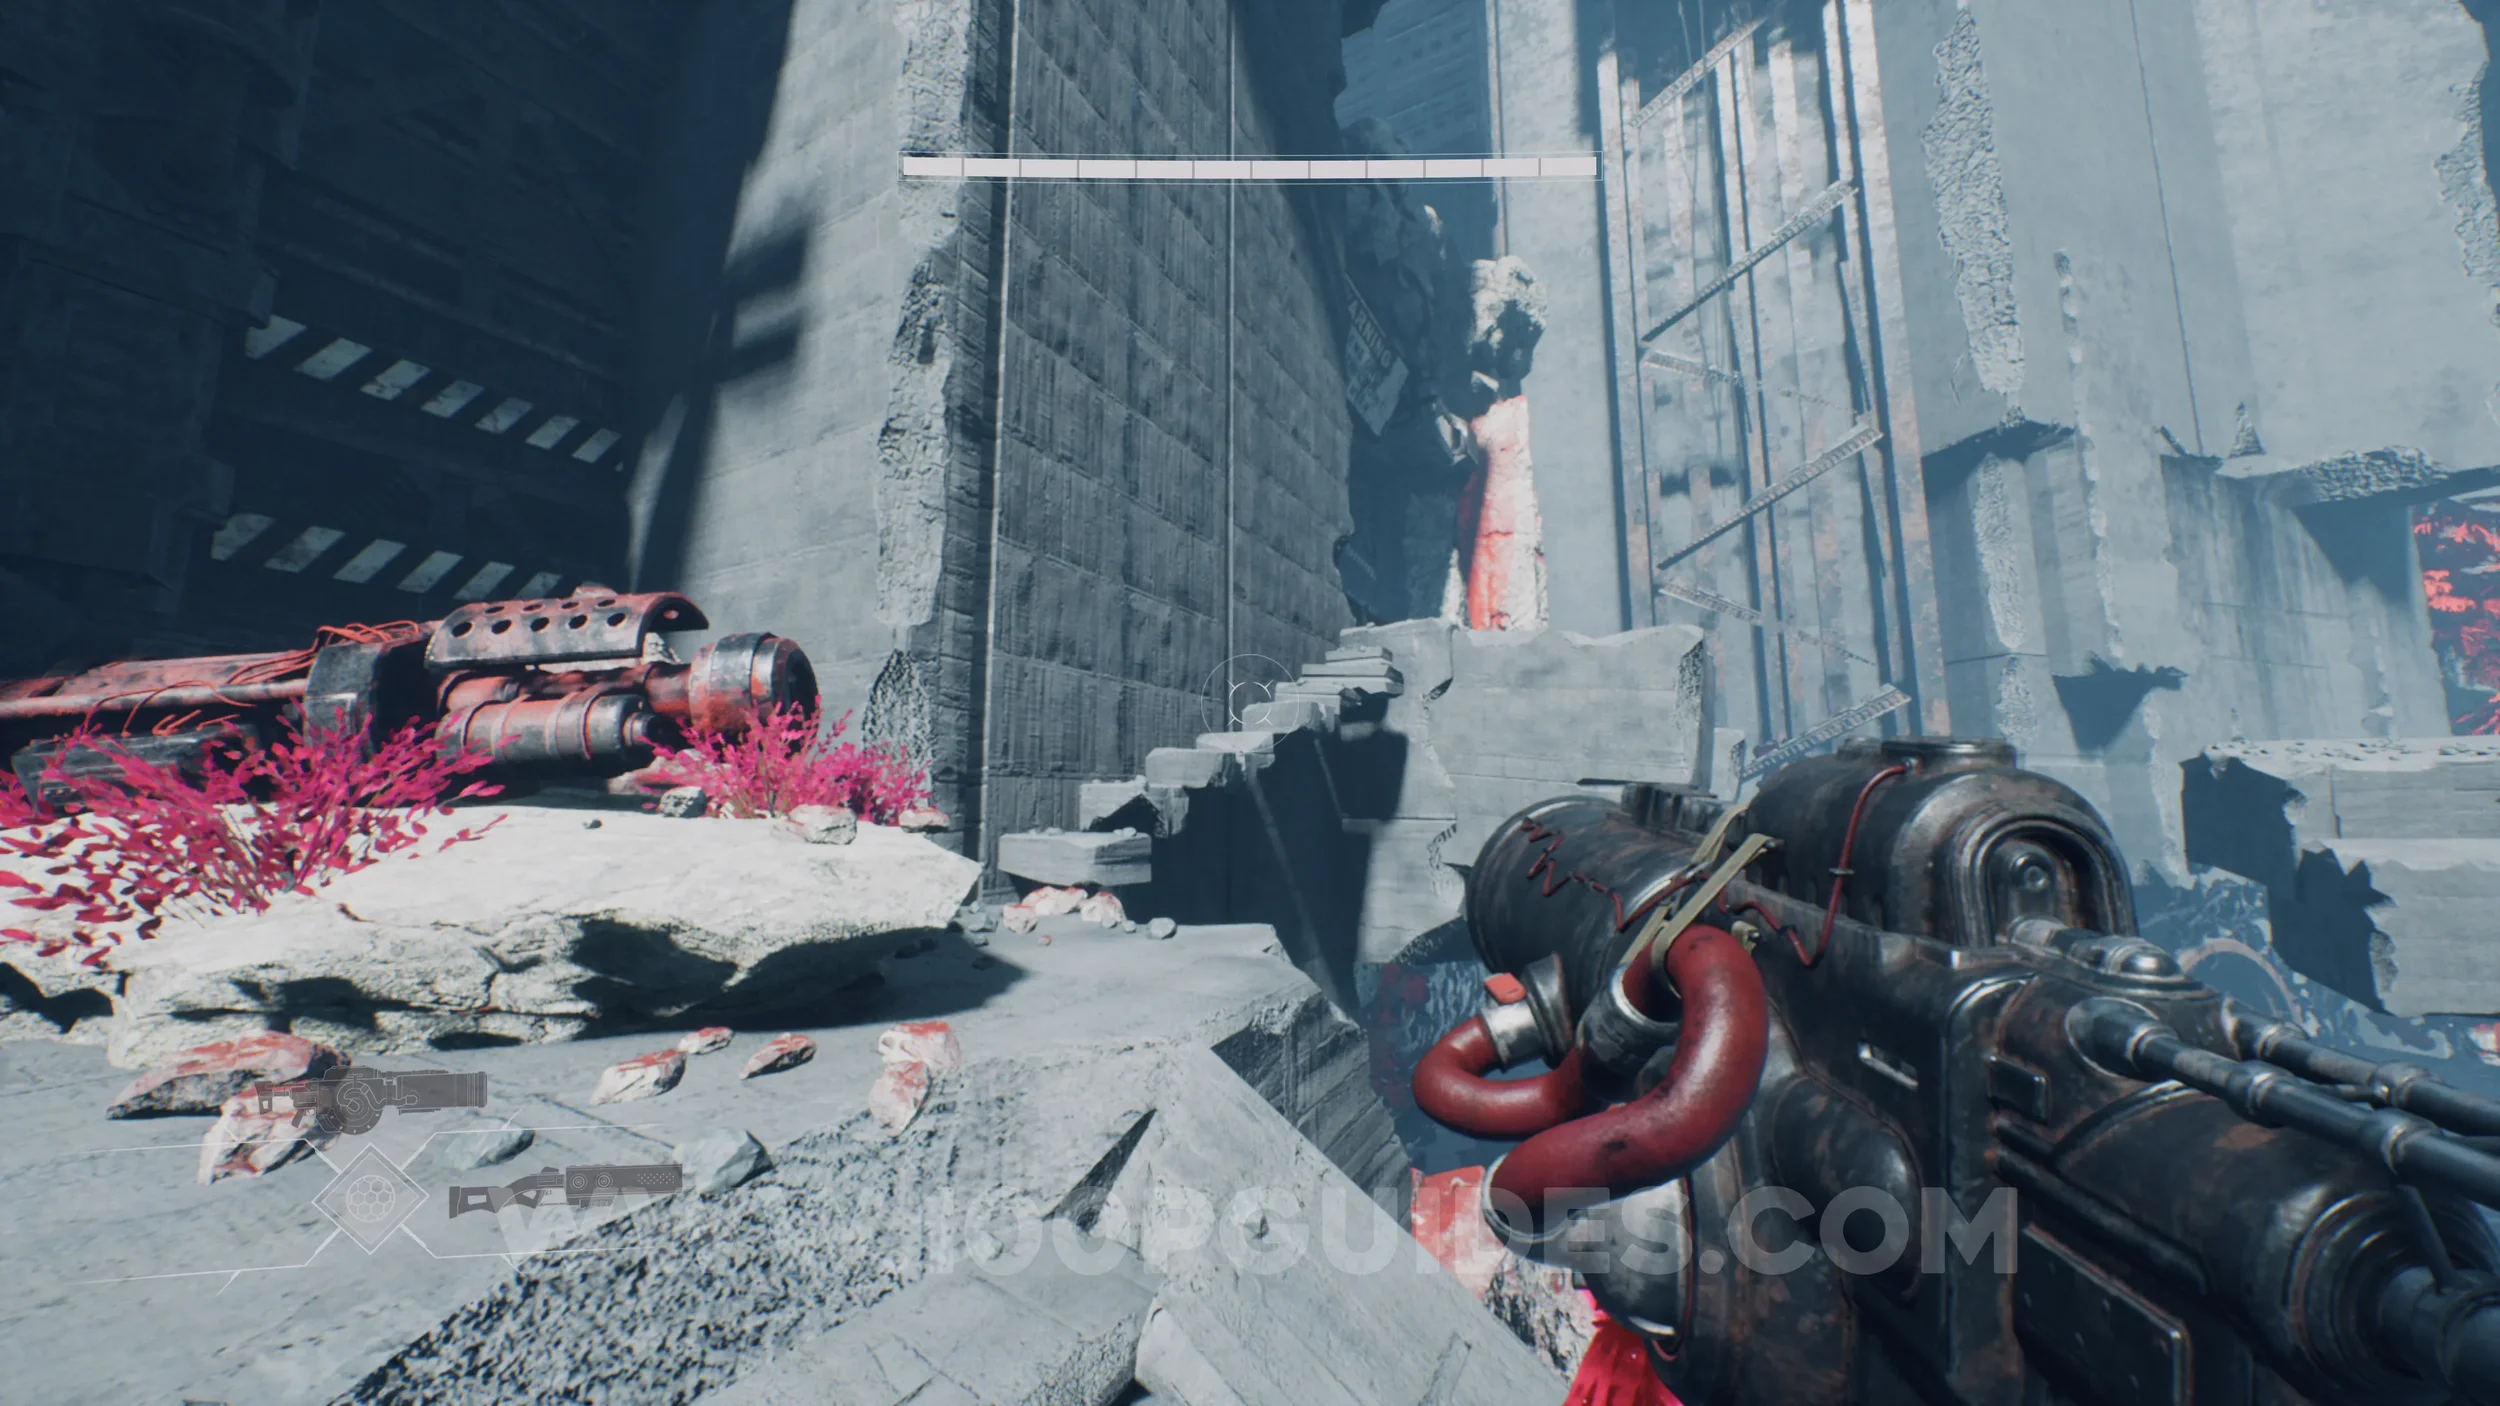
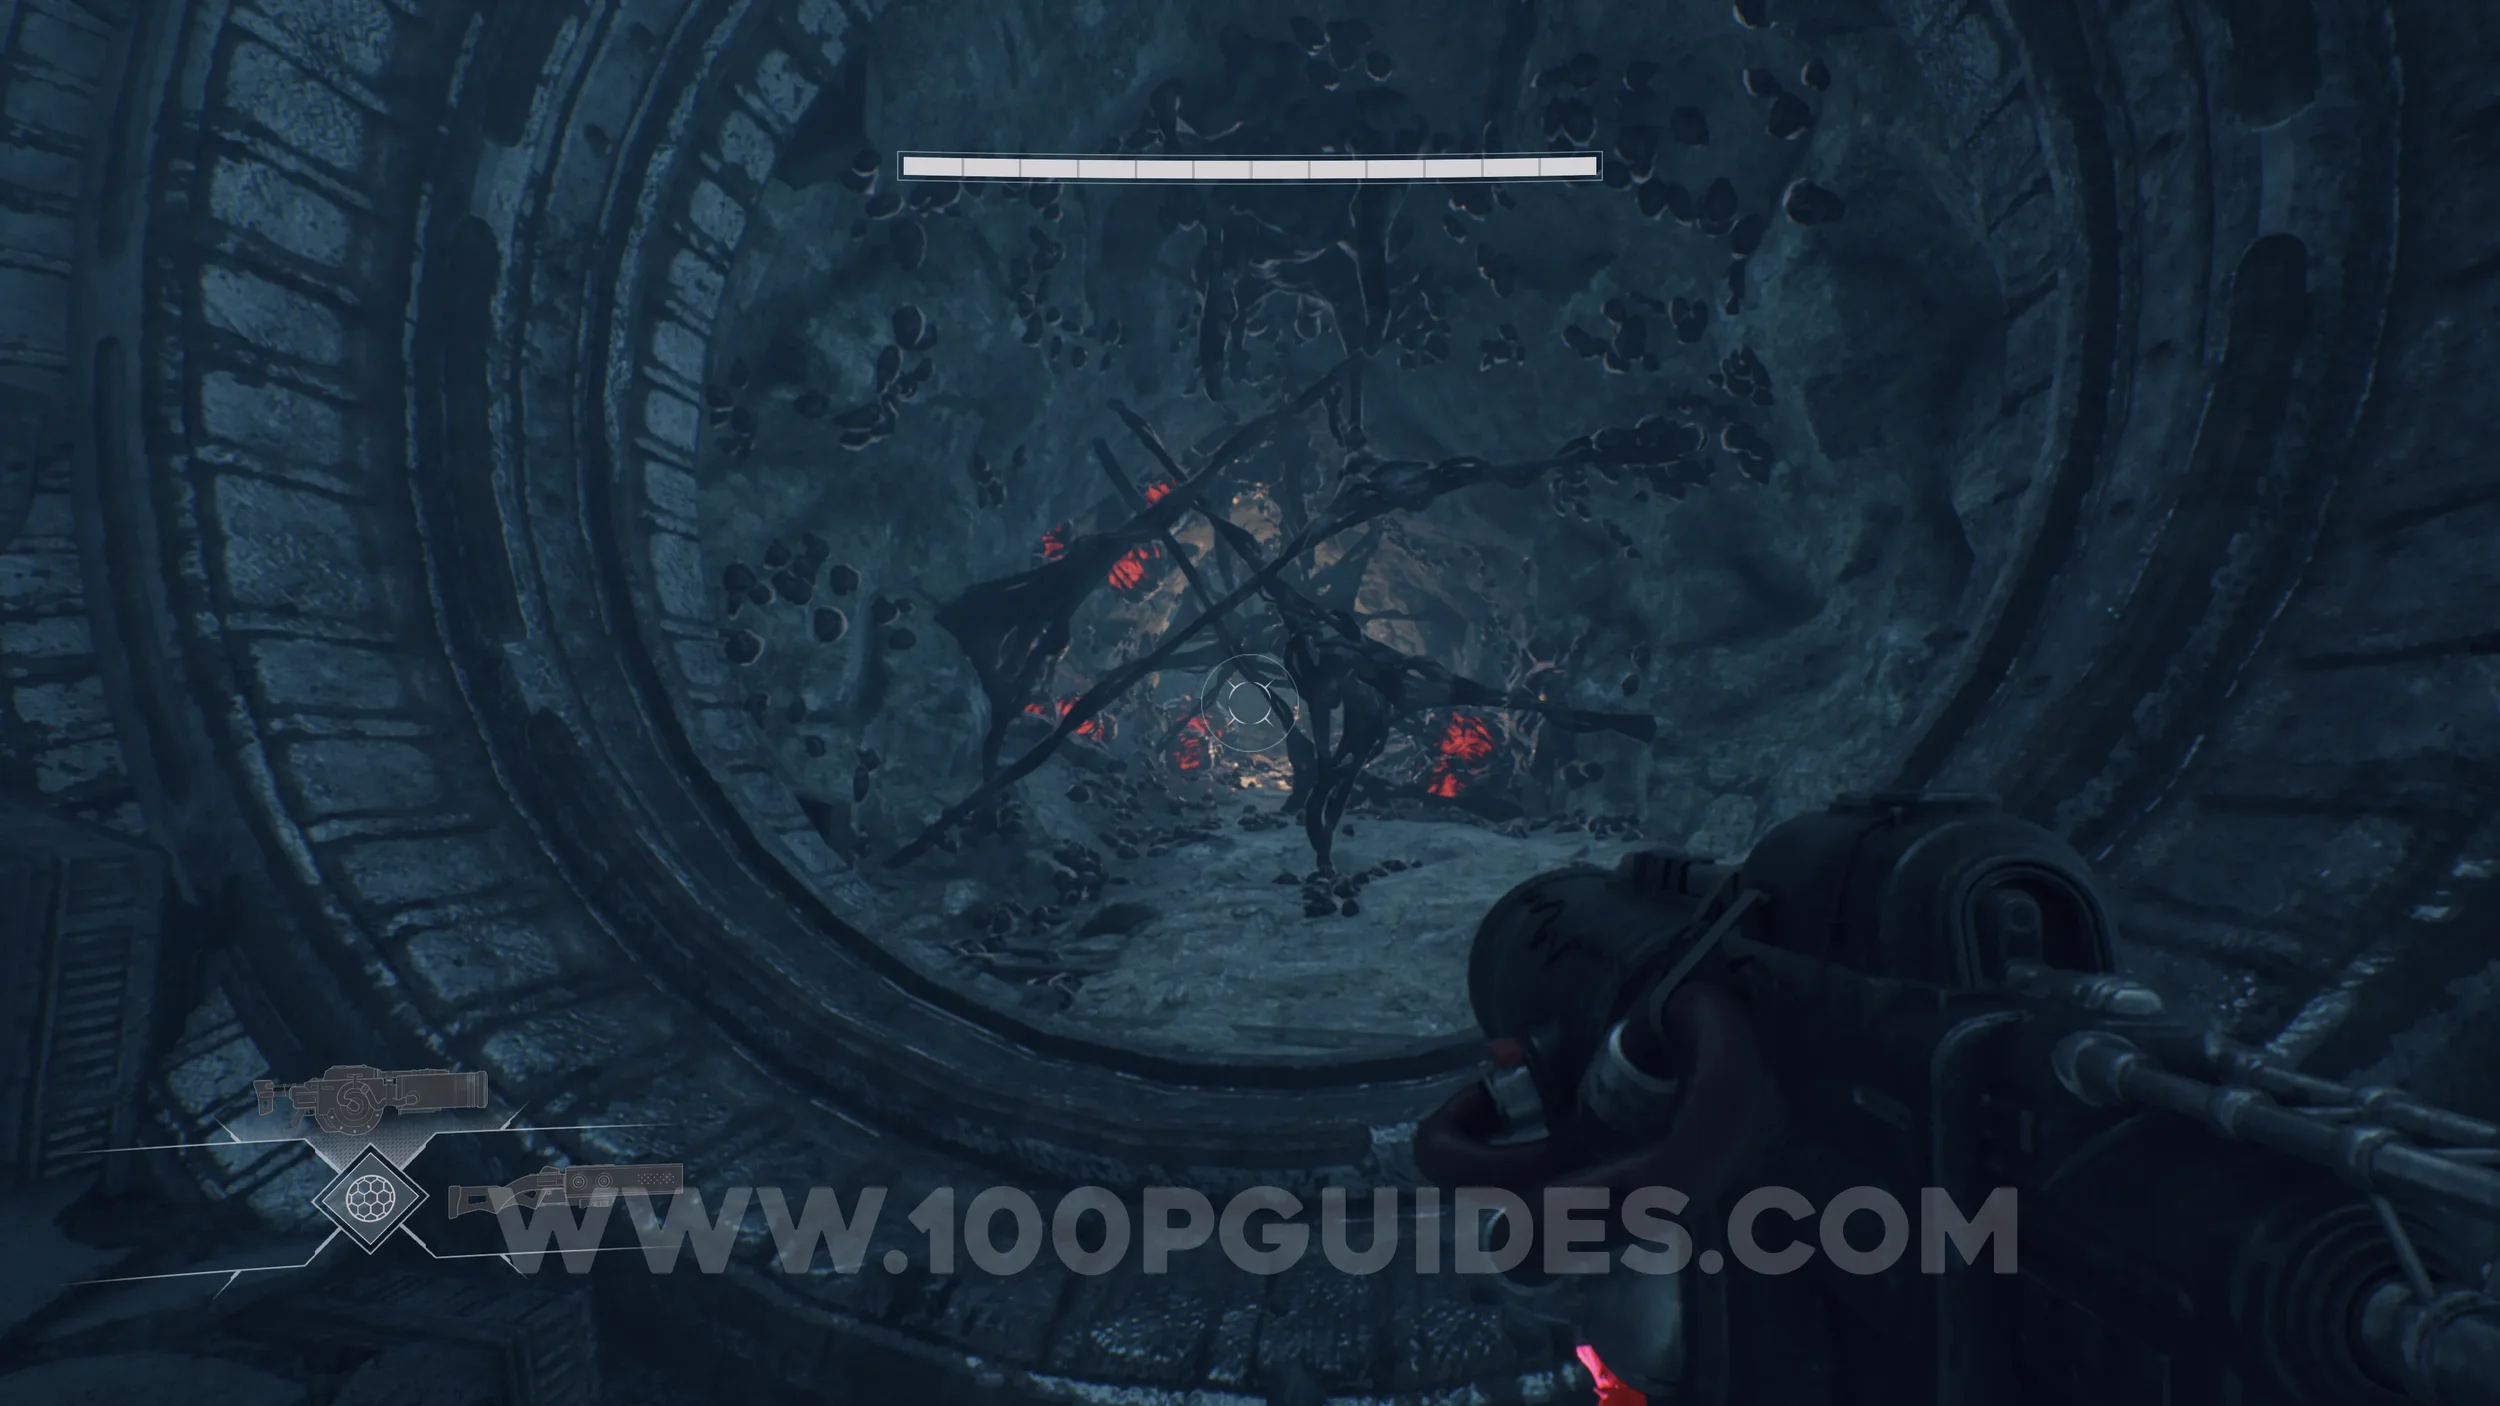
Lore Entry #23 (Memory - Entry #7840 - Hunger). After going through the second circular door opened by pressing a button and shooting the two blue orbs, continue up the mountain path until you see two red trees on your left. Just past these trees, you will spot a cave. The collectible can be found inside.
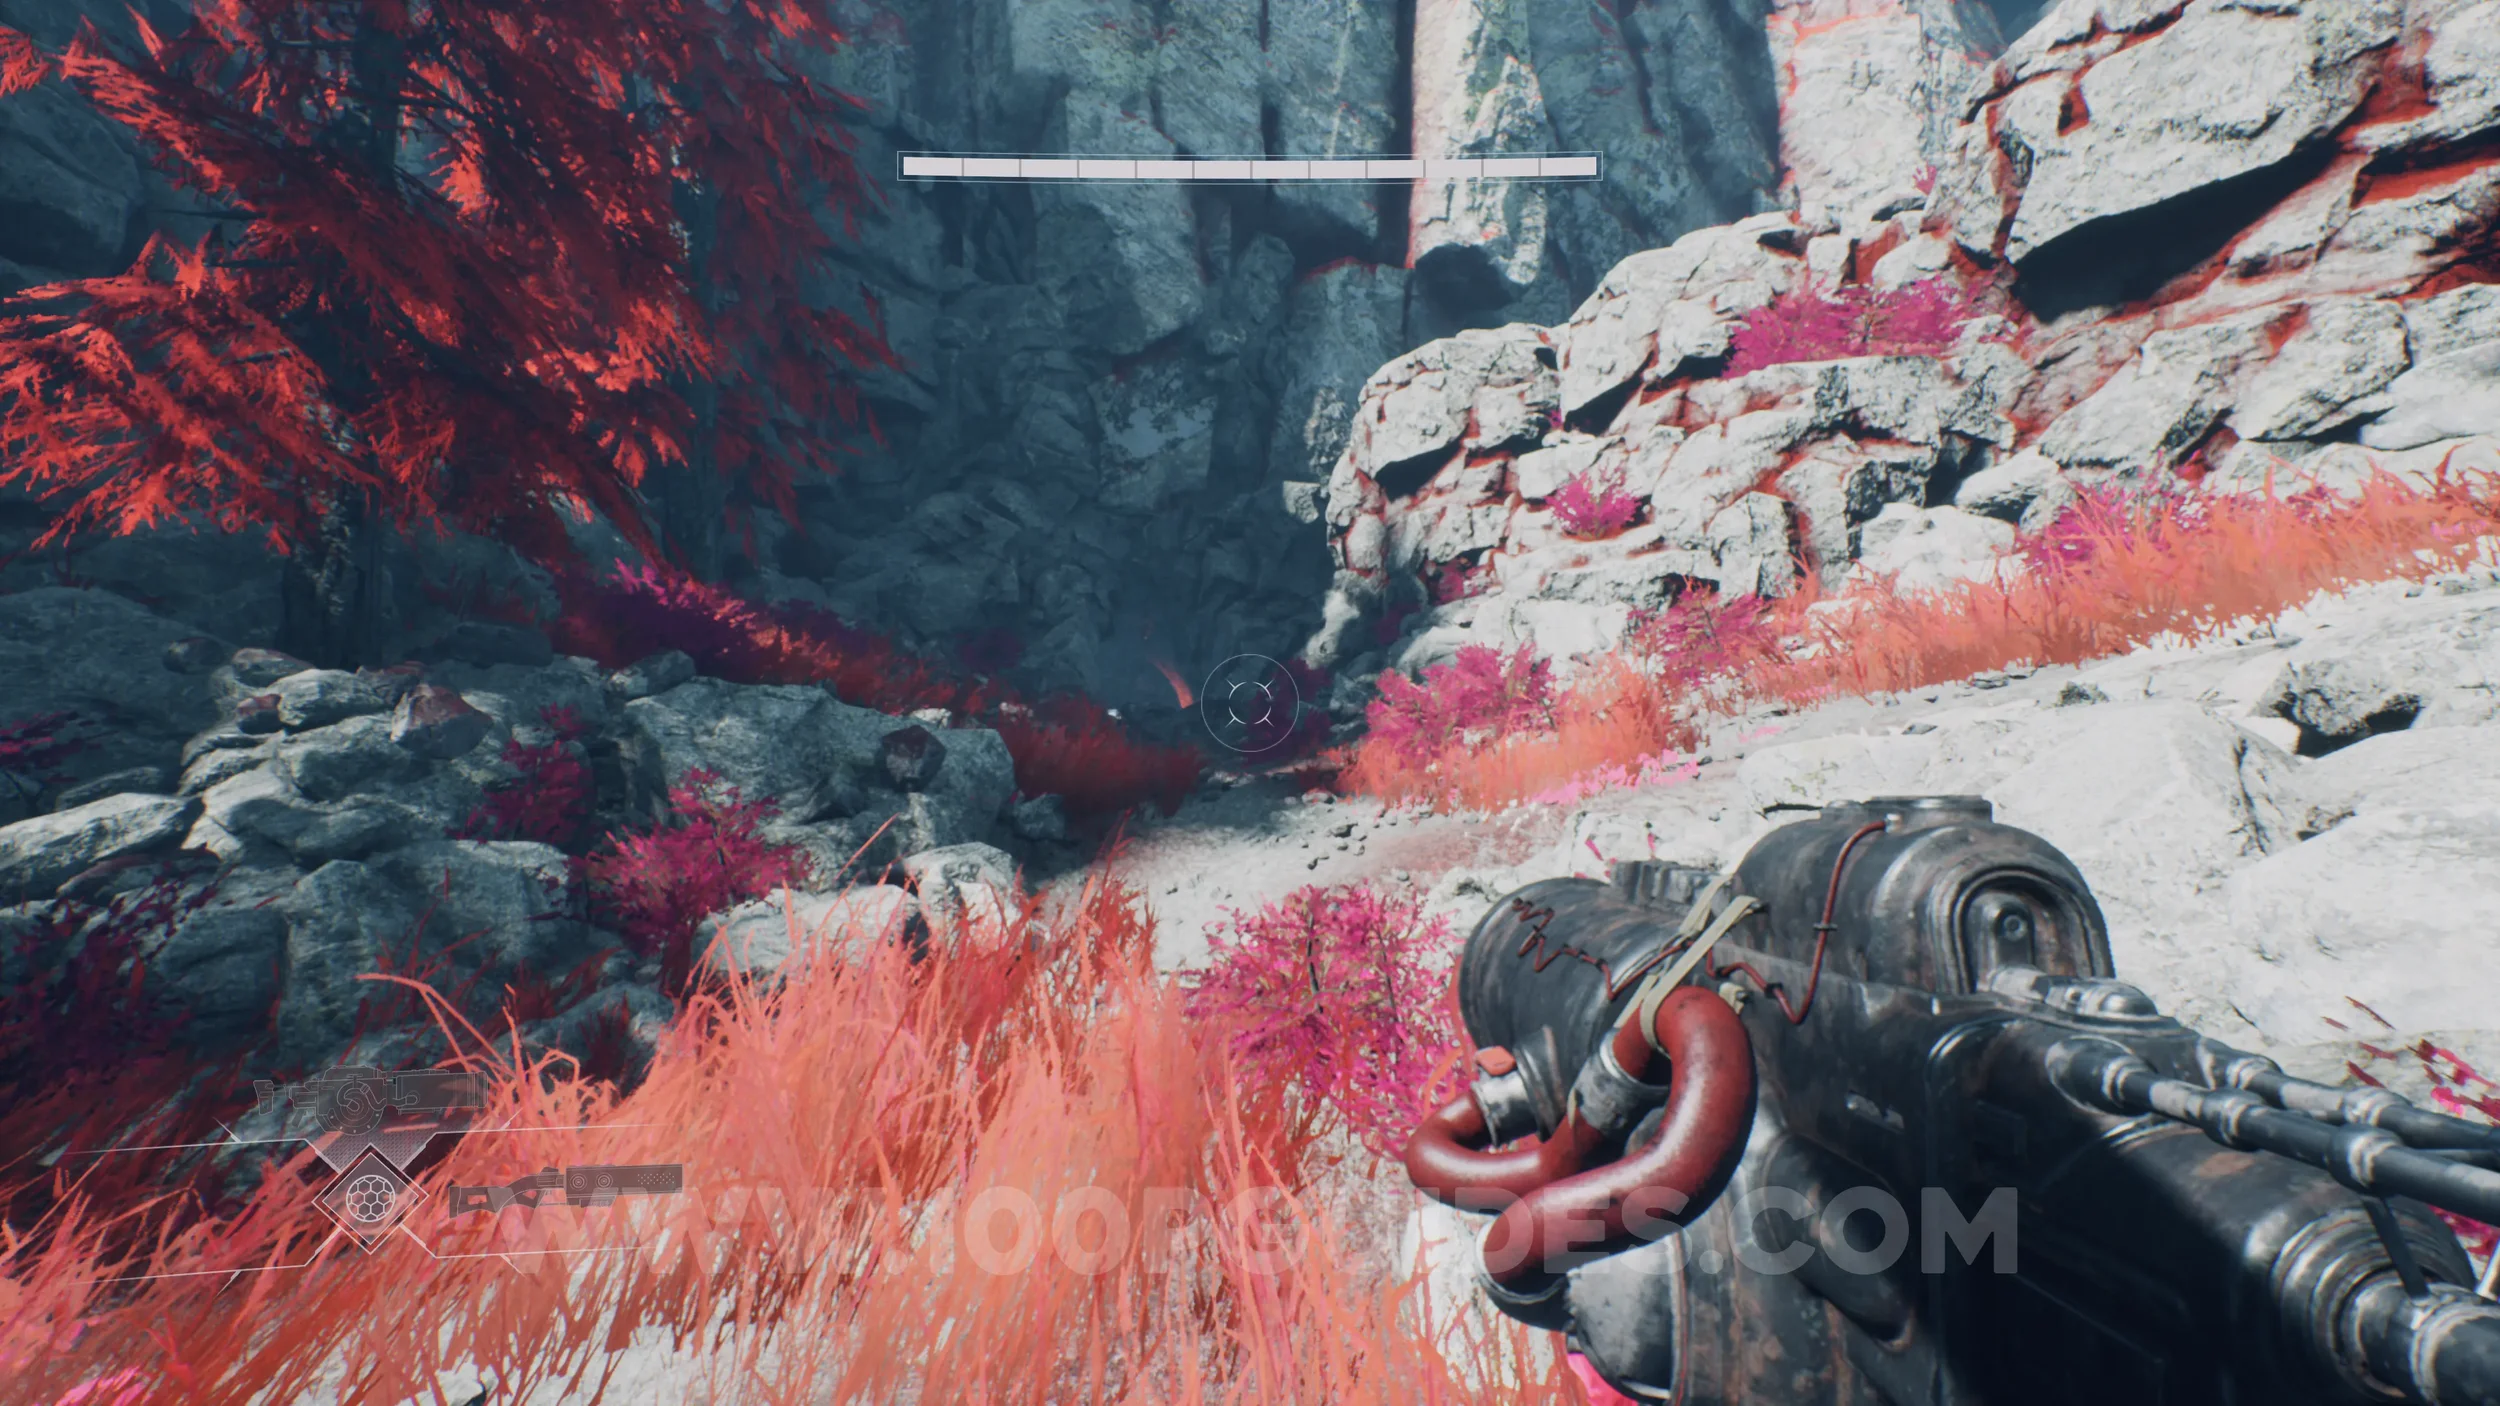
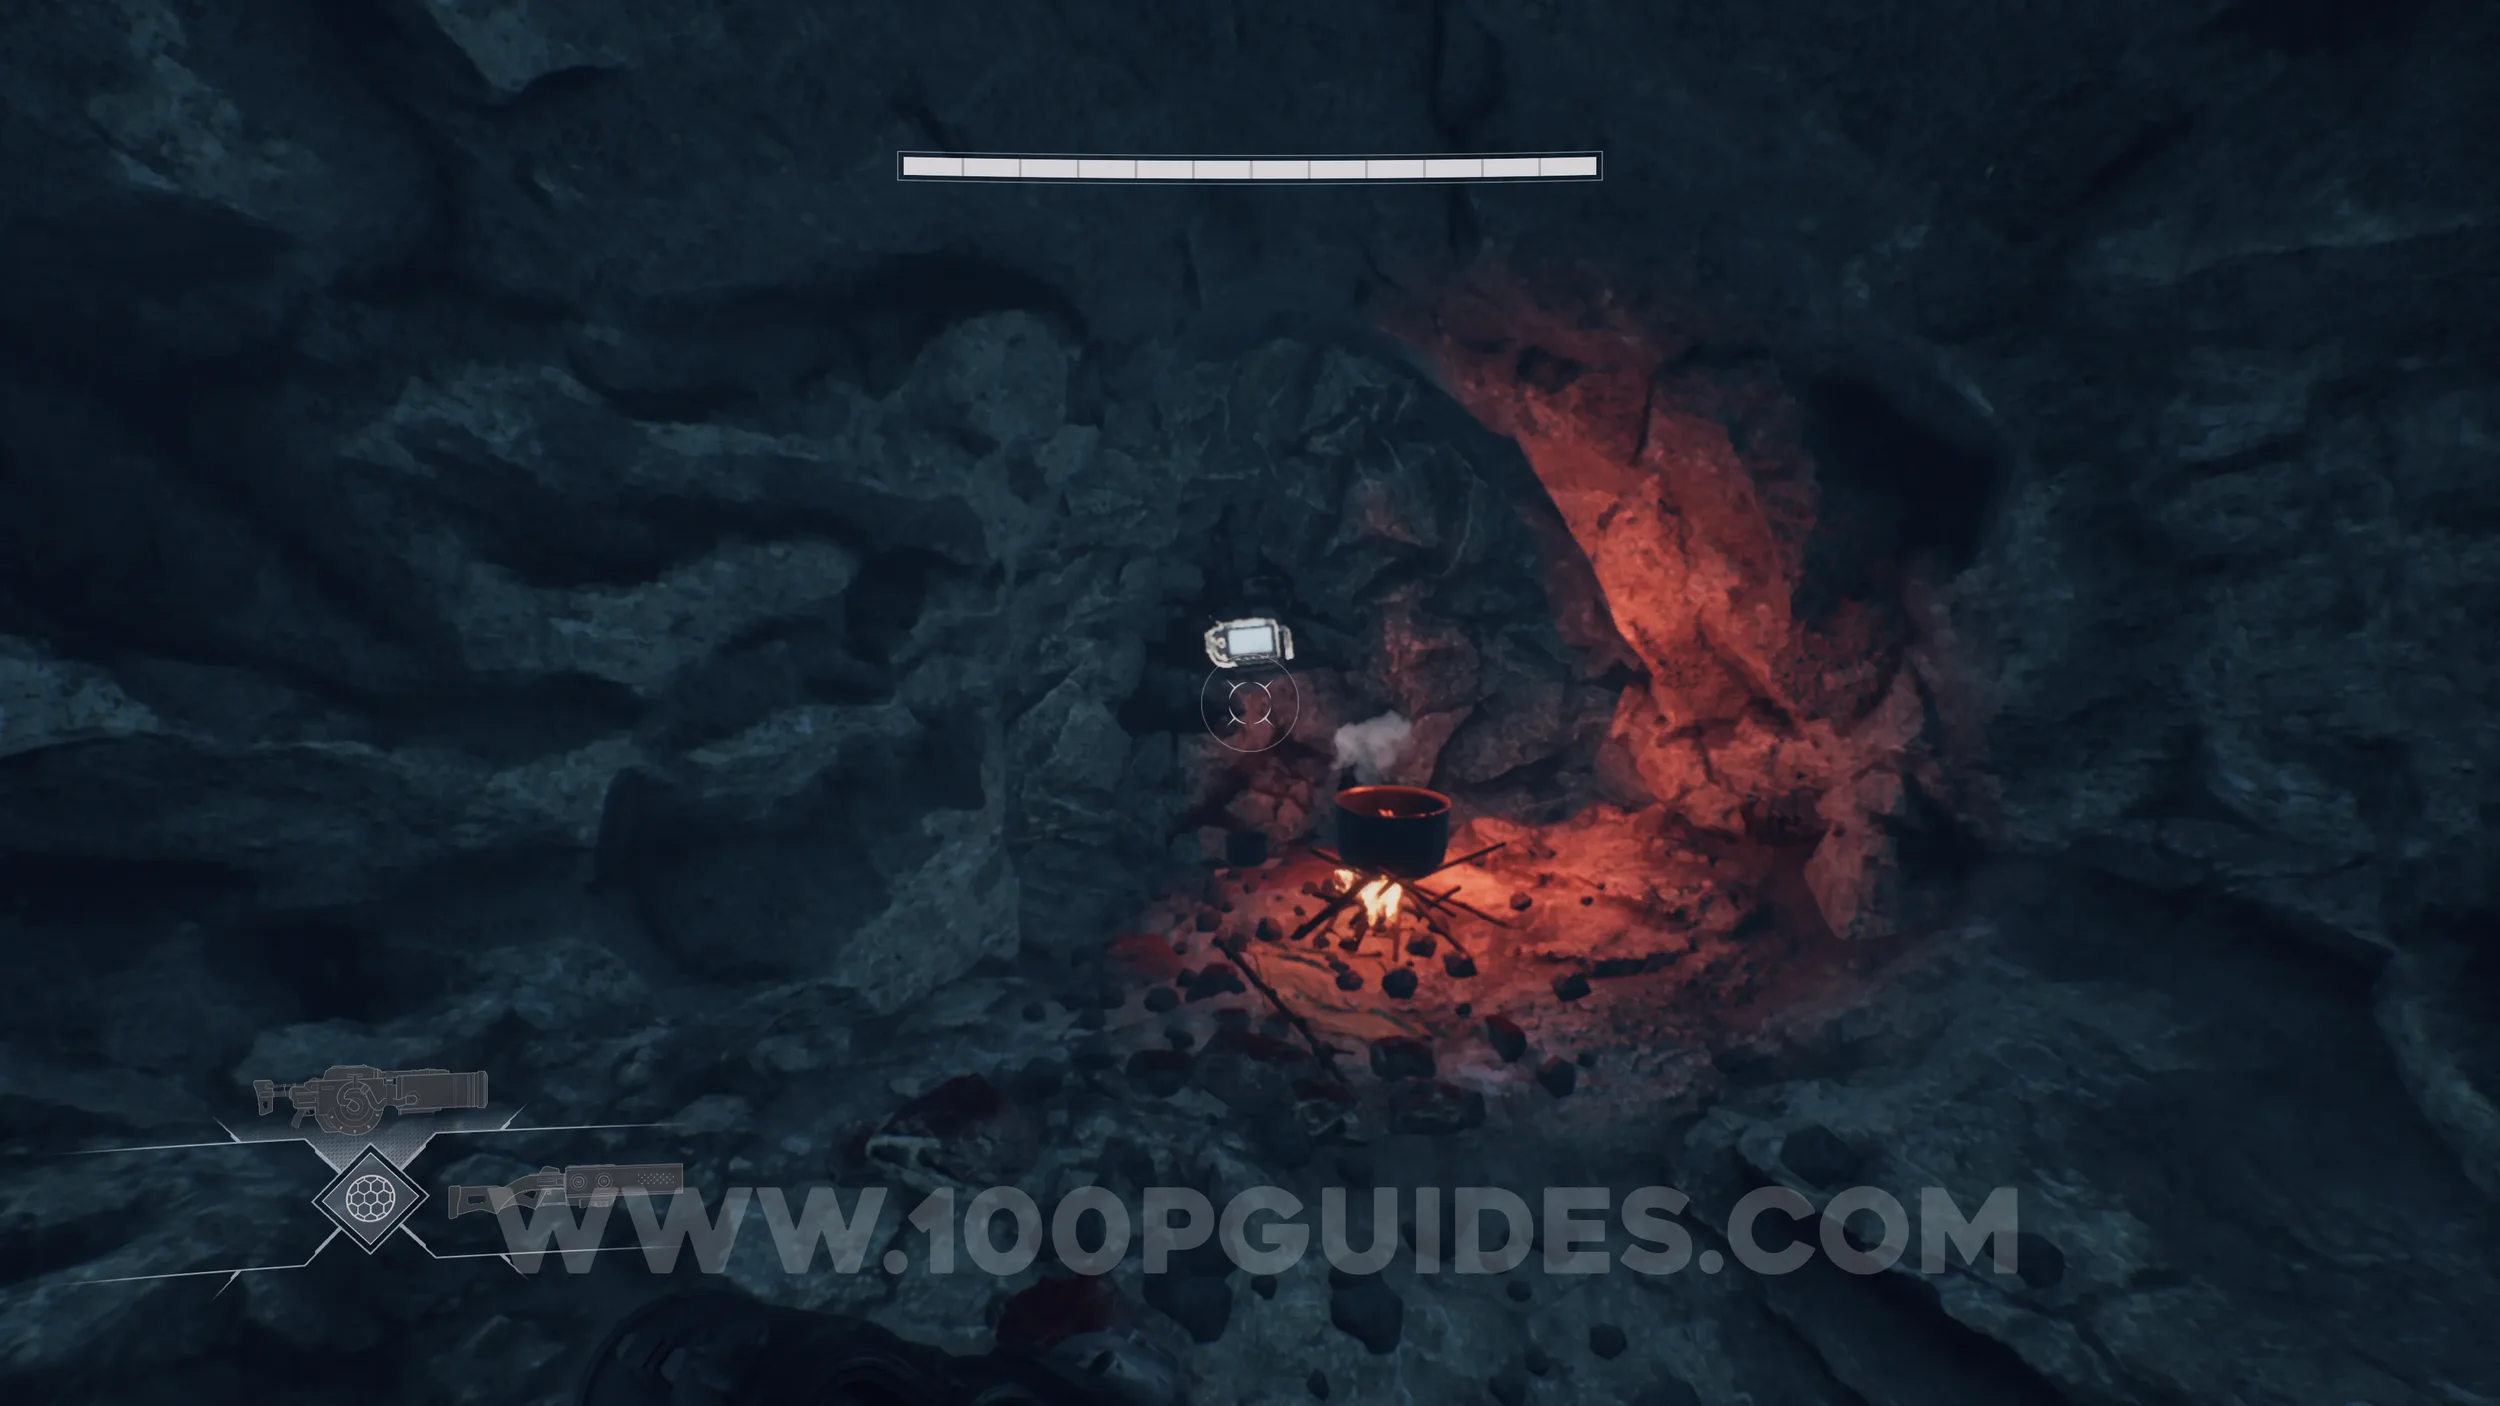
Lore Entry #24 (Memory - Entry 32022 - Goliath). After going through the third circular door, head right and use the jump pad to reach the upper area. From there, go left and ride the platform toward the purple lasers. Just past the first set of lasers, turn right to find the collectible at the end behind another set of lasers.
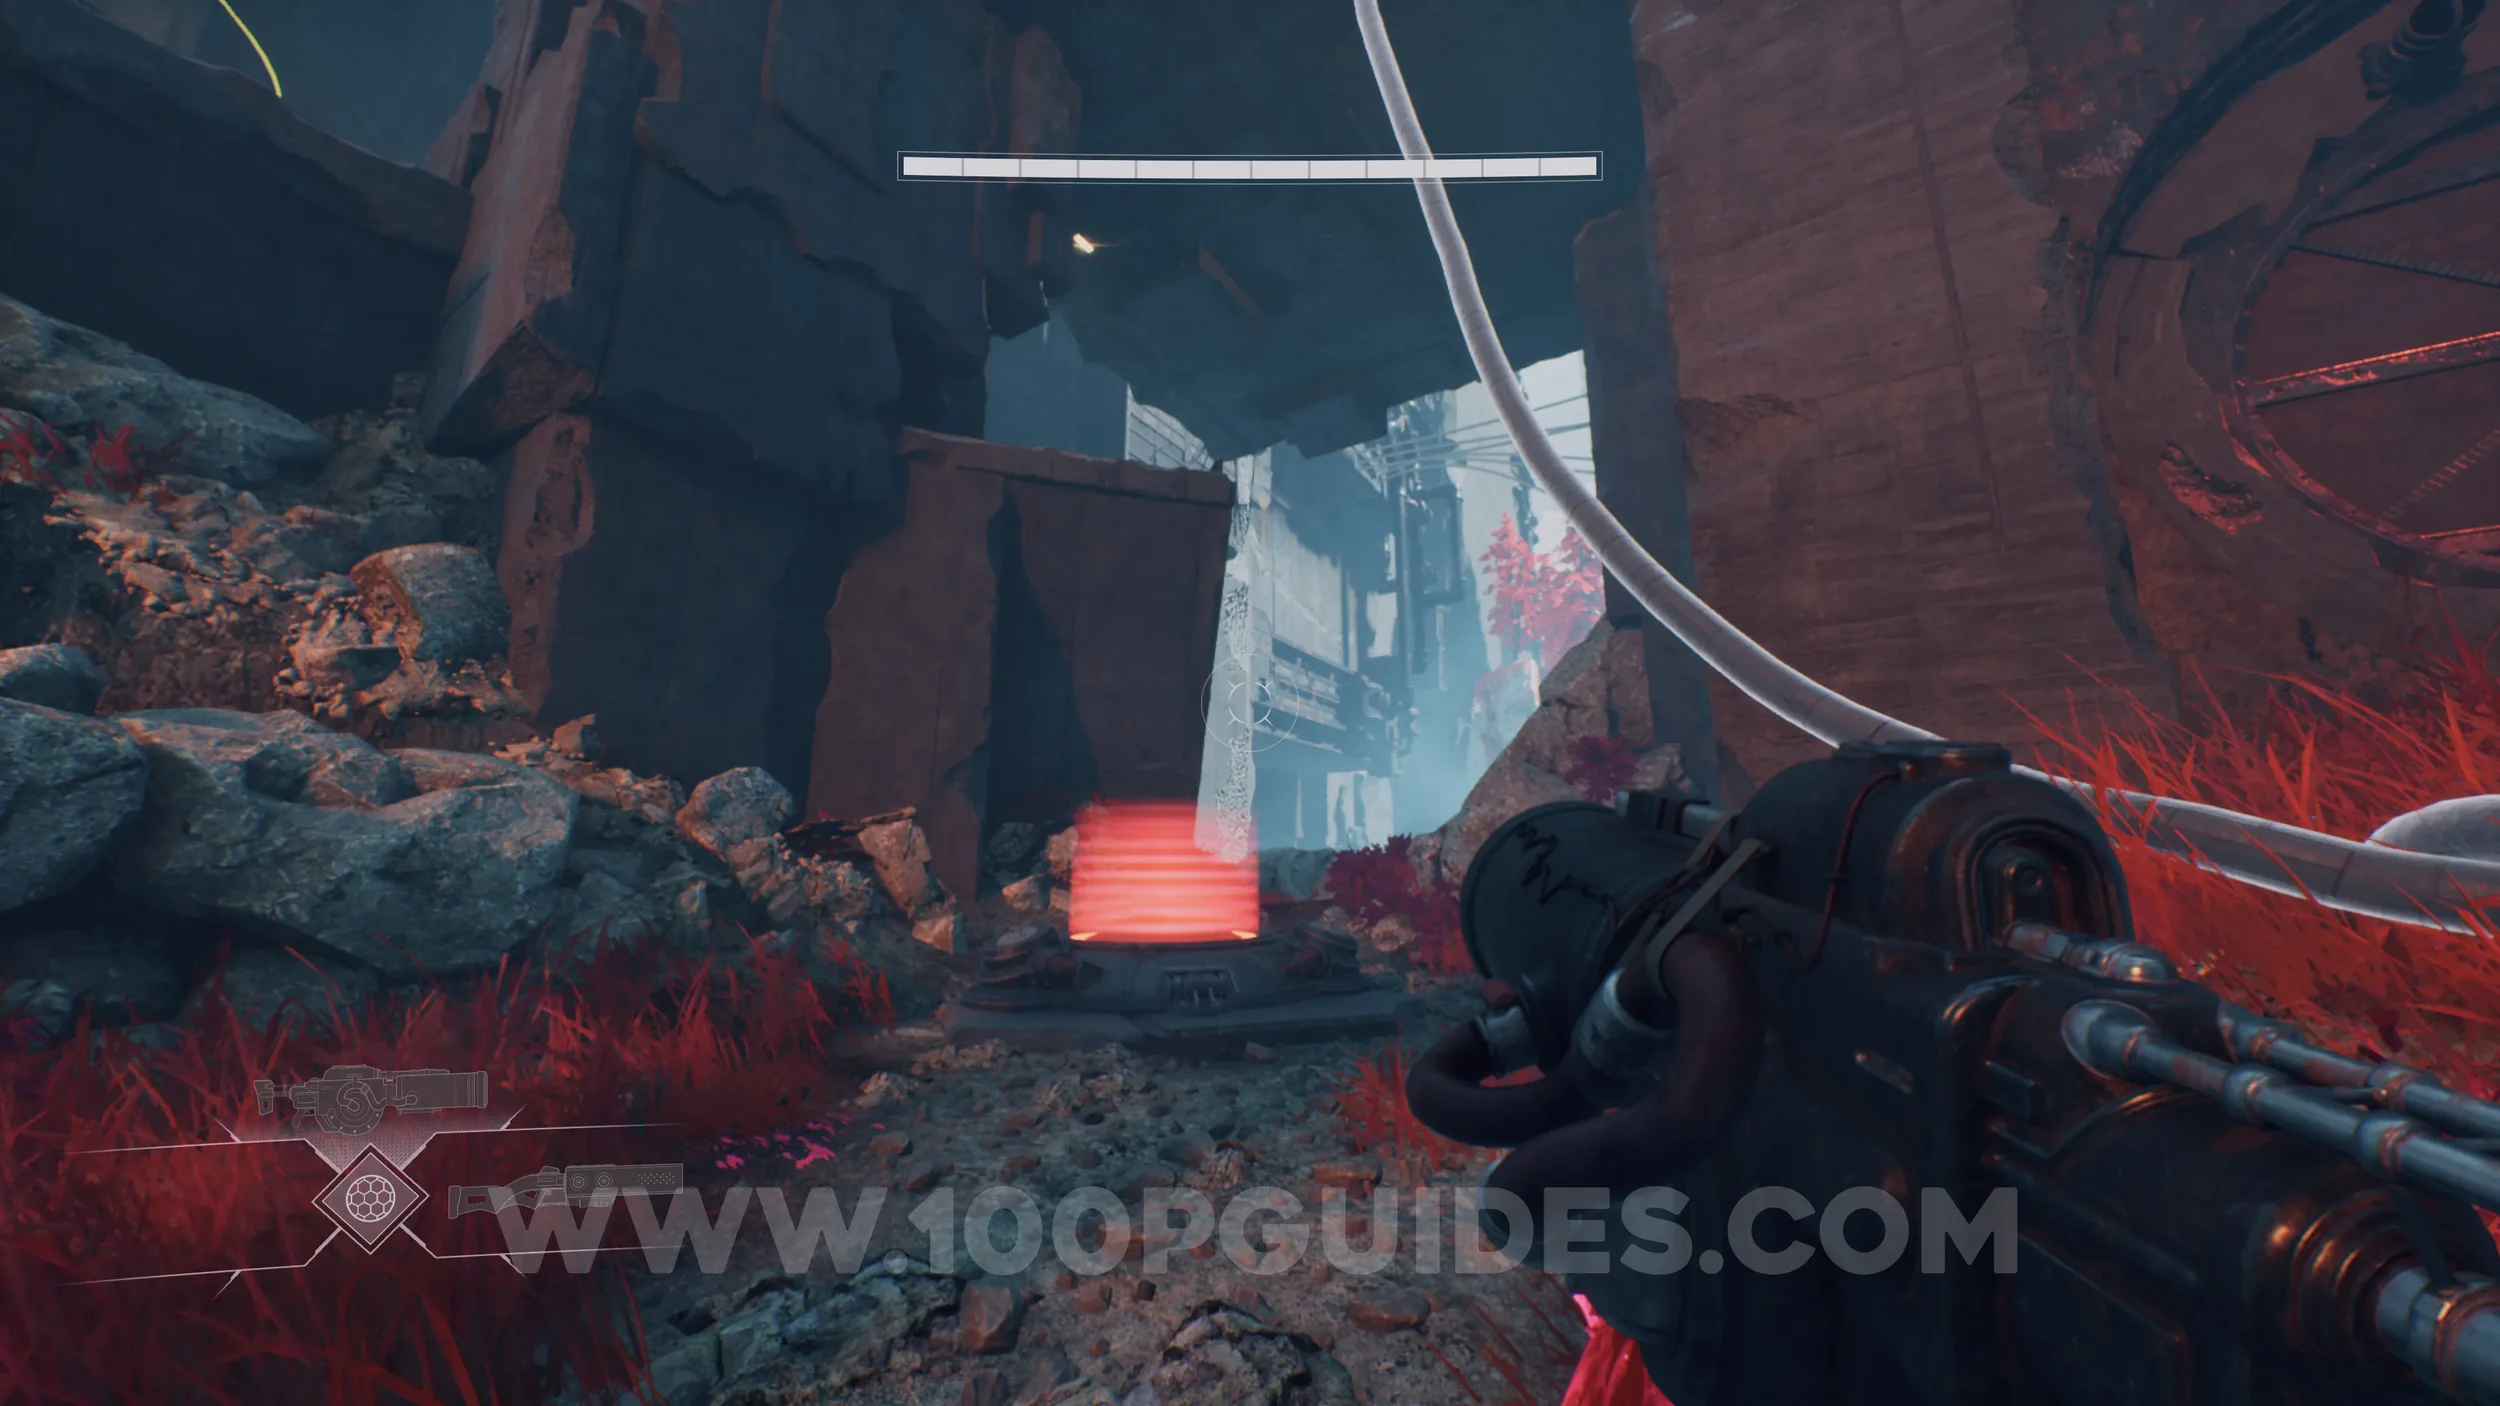
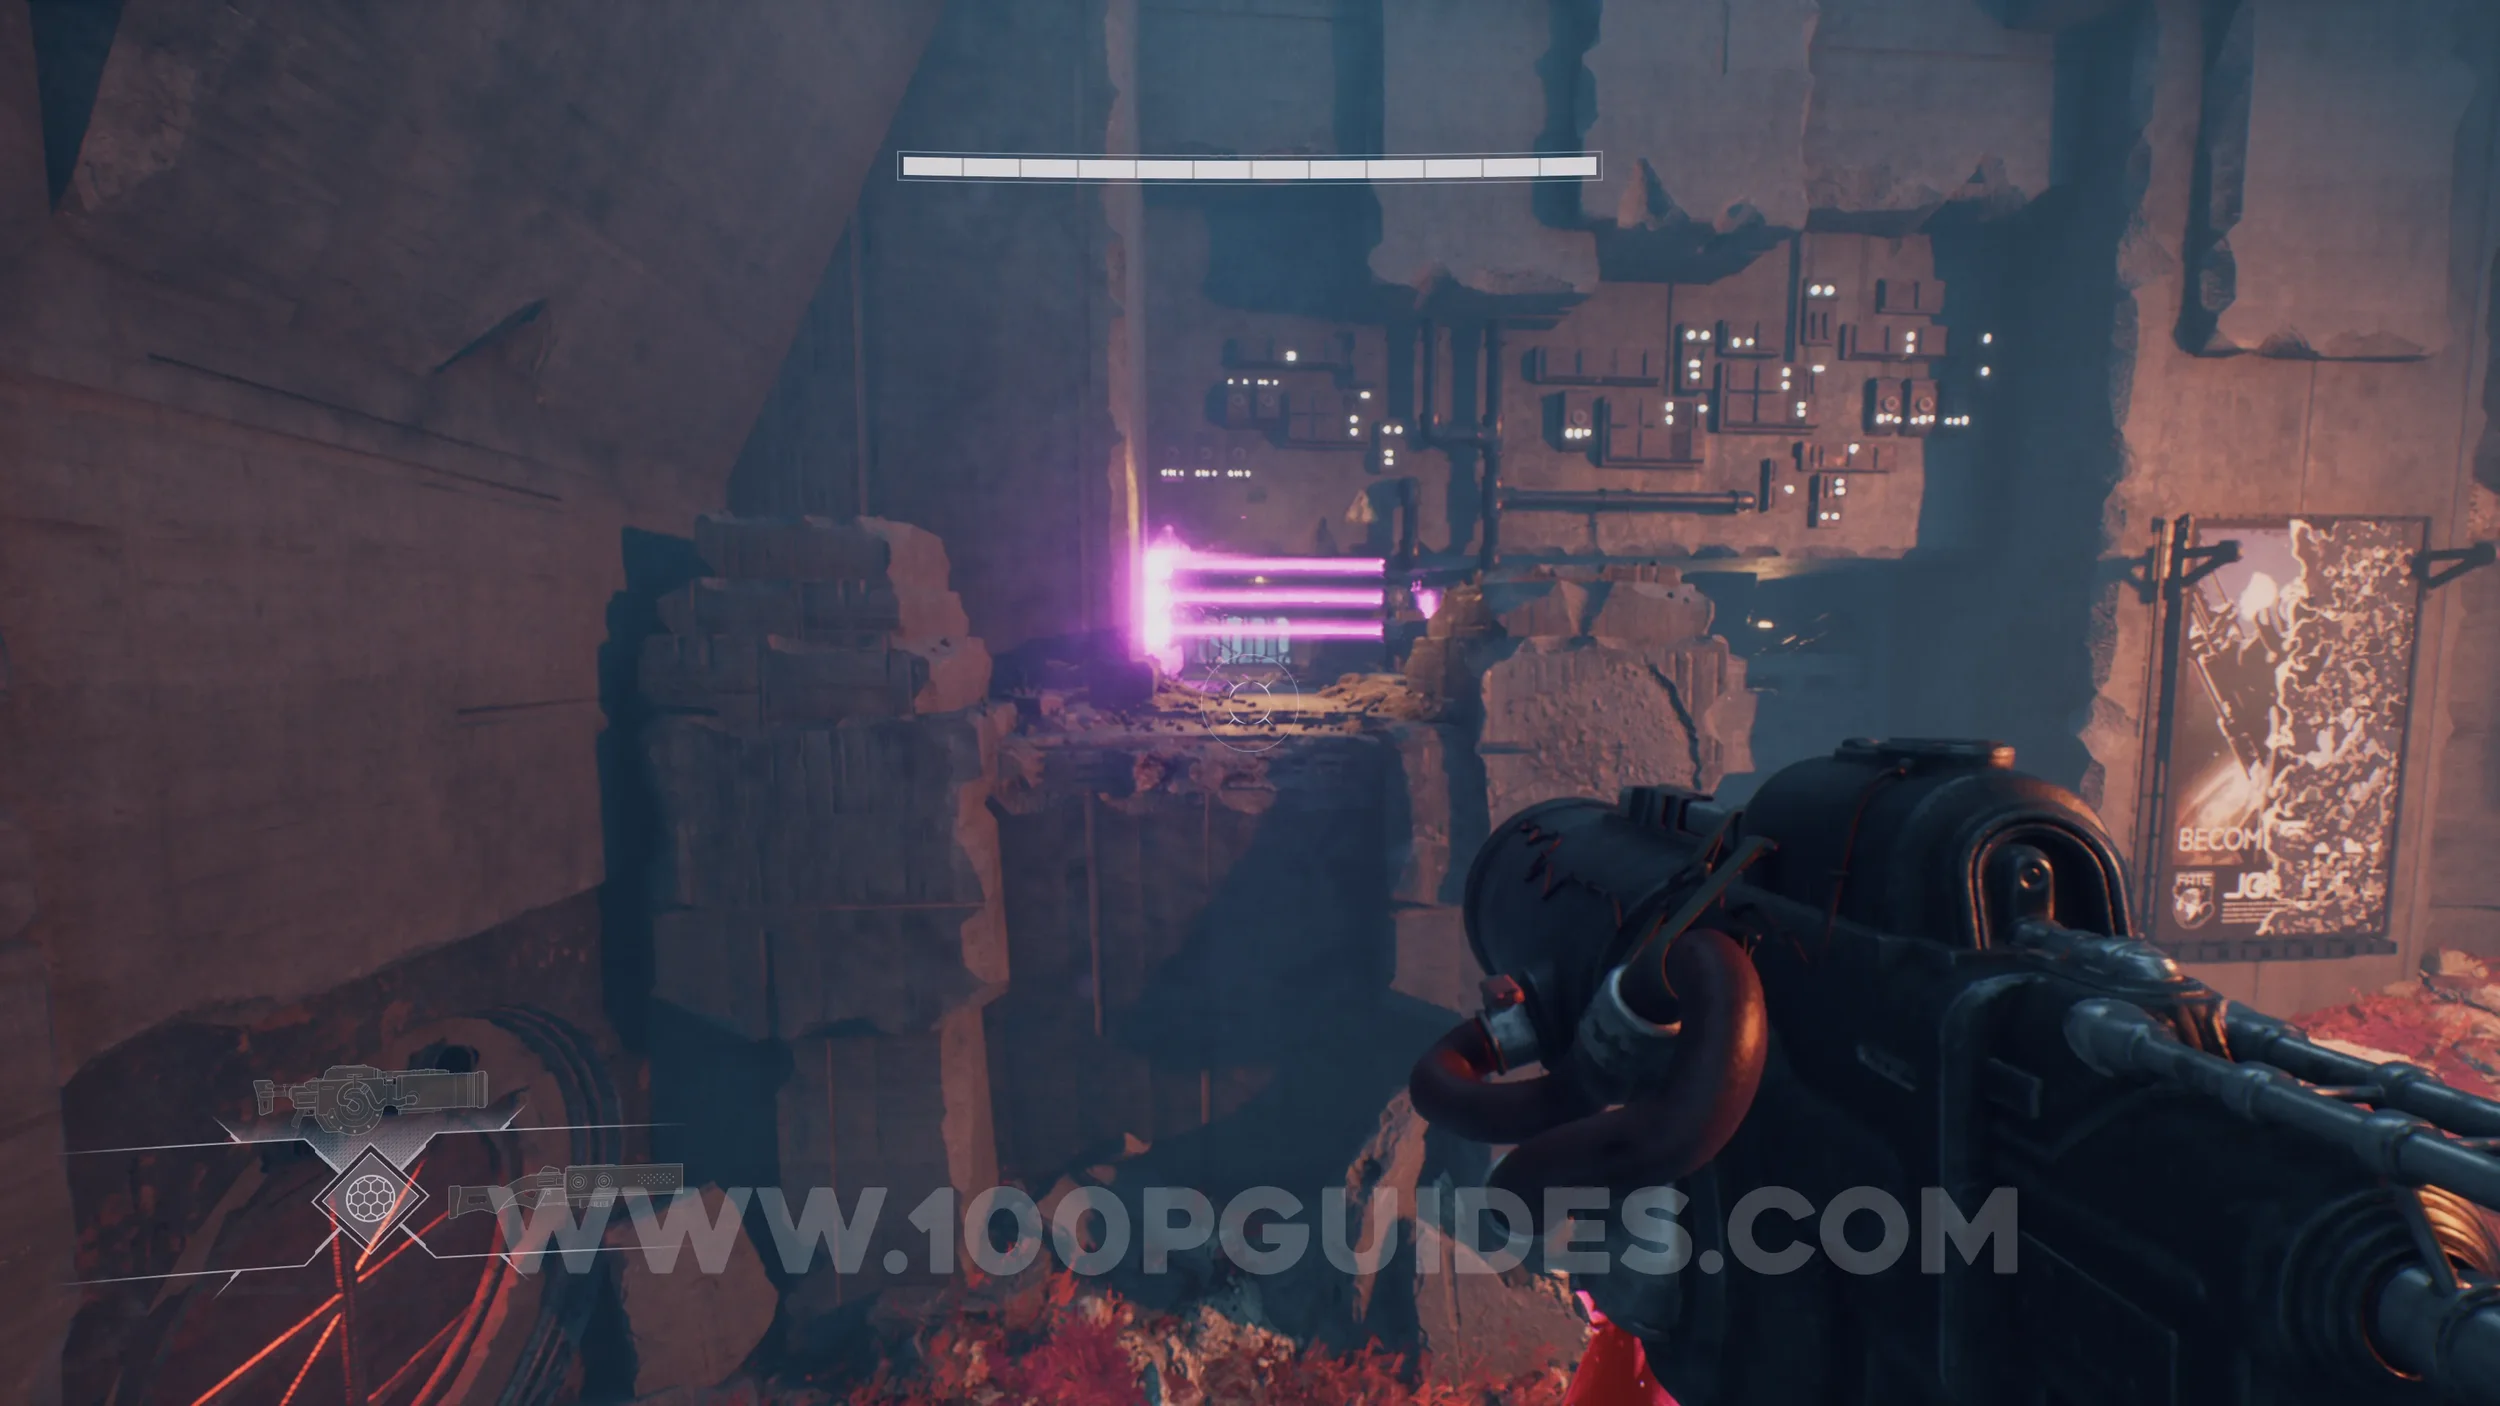
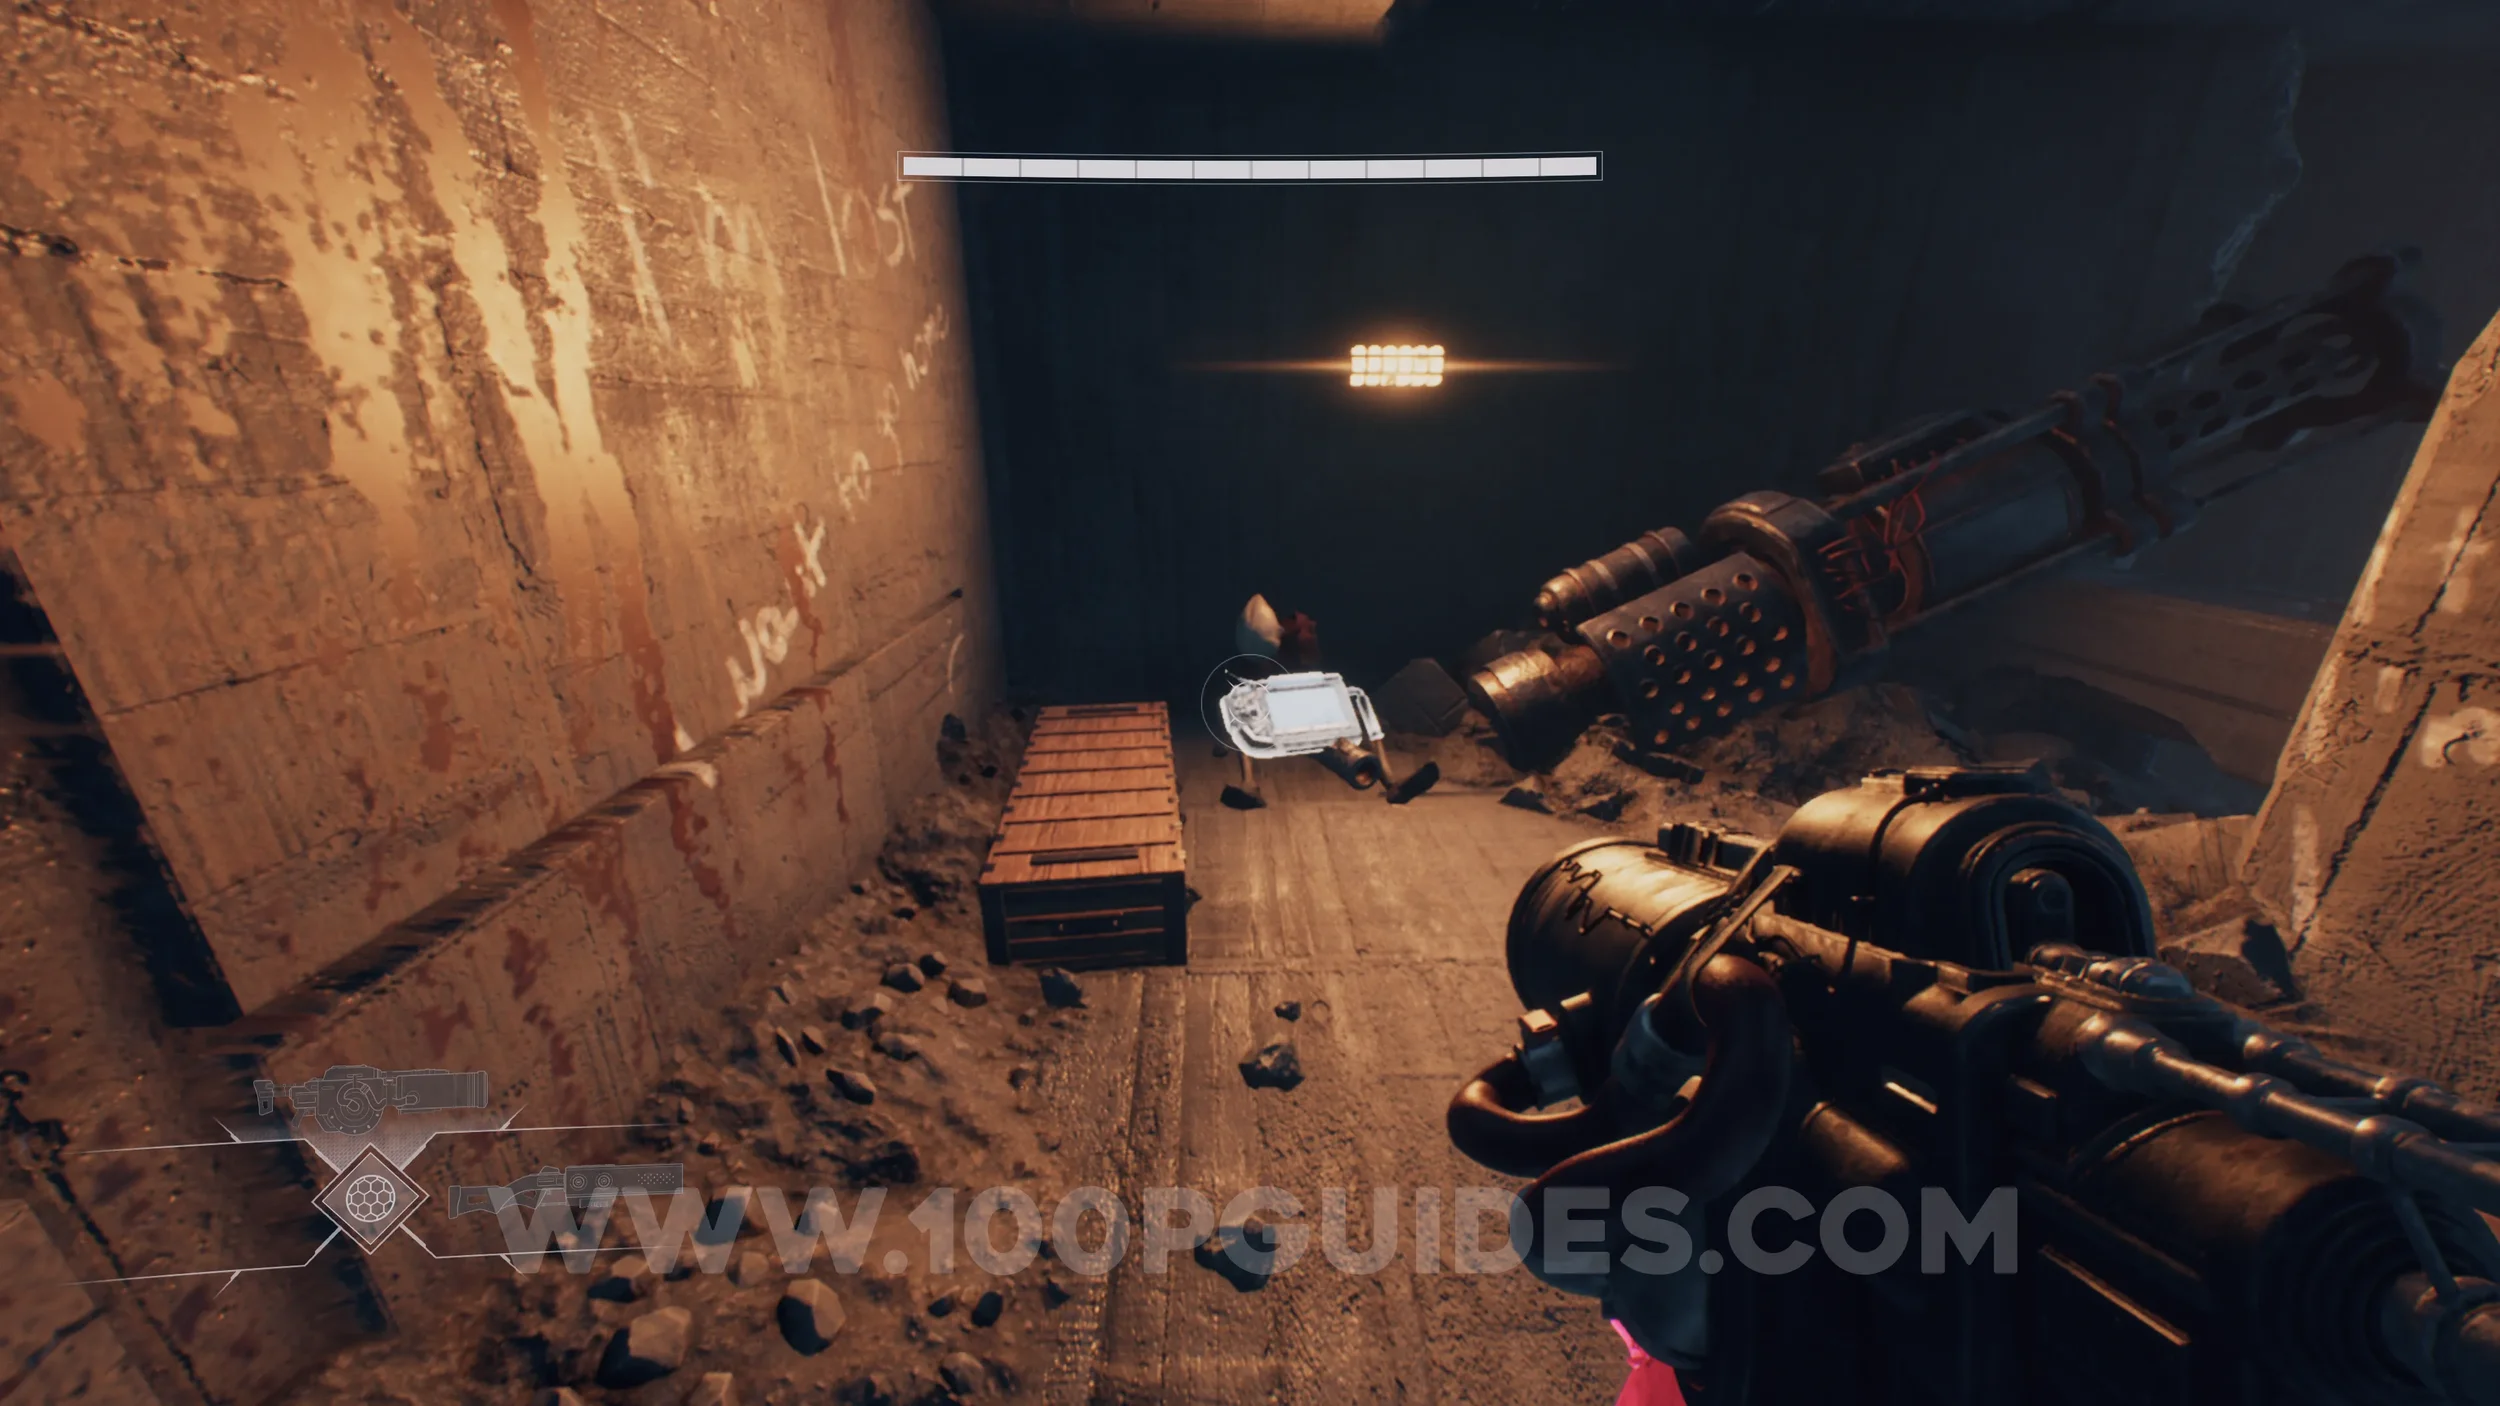
Health Increase #4. After going through the fourth circular door, you will need to dash across multiple Watchers. When you reach the second one, look to the left to spot a chest behind some bars. Jump to the thin ledge outside the chest and carefully make your way around until you find an opening that leads inside.
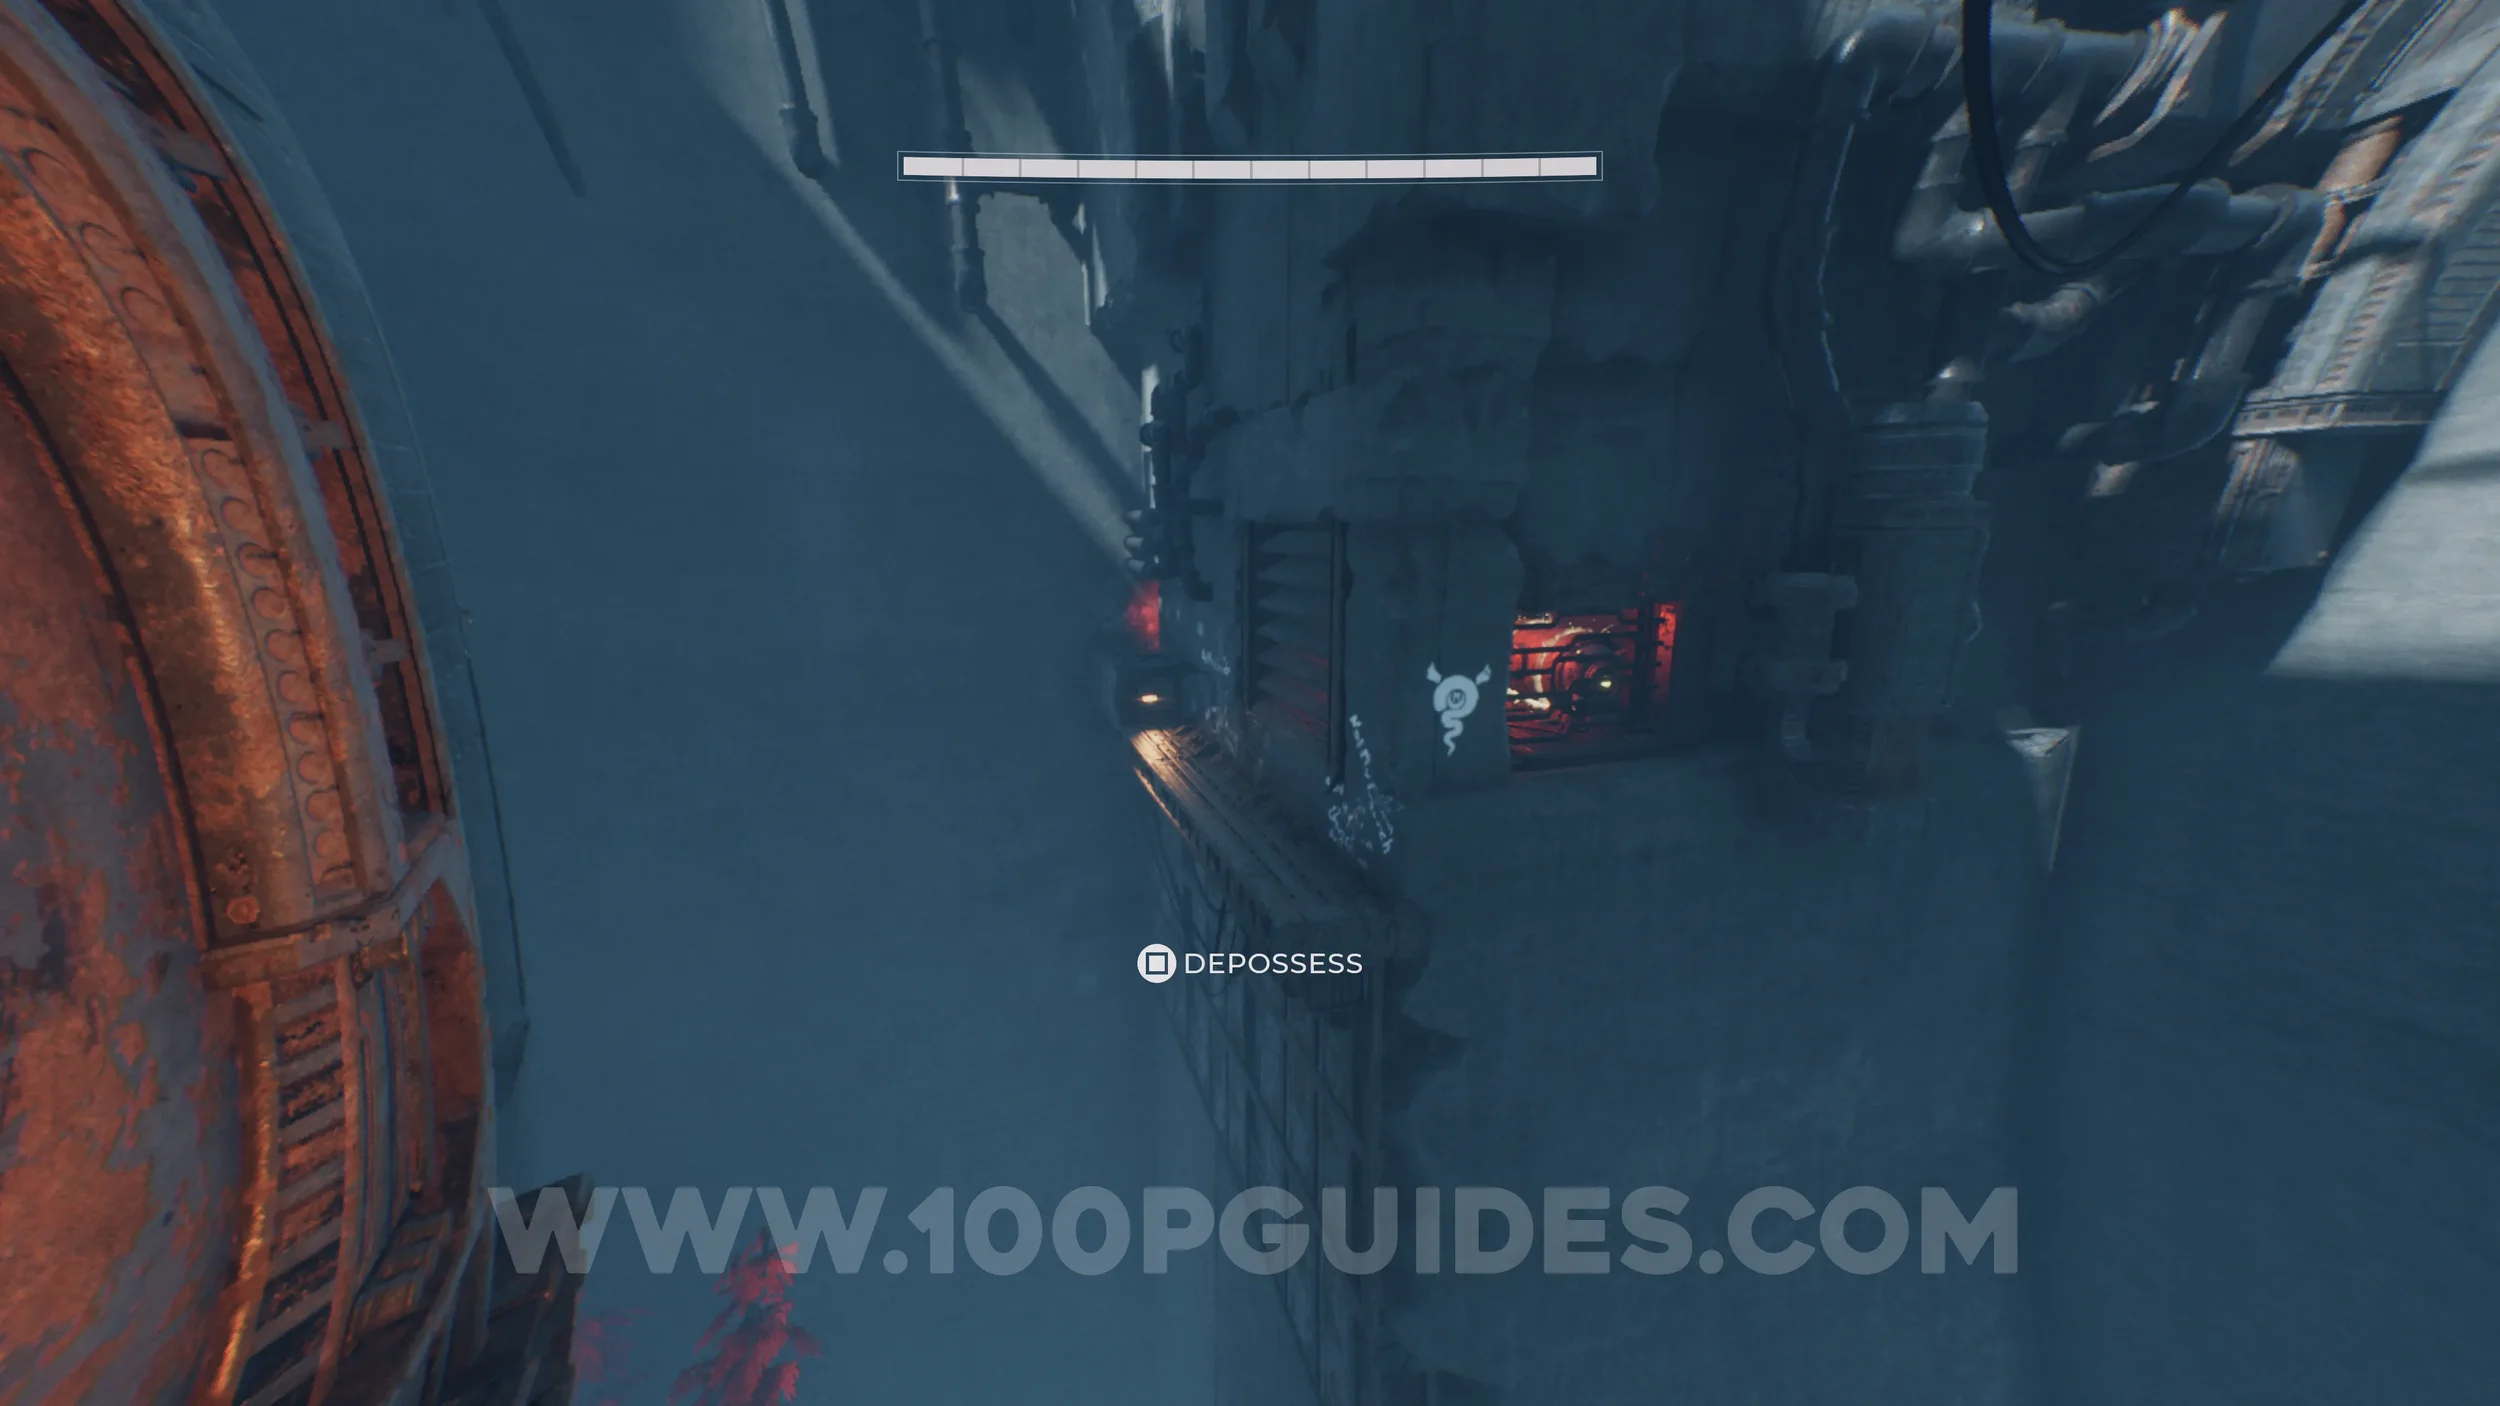
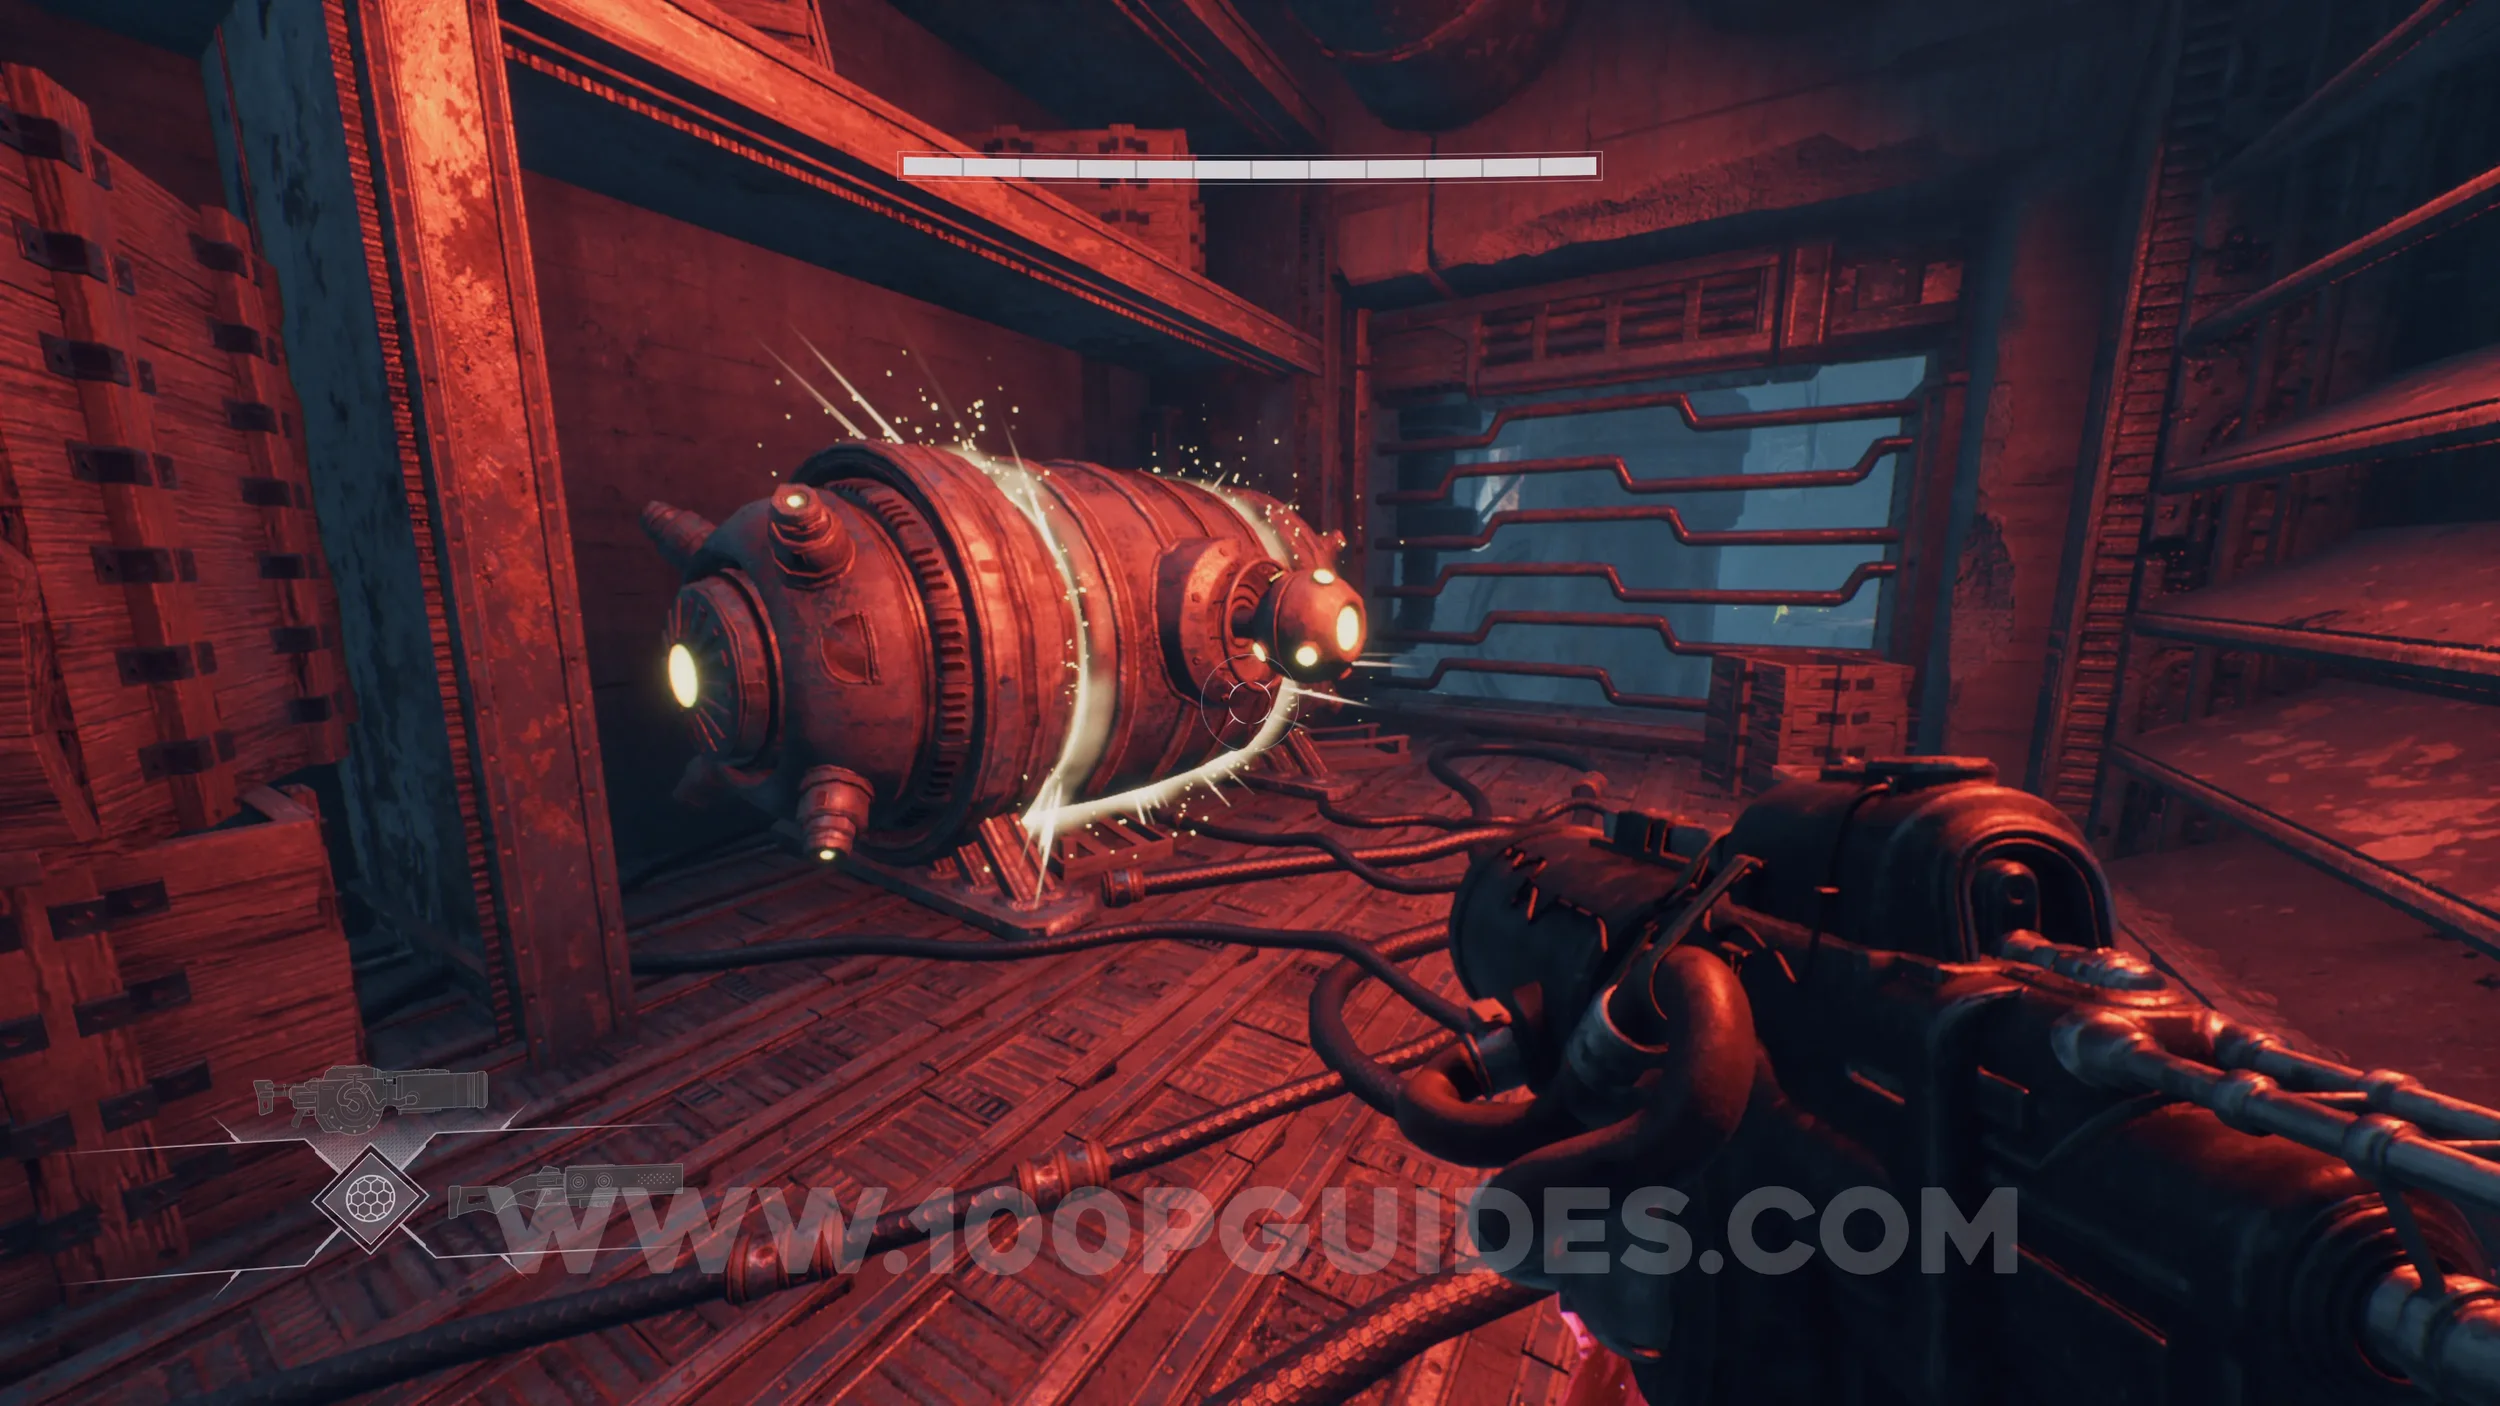
Lore Entry #25 (Memory - #16379 - The Disconnected). After a section where you must jump across multiple platforms with moving purple lasers, you will cross a large pipe covered in goo and then jump to another pipe on the right. Here, you will see a pipe lit with a red glow. Before entering it, look to the right and double jump across to the small room containing the collectible.
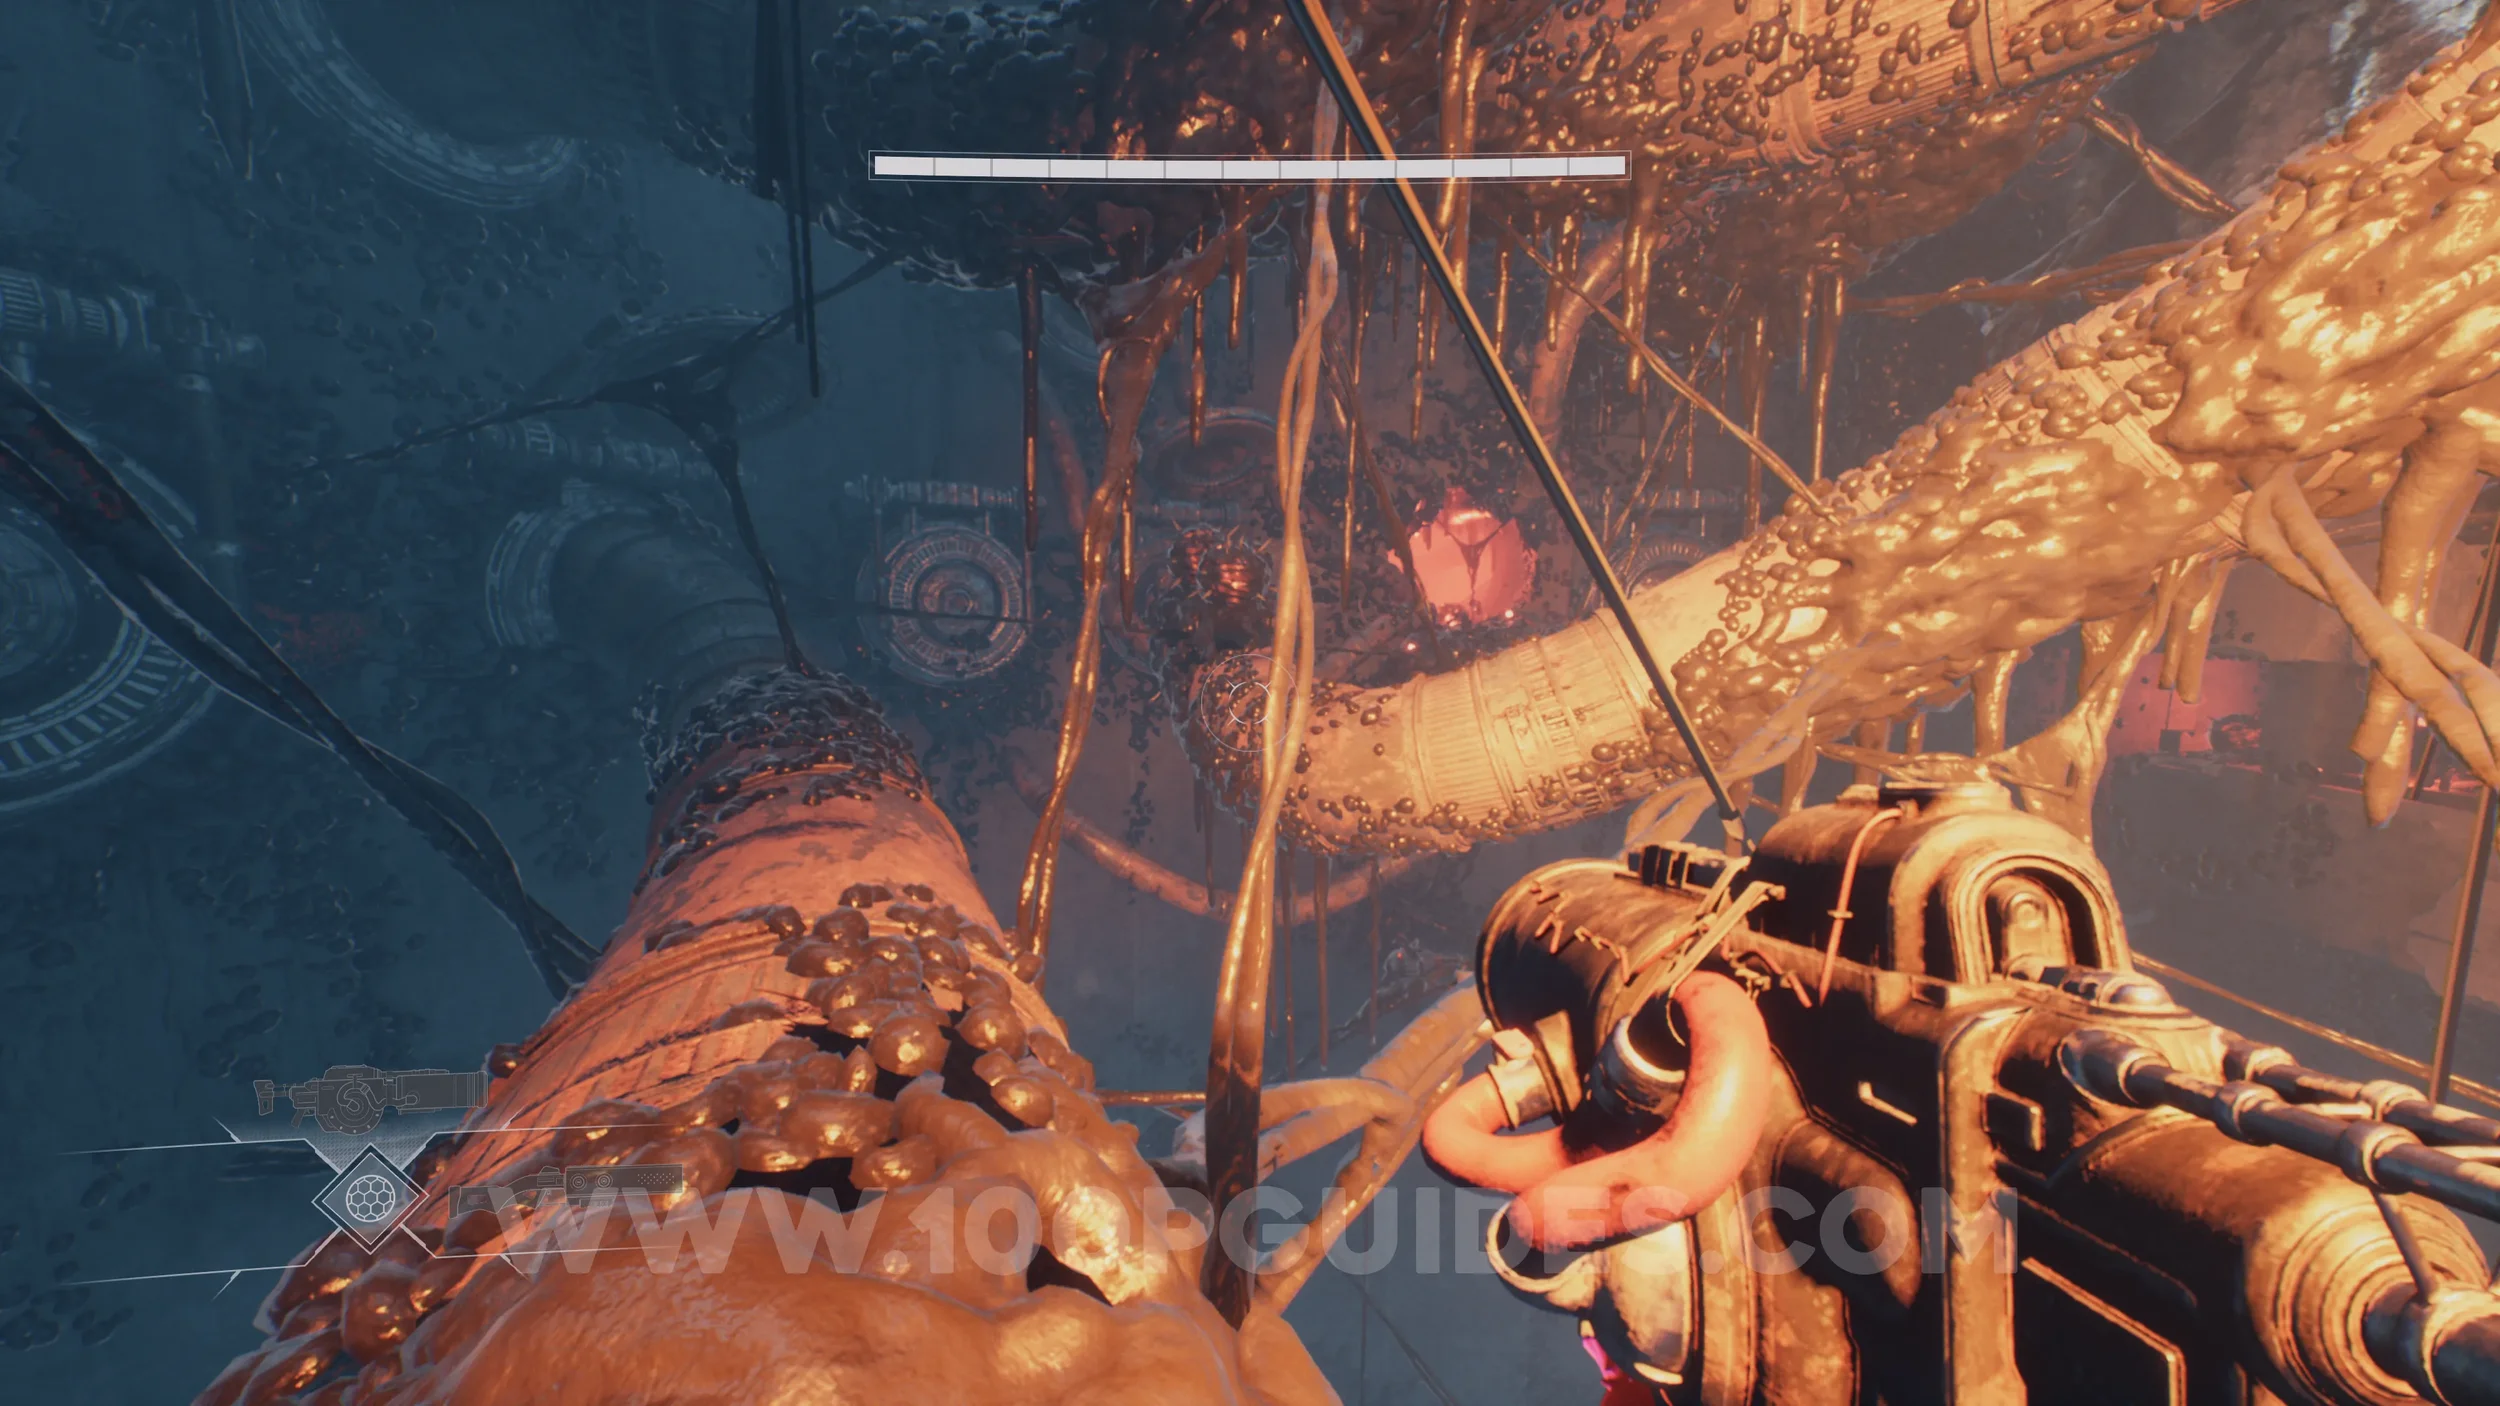
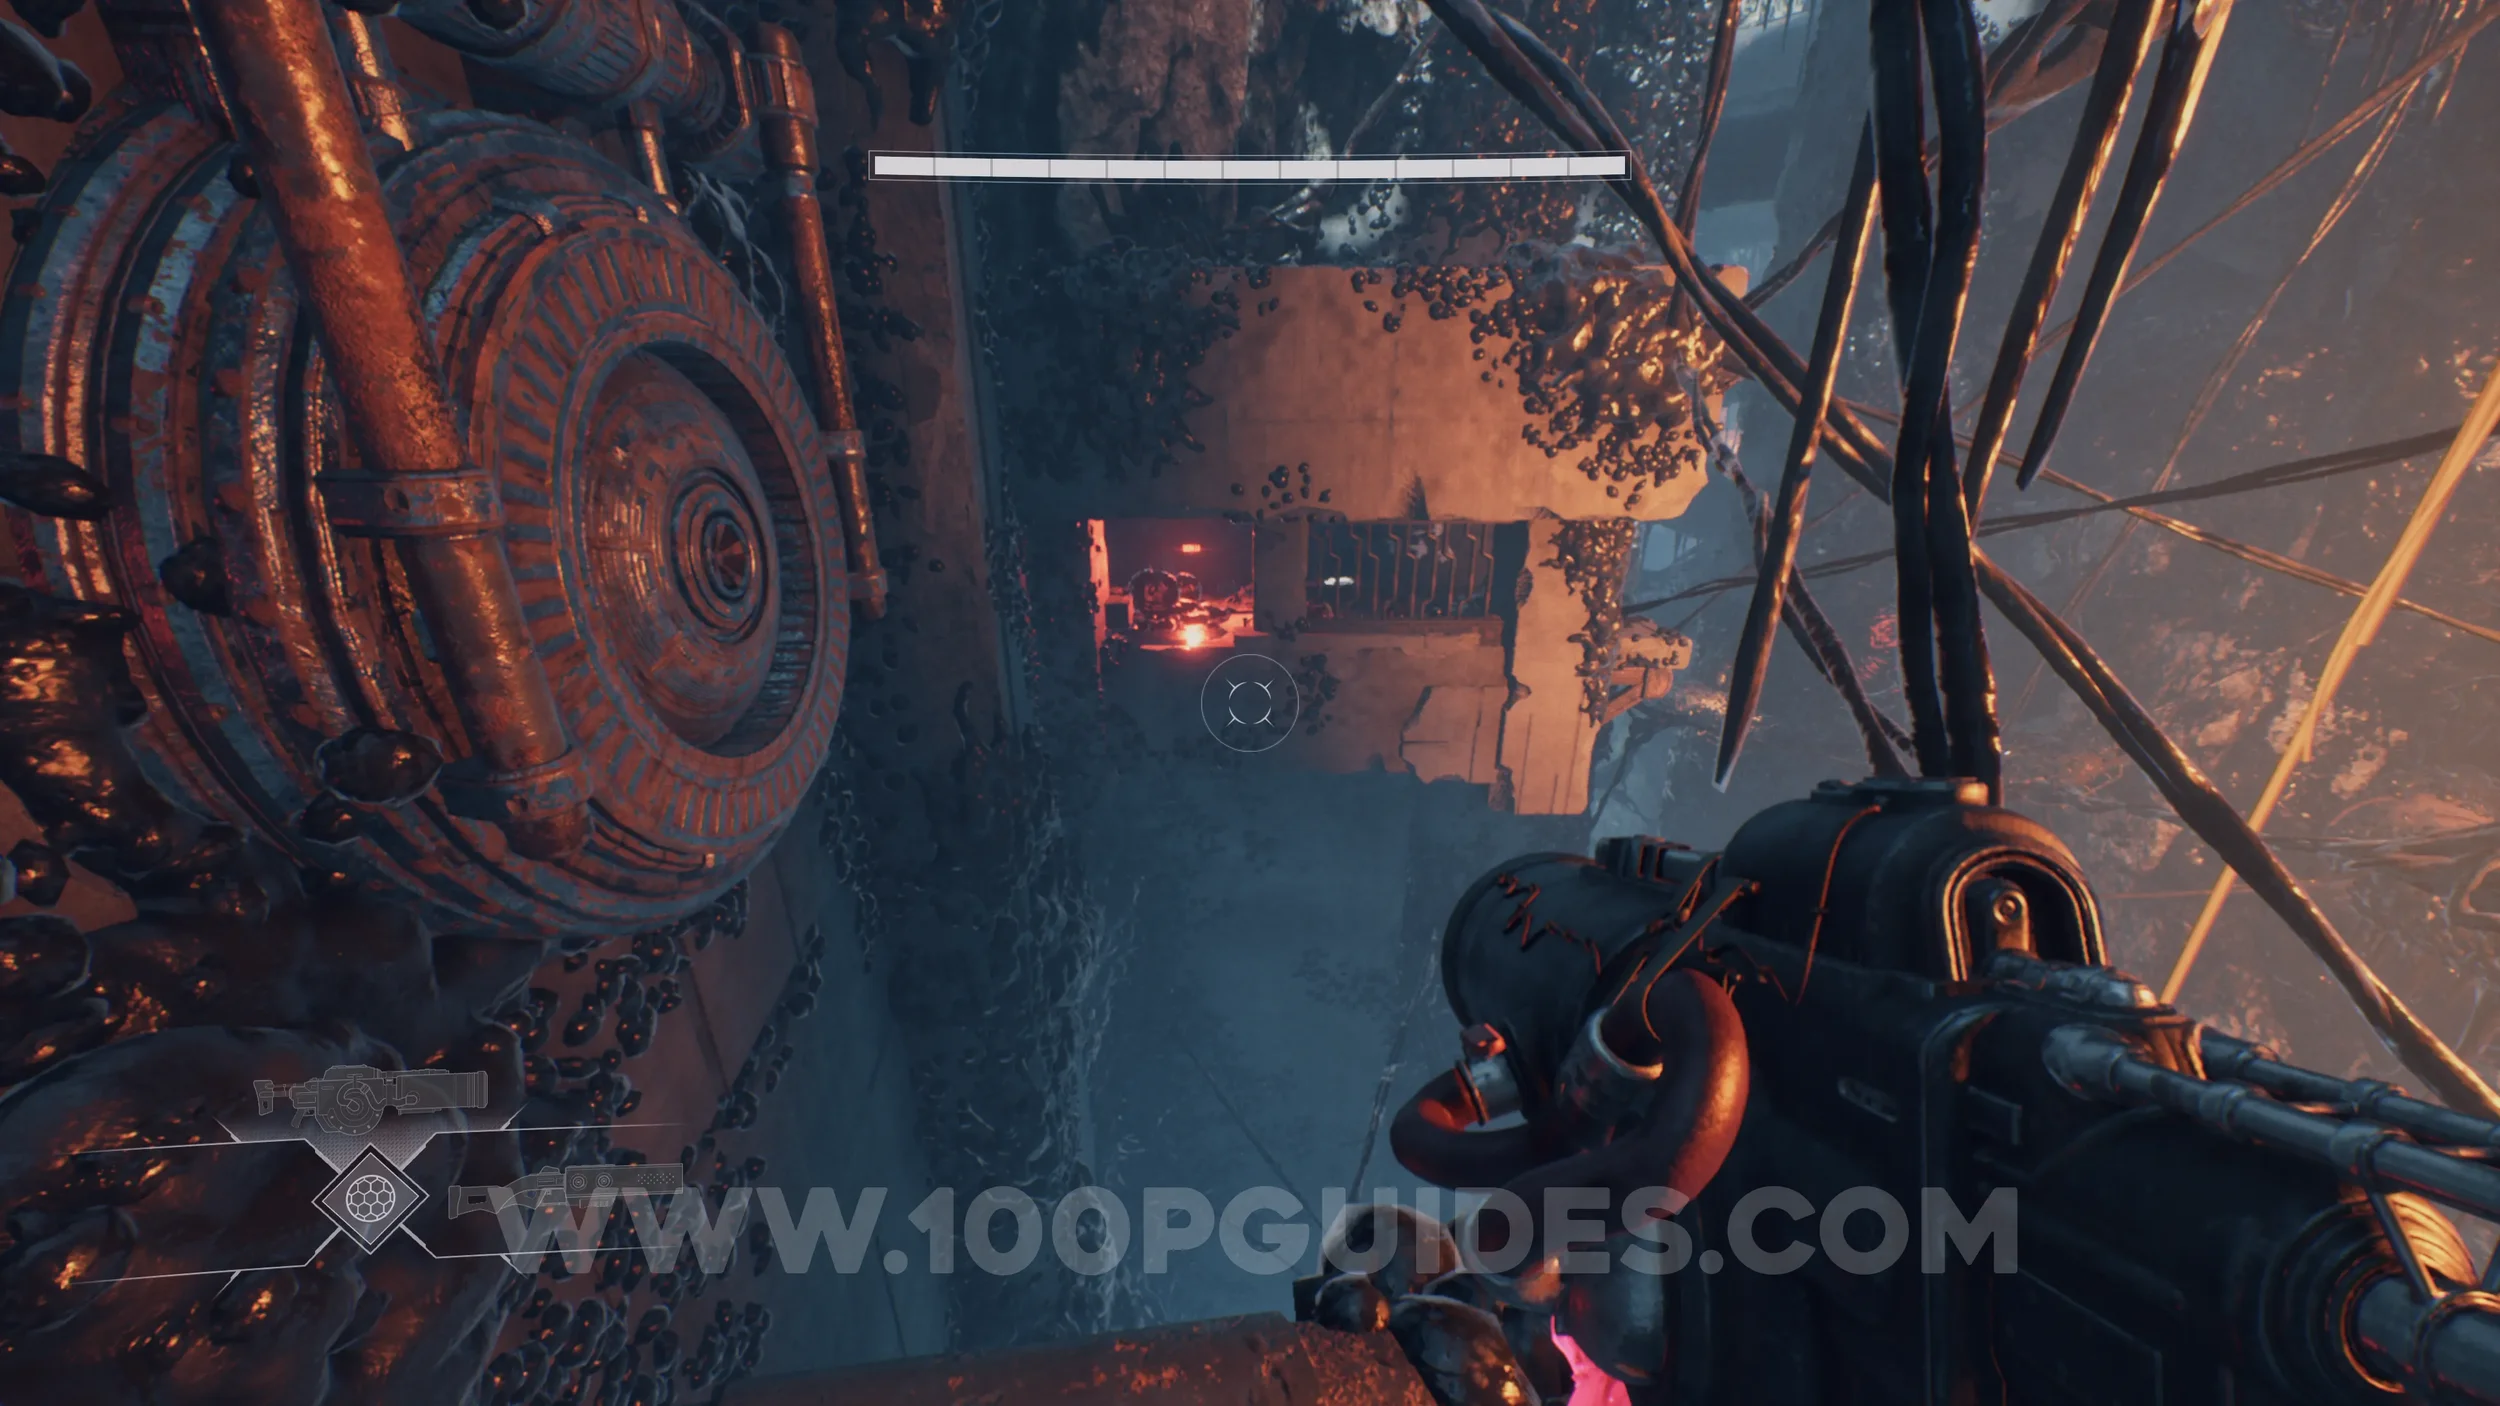
Lore Entry #26 (Character - Foss). Once you reach the Disconnected Commune area, look for a cave on the left side of the area. The collectible can be found inside.
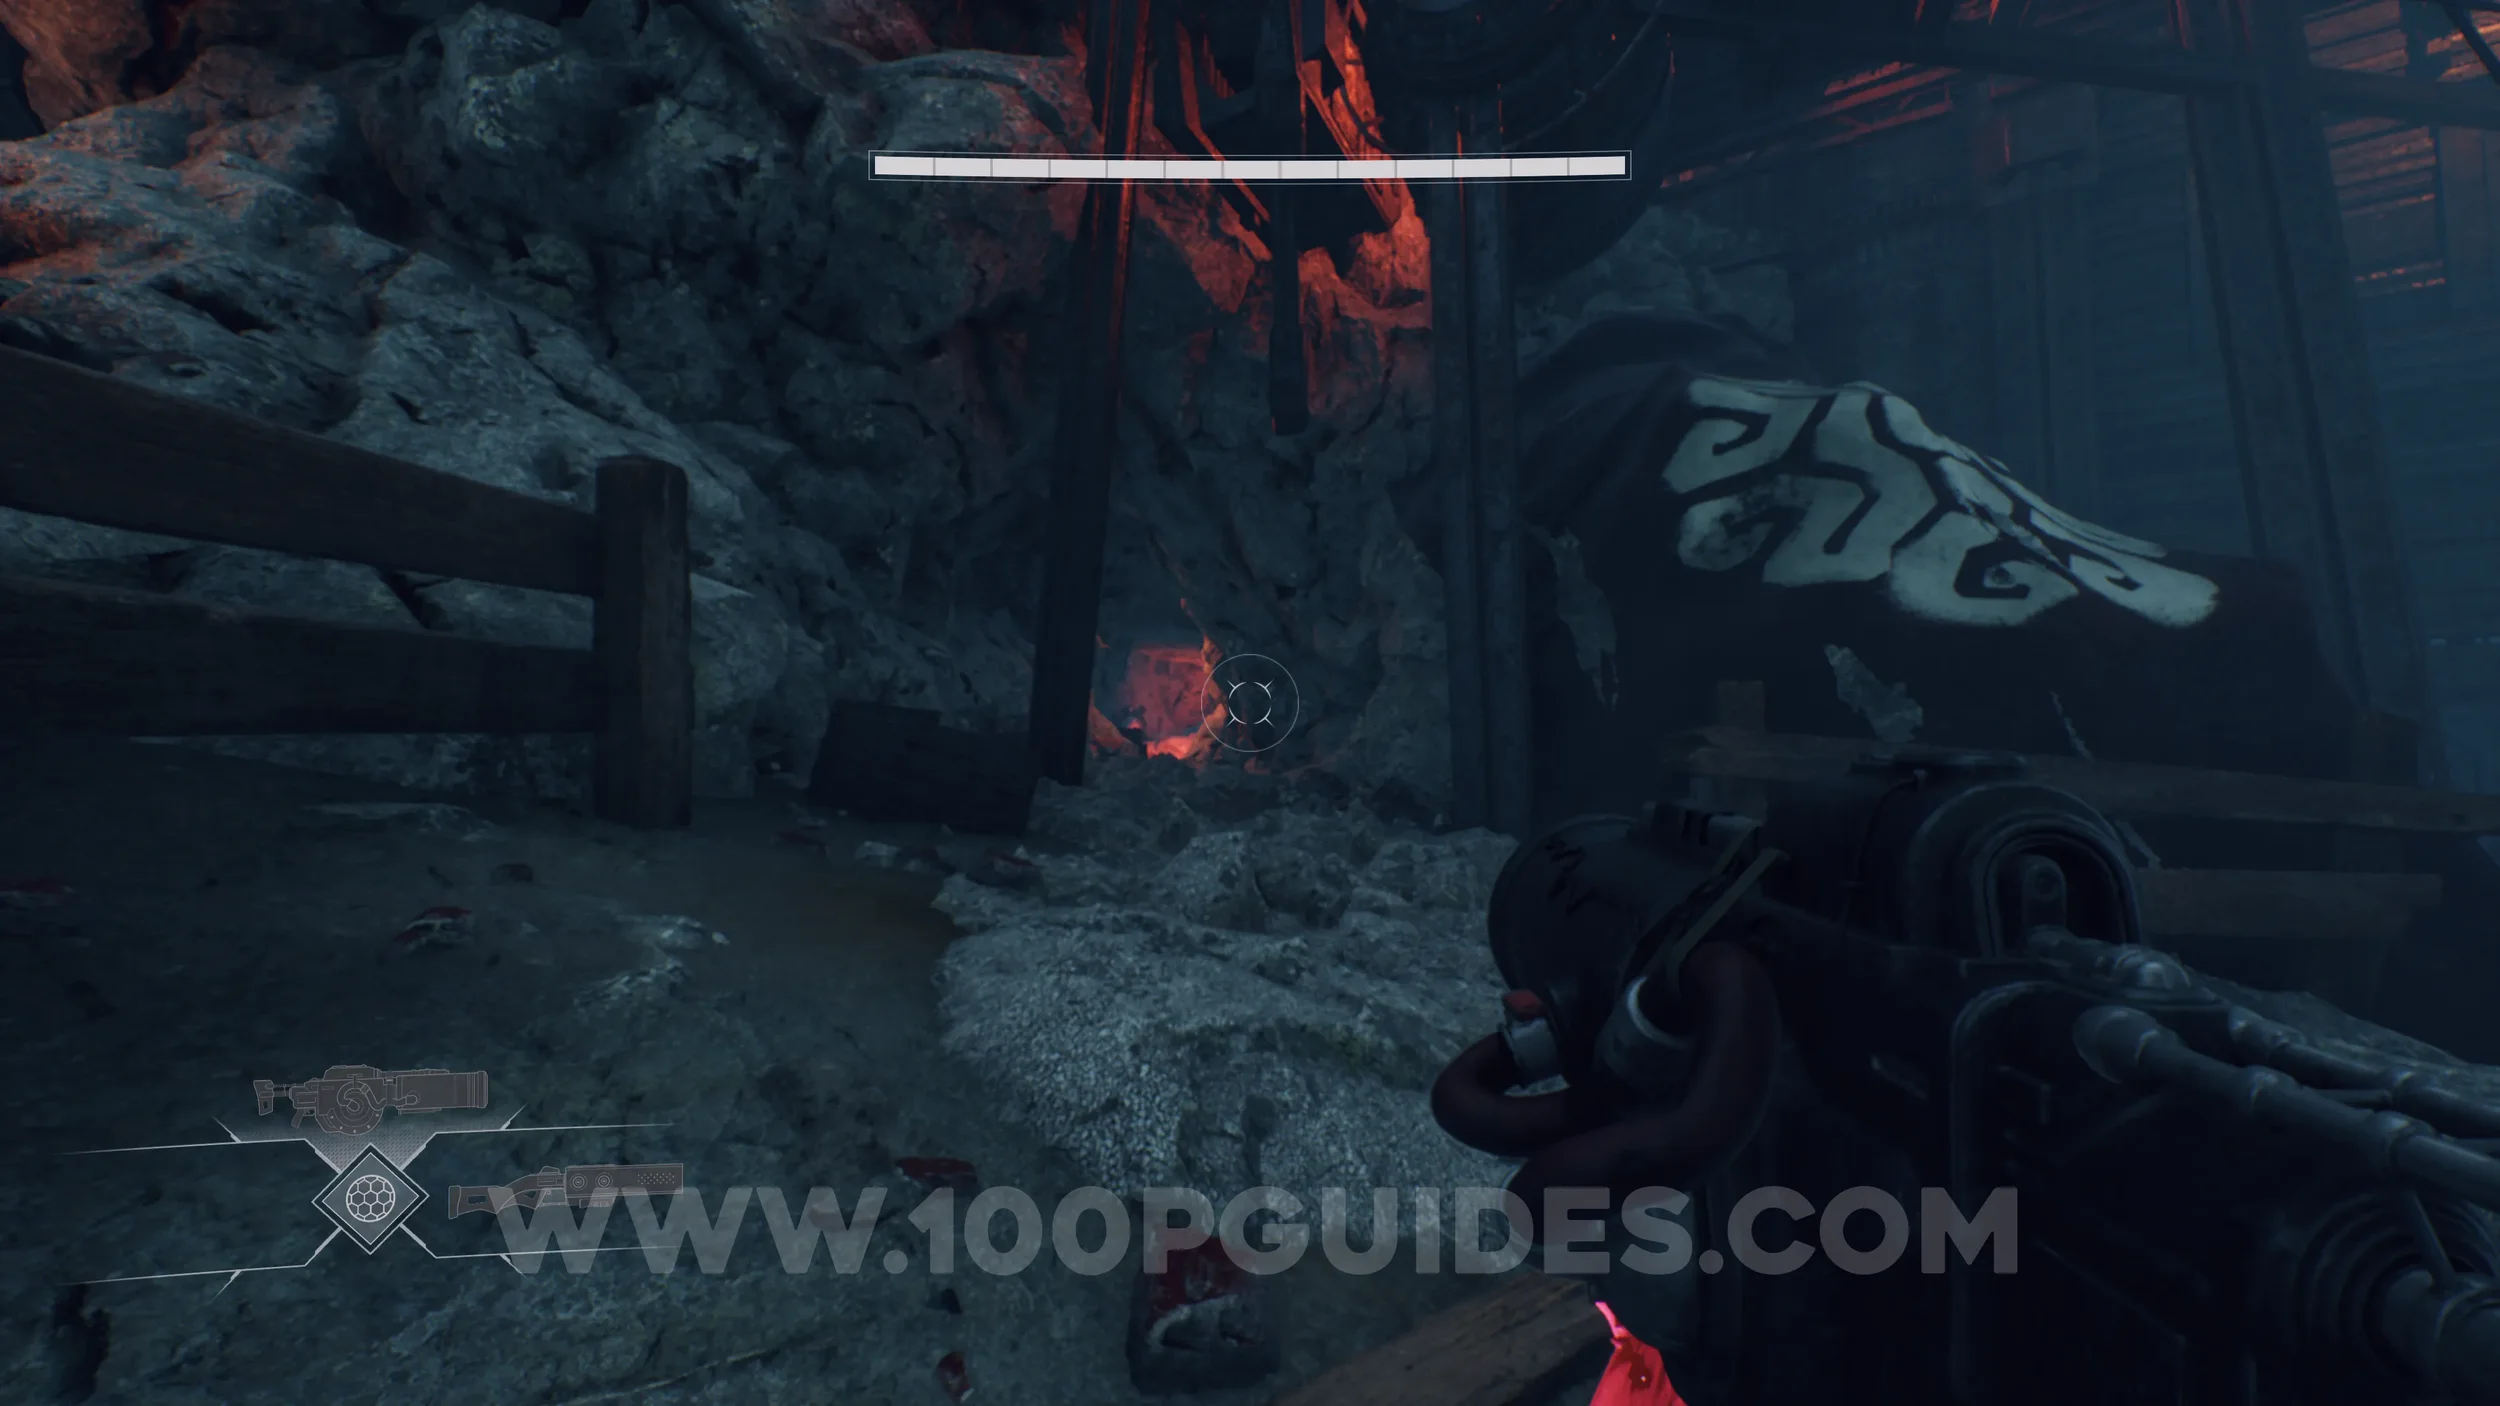
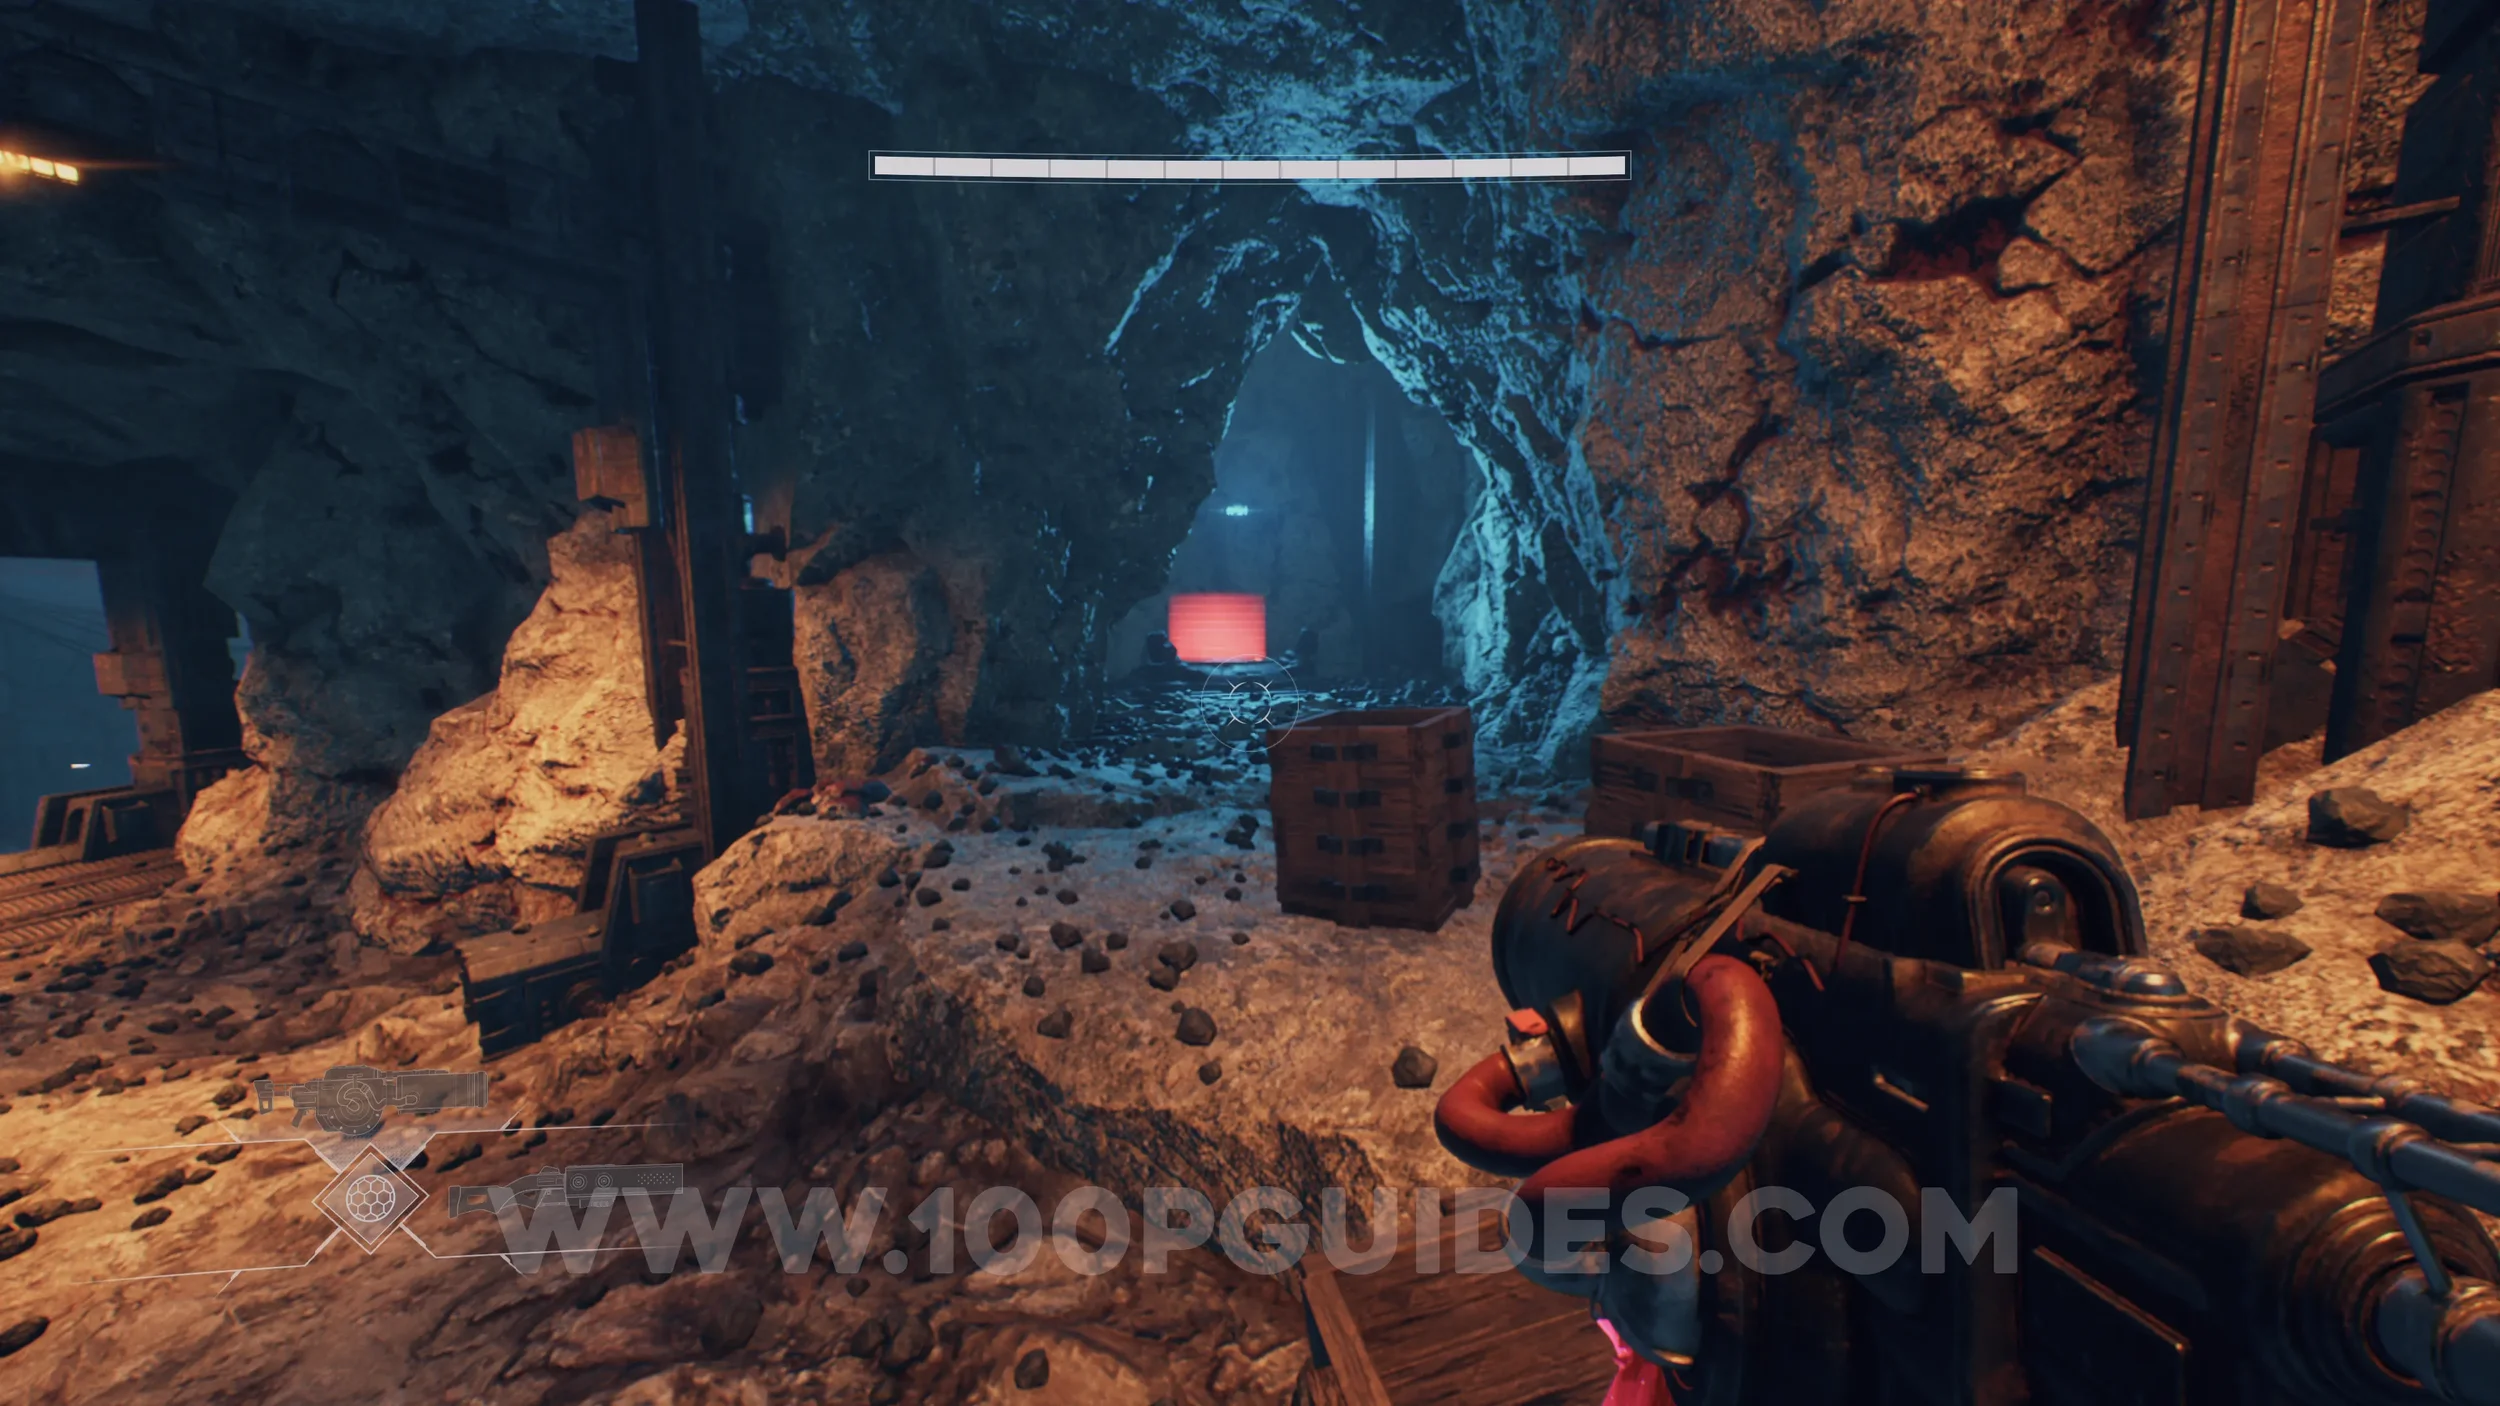
Lore Entry #27 (Character - Kashvi). In the Disconnected Commune area, look for the NPC with white hair and a long neck on the right side. Enter the cave behind her to find the collectible inside.
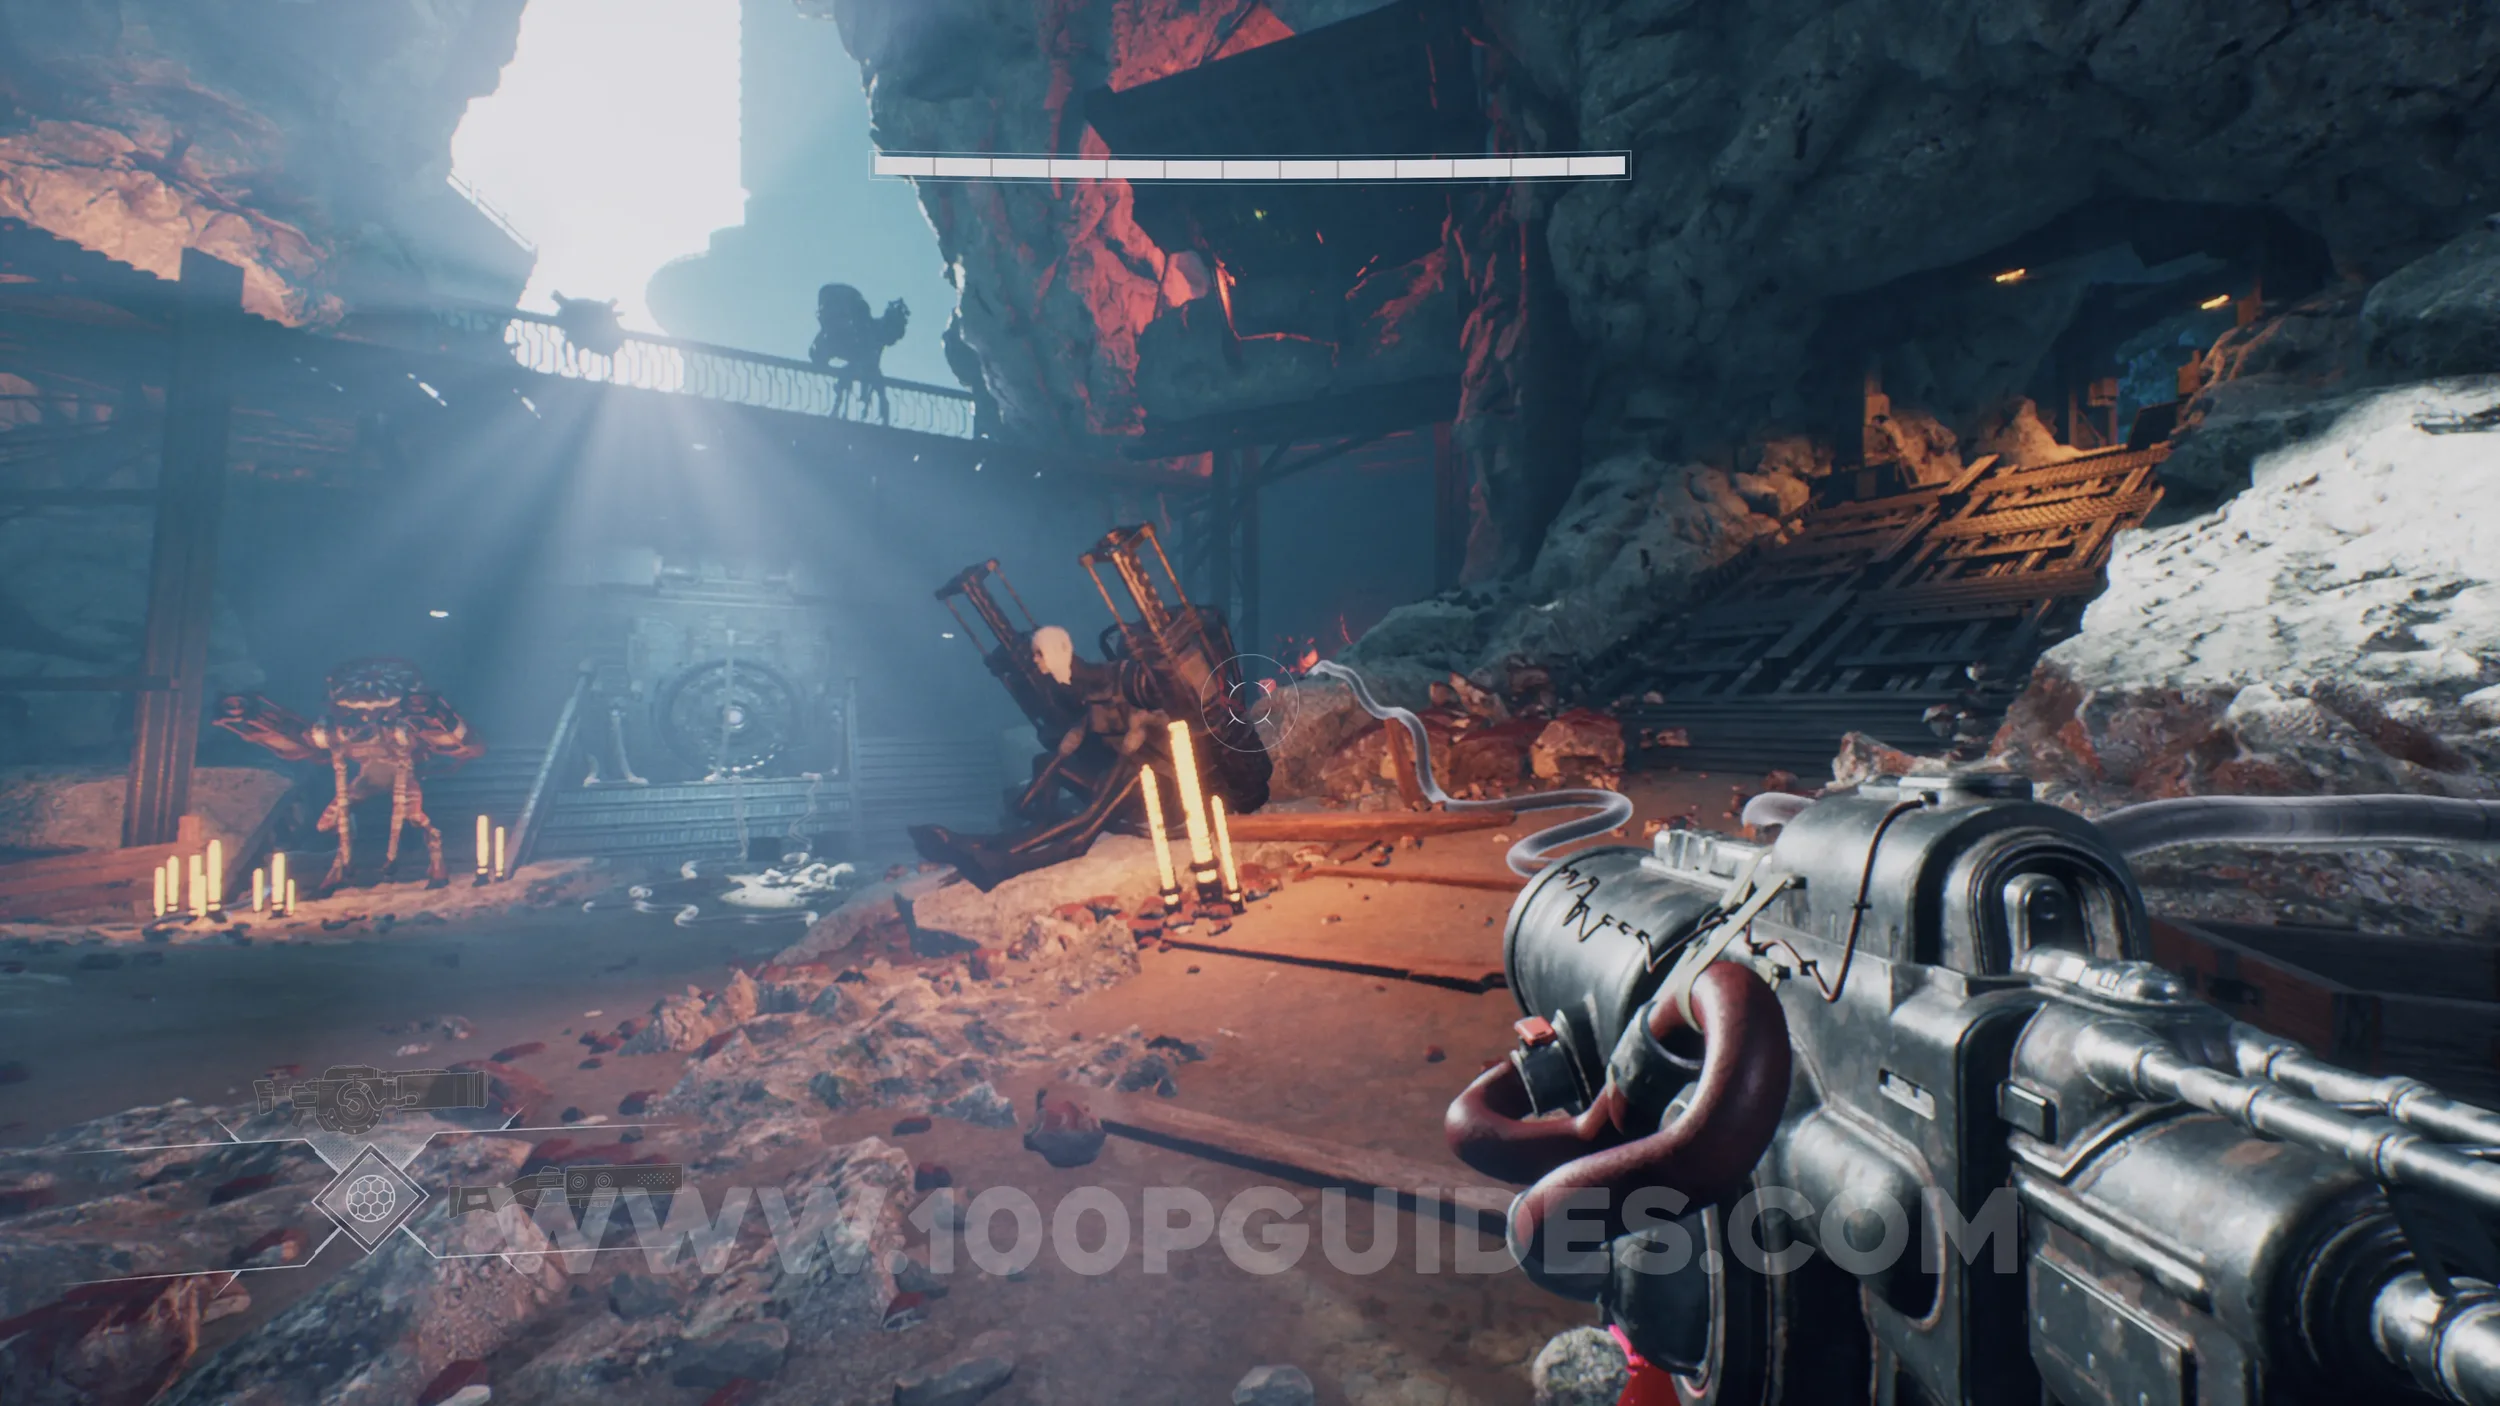
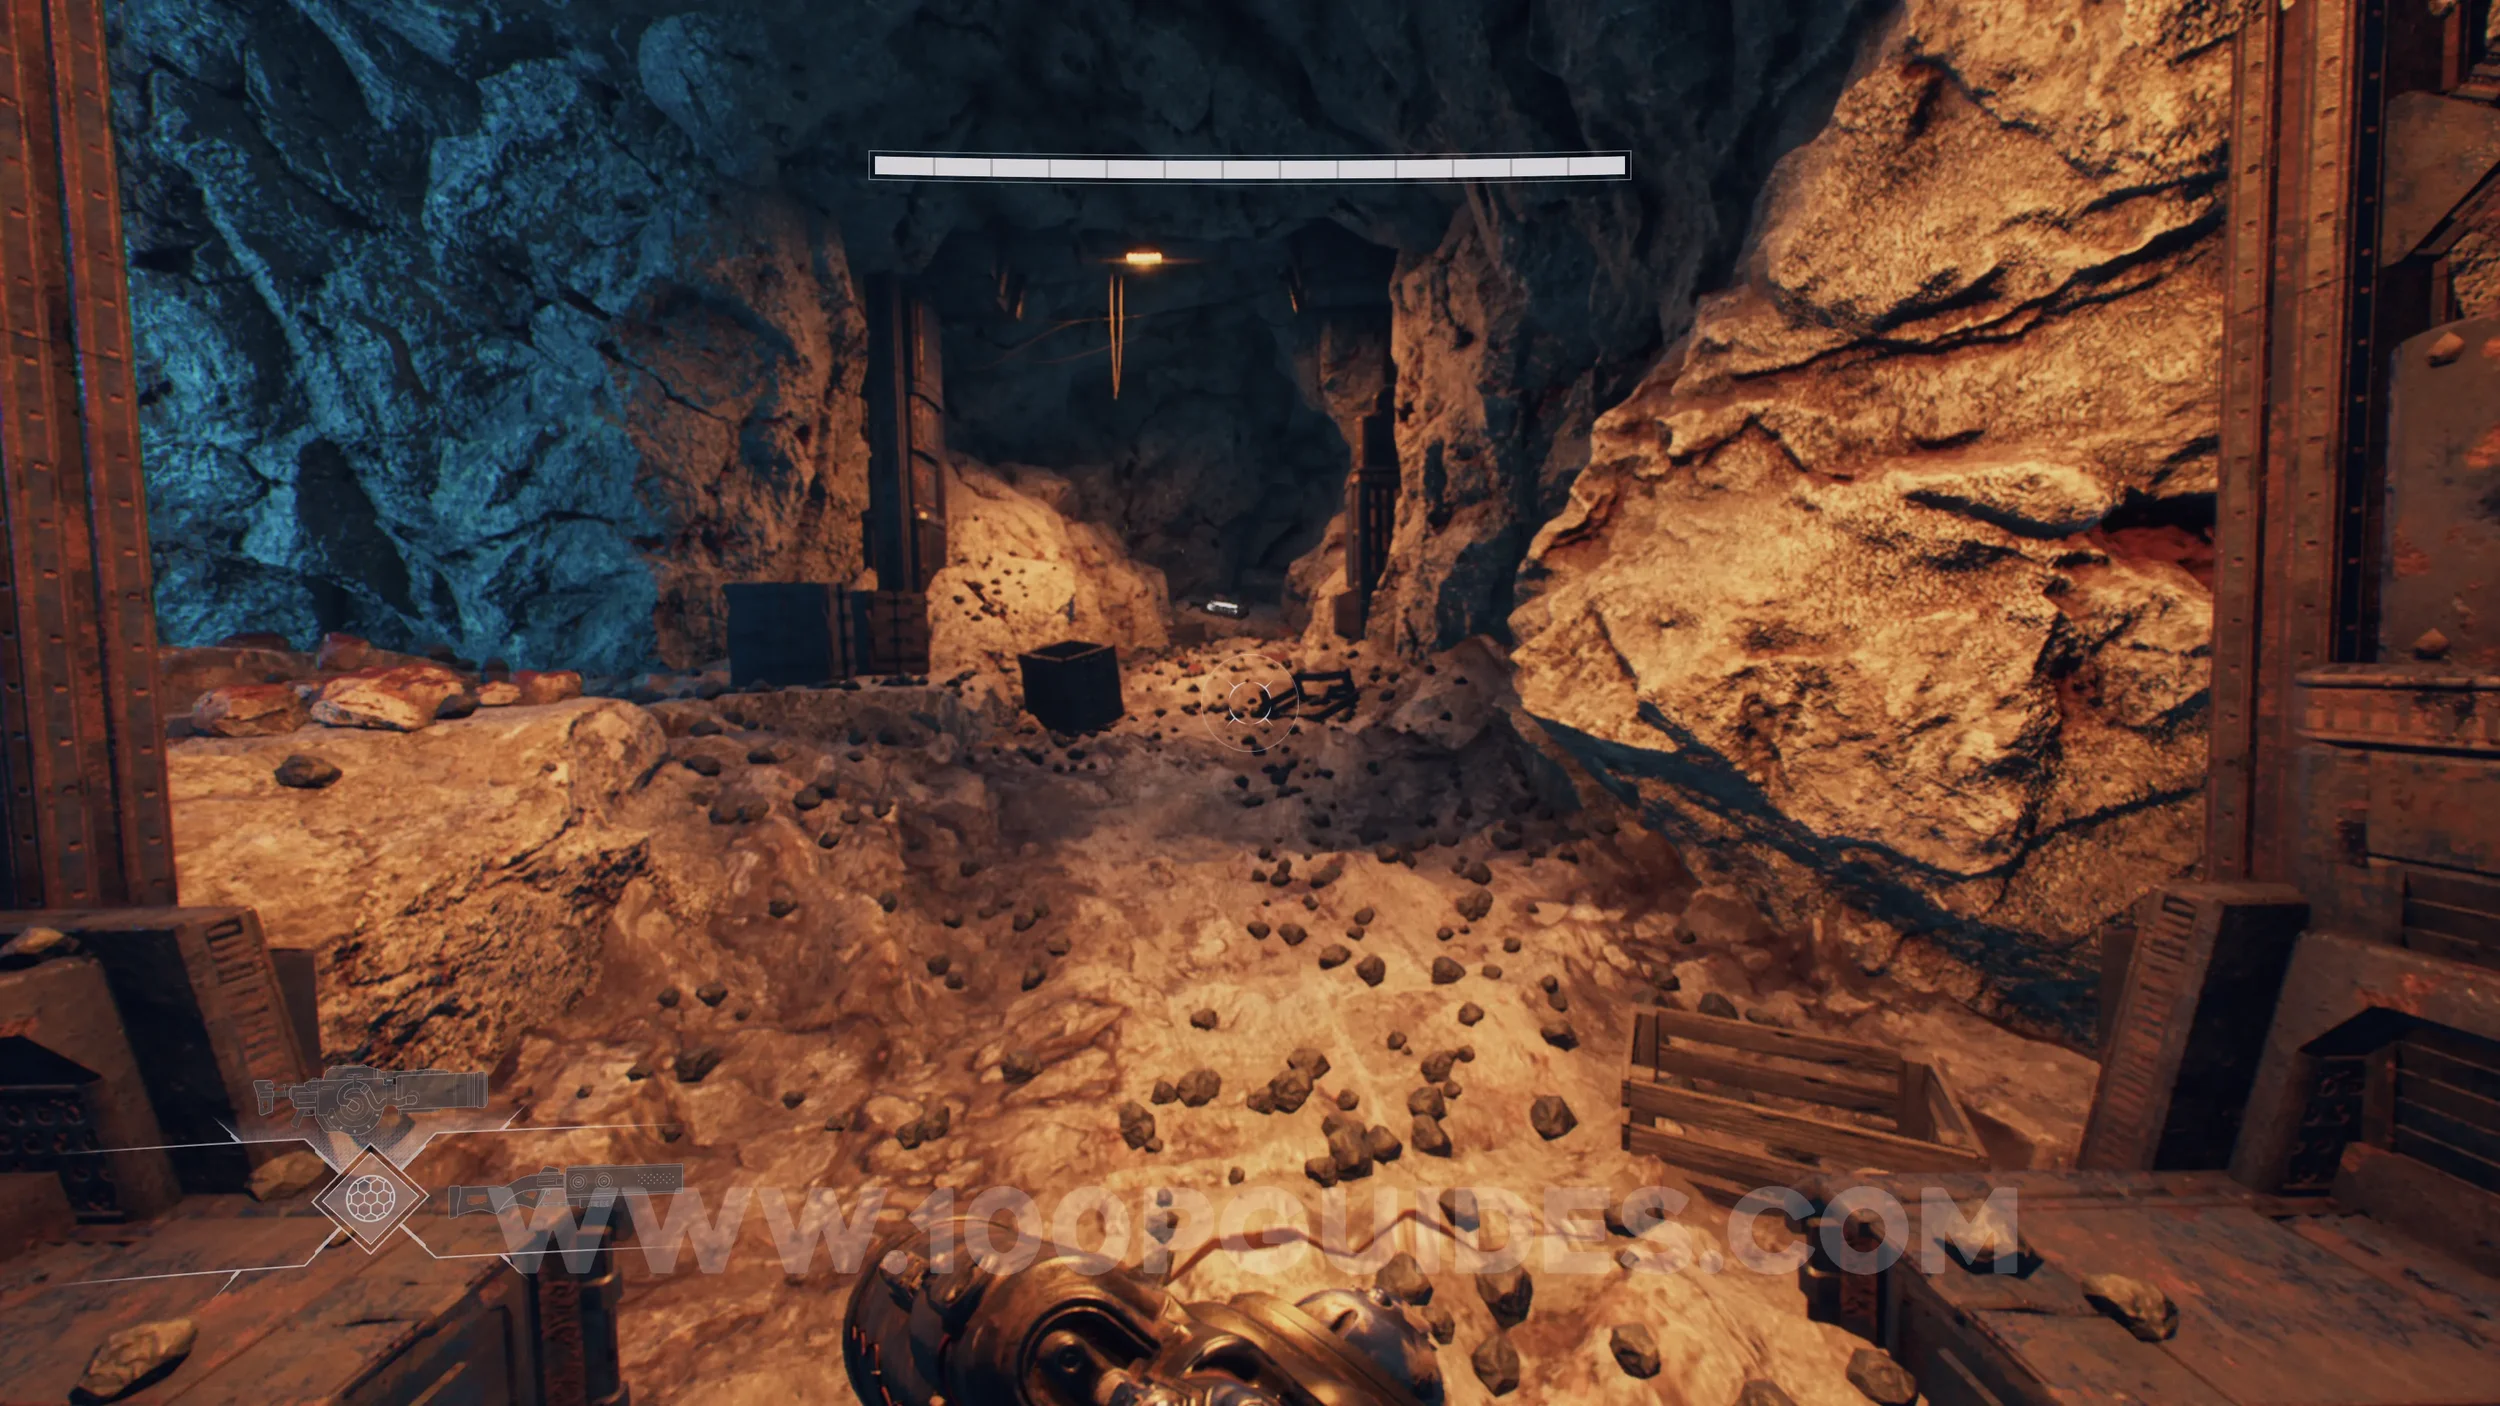
Lore Entry #28 (Character - Min). From the previous collectible, turn around and look for a jump pad on your right. Use it to reach the upper area, then jump across to the metal pathways on the right side. Follow the path to the end and enter the small cave to find the collectible.
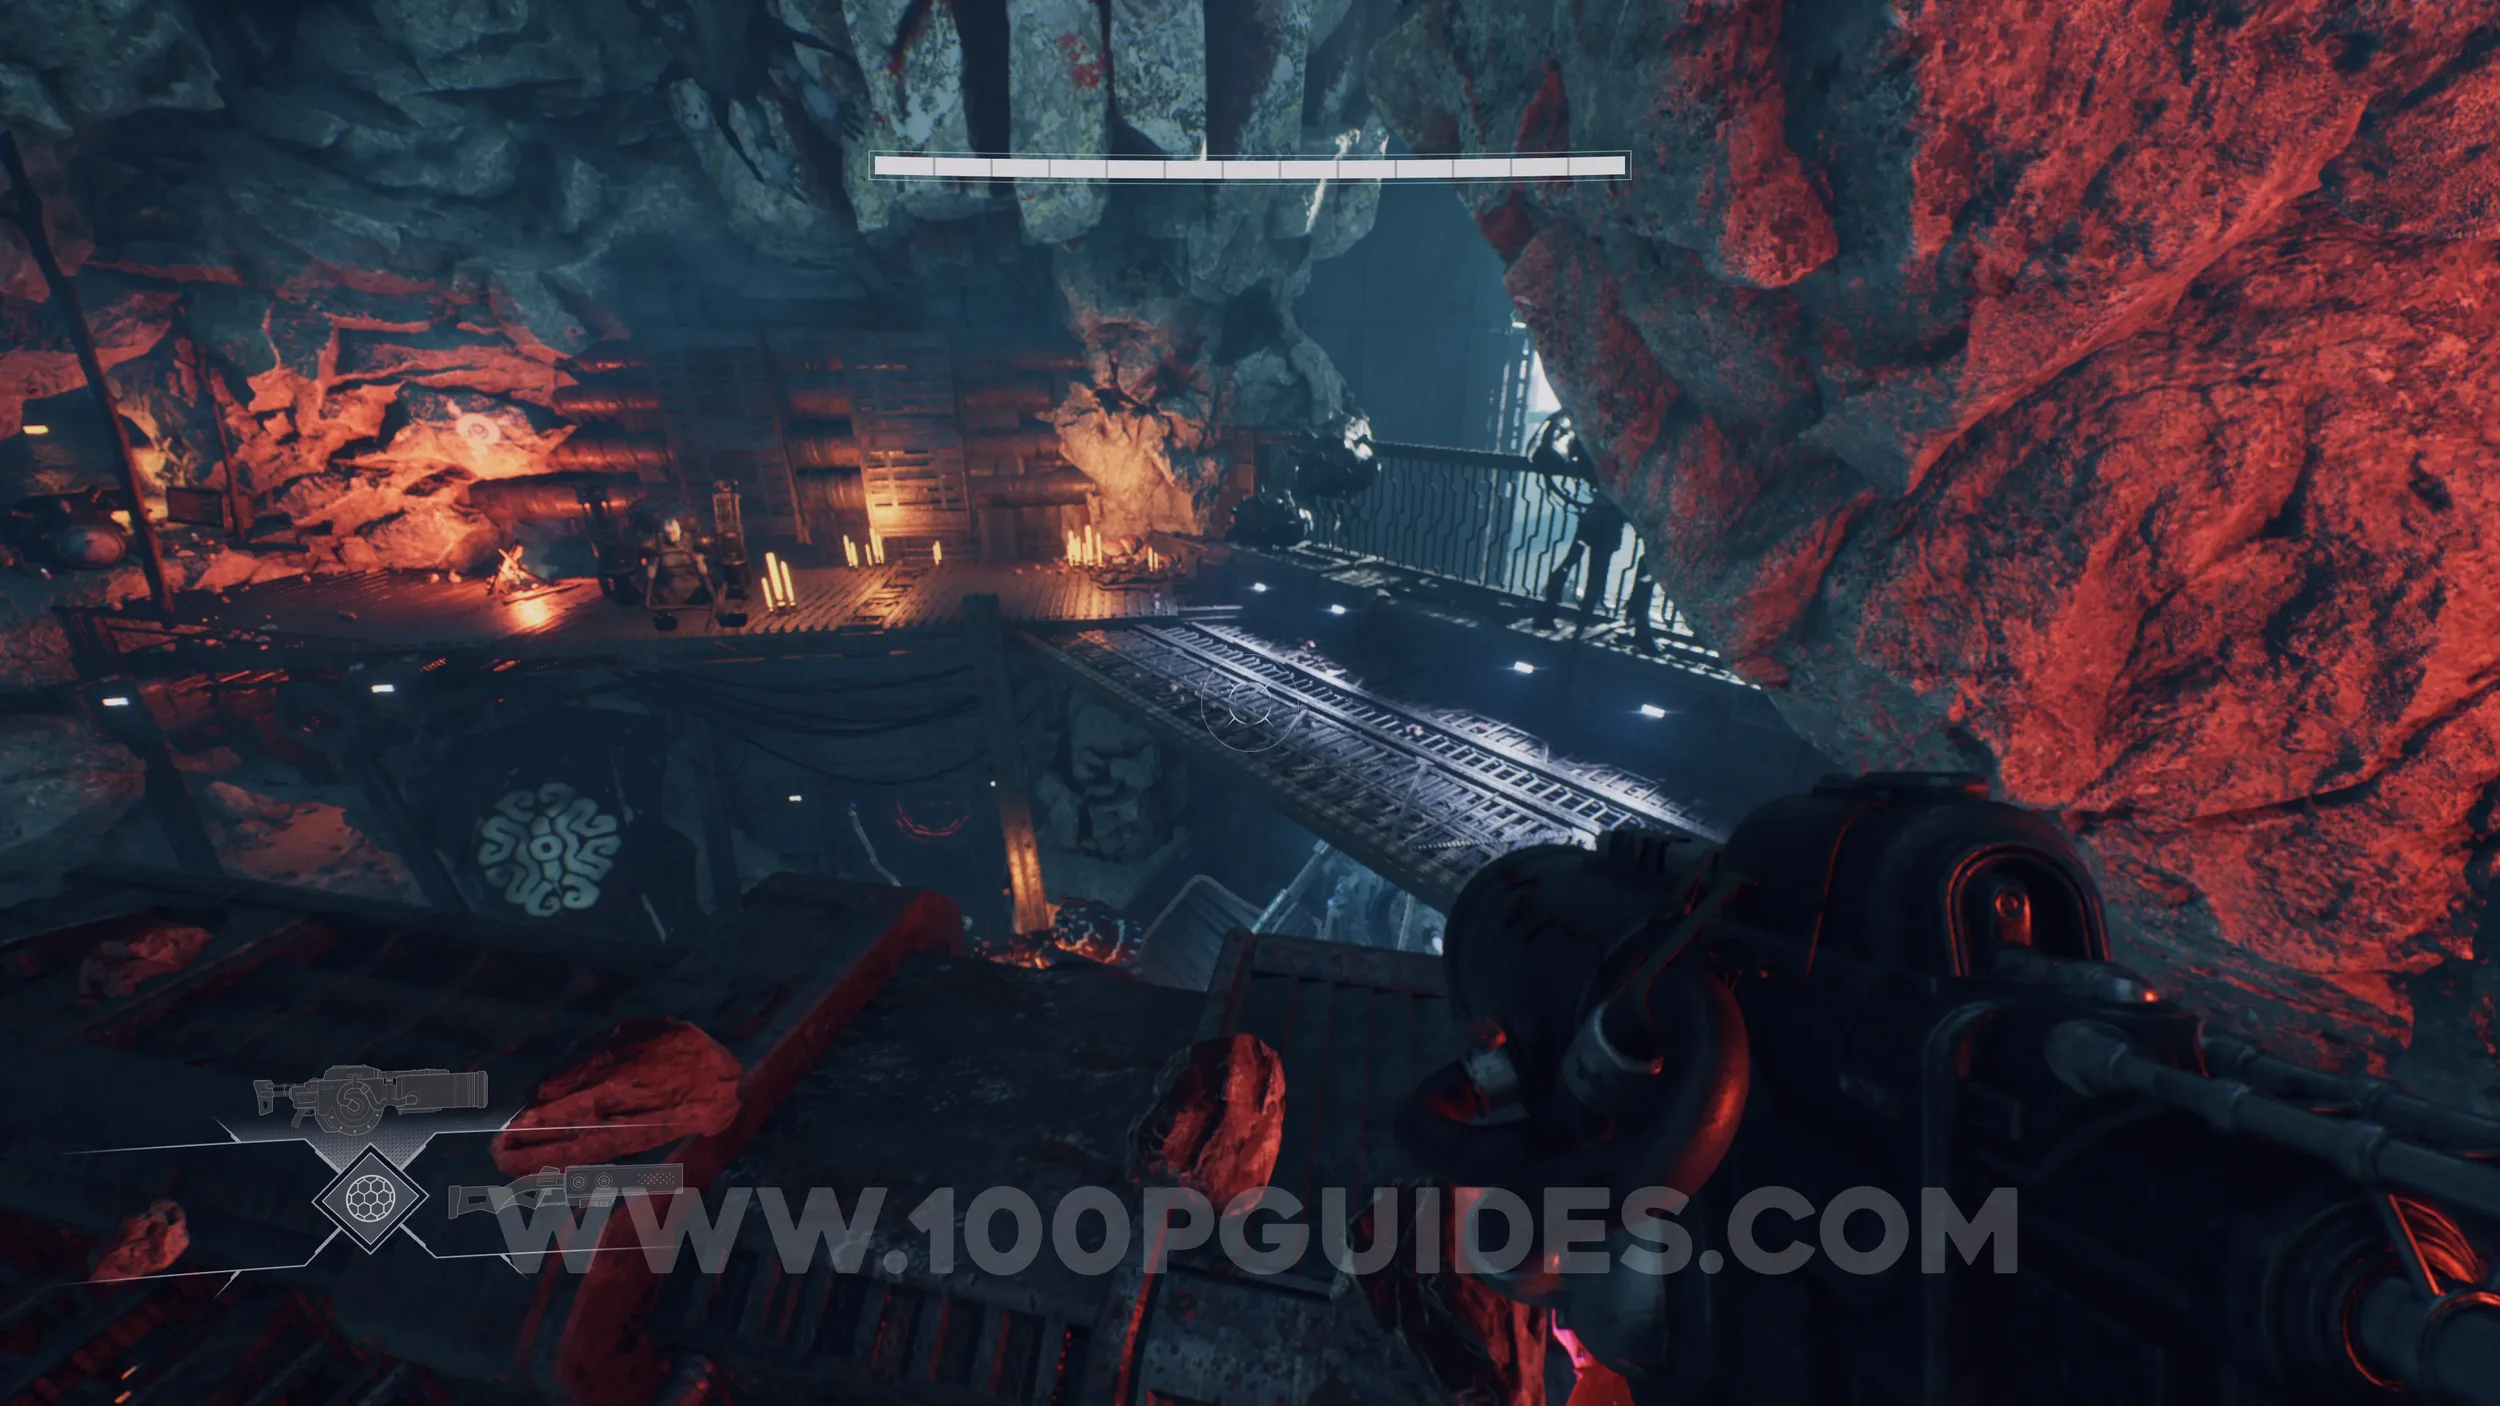
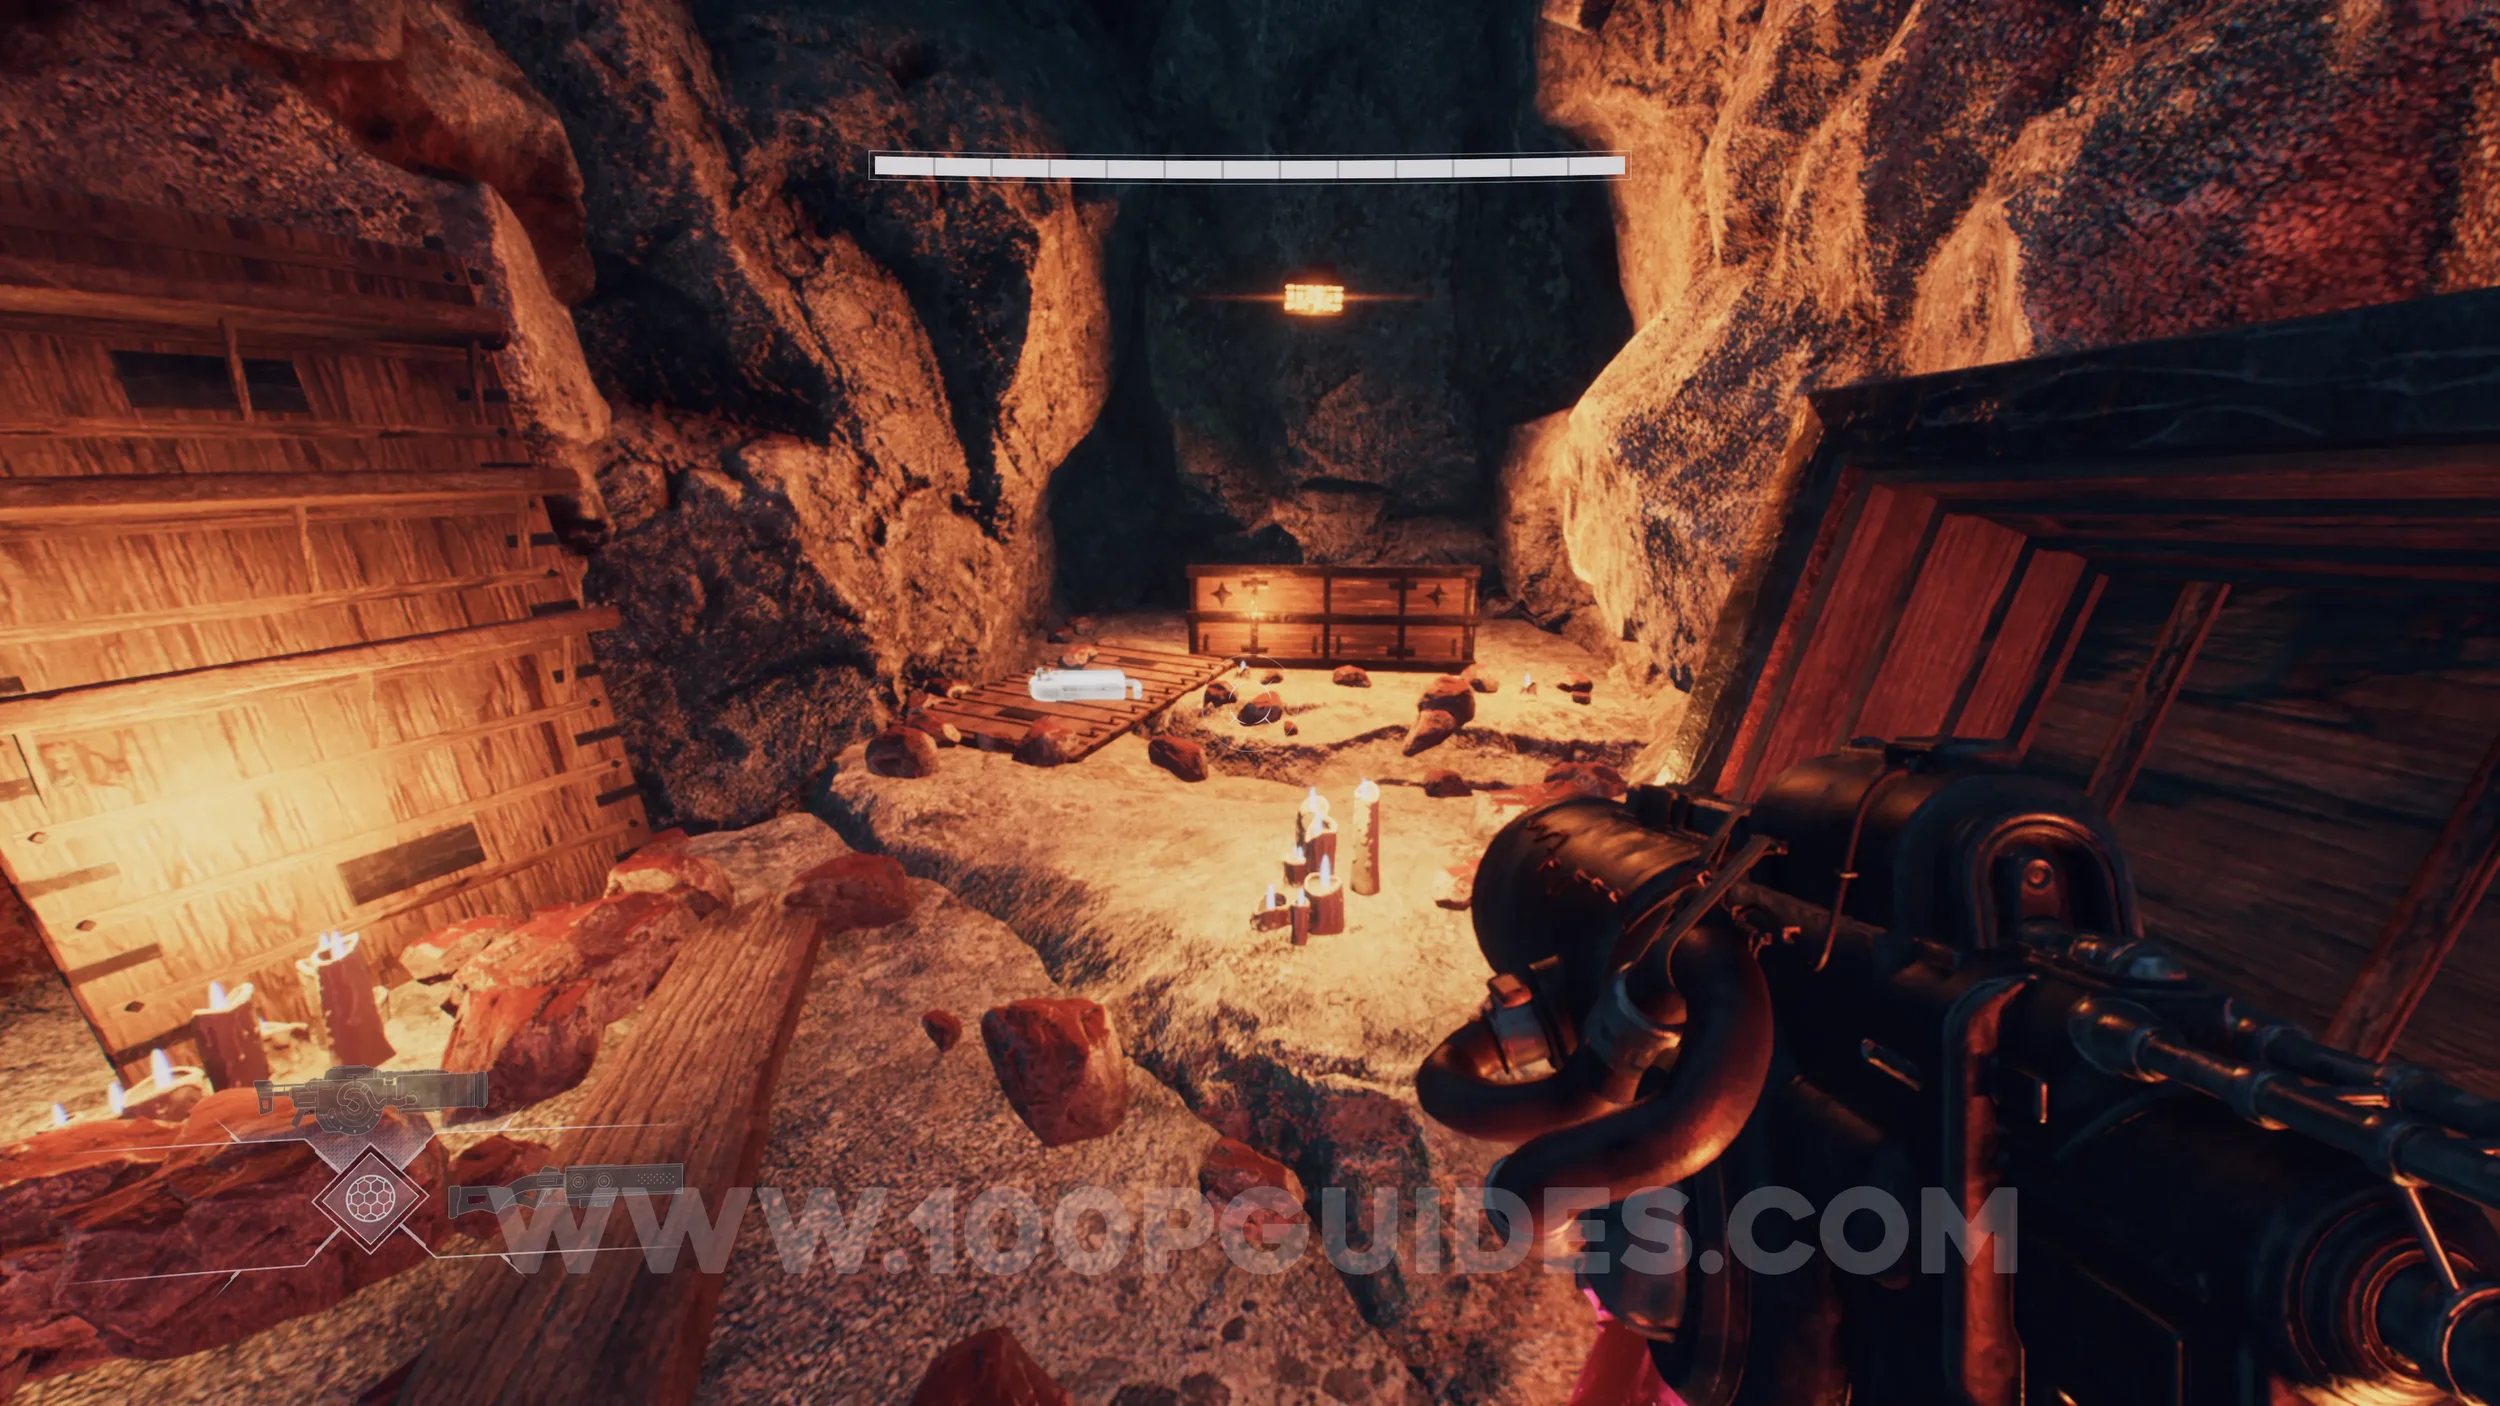
Lore Entry #29 (Memory - Entry #55721 - Shutdown). After obtaining the dash ability that allows you to pass through red barriers, you will soon reach another outdoor area filled with red grass and trees. Pass through the first red barrier, then turn around and double jump across to the collectible on the left side of the barrier.
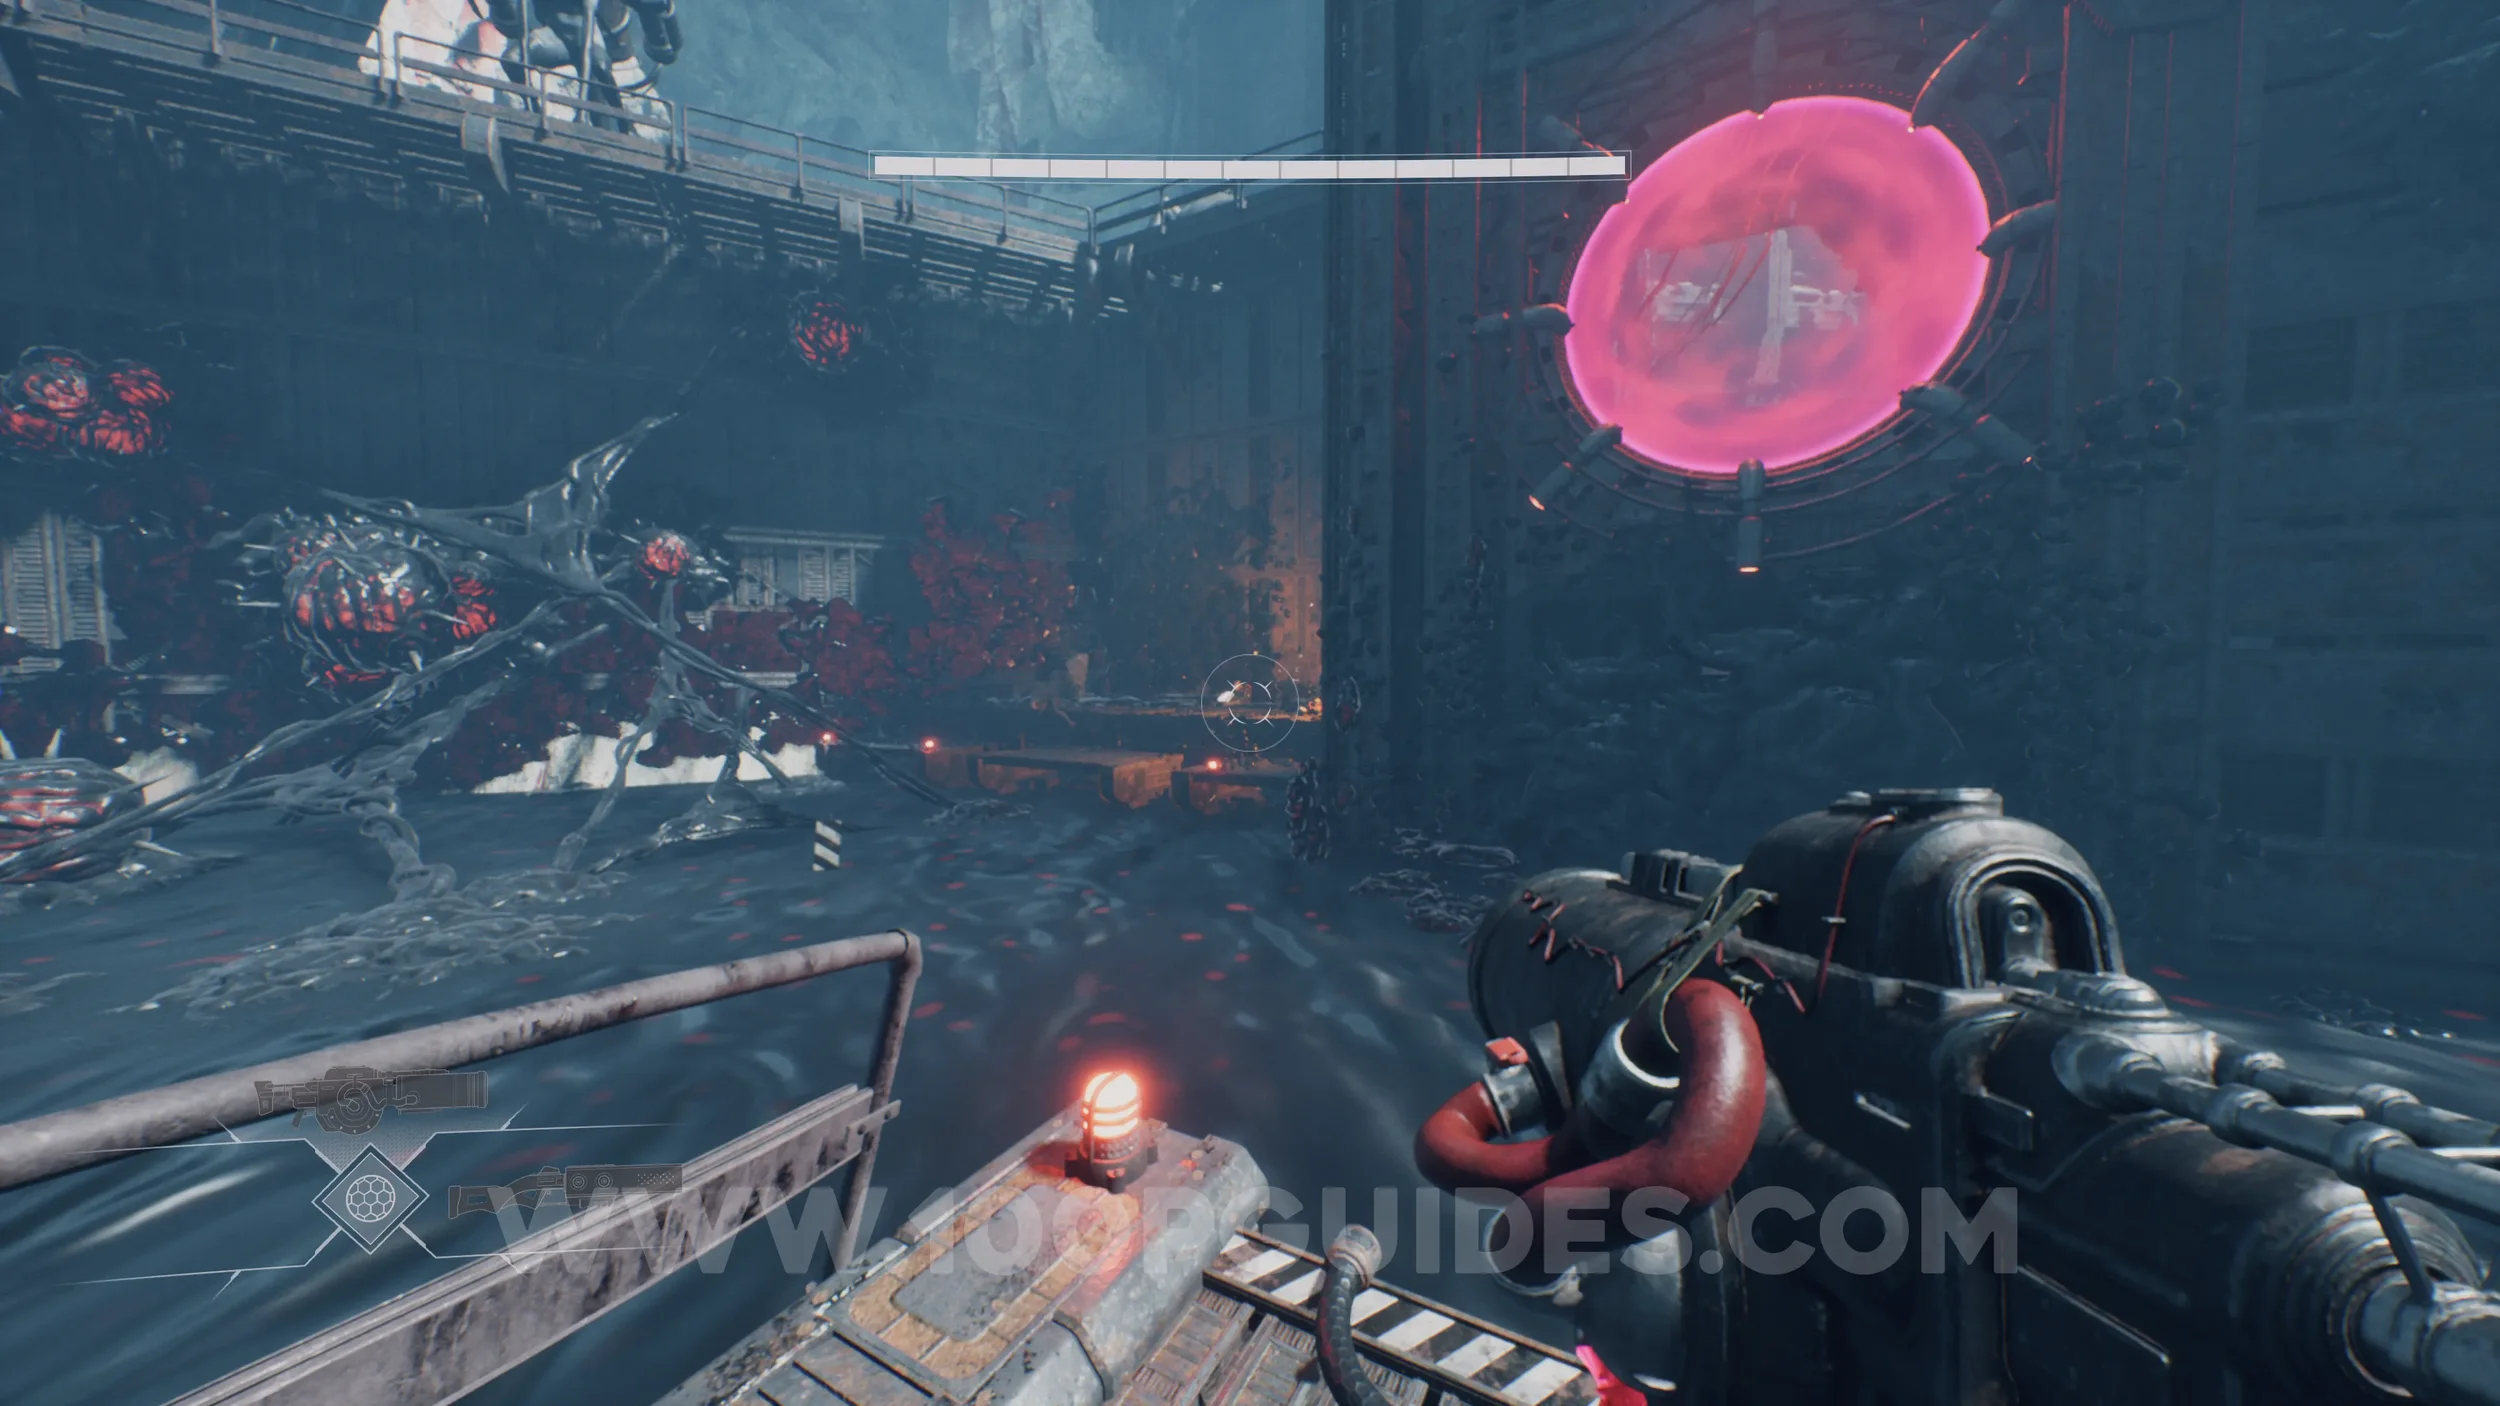
Drift Crystal #3. After passing through another red barrier and traveling through a pipe, you will fight a group of enemies. Before heading left toward the purple lasers, look straight ahead for a white symbol on the wall. To the left of the symbol, there is a small gap you can enter. Follow this path by double jumping and dashing across the gap to eventually reach the crystal.
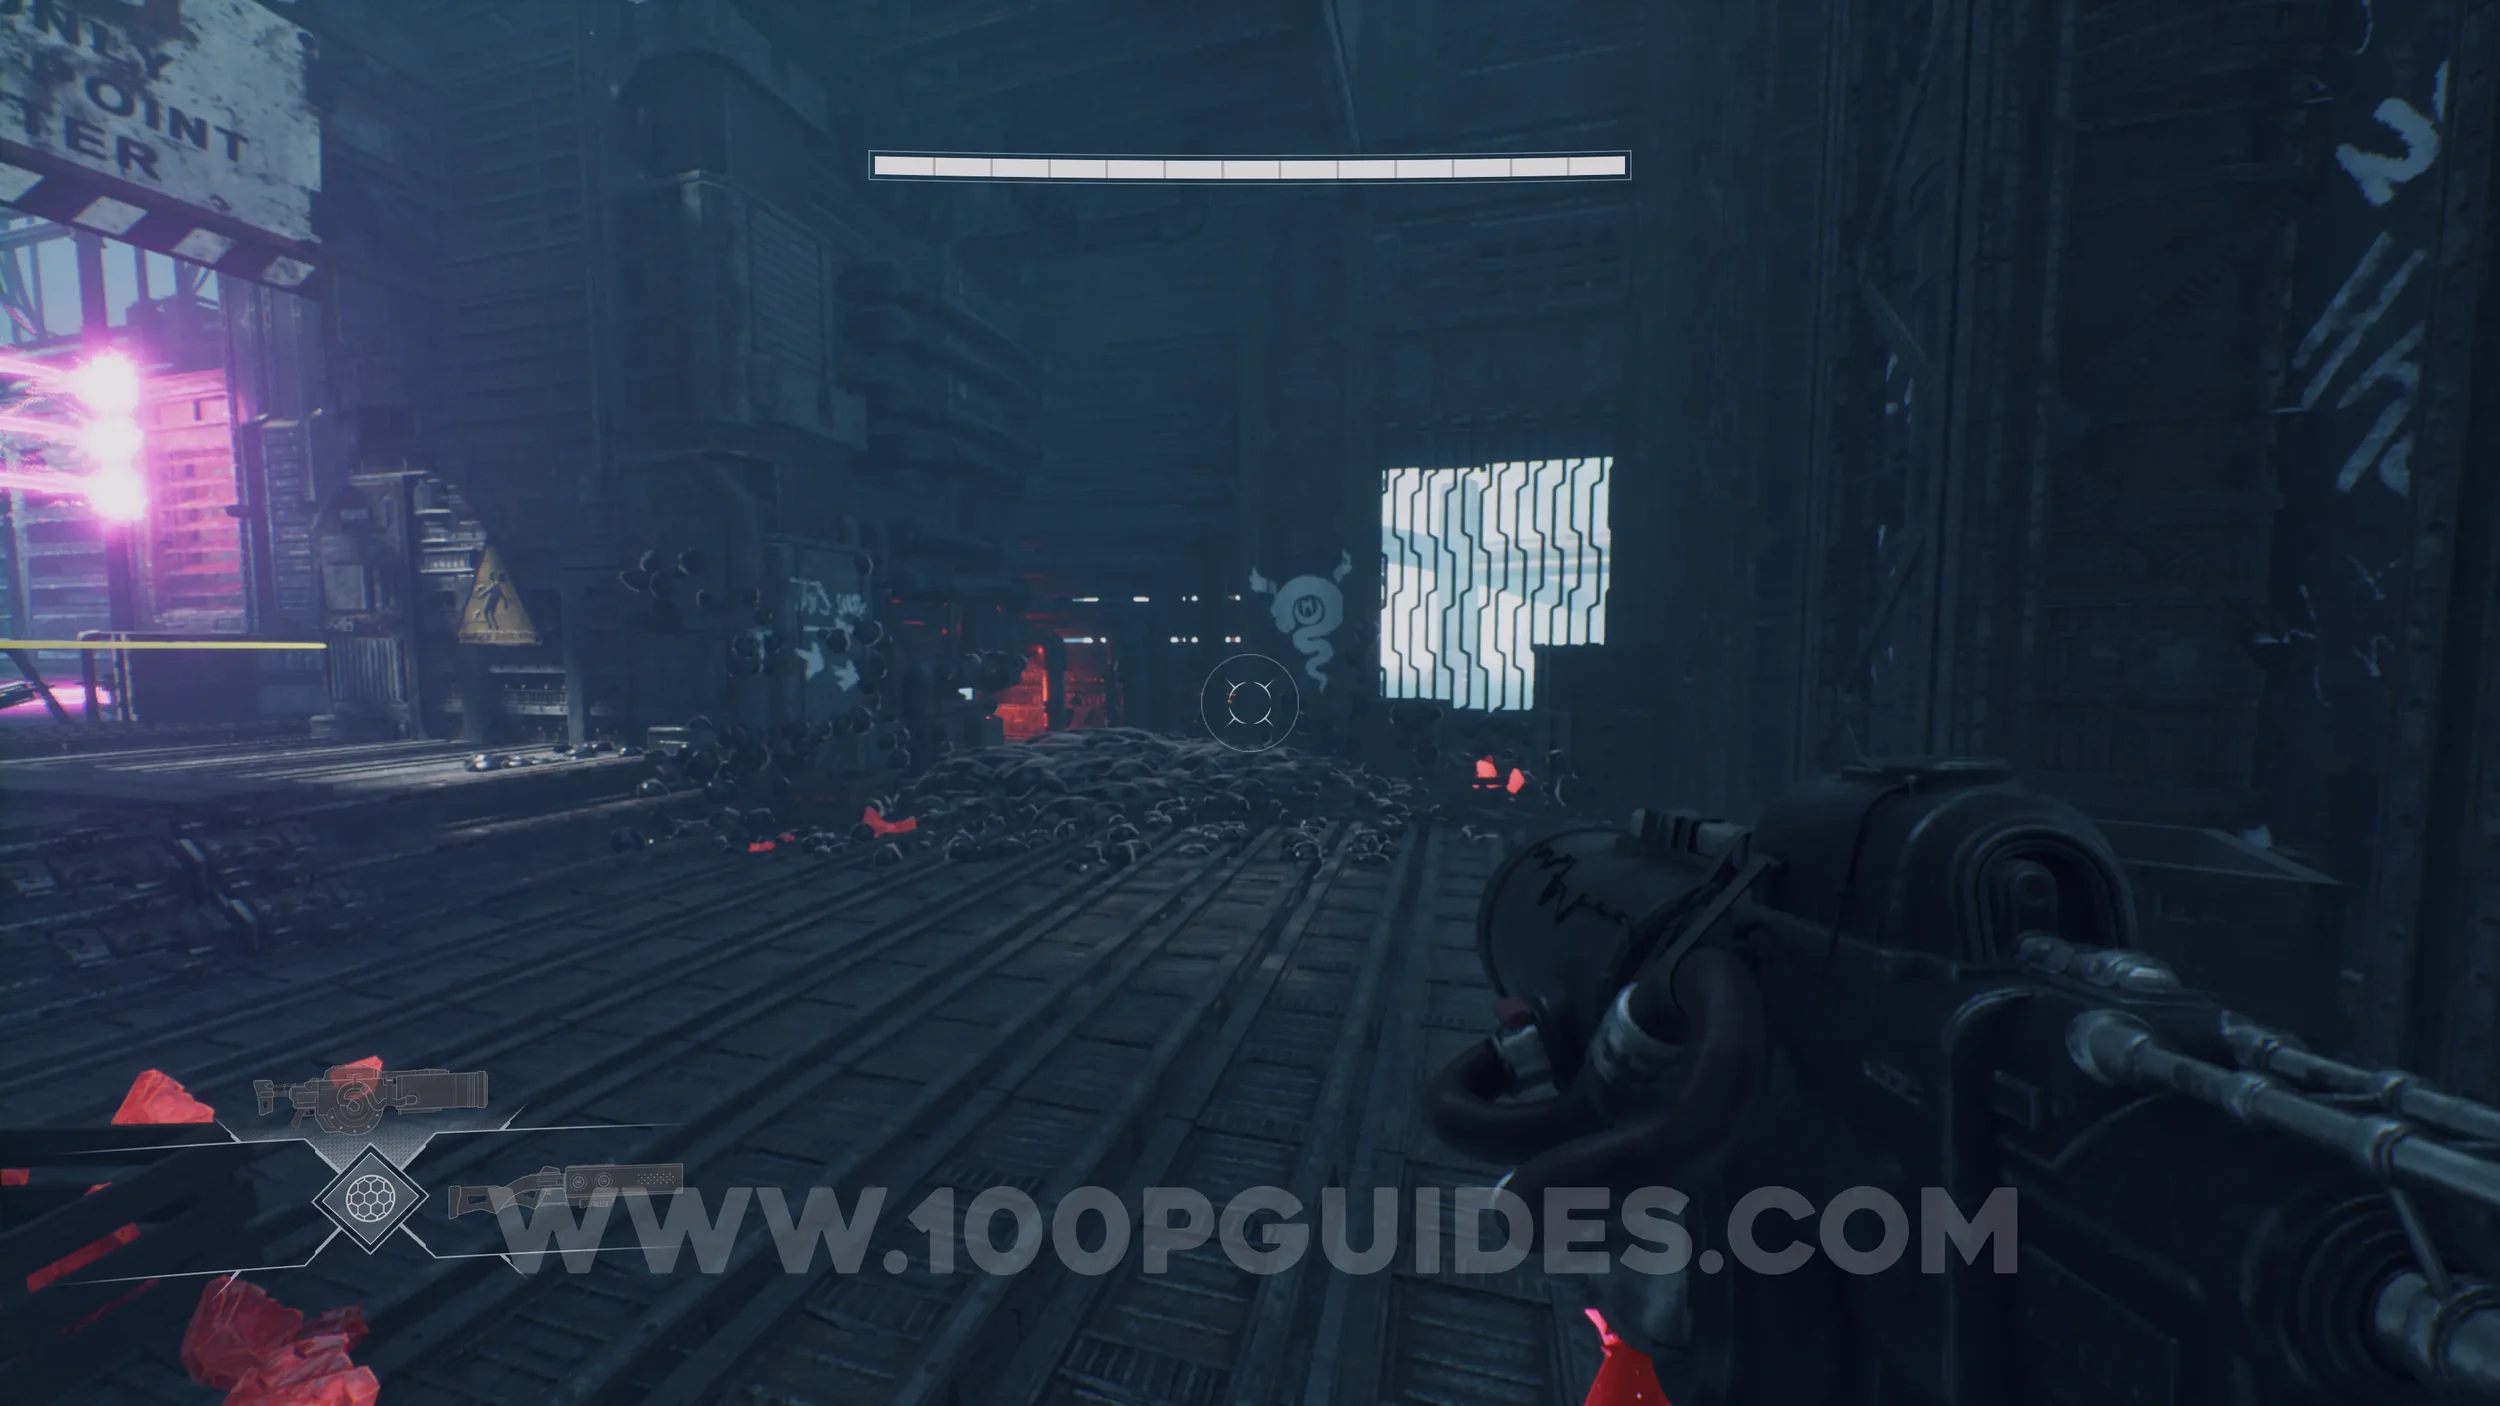
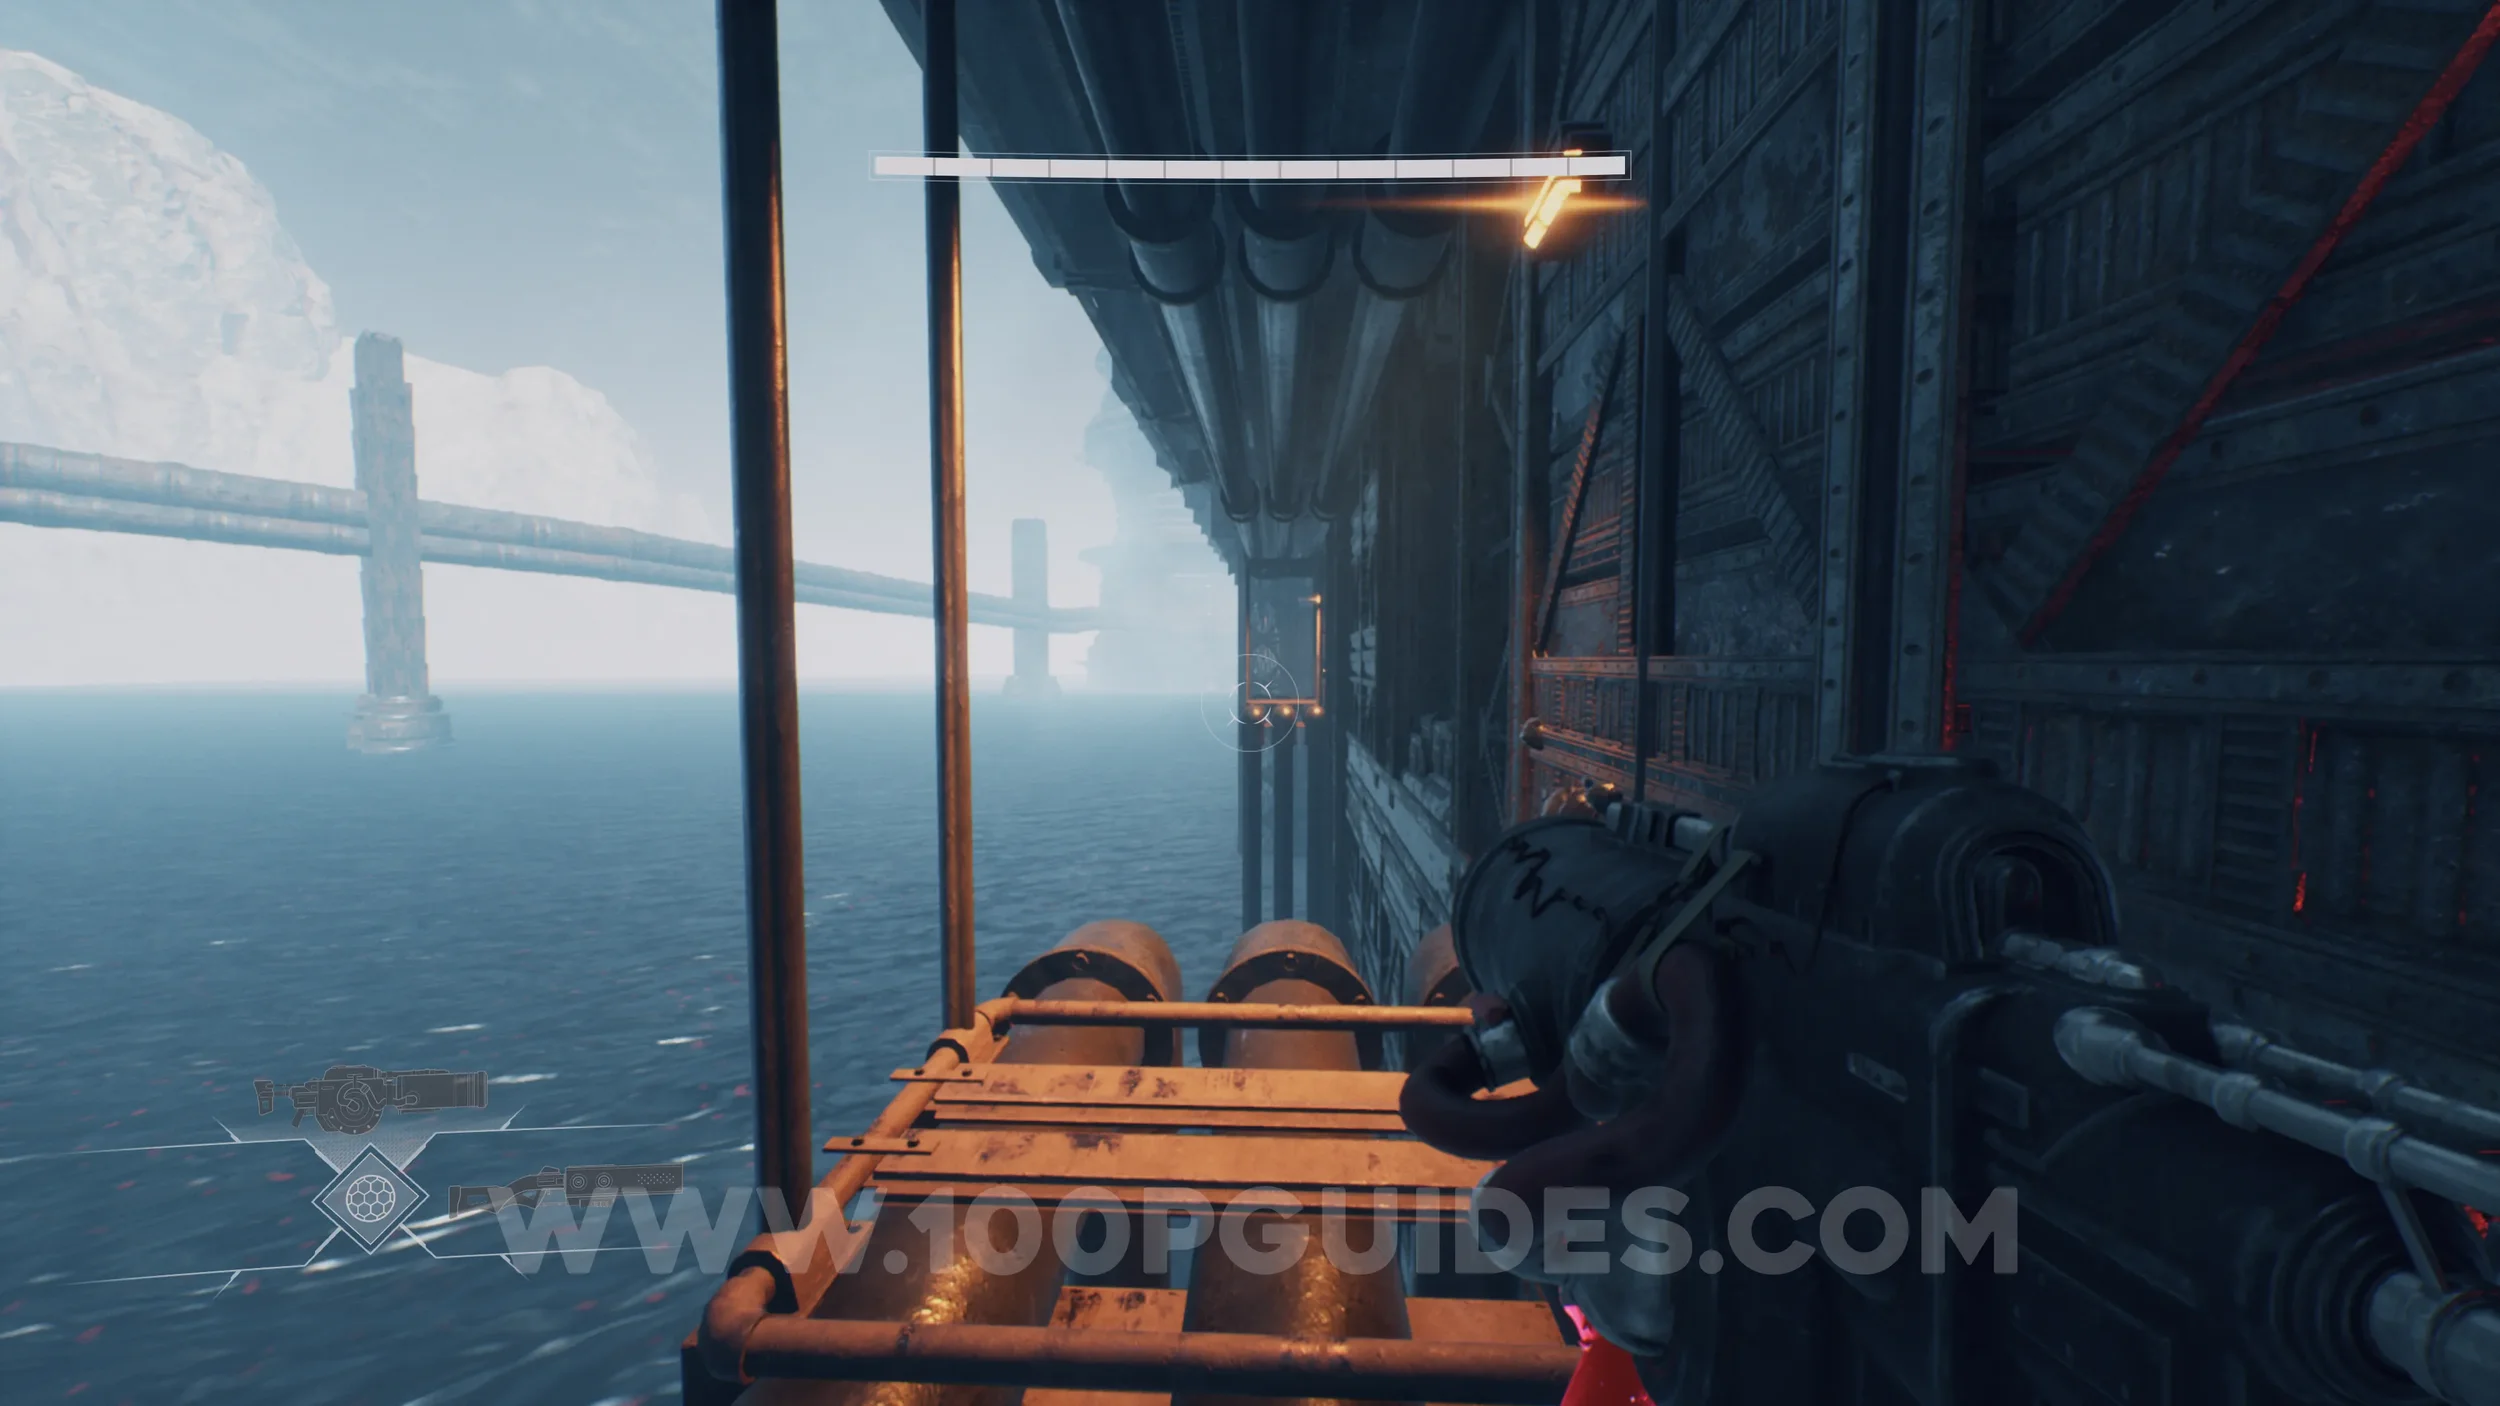
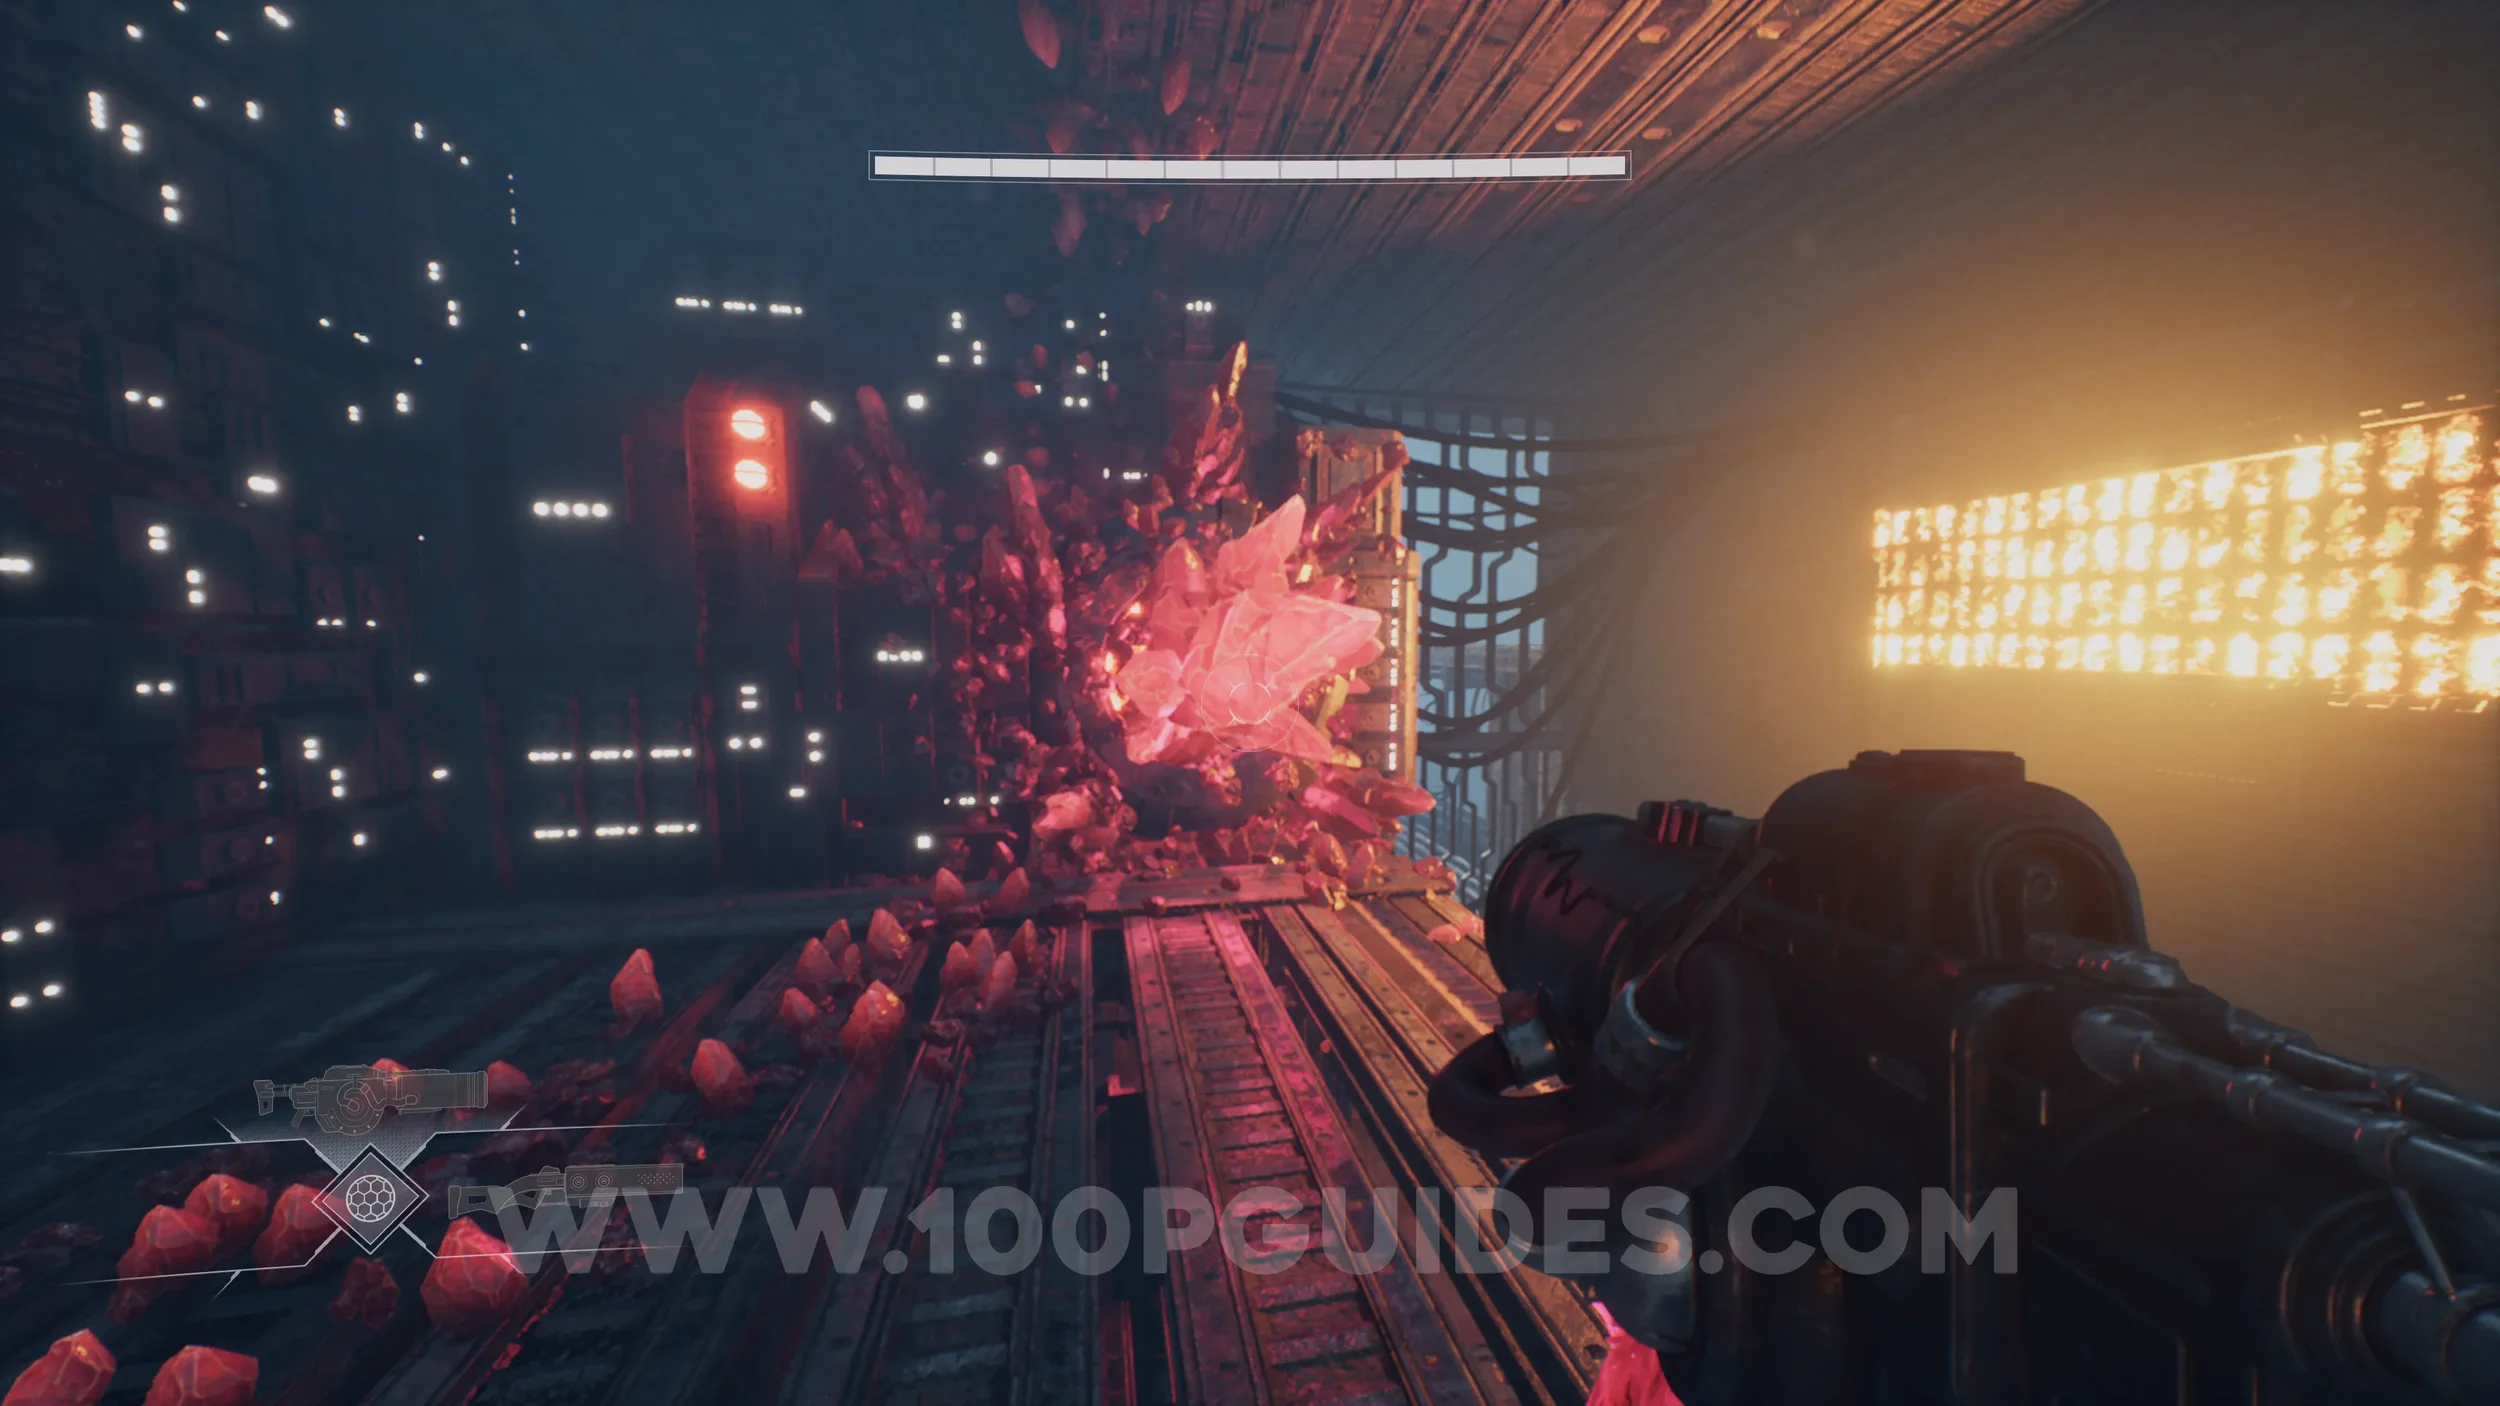
Health Increase #5. After activating the pump and returning to the Disconnected Commune, head to the red barrier at the far back and dash through it.
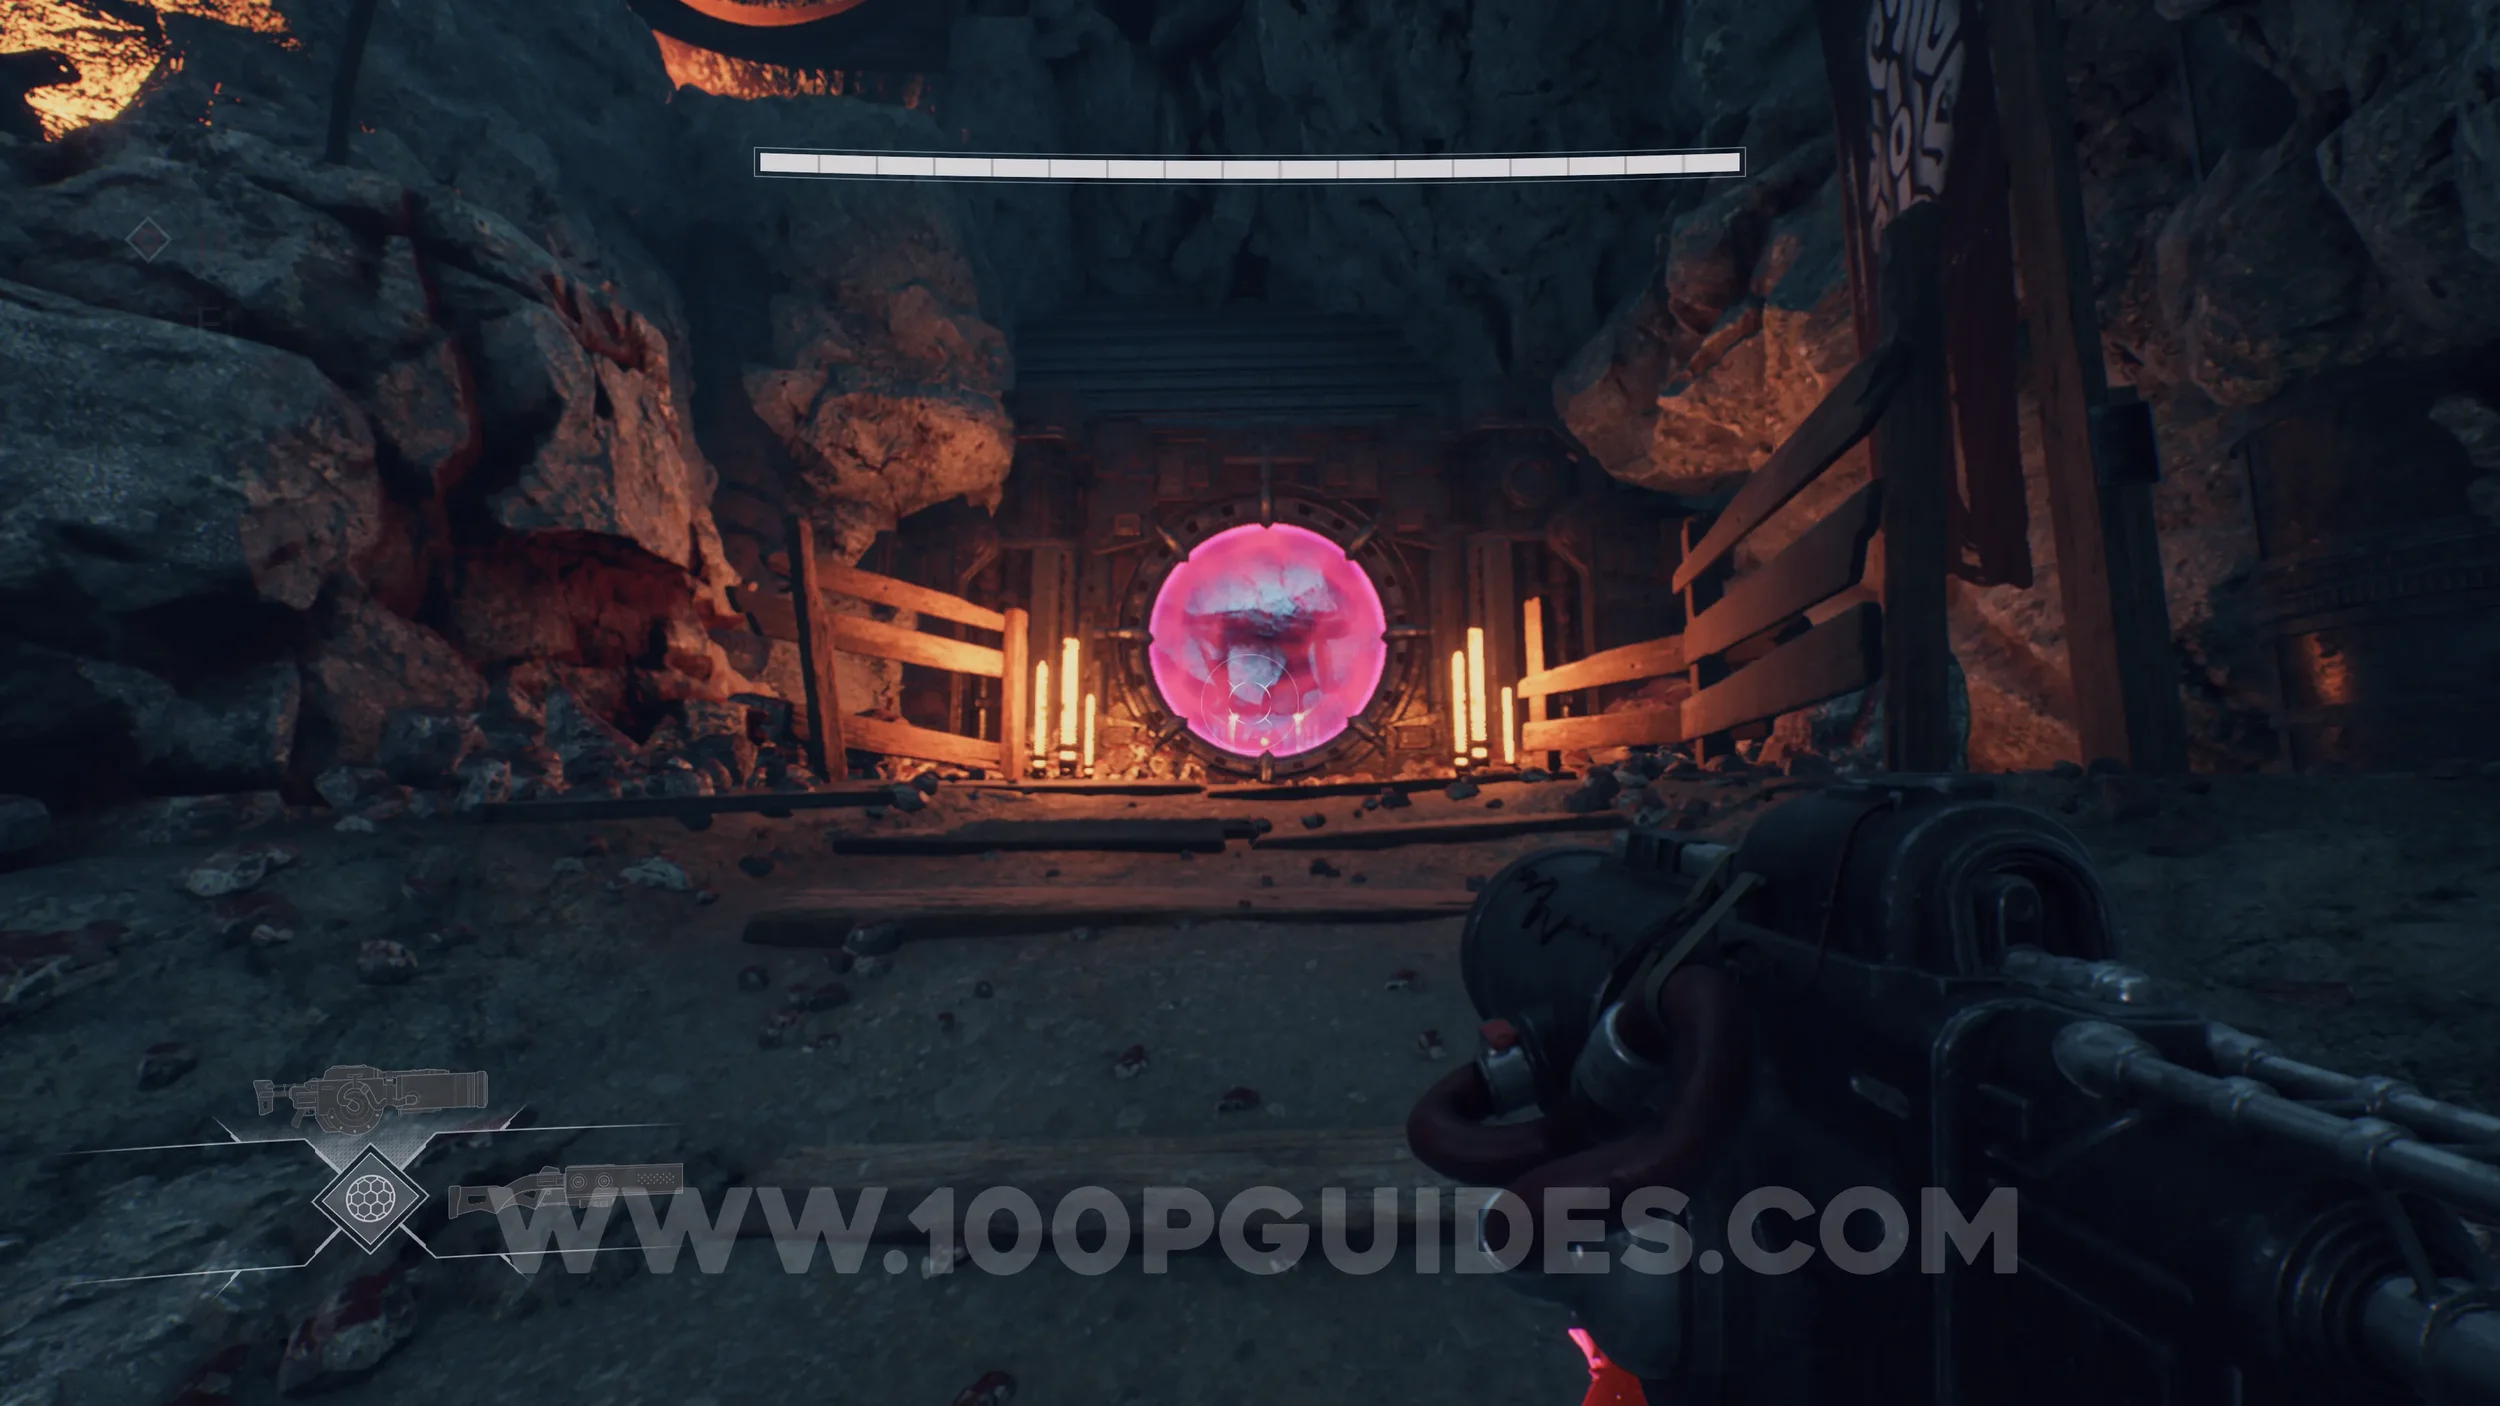
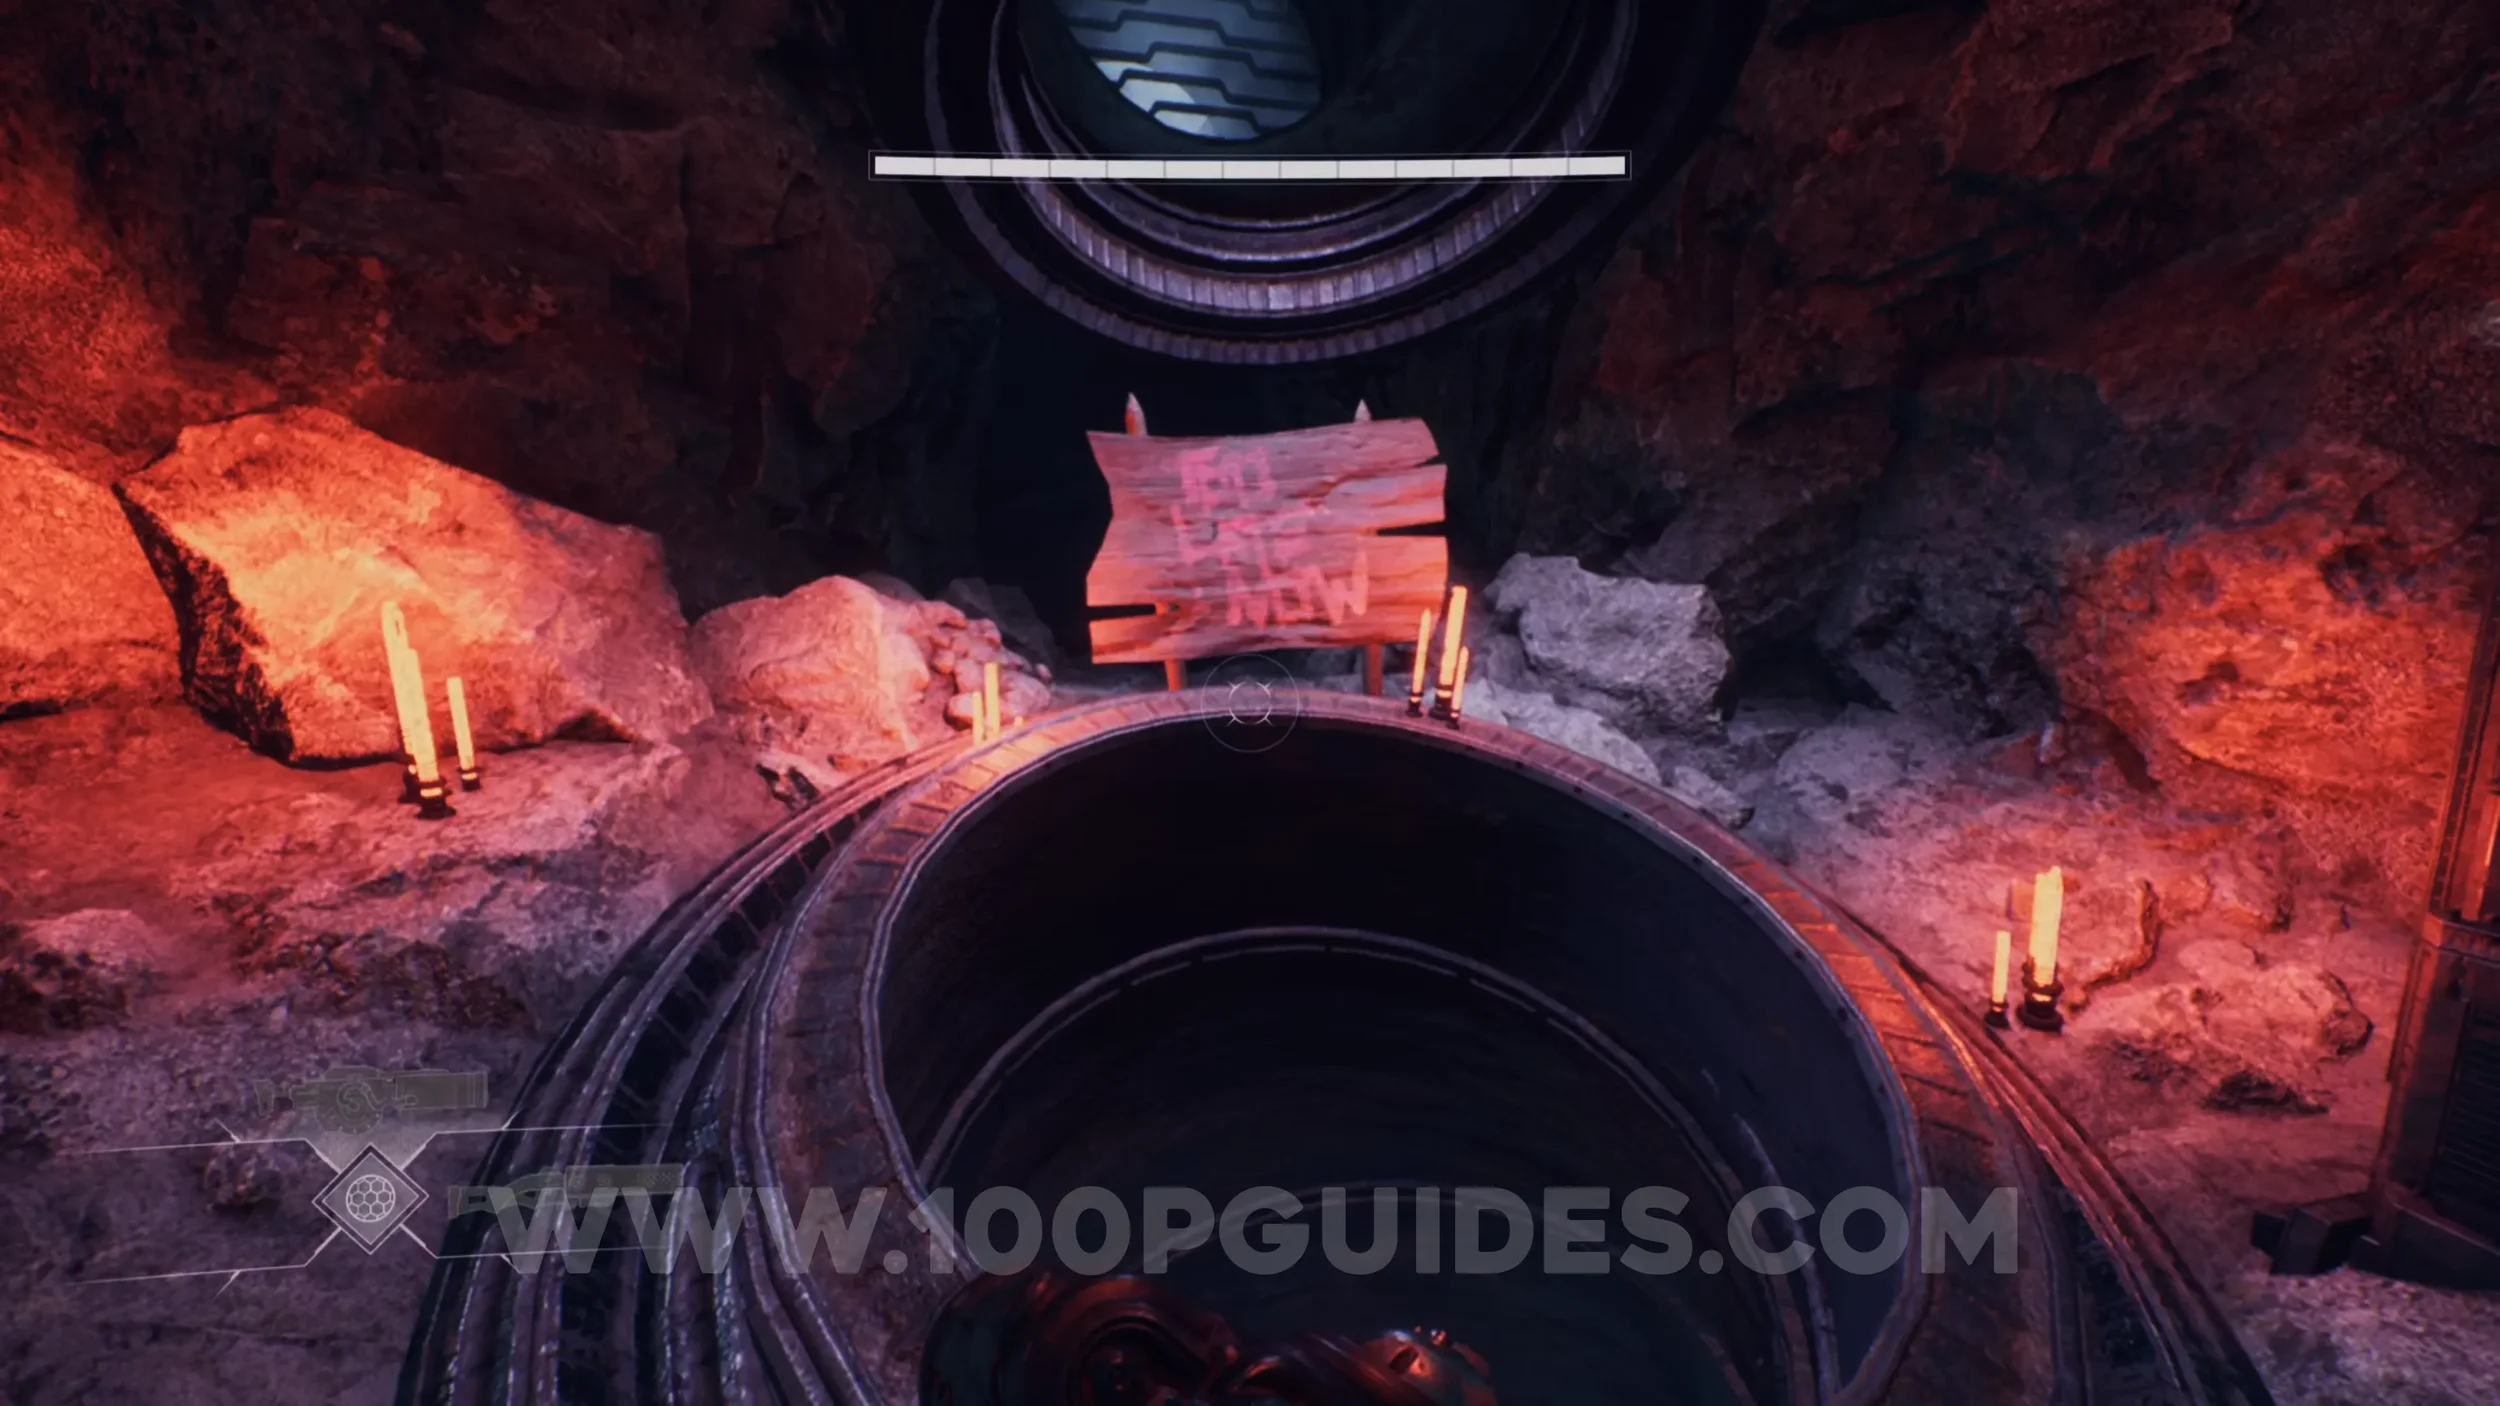
Lore Entry #30 (Memory - Entry #8493 - Curiosity Killed The Cat). After activating the pump and returning to the Disconnected Commune, continue through the cave and drop down the hole marked with the “Too Late Now” sign. The collectible is in plain sight at the bottom.
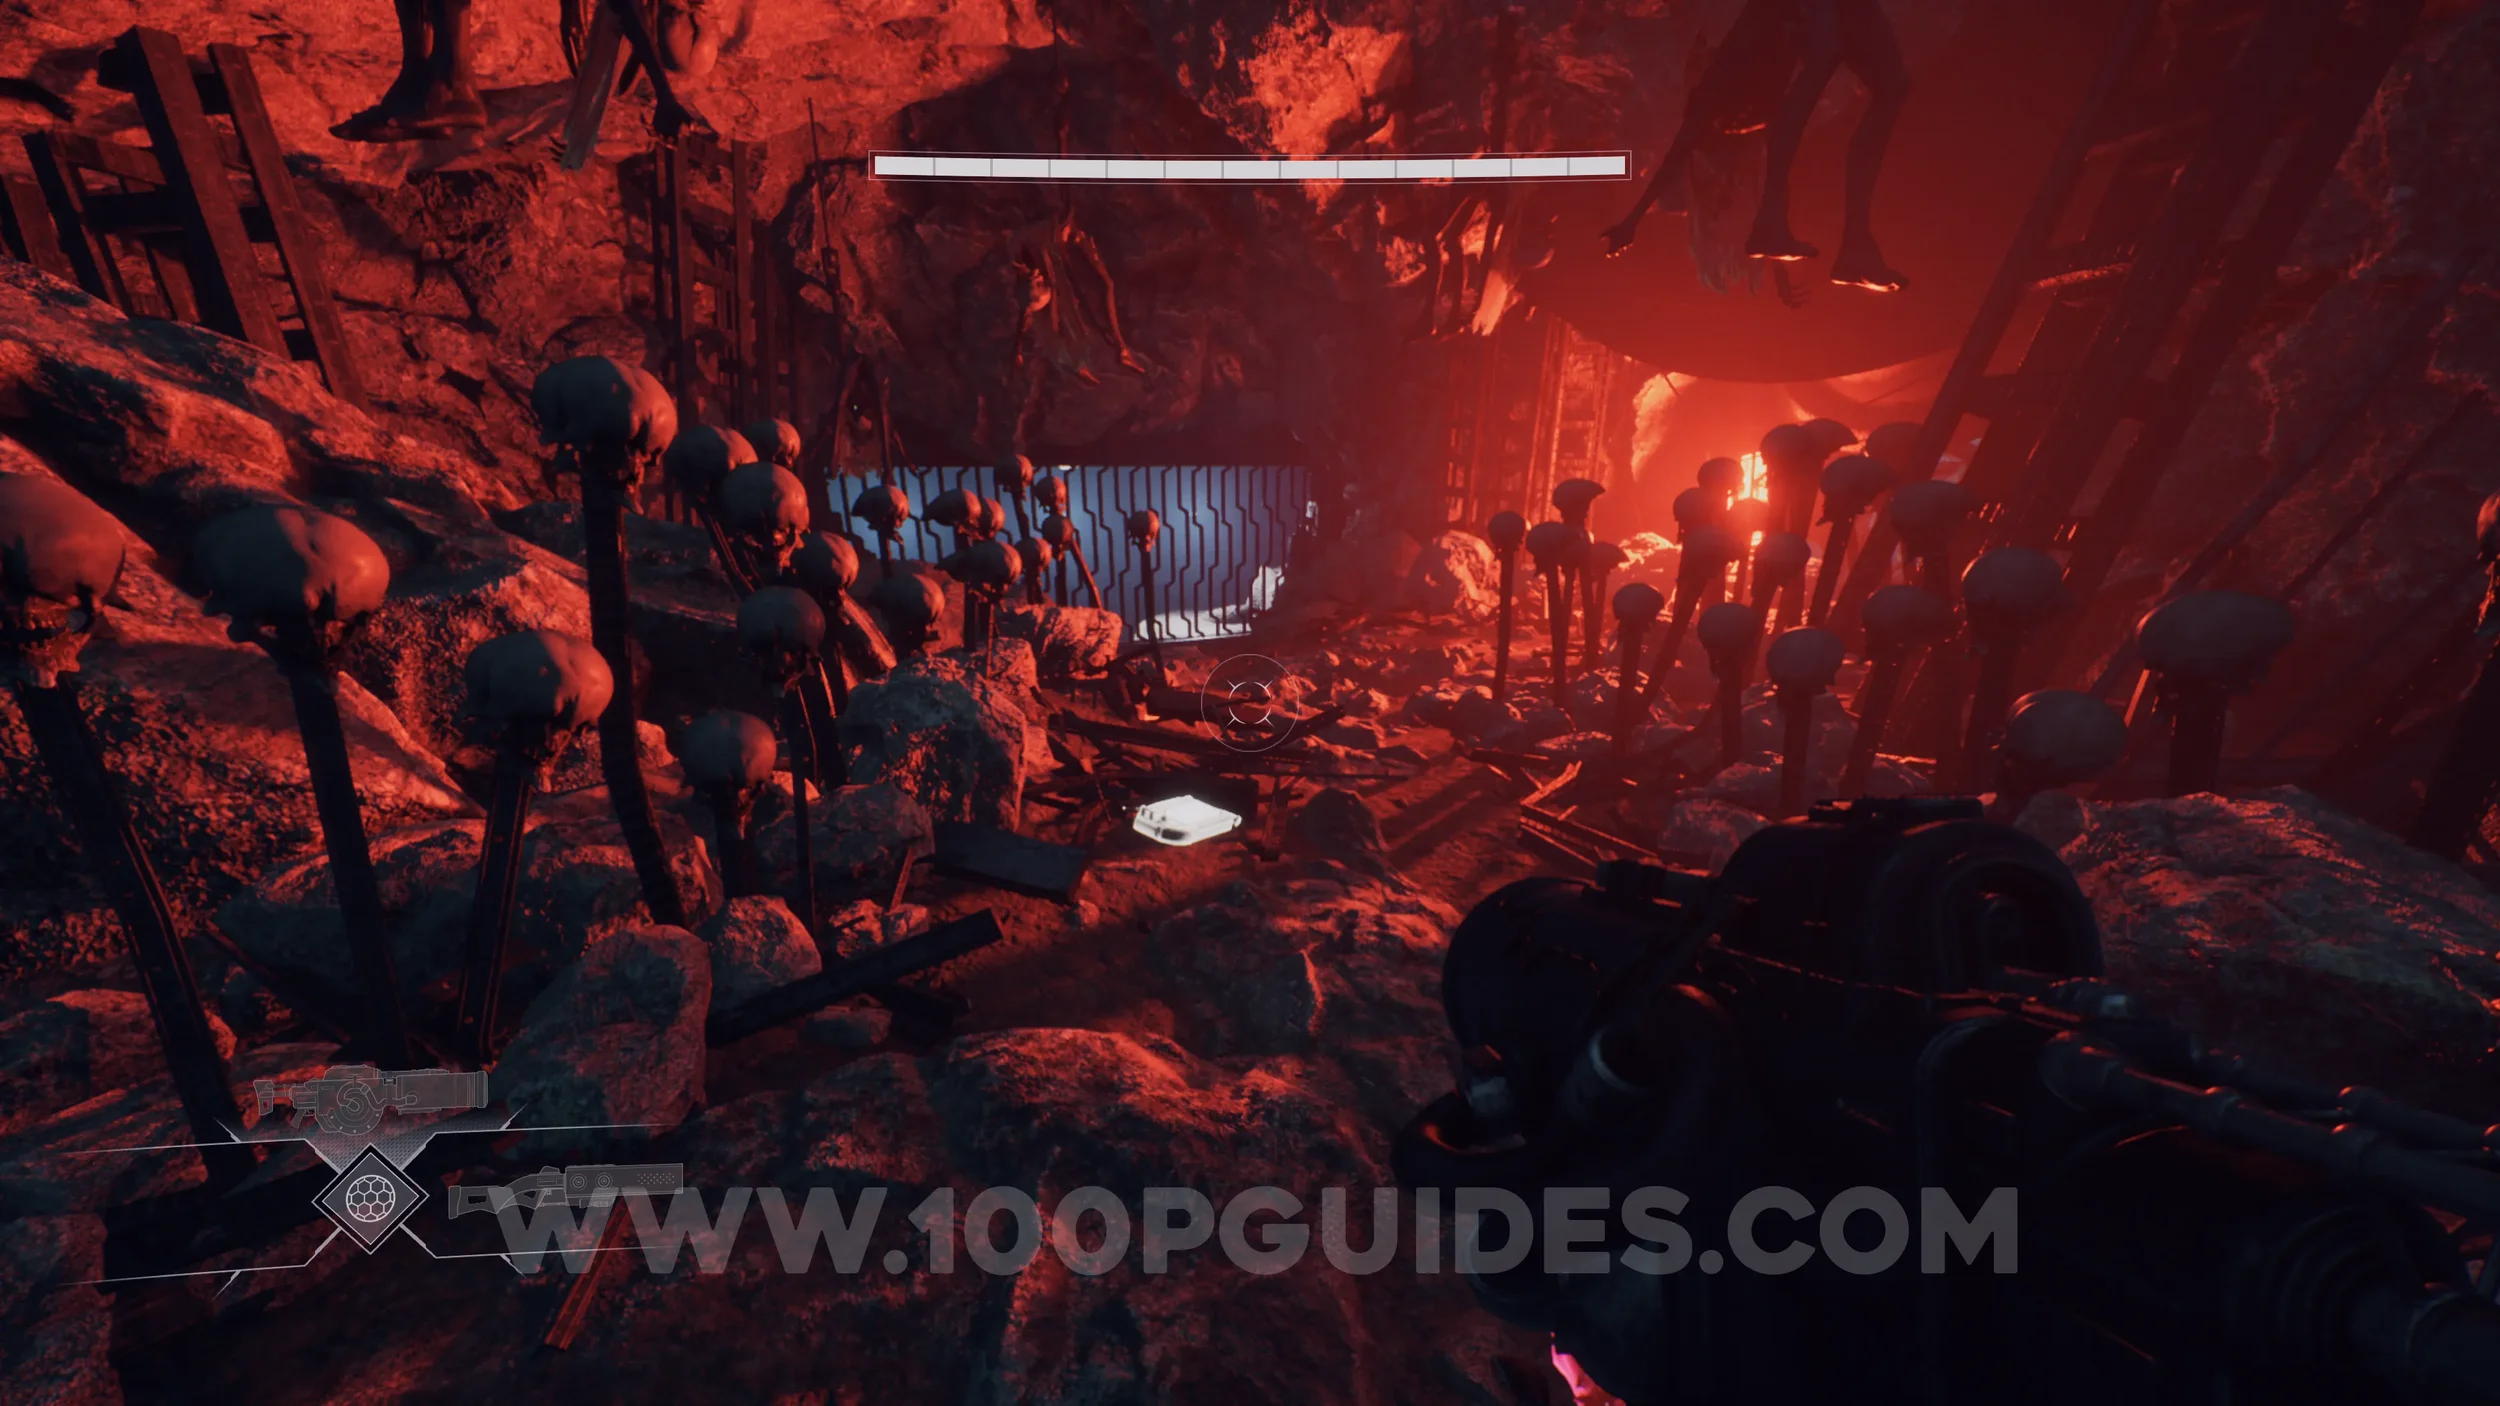
Lore Entry #31 (Character - Francis). In the next room, you will fight several enemies beside a massive corpse on your left. To leave the area, go through the cave leading to the upper section and dash through the red barrier. The collectible can be found on the small ledge to the right of the barrier.
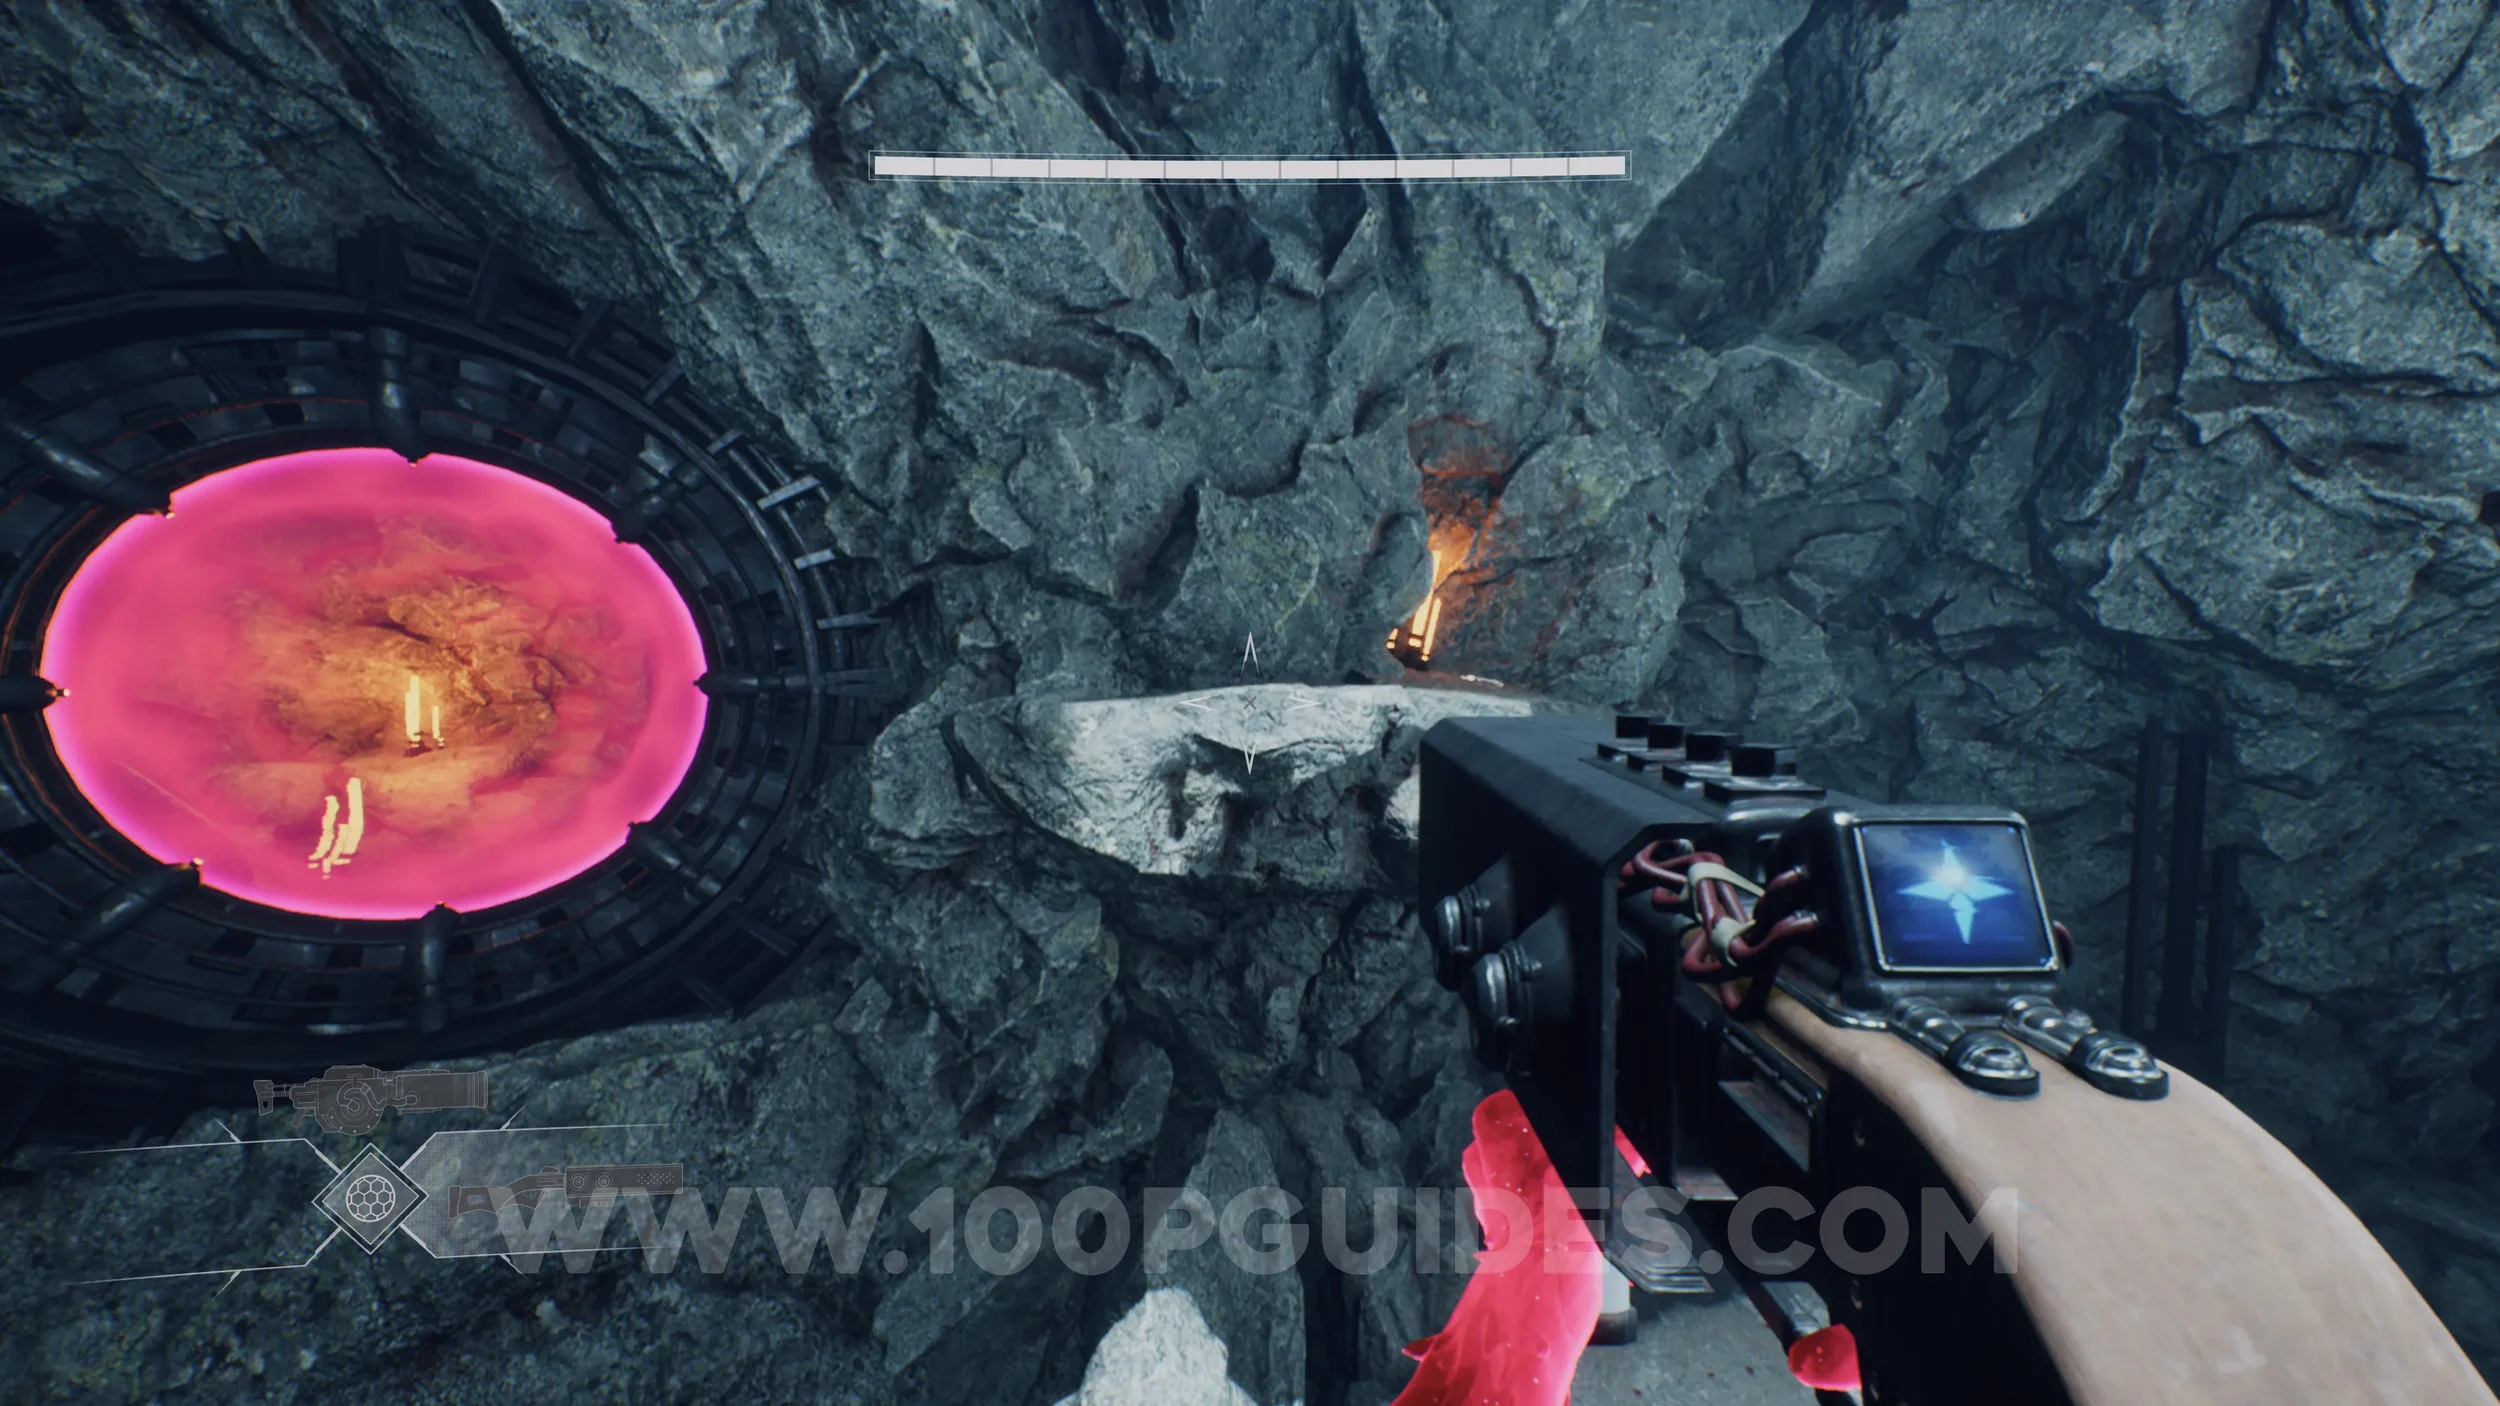
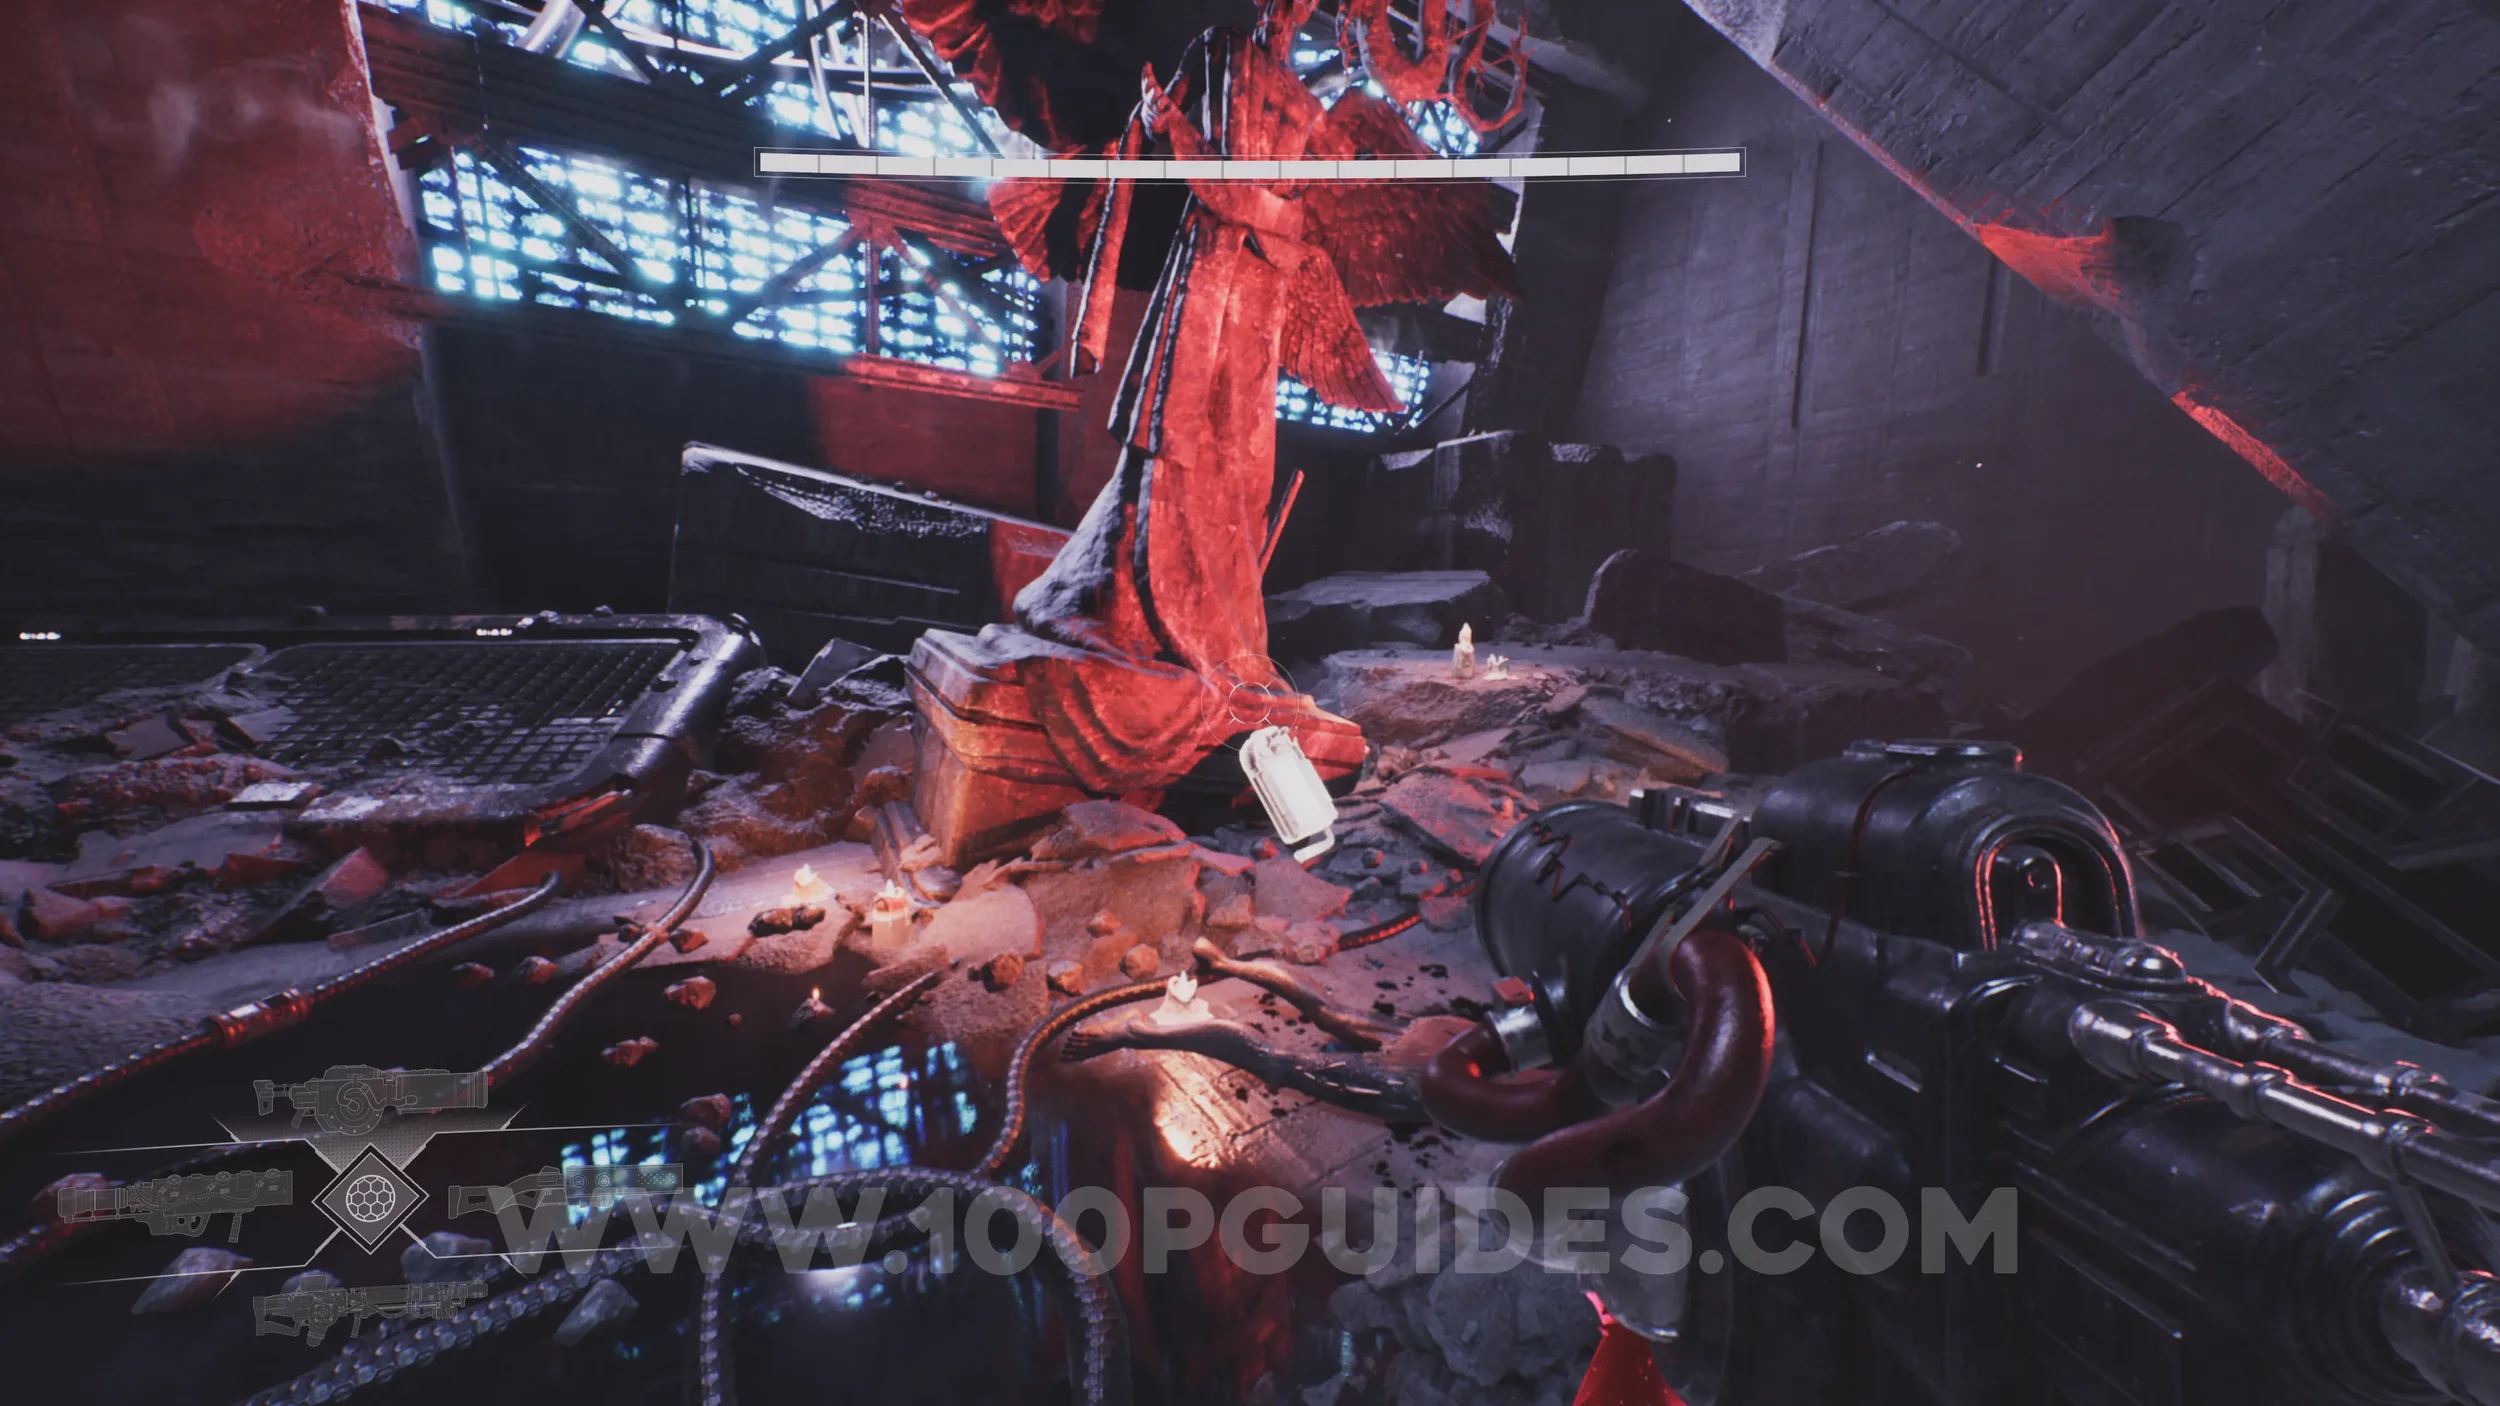
Drift Crystal #4. Once you reach the outside area where a cutscene triggers, look for a small cave to the right of the checkpoint crystal. Head inside and look up to the right to find the red crystal. This is also the same area where you gain the skill to control Goliaths.
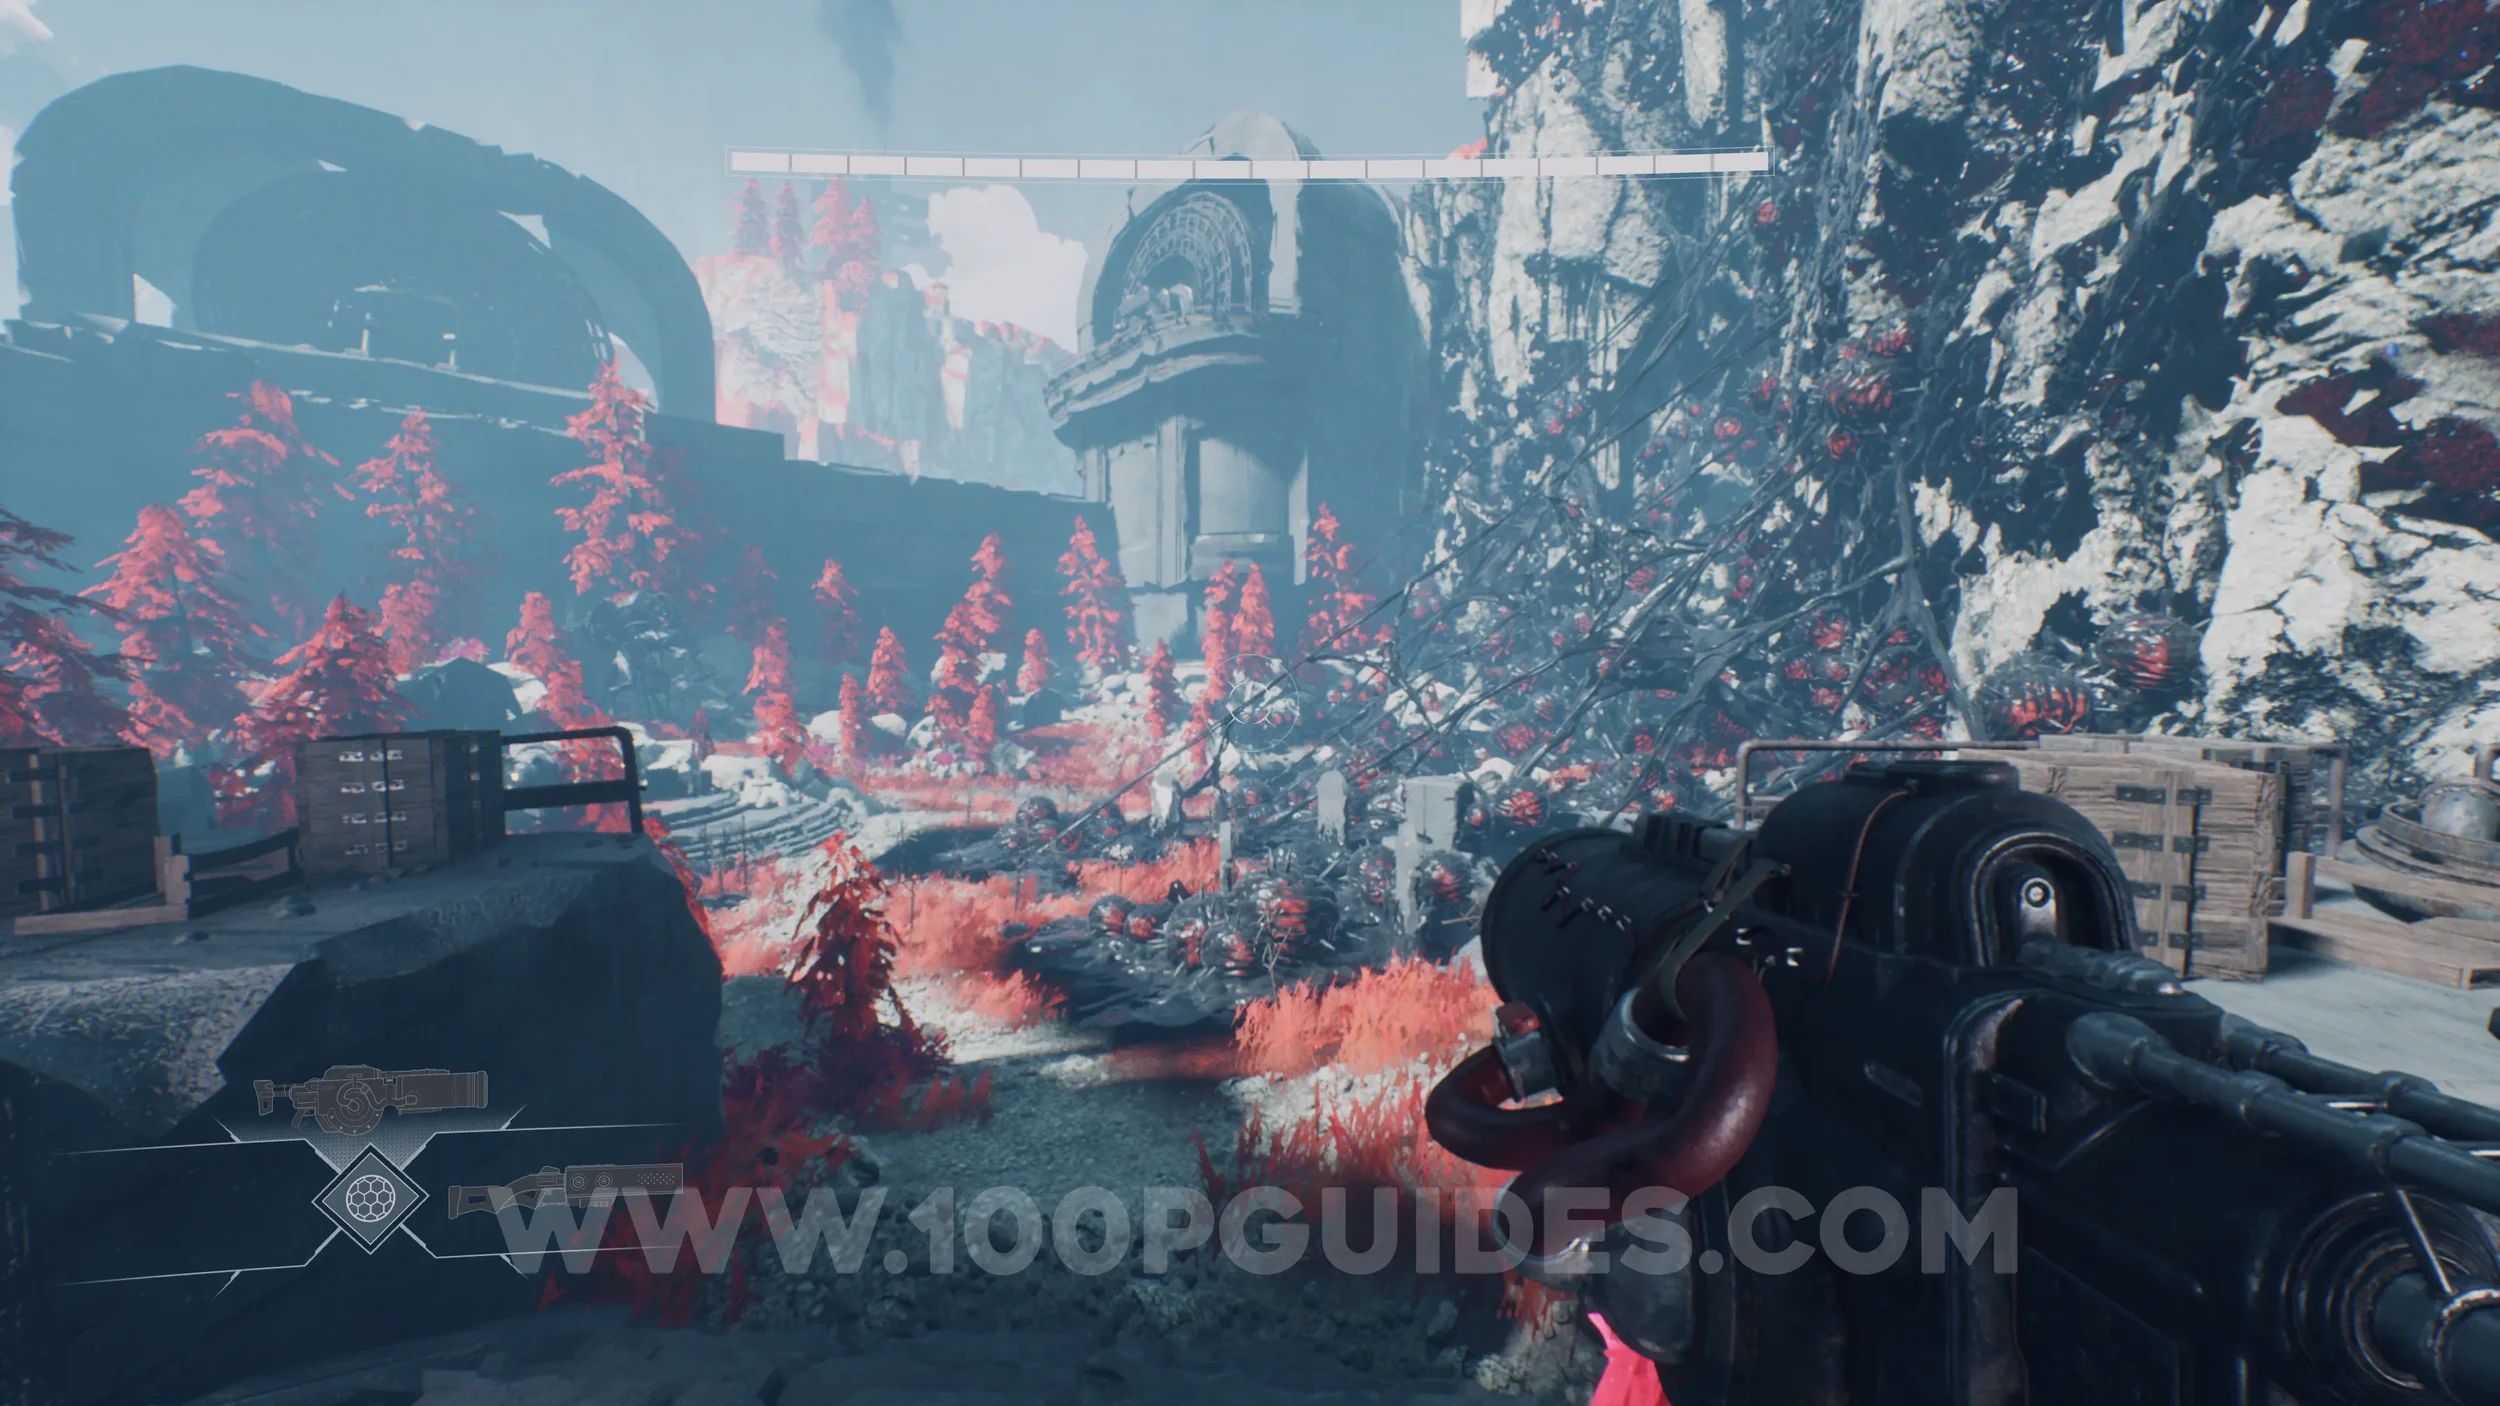
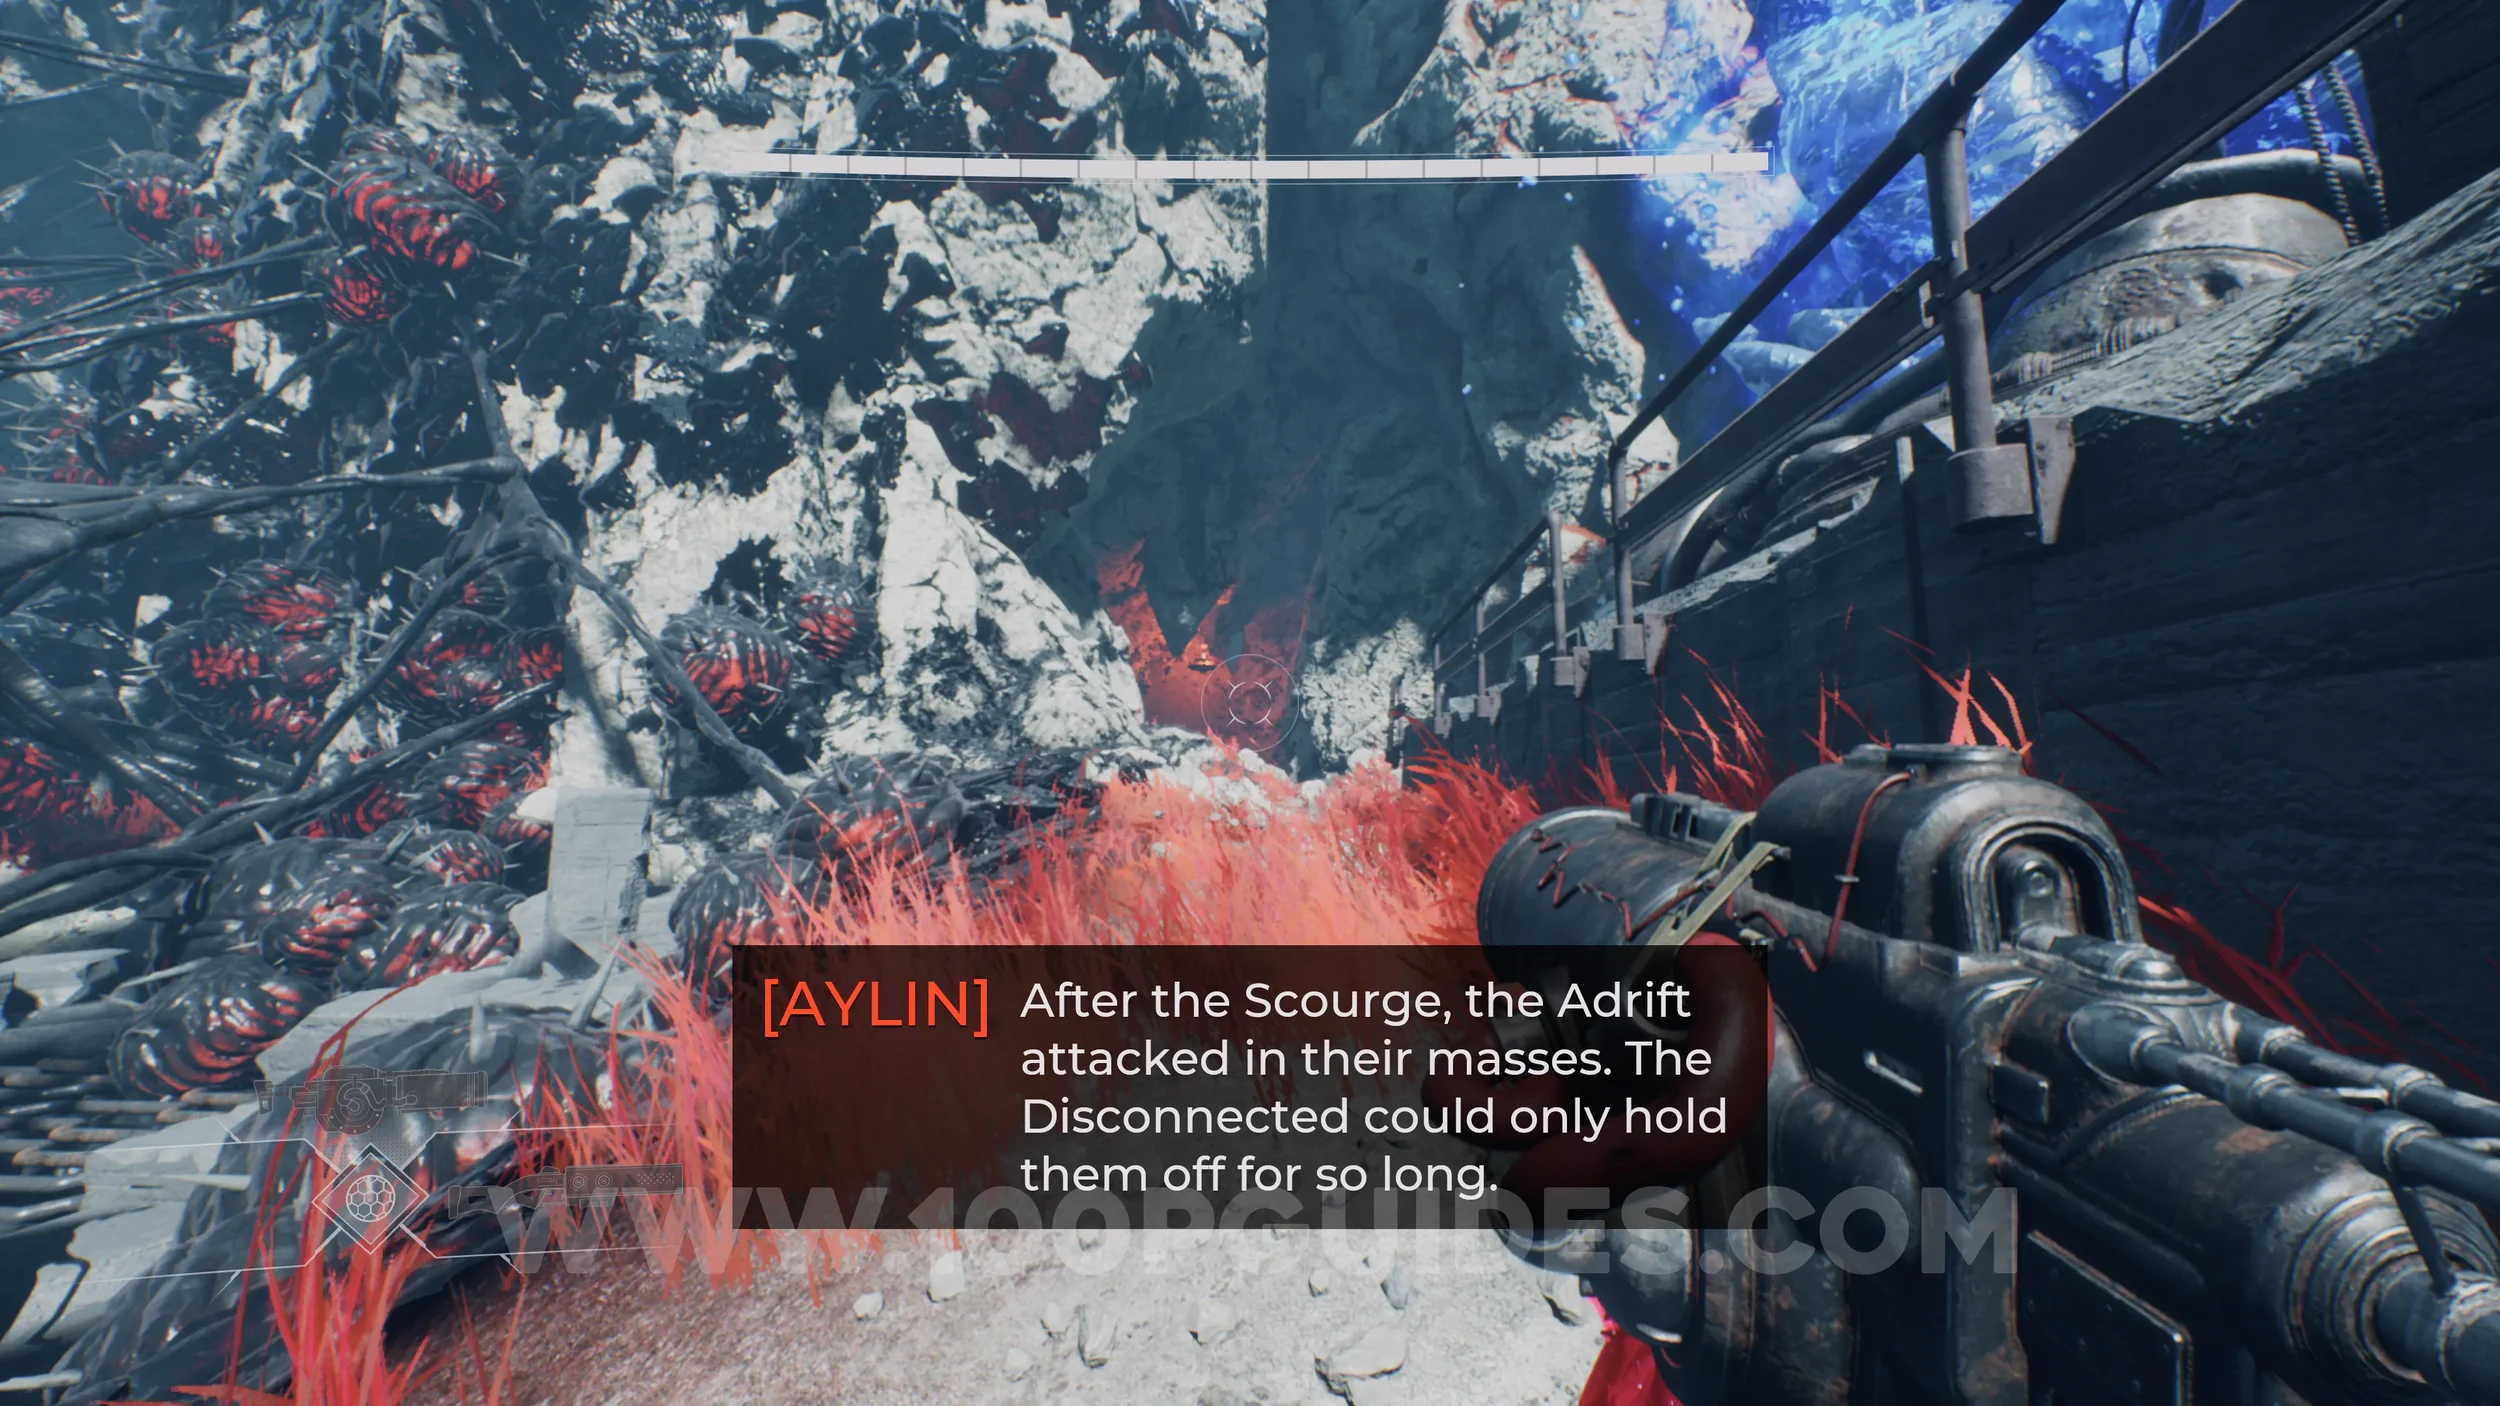
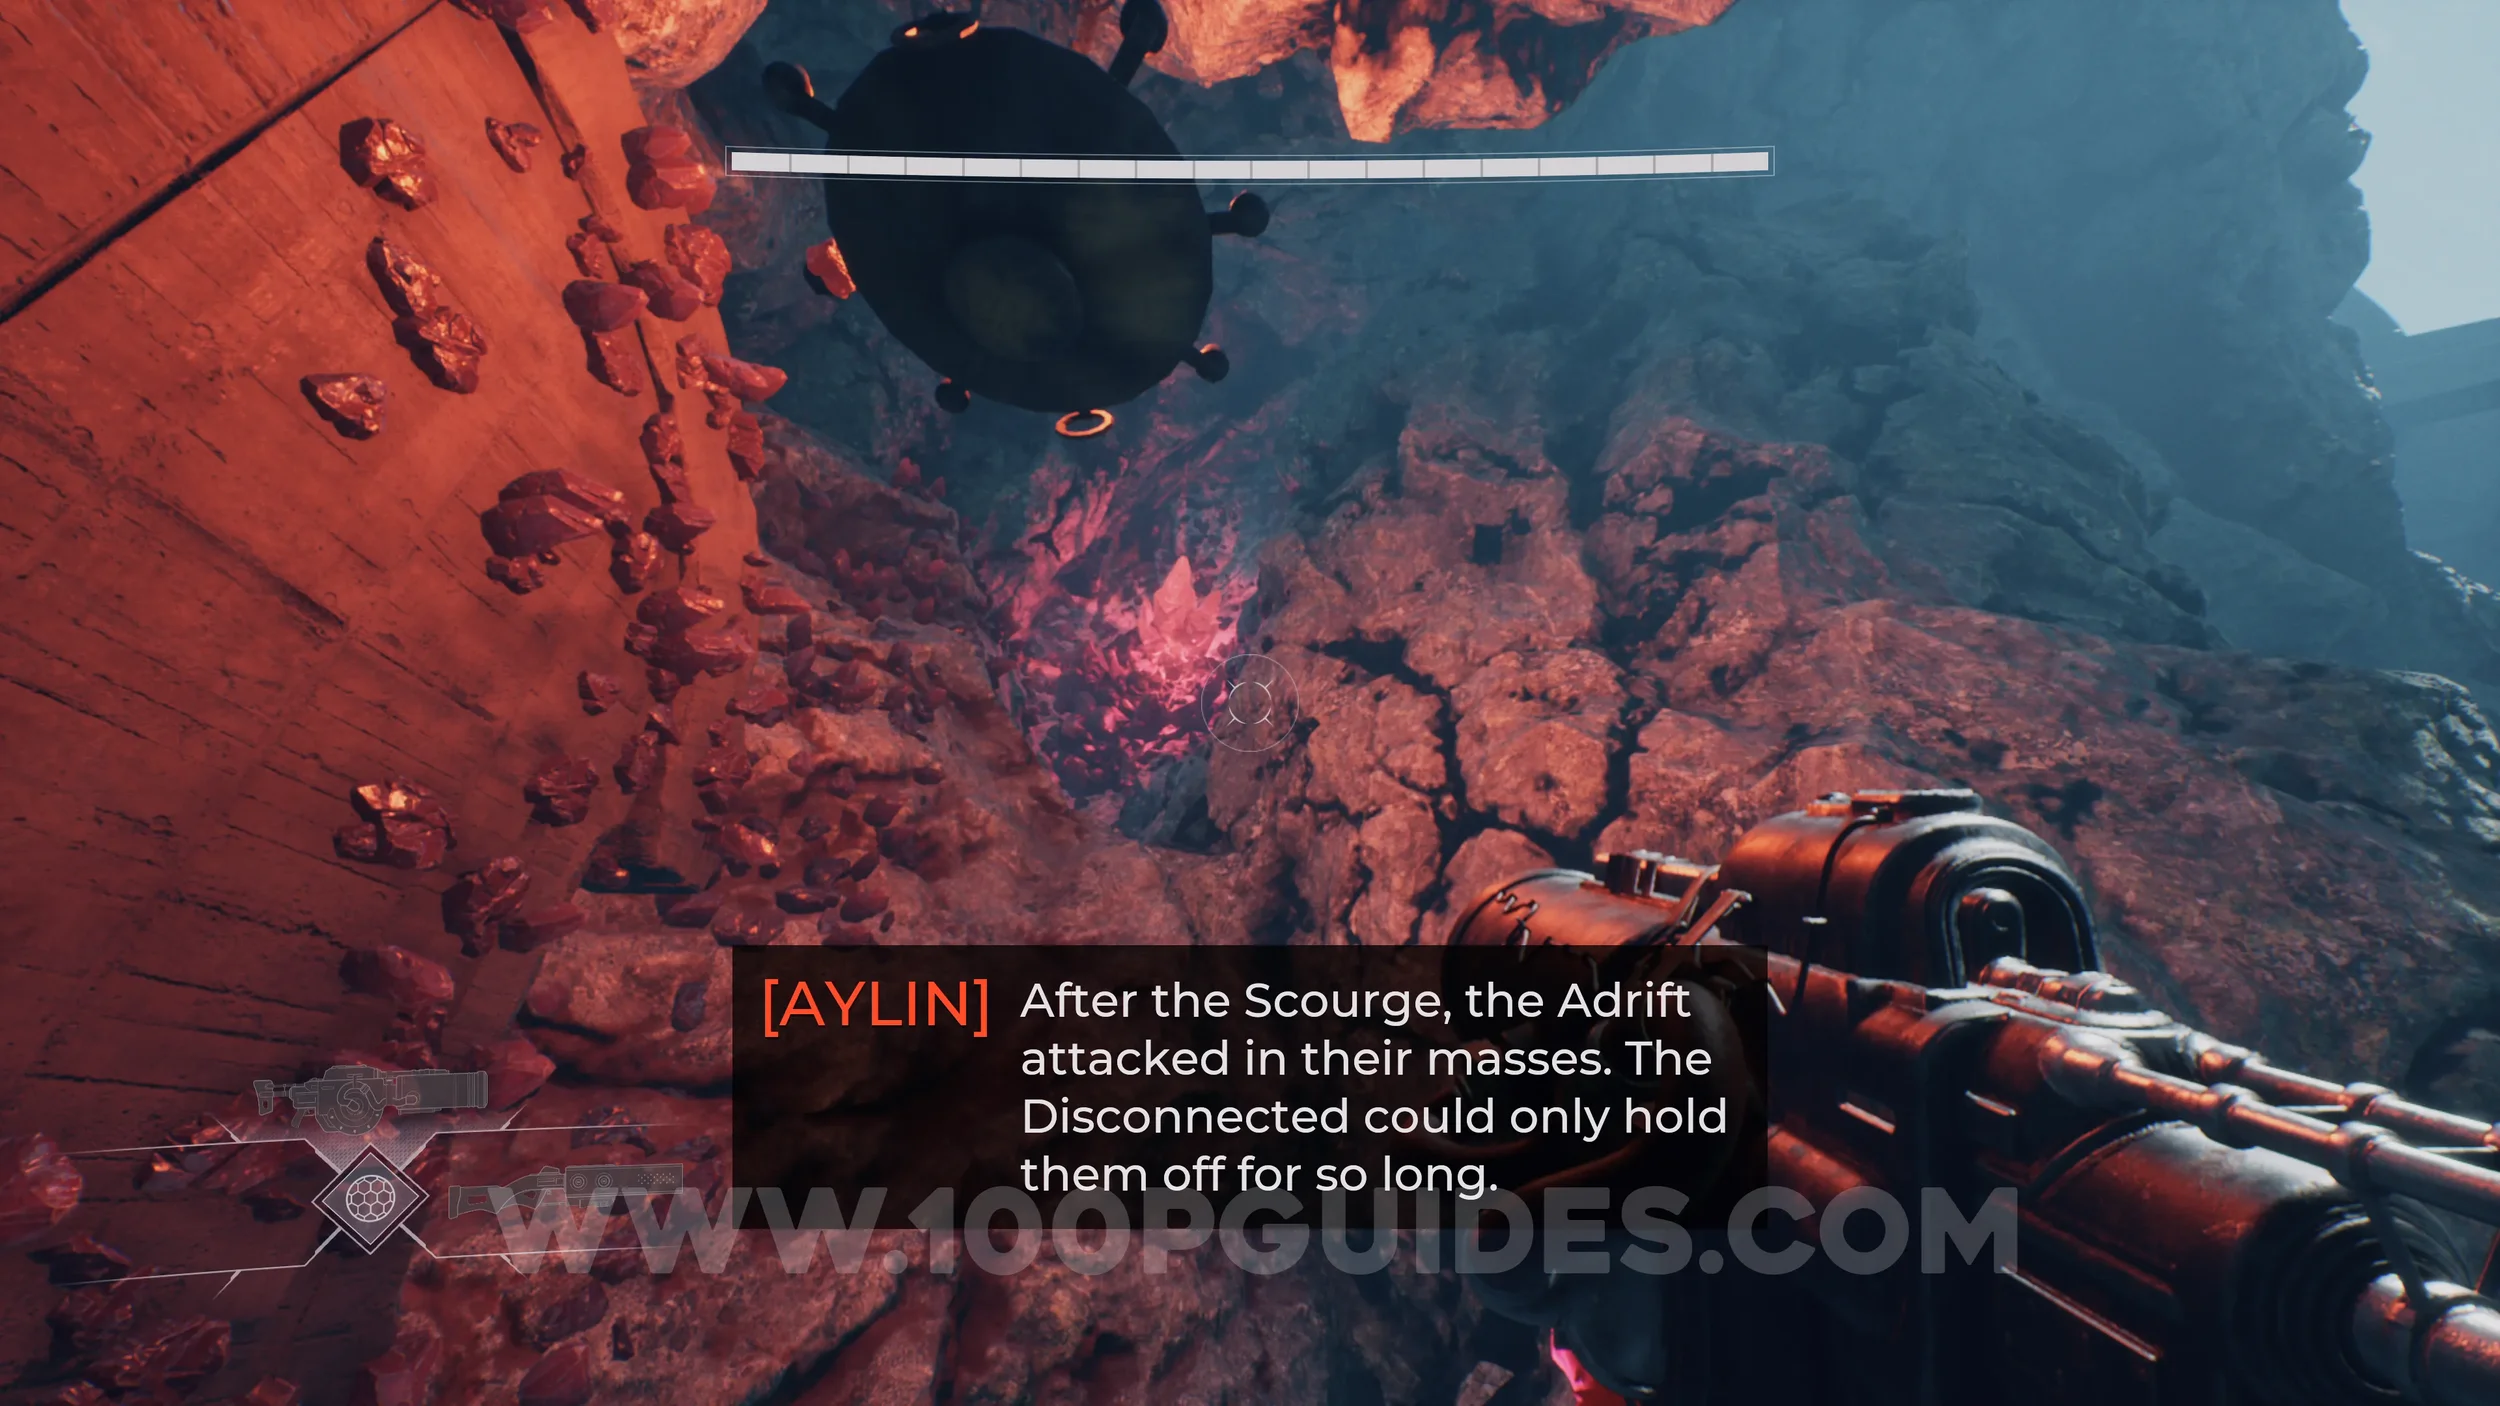
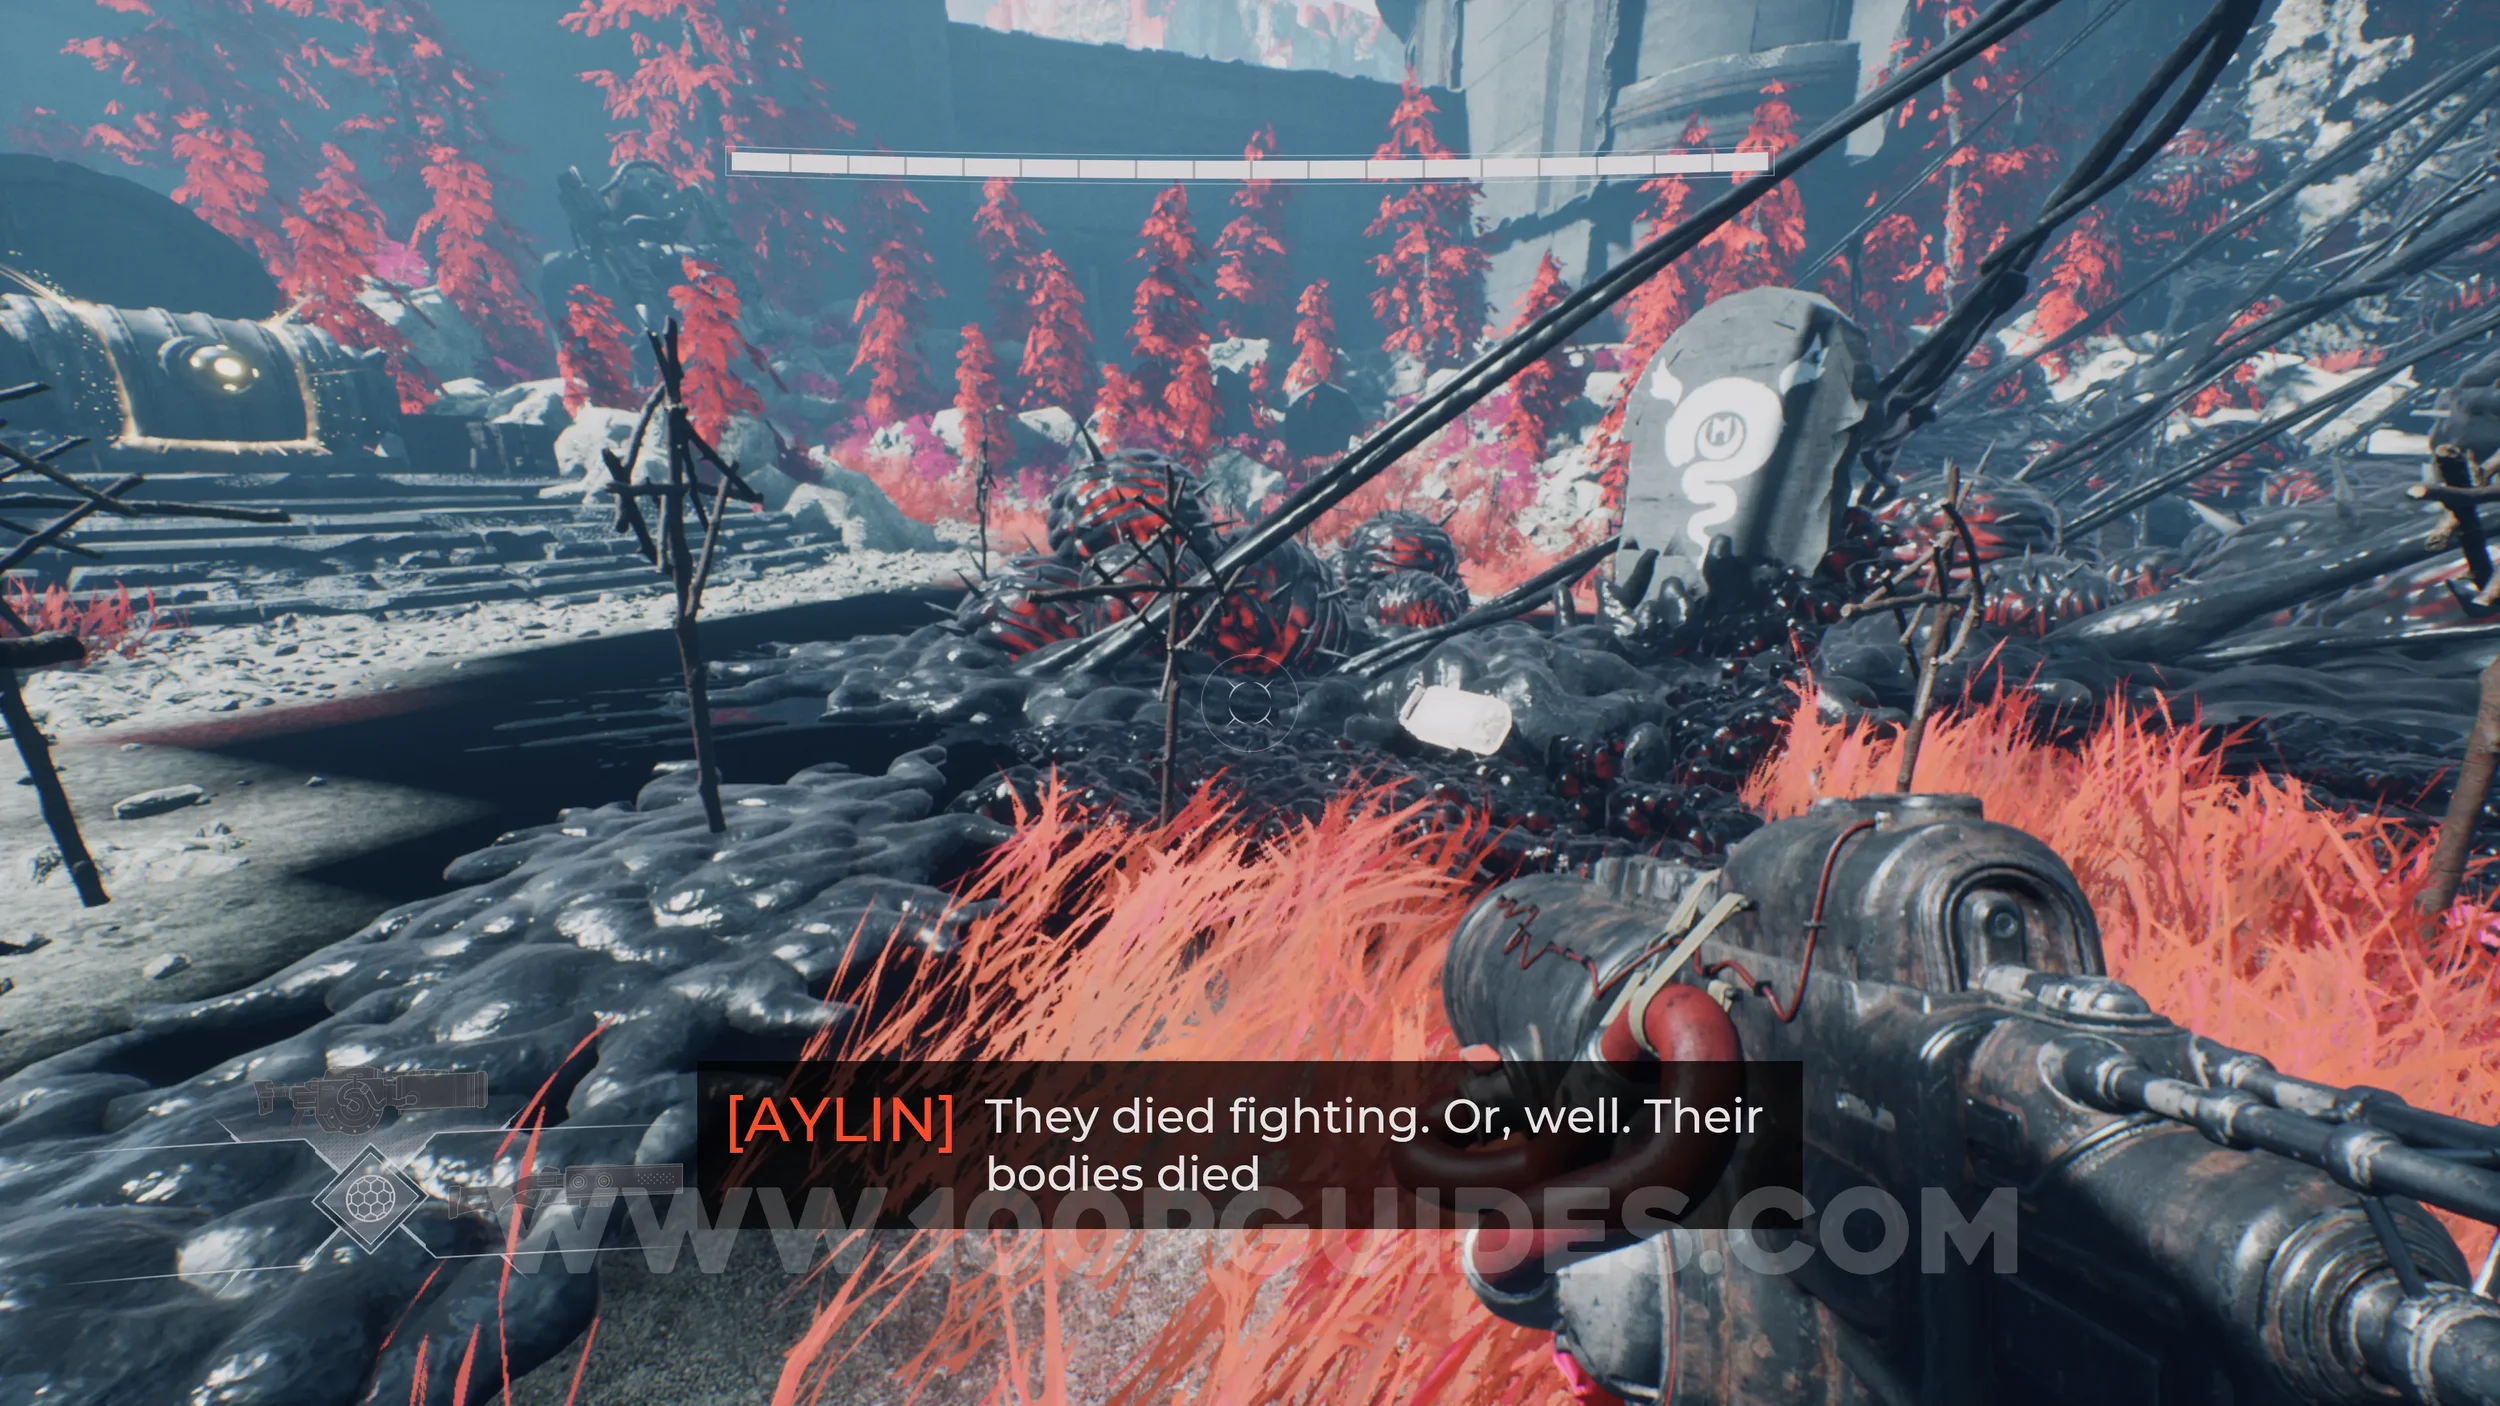
Lore Entry #32 (Memory - Entry #6329 - Fortifications). Next to a tomb in the center of the same area as the previous collectible and the skill to control Goliaths.
CHAPTER 2 - SCOURGE CRATER
Lore Entry #33 (Memory - Entry #43229 -Eruption).After the section at the start of the sub-chapter where you dash through red barriers, you'll head up a hill. The collectible will be on your left as you climb. If you reach the area where you can see the massive orb, you've gone too far.
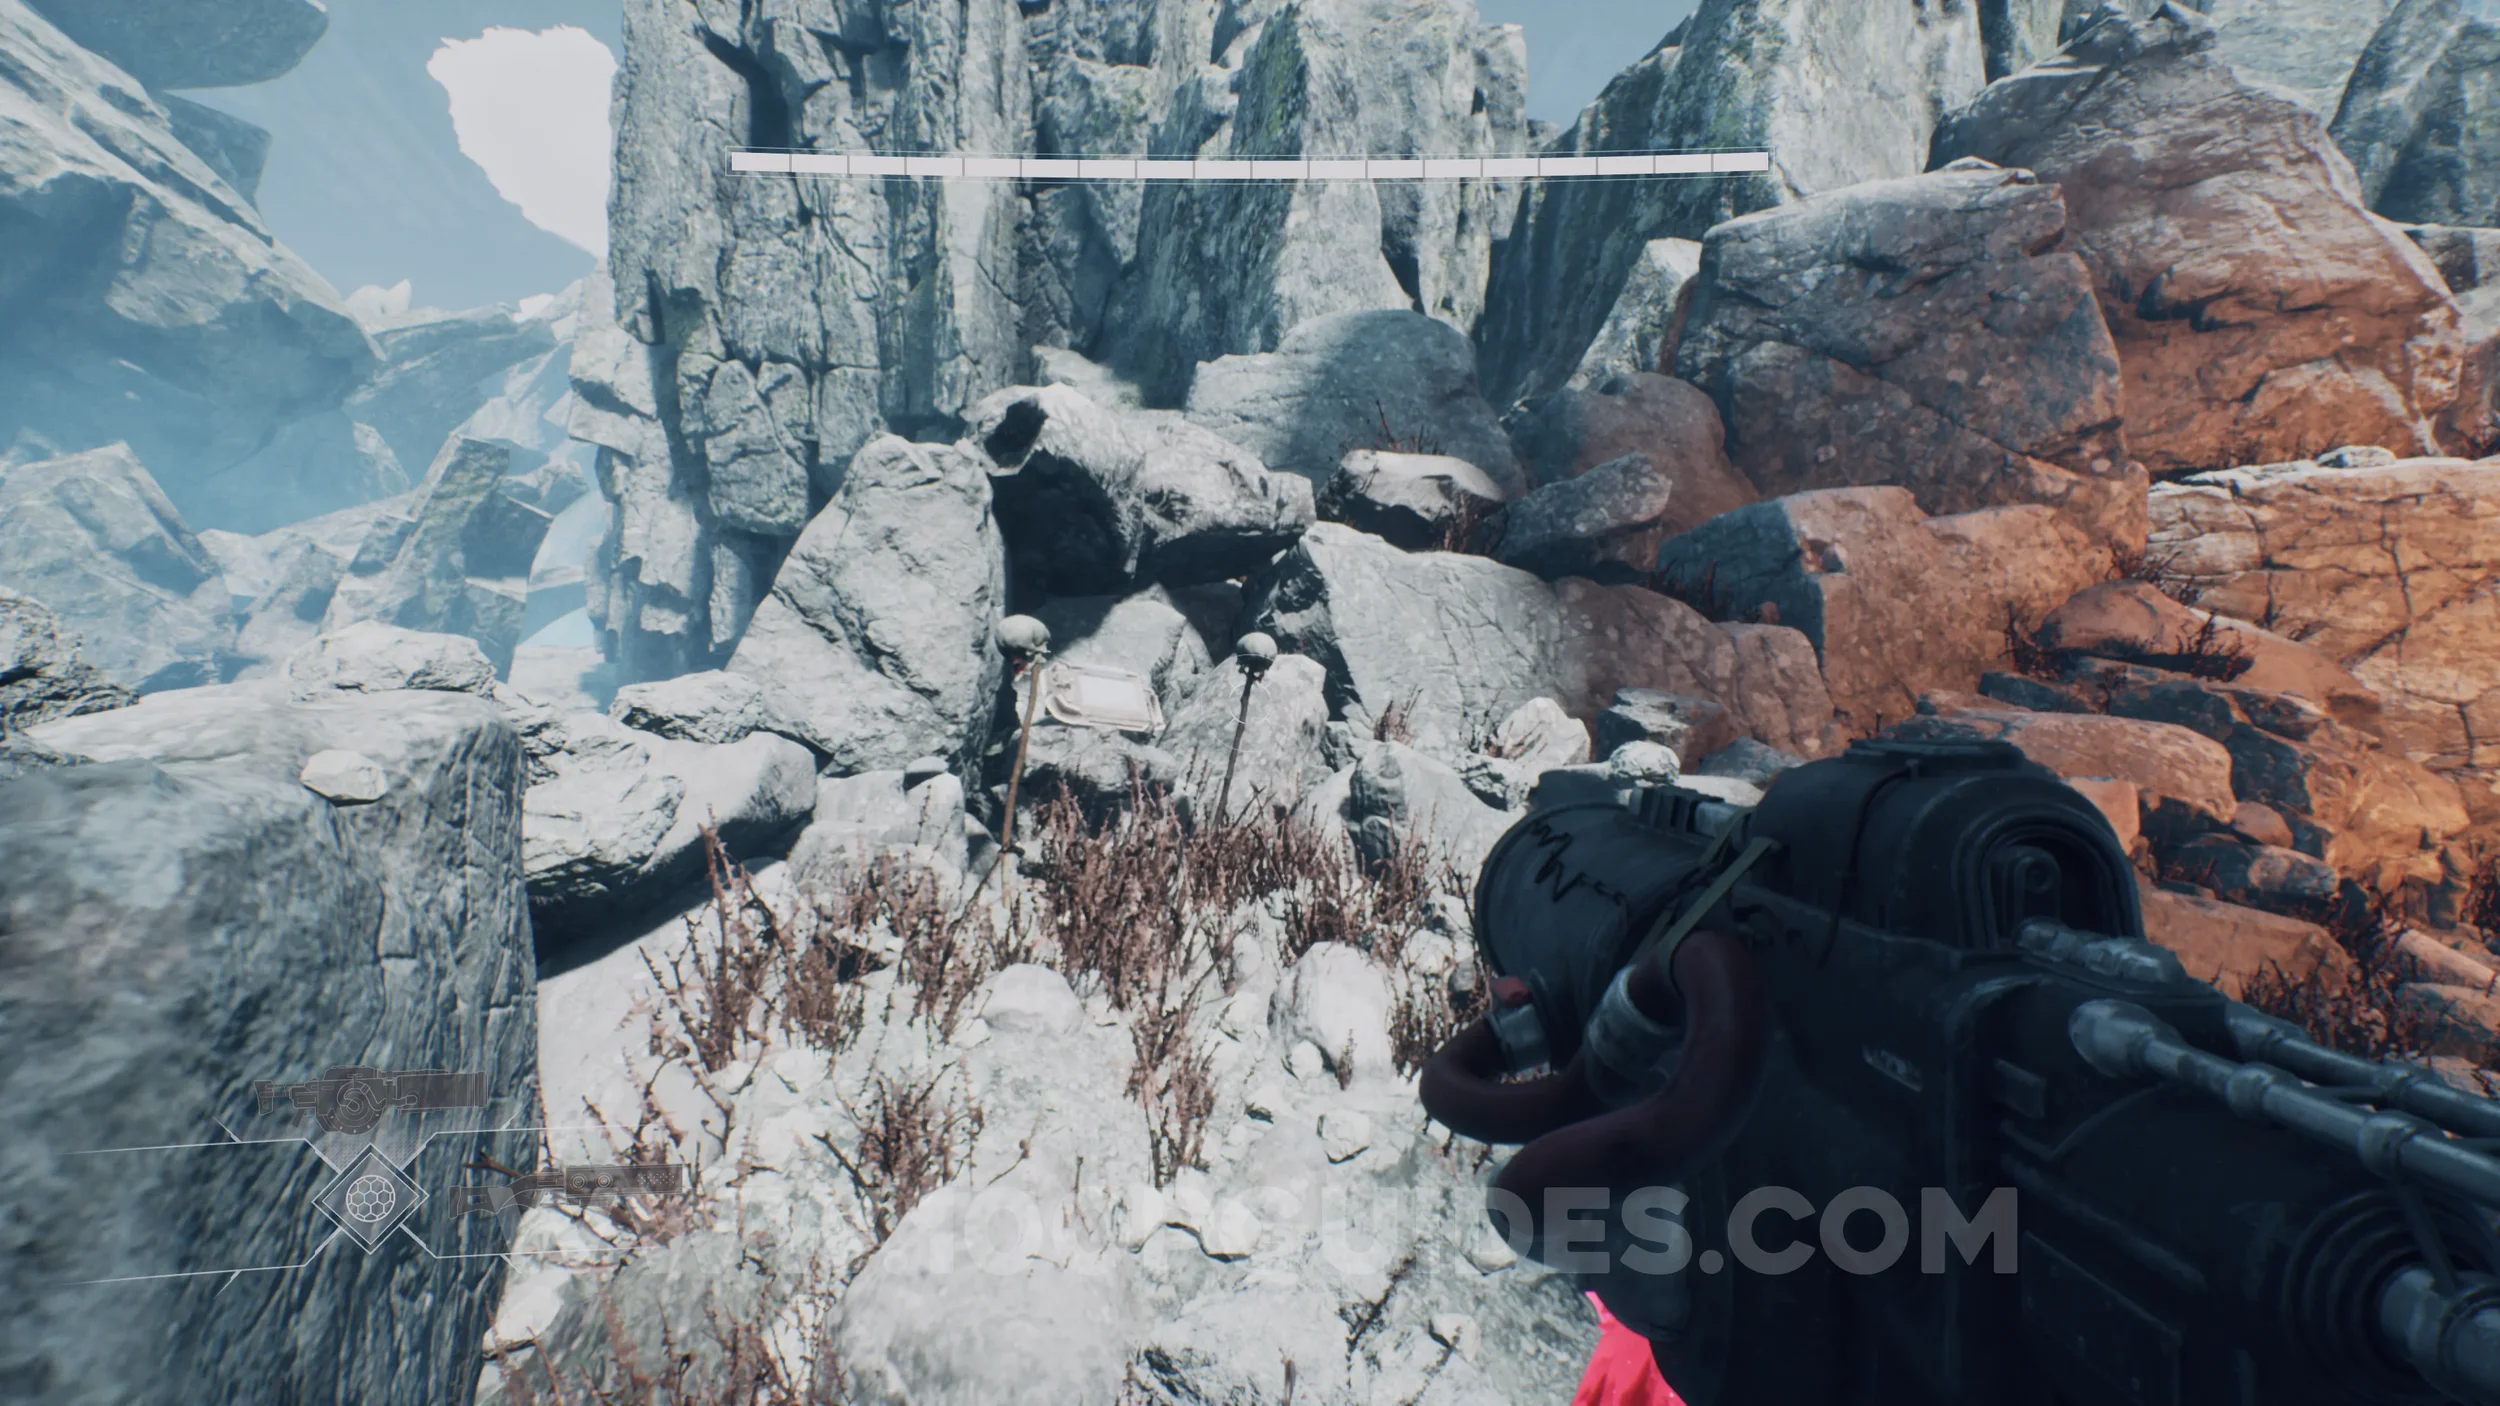
Lore Entry #34 (Memory - Entry #56744 - Crystalisation [02]. To the left of the Manarch’s Lance weapon.
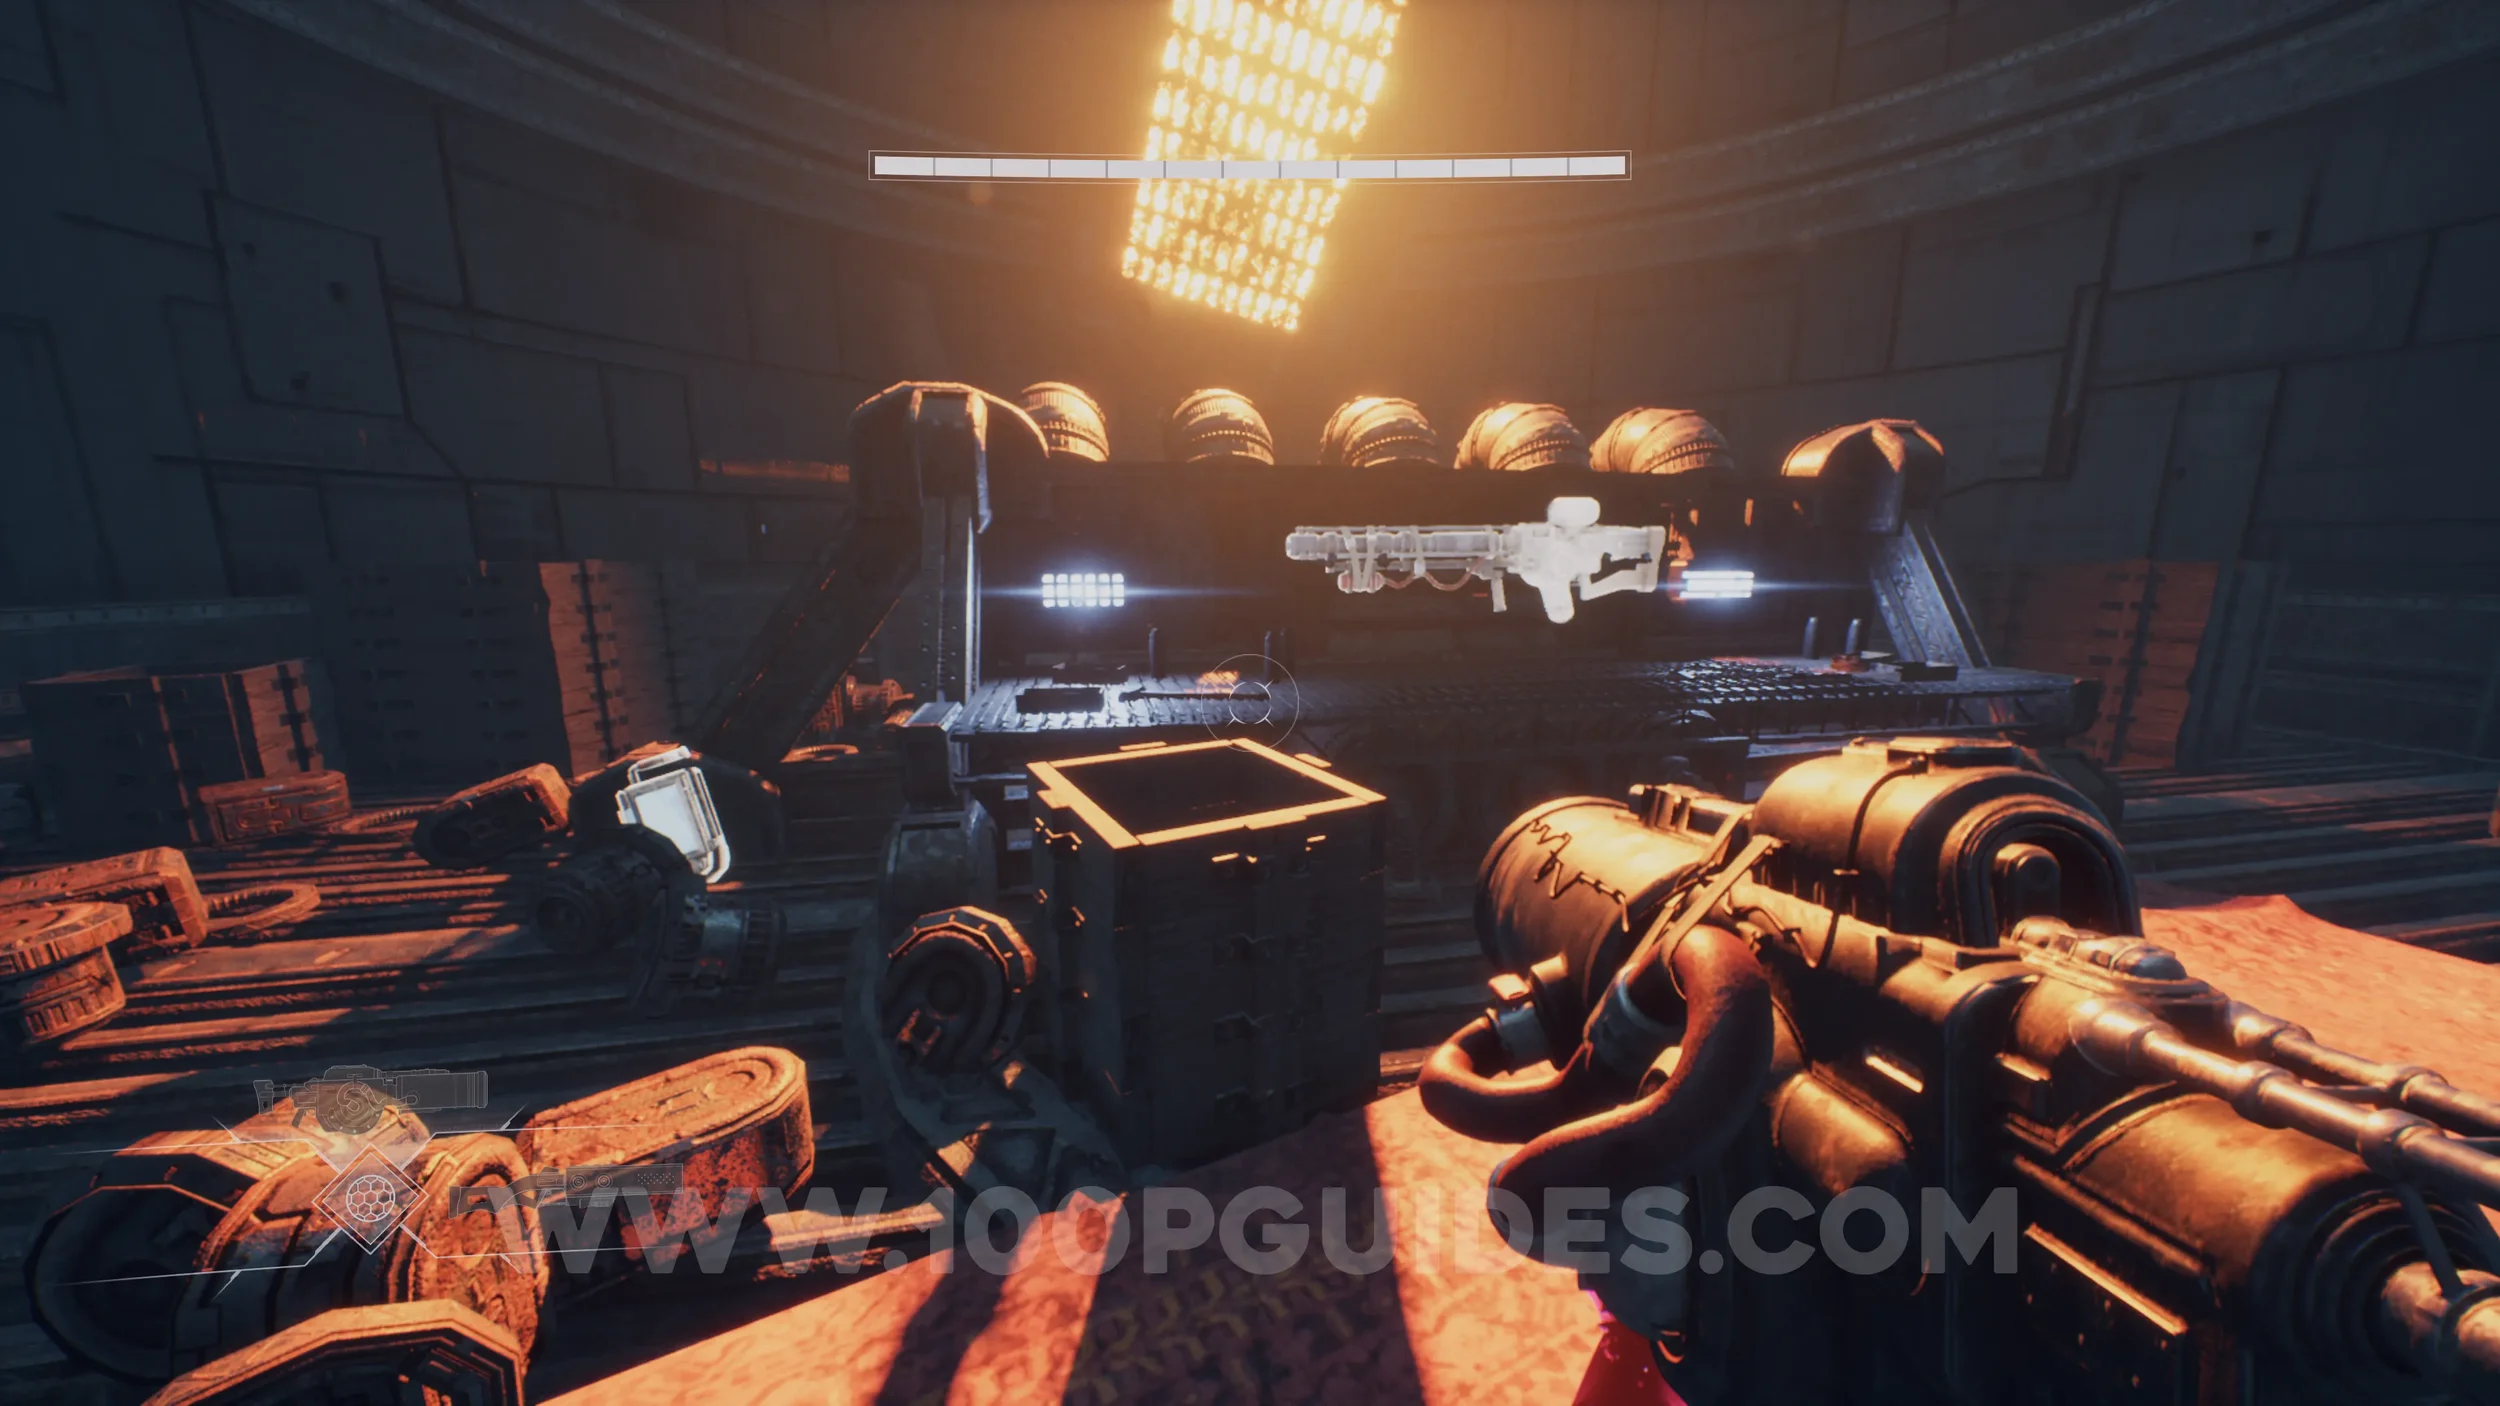
Lore Entry #35 (Memory - Entry #54717 - Metal). Once you arrive at the massive circular arena, cross it in the Goliath to break through the metal door on the opposite side. Exit the Goliath onto the metal ramp leading upward. Partway up the ramp, turn around and take the metal path on your left to reach the collectible.
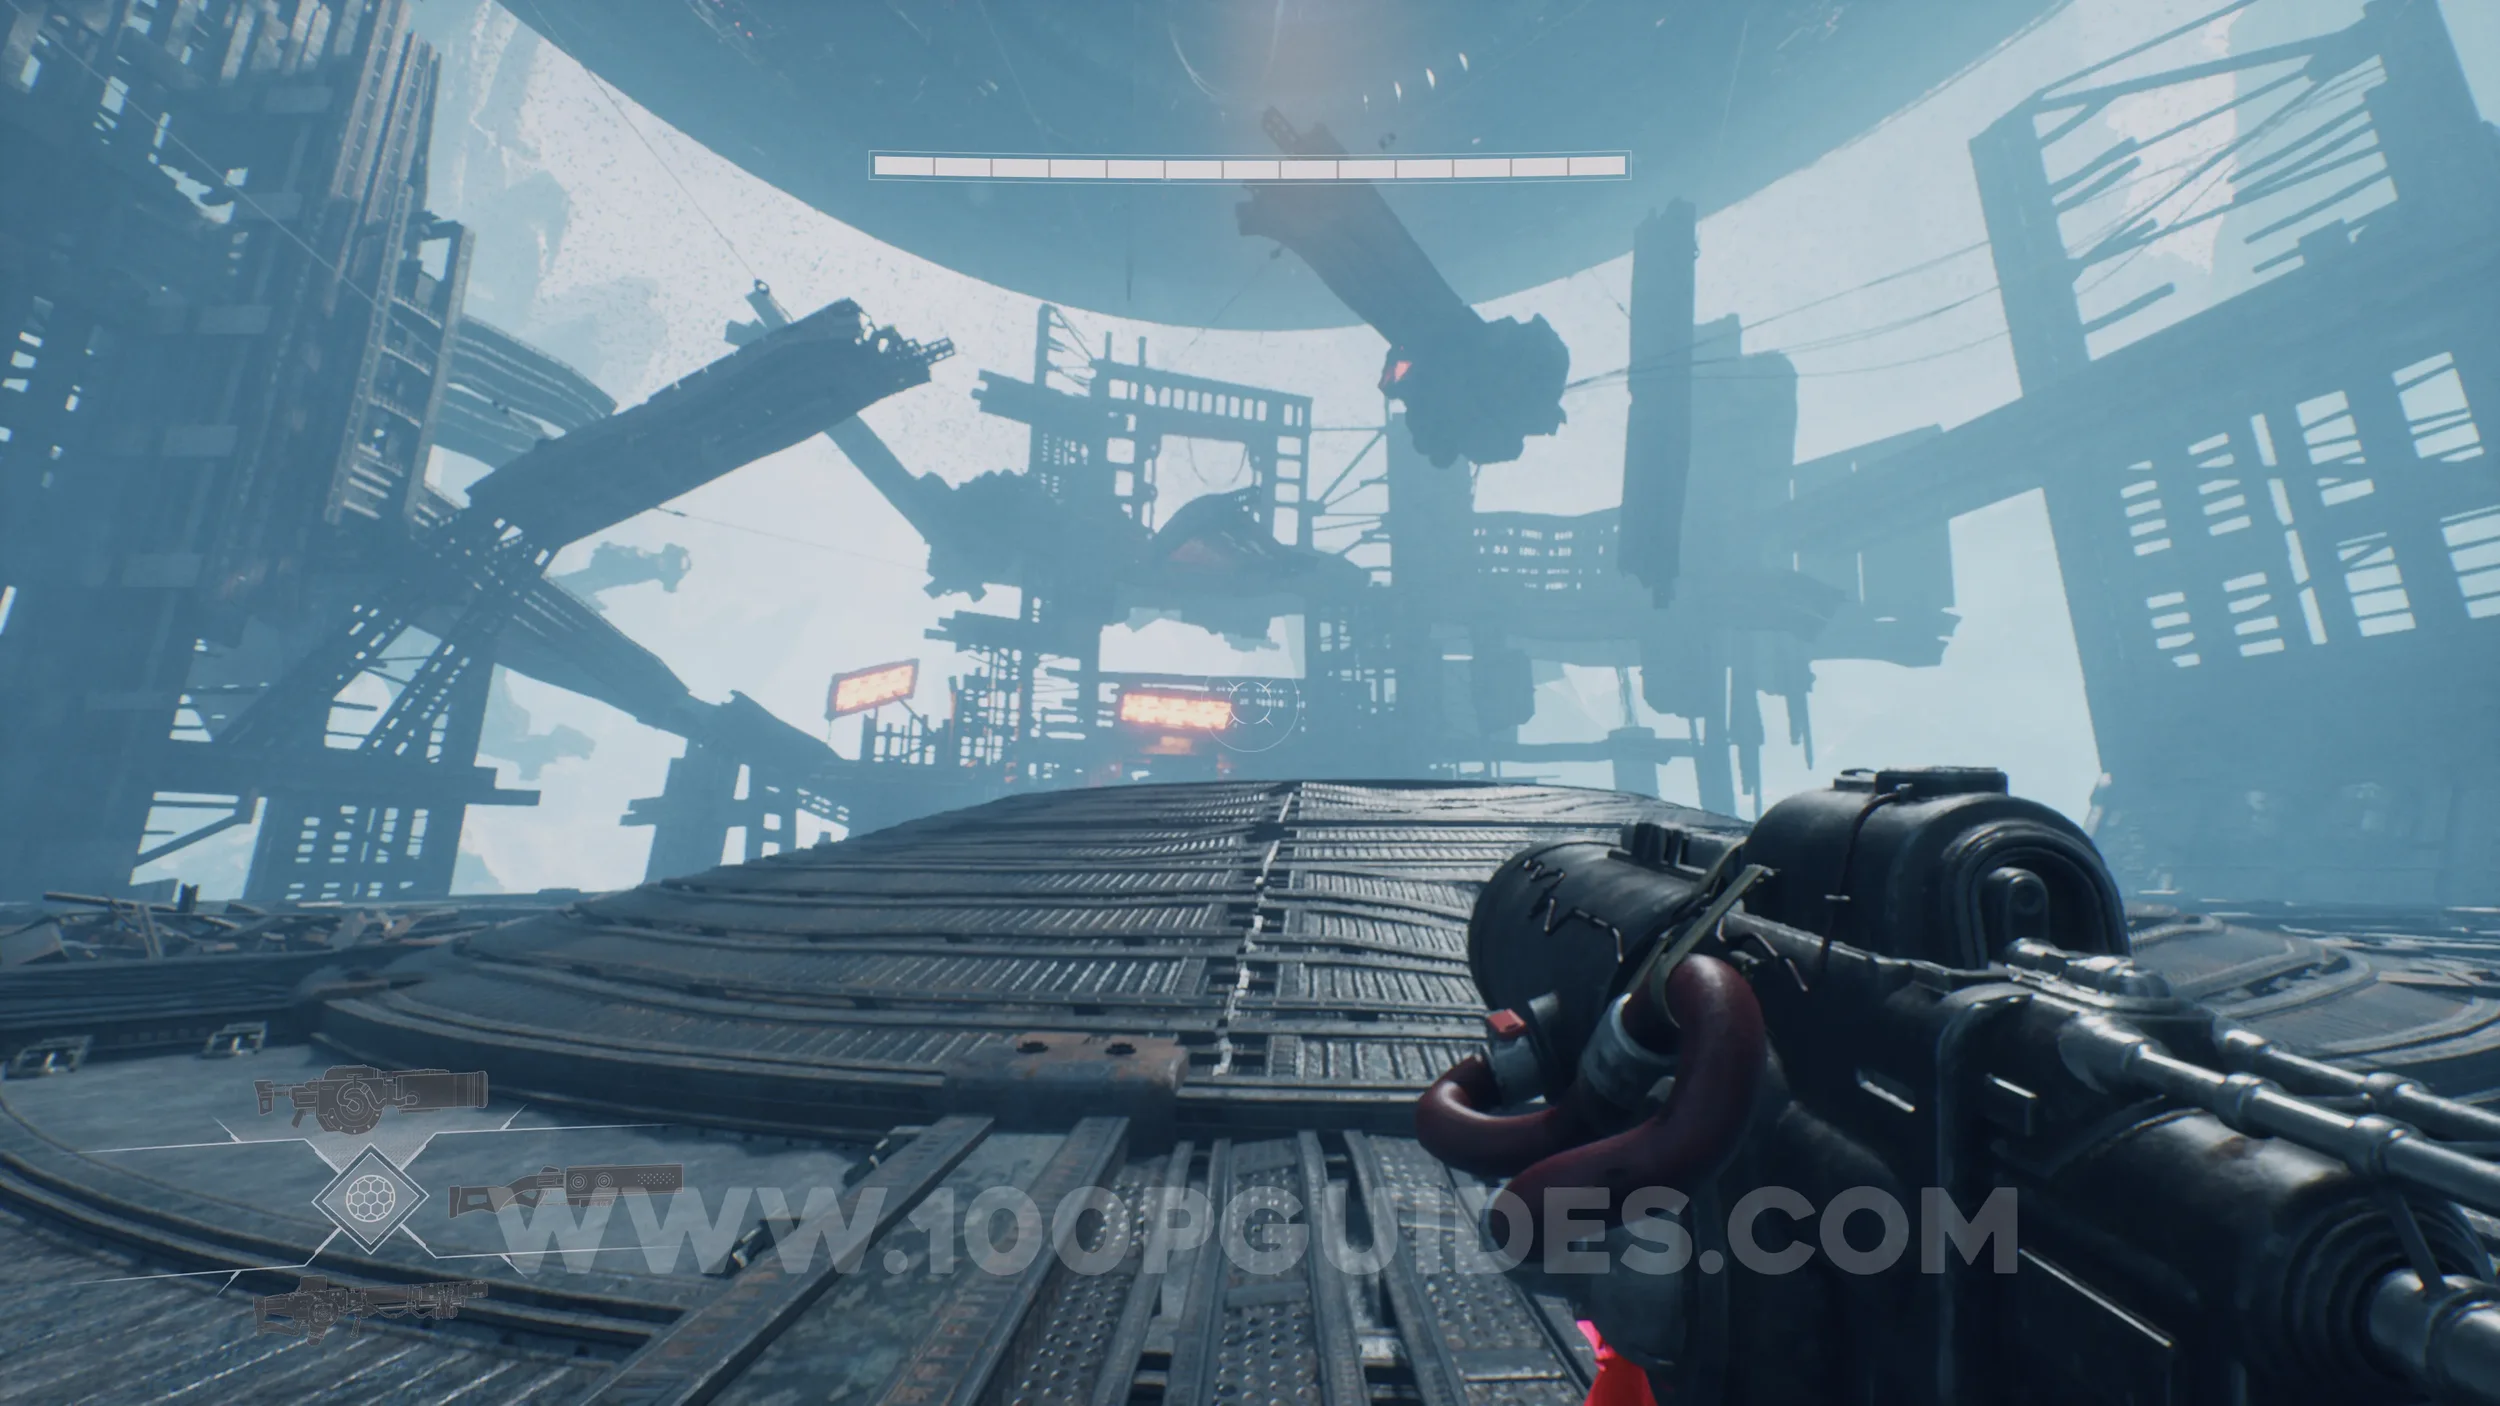
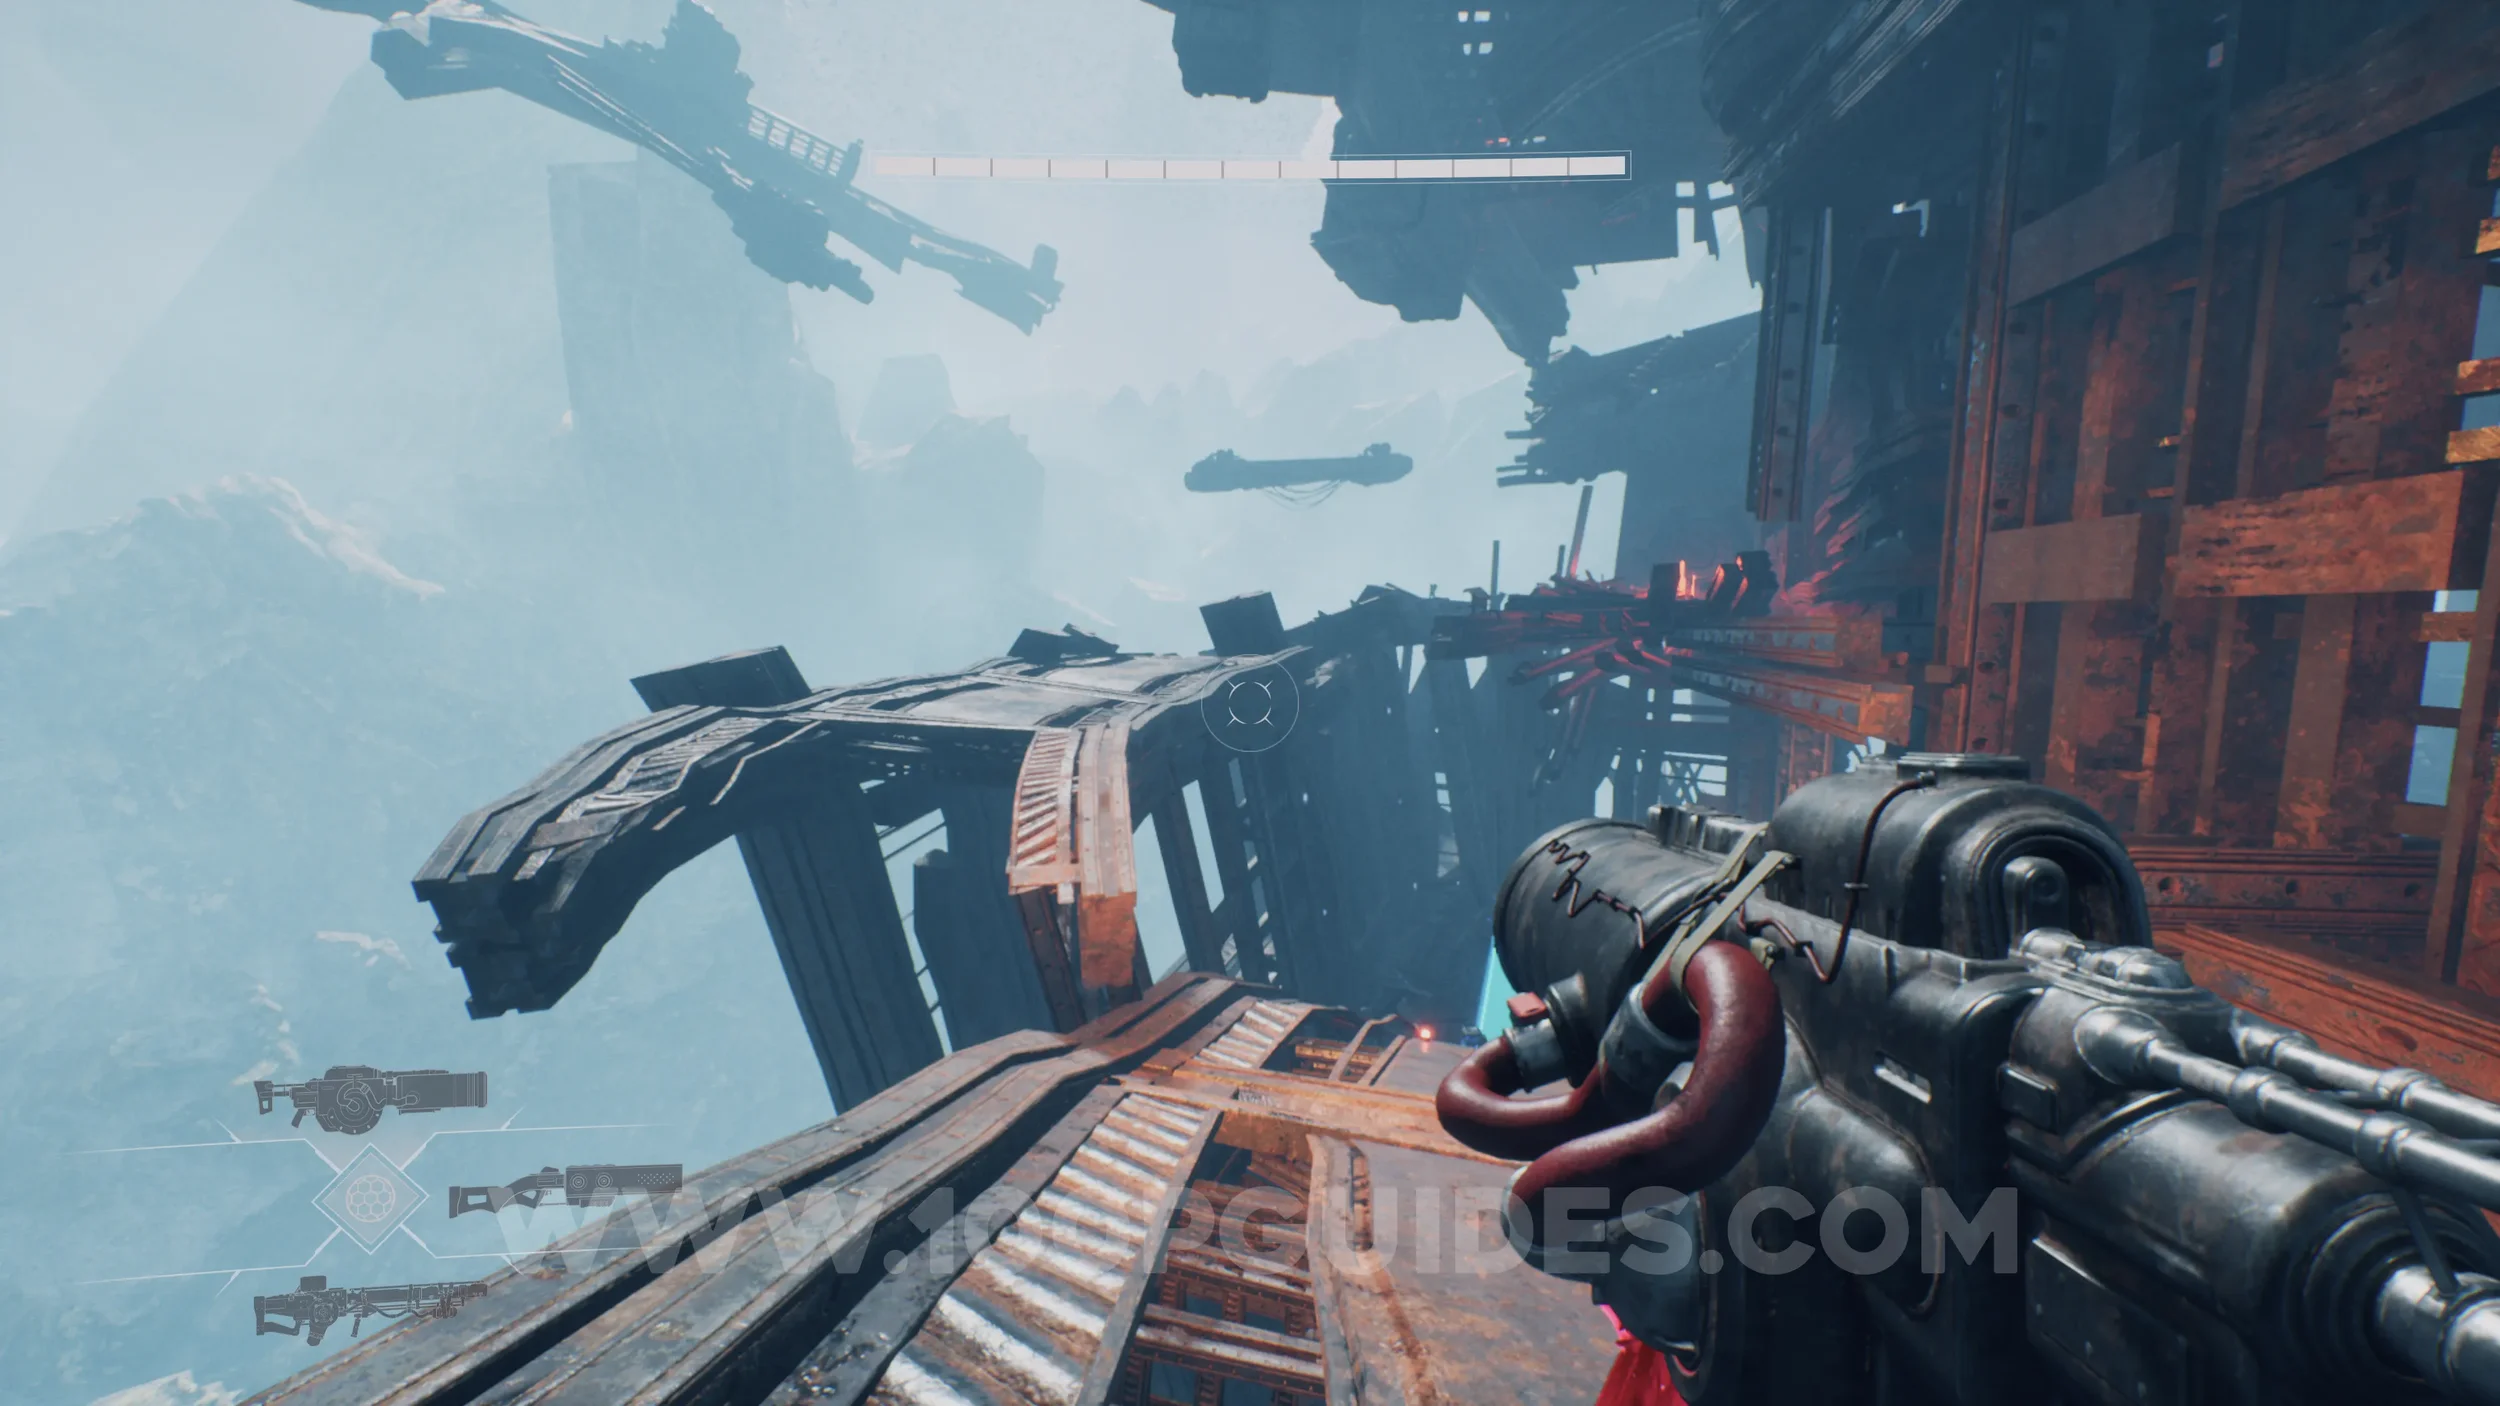
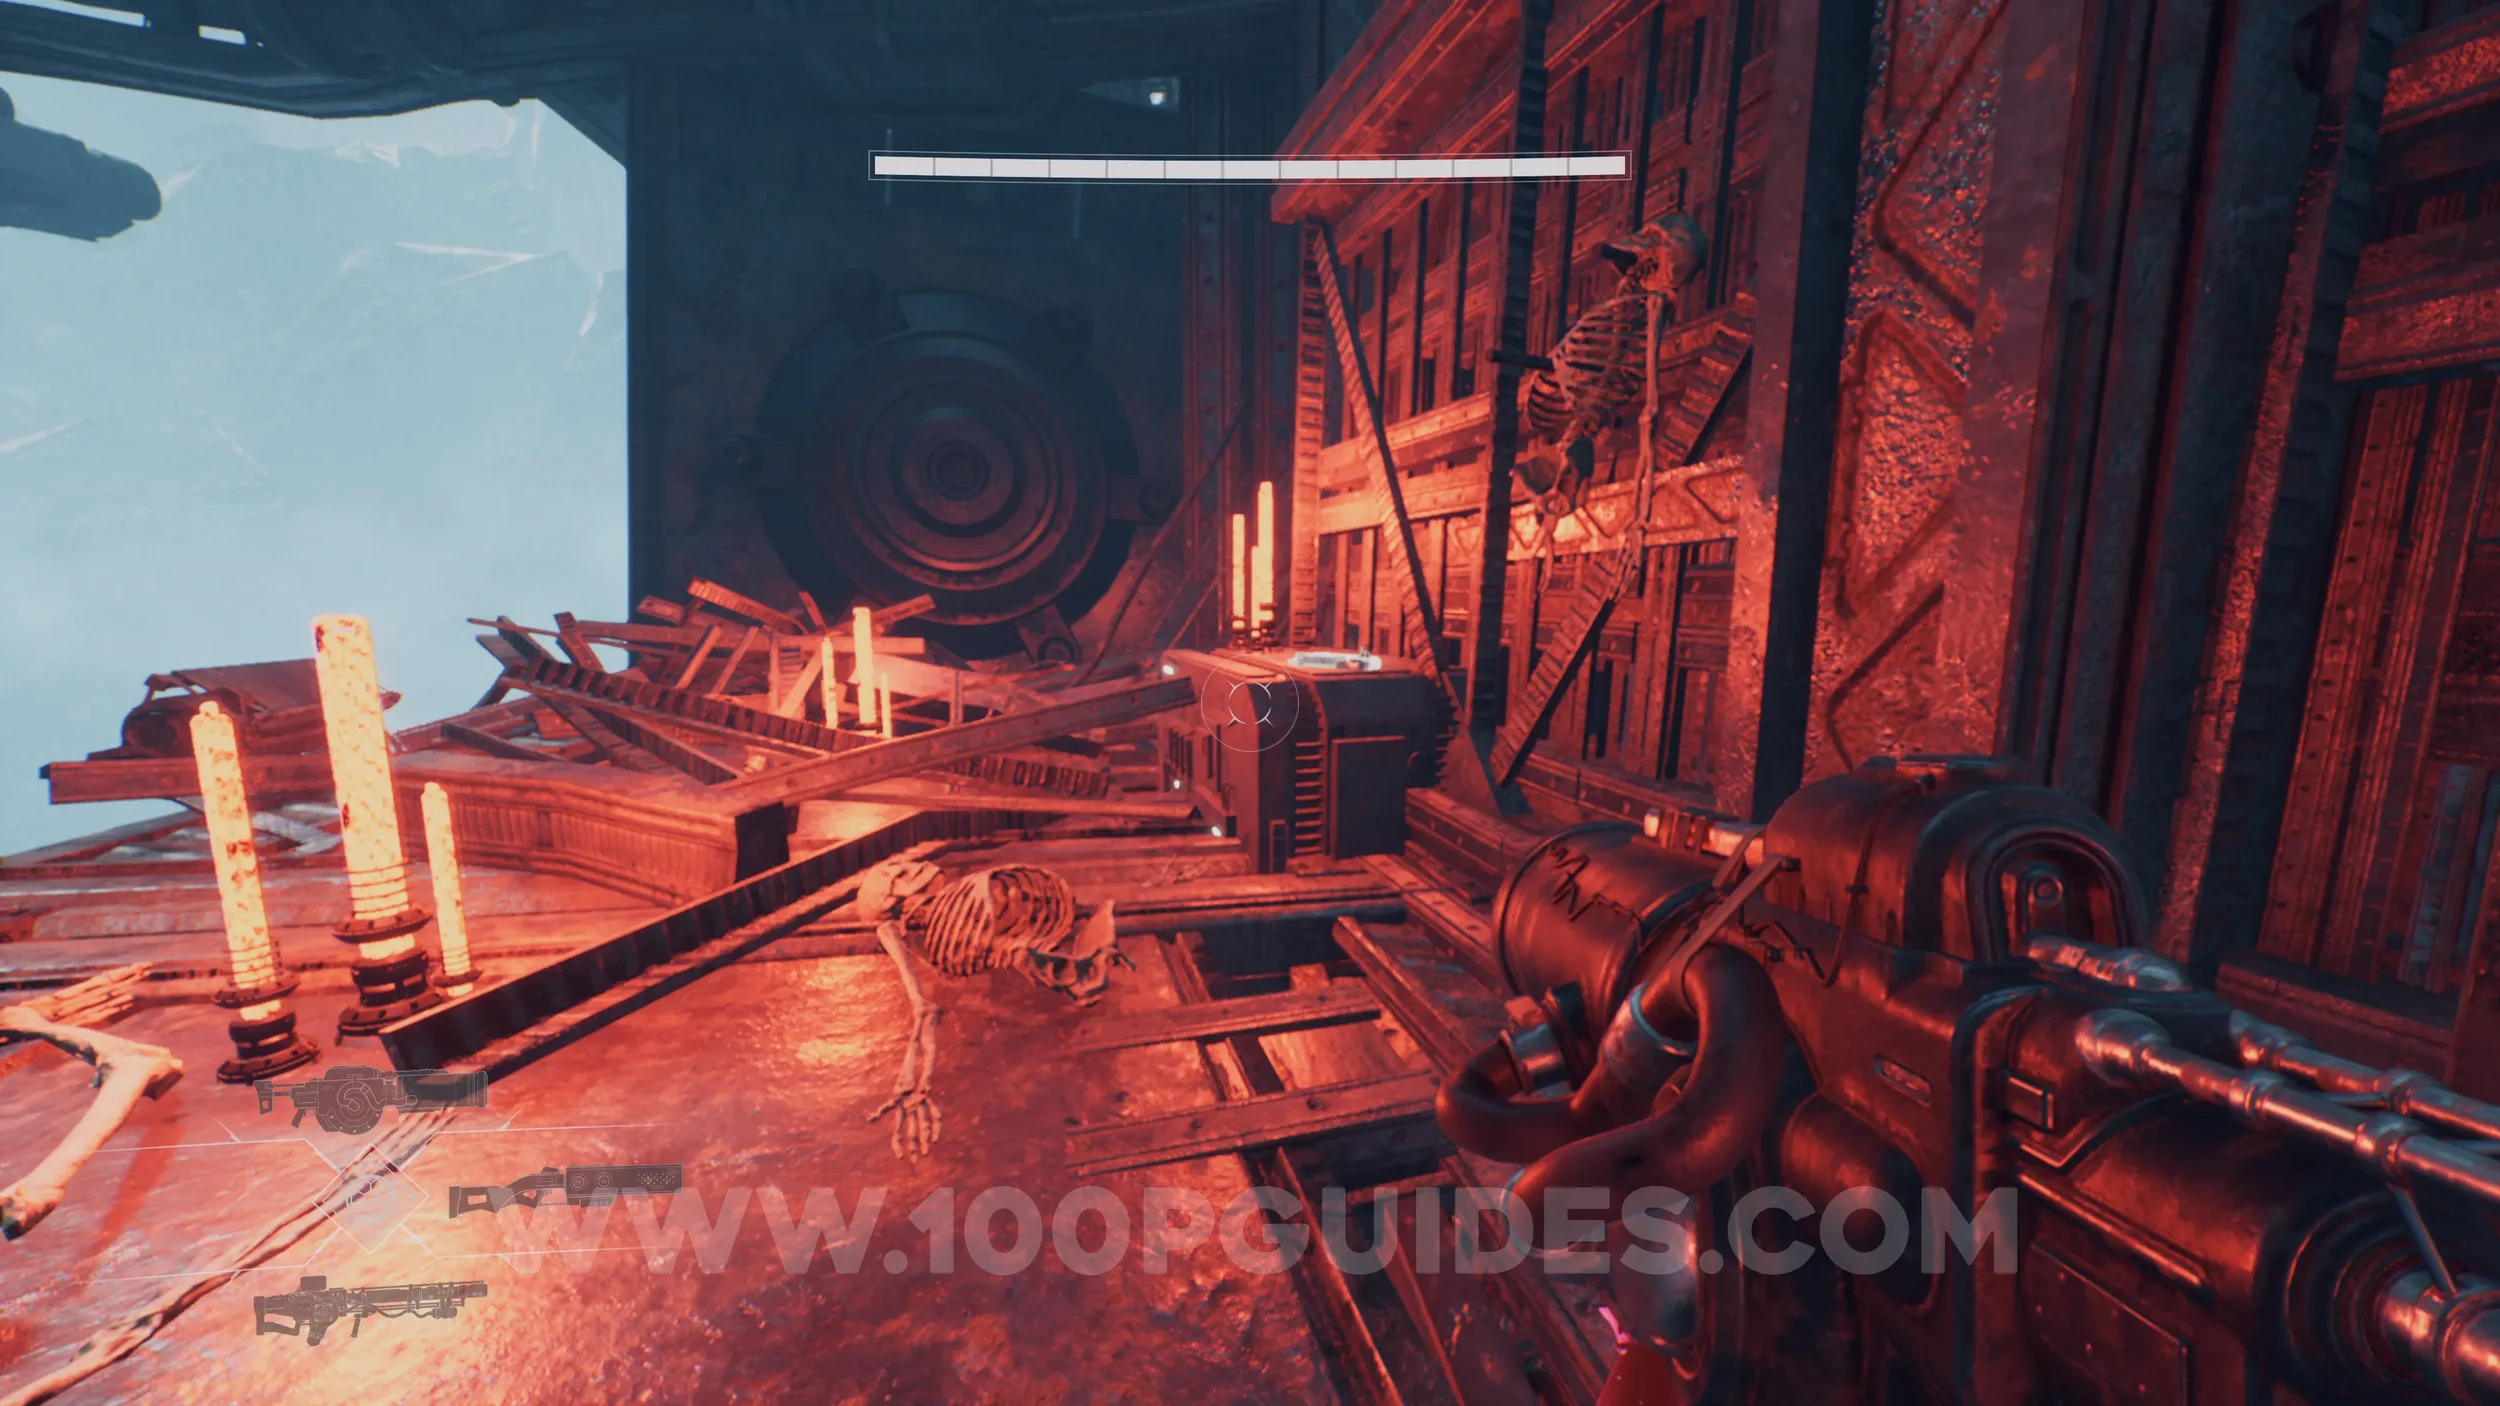
Drift Crystal #5. After collecting the previous collectible, continue climbing around the circular arena. From the first Watcher, instead of boosting up to the next Watcher above, dash to the suspended metal structure on the left. Follow this path until you return to the outer layer, then head right to find the crystal.
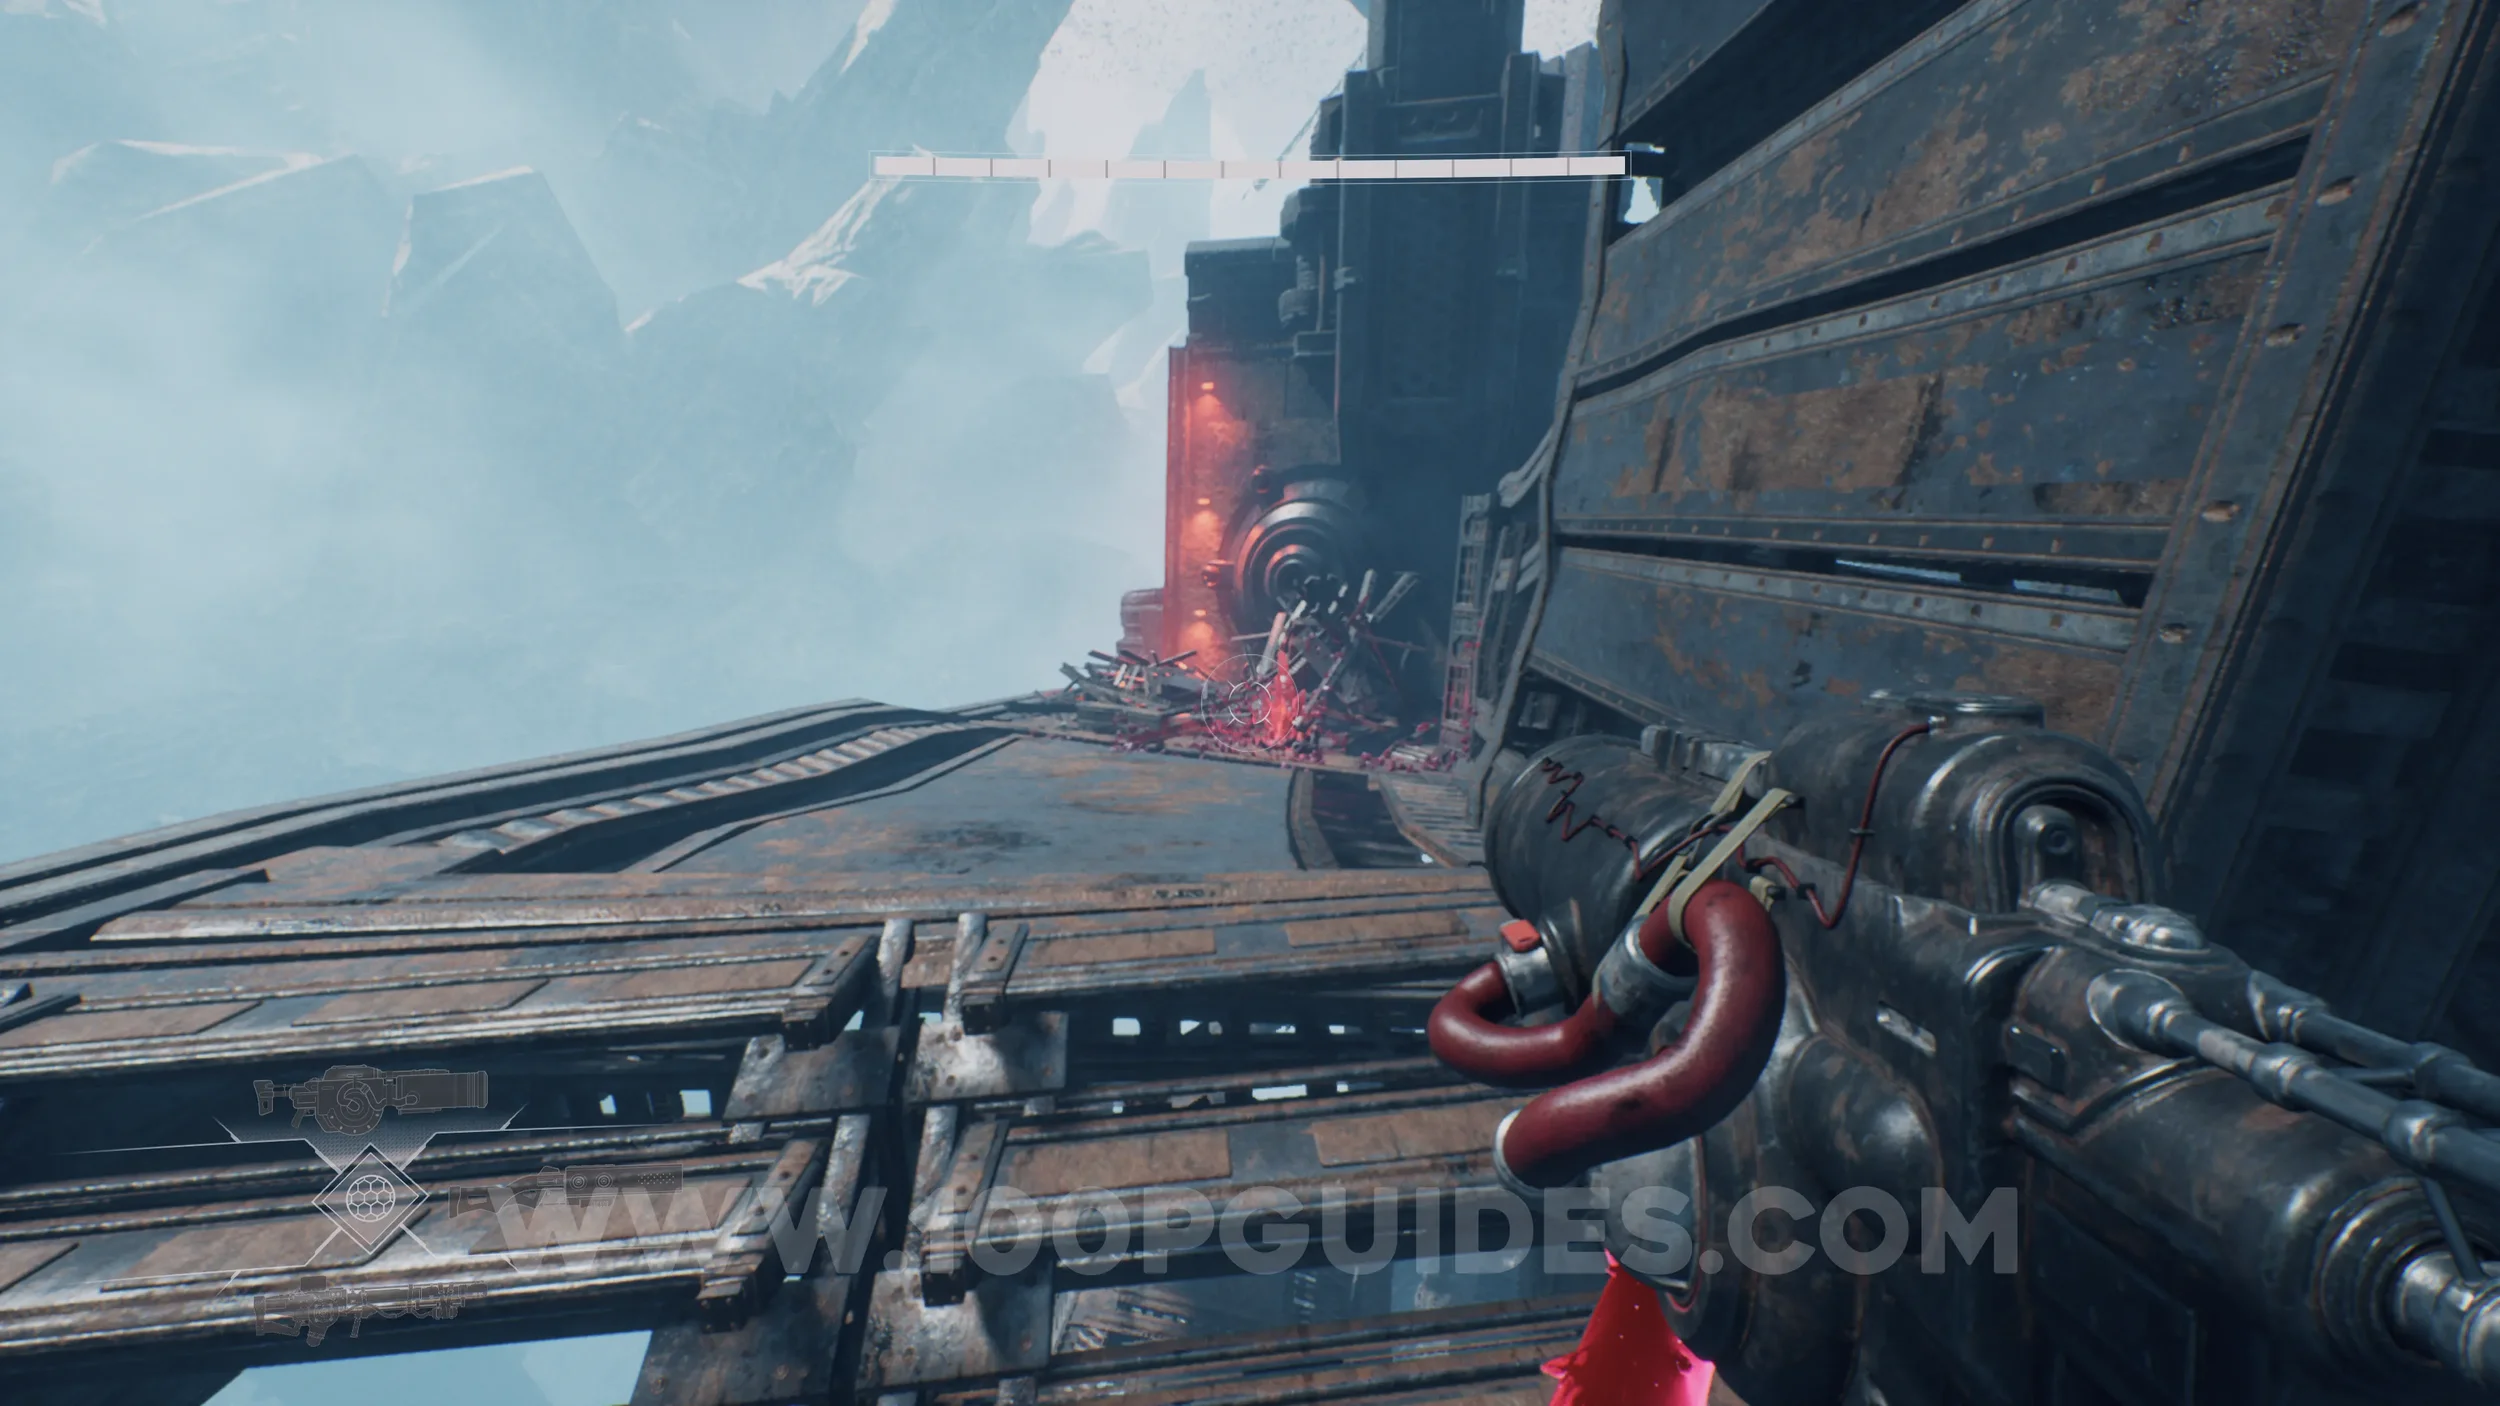
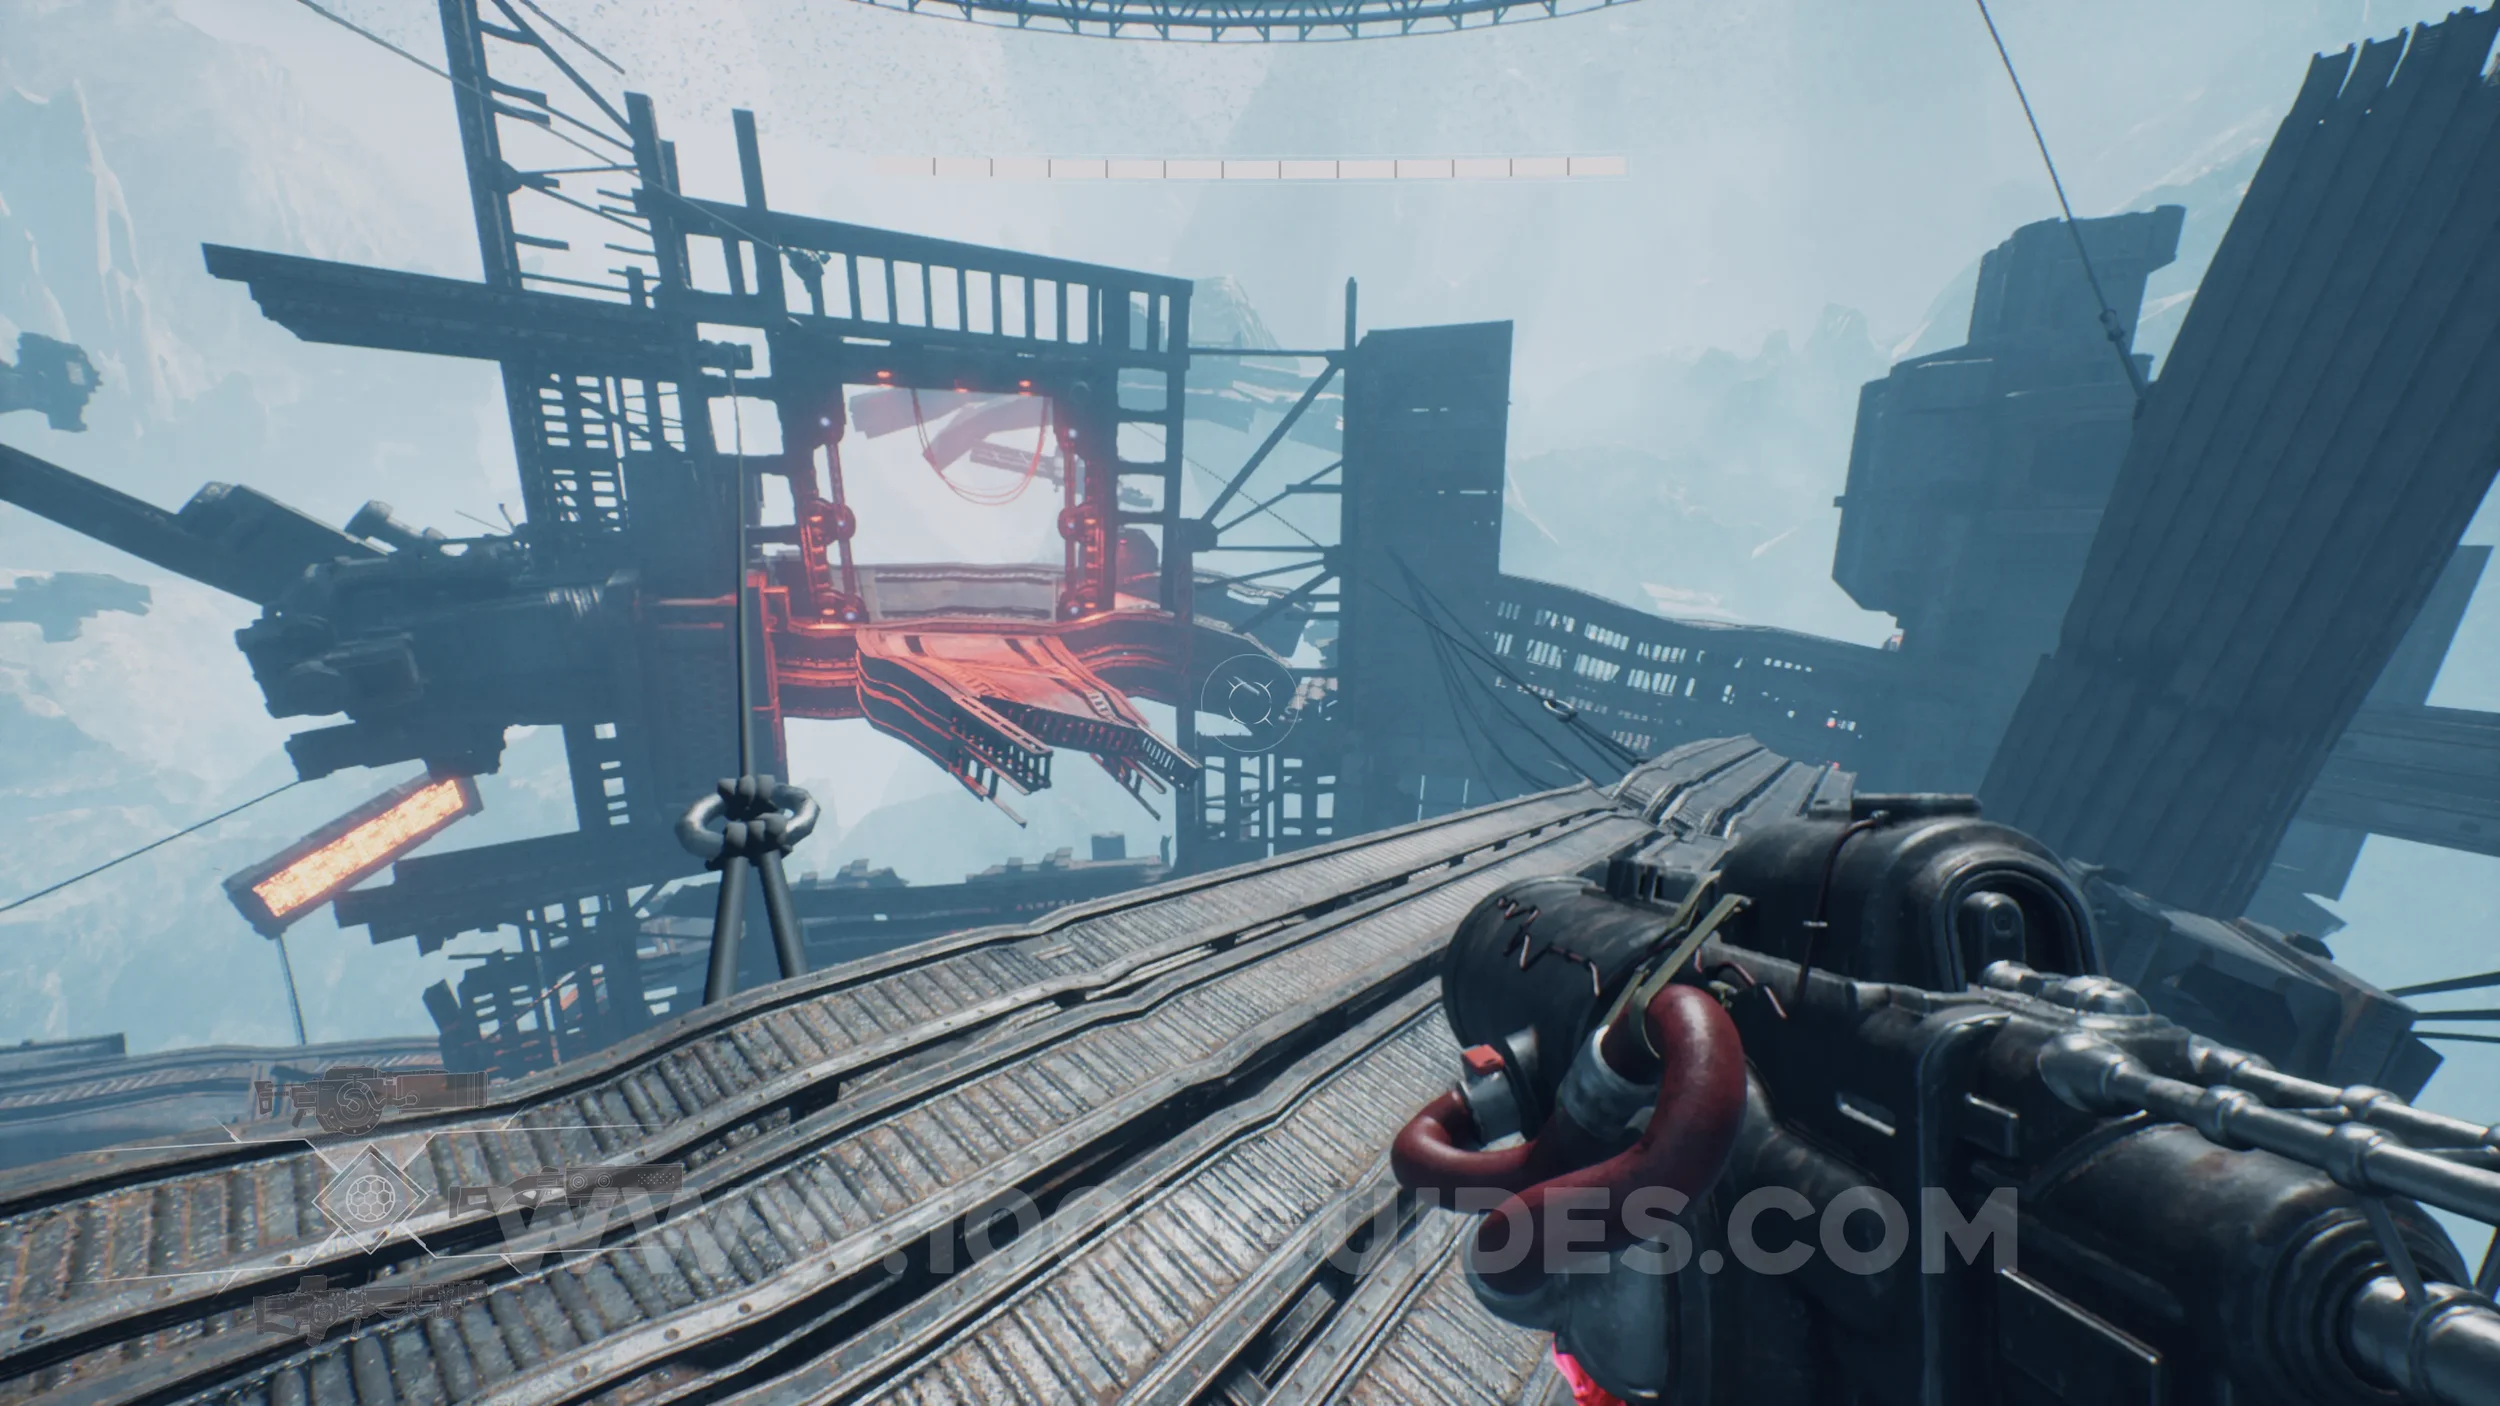
Lore Entry #36 (Character - William Fisher). After using the Watchers to escape the massive circular arena through the opening above, you will find this collectible in plain sight along the main path before entering the small pipe.
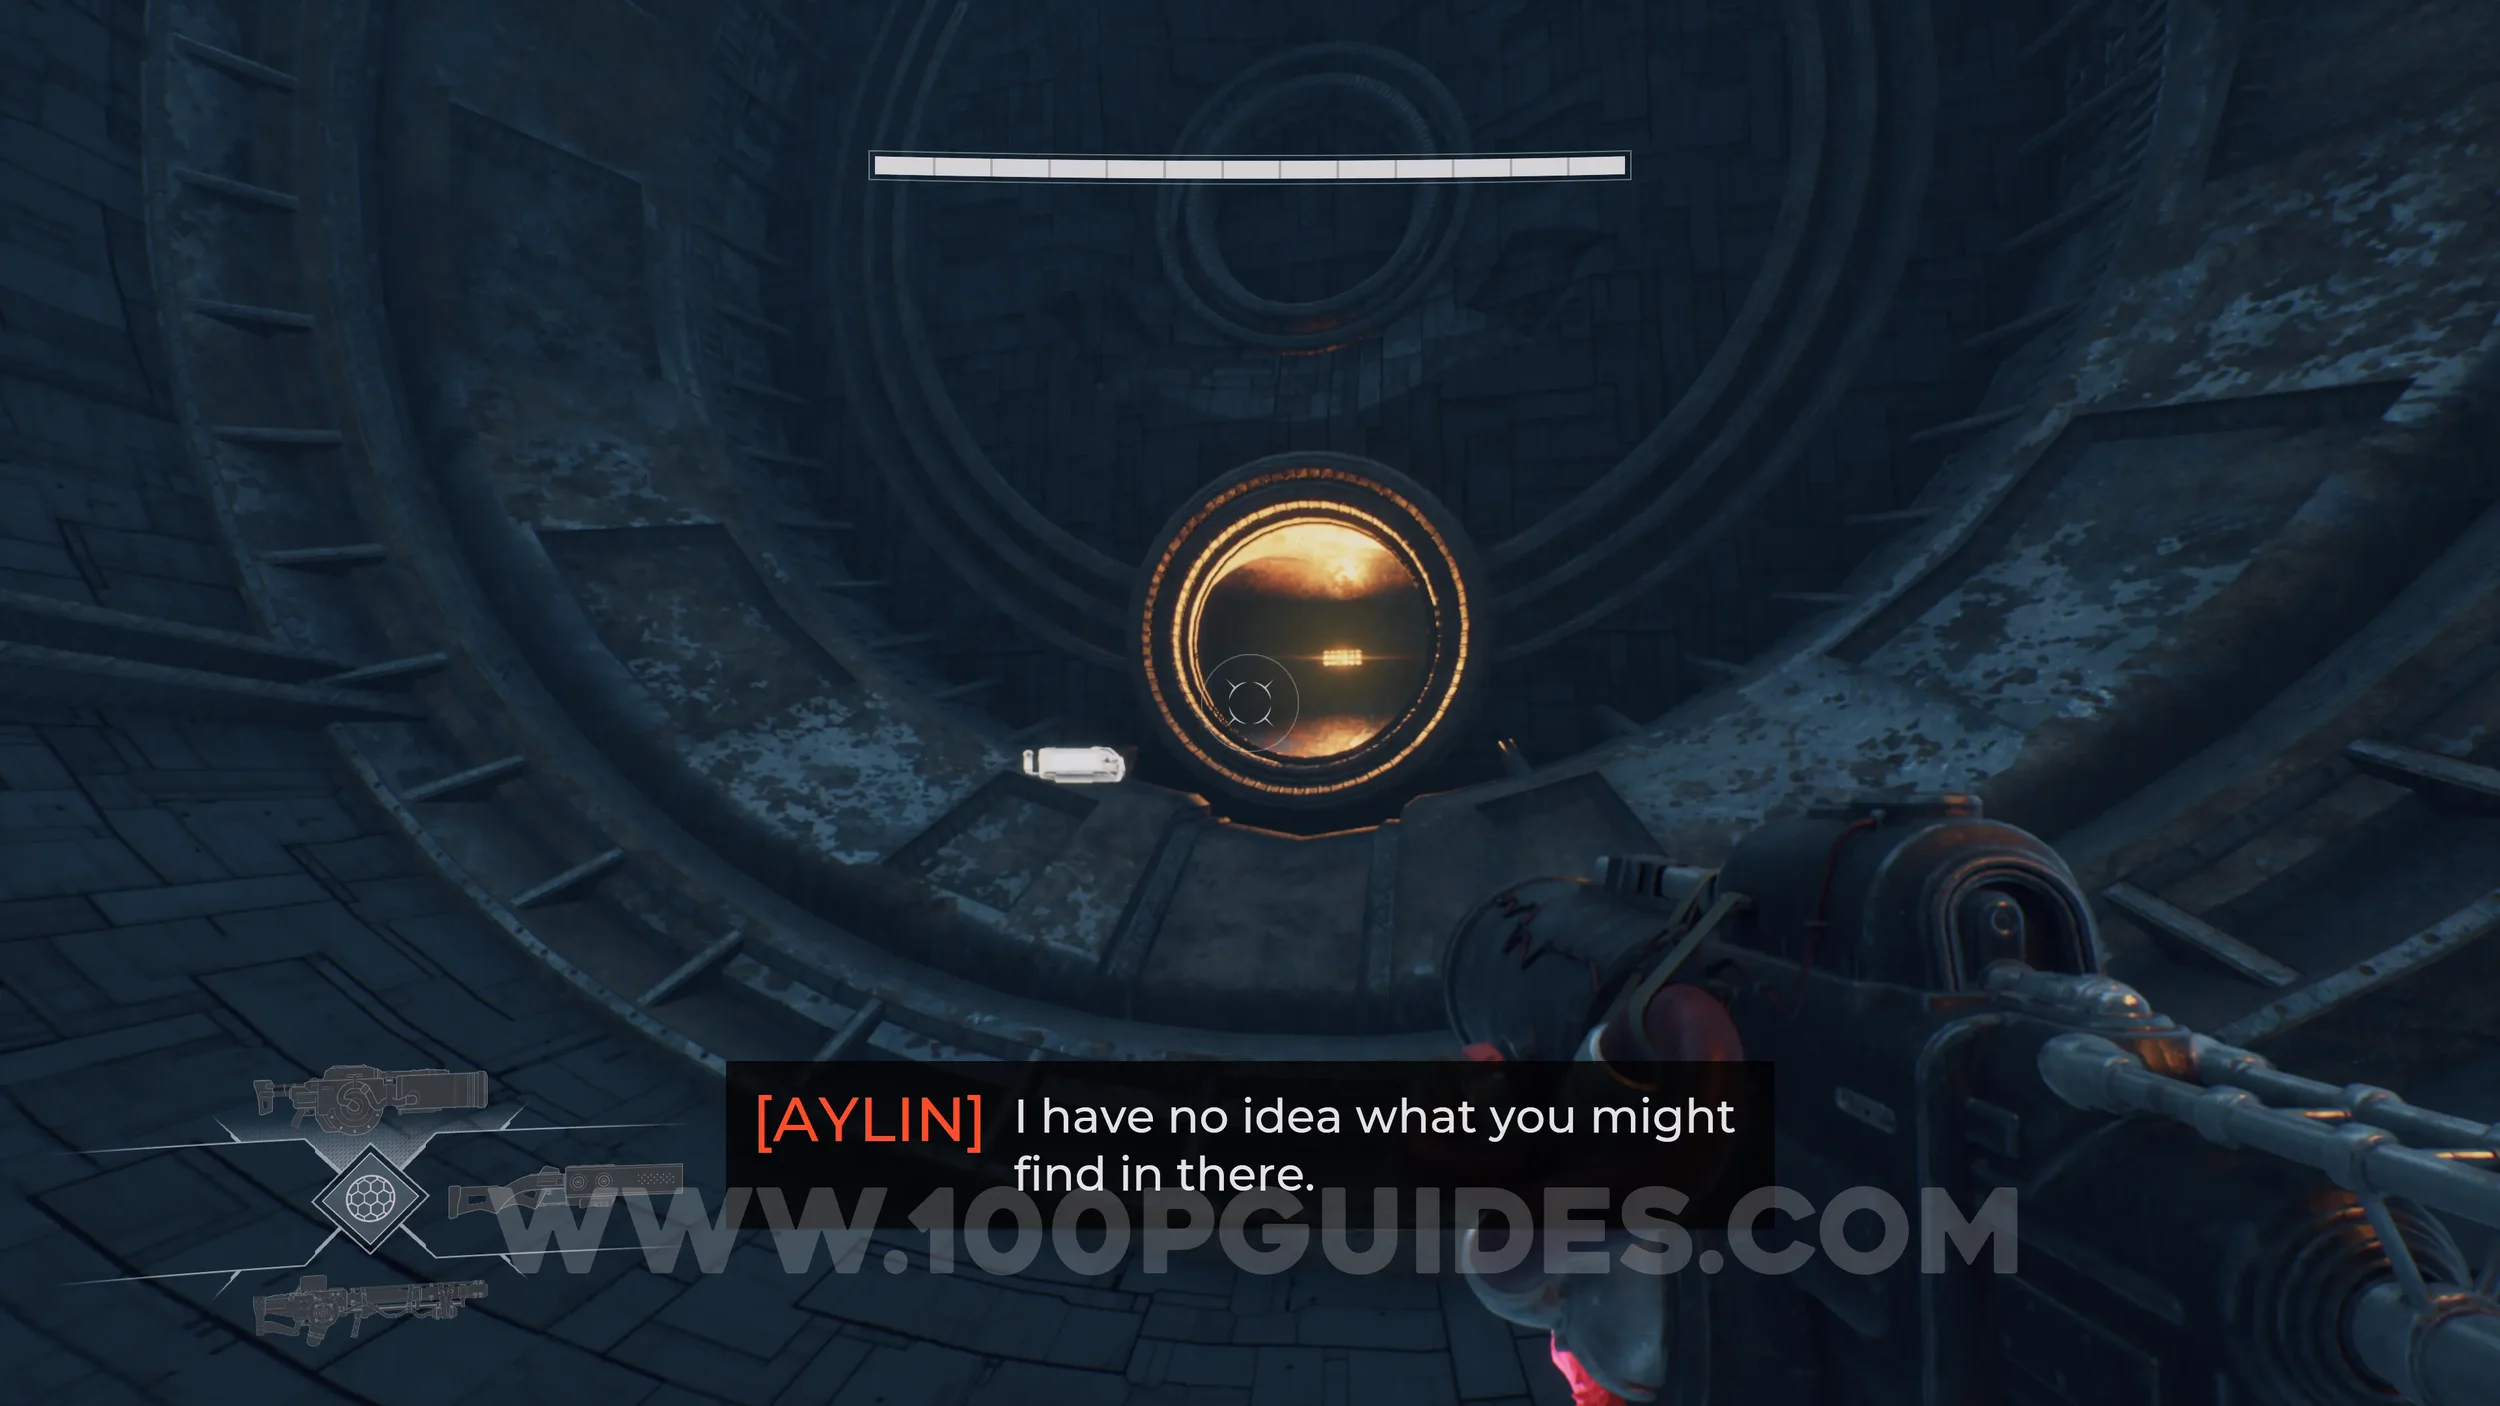
CHAPTER 2 - TORTURED ADRIFT
Lore Entry #37 (Memory - Entry #202 - Fragile Little Planet). In plain sight next to the first checkpoint.
CHAPTER 3 - TO THE MINES
No collectibles in this sub-chapter.
CHAPTER 3 - THE SECOND SEAL
Weapon Upgrade #1 - Scout Rifle Mark II. After passing through the red barrier into the mines, climb around the area to reach the upper level. The chest containing the upgrade will be in plain sight.
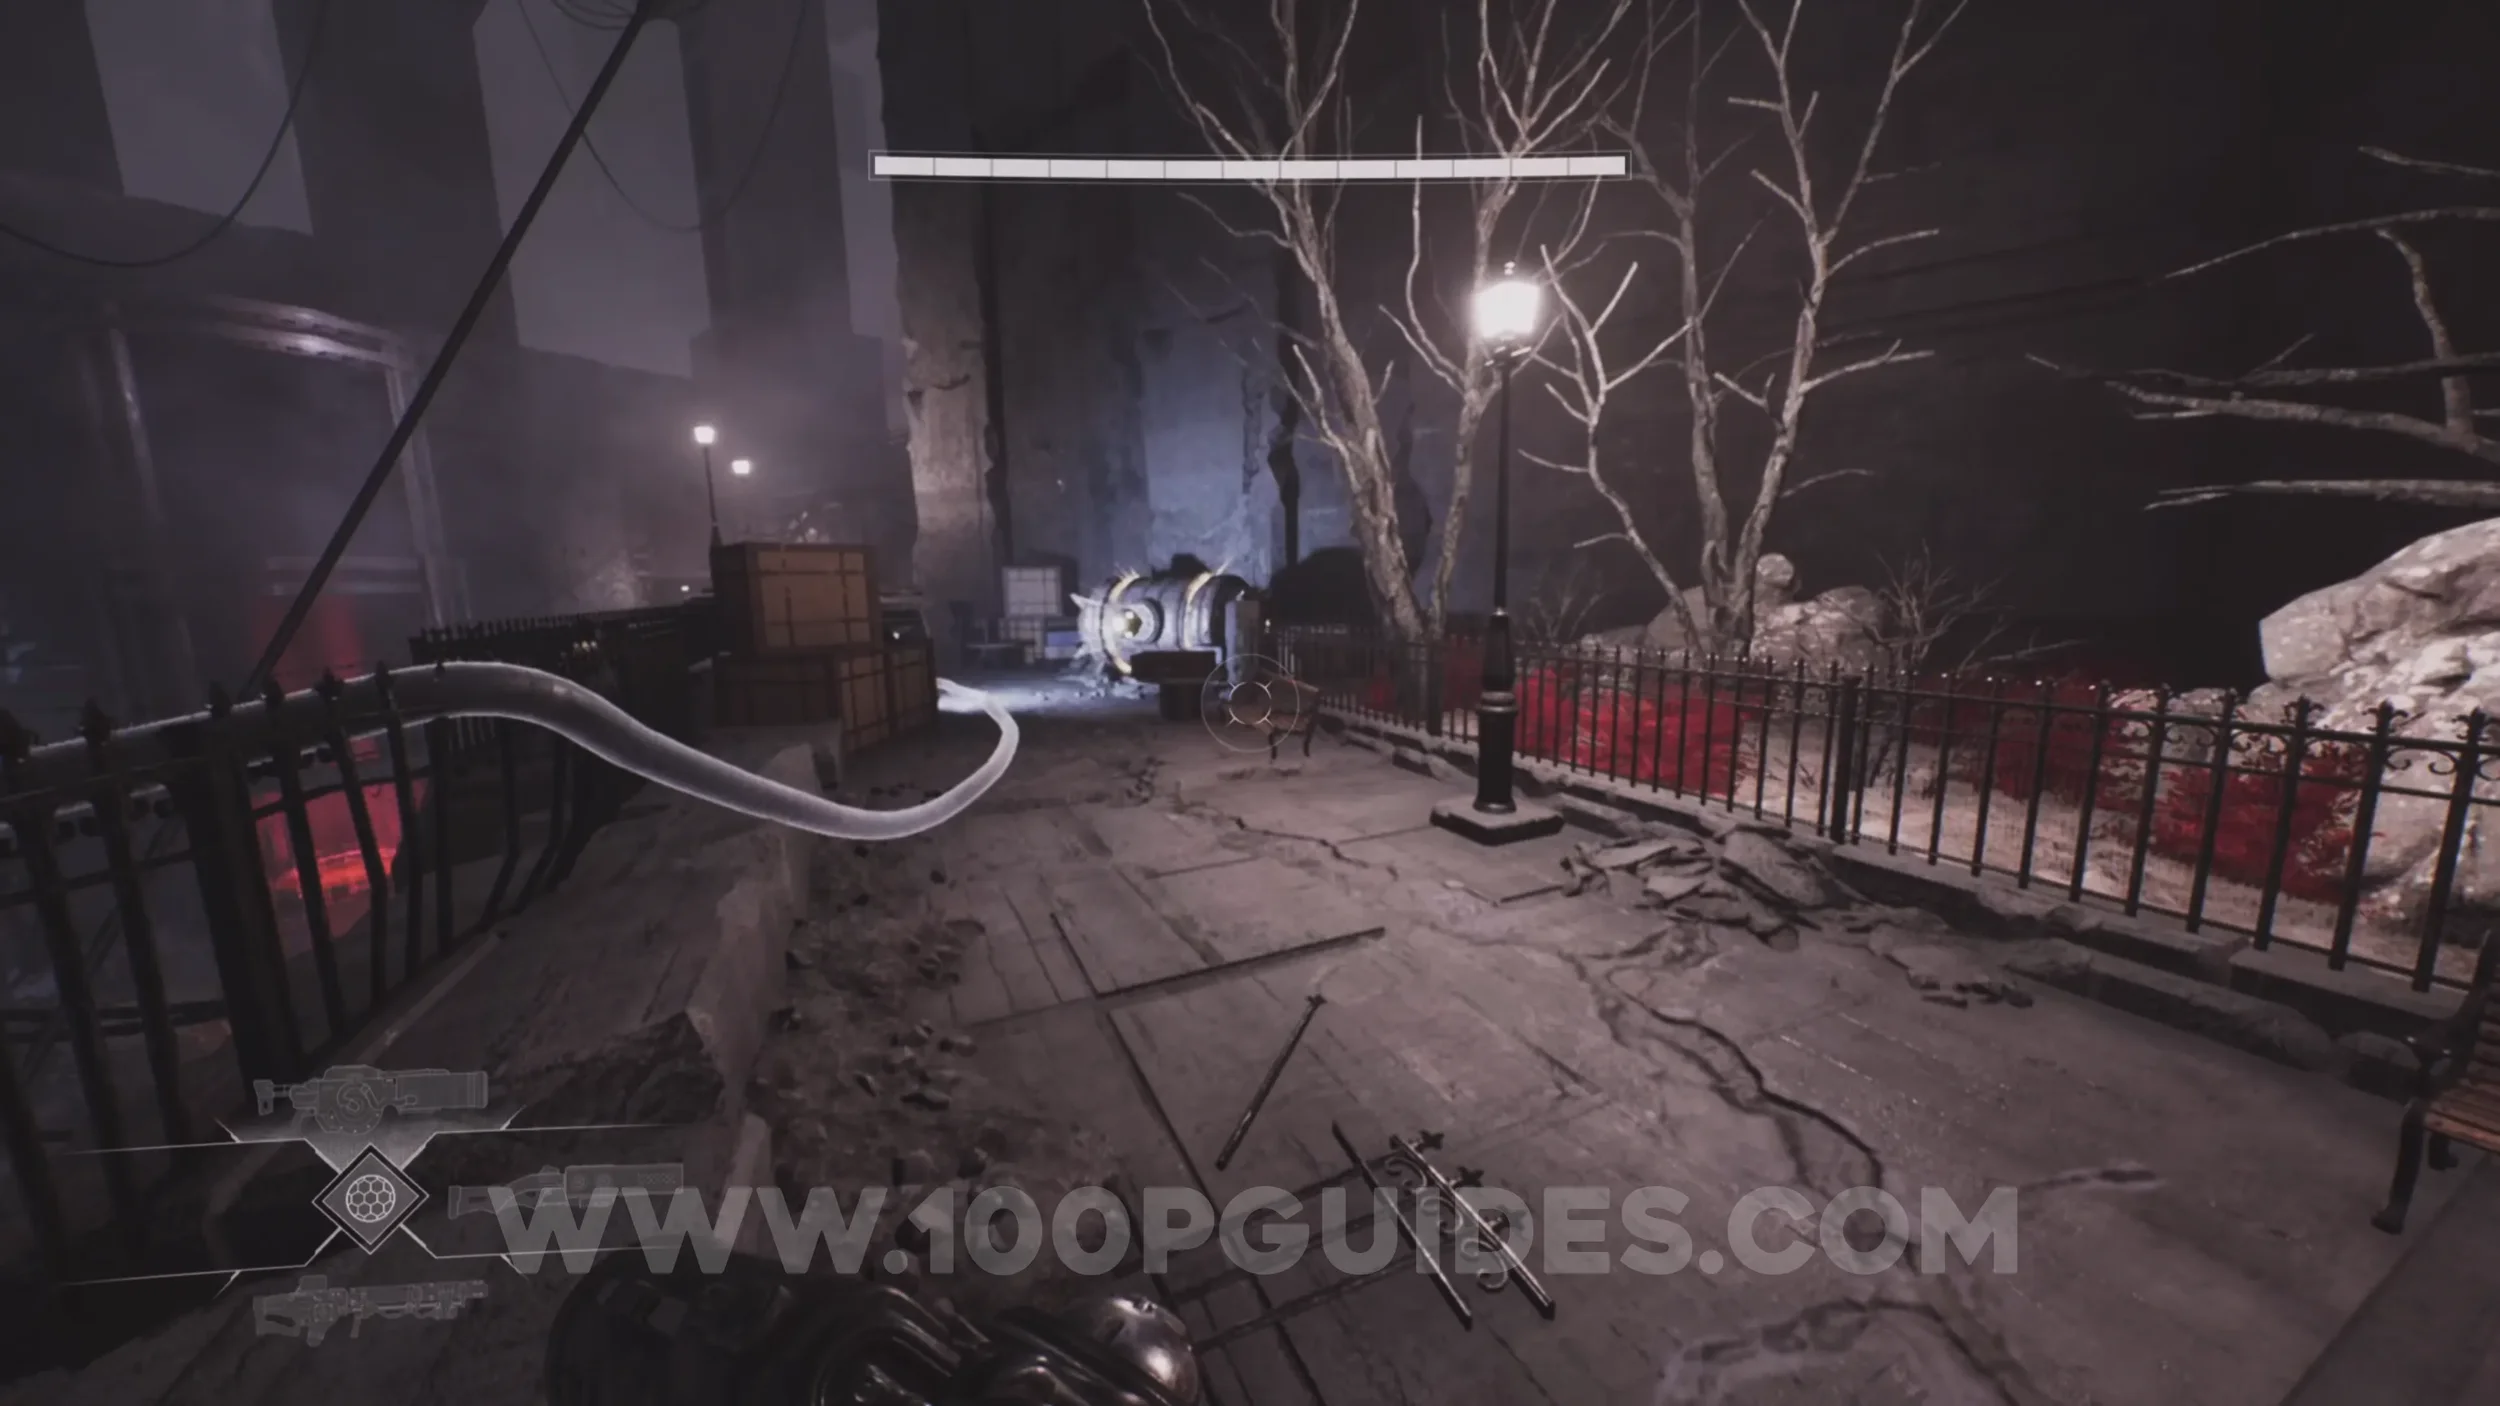
Lore Entry #38 (Memory - Entry #0456 - Descent). After crossing an area filled with purple lasers, you will reach a checkpoint in a room with a spectral see through pathway. Shortly after, you will enter another area with water and more purple lasers. In this section, jump across to the pipes on the right to find the collectible.
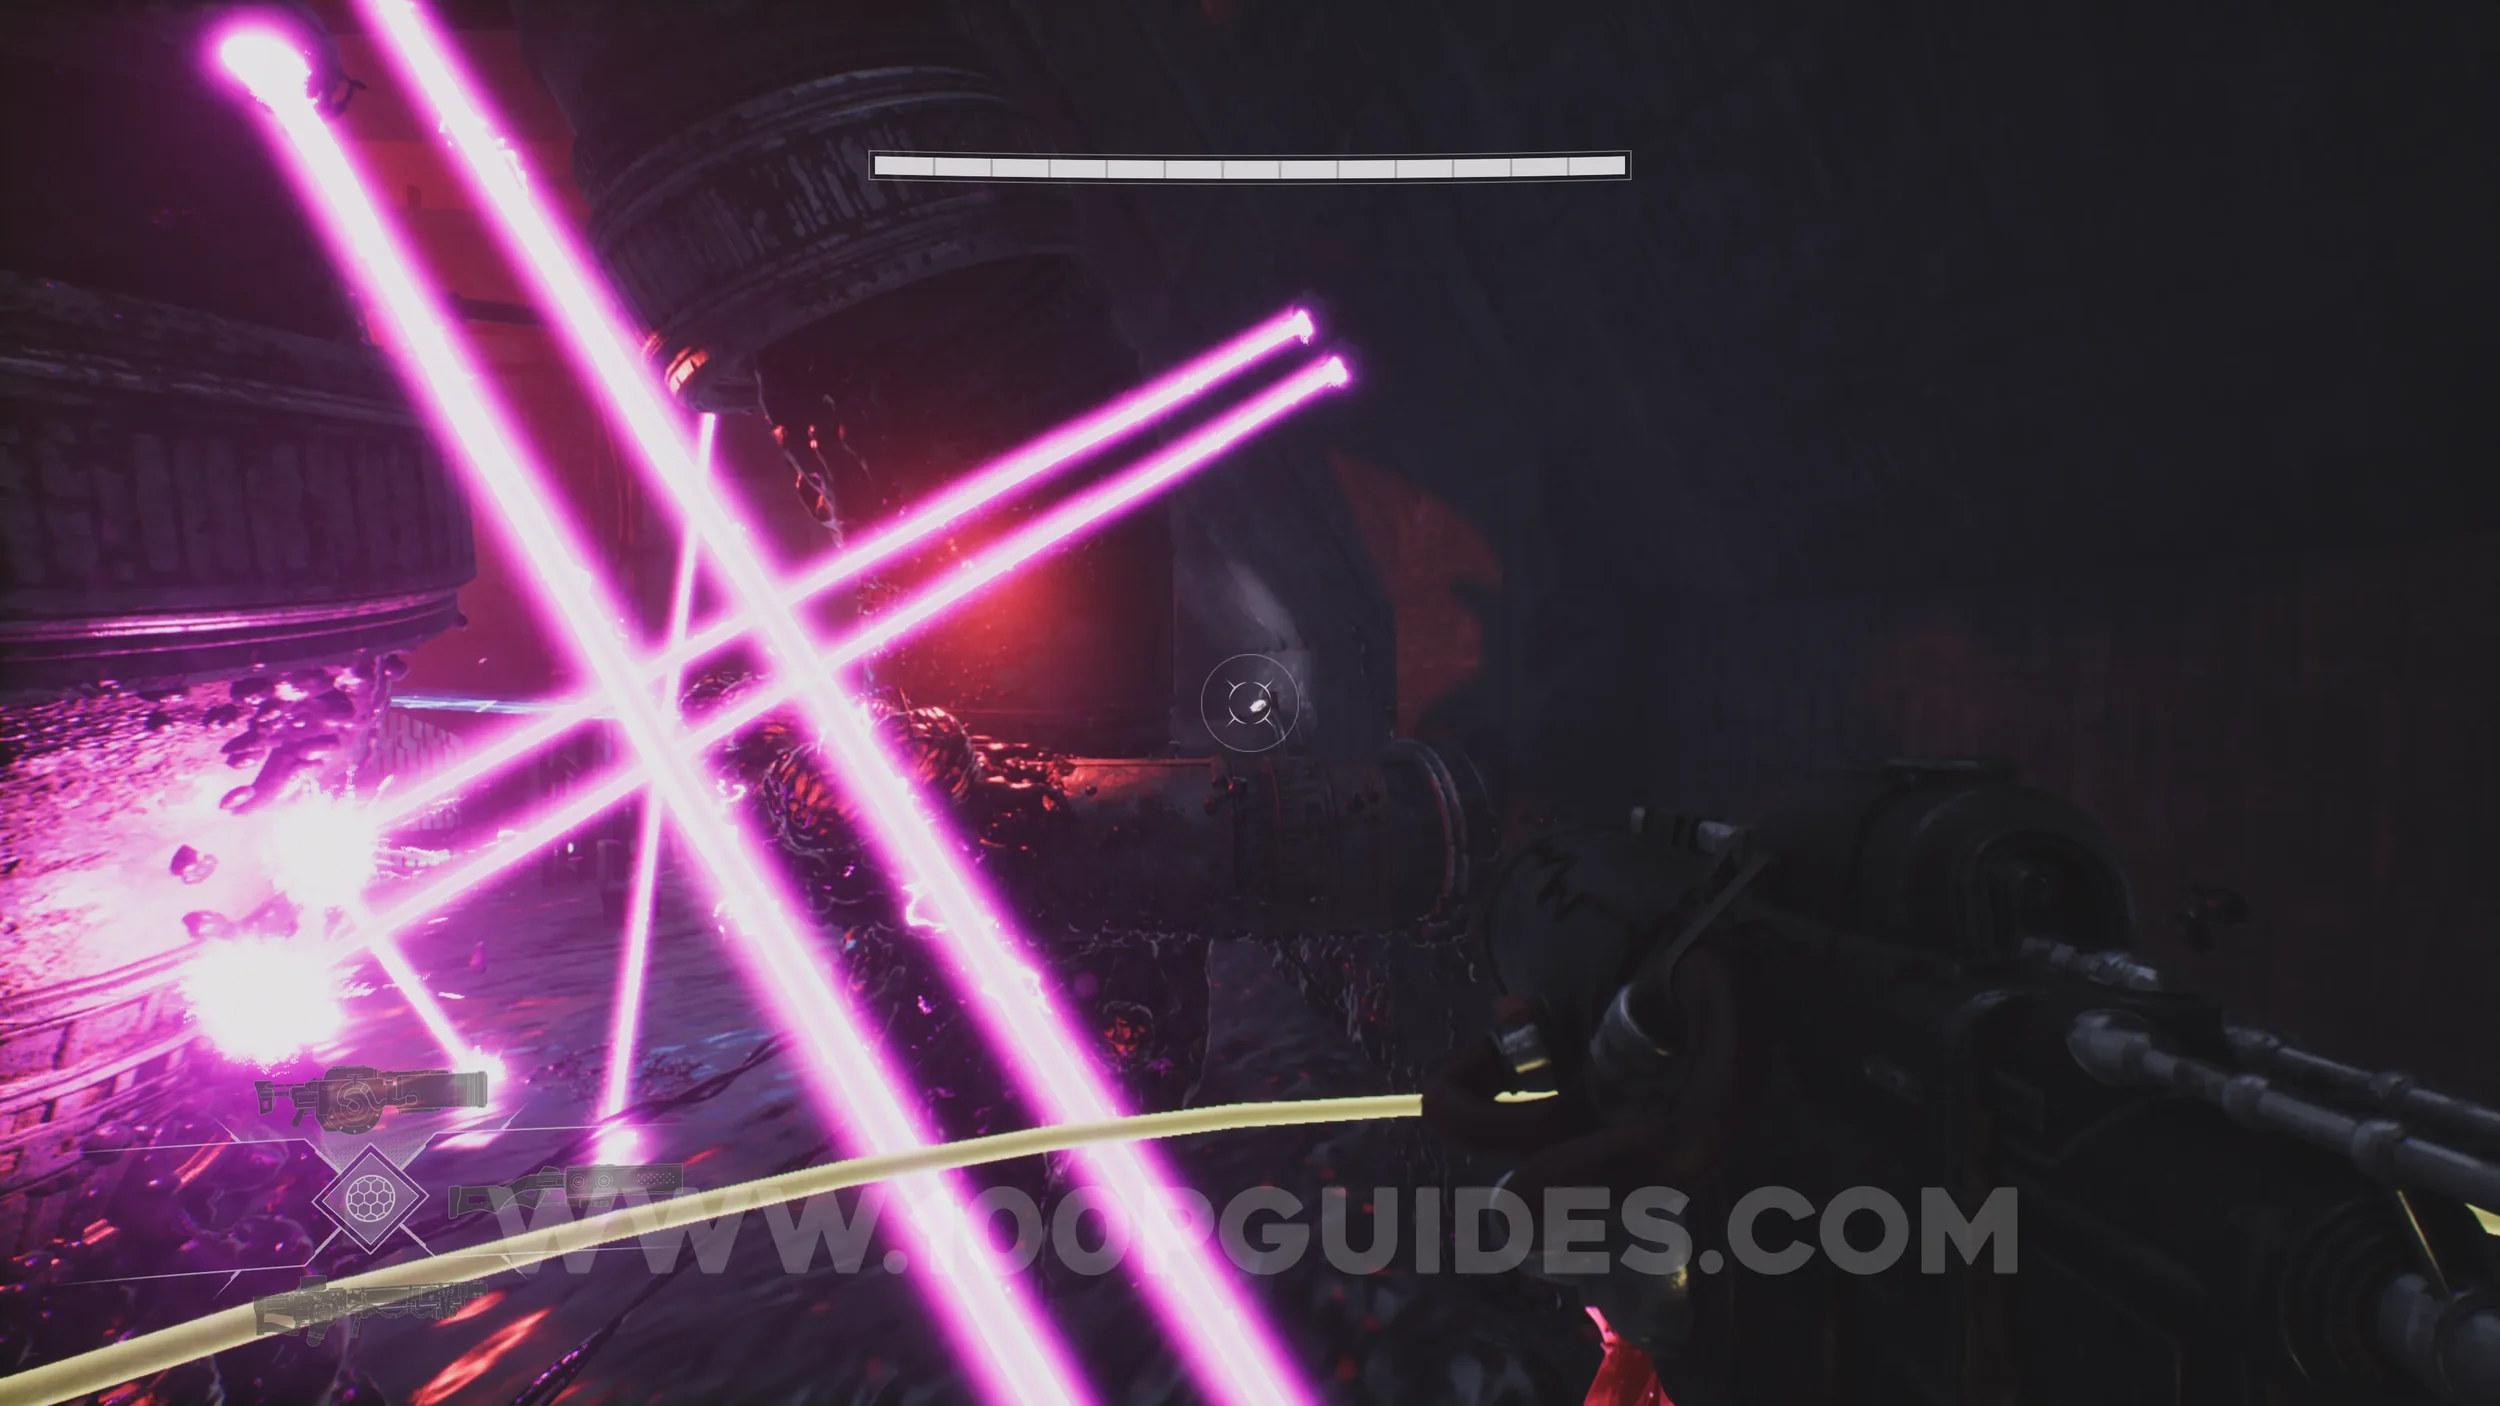
Lore Entry #39 (Memory - Entry #04031 - Defend Your Faith). In plain sight after getting off a moving platform where you have to jump over the laser moving back and forth.
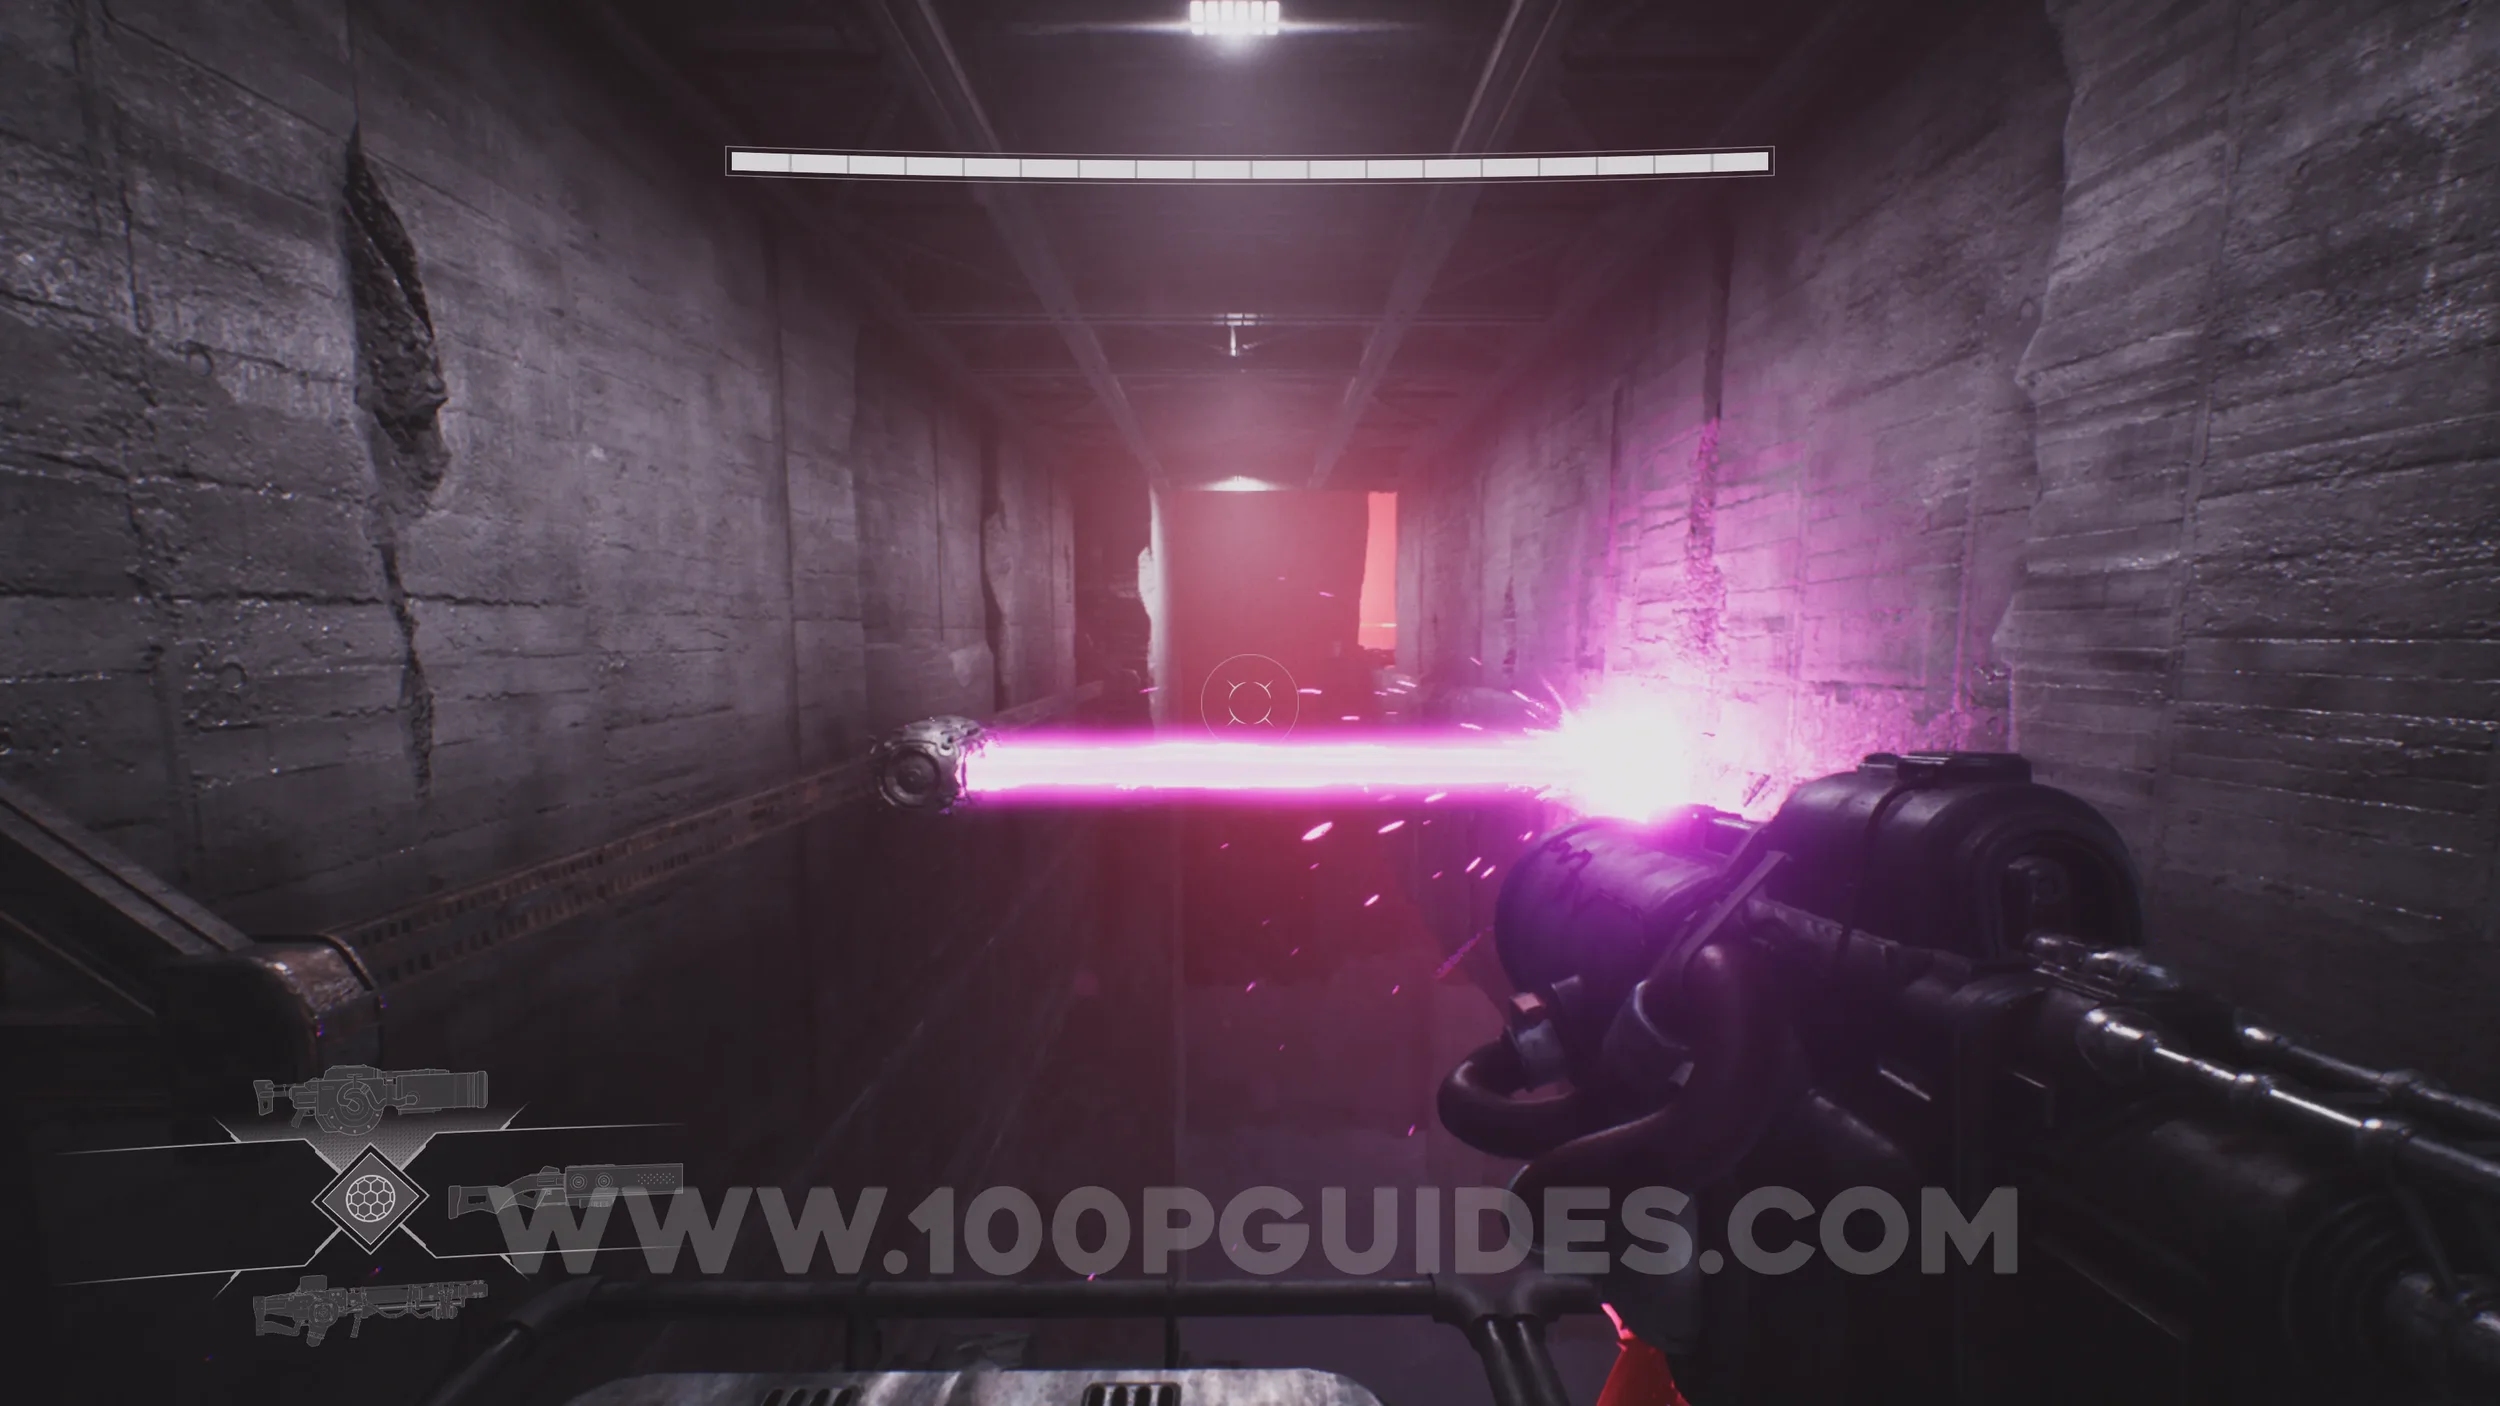
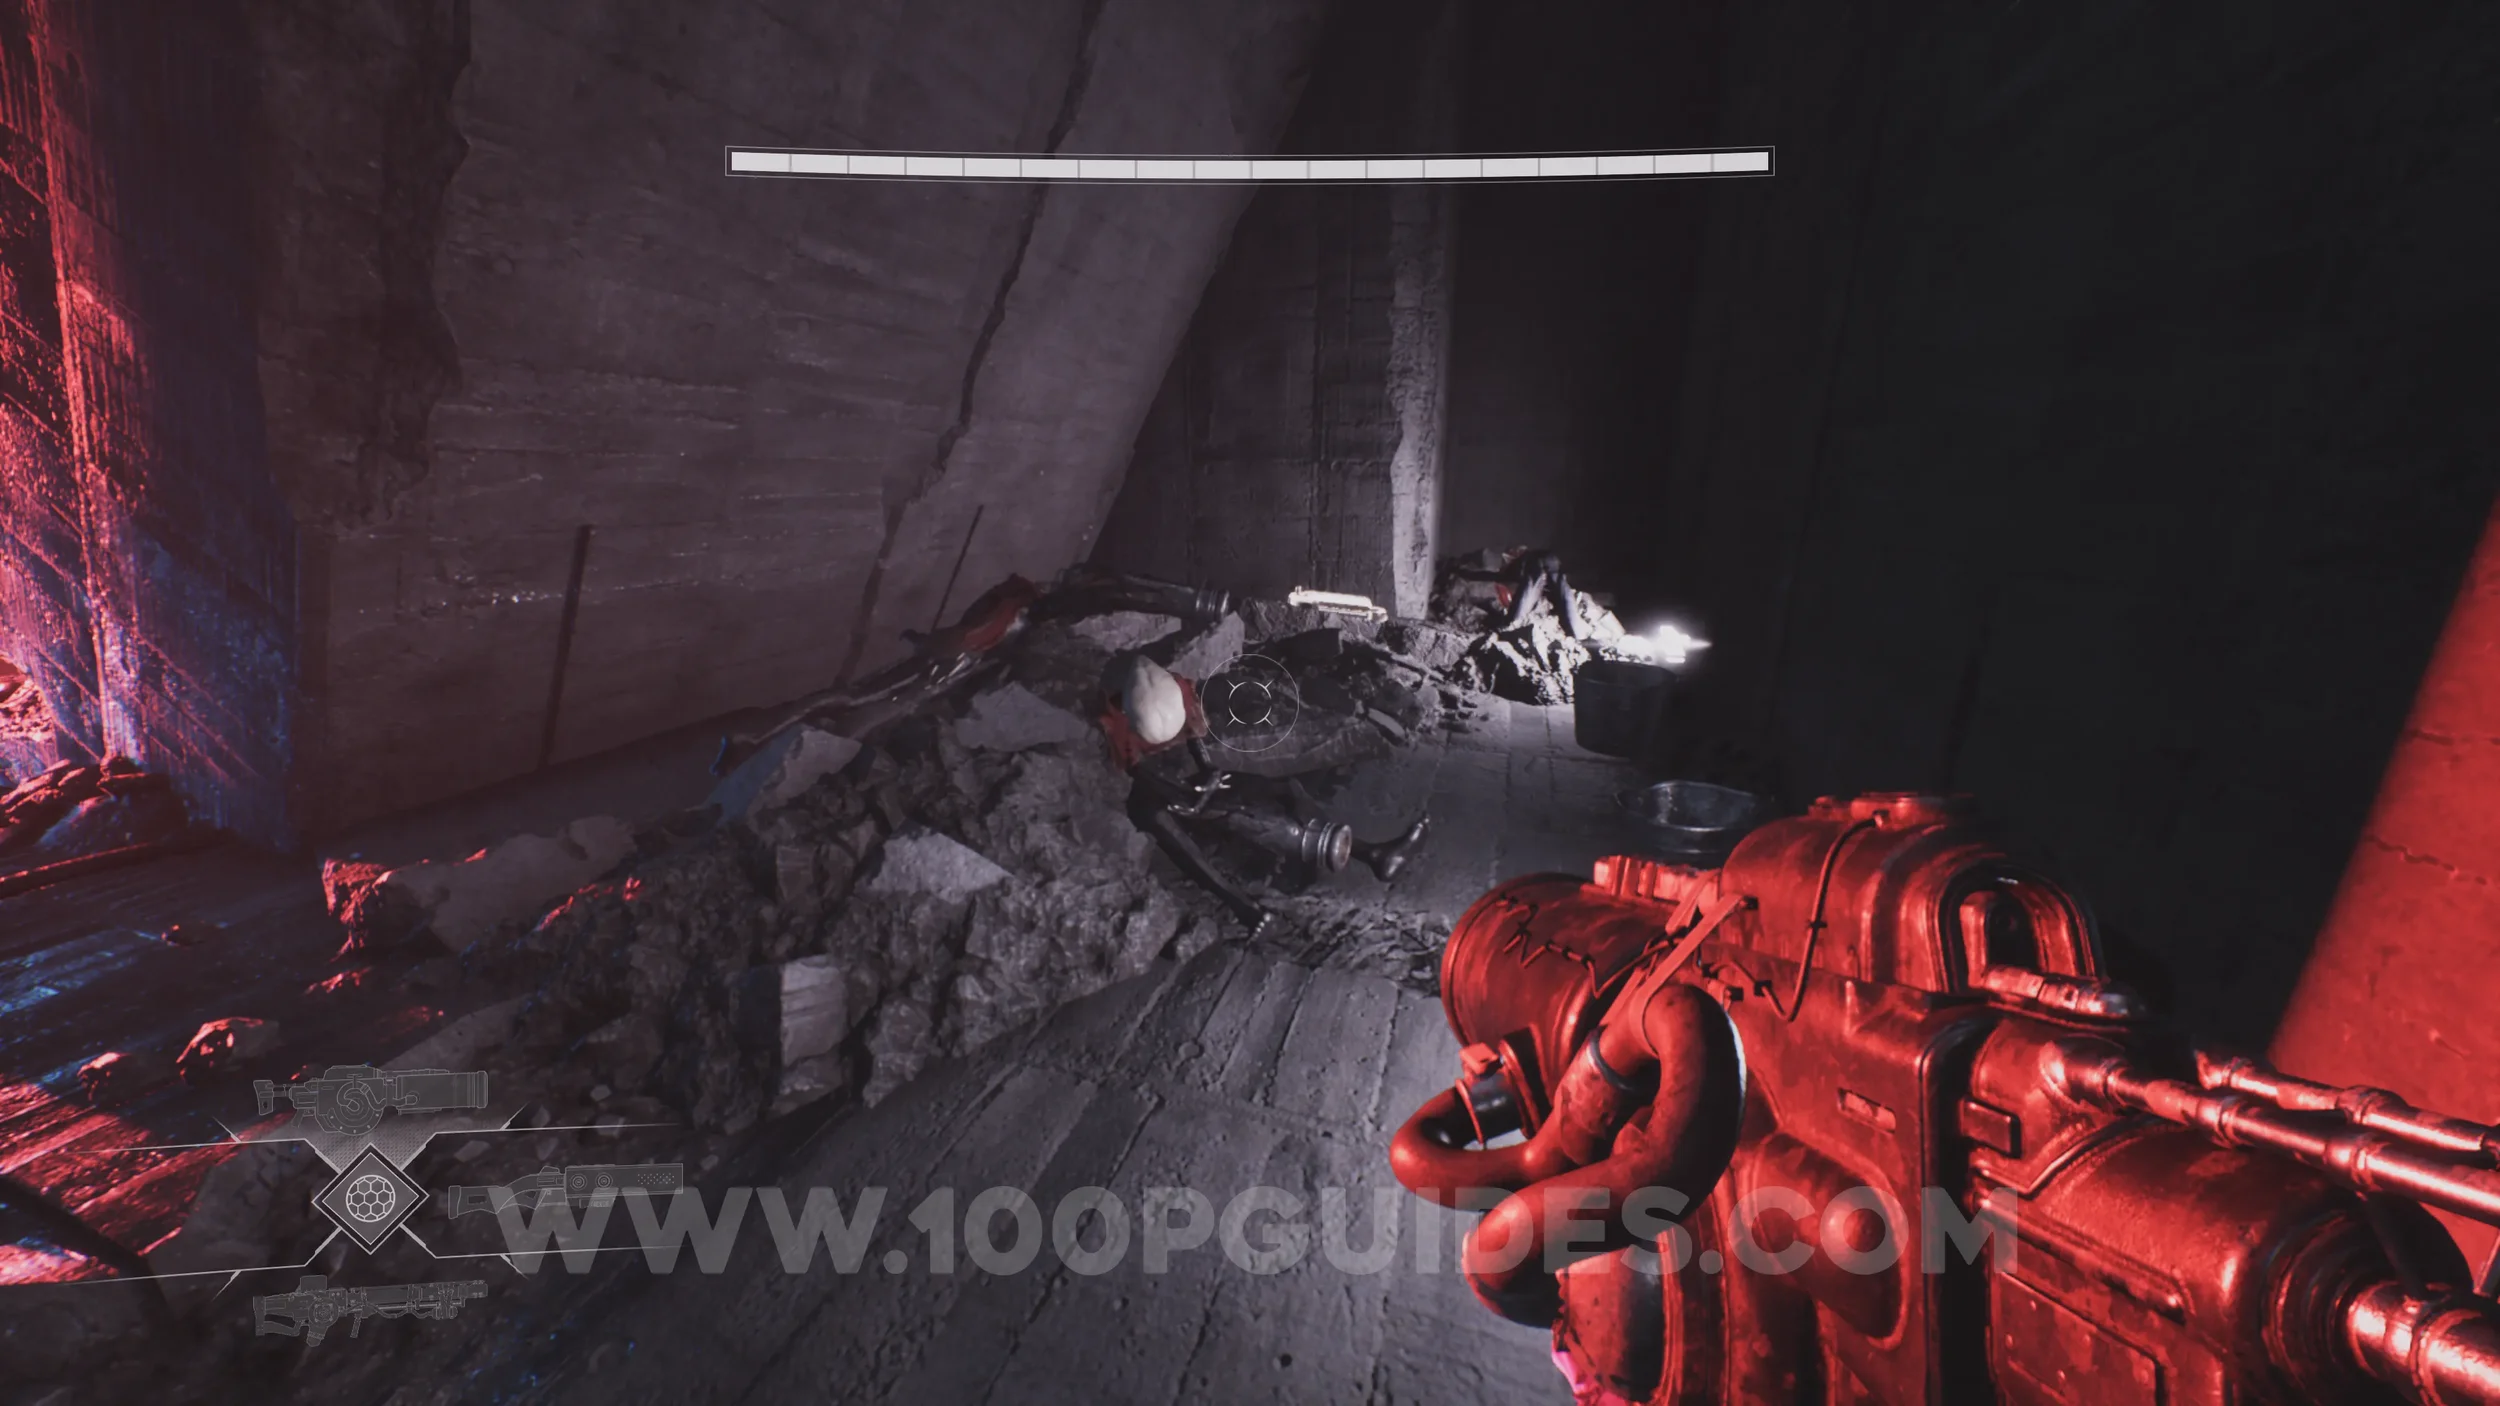
Drift Crystal #6. Continue until you drop into a cave with an angel statue. On the right side, you will find the Drift Mines Station. Slide under the gate to enter it, where the crystal can be found inside.
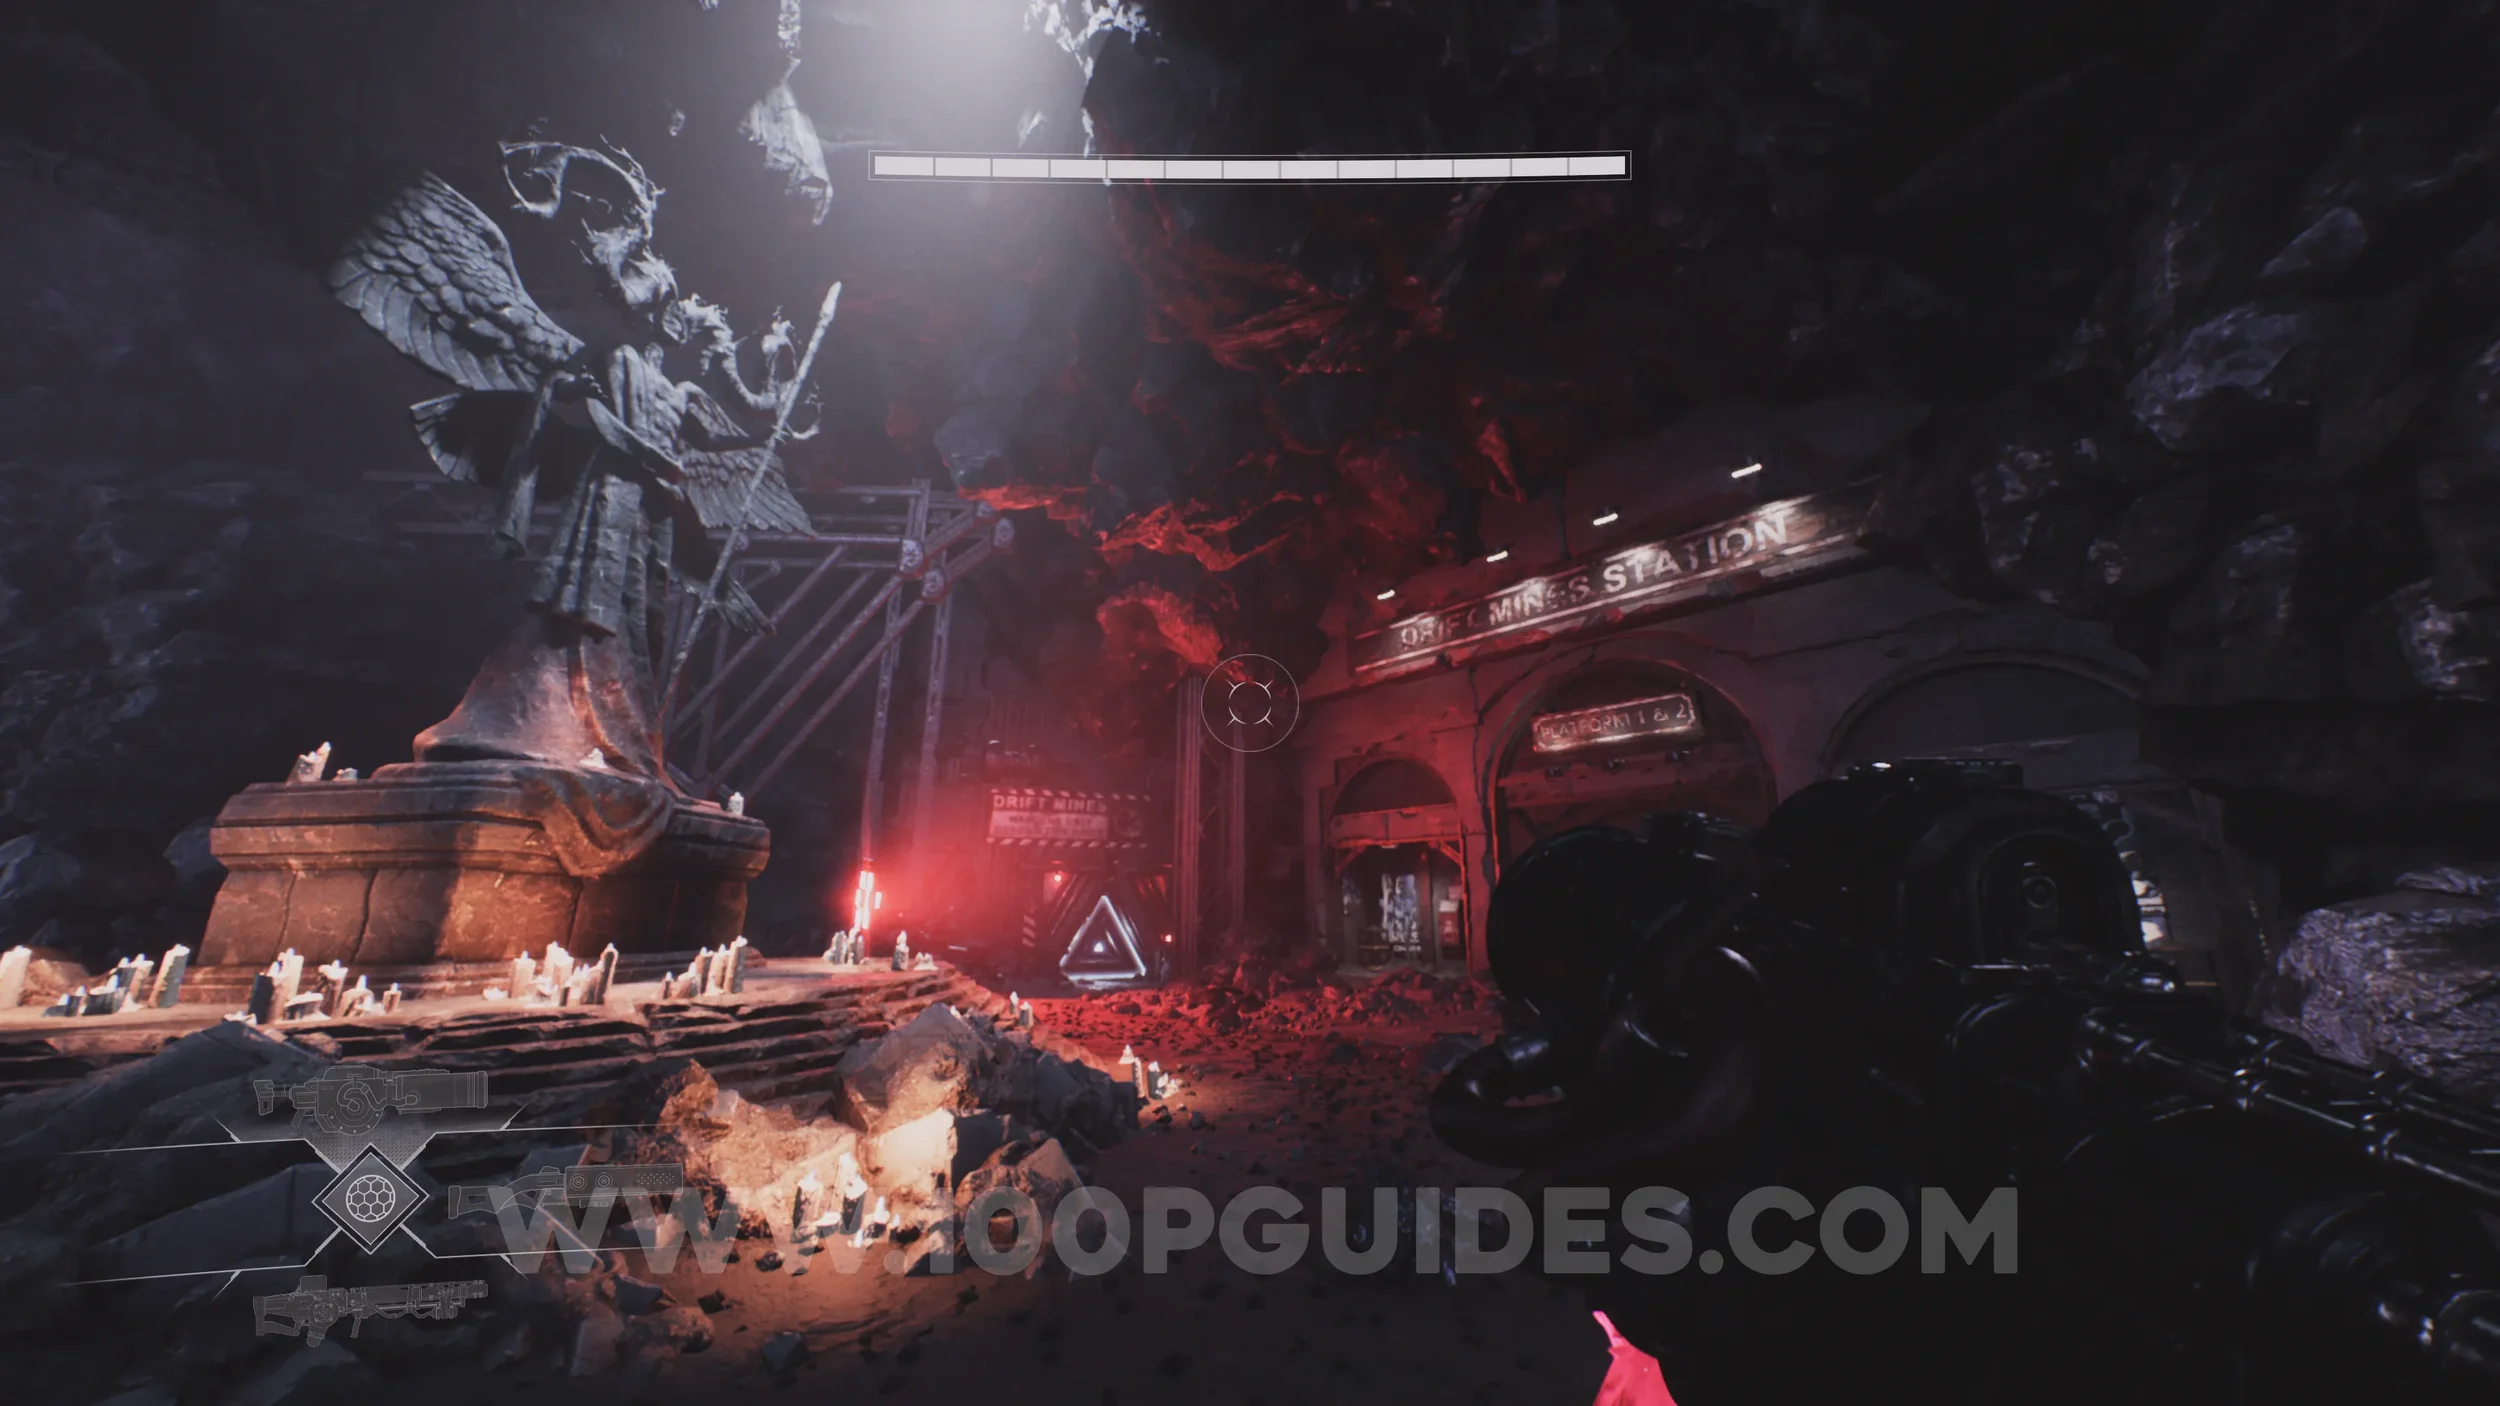
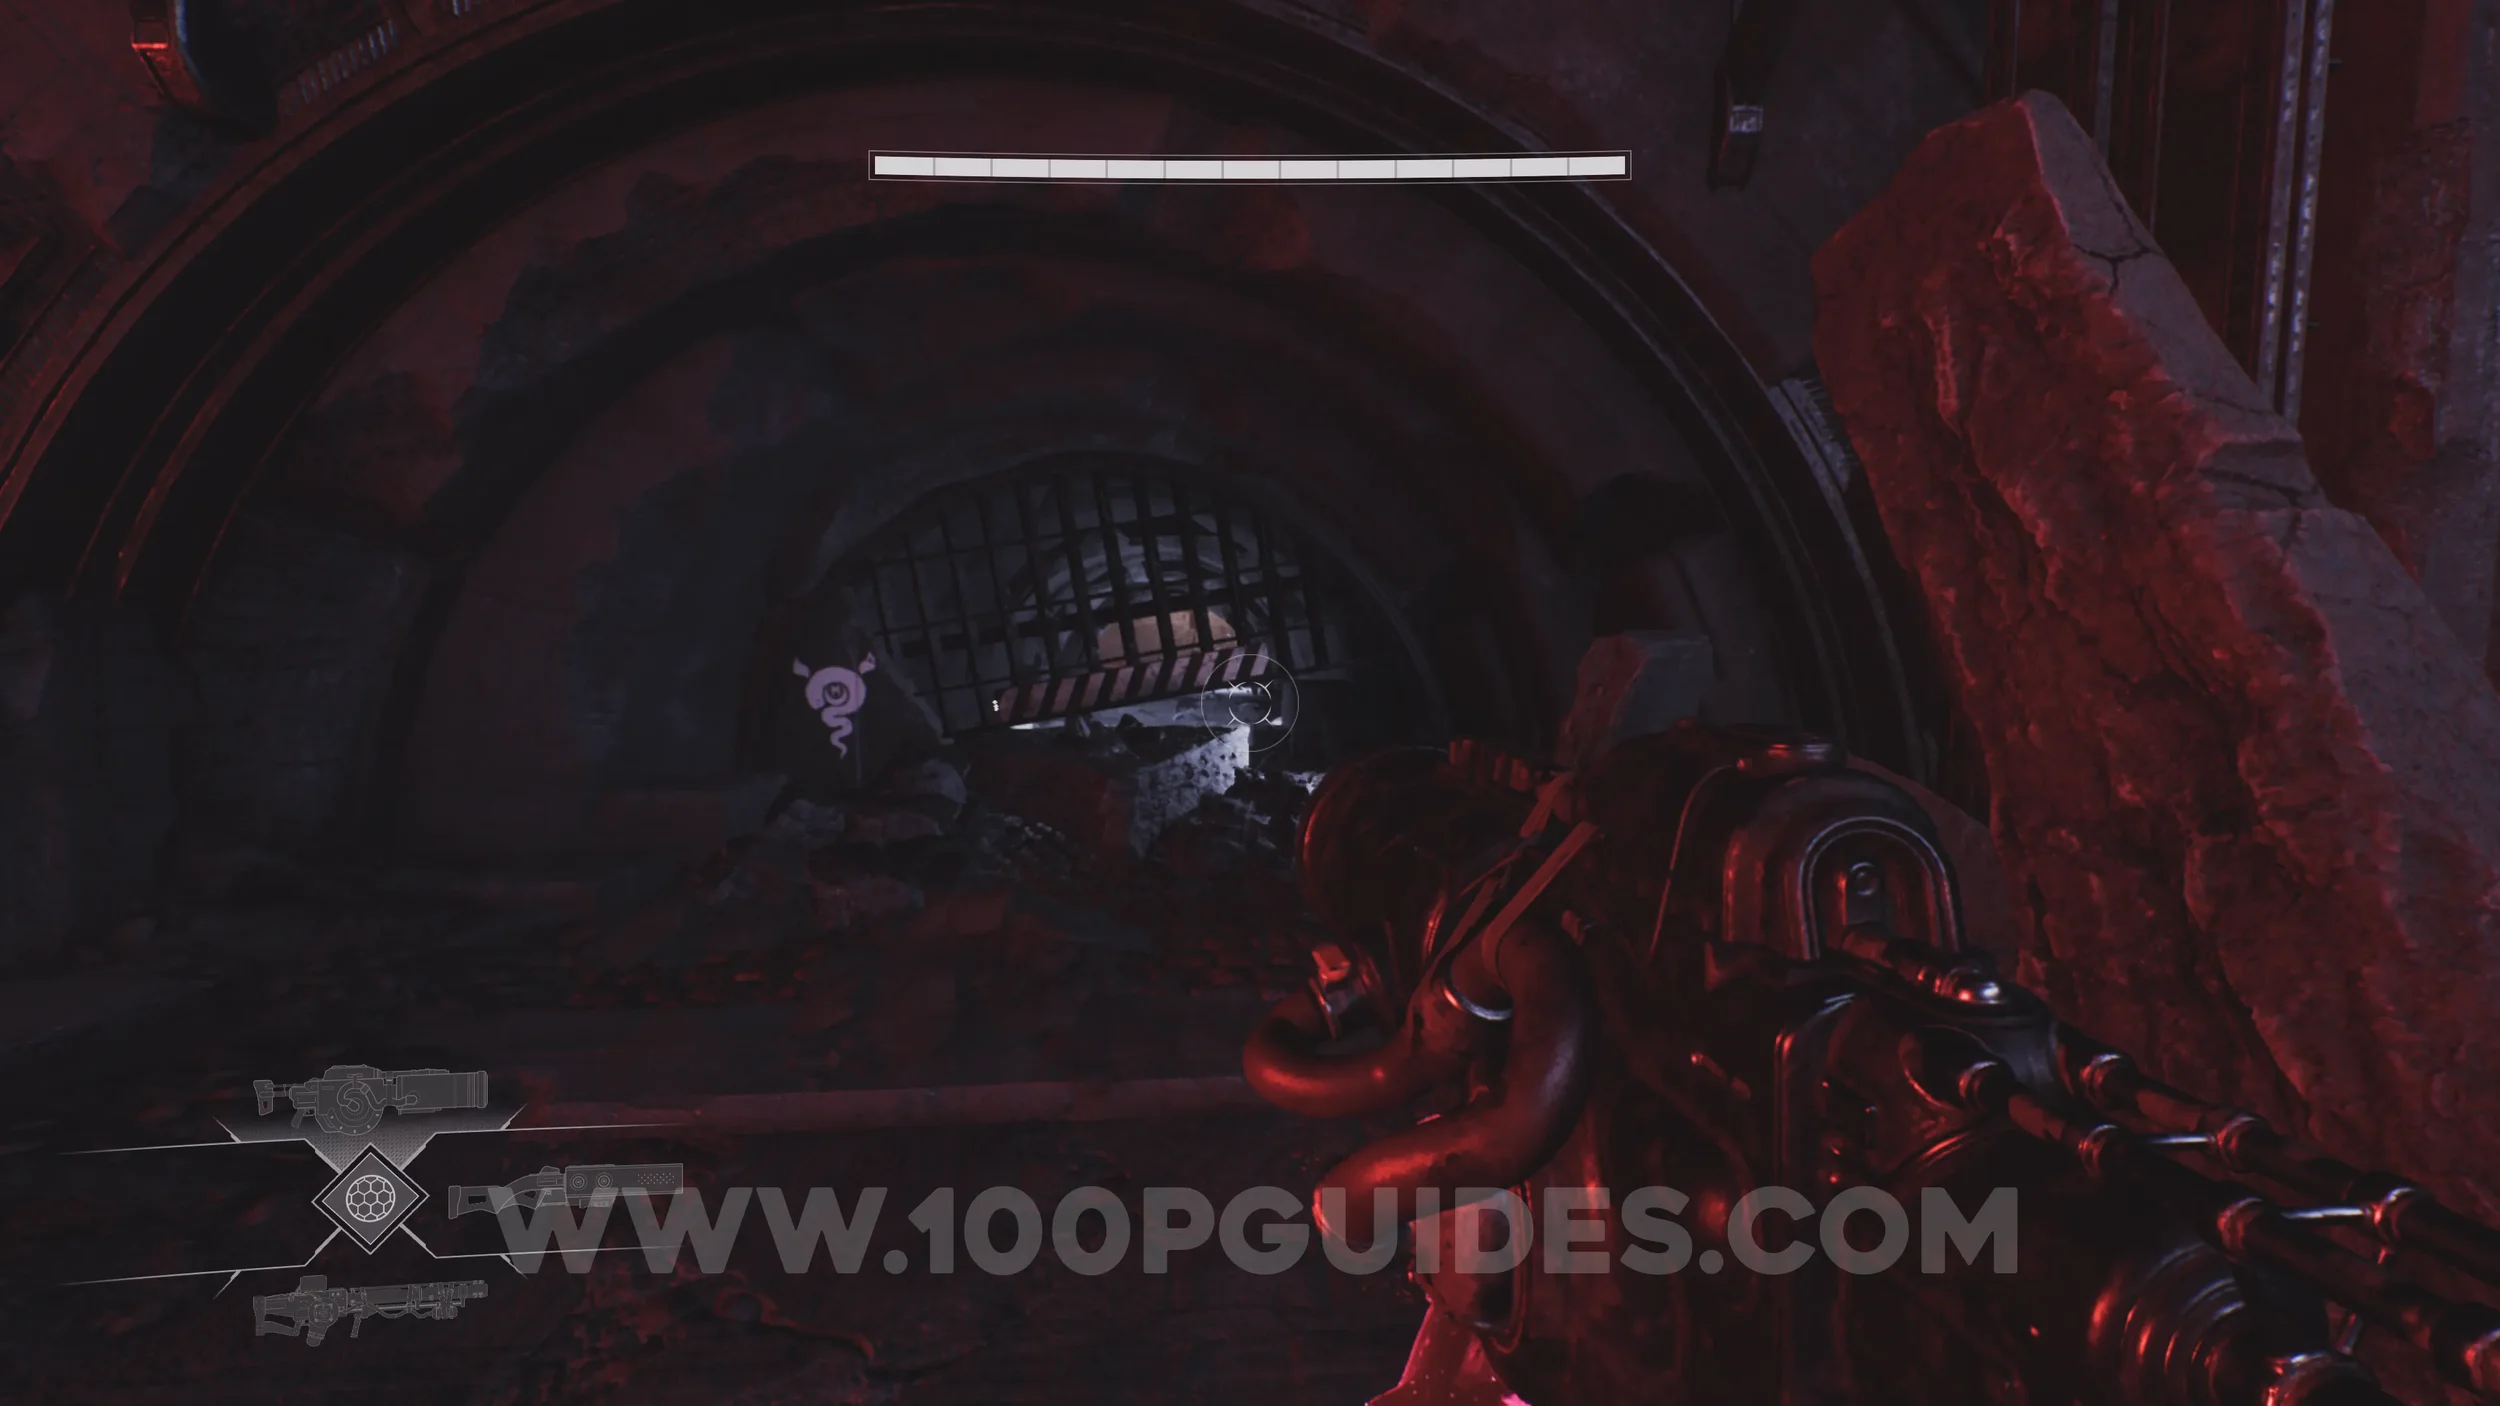
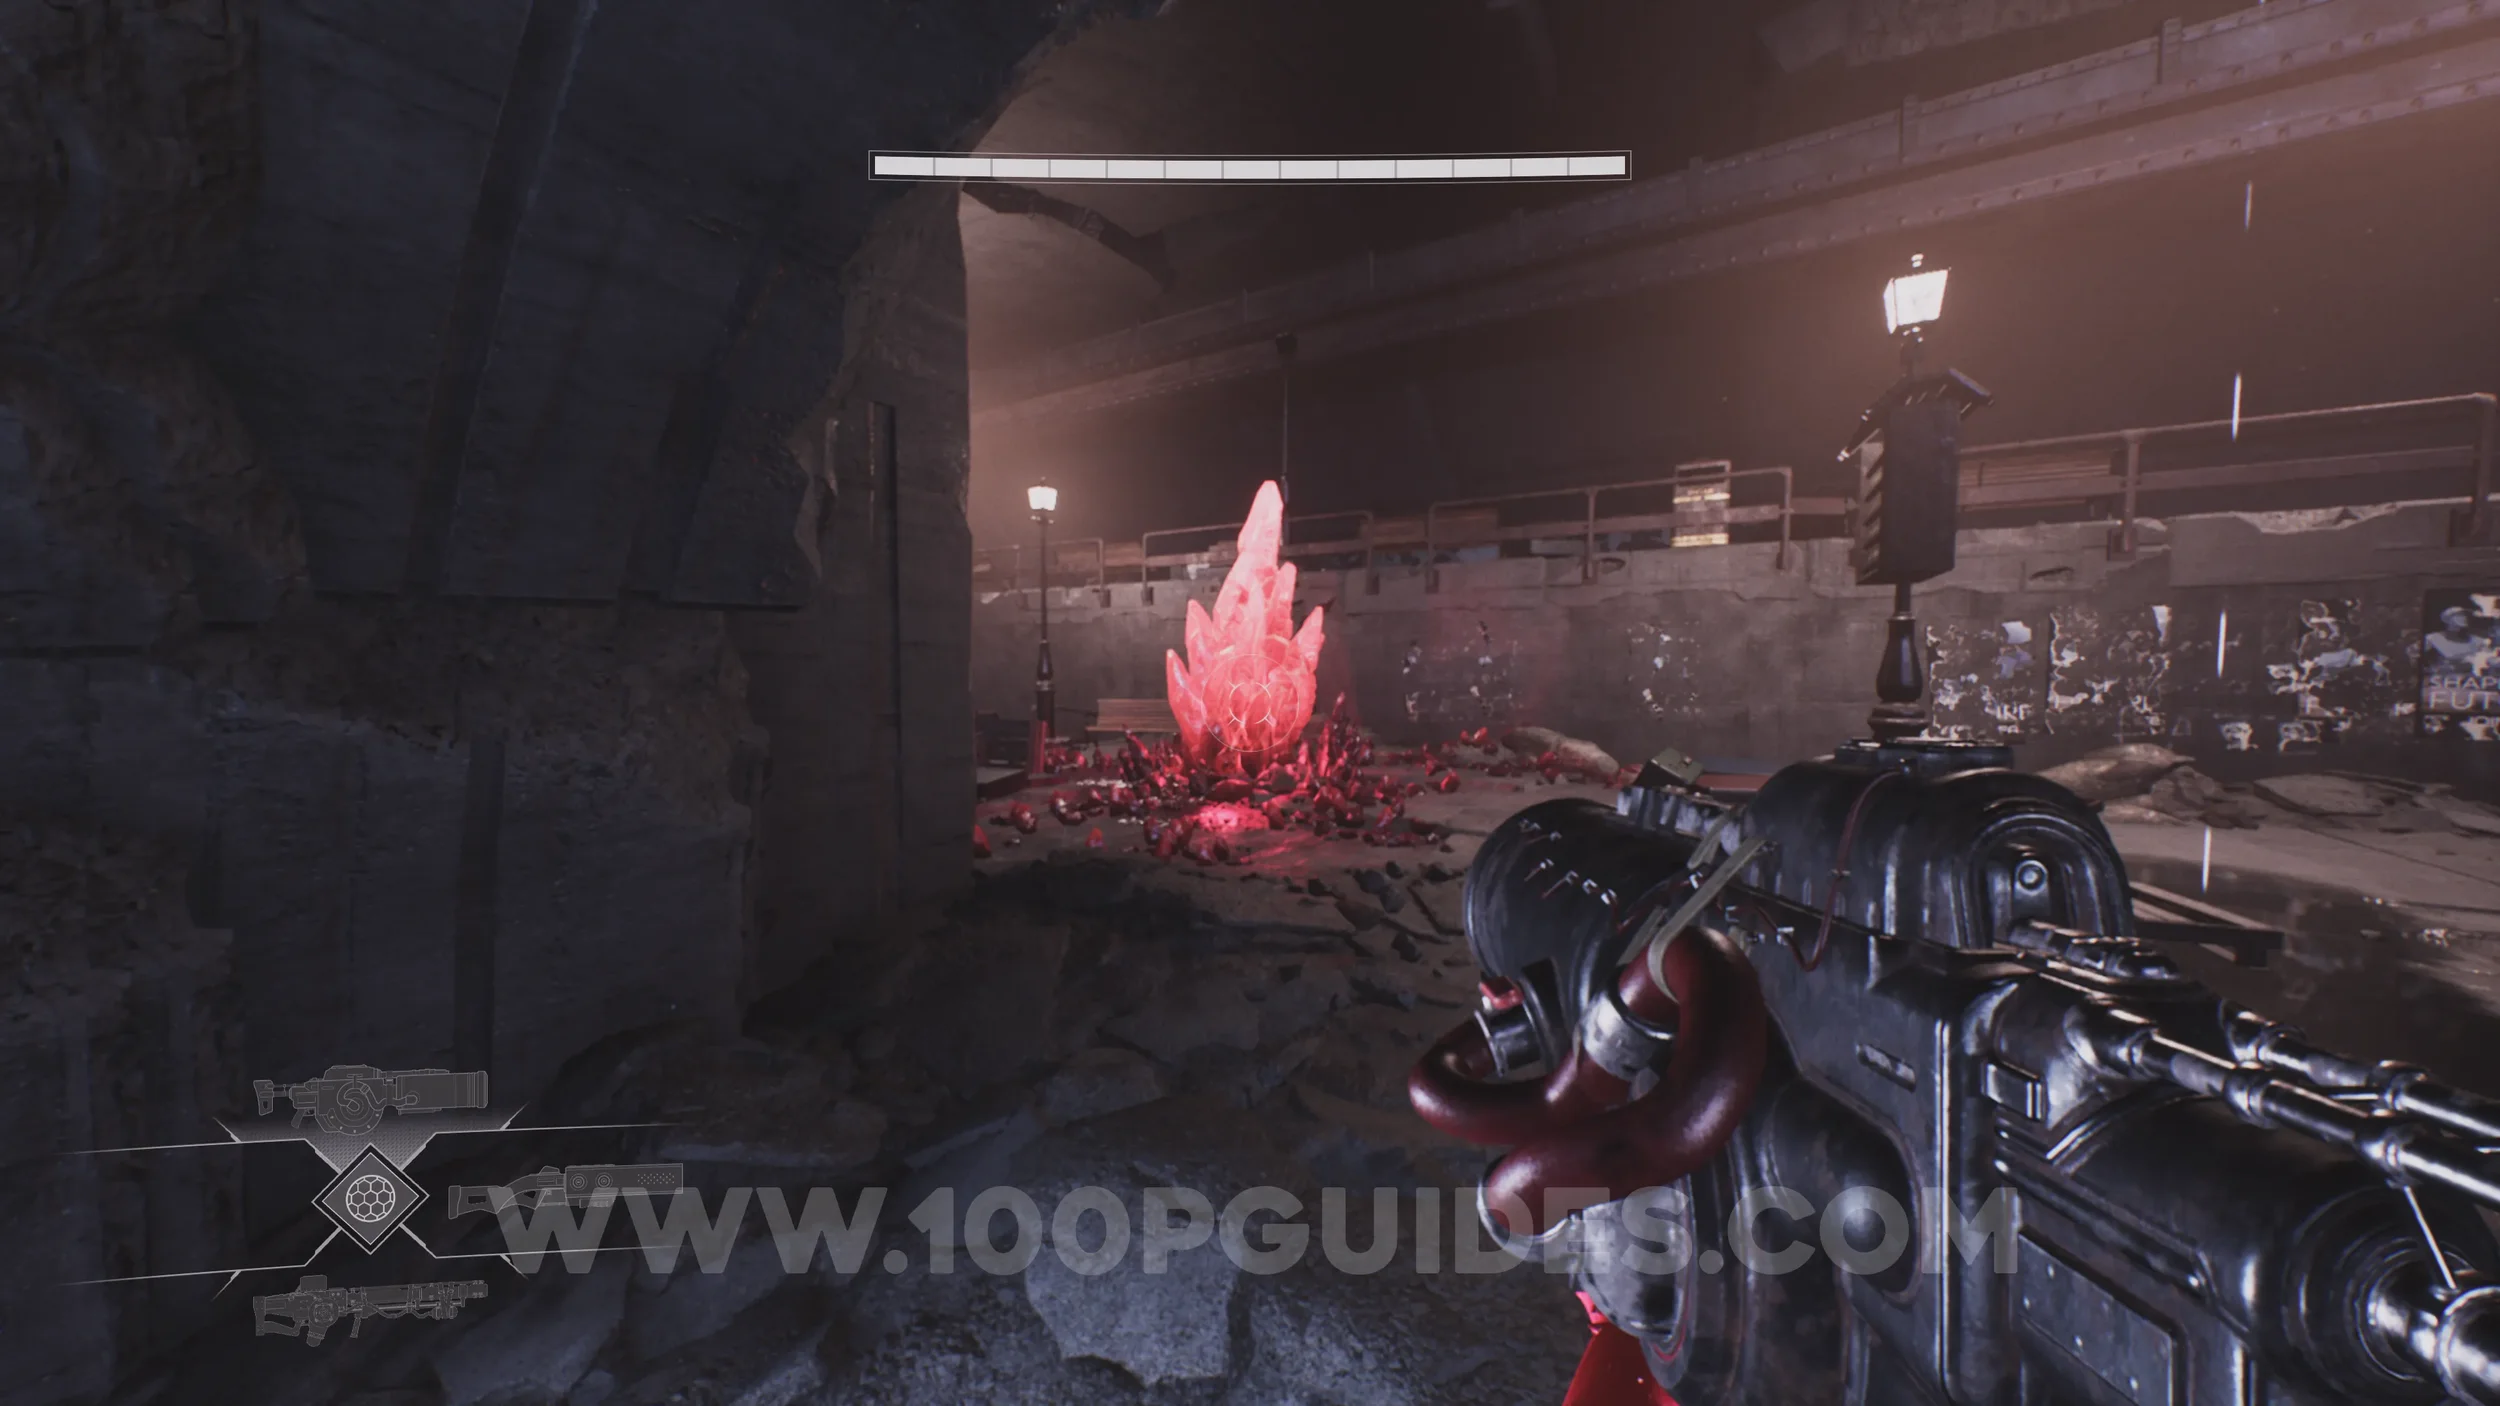
Lore Entry #40 (Memory - Entry #29265 - Loop Line). On the platform above the crystal.
CHAPTER 3 - THE DRIFT MINES
Lore Entry #41 (Memory - Entry #02021 - Communion). After making your way through several lasers in the first cave of the area, you will reach a metal grate with a Watcher on the other side that you can dash to. Before doing so, look to the right to find the collectible beside a statue.
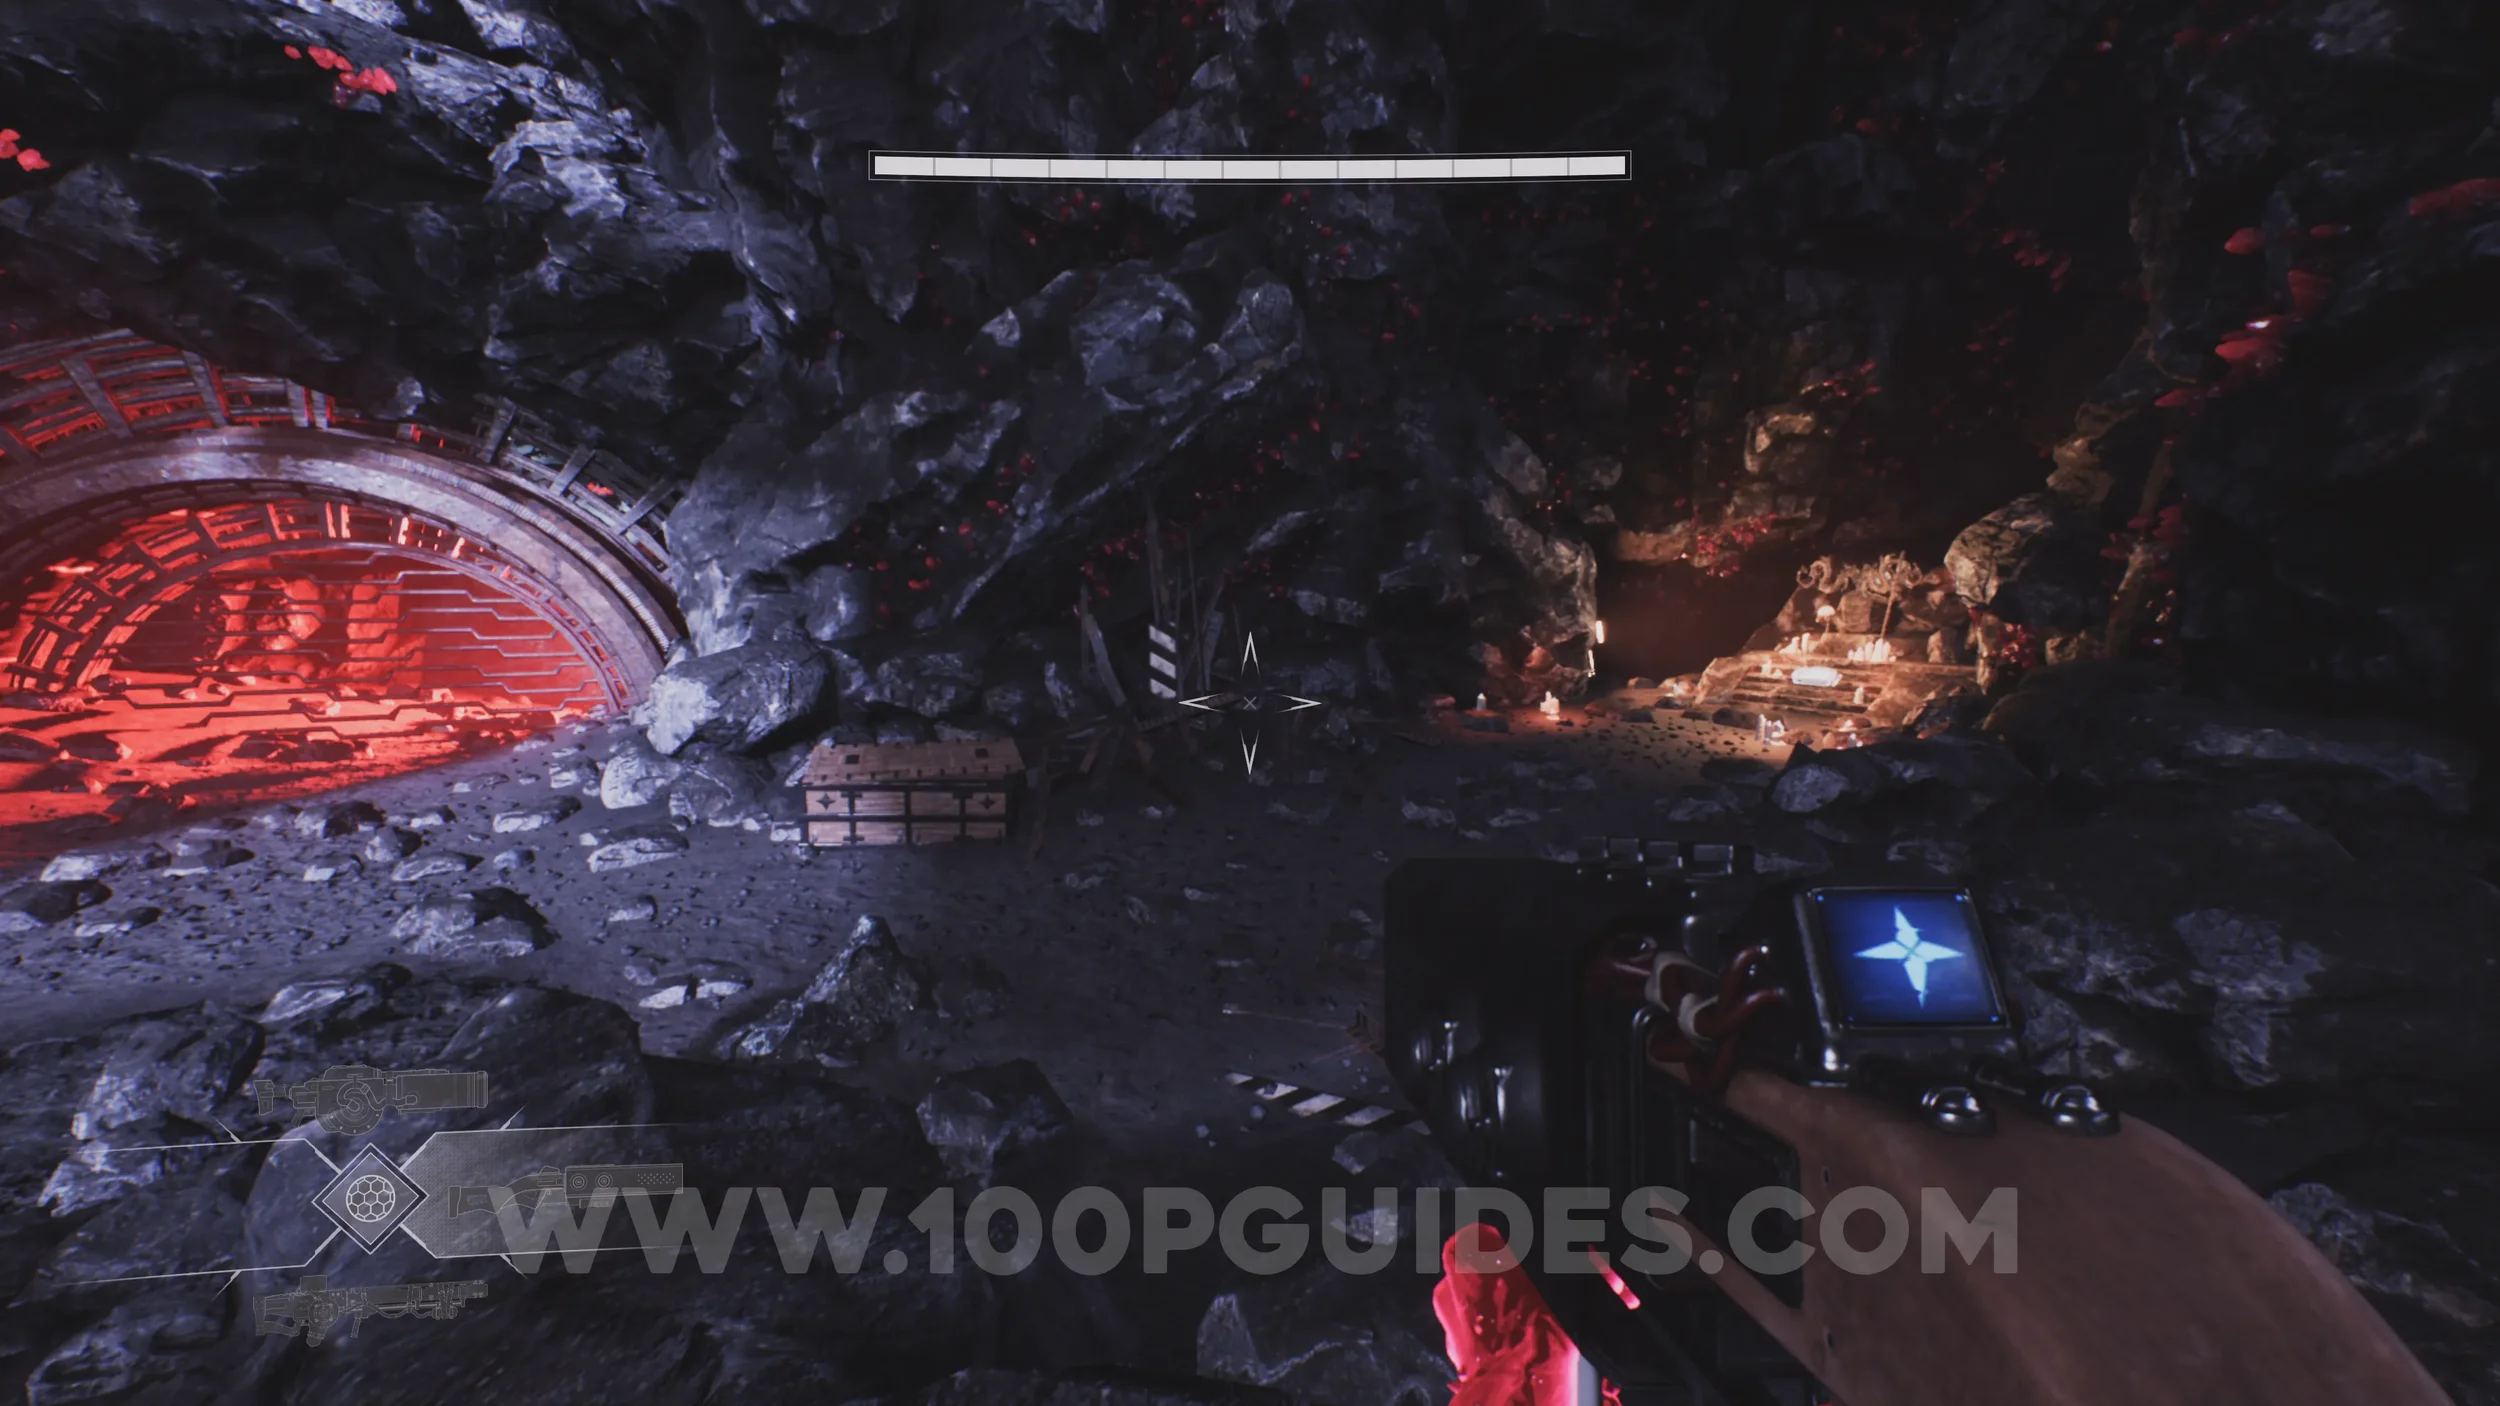
Health Increase #6. After learning how to activate the blue orbs and turn them into platforms, continue through the level until you reach an open area with spinning purple lasers. After passing the first spinning laser, look to the right to spot a Watcher. Dash to it, then drop down below to find the chest.
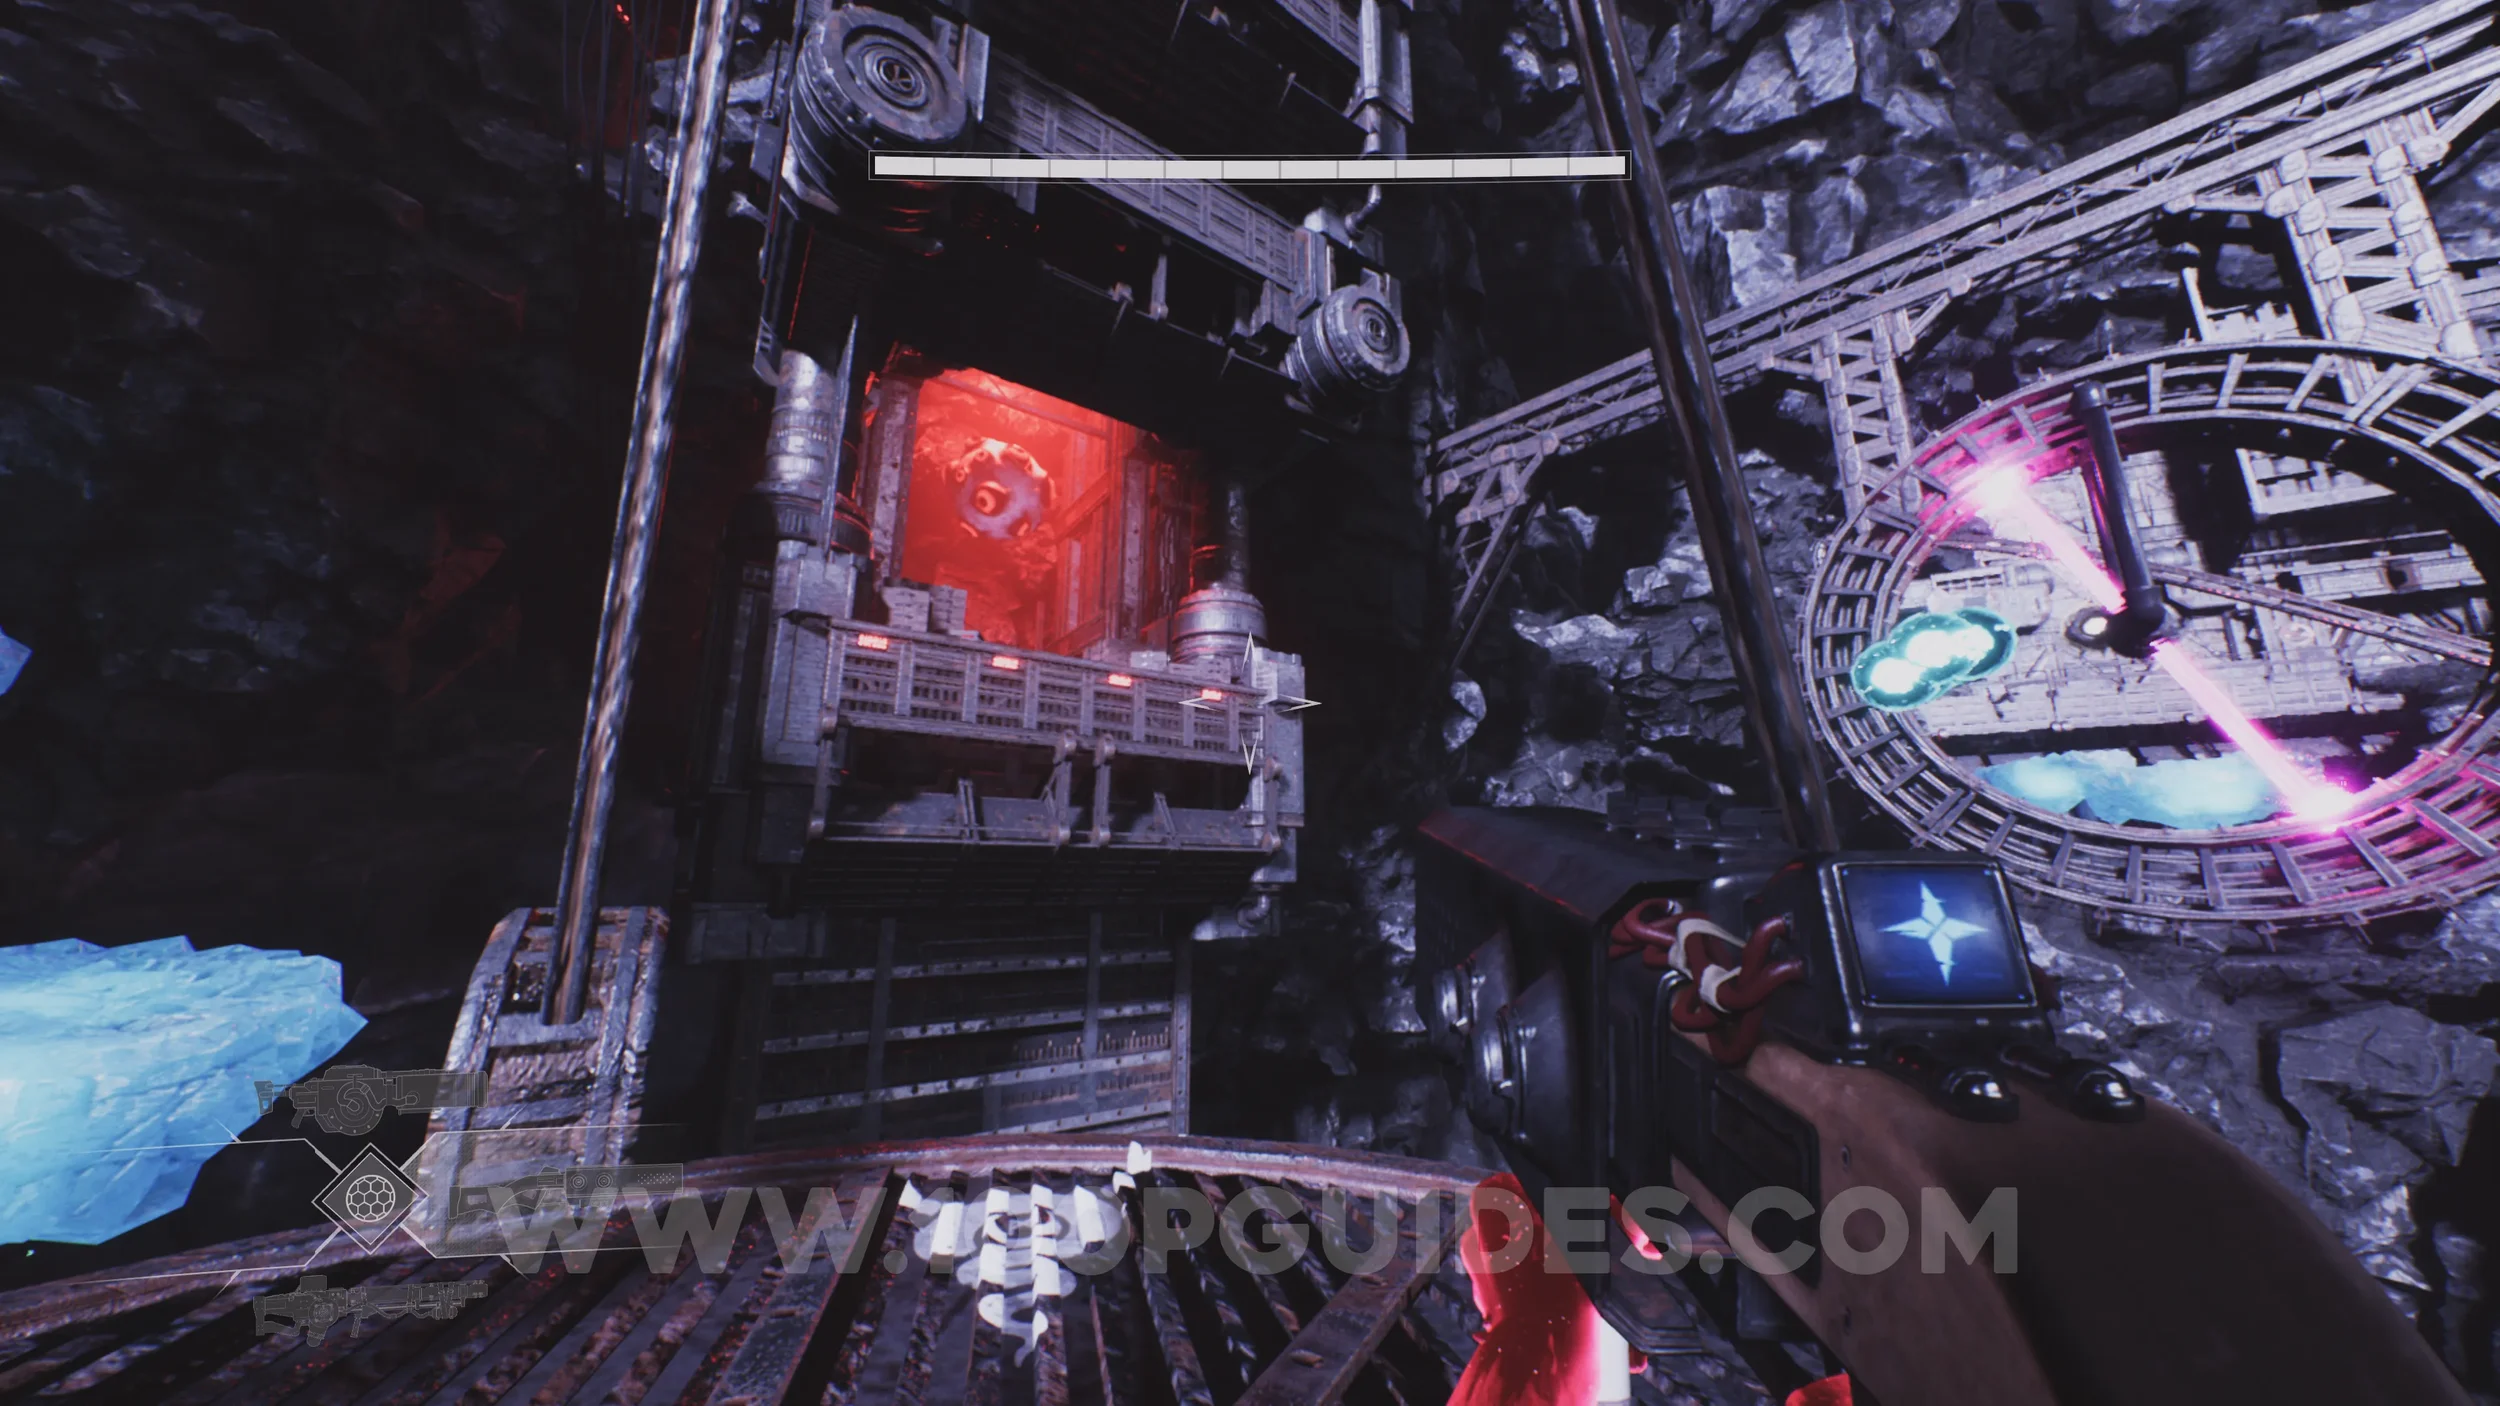
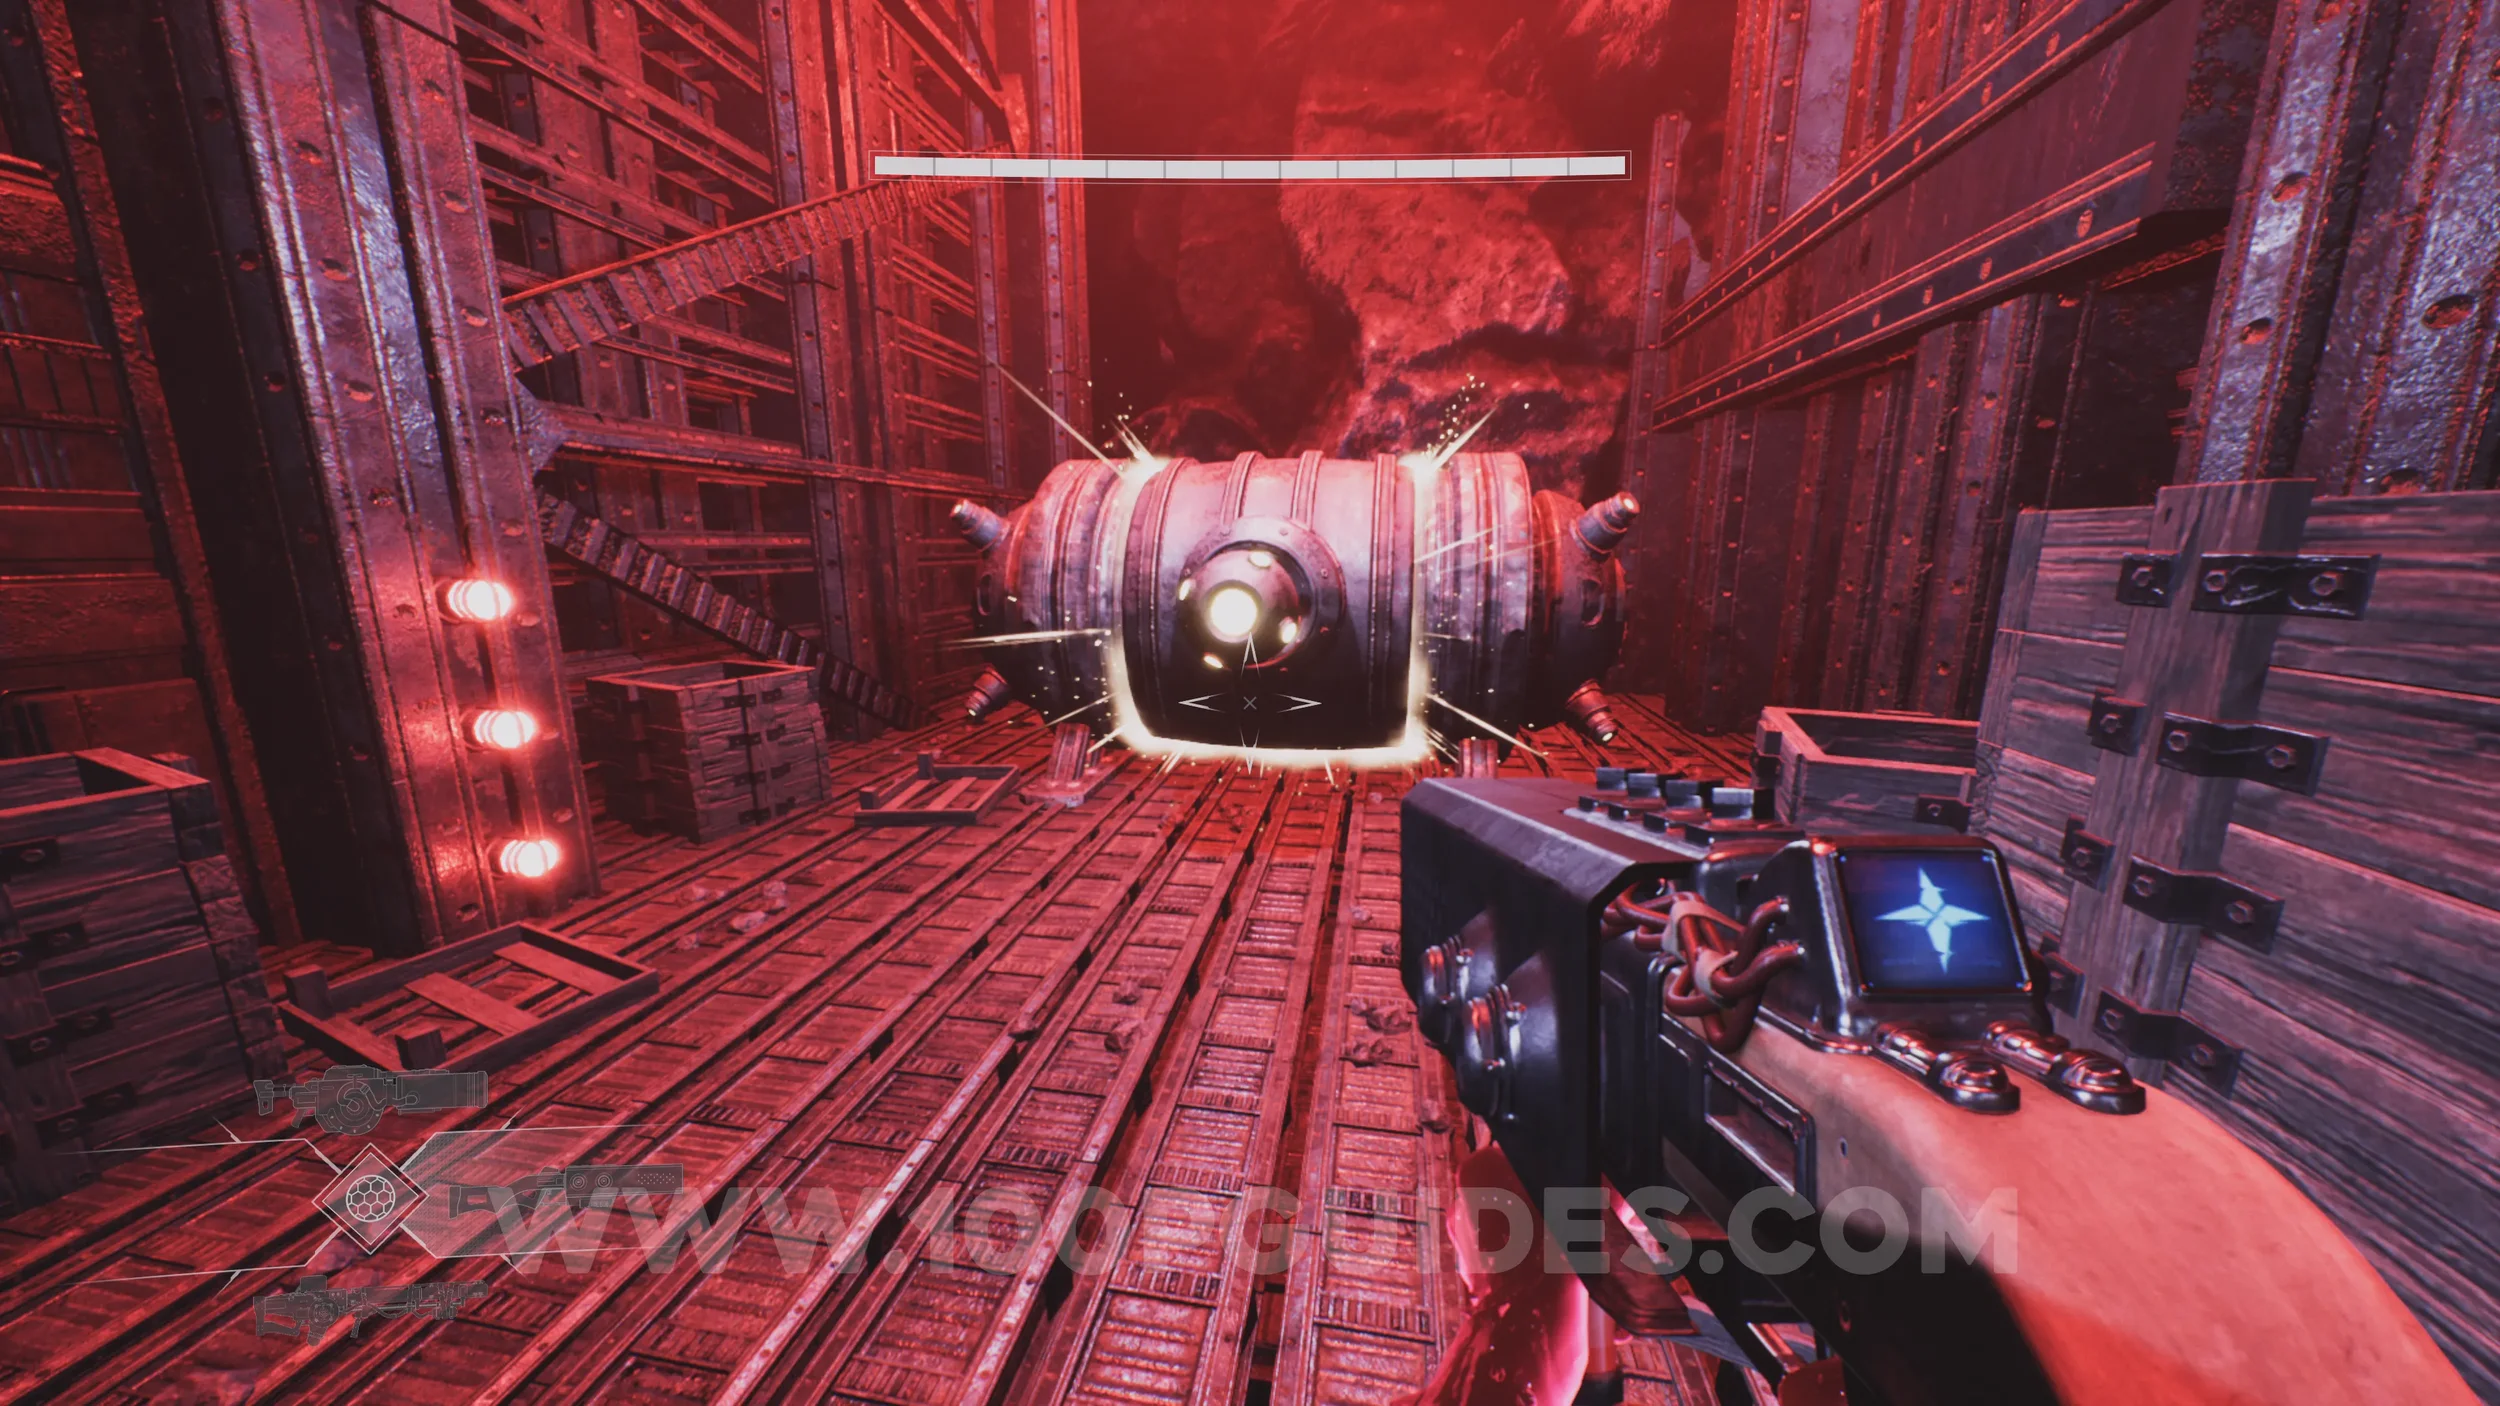
Lore Entry #42 (Memory - Entry 83890 - Offerings). After passing through the large room where you must activate three orbs to progress, you will emerge into an area with a large red lit statue directly ahead. Before dropping down to the area below, look to the right to find the collectible.
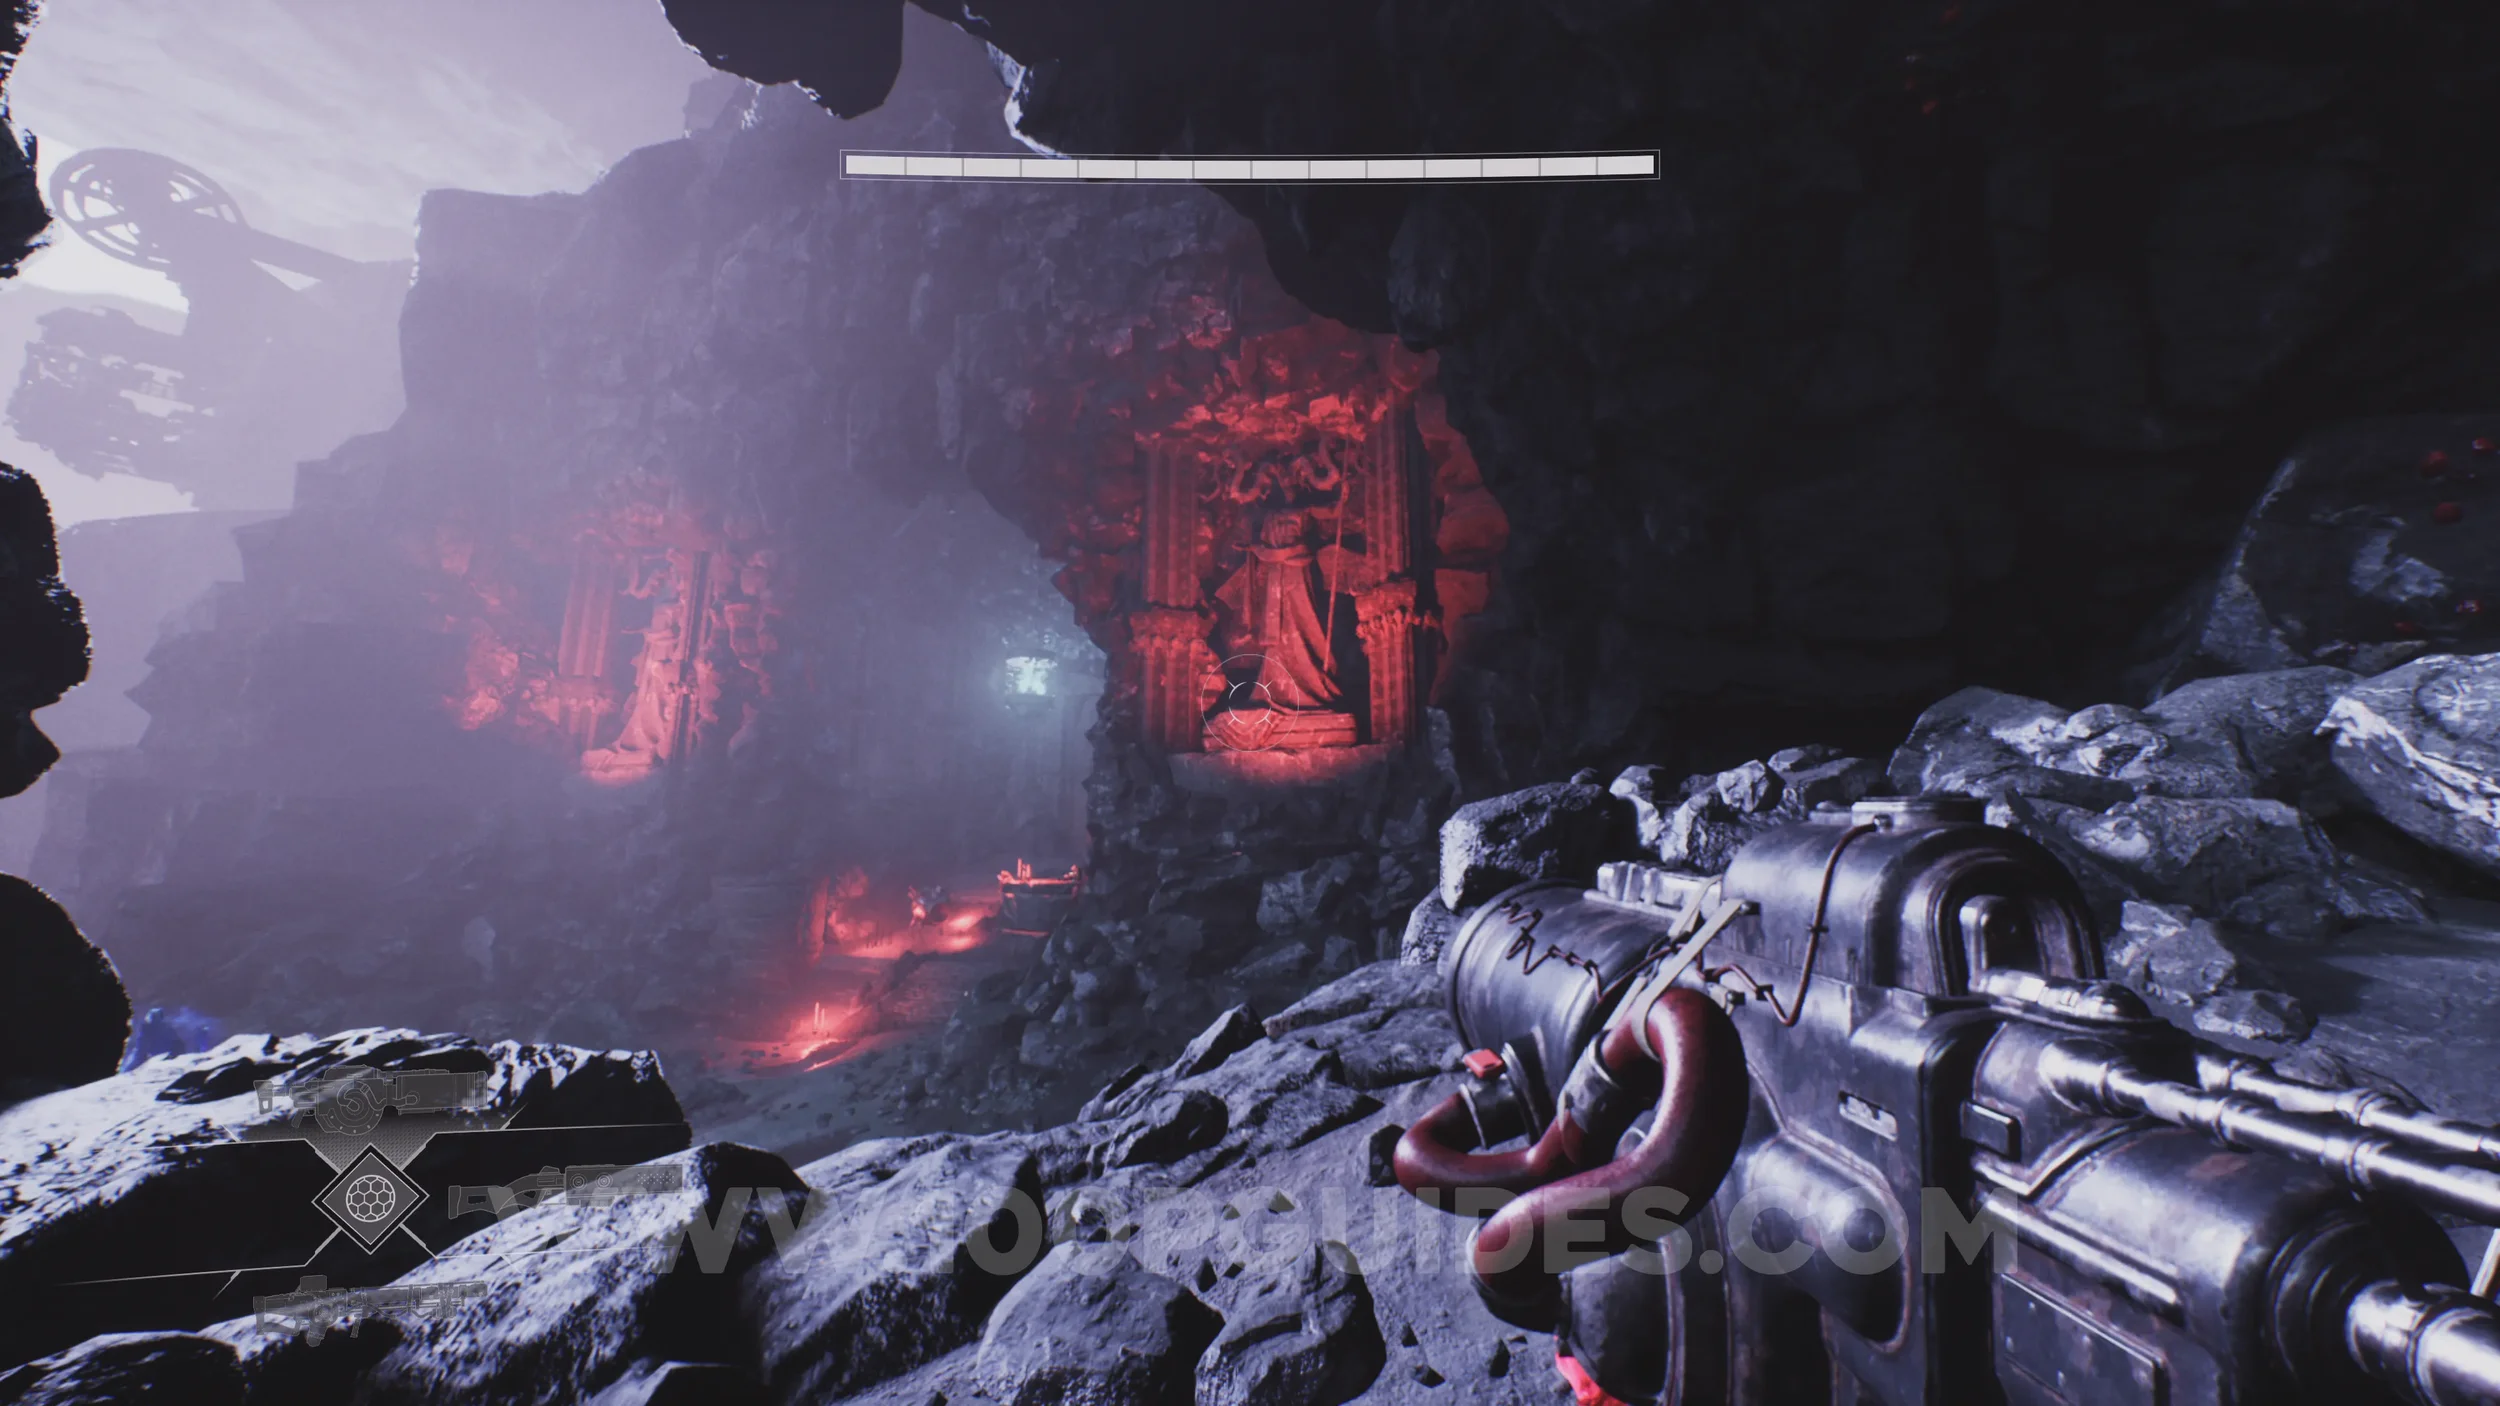
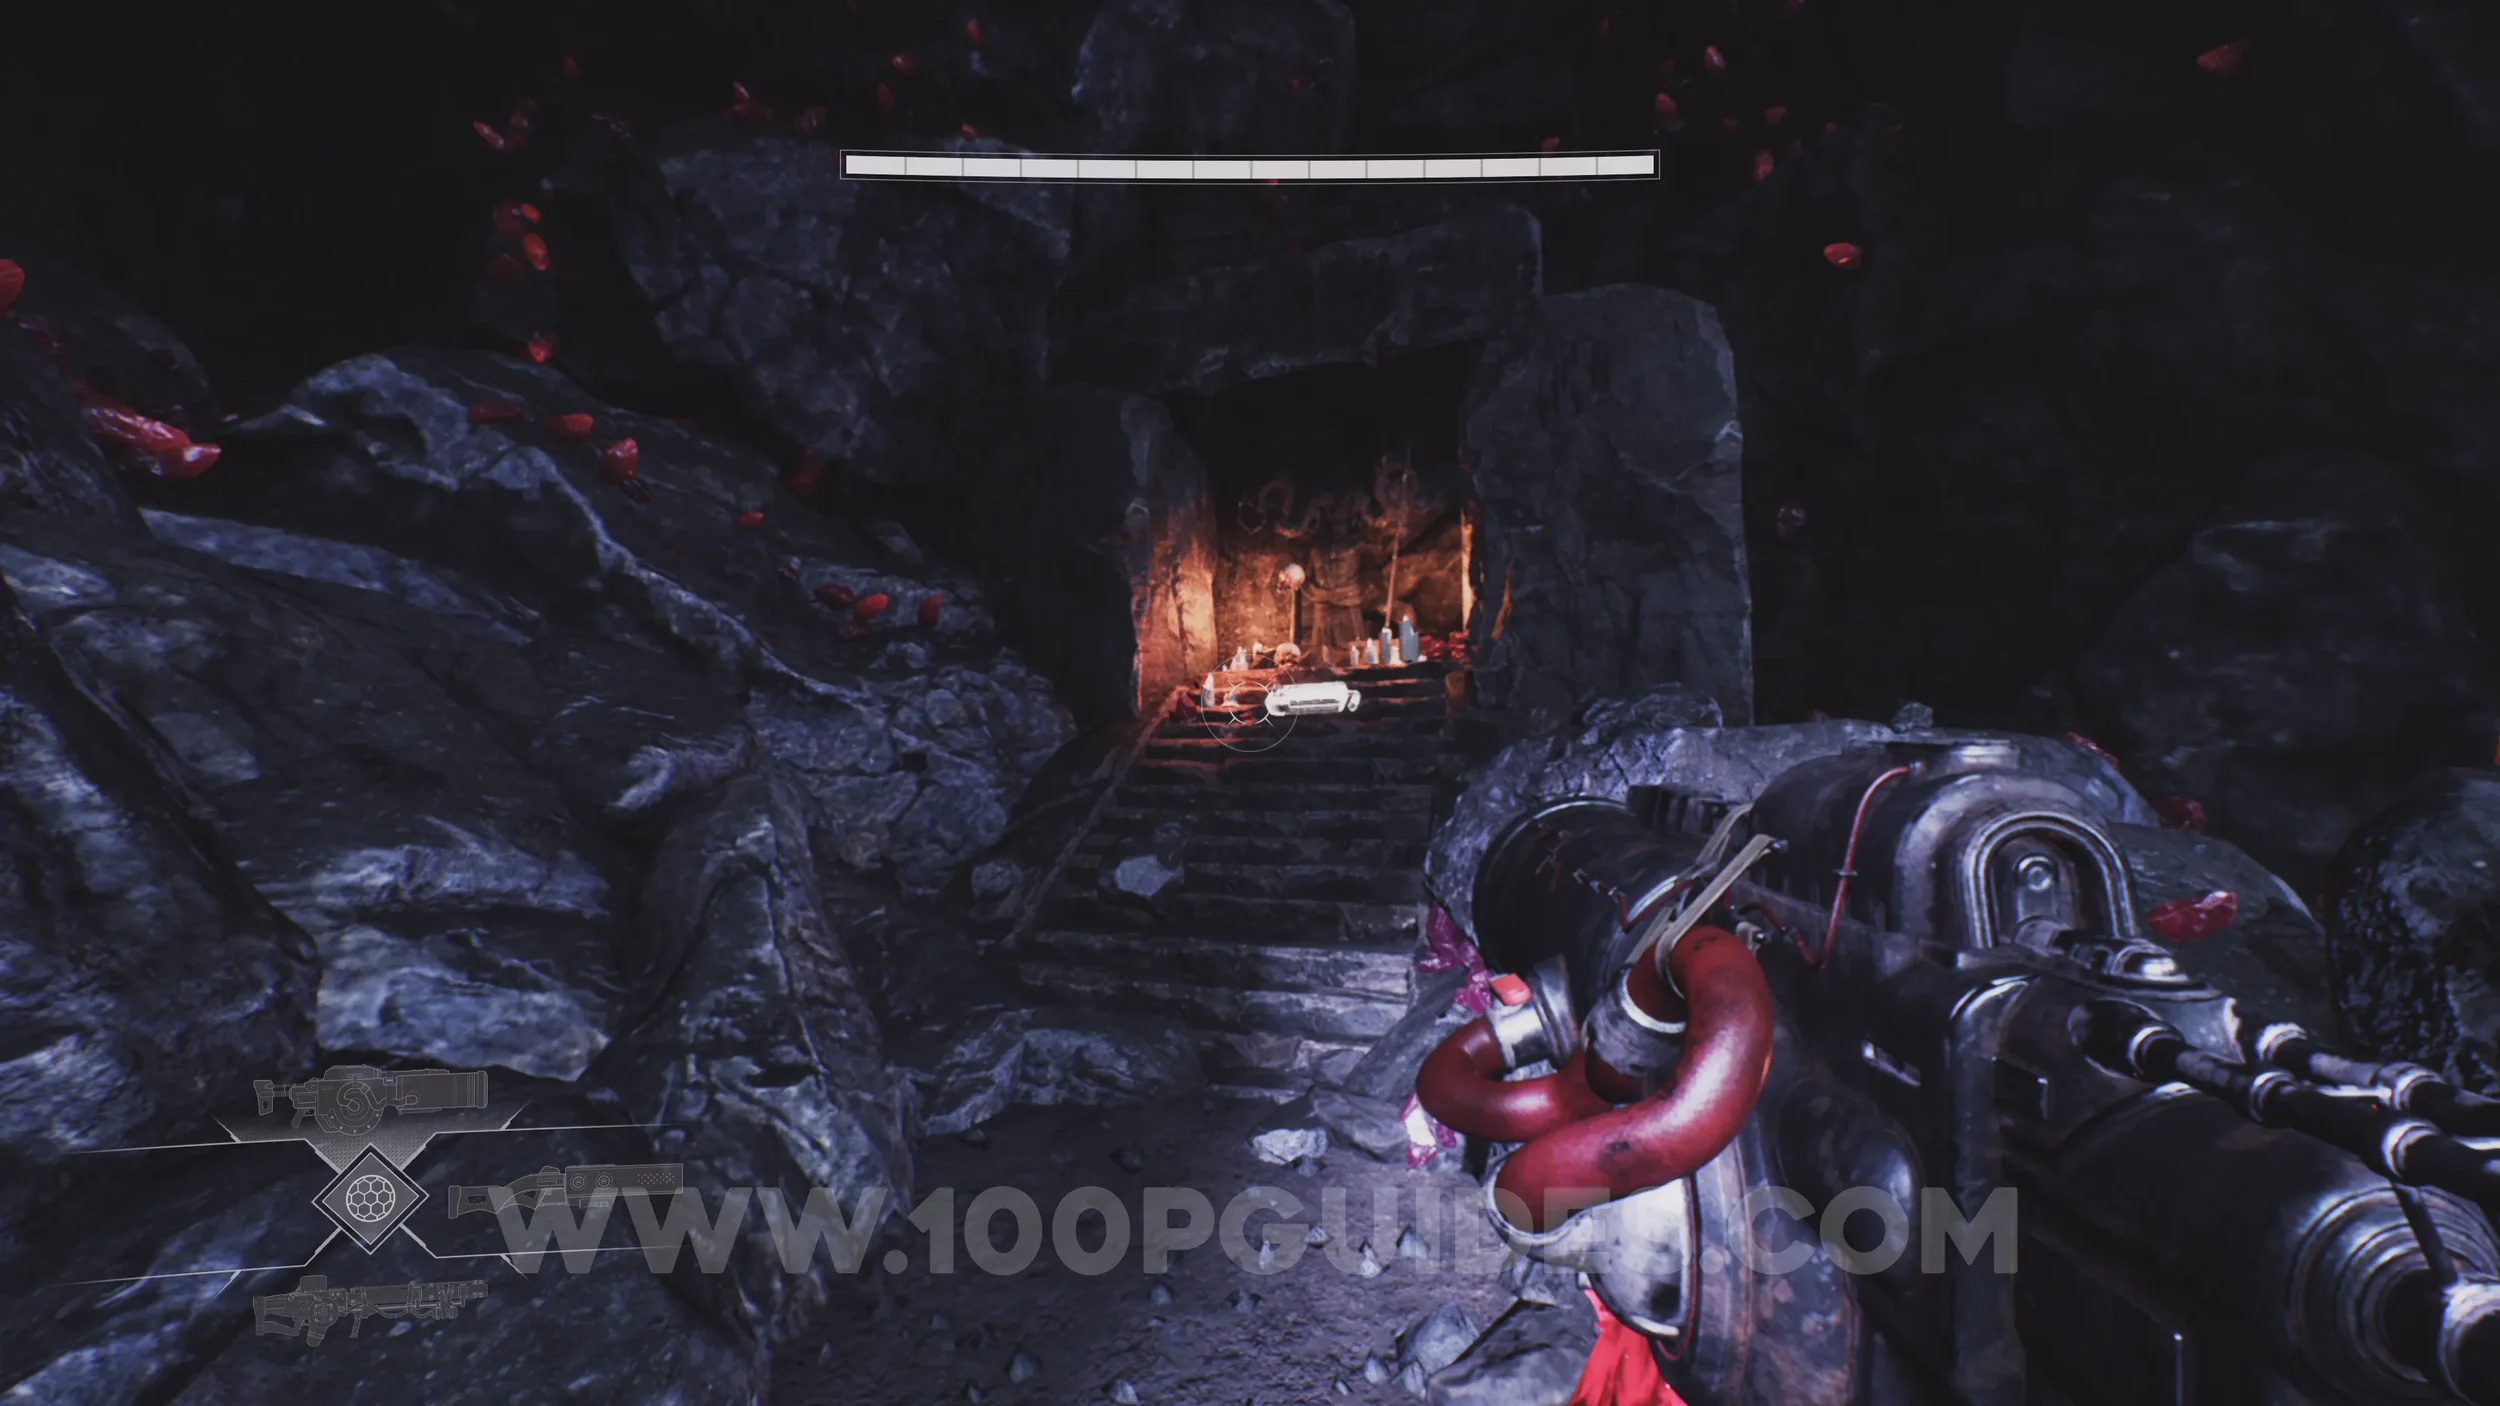
Lore Entry #43 (Character - Otis). To the left of the red lit statue mentioned in the previous collectible, you will see a platform marked with a white symbol. The collectible can be found on this platform.
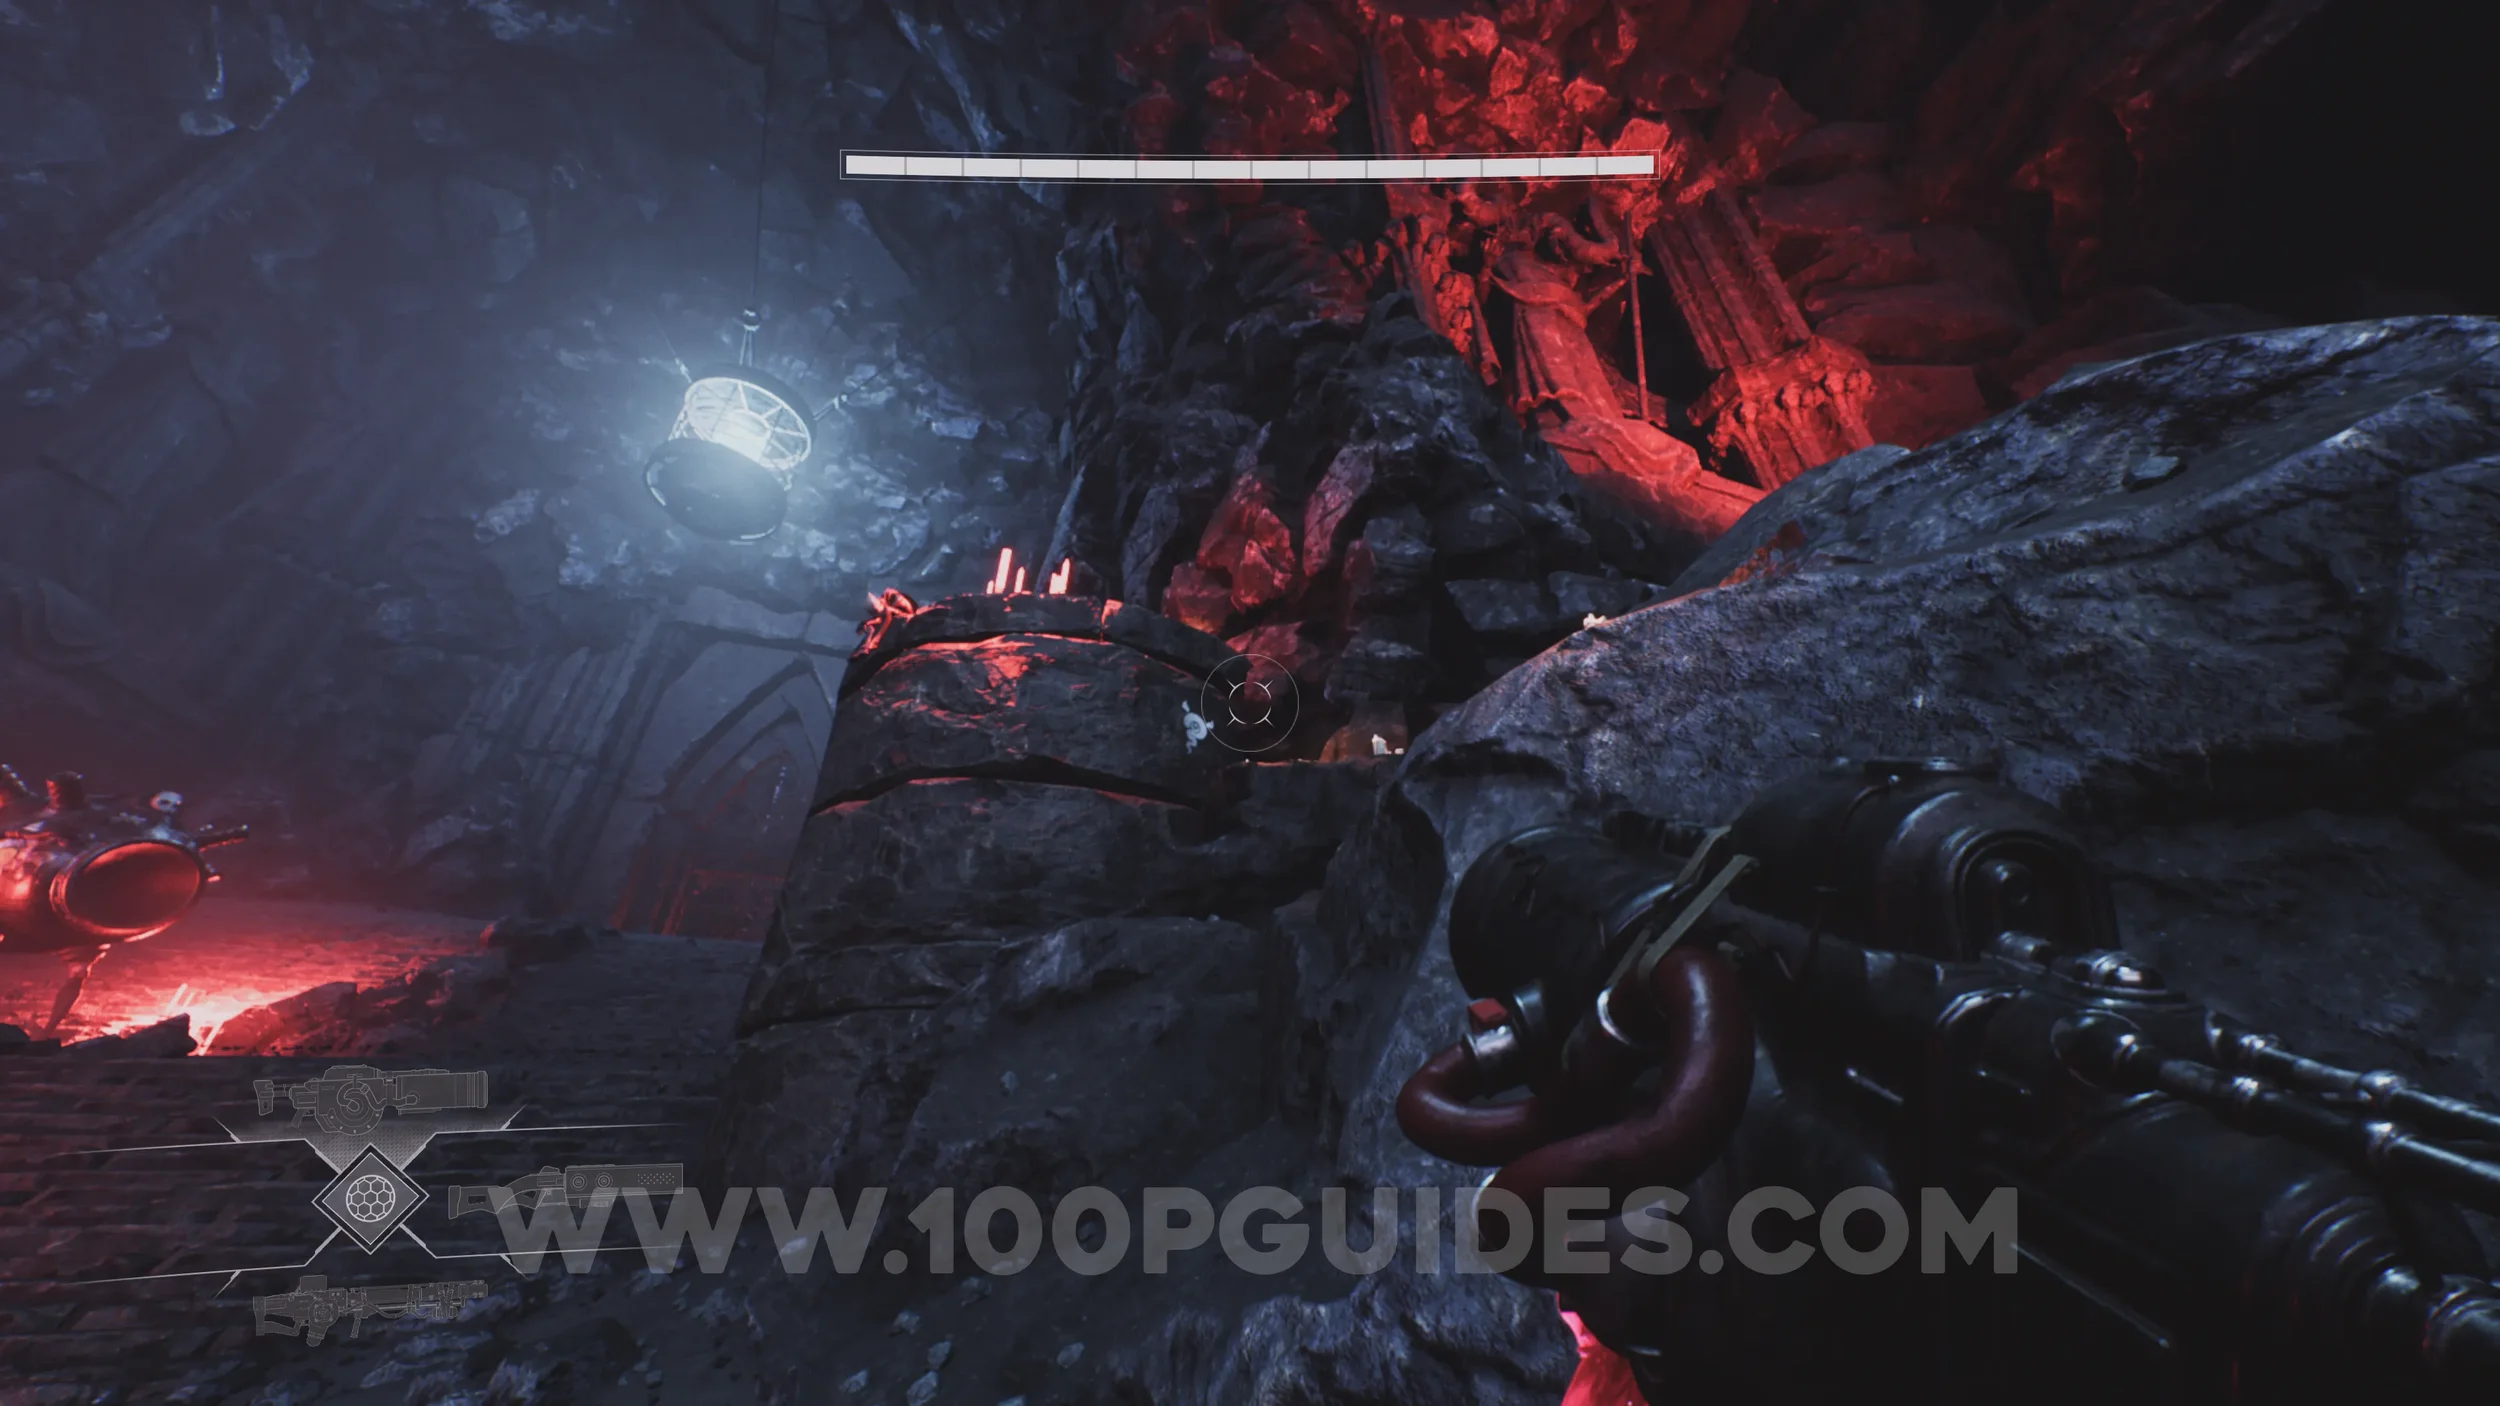
Lore Entry #44 (Memory - Entry #60435 - Horns). On your right immediately after going through the door that Otis was guarding.
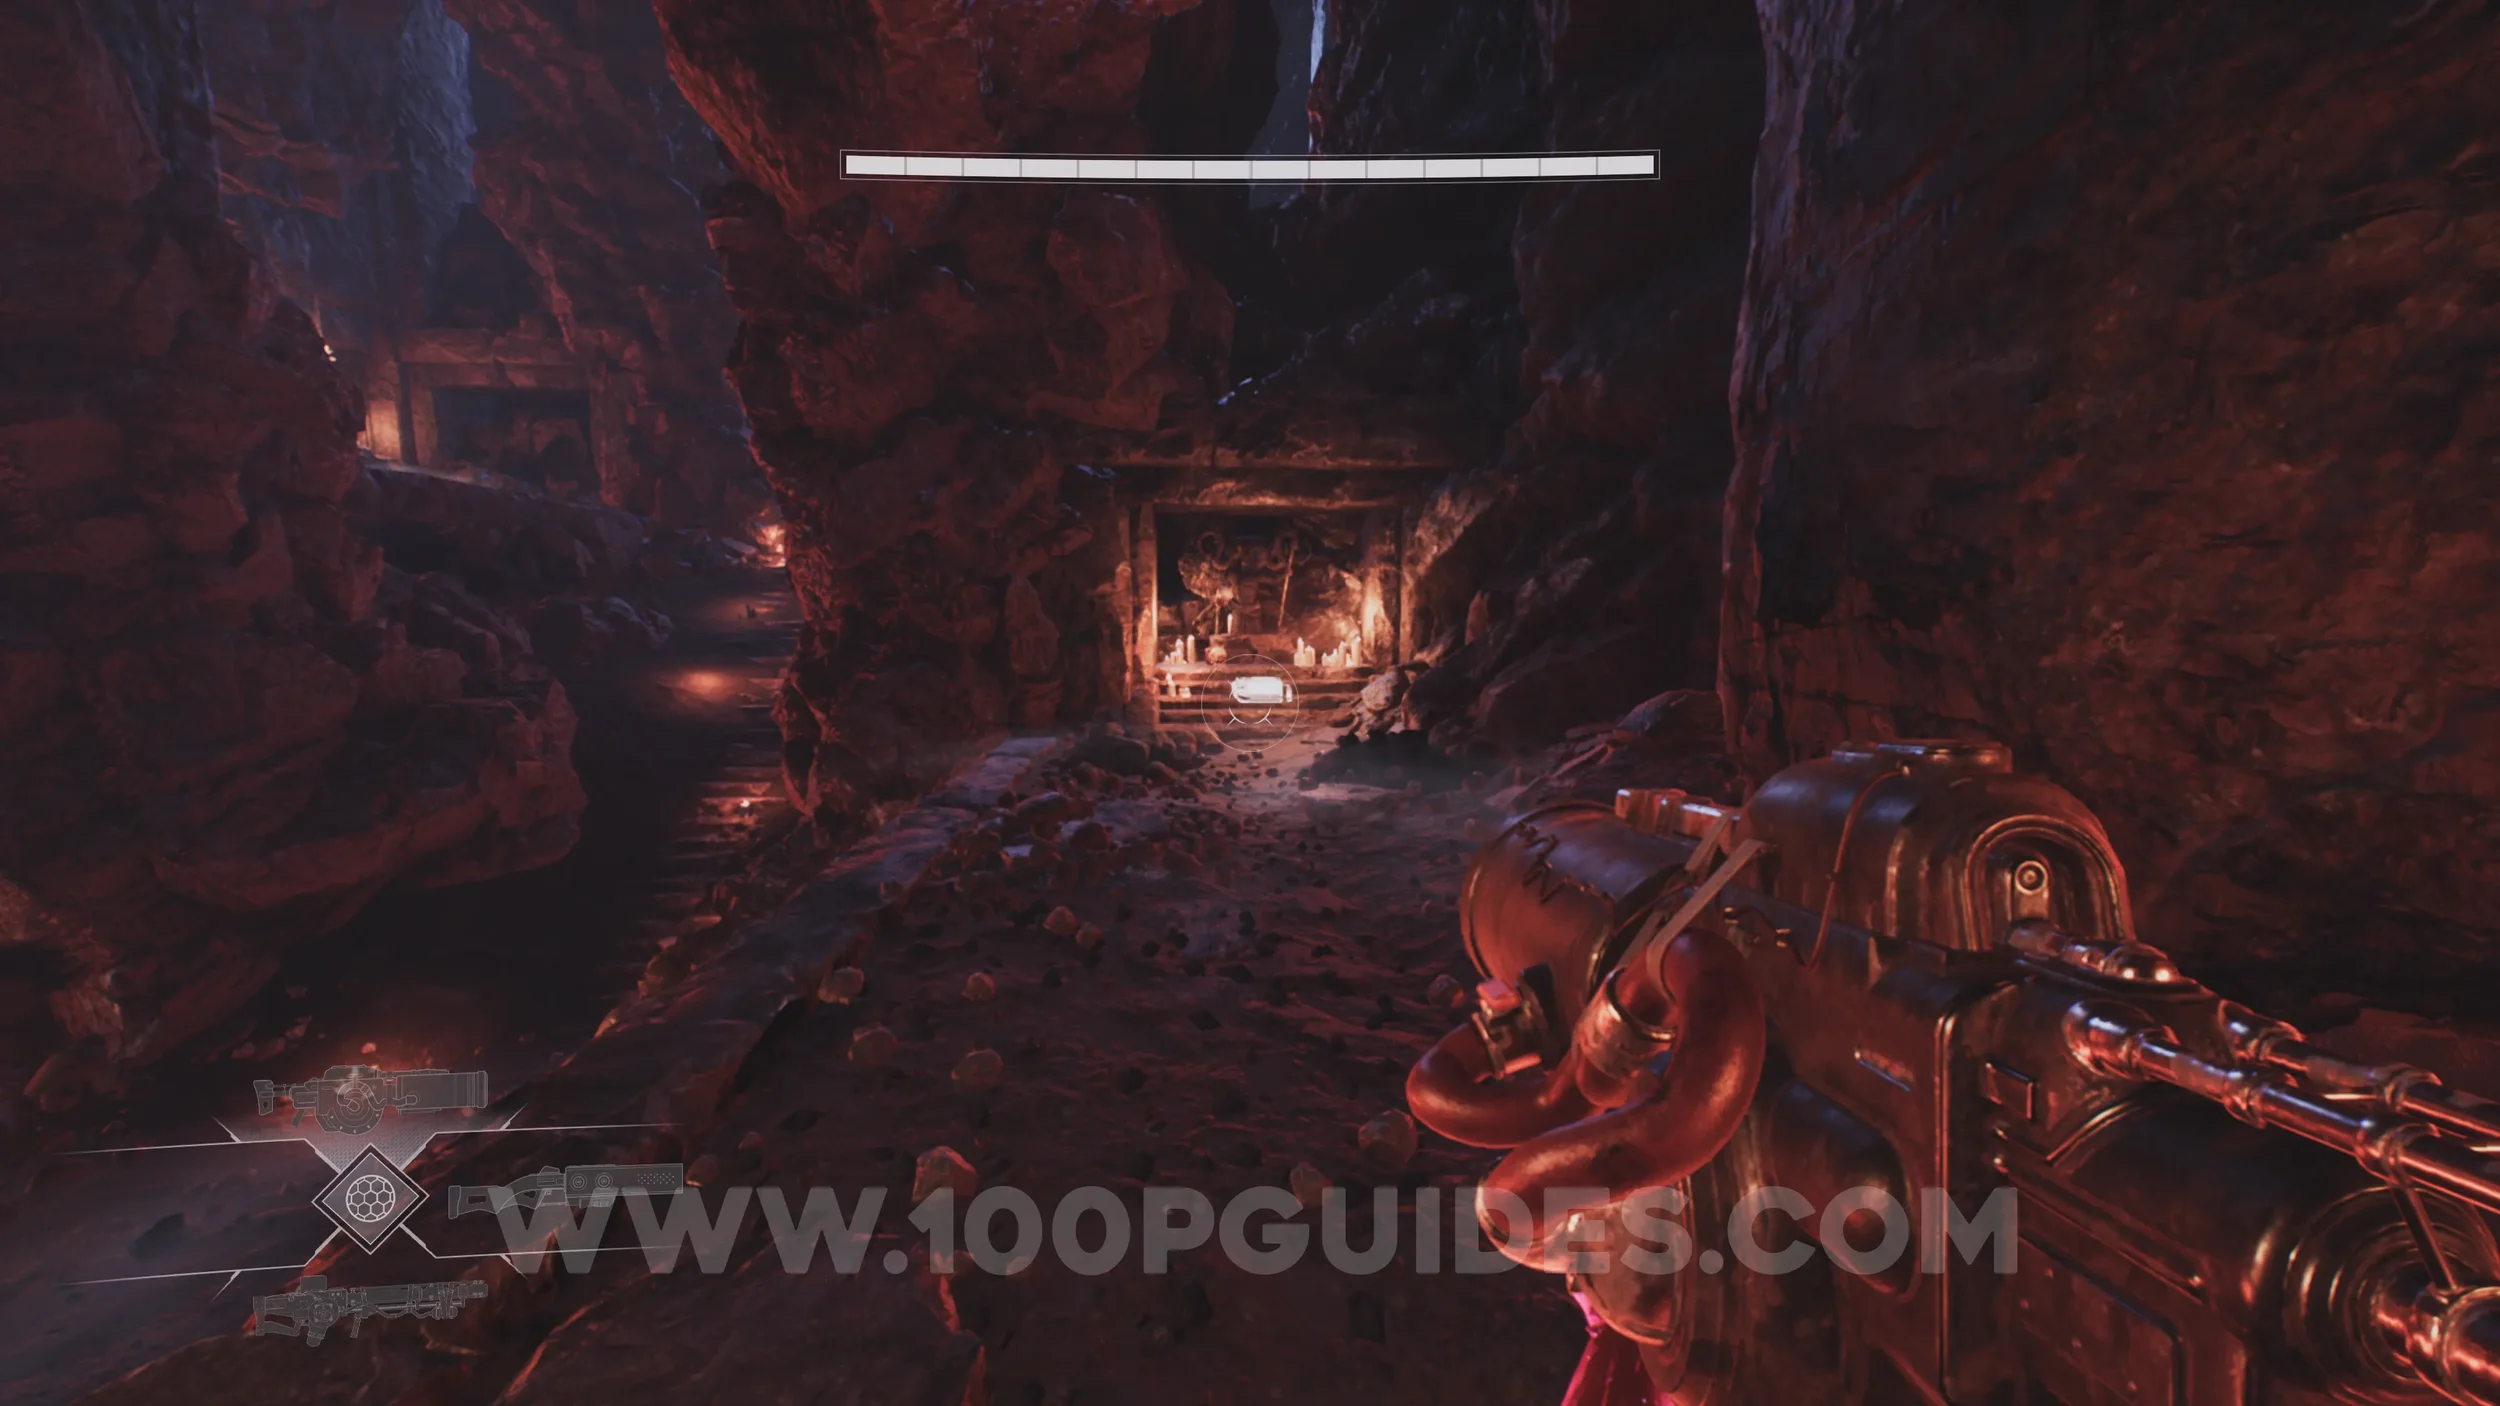
Lore Entry #45 (Memory - Entry #74845 - Taken). From the previous collectible, continue up the stairs. Before entering the red lit room at the top, go through the small gap on the right to find the collectible inside.
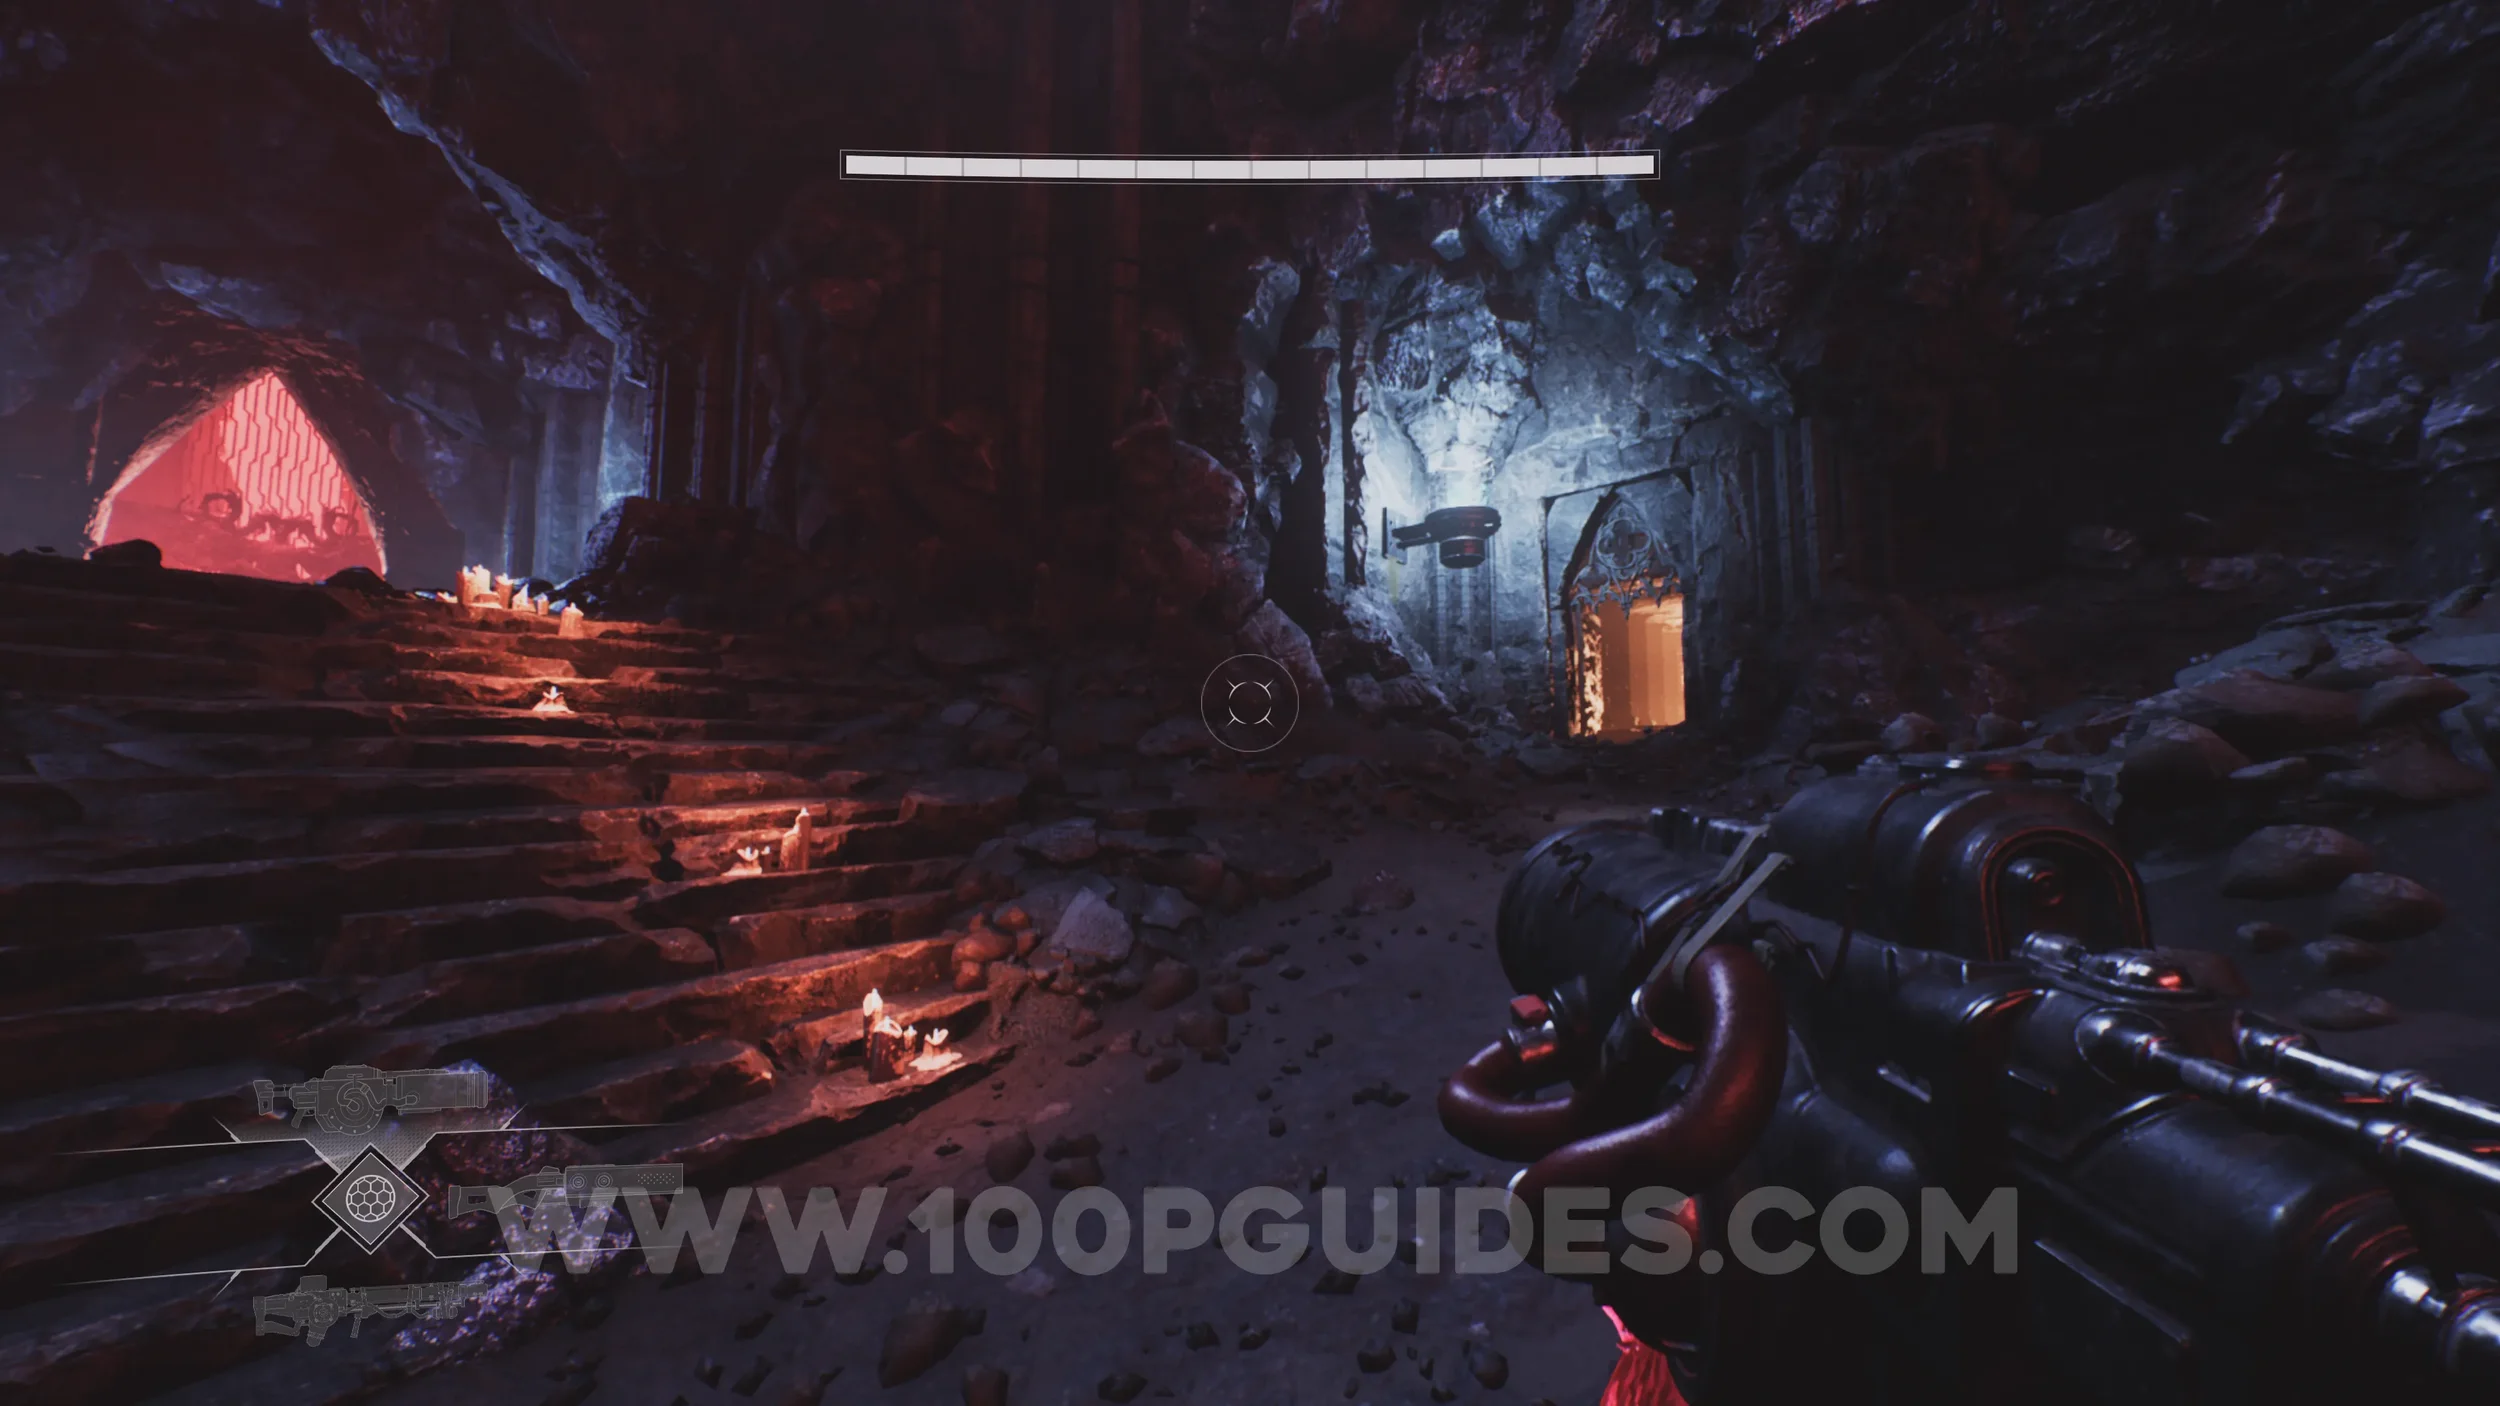
Lore Entry #46 (Memory - Entry #678 - Stopped Clocks). To the right of the statue in the boss room.
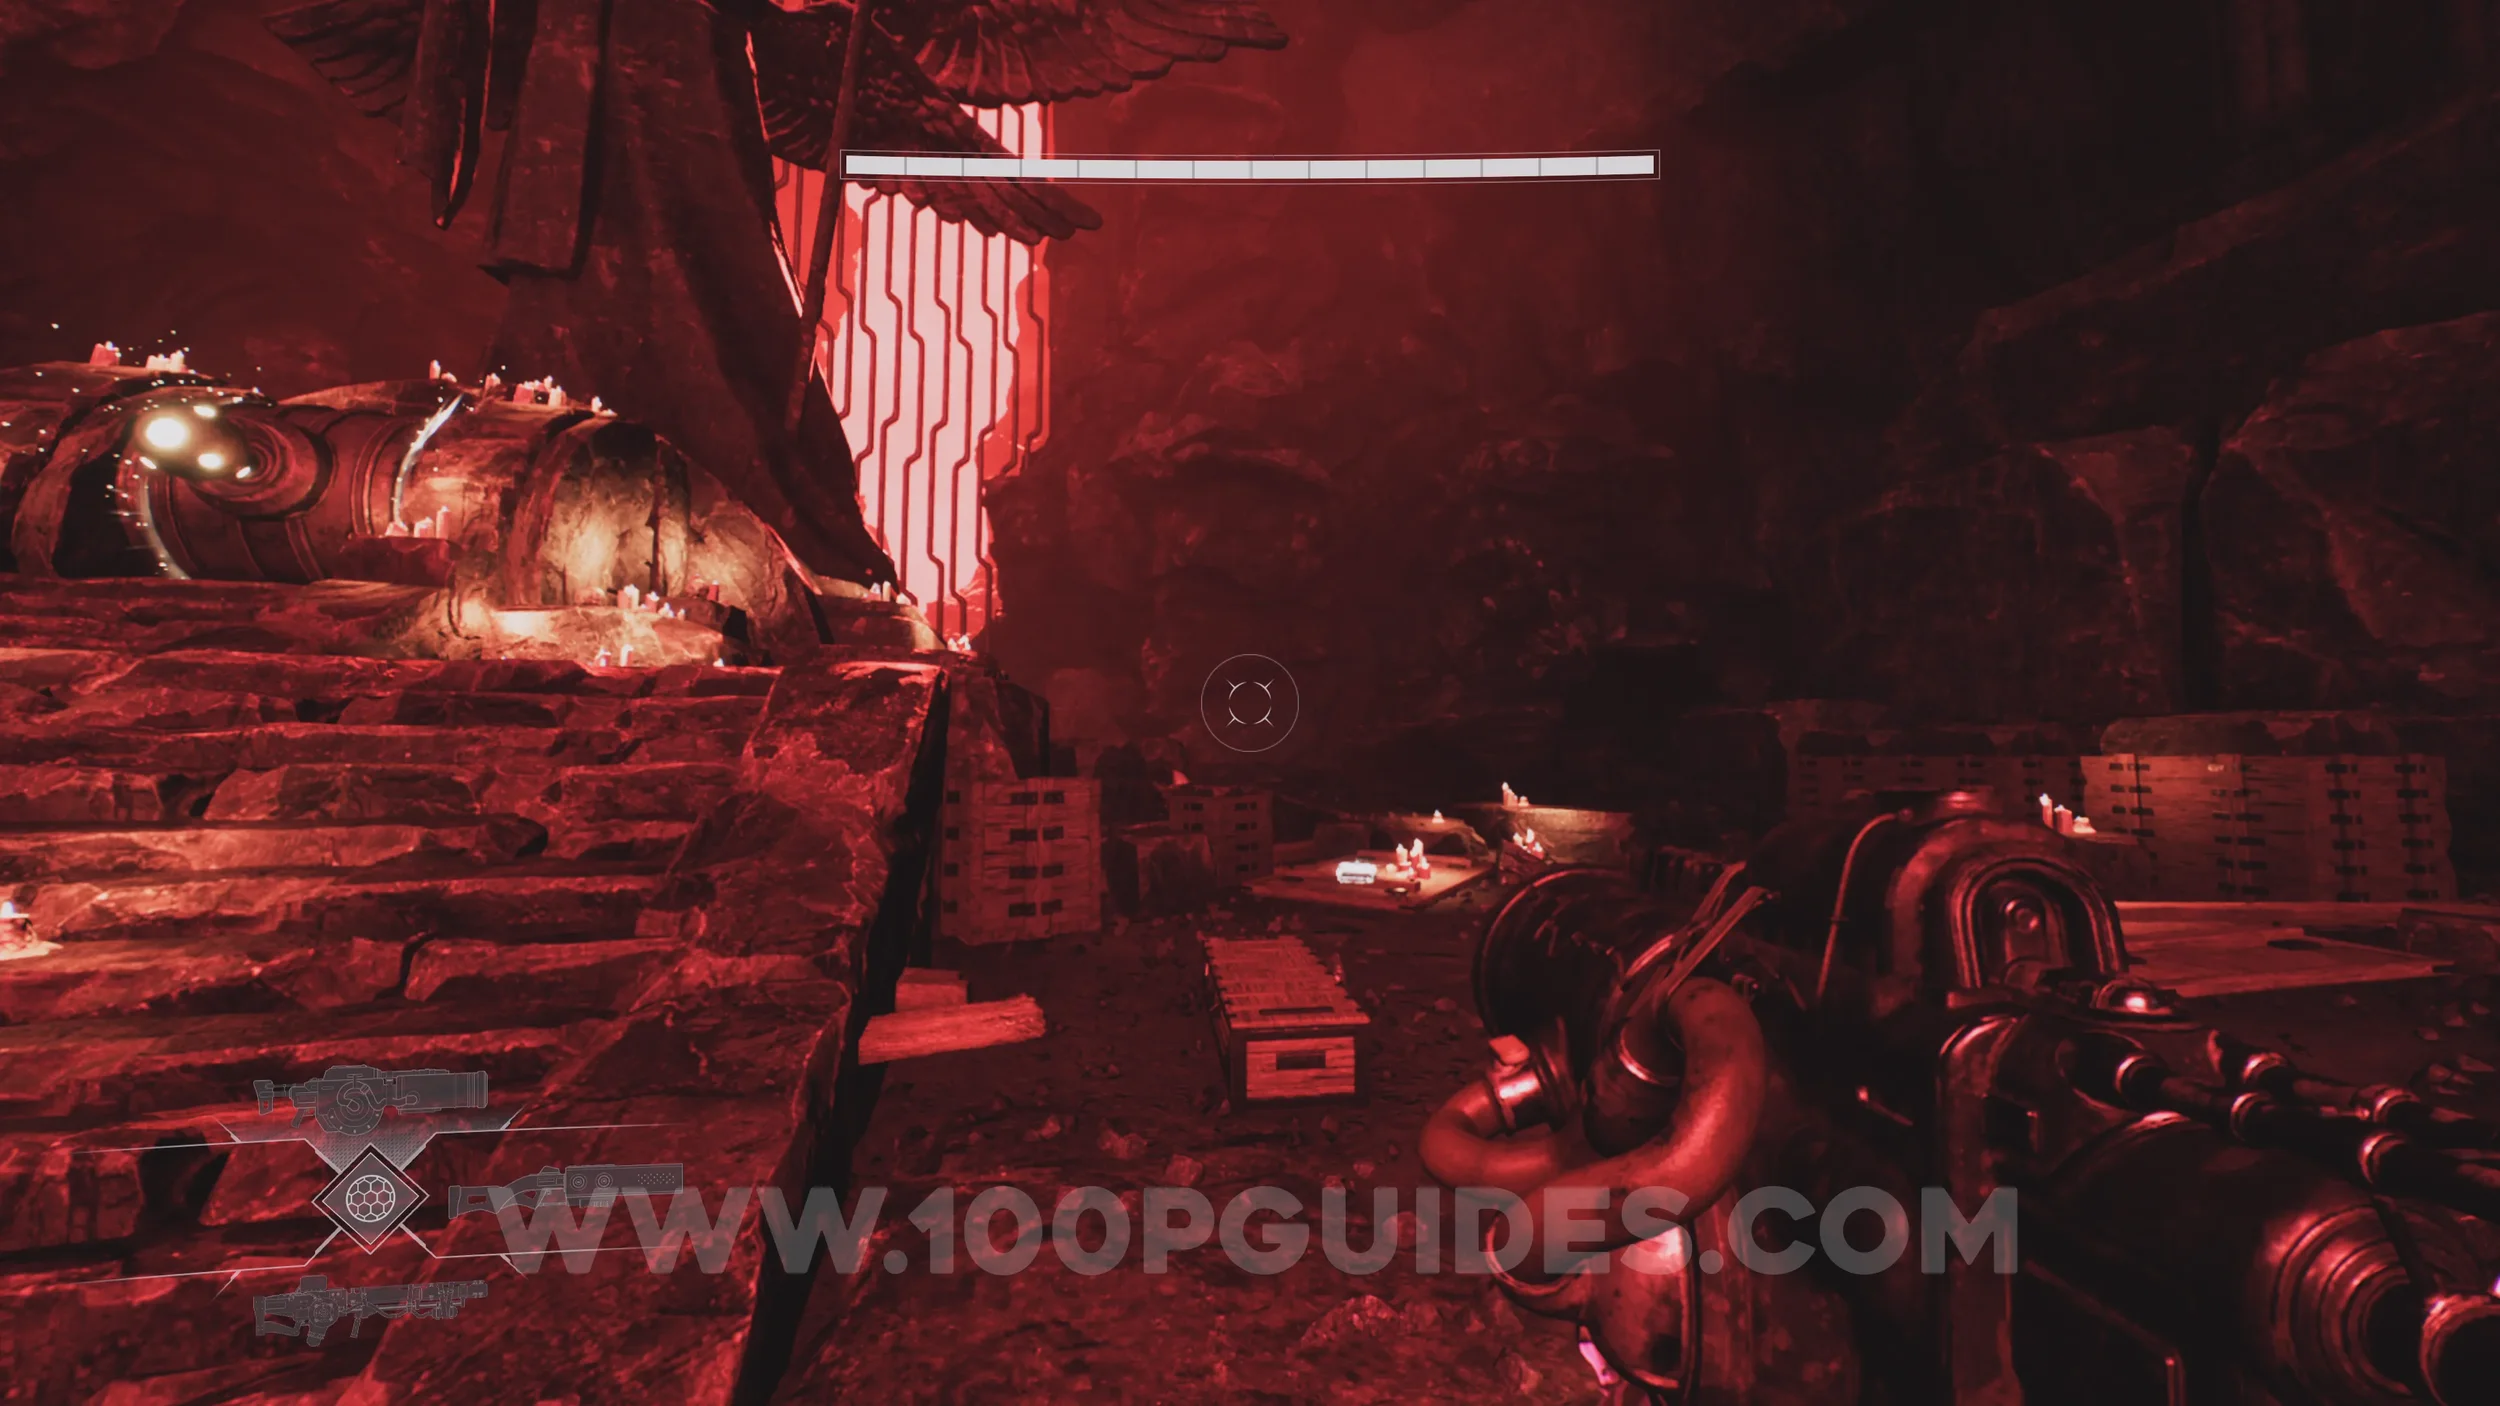
CHAPTER 3 - RIDING THE RAILS
Lore Entry #47 (Memory -Entry #33770 - The Factory). Found in plain sight as you pass through the purple-lit room.
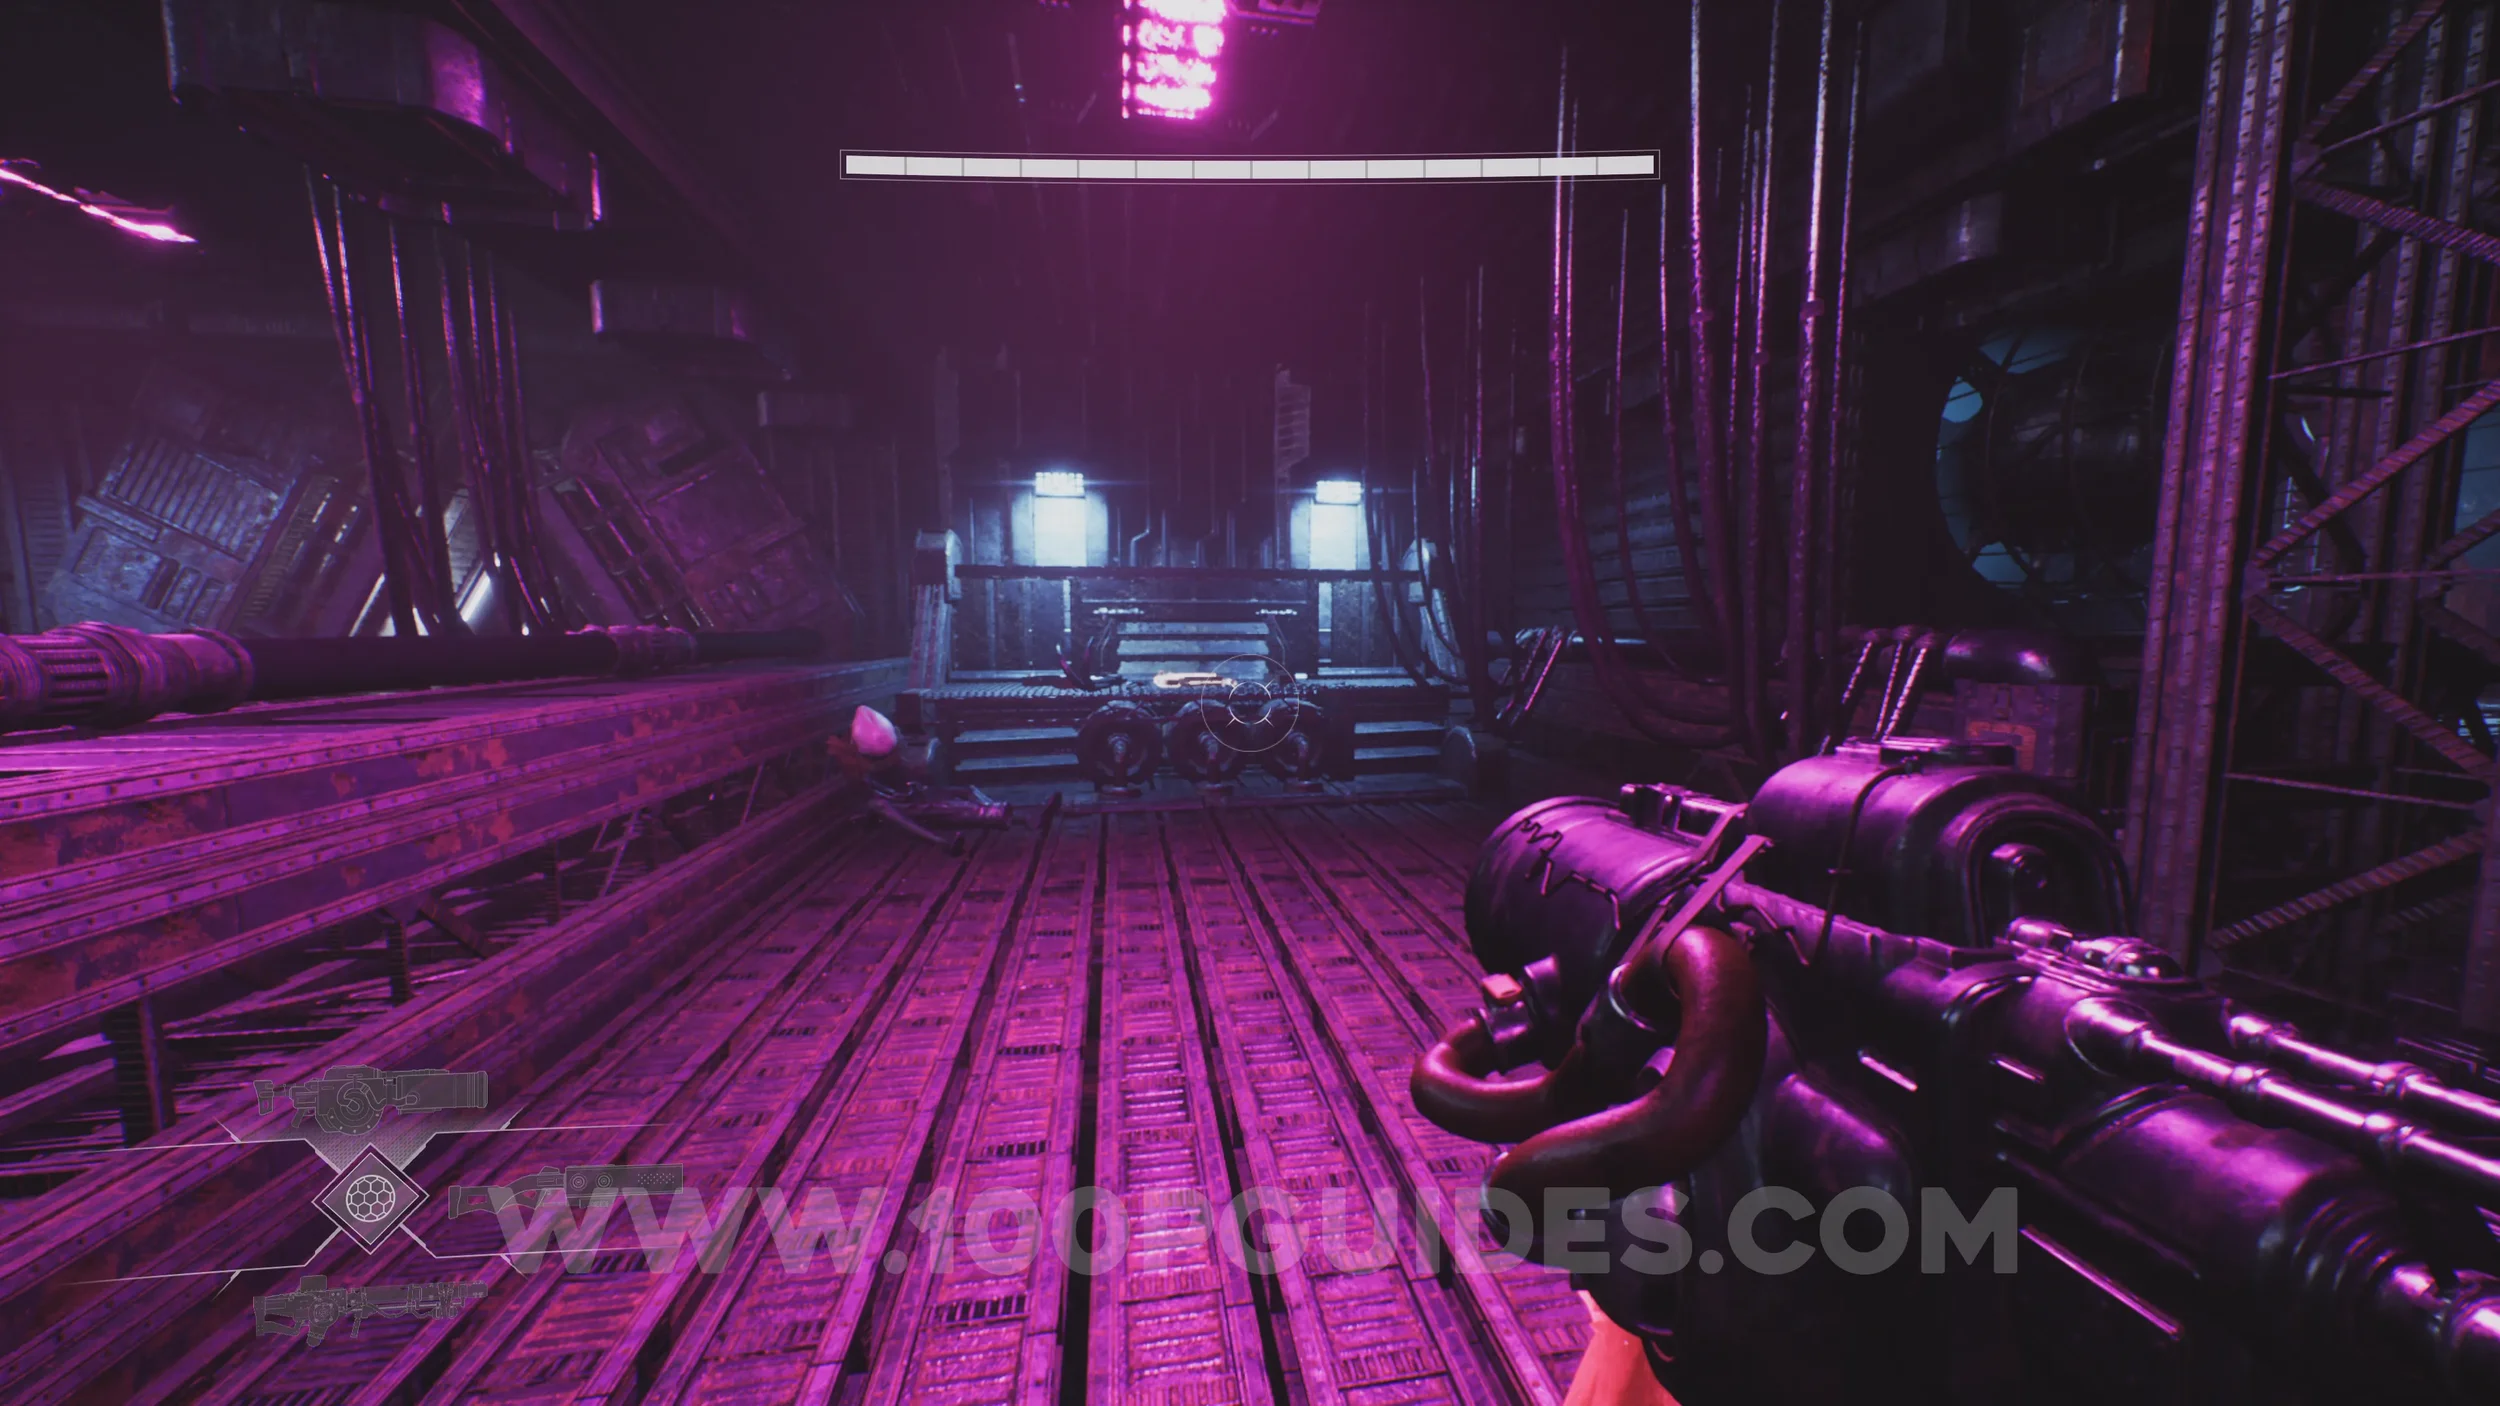
Drift Crystal #7. Just after the previous collectible, you'll meet an NPC called Otis. In this room, look up to the right to find a symbol marking where the crystal is.
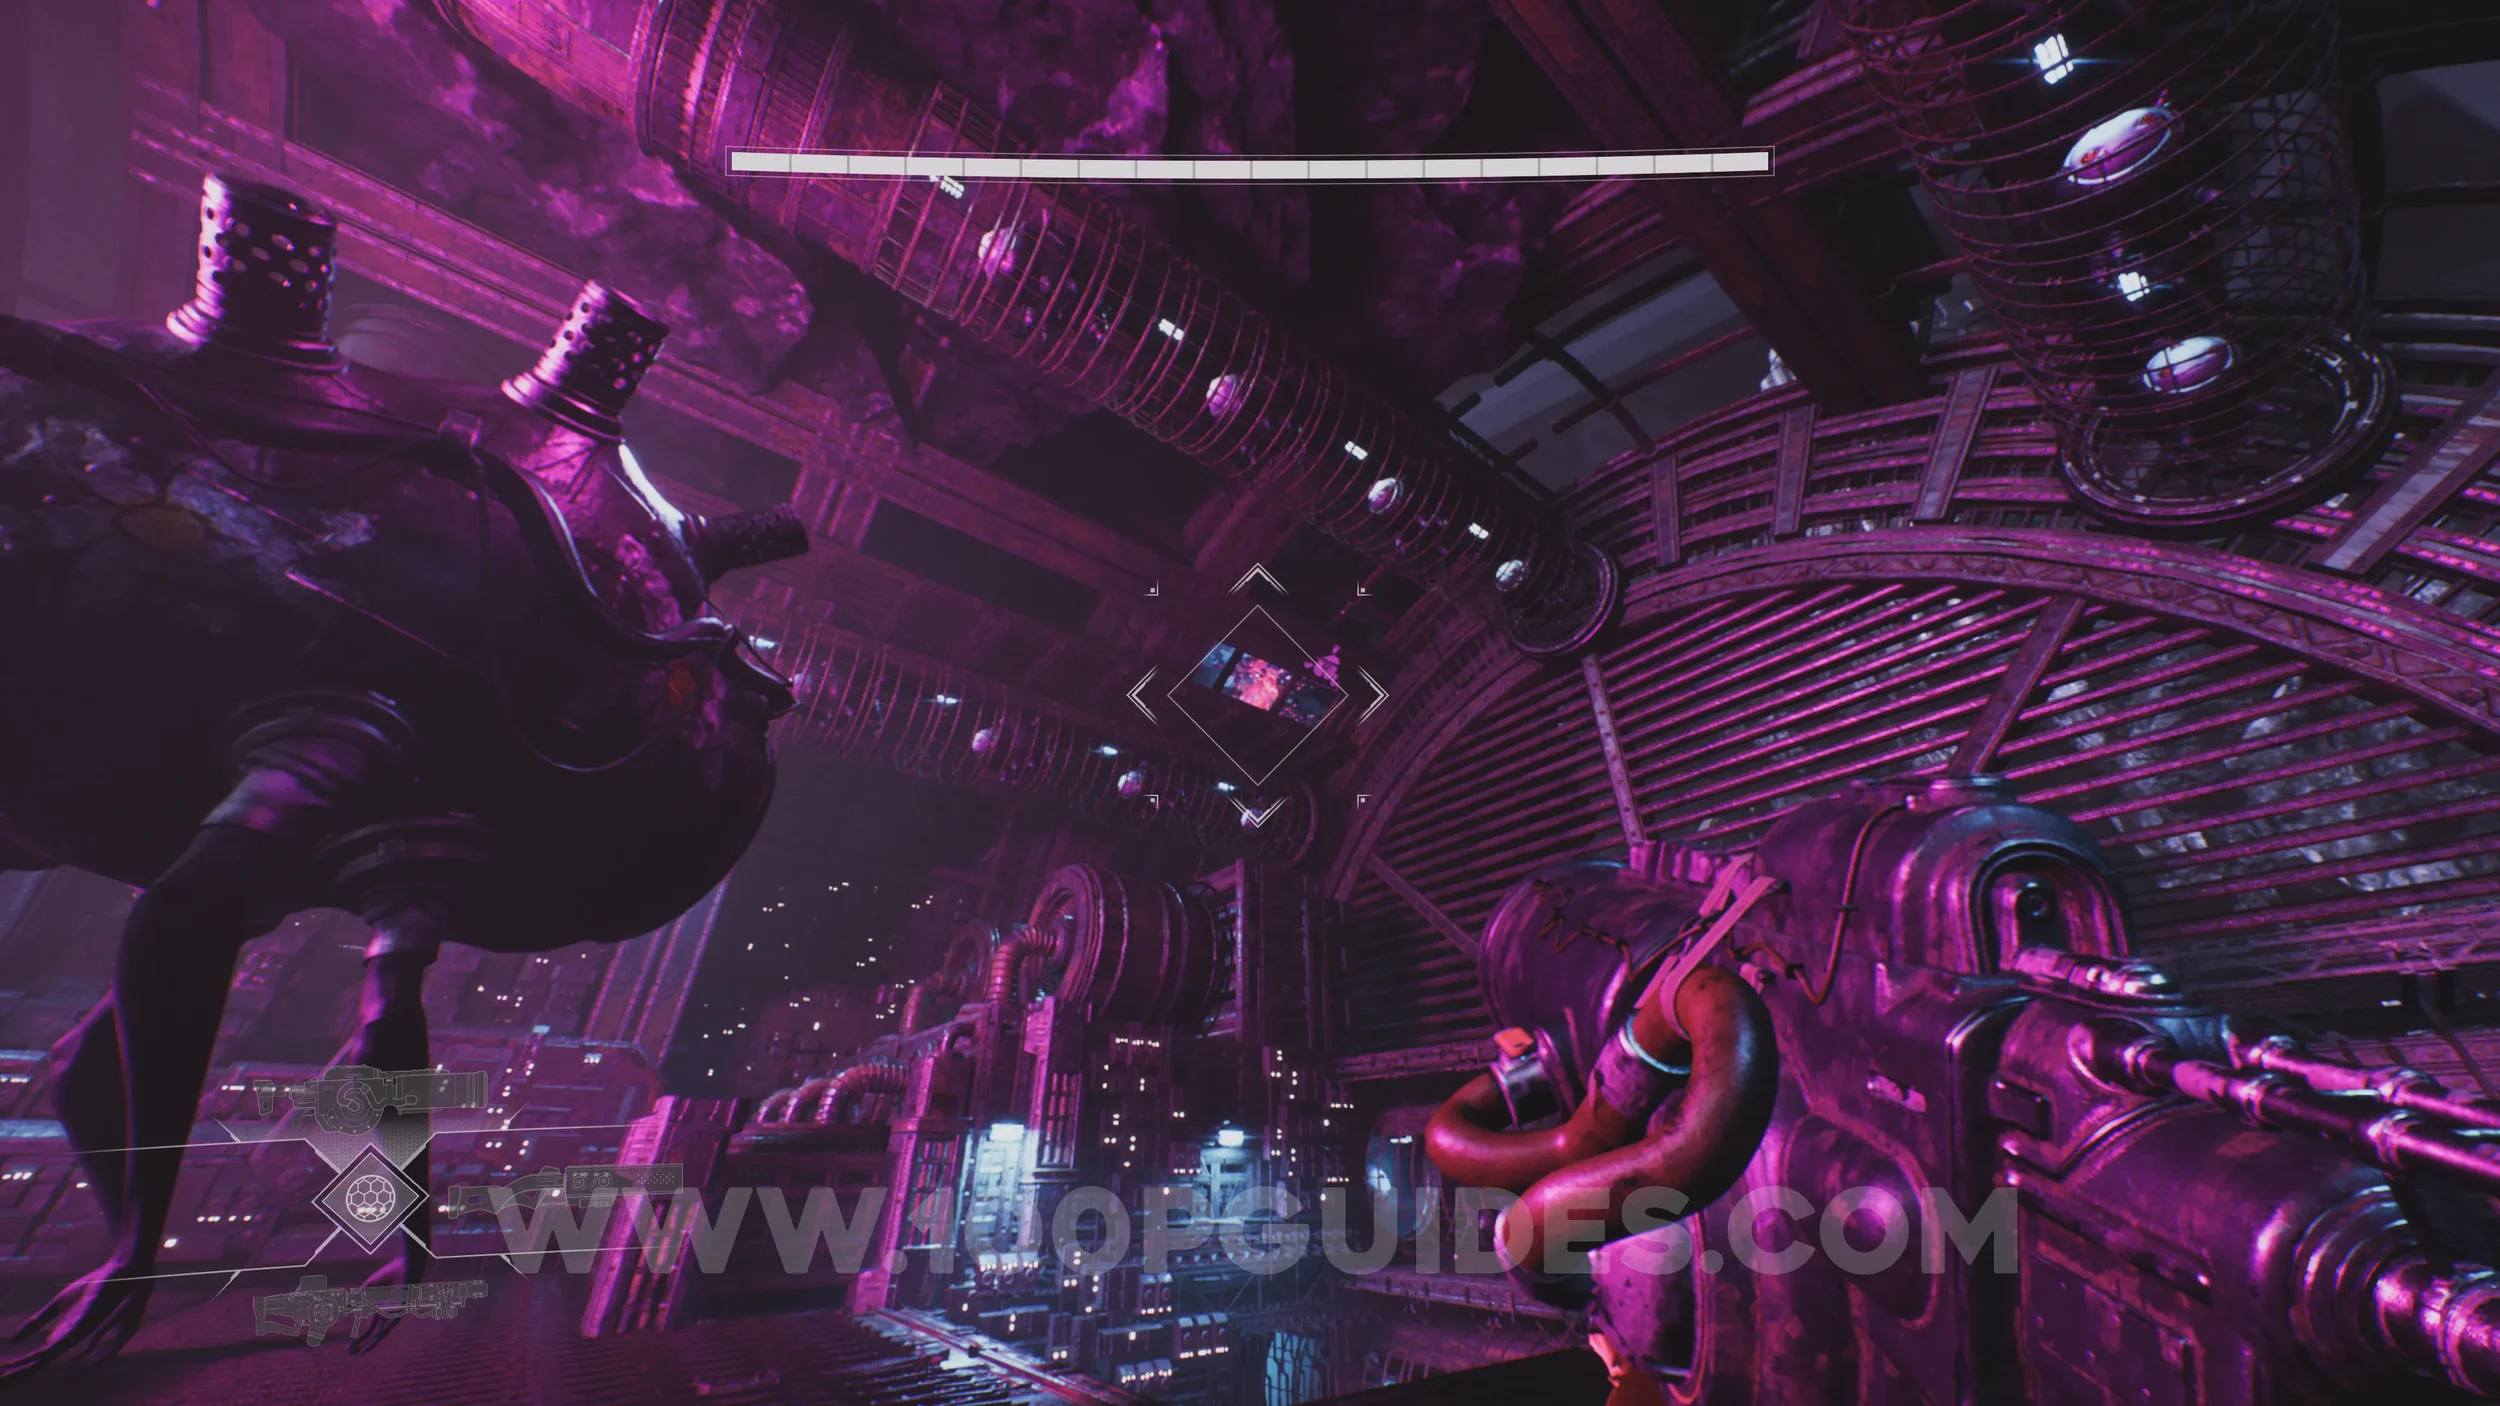
Lore Entry #48 (Memory - Entry #04923 - Machinations). In the room where you fight enemies with a Mother's Eyes, you'll use a jump pad after defeating them. At the top, go right and use the blue platforms formed by the blue orbs to reach the collectible on the other side of the room.
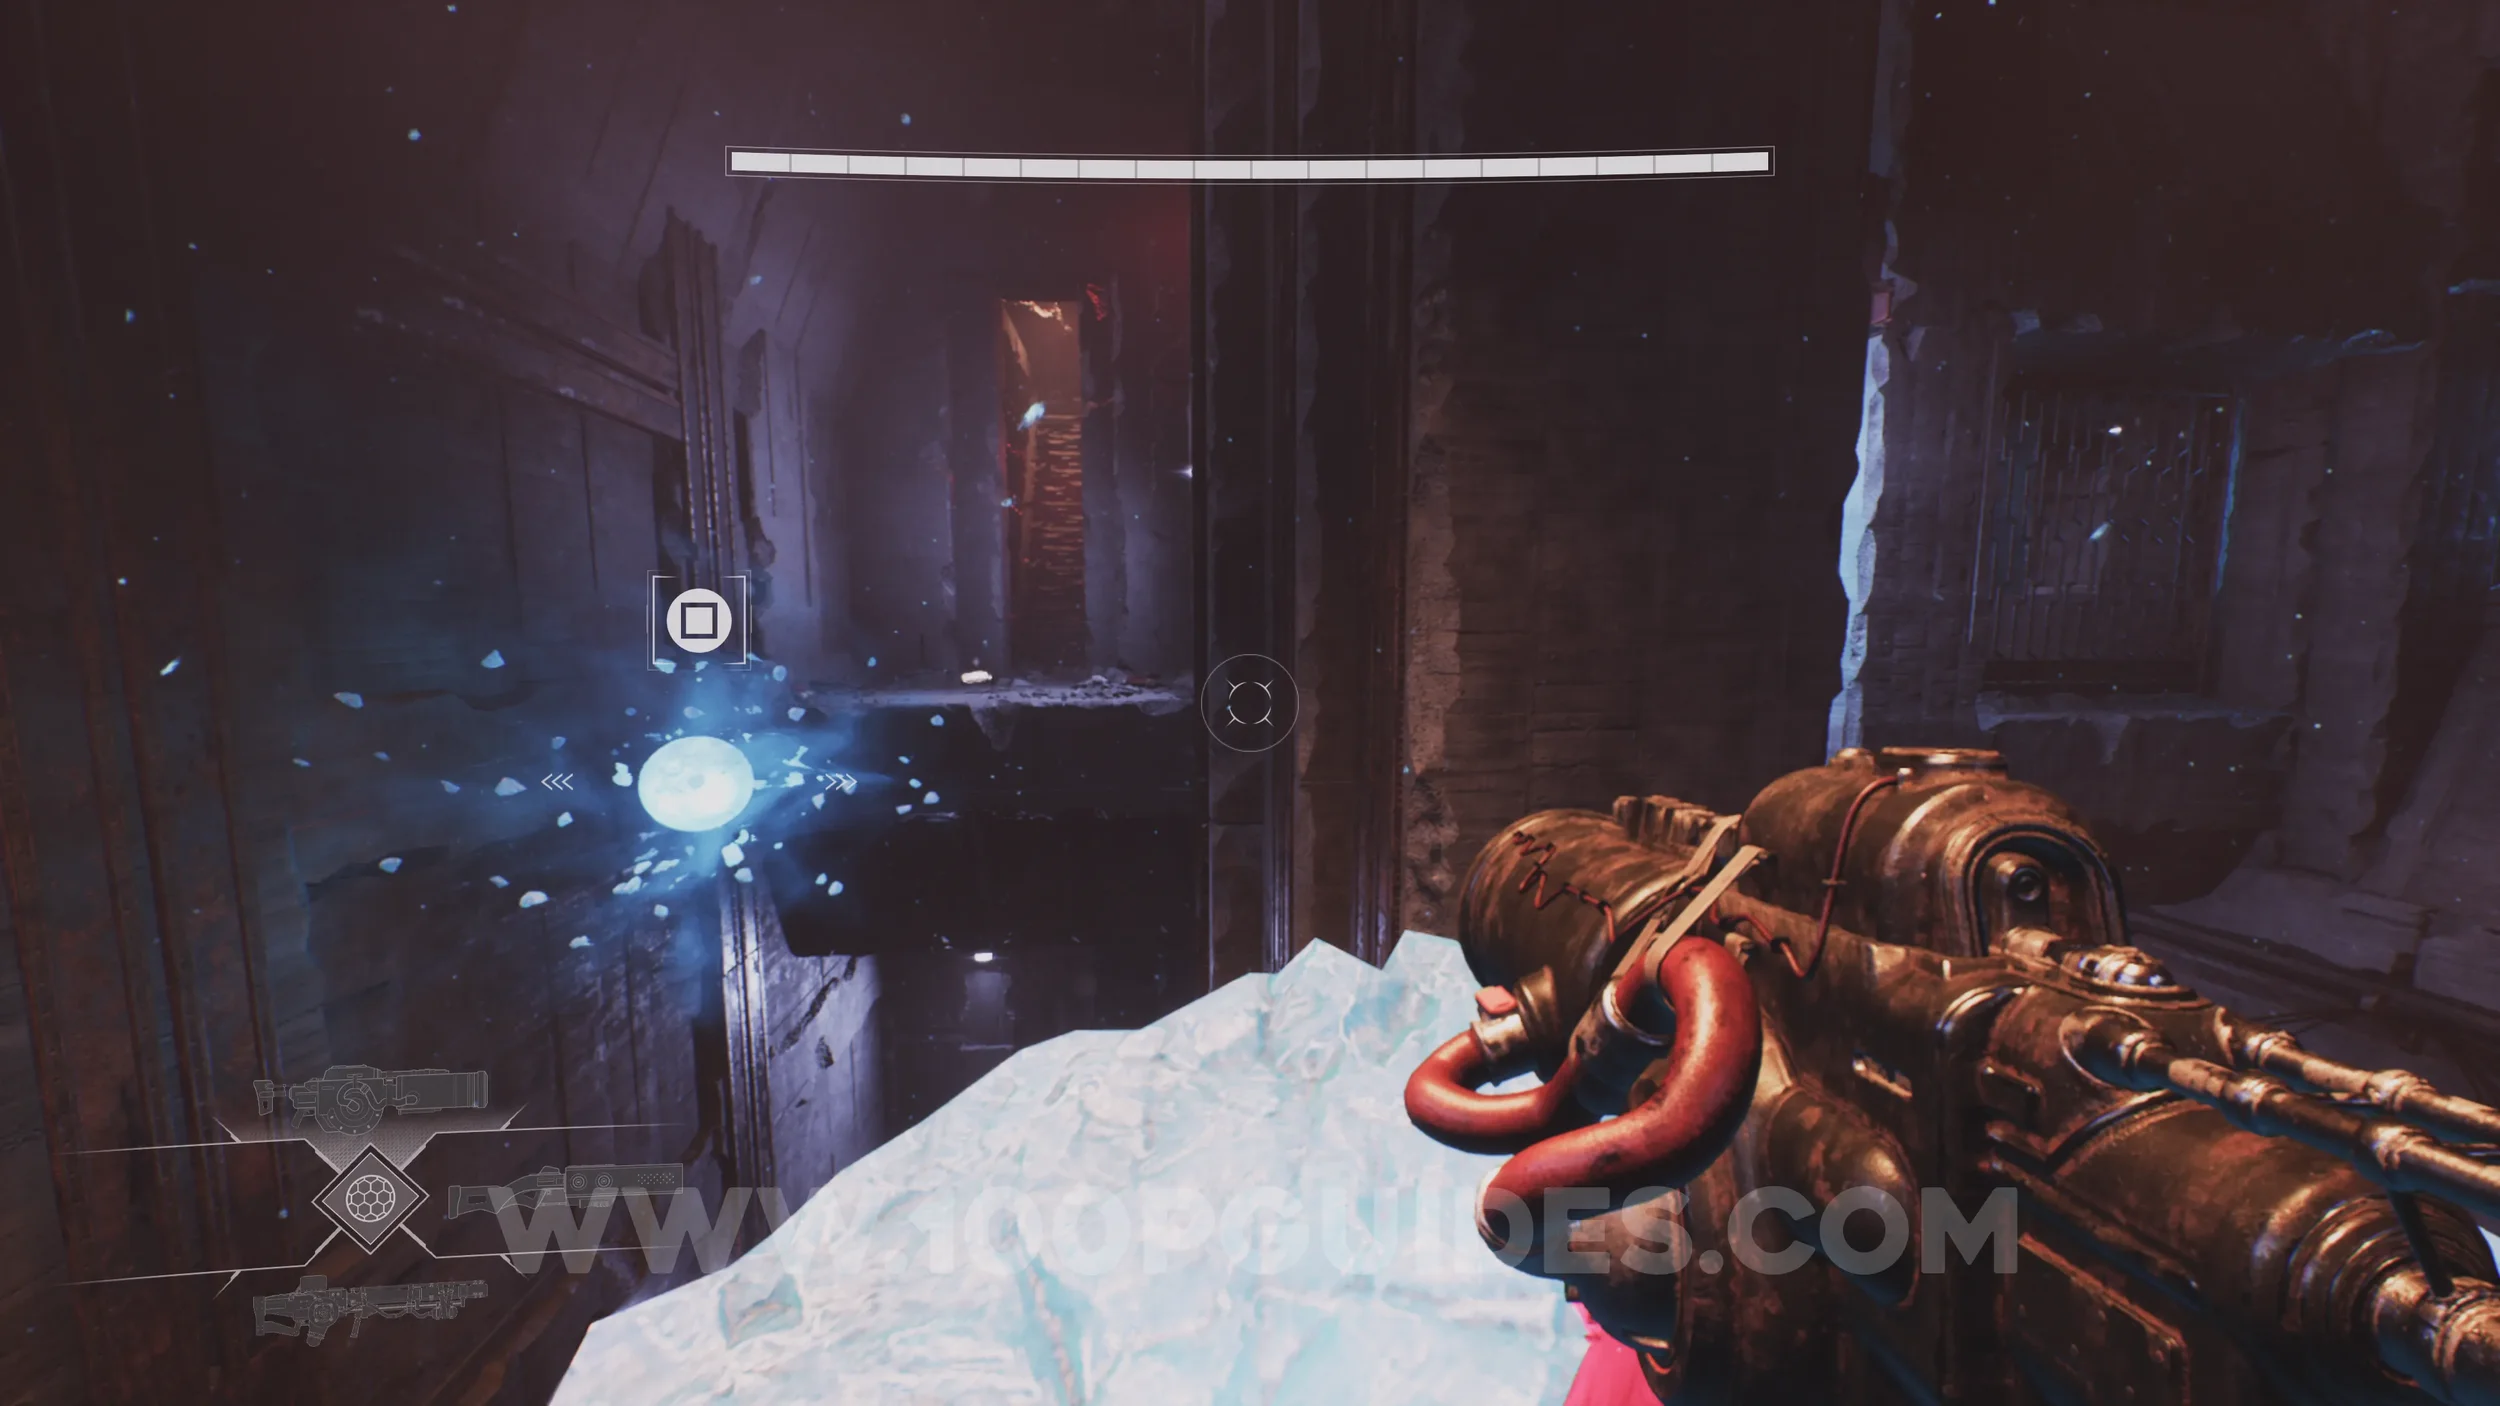
Health Increase #7. After the previous collectible, you will reach another station. Before using it, continue straight past the station until you see a symbol on the wall in the red-lit area. Head down and underneath the station to find the upgrade.
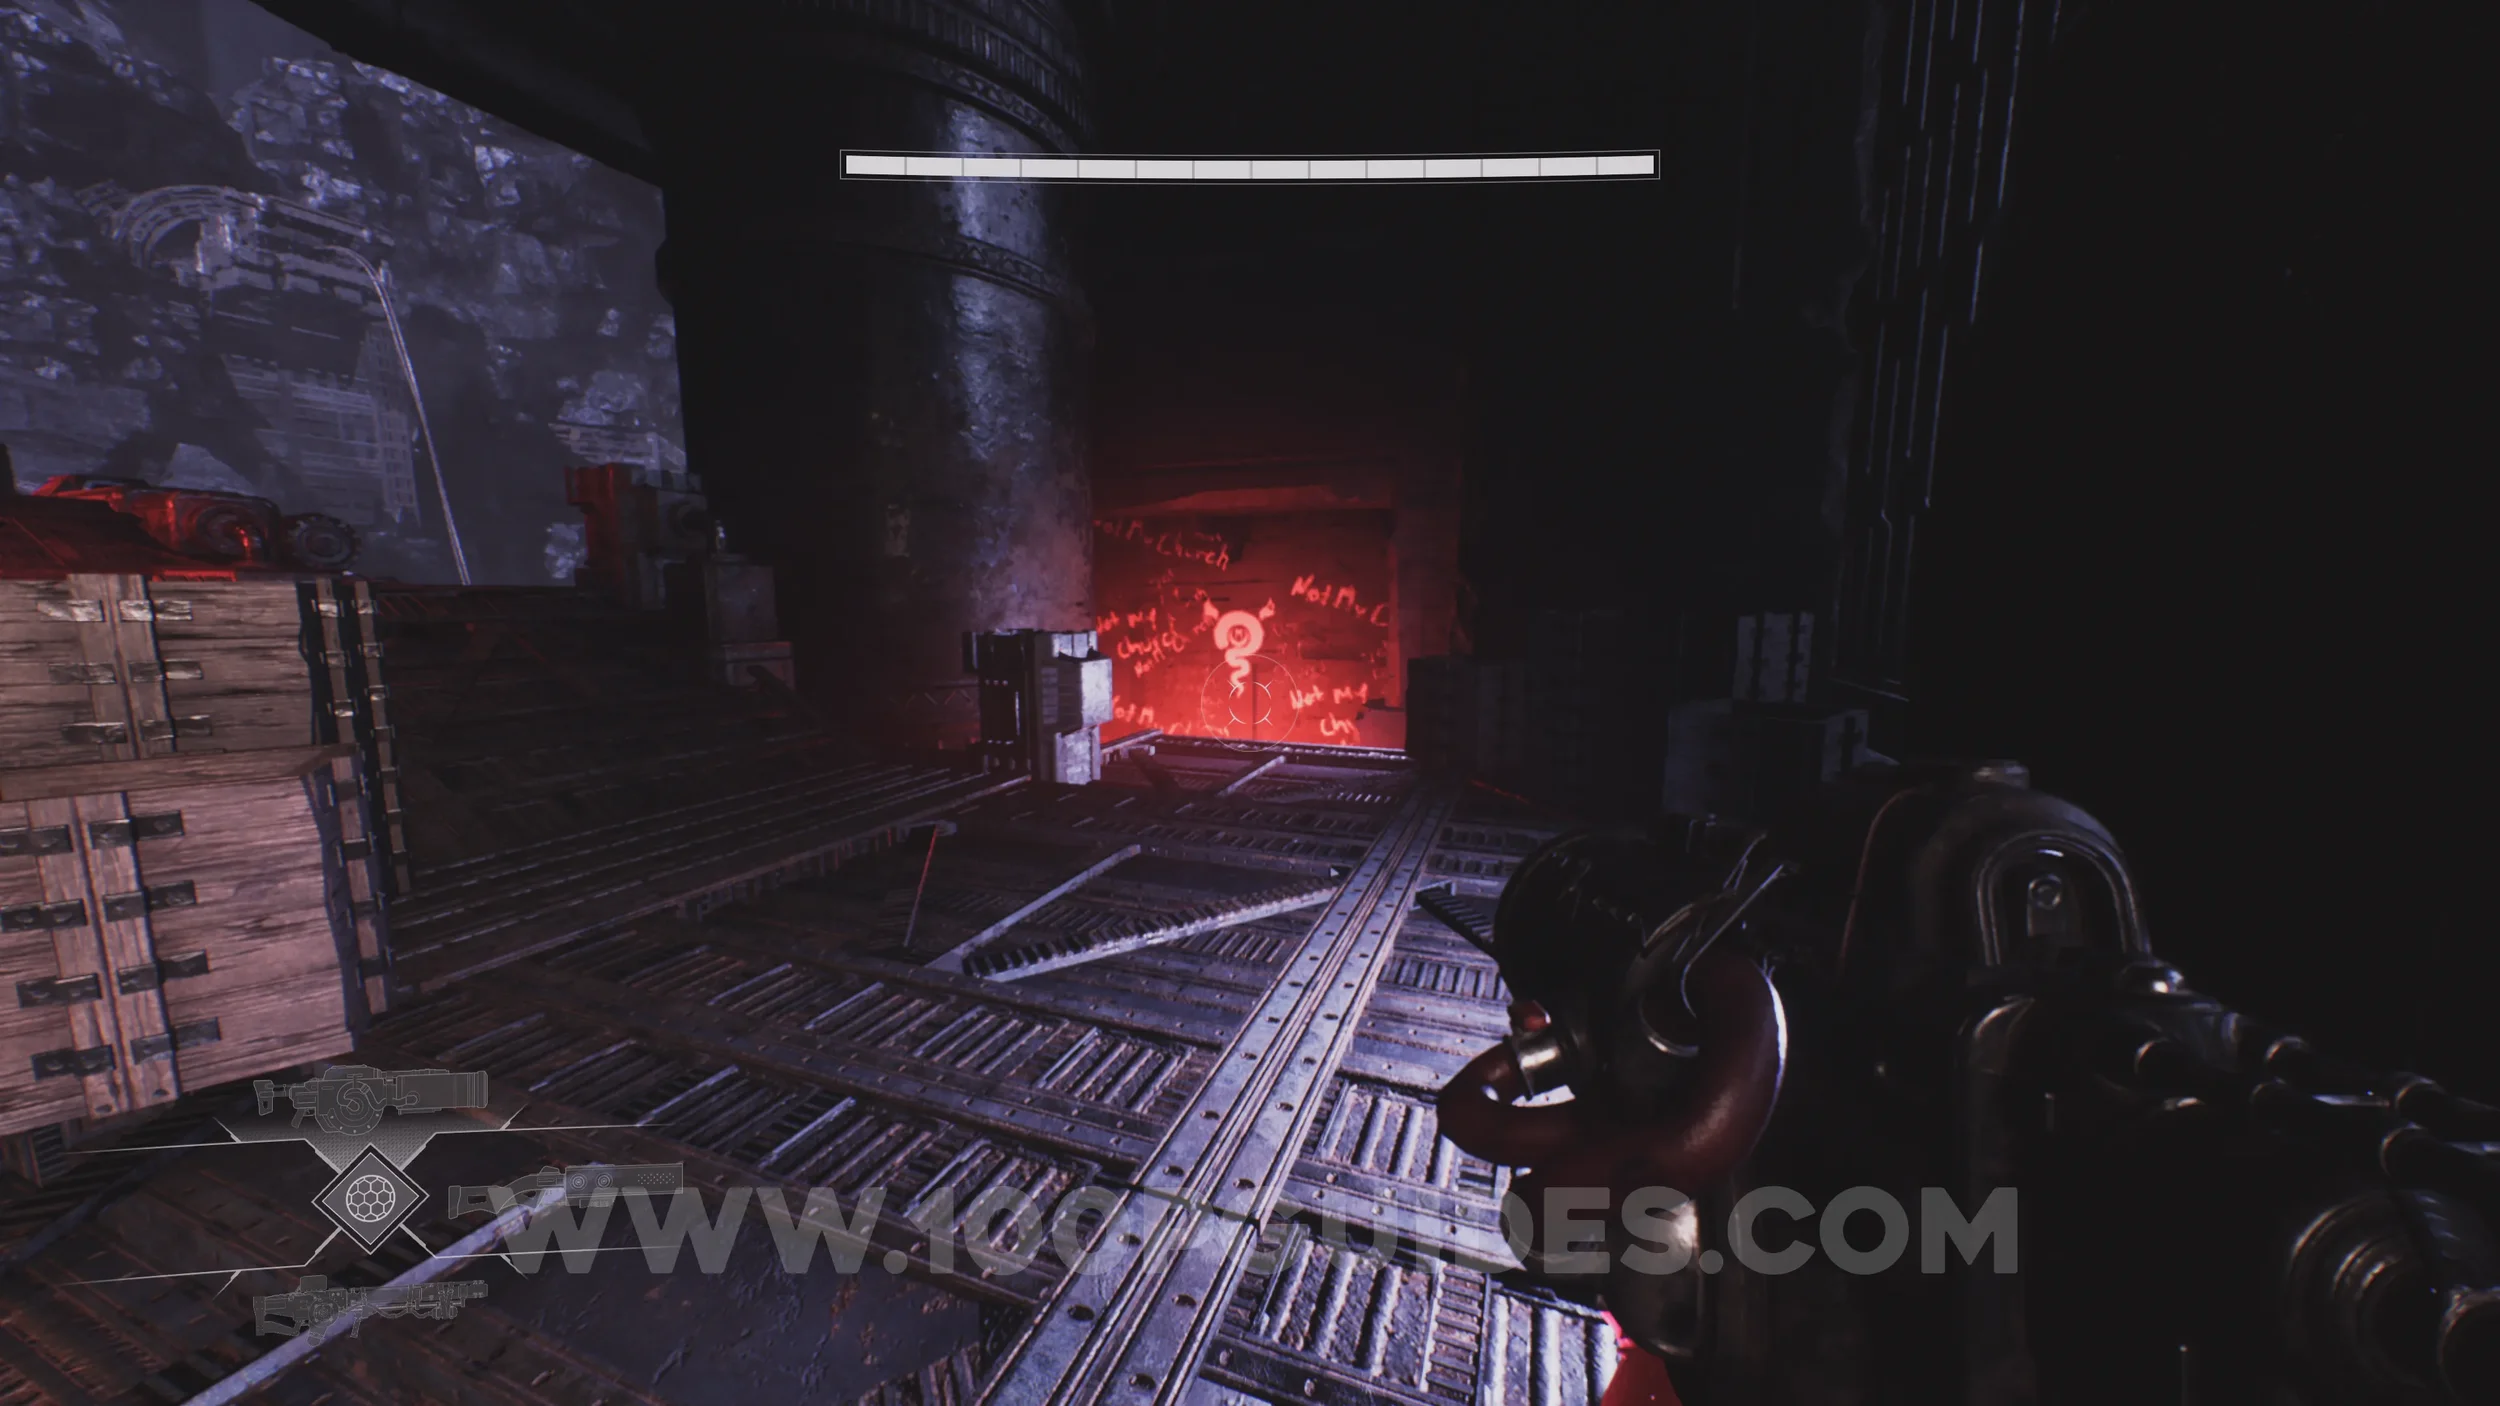
Lore Entry #49 (Memory - Entry #74145 - The Twins). In the same station as the previous collectible. Head past the Twins to find it on your left.
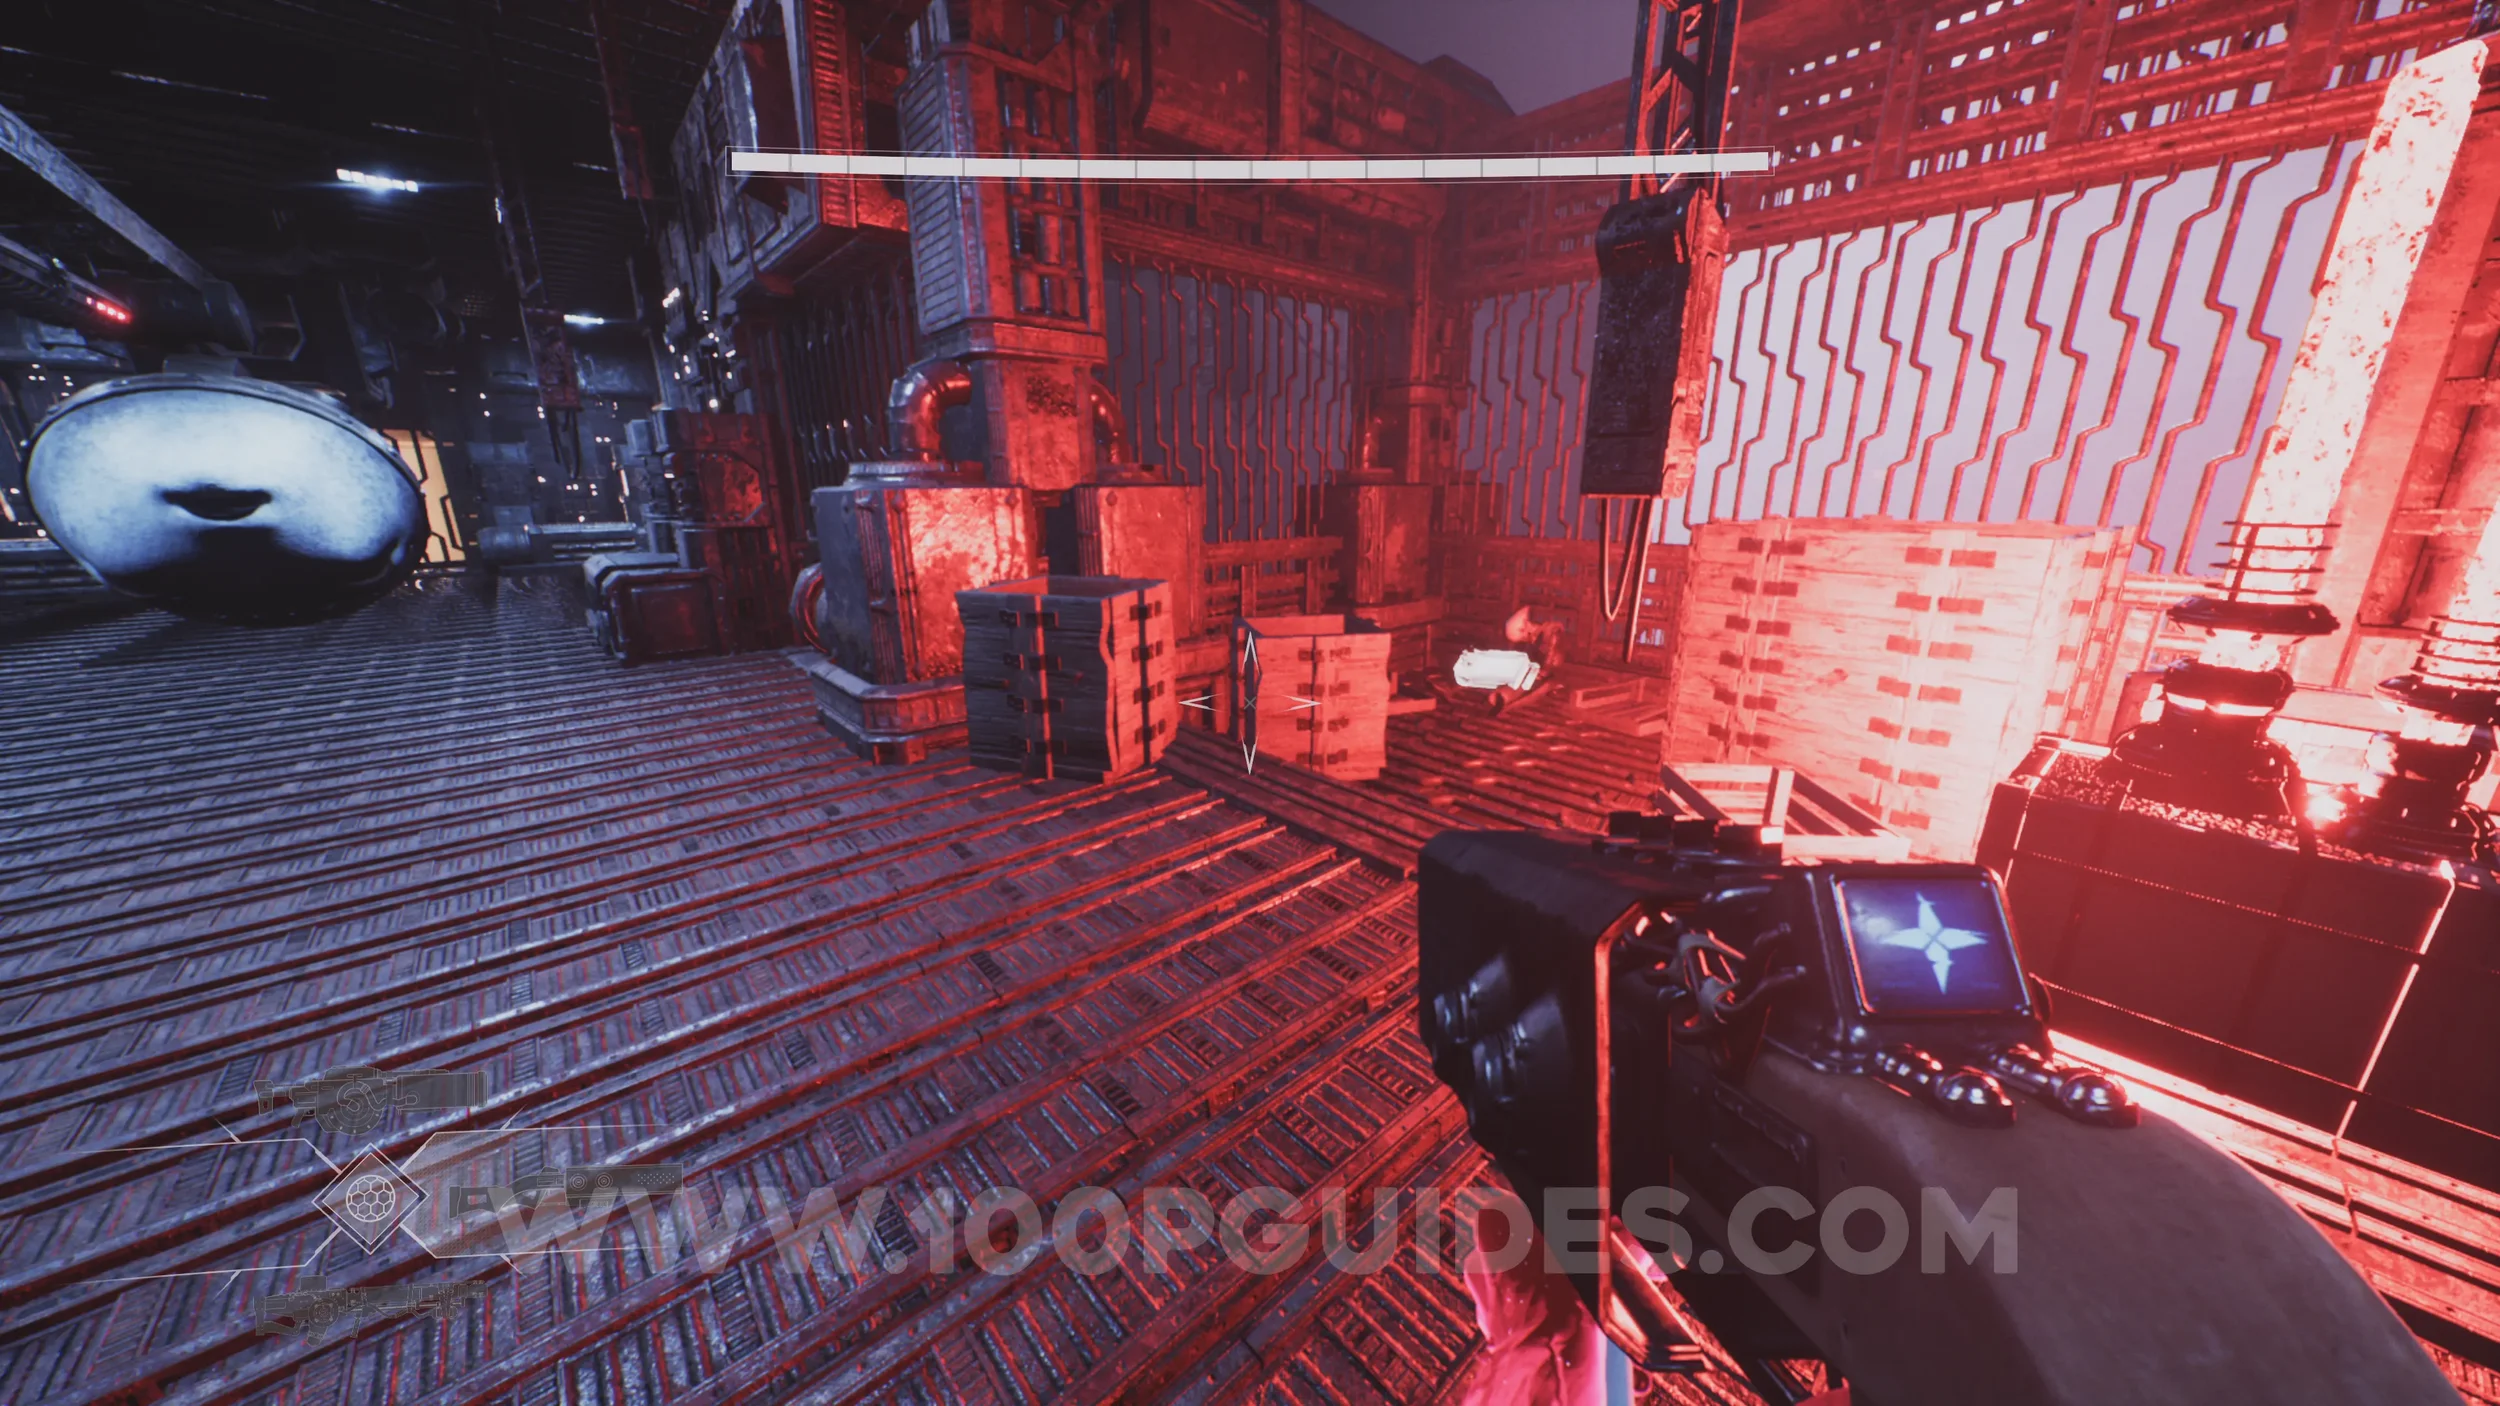
Lore Entry #50 (Memory - Entry #87810 - Hard Labour). As soon as you depossess the Twins after riding them from the station where the previous collectible was, turn around to find it on the rock on the right side.
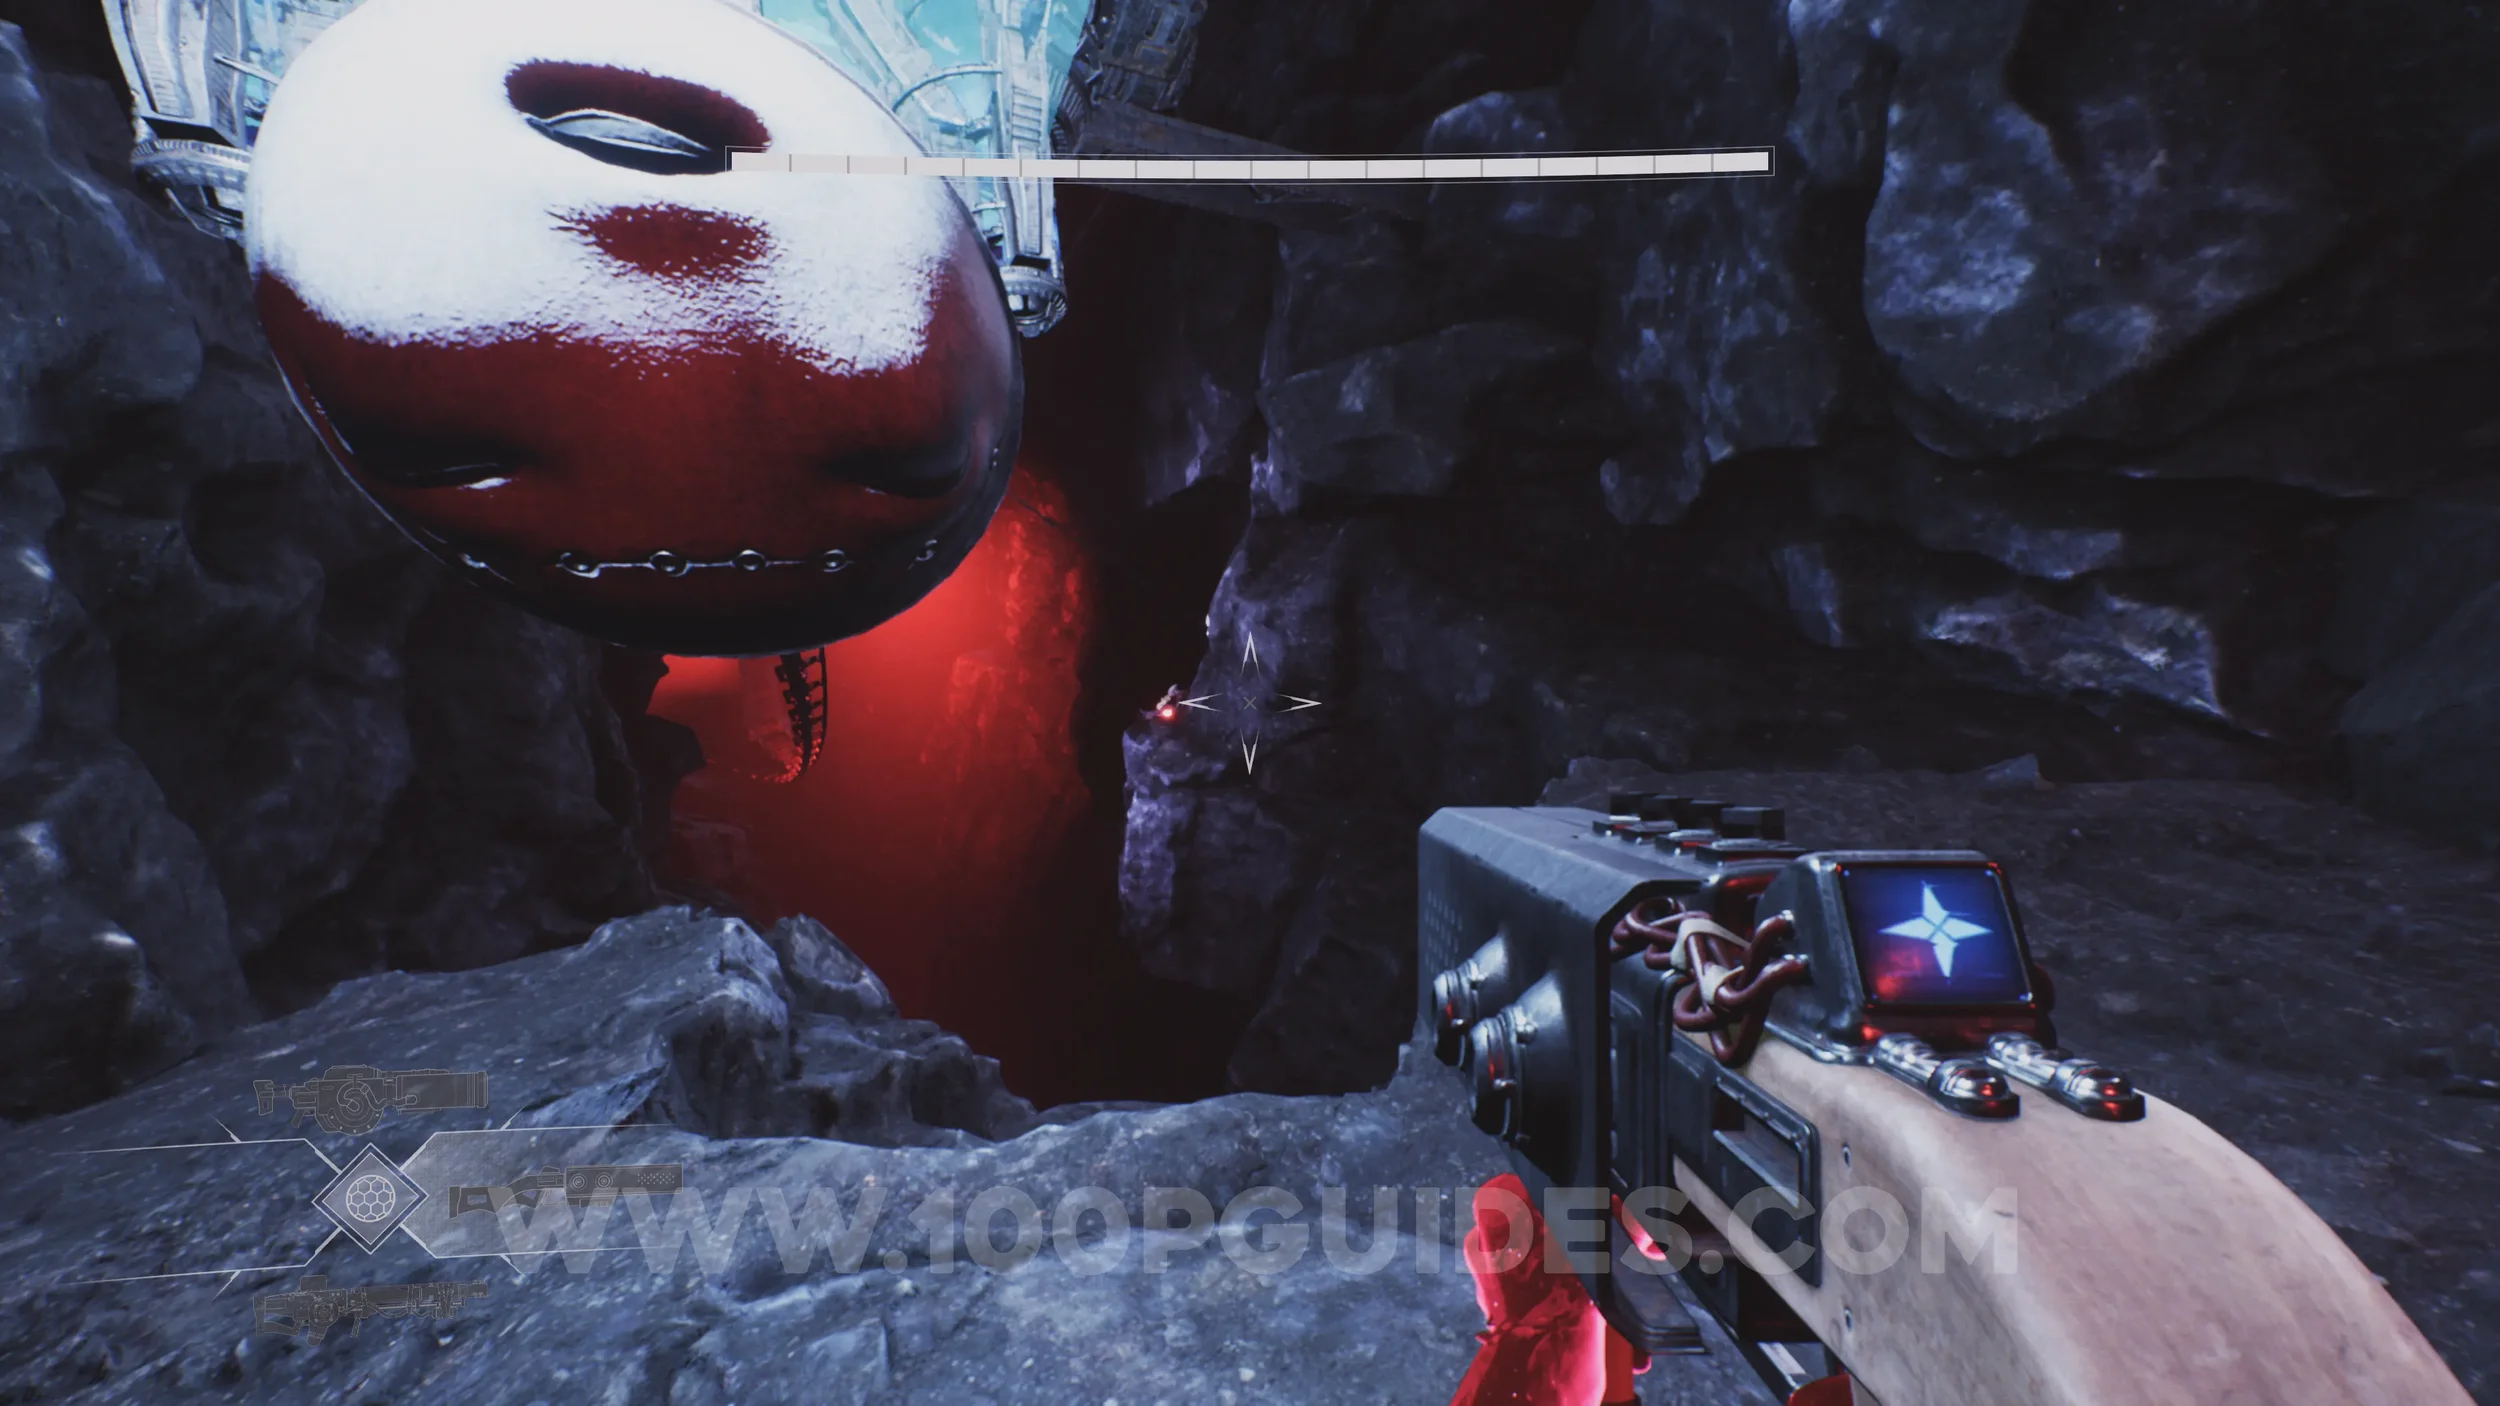
Drift Crystal #8. Once you reach the outside area with the massive orb in the middle, you'll come across two Watchers with blue shields around them. The crystal is on the floating rock next to the first Watcher, so you can either dash upwards from the first Watcher and shoot it mid-air, or do it from the second Watcher.
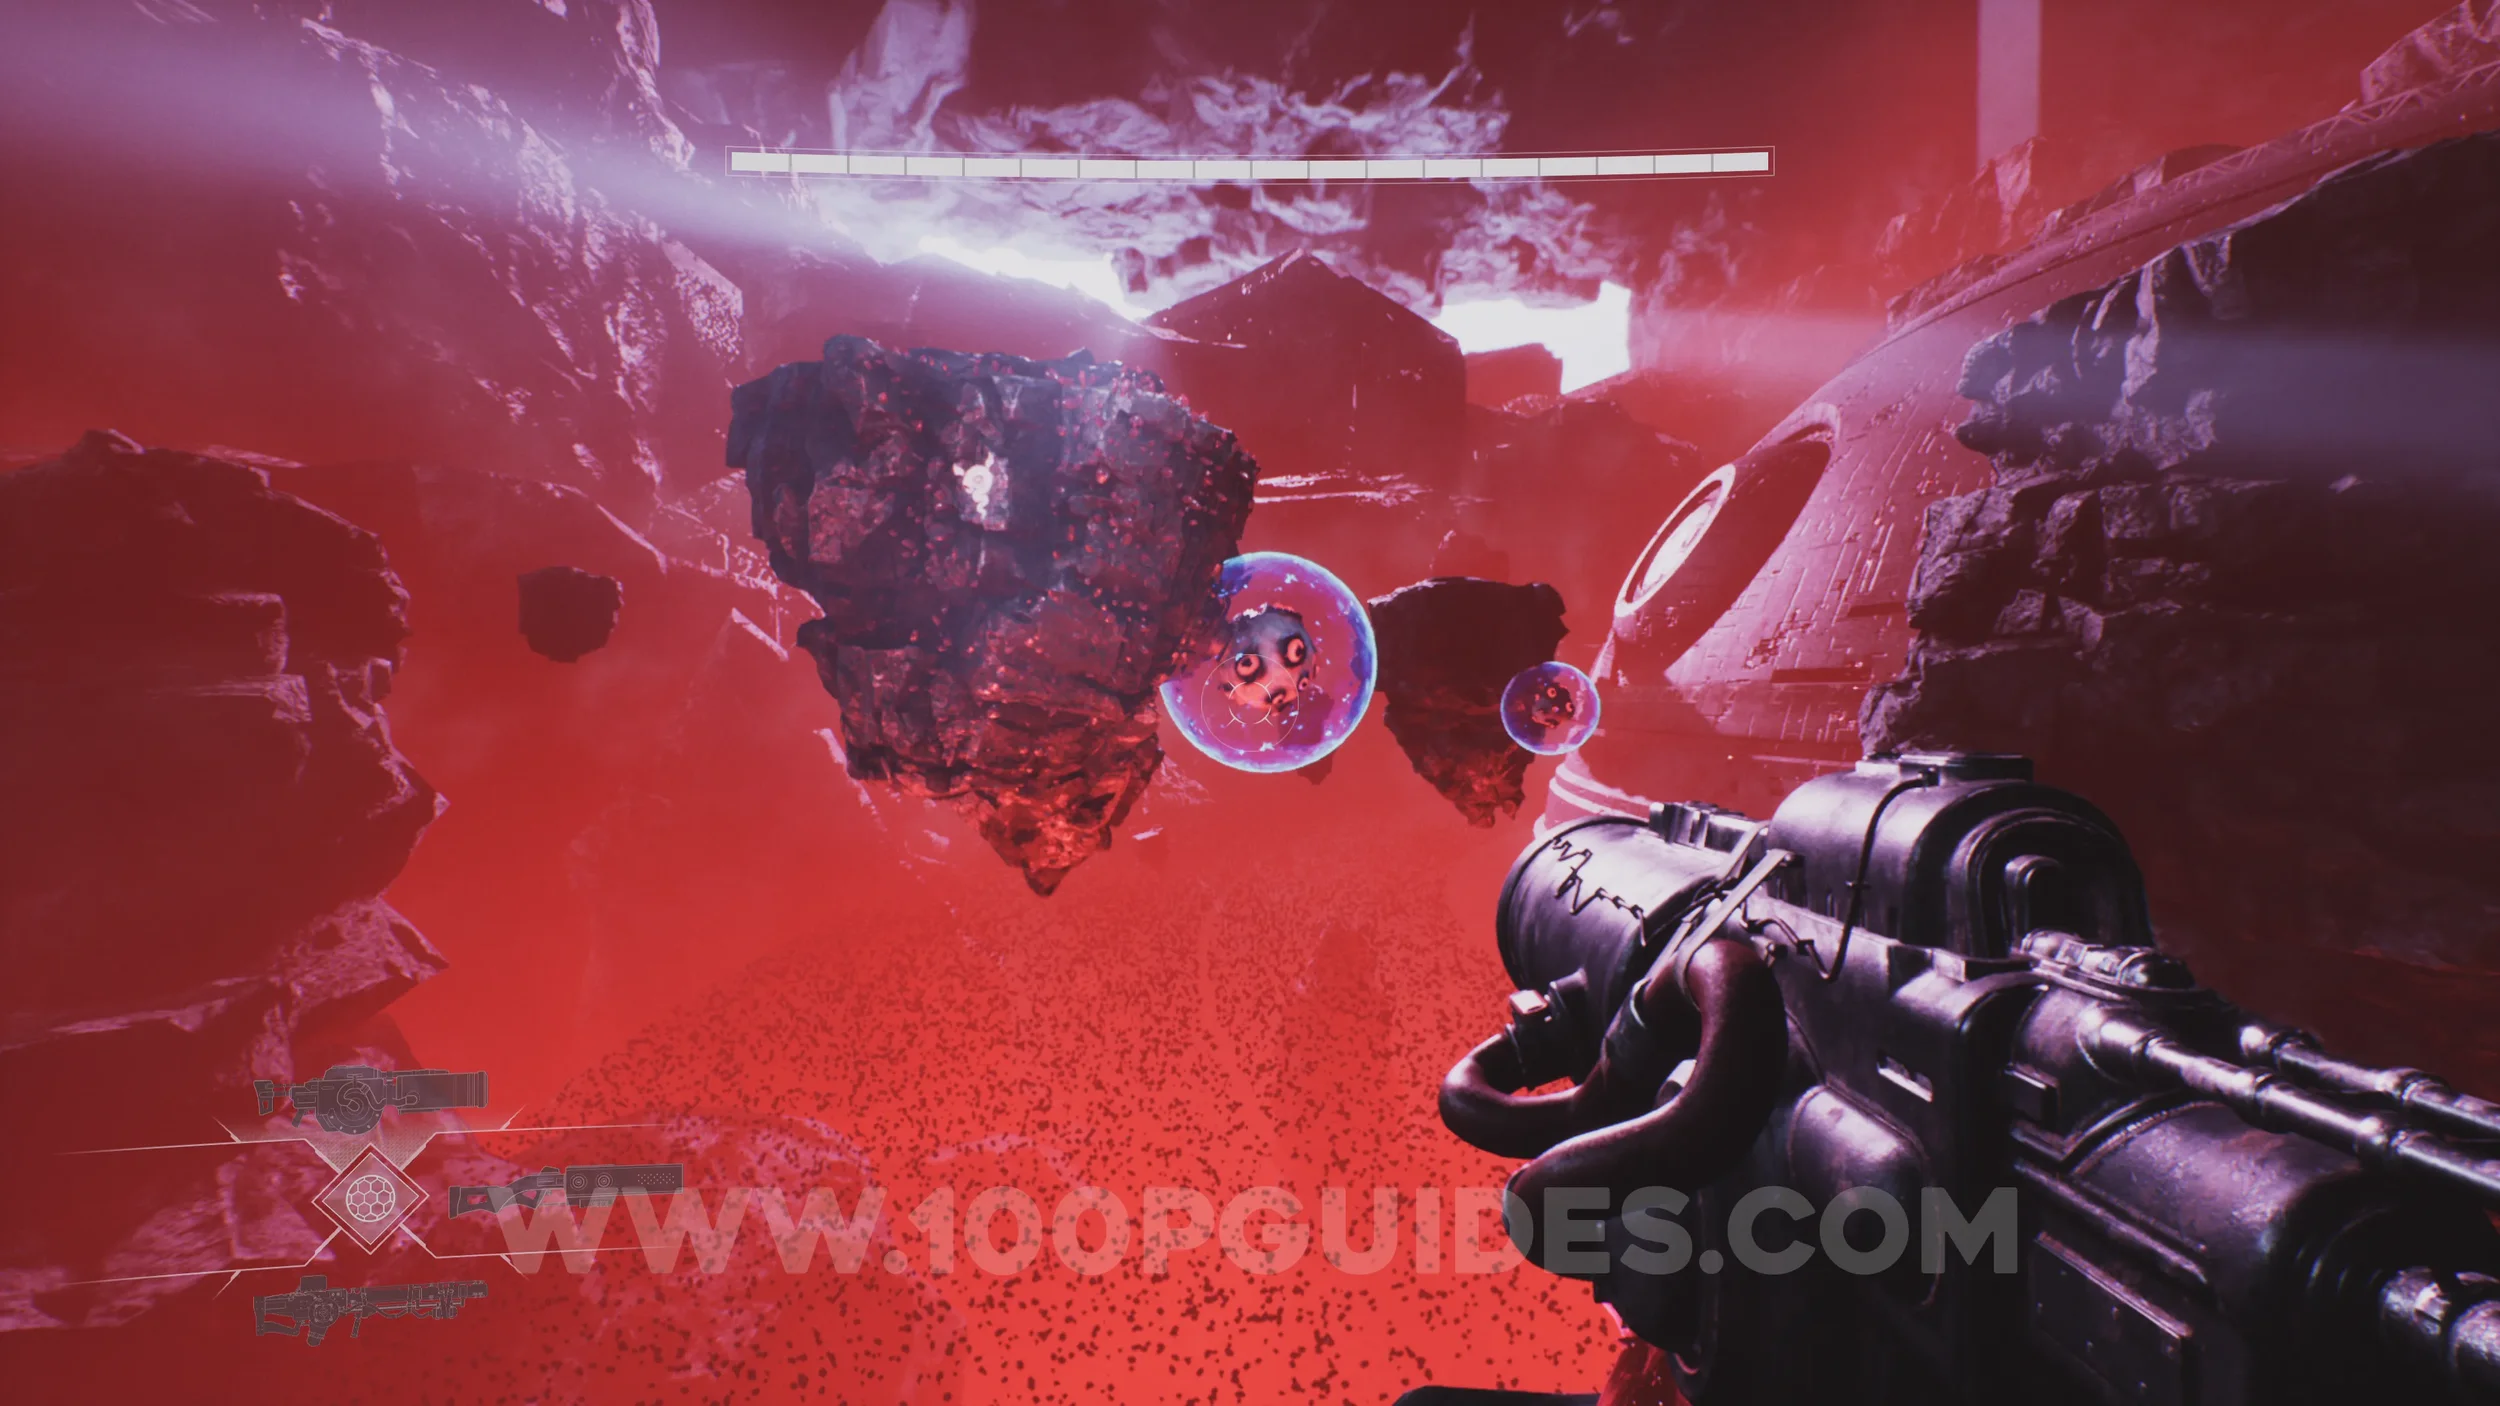
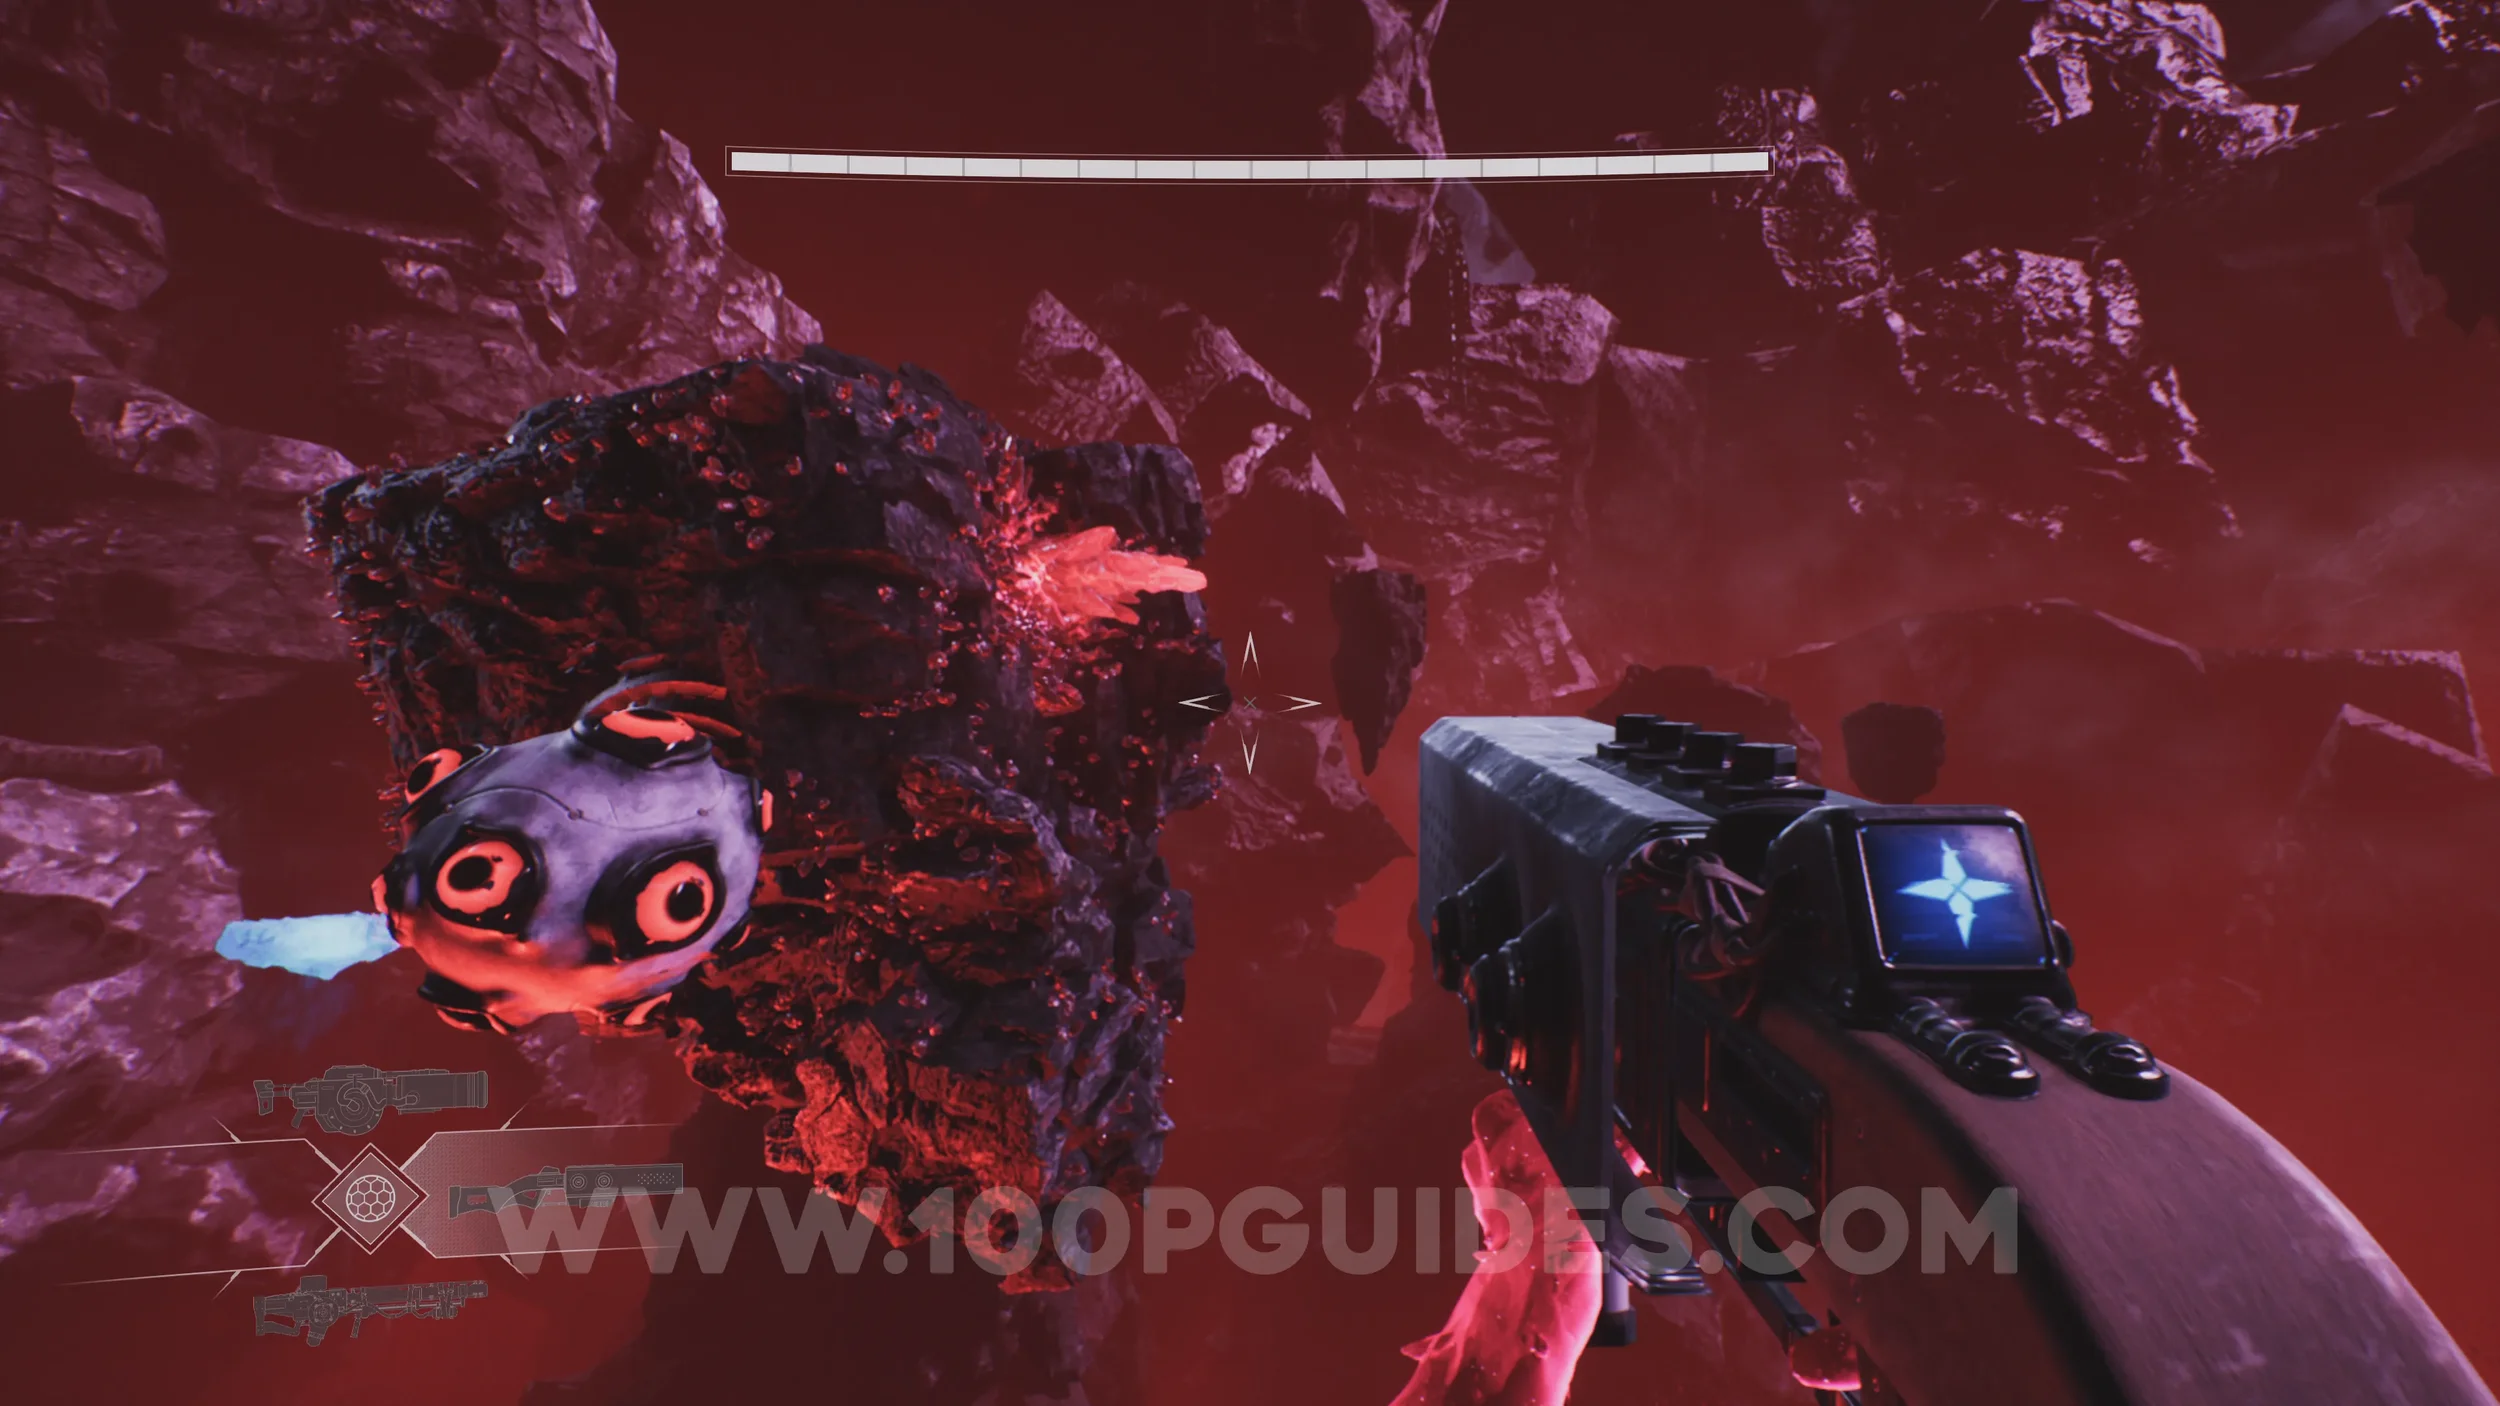
Lore Entry #51 (Memory - Entry #474 - Old Soul). In plain sight on the ground inside the large blue pipes once you enter the massive orb.
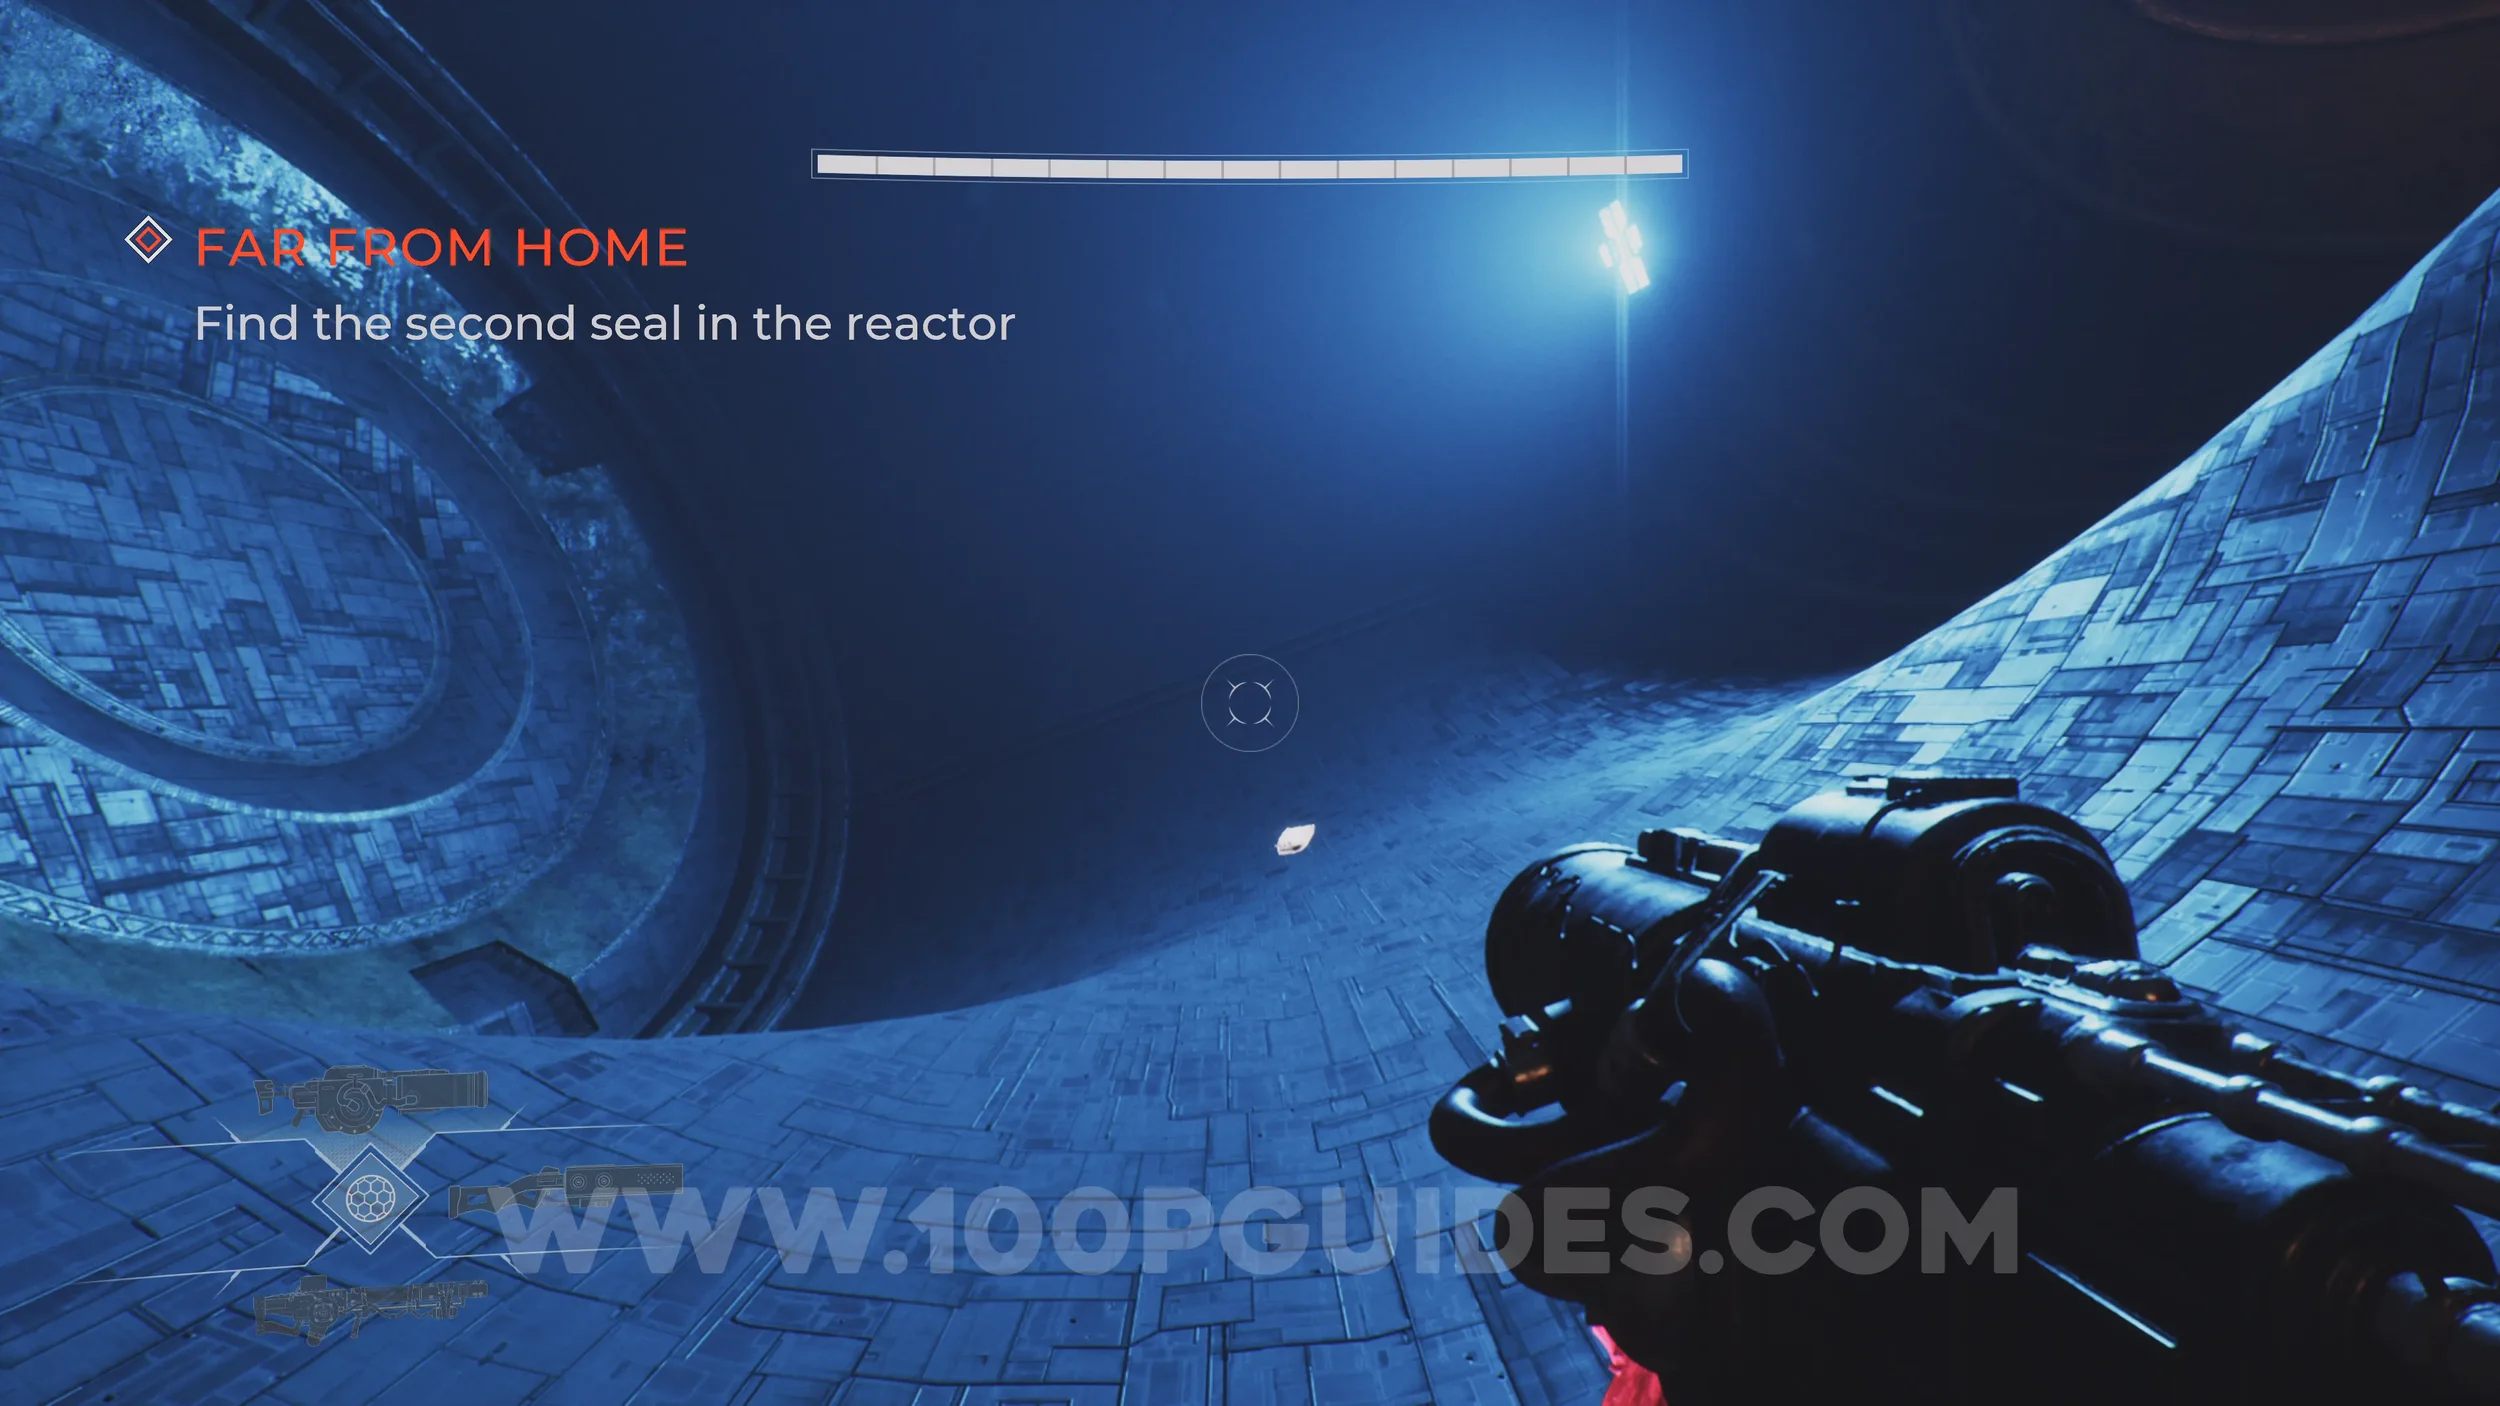
CHAPTER 3 - ROTTEN ADRIFT
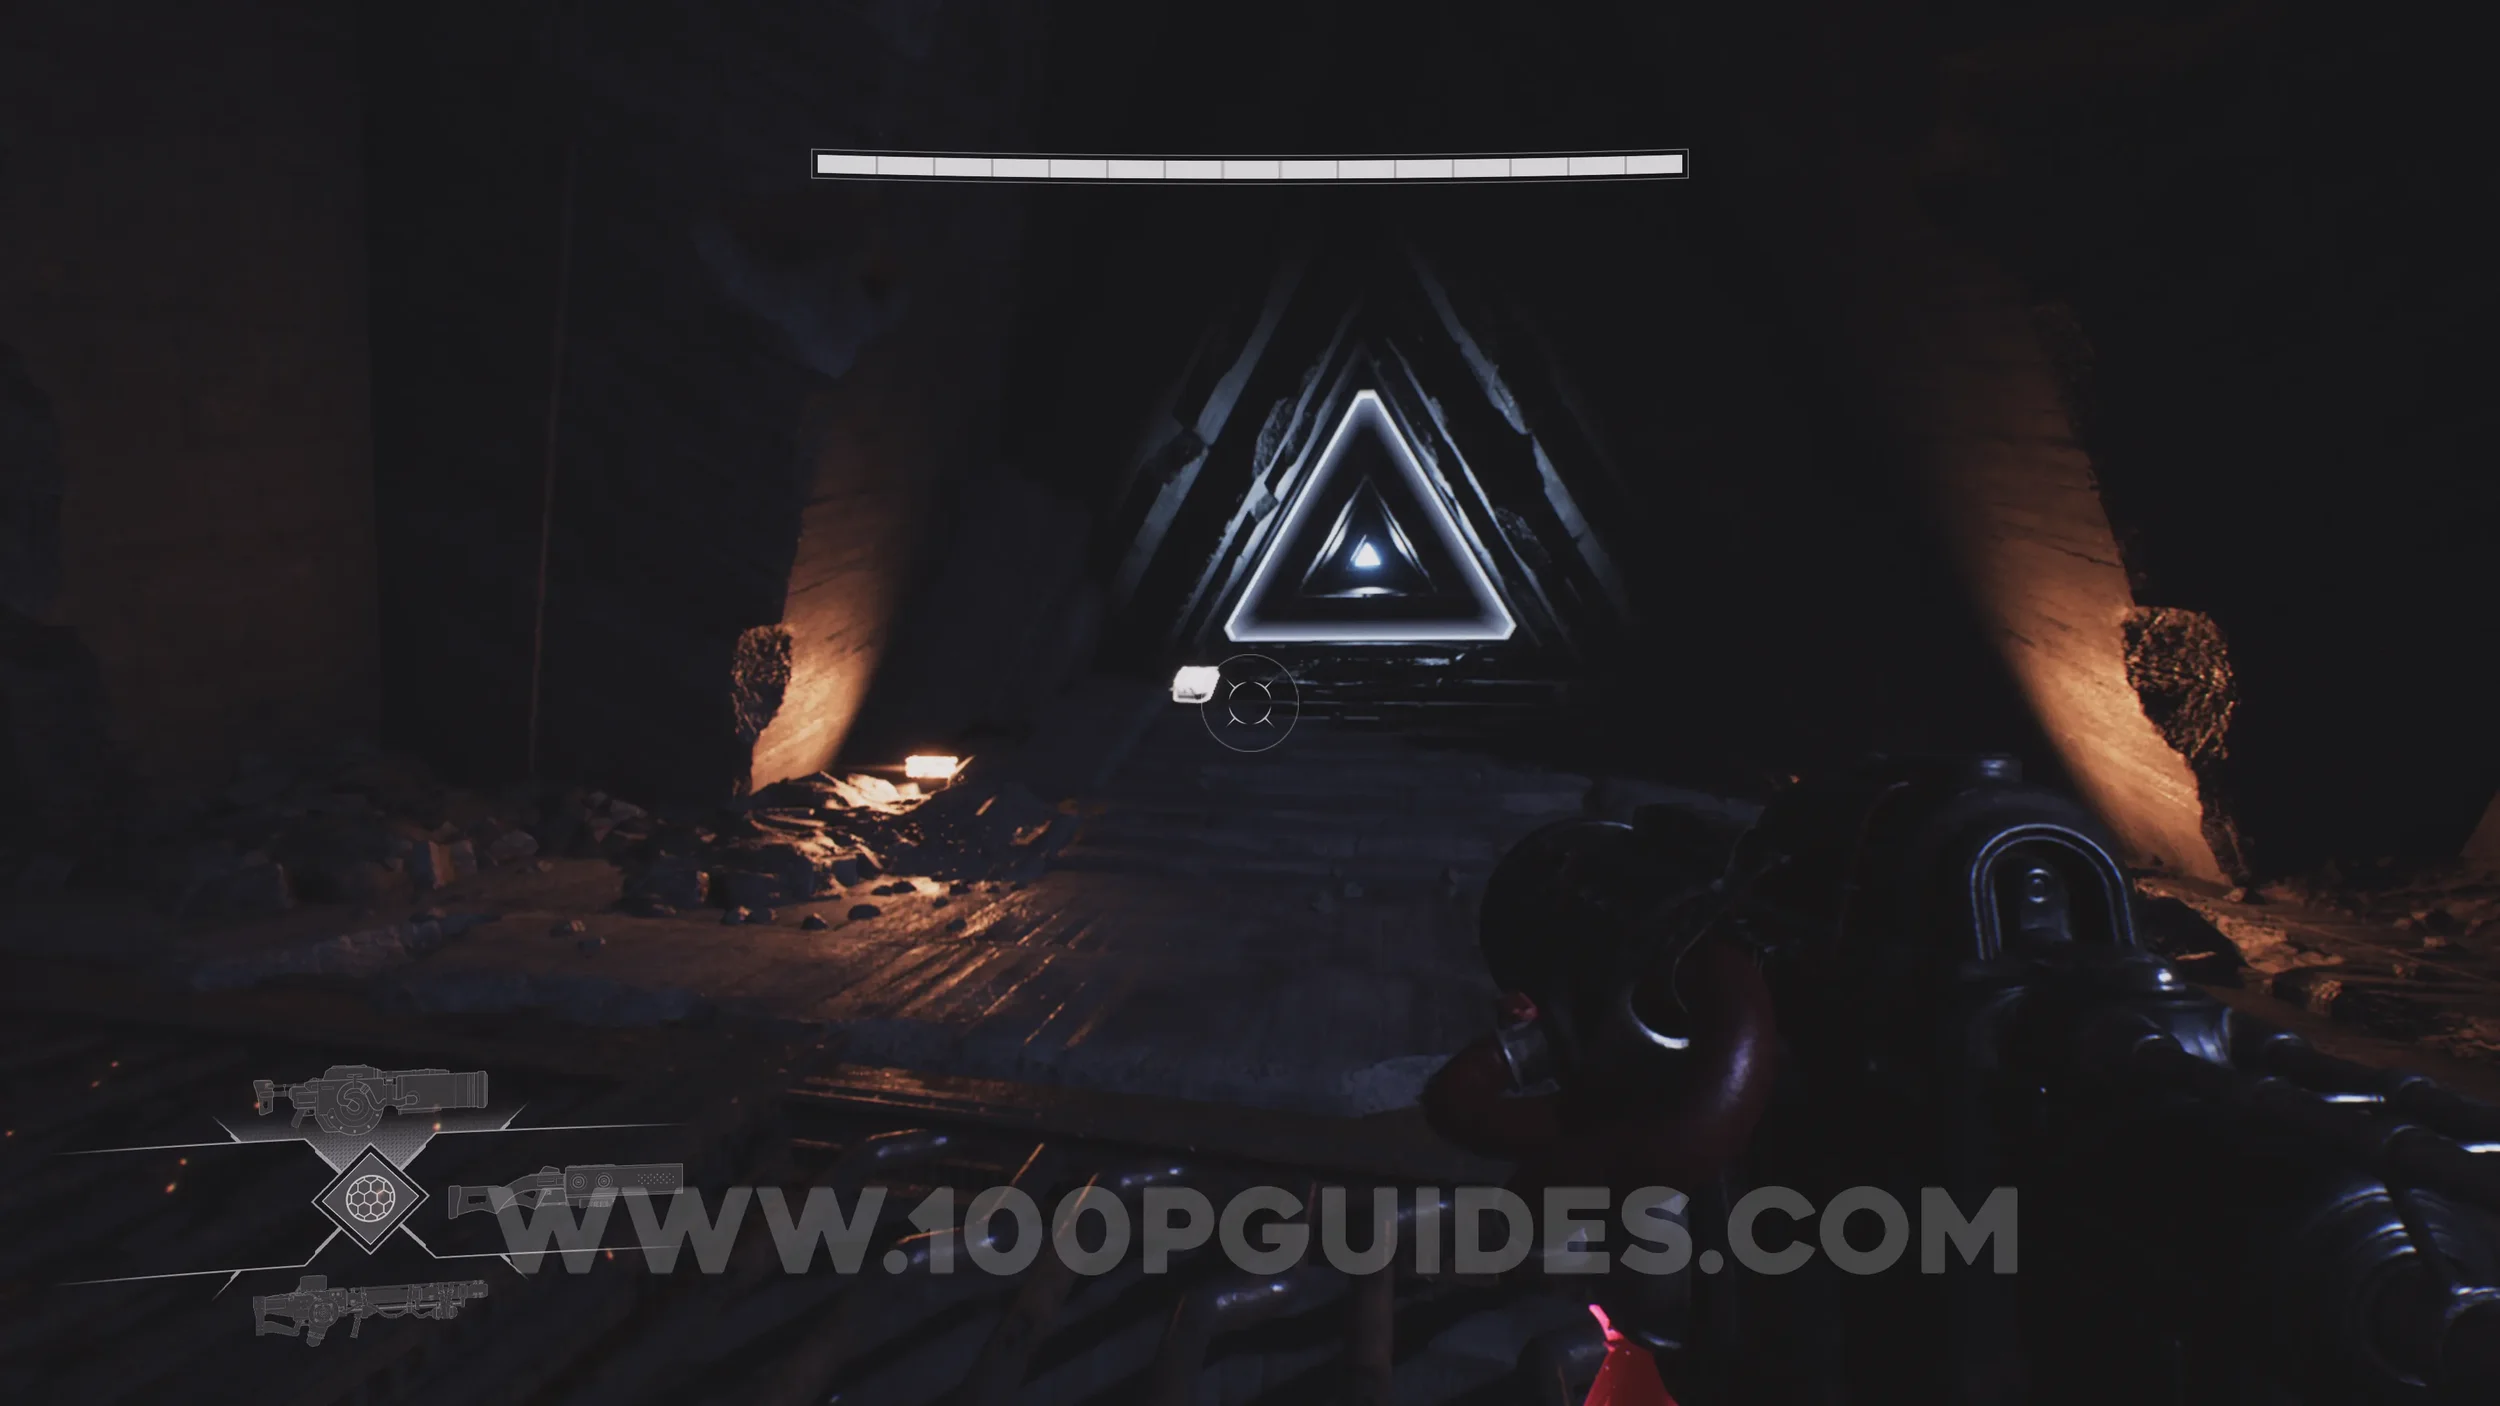
Lore Entry #52 (Memory - Entry #475 - Home). In plain sight inside the checkpoint room before going through the triangular door.
CHAPTER 4 - THE LOST CITY
No collectibles in this sub-chapter.
CHAPTER 4 - THE CRESCENT MILE
Shieldbreaker Upgrade. From the start, head through the red barrier back to the mines area. As you climb up, you'll now be able to activate the blue orbs and use the platforms to reach the chest containing the upgrade.
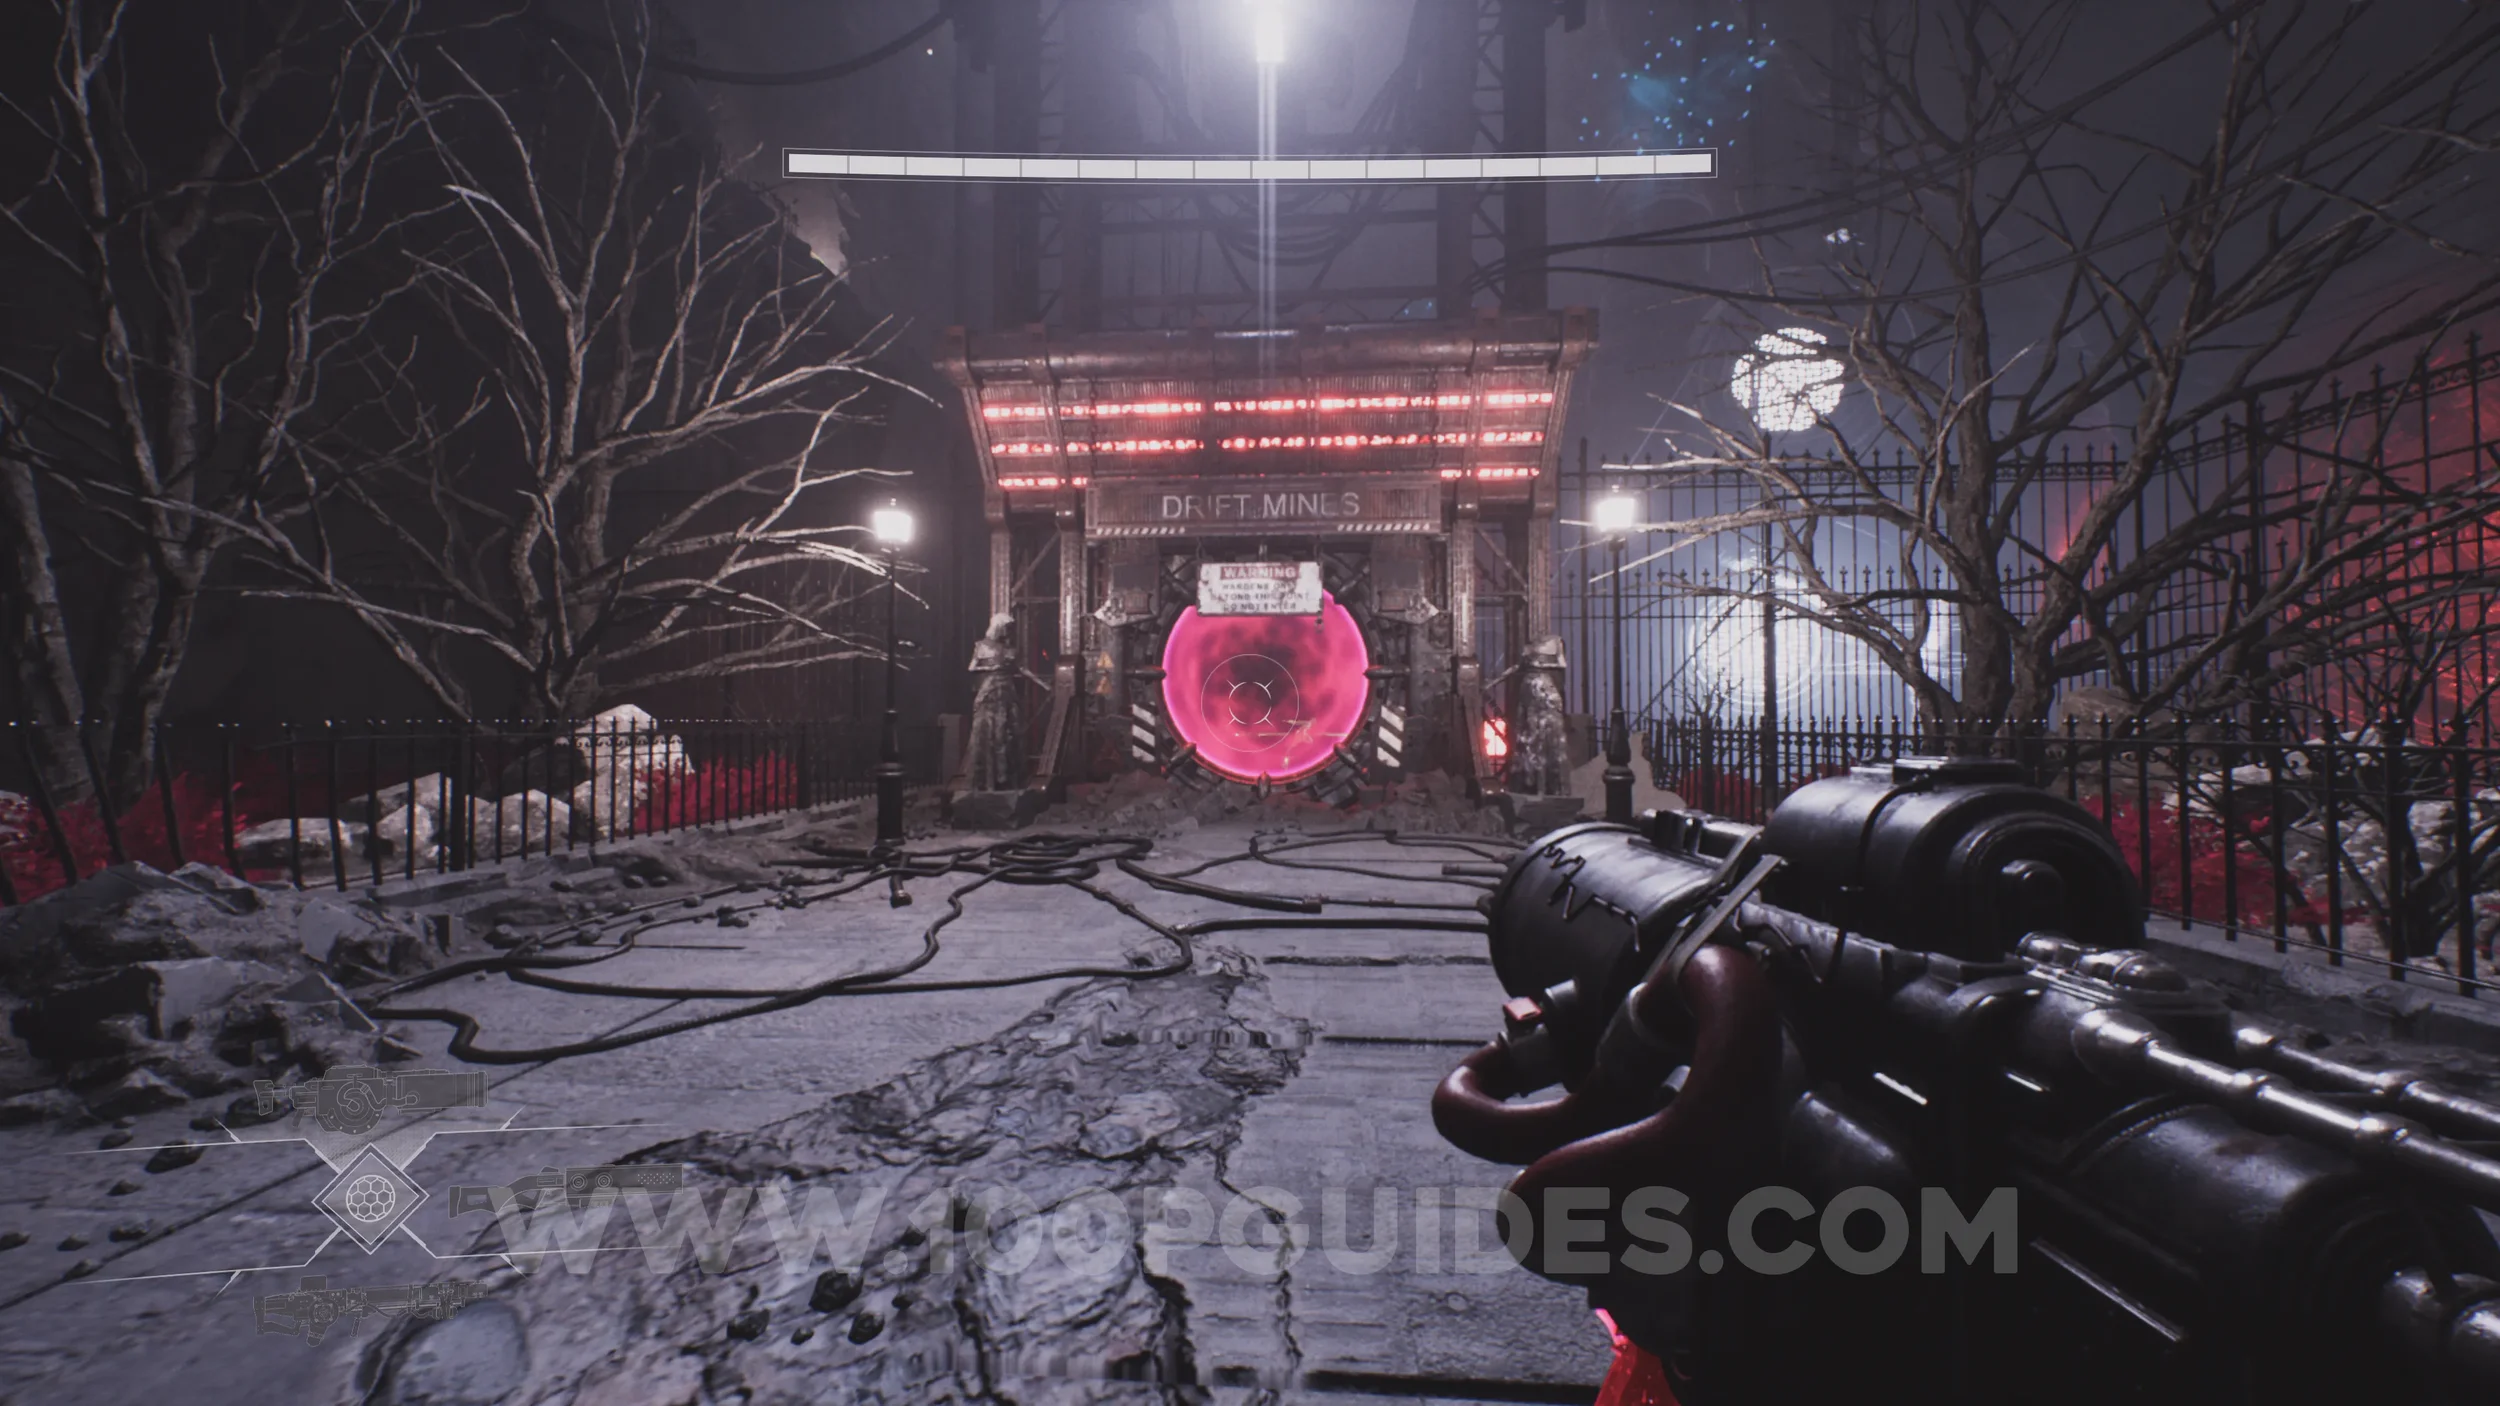
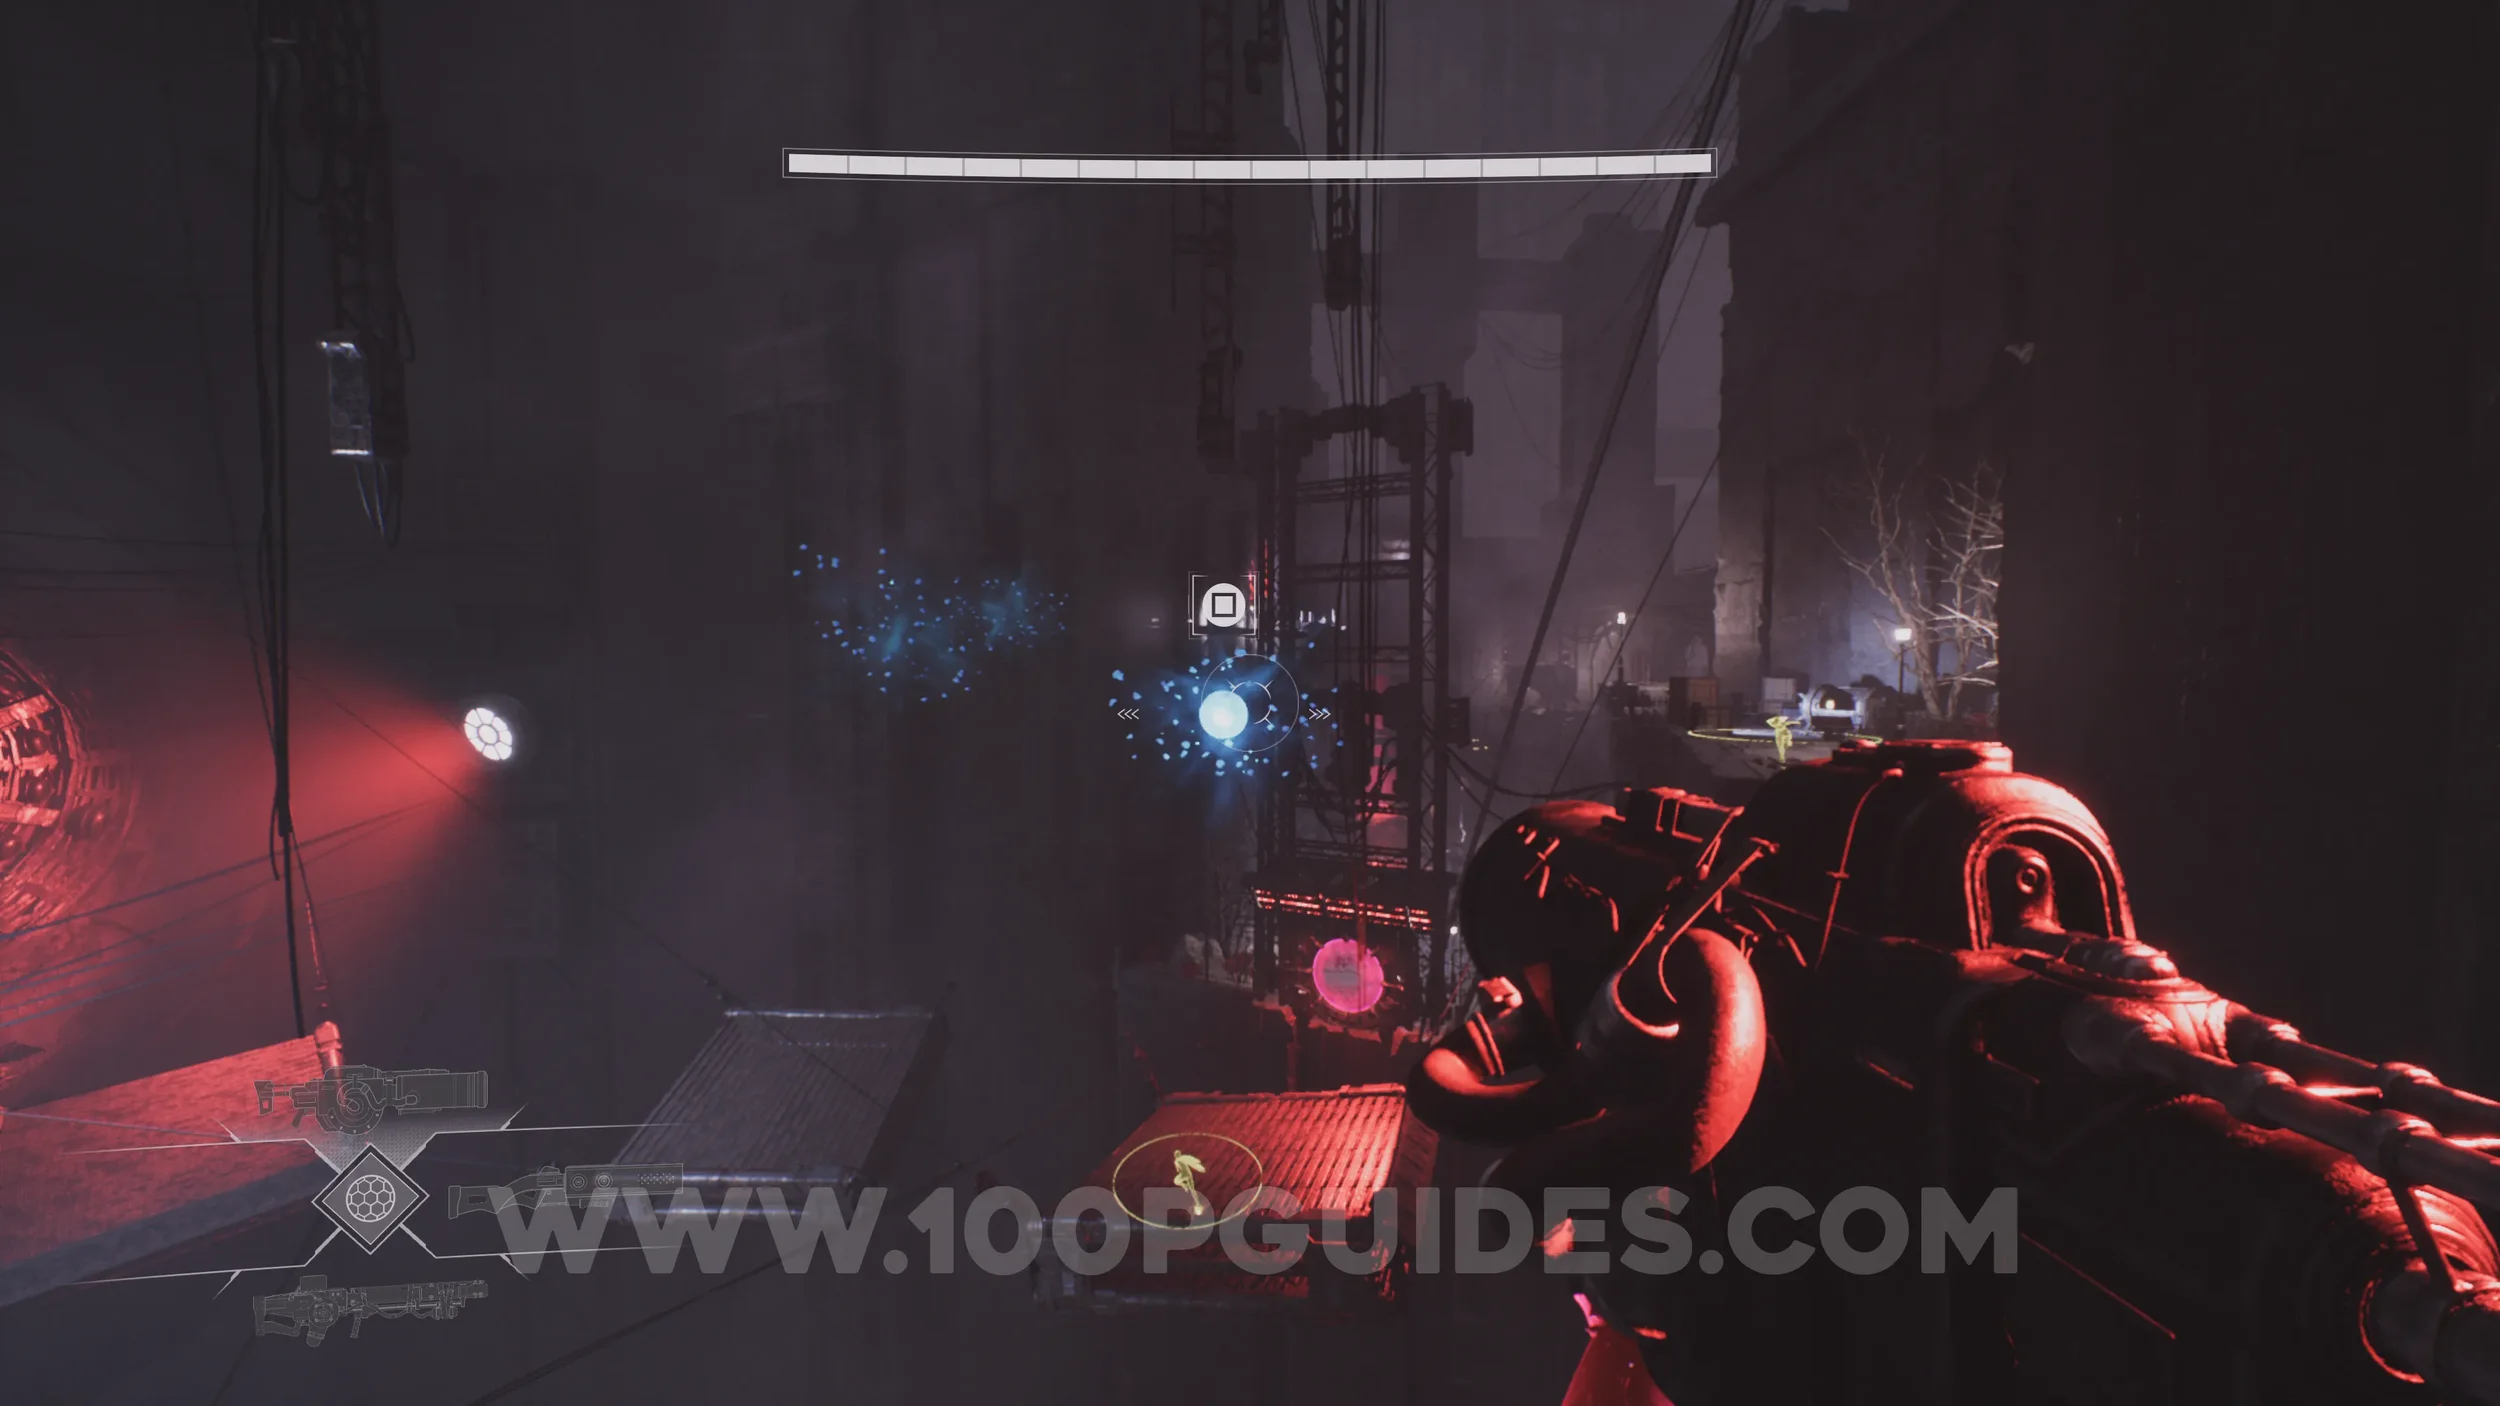
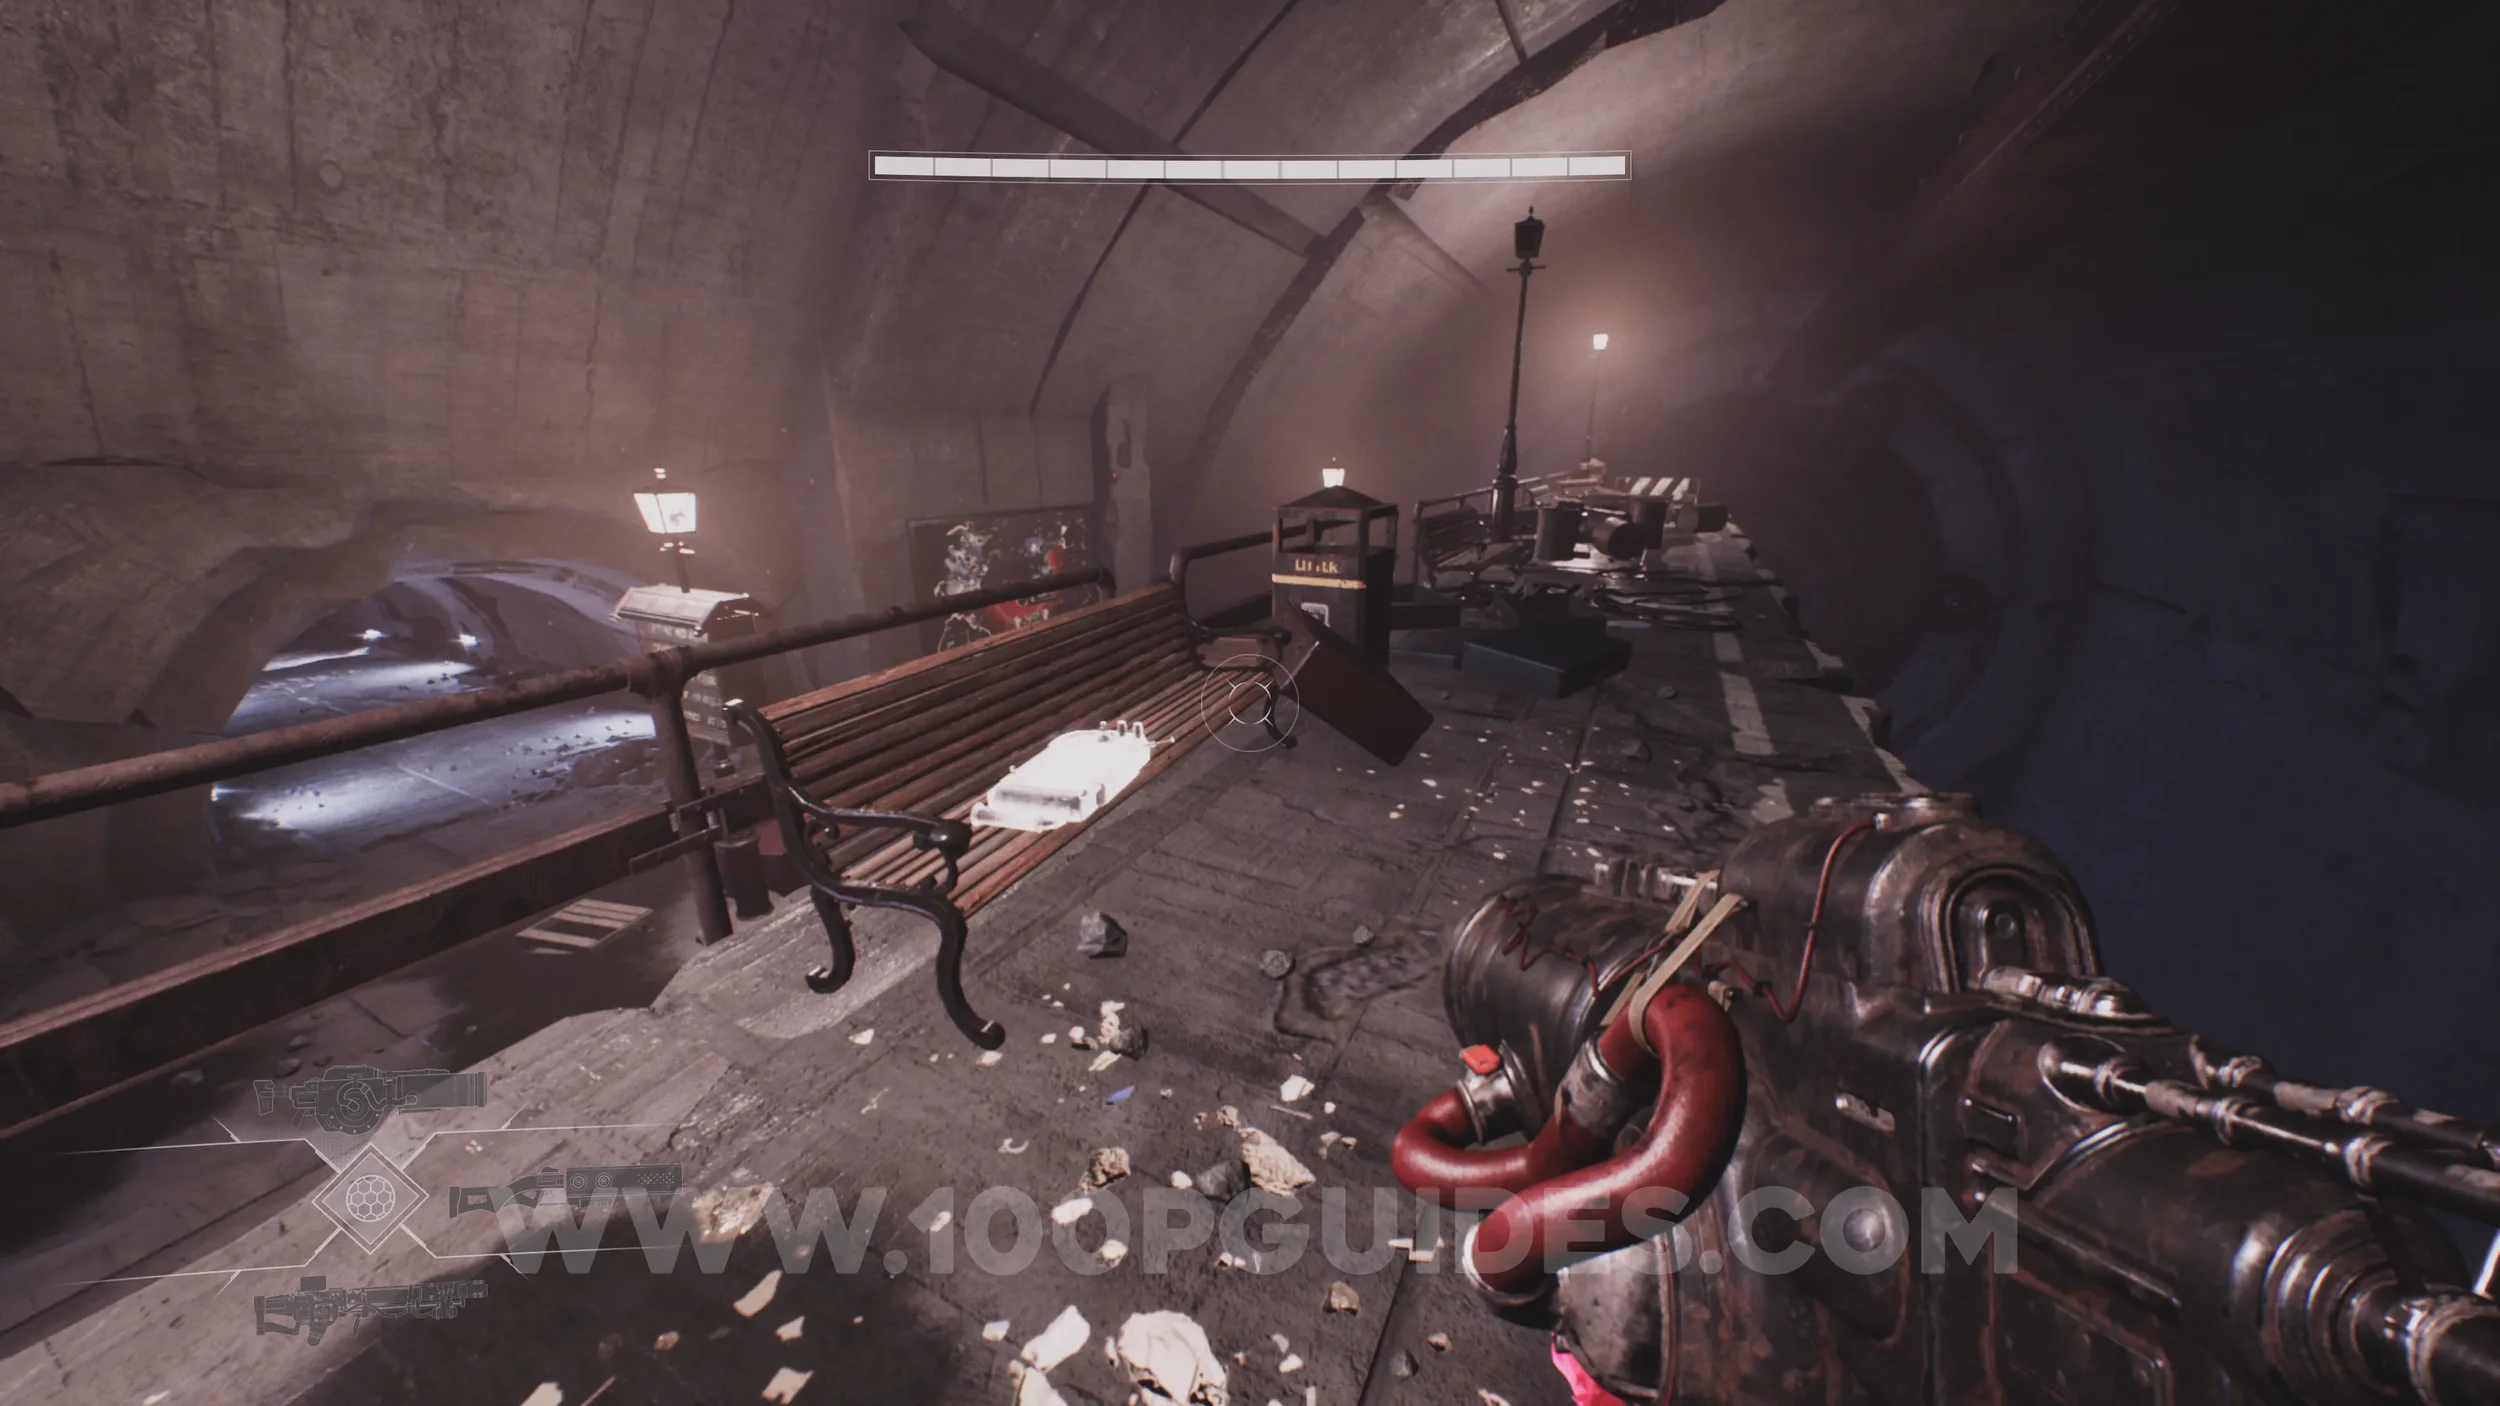
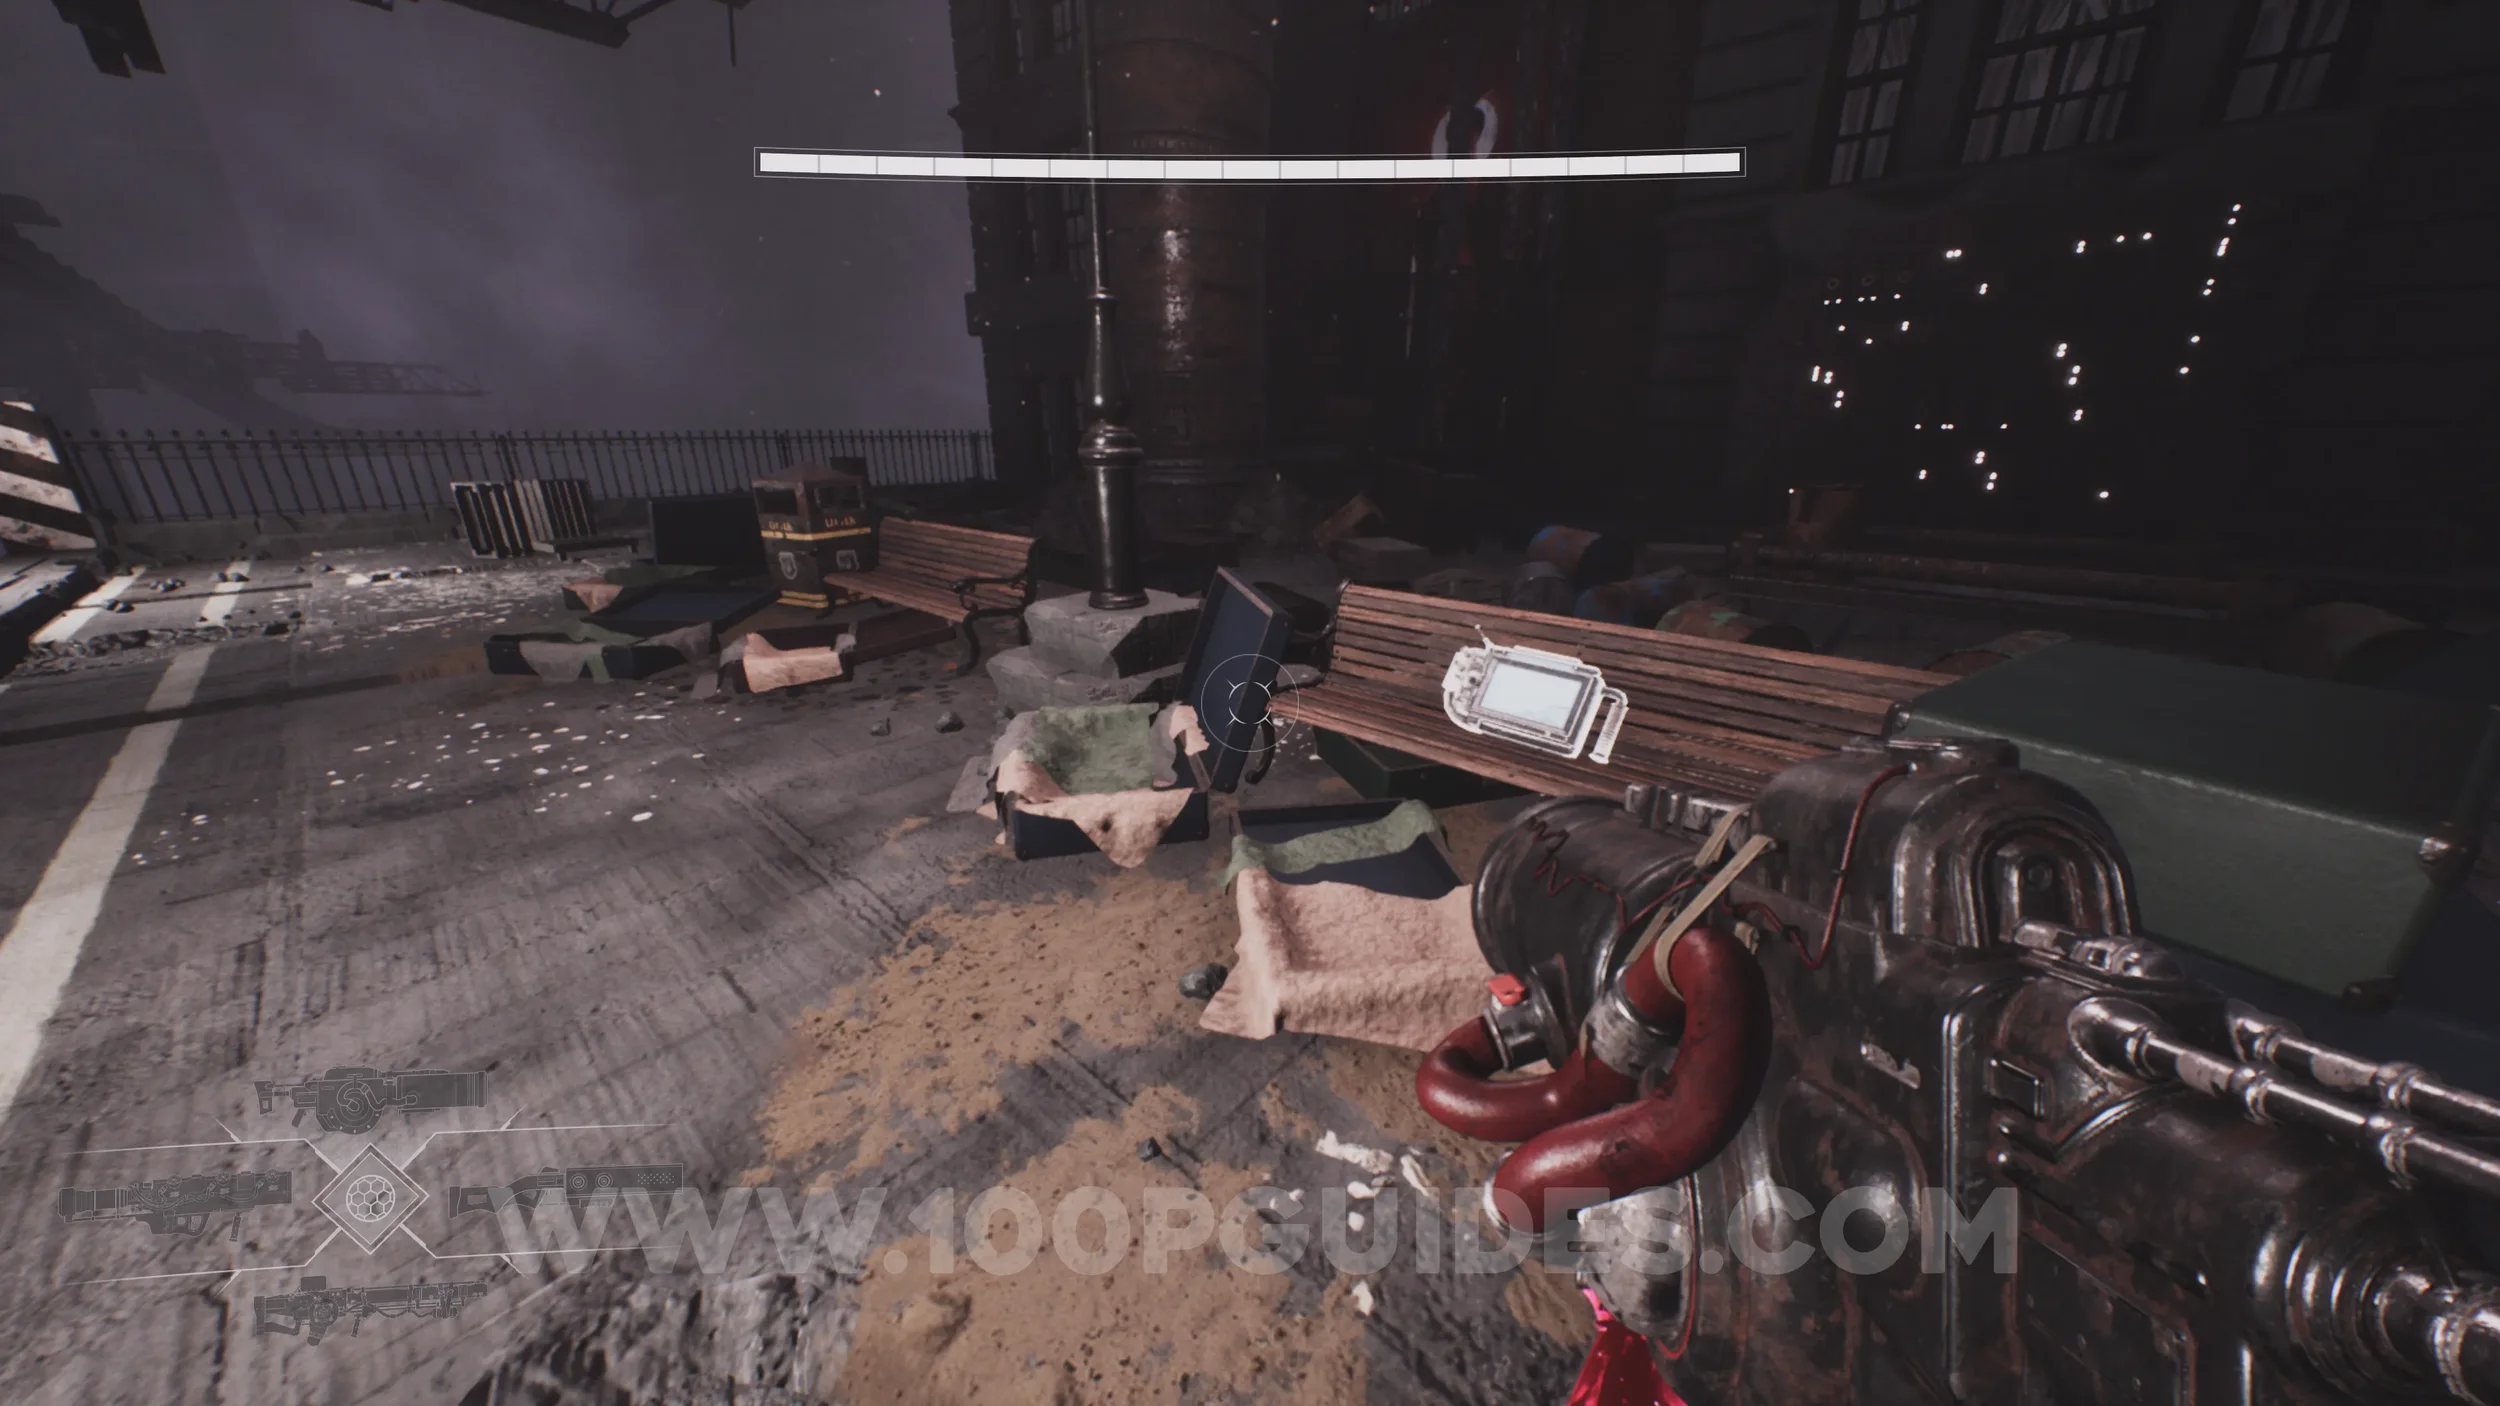
Lore Entry #53 (Memory - Entry #39917 - Last Commute). After passing through the massive door, you'll reach a train platform. Before boarding the train, head left to find it on a bench.
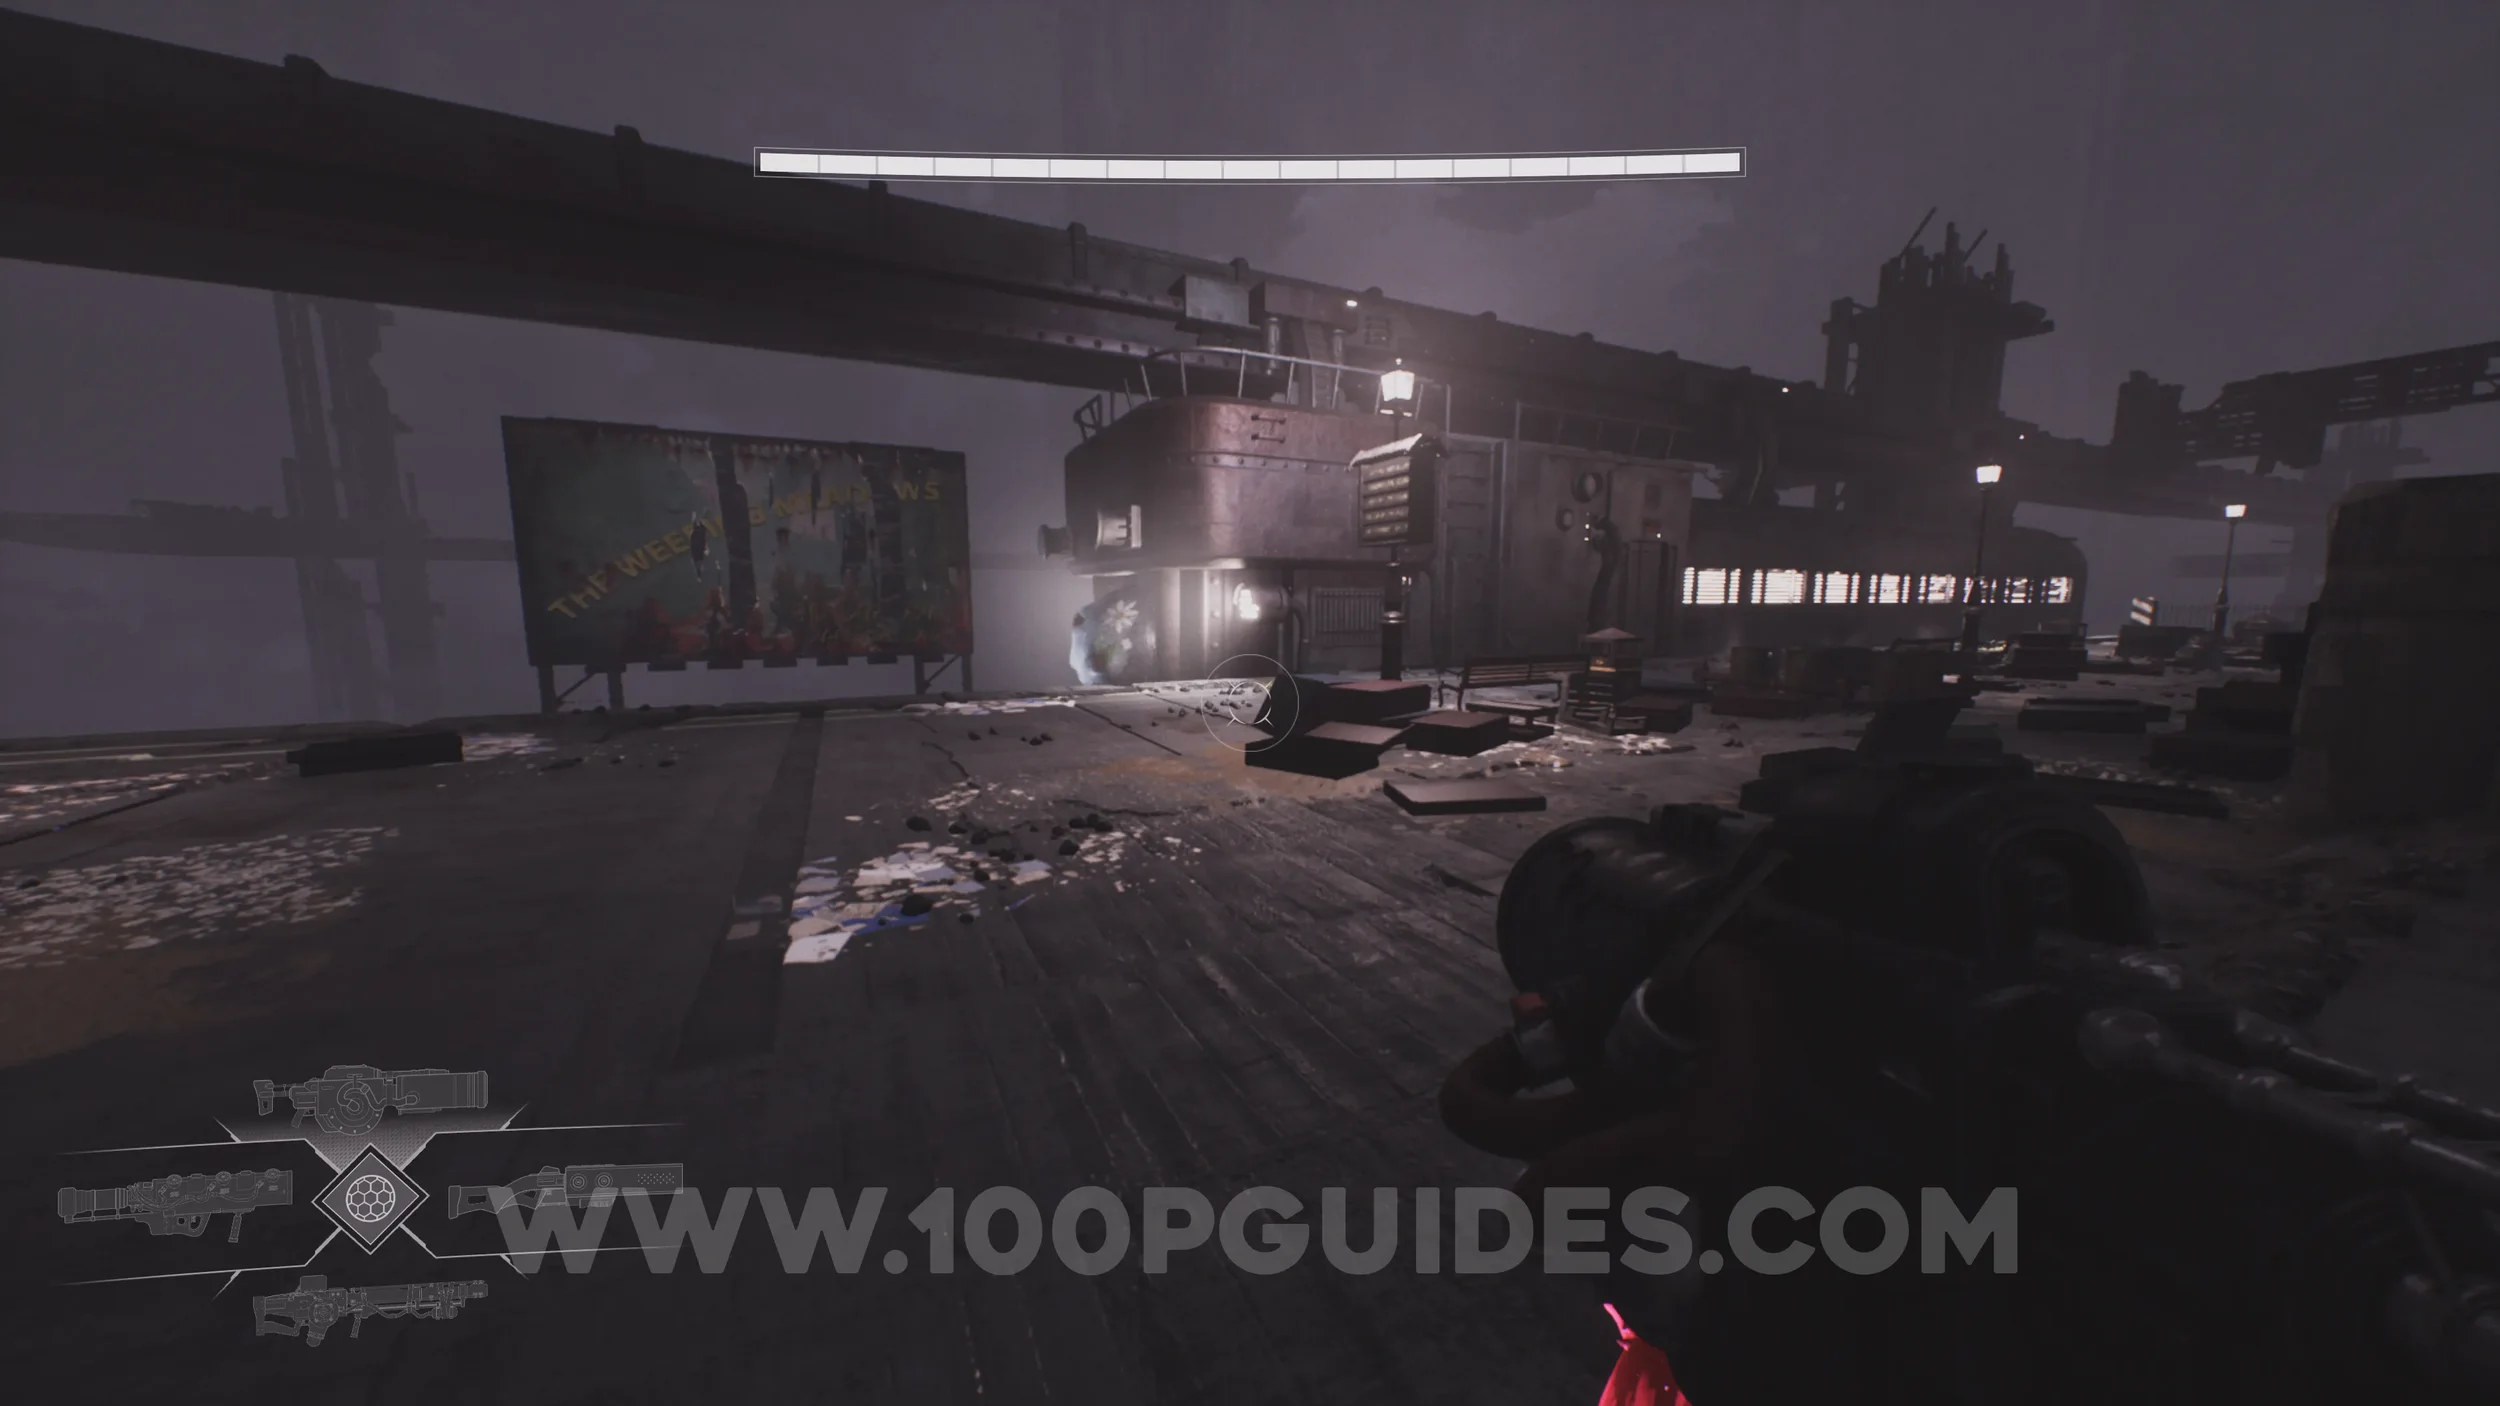
CHAPTER 4 - GREYMOUNT UNDERPASS
Lore Entry #54 (Memory - Entry #69000 - Way Out). After using several Watchers to climb through the purple-lit area, you will use a jump pad. In the next room, look for a symbol on the wall to the left to find the collectible nearby.
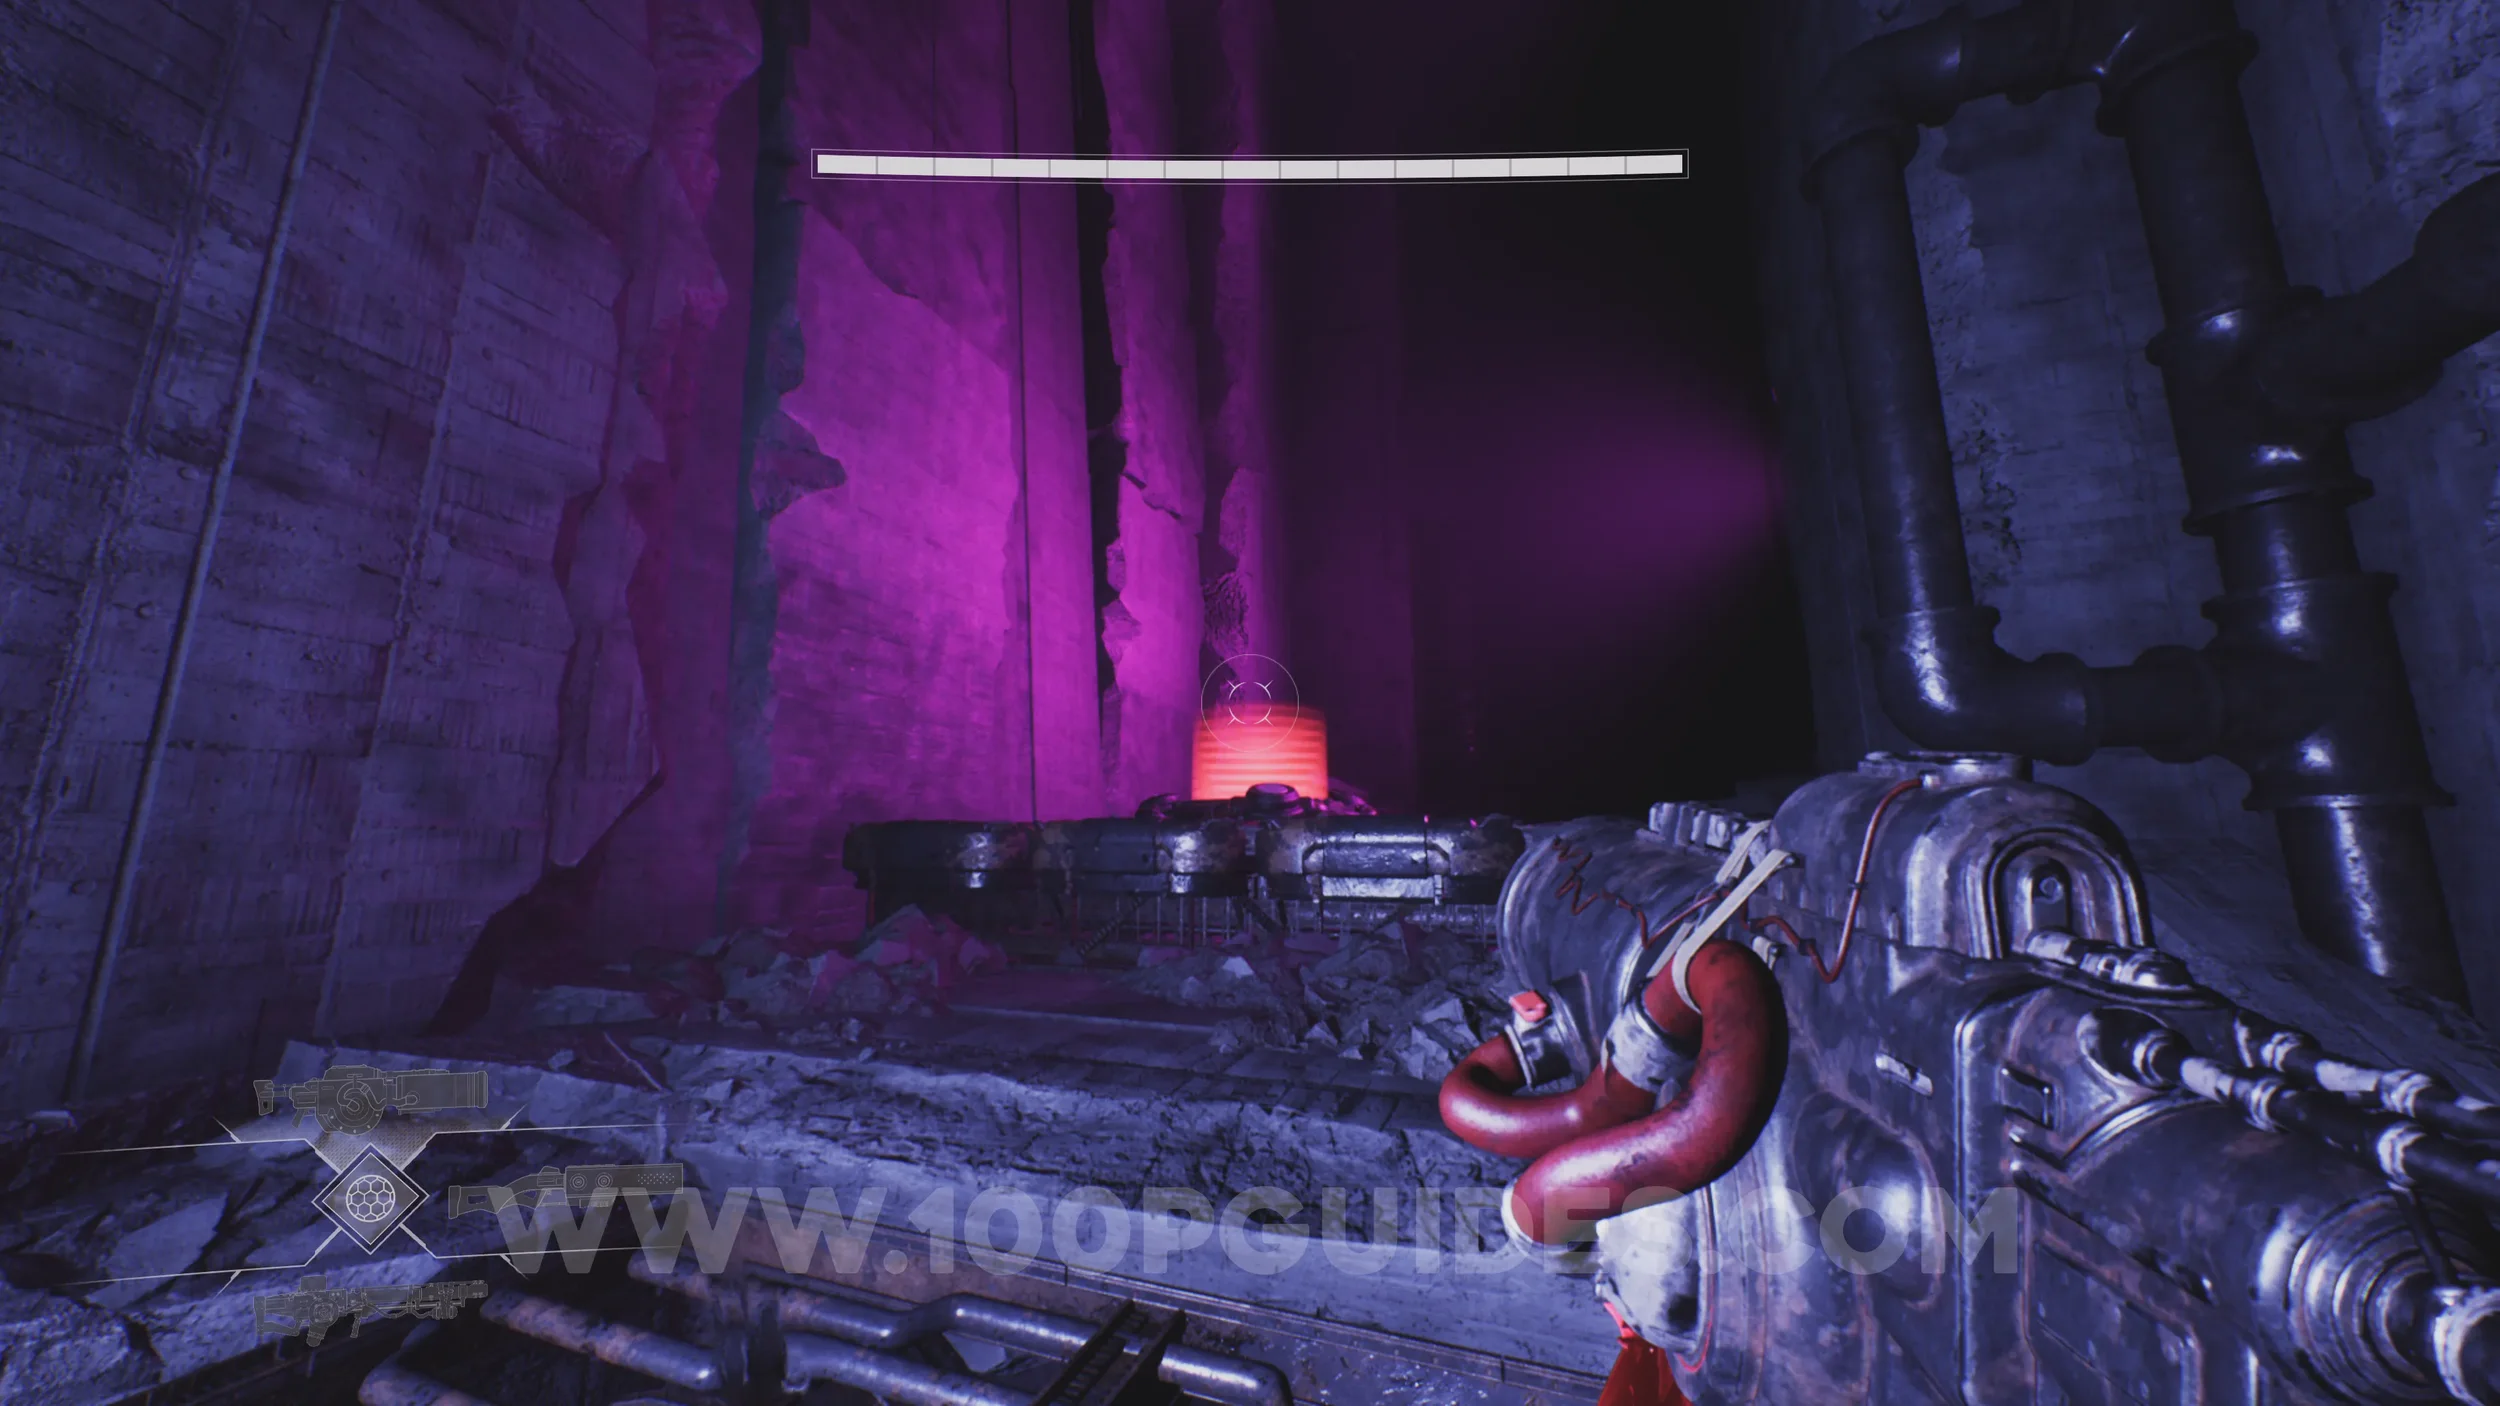
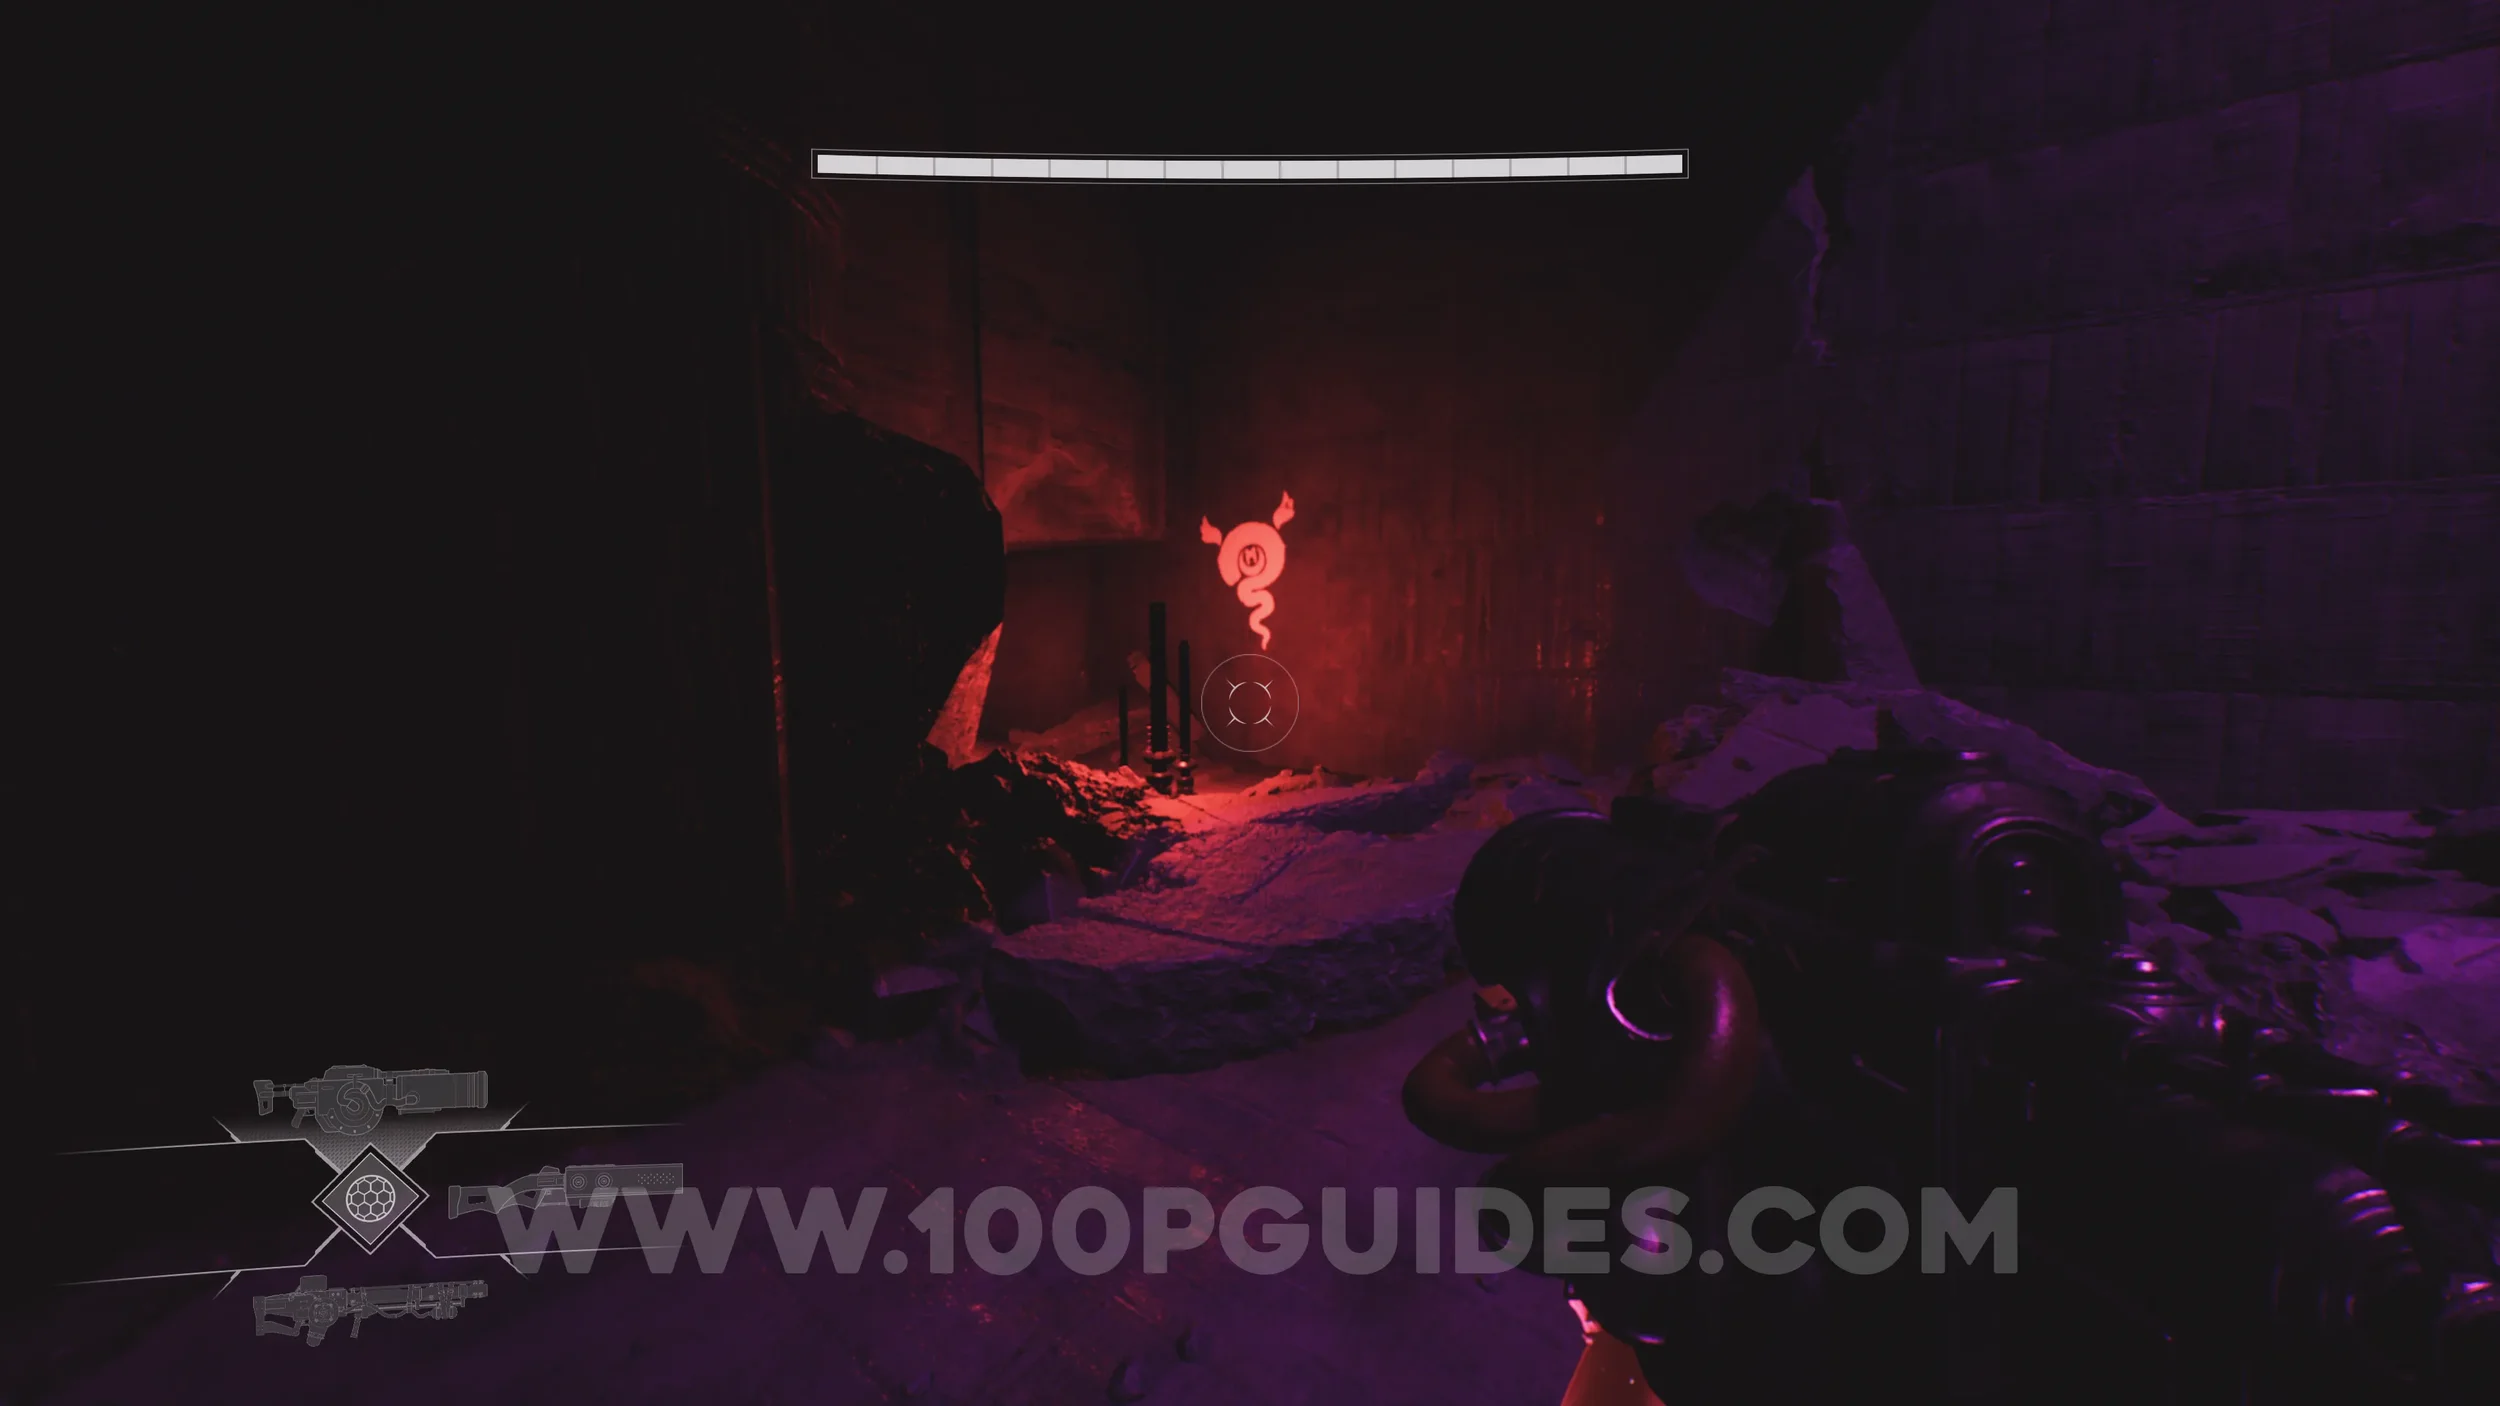
CHAPTER 4 - THE CITY OF GREYMONT
Lore Entry #55 (Memory - Entry #02331 - Passage). In plain sight after jumping across the first set of platforms in the area with the massive underground city.
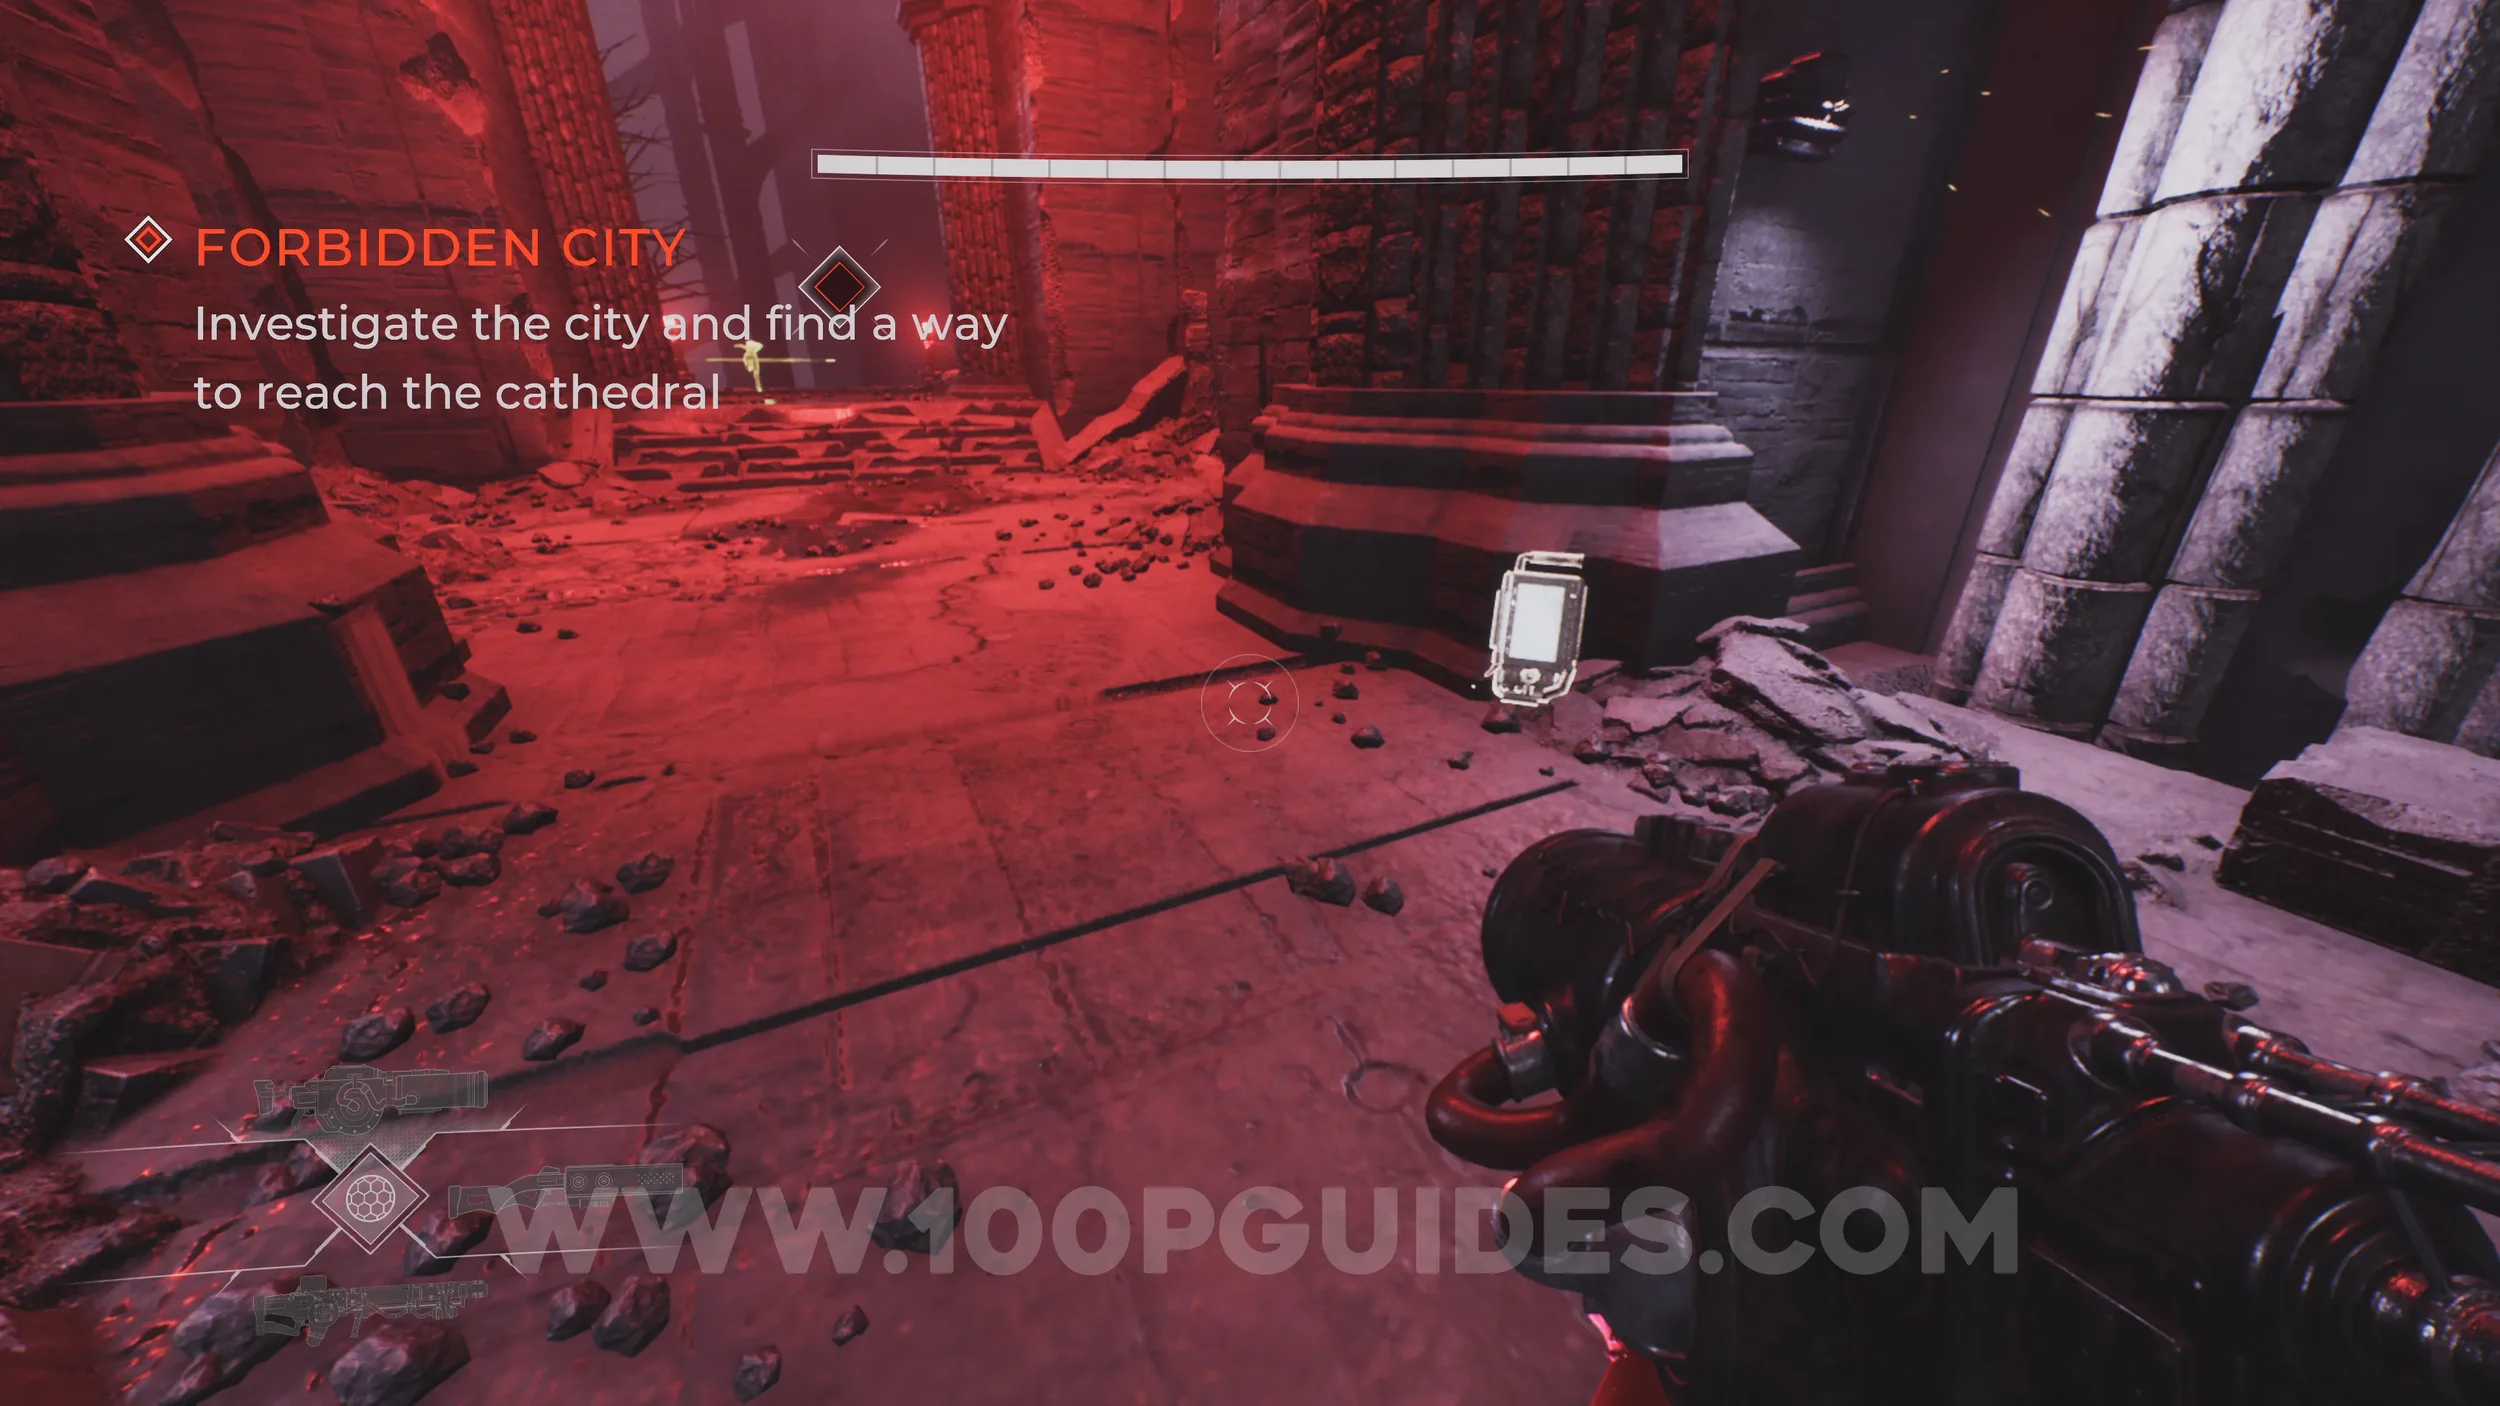
Lore Entry #56 (Location - Chapel of Selection). In plain sight once you reach the chapel, just before heading through the first triangular door in the underground city area.
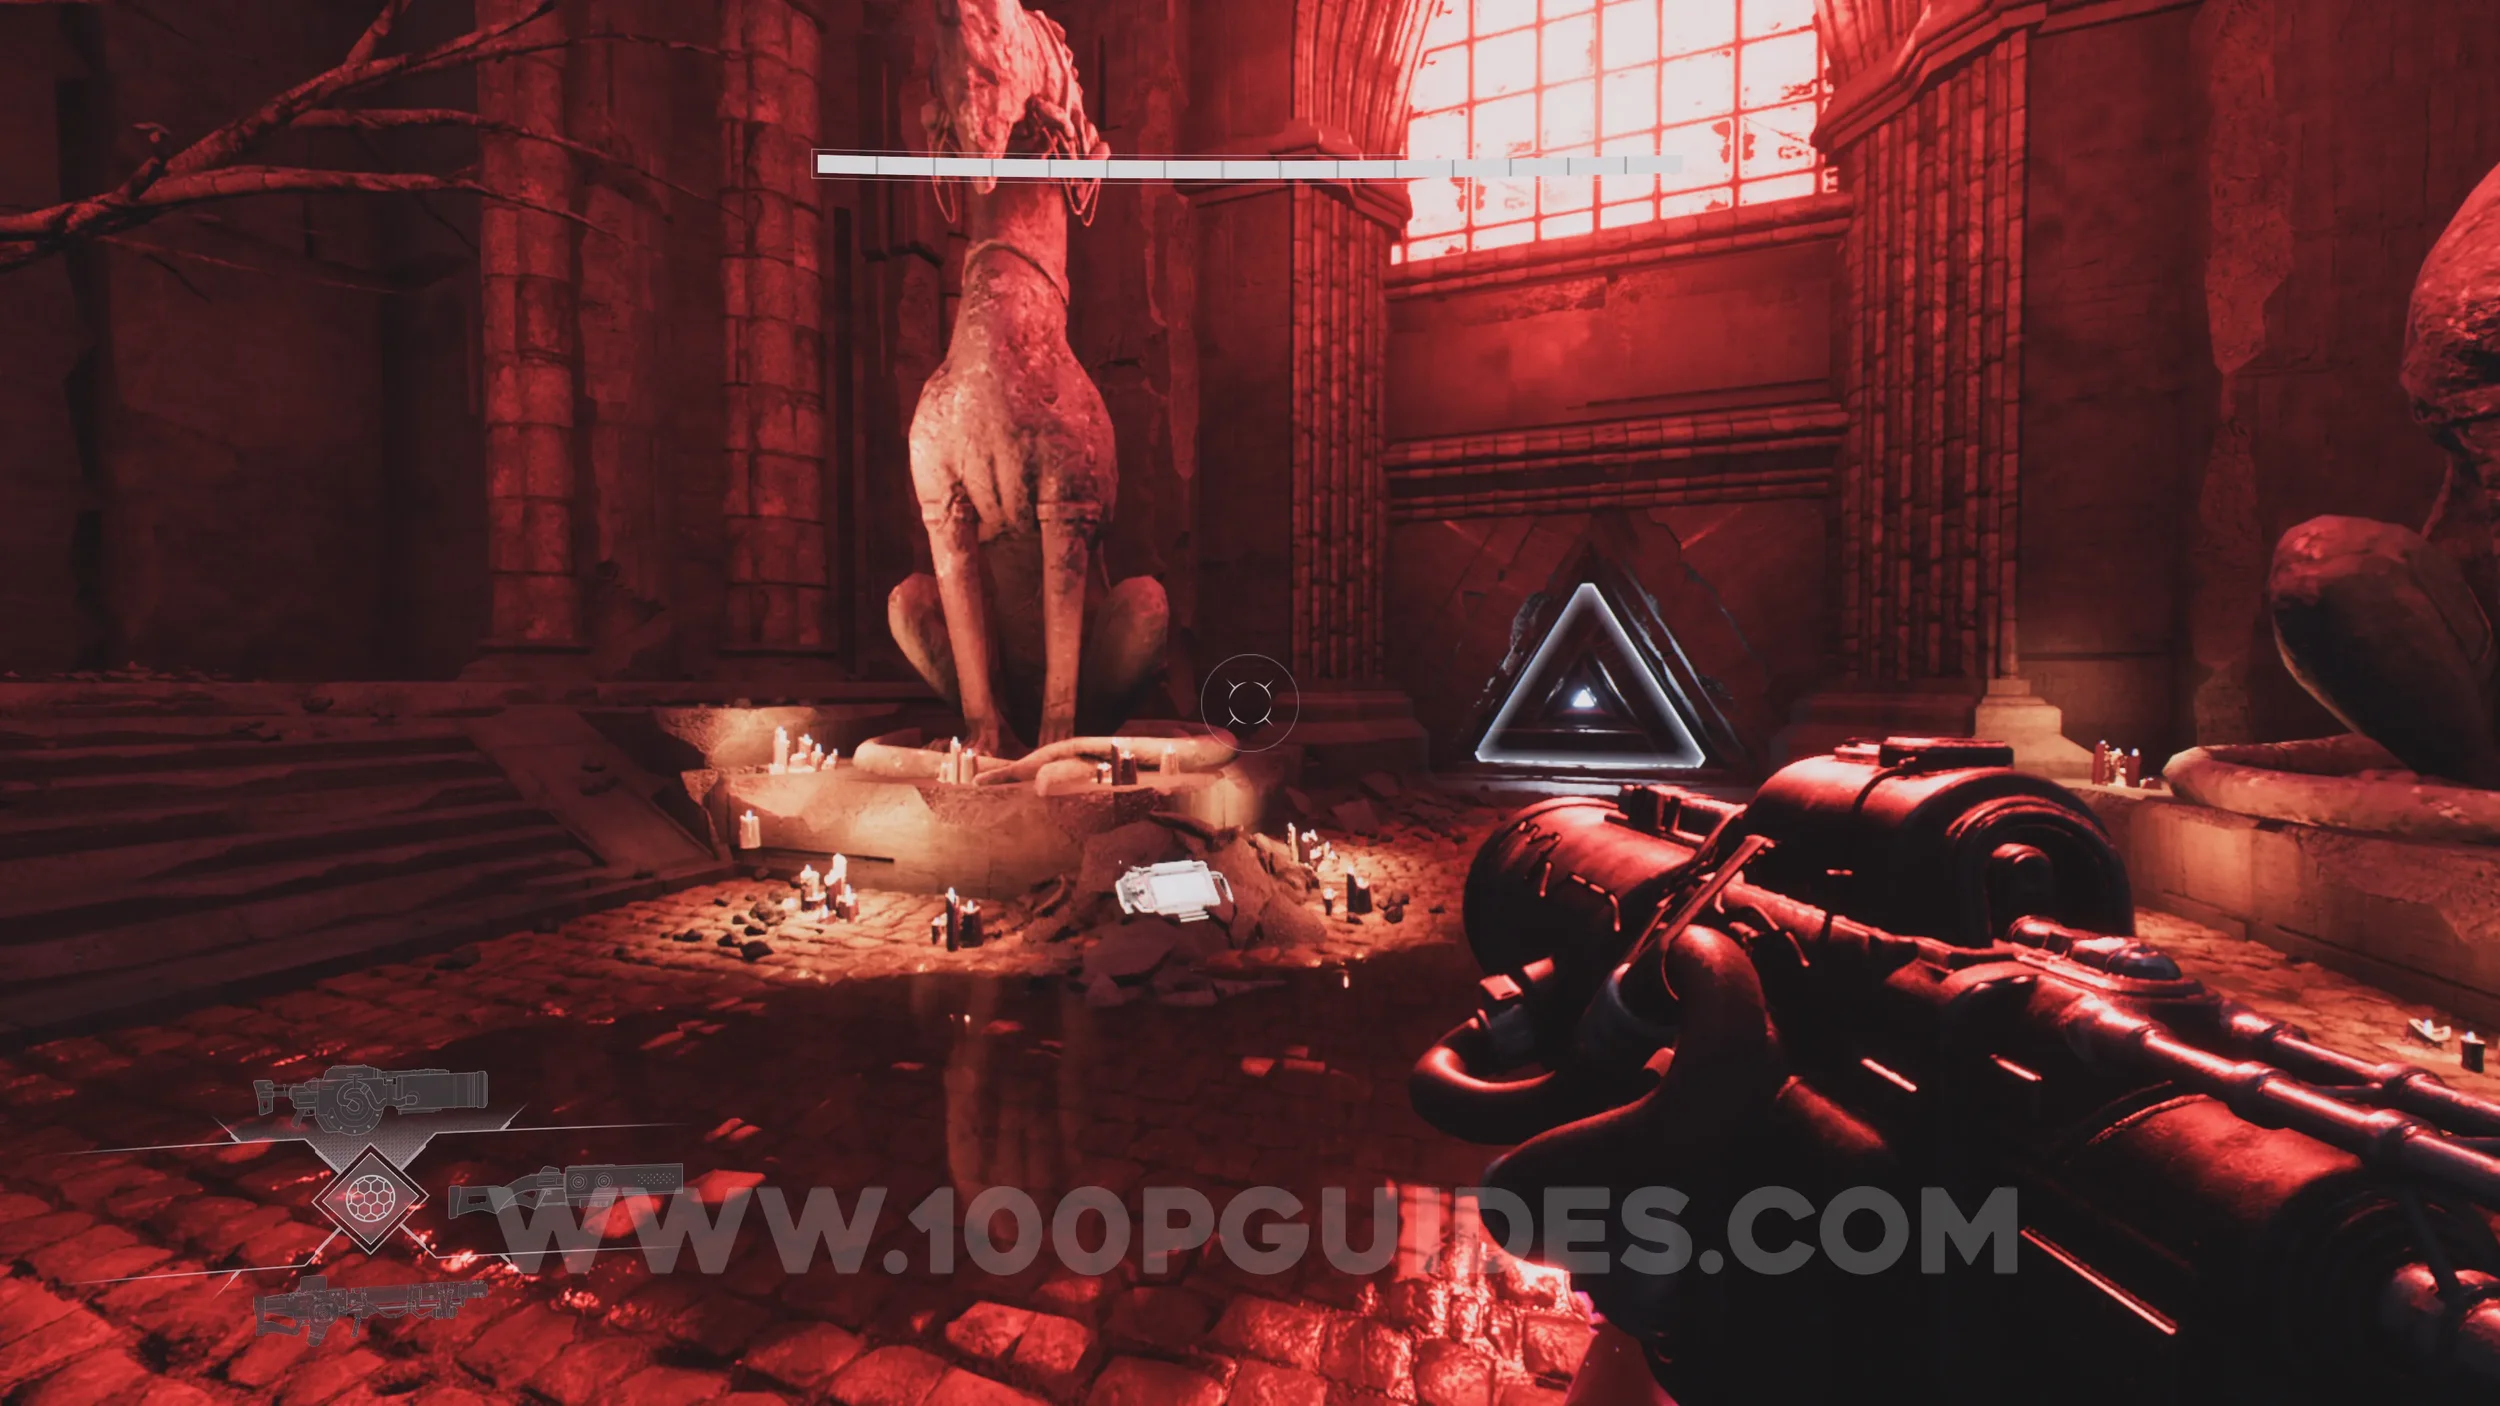
Lore Entry #57 (Memory - Entry #6218 - Family). After passing through the triangular door, head through the building and exit the other side to find the collectible next to a corpse.
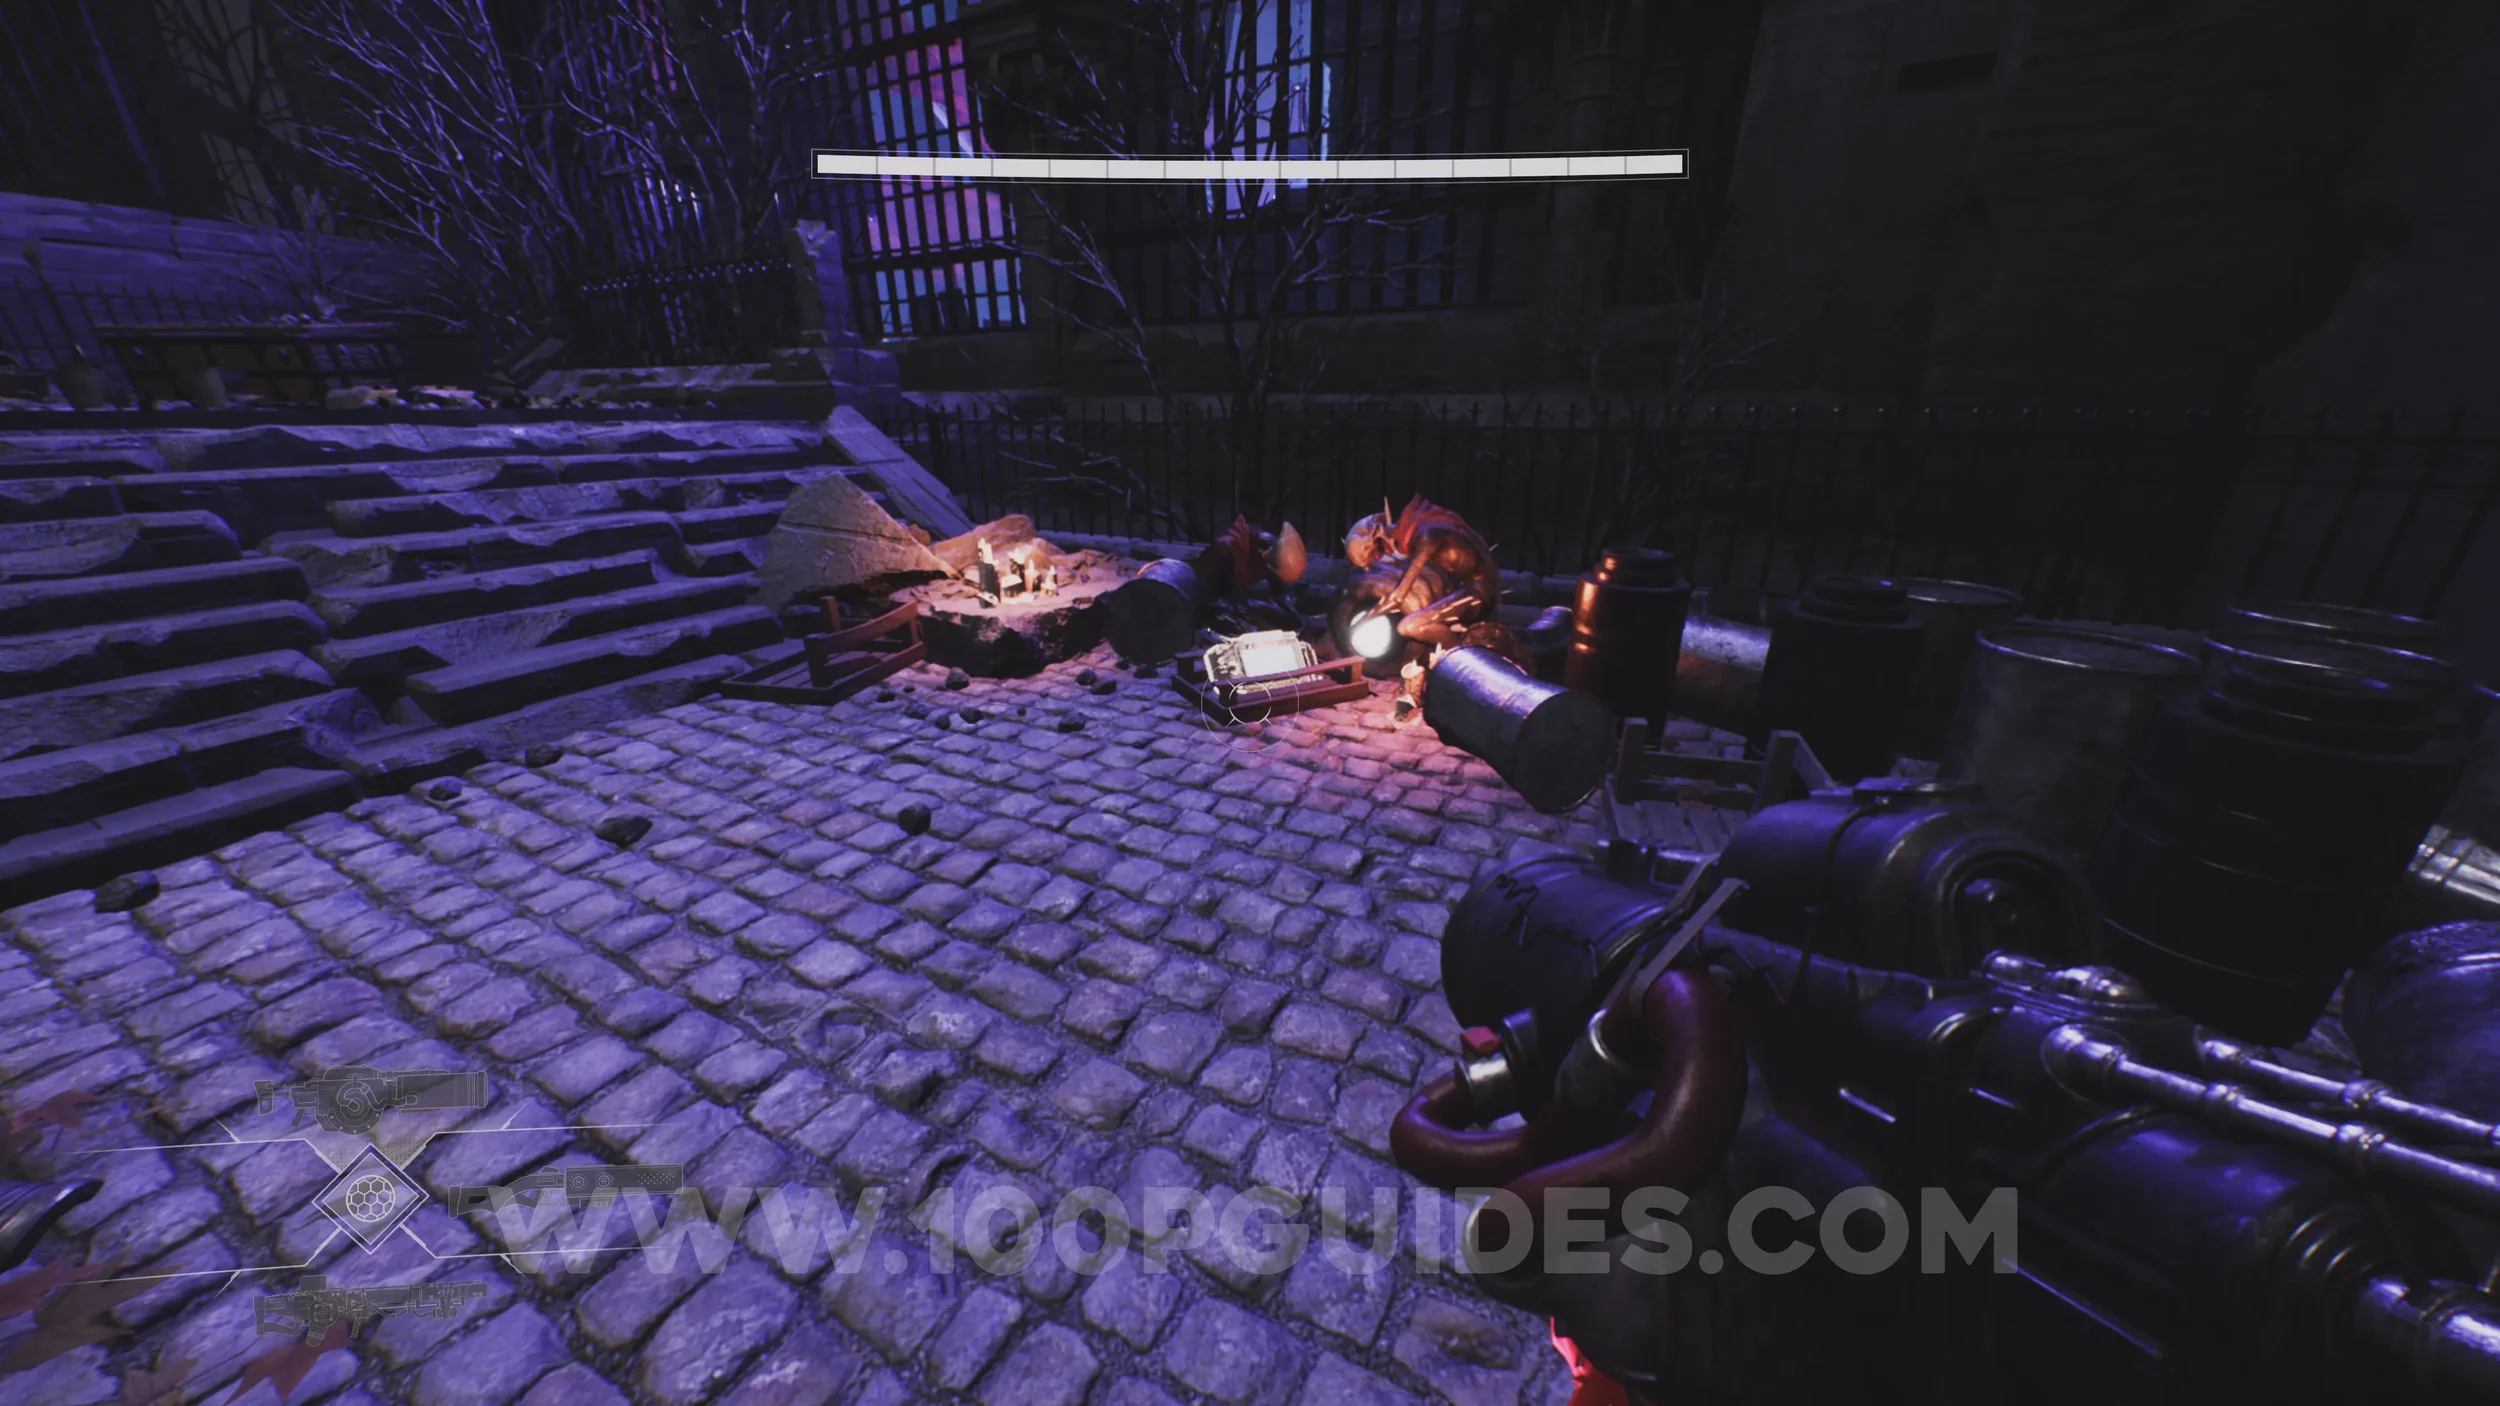
Lore Entry #58 (Memory - Entry #342 - Perfect Faith). In the round room where worshippers are praying to the statue in the middle.
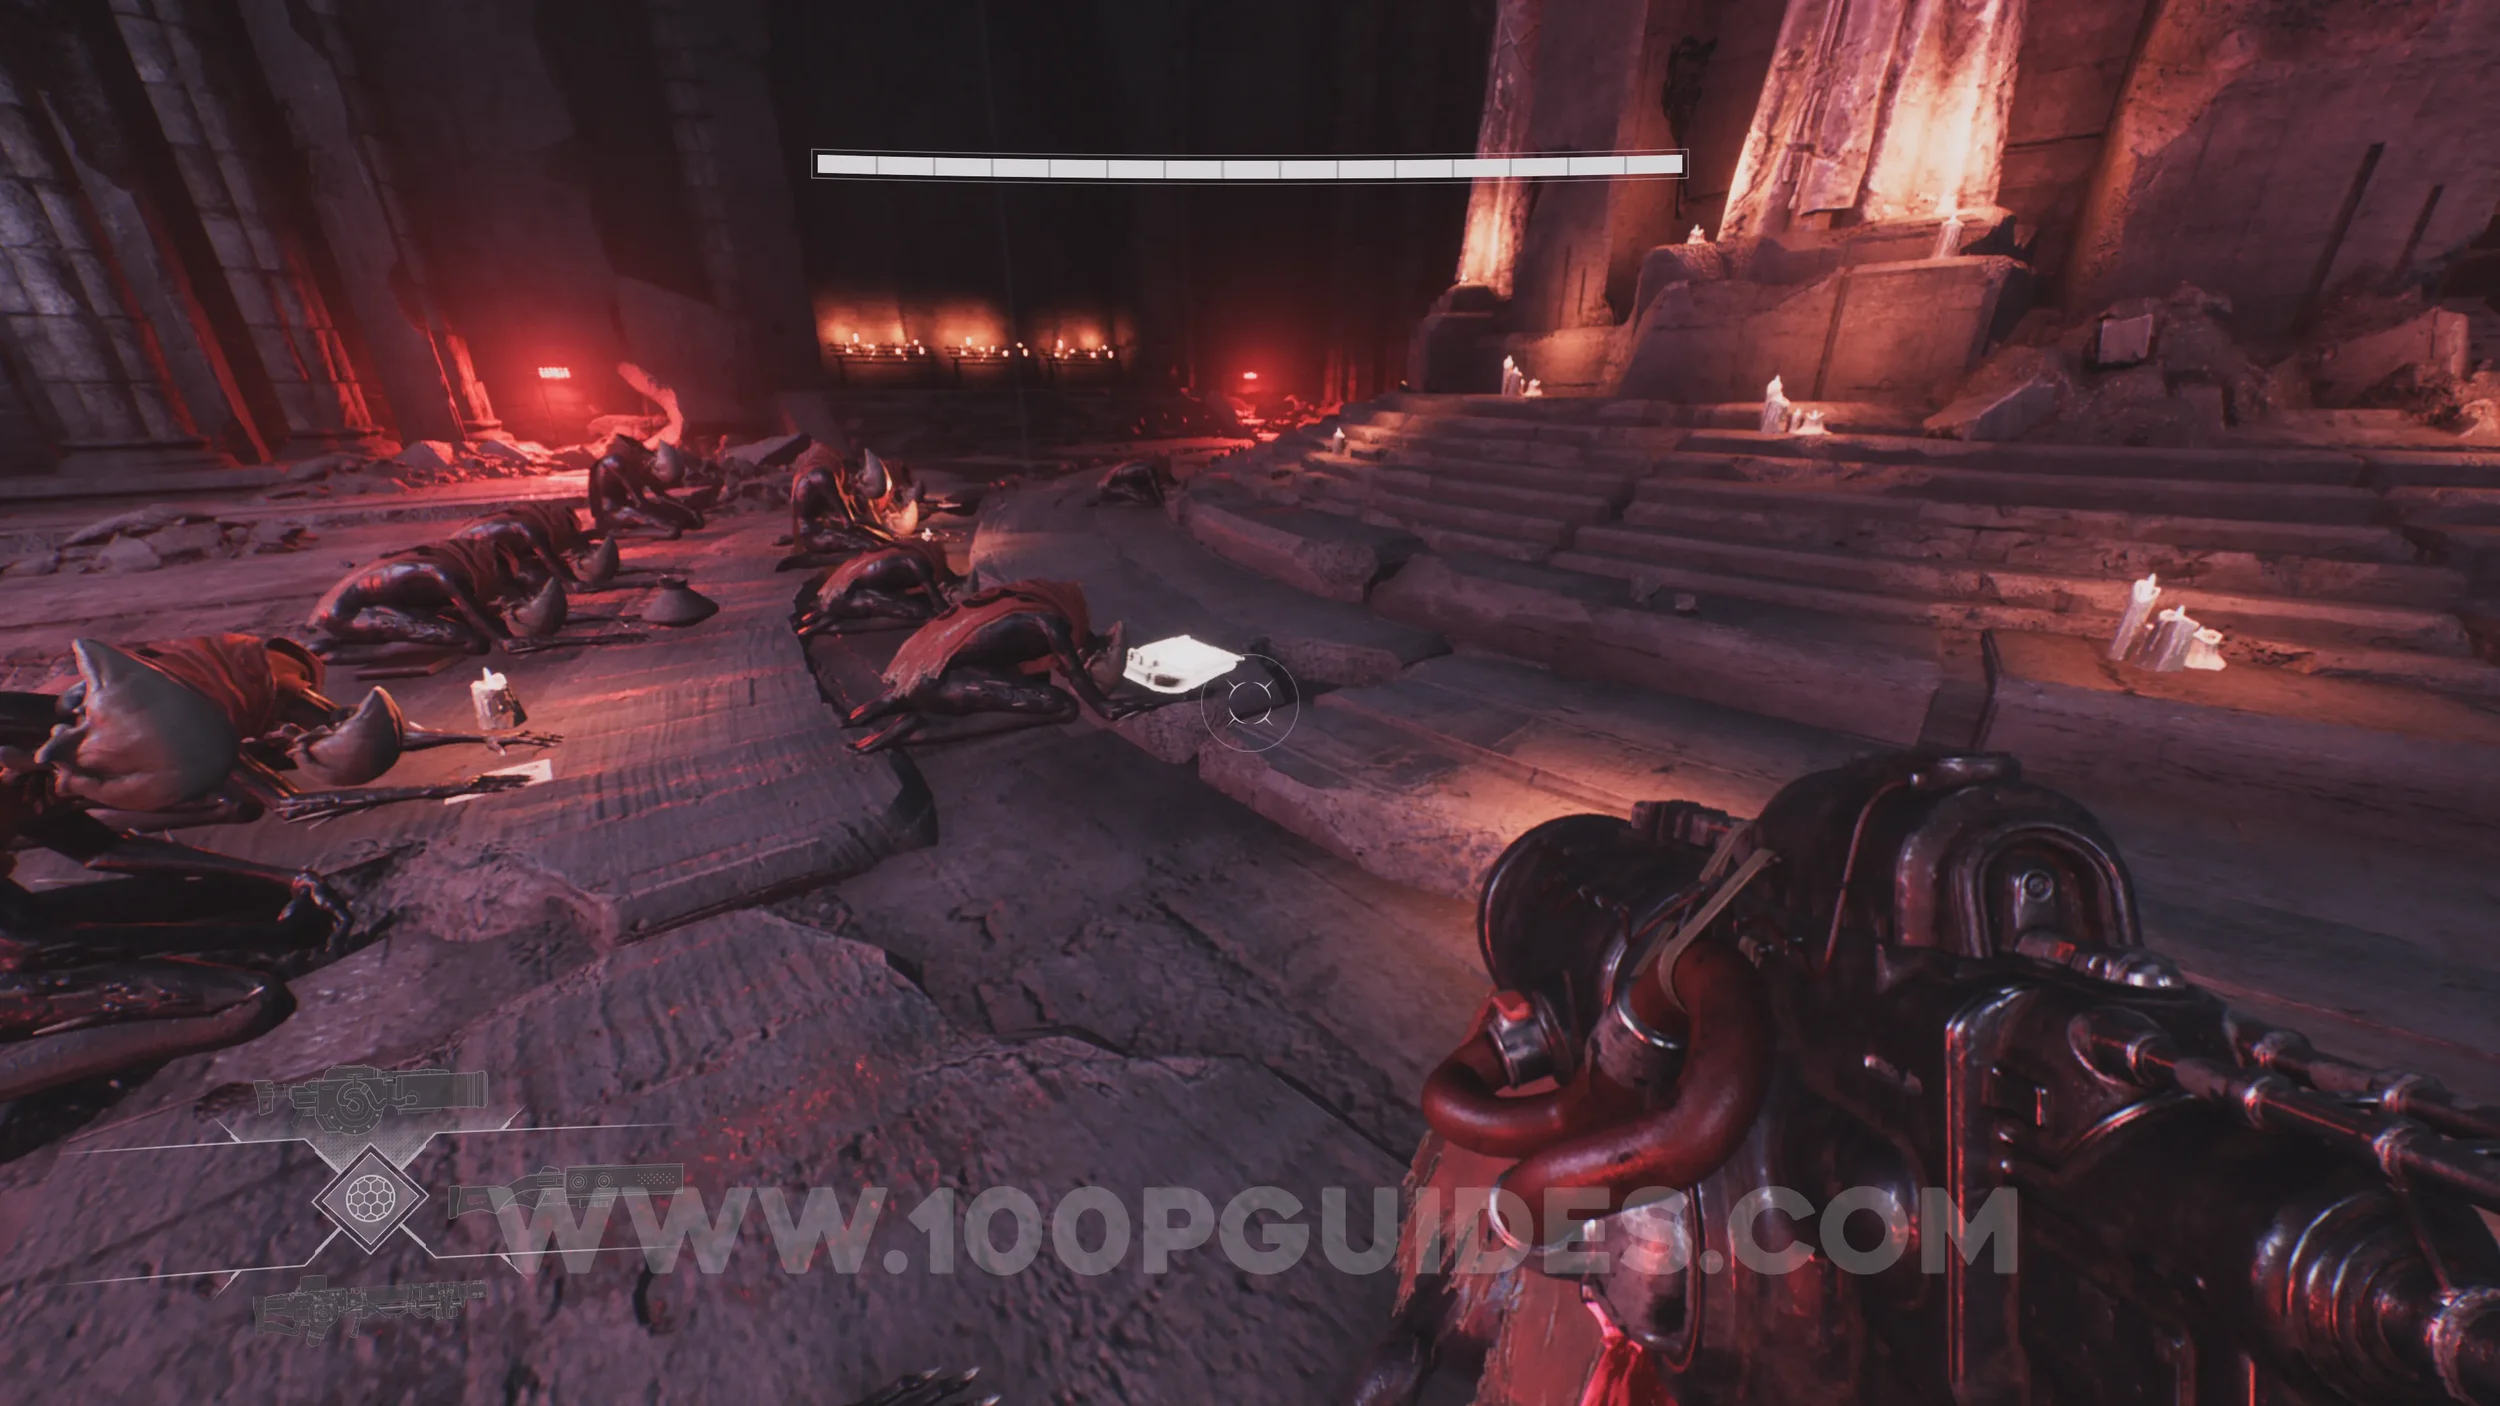
Lore Entry #59 (Memory - Entry #20241 - Belongings). On the ground to your left after leaving the worshippers' room through the triangular door.
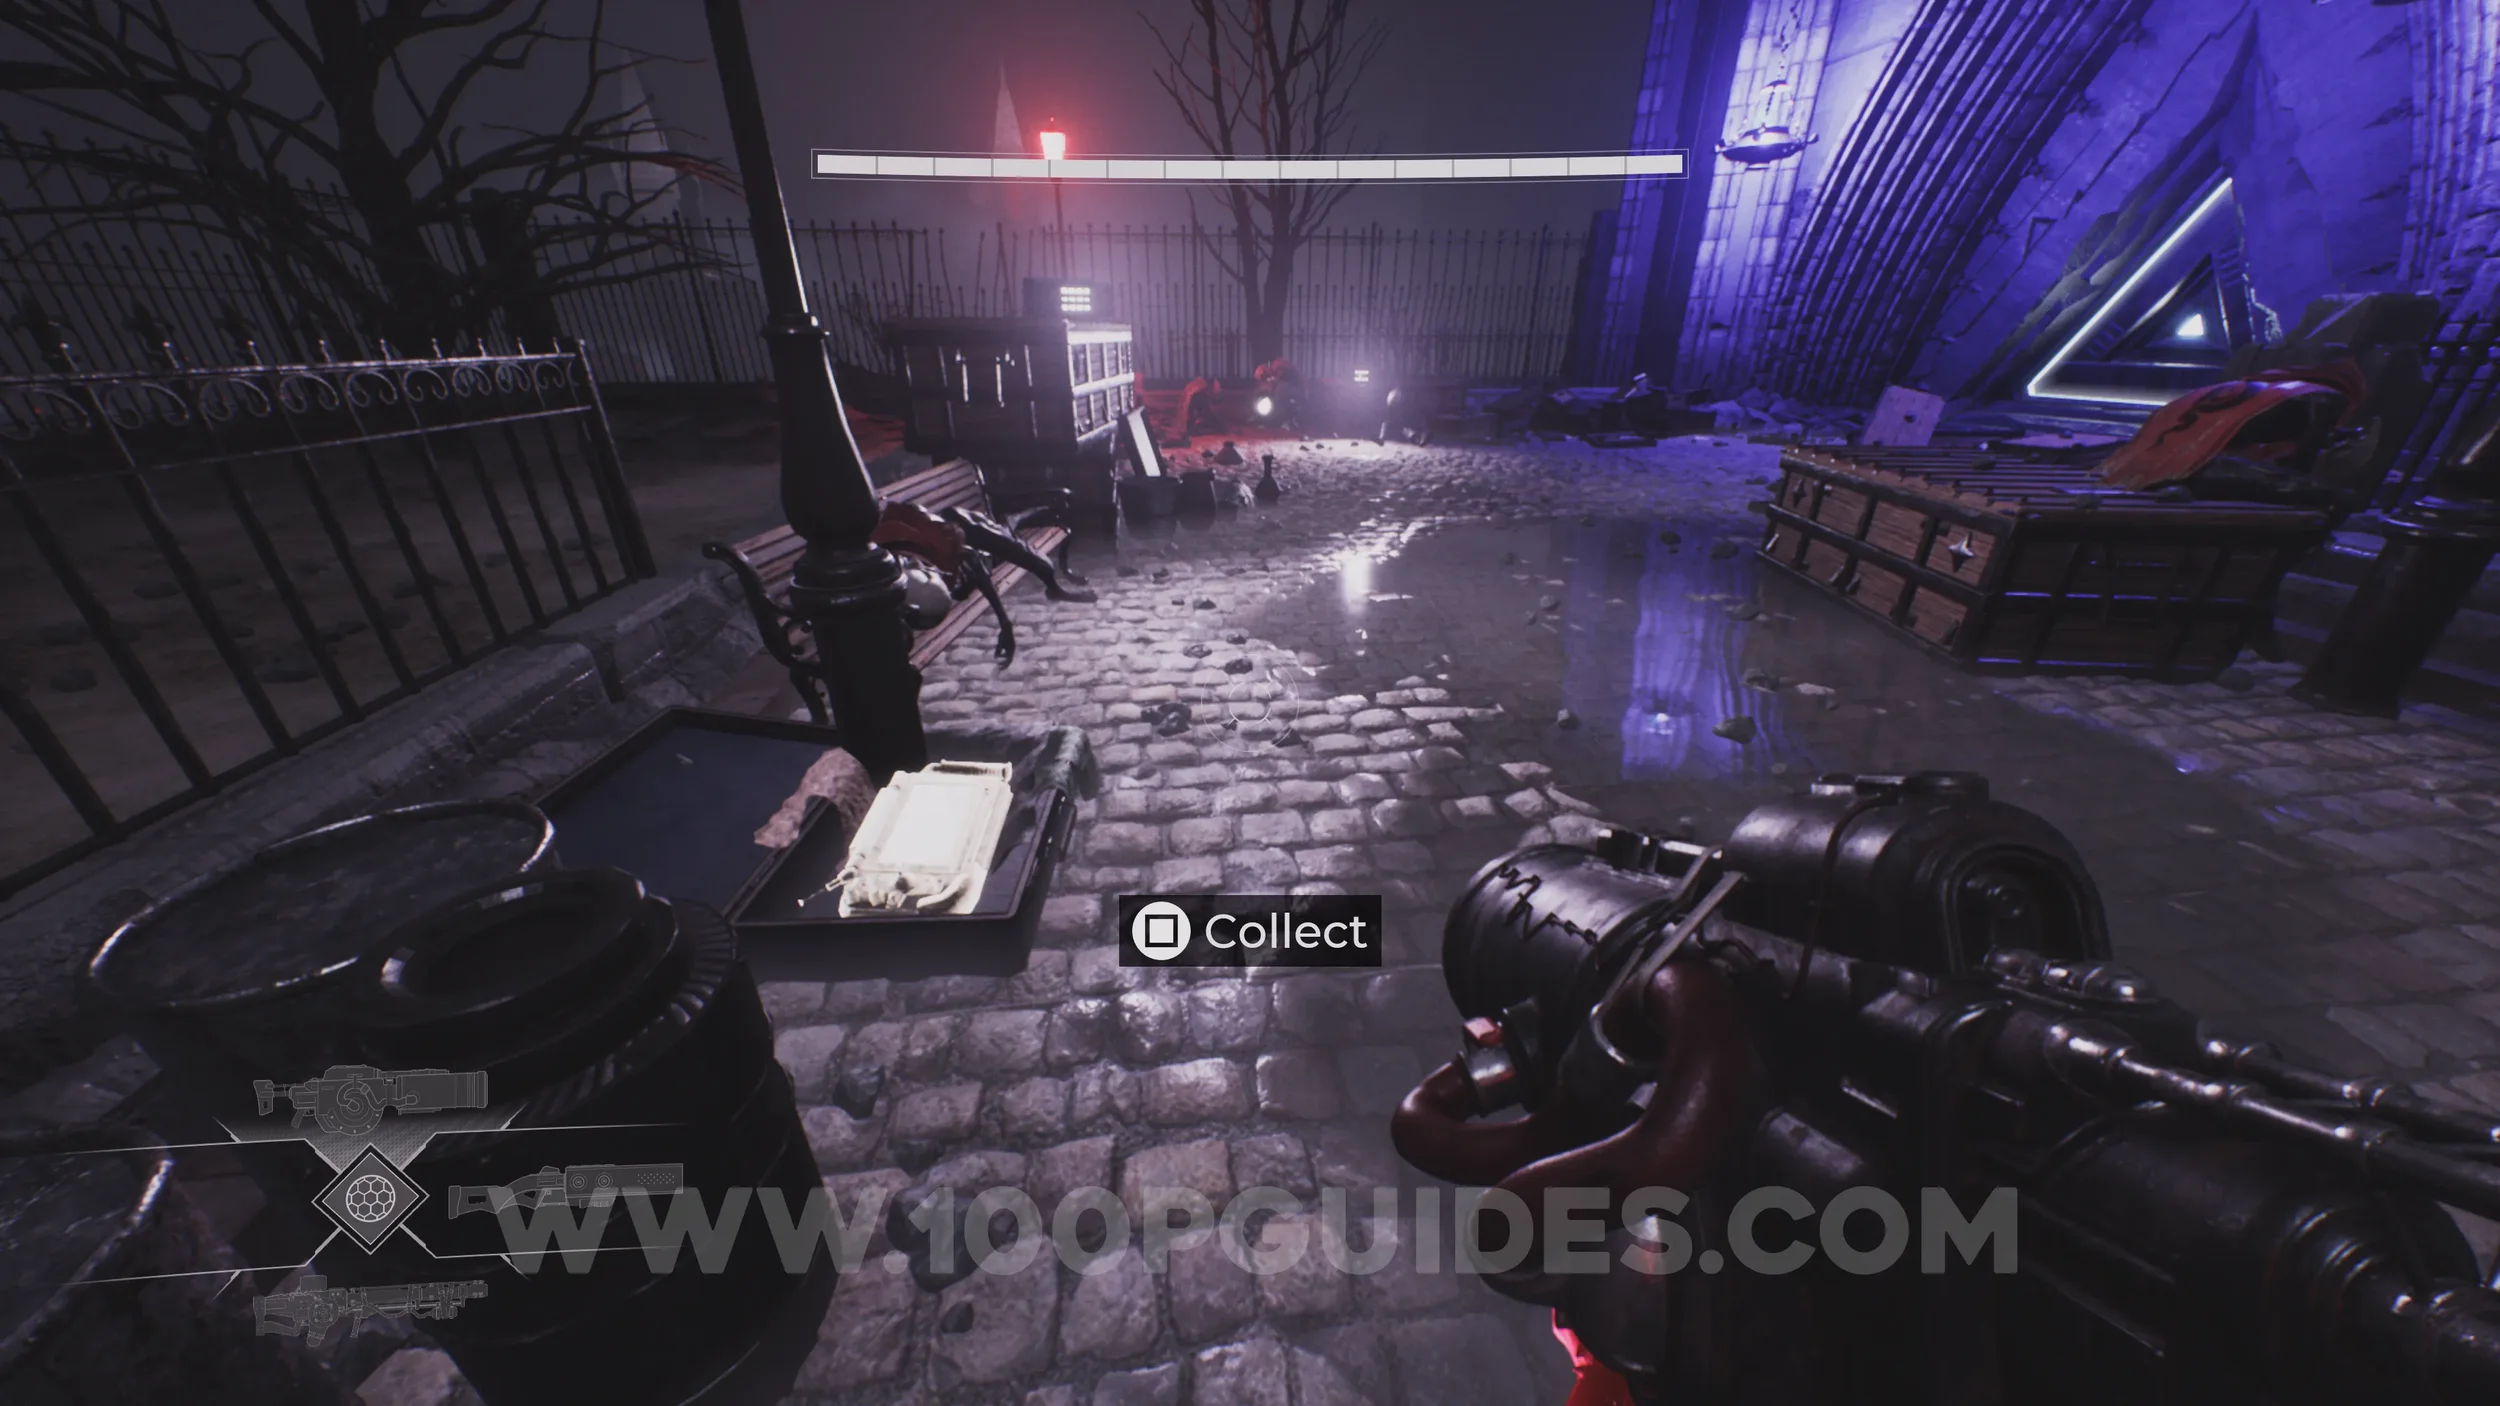
Lore Entry #60 (Character - Jonty of Manchester). In the same room as Jonty of Manchester.
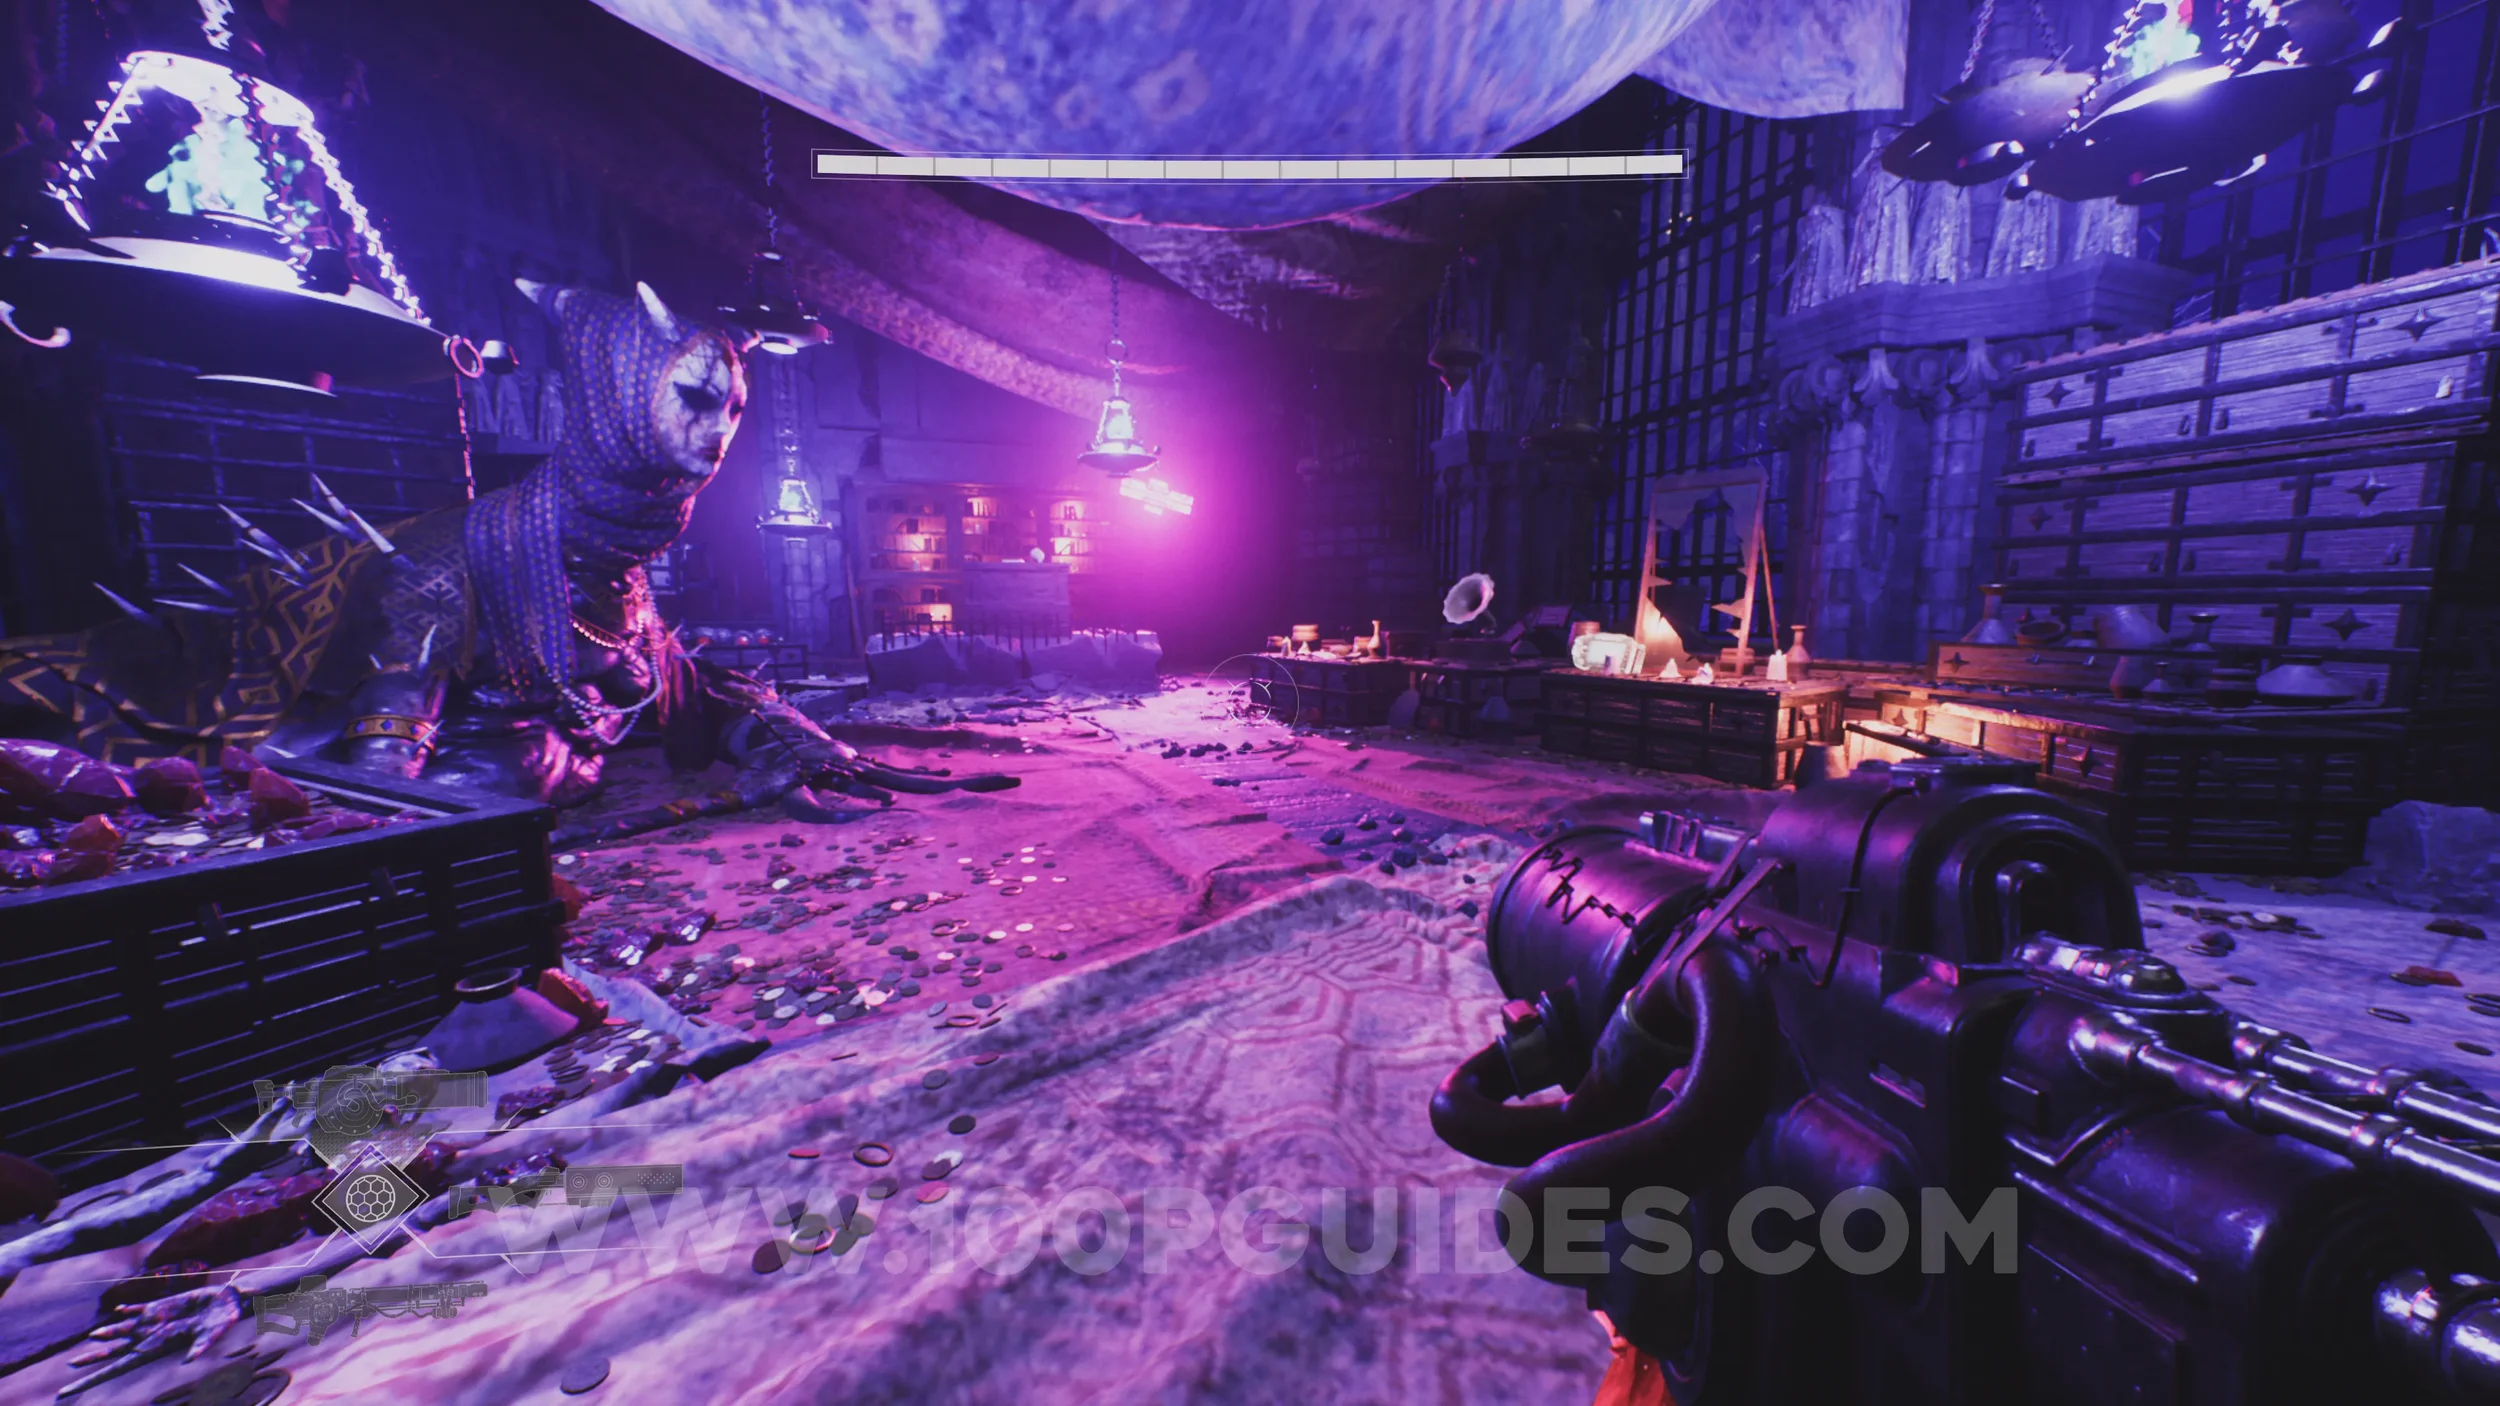
Lore Entry #61 (Memory - Entry #67910 - The Lovers). On your right after sliding down from the room where Jonty was.
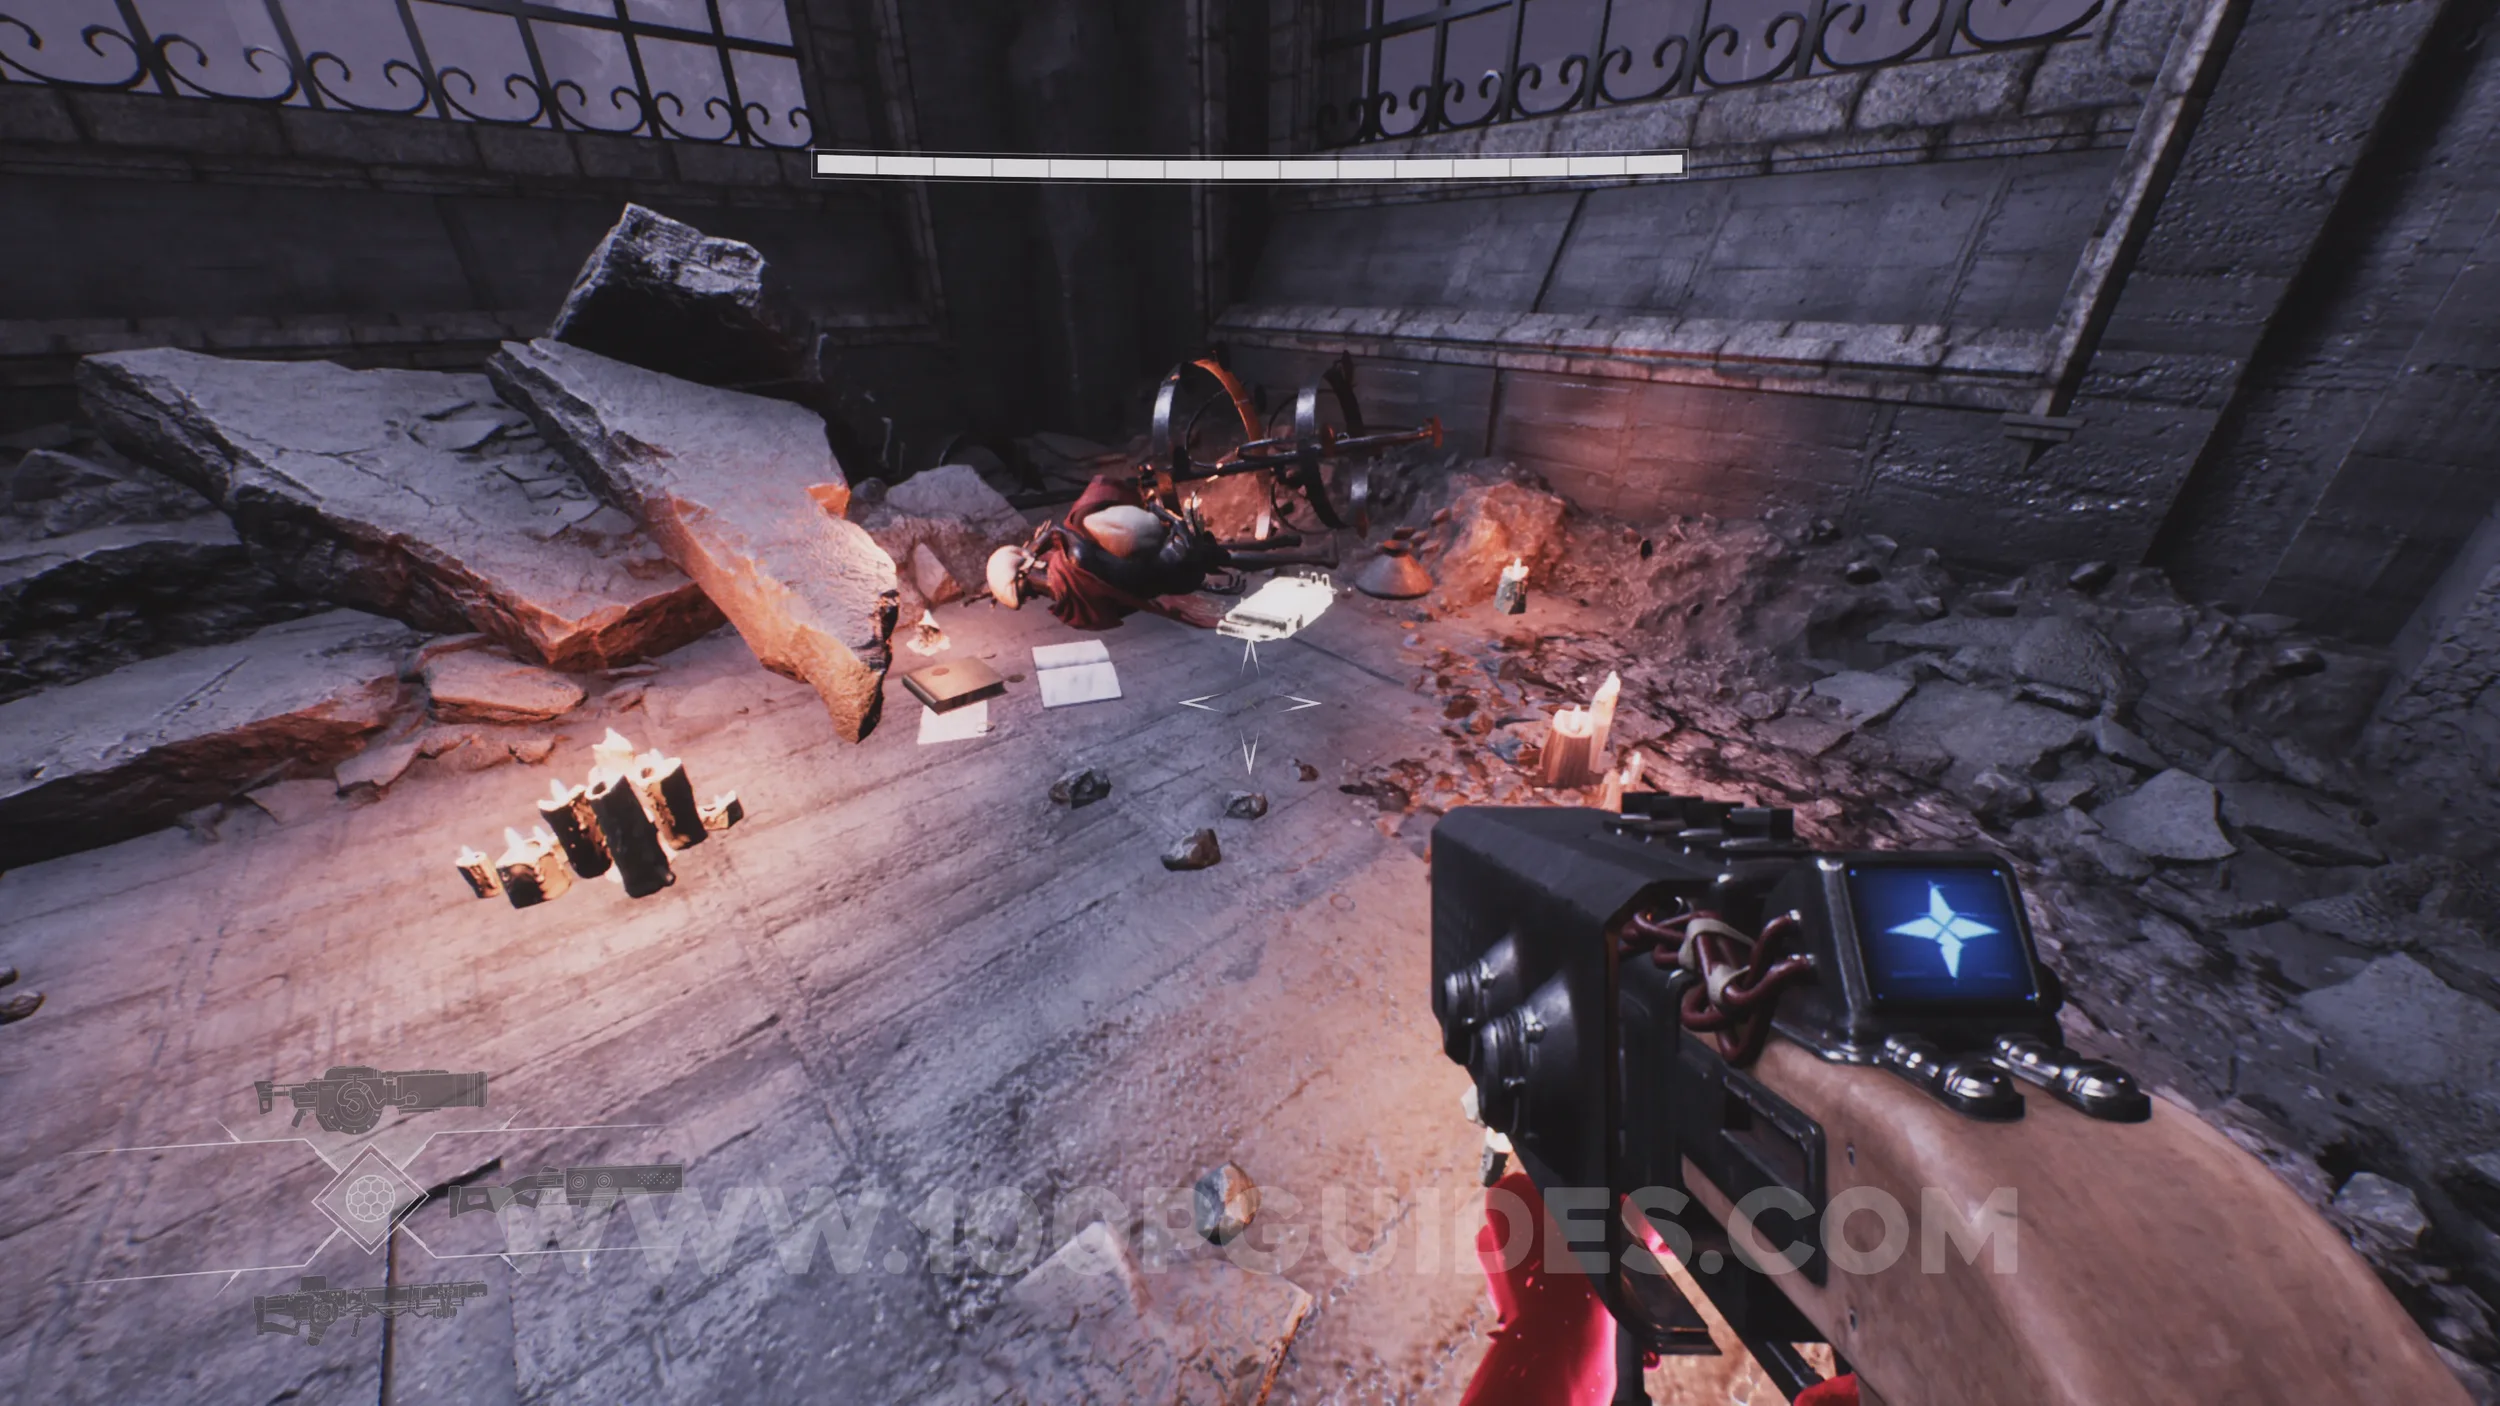
Lore Entry #62 (Memory - Entry #087 - Pray). In the room just past the previous collectible.
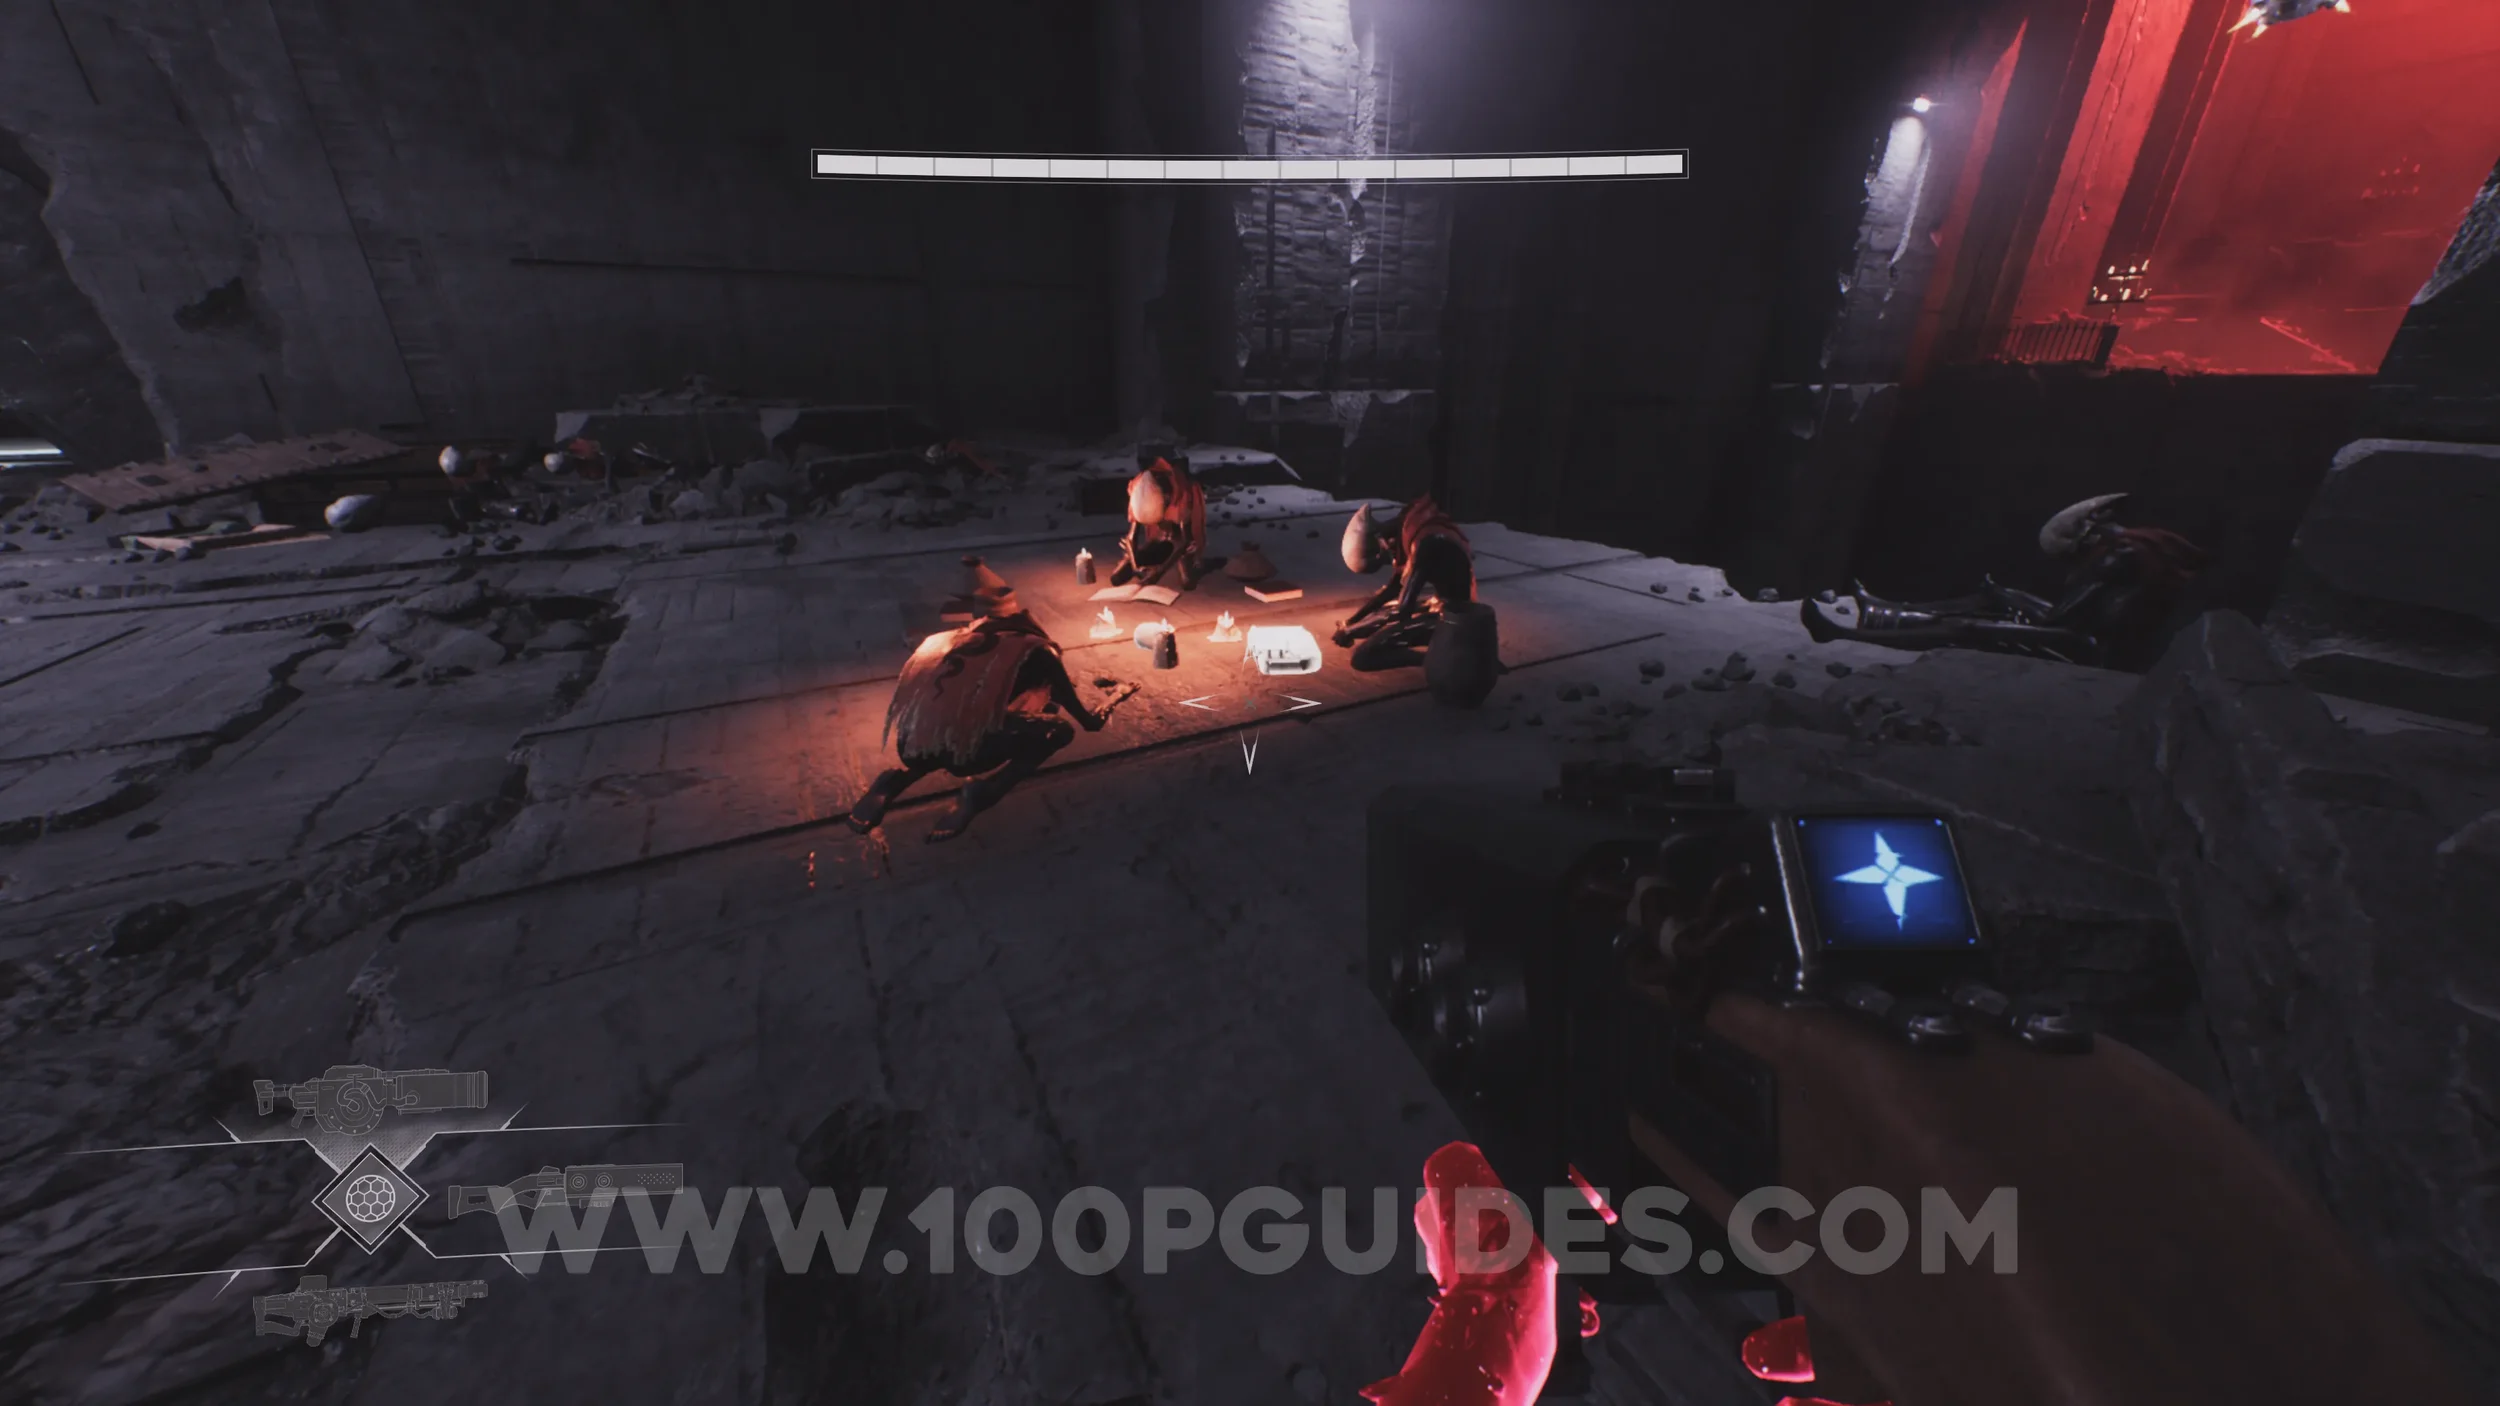
Lore Entry #63 (Memory - Entry #7042 - Luna Children). In the corner along the main path just after using the Tether Hand skill for the first time.
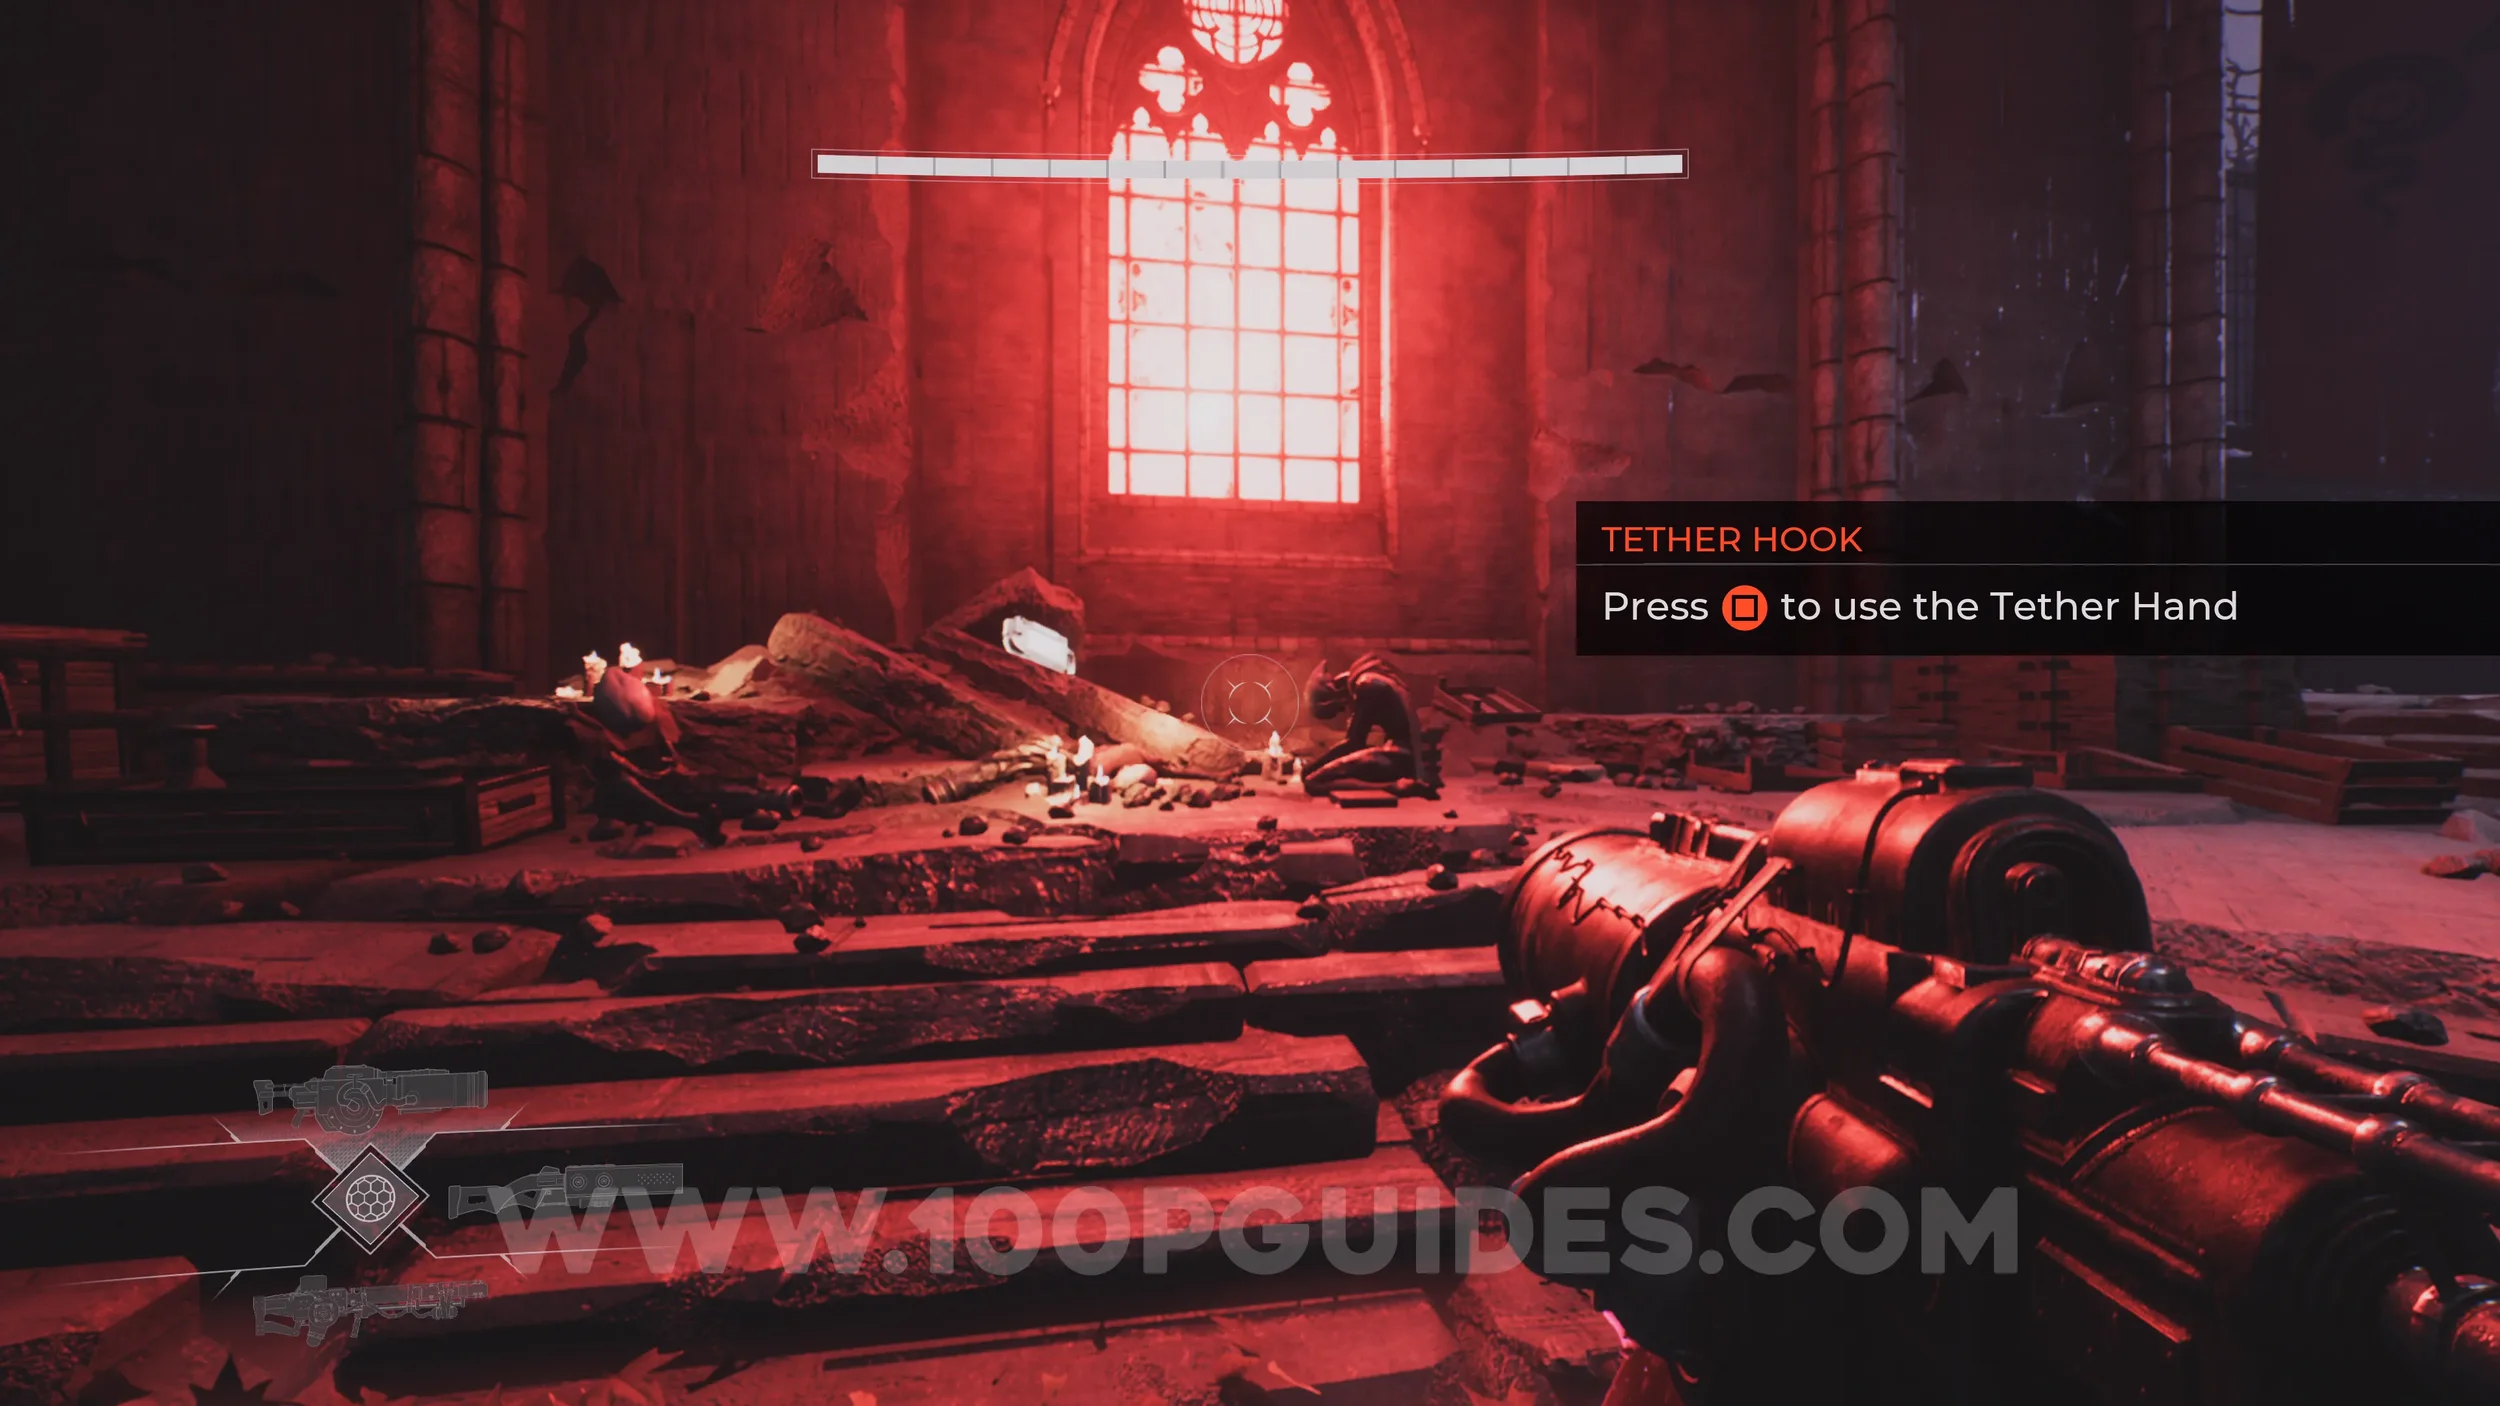
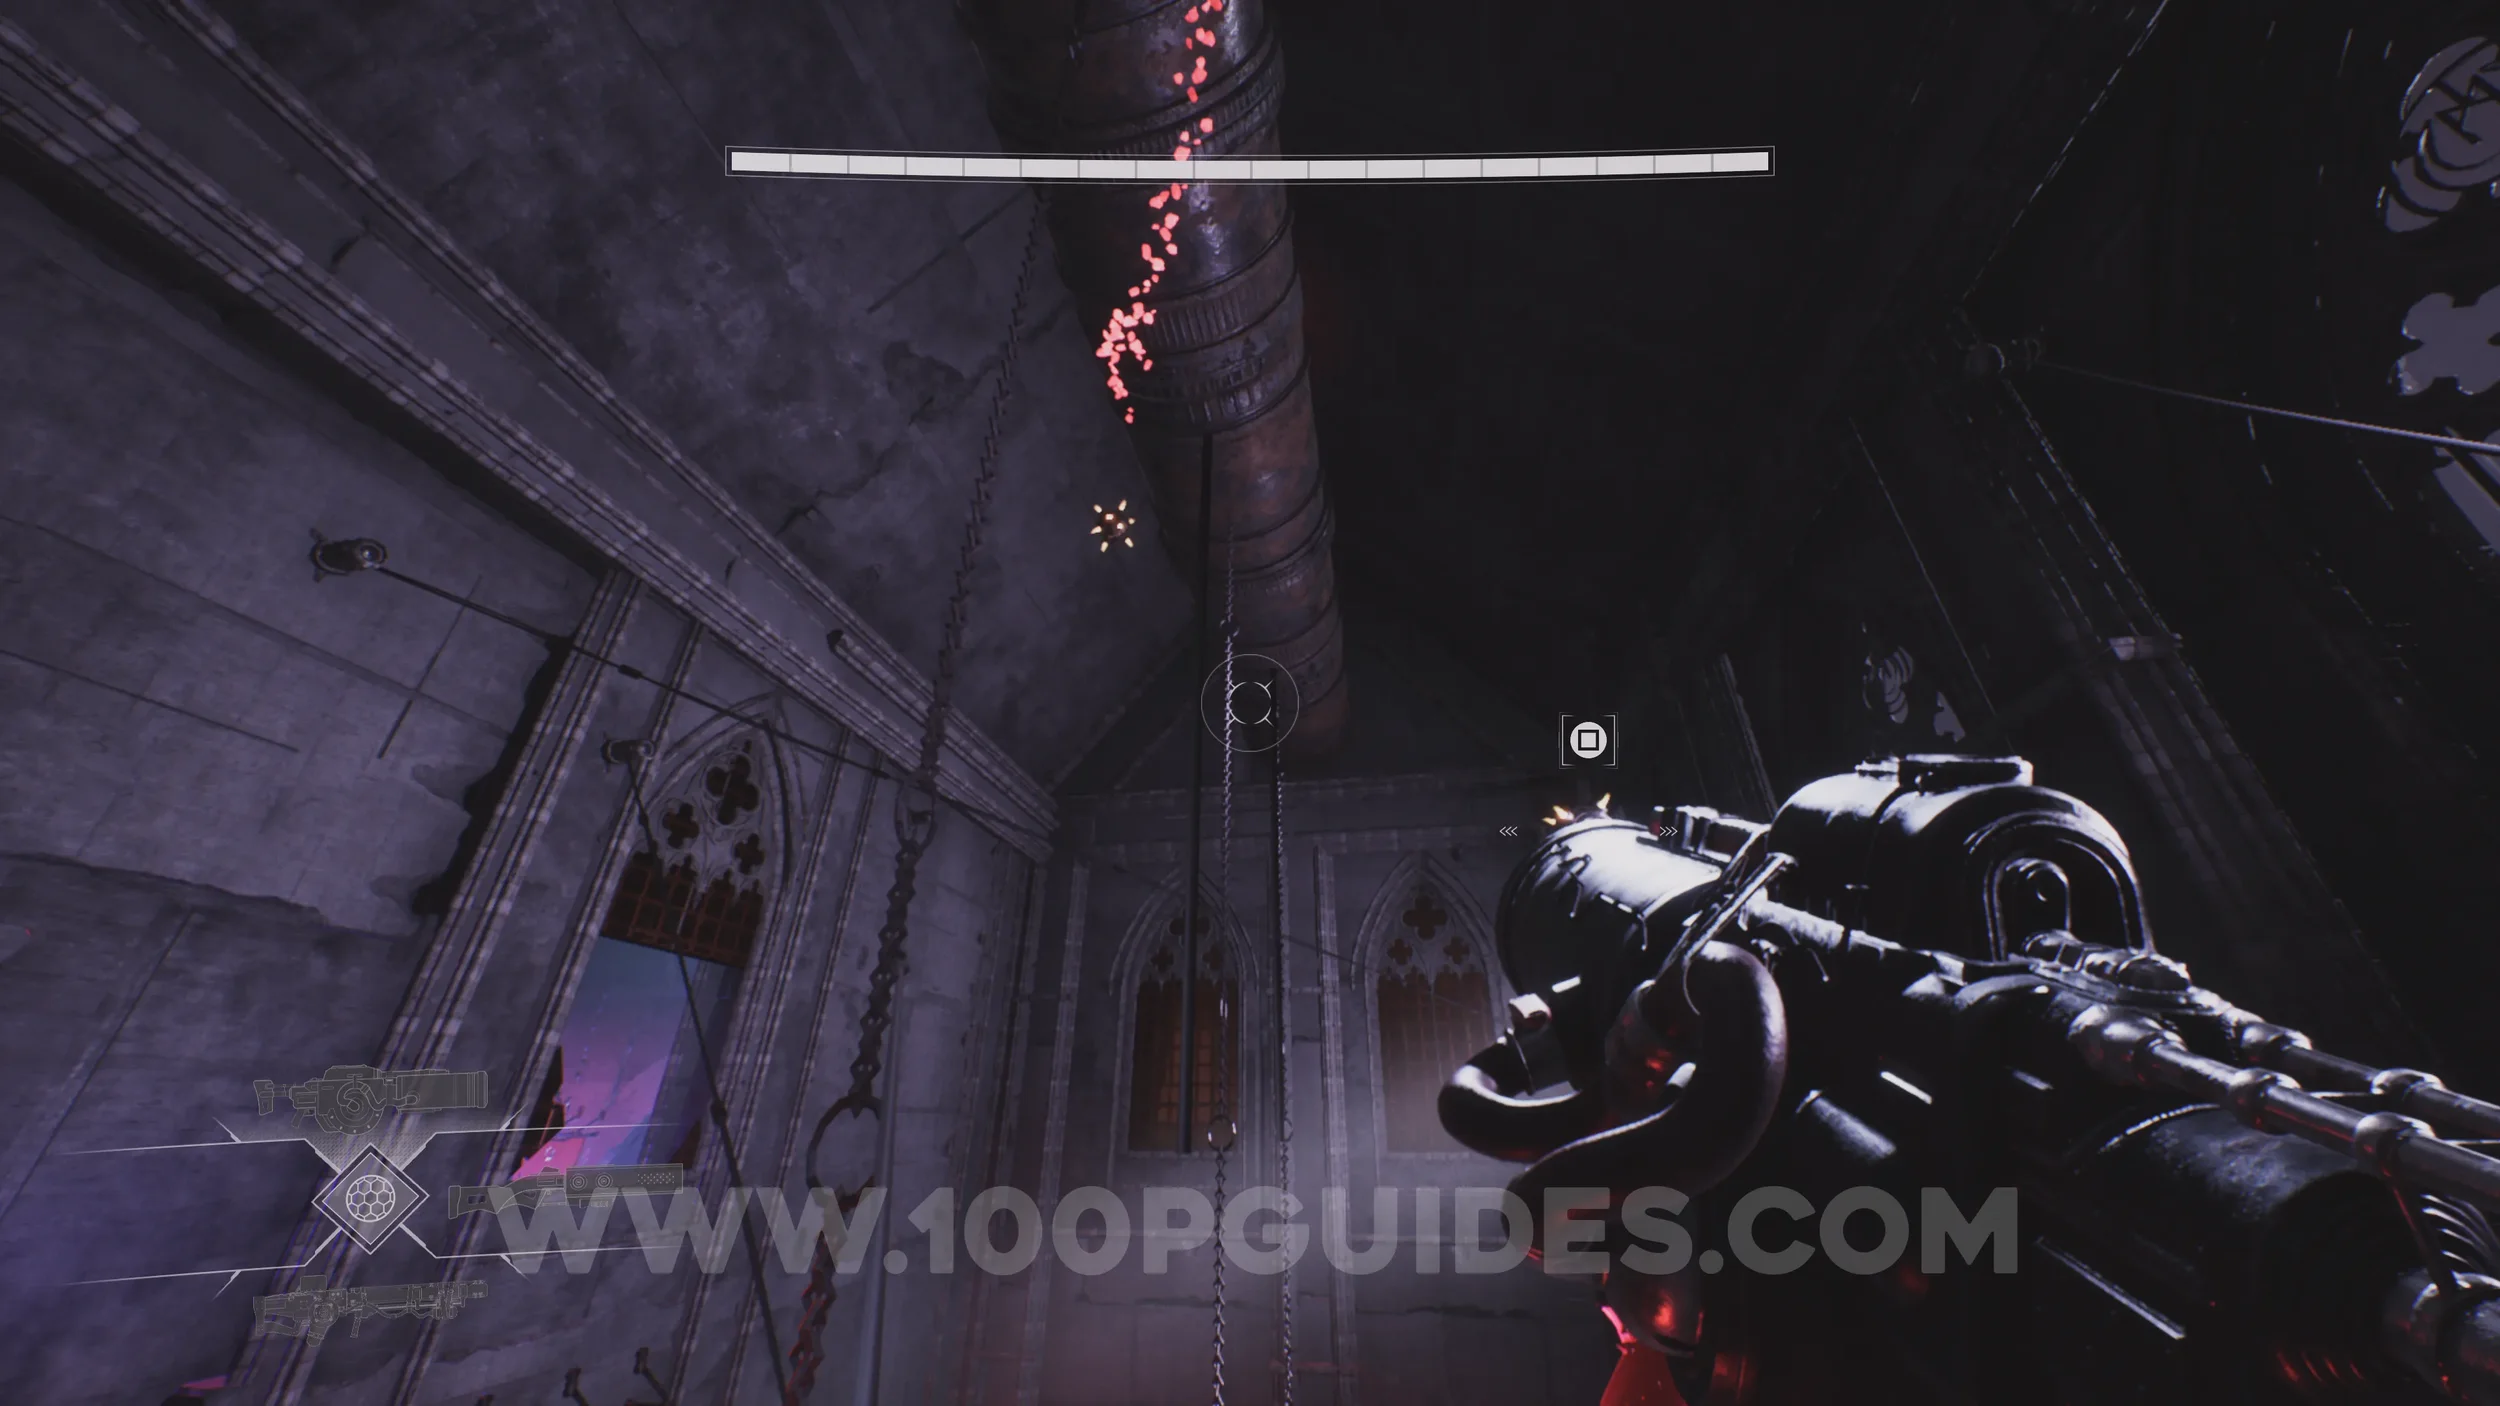
Drift Crystal #9. Follow the level until you reach a room with enemies and a Mother's Eyes (the round creature in the middle). After defeating them, head through the triangular door to the next room. Here, look for grappling points that can take you all the way up to the pipe at the very top of the room, where you'll find the crystal on top.
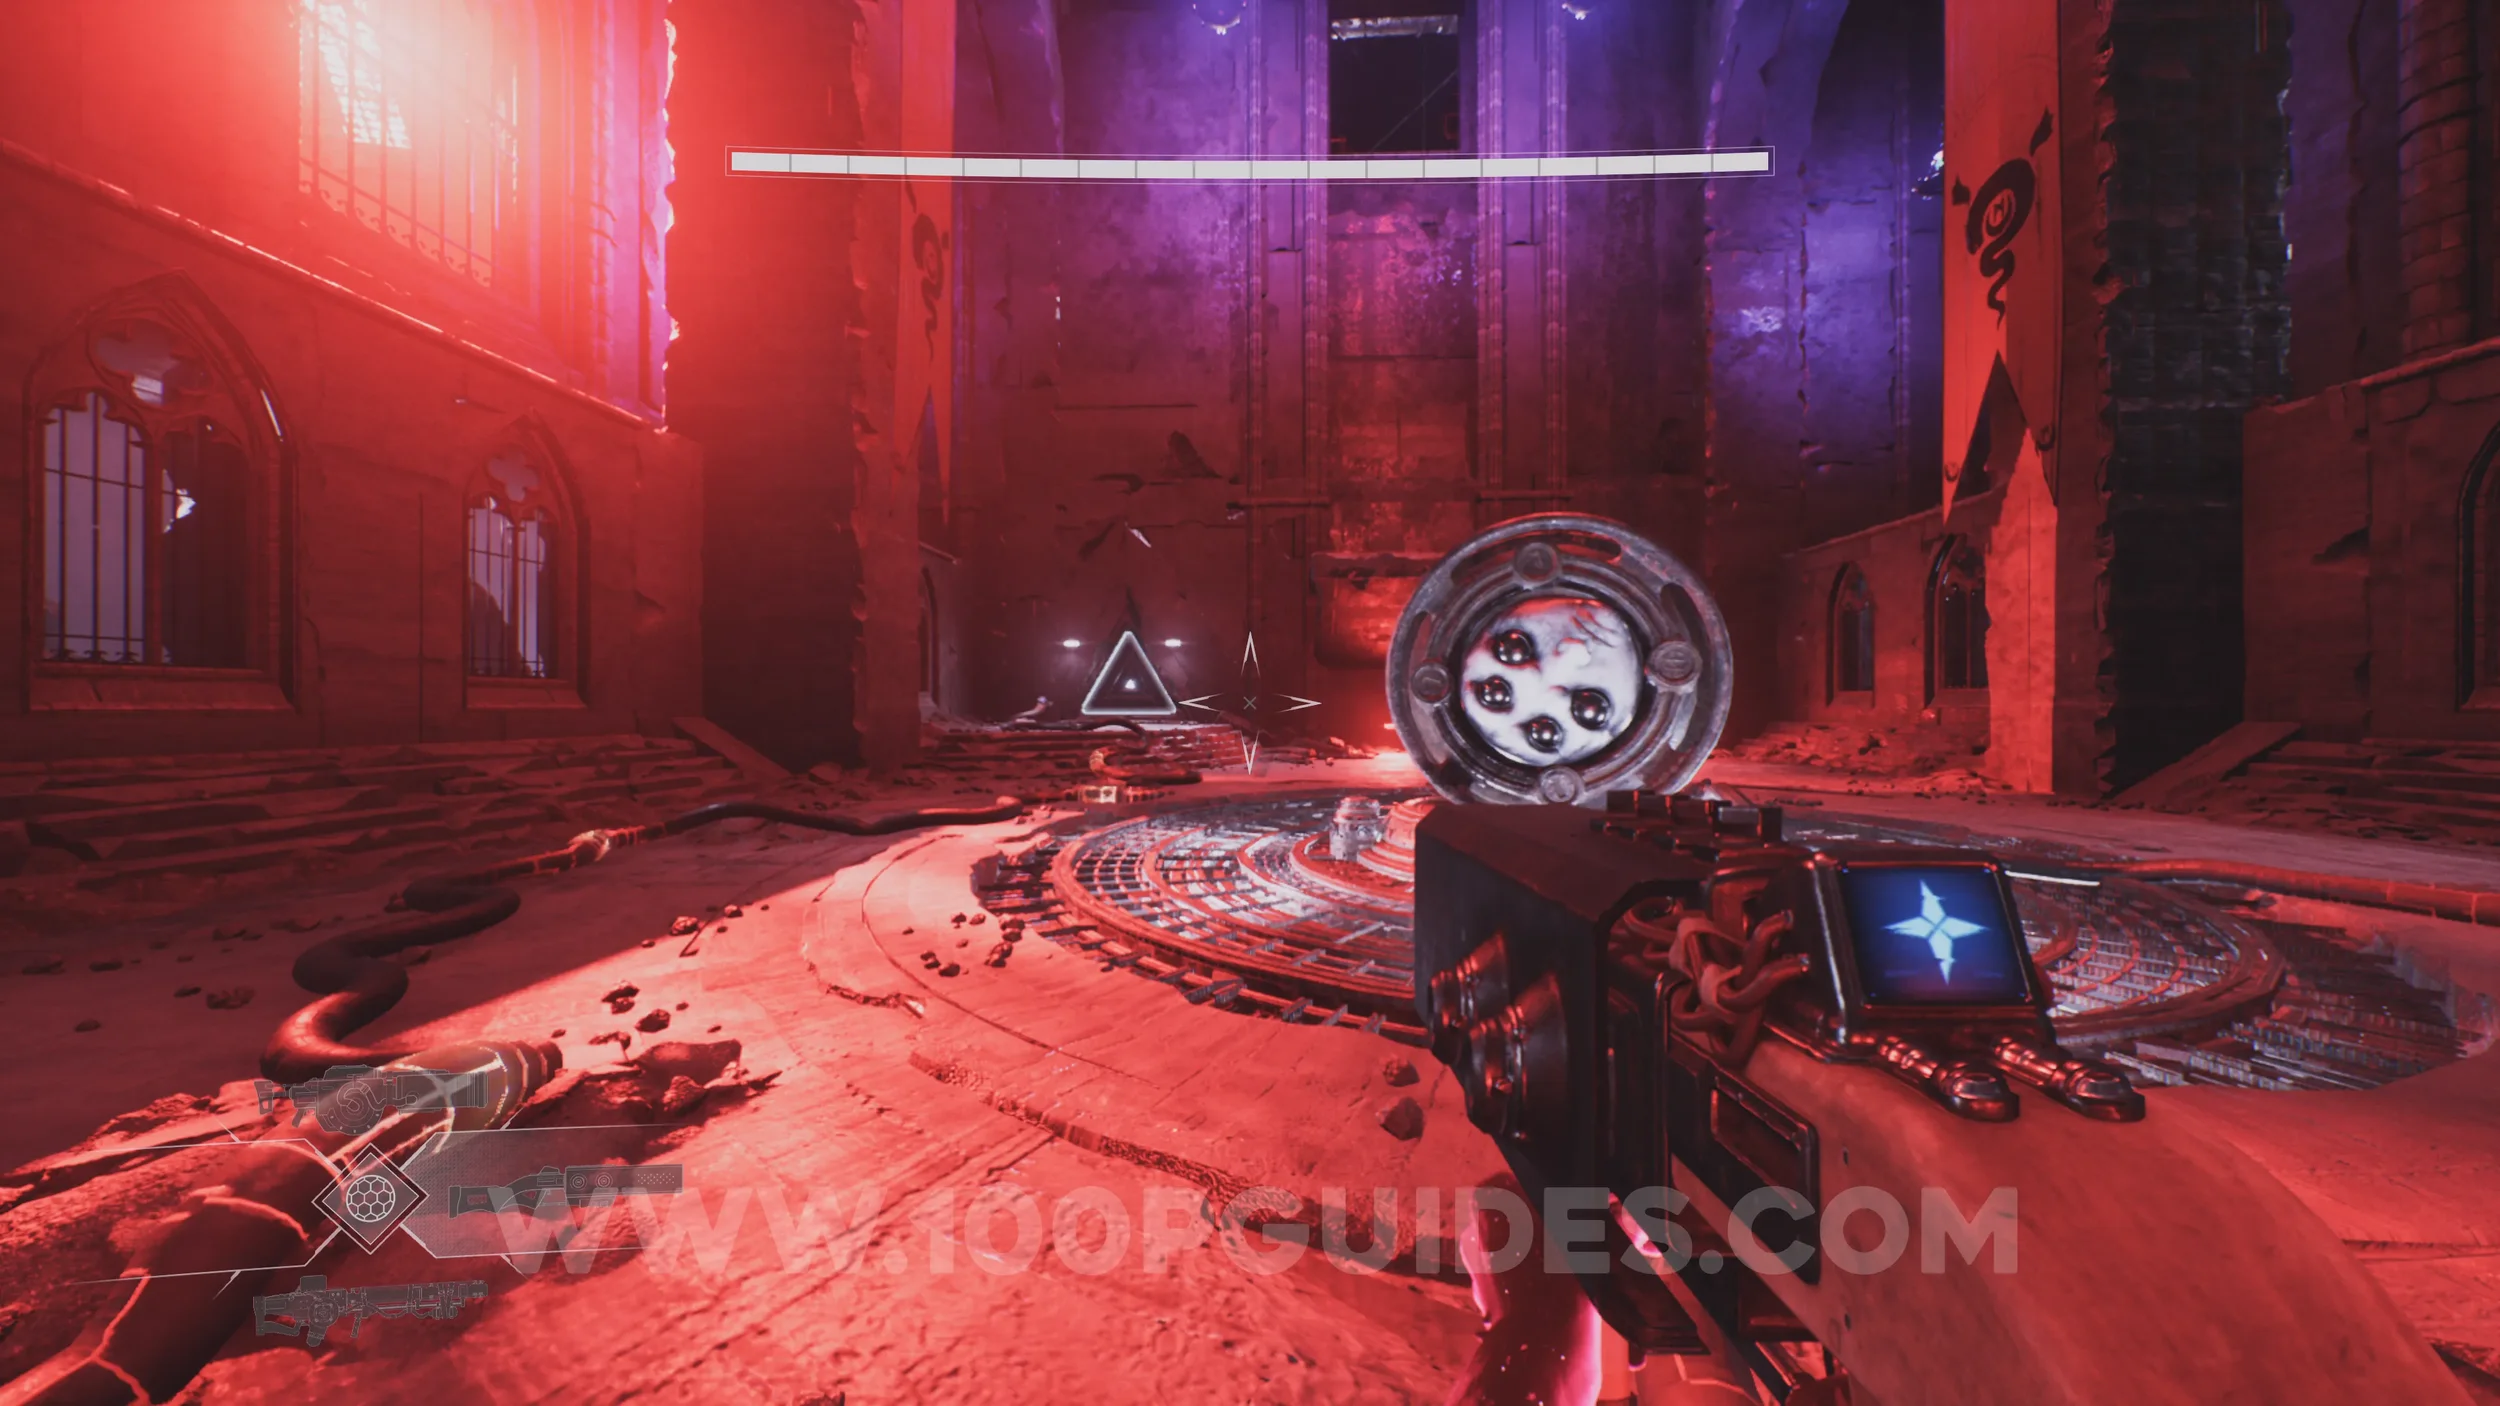
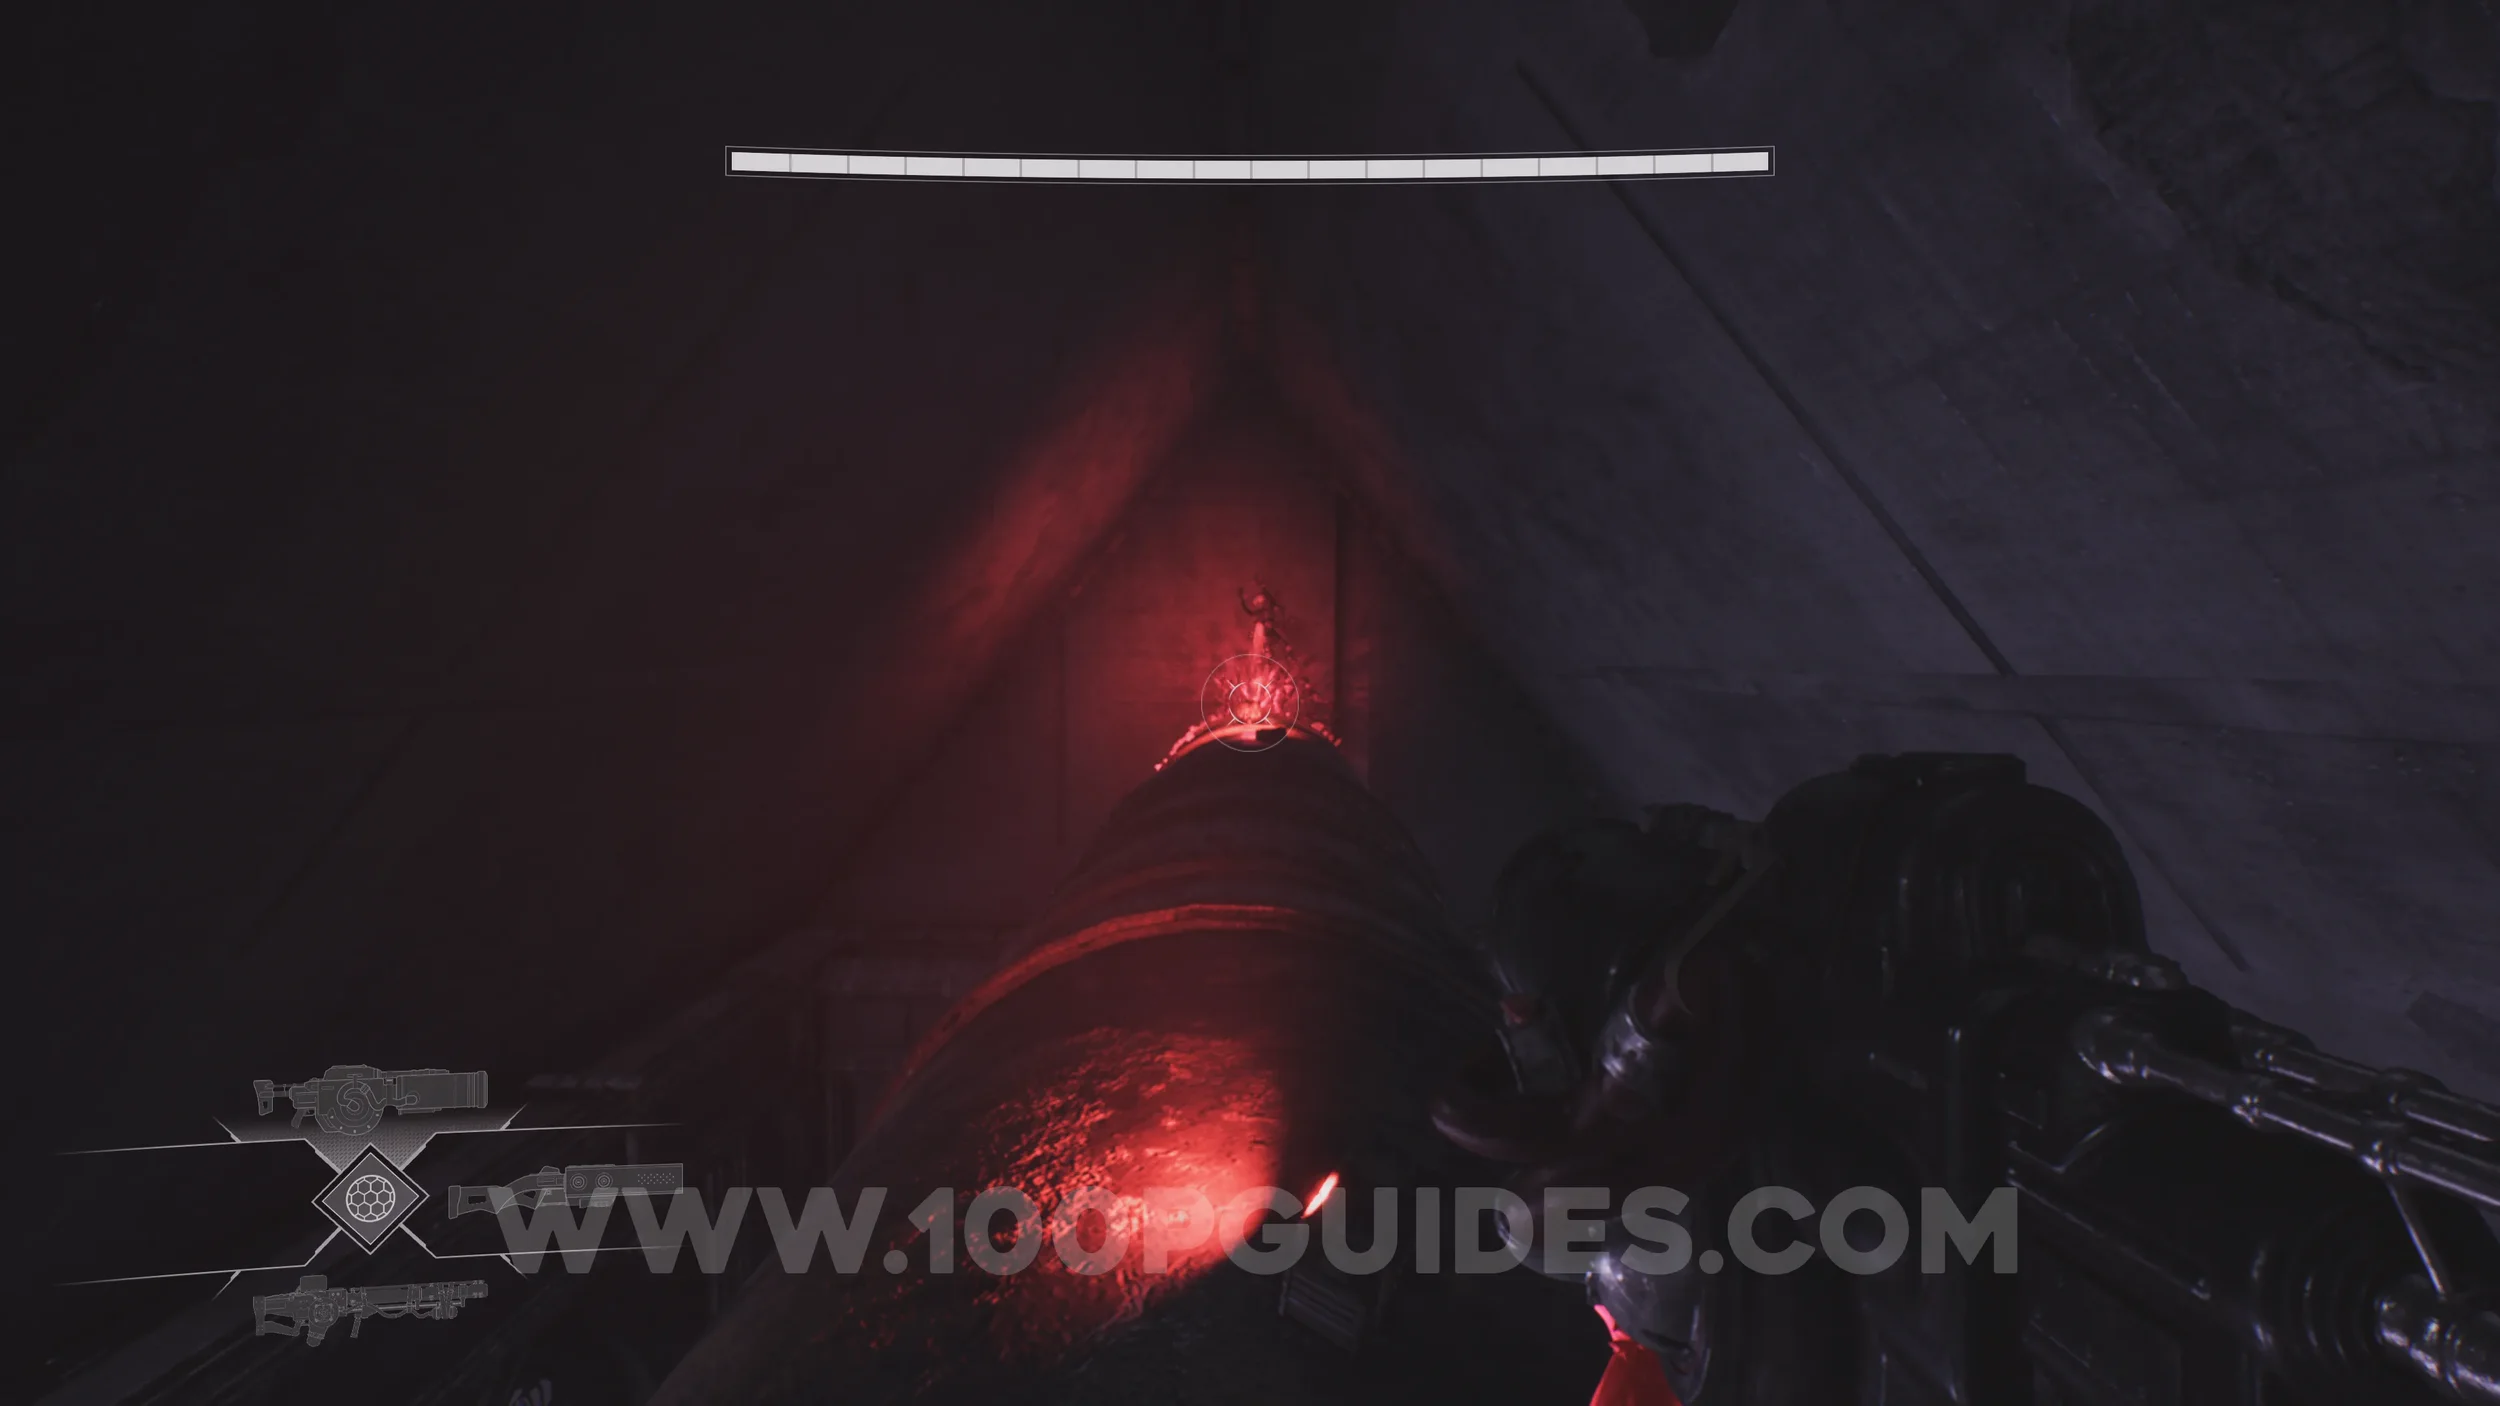
Lore Entry #64 (Memory - Entry #987 - The Children). Soon after the previous collectible, you'll arrive at a room with a checkpoint and a statue. The collectible sits in front of the statue.
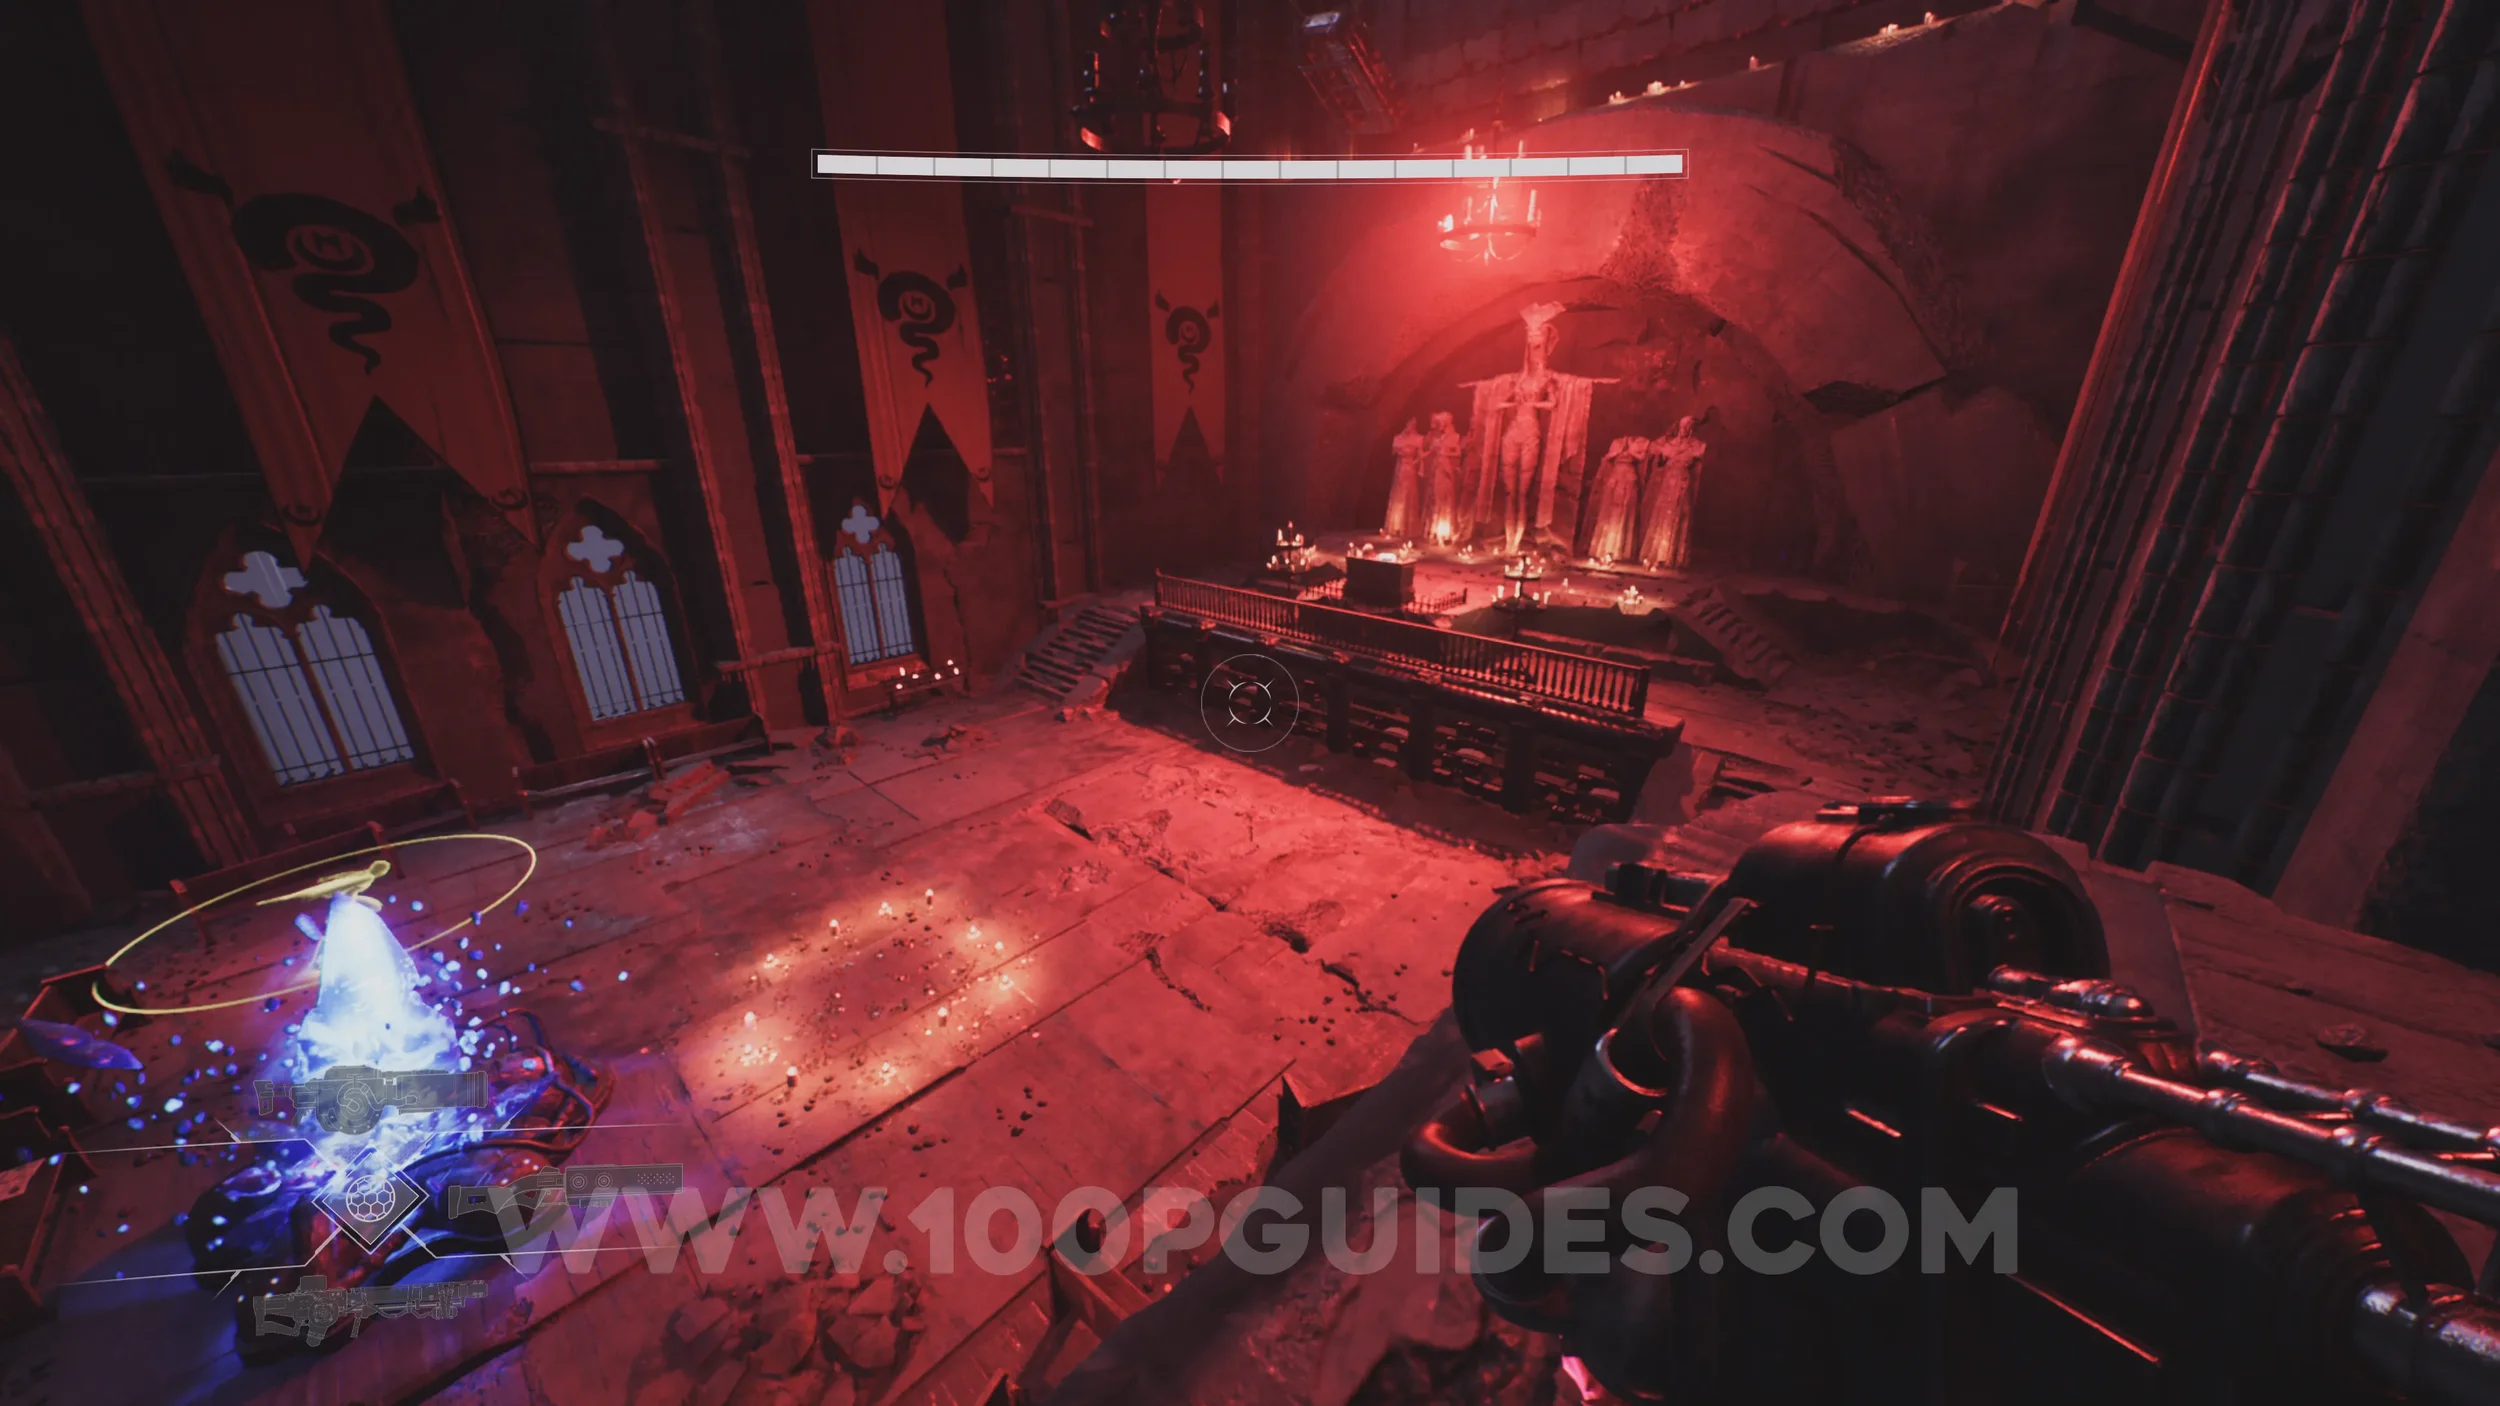
Health Increase #8. After passing through a room with tall towers of wooden crates, dash through the red barrier at the end and use the grappling point on your right to reach the upper room with the white symbol next to it. Once inside, slip through the small gap on your right to find the chest in the next room.
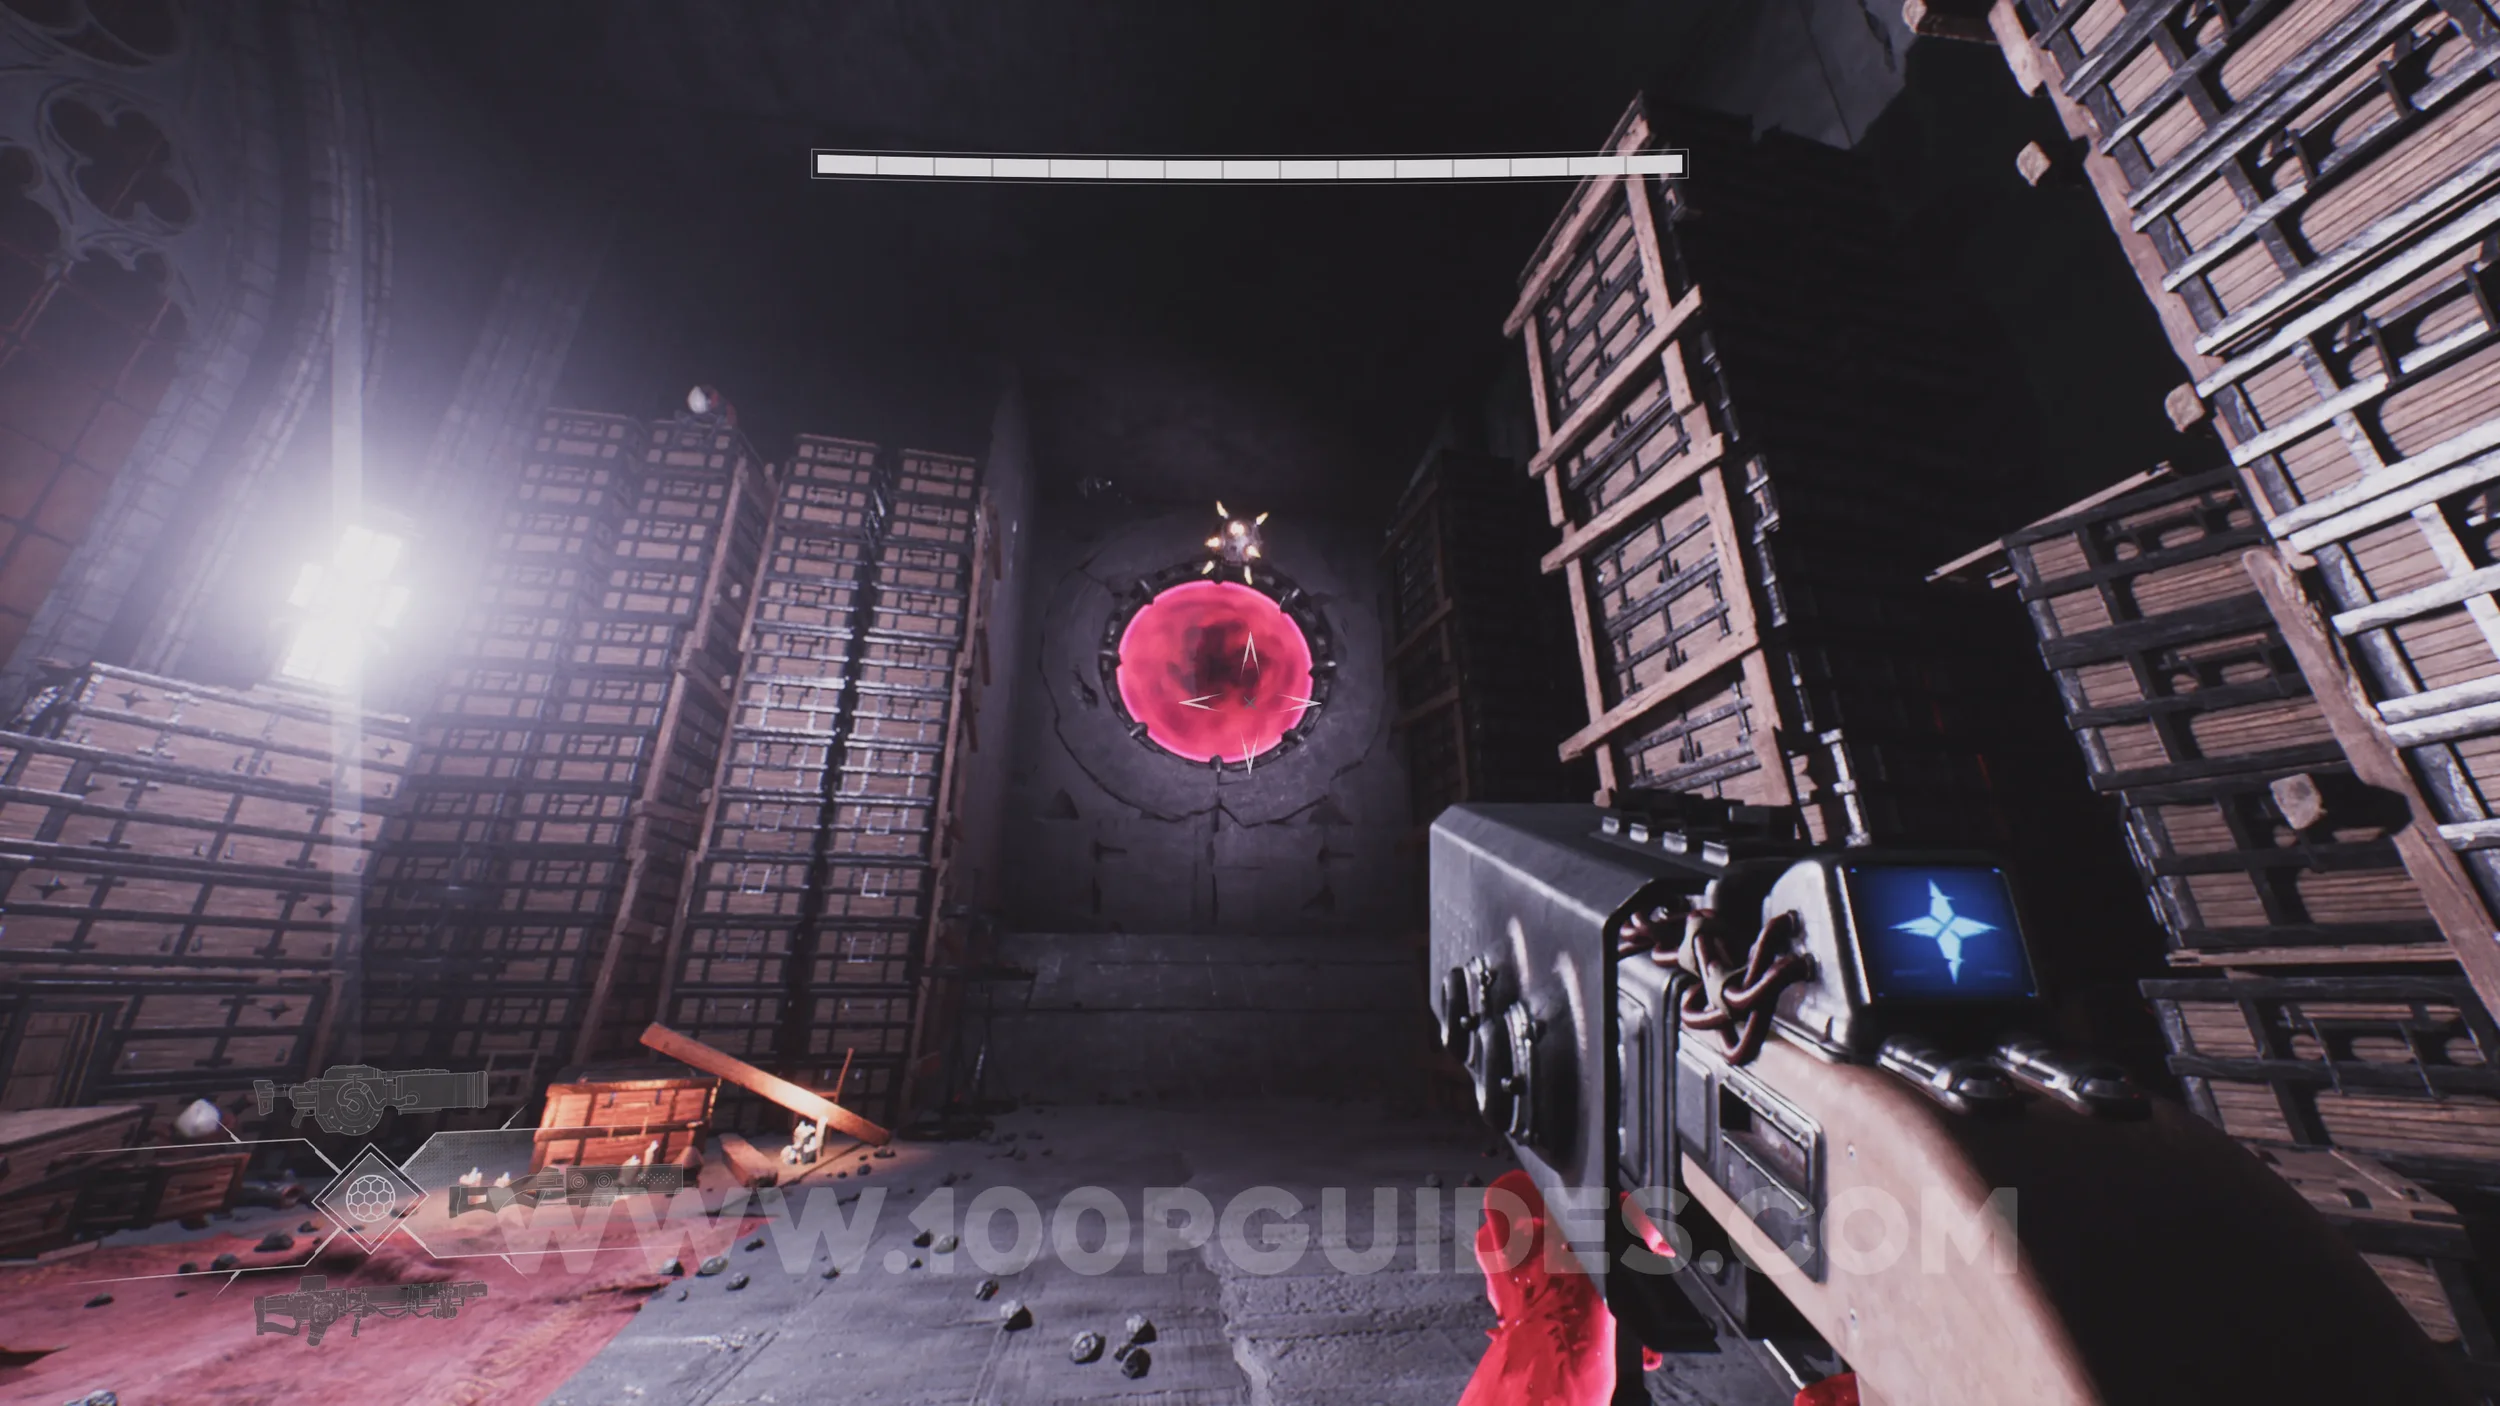
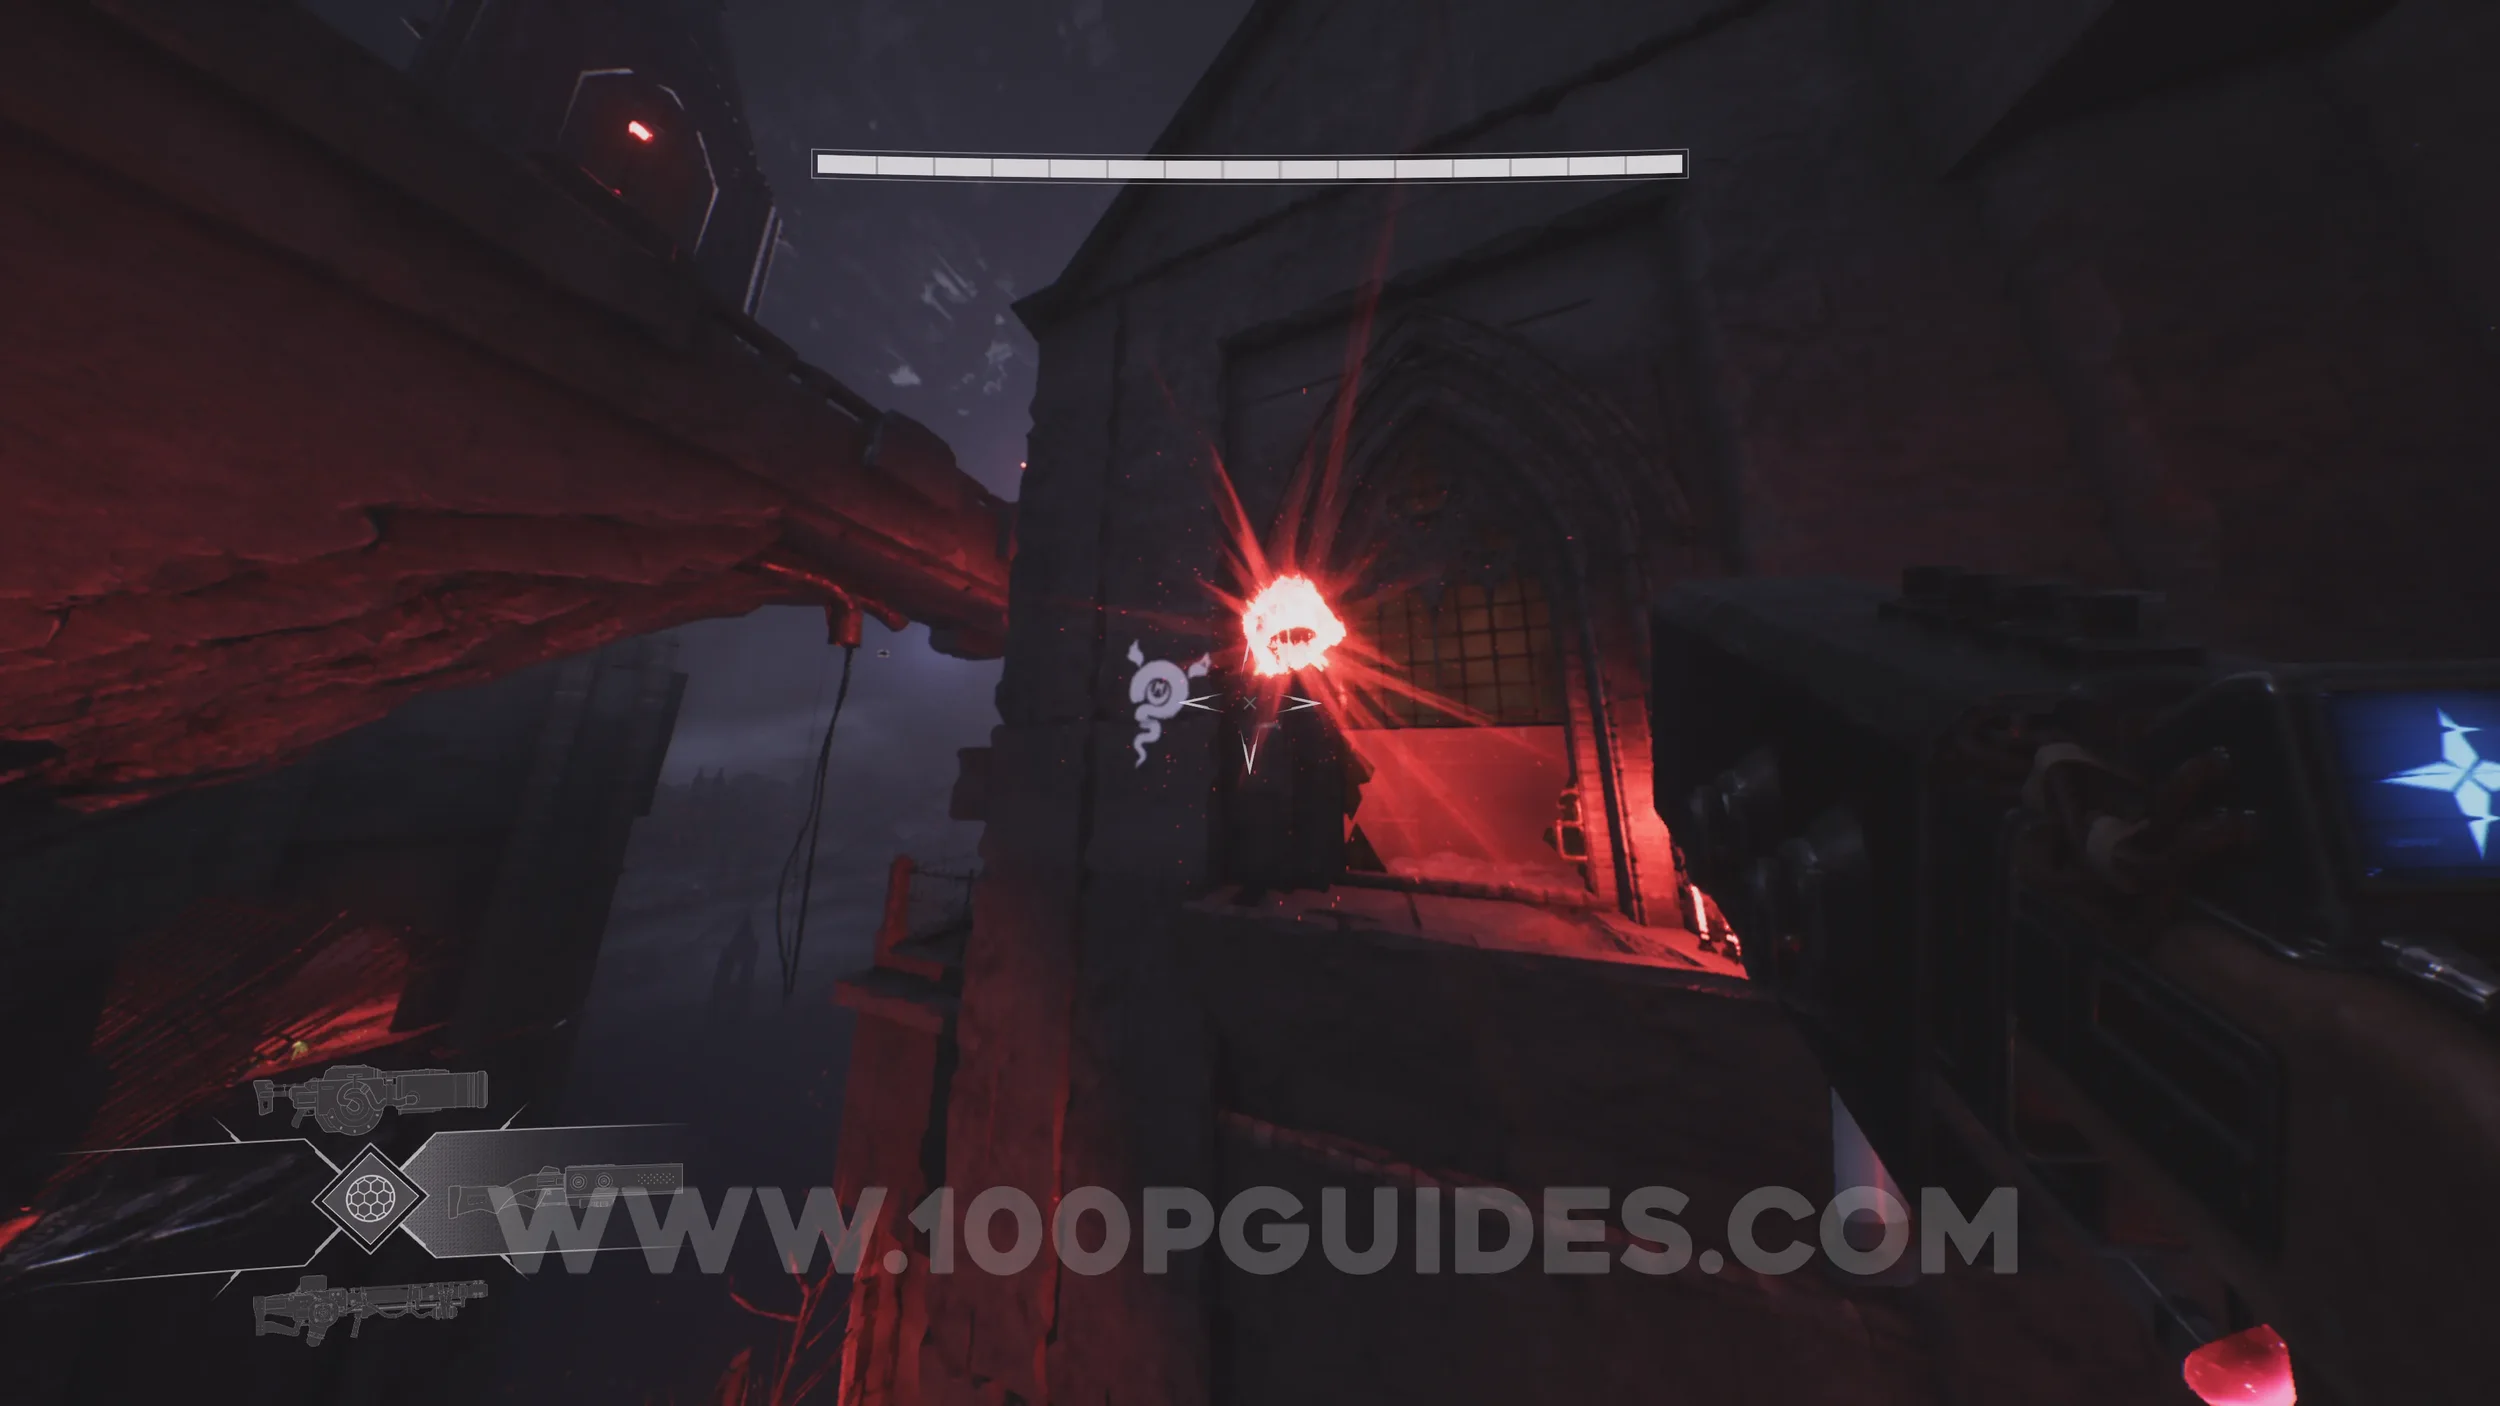
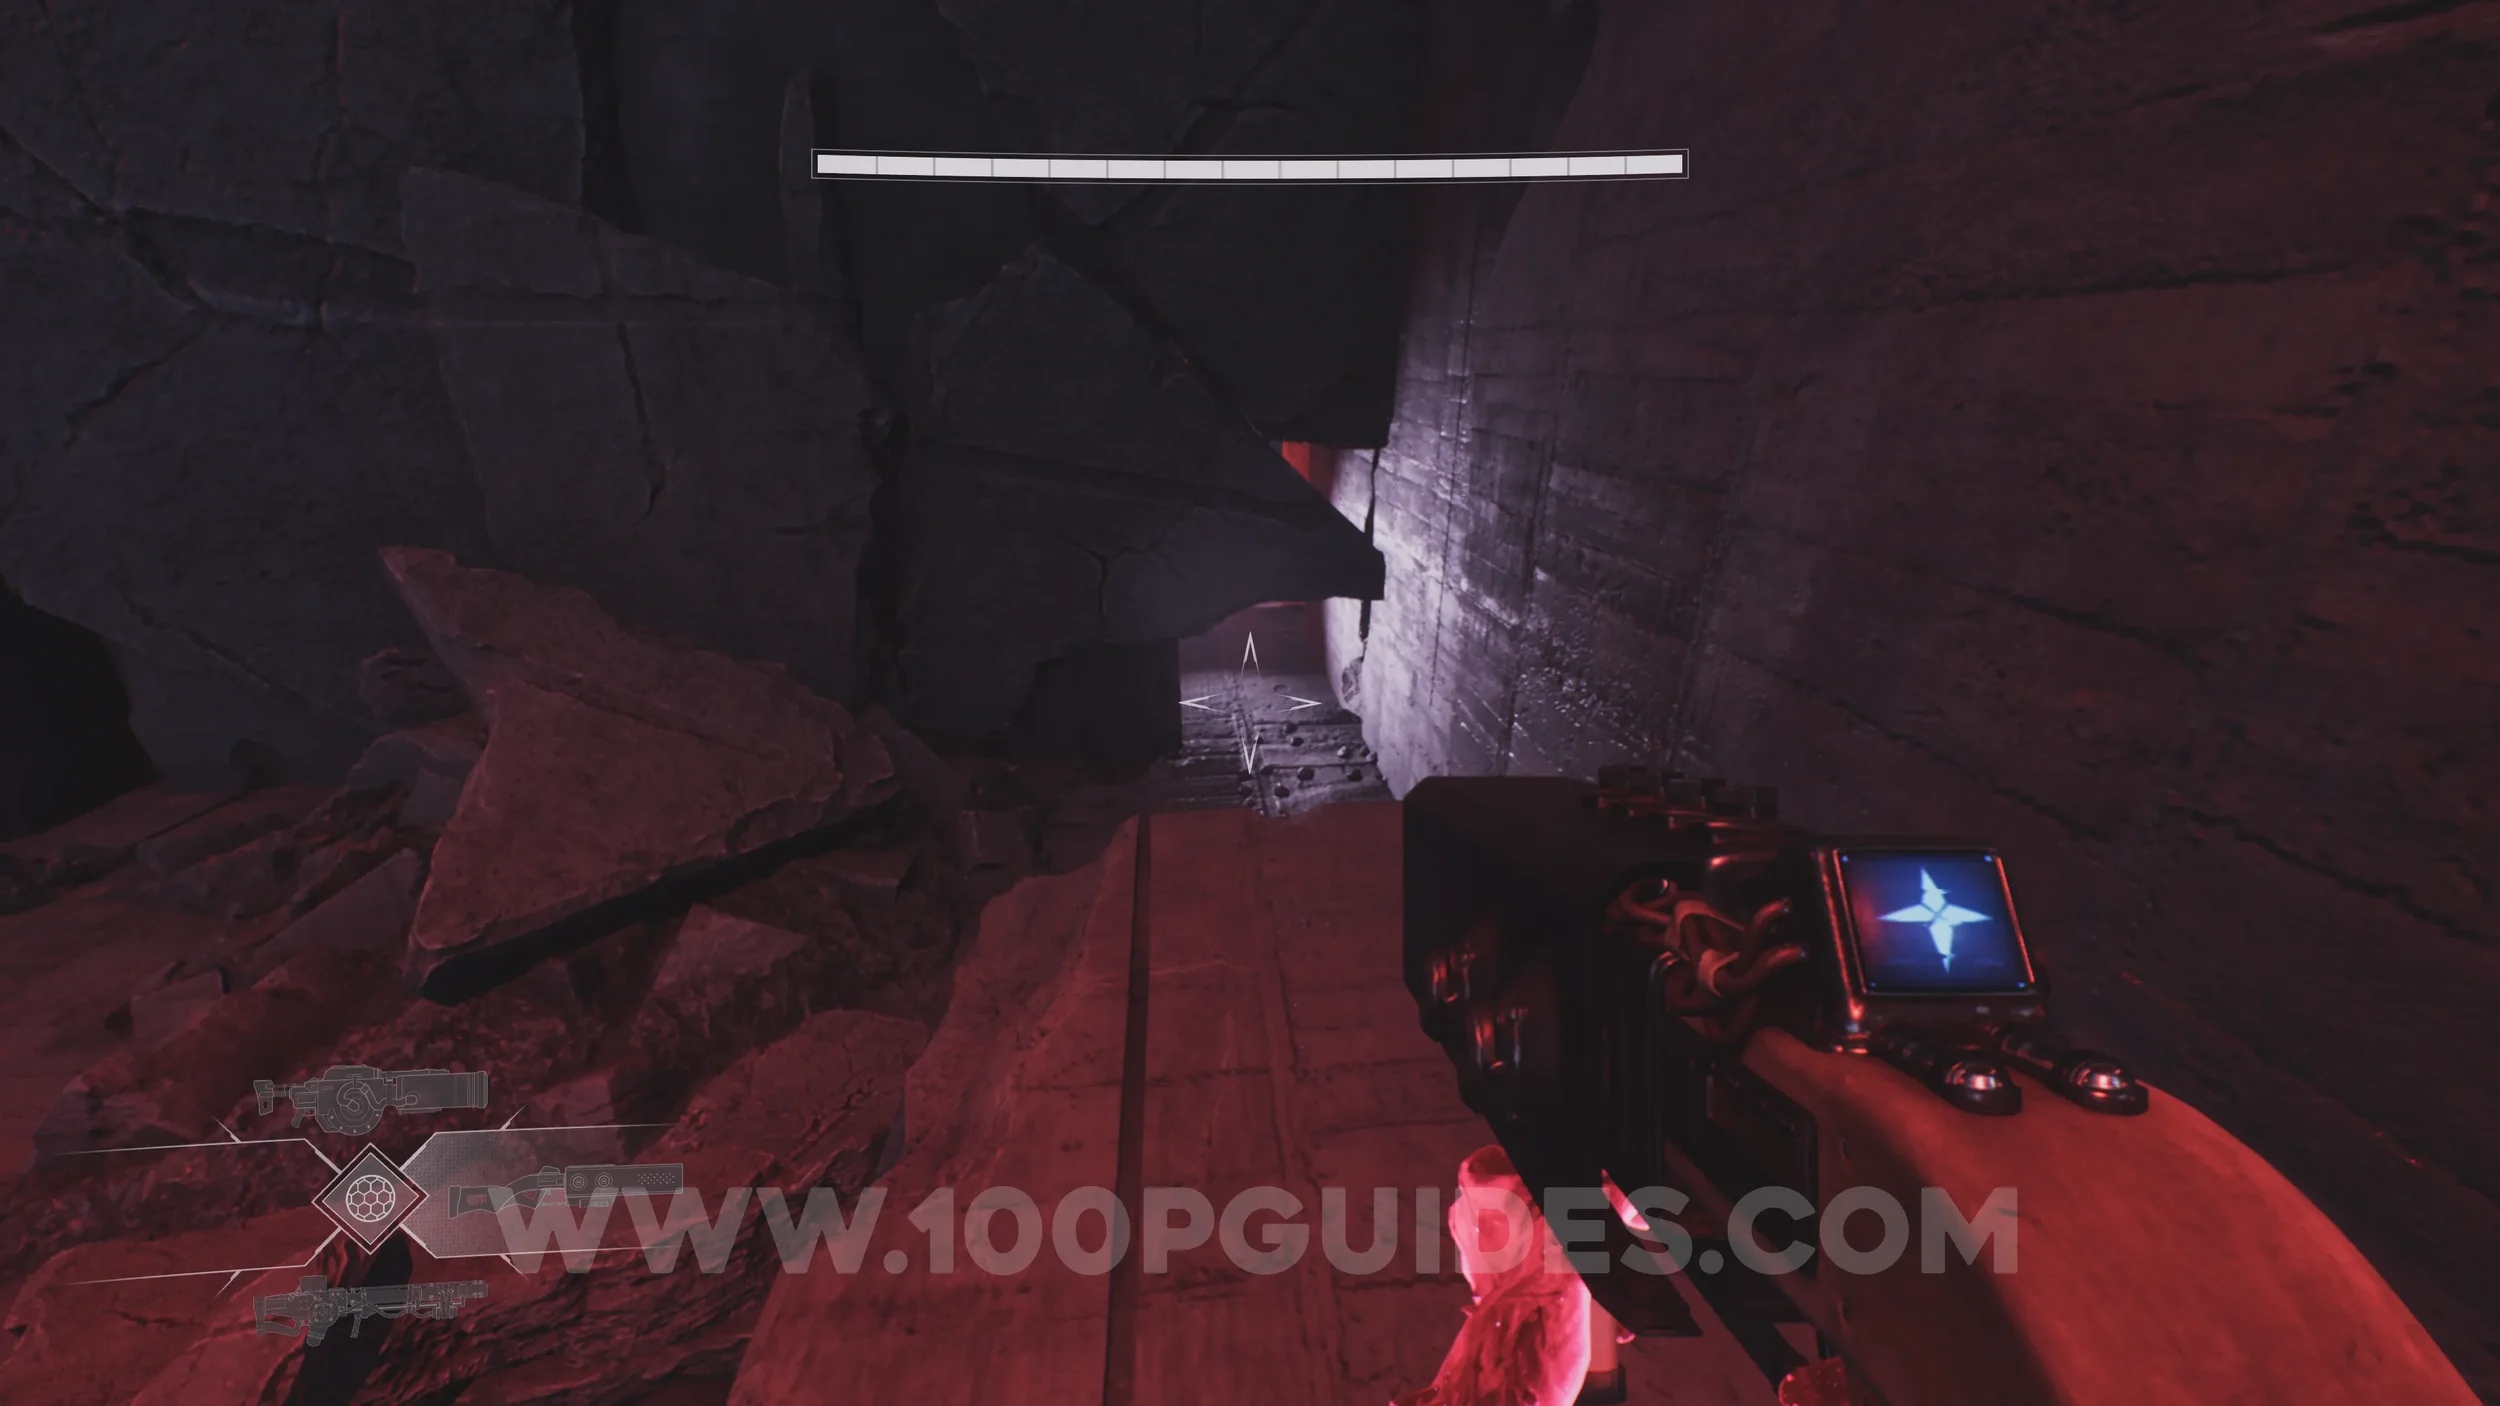
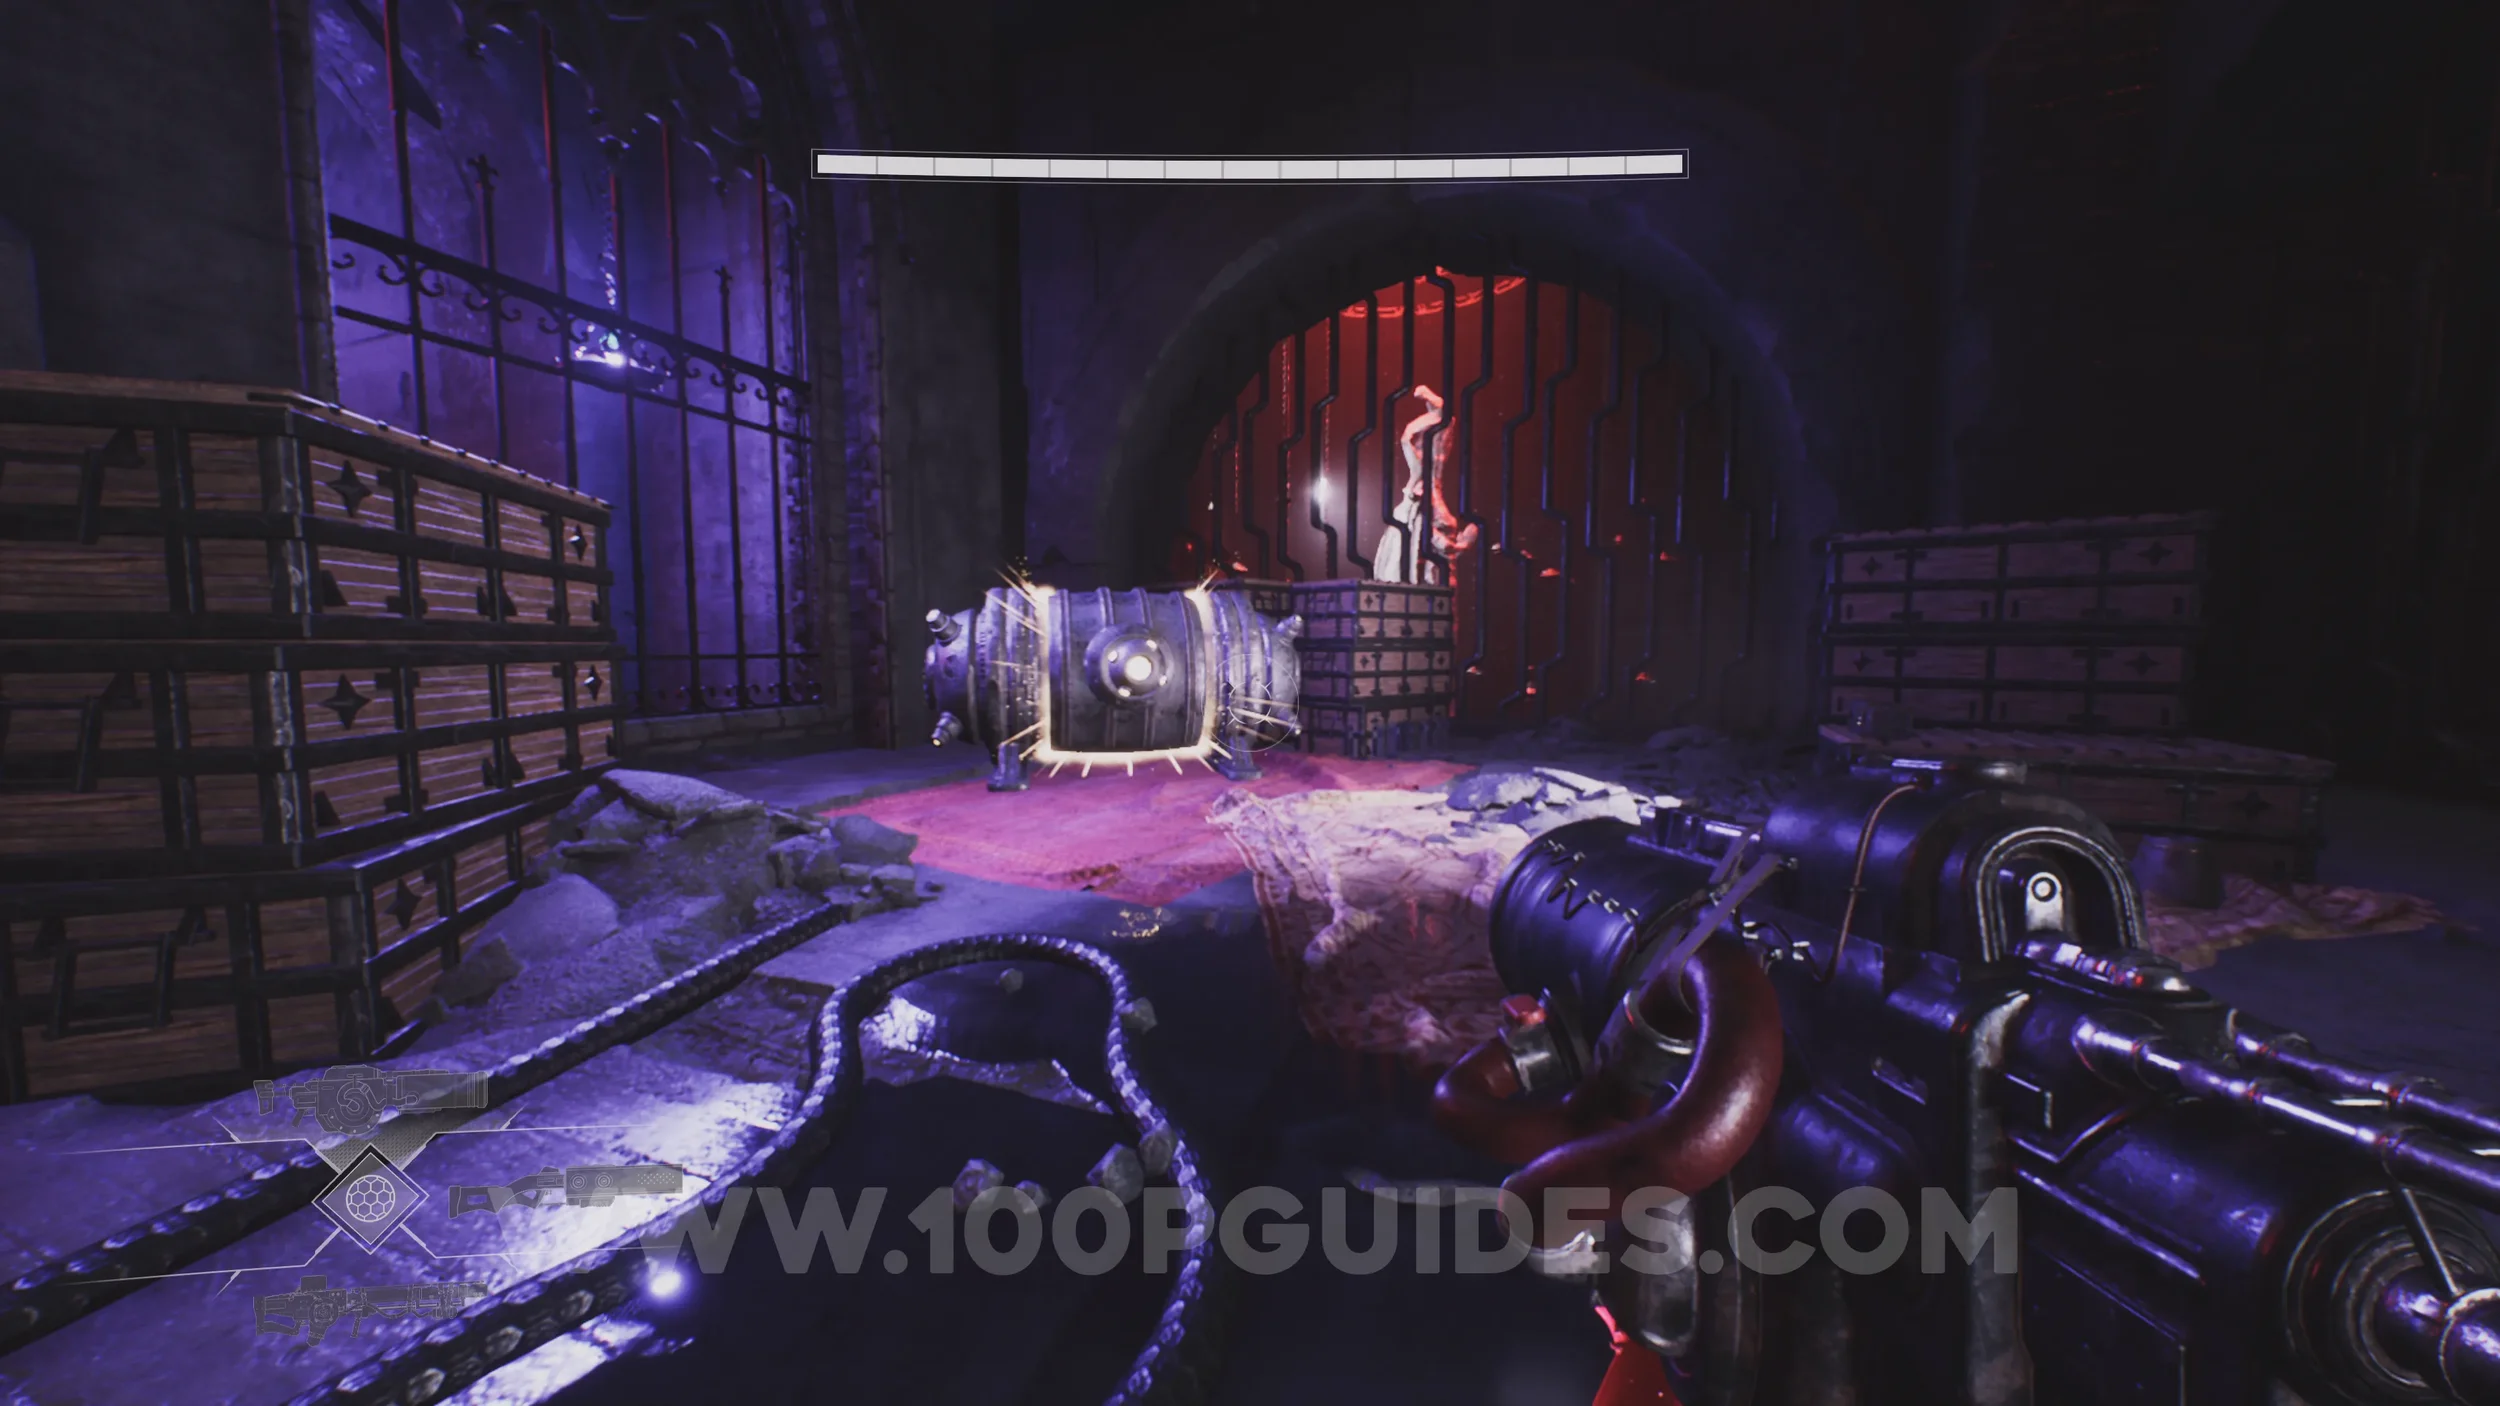
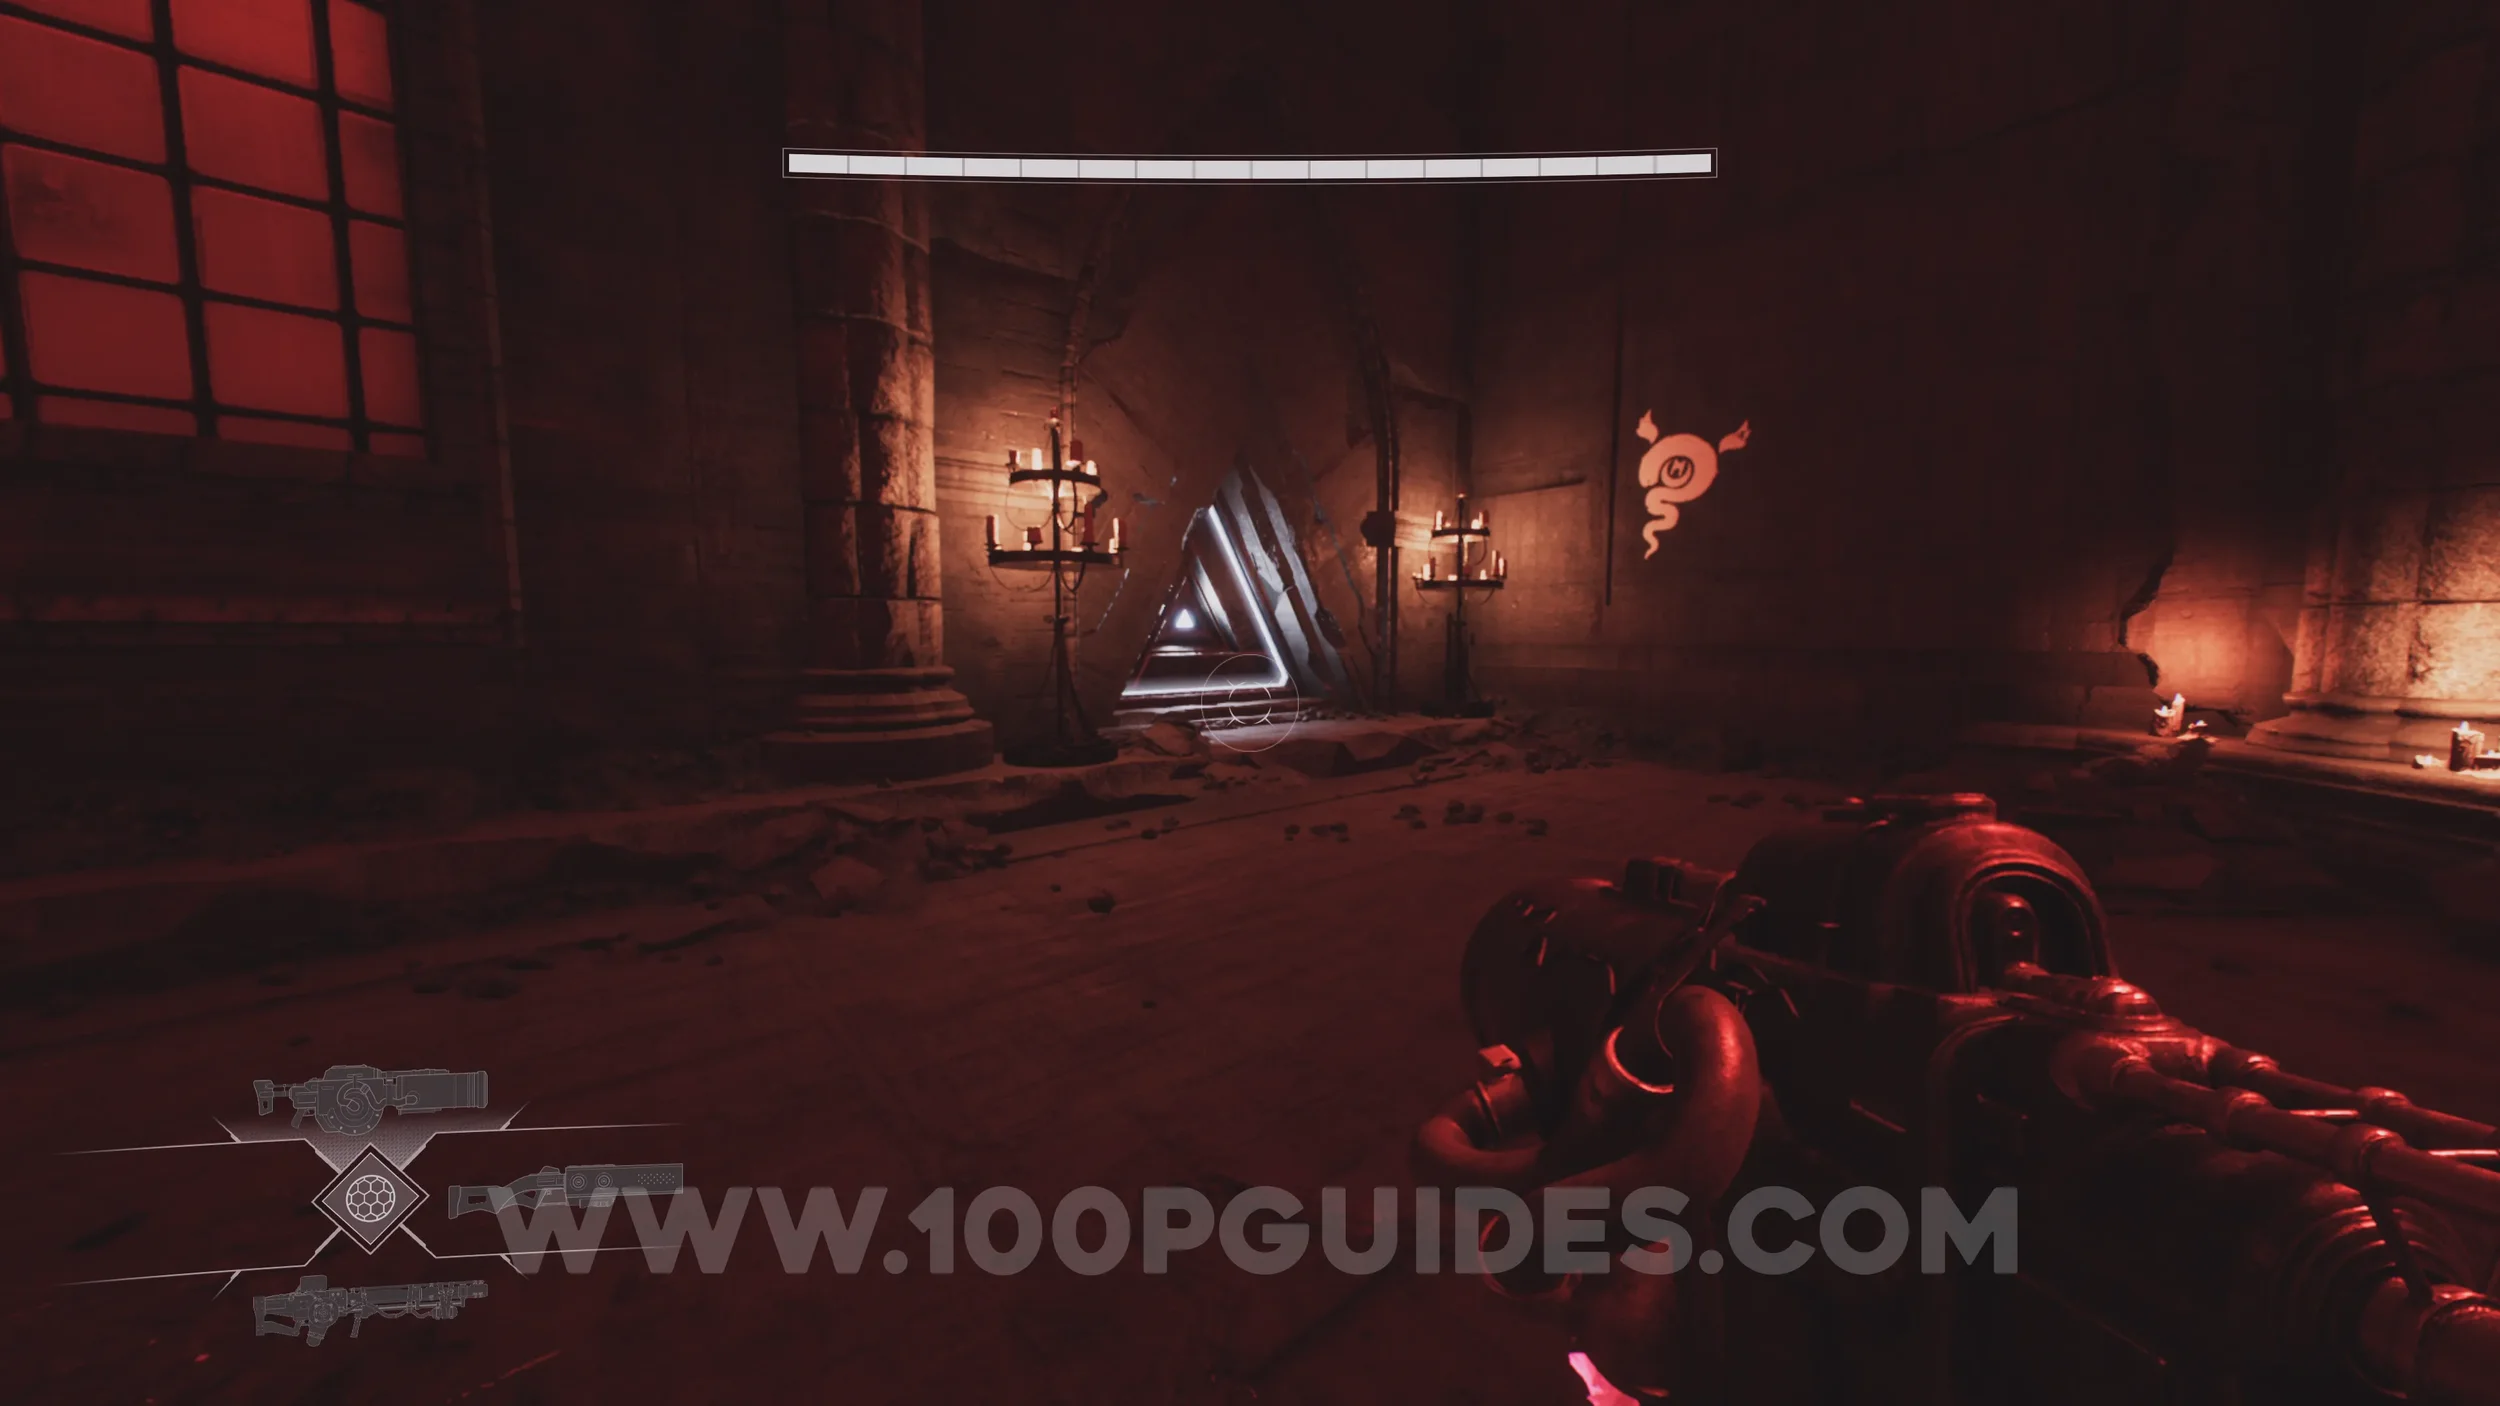
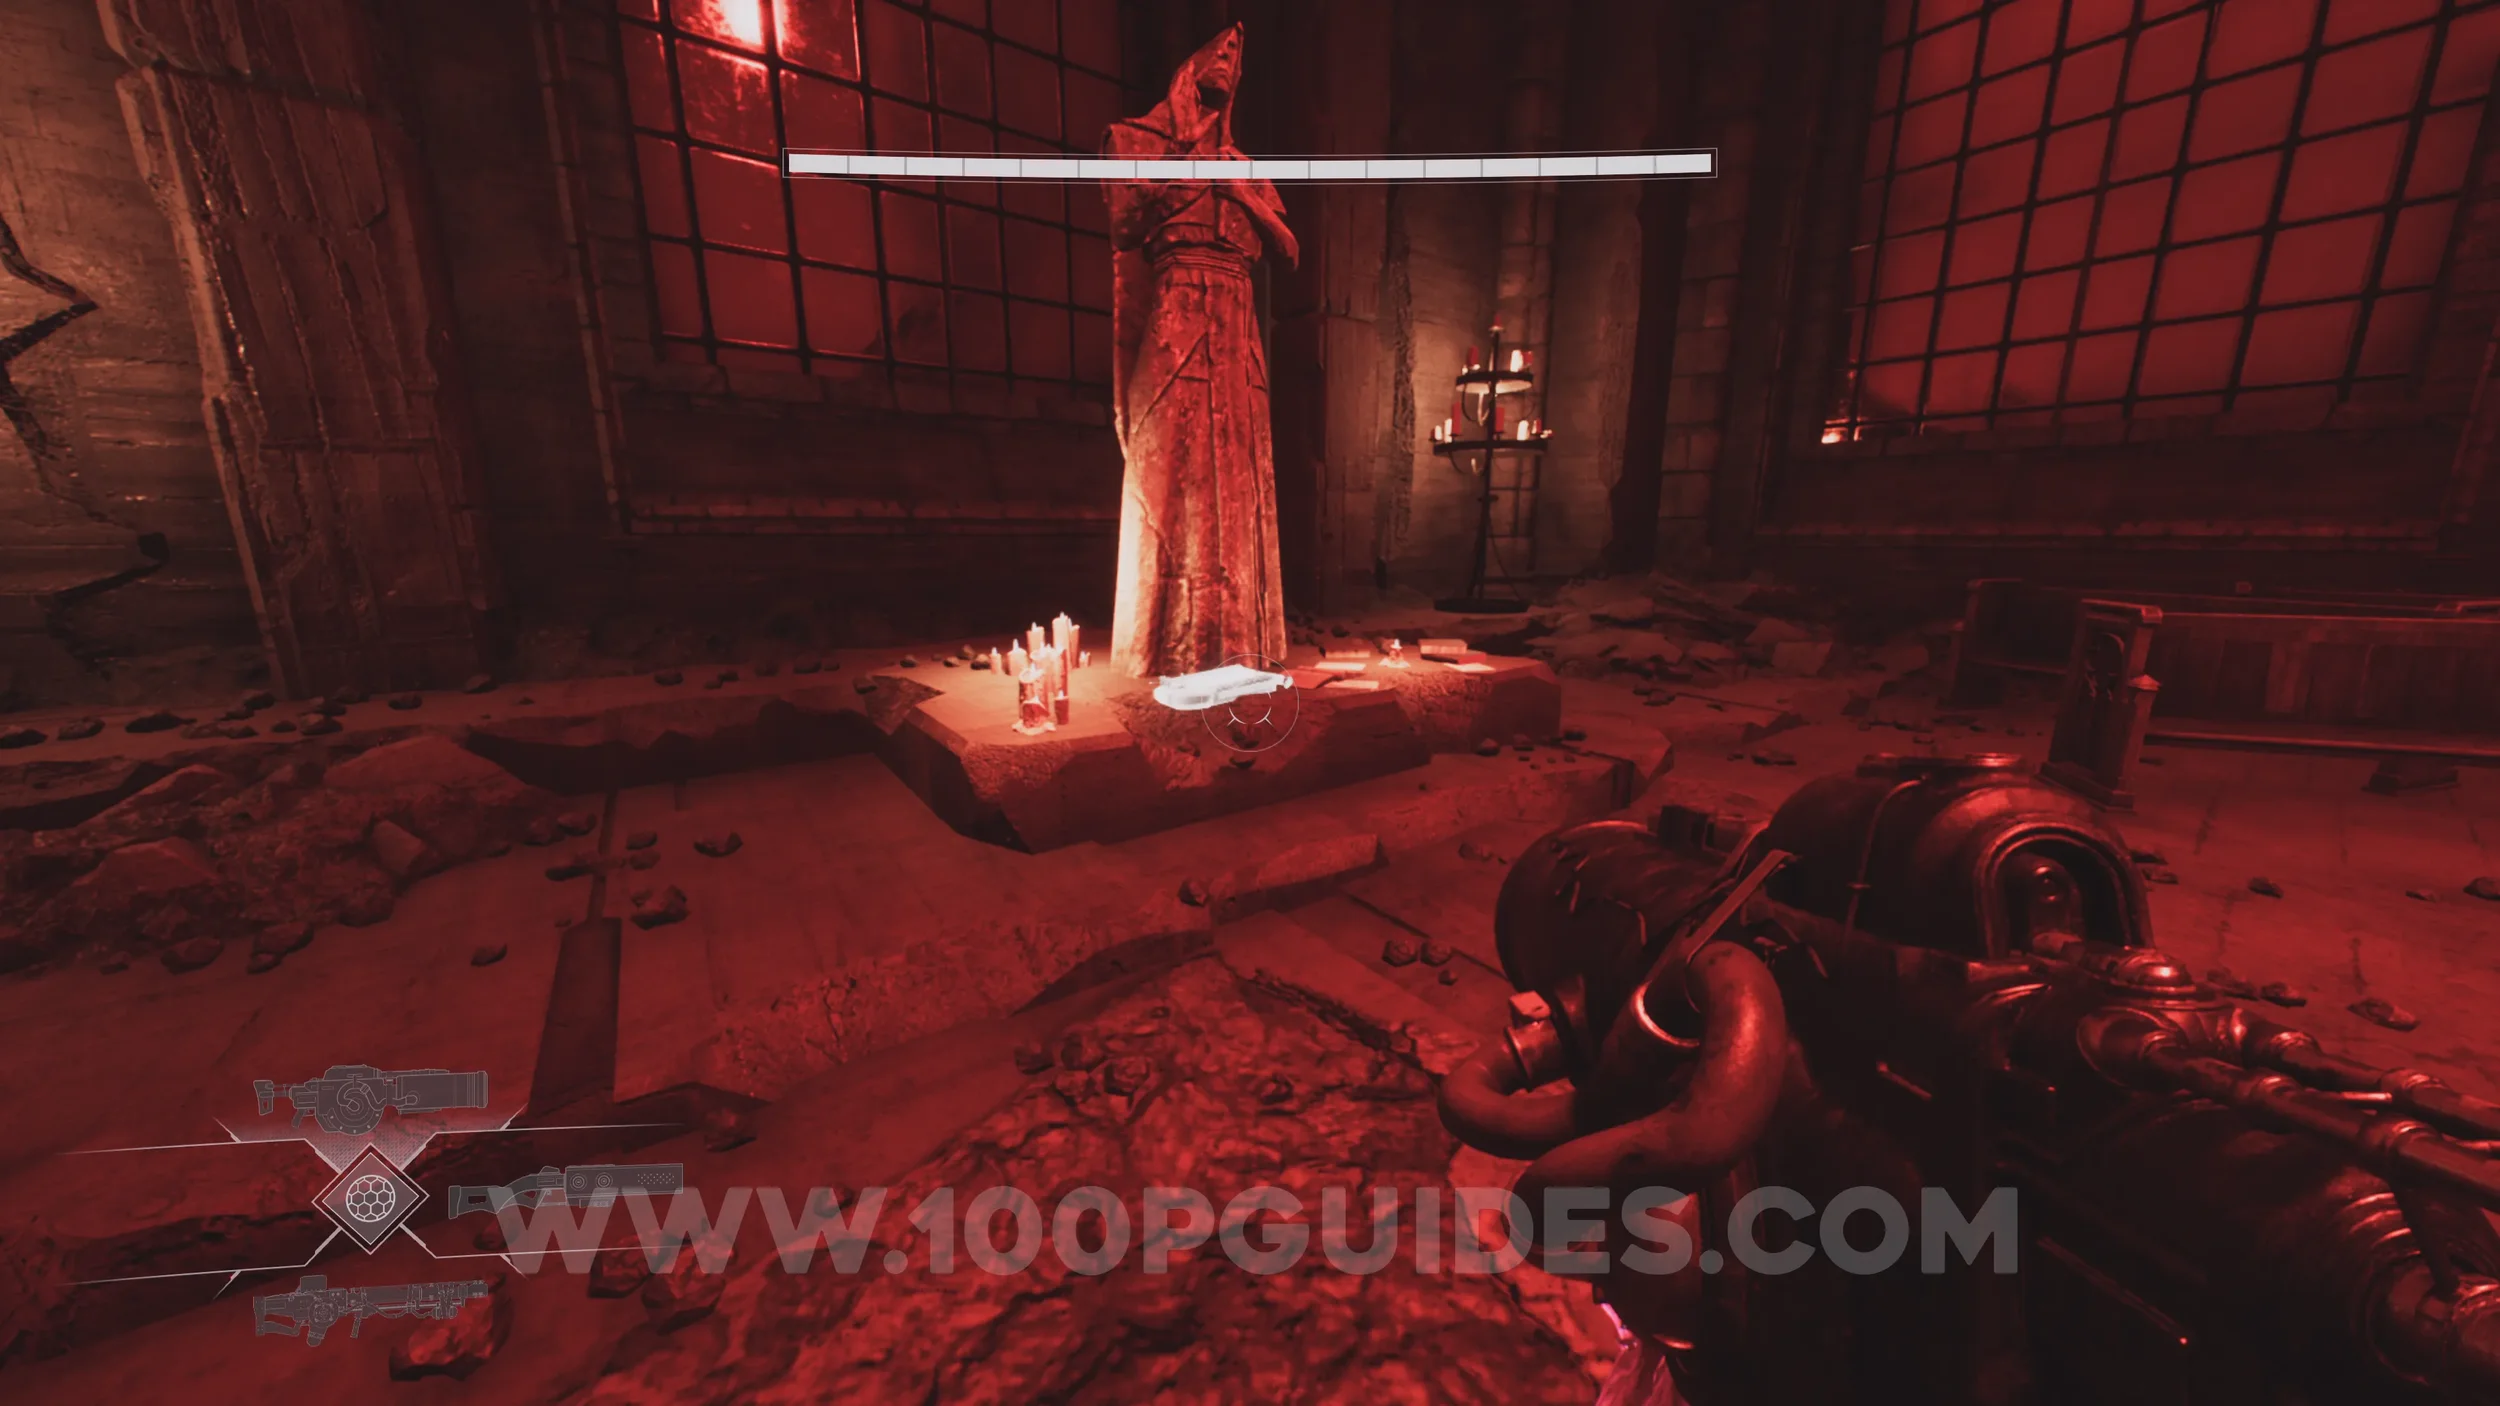
Lore Entry #65 (Memory - Entry #5928 - The Guardians). After defeating the boss, head to the far left end of the room and pass through the triangular door to find the collectible in the next room.
CHAPTER 4 - THE CATACOMBS
Drift Crystal #10. Close to the start of the sub-chapter, you'll fall down a long drop with pipes around you. Once you land, you'll see red-lit stairs surrounded by pipes in front of you. Before heading towards them, turn around to find the crystal.
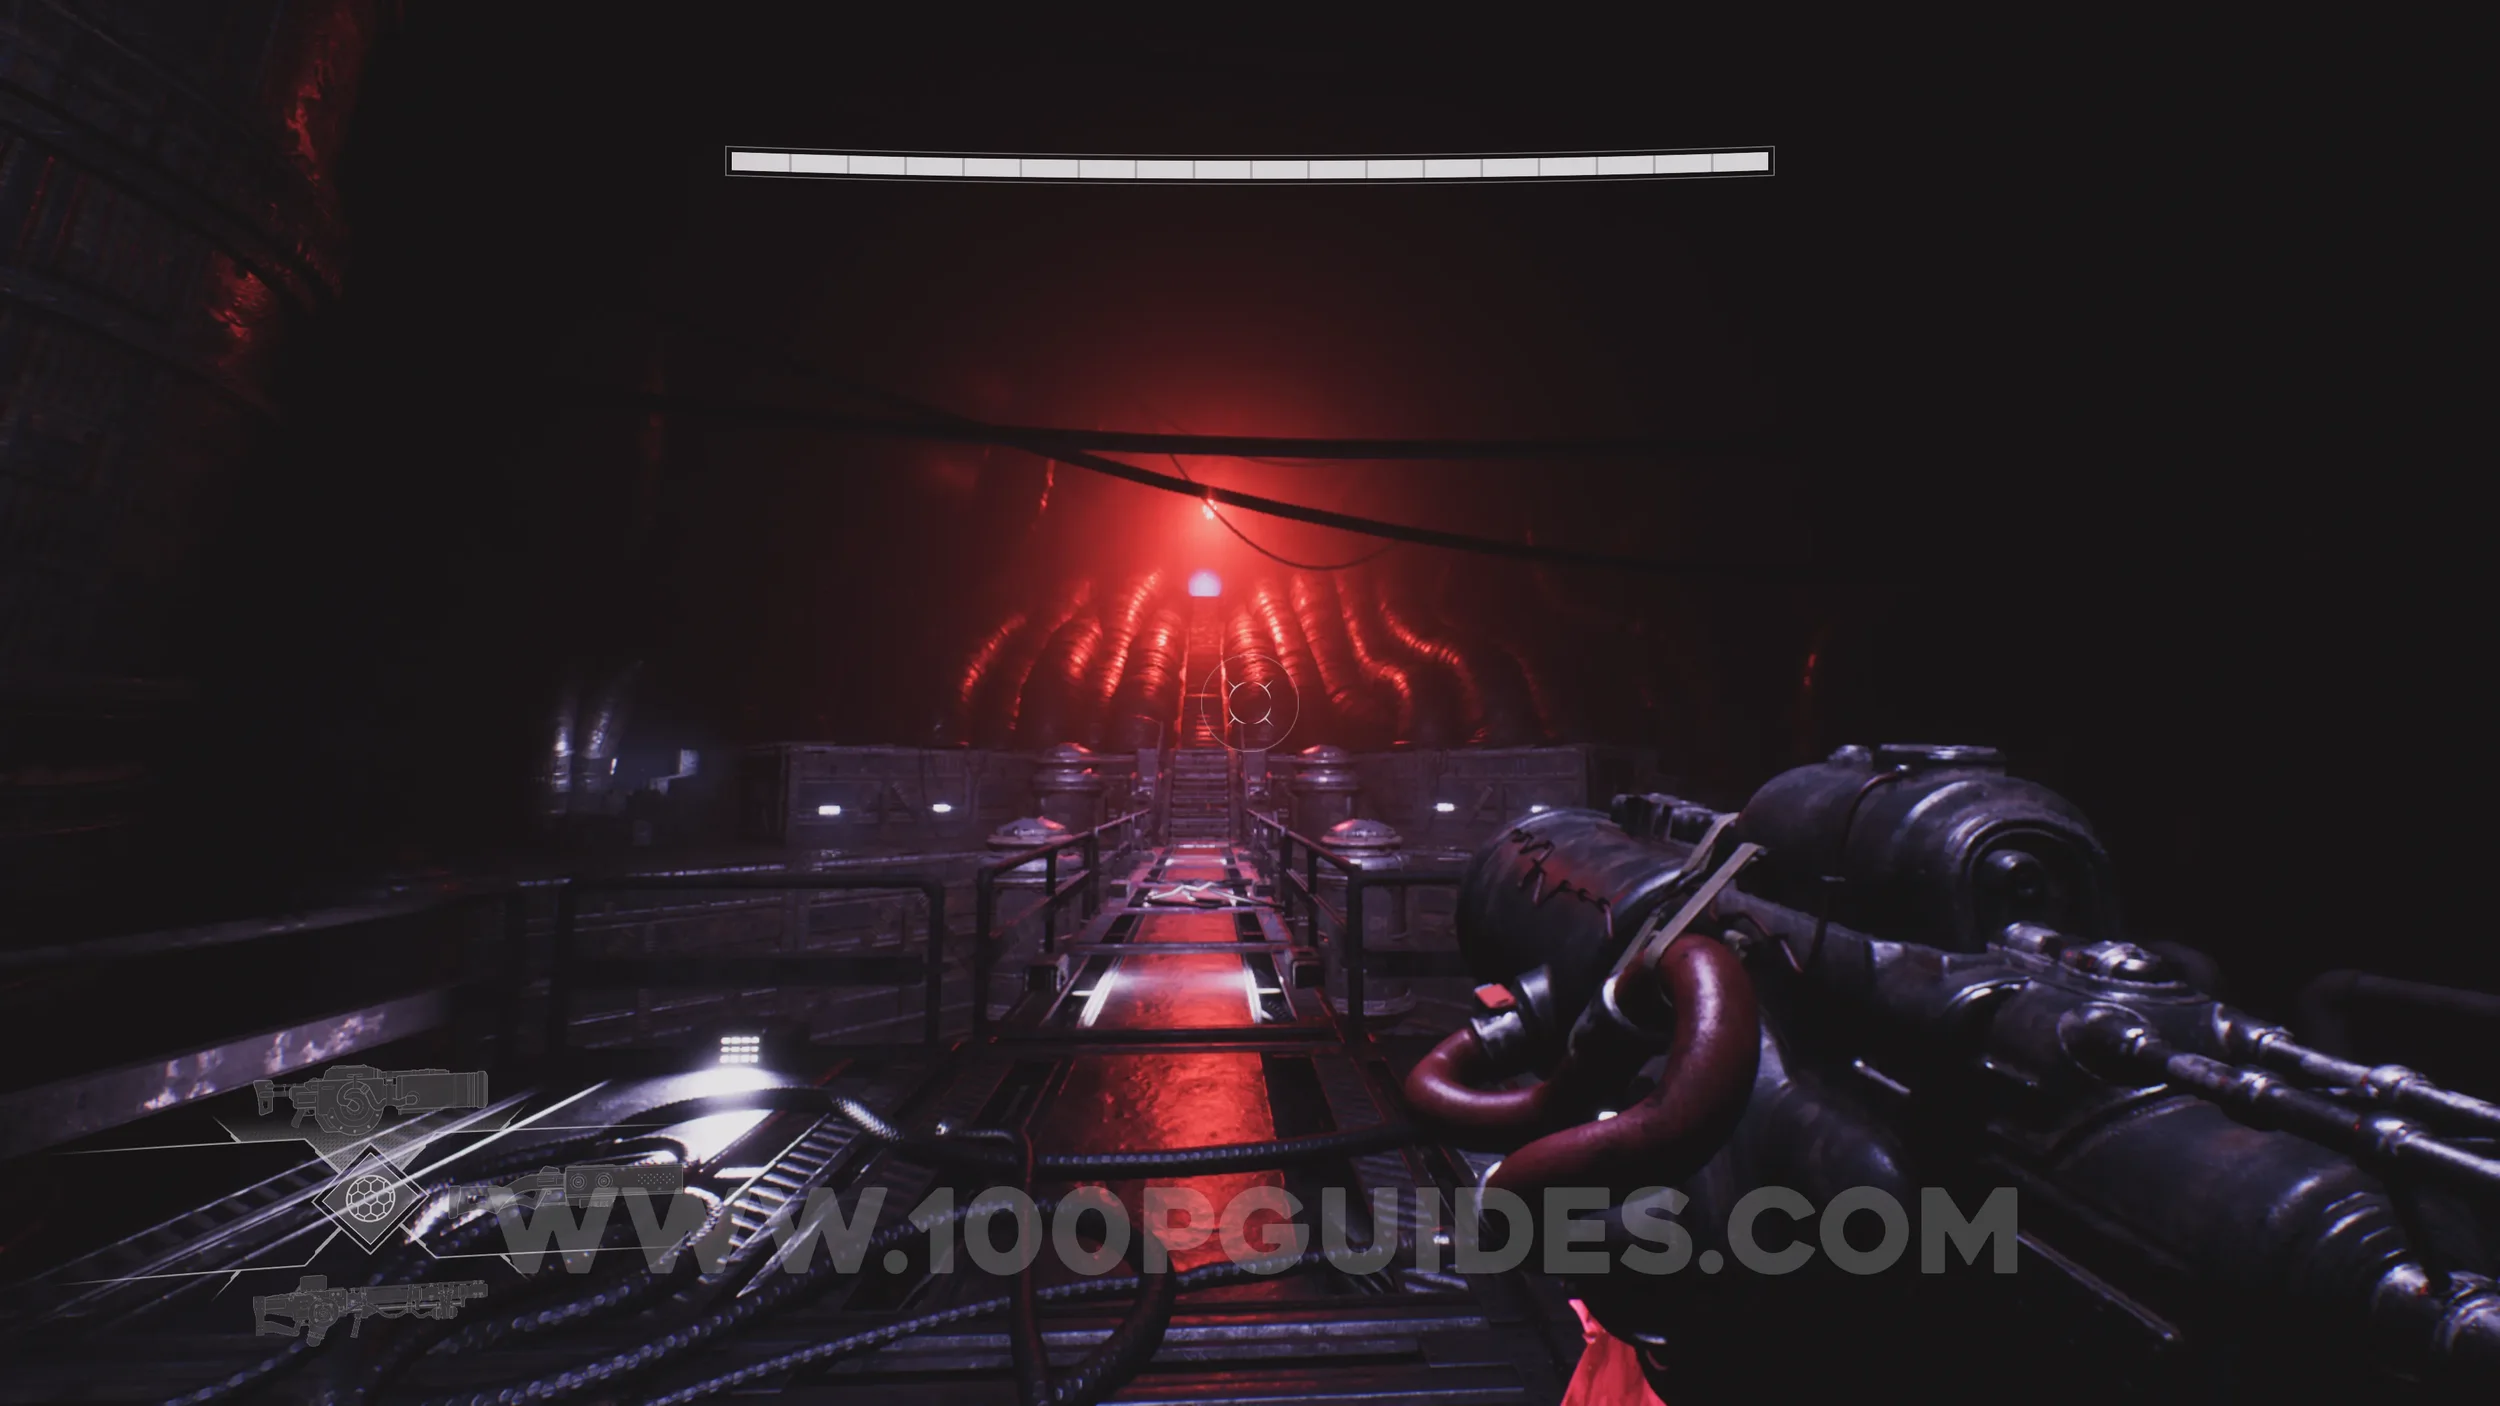
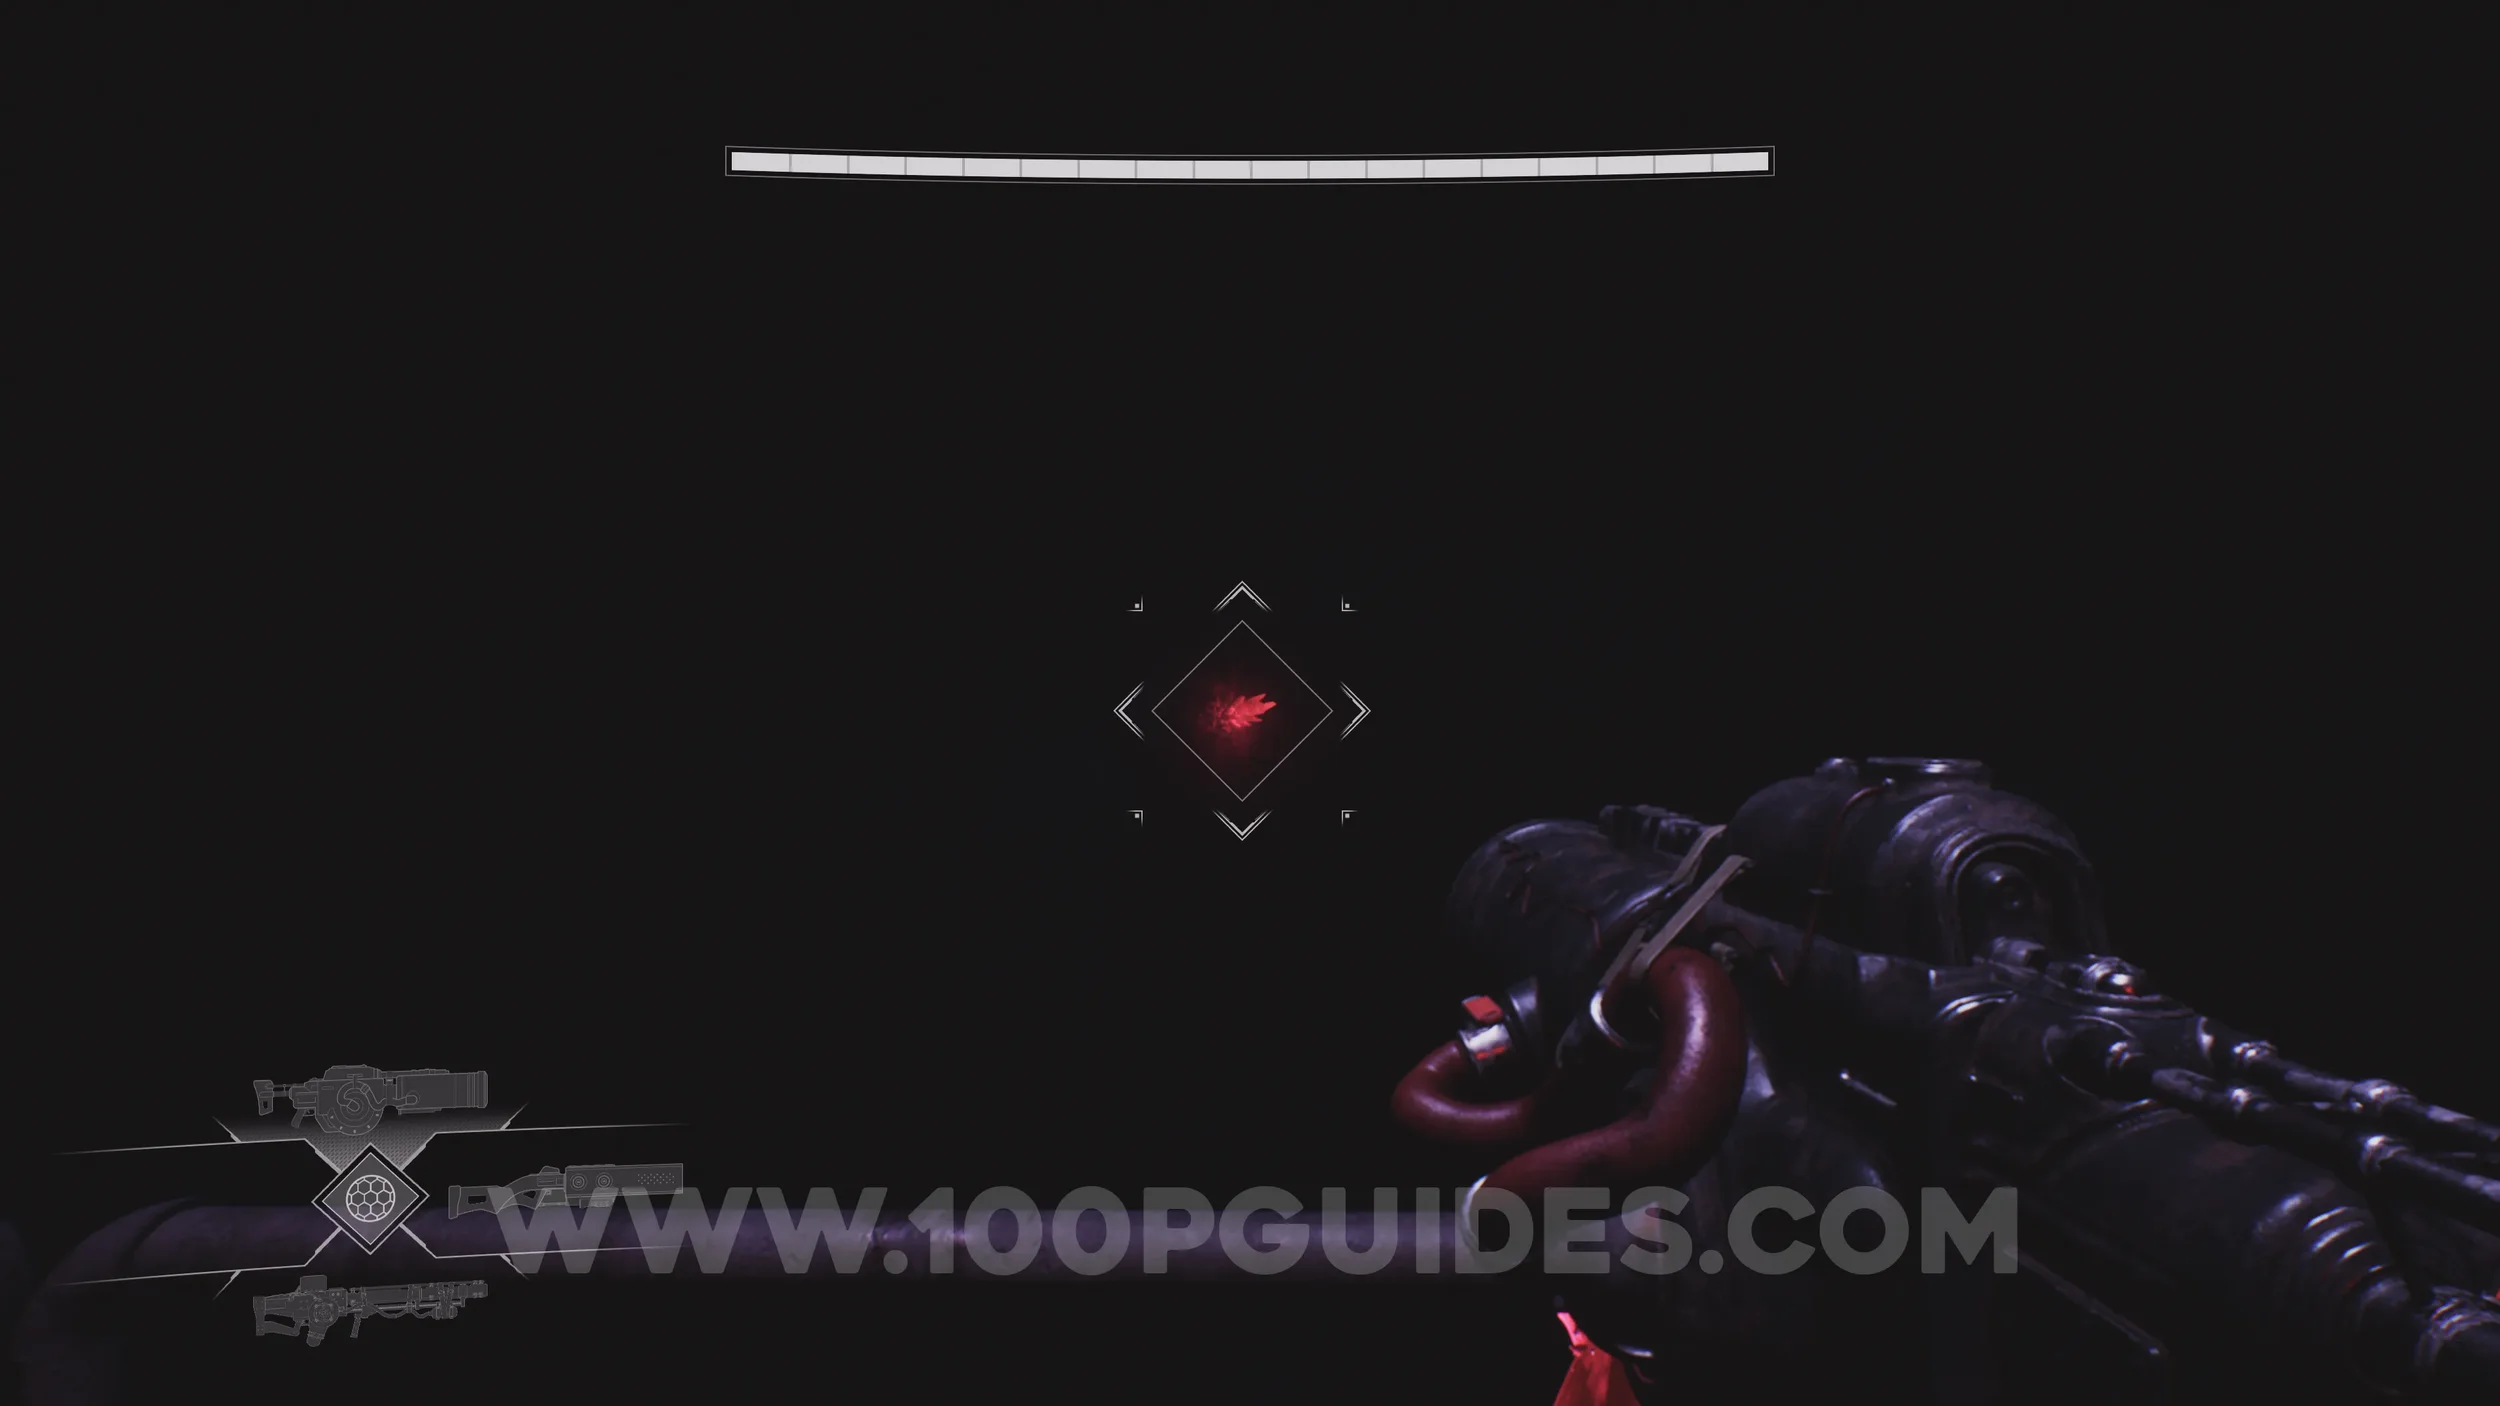
Lore Entry #66 (Memory - Entry #2891 - Essence). Once you reach the Birthing Chamber, head right to find it next to the head resembling Aylin.
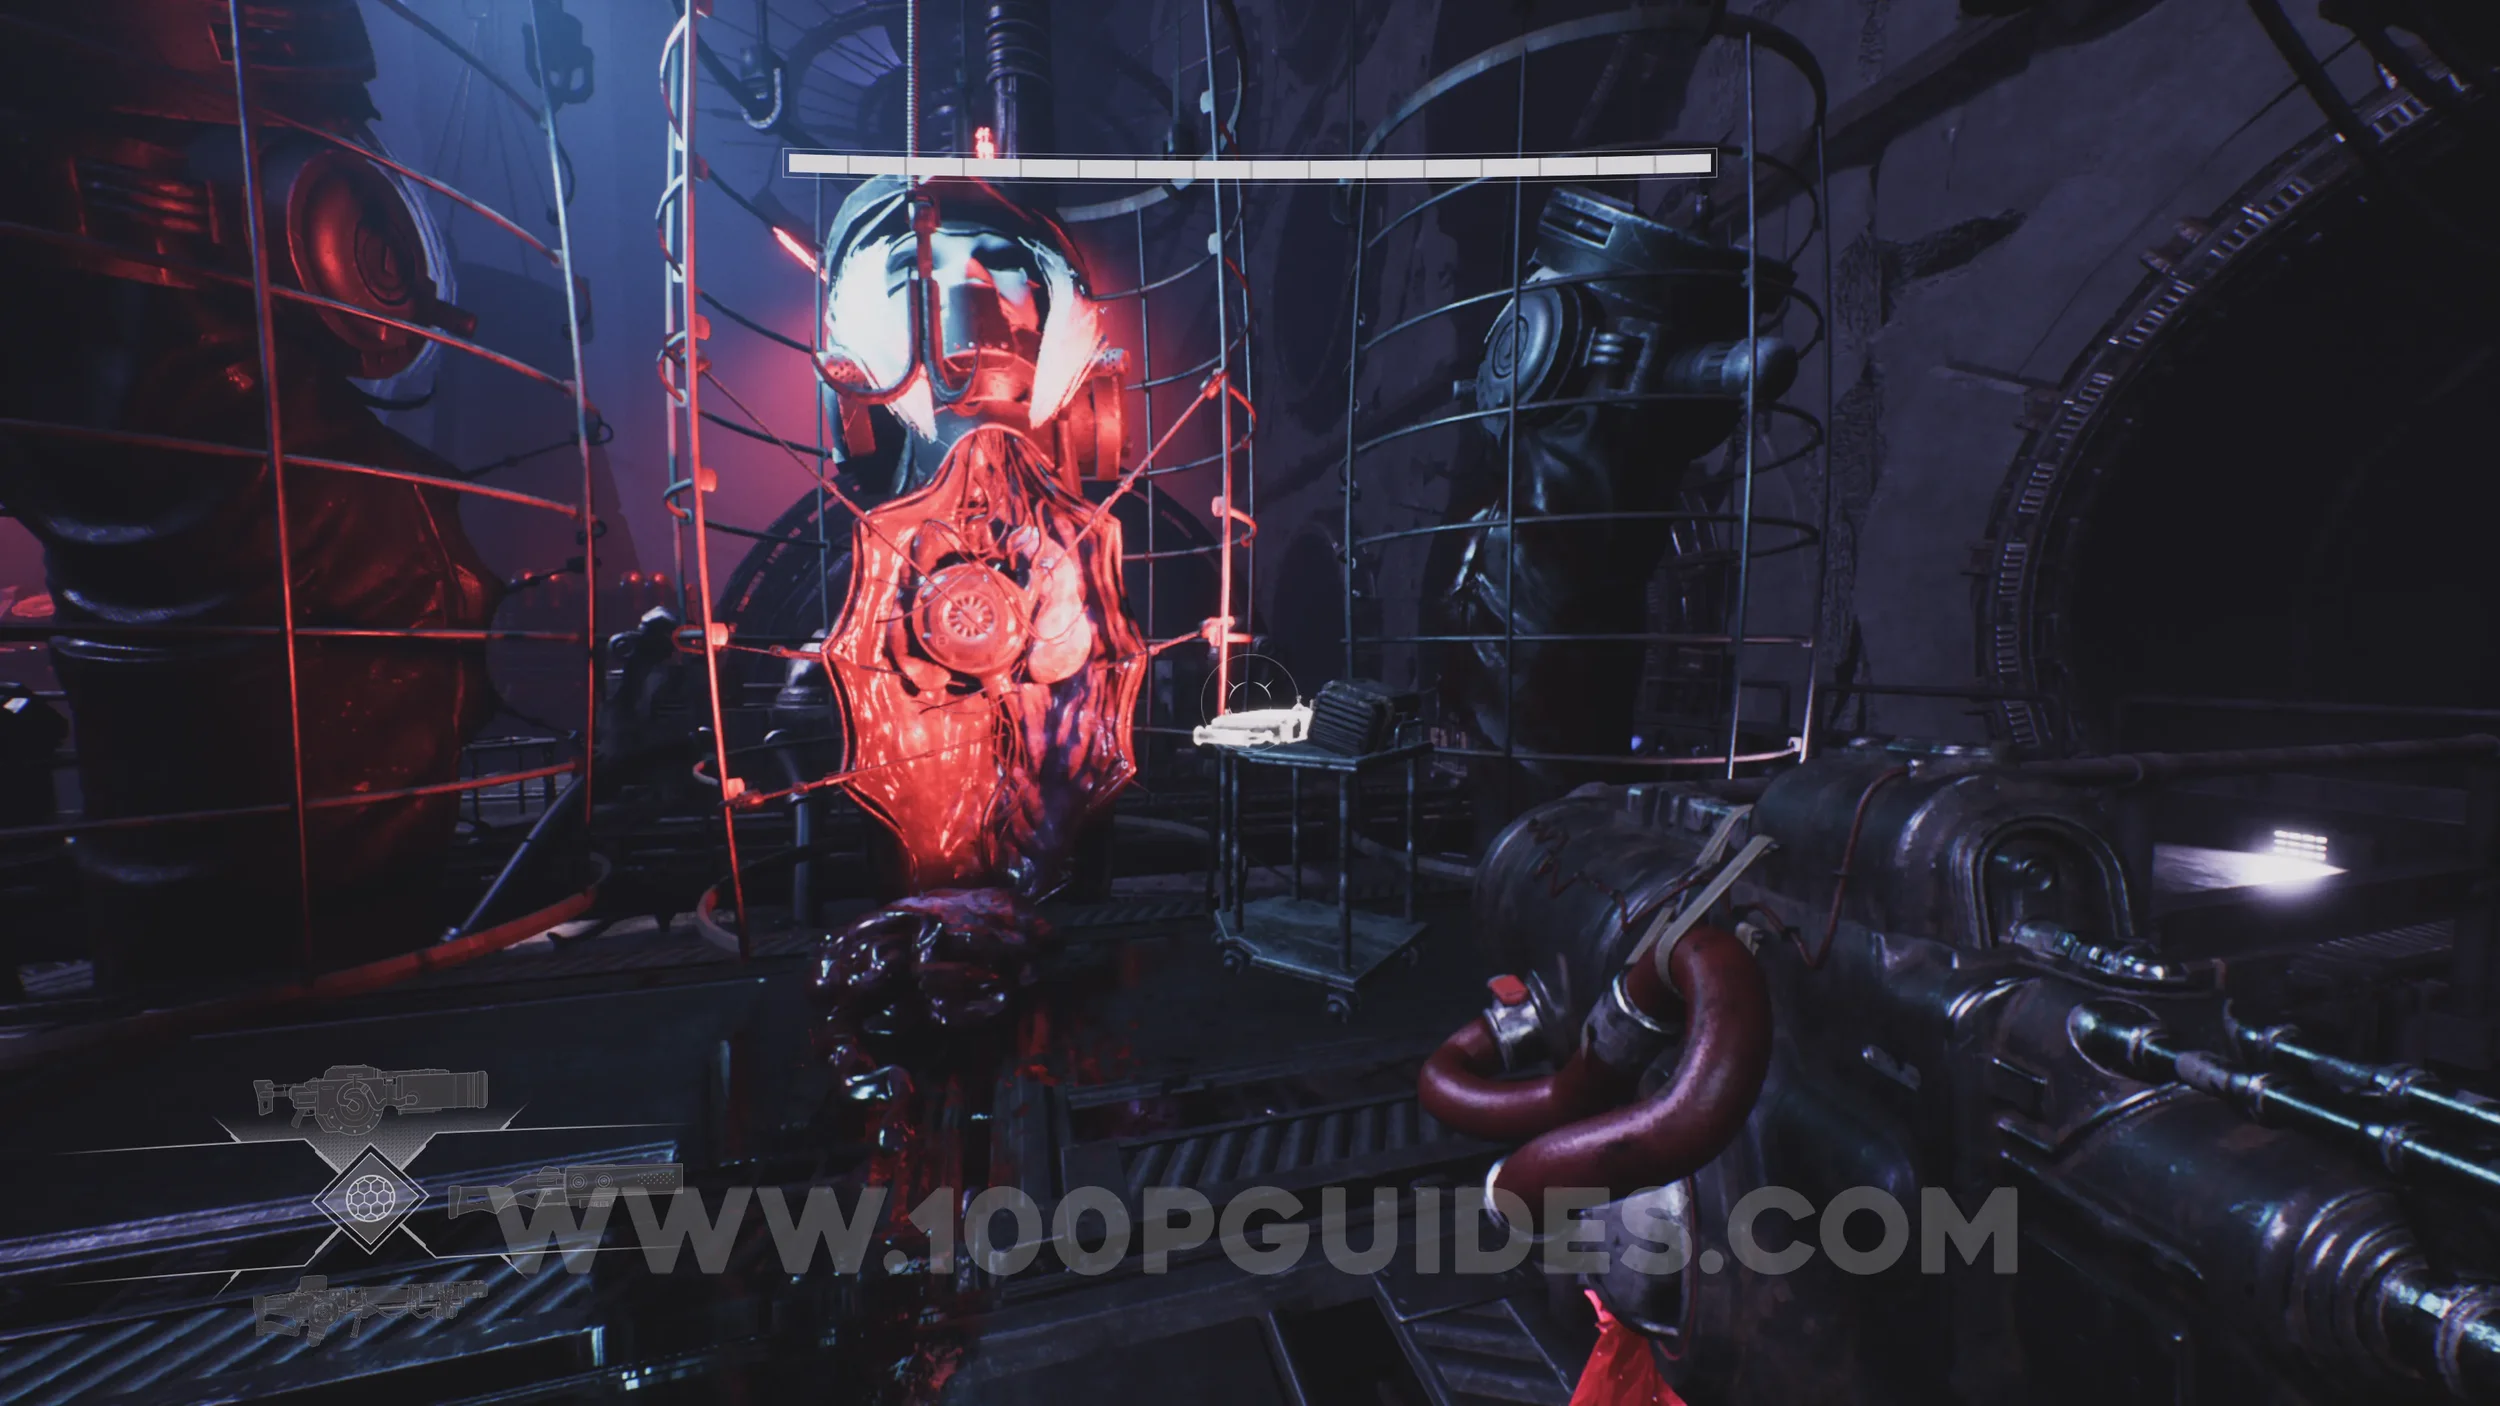
Lore Entry #67 (Memory - Entry #2892 - Lonely Monsters). Continue past the previous collectible until you reach another head. The collectible will be on its left.
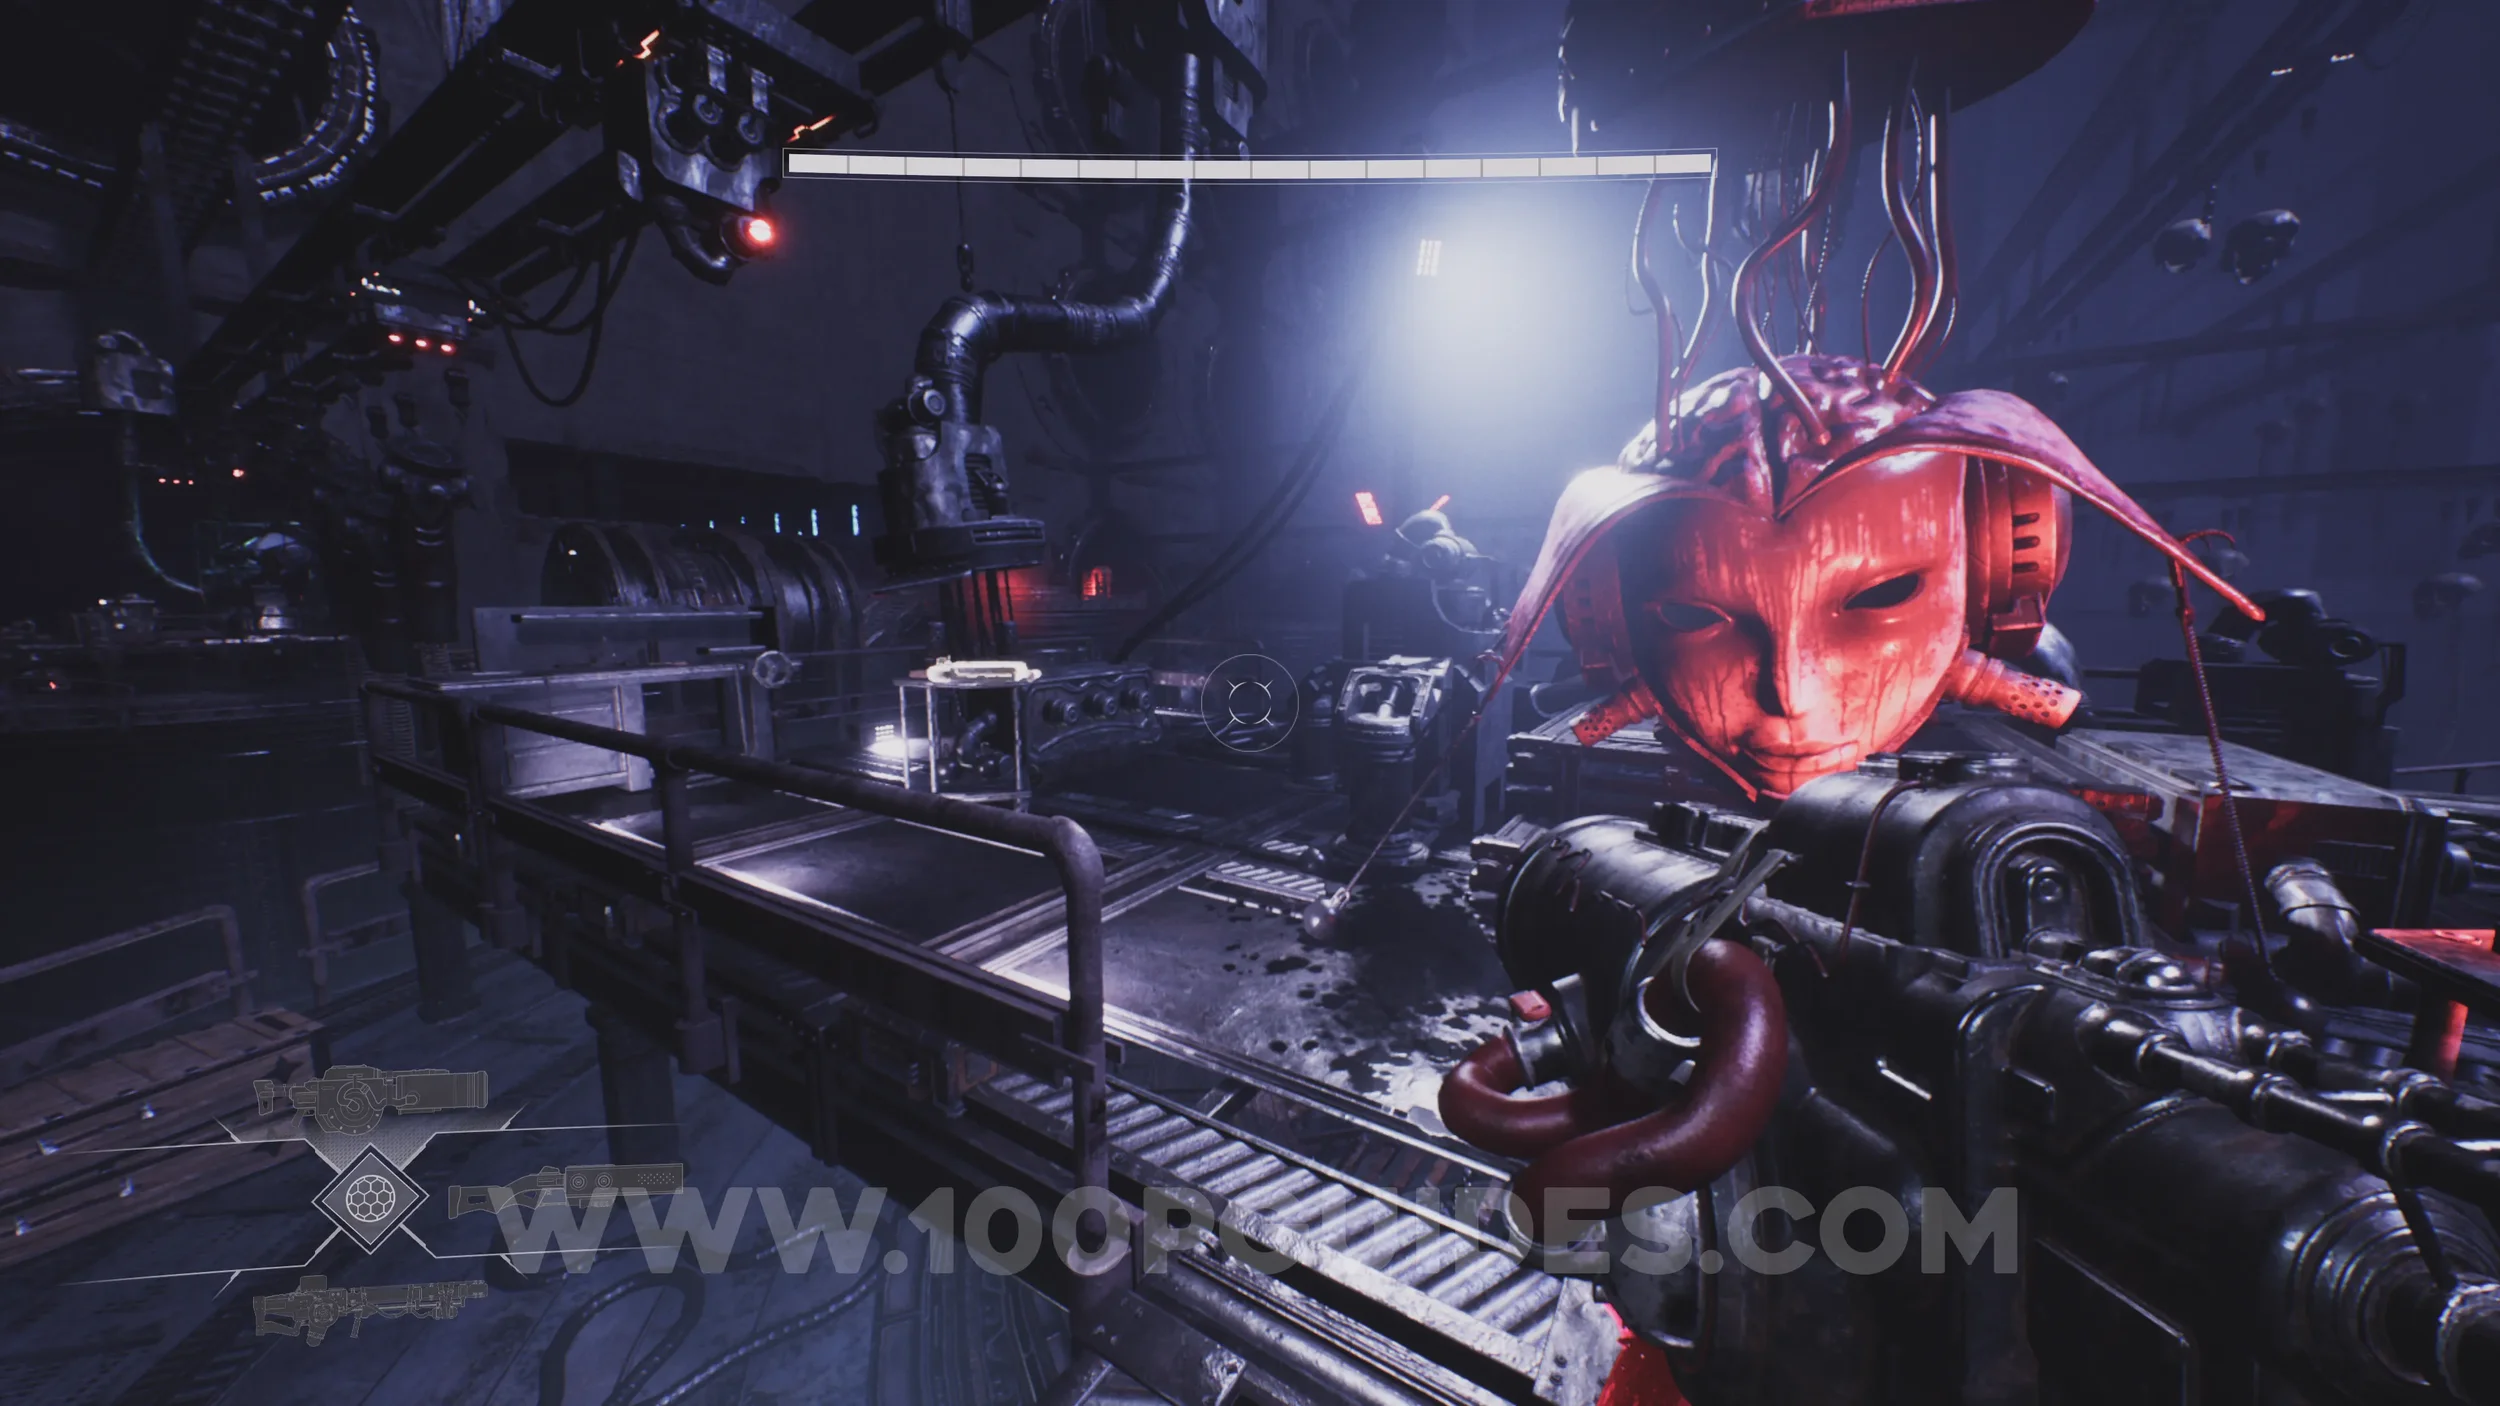
Lore Entry #68 (Memory - Entry #2893 - The Marked Ones). Just after the previous collectible, on your left just before the red-lit tower with a spine wrapping around it.
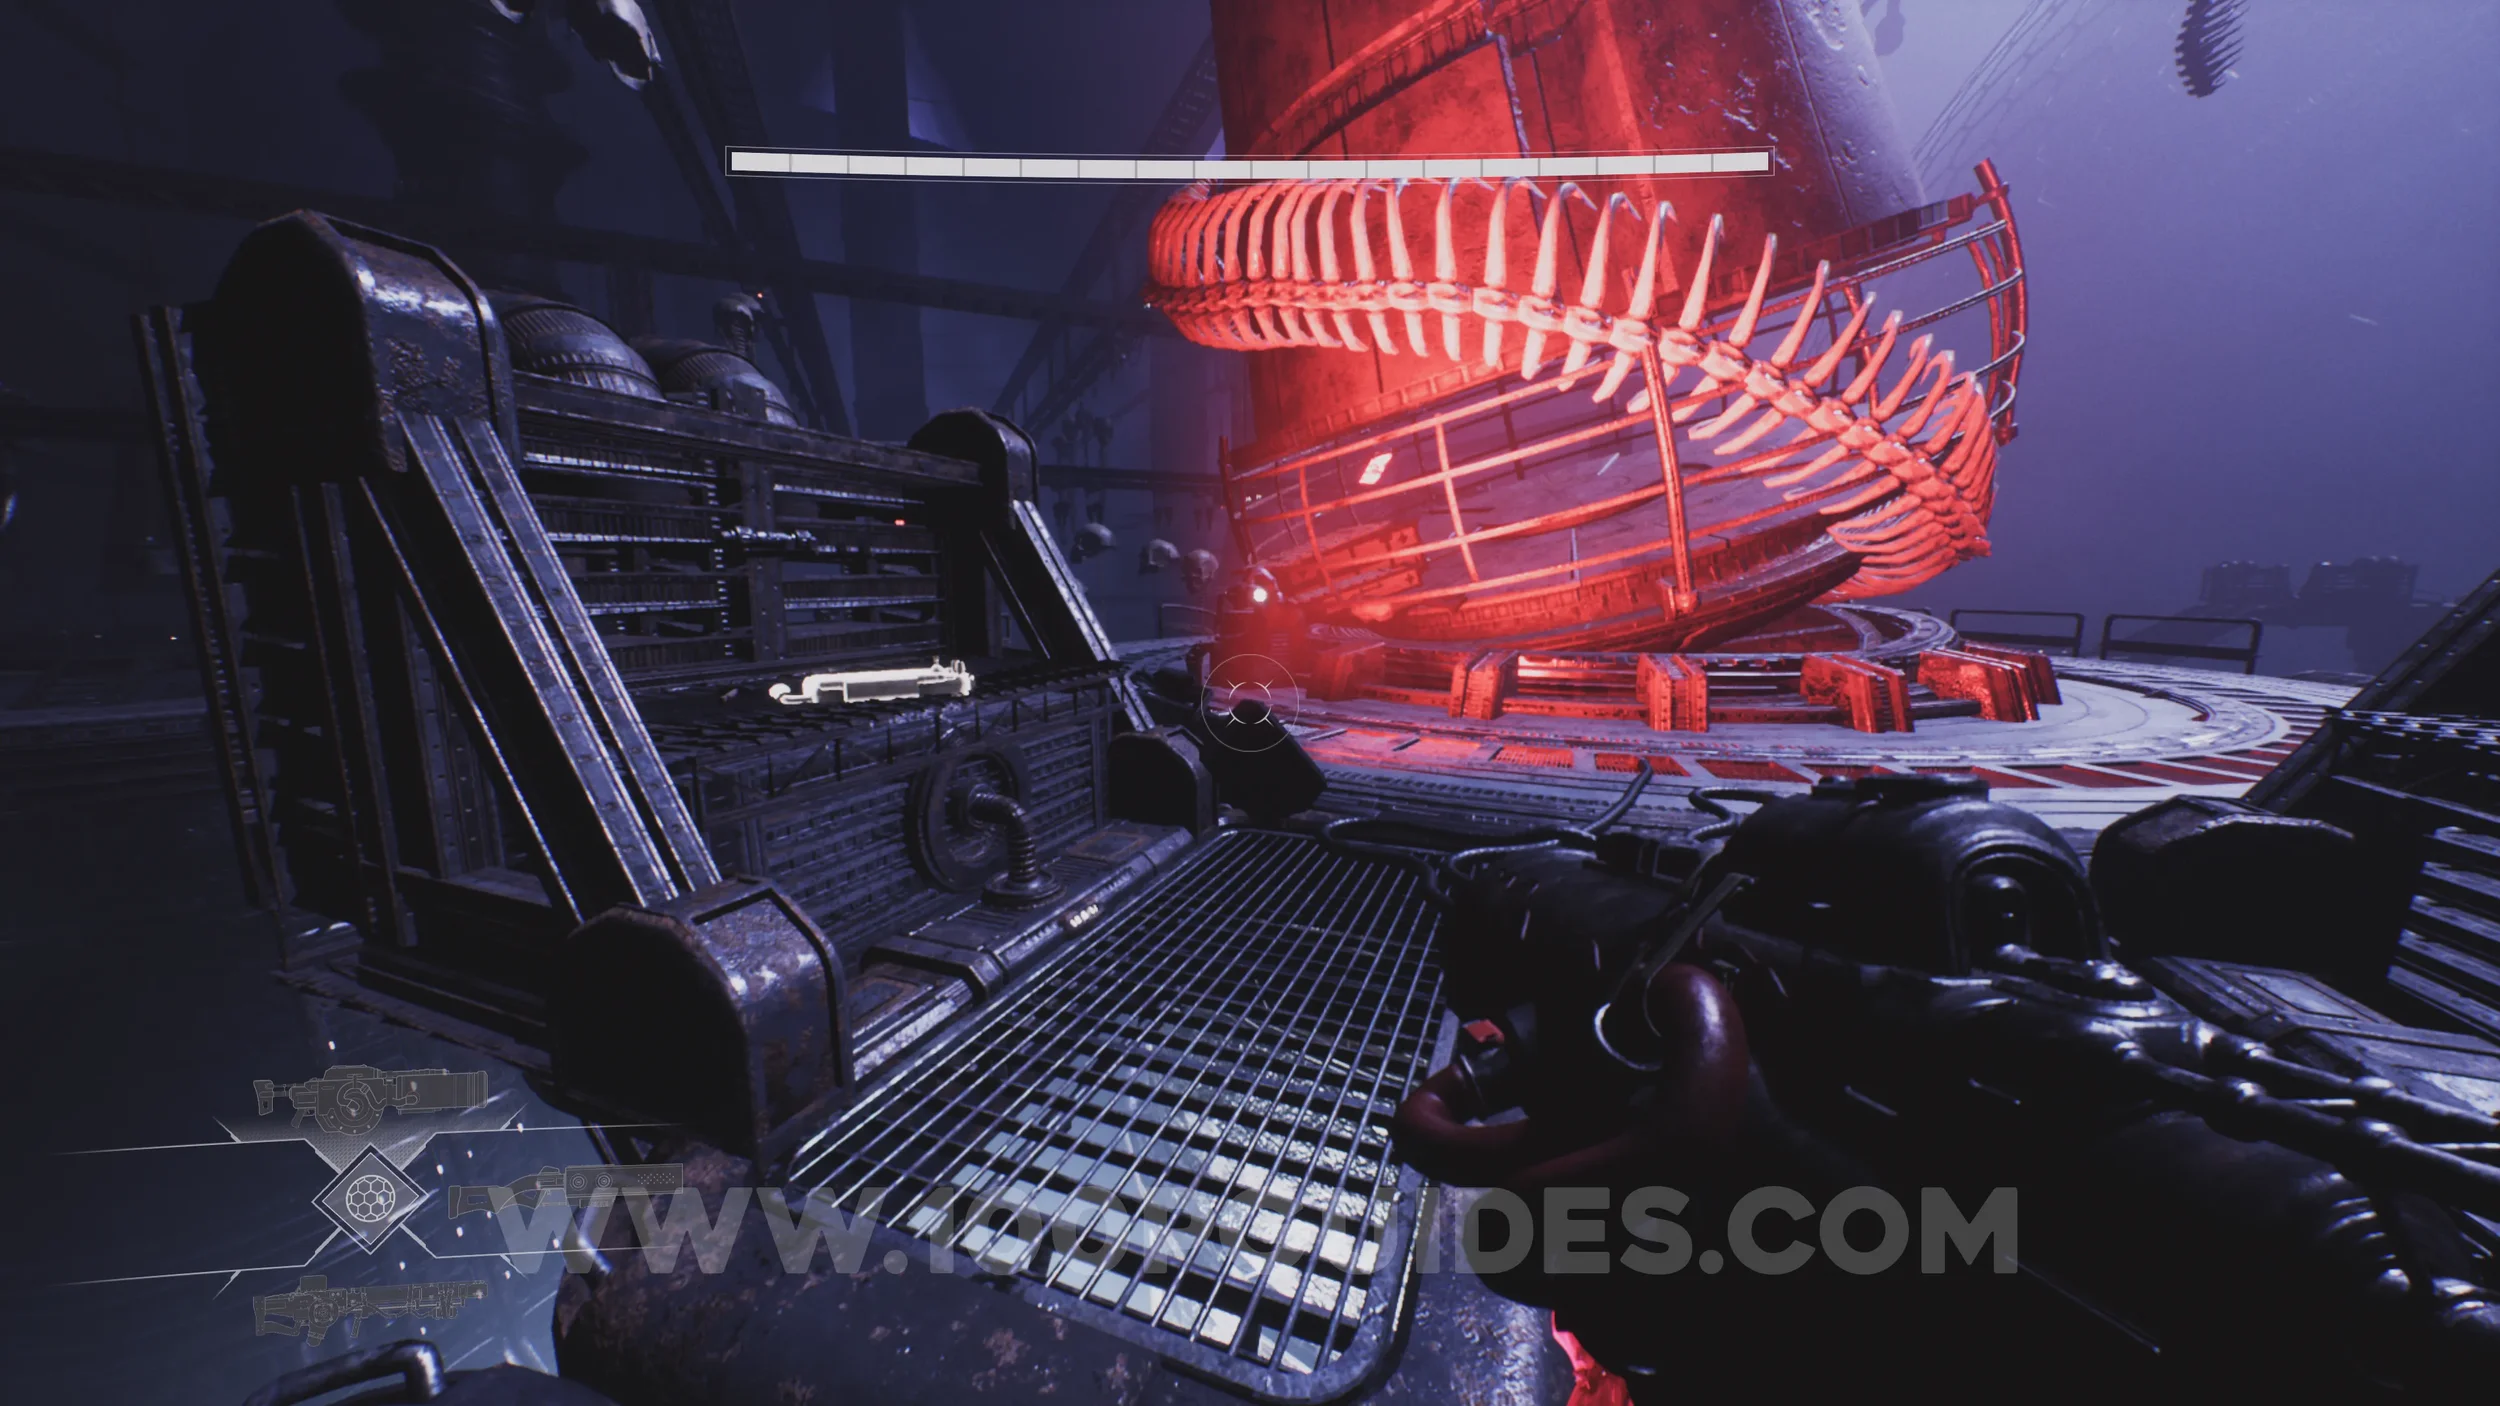
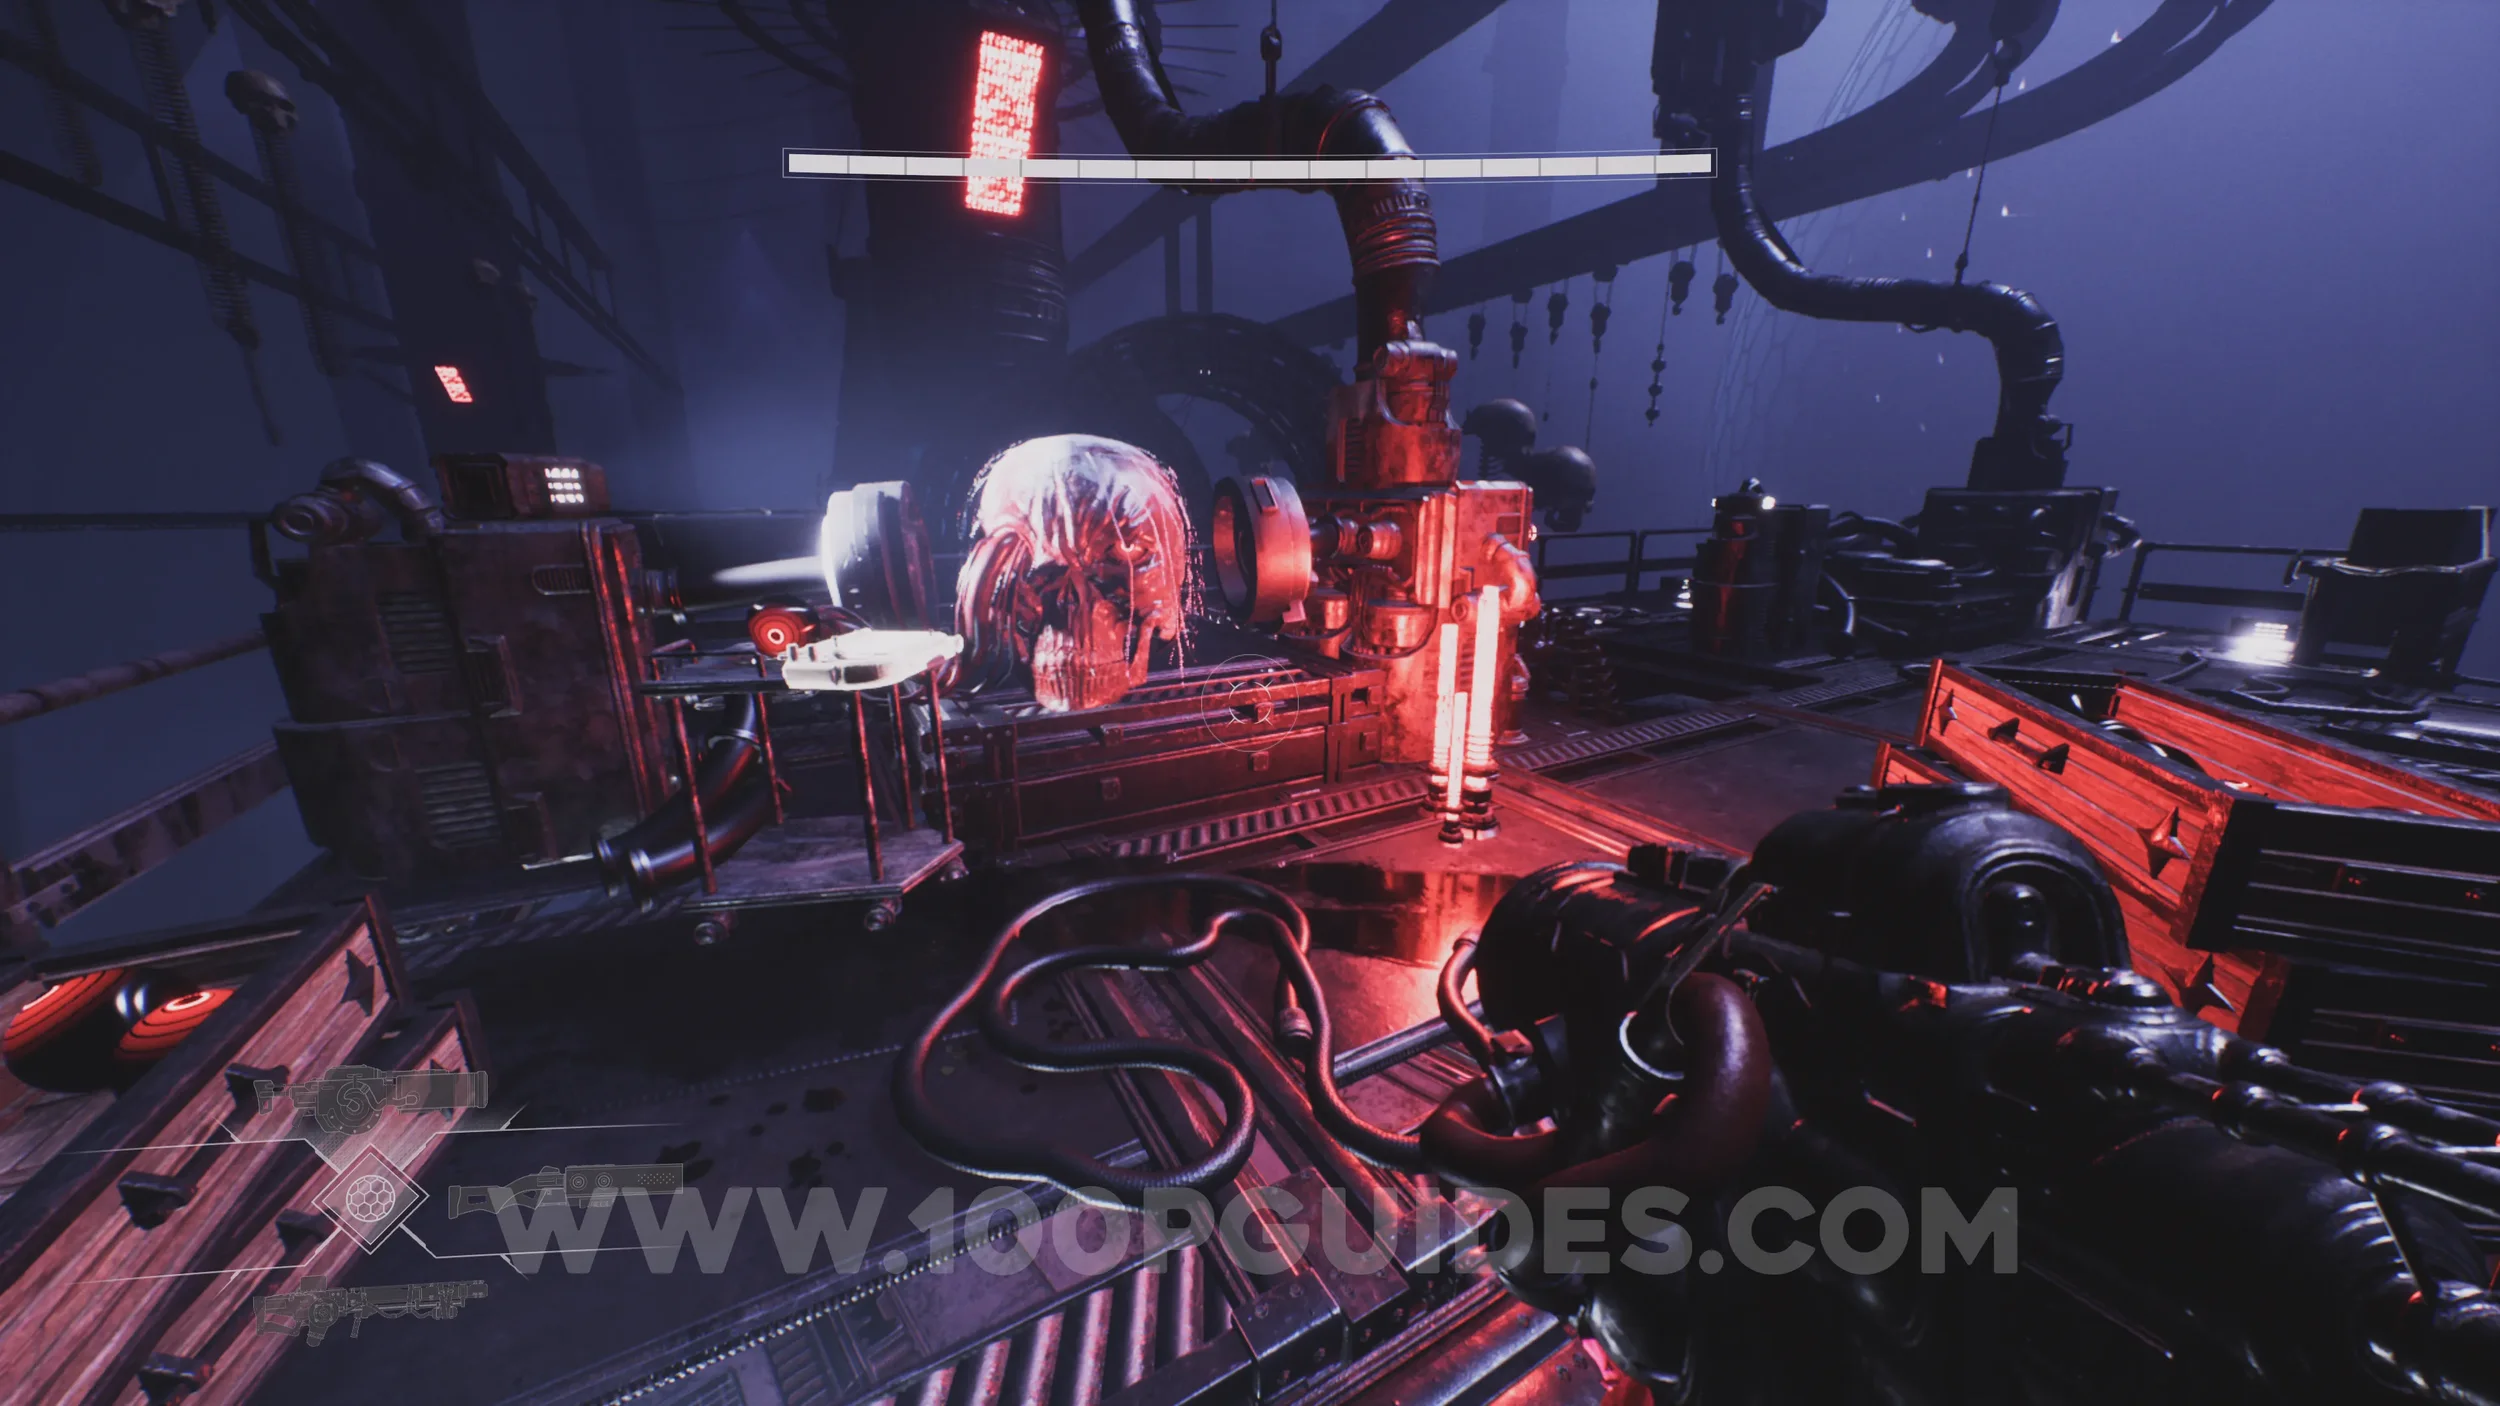
Lore Entry #69 (Memory - Entry #2899 - Clearance). Follow the main path to find it in plain sight next to another head on your left.
CHAPTER 5 - LUNA CHILD AYLIN
No Collectibles in this sub-chapter.
CHAPTER 5 - ONE LAST JOB
Drift Crystal #11. From the start, head through the red barrier back to the mines and continue along this path until you meet Jonty again. To her left, you’ll see some grappling points. Use them to cross the gap, then go around the right side of the building to find the crystal.
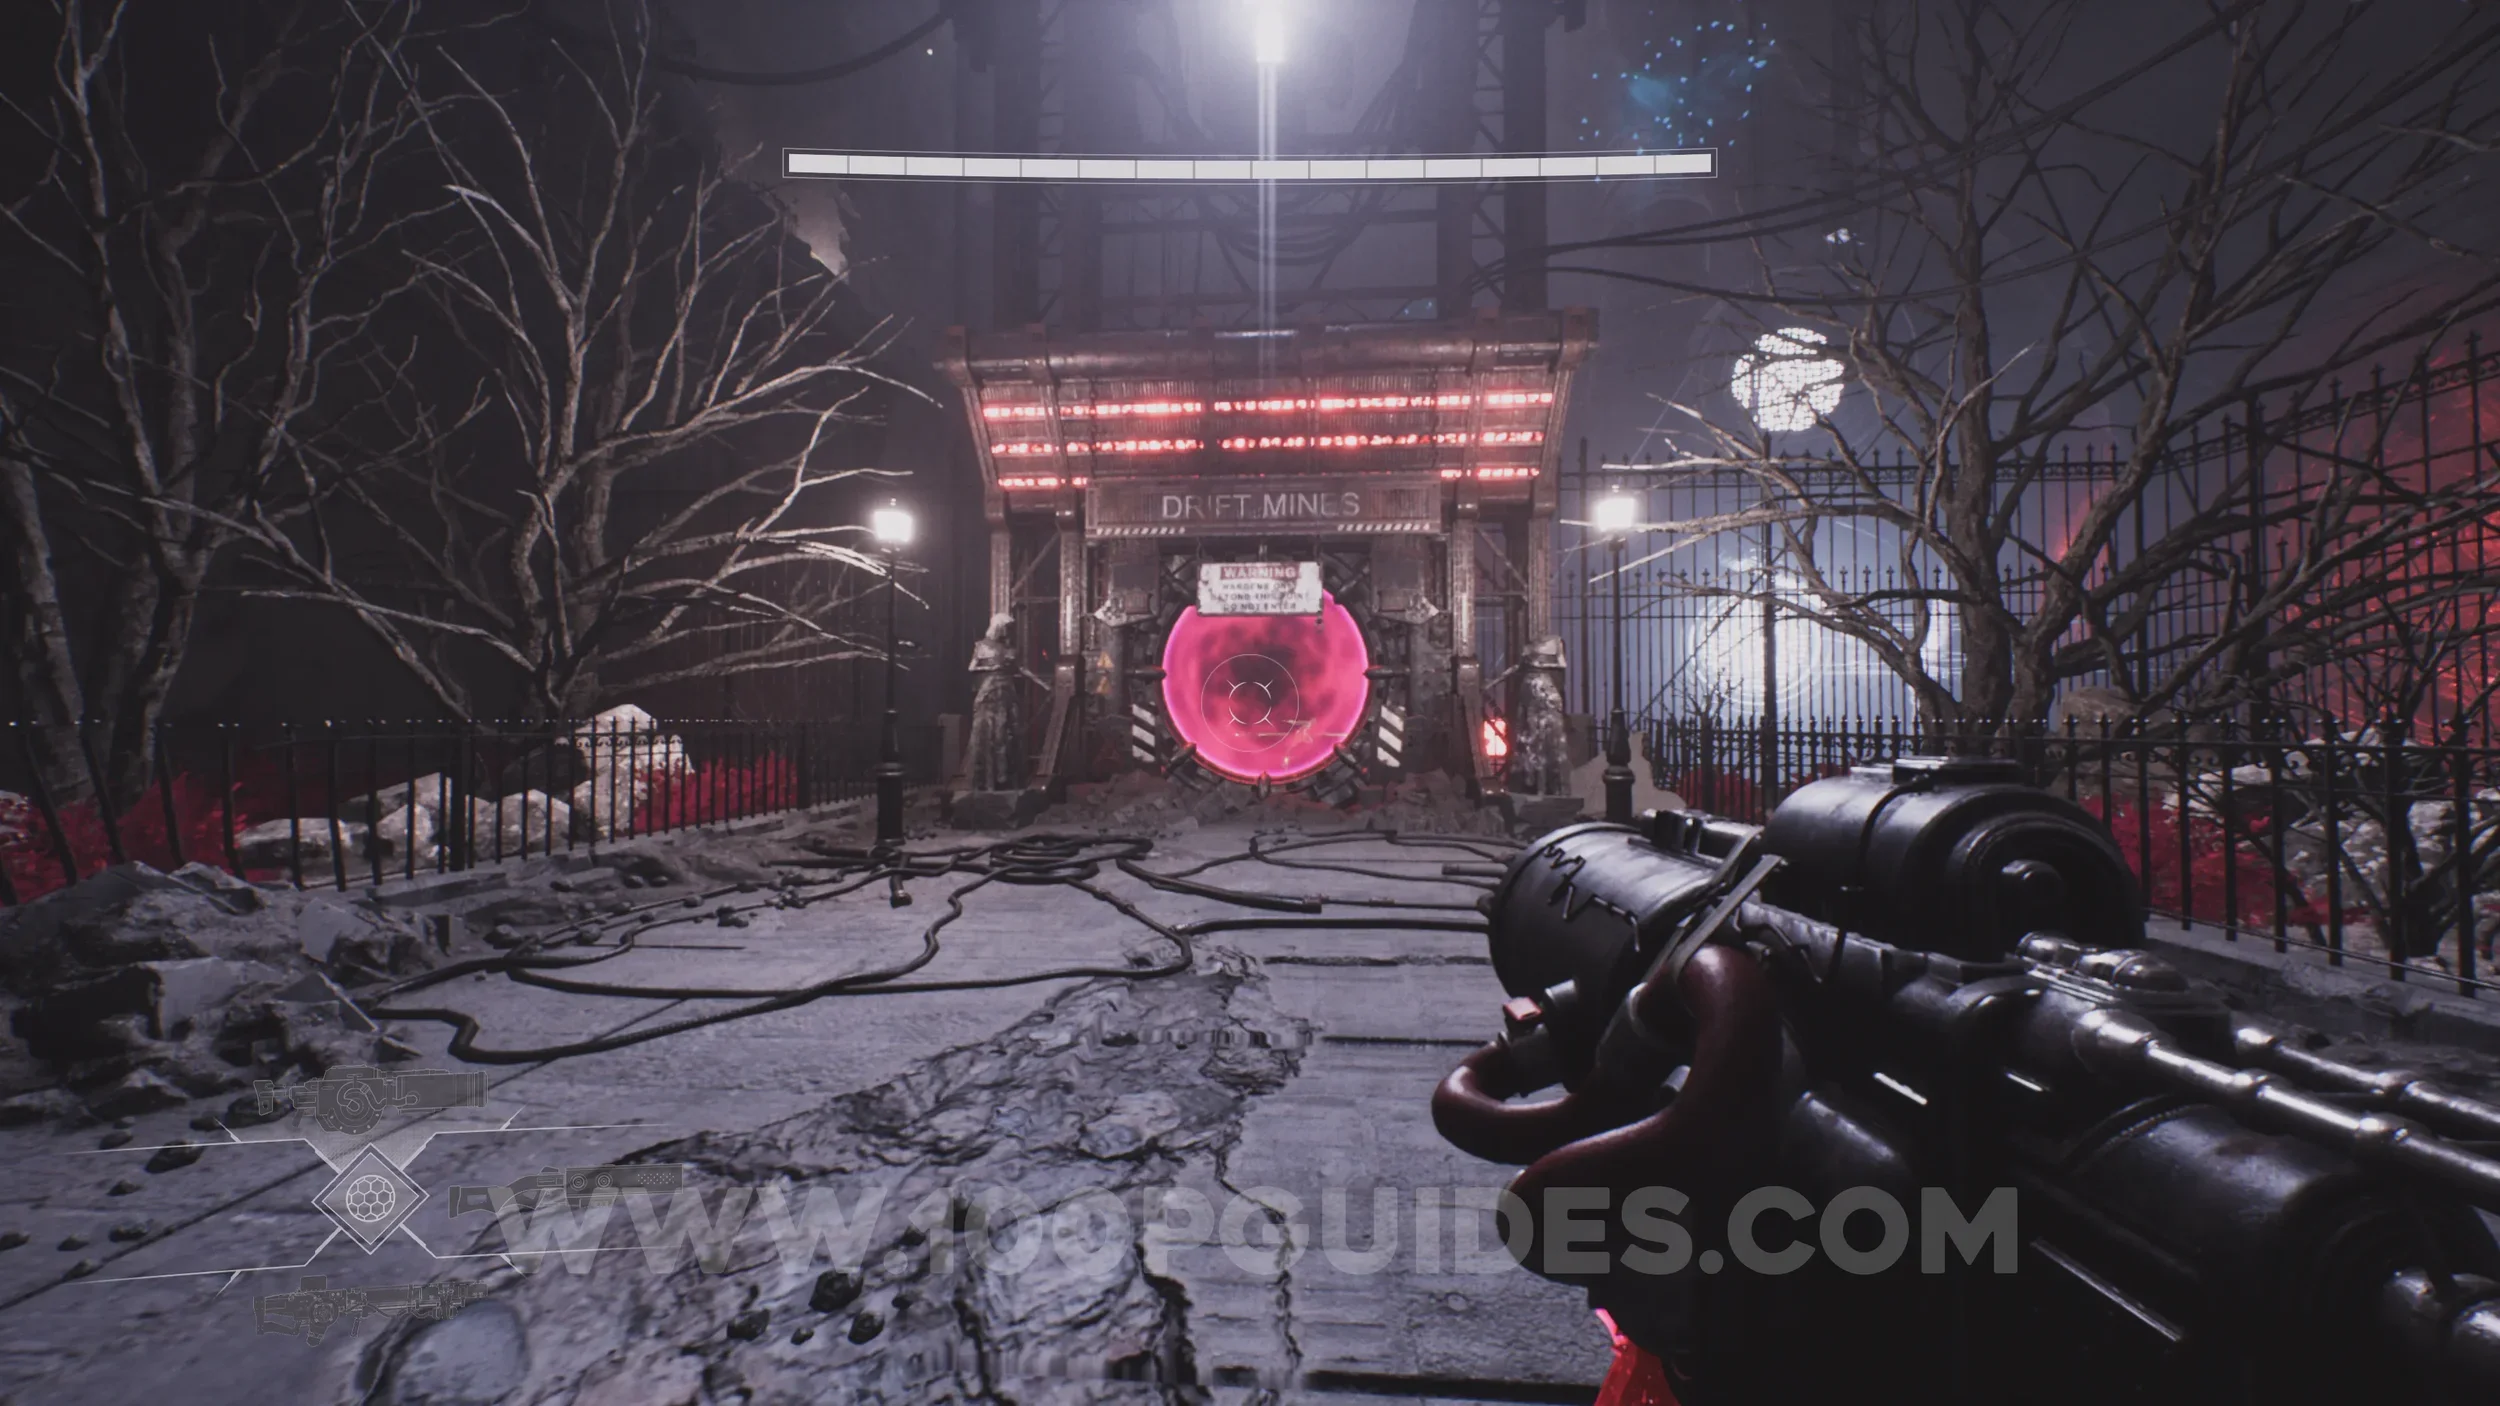
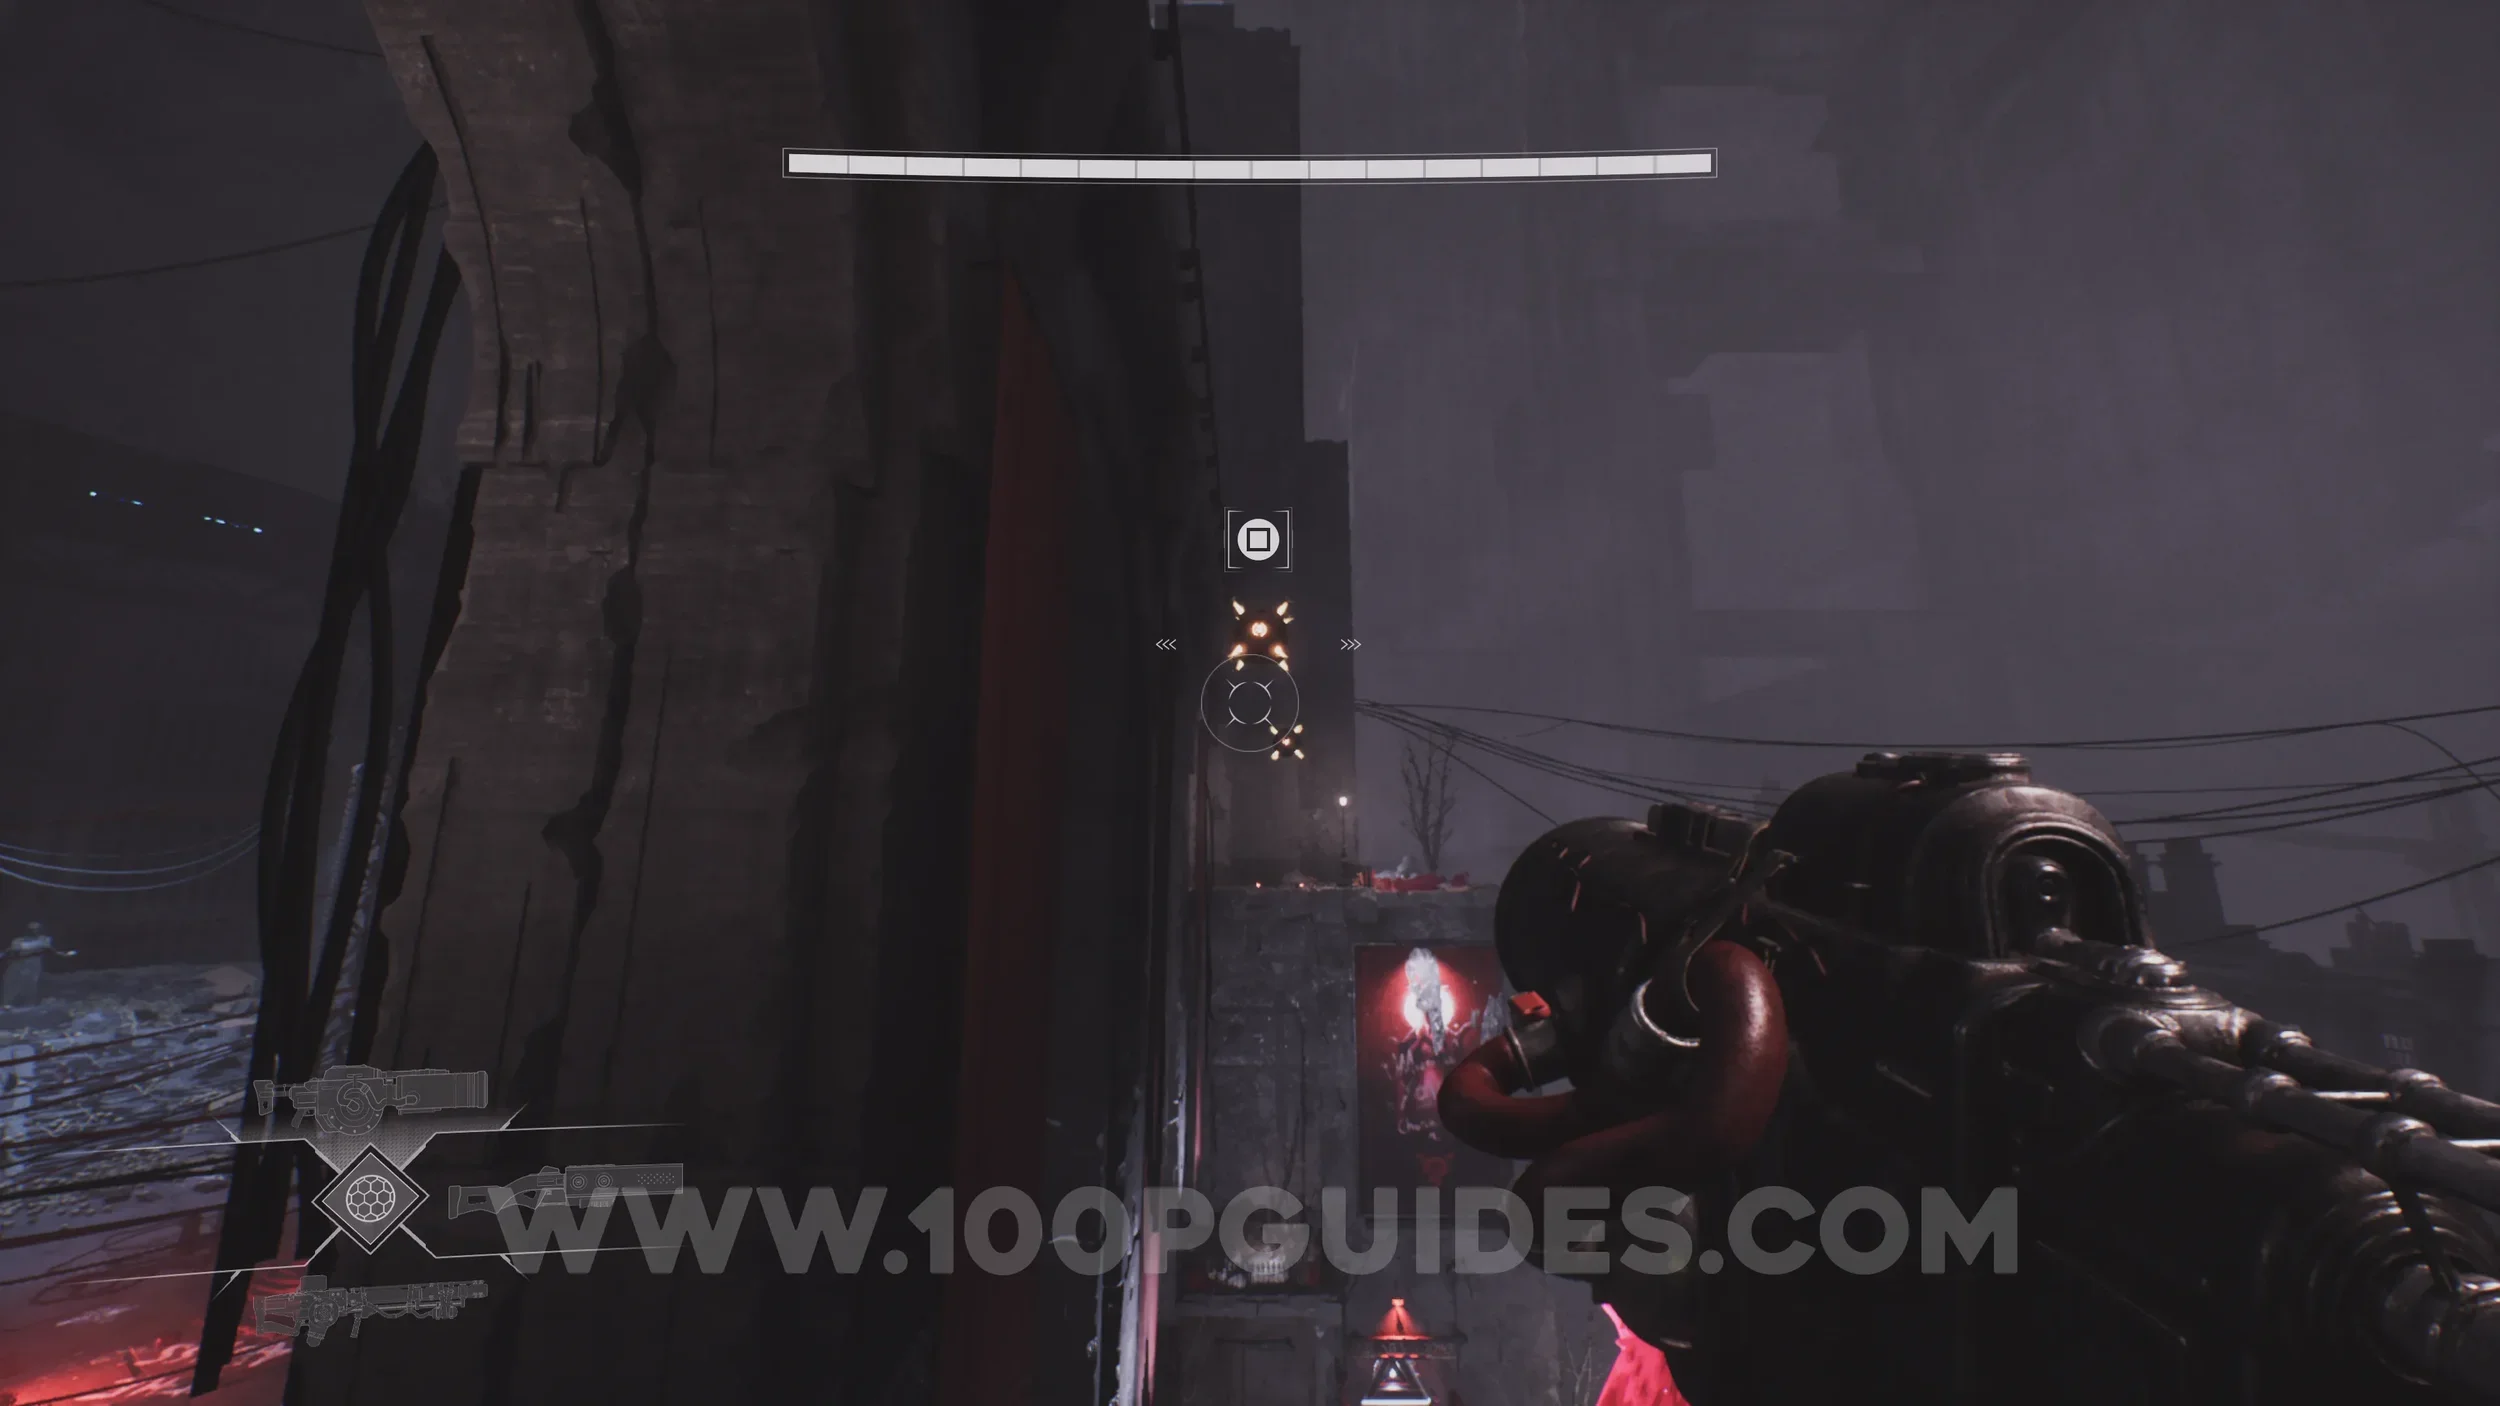
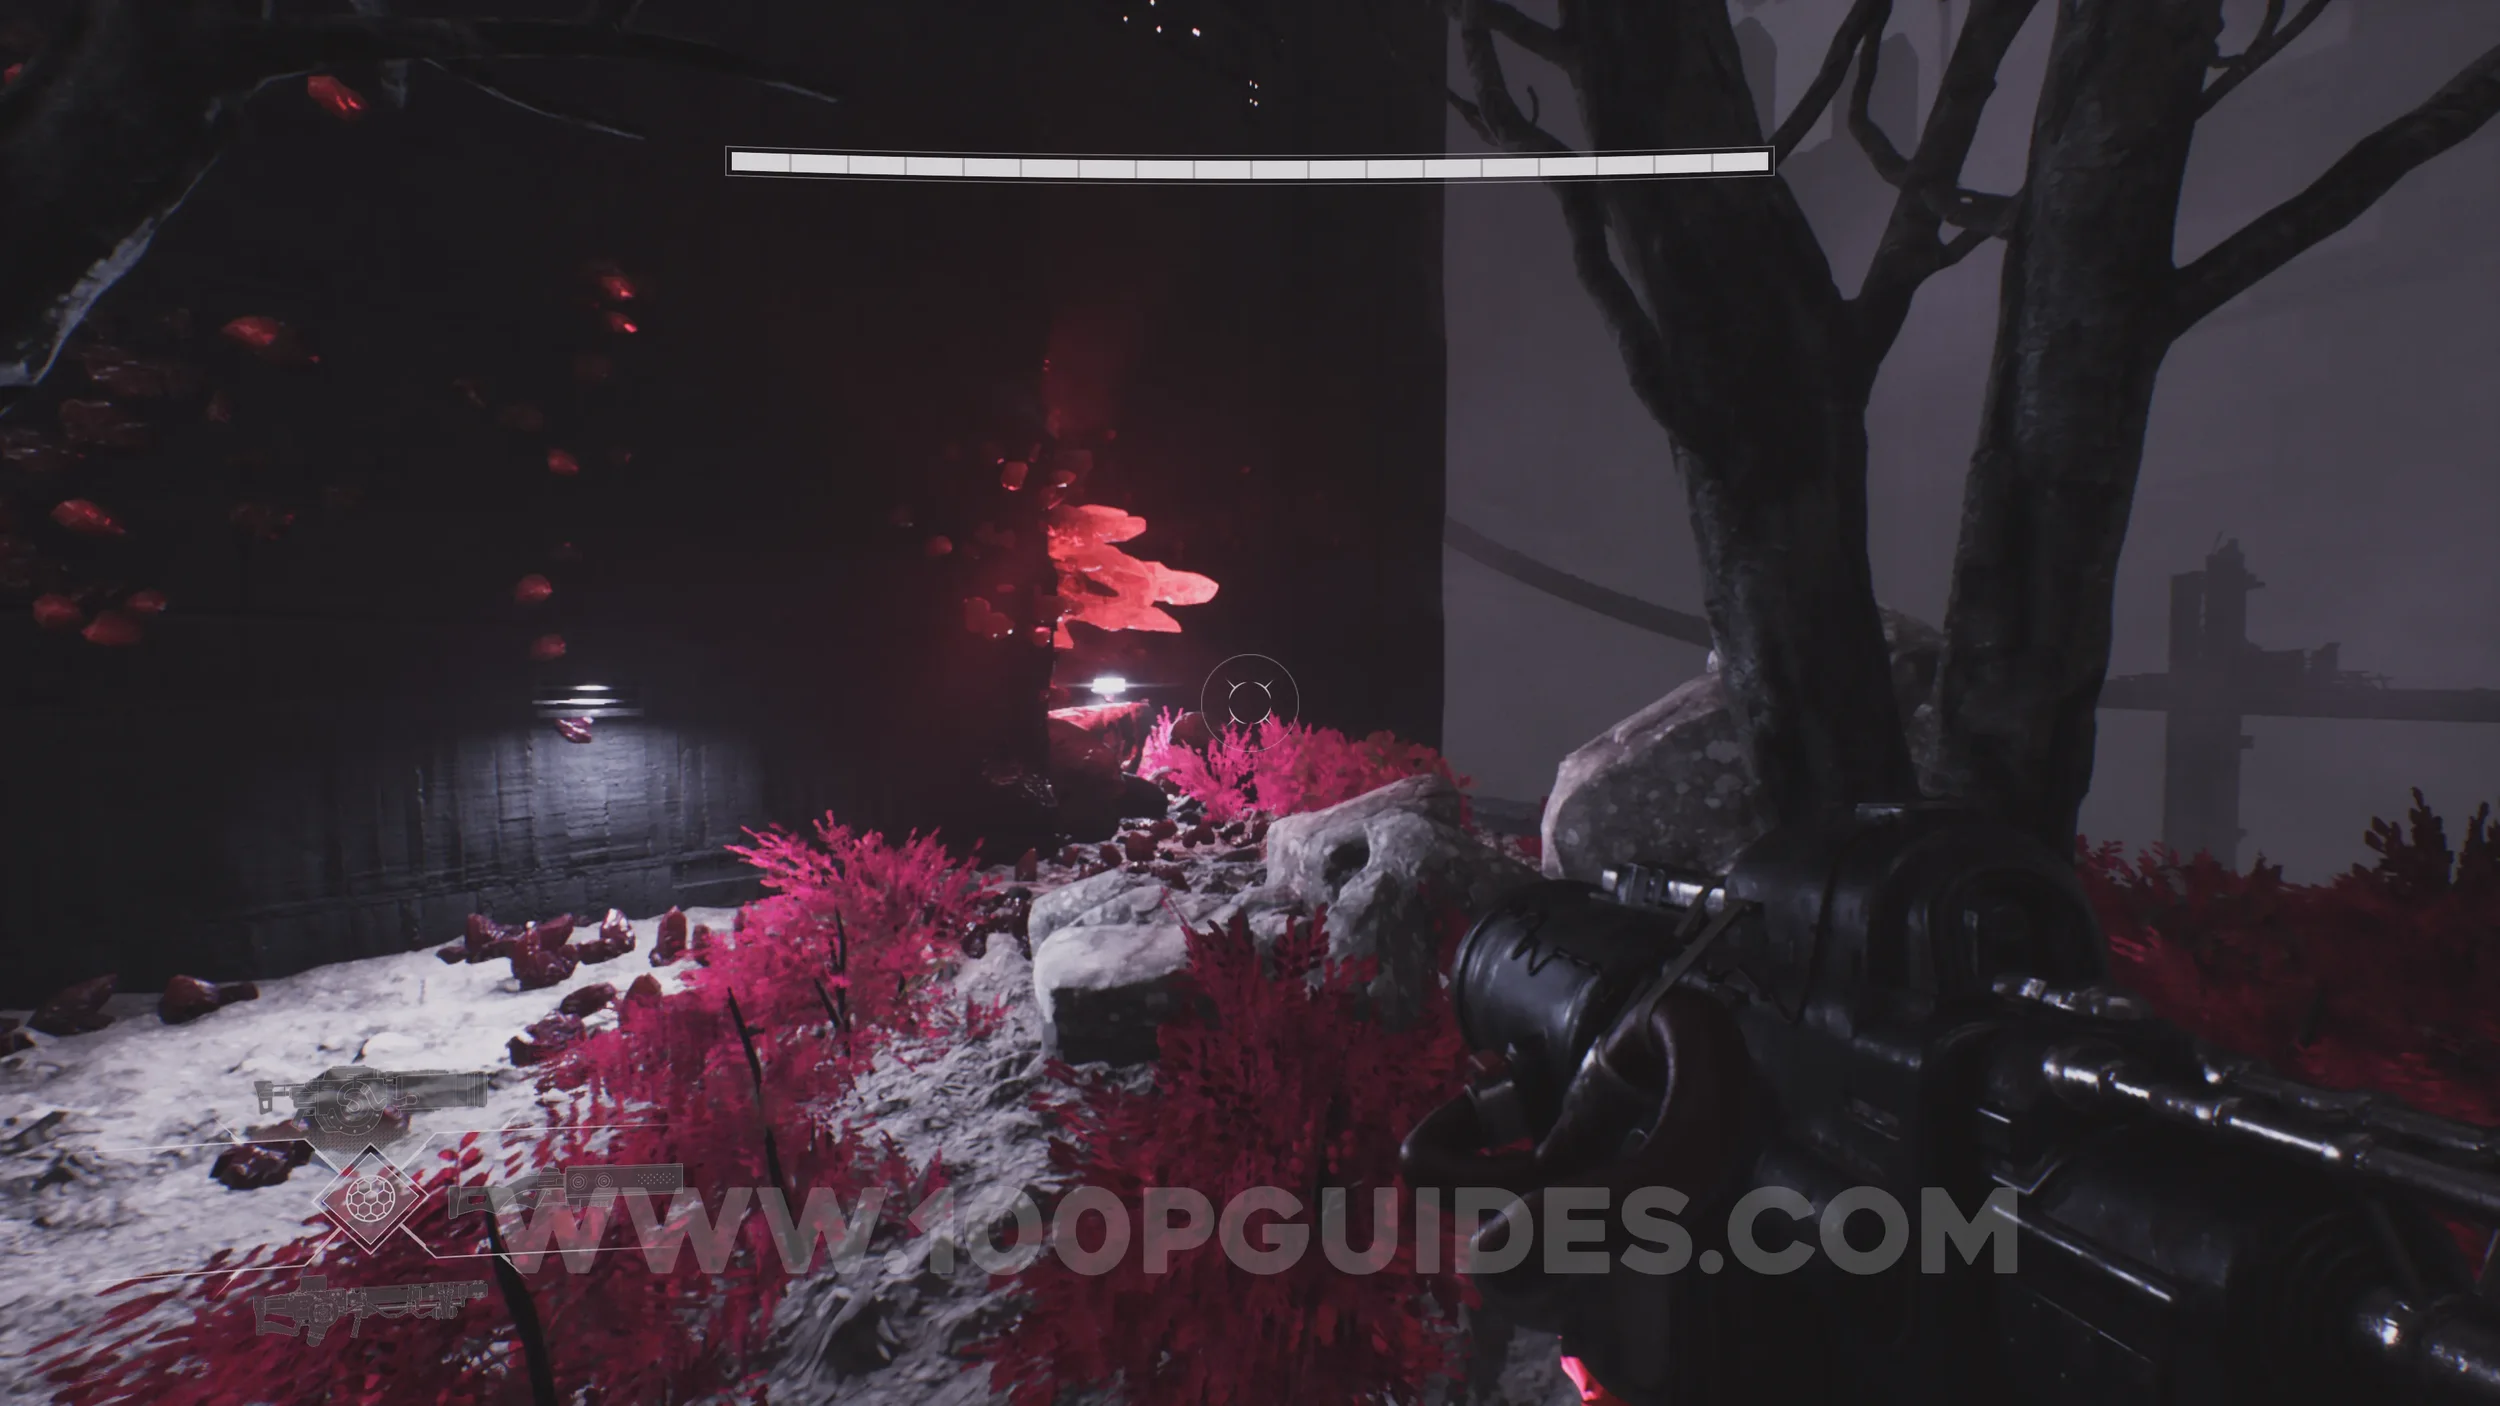
Monarch’s Lance Upgrade. Inside the same building where the crystal is. Go left after the grappling points to go inside through the triangular door.
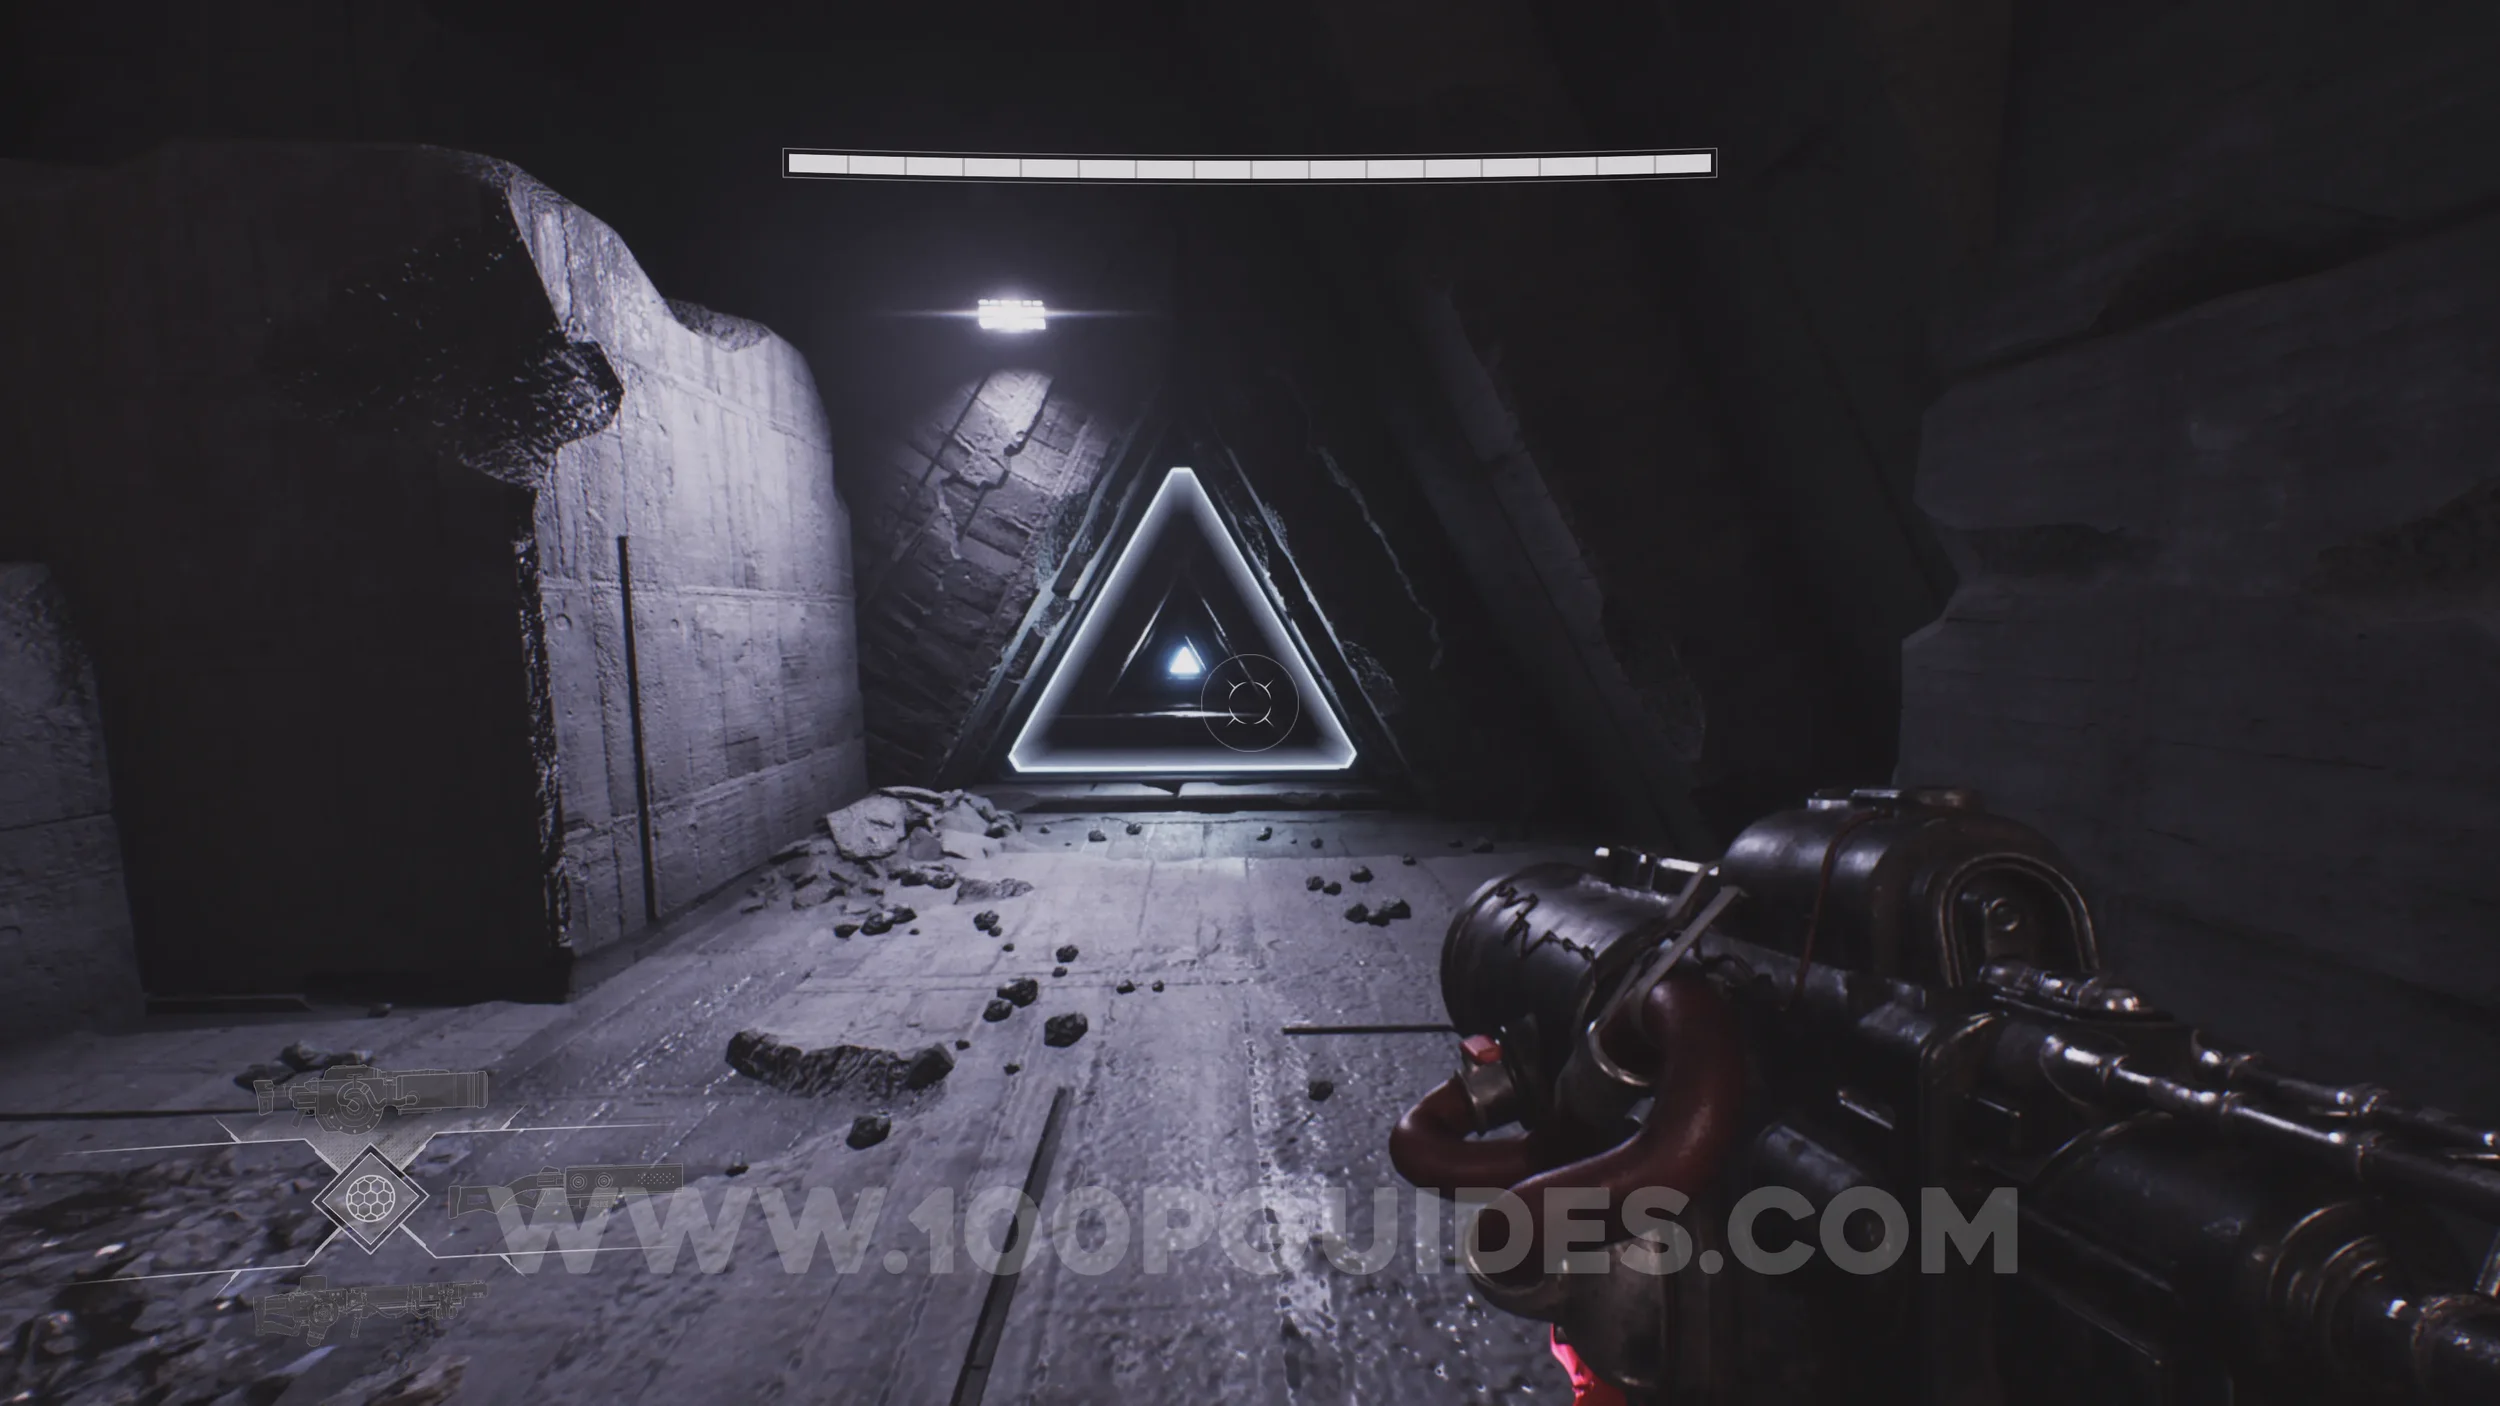
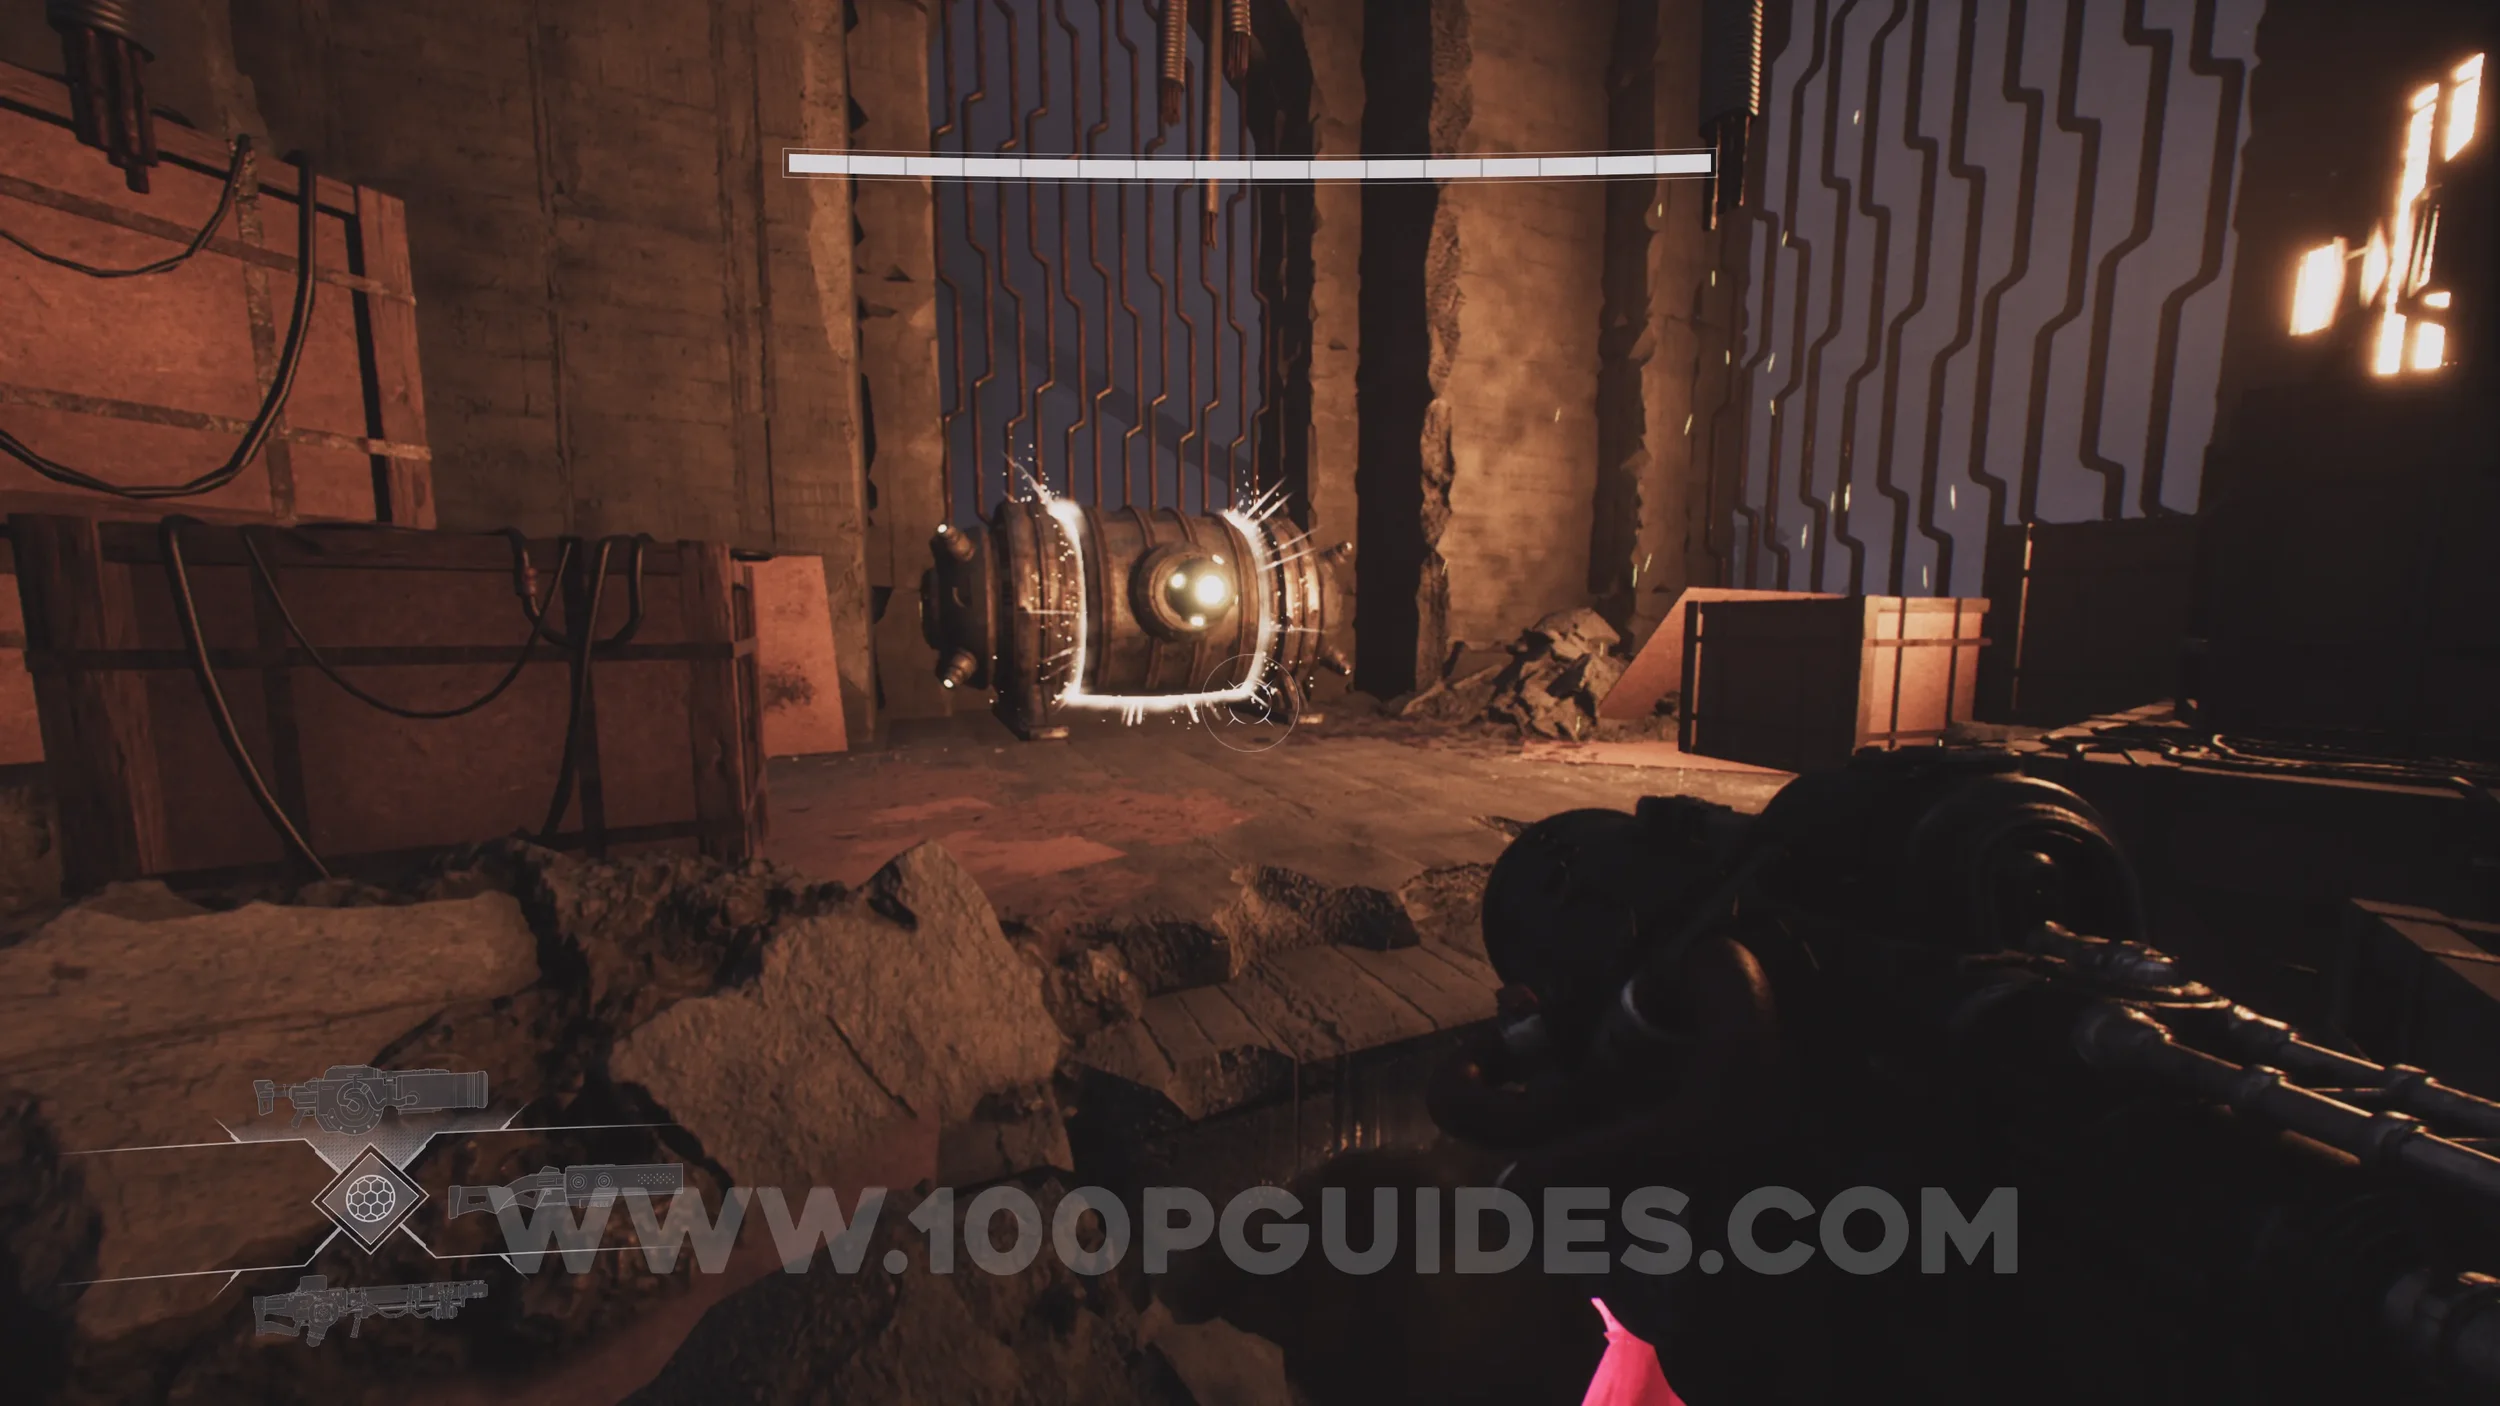
Lore Entry #70 (Character - Orion). Return to the start of the level and use the grappling point to reach the first switch that opens the round story-related door. The collectible will be in plain sight just outside the door past the switch.
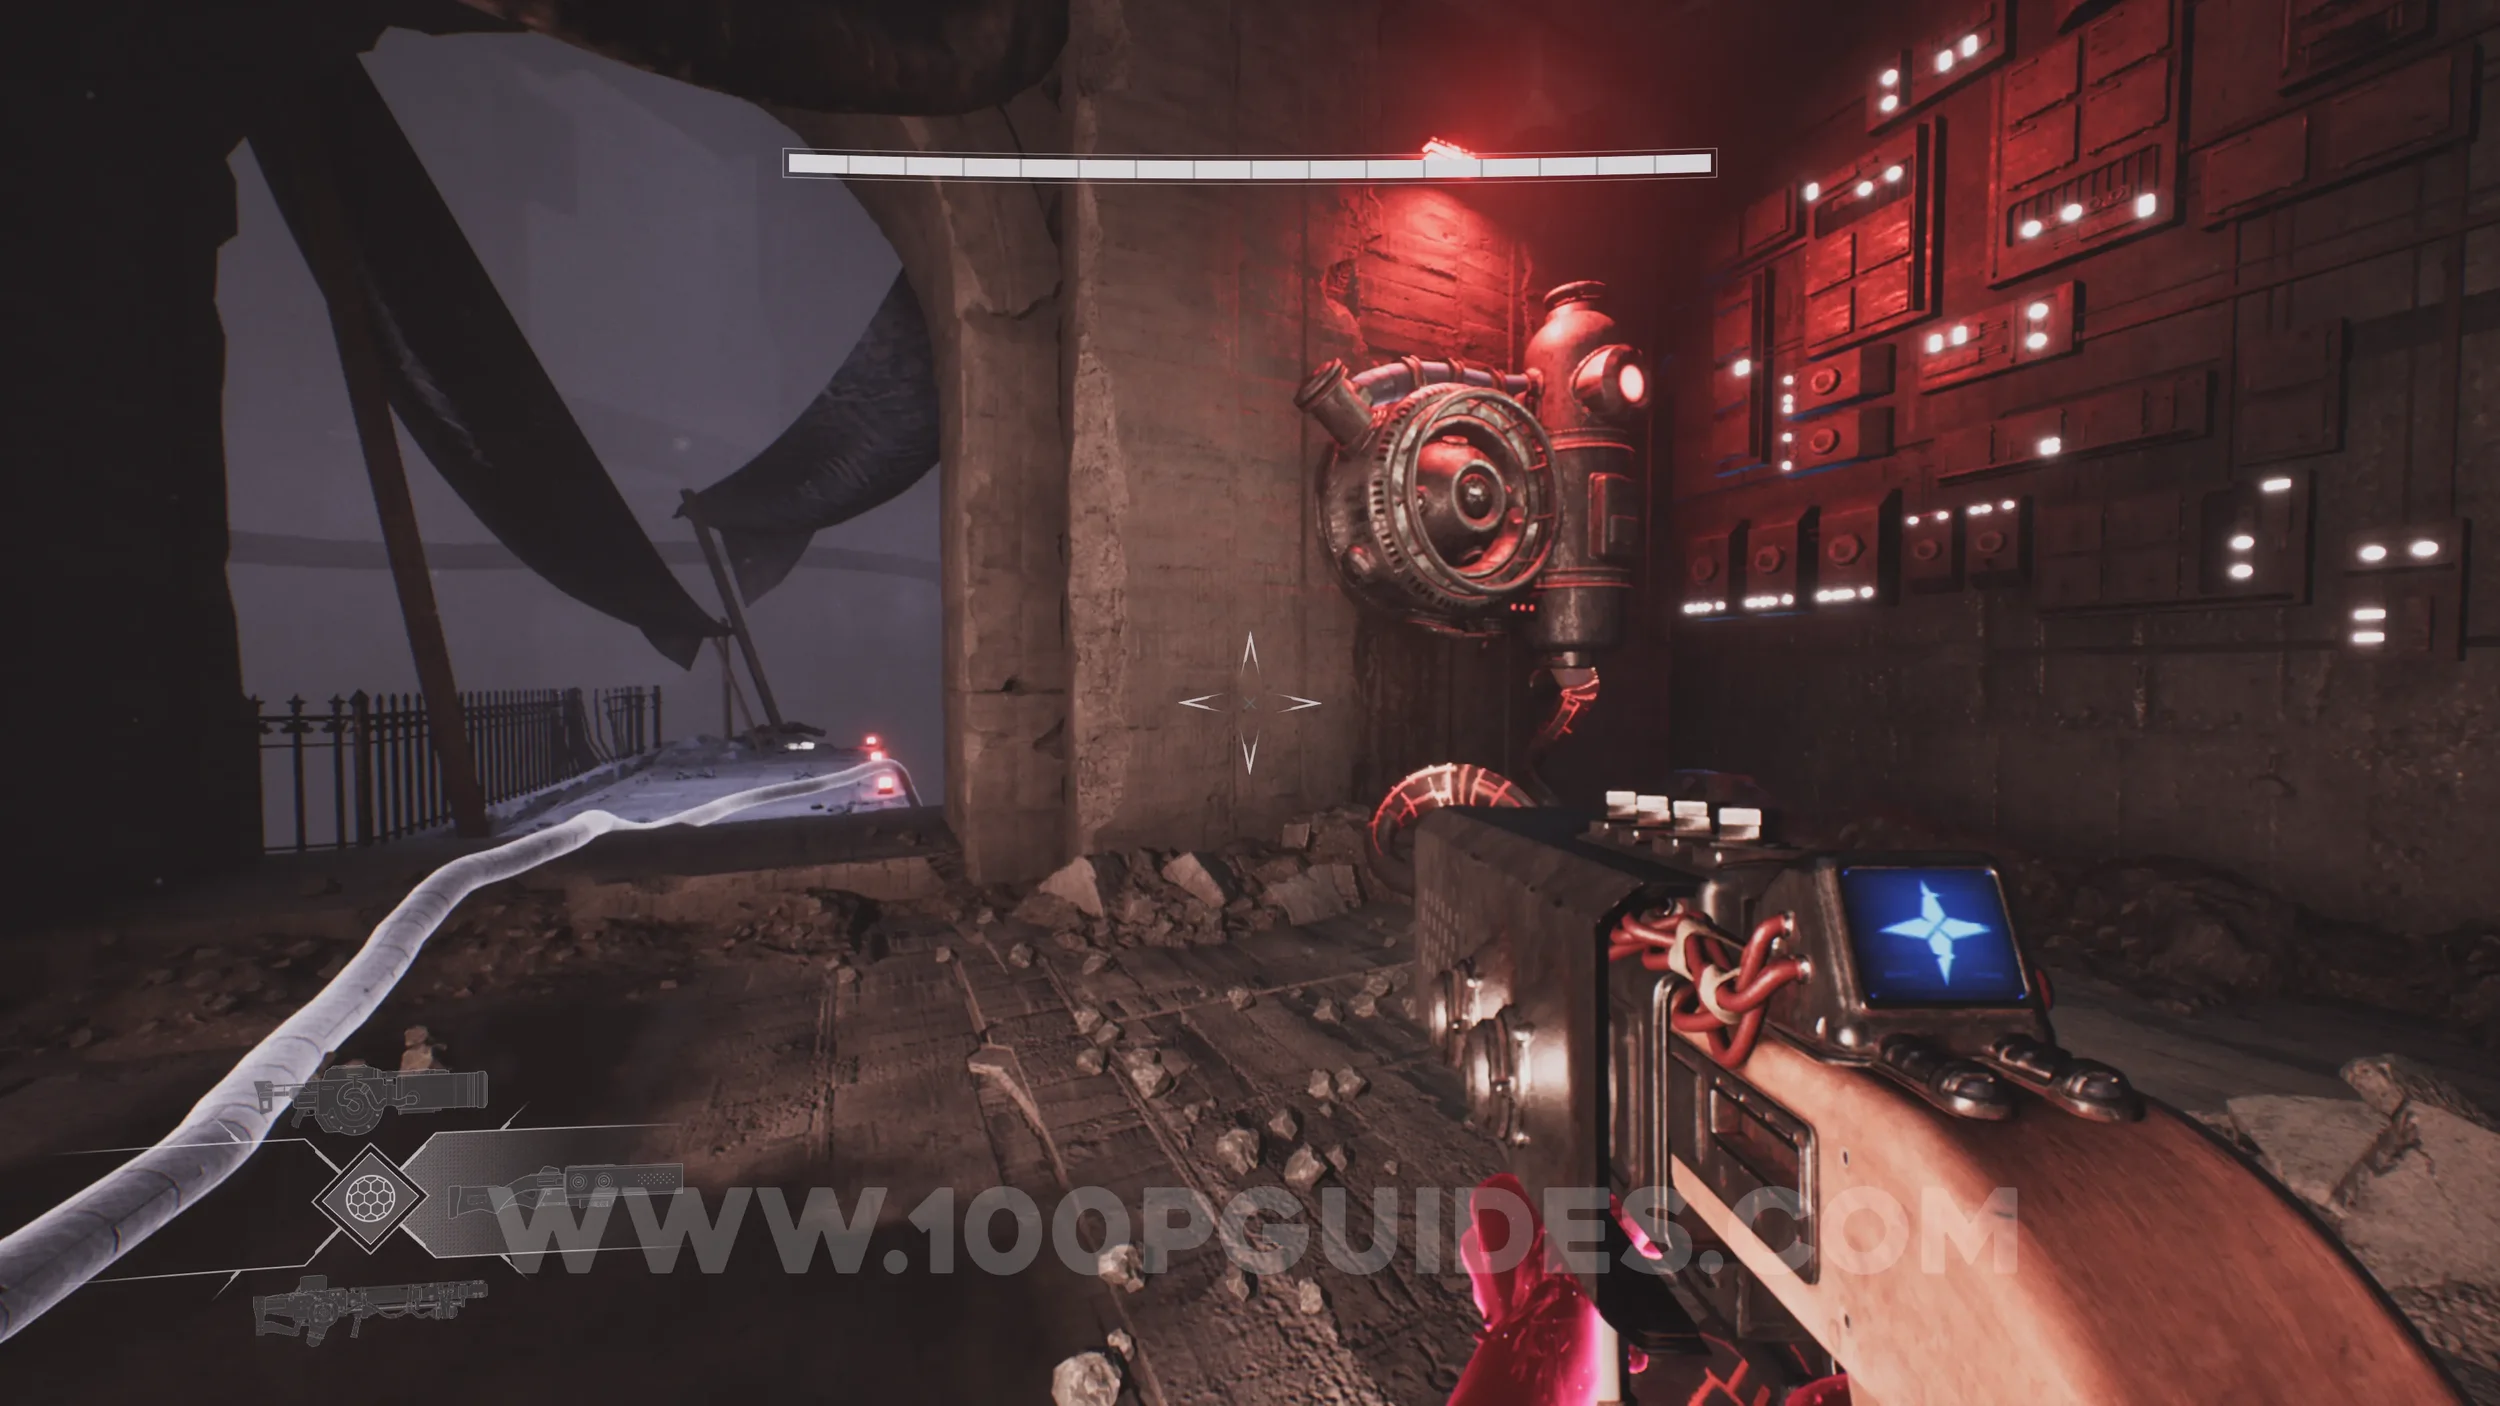
Lore Entry #71 (Character - Atticus Lynch). In plain sight after passing through the circular door that you open with the two switches.
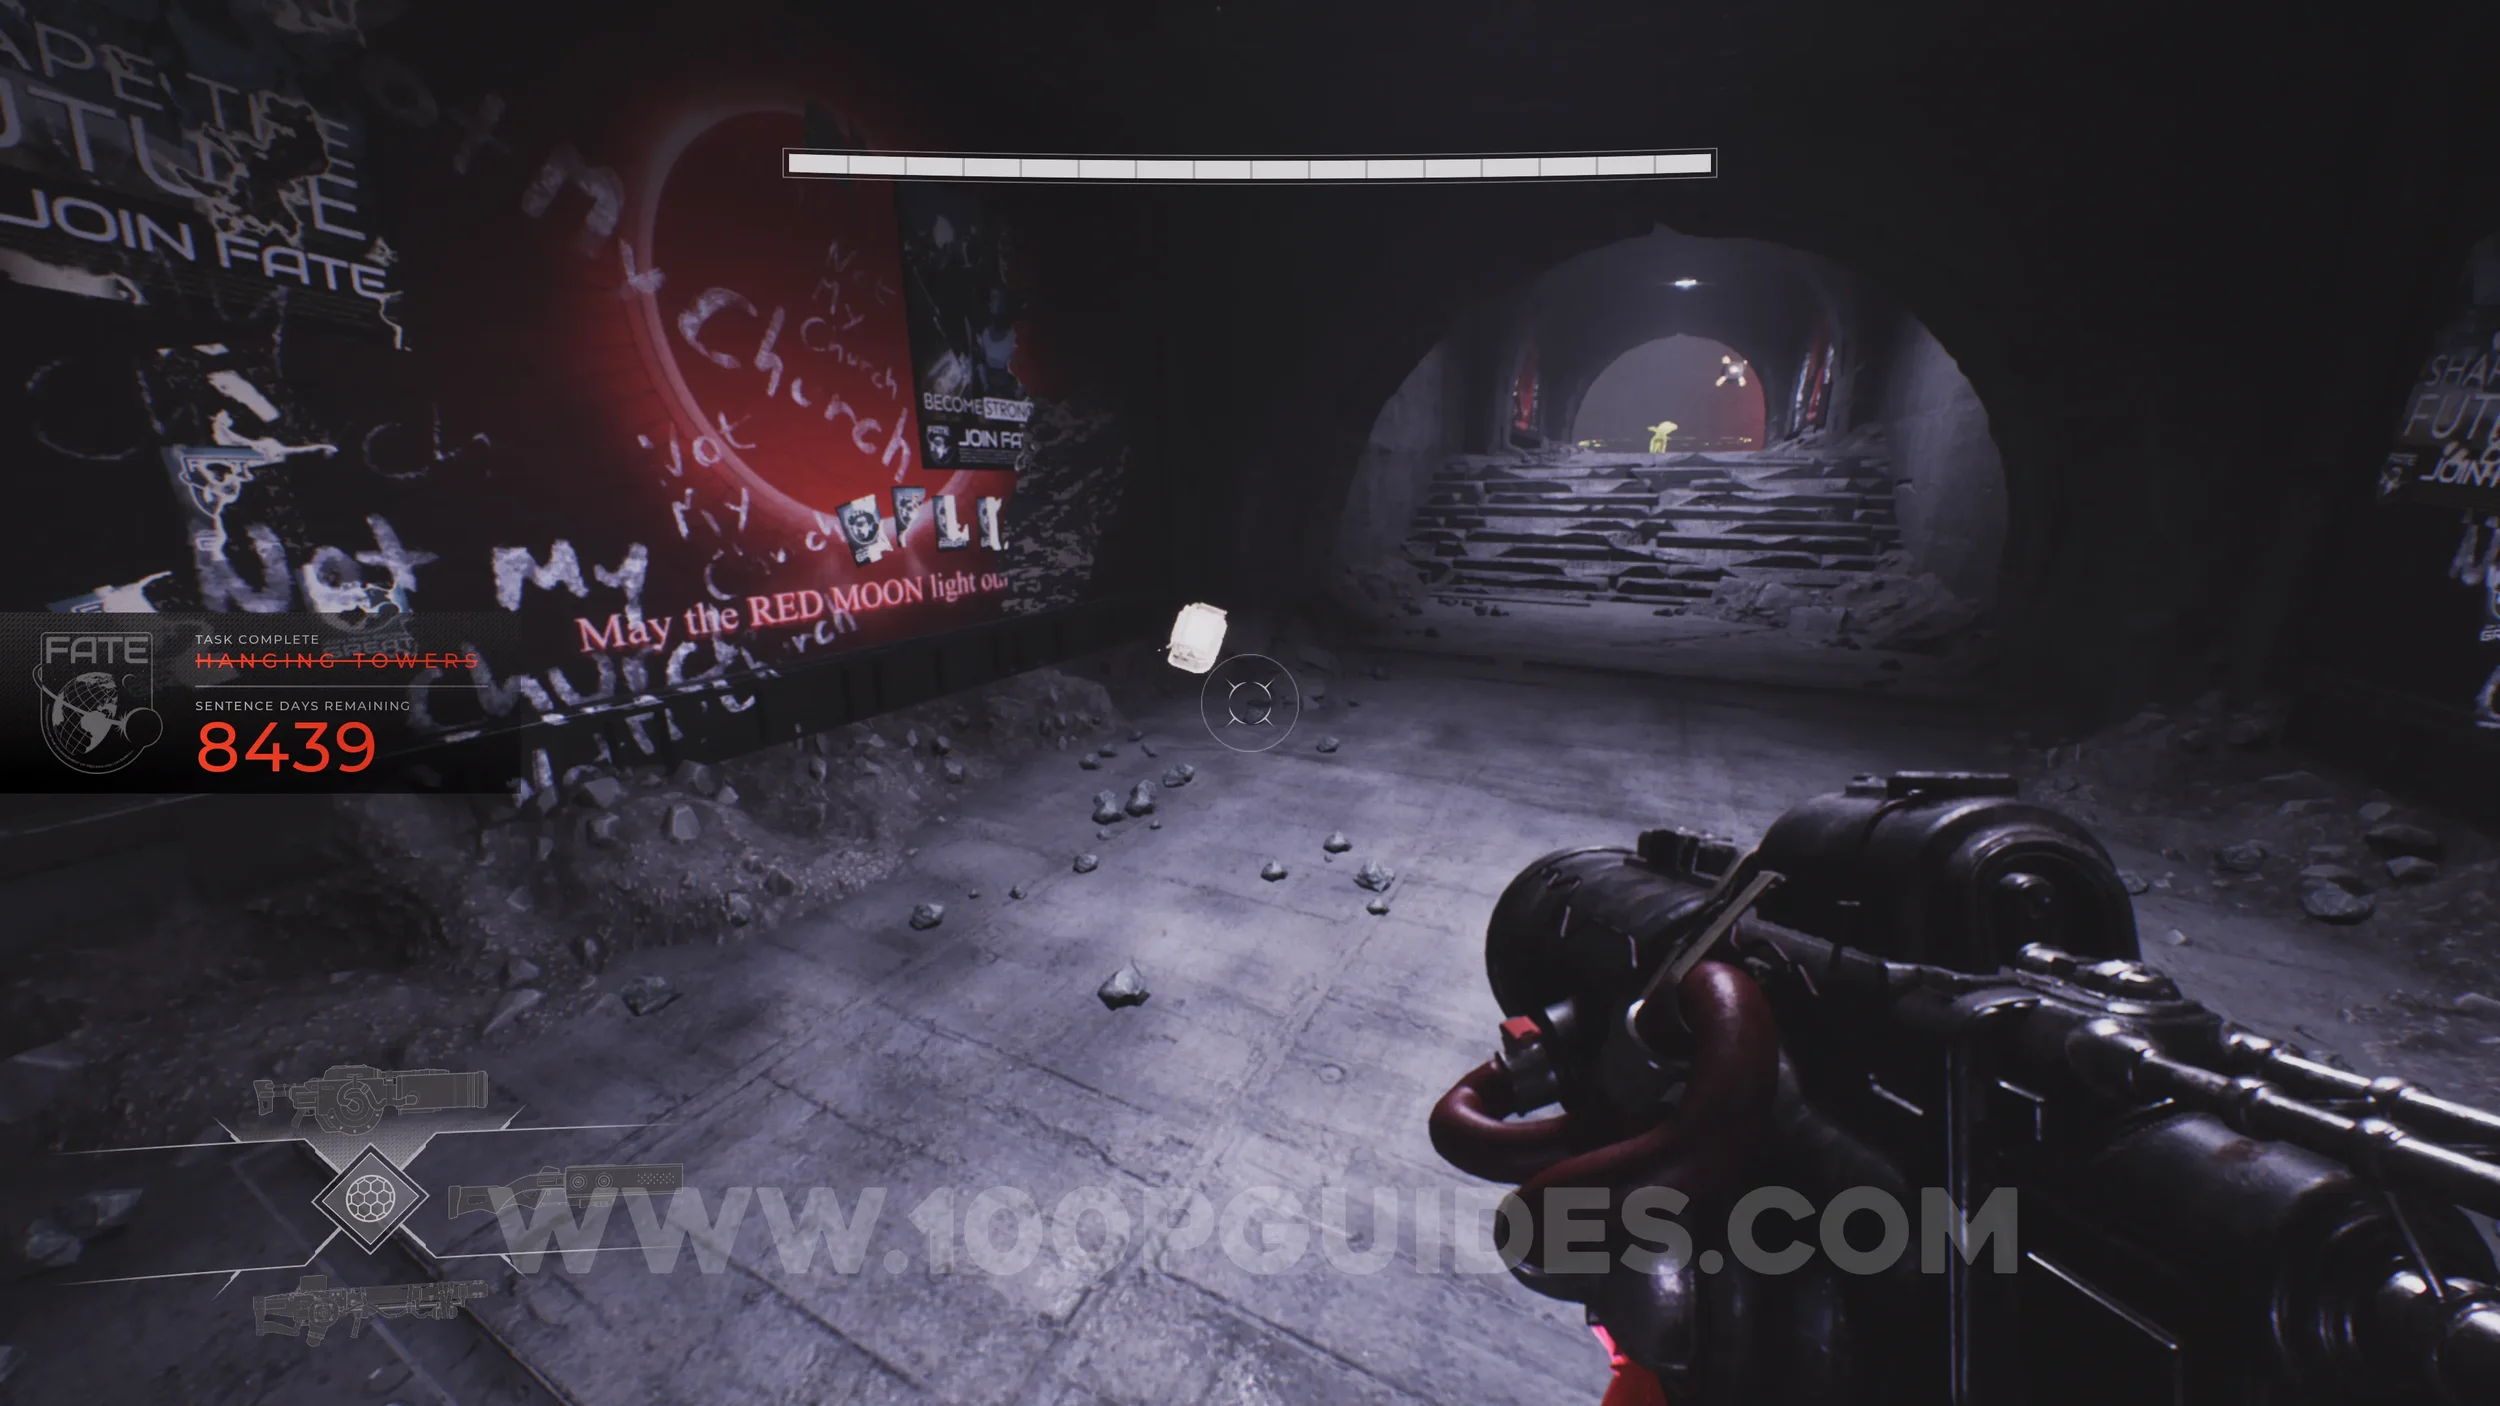
Lore Entry #72 (Memory - Entry #05621 - Bound). After reaching an area with enemies, you'll start ascending by using suspended platforms and grappling points. Near the top, you'll use a grappling point and spot a white symbol on the wall to the left. Next to the symbol, you'll find a gap that leads to a small room with the collectible.
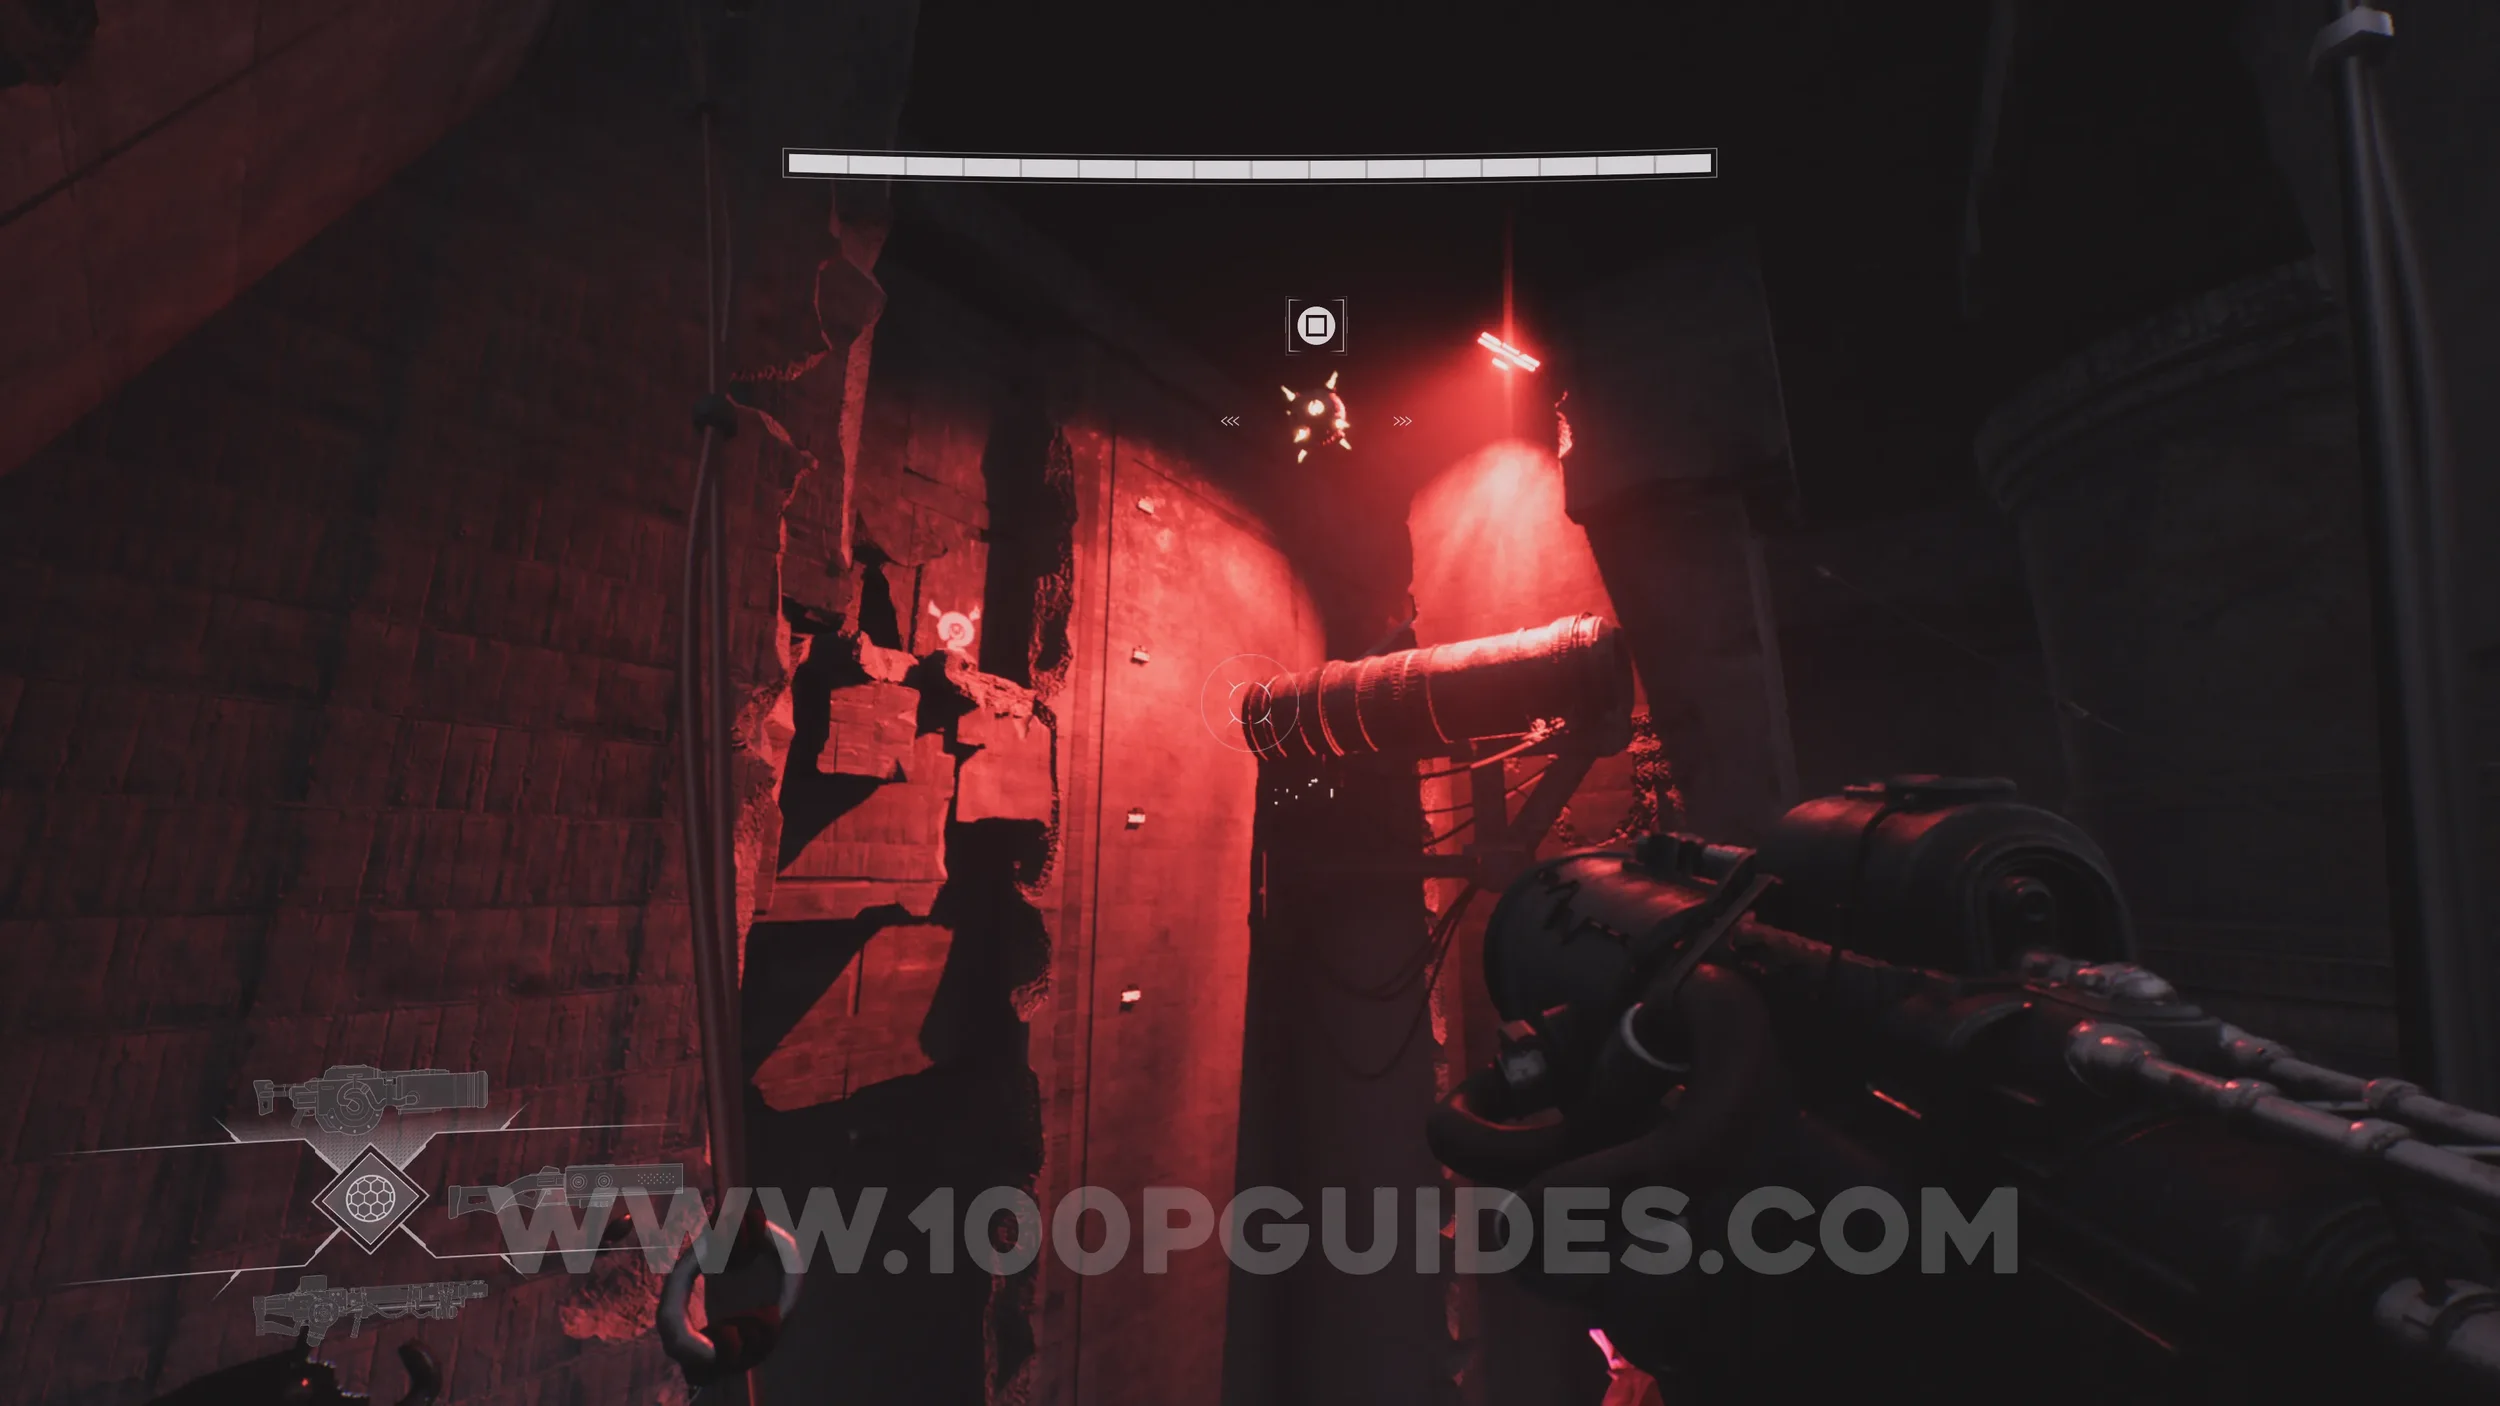
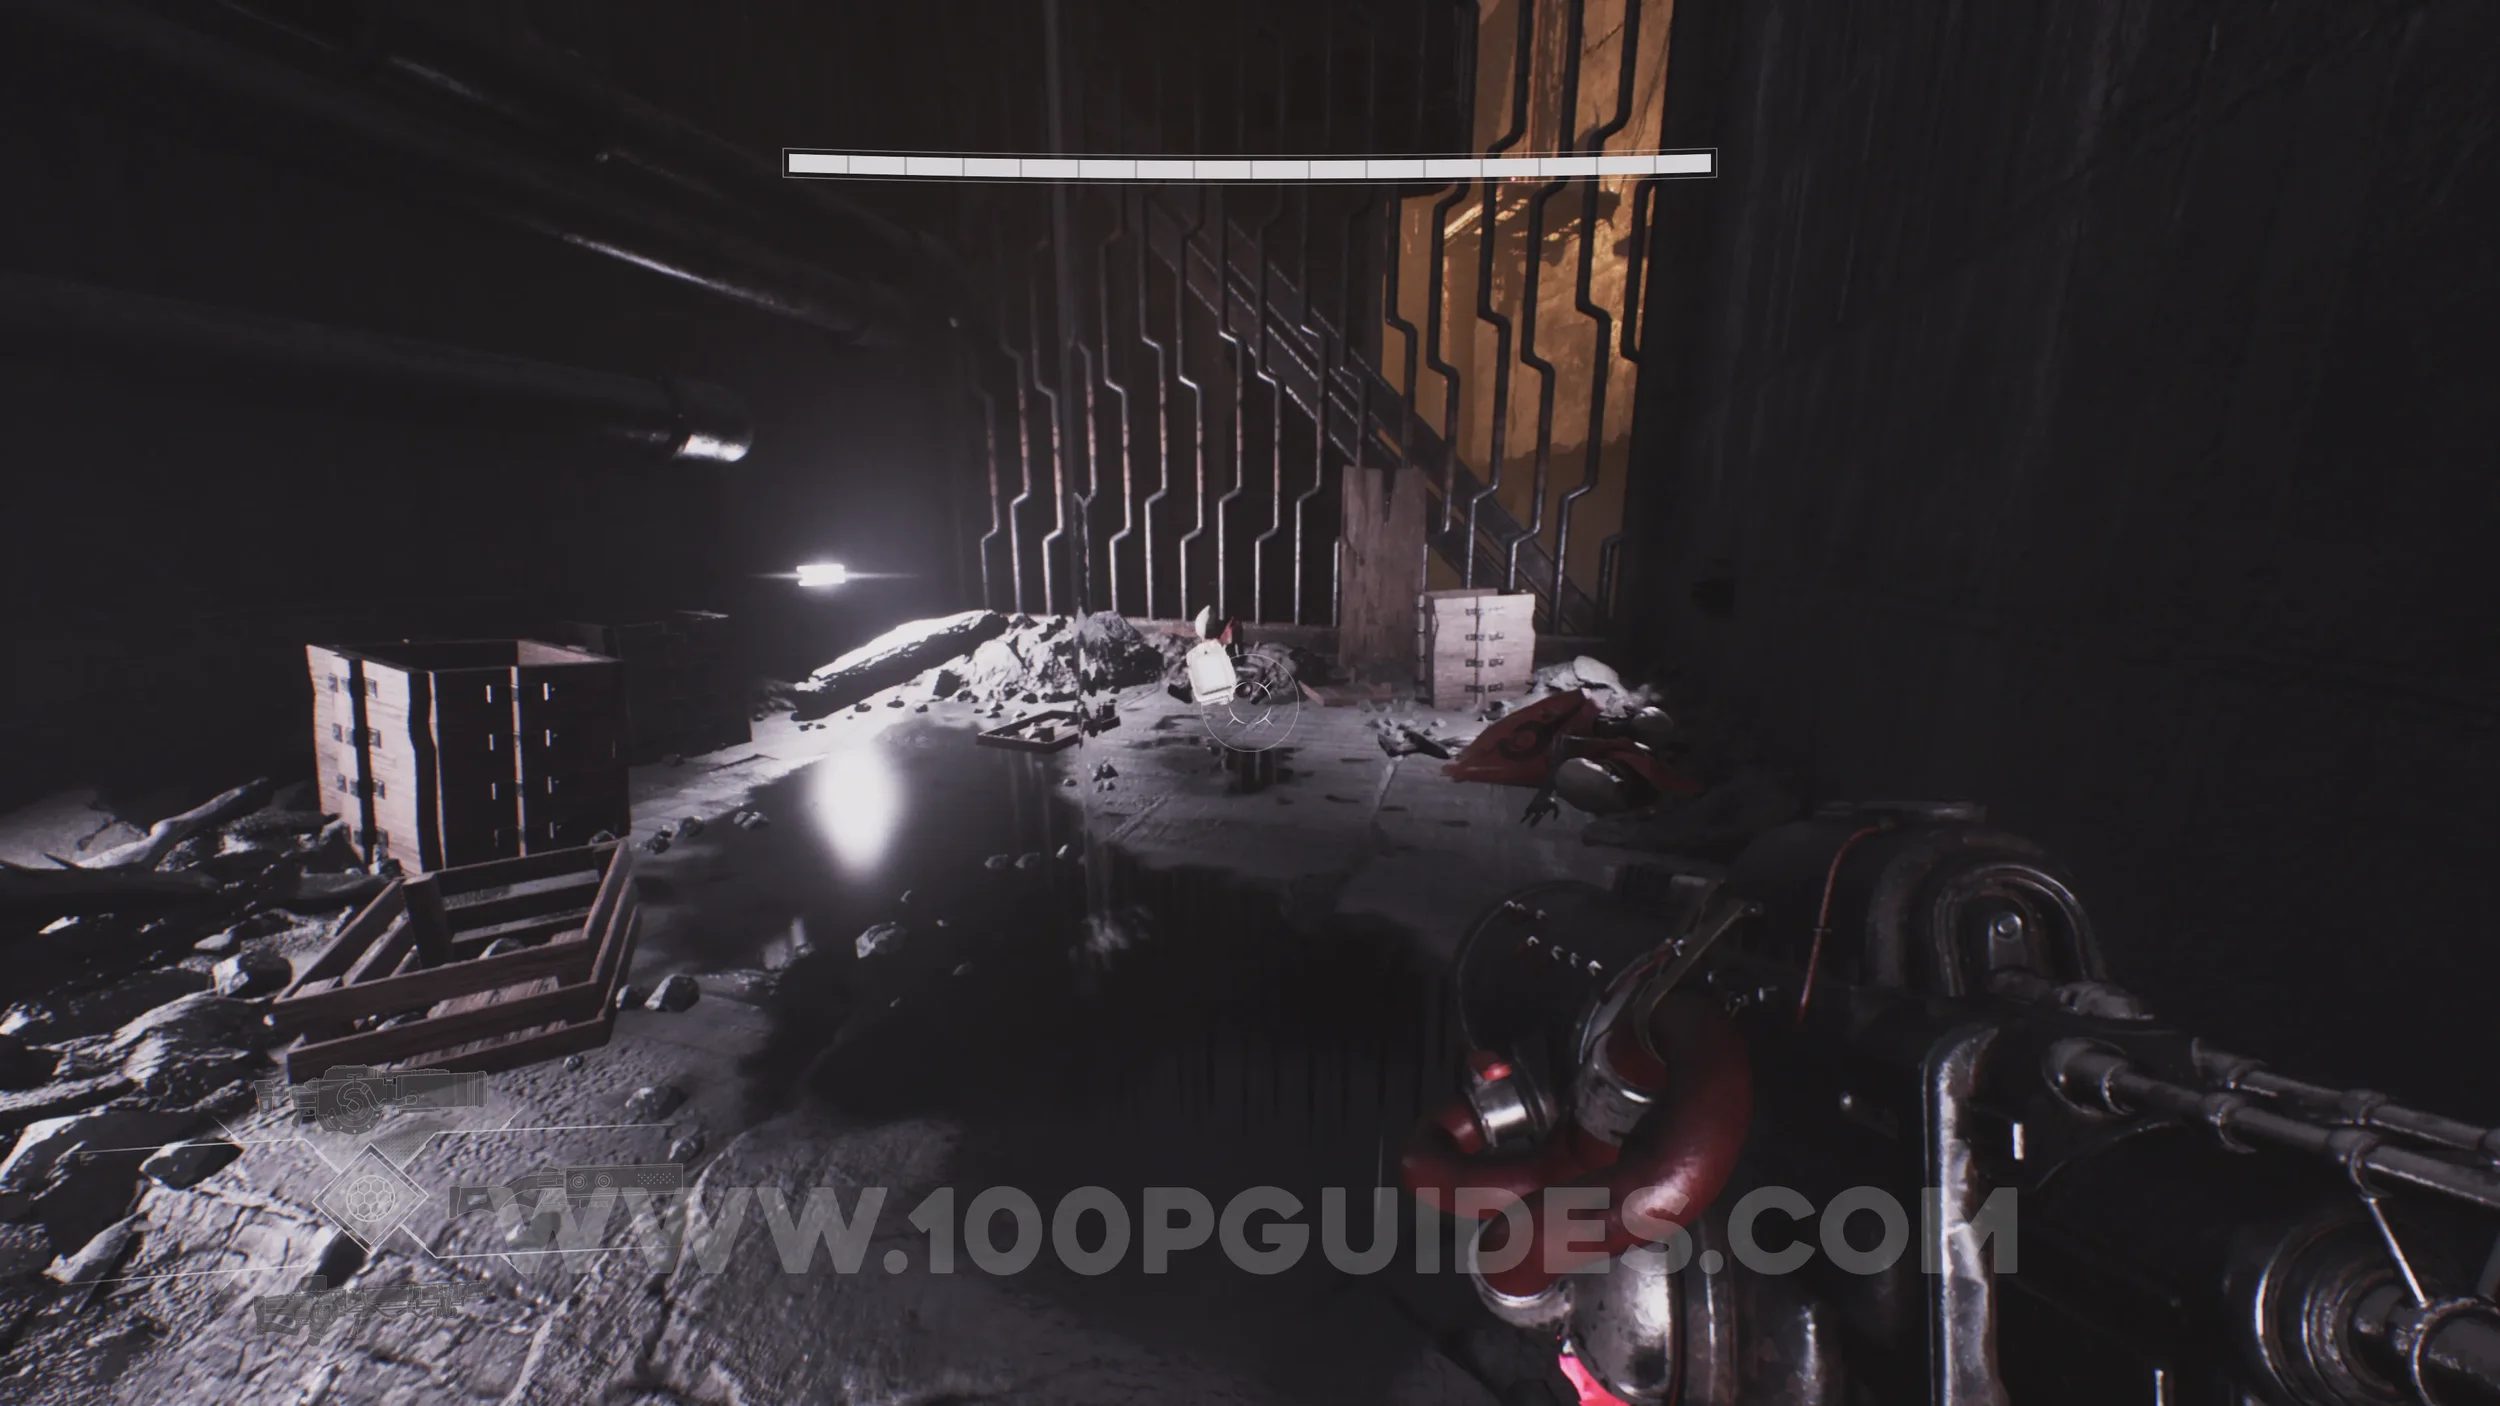
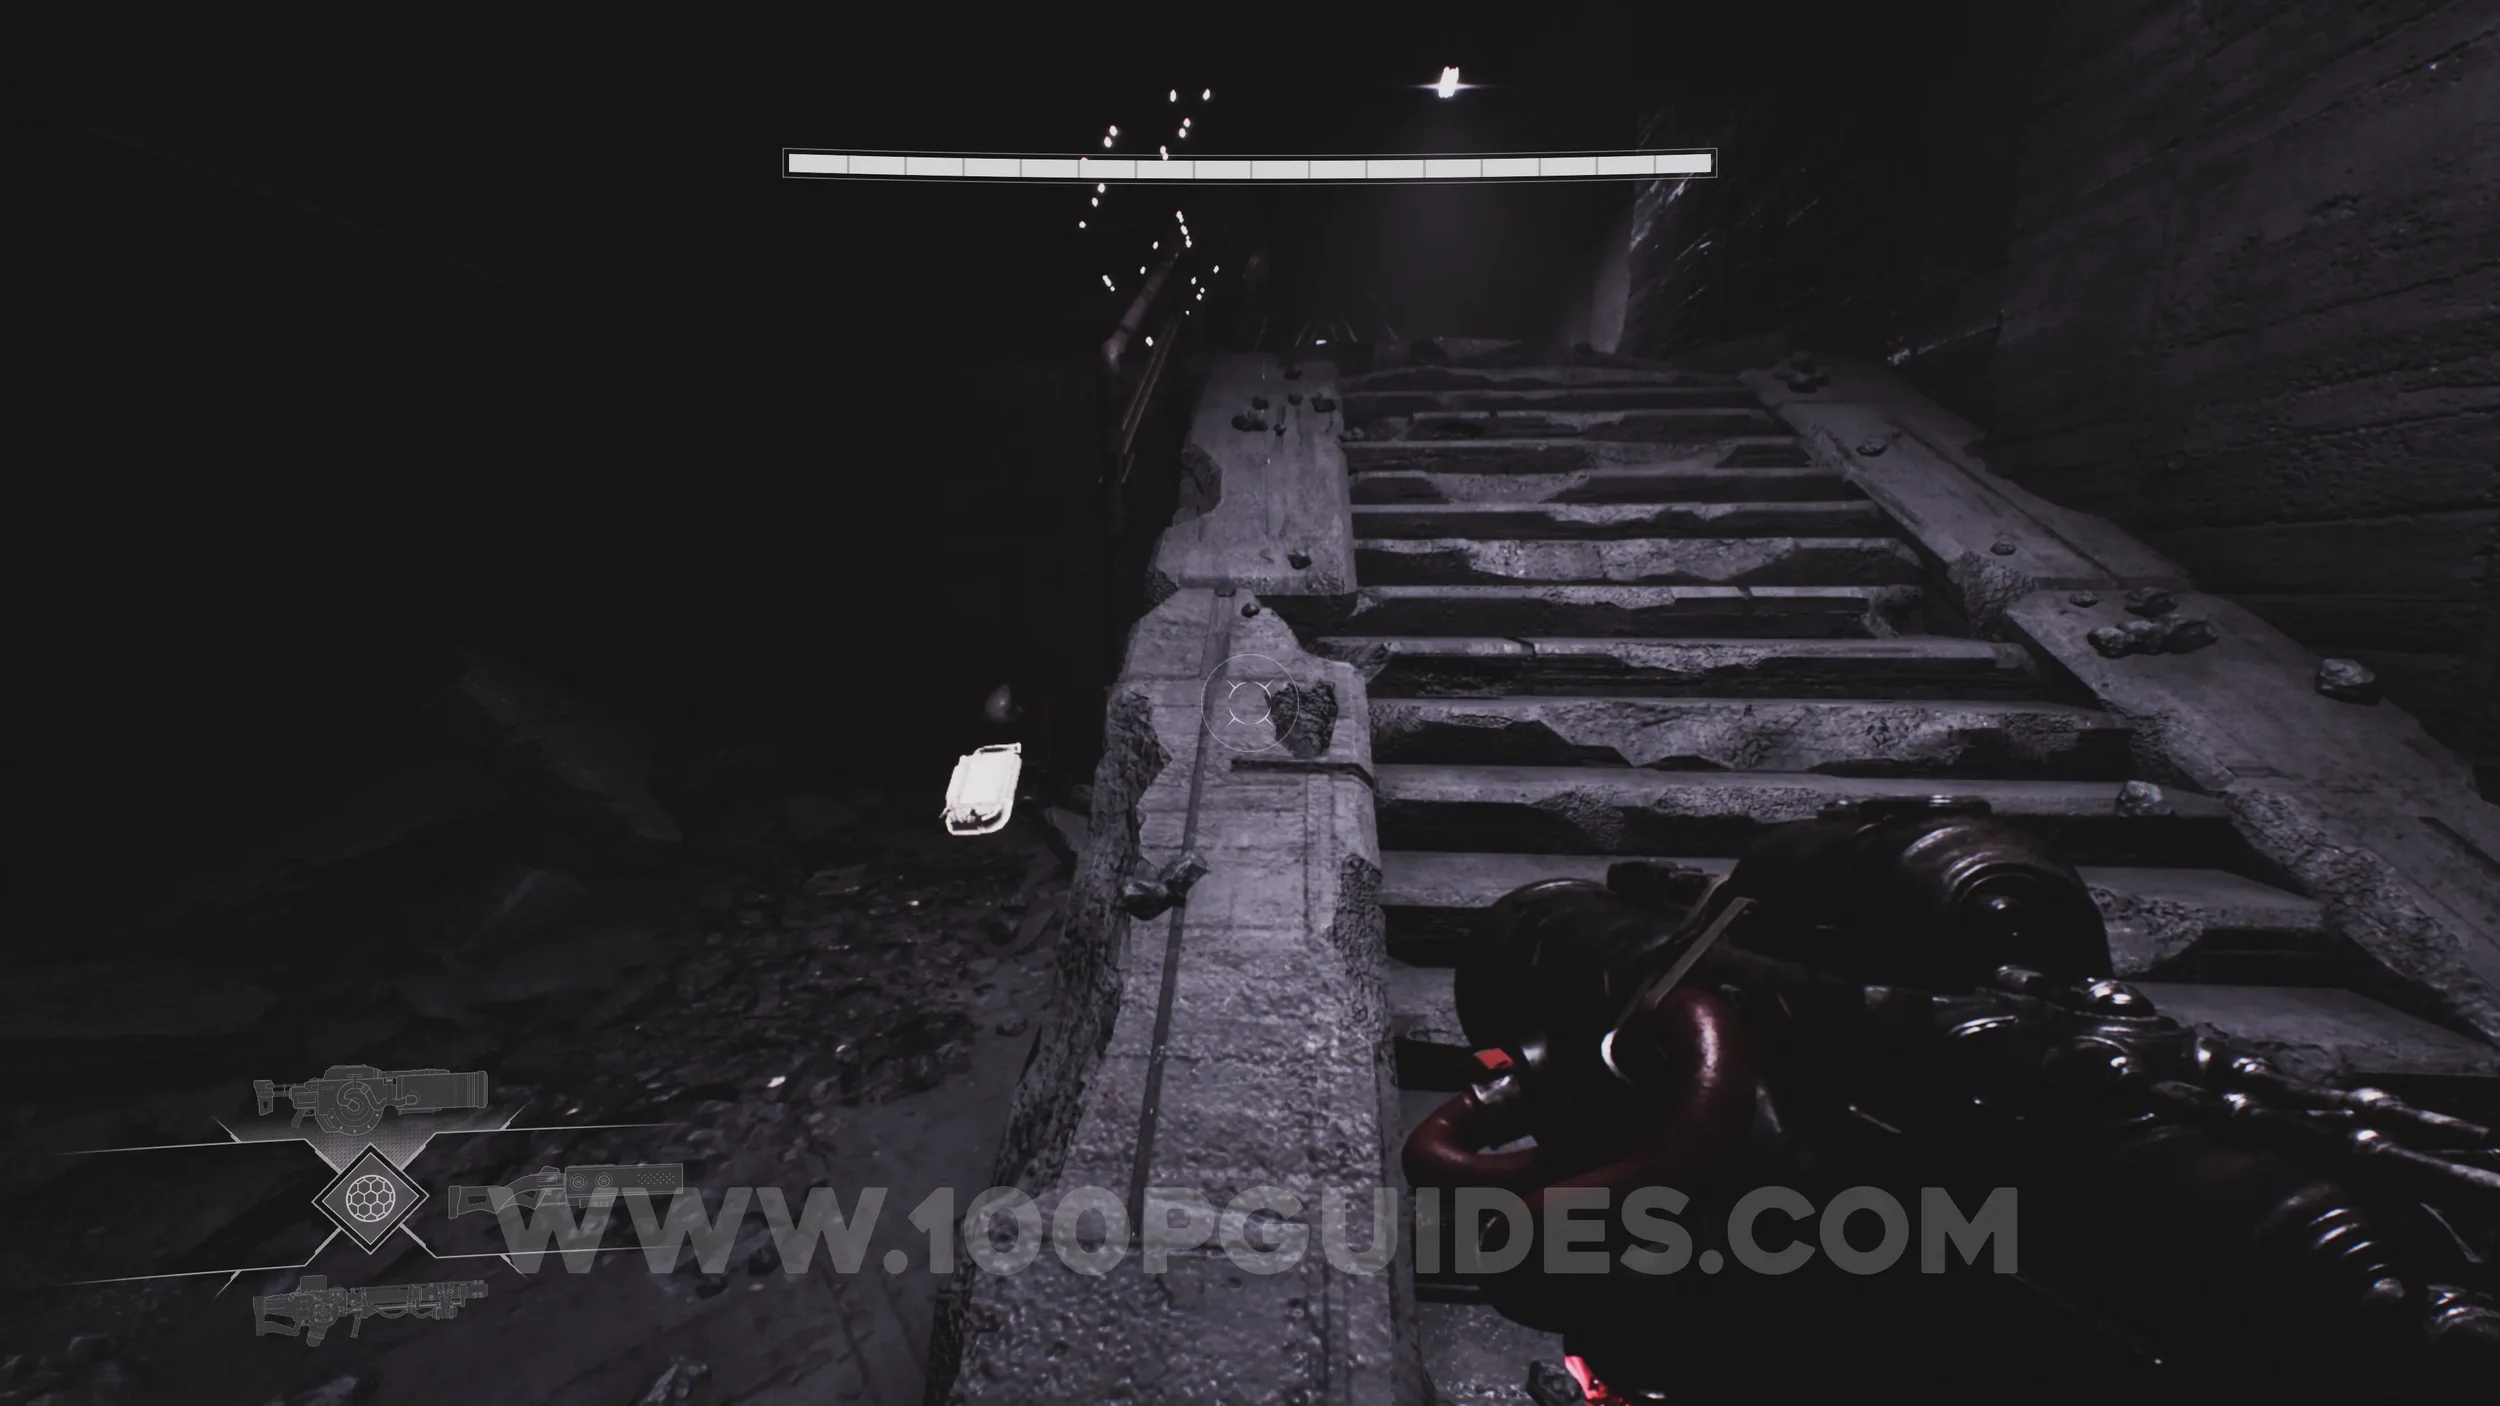
Lore Entry #73 (Memory - Entry #96011 - Trail of Bones). Continue through the level until you use a jump pad and then dash through a metal grate at the top to reach a Watcher. Just after this, you'll find the collectible on your left in plain sight.
CHAPTER 5 - PILLAR OF ASH
Lore Entry #74 (Character - Sylvan Maynard). In the tunnel to the left of Sylvan as soon as the chapter starts.
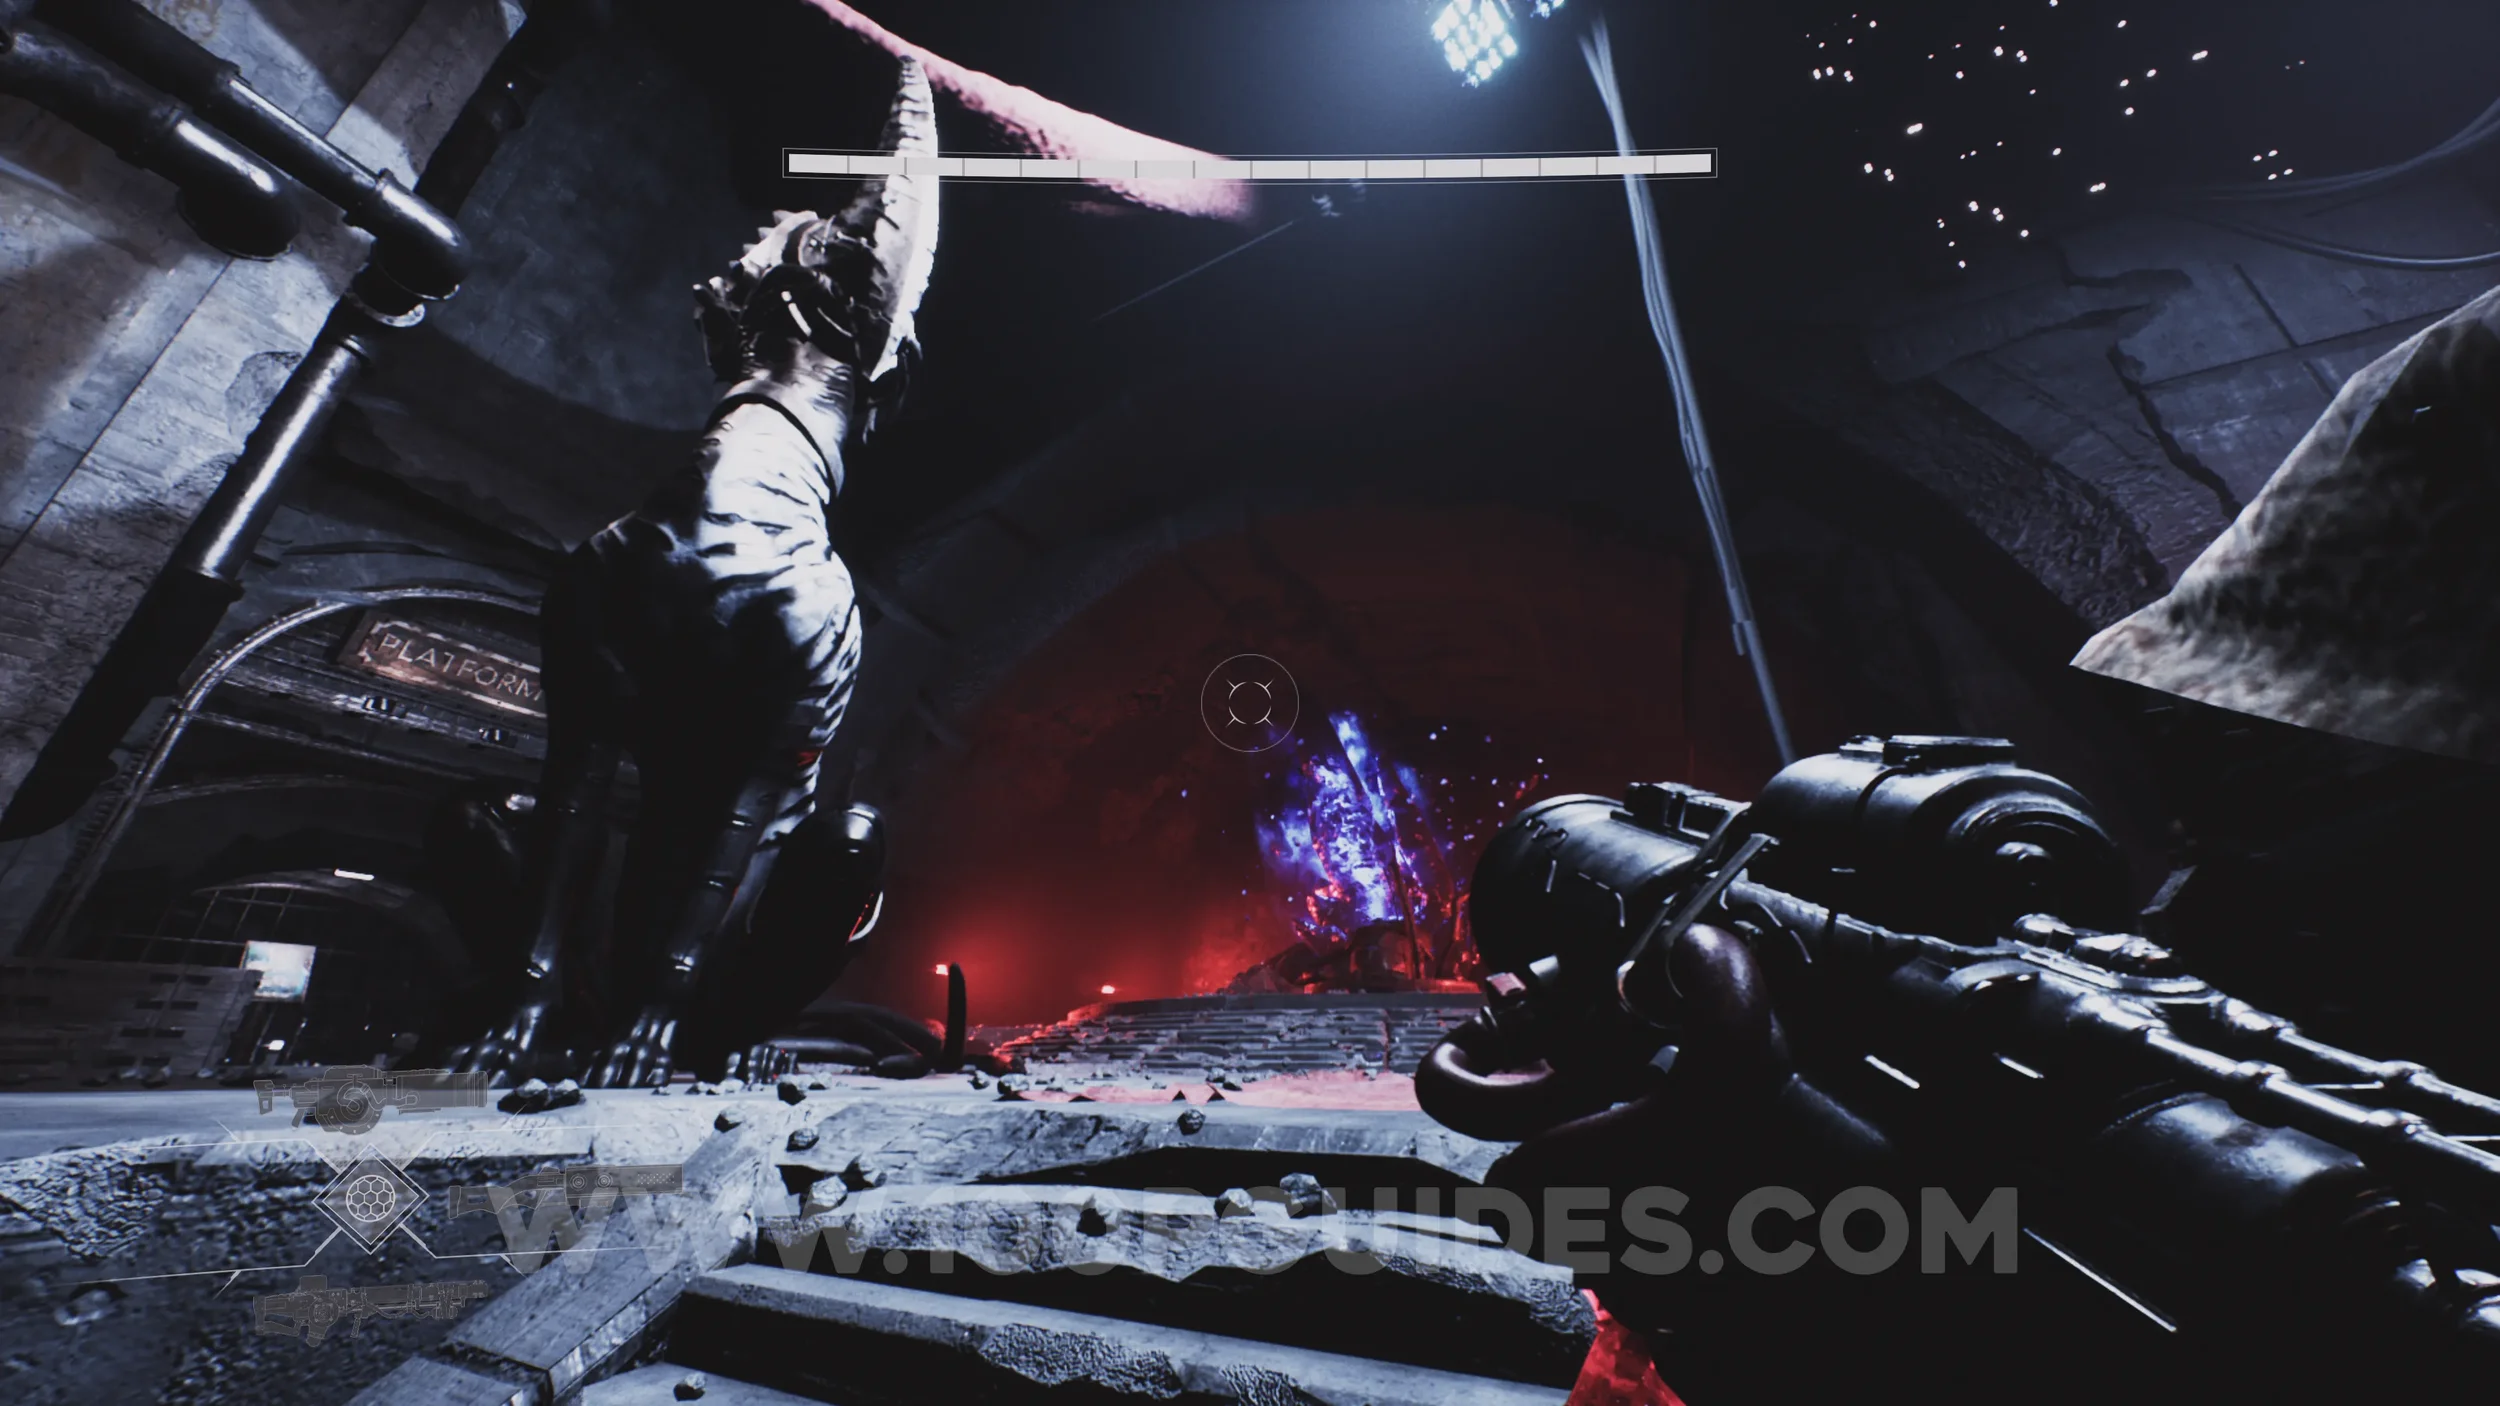
Lore Entry #75 (Memory - Entry #96012 - No Further). Once you reach the Pillar of Ash area, dash across the first gap and head up the short set of stairs to your right. At the top, look for a hole in the wall on your left marked with a symbol. Go through and follow the path to reach the collectible.
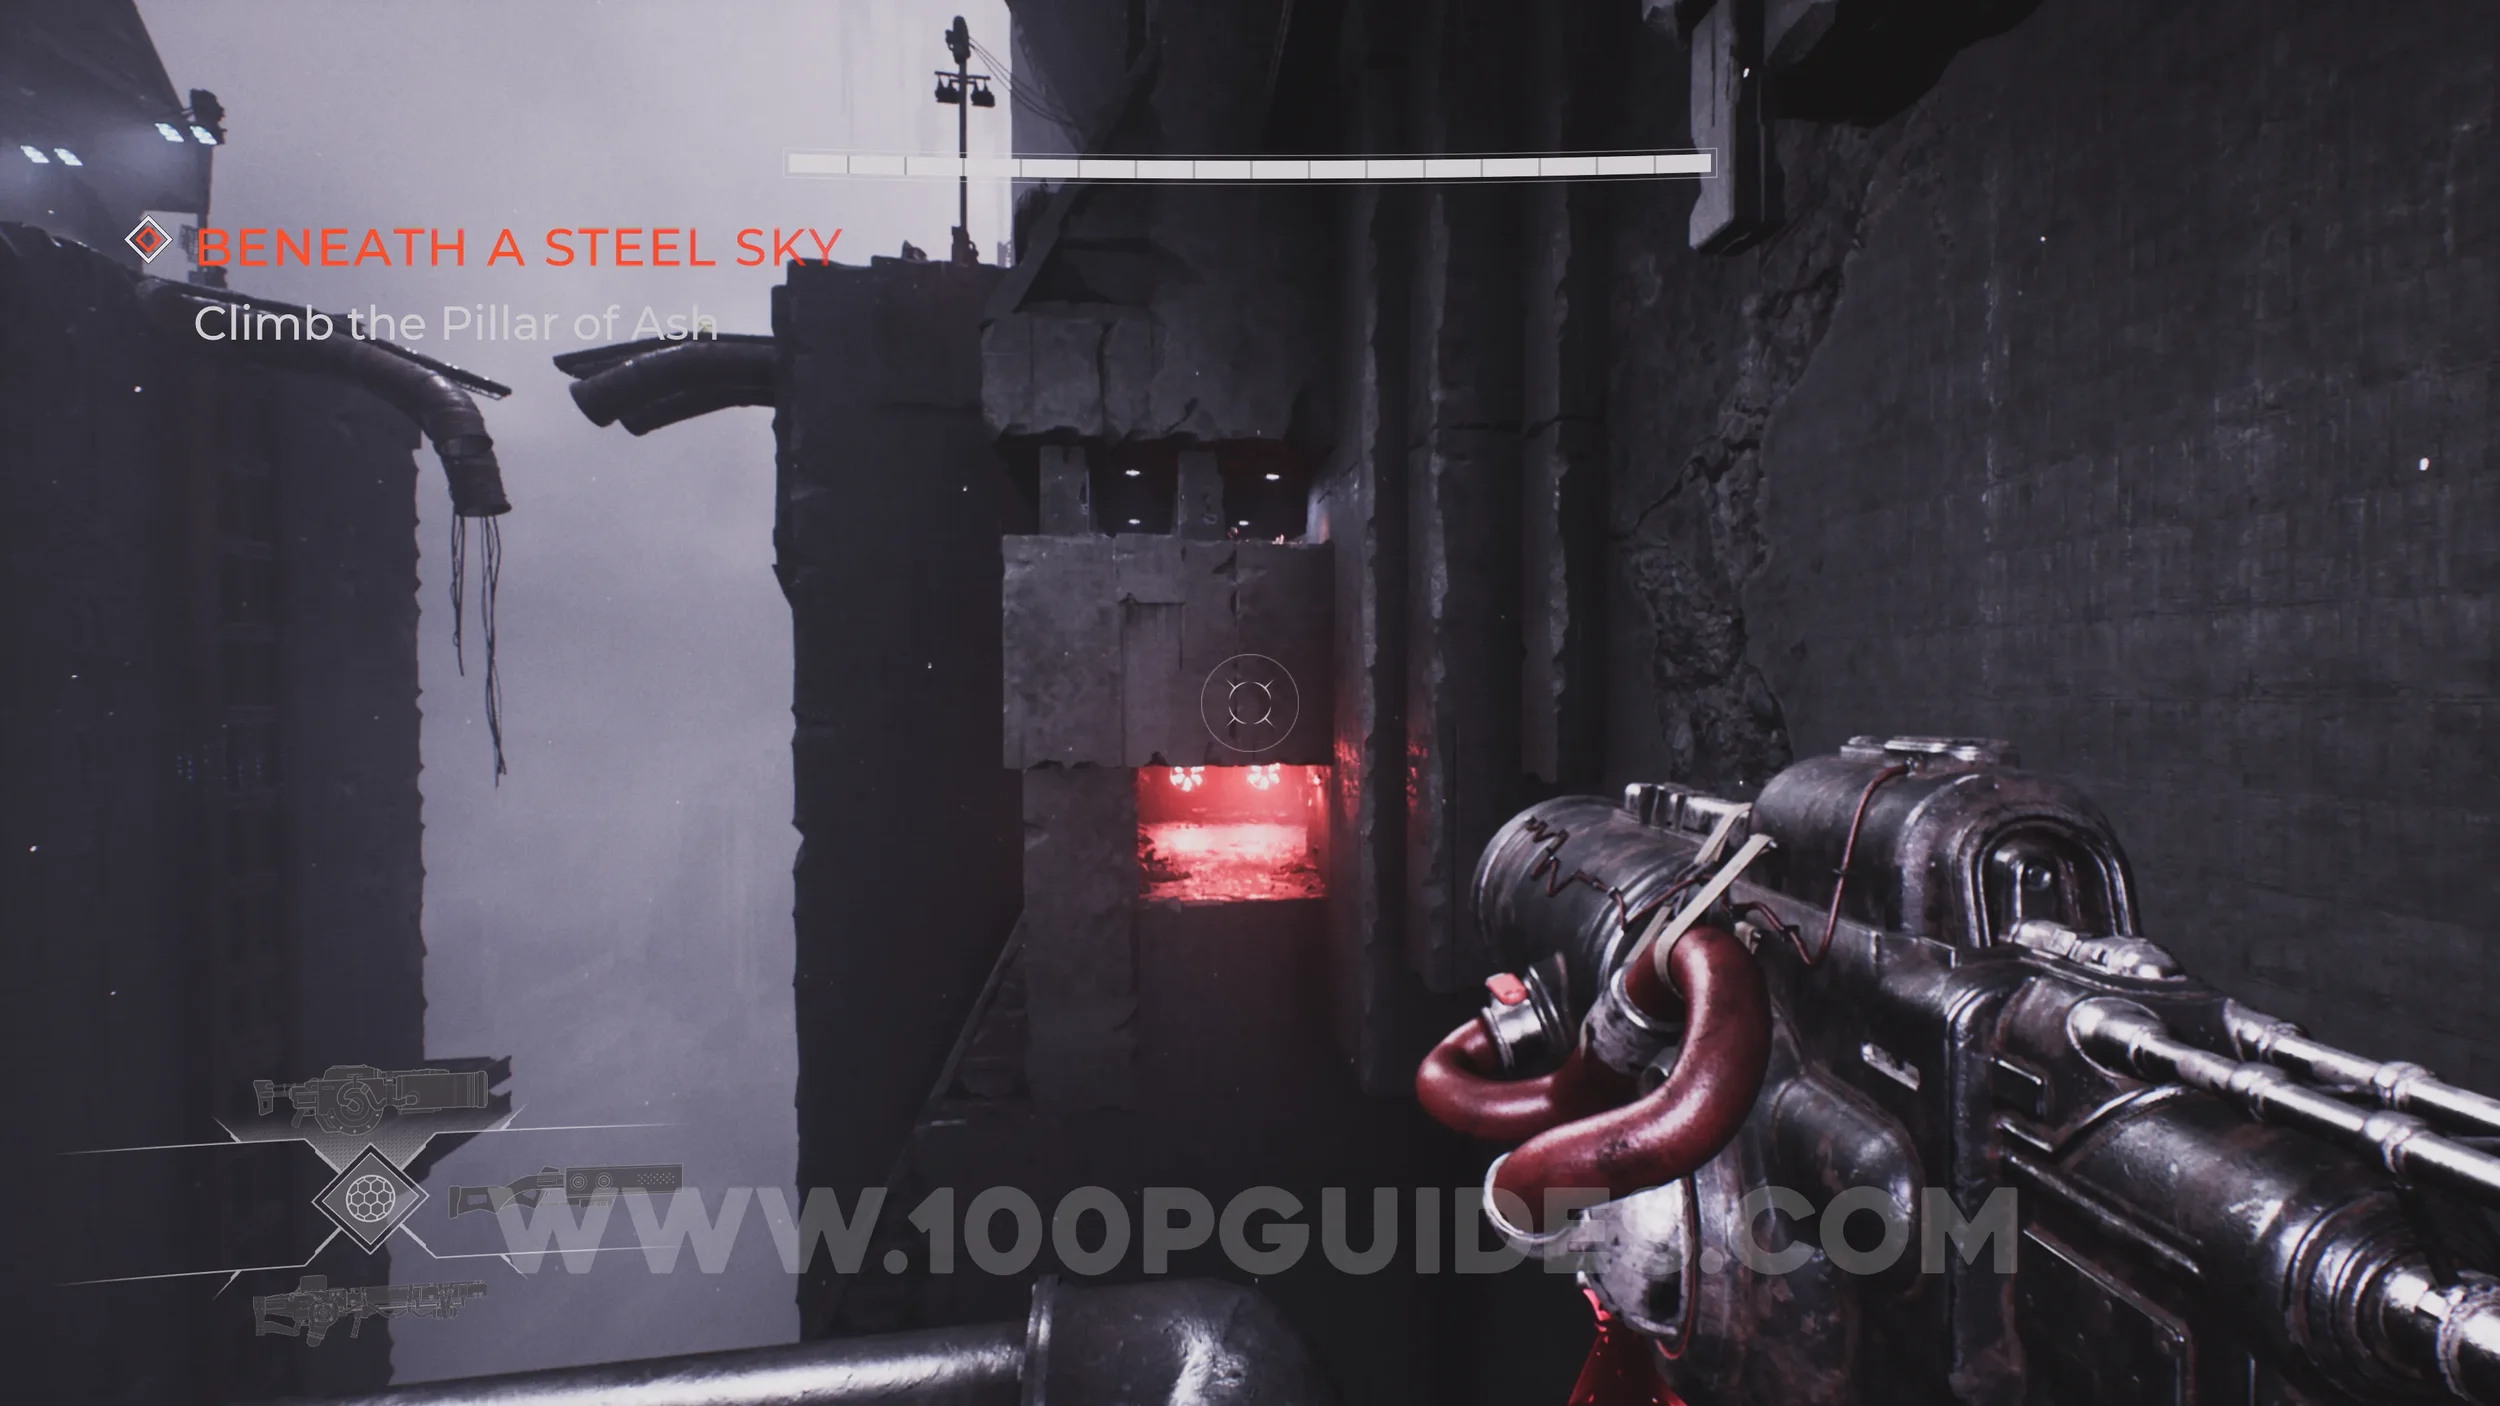
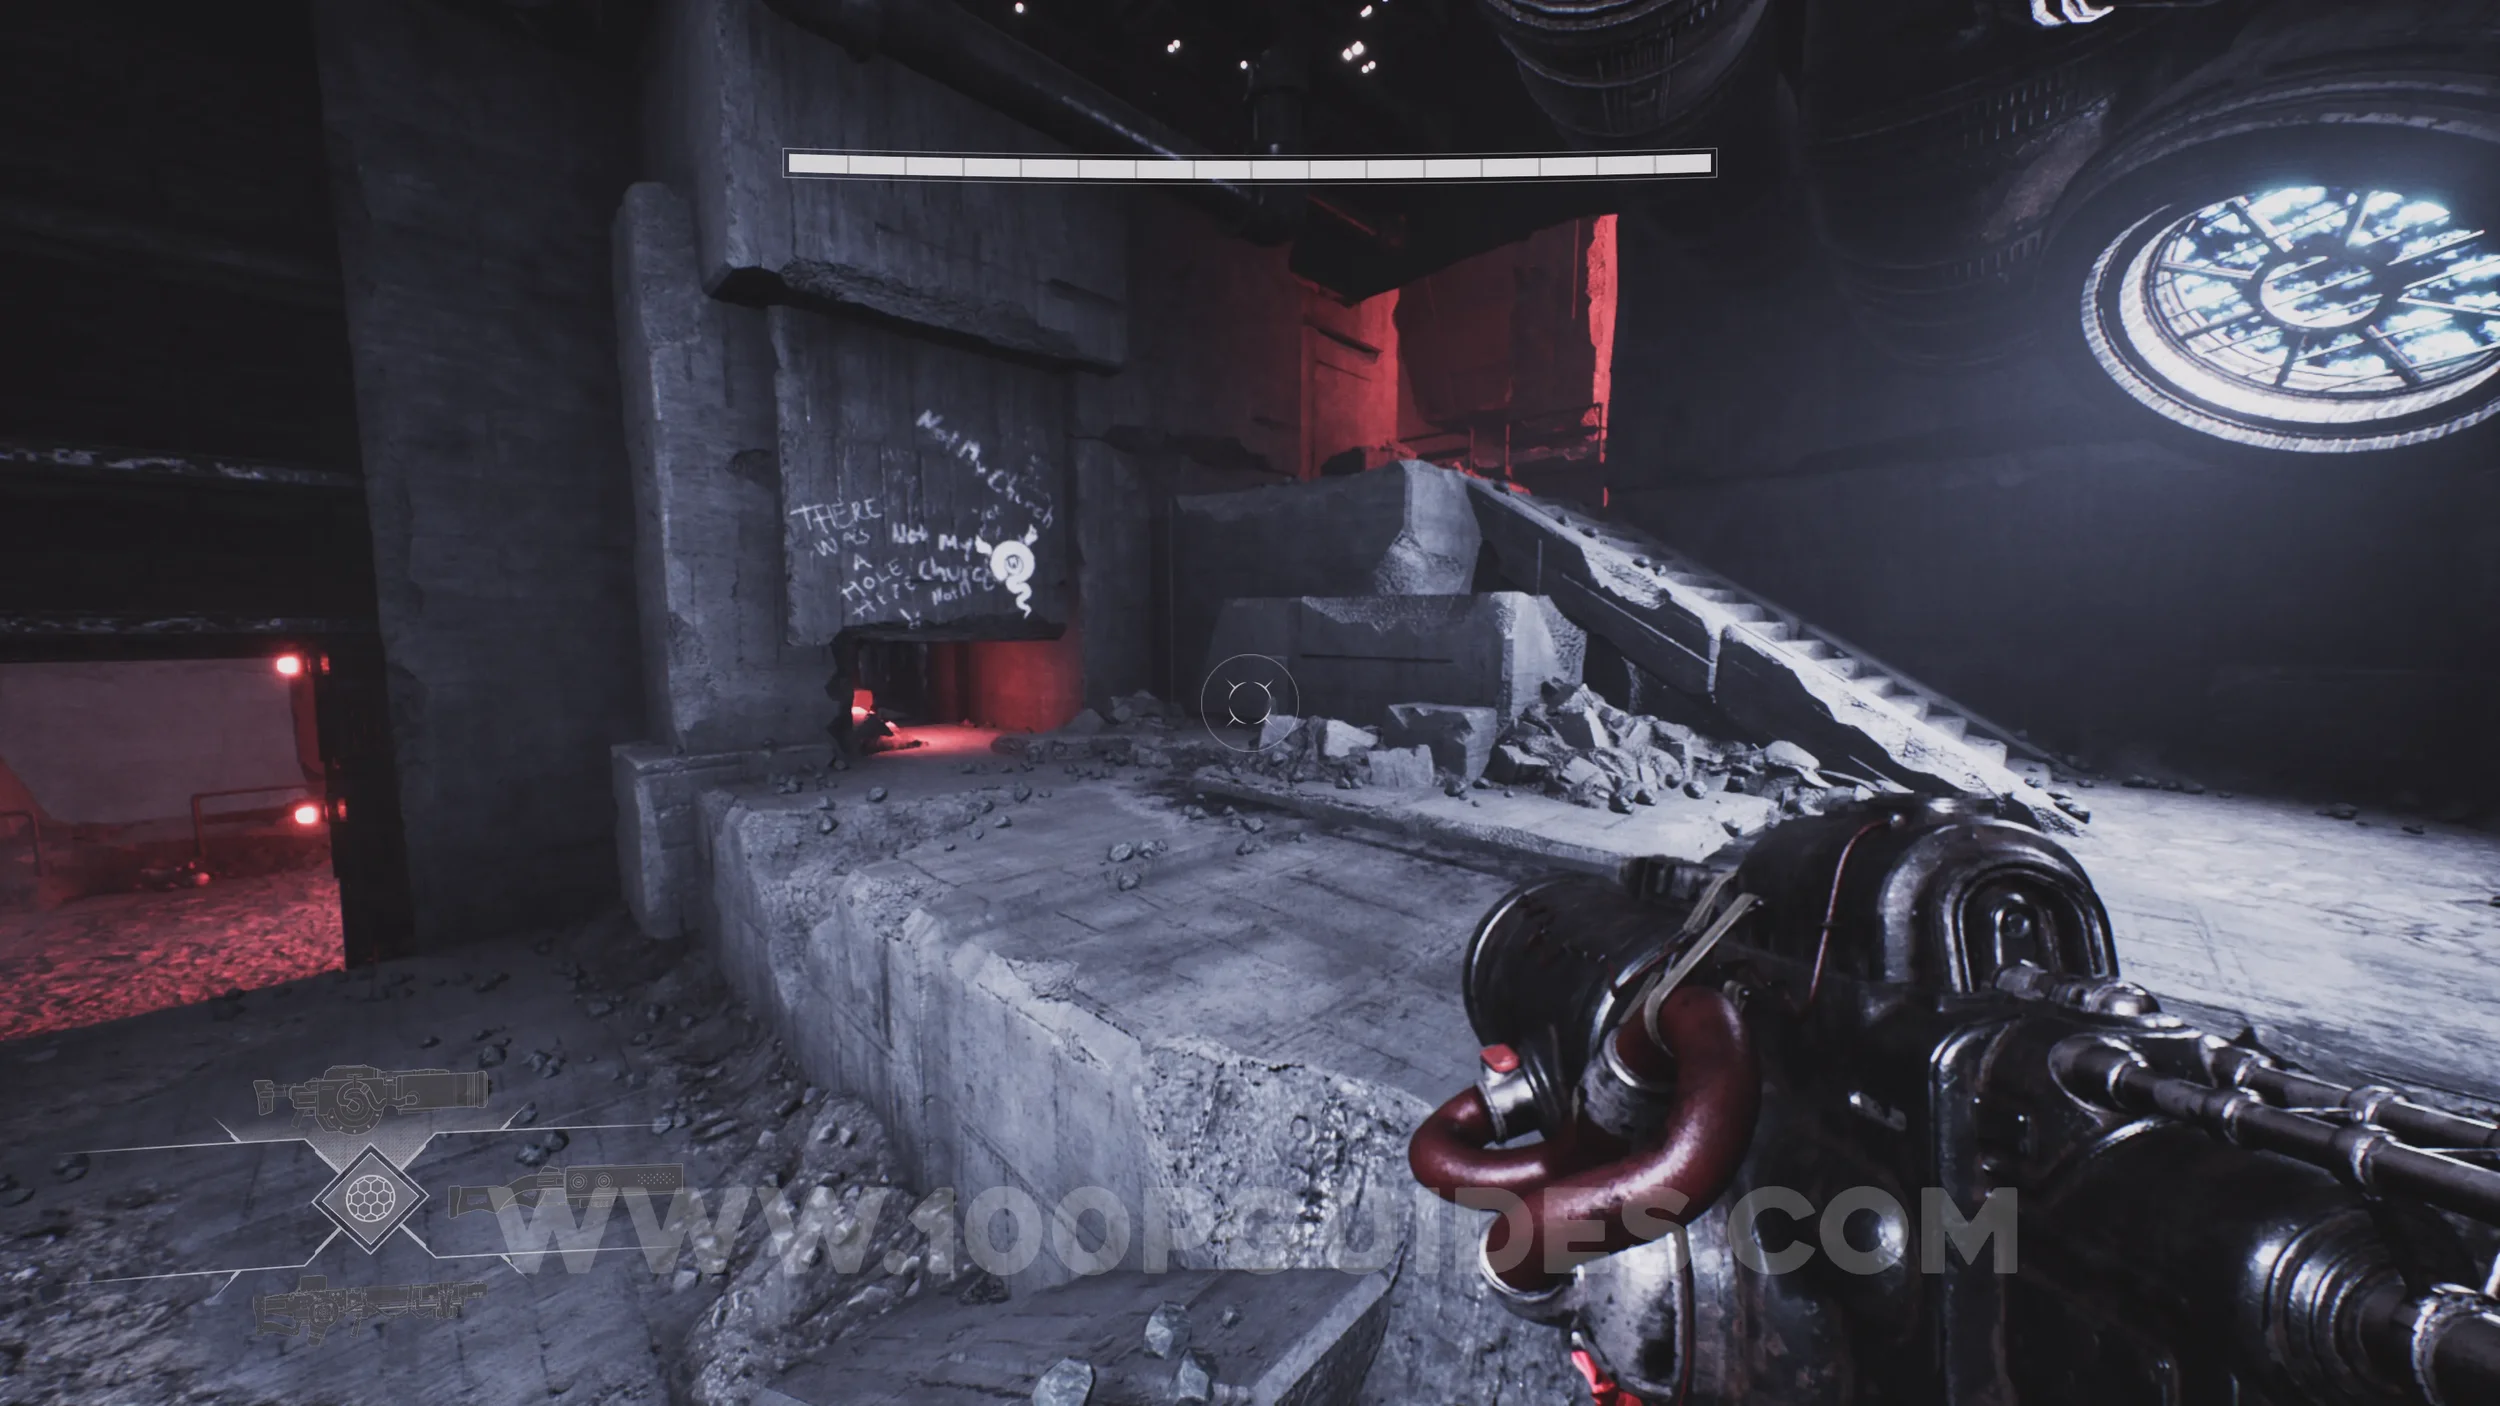
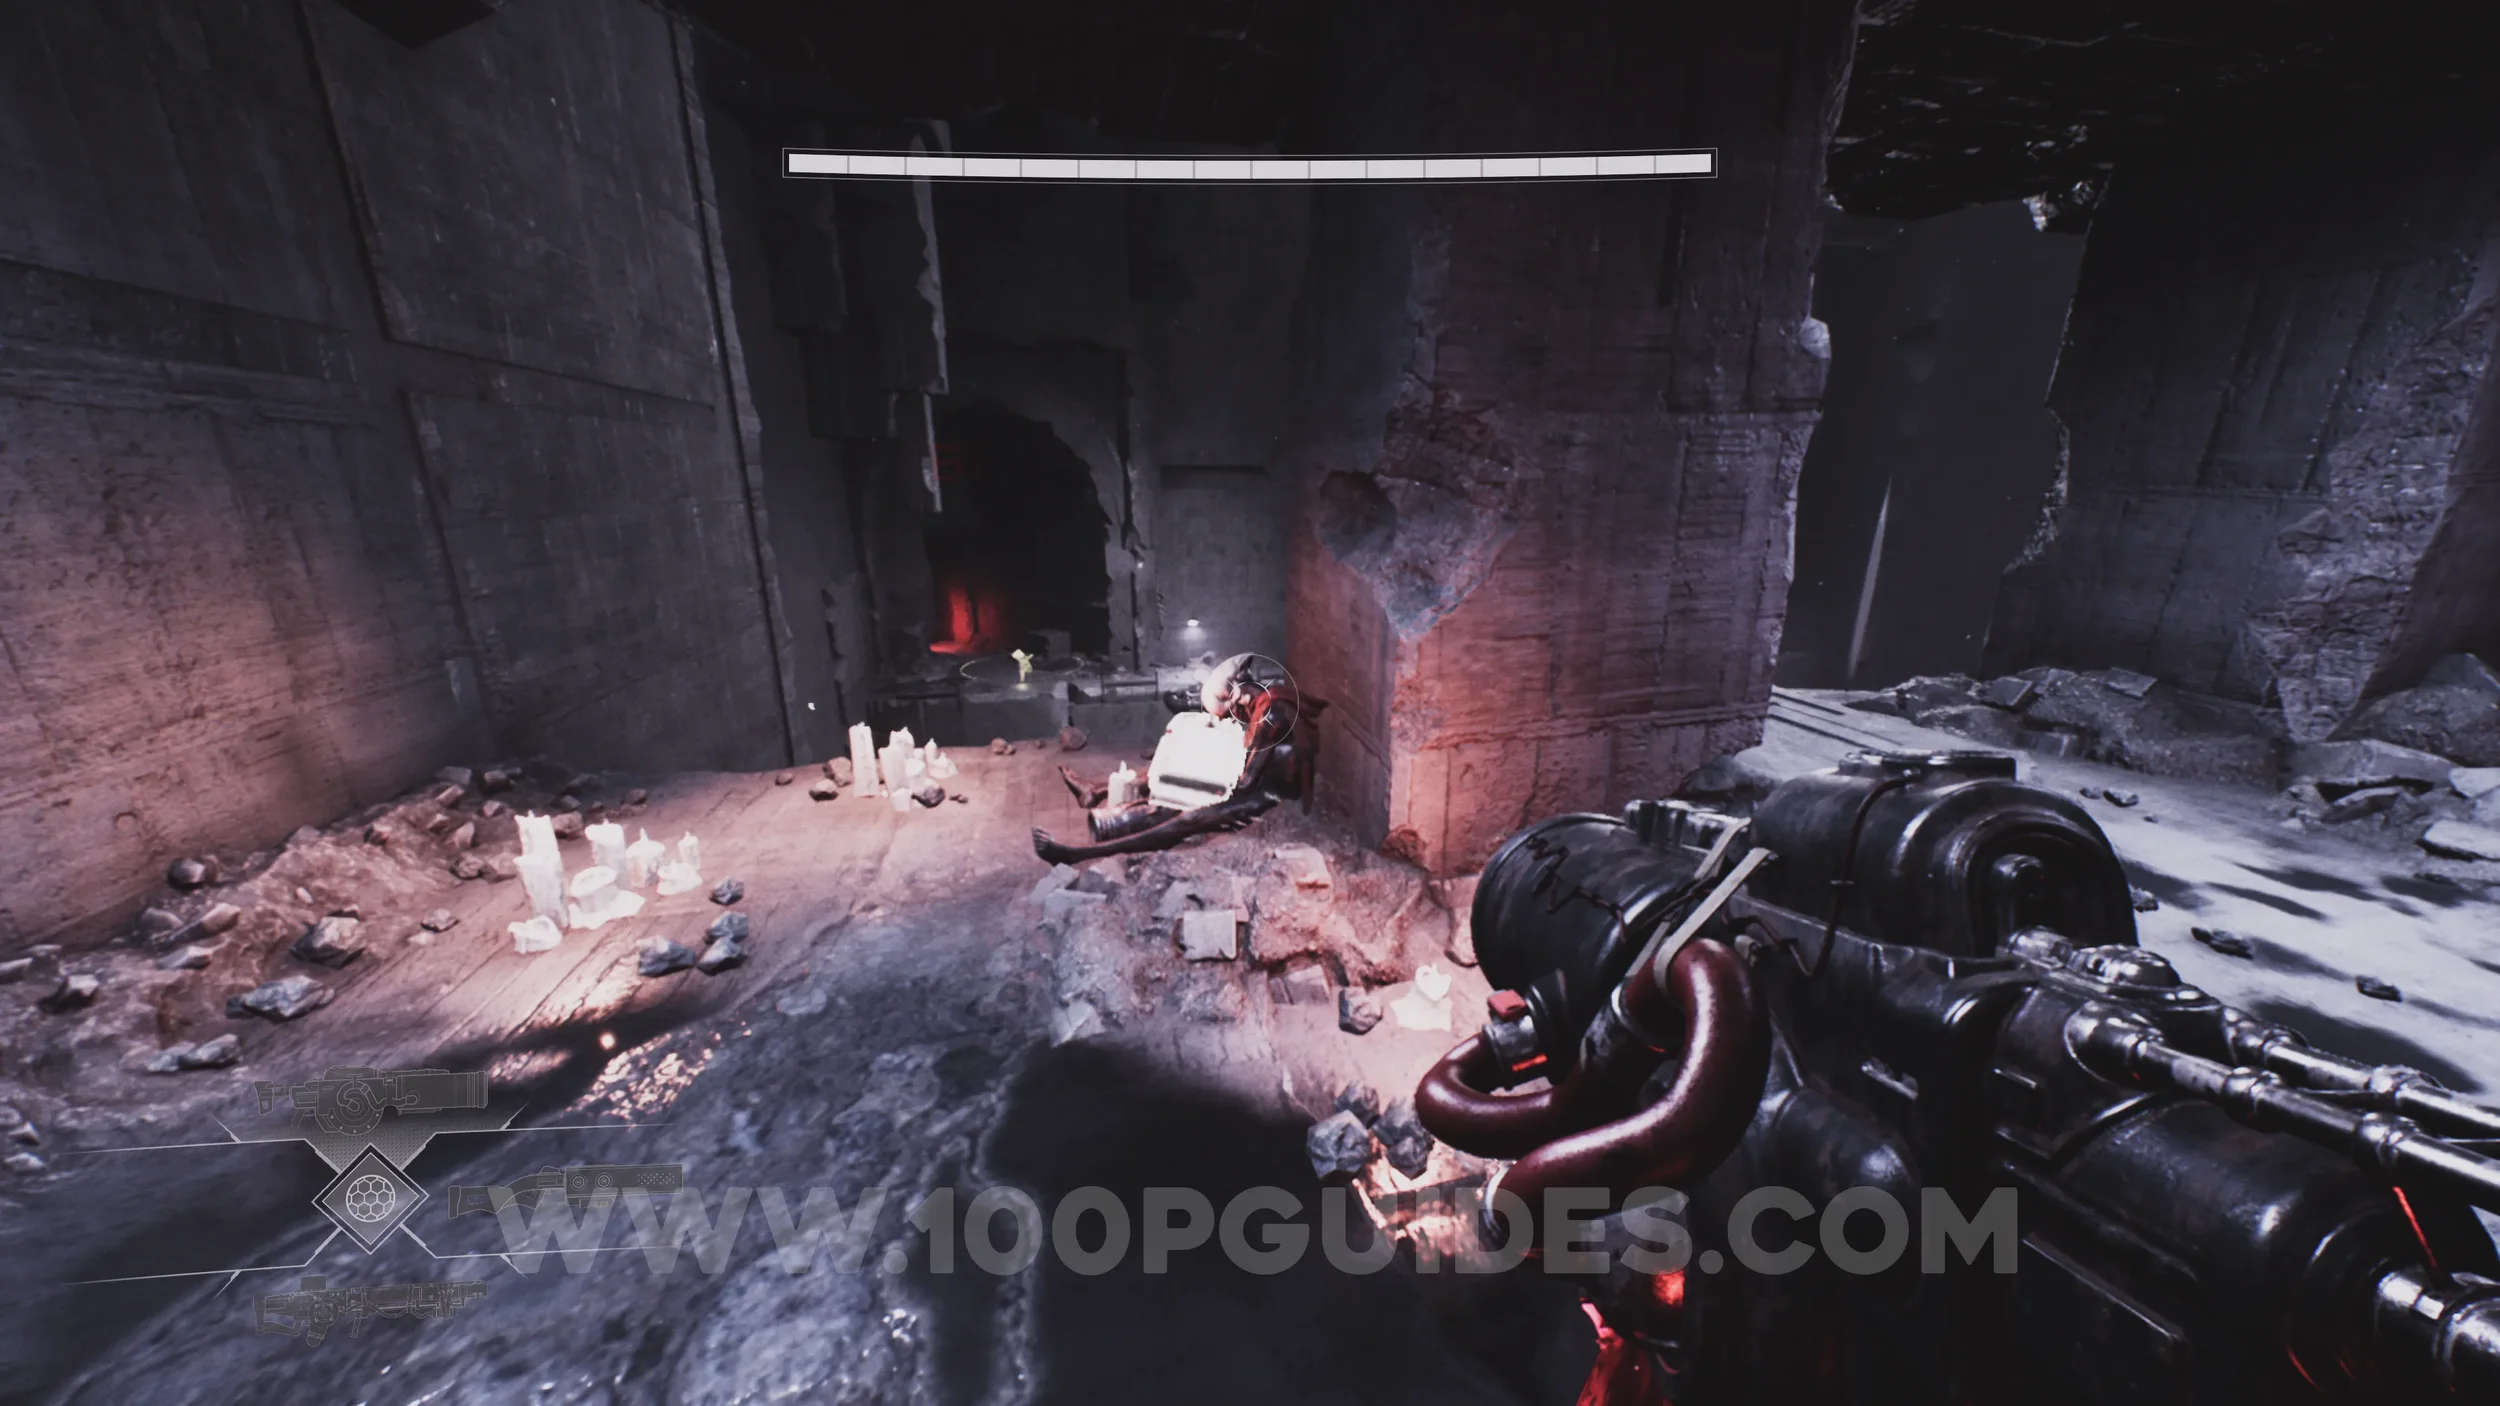
Health Increase #9. After dashing and using a grappling point to cross another large gap, you'll enter a room and see the chest containing the HP upgrade behind some bars above you. After leaving this room, go right and follow the pipe around the corner, then enter the small gap to eventually reach the chest.
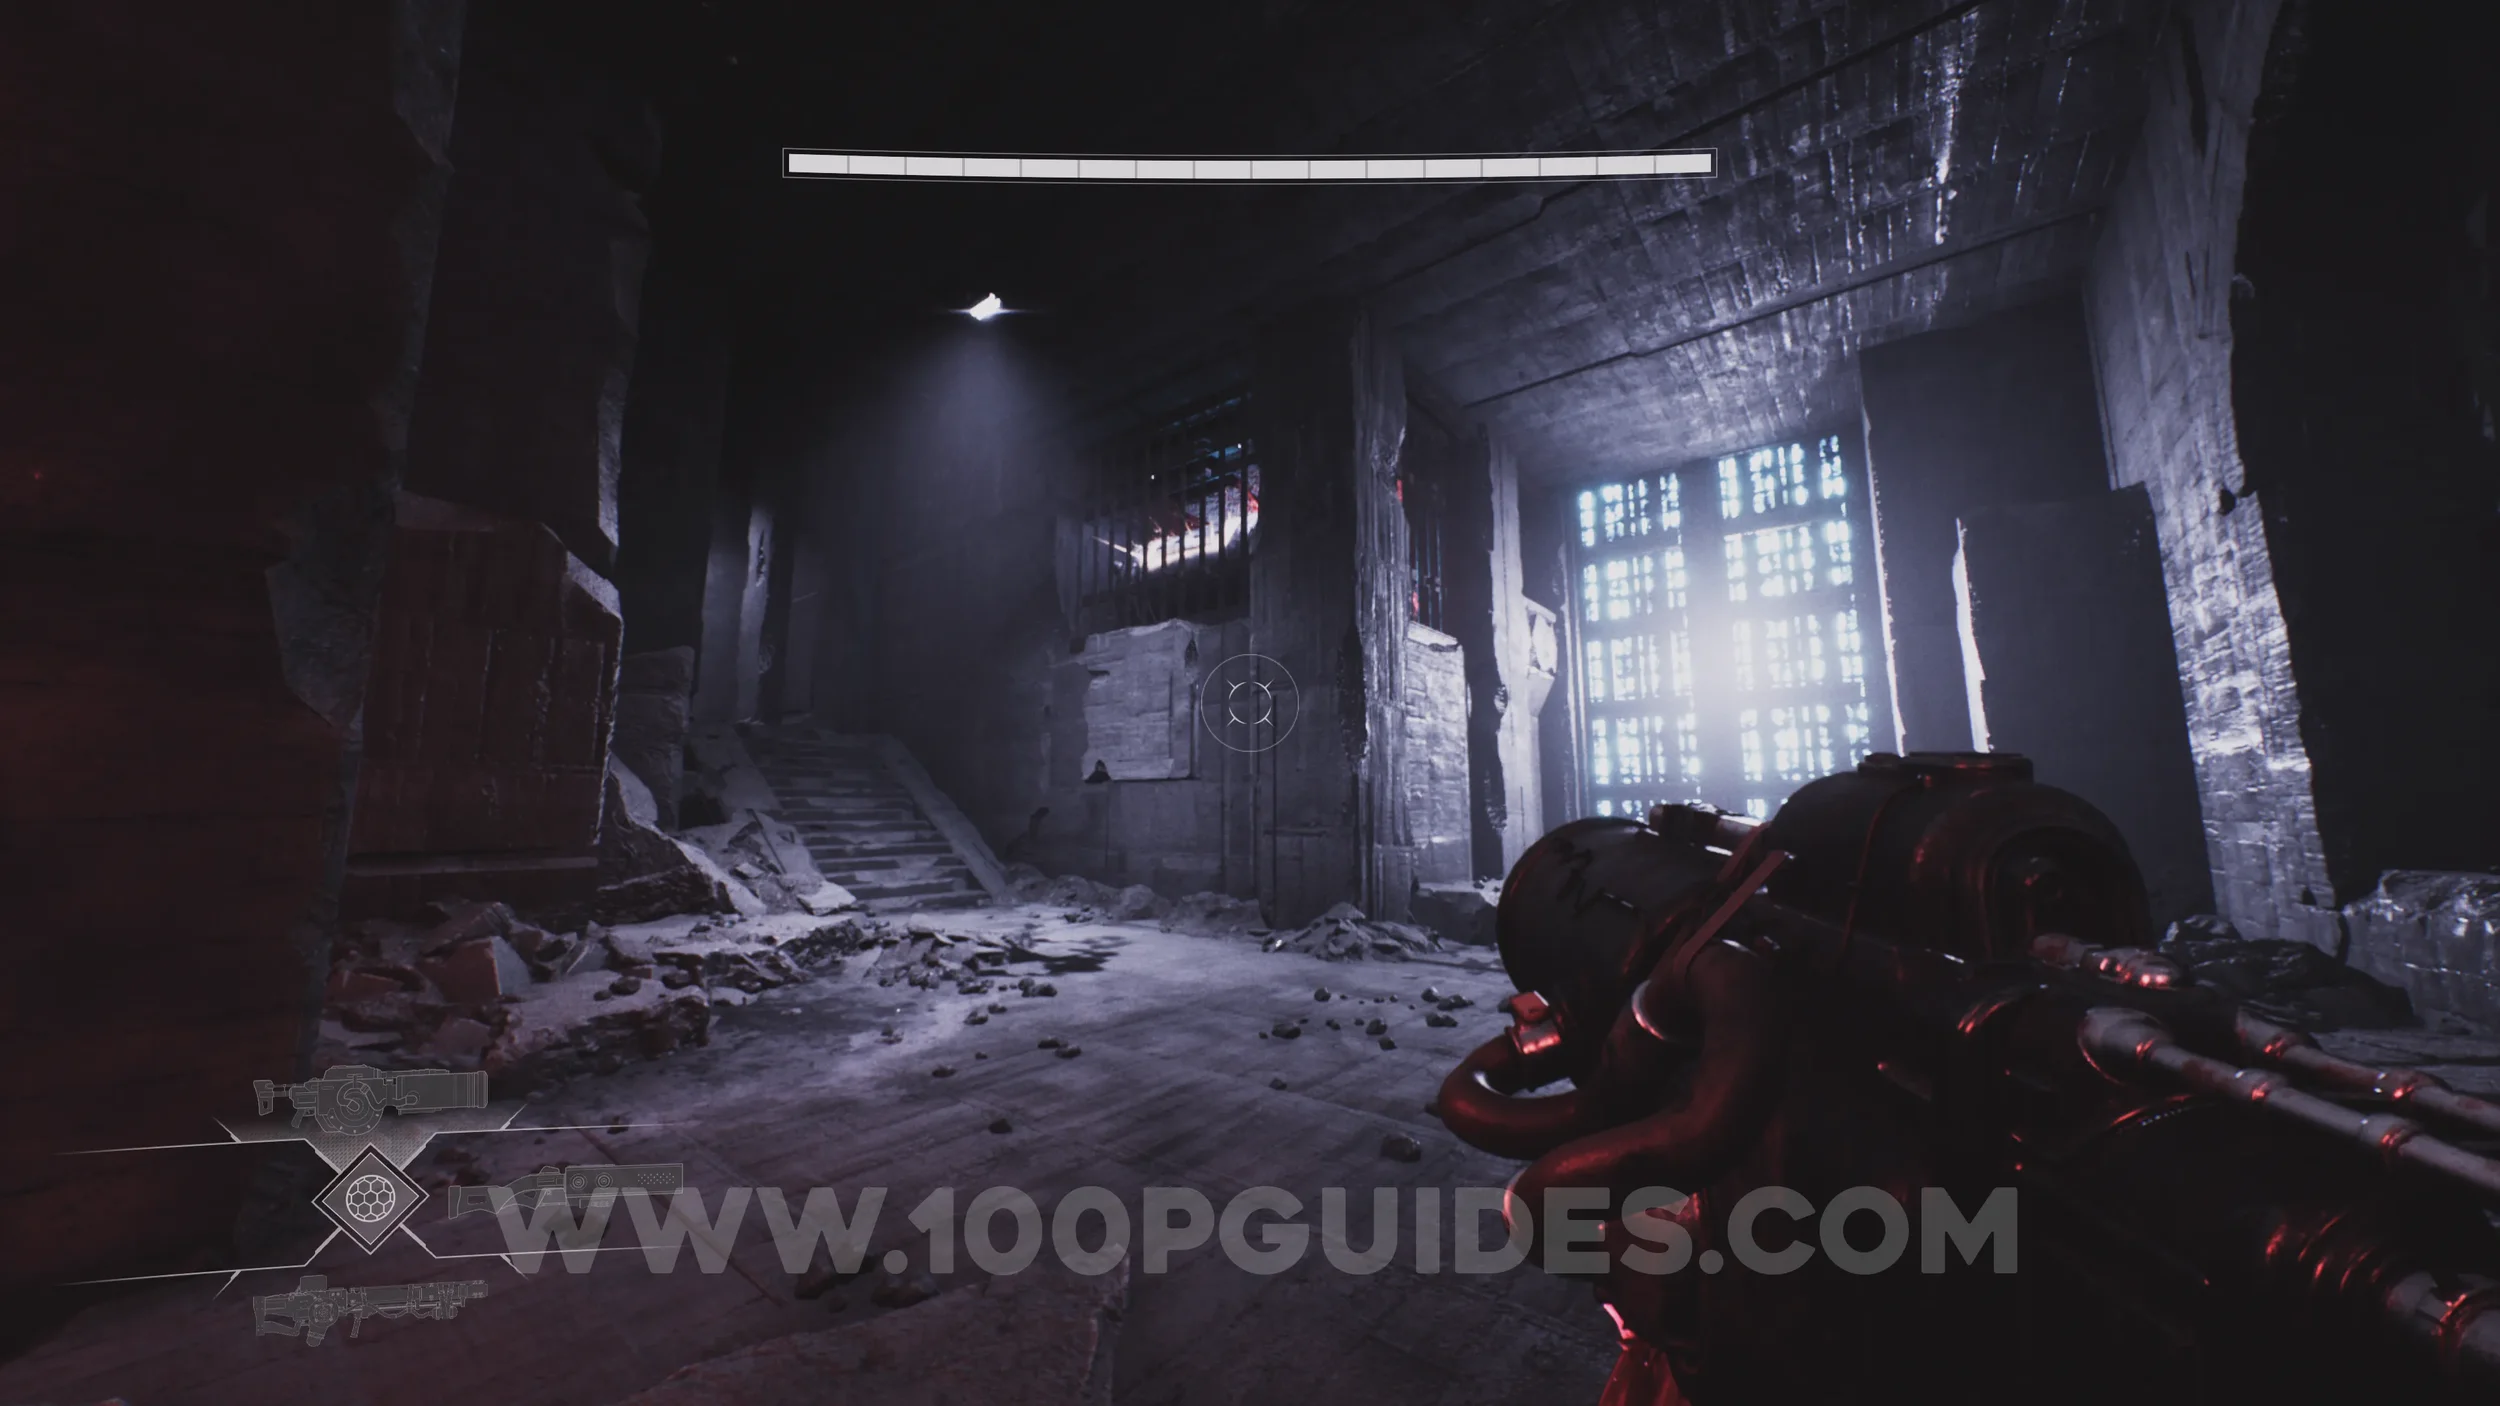
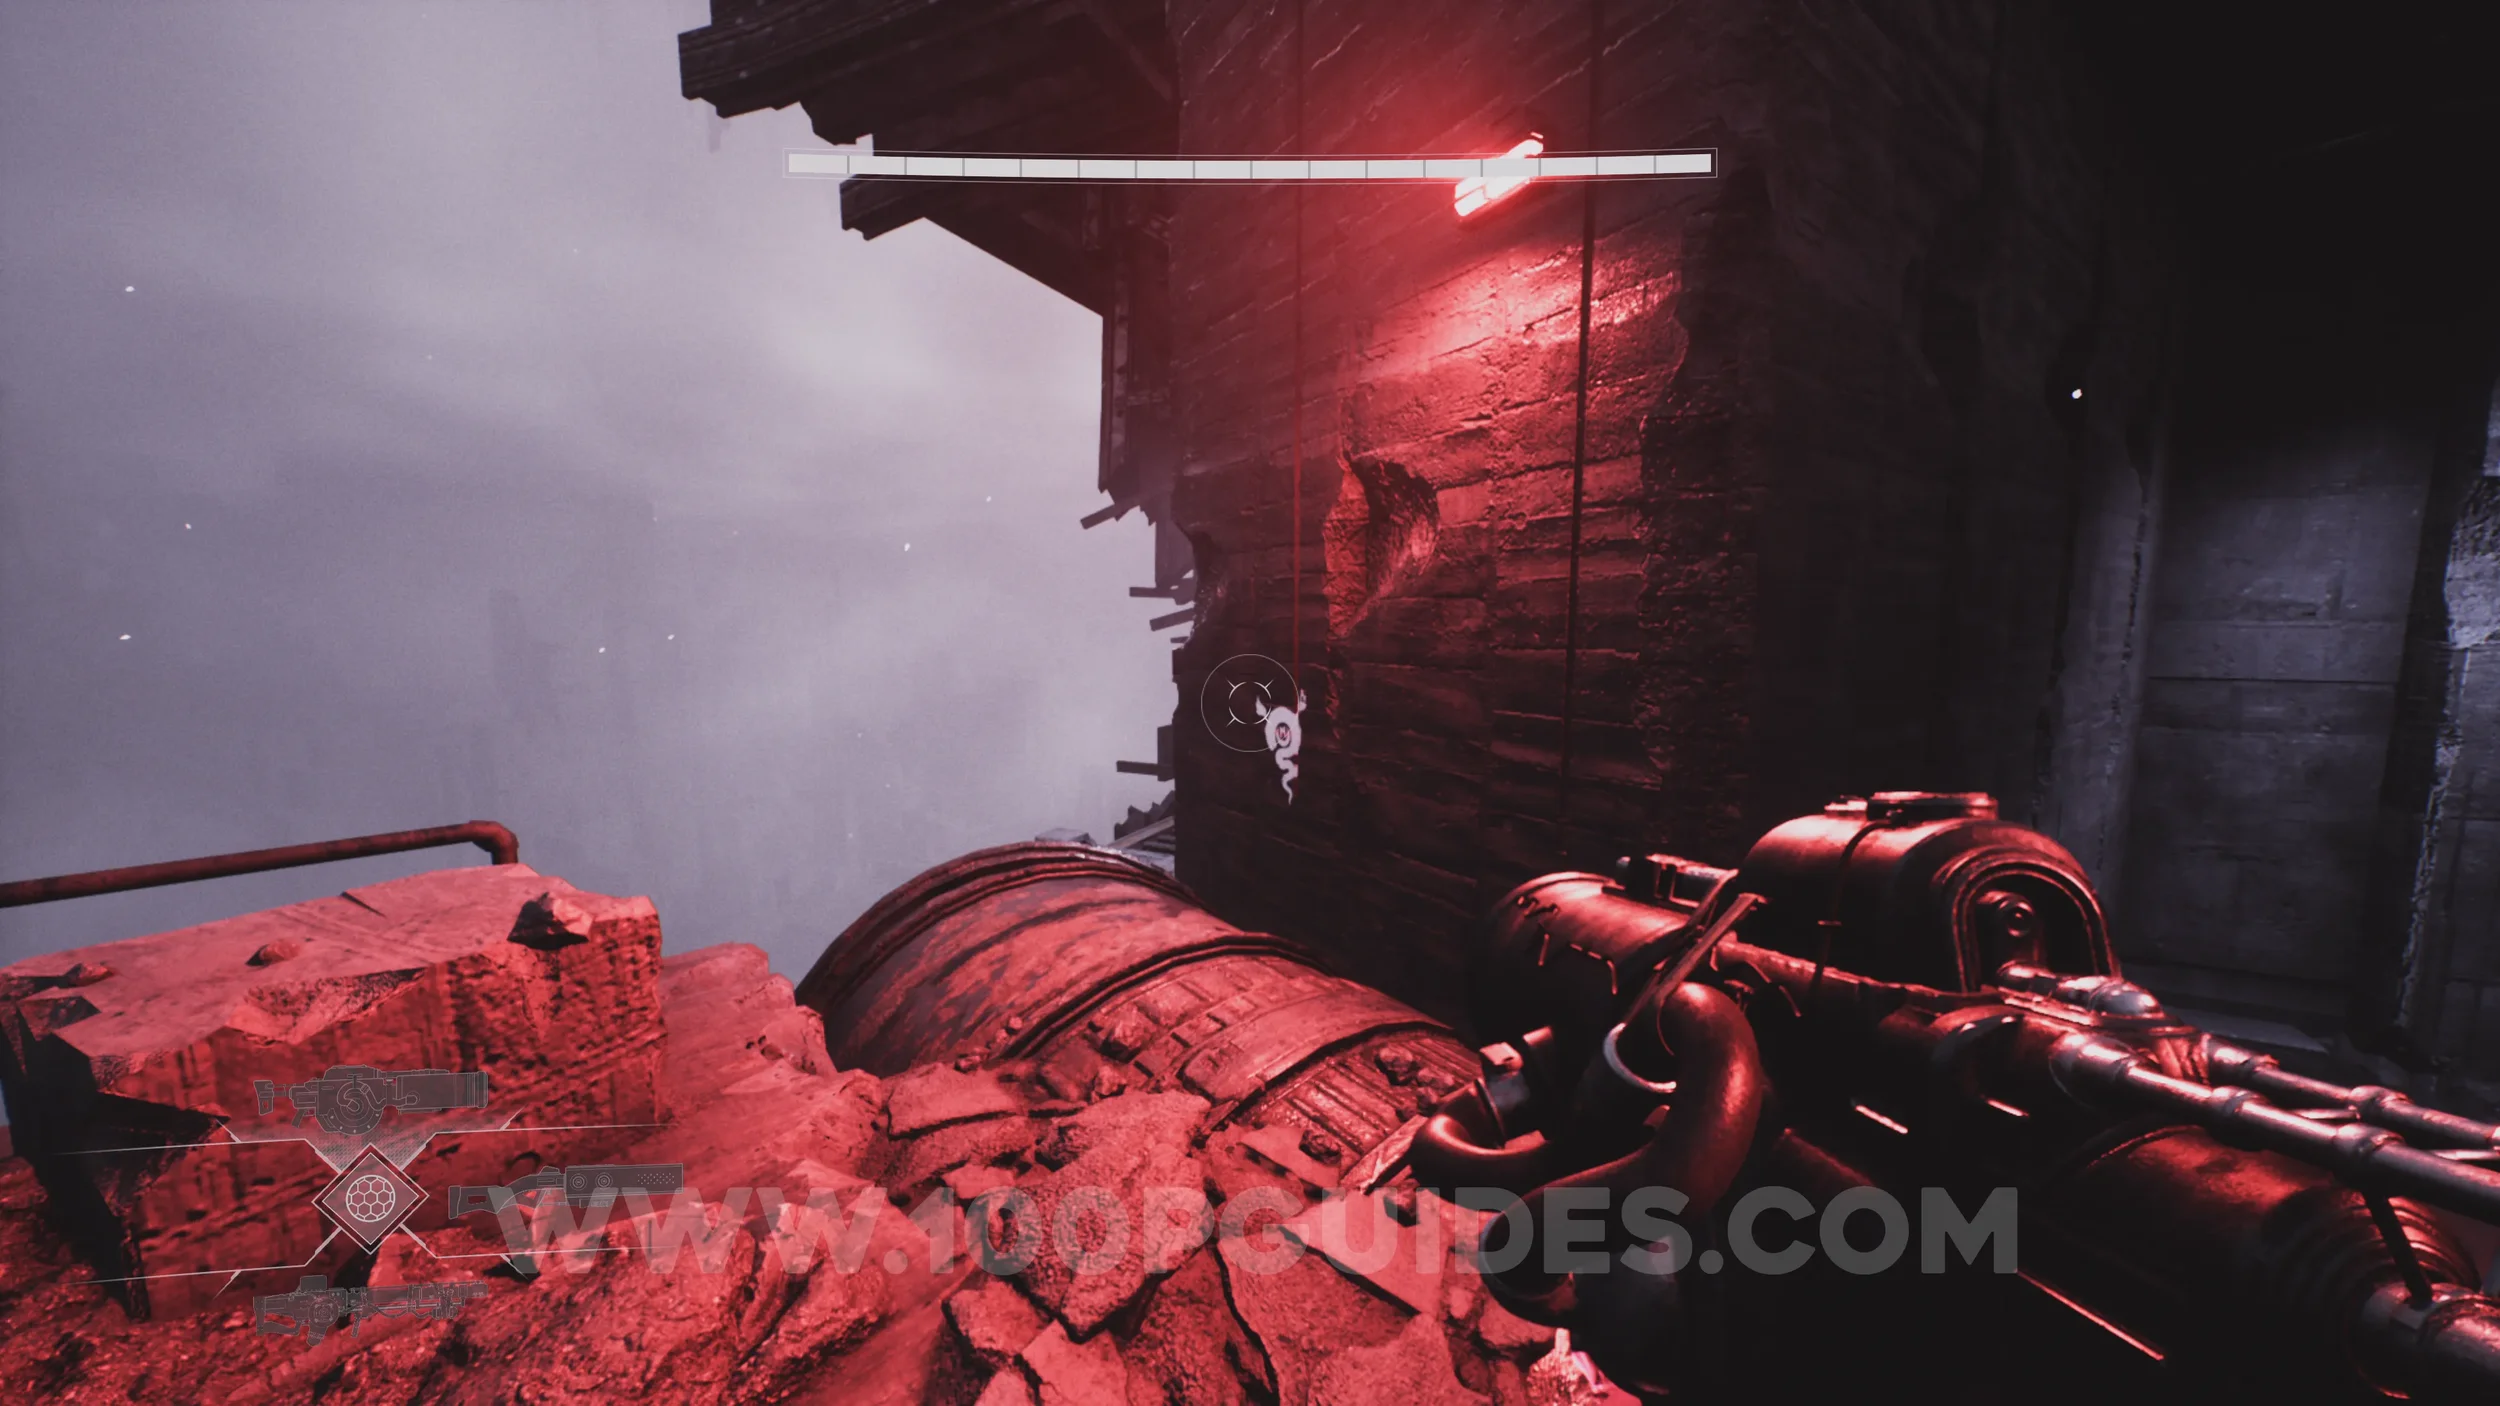
Lore Entry #76 (Memory - Entry #56745 - Crystalisation 03). To the left of the Atom Splitter weapon.
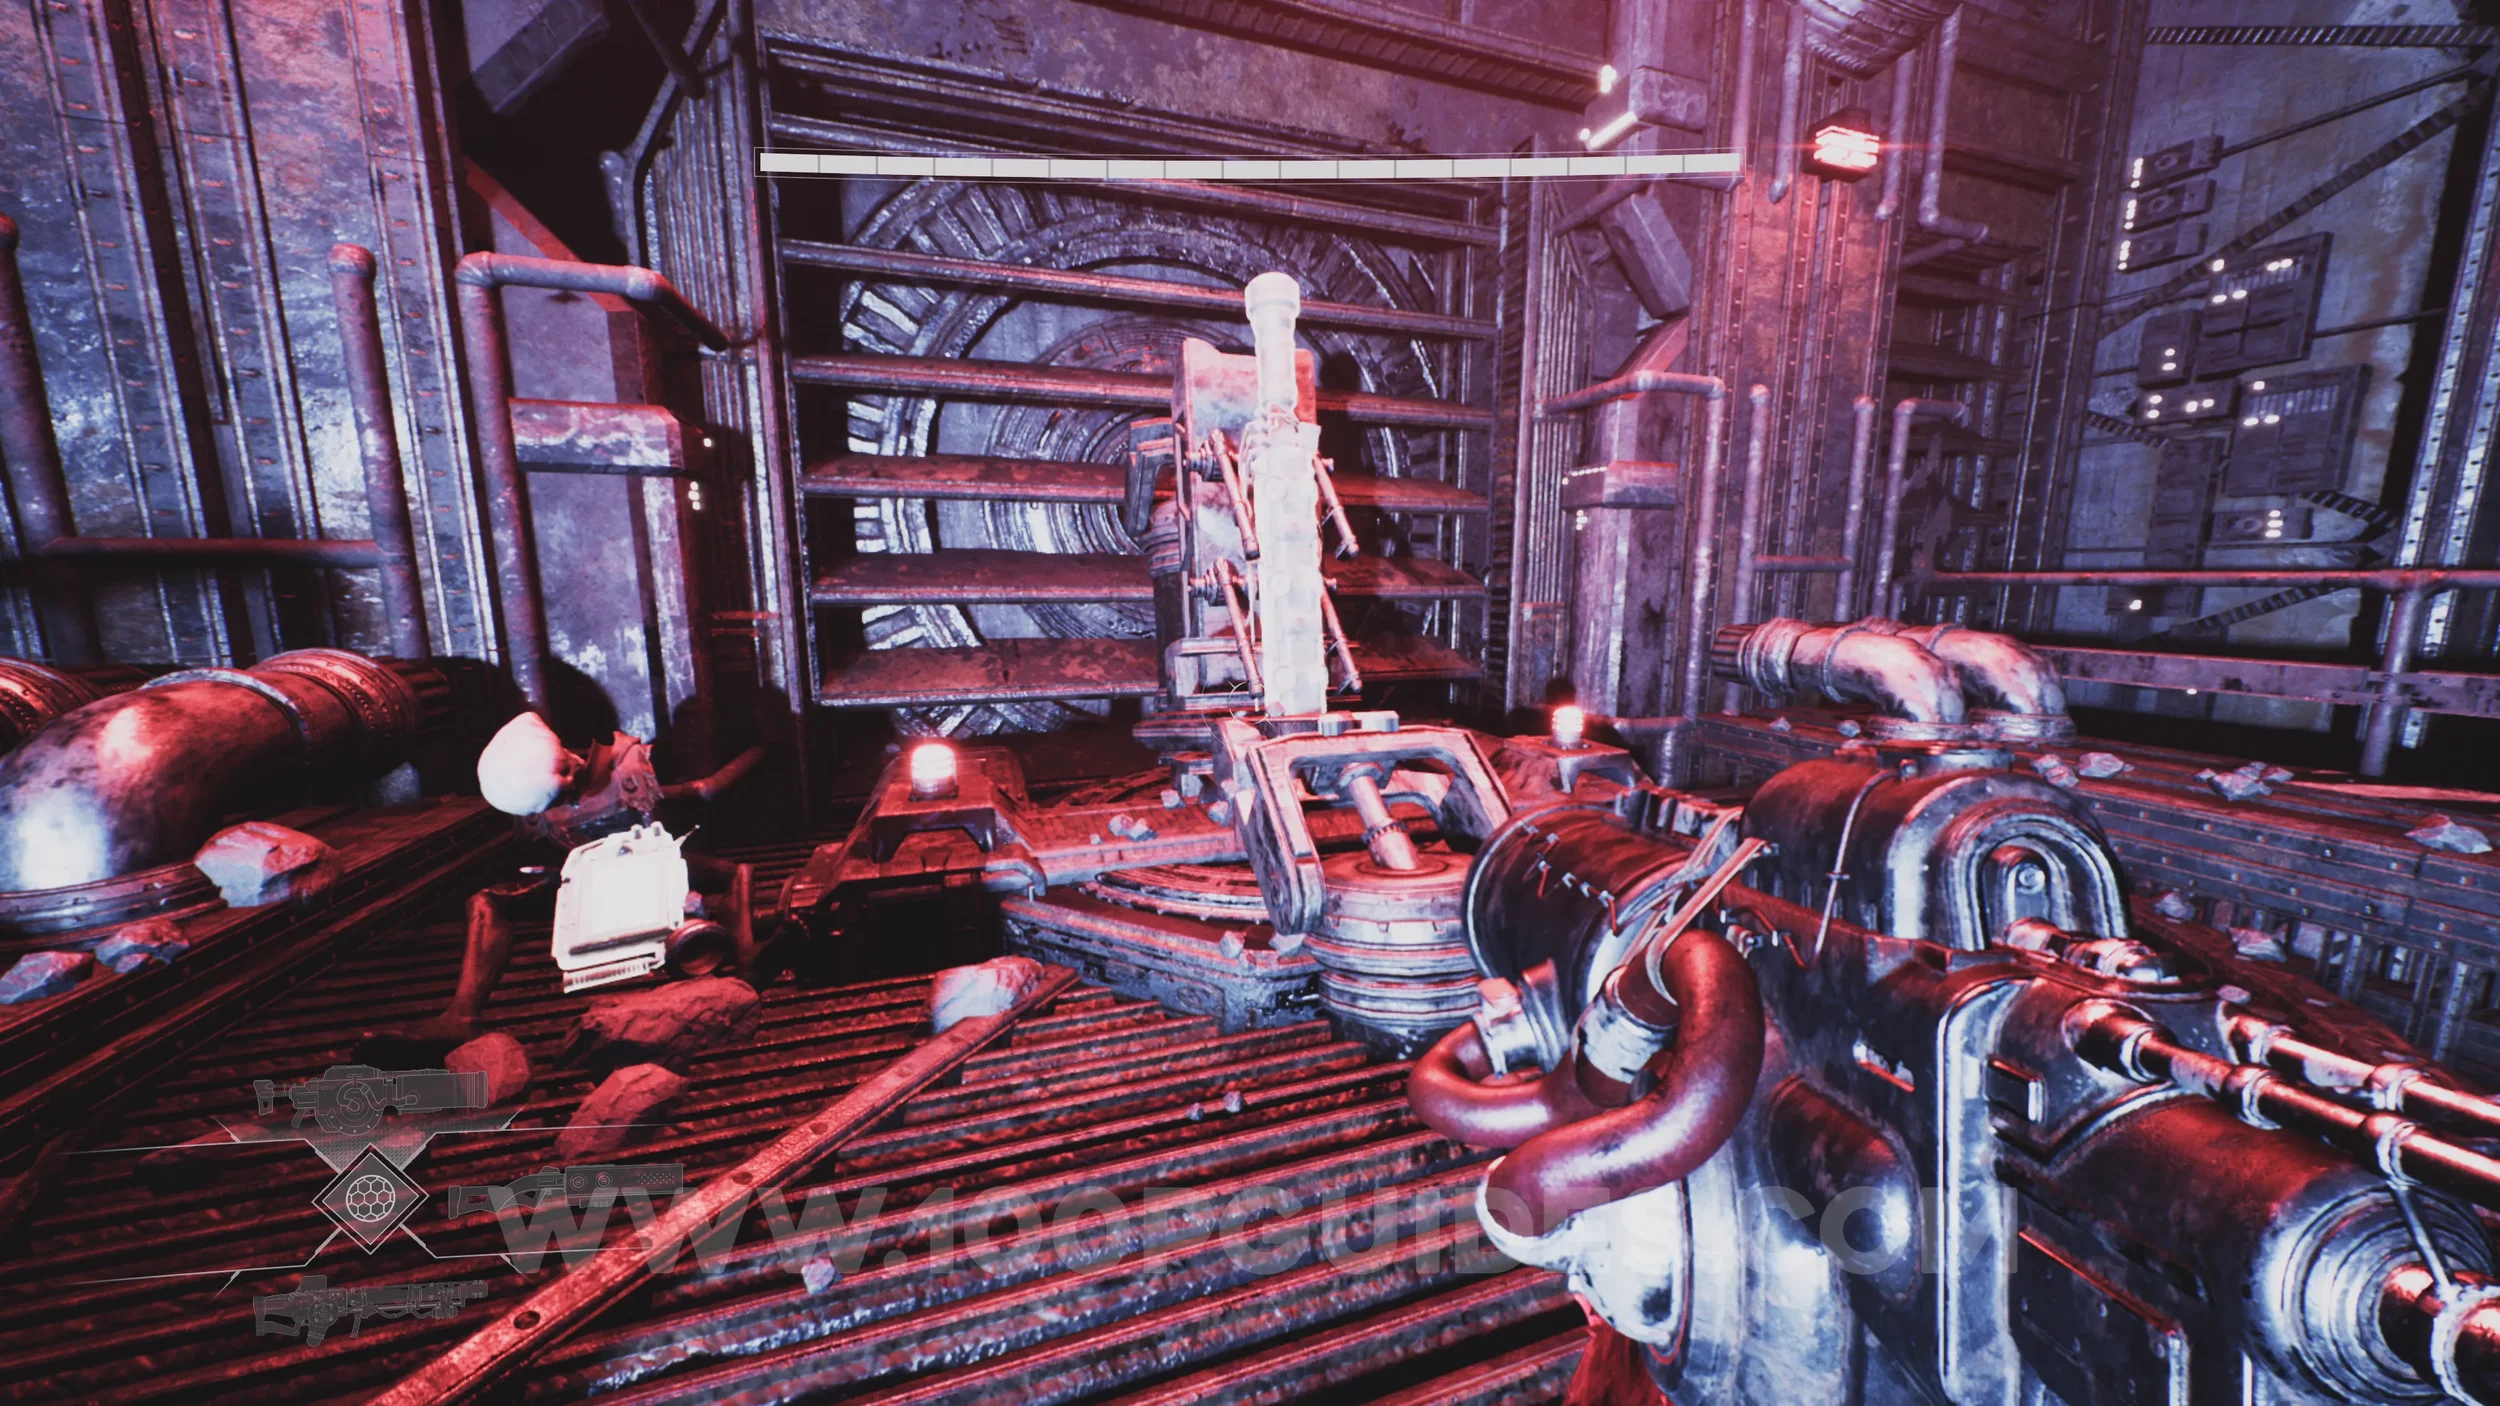
Lore Entry #77 (Memory - Entry #020921 - Lost in the Fog). After using the Atom Splitter to open the second door and hit another switch that activates a jump pad, ride the jump pad up to an area with a suspended platform where you'll need to use the Atom Splitter to open another door. Before opening it, look left to find a hole near a symbol on the wall. Go through and follow the path to find the collectible.
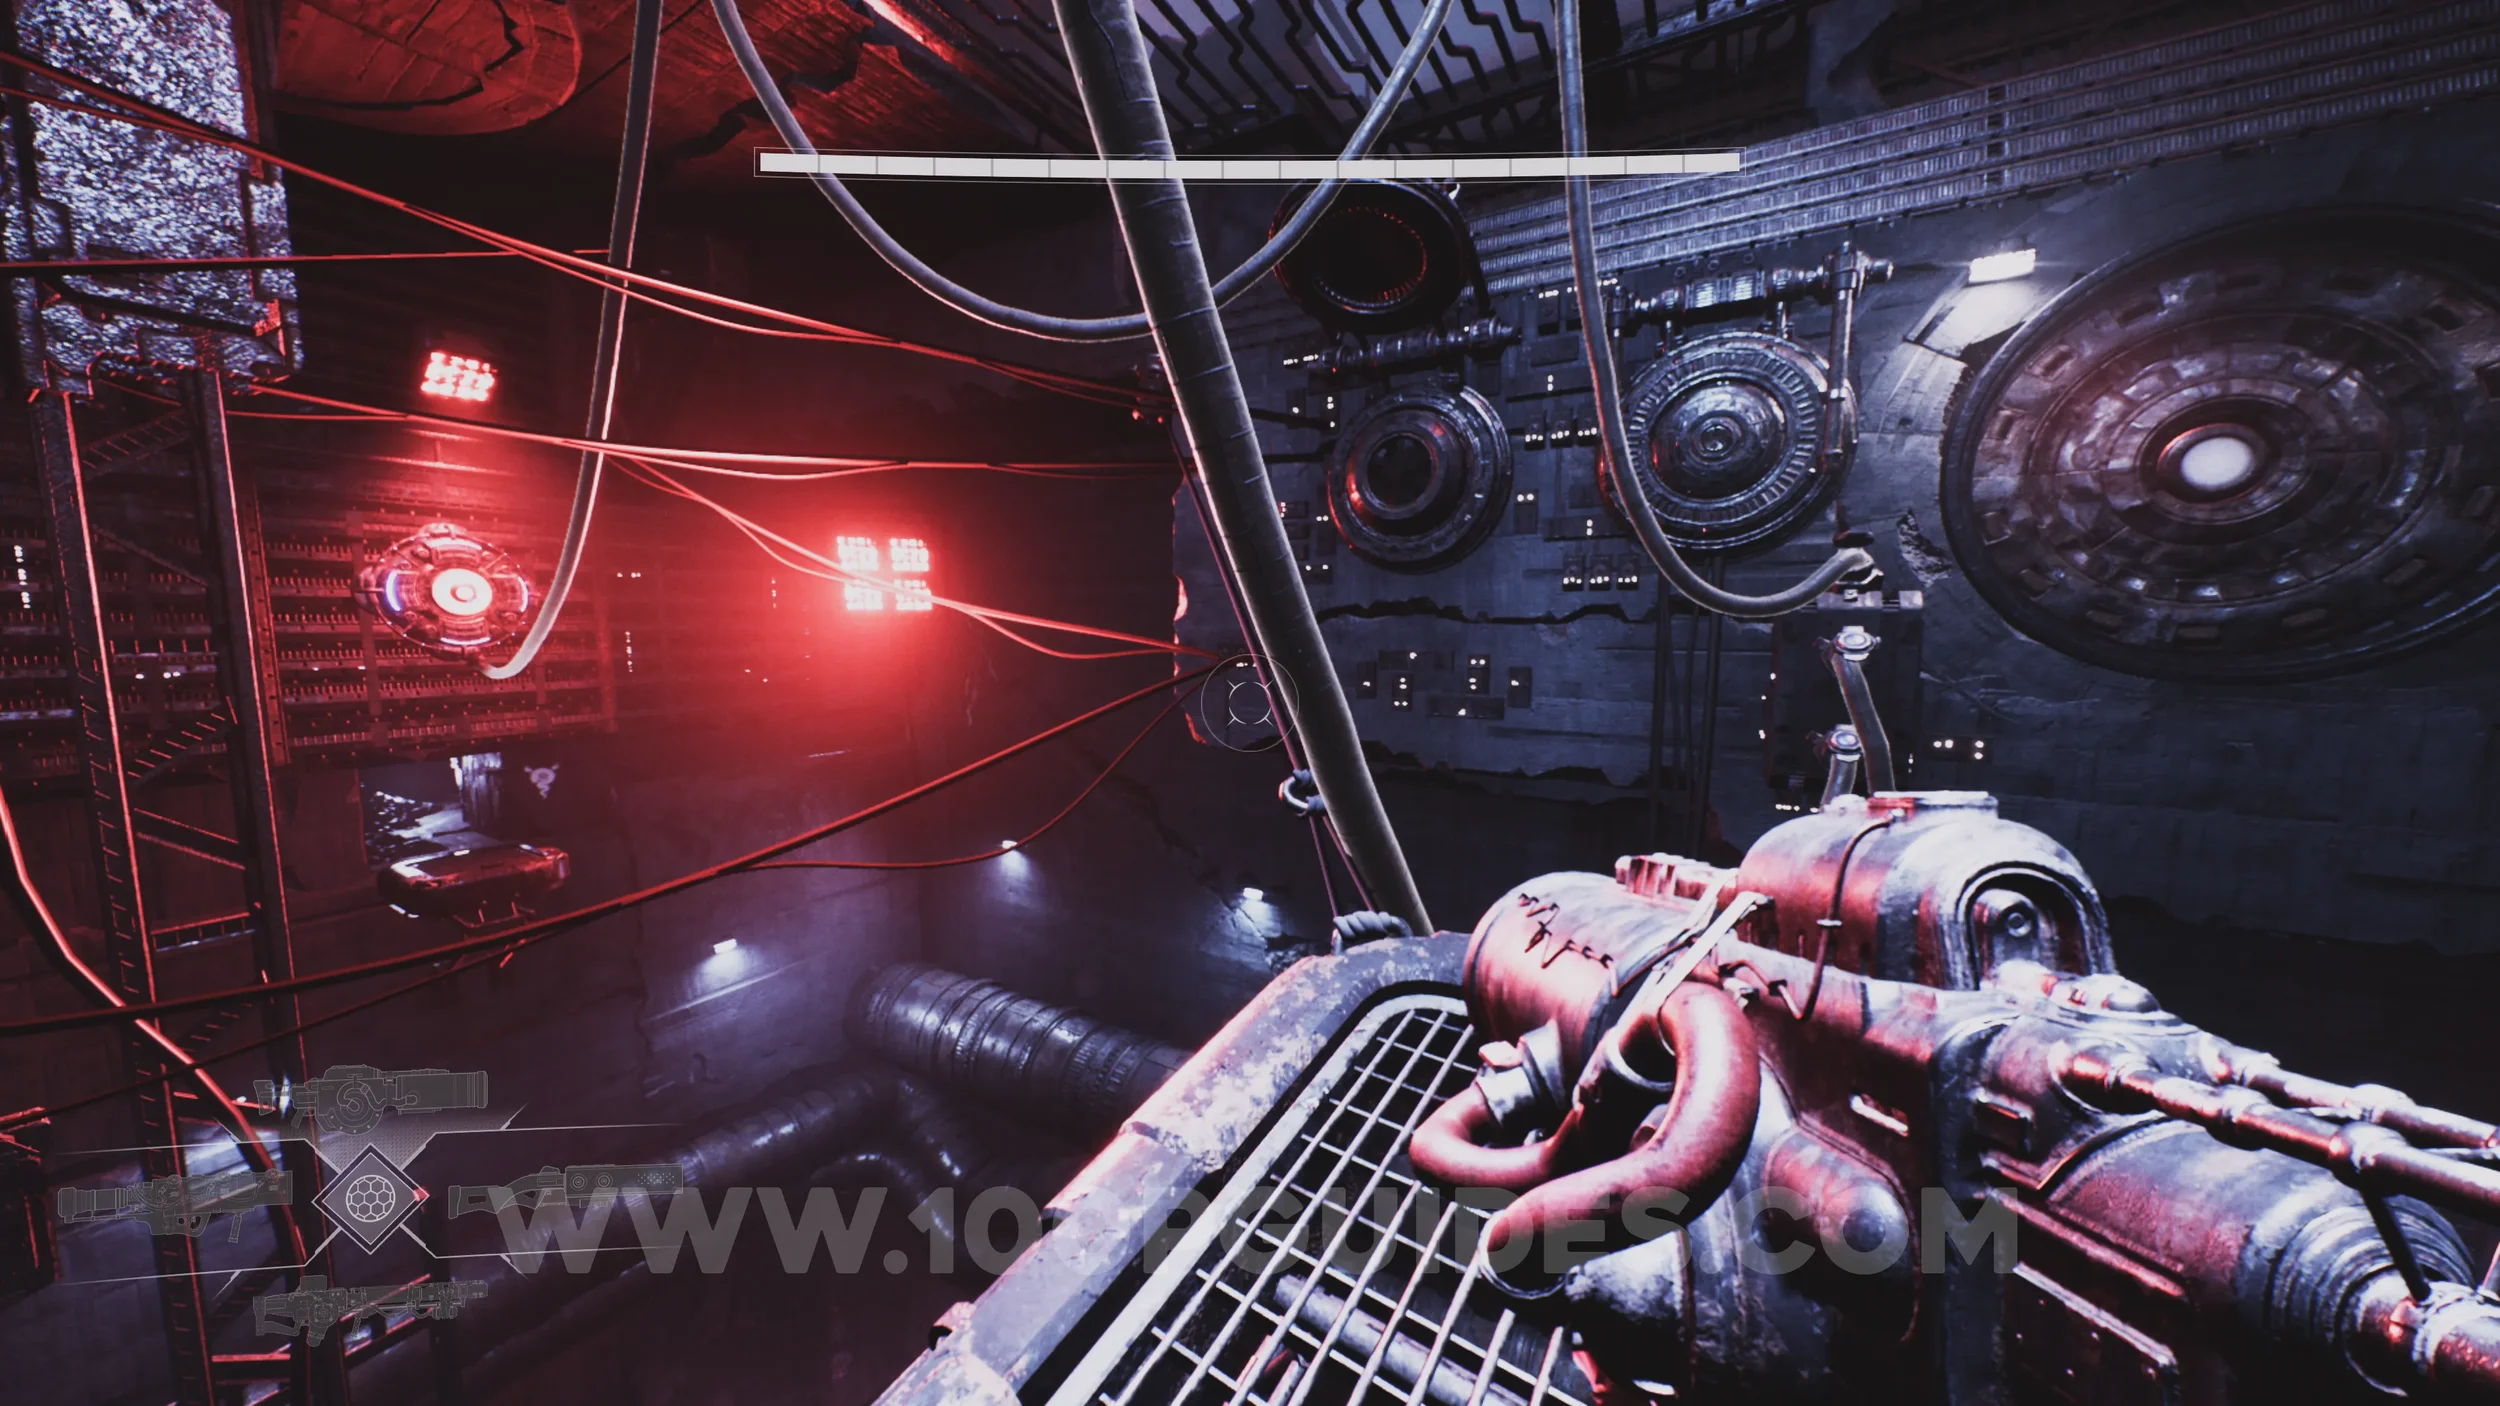
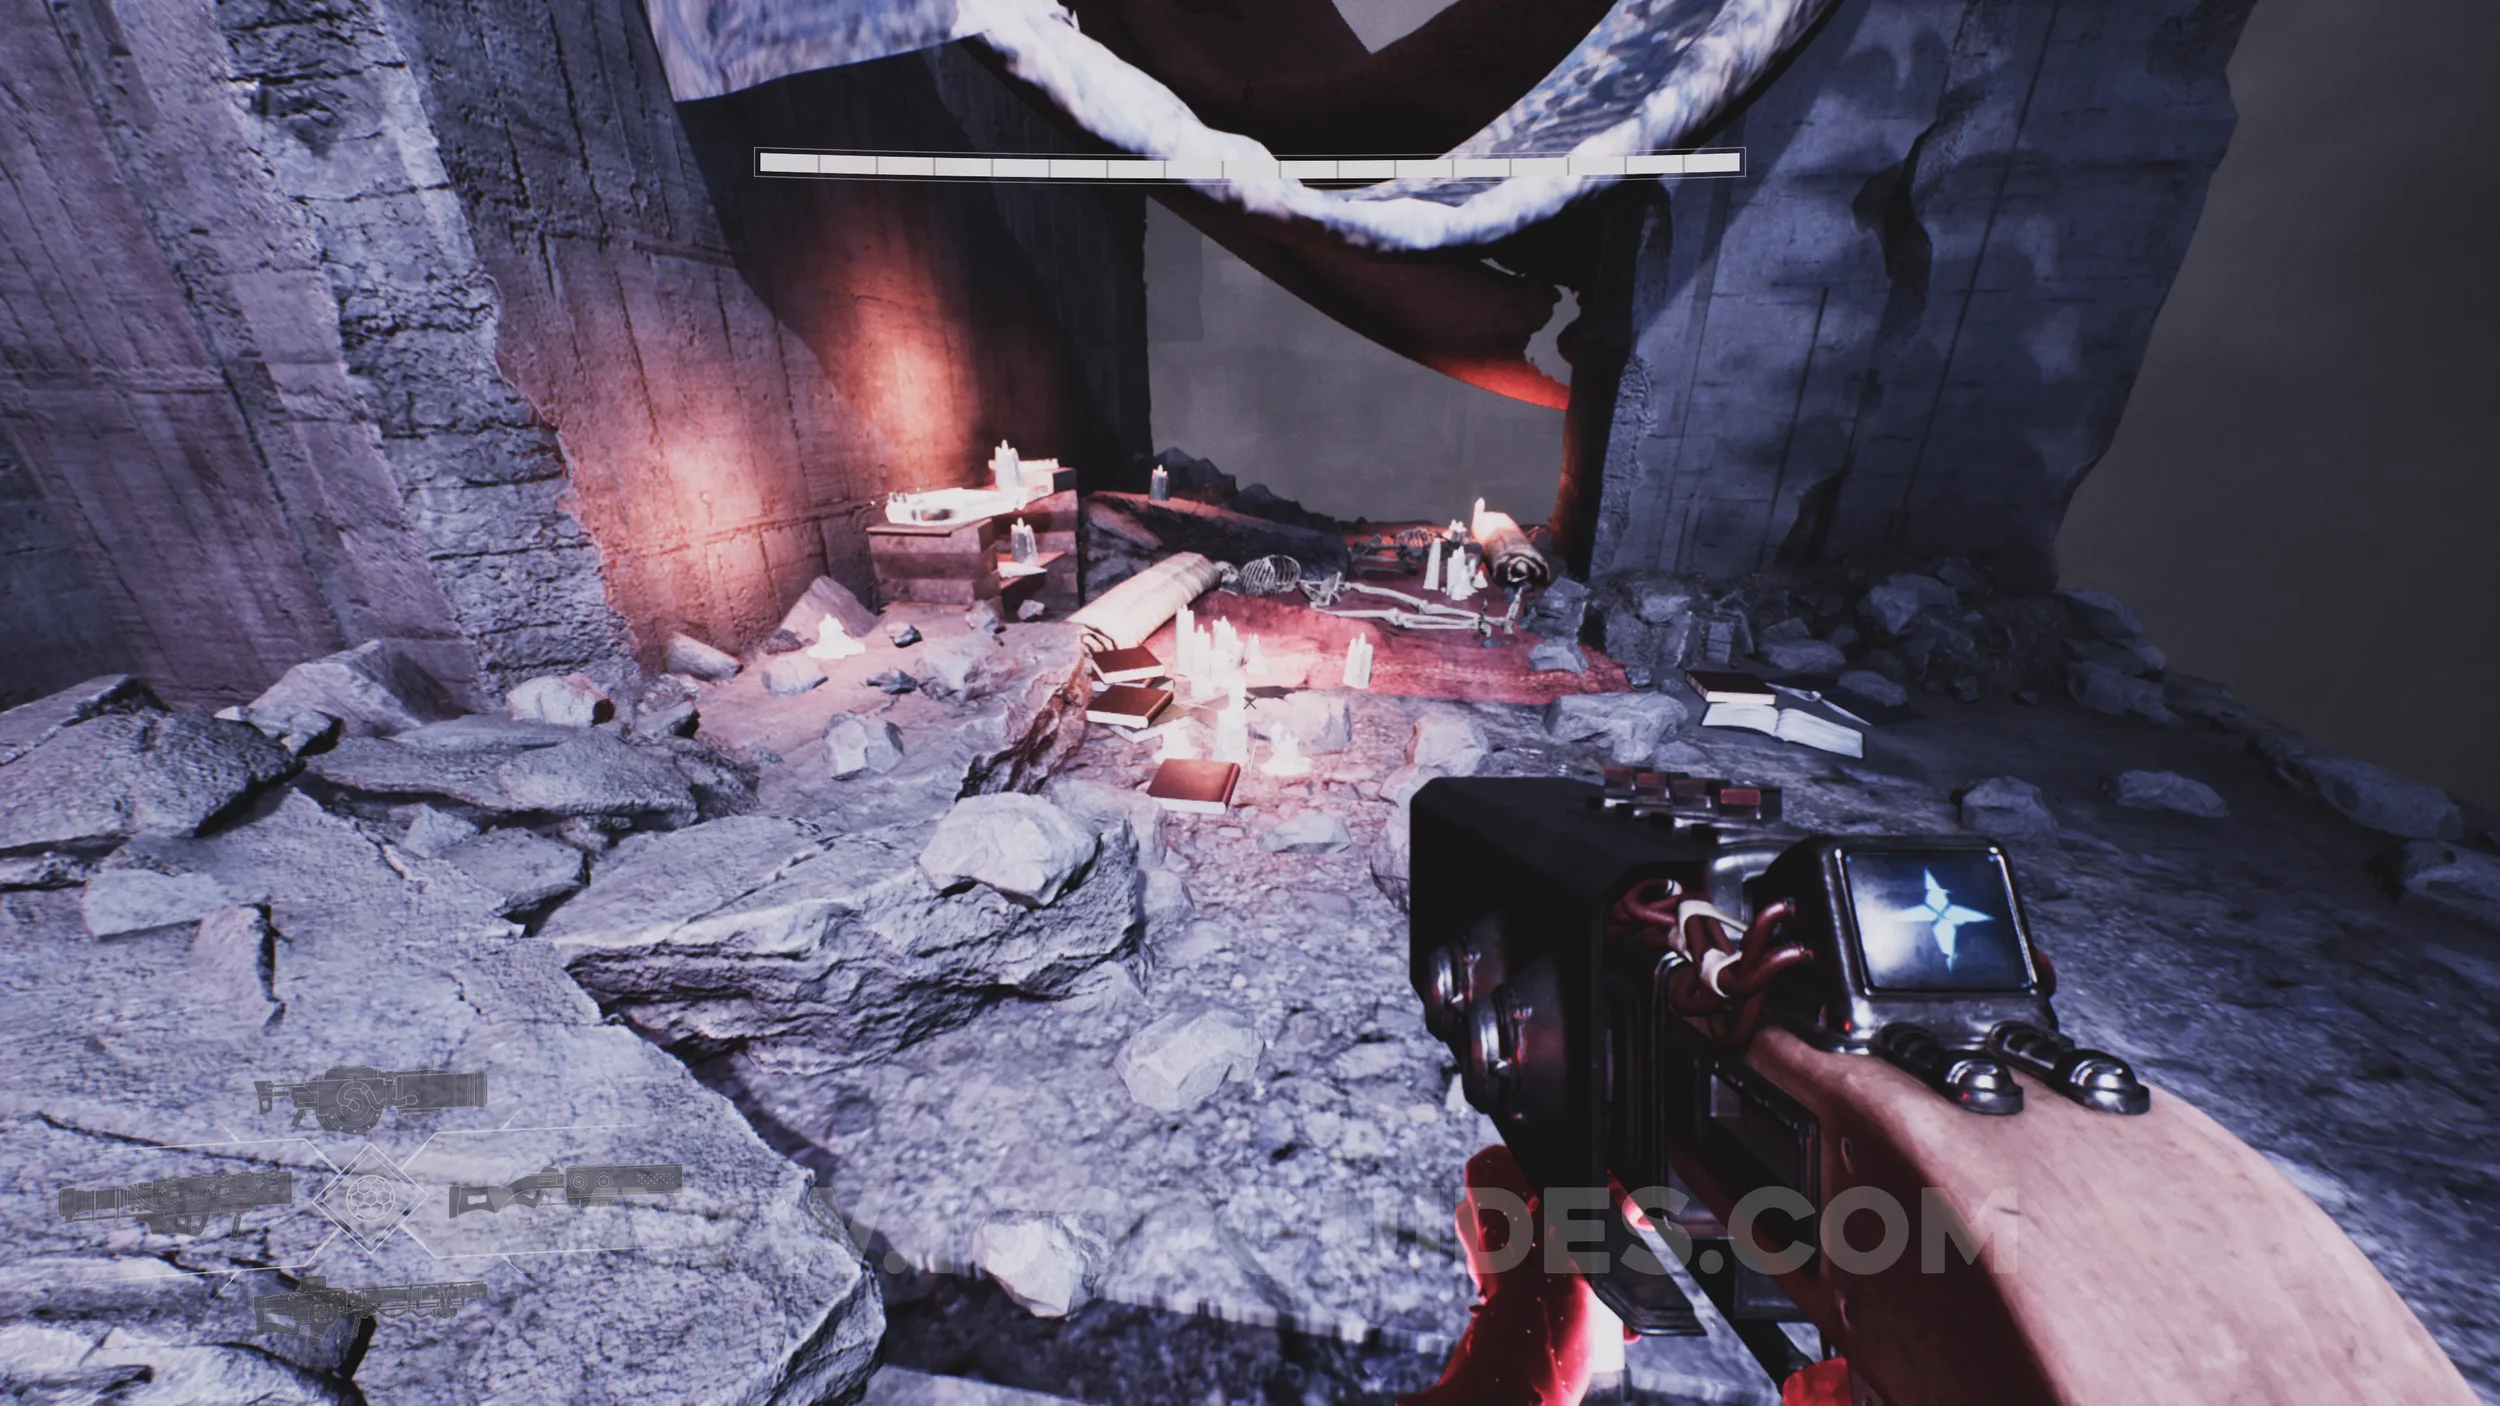
Lore Entry #78 (Memory - Entry #18292 - Fear of Falling). After clearing a room of enemies and exiting to a checkpoint, you'll see a moving platform and the collectible behind some bars. Ride the moving platform around the corner and use the grappling point to cross the gap. As soon as you land, look for a gap on your left. Go through, then head left and hit all three targets with the Atom Splitter to open the door to the collectible.
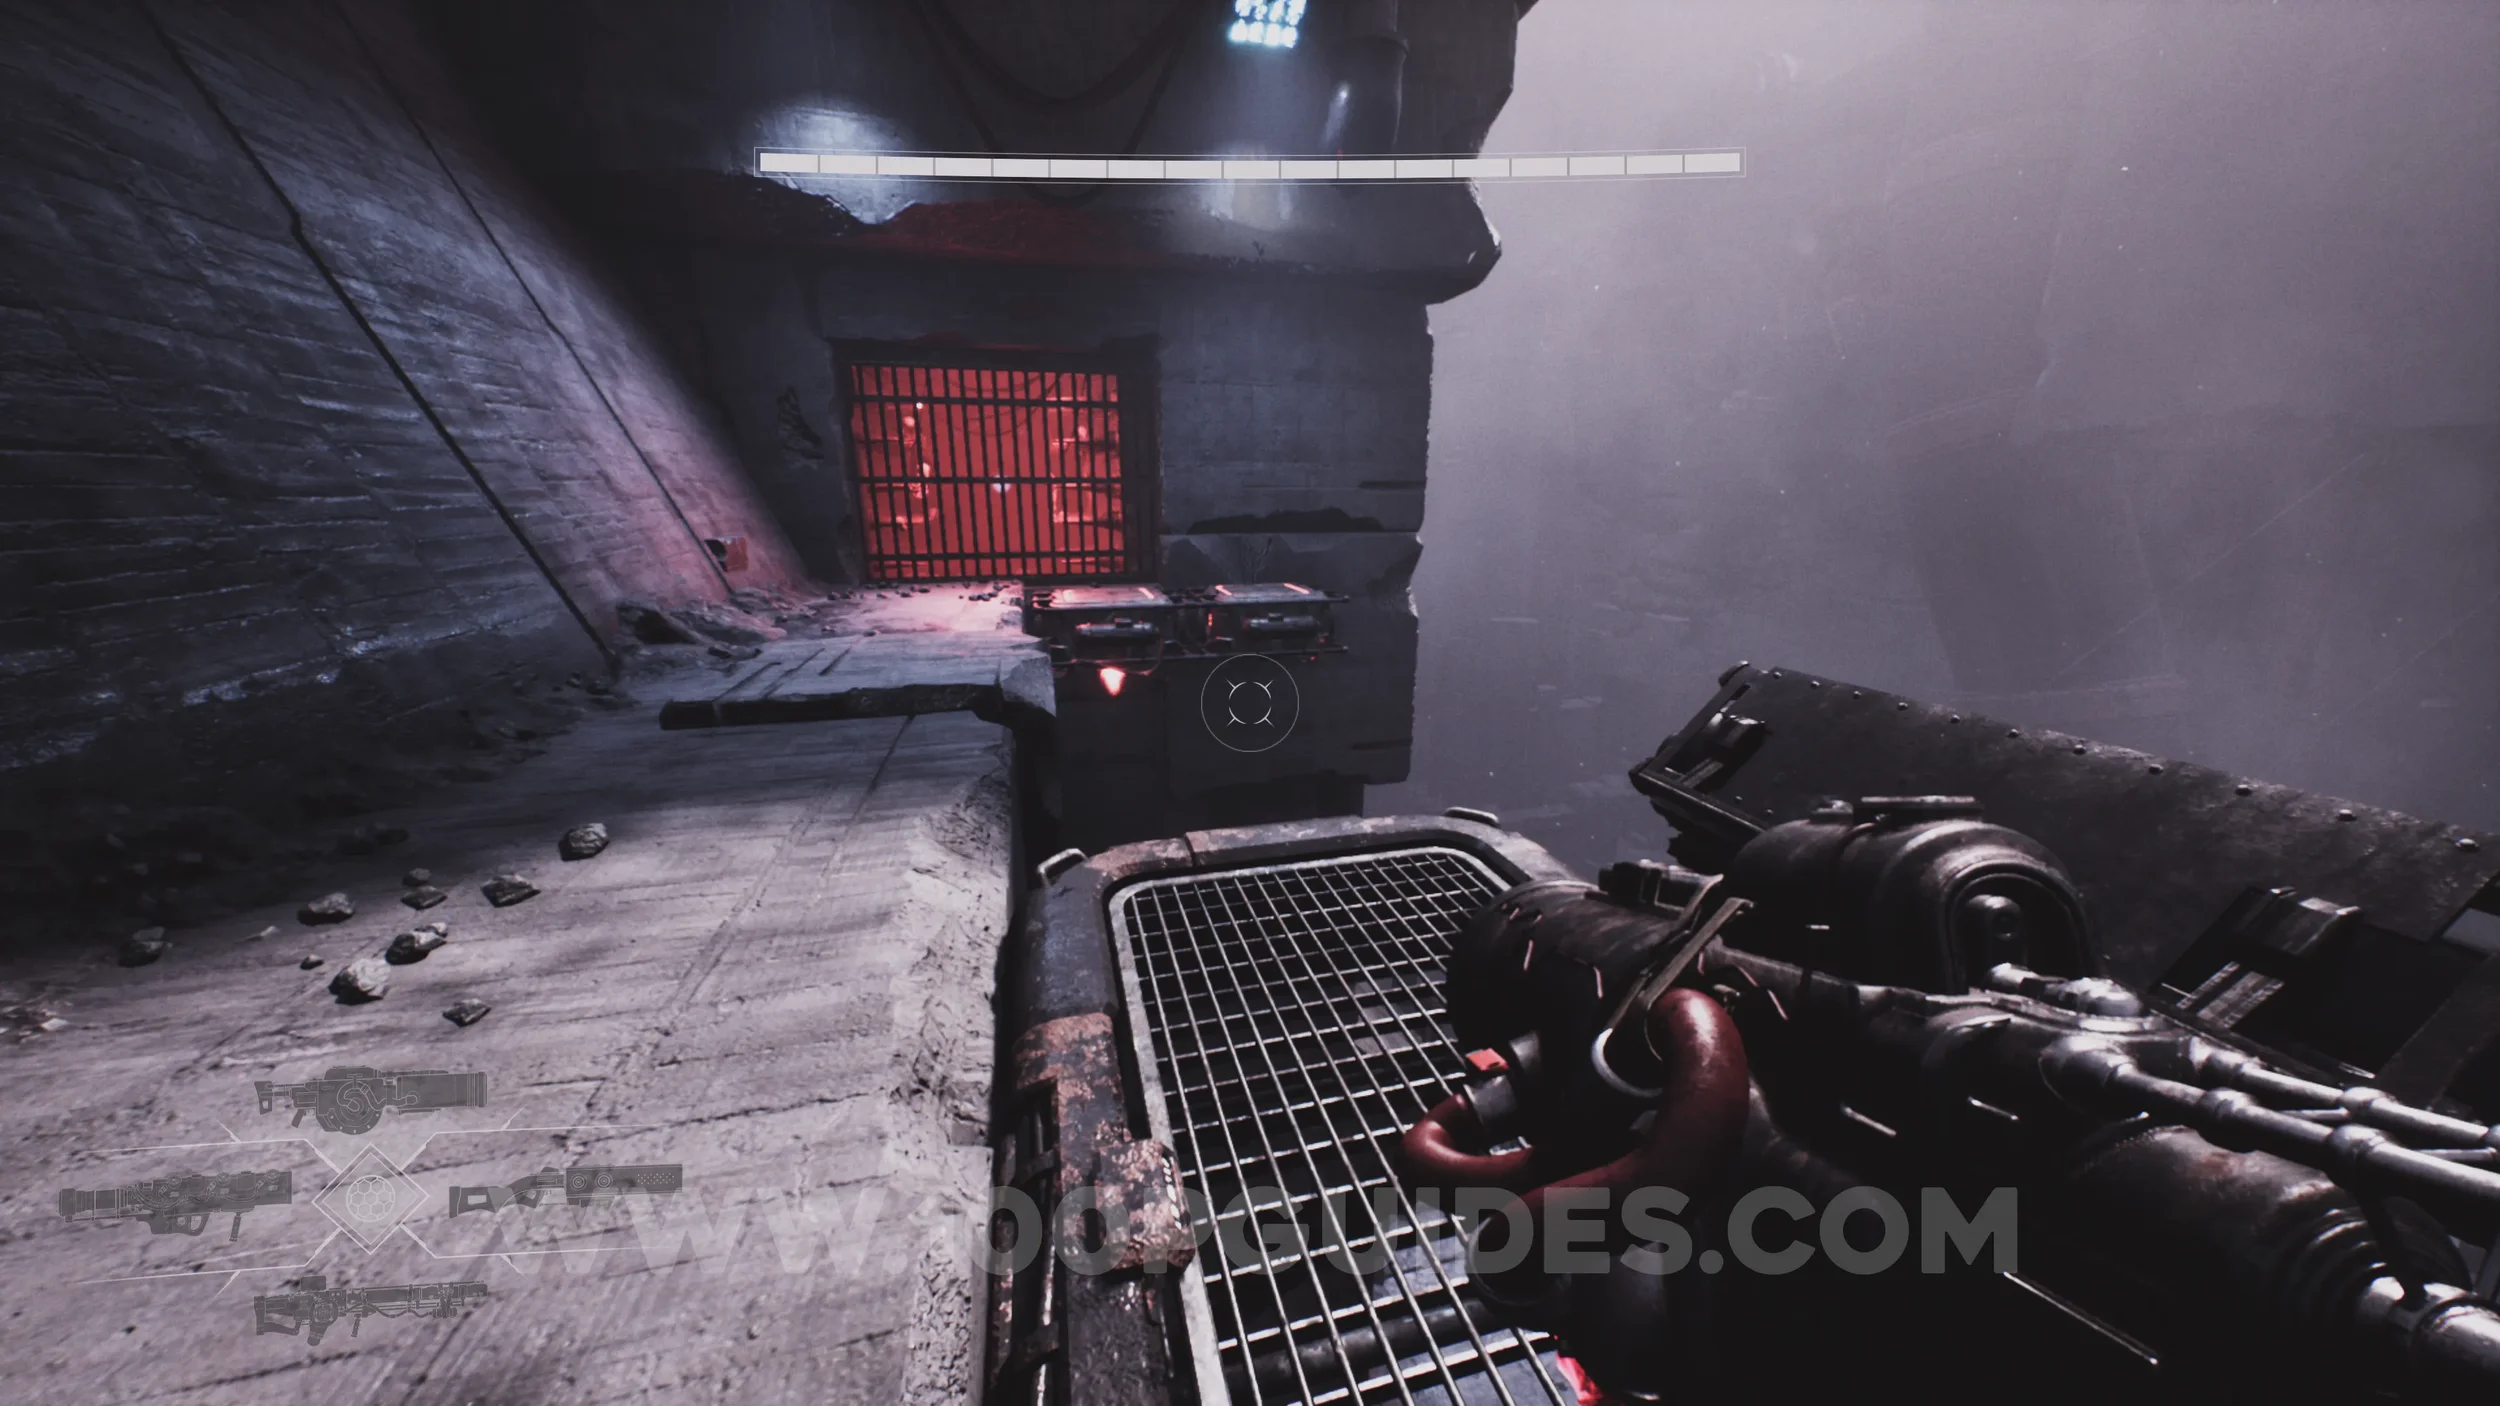
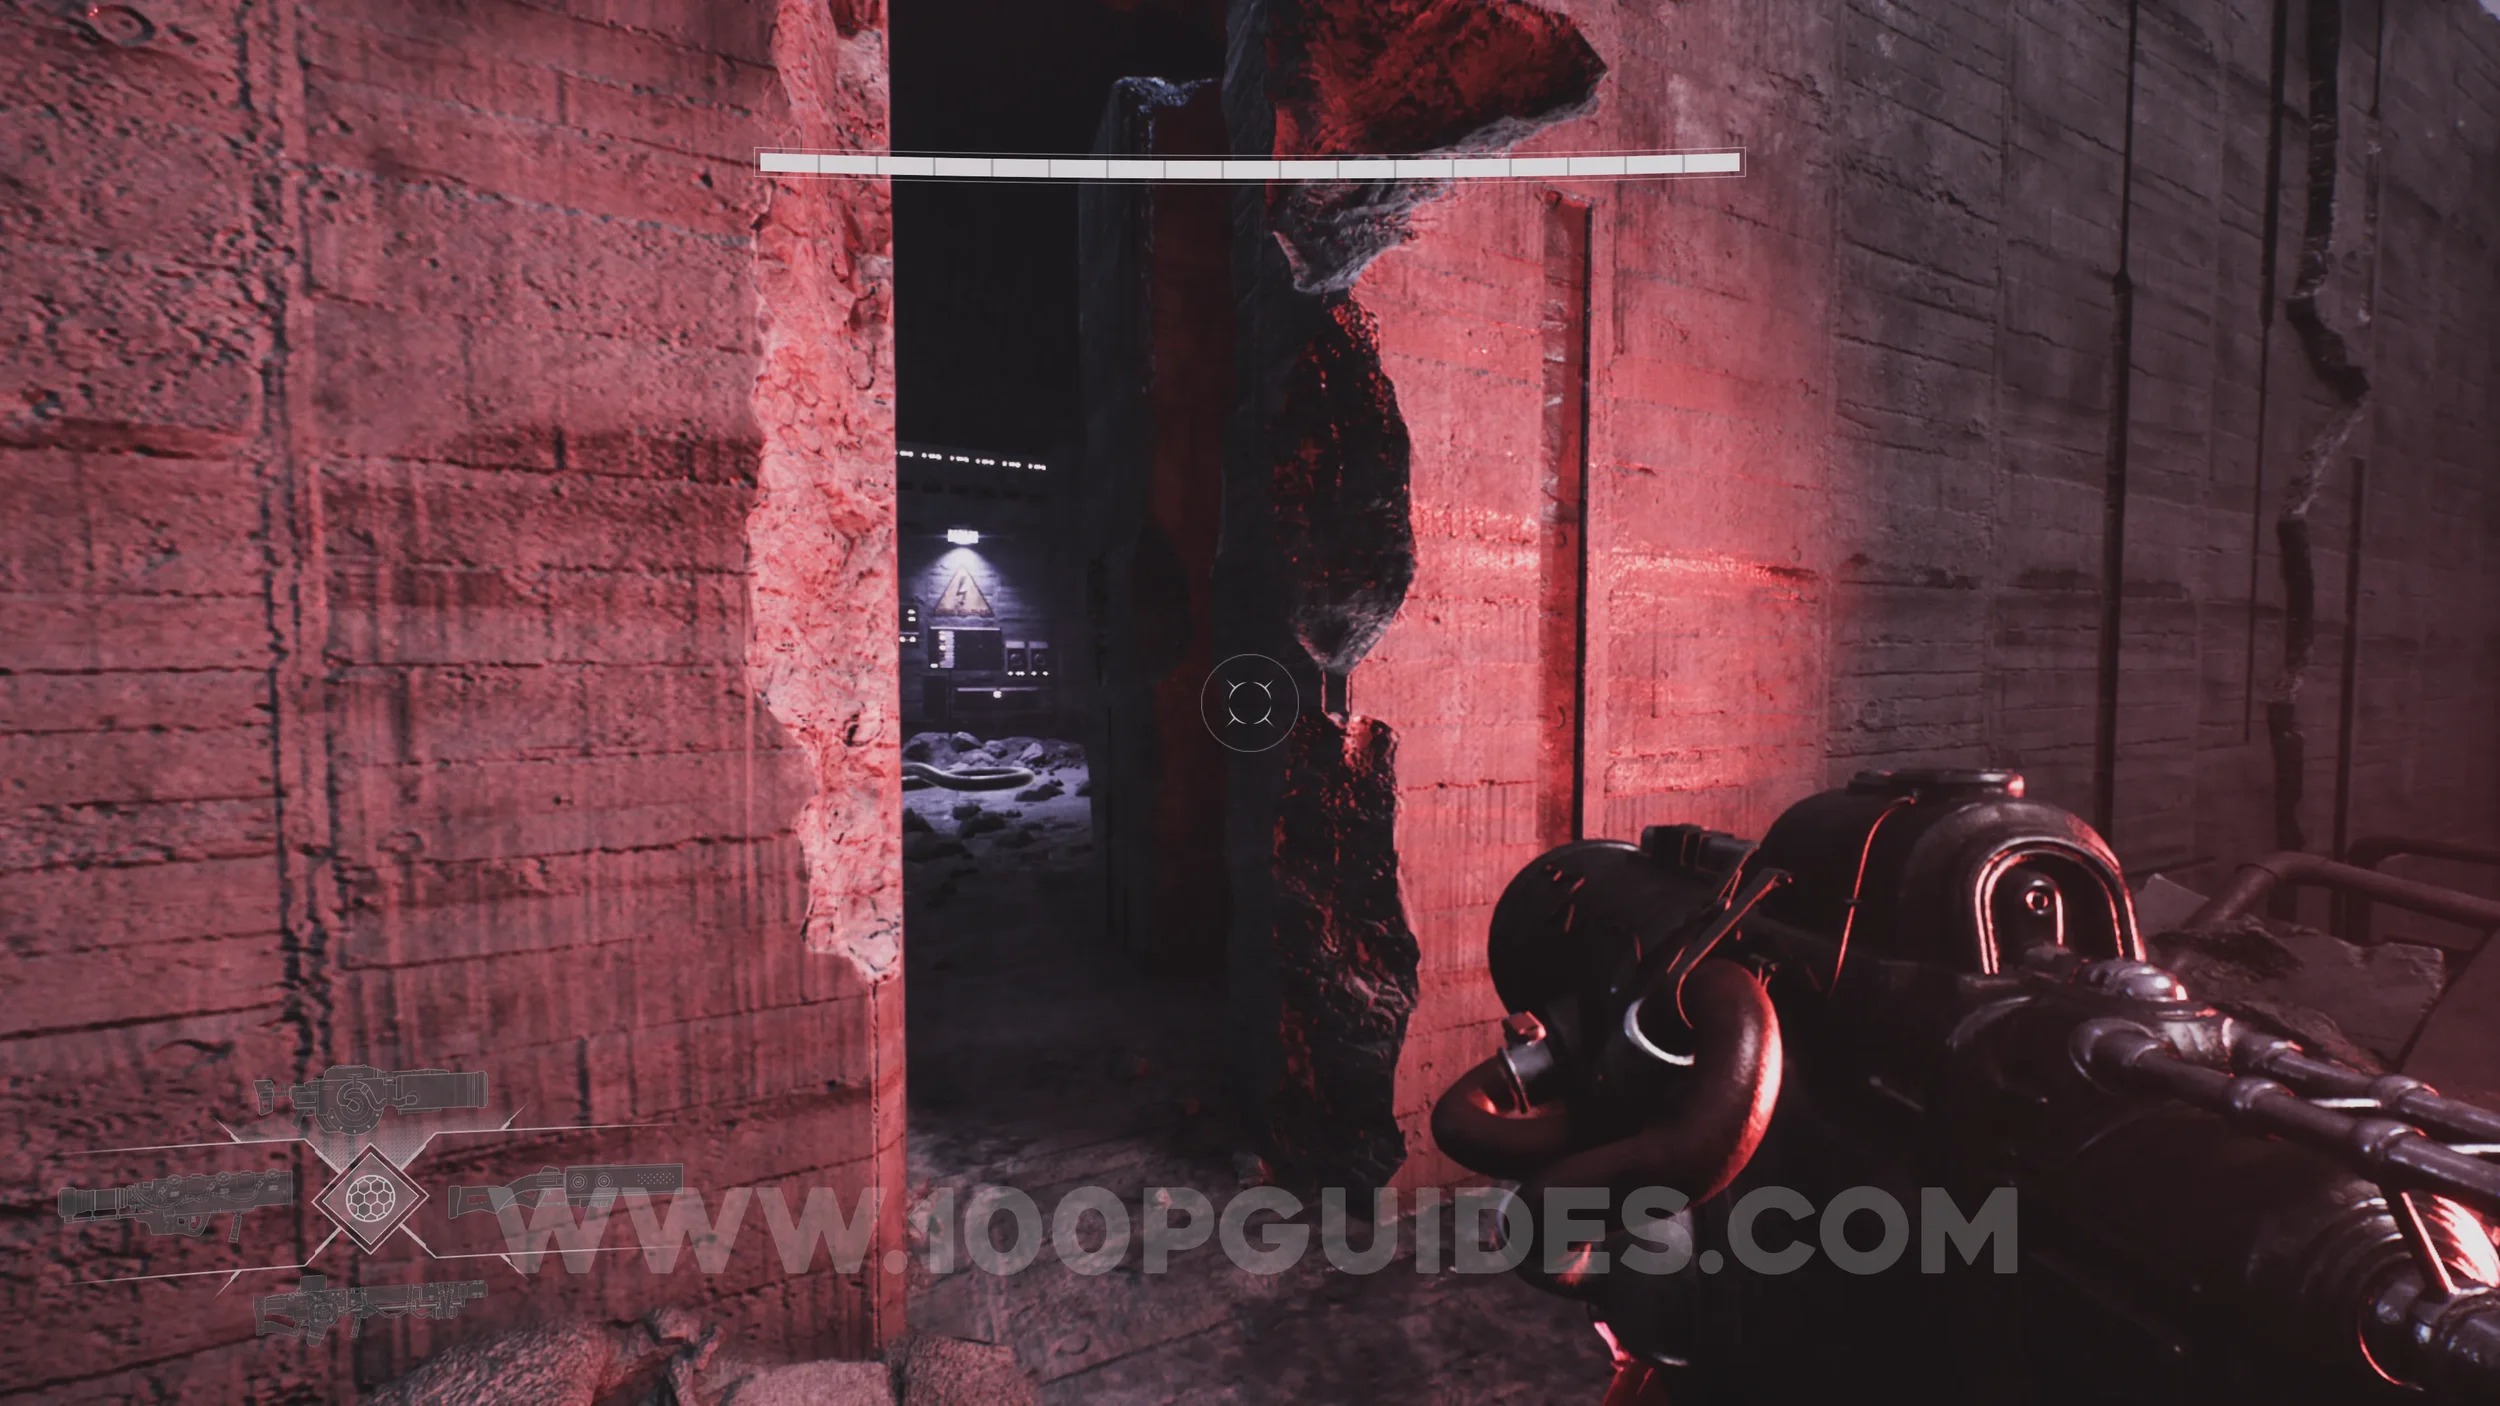
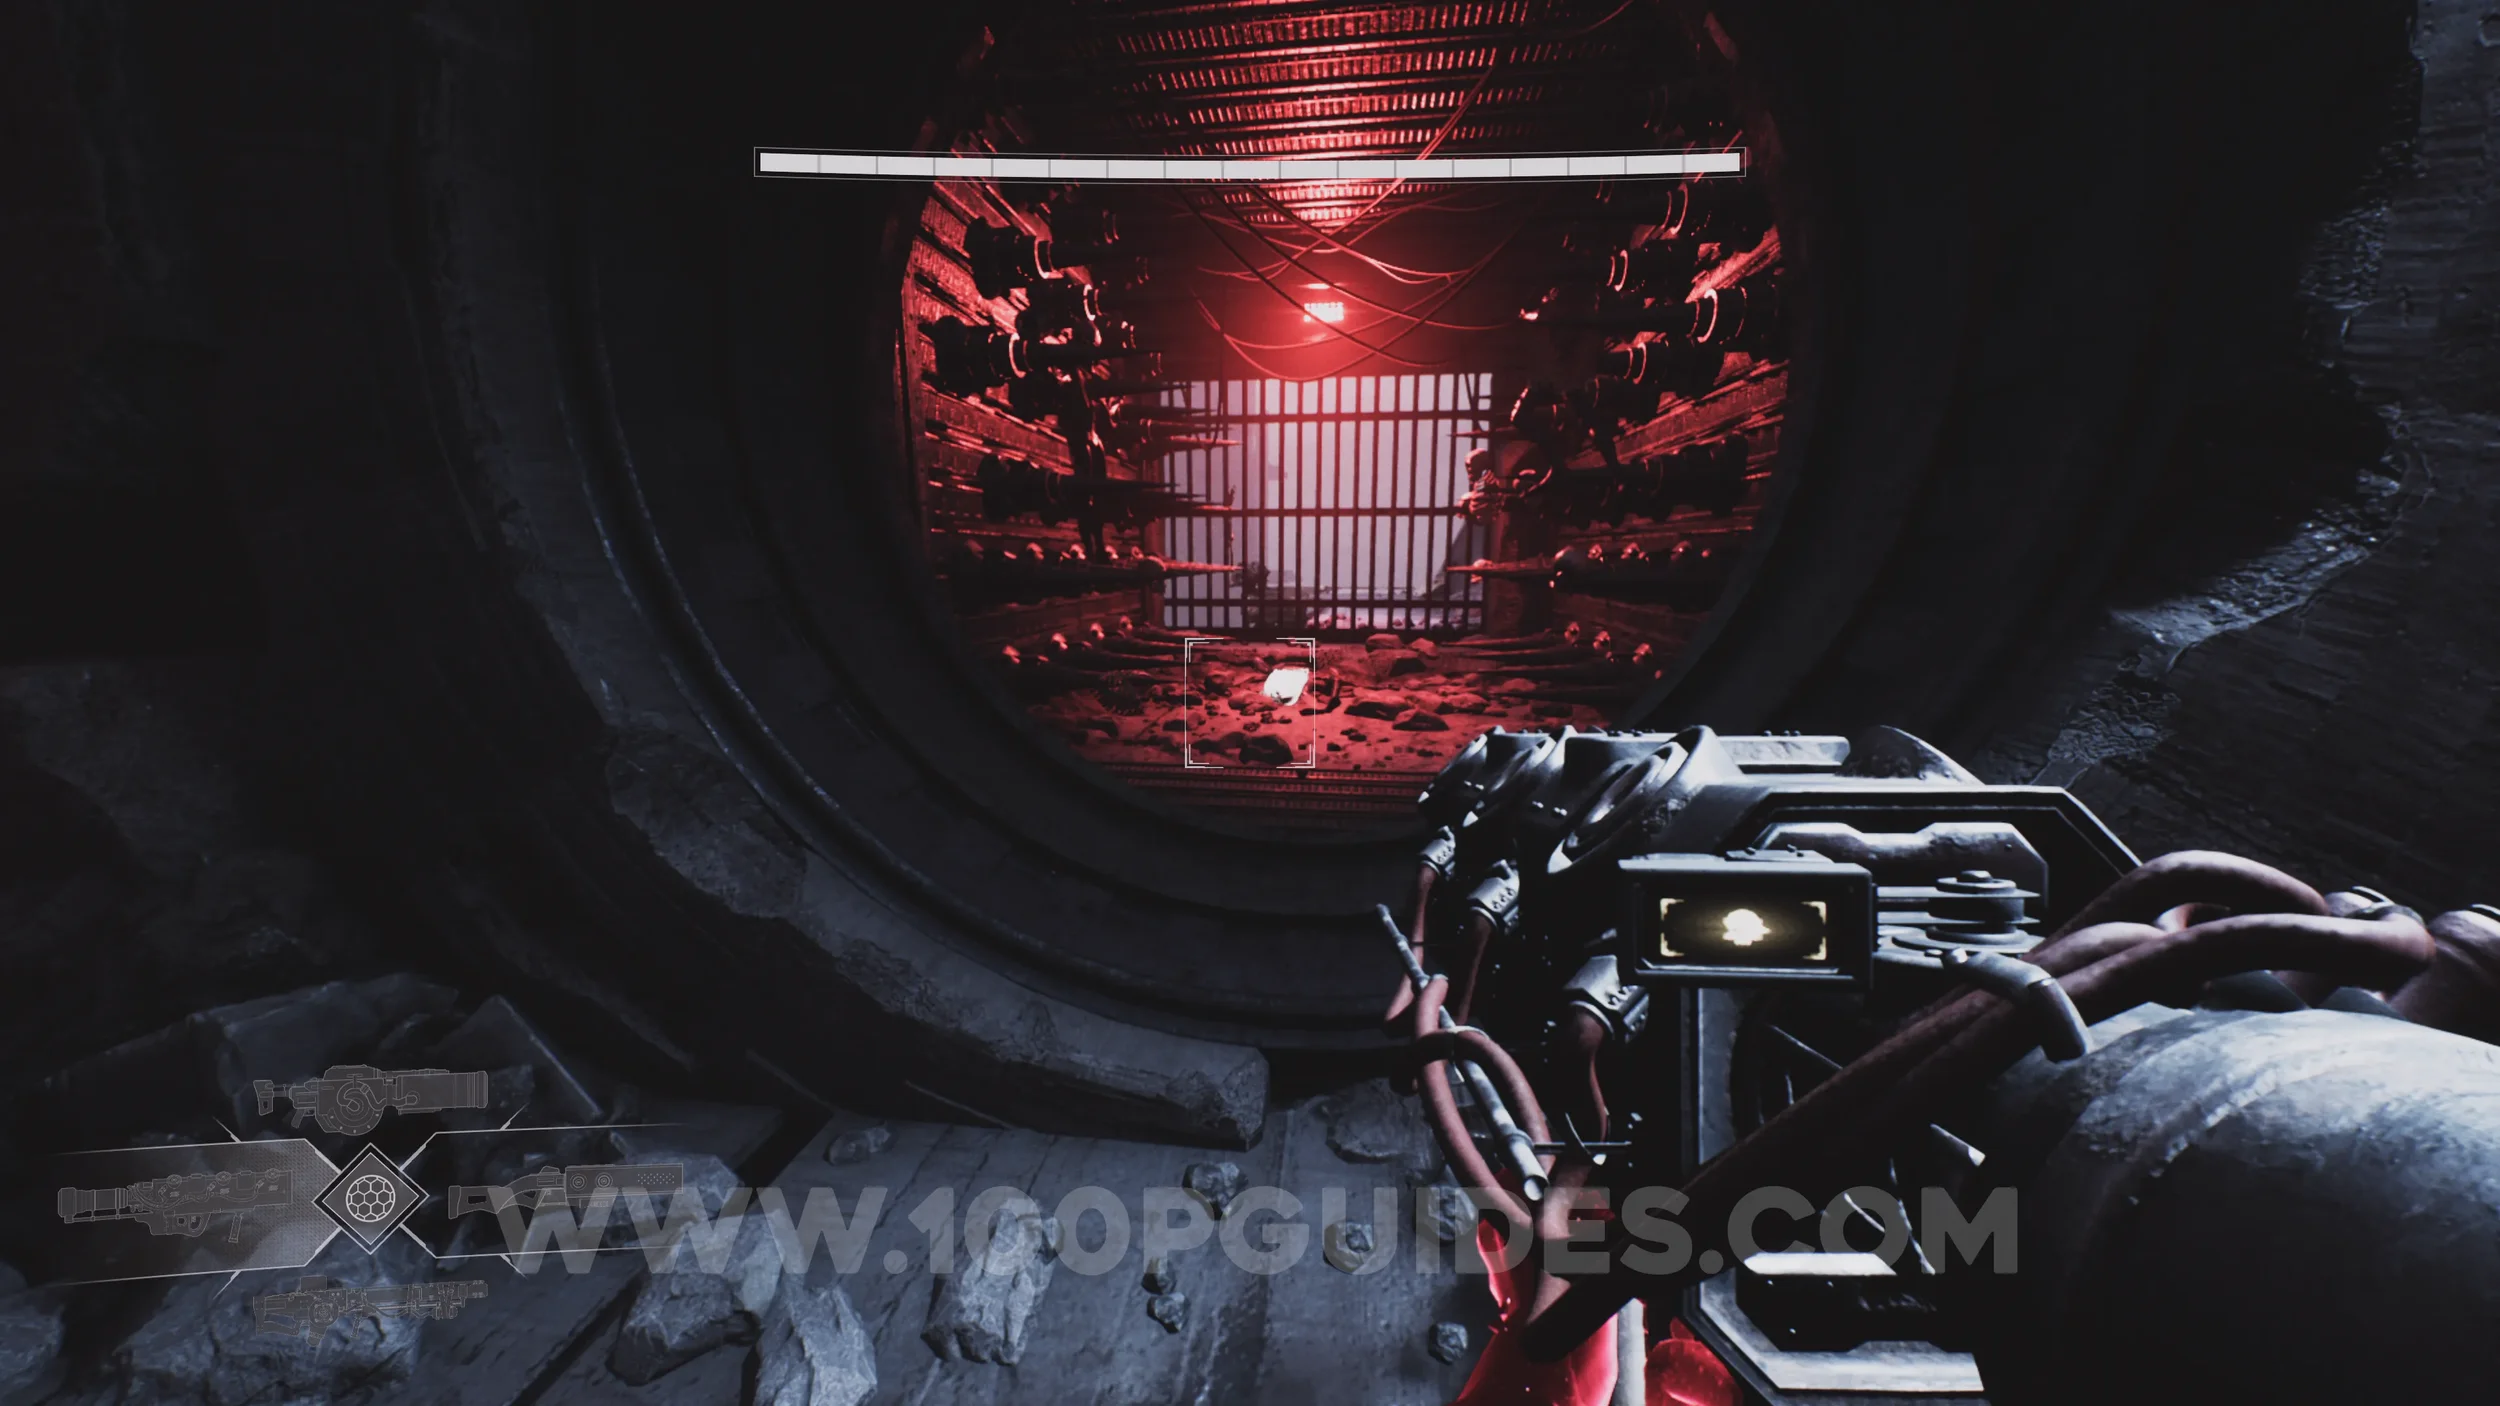
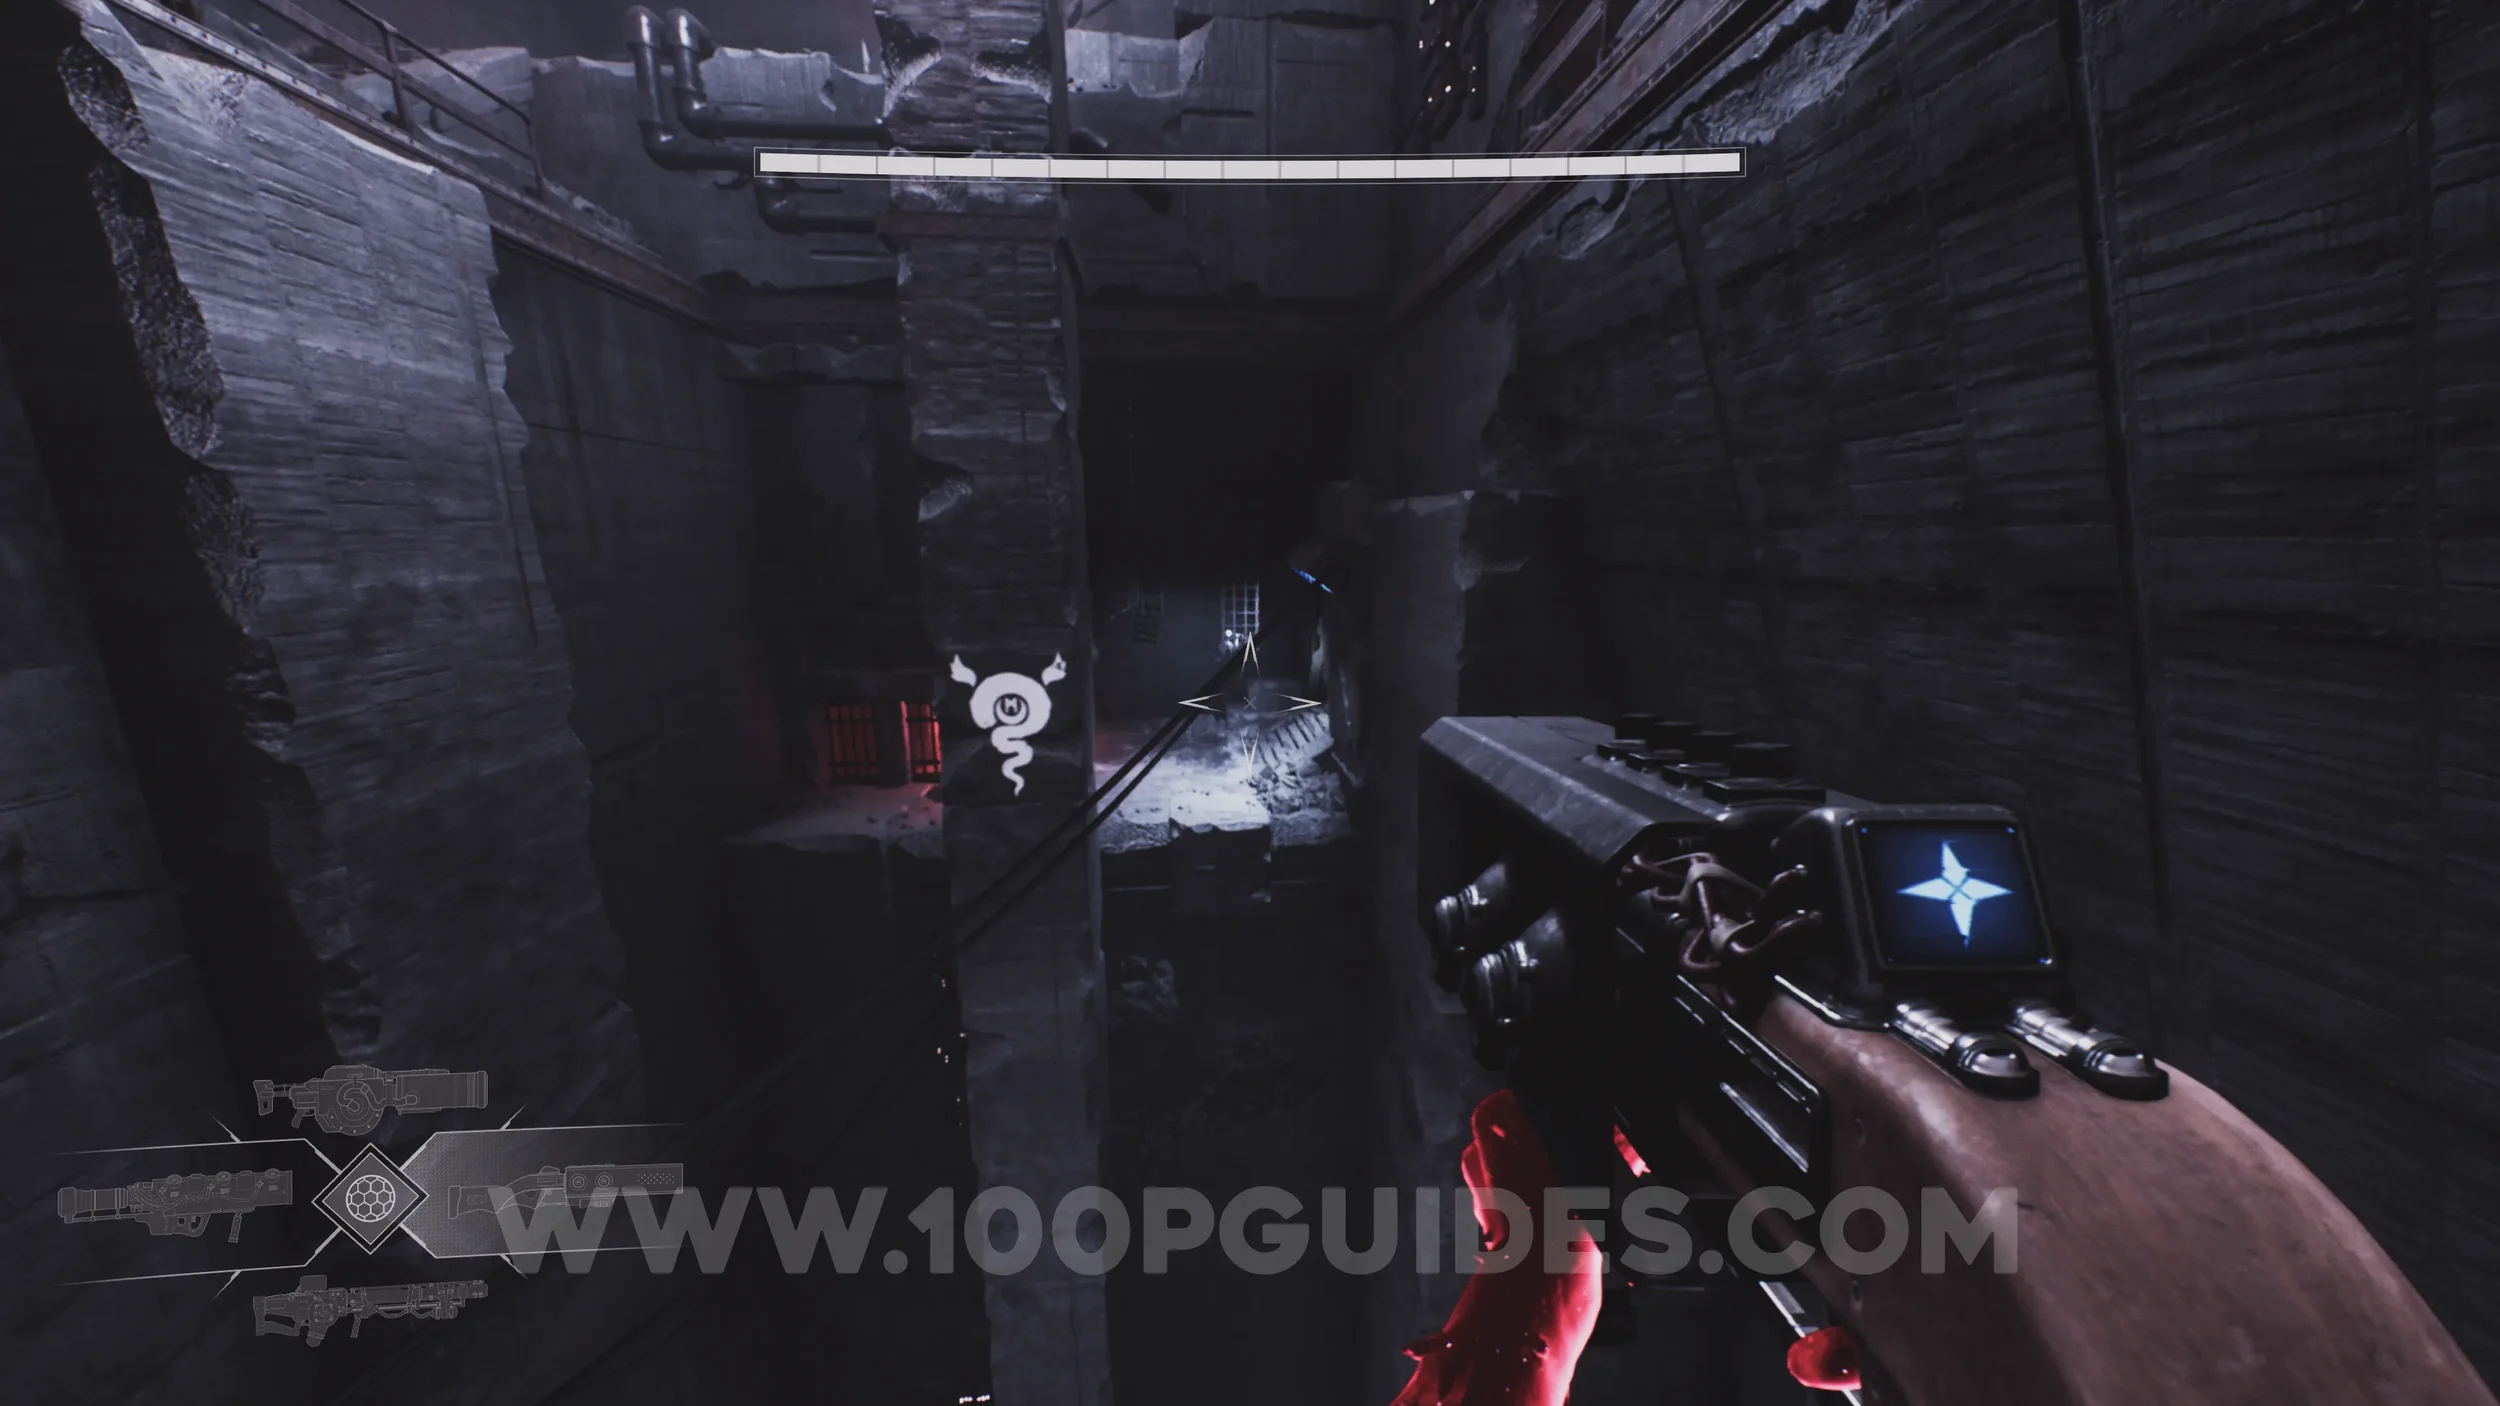
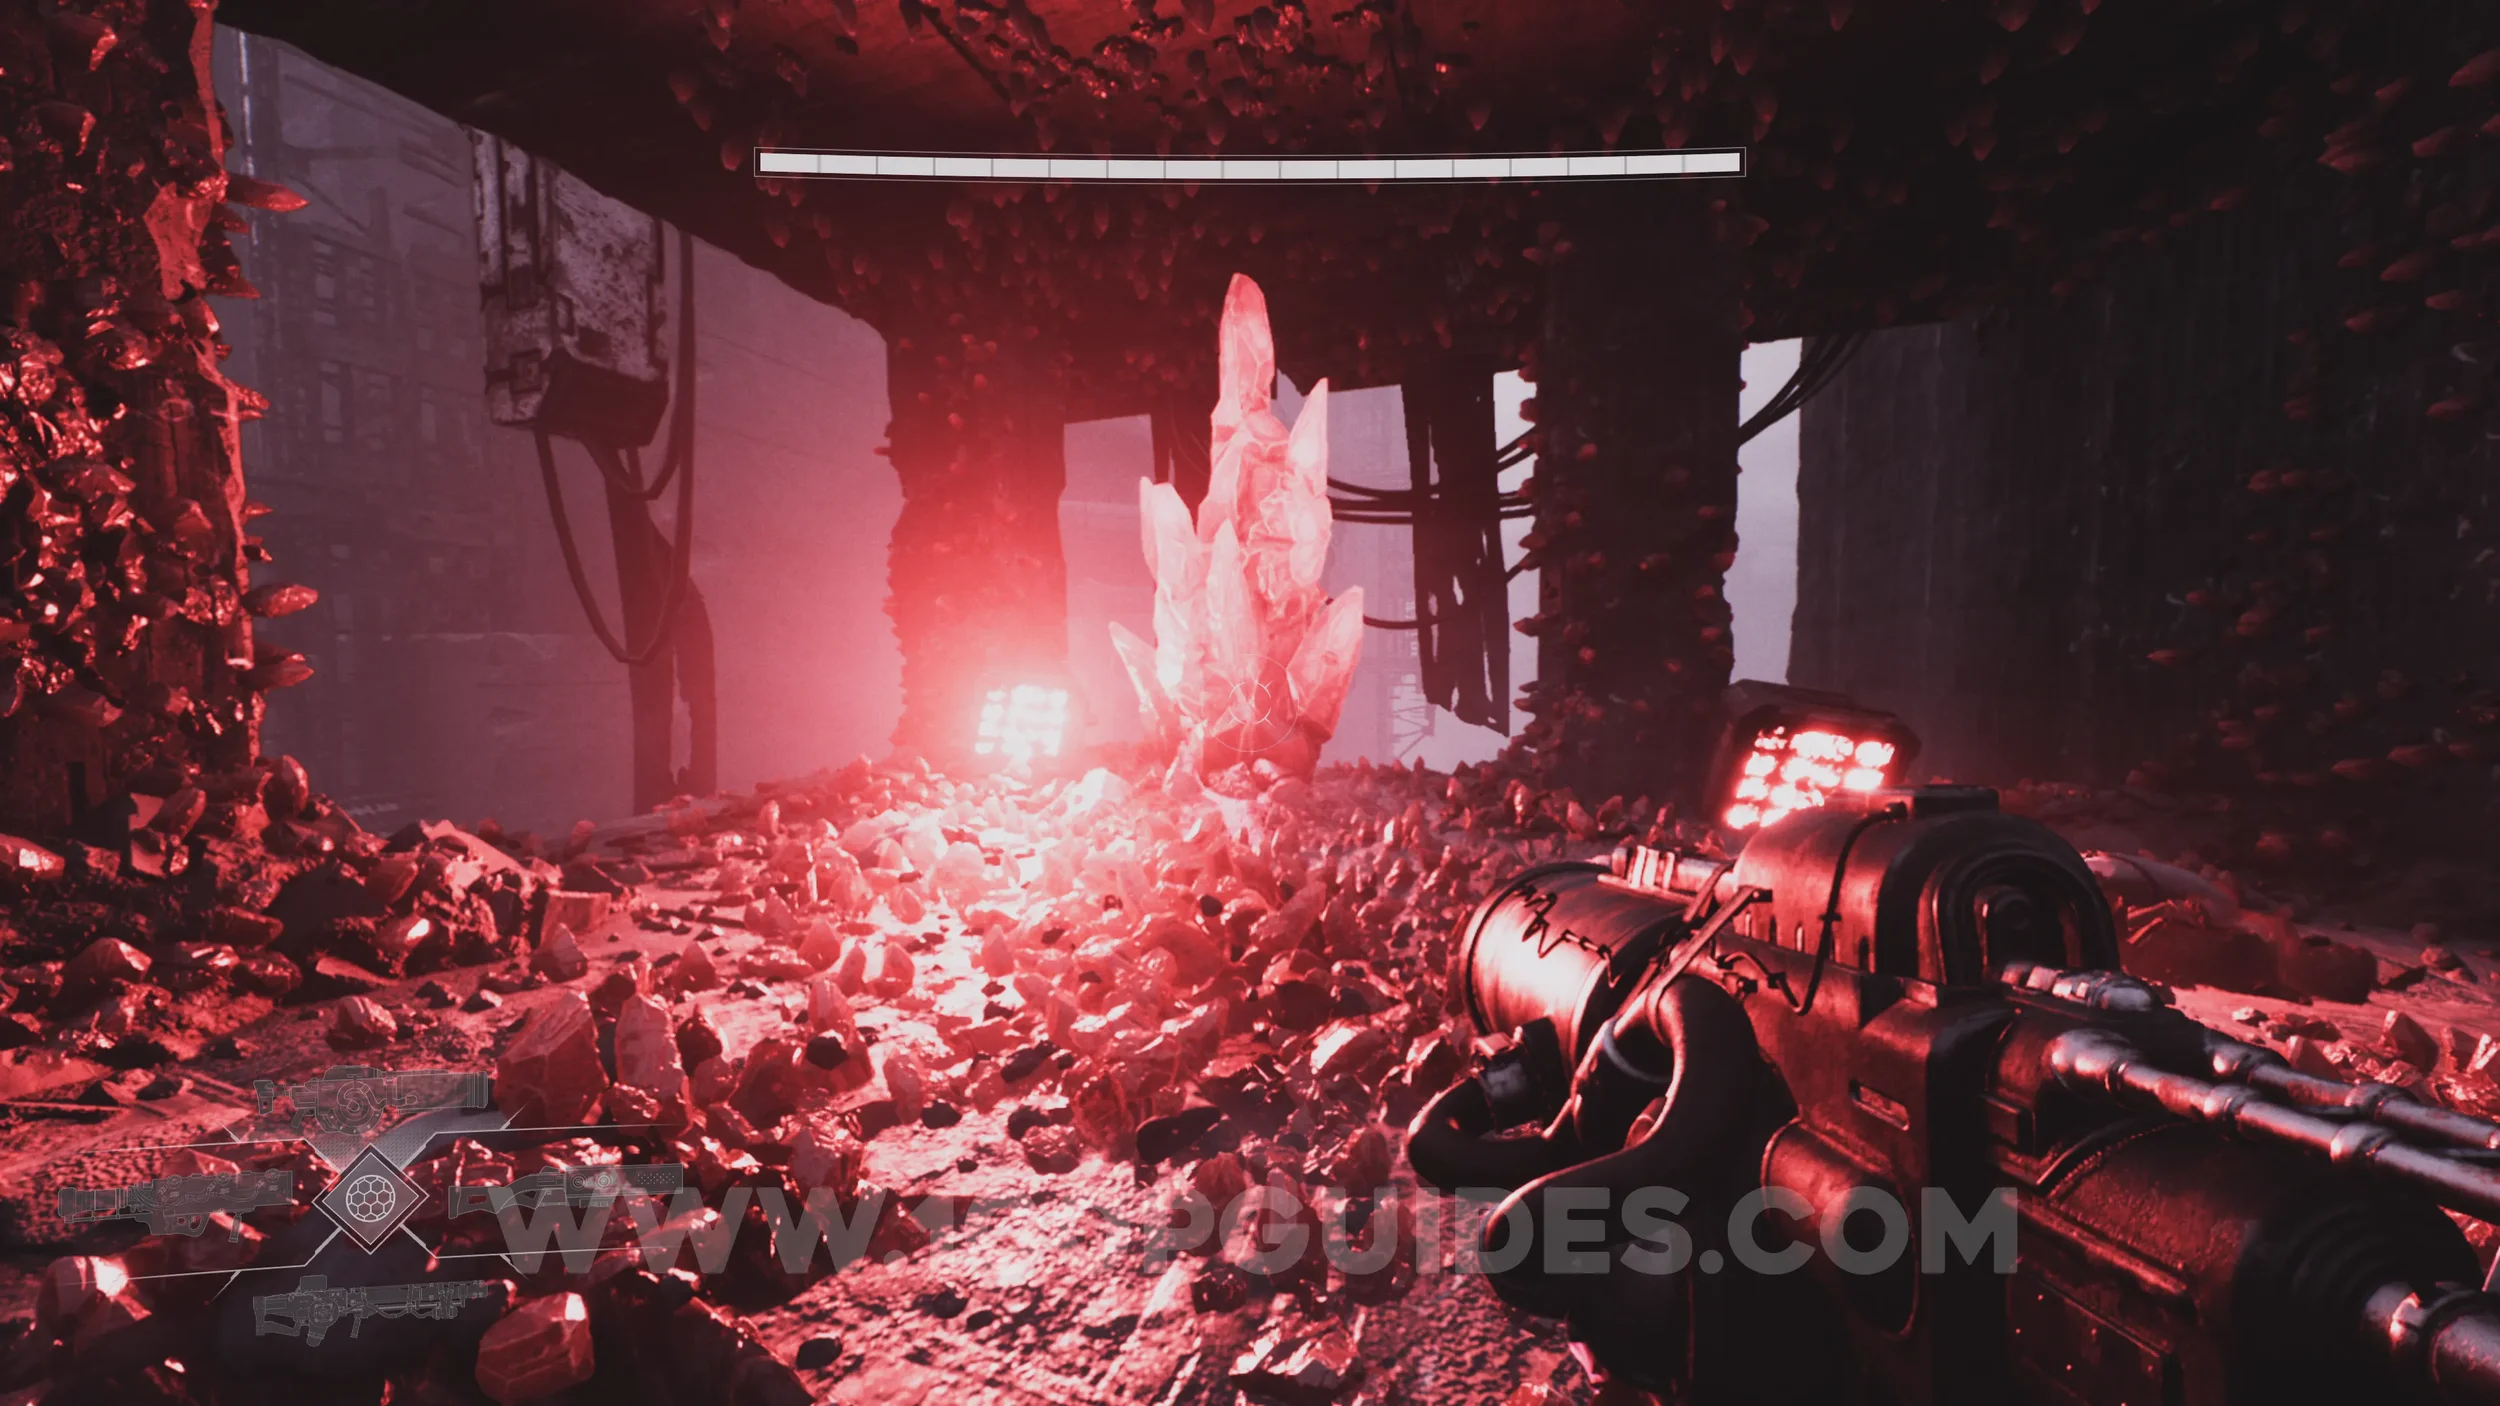
Drift Crystal #12. Follow the level until you return to a room where you previously fought enemies, and activate a jump pad in that same room. Use it to reach a series of jump pads suspended in the air above. Just before you arrive at the top, where enemies will be waiting, look for a symbol on the wall marking an optional path. Follow it to find the crystal.
CHAPTER 5 - THE HANGING TOWERS
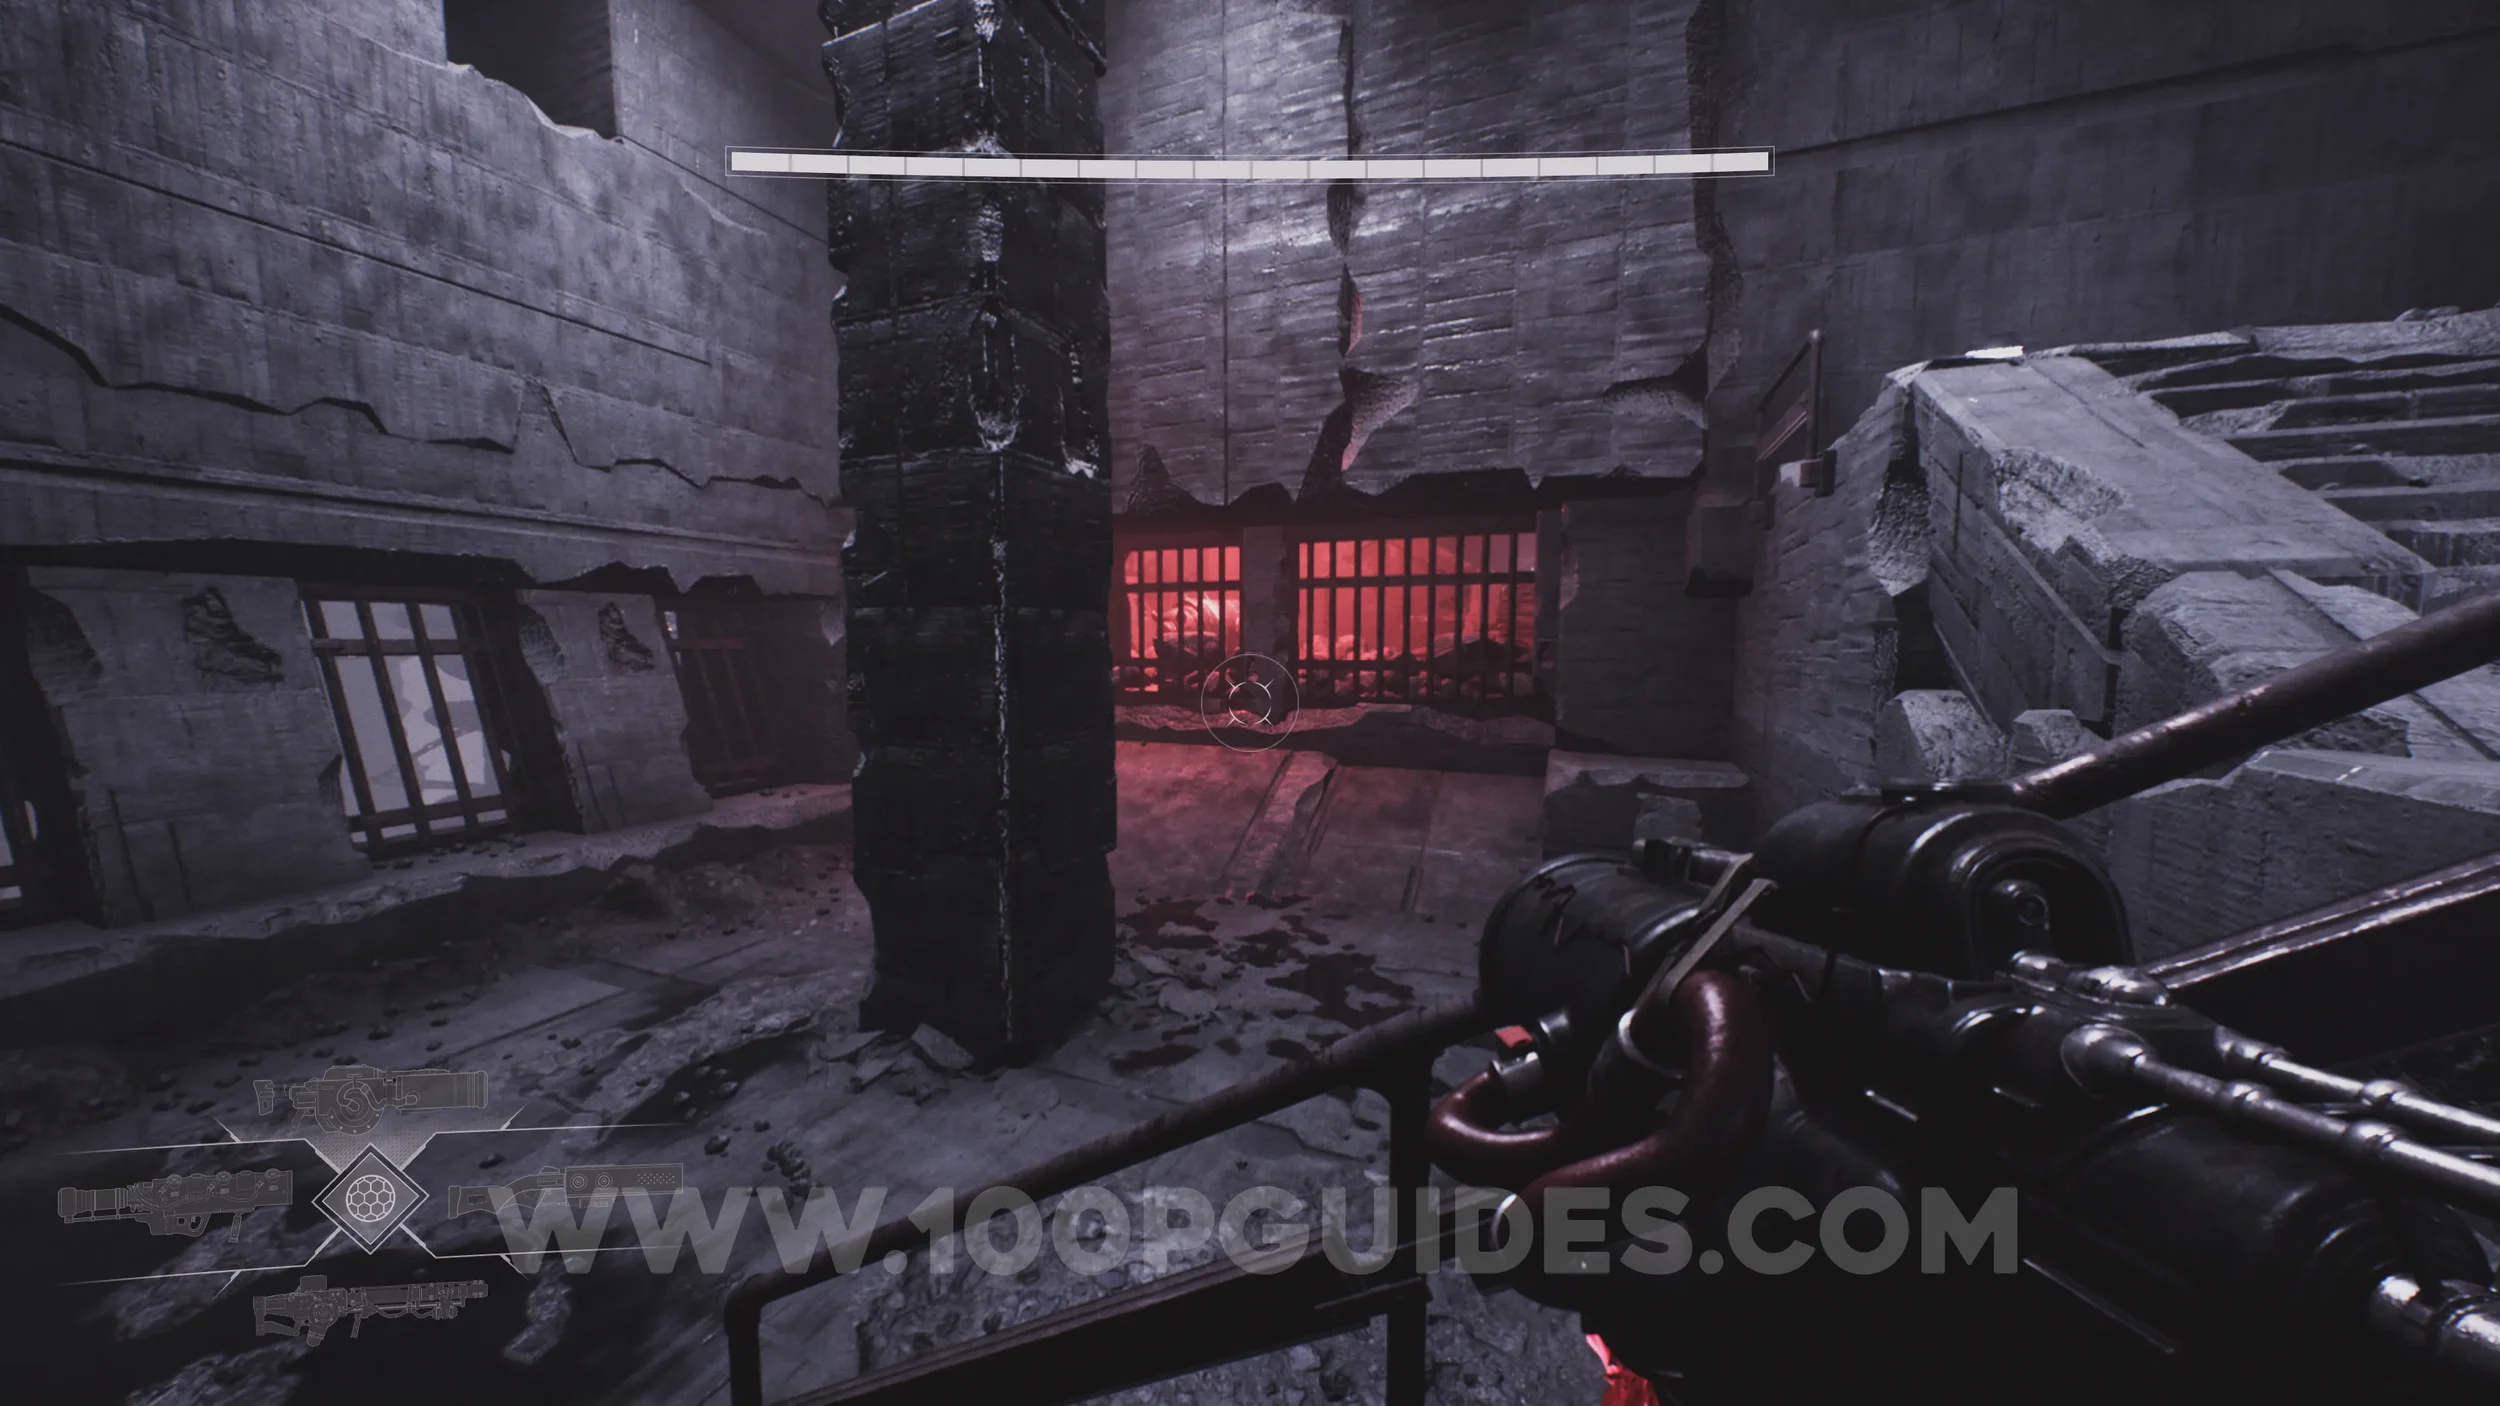
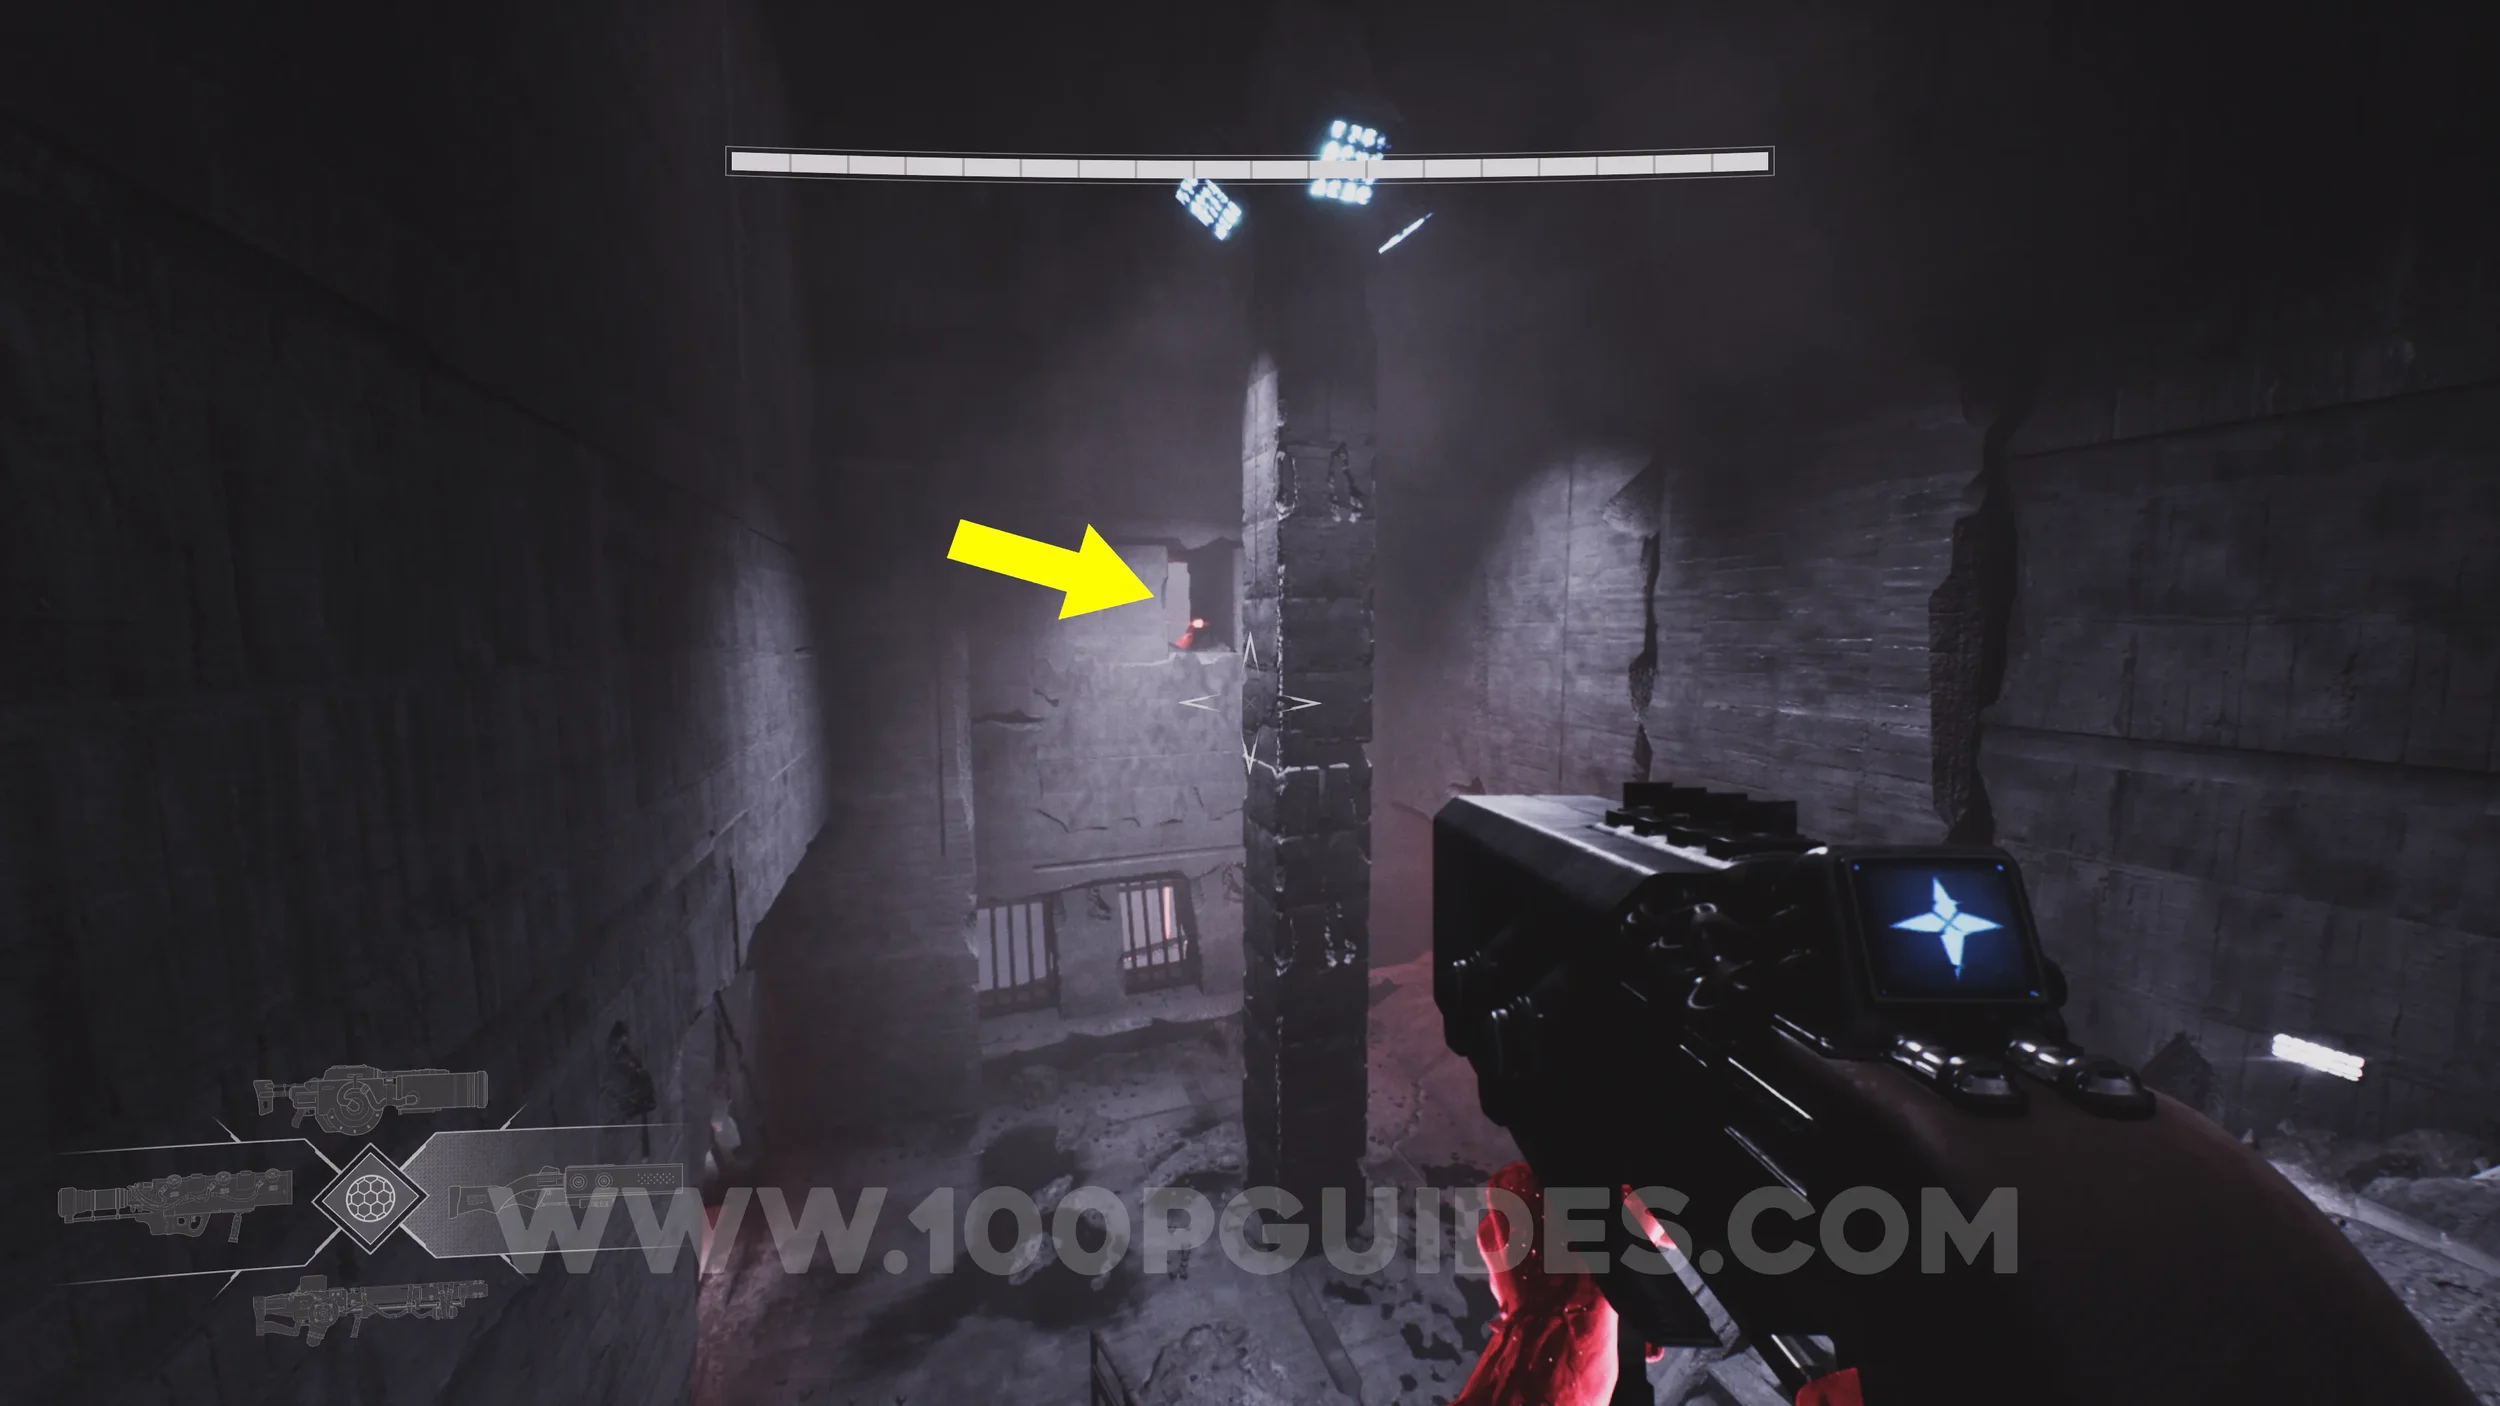
Health Increase #10. Soon after talking to Orion and Everett, you'll reach a room where you can see a chest through some bars in front of you and some explosive floating enemies on your right. In this room, head up the stairs and look for a small gap on the wall to the left of the entrance door that you can dash to. Follow the path past the gap to reach the chest.
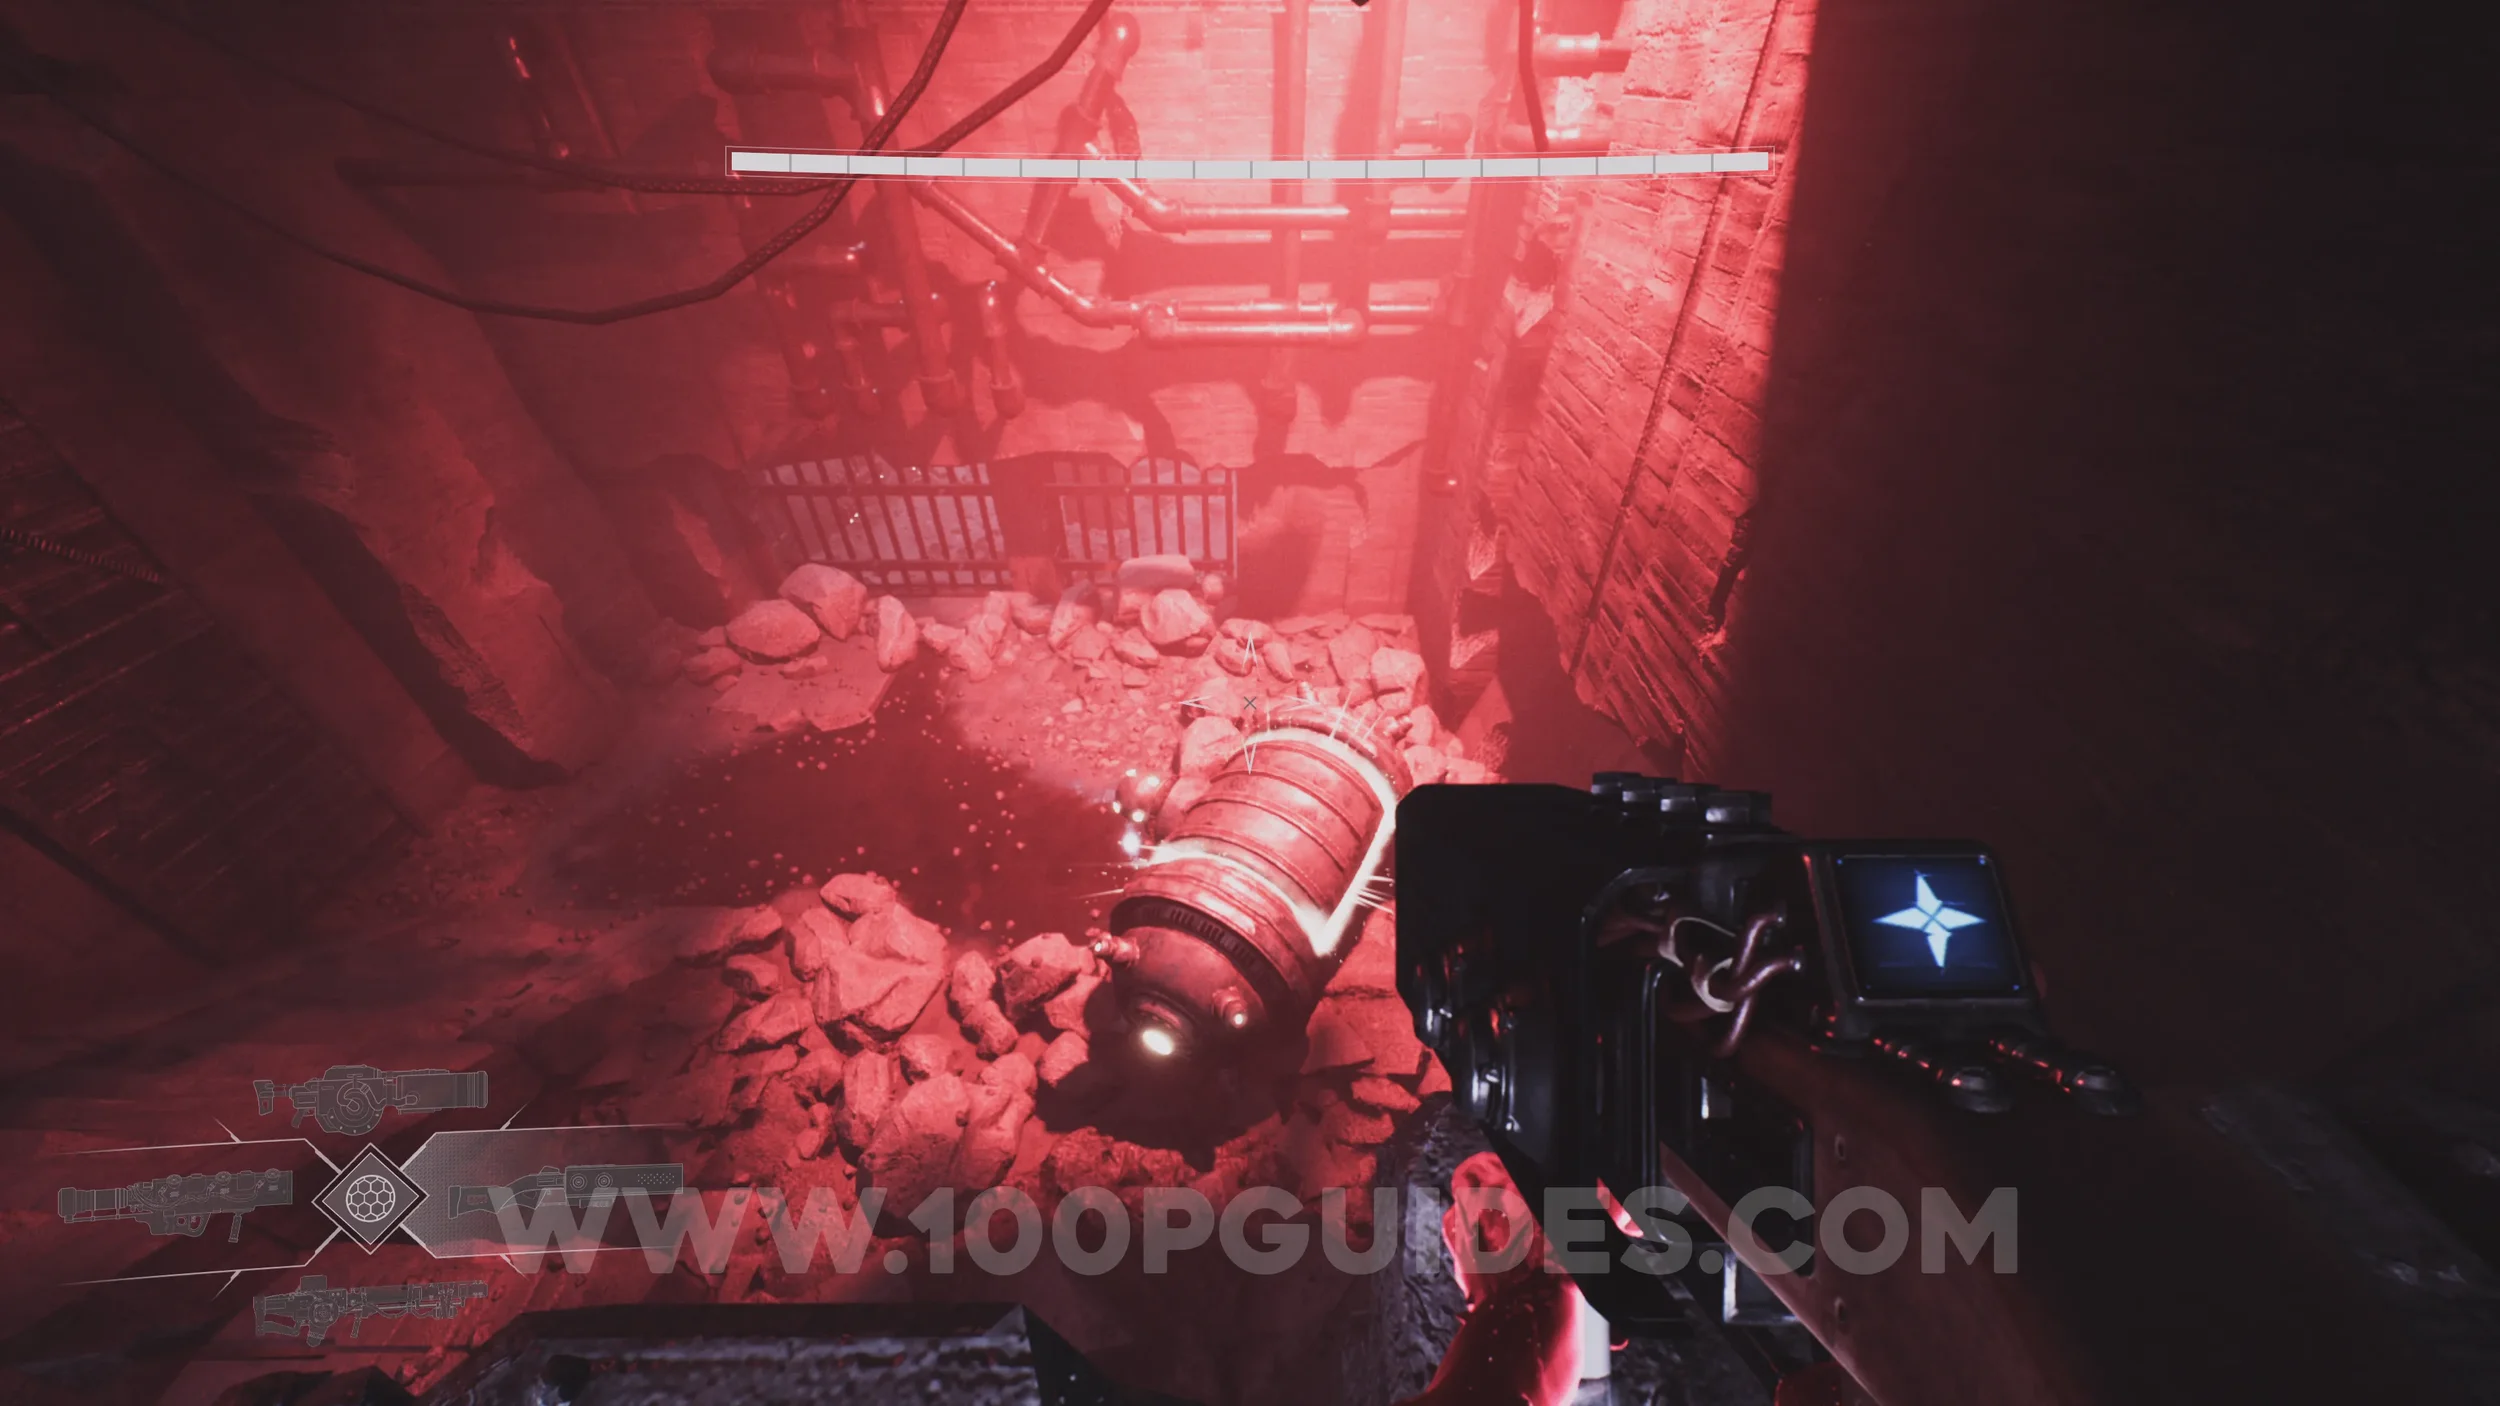
Lore Entry #79 (Memory - Entry #1918 - The Pipes). After talking to Sylvan, you'll need to descend and jump across moving platforms. After landing on the second moving platform (the single one), go all the way around this tower to find the collectible on the other side.
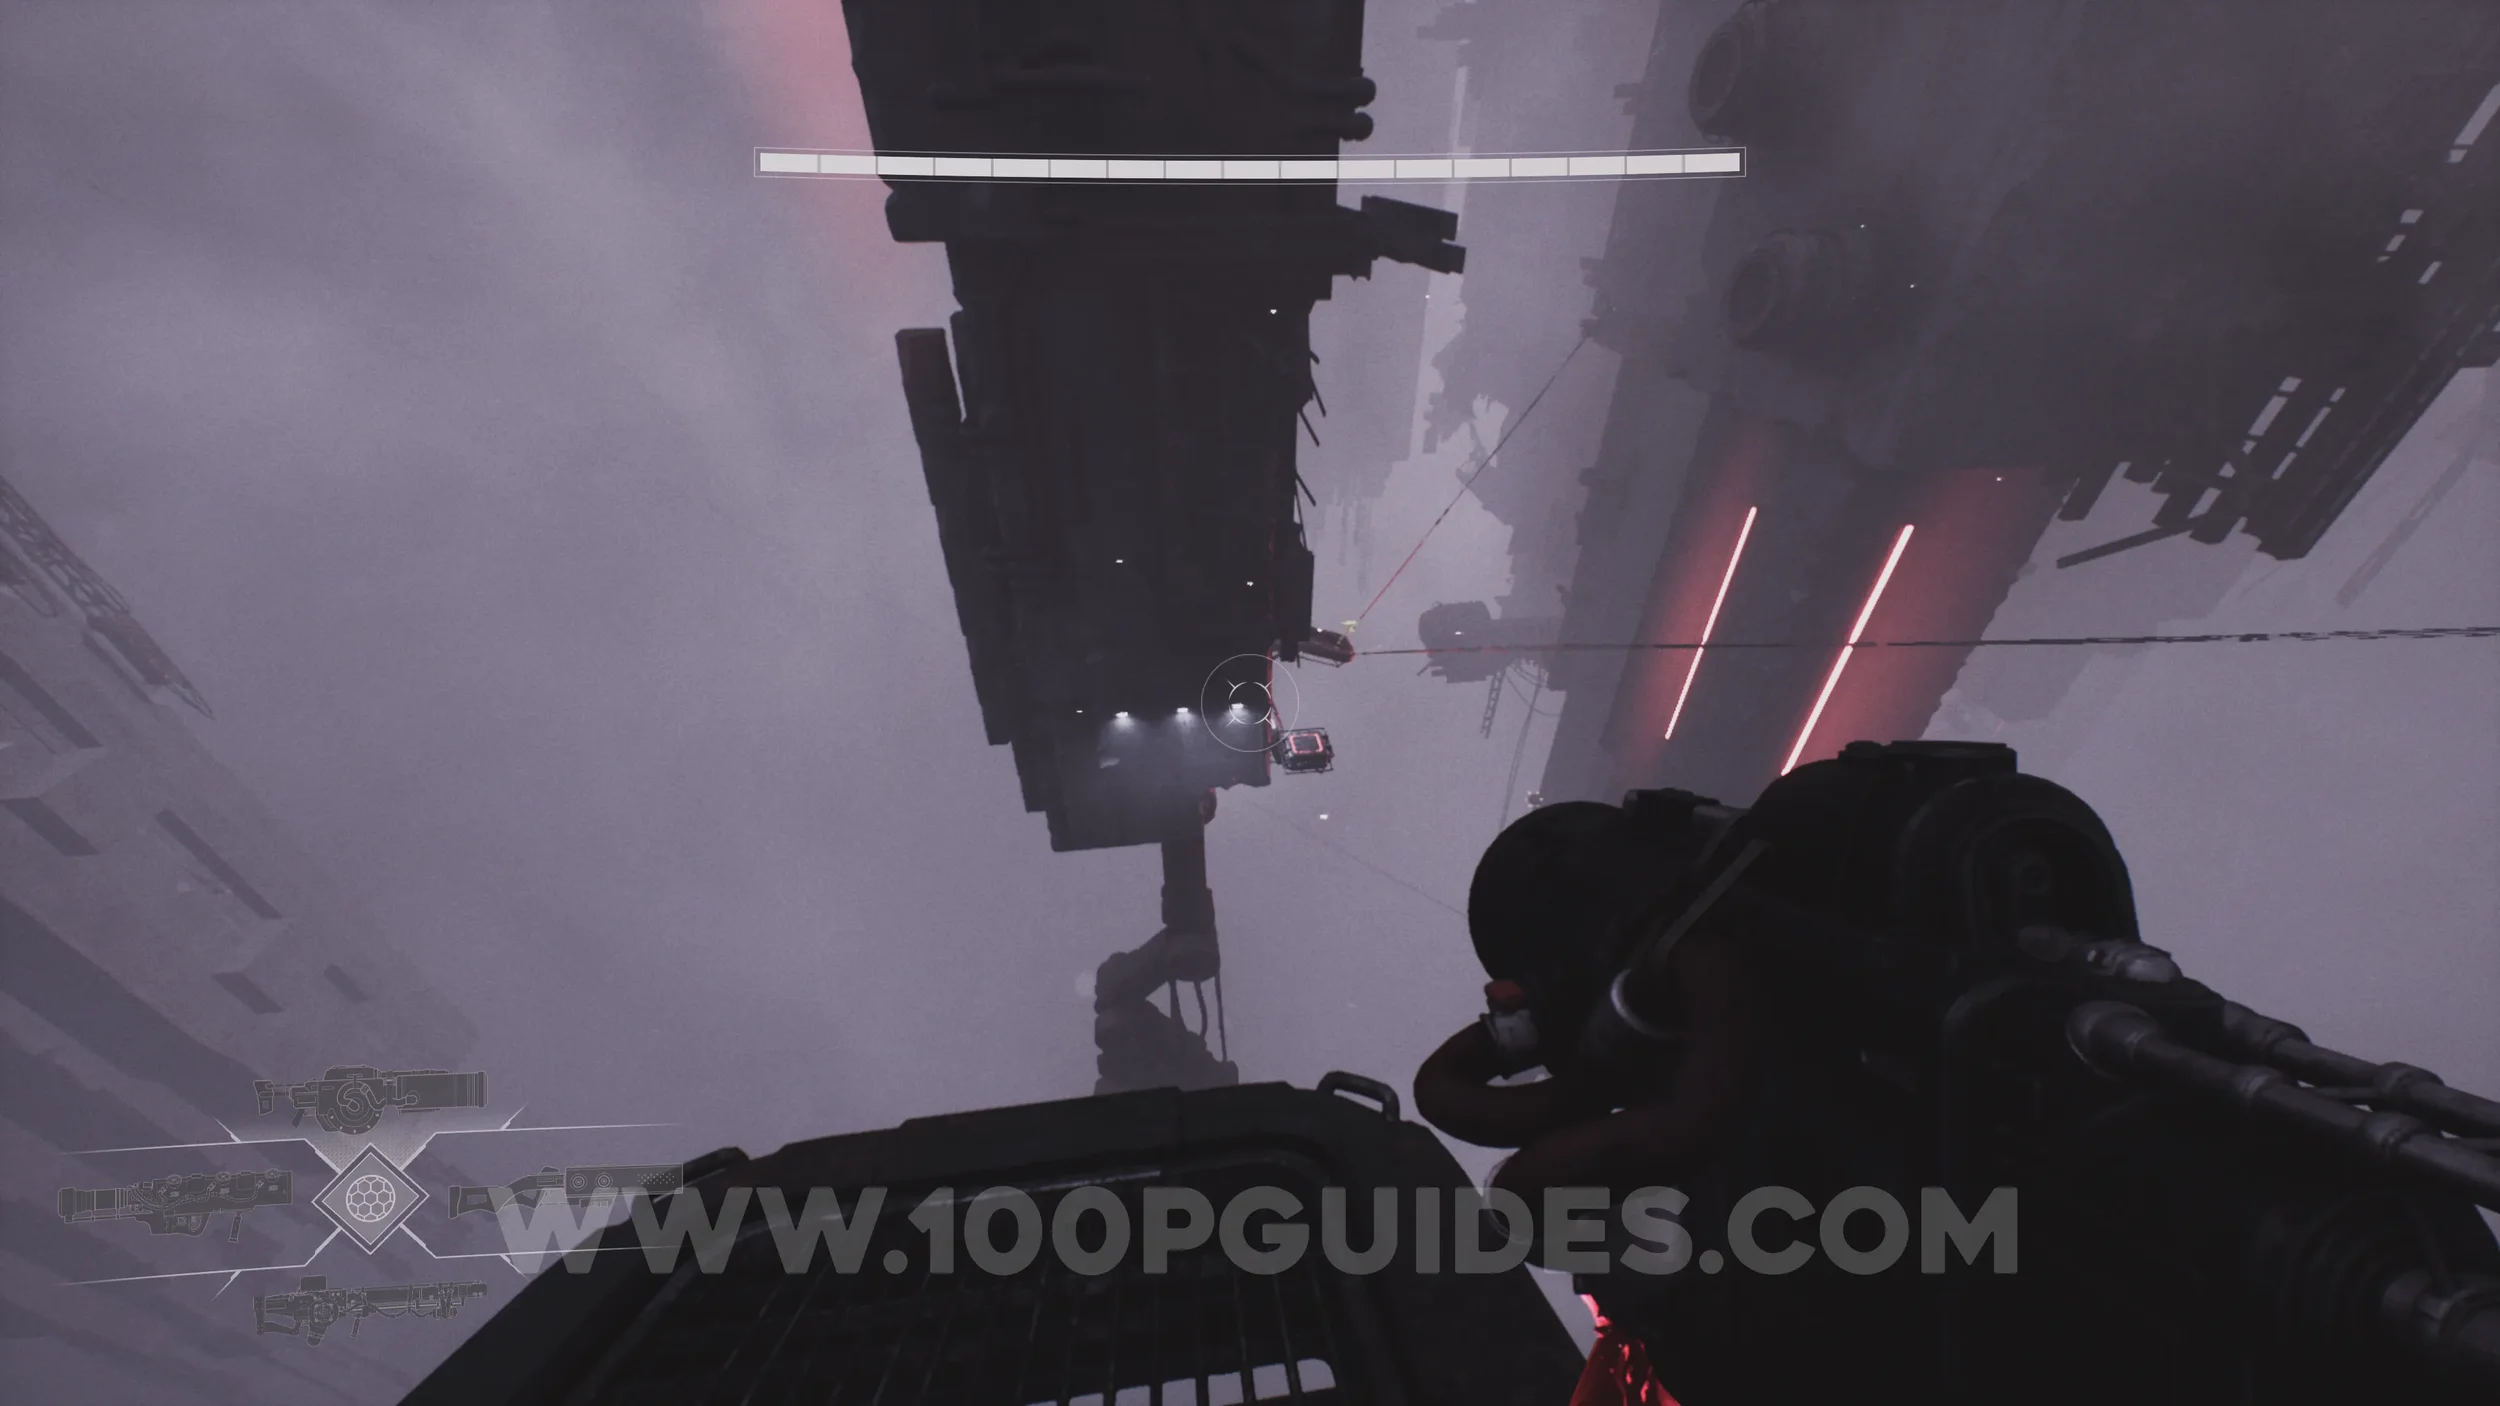
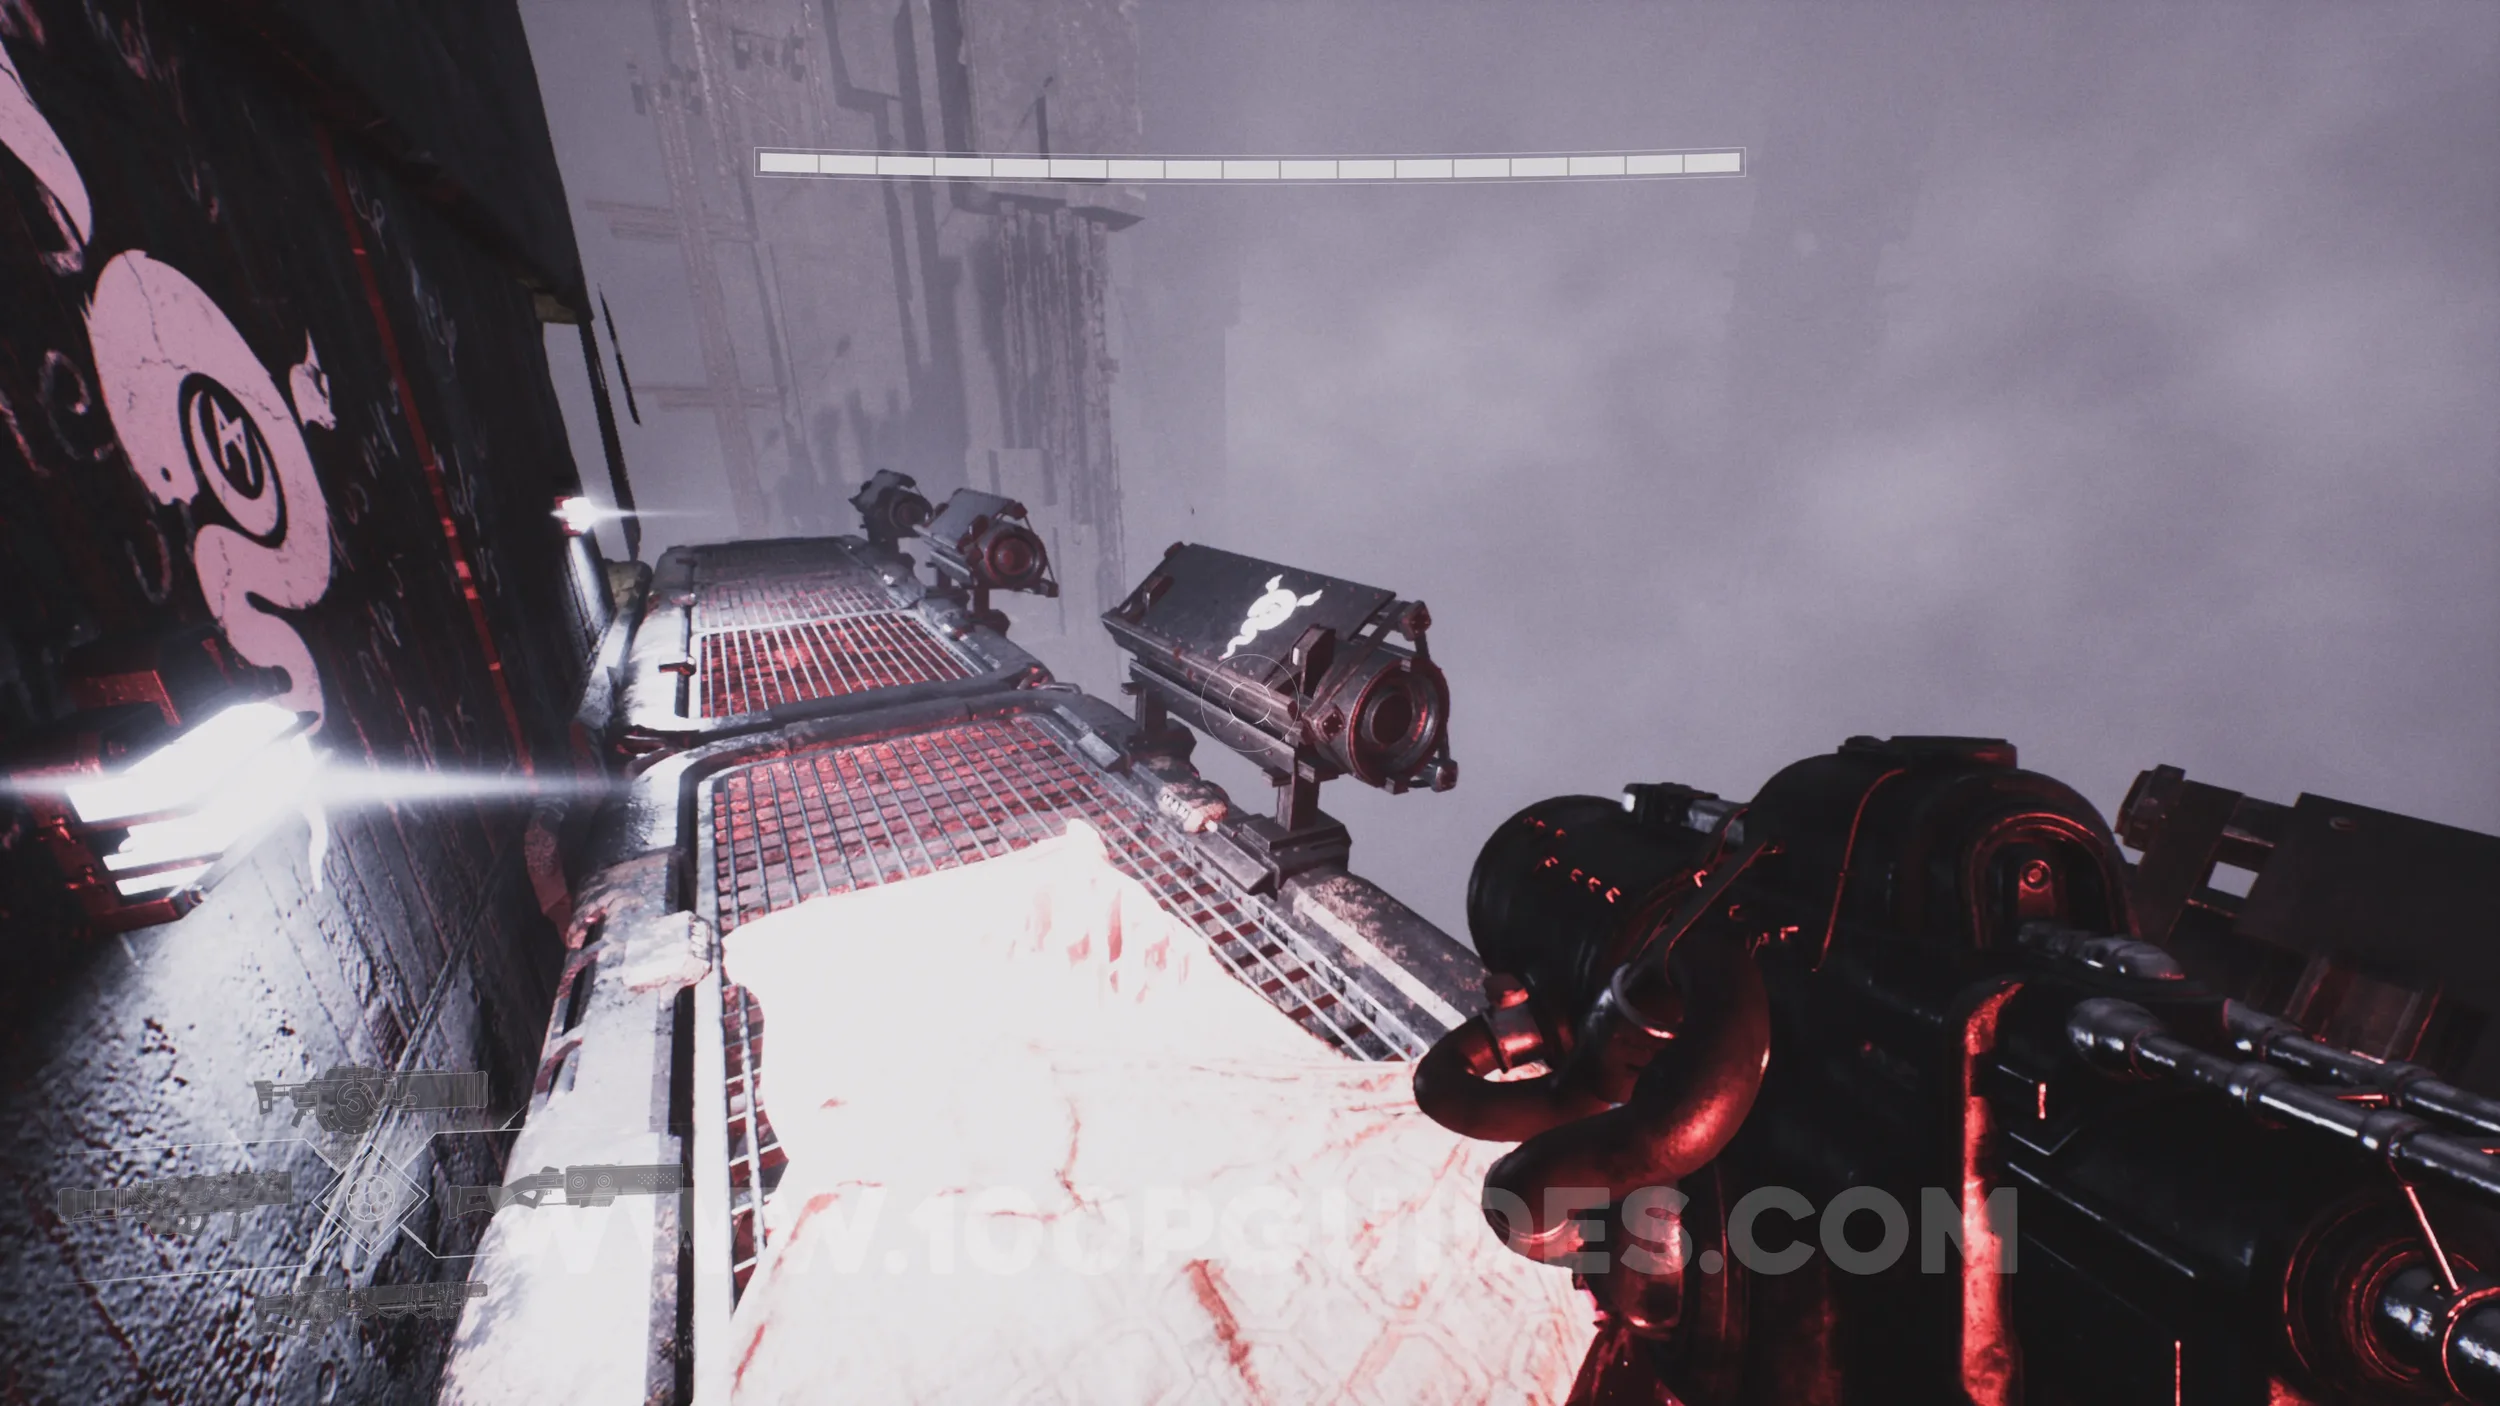
Drift Crystal #13. After defeating the enemies in a room with a Mother's Eyes, you'll need to grapple across a gap. As soon as you land on the other side, you'll see a symbol on the wall. From here, look left and shoot the blobs to clear the path, then follow it to the end to find the crystal.
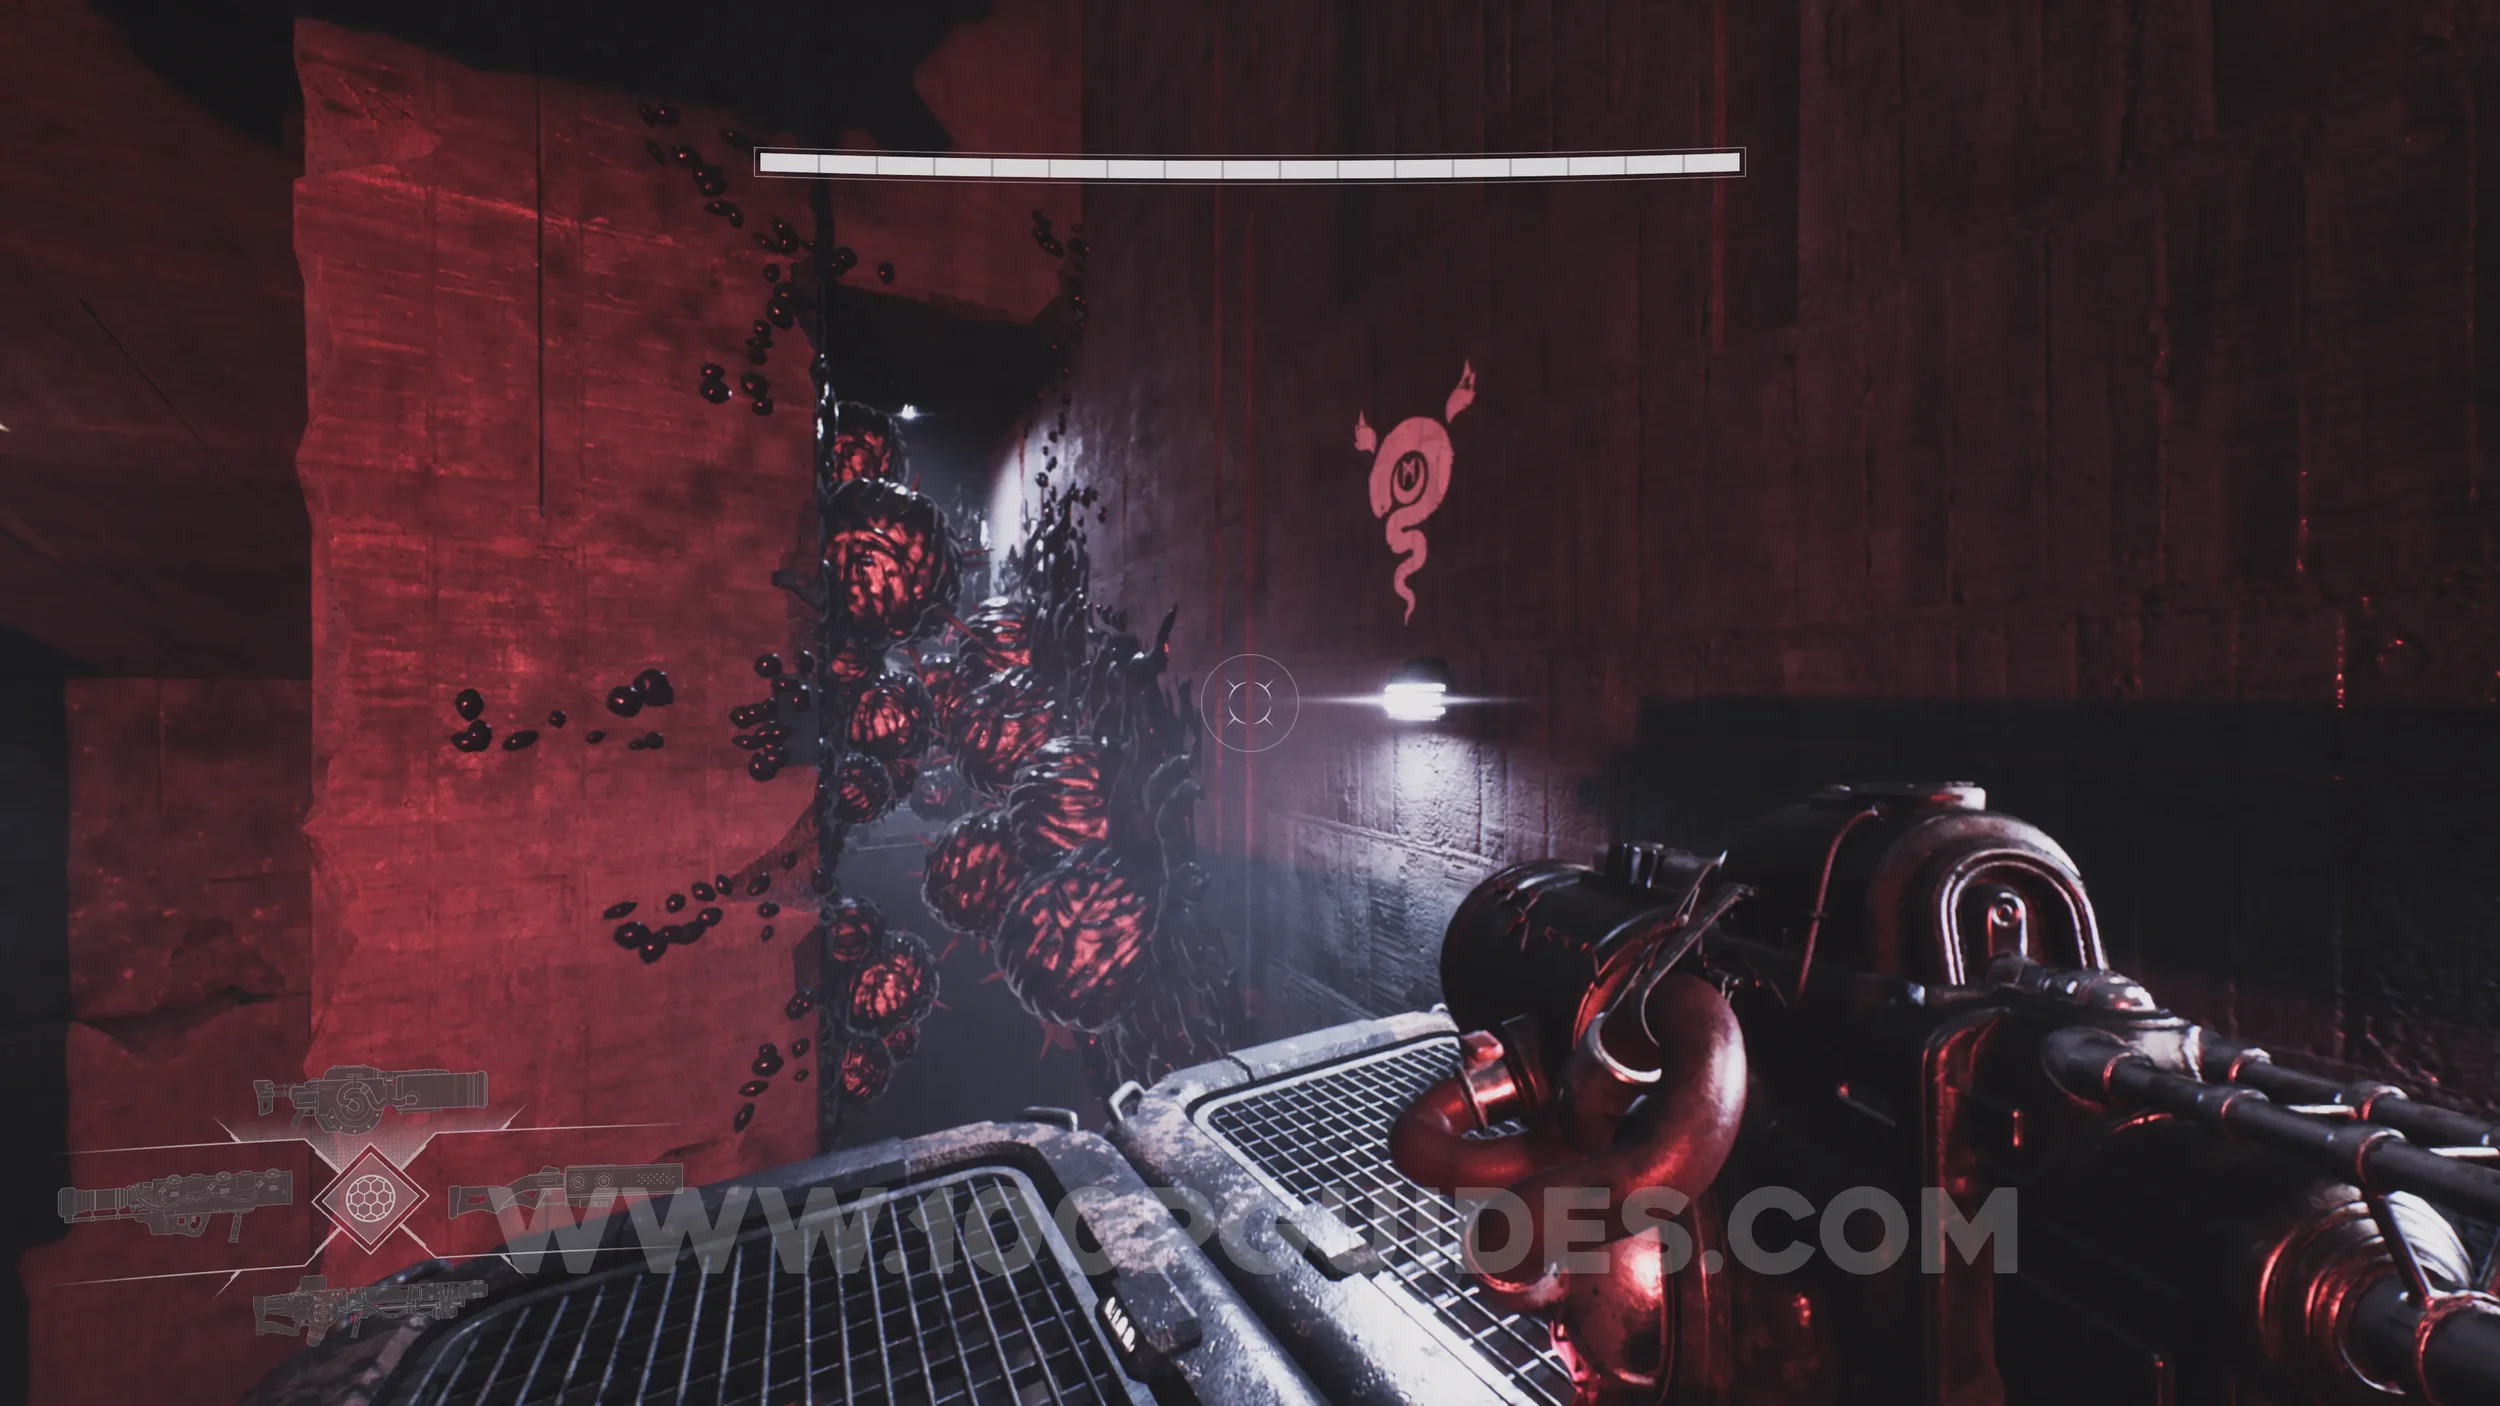
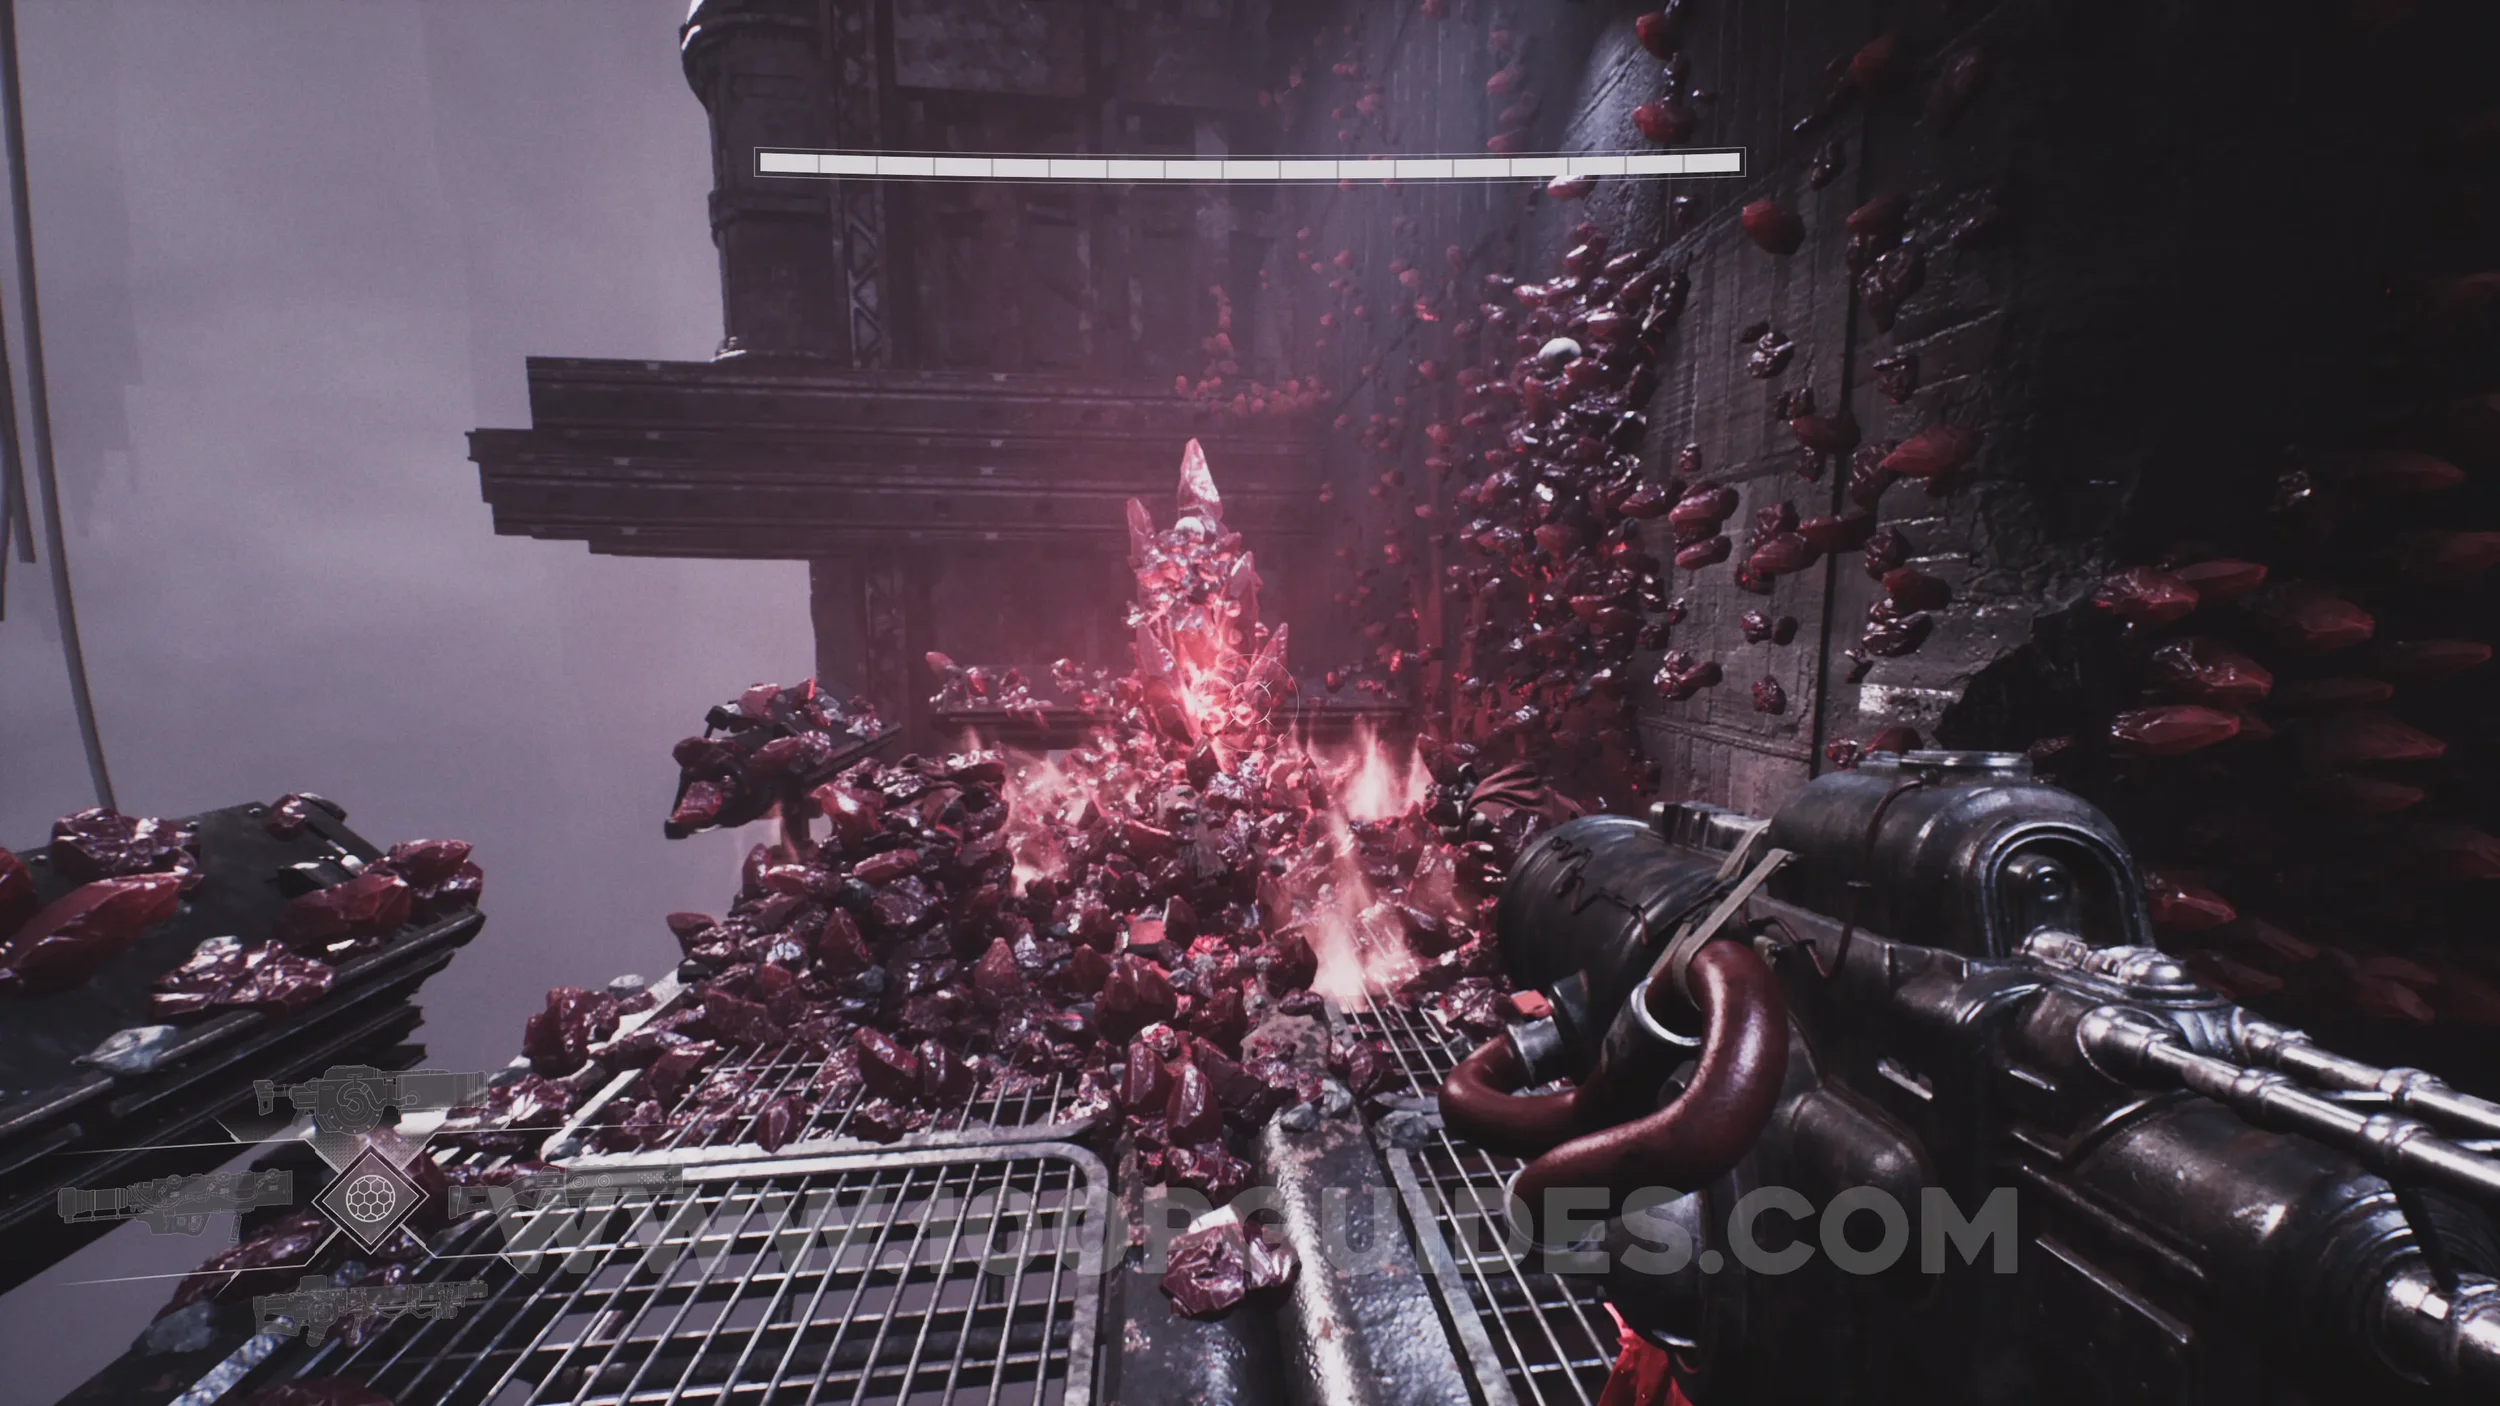
Lore Entry #80 (Memory - Entry #2933 - Climbing). After dropping into the room with the next checkpoint and defeating the enemies in the room that follows, you'll exit to an area with strange metal ring structures. The collectible can be found in plain sight on the red-lit platform to the right. This is the same platform where you get the ability to possess Widow Wardens.
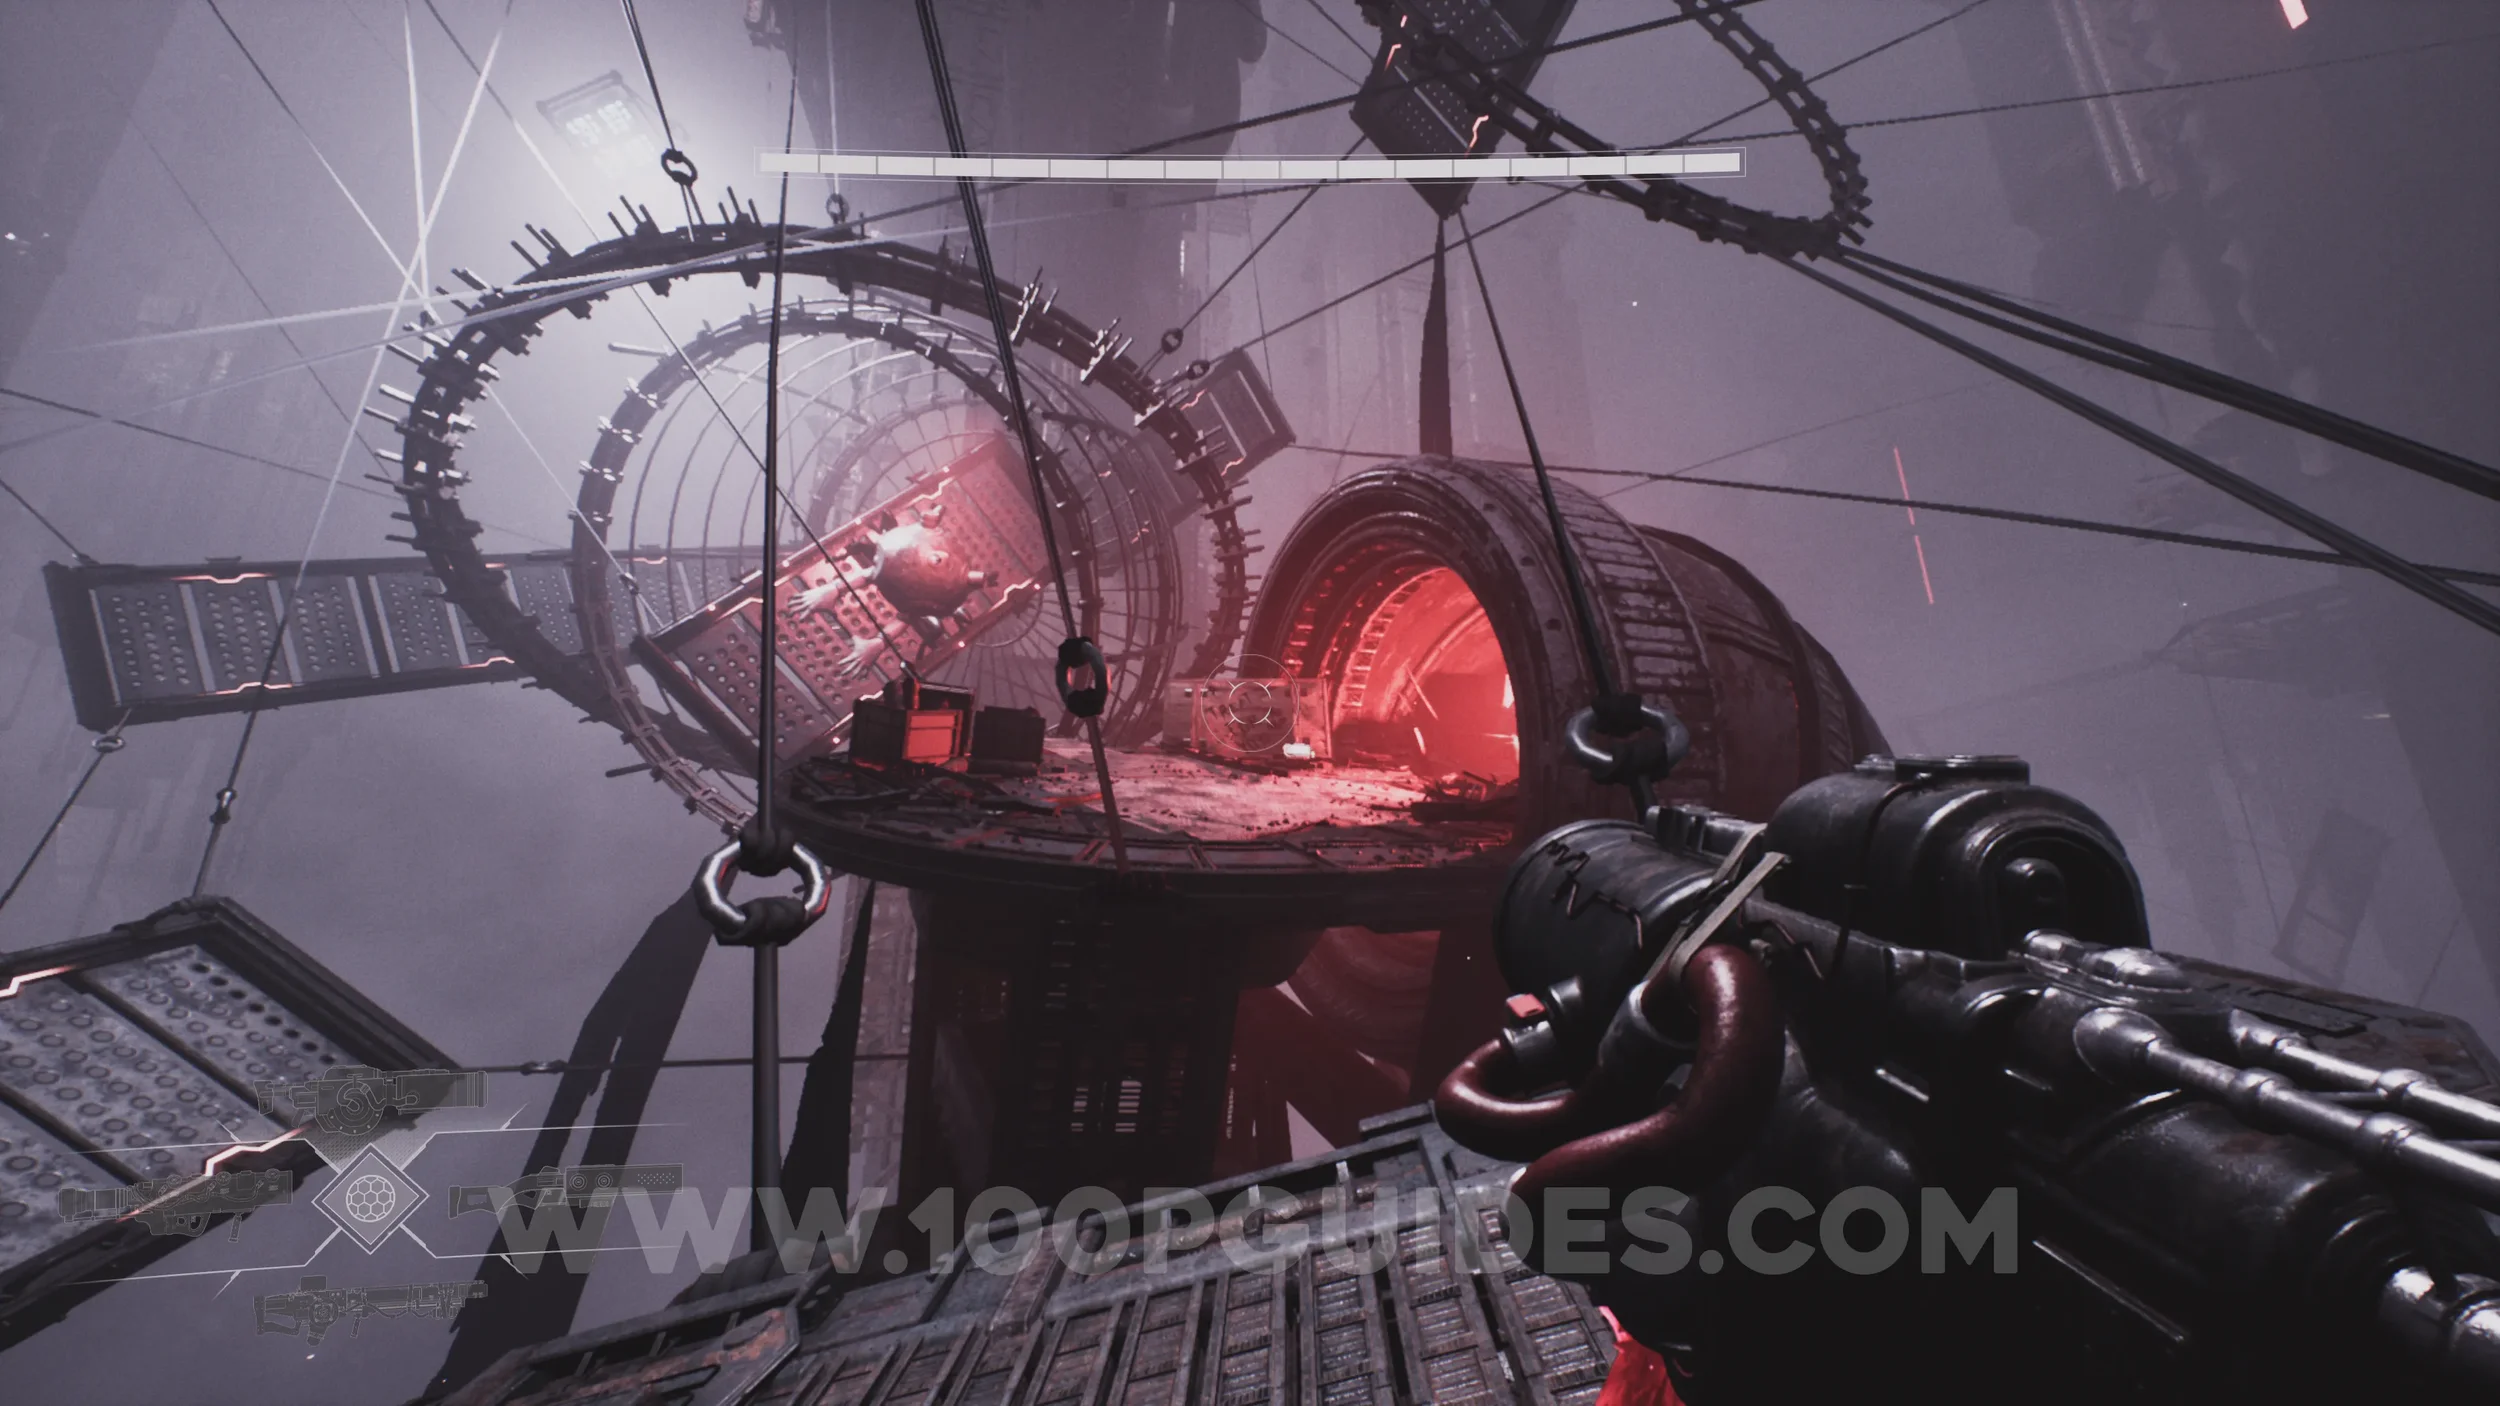
Lore Entry #81 (Memory - Entry #81508 - Widows). Next to the metal grate in the room where you depossess the Widow Warden.
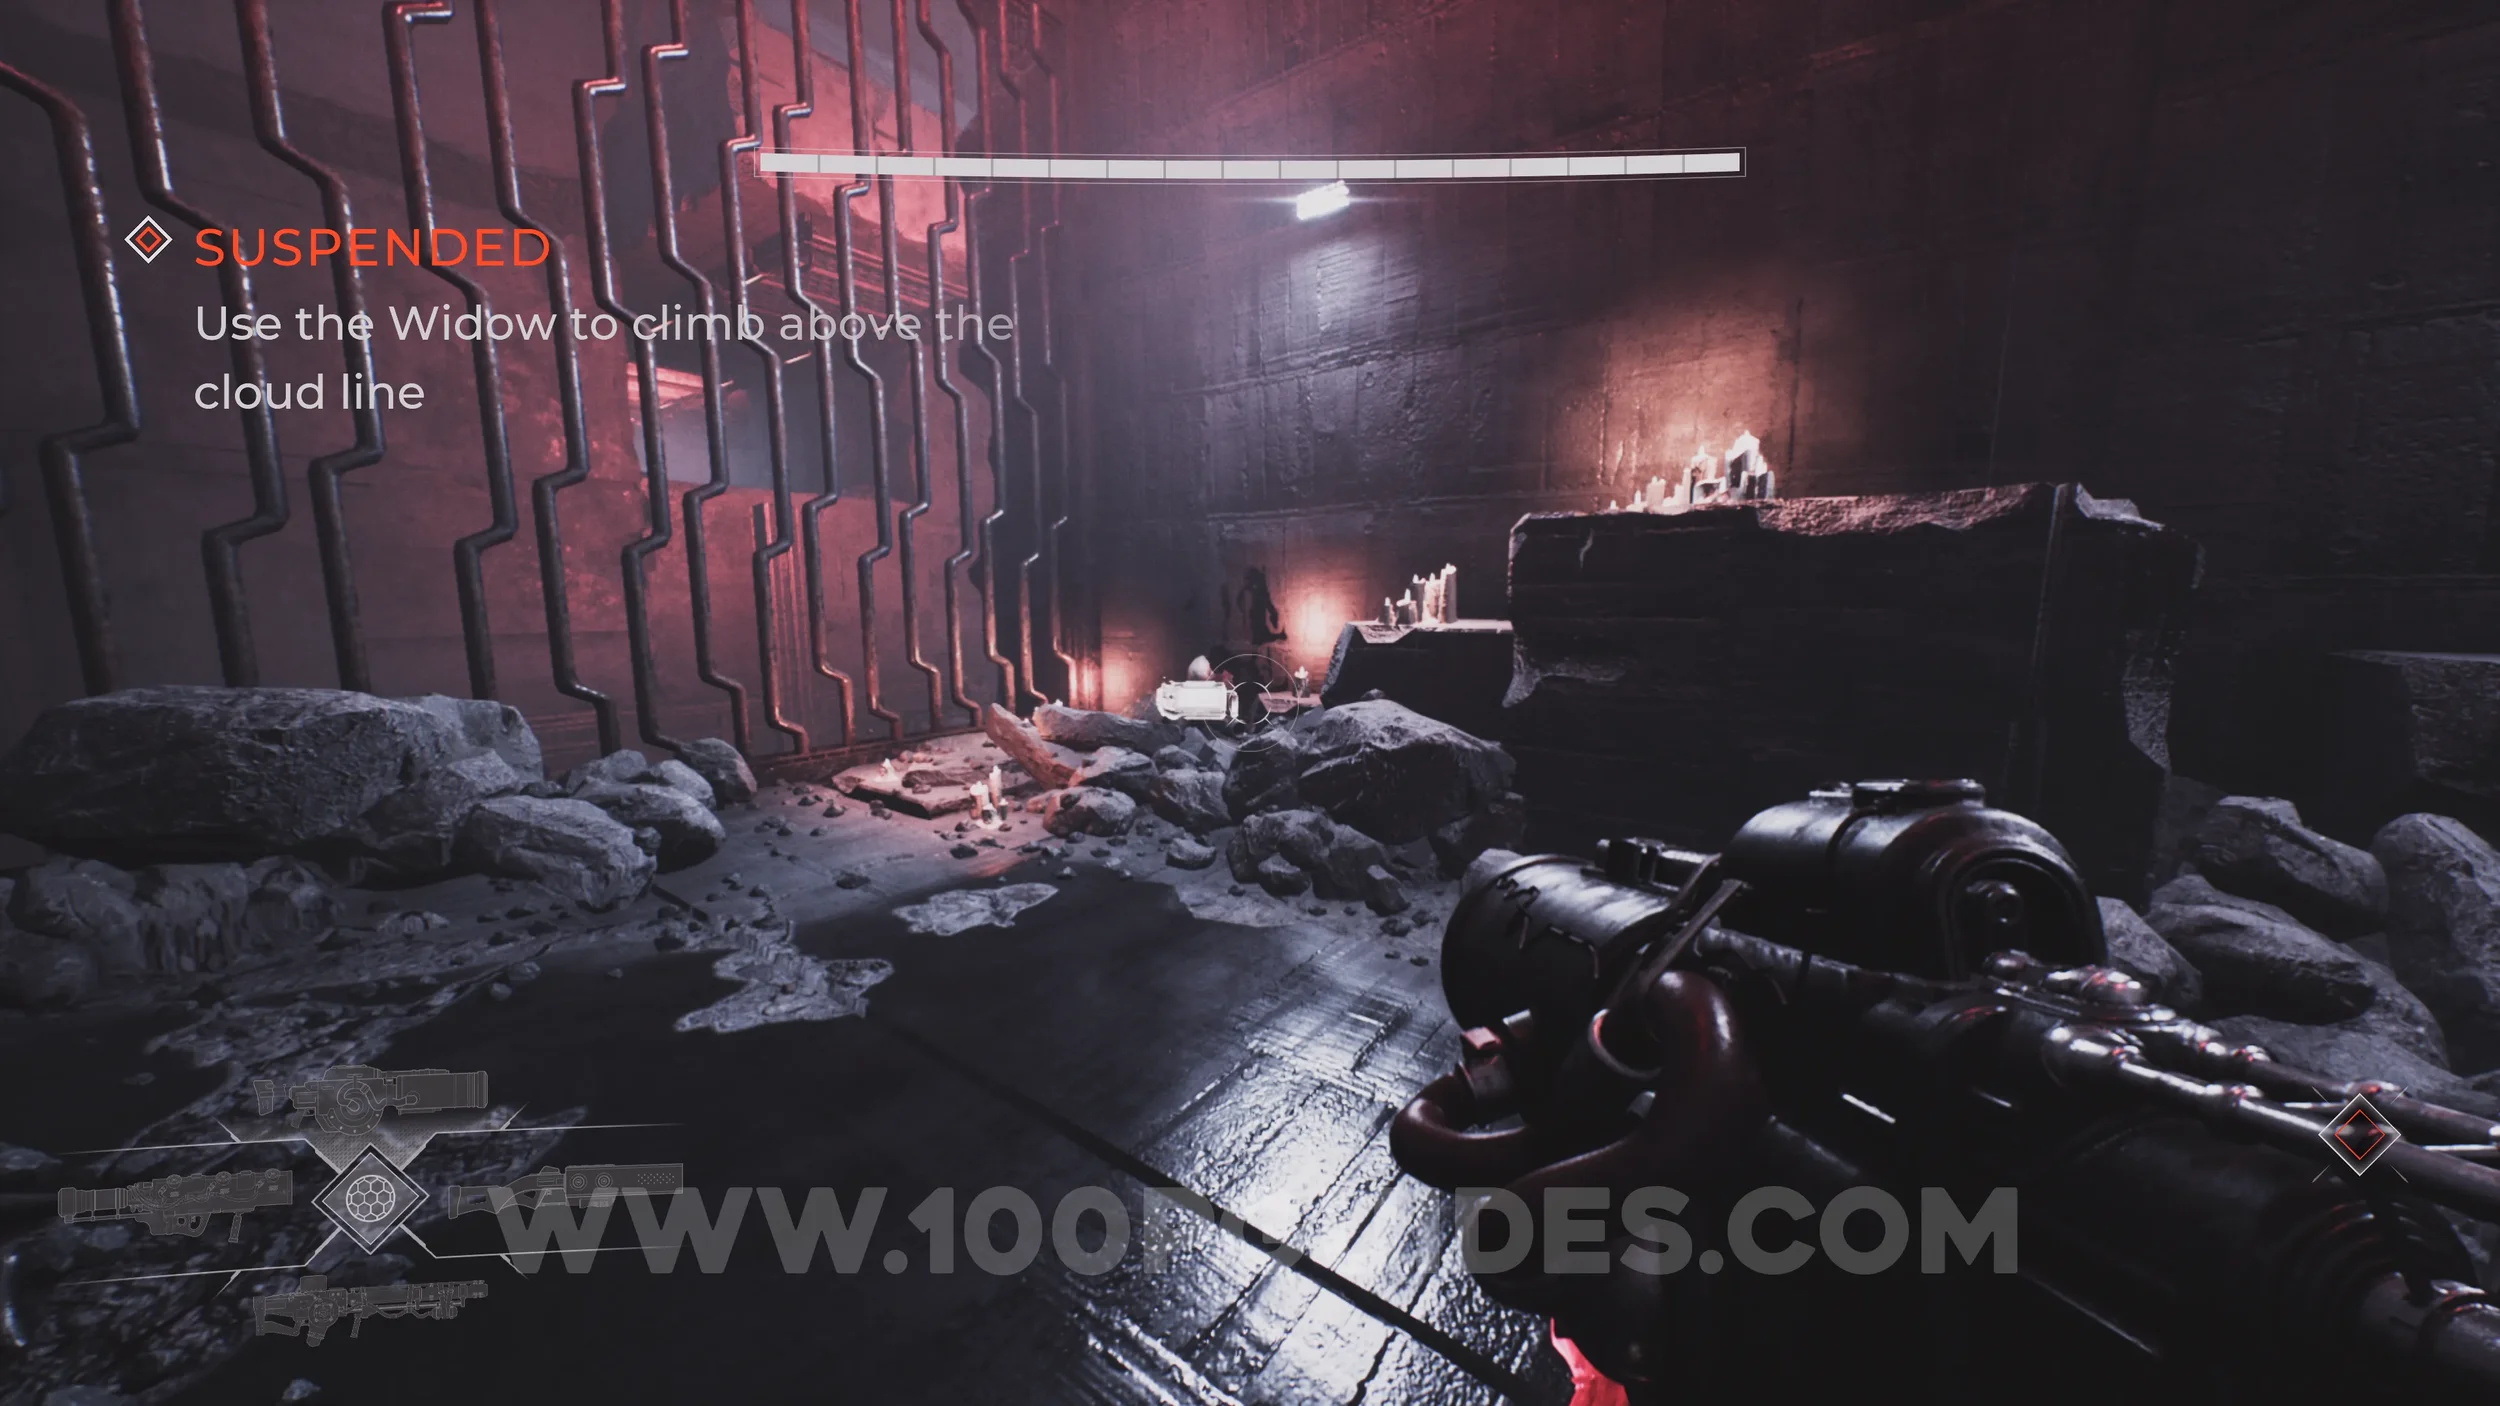
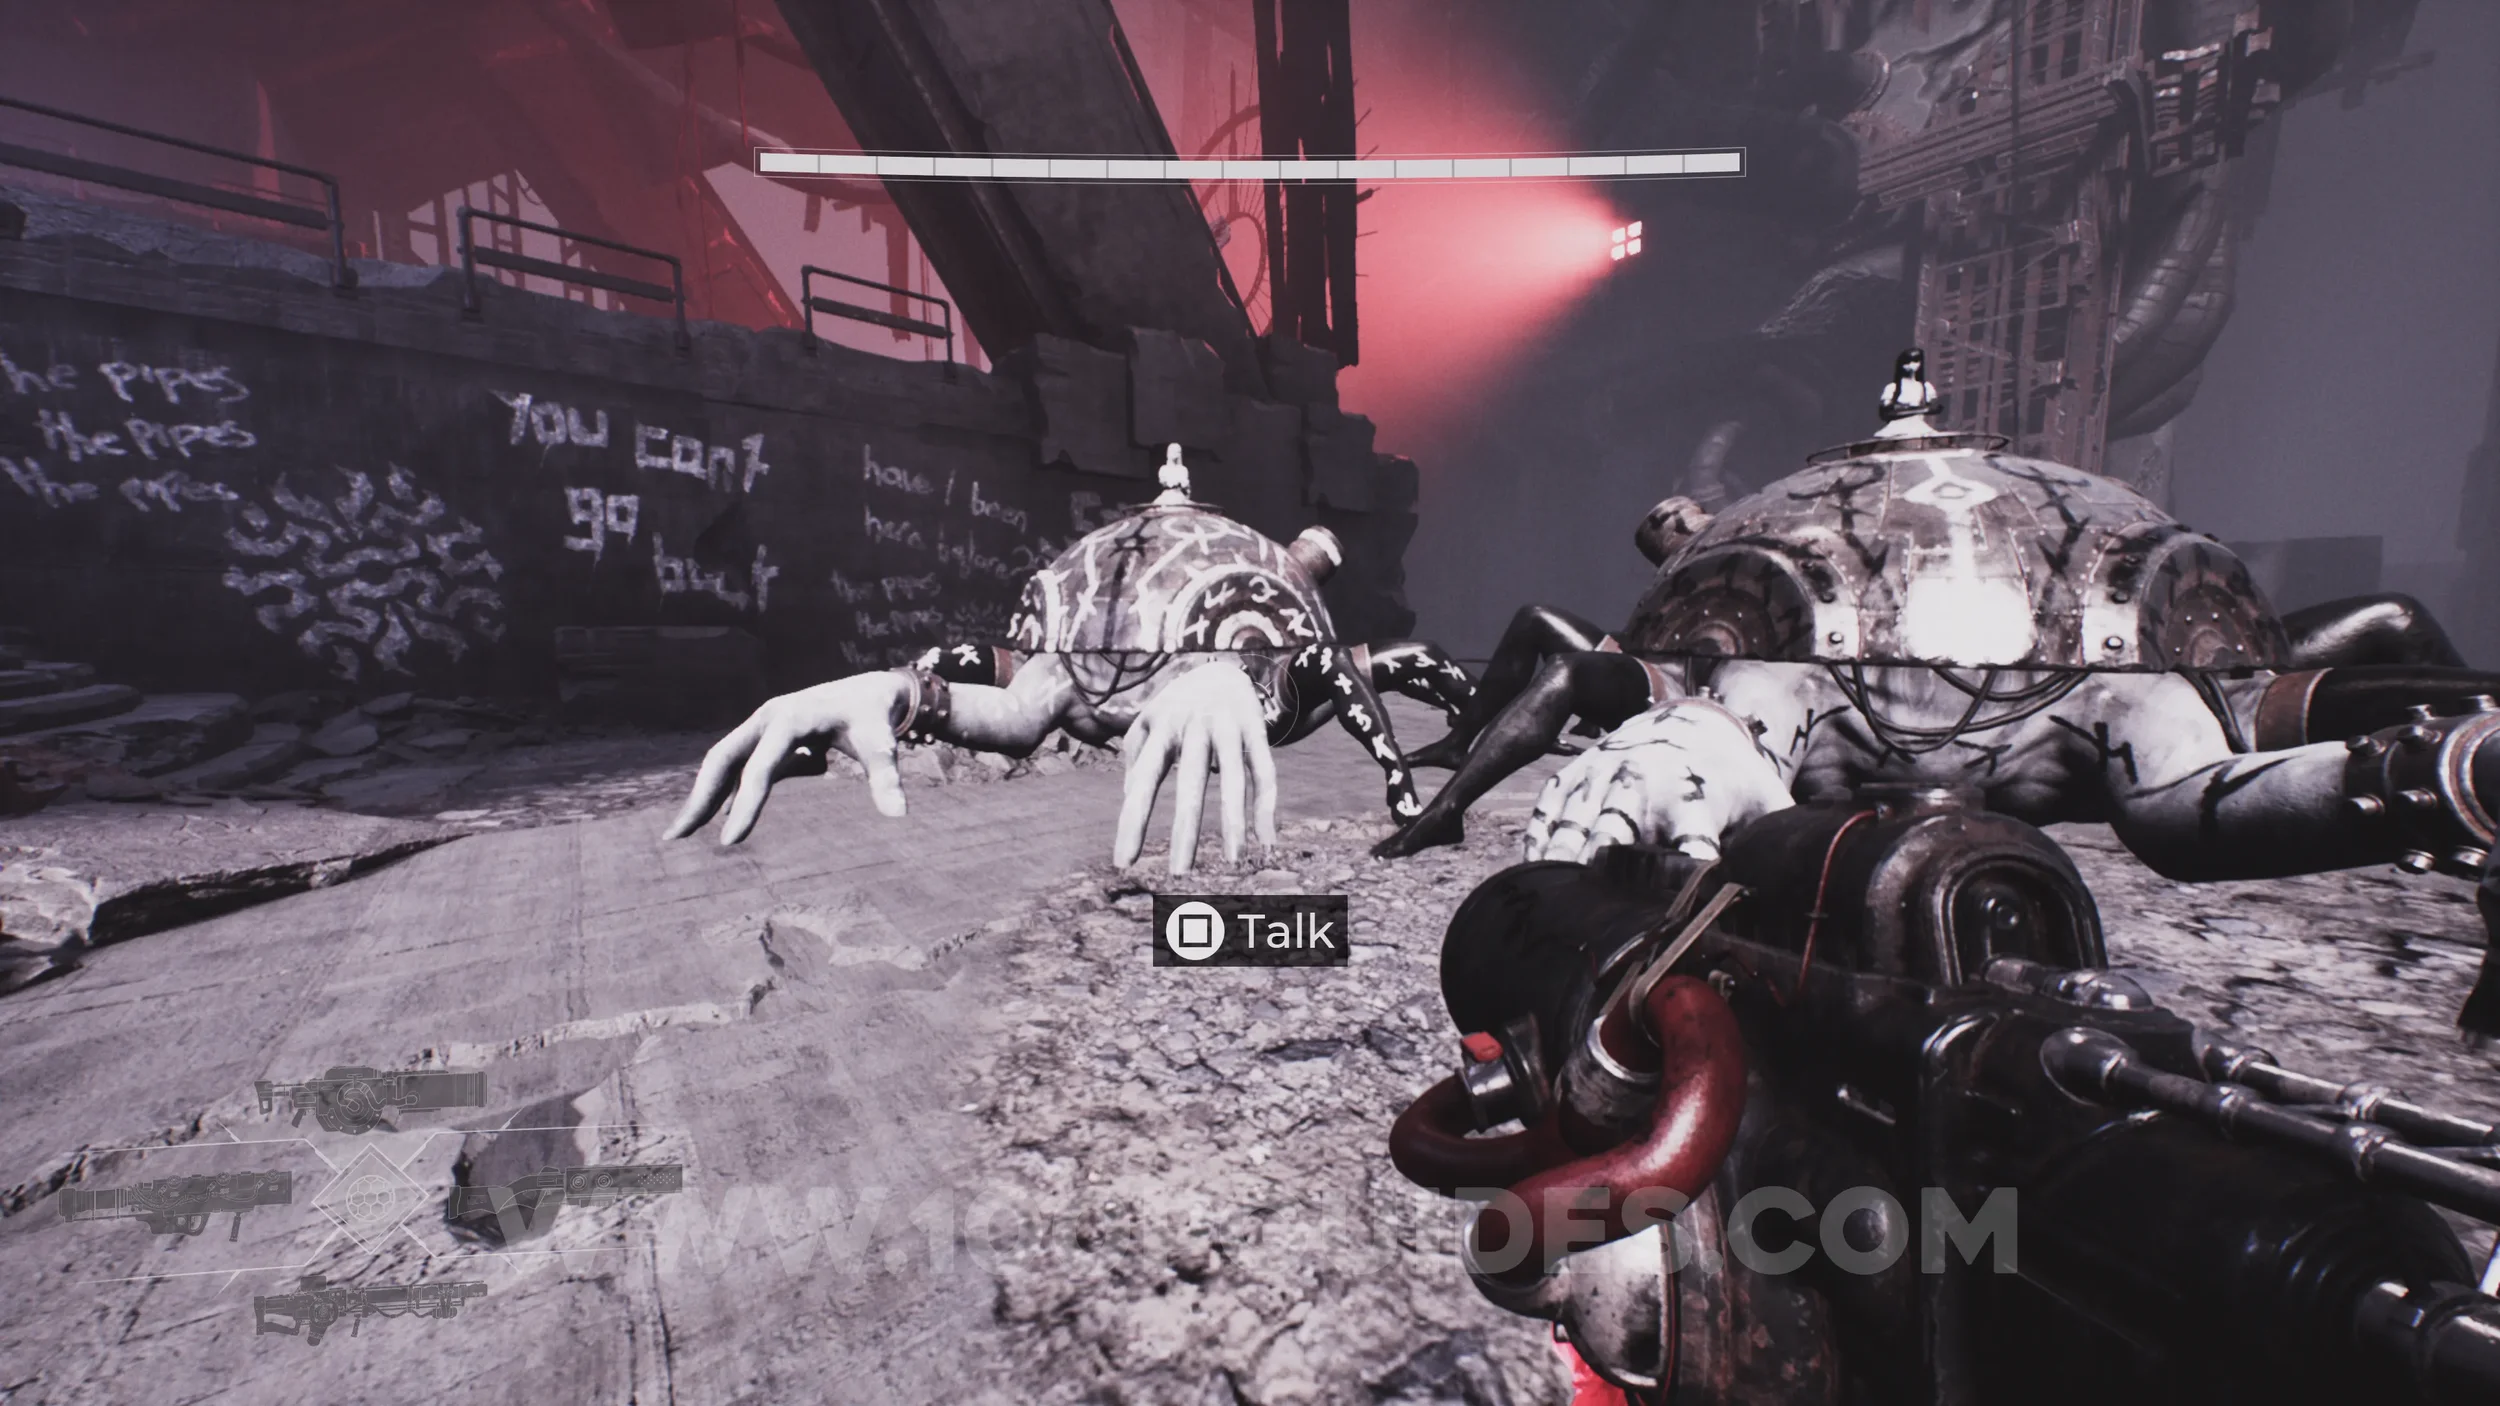
Lore Entry #82 (Character - Mani). After using a few more Widow Wardens, you'll reach an area where you can talk to two NPCs (also shaped like Widow Wardens). Just past them, look for a statue on the right where you'll find the collectible.
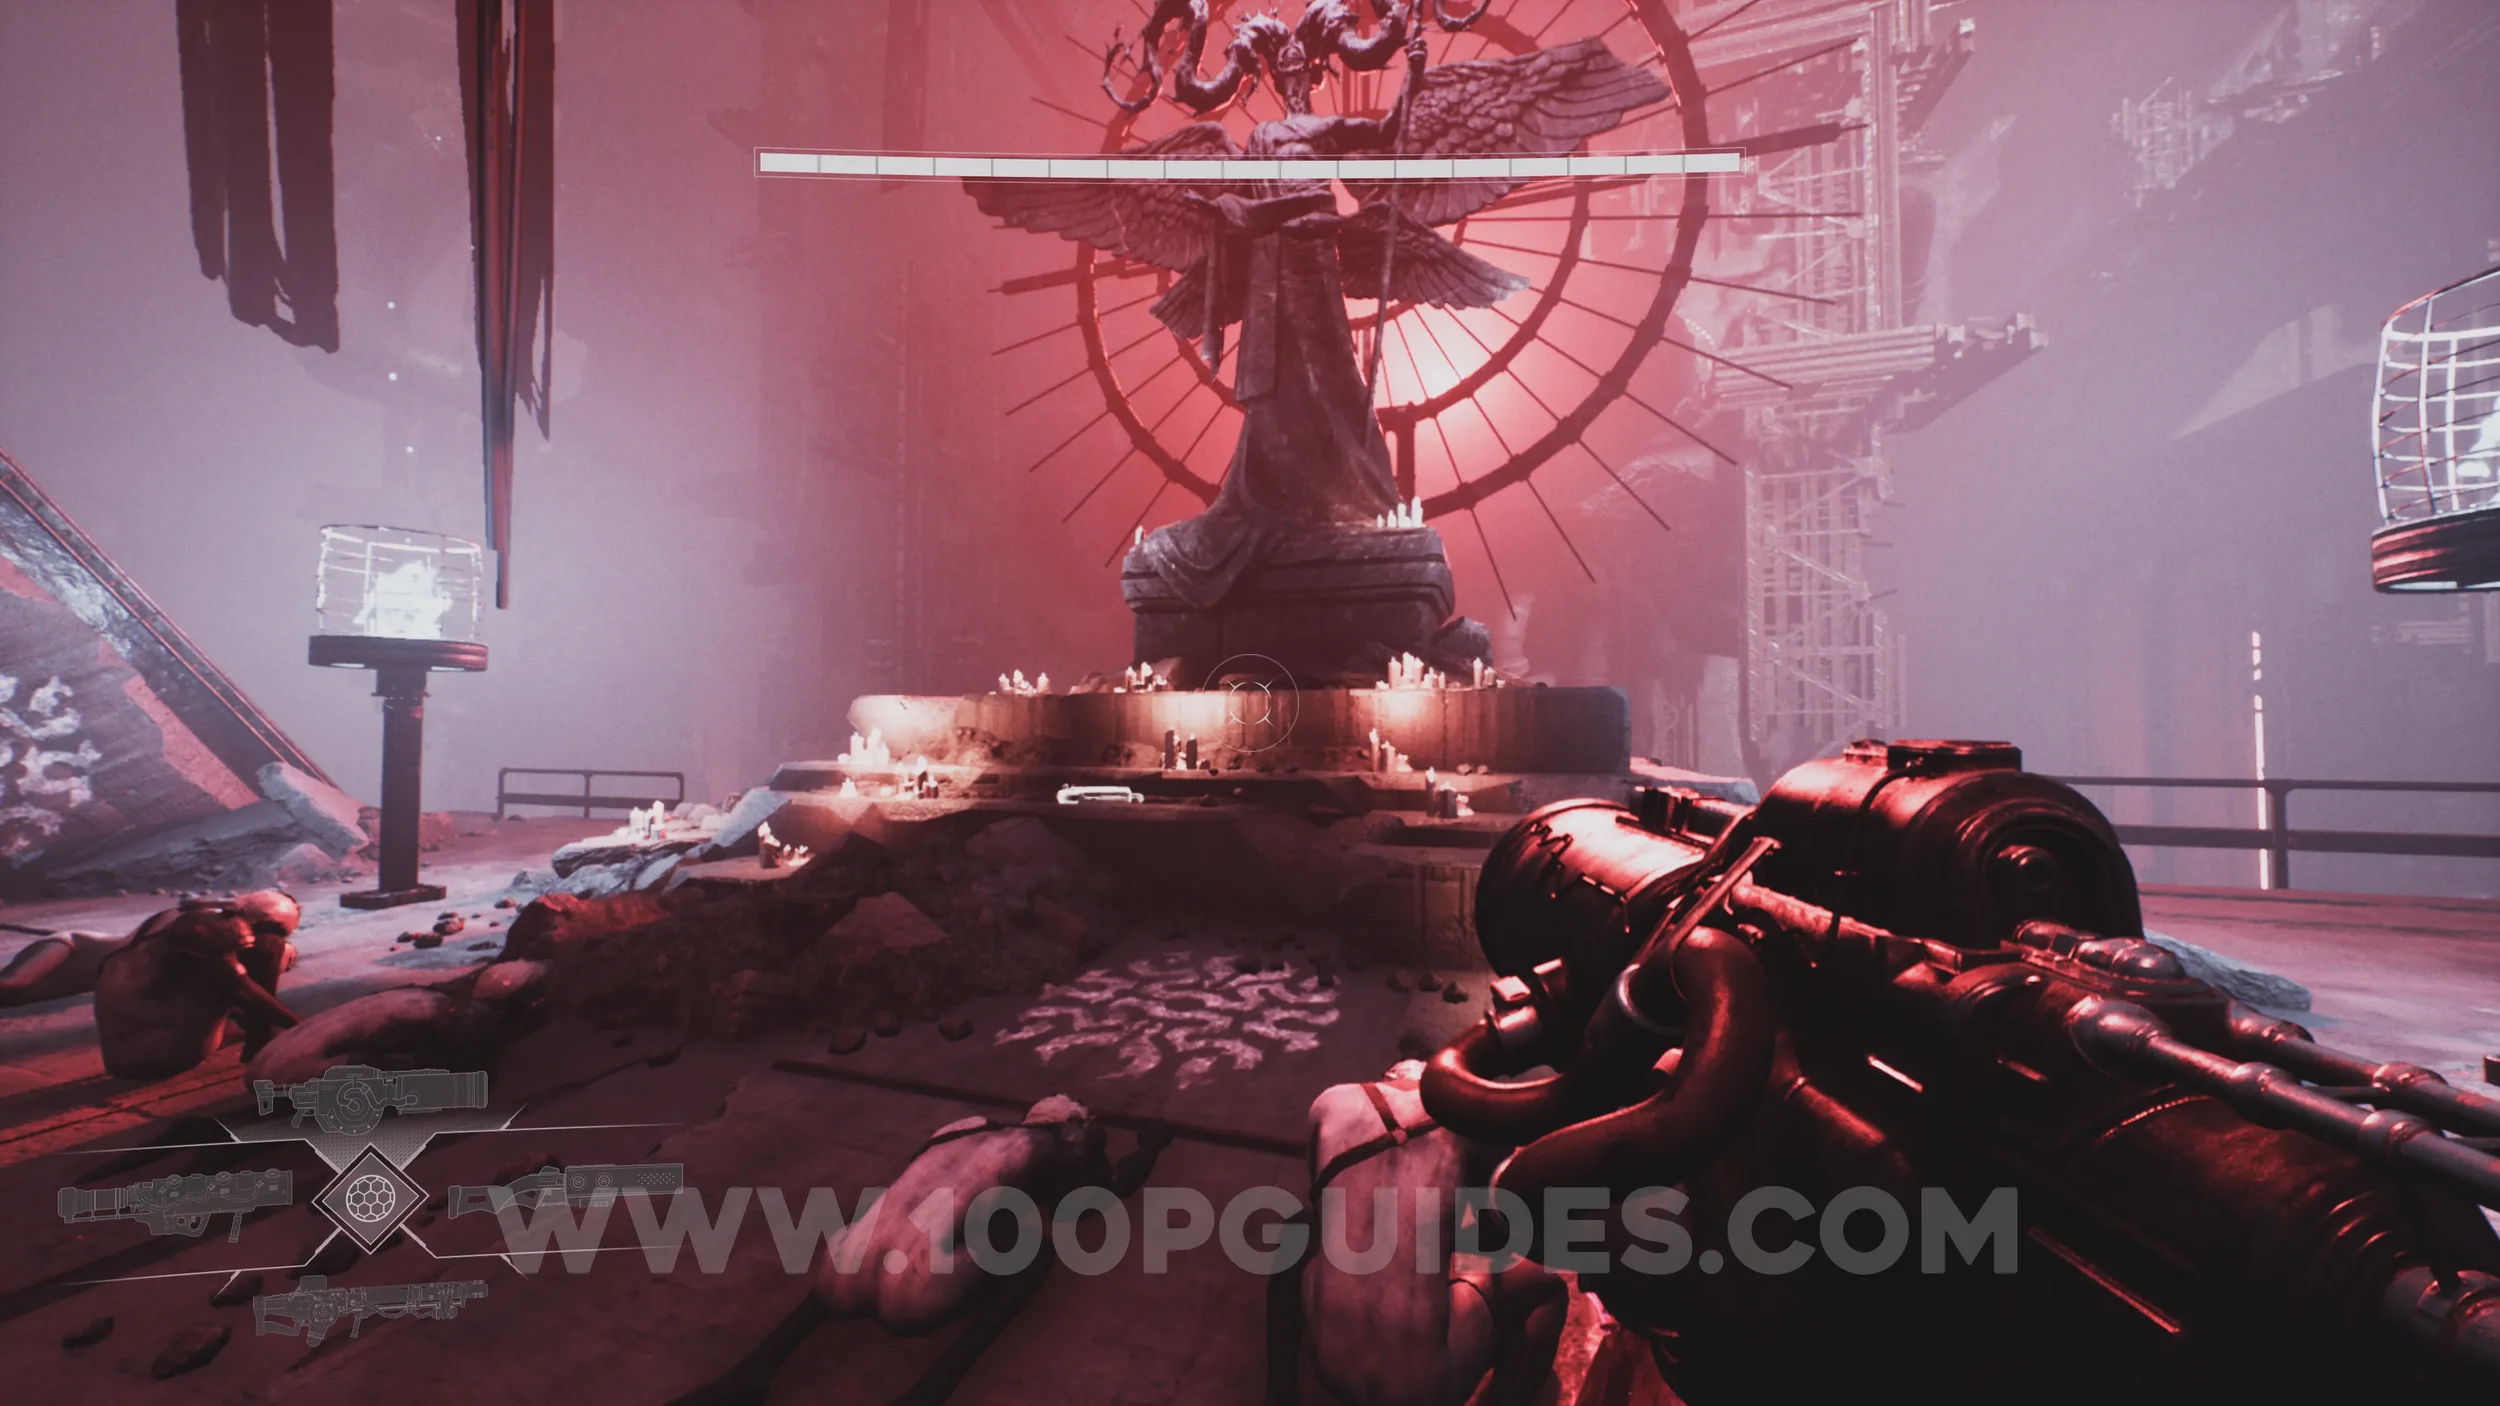
CHAPTER 5 - MANI’S FOLLY
Lore Entry #83 (Location - The Sky Chamber). Once you reach the room with Sylvan and the checkpoint, look for a white symbol on your left. Climb the rocks above it and follow the path to find the collectible.
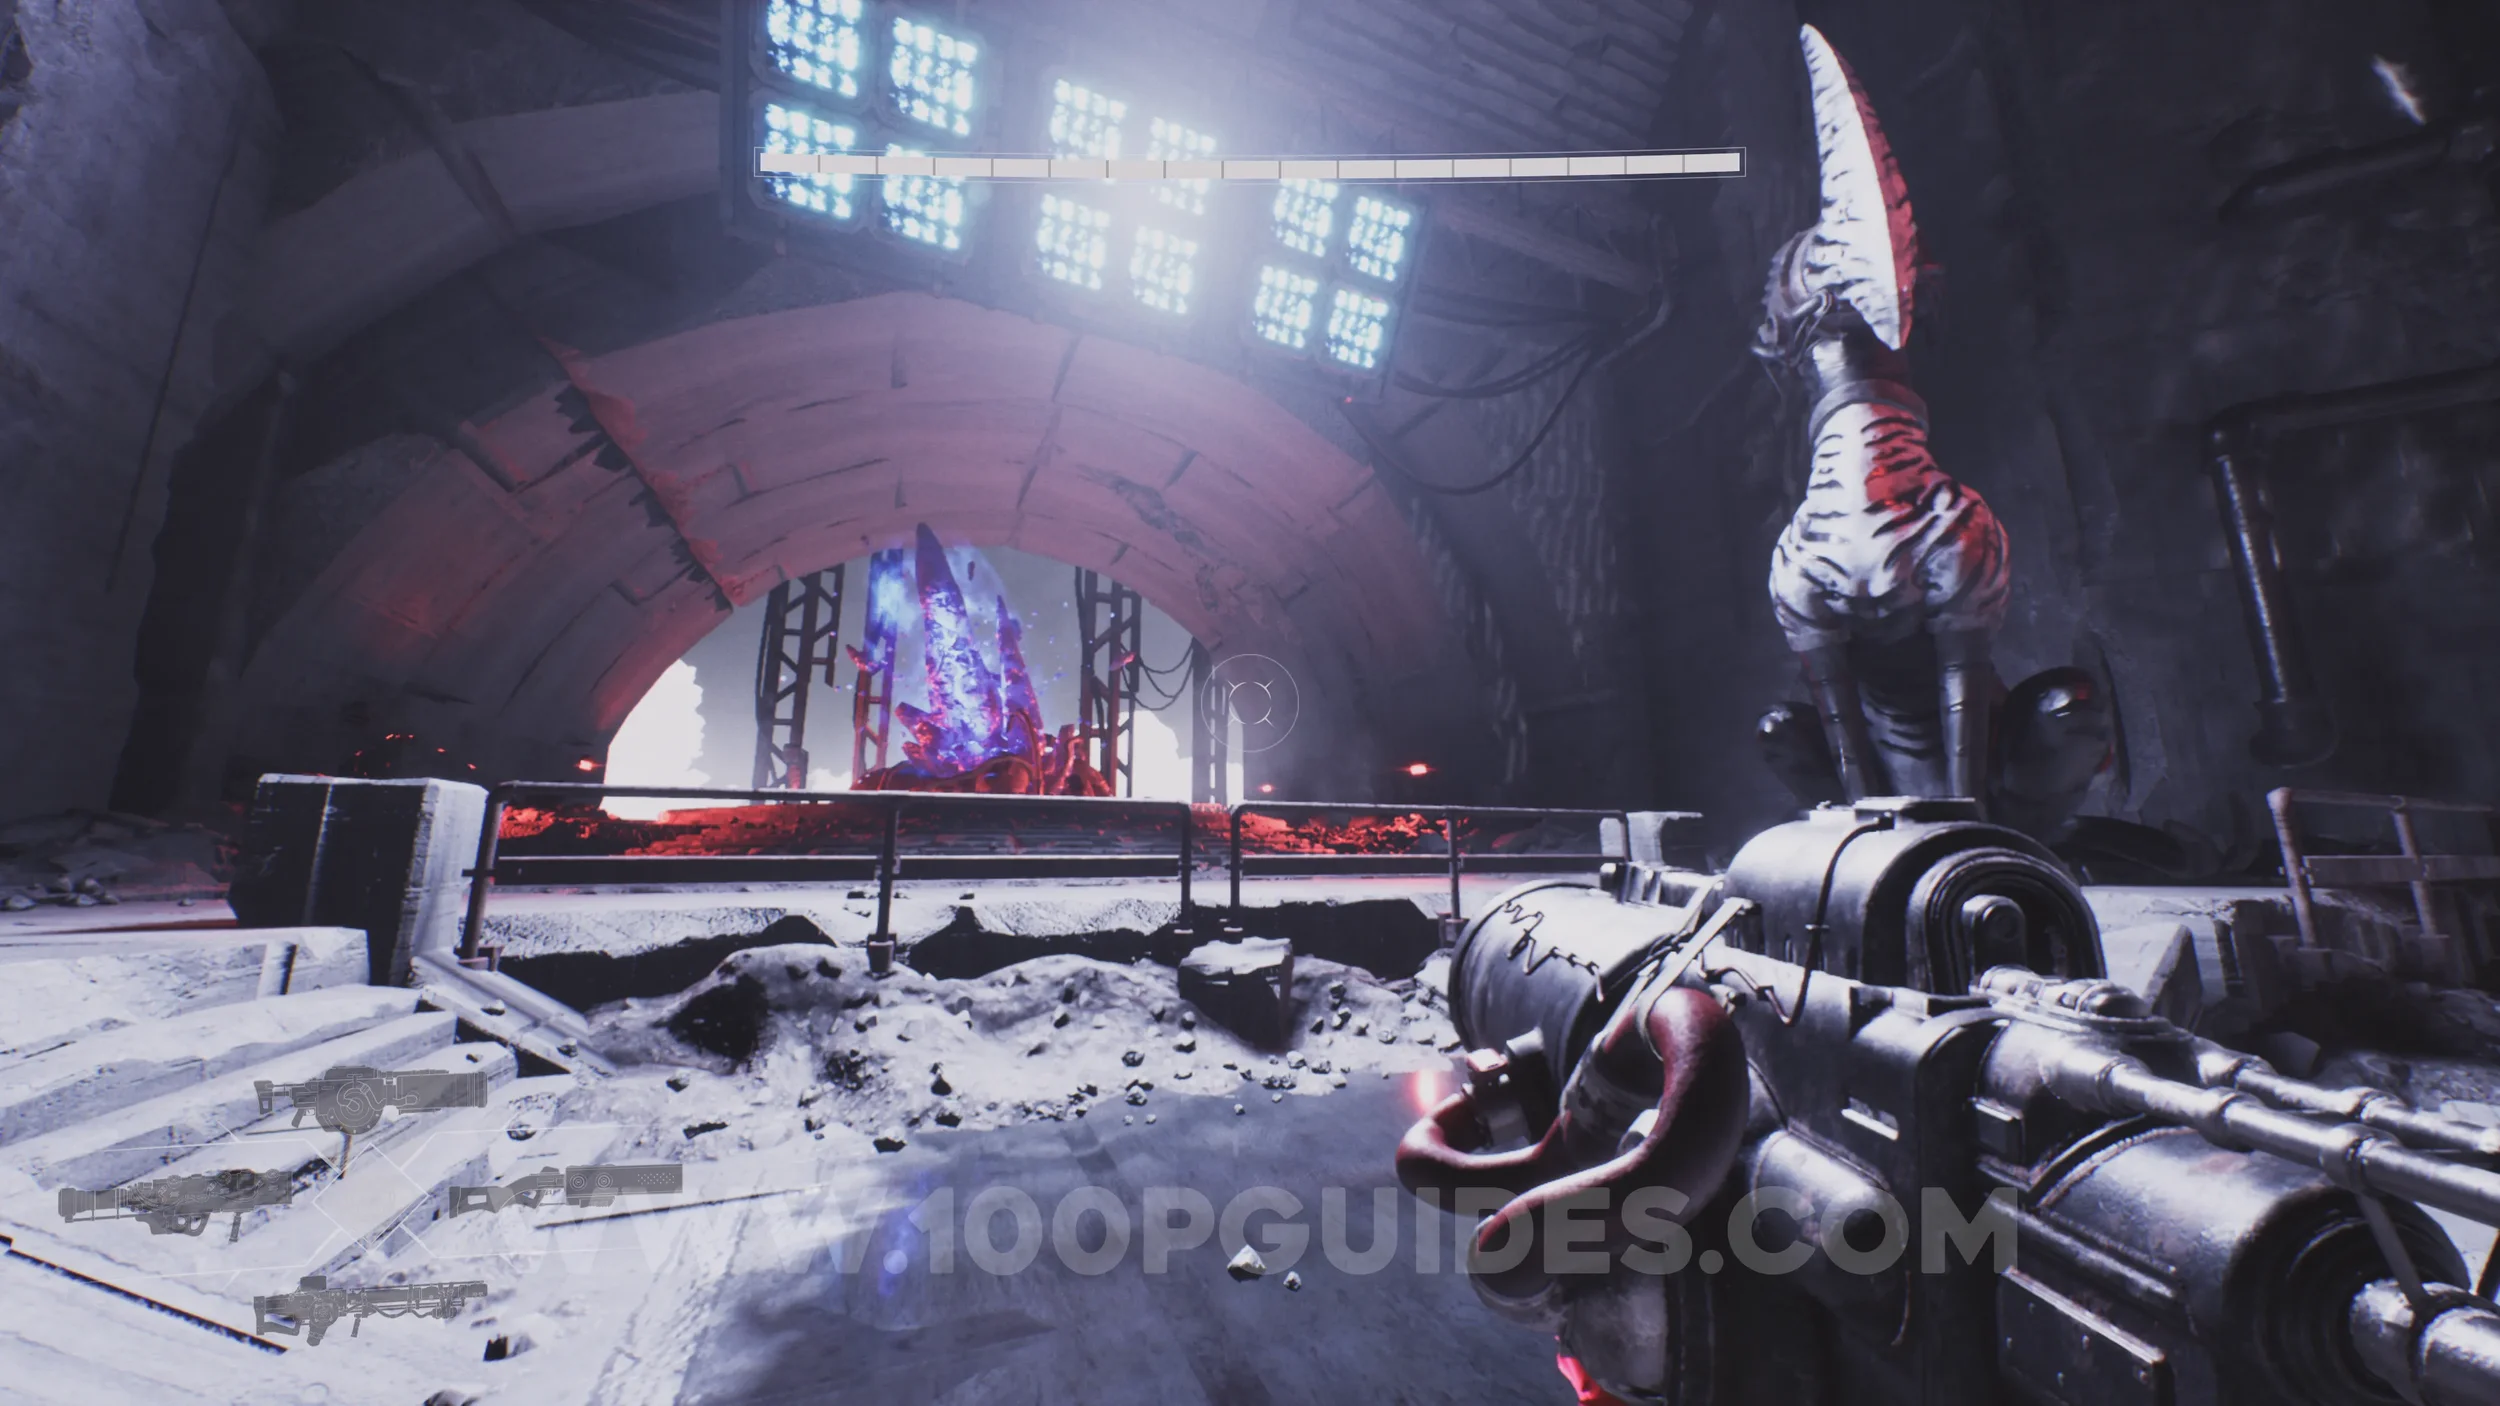
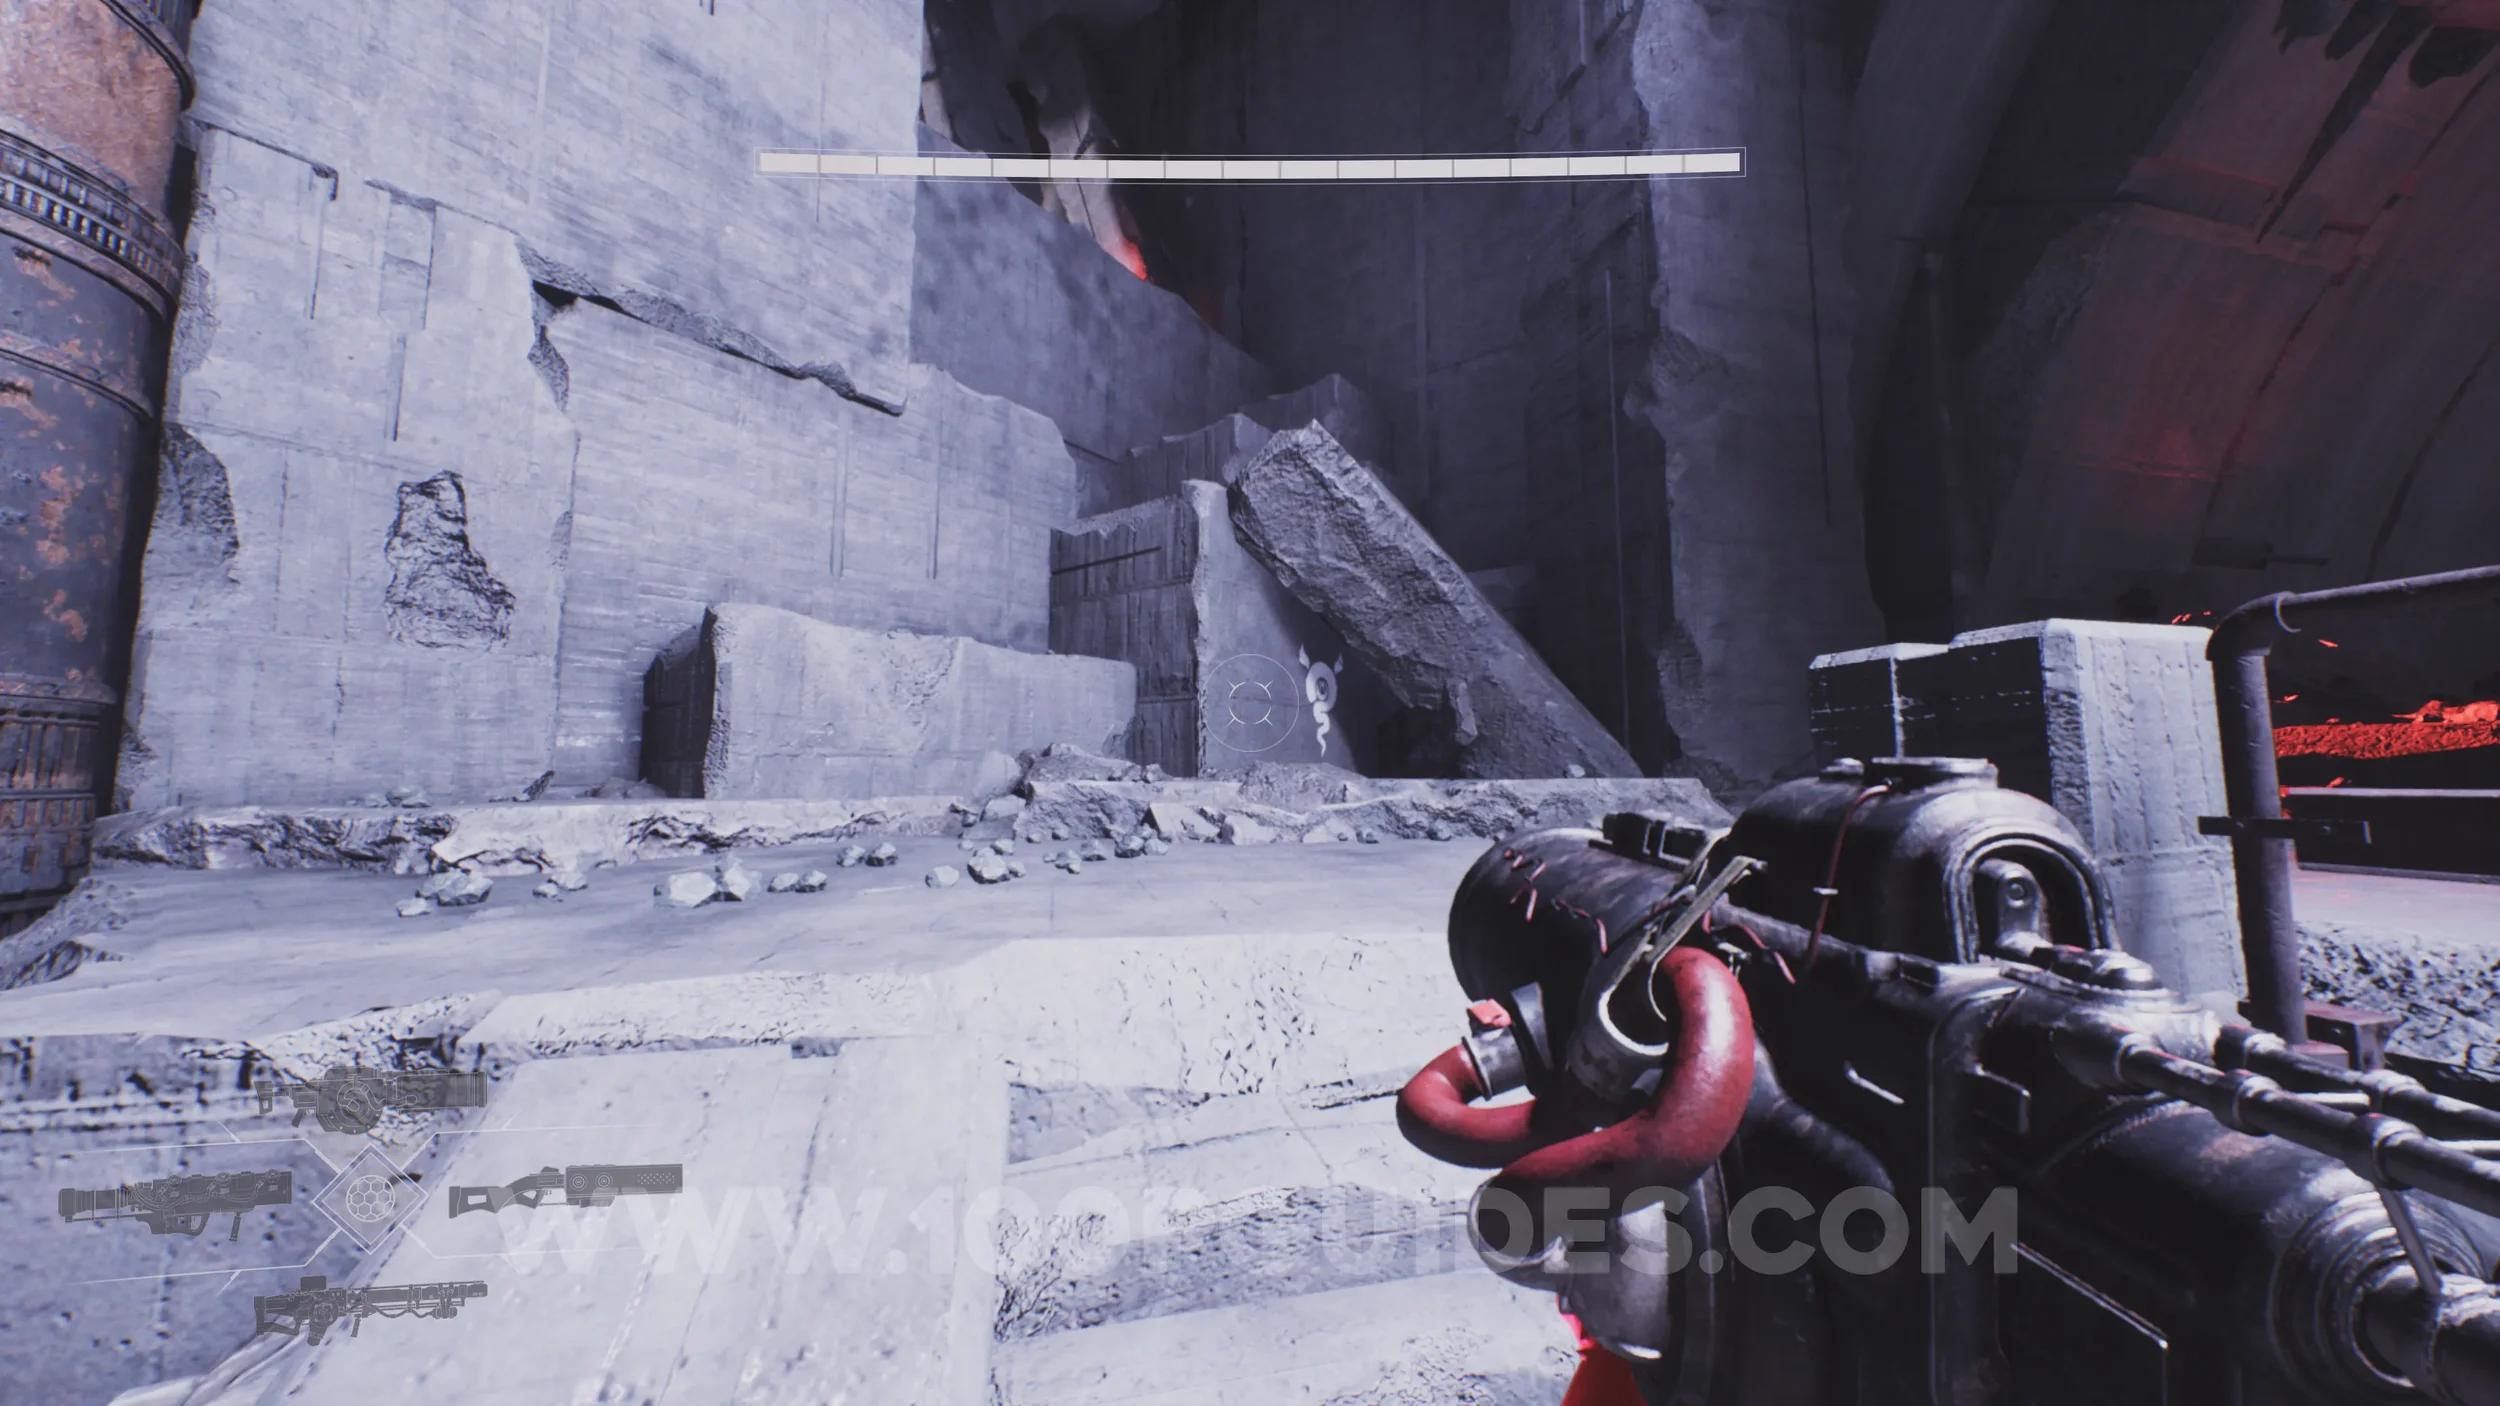
Lore Entry #84 (Memory - Entry #1201 - Mani’s Prison). Continue through the level until you reach a section where you have to wait for metal blocks to move in and out to navigate around the side of a building. During this section, you'll need to jump on top of two of them. On the second one, turn around to spot a symbol and a secret path you can dash to. Follow it to the end to find the entry.
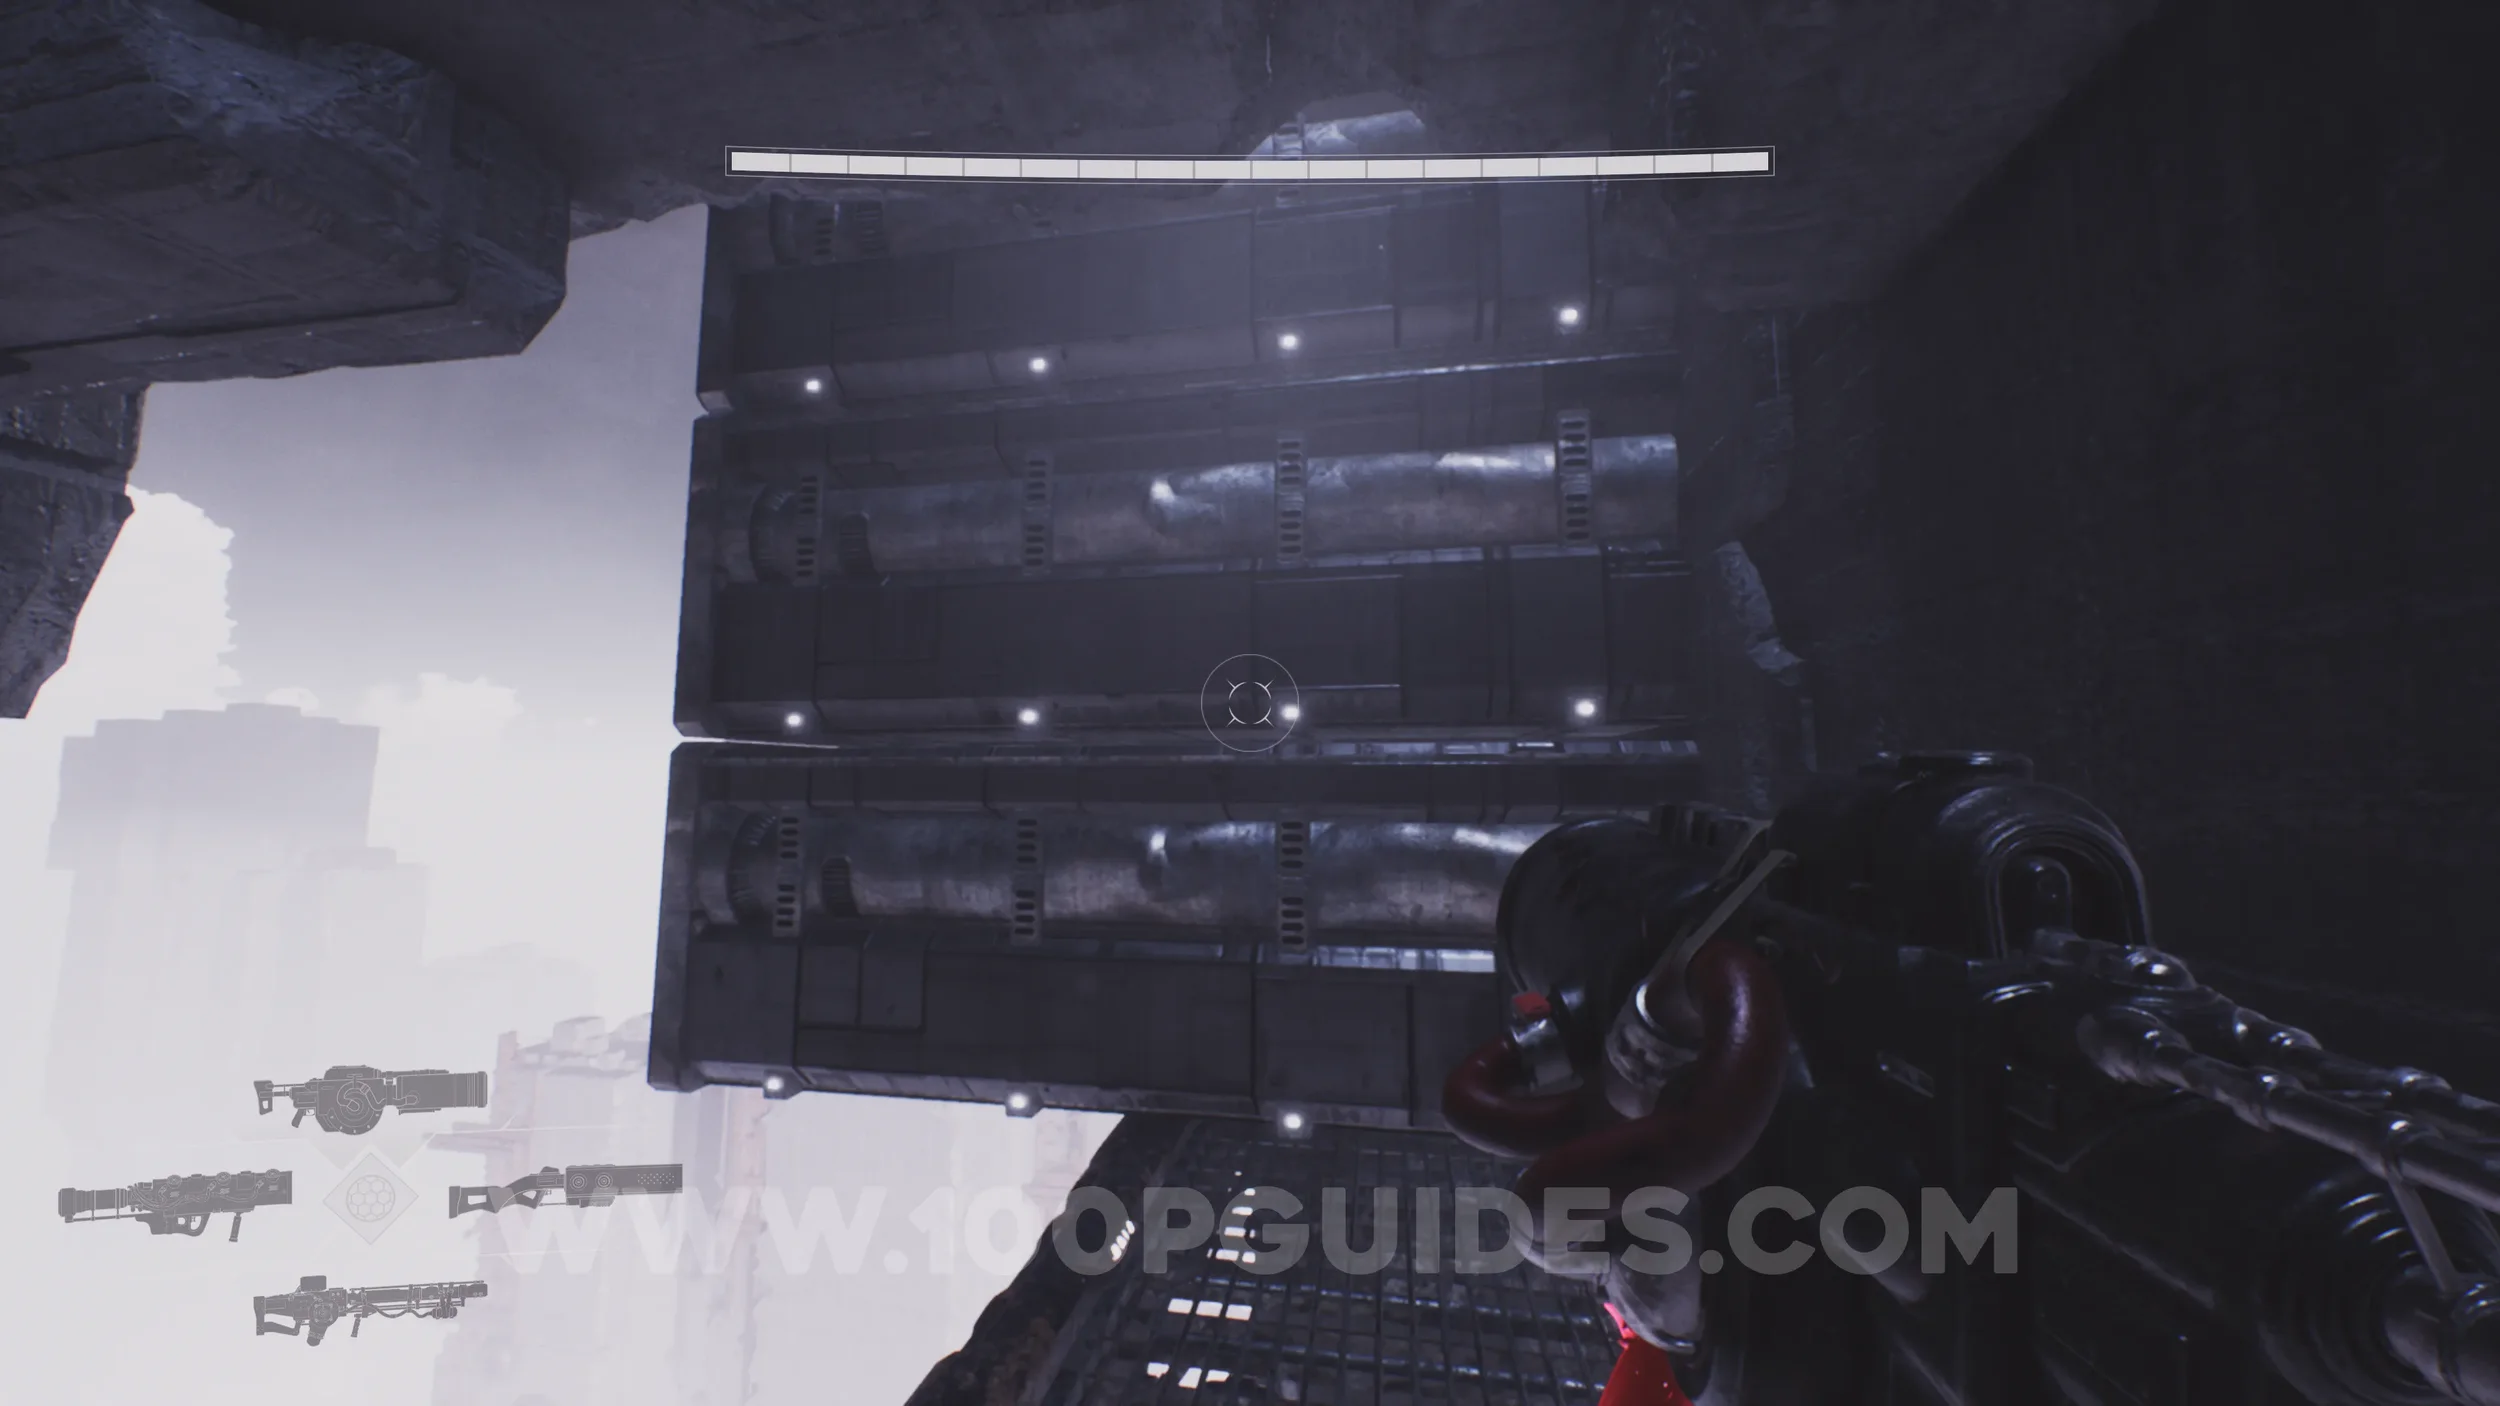
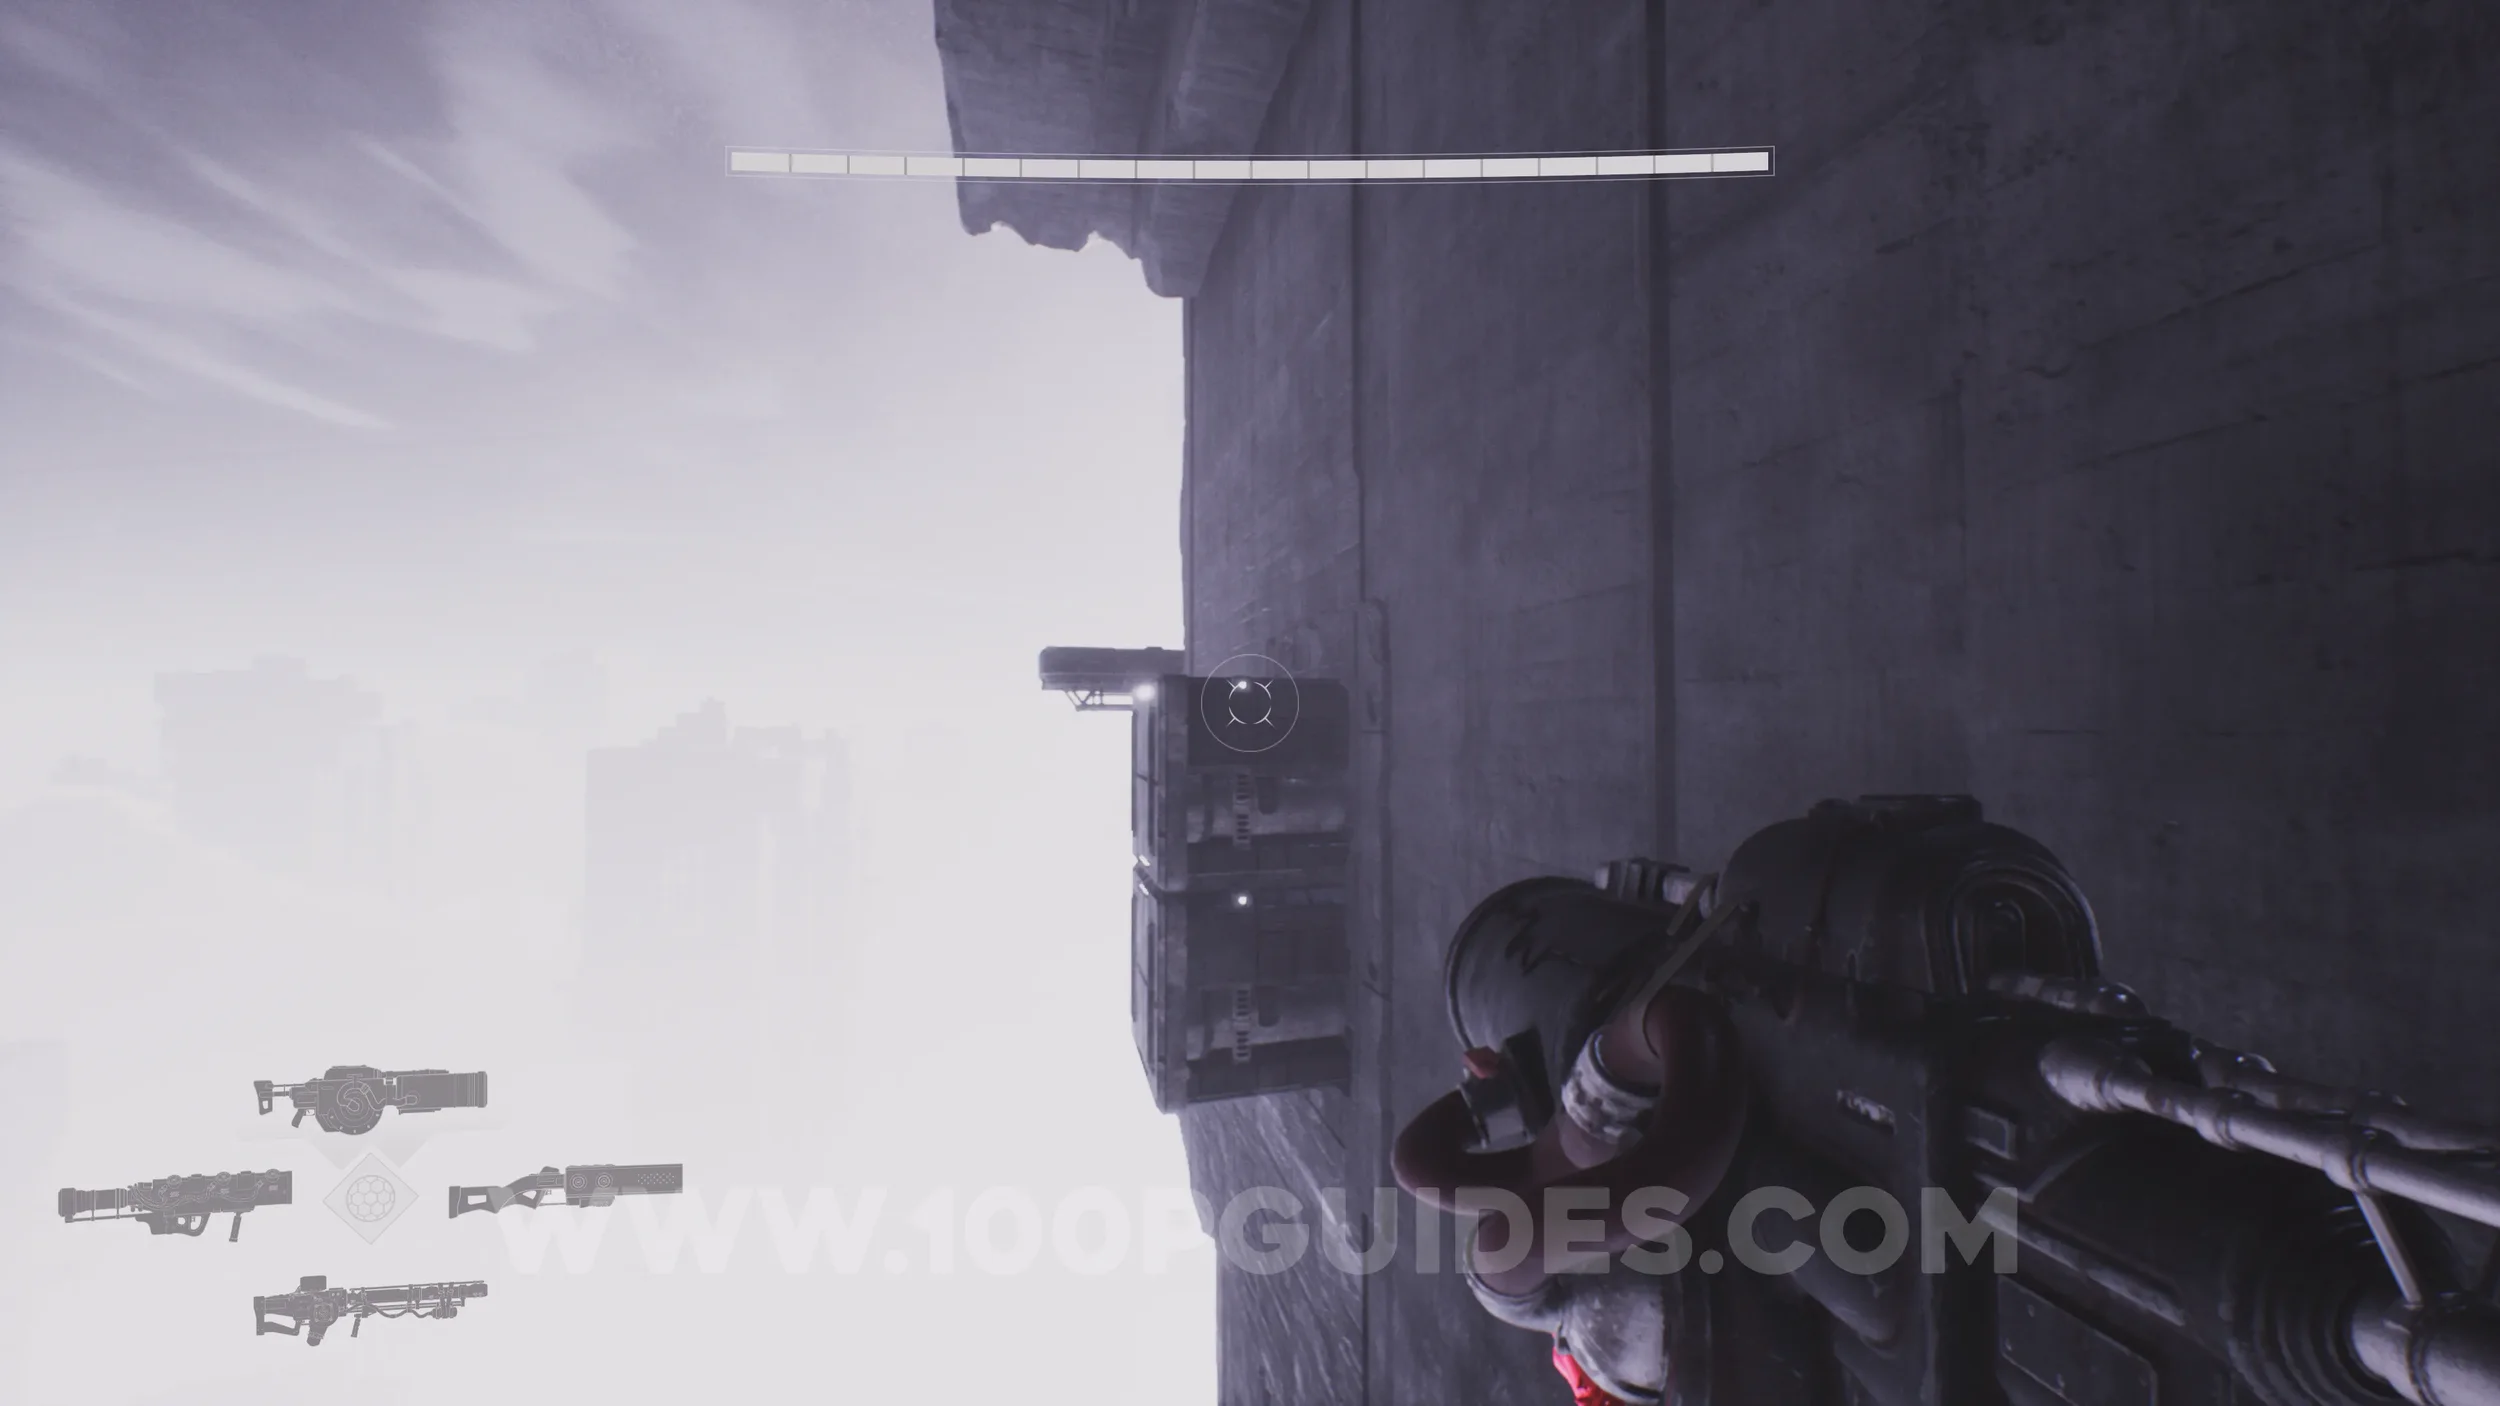
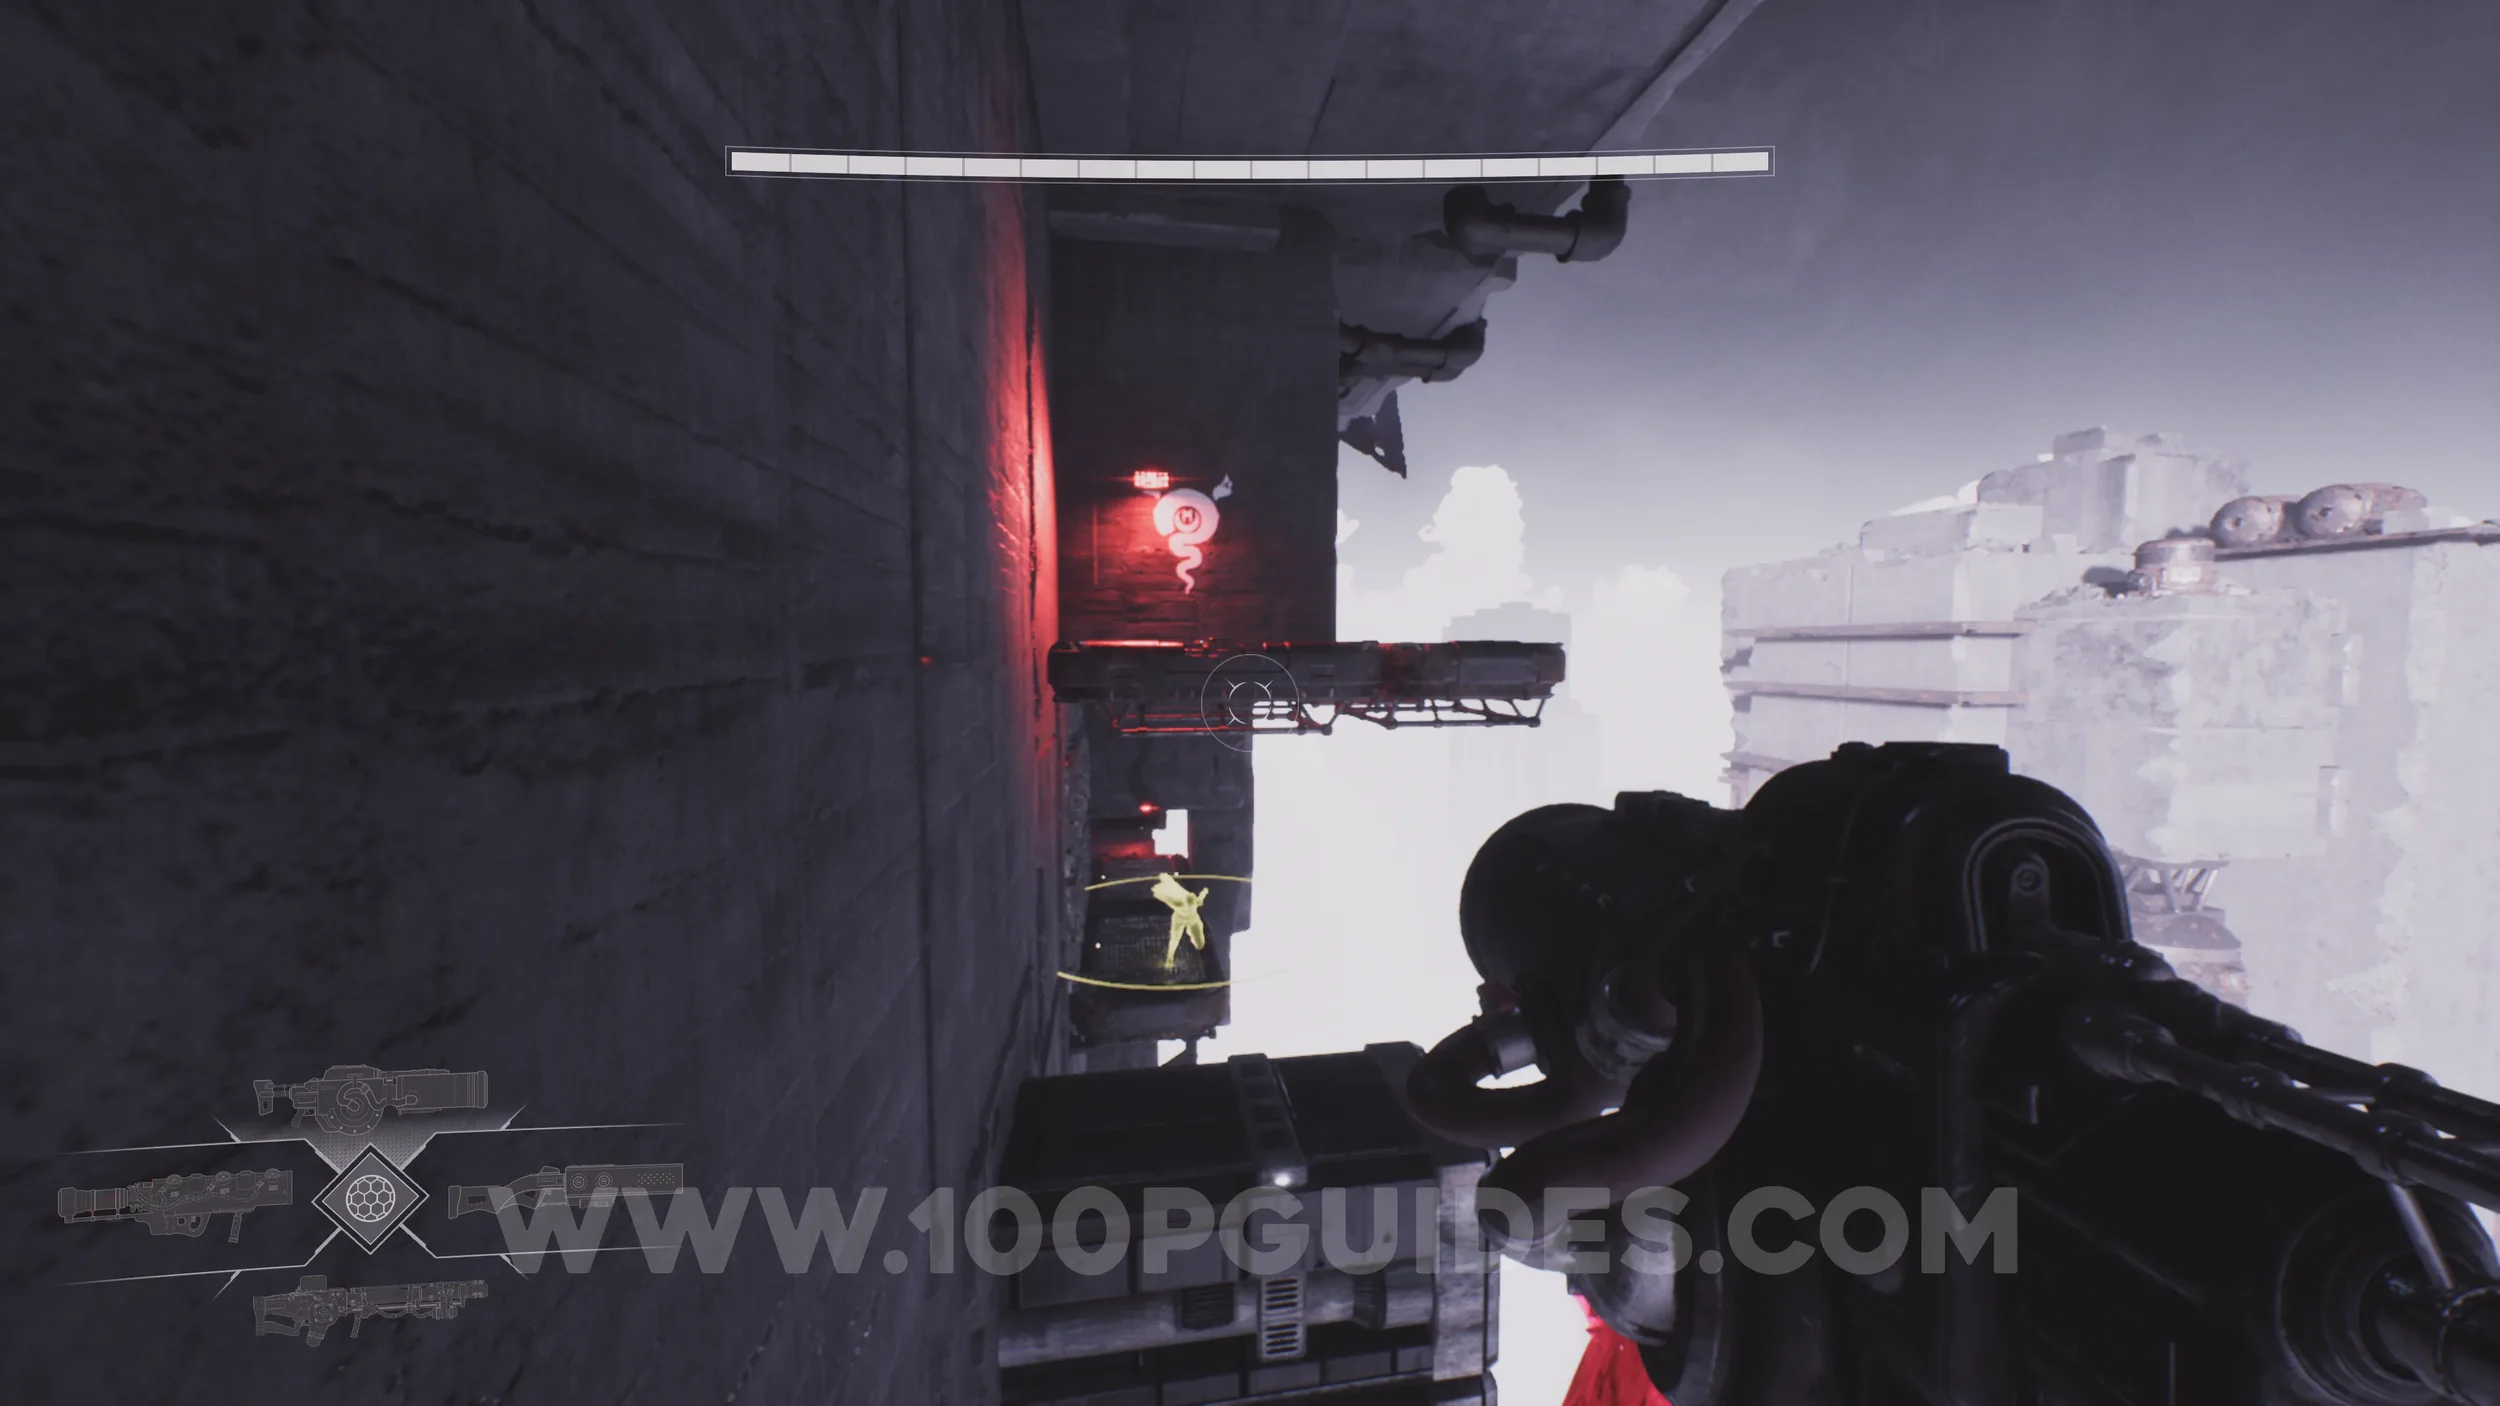
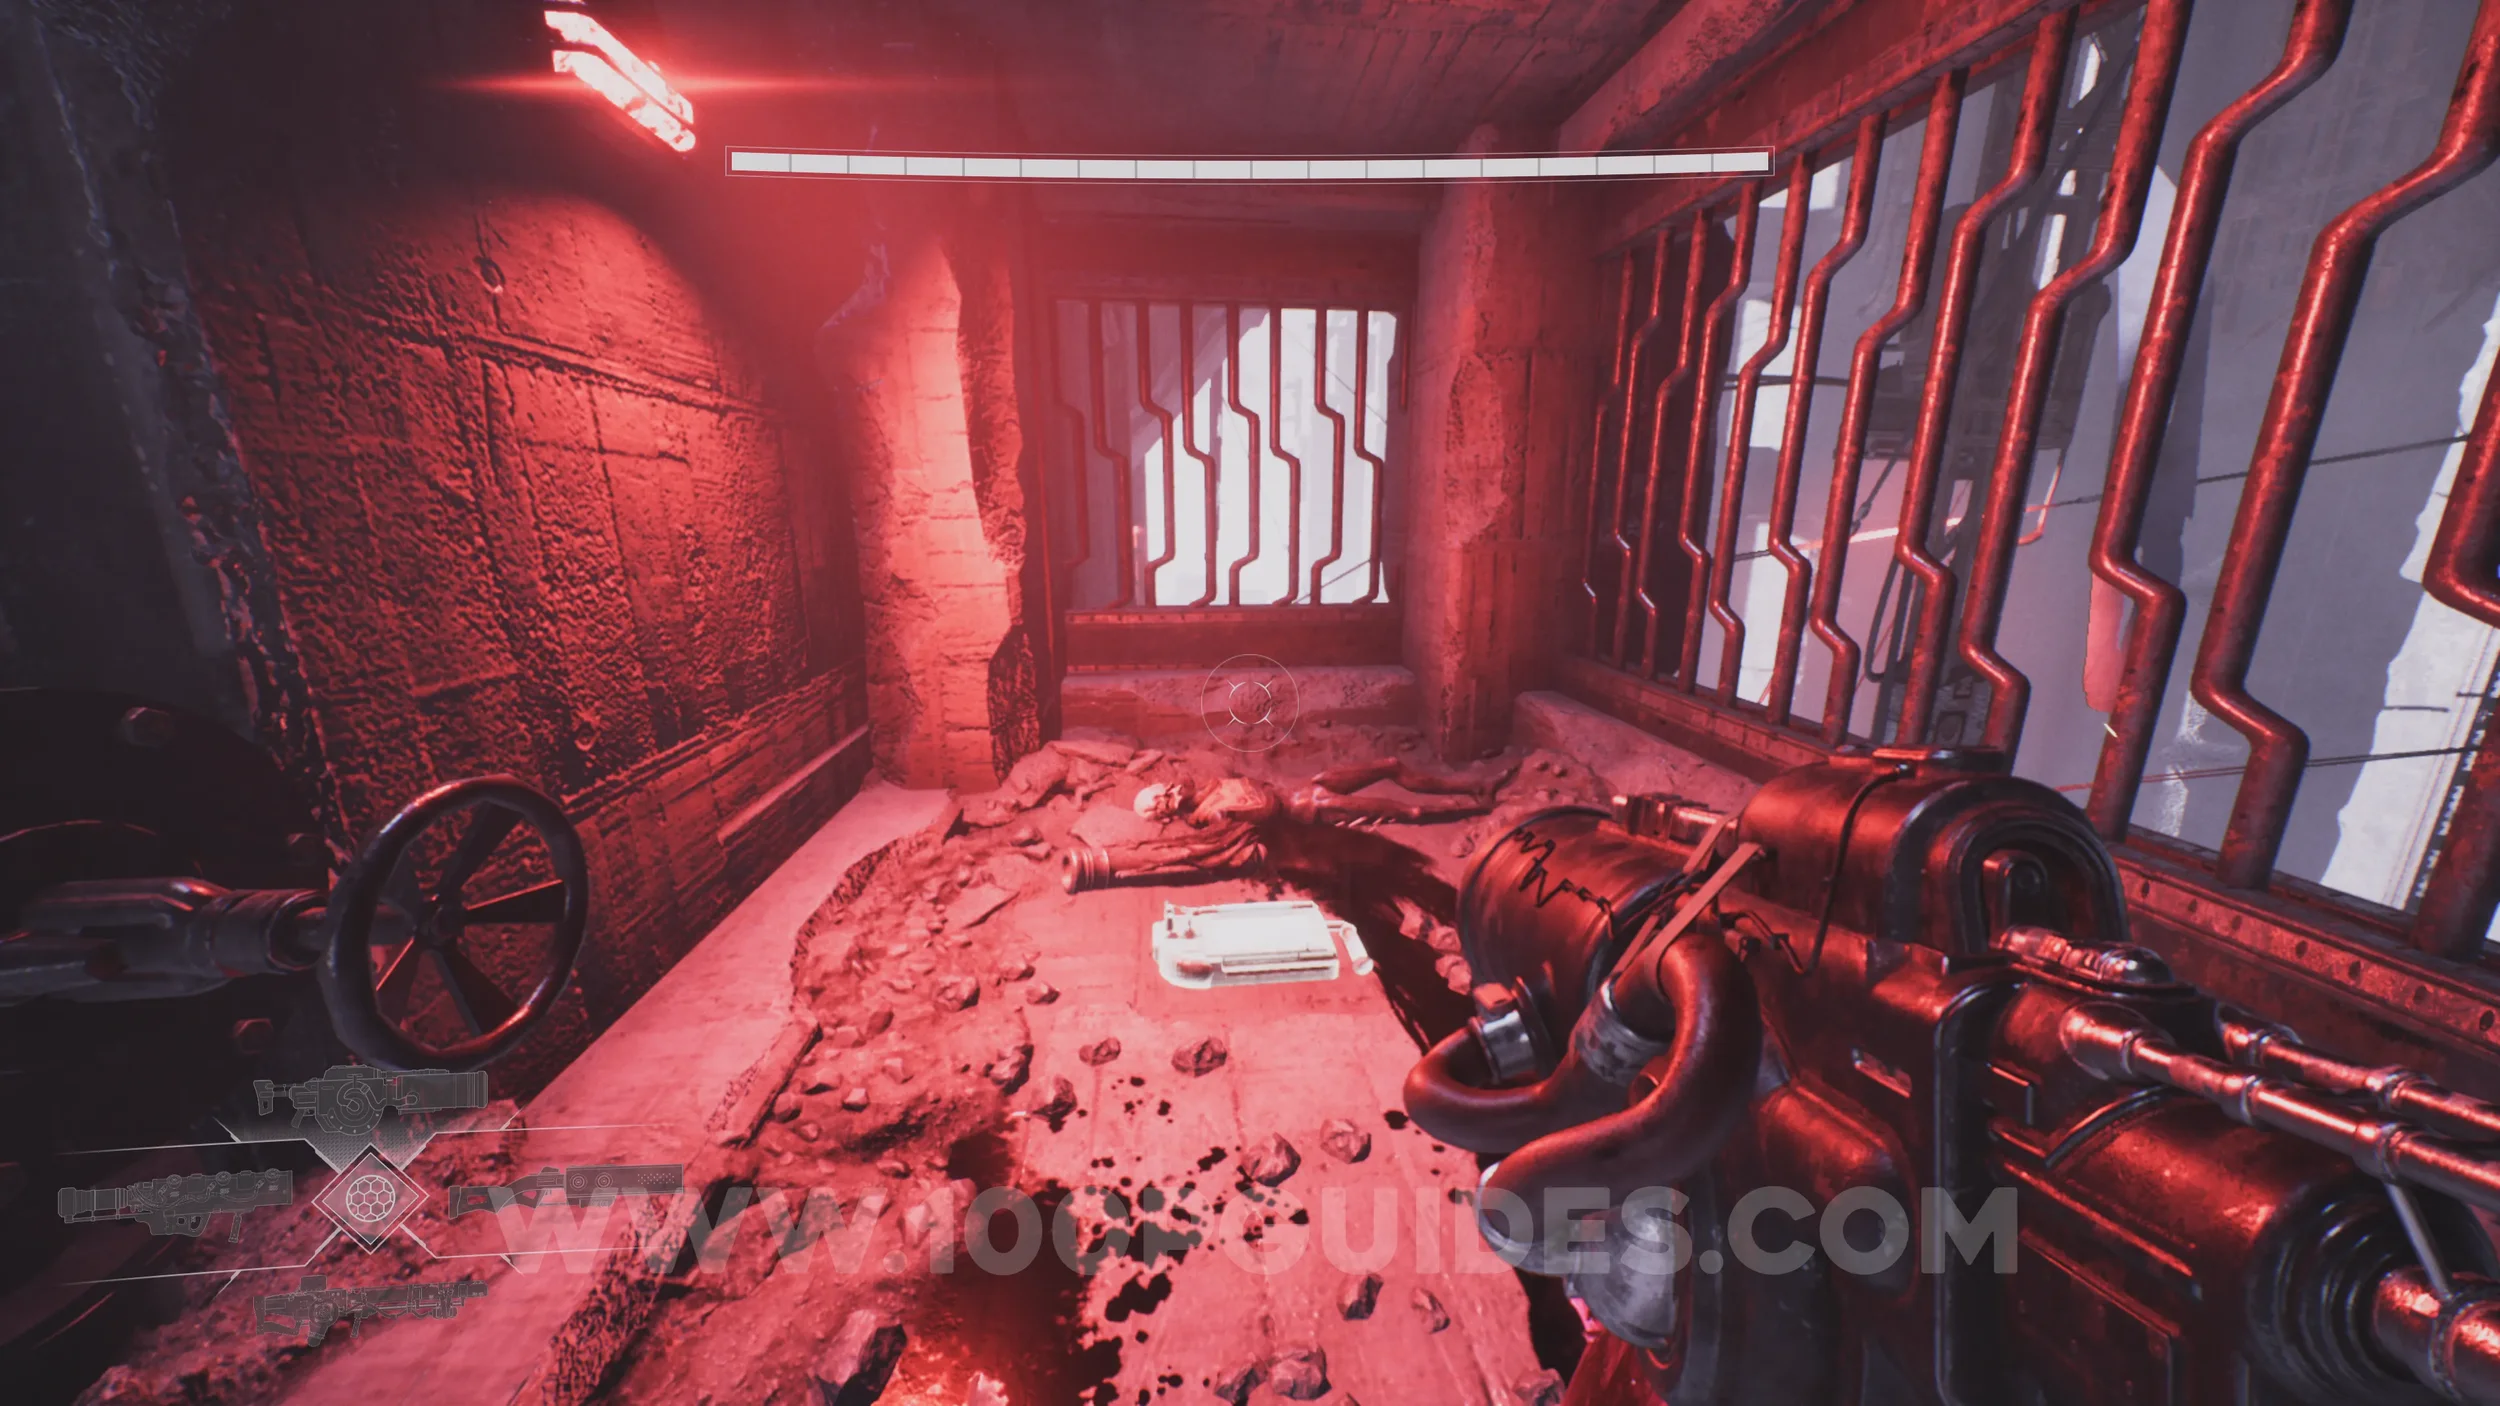
Lore Entry #85 (Memory - Entry #3920 - Weakened). After going around the side of the building by avoiding the slow-moving metallic blocks coming out of the walls, you'll reach a room with a platform moving up and down on your left. Before using it, head to the statue at the back of the room to find the collectible.
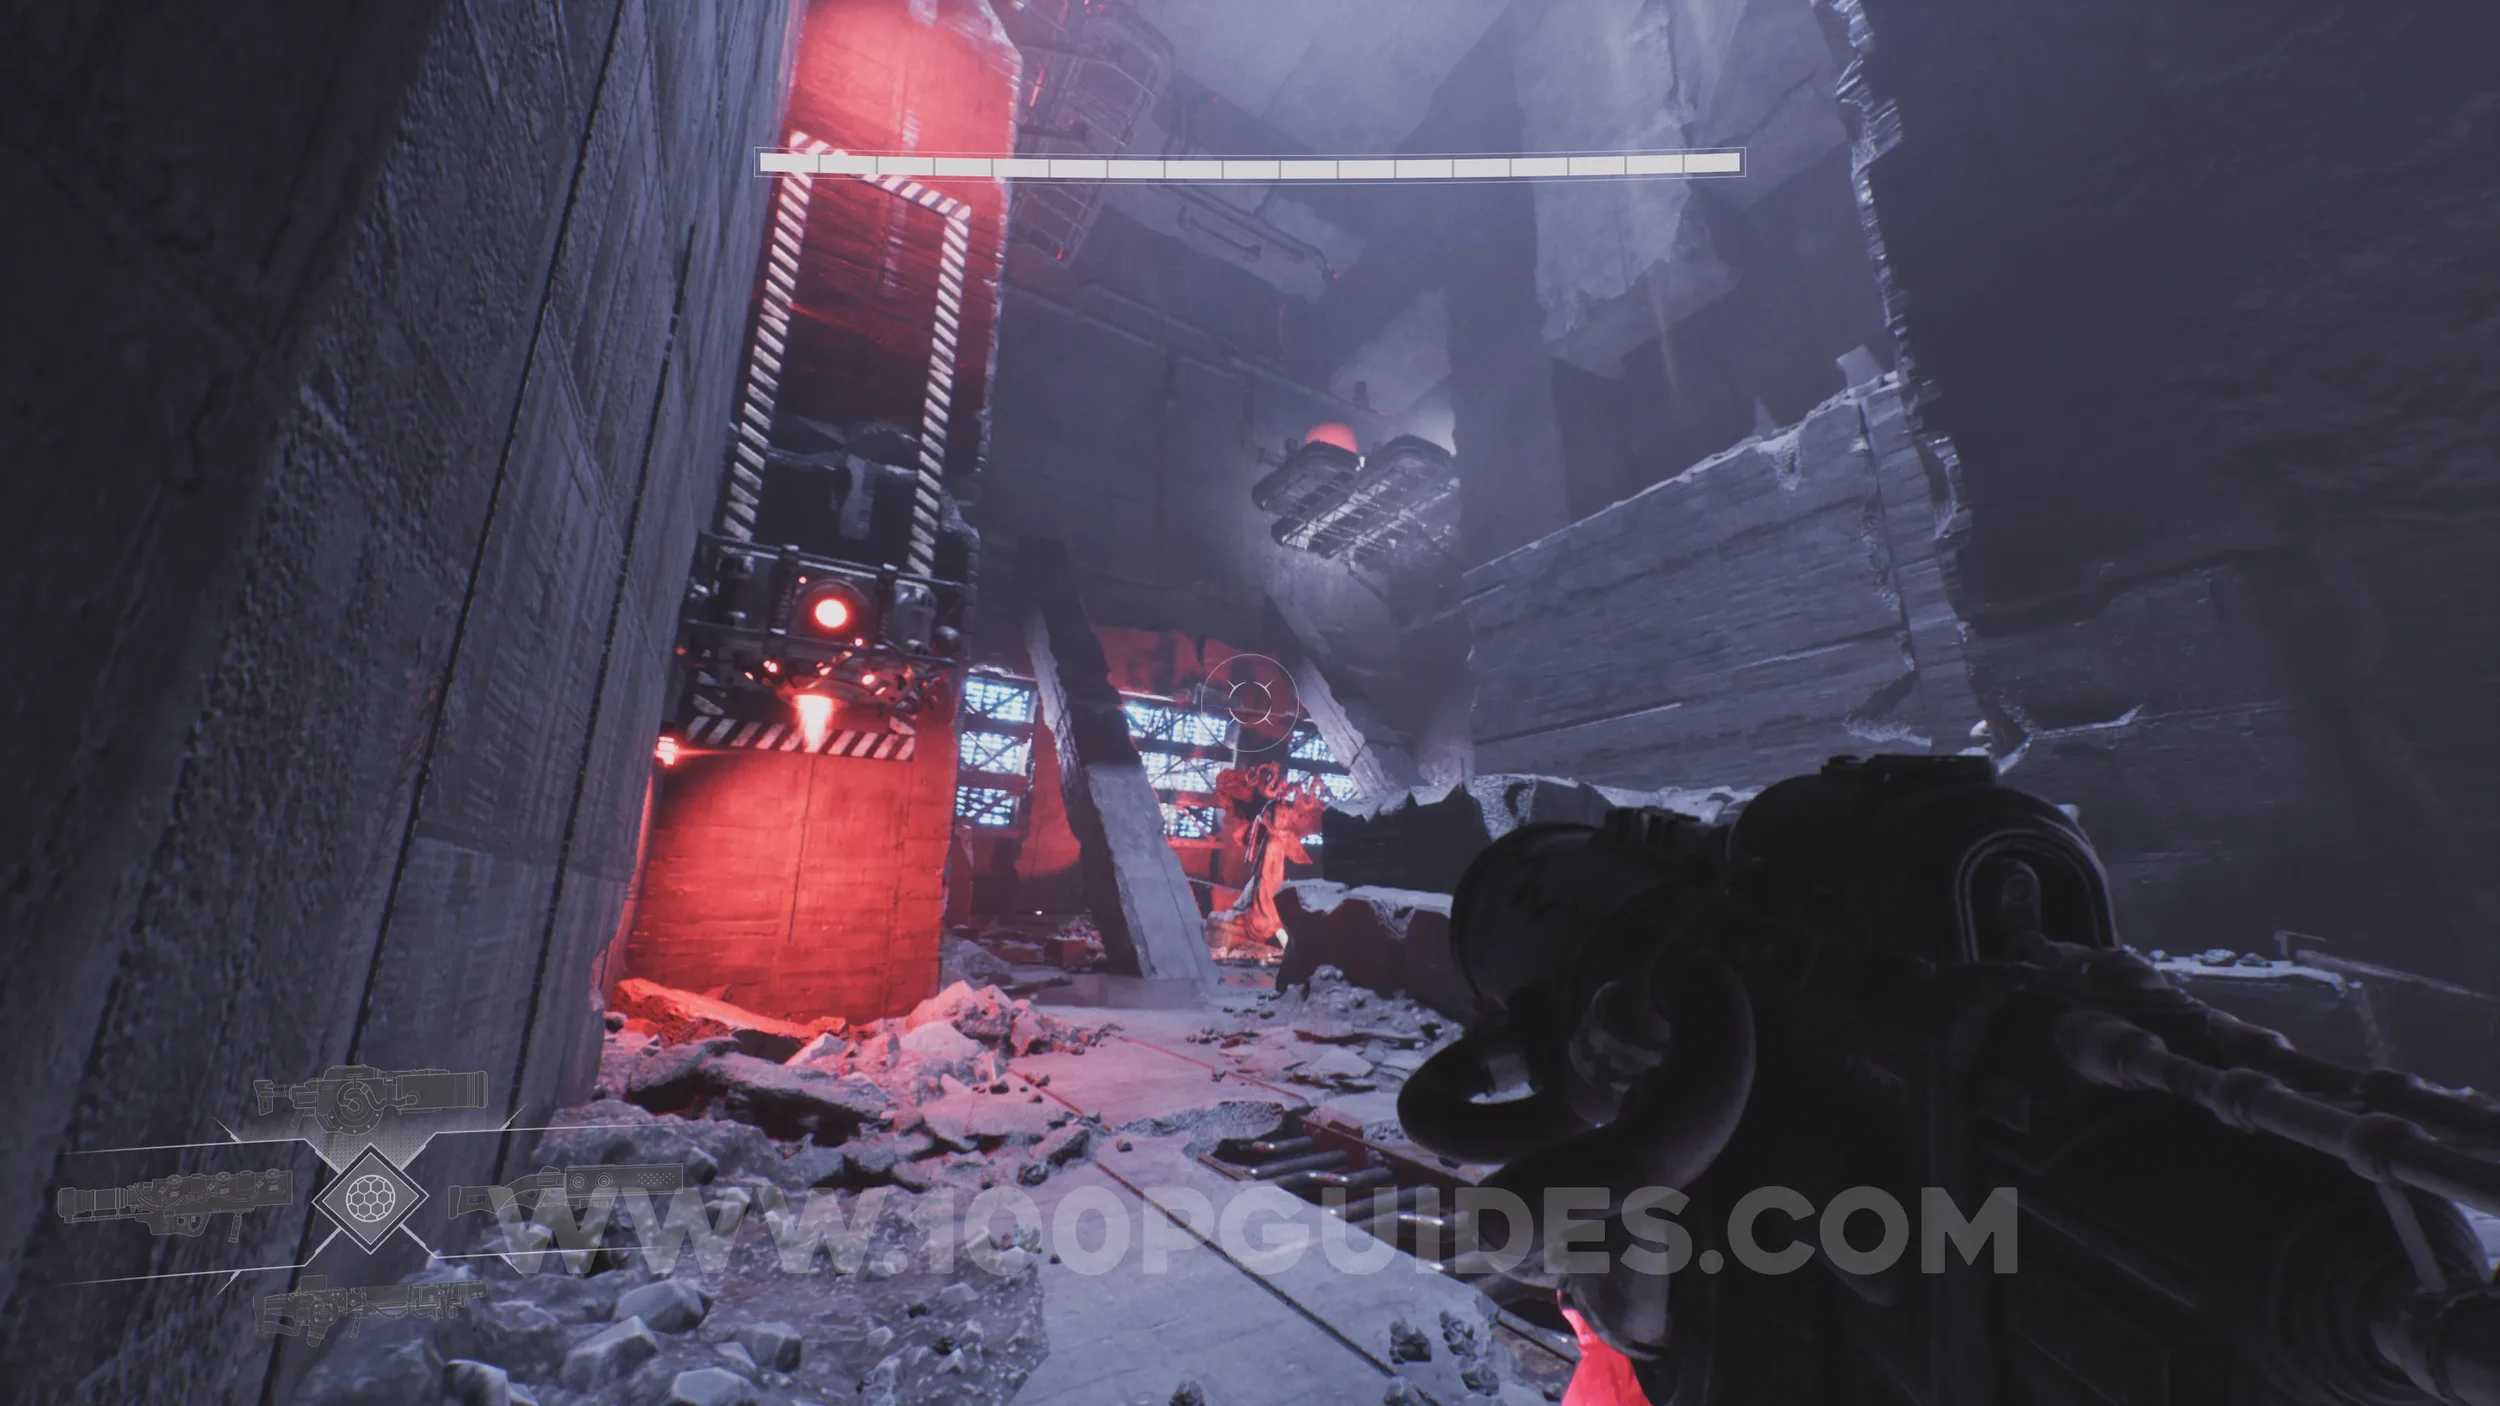
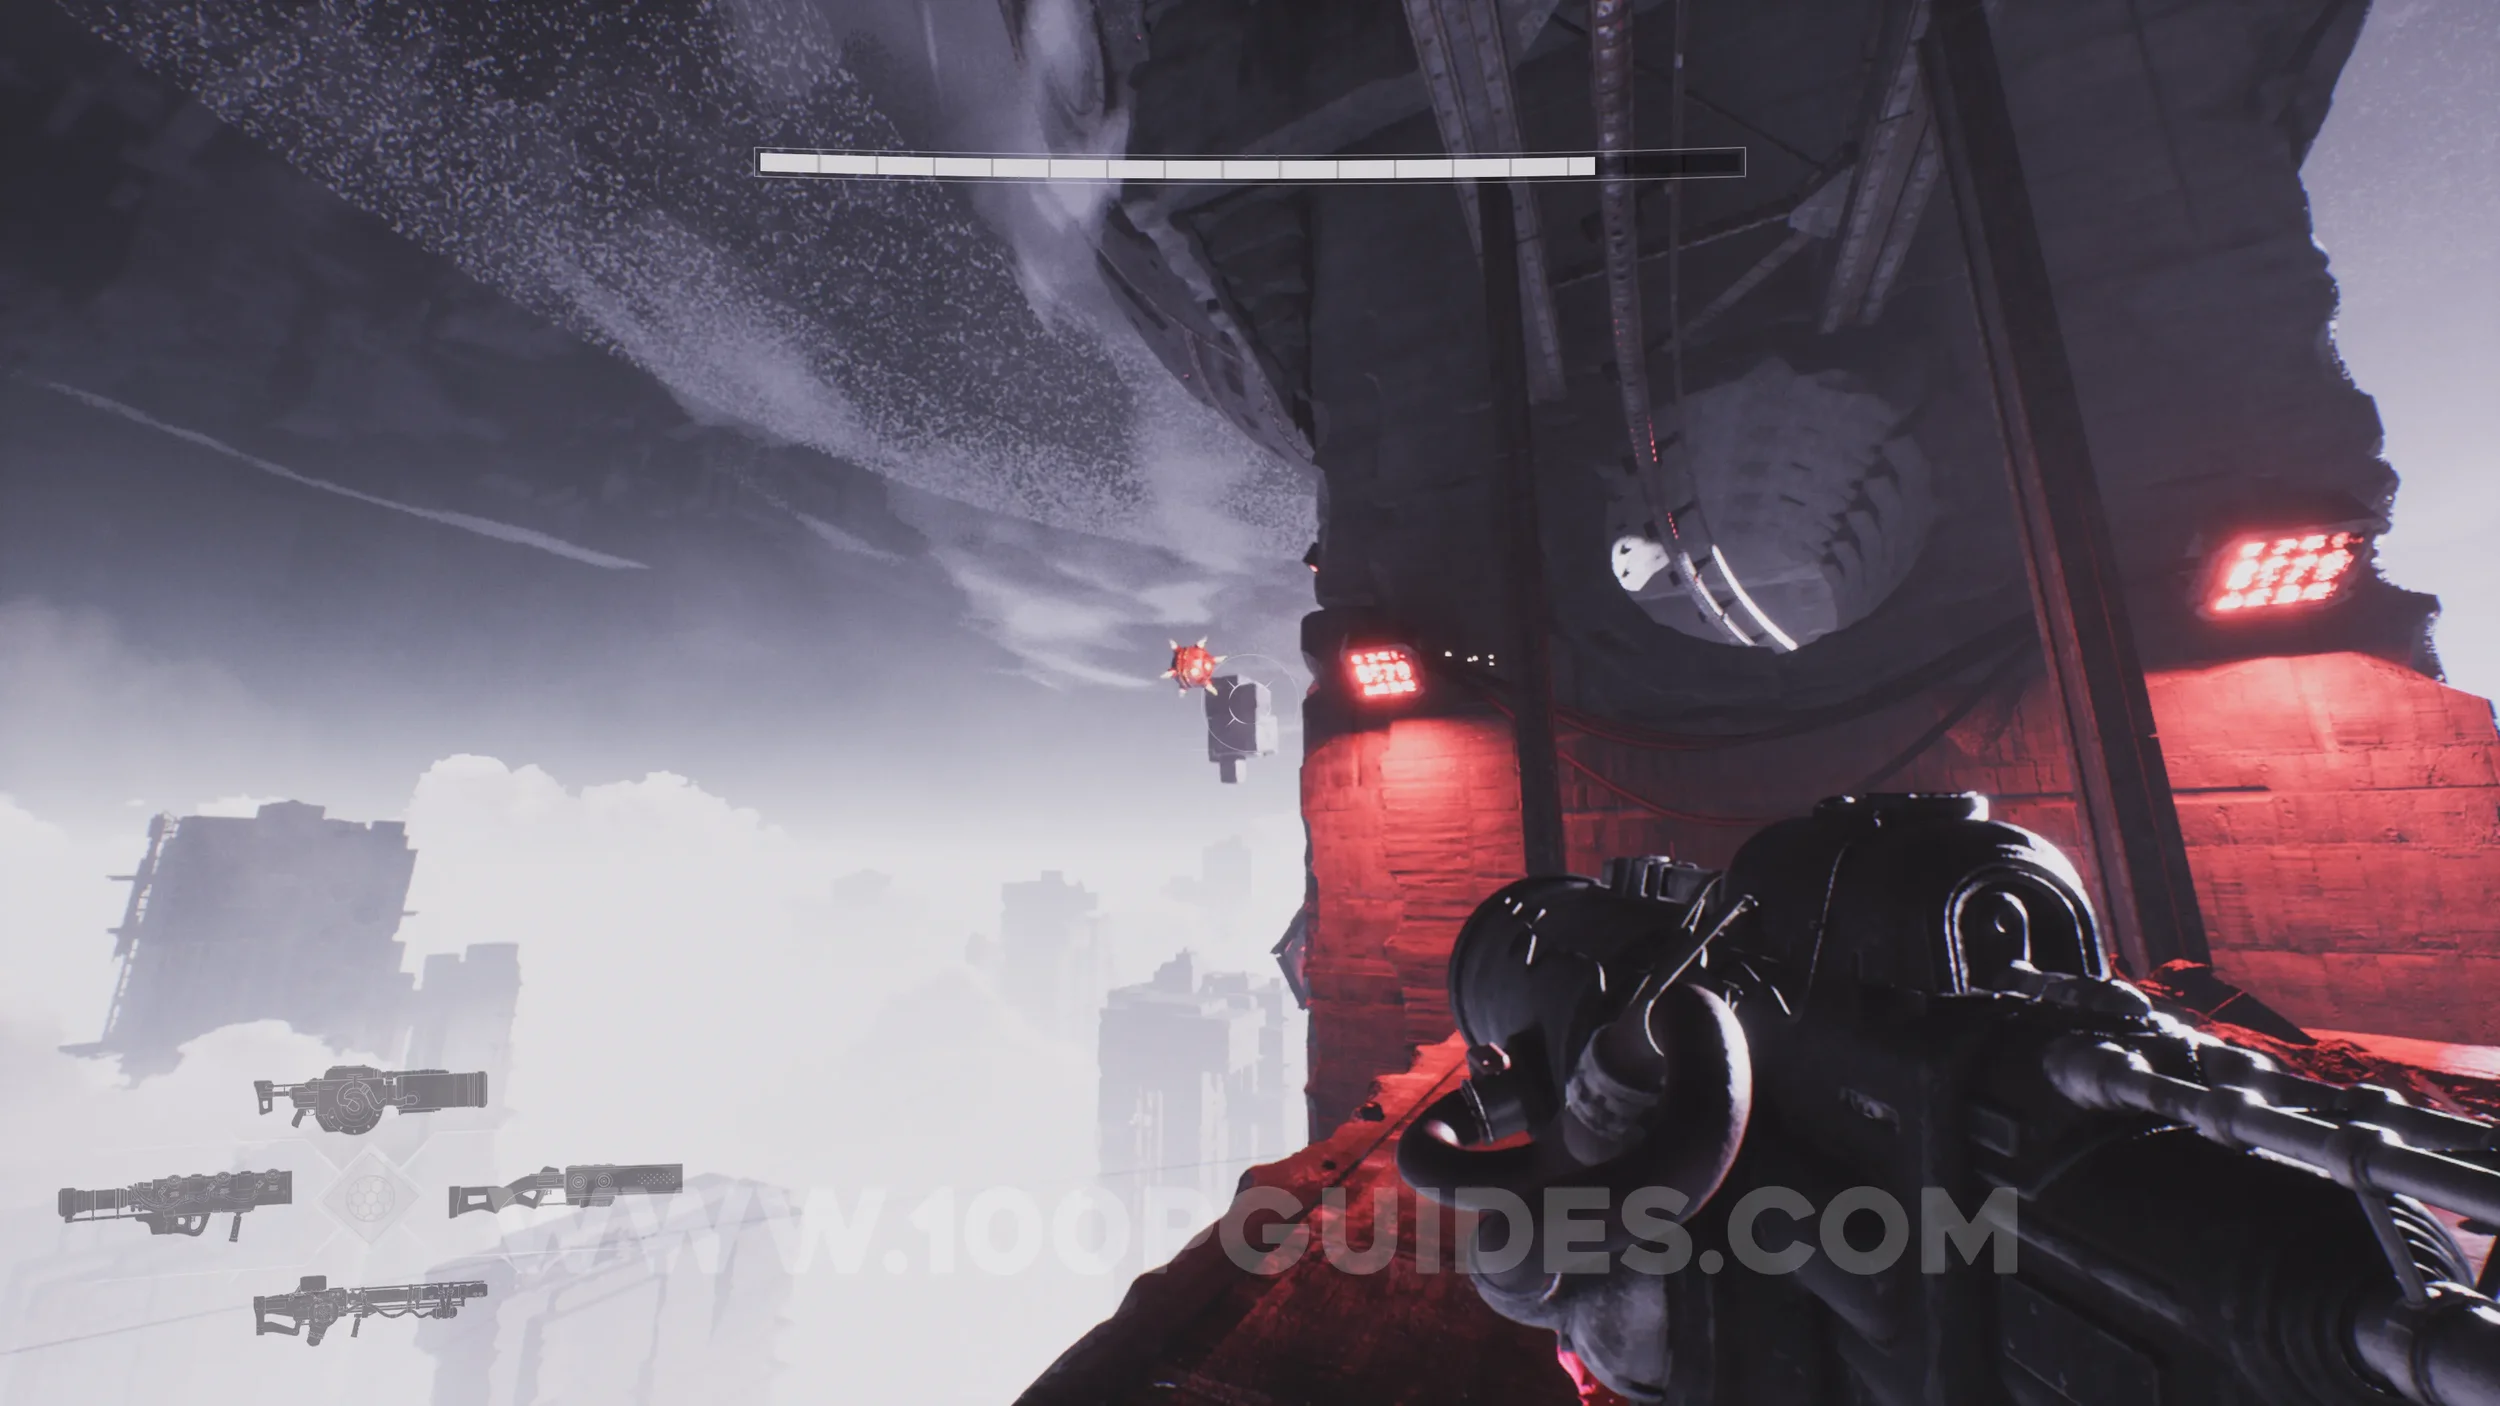
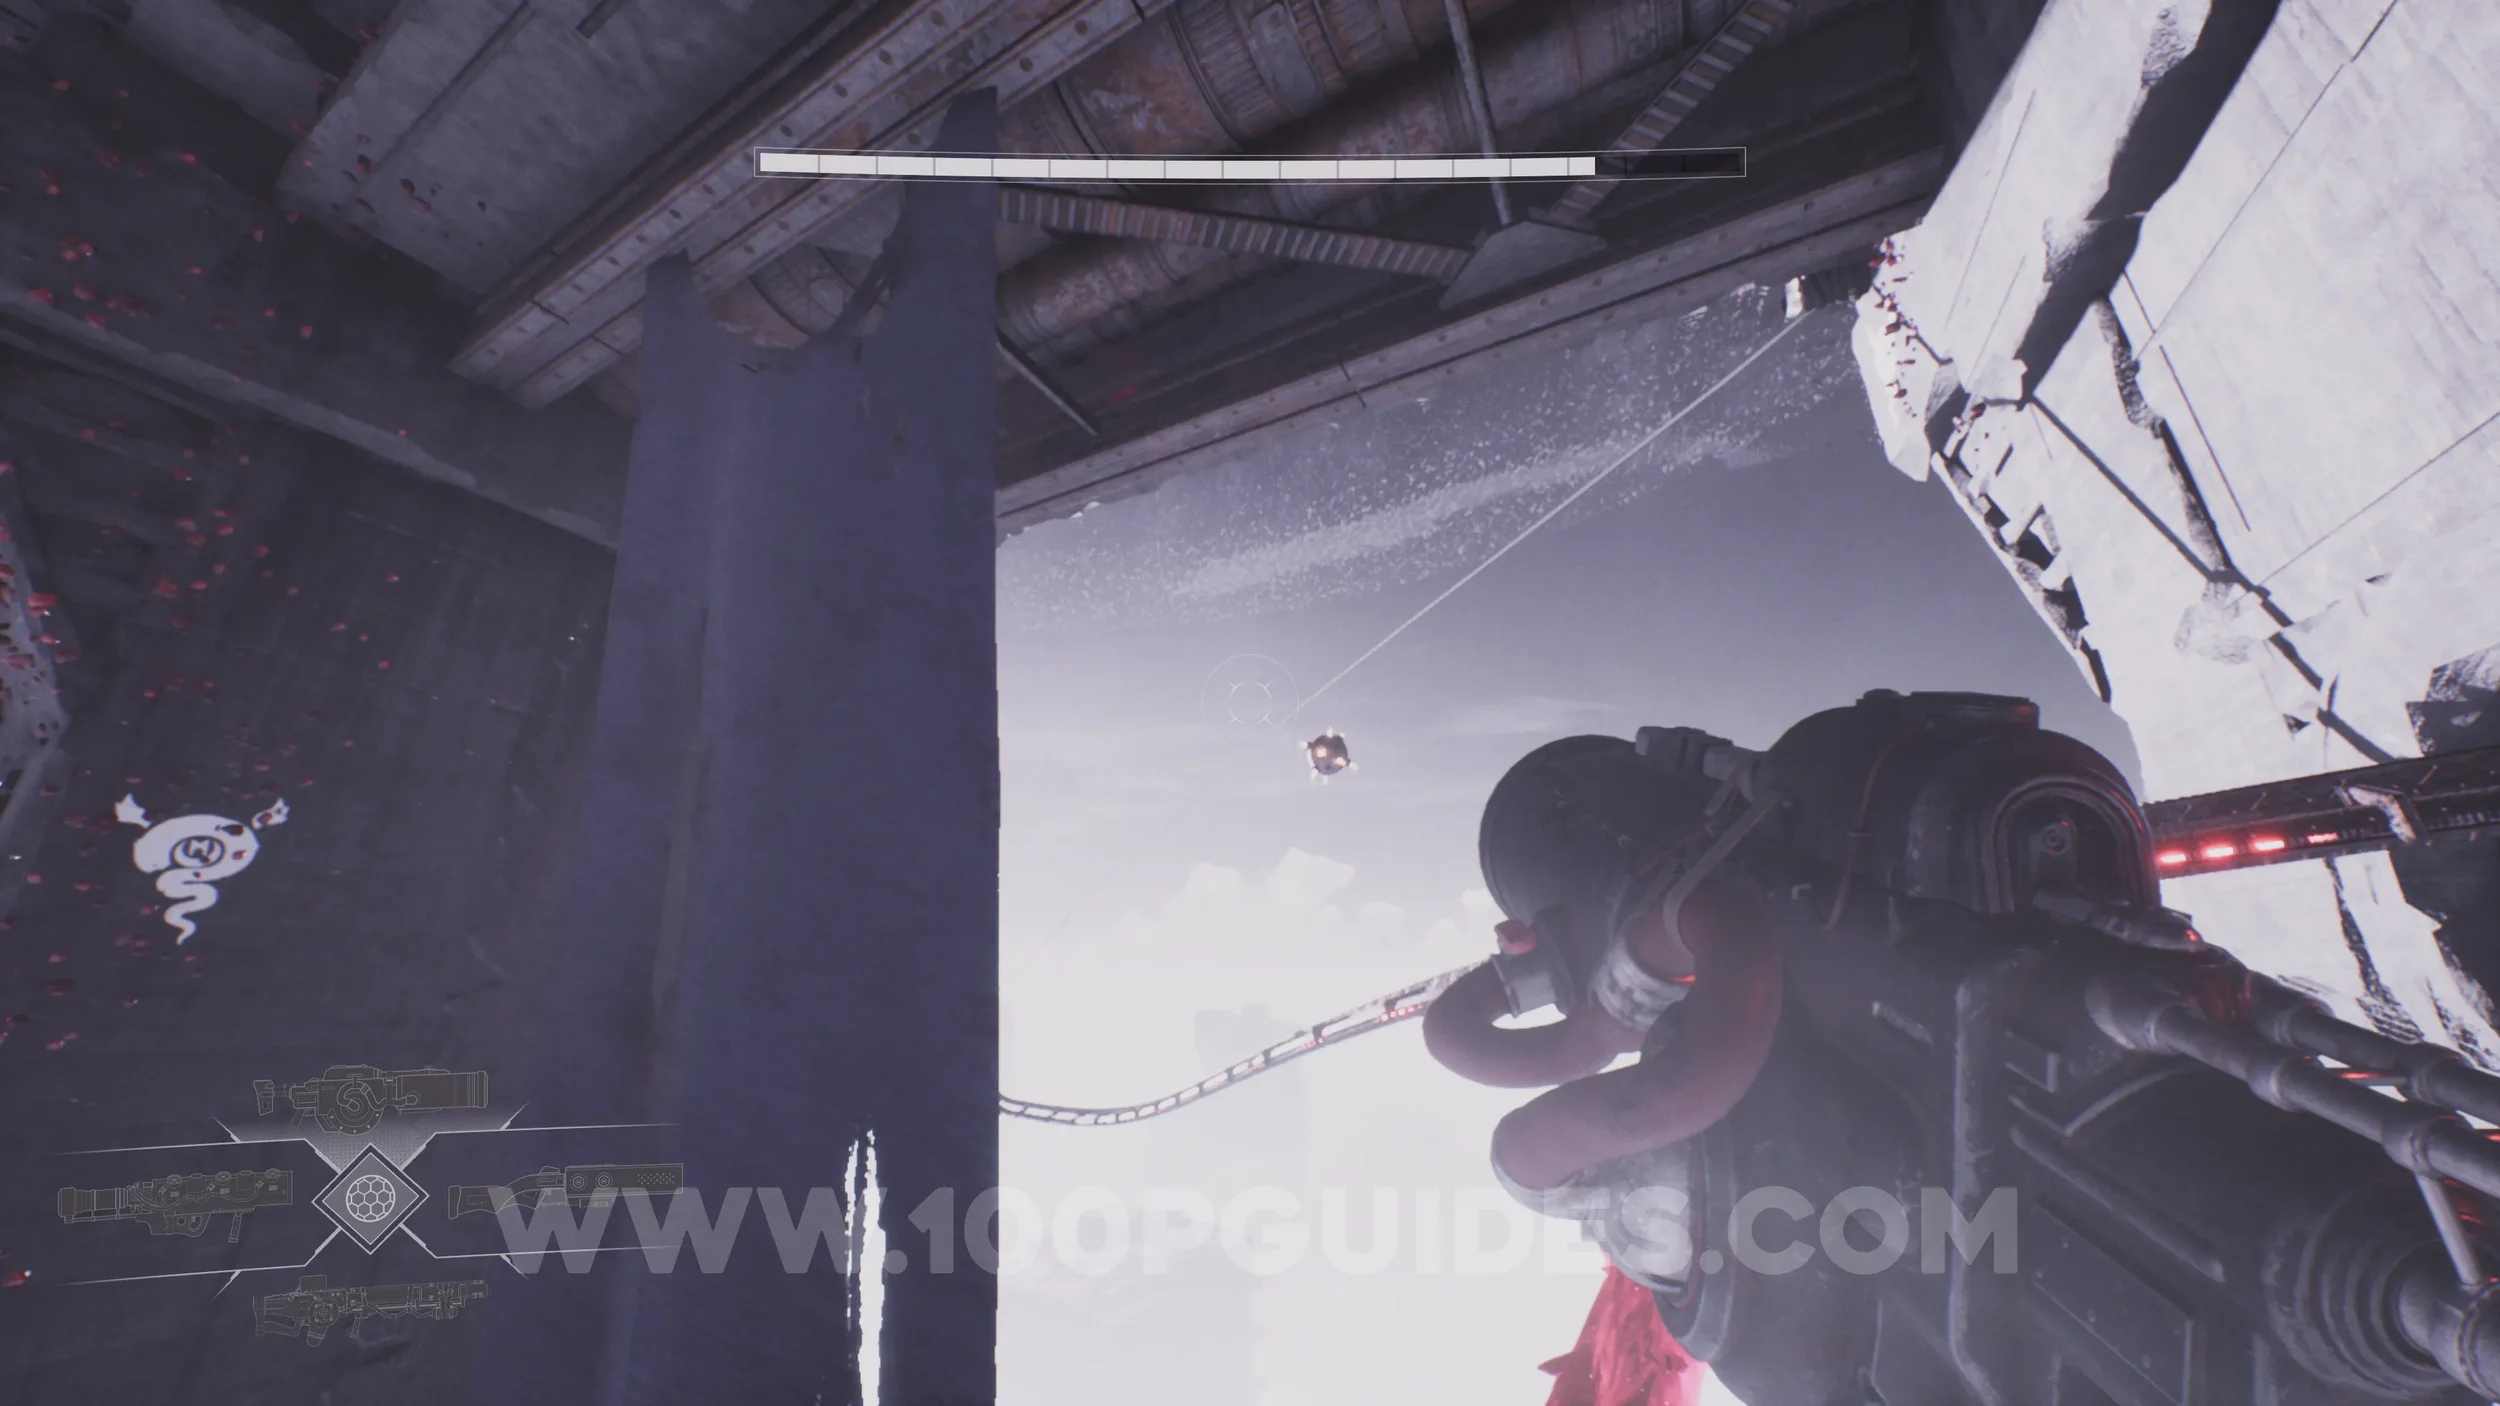
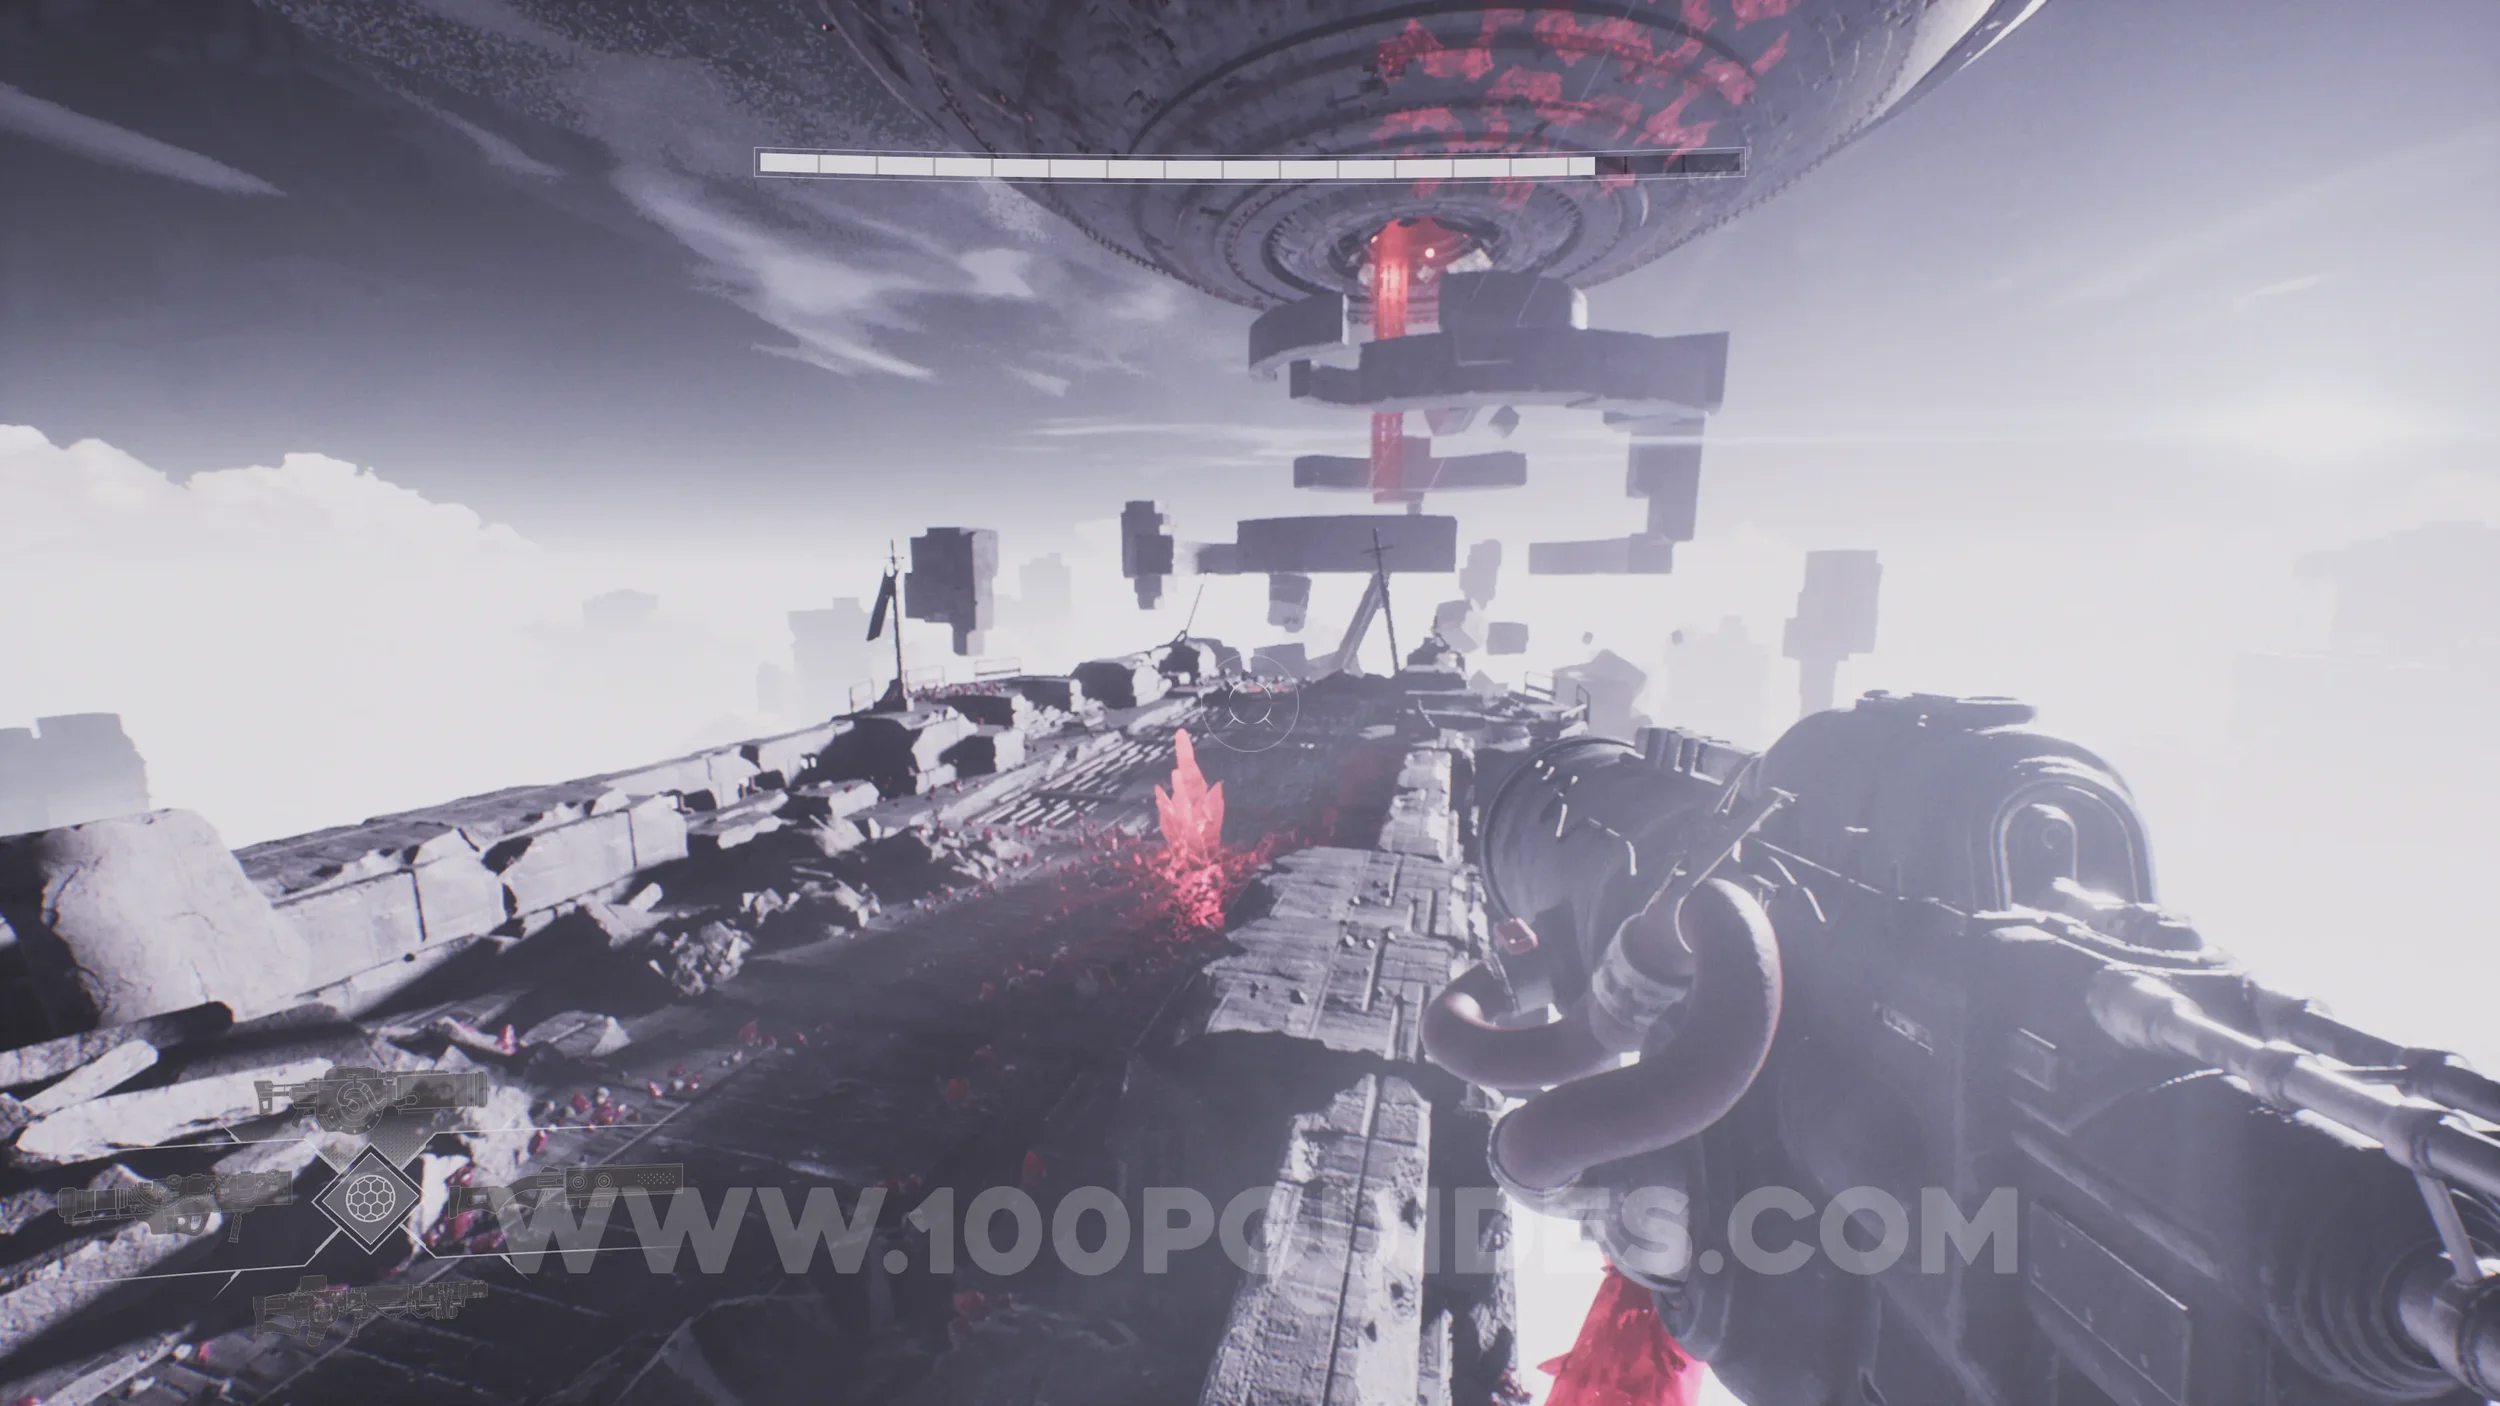
Drift Crystal #14. After riding a Twin along a rail, you'll get off on a bridge-like structure. Grapple onto the first grappling point, then look right to spot another. From there, grapple to one straight above that will take you to the top of the bridge, where you'll find the crystal.
CHAPTER 5 - MANI THE BETRAYER
No Collectibles in this chapter.
CHAPTER 6 - THE HEART OF THE ABYSS
No Collectibles in this chapter.
CHAPTER 6 - THE WOMB OF SILENCE
Atom Splitter Upgrade. As soon as you step off the train, head to the end of the platform to find it in a chest.
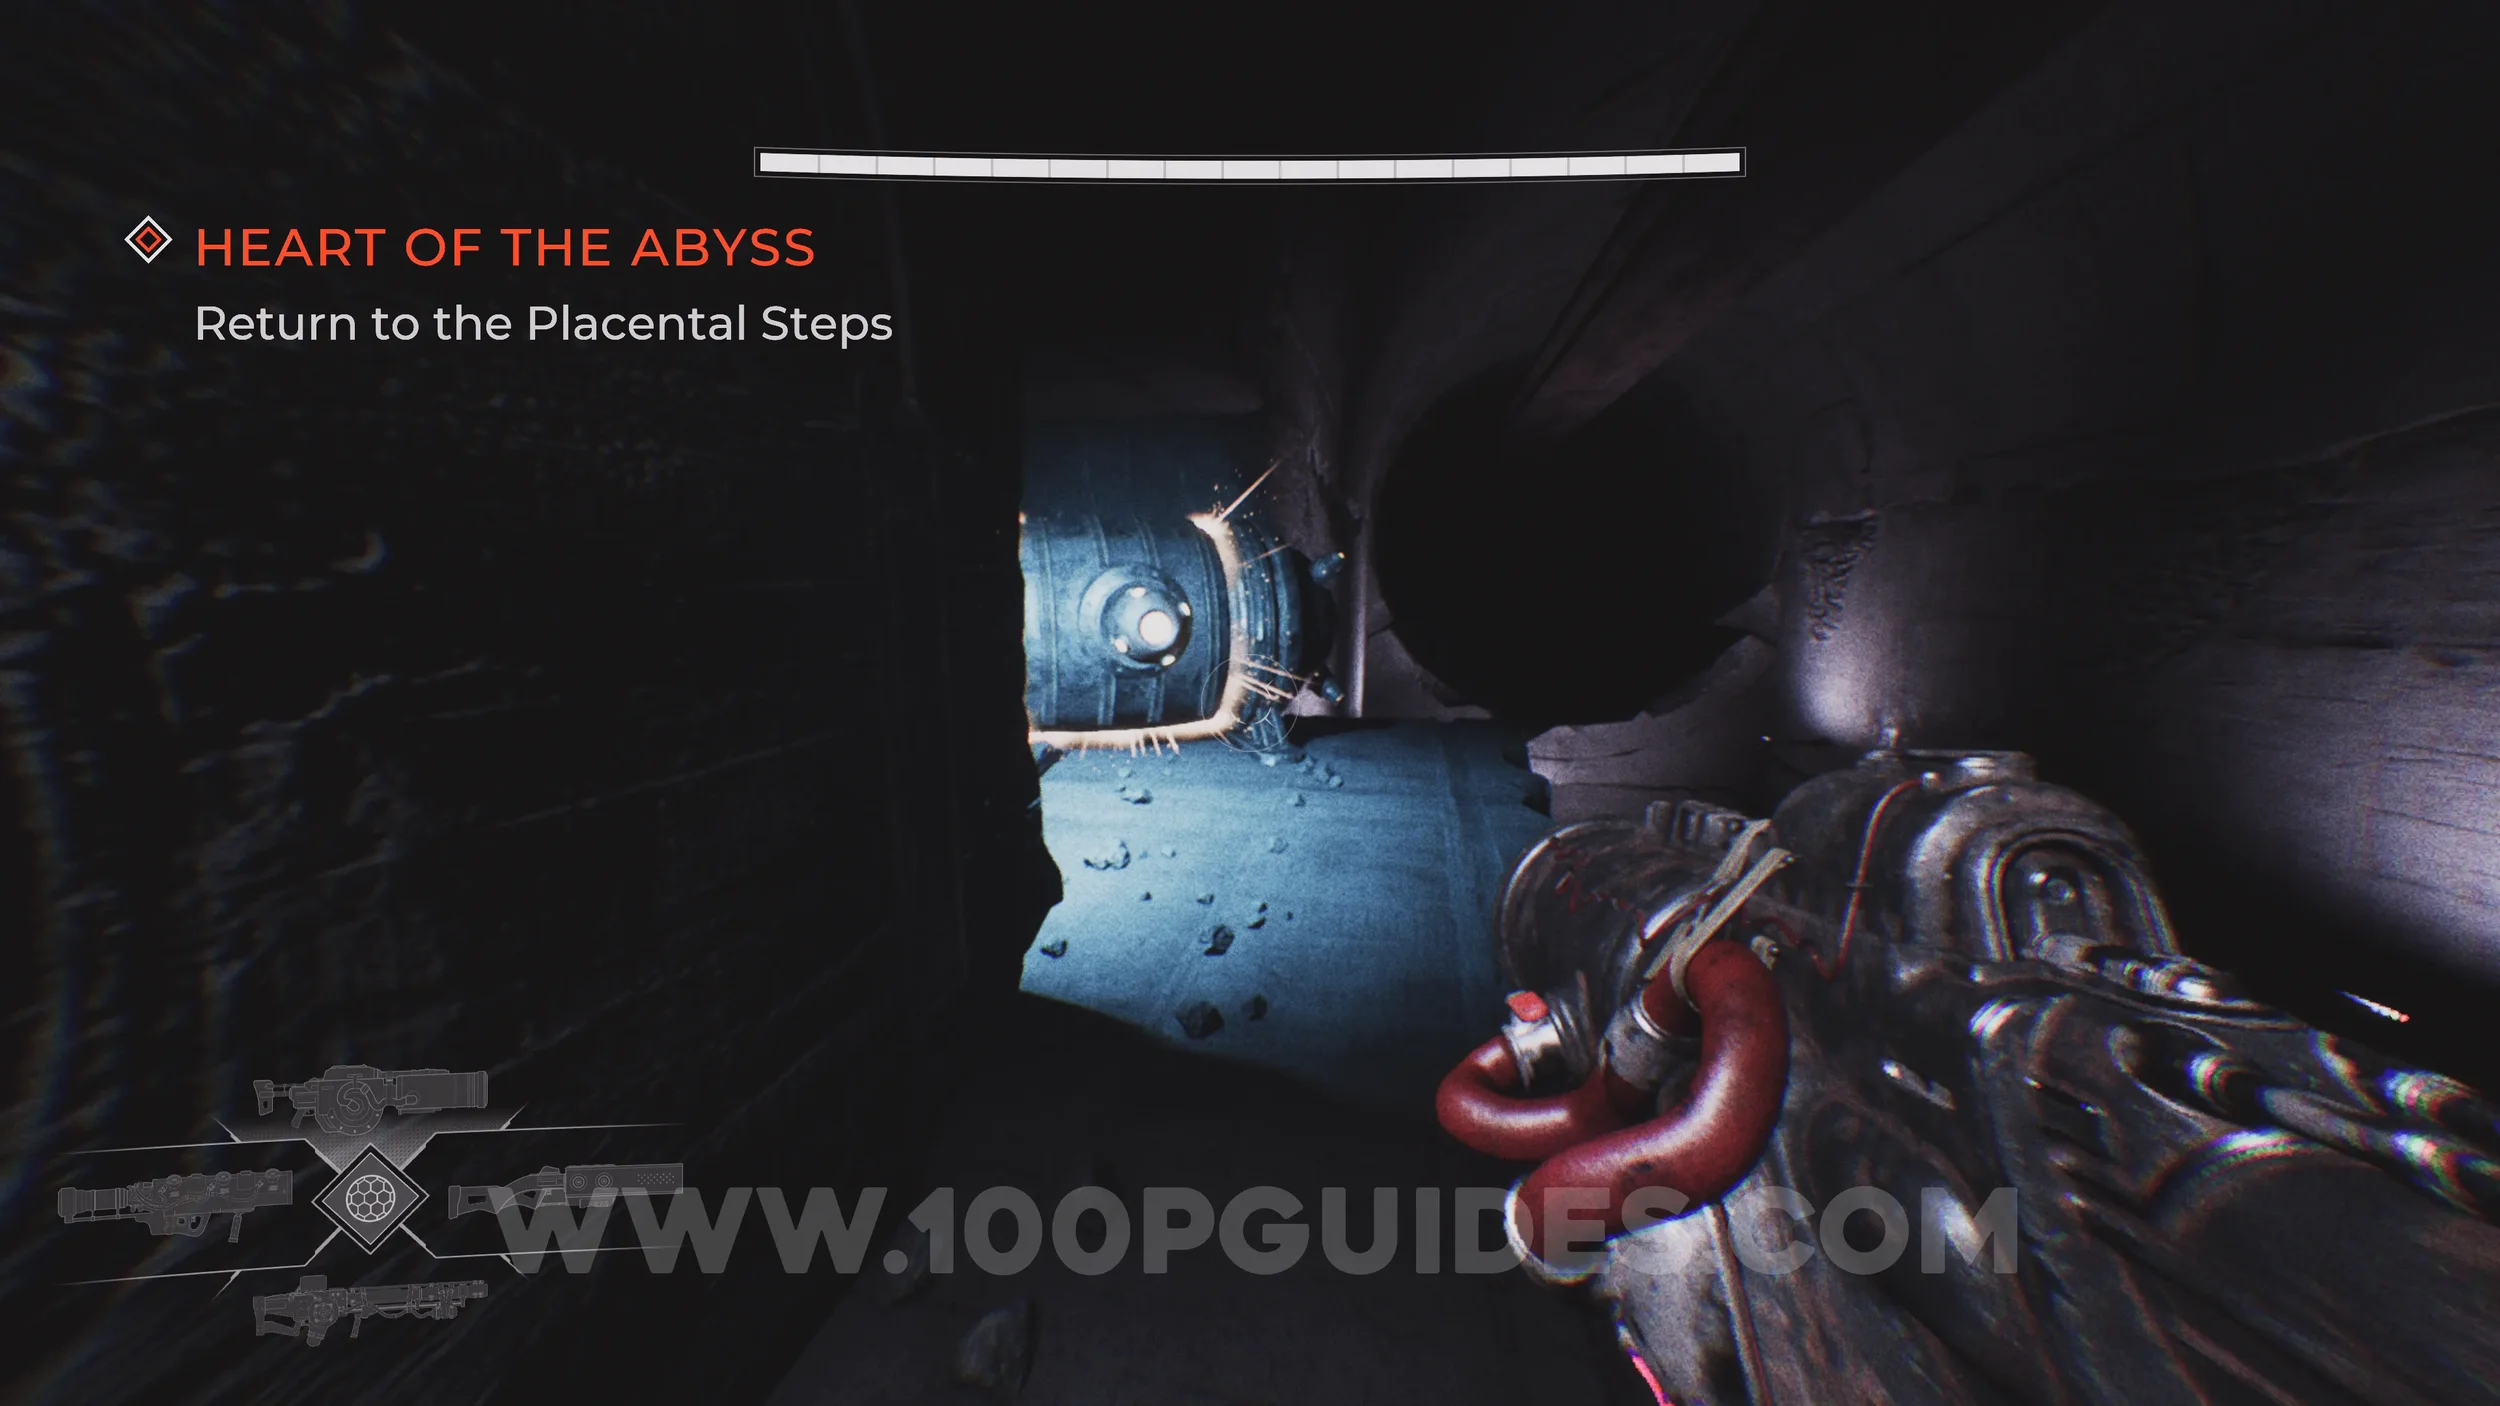
Lore Entry #86 (Memory - Entry #54613 - The Wish). On your left as soon as you get to The Womb.
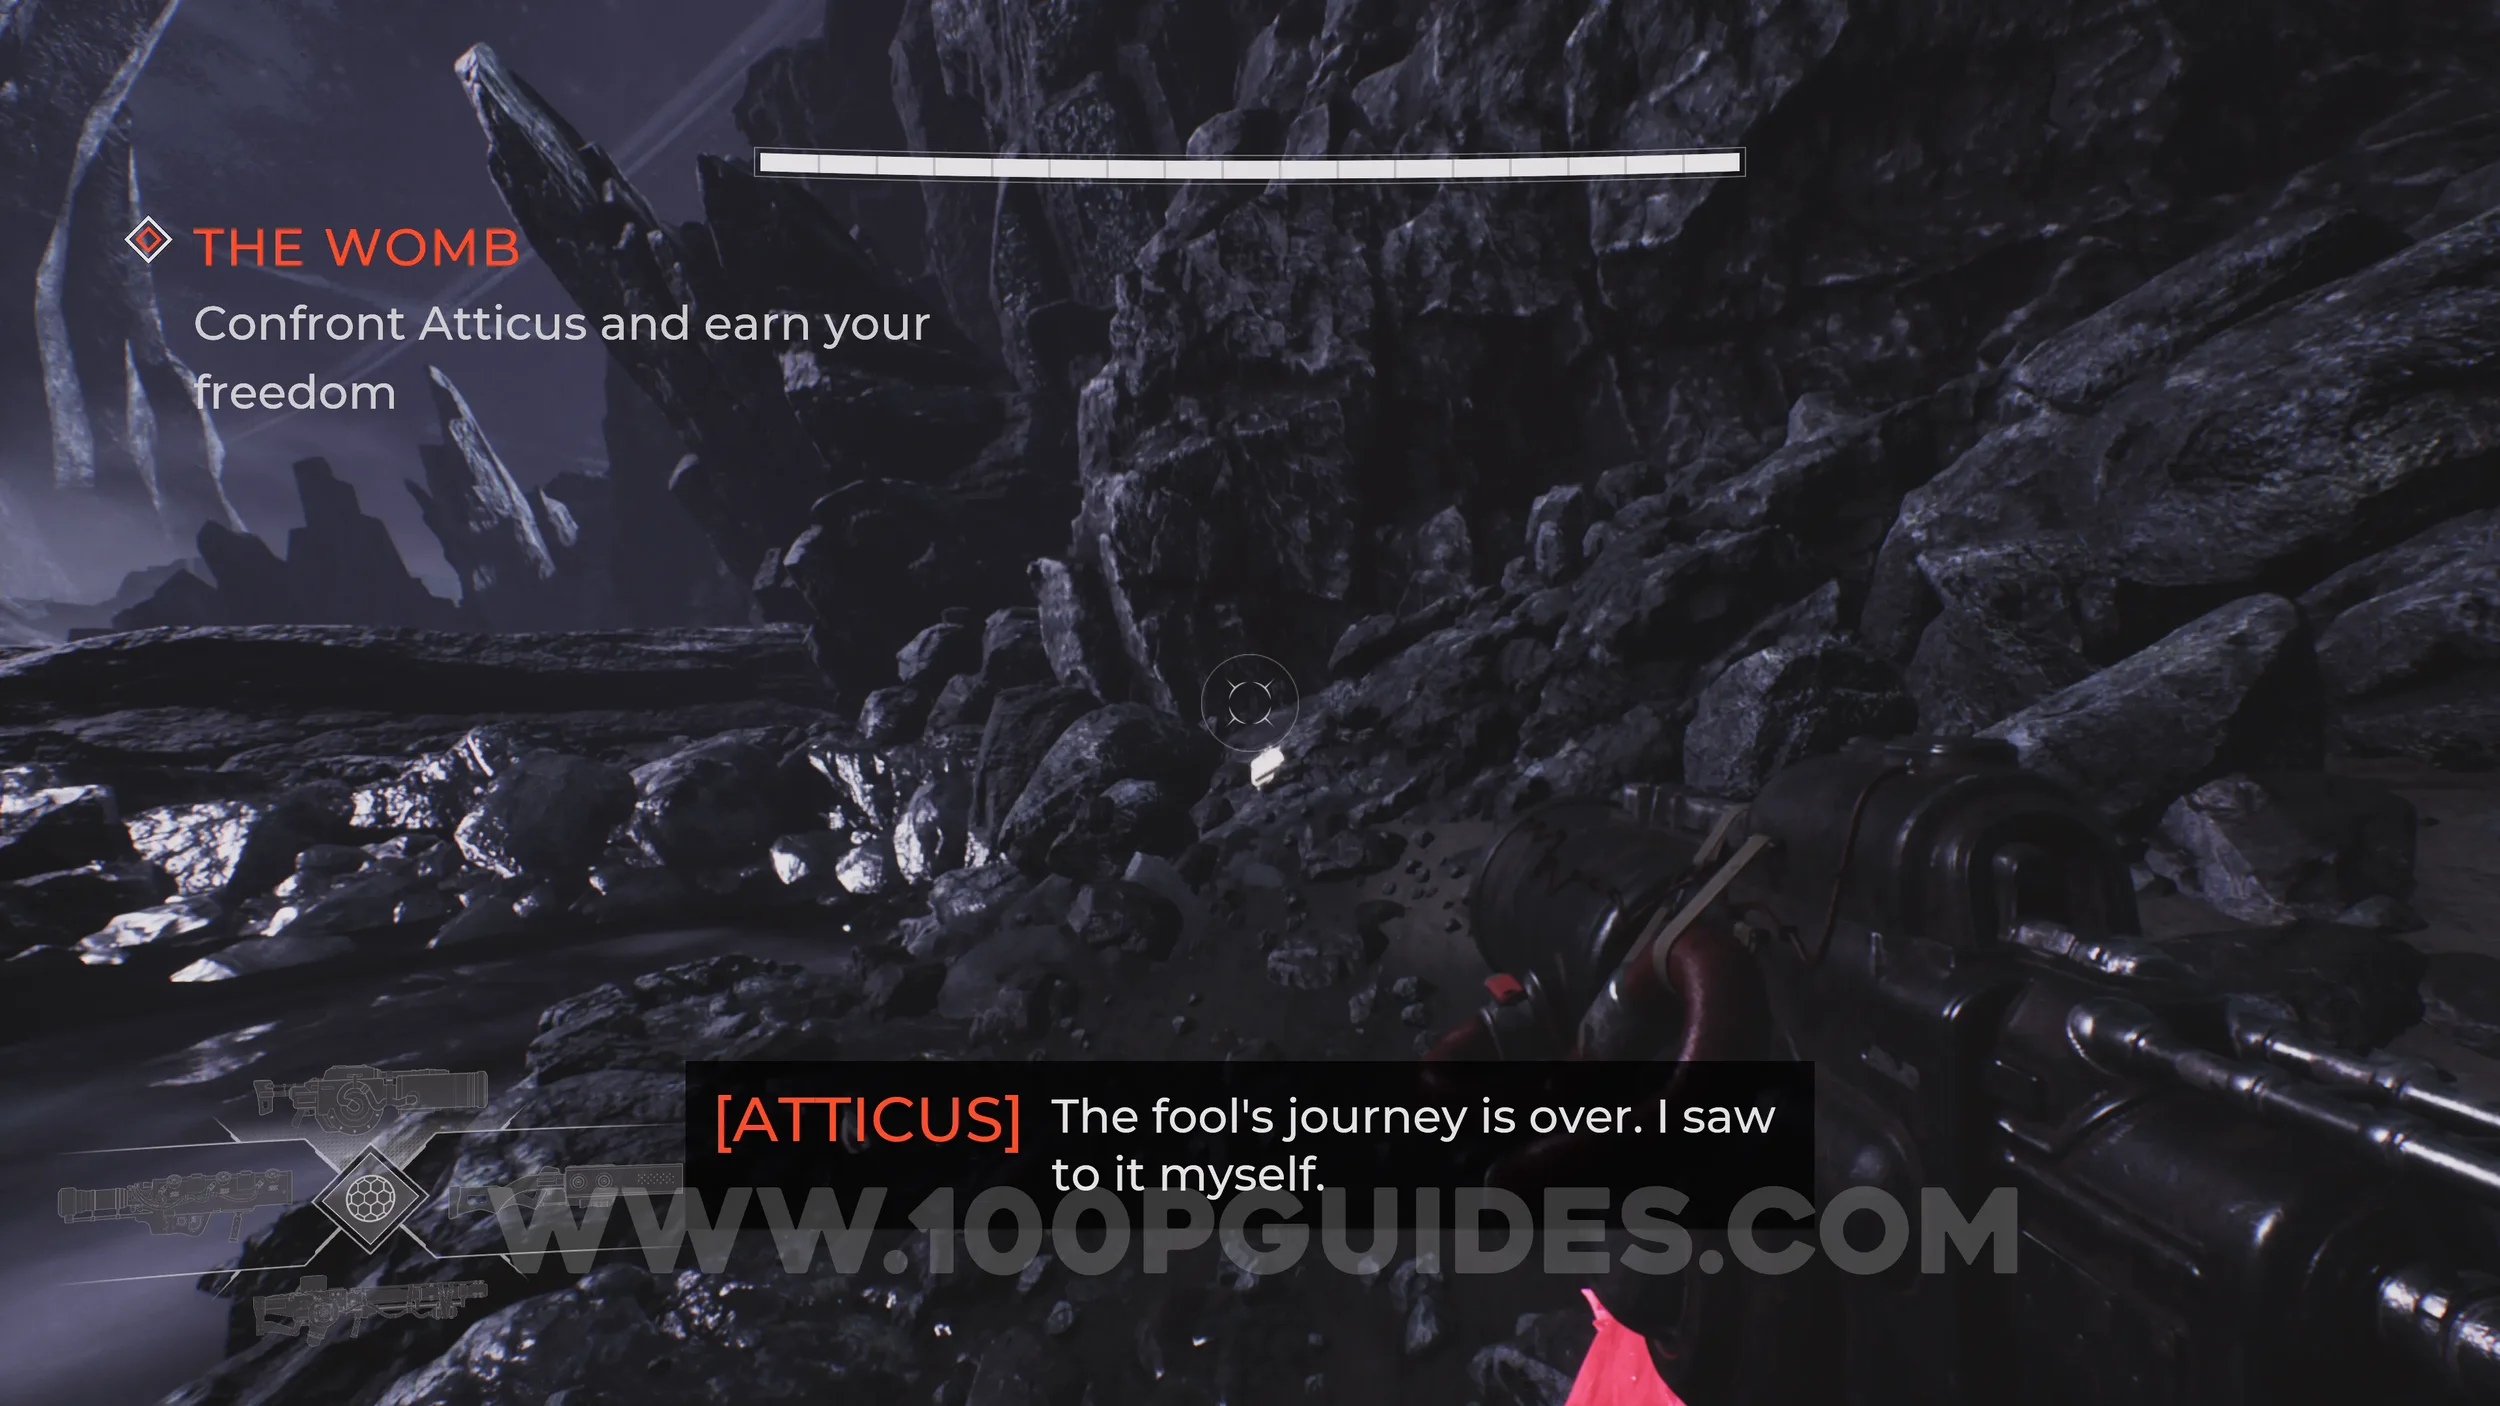
Drift Crystal #15. Turn around as soon as you reach The Womb.
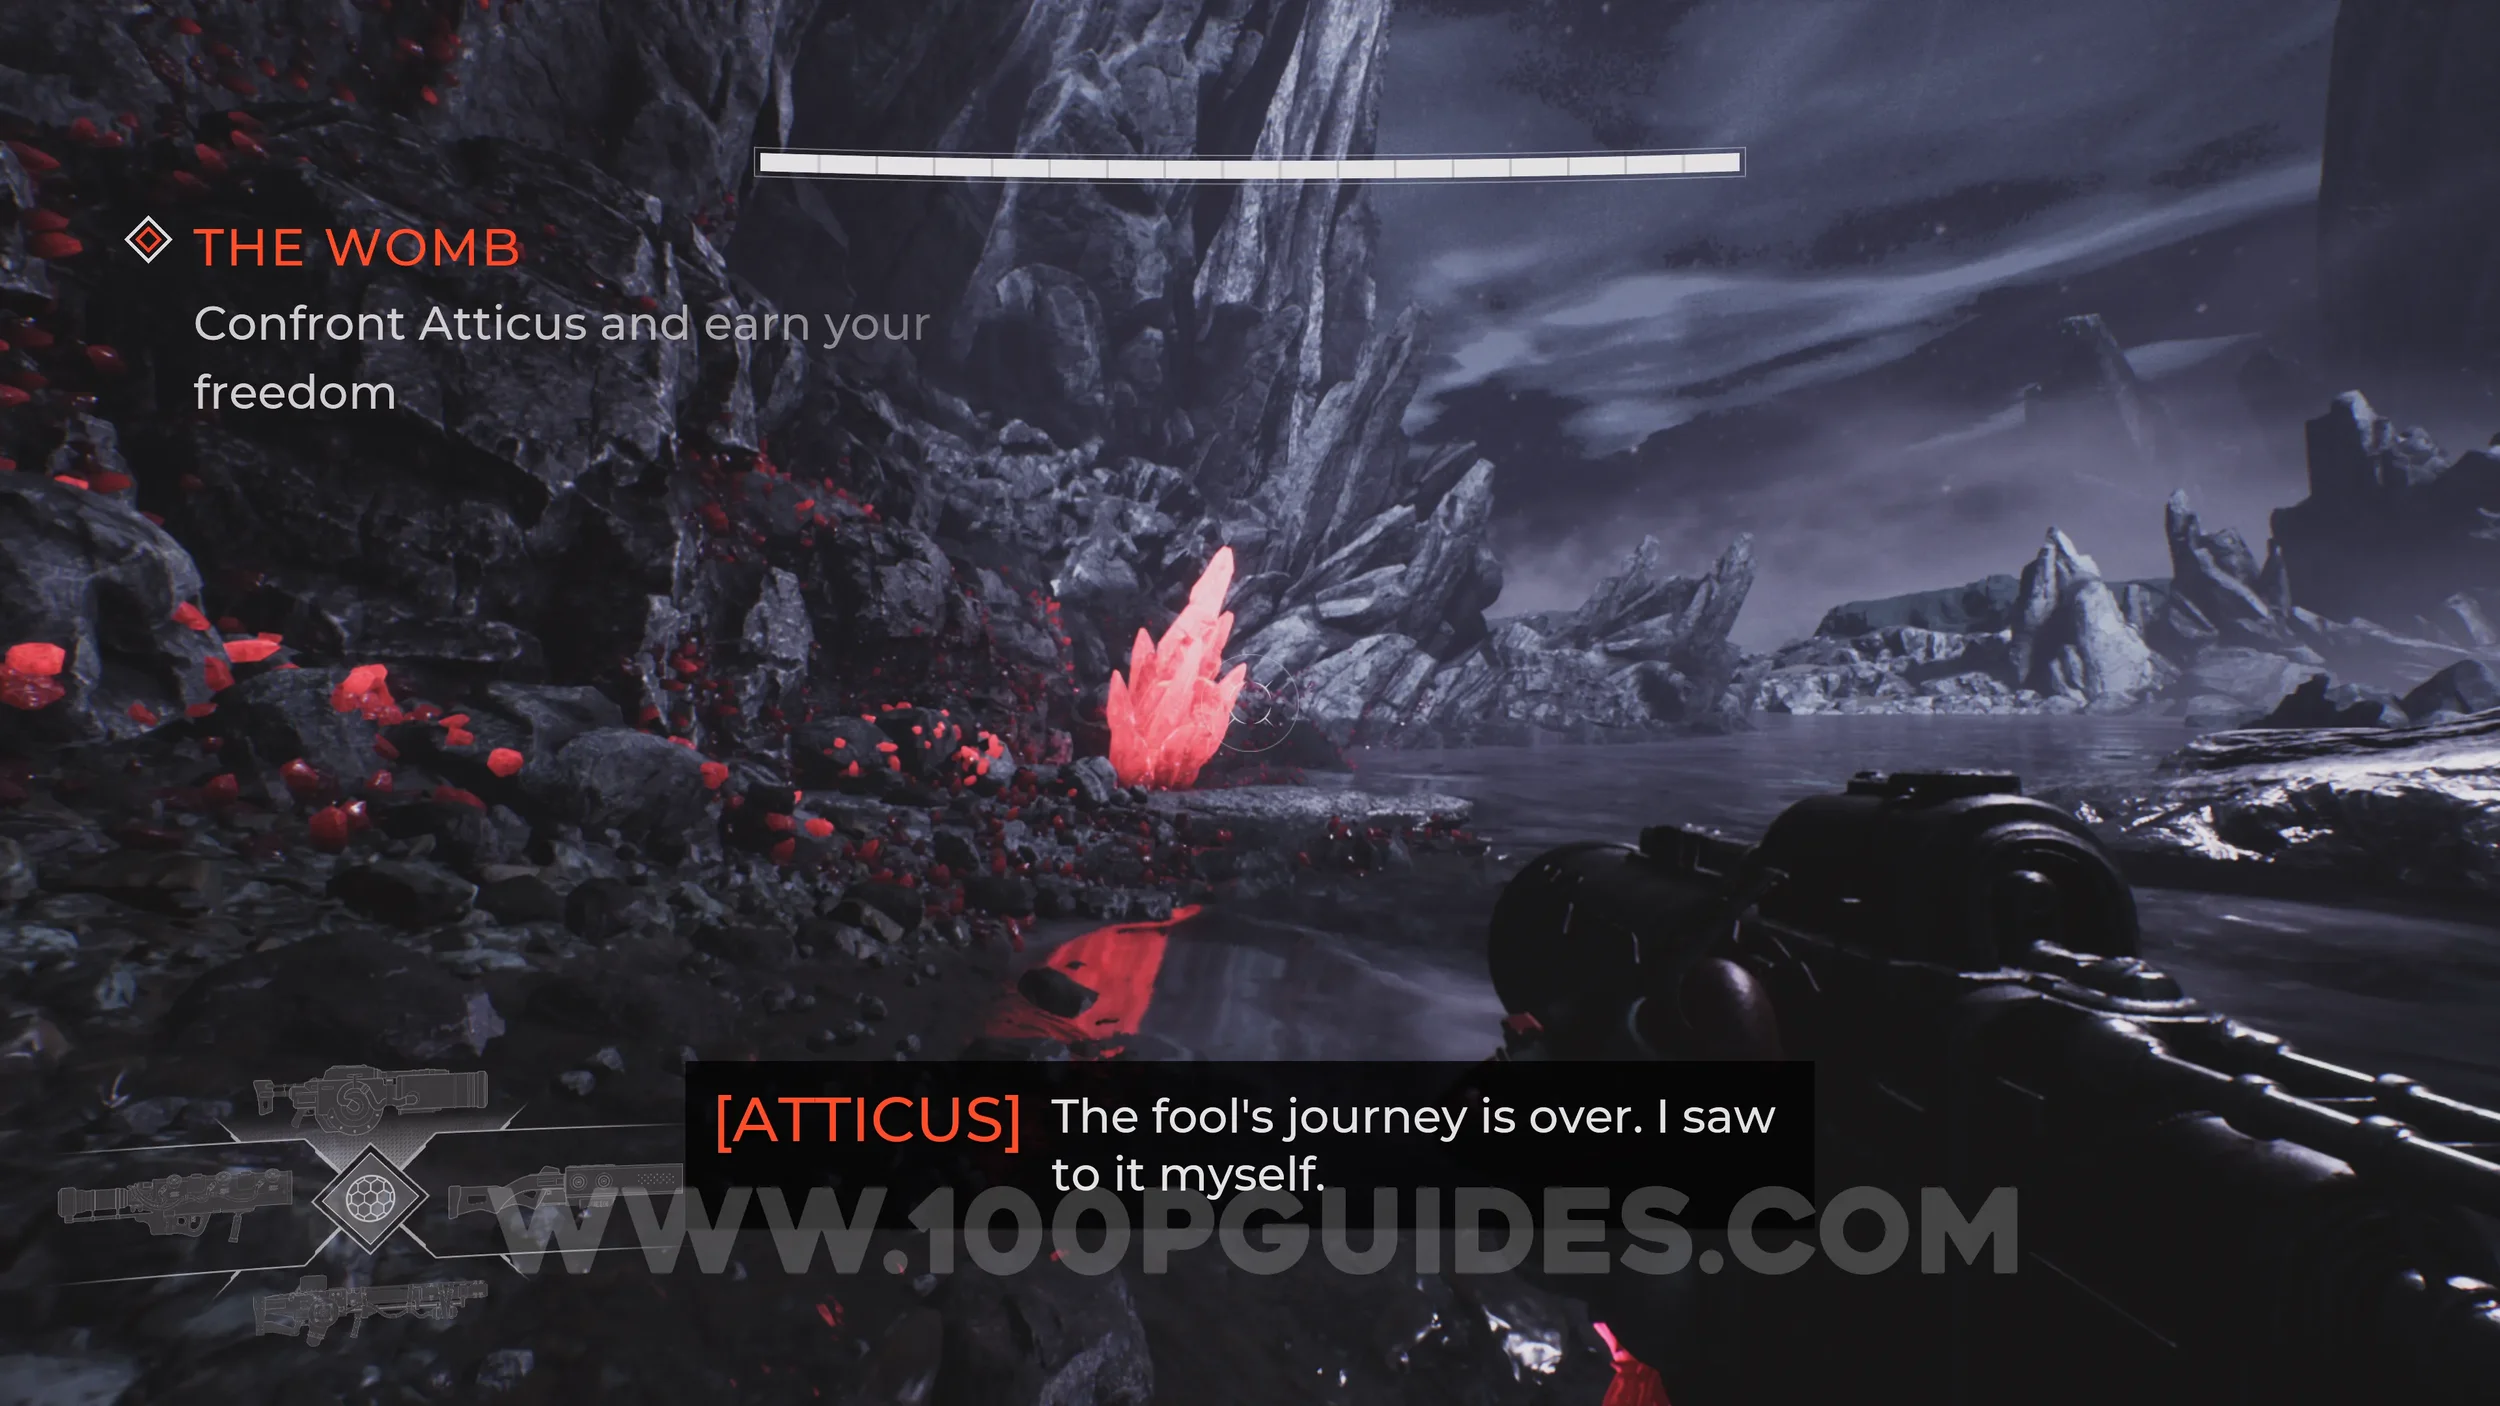
Lore Entry #87 (Memory - Entry #02023 - The Silent One). In plain sight on the main path at the start of The Womb area.