Mina The Hollower All Collectible Locations
This guide will show you where to find every collectible in Mina the Hollower.
This guide will show you where to find every collectible in Mina the Hollower. There are a total of 282 Collectibles. These are:
60 Trinkets
7 Vial Pouches
10 Health Roses (HP Upgrades)
5 Trinket Bags
8 Joule Boxes
3 Fishing Upgrades
16 Fish
50 Kears (Keys)
9 Underlab Equipment
111 Bonestone Gems
3 Spark Containers
None are missable, and you can return to any area after finishing the game.
You can check your collectible progress for each region after obtaining the Enhanced Map.
LONER’S LANDING
Trinket #1 - Uranium Bracelet. Obtained by defeating the Nether Kraken boss at the start of the tutorial. If you miss it here, it can be purchased later from the Trinket Shop in Ossex.
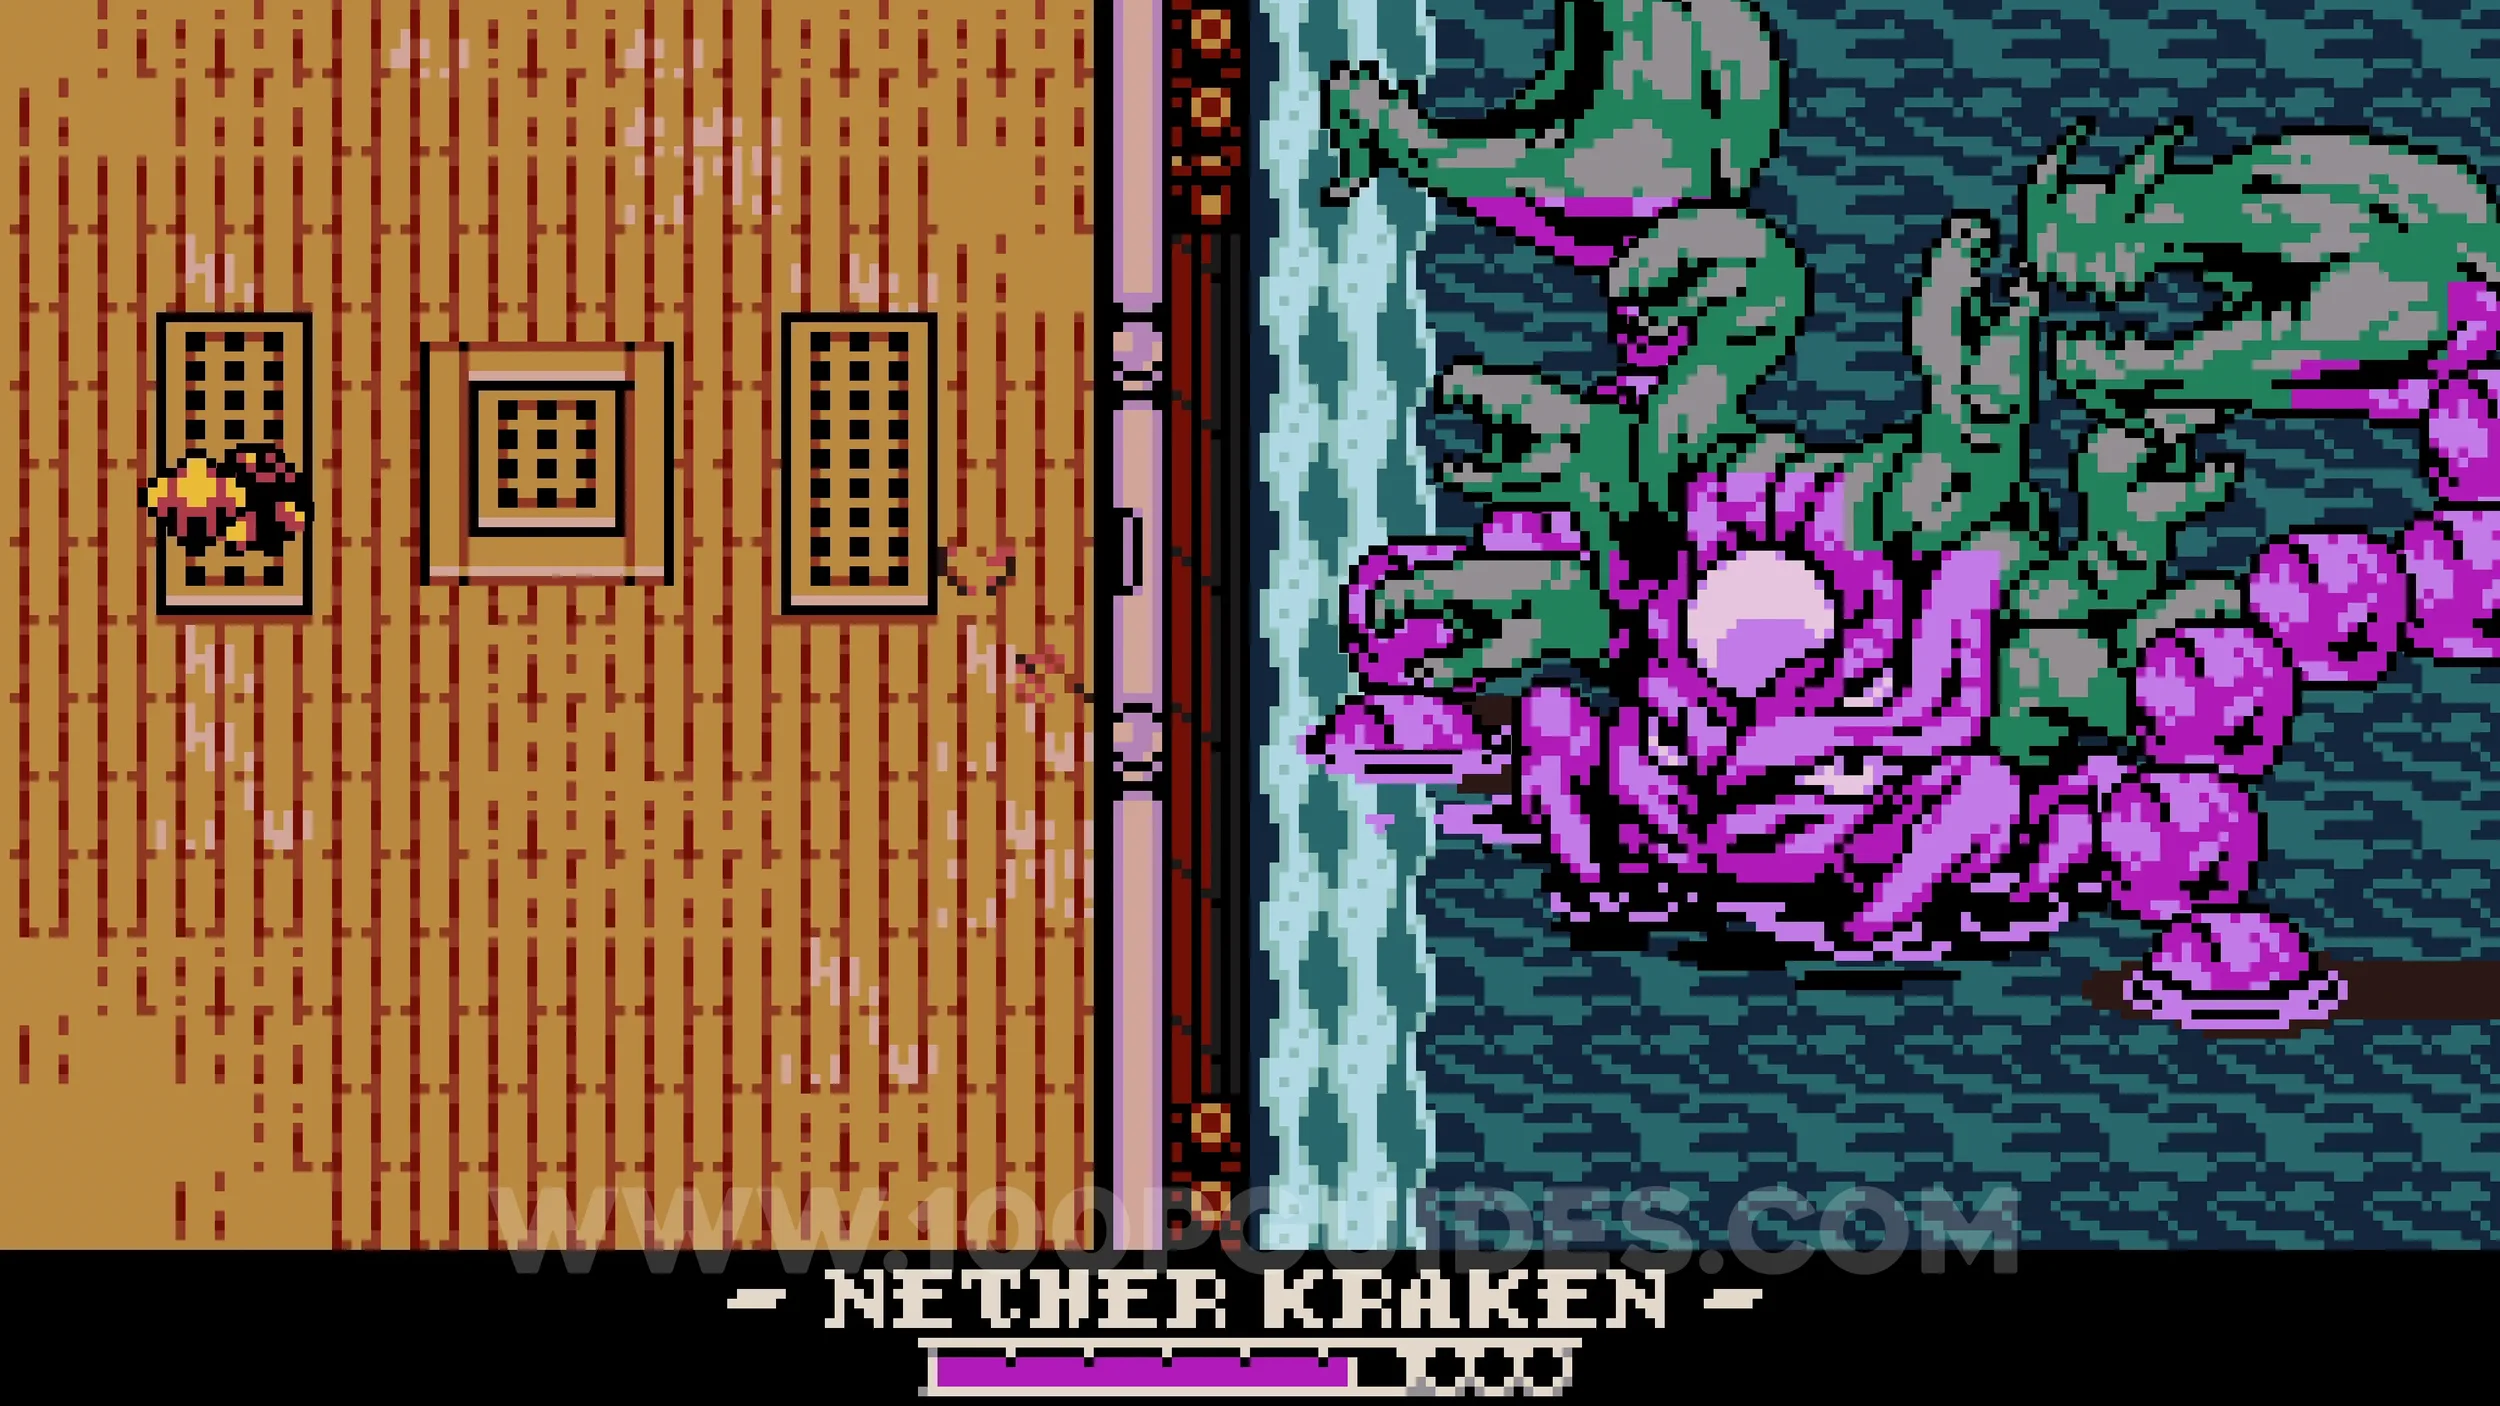
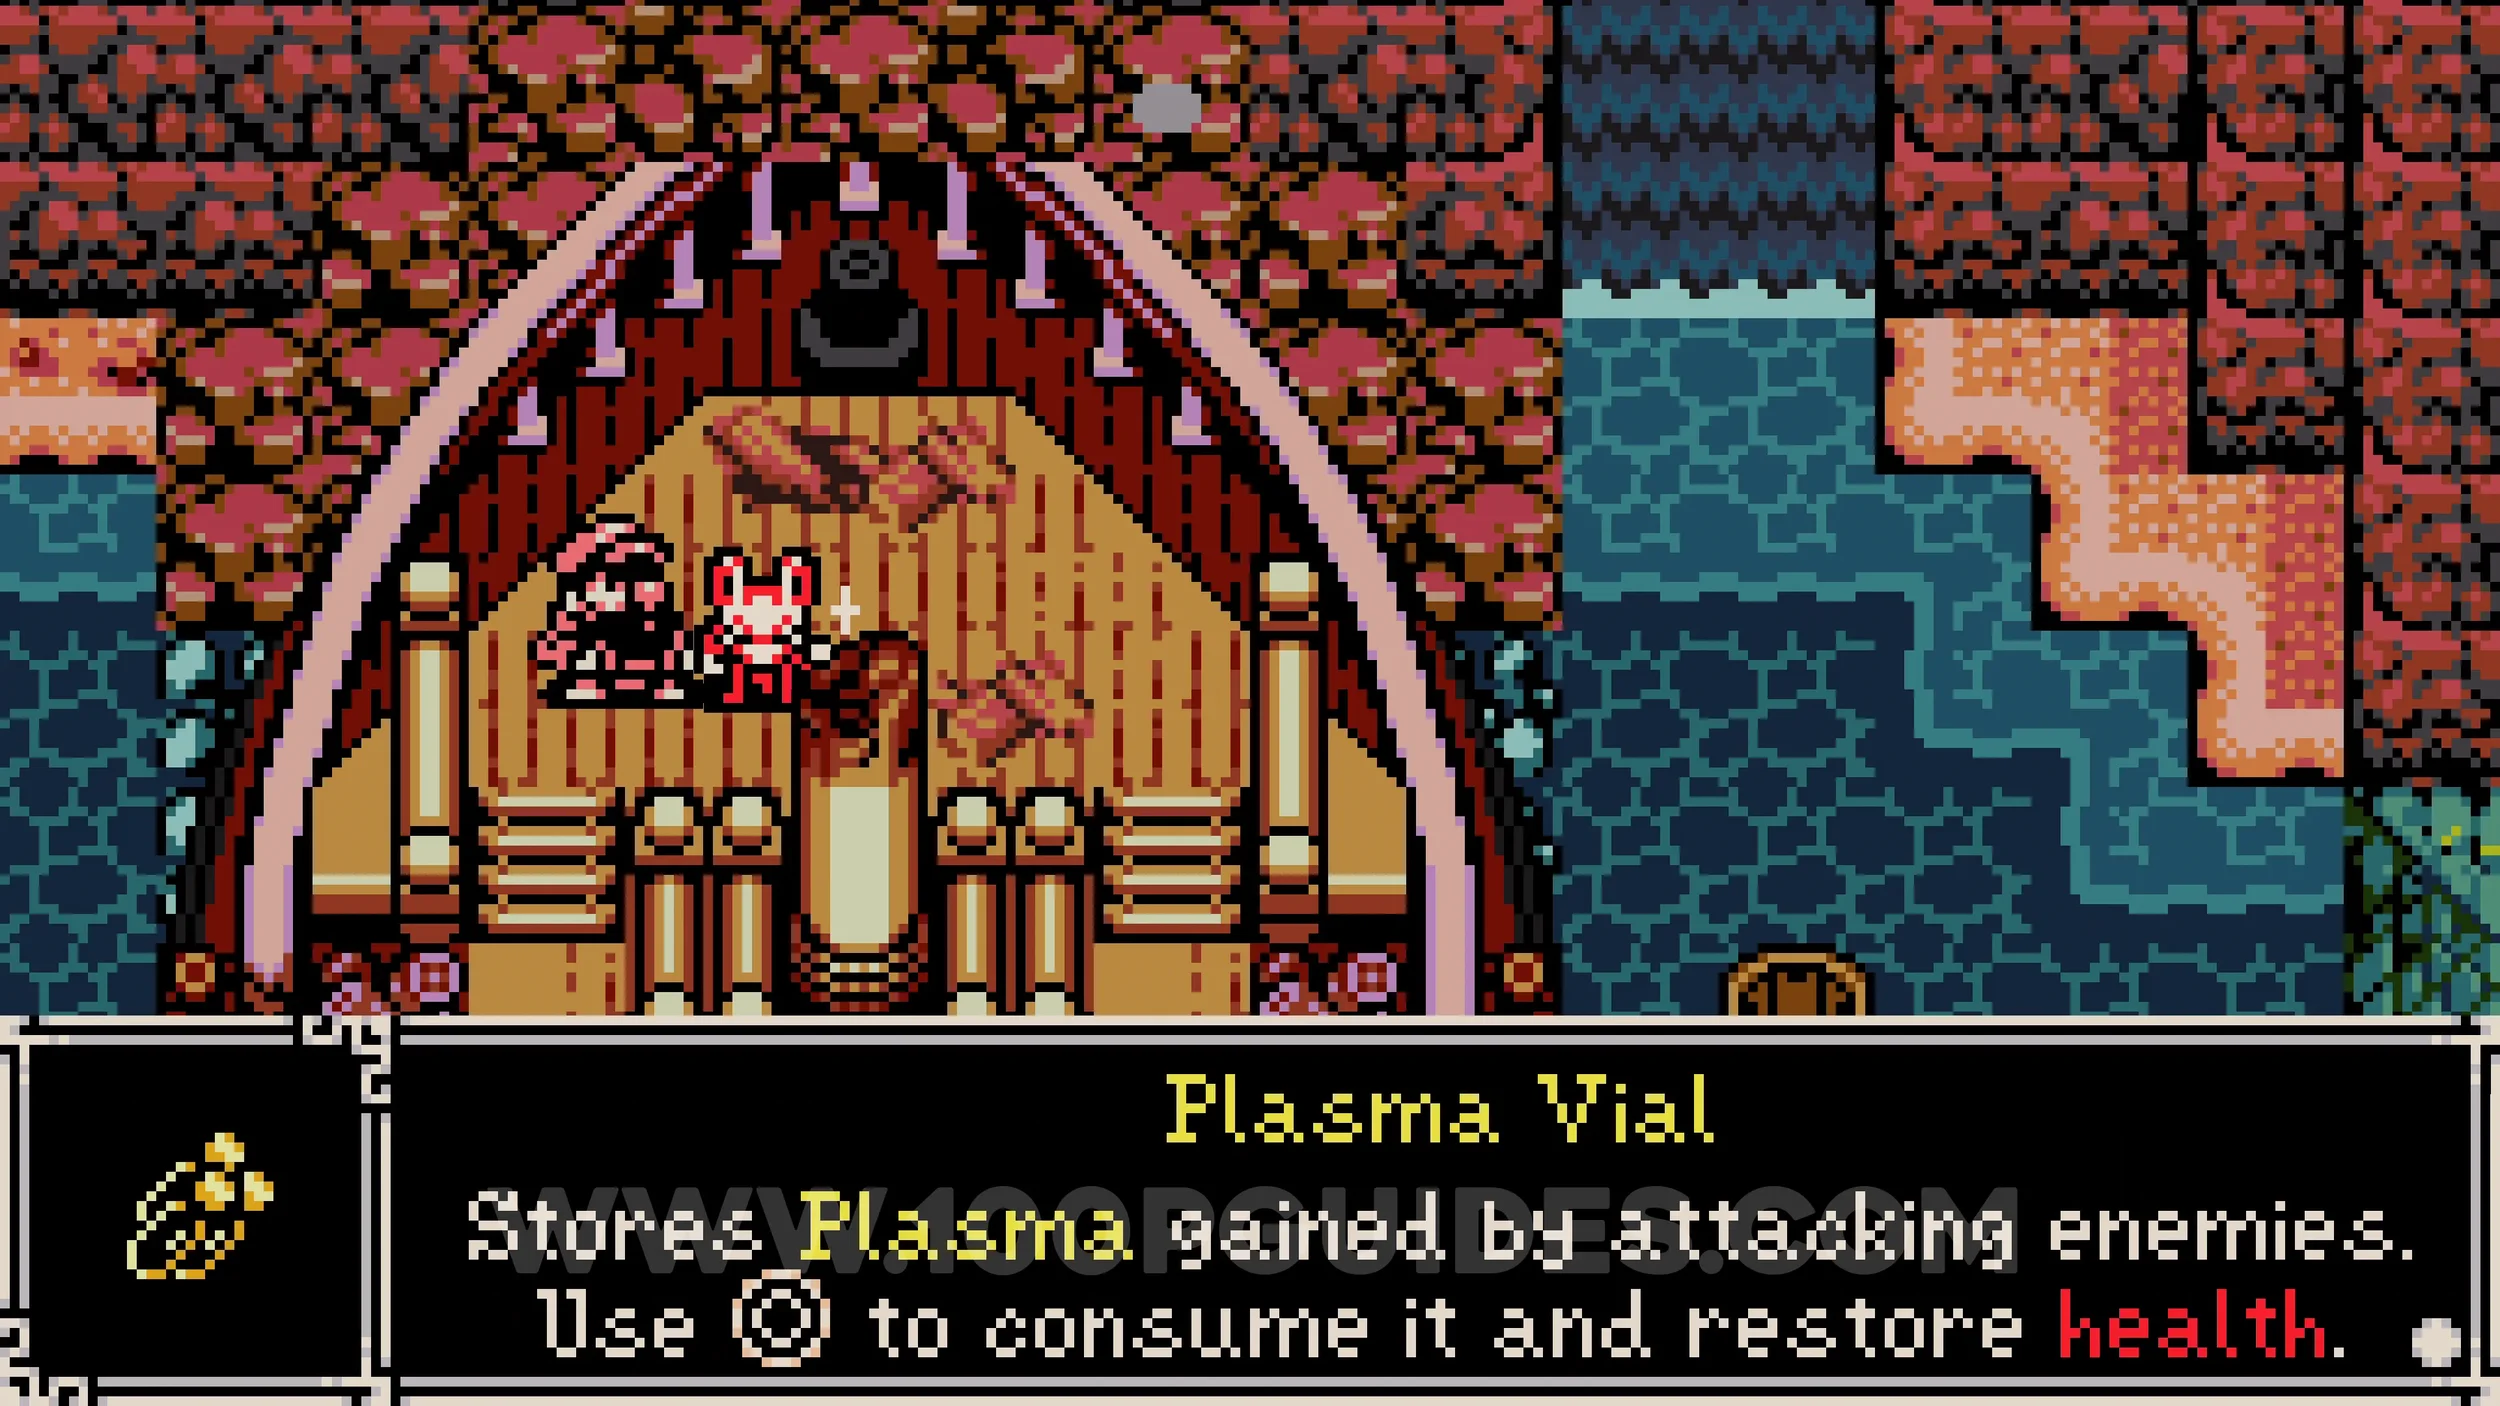
Vial Pouch #1-3. Story-related. Obtained after the Kraken boss fight.
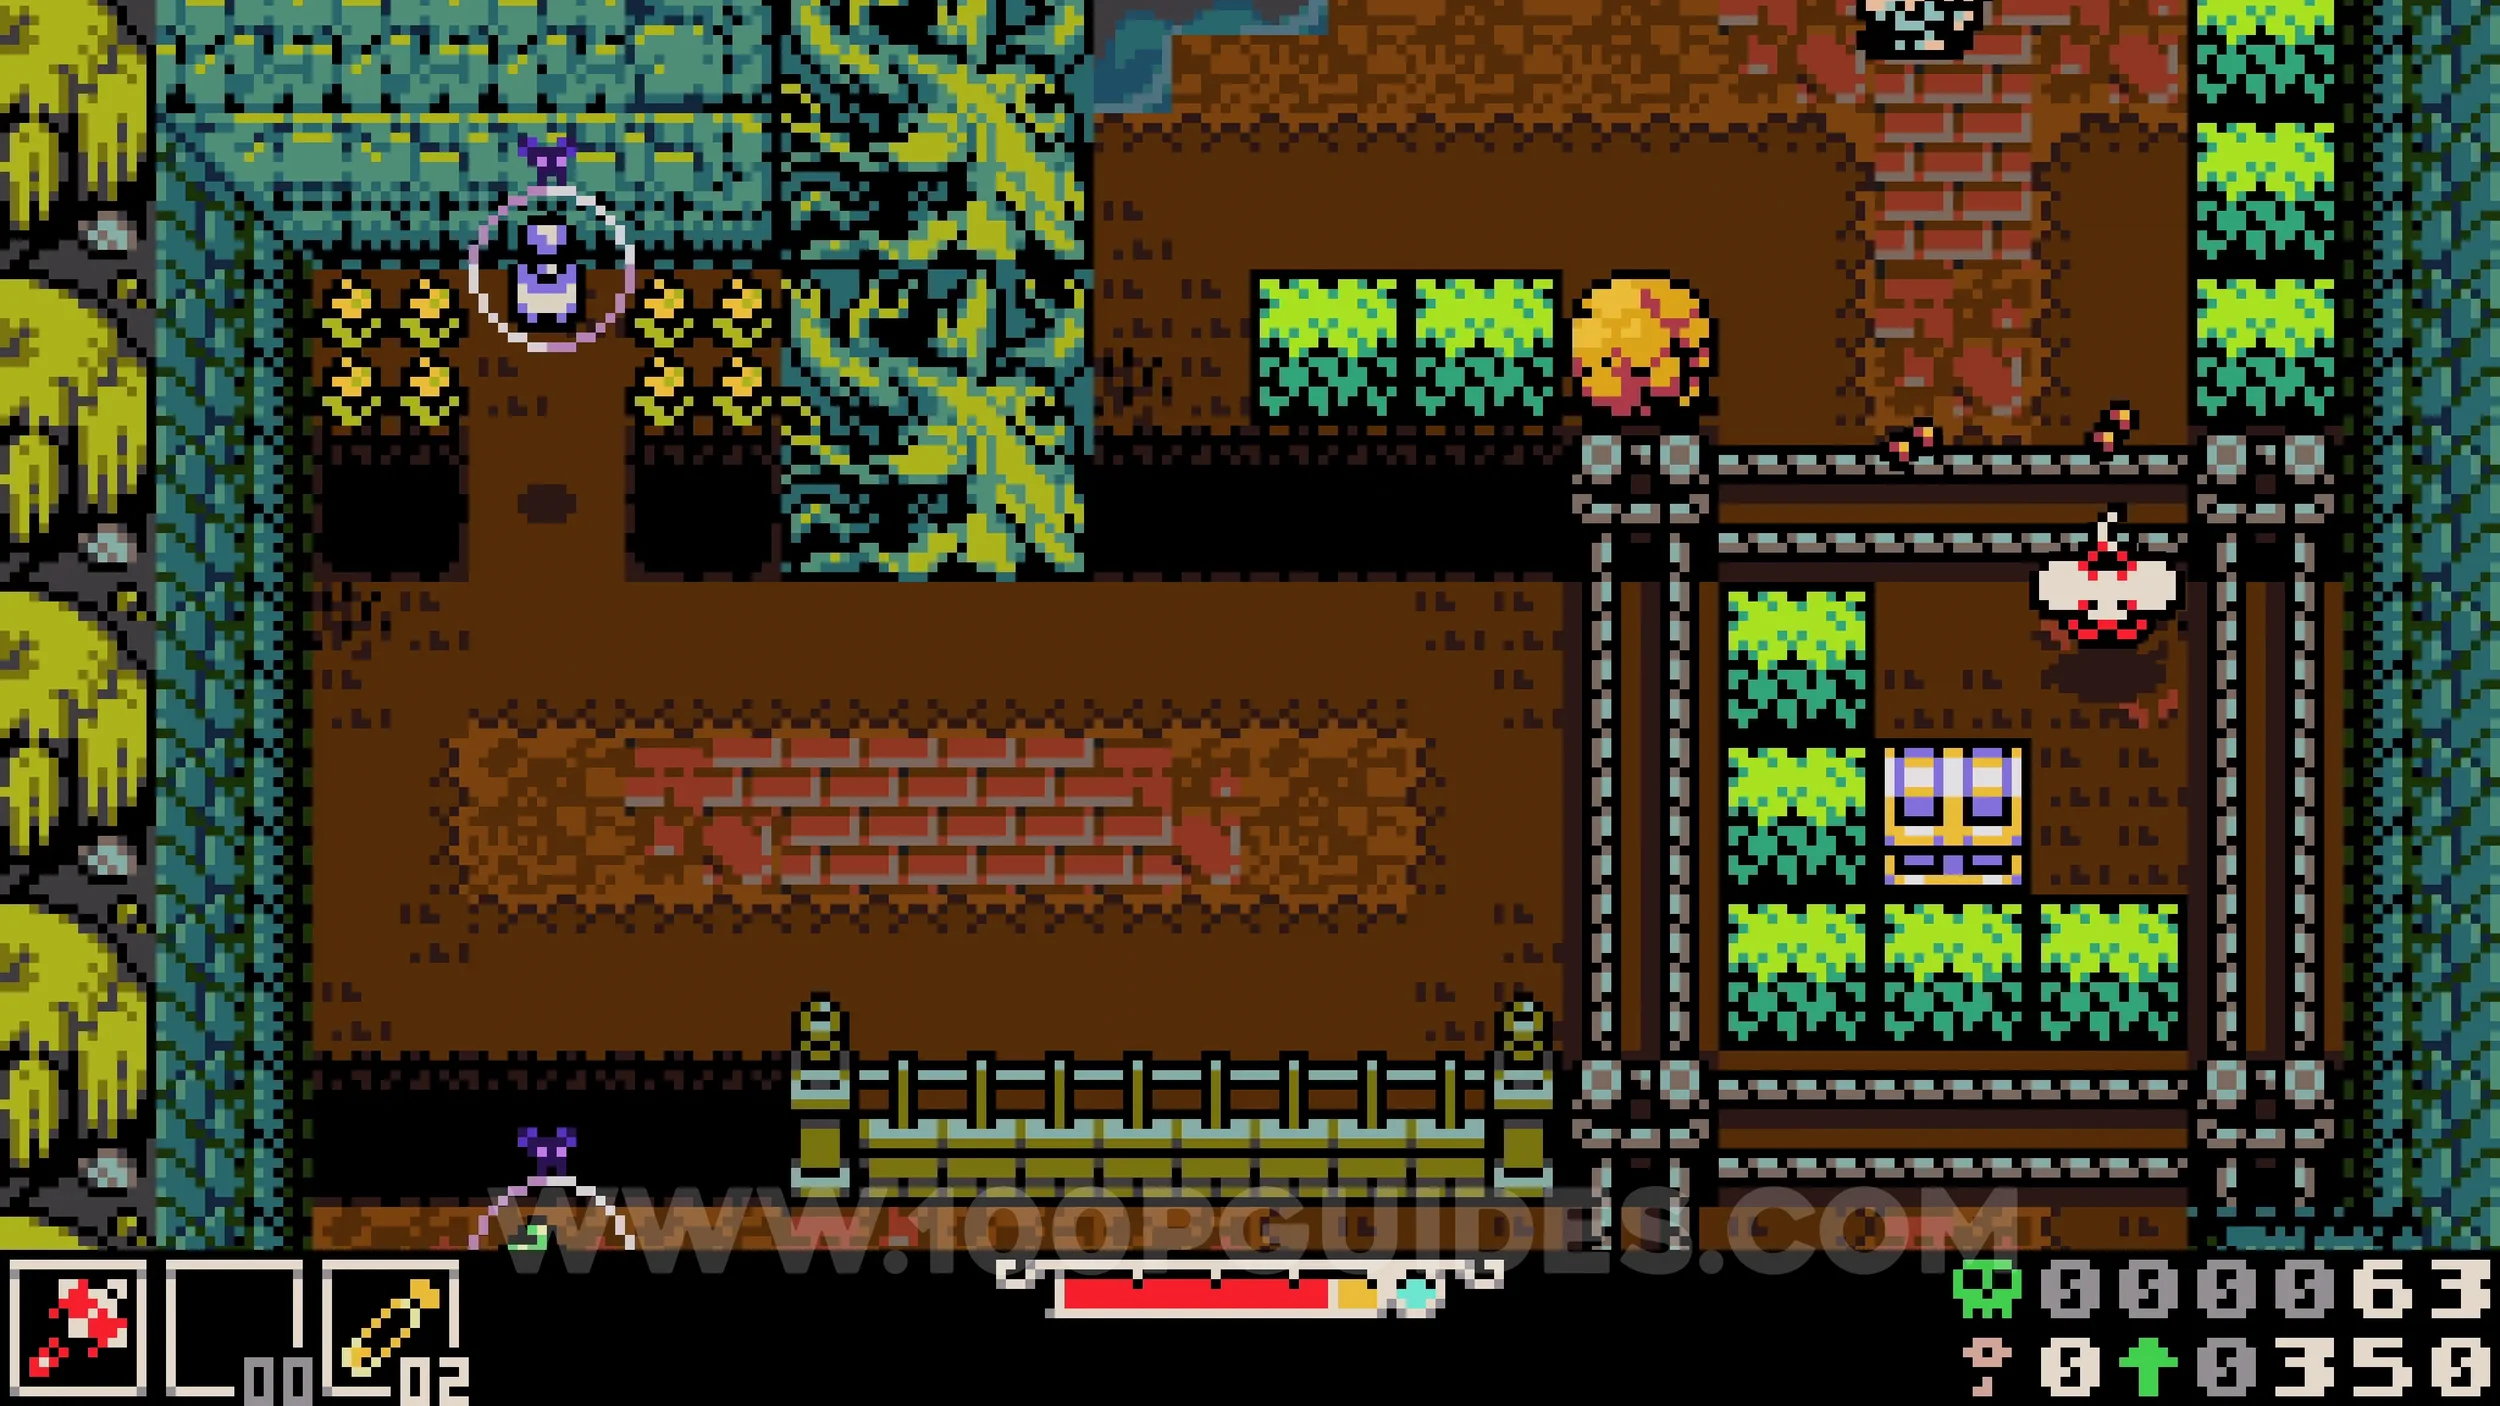
Bonestone #1. Found in a chest on the right side of the main path, in the area where you must destroy walls to advance. Burrow underground to reach it.
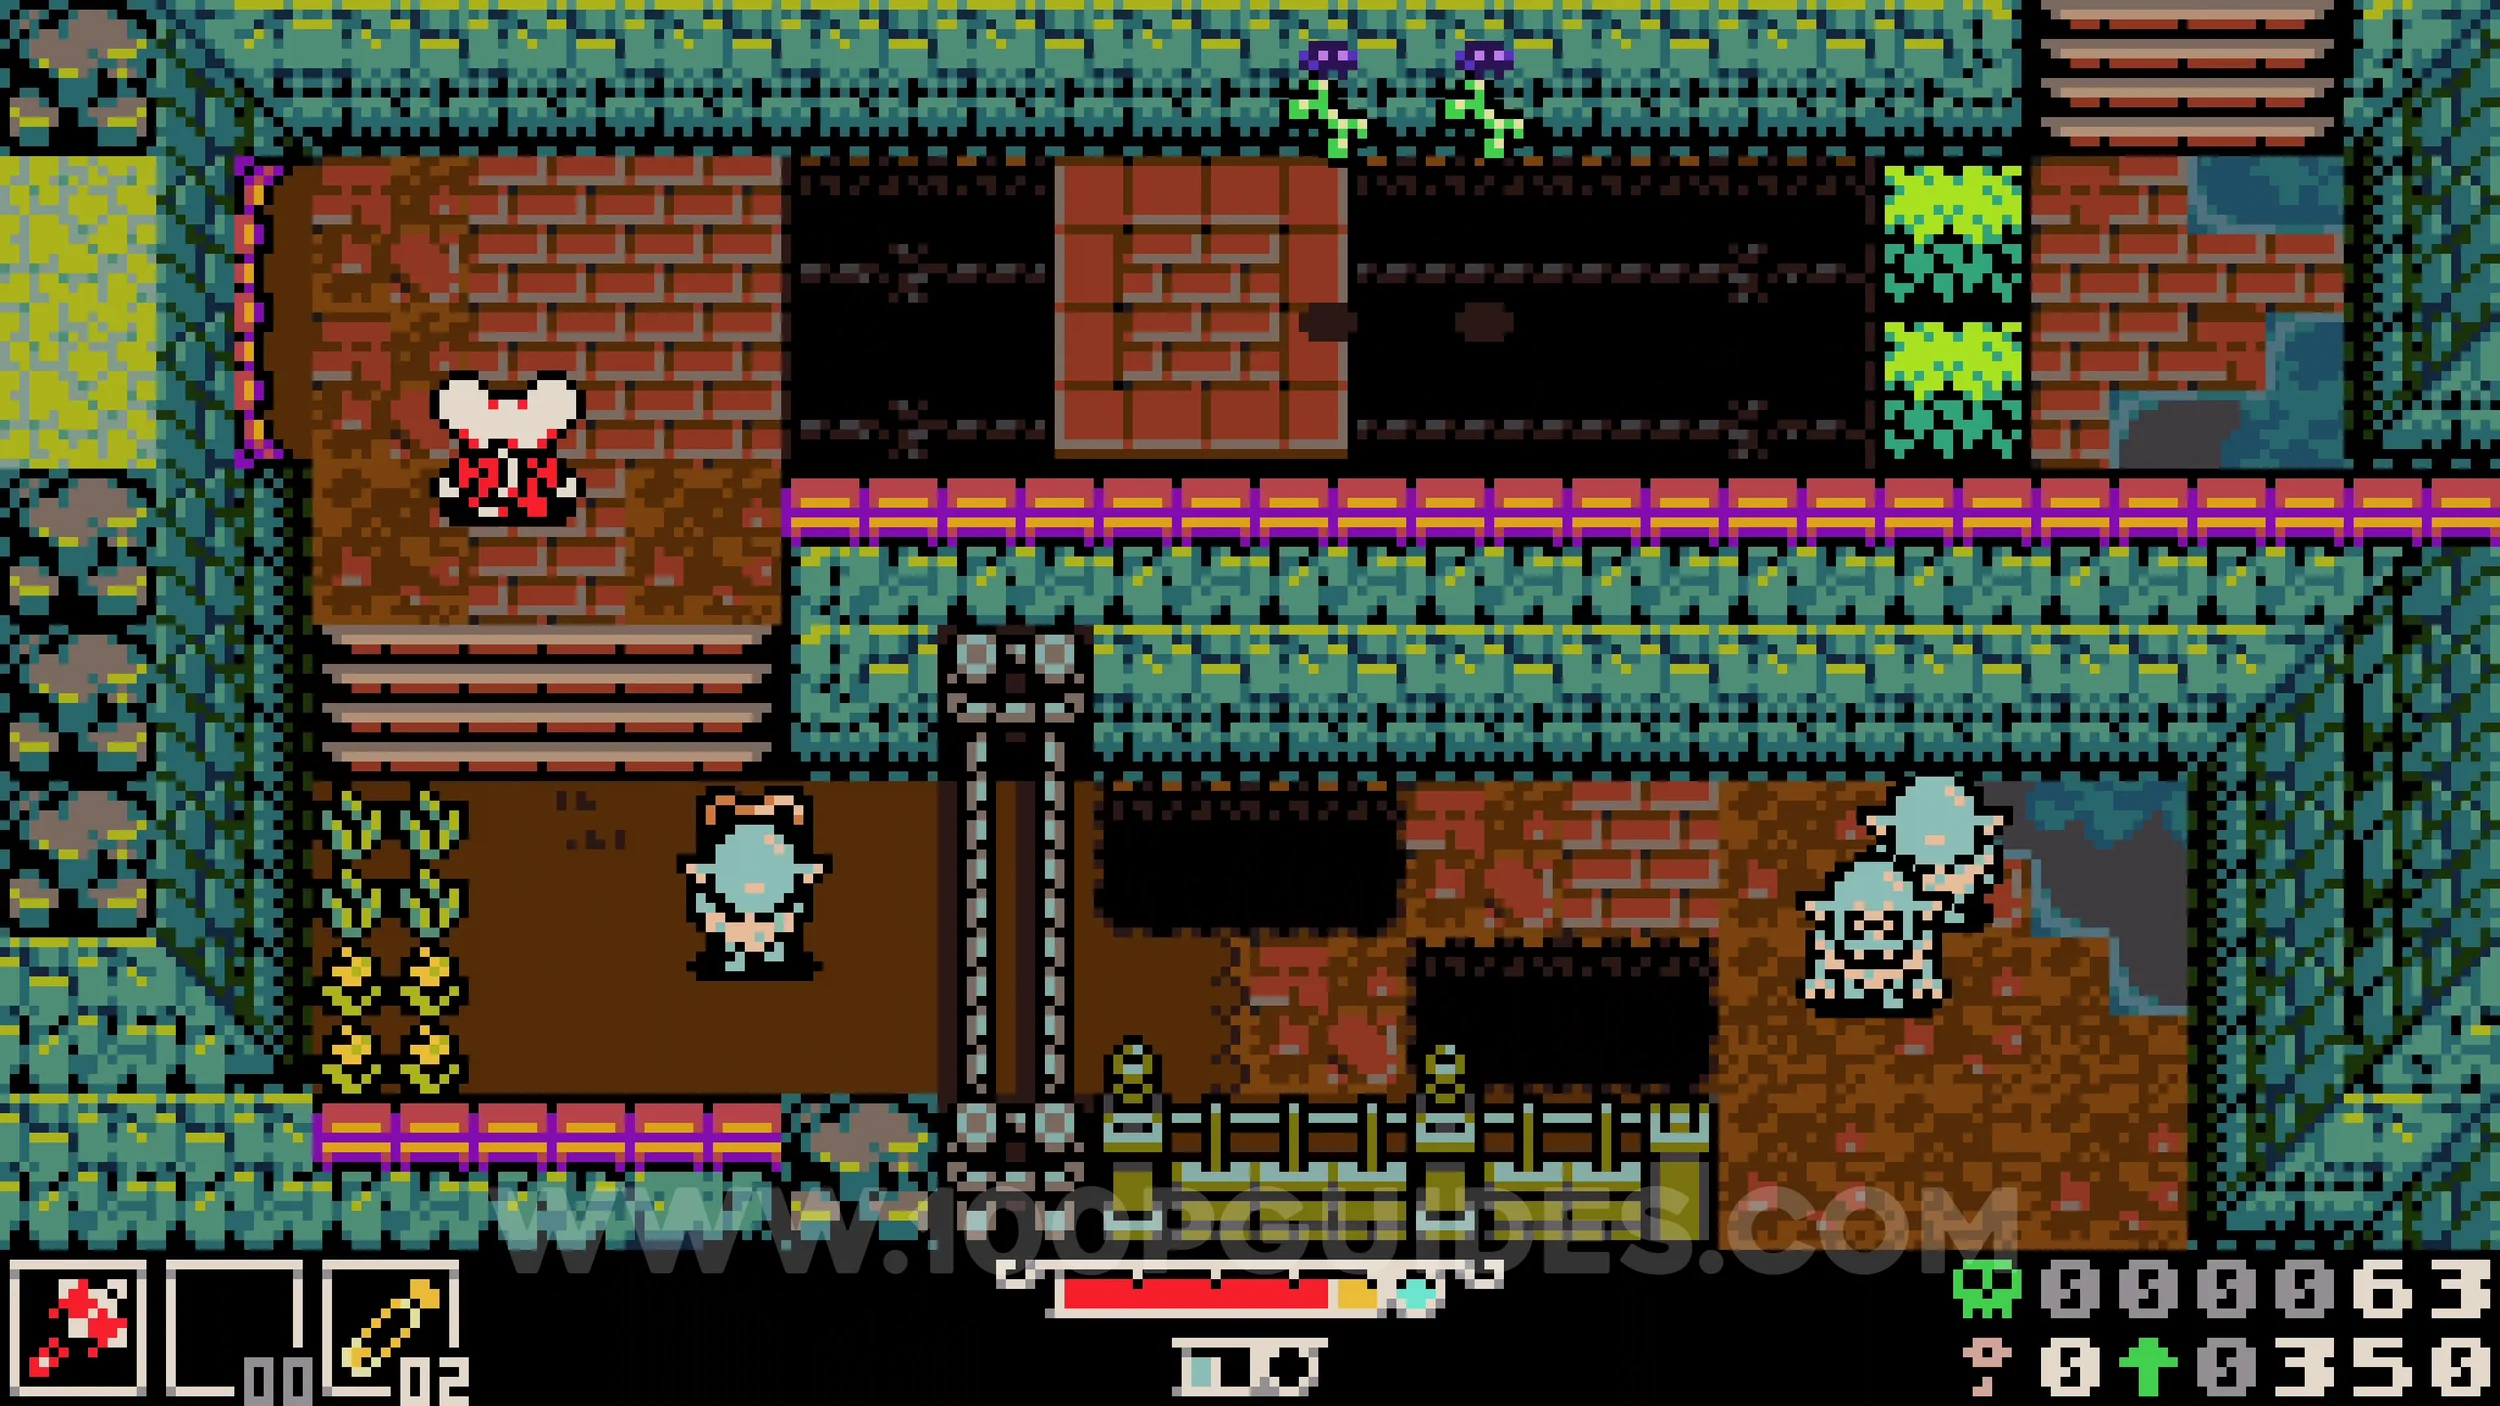
Bonestone #2. In the top left corner of the same screen as the previous chest, look for a gap you can pass through while burrowing. The chest is found on the other side of the platforms in the next room.
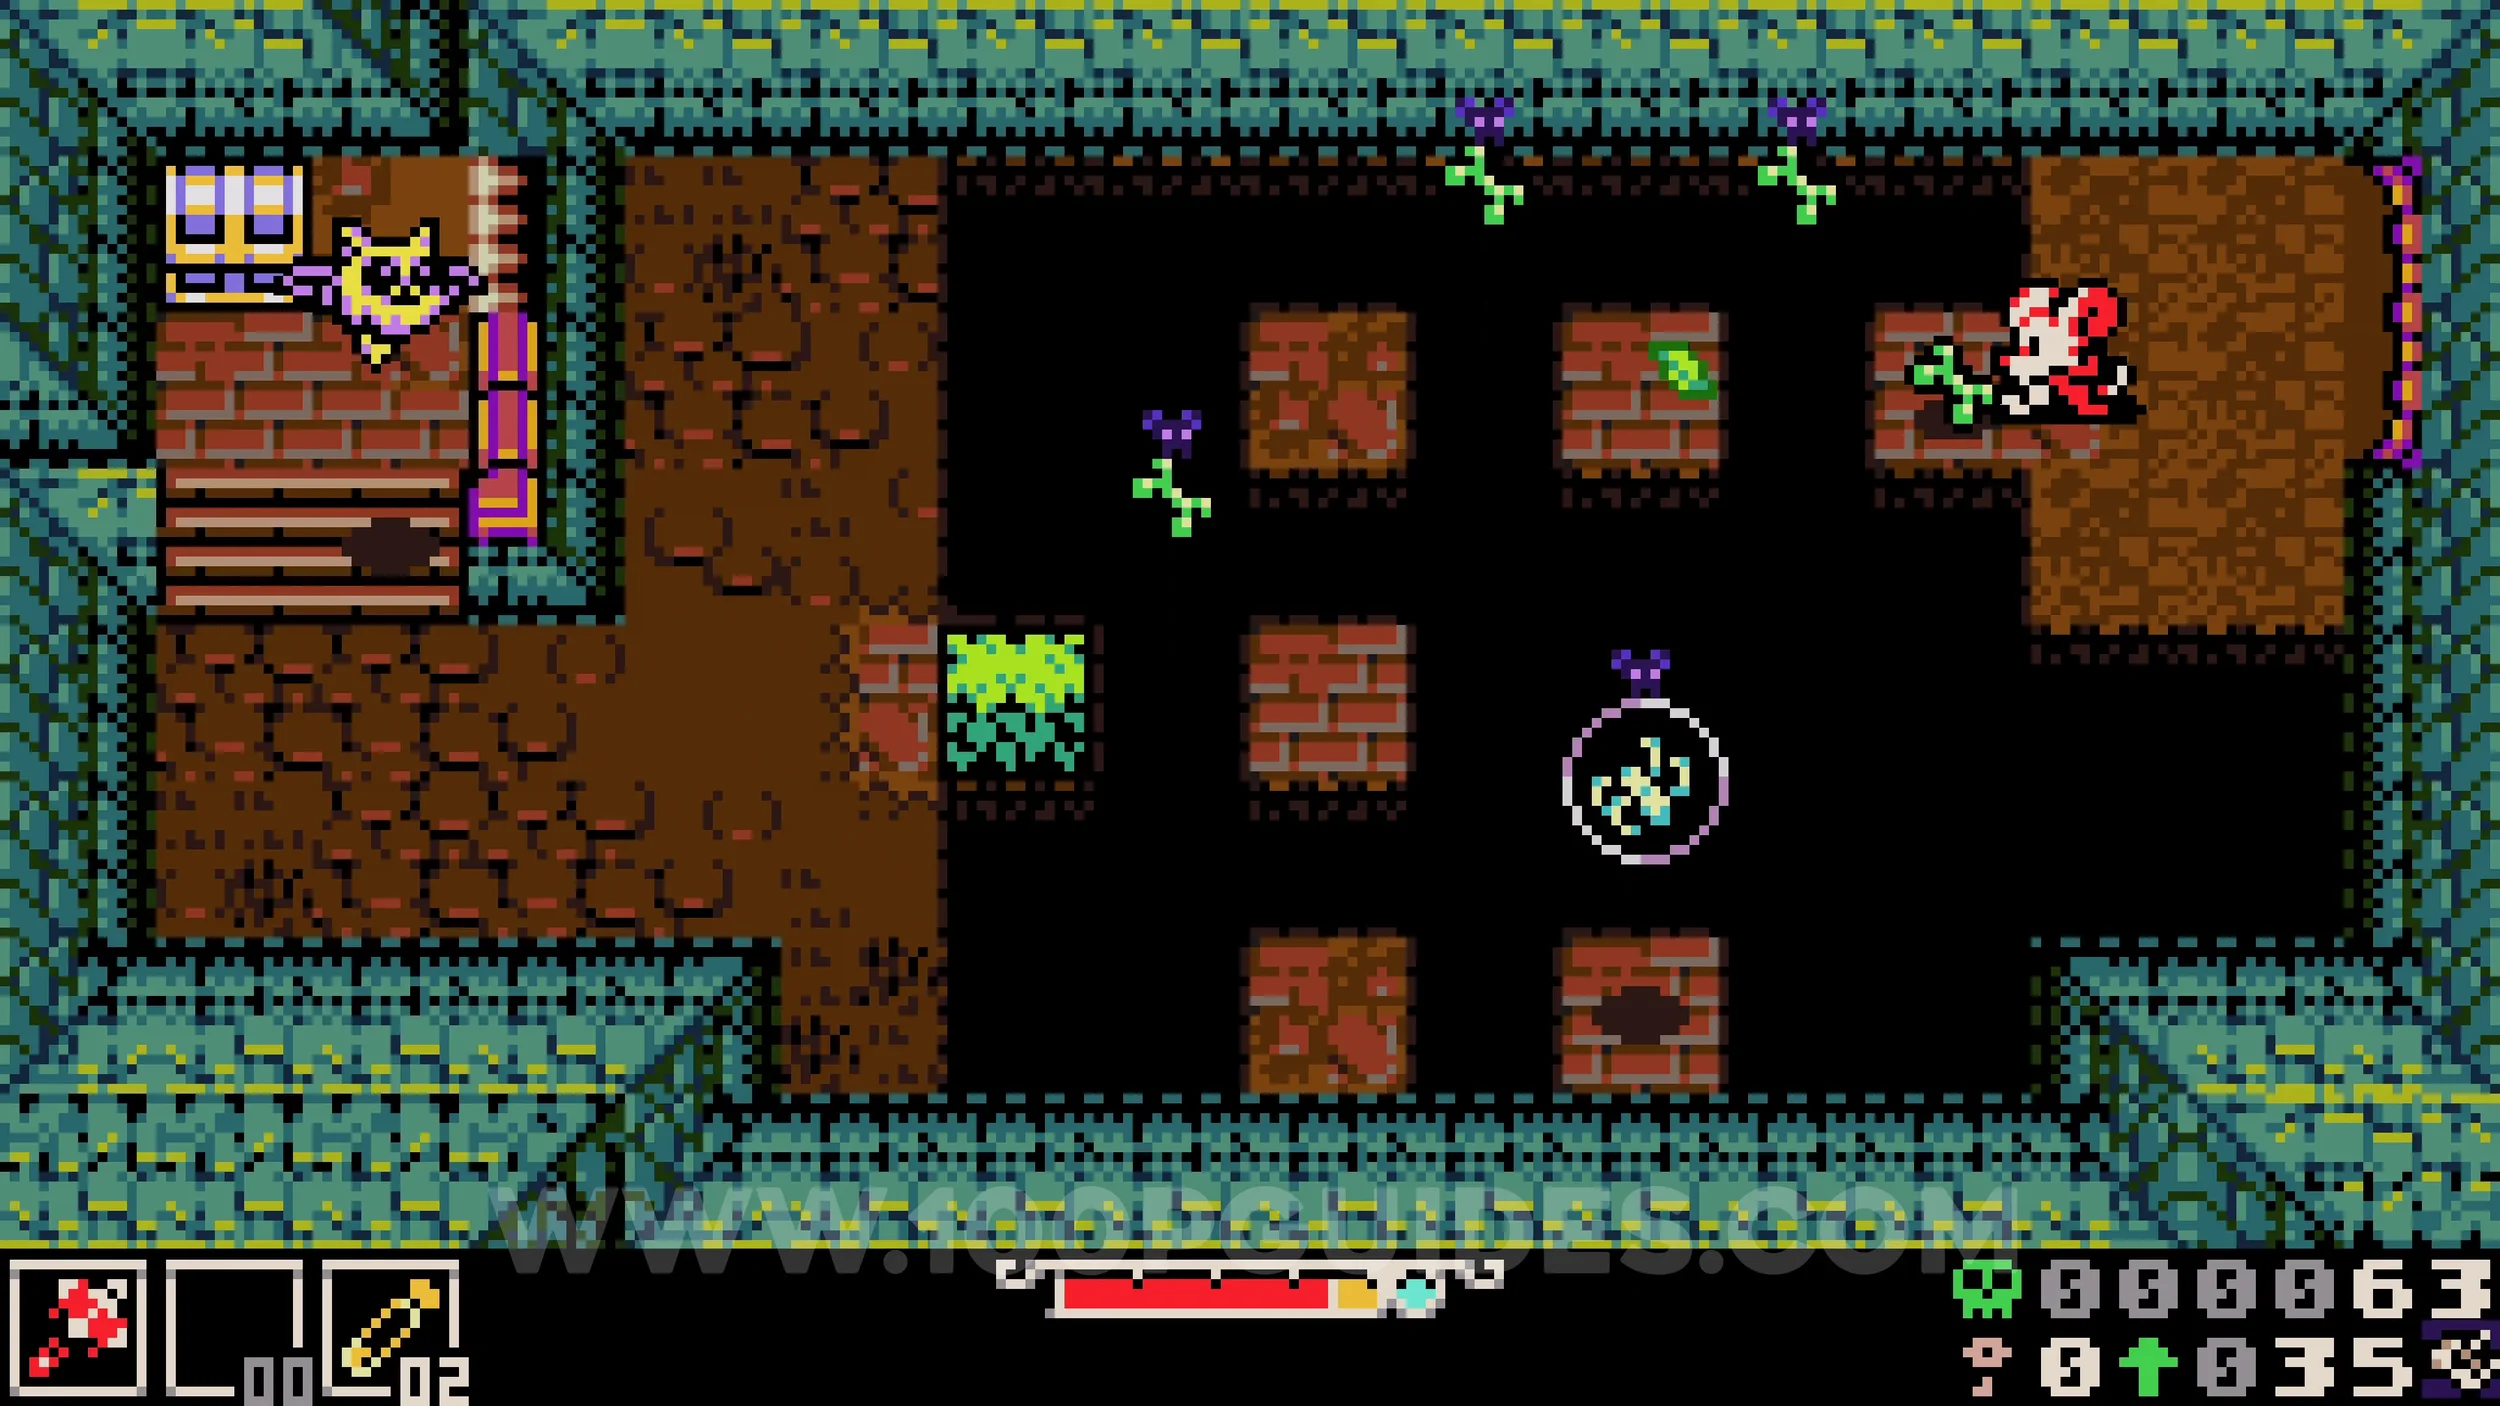
Bonestone #3. Once you reach the area with a bridge above you, look for a rope to climb in the top right corner. At the top, head left and look for a door you can destroy. Go through to find the chest on the other side.
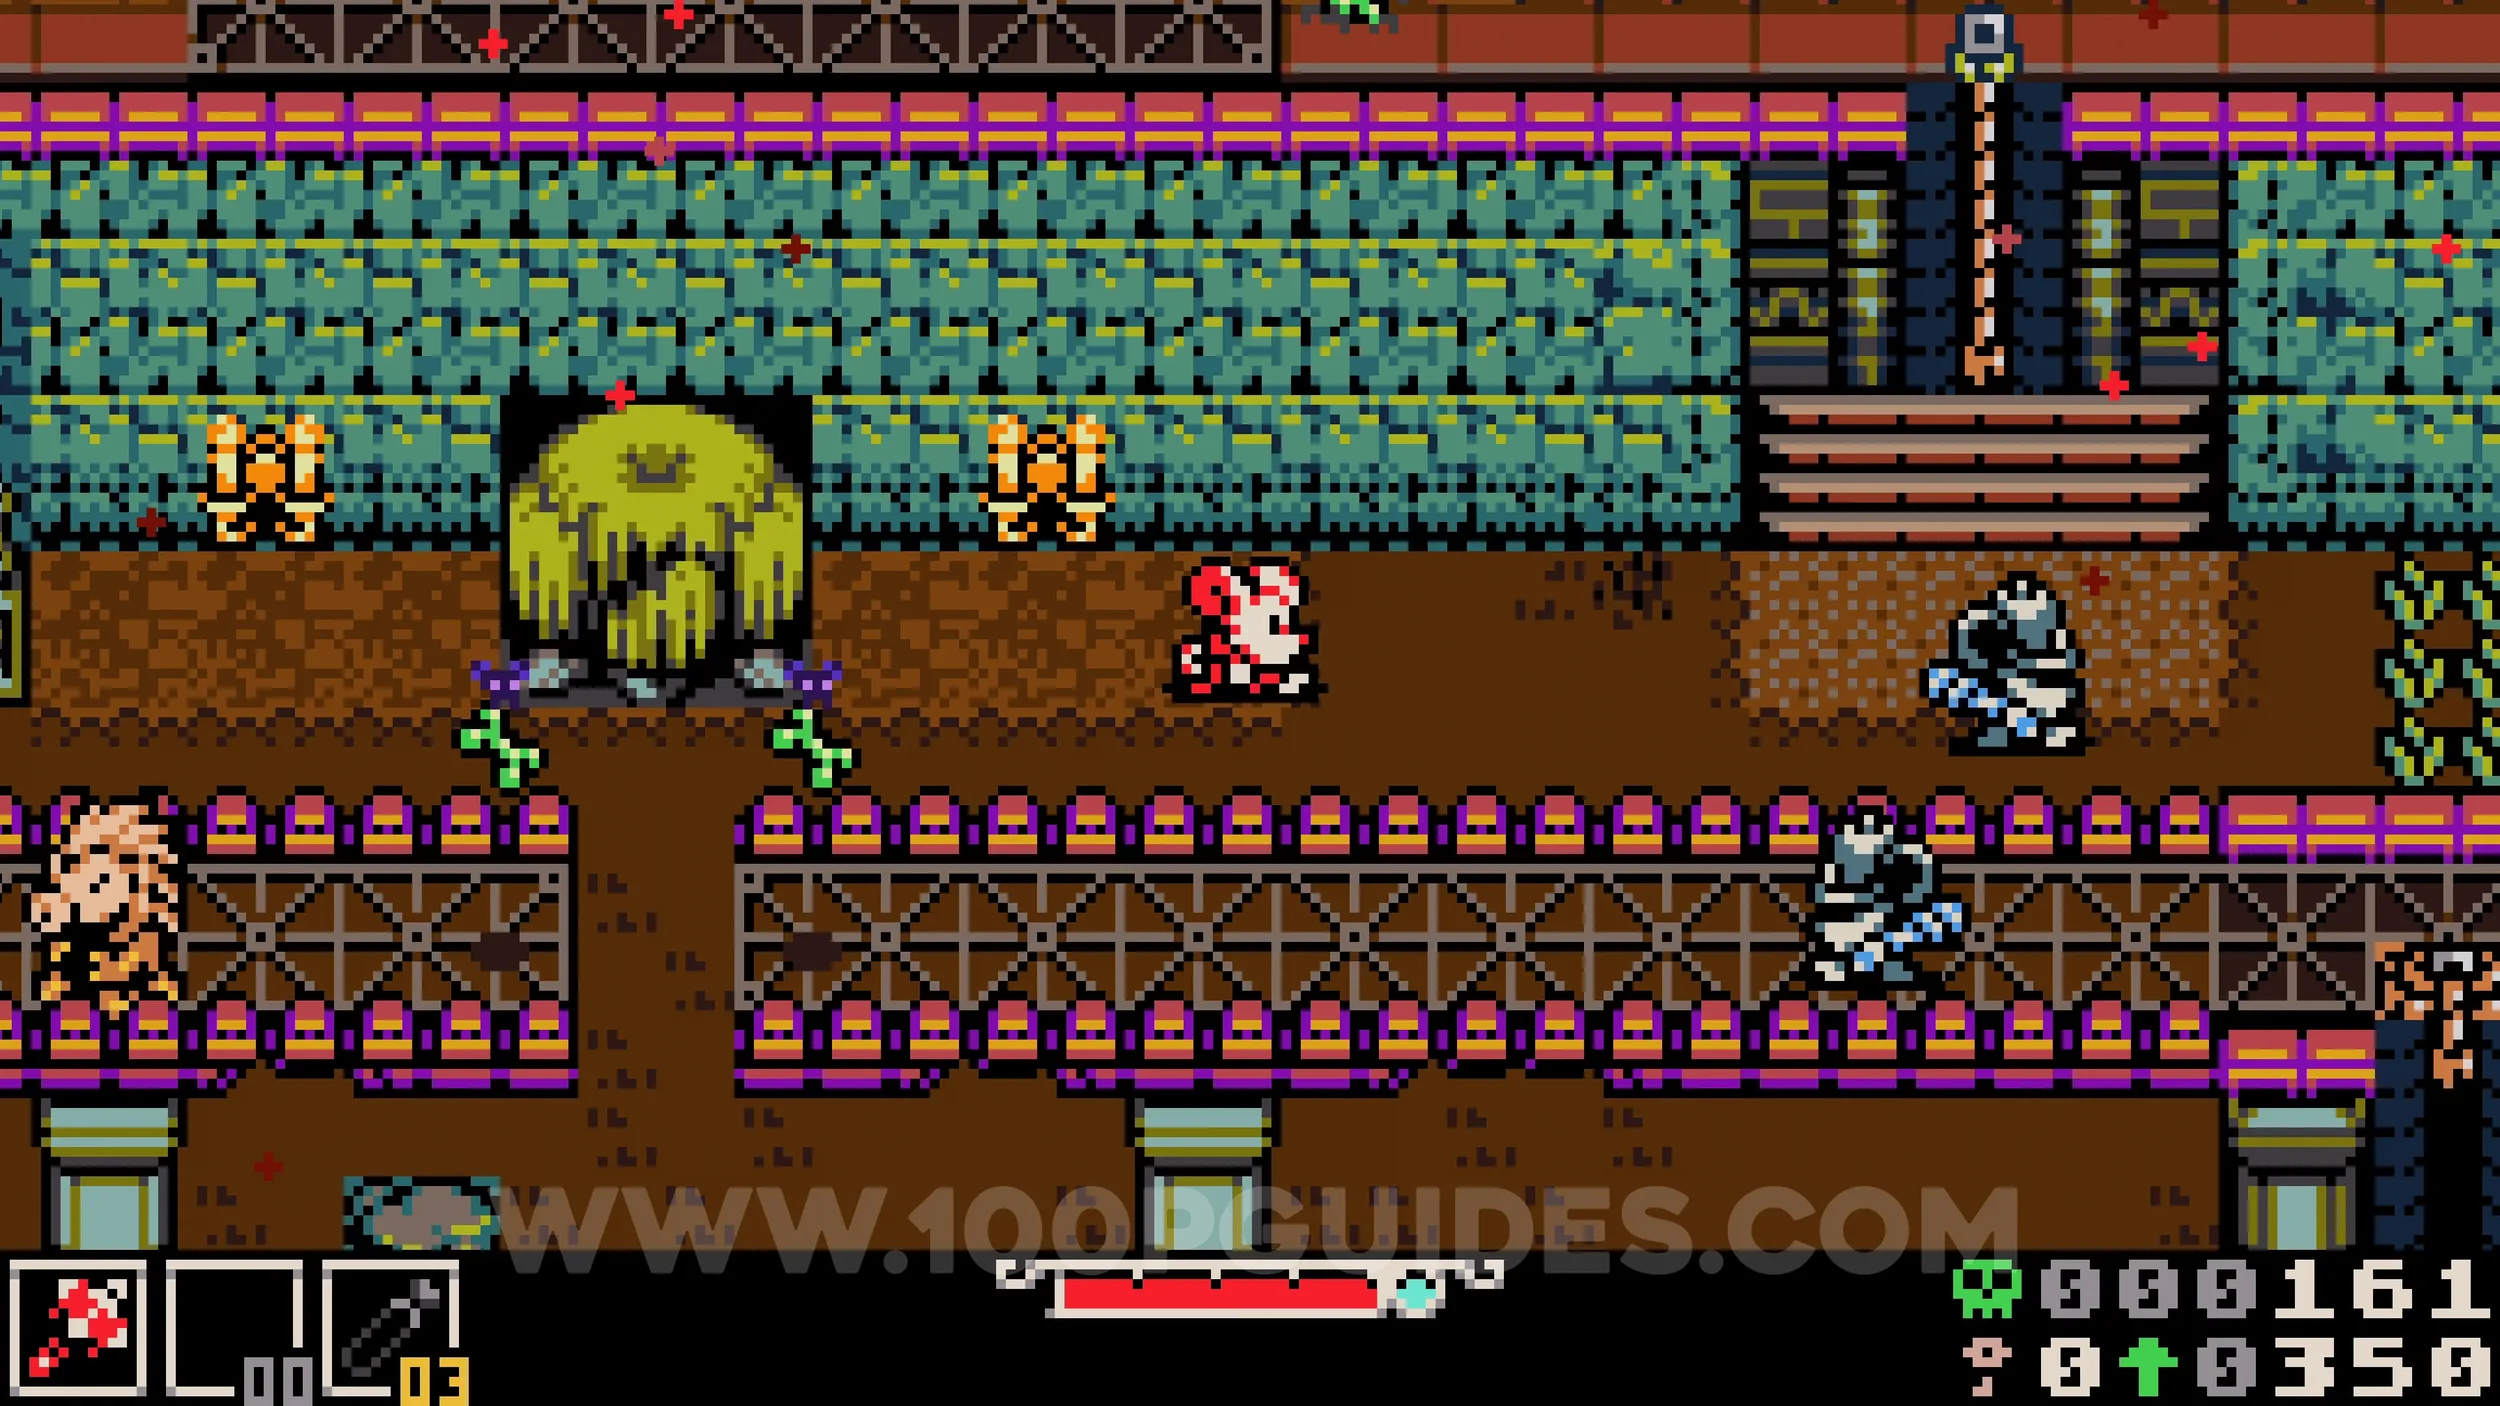
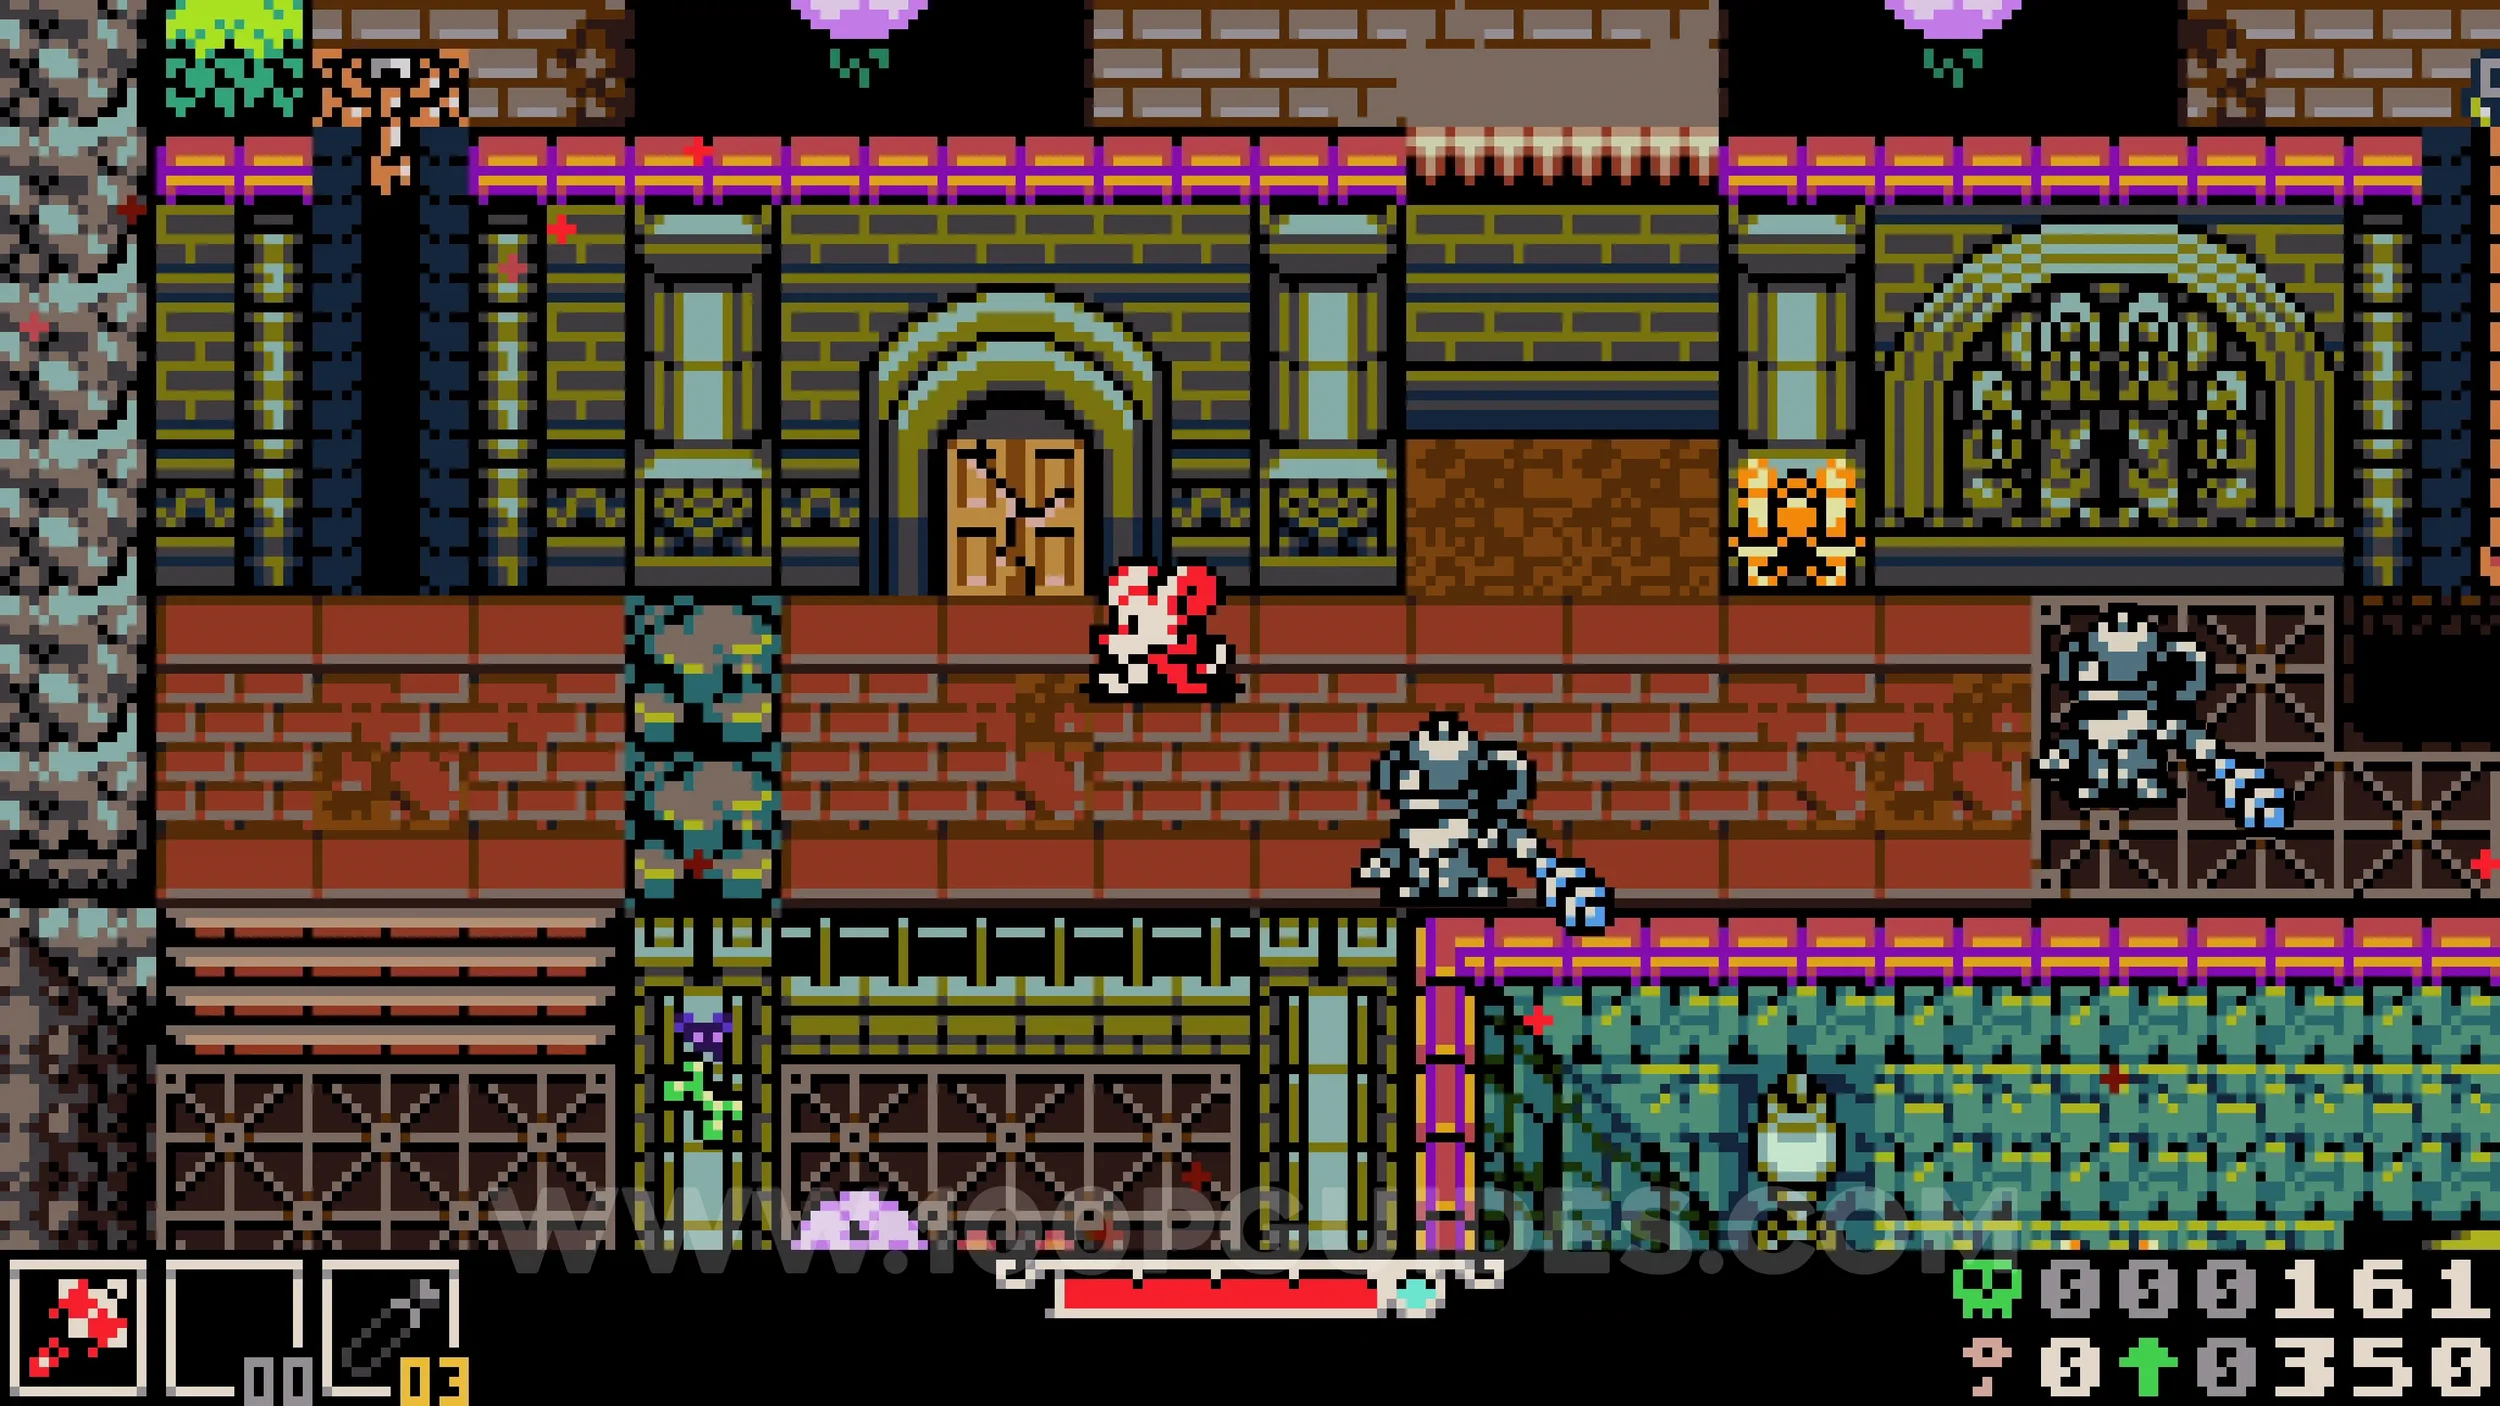
Bonestone #4. Exit the room where the previous collectible was and climb the rope on your right. At the top, go right and use the jellyfish to bounce across to the right side. The chest will be at the end.
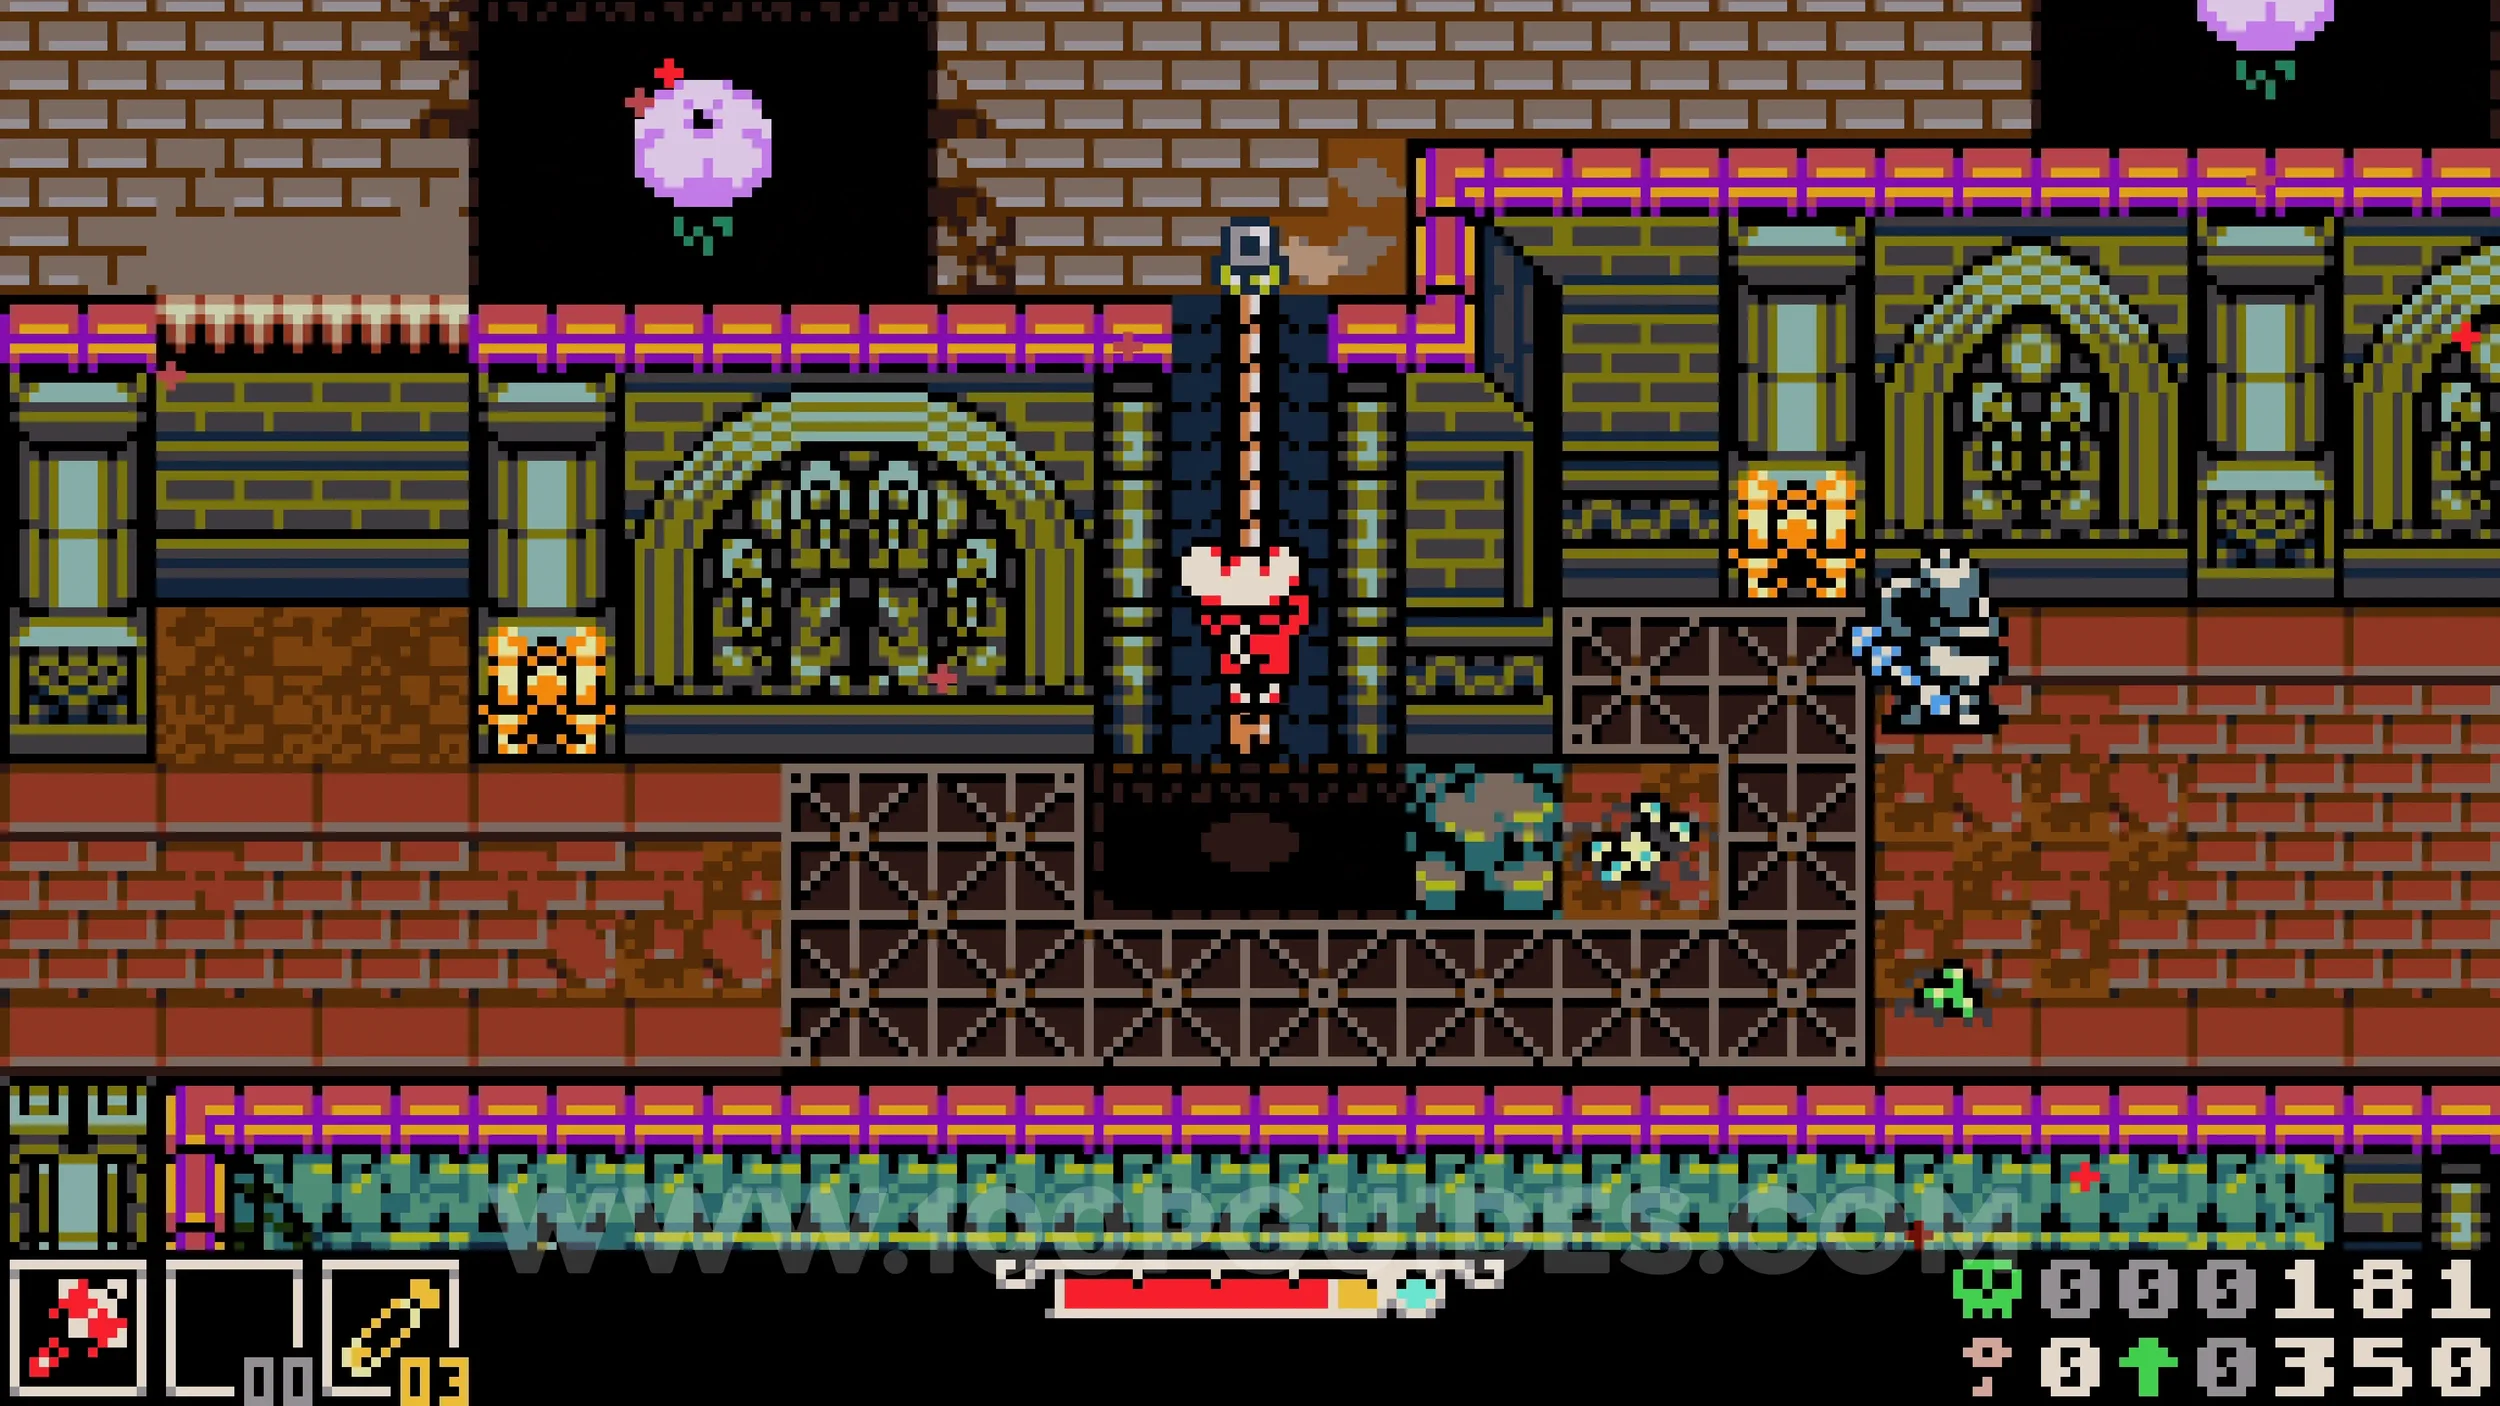
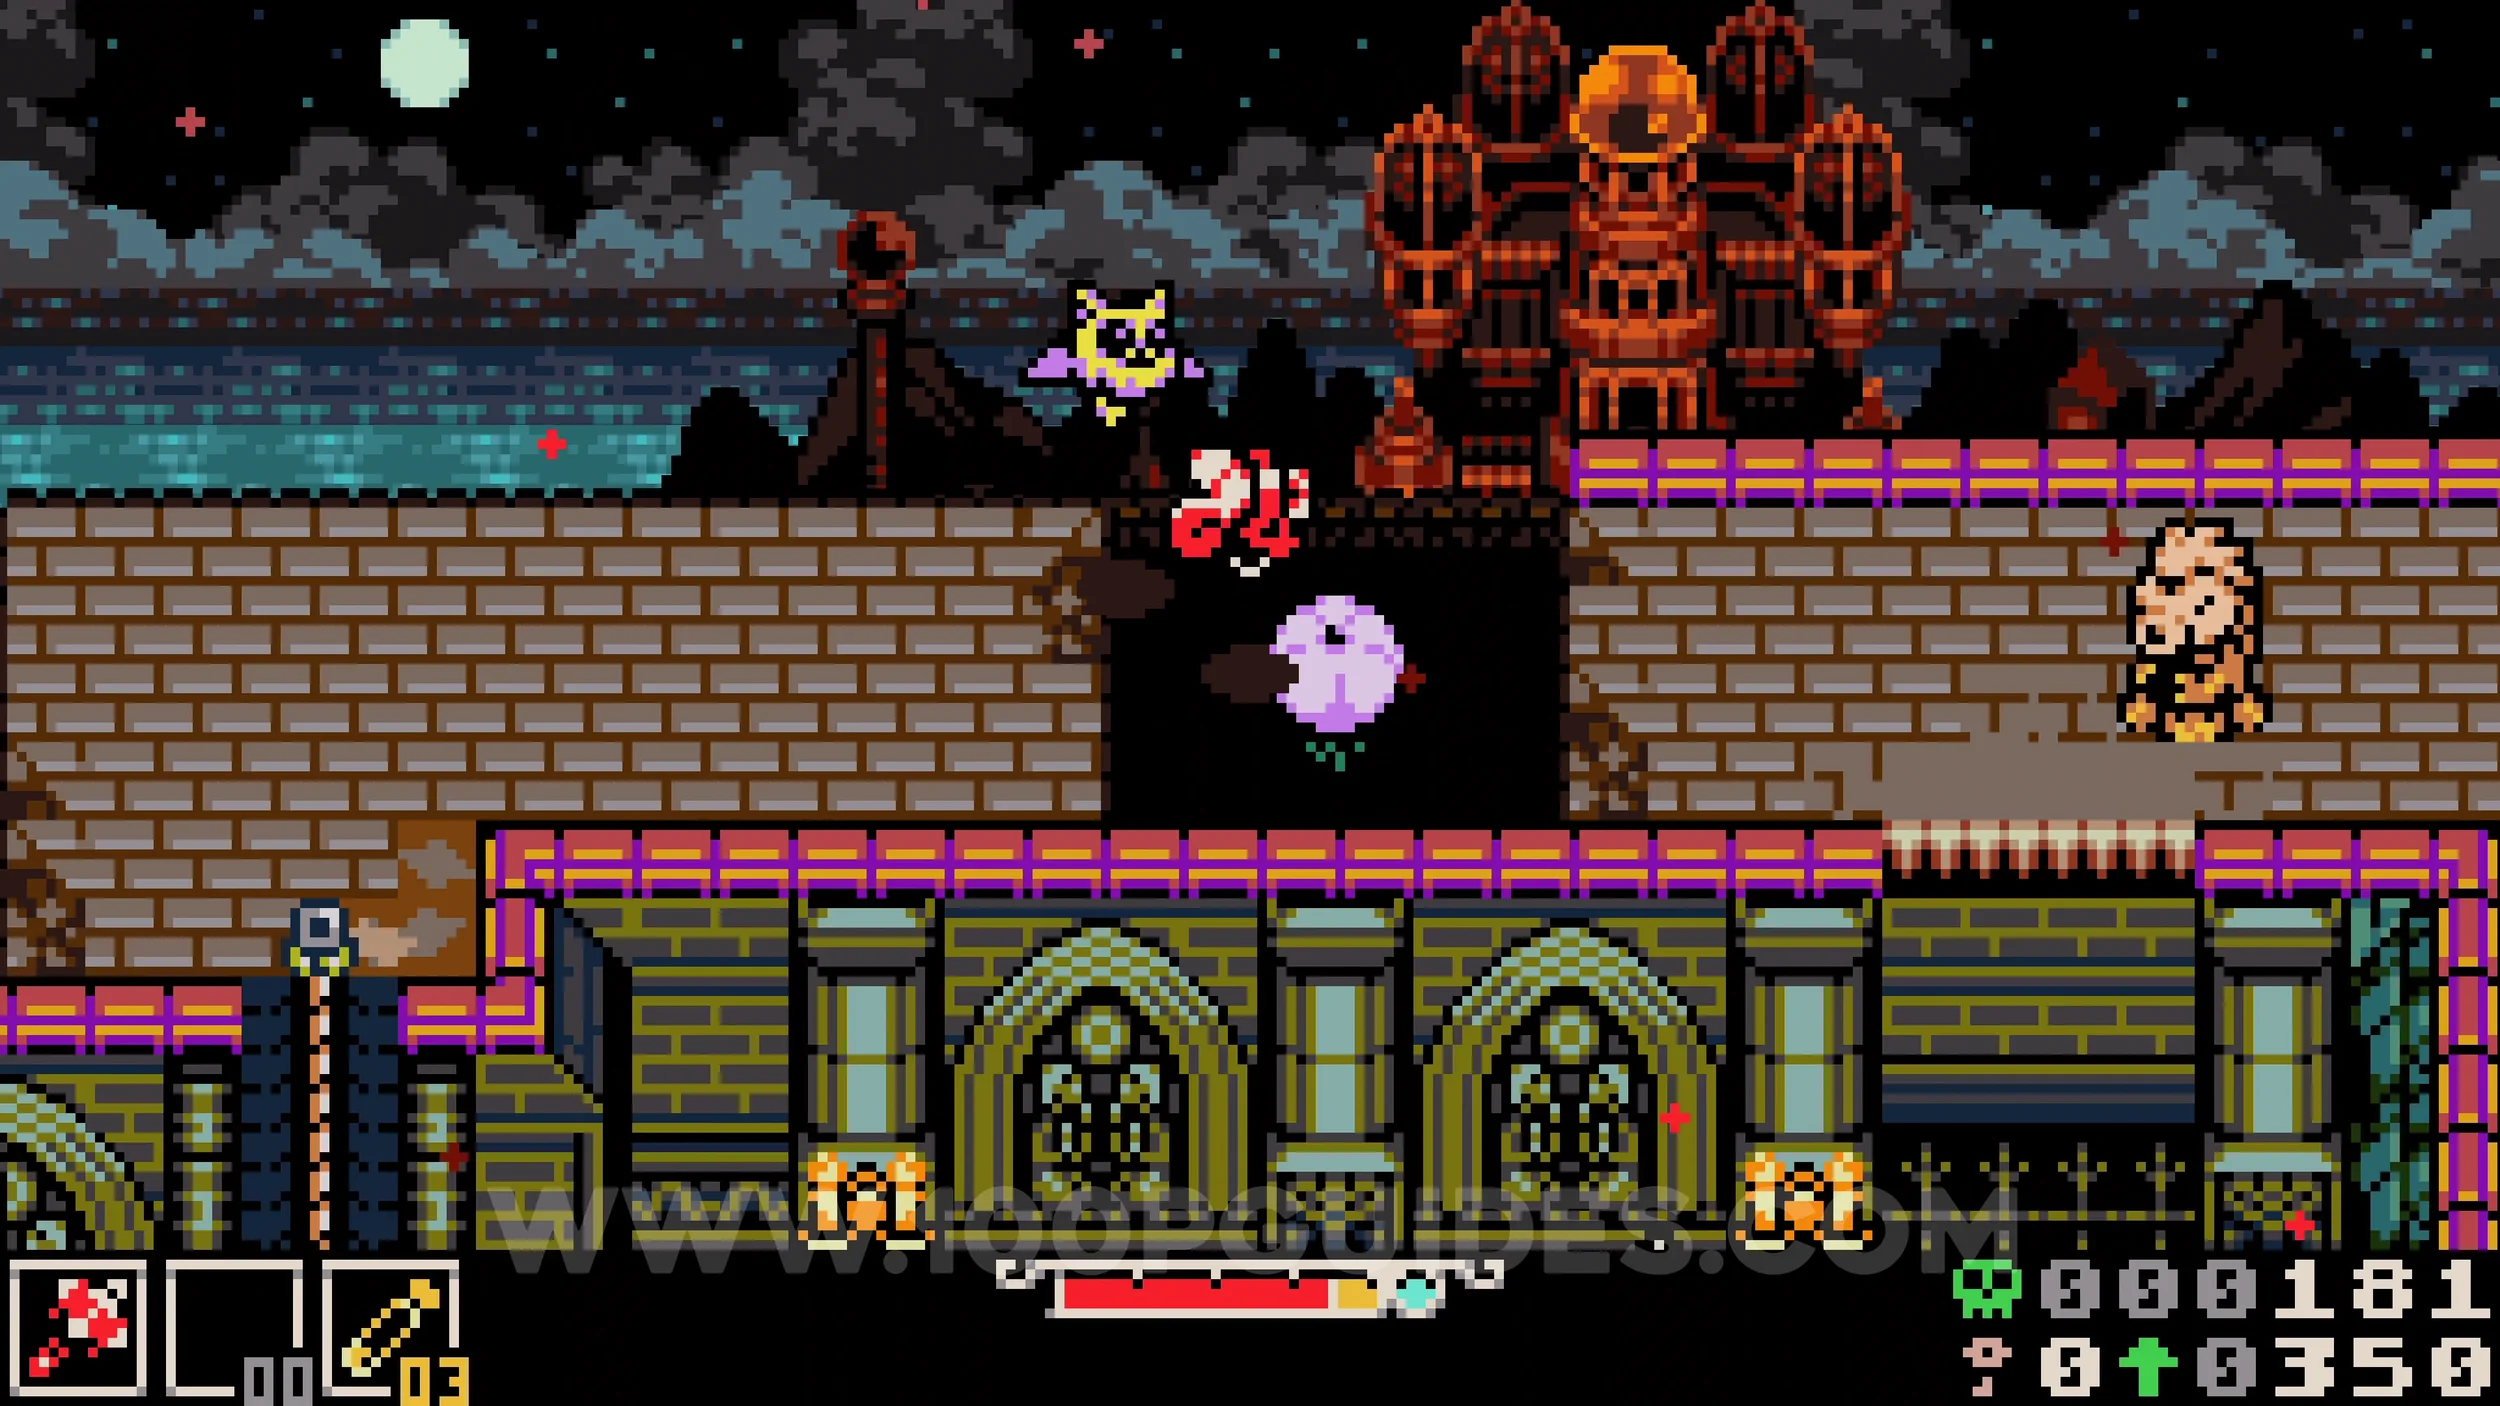
Kear #1. Story-related. You will eventually reach a locked block on the main path. Break the door above it to enter the room containing the key.
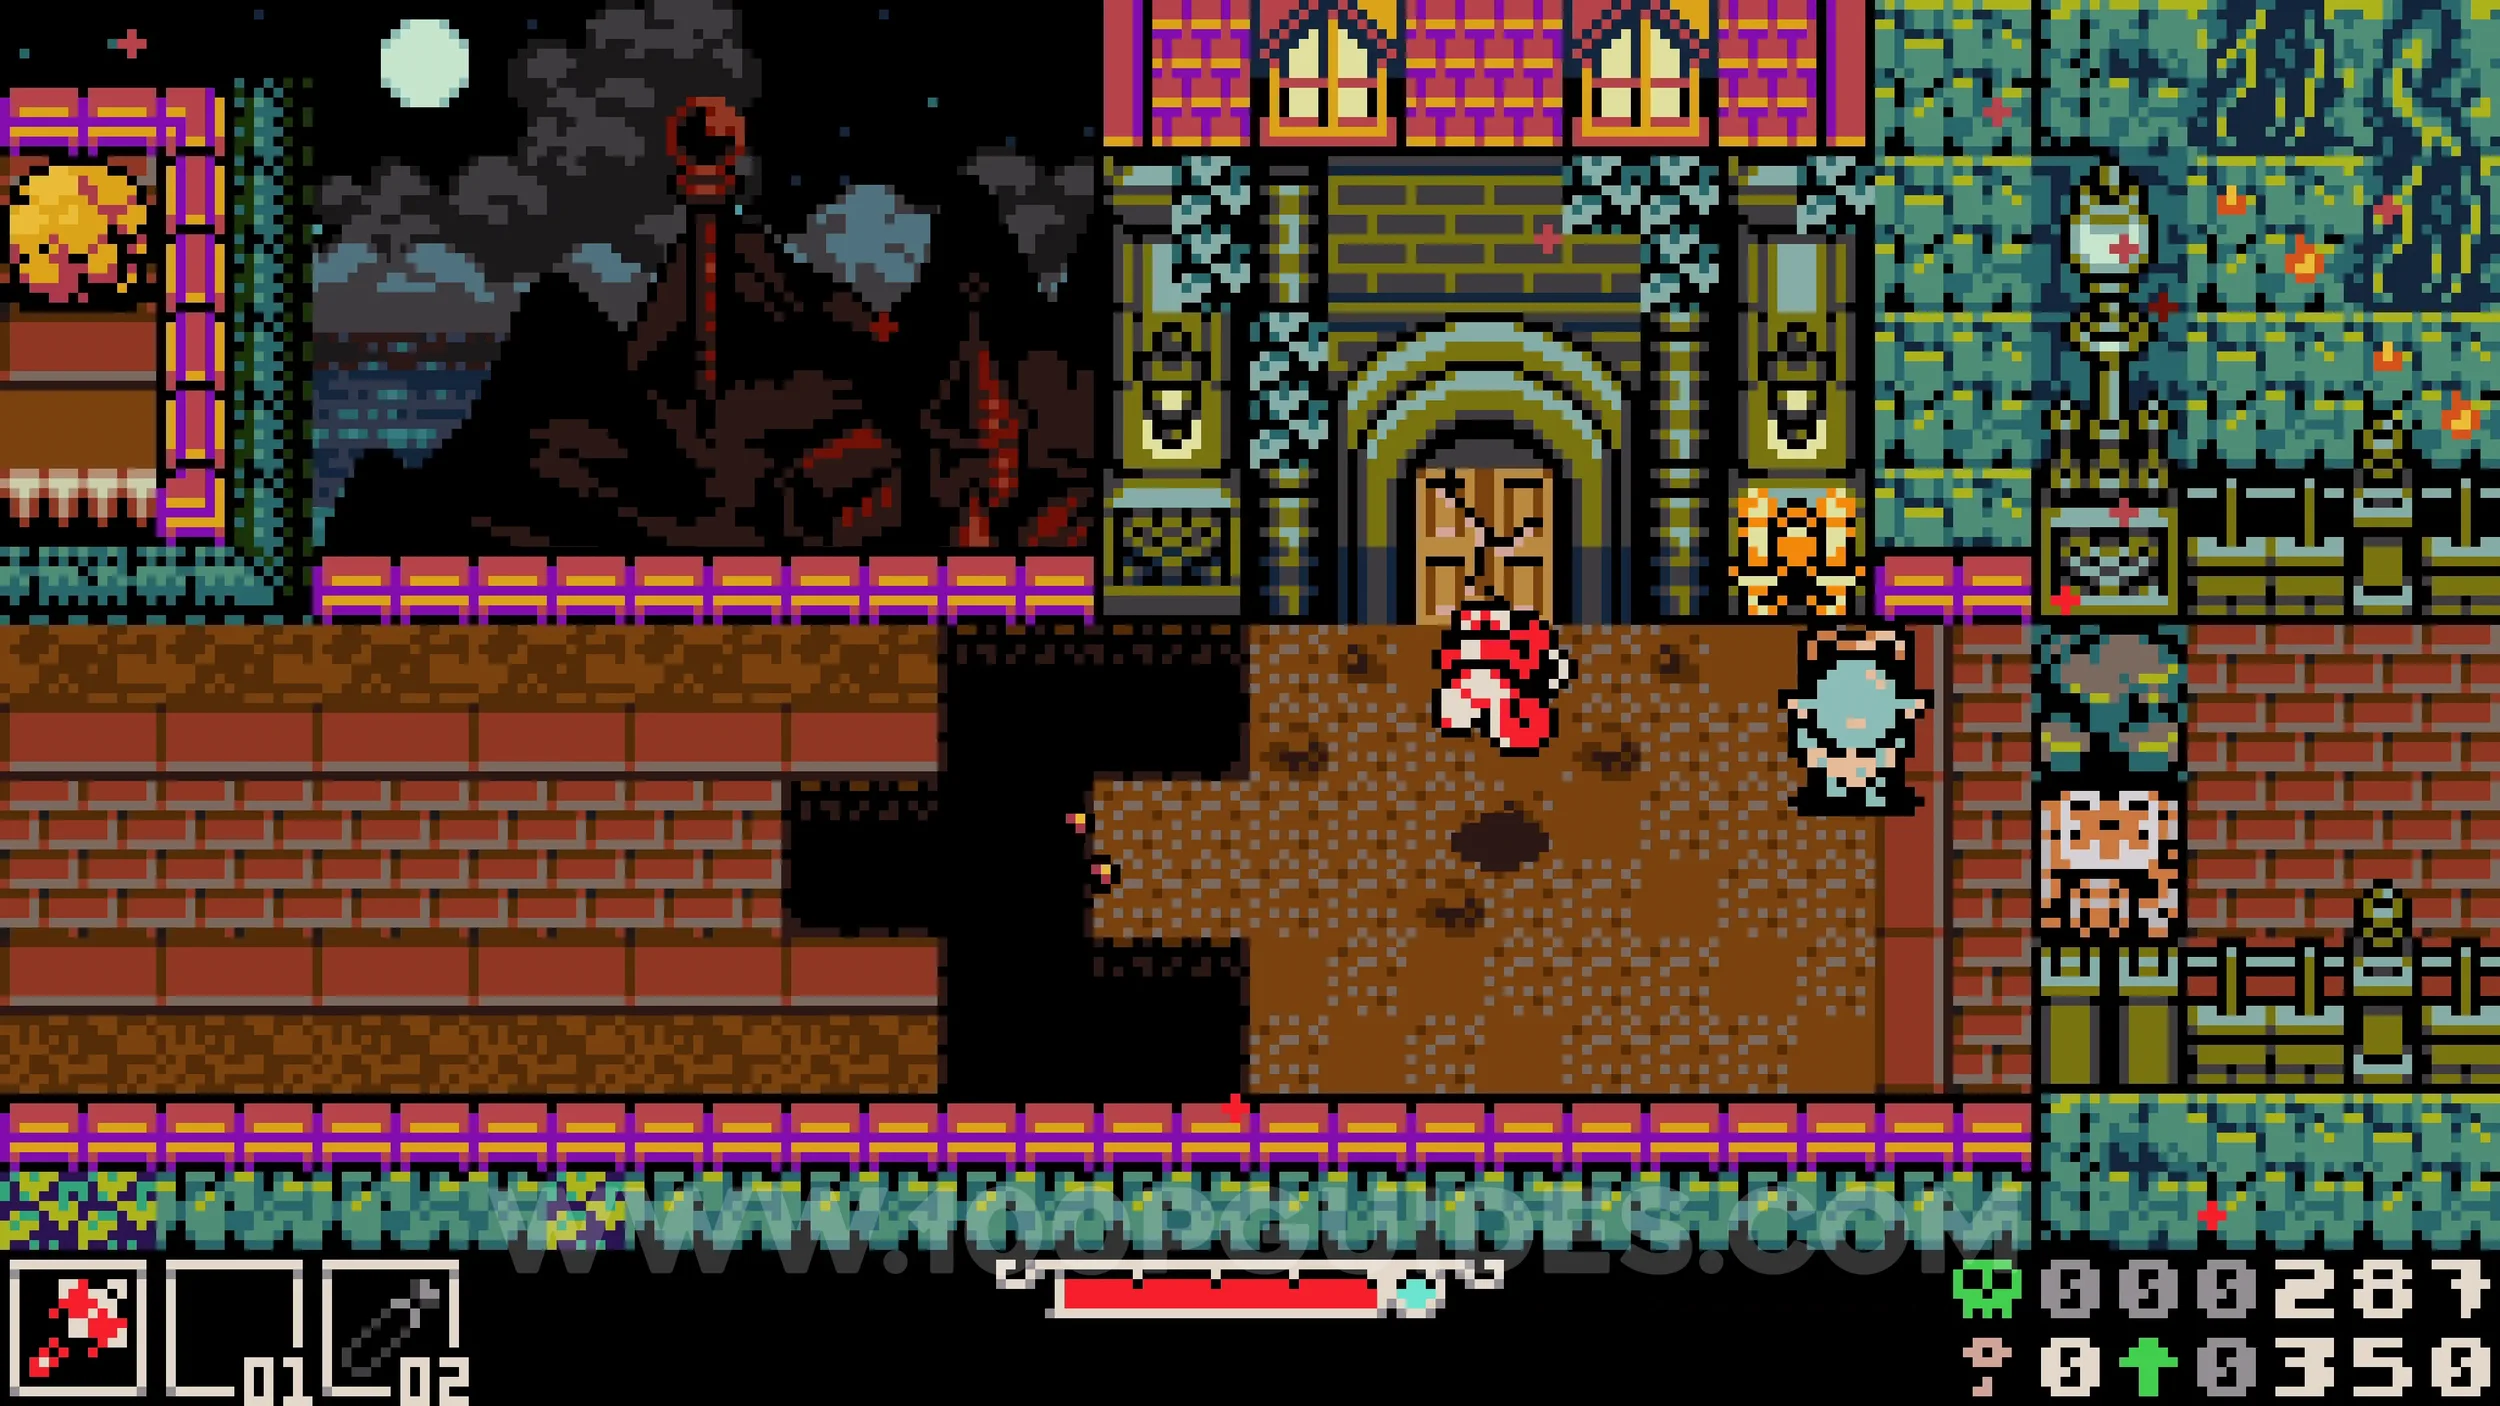
Lock #1. Story-related. In the middle of the main path. Use the previous key to unlock it.
Kear #2. After passing through a section with moving platforms and enemies on the sides, you will find a jellyfish at the end. Use it to drop down to the screen below, then use the jellyfish again to jump over the fire and reach the chest near the enemies.
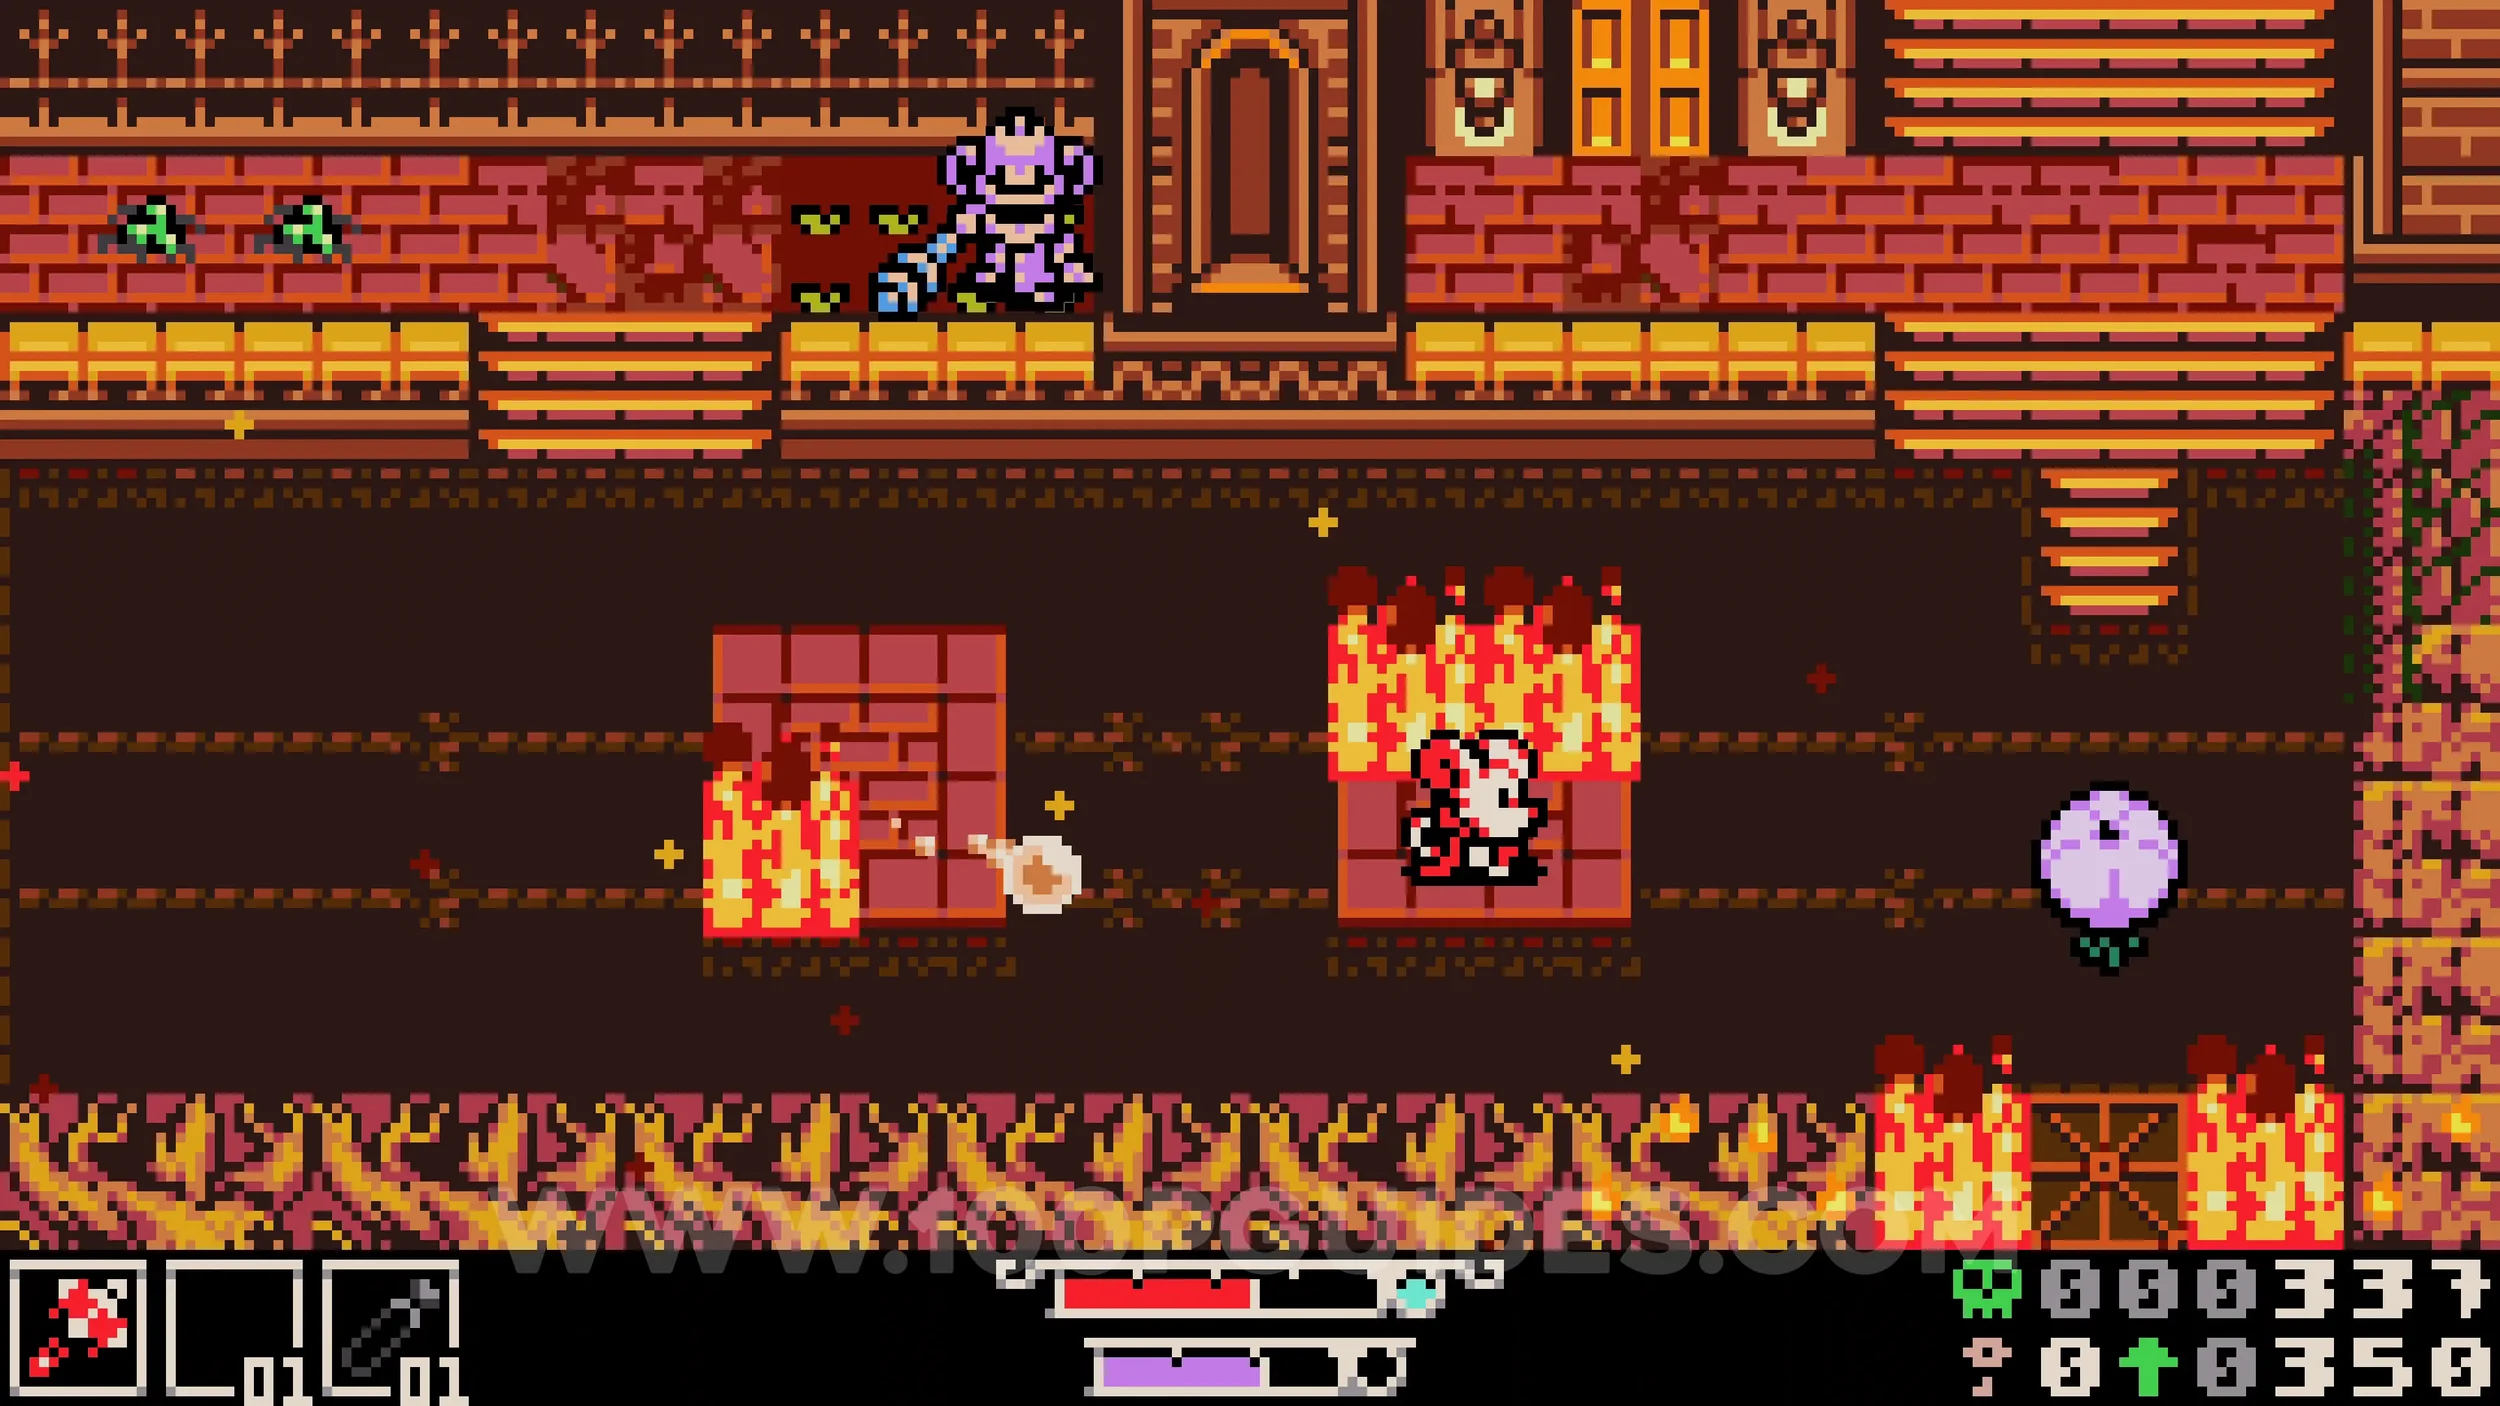
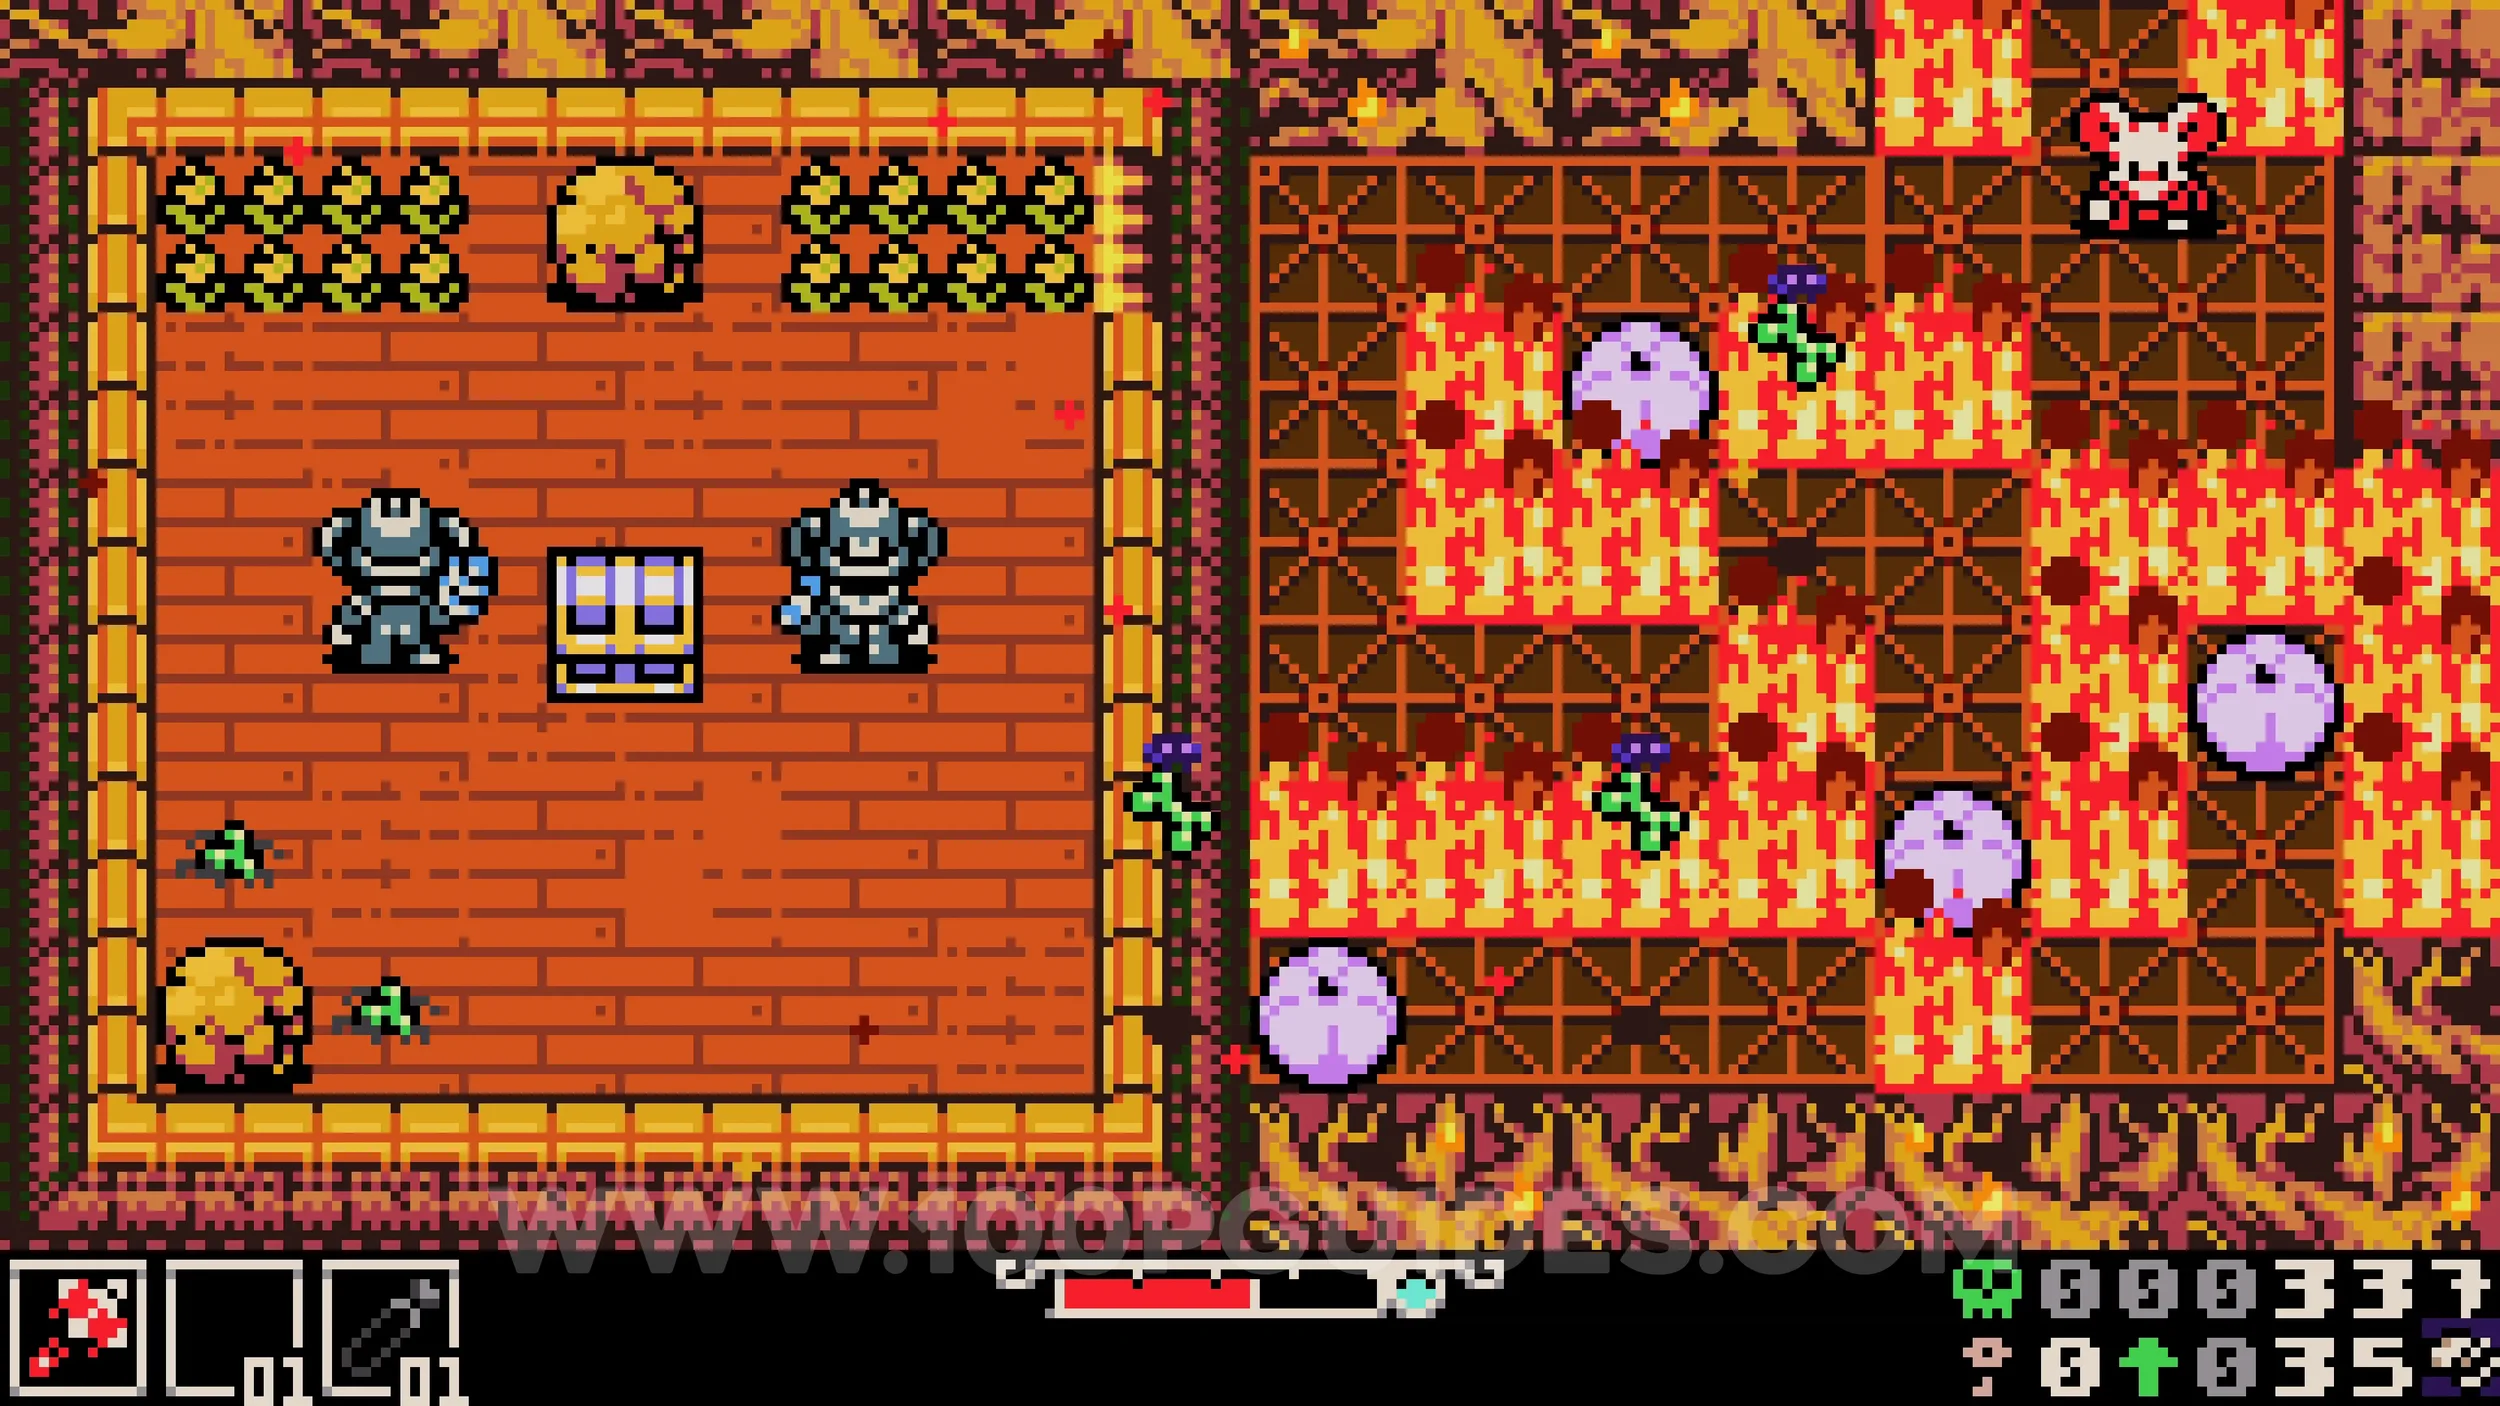
Bonestone #5, Weapon #1-2 & Lock #2-4. You will not be able to get these collectibles until you reach the Backwaters area.
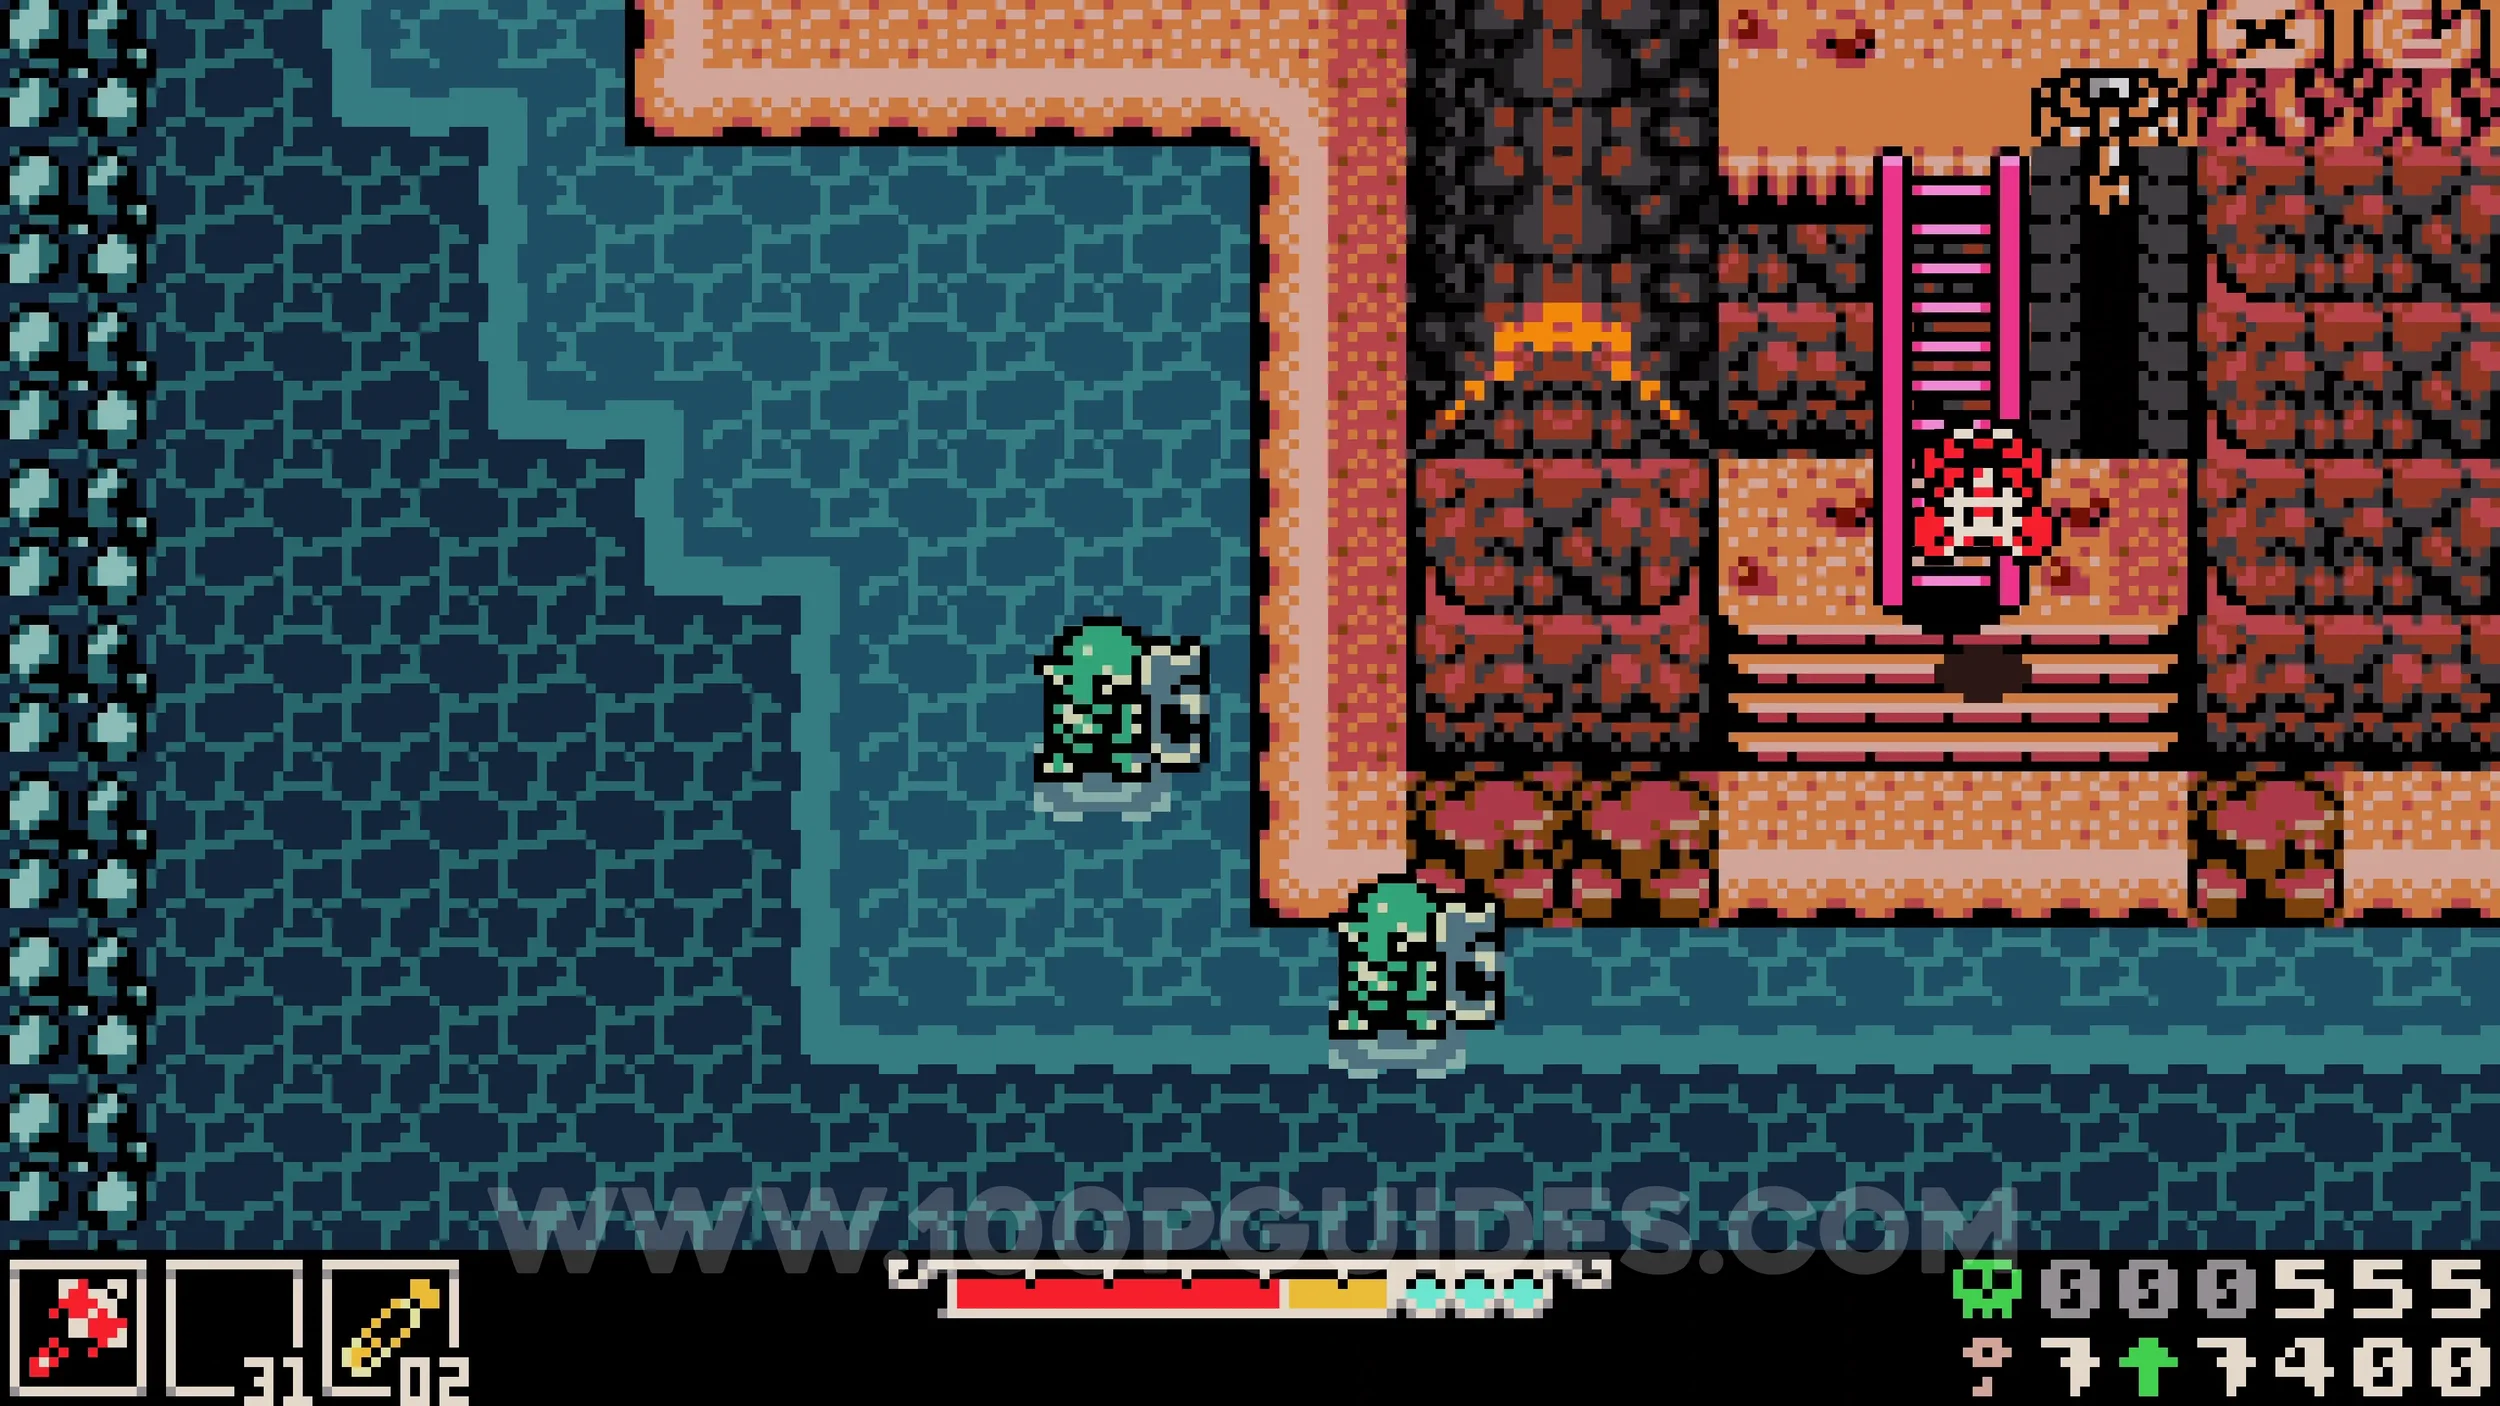
Once there, look for a reddish path heading right at the bottom right of the first screen, then enter the shop in the next screen. Inside, purchase the rightmost item to make the NPC move the ladder to that side. Exit the shop and continue right until you can enter through the back entrance. Inside, burrow under the ladder and emerge beneath it to pick it up, then carry it back out through the rear entrance.
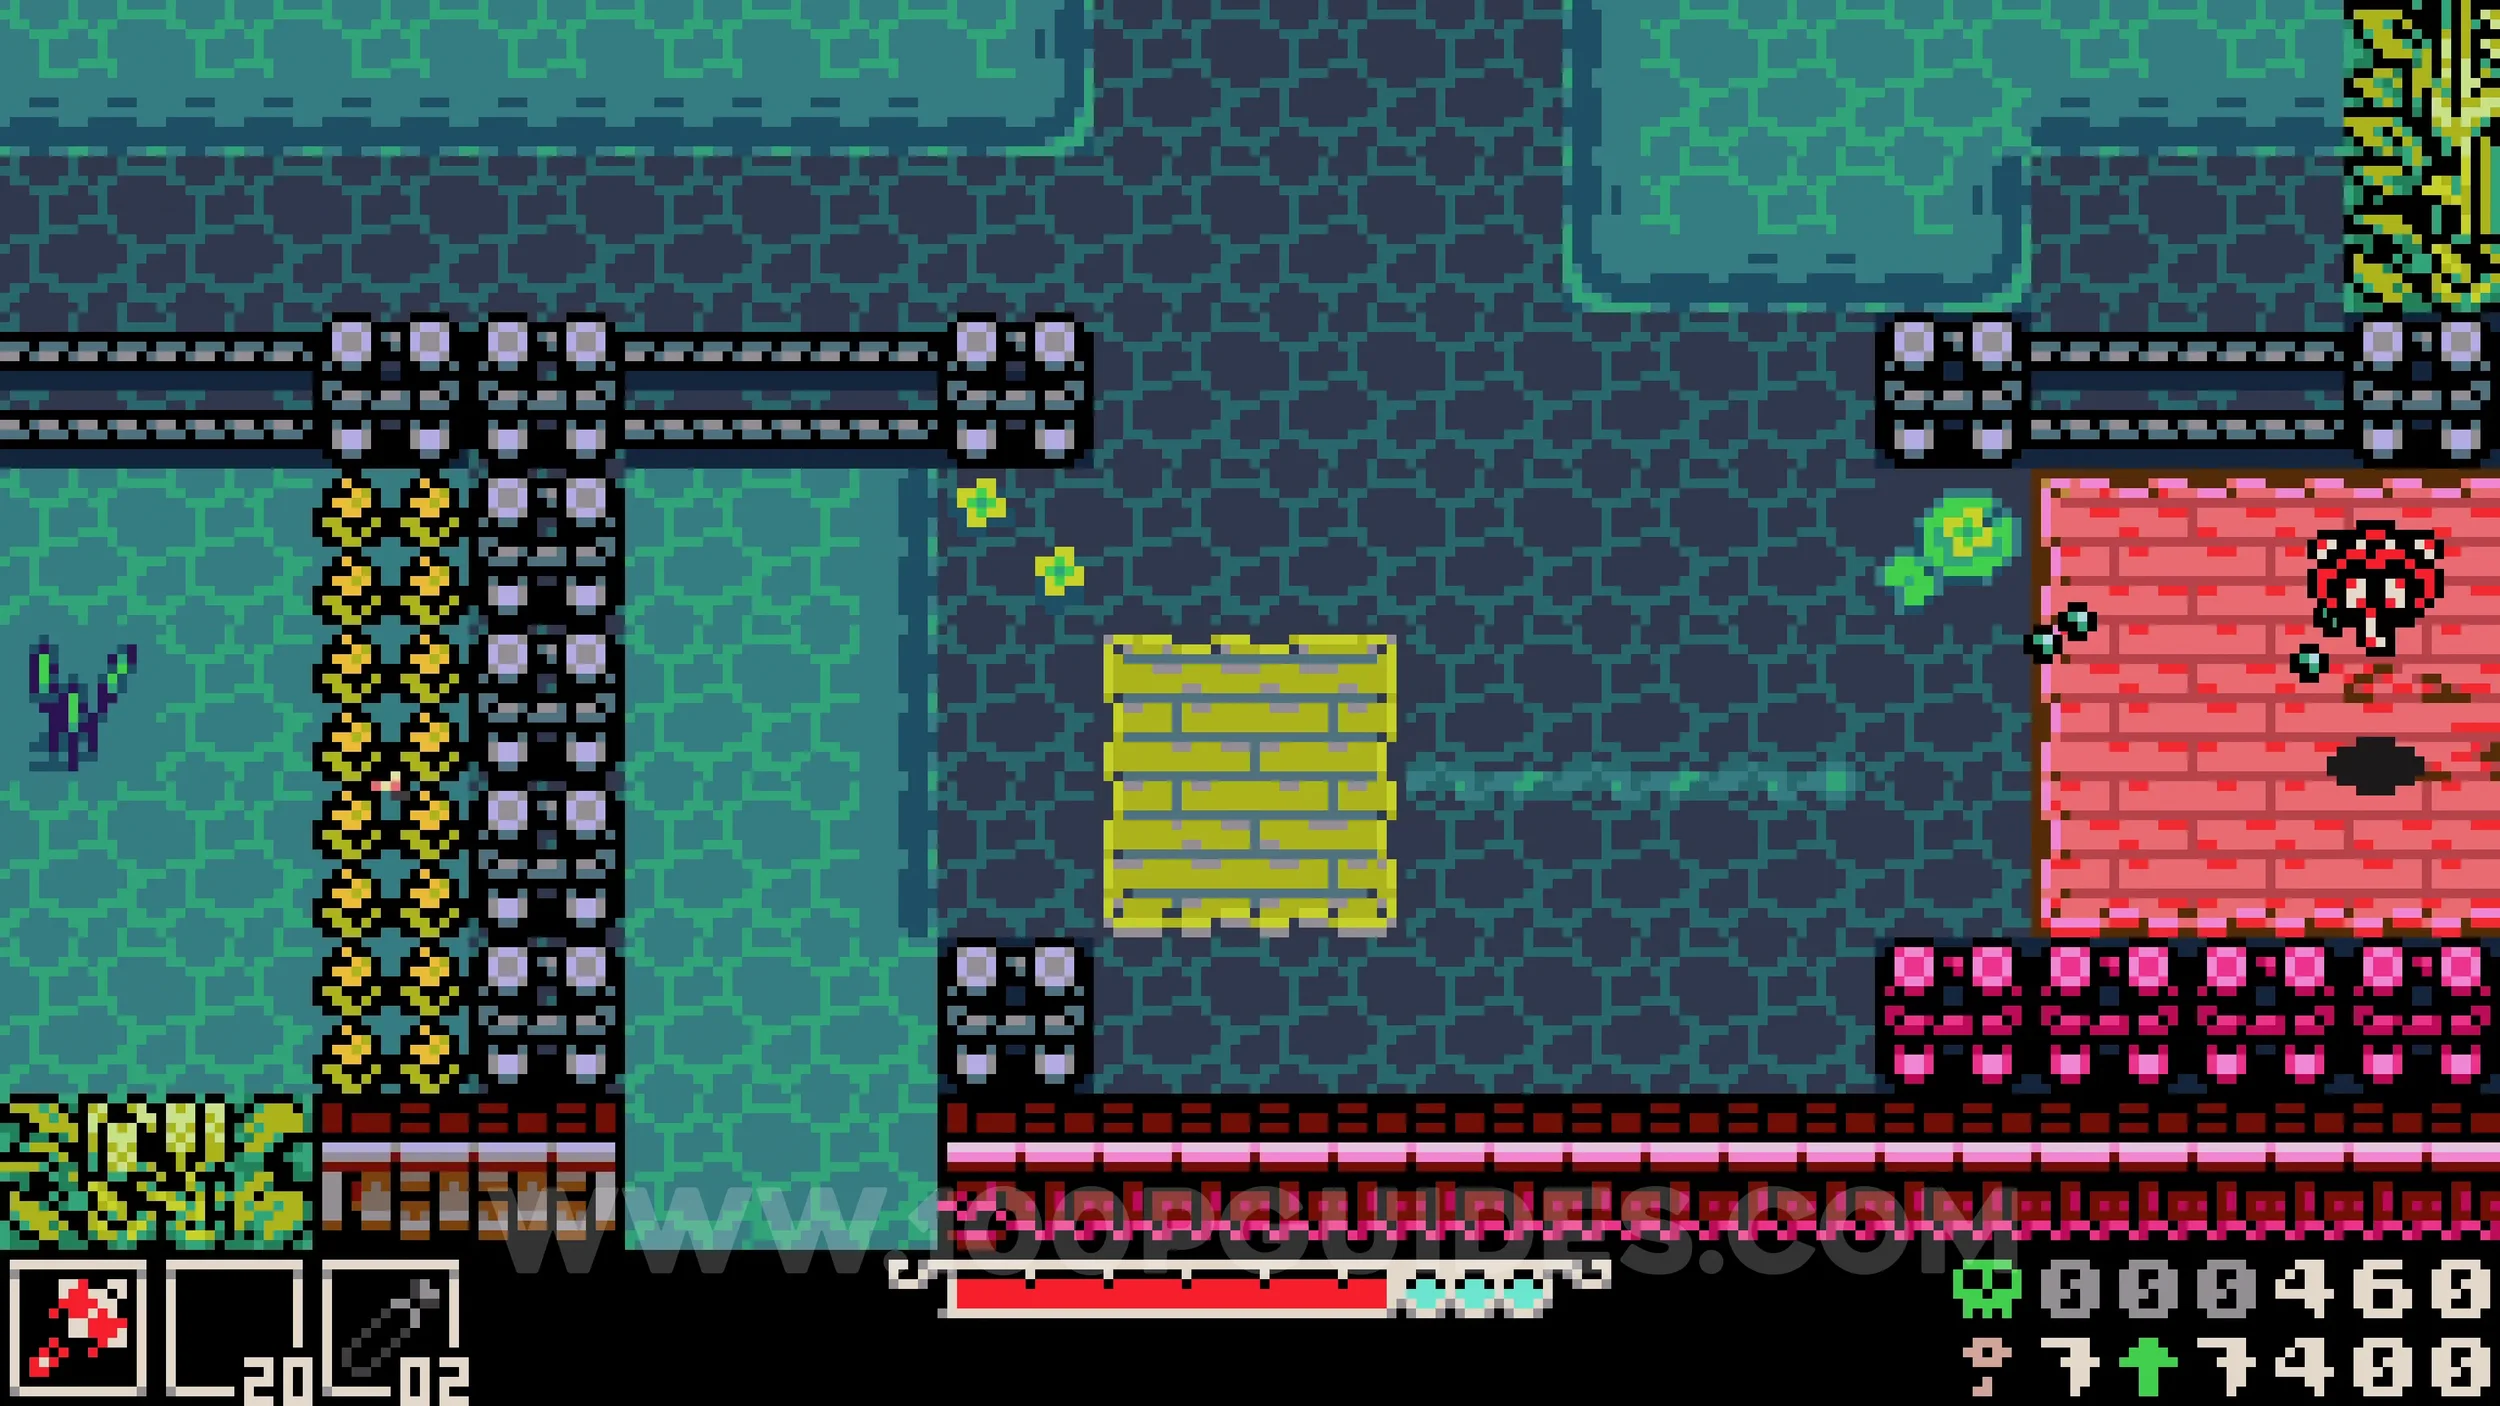
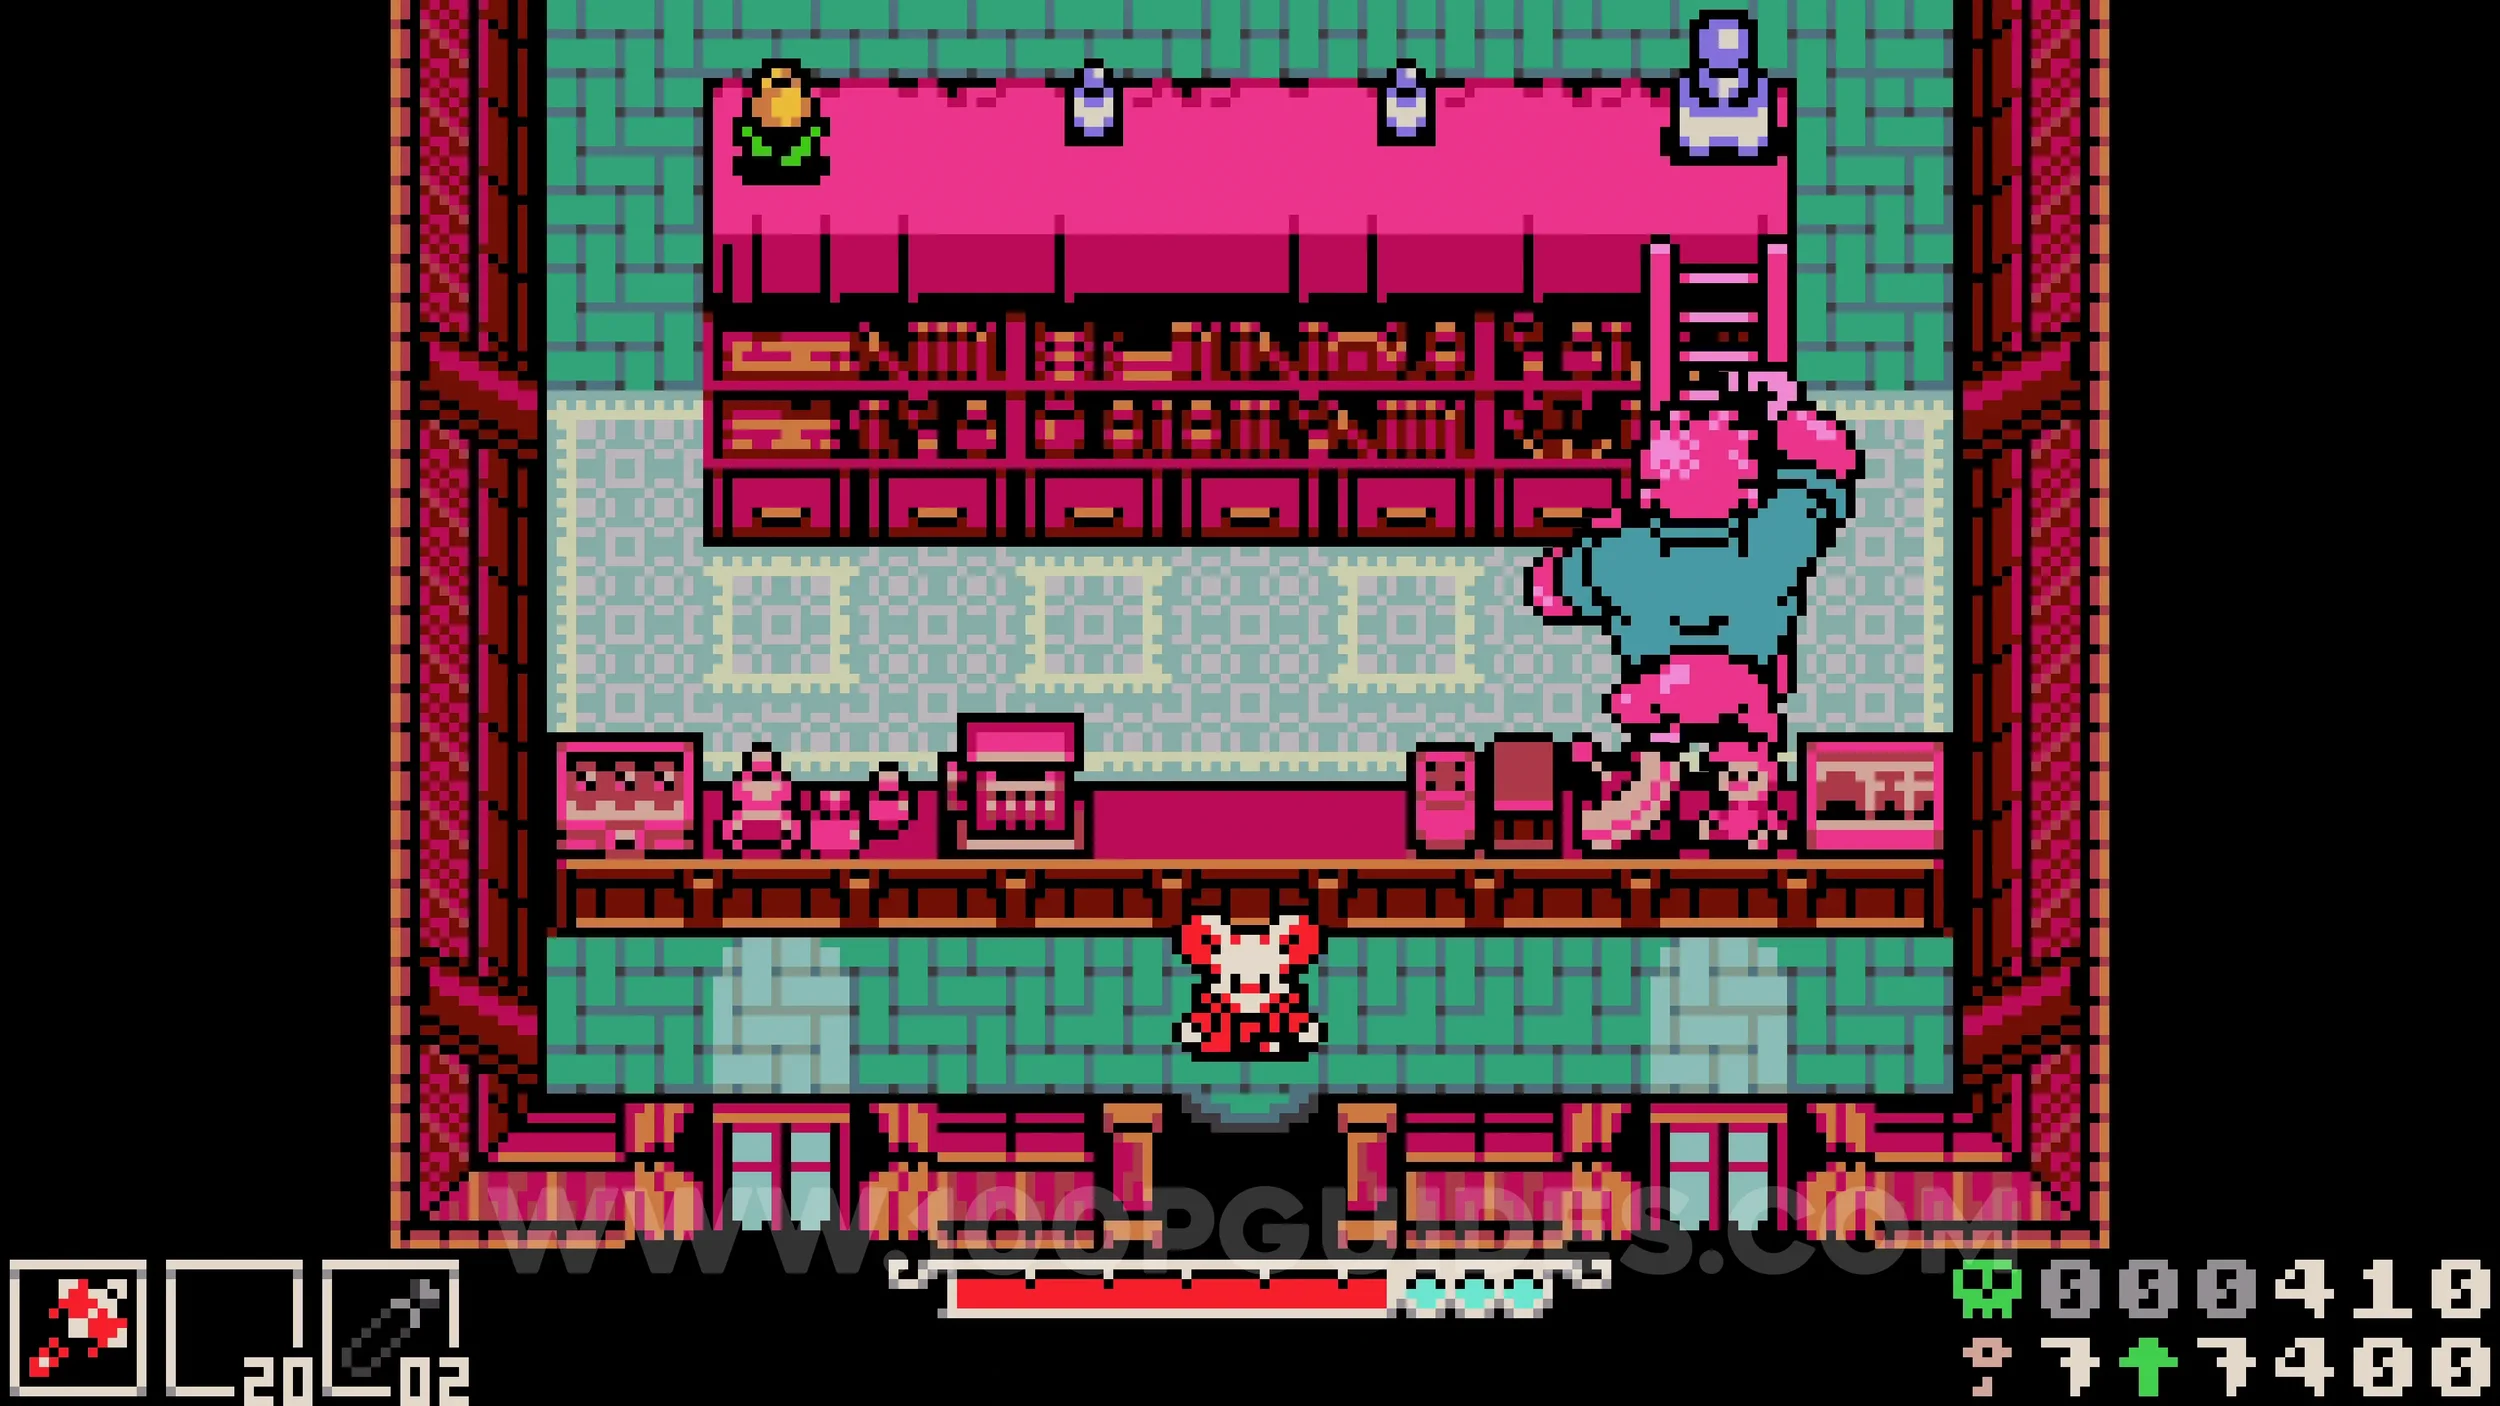
Ride one of the moving platforms and throw the ladder across the gap on the right, then jump across the smaller gap below and pick the ladder up again. In the next screen, throw the ladder across the gap at the bottom, go around the top, and burrow under the obstacle to pick it up again. Repeat this one more time to reach the main area.
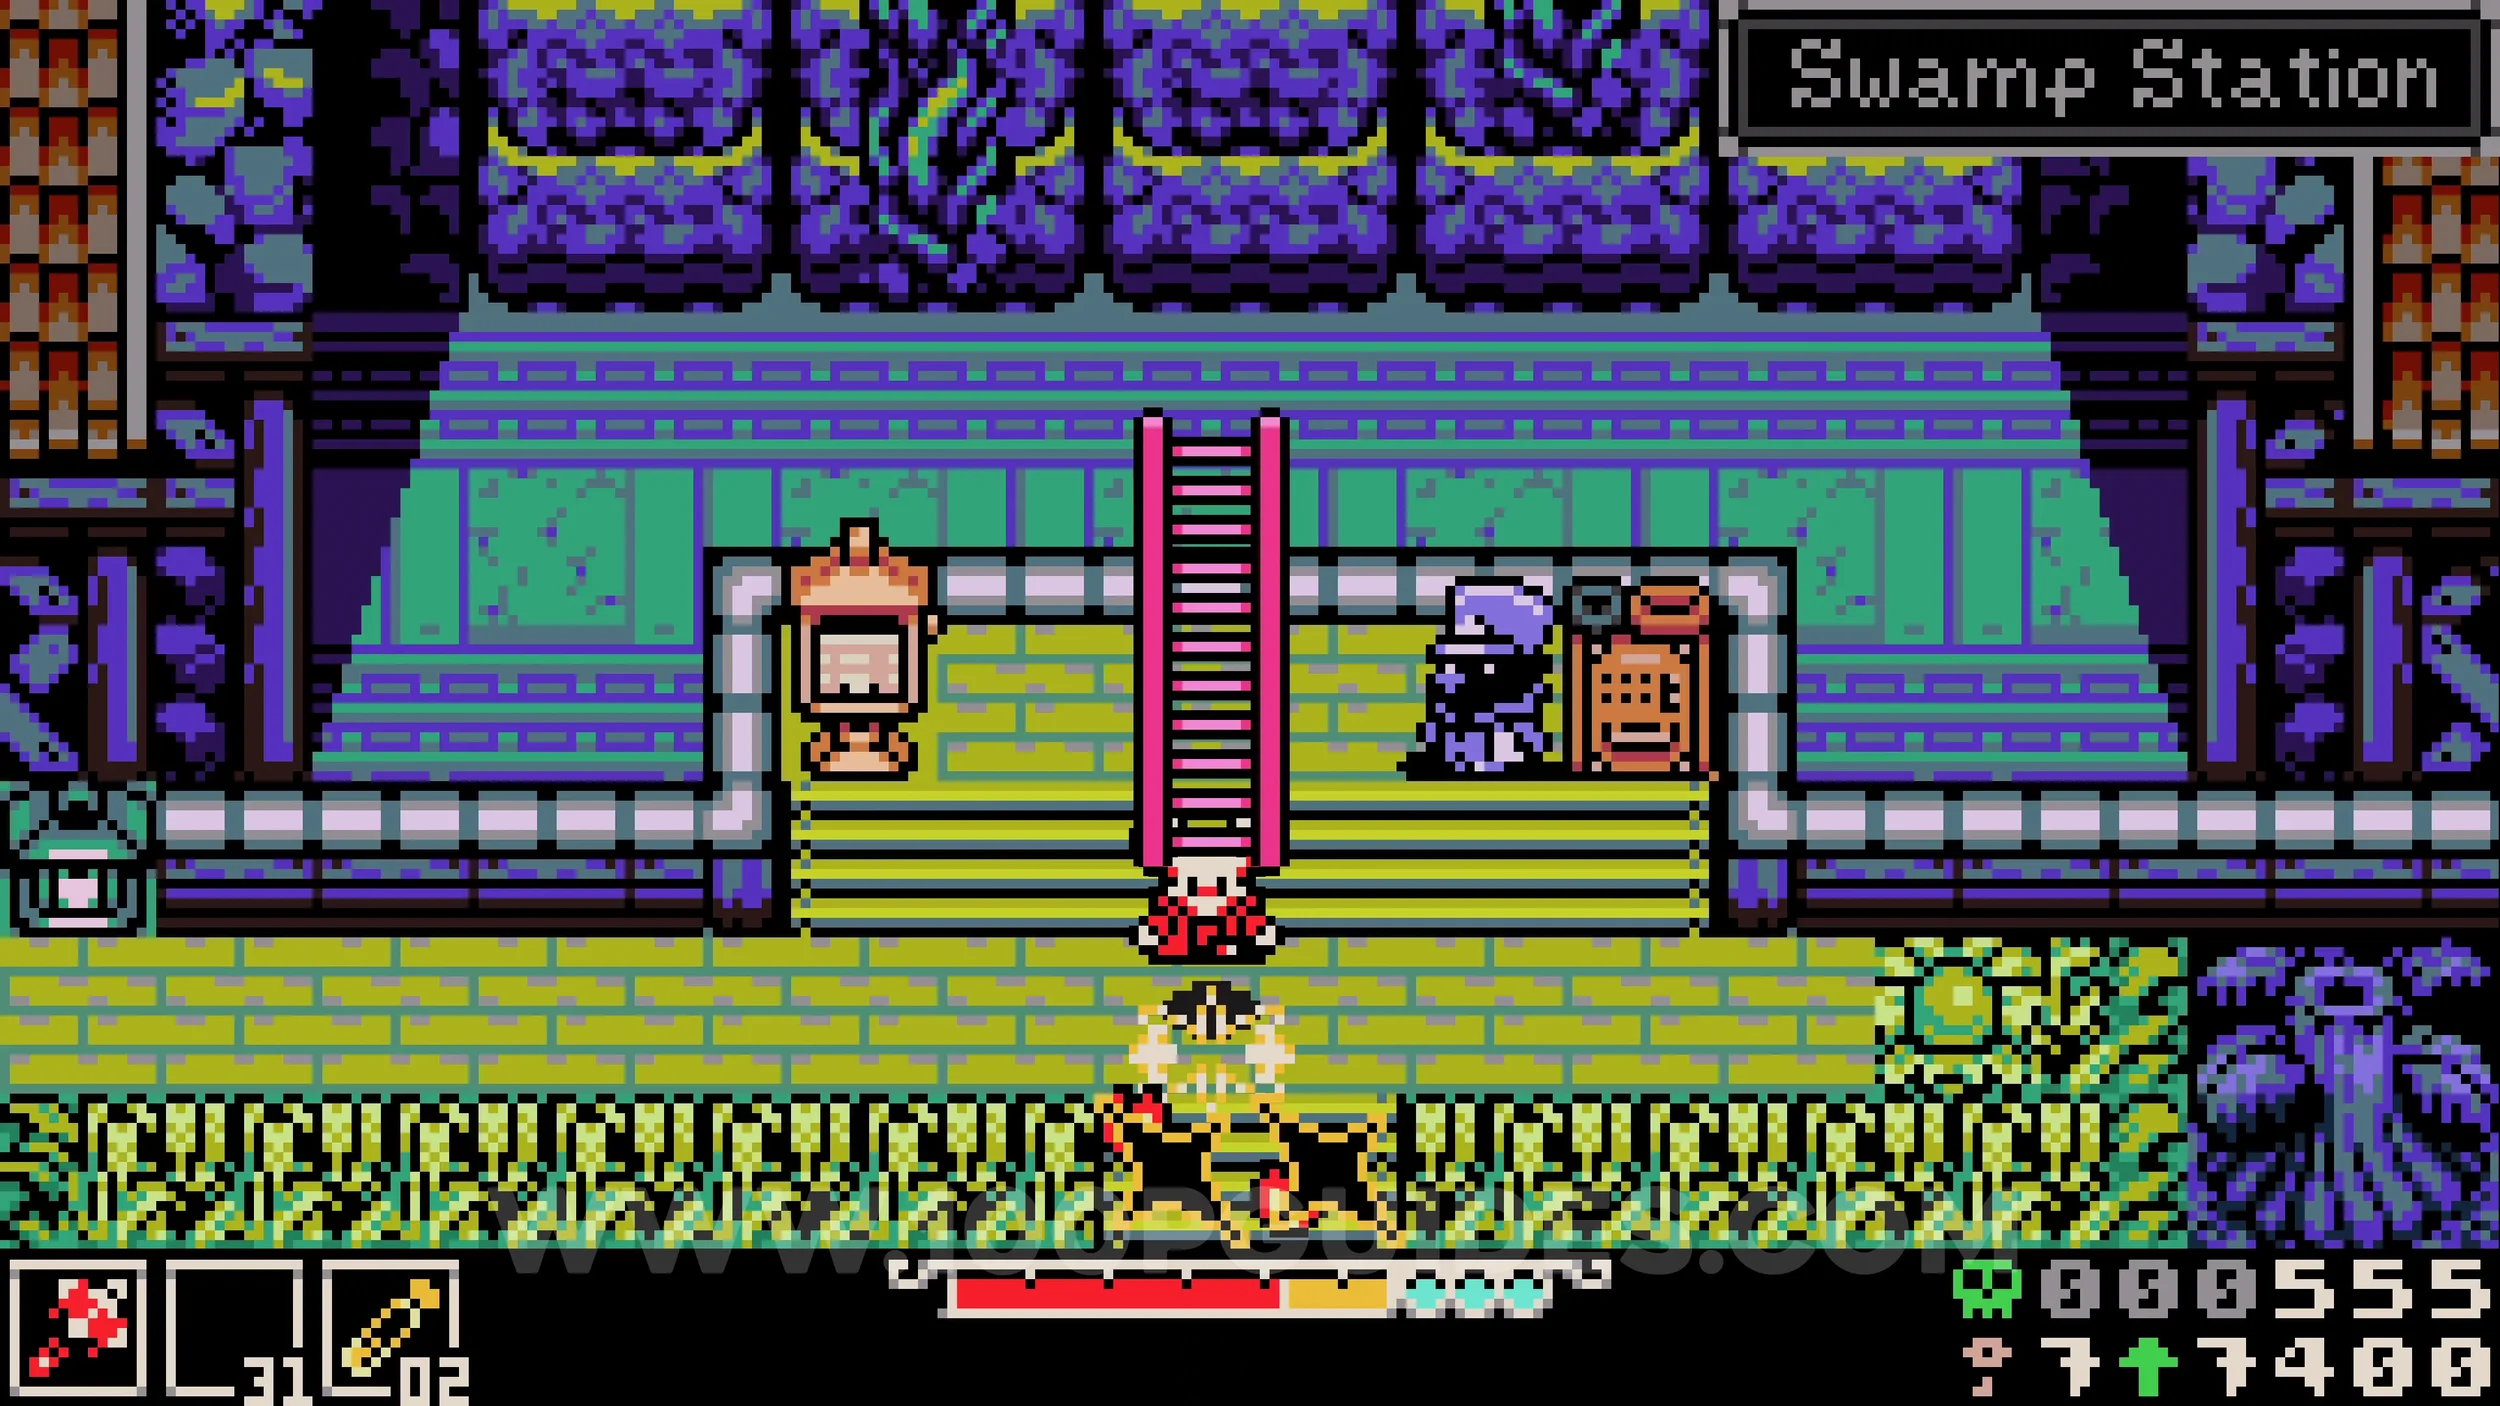
From here, ride the platforms down to the next screen. At the bottom right, a path leads right to the train station. At the train station, break the flowers along the bottom of the screen to reveal a secret path back to the boat in Loner's Landing from the start of the game.
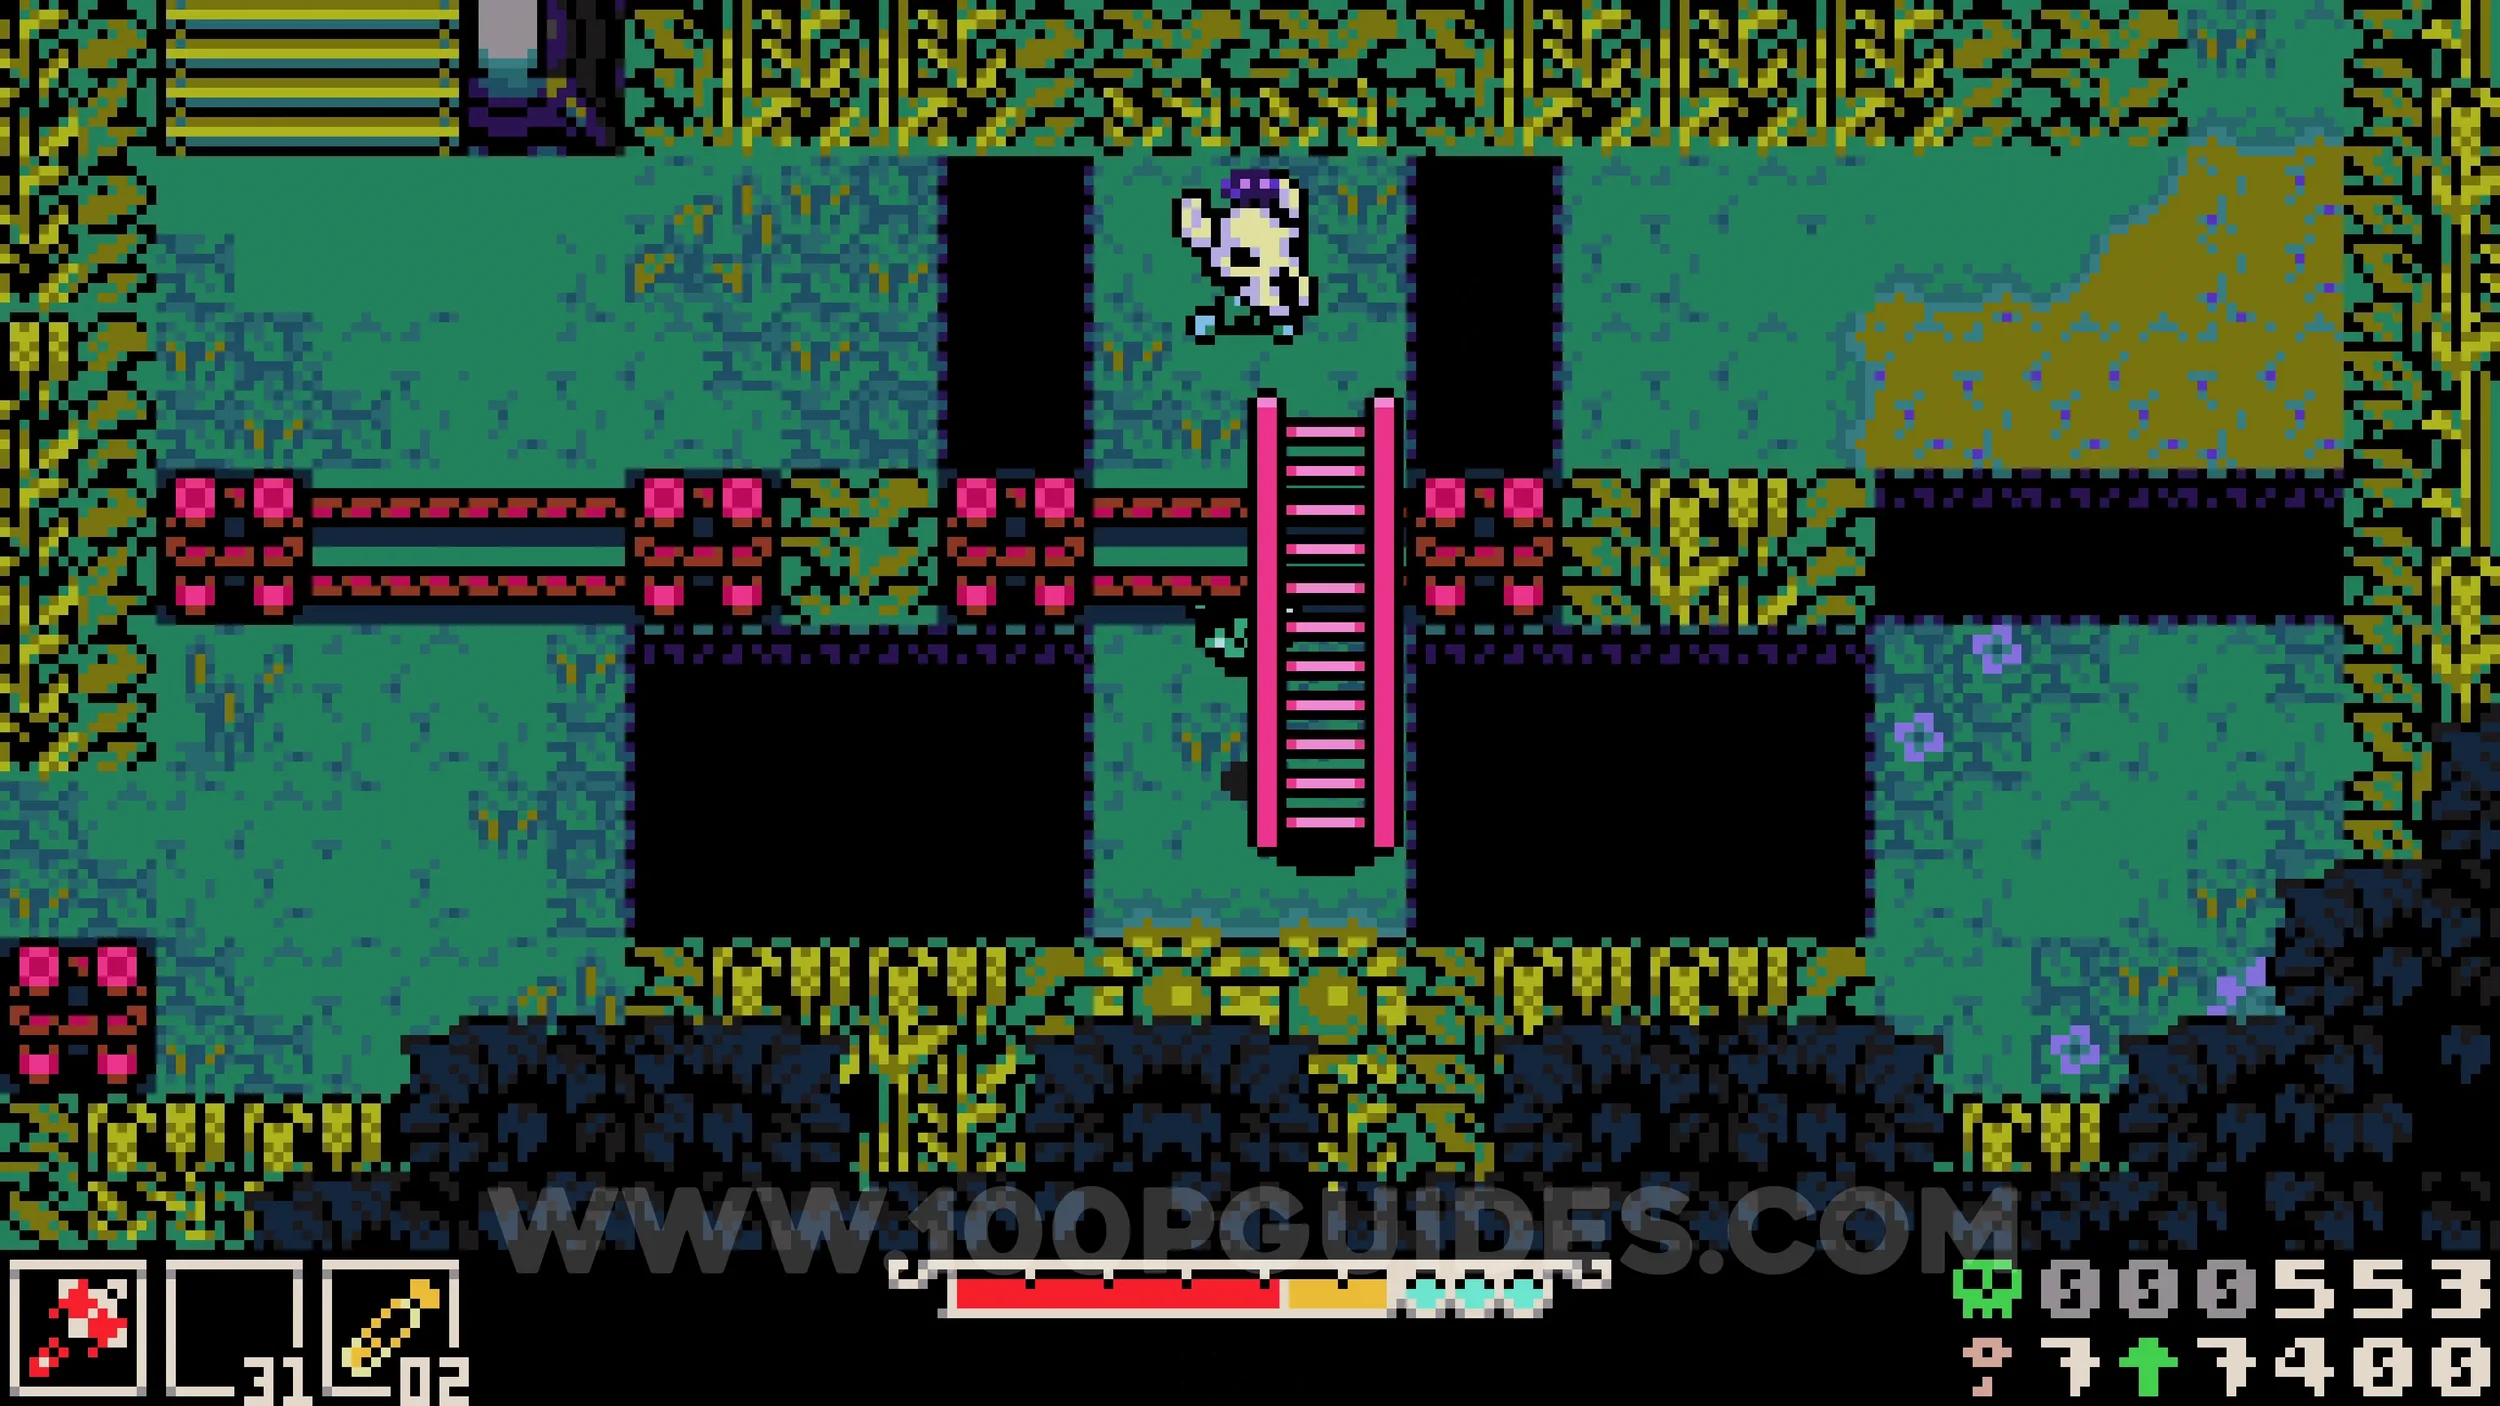
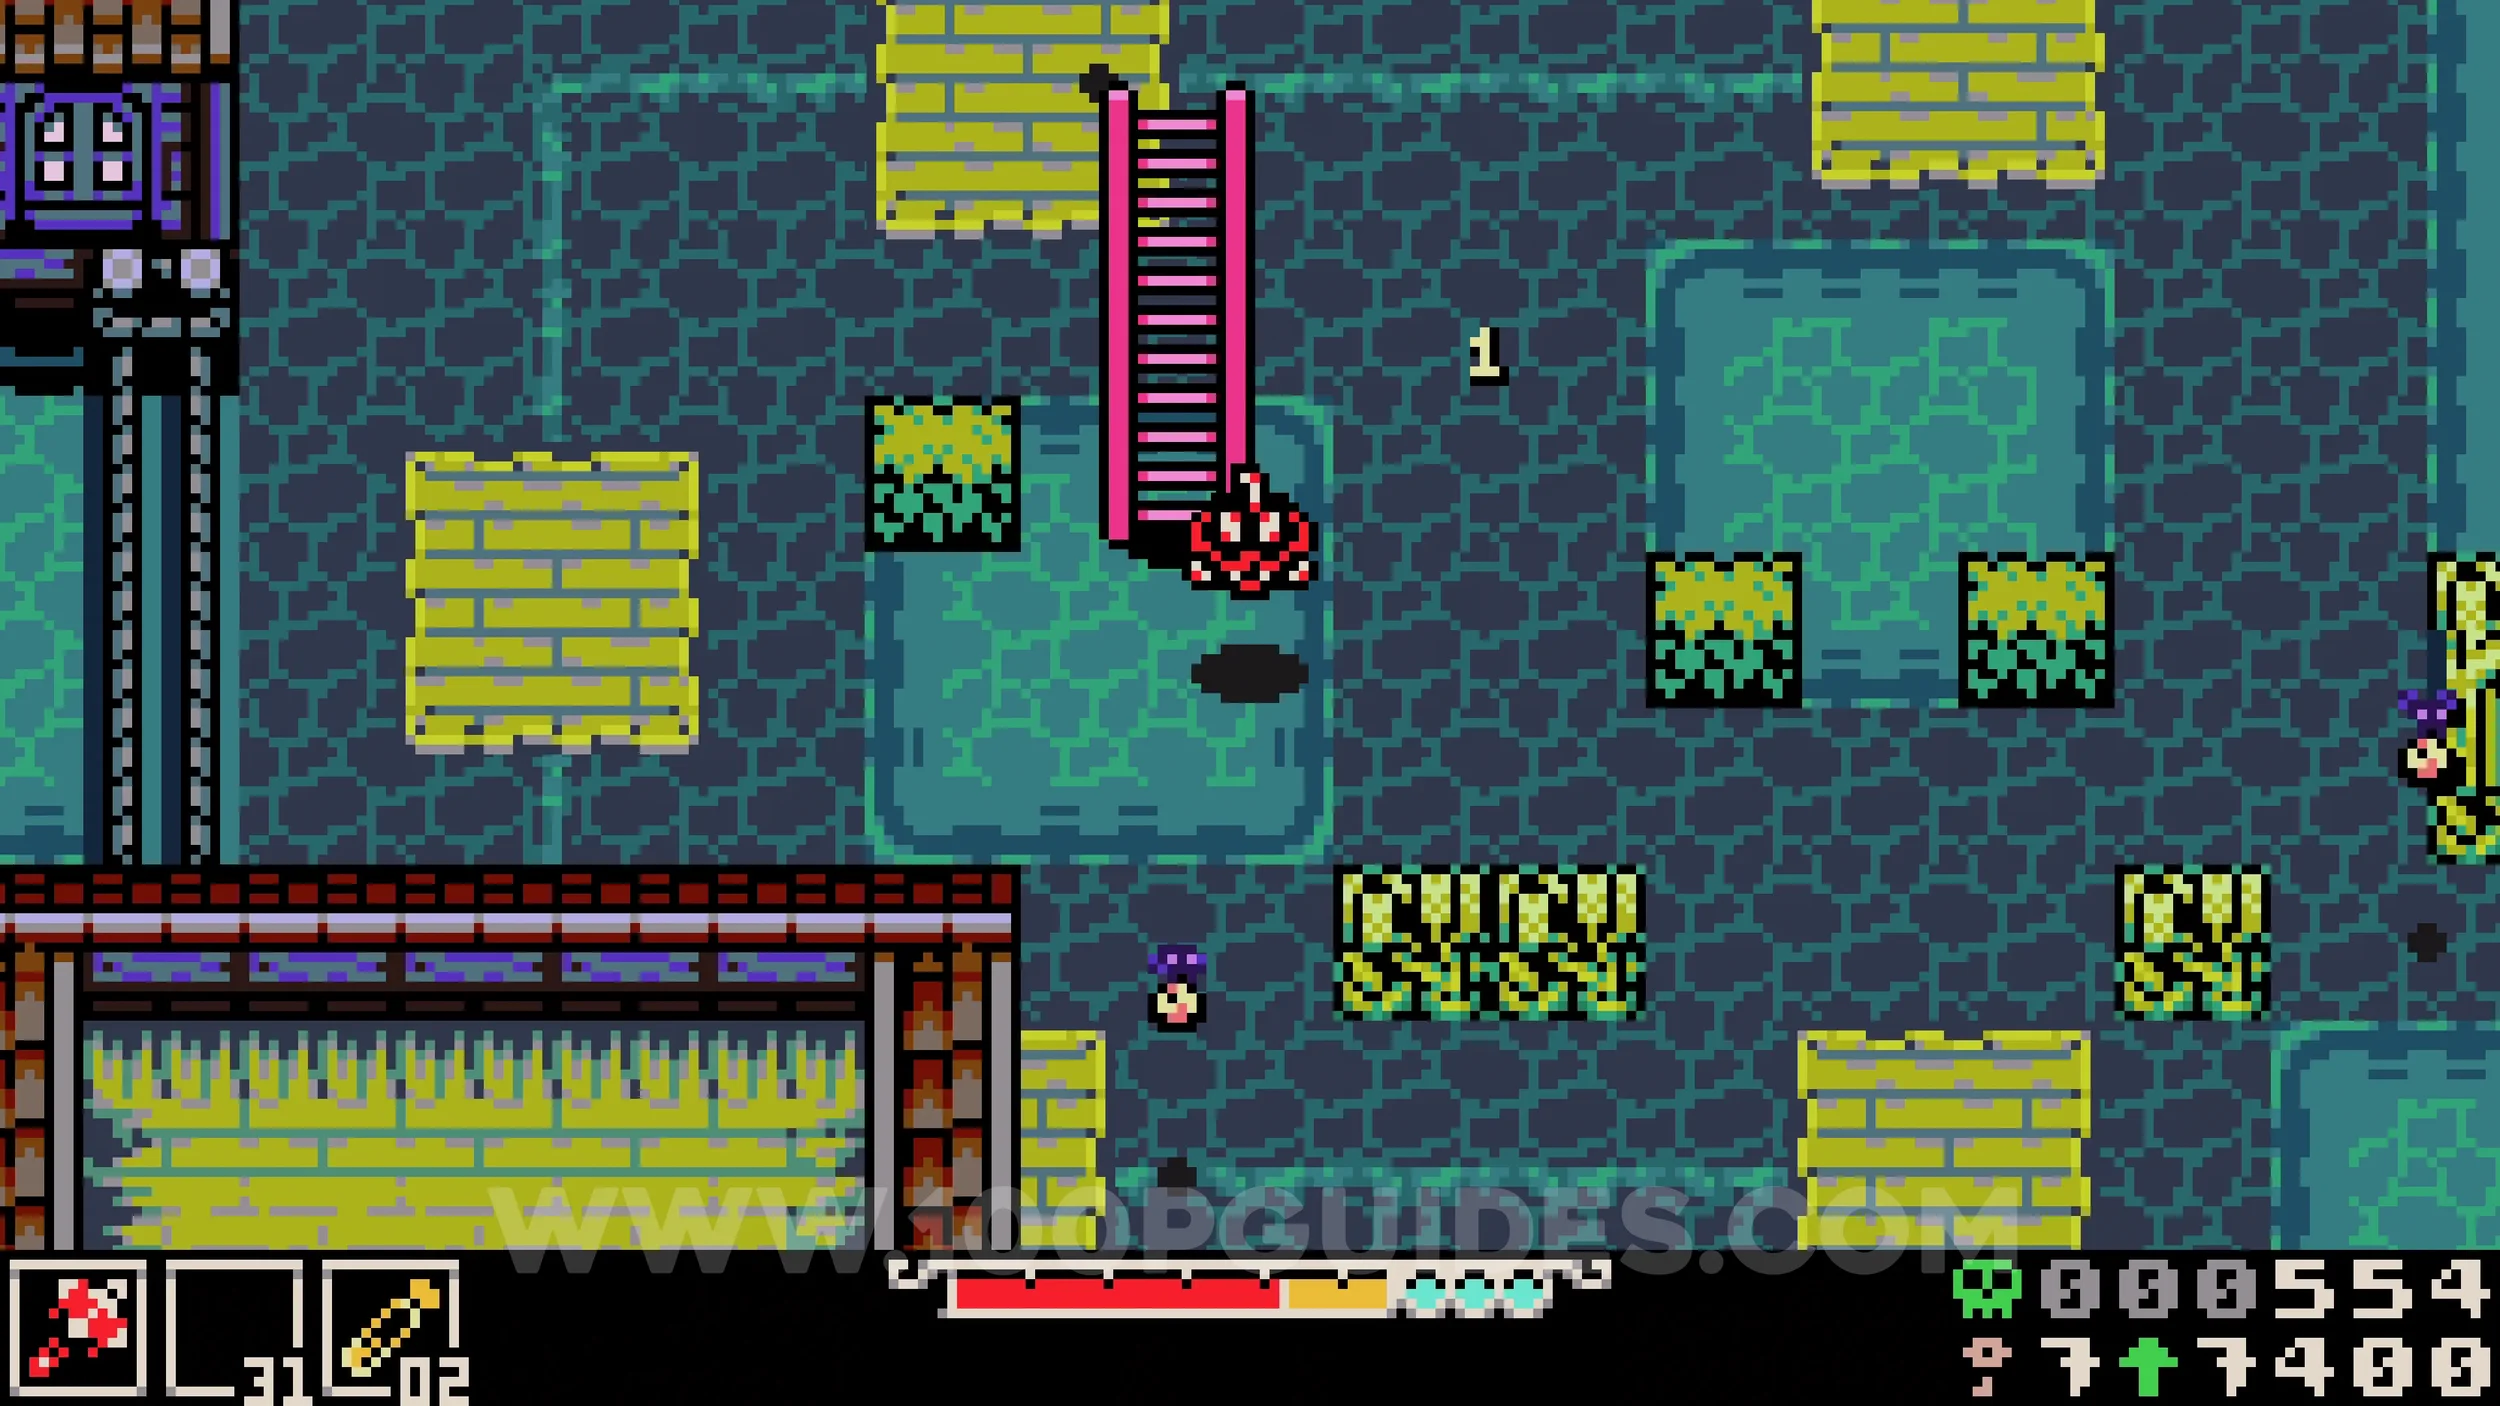
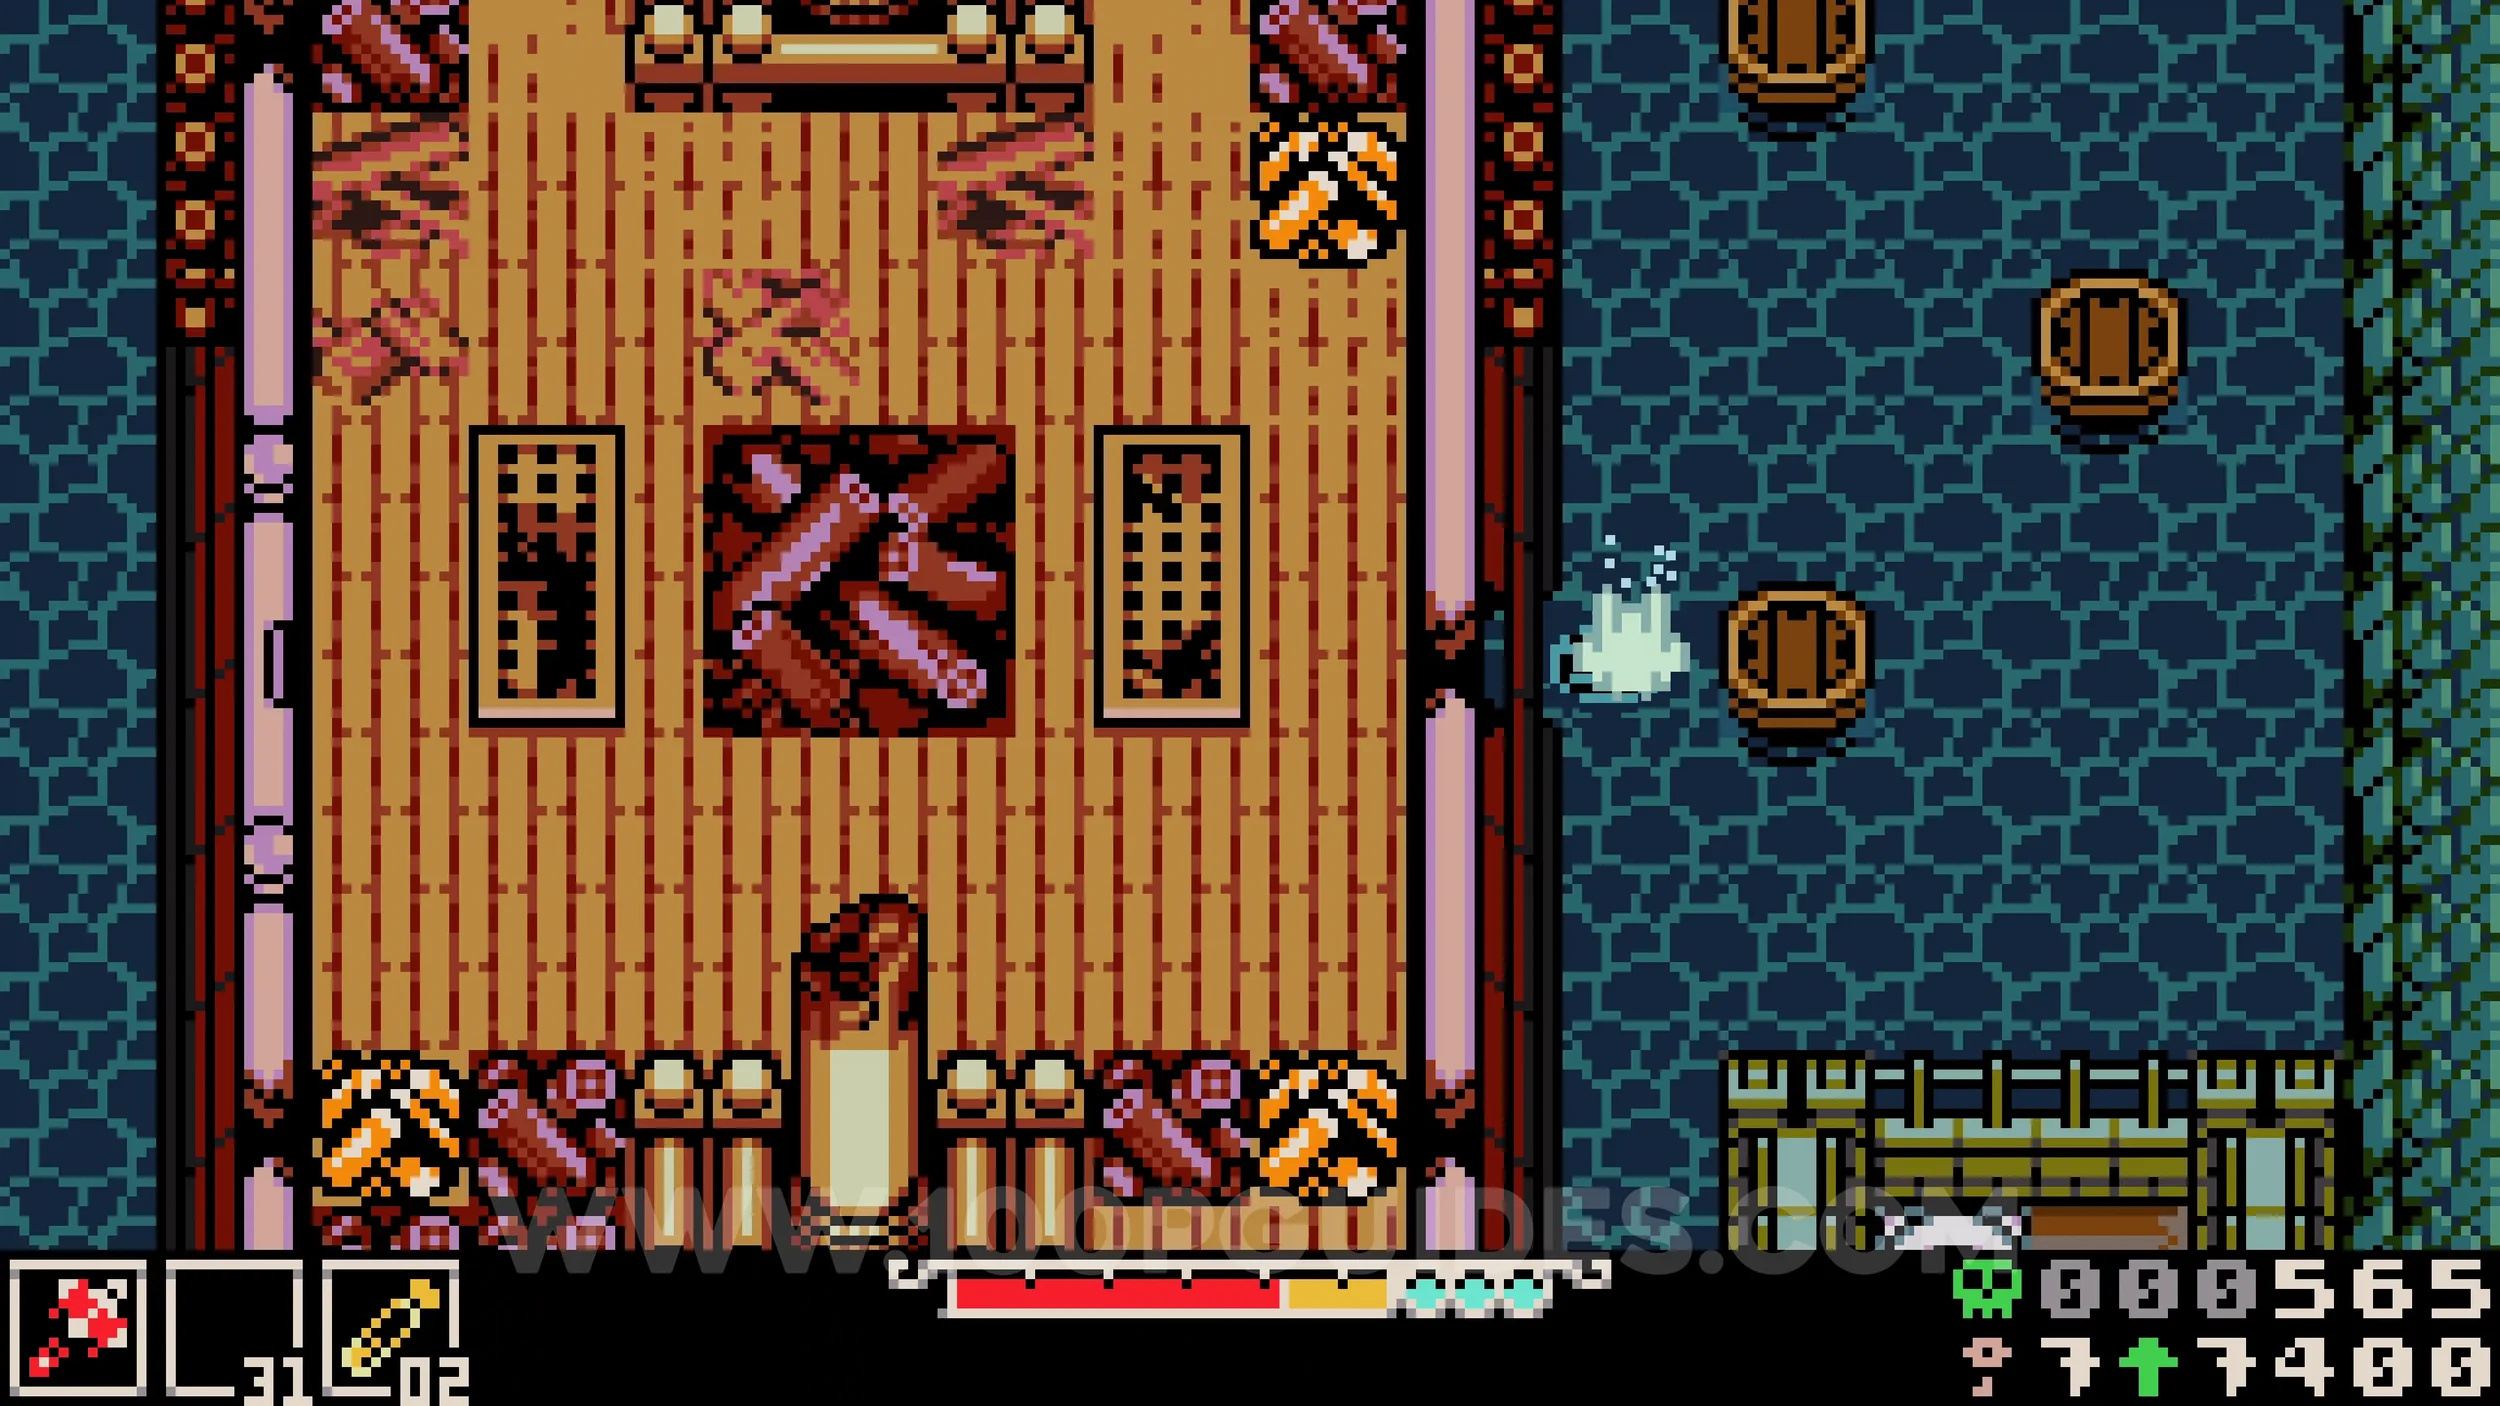
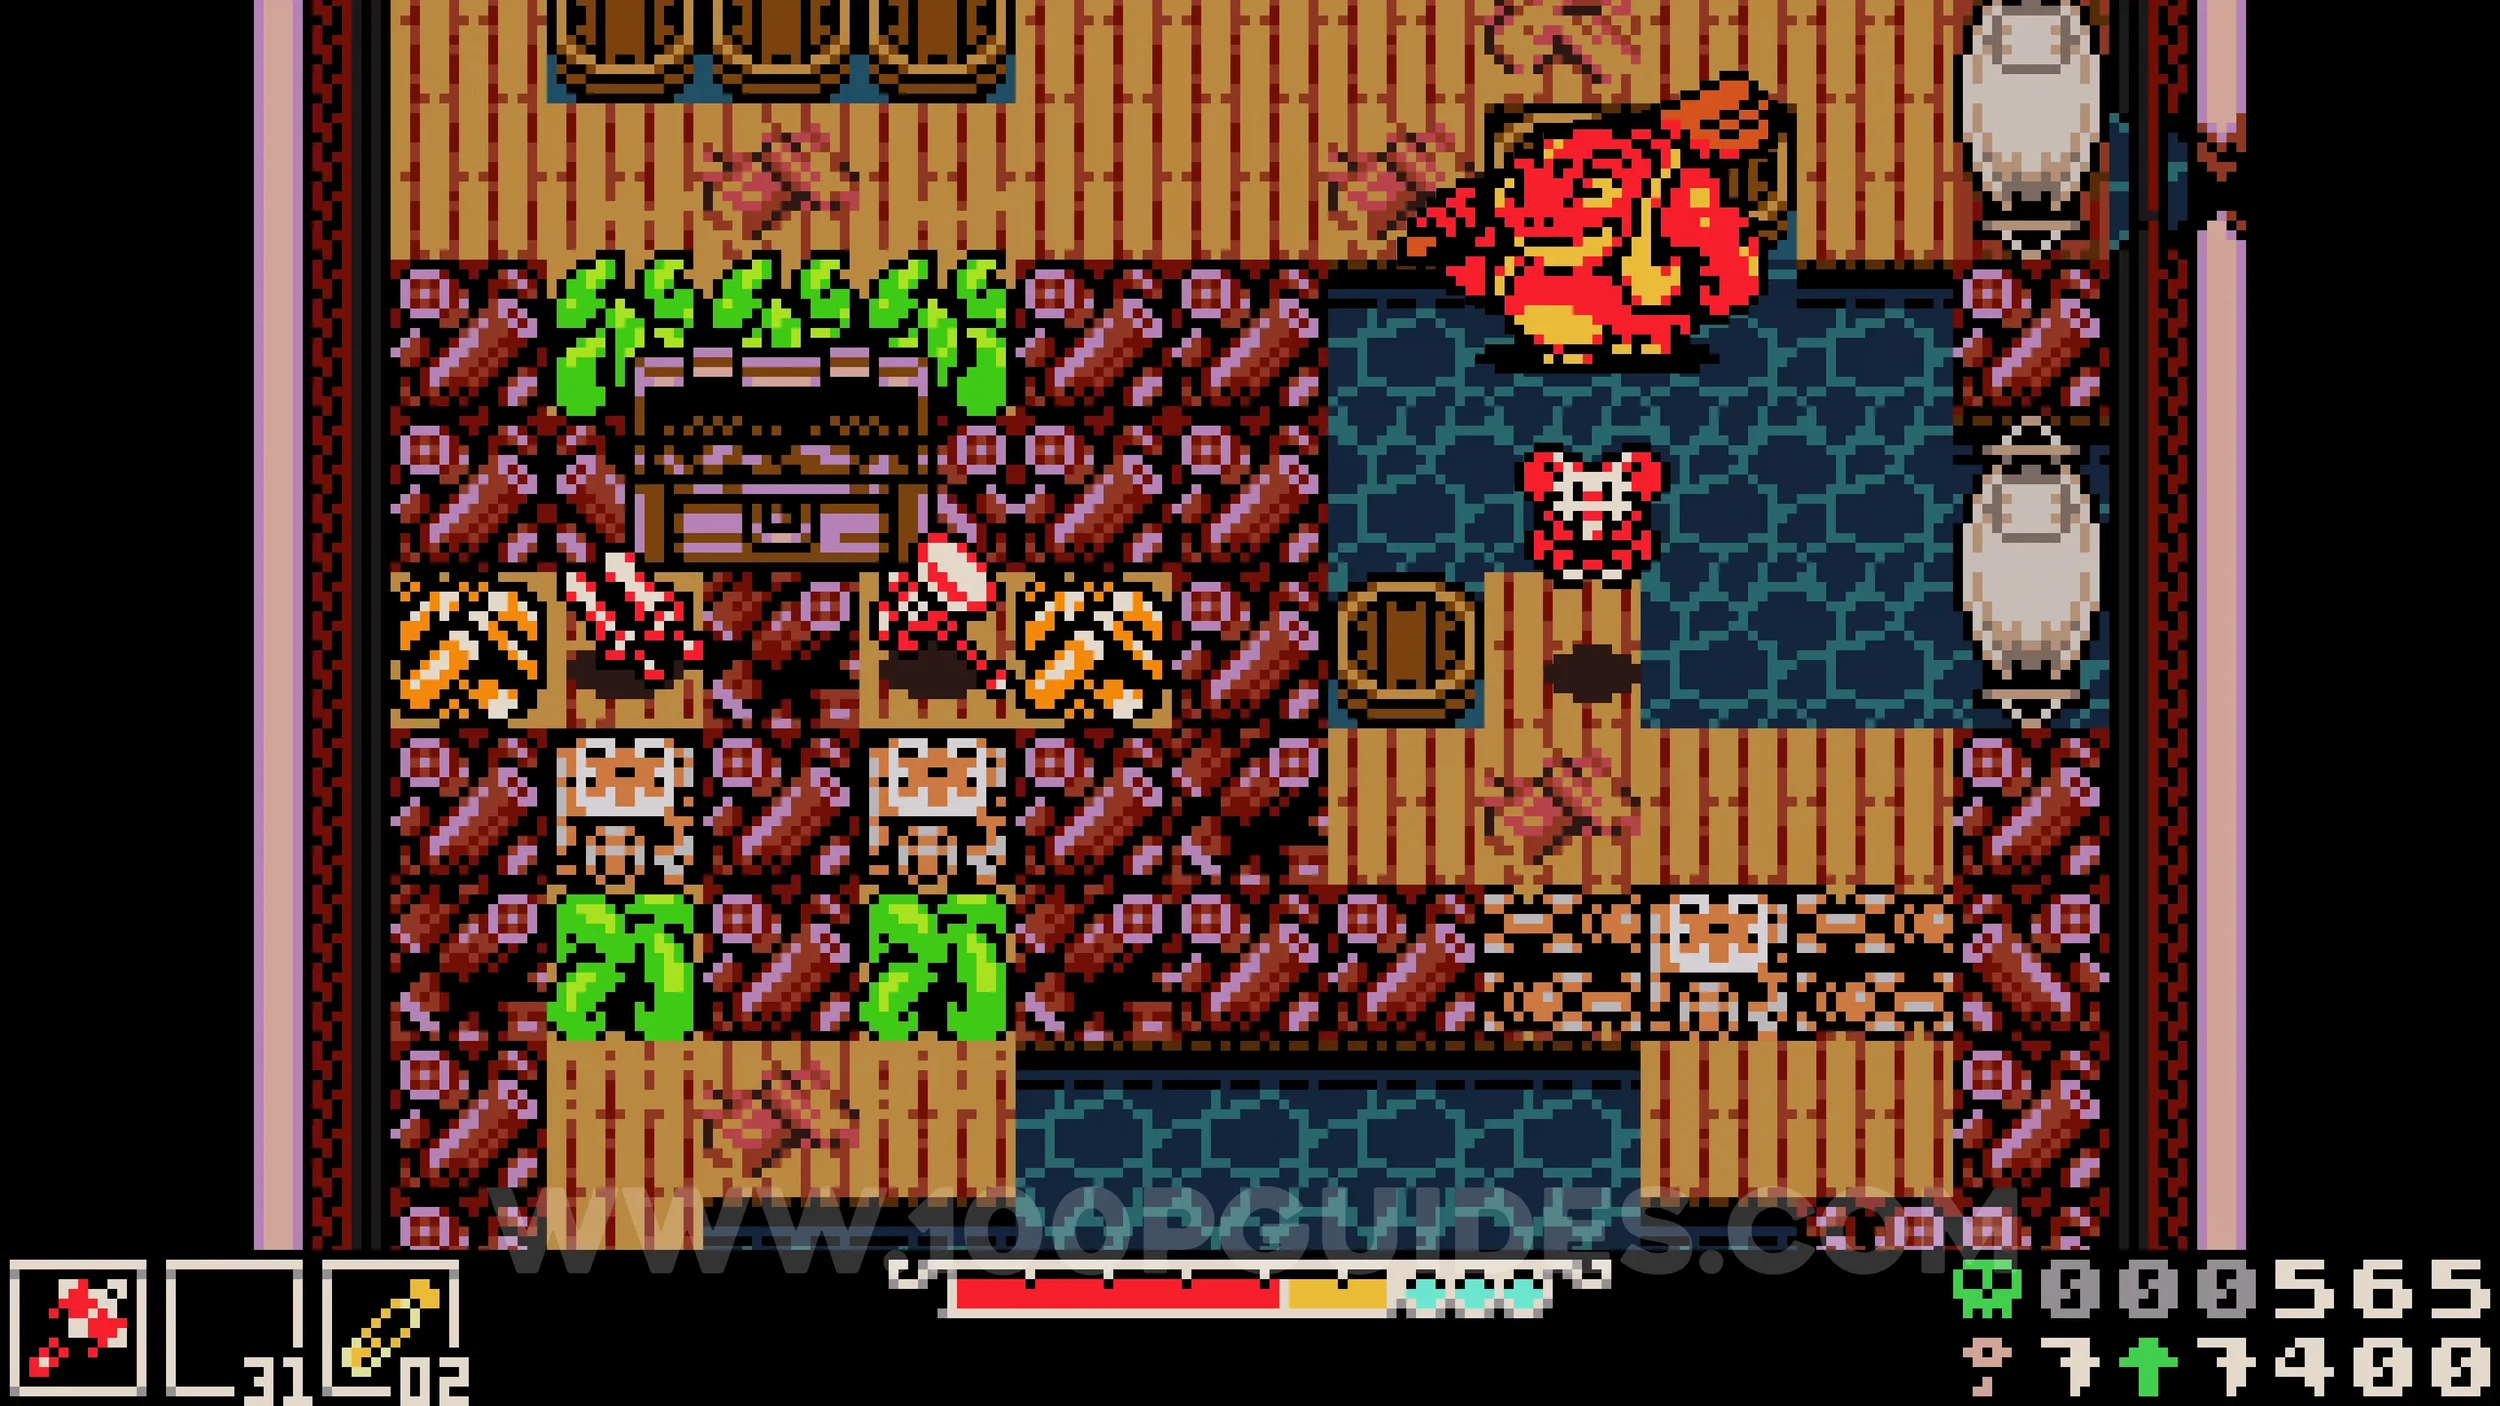
In this area, use the ladder to climb up to the ledge where the rope is, then continue right until you reach some water. Burrow through the small destroyed entrance to get inside the boat, where you will find the collectibles. Note that you will need 3 keys to open the locks. To reach the weapons, hit the plants above them and quickly go around the right side to grab them before the plants regrow.
Fish #1. To fish you will need the fishing rod, which can be found in Backwaters. Head down to the second screen and take the path going right at the top right of the area. You will need a key to open the block blocking the way. A short cutscene will then play showing an NPC being eaten by a giant fish, after which you can pick up the fishing rod. If you ever lose it, destroy the candles next to the Underlab entrance in the same area to get it back.
The fish collectible for Loner's Landing can be caught inside the boat where you found the previous collectibles. It will always be the first thing you catch if you are in the right spot. If it gets away, exit the screen and re-enter to try again.
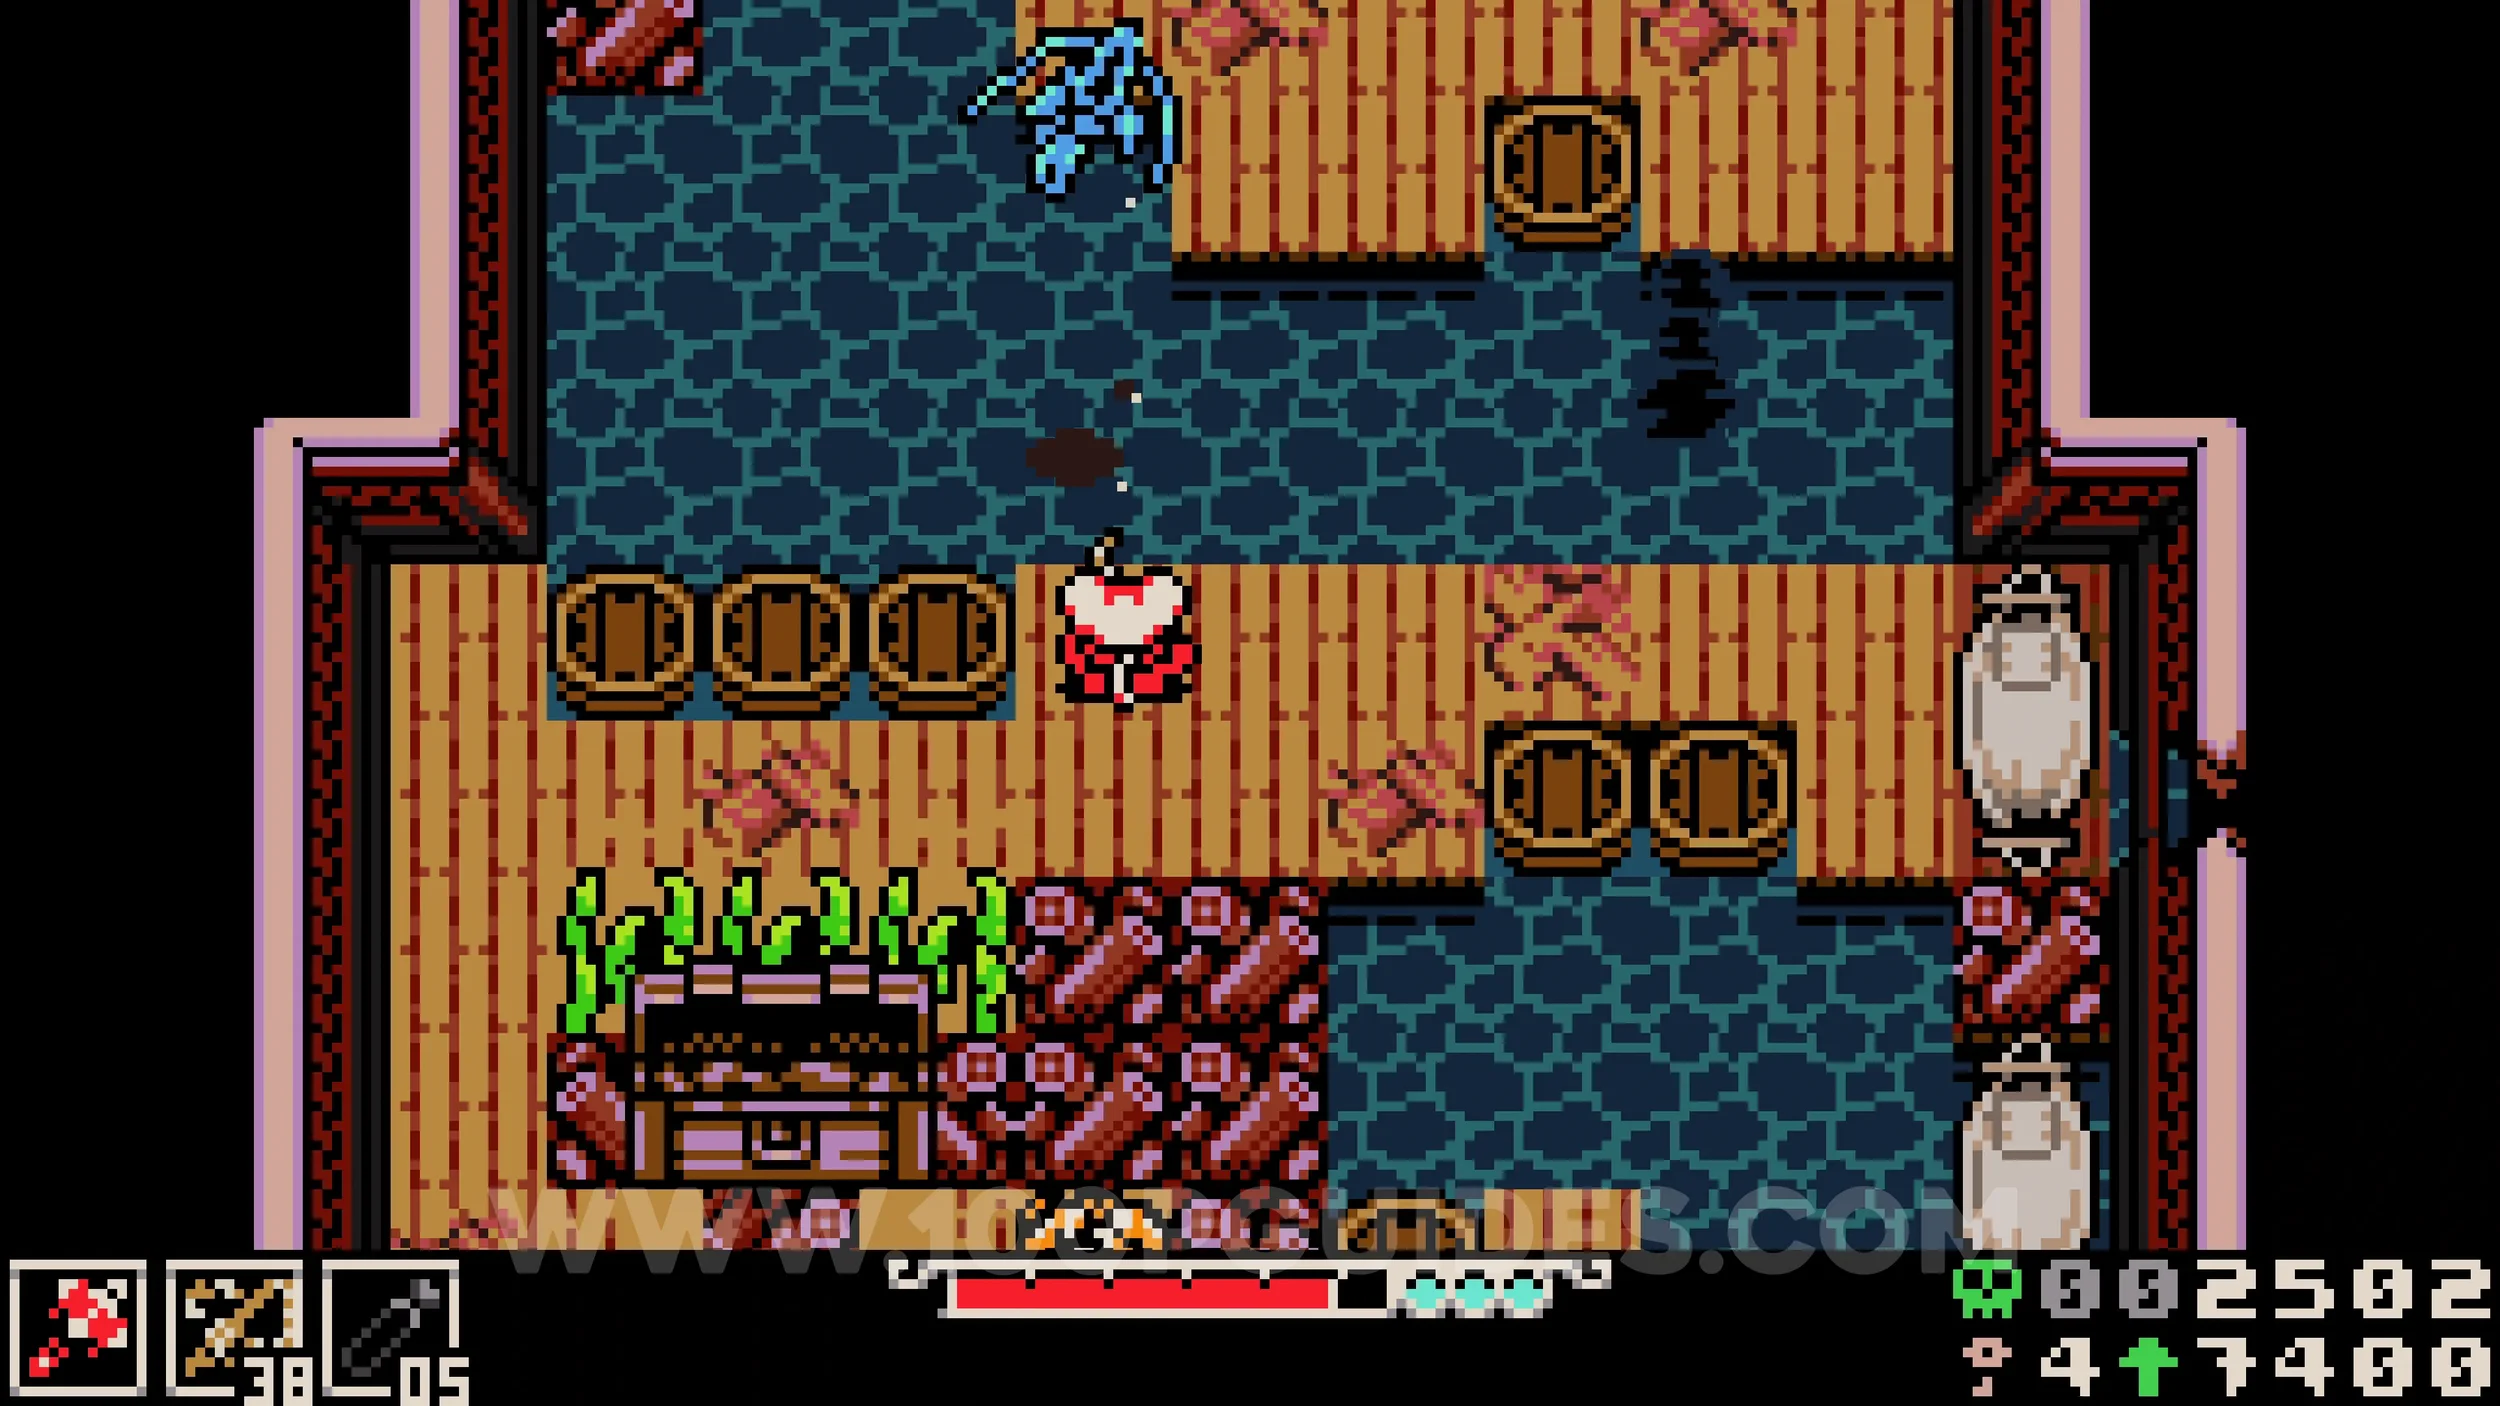
EASTERN HEATH
Bonestone #1. Starting from the northeastern exit of Ossex, enter the first screen of Eastern Heath and immediately head down. Burrow through the barrier at the bottom of the screen to find the chest containing the bonestone. After collecting it, drop down into the small fenced area and destroy the candles to get the axe sidearm. We will need this later.
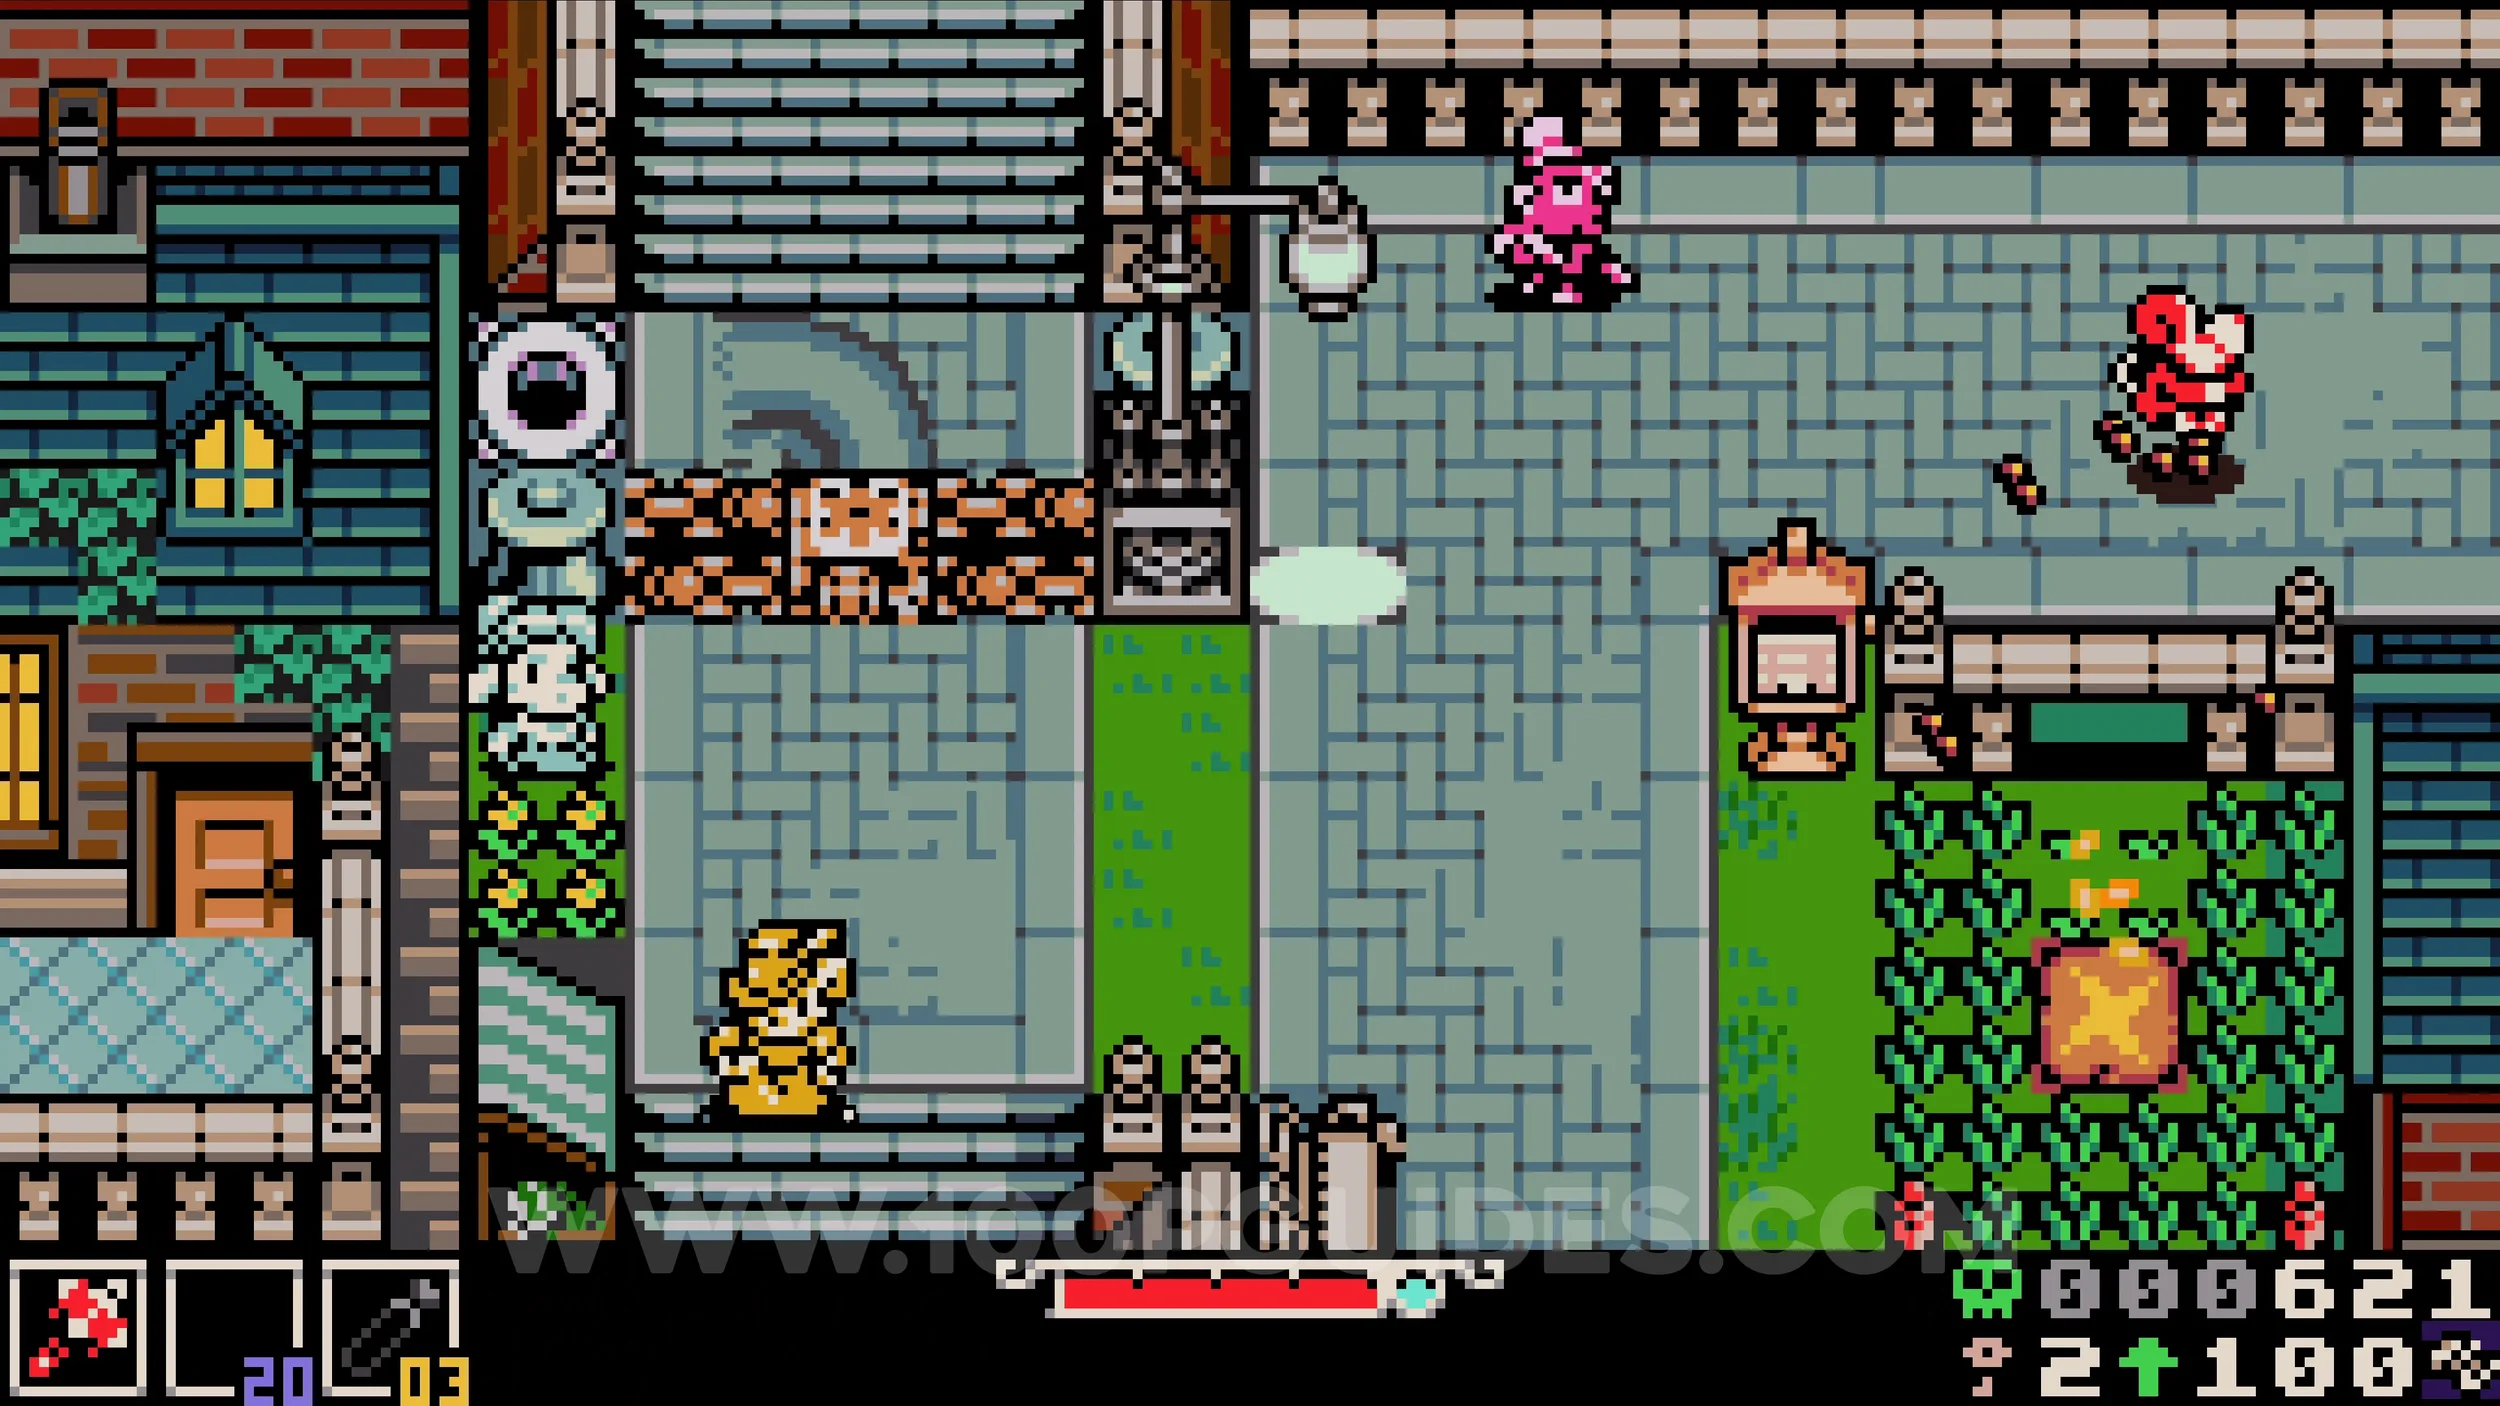
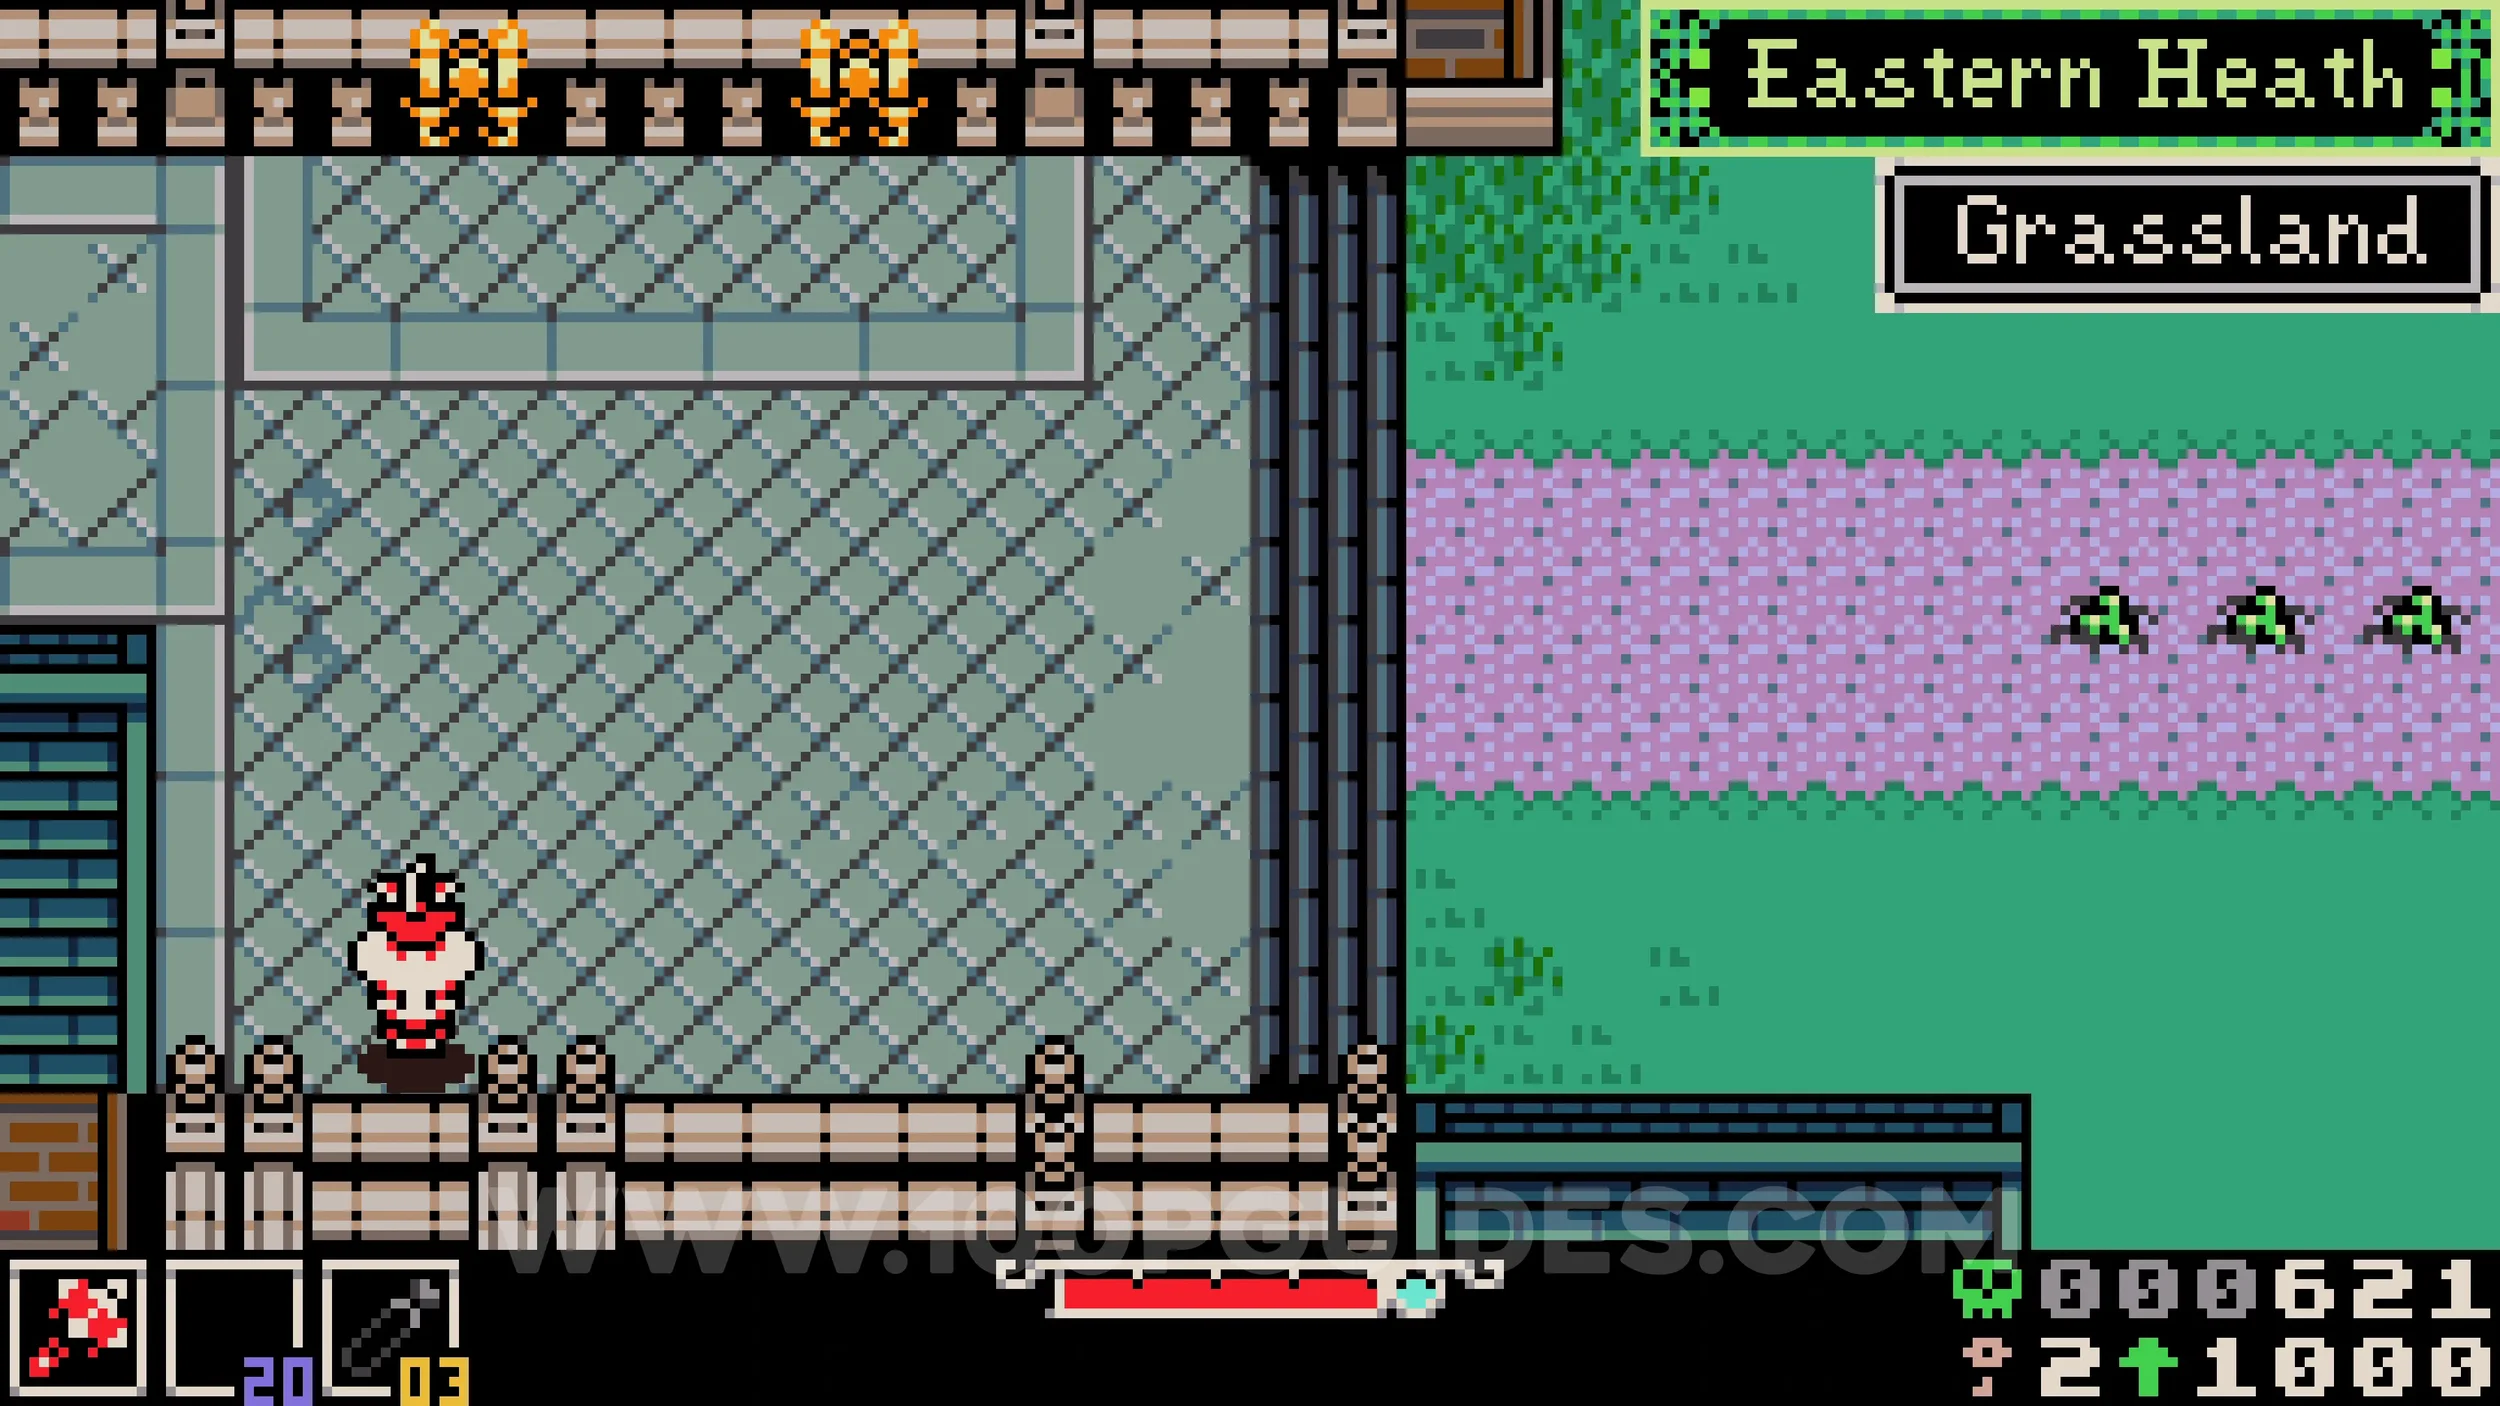
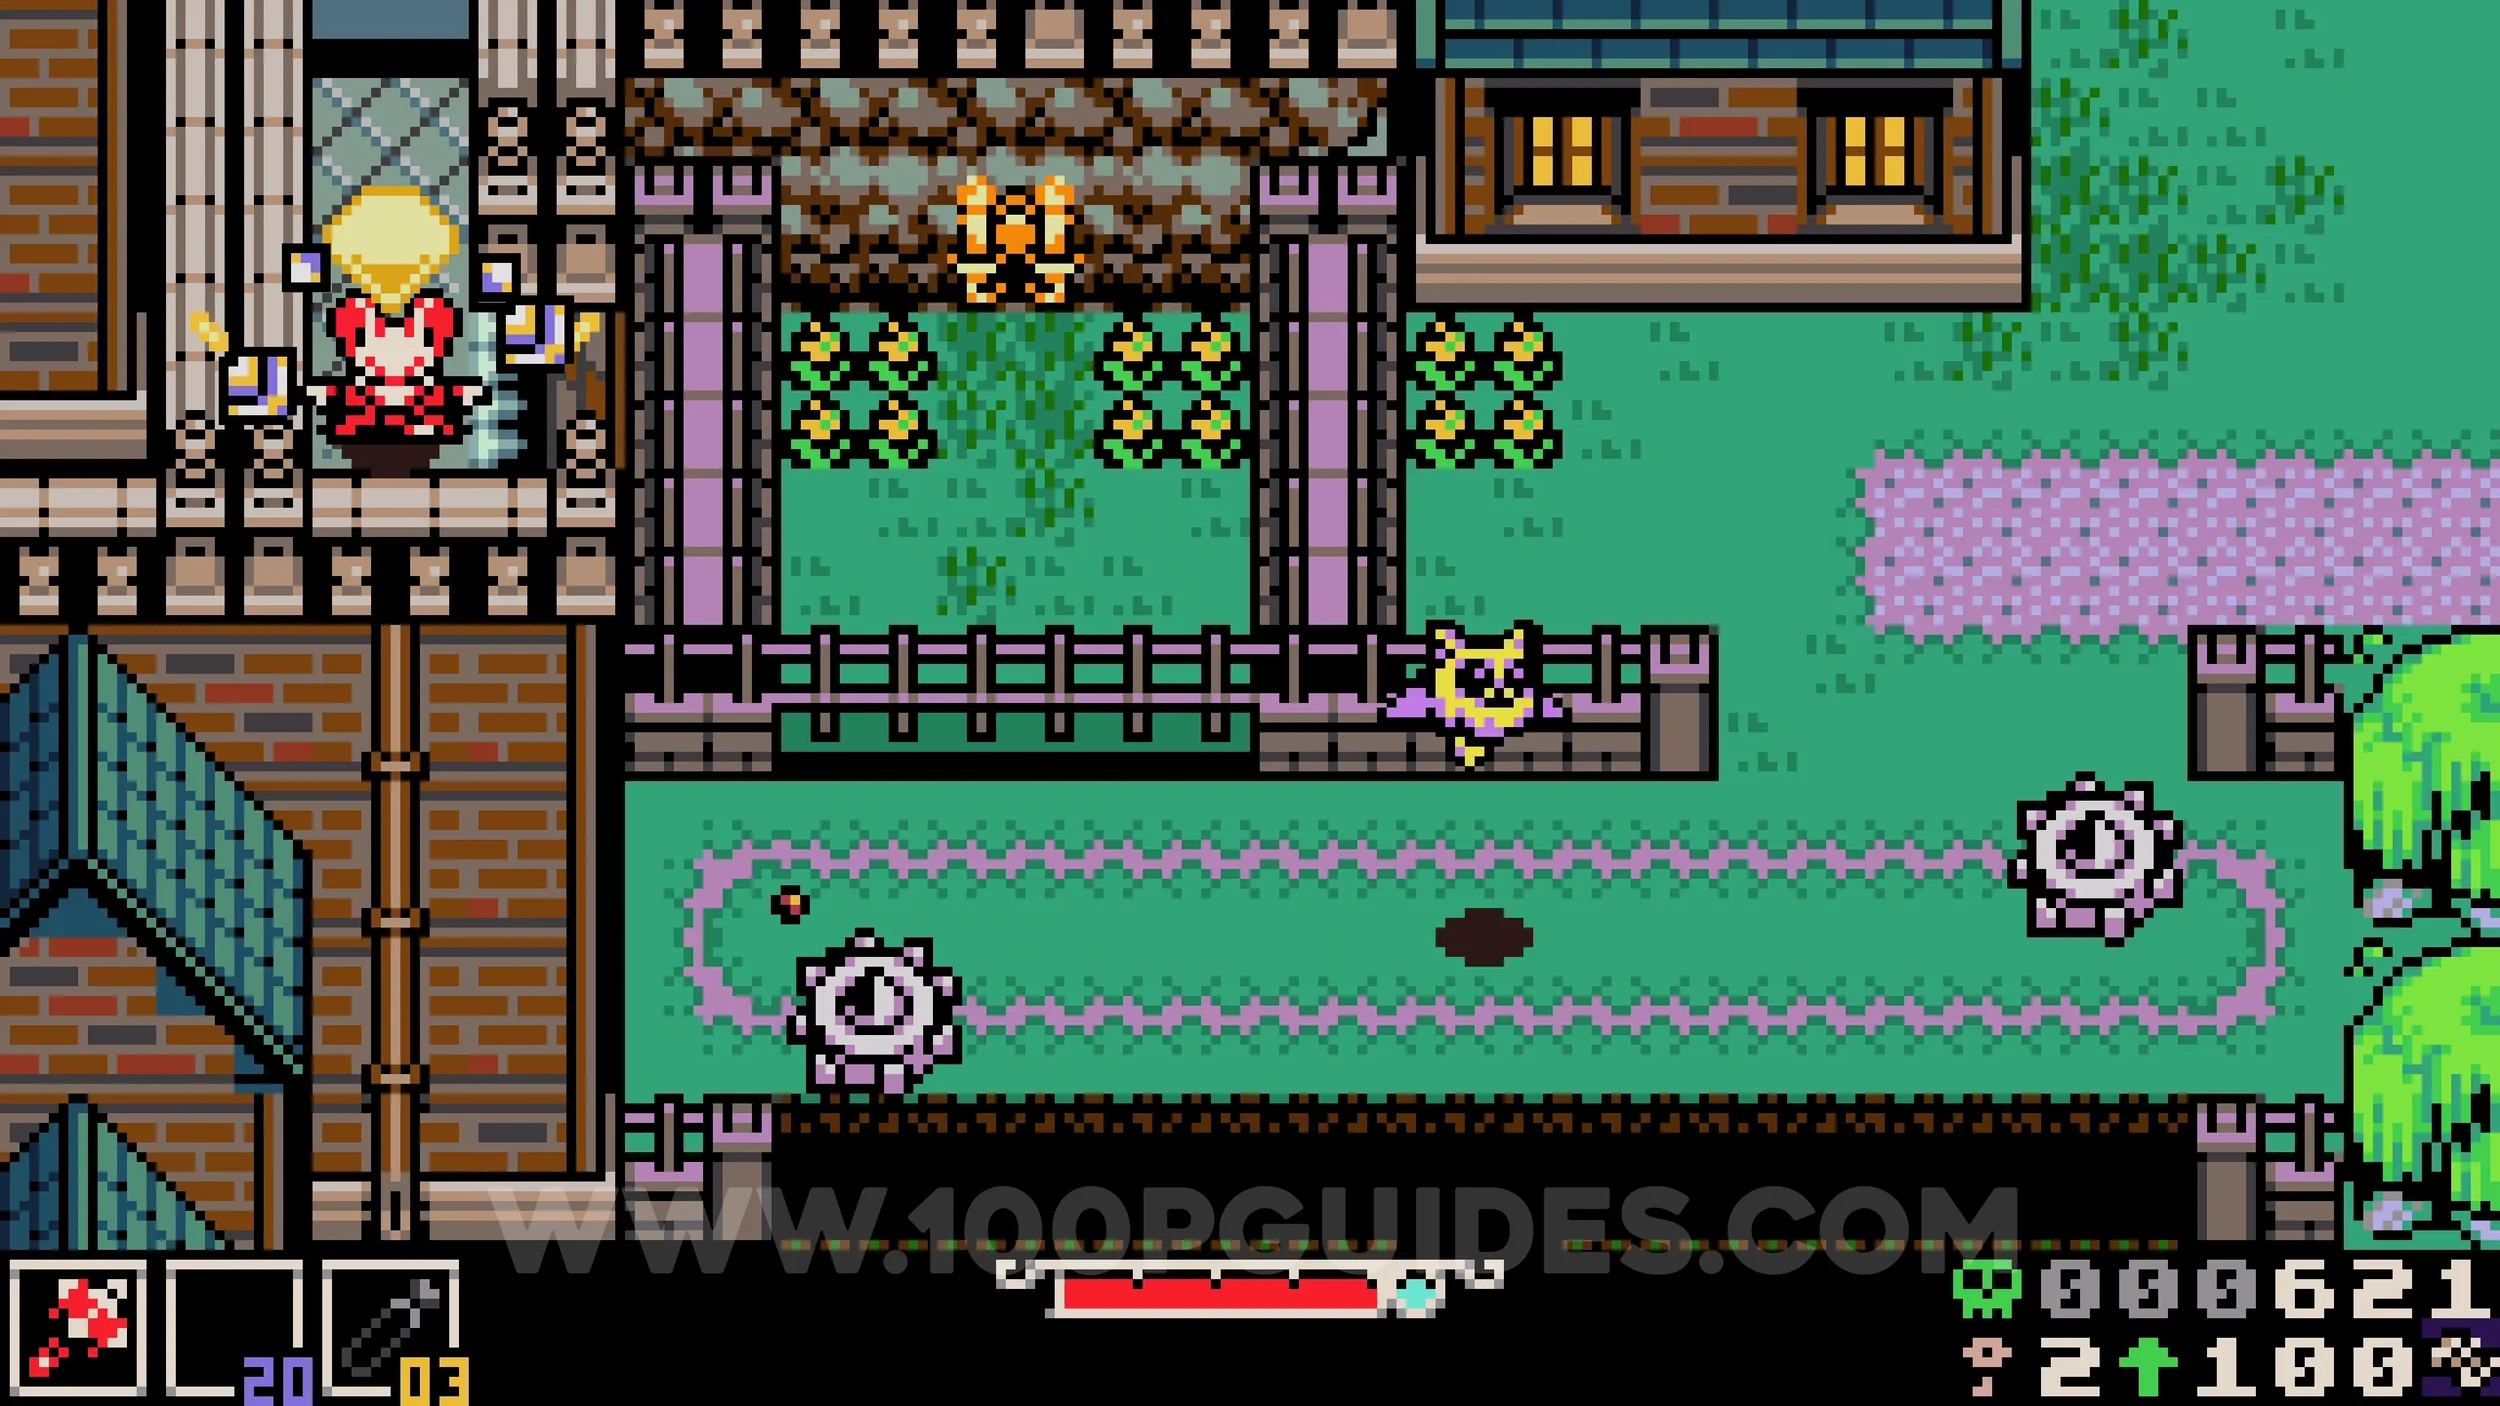
Lock #1 & Bonestone #2. From the previous collectible, continue down, destroying the bushes along the way. Watch out for the gaps and enemies as you make your way to the lock and the chest containing the bonestone.
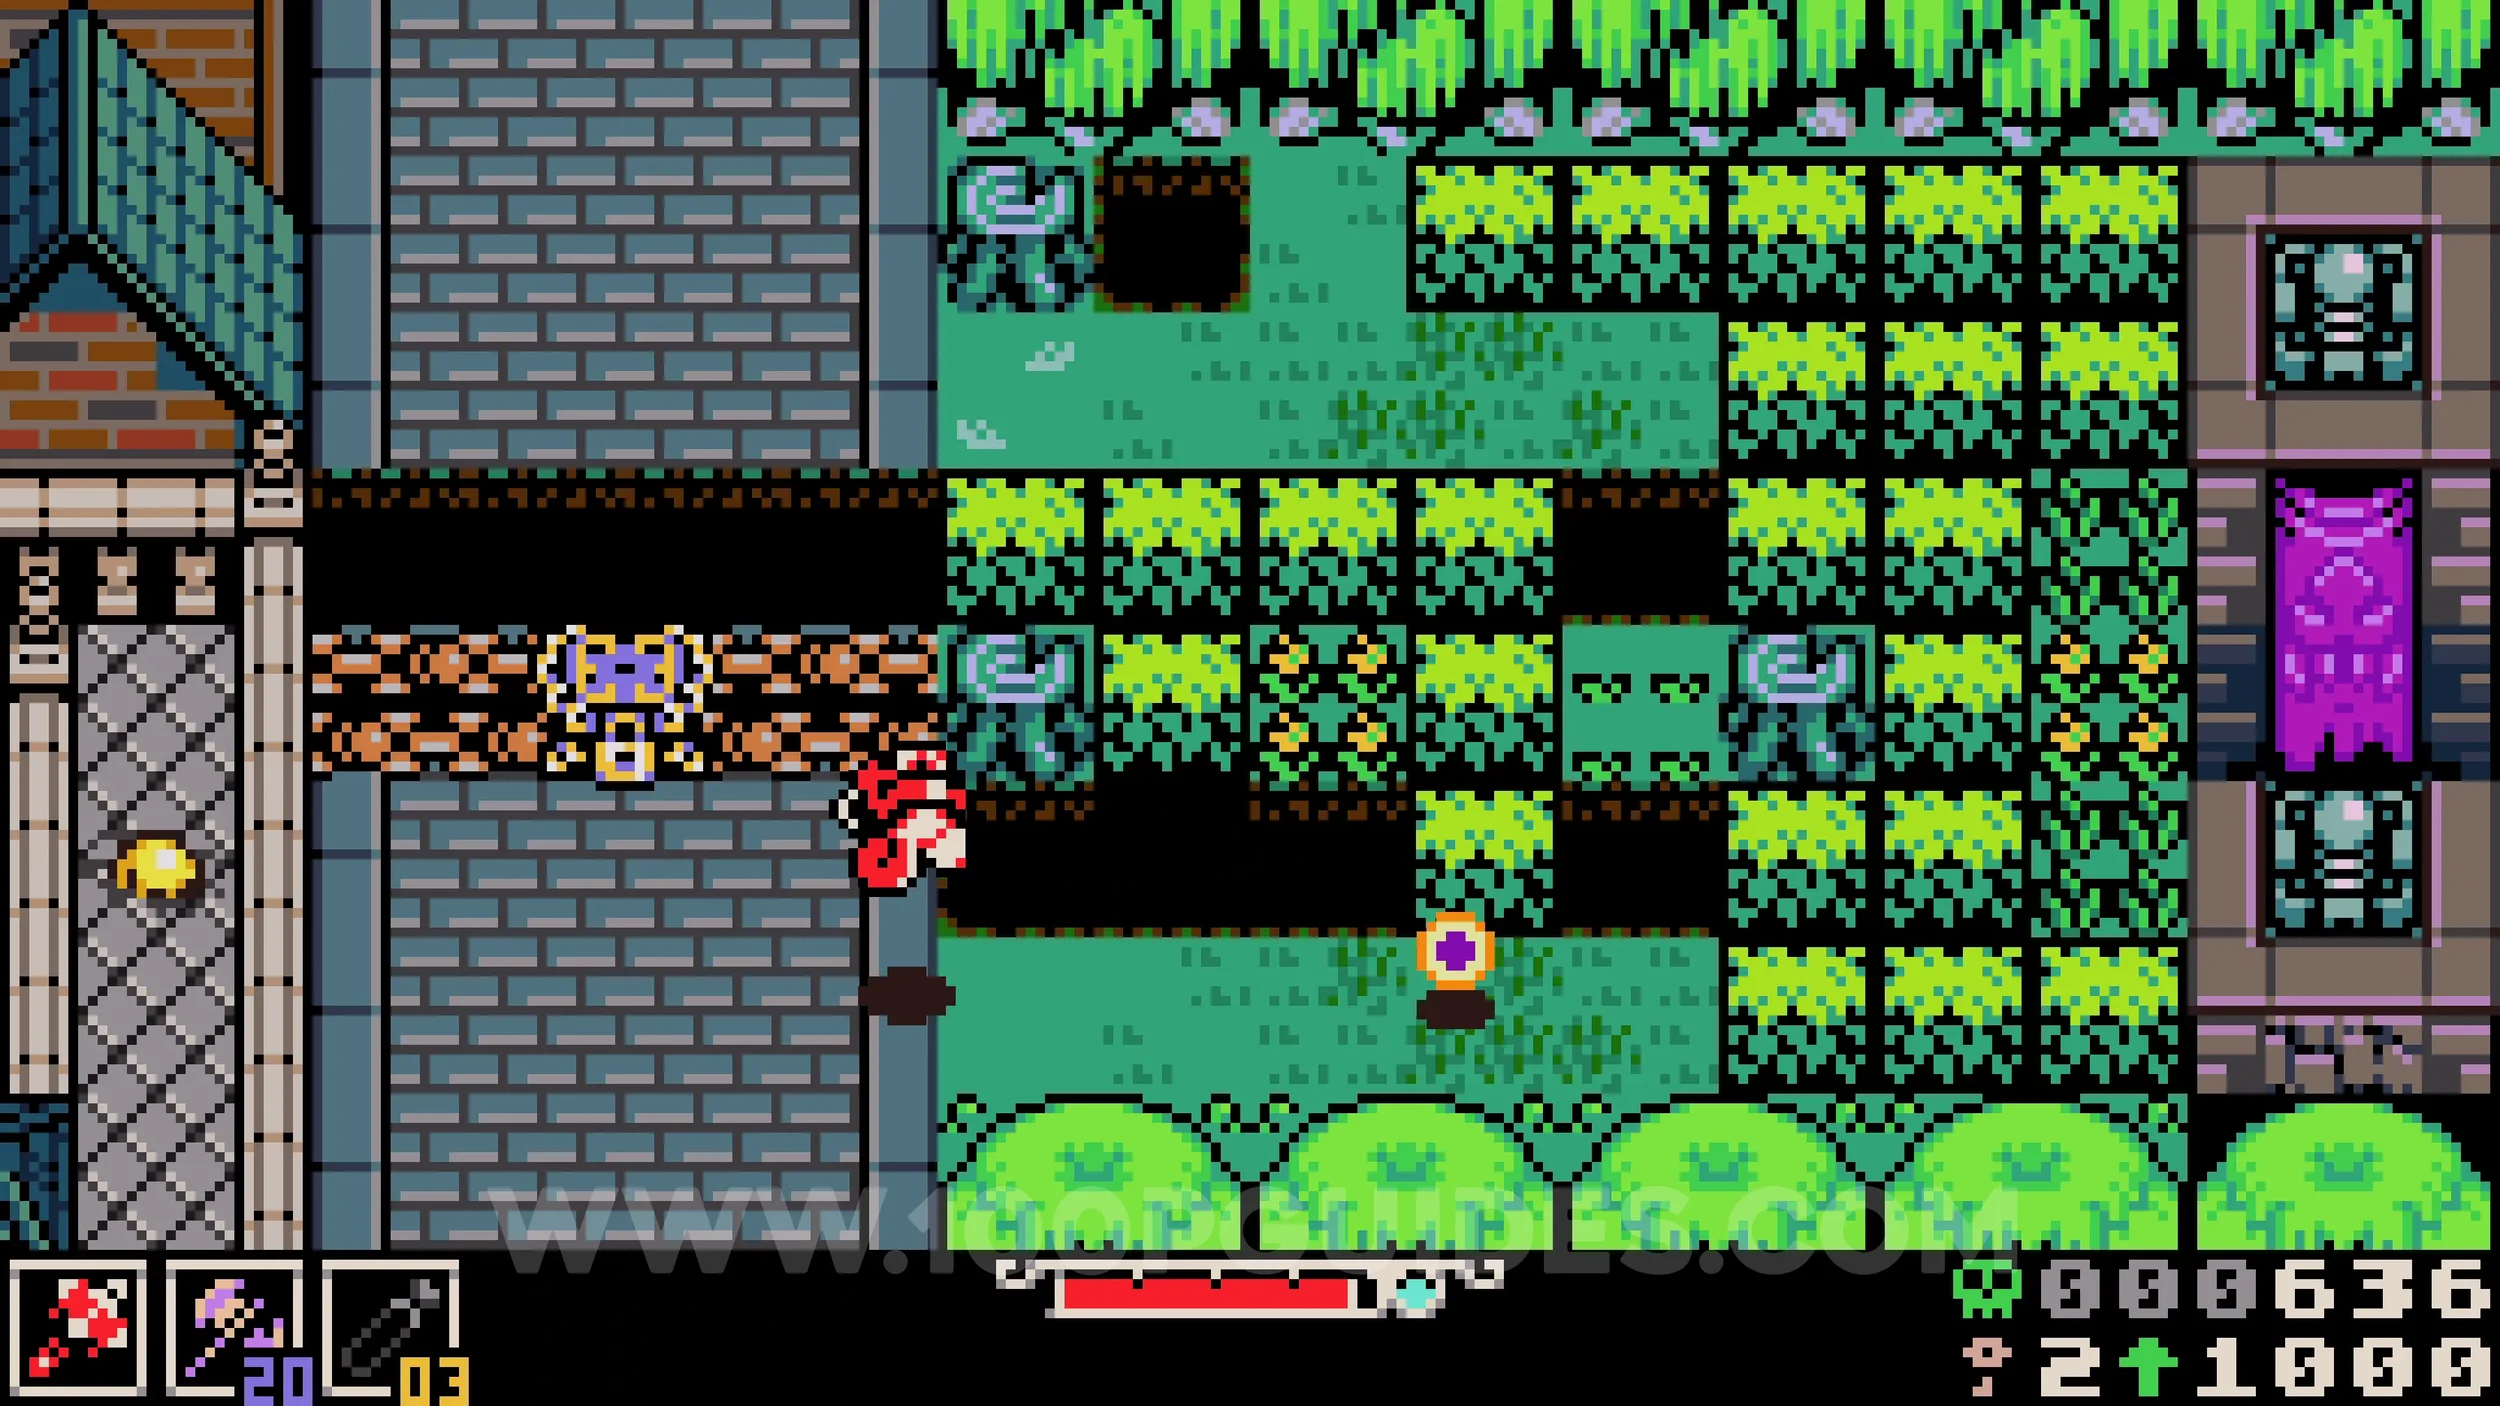
Bonestone #3. From the previous collectible, head up to the next screen and go right. Jump onto the moving platforms and make your way up to the area with water on the ground, where you will find the chest containing the collectible.
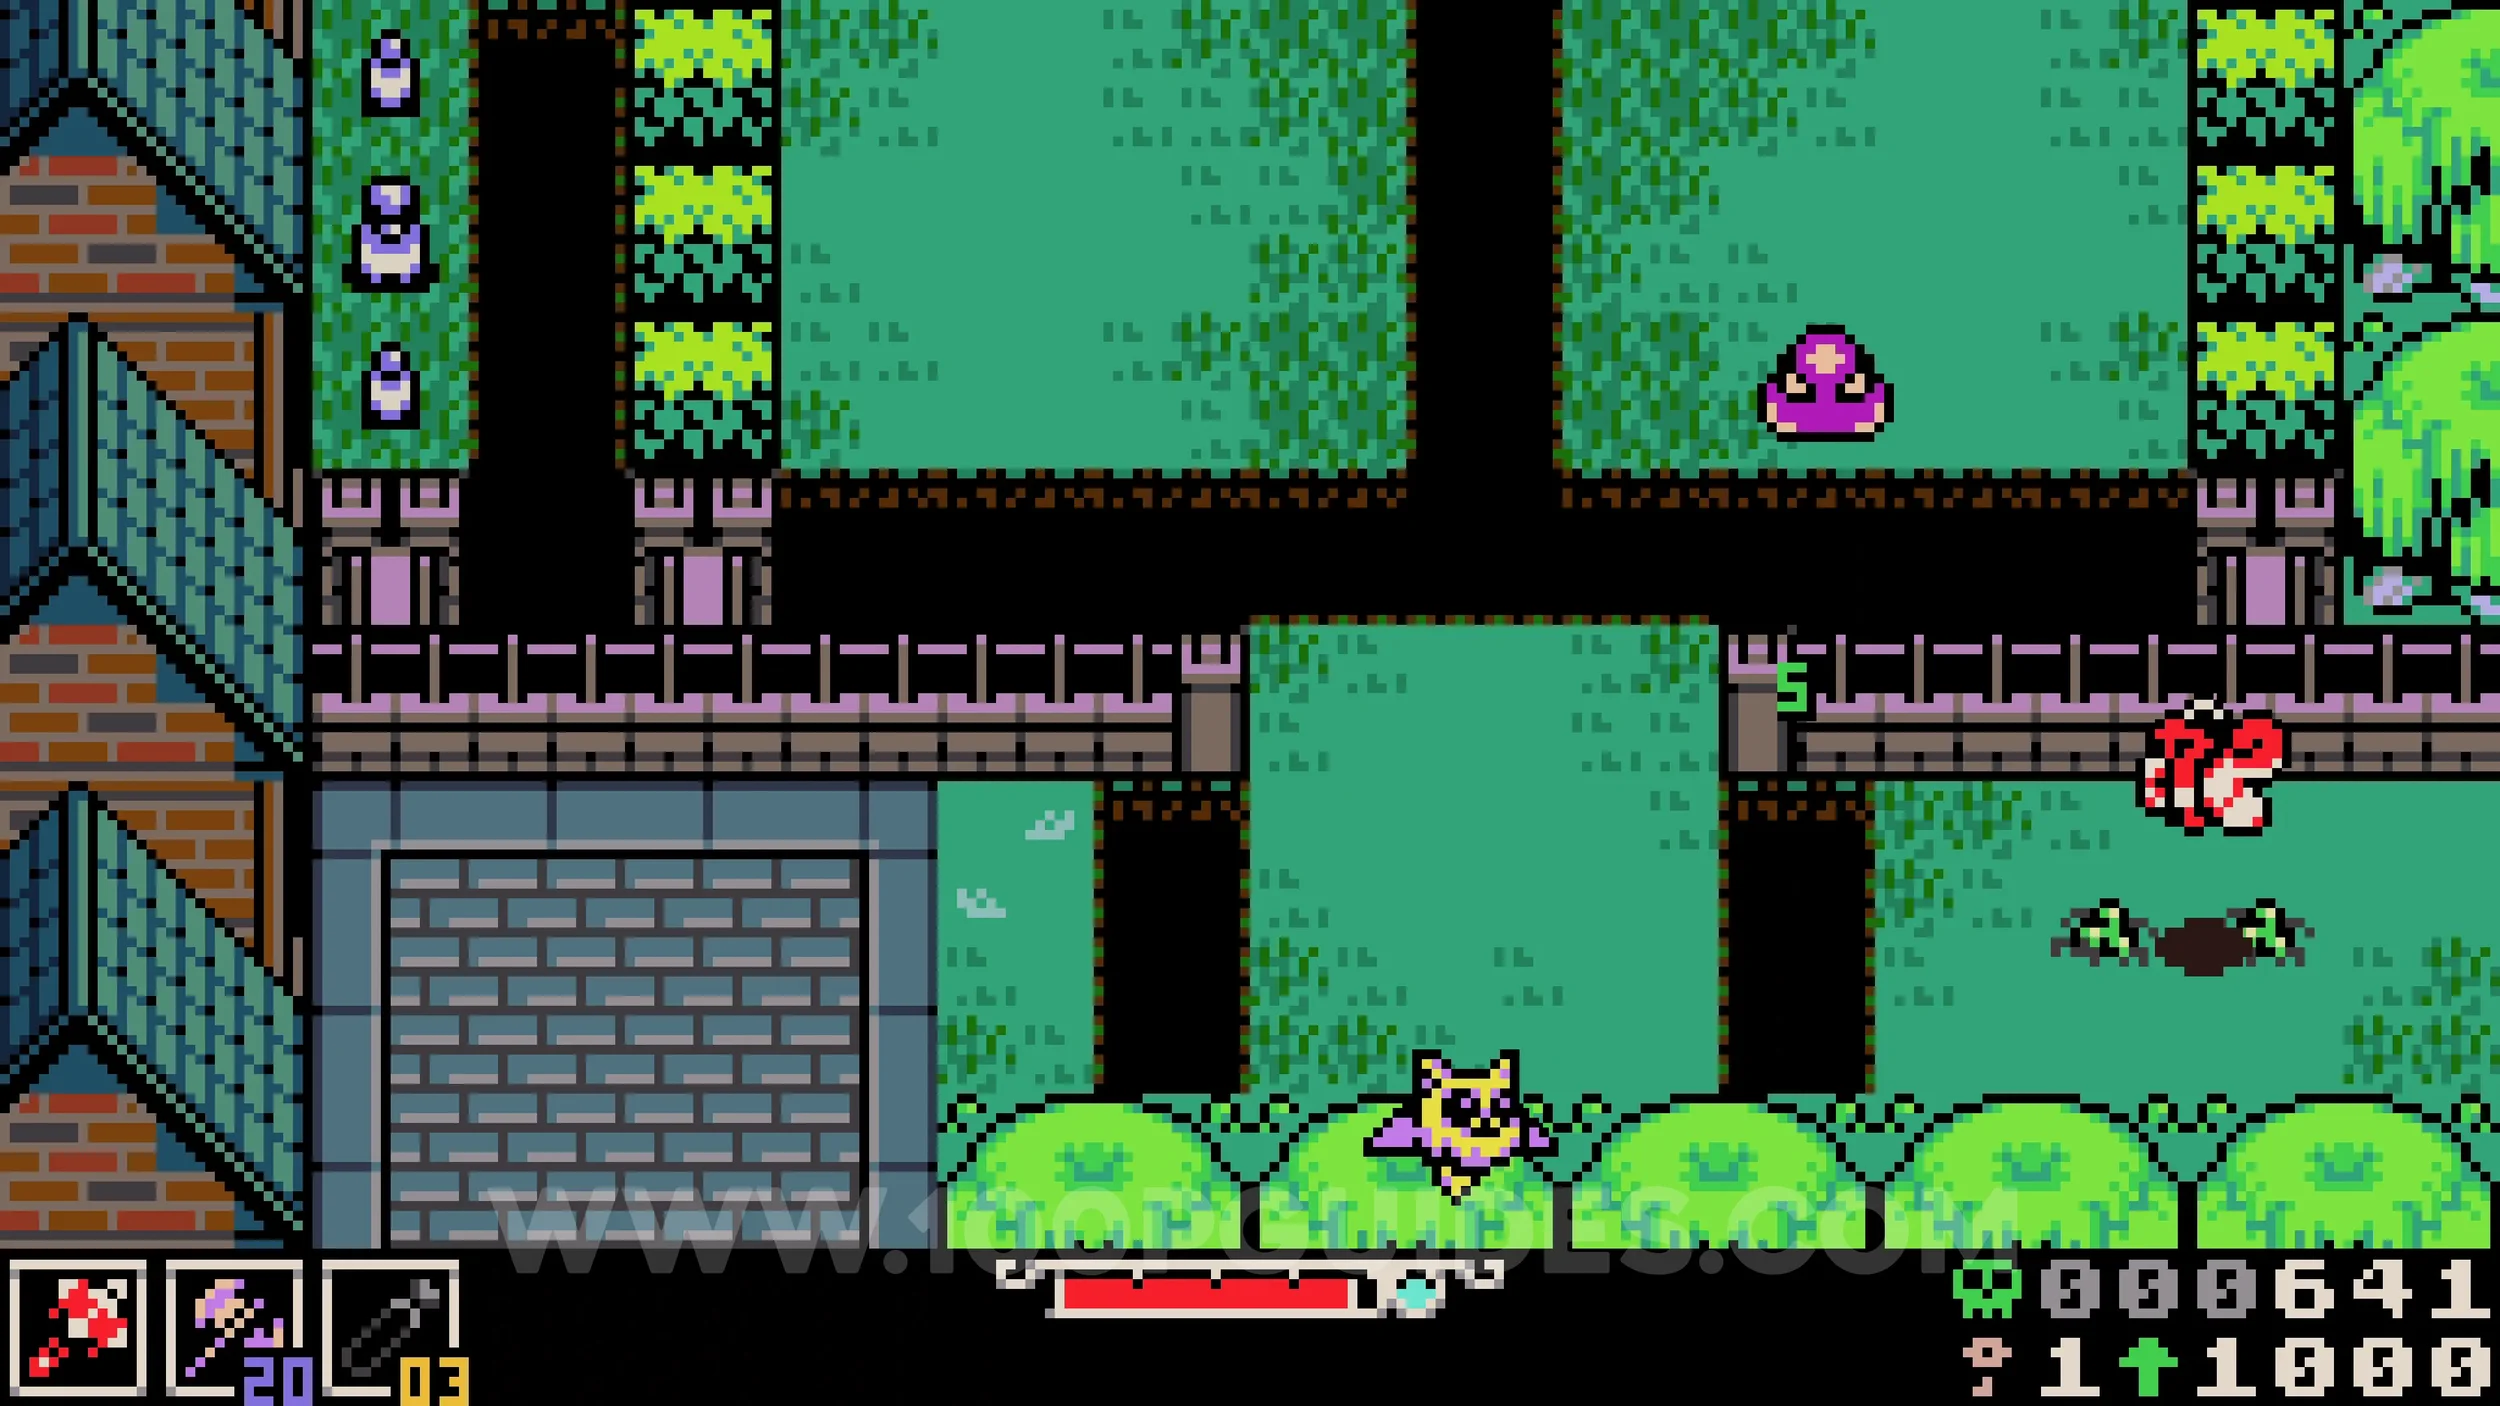
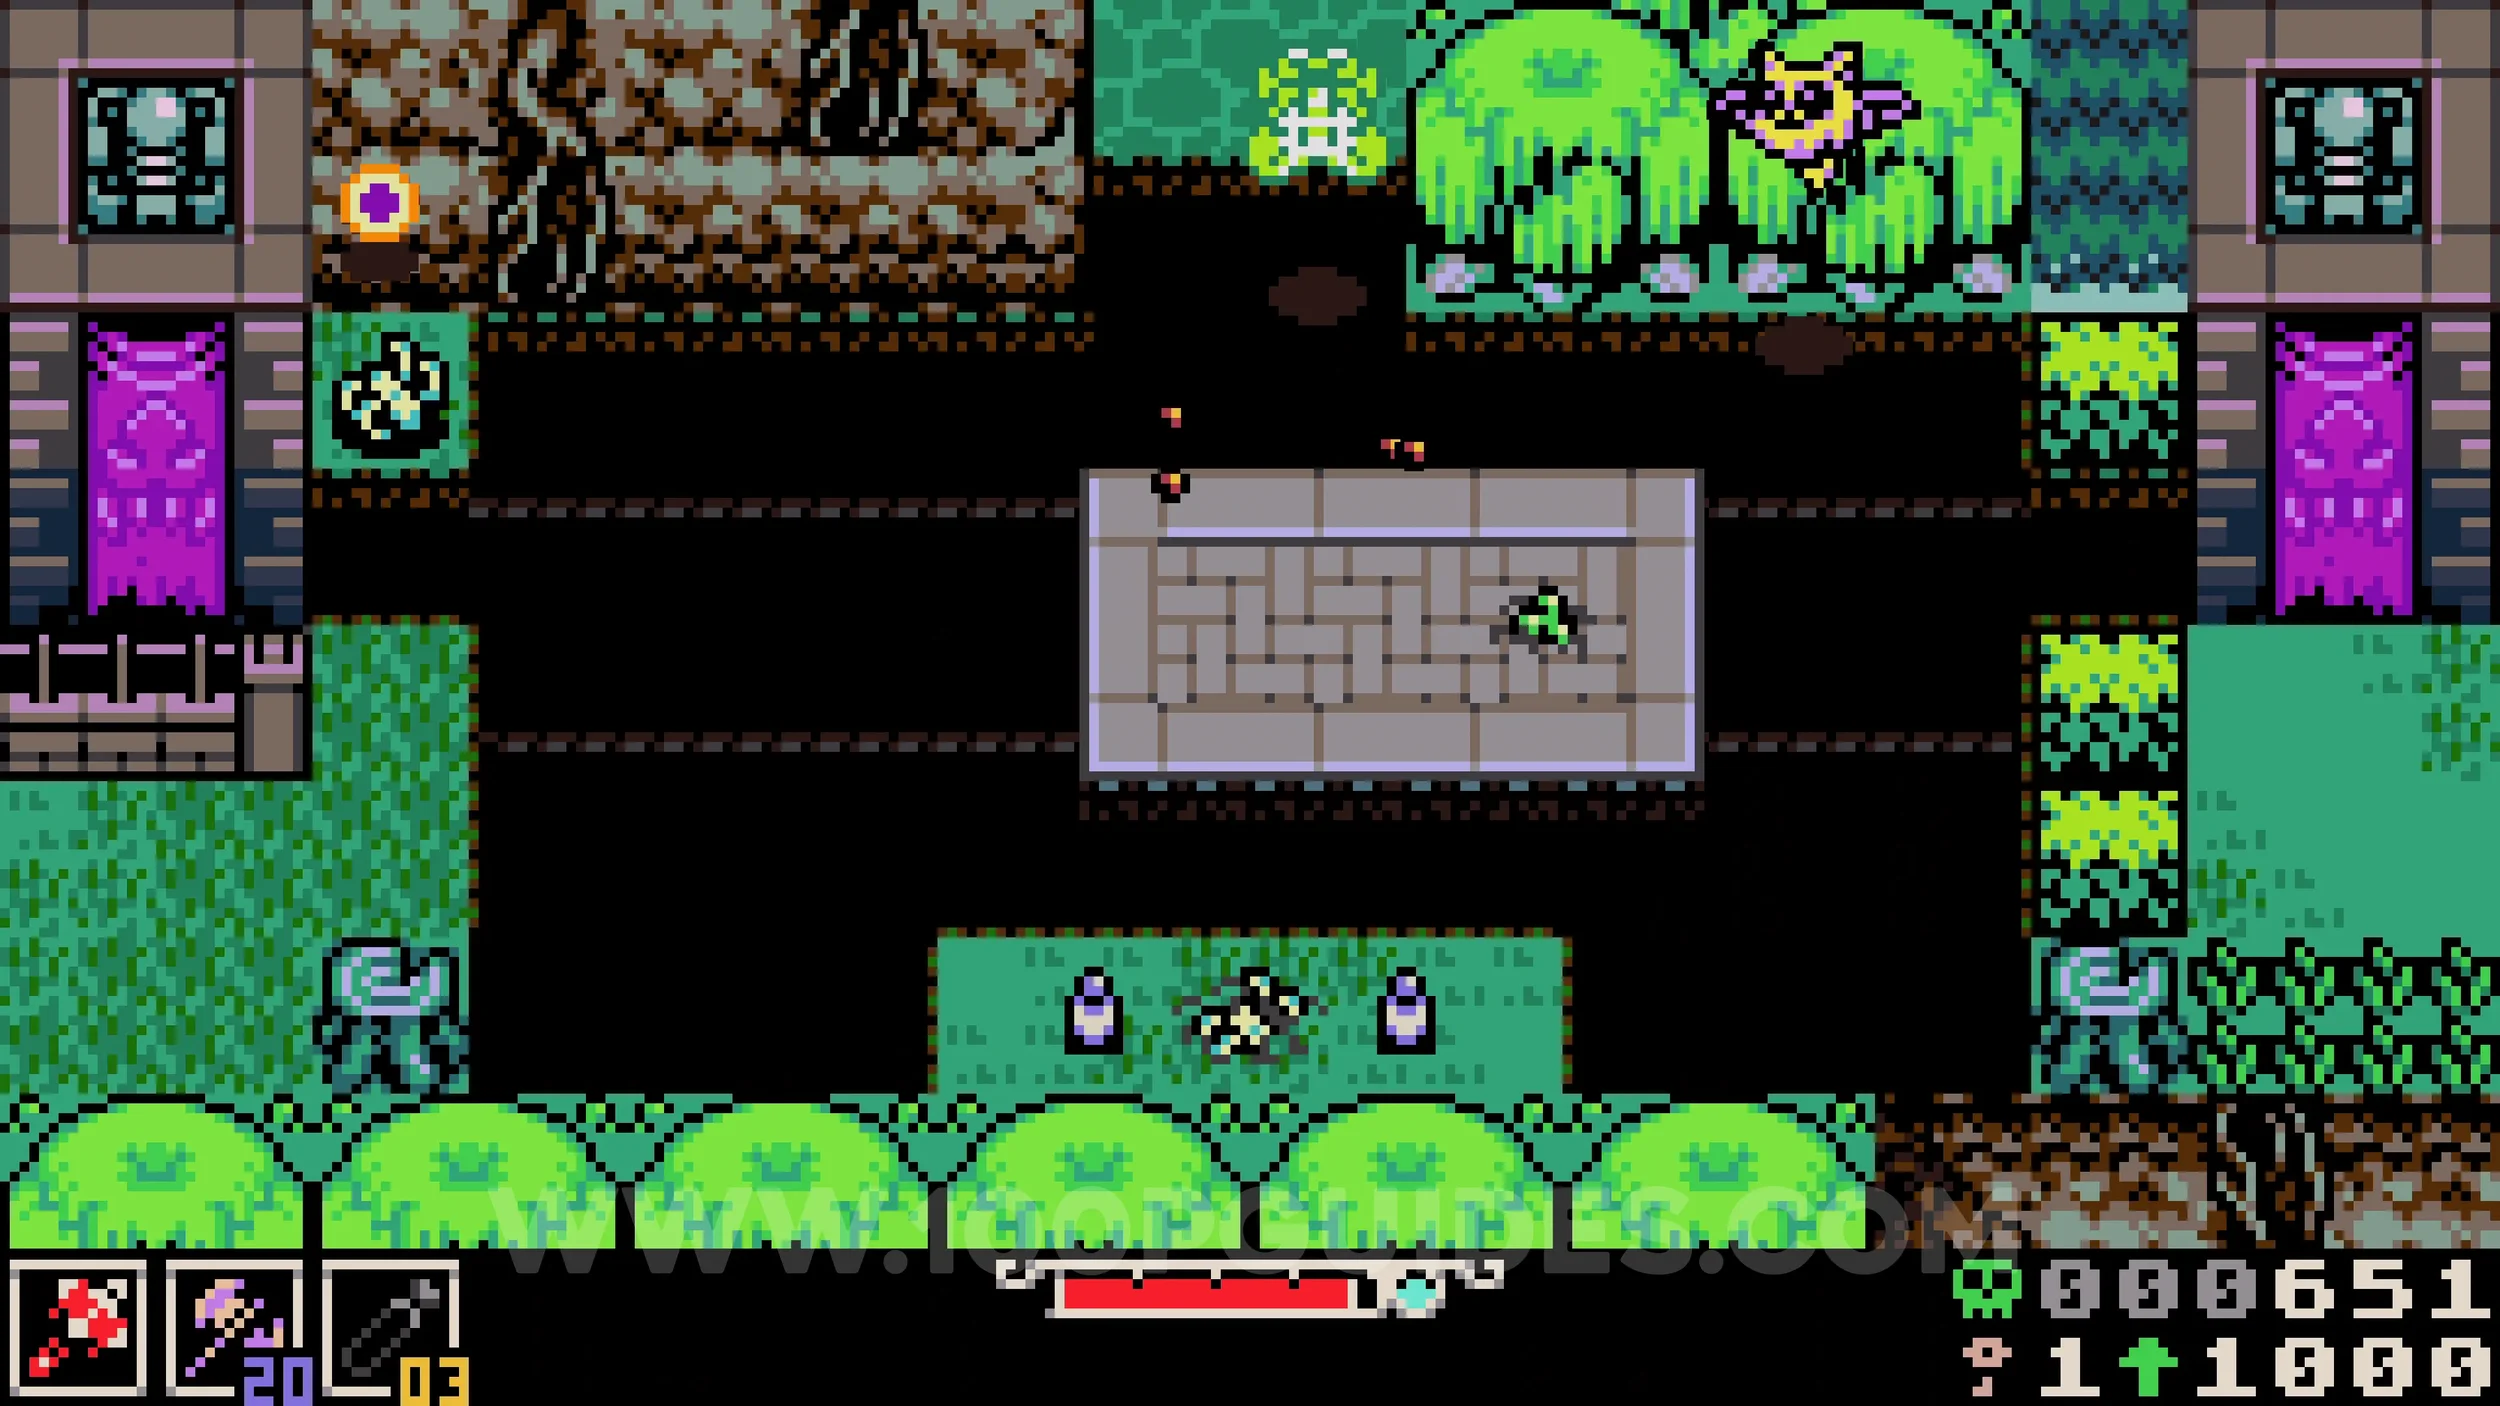
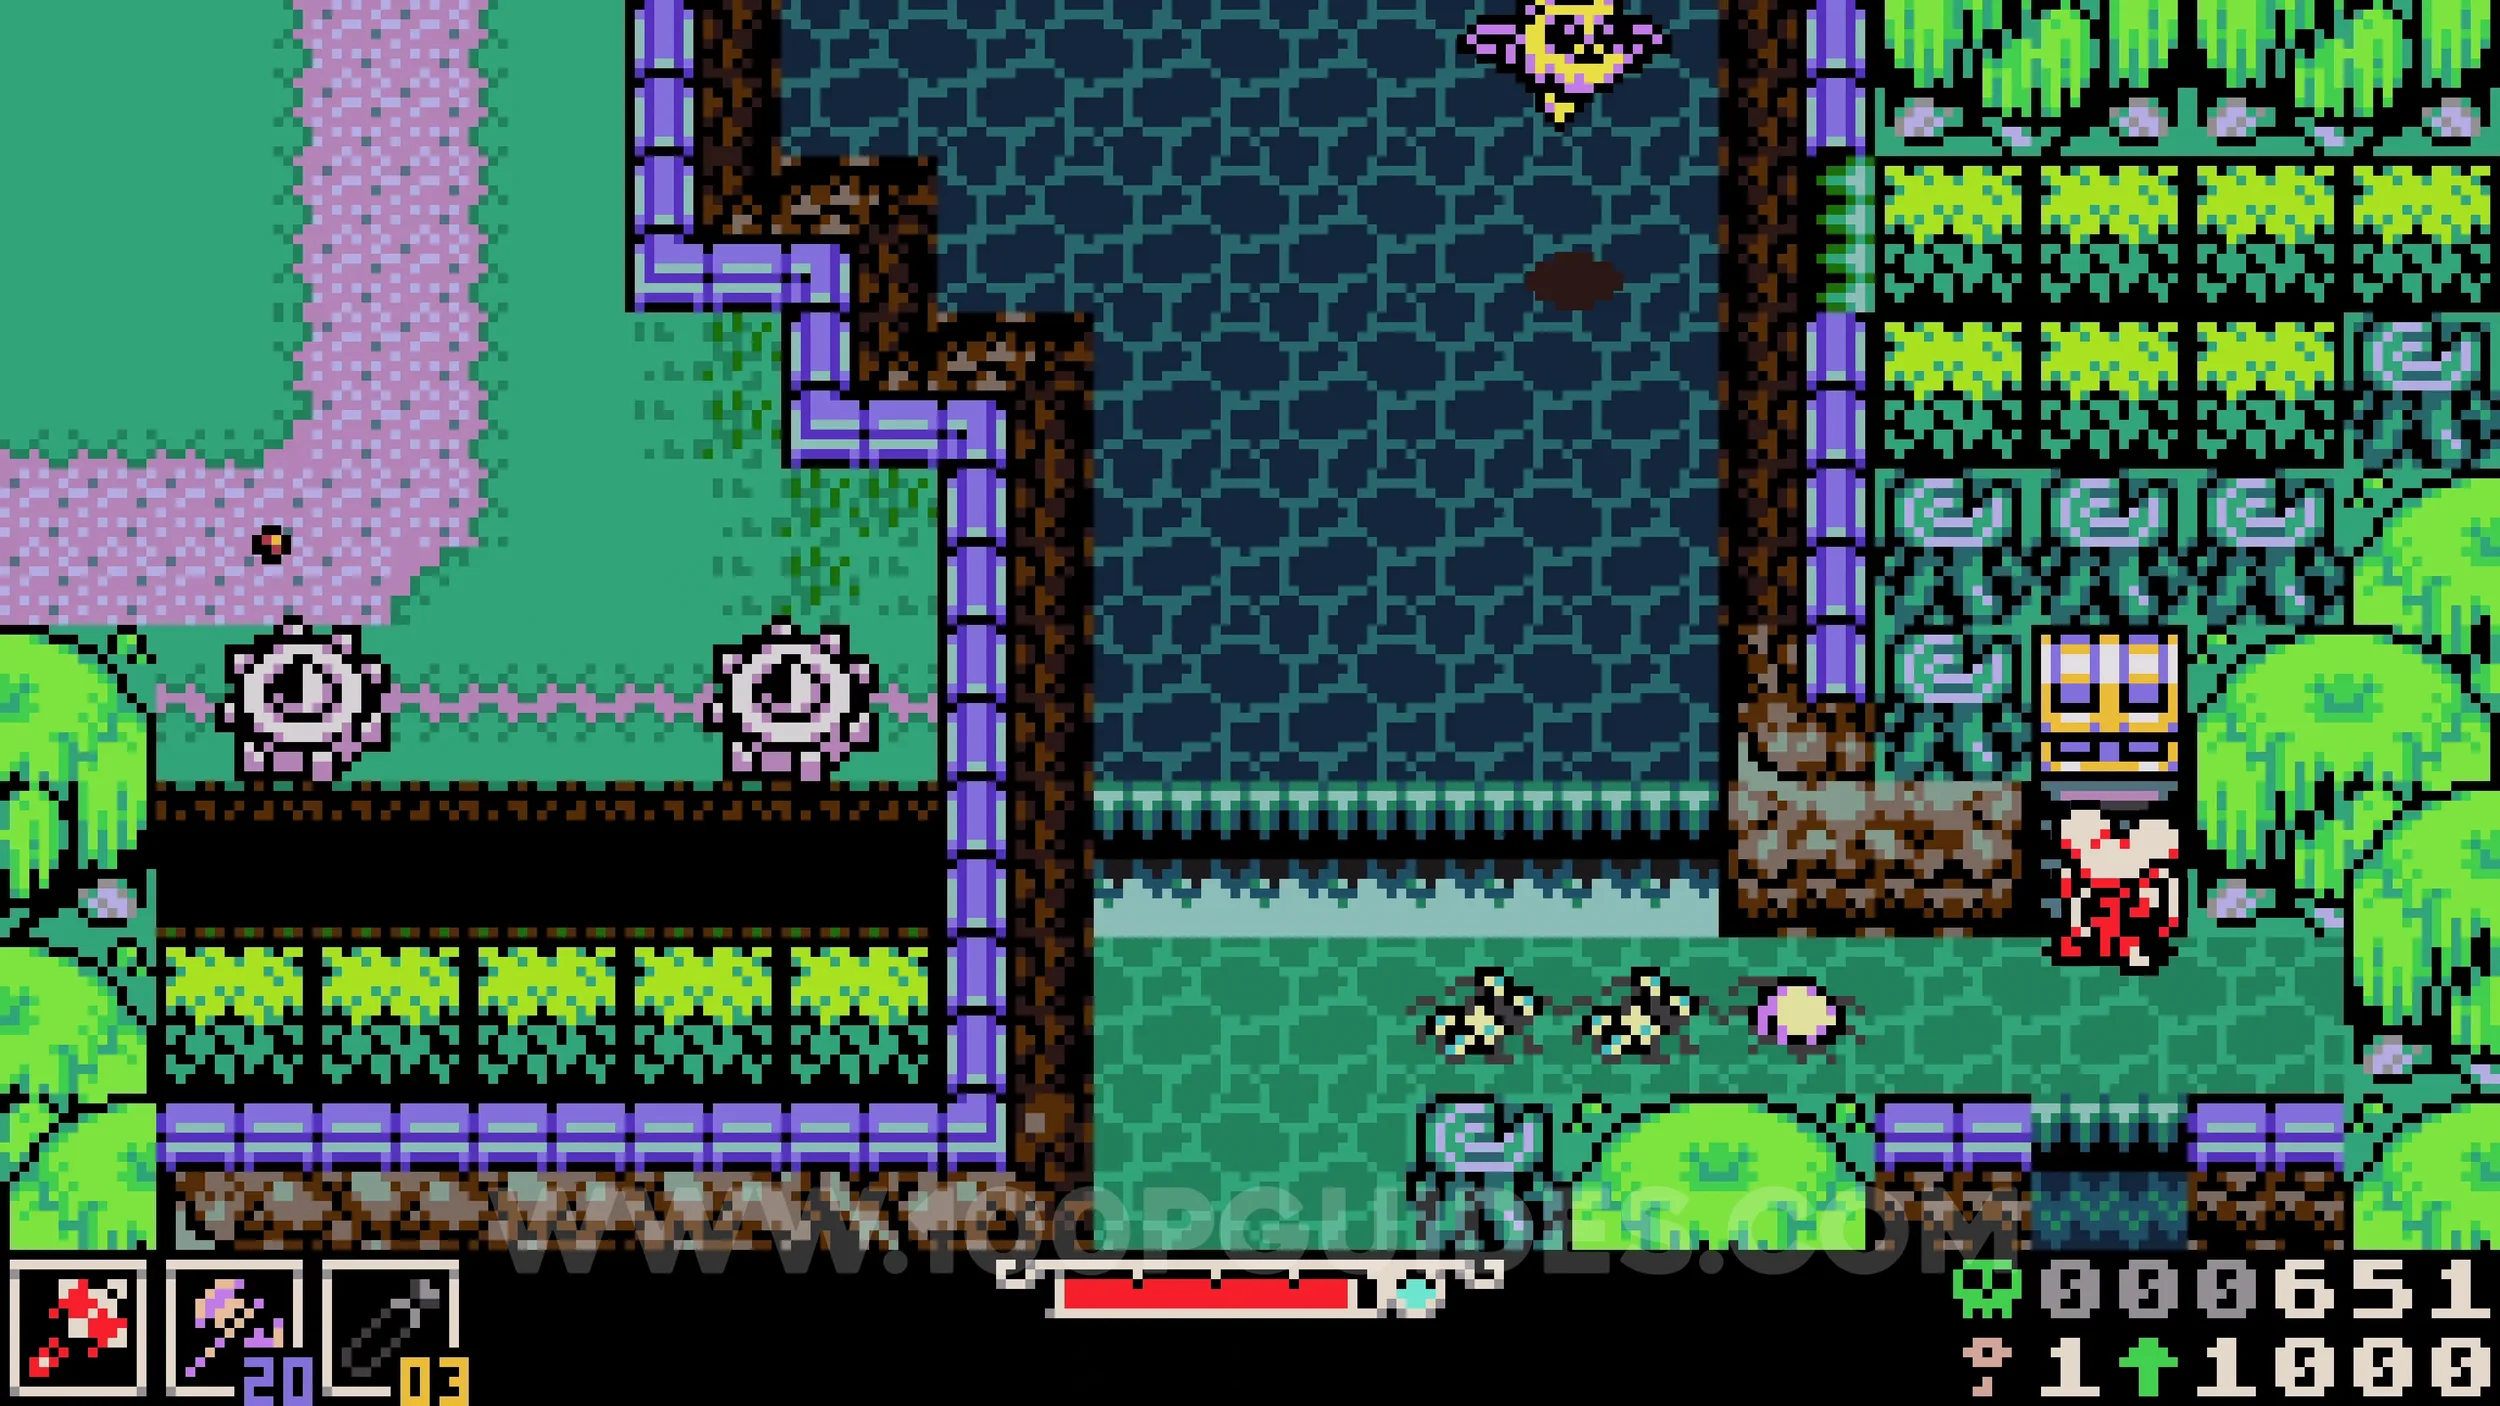
Bonestone #4. From the previous collectible, head right into the next screen. Look for two flames marking an entrance on the right side that you can enter by burrowing. Once inside the cave, the chest will be on your left.
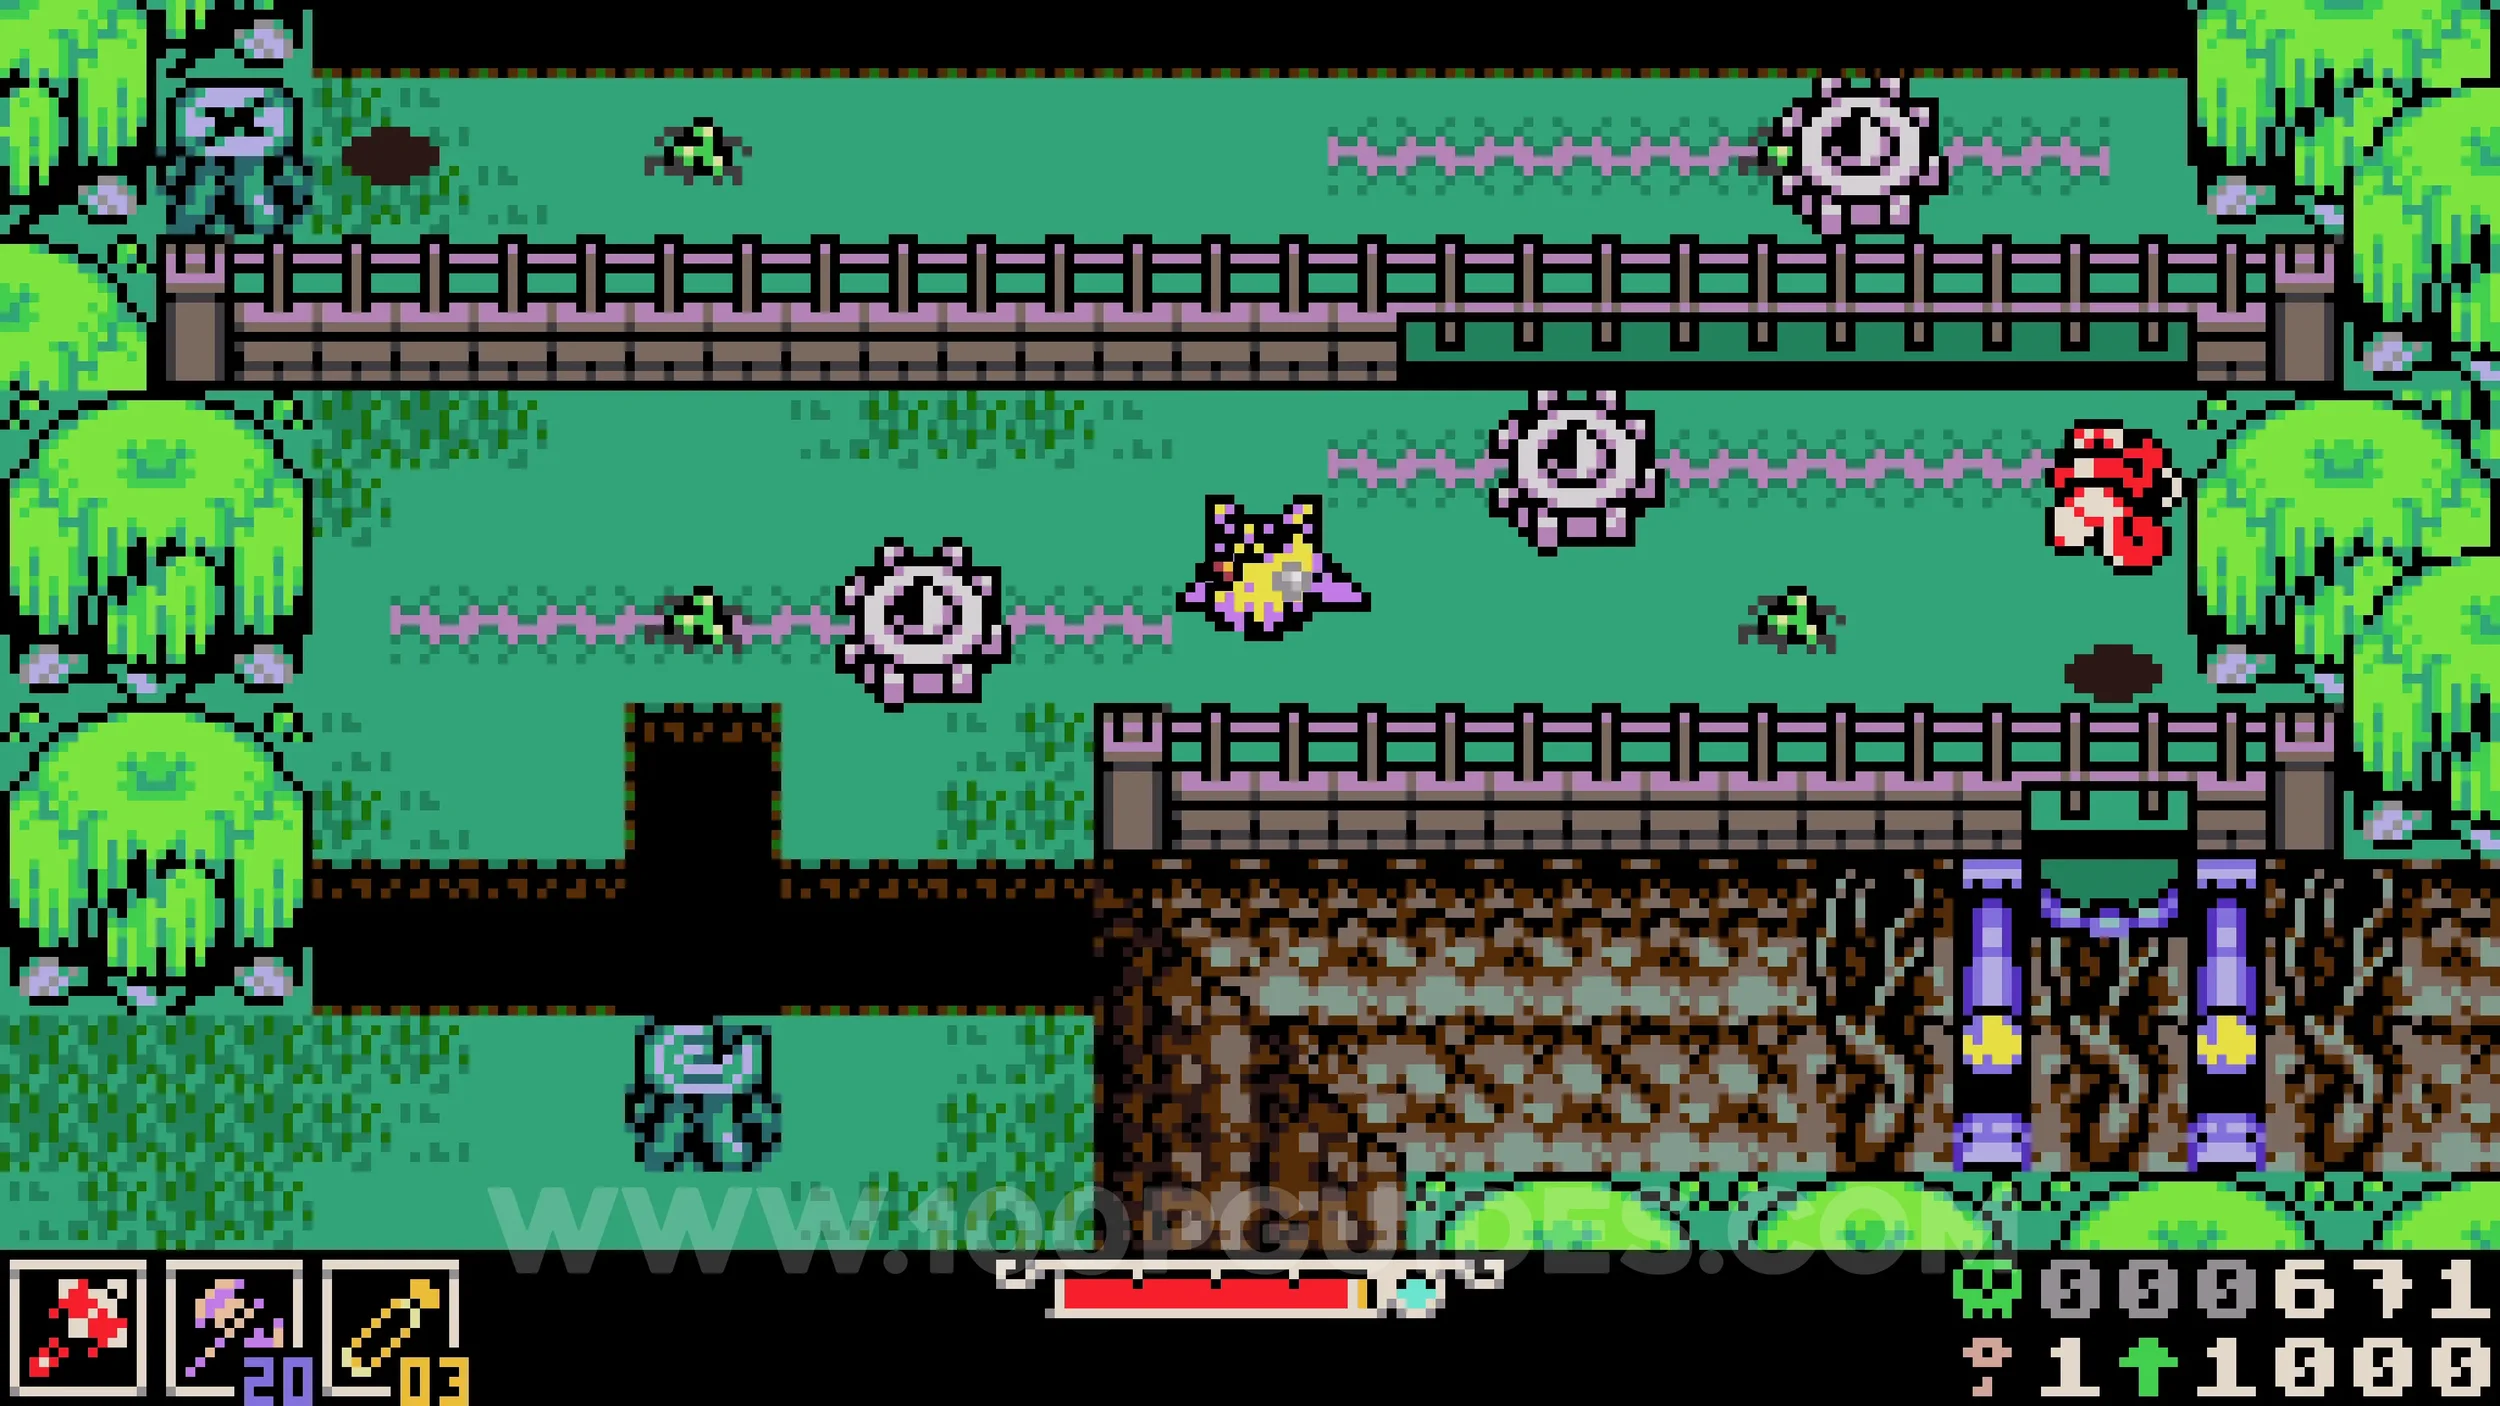
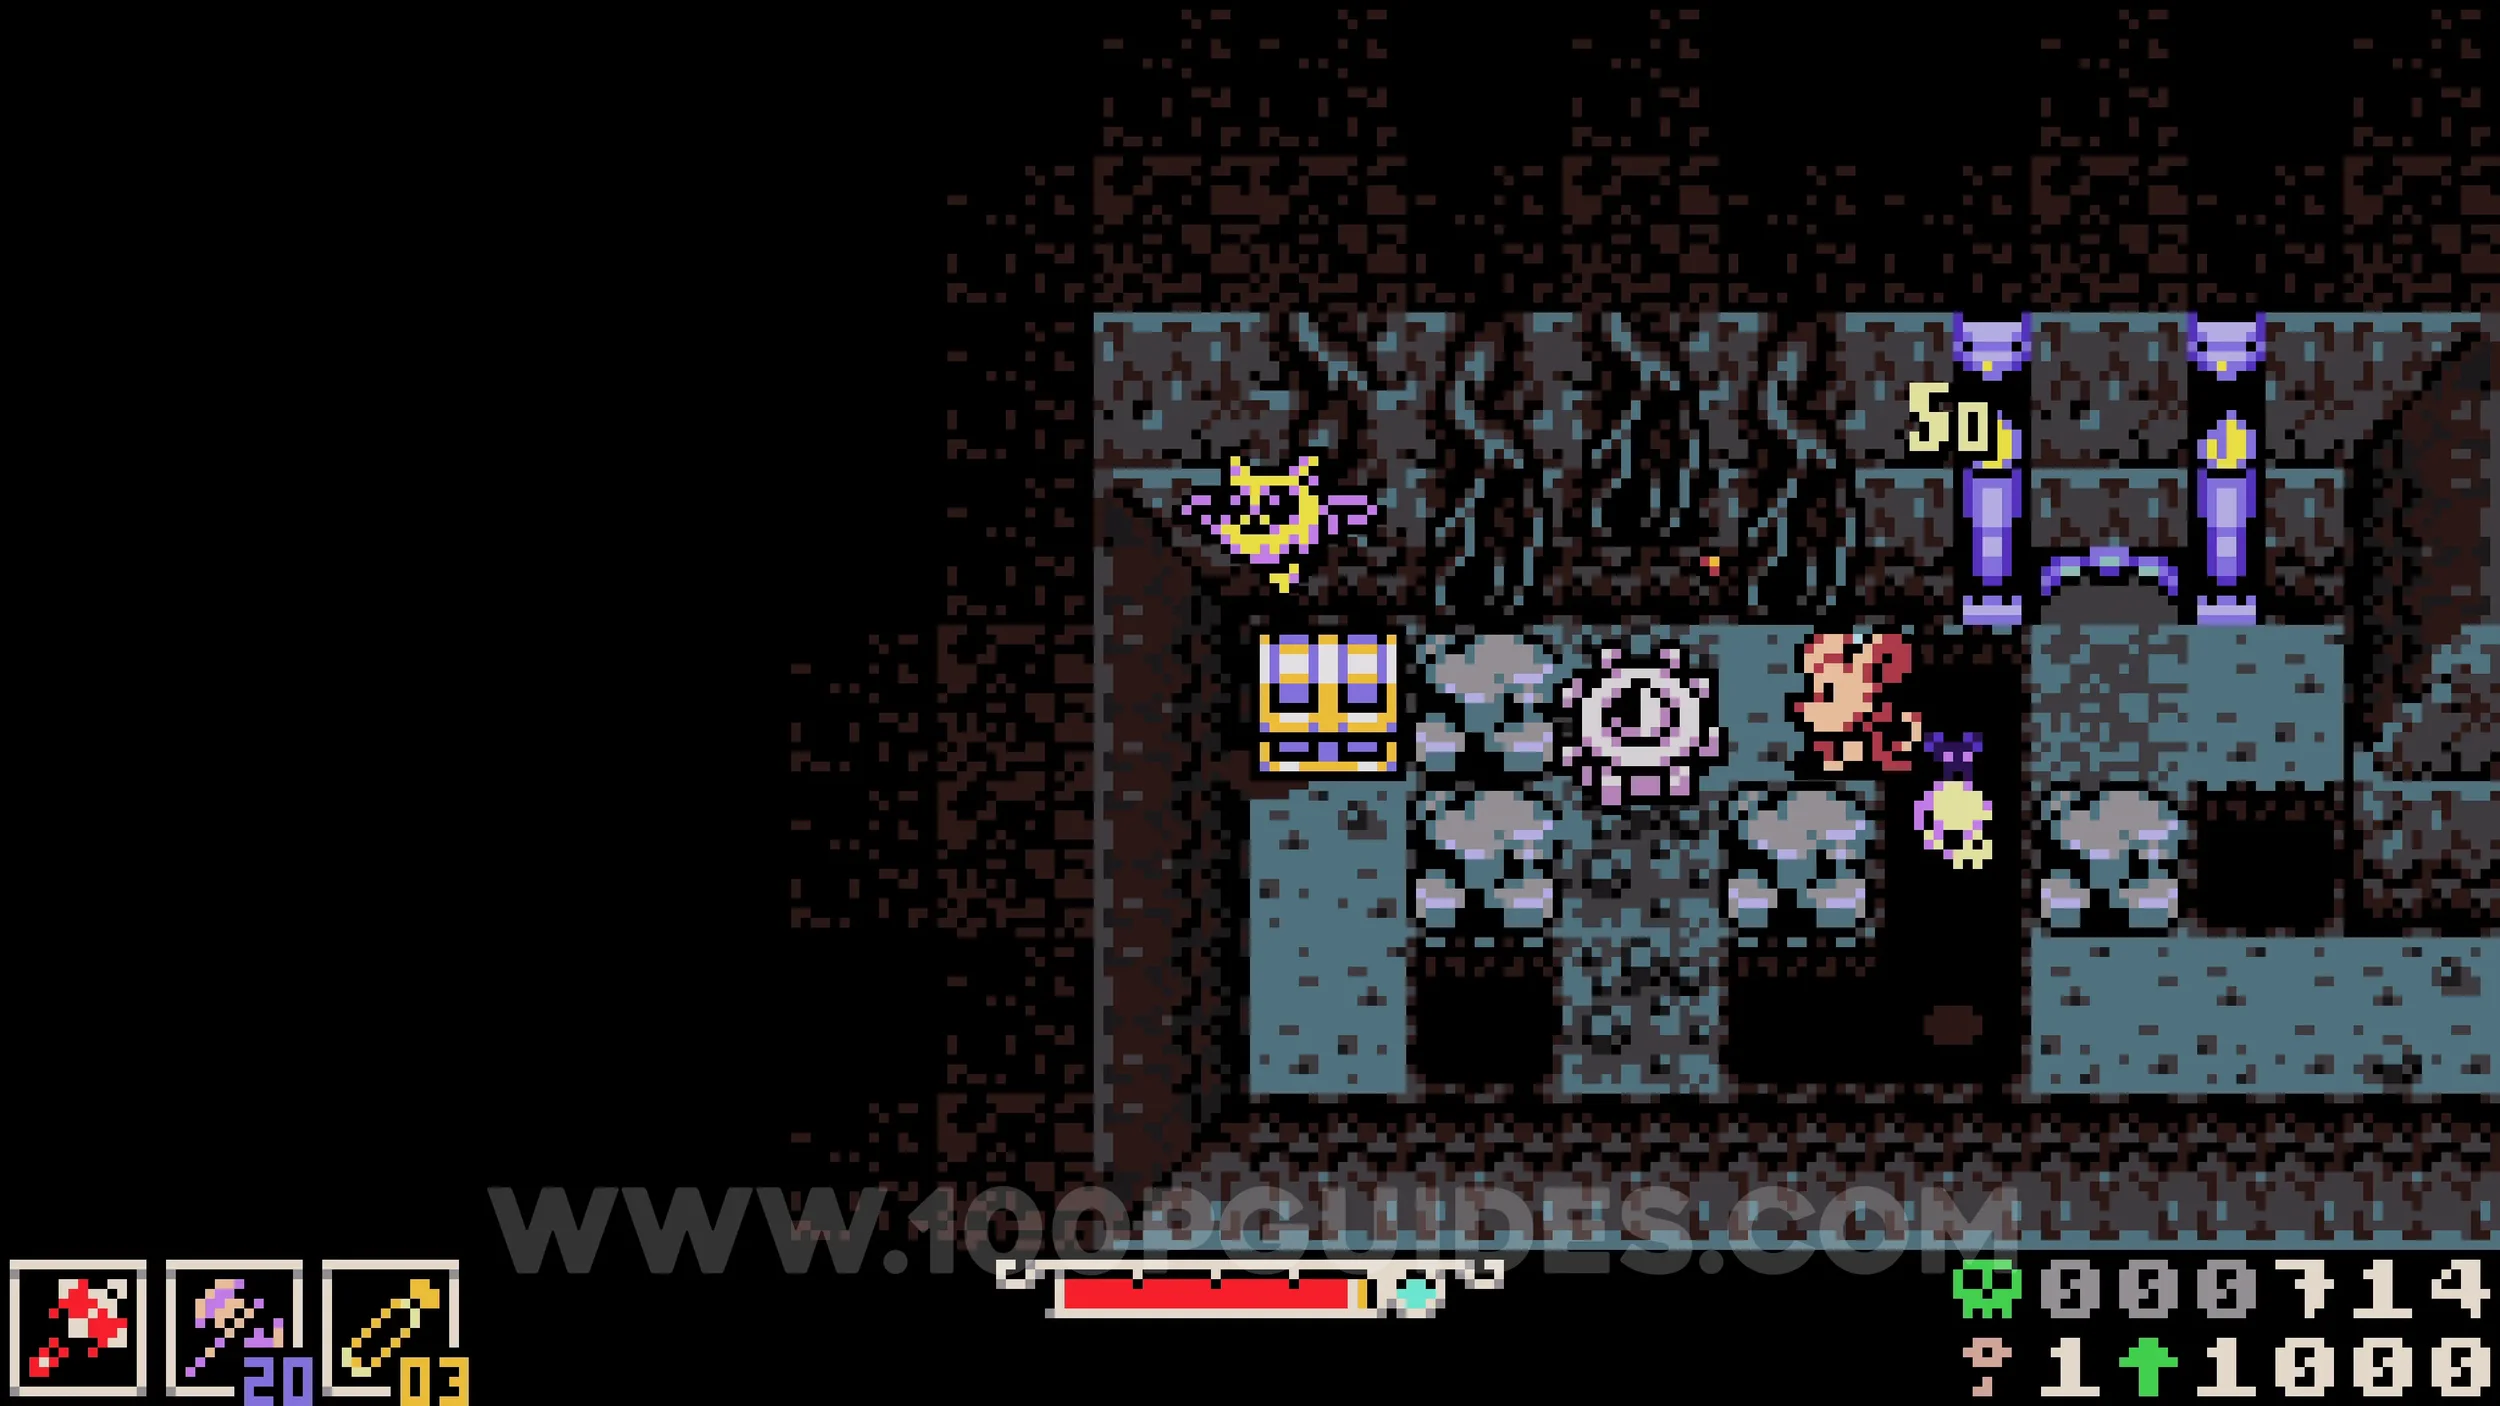
Trinket #1 - Willow the Wisp & Kear #1. Sold by the NPC in the same cave as the previous collectible, just to the right of the previous chest.
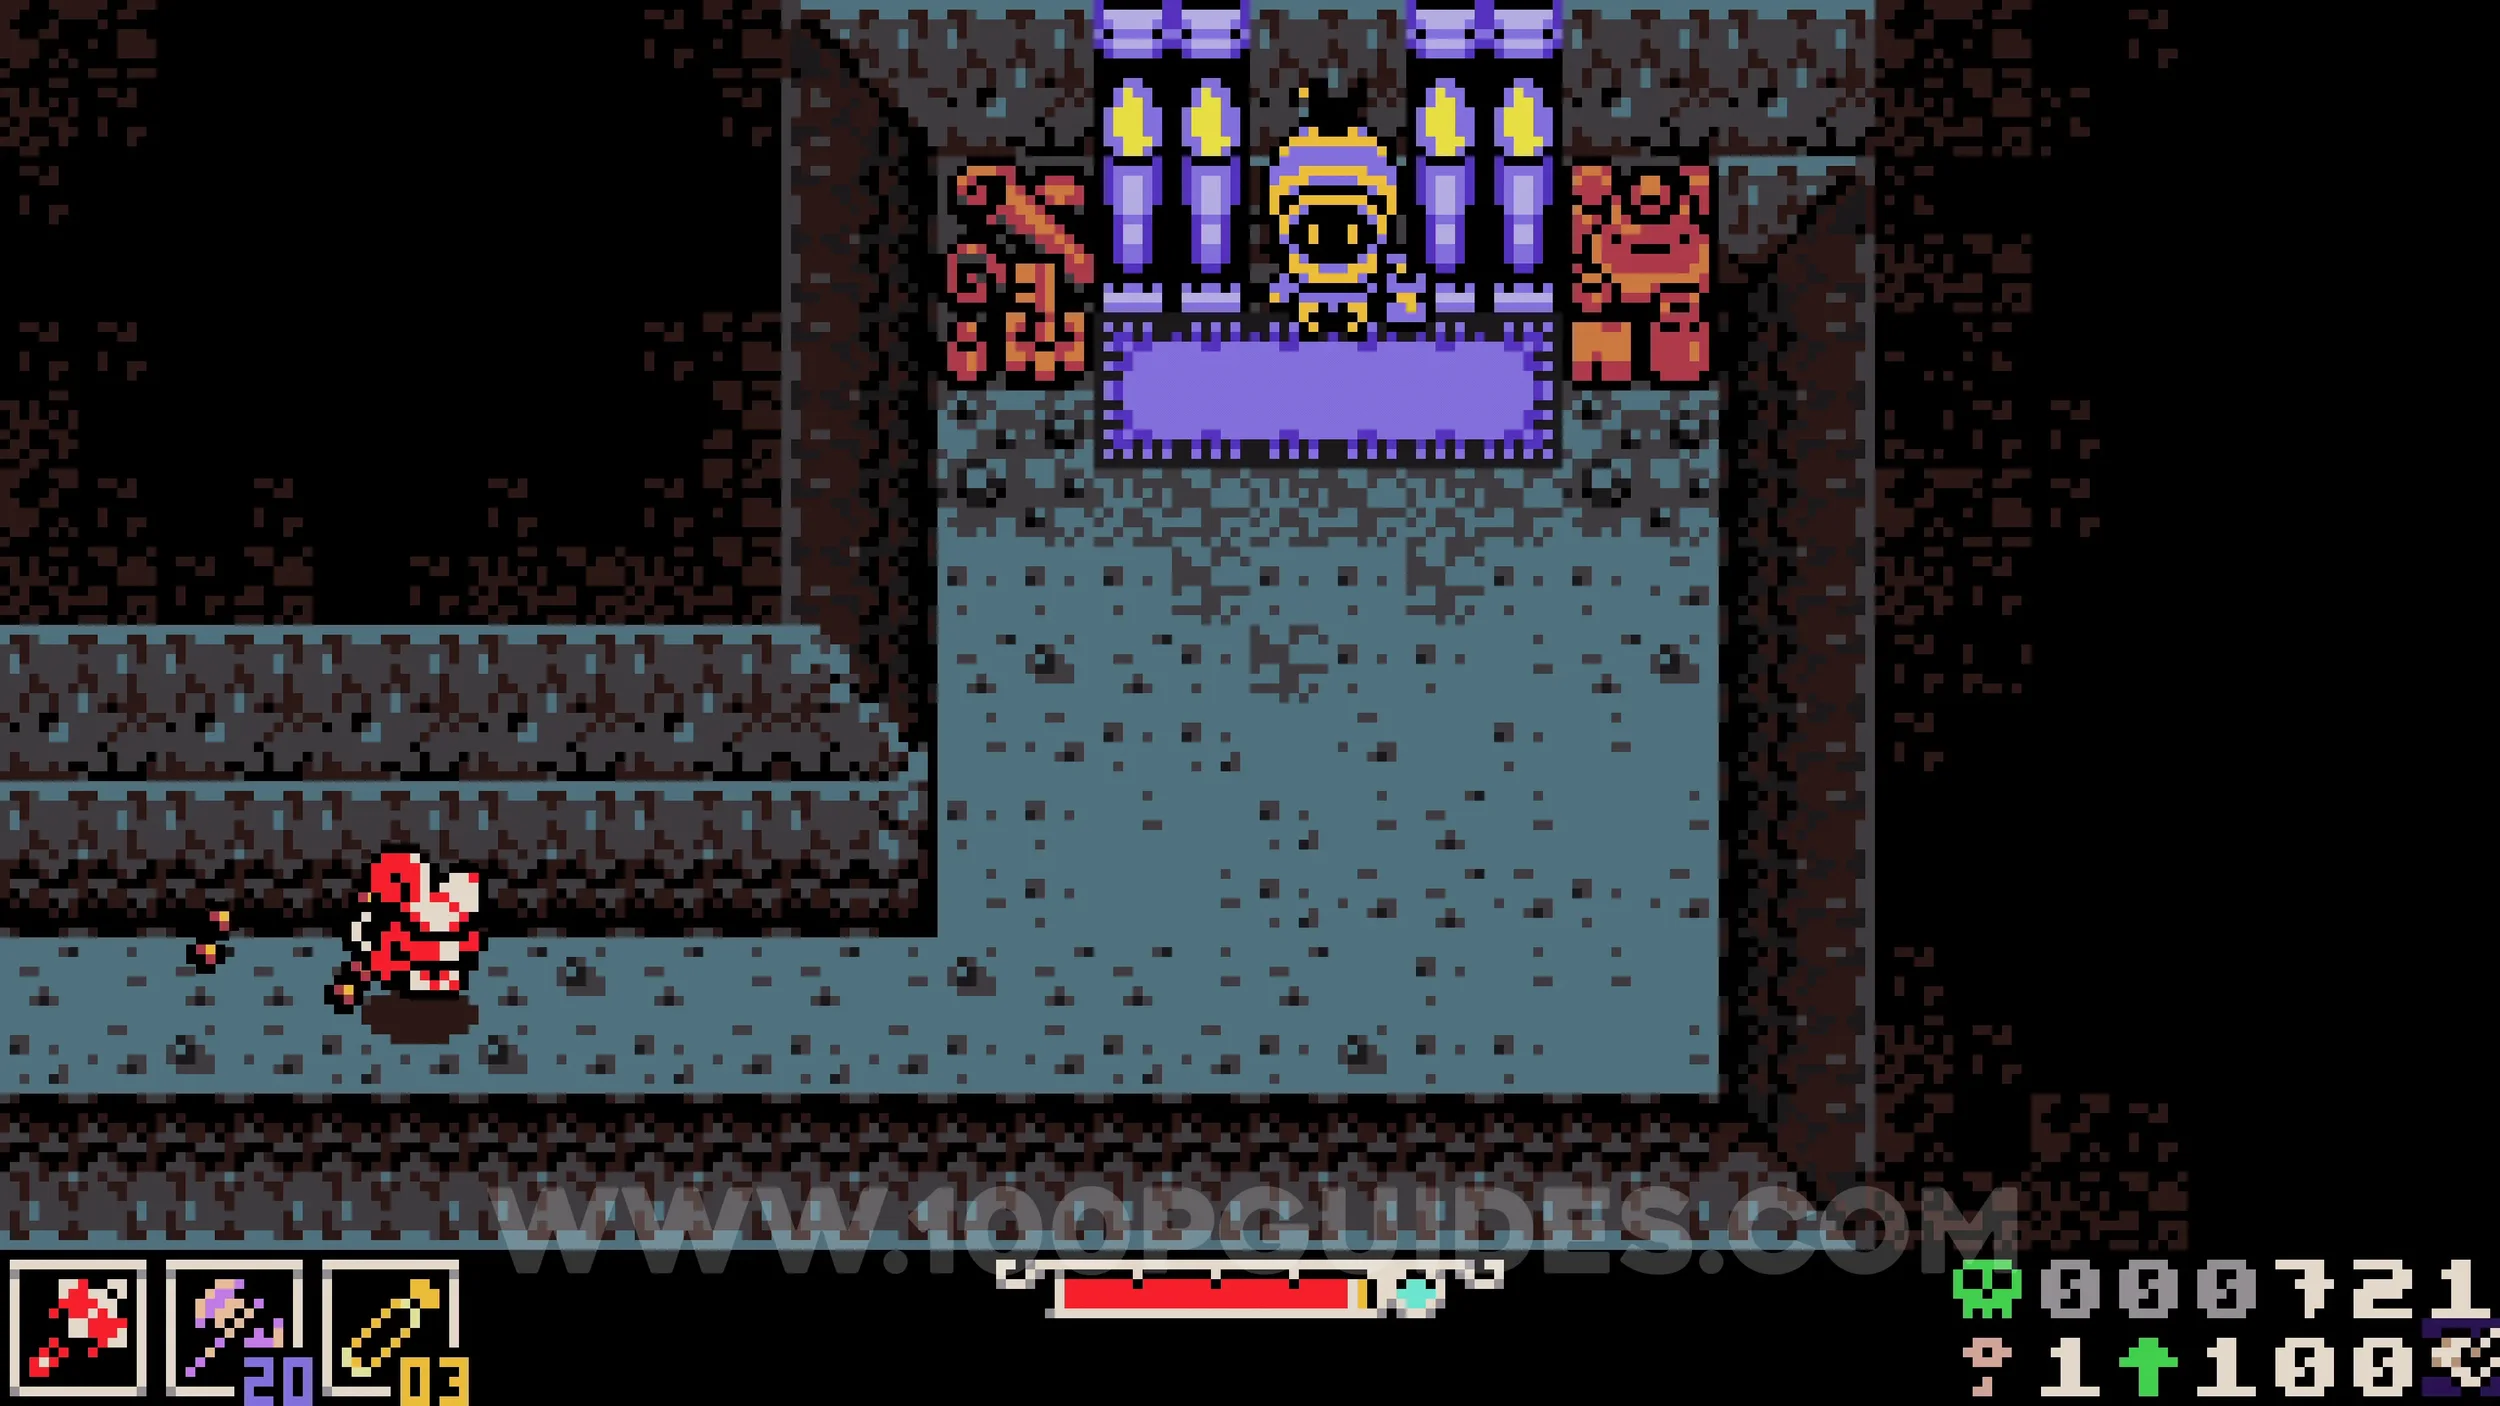
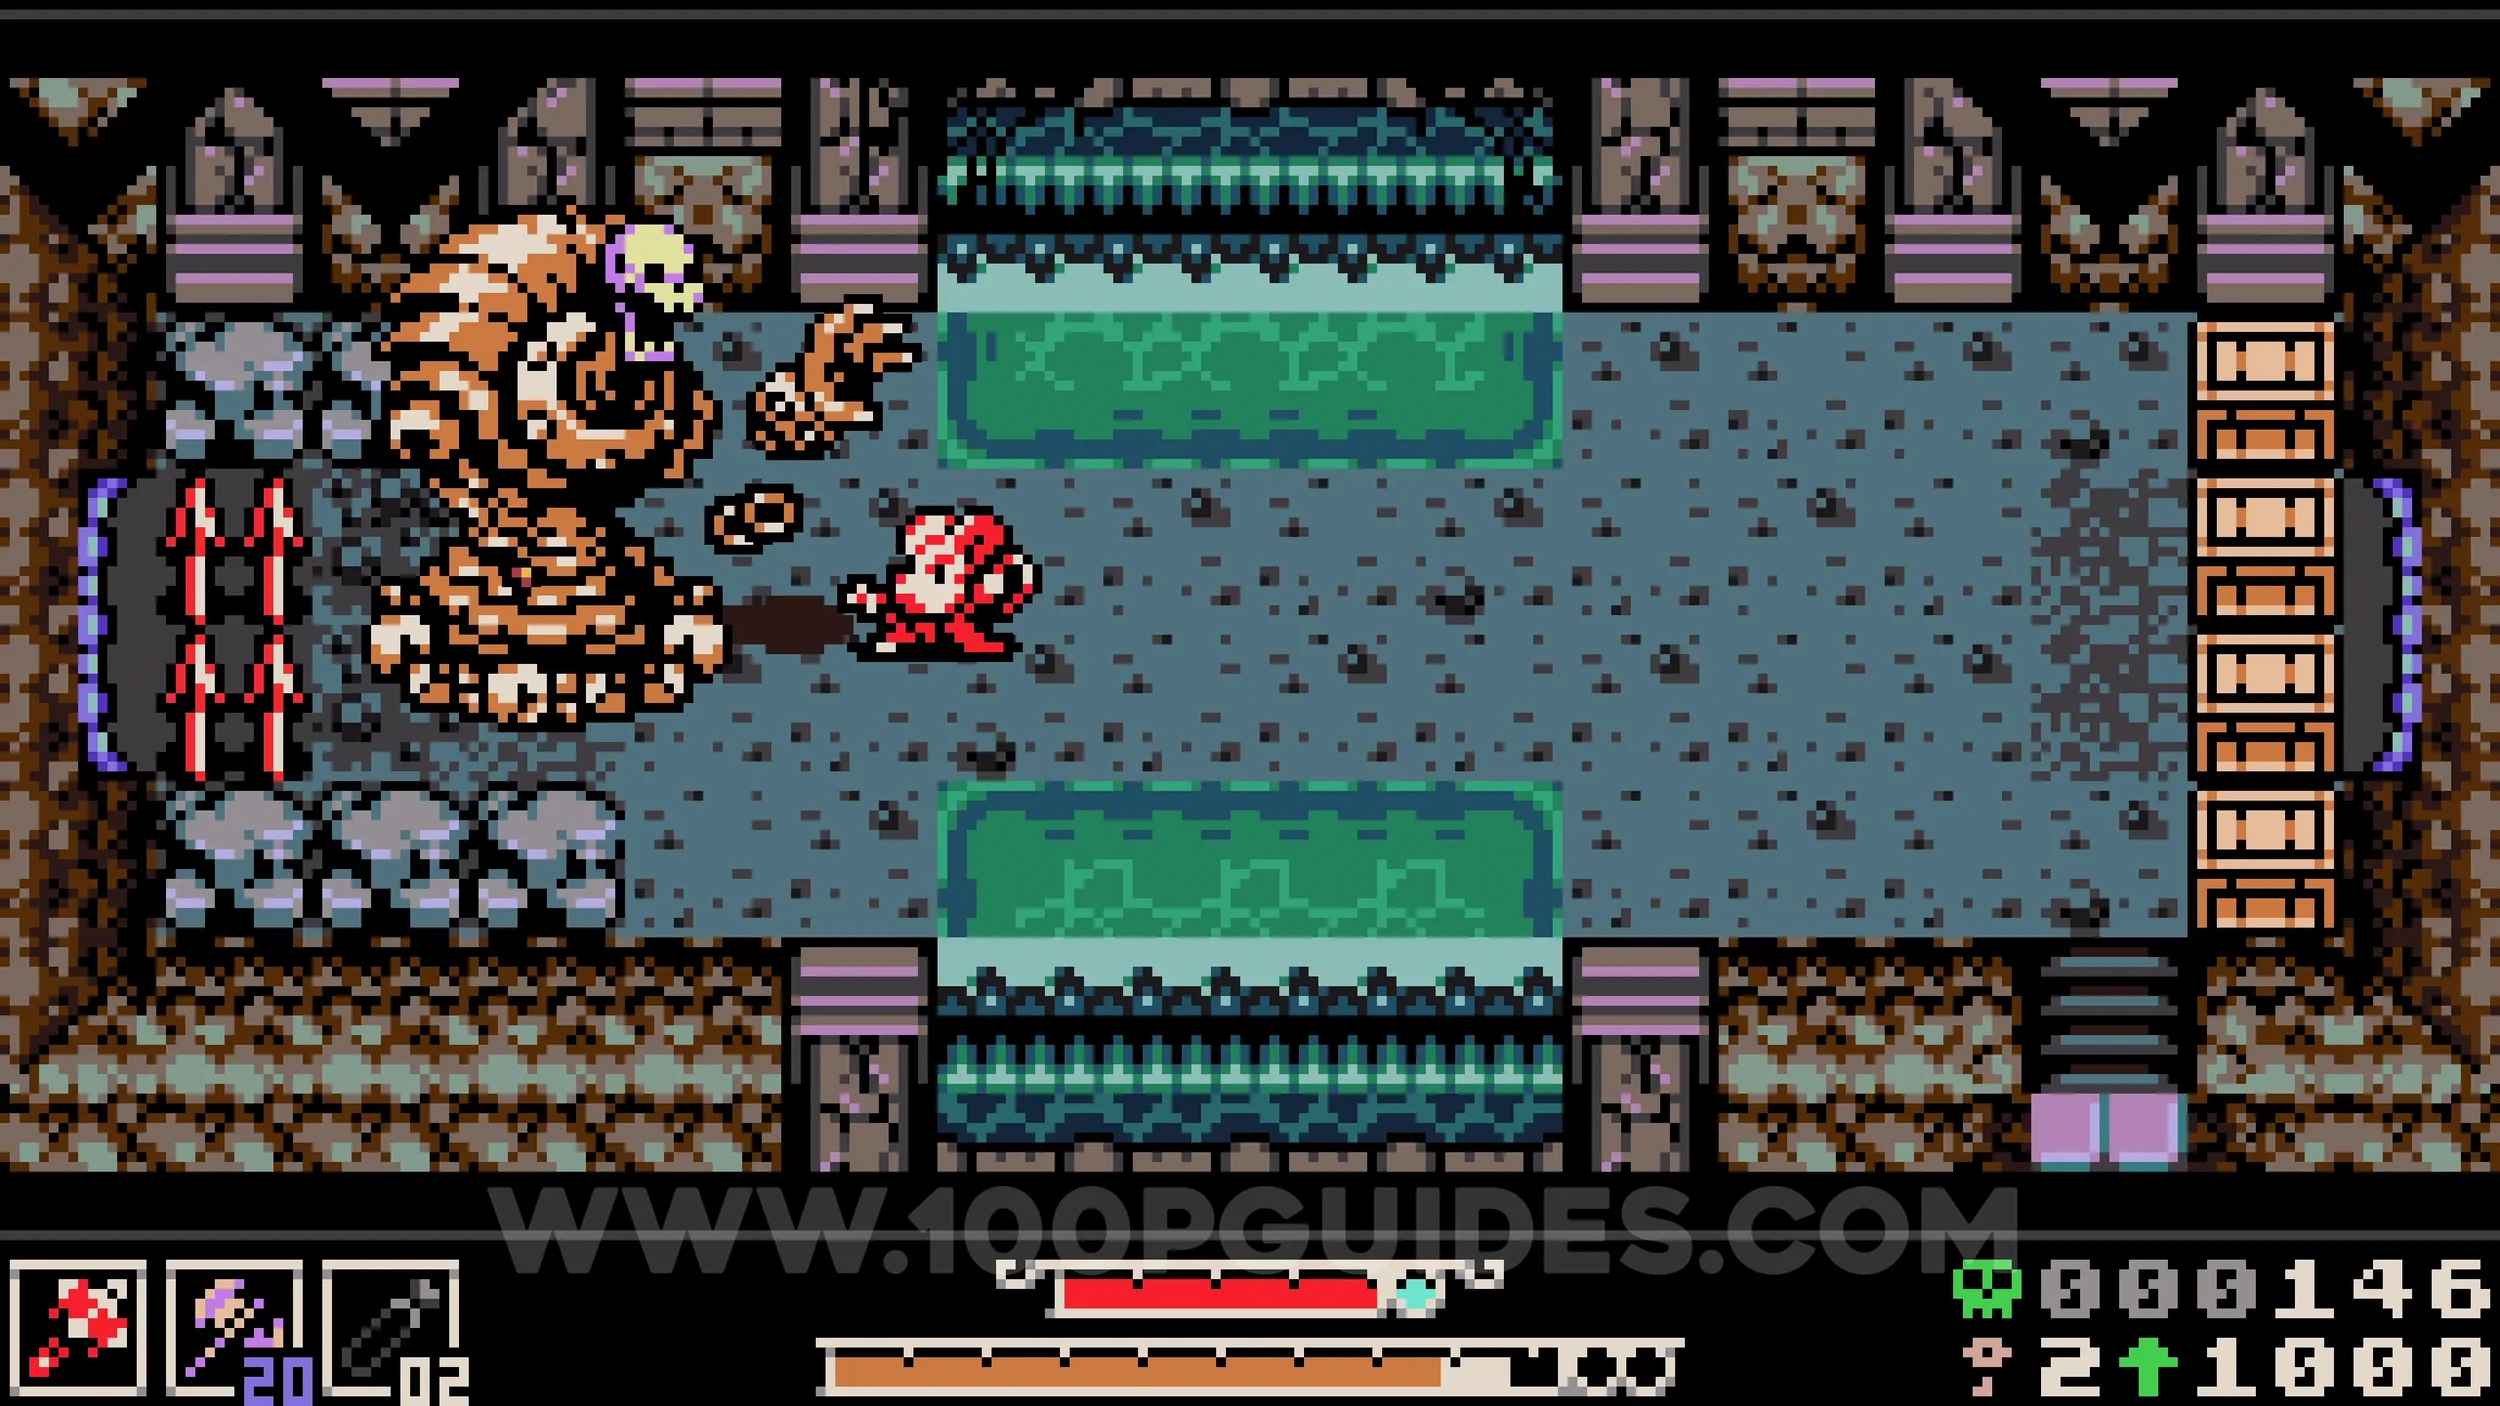
Kear #2. Exit the cave and jump onto the moving platform. Wait until you can jump to the bushes on the left side above the platform, then destroy them and head left. Jump into the water and burrow up to the screen above, reaching a small area with shallow water under the bridge. From there, jump back into the water and burrow under the bridge to enter a secret area. Inside, defeat the mimic on the left and proceed to the next room where you will find the Kear.
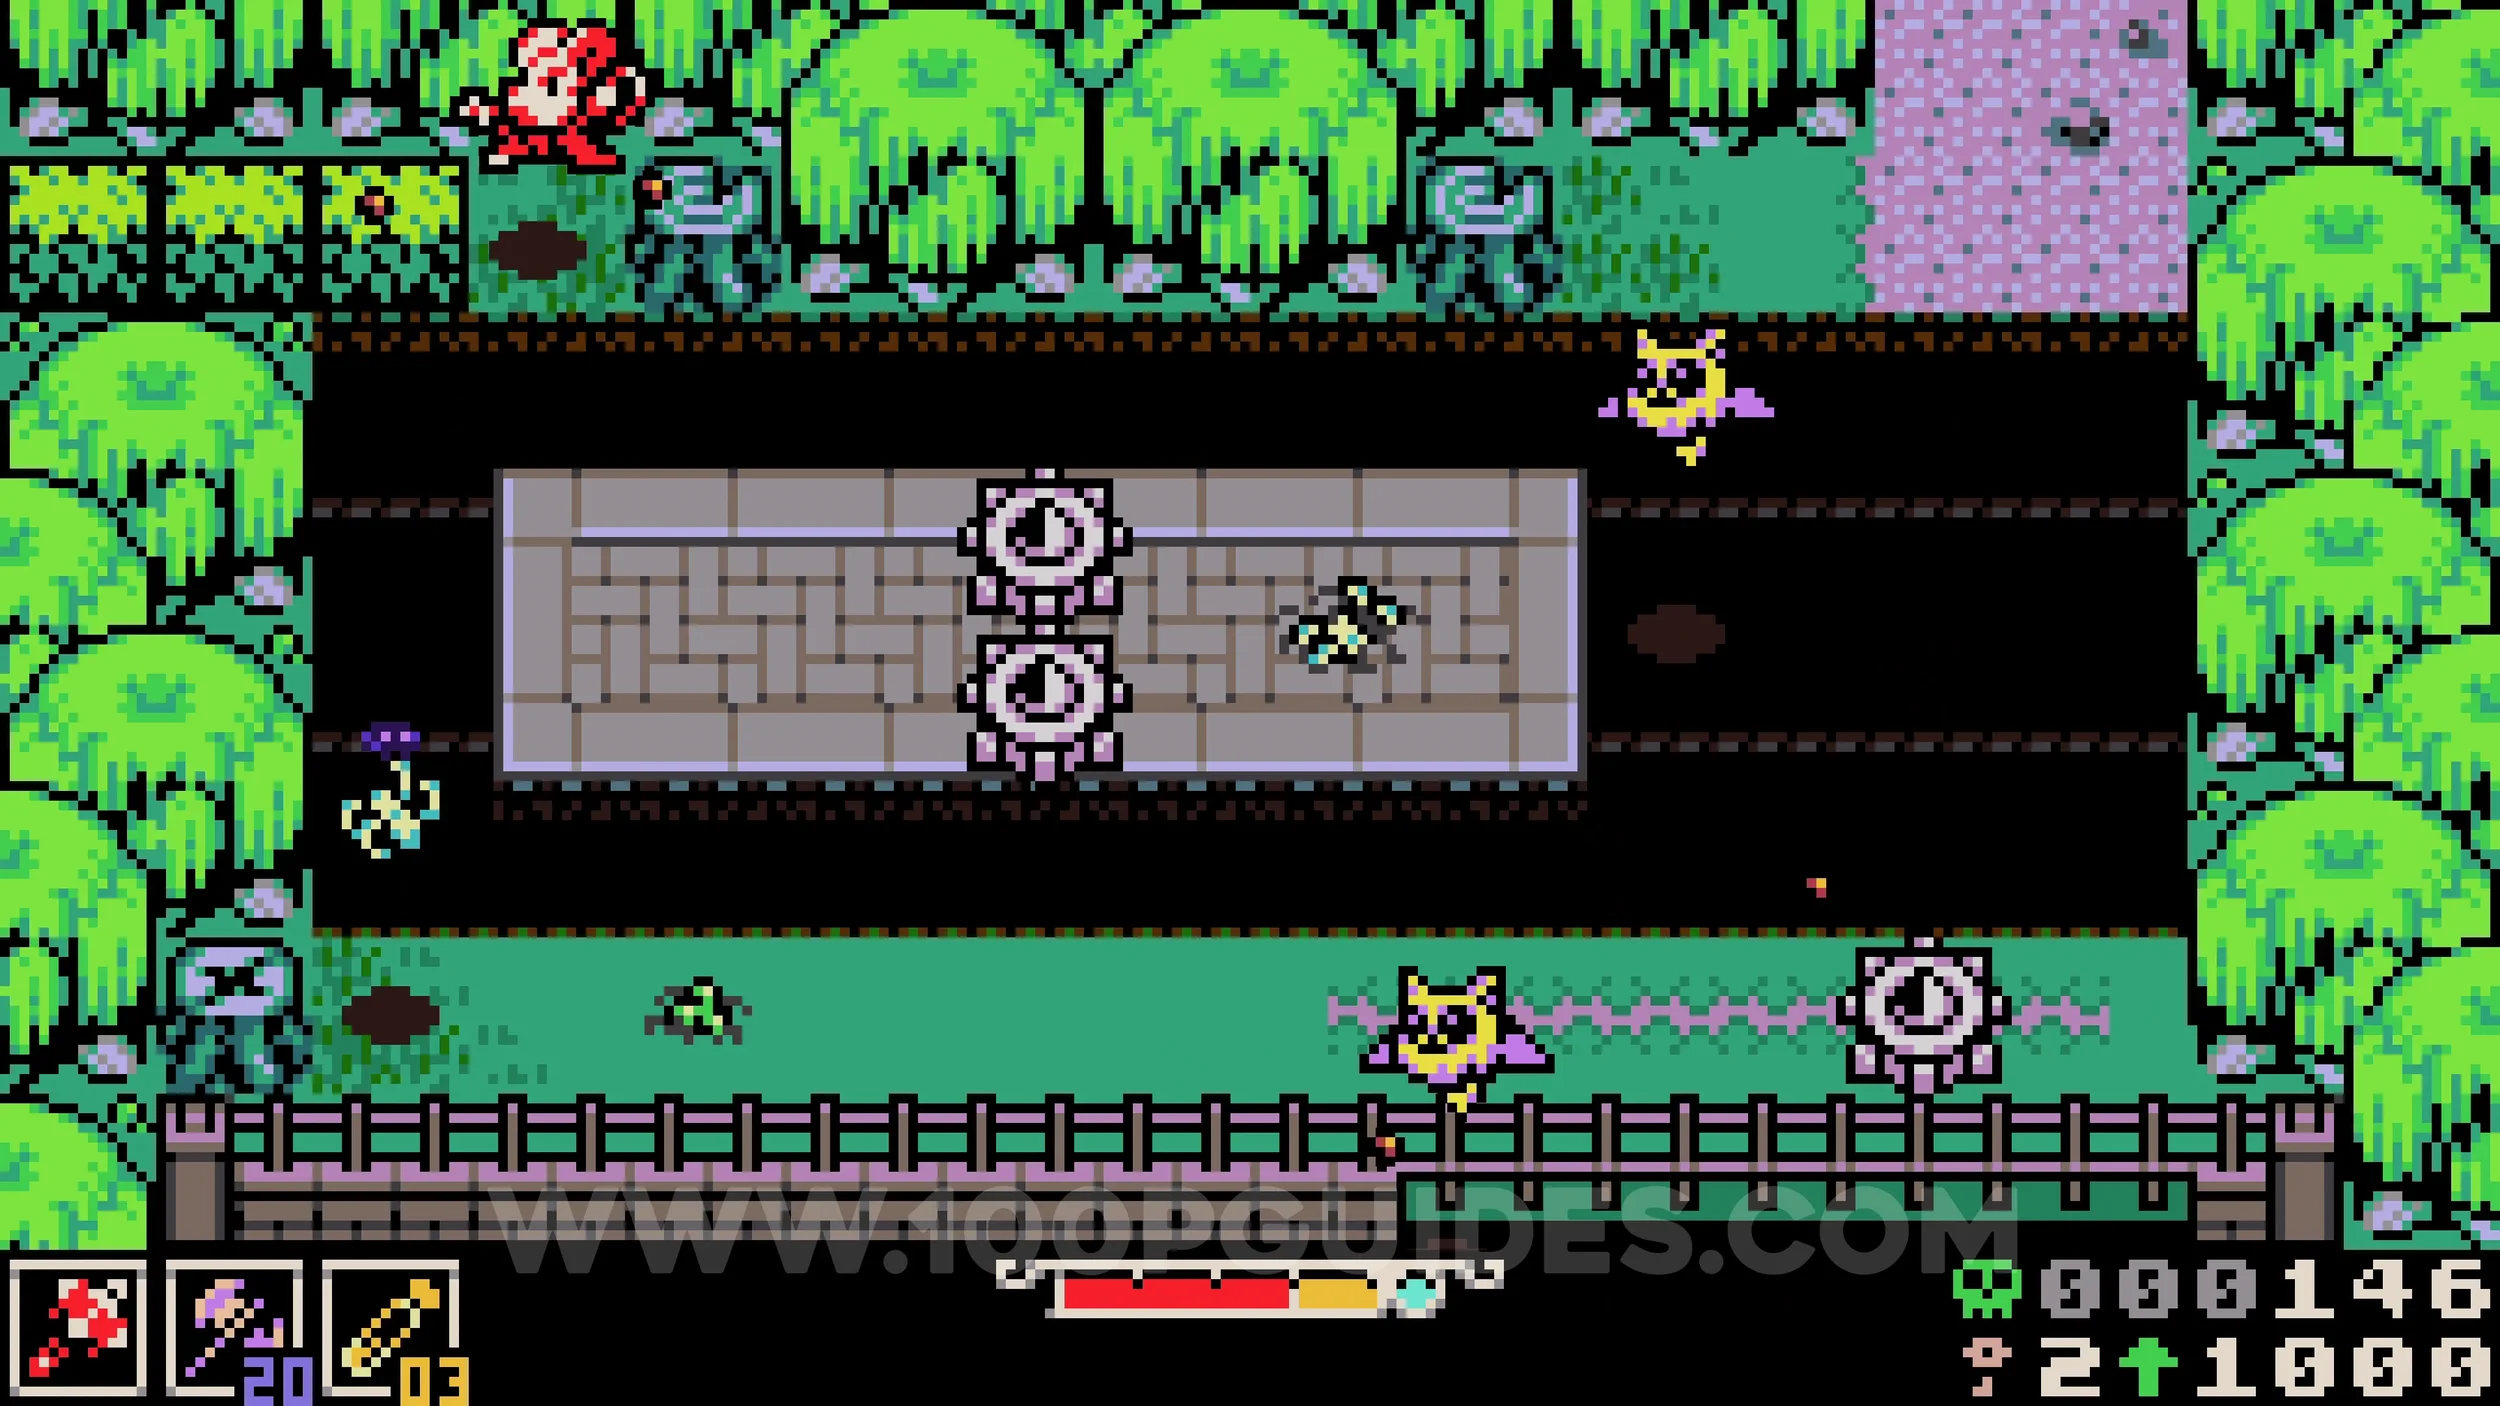
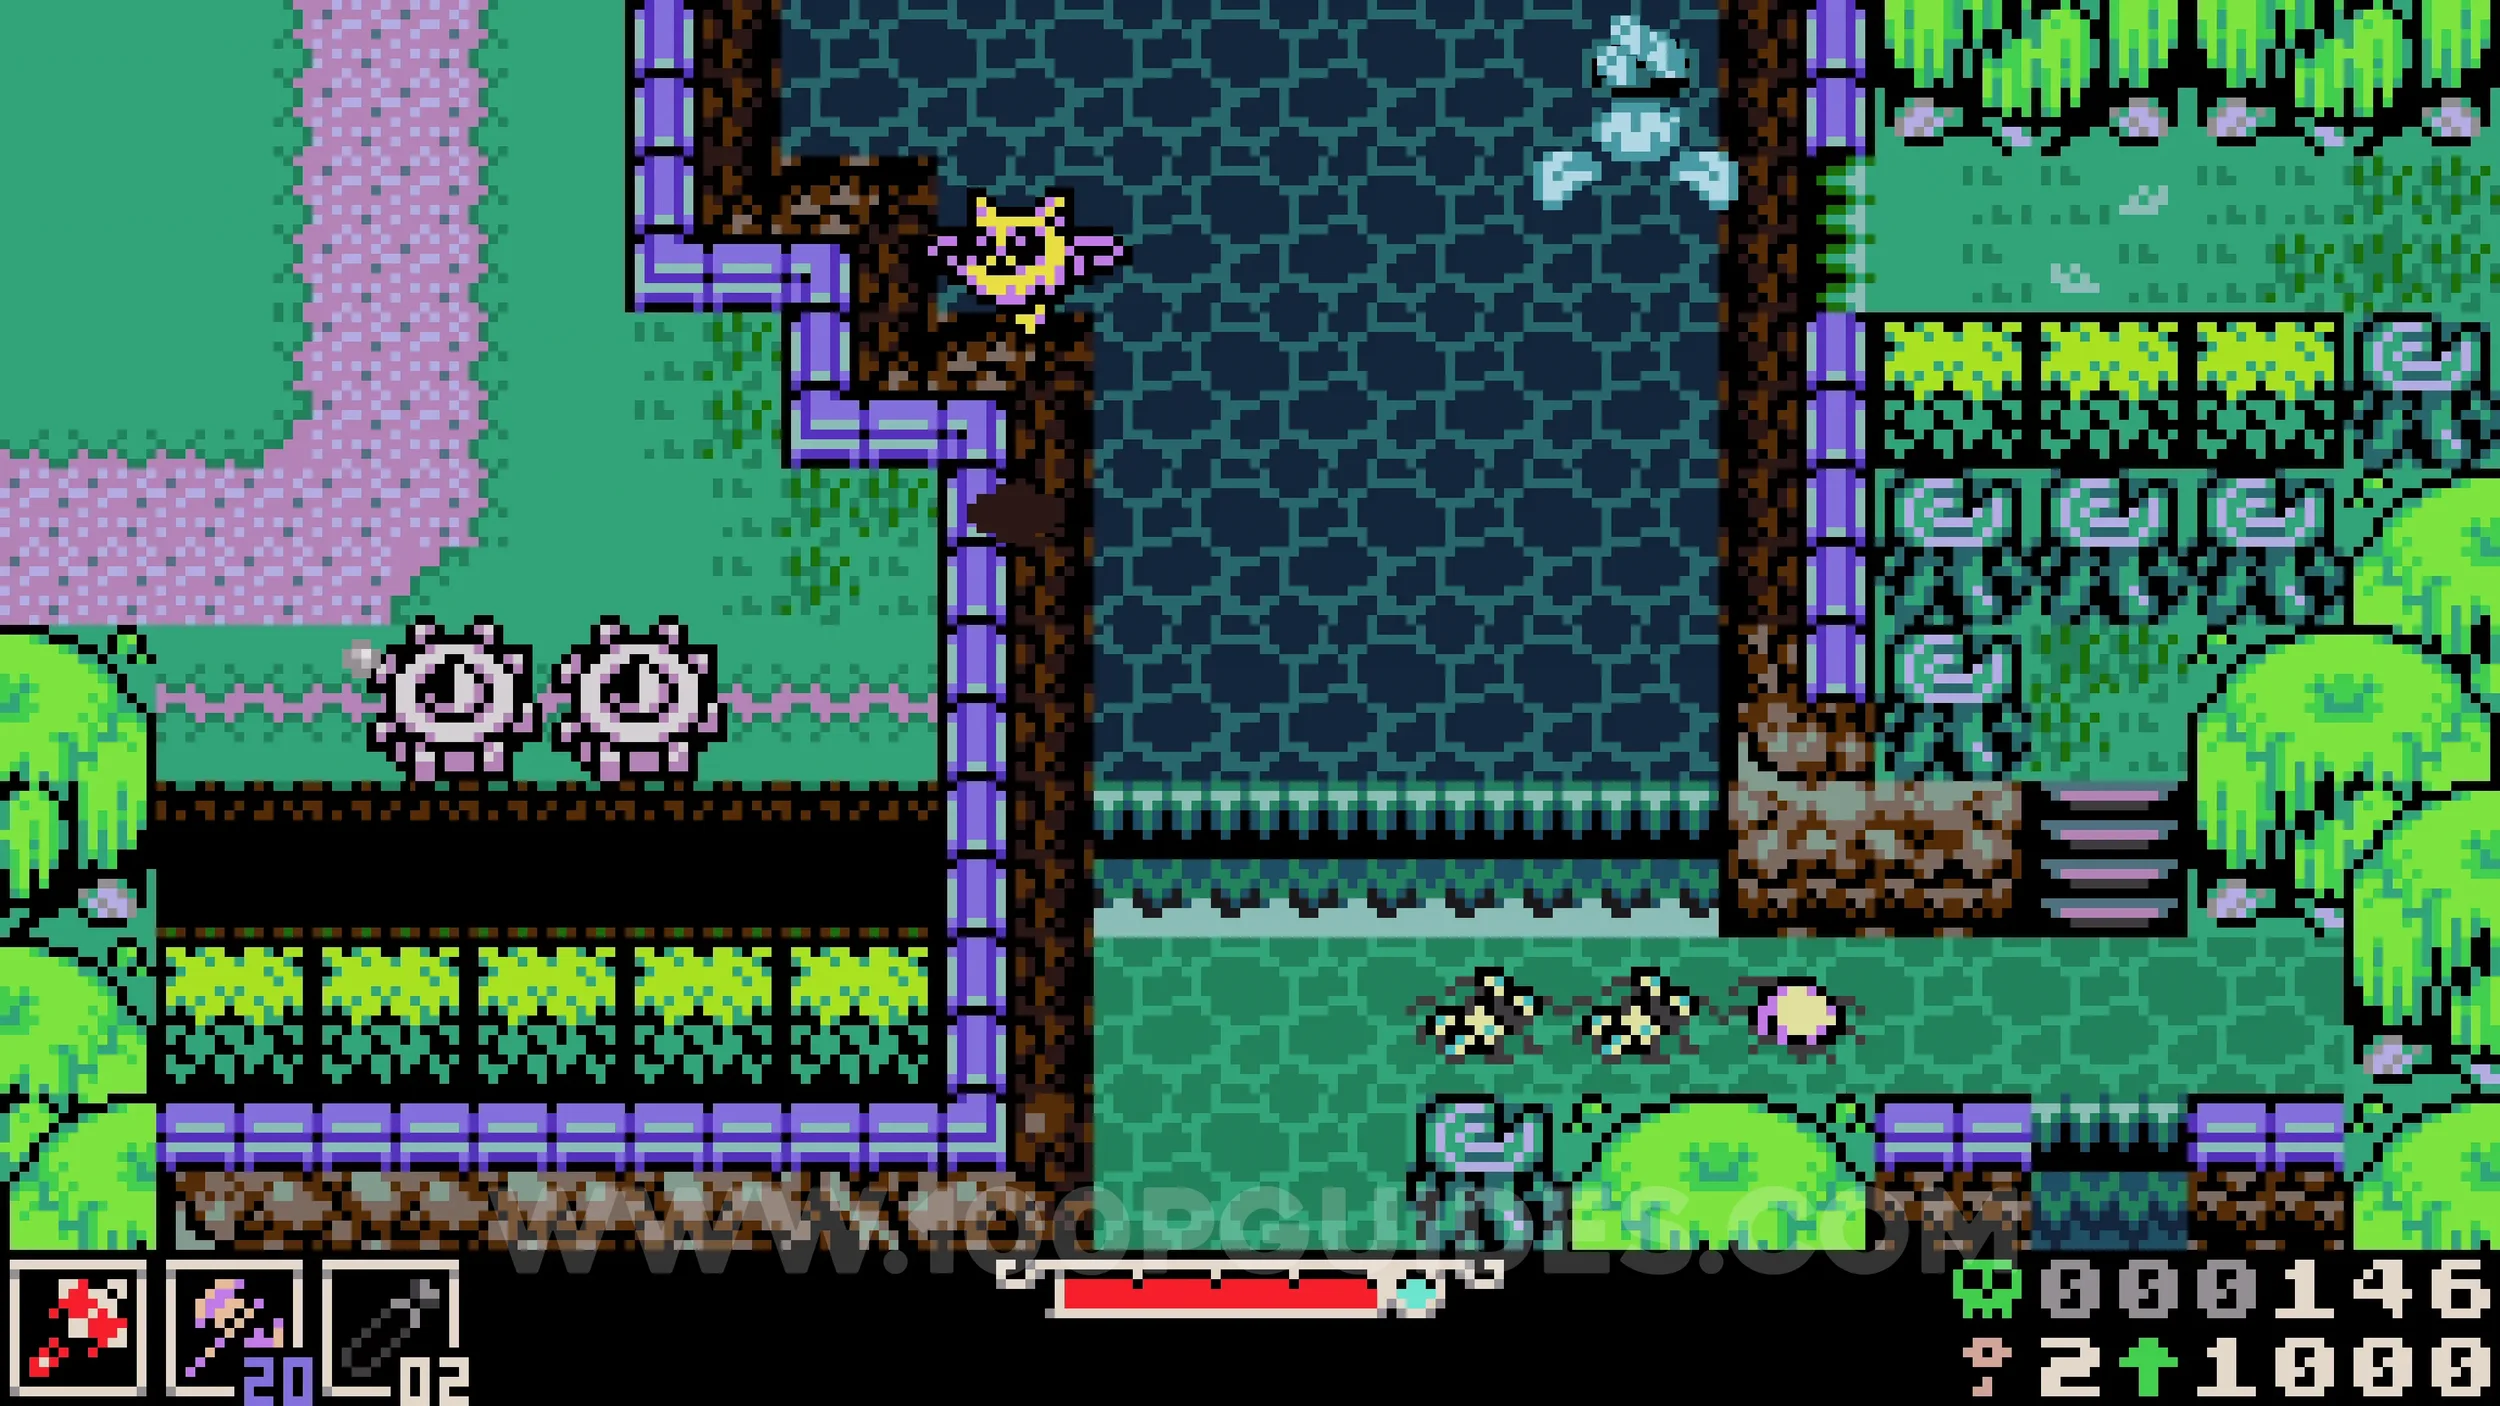
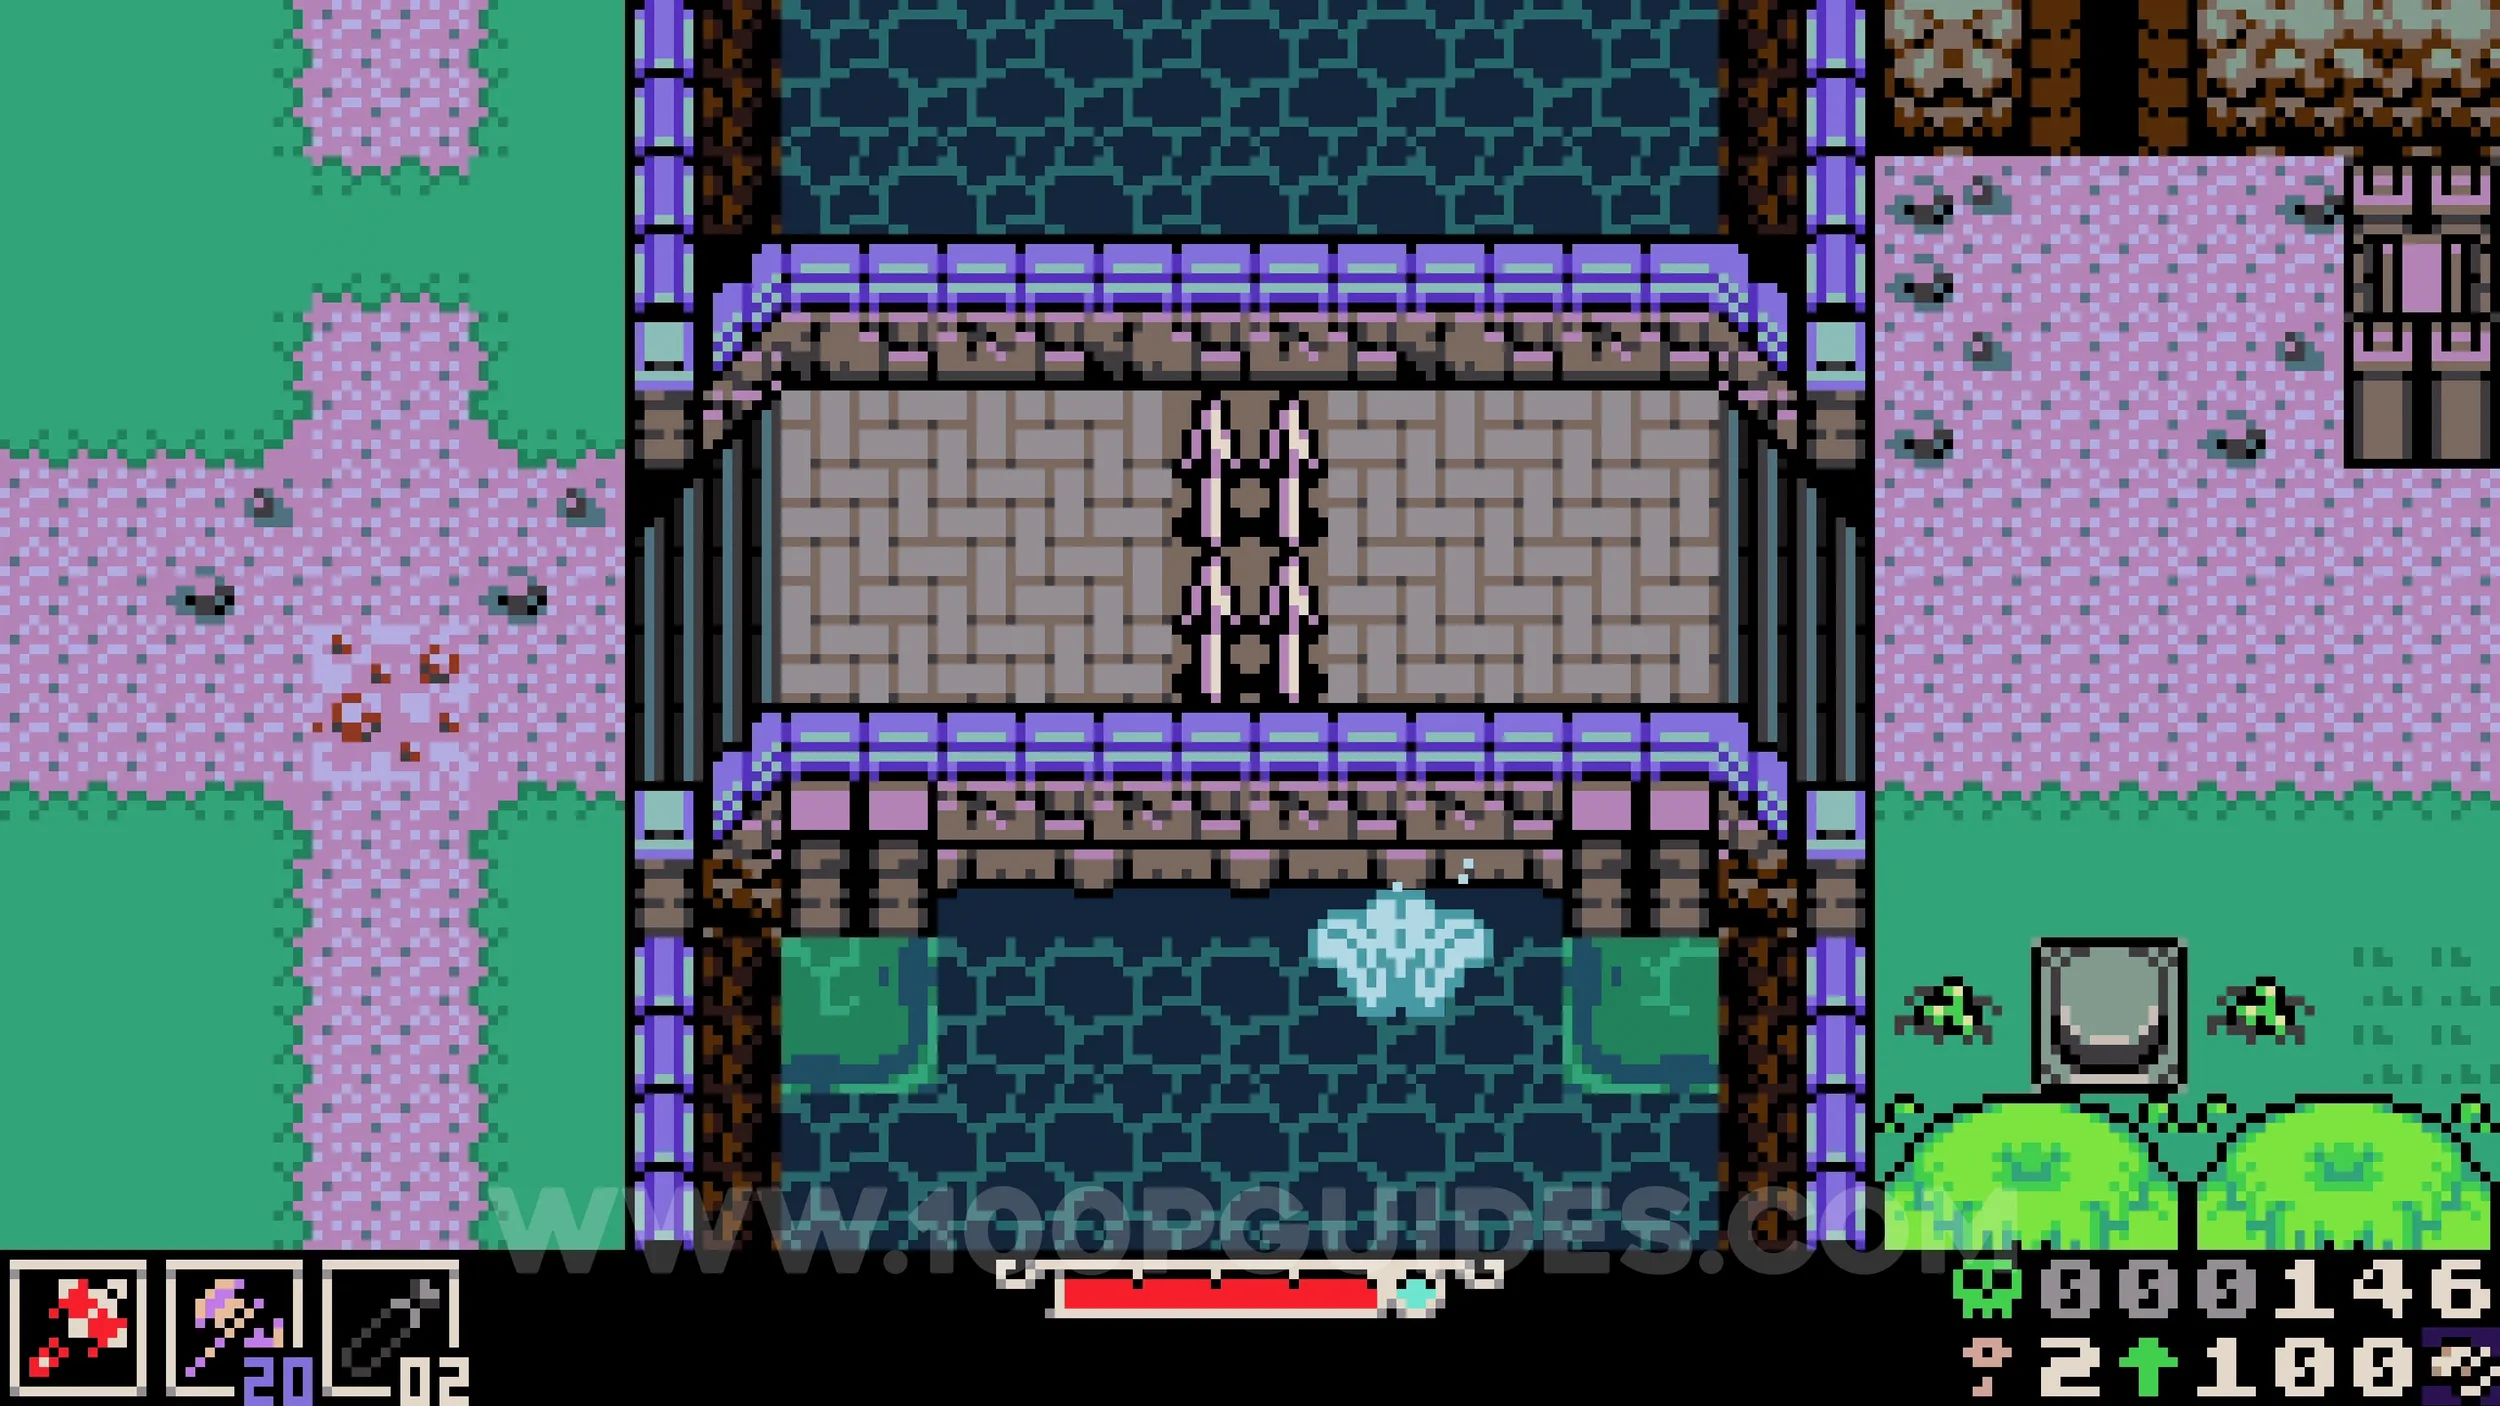
Lock #2. Exit the cave under the bridge and make your way back to the moving platform, then go up on the right side and continue left. Use the switch to remove the spike from the bridge, then cross to the left side to return to the starting area. From here, head up to find a house with a lock on the door.
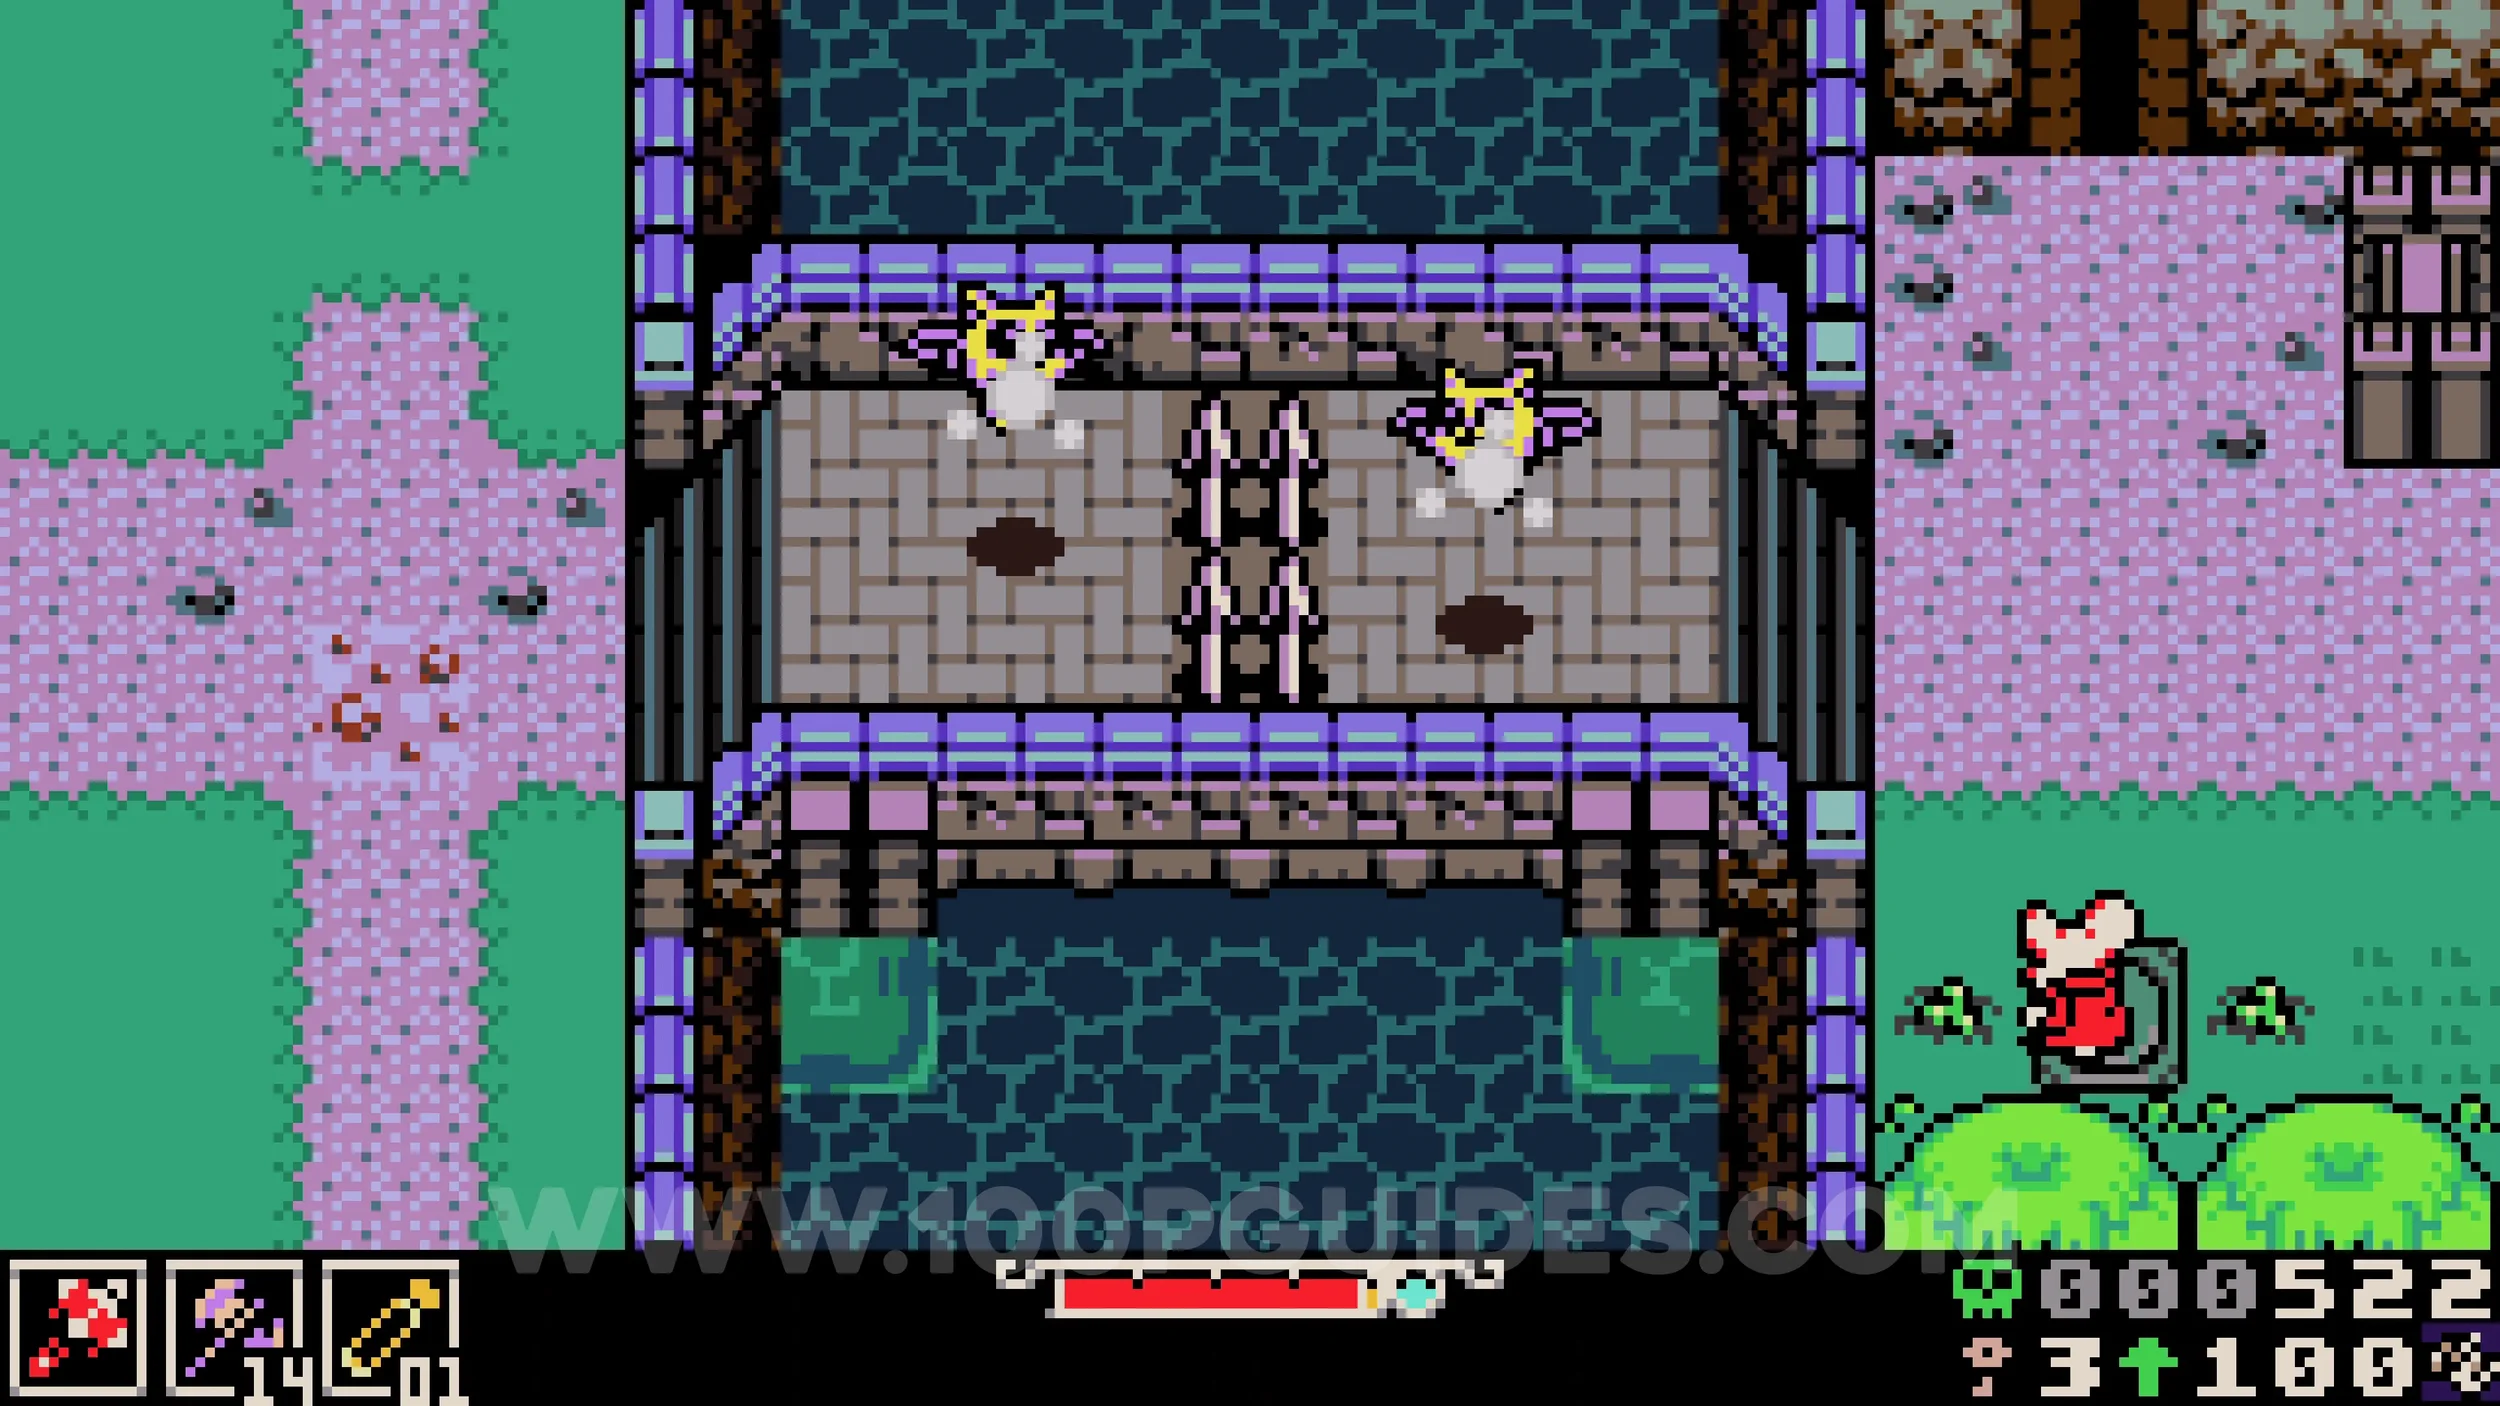
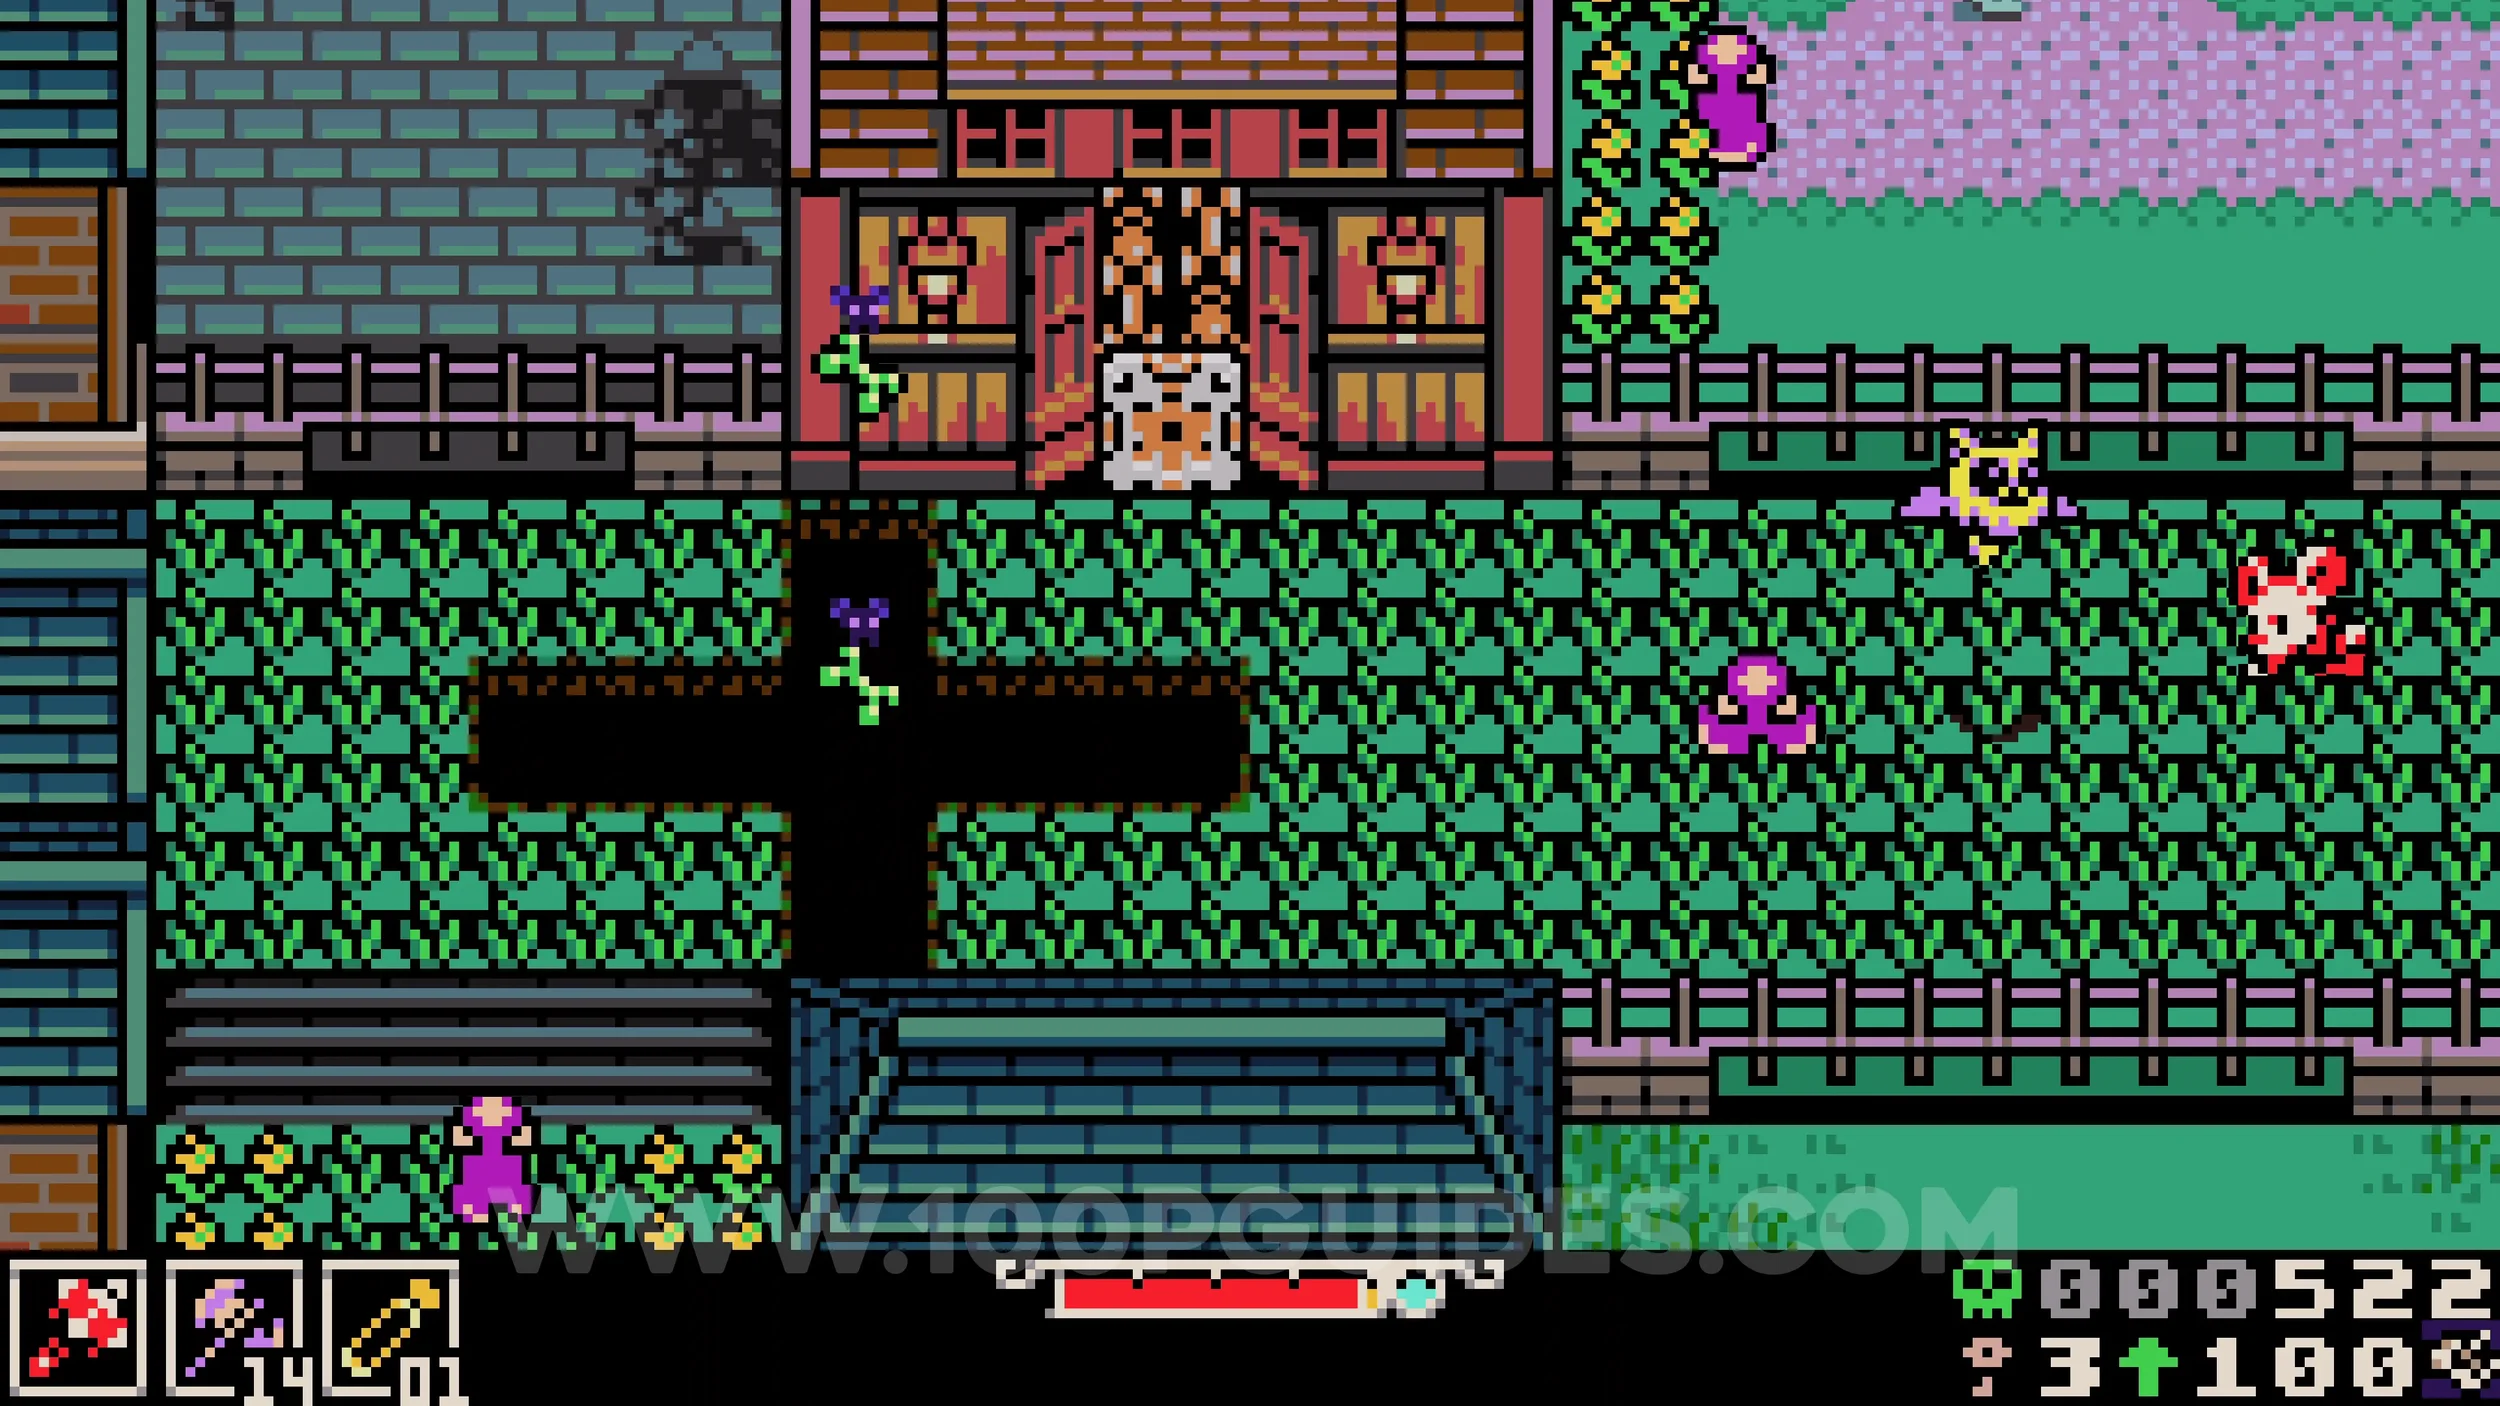
Trinket #2 - Chain Capacitor. Enter the house after unlocking the door and talk to the NPC to play the Wrecking minigame. Destroy the highlighted parts of the vehicle within 30 seconds to earn the trinket. You may need to return once you are stronger to complete it in time.
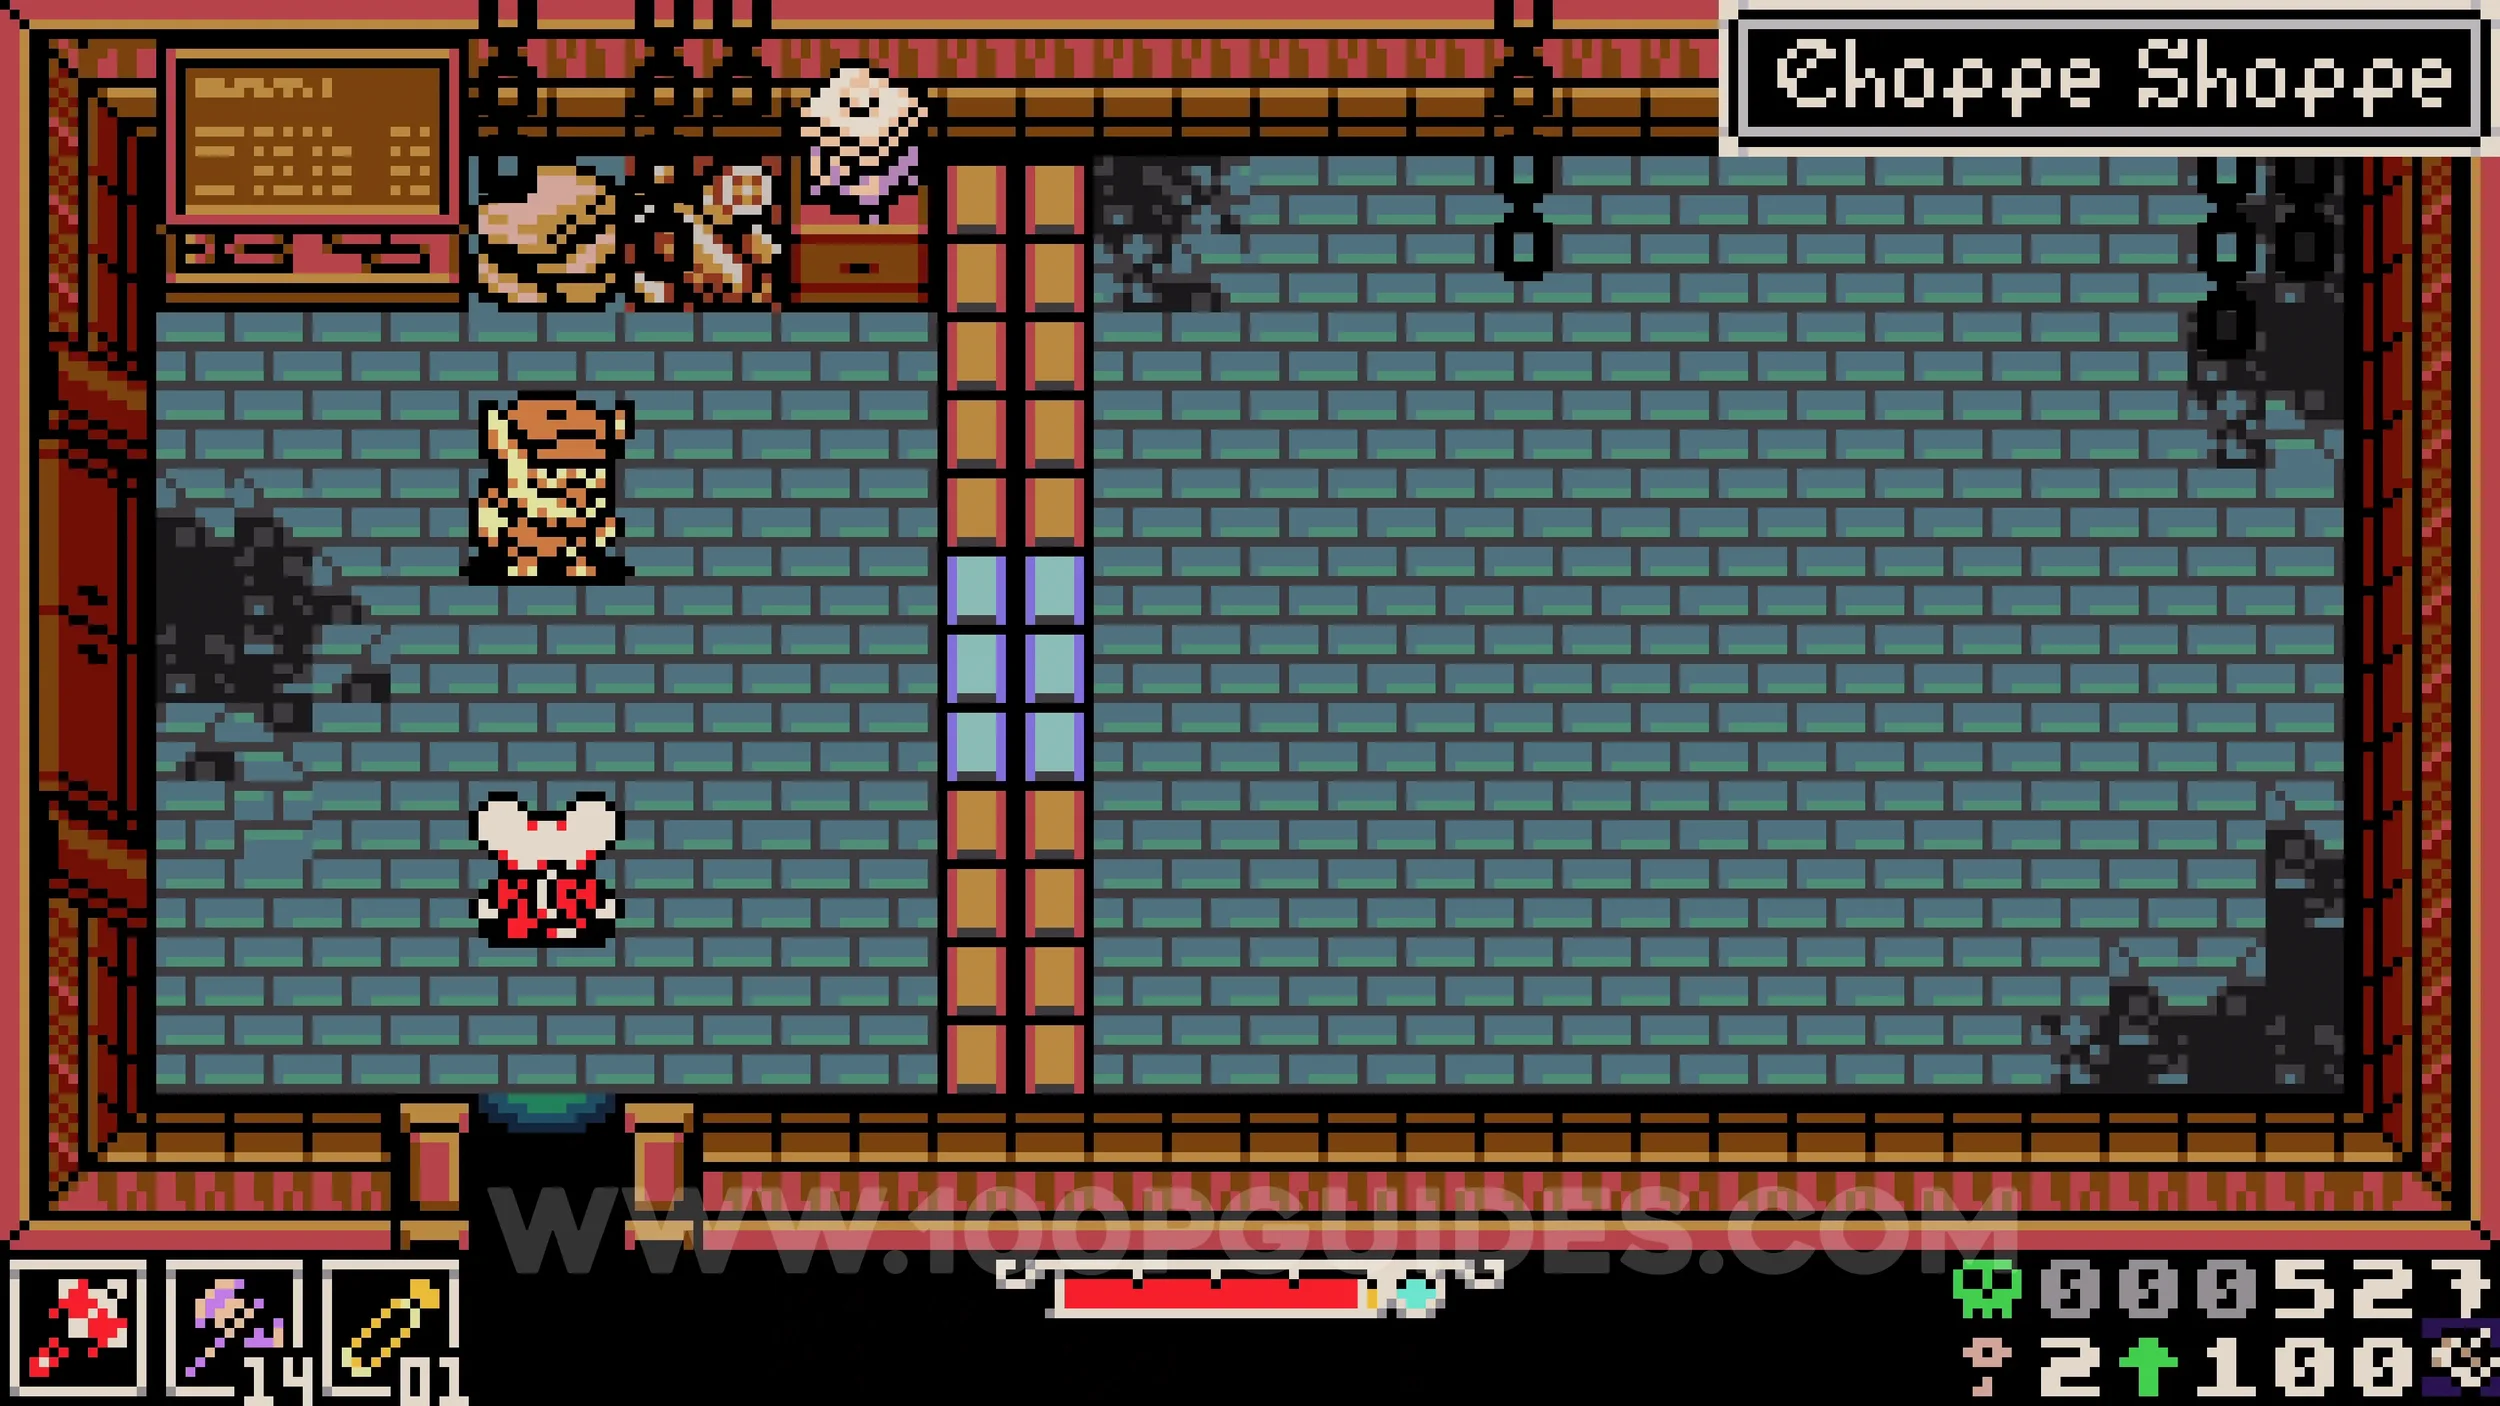
Lock #3. Exit the house and burrow under the fence to the left to find the lock.
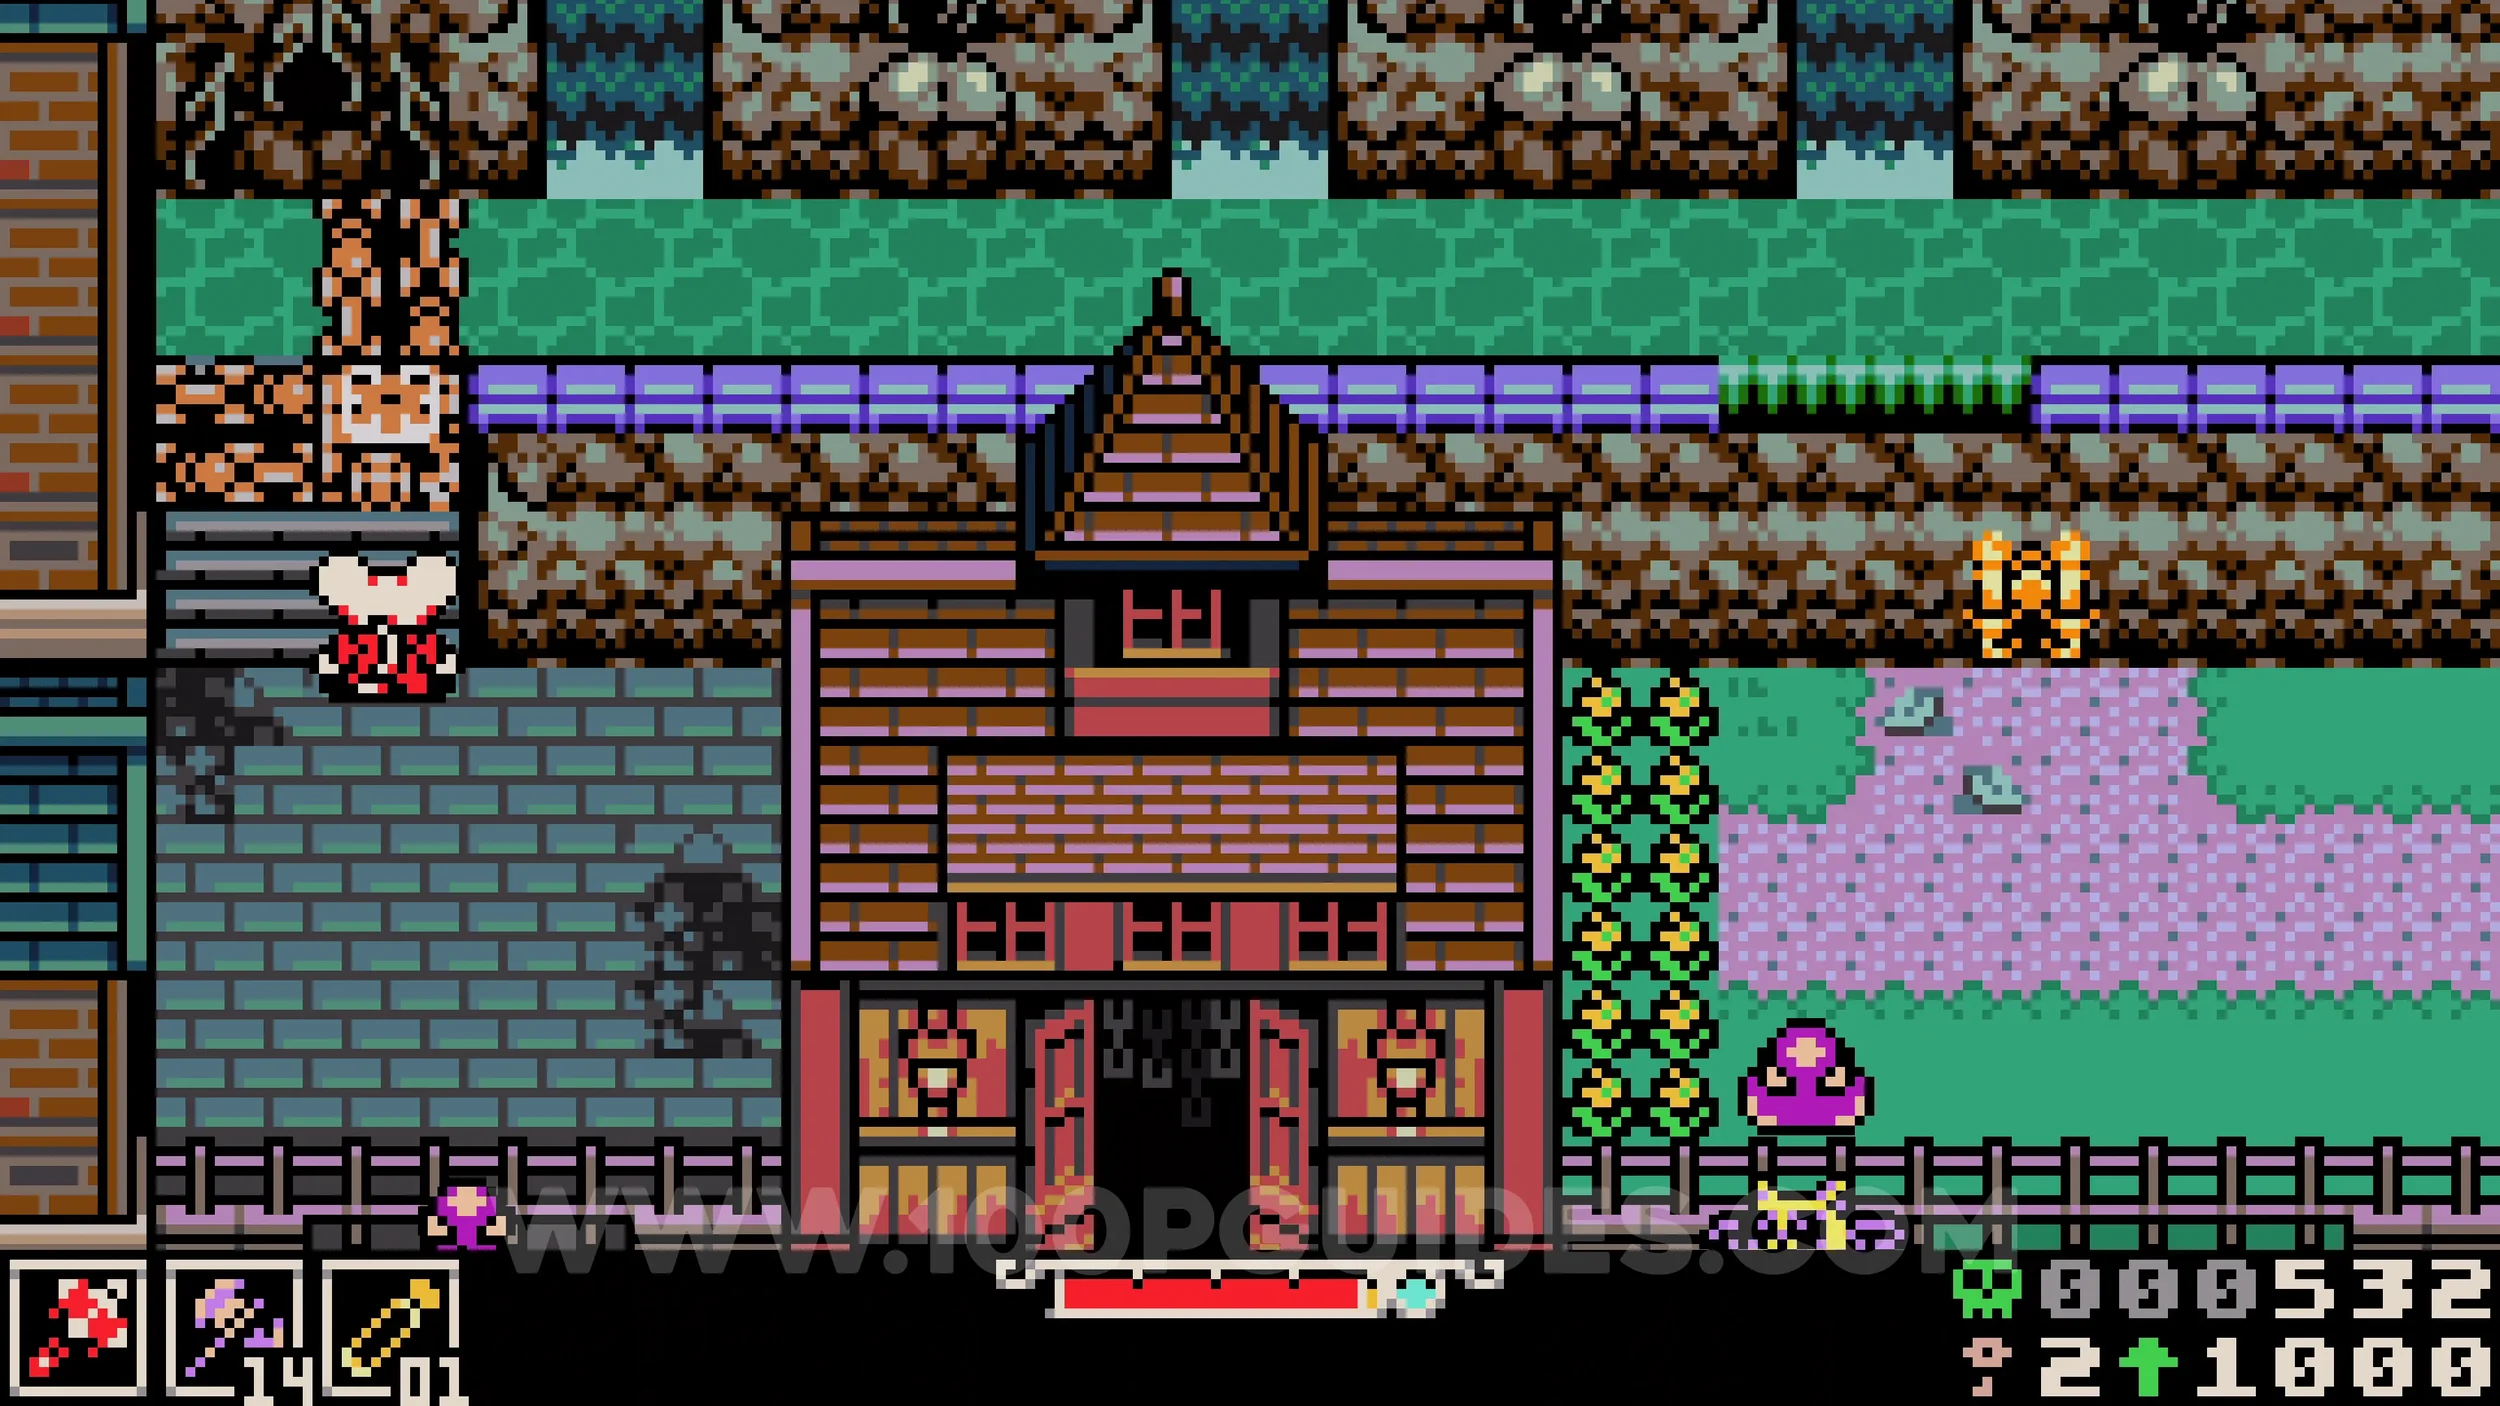
Bonestone #5. On the other side of the lock, hit the wall above to reveal a secret area with a hole. Drop down into the cave below and hit the switch to clear the spikes, then open the chest containing the bonestone.
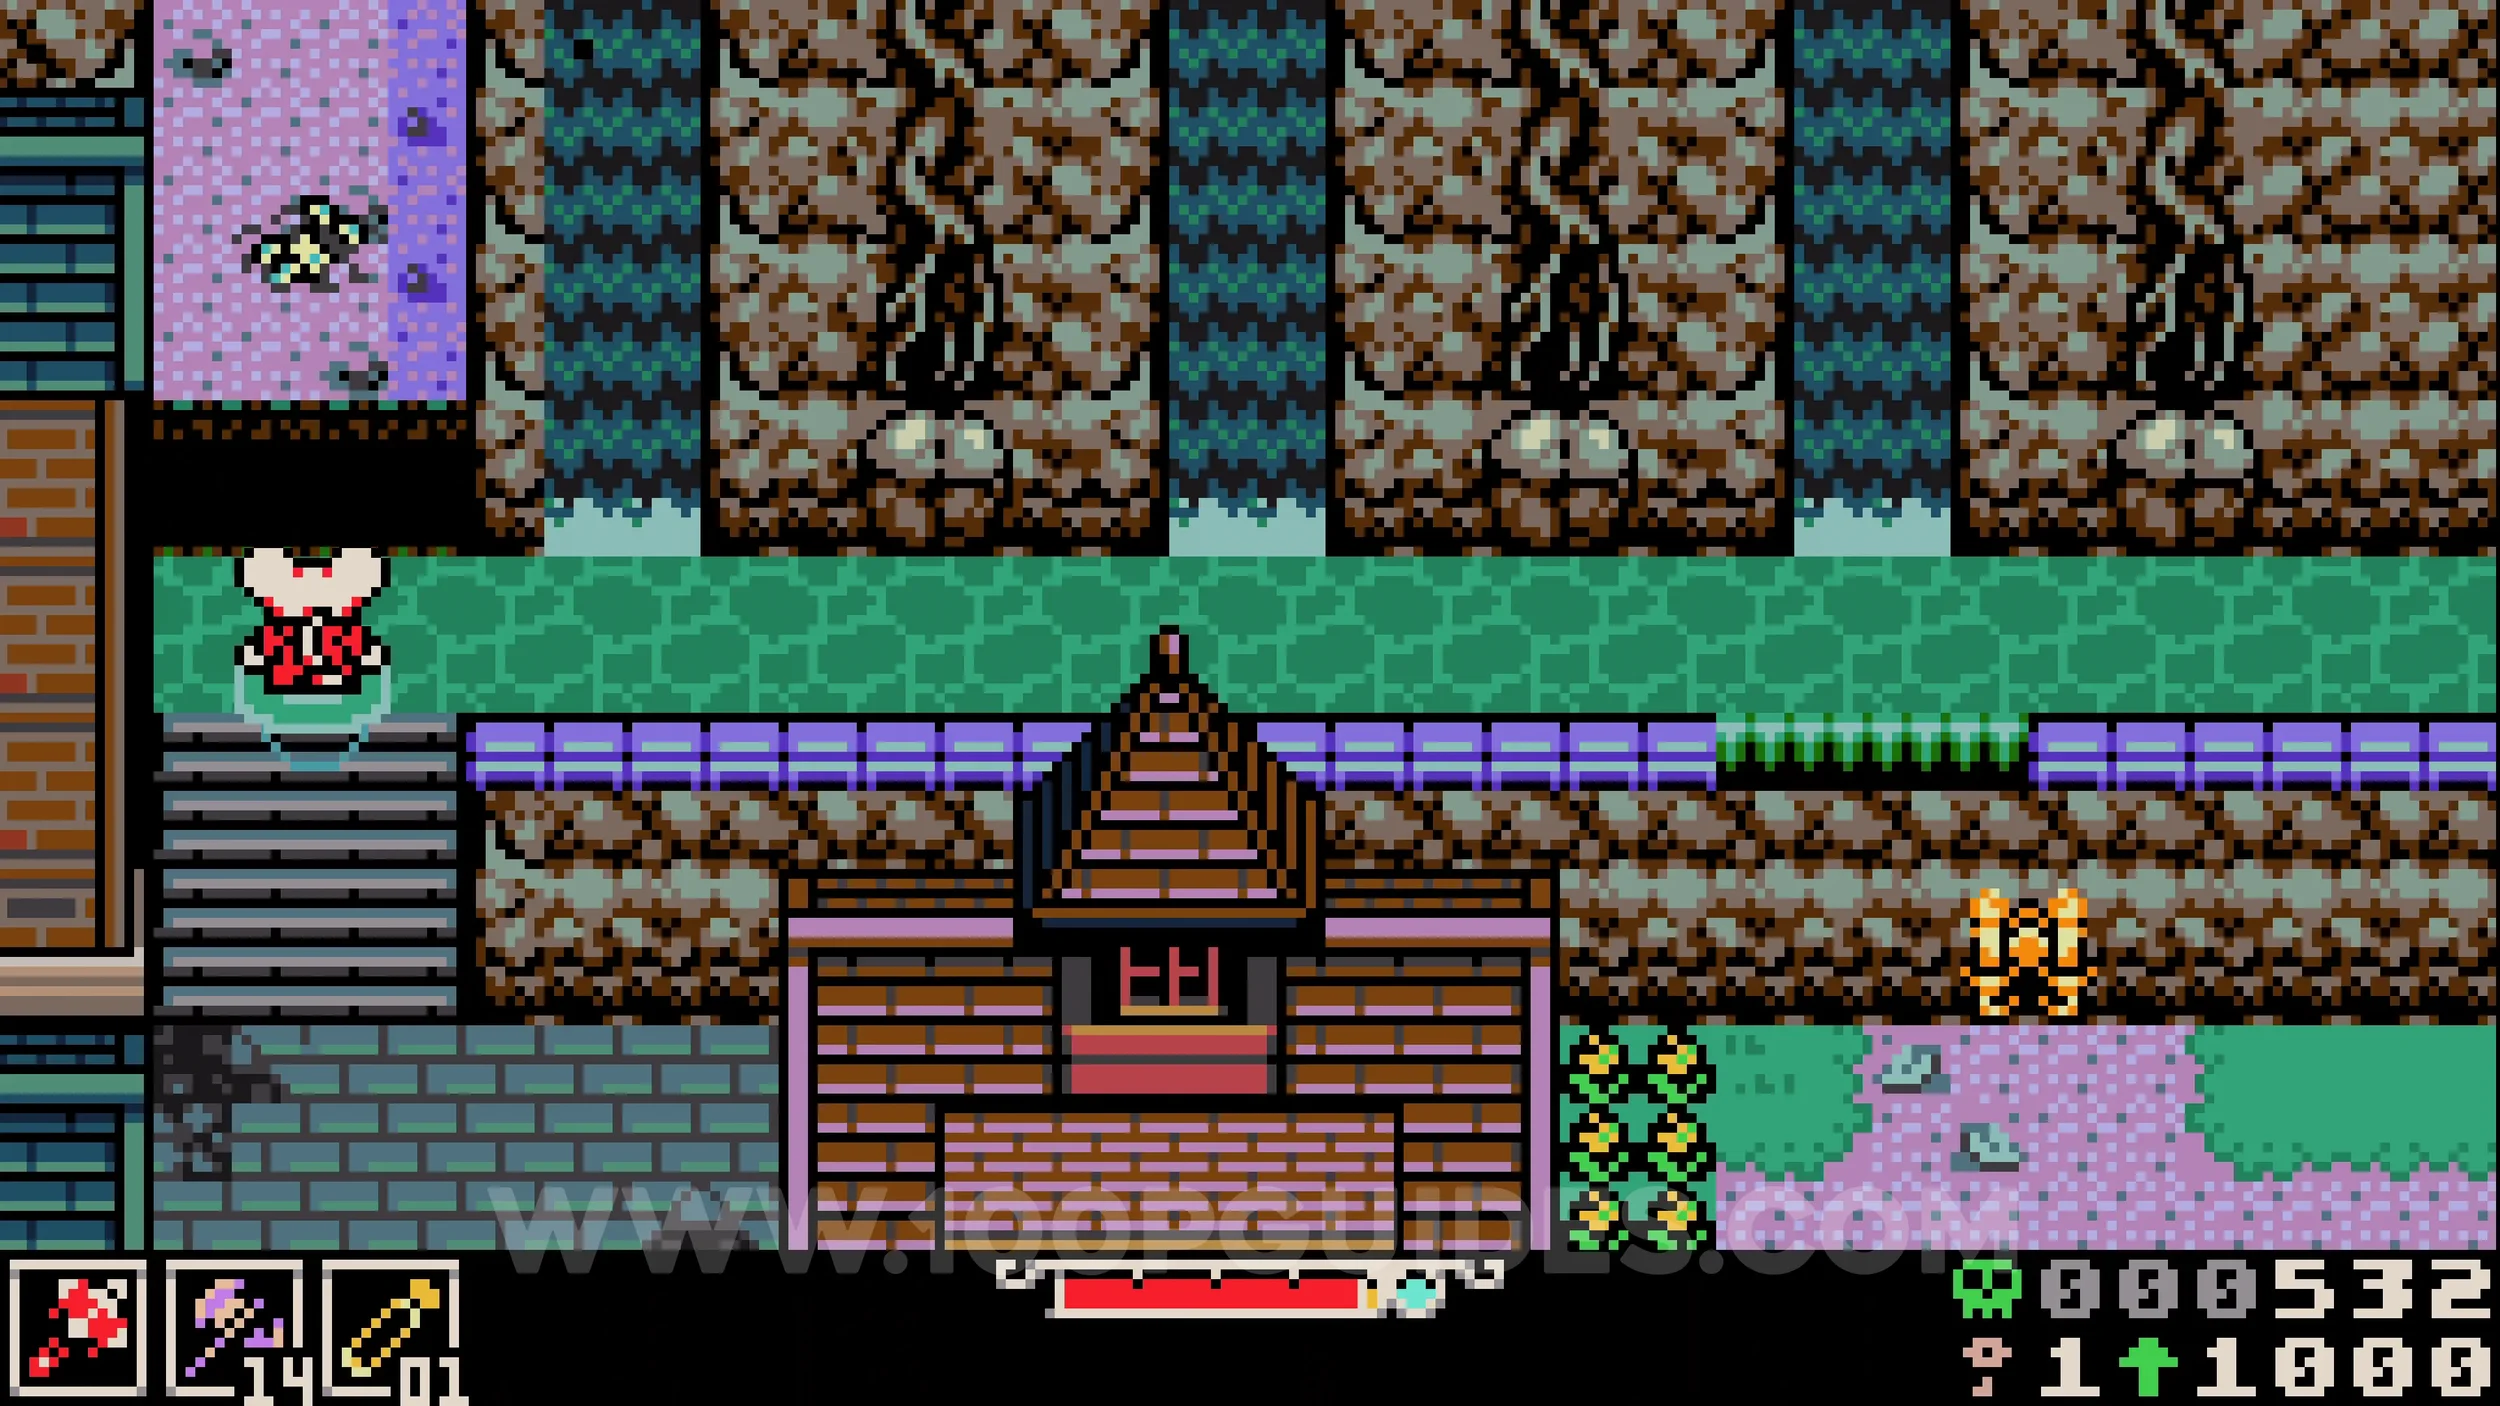
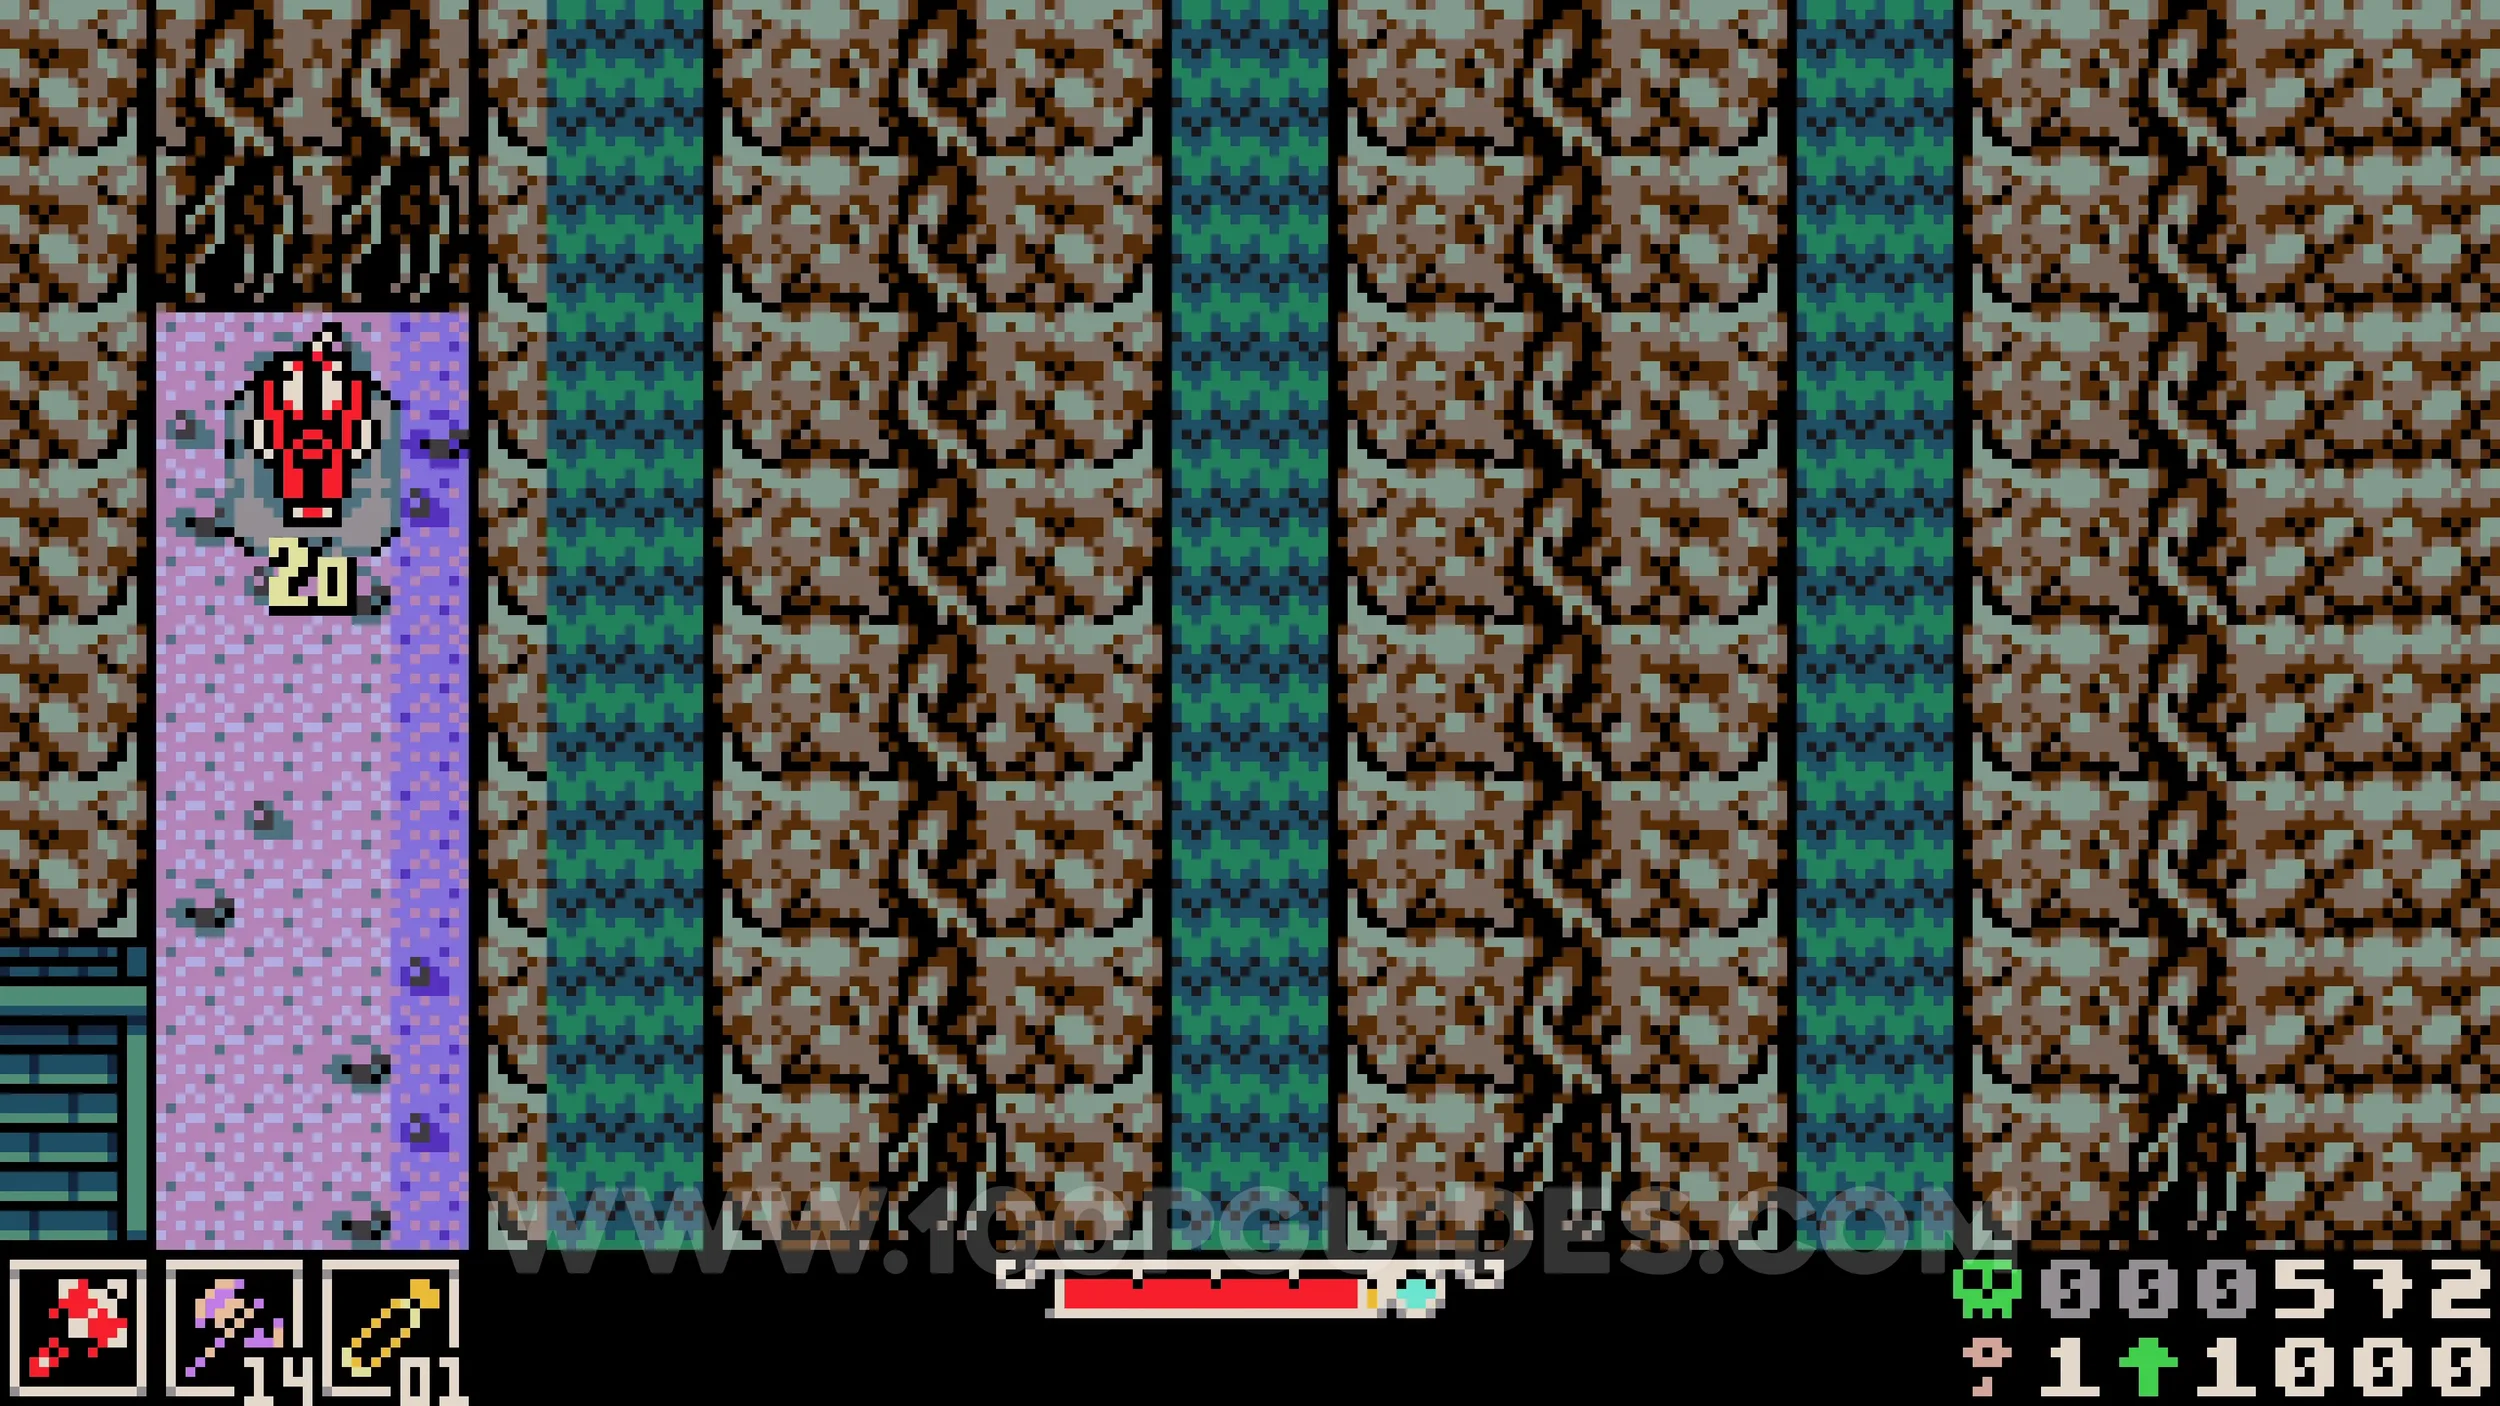
Bonestone #6. Leave the cave and head right along the path with water. Enter the first cave and make your way through by jumping over the moving spikes. Once you emerge on the other side, head down past the kite to find the chest containing the bonestone.
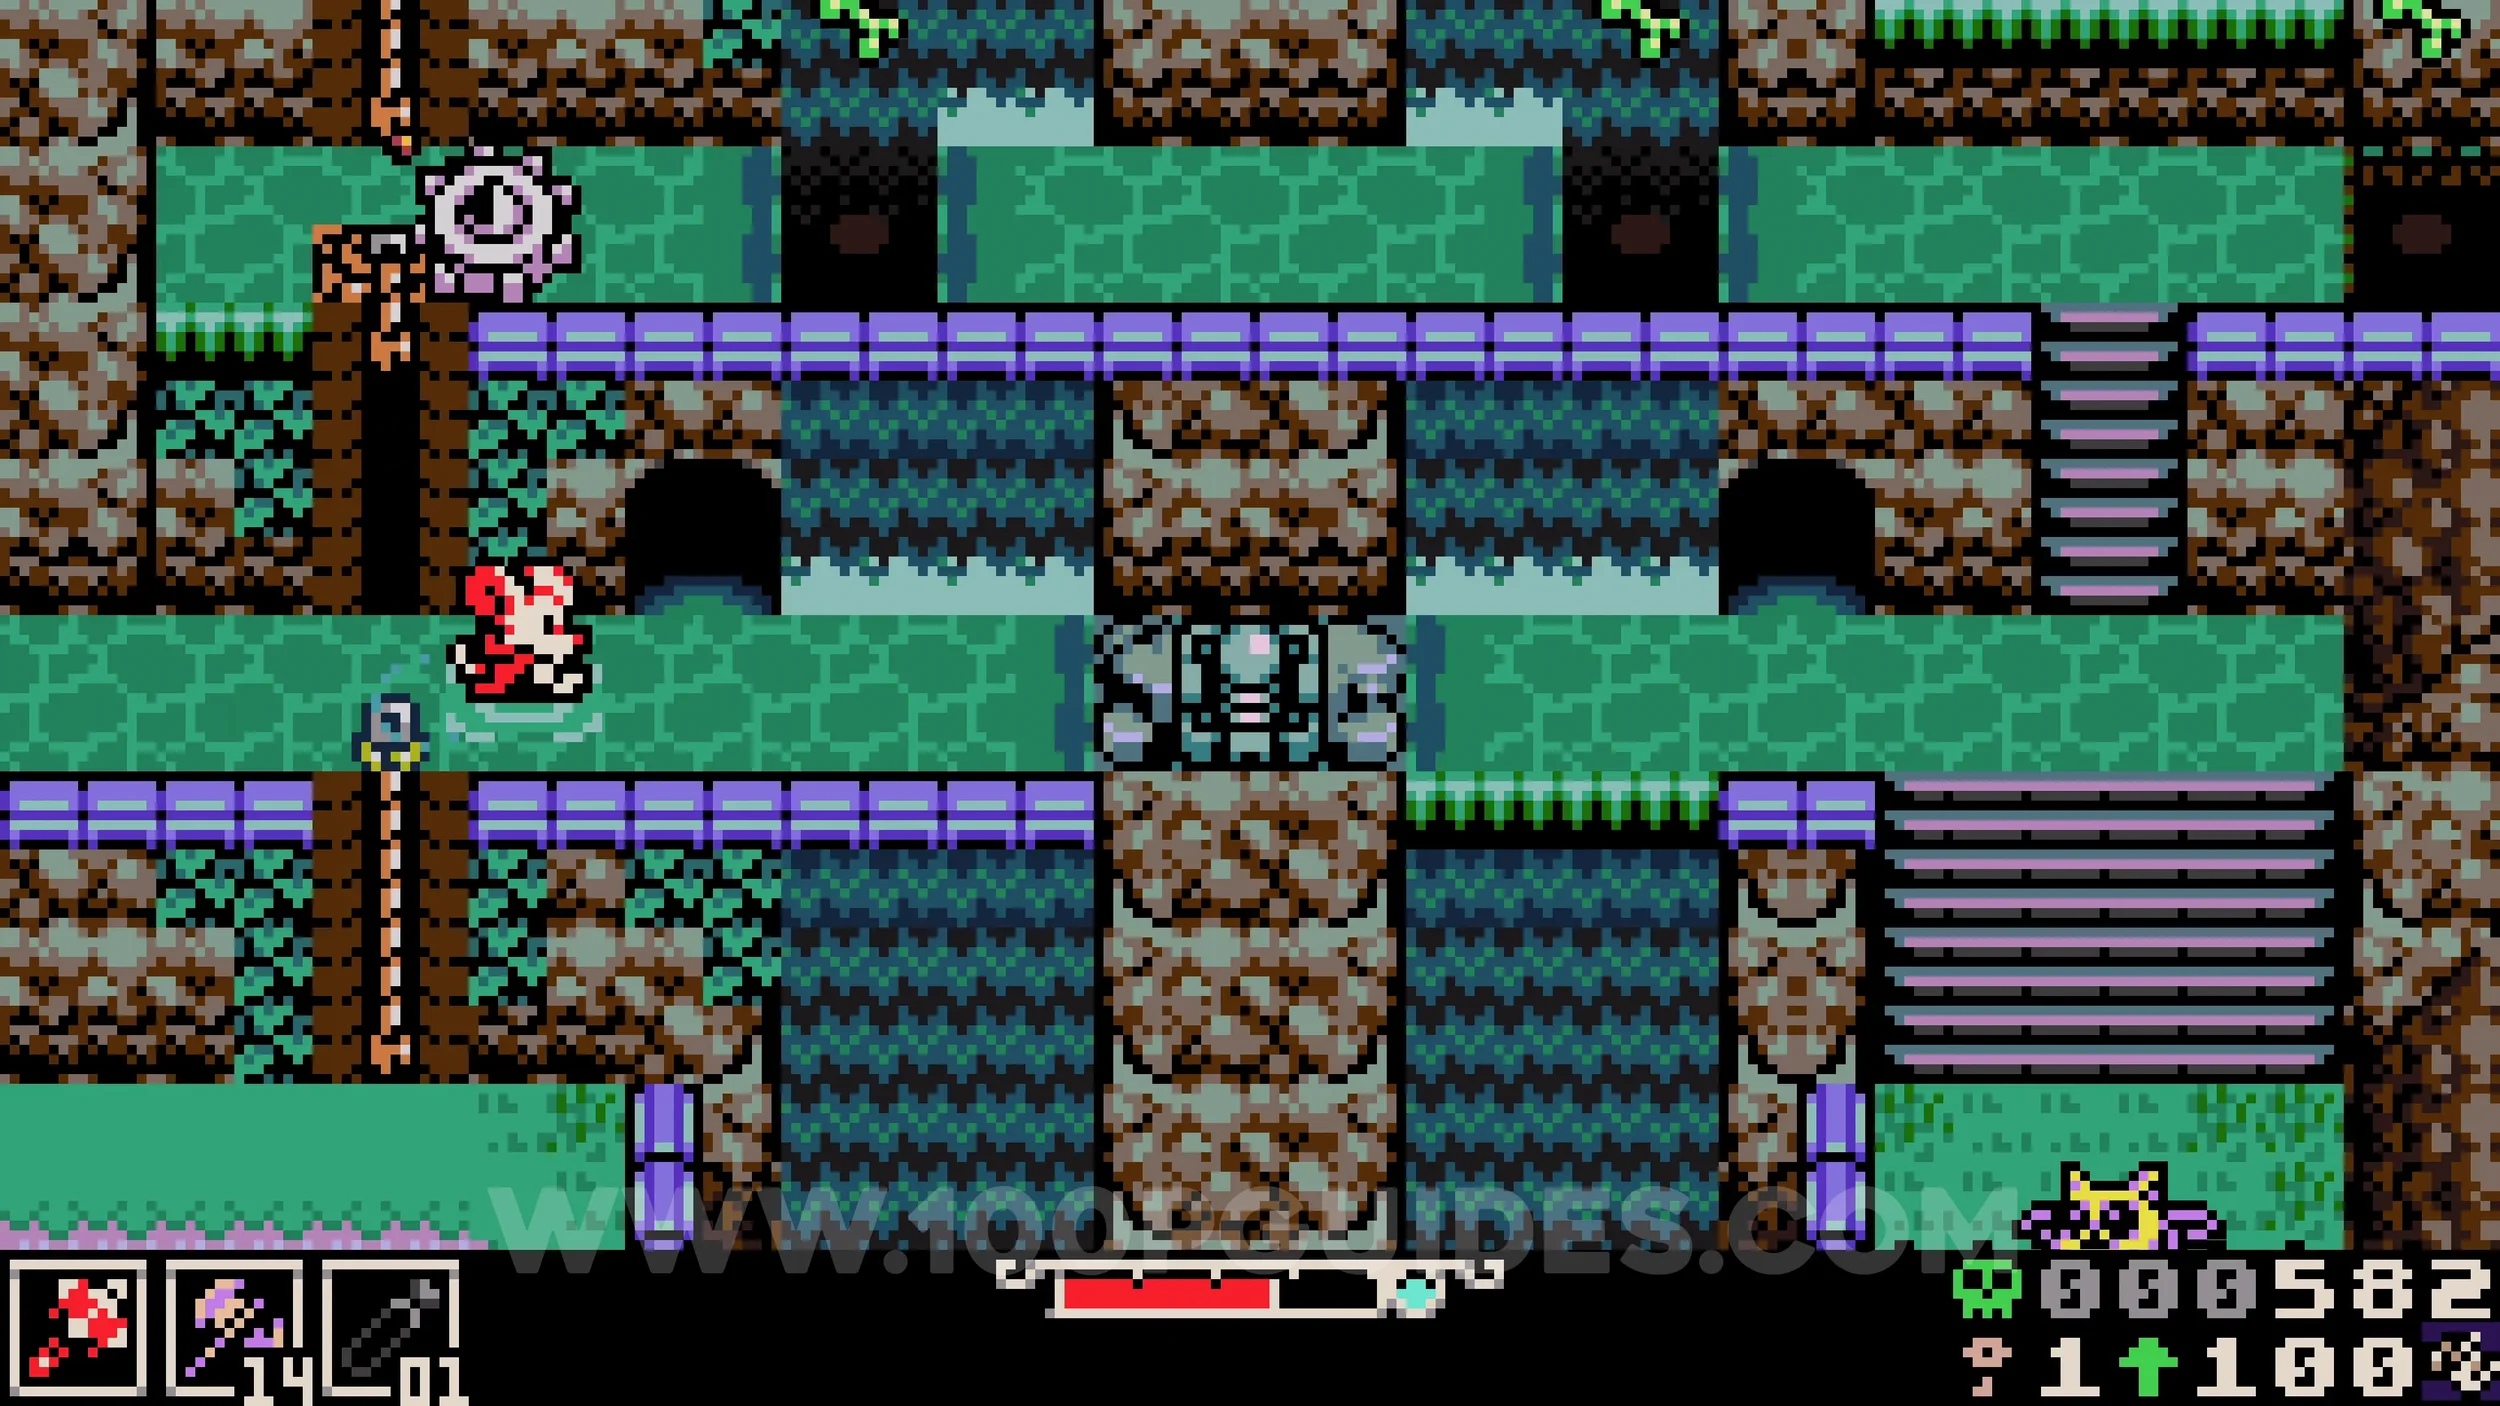
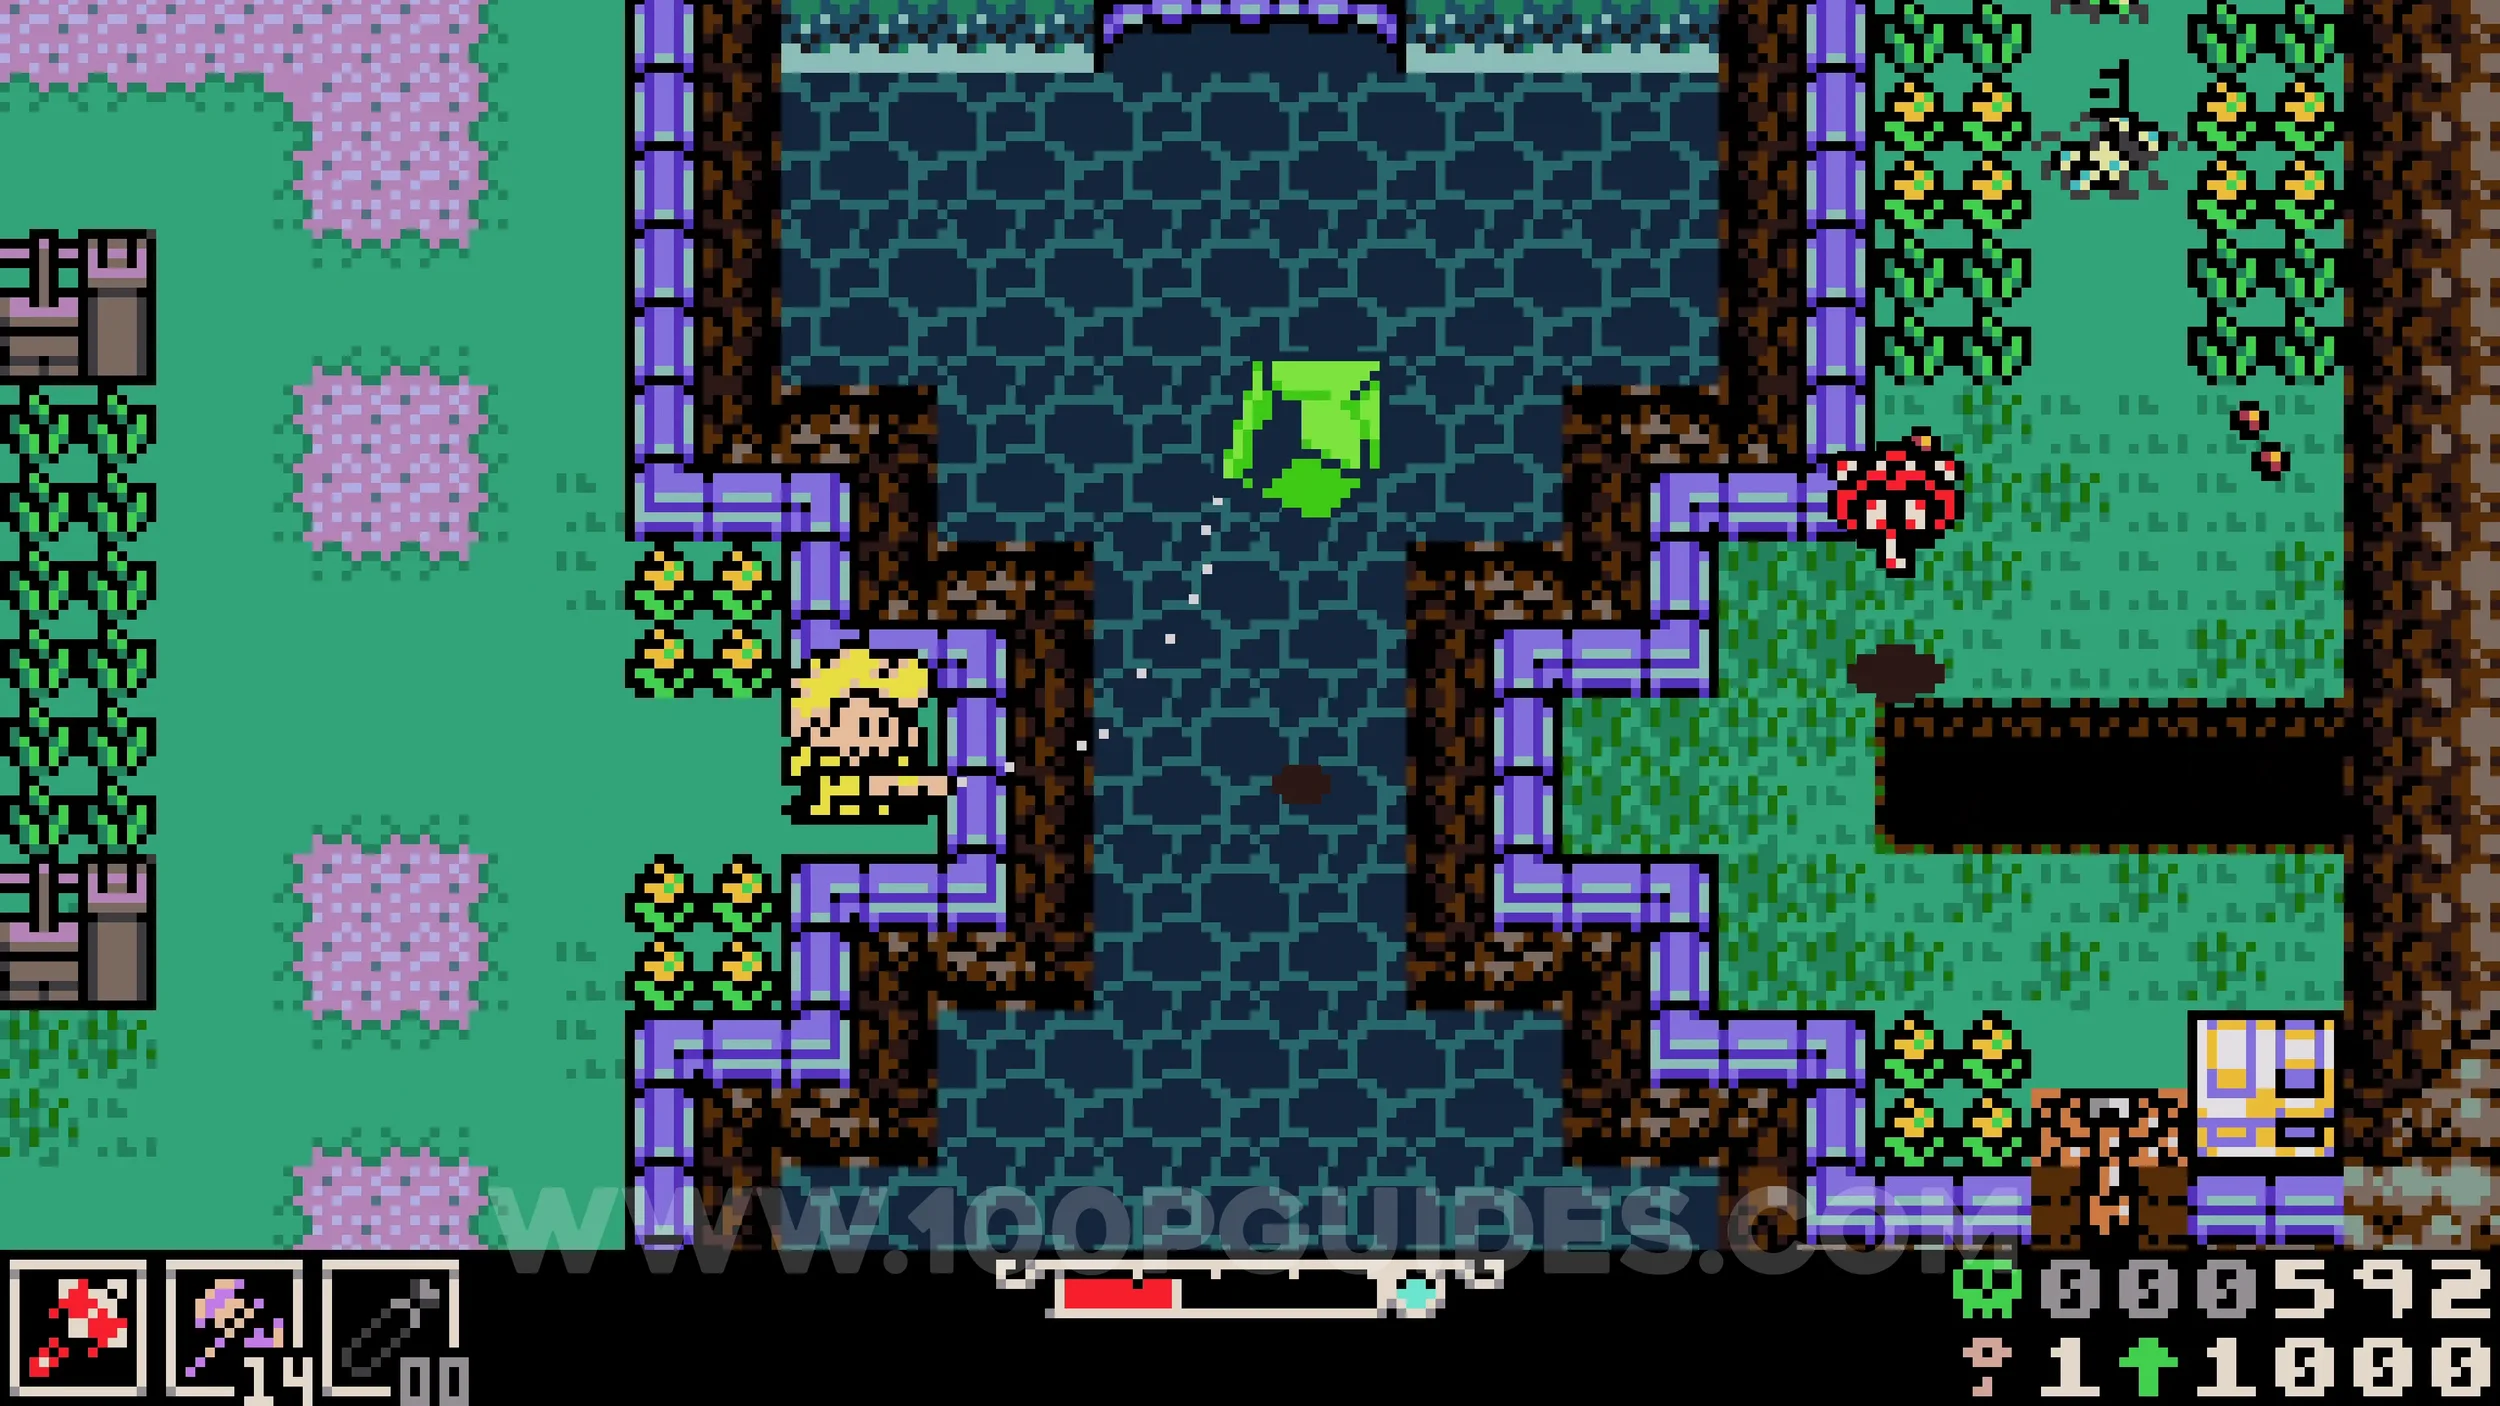
Trinket #3 - Windfall Charm. Wait for the kite to hover over this side of the river, then throw the axe sidearm mentioned near the first collectible in this area at it. If done correctly and the kite lands on the ground close to you, you will receive the trinket. If you miss and the kite lands in the water or in the hole, leave the area and enter an underlab to try again.
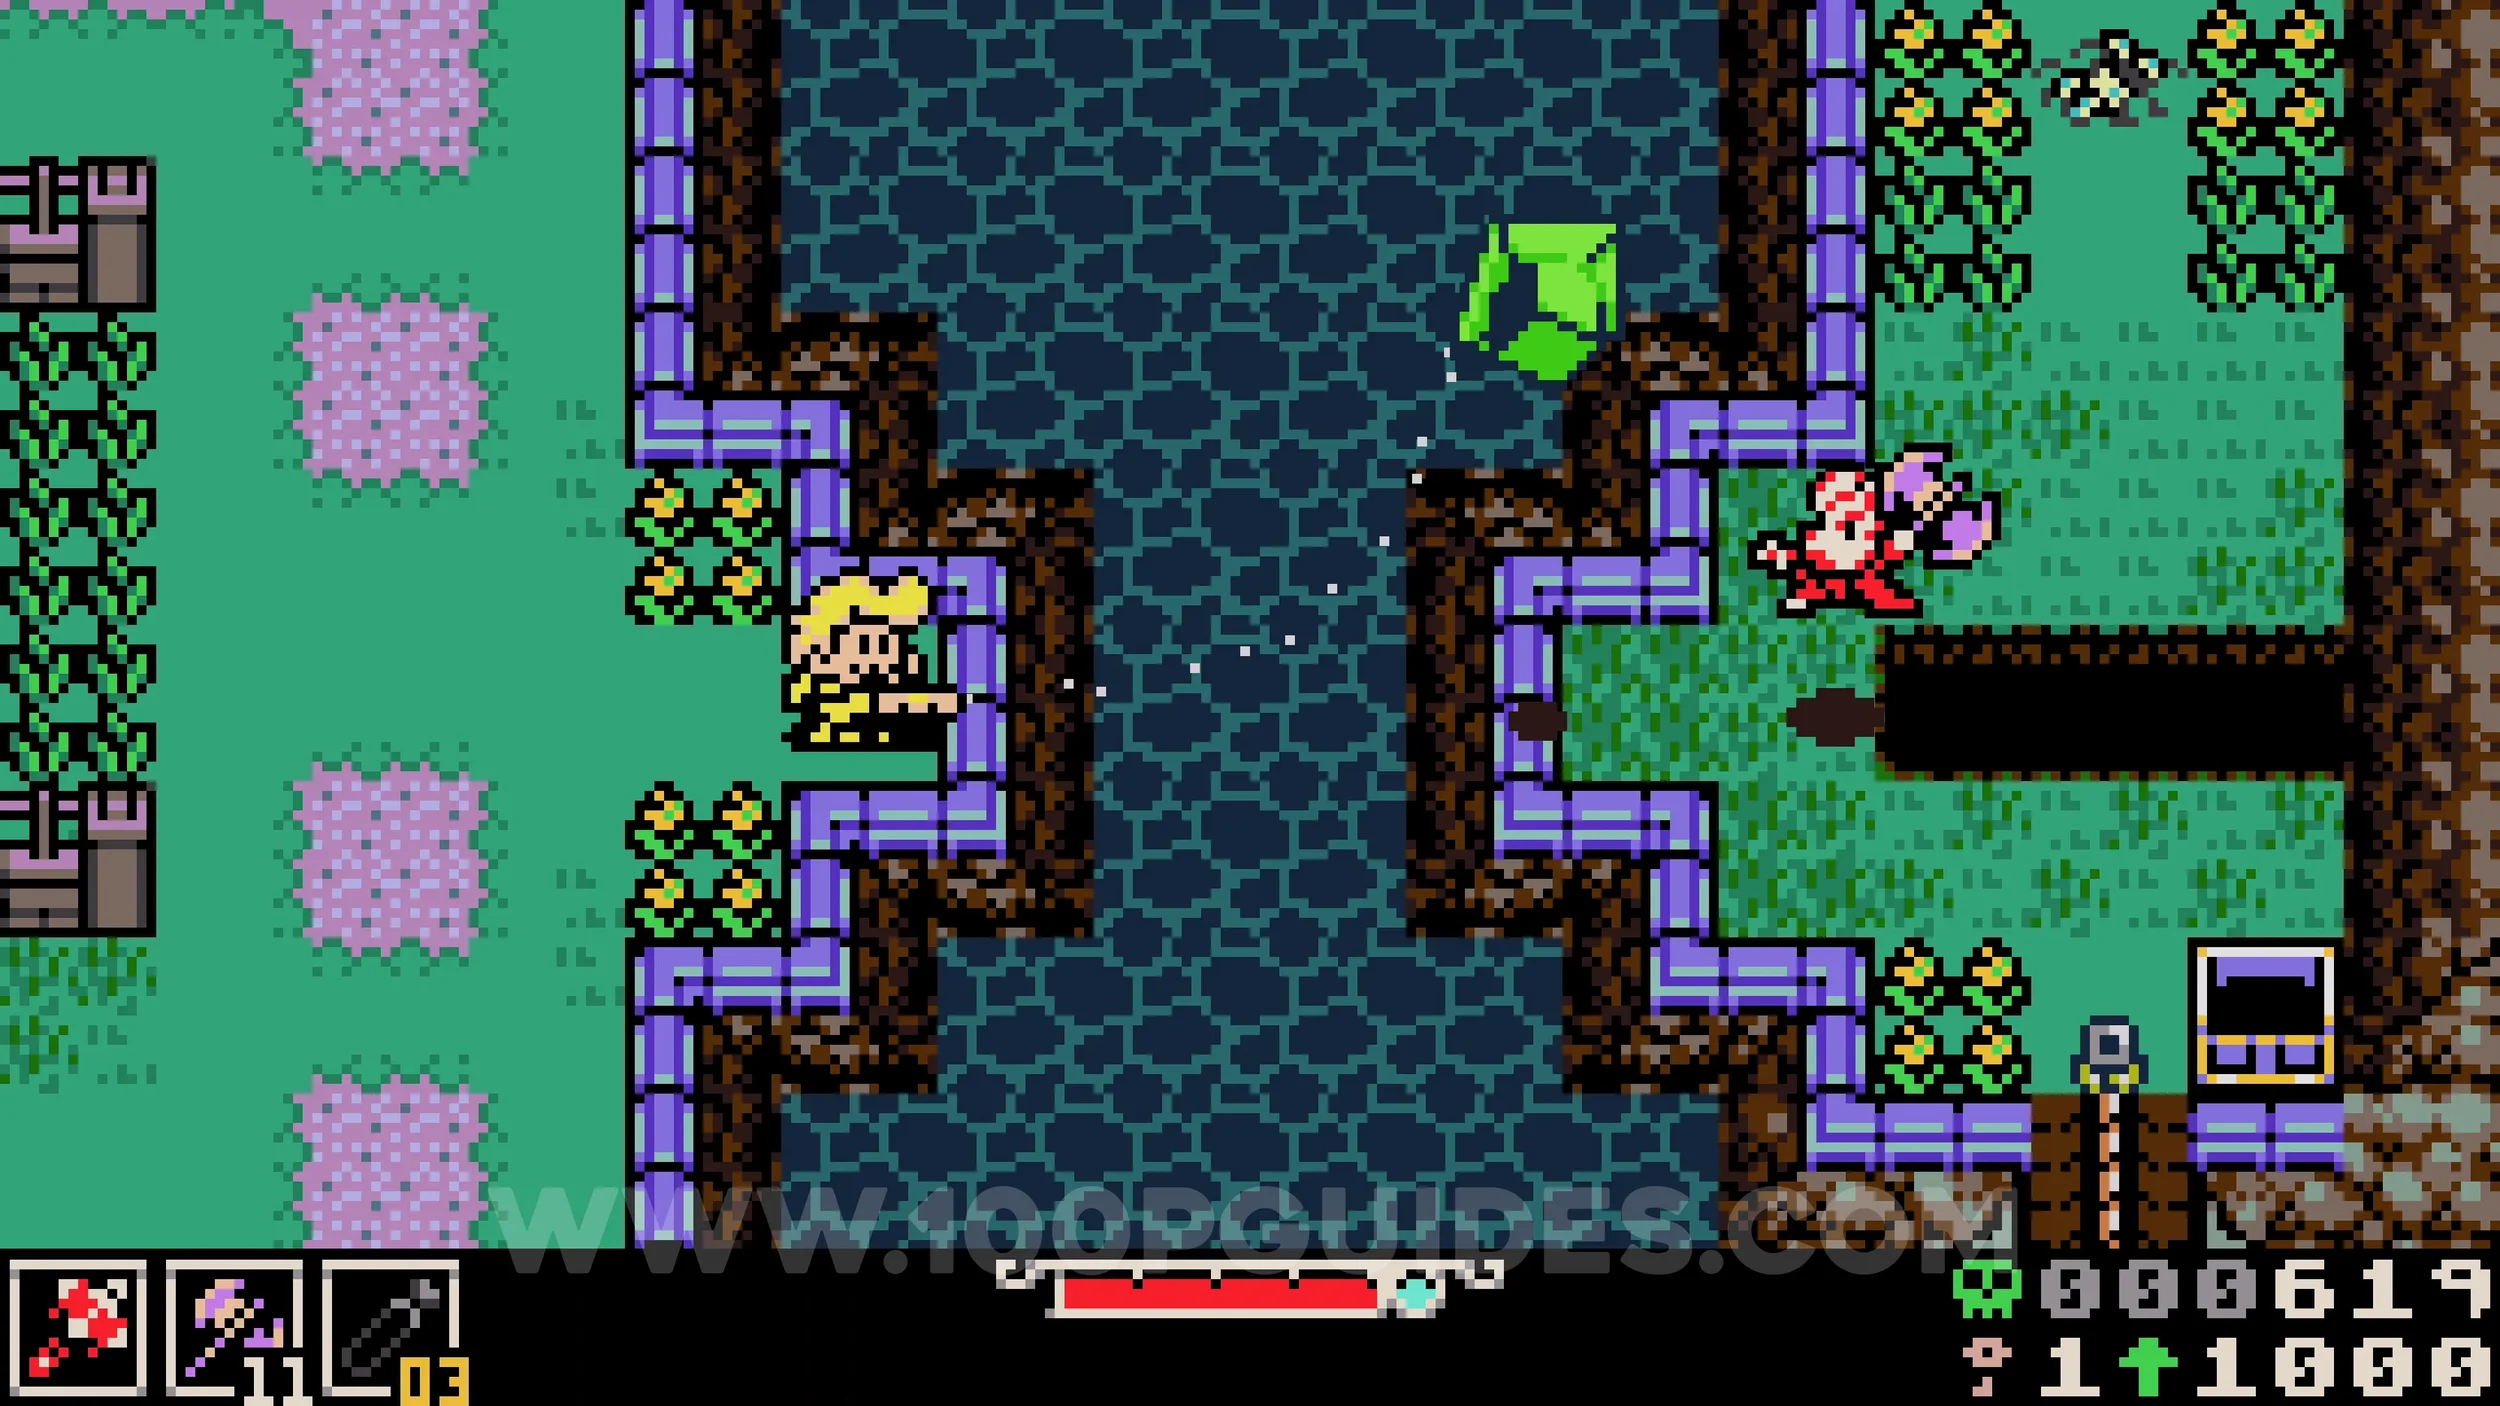
Lock #4. From the kite, head up and look for a gap on the right at the top of the stairs. Jump over the hole into the next screen to find the Drill Driver sidearm, which allows you to dash in the air. You will need this shortly. Then, head down the rope shortcut below the kite and then head right, then up. You will see a small building with the lock in front of it.
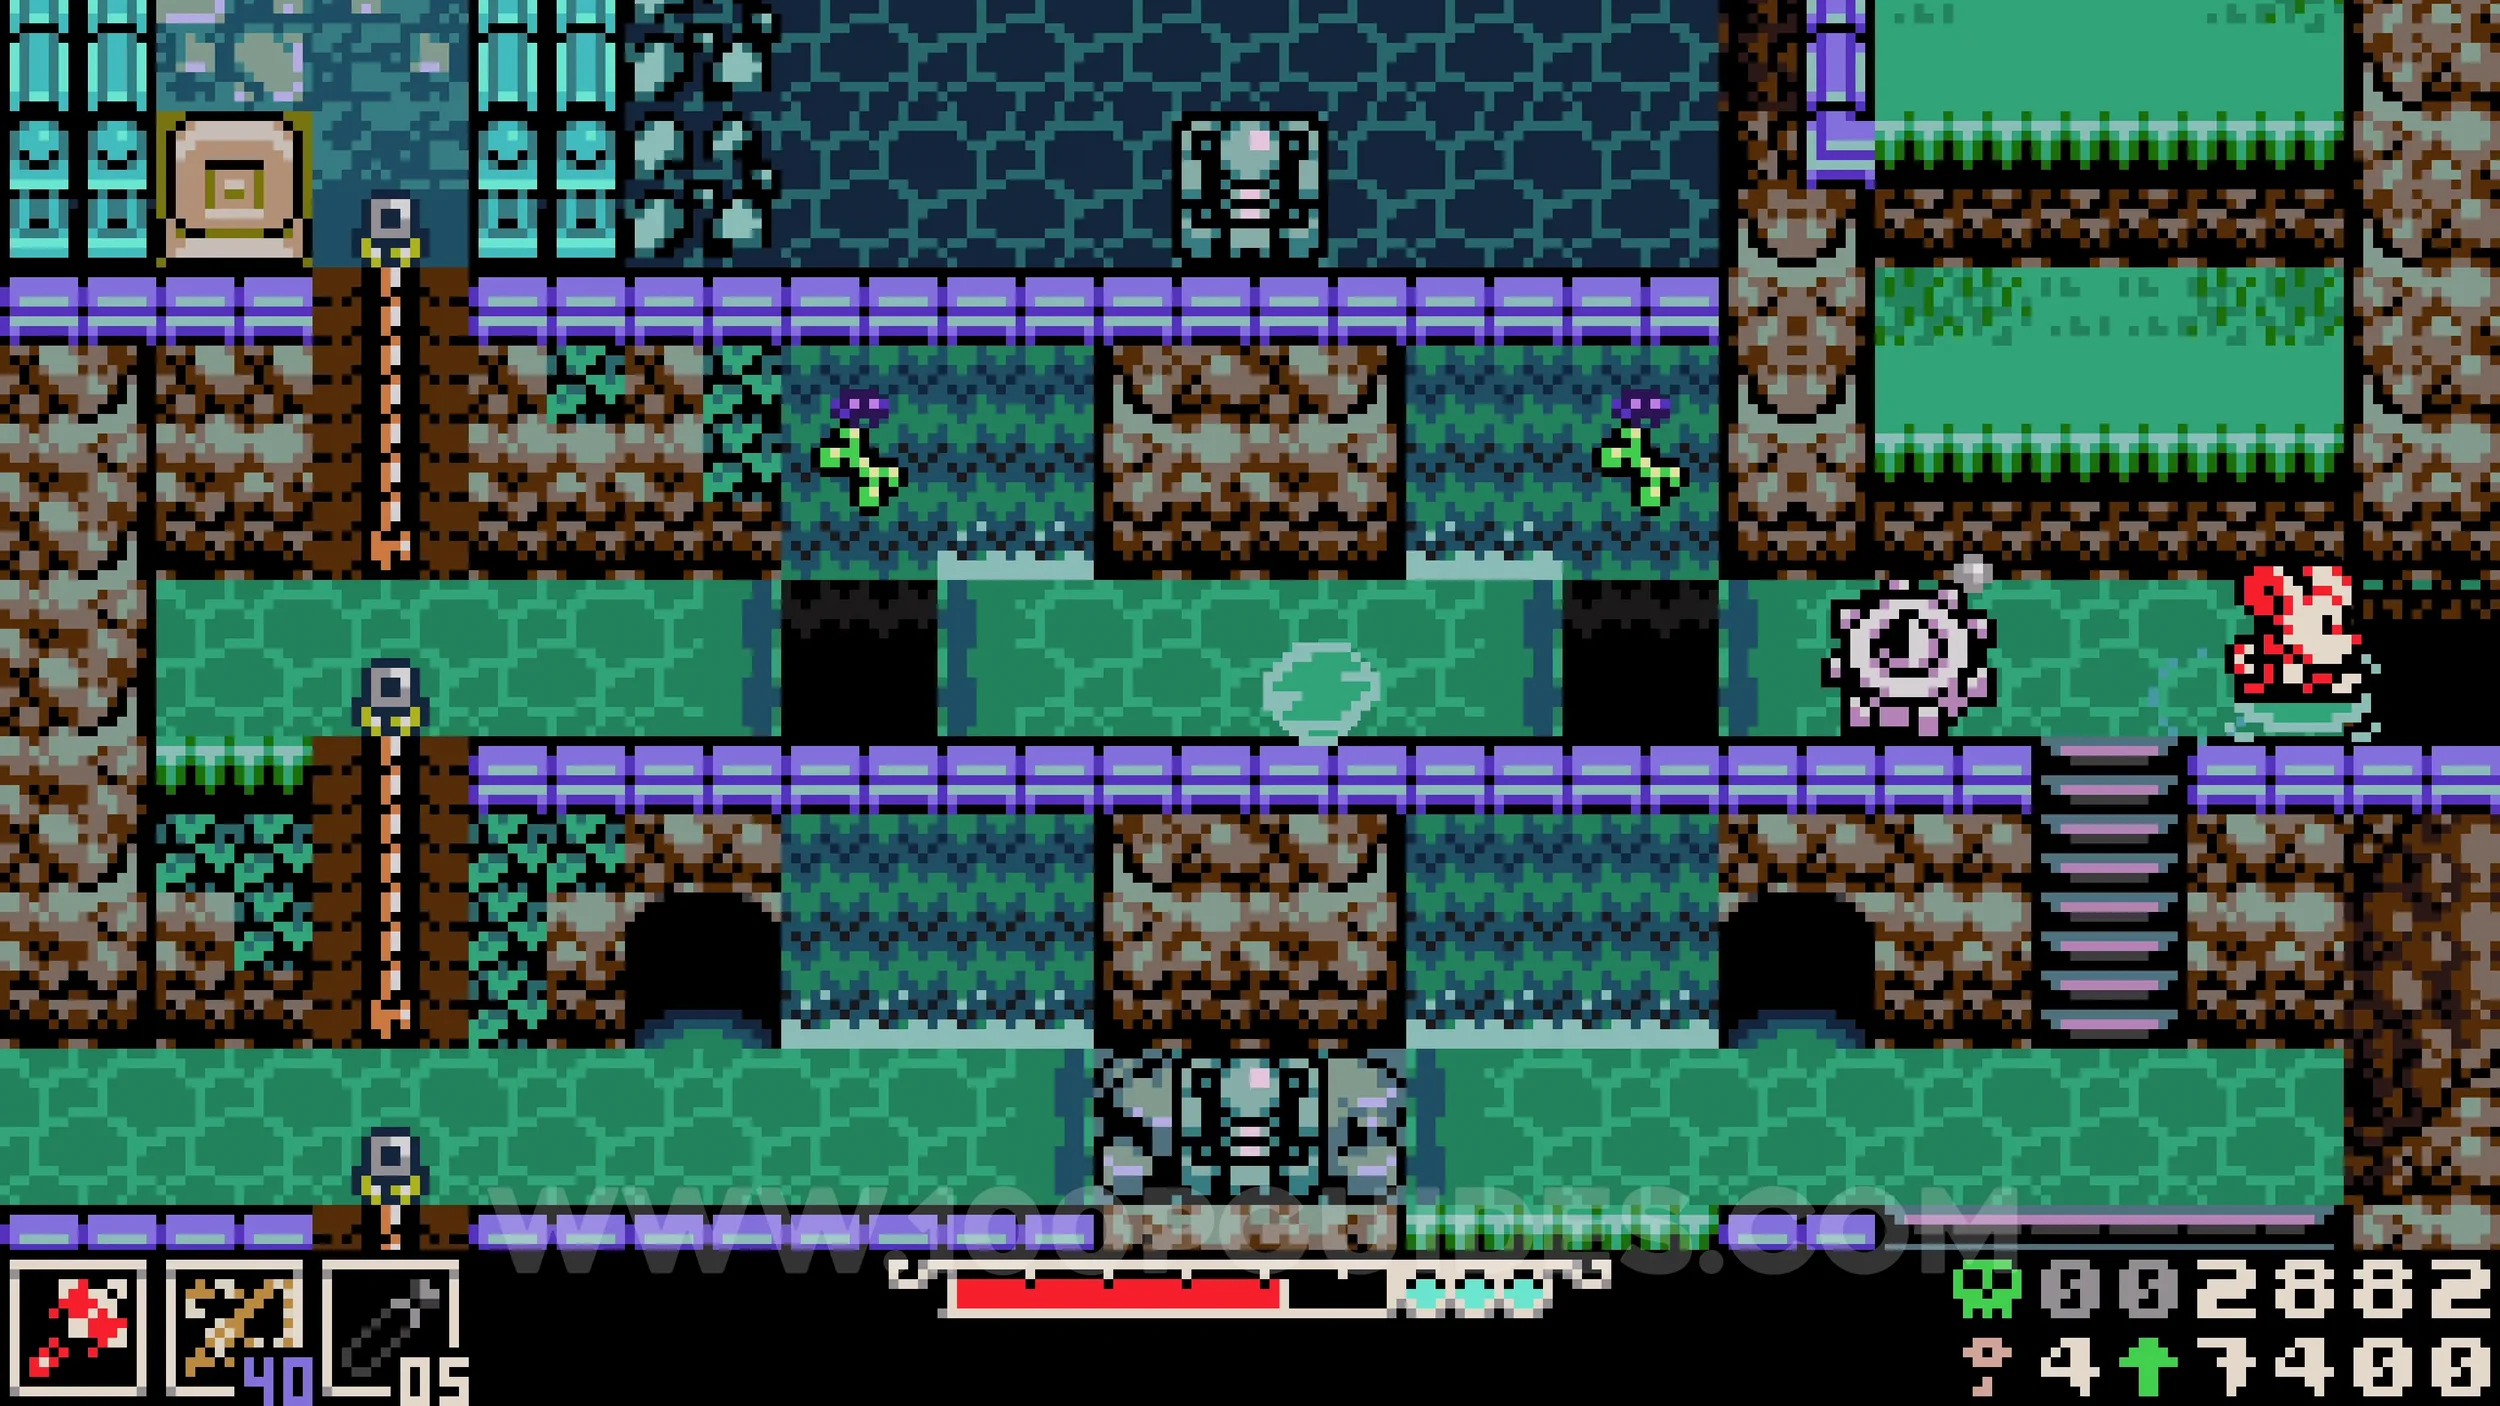
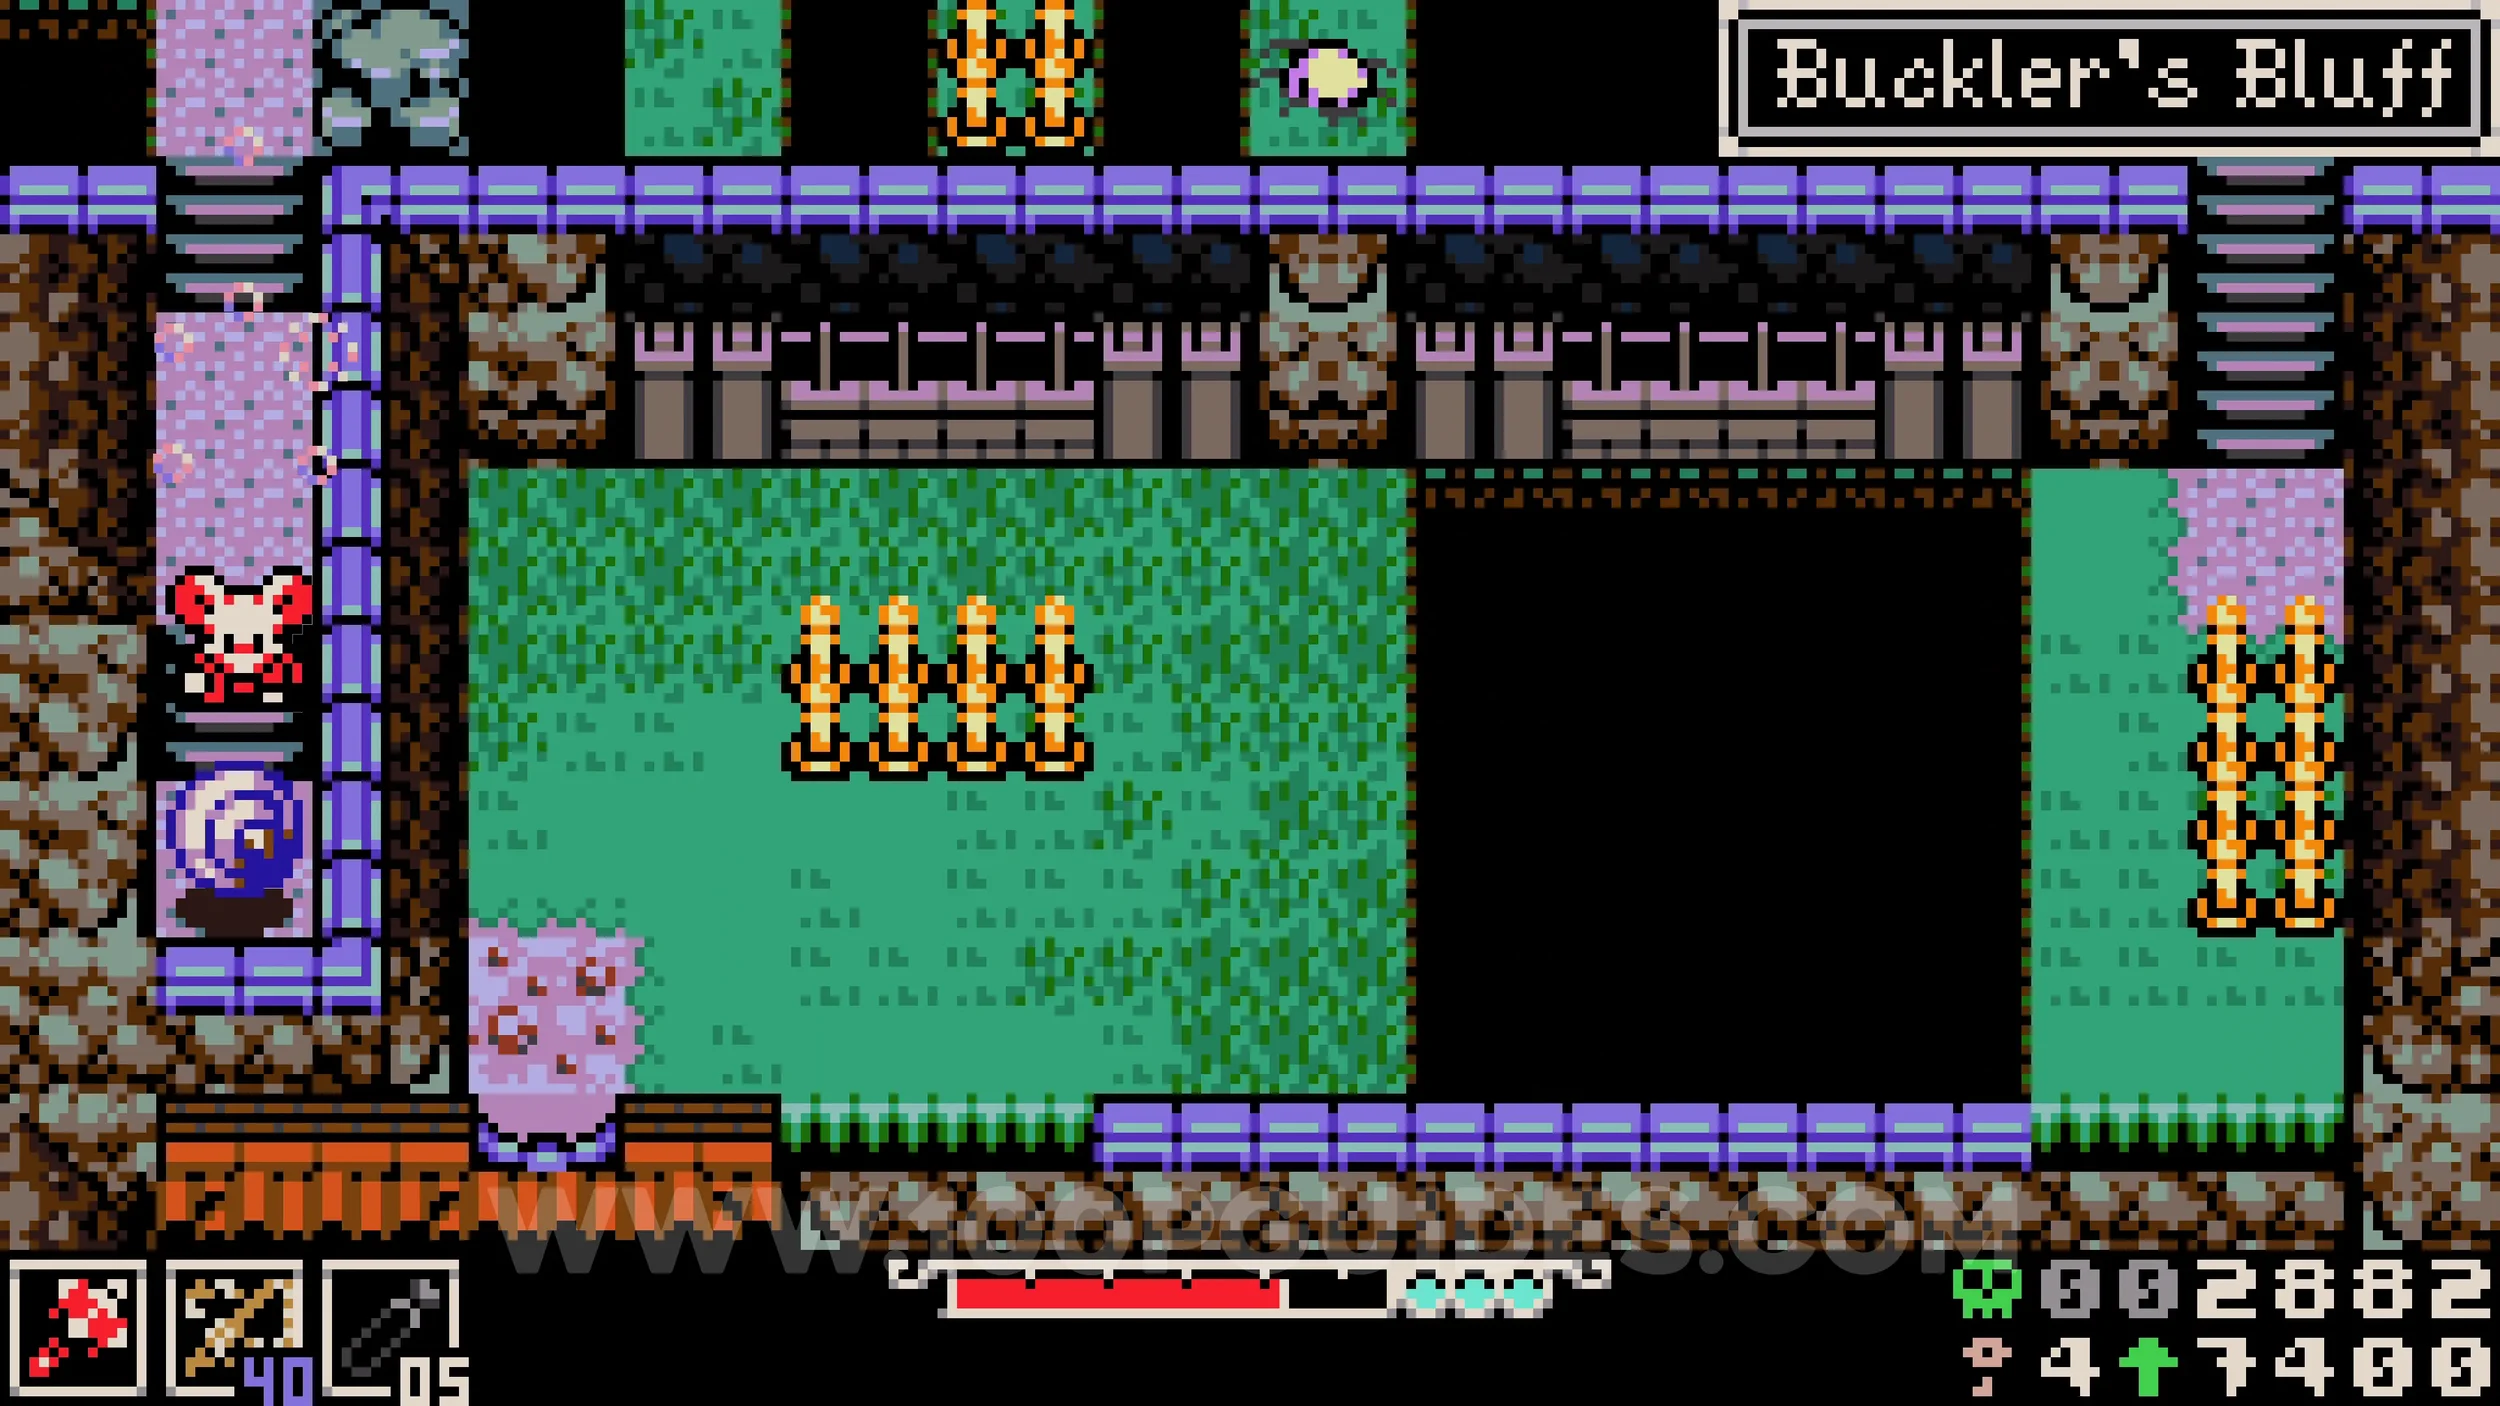
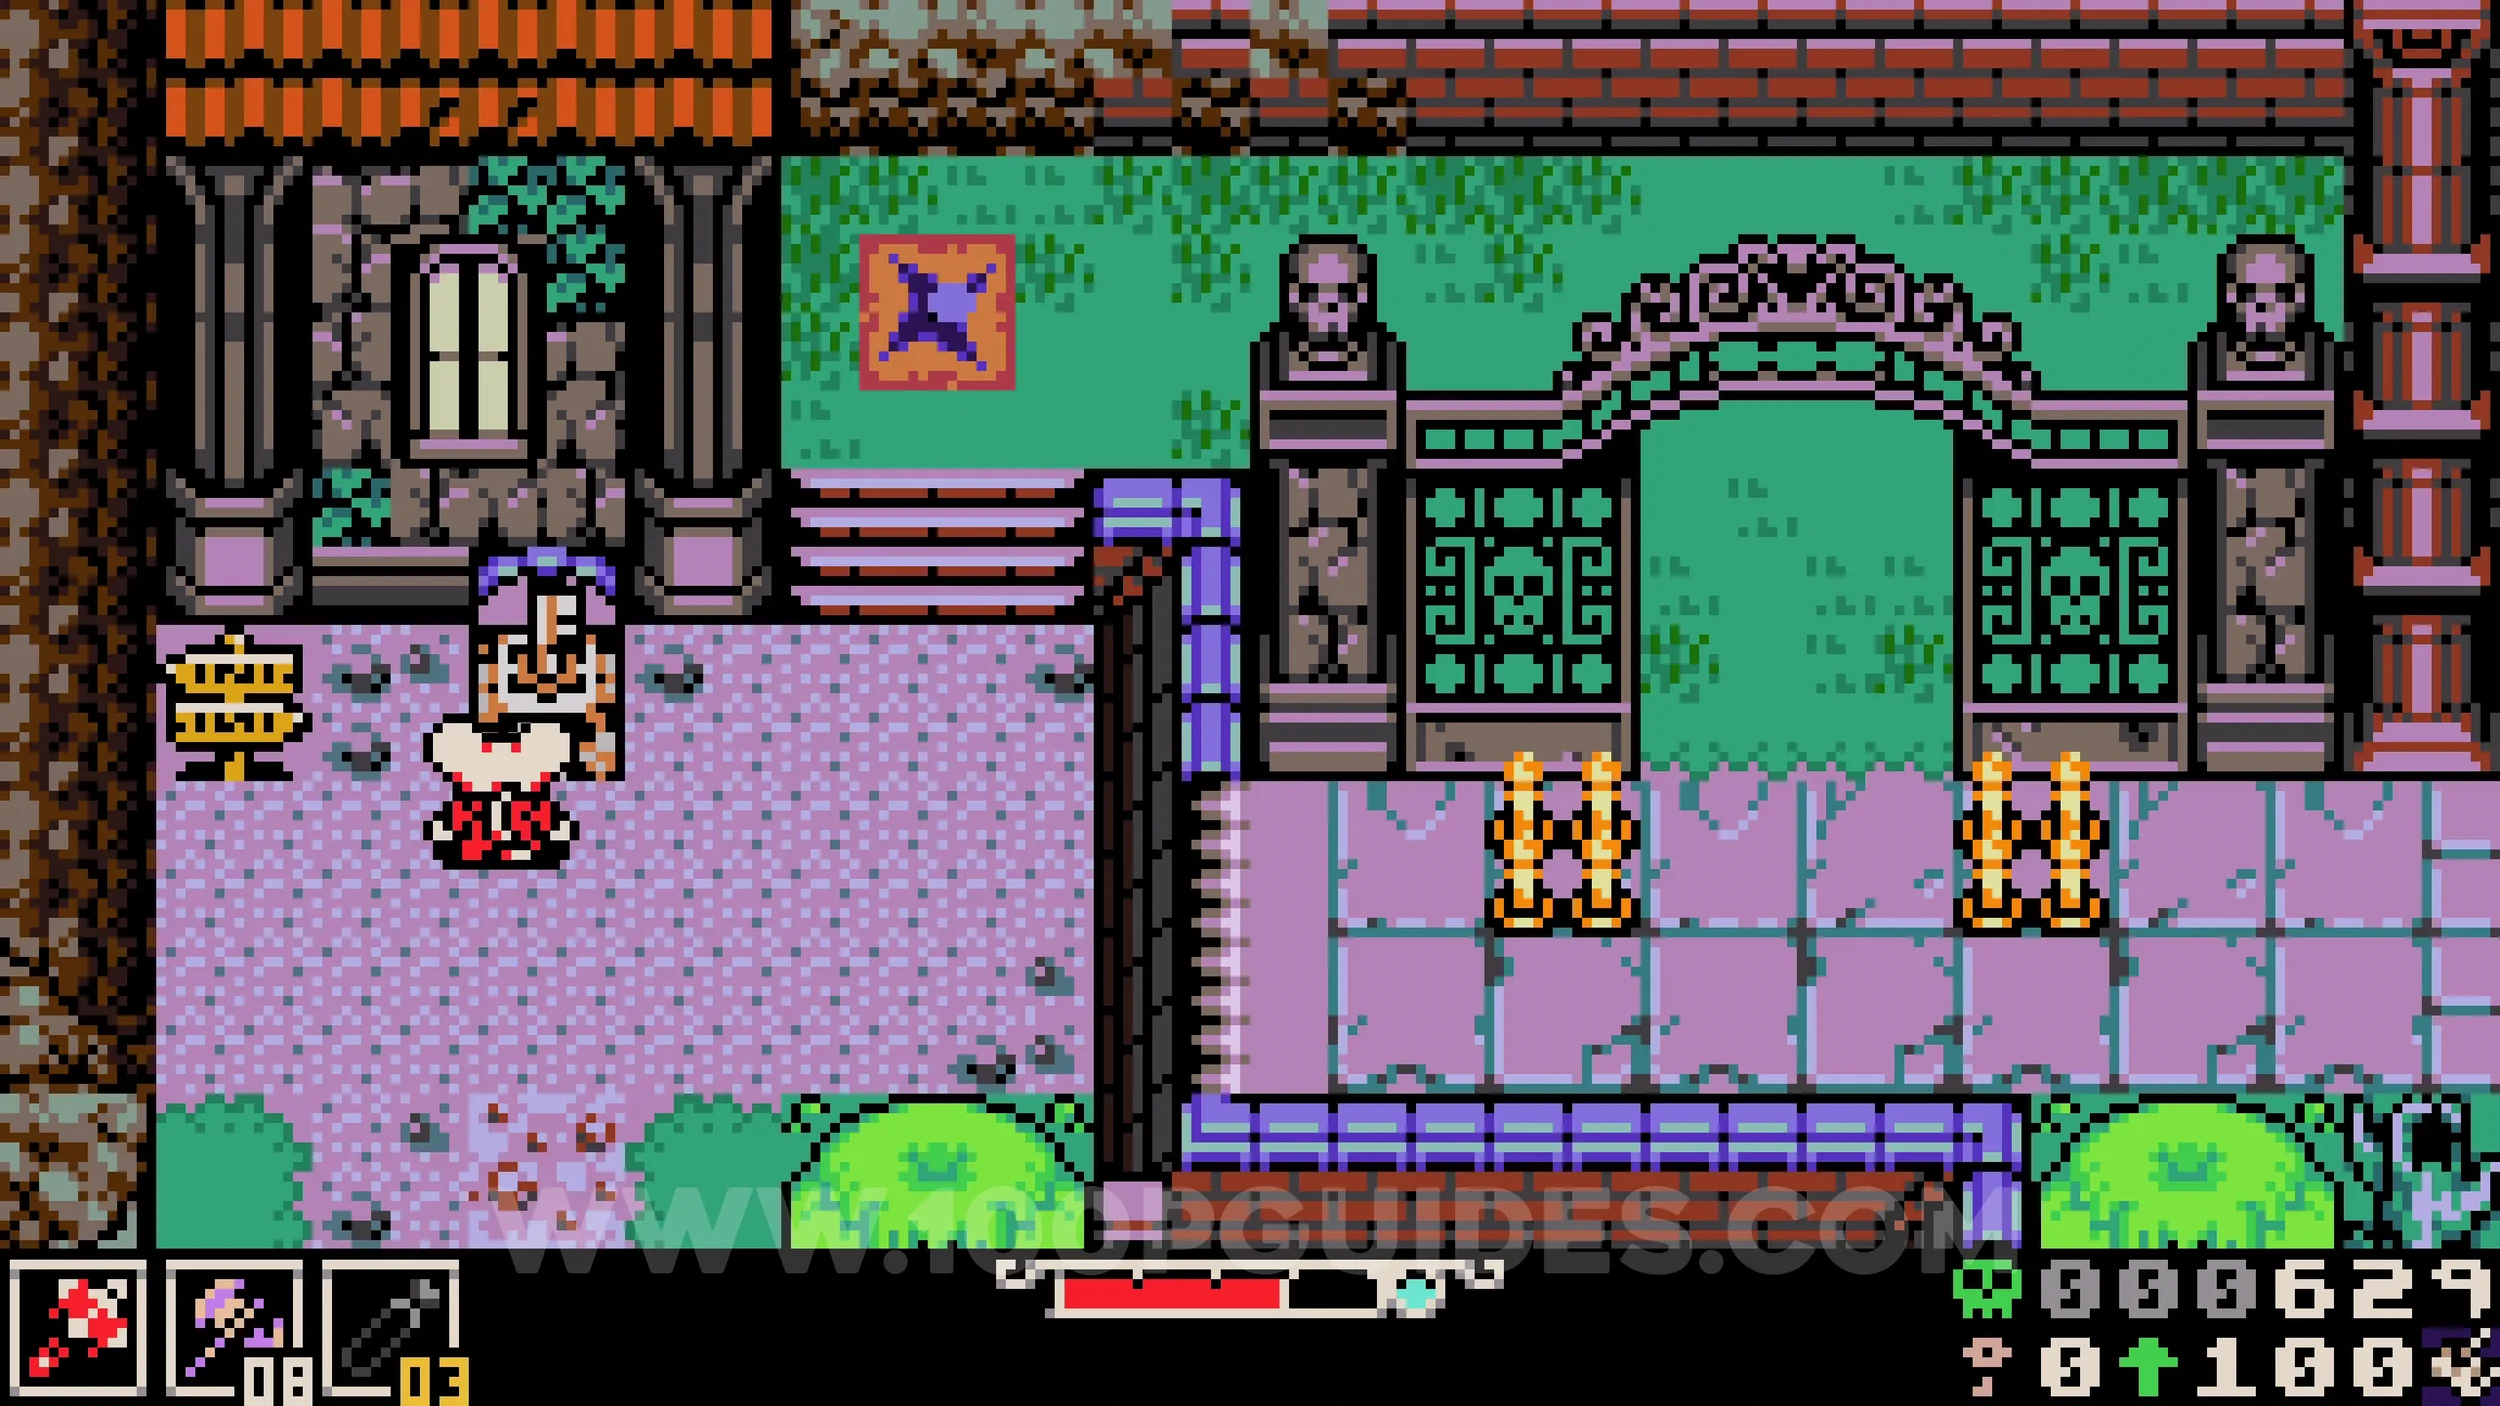
Joule Box #1. Enter the building you just unlocked. Inside is a platforming section that requires the Drill Driver sidearm. Use it to dash across the gaps and climb to the top to find the chest containing the collectible.
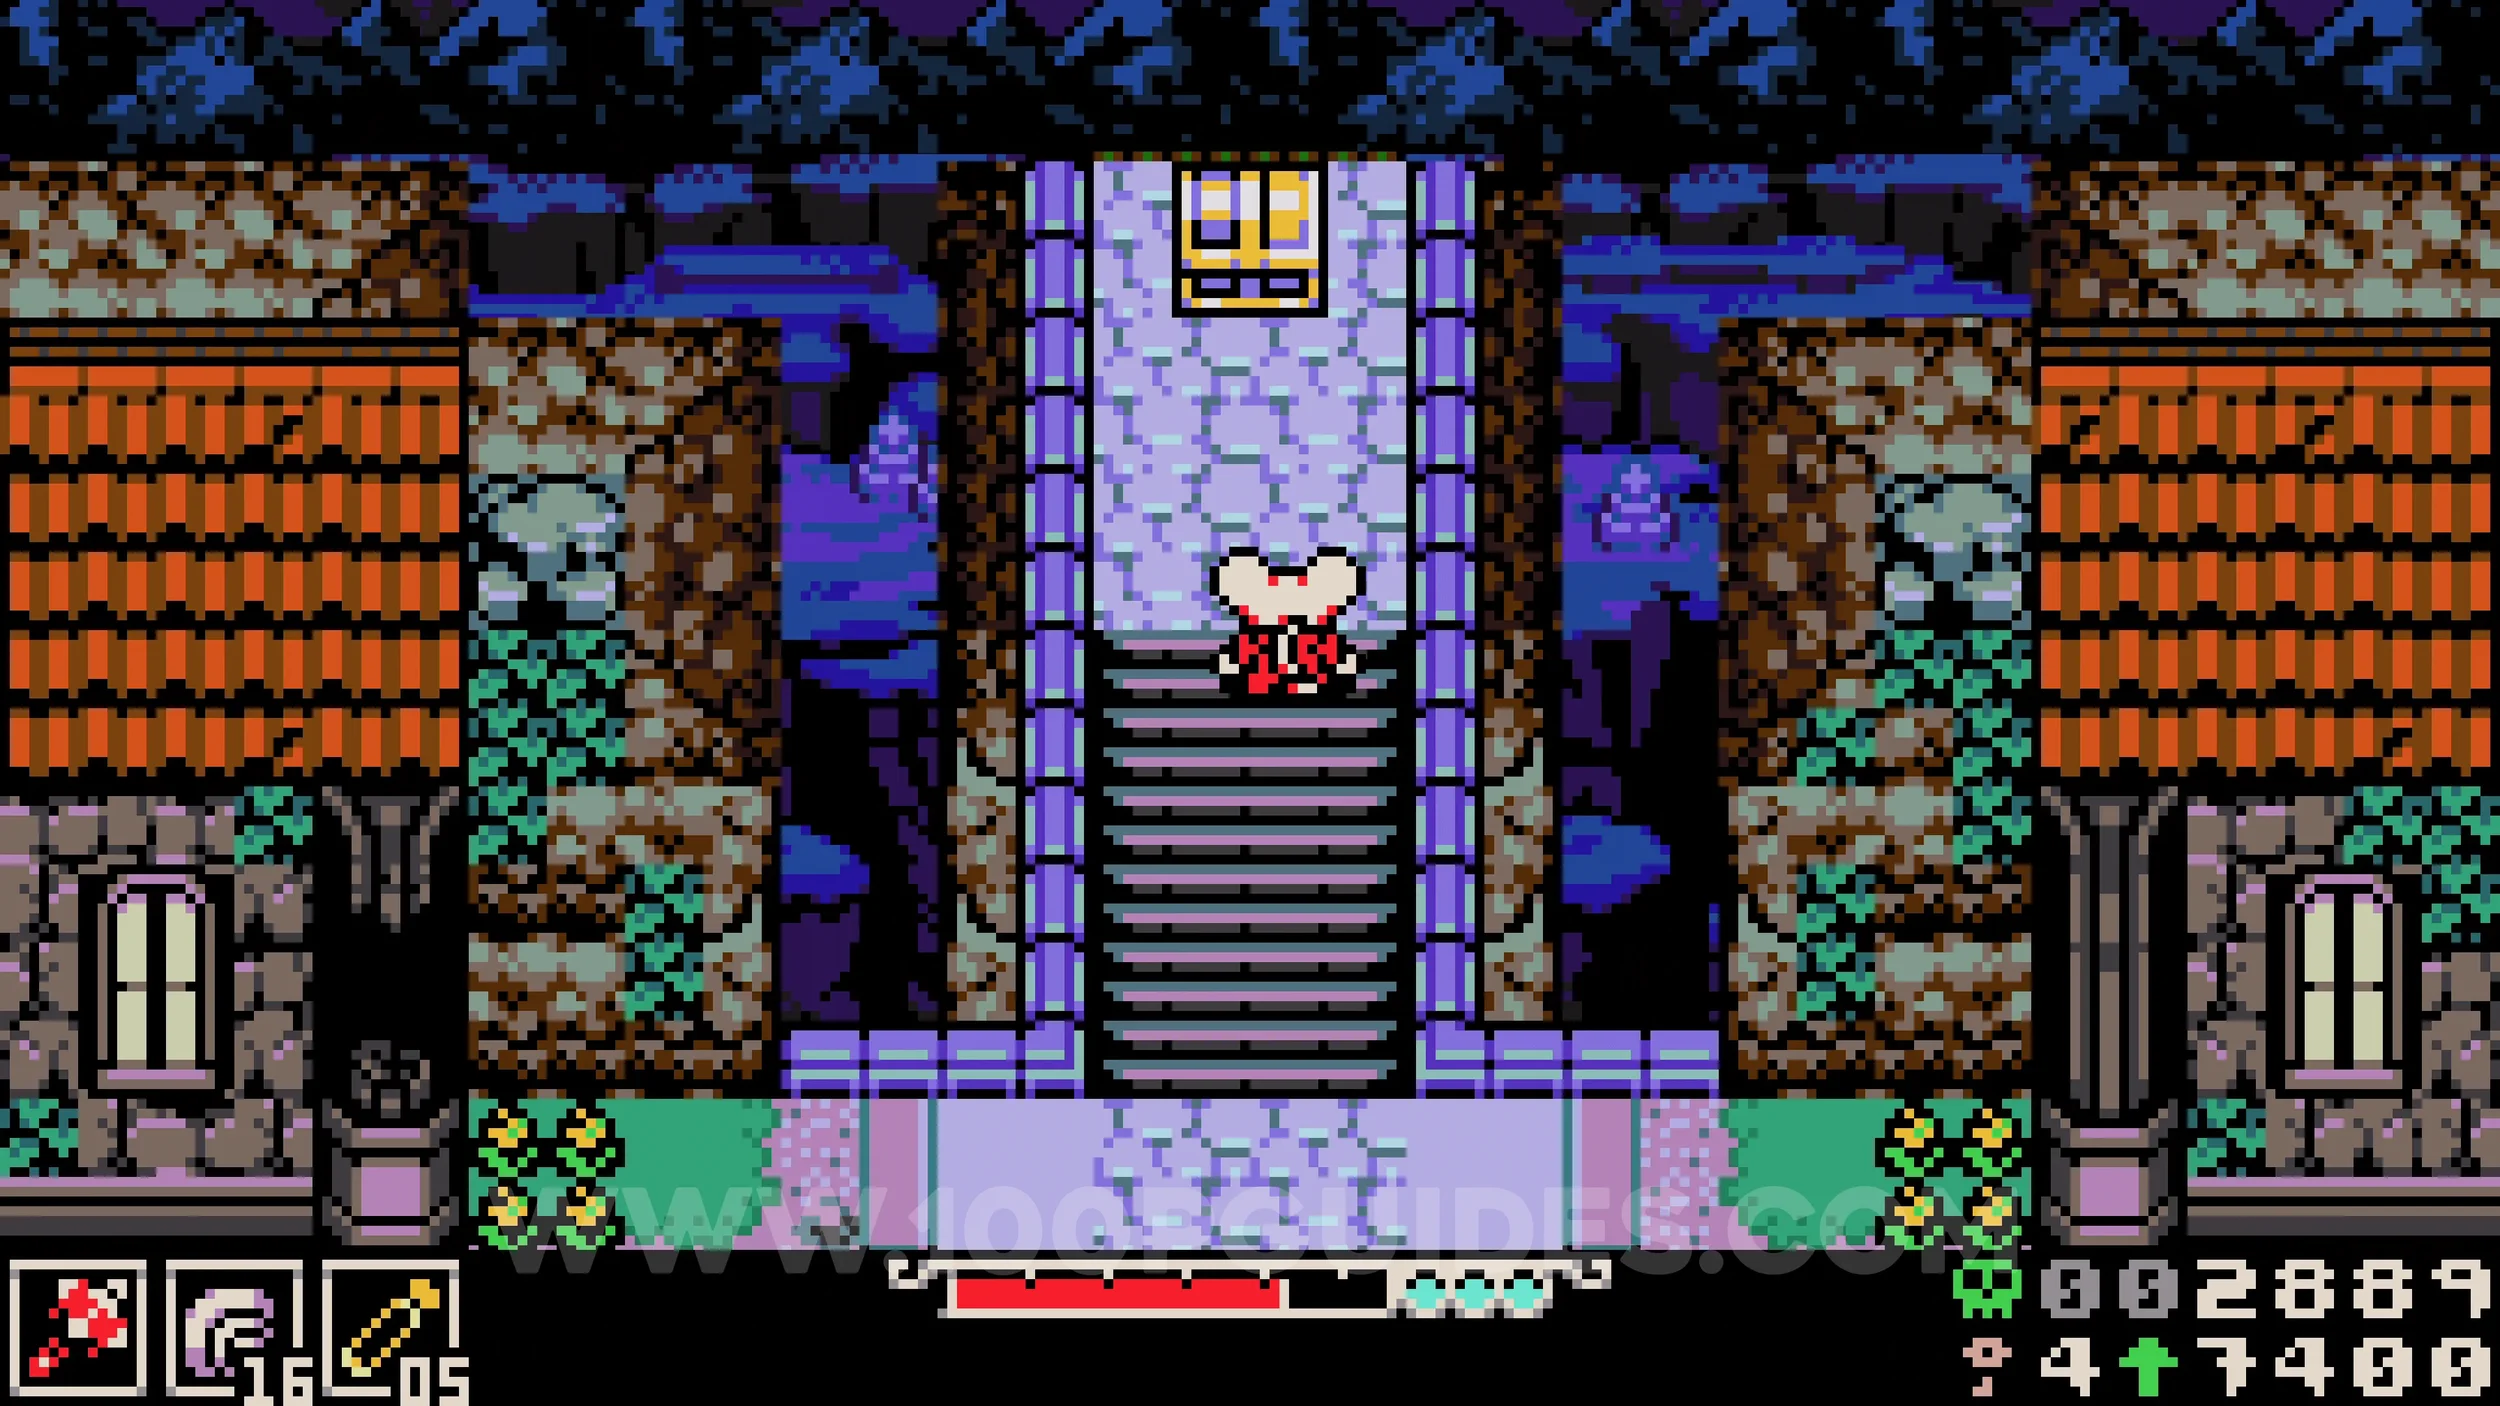
Fish #1. Can be fished from the river under the bridge at the start of the area.
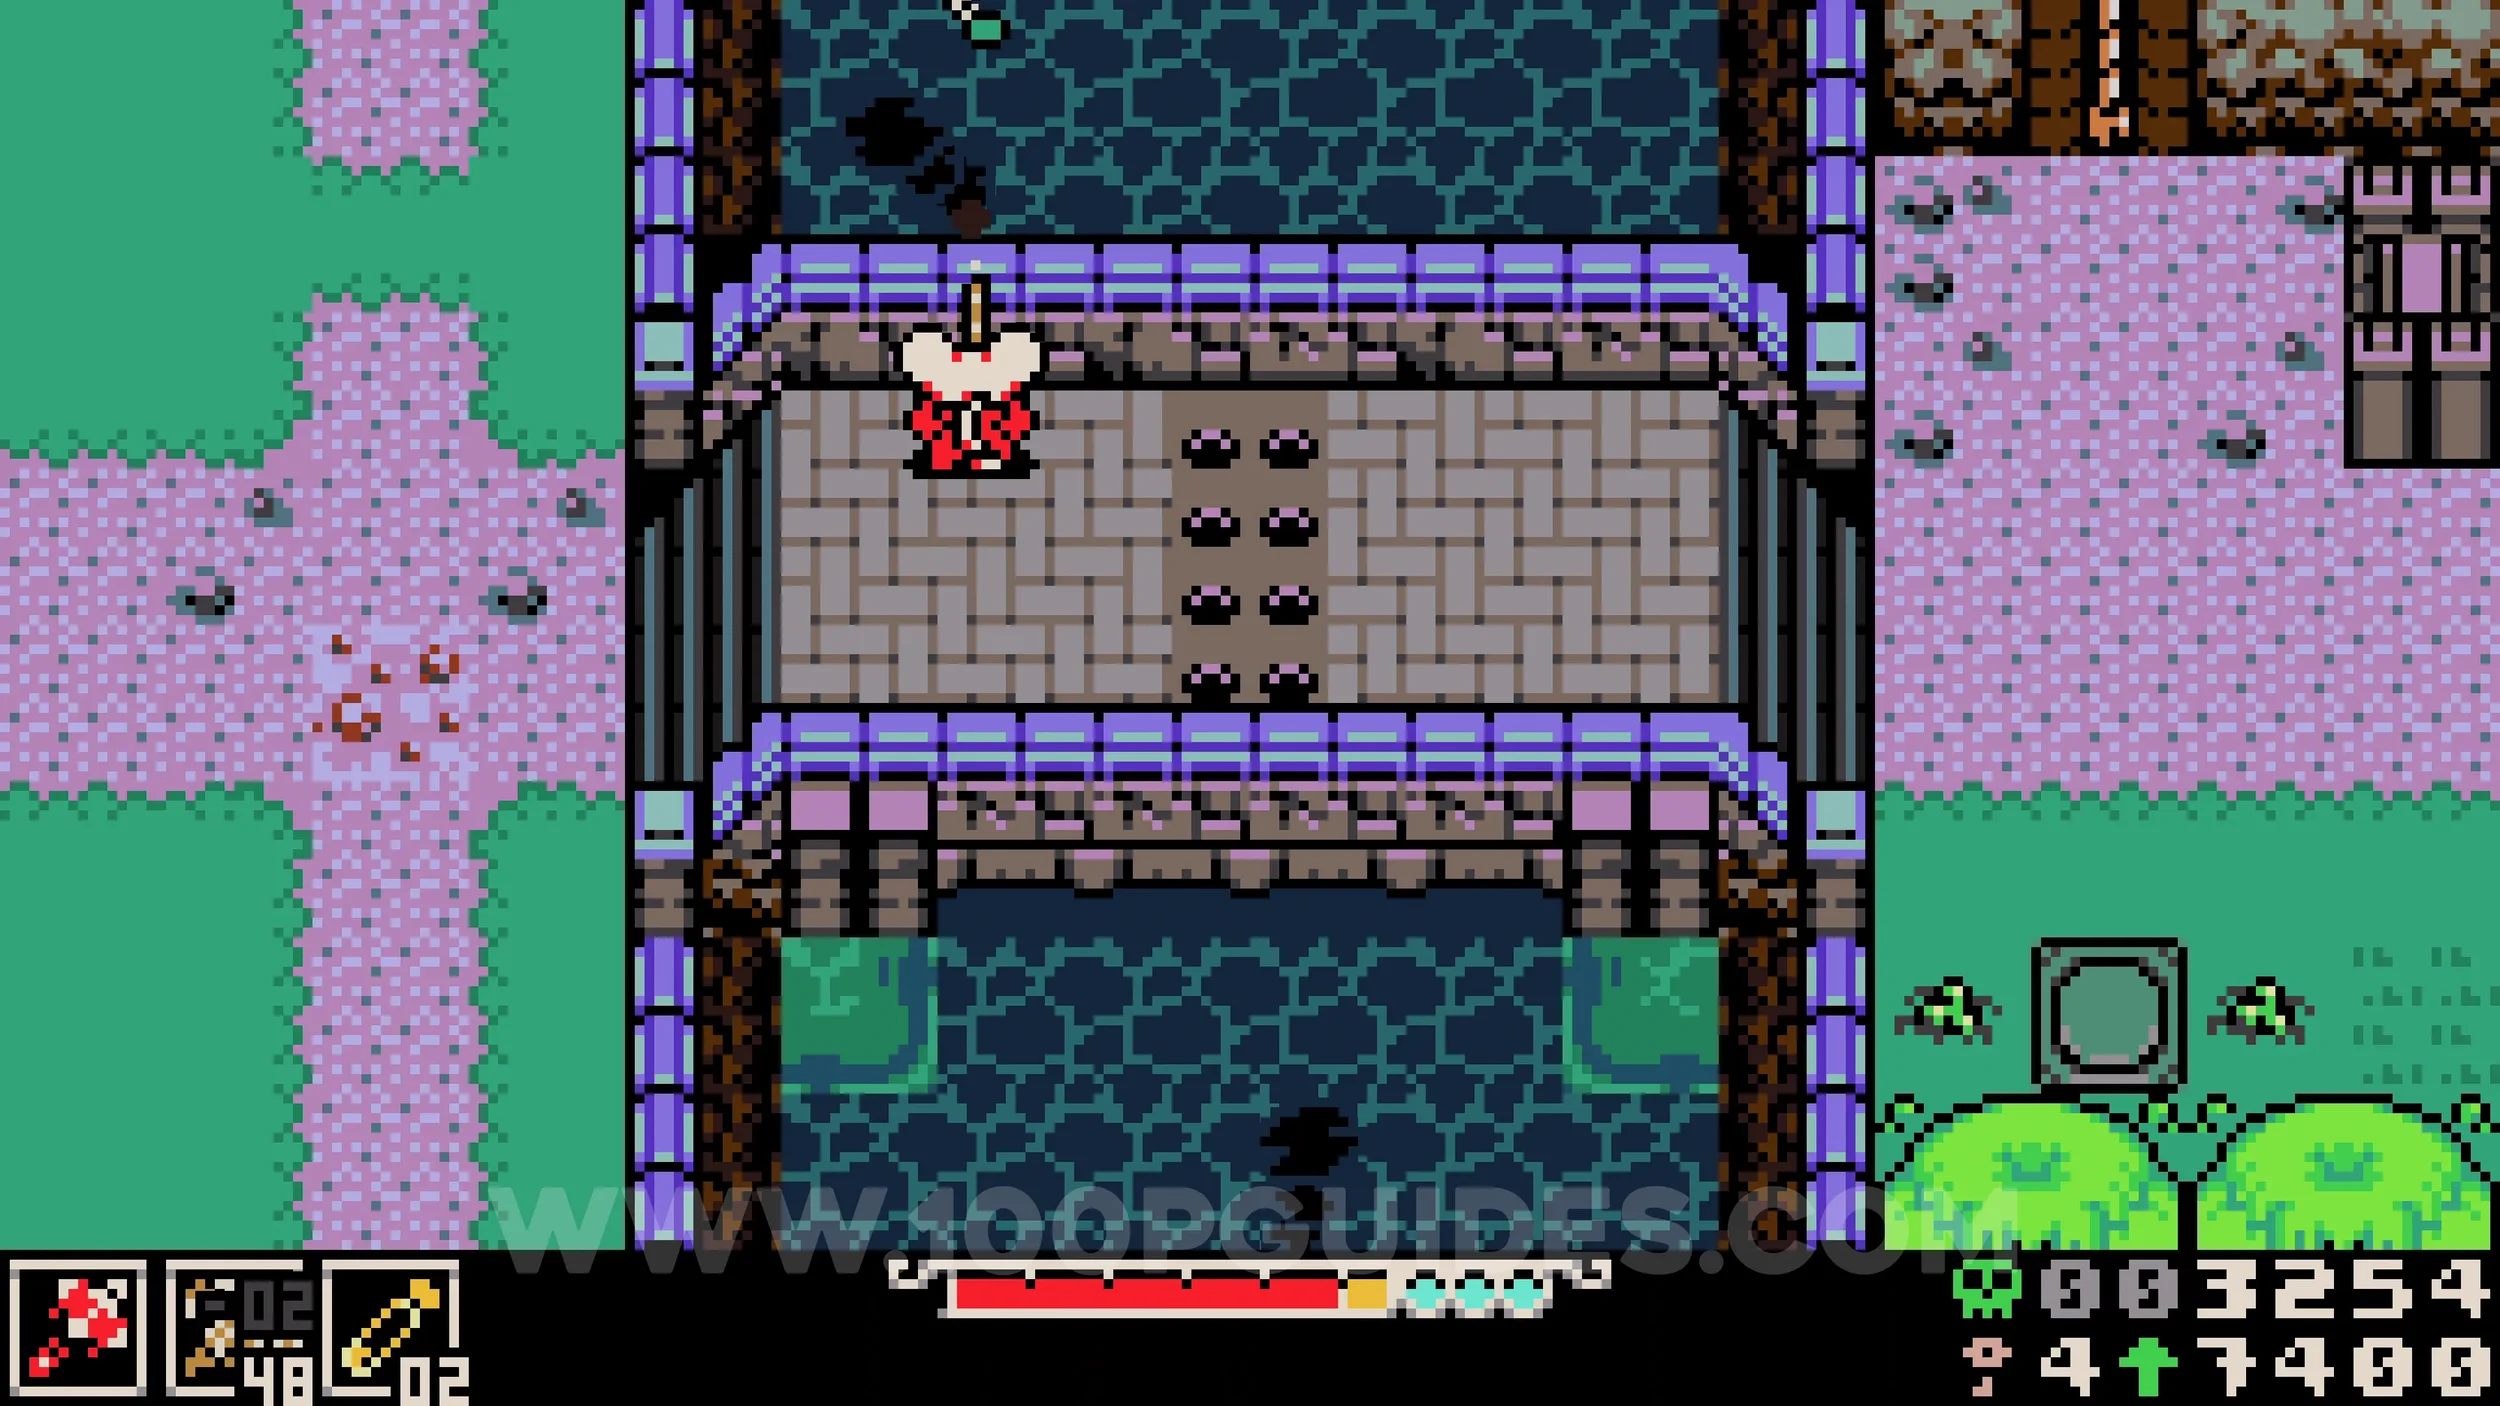
Spark Container #1. This can only be obtained after finishing the Tower at the end of the Queensbury Crypt area. On your way back from the tower, you will pass through a cave before emerging back into Mourner's Mile. As soon as you exit the cave, stand on the switch to remove the spike from the small hole on your left. Go through it and open the two locks to reach a statue head. Pick it up by burrowing and emerging under it, then backtrack through Mourner's Mile until you reach the area with the moving platforms and enemies jumping out of the crypts. Look for stairs heading down, then throw the head at the headless statue on the right side of the screen to remove the spikes on the left side. The chest containing the collectible is on the other side.
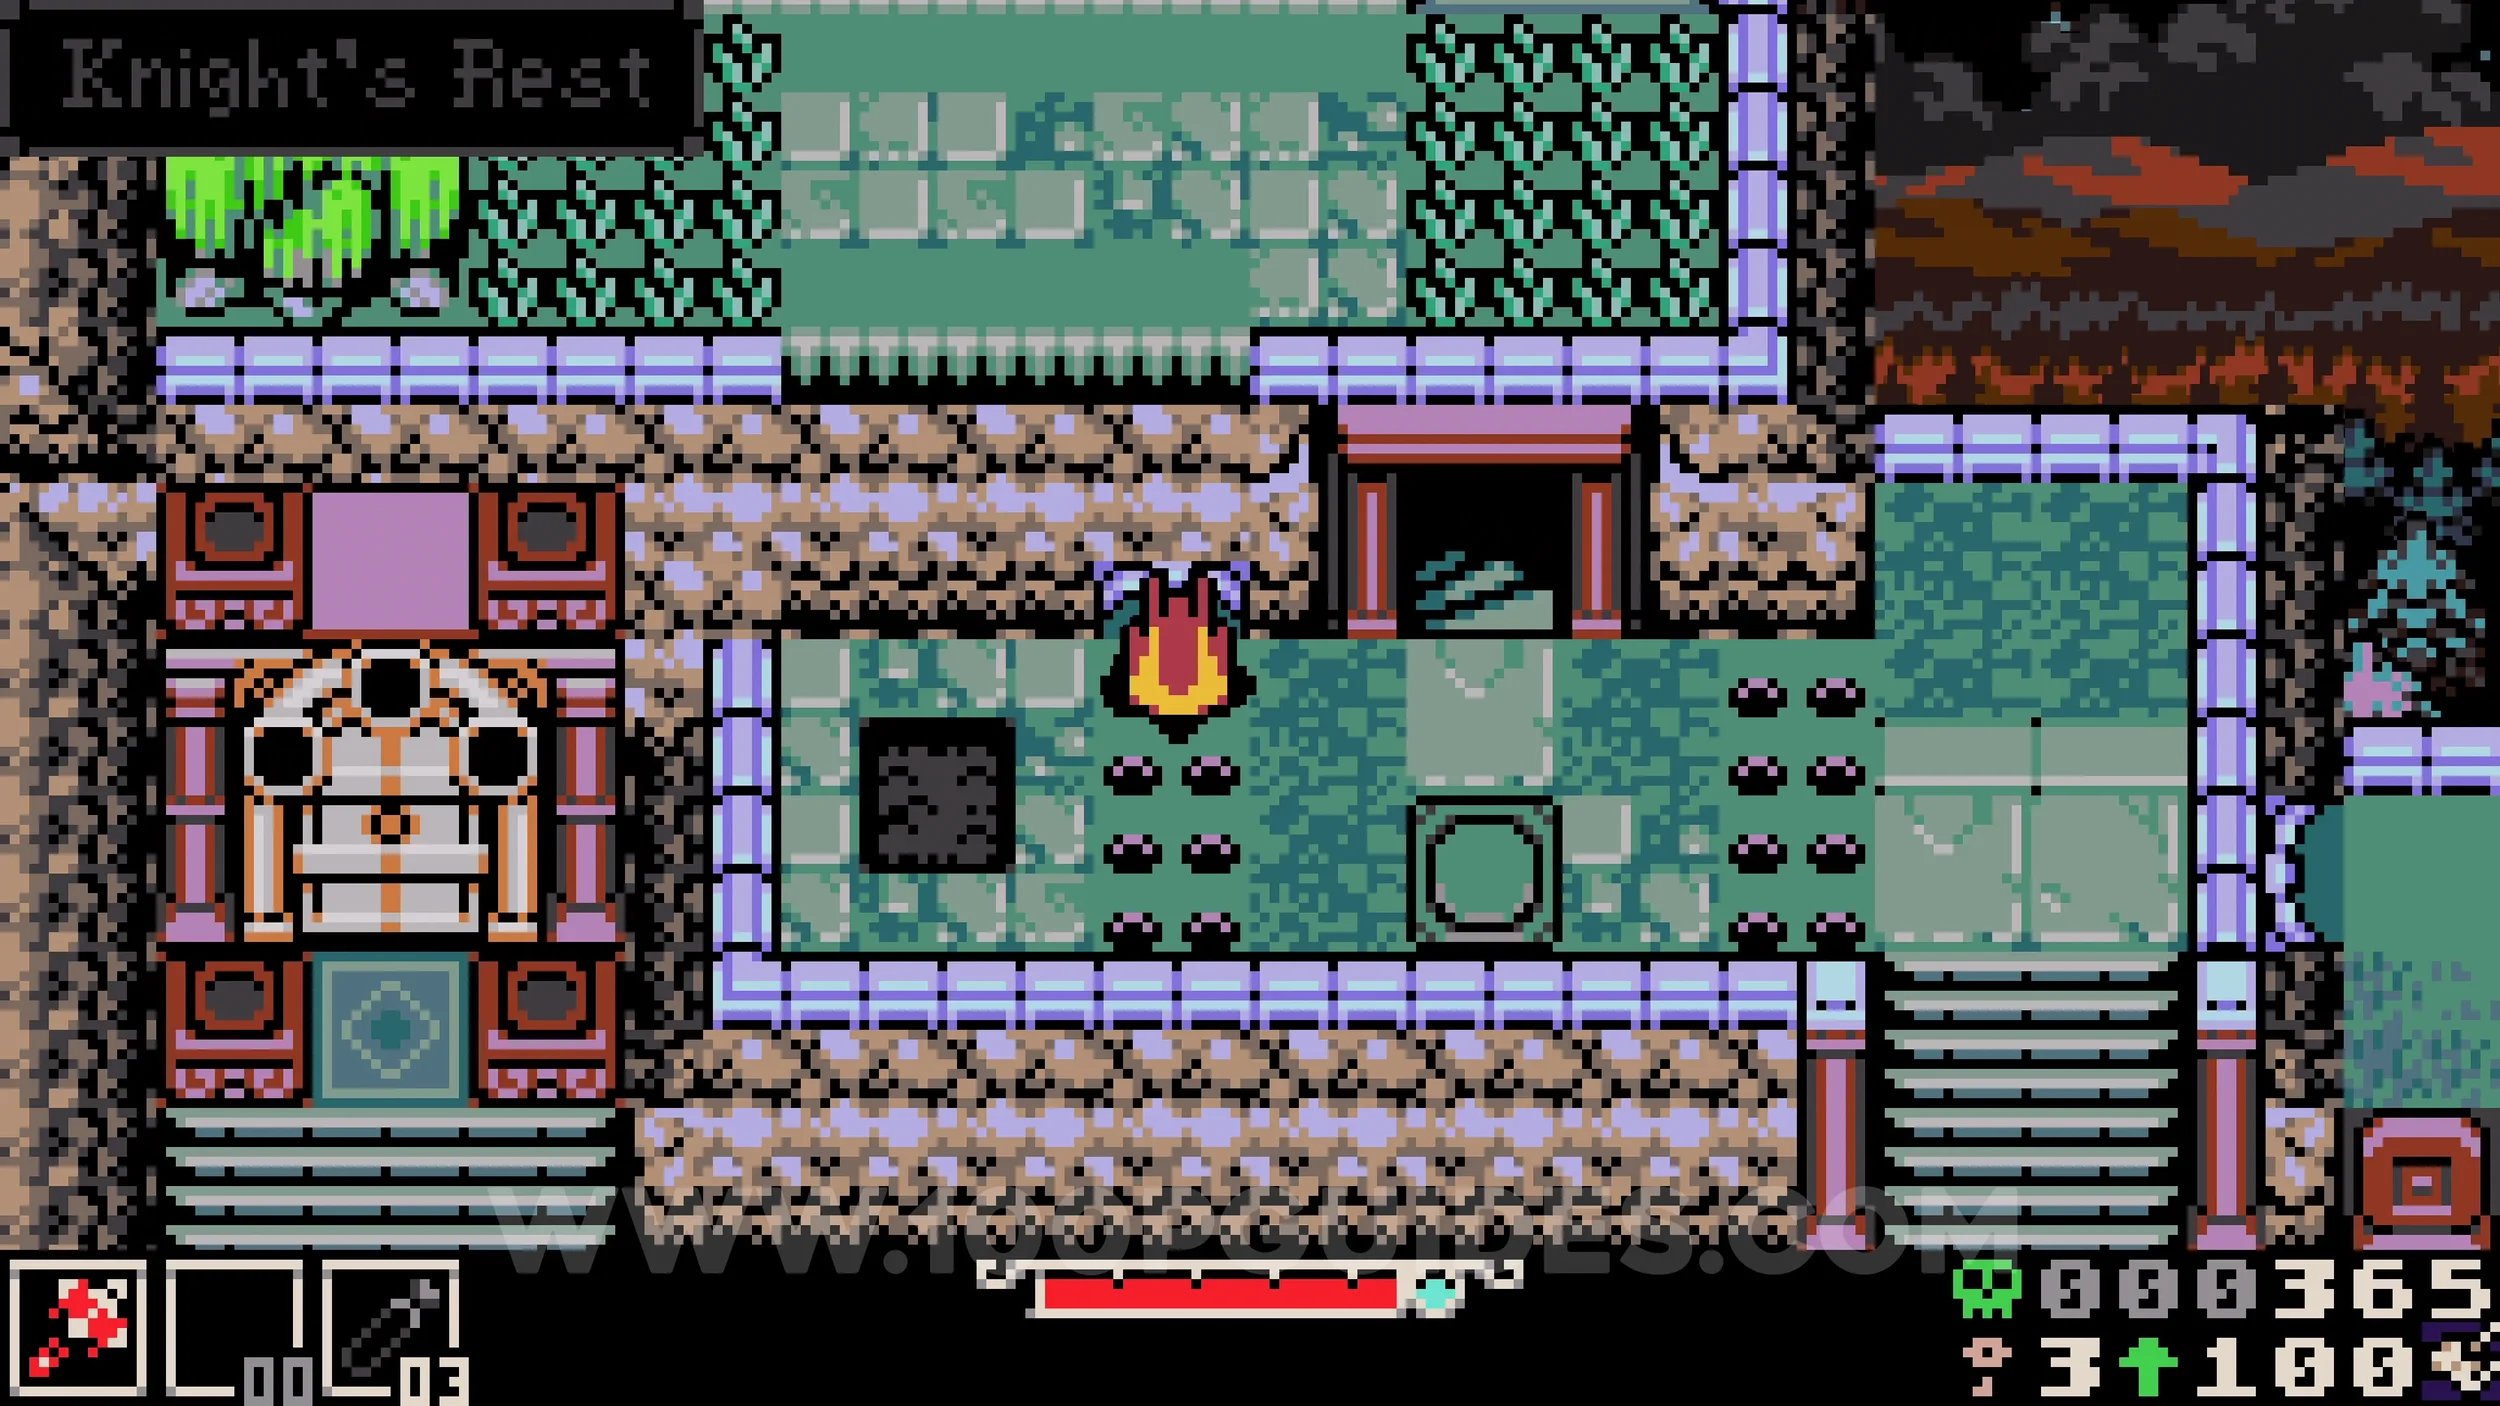
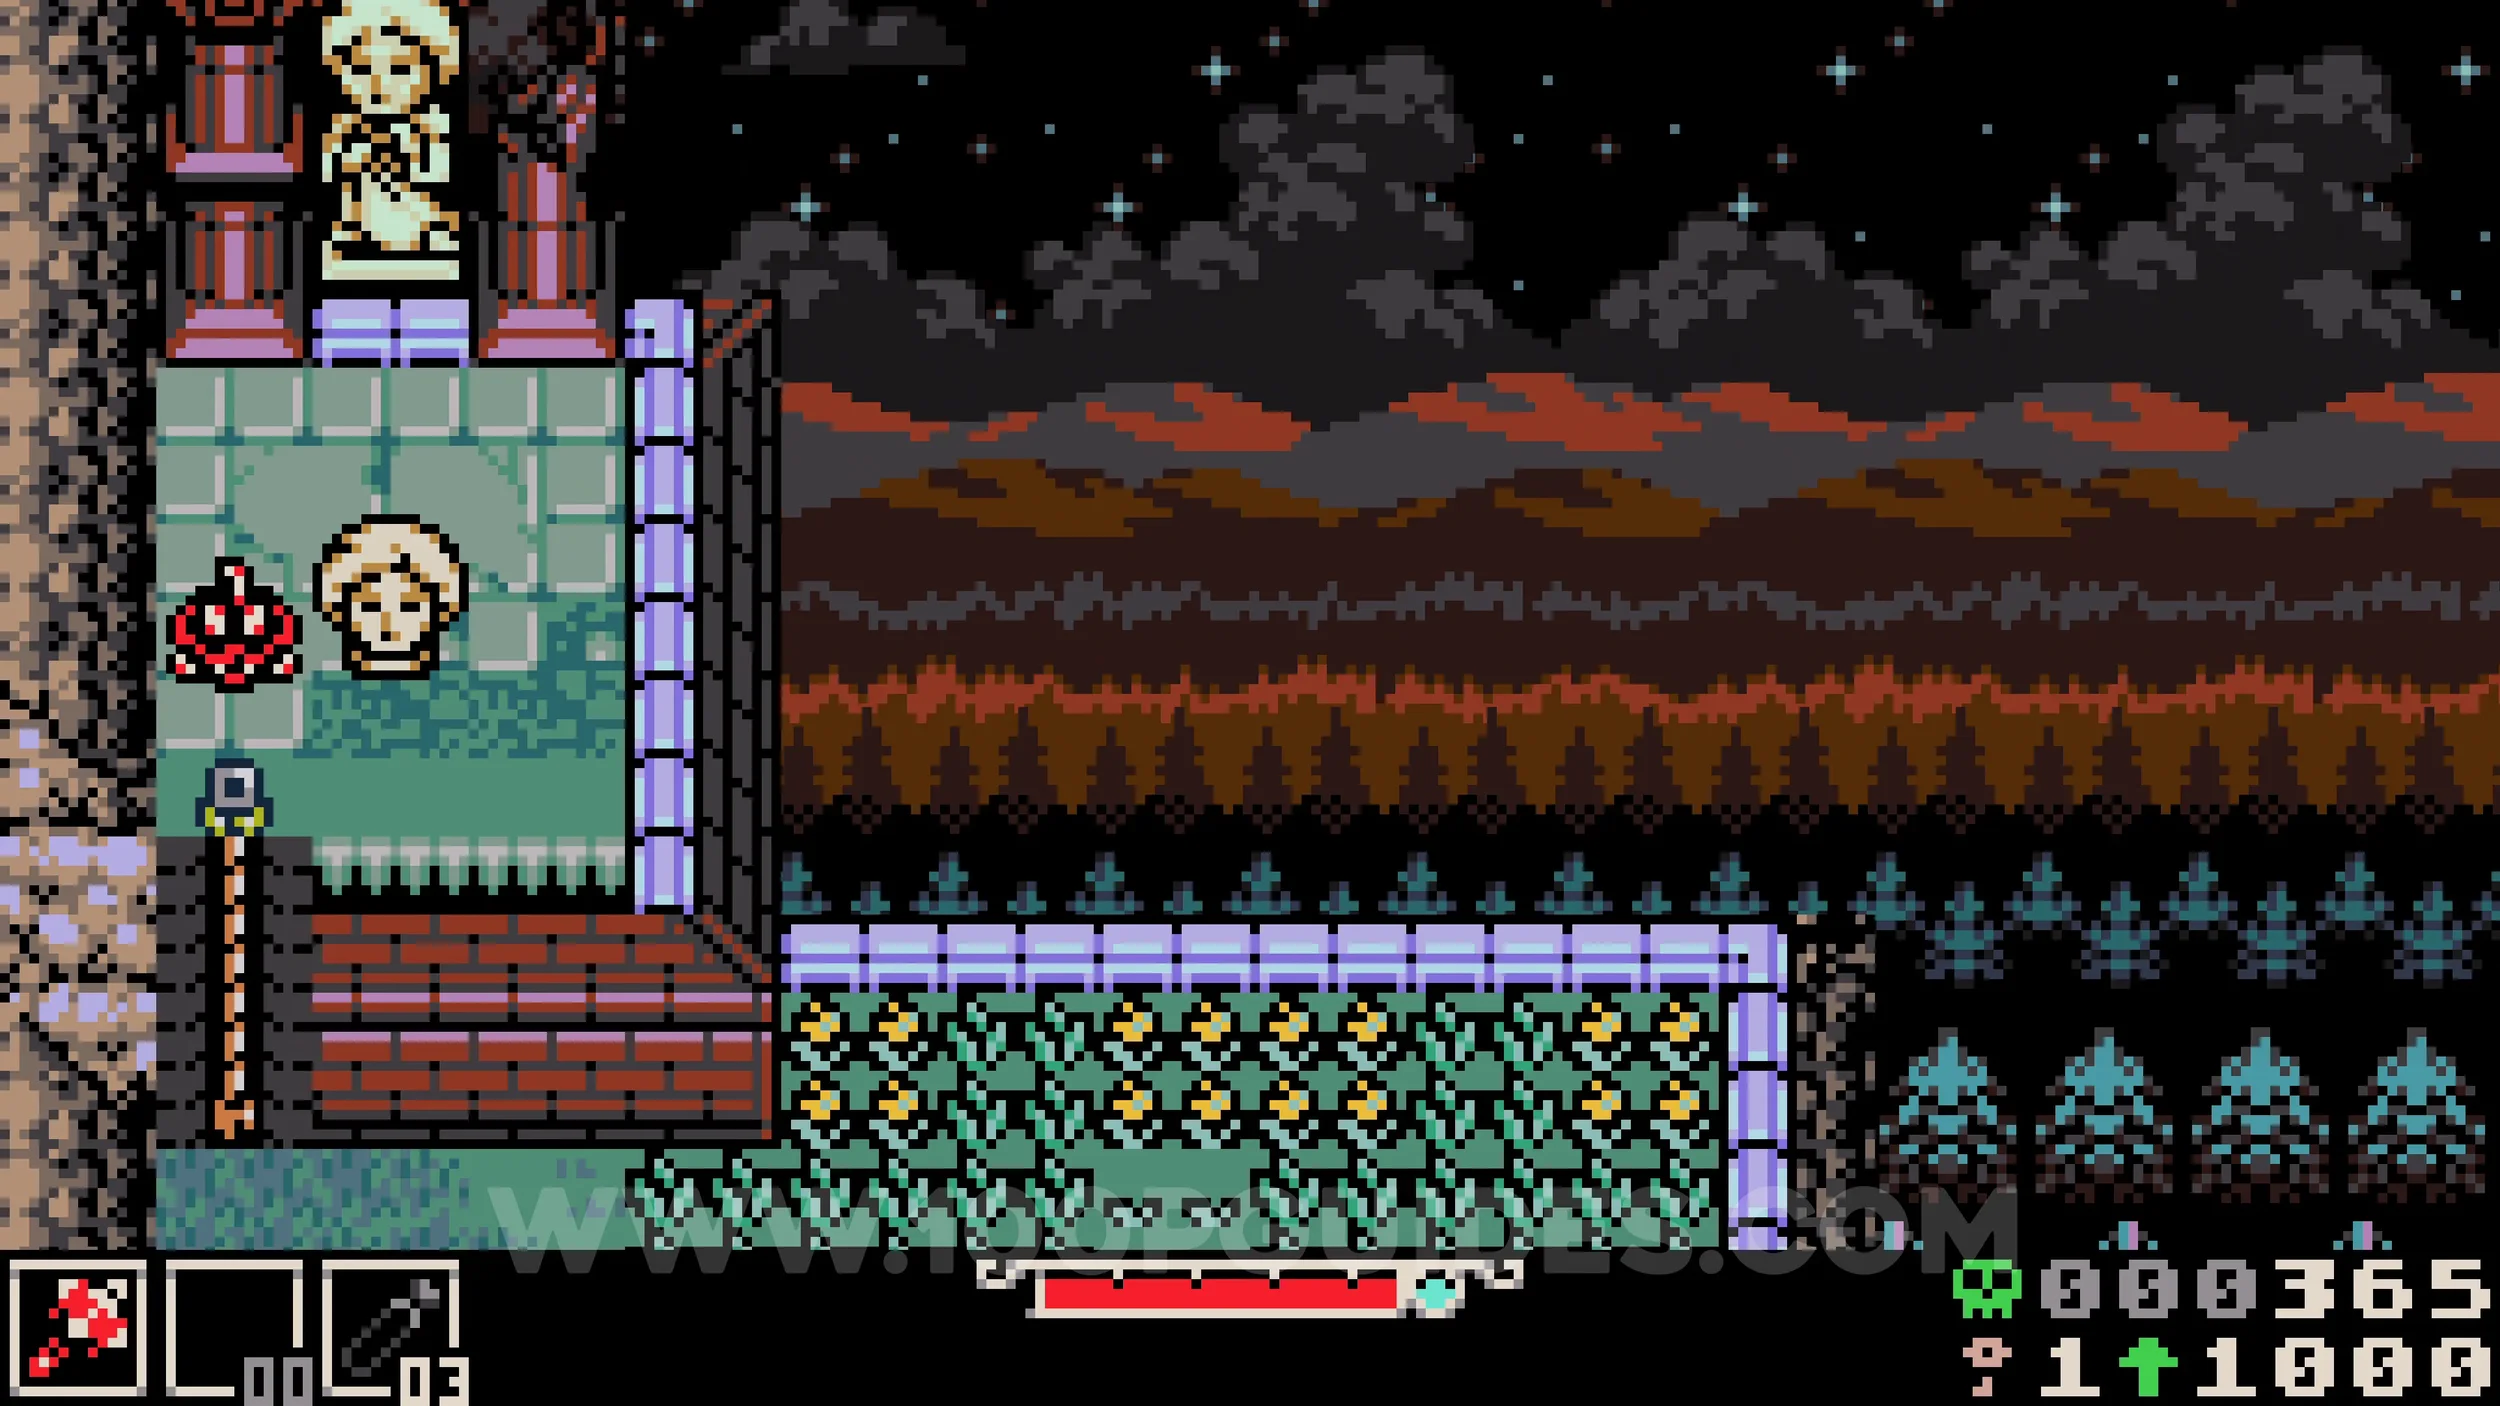
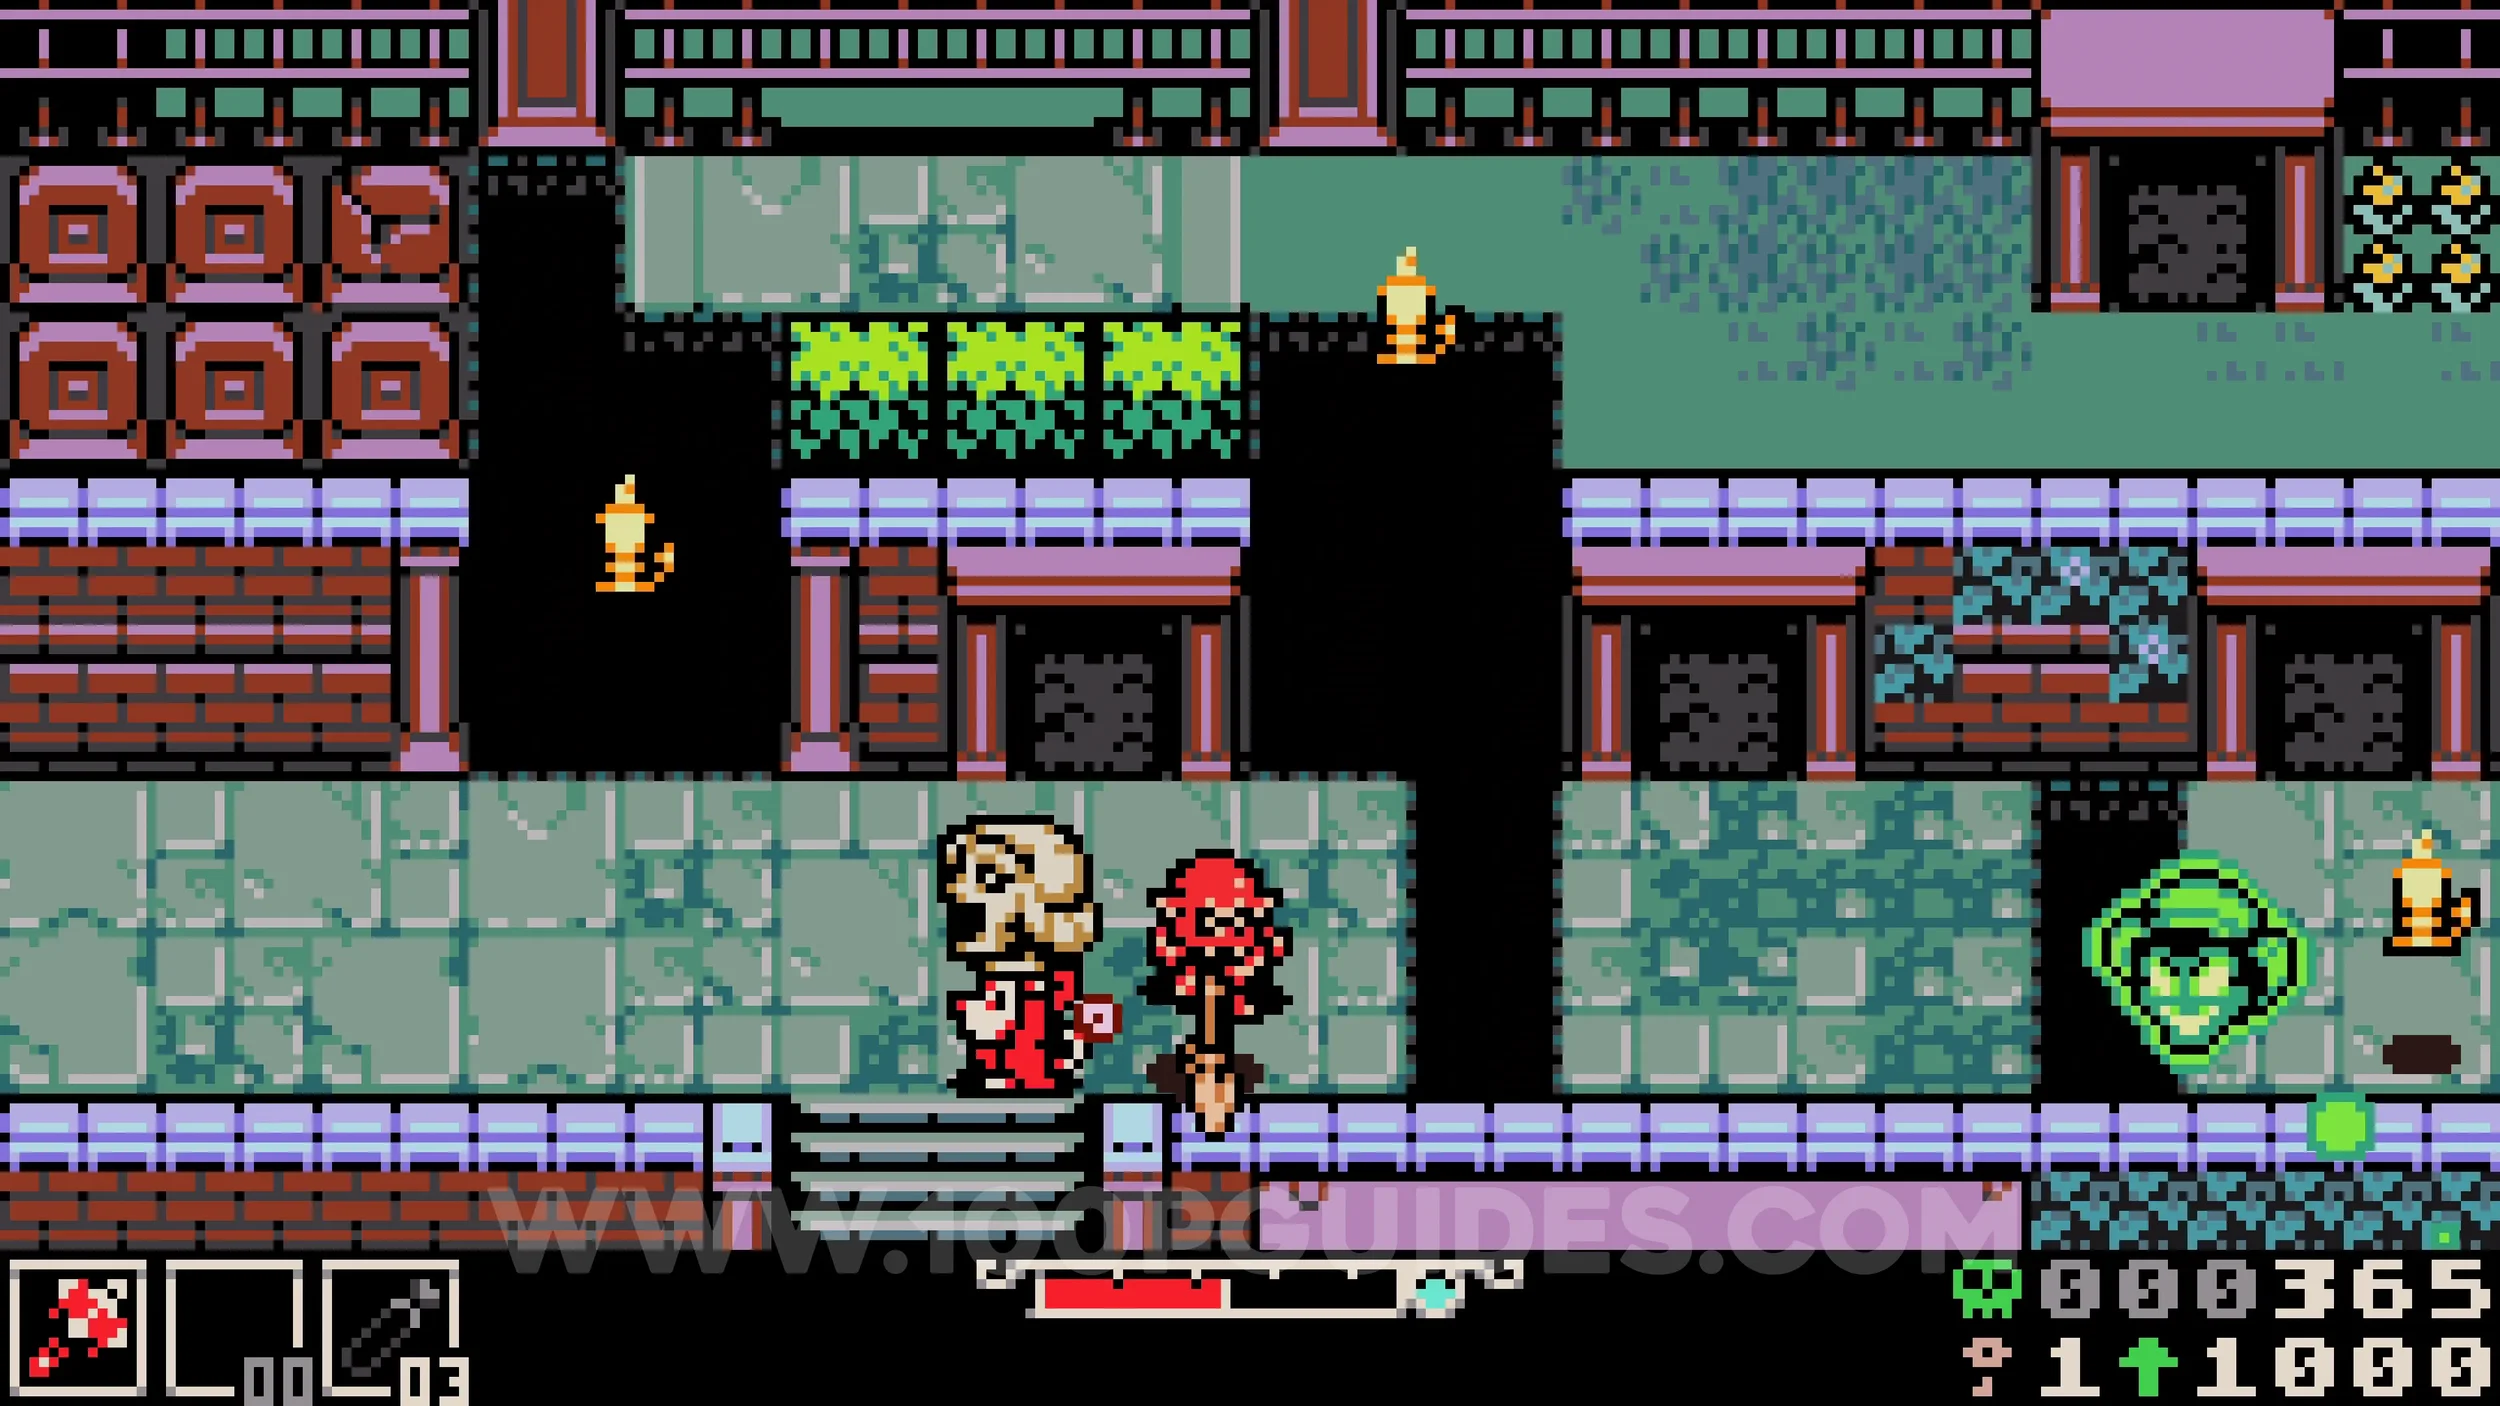
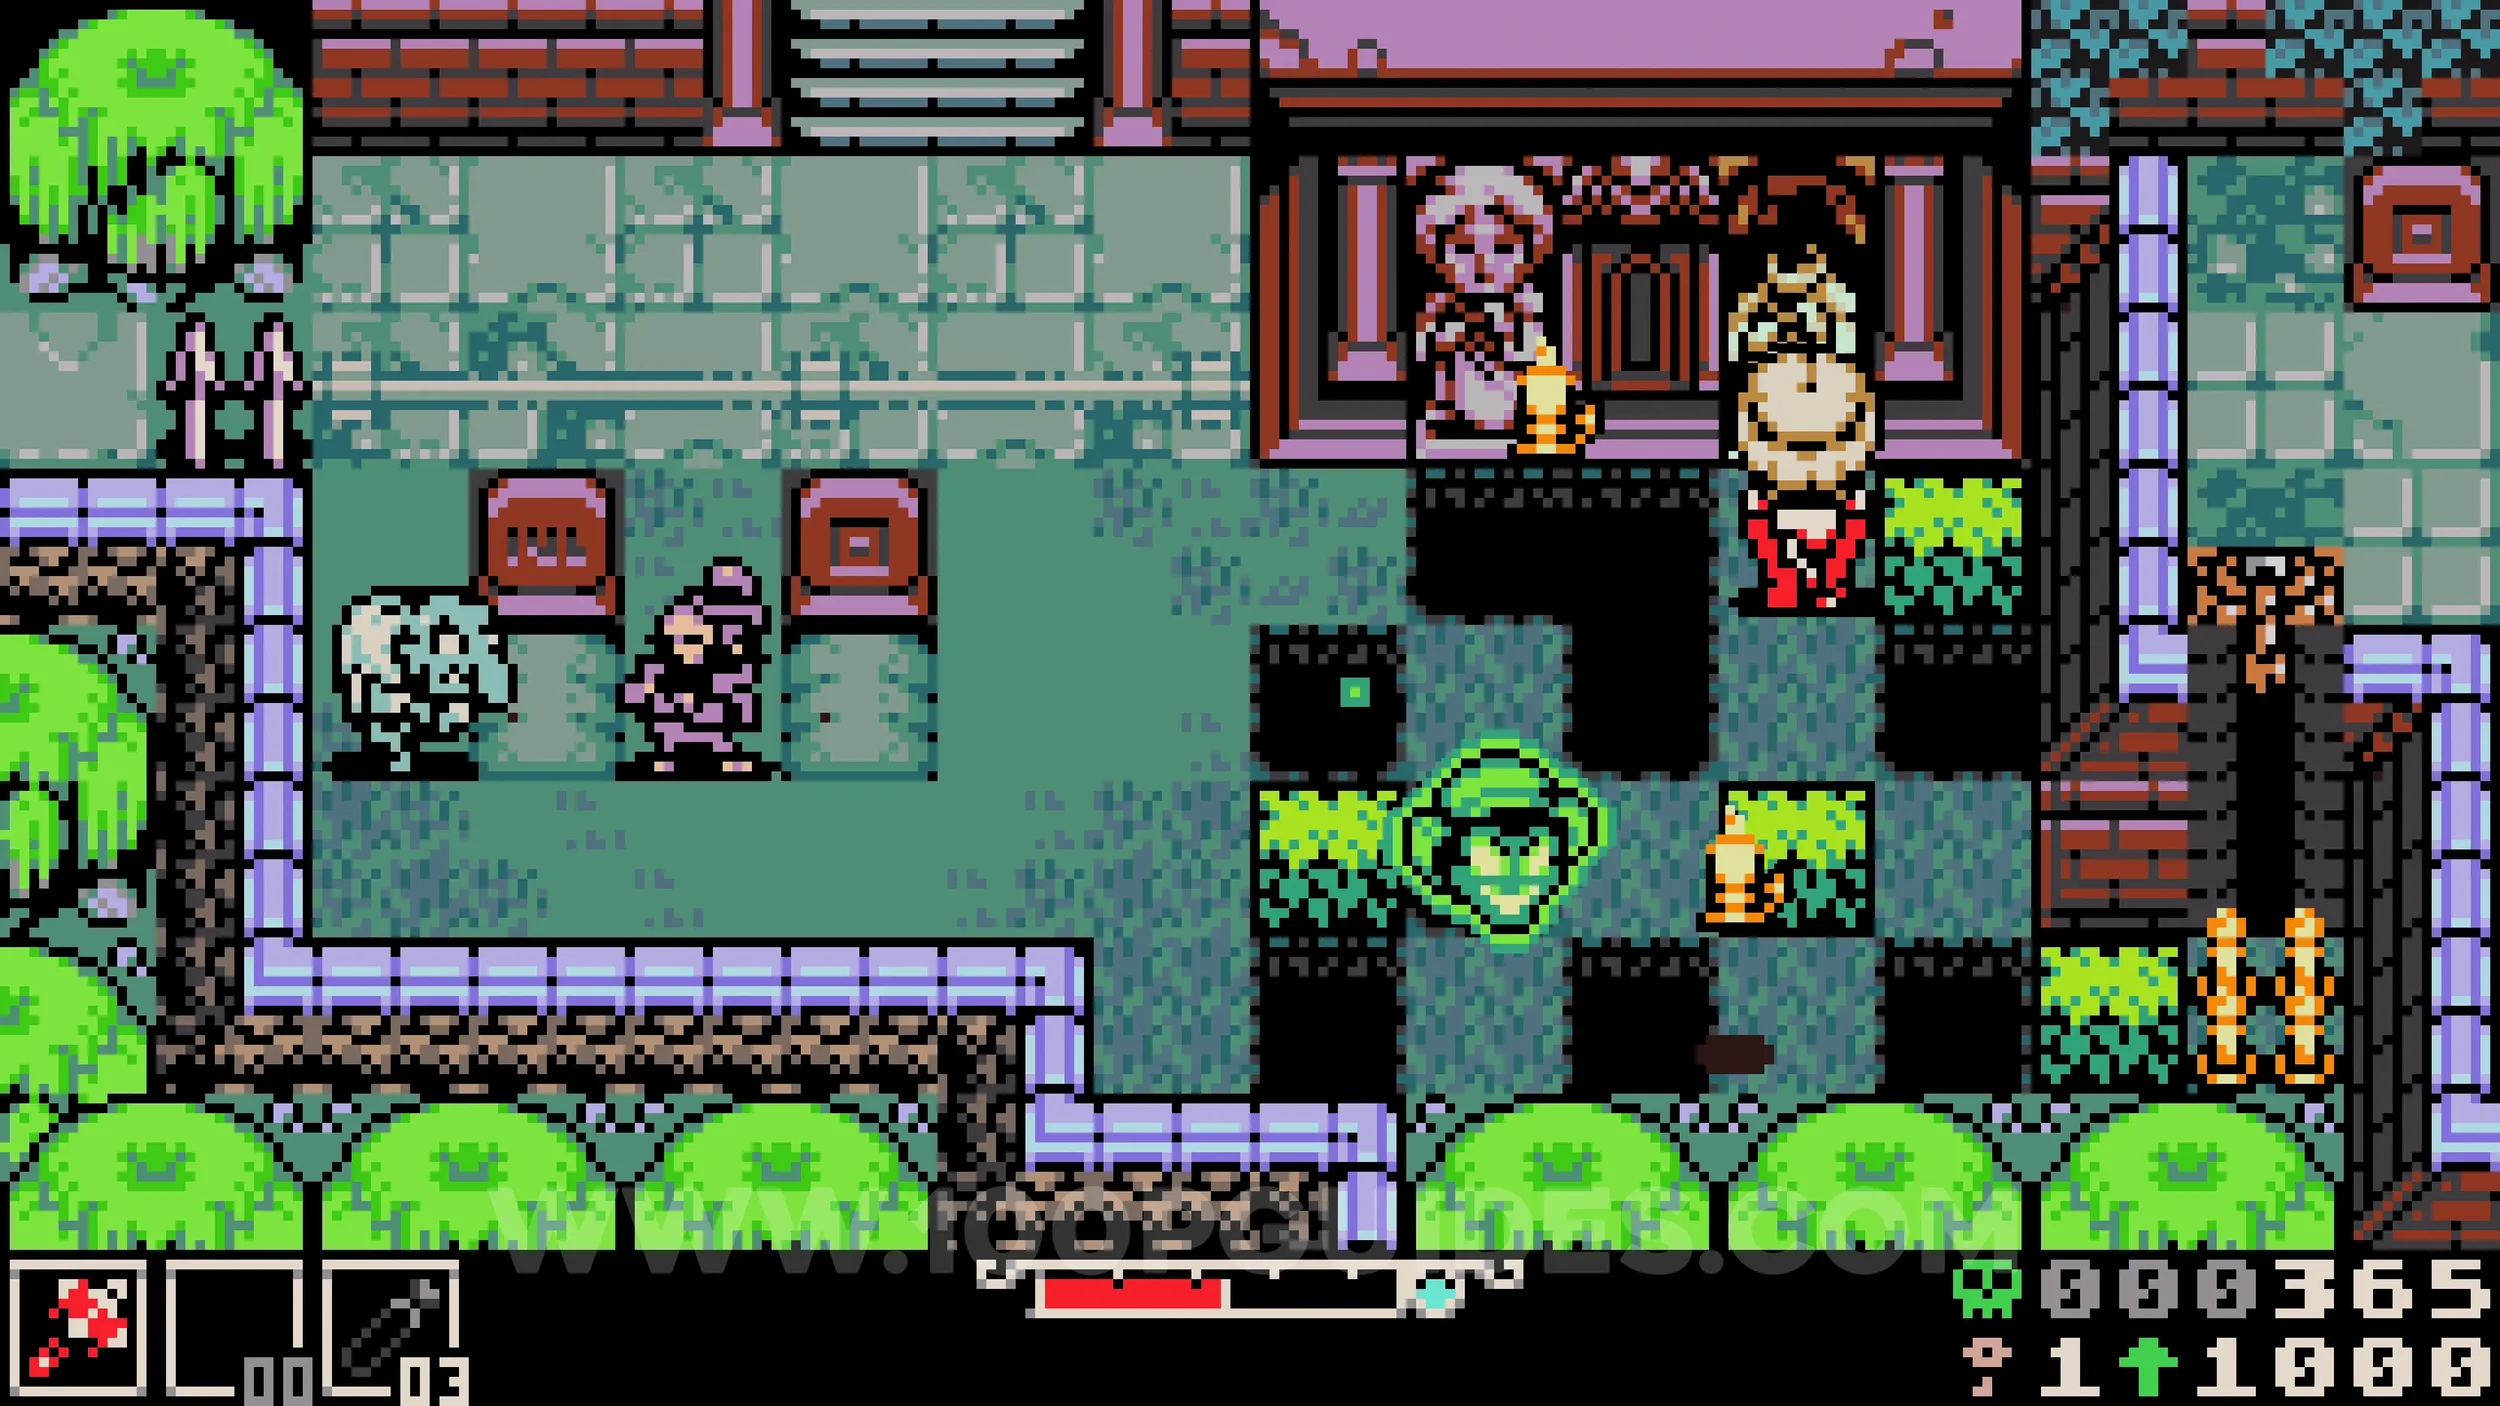
Trinket Bag #1. After finishing Queensbury Crypt, make your way back to Ossex. Just as you are about to leave Eastern Heath, you will be attacked by Maxi. Defeat him to obtain the collectible.
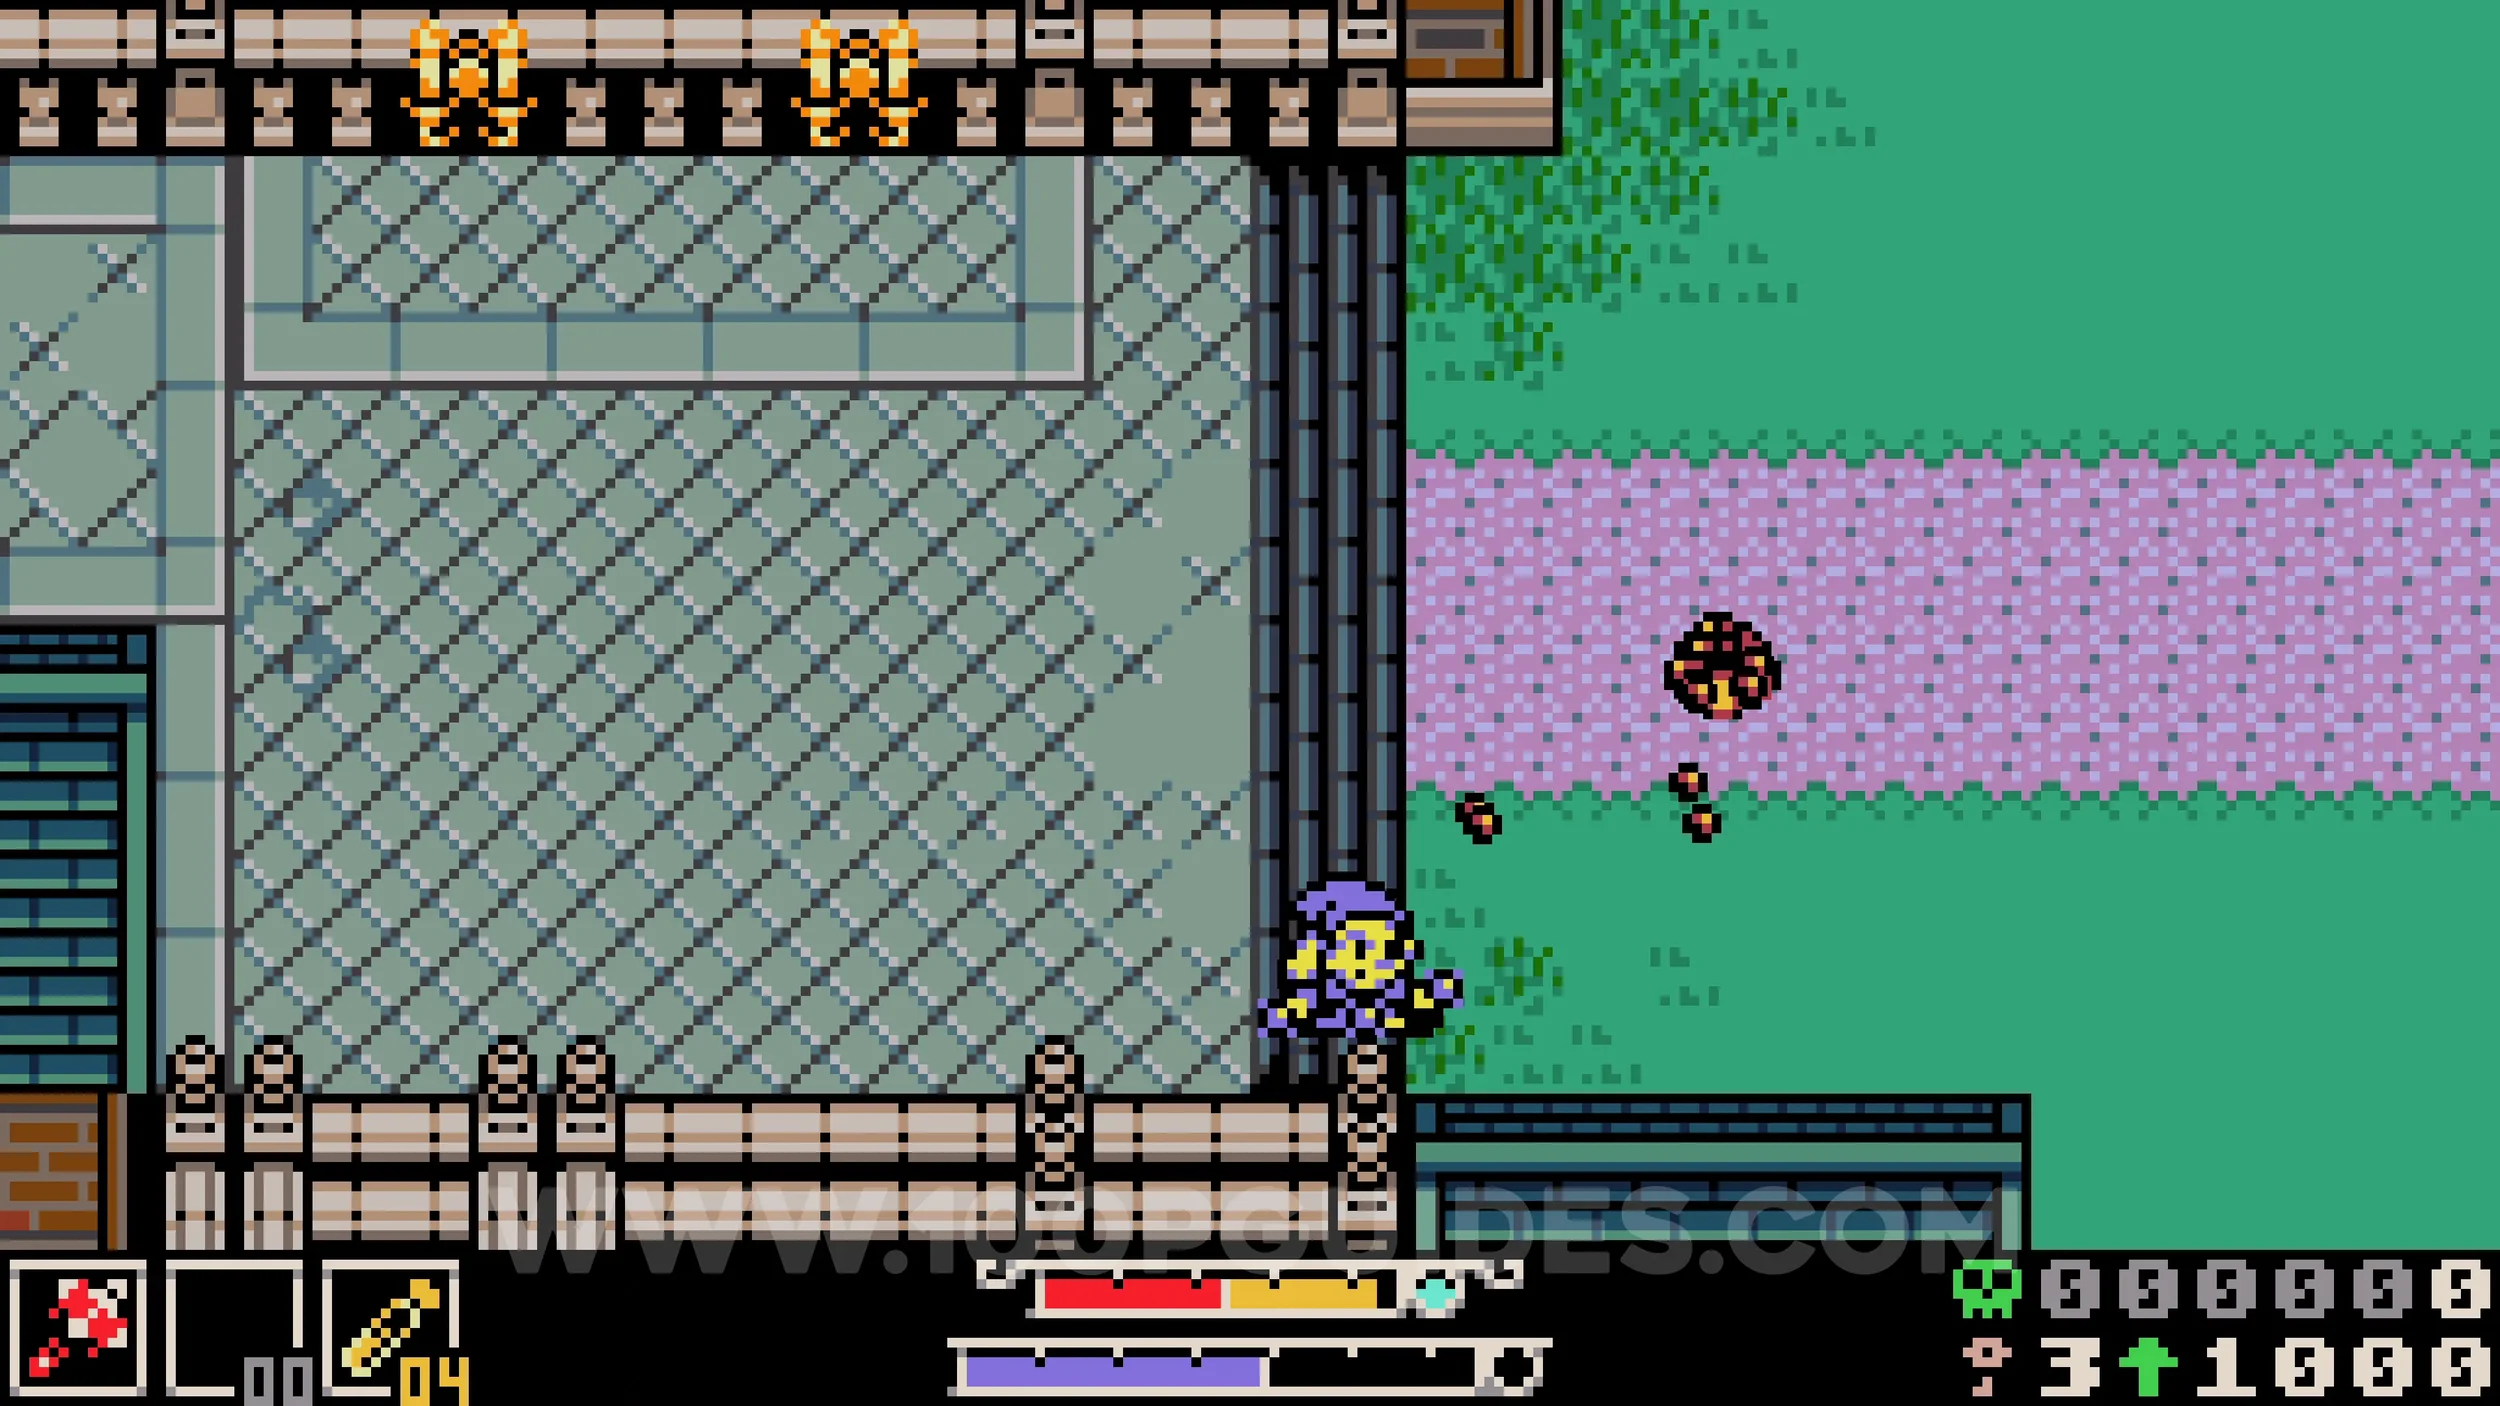
Bonestone #7. This collectible can only be found in the Coltrane Peak area. From the train, head left and then down, continuing to drop through the holes until you reach an area with a chest on the left. Destroy the snowballs and drop down to open it.
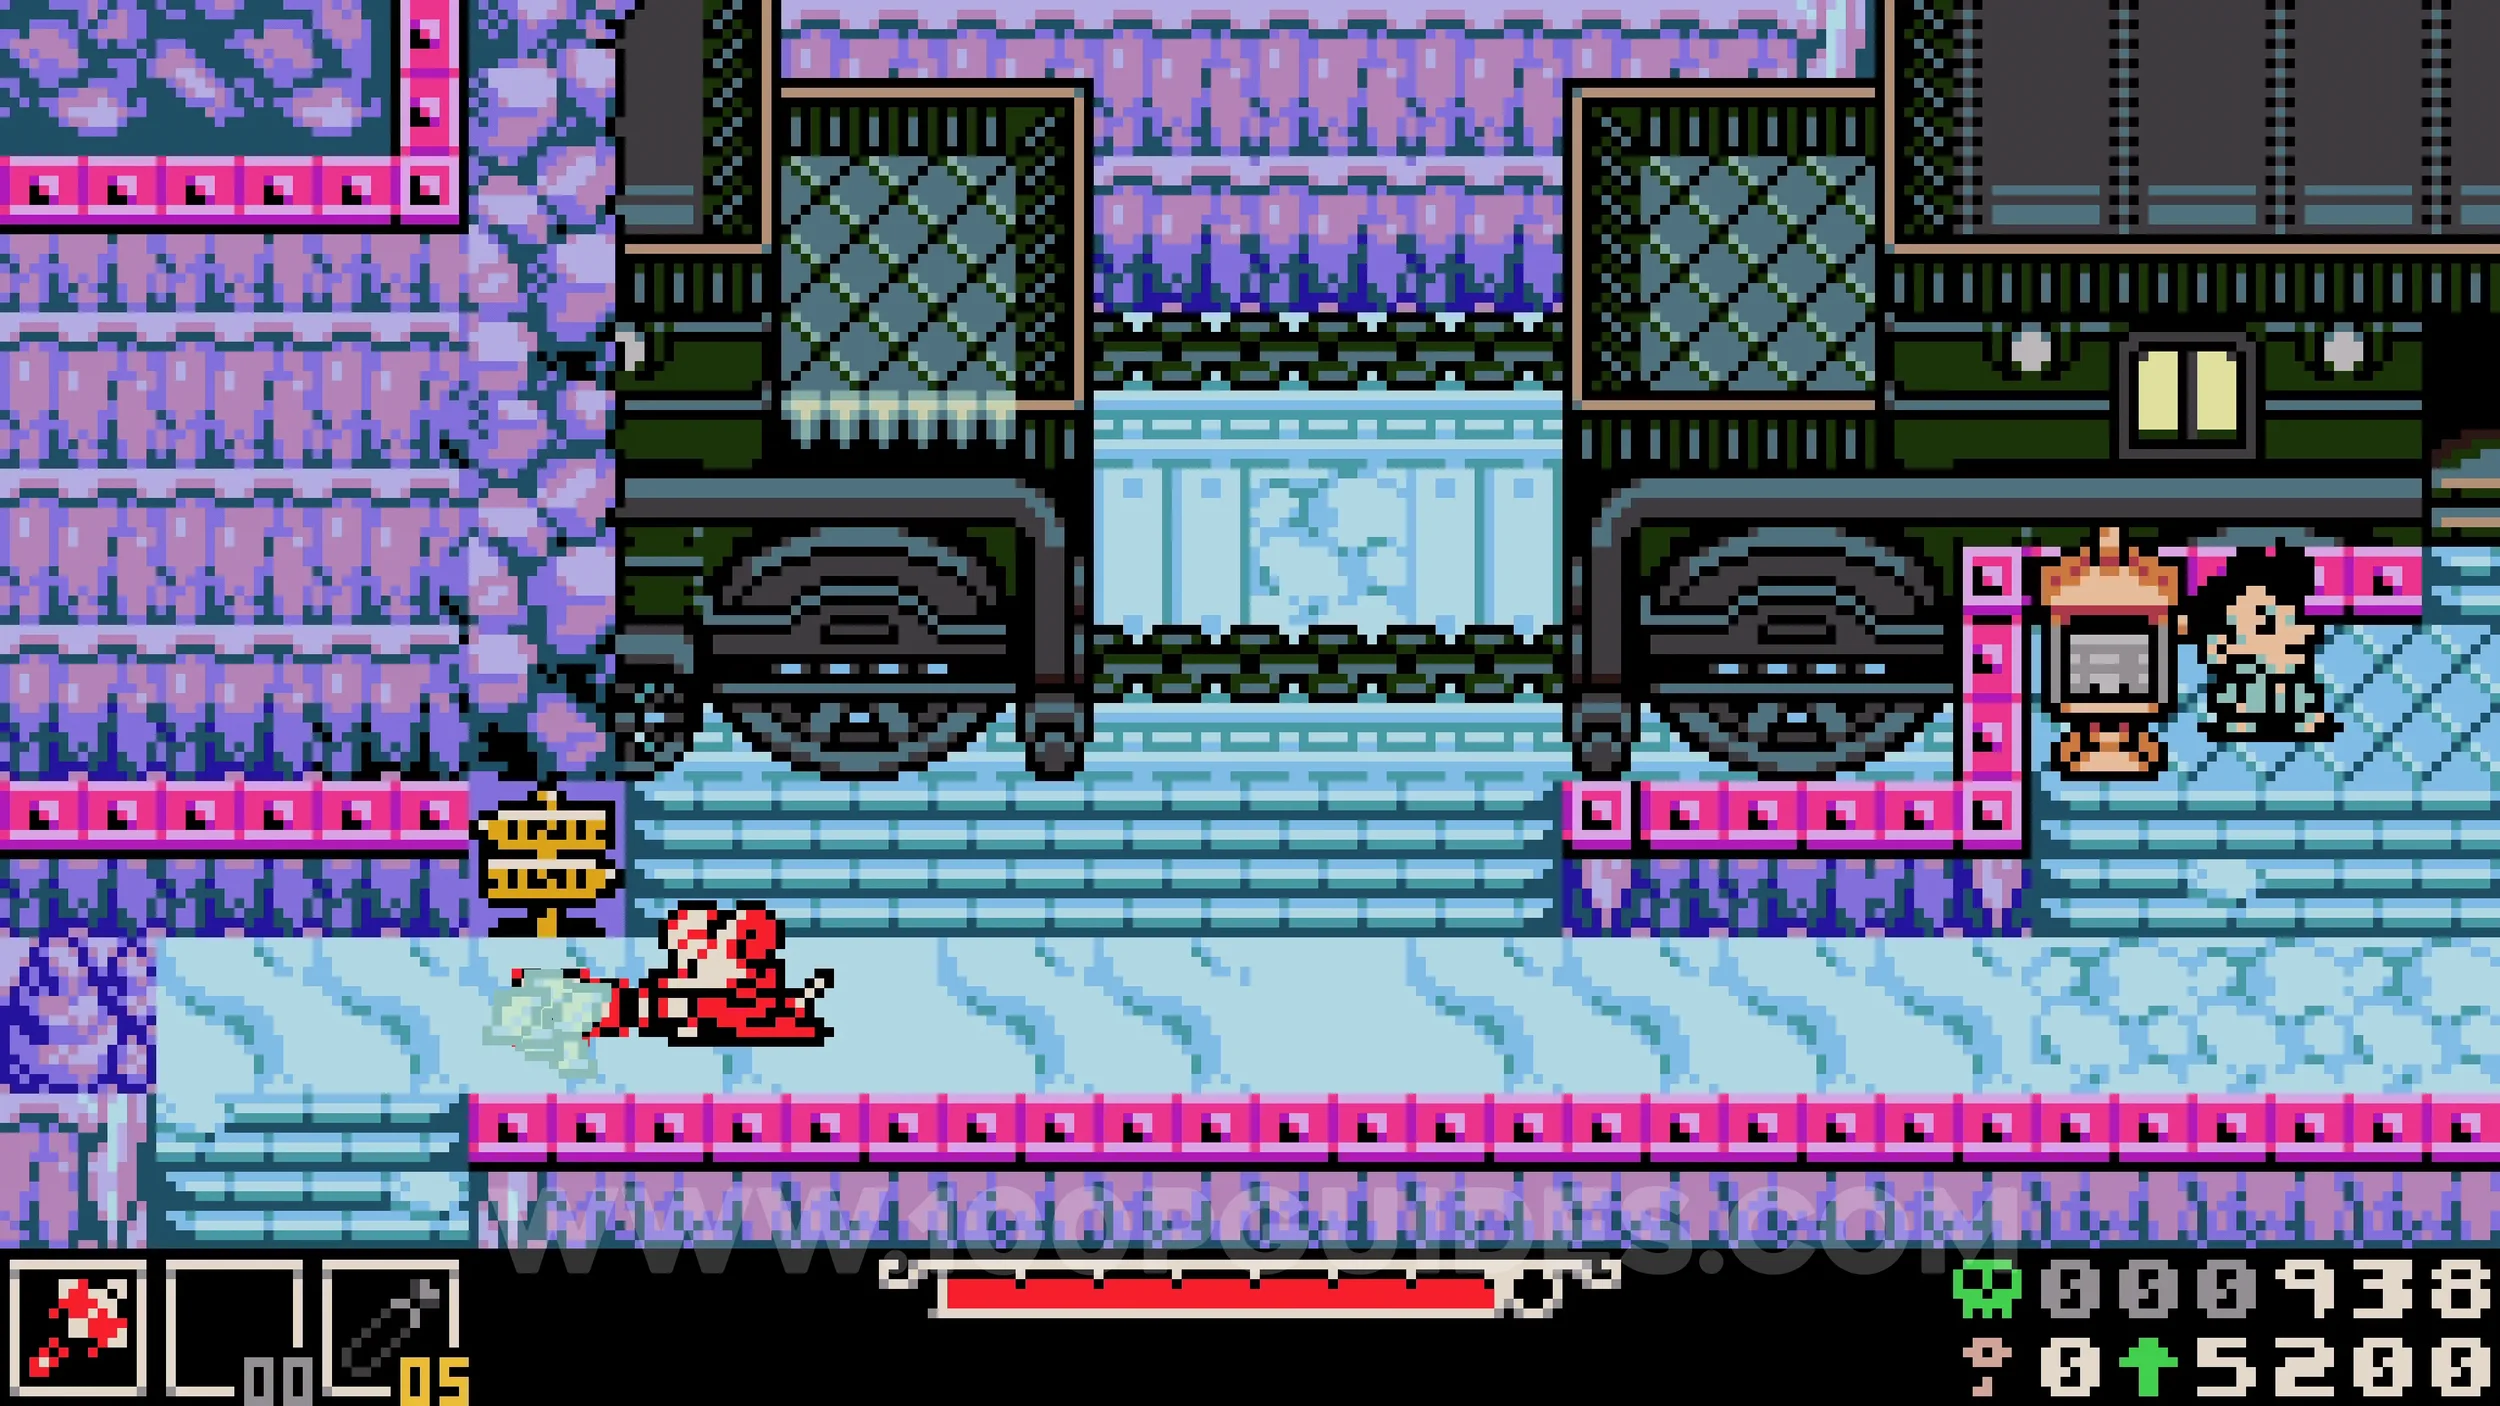
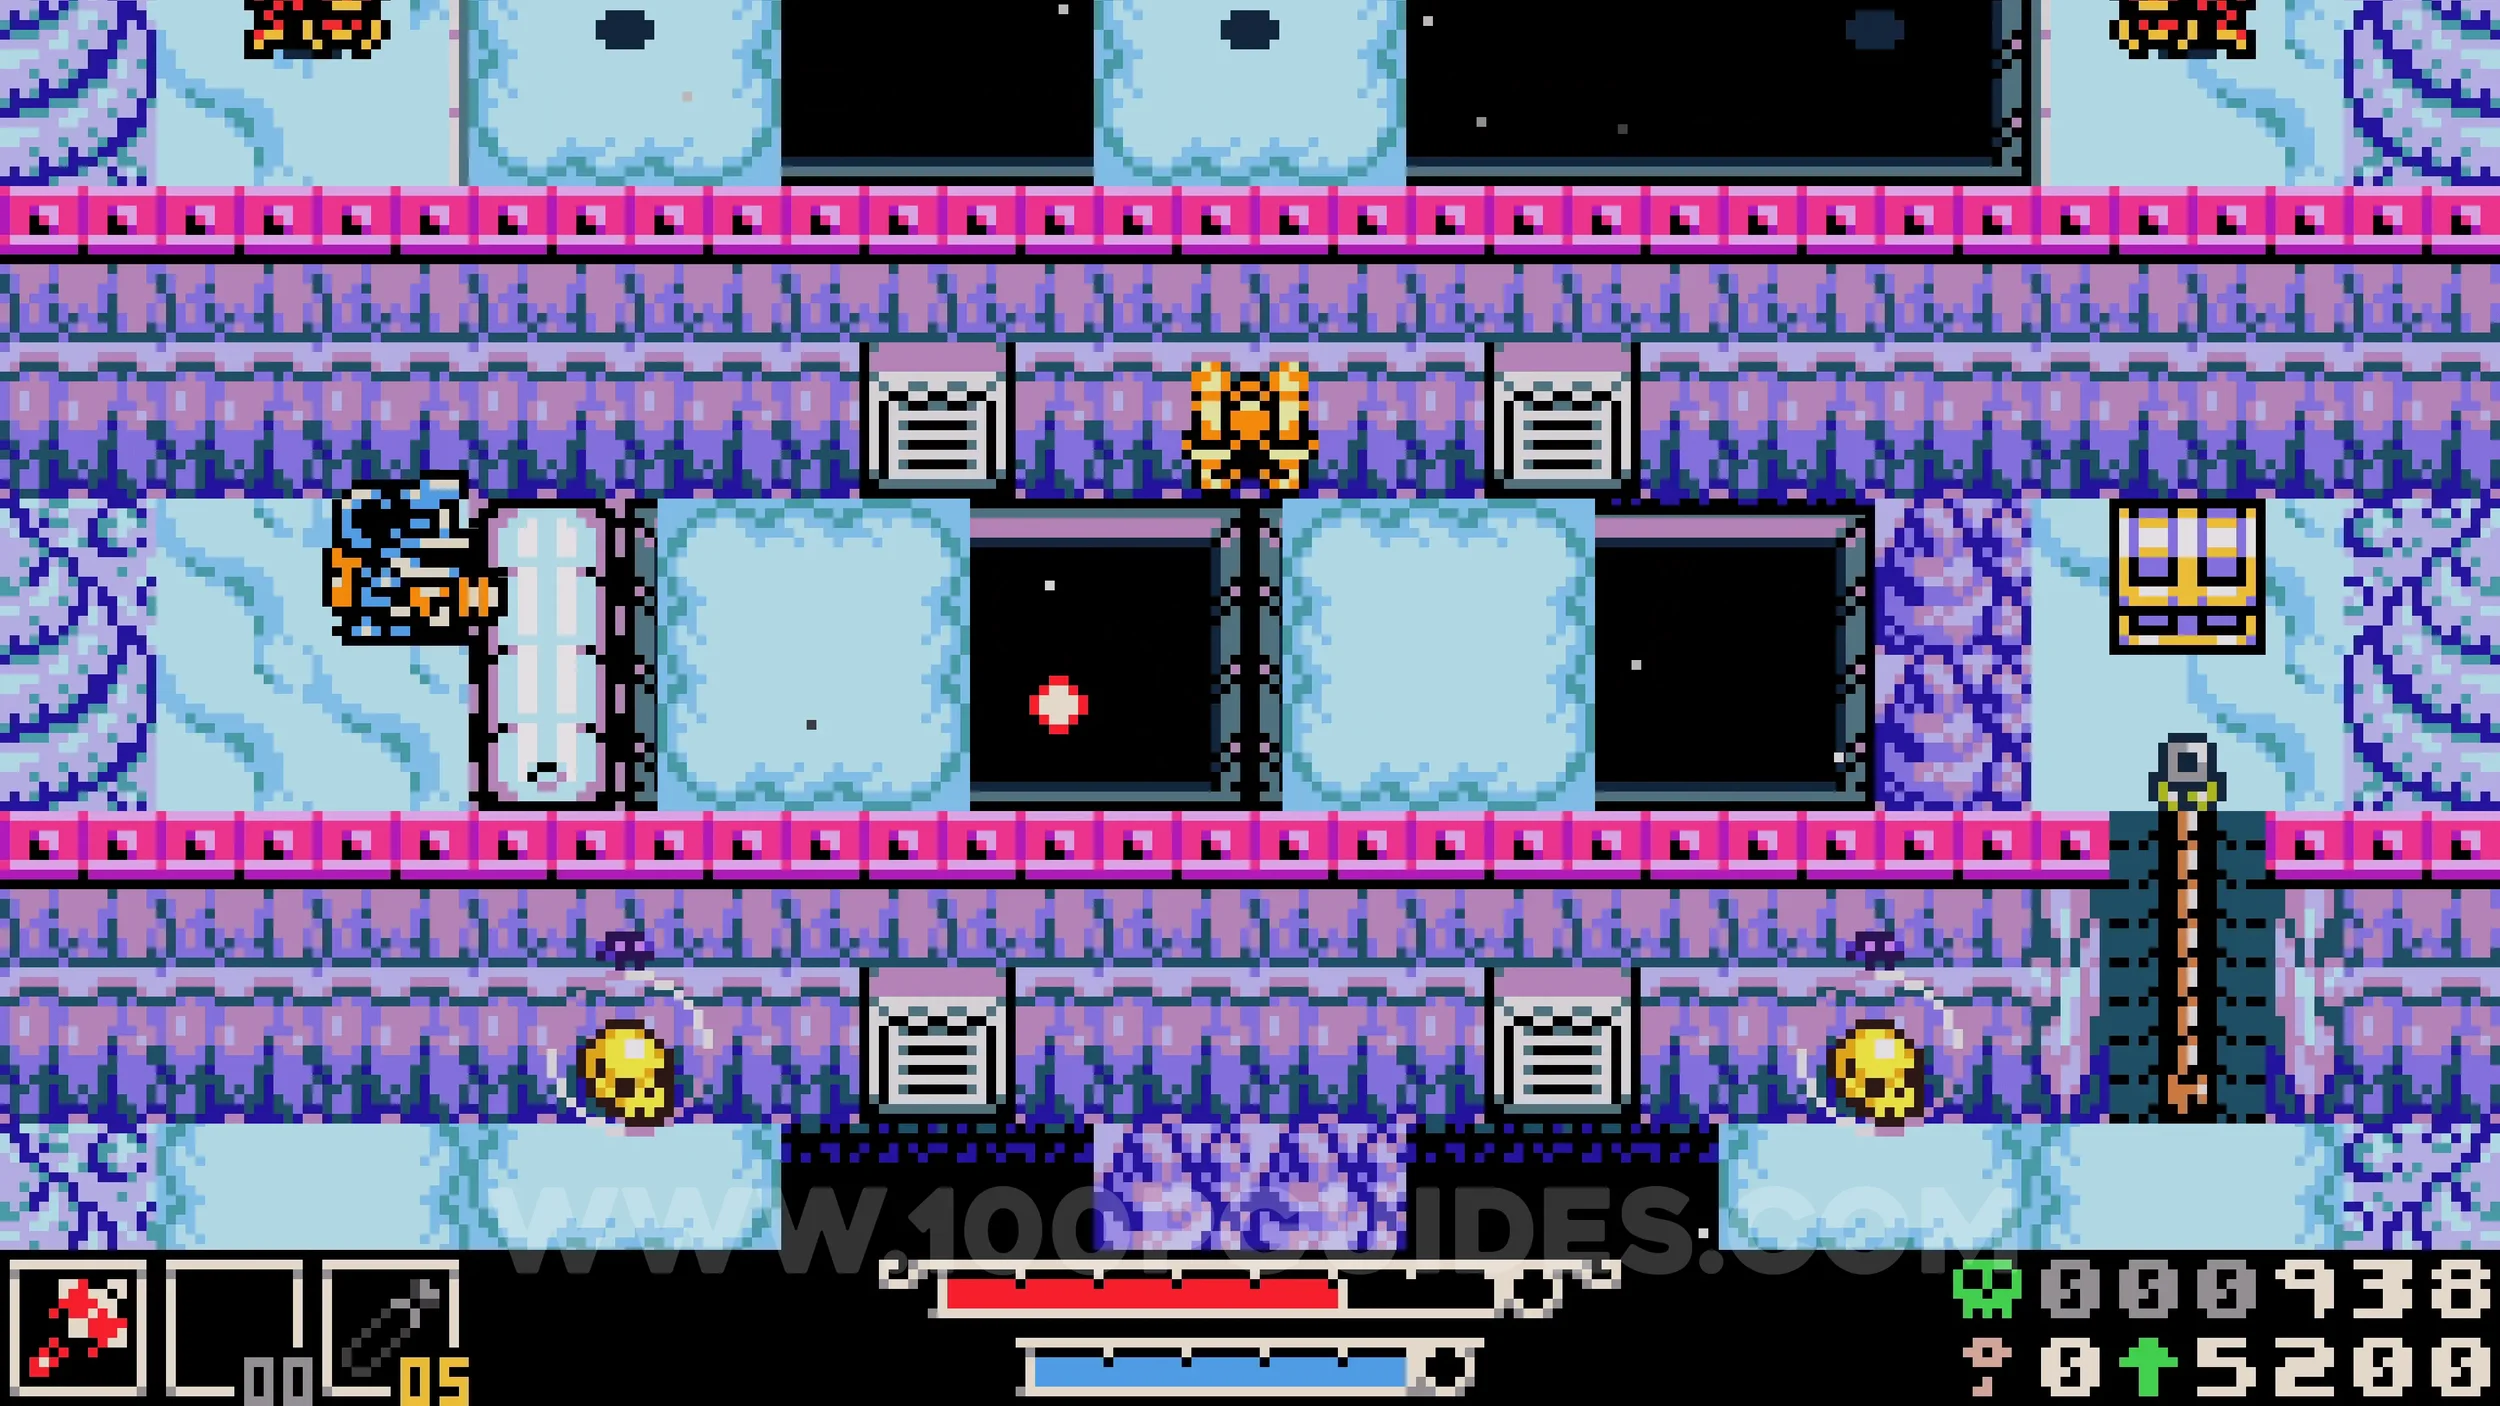
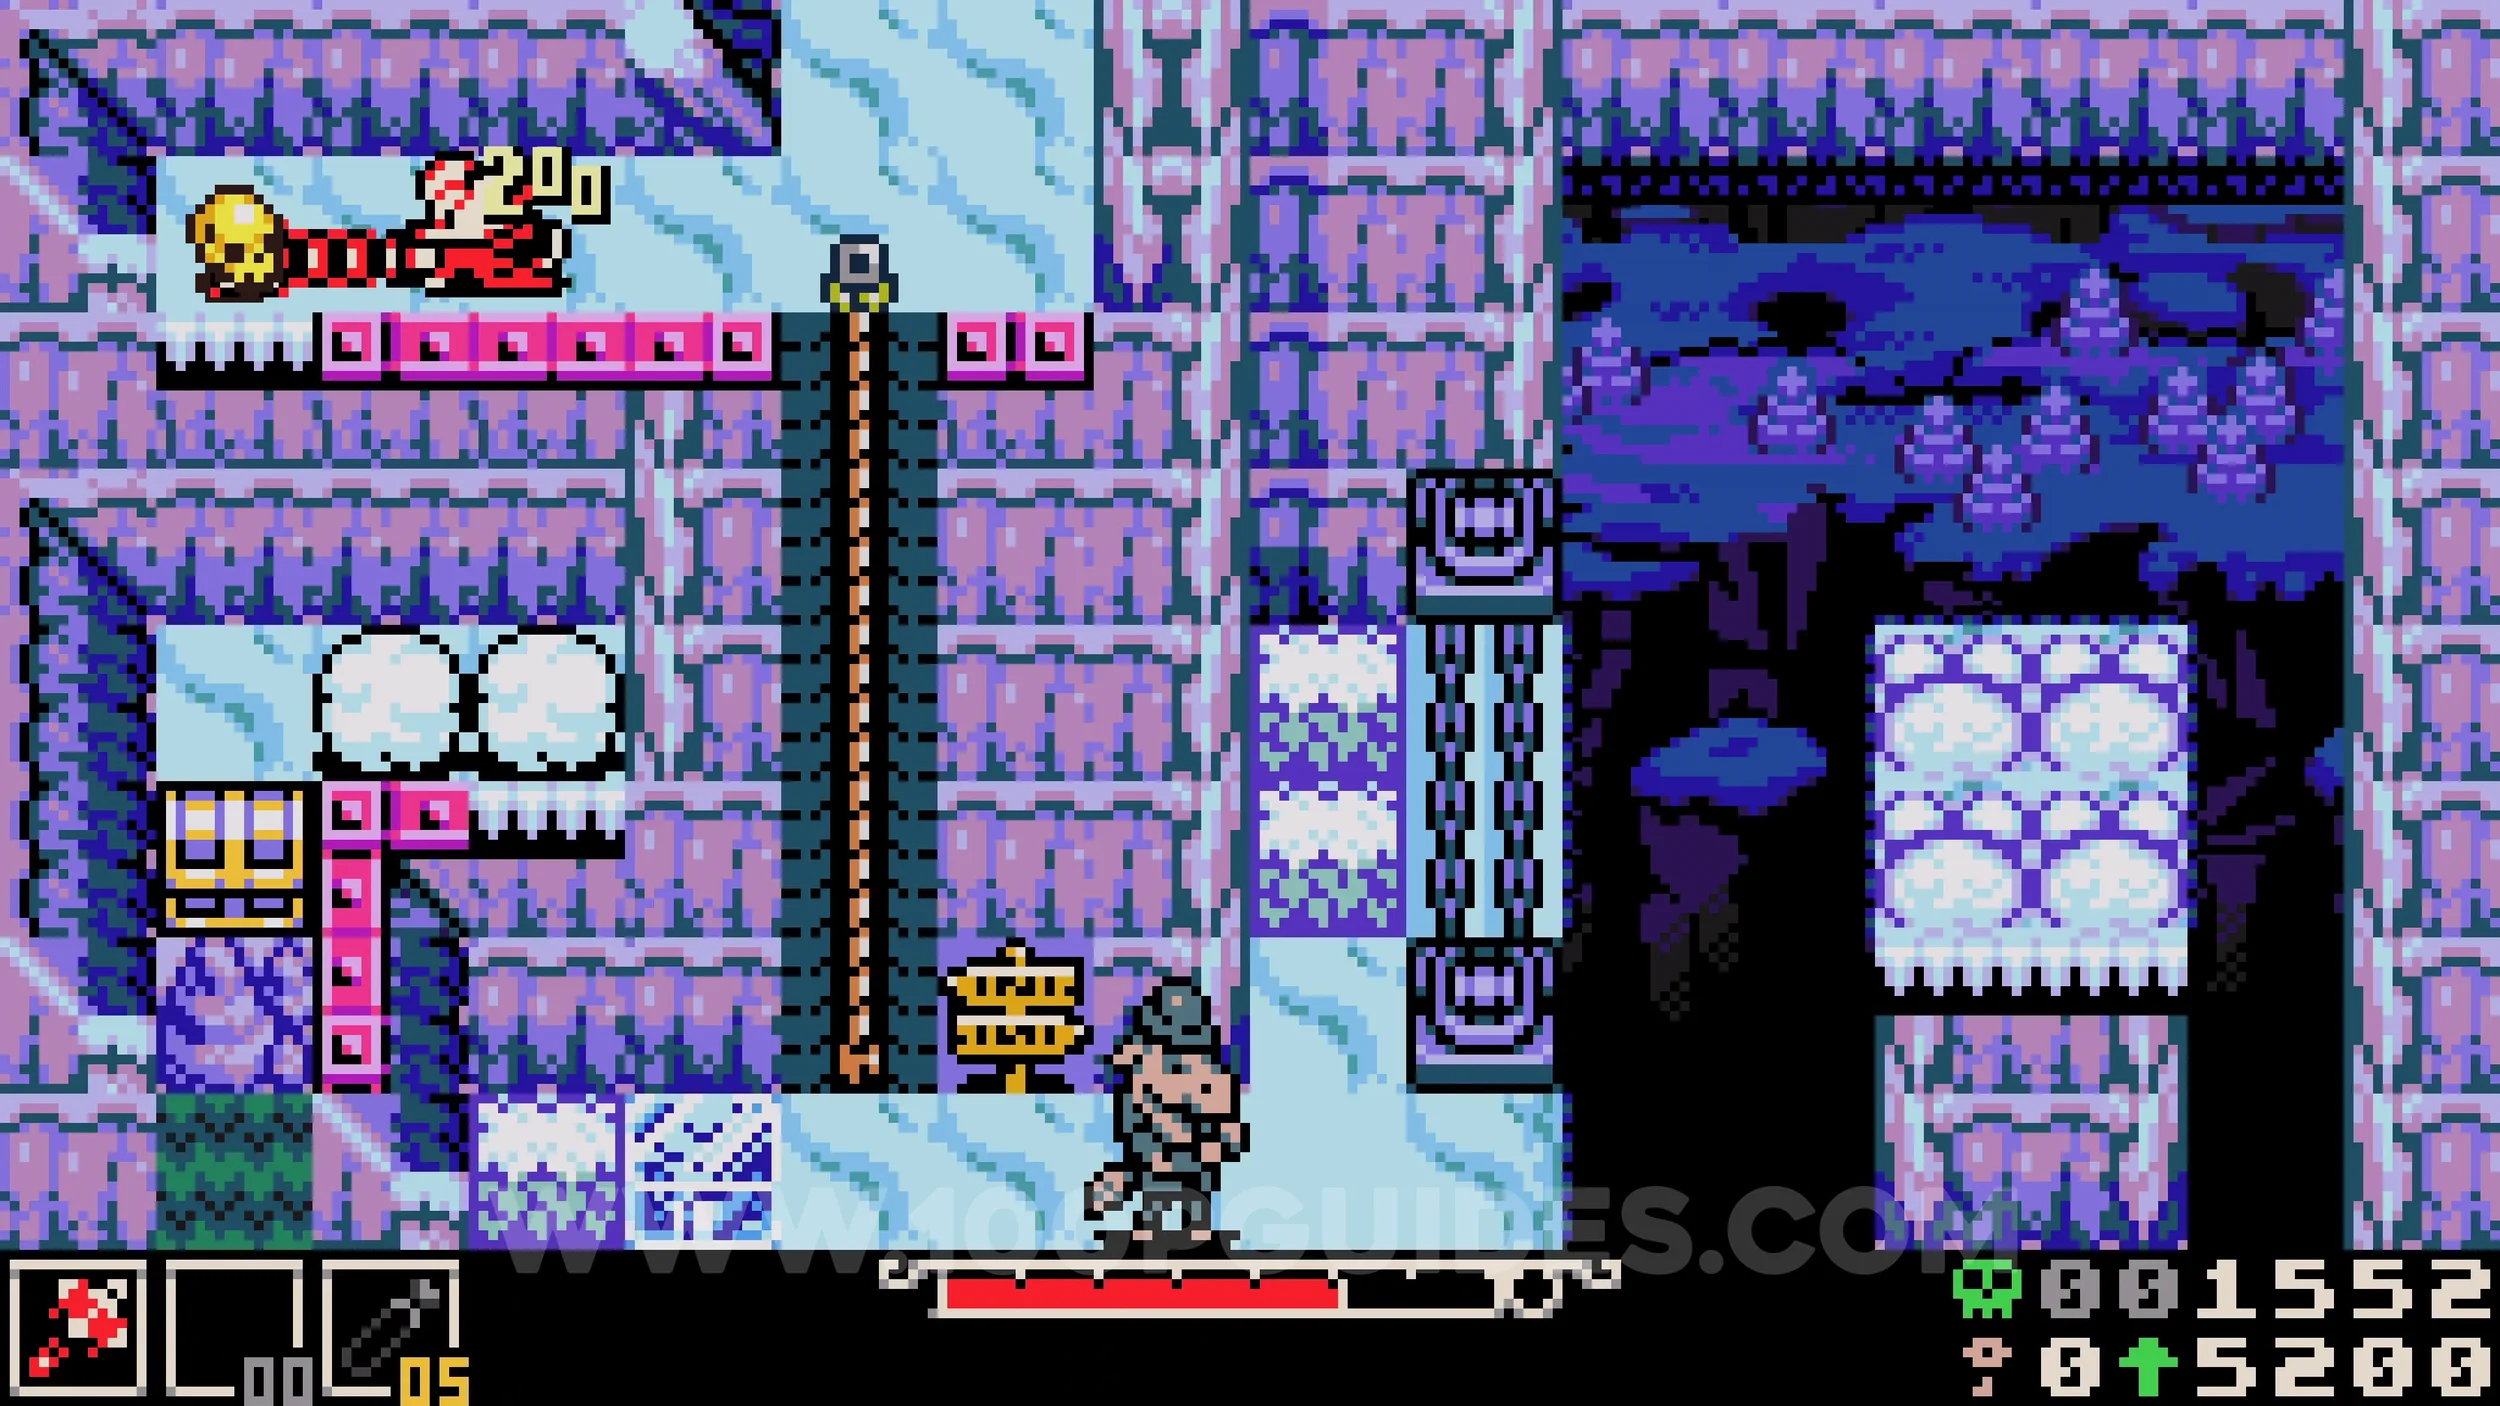
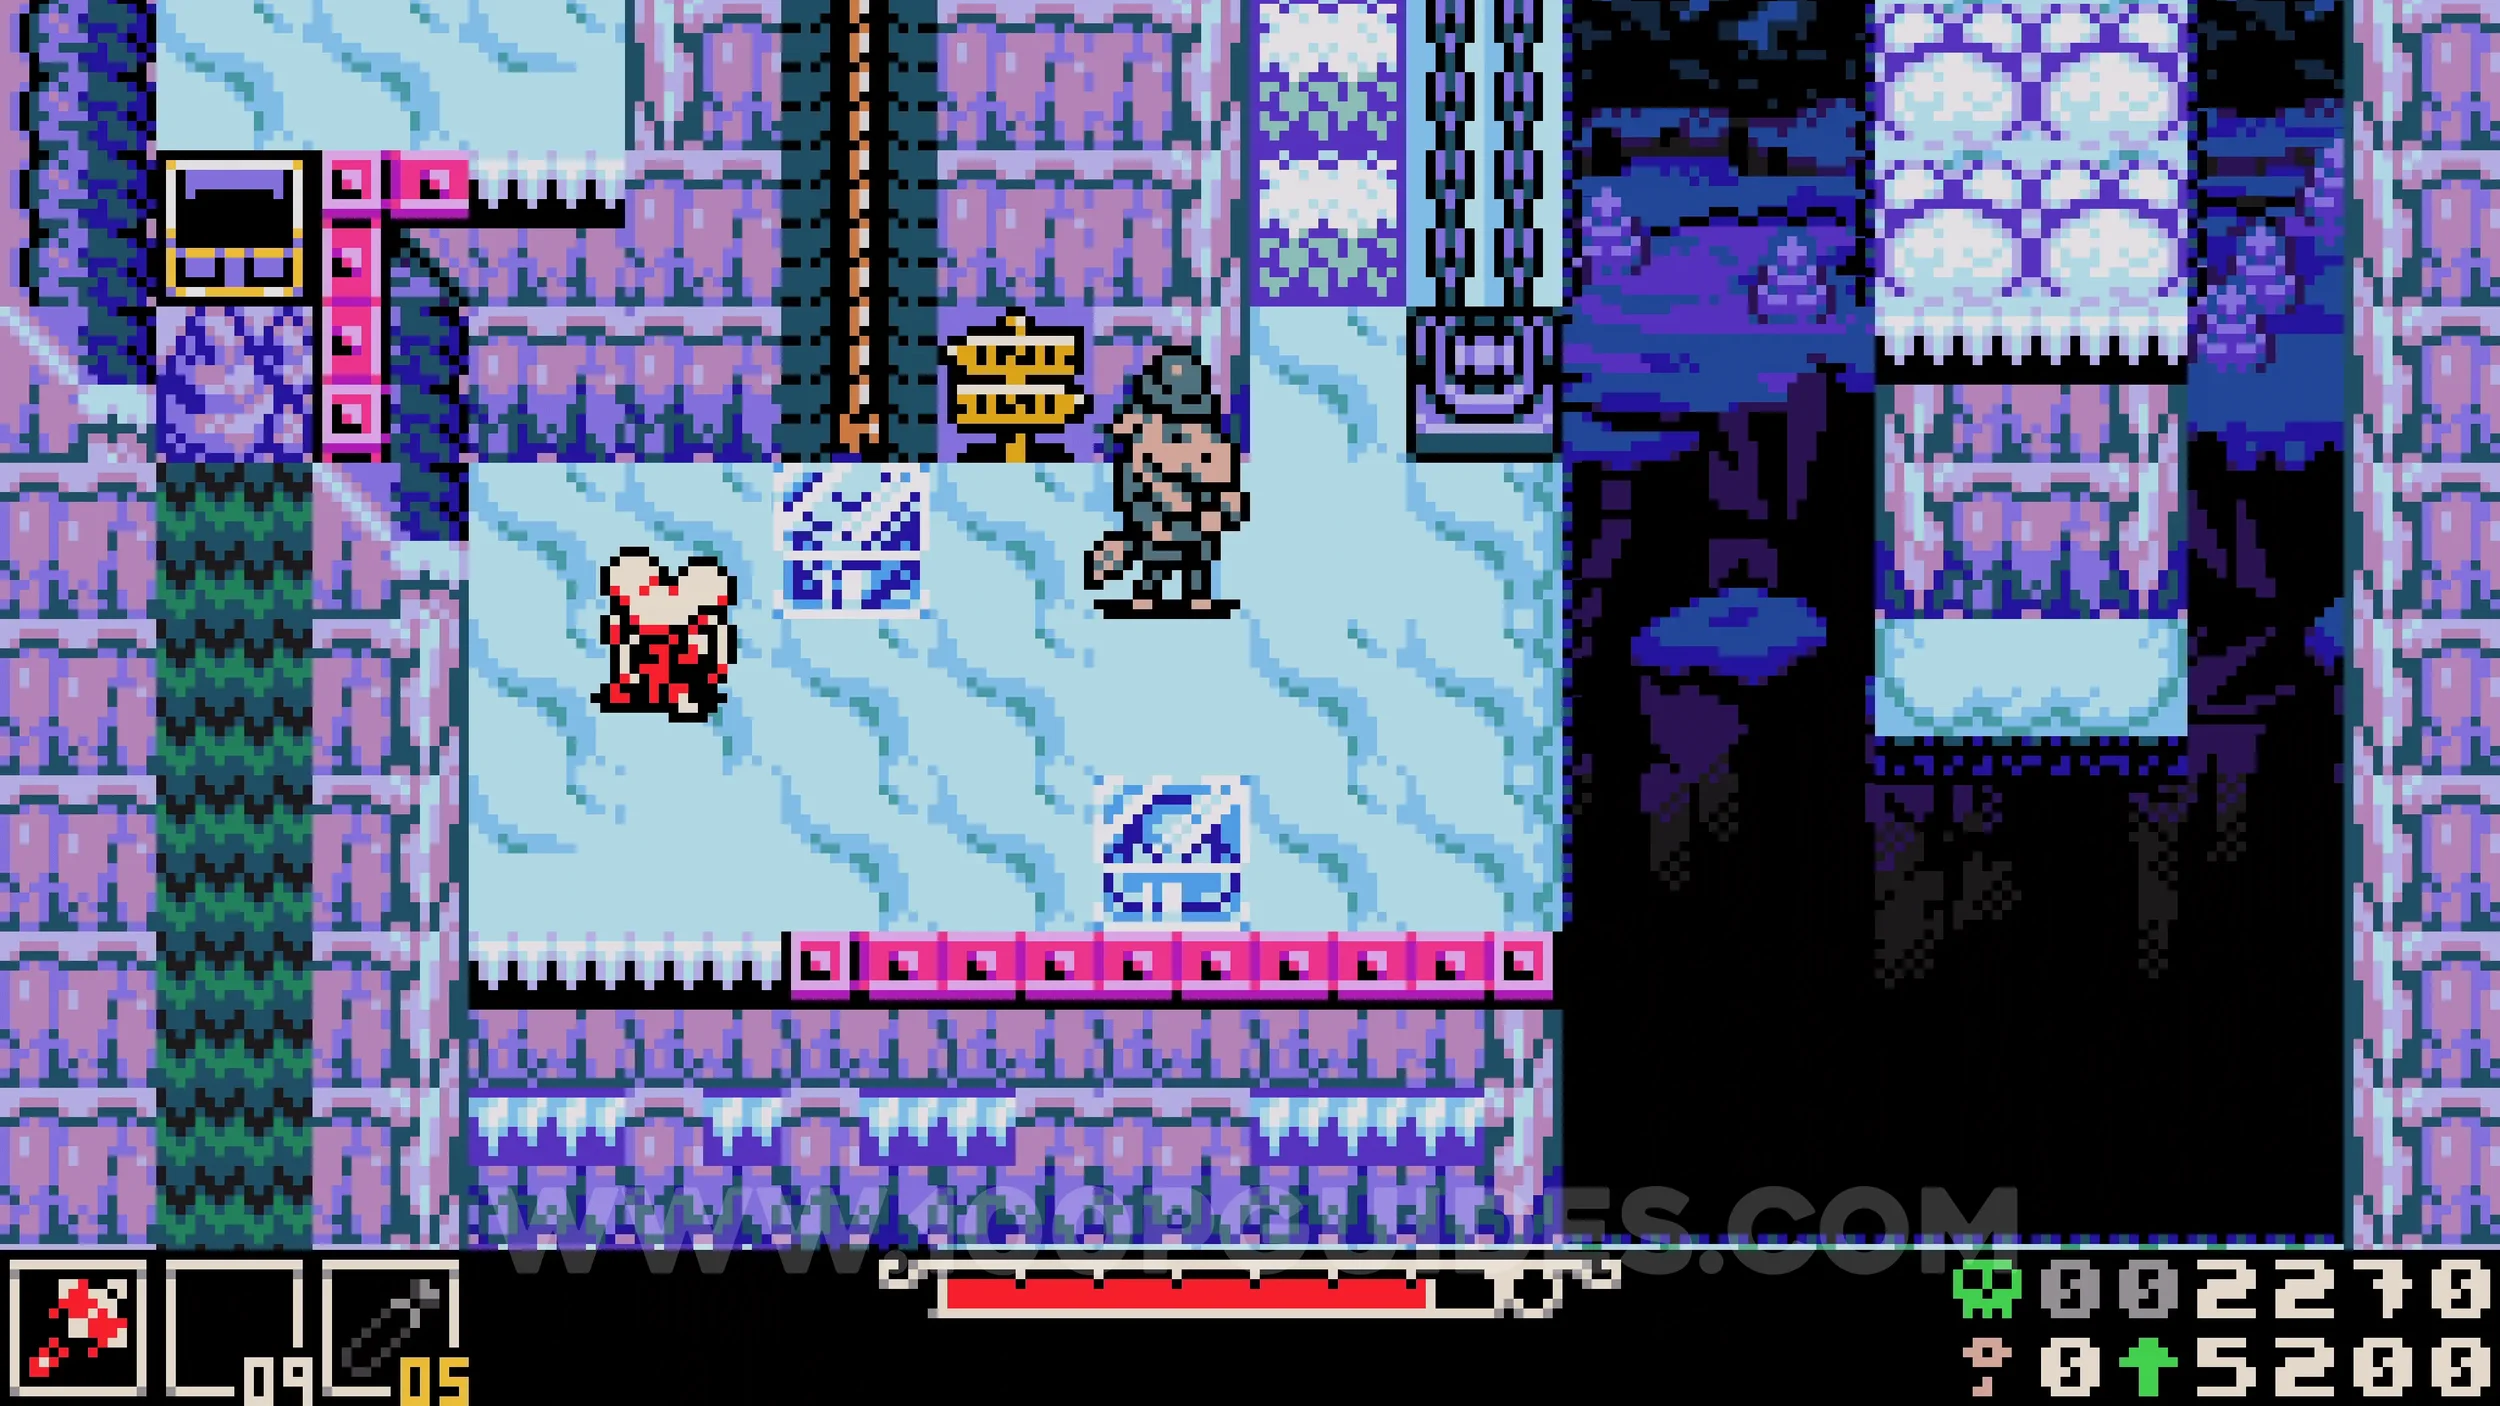
Trinket #4 - Smelling Salts. Just below the previous collectible is an NPC with some frozen blocks nearby. The trinket is inside one of these blocks. Hit it to smash it against something and break it open.
MOURNER’S MILE
Kear #1. At the end of the first screen with the enemies jumping out of the crypts, head down to the next screen. Destroy the third grave from the left at the top of the screen to reveal a hole leading down to a dark cave where you will find the Kear.
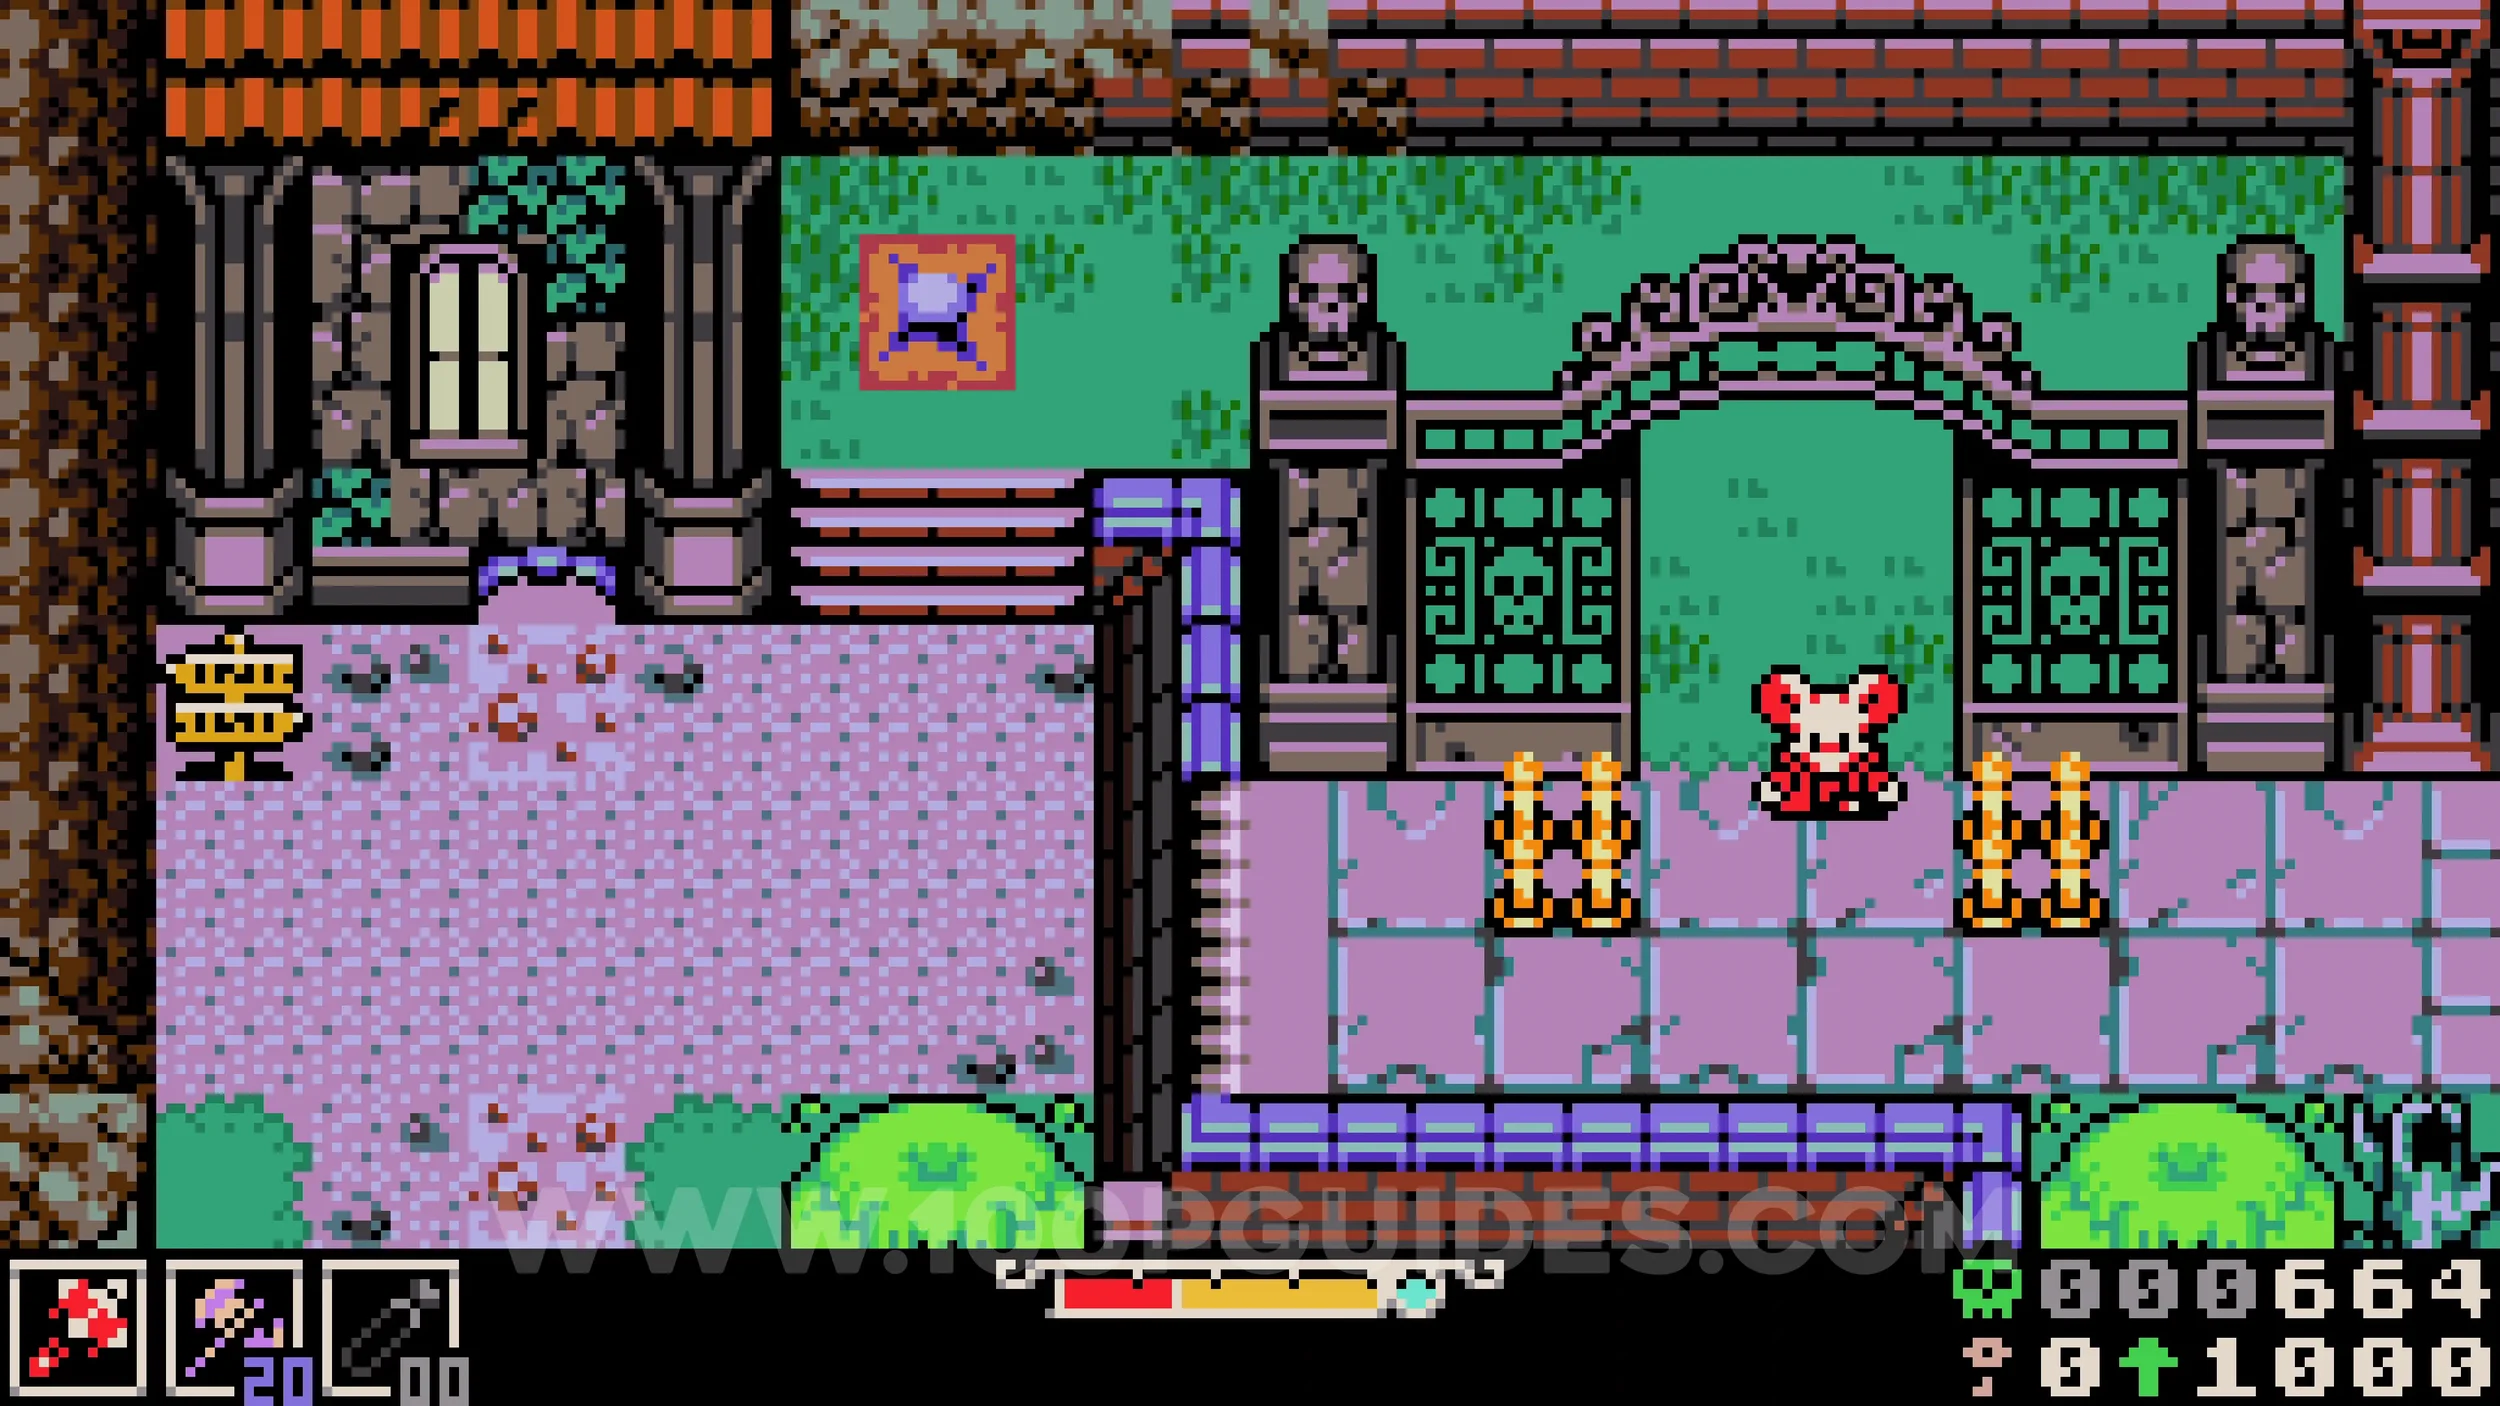
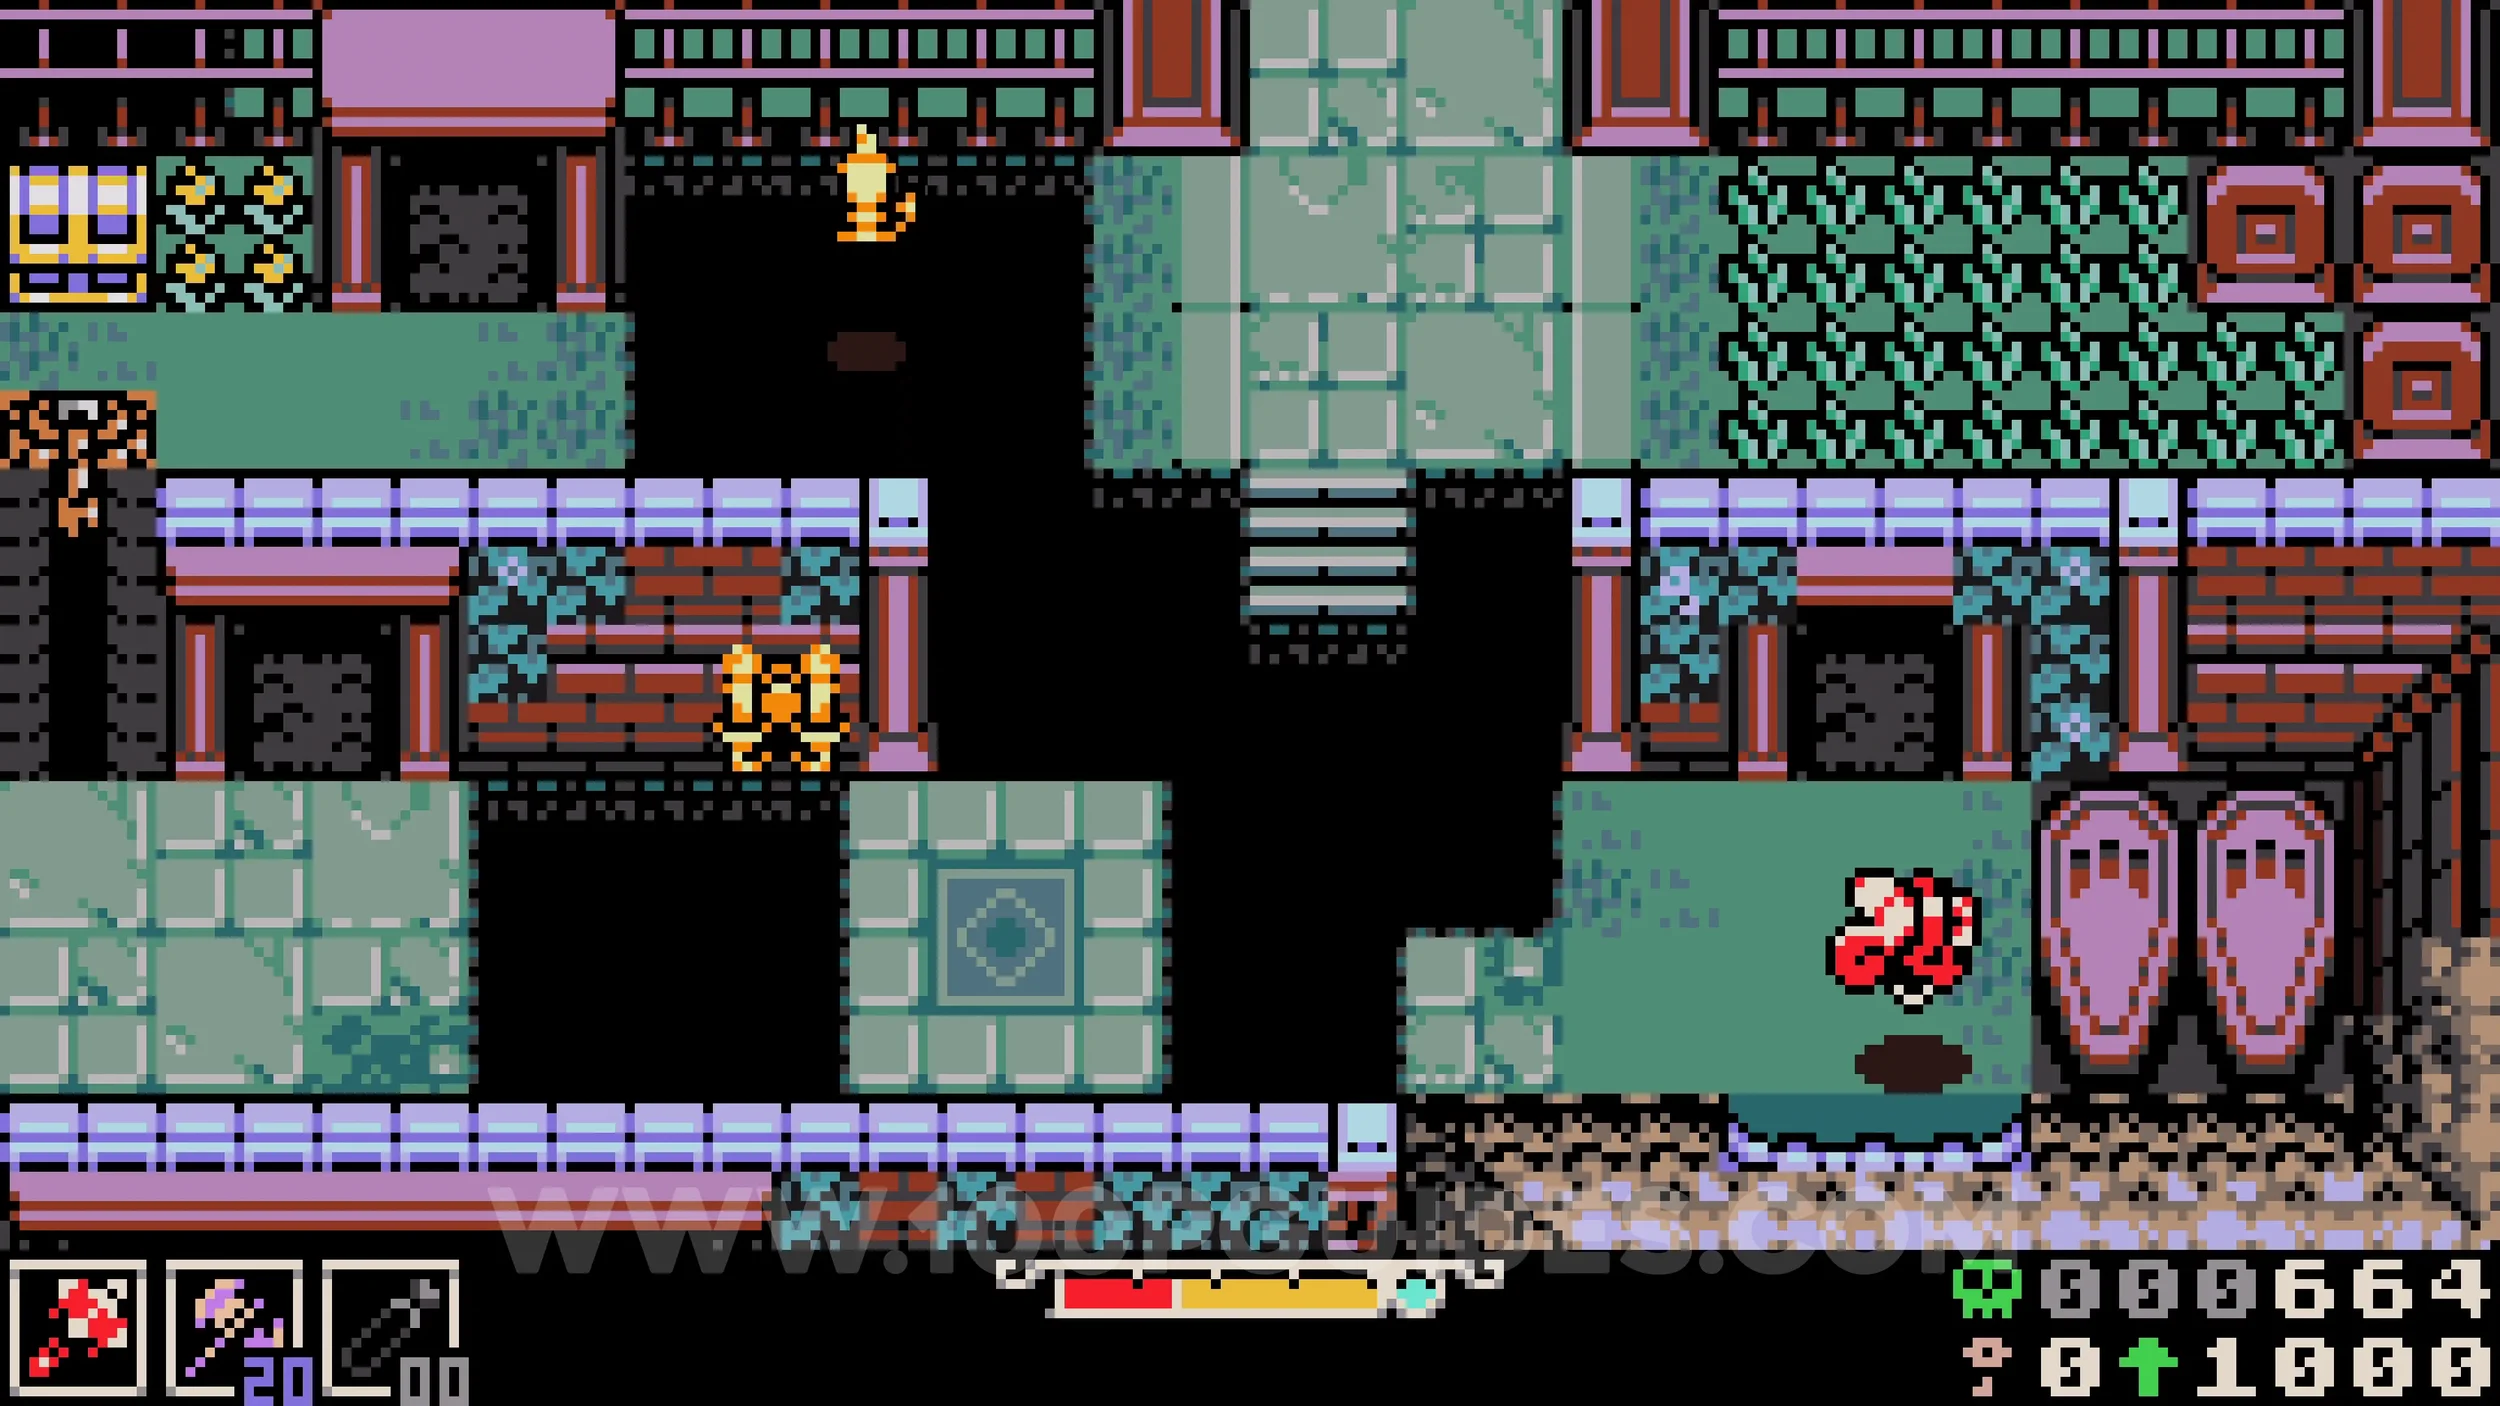
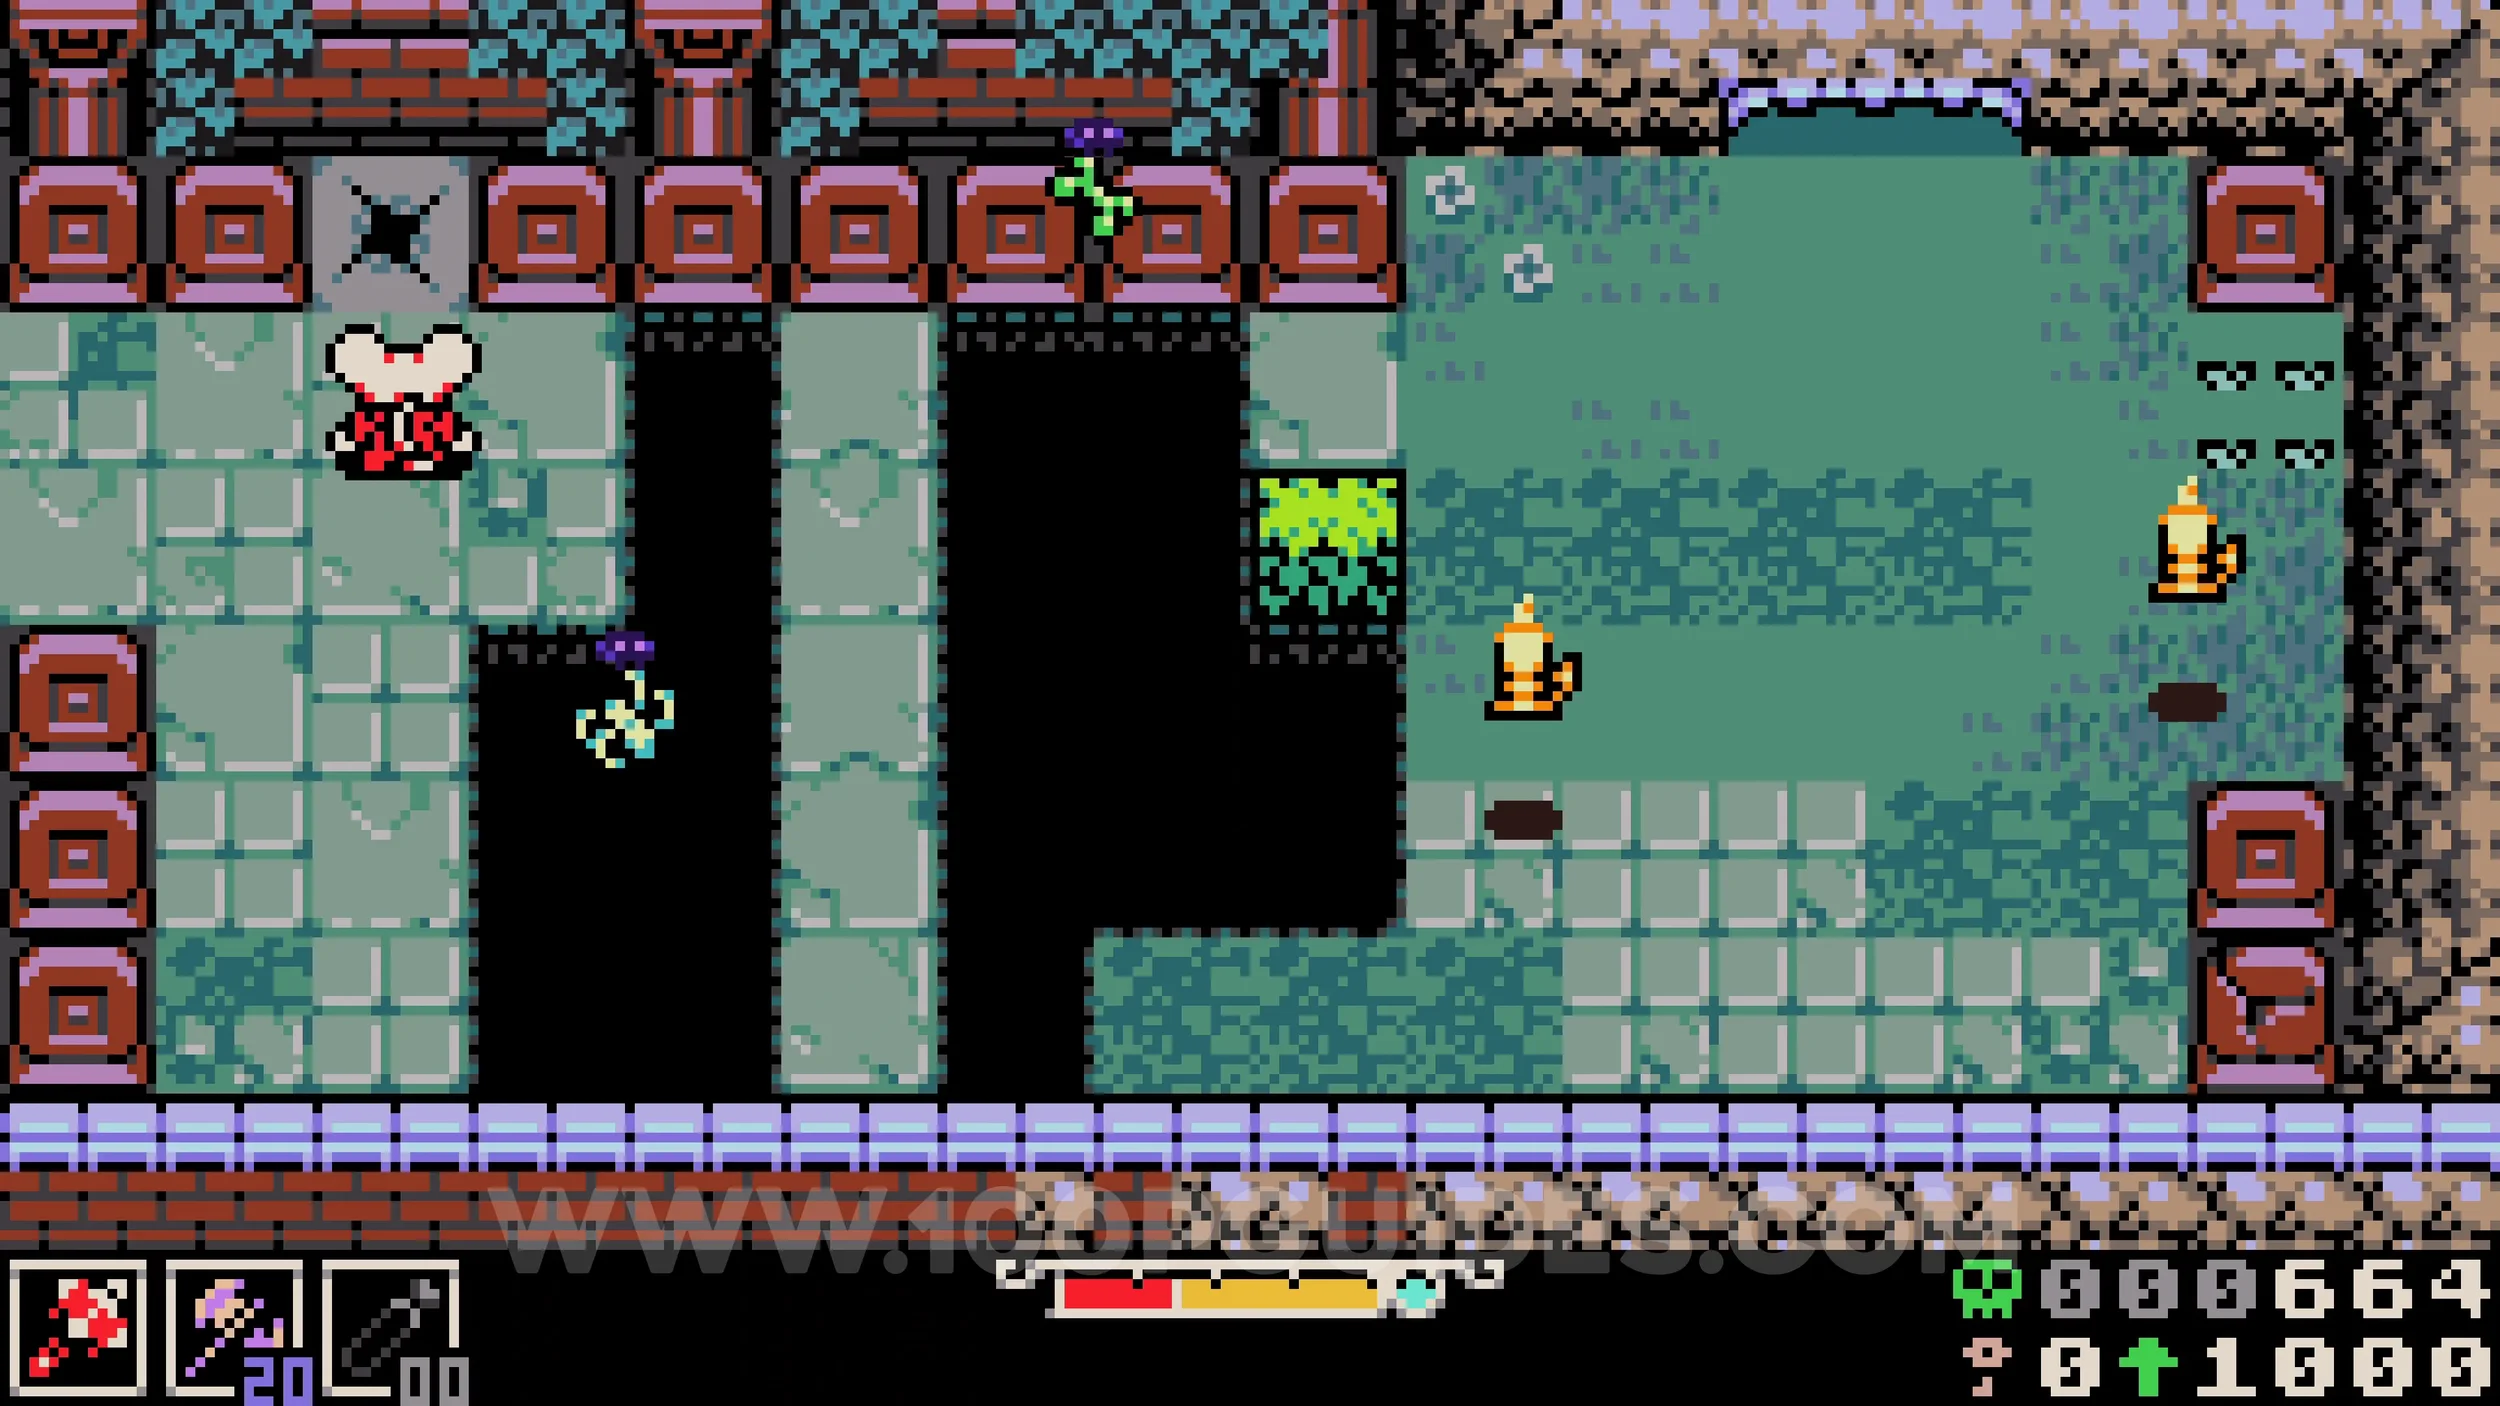
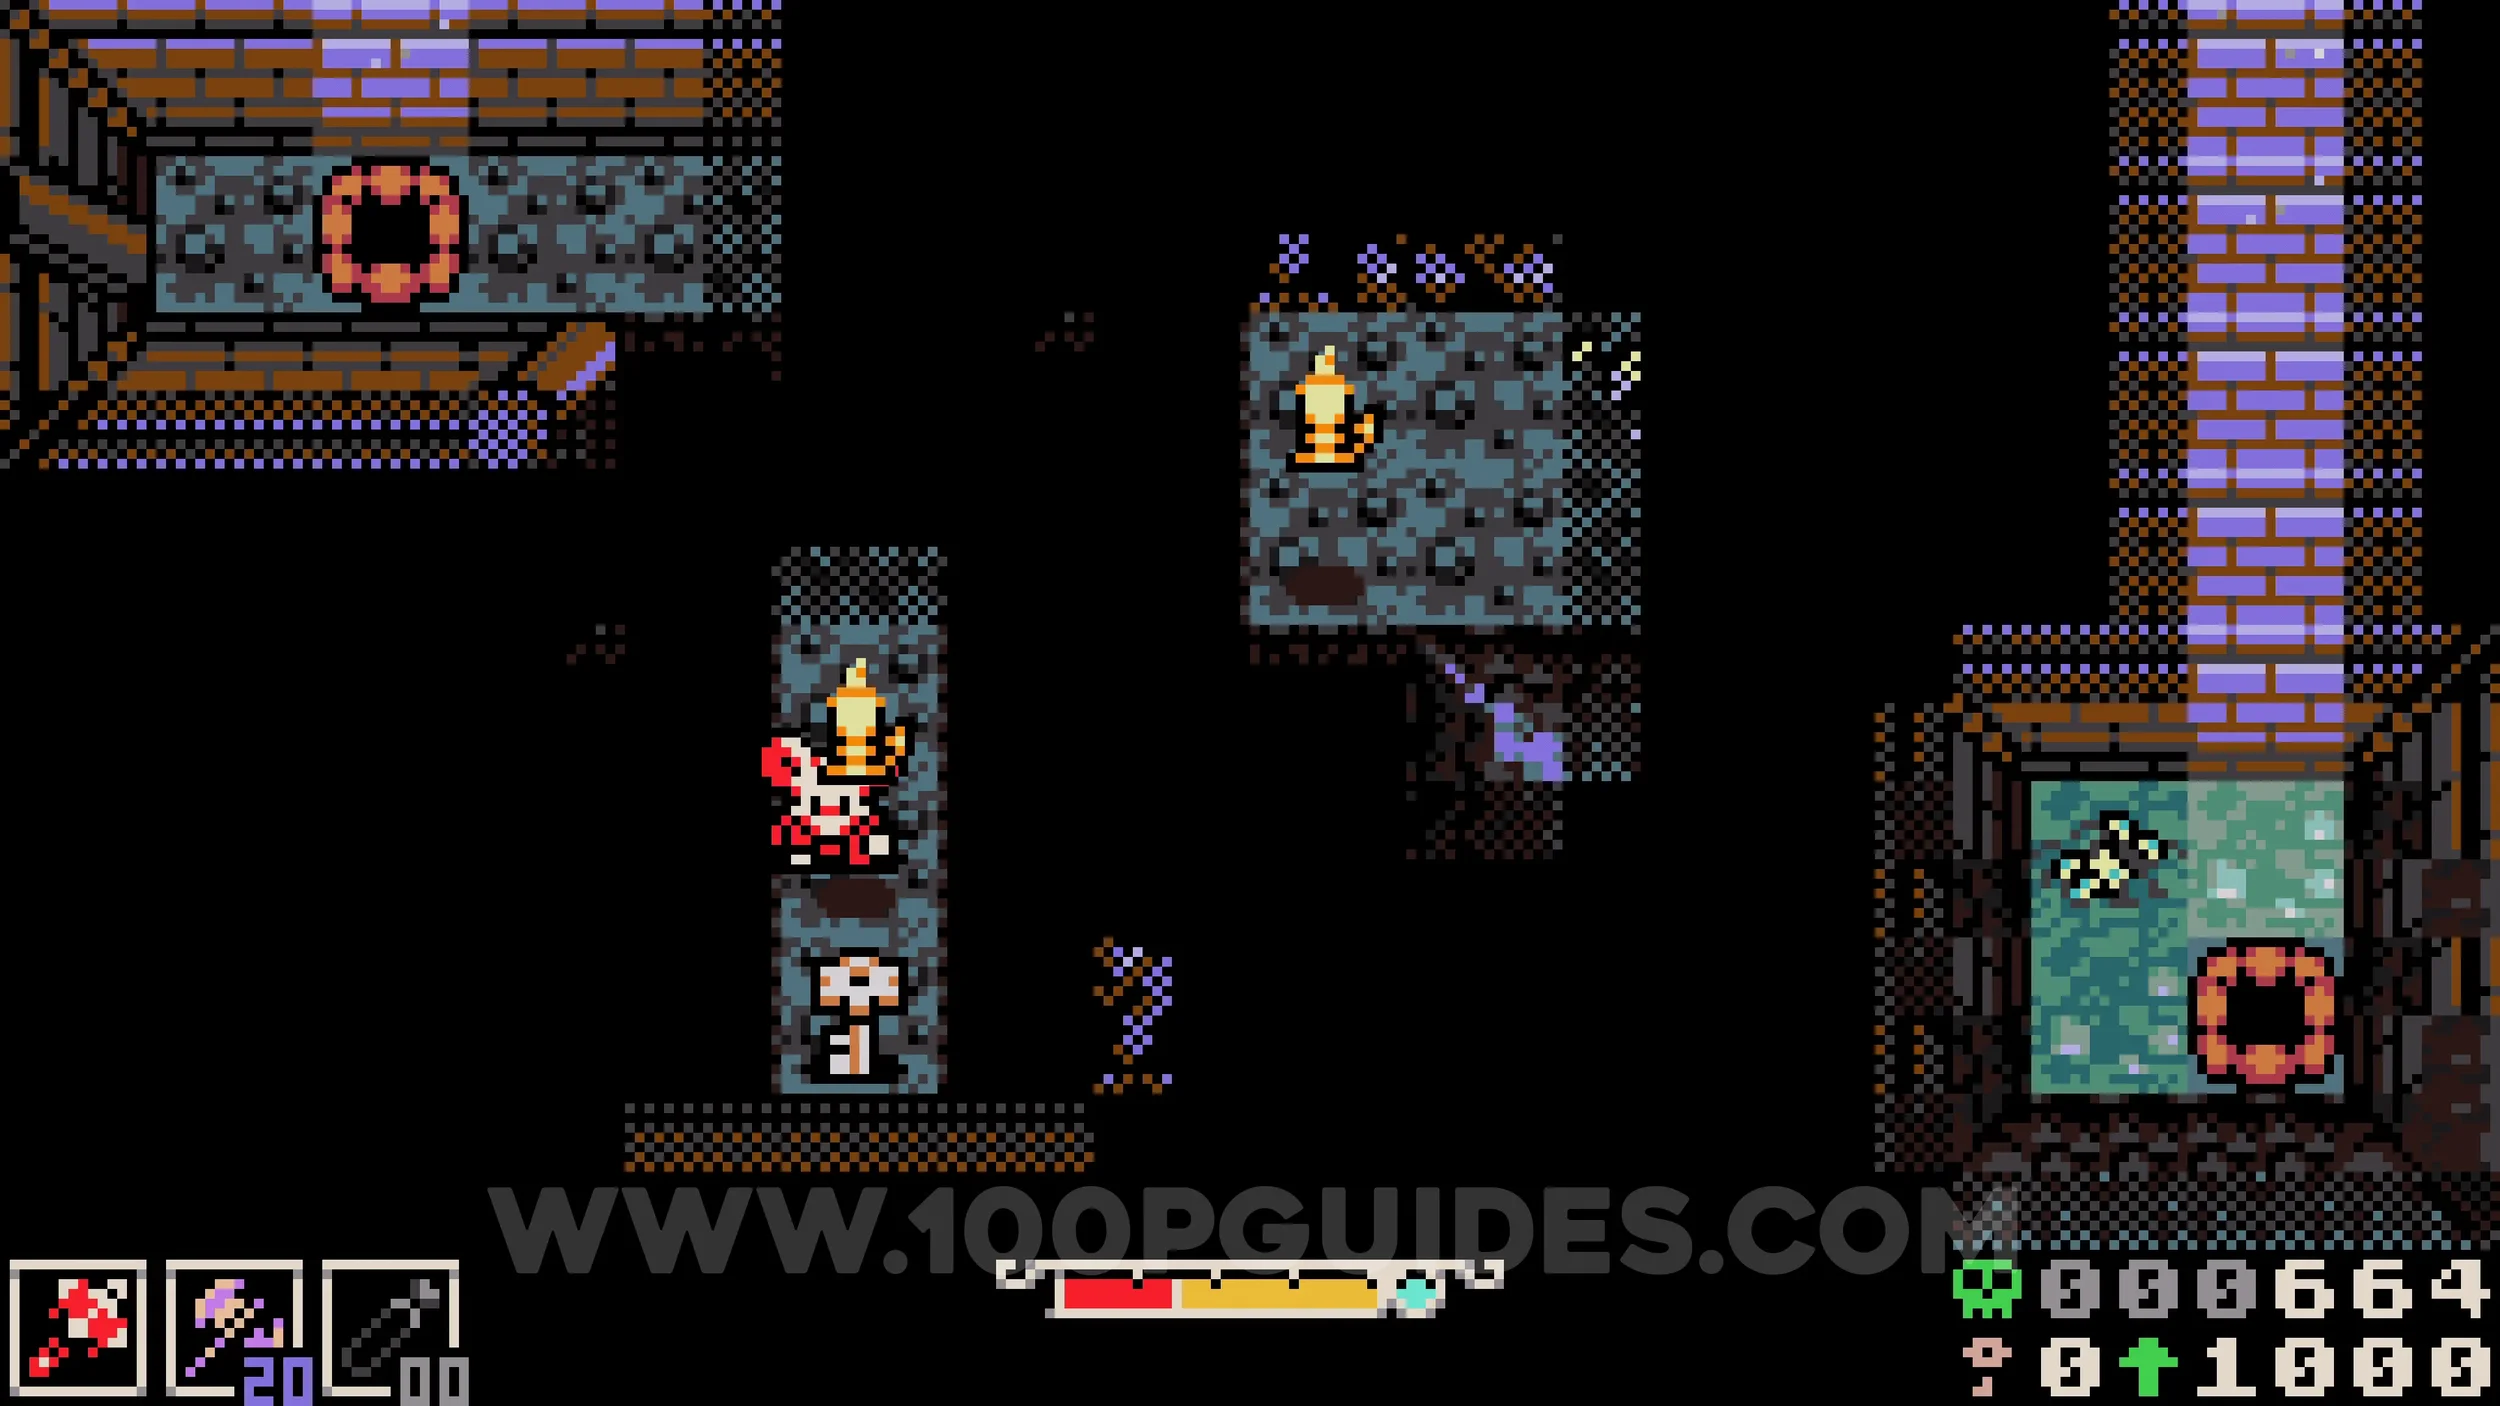
Bonestone #1. After leaving the cave, head left and hit the cracked grave to find the gem.
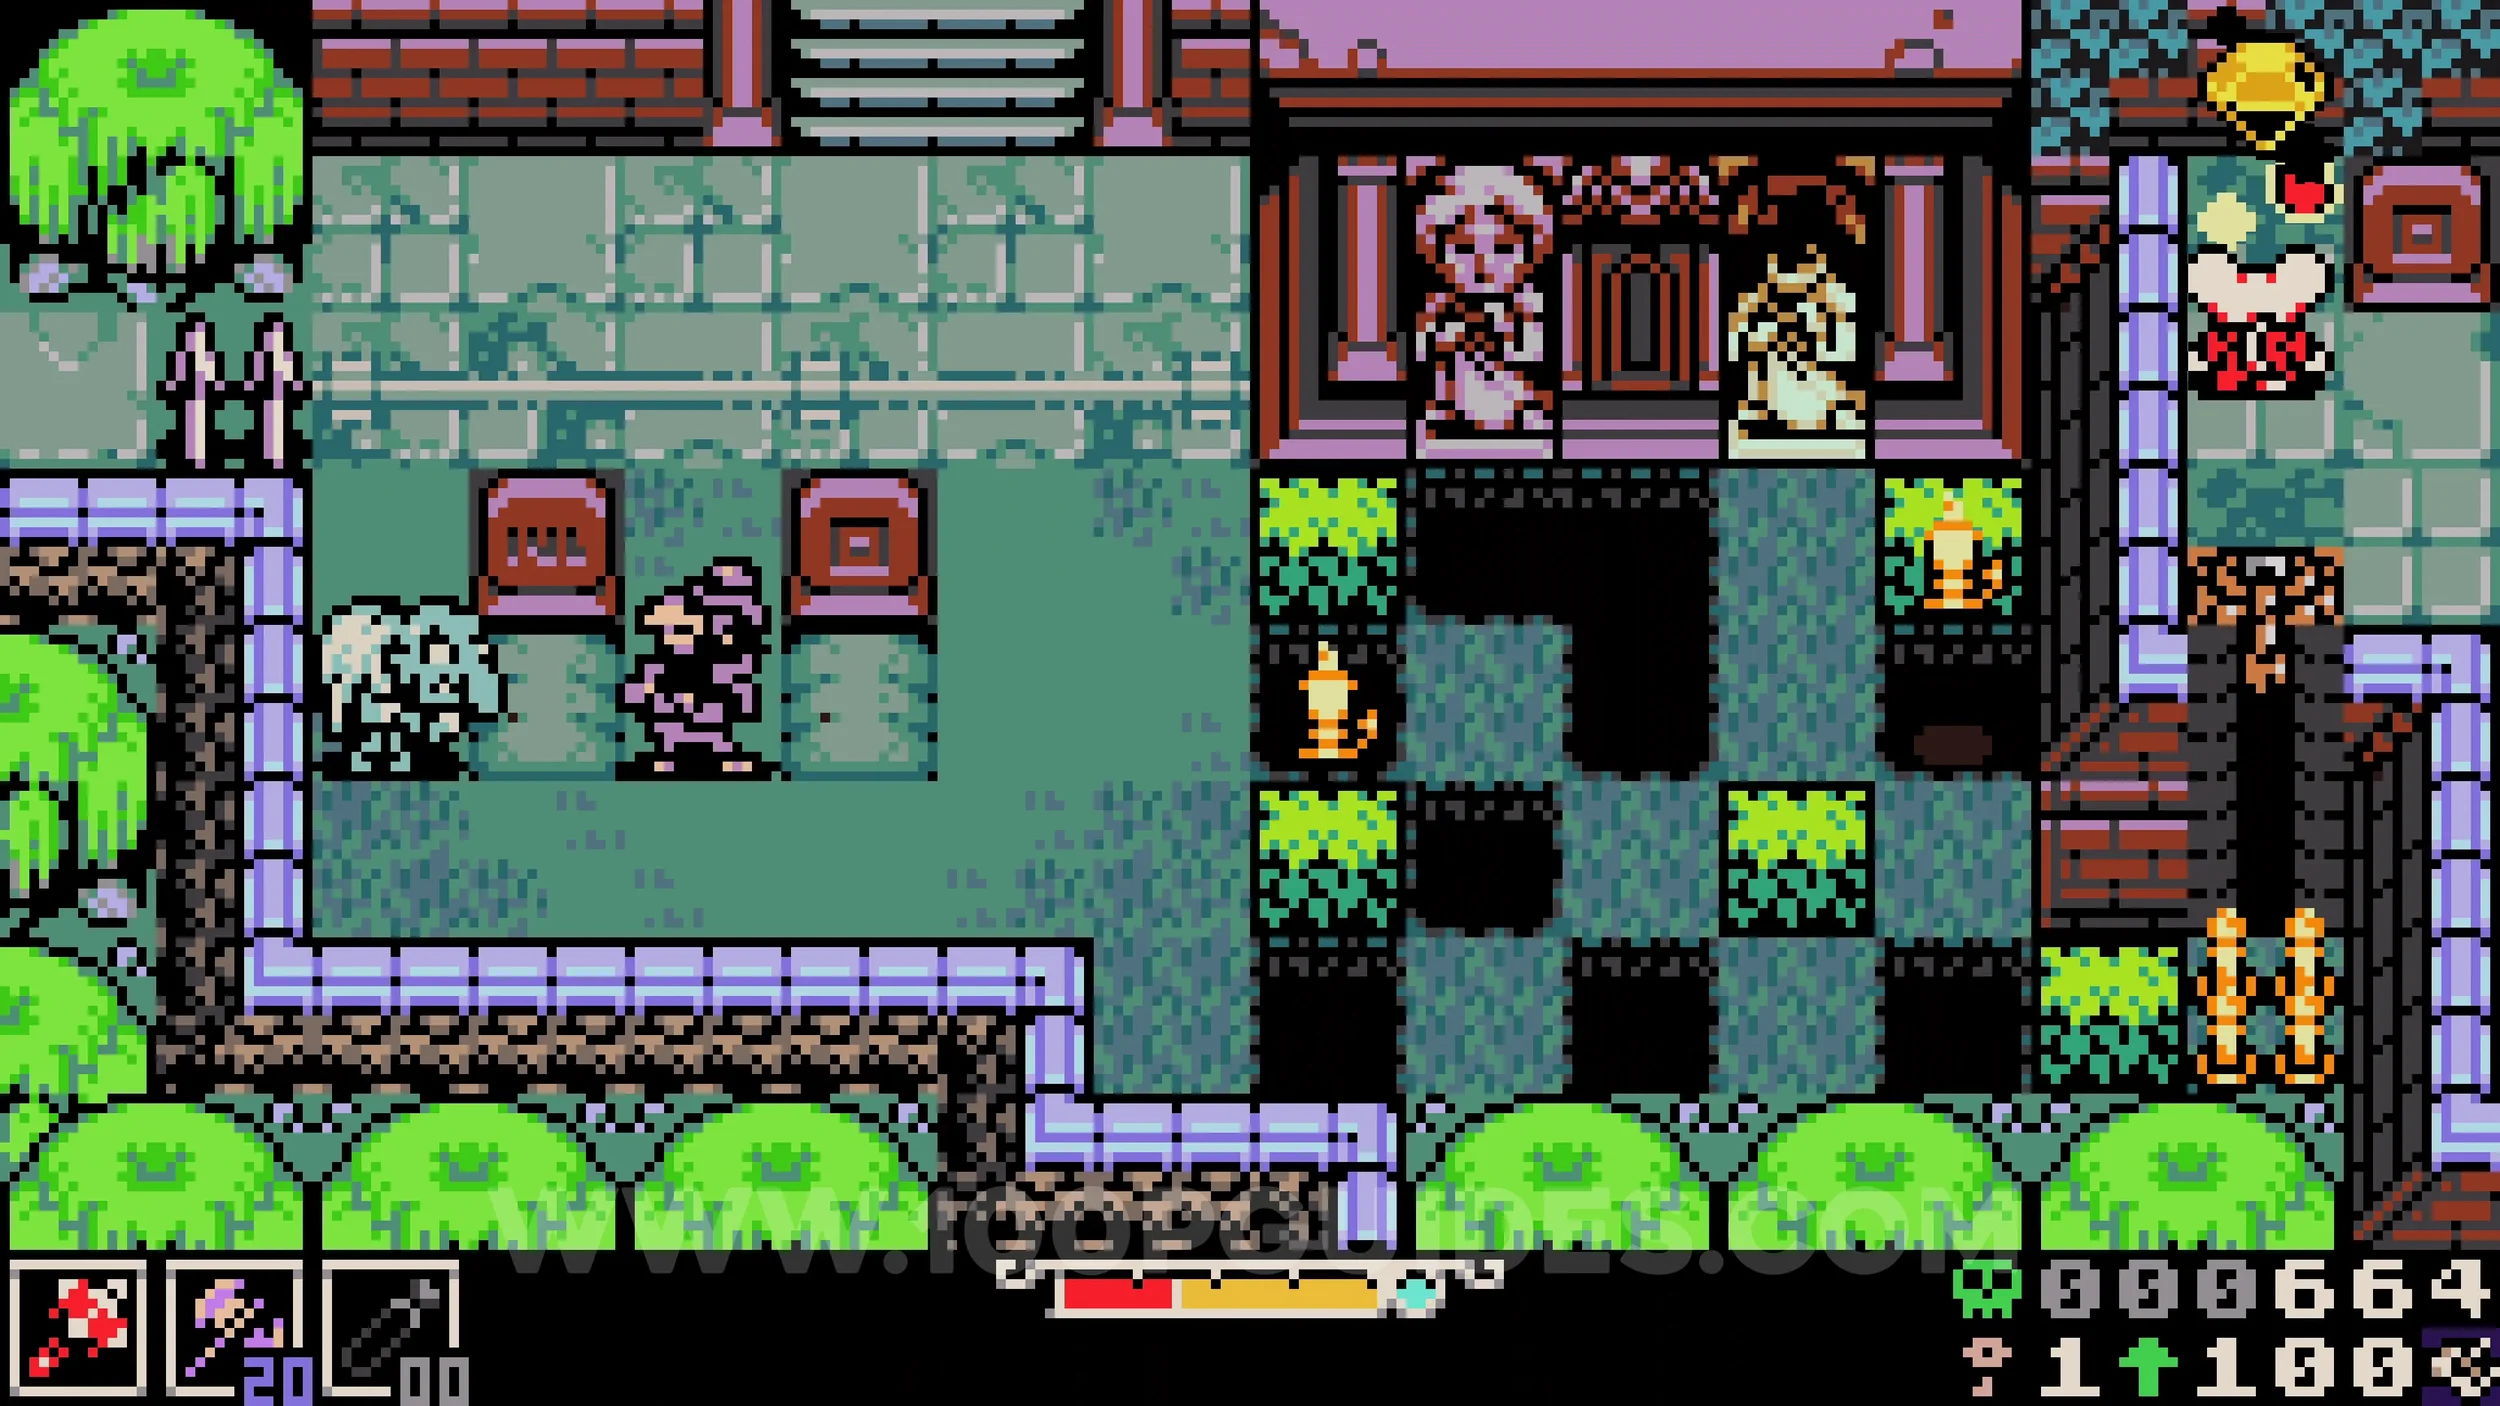
Trinket #1 - Spike Spurs. Return to the main path and exit the first crypt area by heading north. In the next area, go around the top of the hole on your left and hit the cracked wall to reveal a hidden cave. The trinket can be found inside.
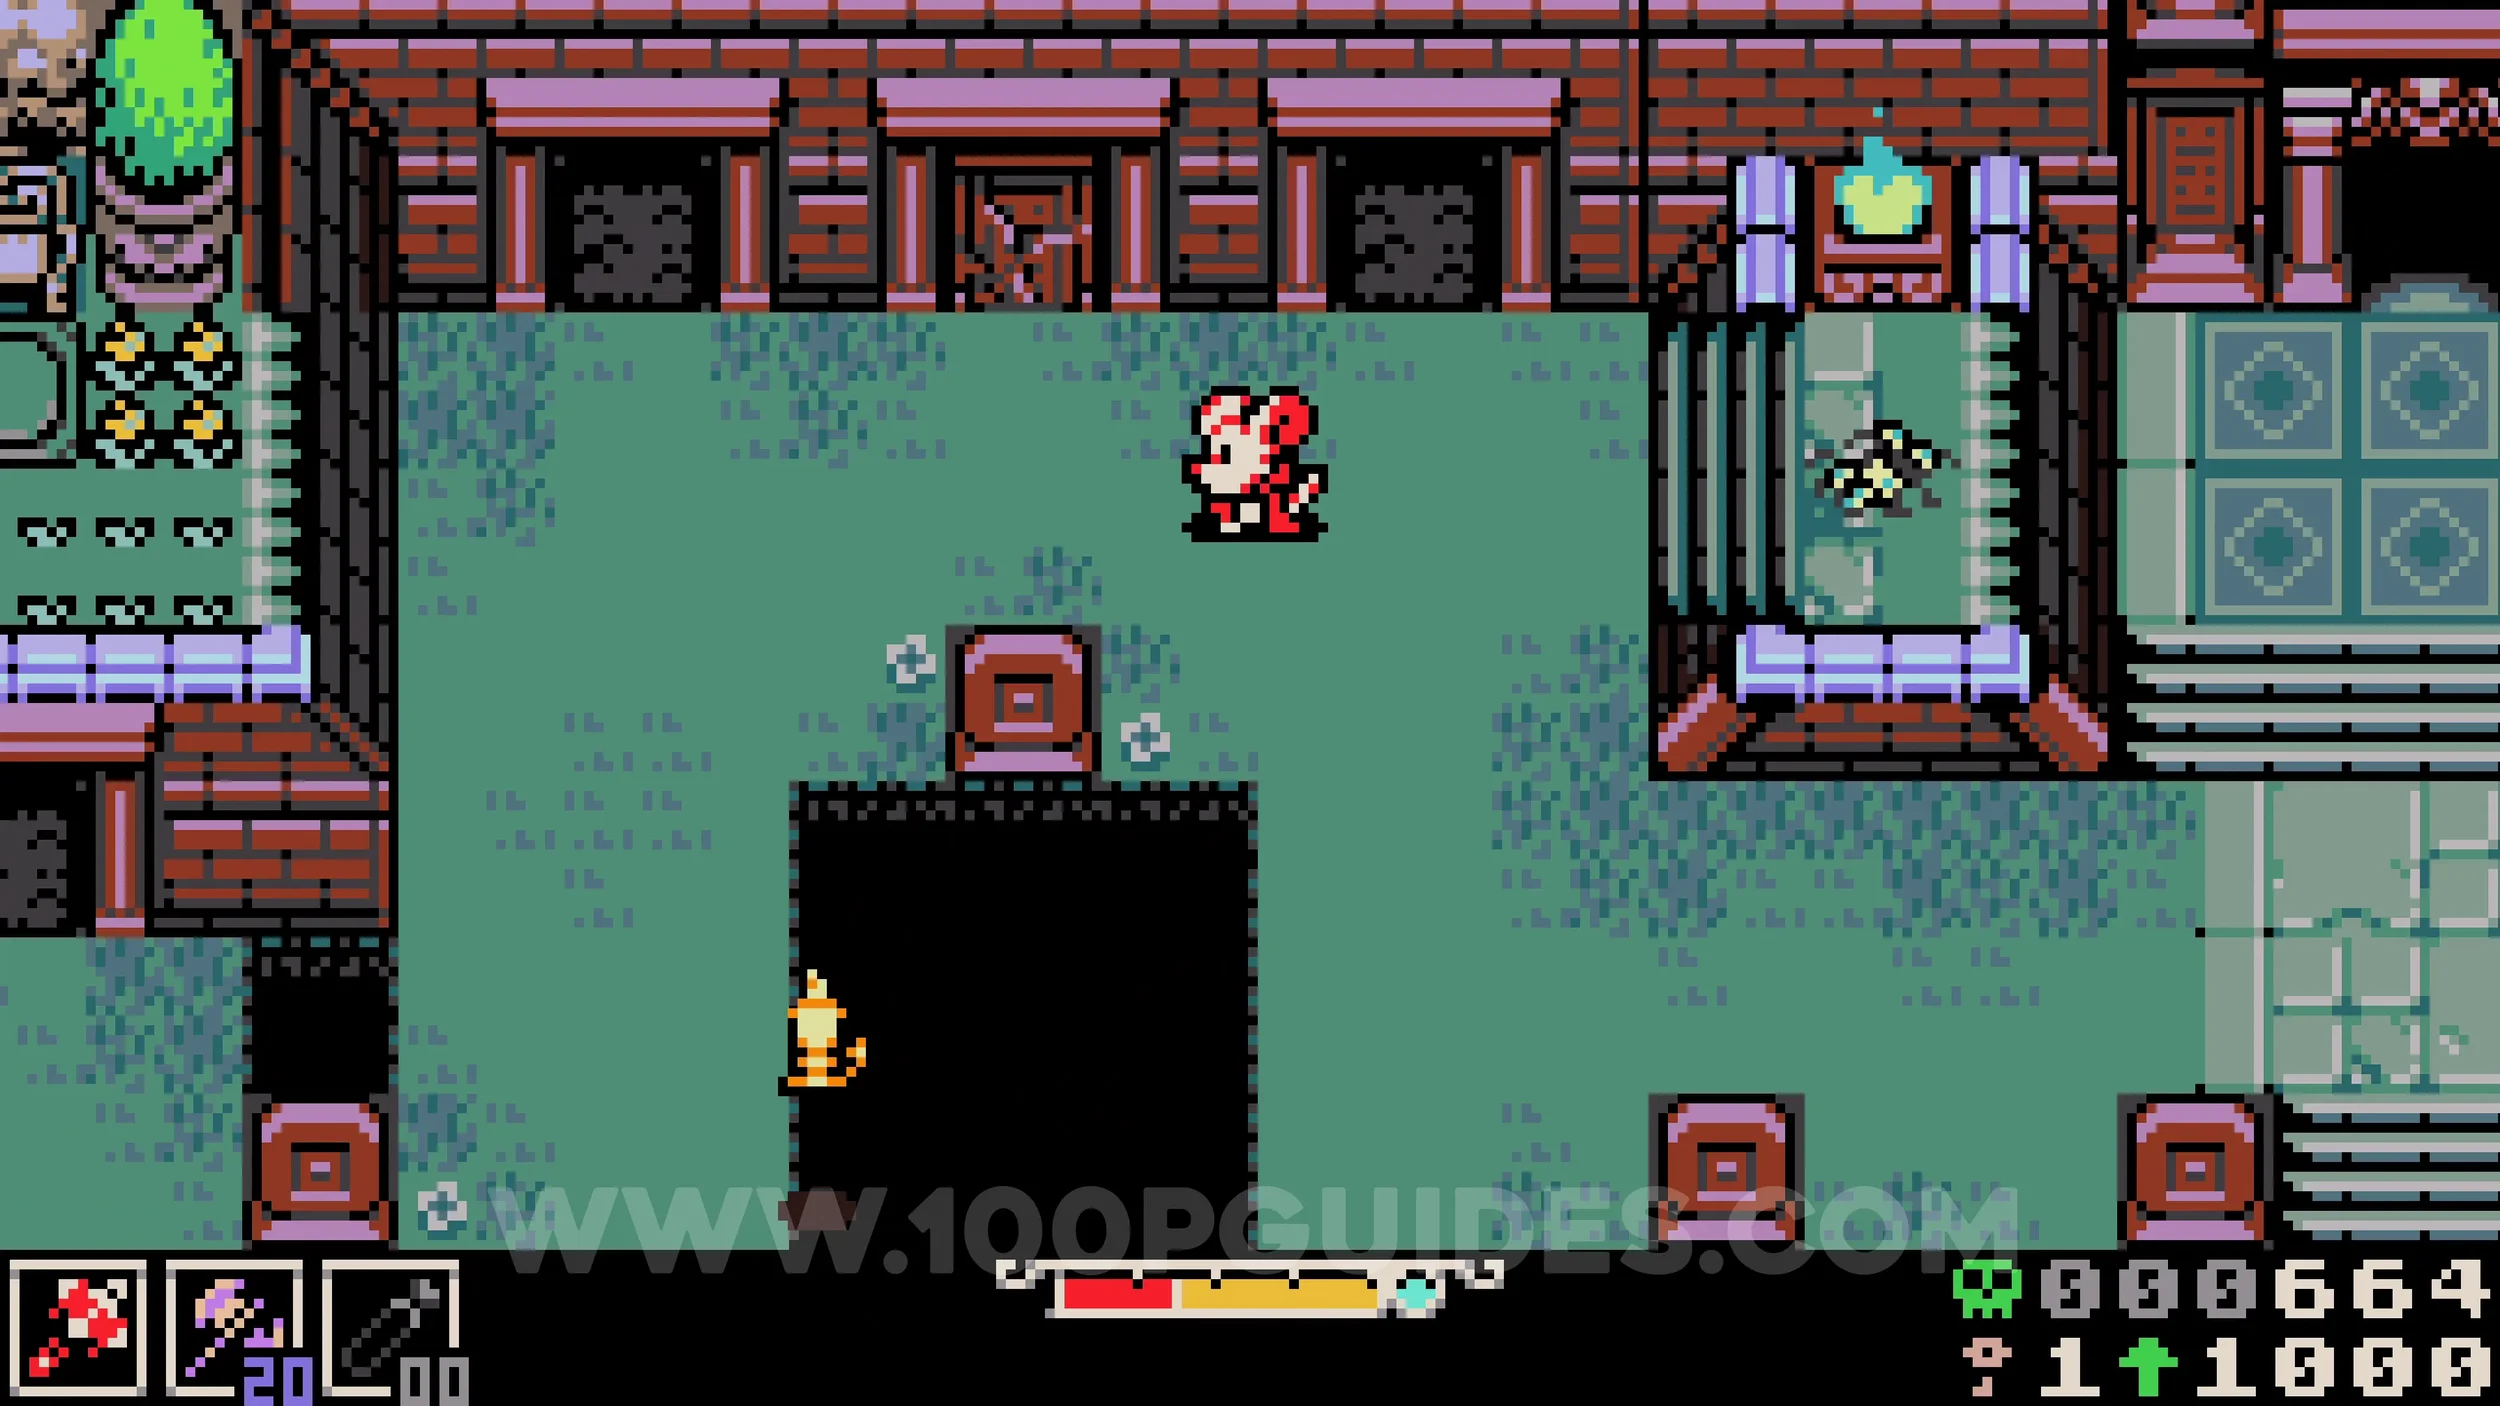
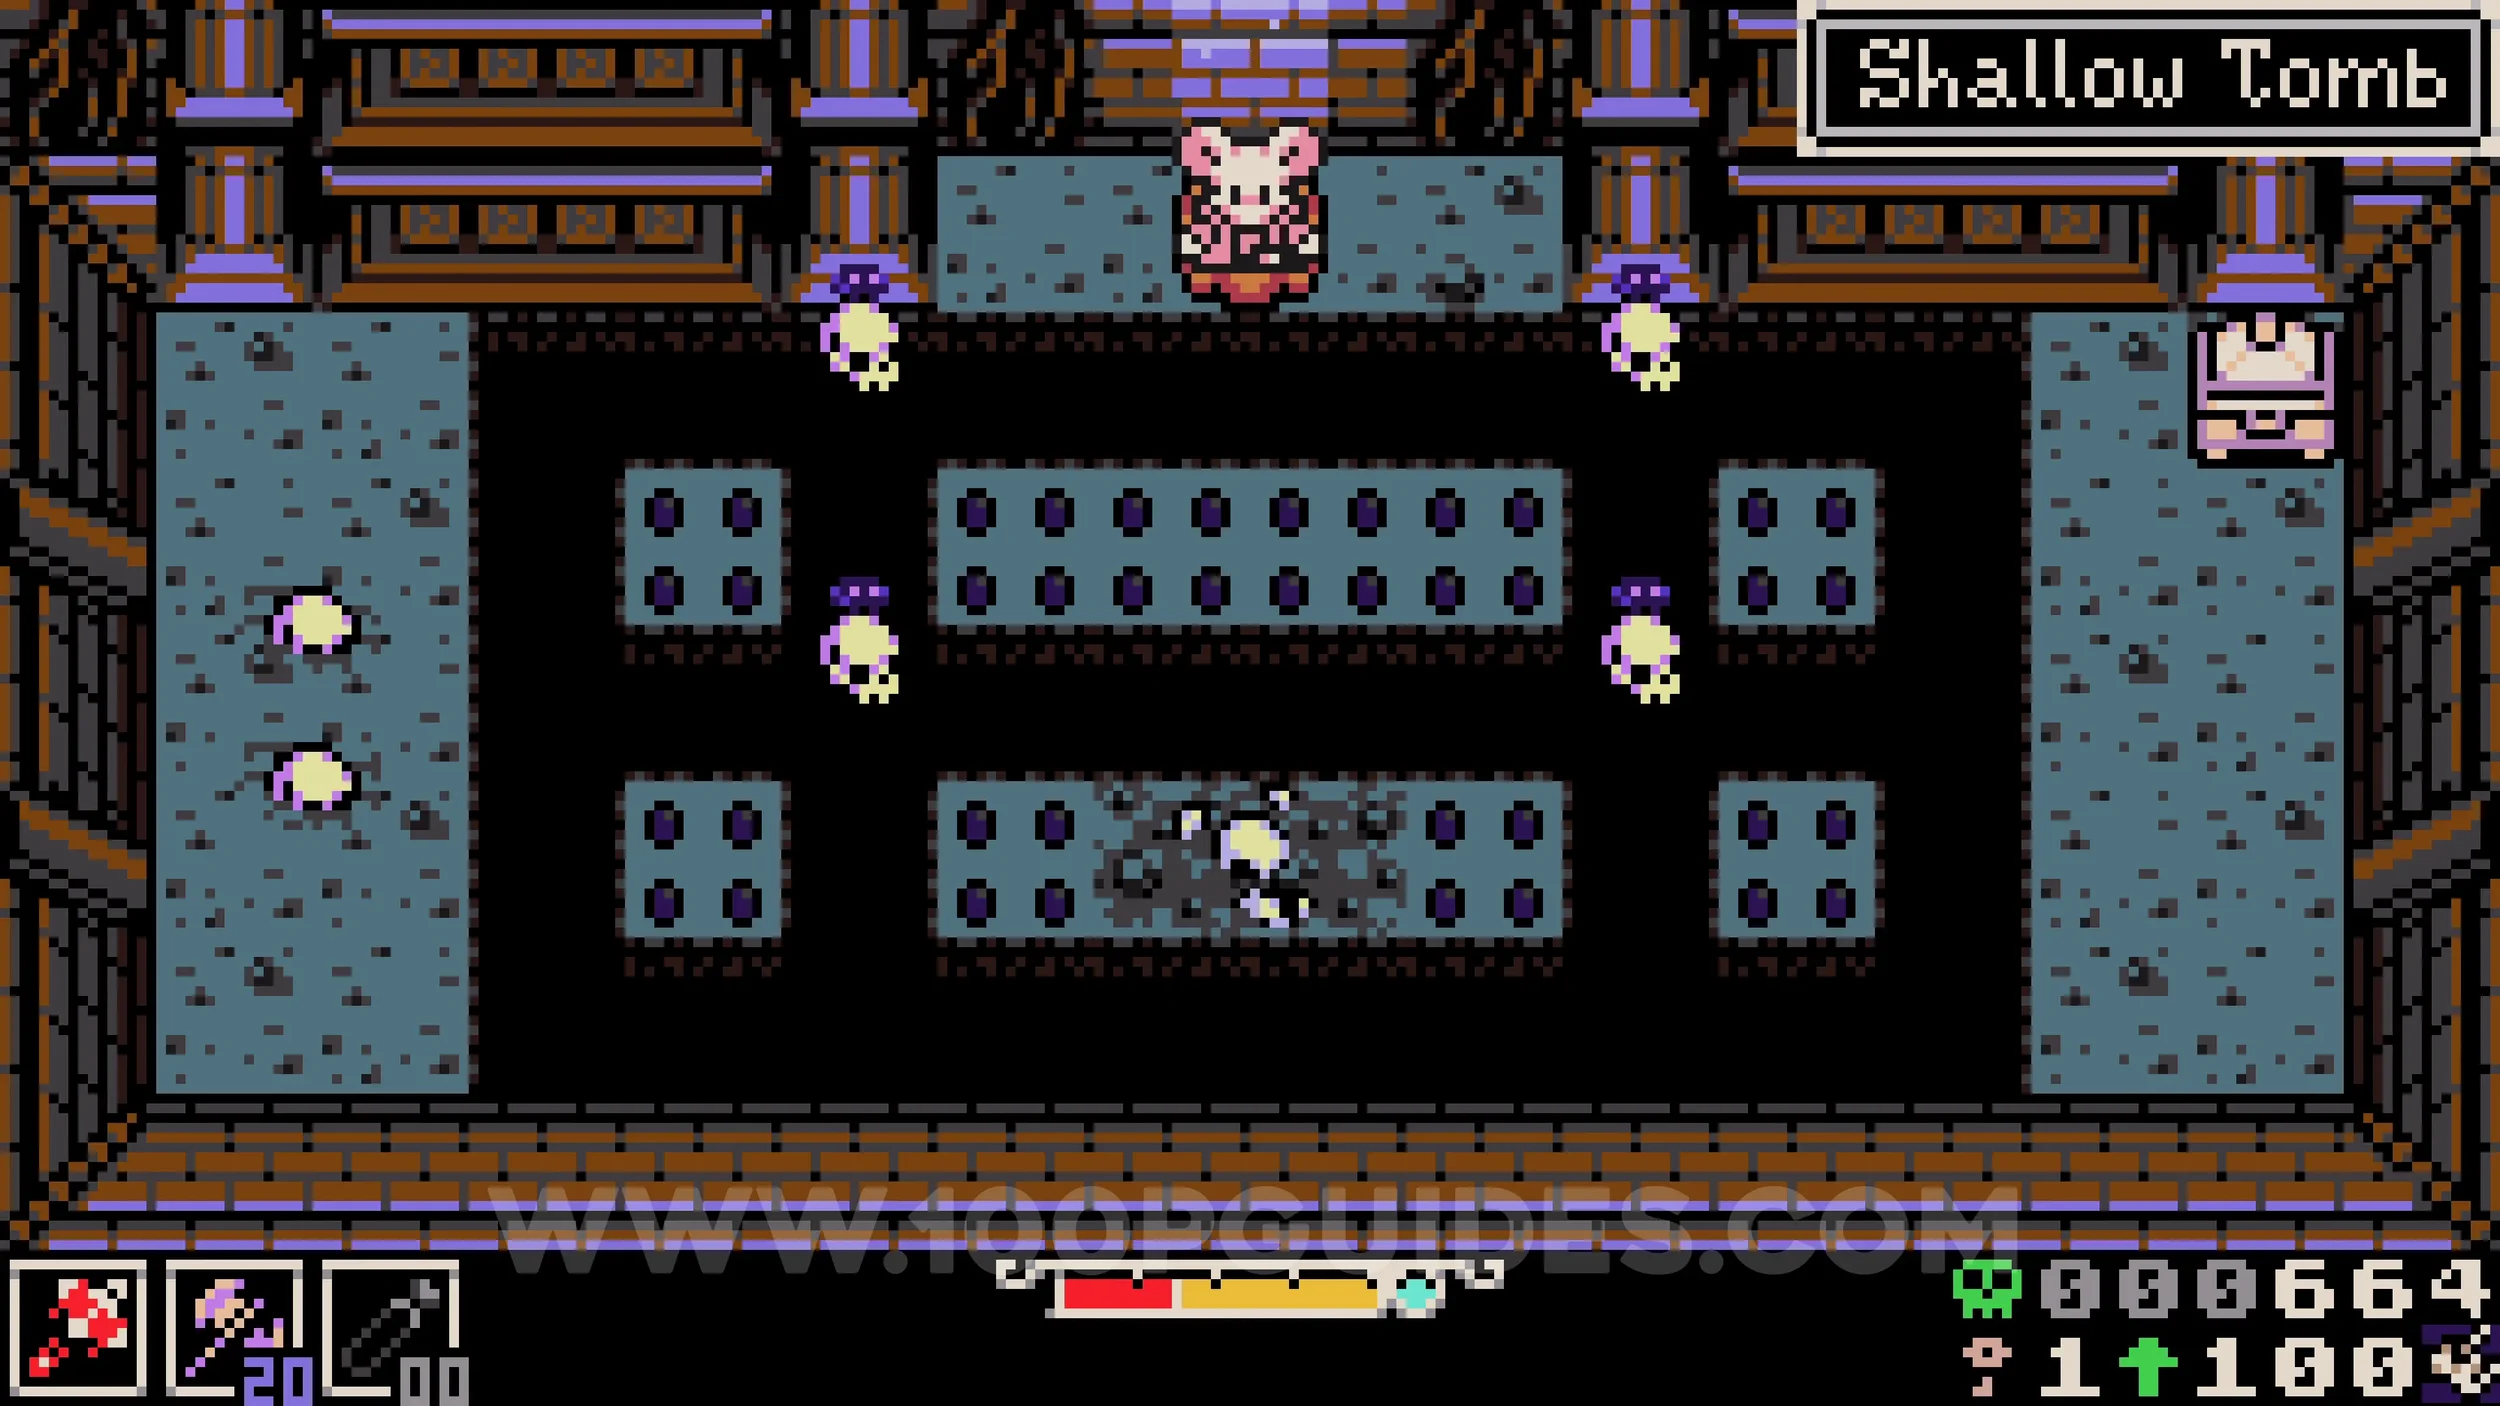
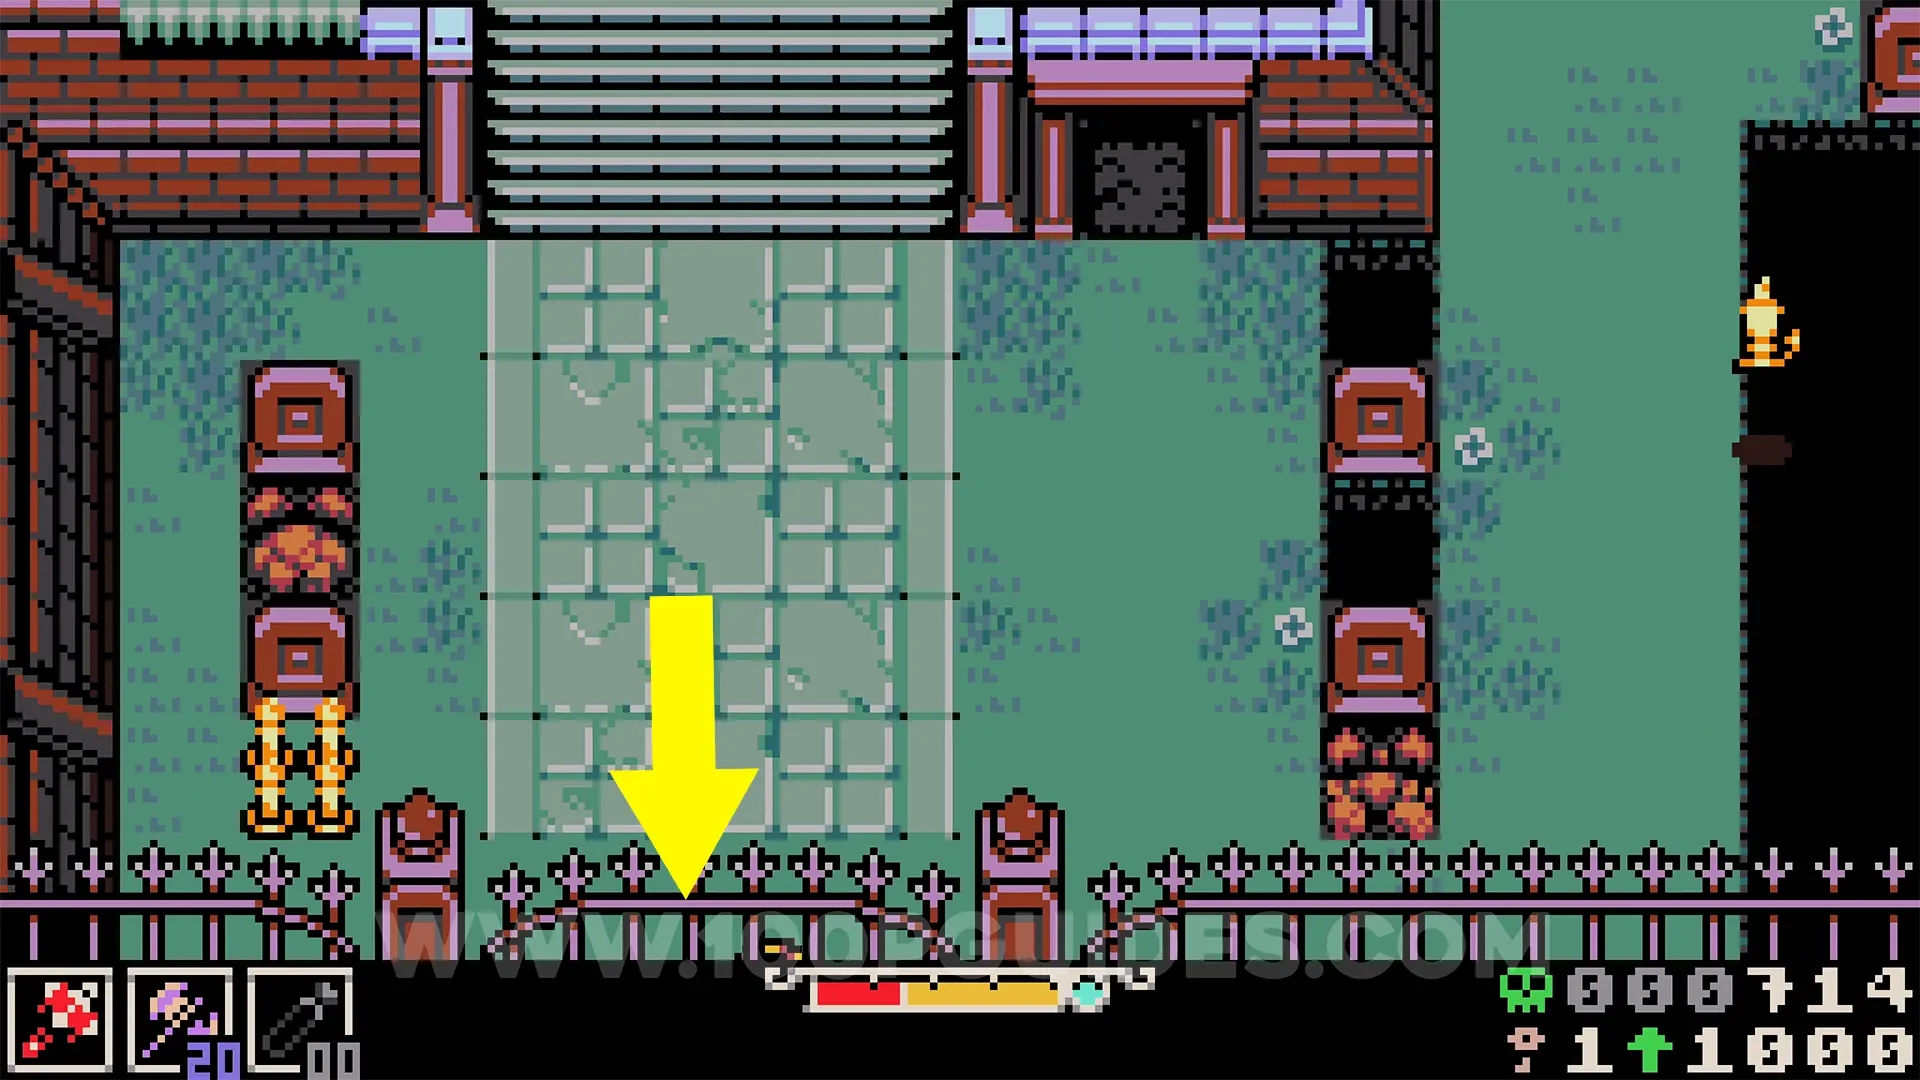
Bonestone #2. Exit the cave and burrow under the gate at the bottom of the screen, to the left of the hole in the middle of the area. Head right to find the chest containing the collectible.
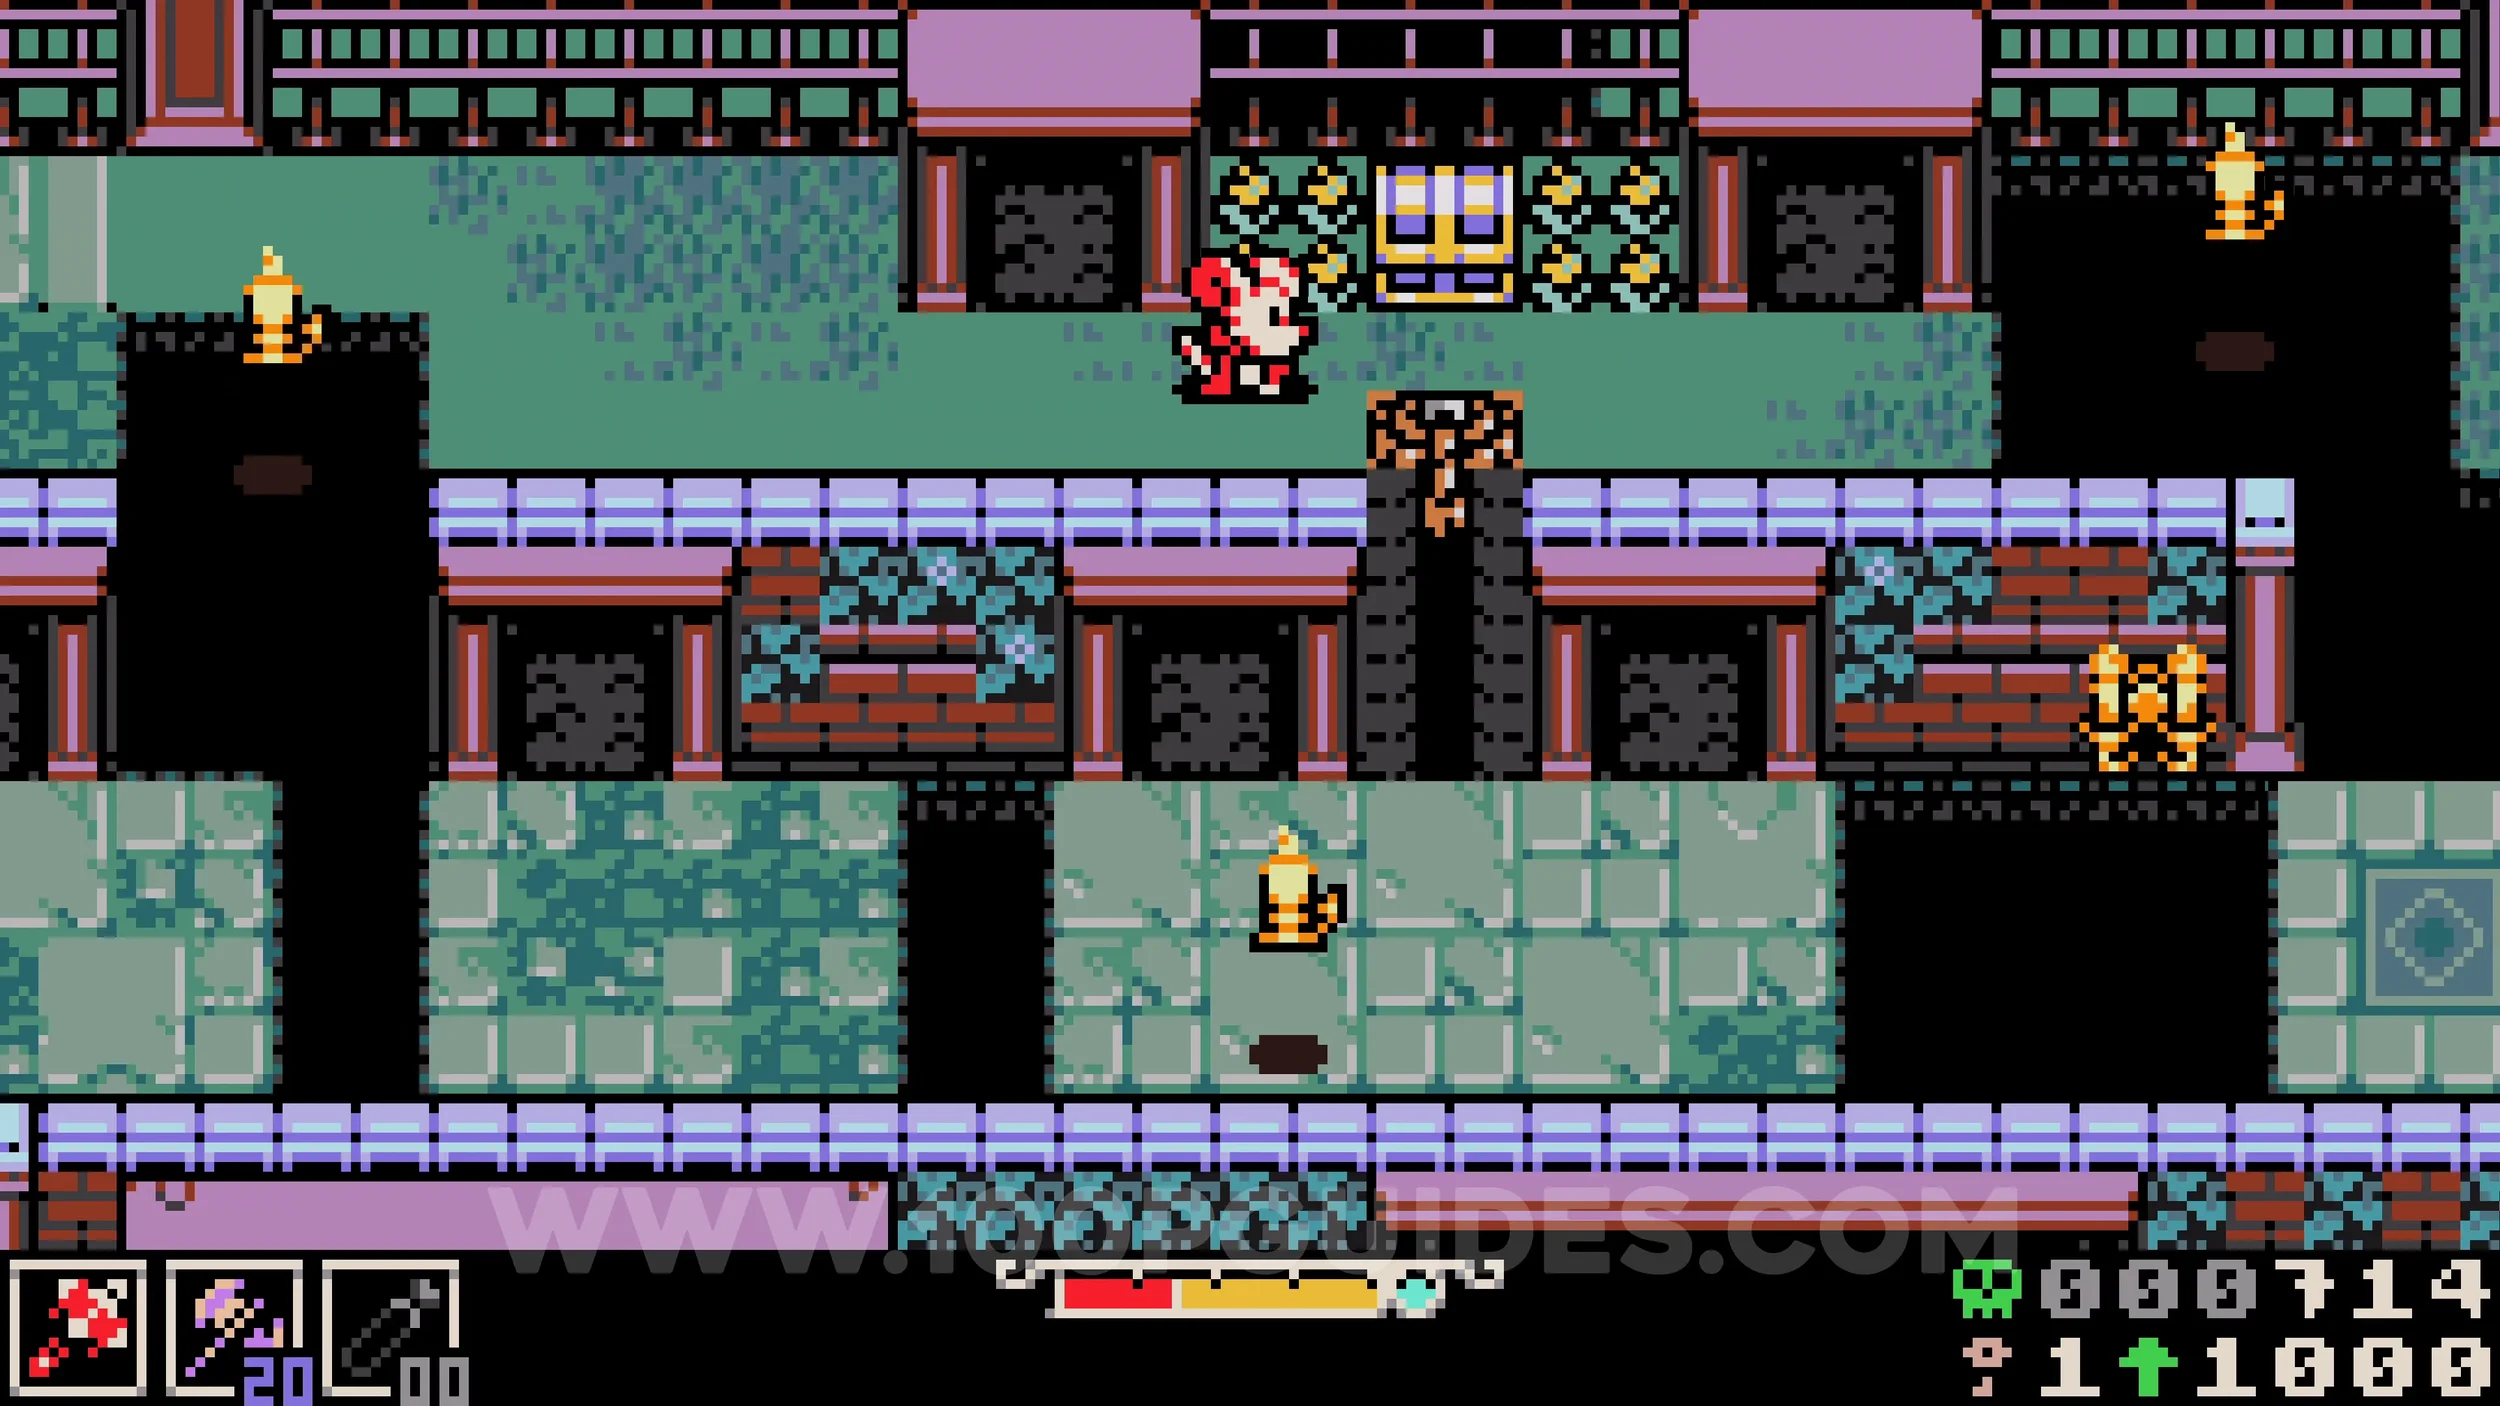
Lock #1. Return to the area with the hole in the middle and head up the stairs on the left. In the next screen, continue up the stairs to find the lock in plain sight.
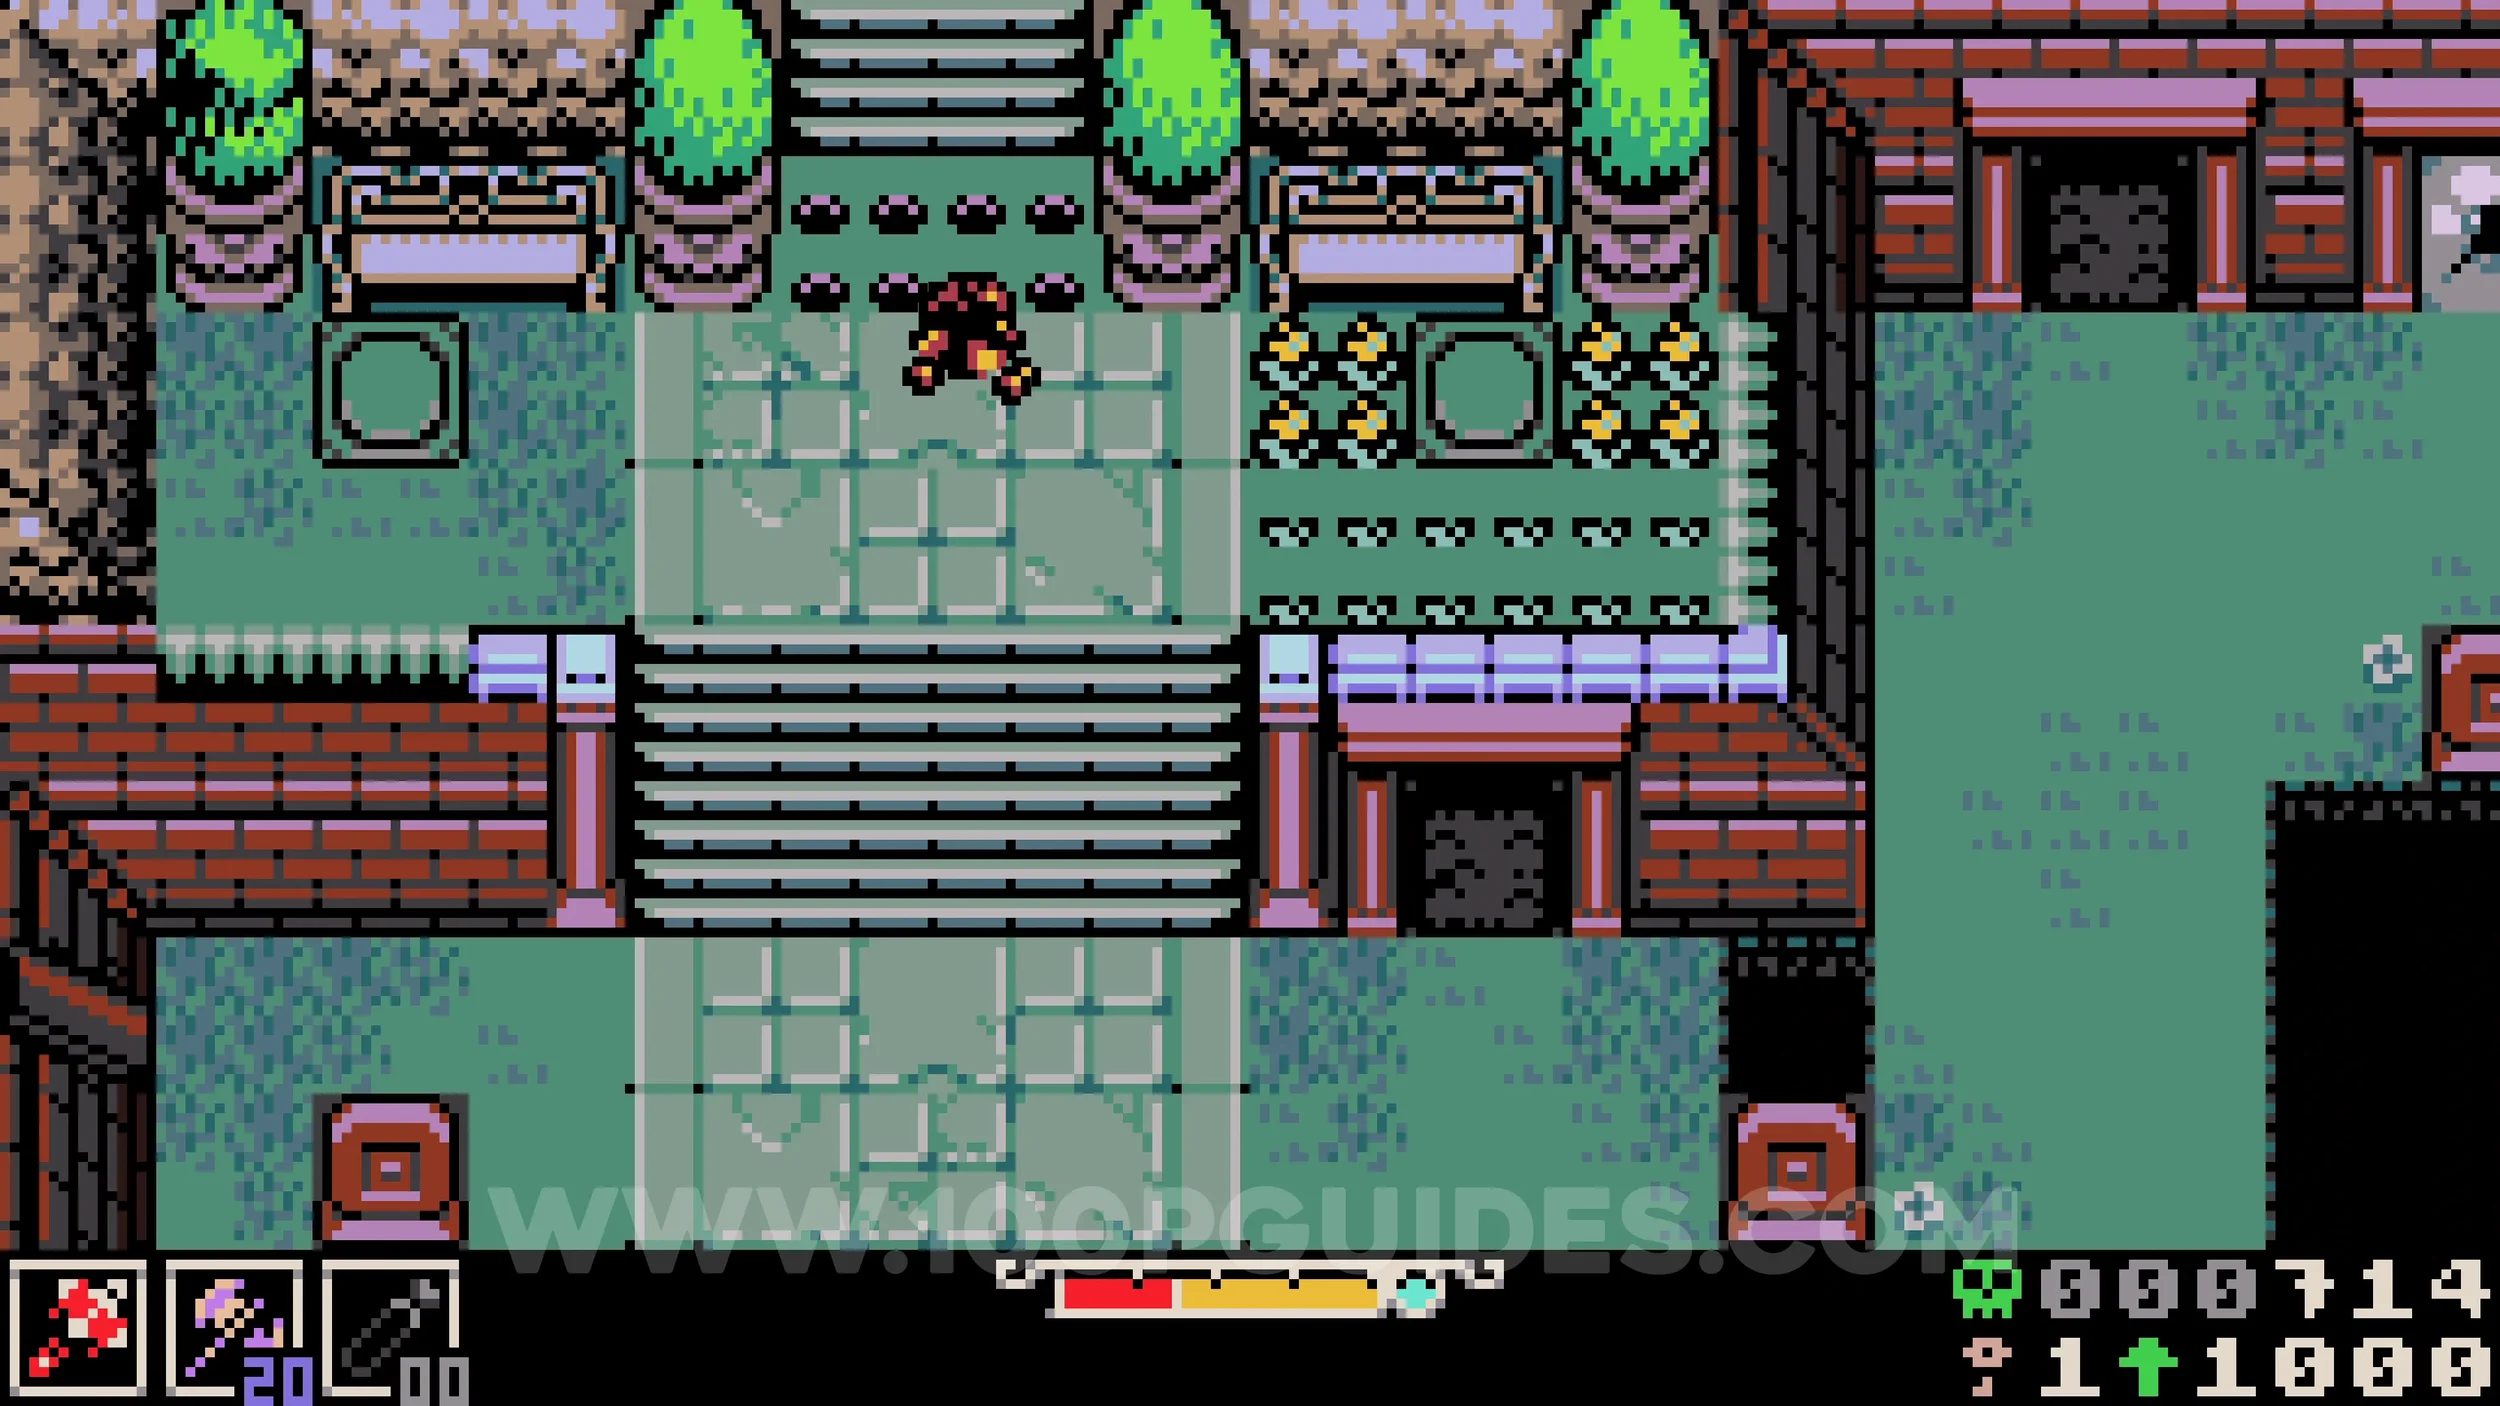
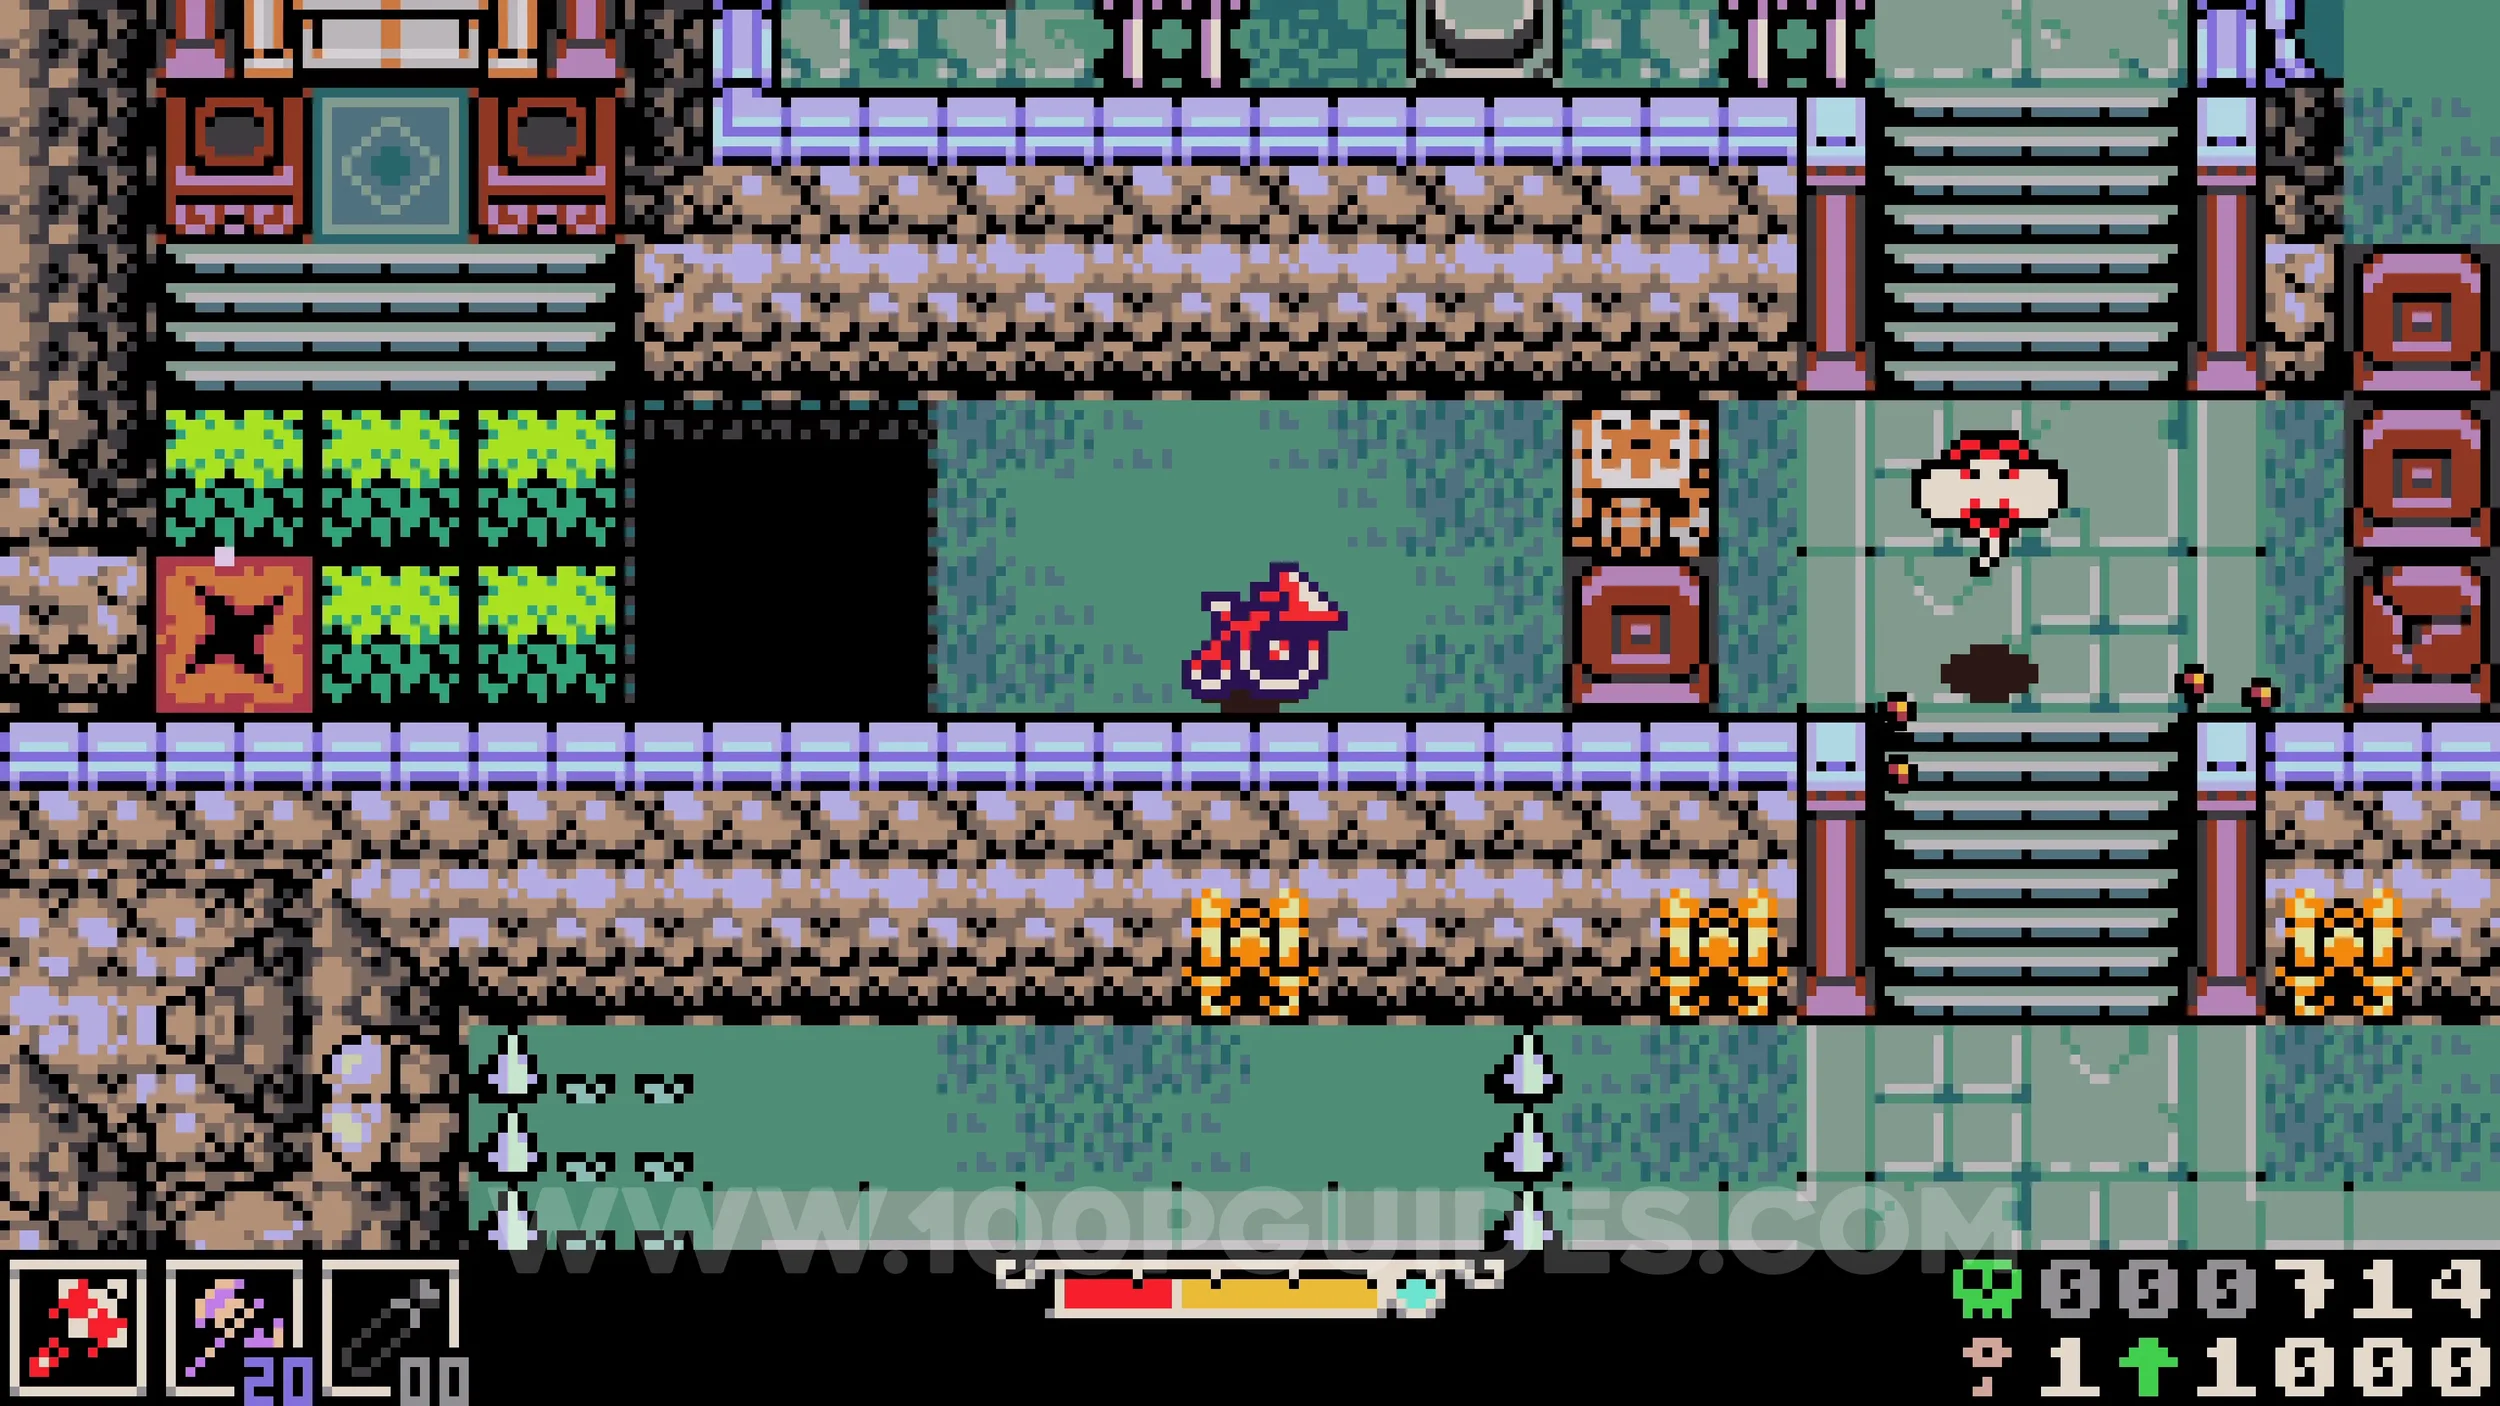
Bonestone #3 & Trinket #2 - Starving Beastium. Jump across the gap to the left of the lock and enter the door. This requires three Spark Containers, so you may not be able to do this on your first visit. Once inside, interact with the dug up grave to enter a challenge area where you must reach the end starting with 1HP. Complete it to receive the collectibles.
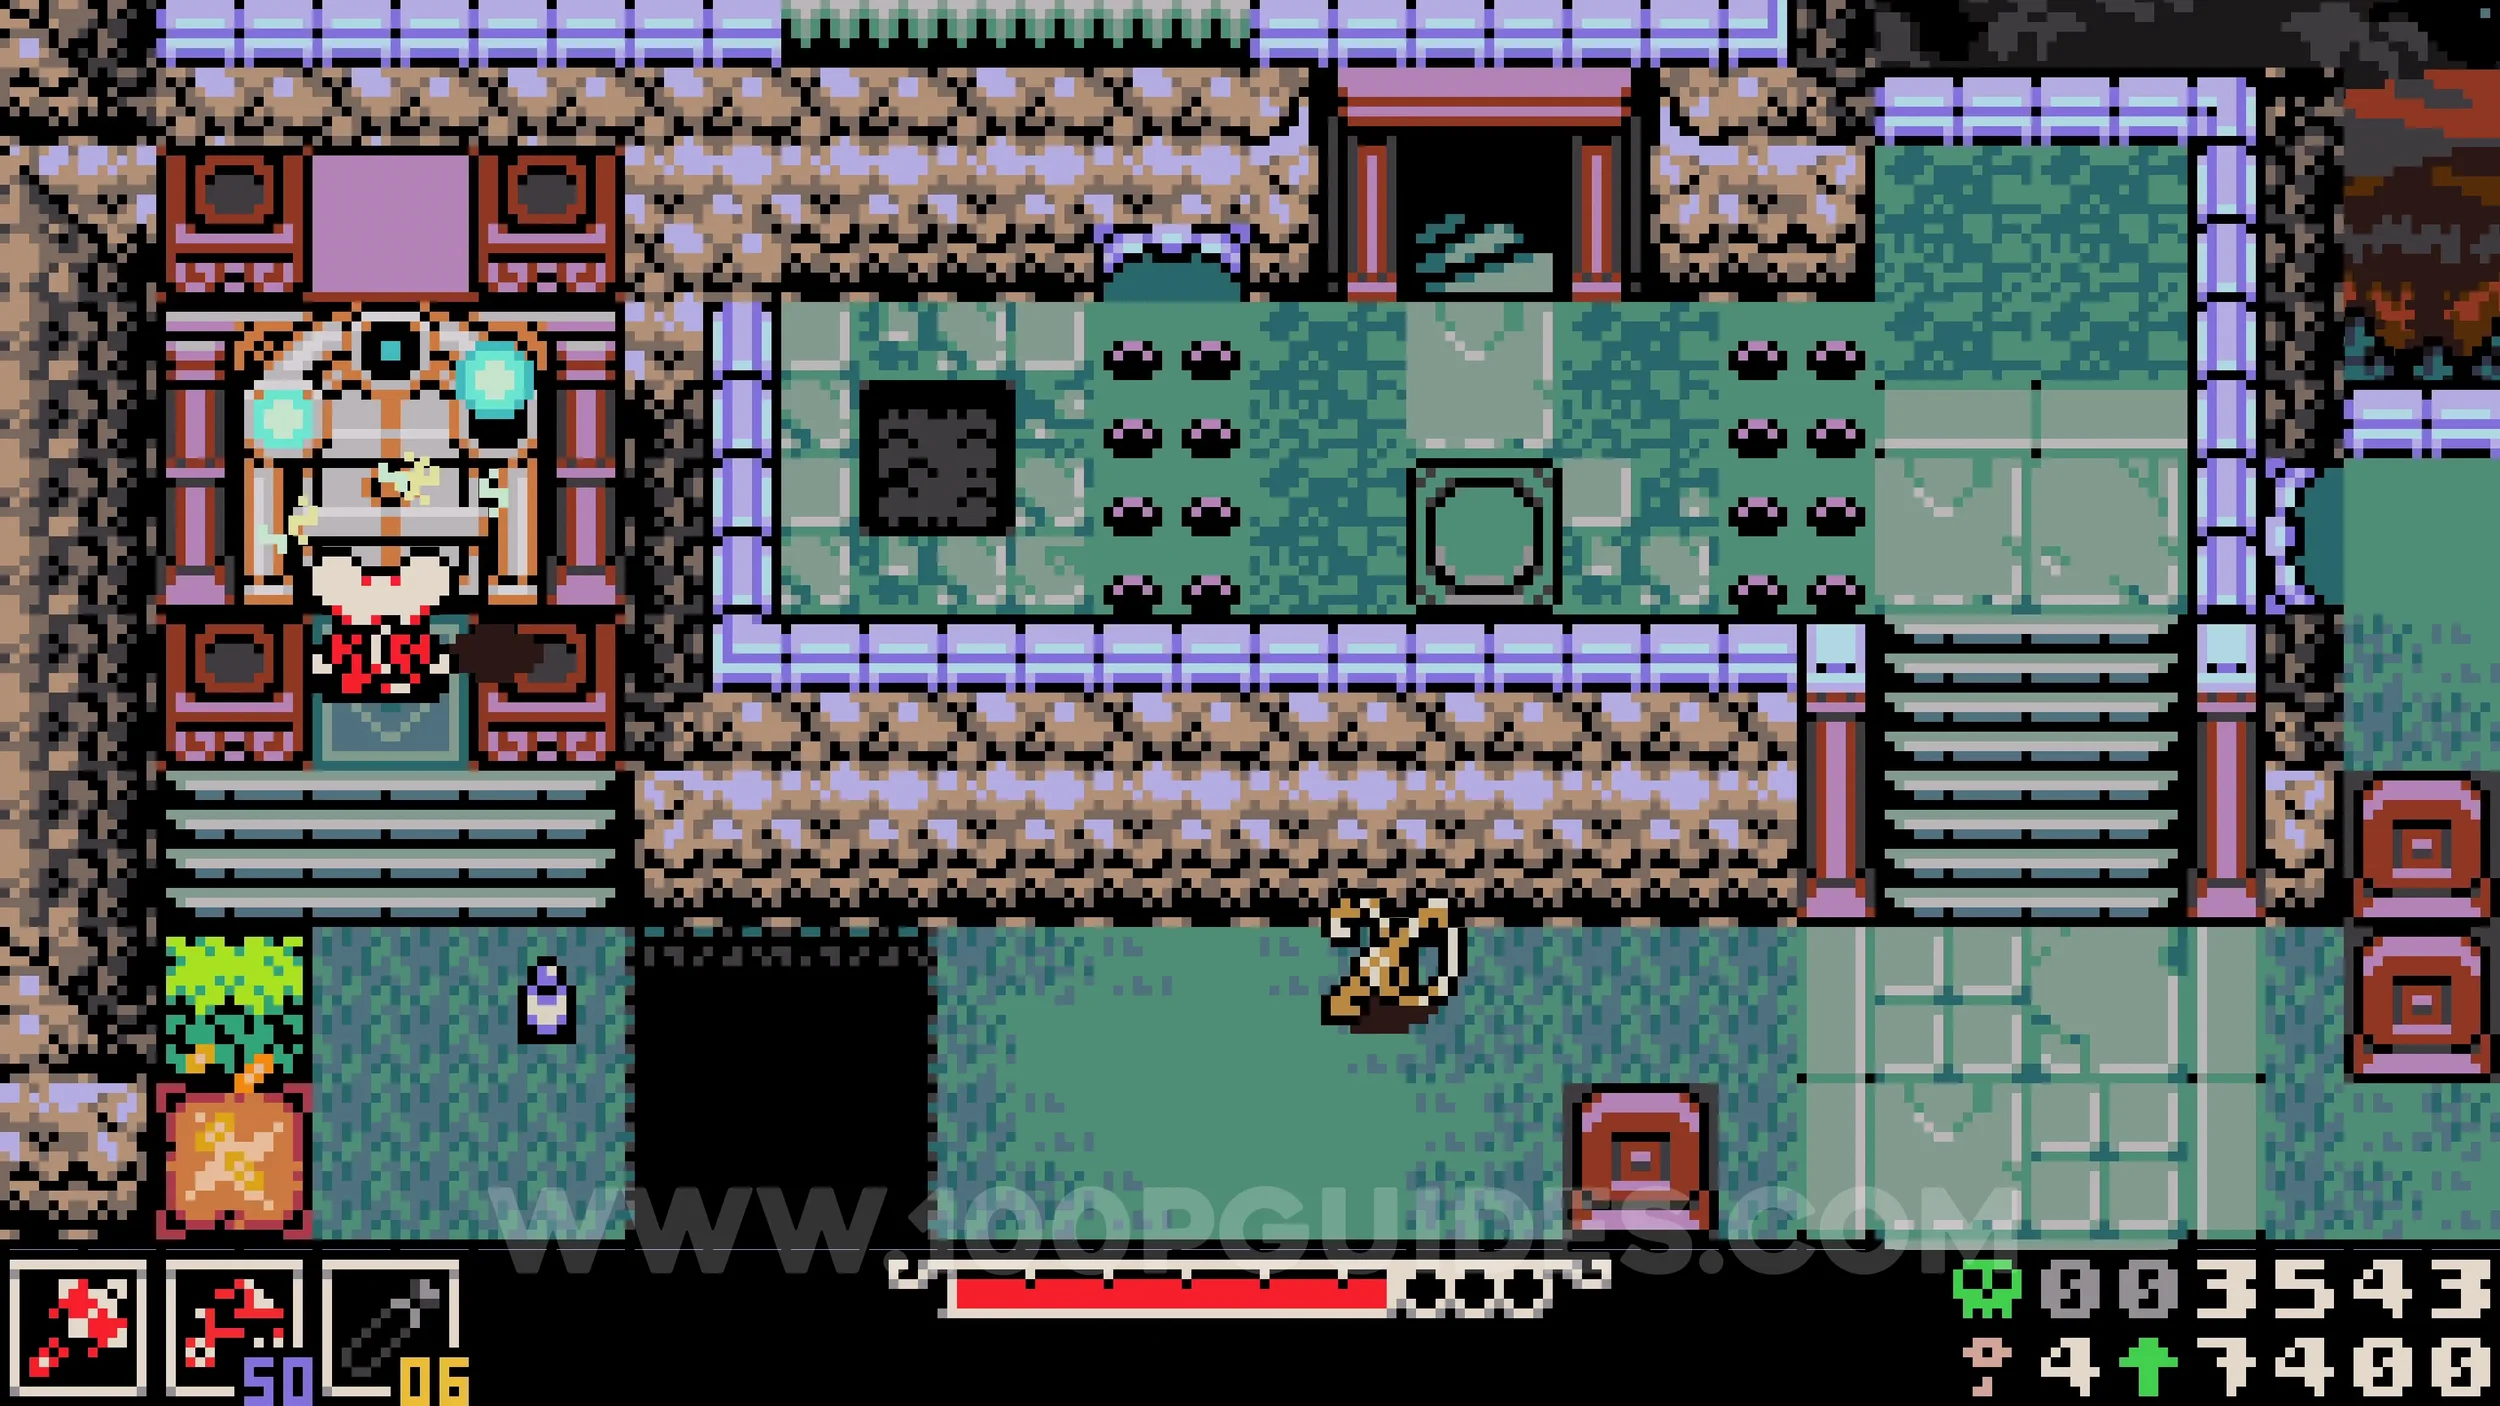
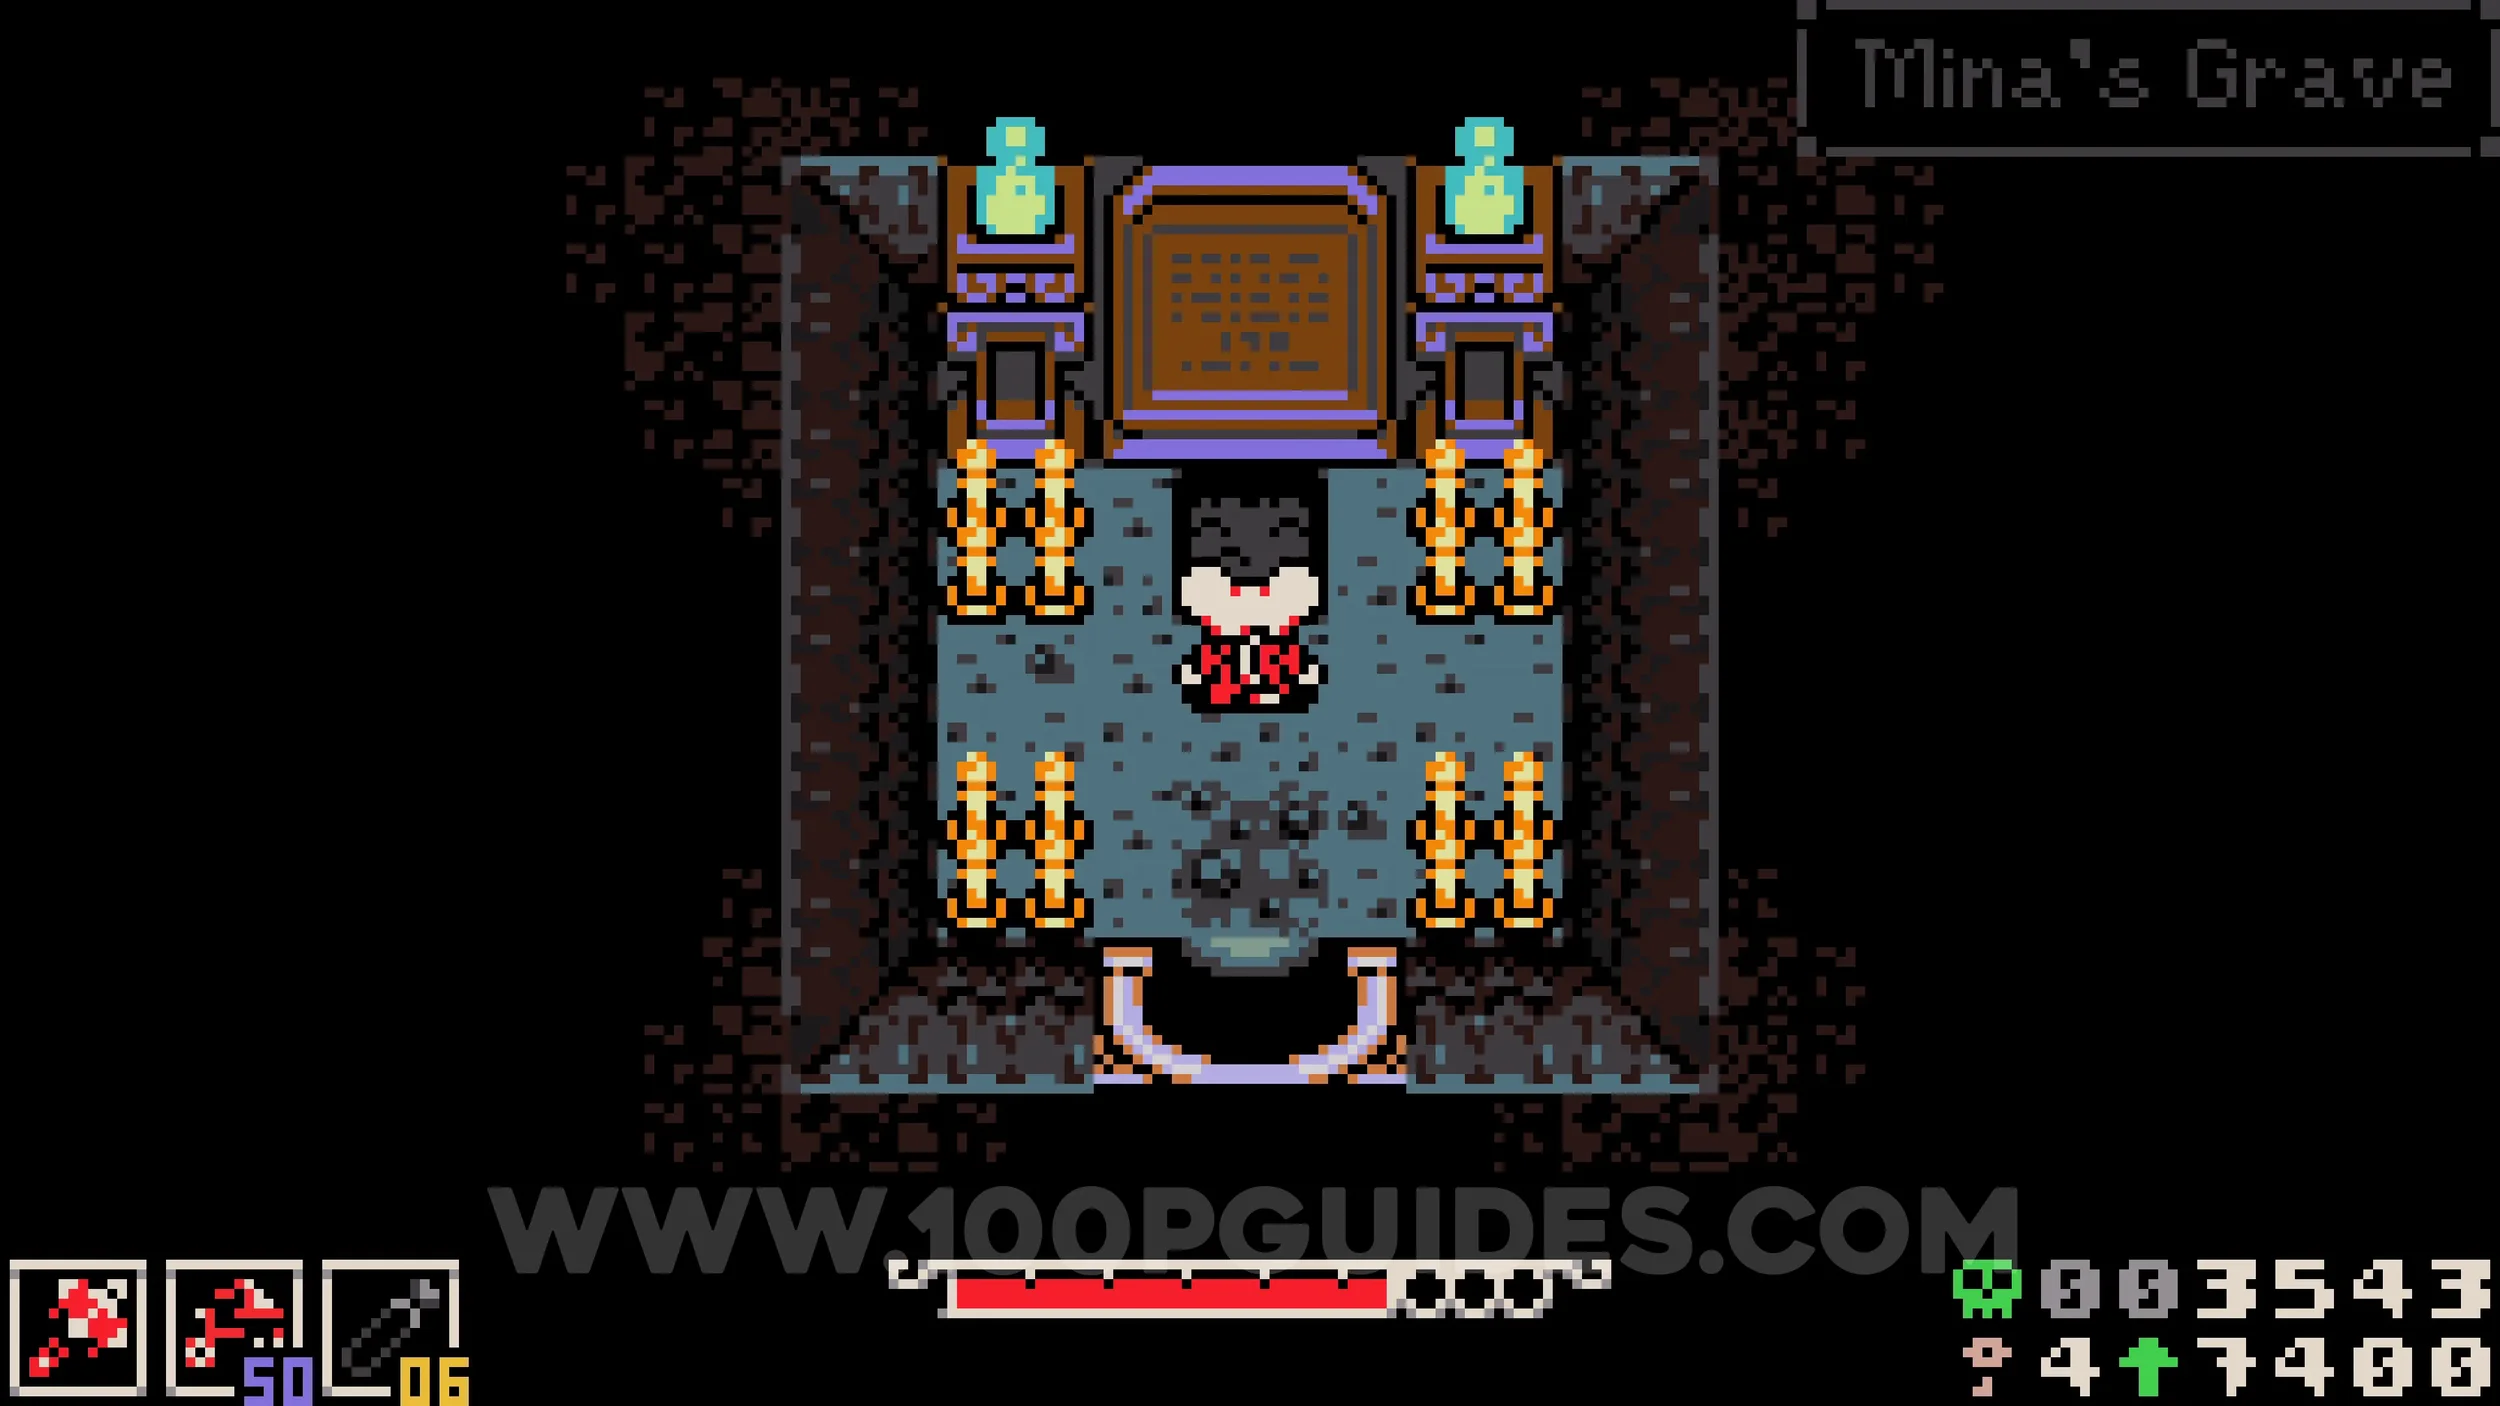
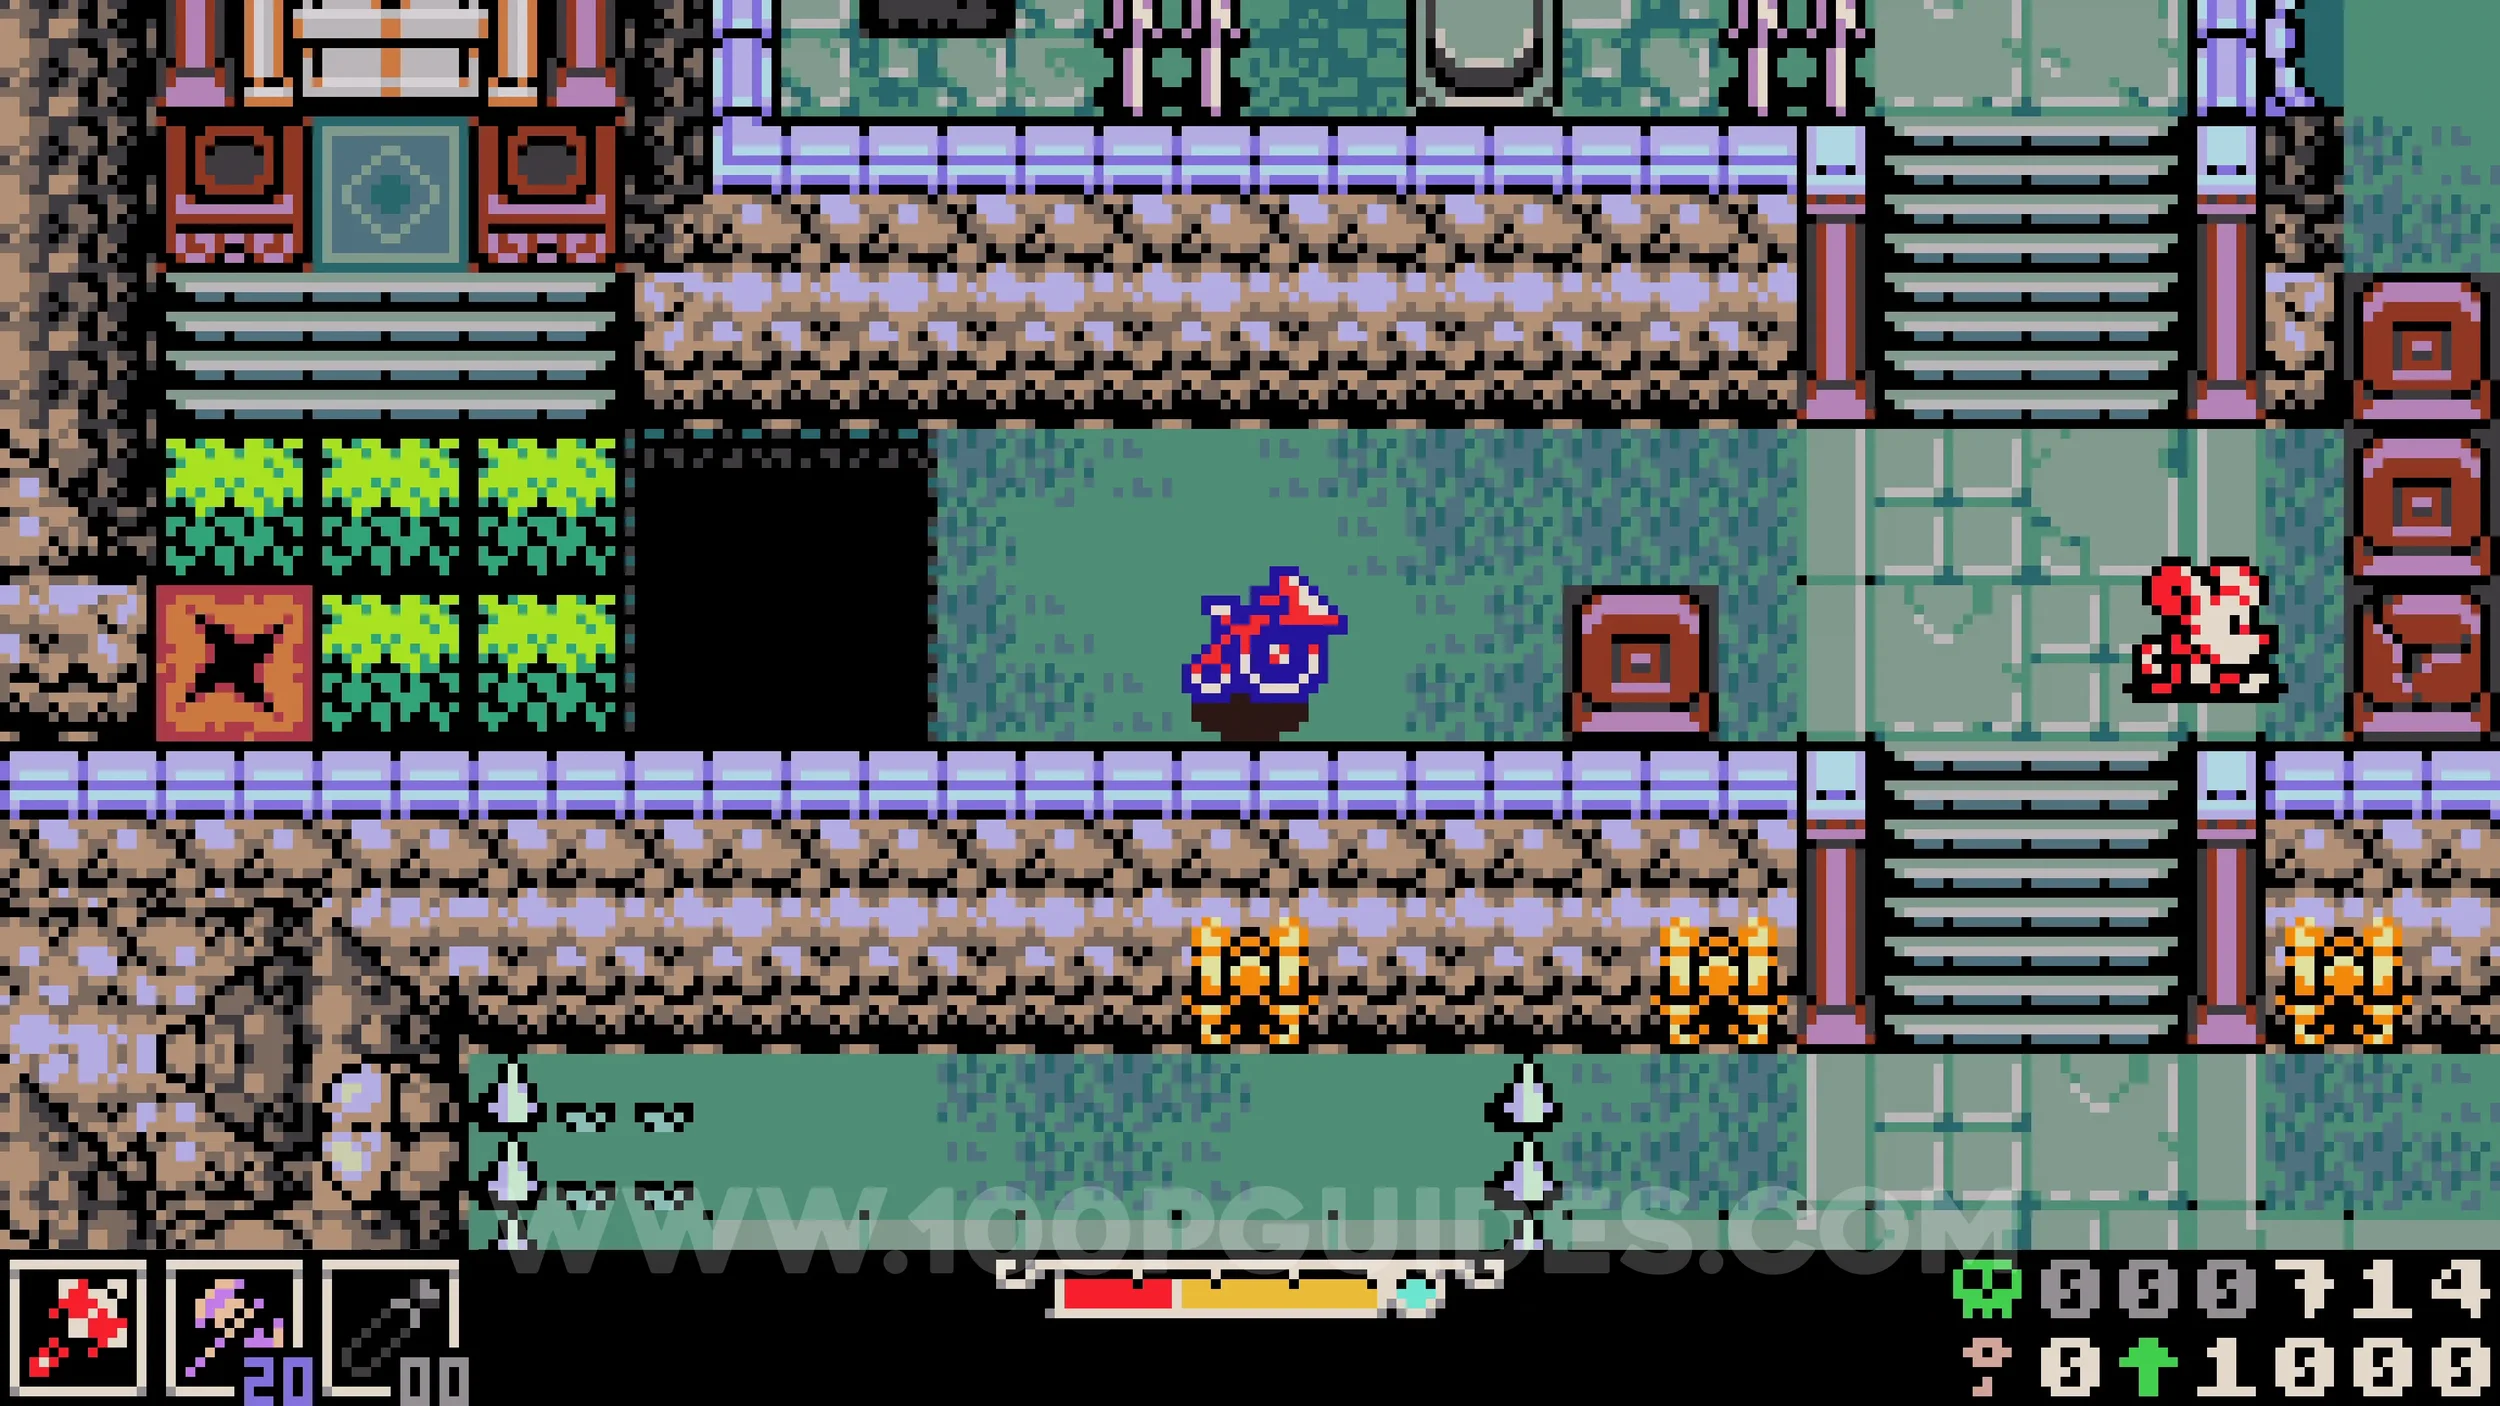
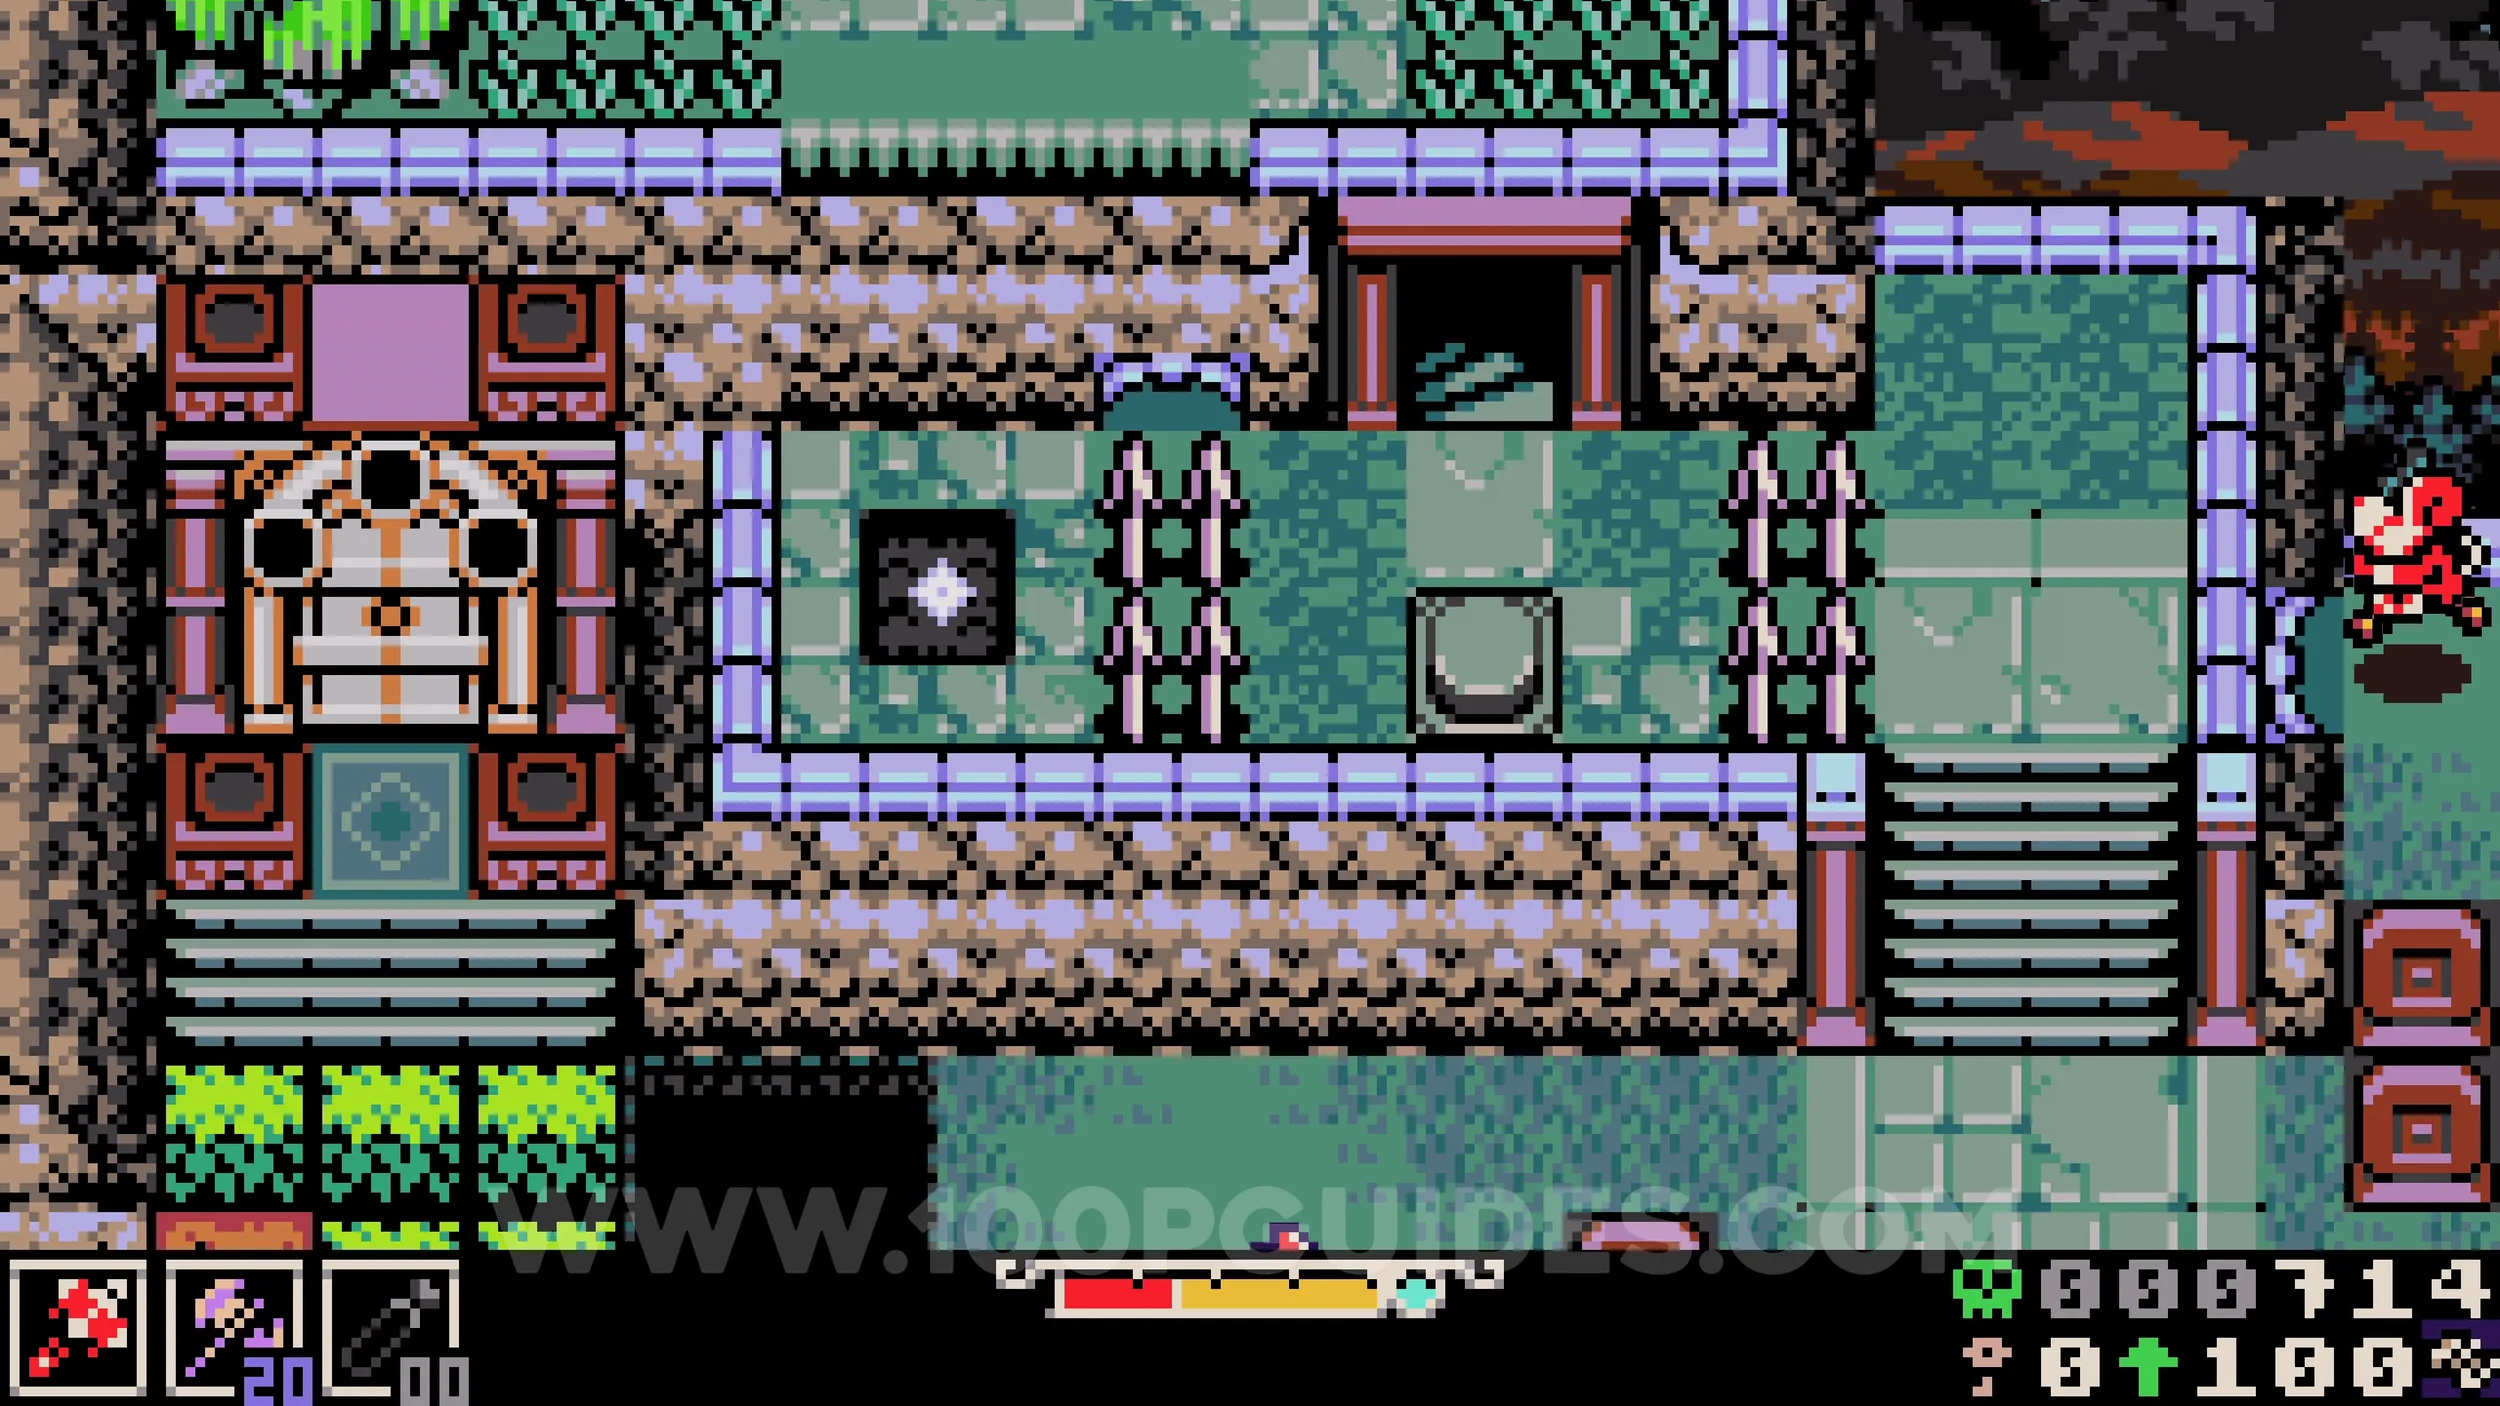
Bonestone #4. Break the cracked grave to the right of the lock to reveal a hole you can enter by burrowing. Inside is a dark cave where you must follow the candlelight to navigate around the spikes. The chest containing the bonestone can be found in the bottom left corner.
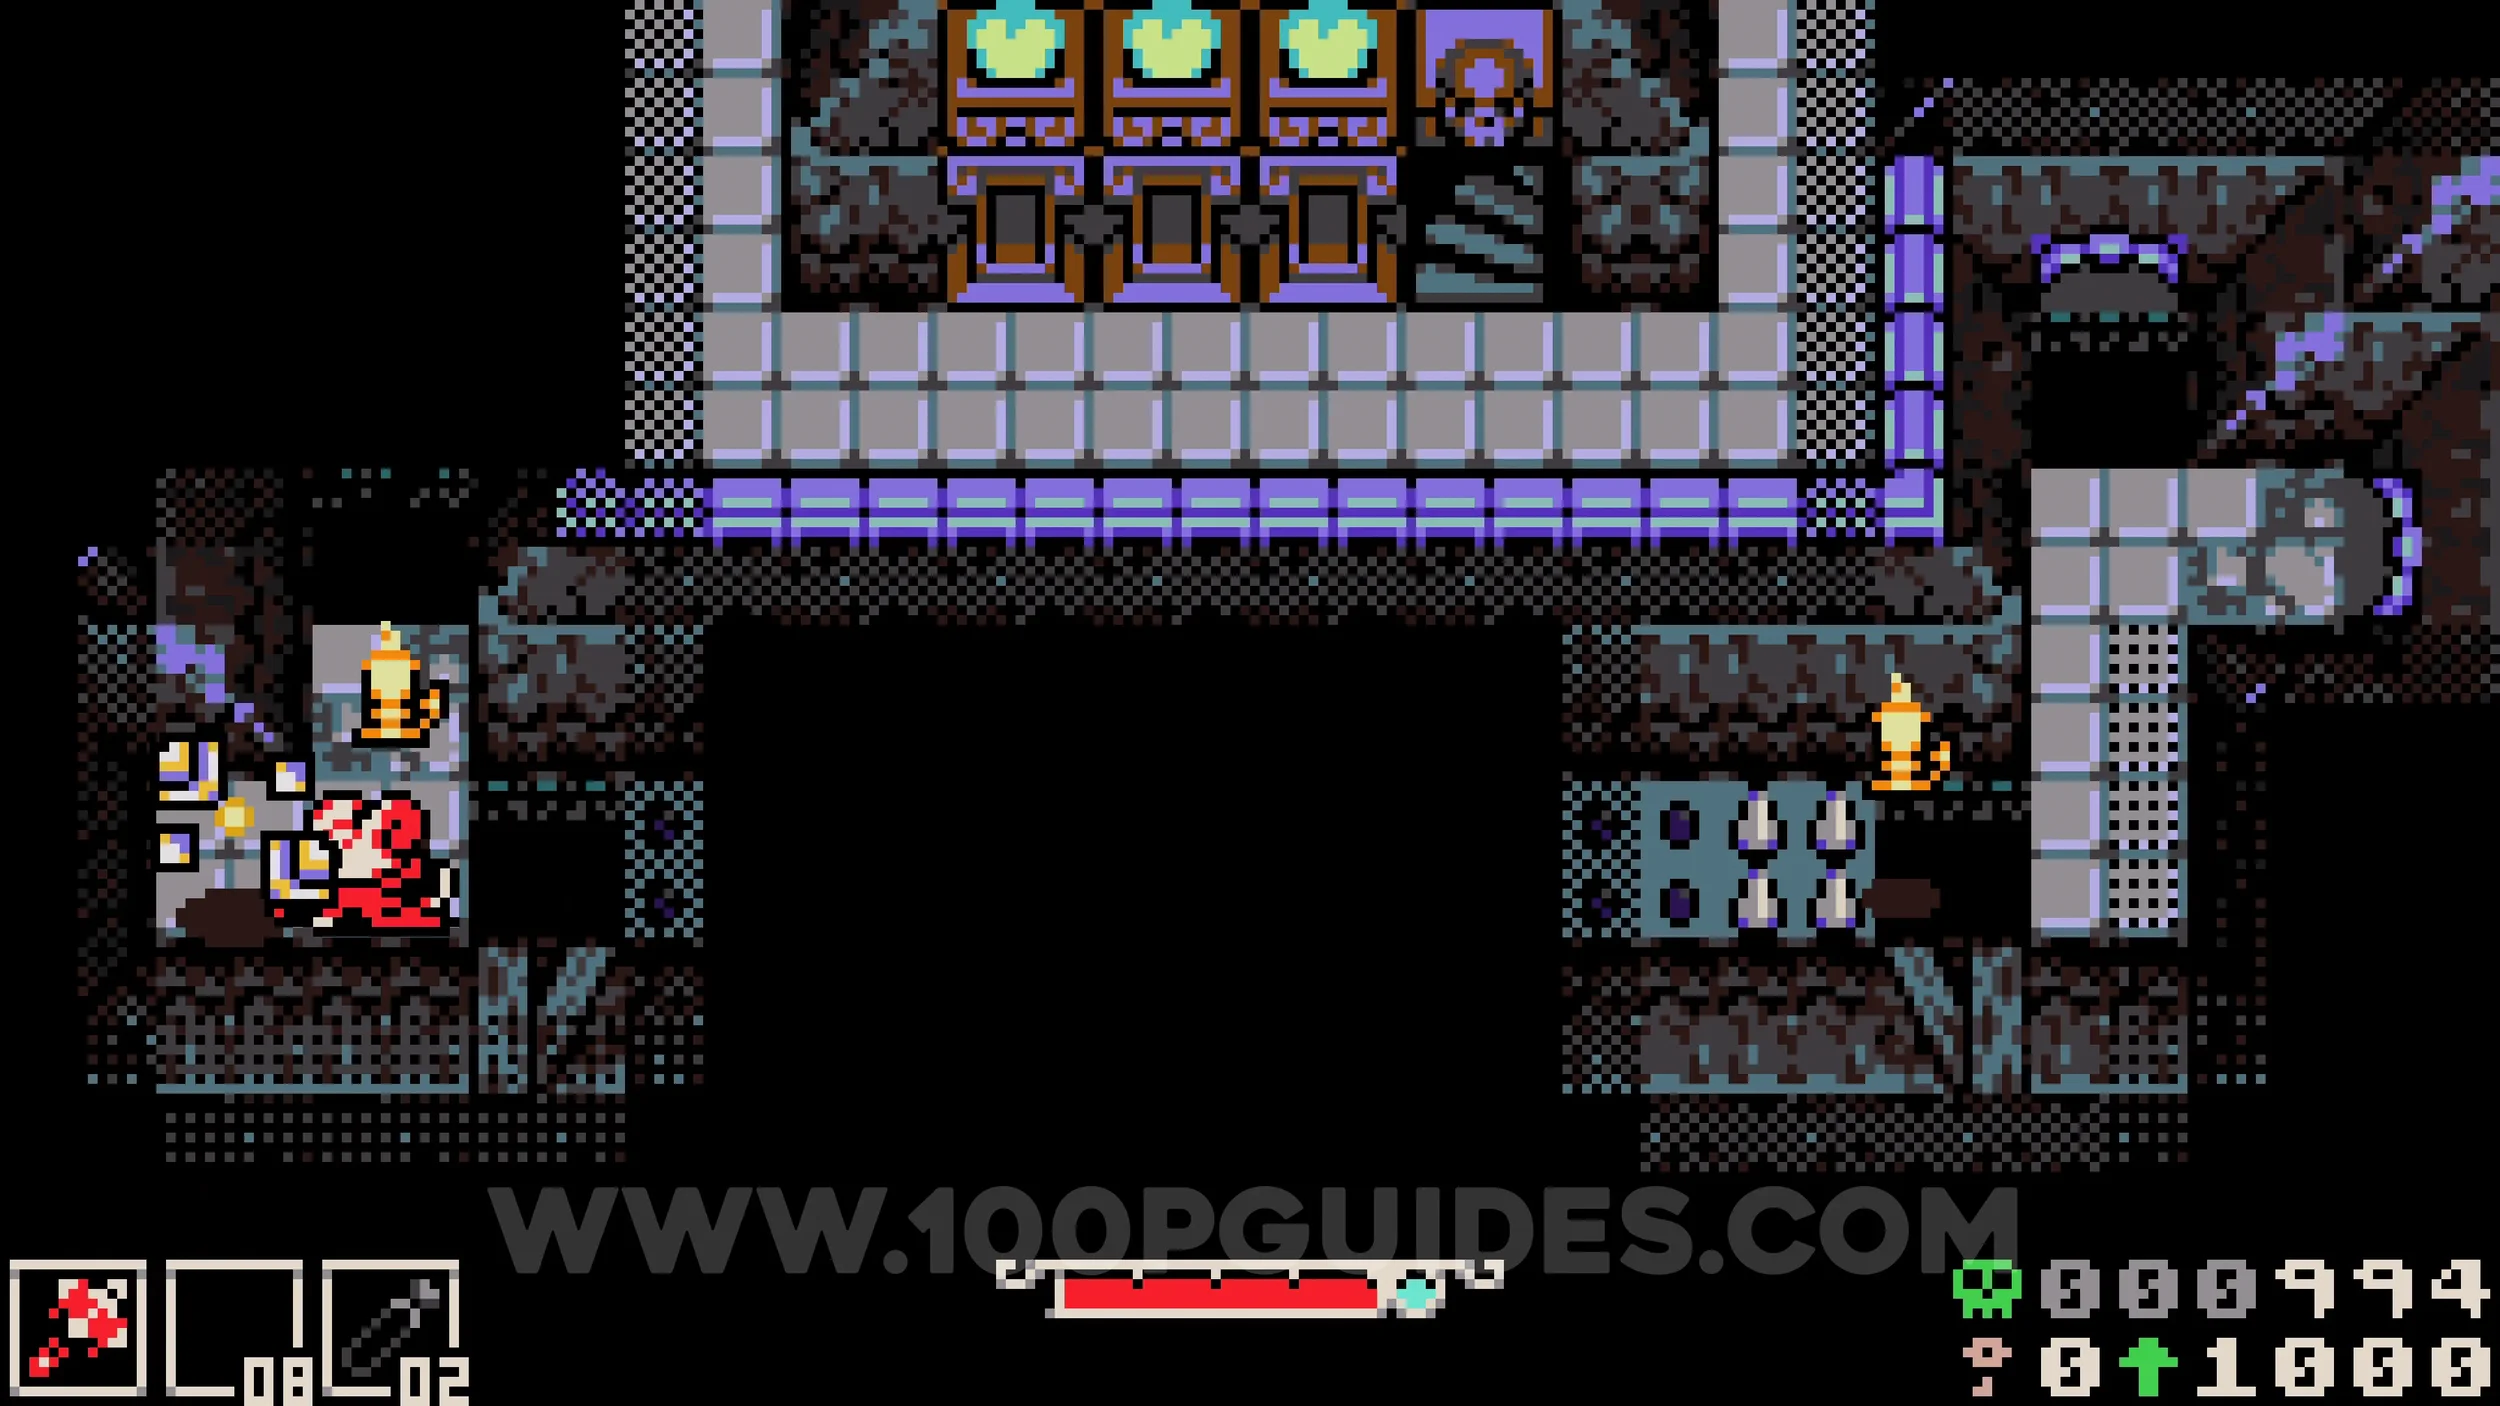
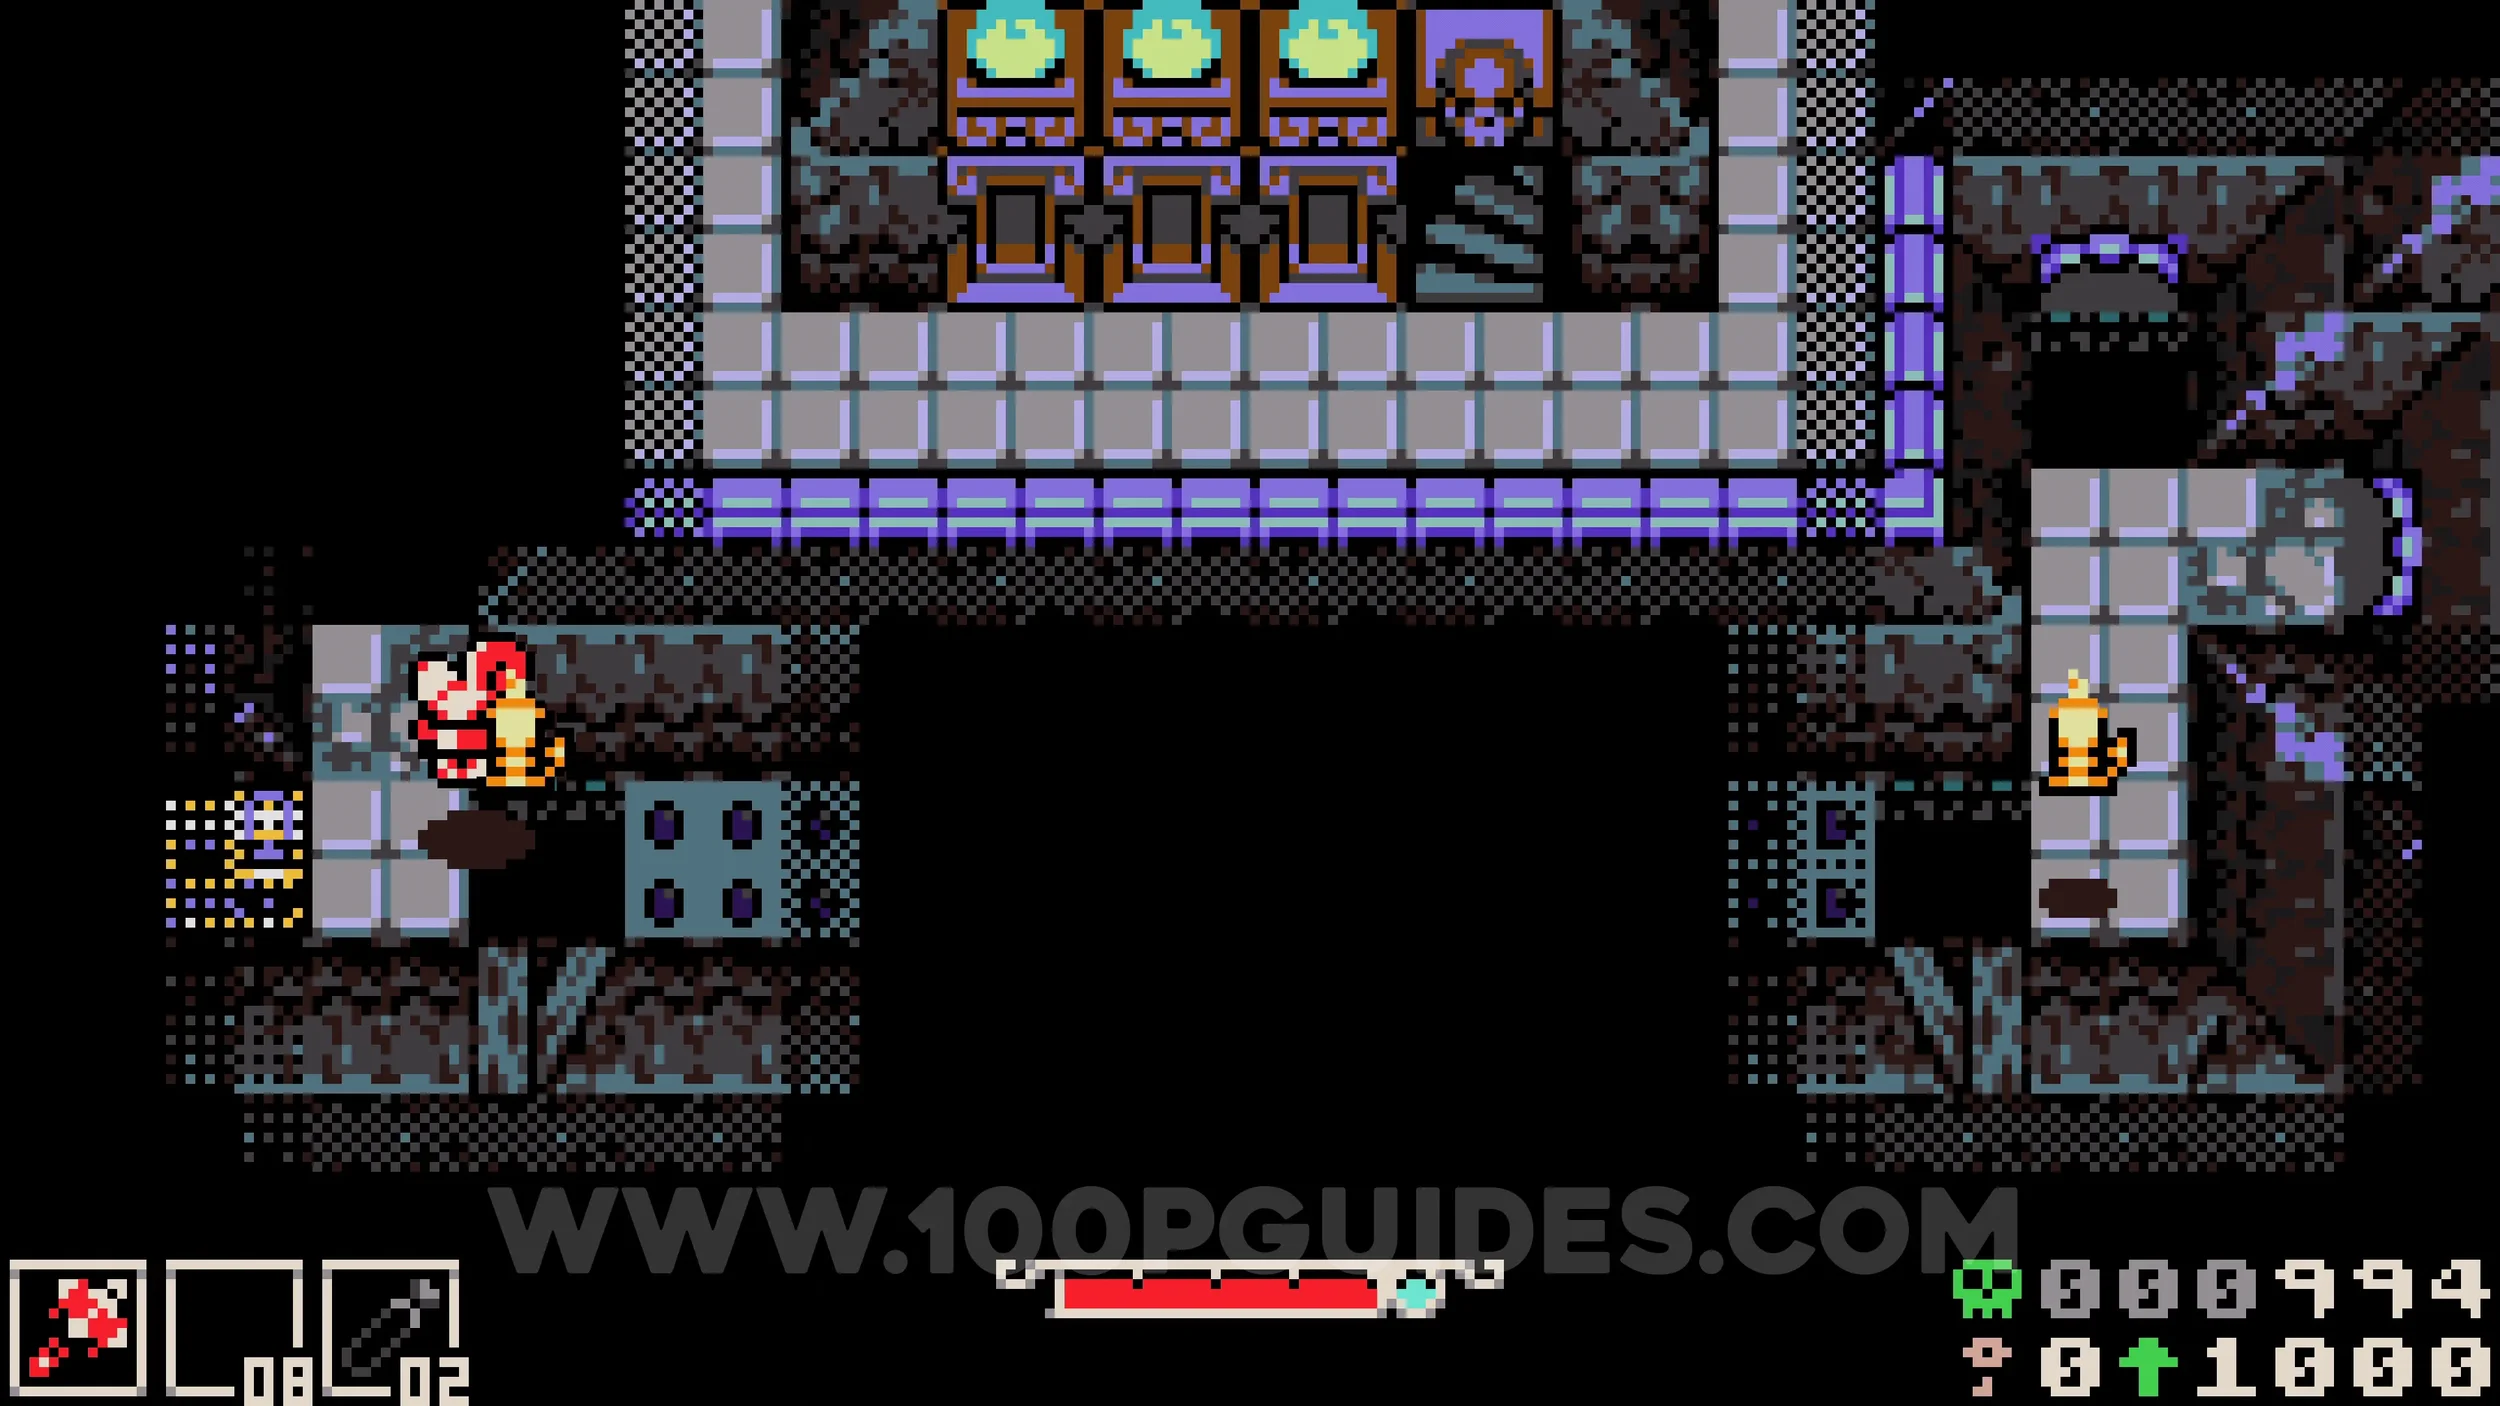
Bonestone #5. Found in the same cave as the previous bonestone. Continue past it and go through the tunnel to reach the right side, where you will find the next chest.
Vial Pouch #1. Once you exit the dark cave, jump down to the graveyard below where the NPC is. Destroy the second grave from the left on the top row to reveal a hole in the ground. Drop down to find the collectible.
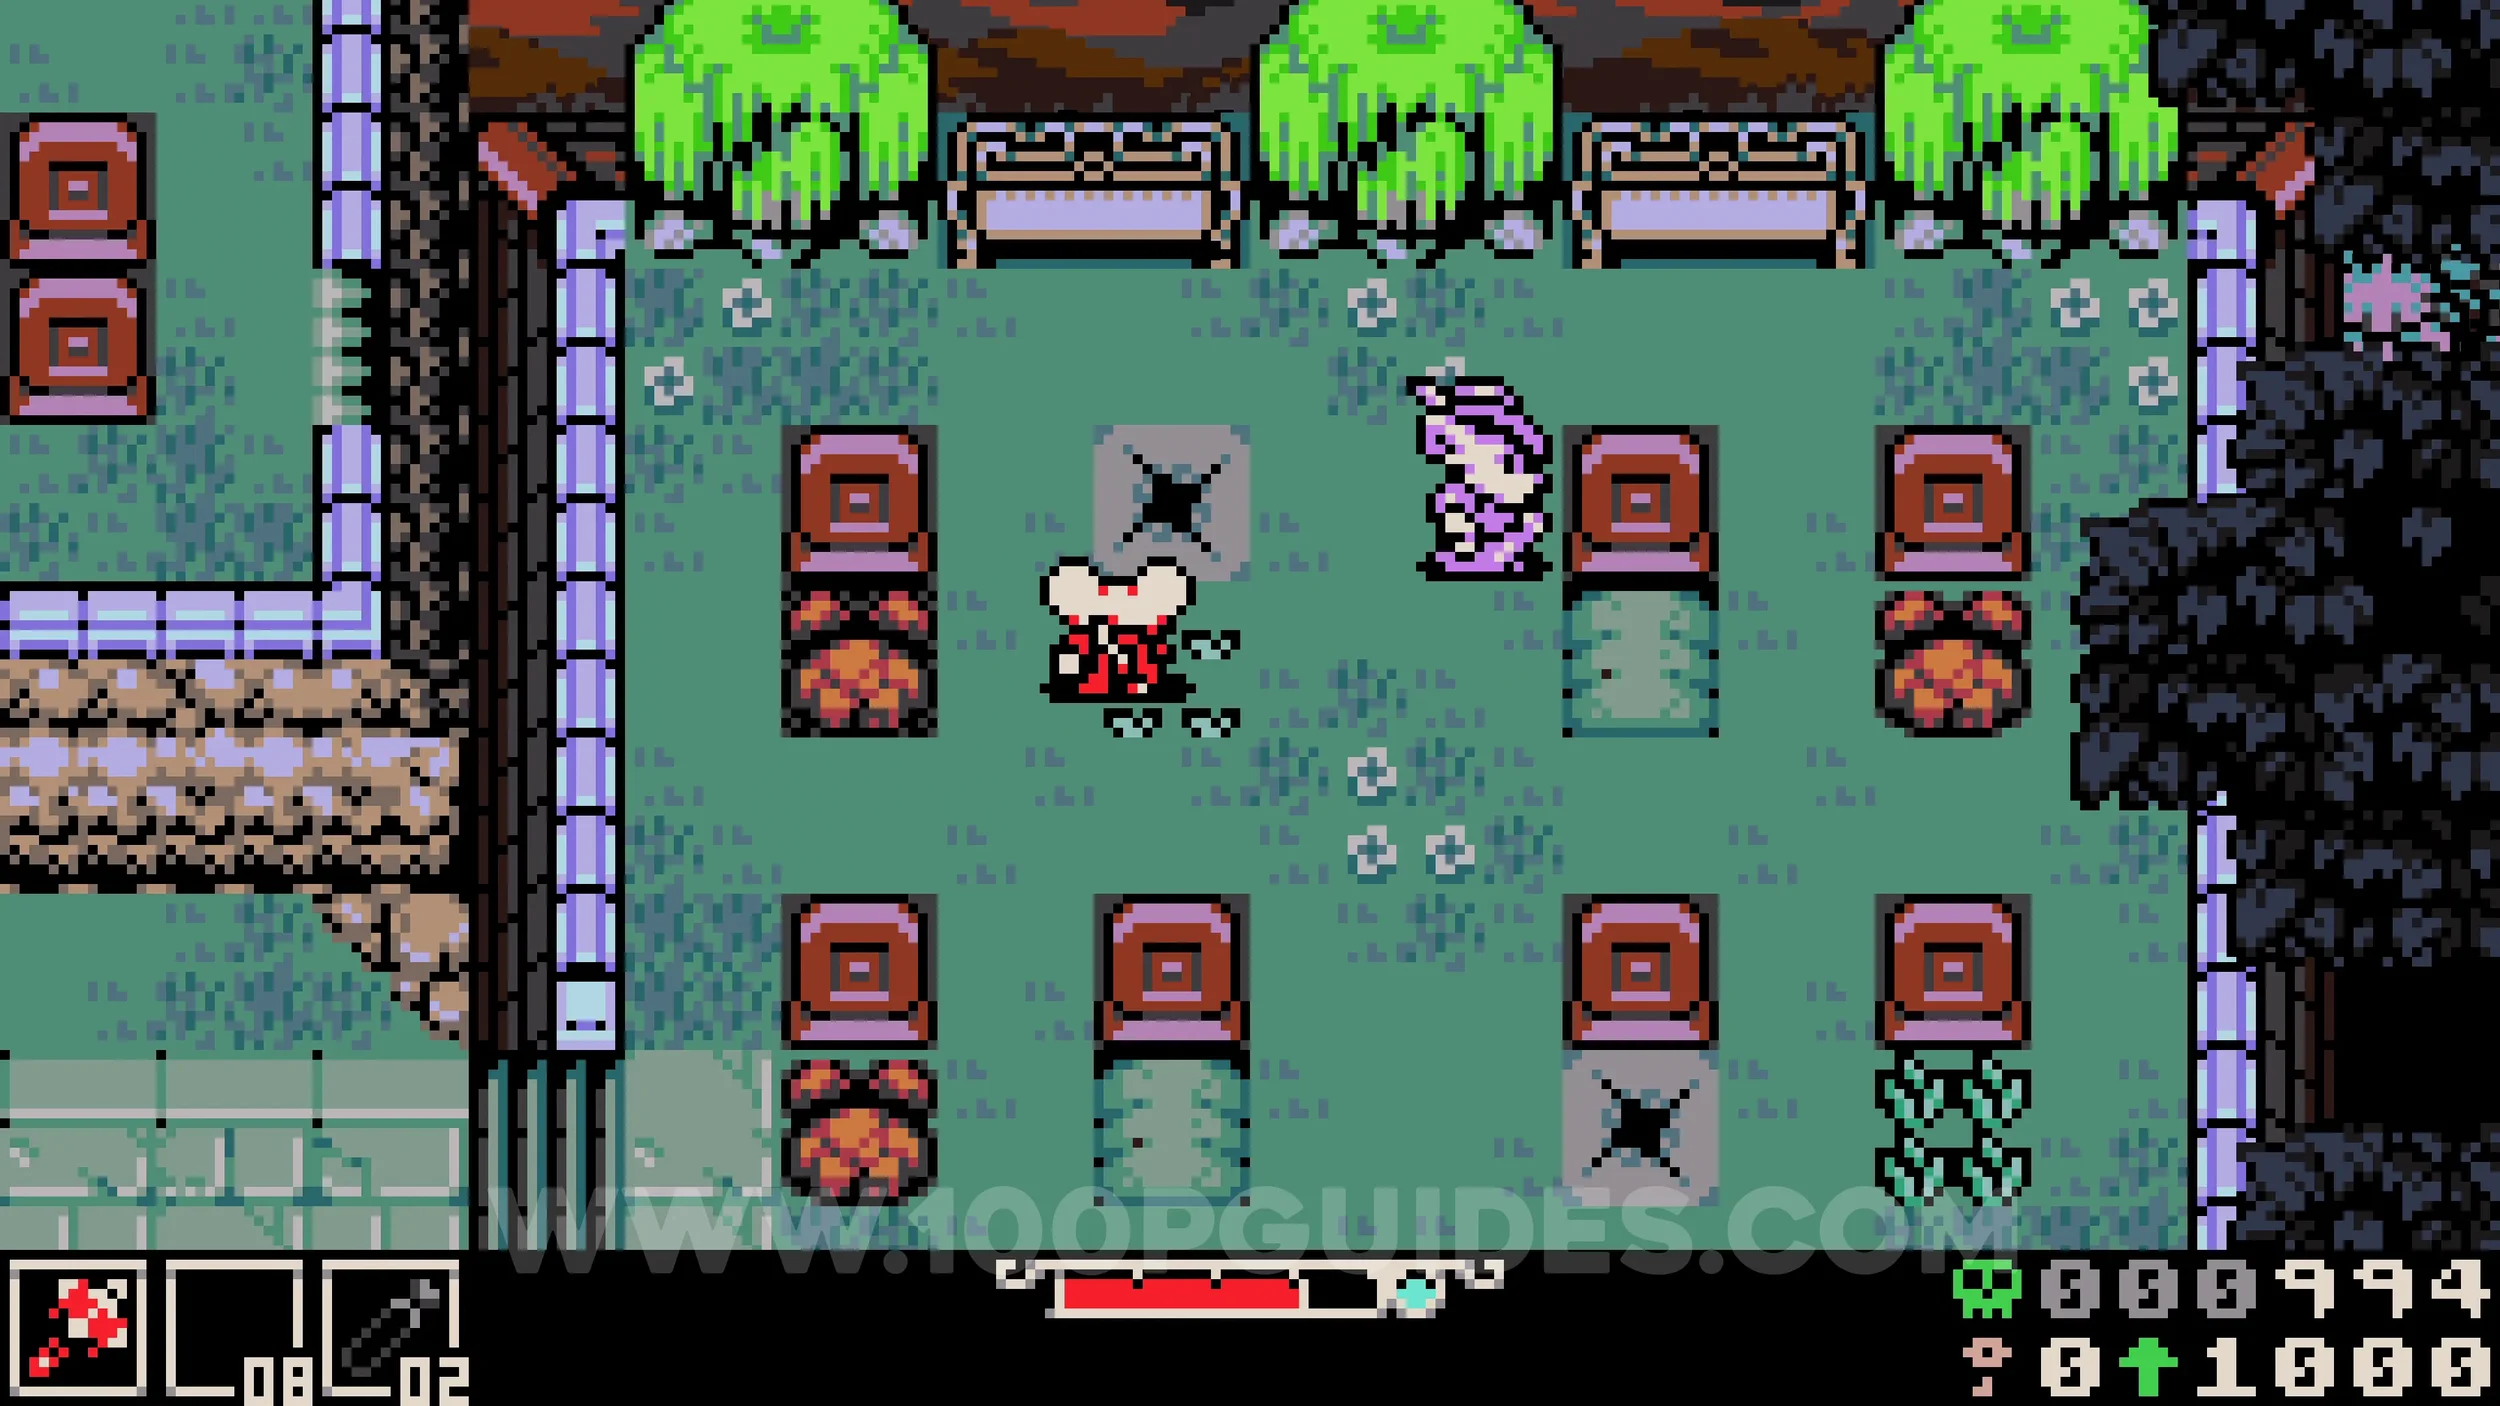
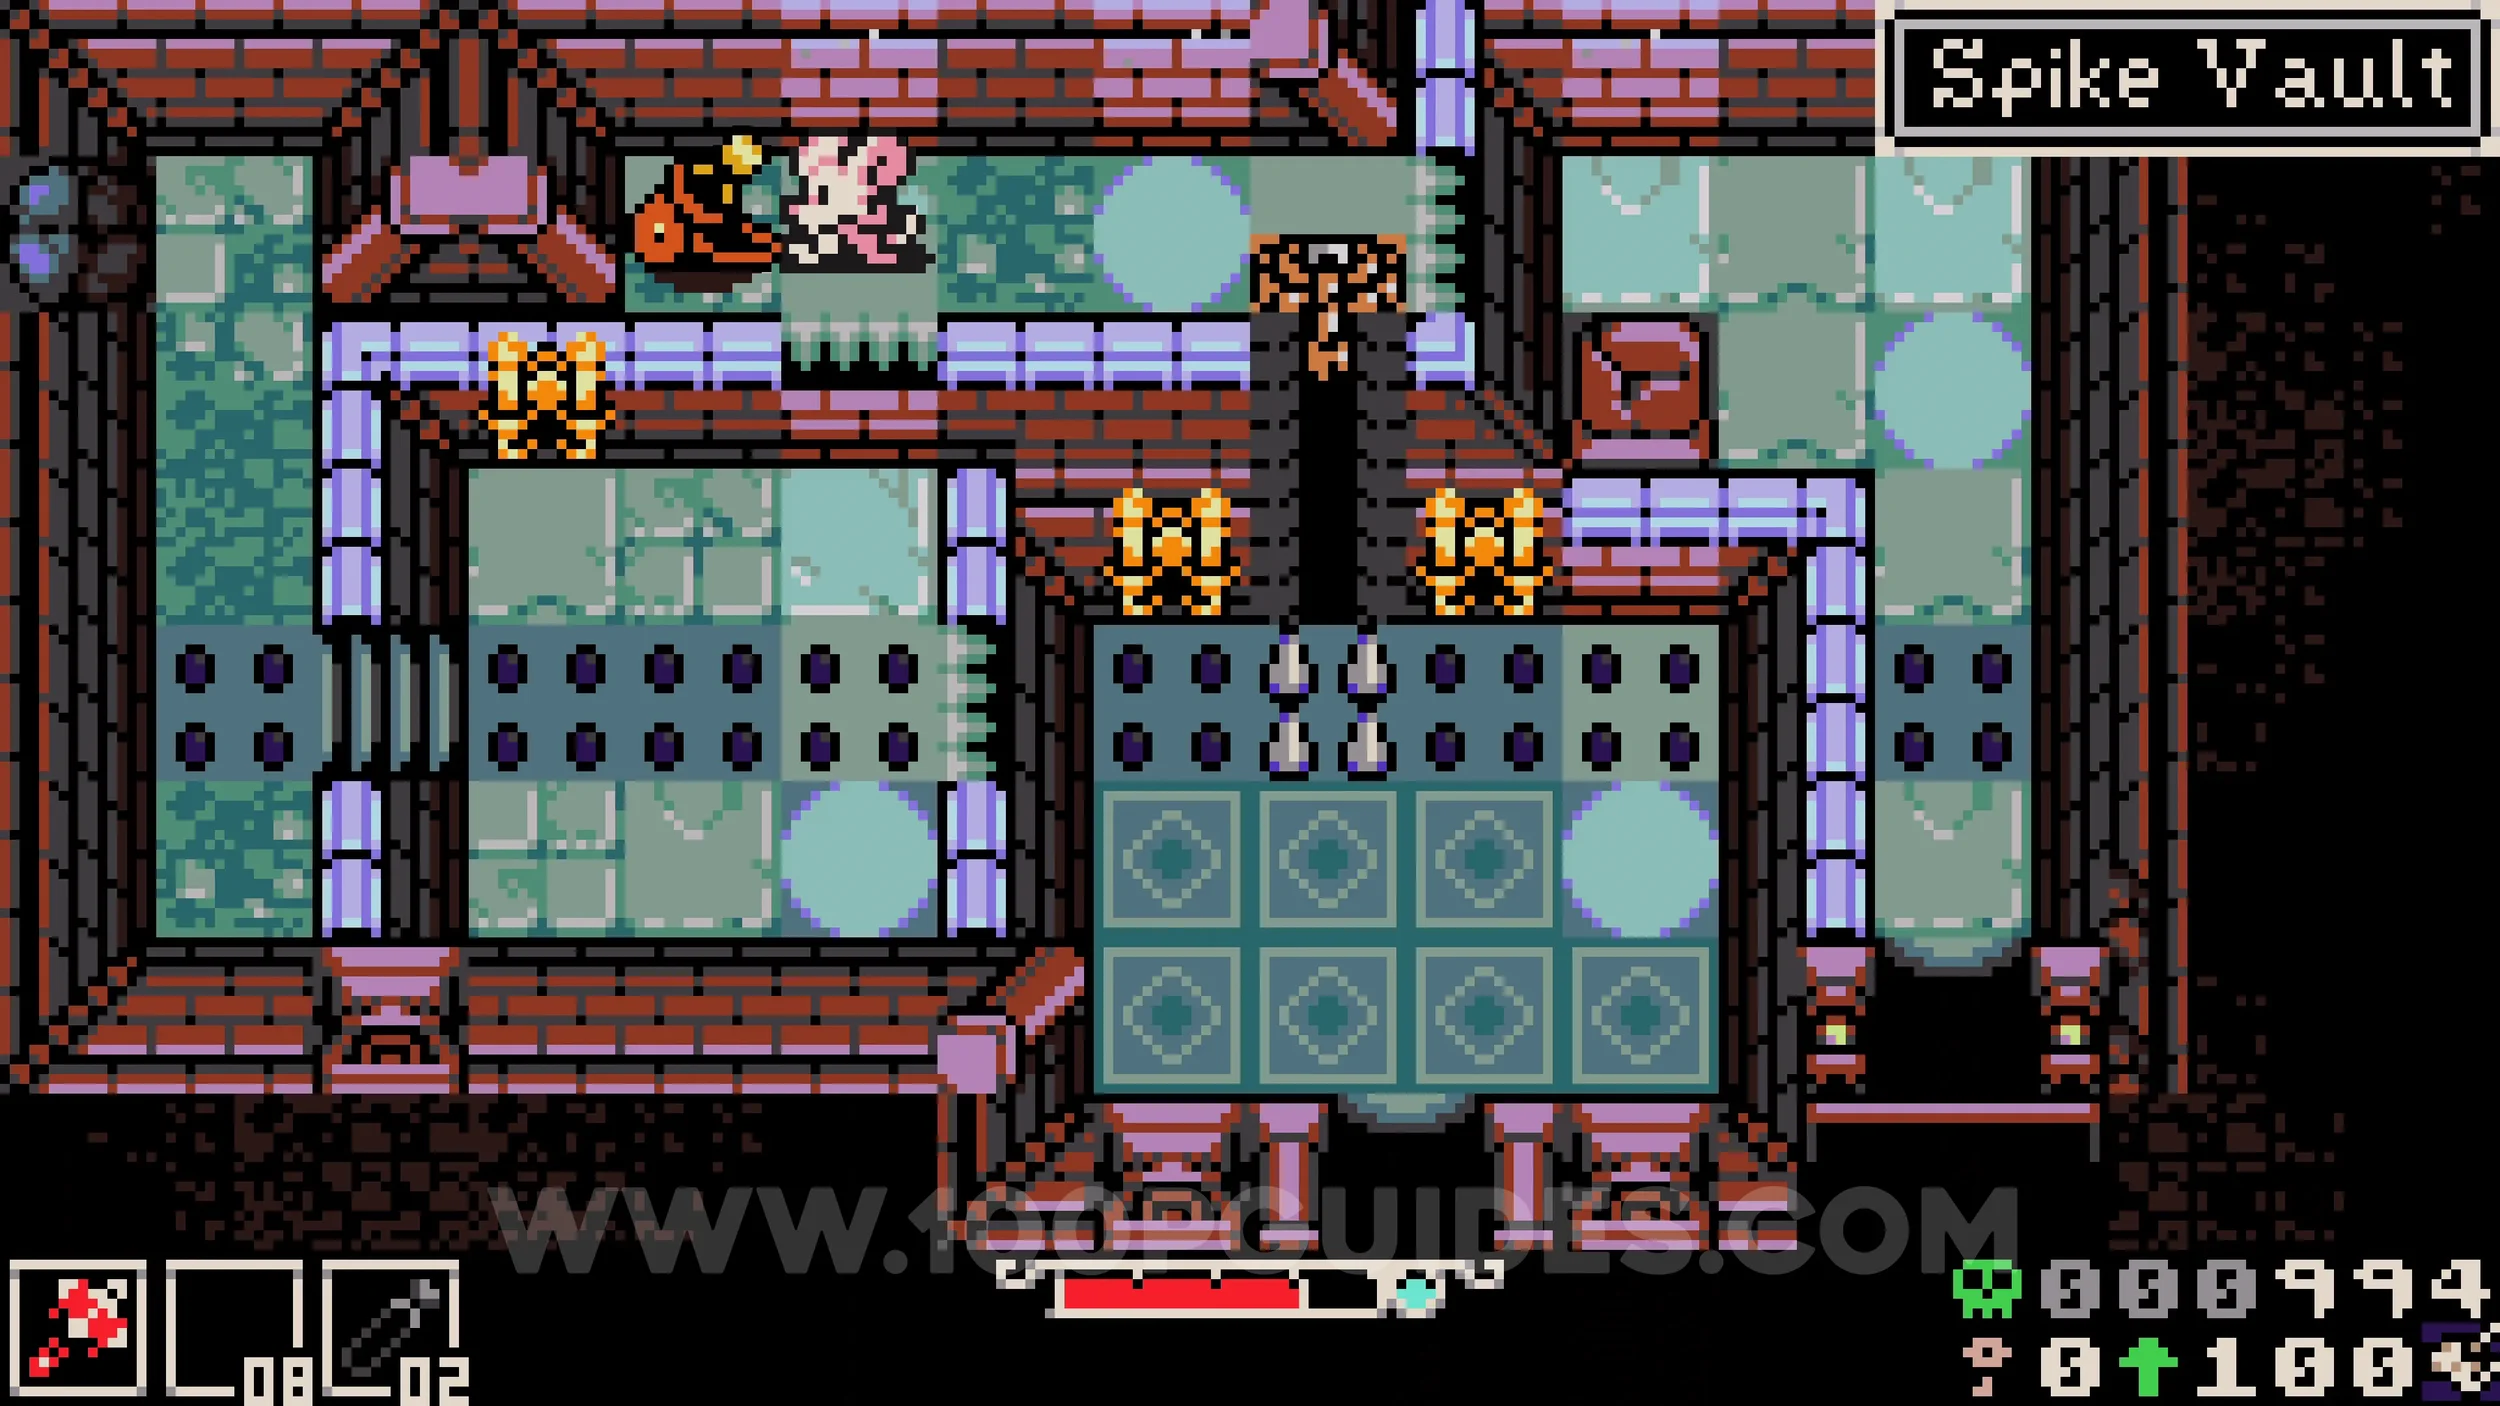
Kear #2. In the same room as the previous collectible, break the wall in the top left corner, then break another wall in the top left corner of that room to reveal the room containing the key.
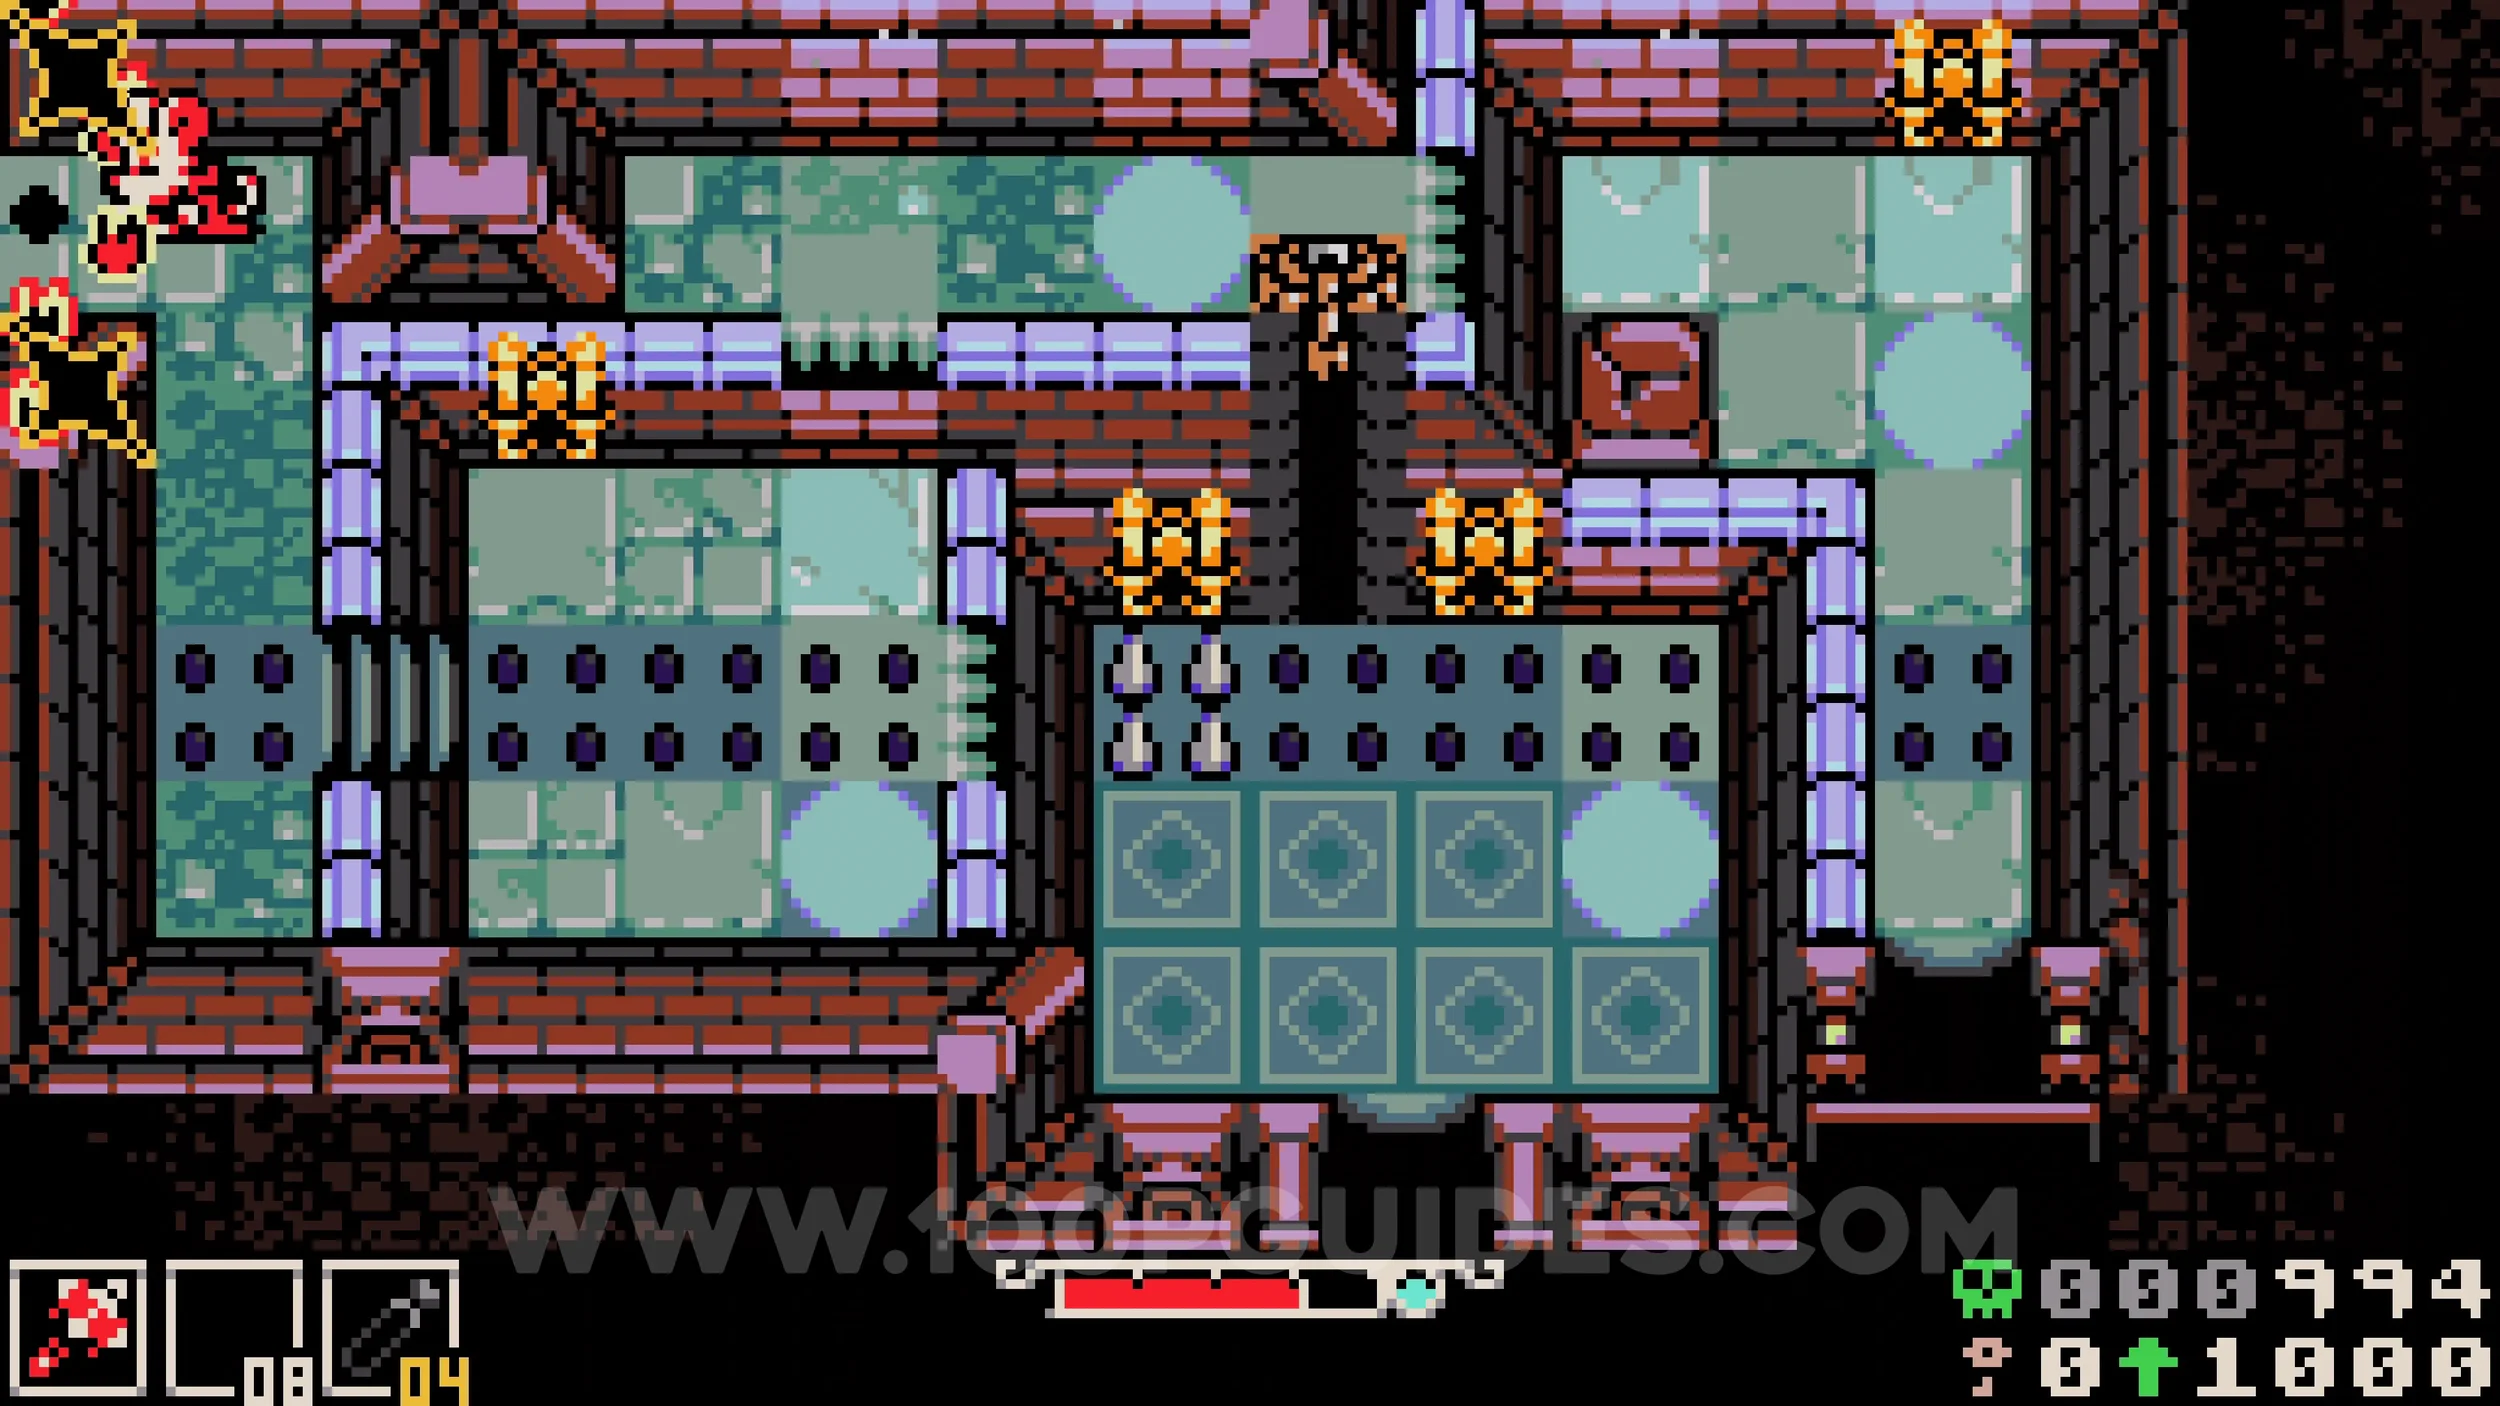
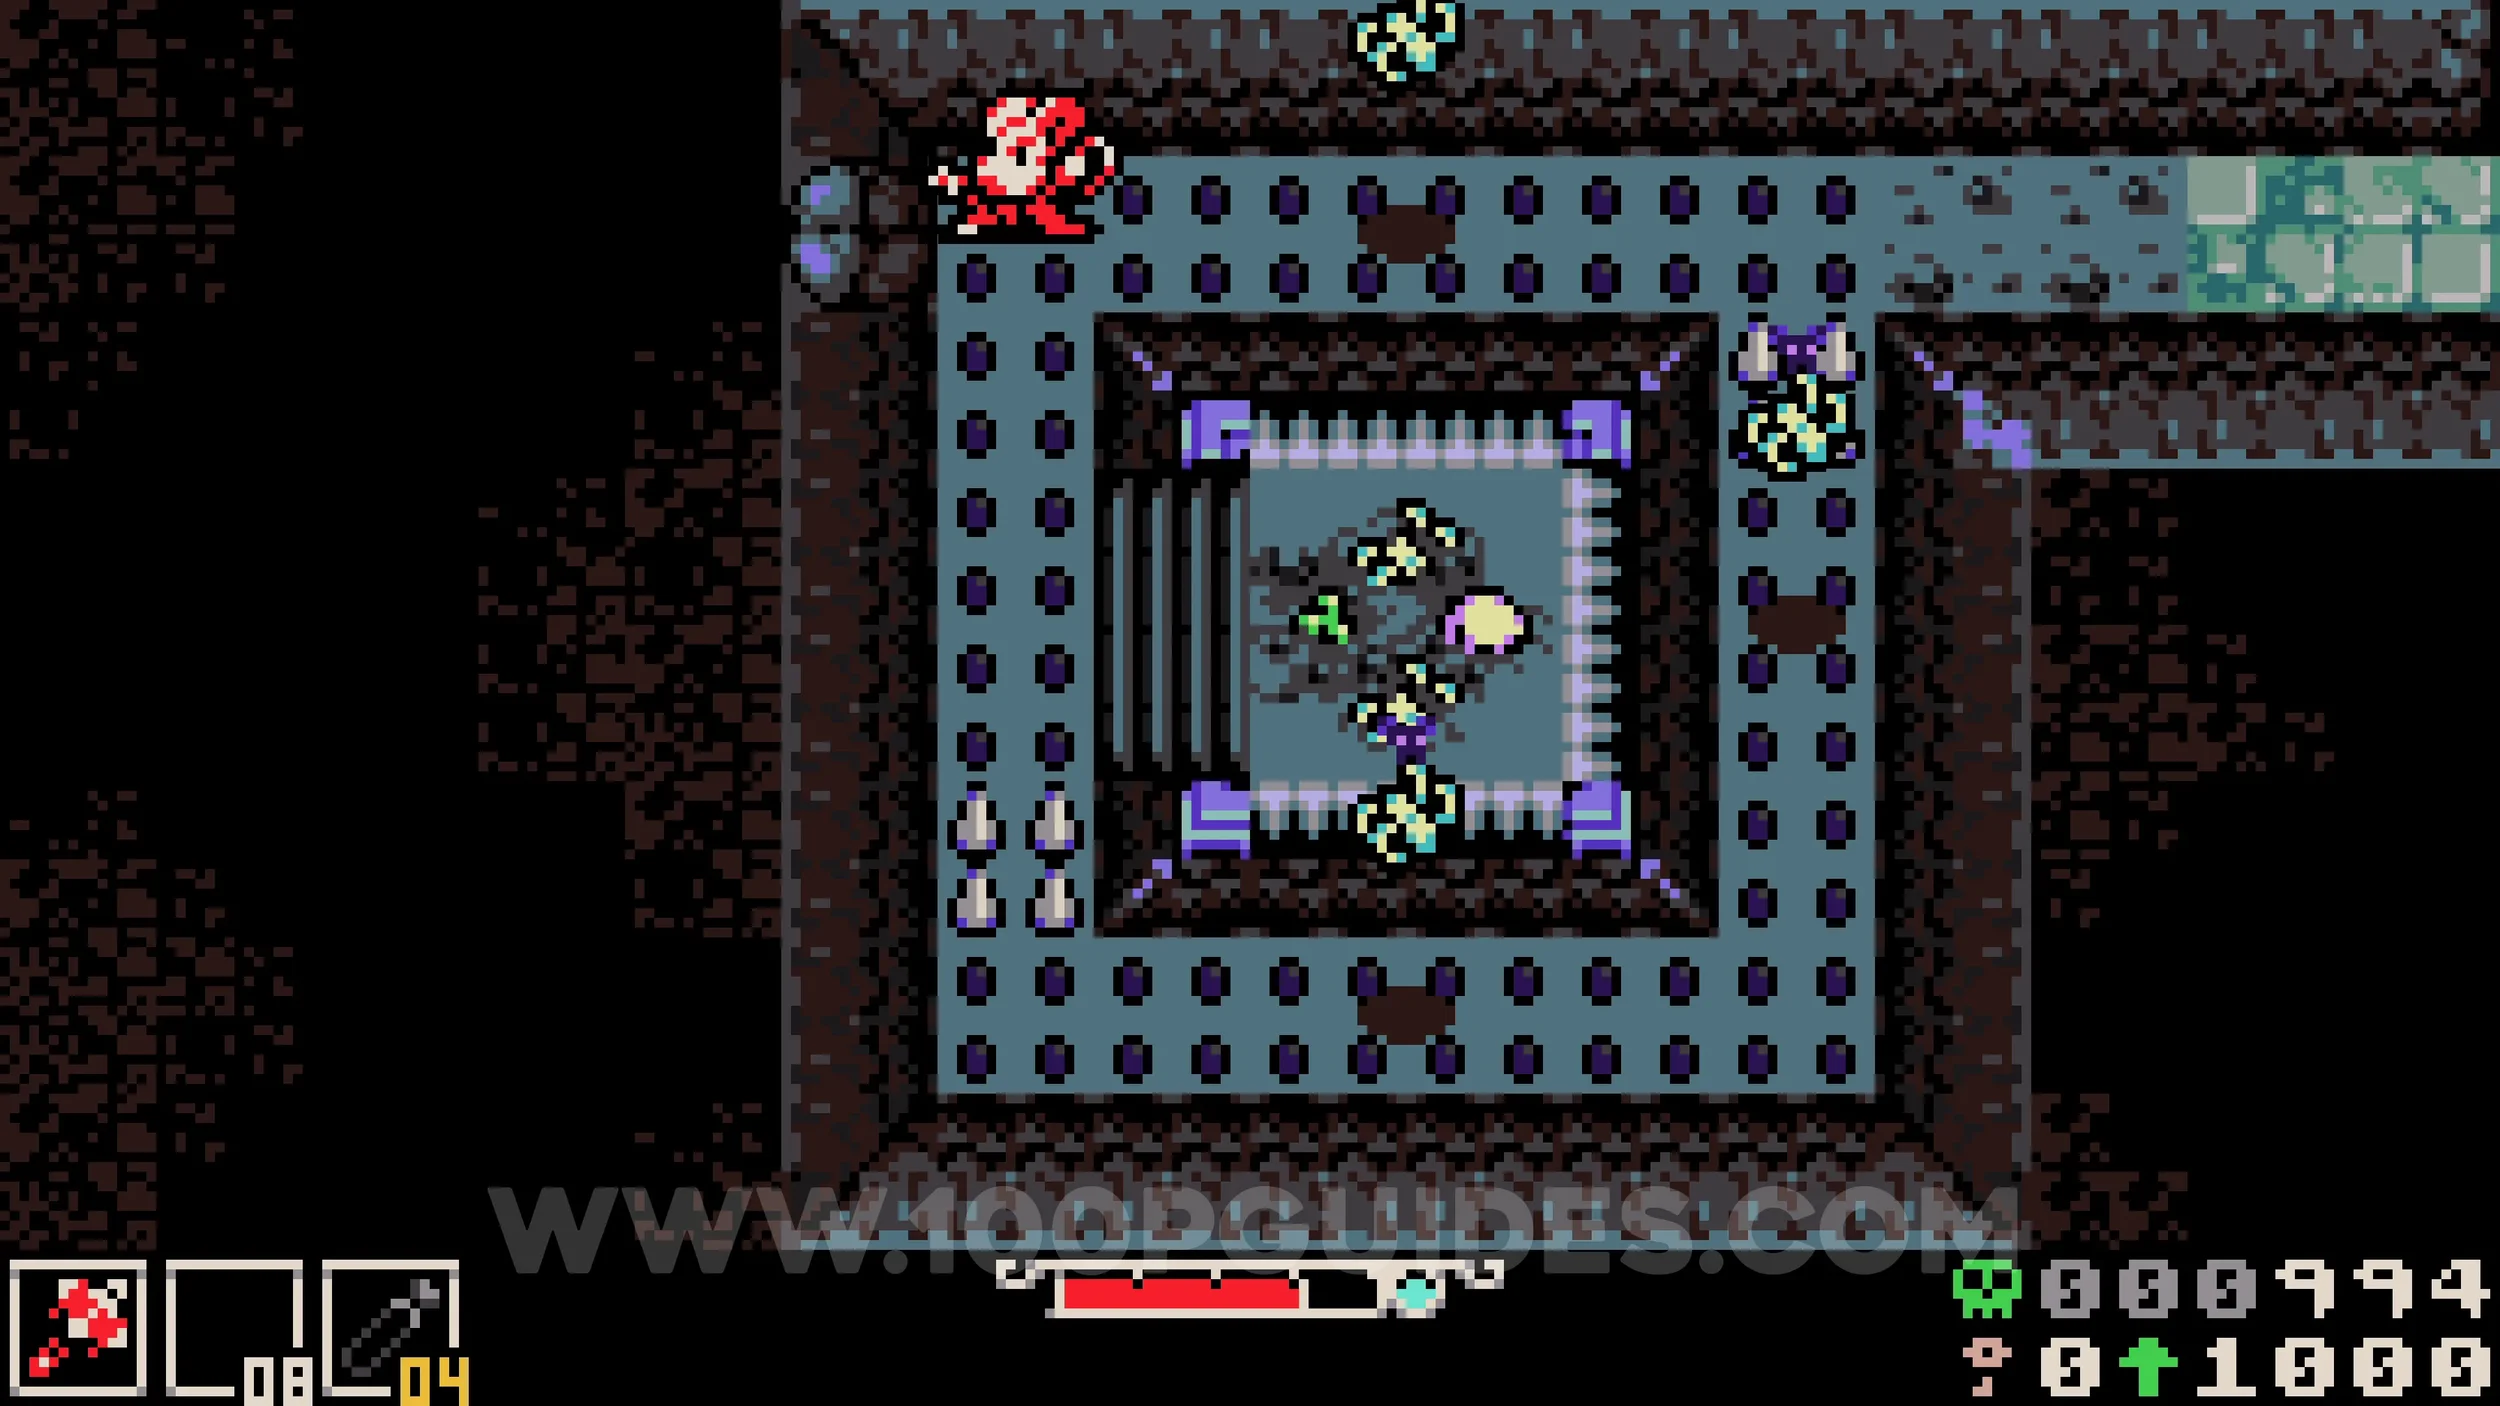
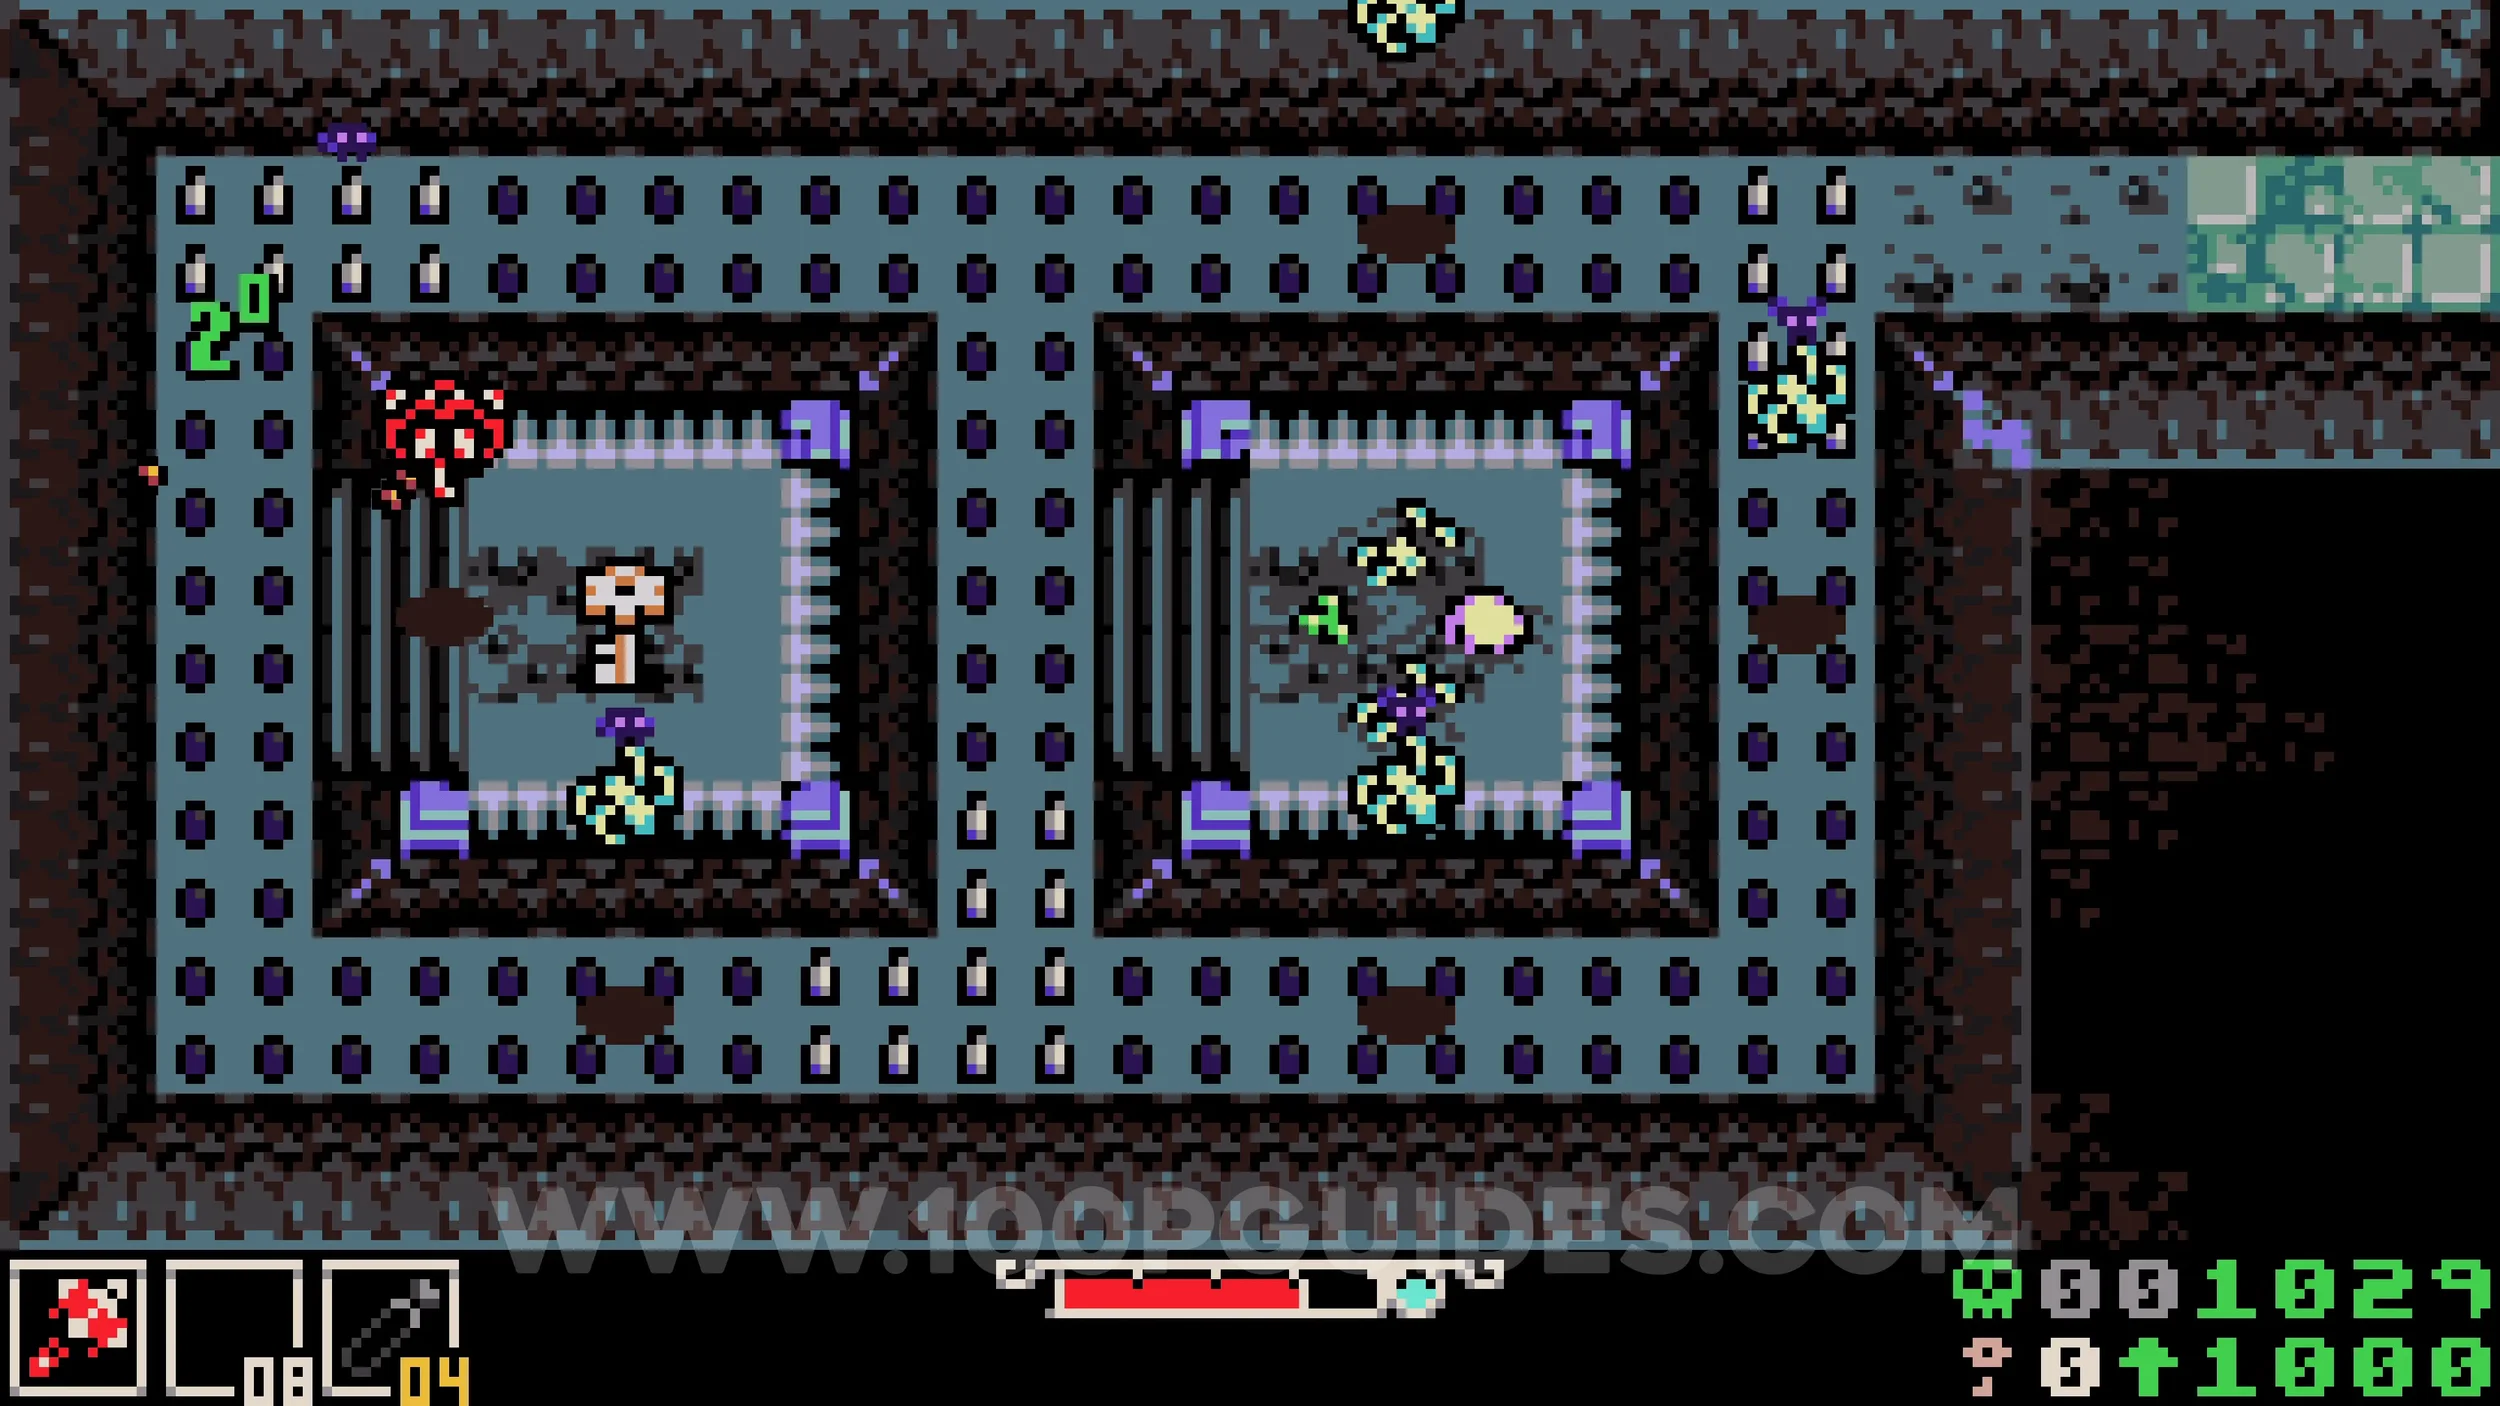
Bonestone #6. After pressing the switch to remove the spikes on the story path and going right, look for an exit at the bottom of the stairs going down to an area filled with spikes. To reach the collectible, equip the Spike Spurs trinket obtained earlier in this area to reduce spike damage.
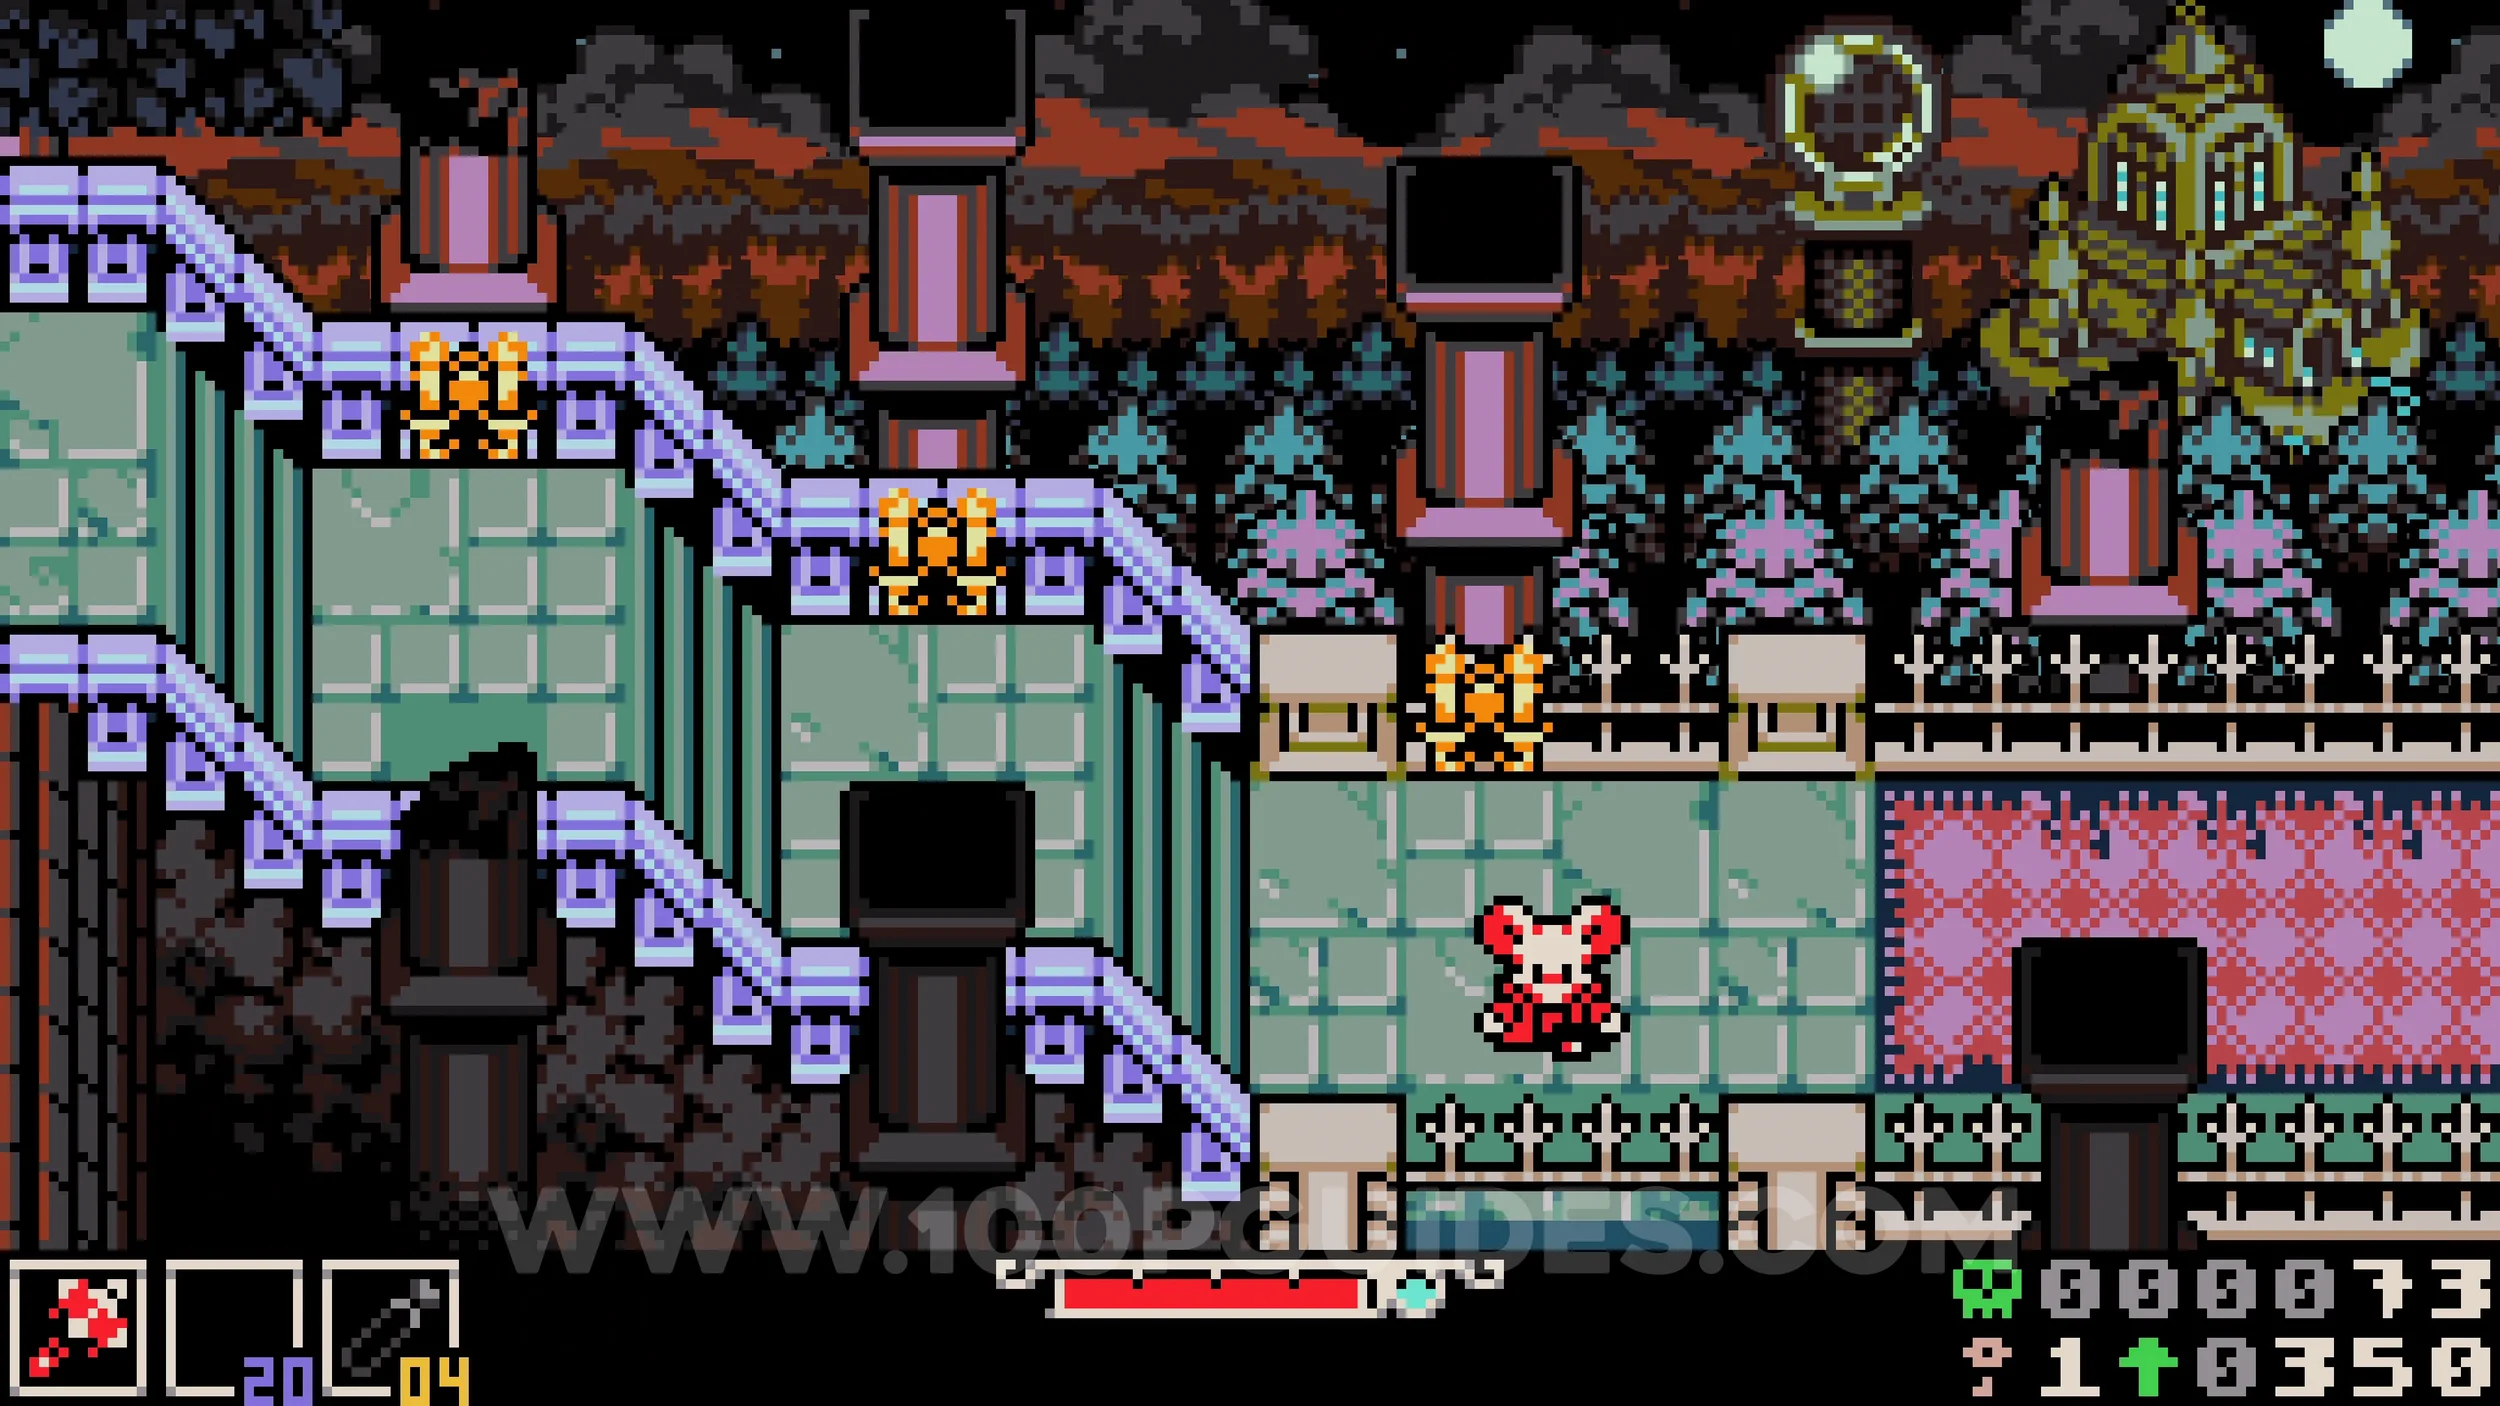
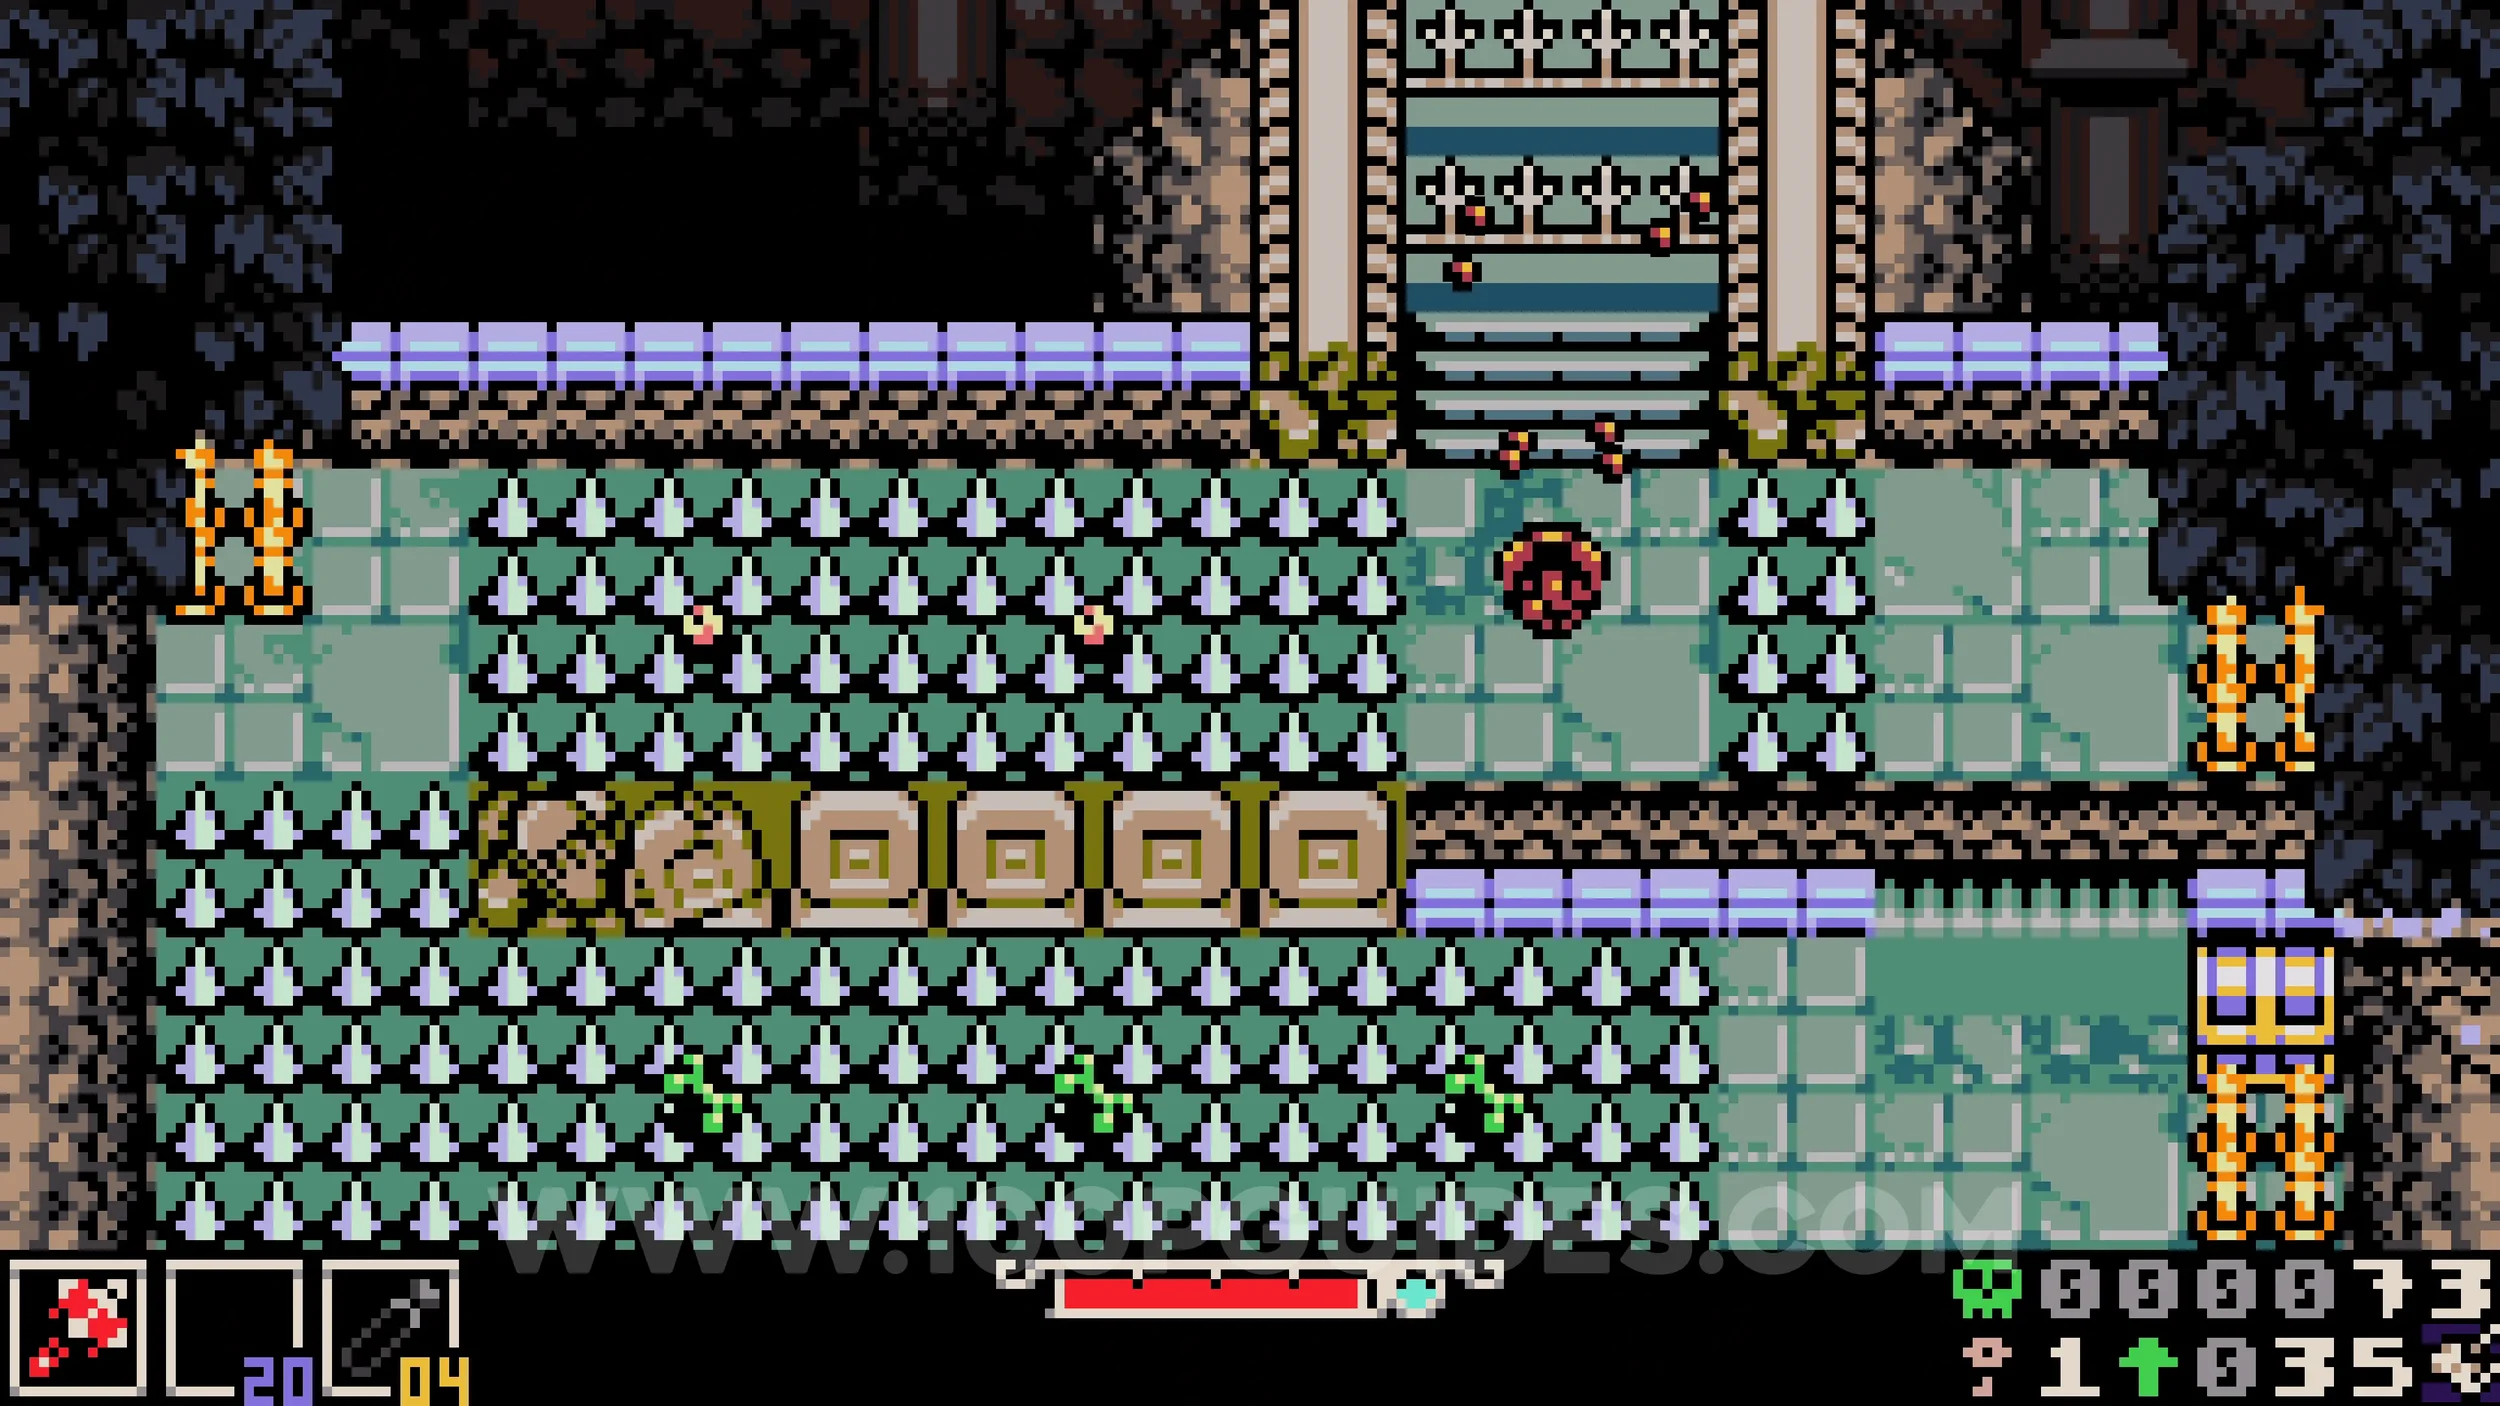
Lock #2-3. After finishing the Queensbury Crypt area and activating the tower at the end, you will have to backtrack to Ossex. On the way back, you will pass through the upper part of the dark cave visited earlier in this area, then emerge above the triple spark door. As soon as you do, stand on the switch to remove the spikes blocking the small hole on your left. Go through it to find the two locks.
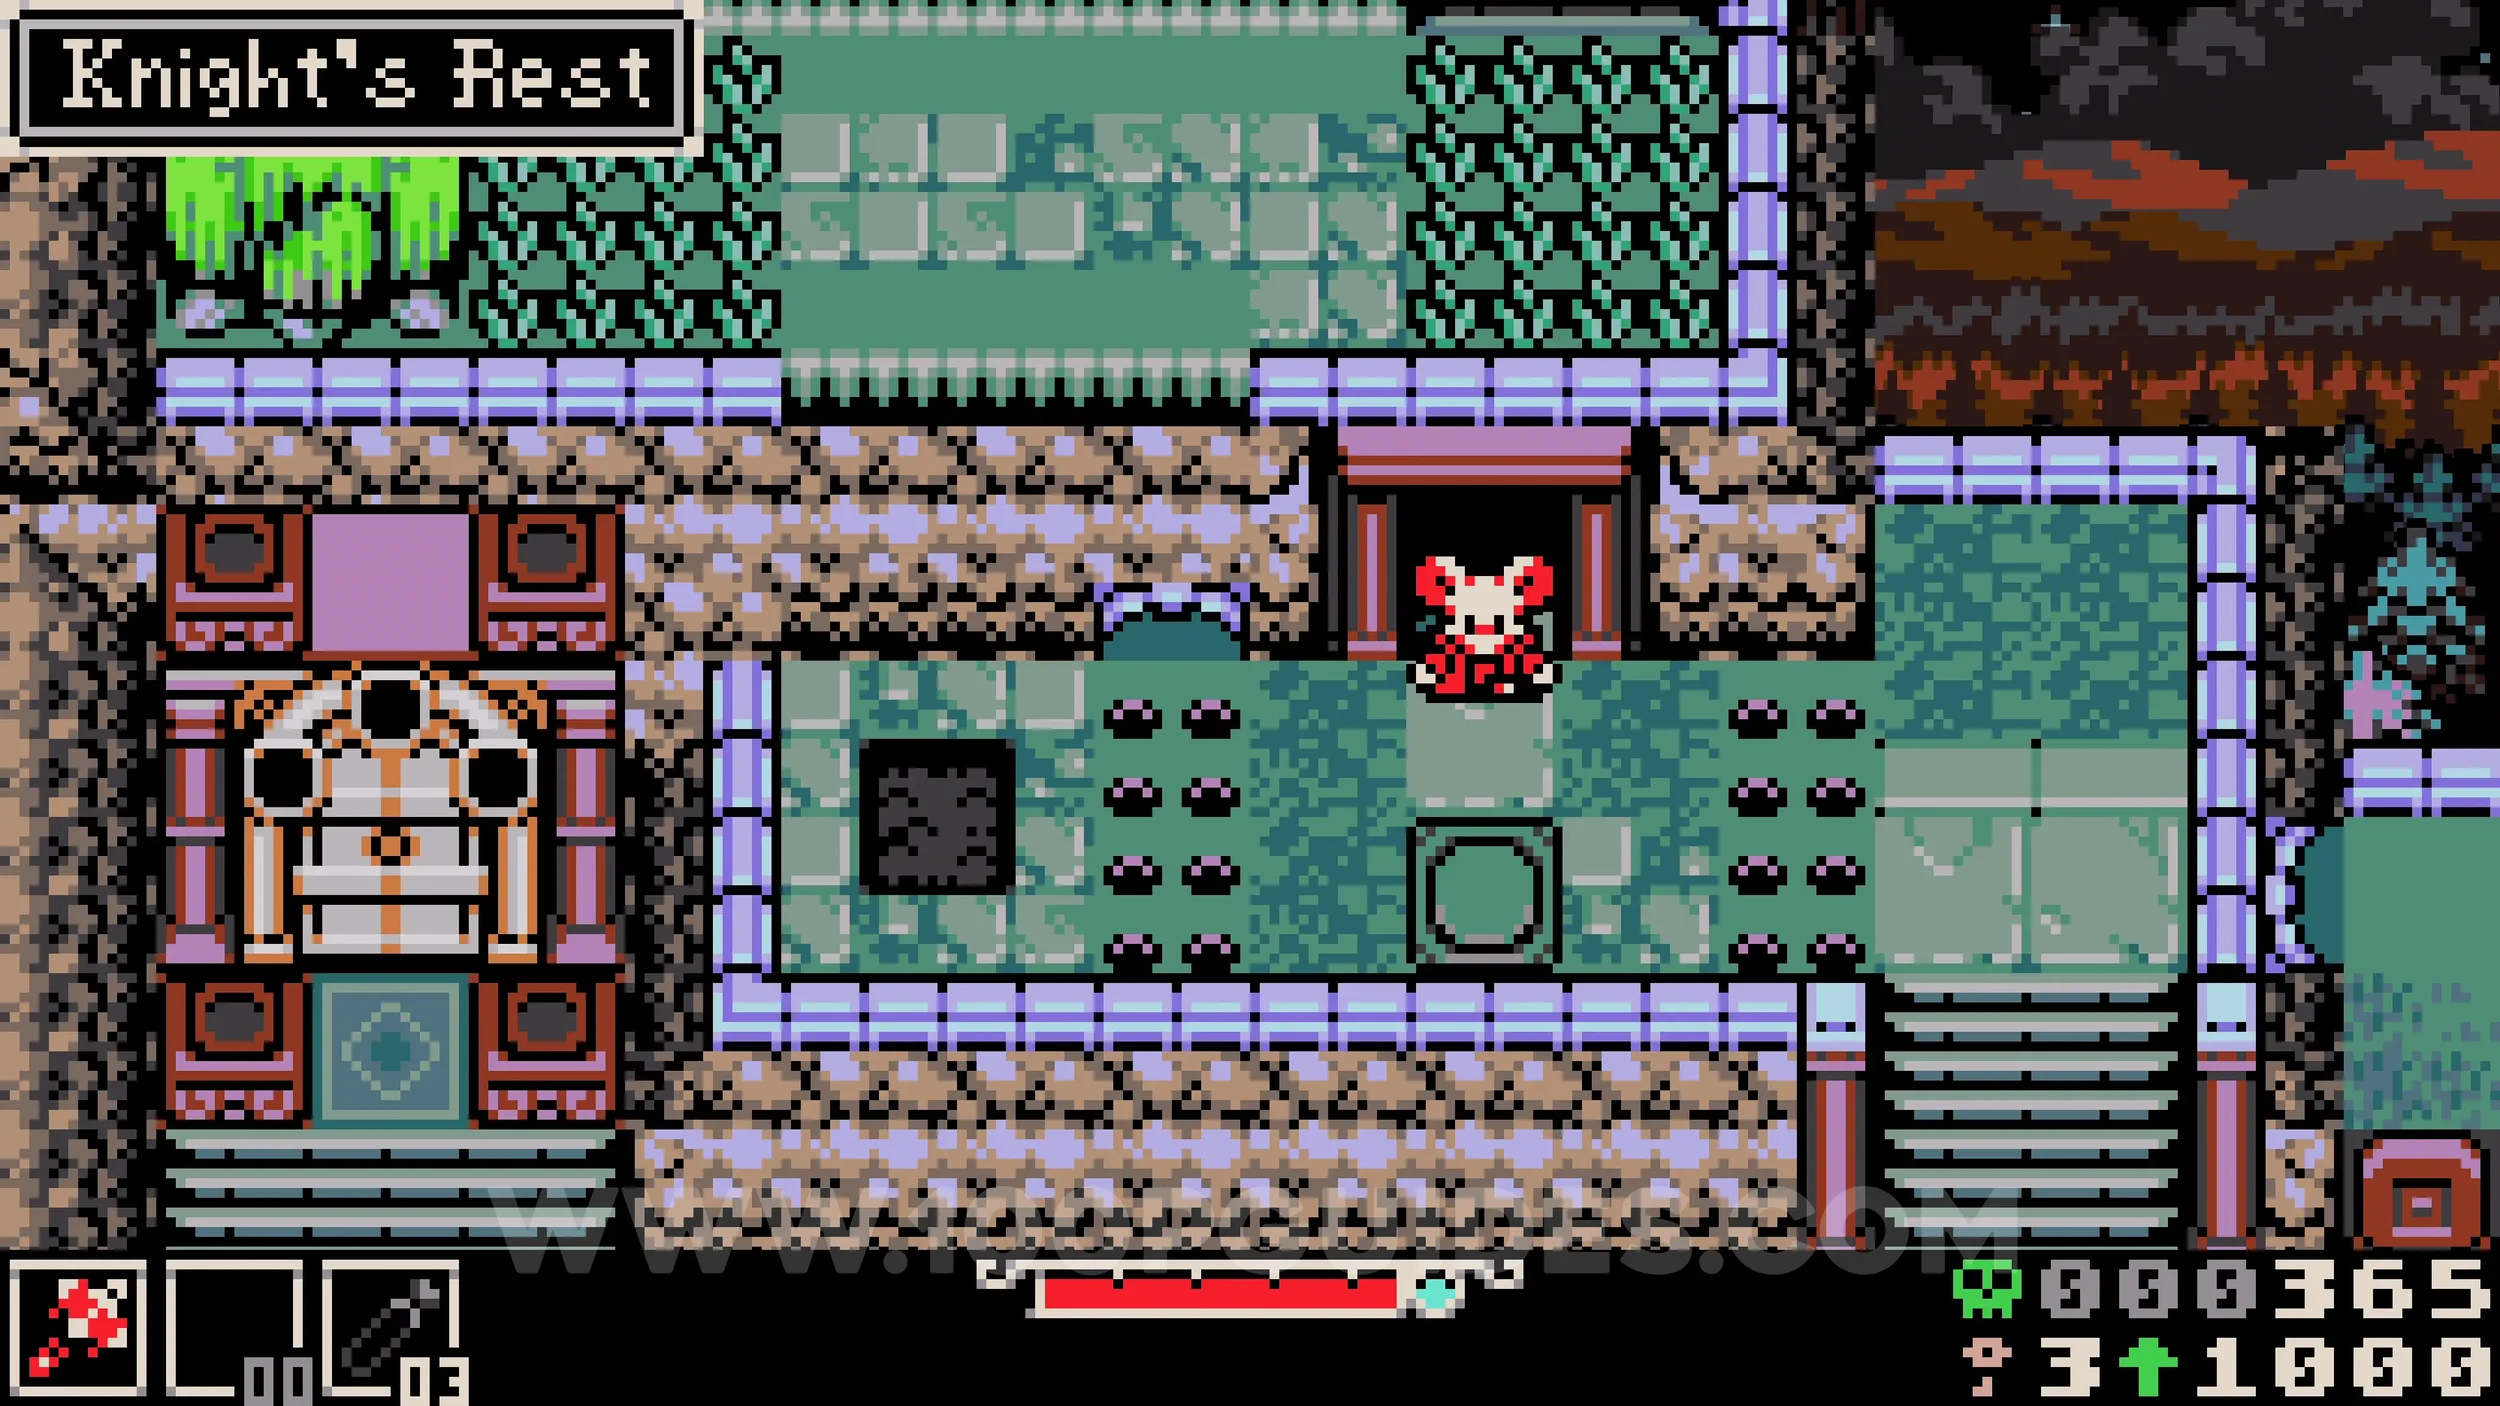
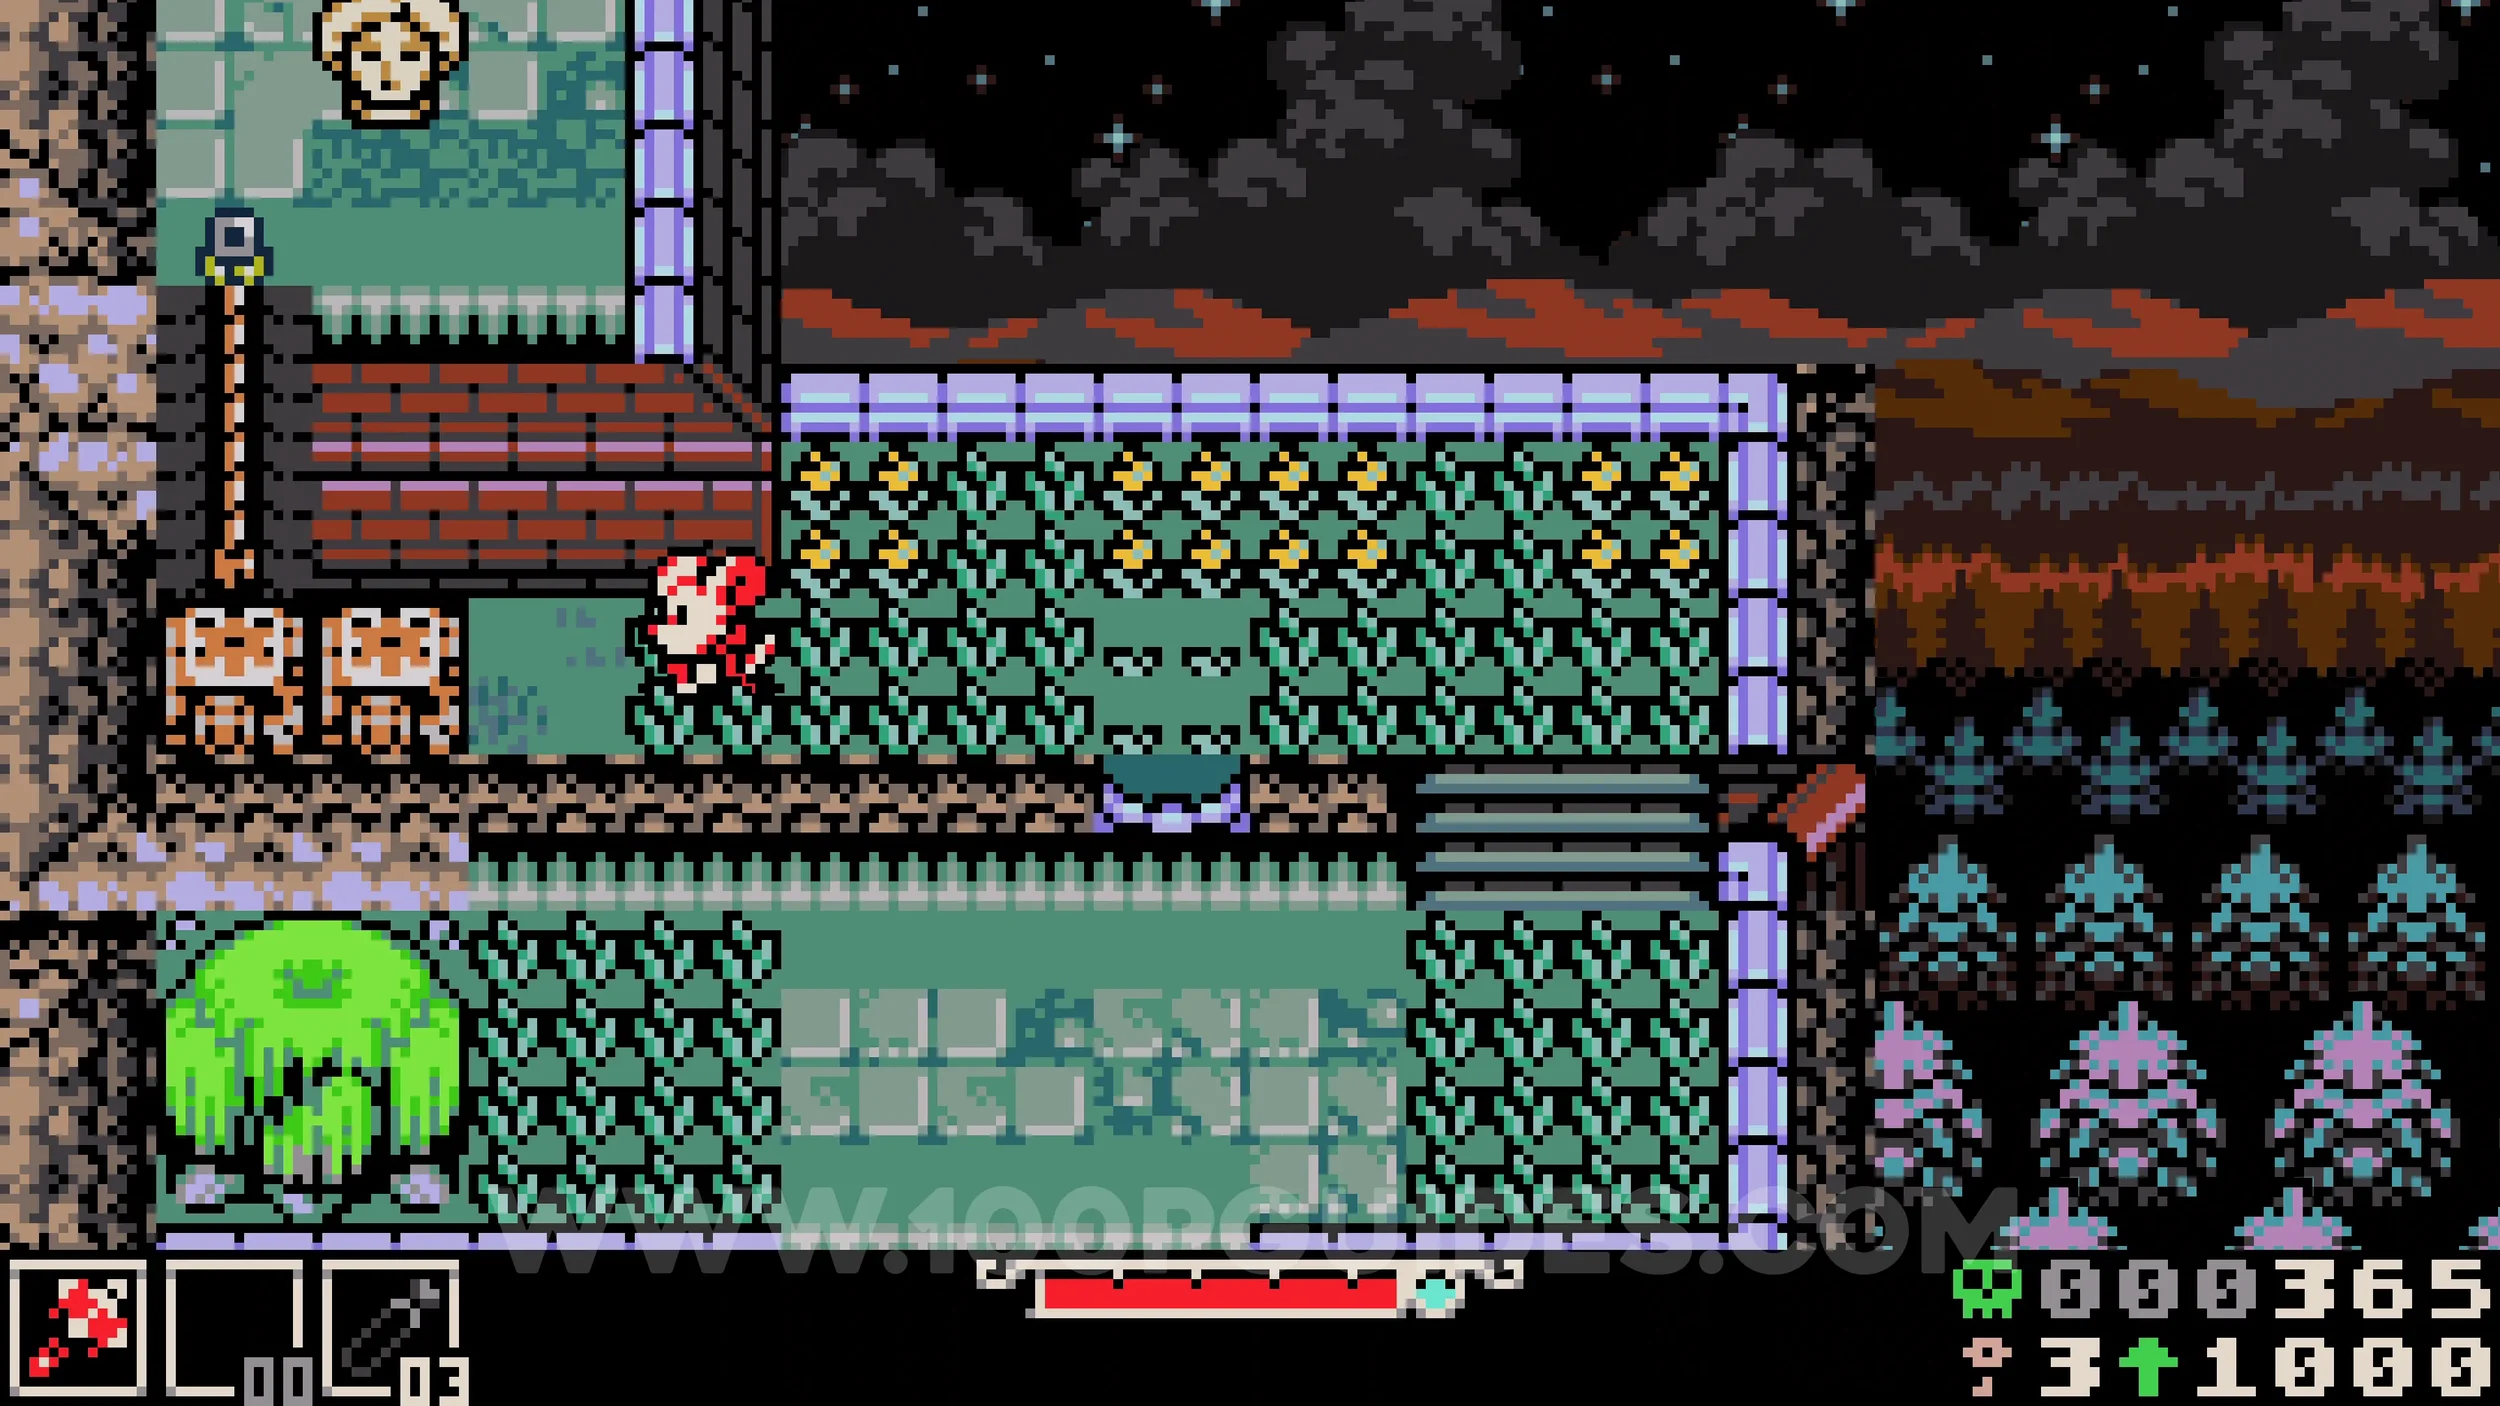
Bonestone #7. Head up the stairs just below the previous locks and look for a shiny spark on the floor. Burrow under it to collect the gem.
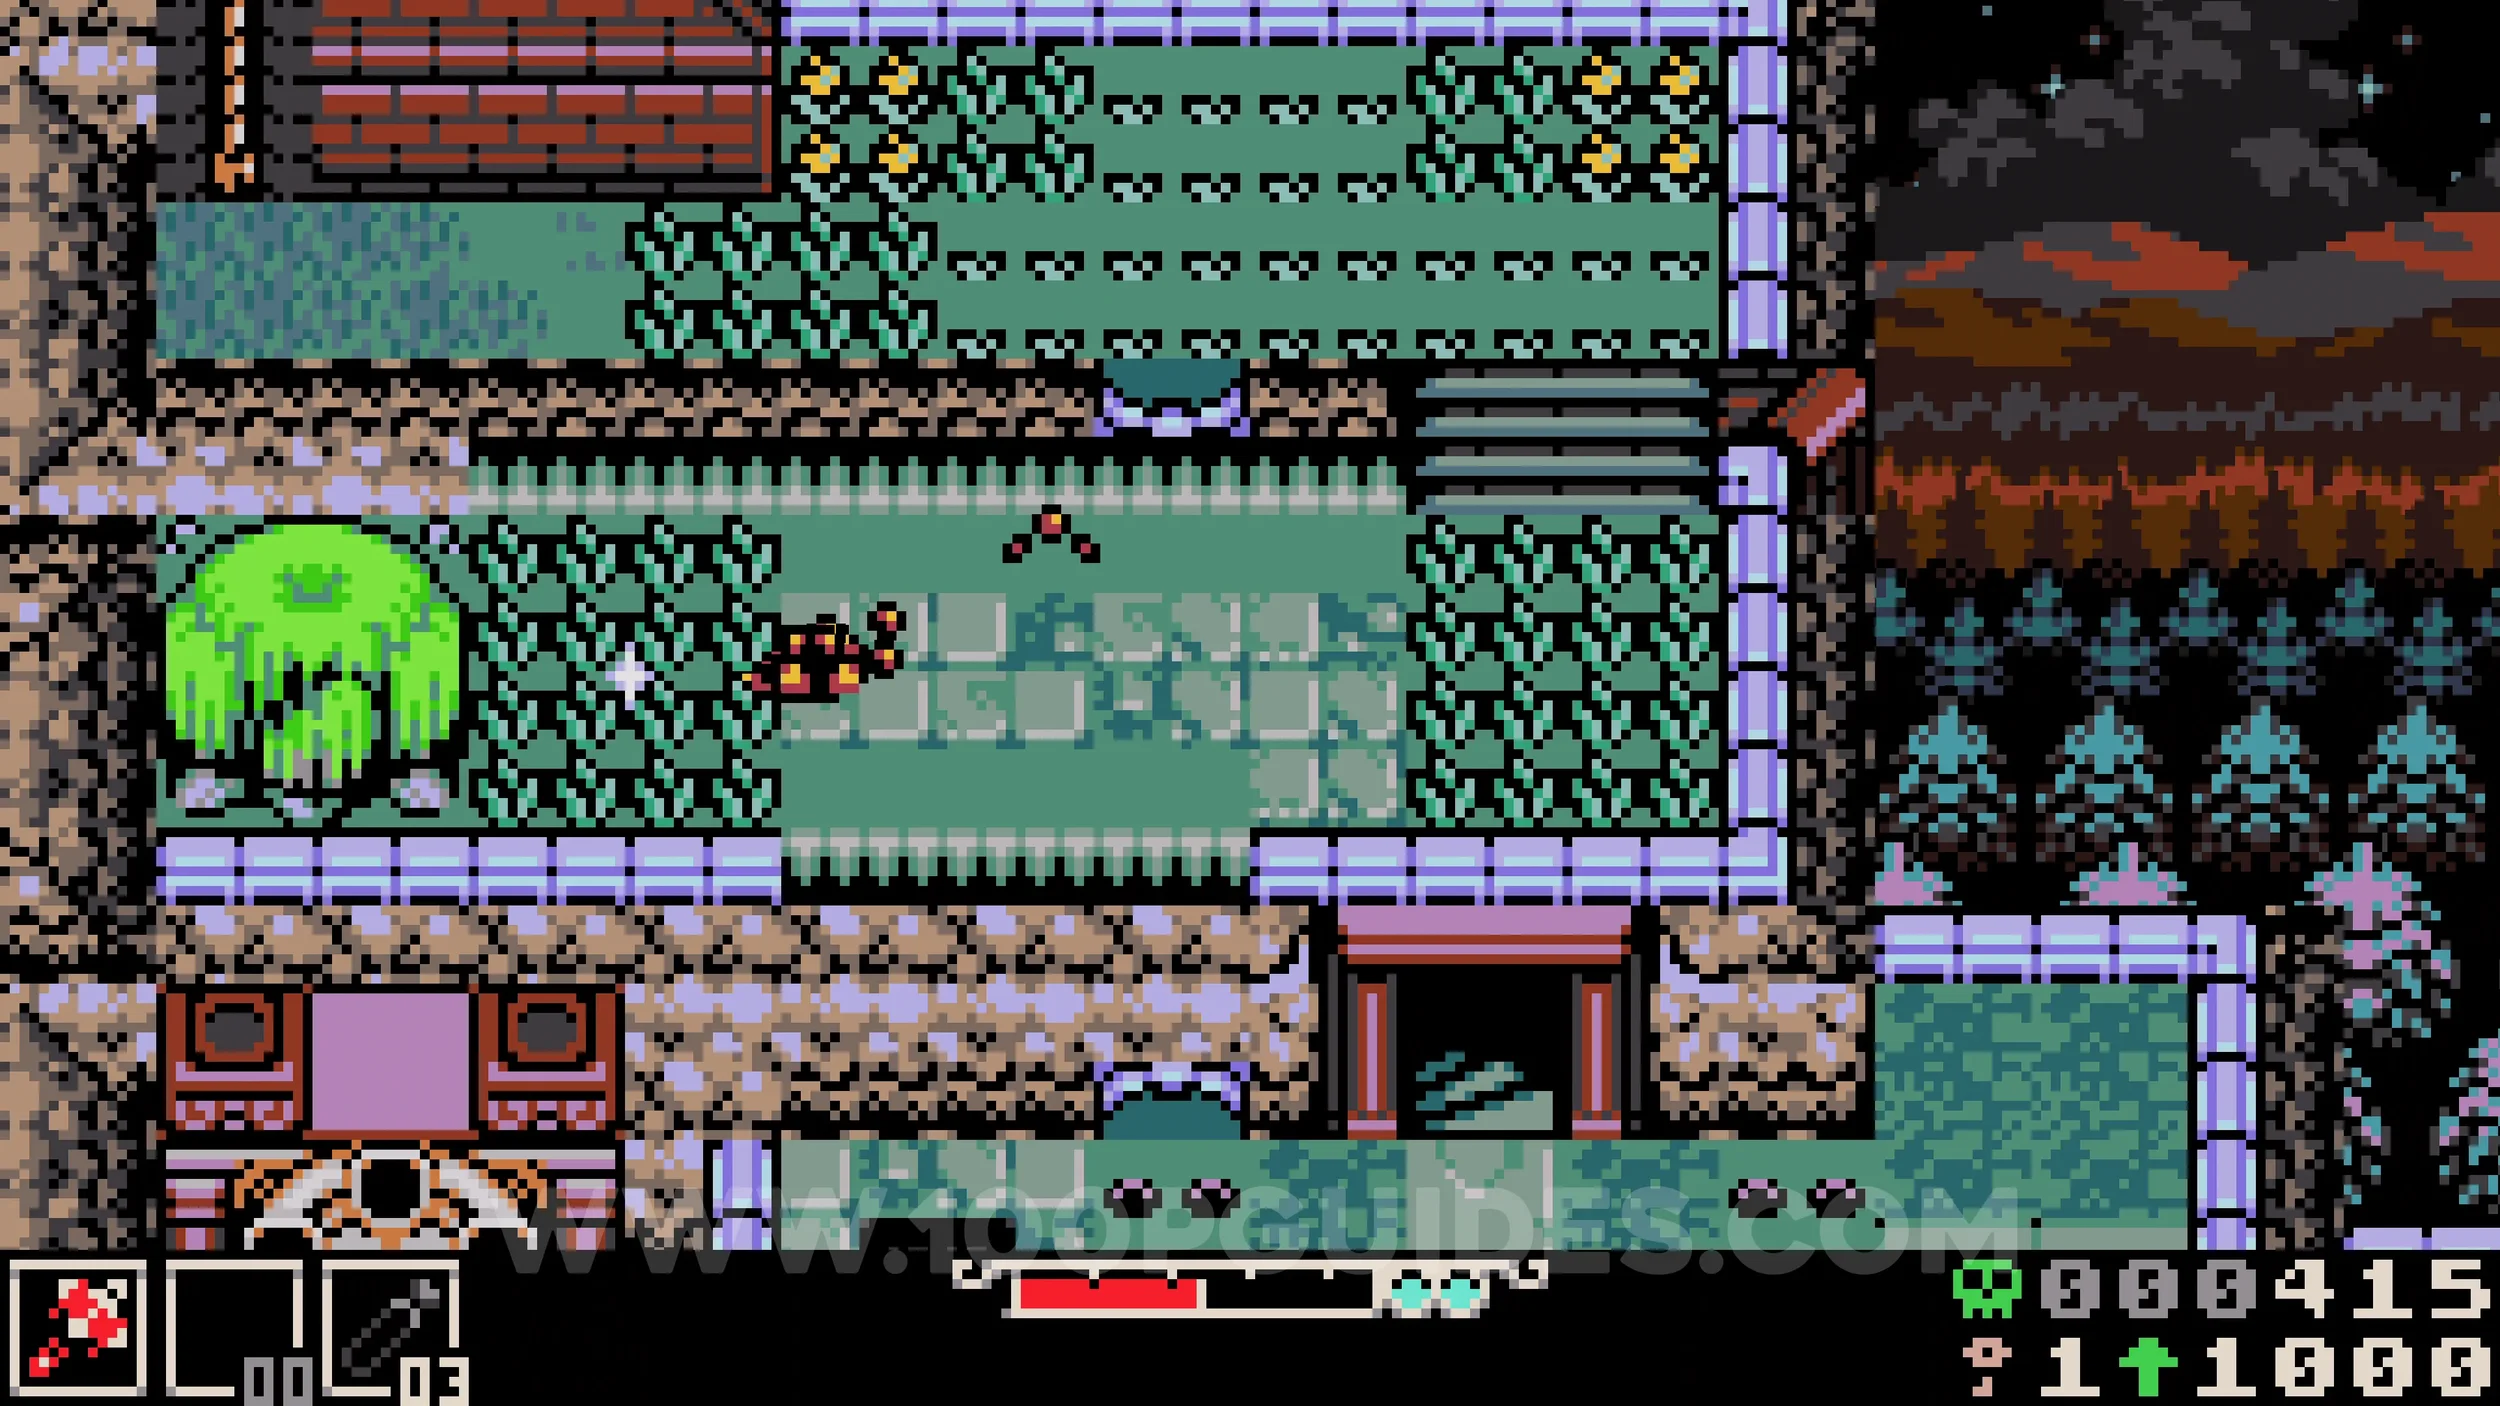
QUEENSBURY CRYPT
Kear #1. Once you reach the first large graveyard area, dig up all the dirt-covered graves by hitting them, then talk to the NPC in the top left of the area.
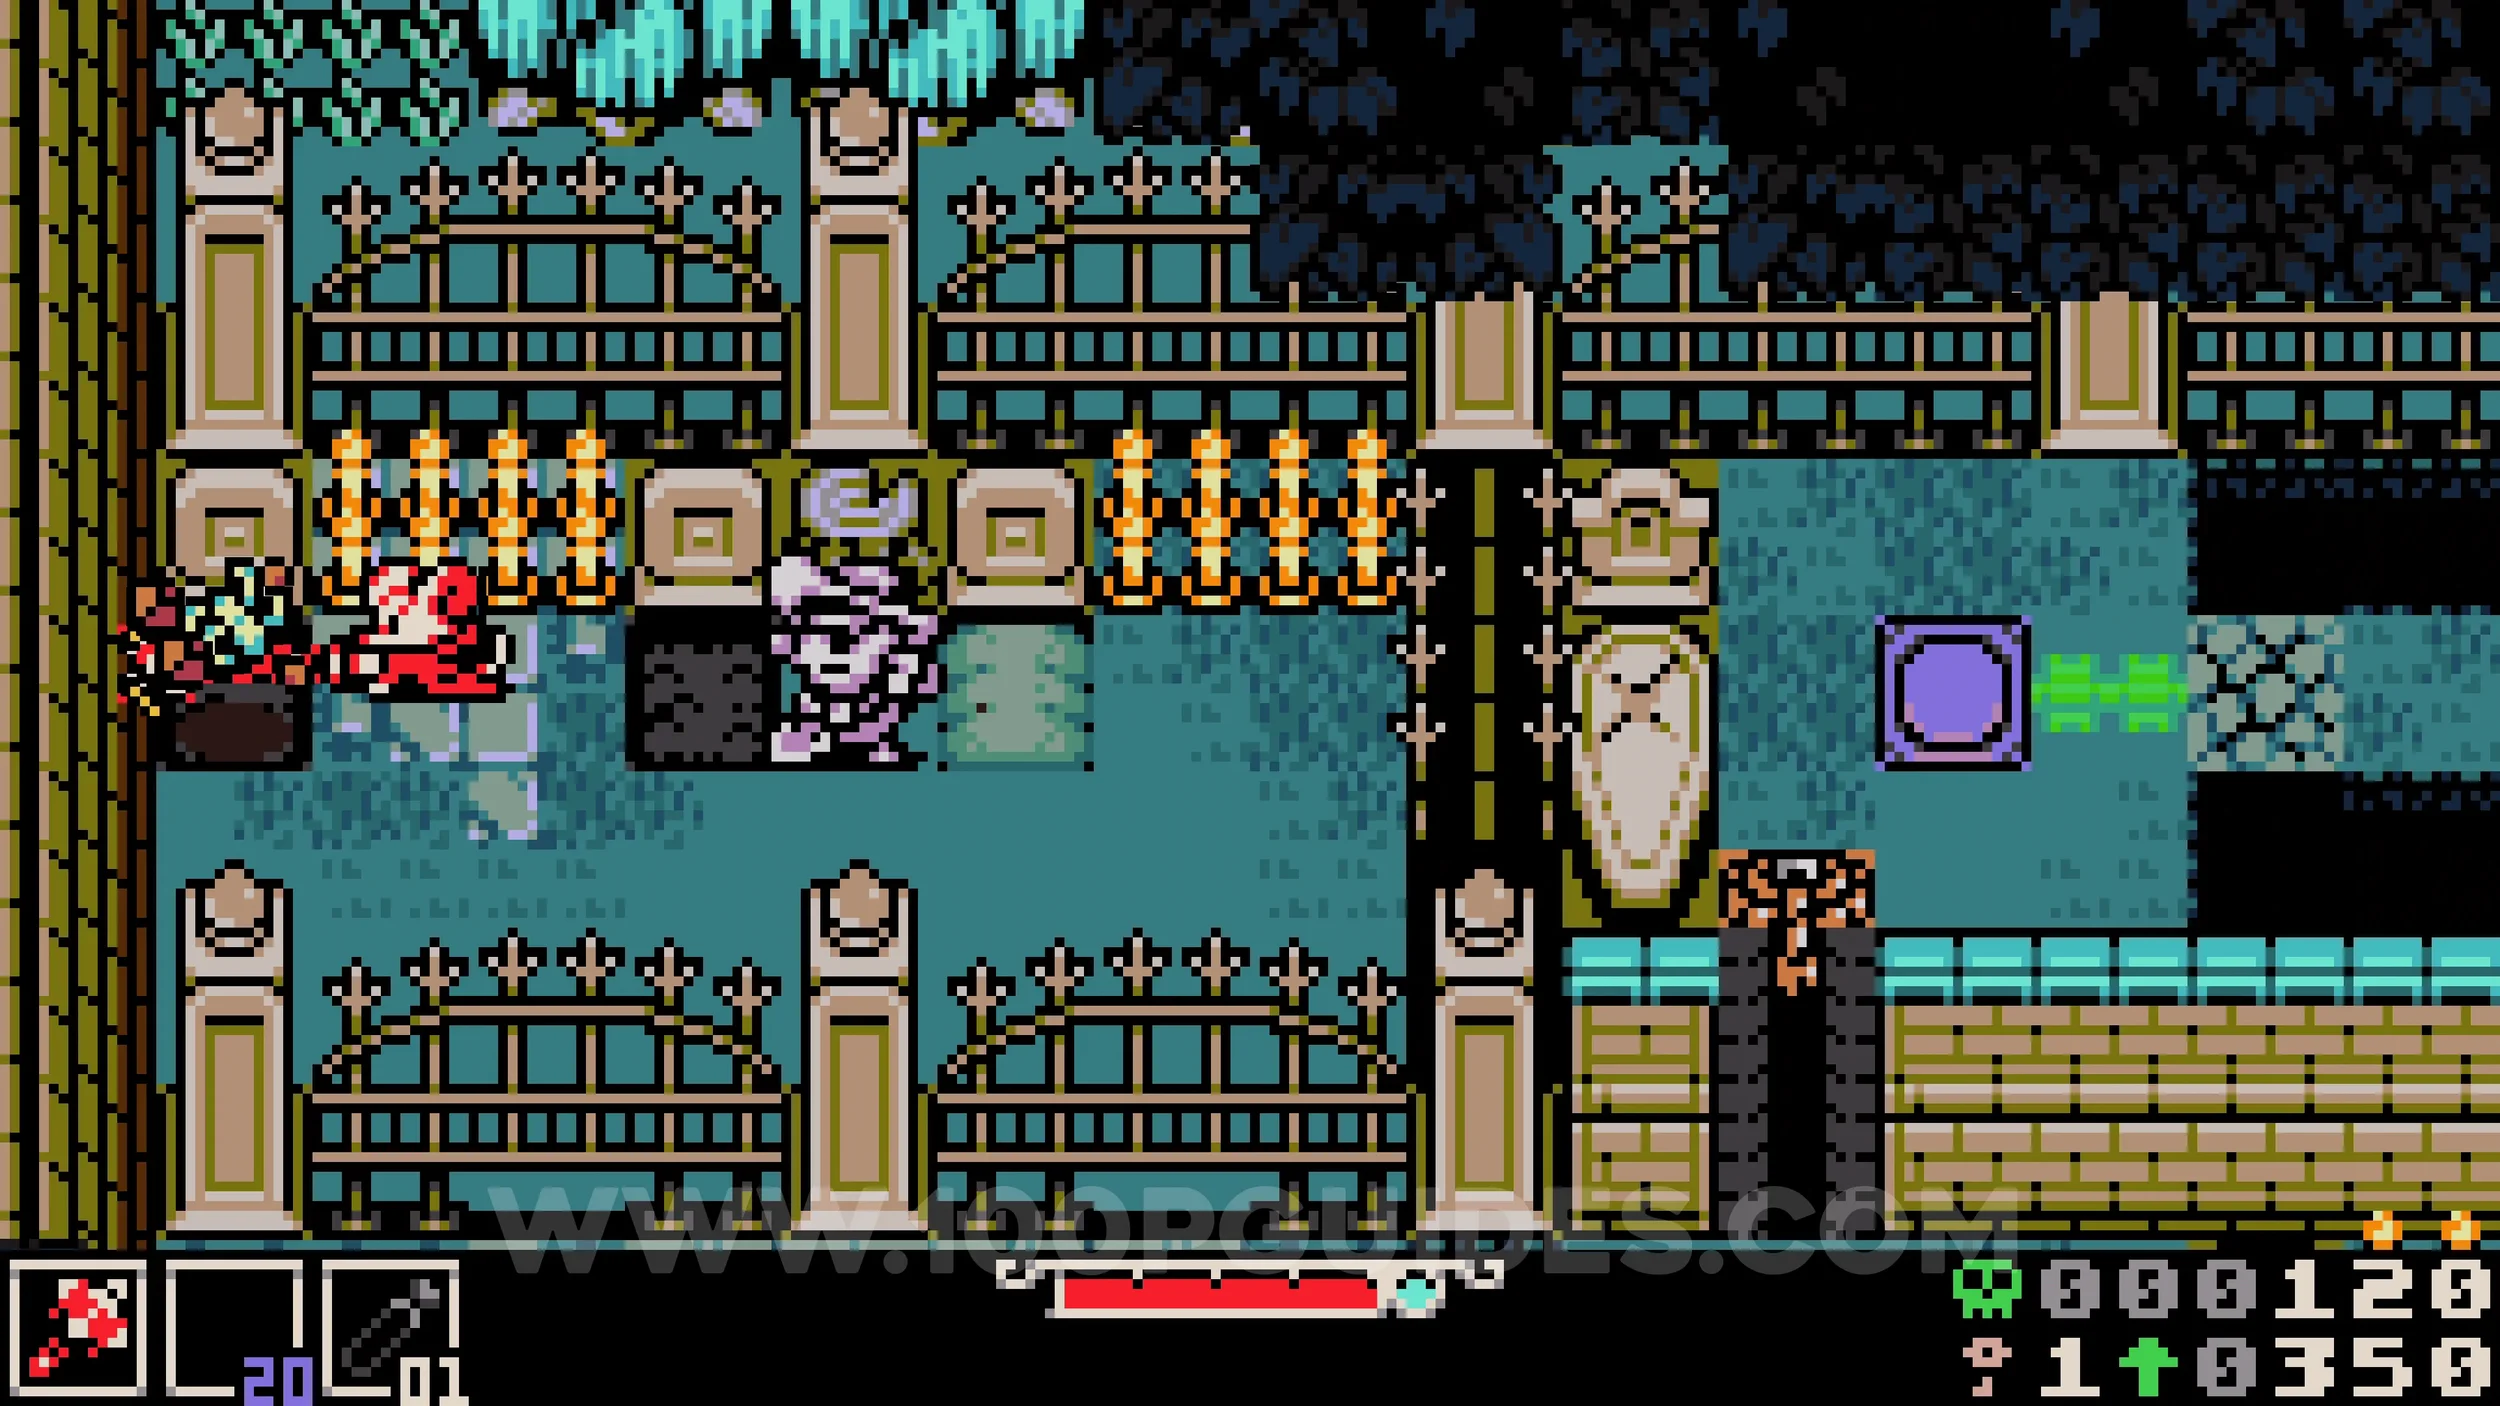
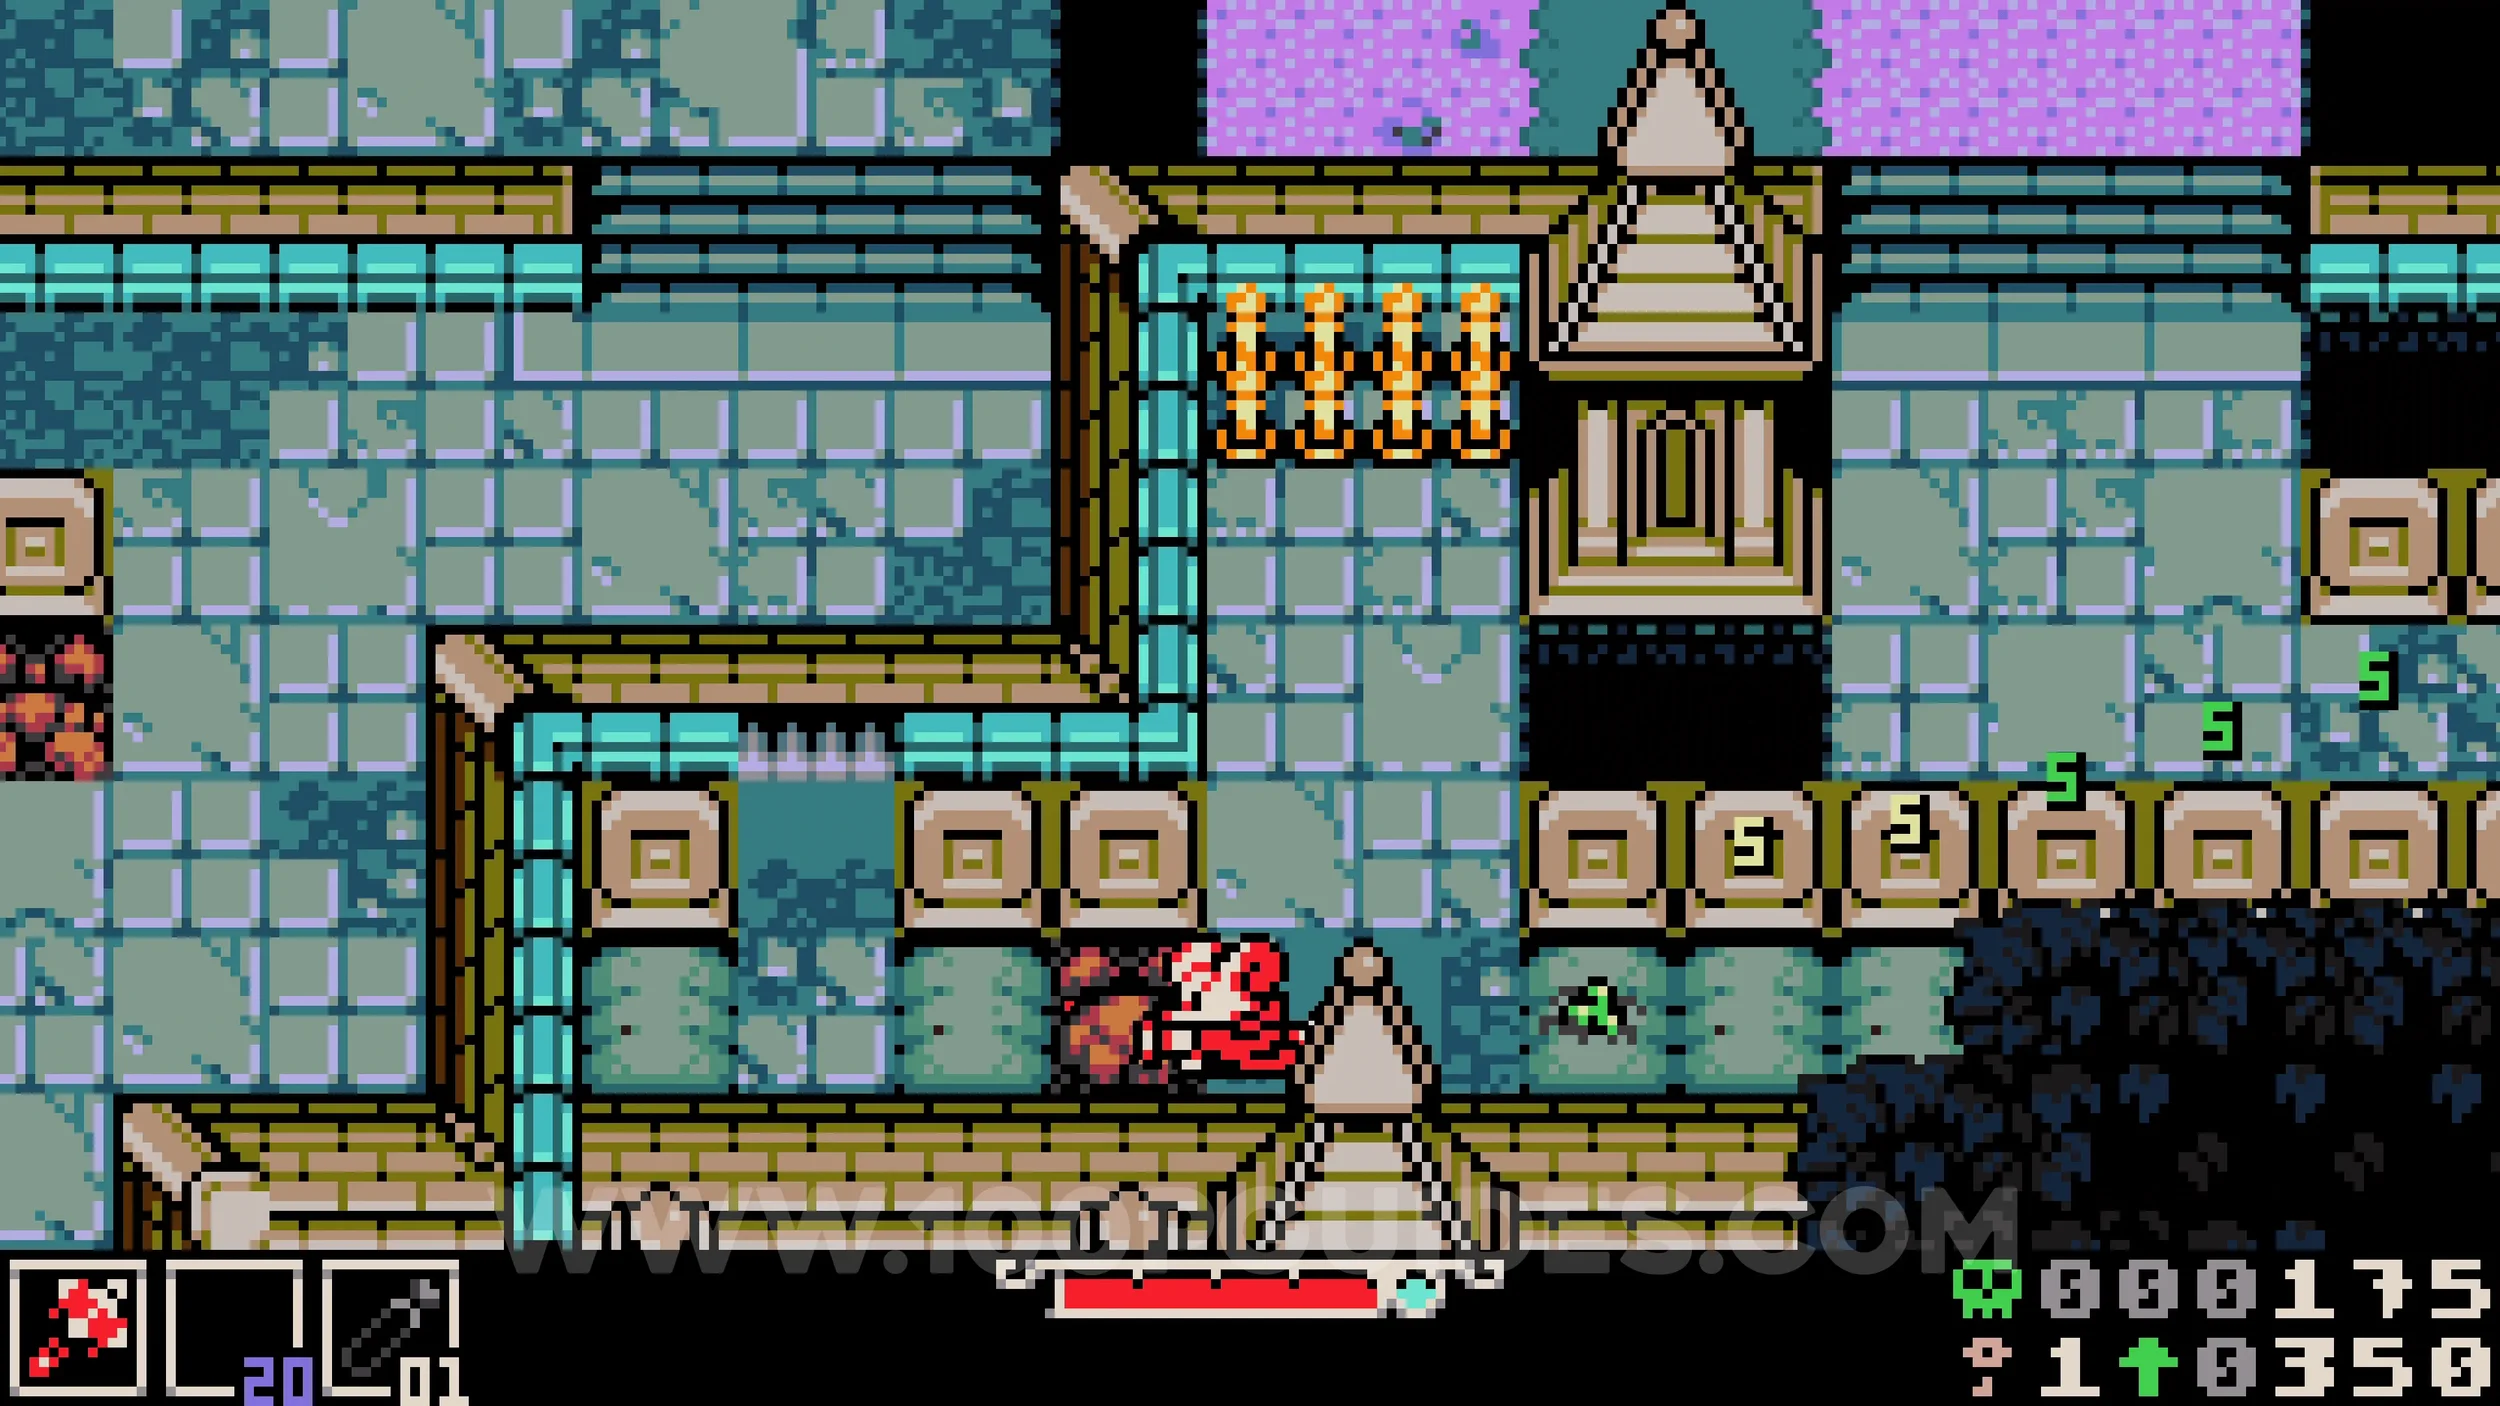
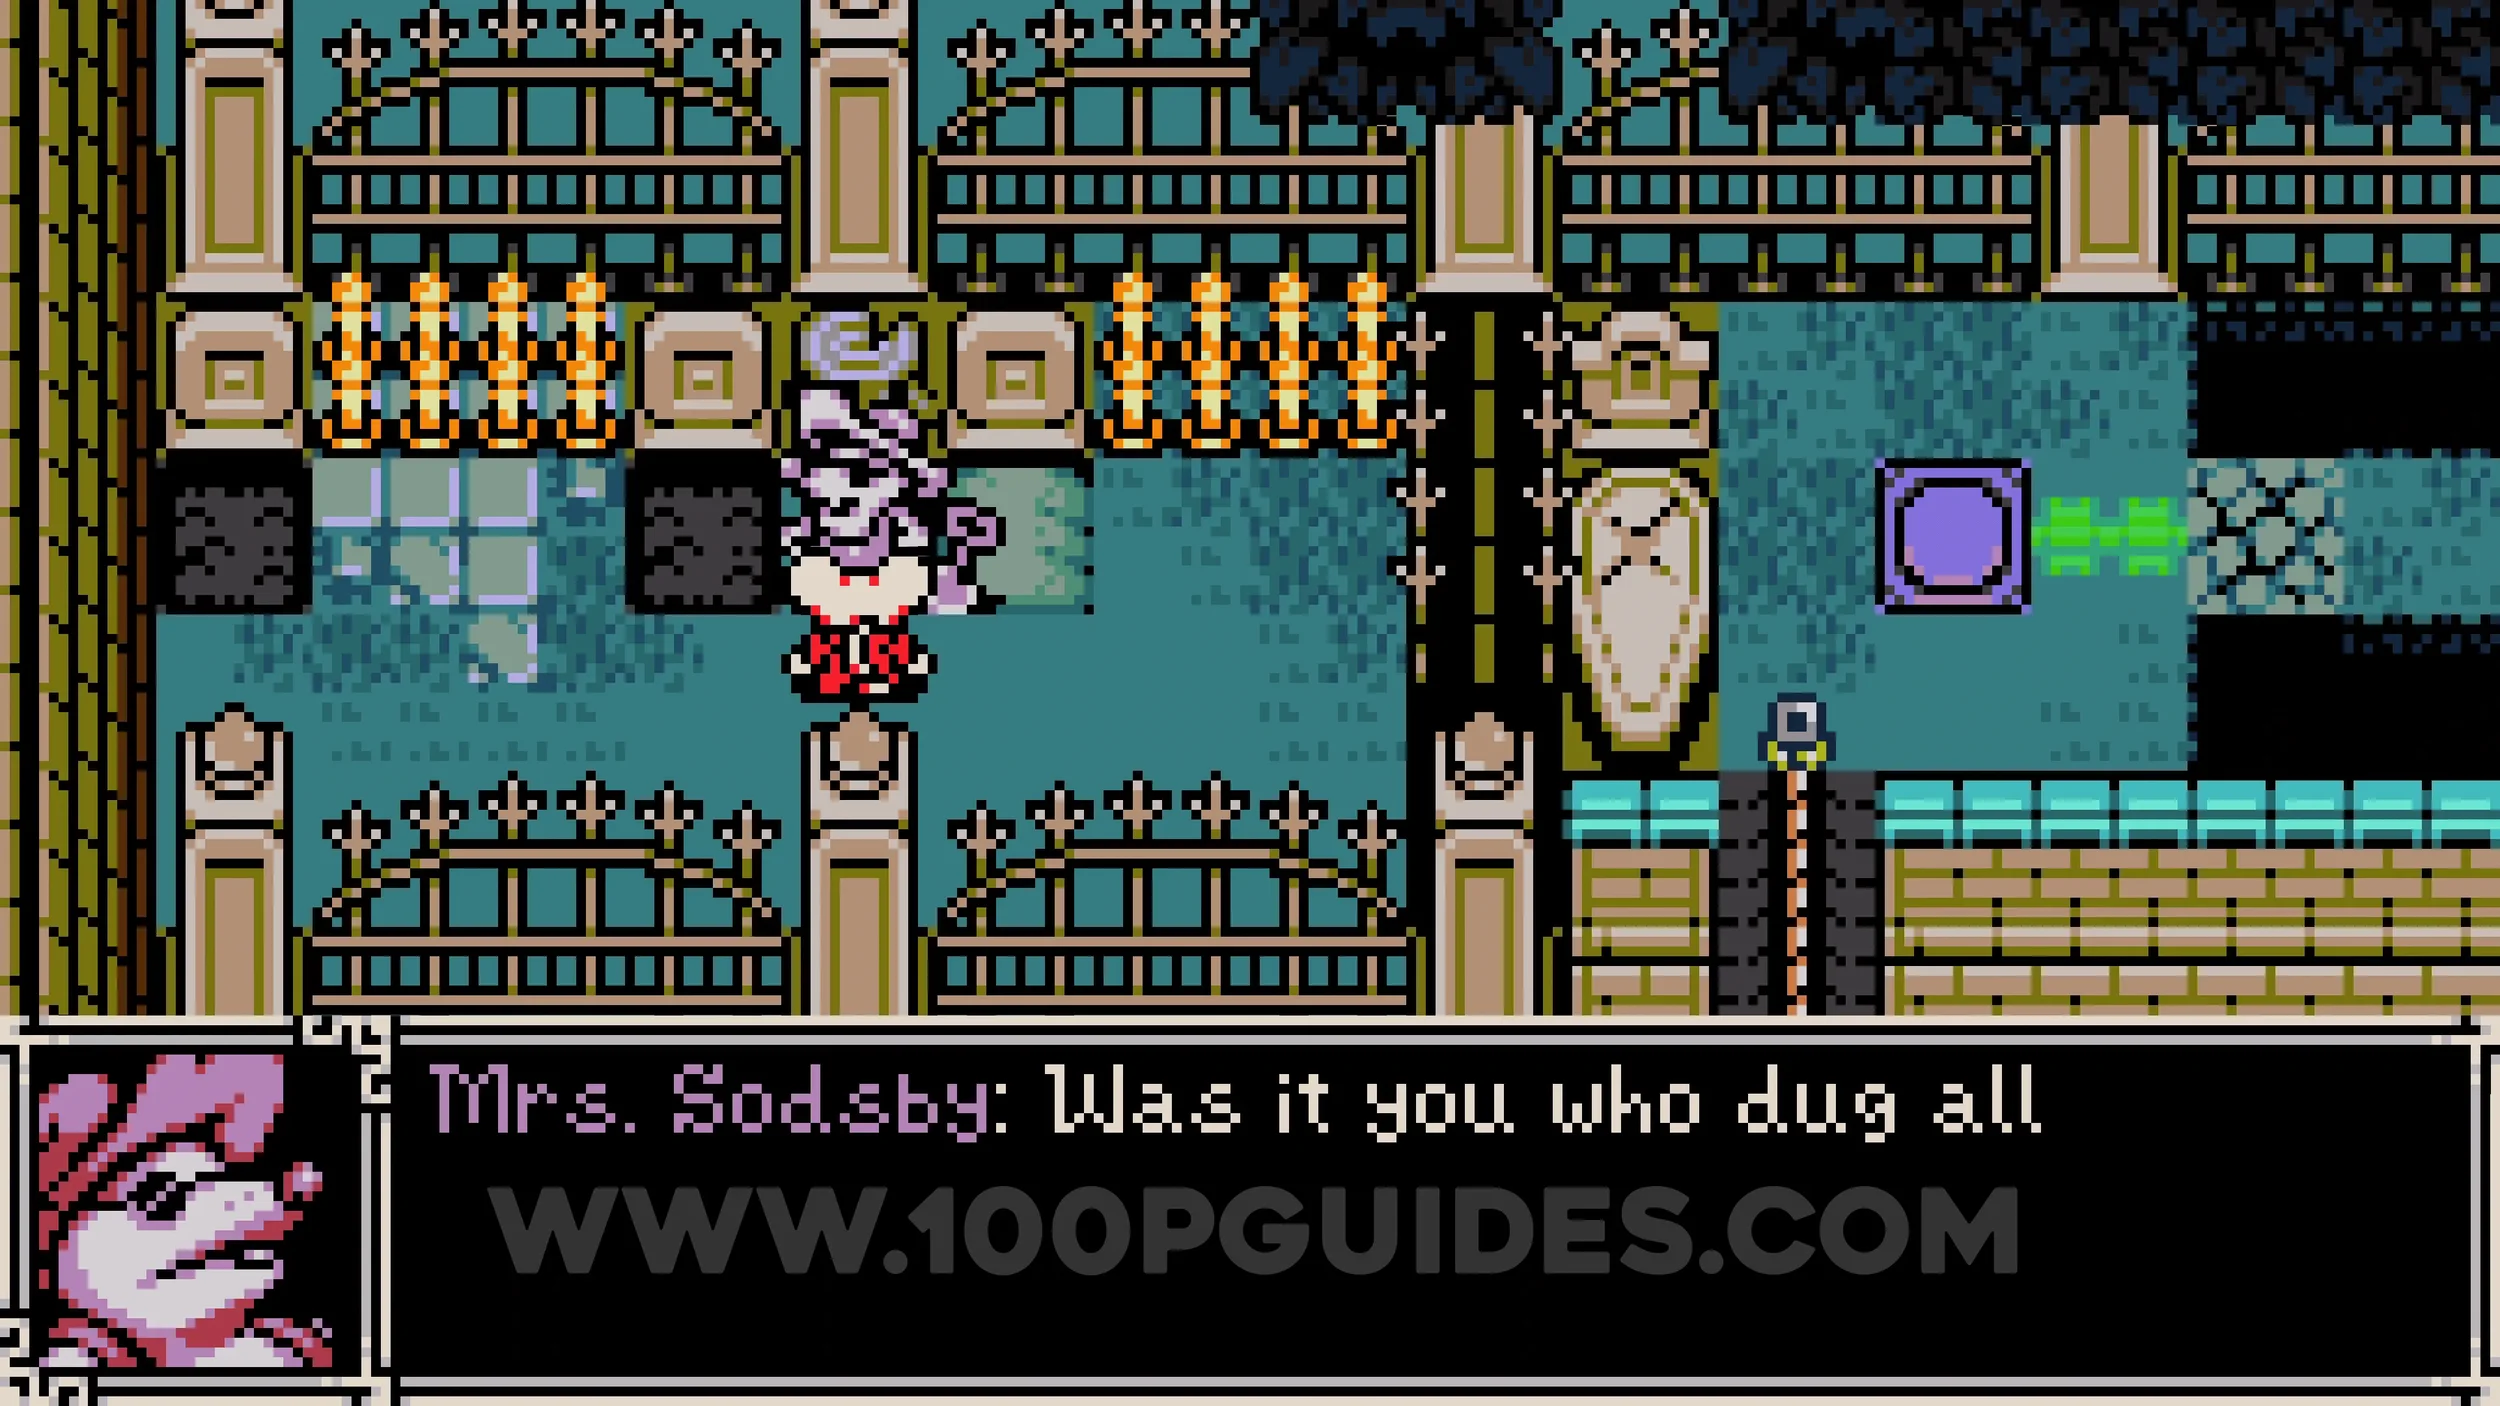
Bonestone #1. In the same area as the previous collectible, head up the stairs near the bottom of the area and go to the far left. Look for a shiny spot on the ground and burrow on it to find the gem.
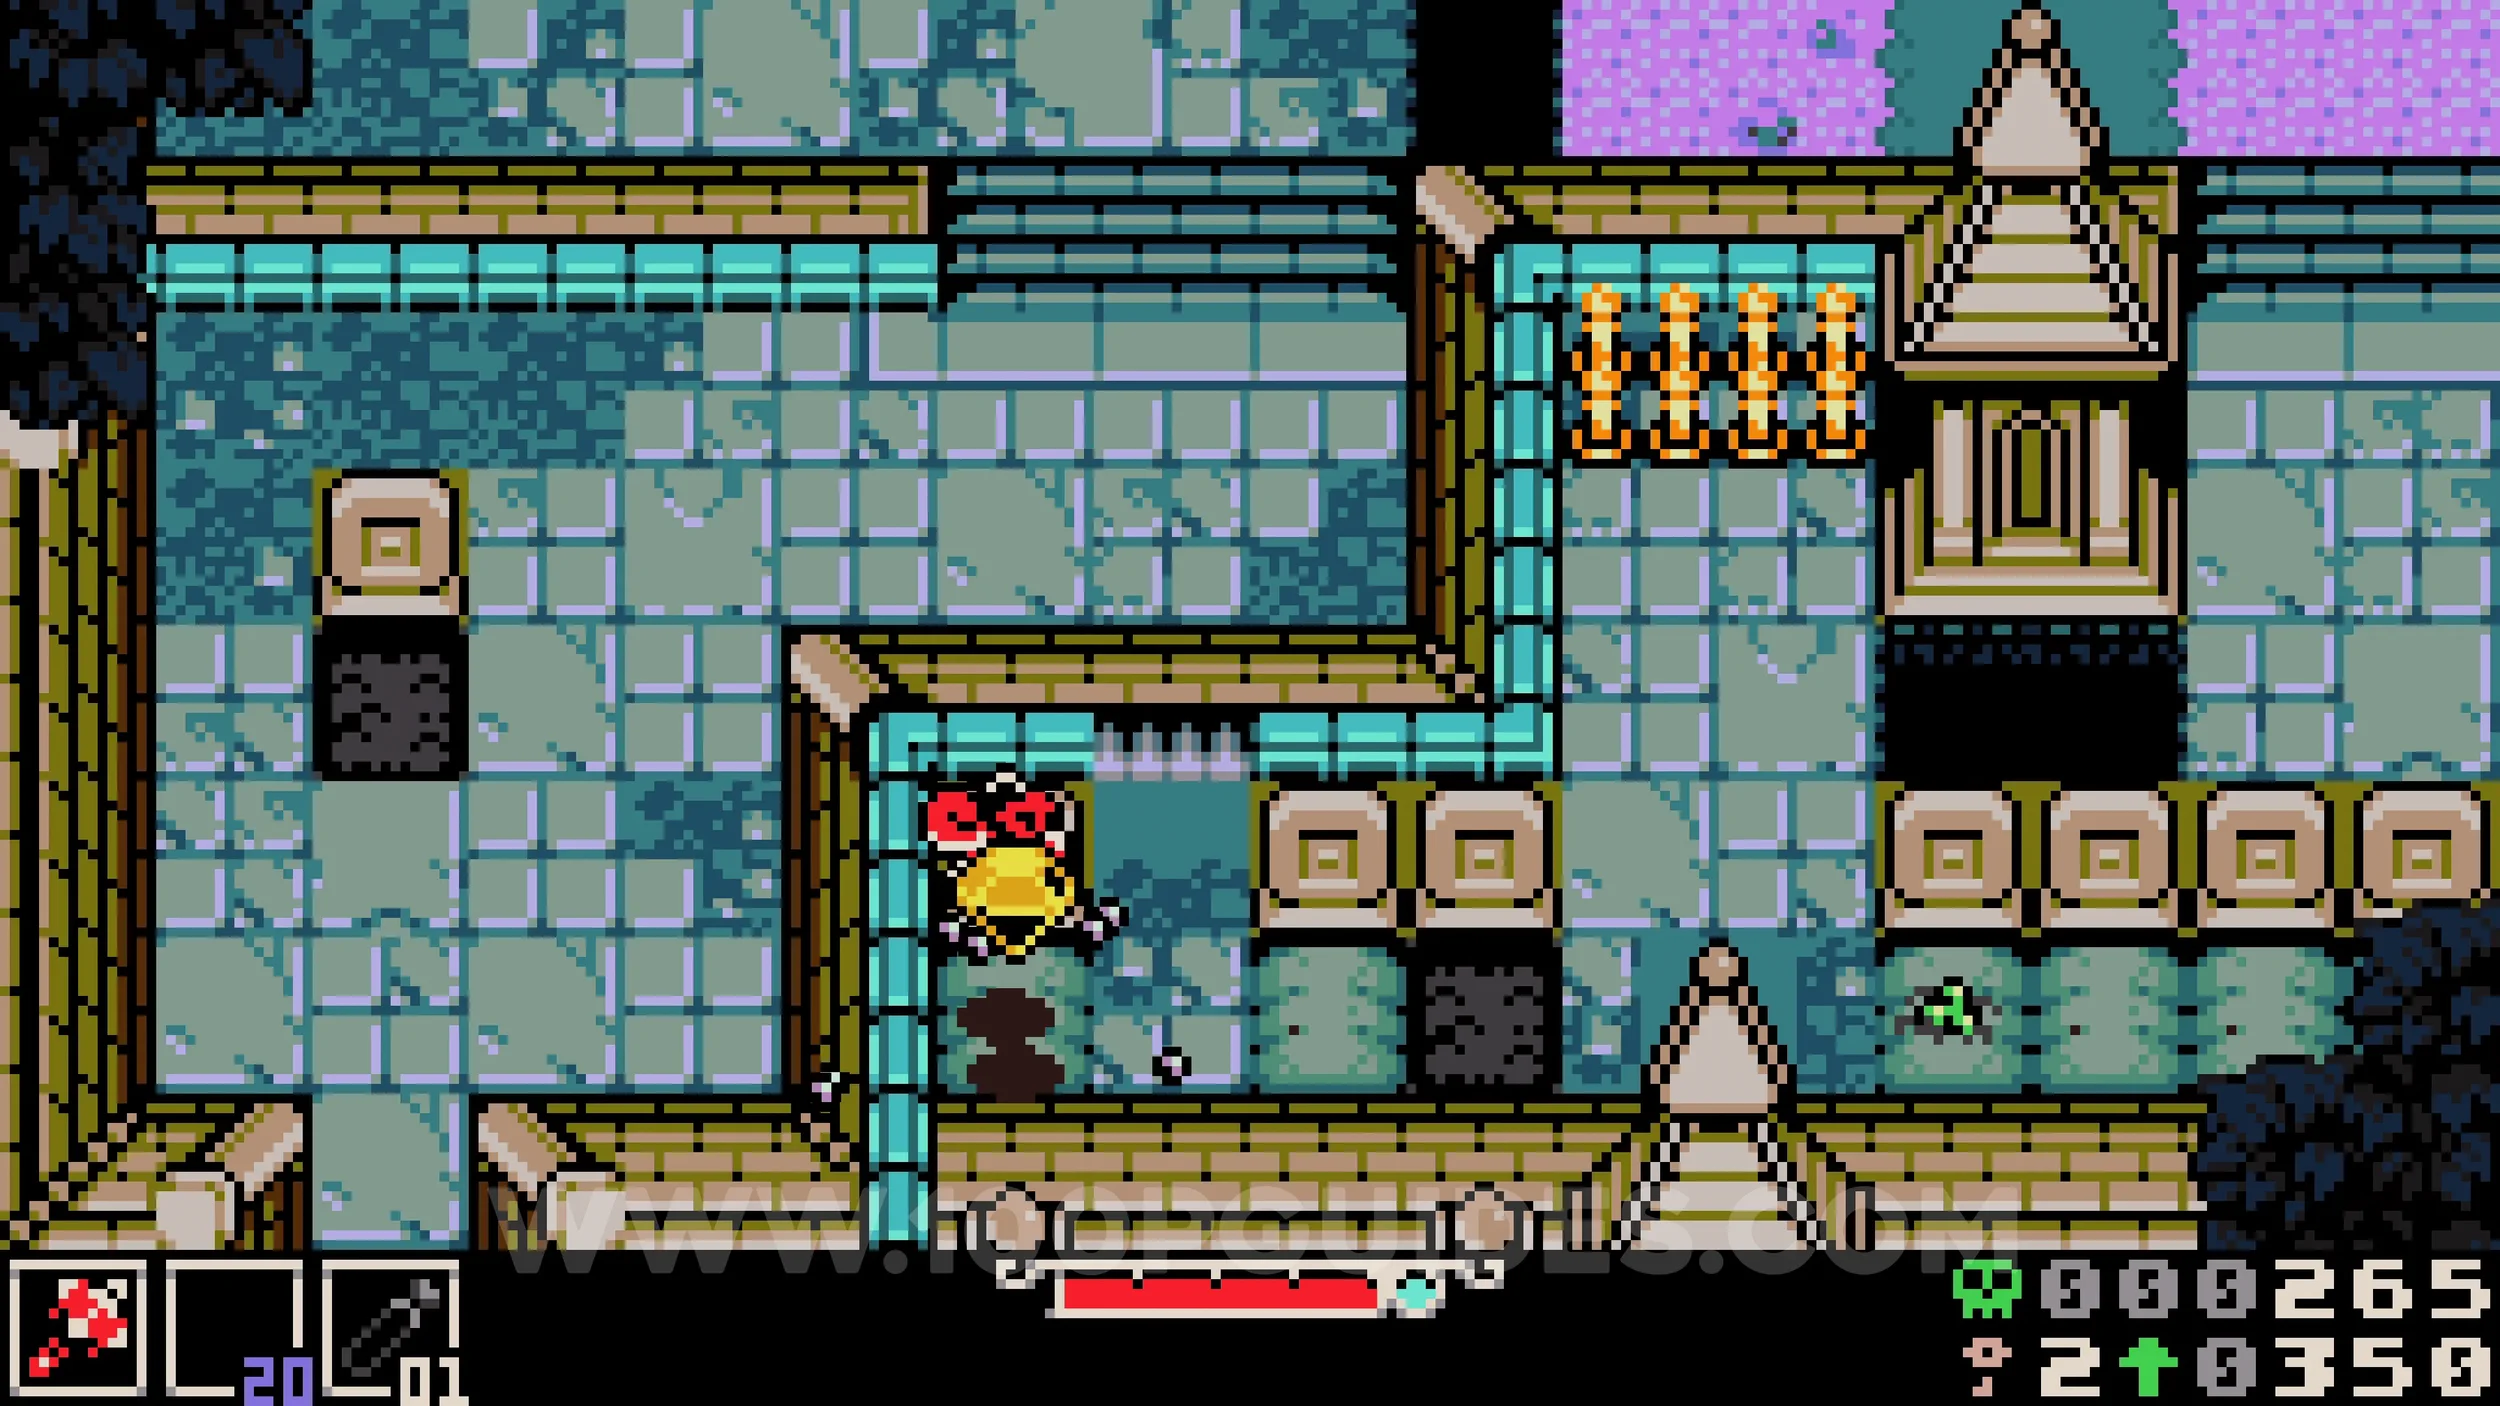
Lock #1. In the same area as the previous collectibles, head right of the NPC and go behind the fence, then left so you end up above the NPC. Head up from there to find the lock.
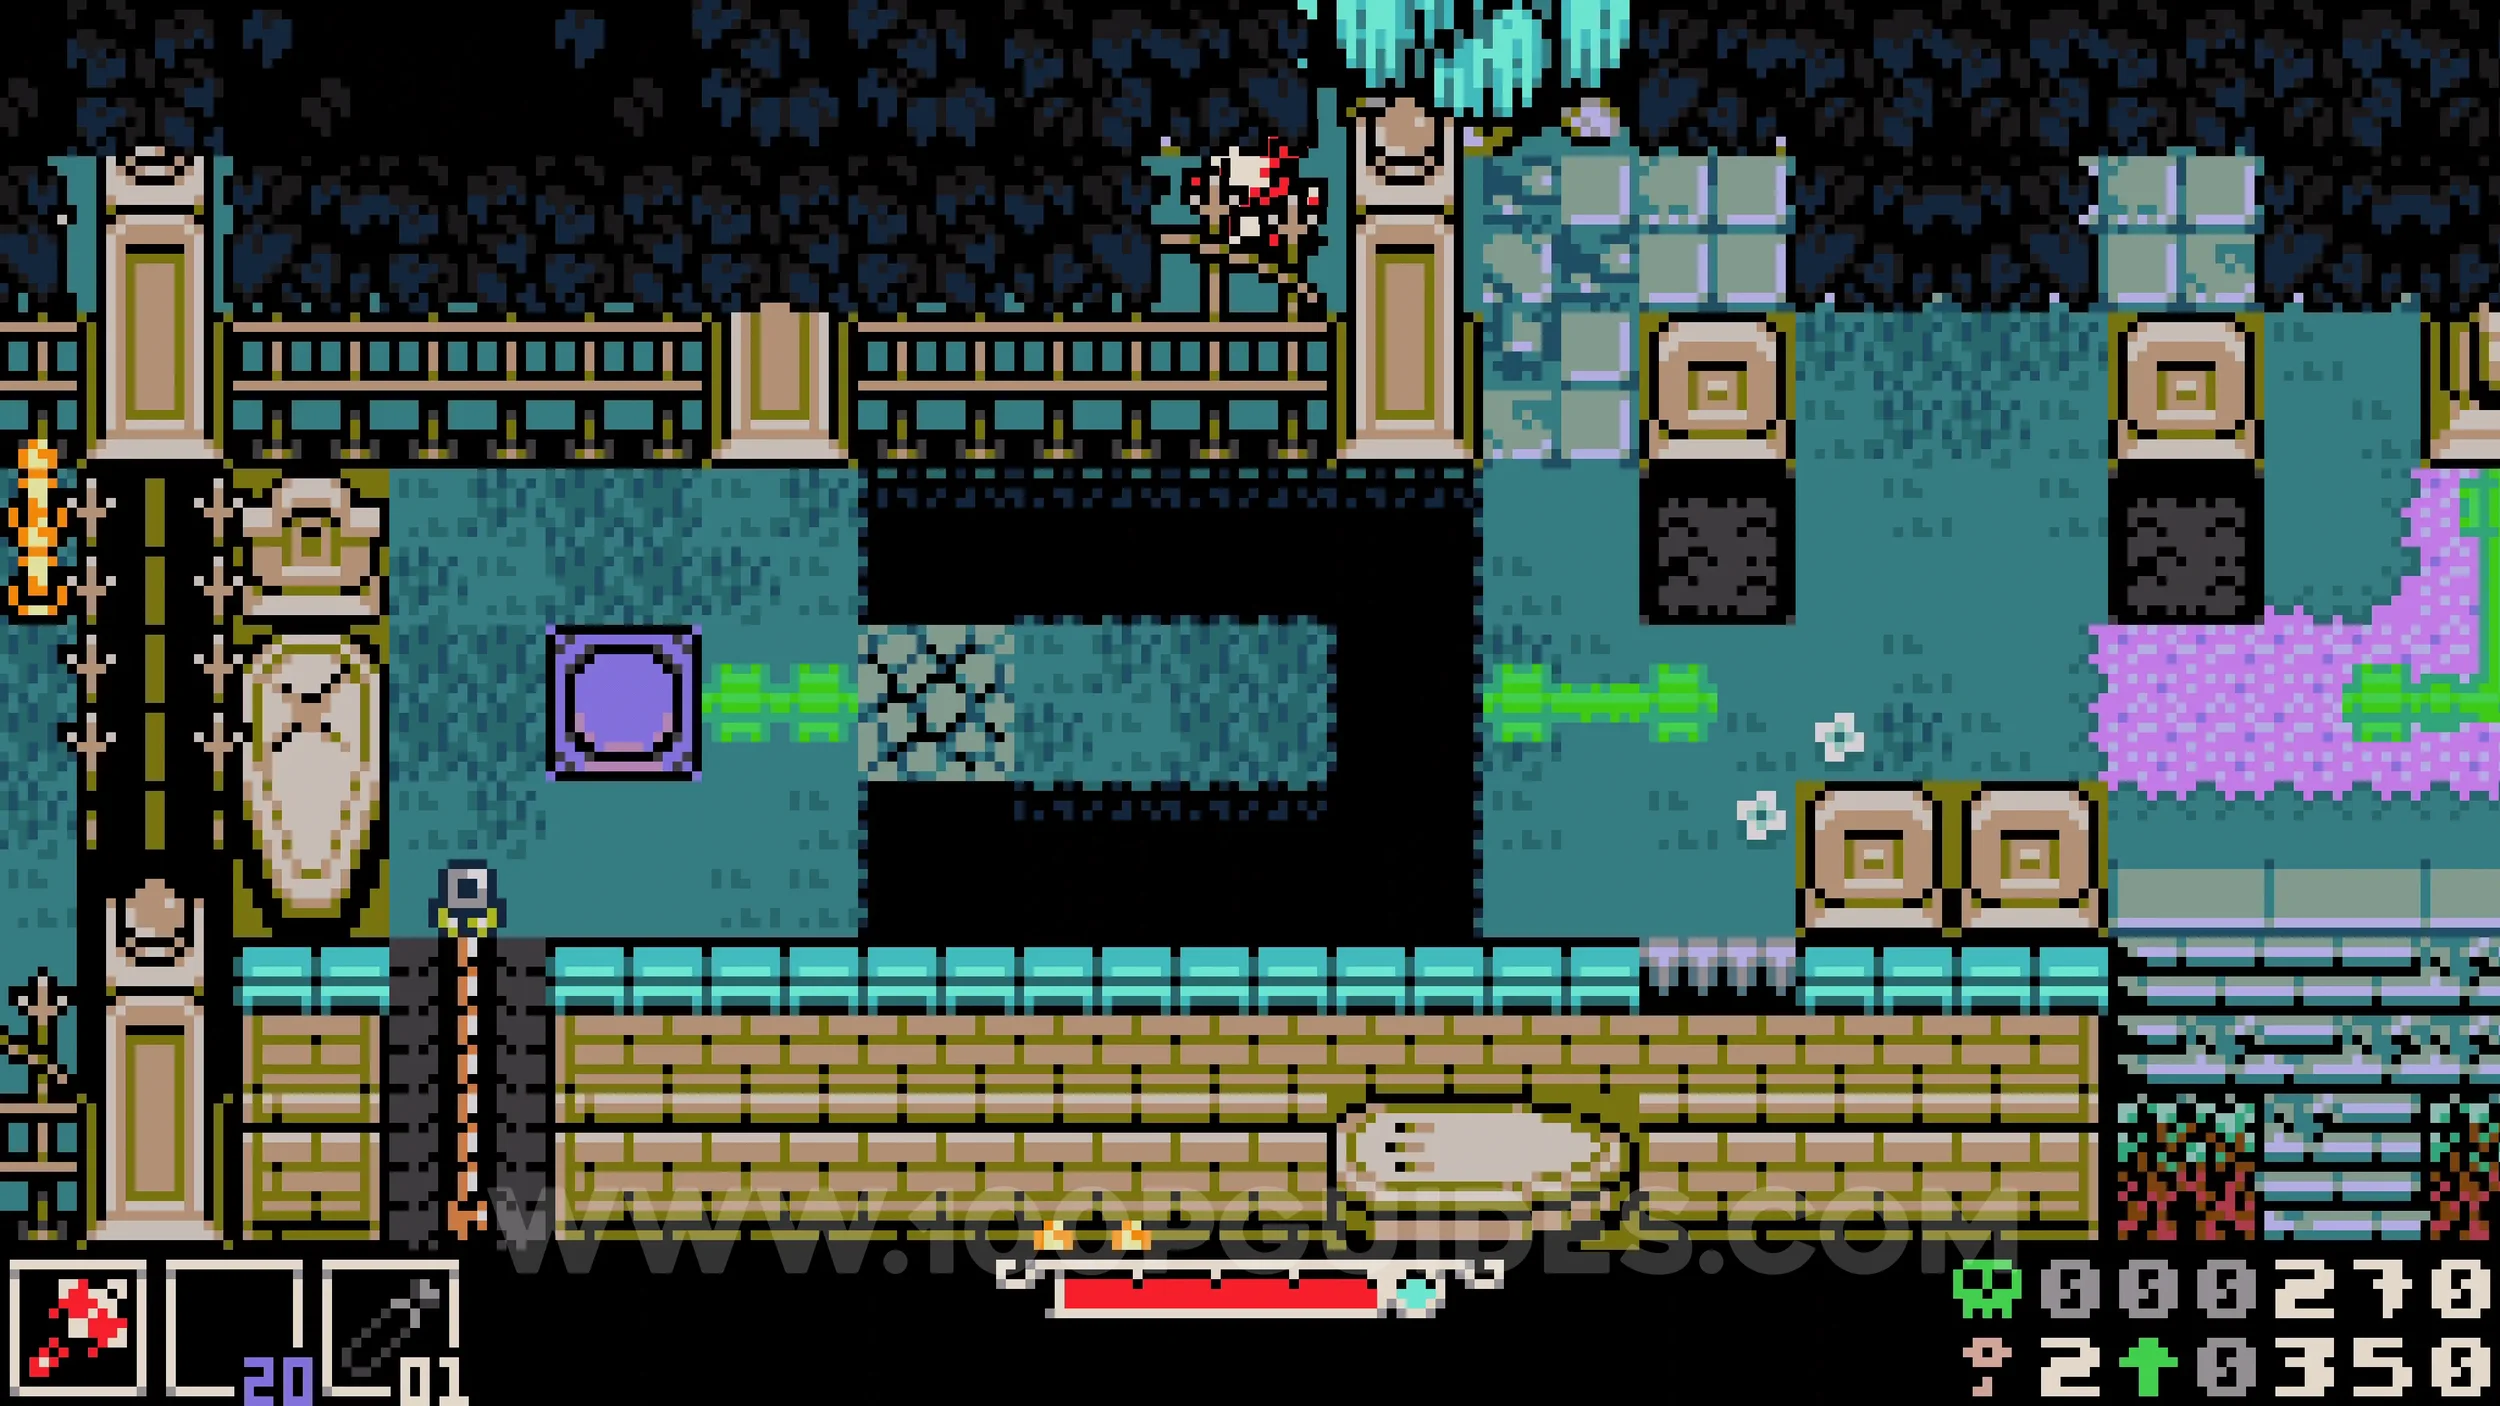
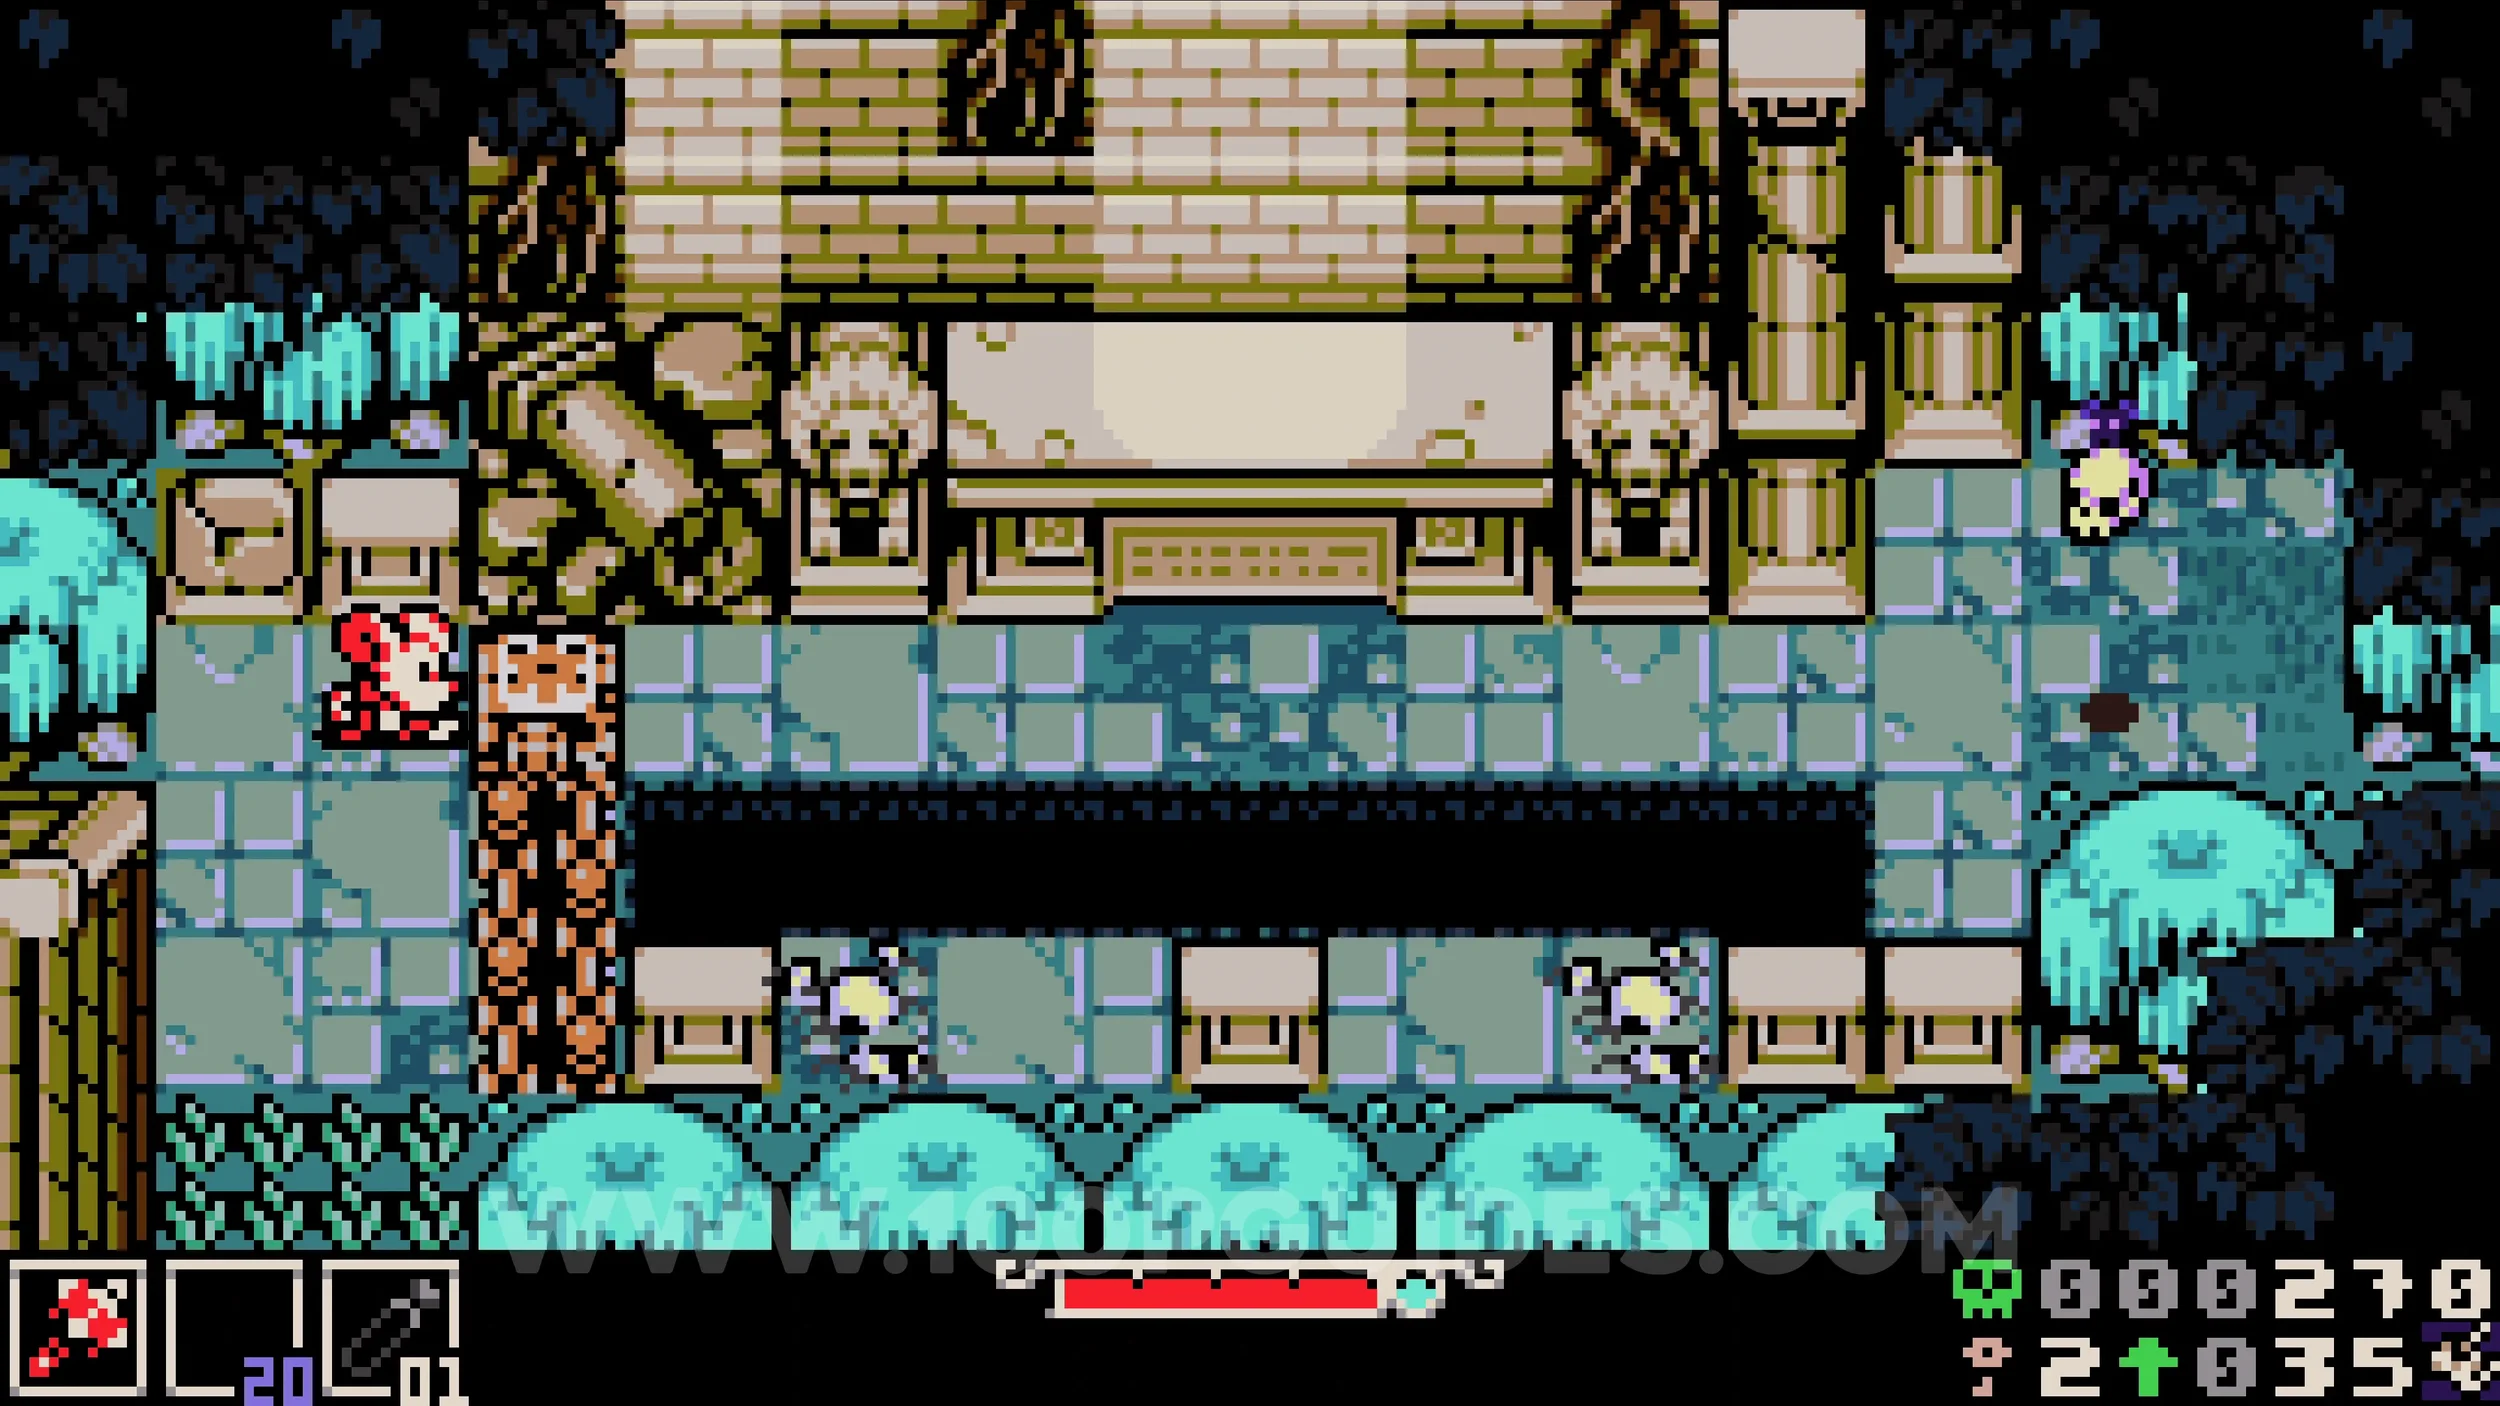
Trinket #1 - Desperation Bonnet. Burrow under the tomb on the other side of the lock to enter a secret room containing the trinket.
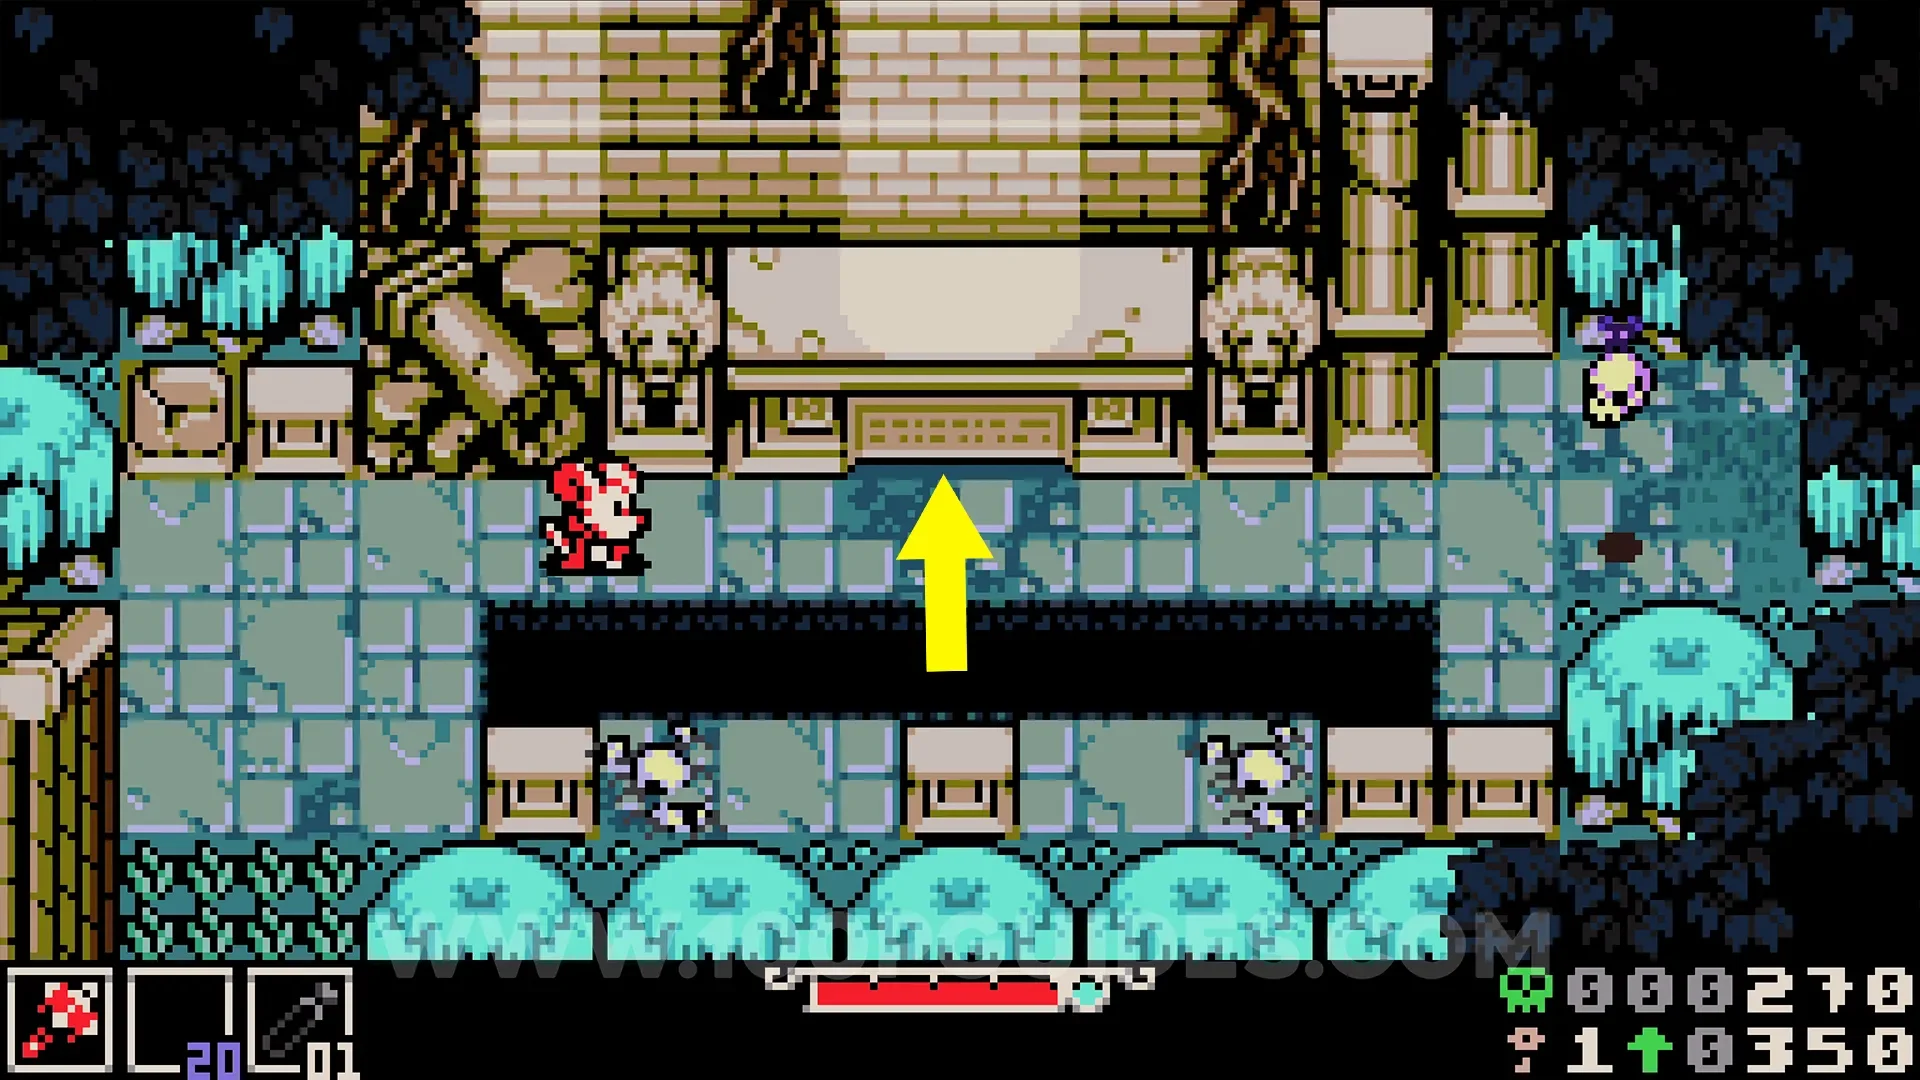
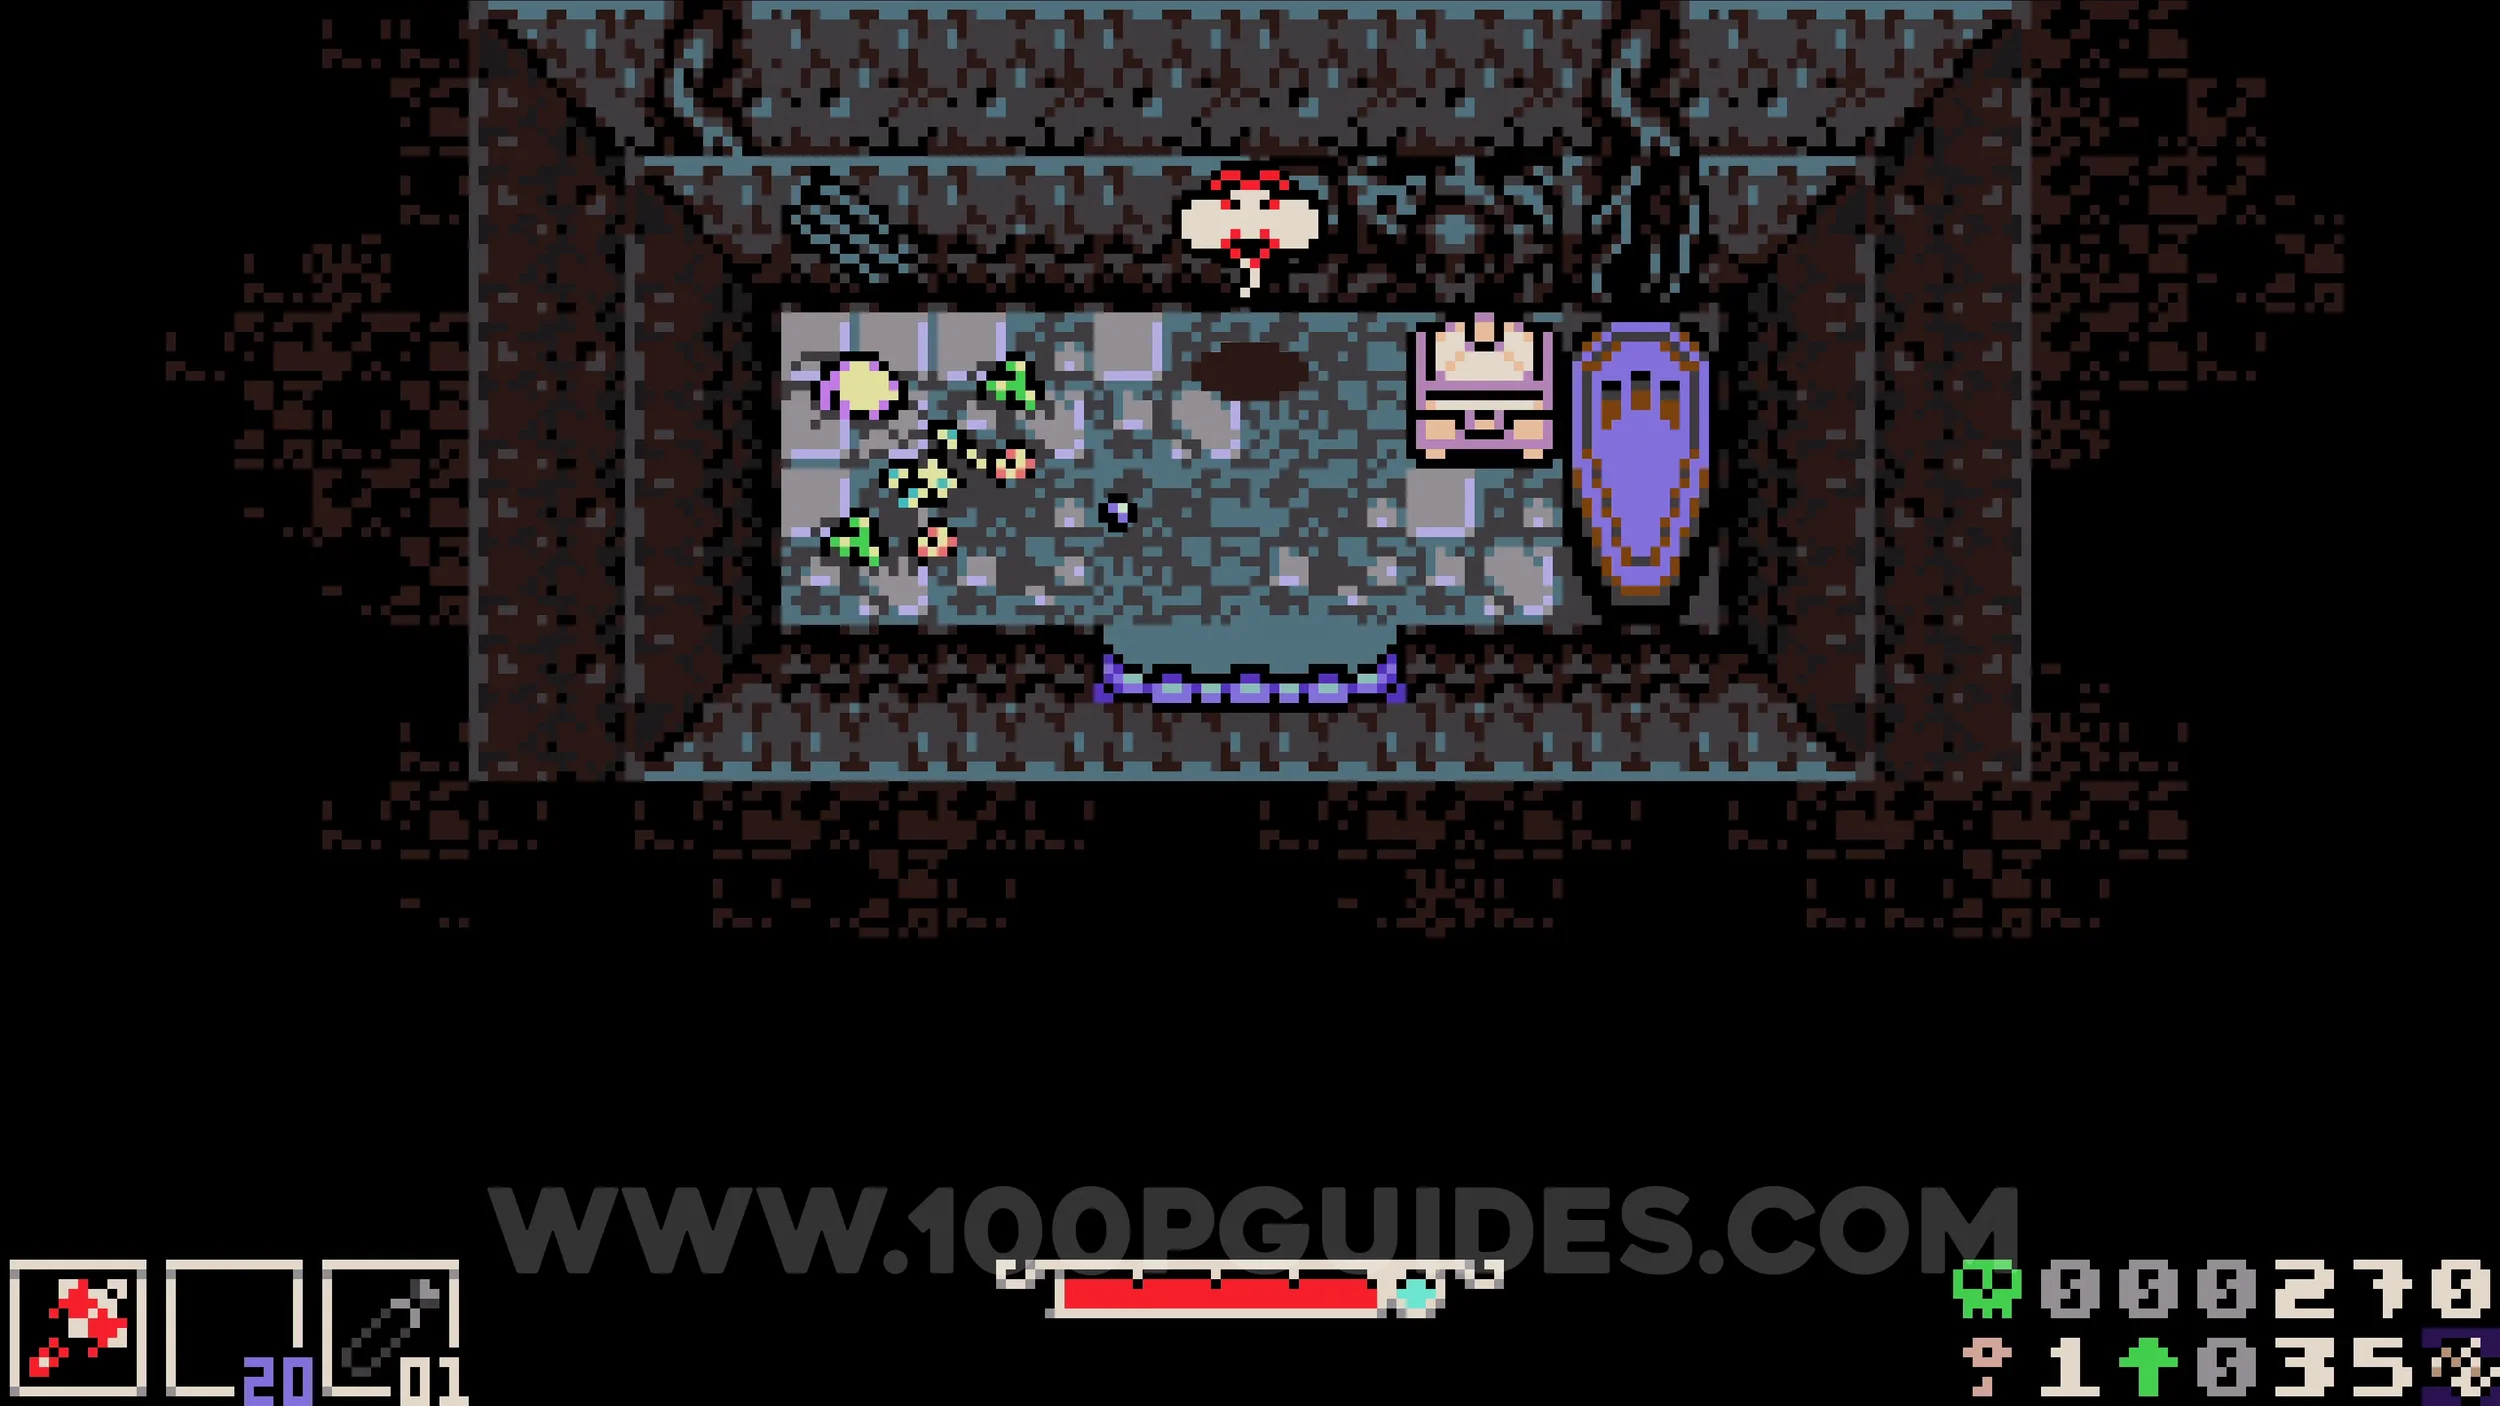
Bonestone #2. Return to the first large graveyard area and head up towards the crypt. As soon as you change screens, jump across the gap on your left and burrow under the shiny spot to find the gem.
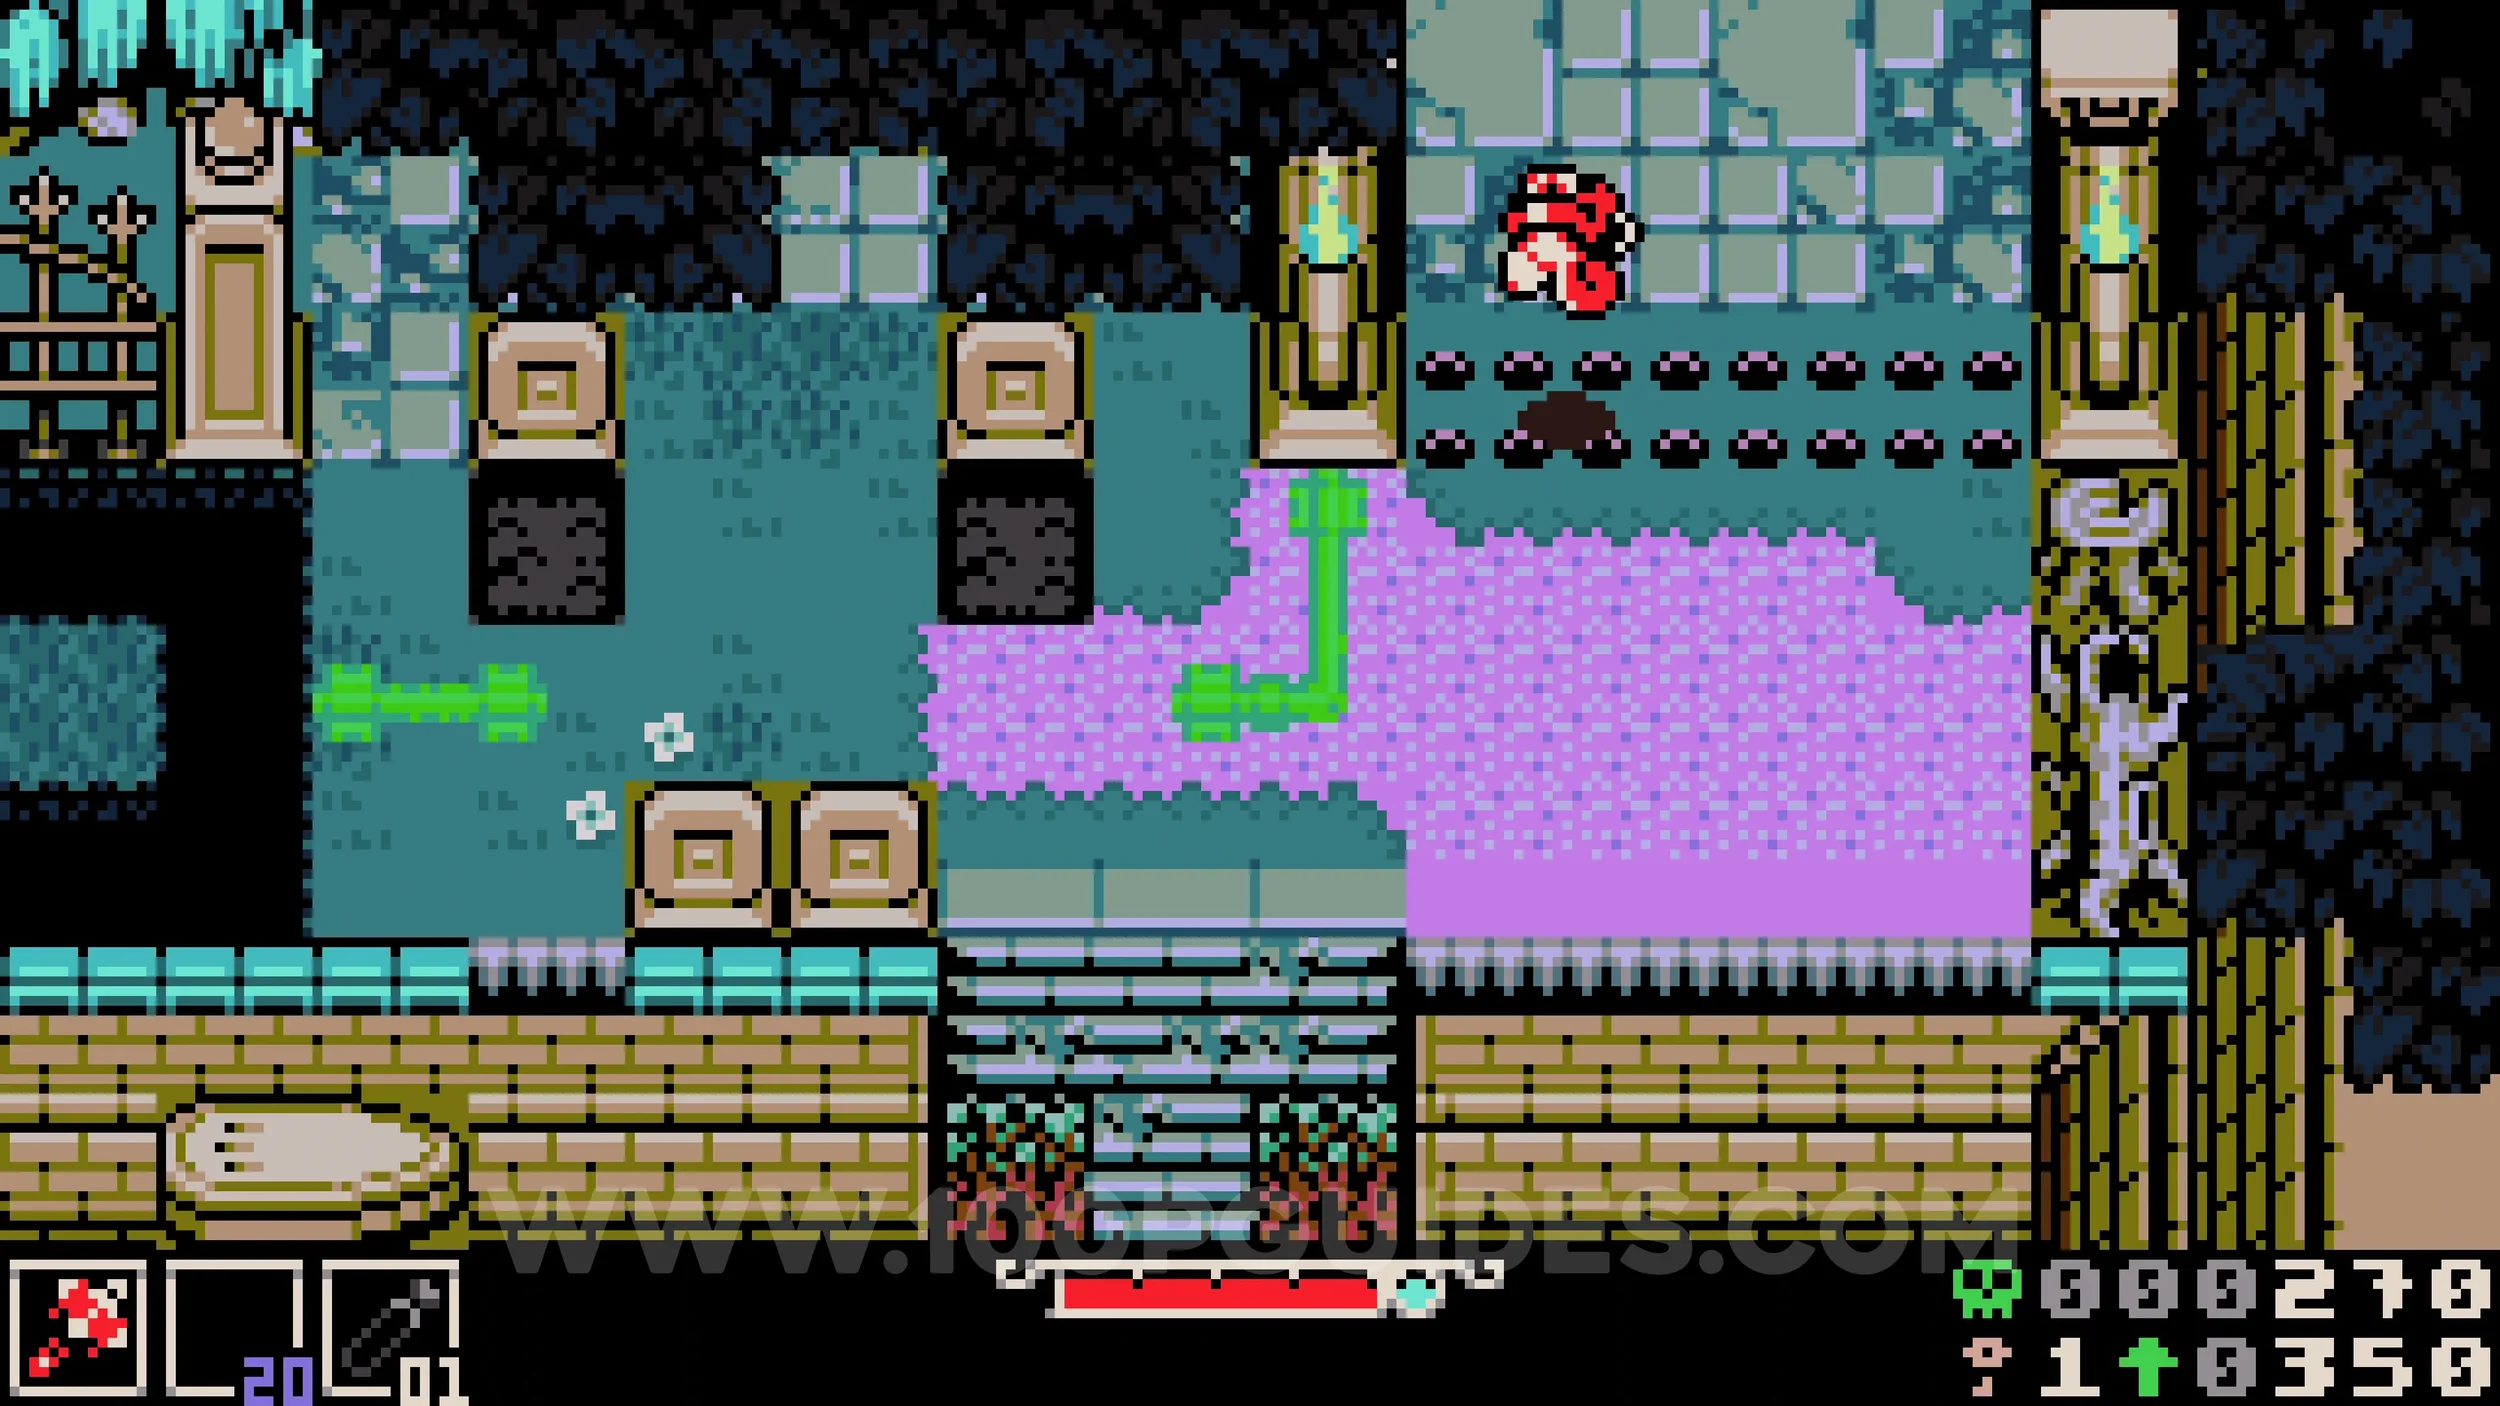
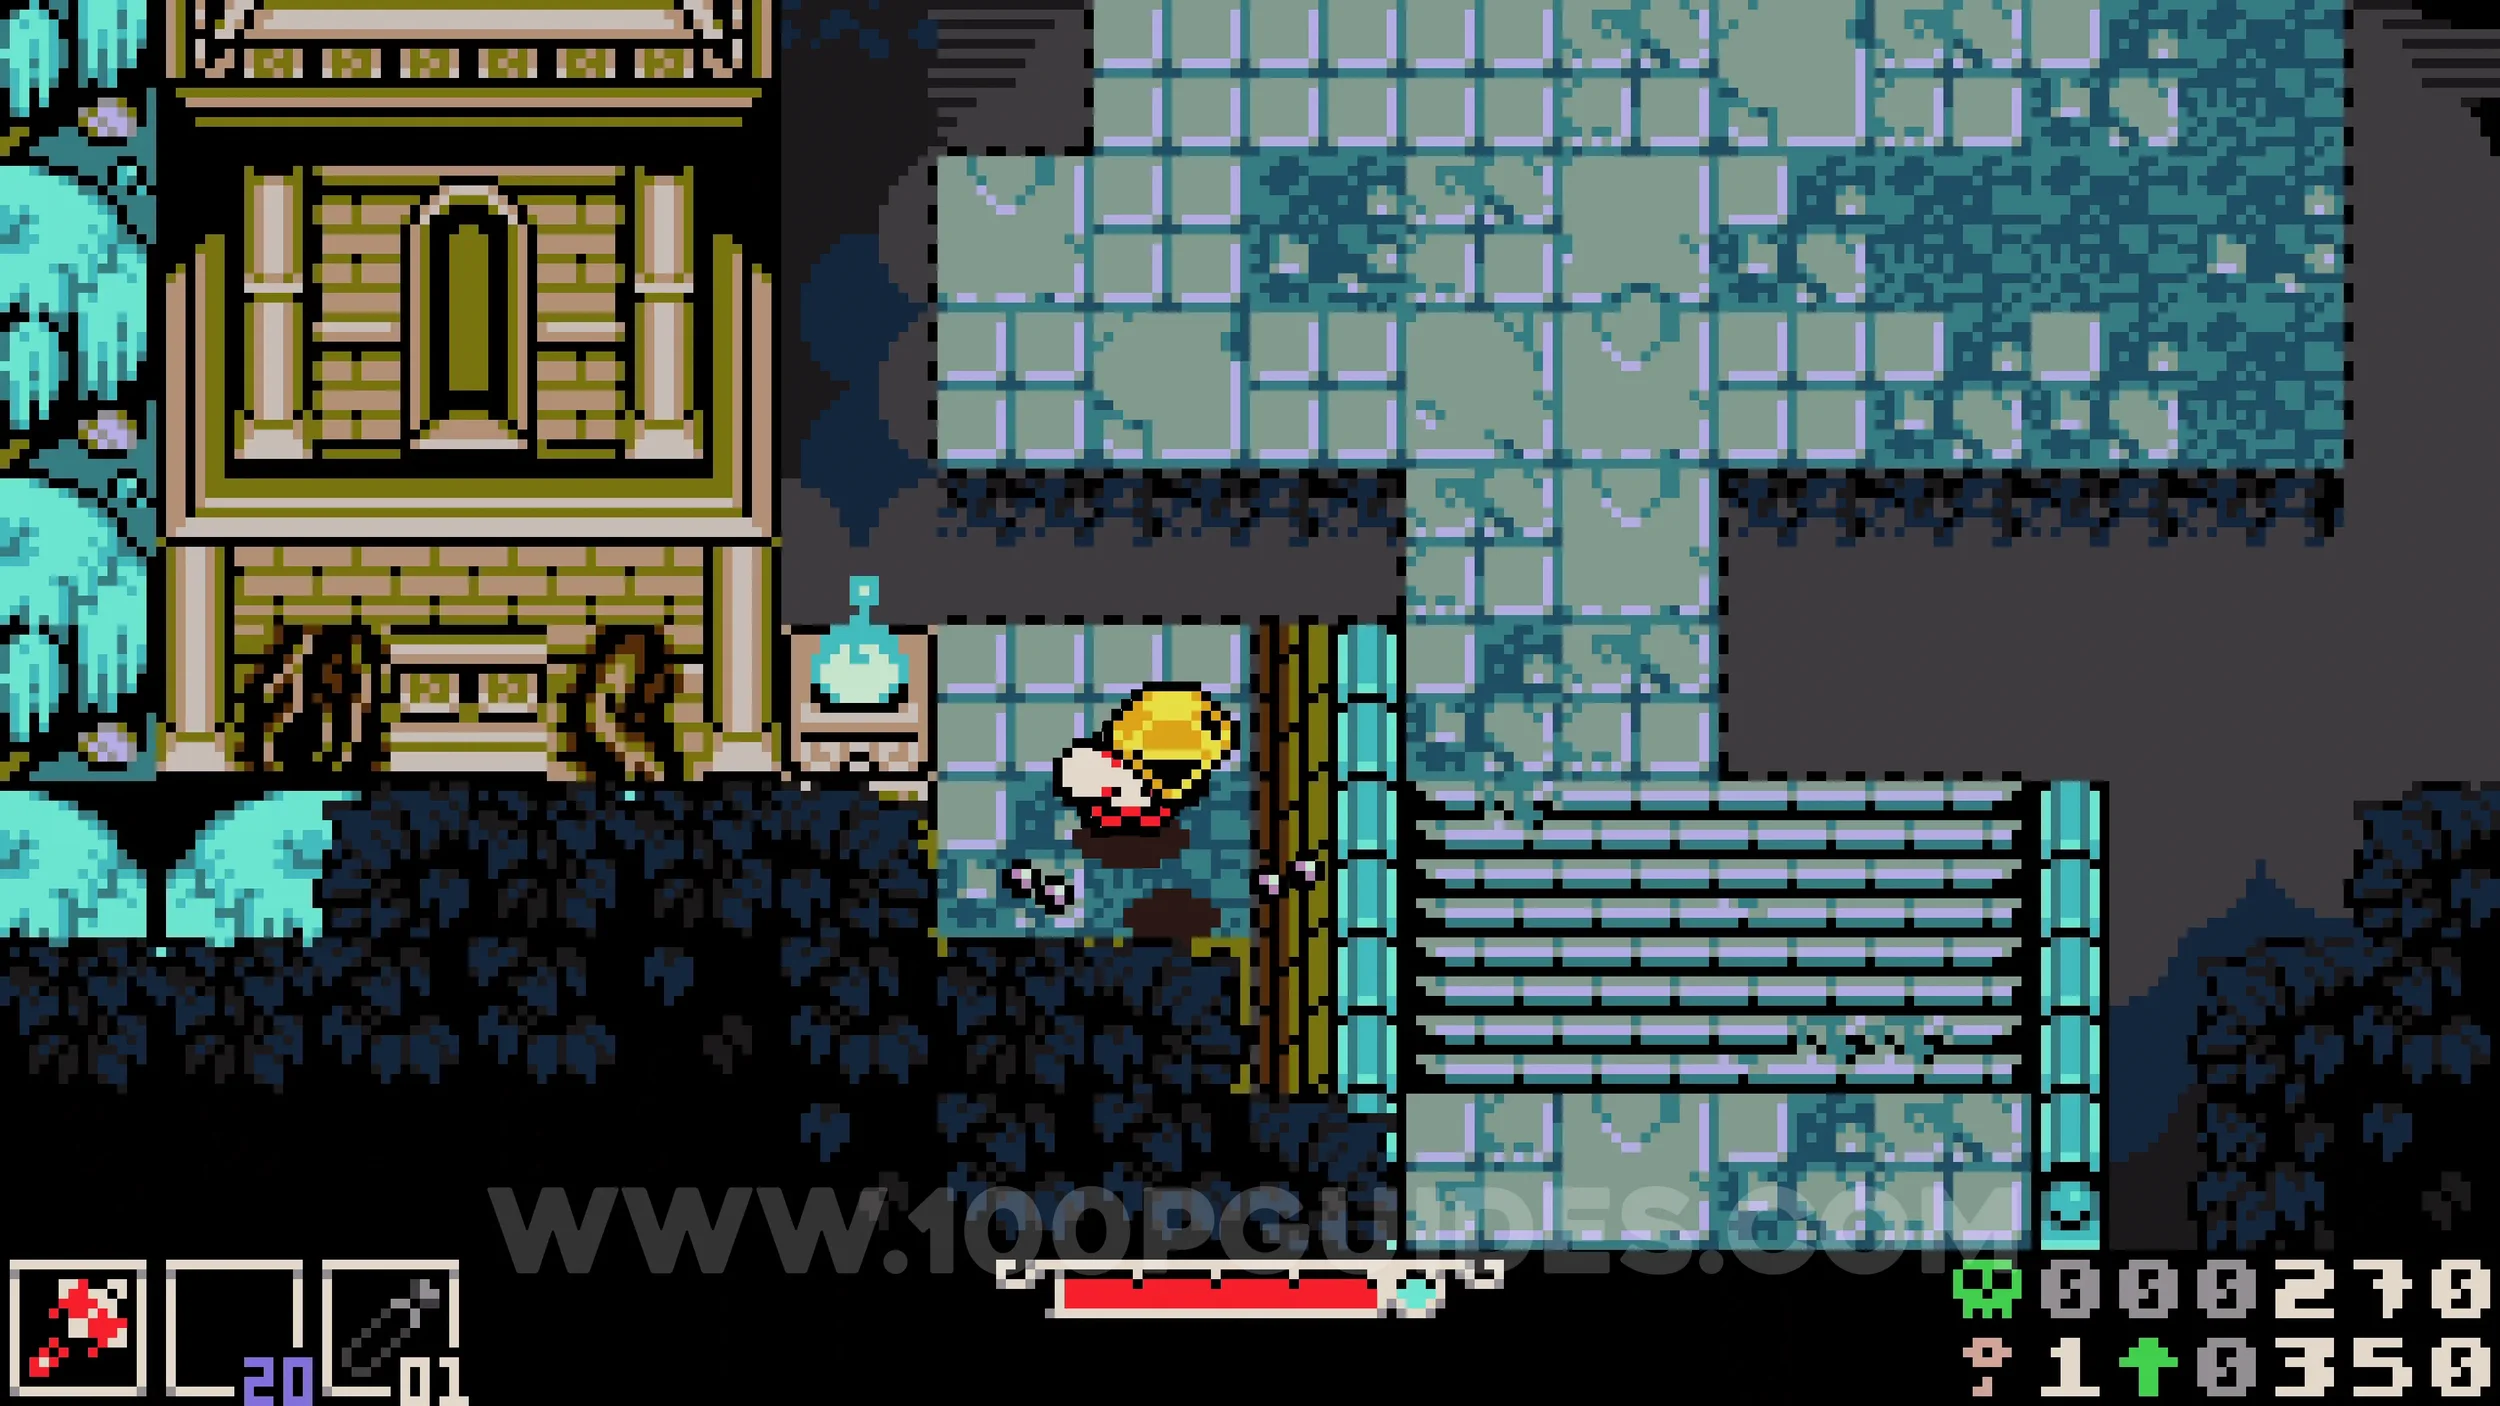
Weapon - Whisper and Vesper. In the first room inside the crypt, jump over the gap on the left side and hit the wall to reveal a door leading back outside, where you will find the chest containing the weapon.
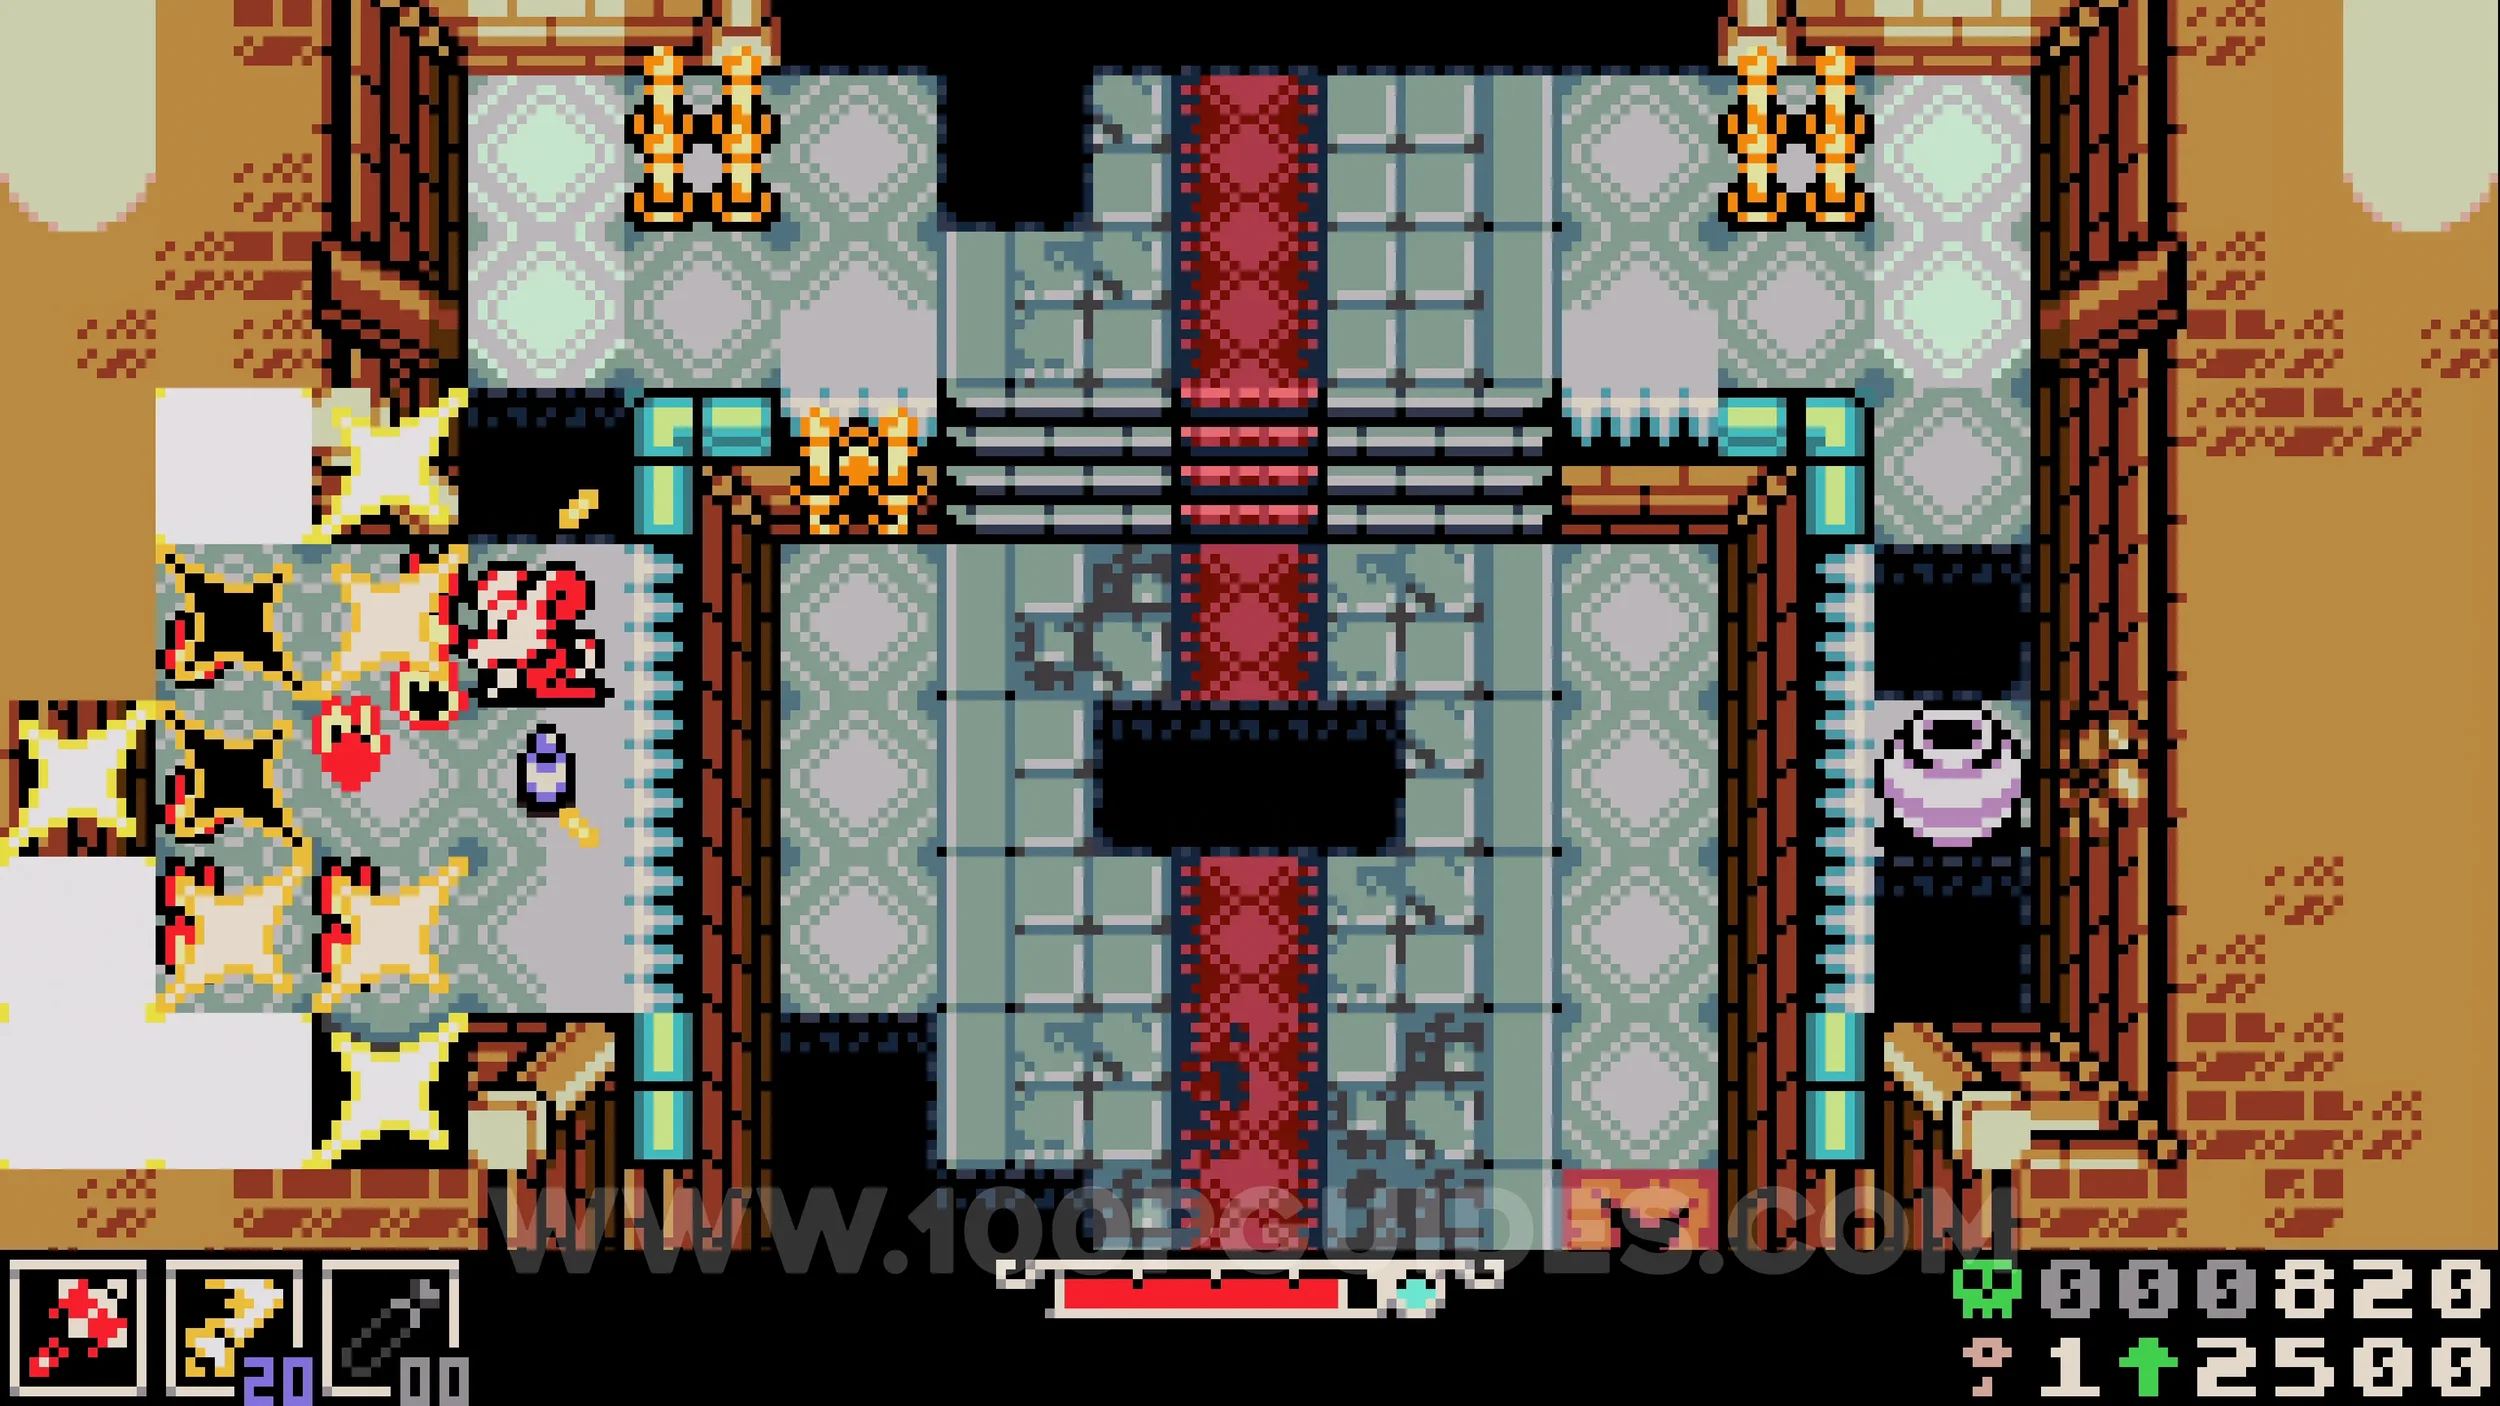
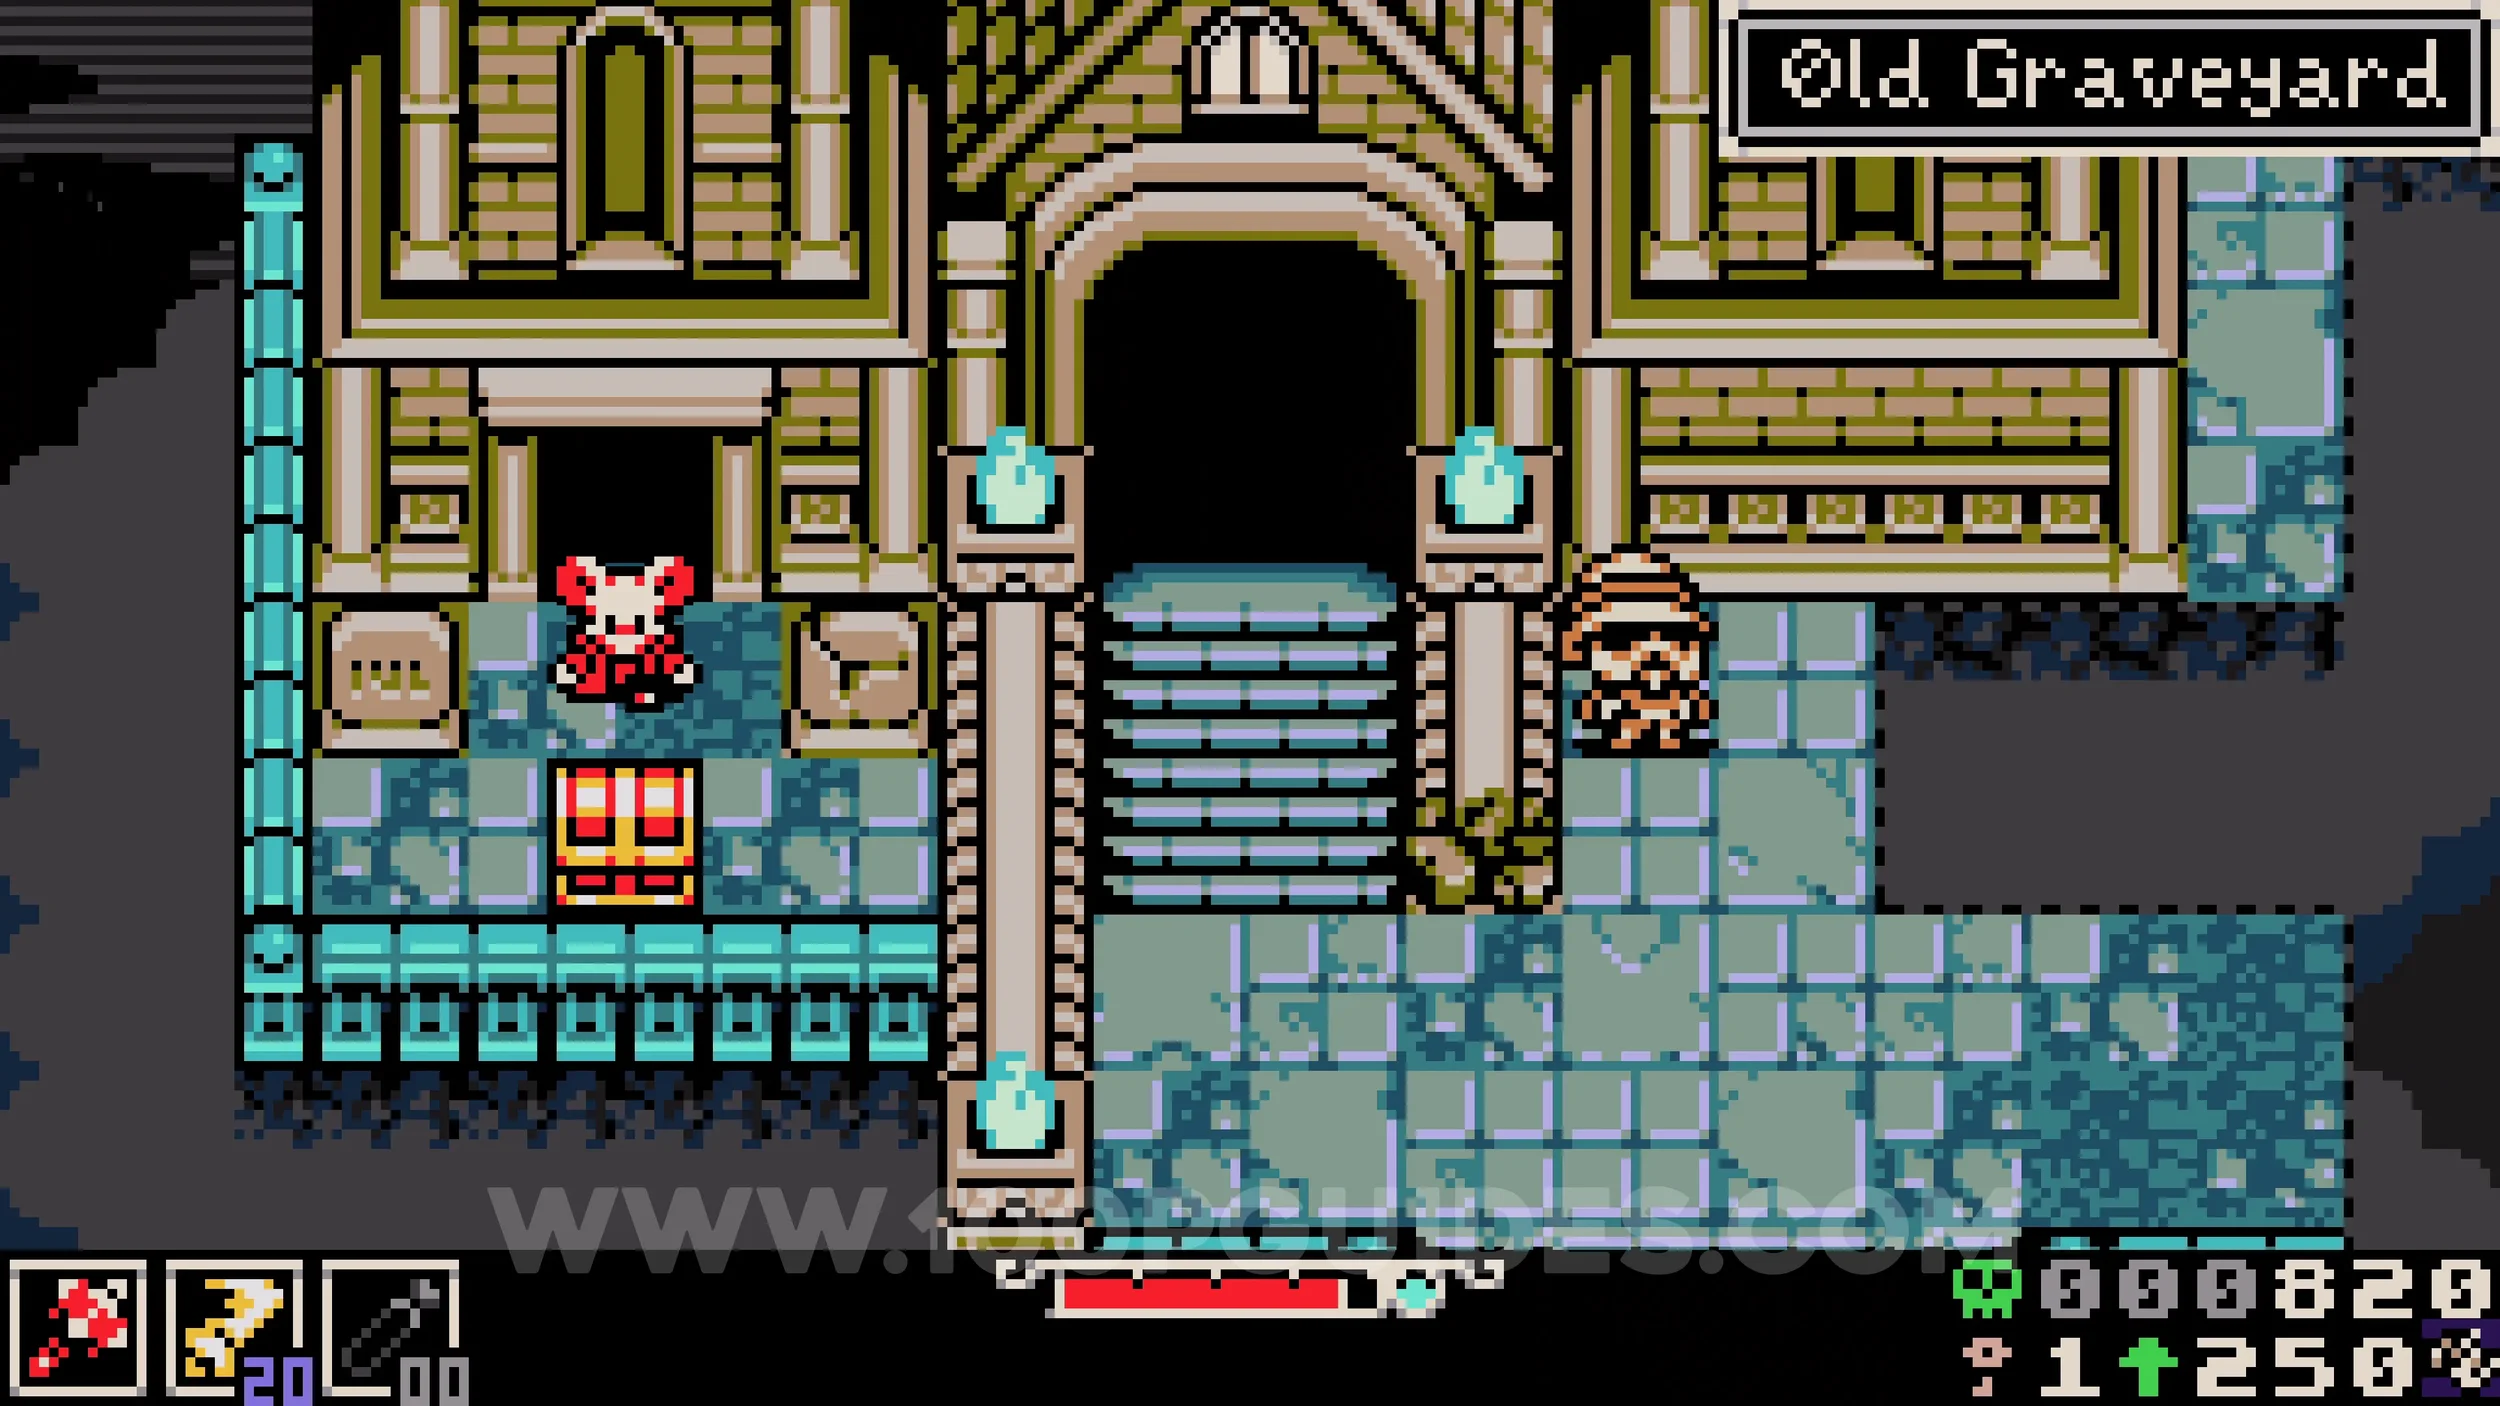
Kear #2. Continue through the crypt until you reach a room with multiple spiky rollers and some dirty water in the bottom right corner. Break the wall where the water is to find the collectible in the next room. Make sure to also talk to Midden, the NPC next to the chest, as this is important for a later collectible.
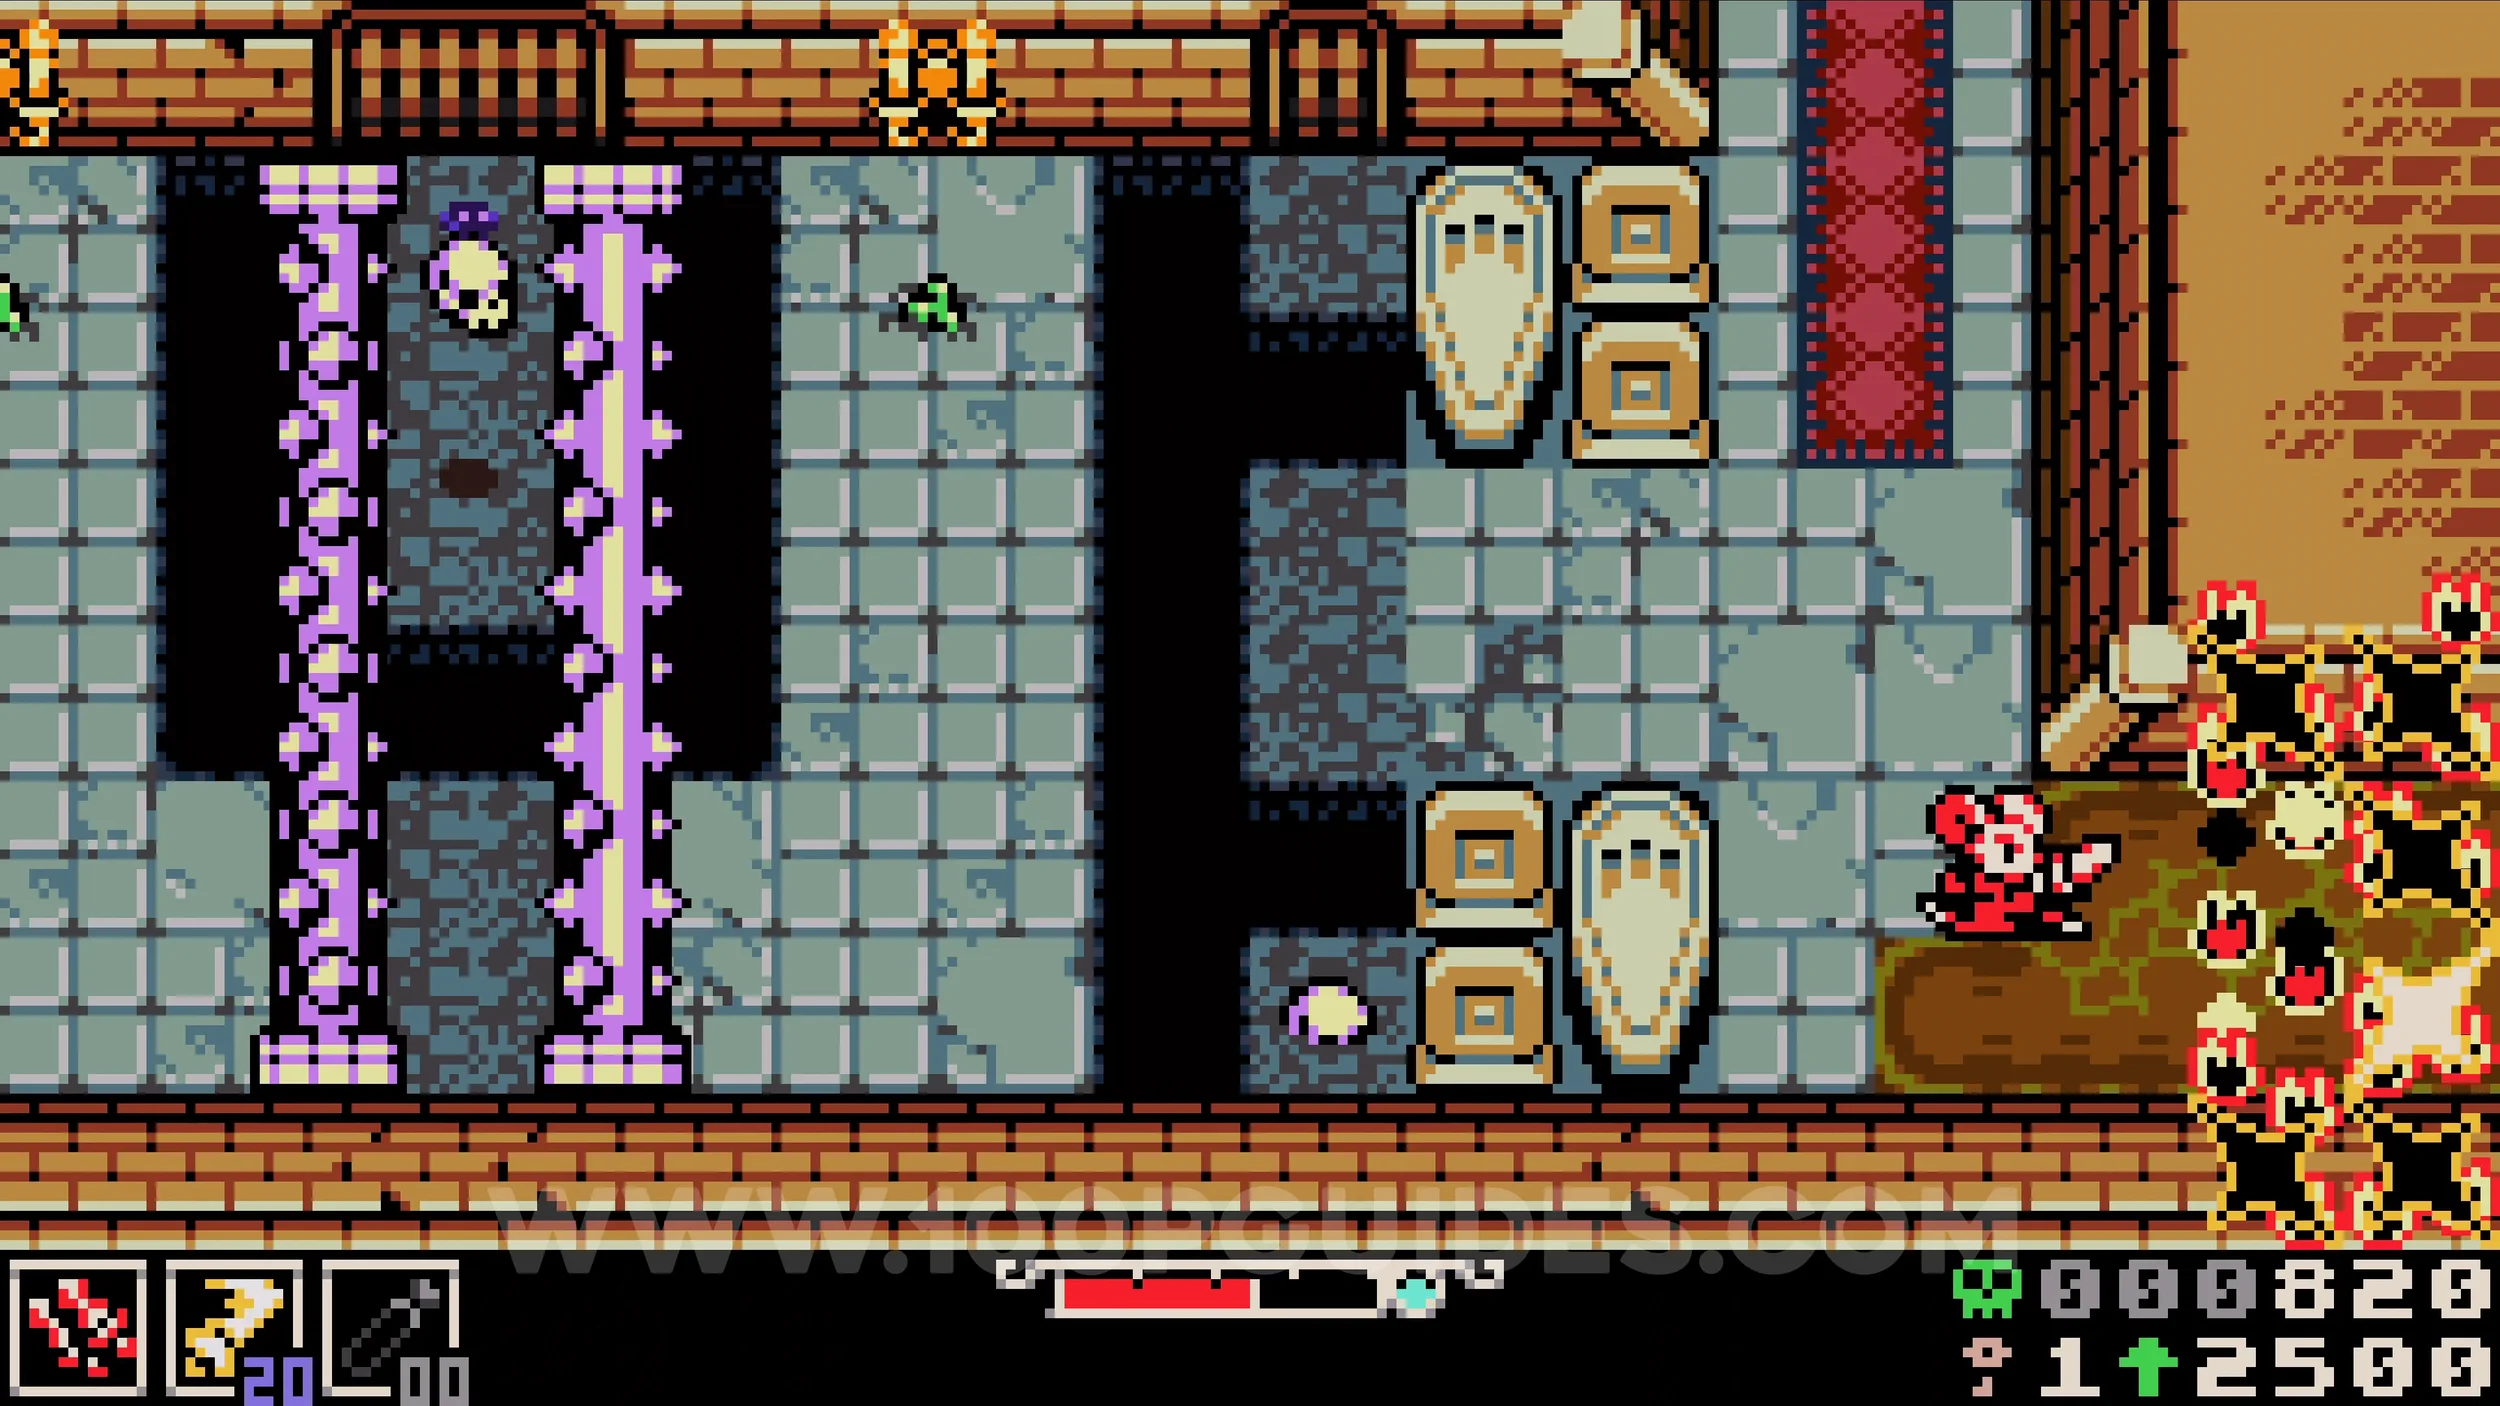
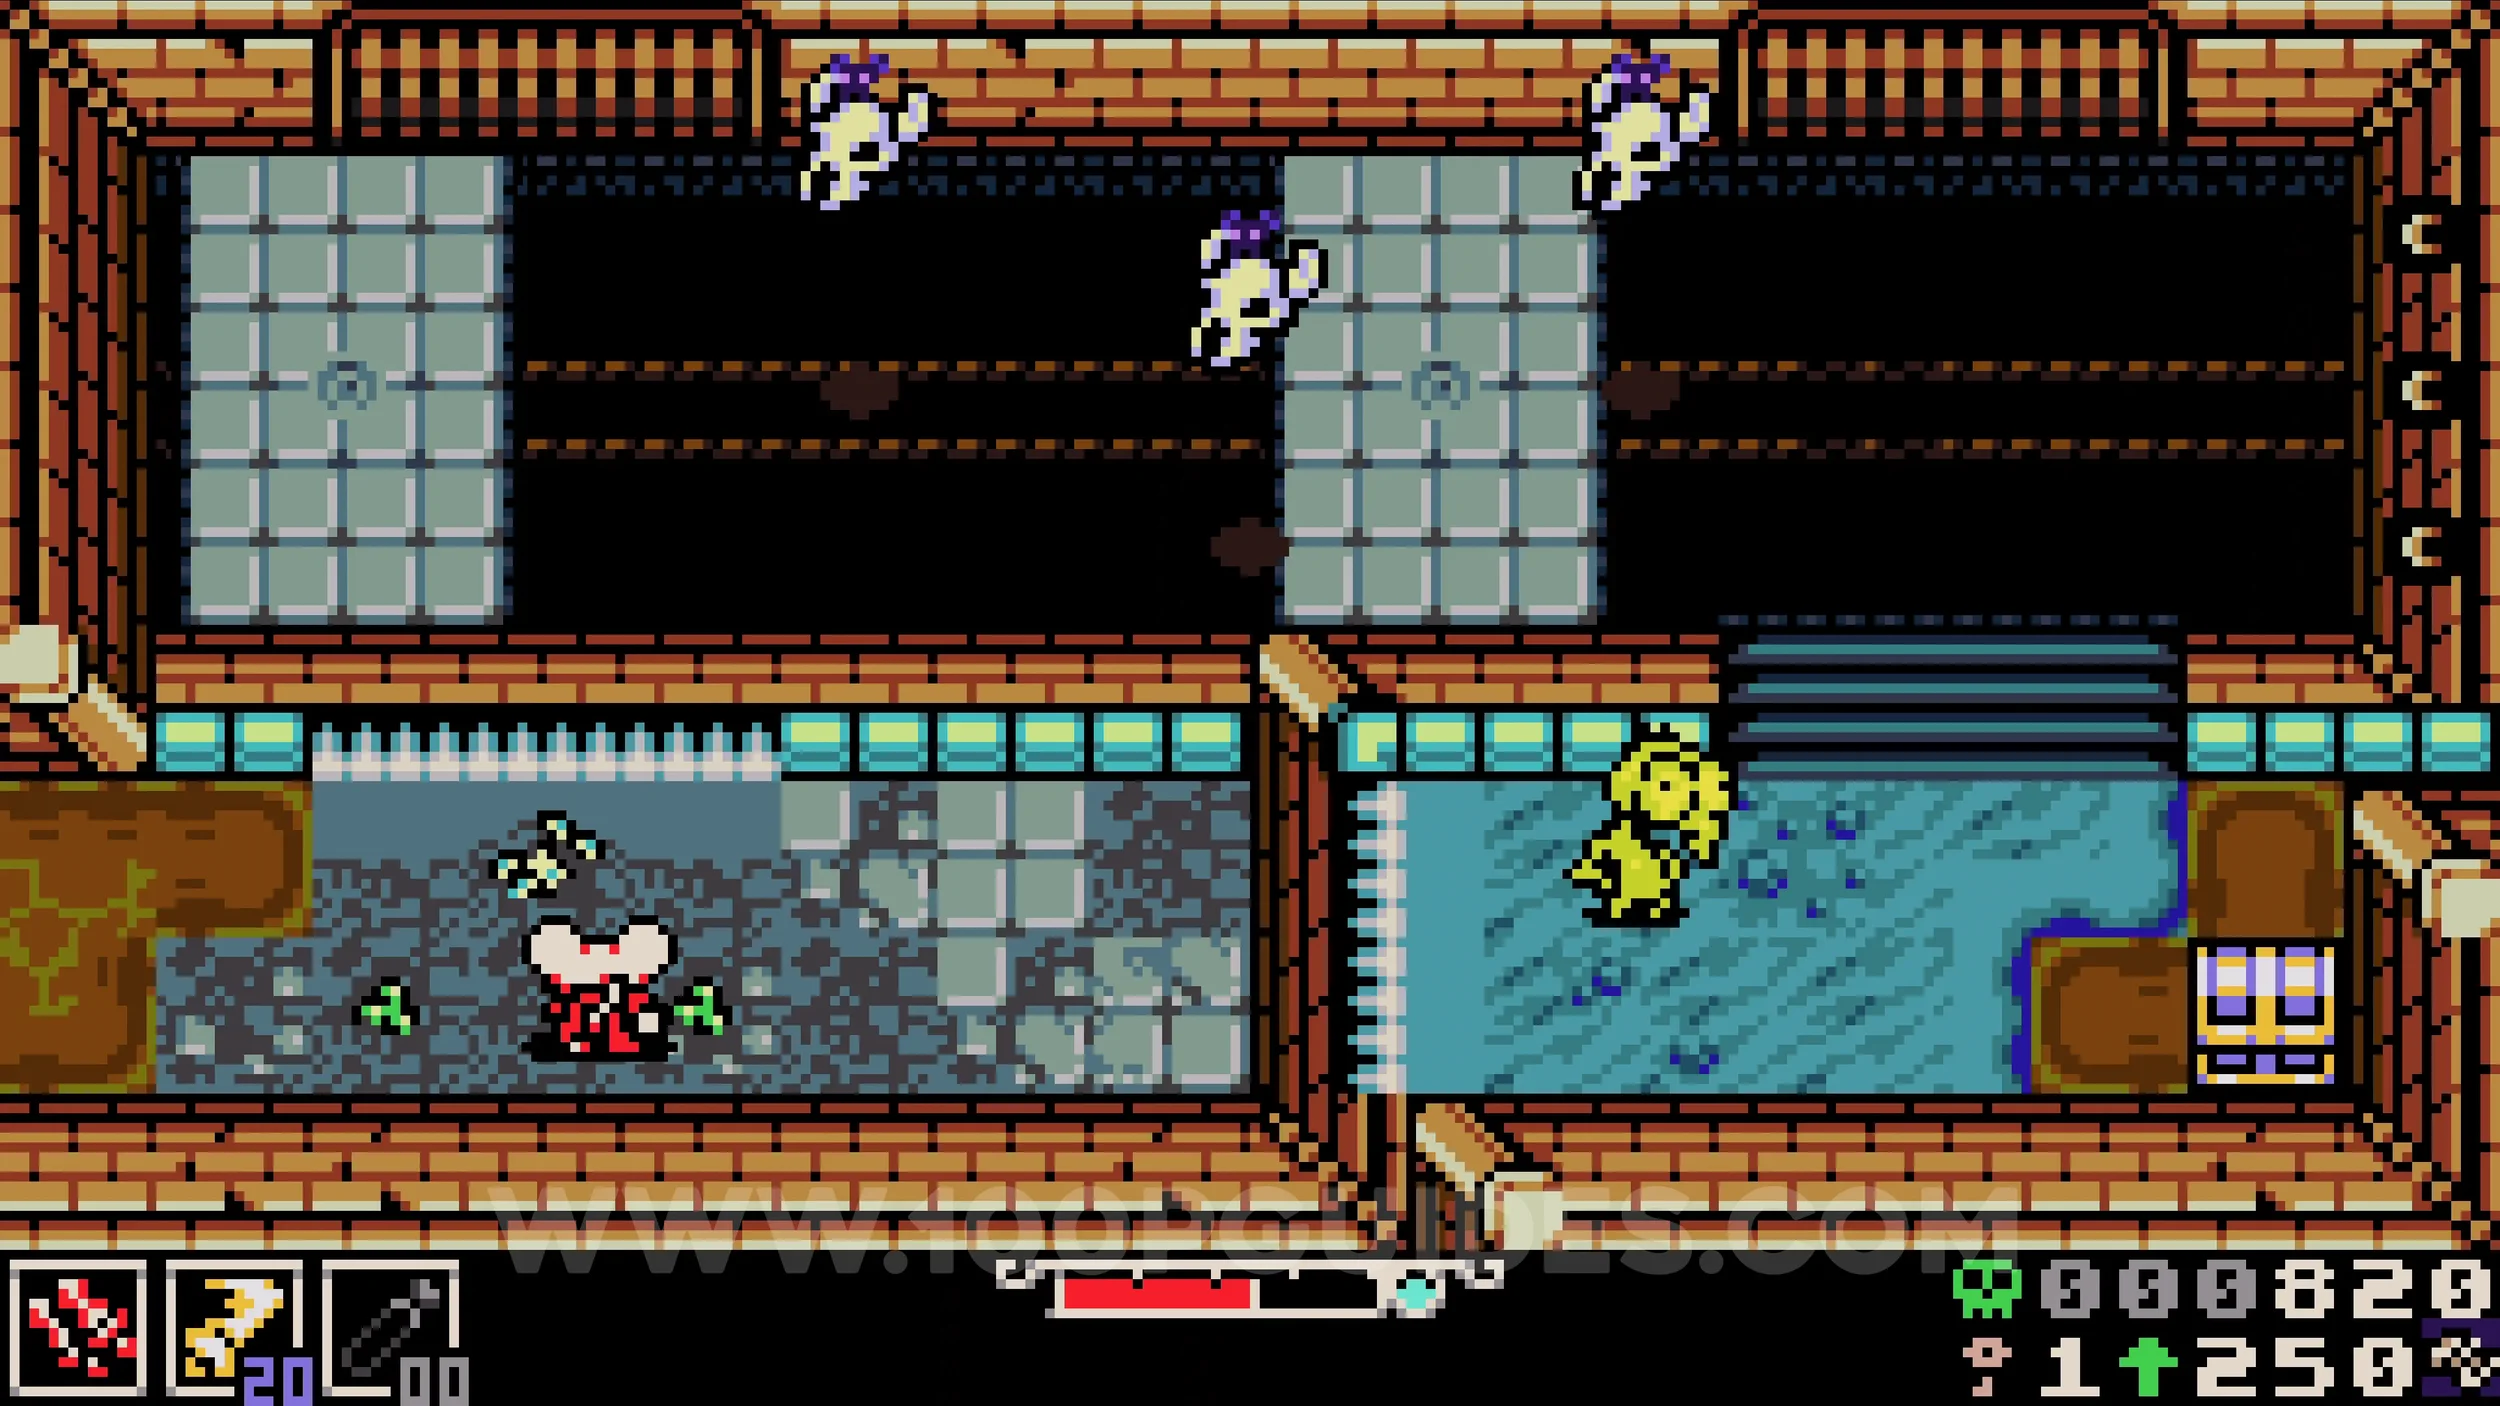
Fish #1. In the dirty water where you broke the wall.
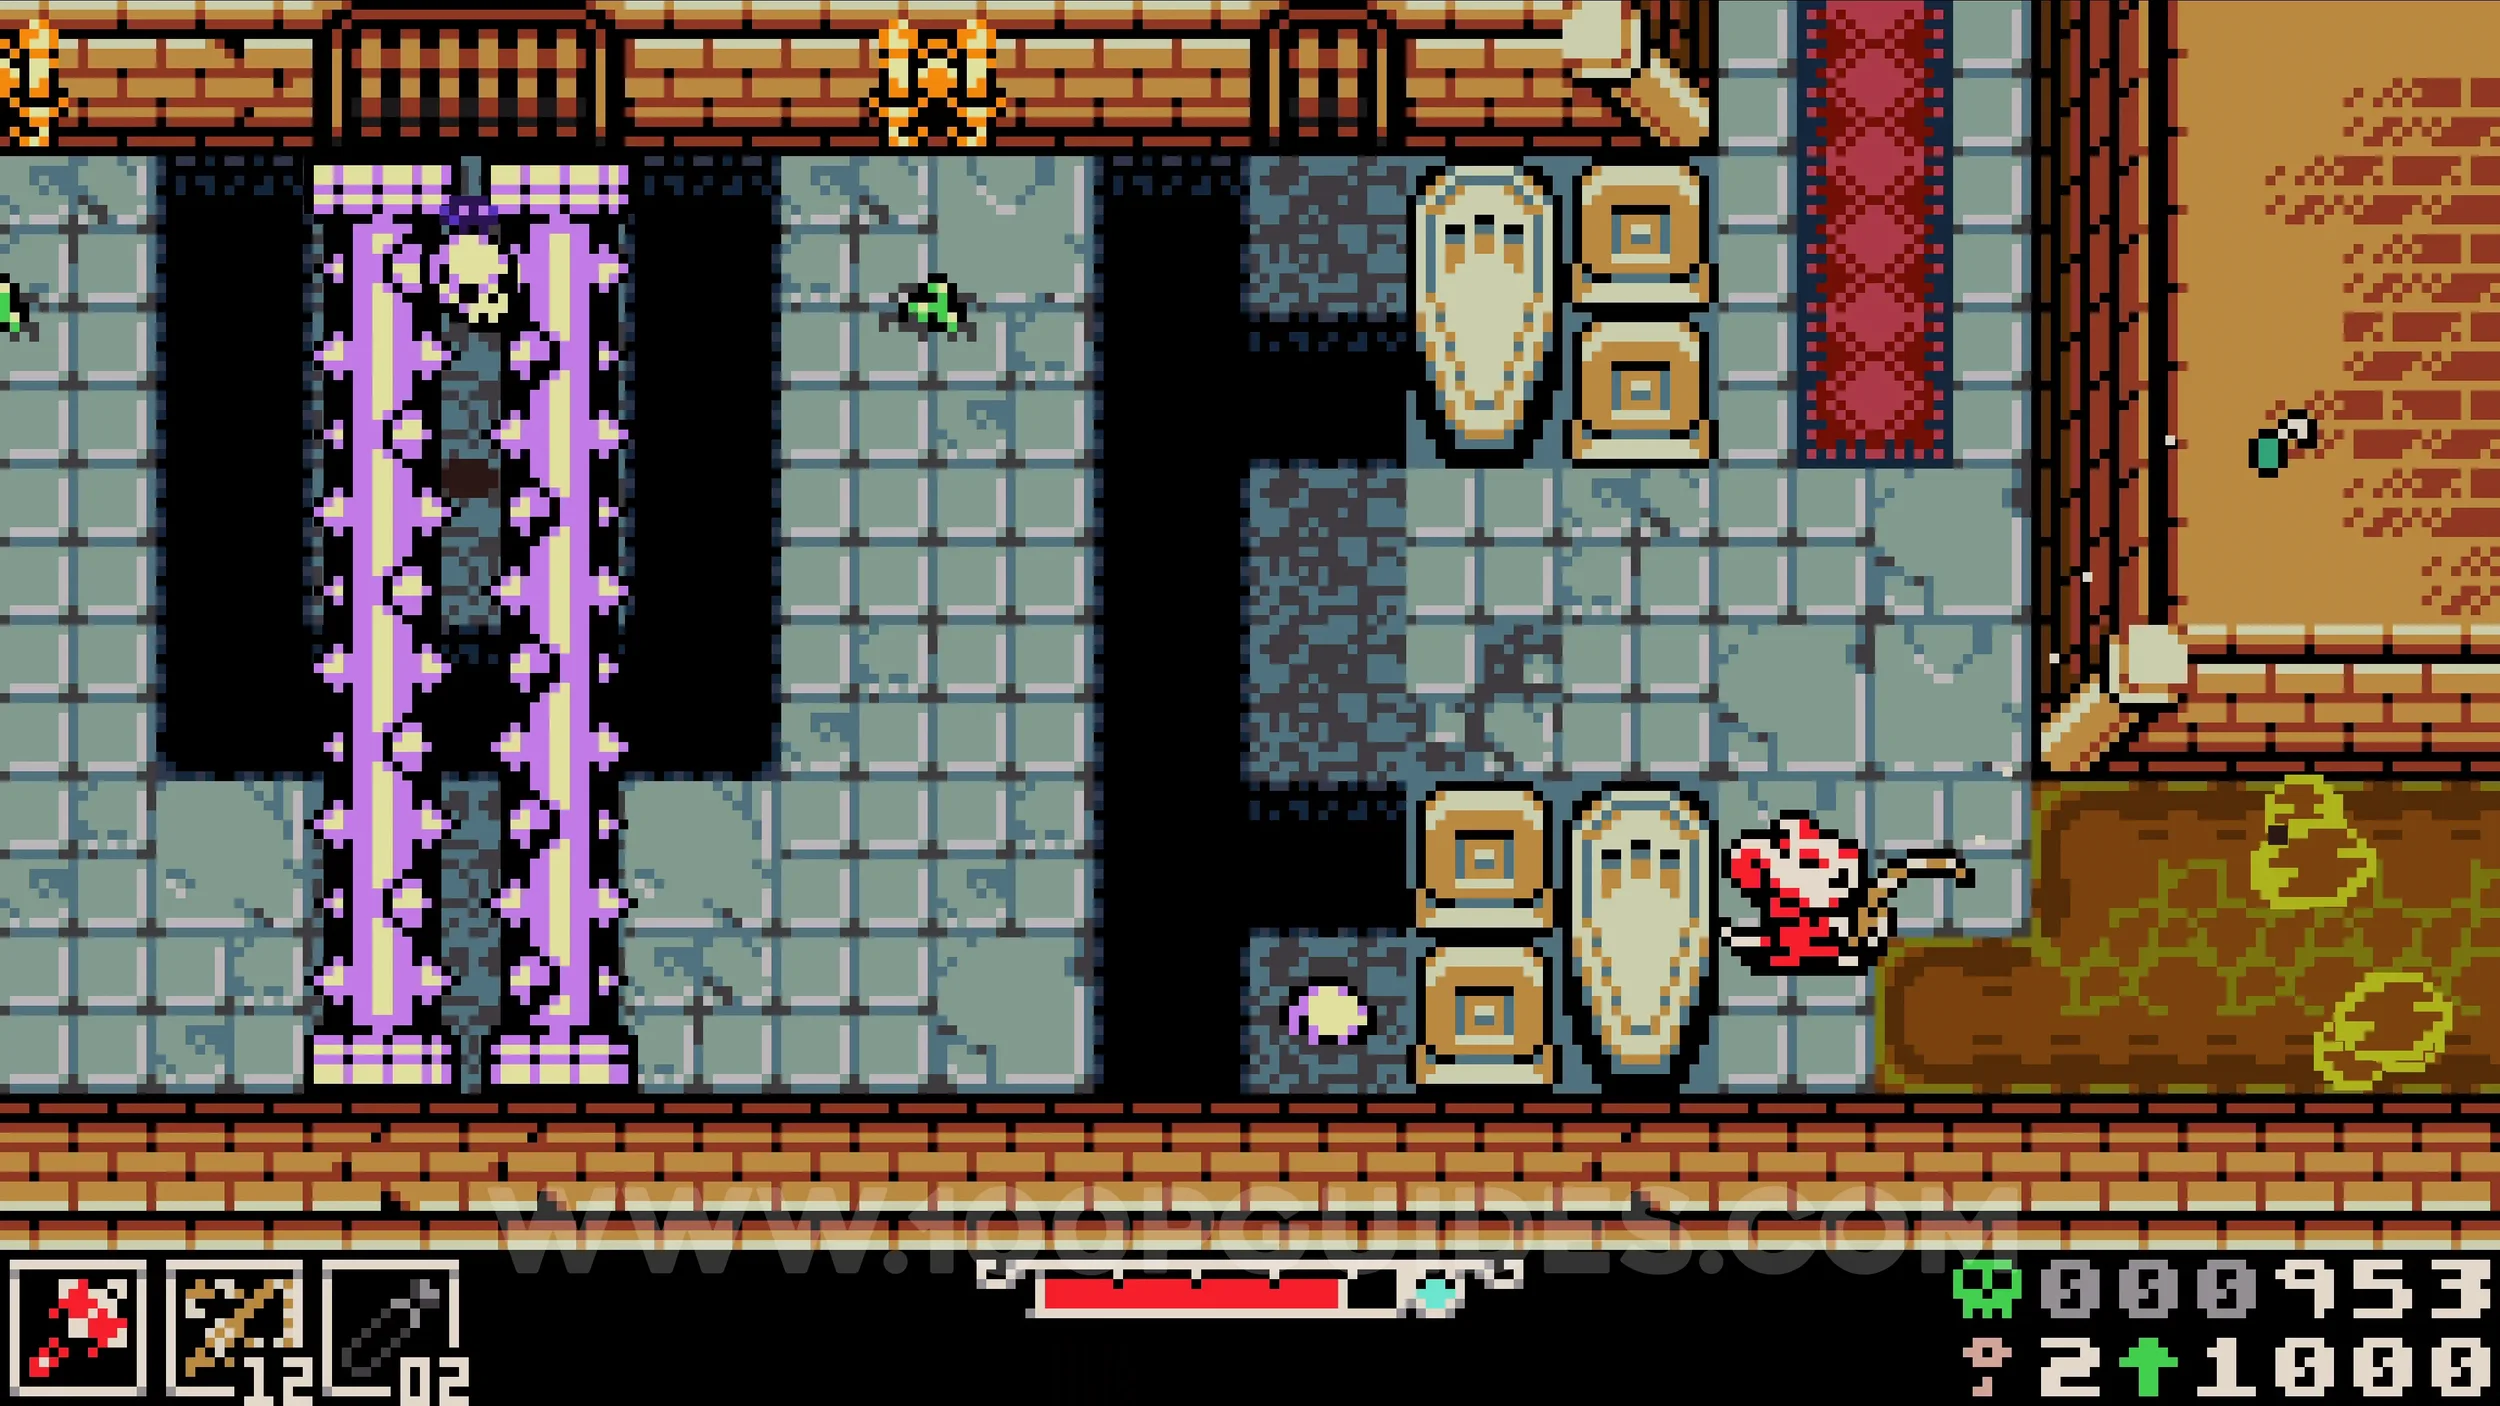
Bonestone #3. Continue on the main path until you reach the room with switches on the ground that activate arrow traps. Just before leaving through the top, go through the hole on the right to find the collectible inside.
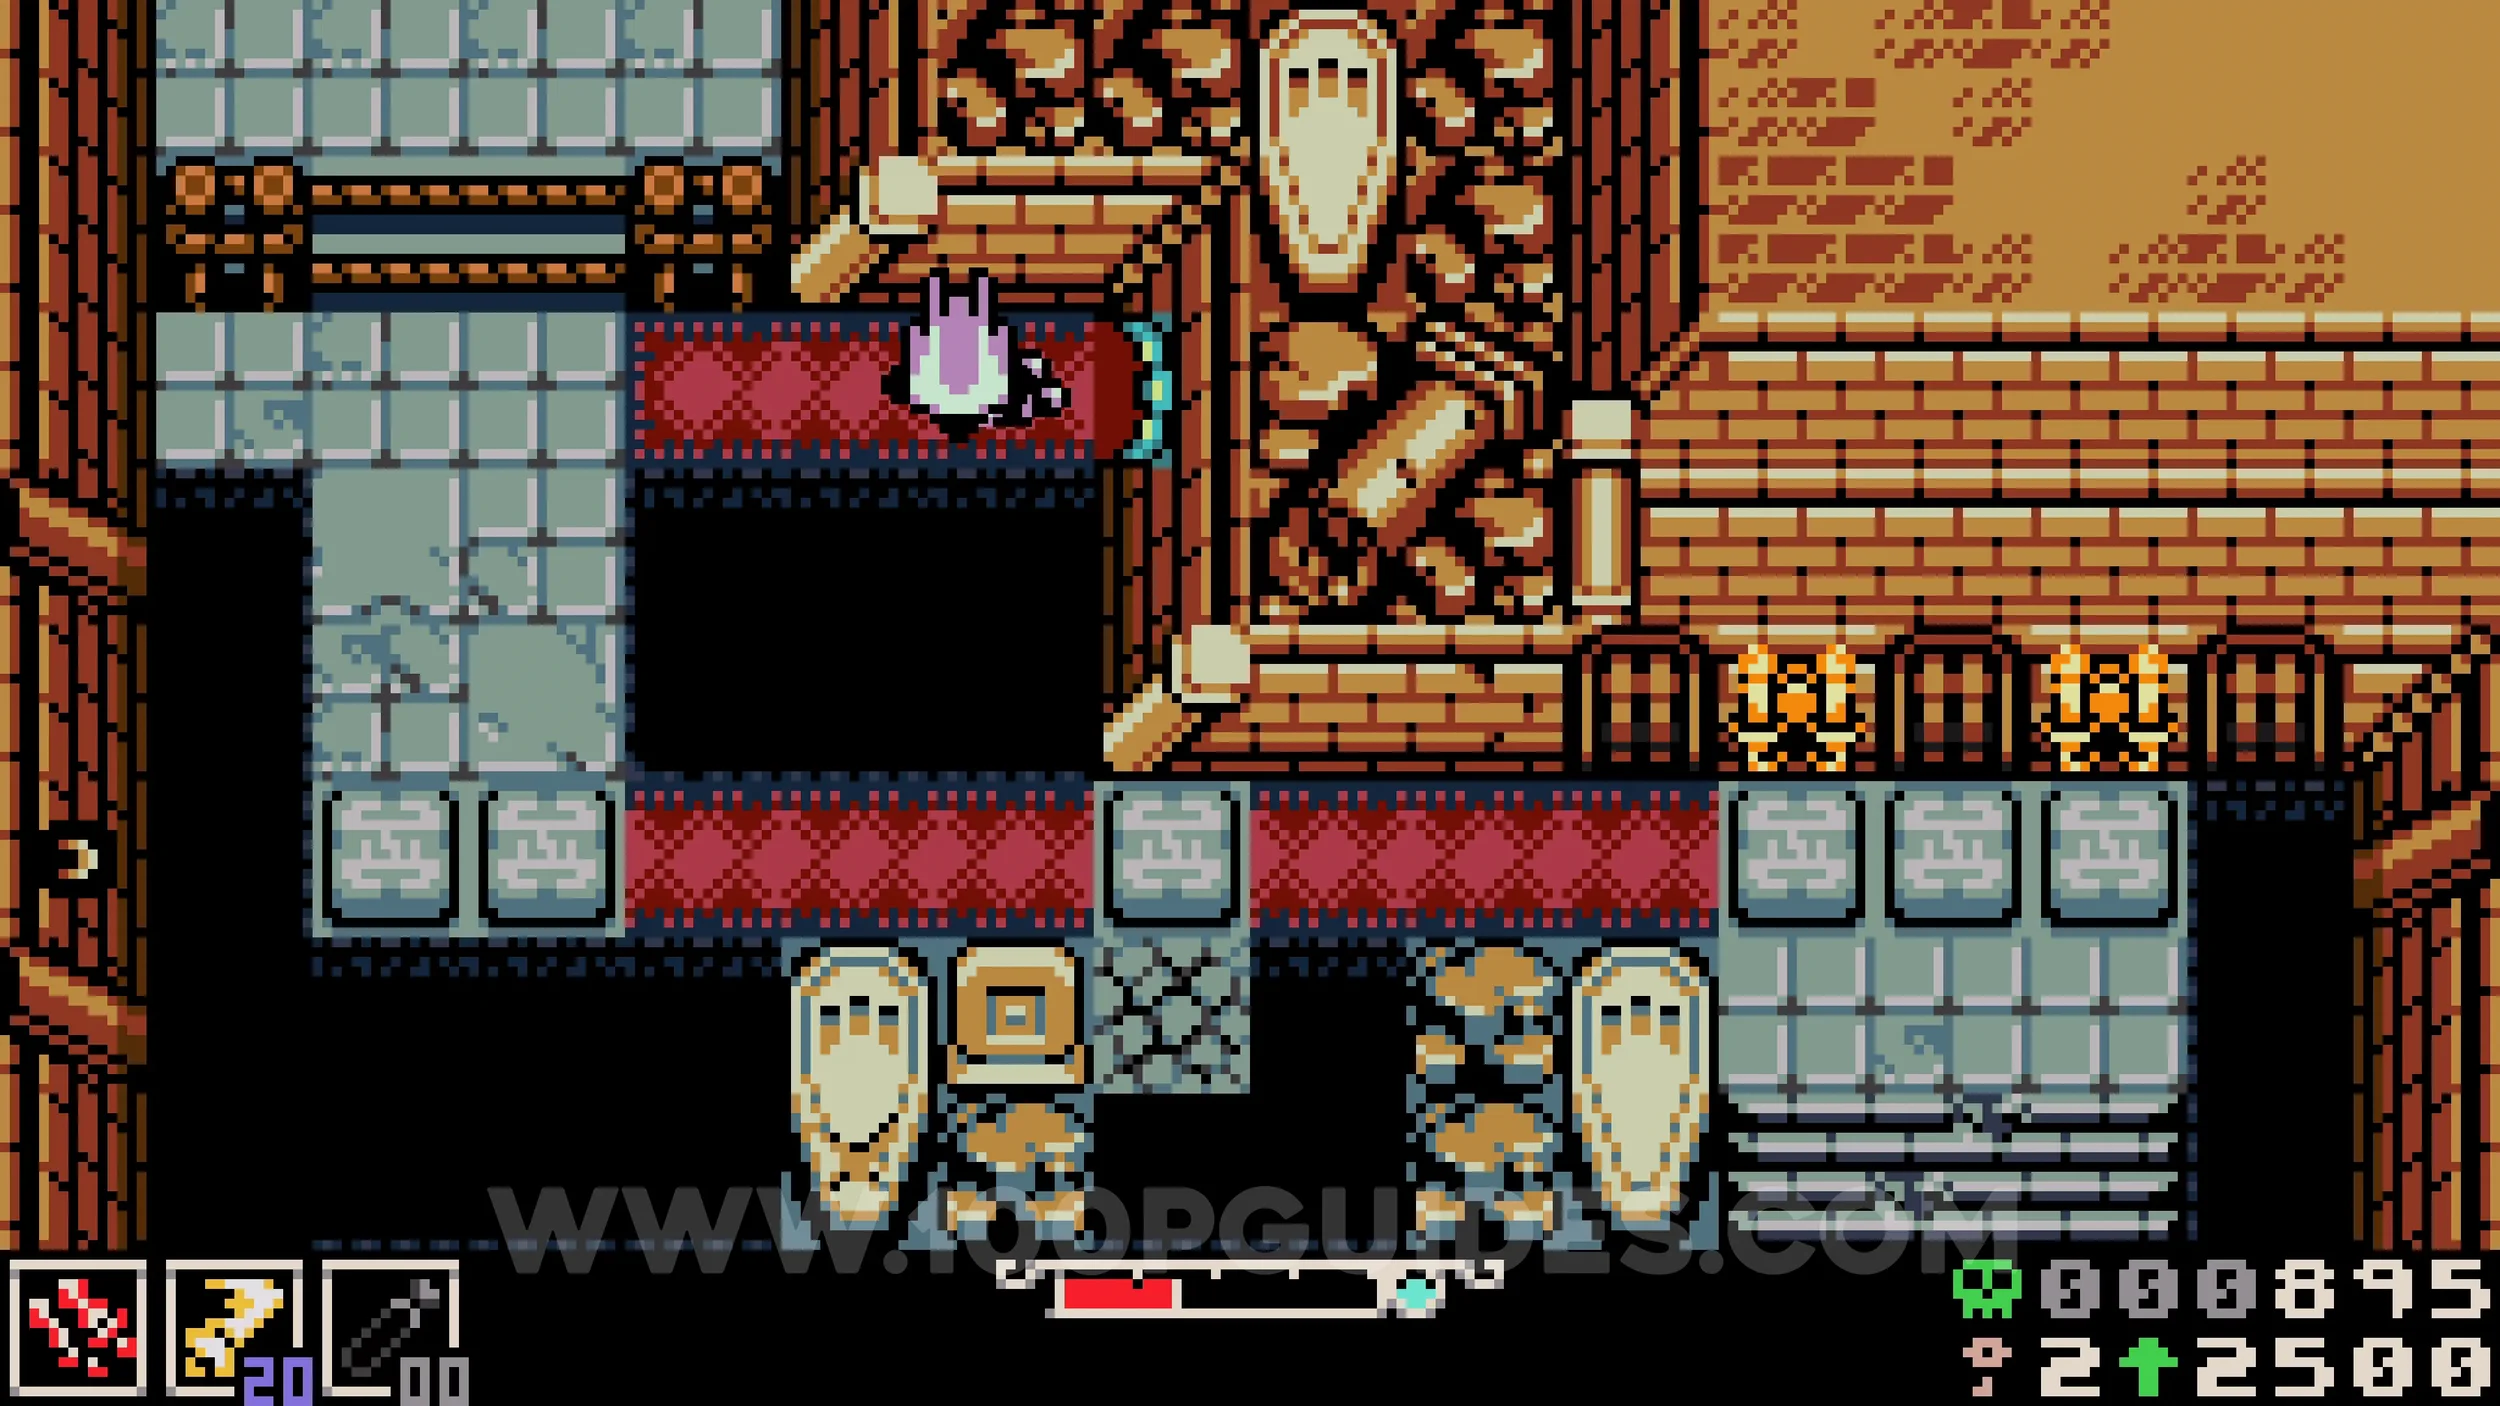
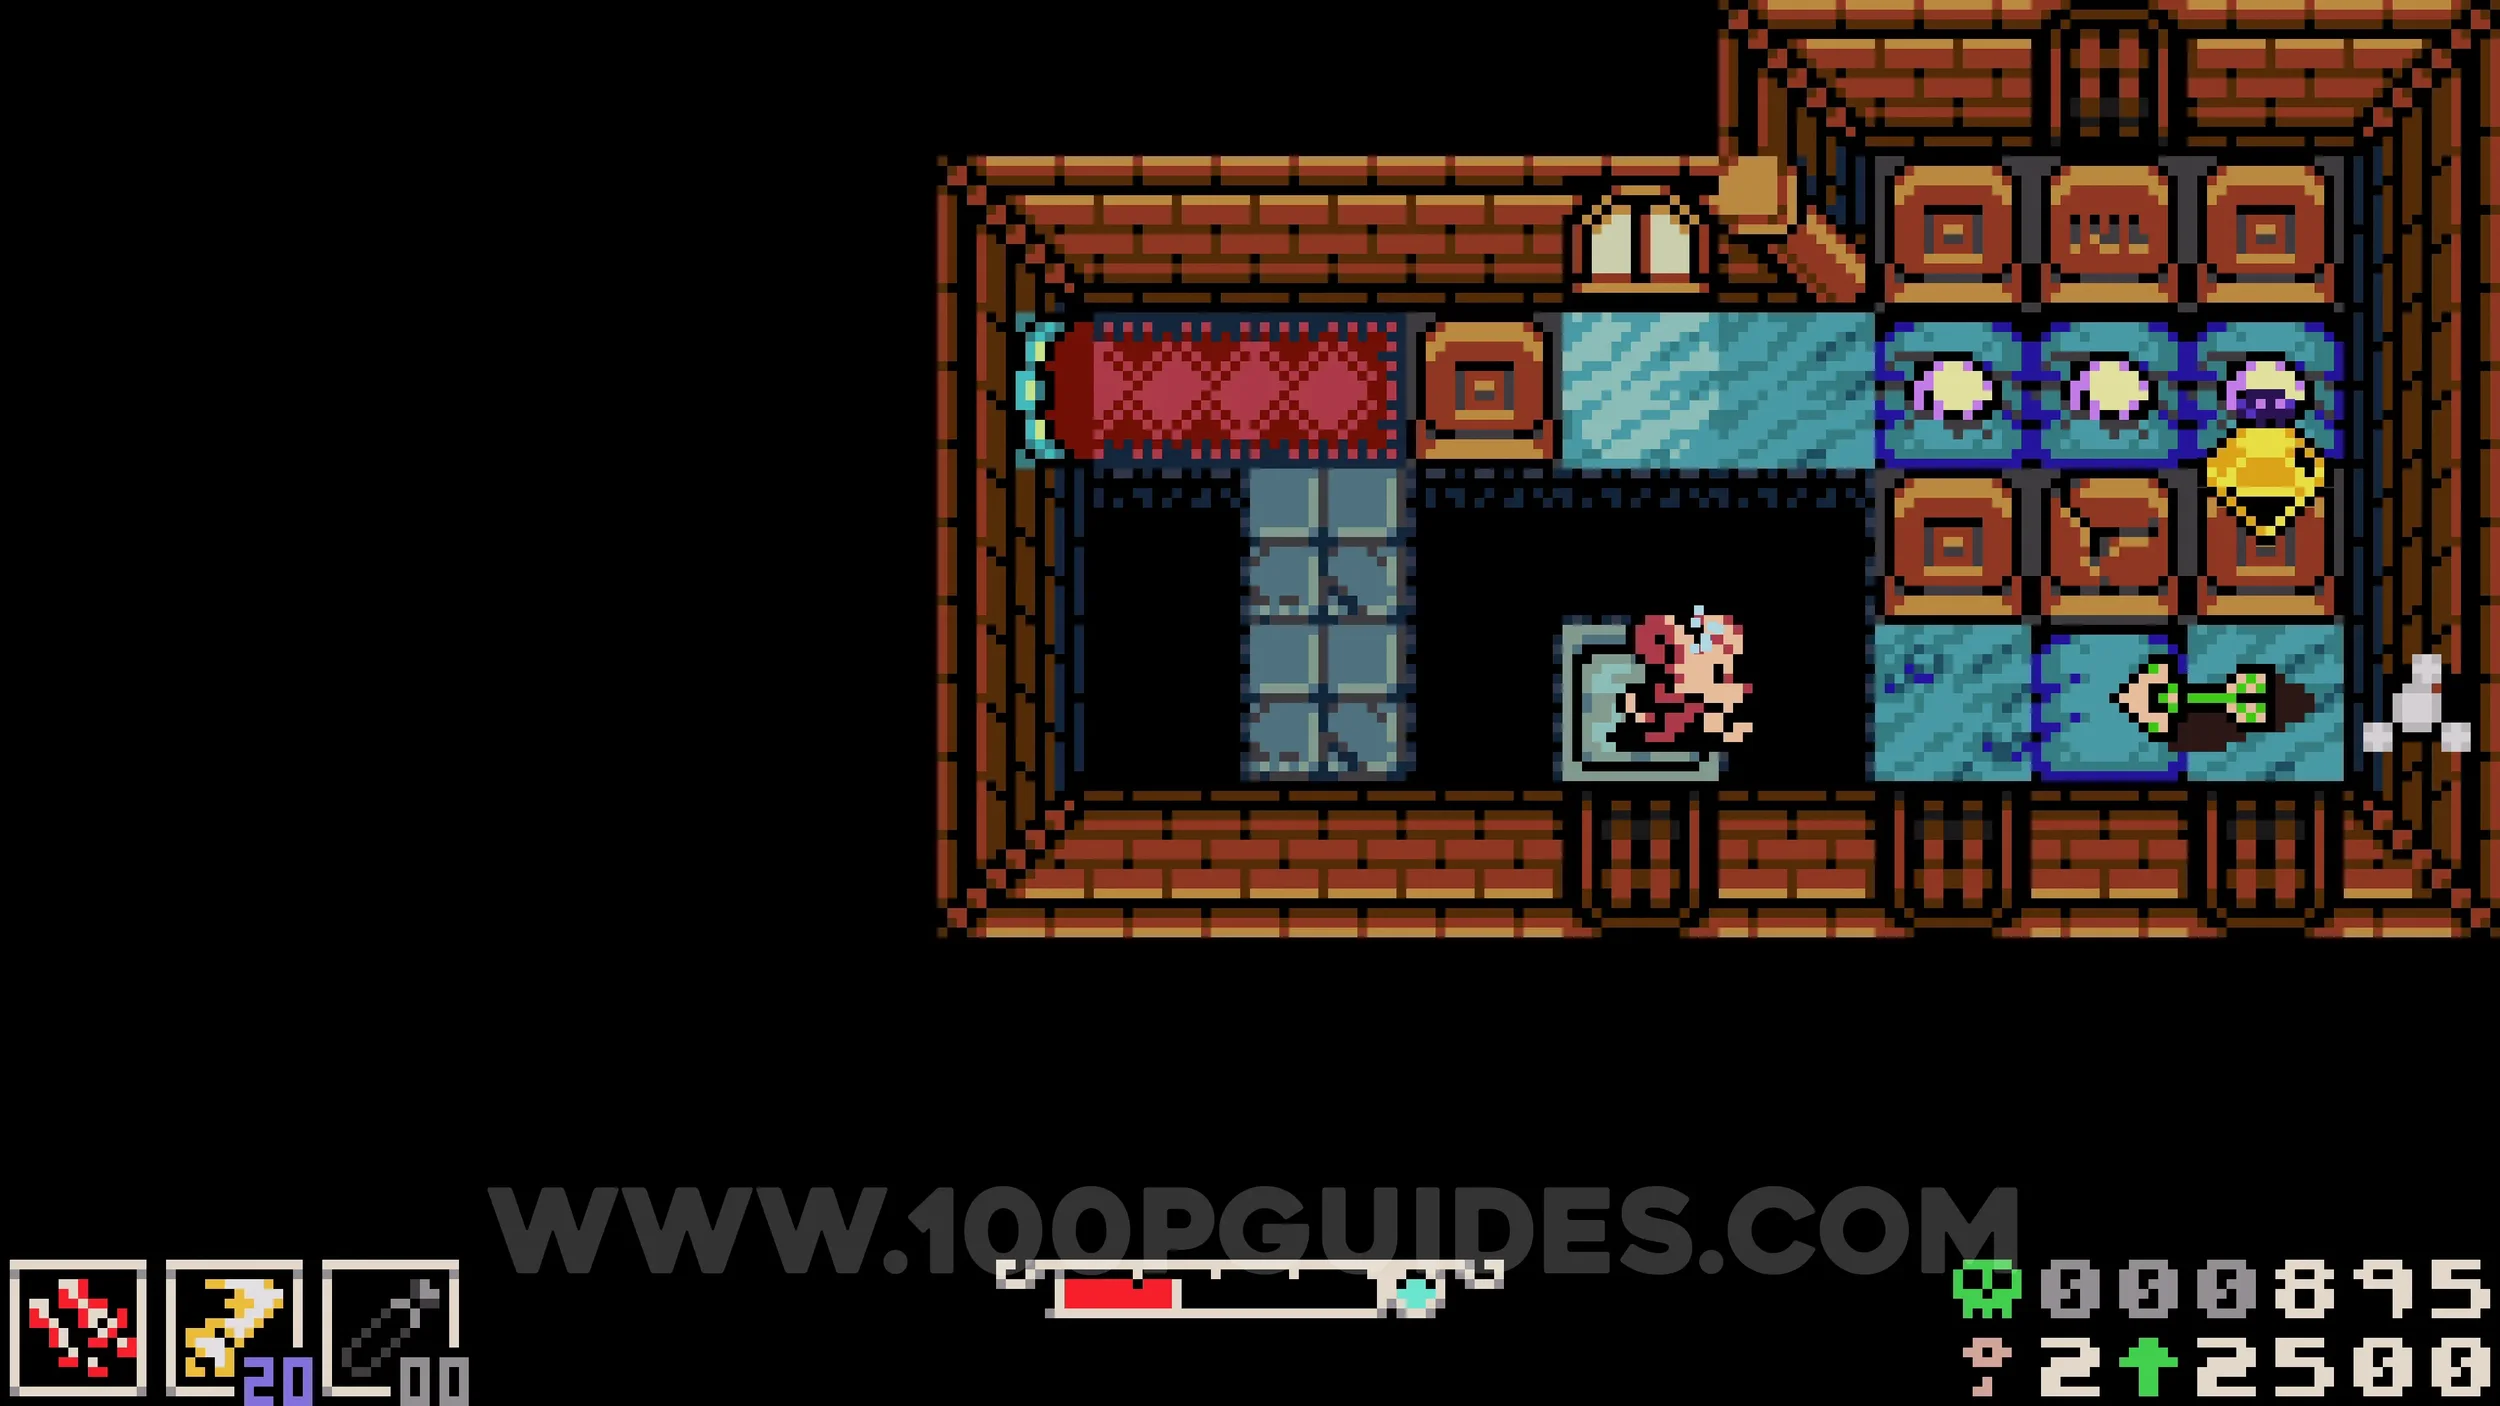
Bonestone #4. After going through the door next to the lizard NPC, the chest will be visible in the bottom left corner of the next room.
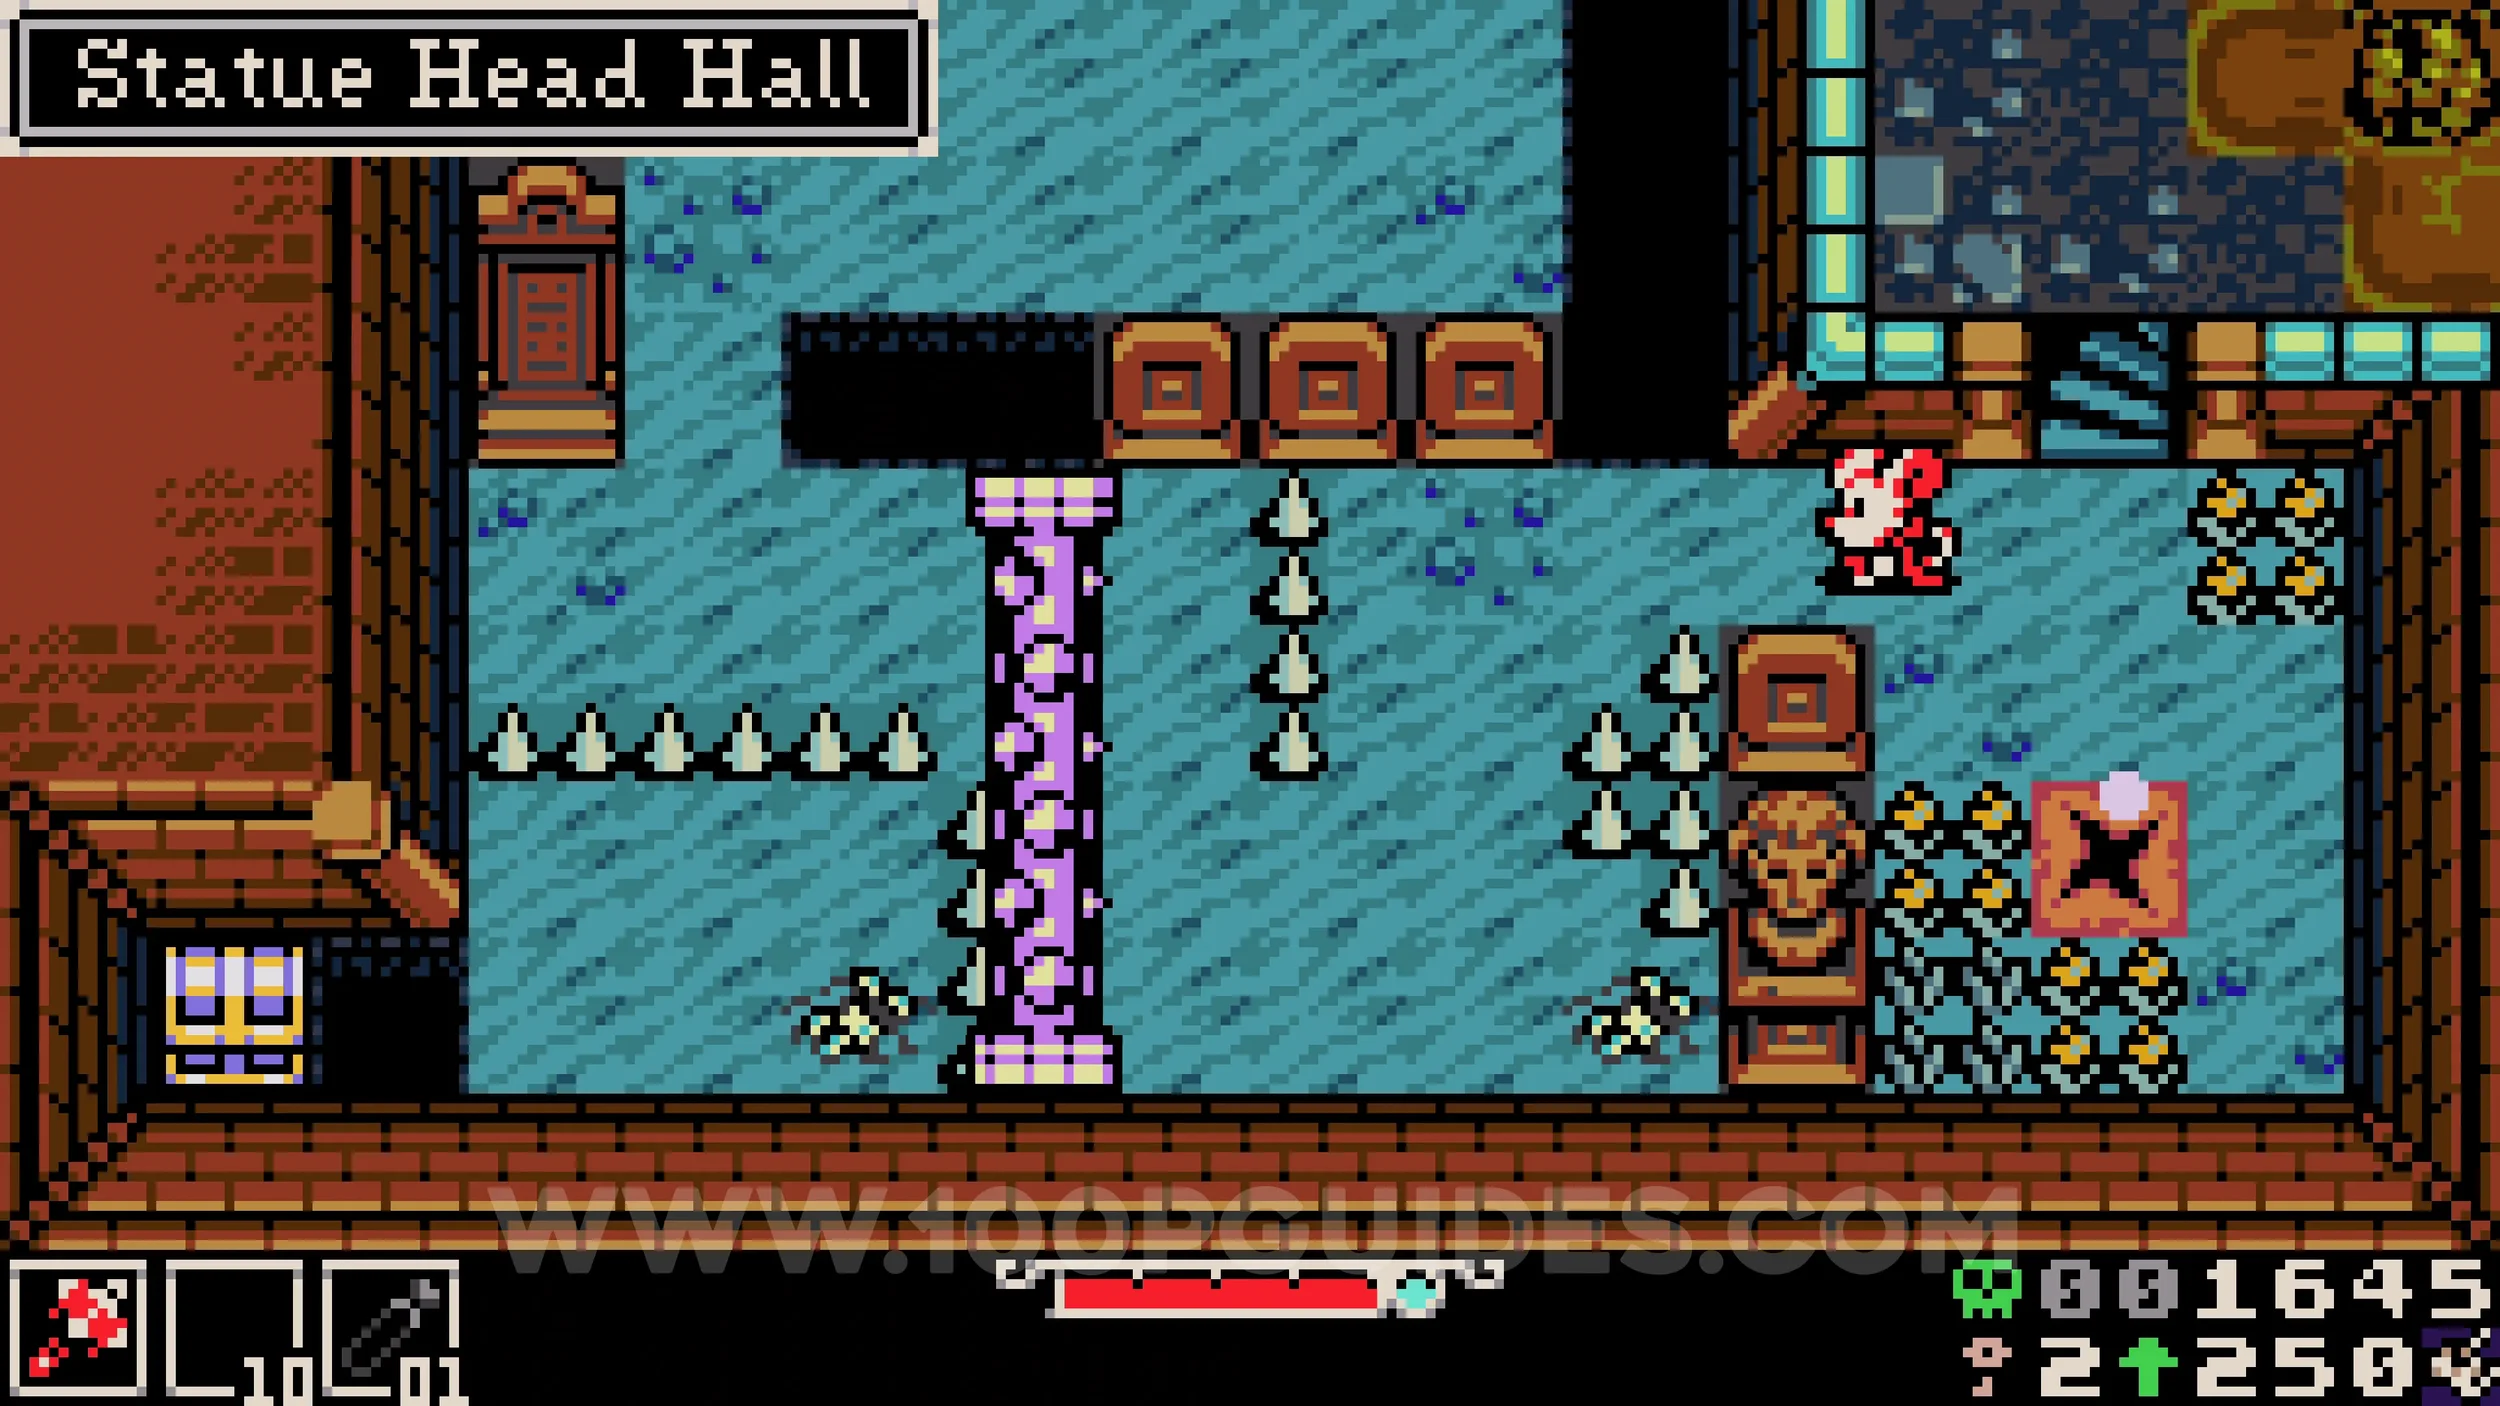
Bonestone #5. In the hall where you place the two statue heads, burrow under the gap to the right of the statues to find the chest containing the collectible on the other side.
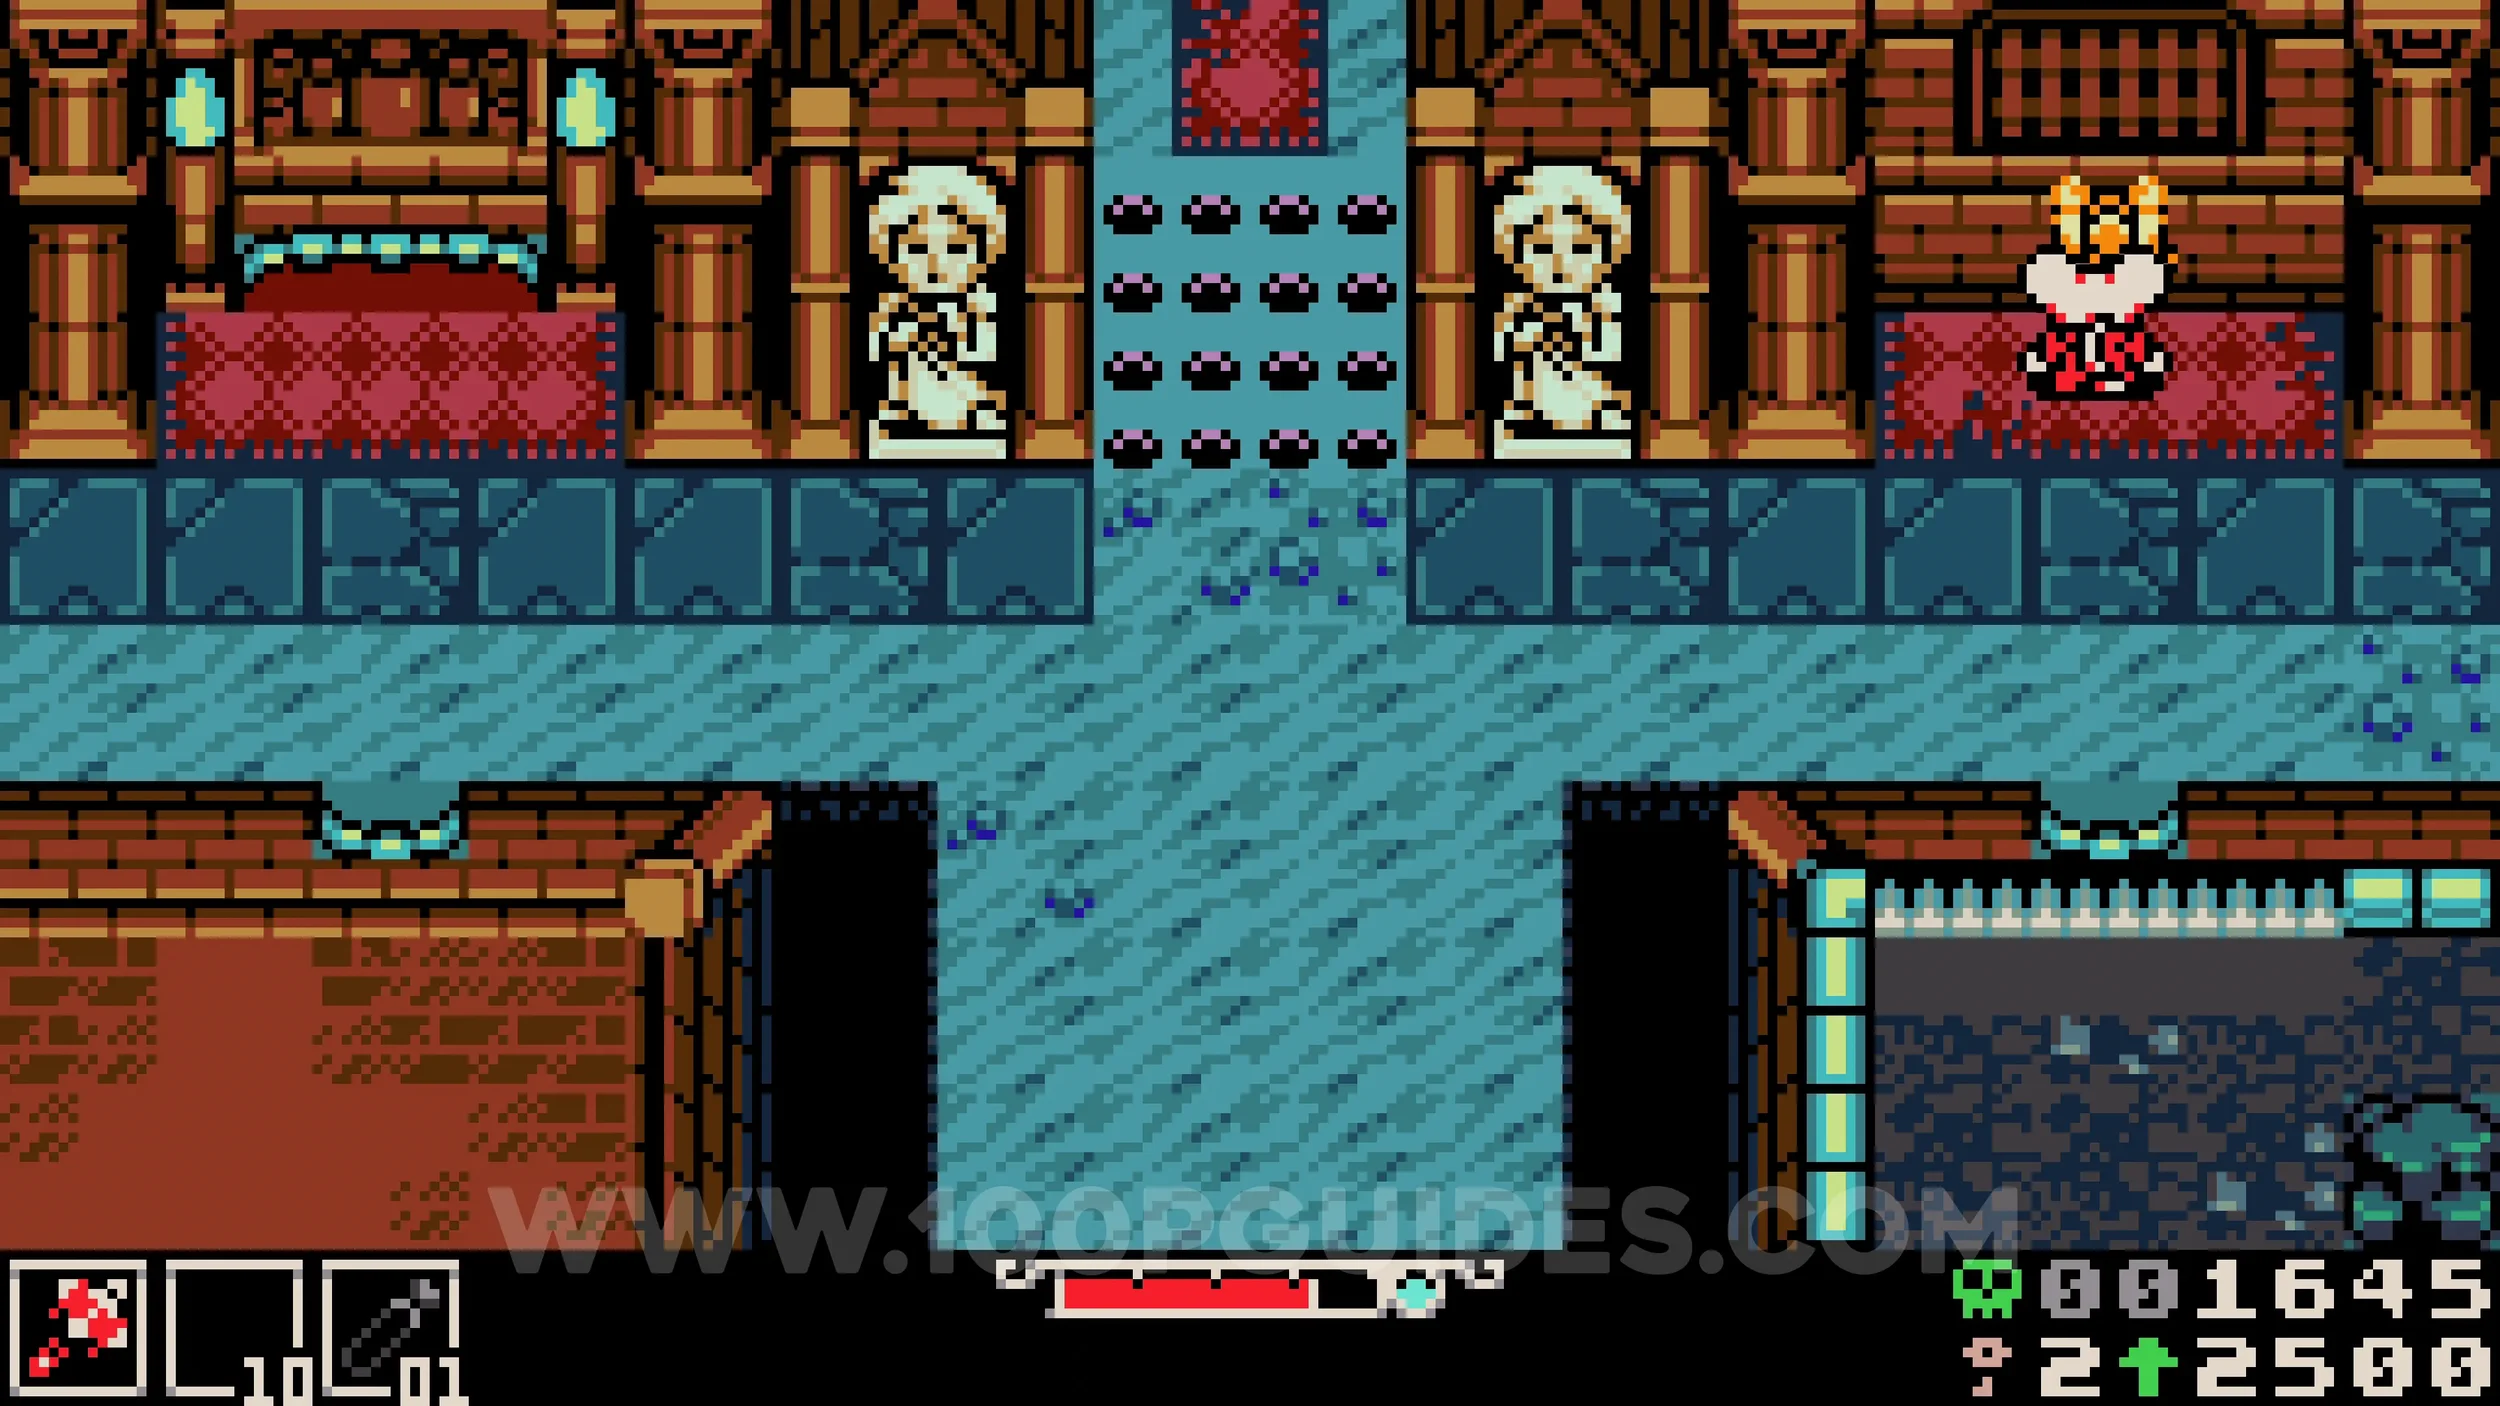
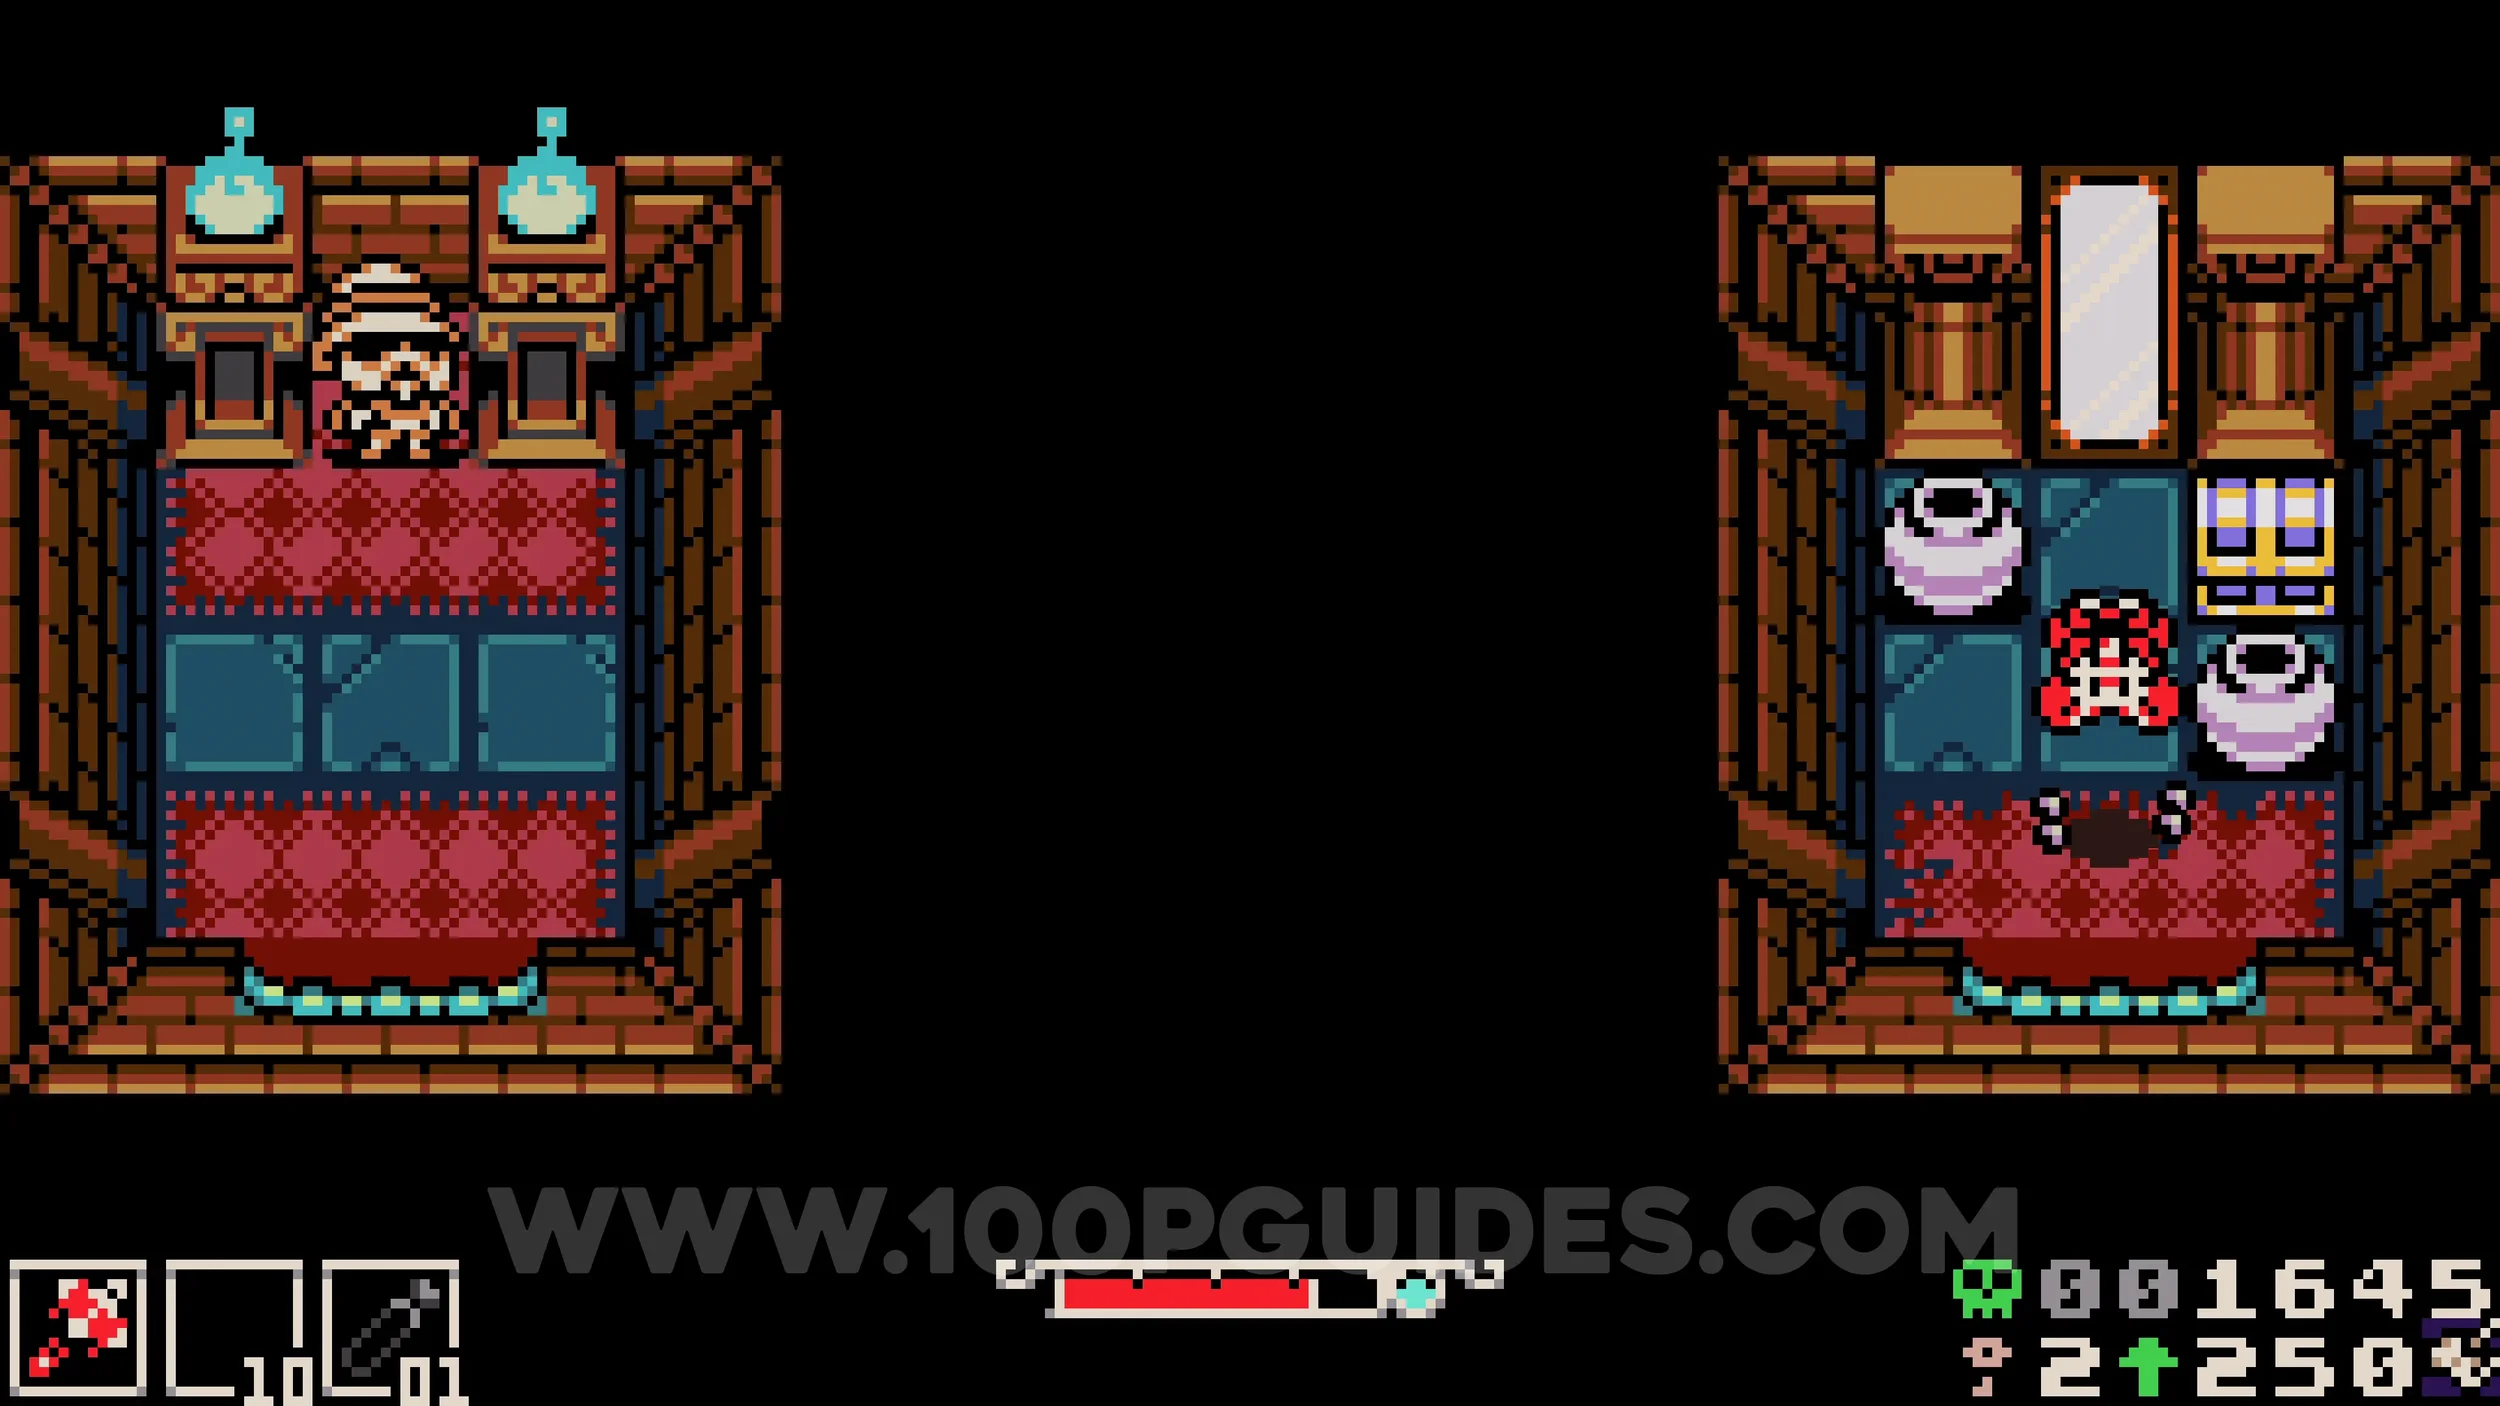
Bonestone #6. In the hall with the two statues, head right and immediately look for stairs below you going back left. Go up them, then head down to find some dirty water. Cross over it to the right to find the gem in the next room. Make sure to talk to Midden again here.
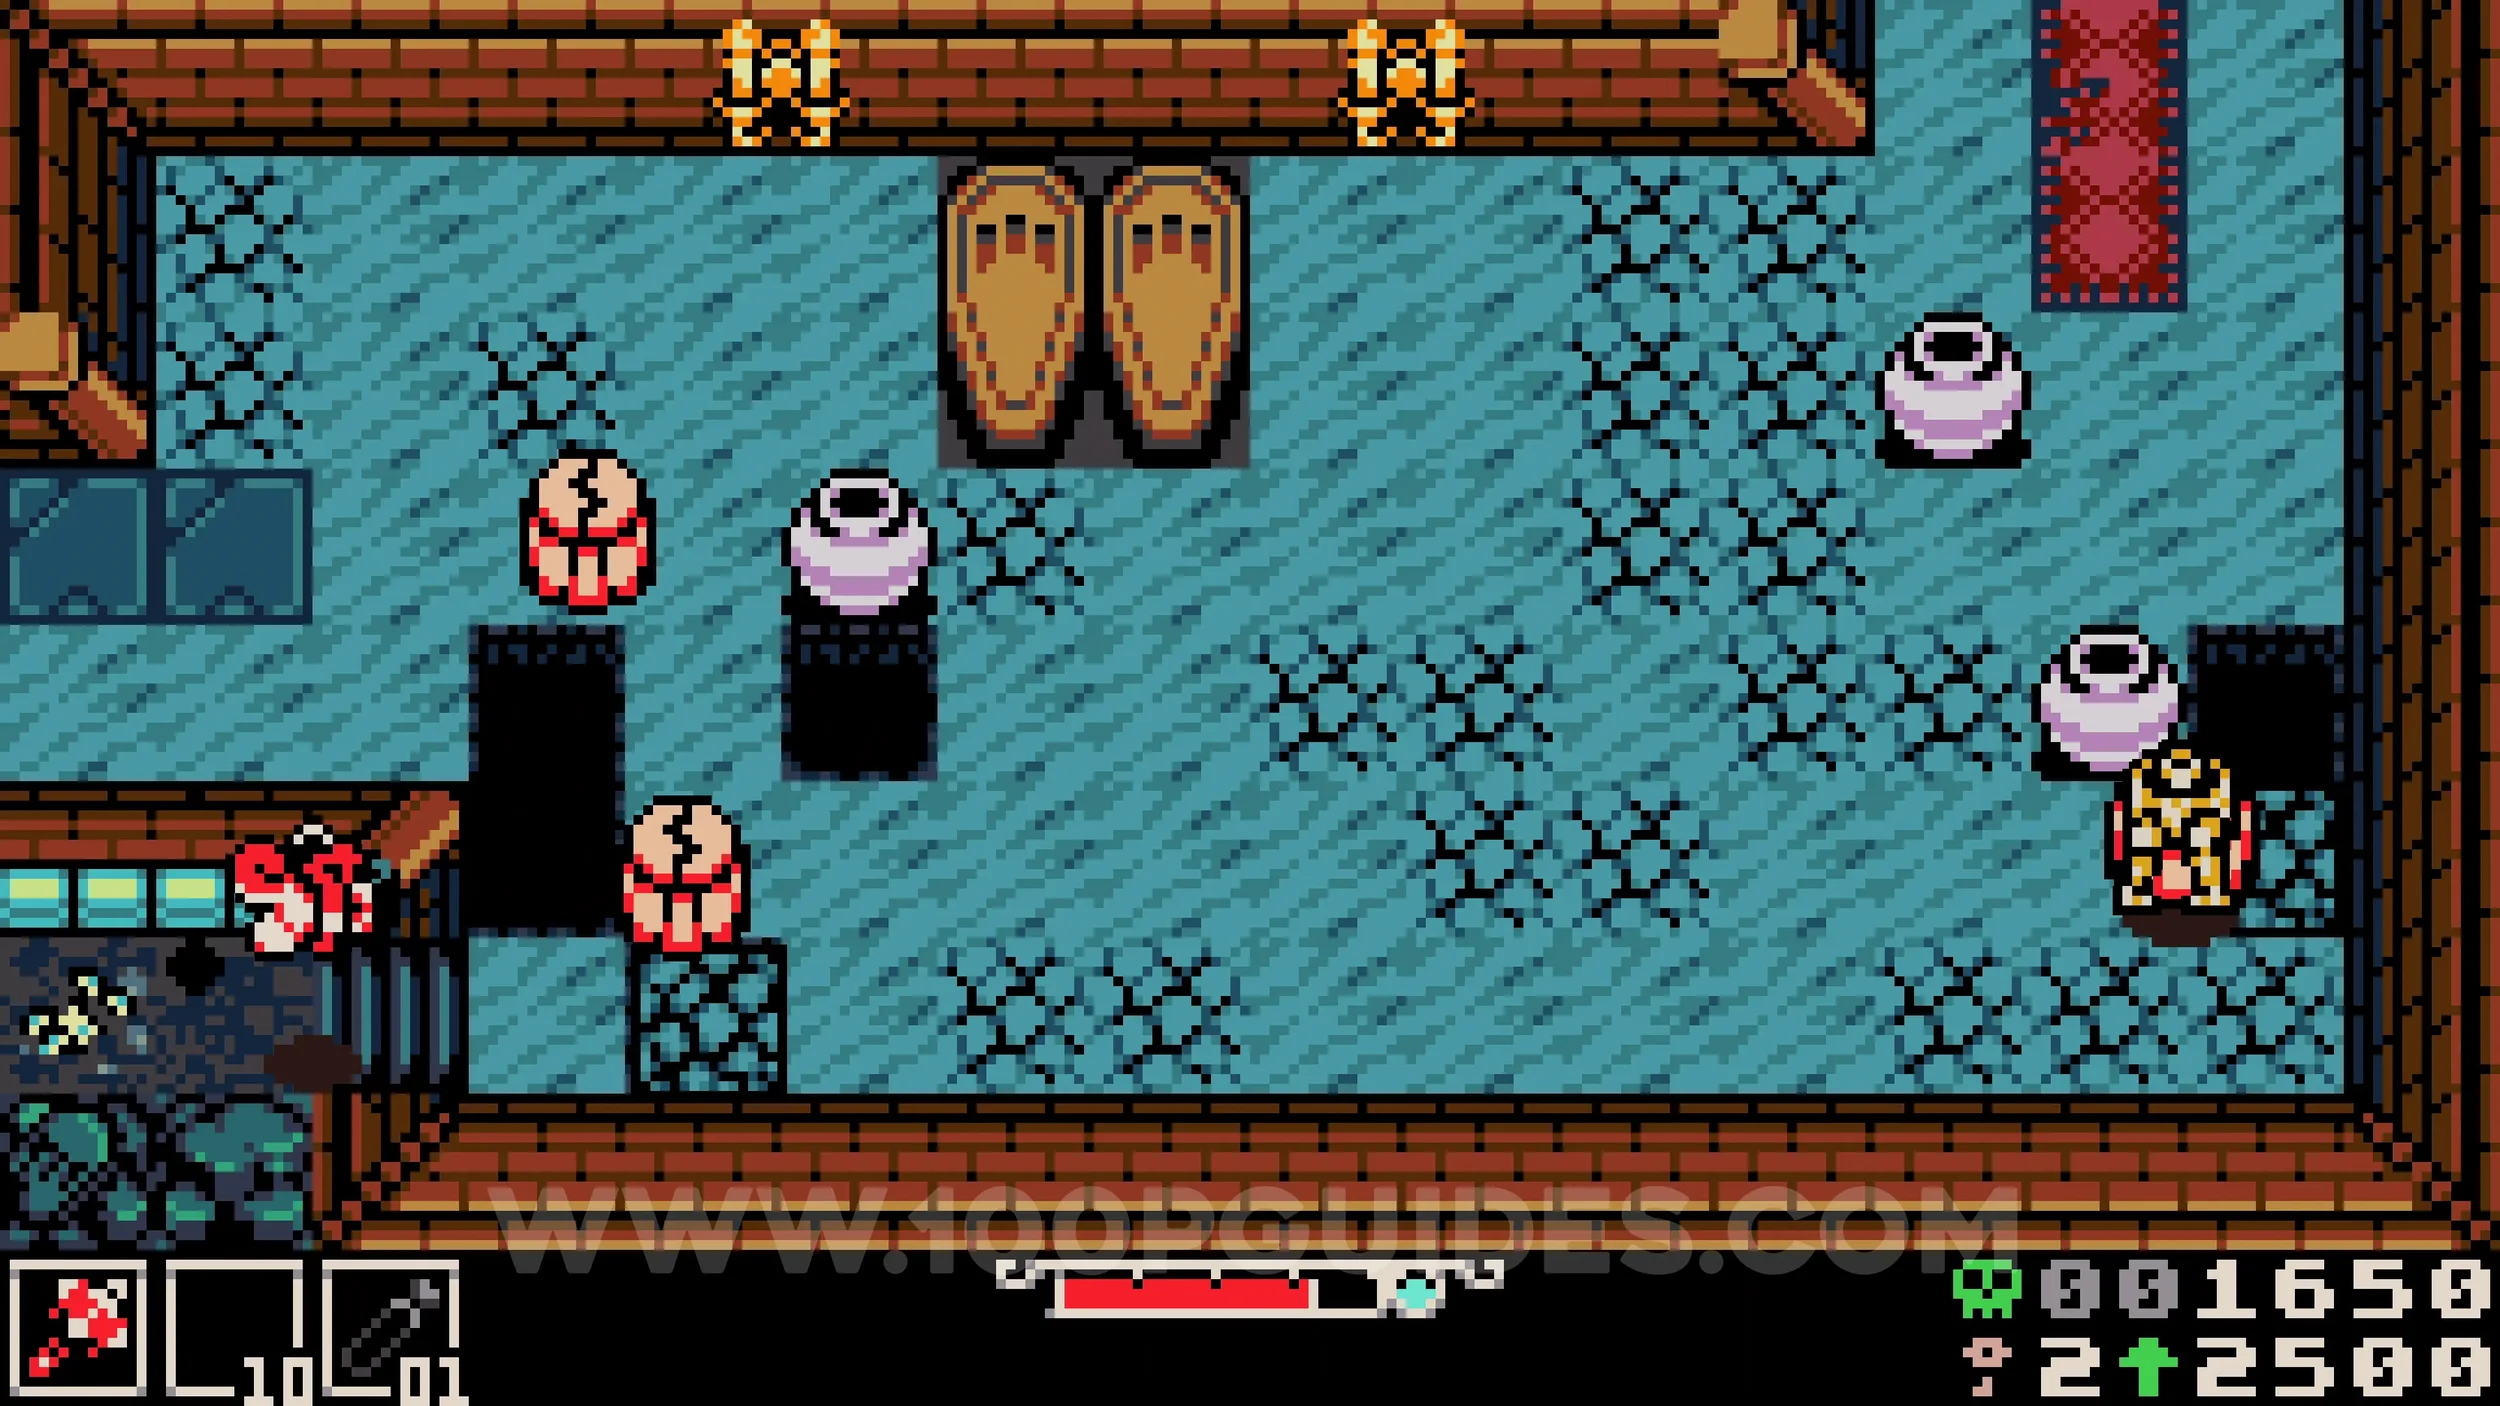
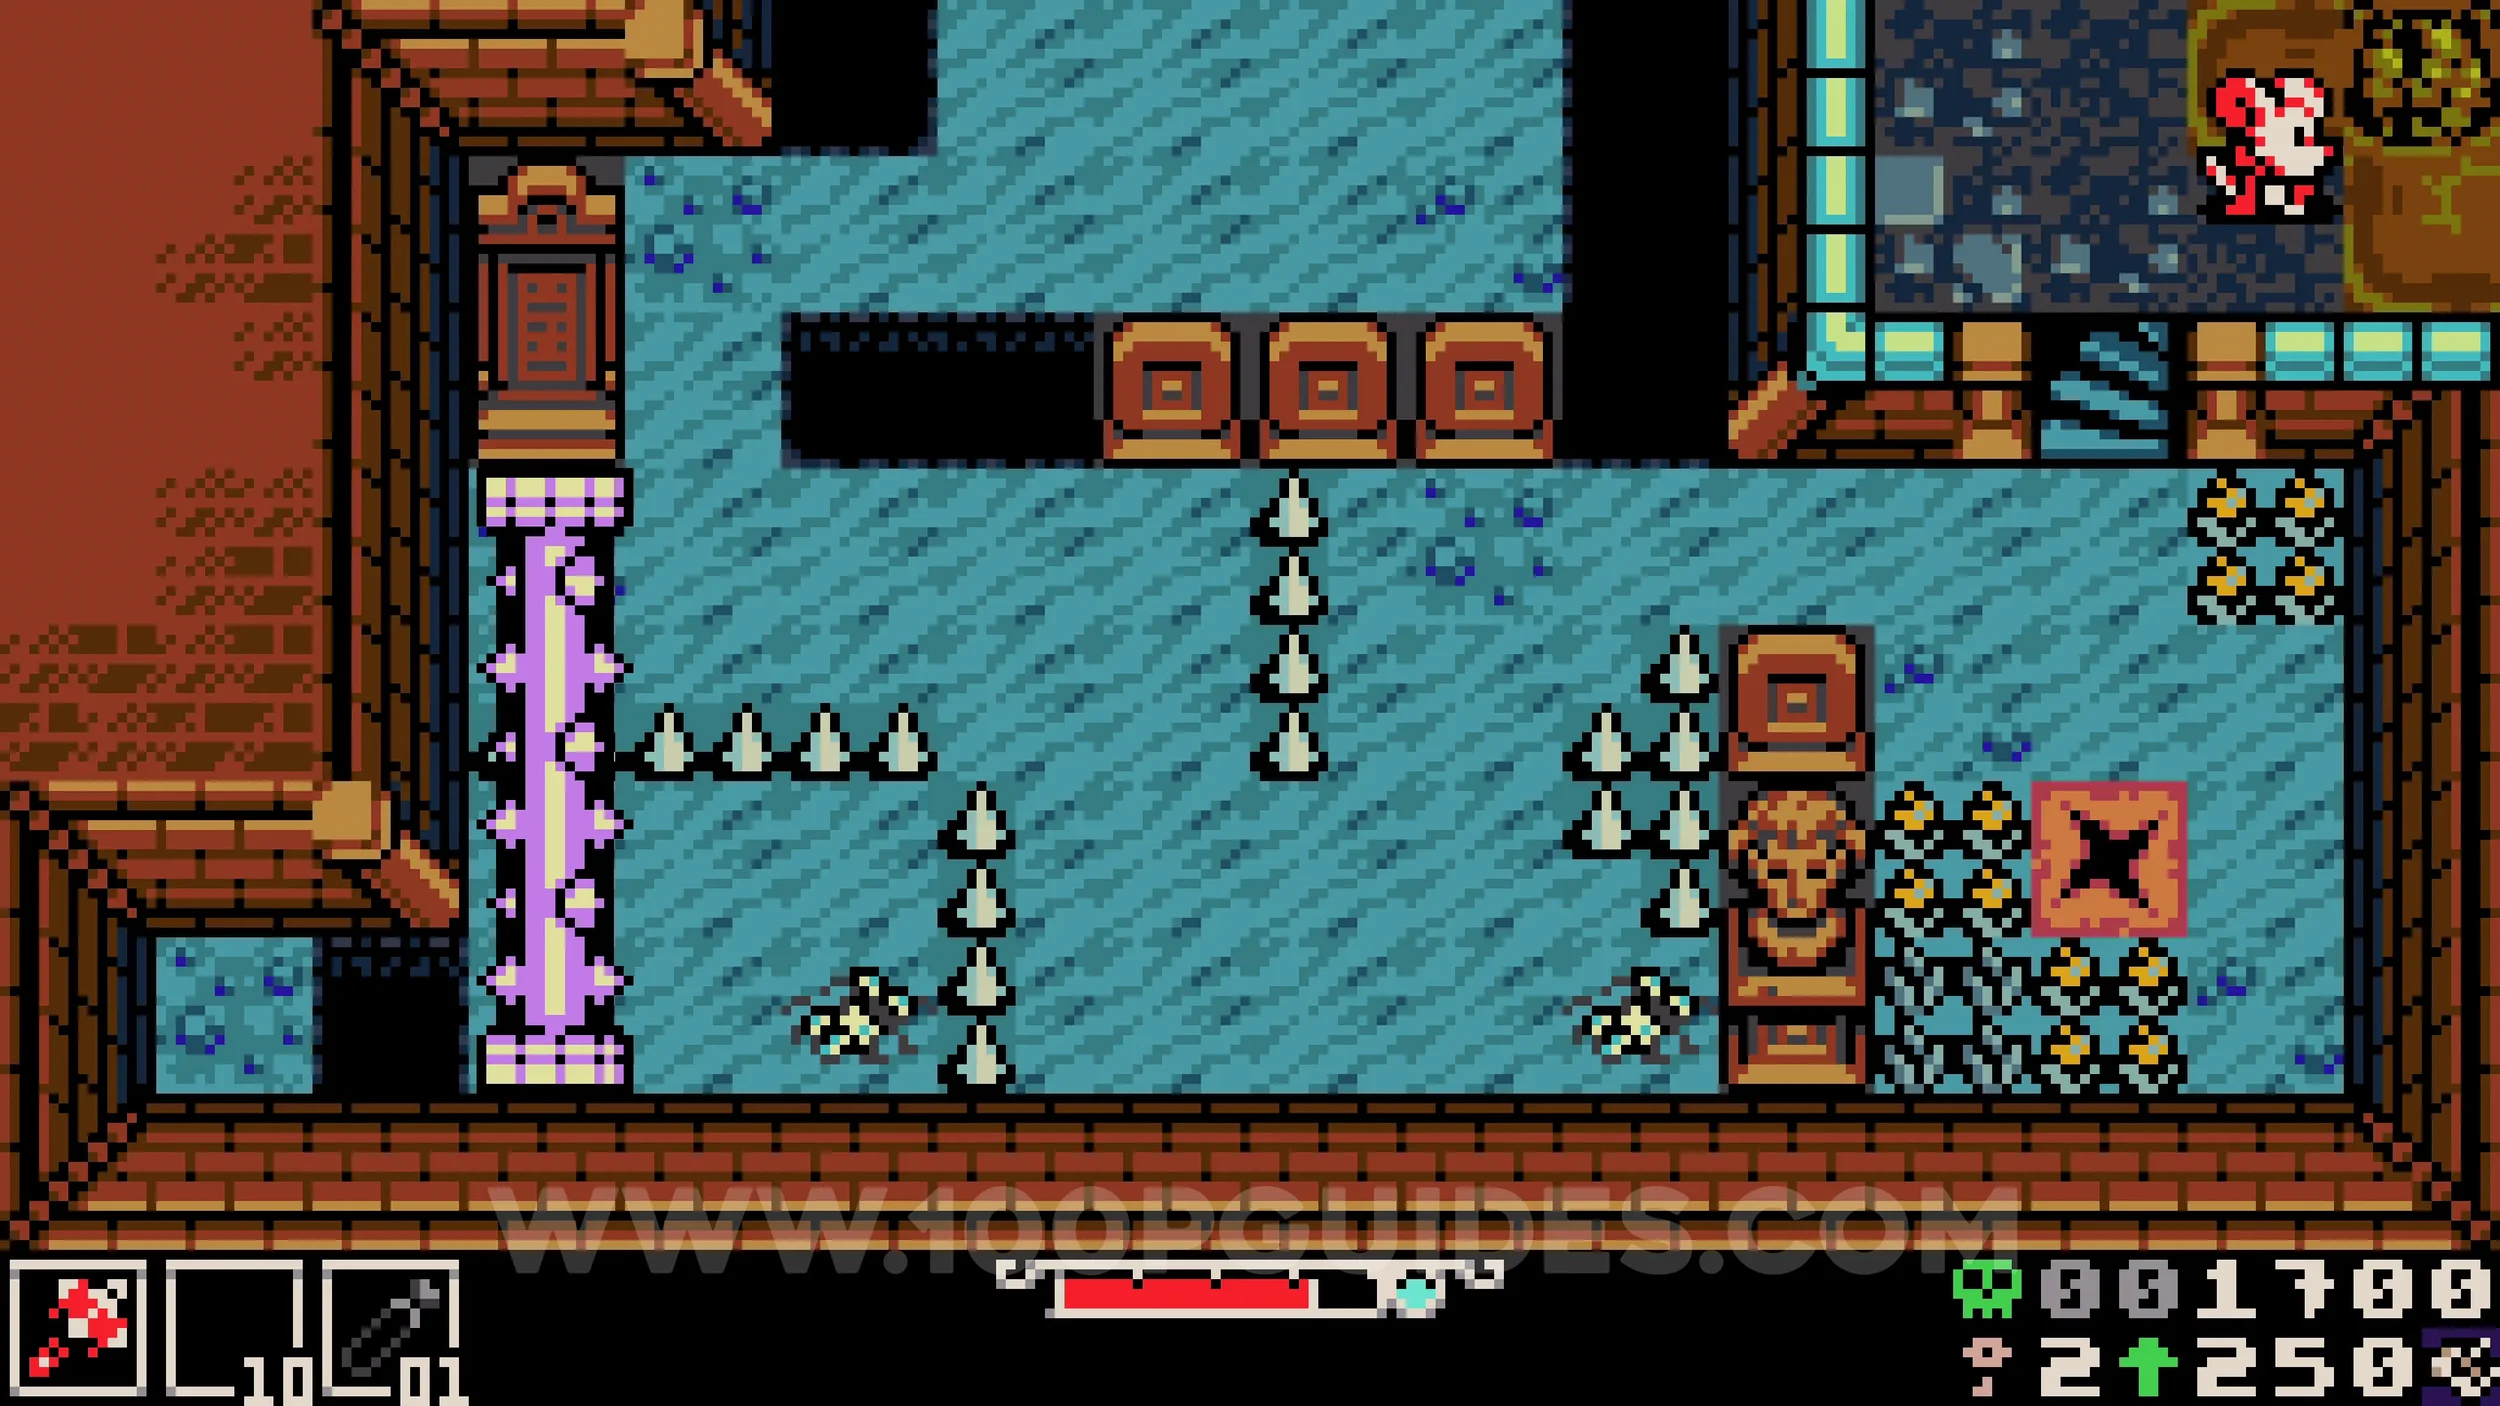
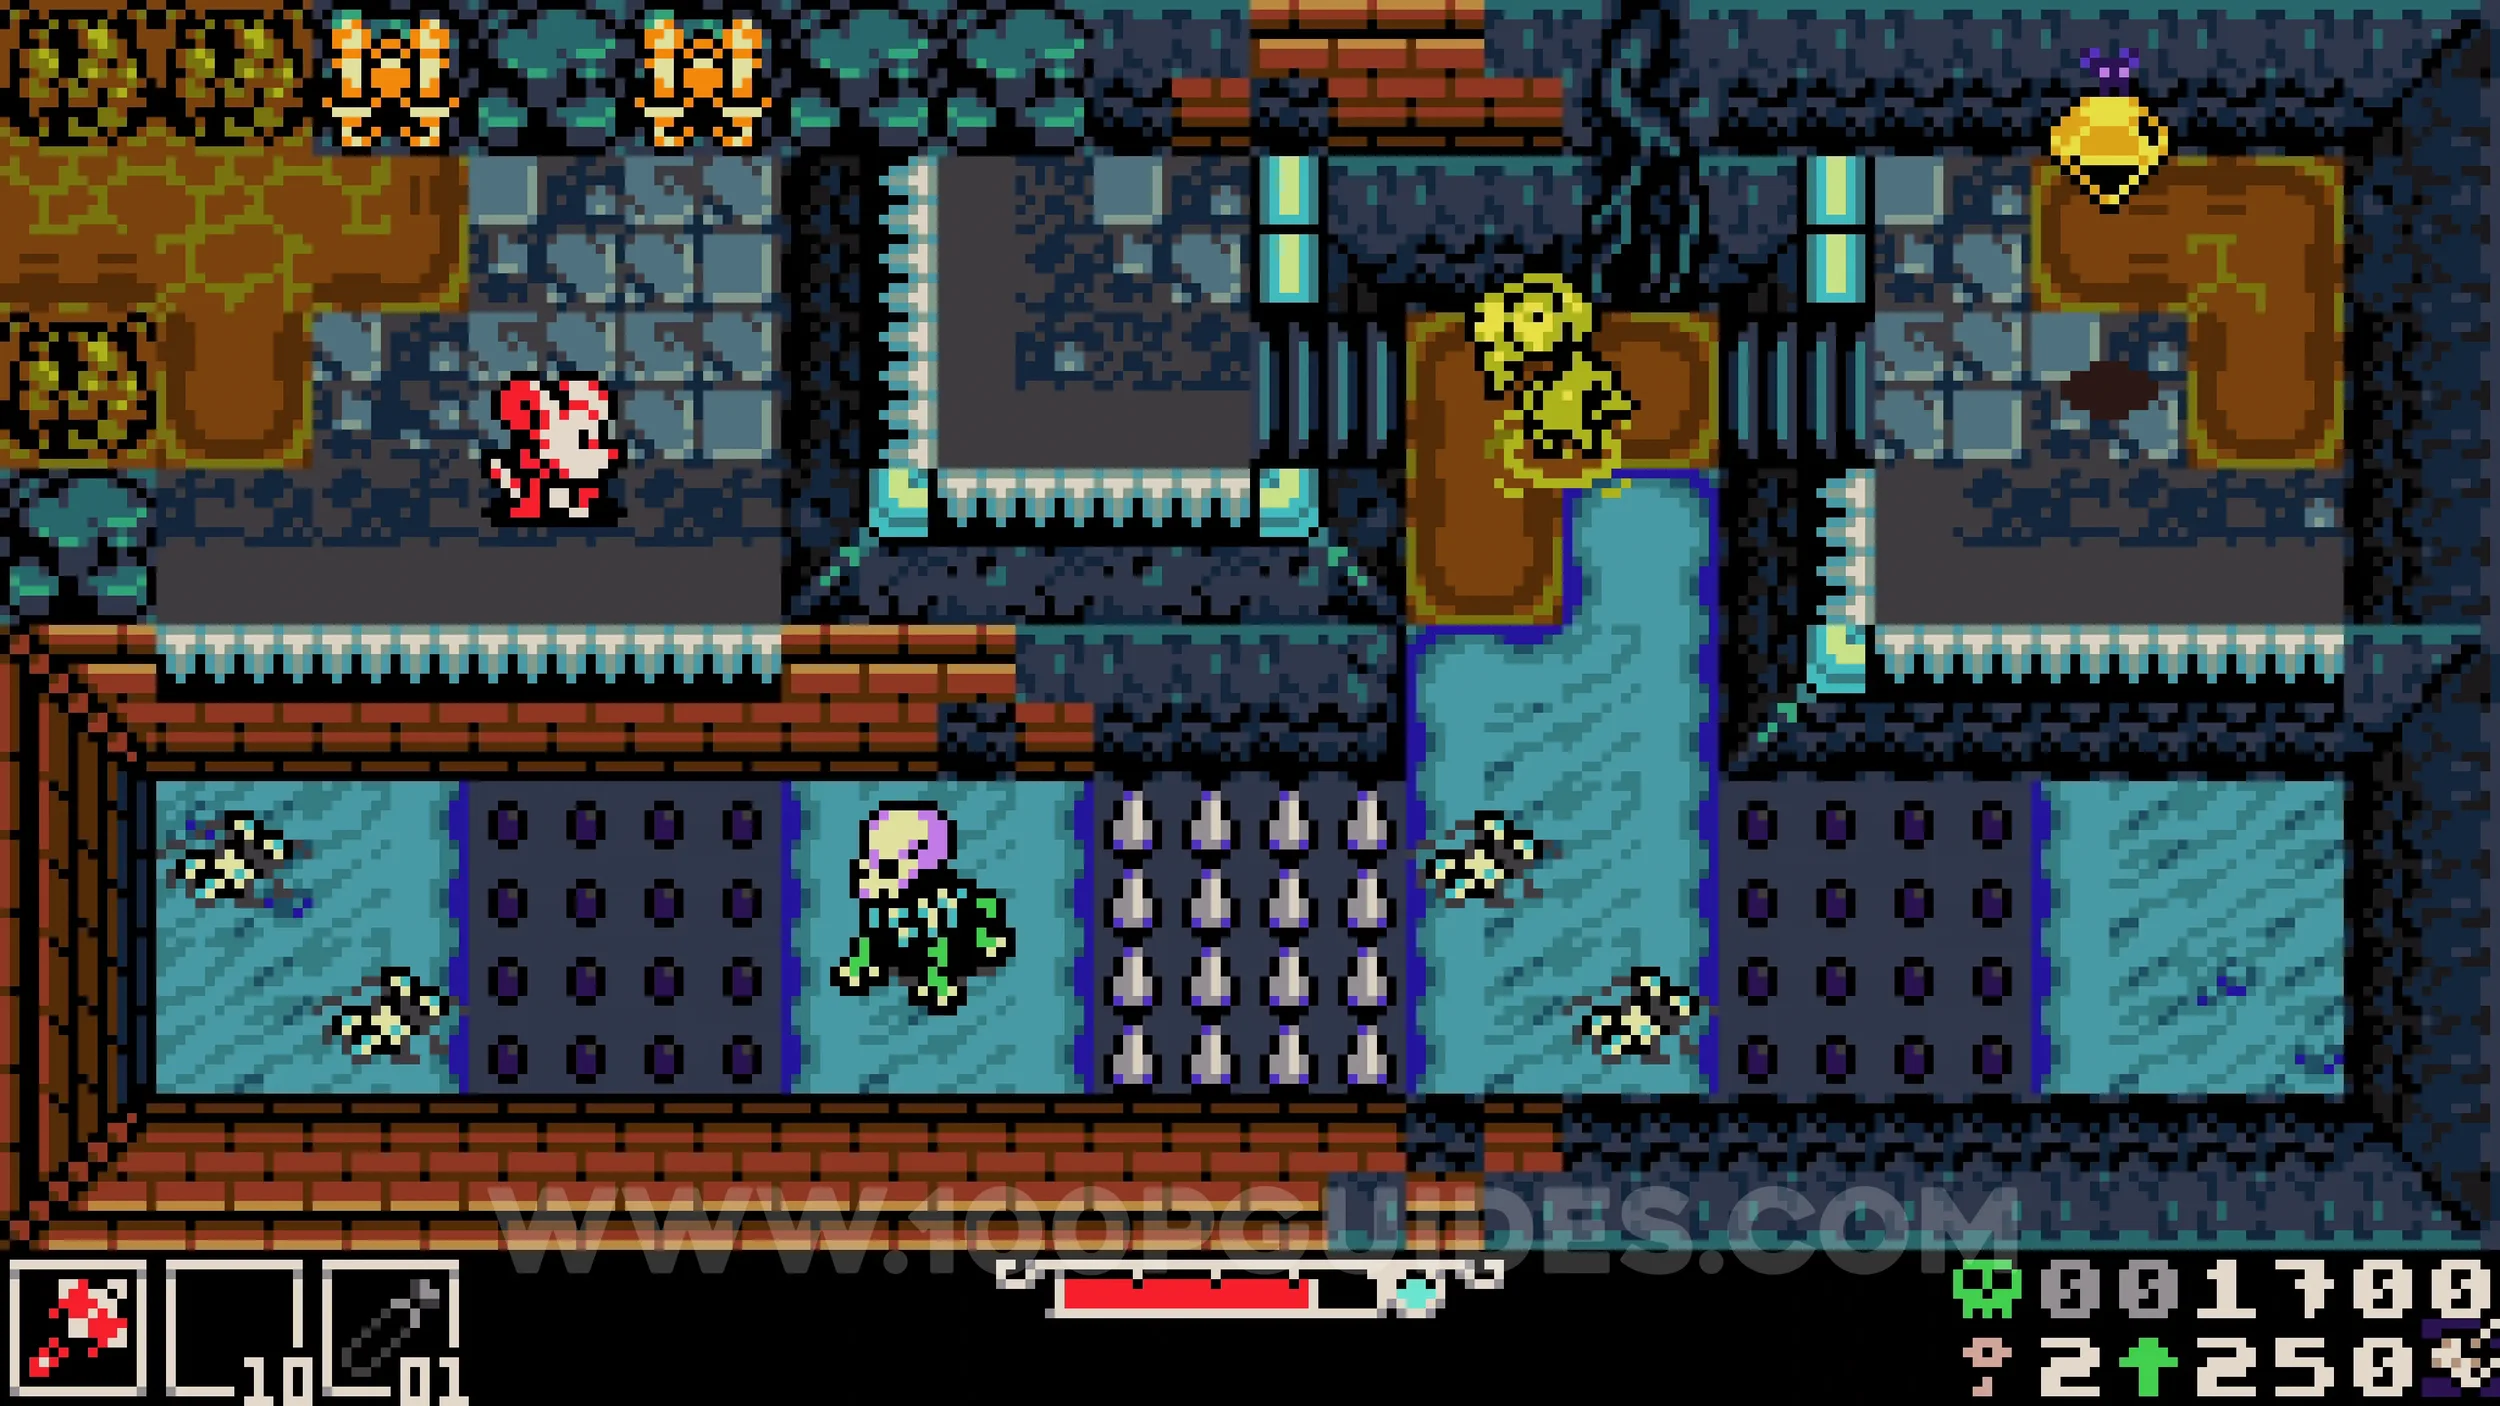
Trinket #2 - Stolenoid & Kear #3. In the hall with the two statues, go through the hole near the top of the screen to the left of the statues to find a merchant. Purchase both collectibles from him.
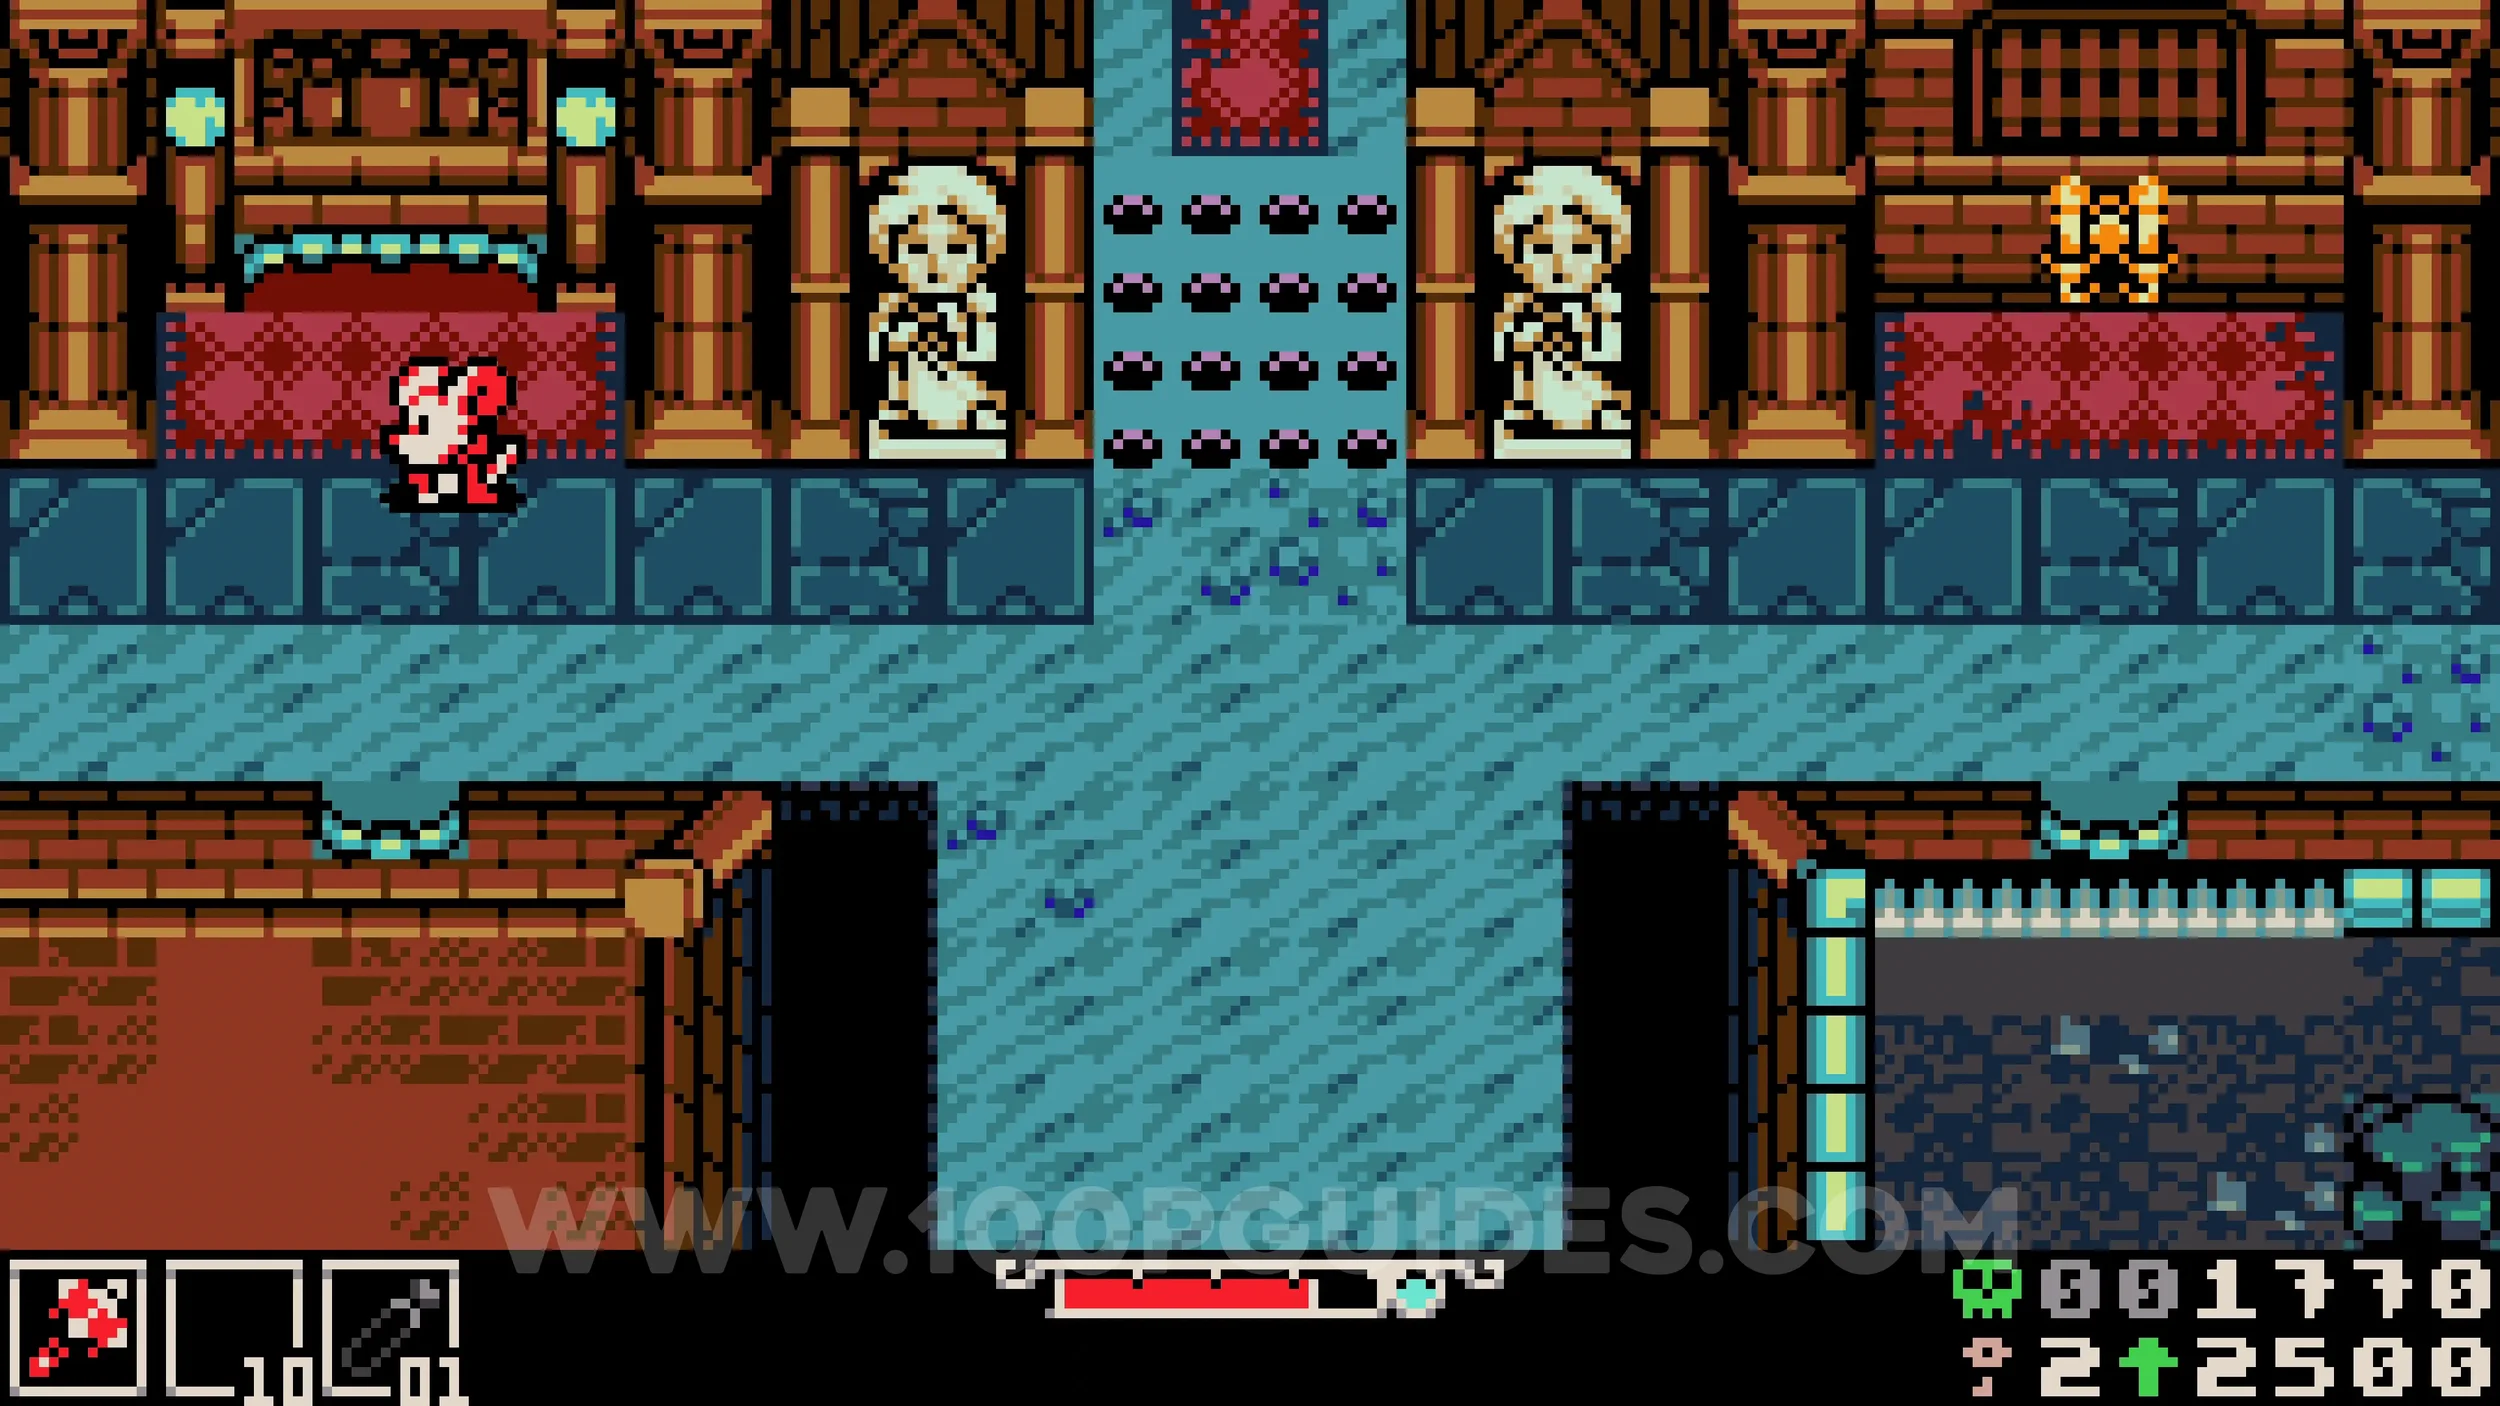
Trinket #3 - Fly Bait. Continue through the level on the main path until you reach a room with an underlab and some wooden platforms. Offer 2 healing flasks to the block on the right side of the room to pass through to the next room. If you spoke to Midden in both previous locations, he will appear here as an enemy. Defeat him to receive the trinket.
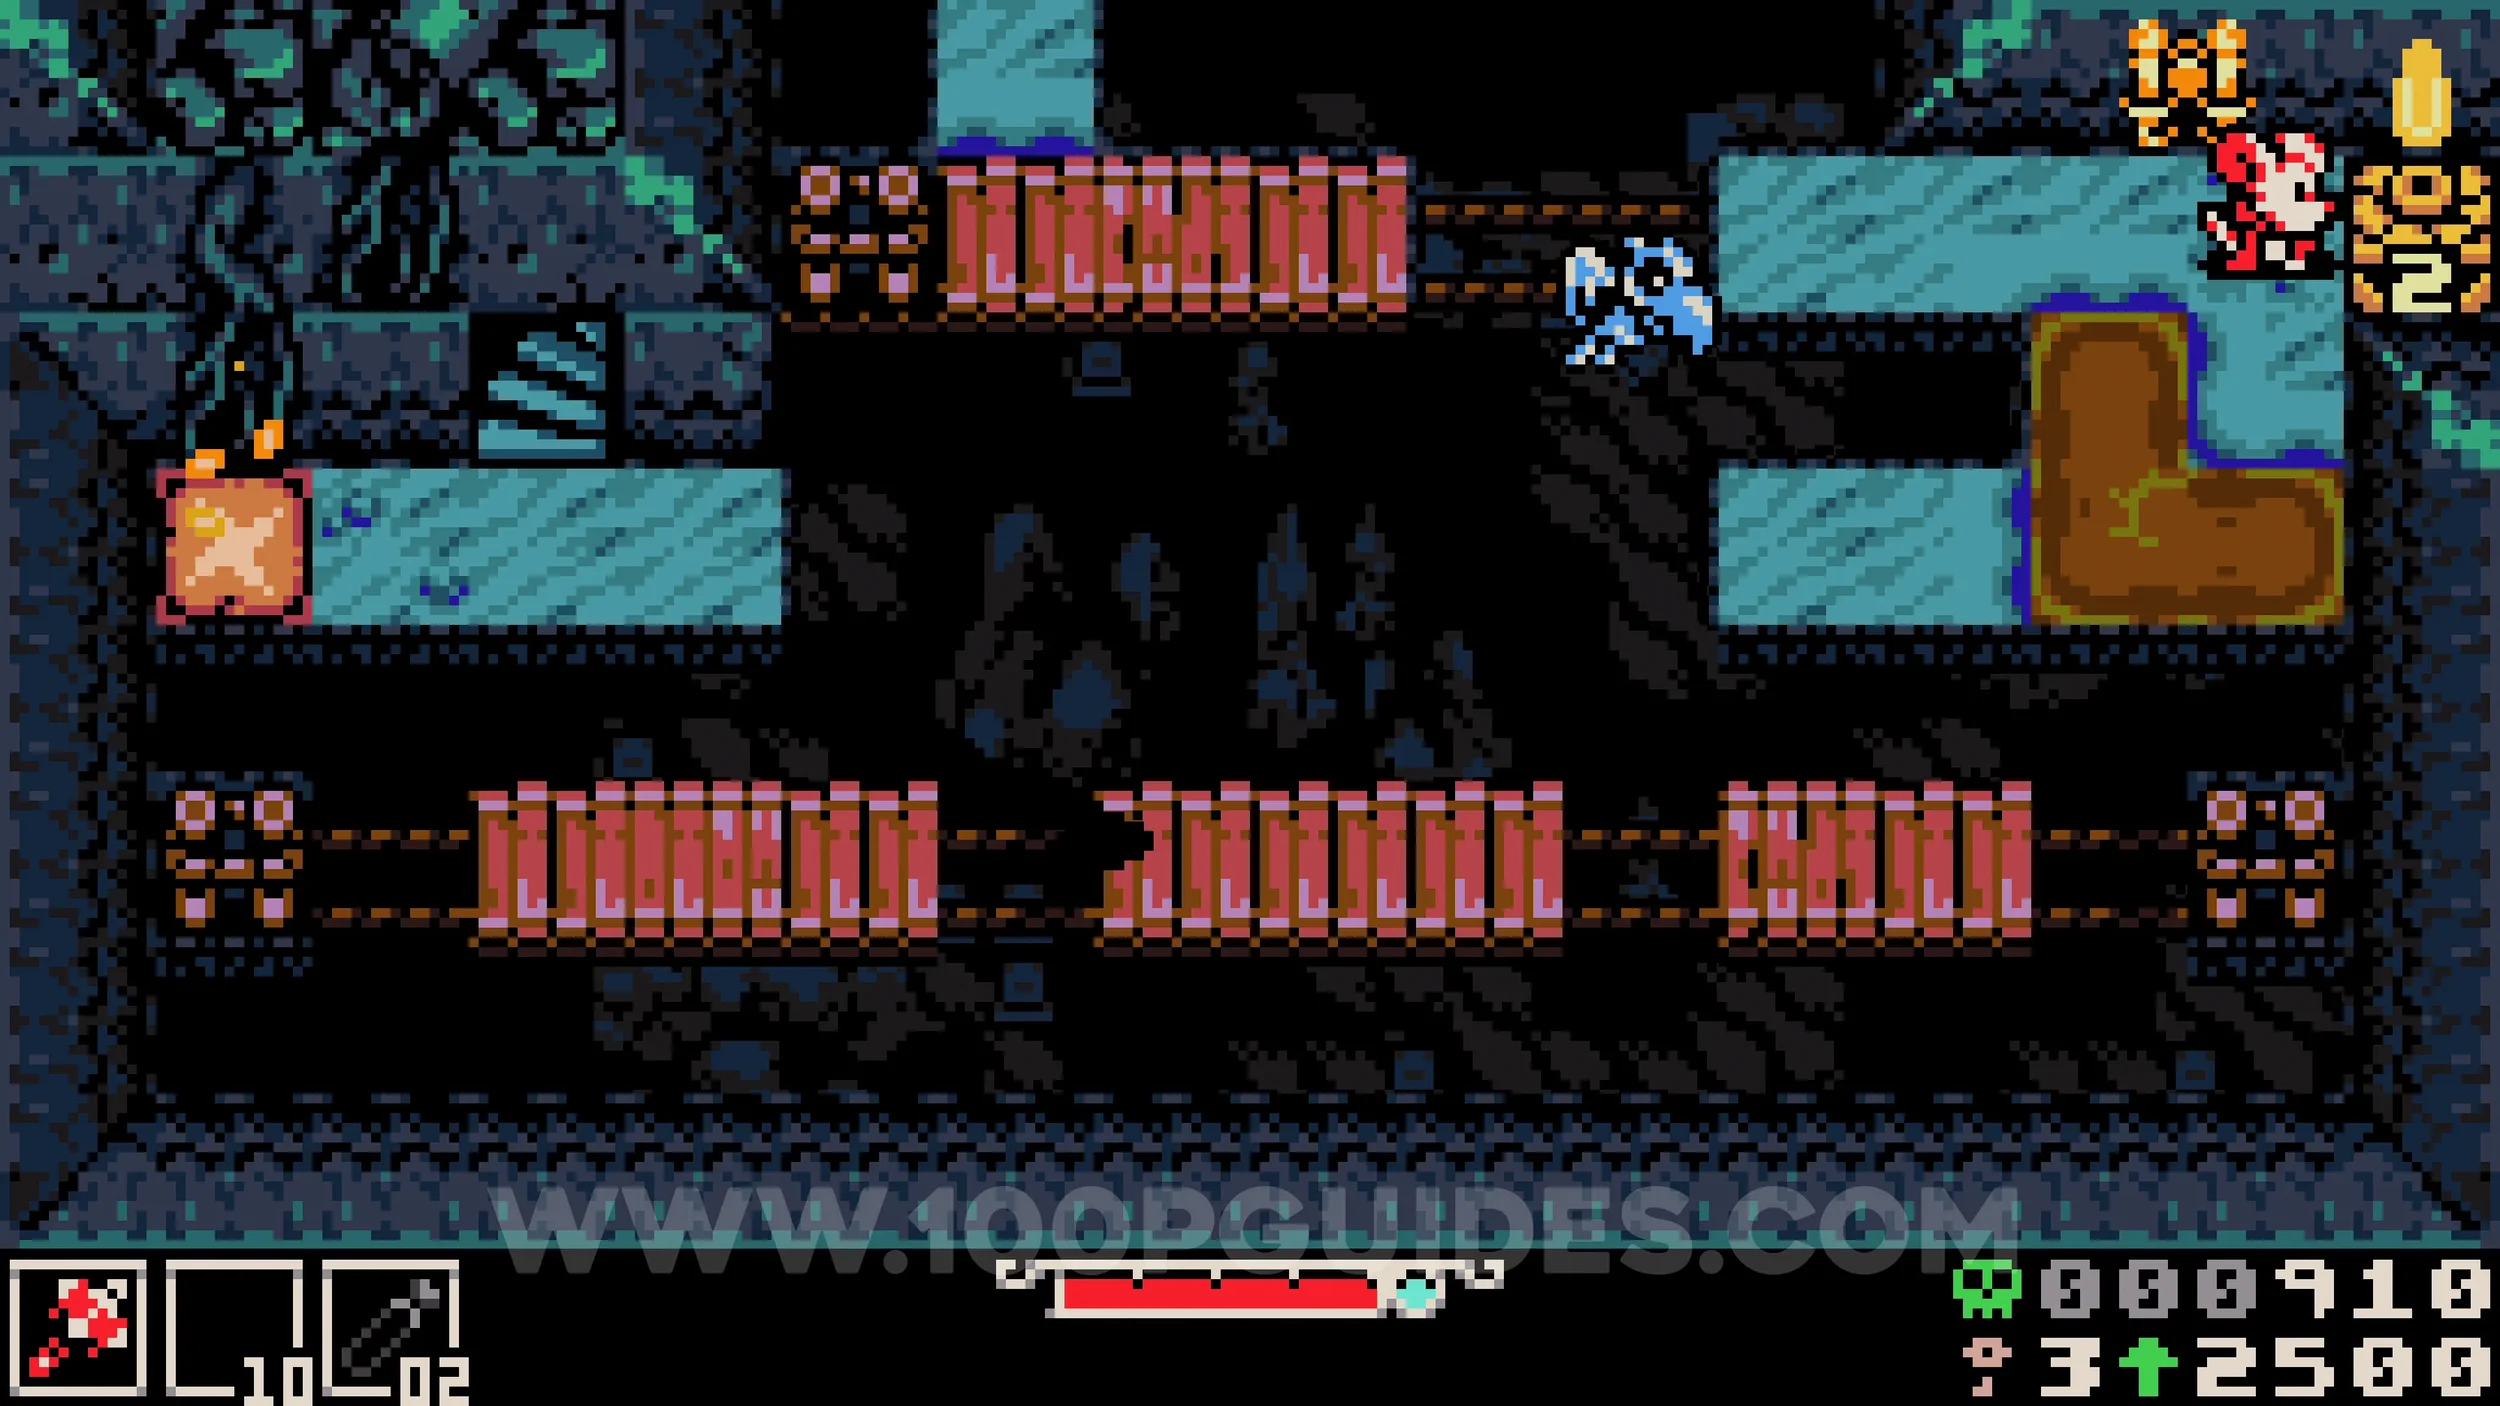
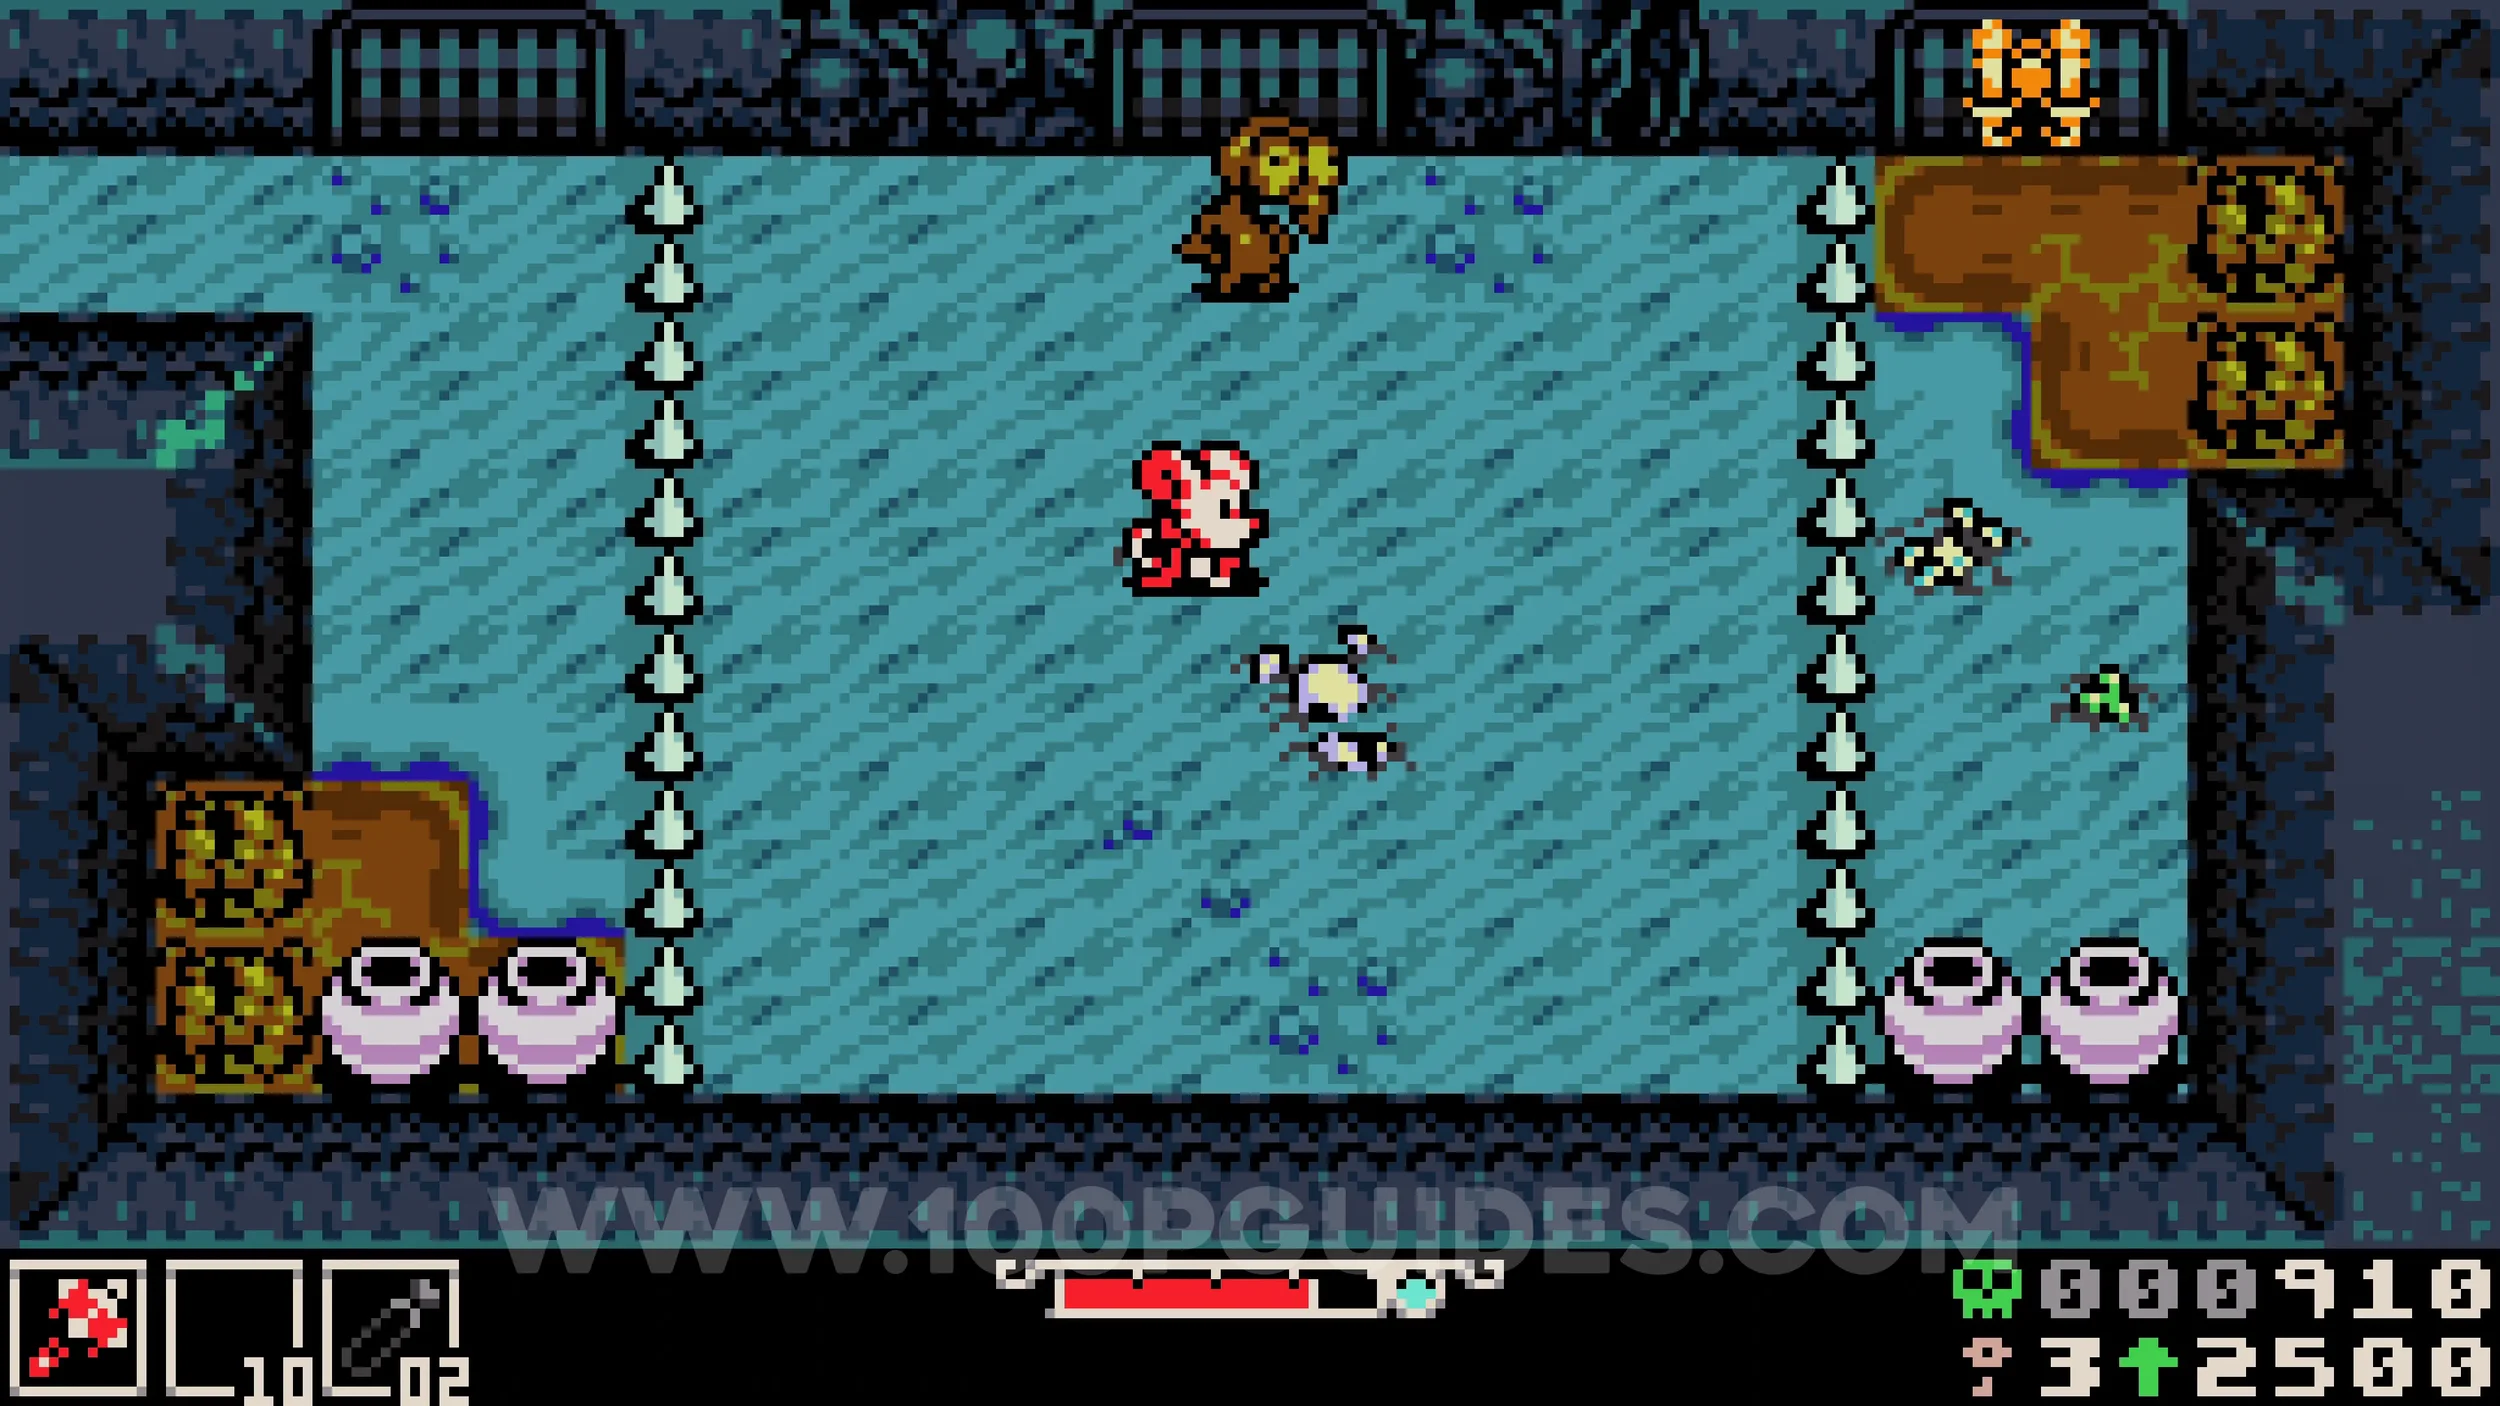
Bonestone #7. Once you reach the room before the final boss, look for a pipe on the right side among the grass and flowers. Go down it to reach an area containing a gem.
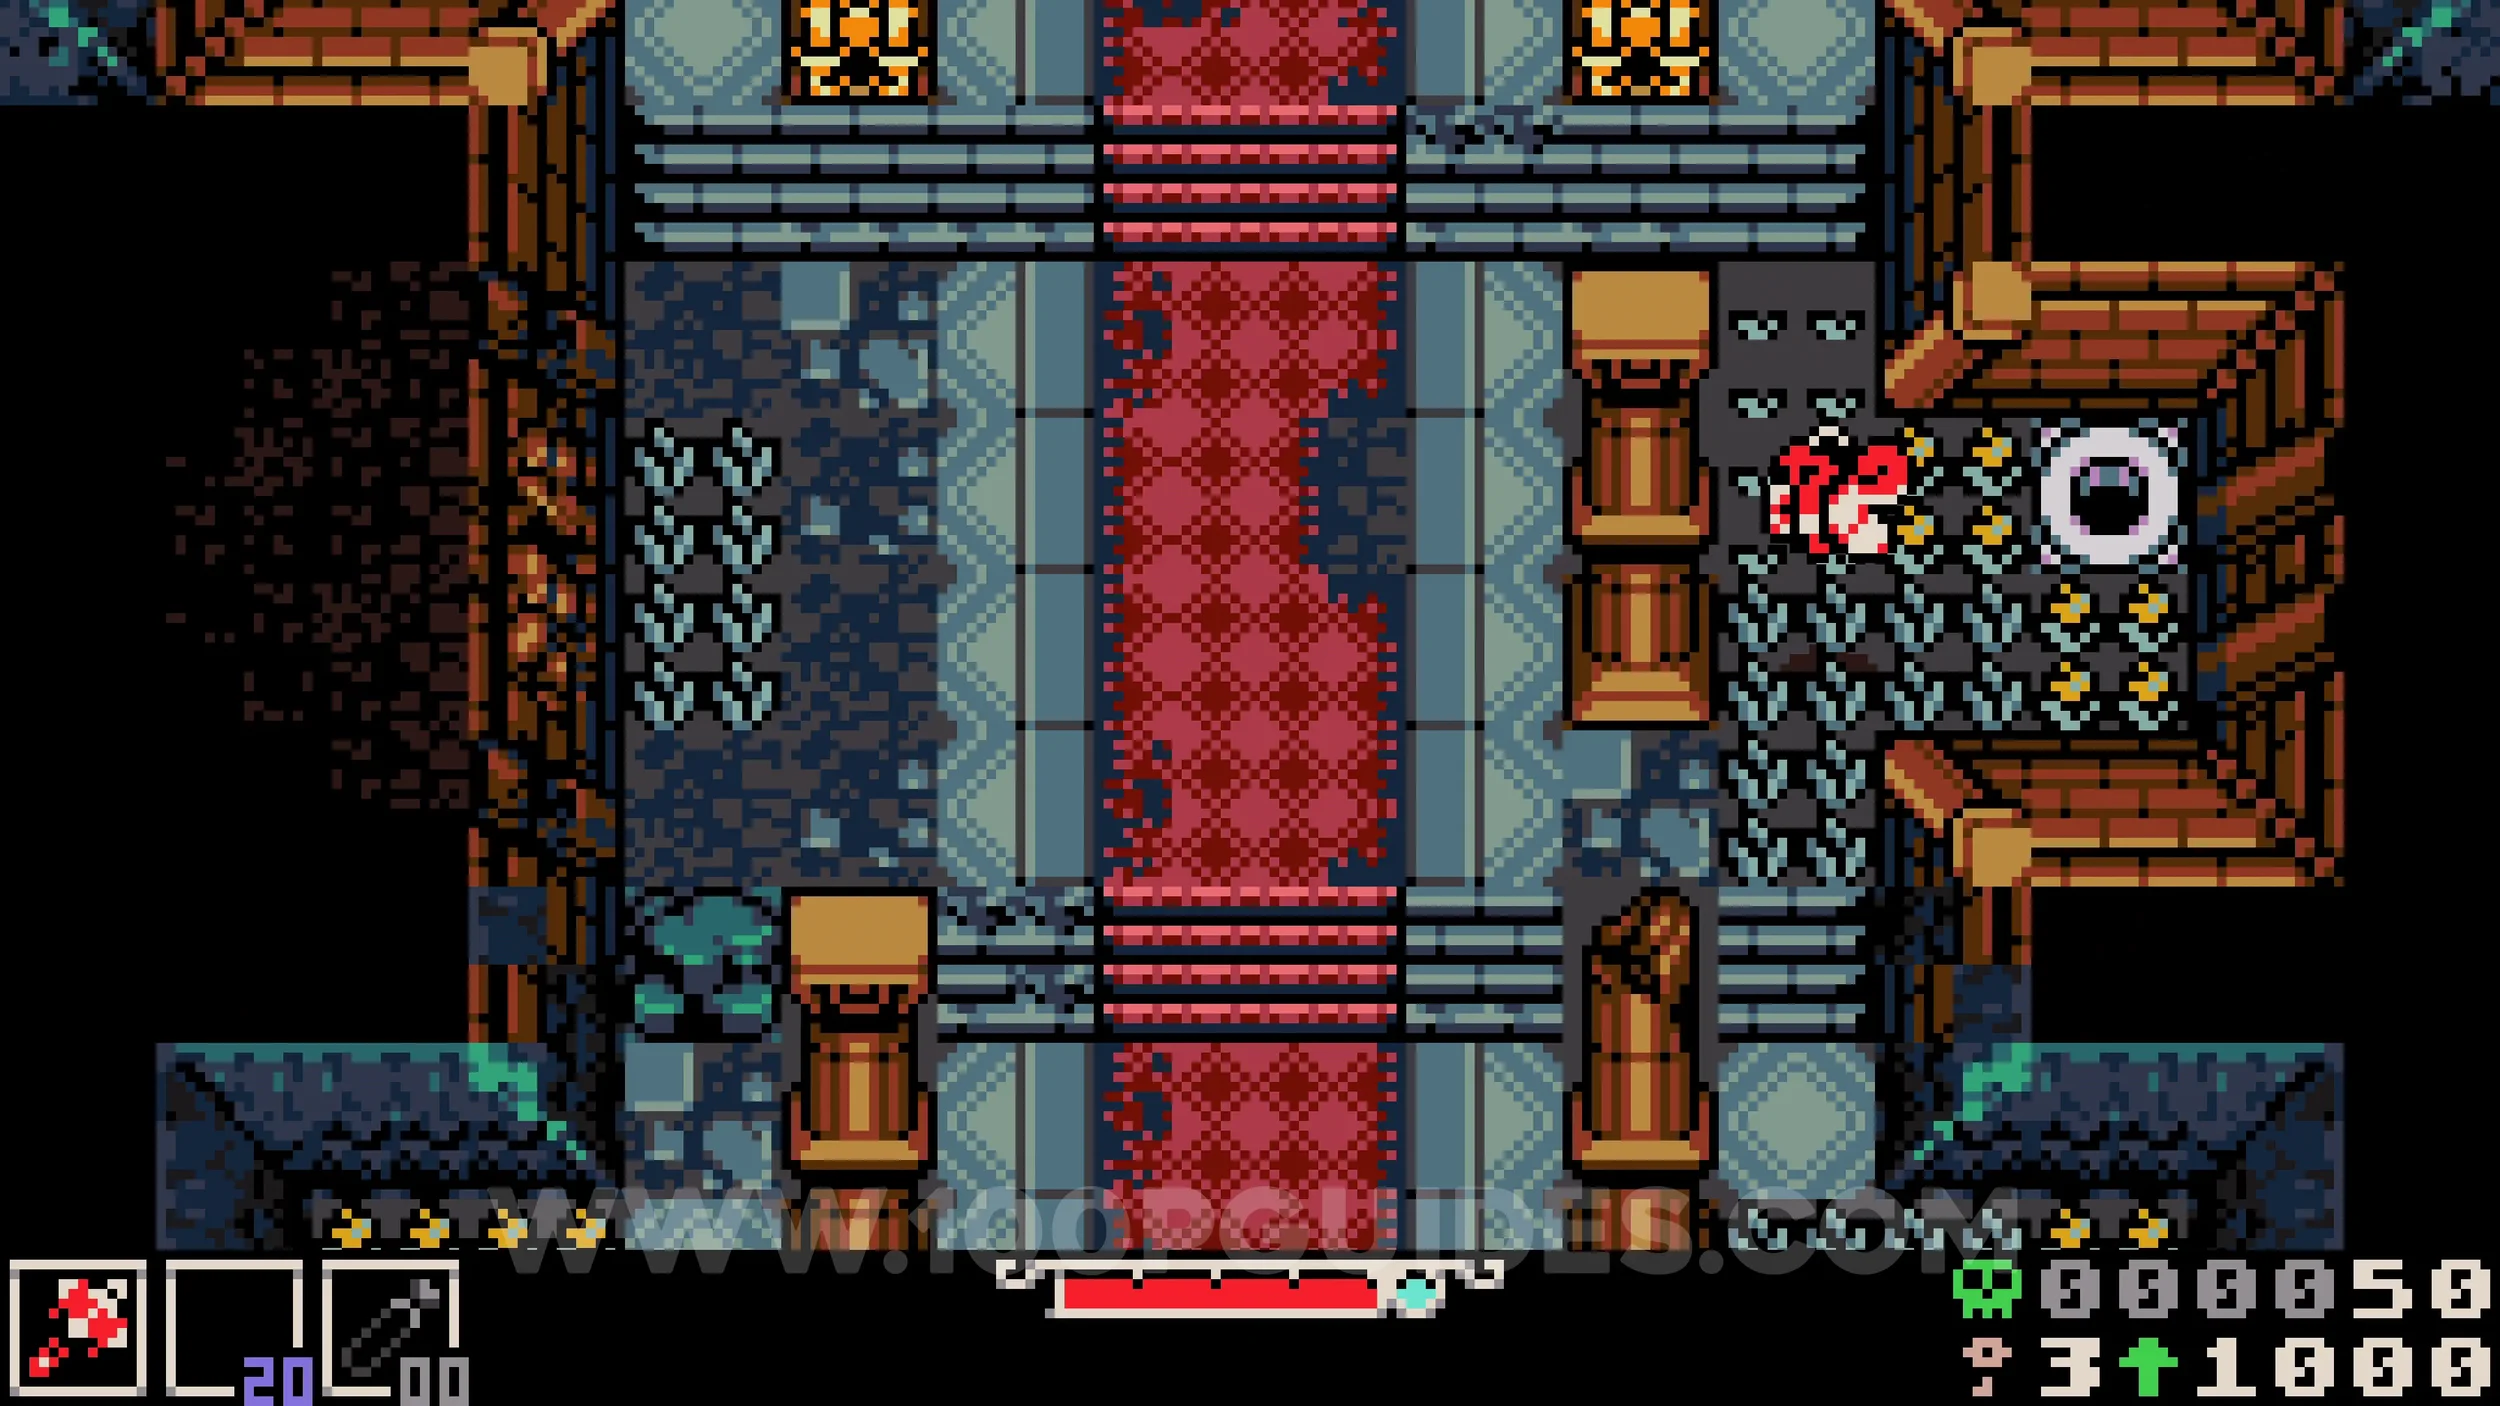
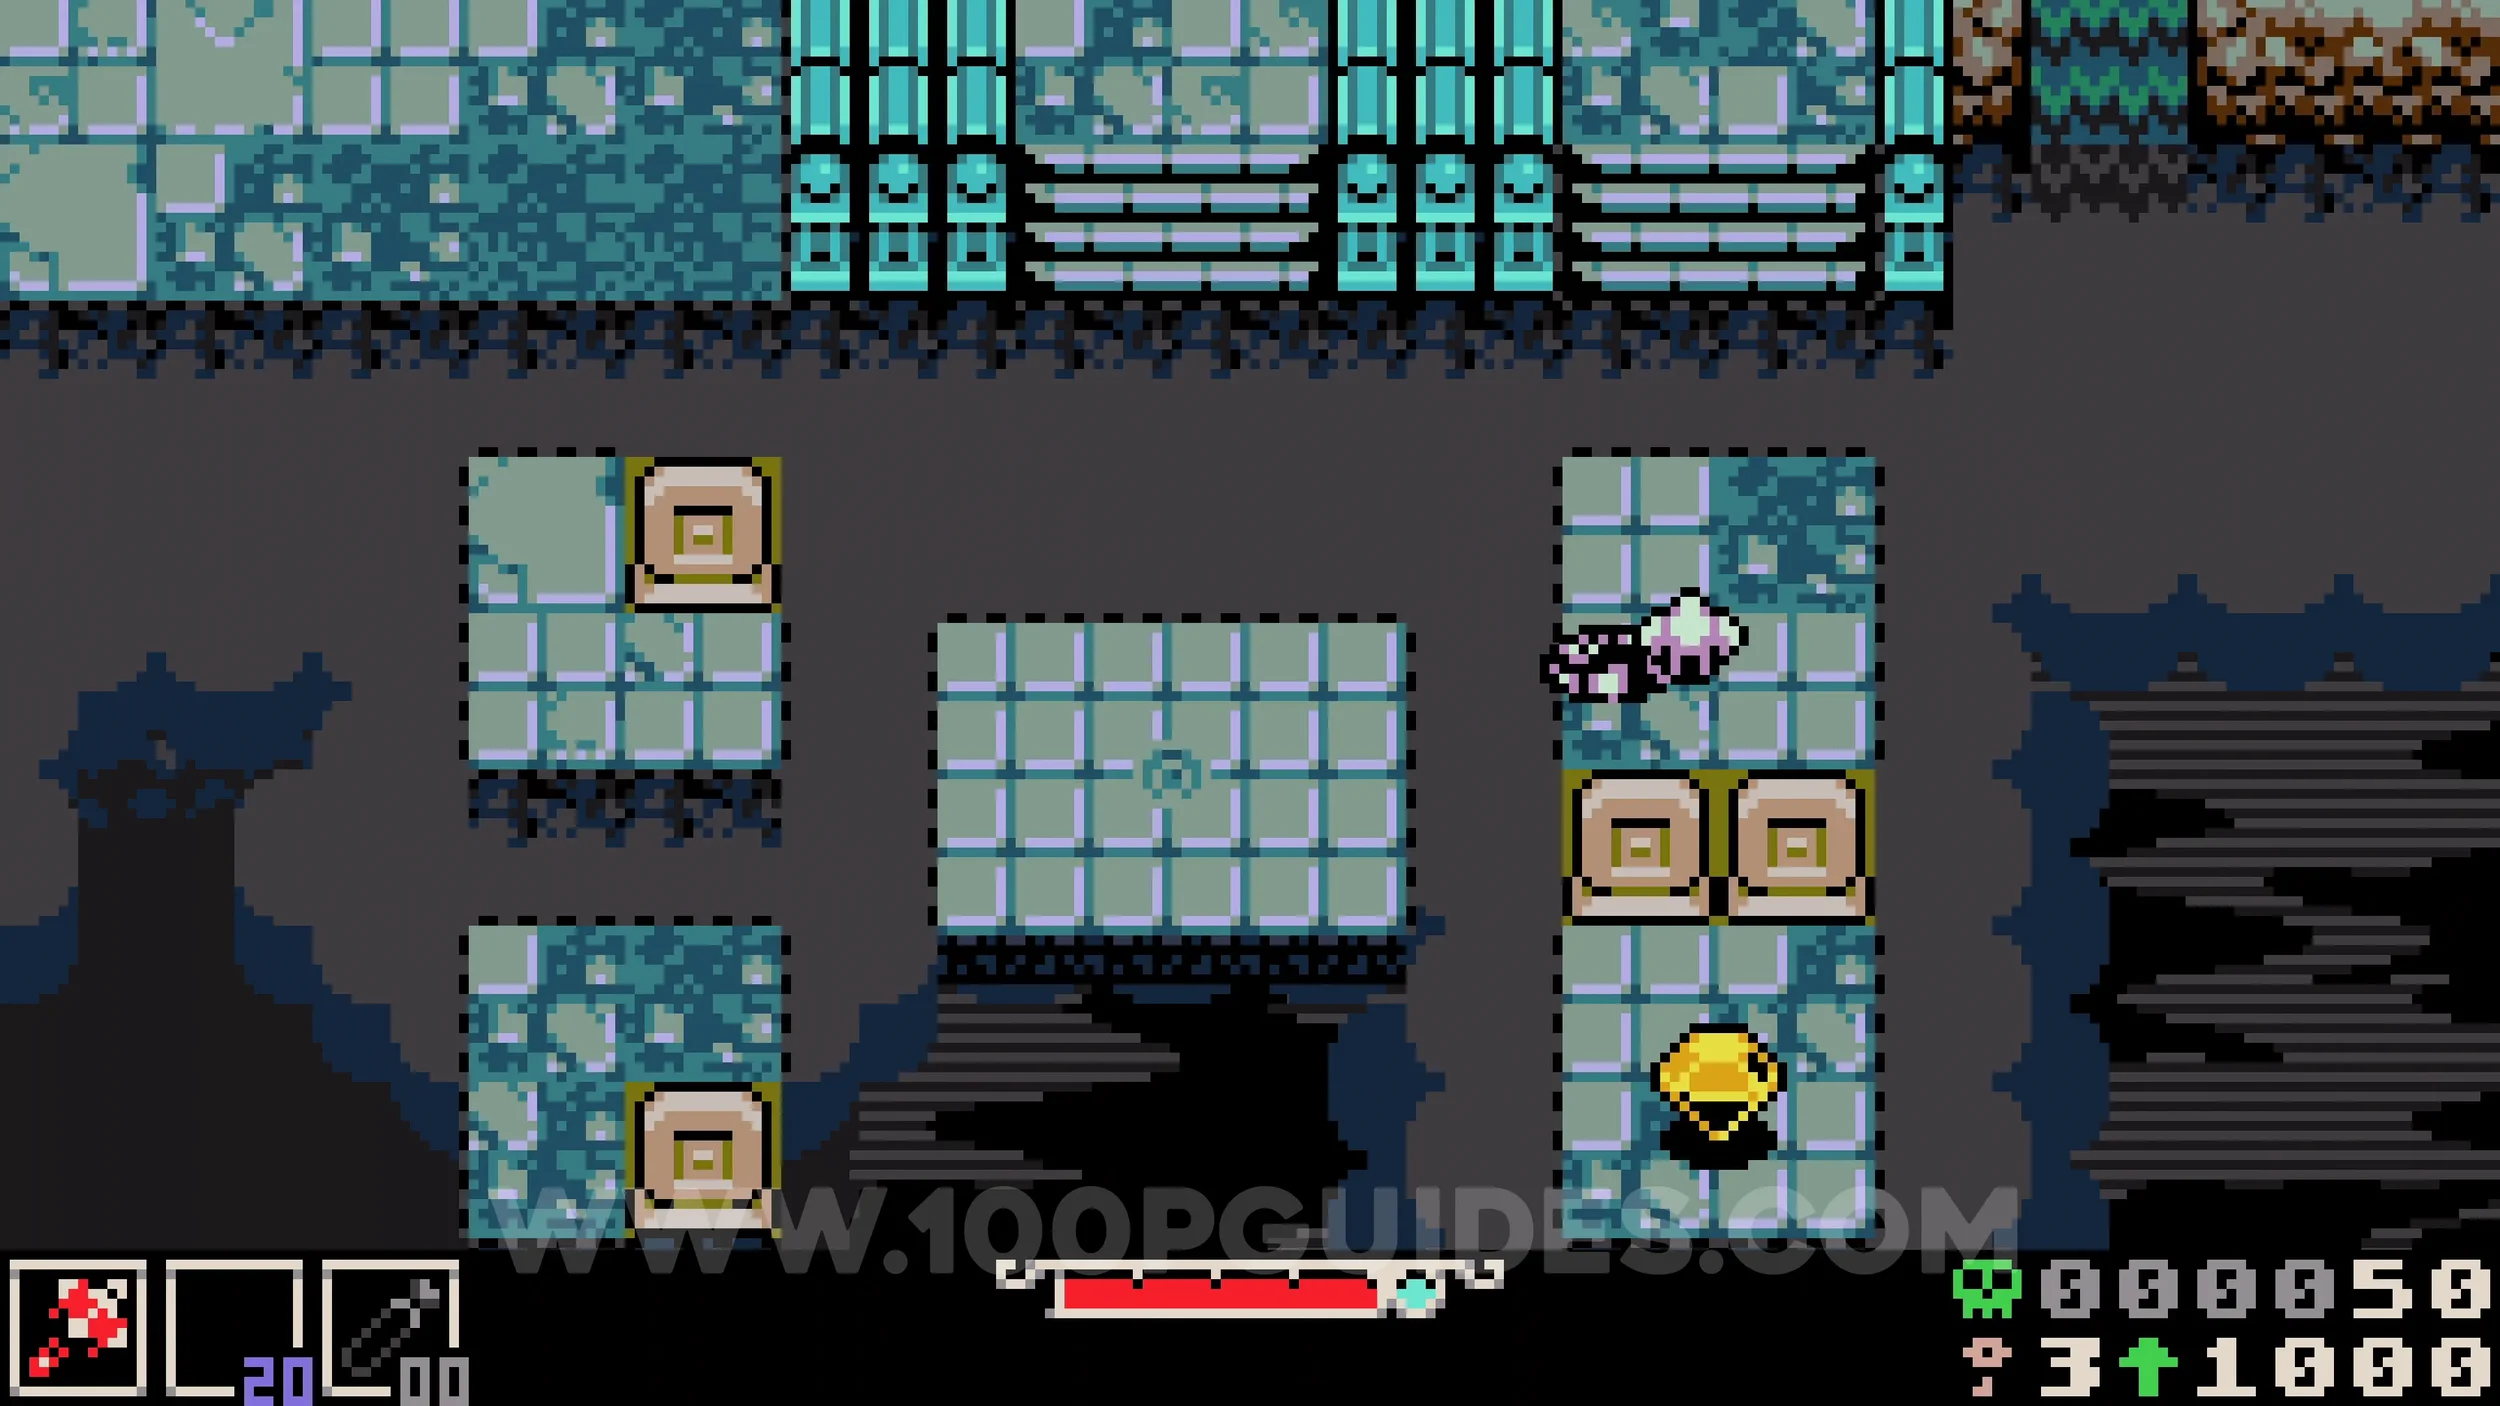
HP Upgrade #1. Story-related, obtained after defeating the boss at the end of the dungeon.
Trinket #4 - Proto Spark. After defeating the boss, backtrack to the previous room and head into the room on your left. Go up and use the ropes to reach the left side, where you will meet an NPC. After talking to him he will follow you, so carefully make your way back to the room entrance by going around the bottom while avoiding the traps. Once you are both out, take him to the boss room where he will open a hidden tomb. Agree to shut him inside to receive the trinket.
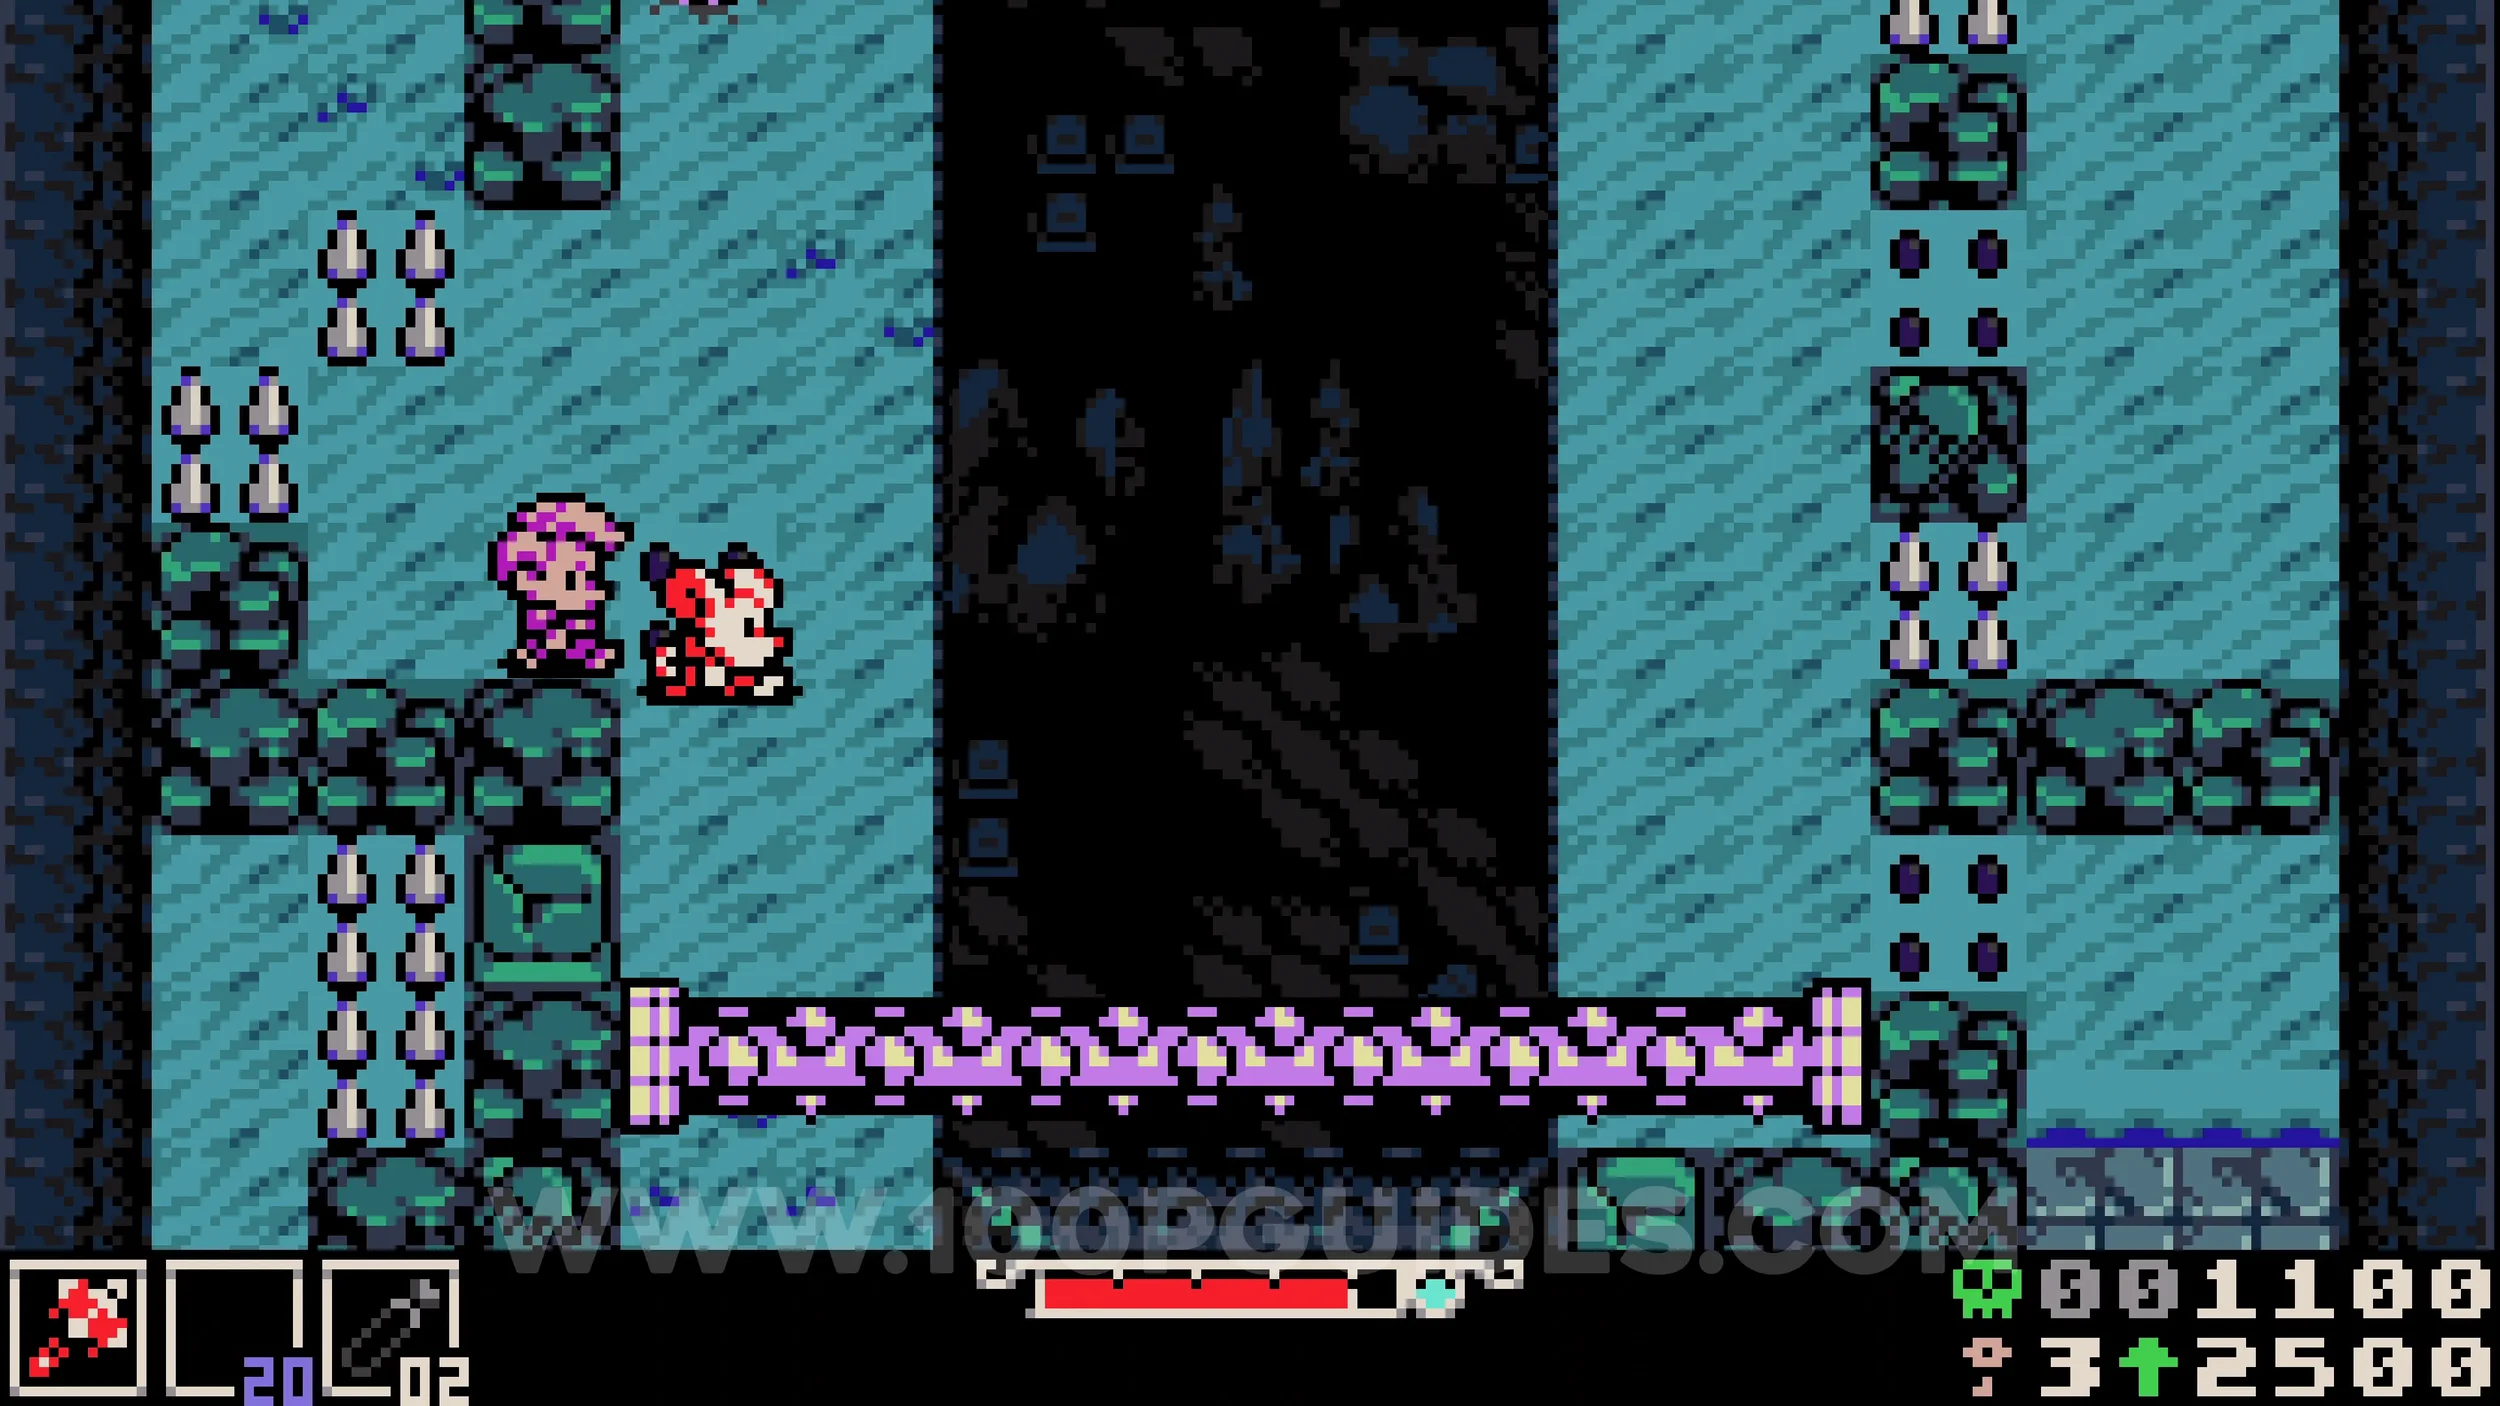
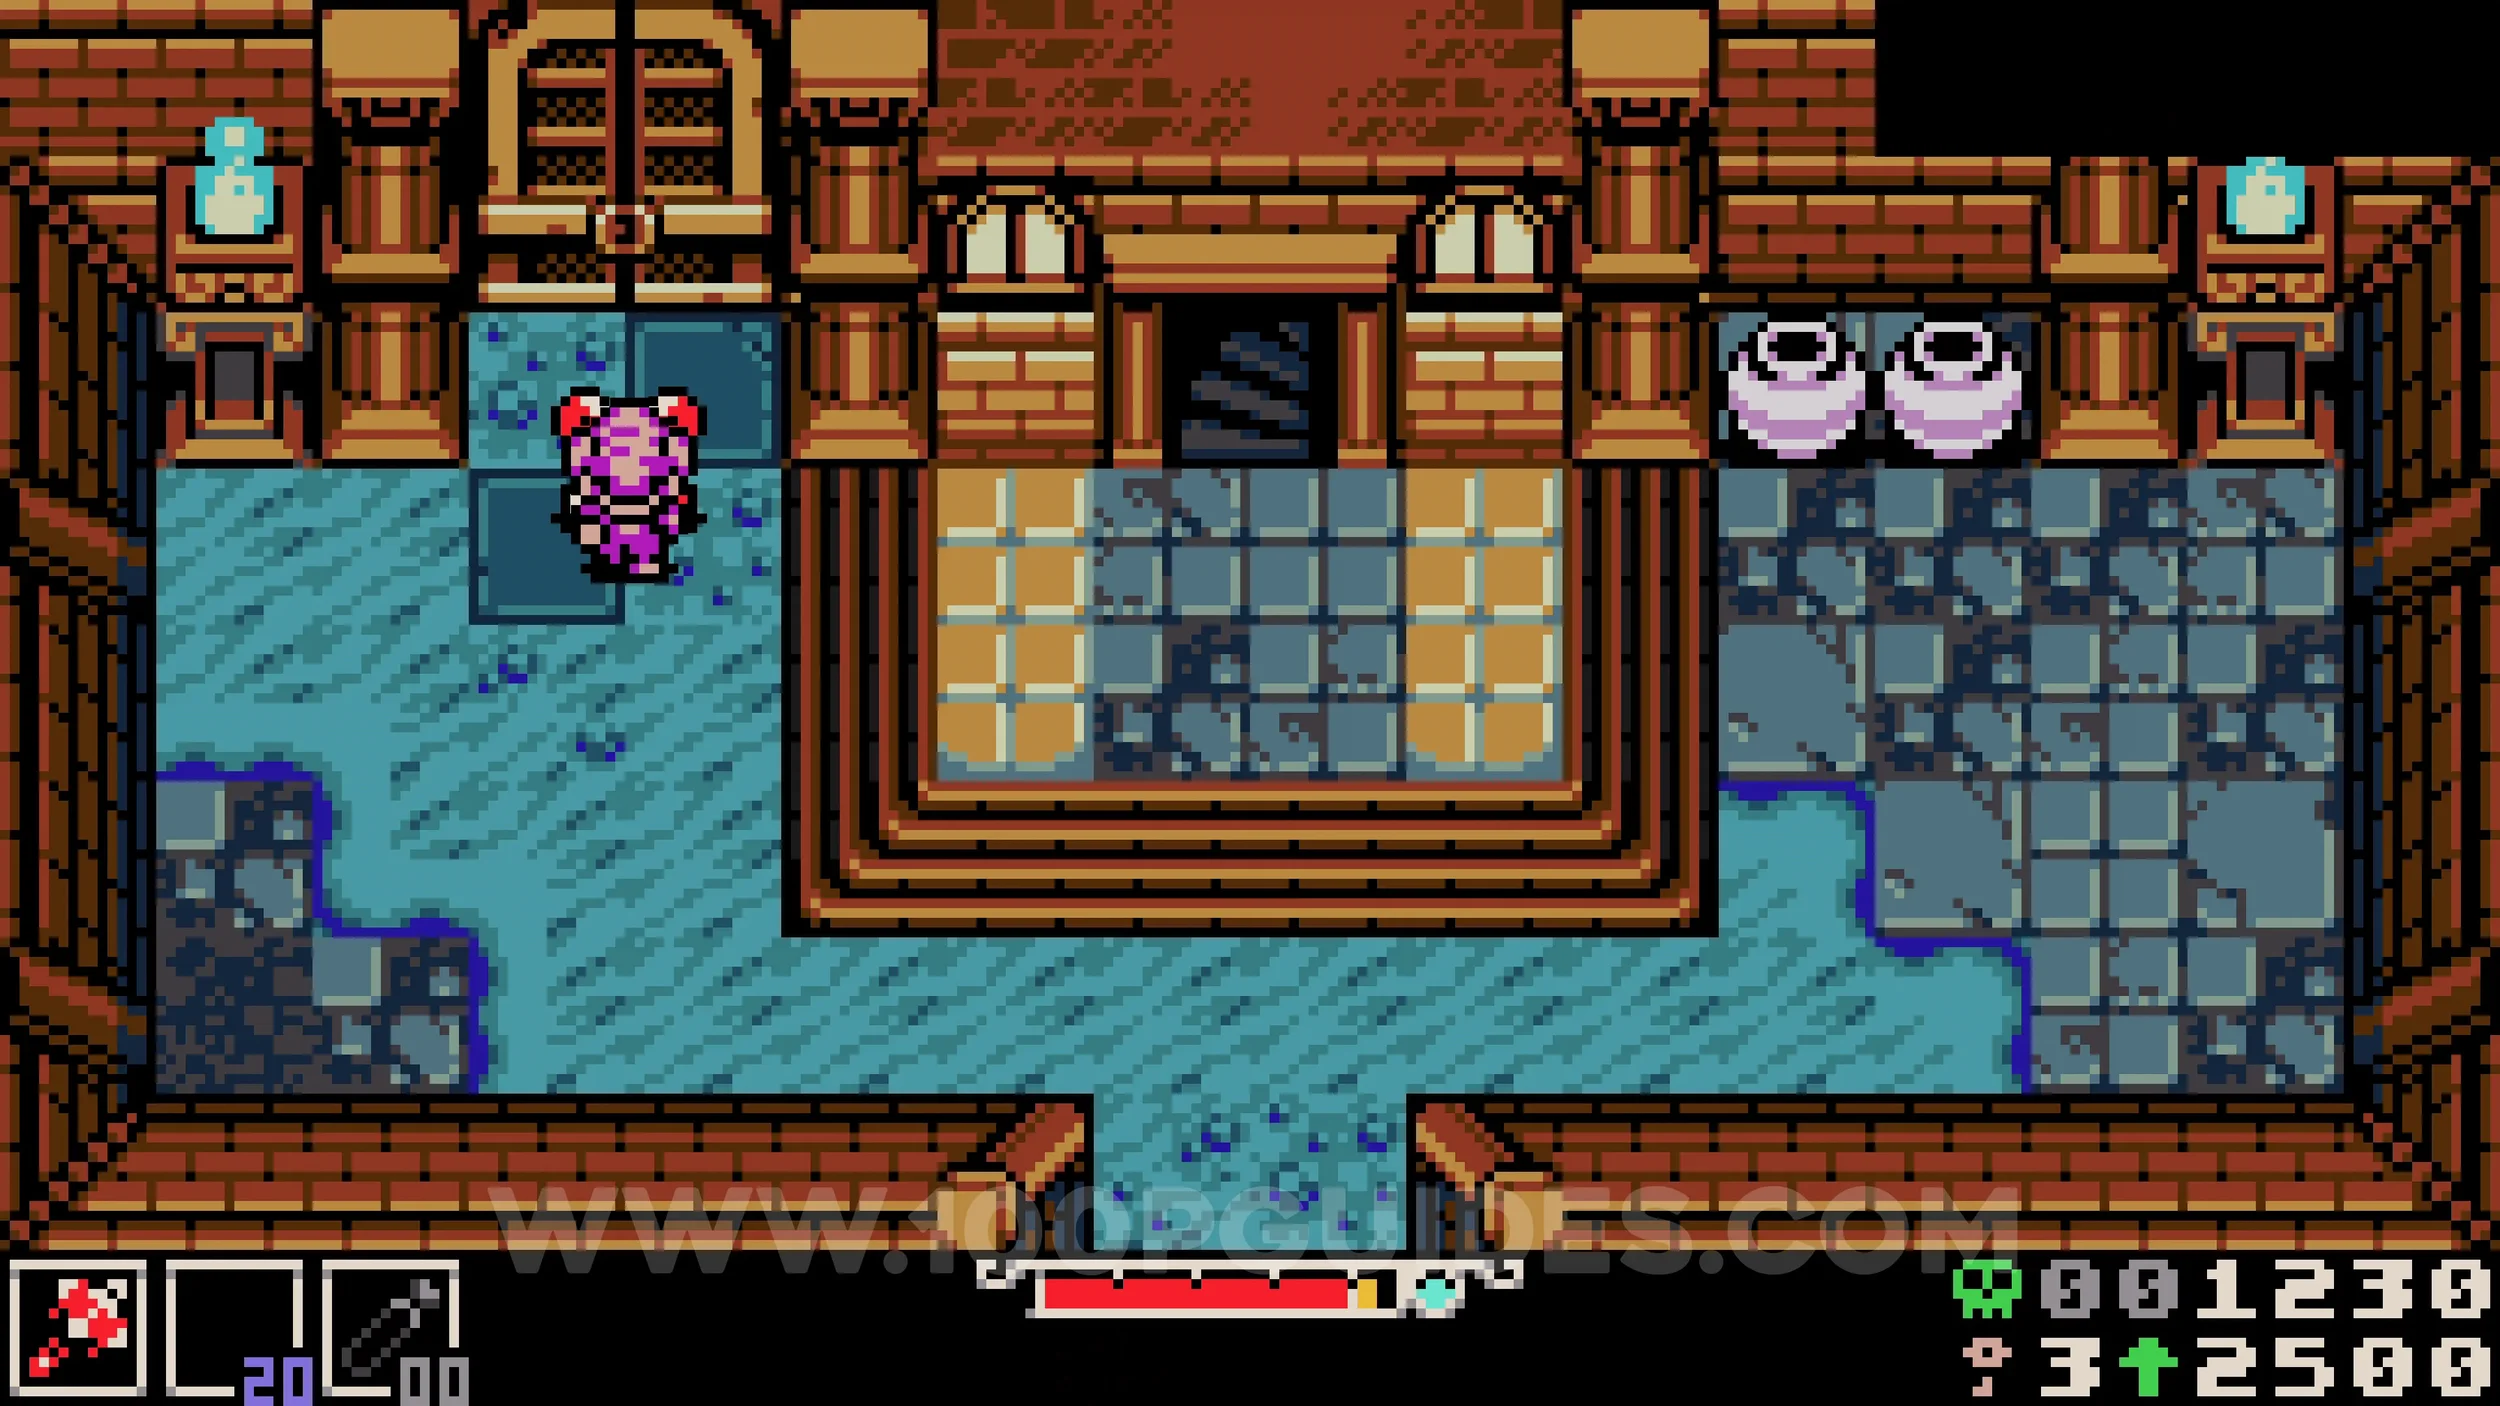
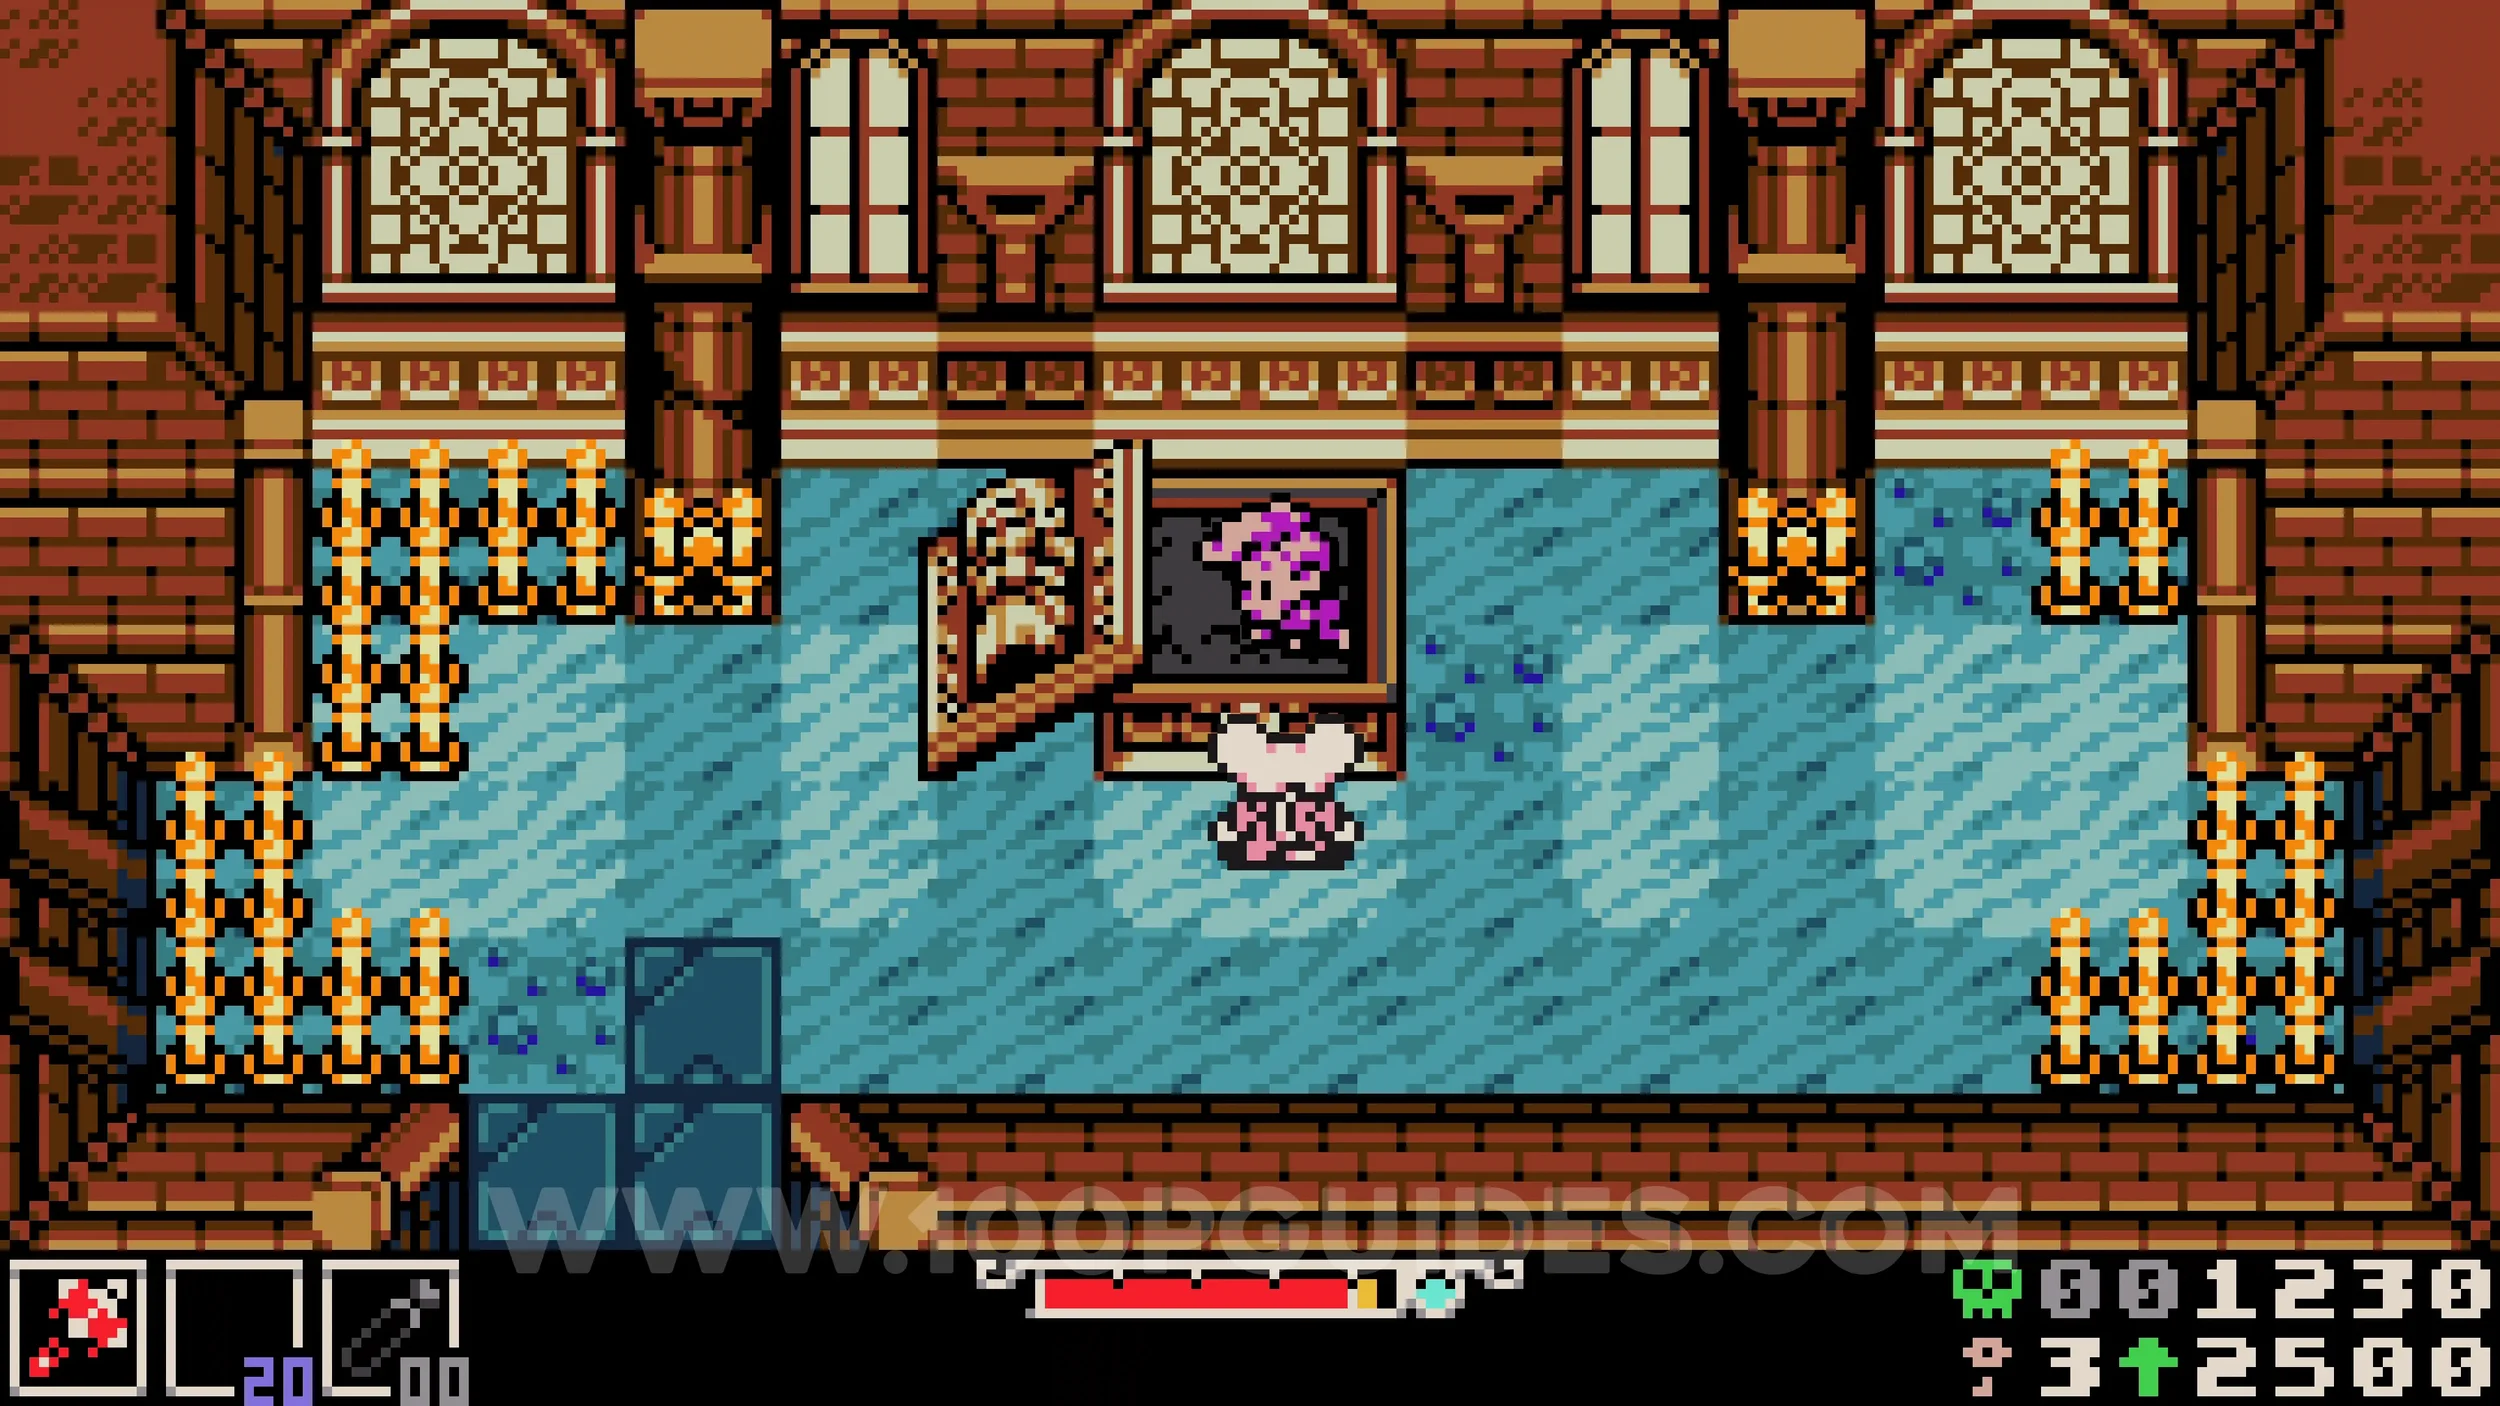
WESTERN WILDS
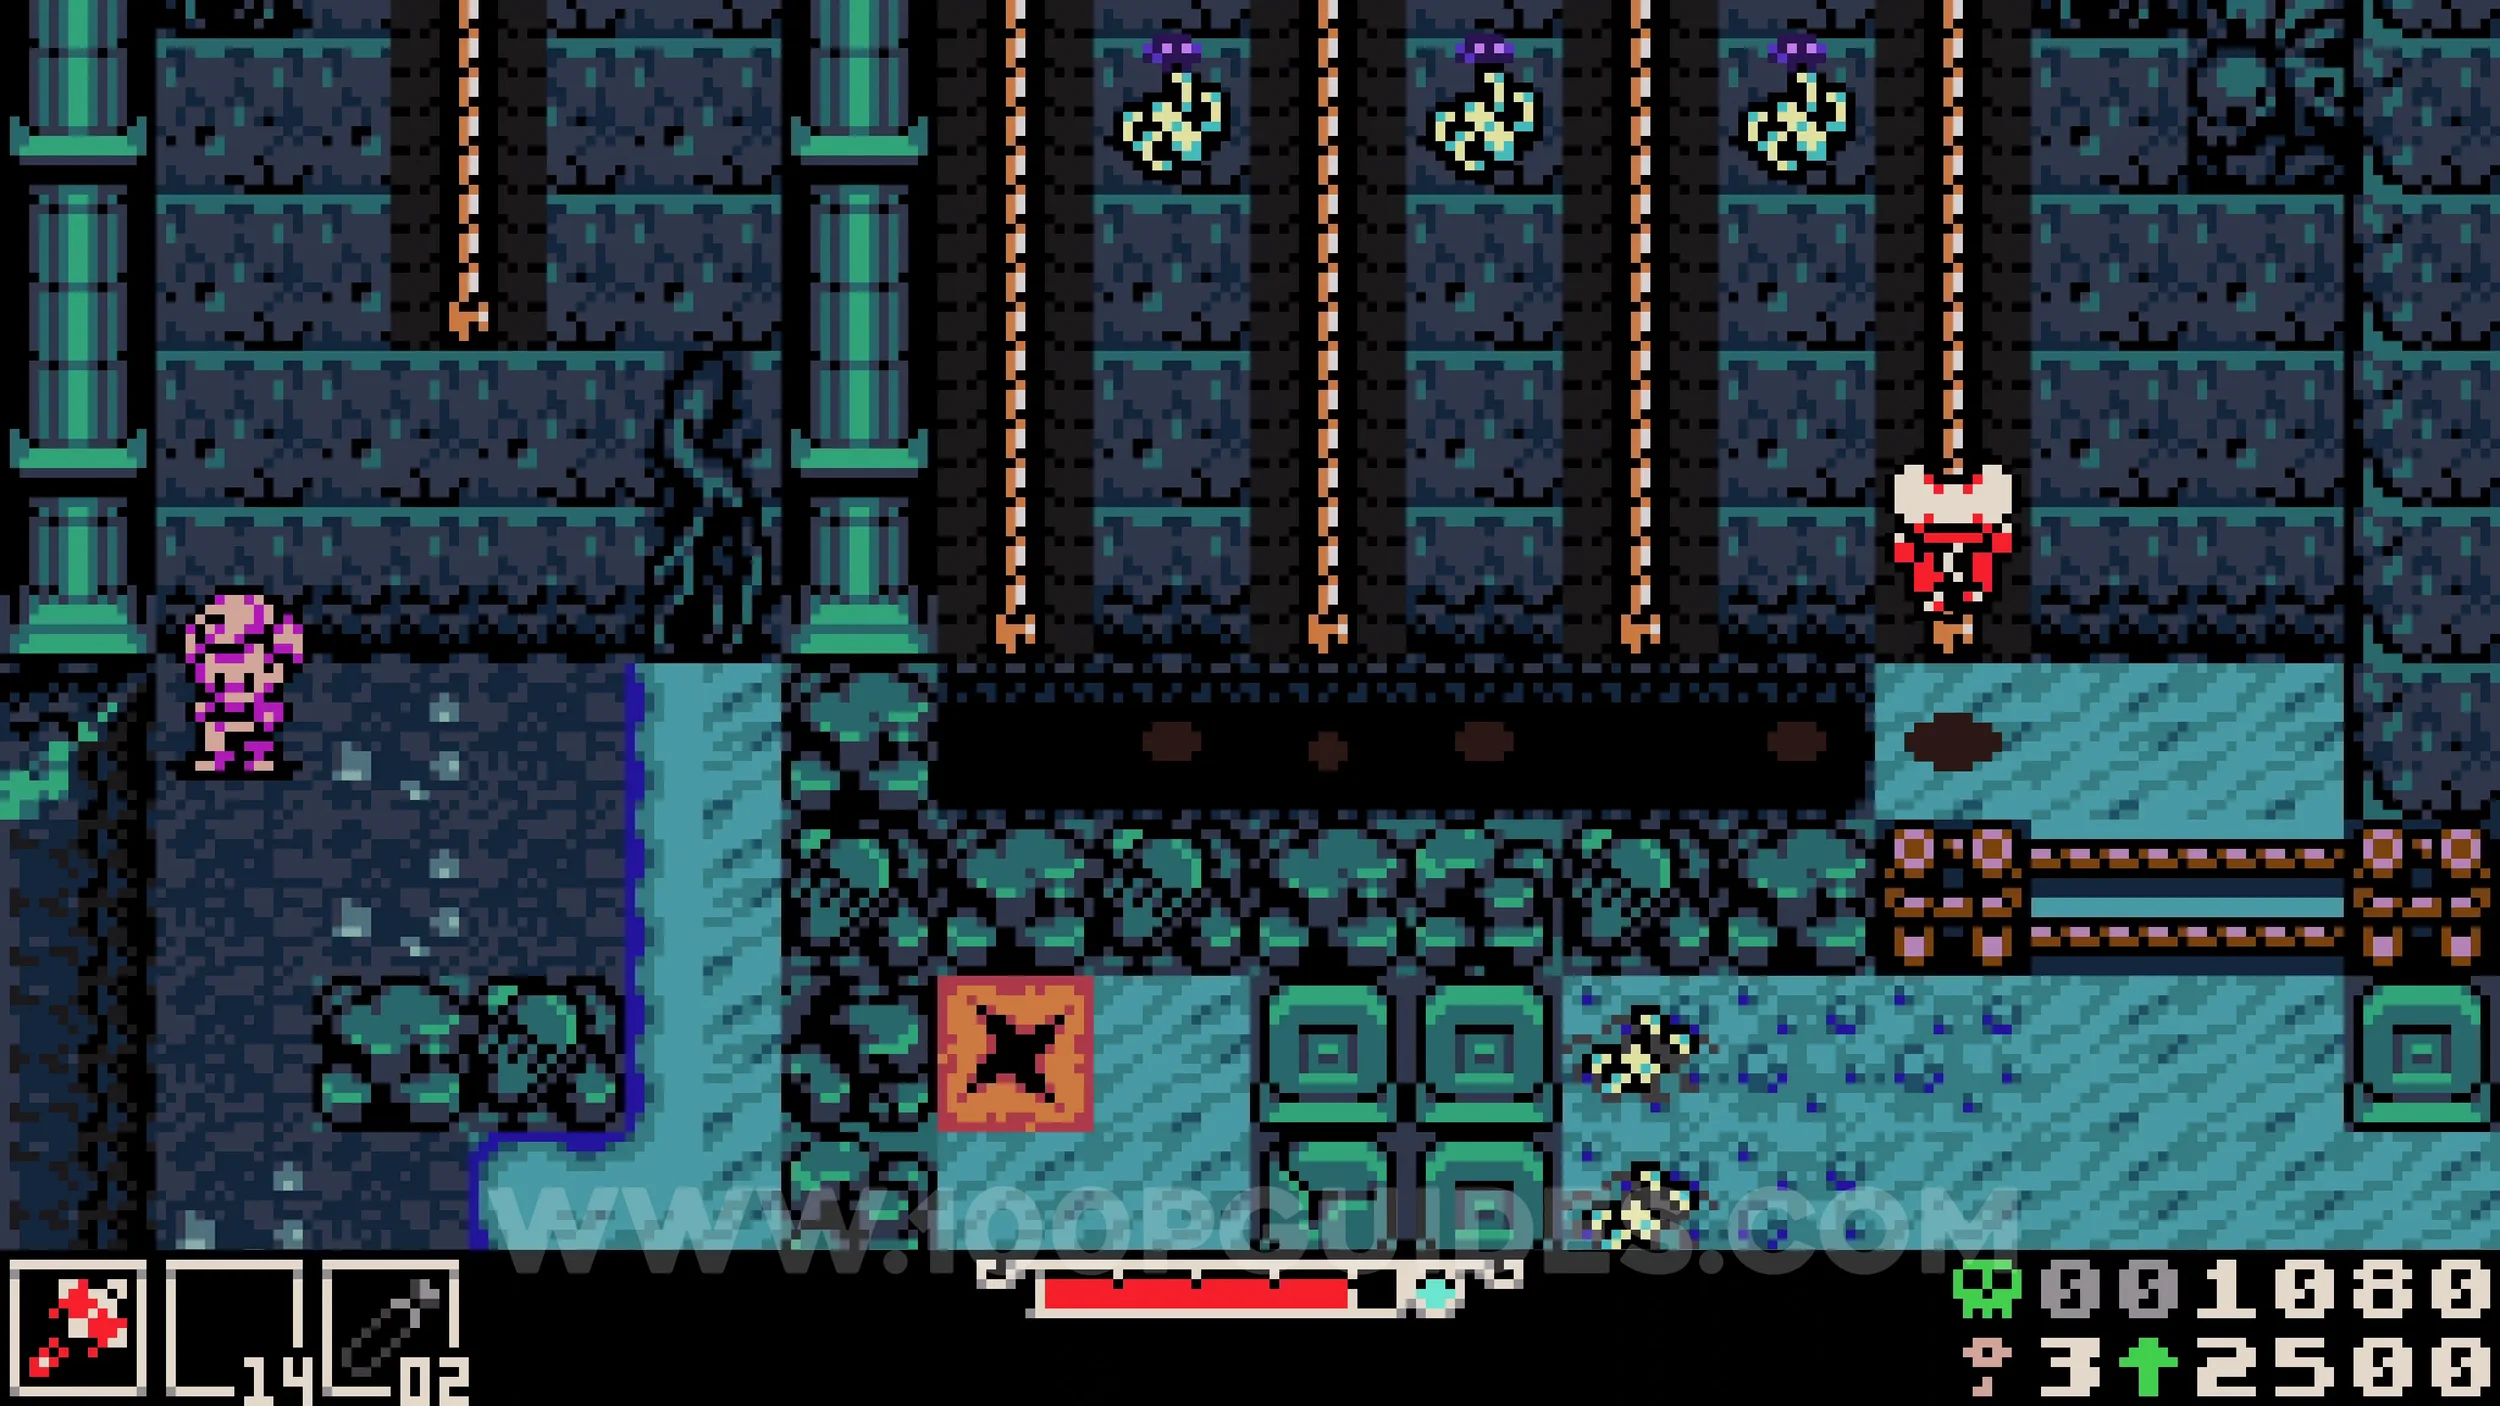
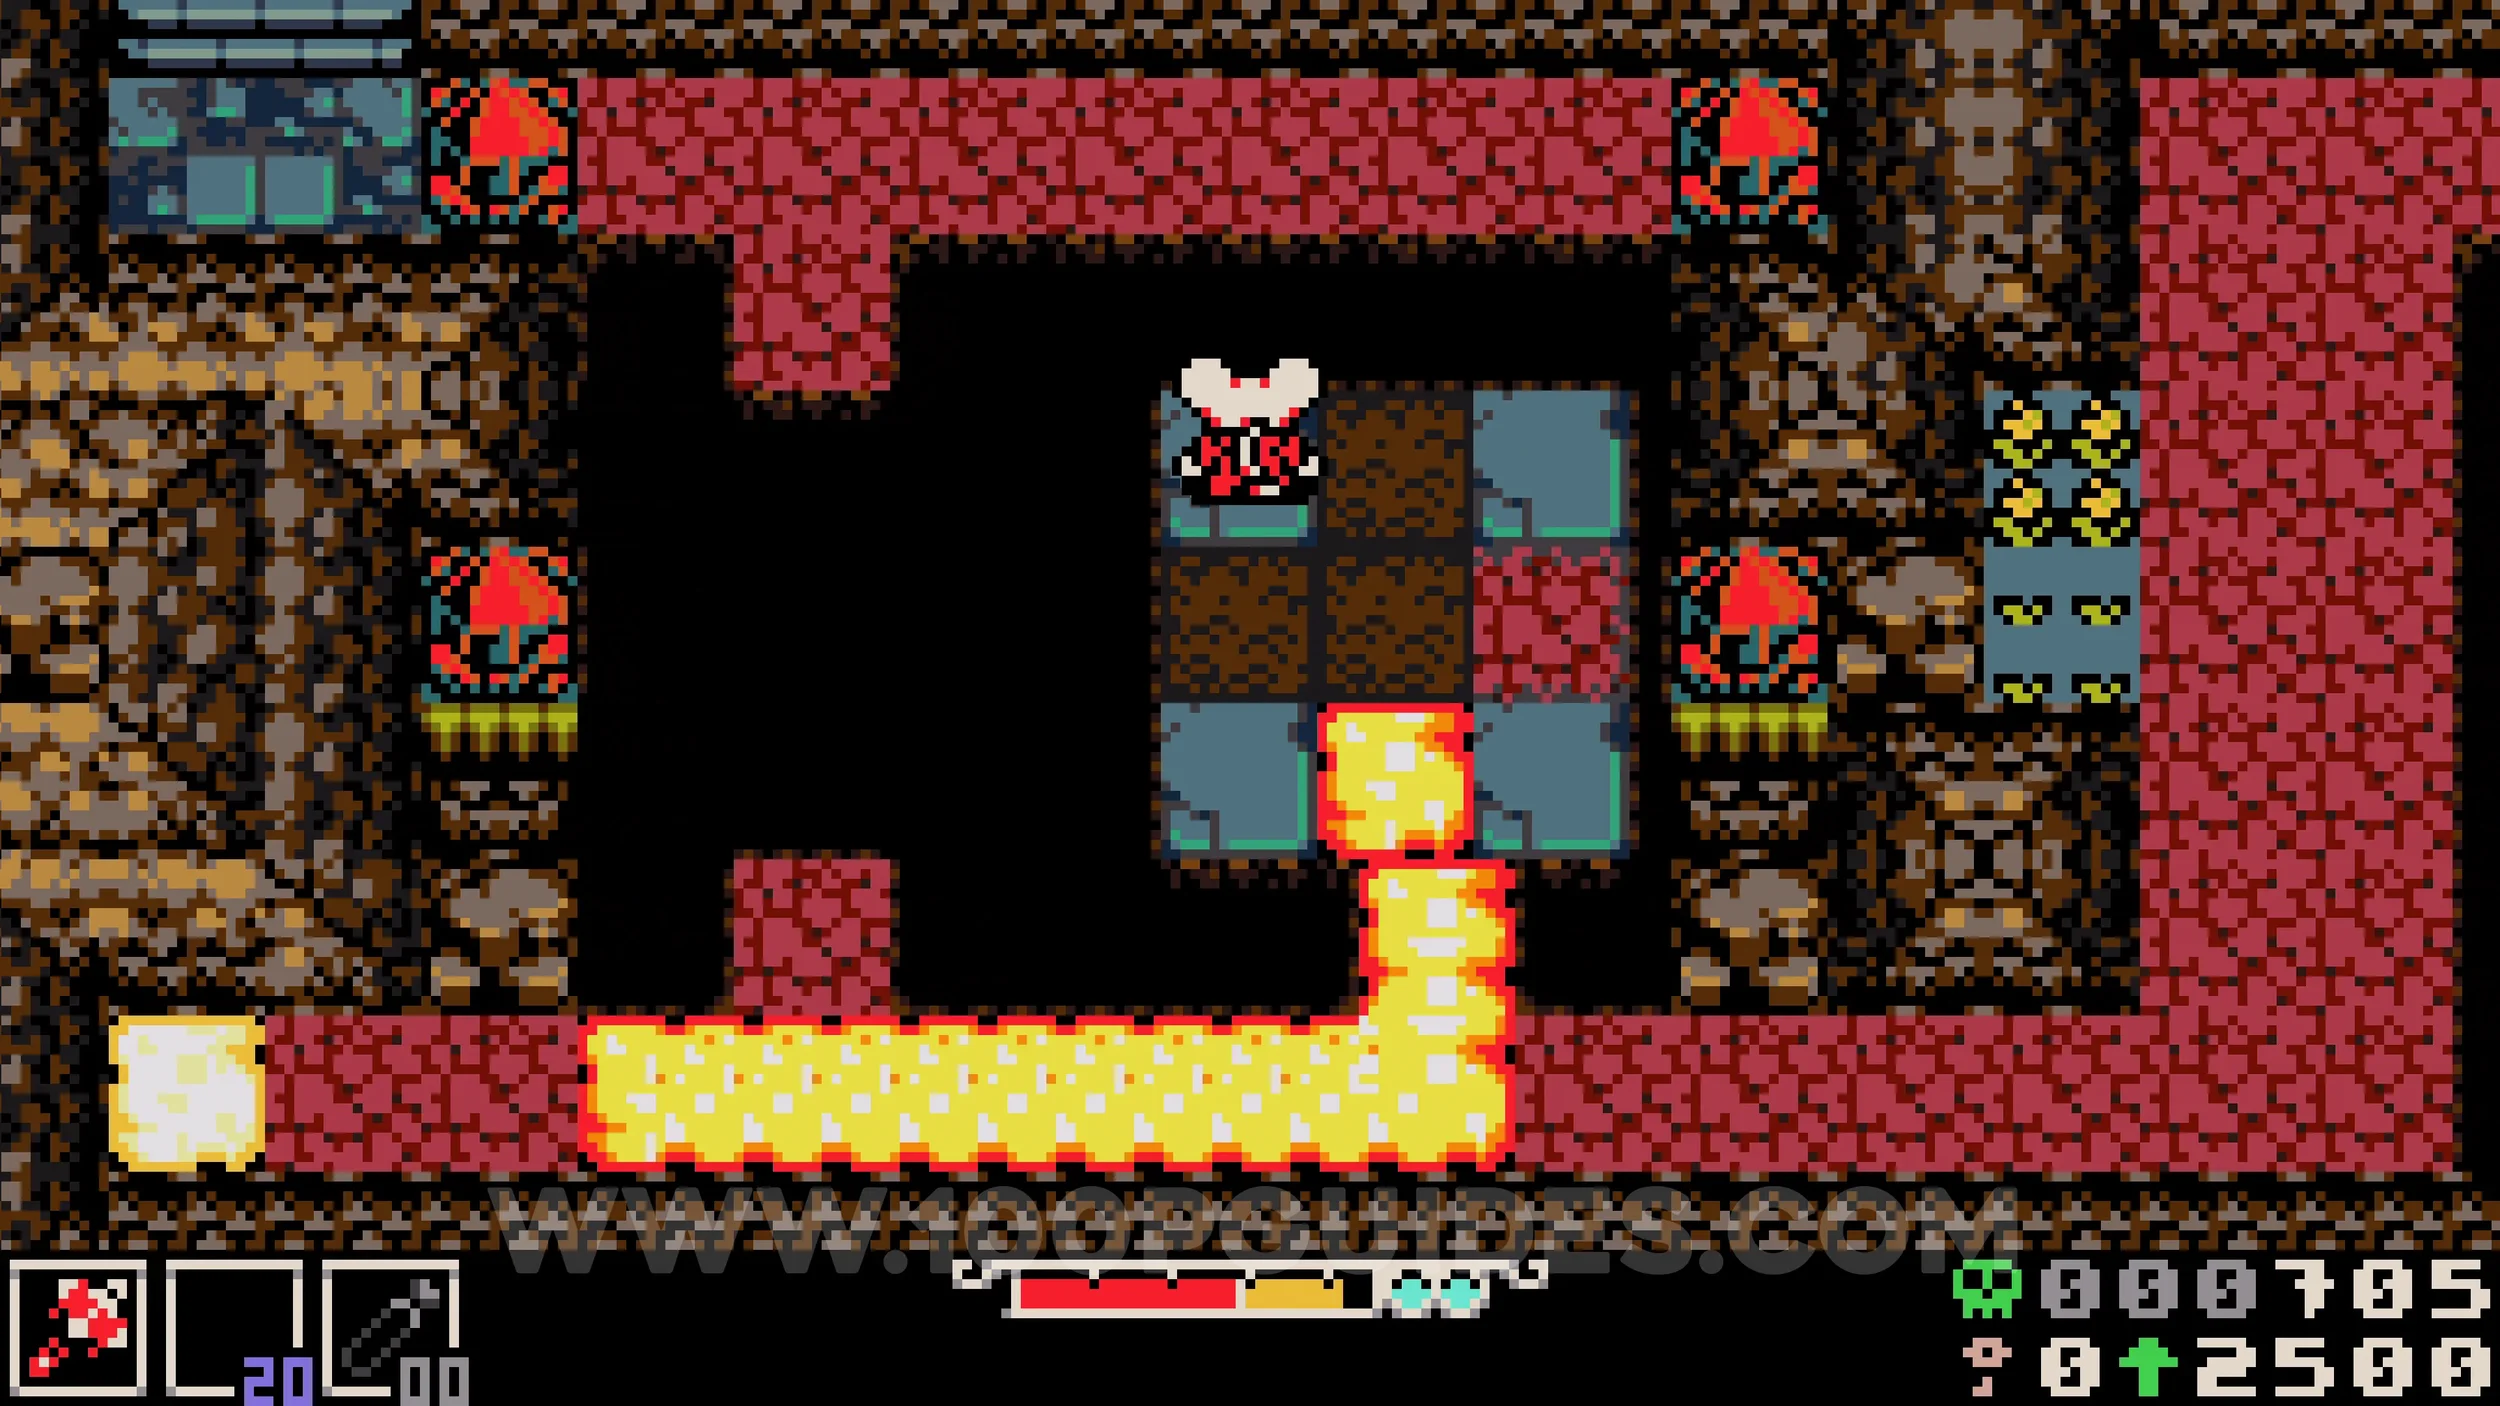
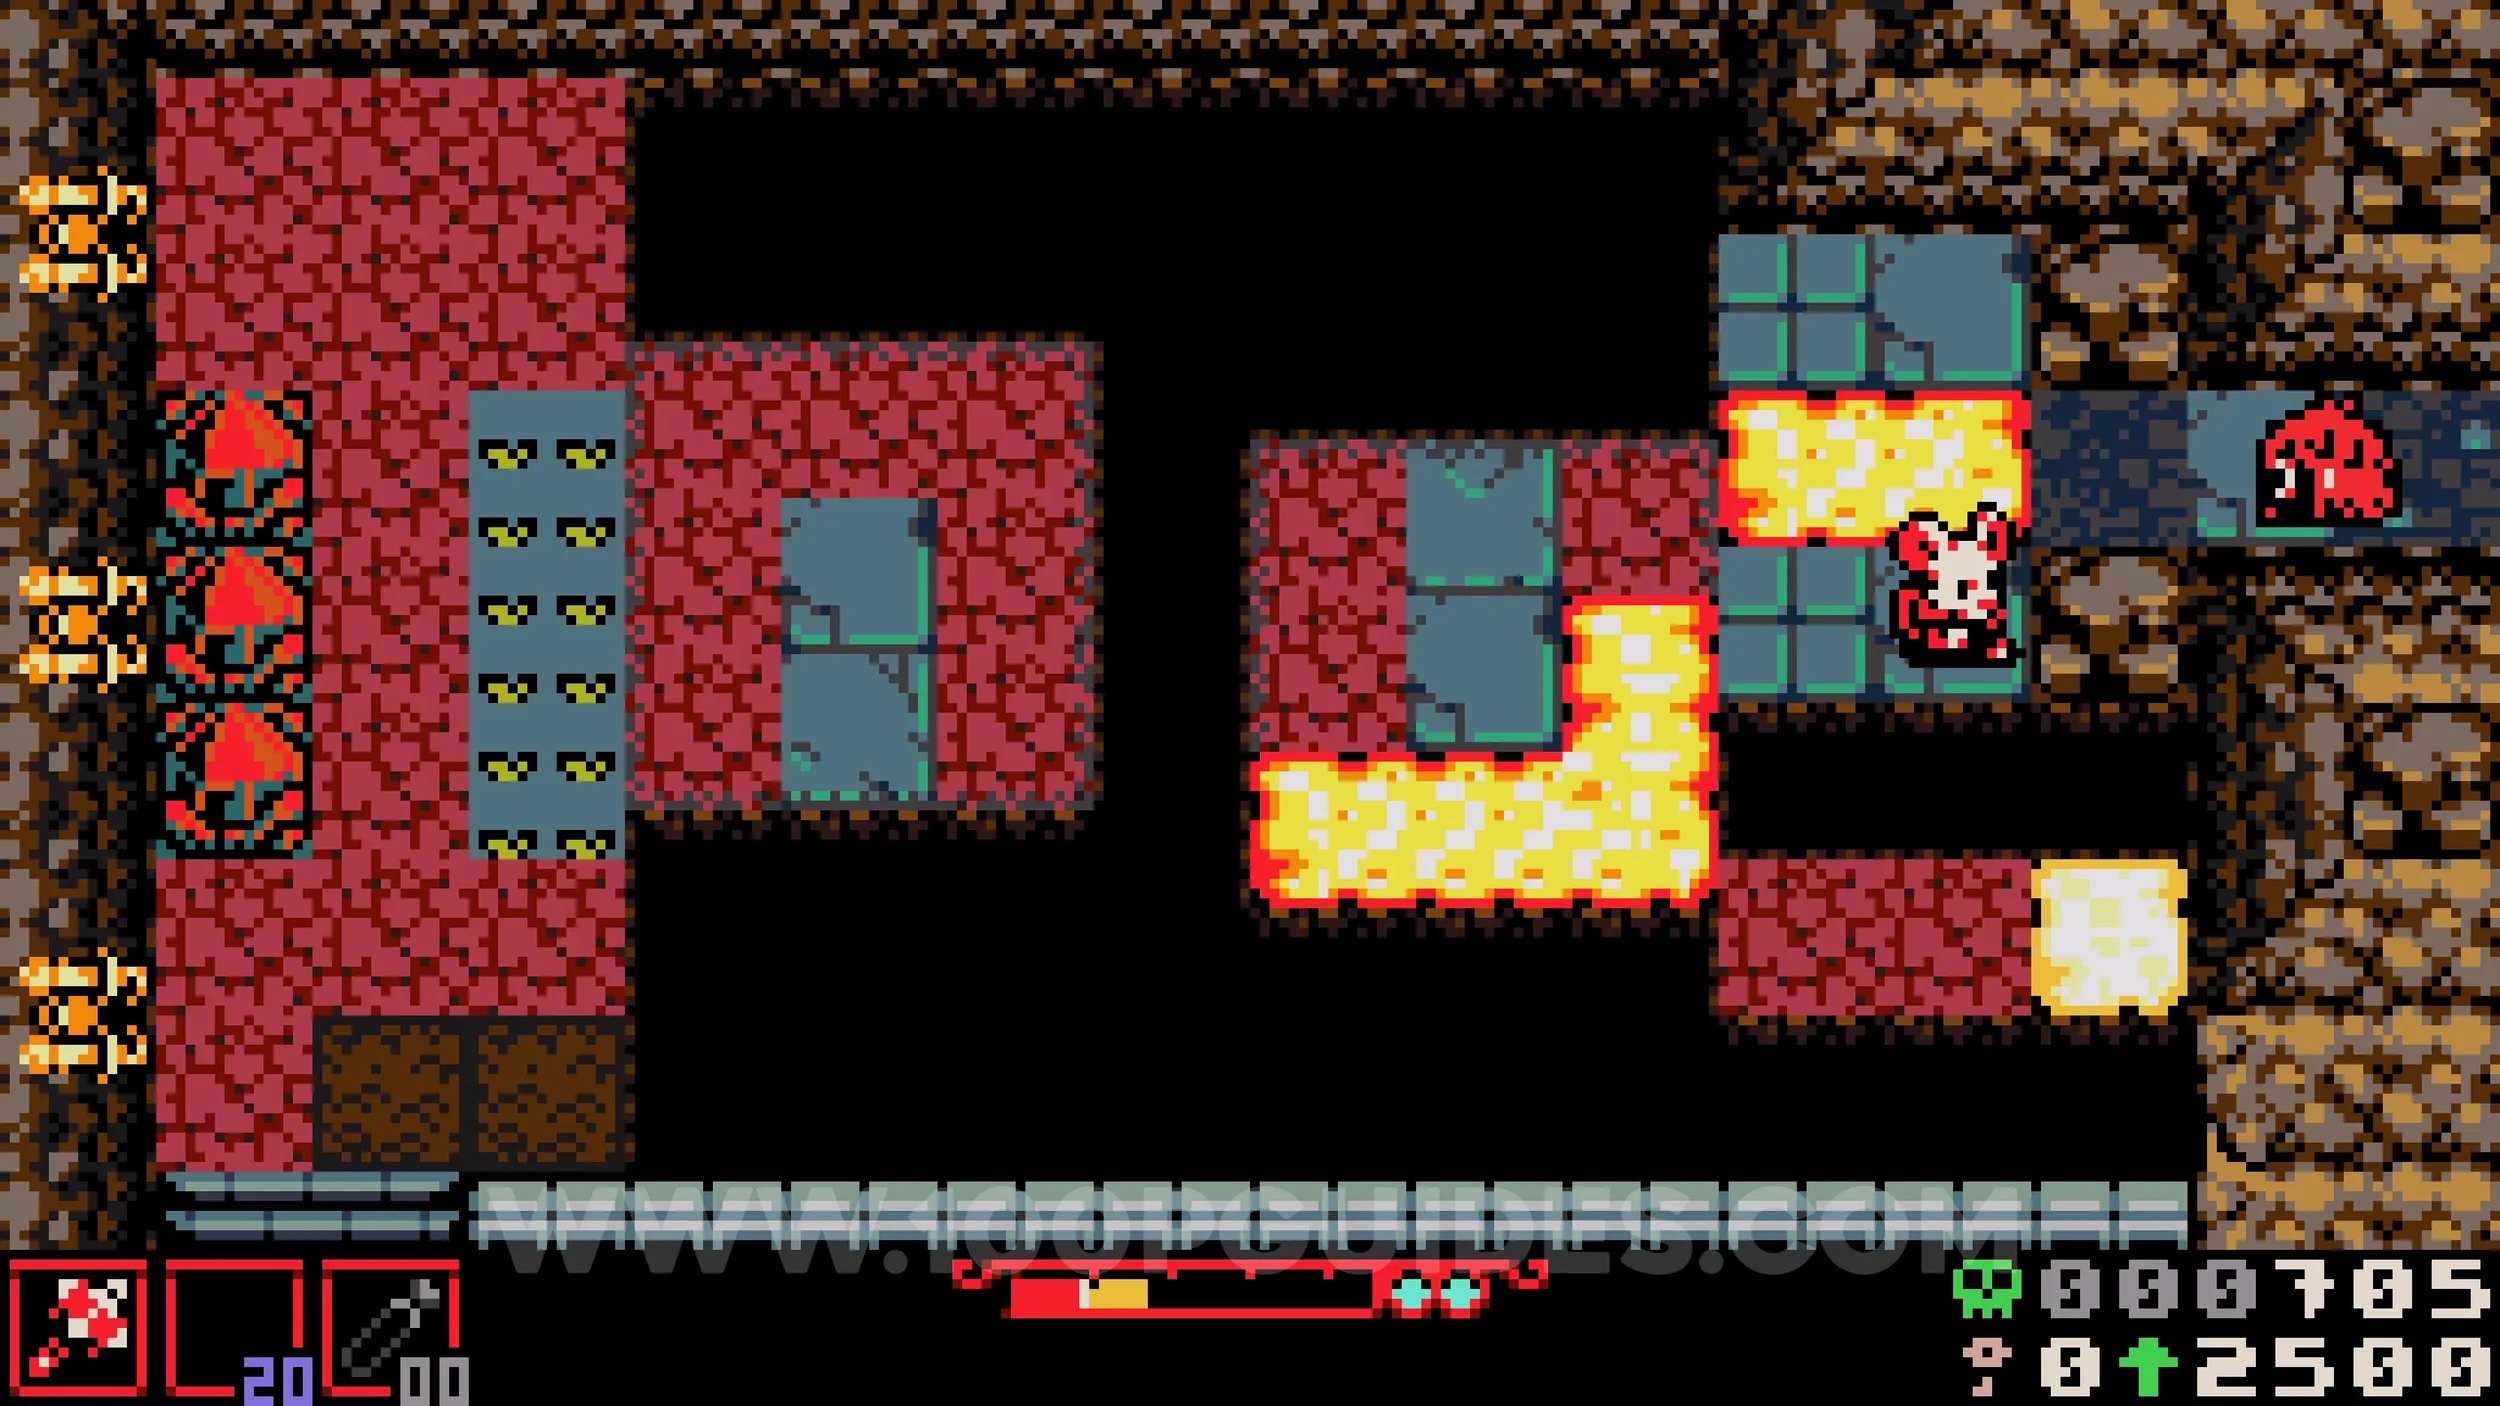
Lock #1. Once you reach the area with streams of lava and red crystals, look for 2 red crystals blocking the first path going up. Burrow near the lava to create a path that directs it towards the crystals, breaking them and clearing the way. Follow the path up to find the lock.
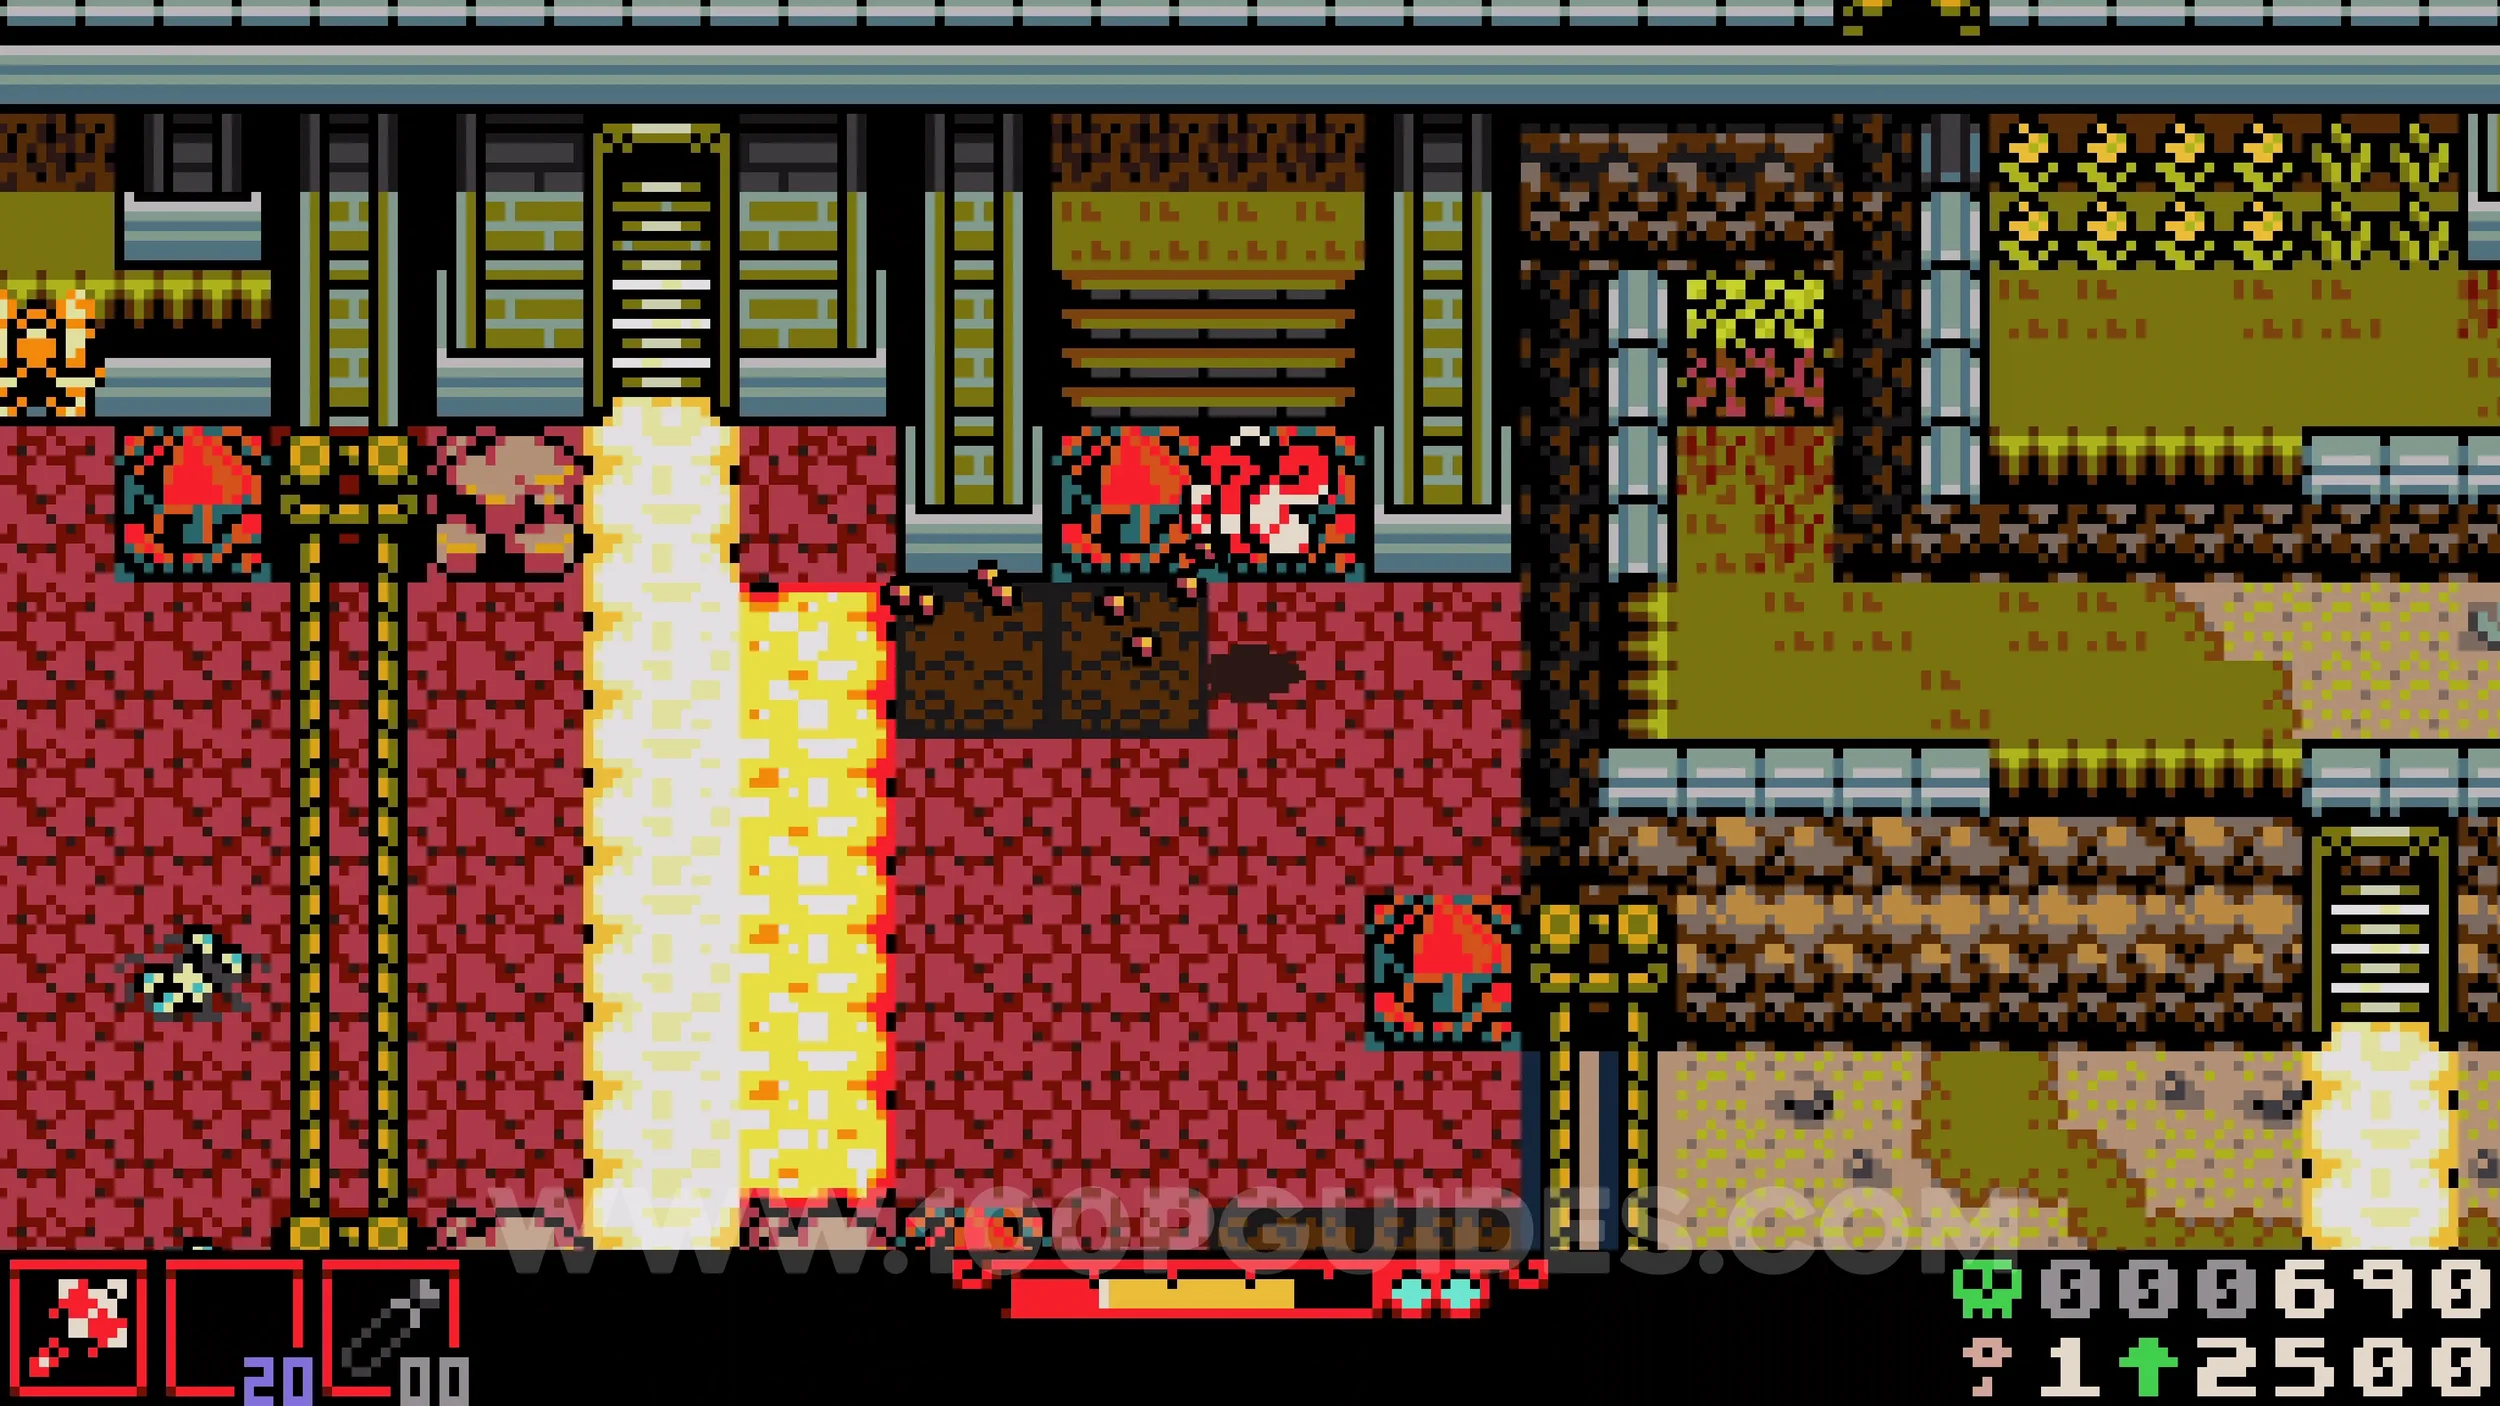
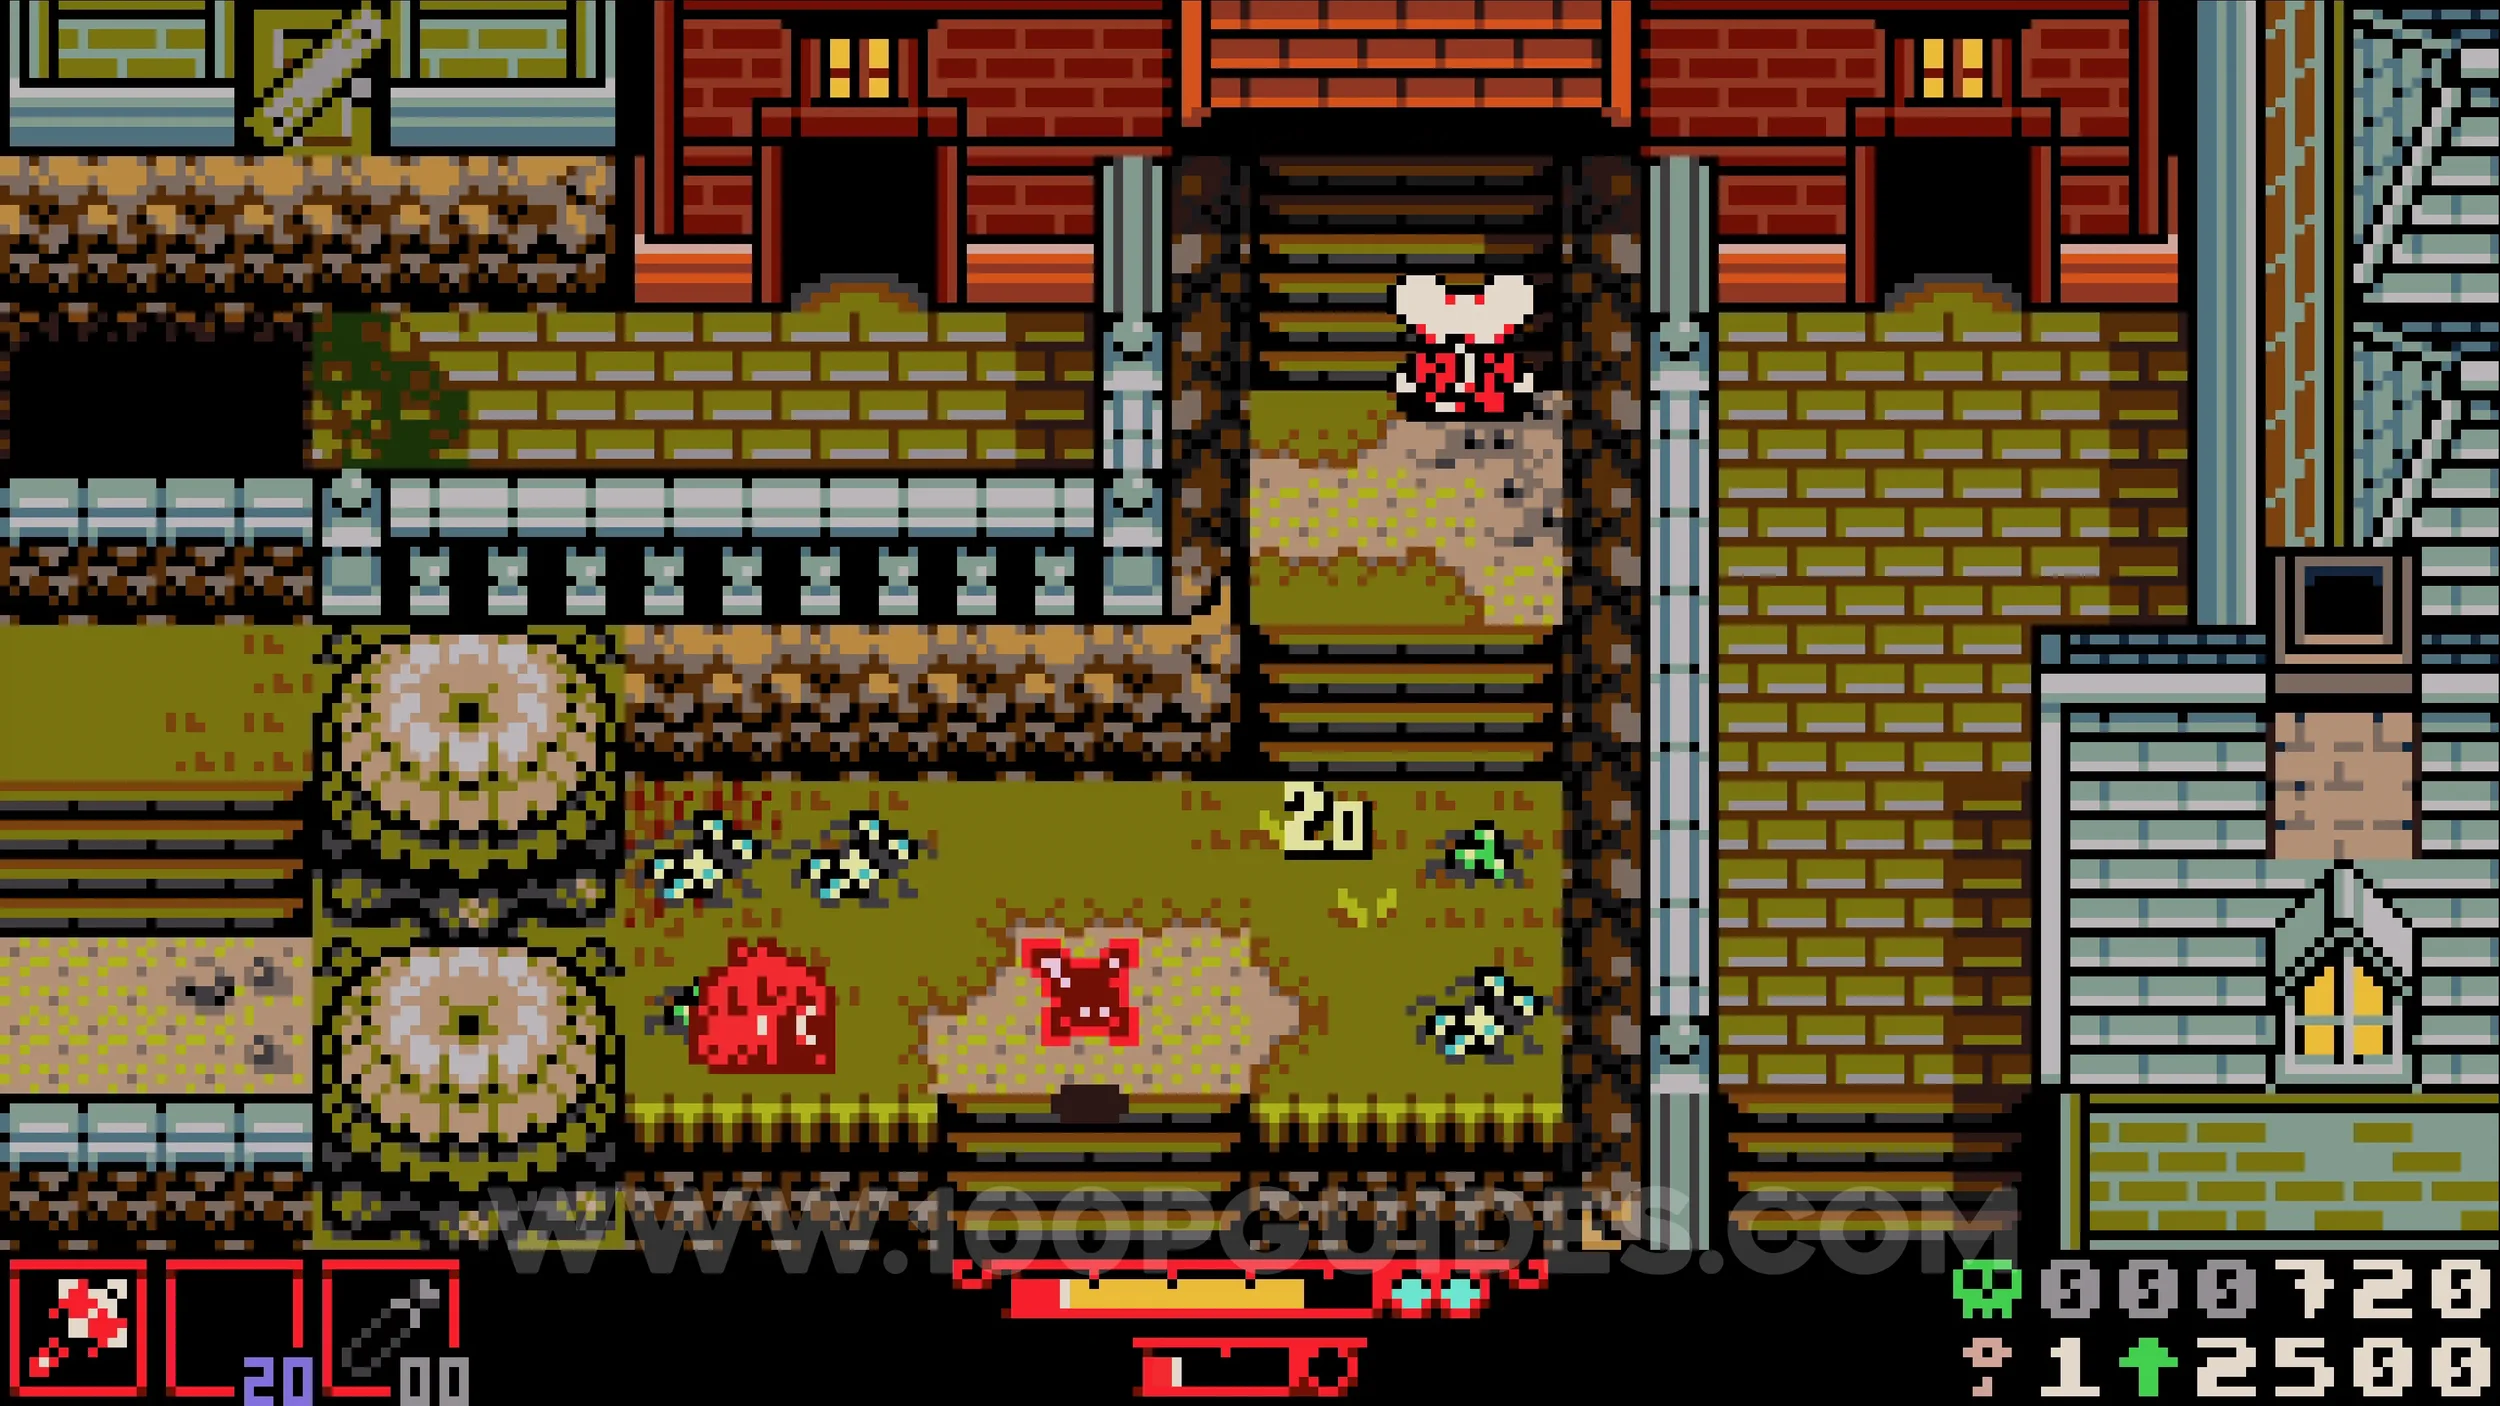
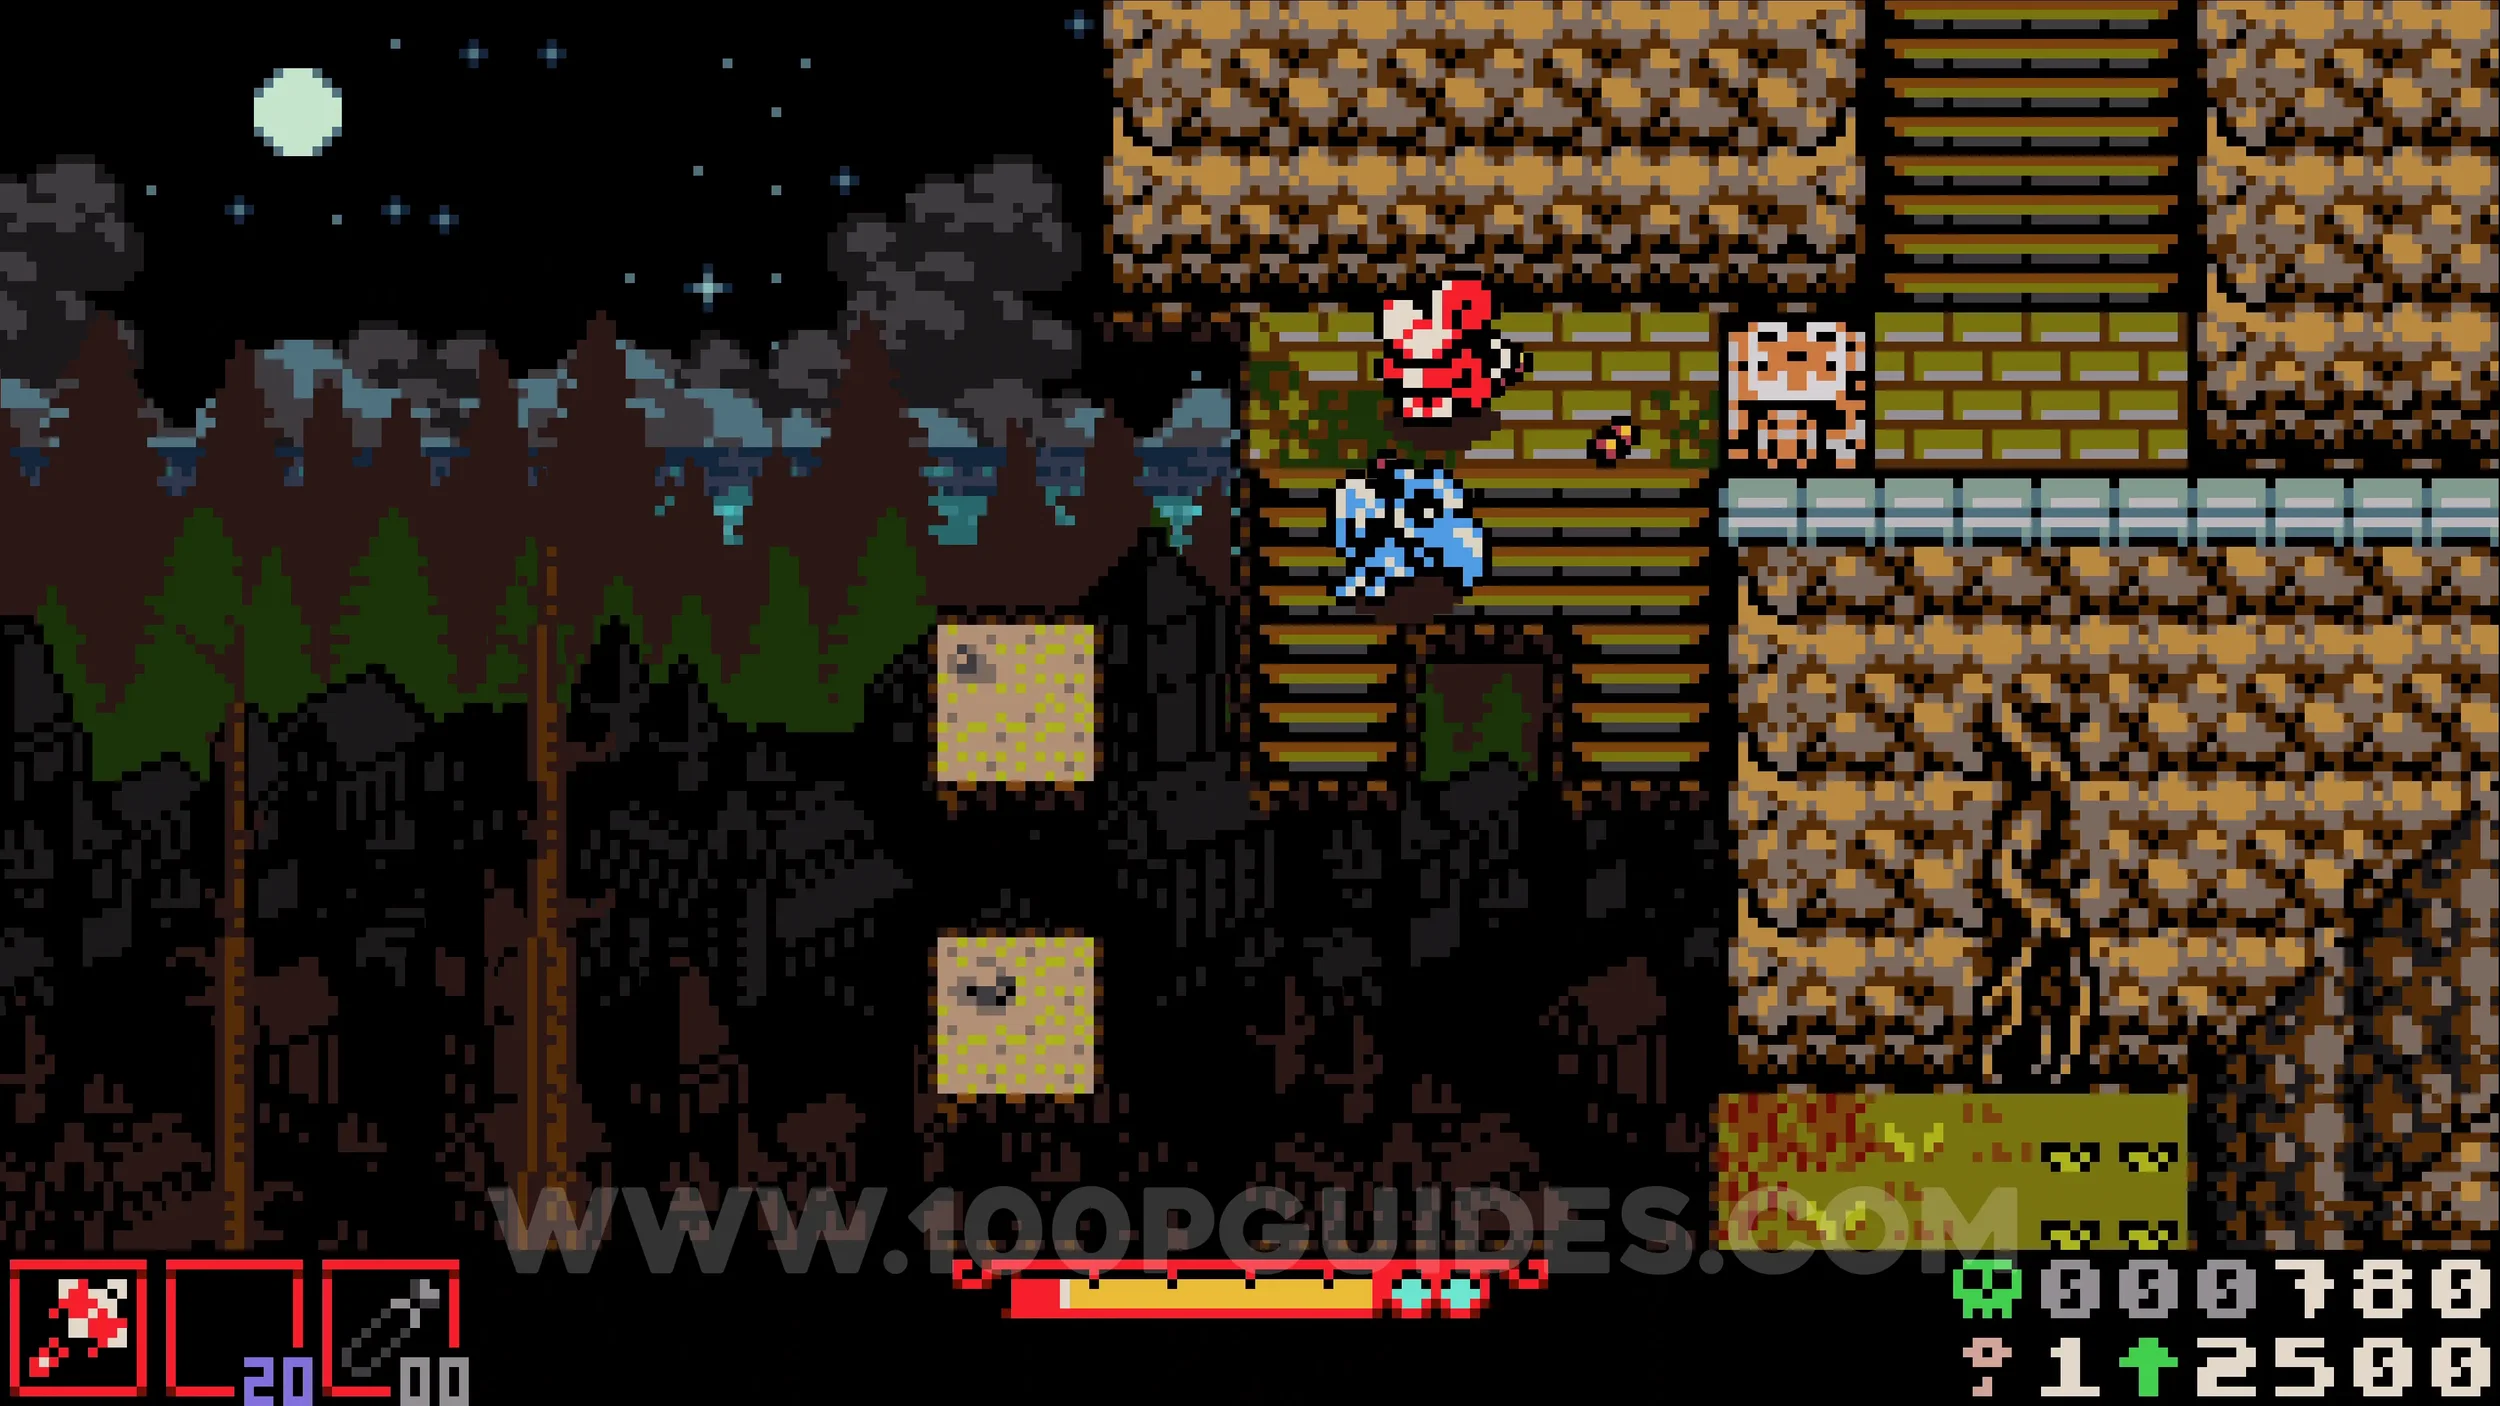
Bonestone #1. In the screen after the previous Lock.
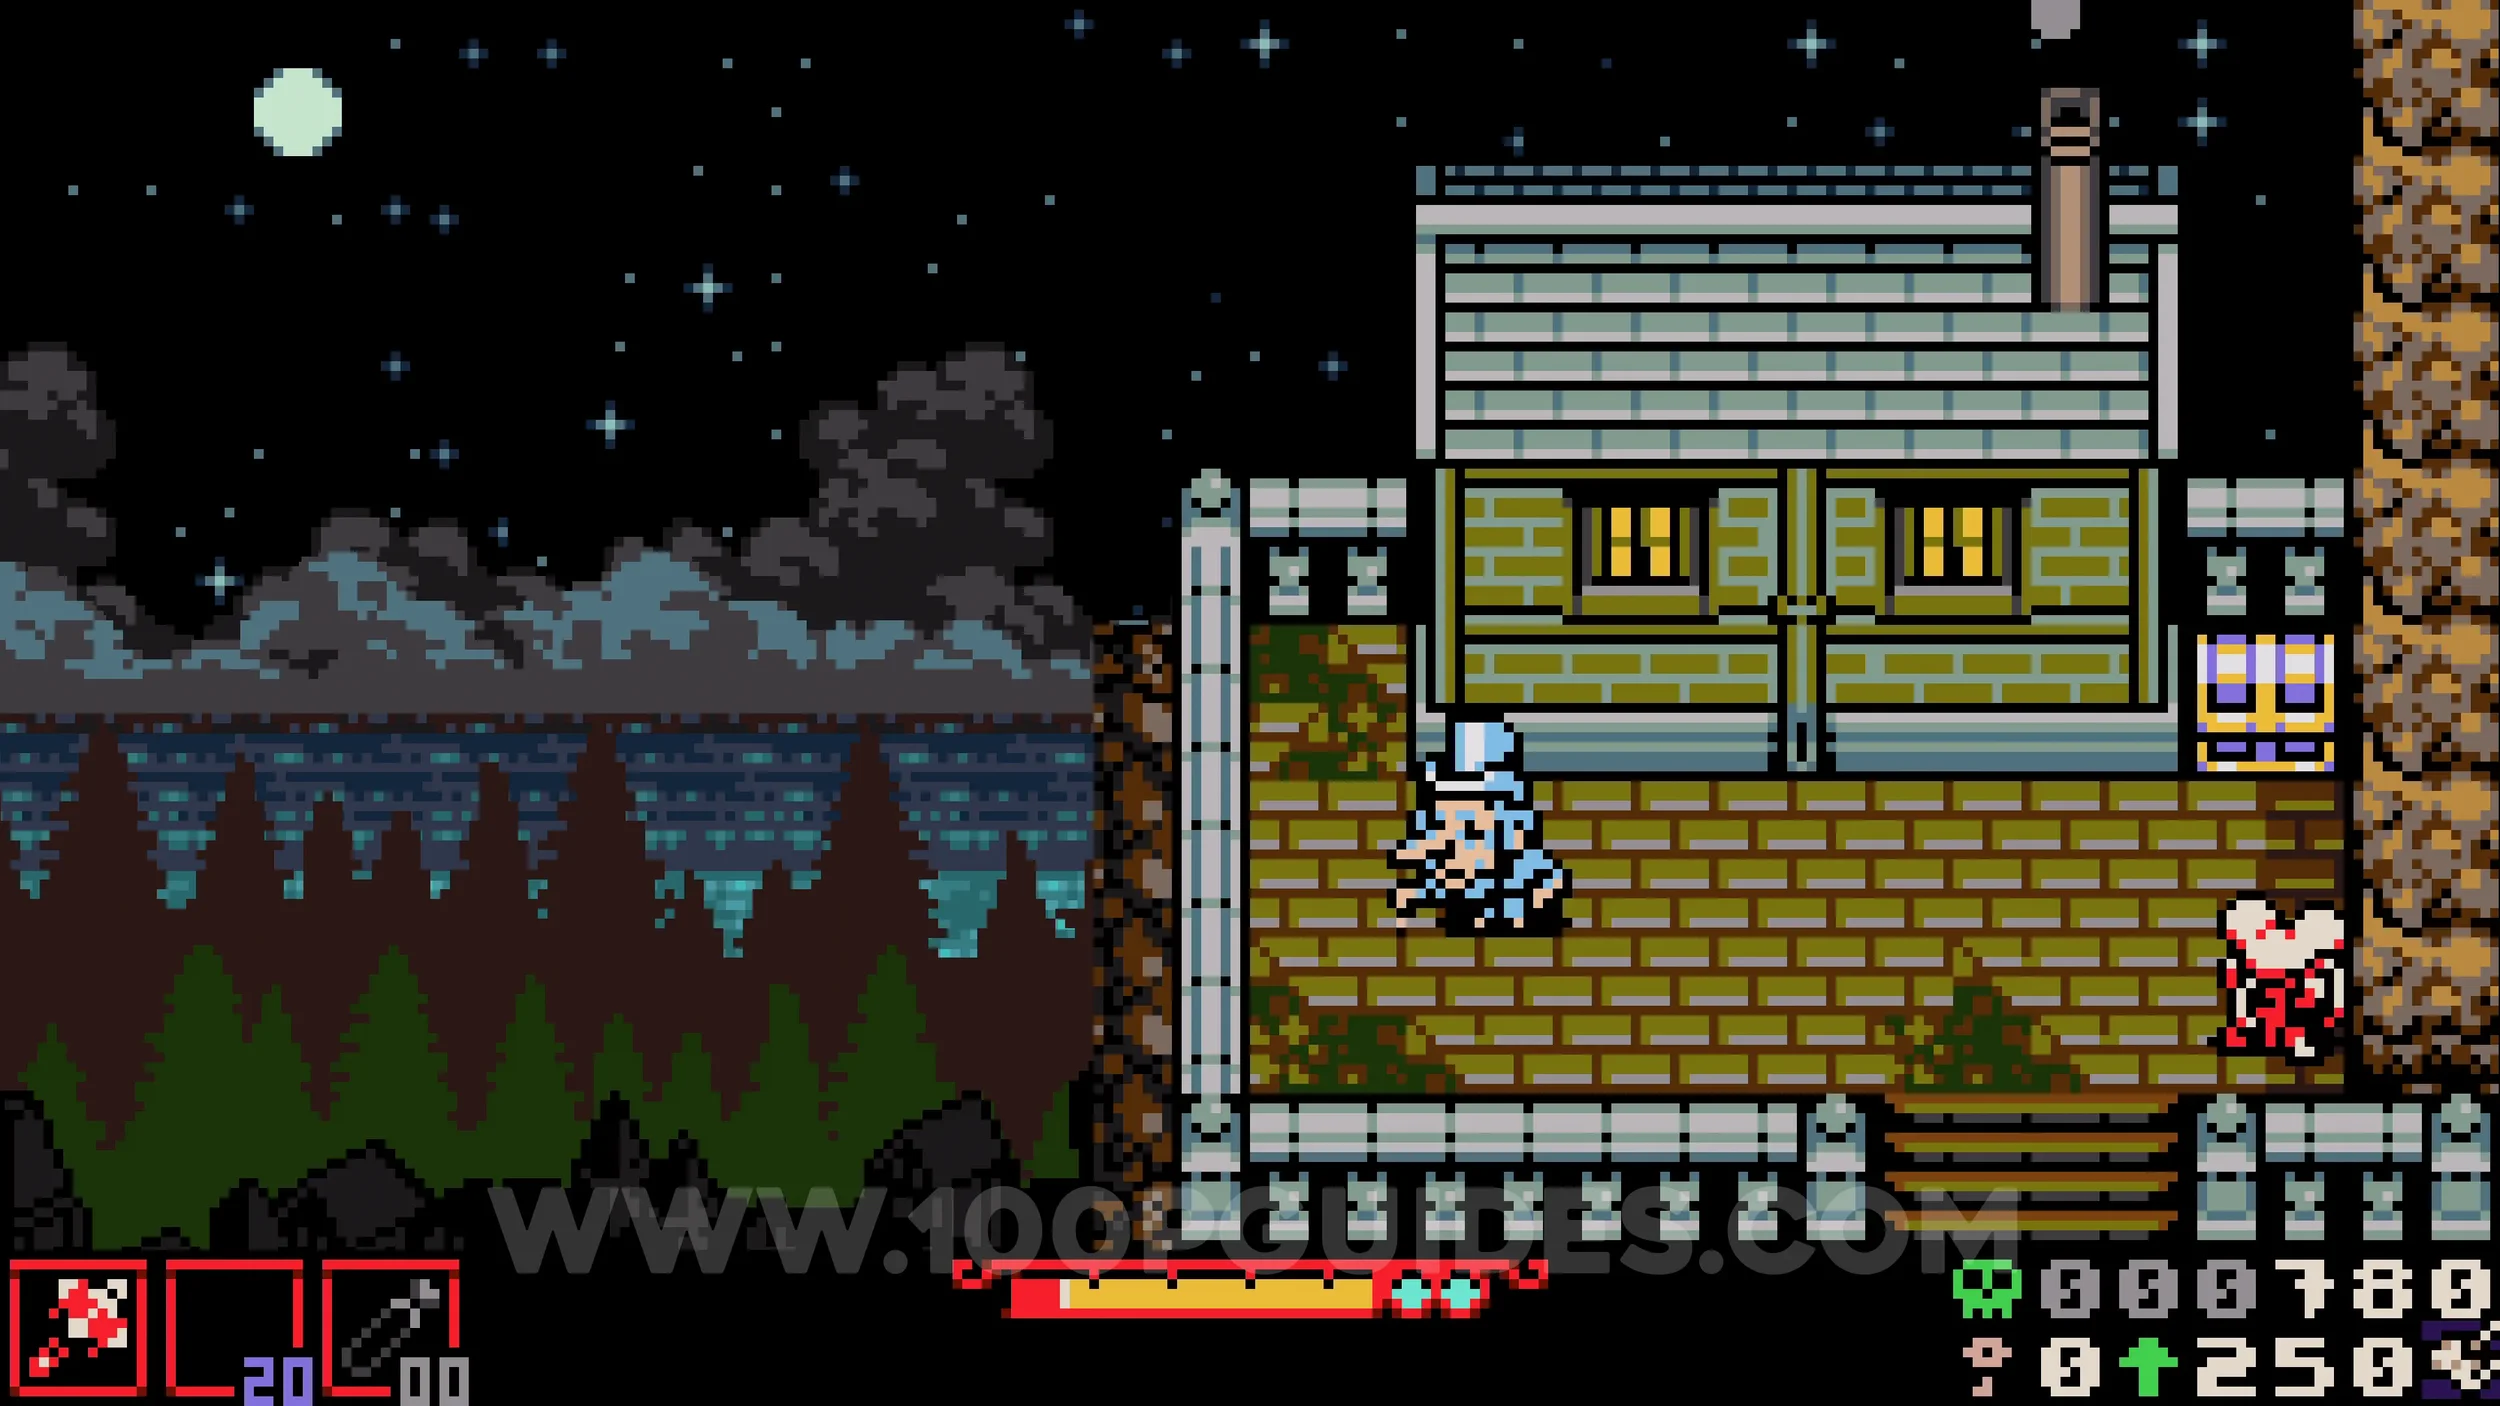
Bonestone #2. Return to the area with the lava and take the leftmost path heading up. As soon as you can, head right and look for a chest visible through the metal grate on the bridge above. Position yourself directly above it and walk down to reach it.
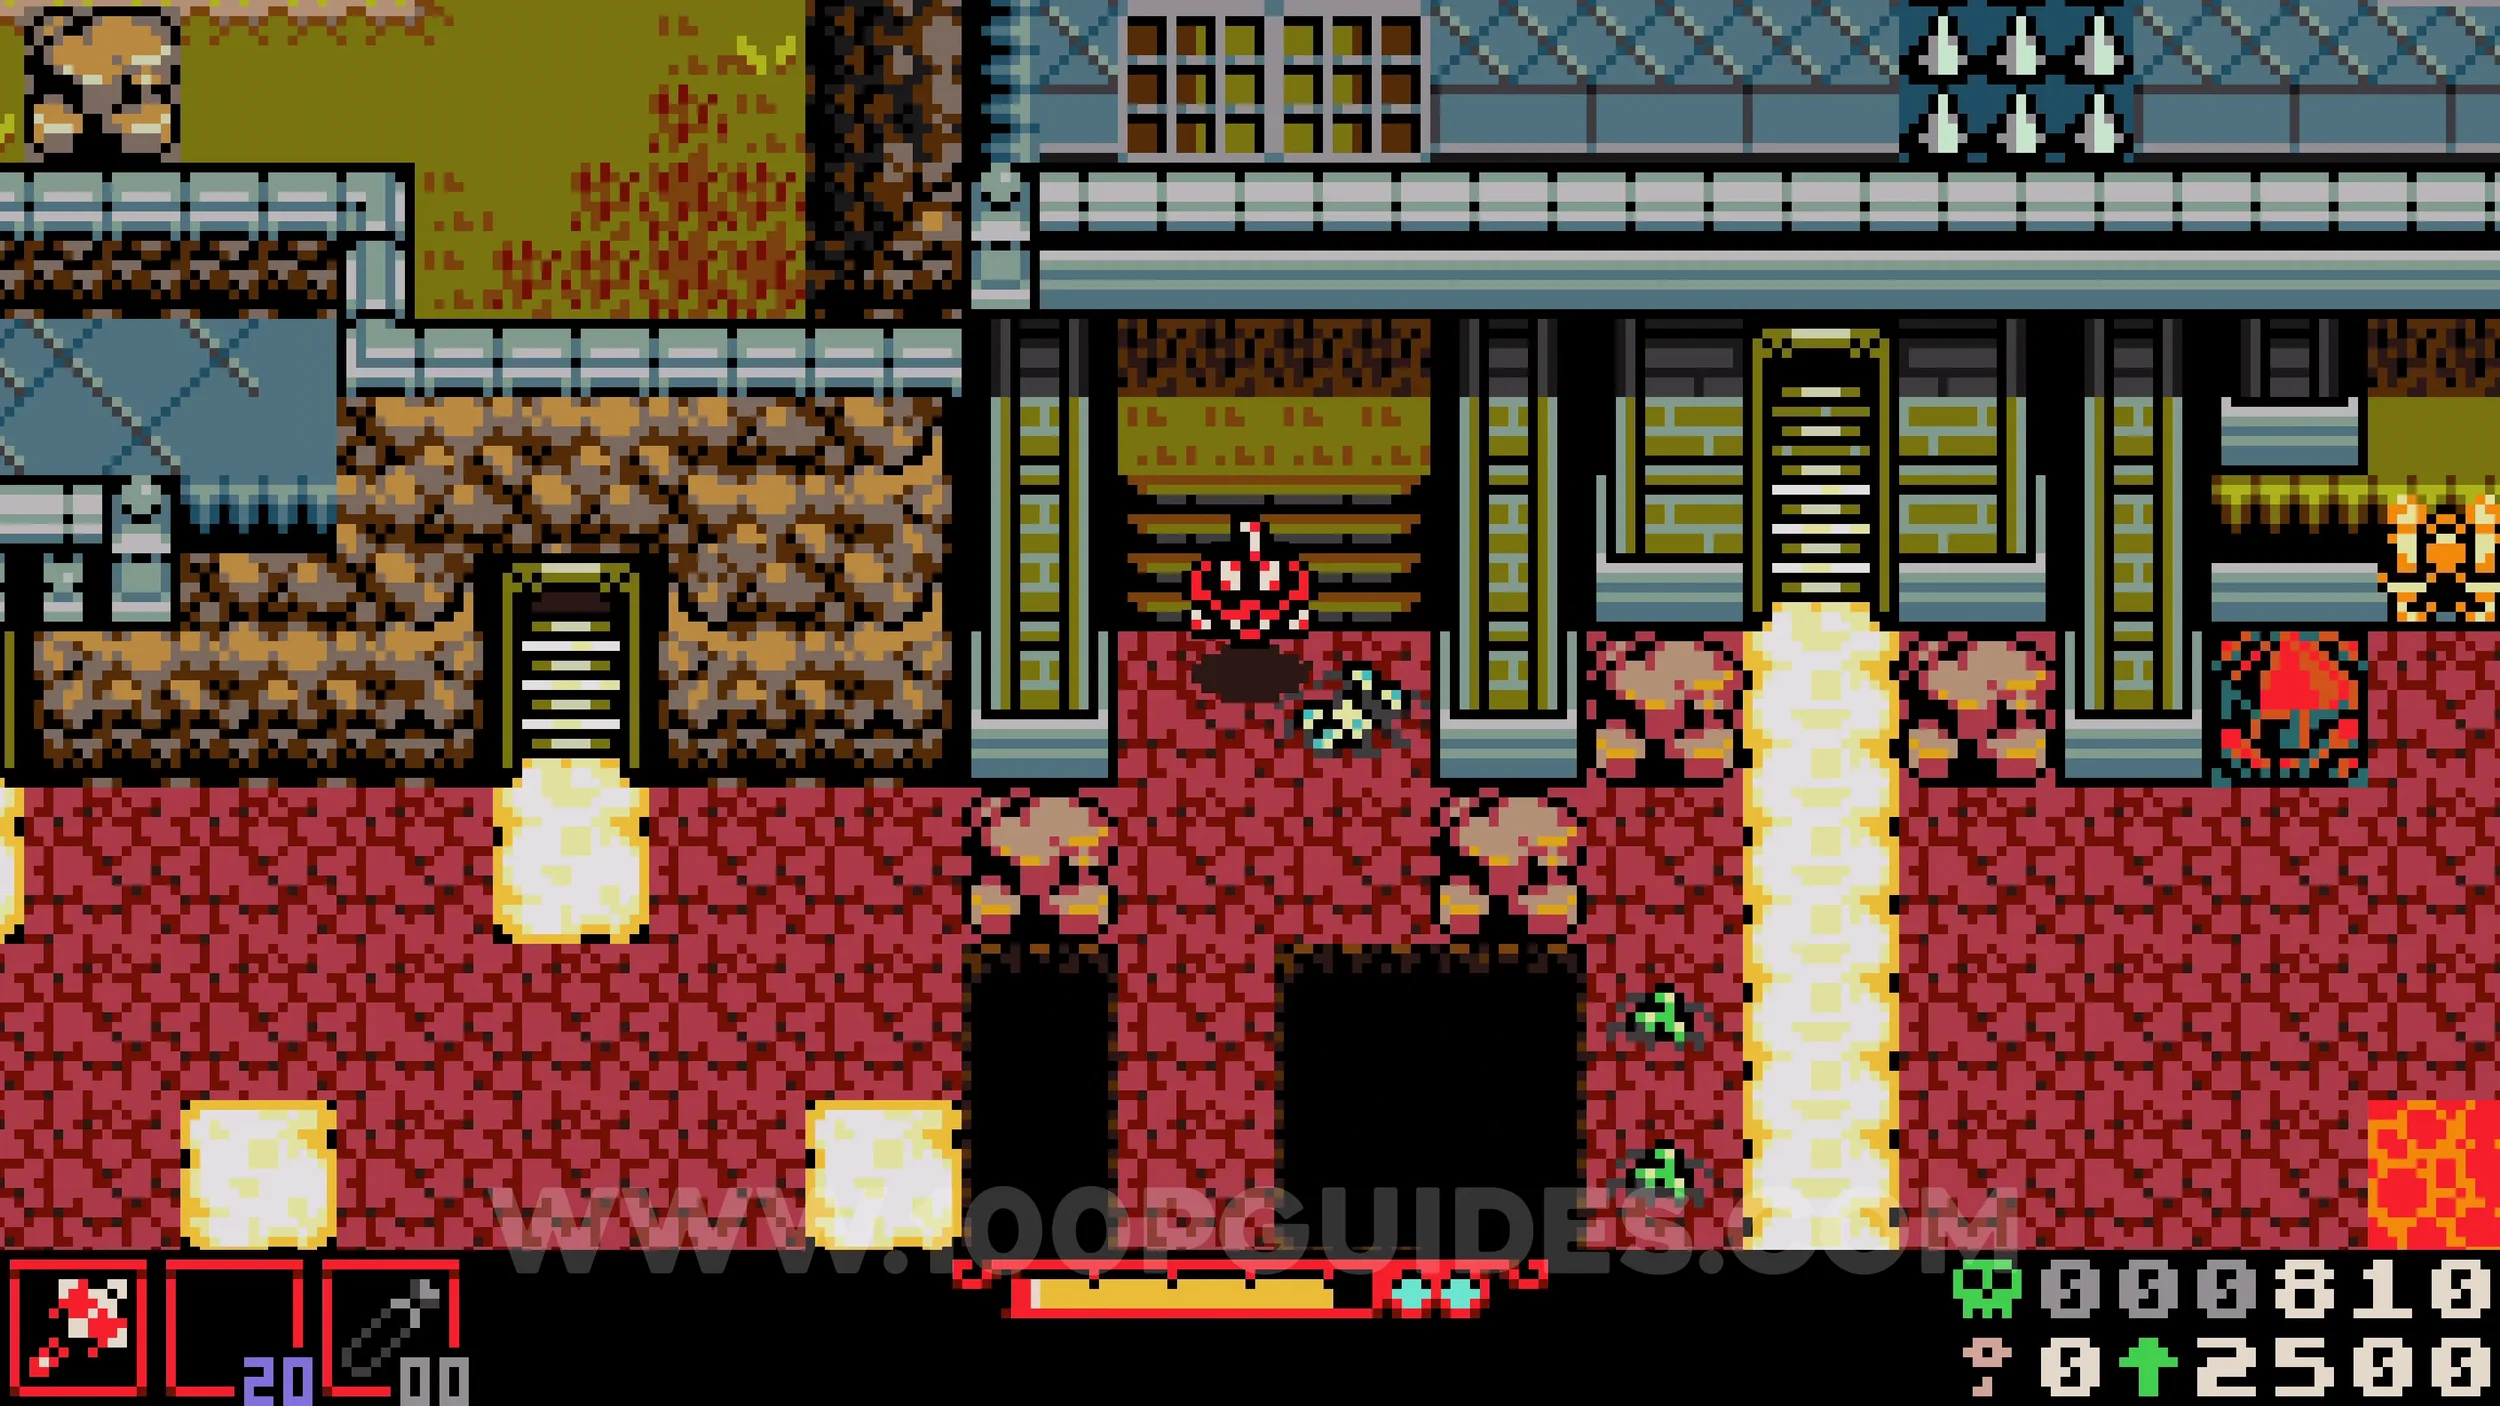
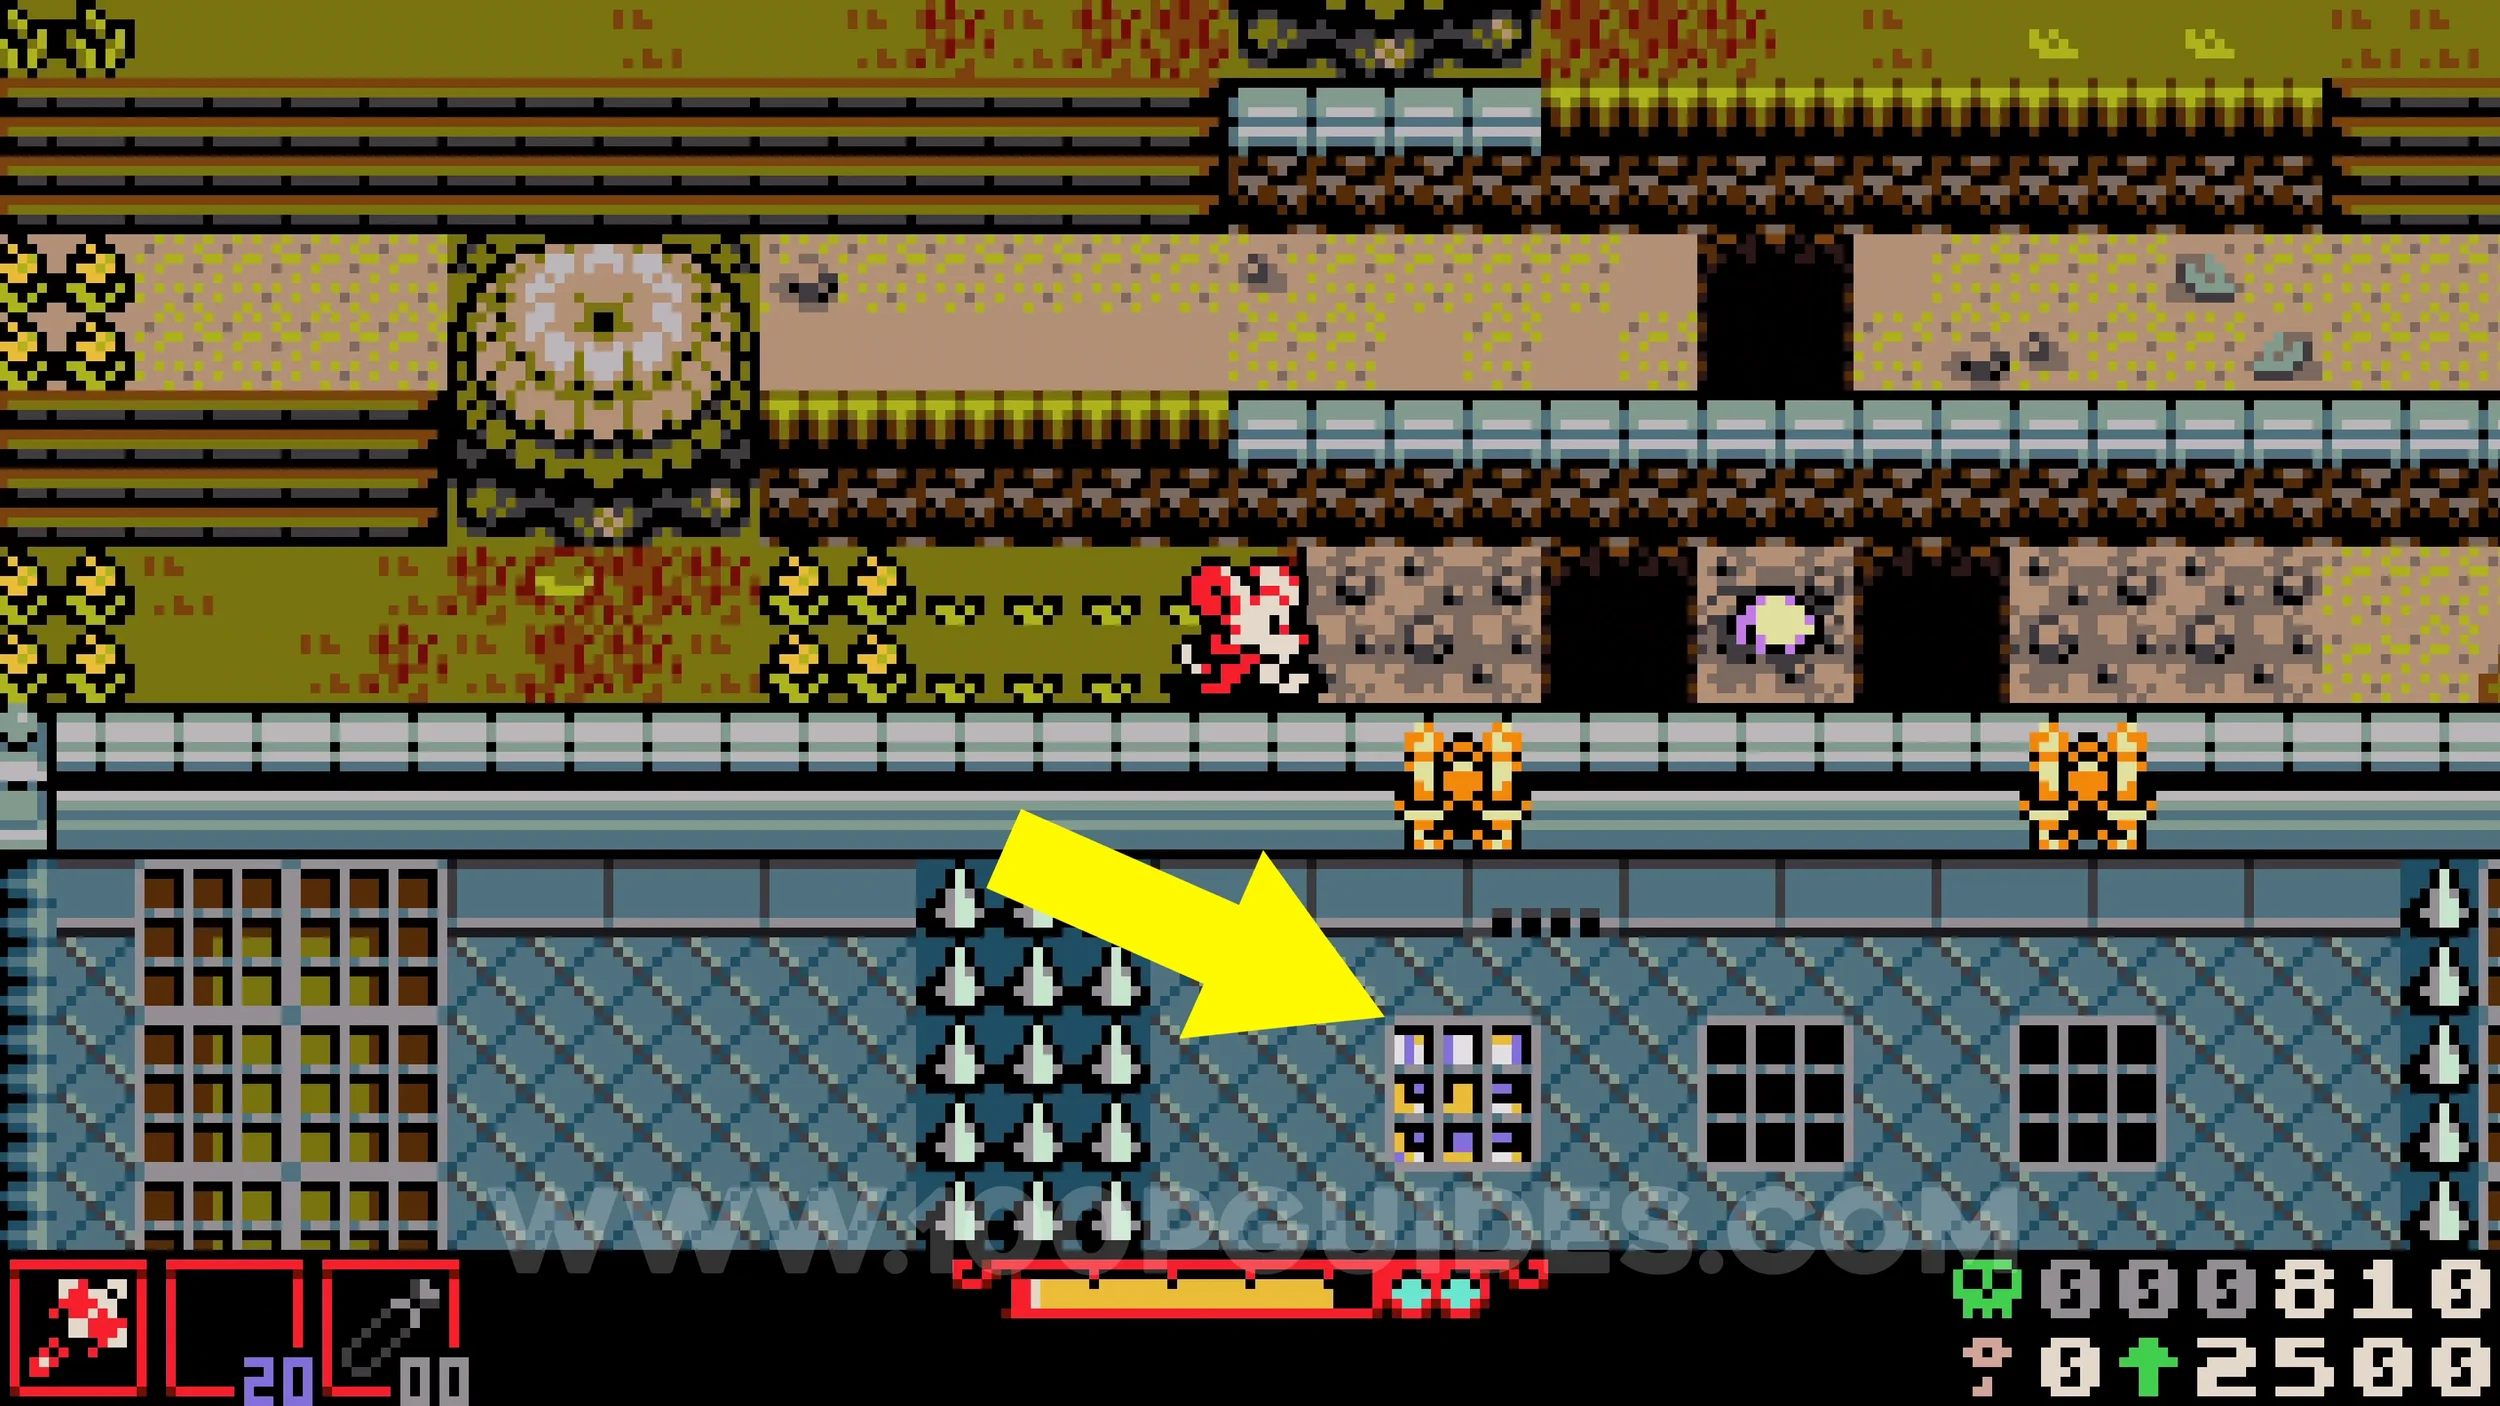
Bonestone #3. Return to the lava area and break the crystal at the left end, then head up into the area above to find the collectible.
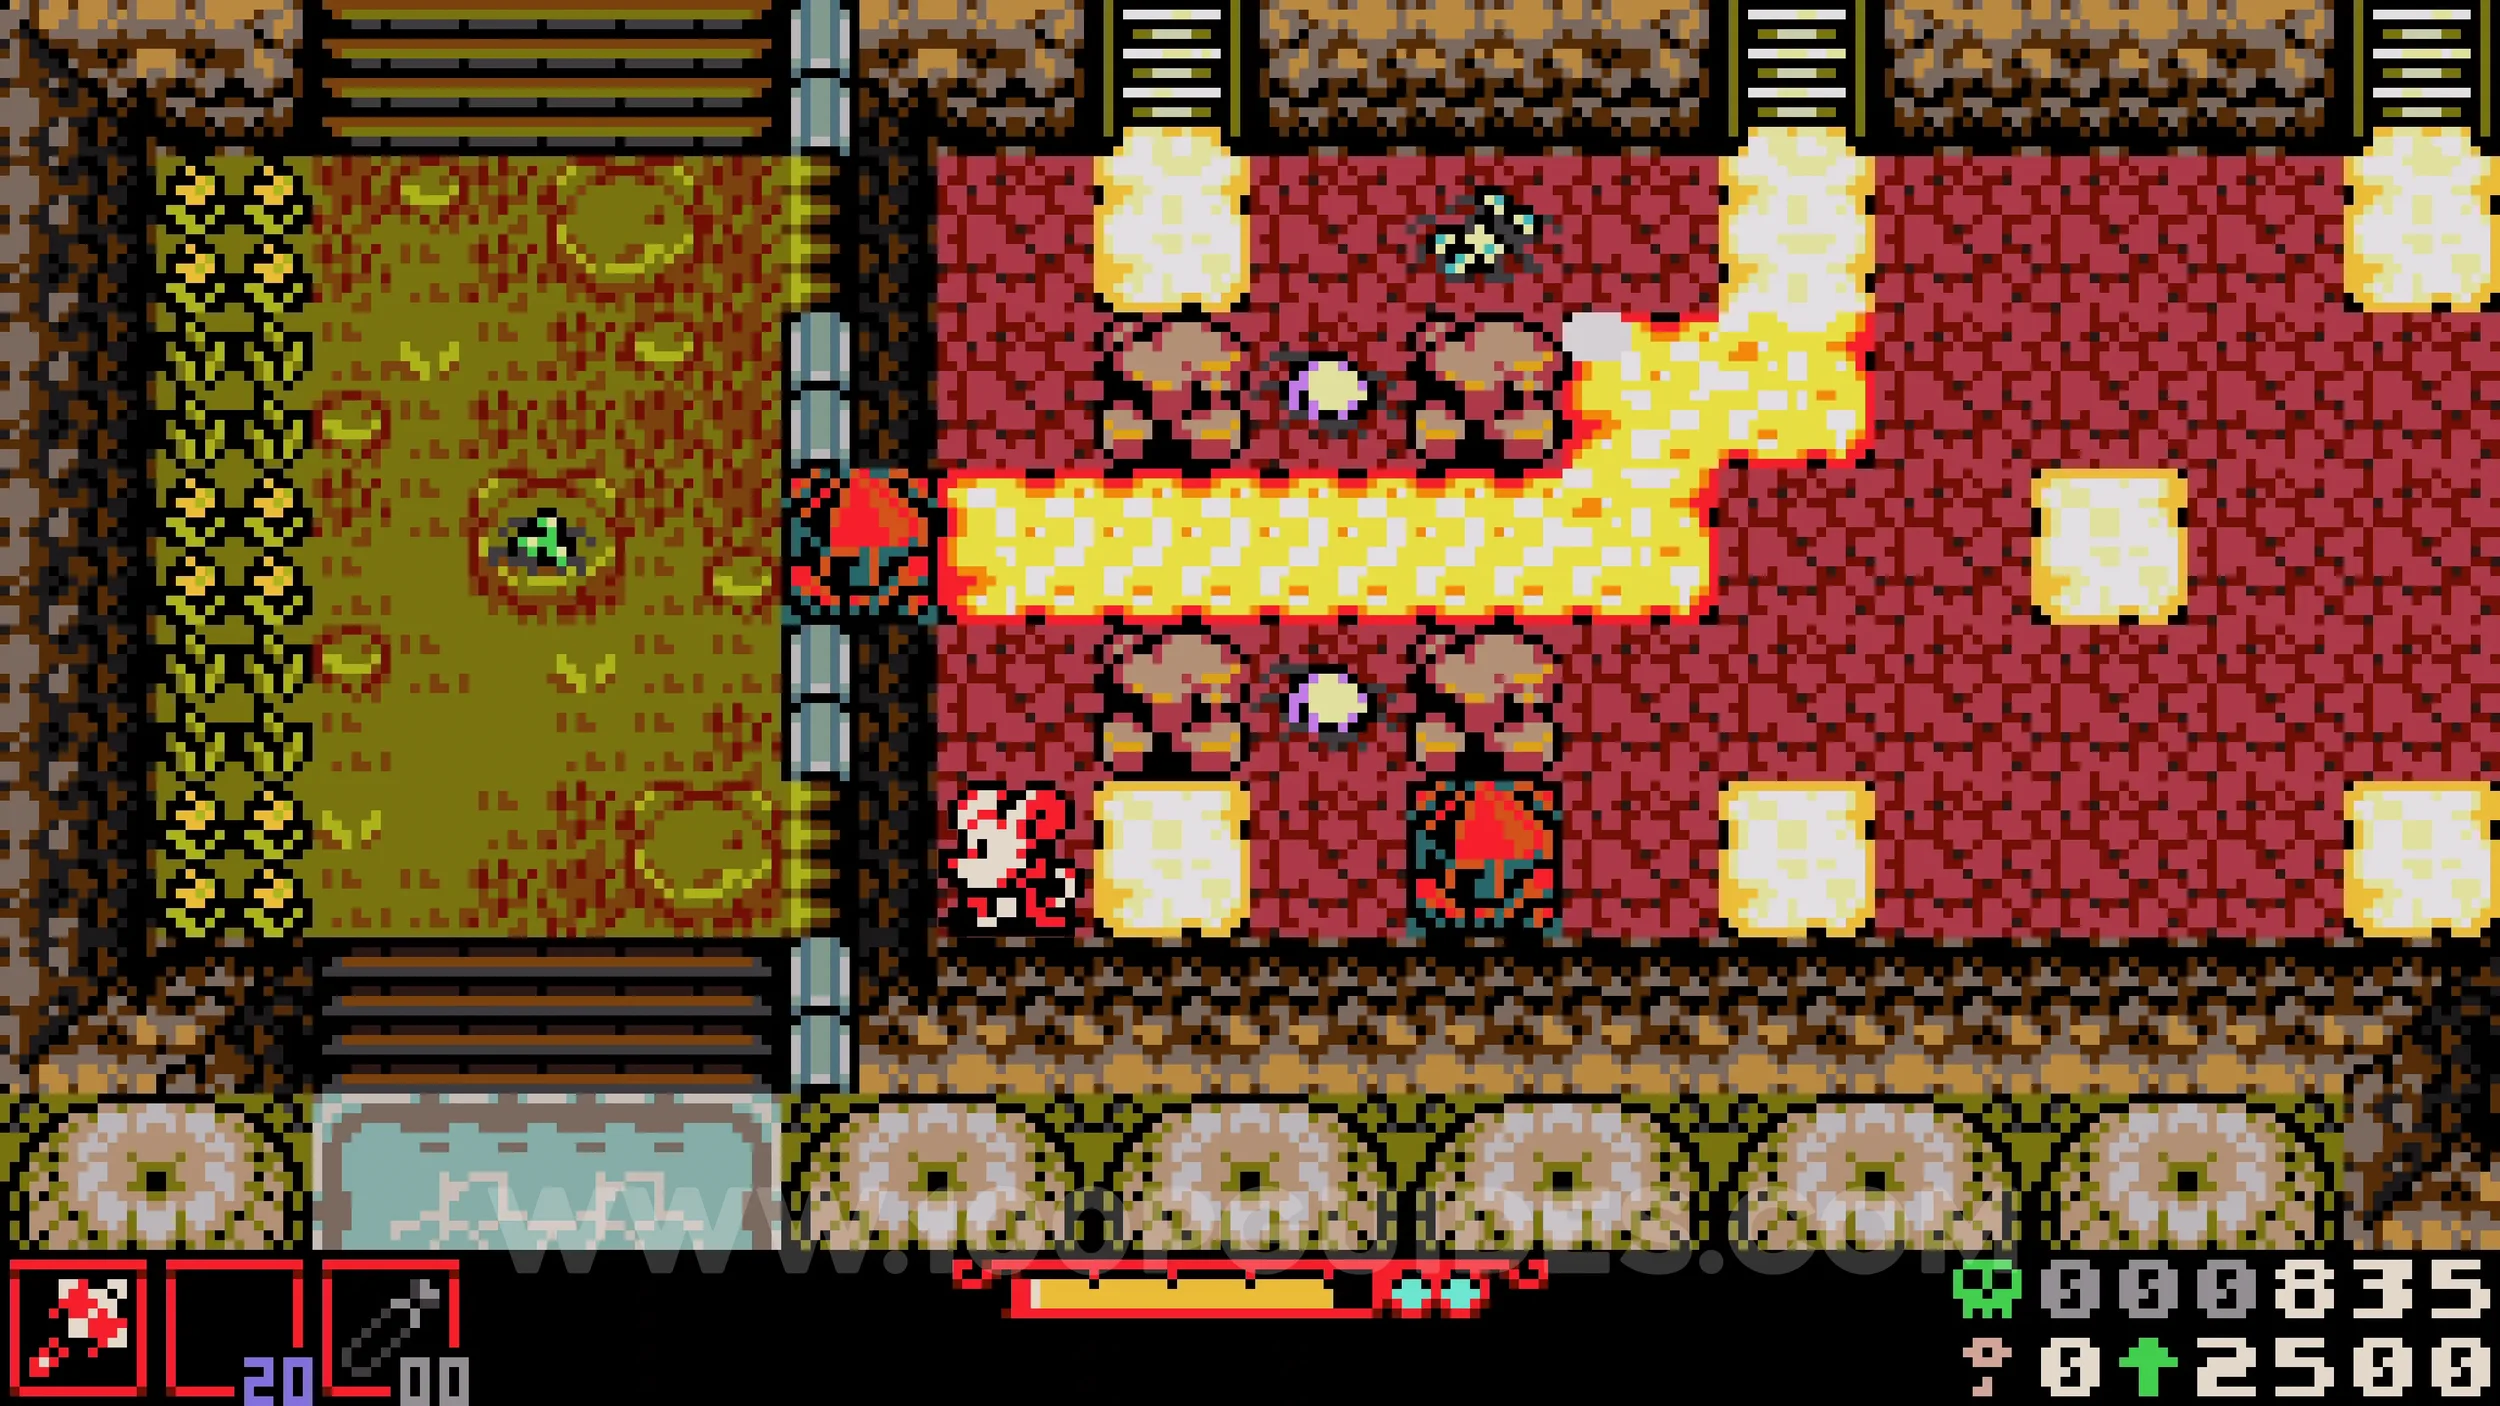
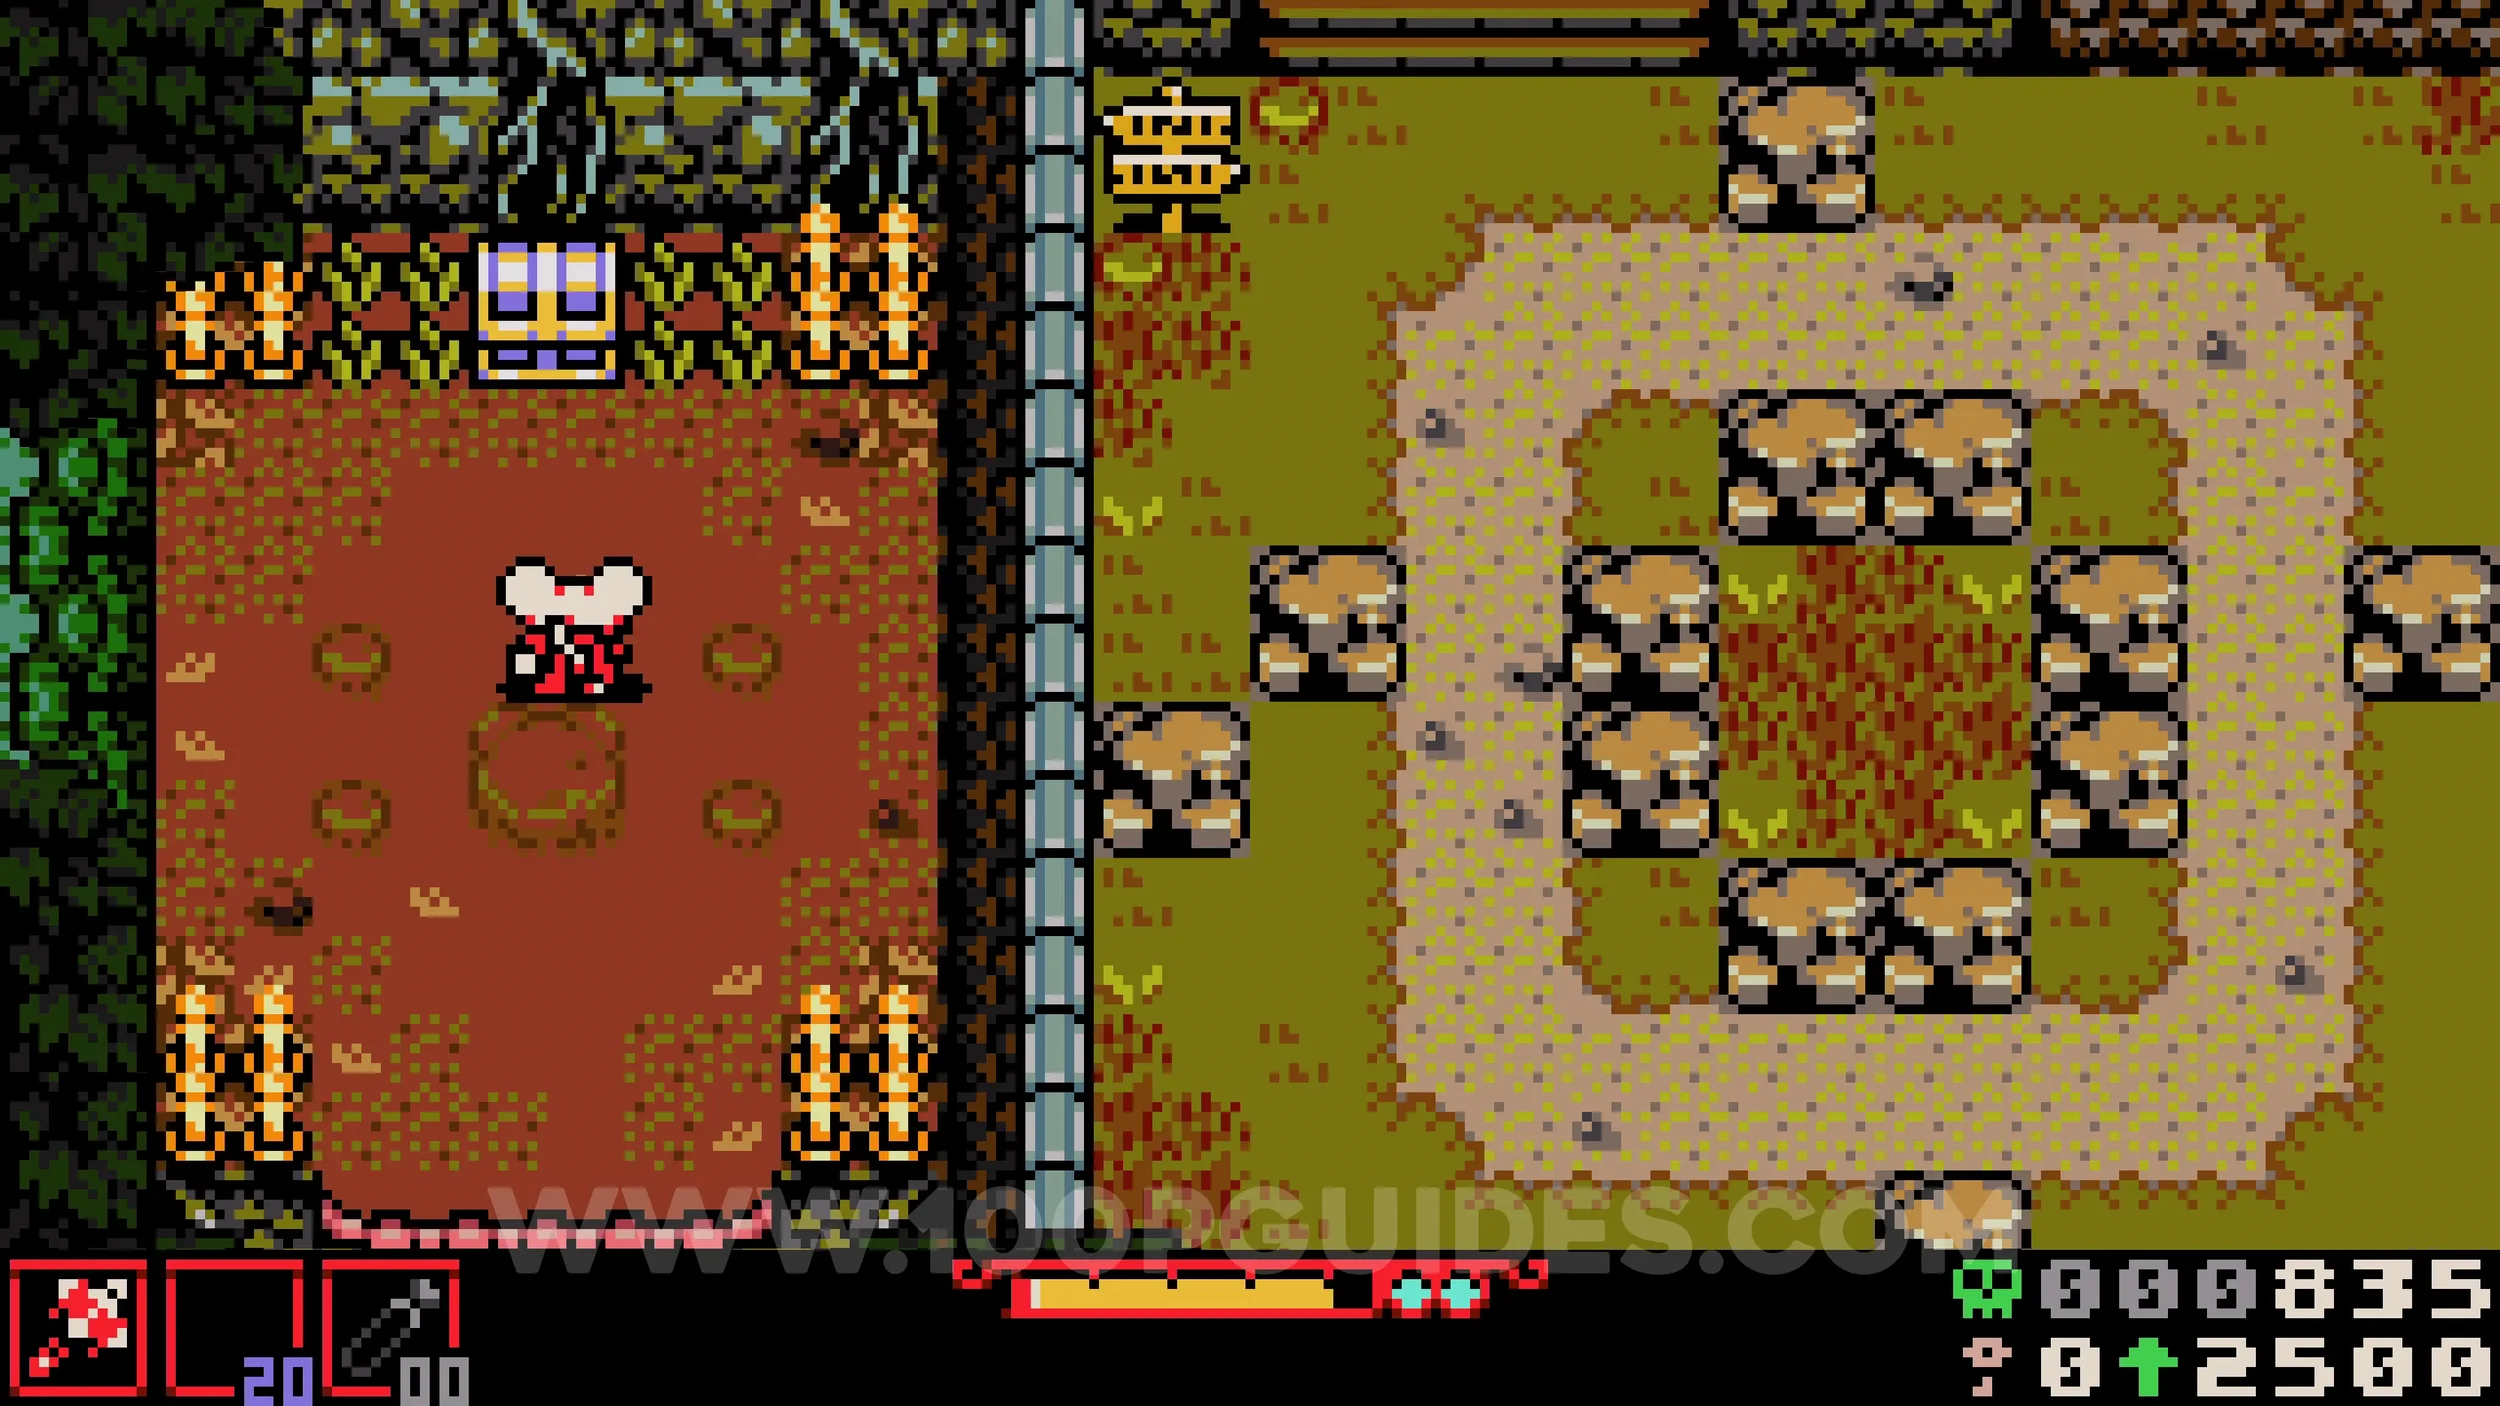
Bonestone #4. Return to the lava area and take the leftmost path up again, continuing until you reach the foundry. Go through it and exit through the door on the other side to reach the top of the bridge. Cross the bridge to the left and drop down into the area with the large purple enemies. The chest will be in the top right corner.
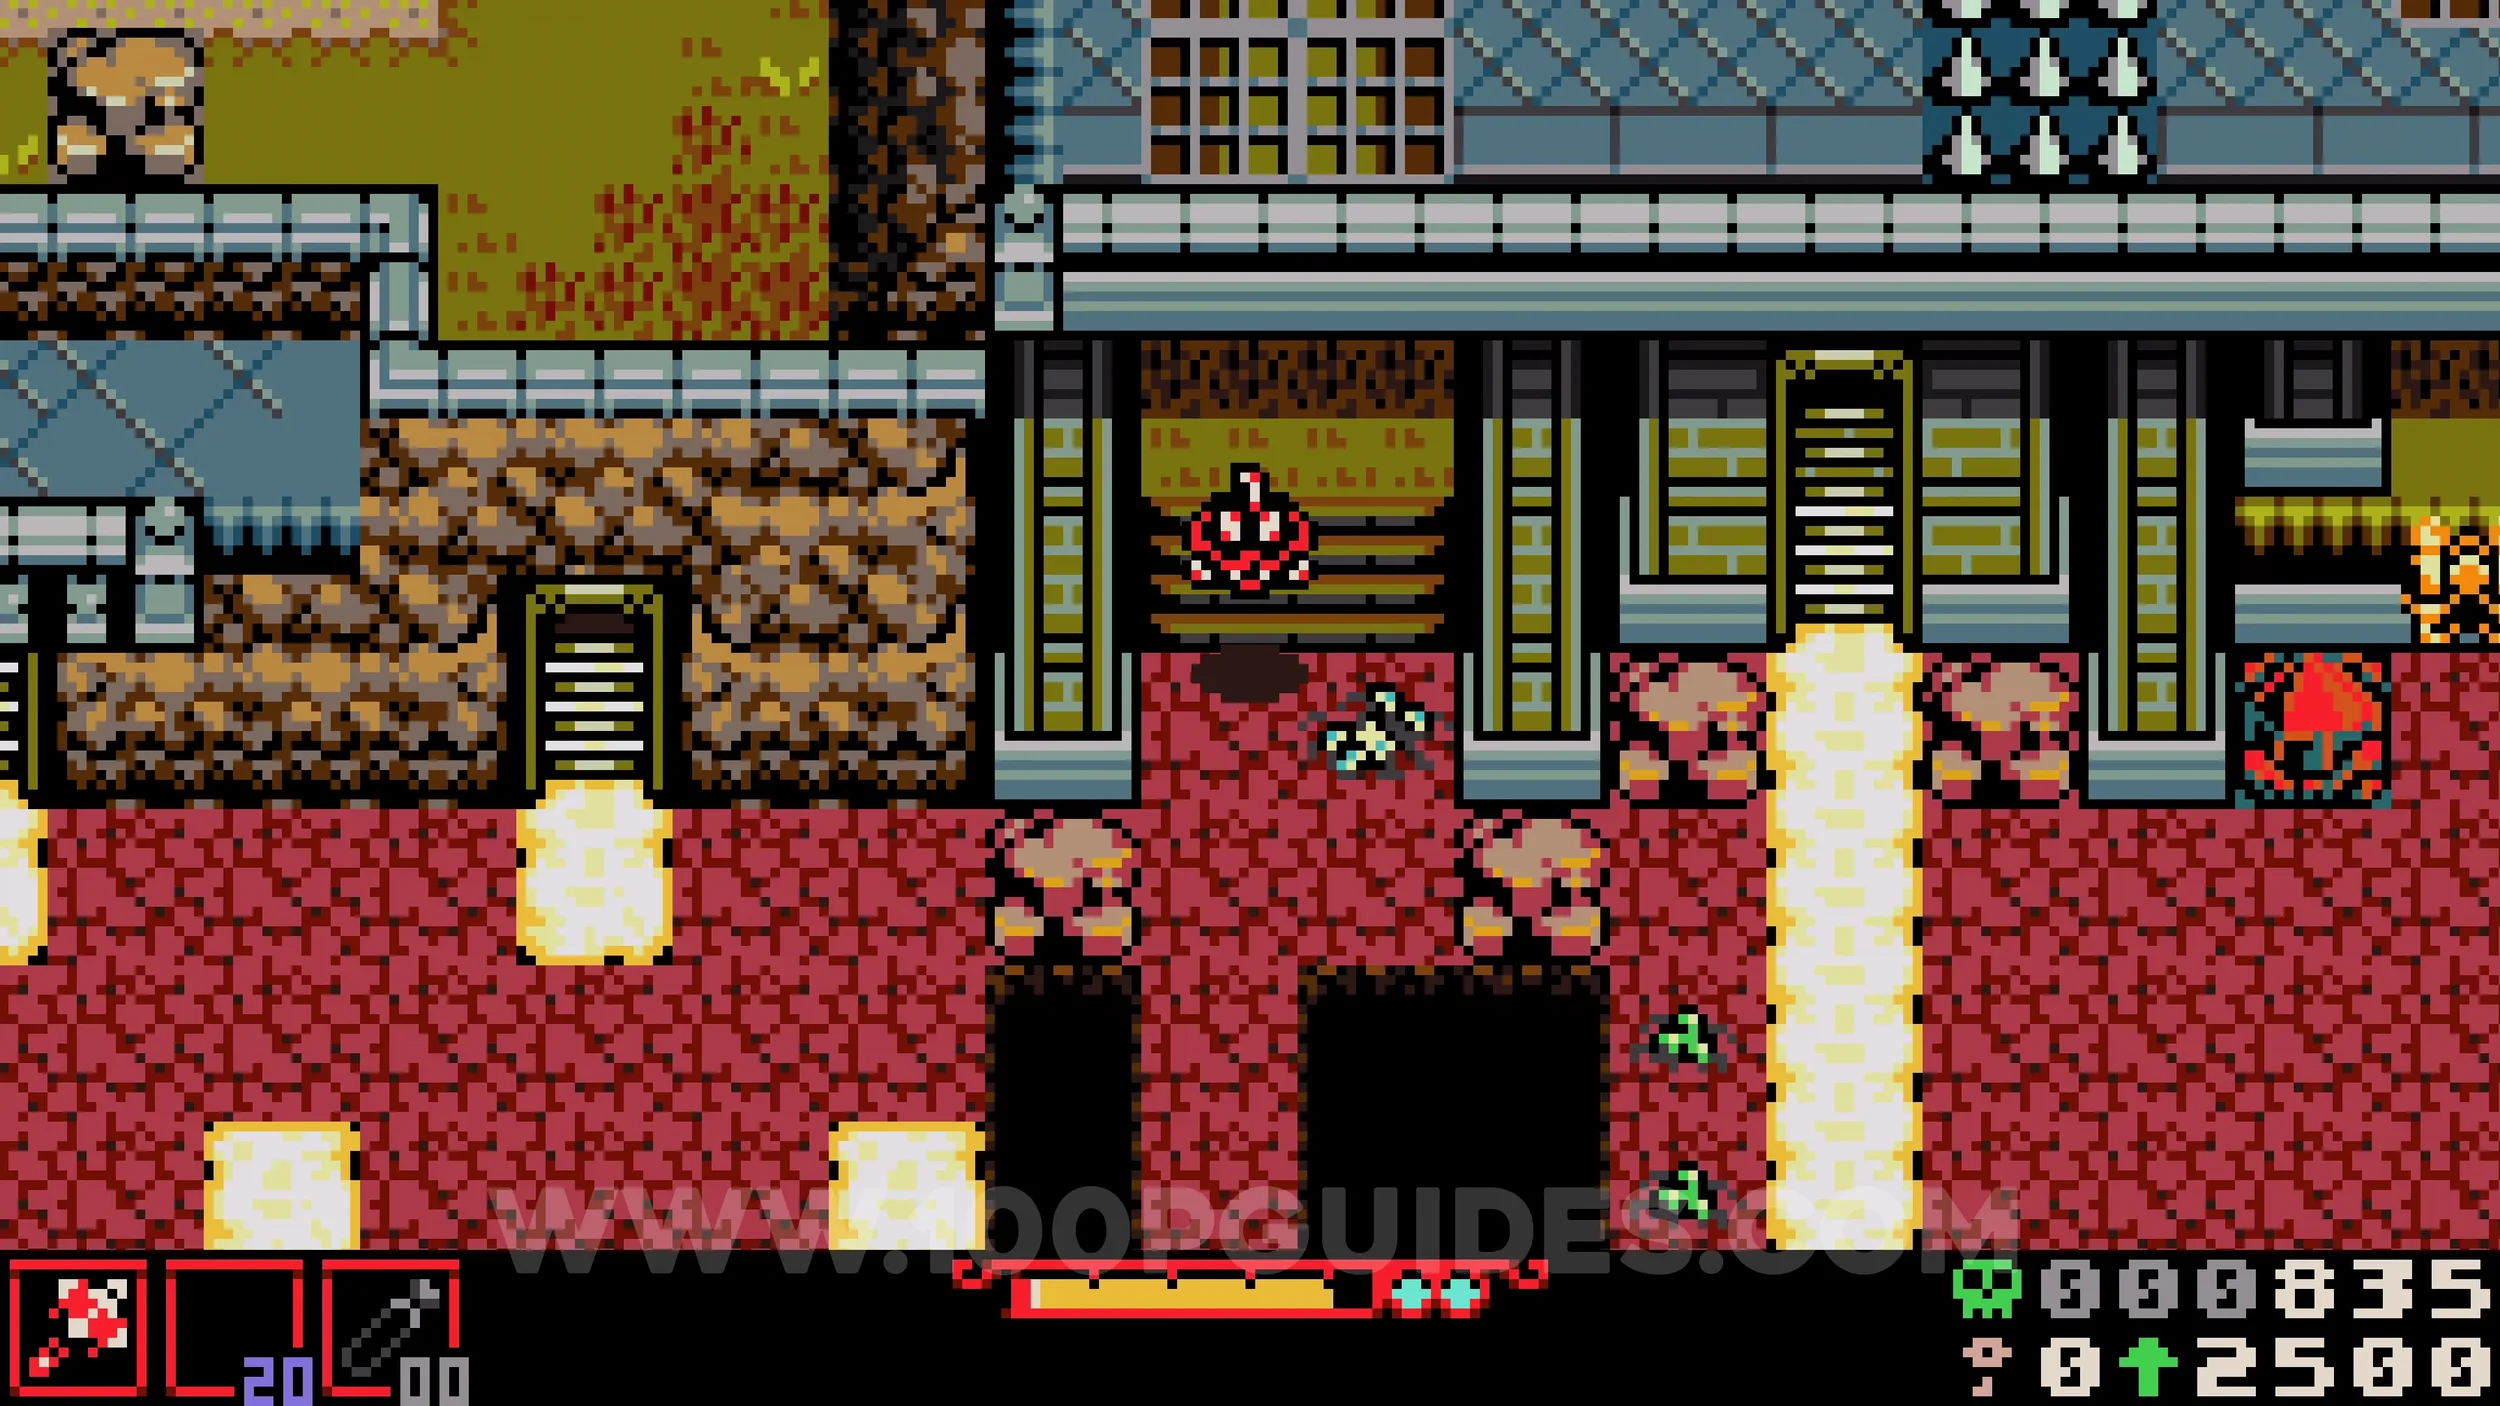
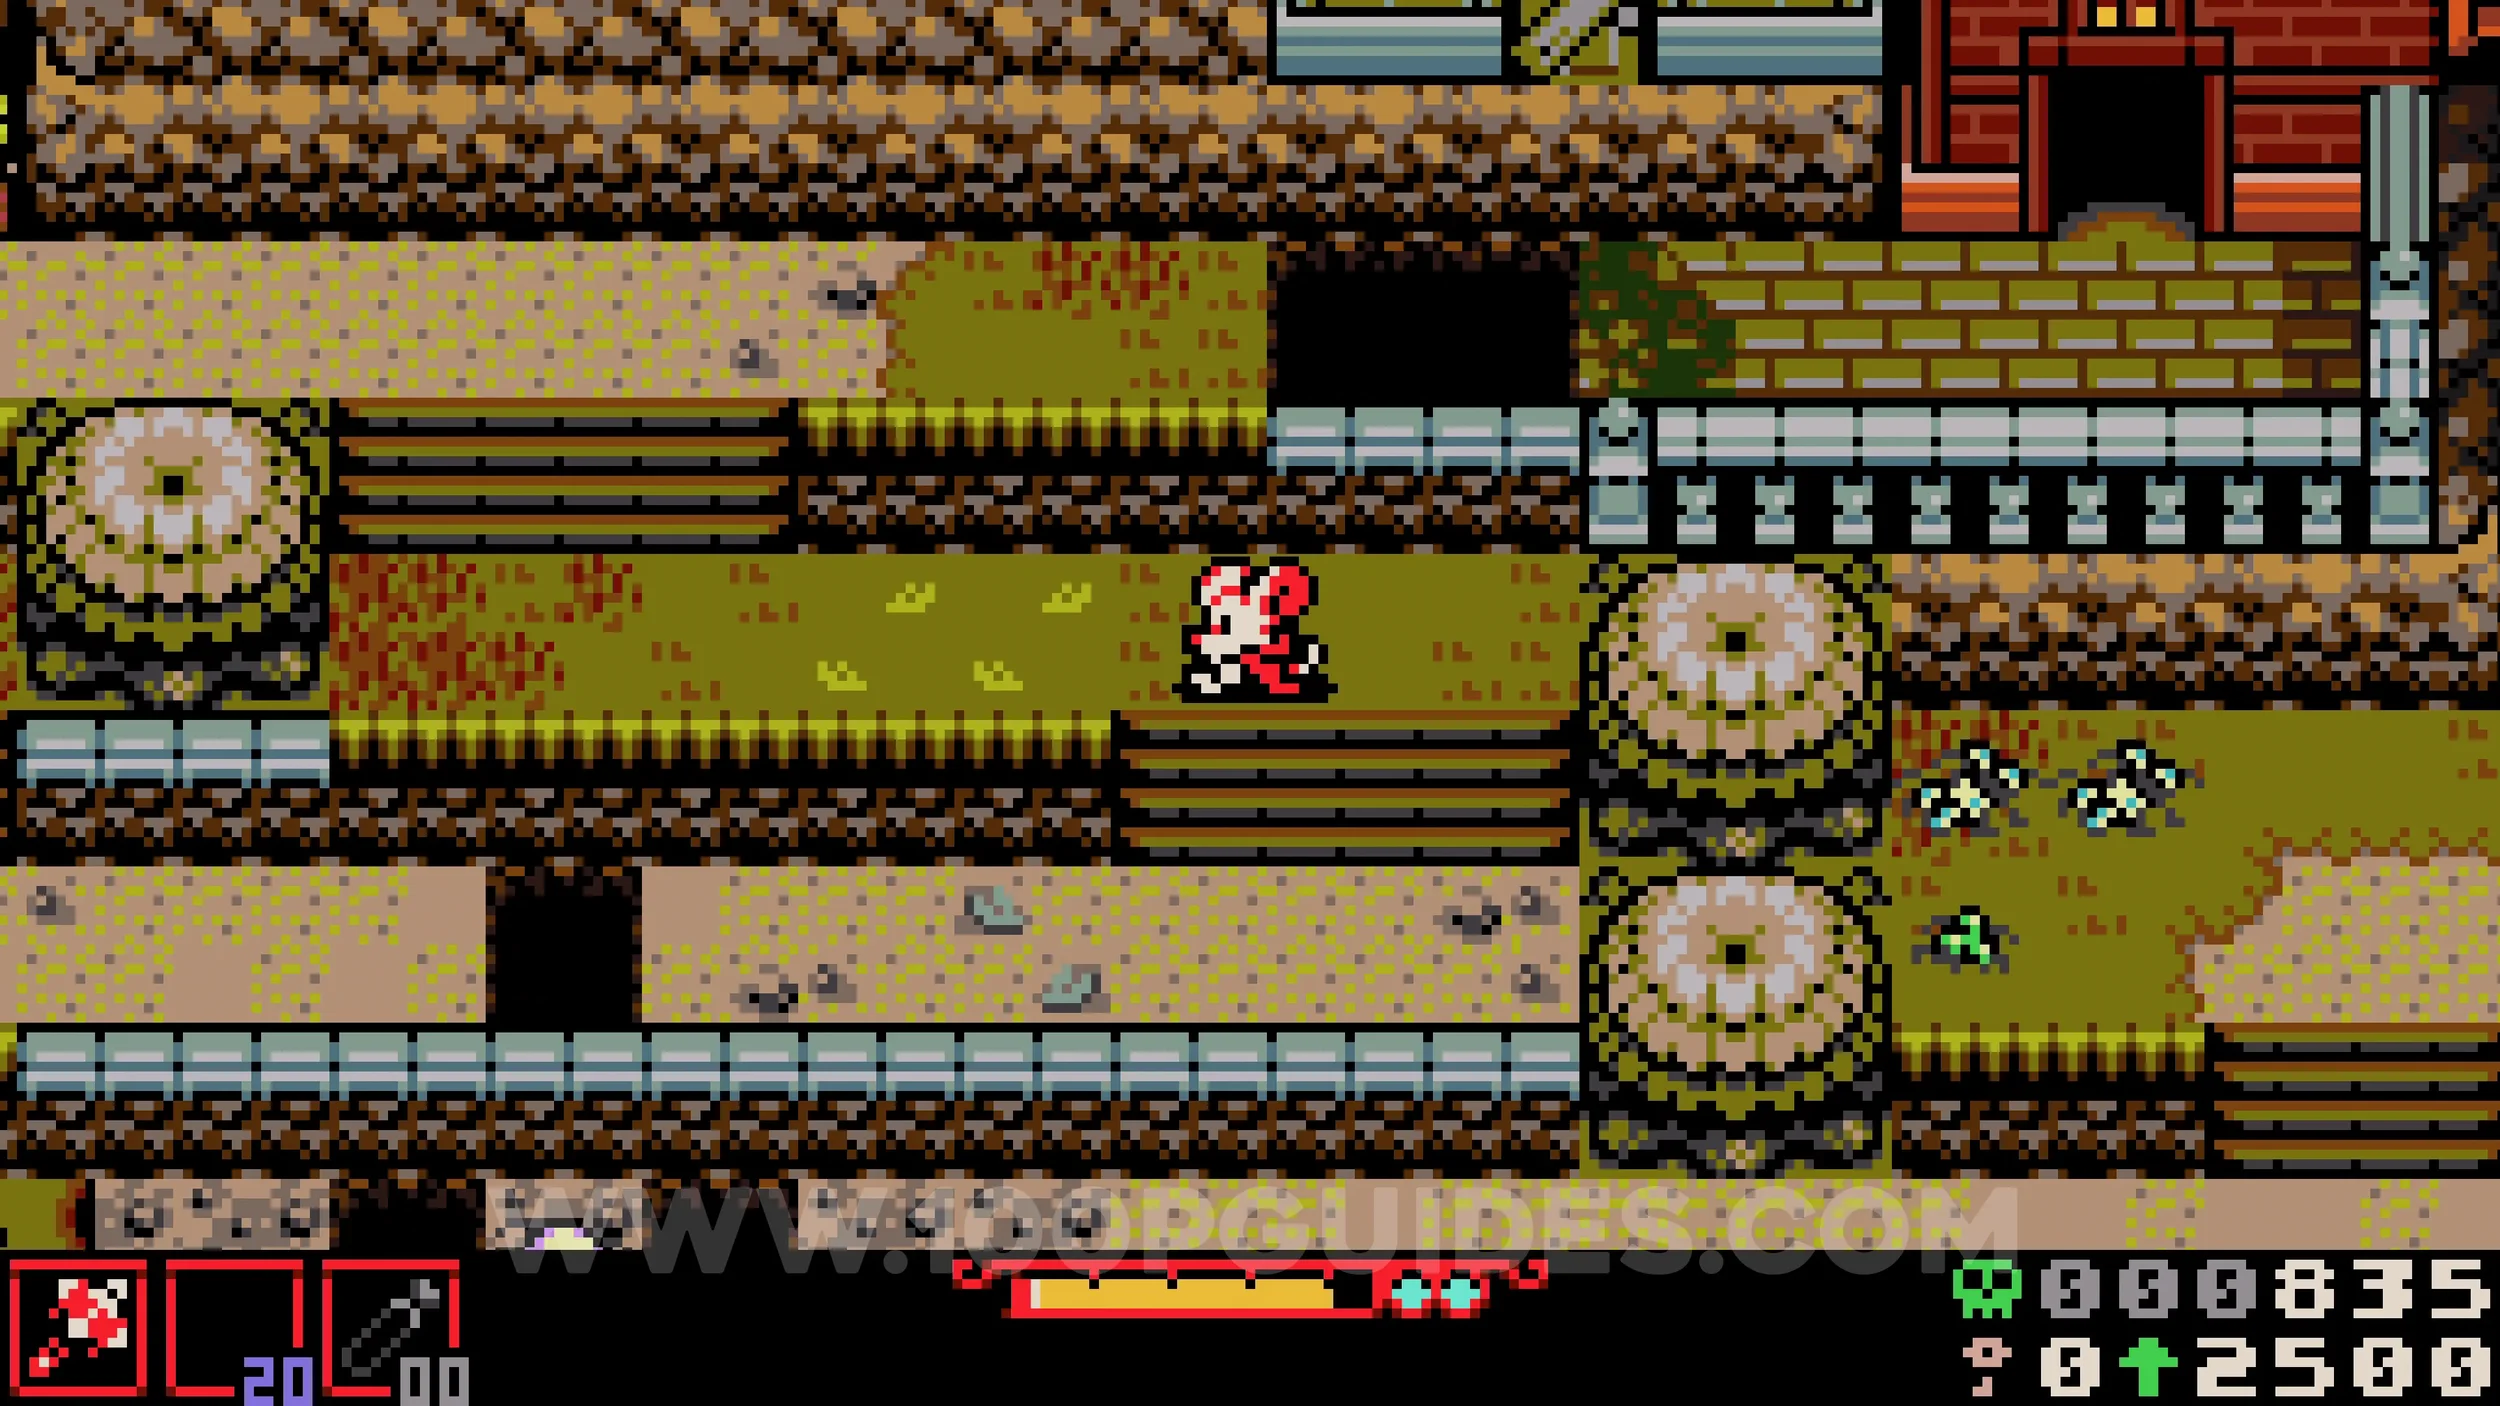
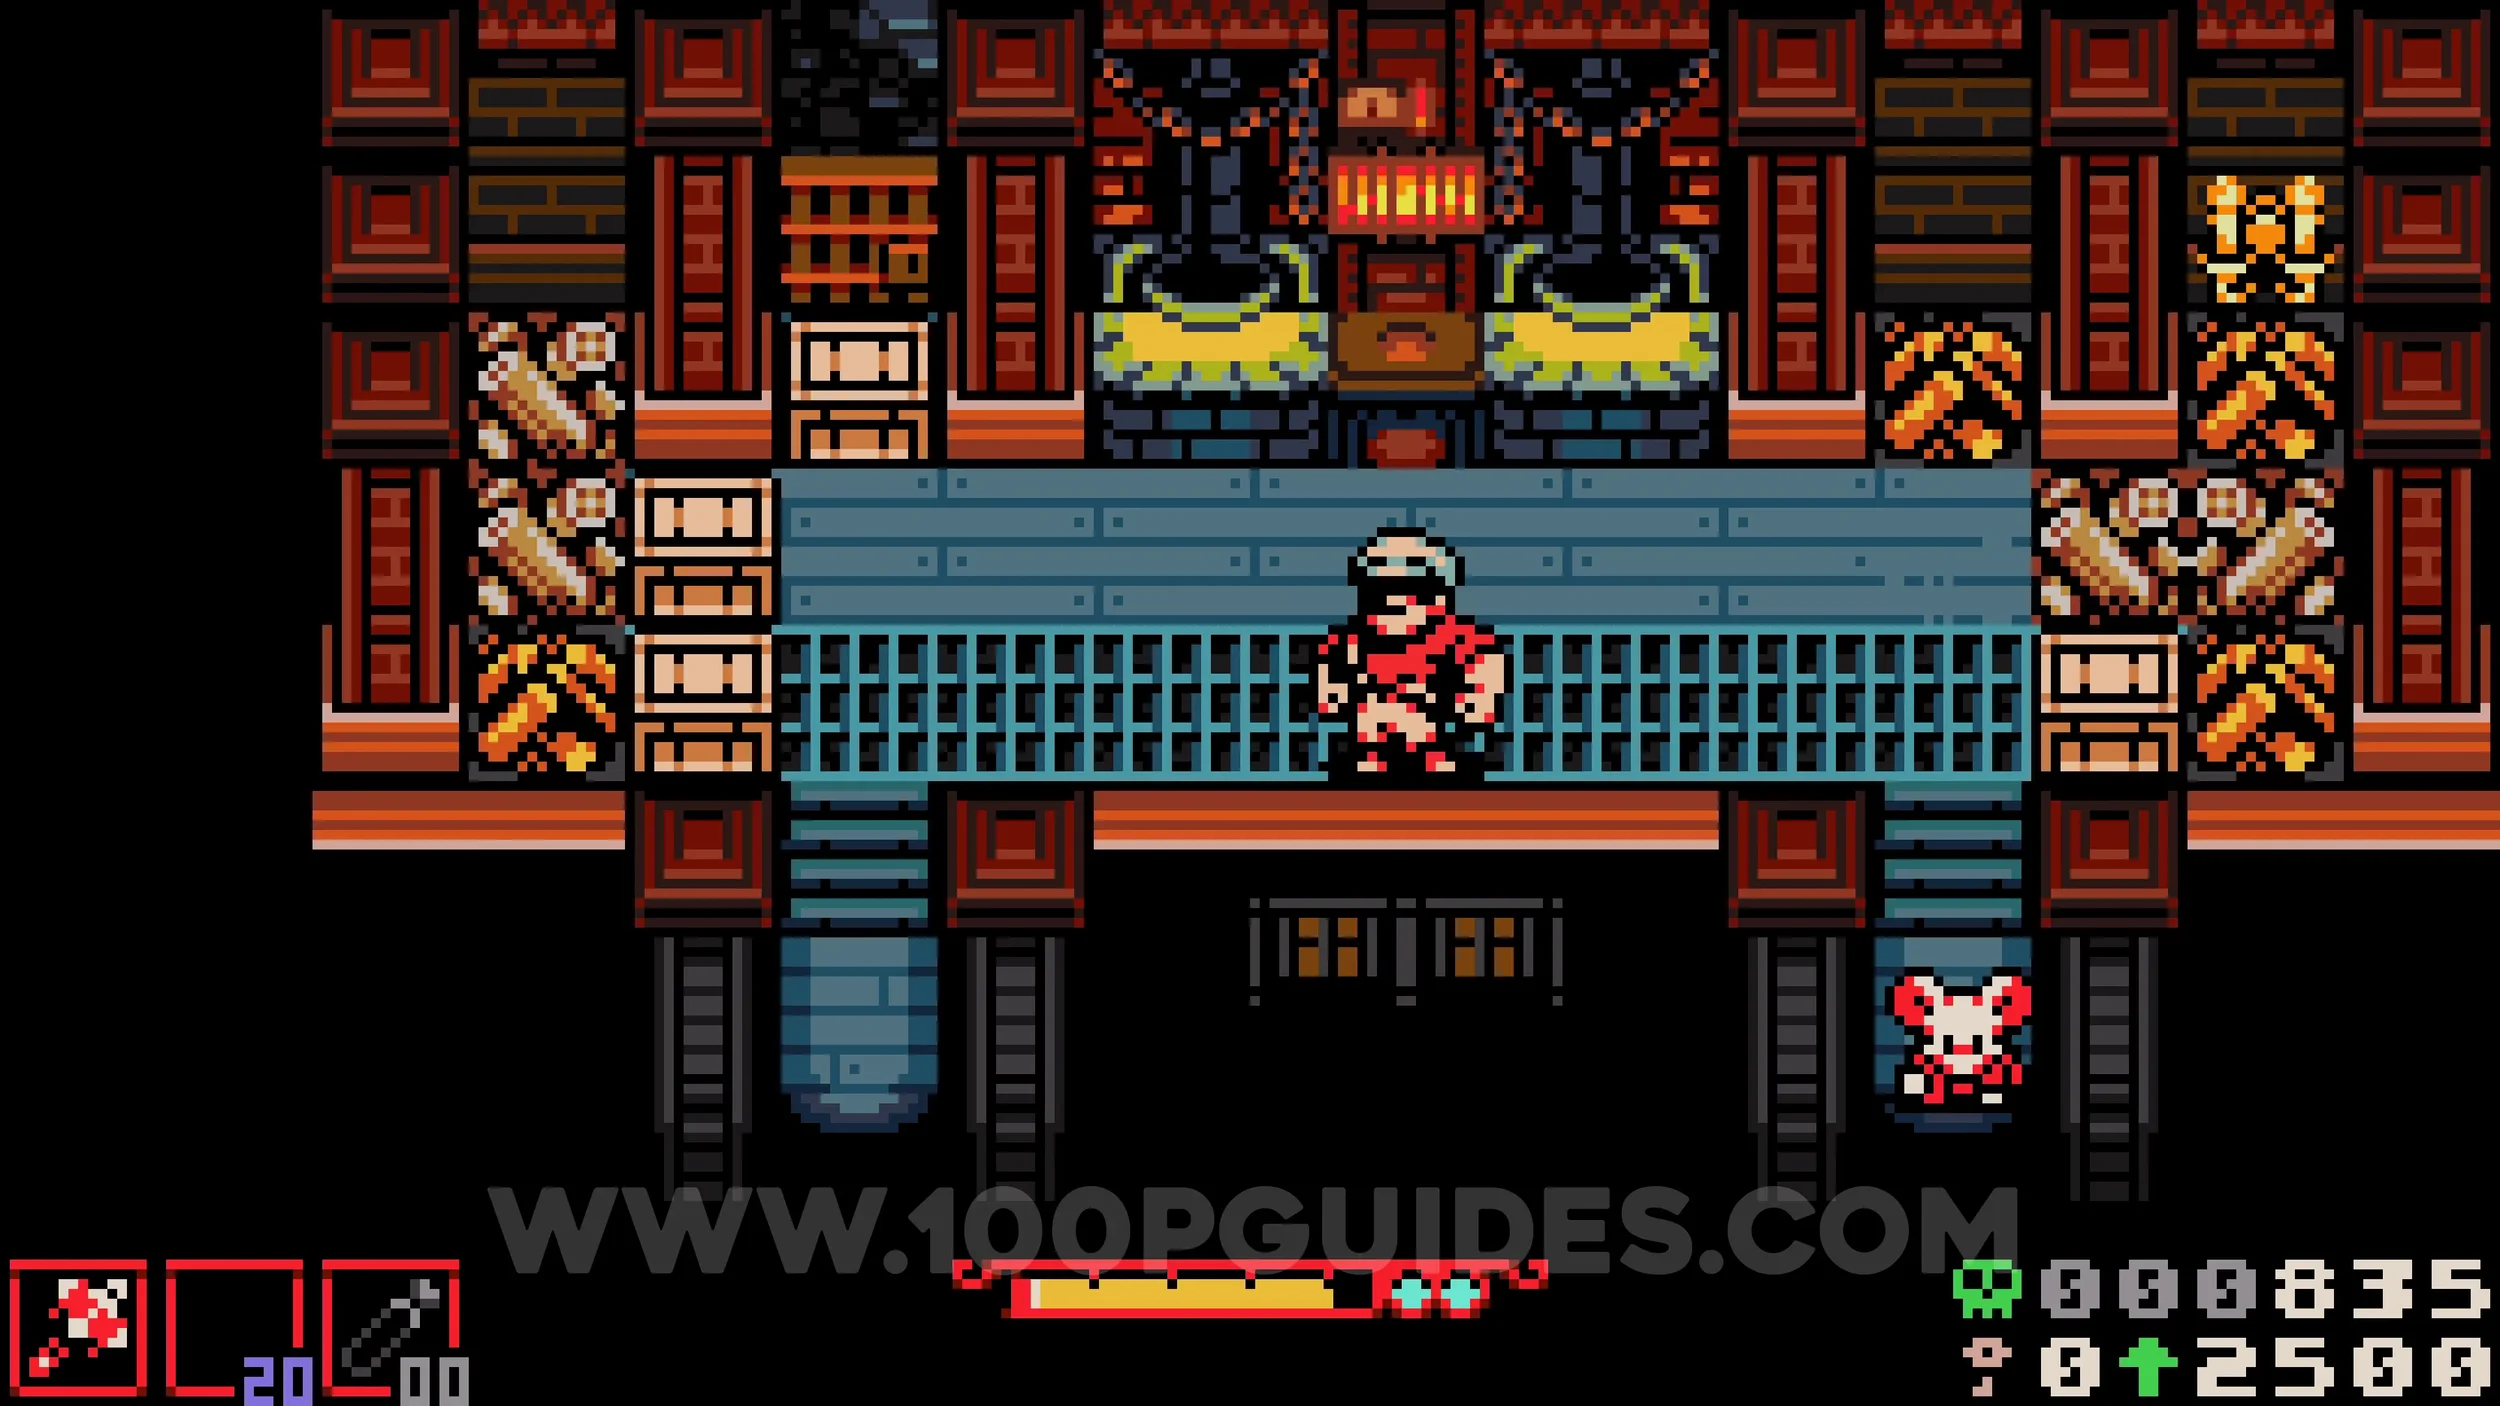
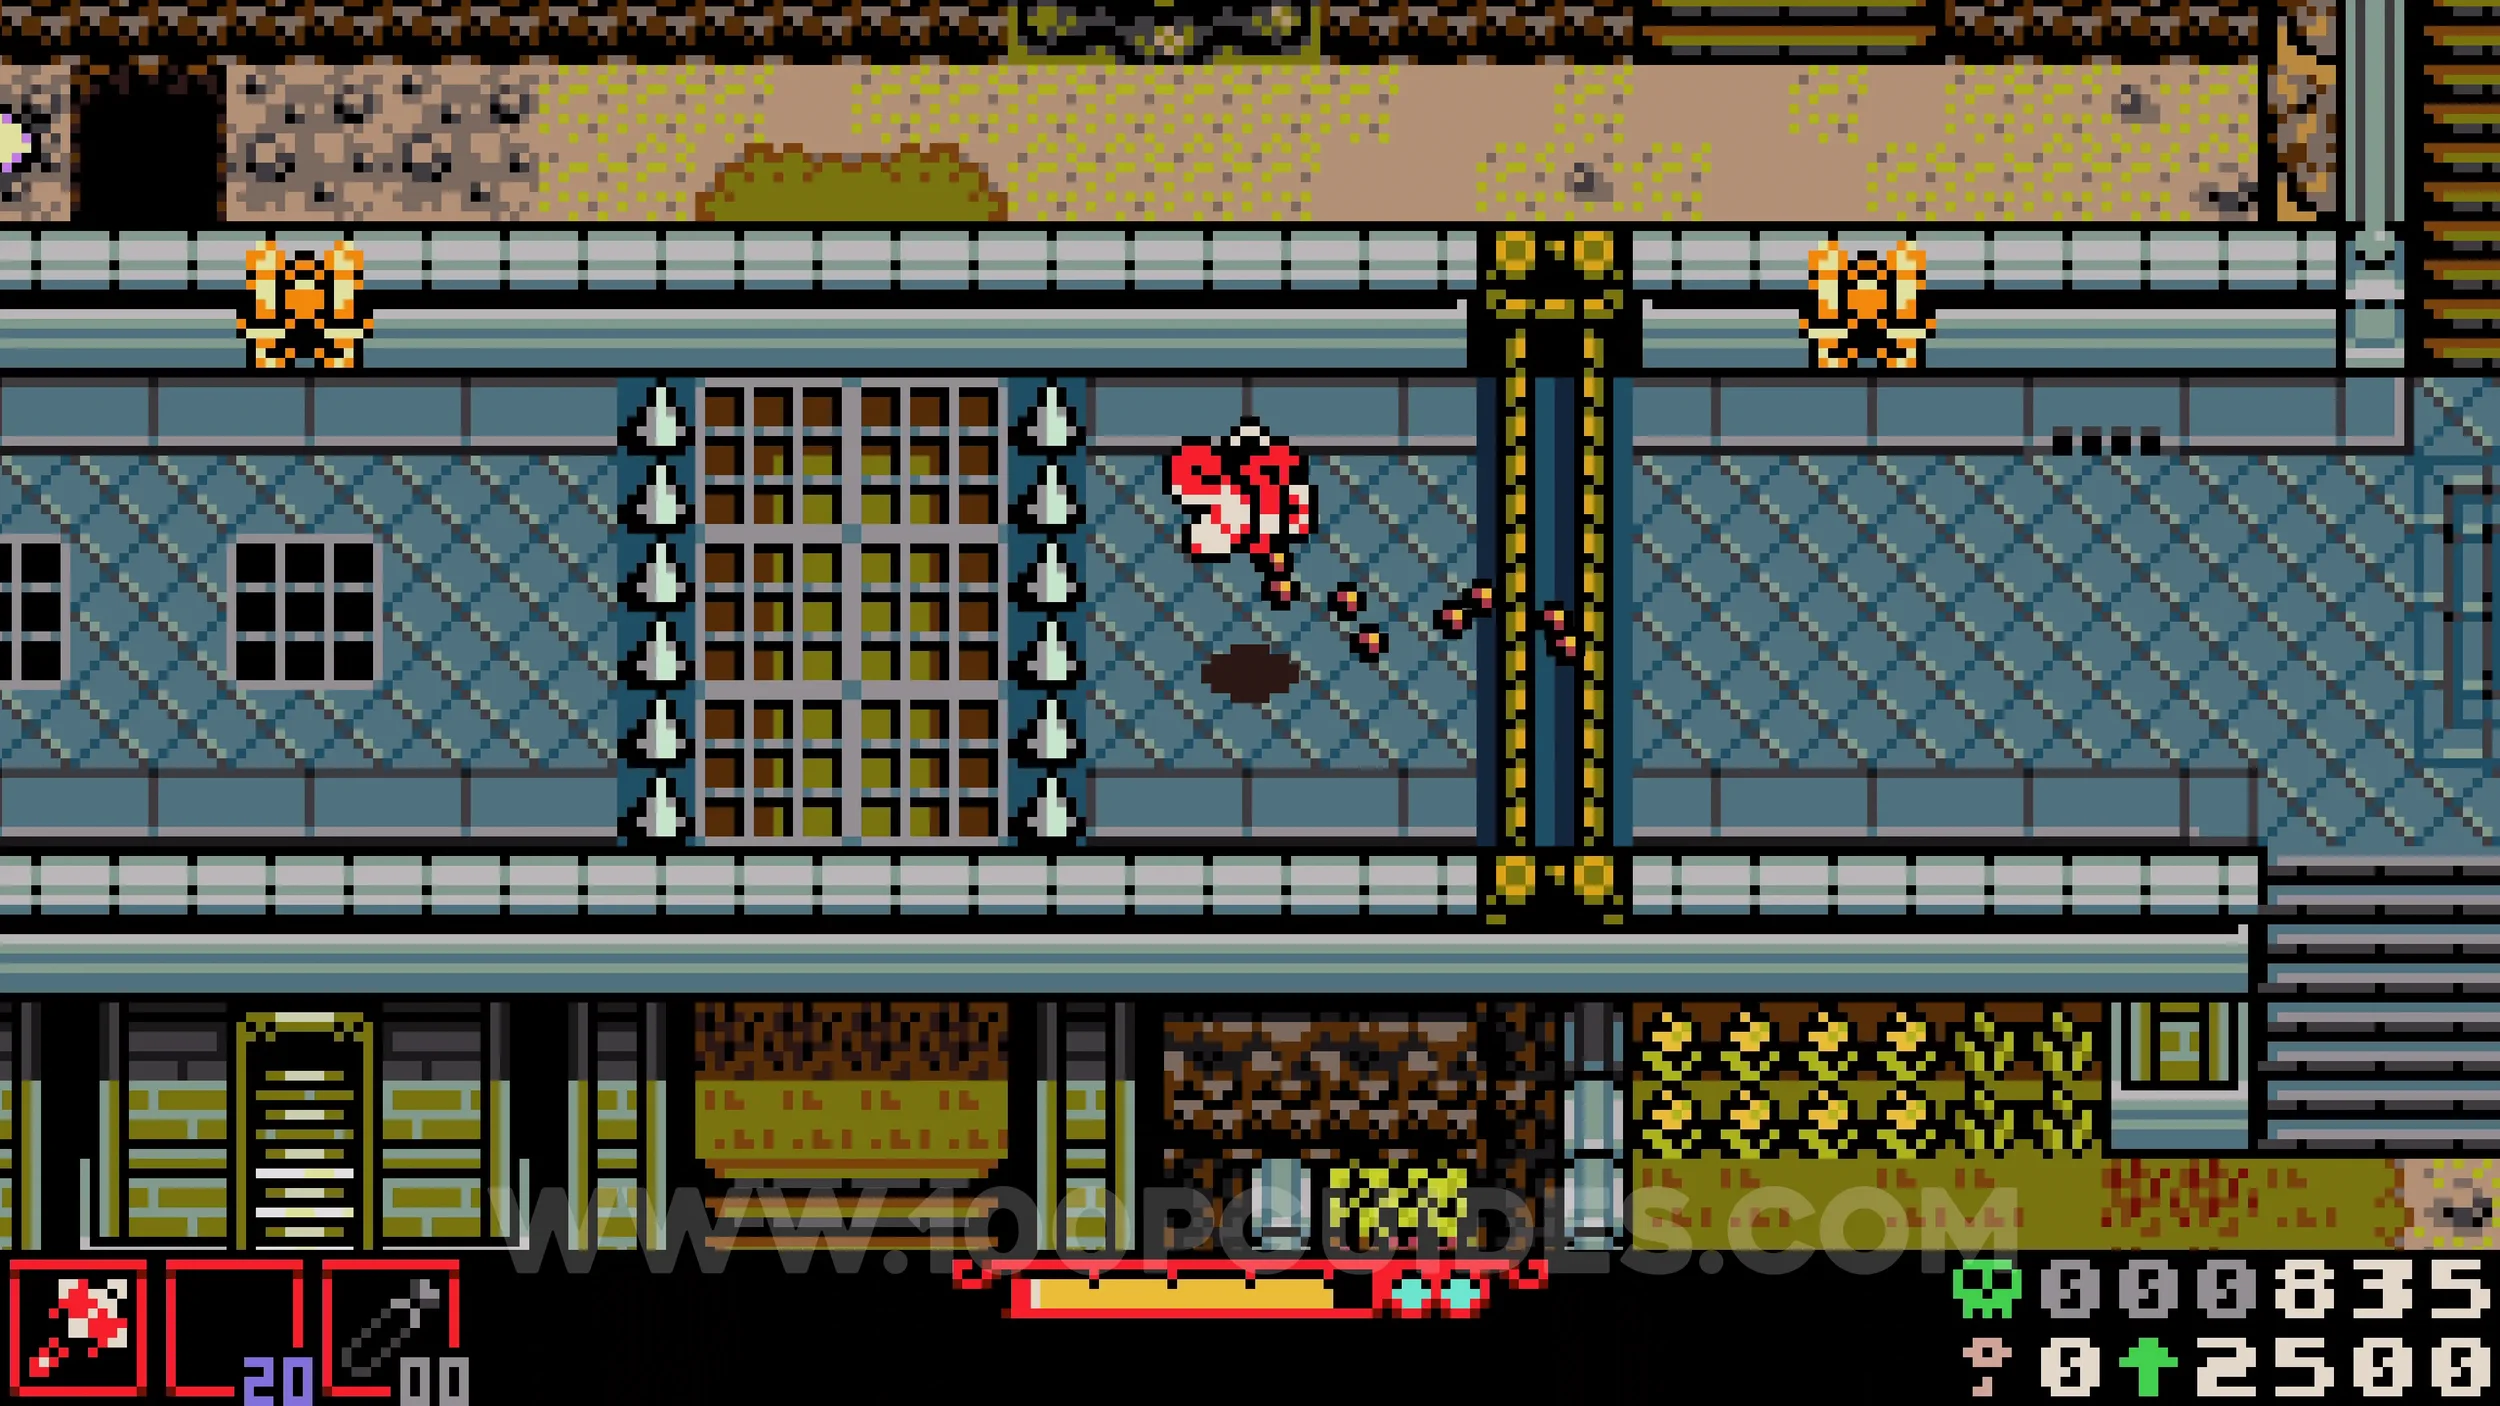
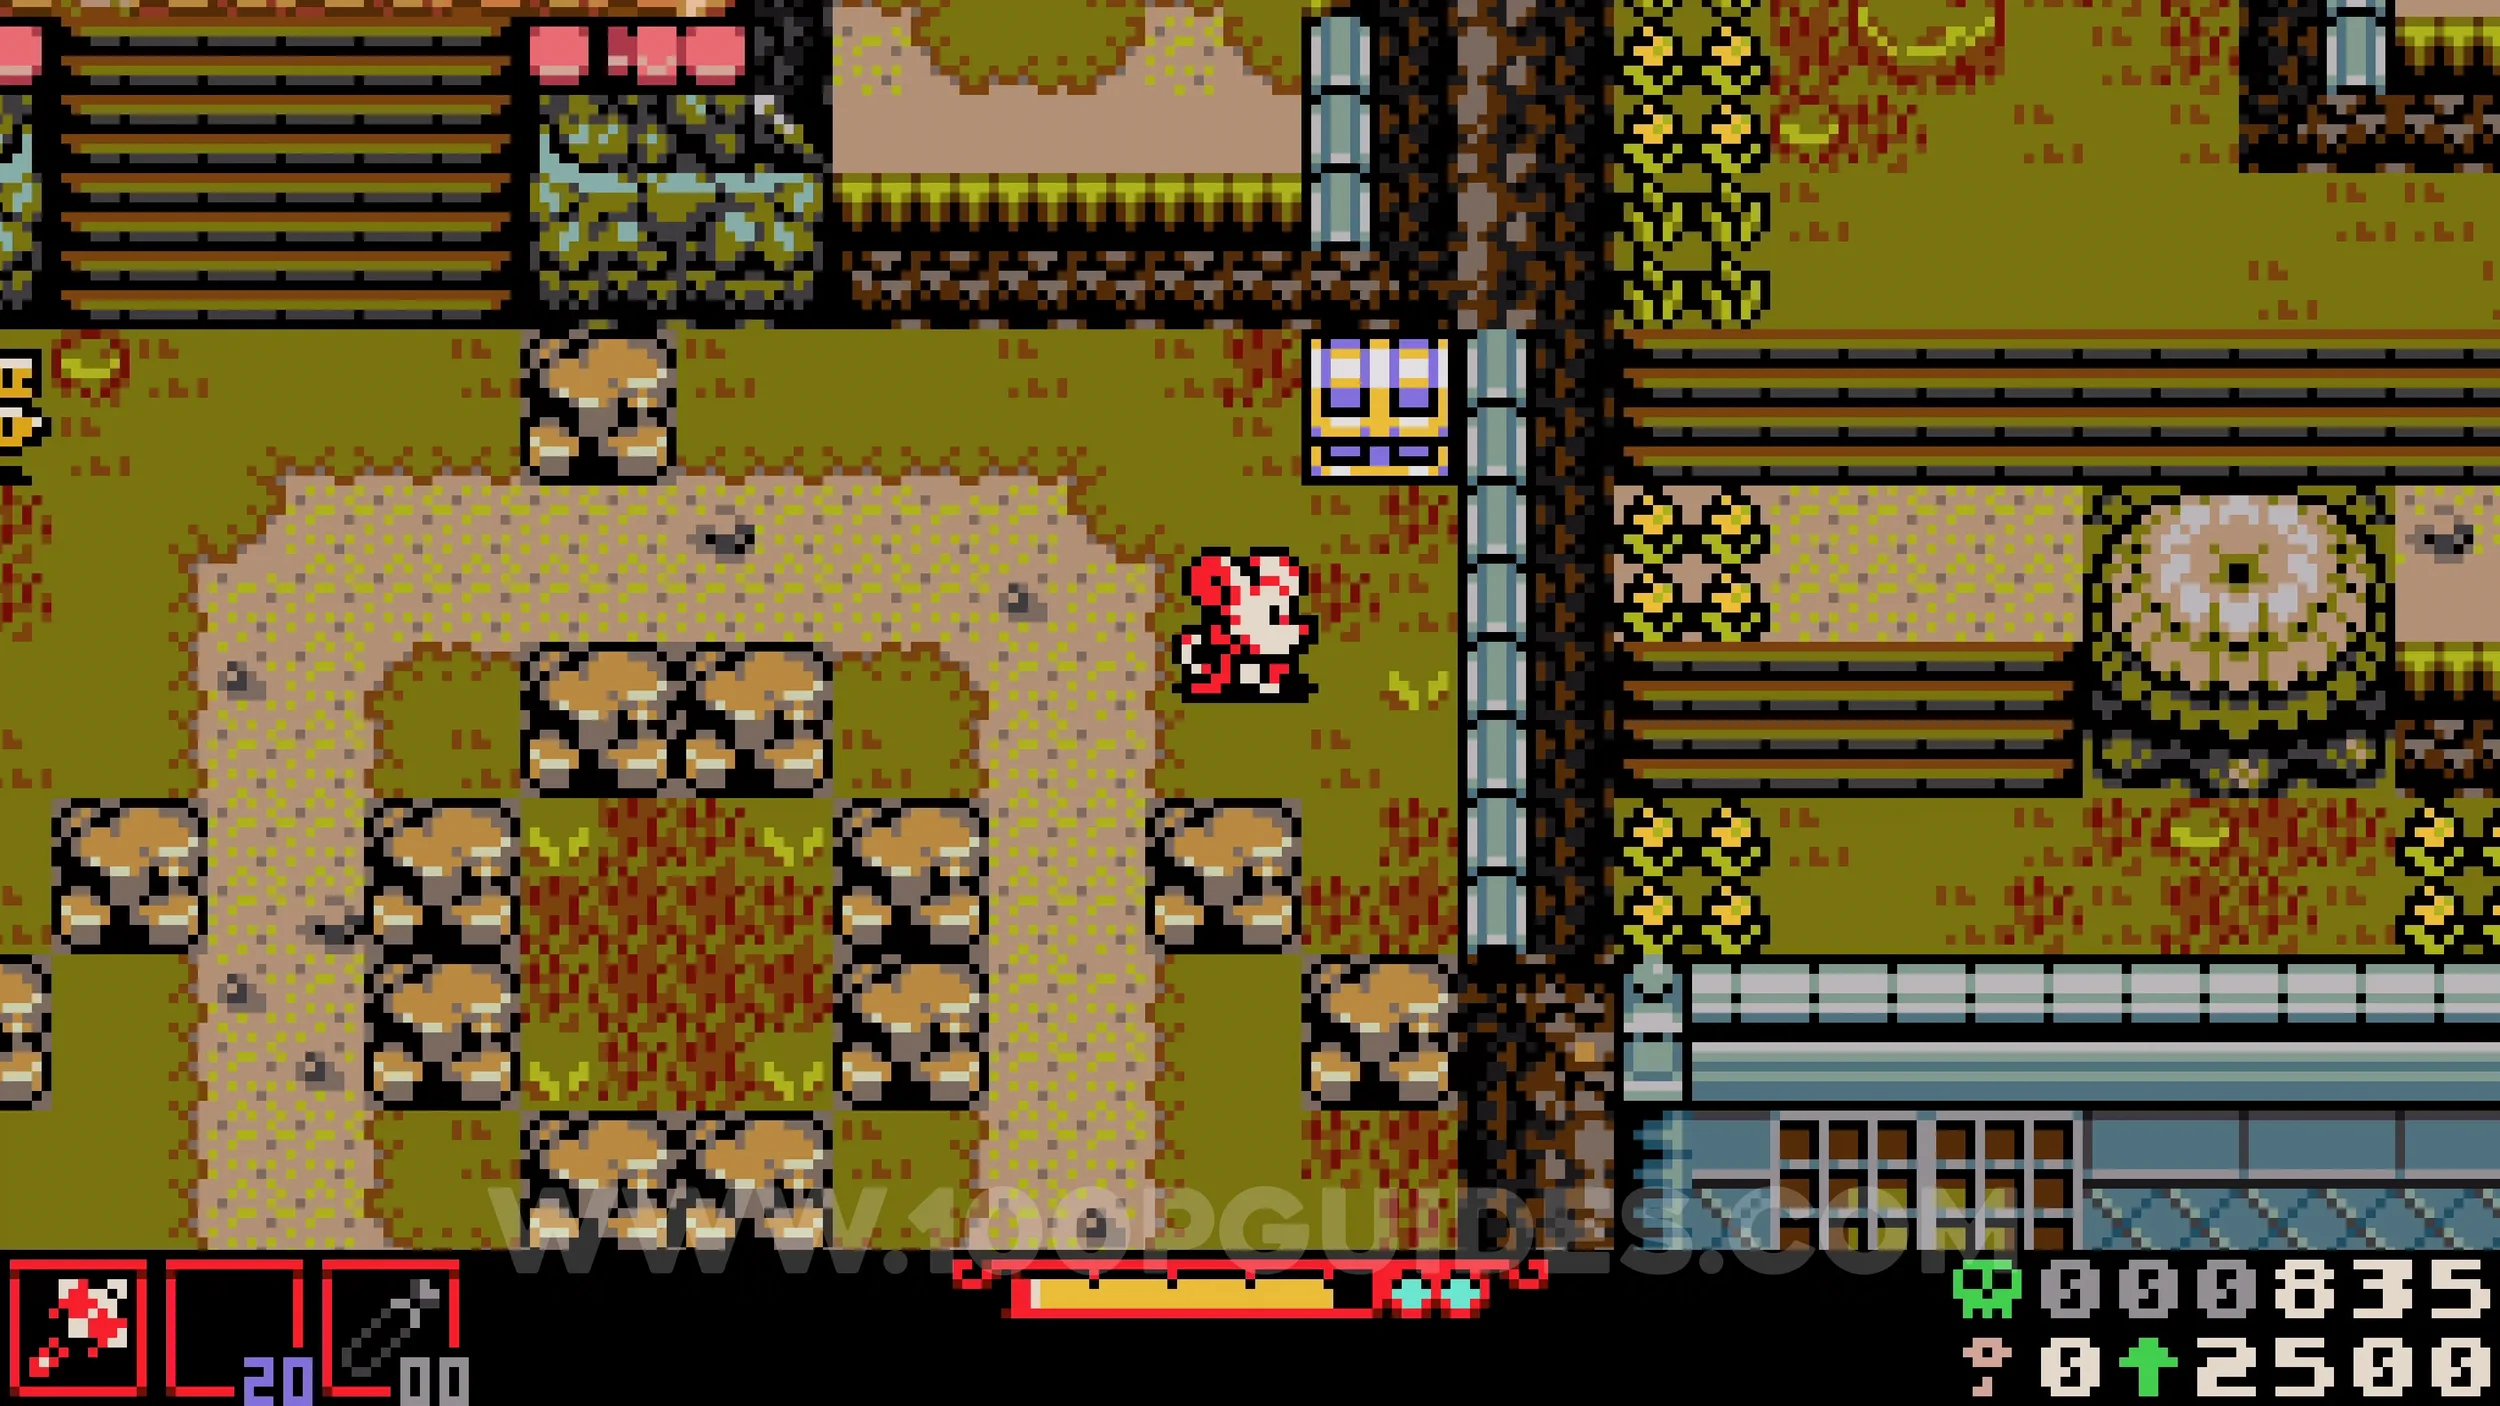
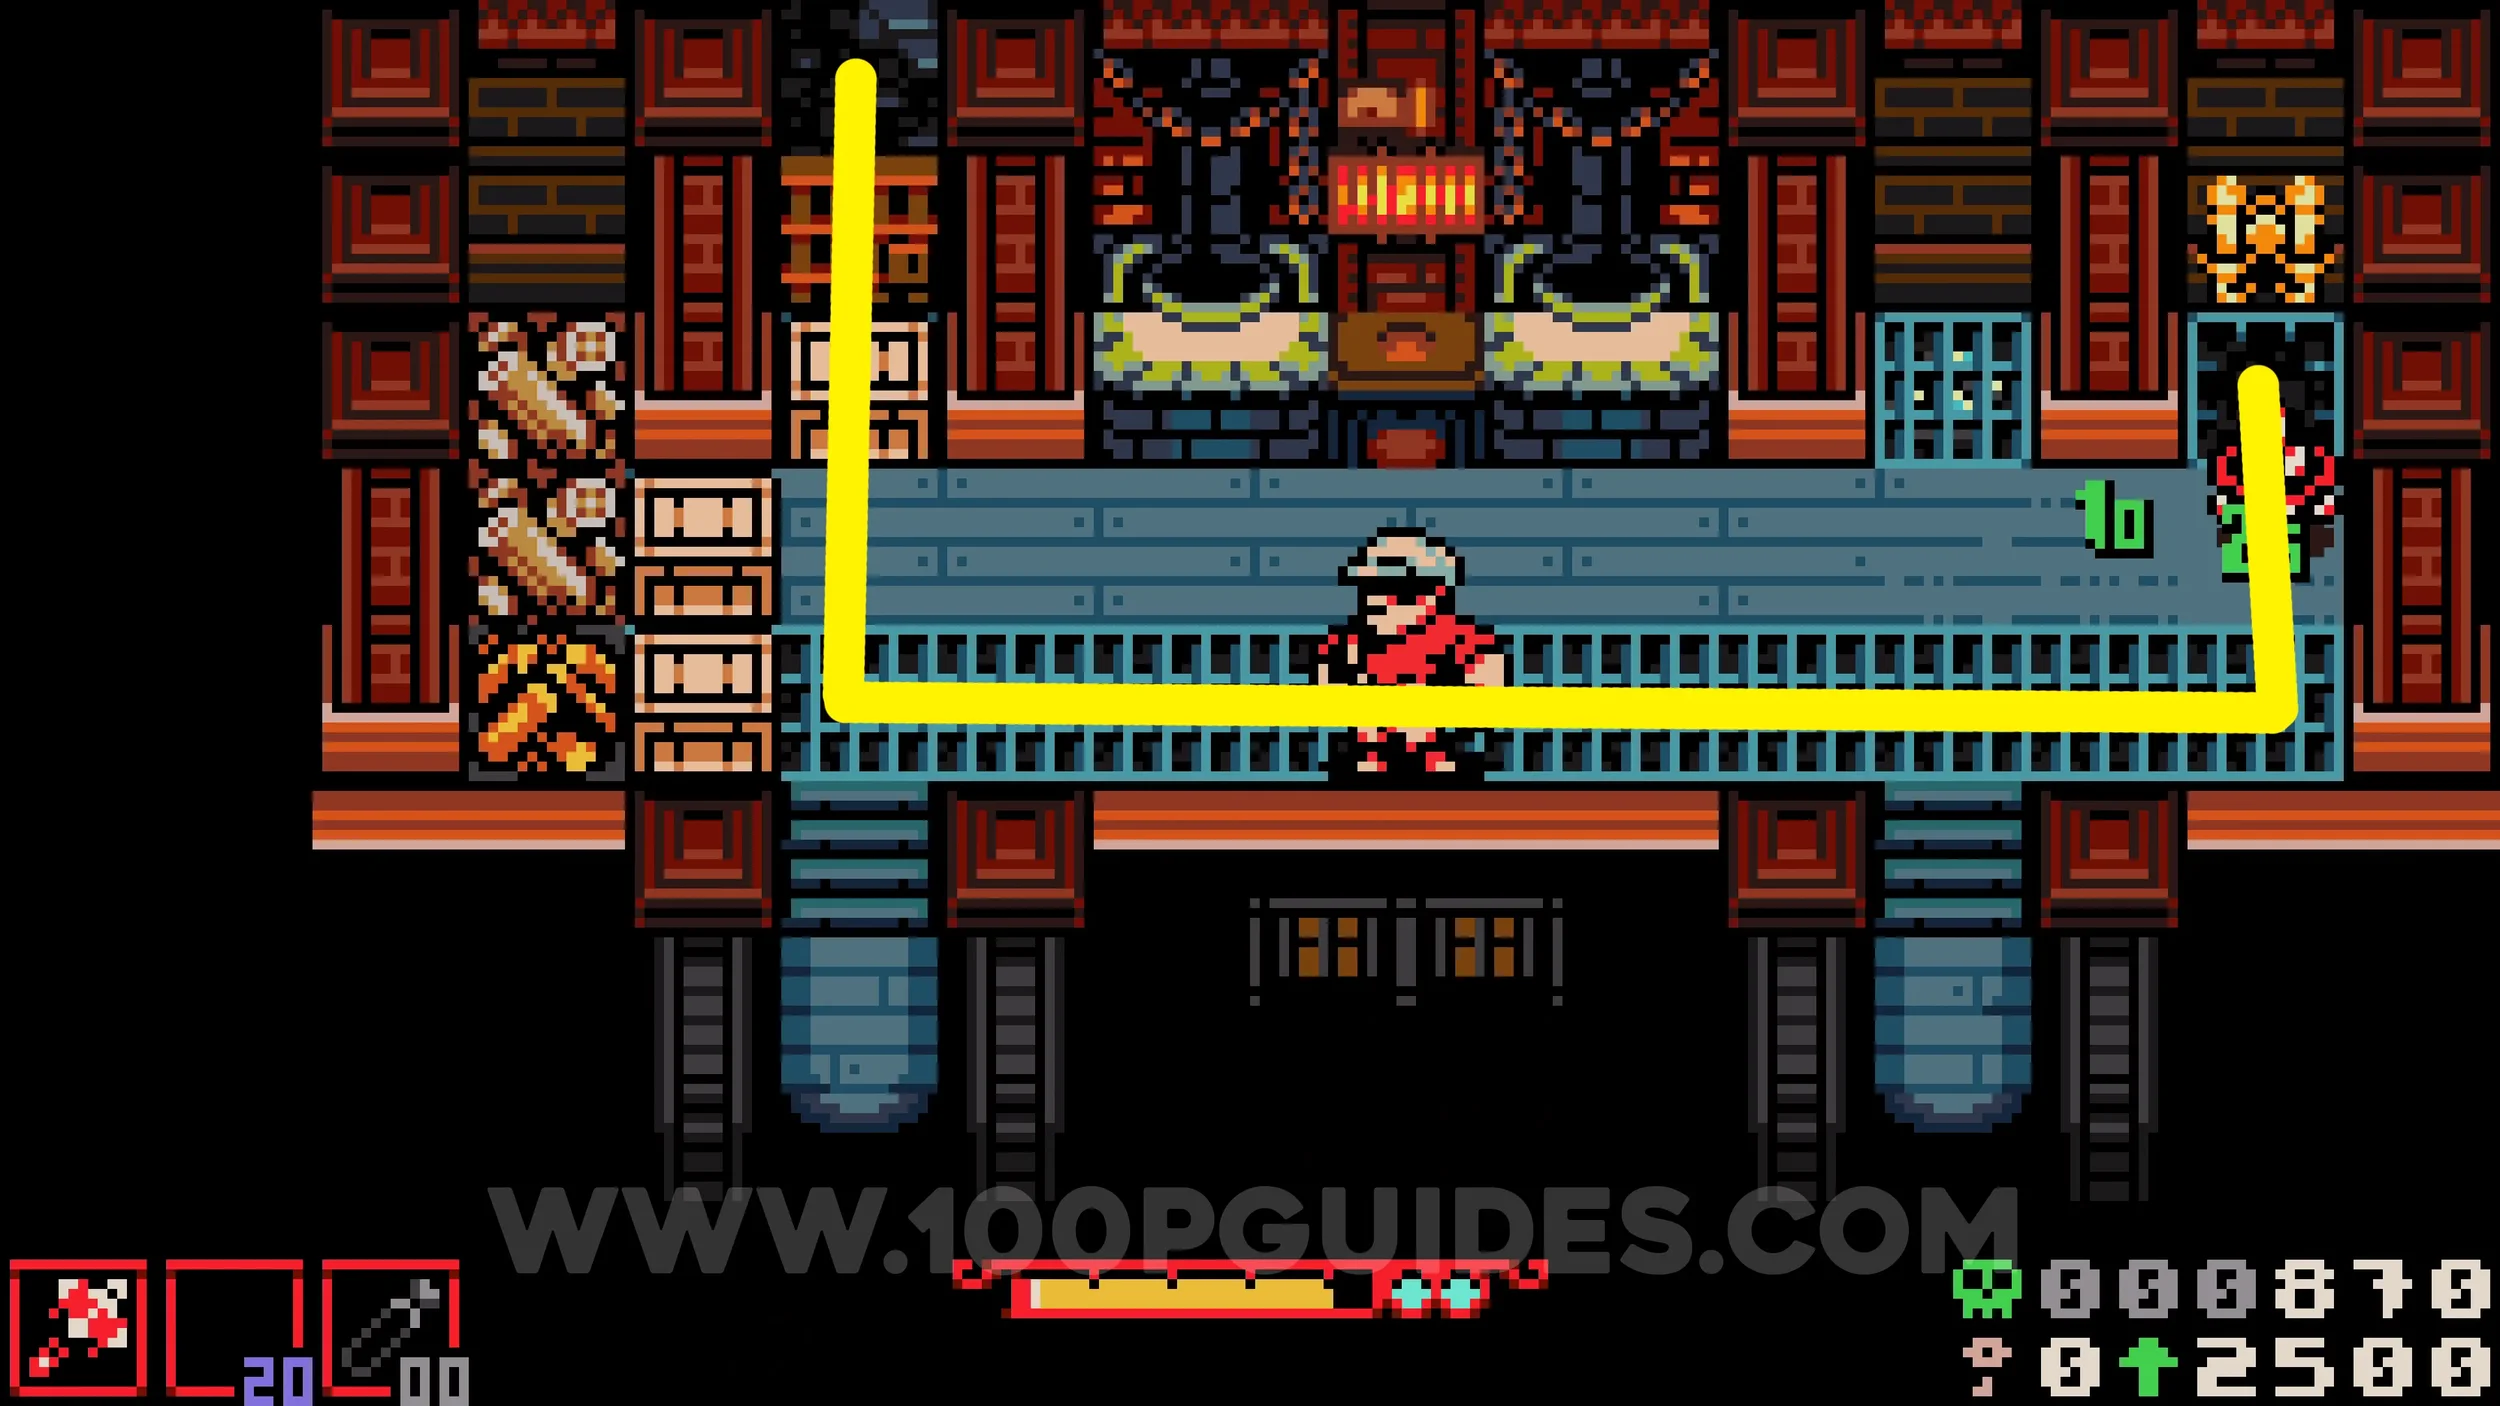
Bonestone #5. Return to the foundry and destroy the obstacles on the right side to reveal a hole that leads under the metal grating. Use this path to exit through the top left. In the next area, just after the underlab, guide the lava around the left side of the room and then direct it all the way to the right as quickly as possible. This gives you time to make it through the dark path between the lava area and the underlab before the timer runs out, as staying in the dark too long will instantly kill you.
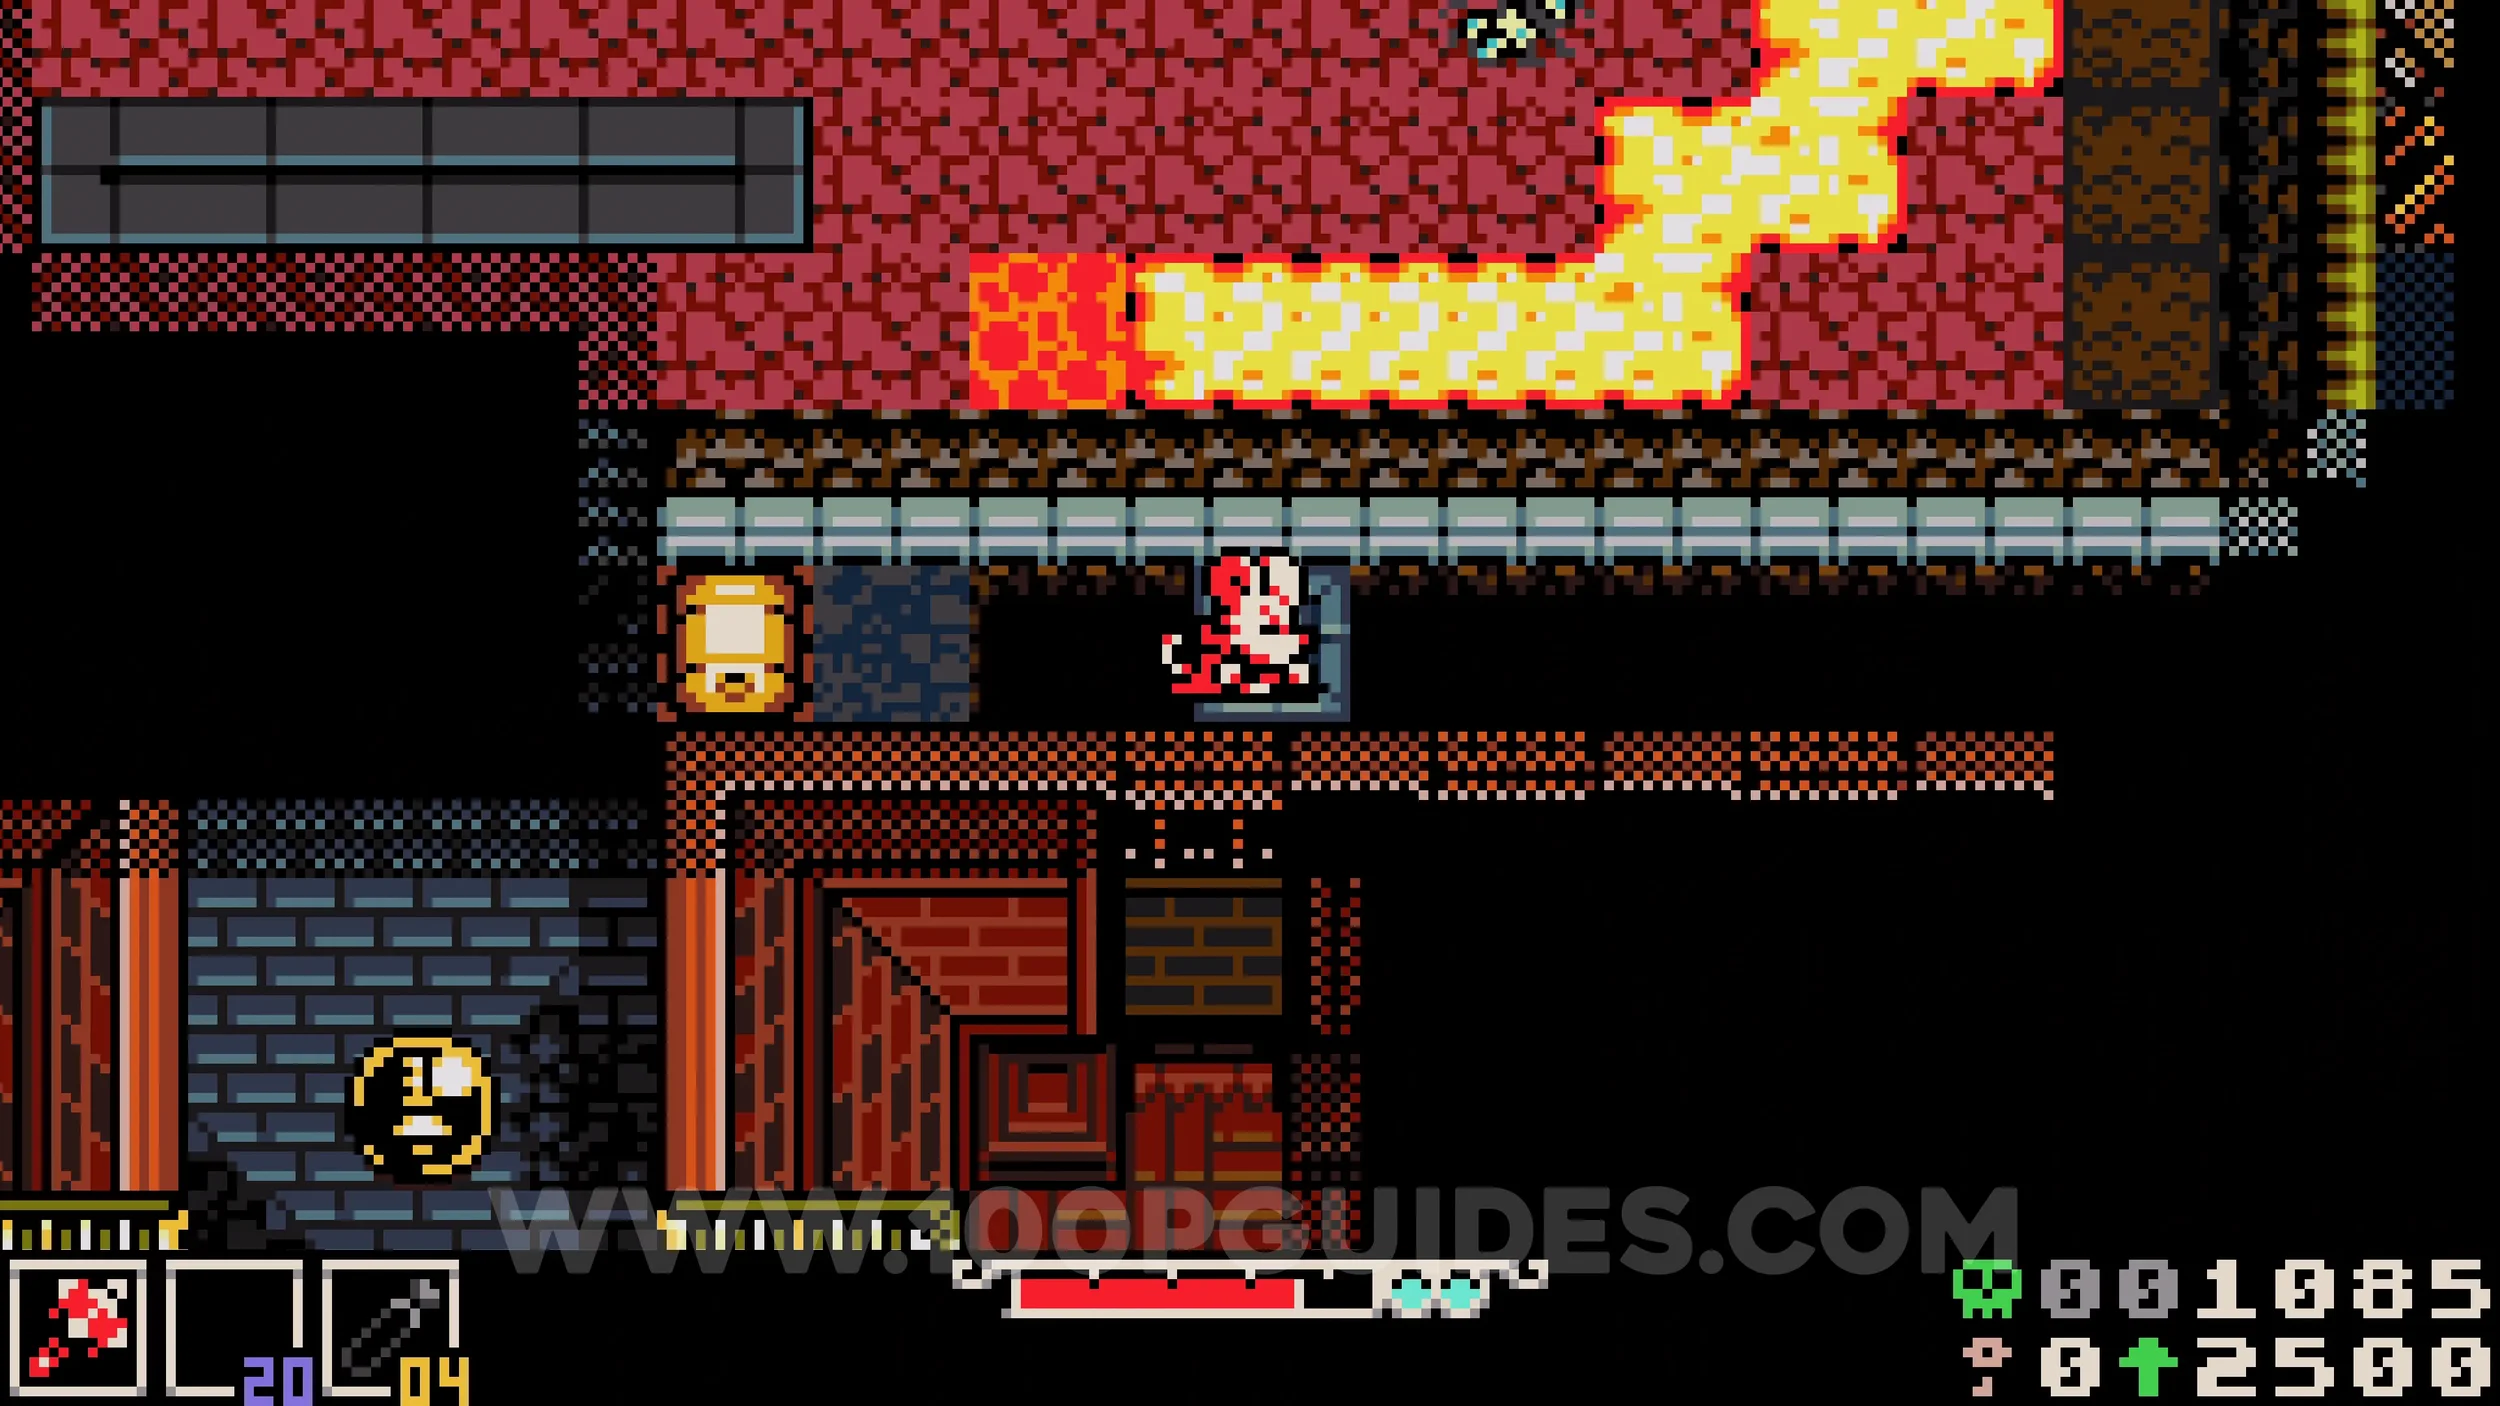
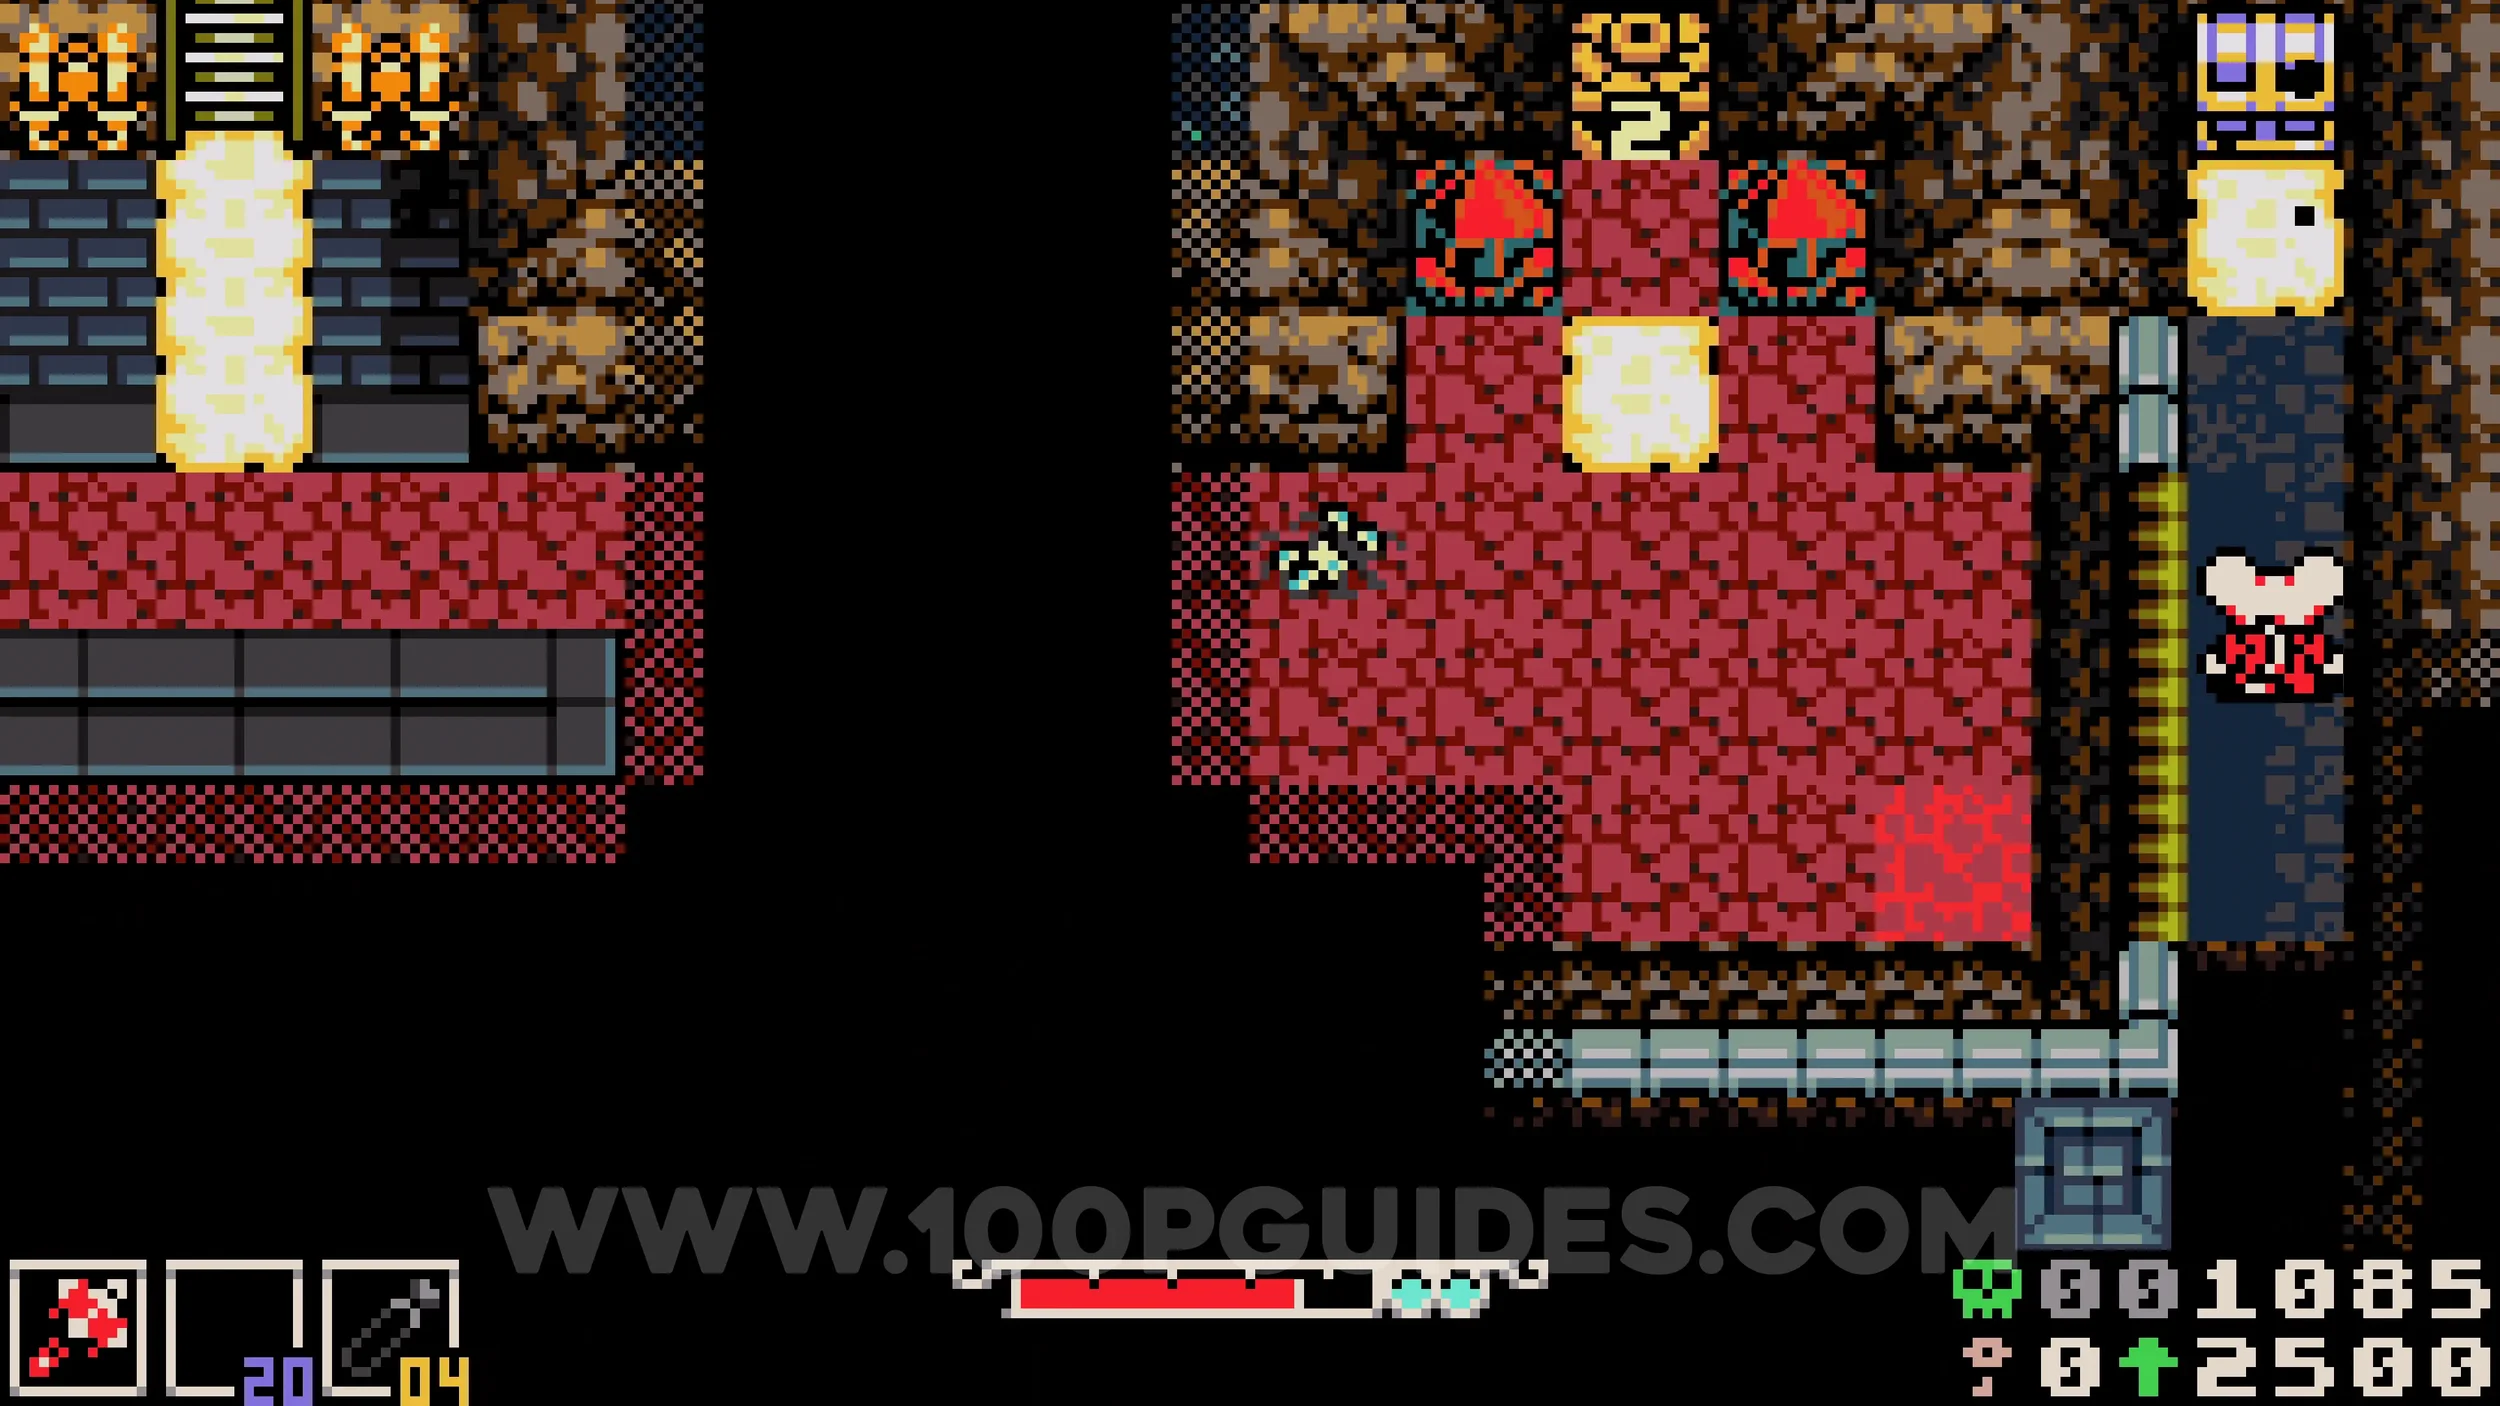
Trinket #1 - Helio the Wisp & Kear #1. Also in the hidden area behind the foundry. In the first room where you can guide the lava, direct it through the small tunnel on the left side to break the crystals in the next room. At the top of that room, you will find one of Poppit's shops, where you can purchase both collectibles.
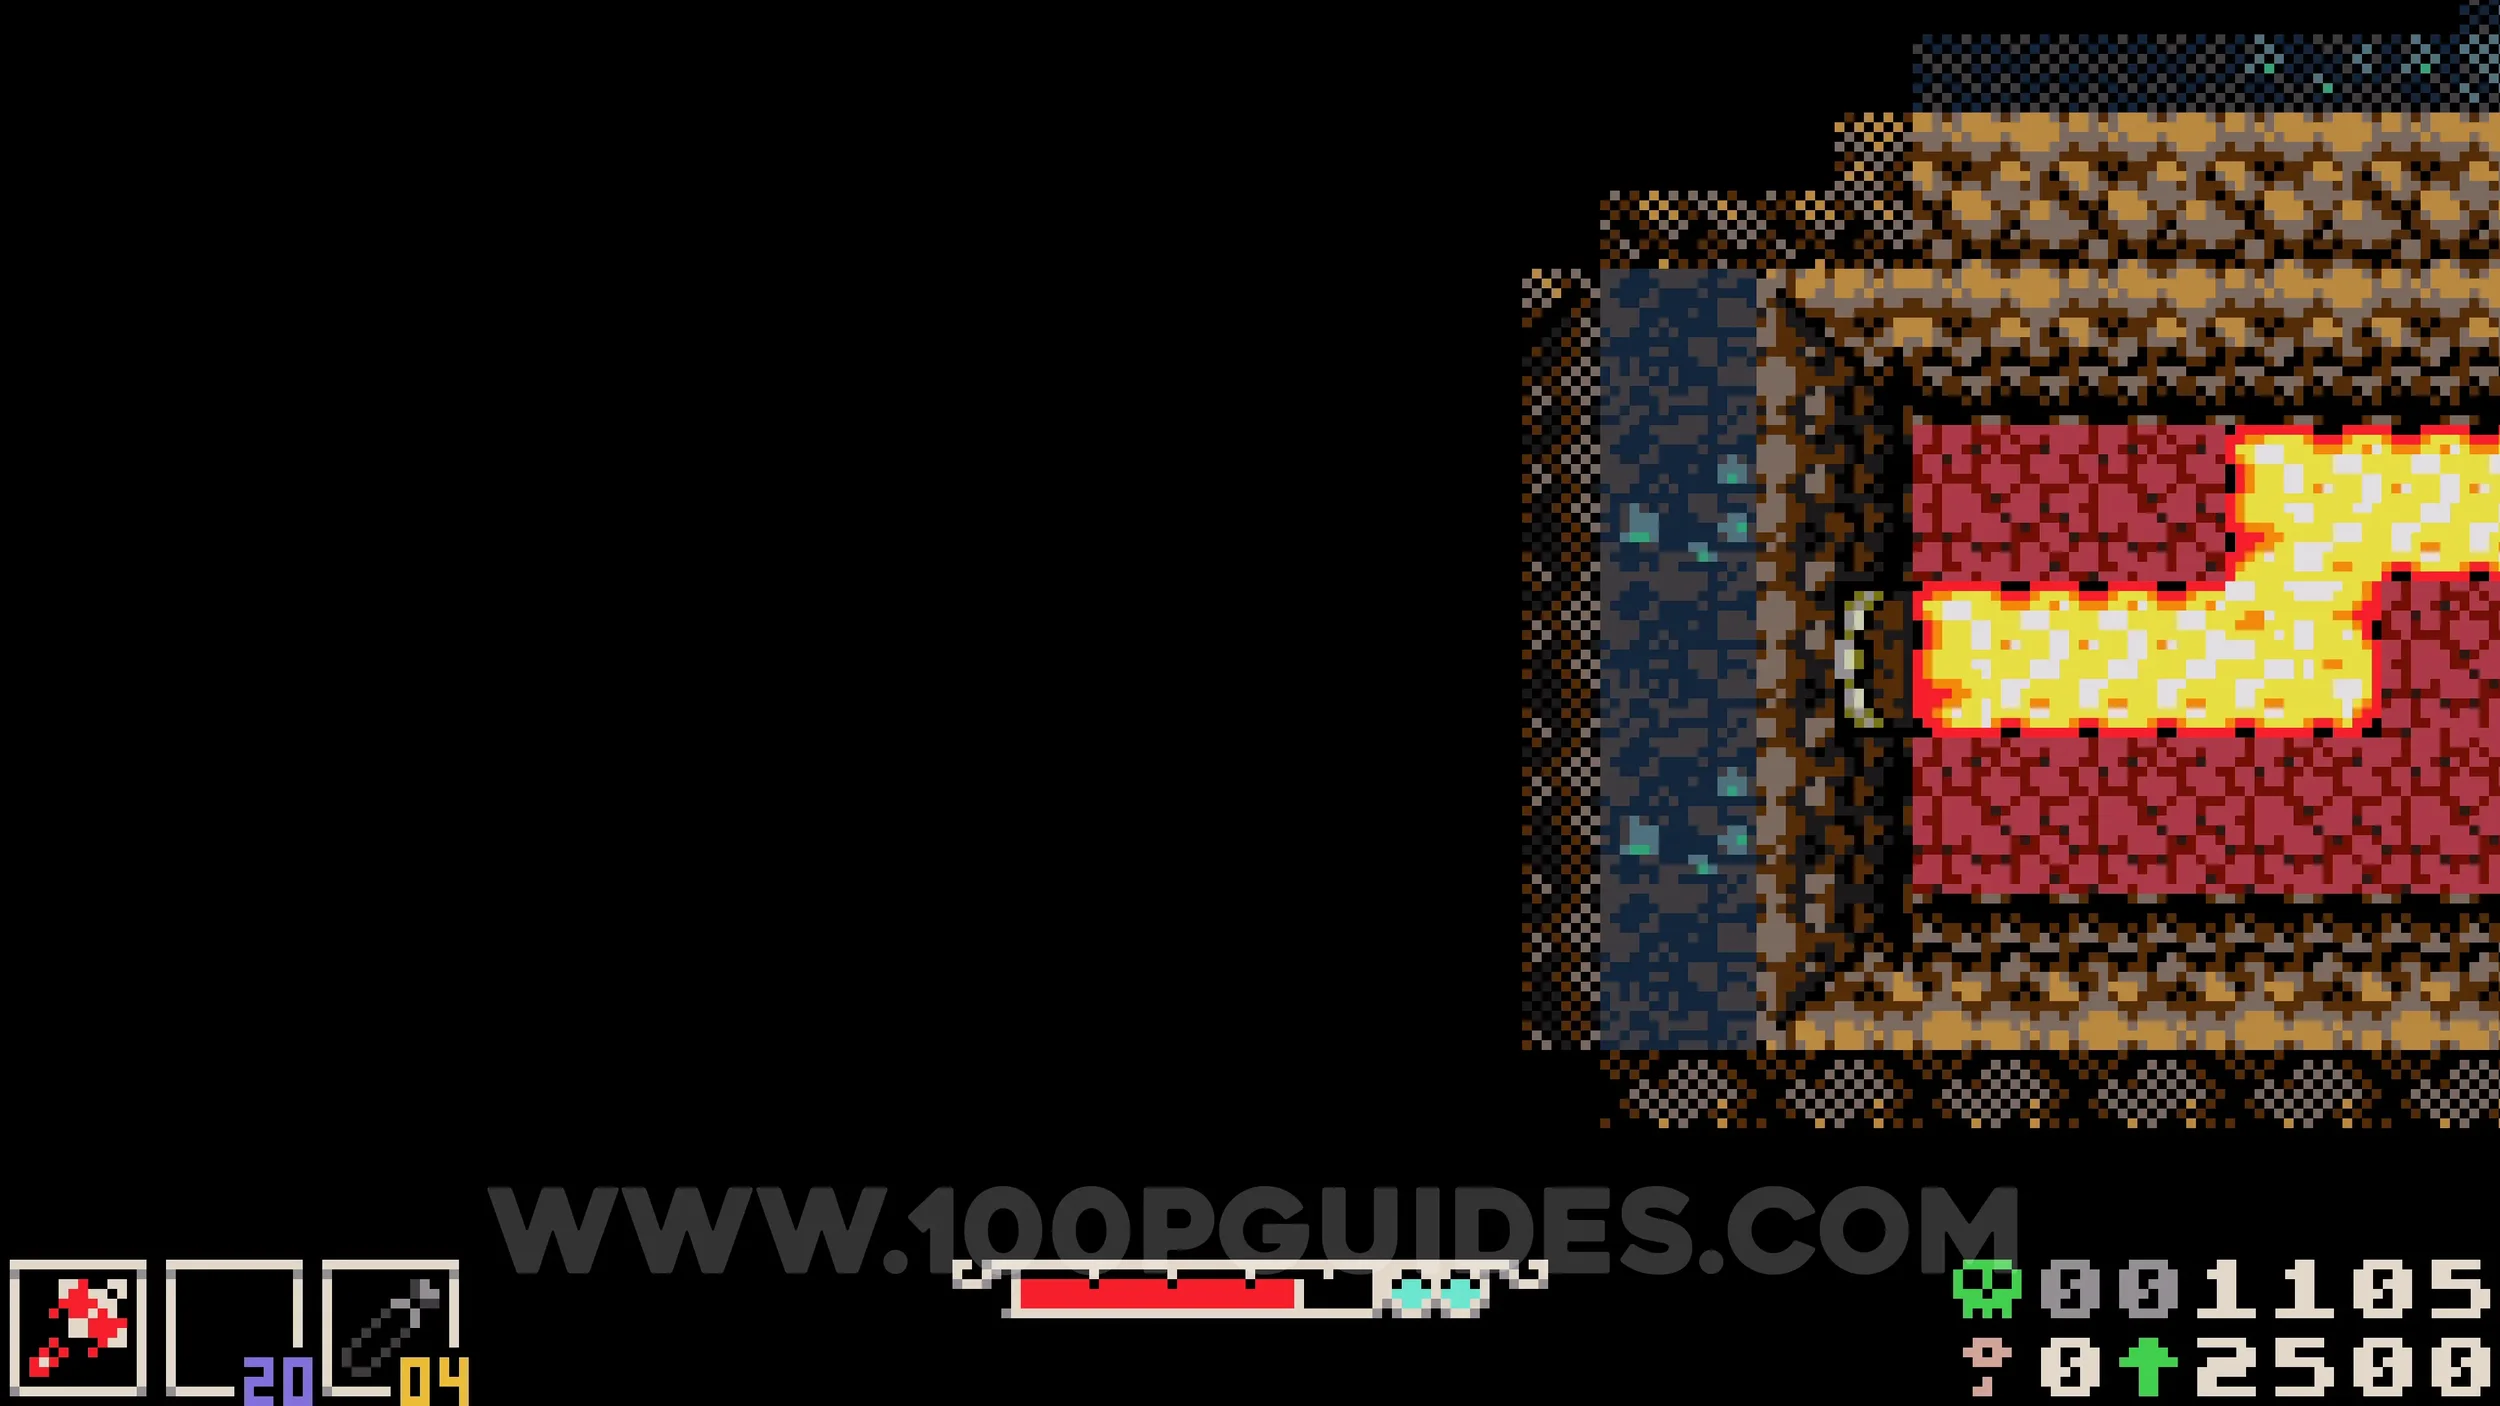
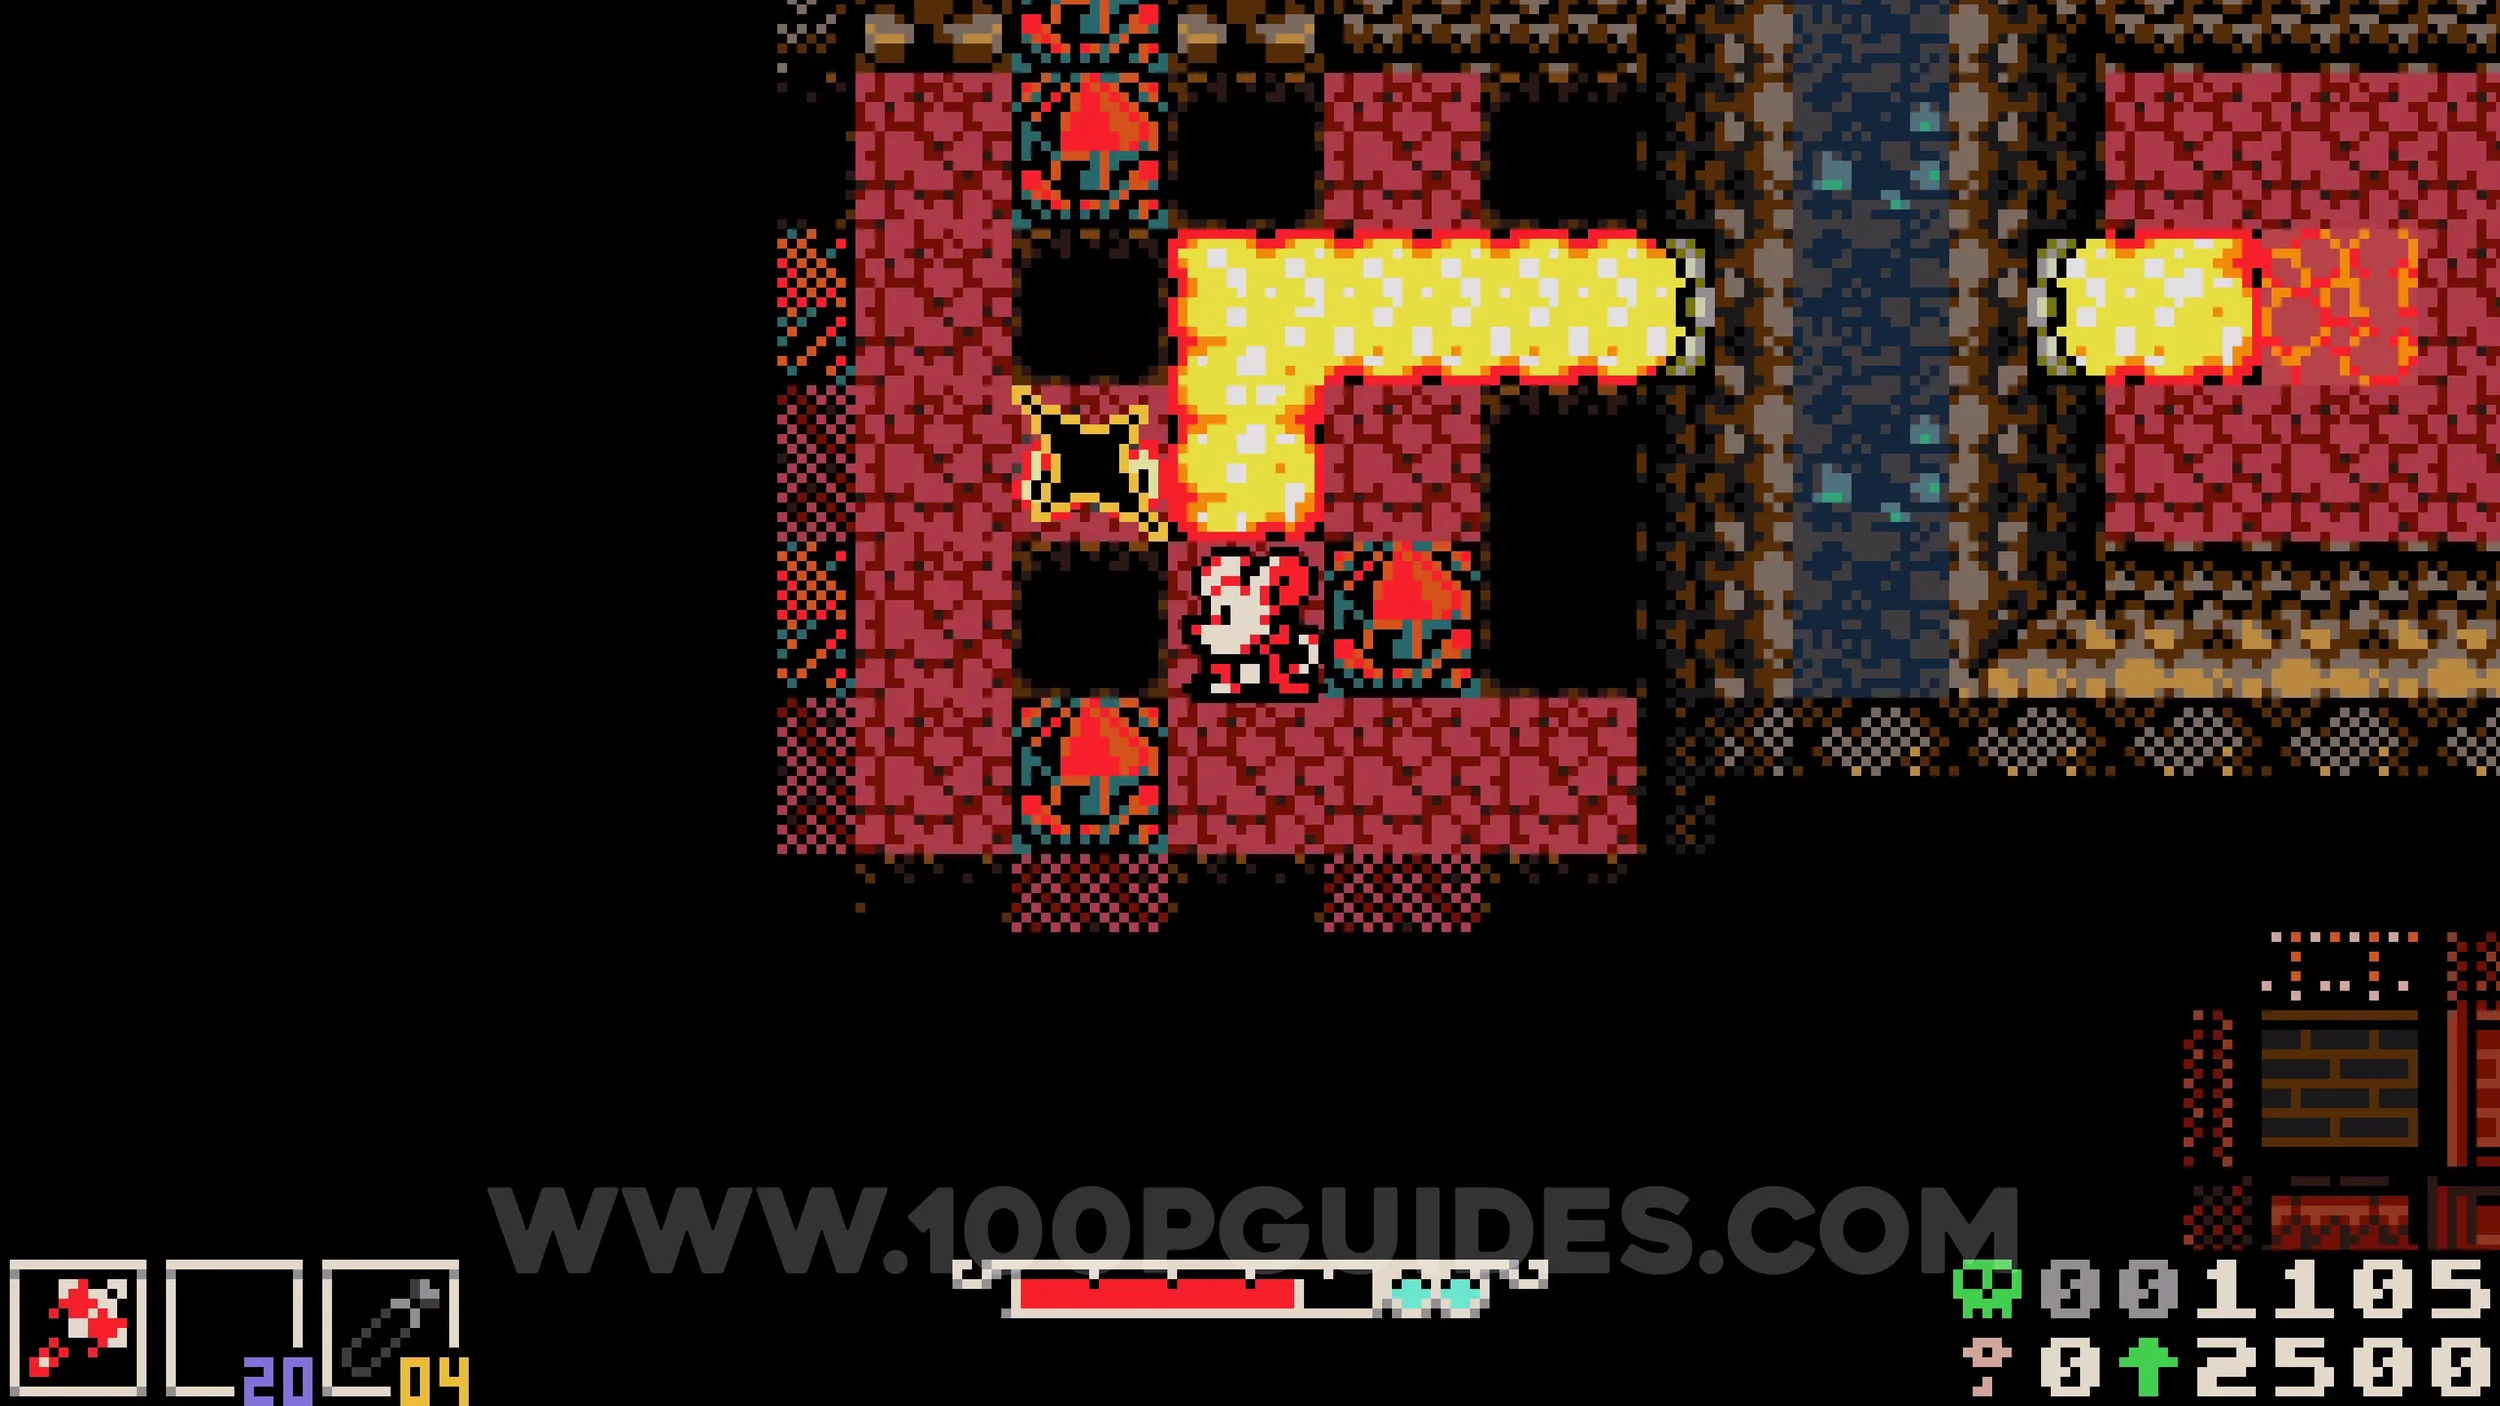
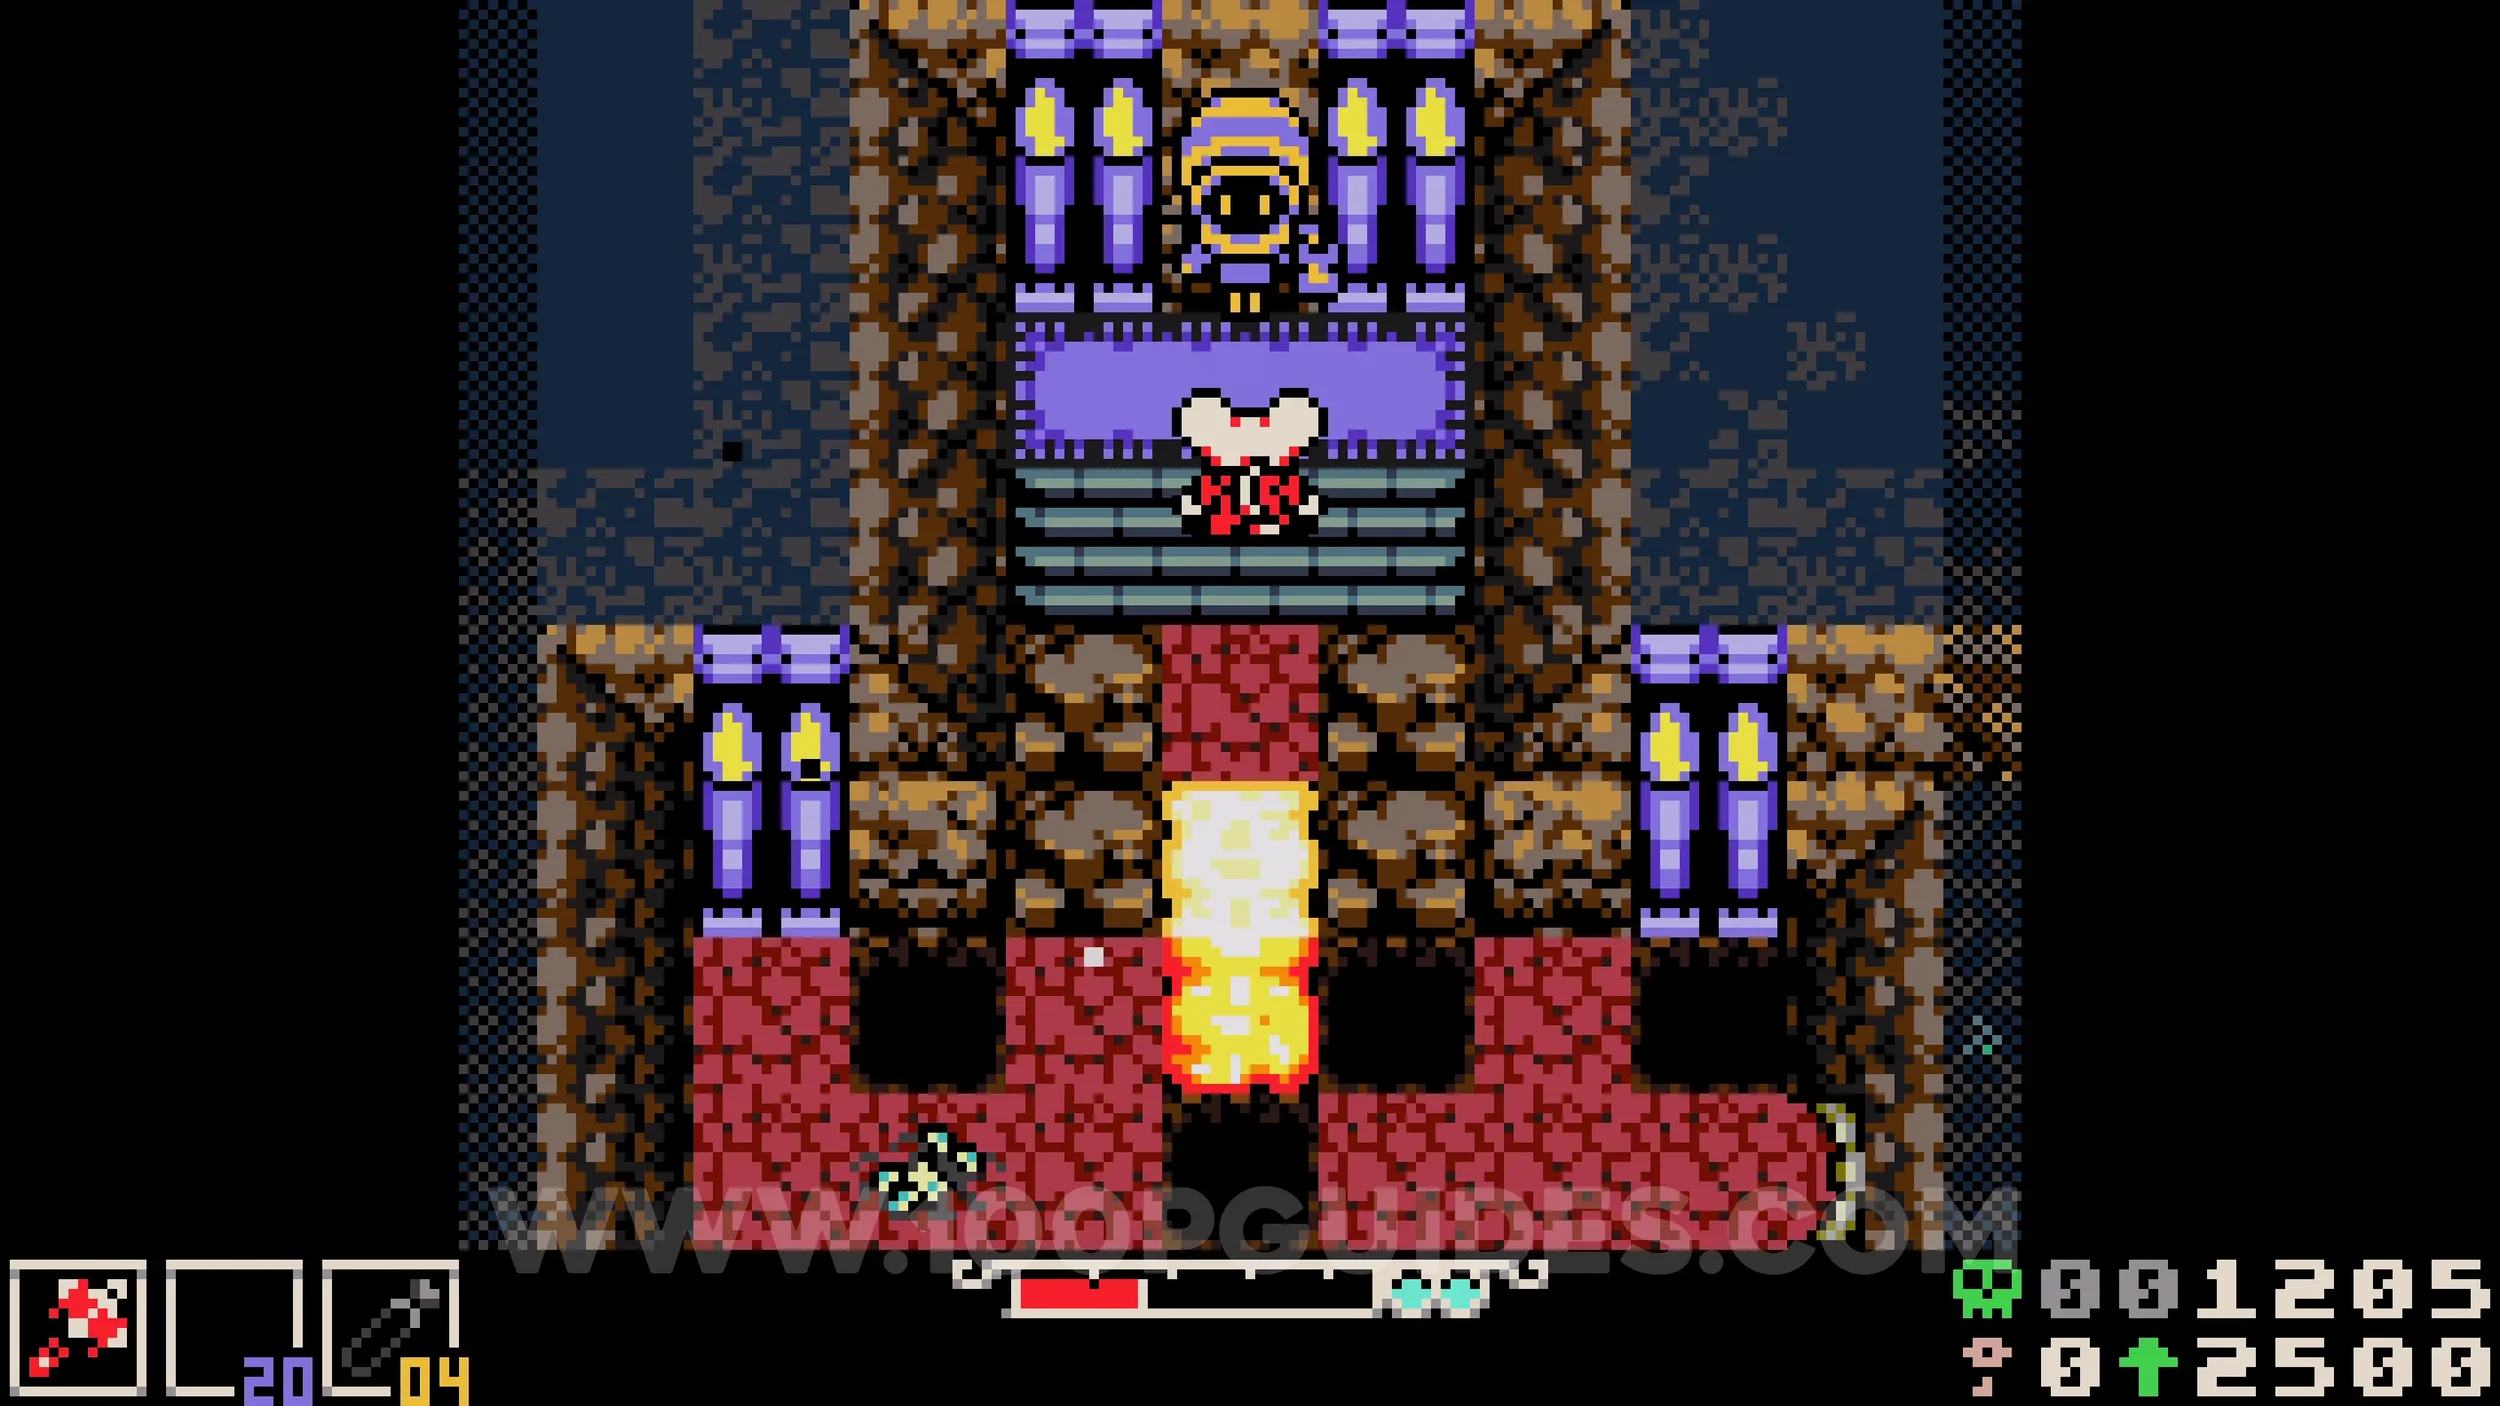
Lock #2. Return to the room in the secret area behind the foundry where you guided the lava, and direct it to the crystals on the right. Here you must sacrifice 2 flasks to open the lock, after which you will find another lock that requires a key.
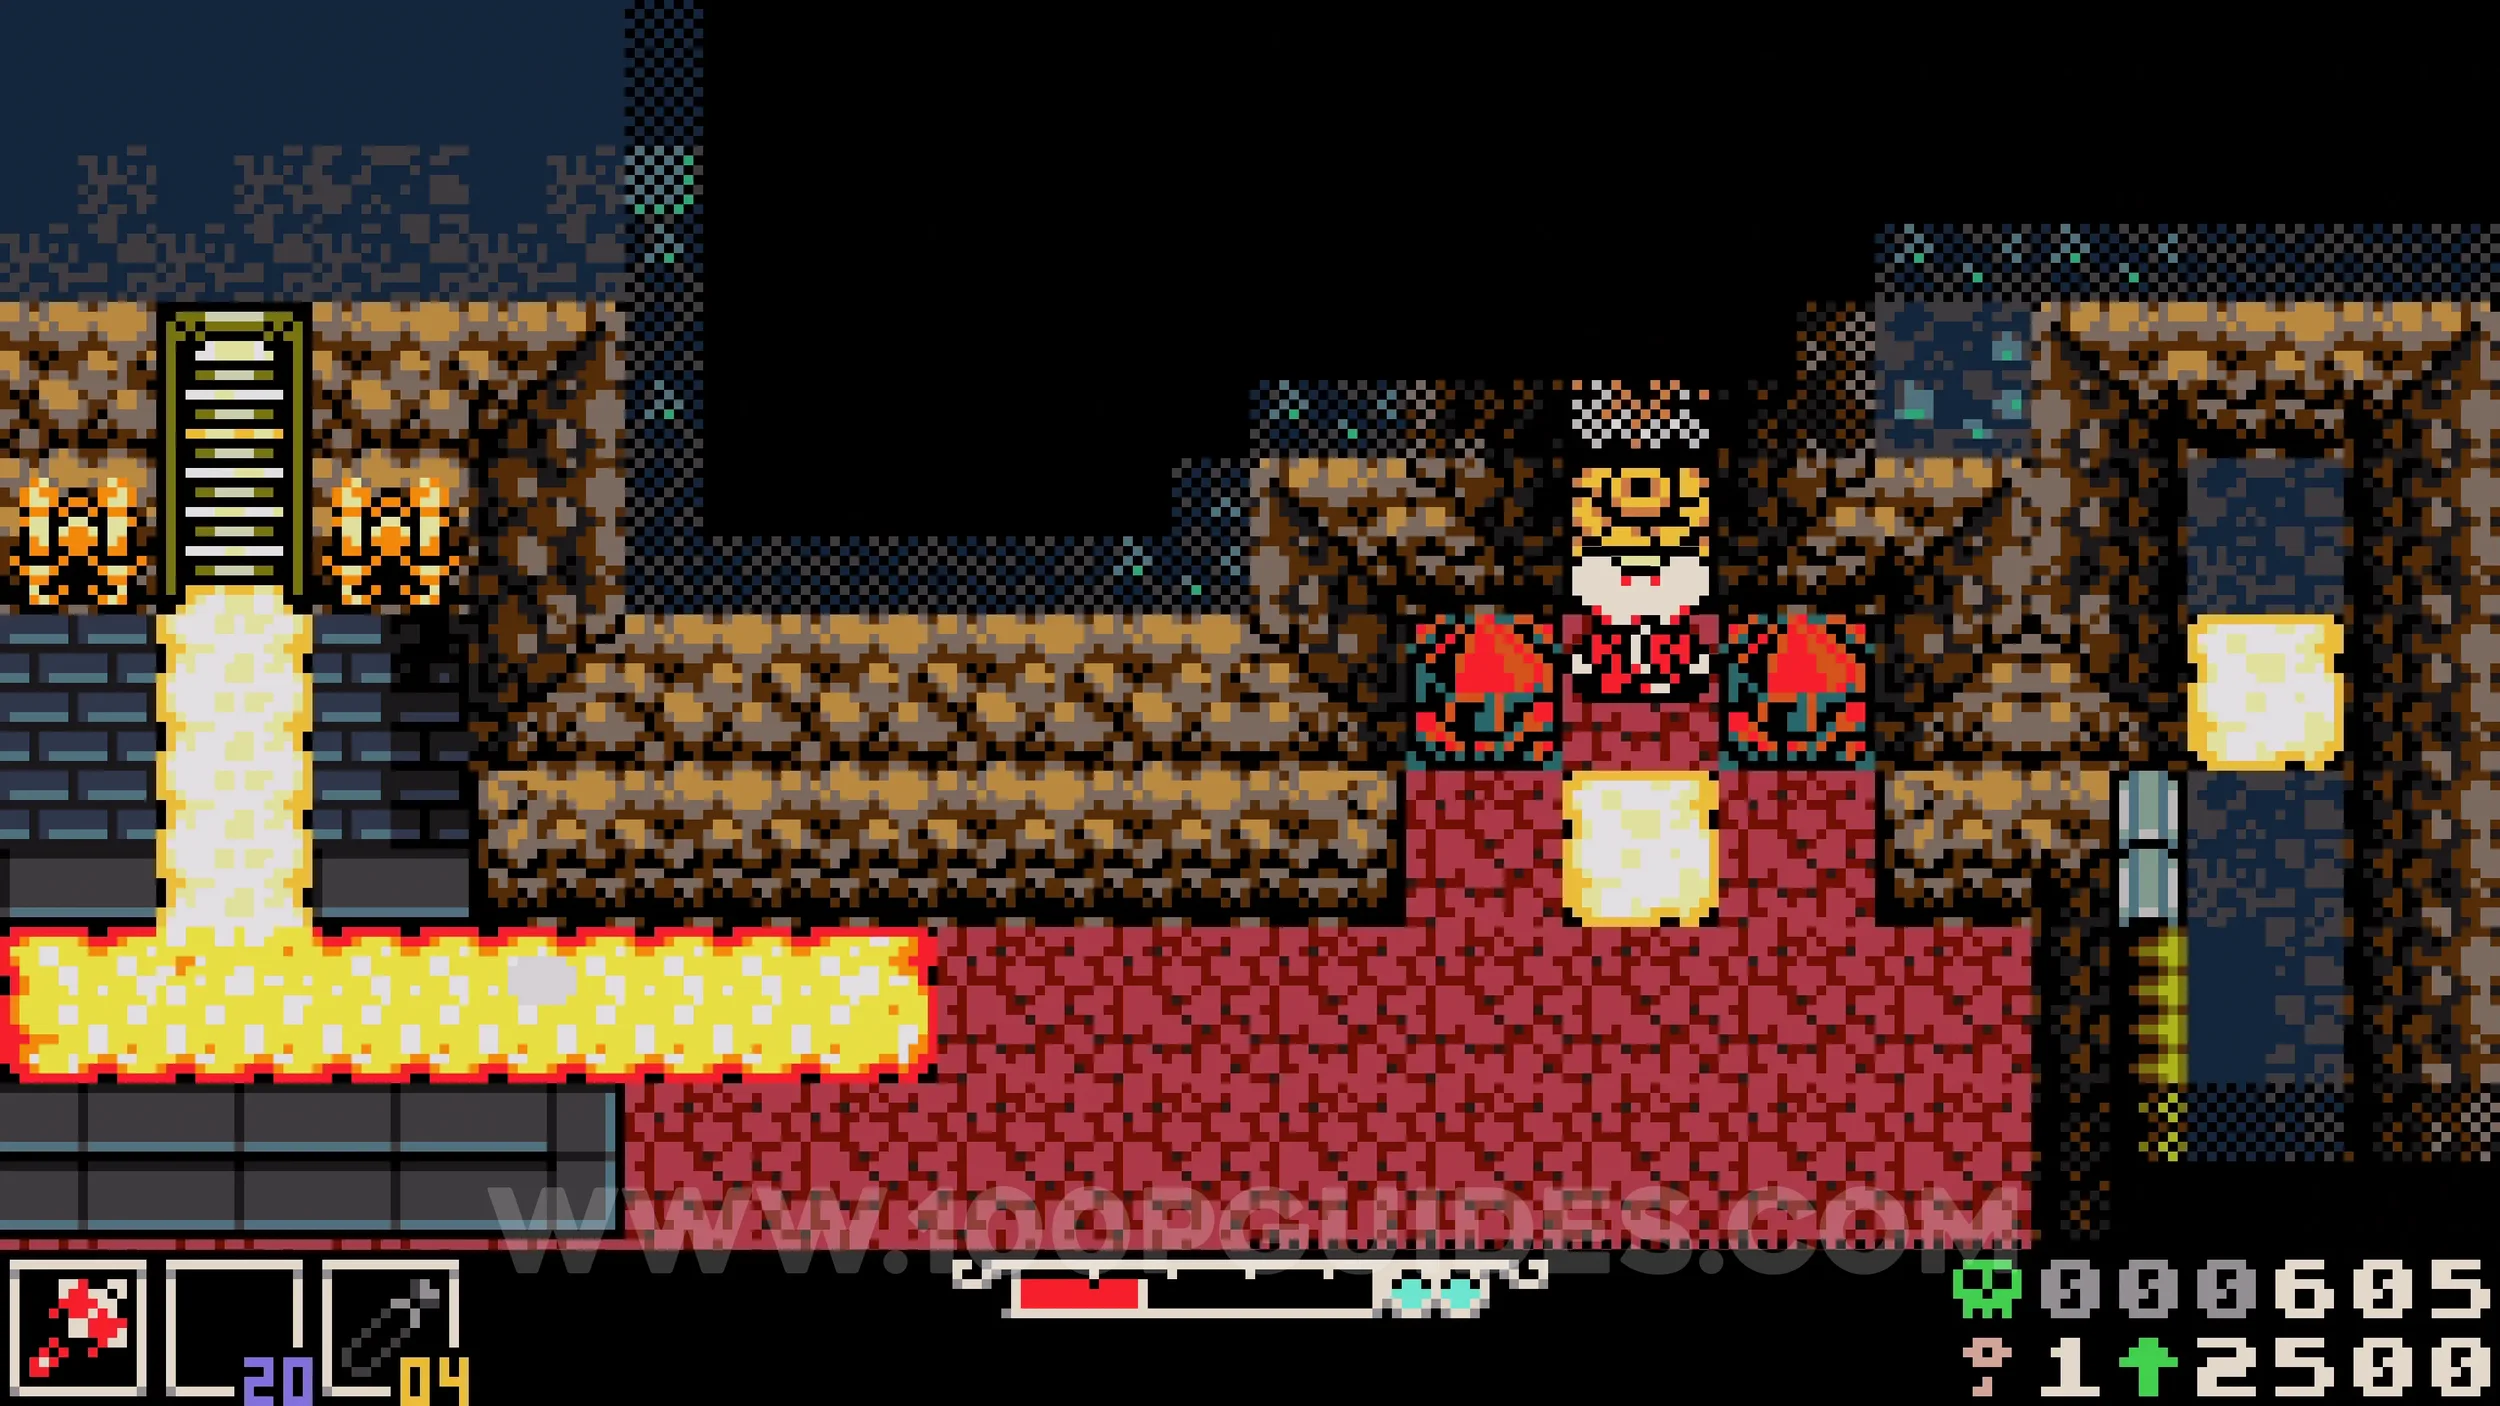
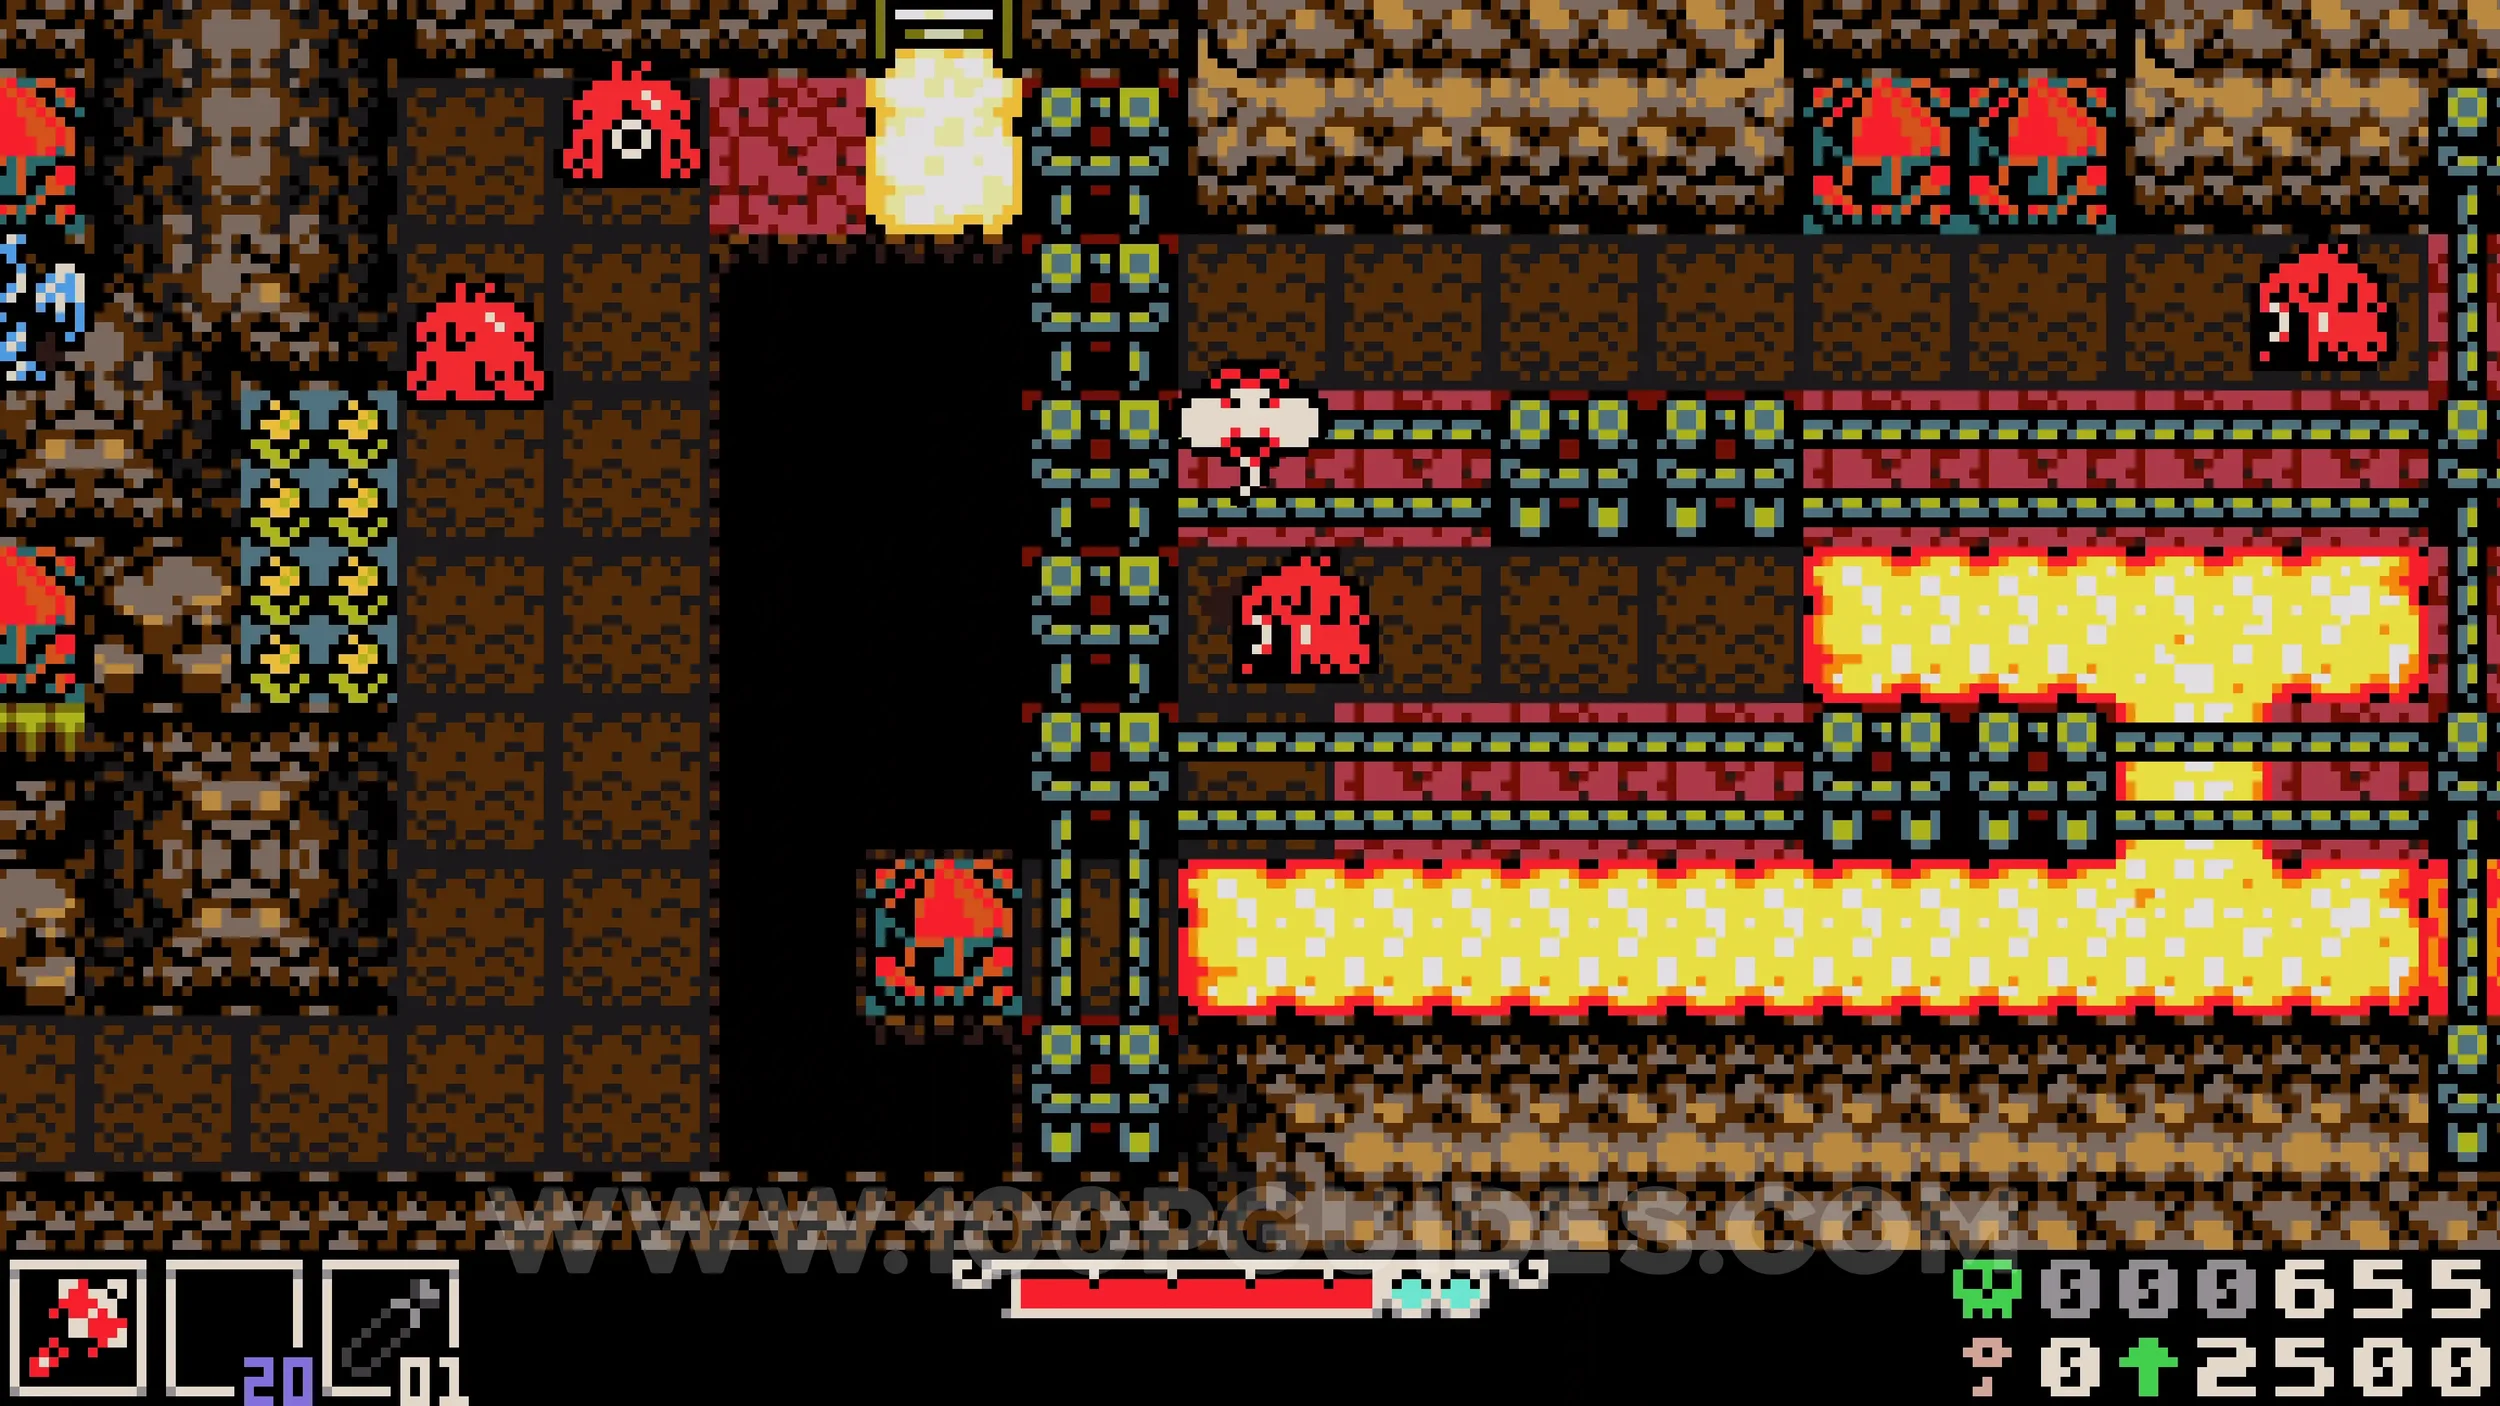
Trinket #2 - Flame Guard. After the previous lock, continue through the cave by guiding the lava to each set of red crystals until you reach the end, where you will find the trinket.
Trinket #3 - Lace Glove. This trinket is obtained by defeating Dugin twice. He is an optional boss that can appear in either the final screen of Western Wilds, just before heading down to the Backwaters area, or in the rightmost screen of Southern Outskirts. He can spawn in the same area both times. Defeat him once, complete the next main story tower, then return to find him again. Wherever you defeat him the second time, the collectible will count towards that area. Note that the collectible counter will show one less total in the area where you do not get it and one more where you do, so you will still reach 100% in both areas.
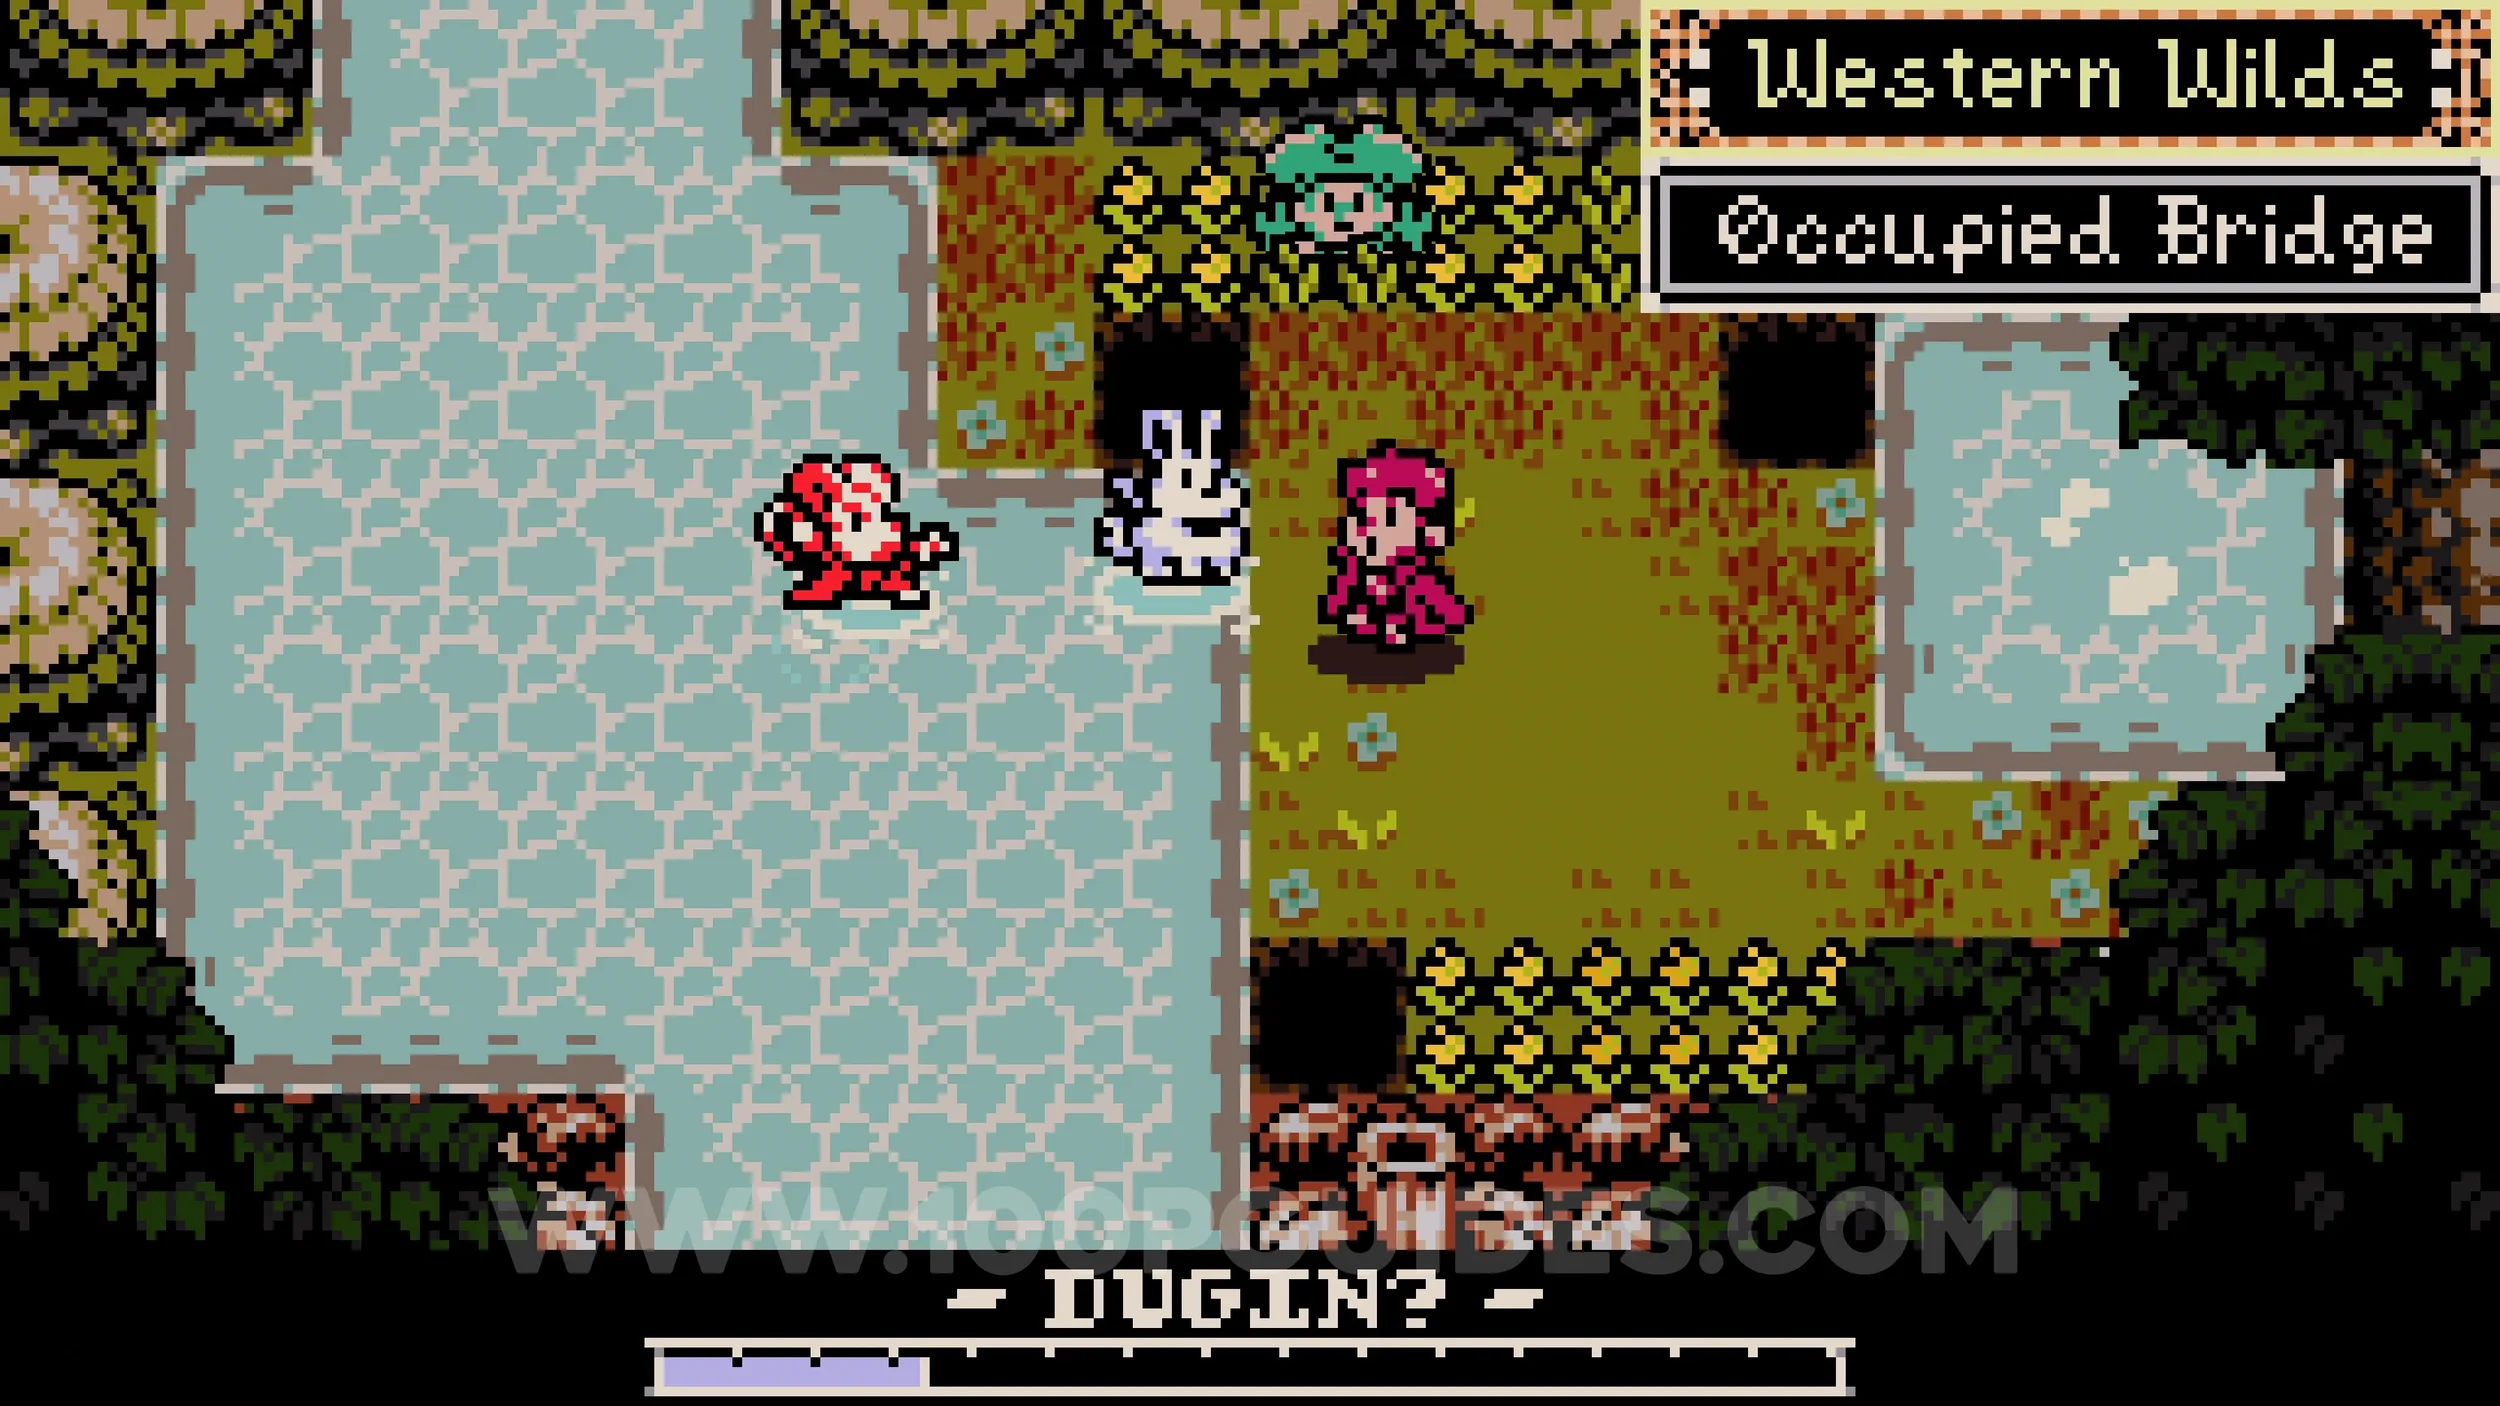
Kear #1, Lock #3 & Joule Box #1. These three collectibles are found in a secret cave beneath Western Wilds. You can get there by burrowing in one of the two small patches of water. Once where you fight Dugin, in the last screen of the area before Backwaters or the one in the first screen of Western Wilds when coming from Southern Outskirts. To cross the gap inside the cave, you will need a trinket or sidearm capable of crossing larger gaps, such as the Drill Driver sidearm from Eastern Heath.
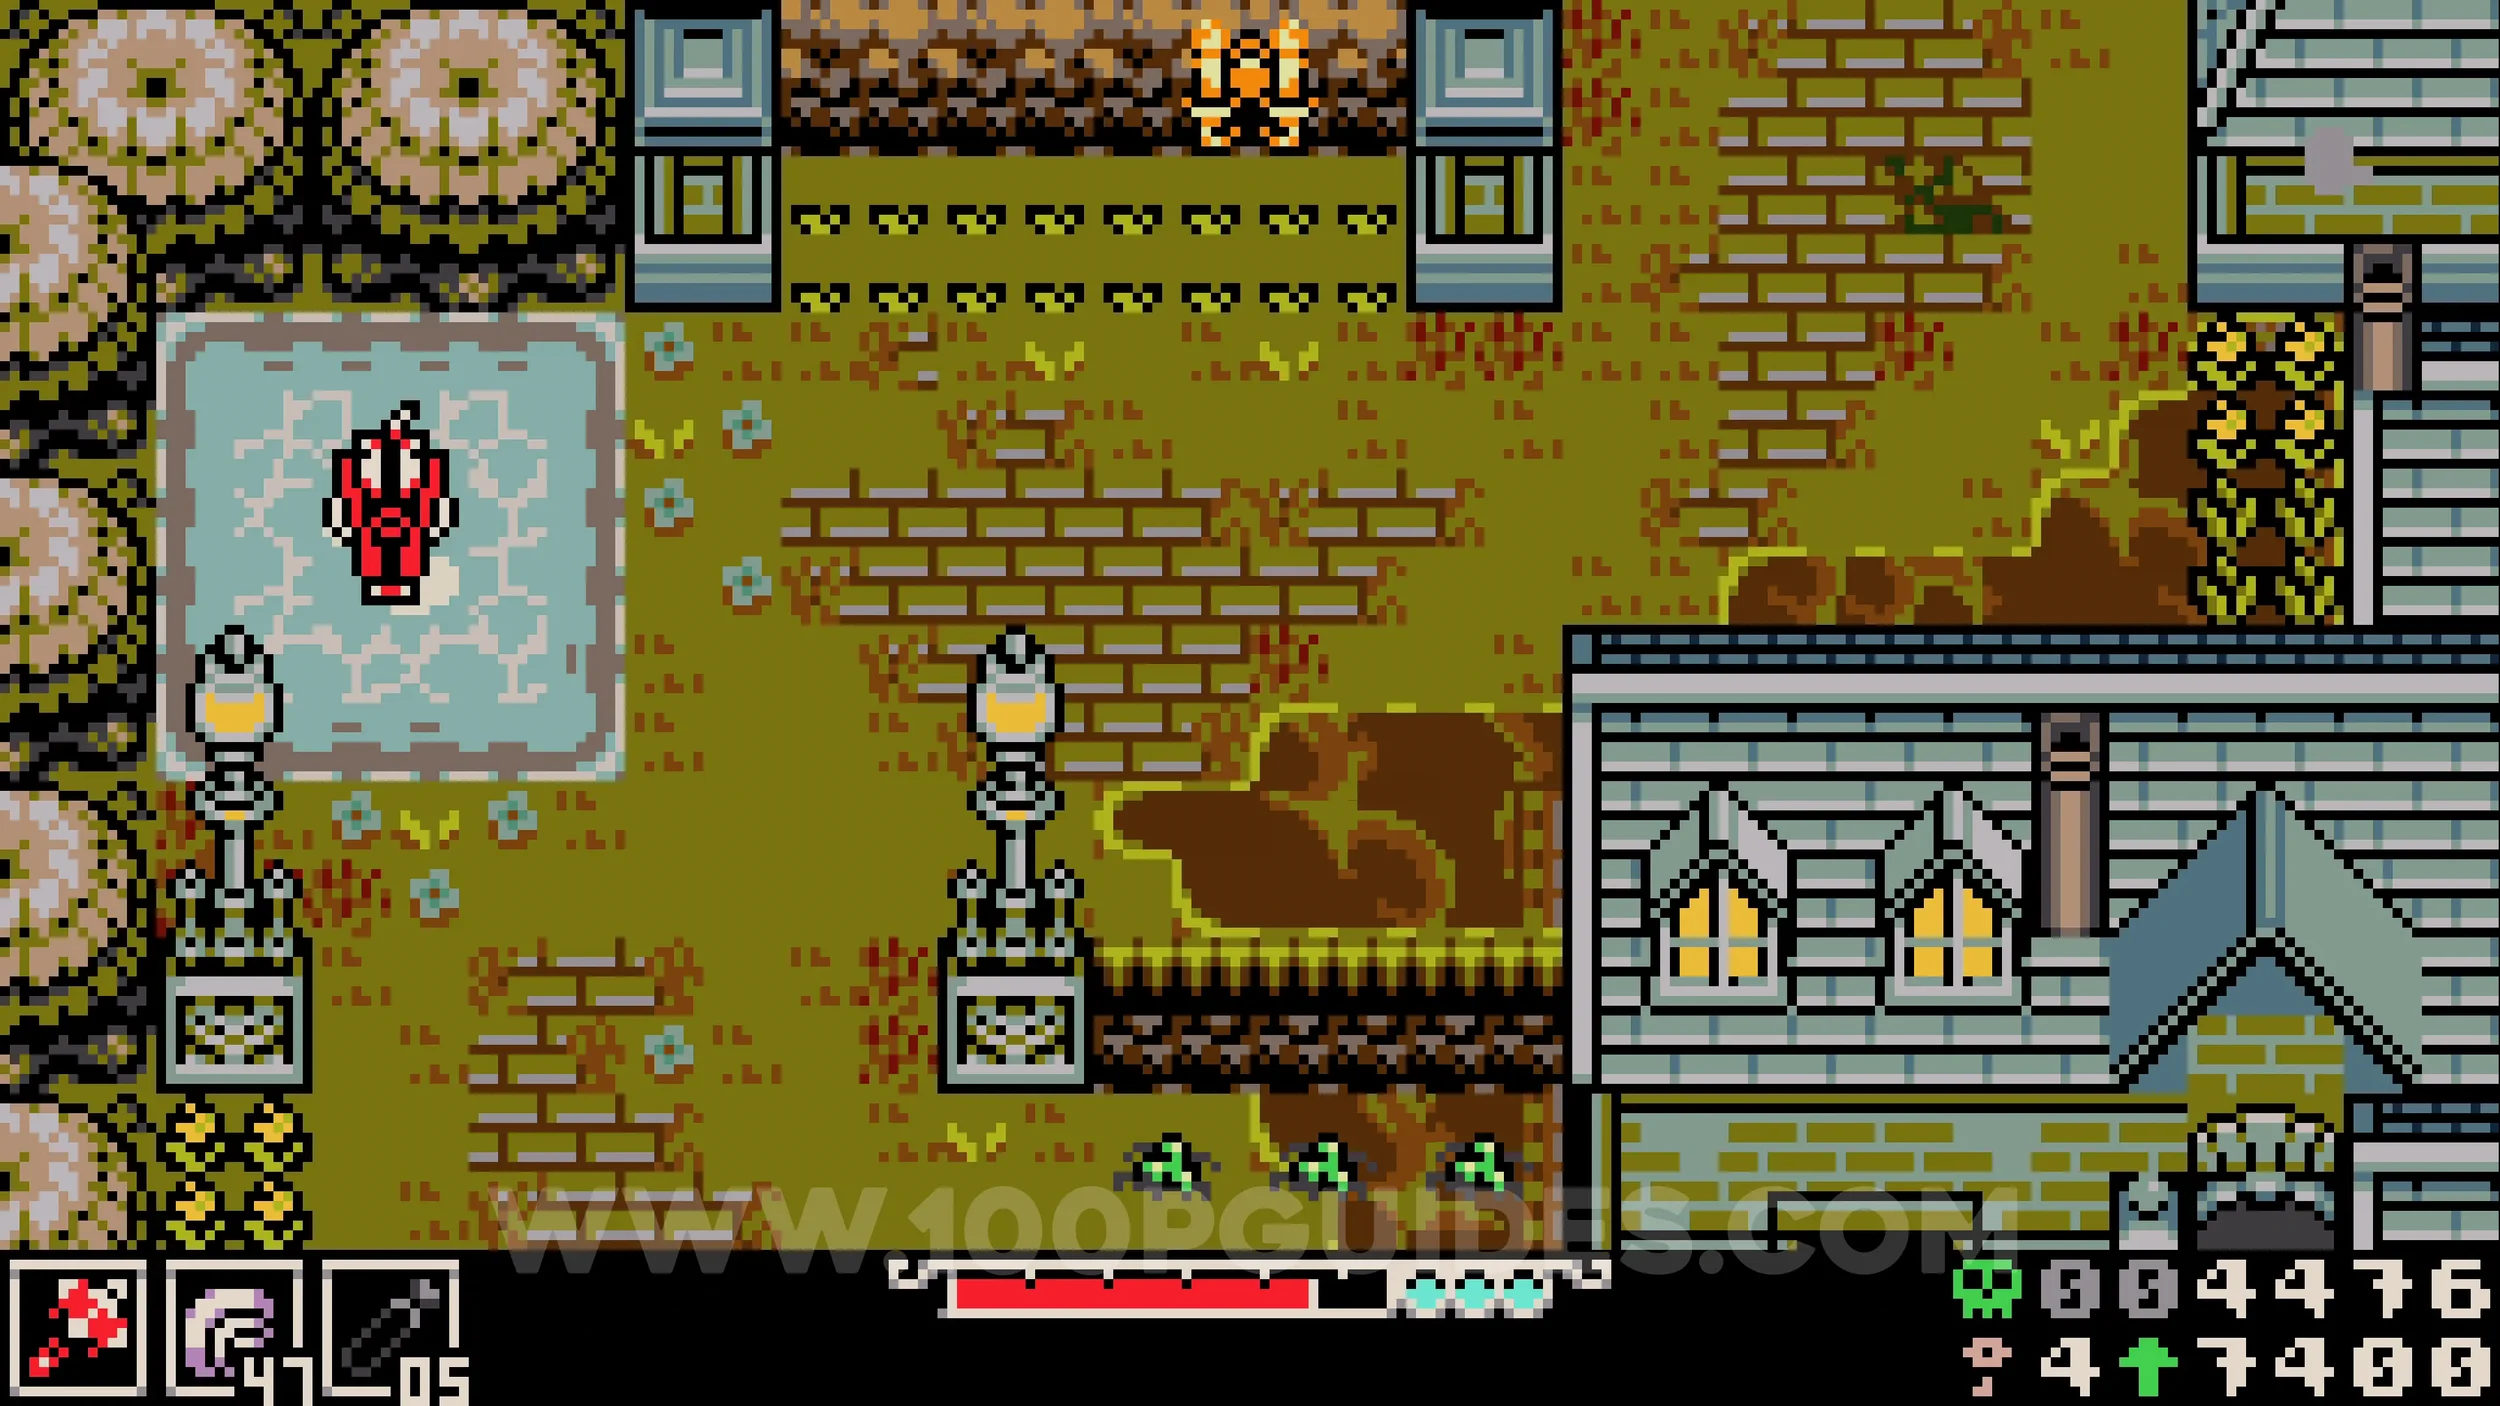
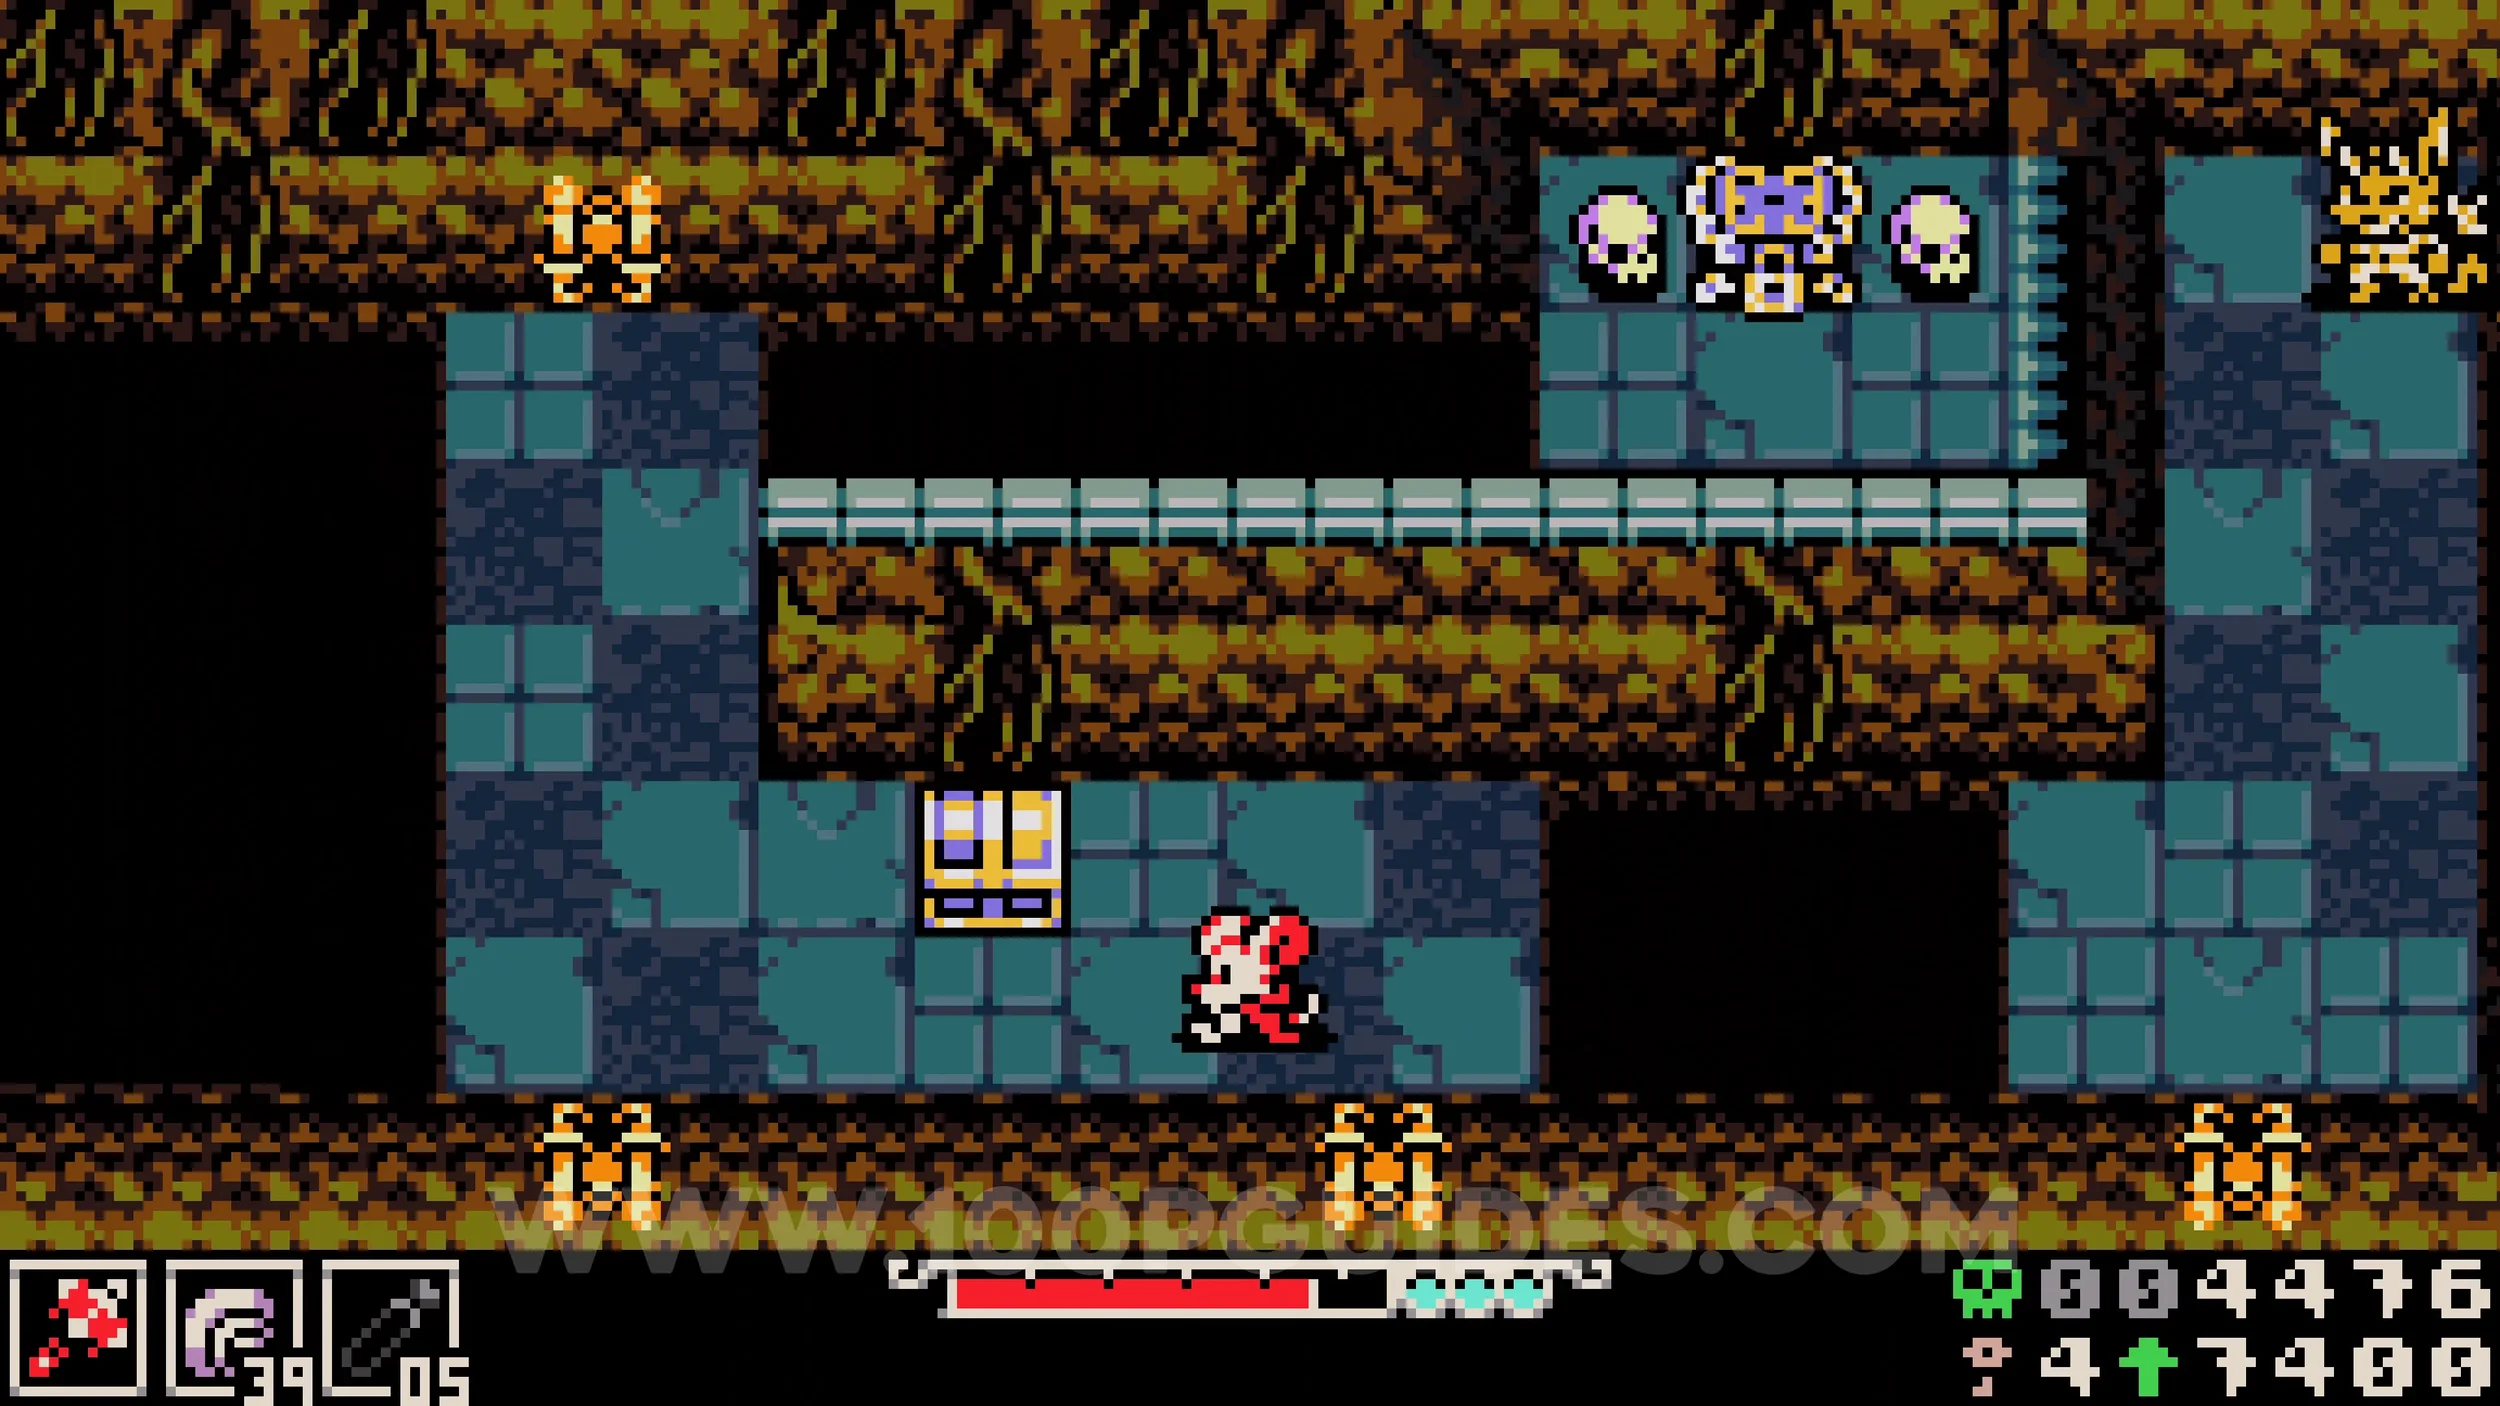
Trinket #4 - Dead Leaf. For this collectible you will first need to visit the Kindlewood area. Just after the Madd House boss you will enter a small village. As soon as you arrive, take the path up and then left to enter an overgrown green area, then exit it by heading south. You will fall next to a chest. Destroy the chest and land on the patch of leaves below to trigger a short cutscene with a leaf. After that, return to the leftmost side of Western Wilds, to the left of the lava area, and head north to the room where you found Bonestone #3. Talk to the leaf NPCs there to receive the trinket.
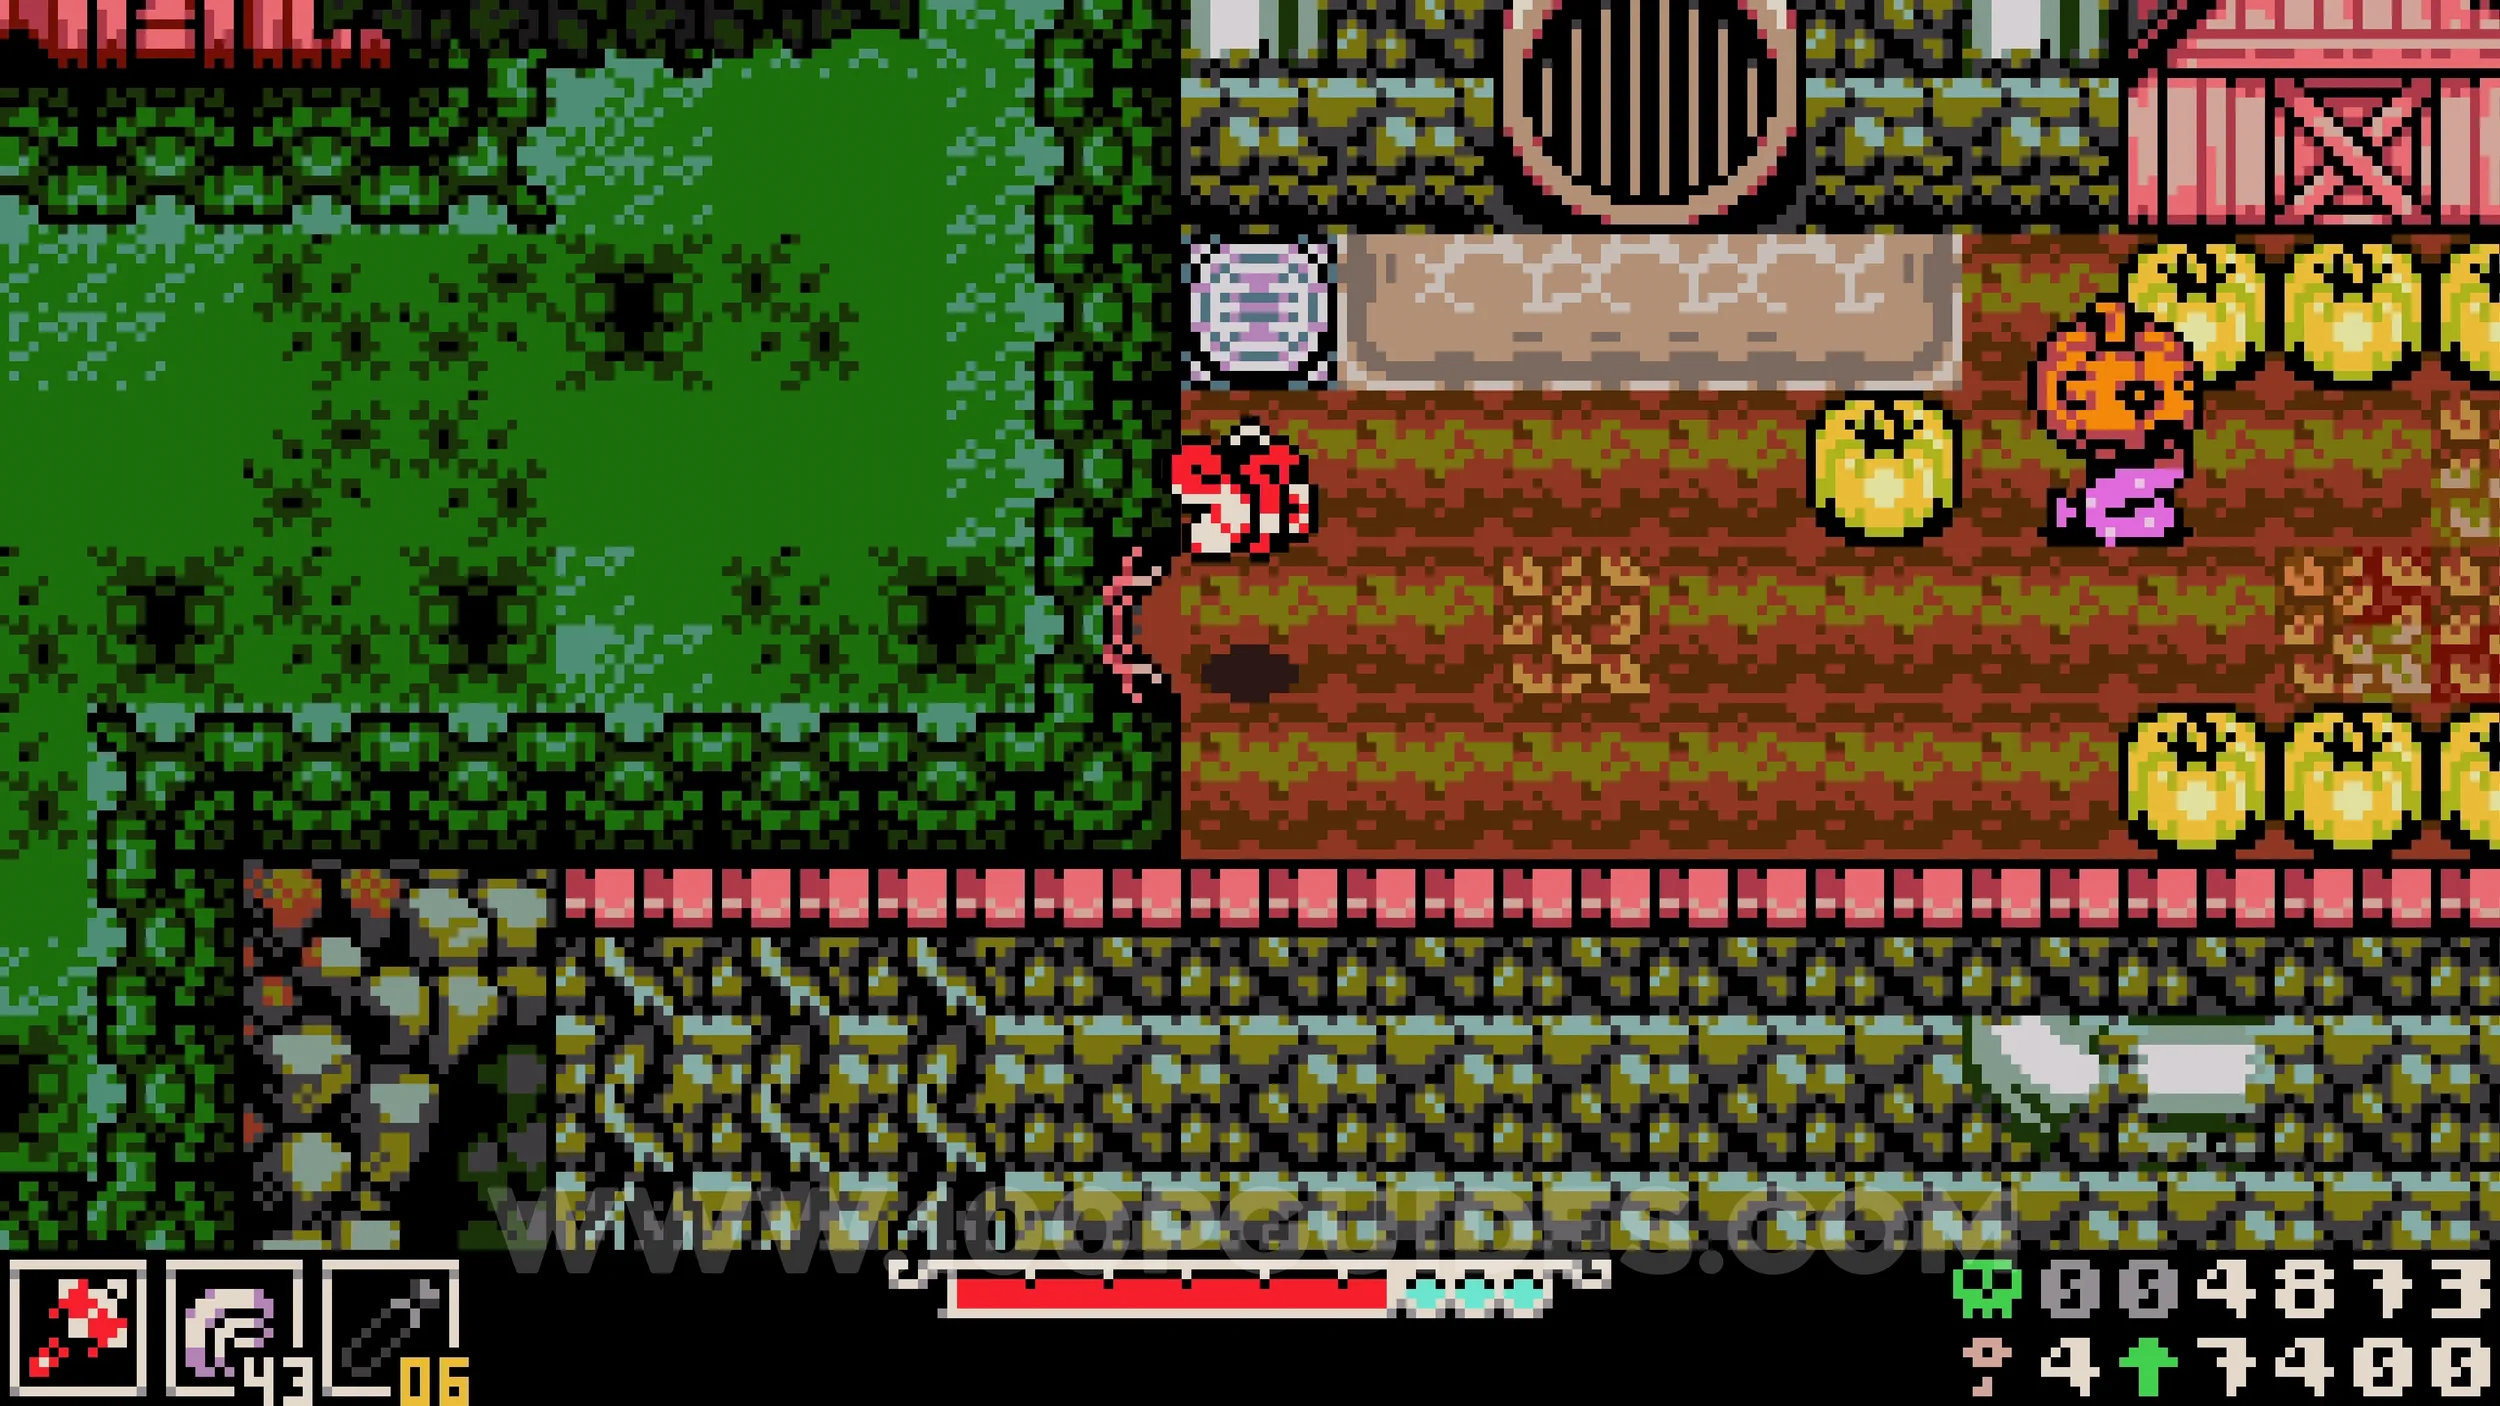
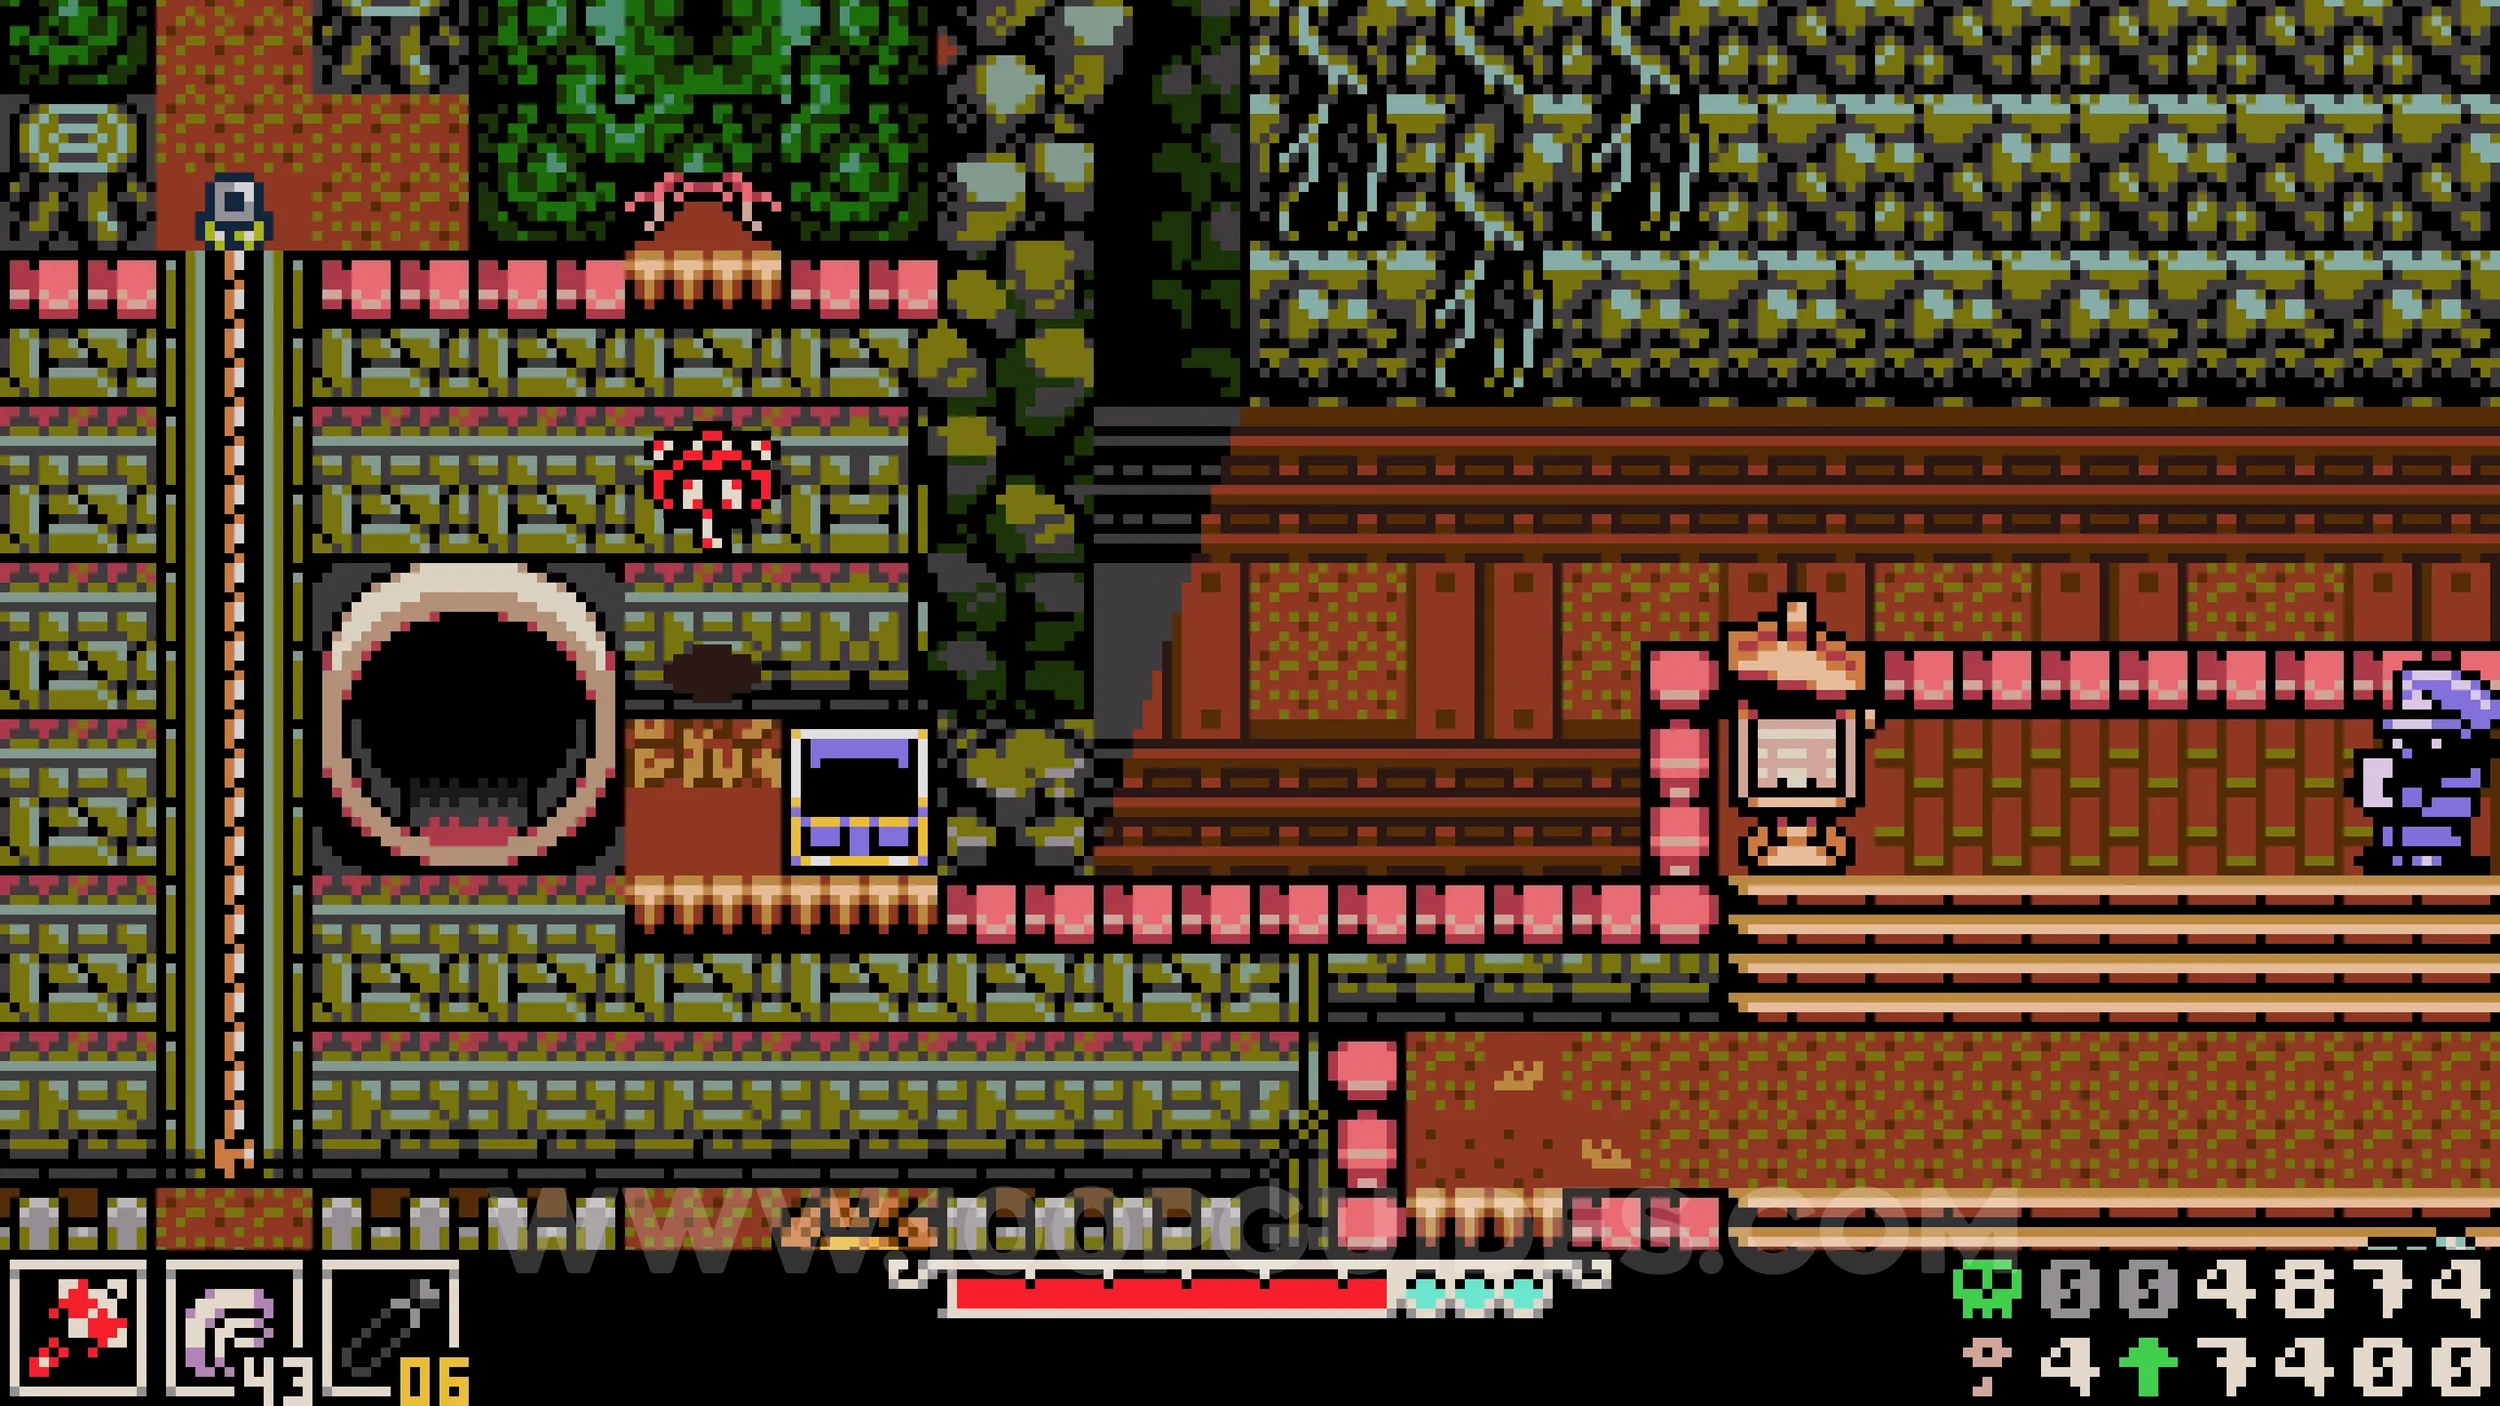
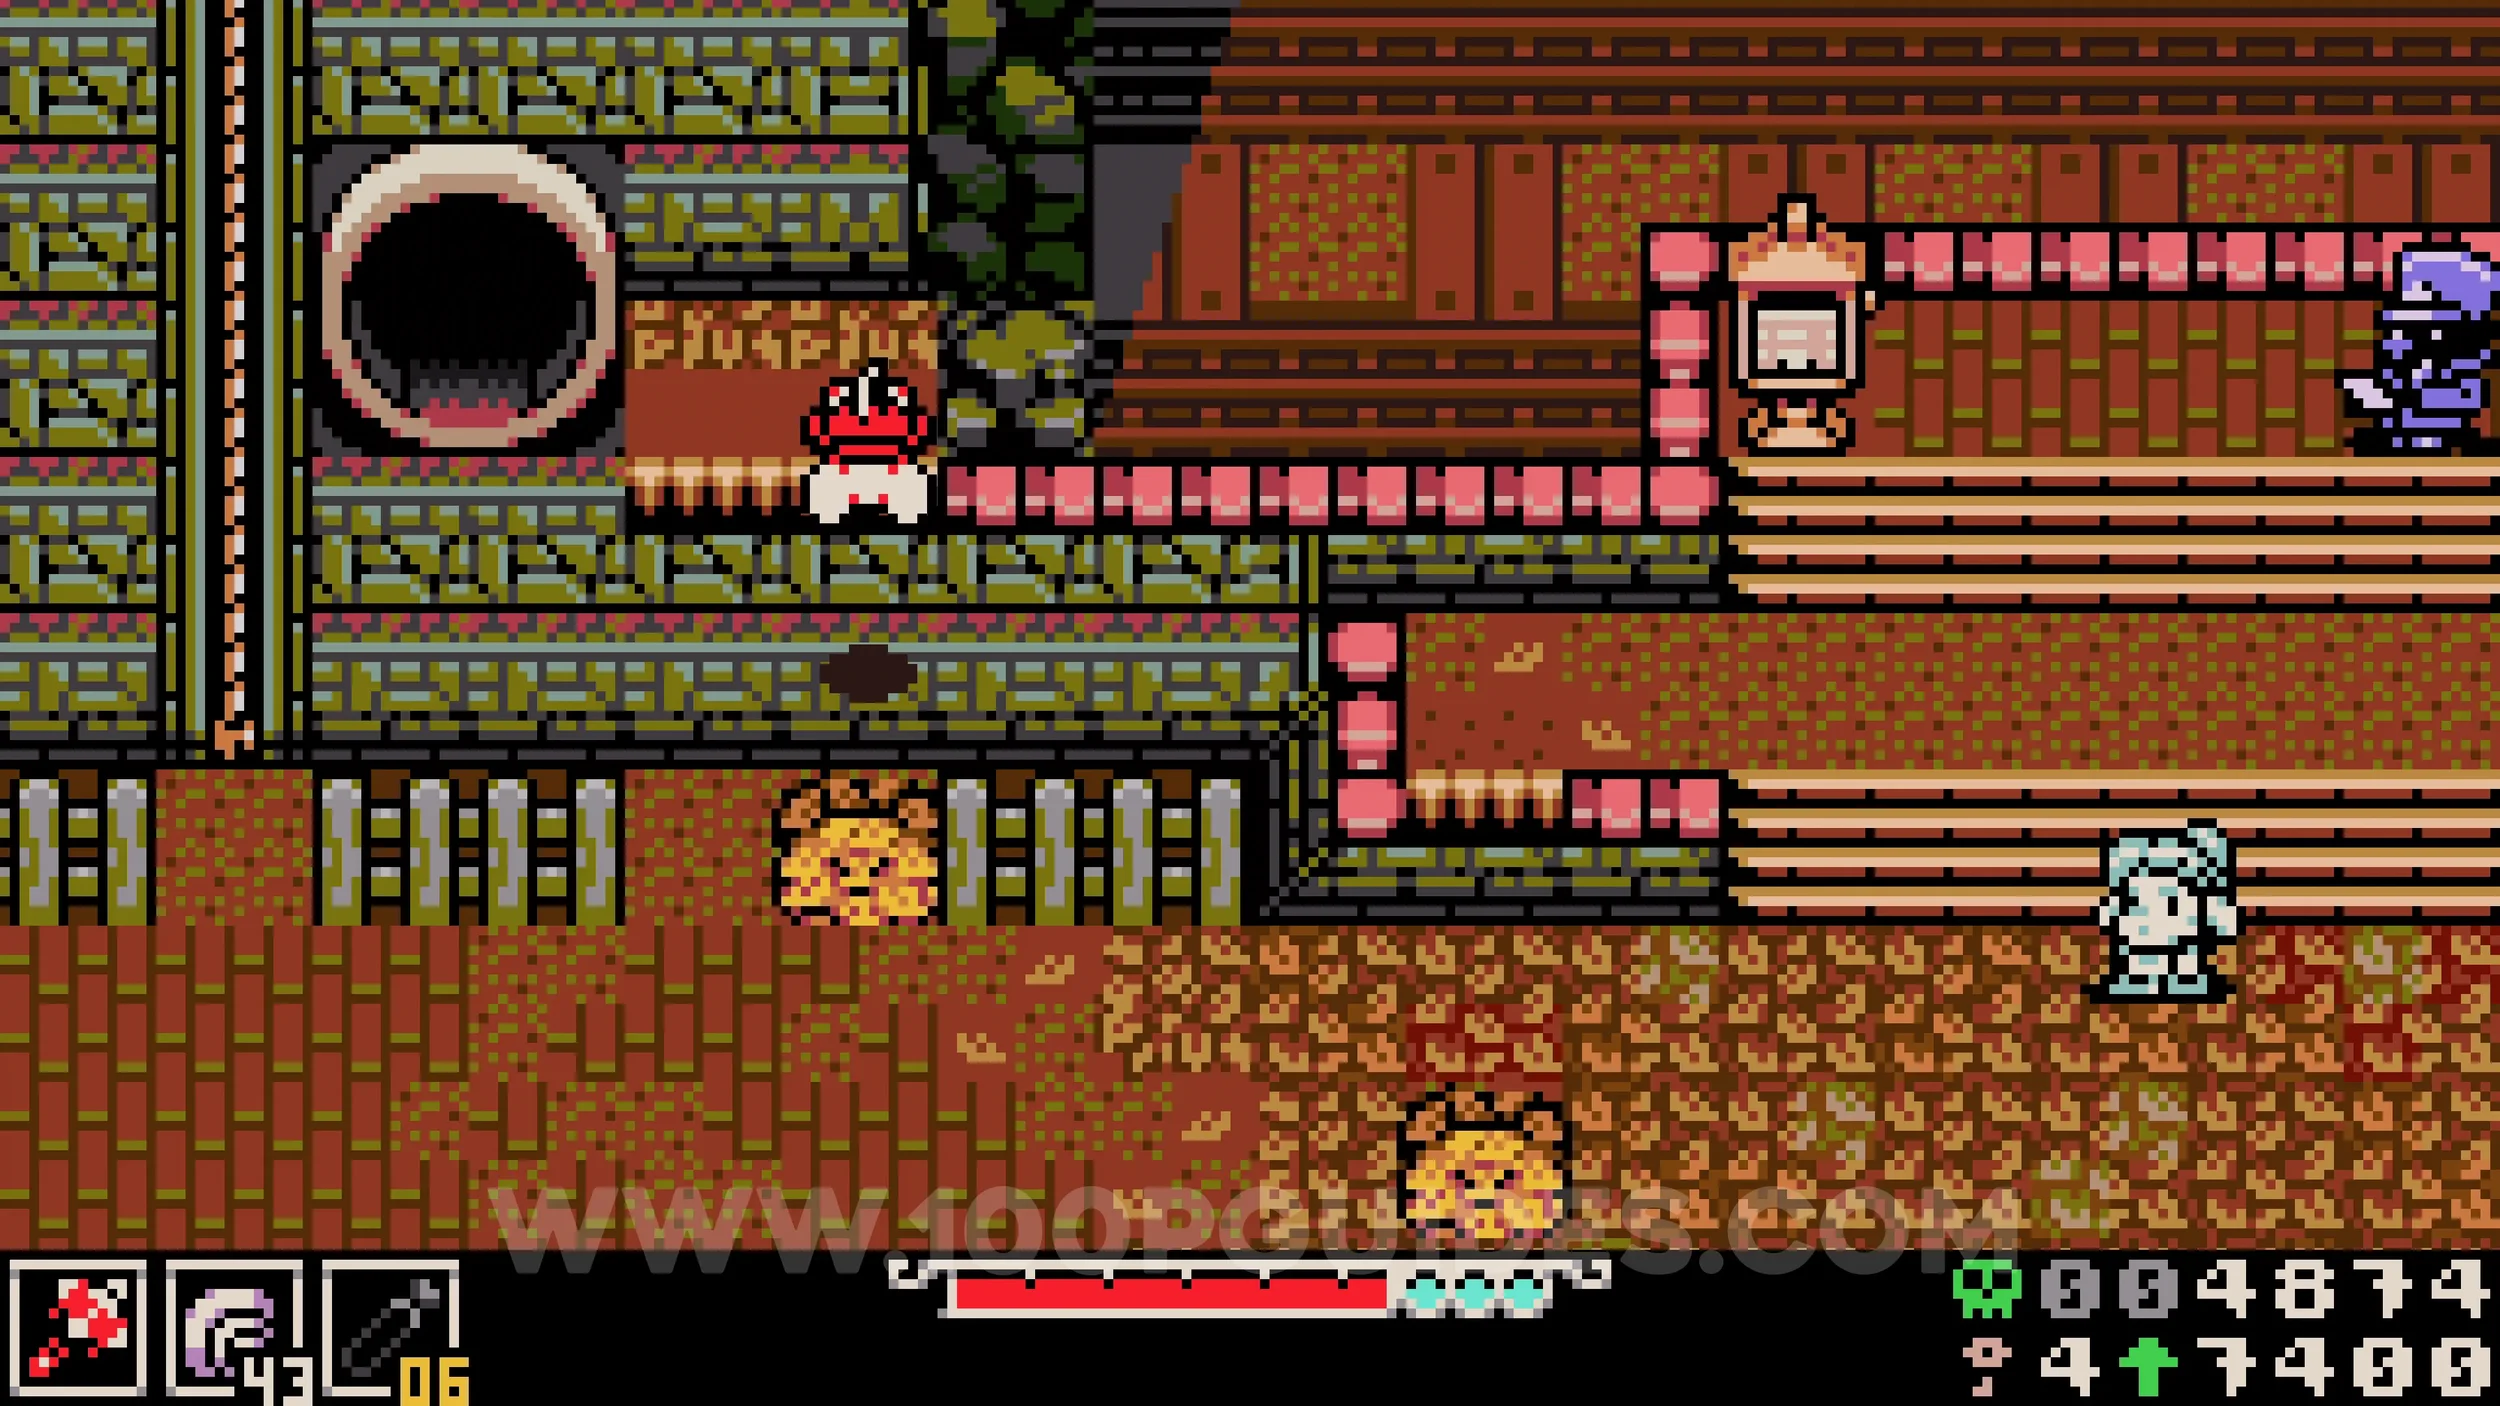
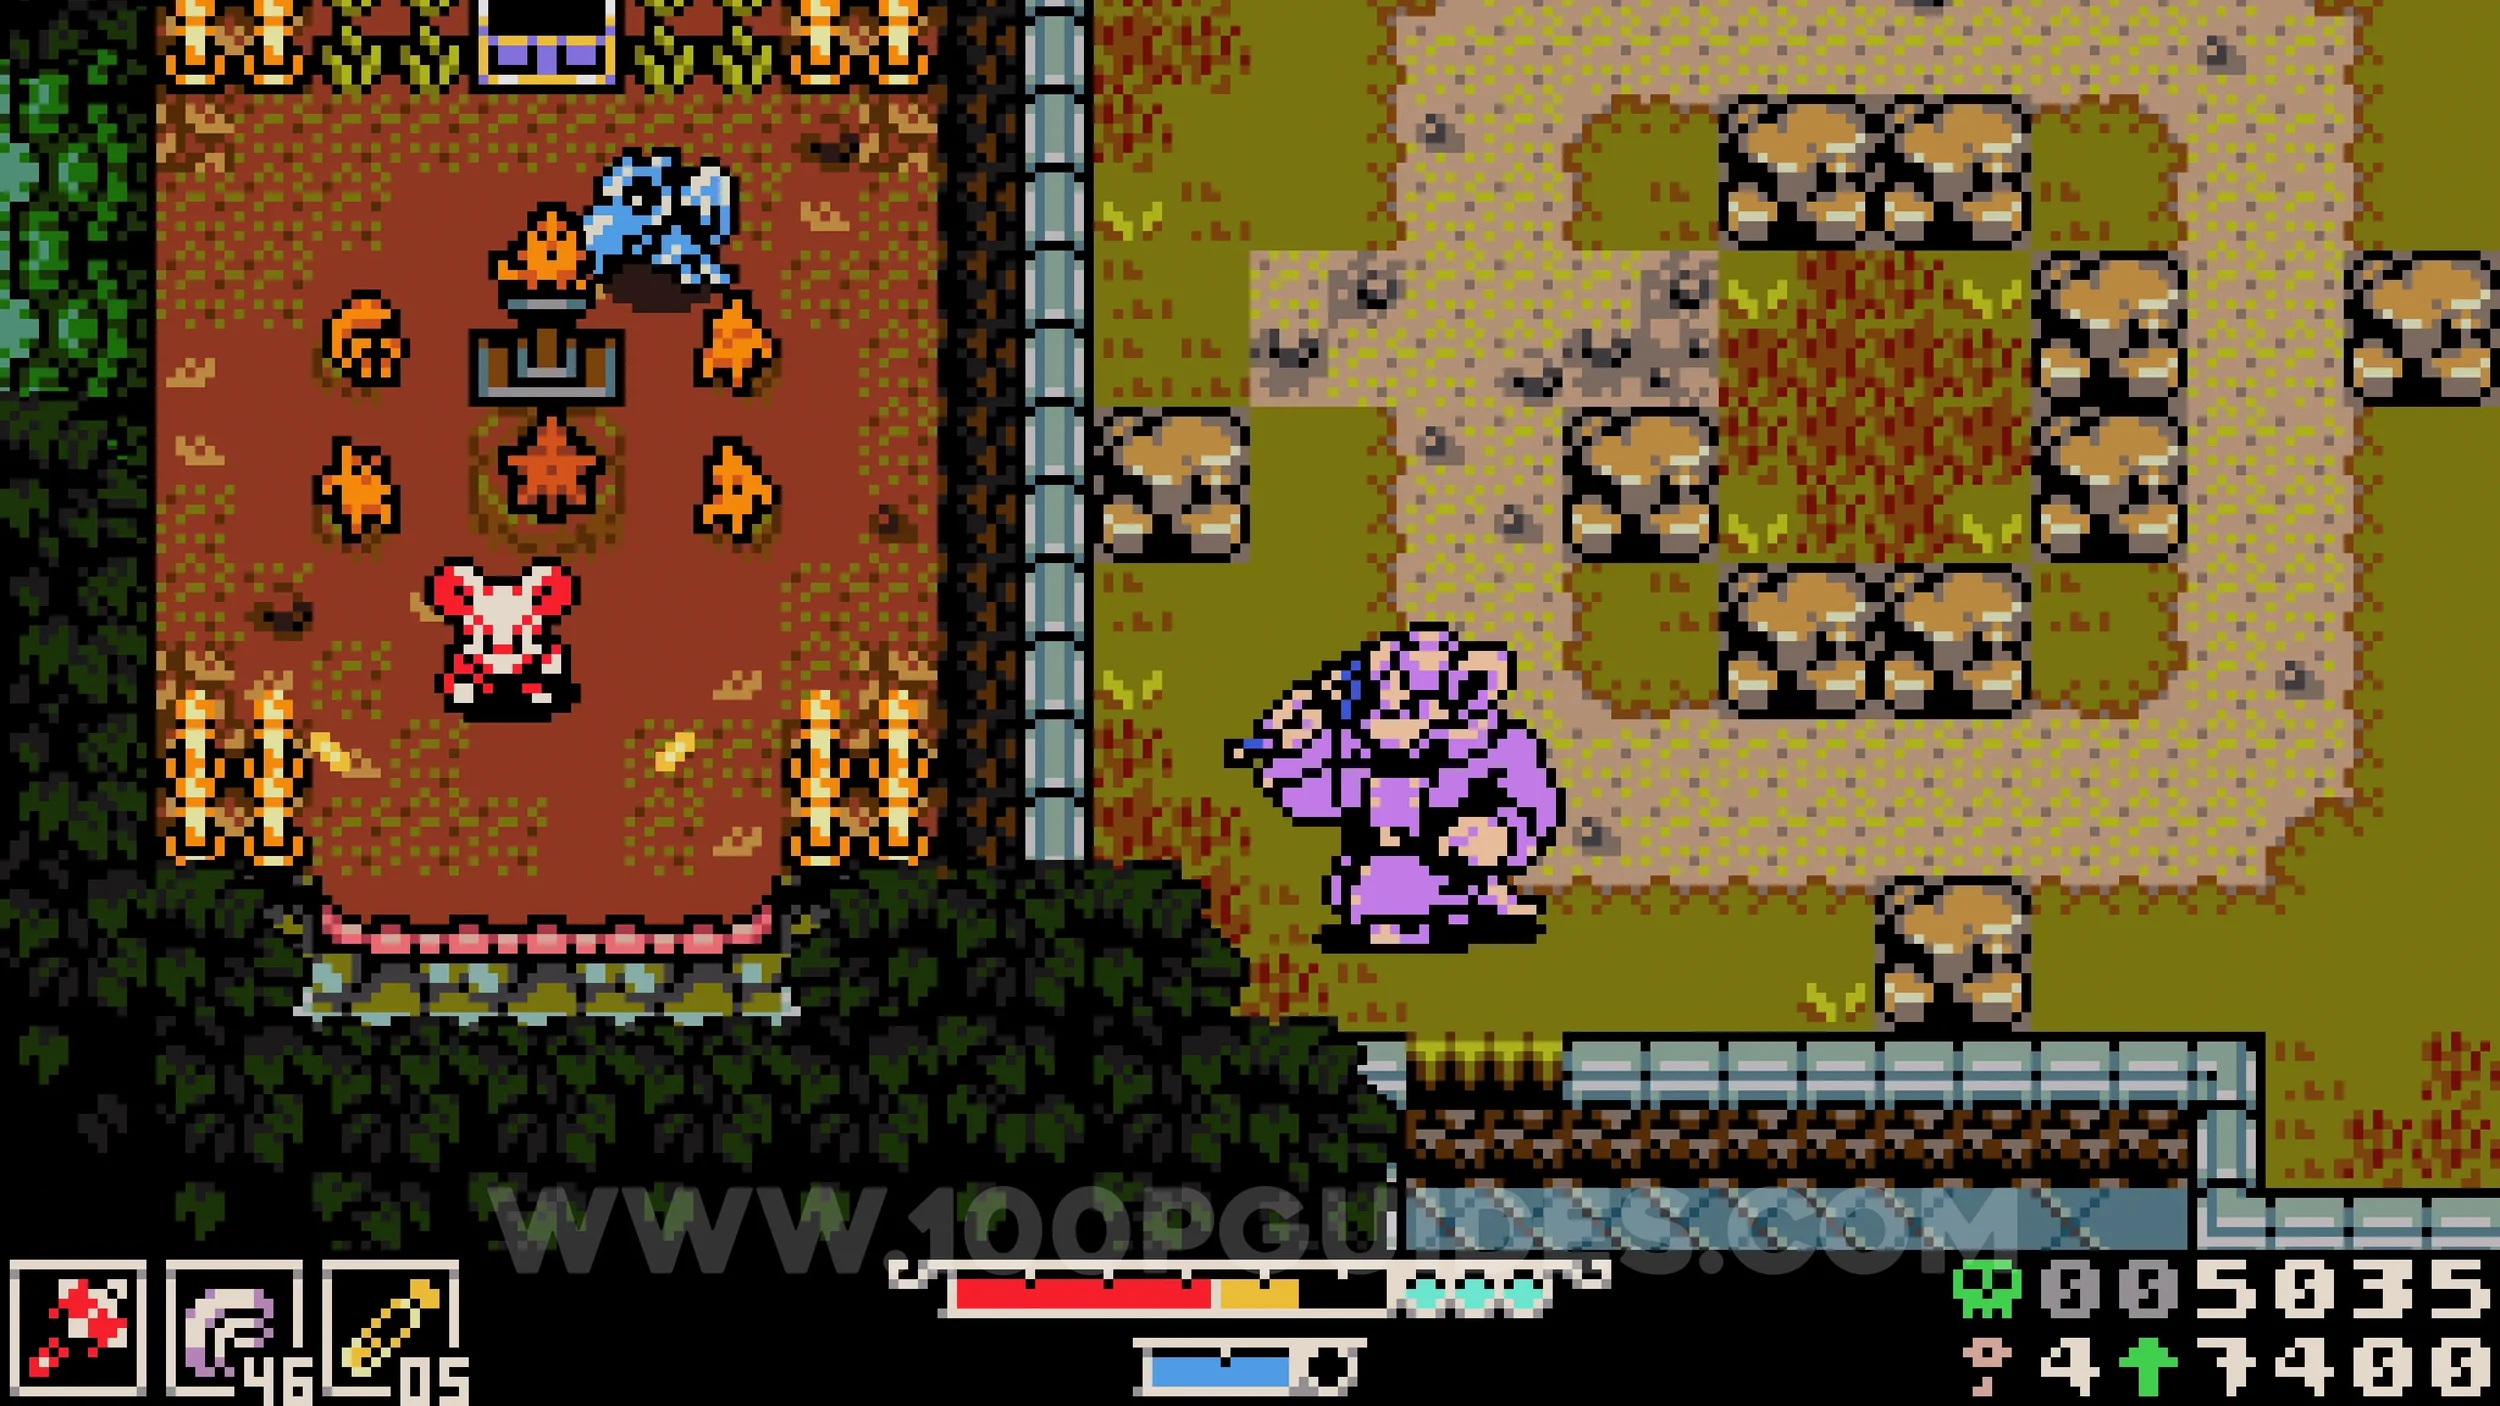
Fish #1. Found in the water where you fight Dugin in the final screen of Western Wilds before entering Backwaters.
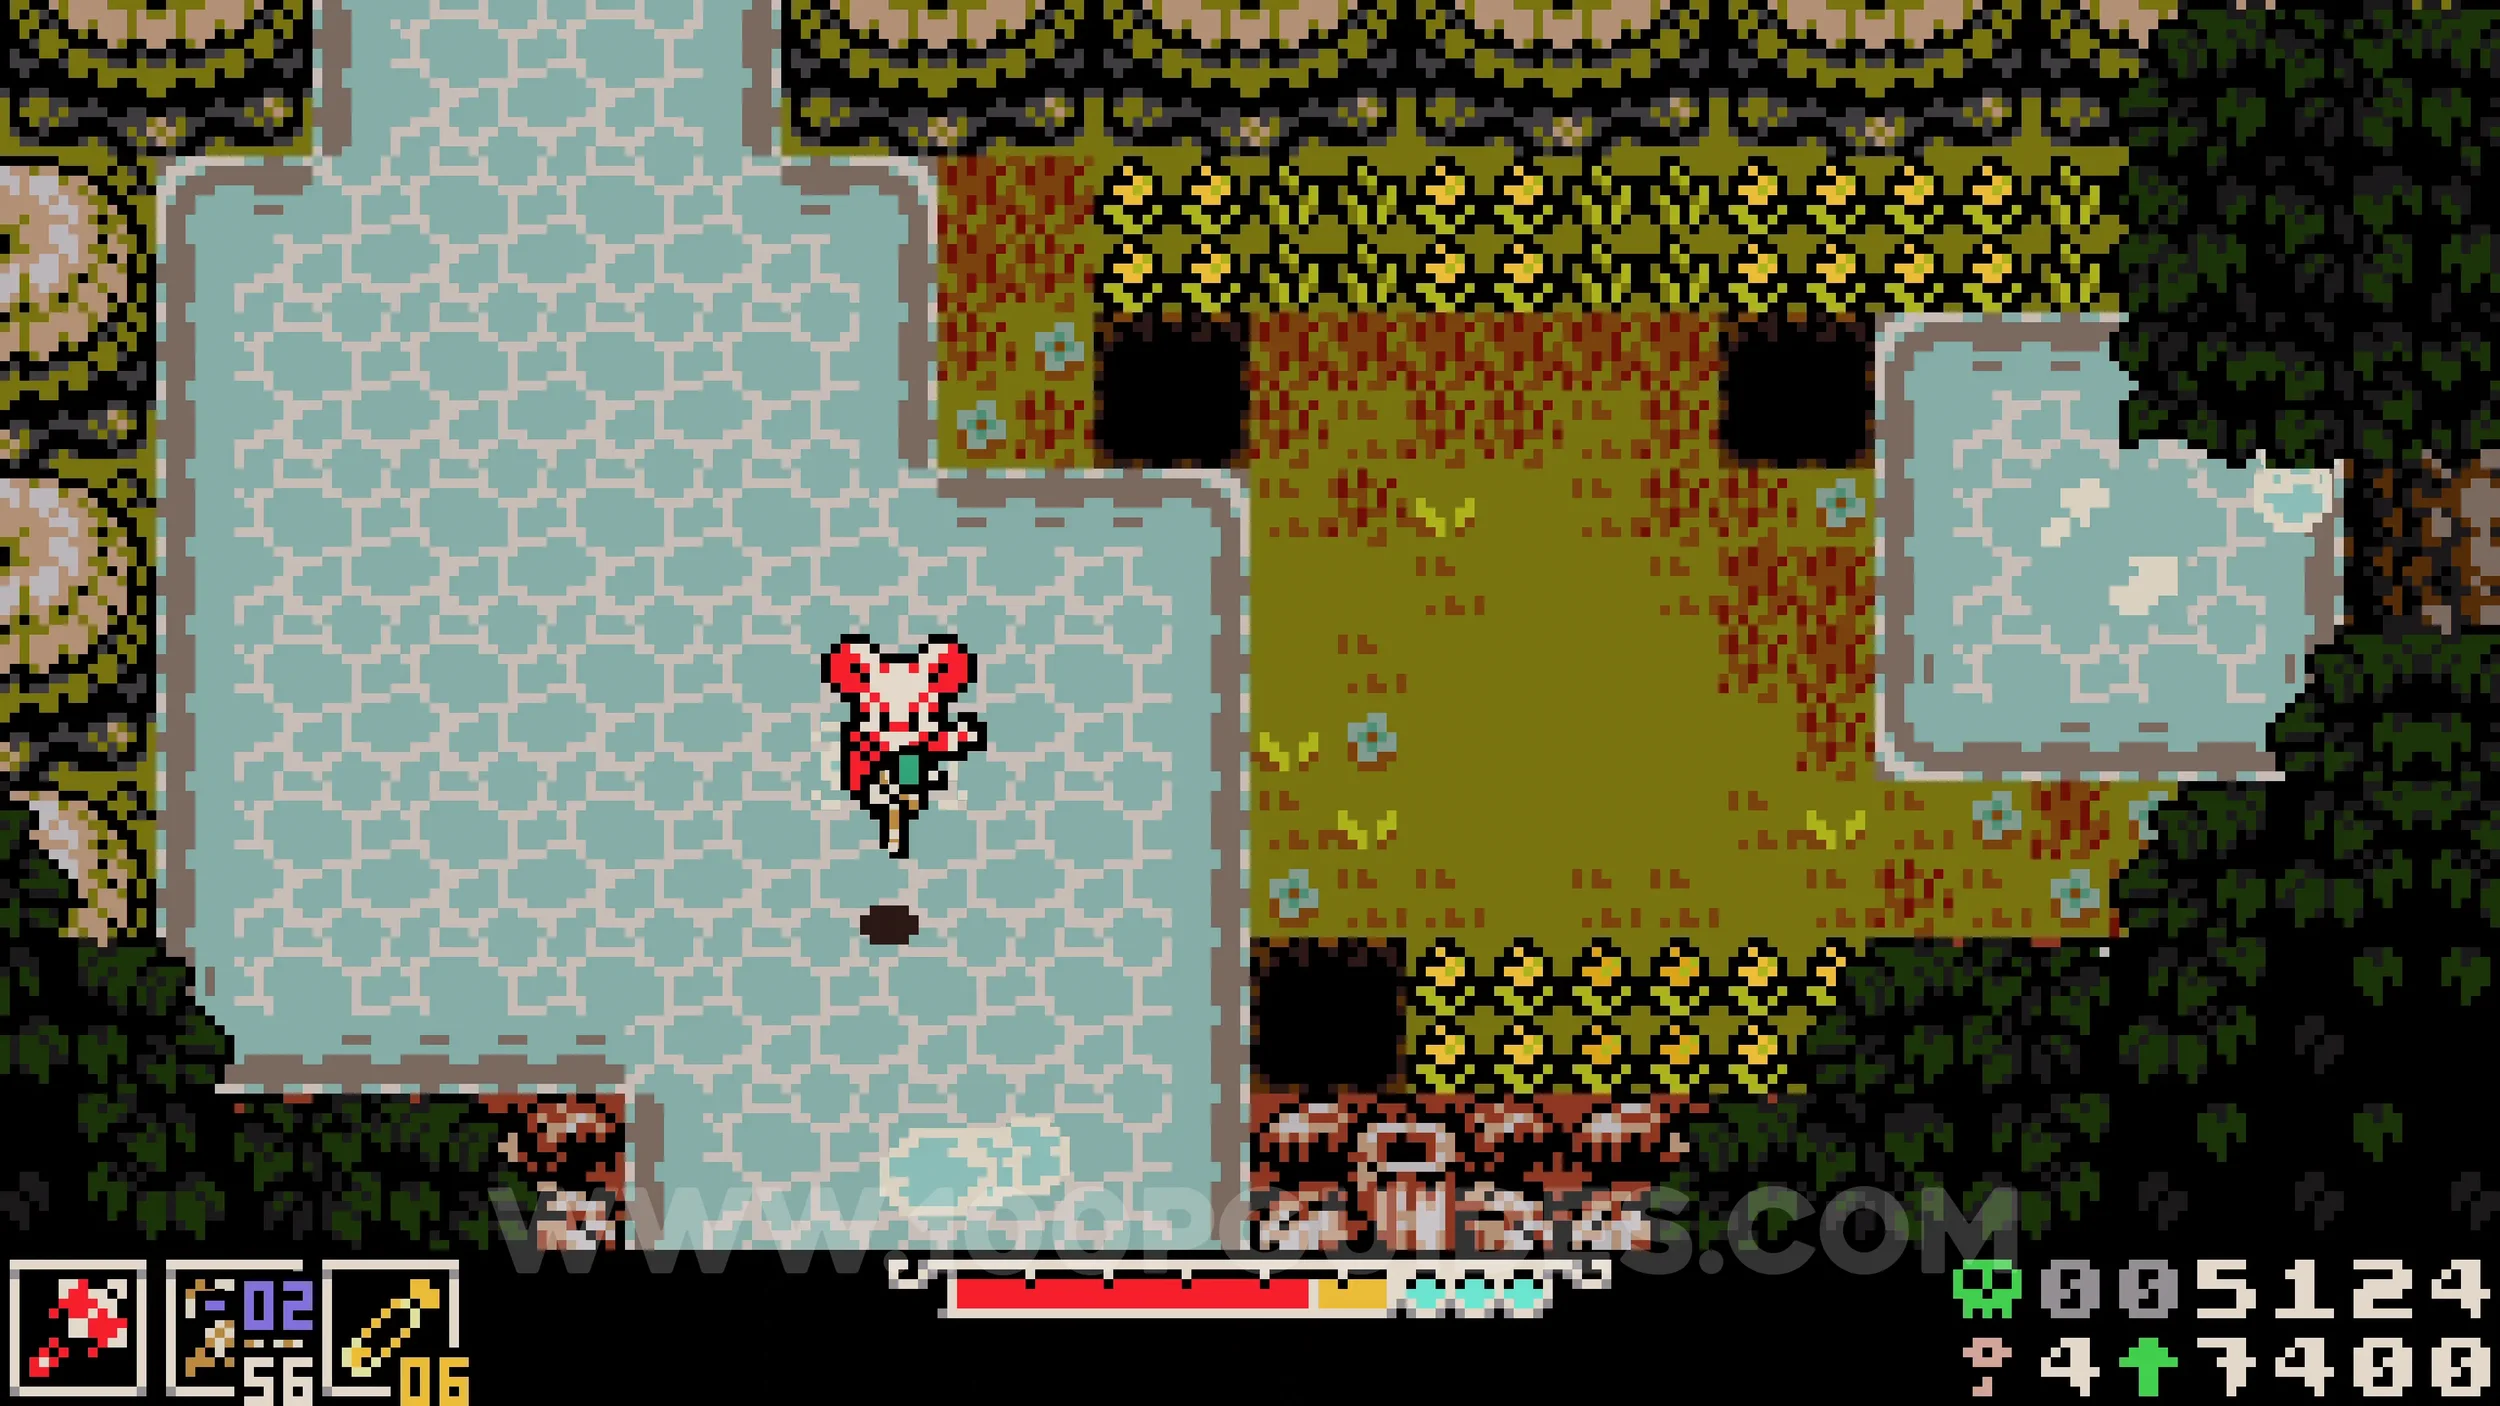
Fish #2. Found in the streams of lava in the outside area of Western Wilds. Watch carefully for the fish silhouette on the sides of the lava streams.
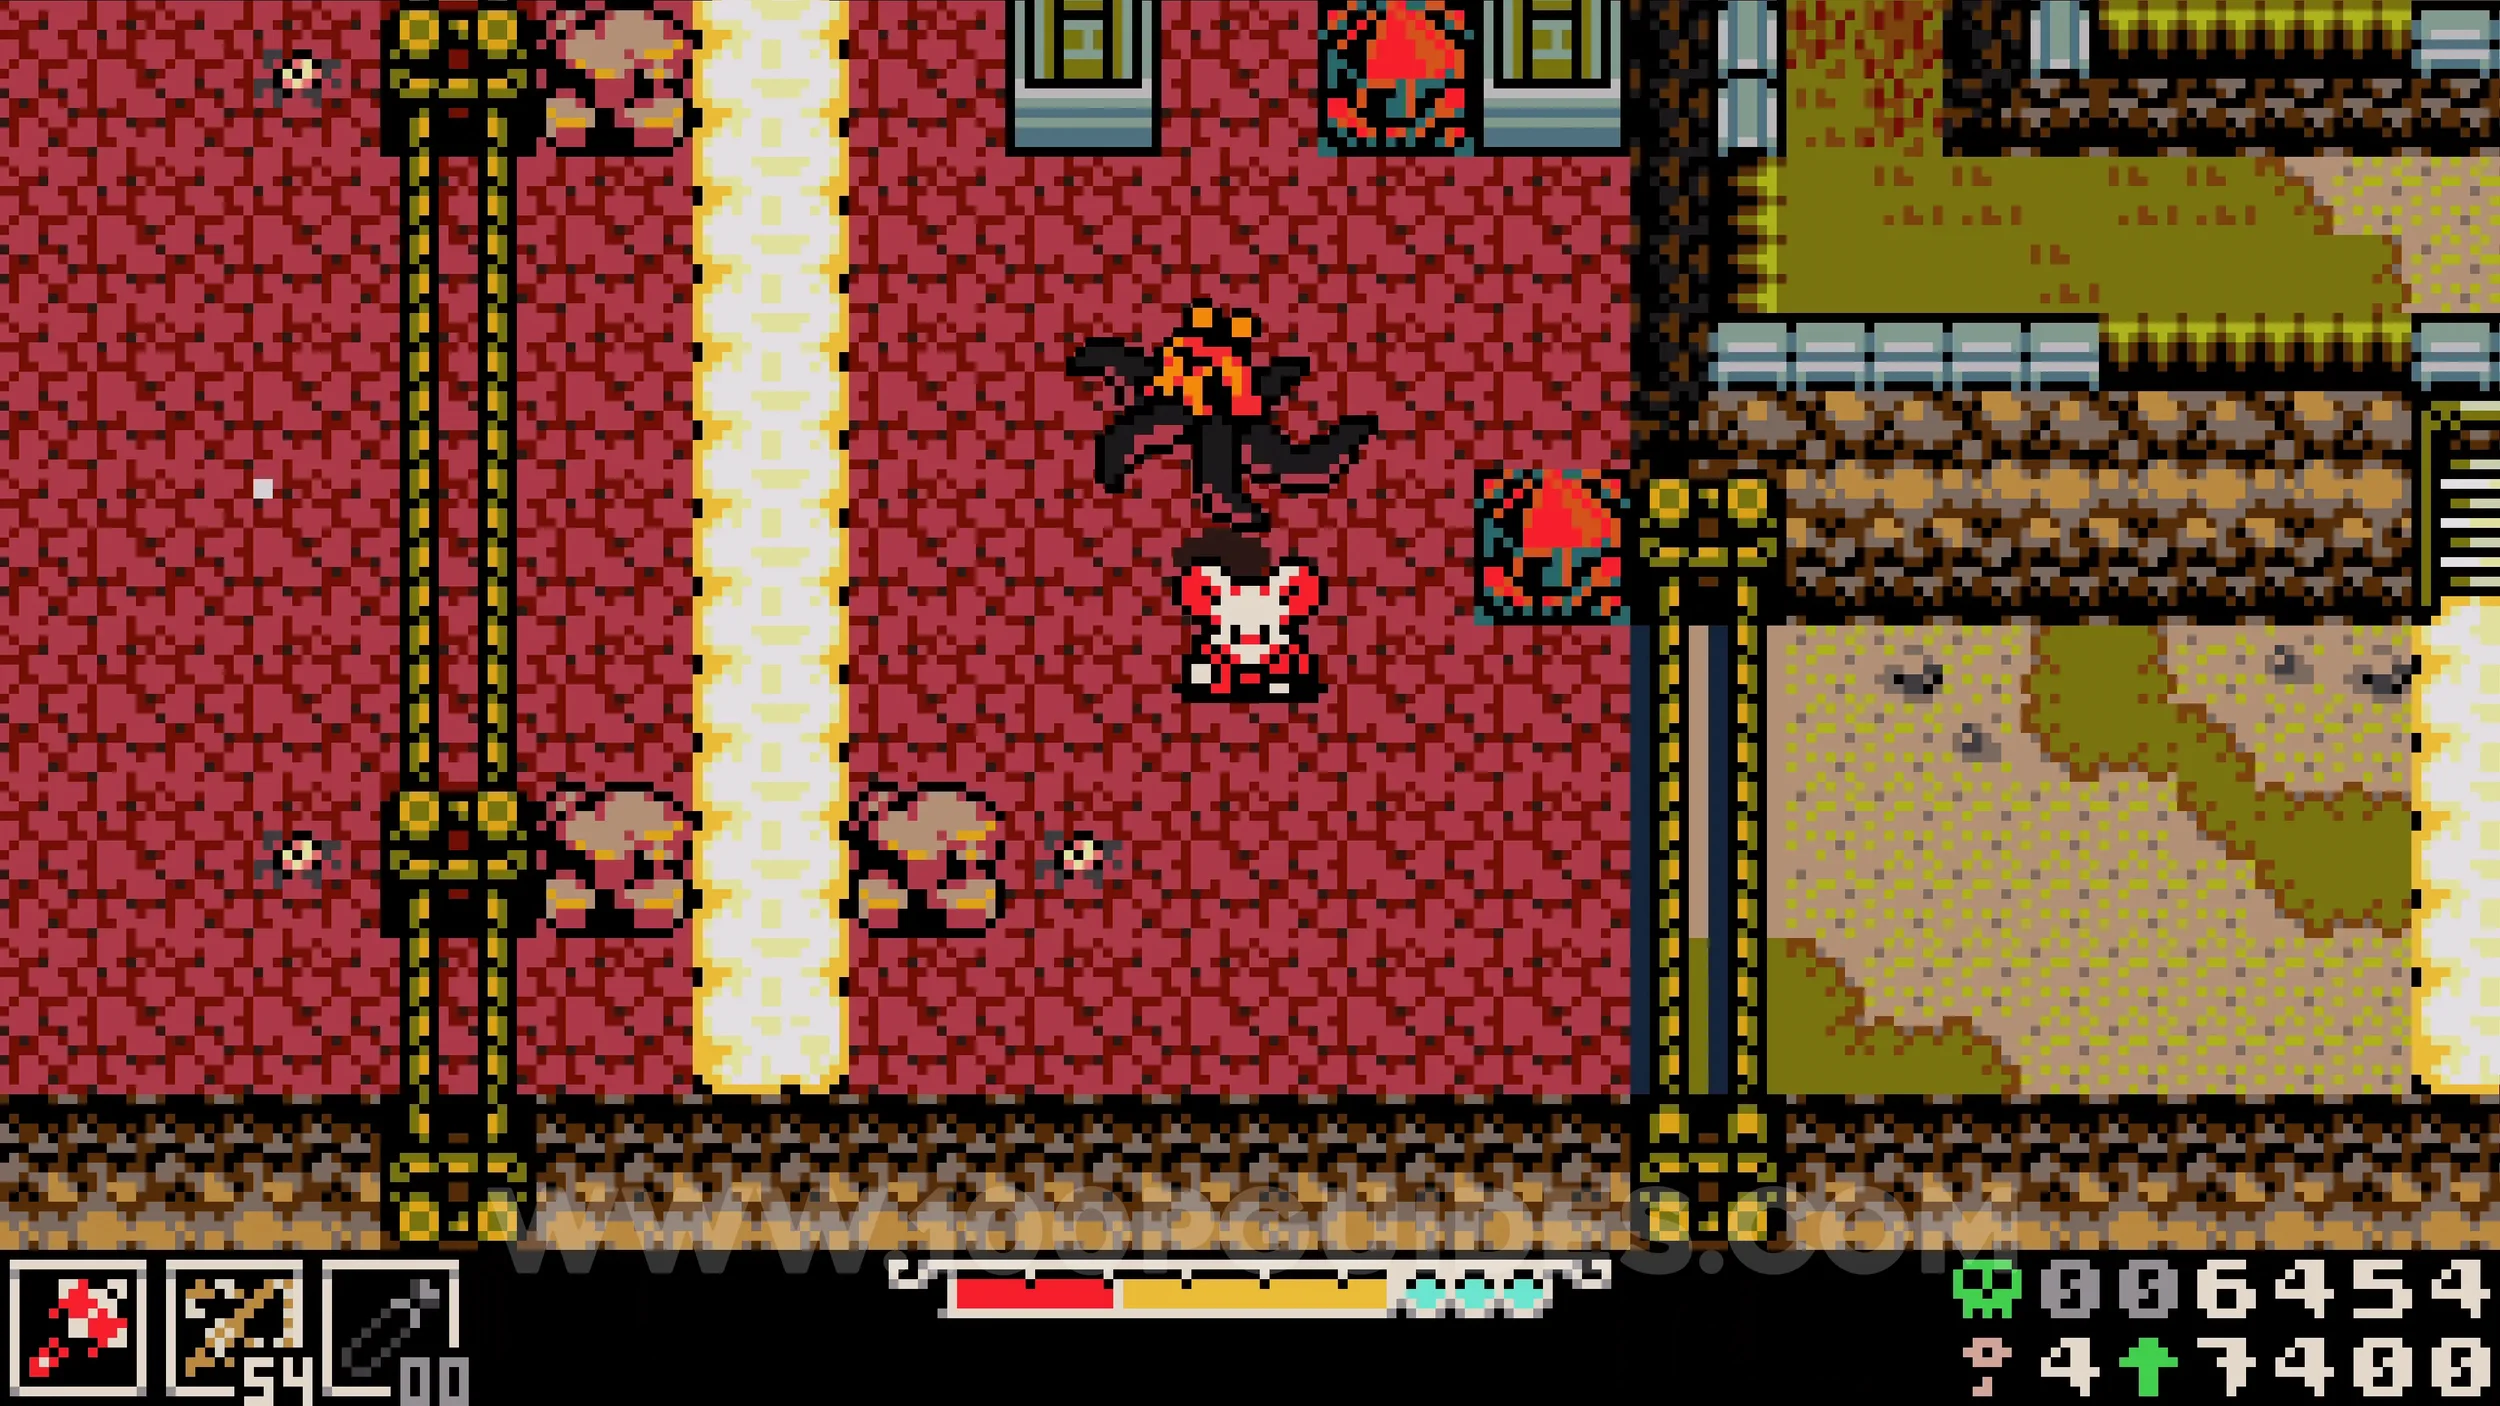
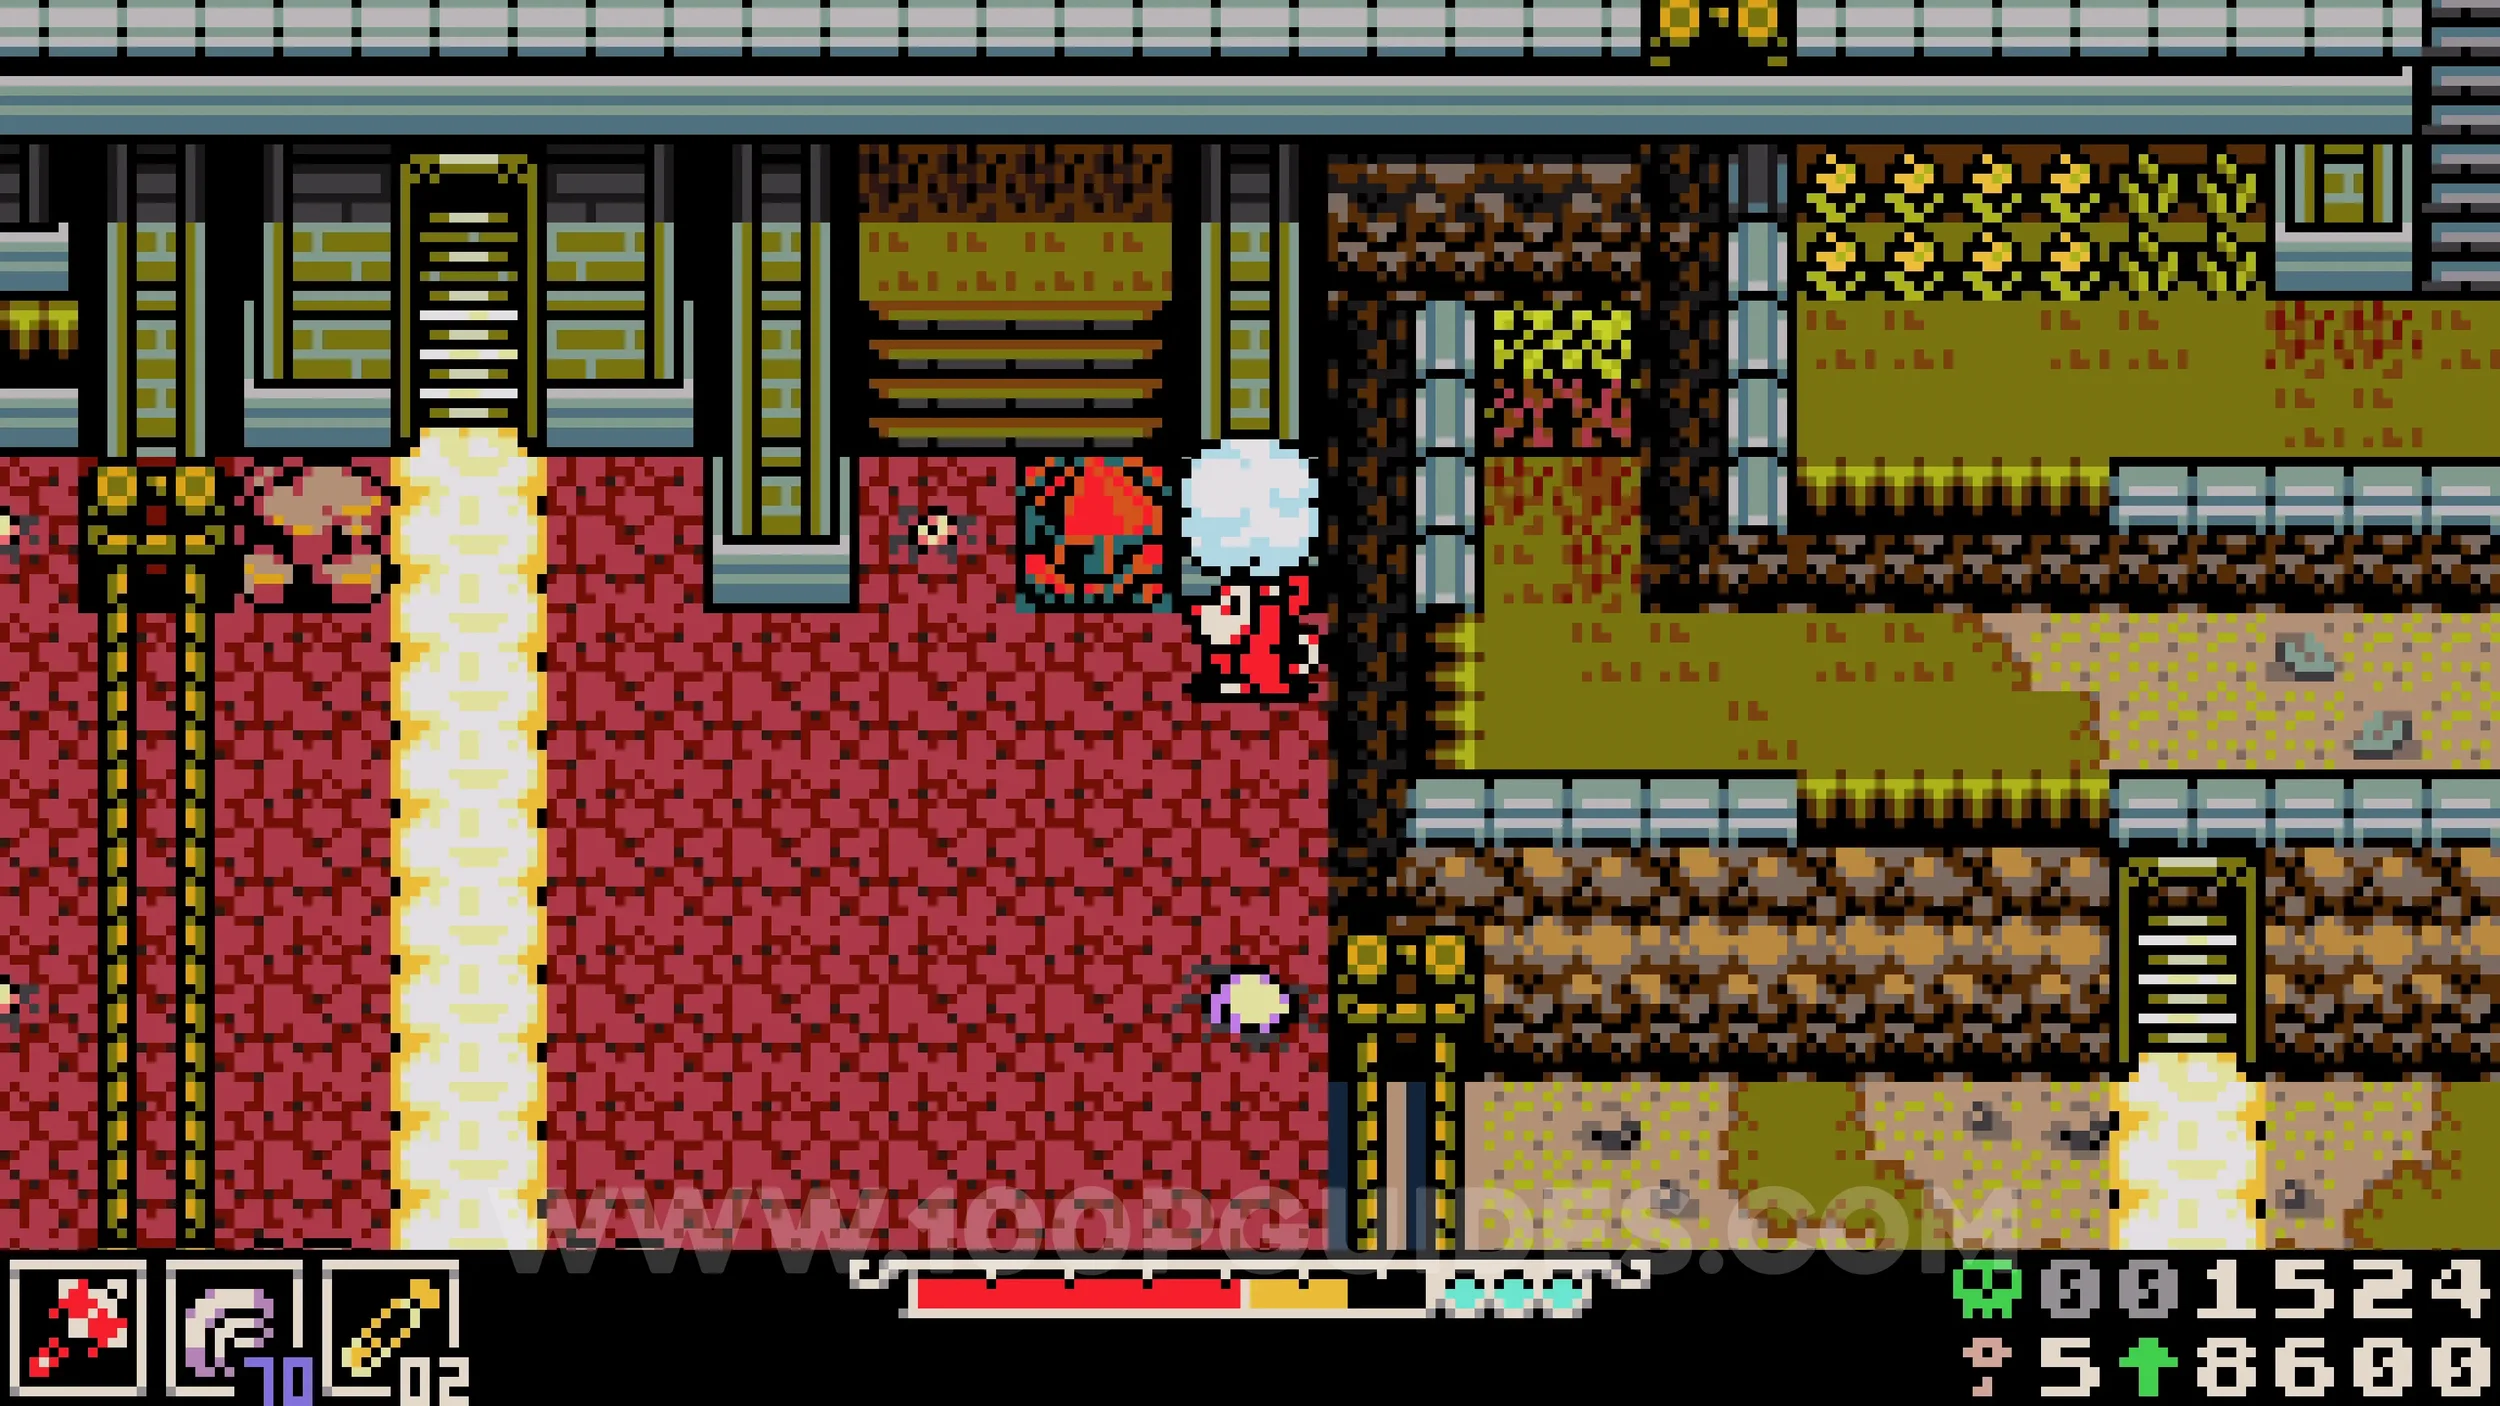
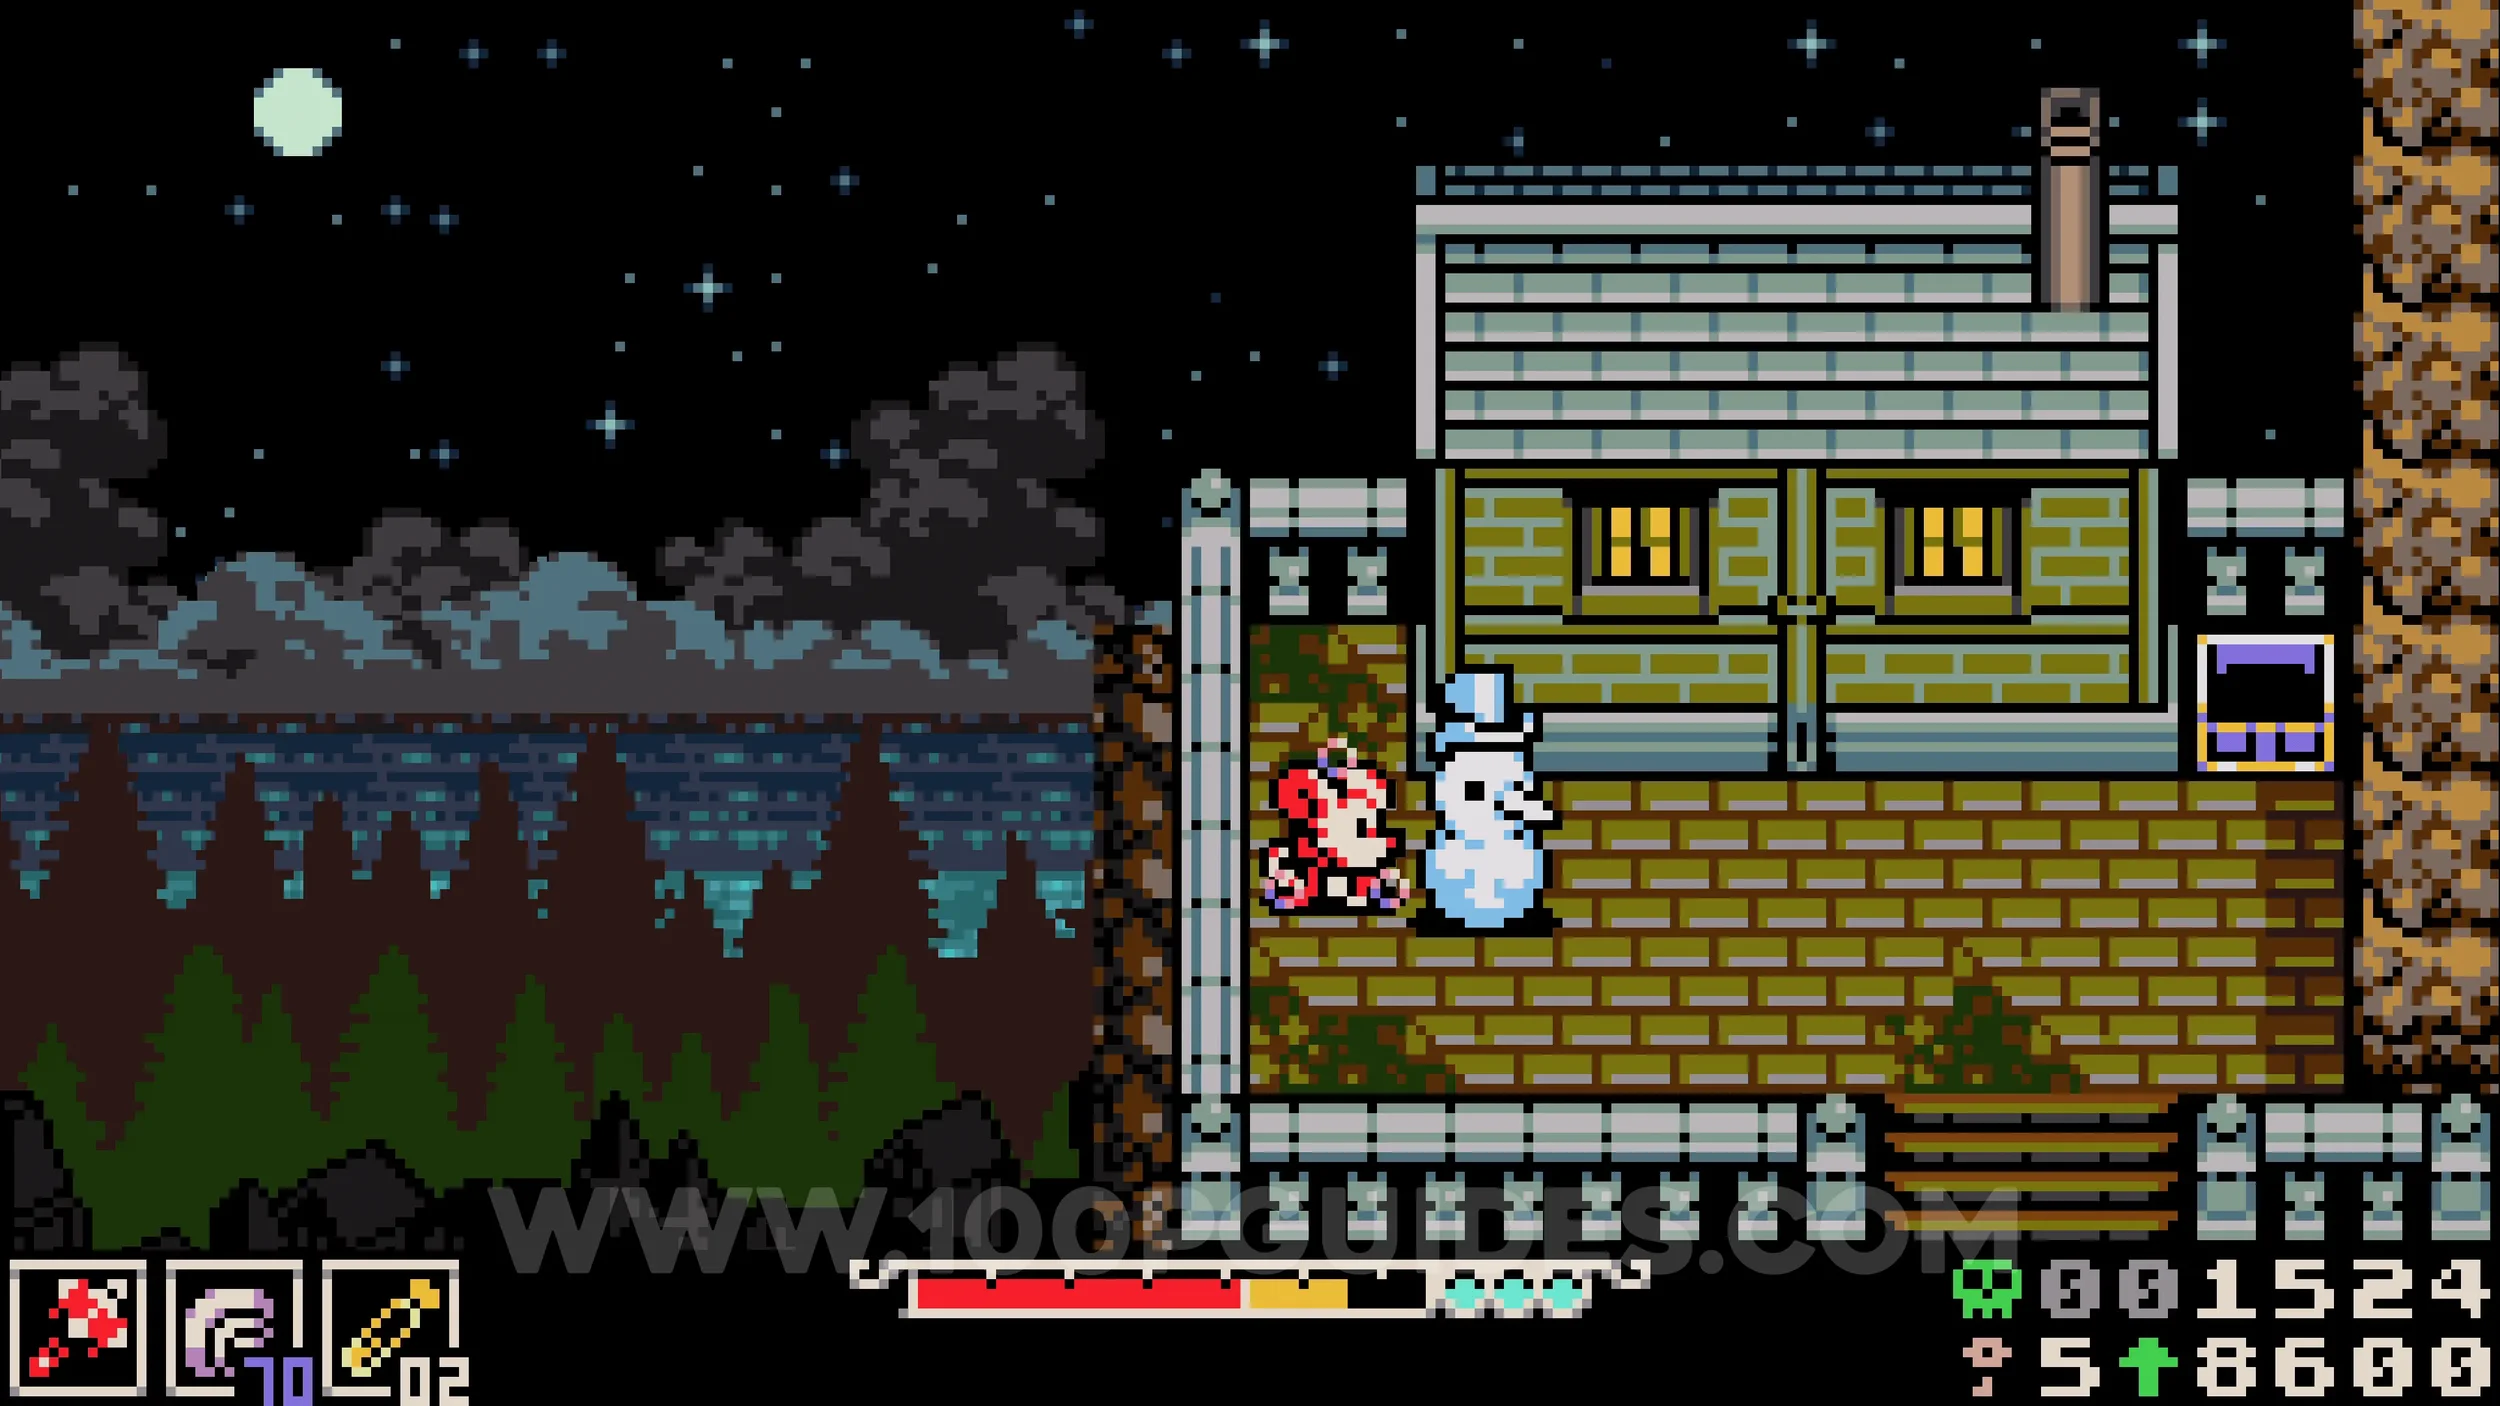
Trinket #5 - Dummy Cache. This one can be a bit tricky. You must bring a snowball all the way from Coltrane Peak to the NPC in Western Wilds where you picked up Bonestone #1.
From the train station in Coltrane, head left and drop down through the holes until you reach an area with snowballs at the bottom. Pick one up by burrowing under it. You must now carry it to the NPC in Western Wilds without getting hit or performing certain actions such as using ropes. To make this easier, do a recon run first and defeat all enemies along the way, but avoid entering any underlabs as this will cause them to respawn.
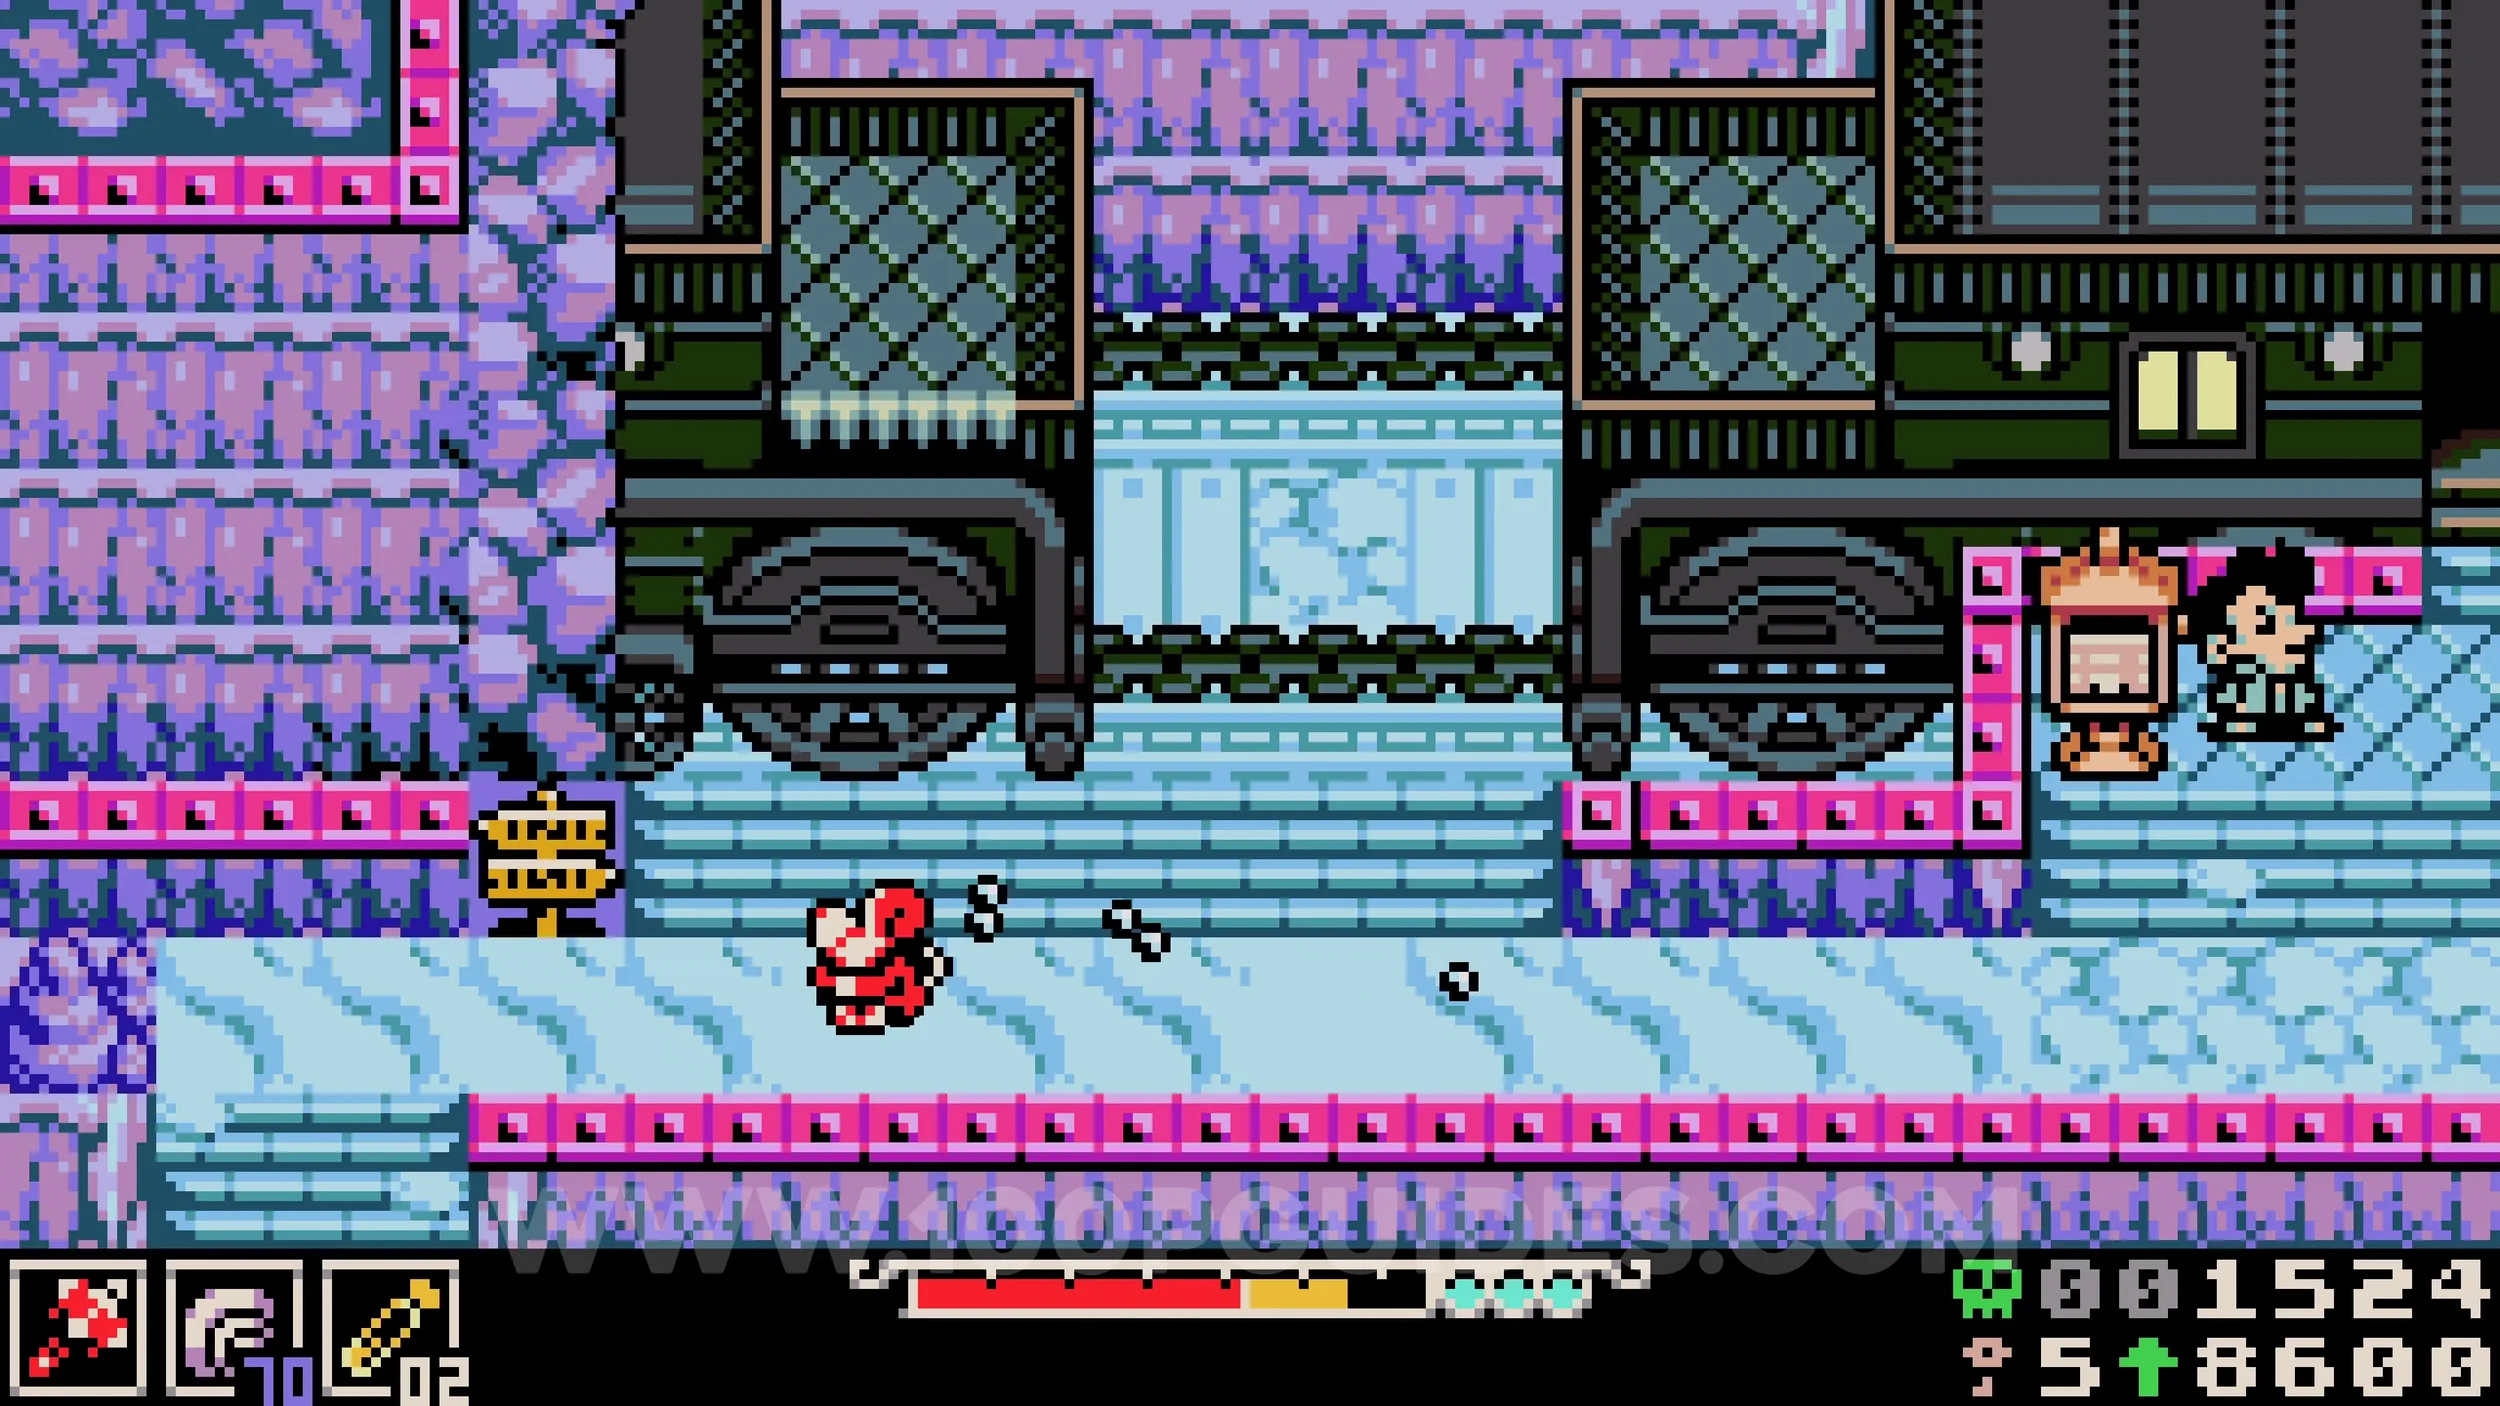
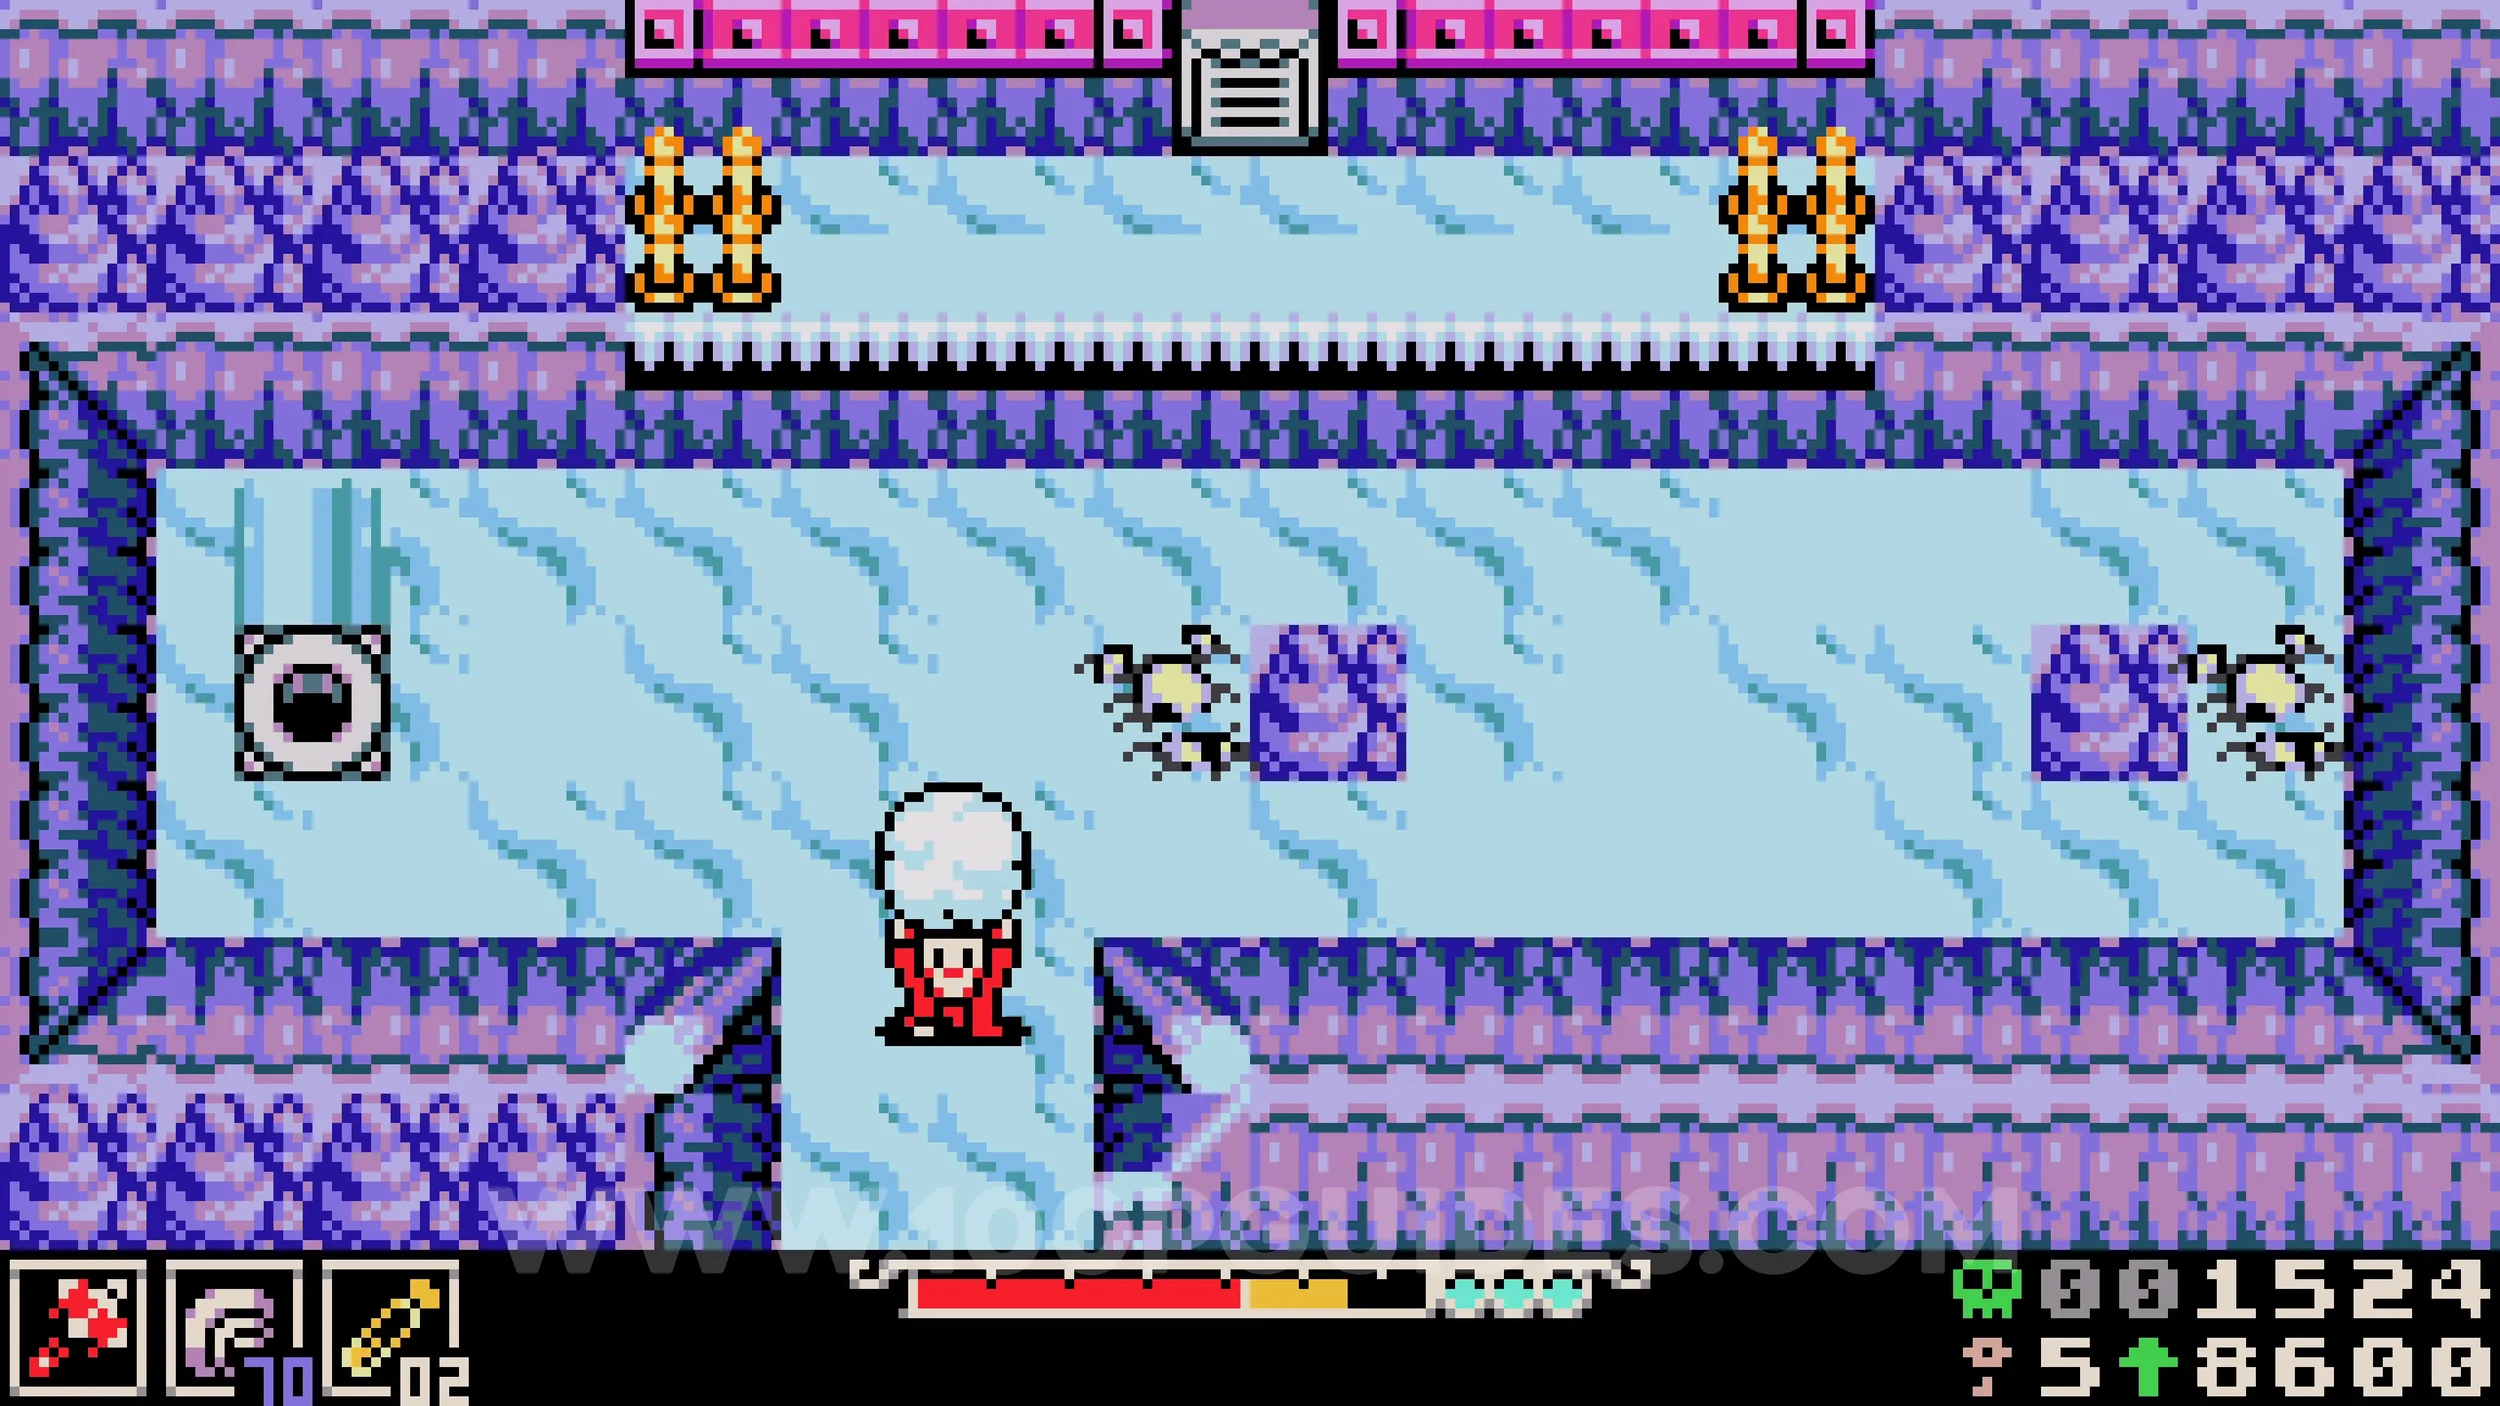
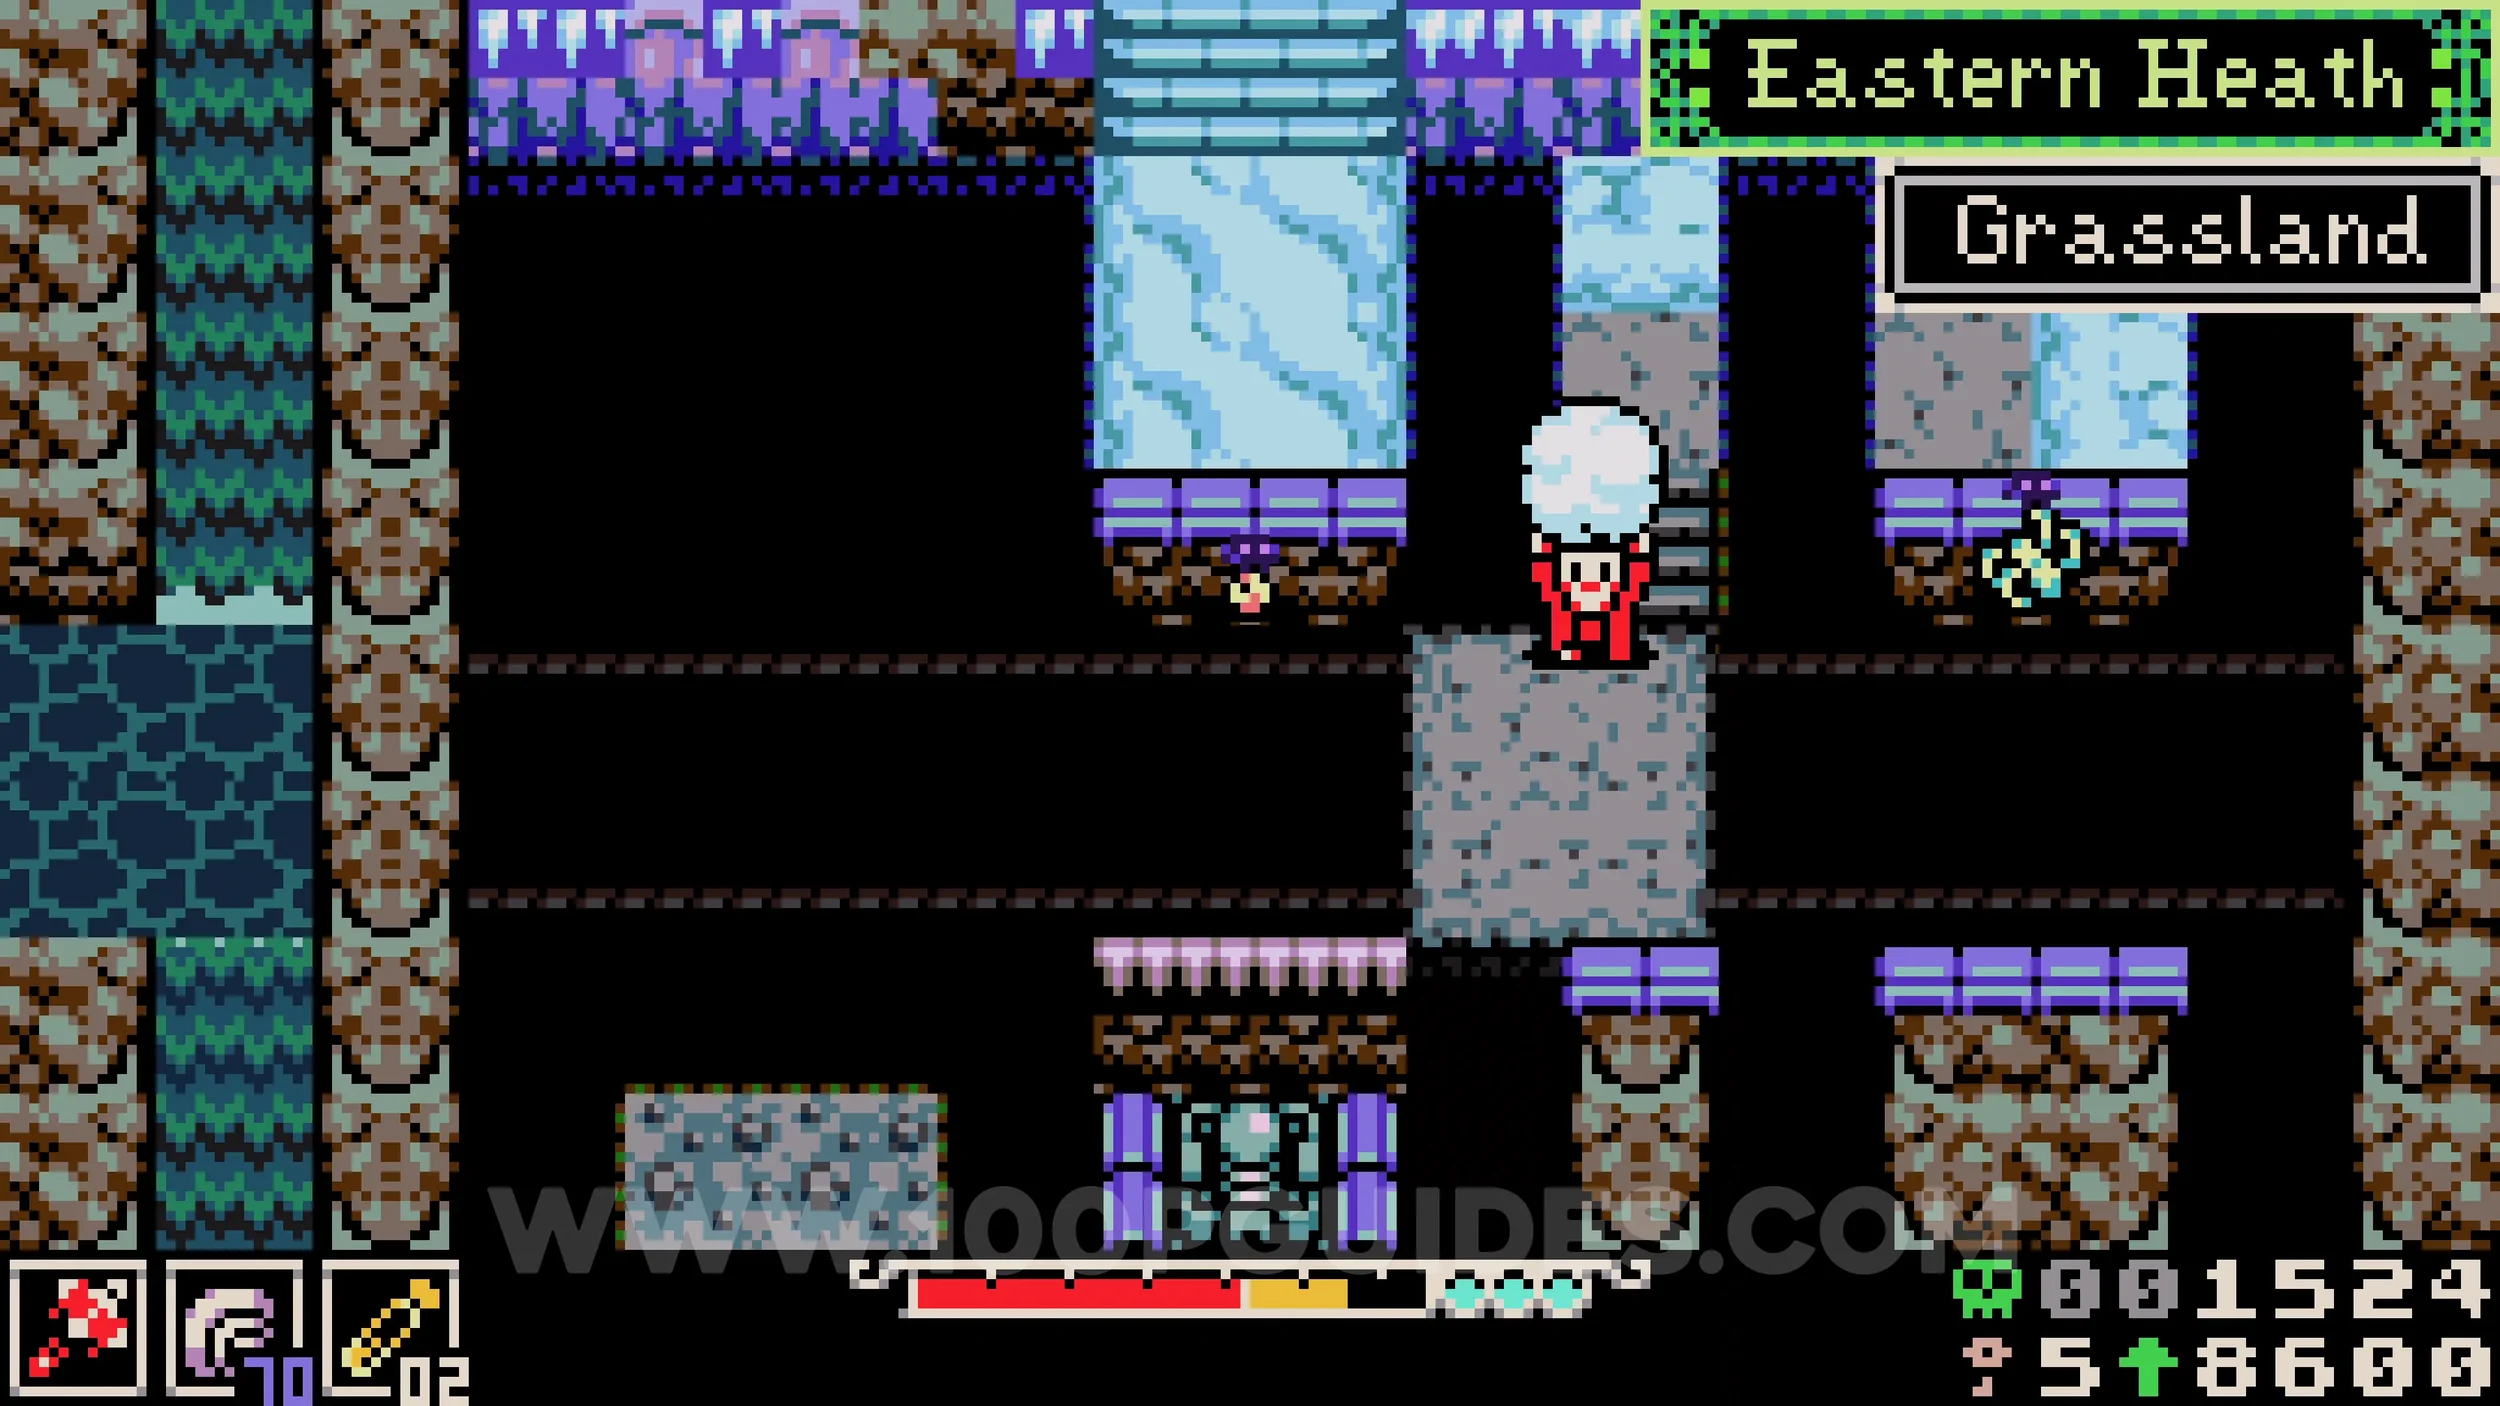
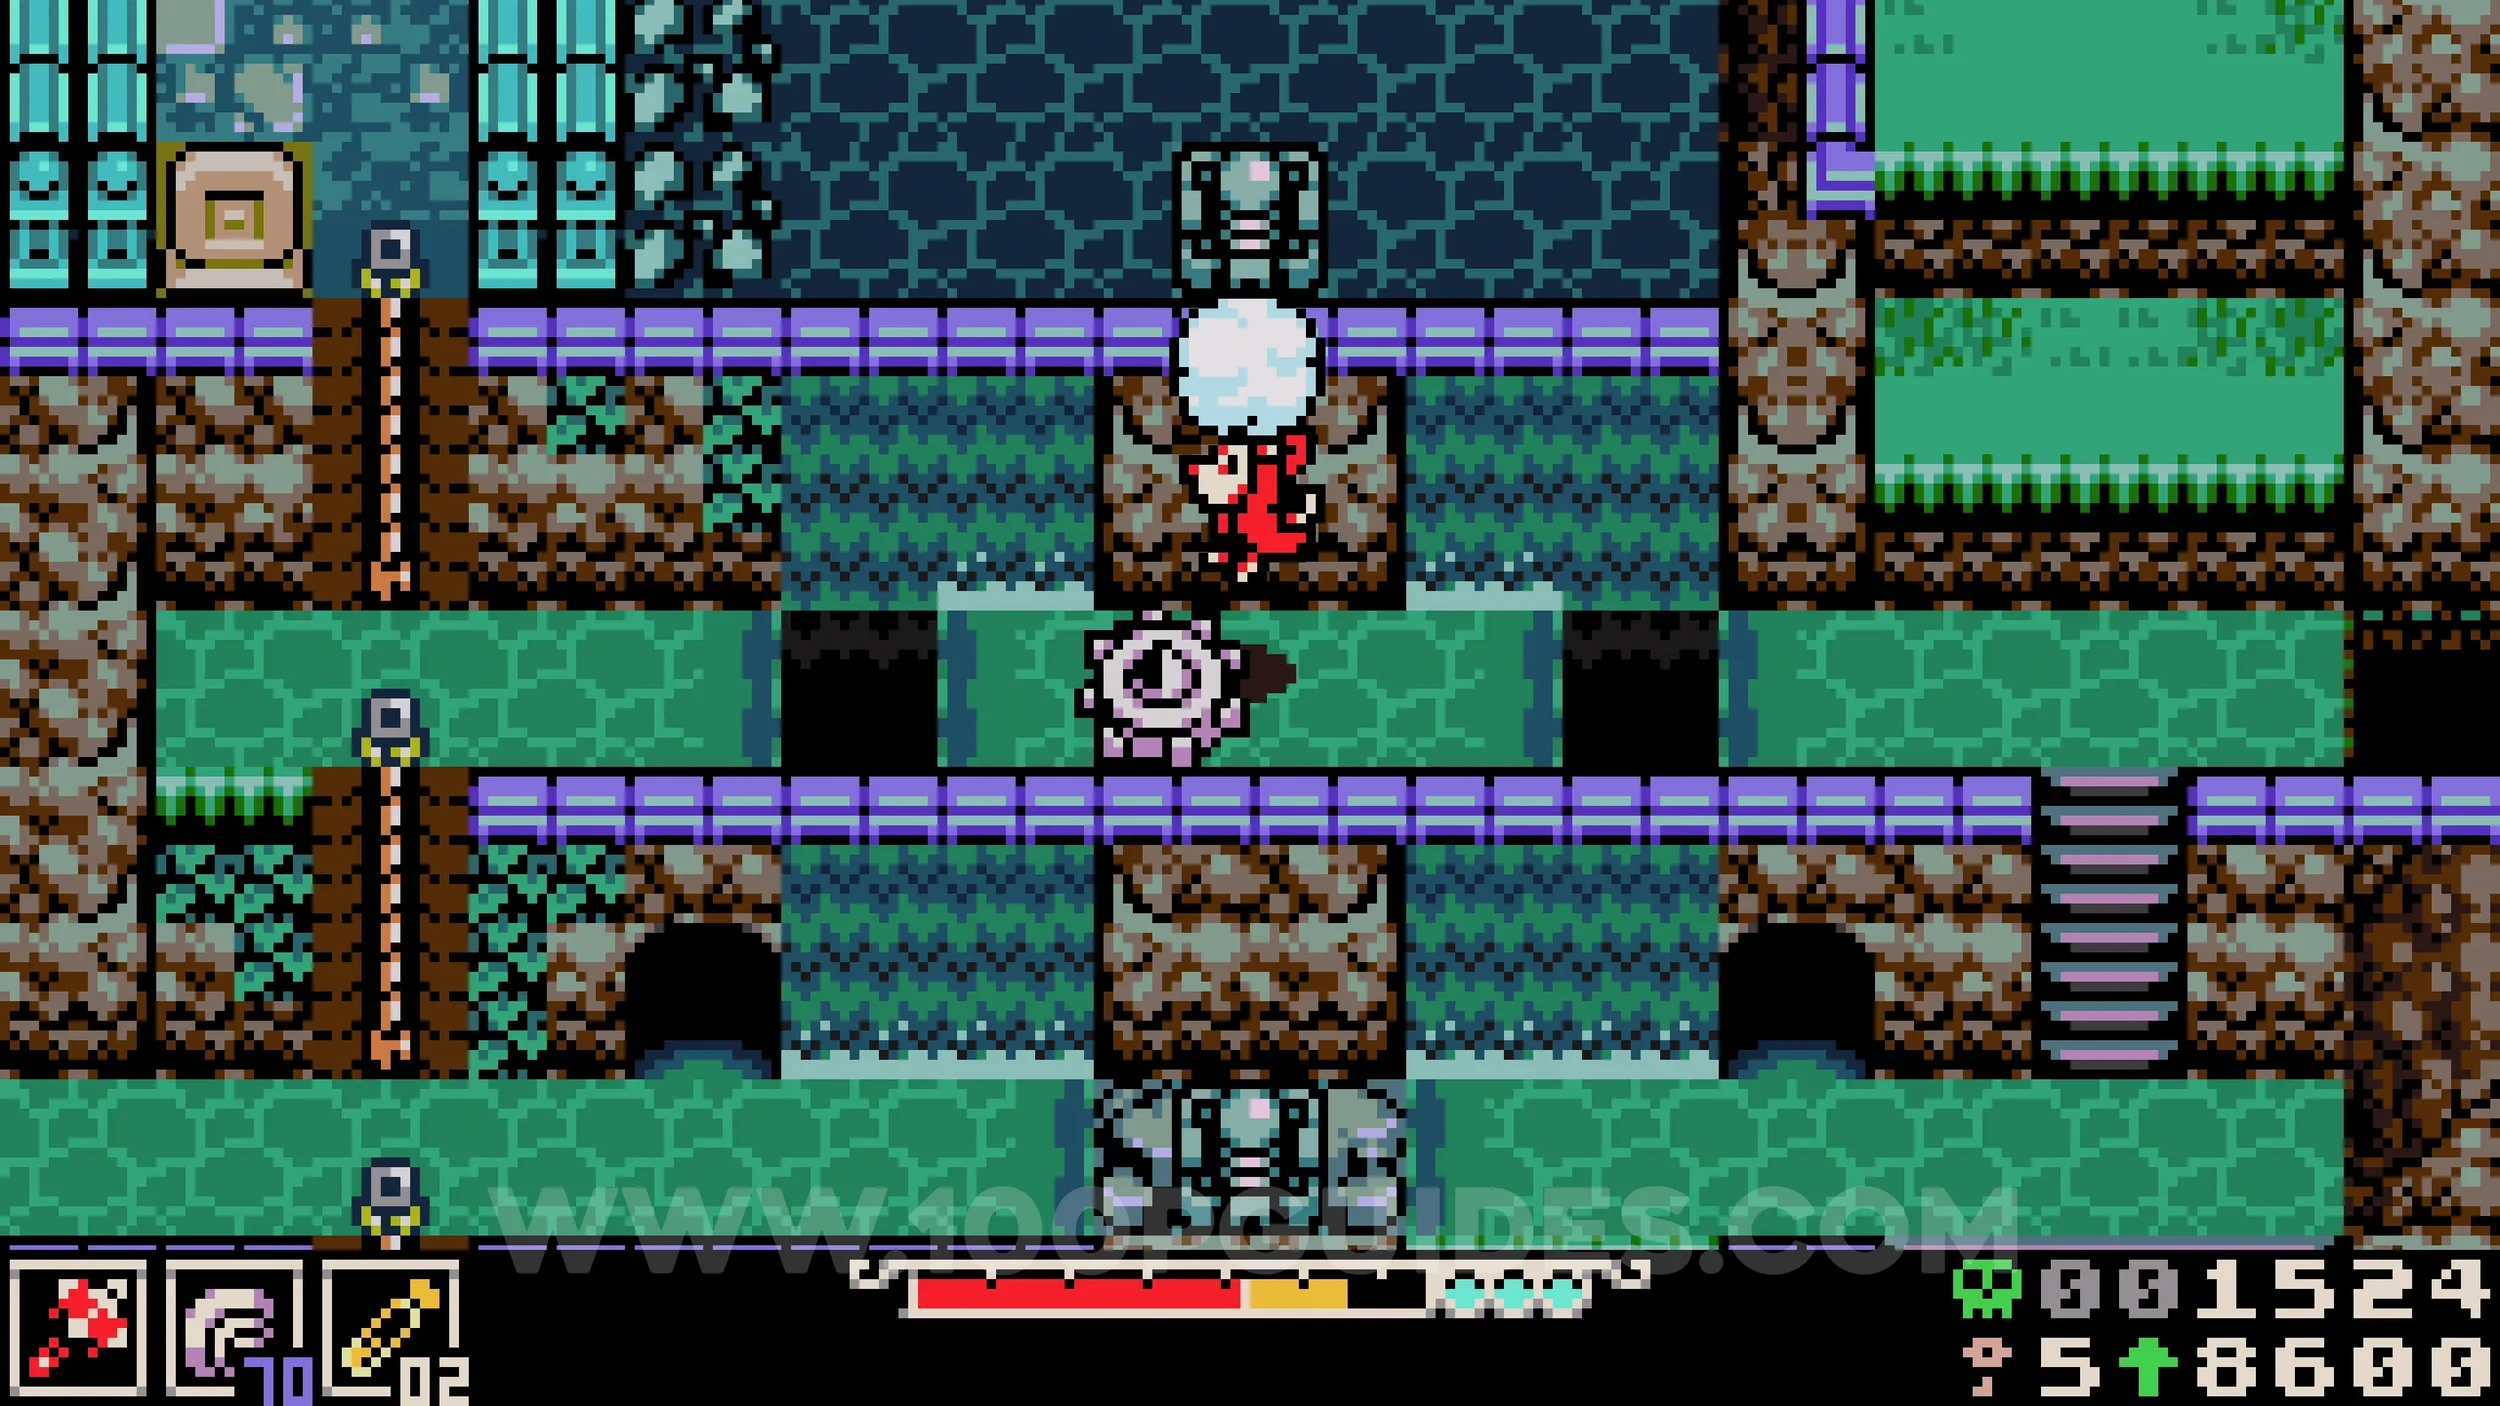
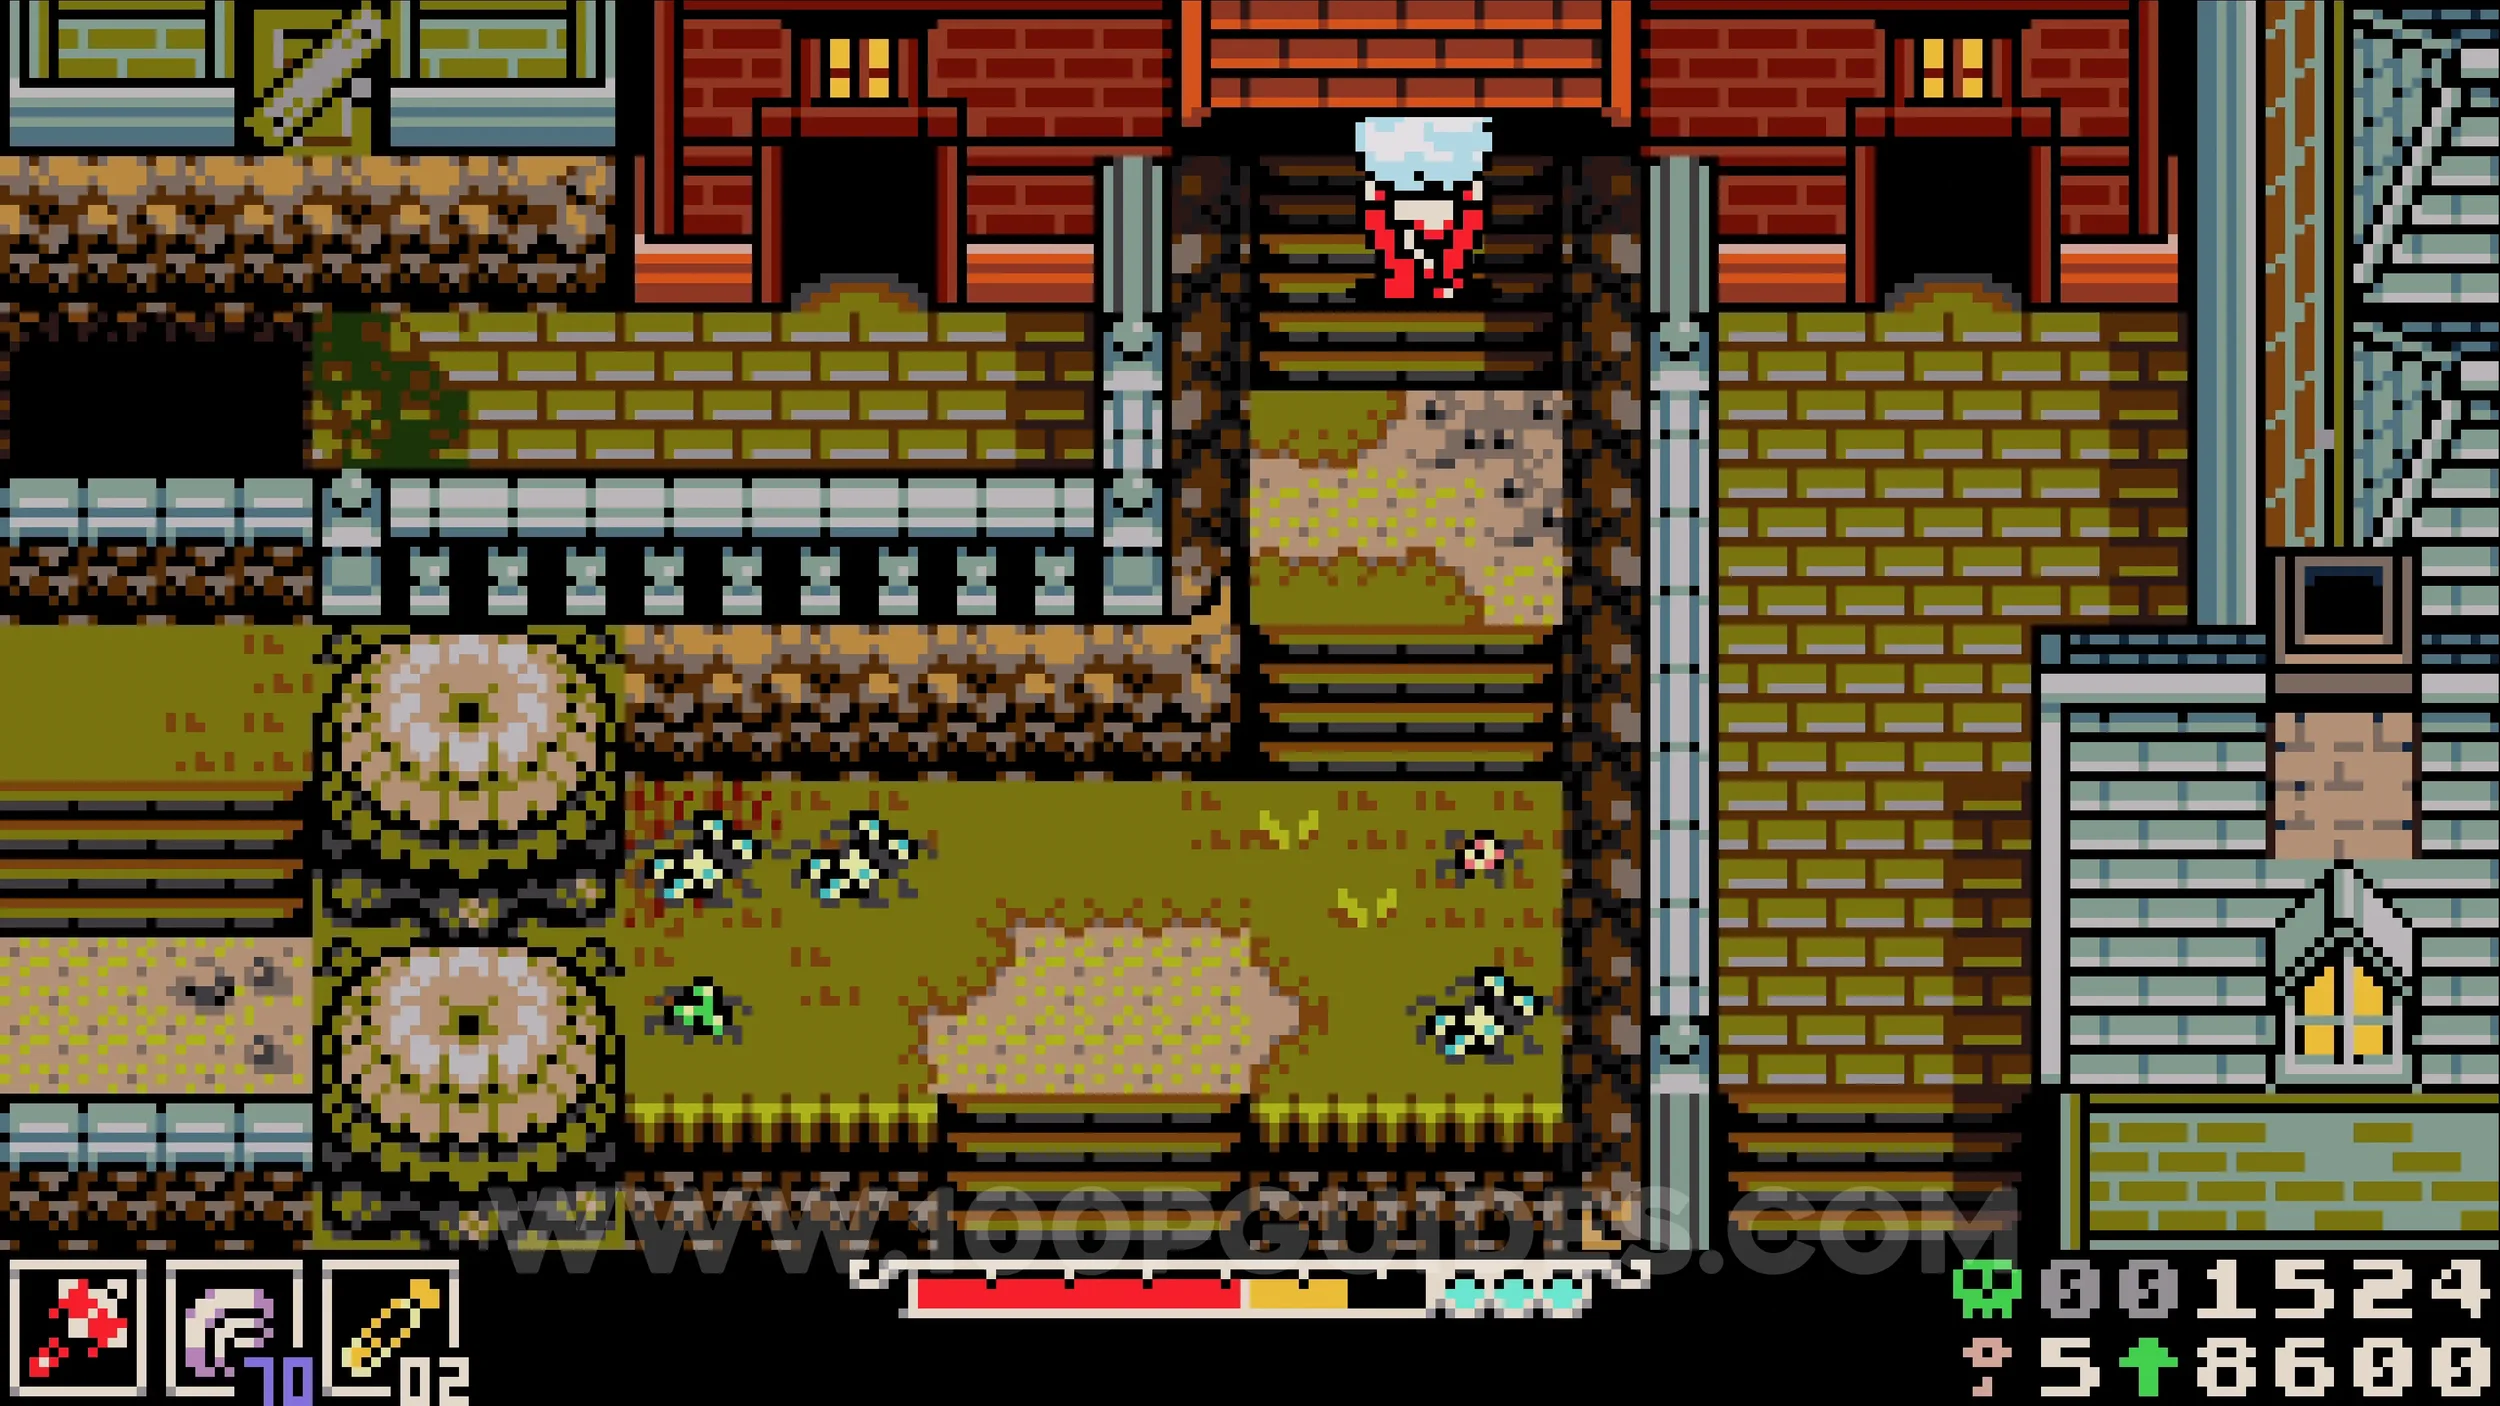
With the snowball, continue south by dropping down the ledges until you reach Eastern Heath. From there, enter Ossex through its eastern entrance, carry it through town, and leave through the southern exit, watching out for the emporium shop on the way past. In Southern Outskirts, head down and take the second path to the left, which leads back to Western Wilds. Go up the first set of stairs, drop down to the lava area on your left, then take the path immediately above to reach the NPC. Throw the snowball at him to receive the trinket.
BACKWATERS
Trinket #1 - Plasma Jug. At the start of the area, talk to the frog NPC to the left of the underlab. He will give you an empty jug trinket. Equip it, defeat 50 enemies, then return the jug to him and defeat him to receive the trinket.
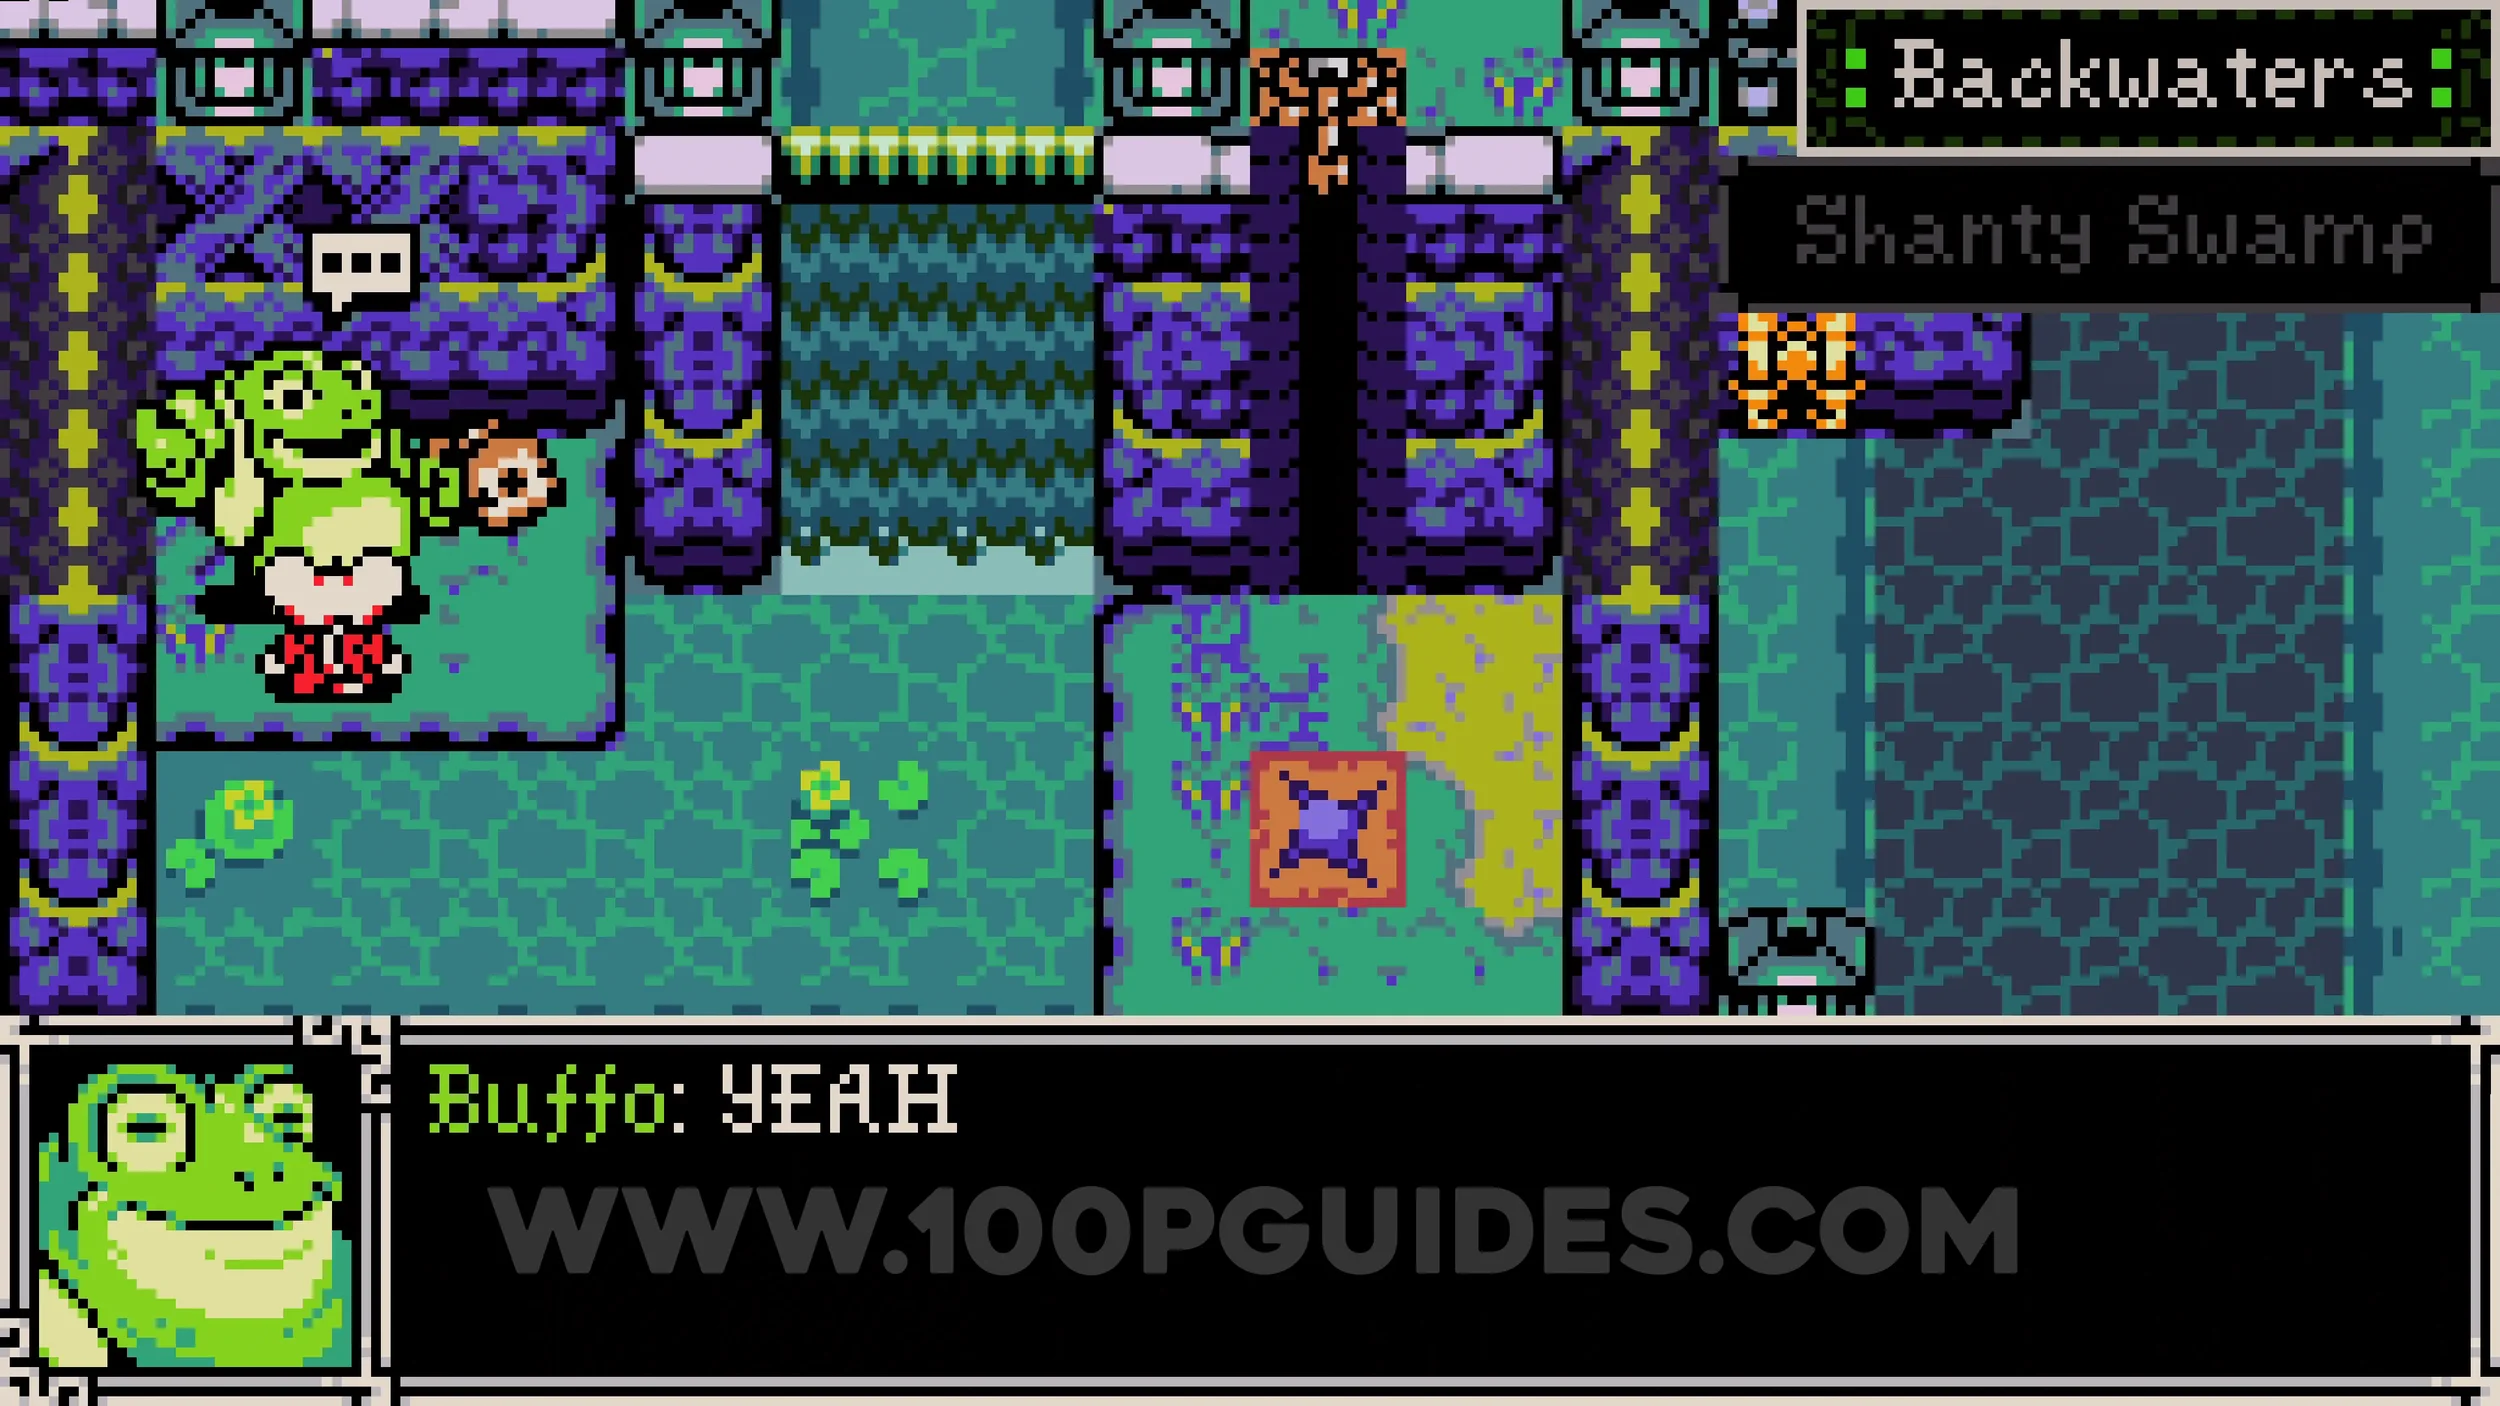
Bonestone #1. Just below the frog NPC, look for some flowers on the left side of the screen and hit them to reveal a secret path. Follow it to the room on the left, where the collectible will be in the chest at the end.
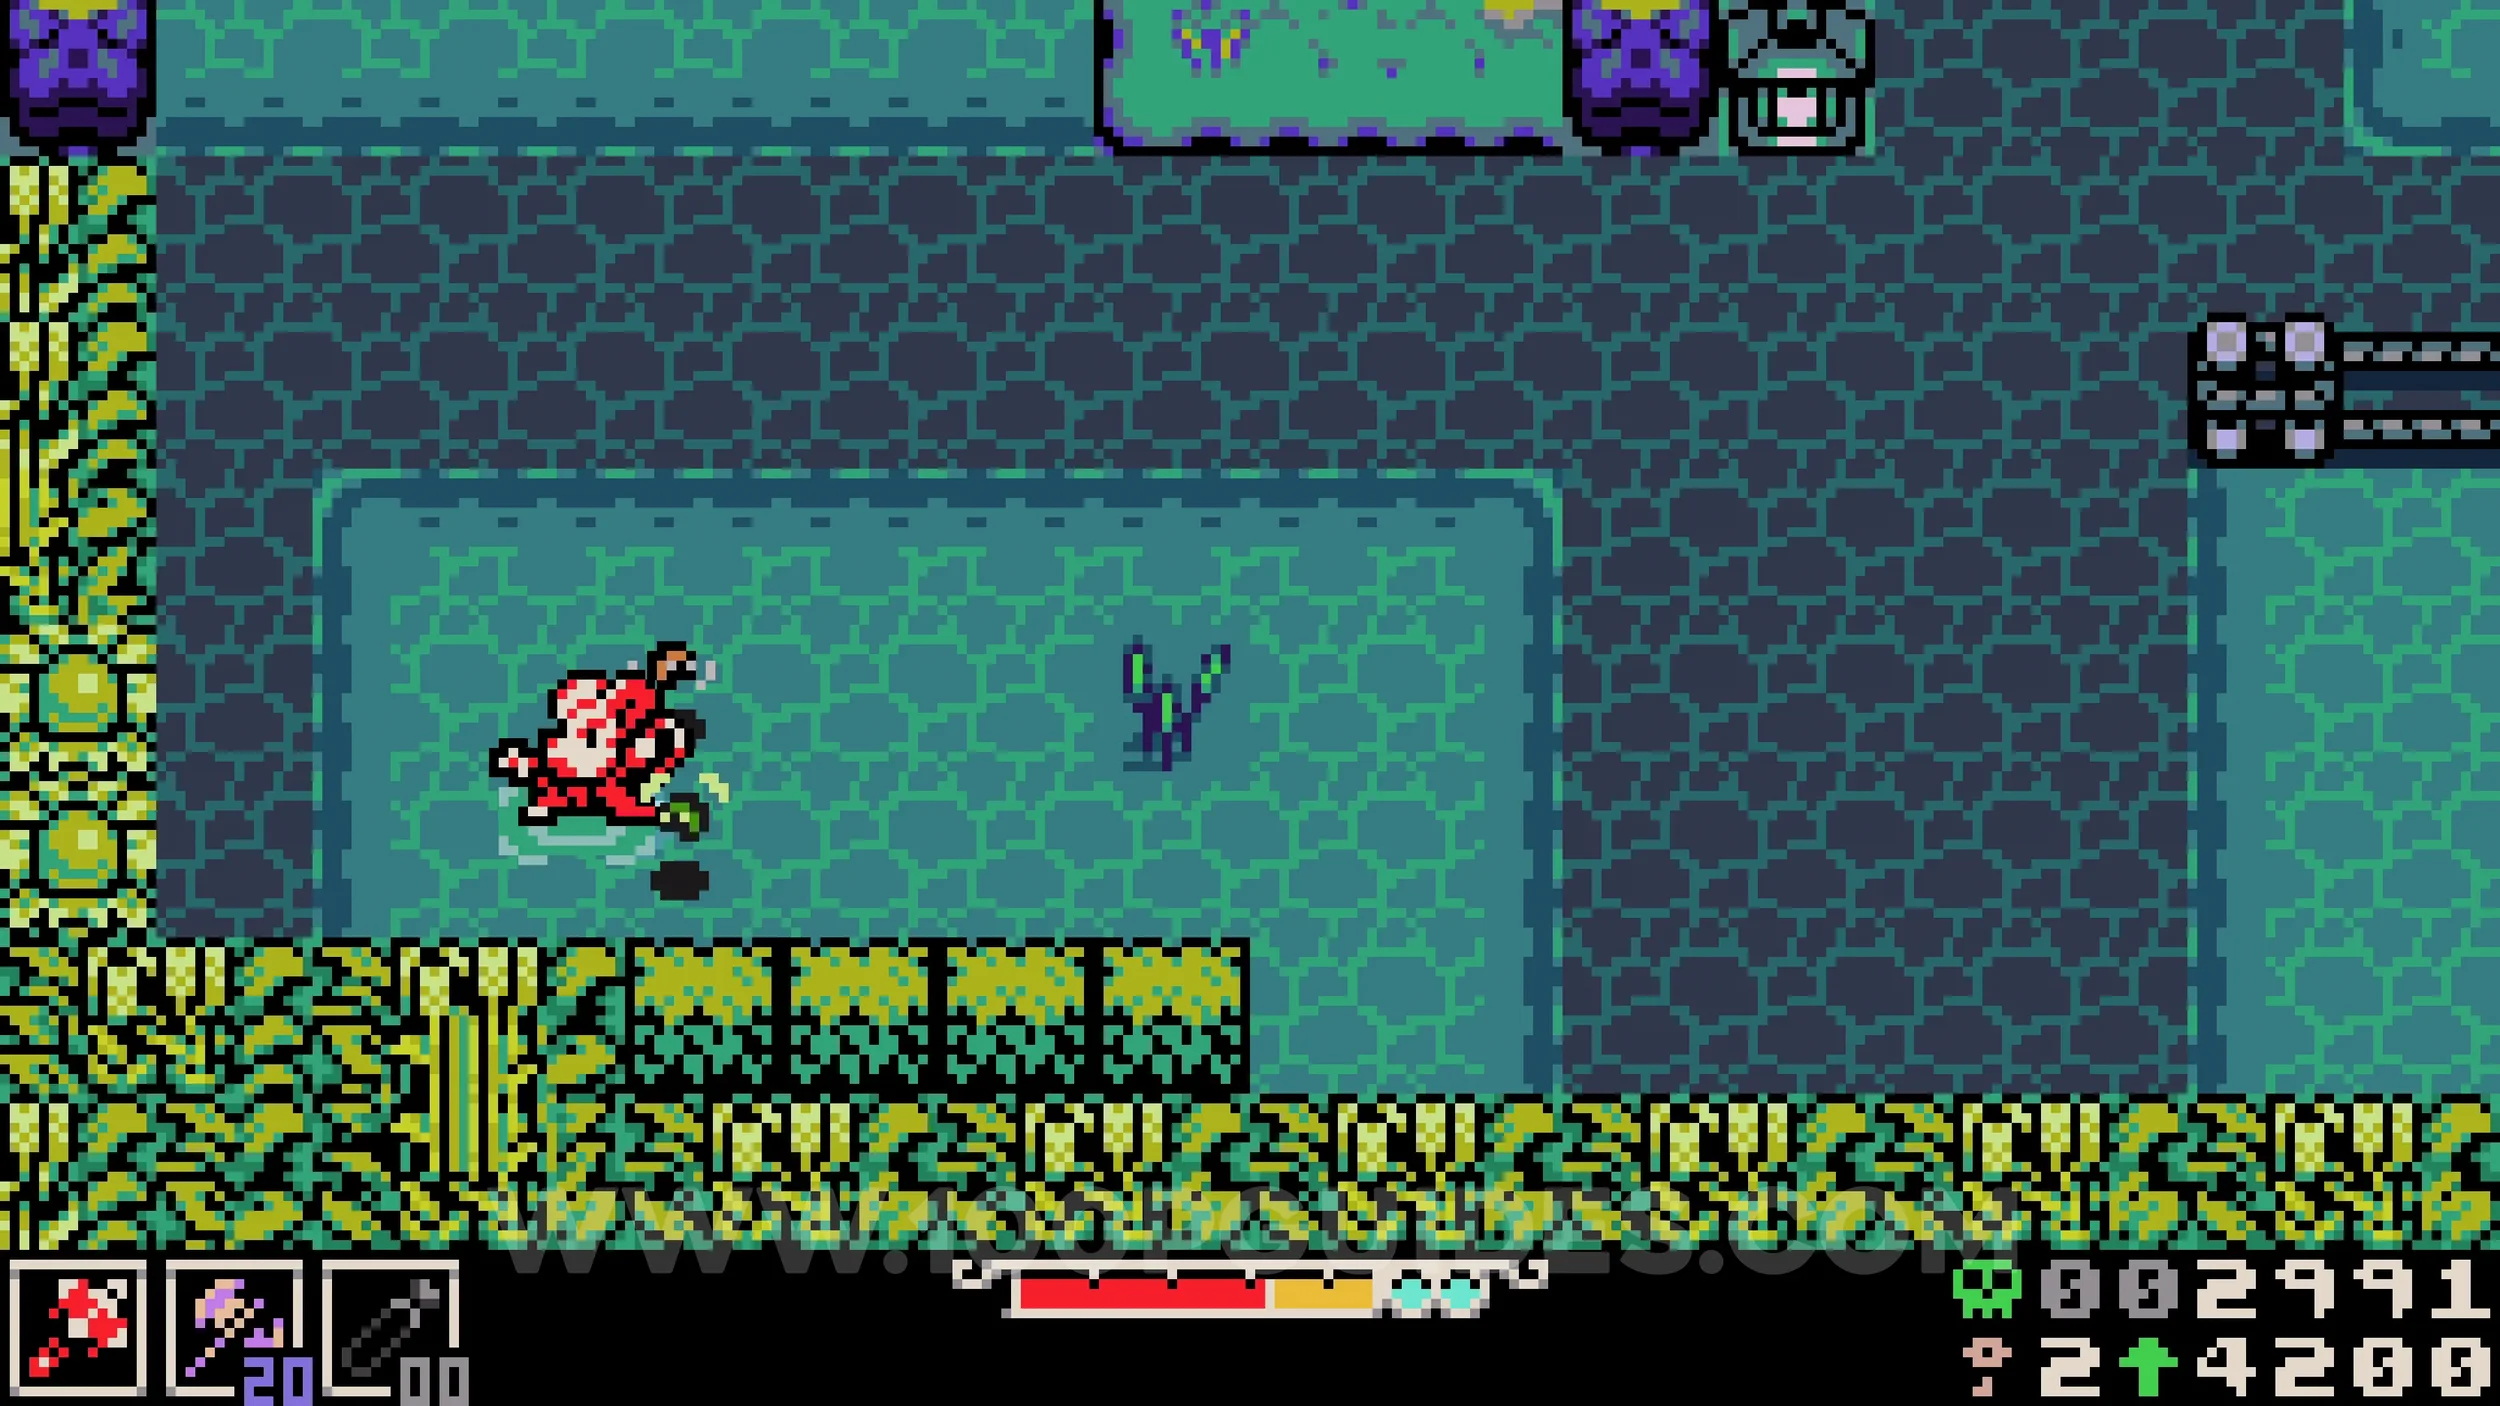
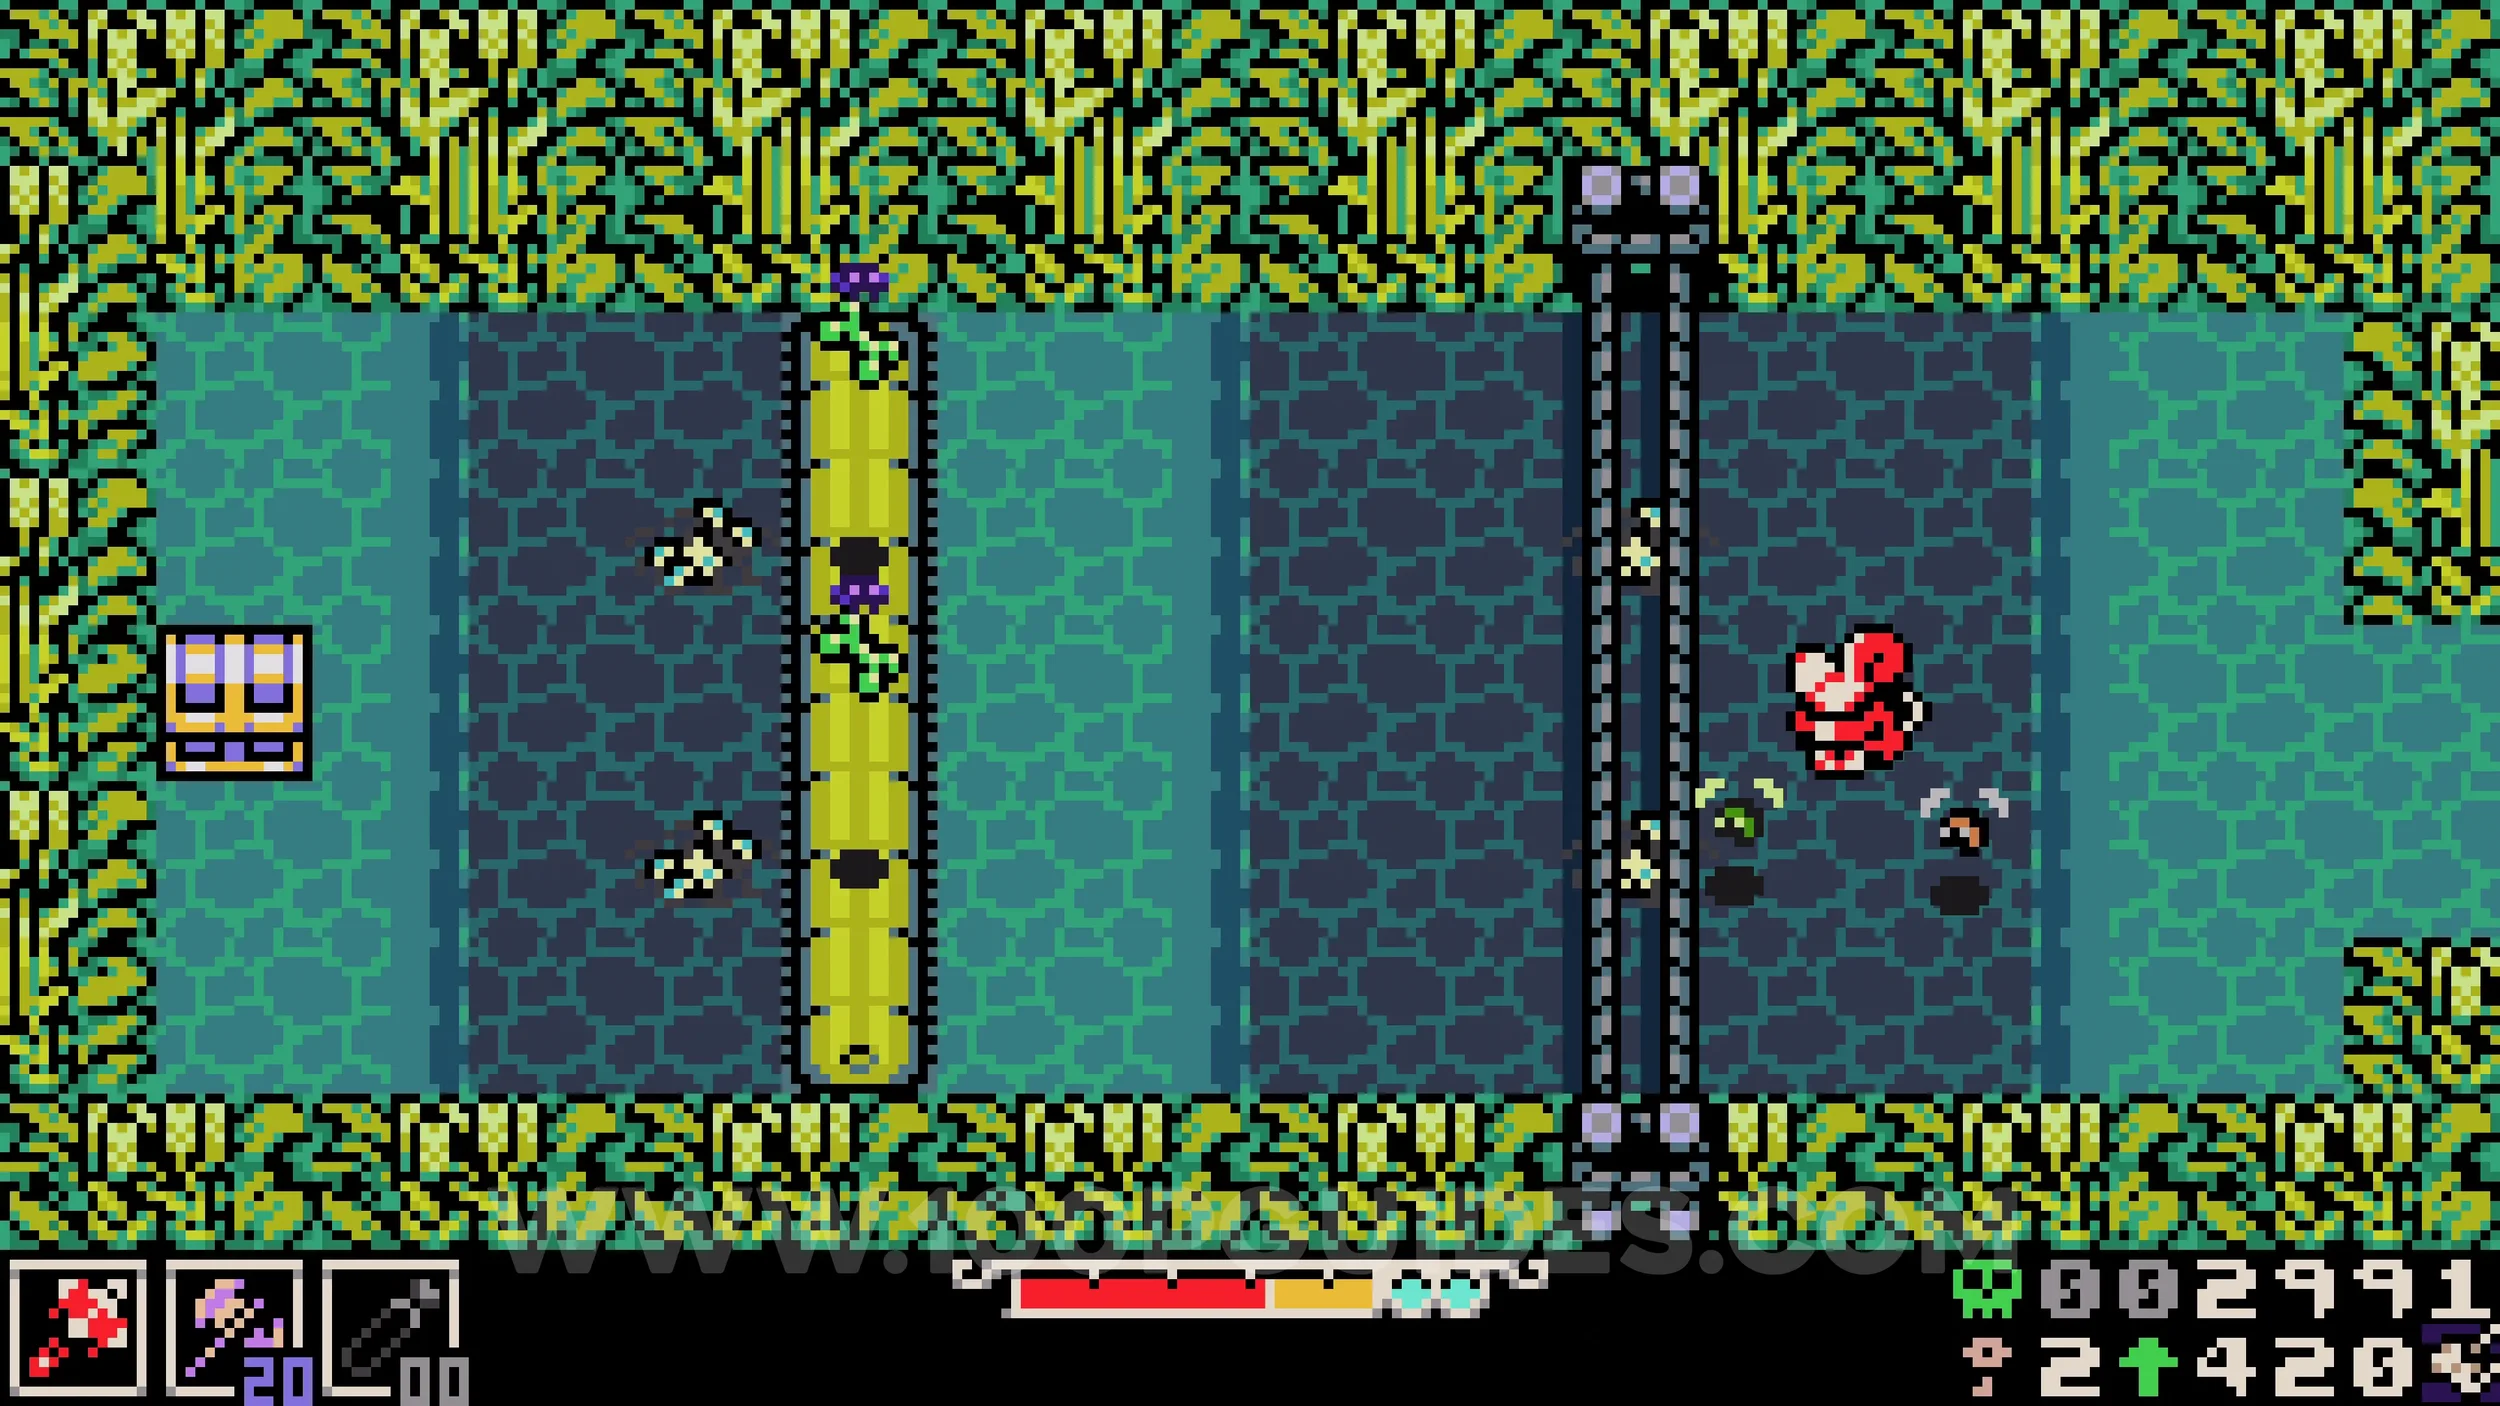
Lock #1. In the bottom right corner of the first large screen of the area.
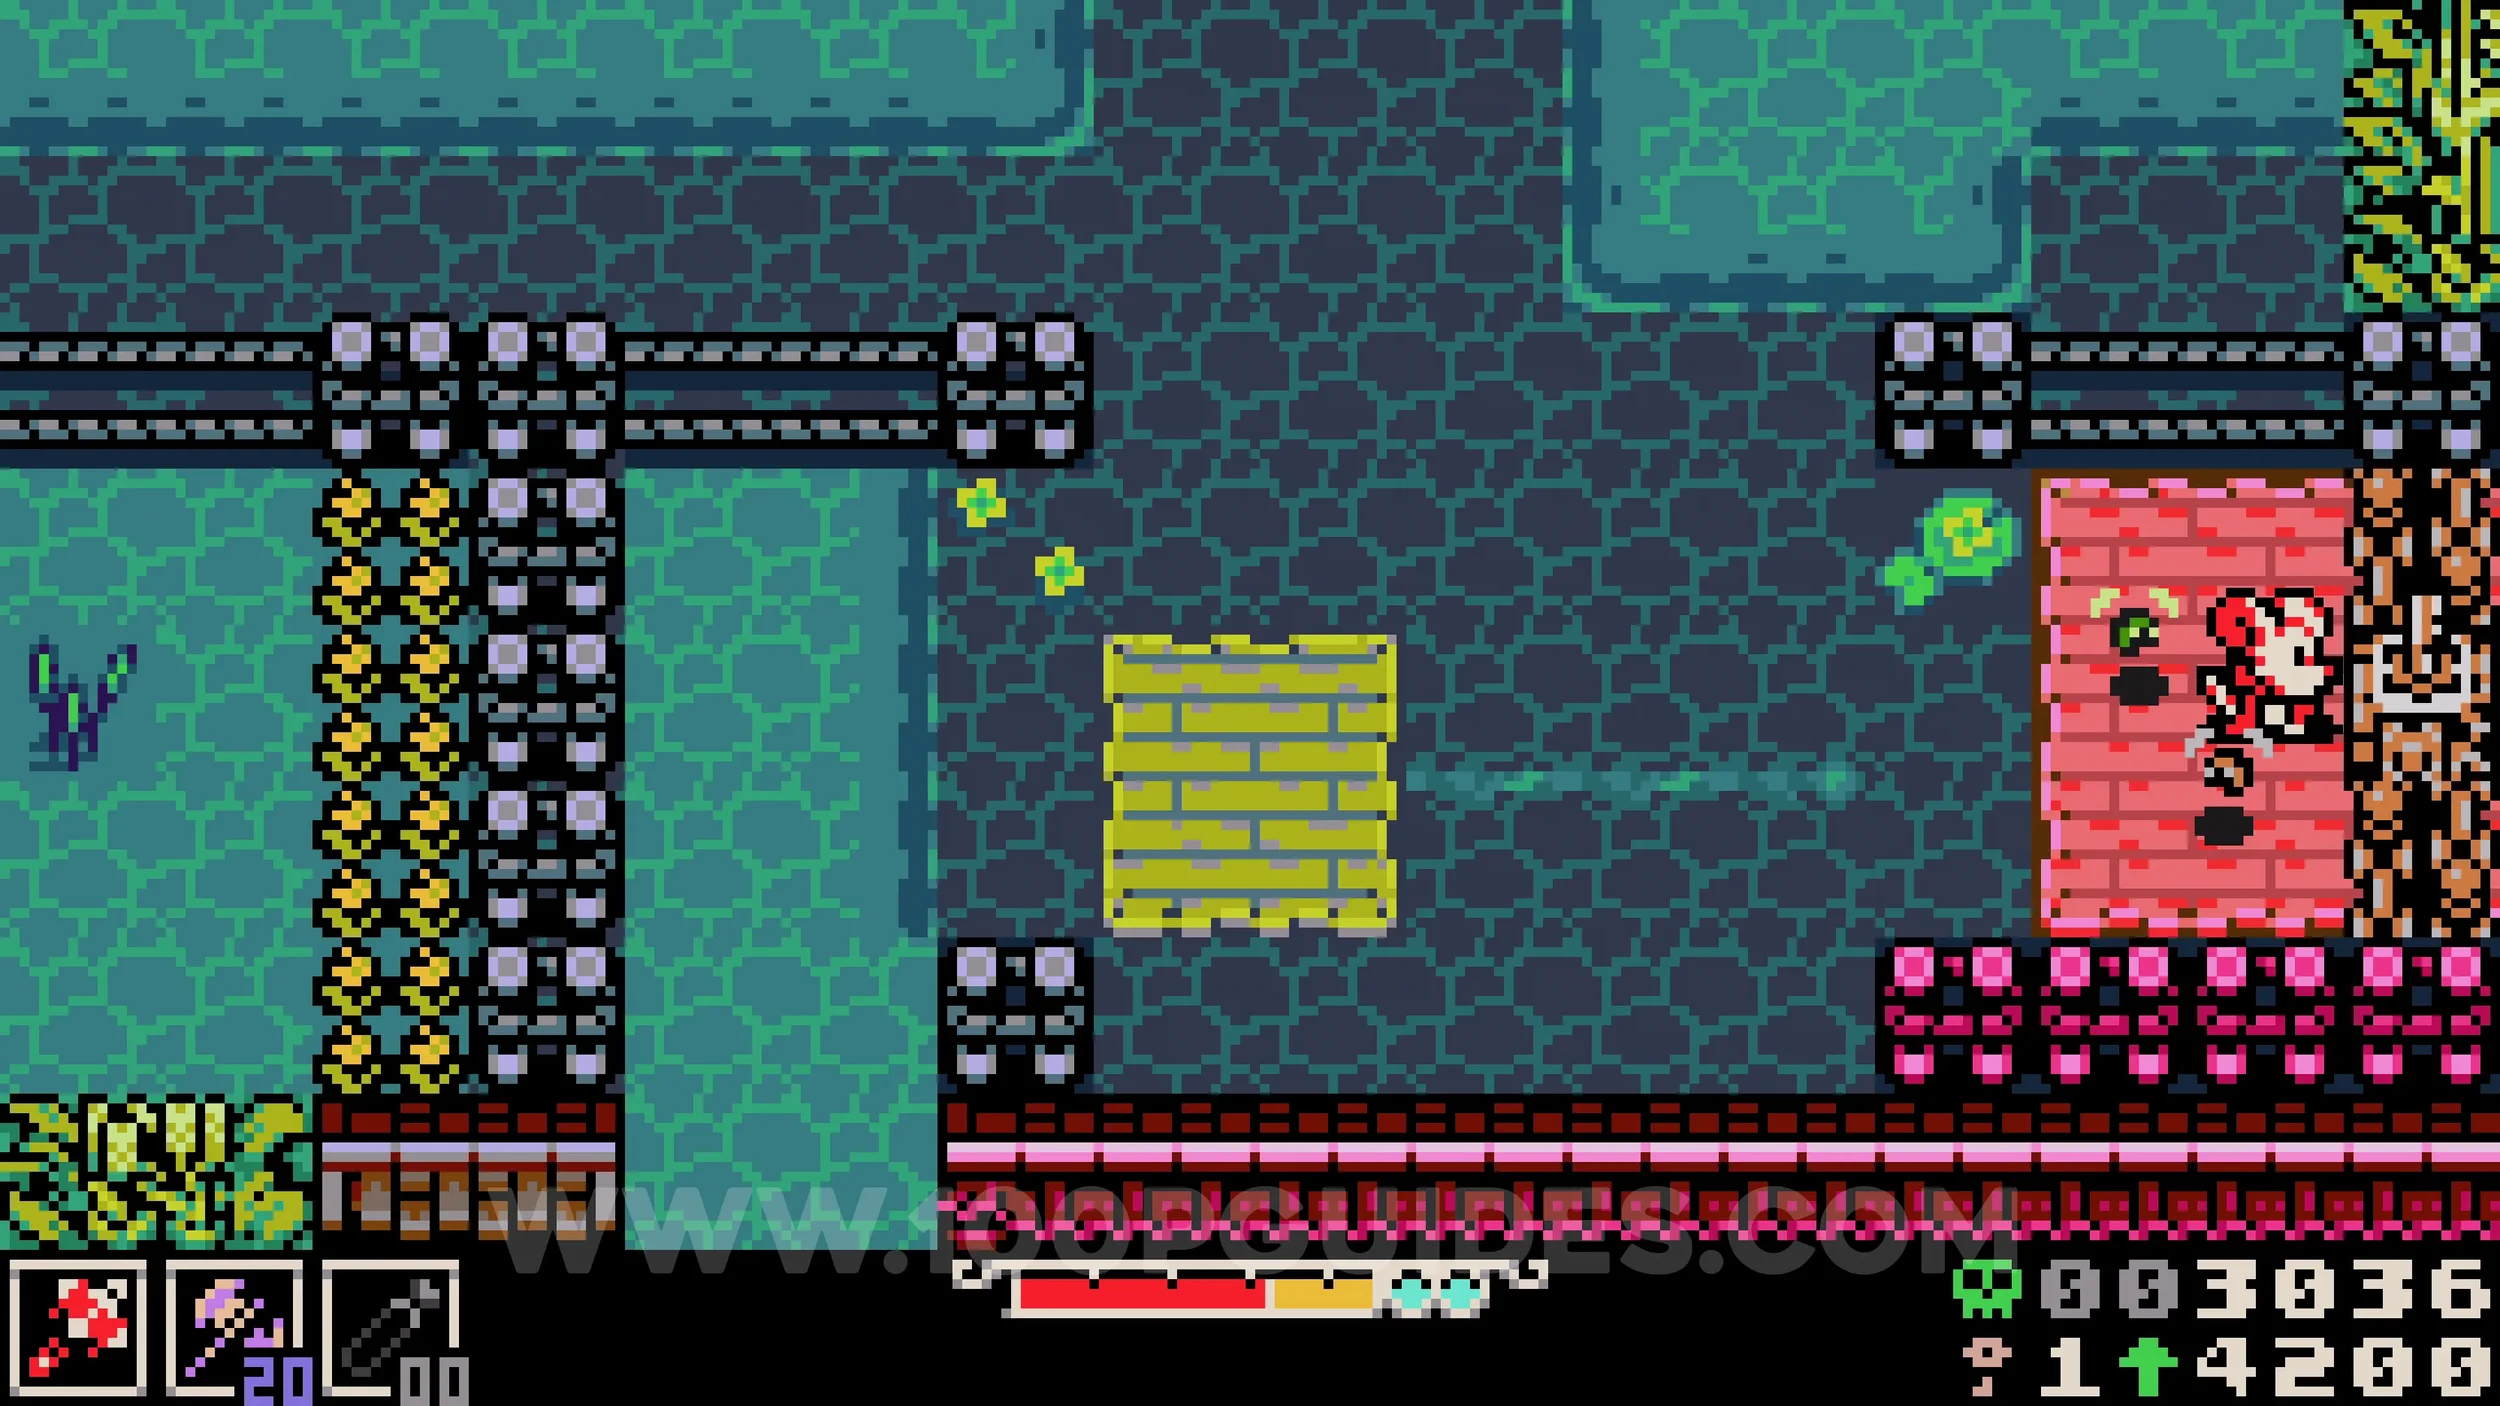
Trinket #2 - Spark Stone & Kear #1. Past the previous lock you will find Pinky’s shop. You can purchase the two collectibles from the shop.
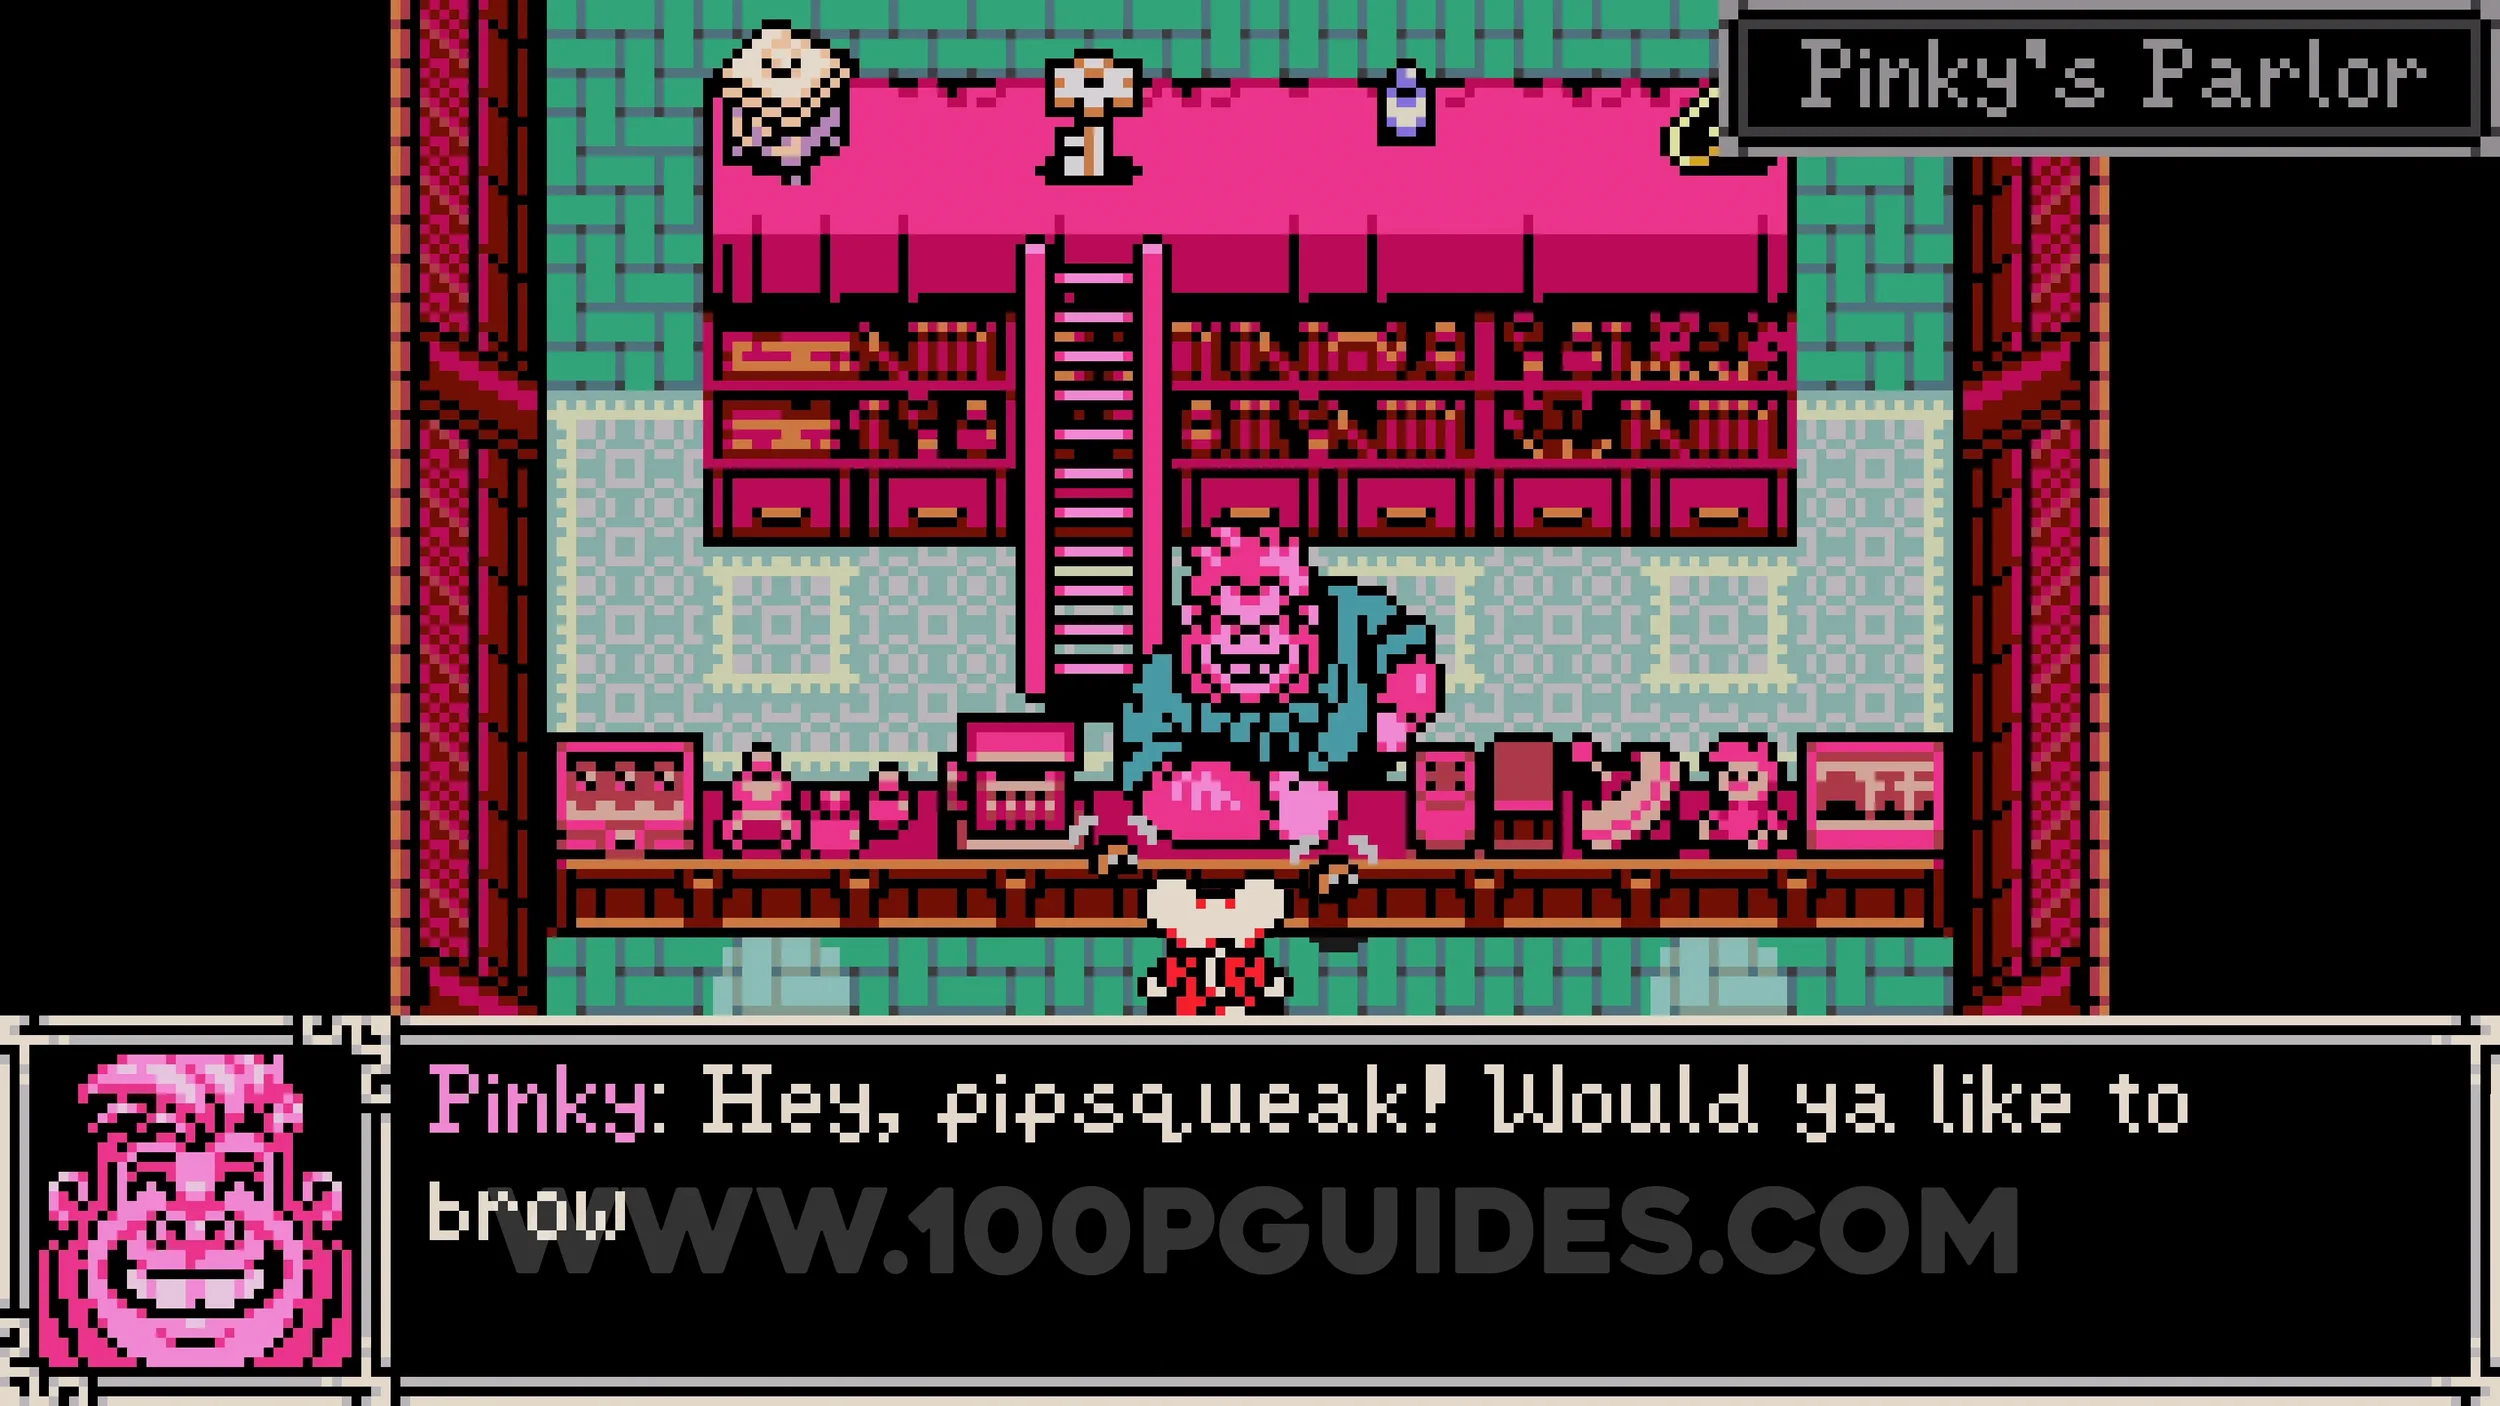
Lock #2. In Pinky's shop, purchase the rightmost item to make him move the ladder to that side, which will be important for future collectibles. Exit the shop and continue right to eventually find the lock blocking the back entrance.
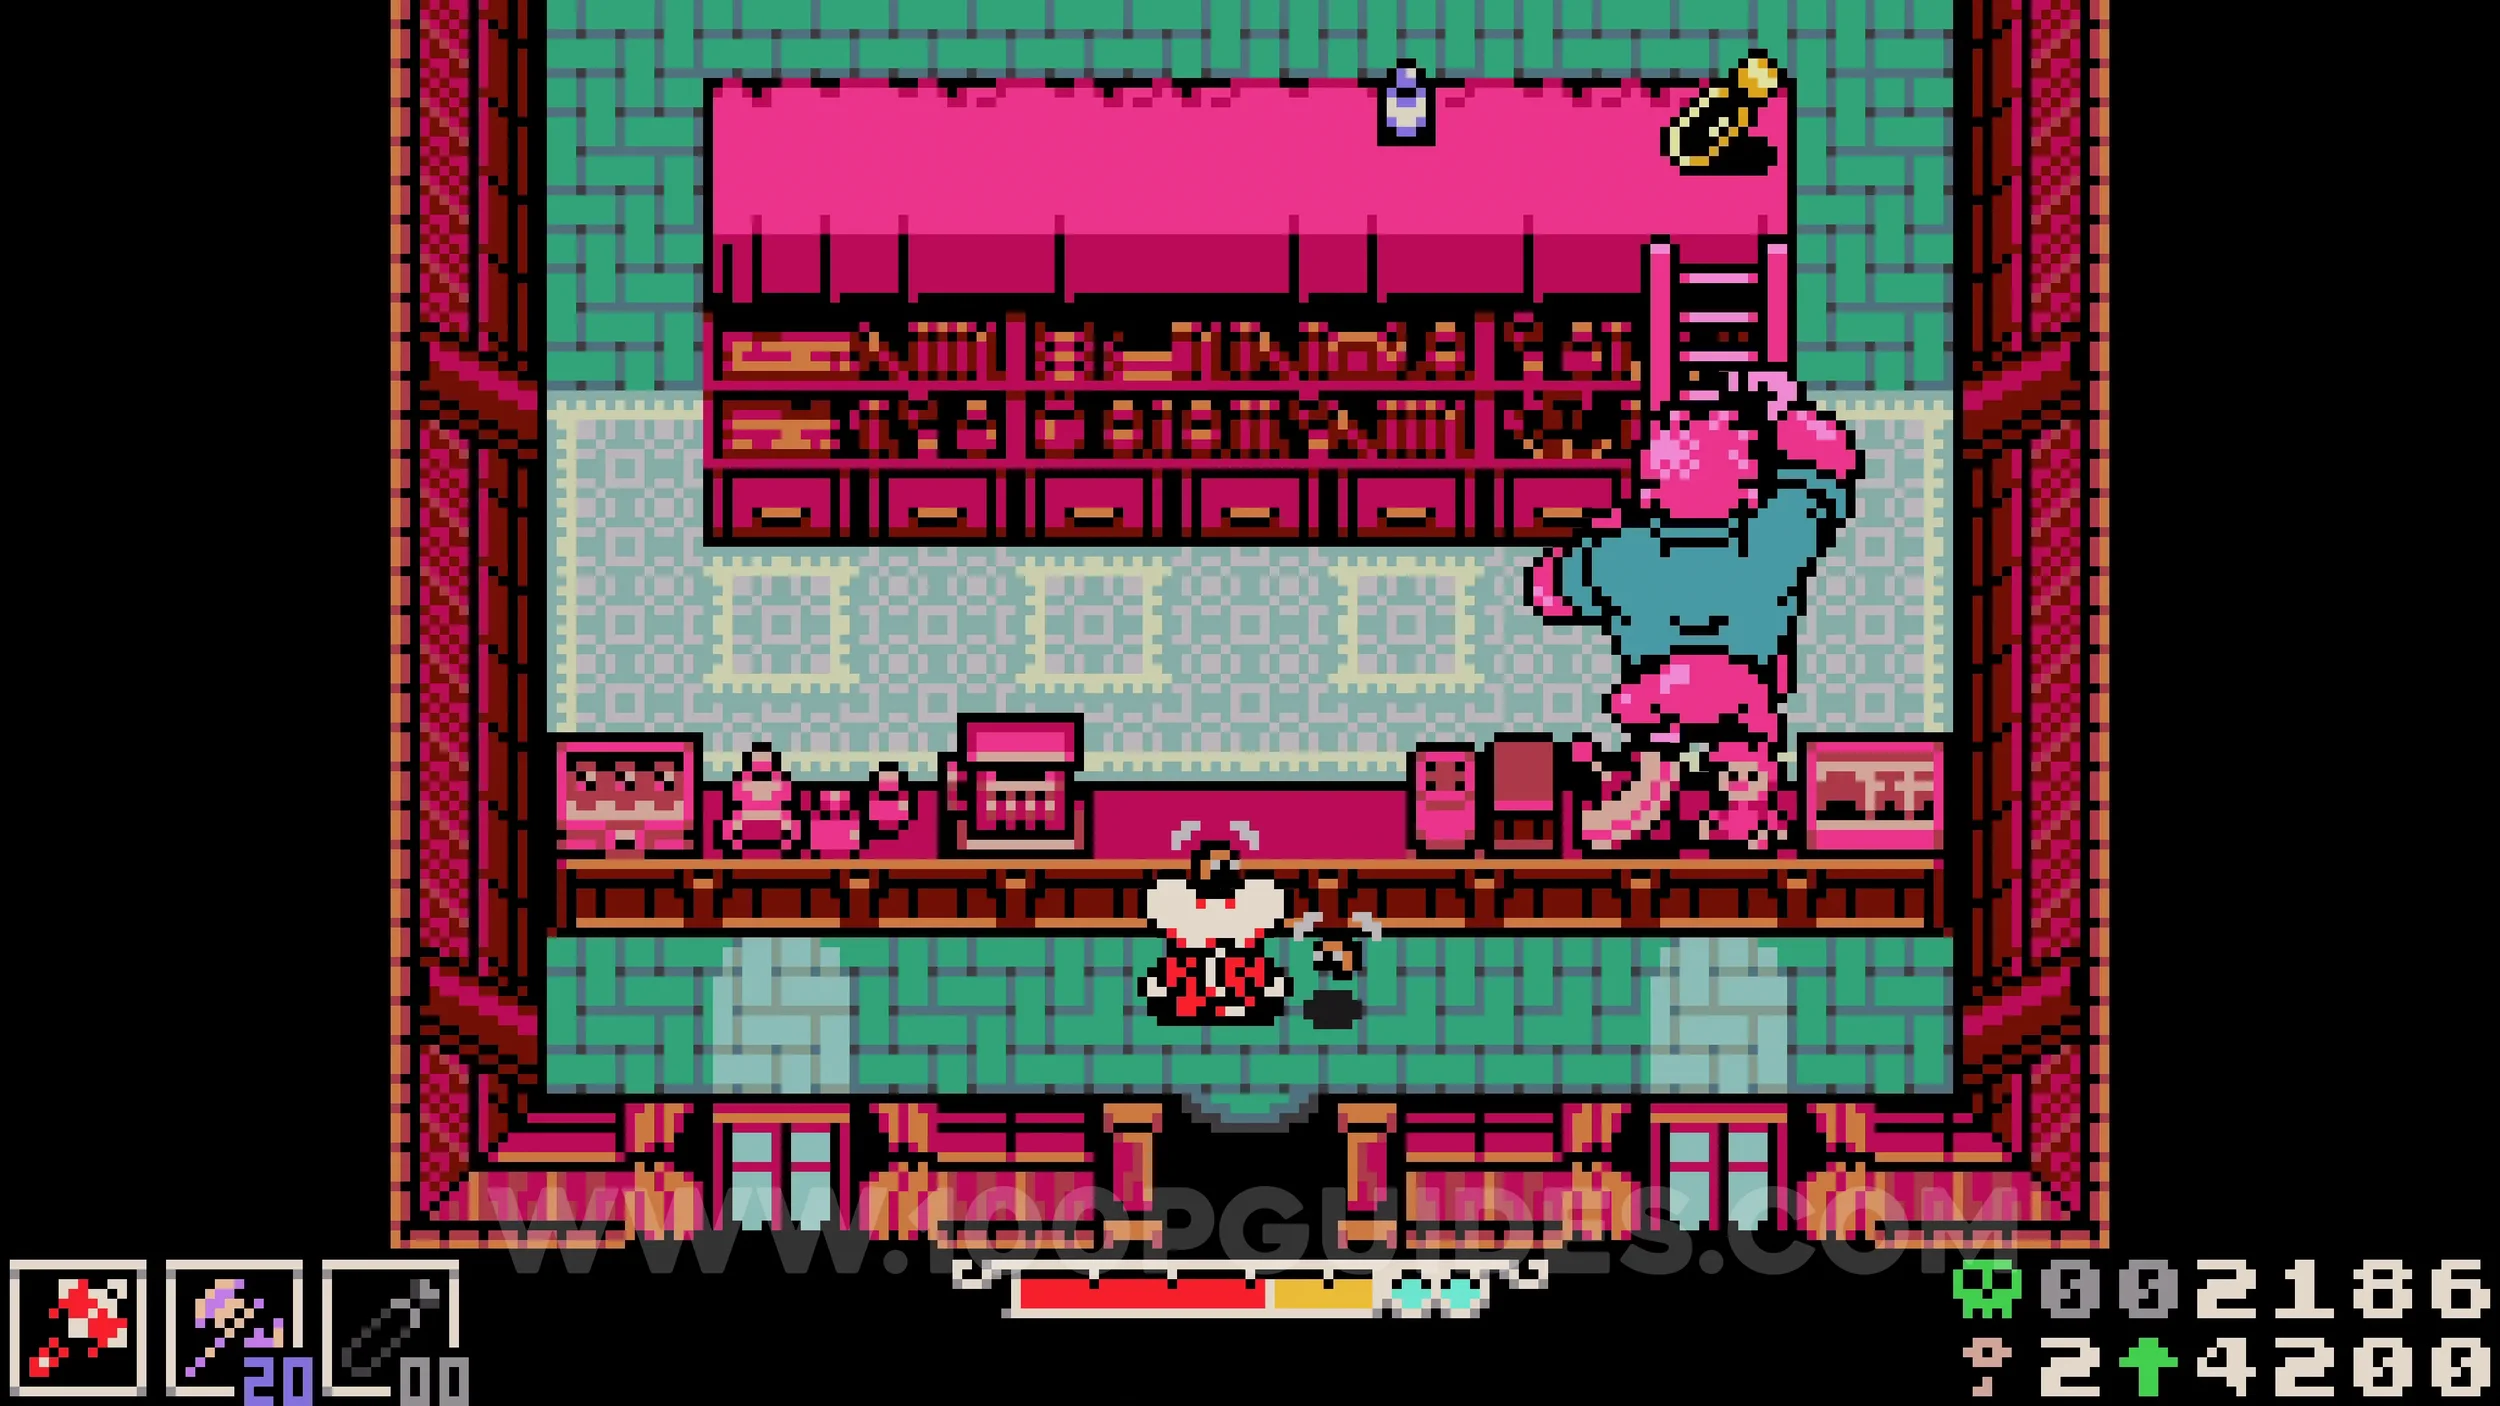
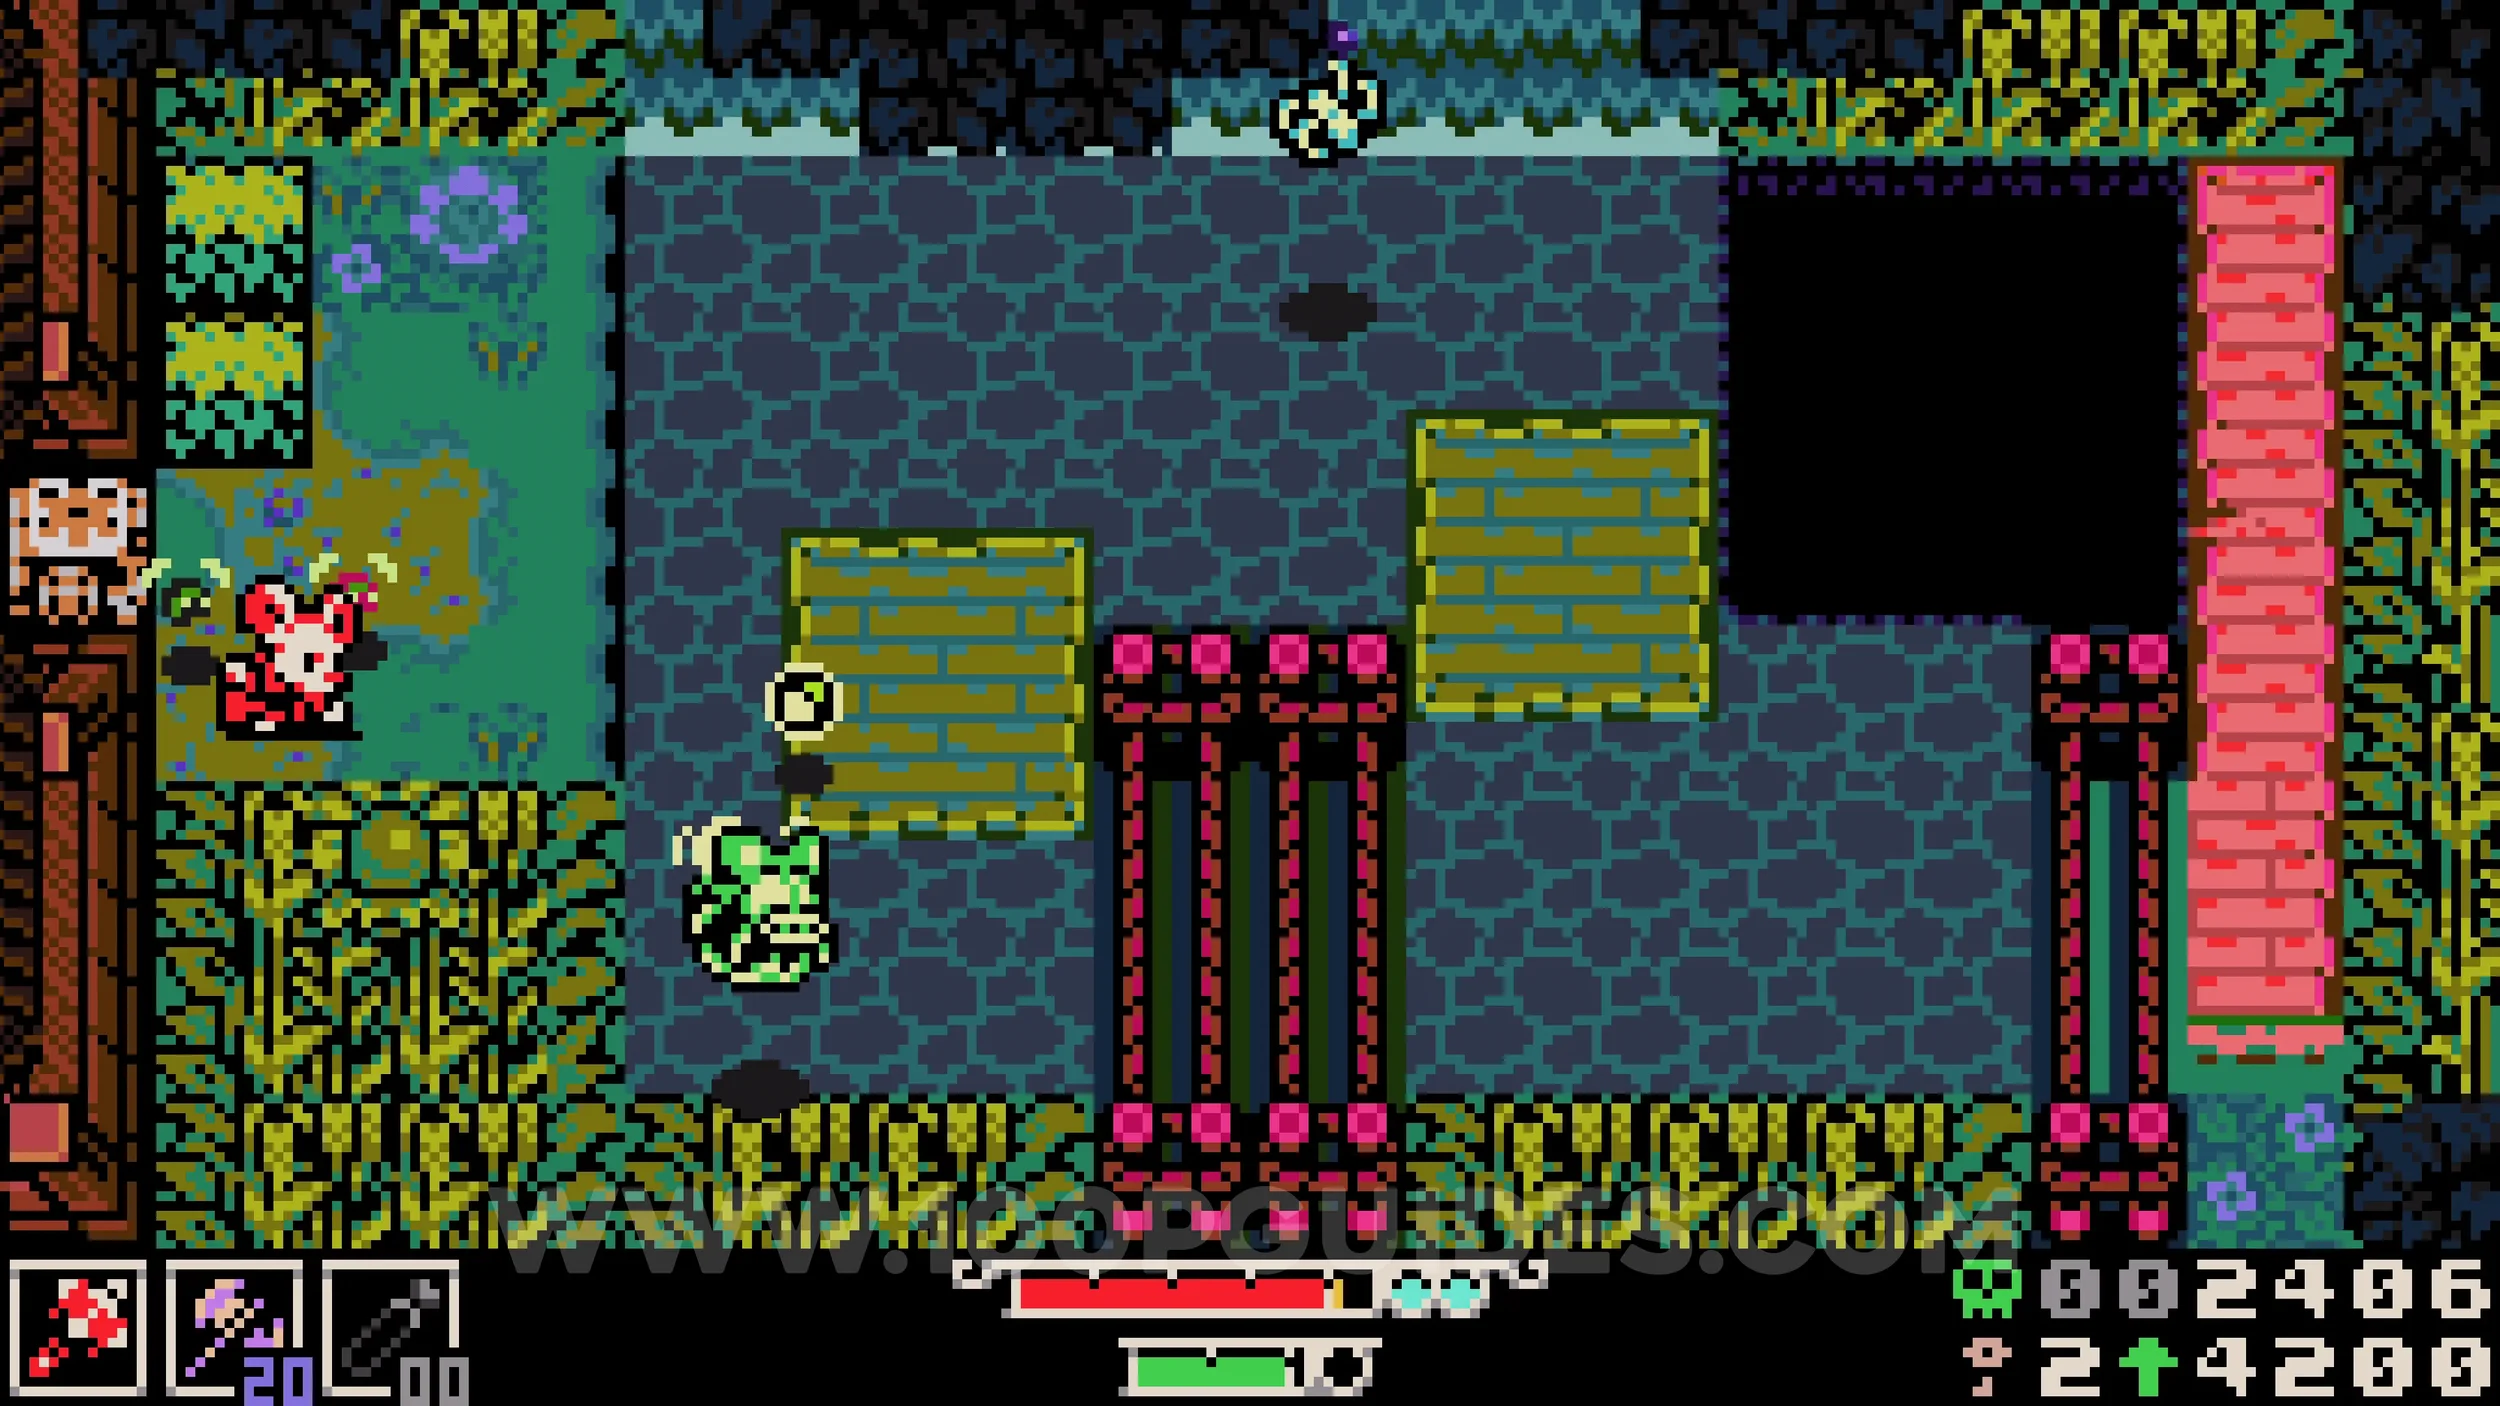
Joule Box #1. After entering the back entrance of Pinky's shop, pick up the ladder by burrowing under it and place it against the far back wall of the shop to reach the collectible.
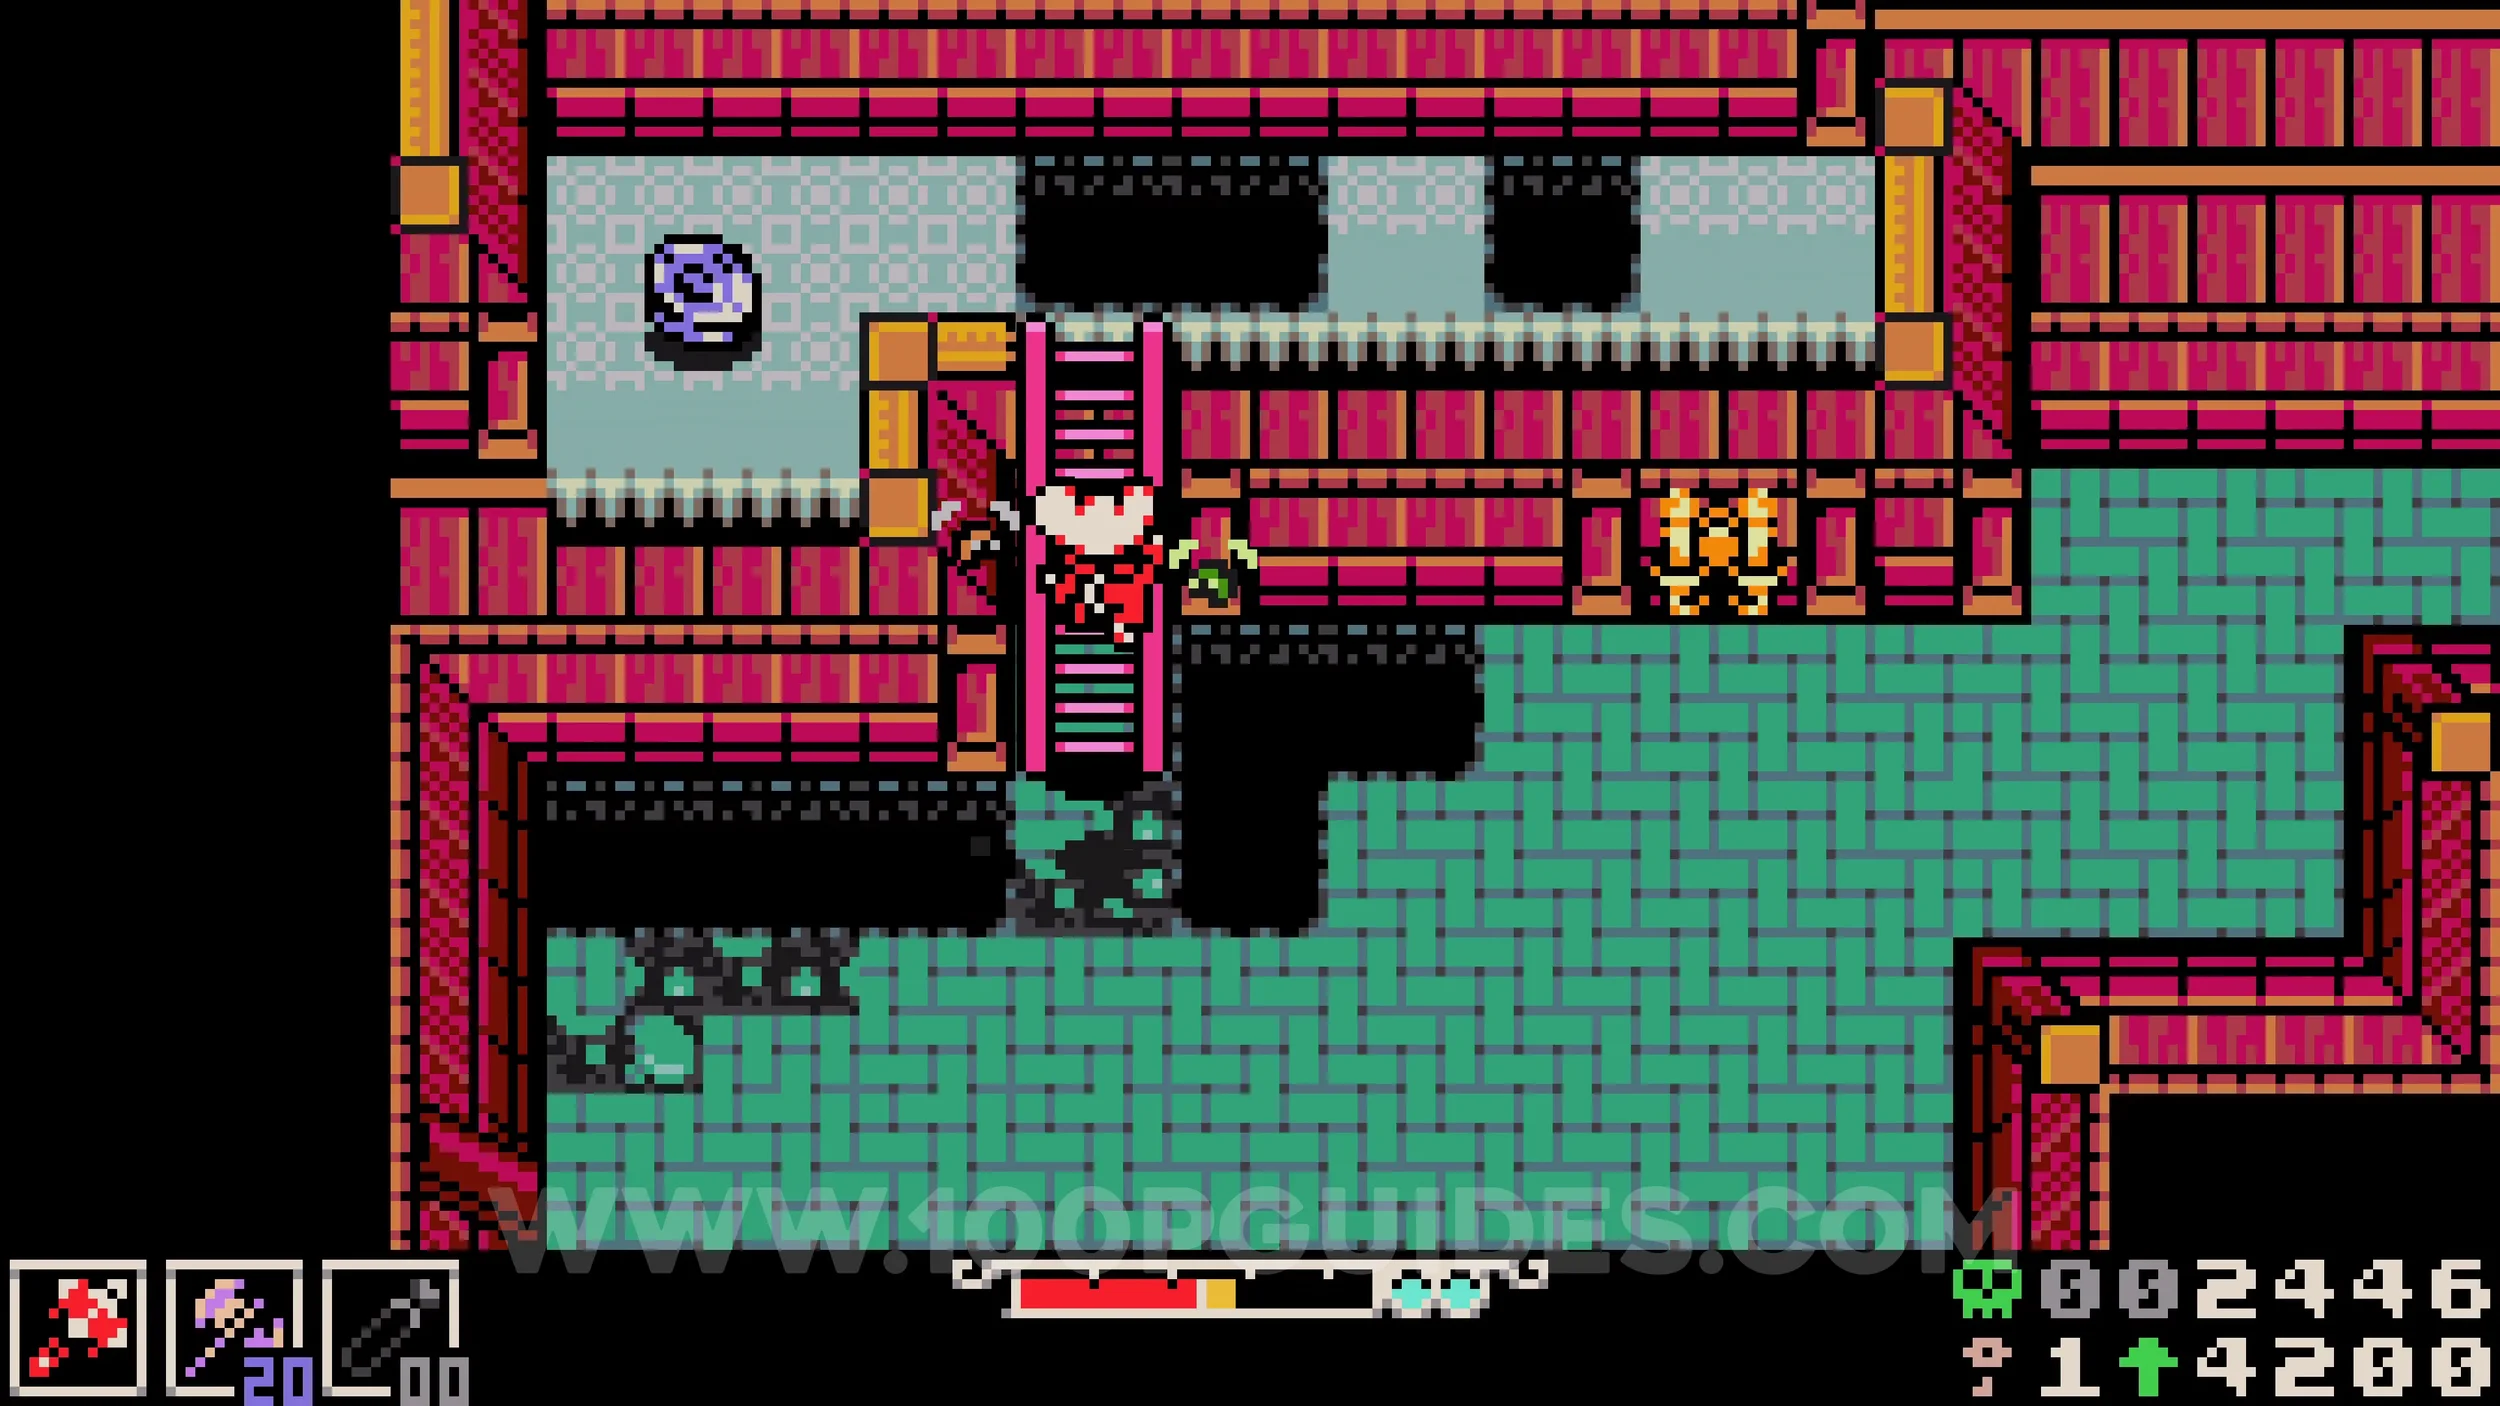
Bonestone #2. Take the ladder from Pinky's shop all the way back to the top of the first large screen of the area. Use it to climb up to the door and go inside. Once inside, make your way around the left side of the dark cave, then cross over to the right side under the metal grating. The gem can be found at the top of the right side.
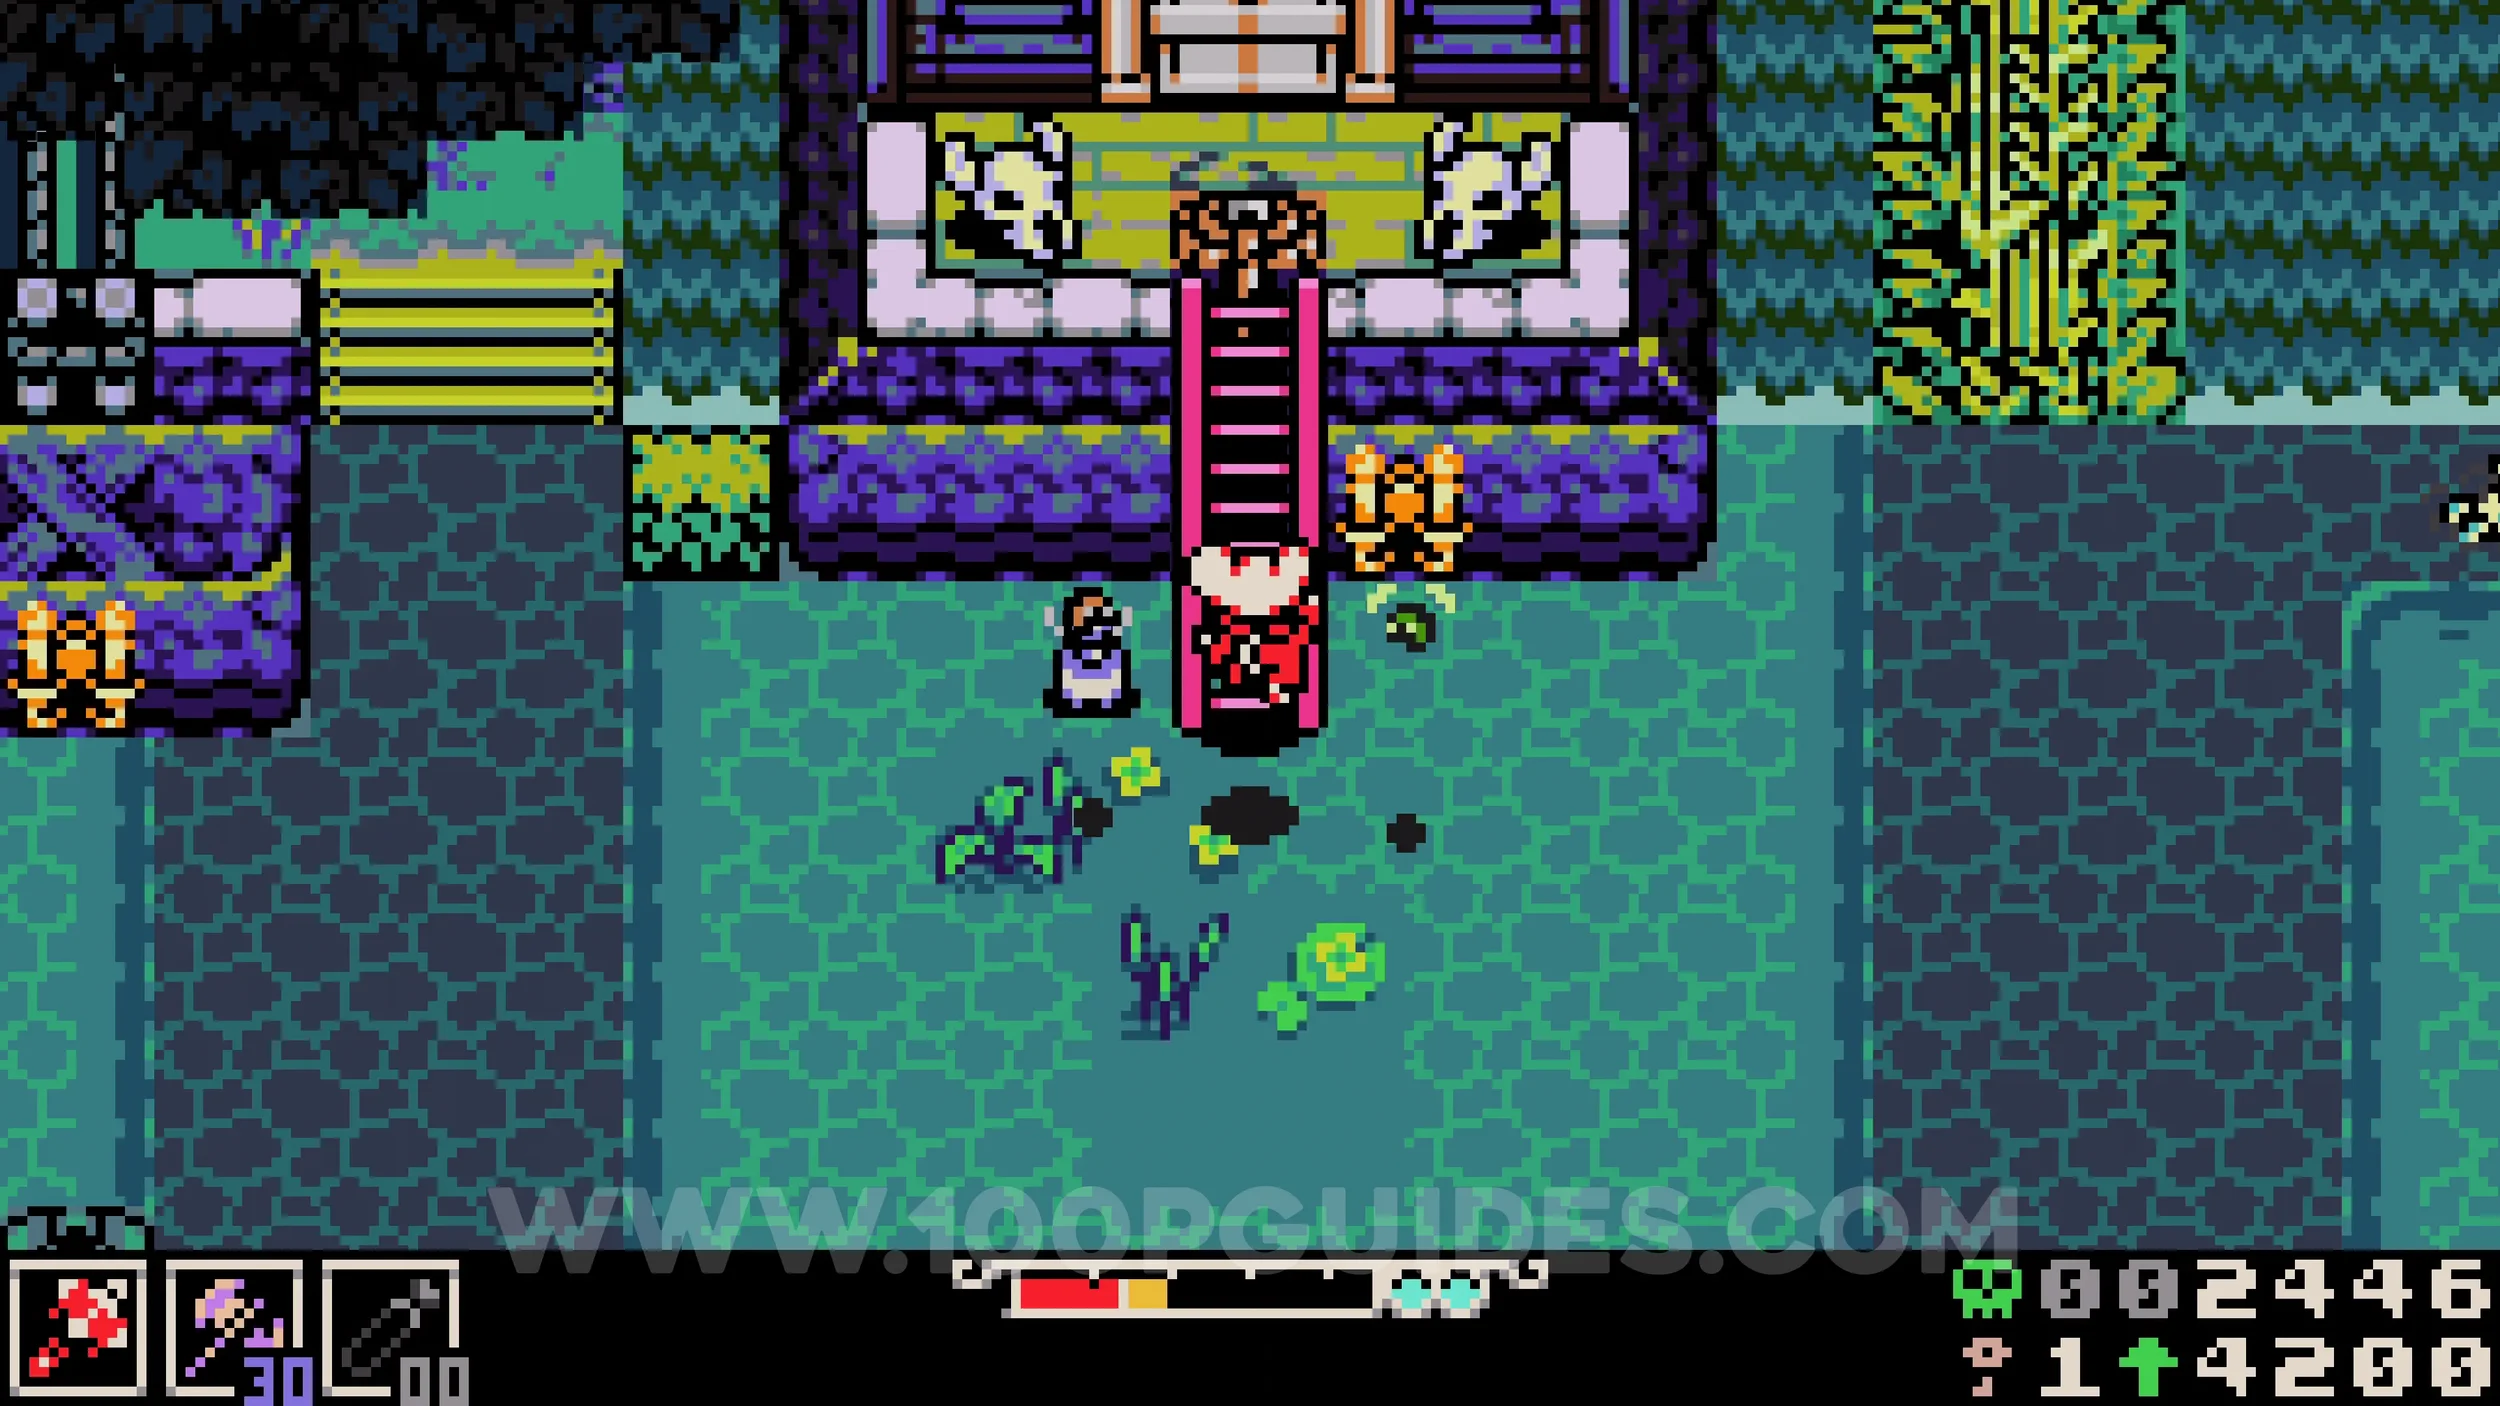
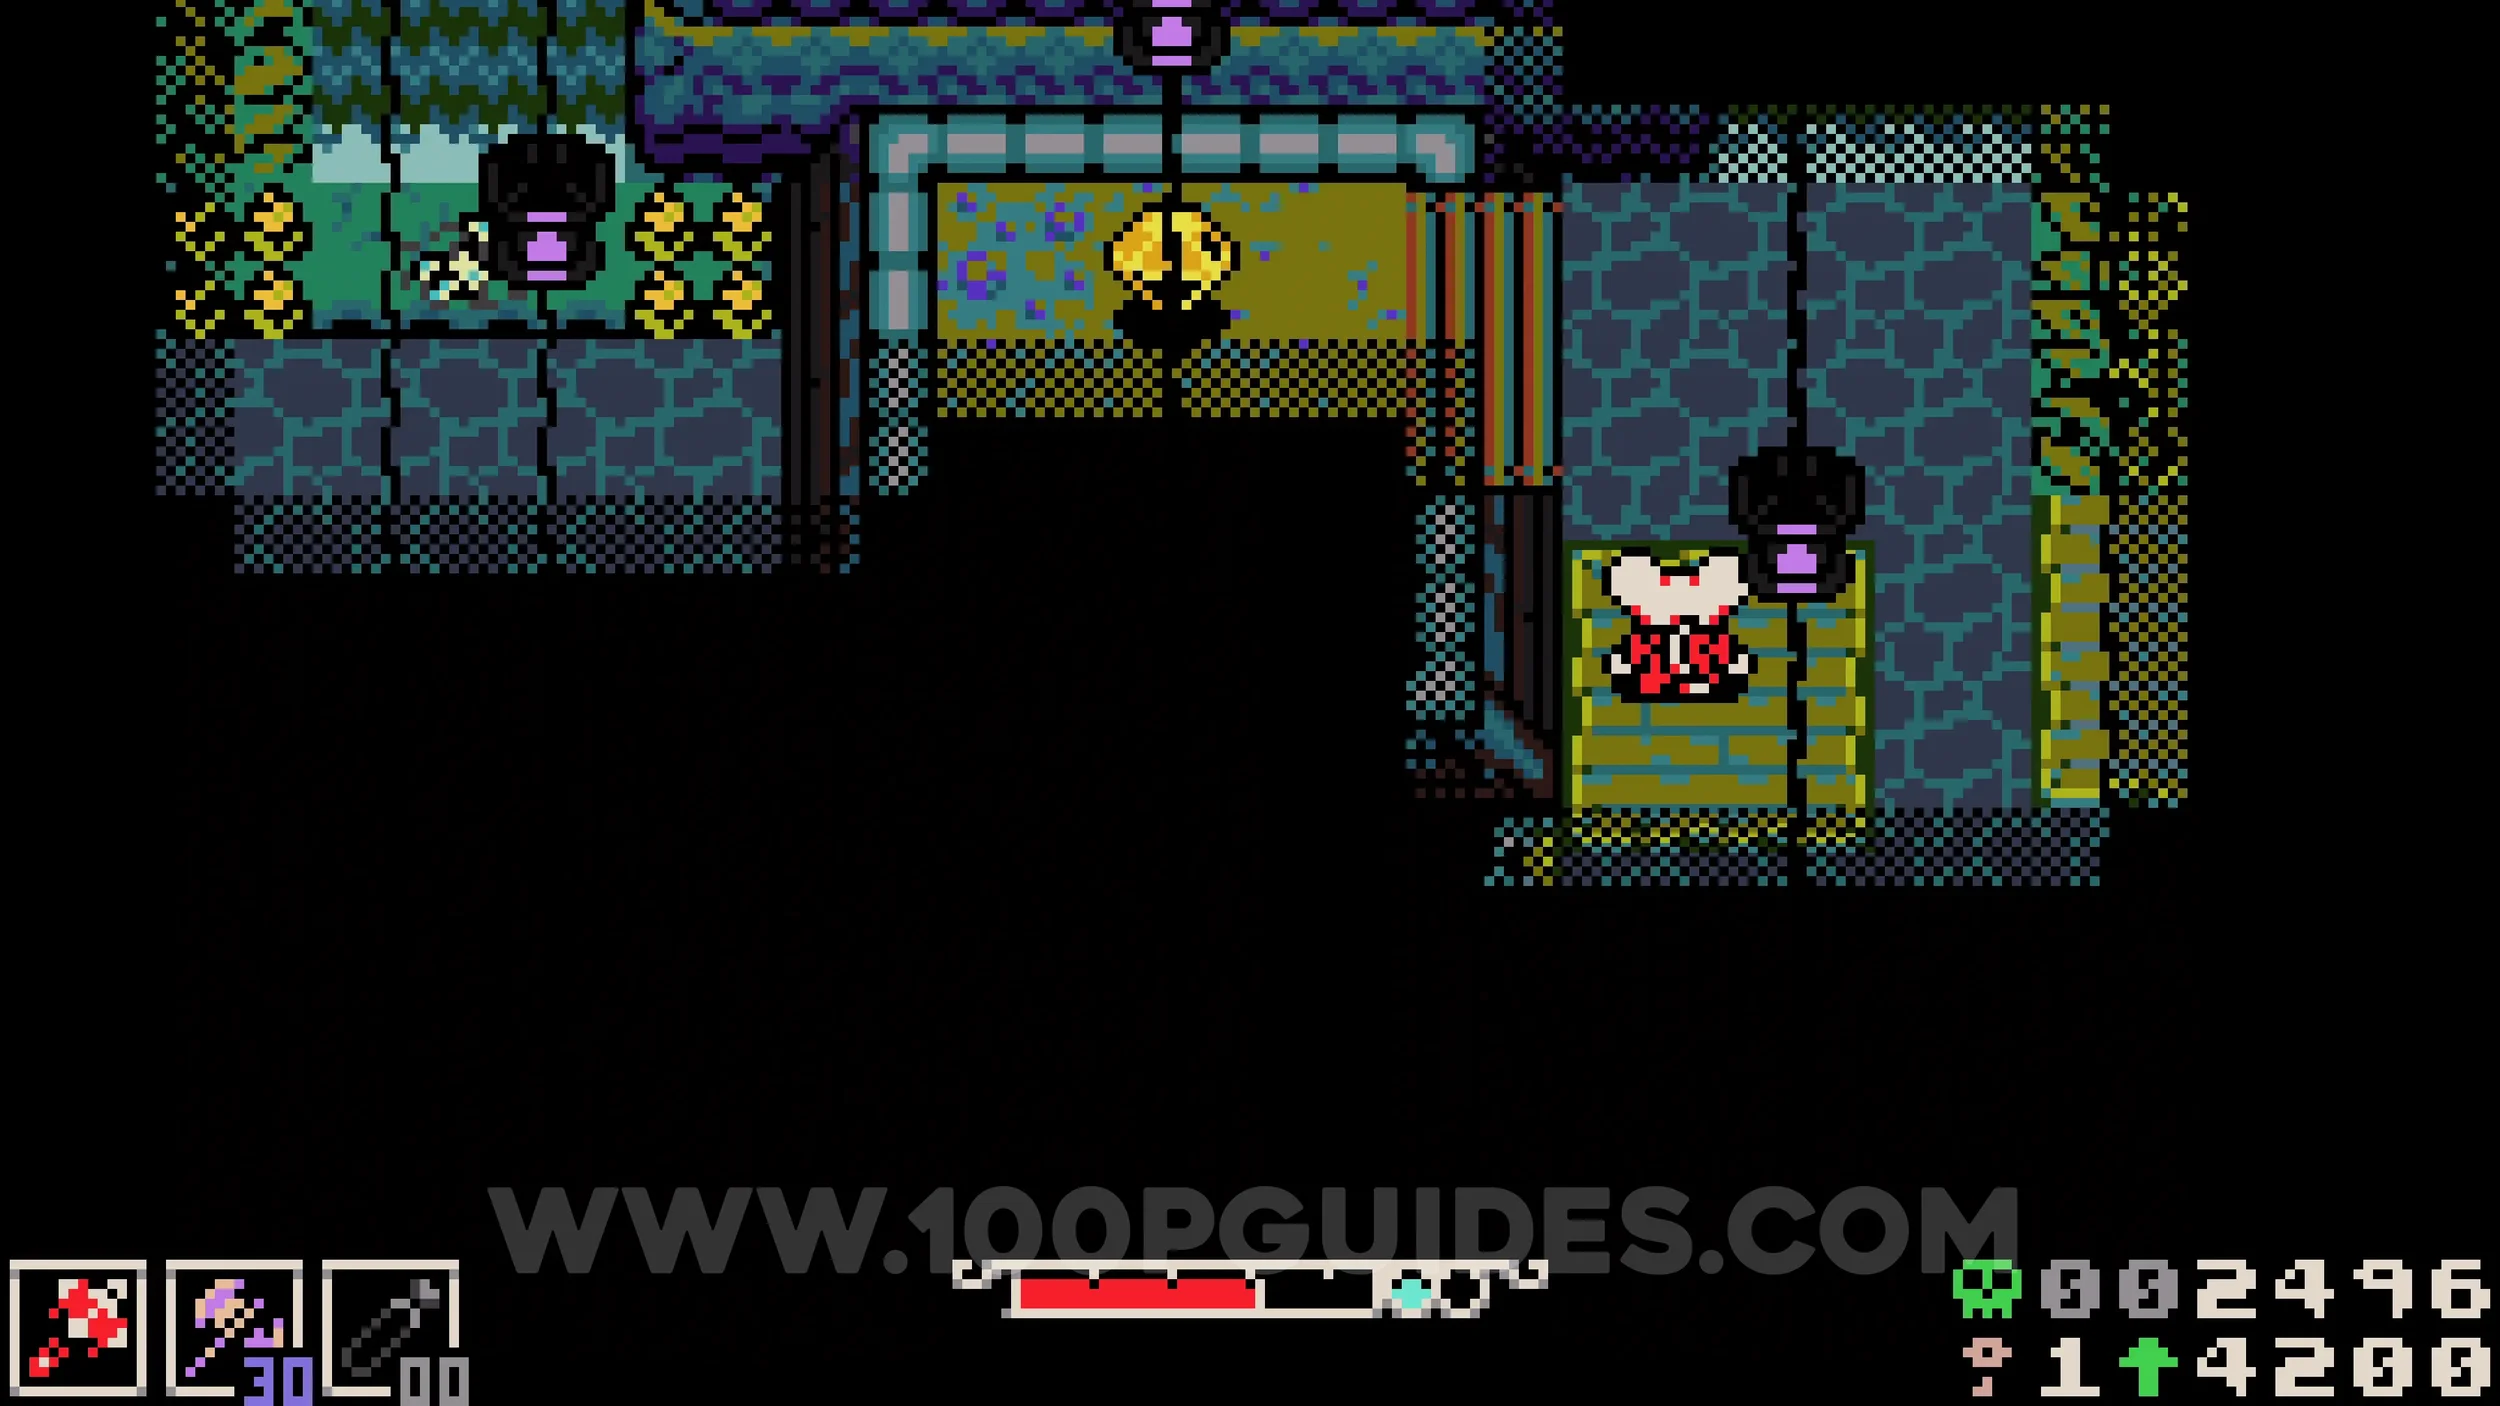
Vial Pouch #1. In the same cave as the previous gem, continue down the right side until you find some stairs on your left leading to the chest containing the collectible.
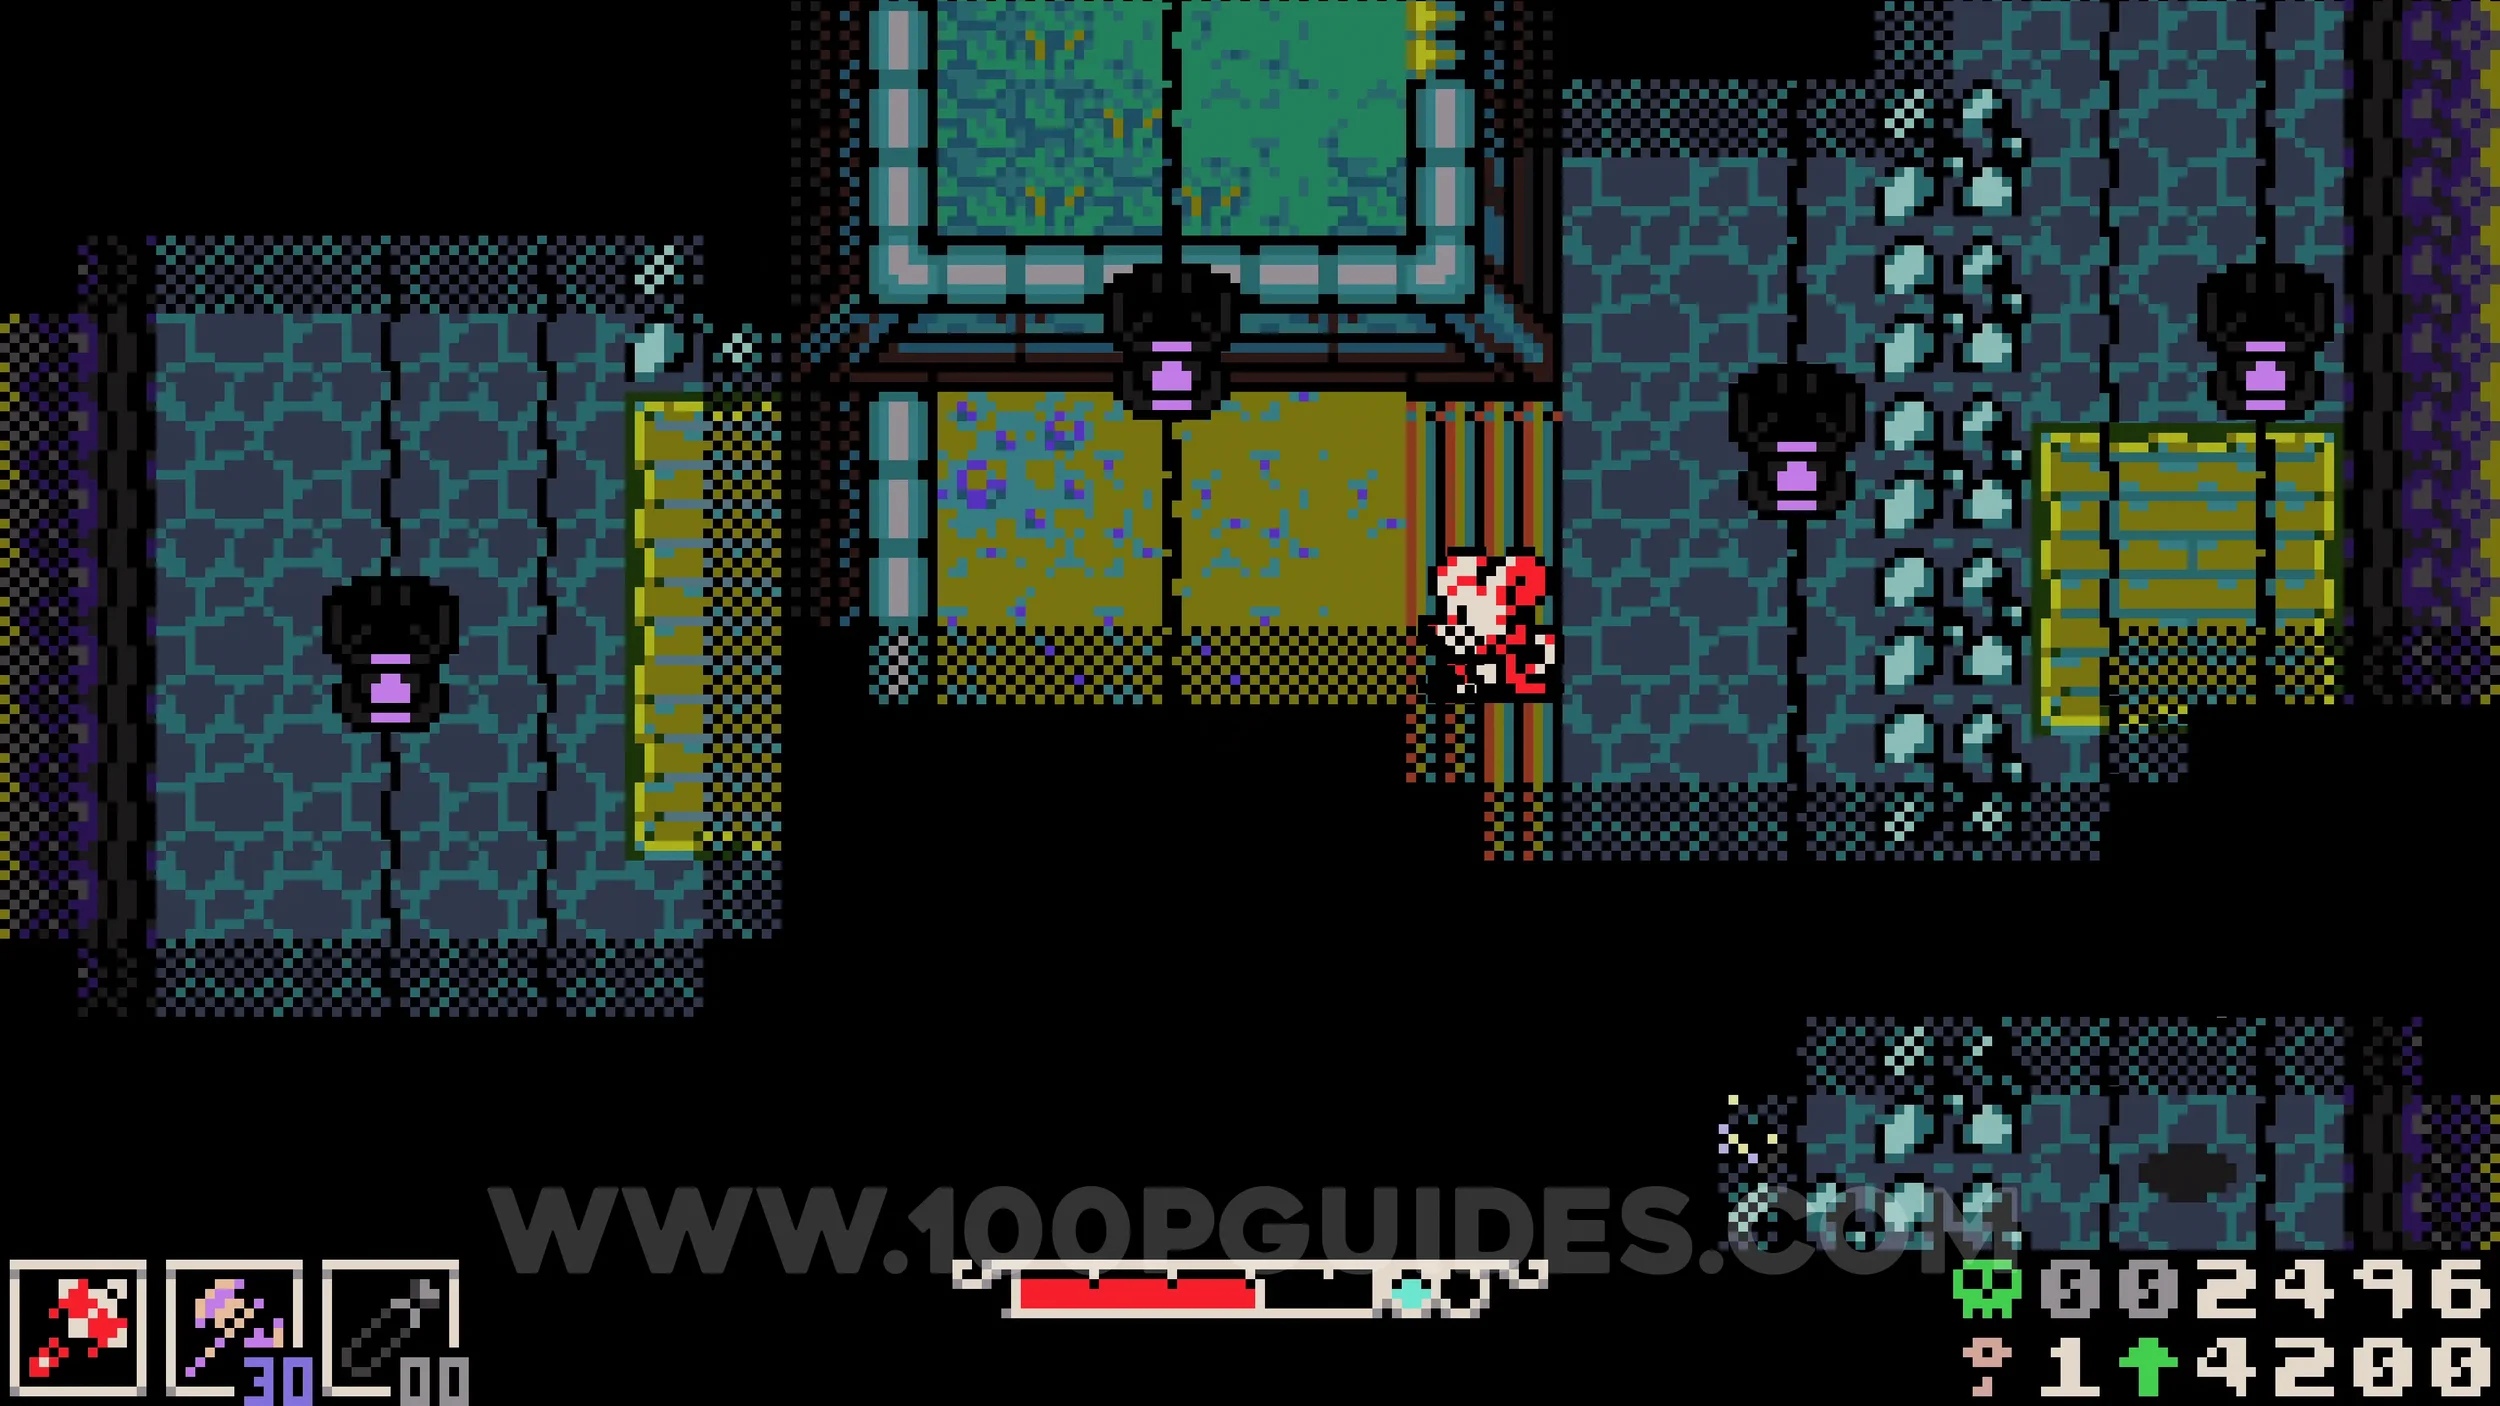
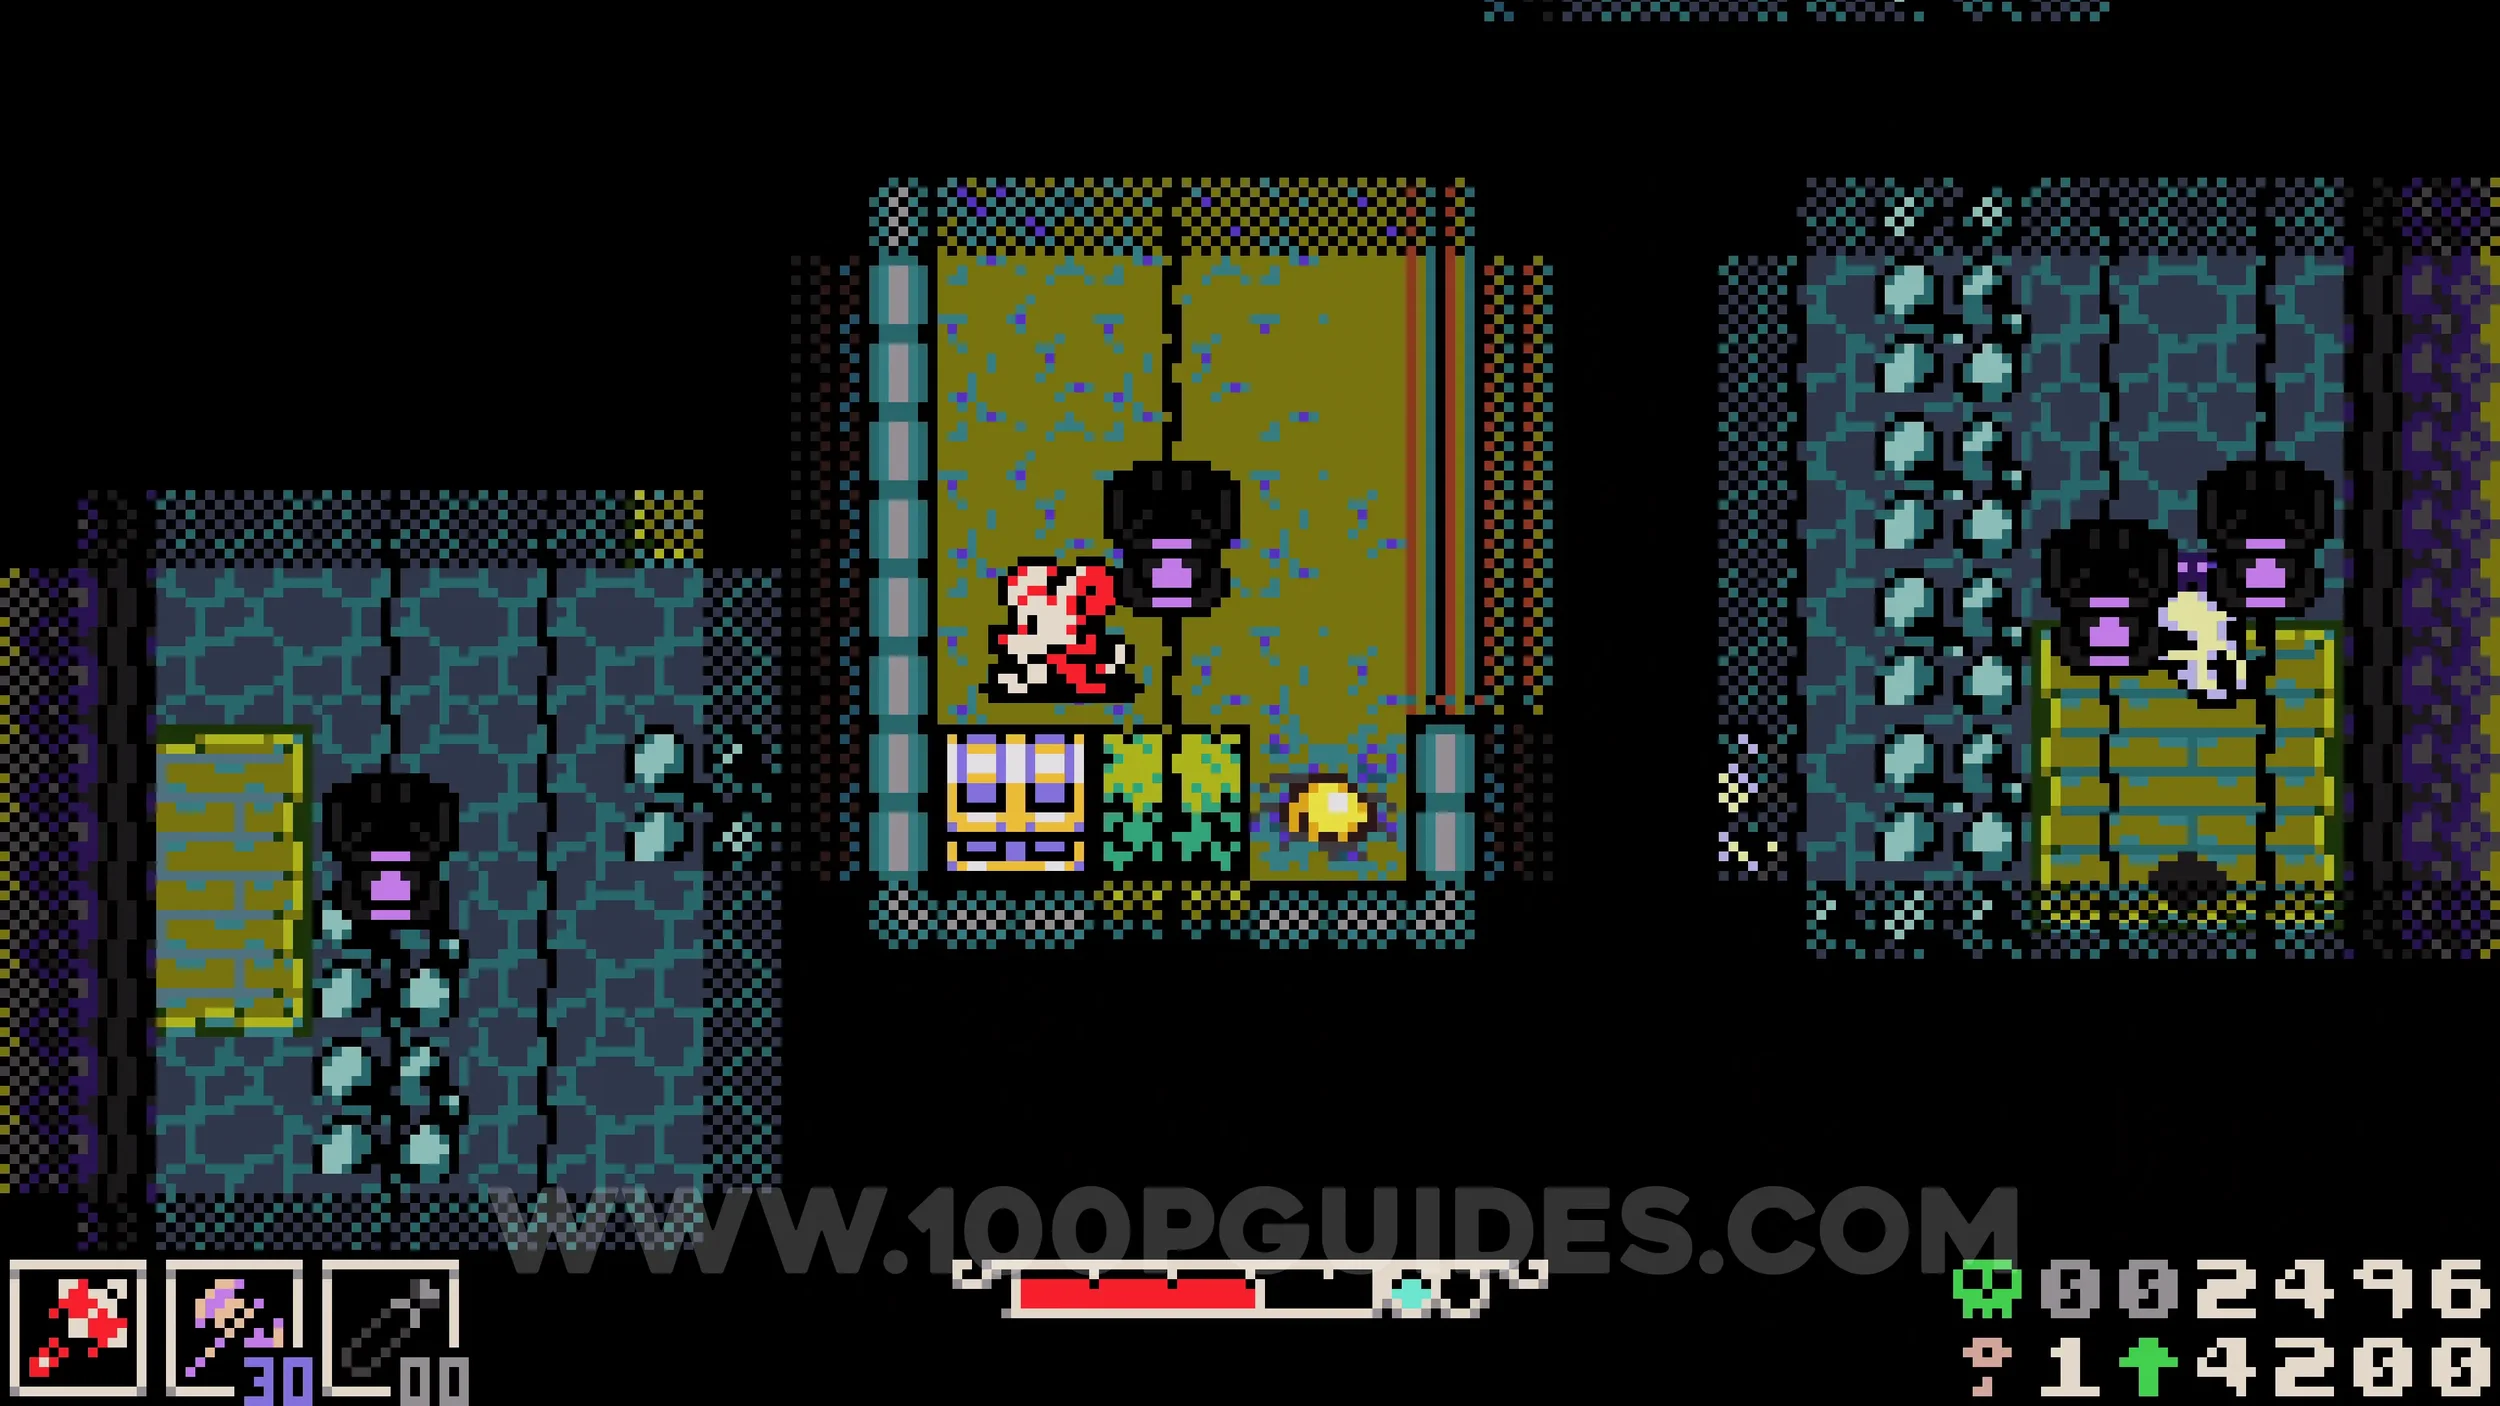
Bonestone #3 & Lock #2. Exit the cave and head down to the next screen. The lock can be found near the top right of the area. Approach it from below to reach the locked chest containing the bonestone.
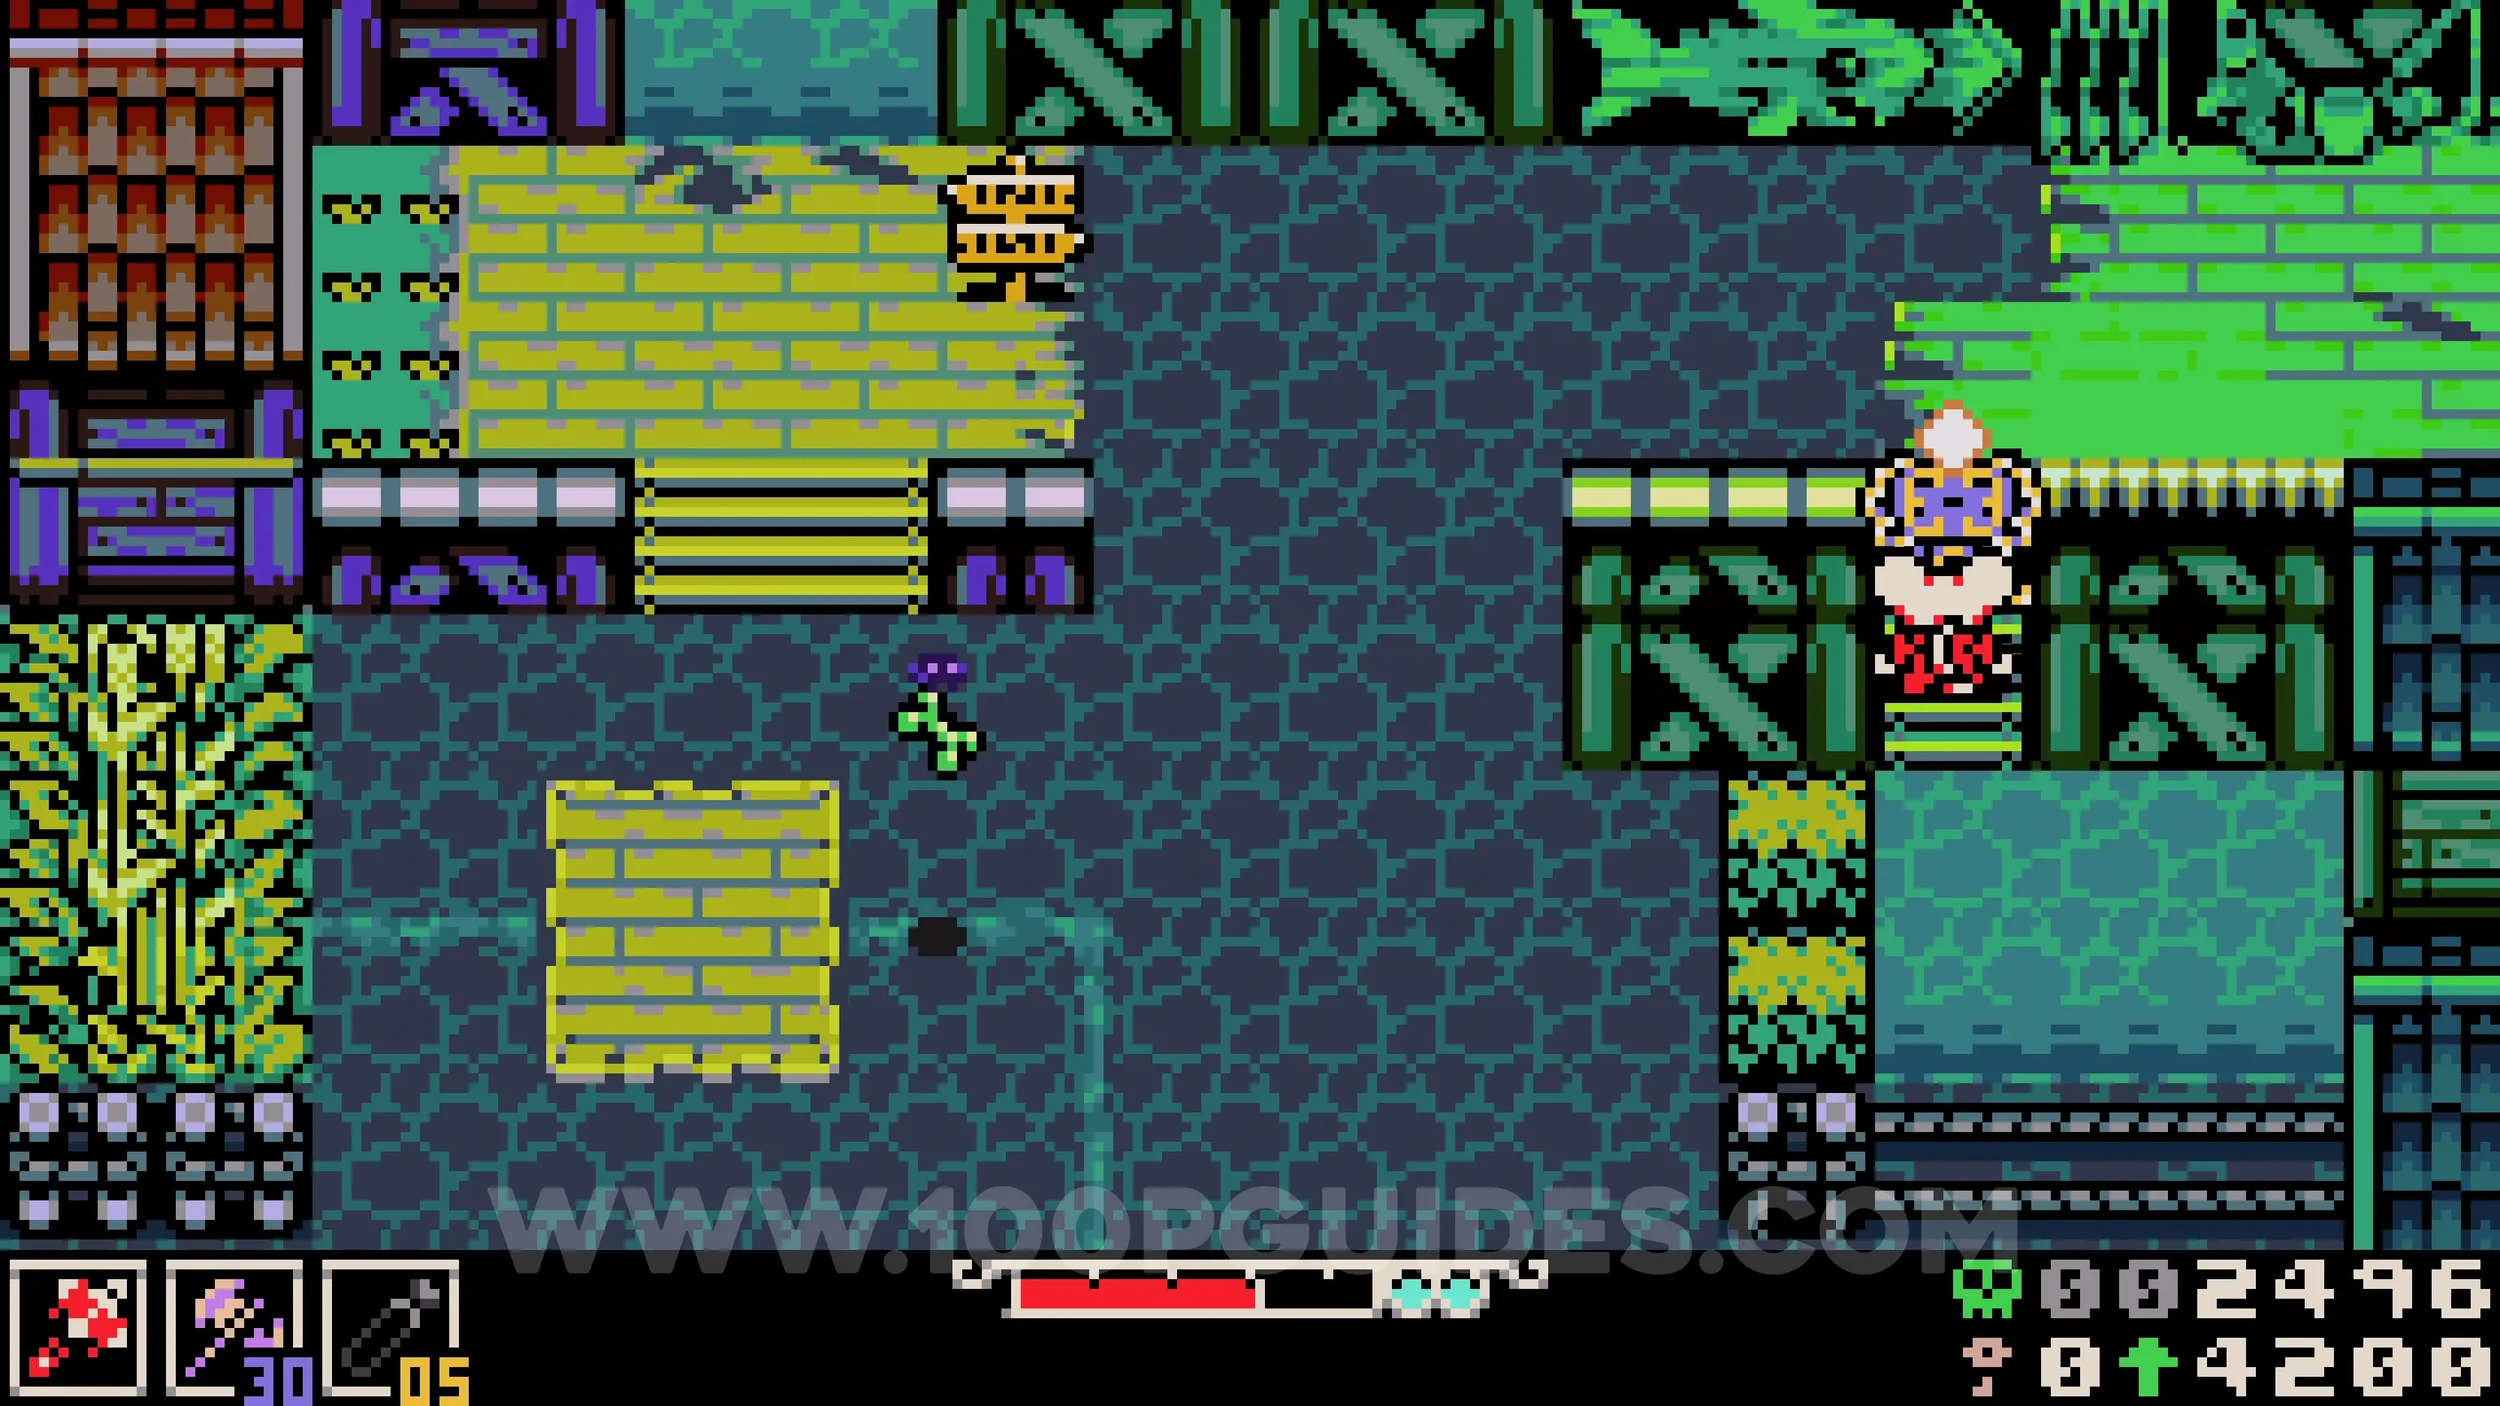
Fishing Upgrades #1 - Fishing Rod. Take the path to the right after the previous lock and watch the cutscene where the giant fish takes the NPC, leaving behind the fishing rod.
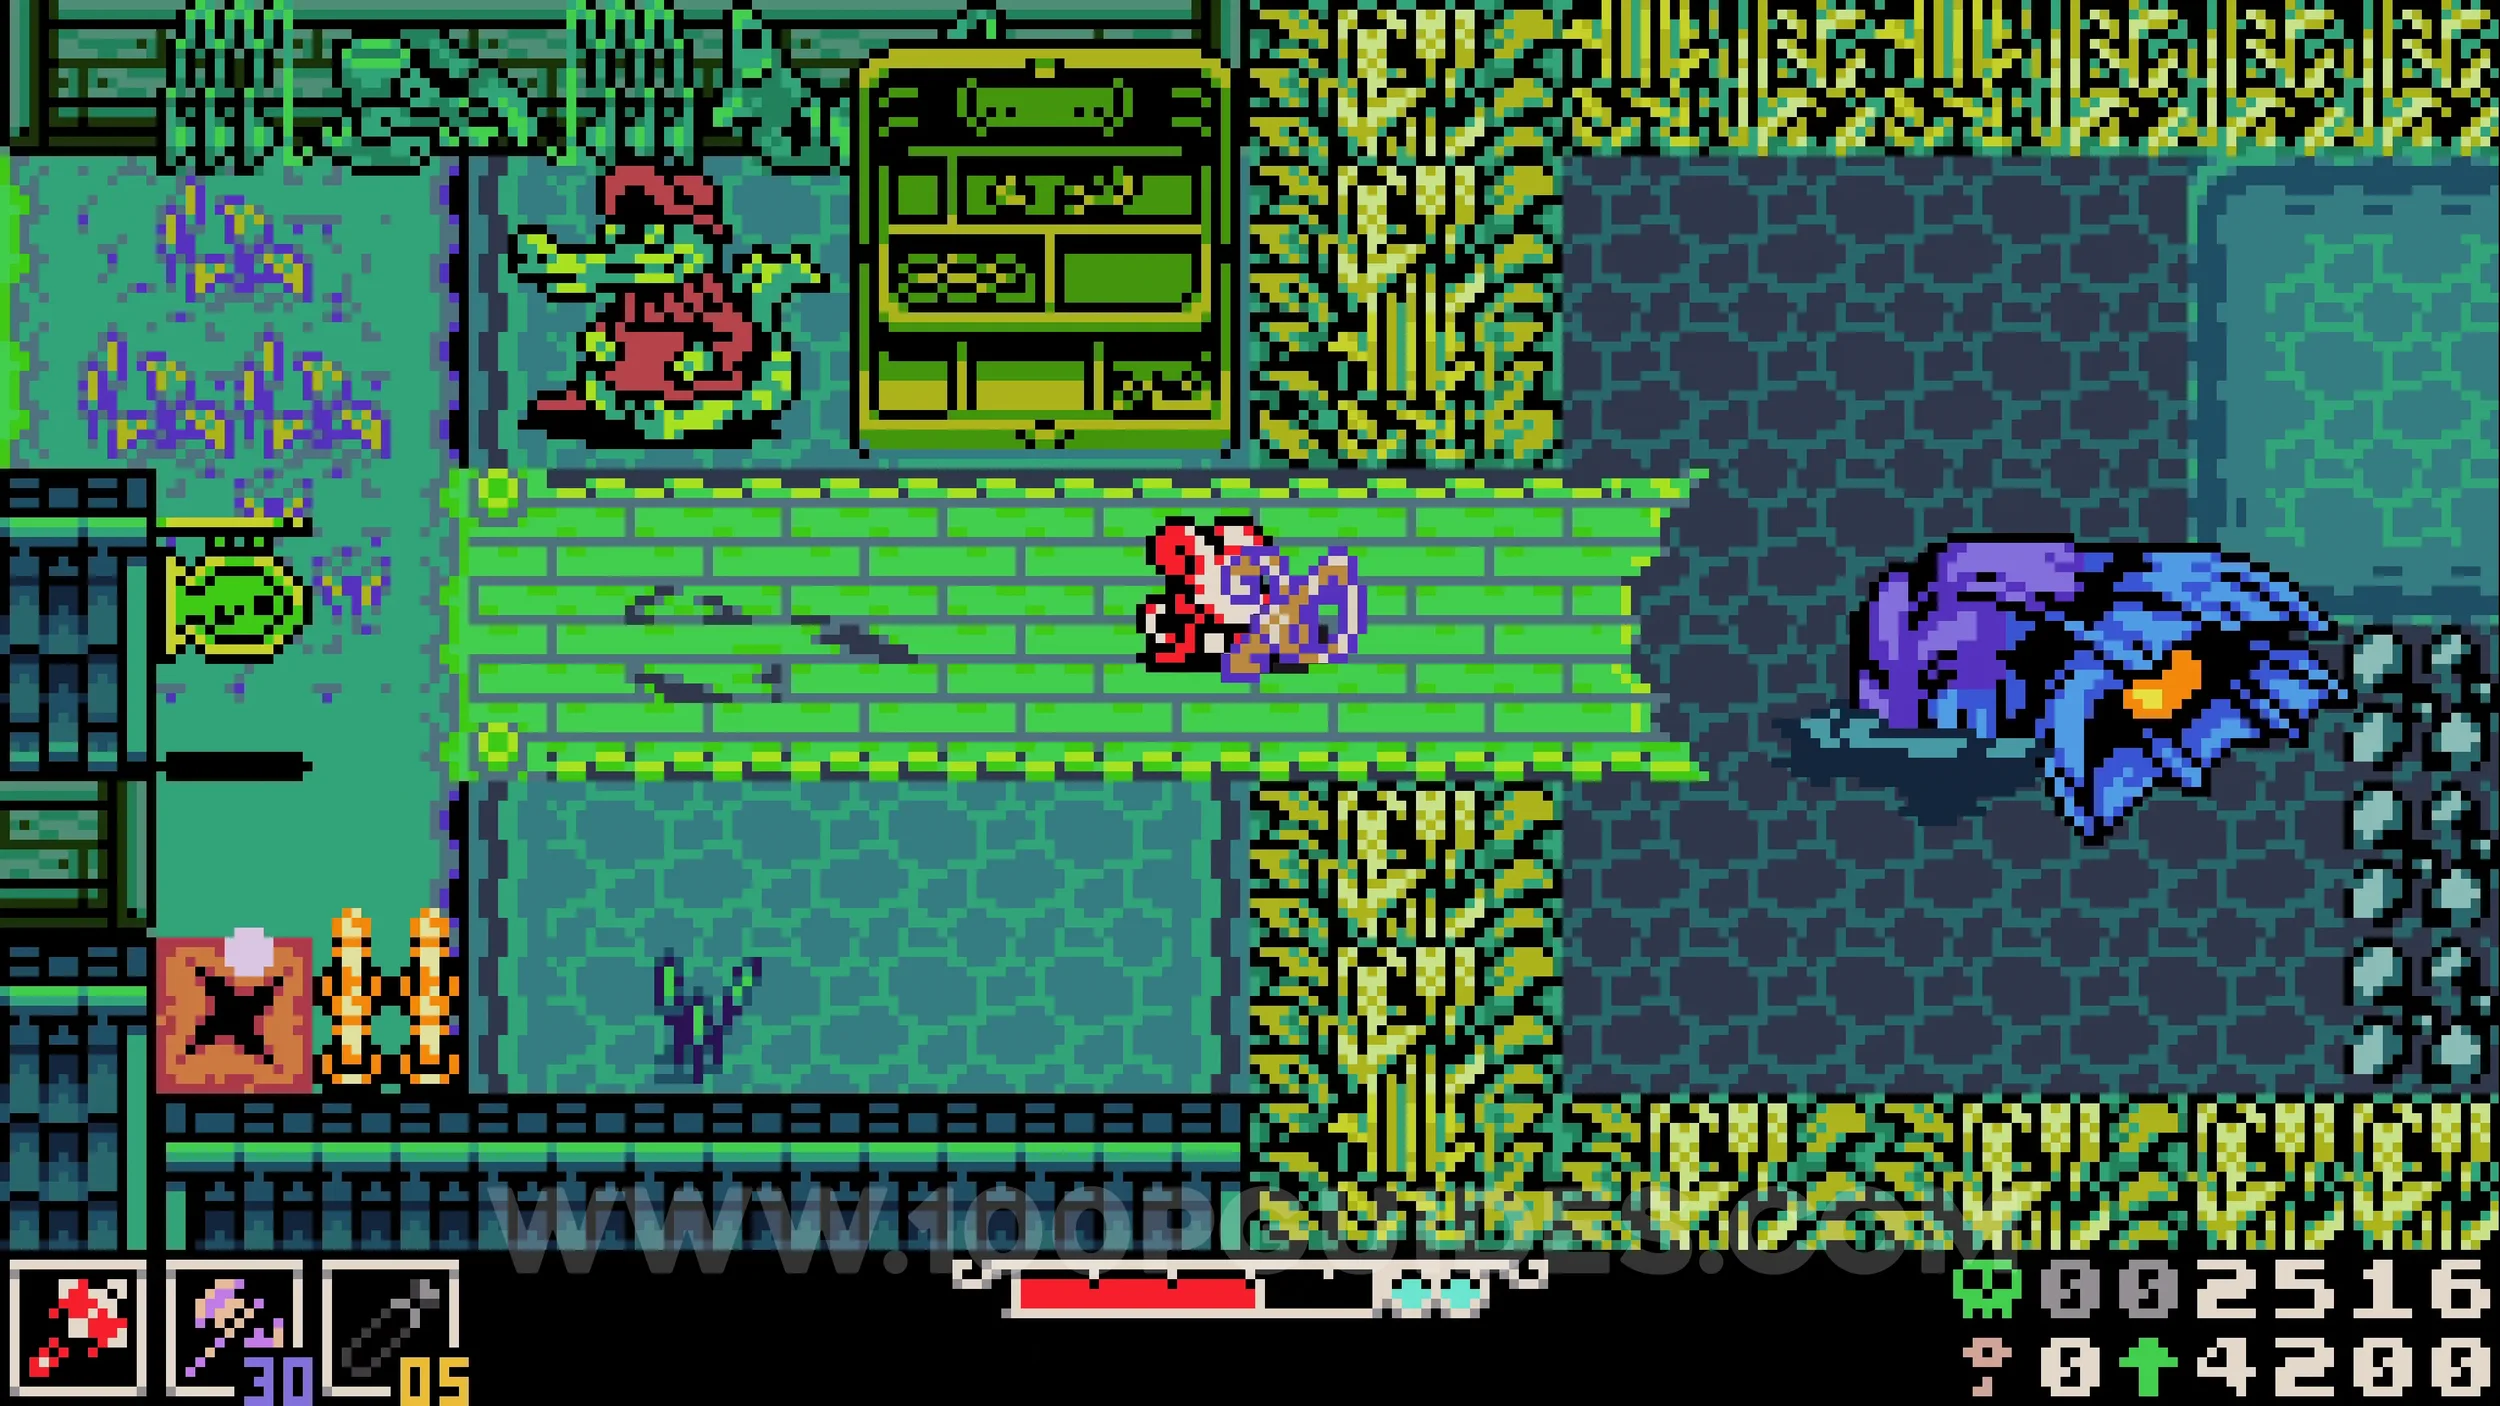
Fish #1. In the water in the same area where you get the fishing rod.
Trinket #3 - Evasion Powder. Take the ladder from Pinky's shop to the bottom right of the lower area, the same area where you found the previous lock. Place it against the wall to reach the chest containing the trinket.
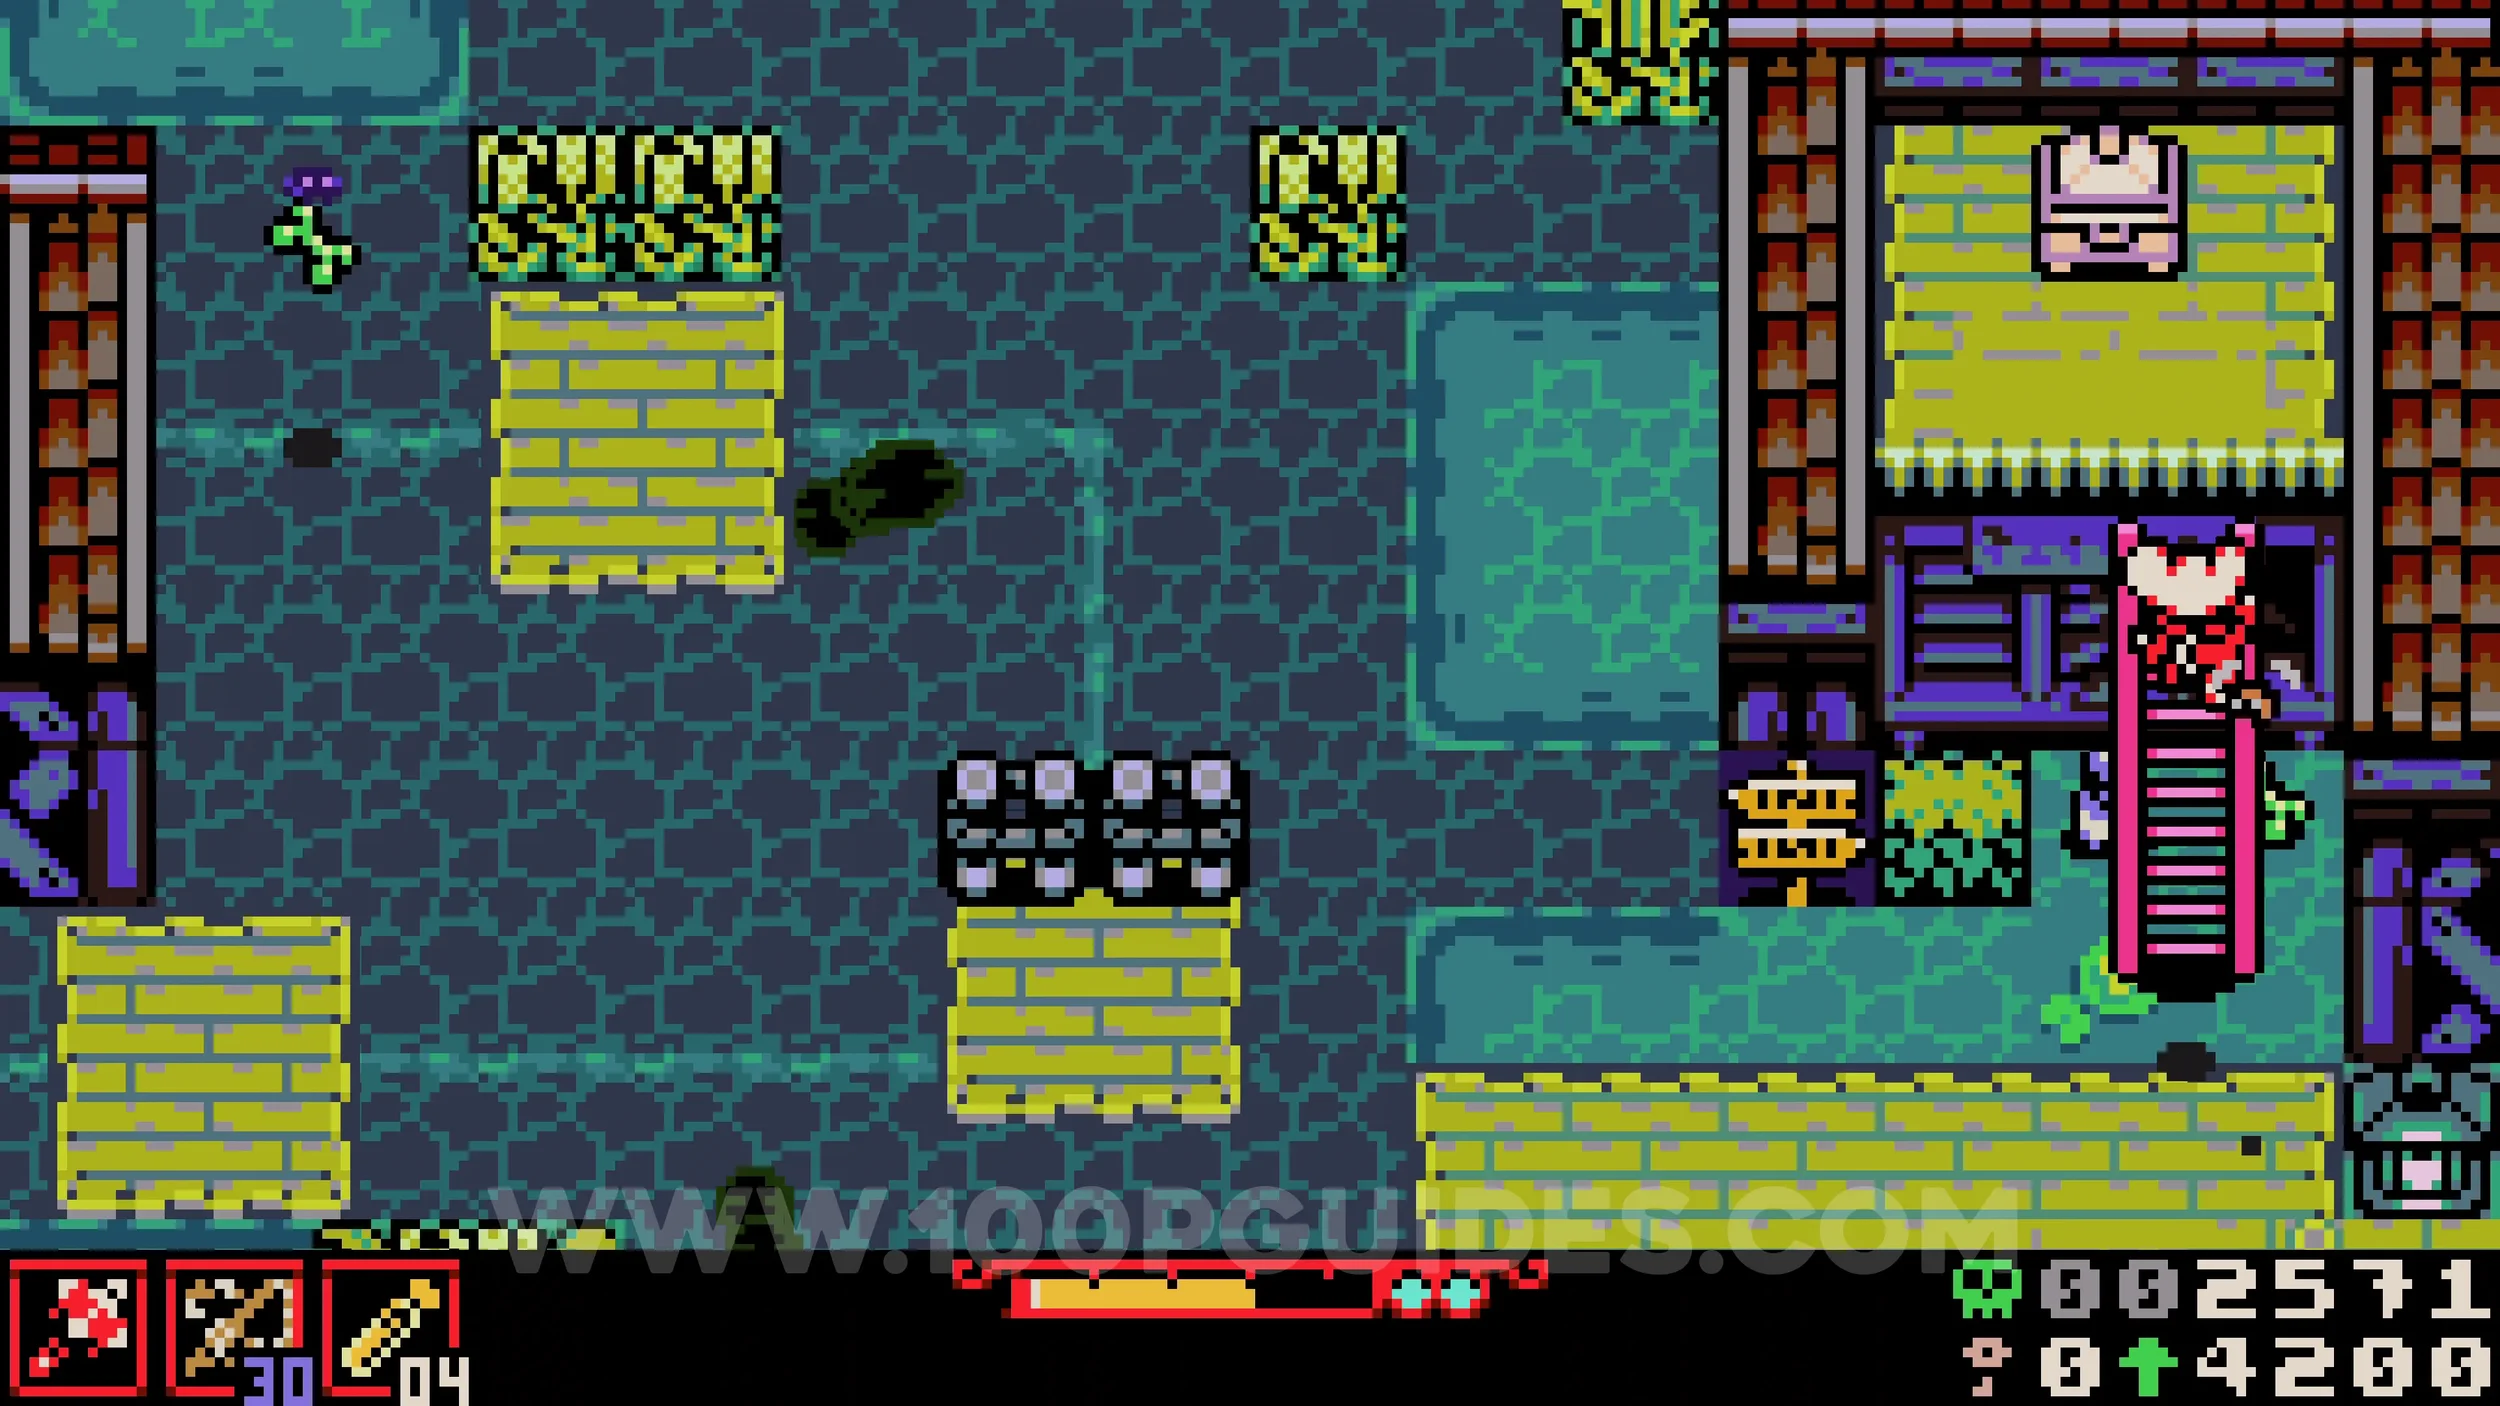
Bonestone #4. Place the ladder on one of the moving platforms to reach the building to the left of the previous trinket.
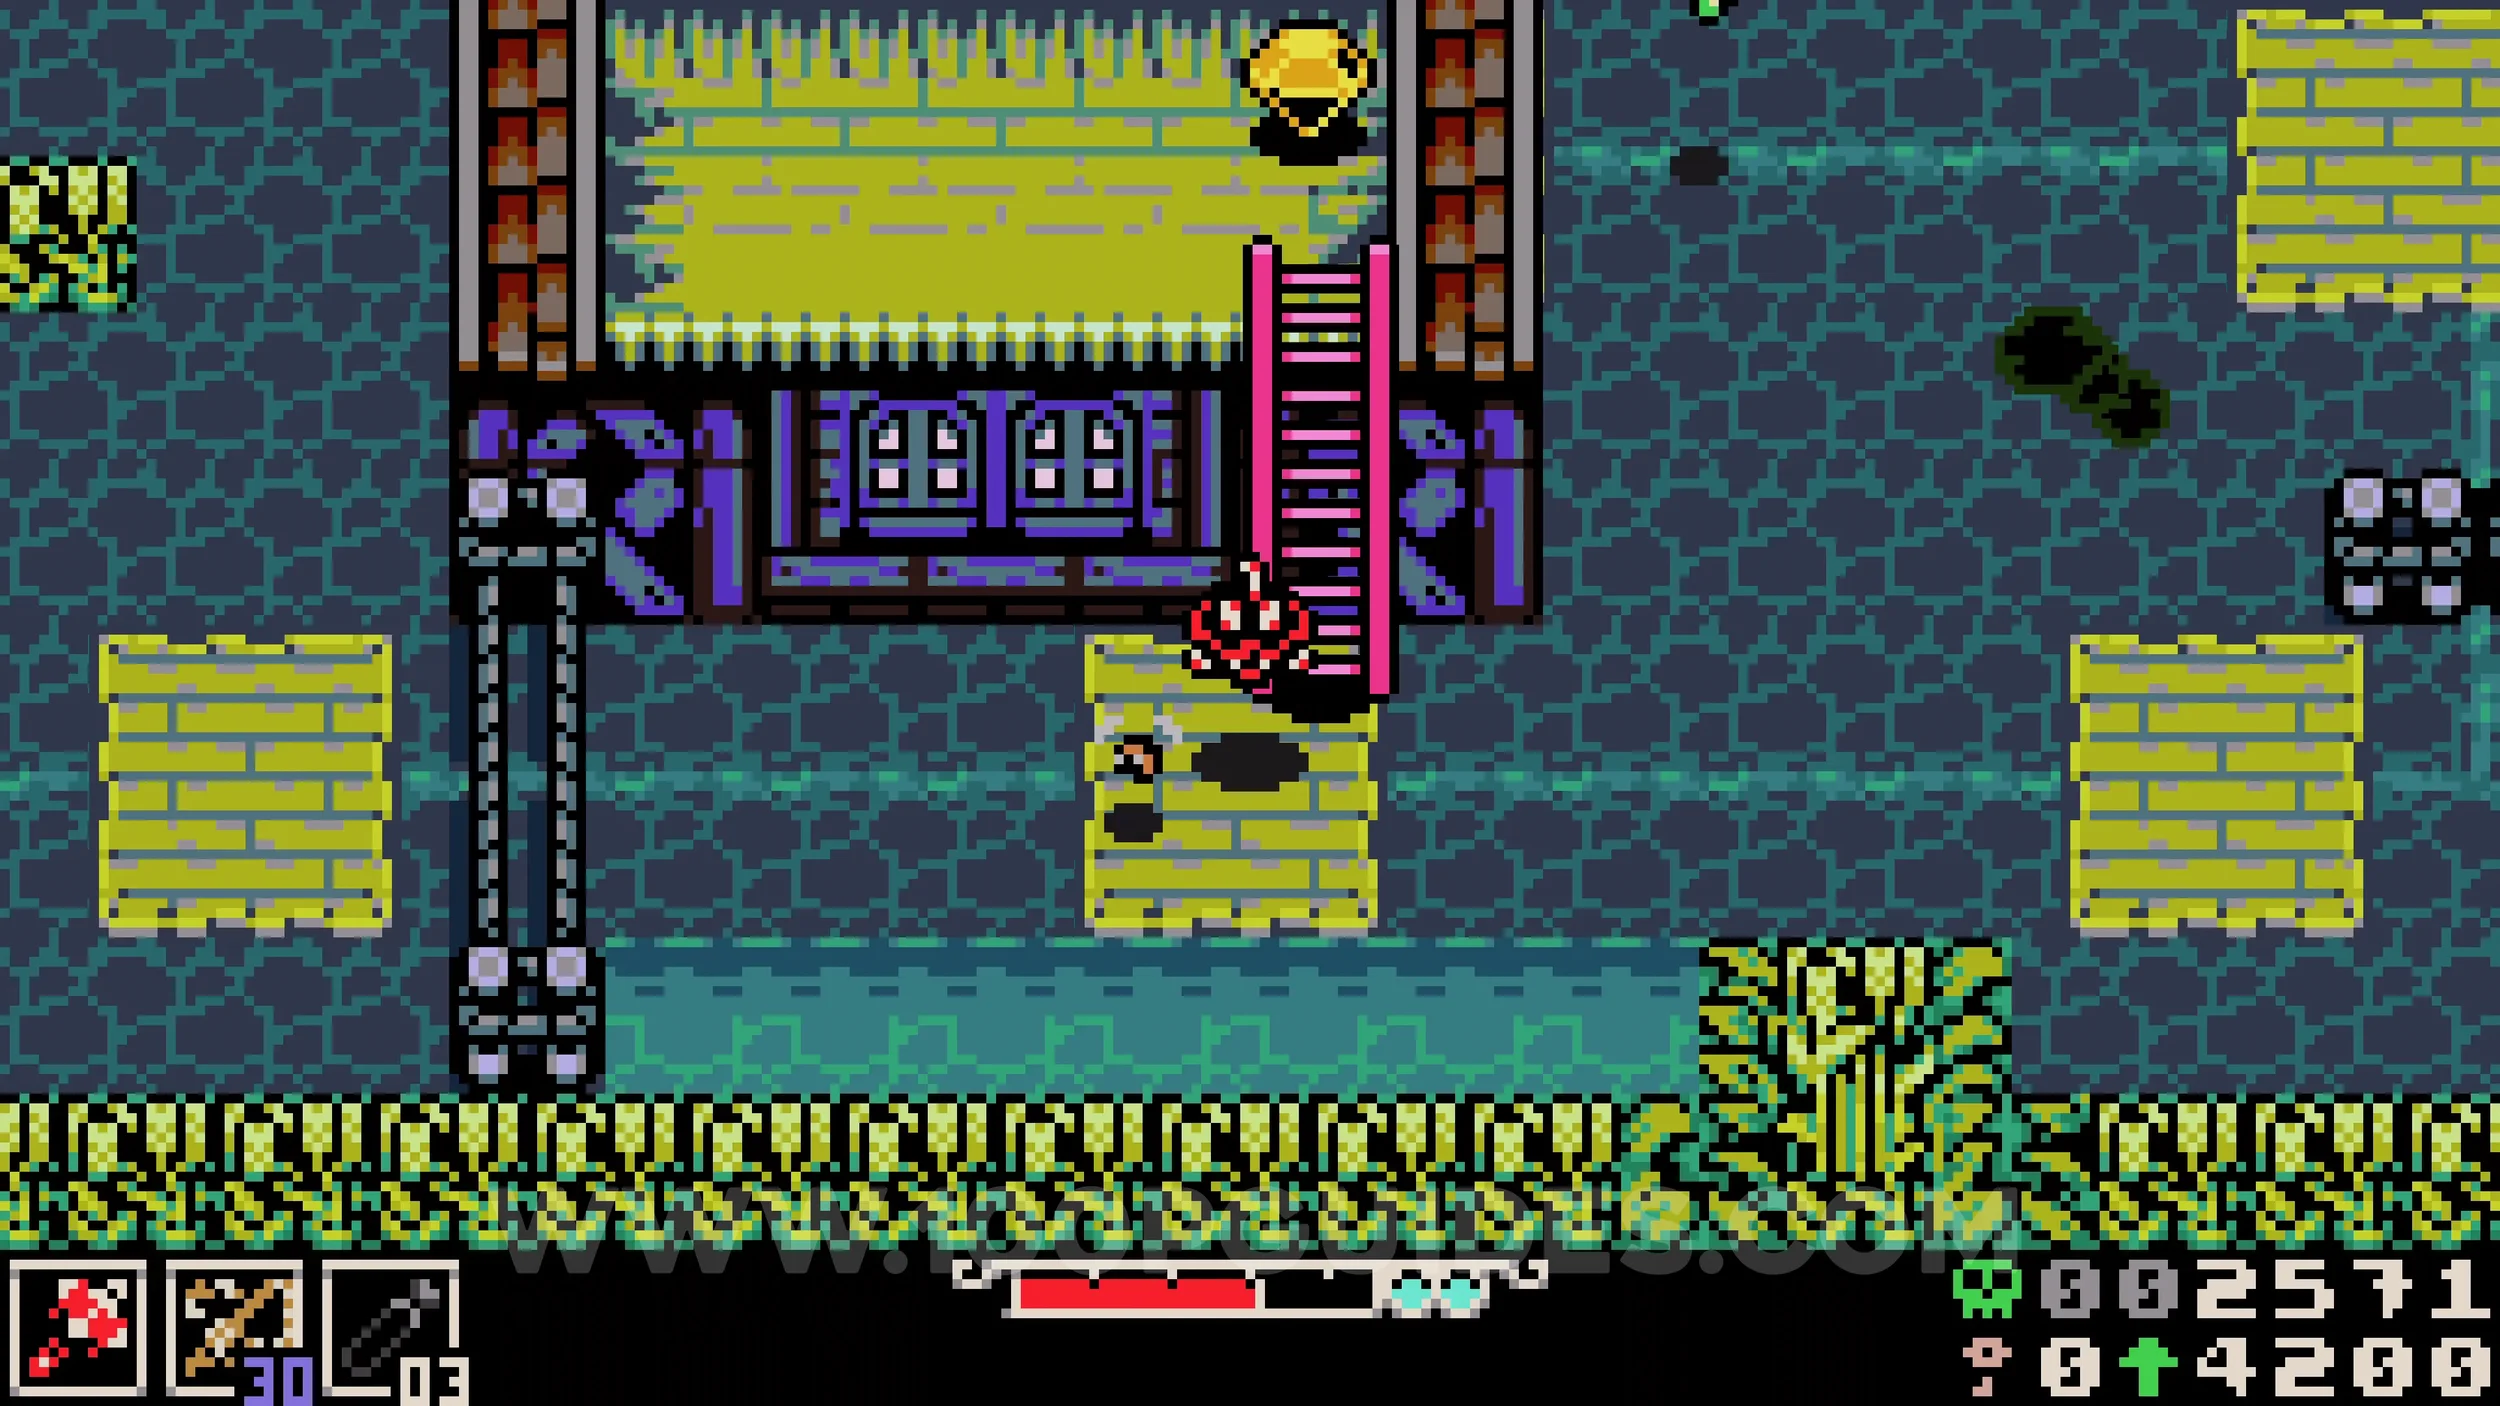
Kear #2. Follow the moving platforms until you reach the purple building in the middle of the area. Burrow under it to get inside, then burrow under the plant on the left side and talk to the NPC that emerges.
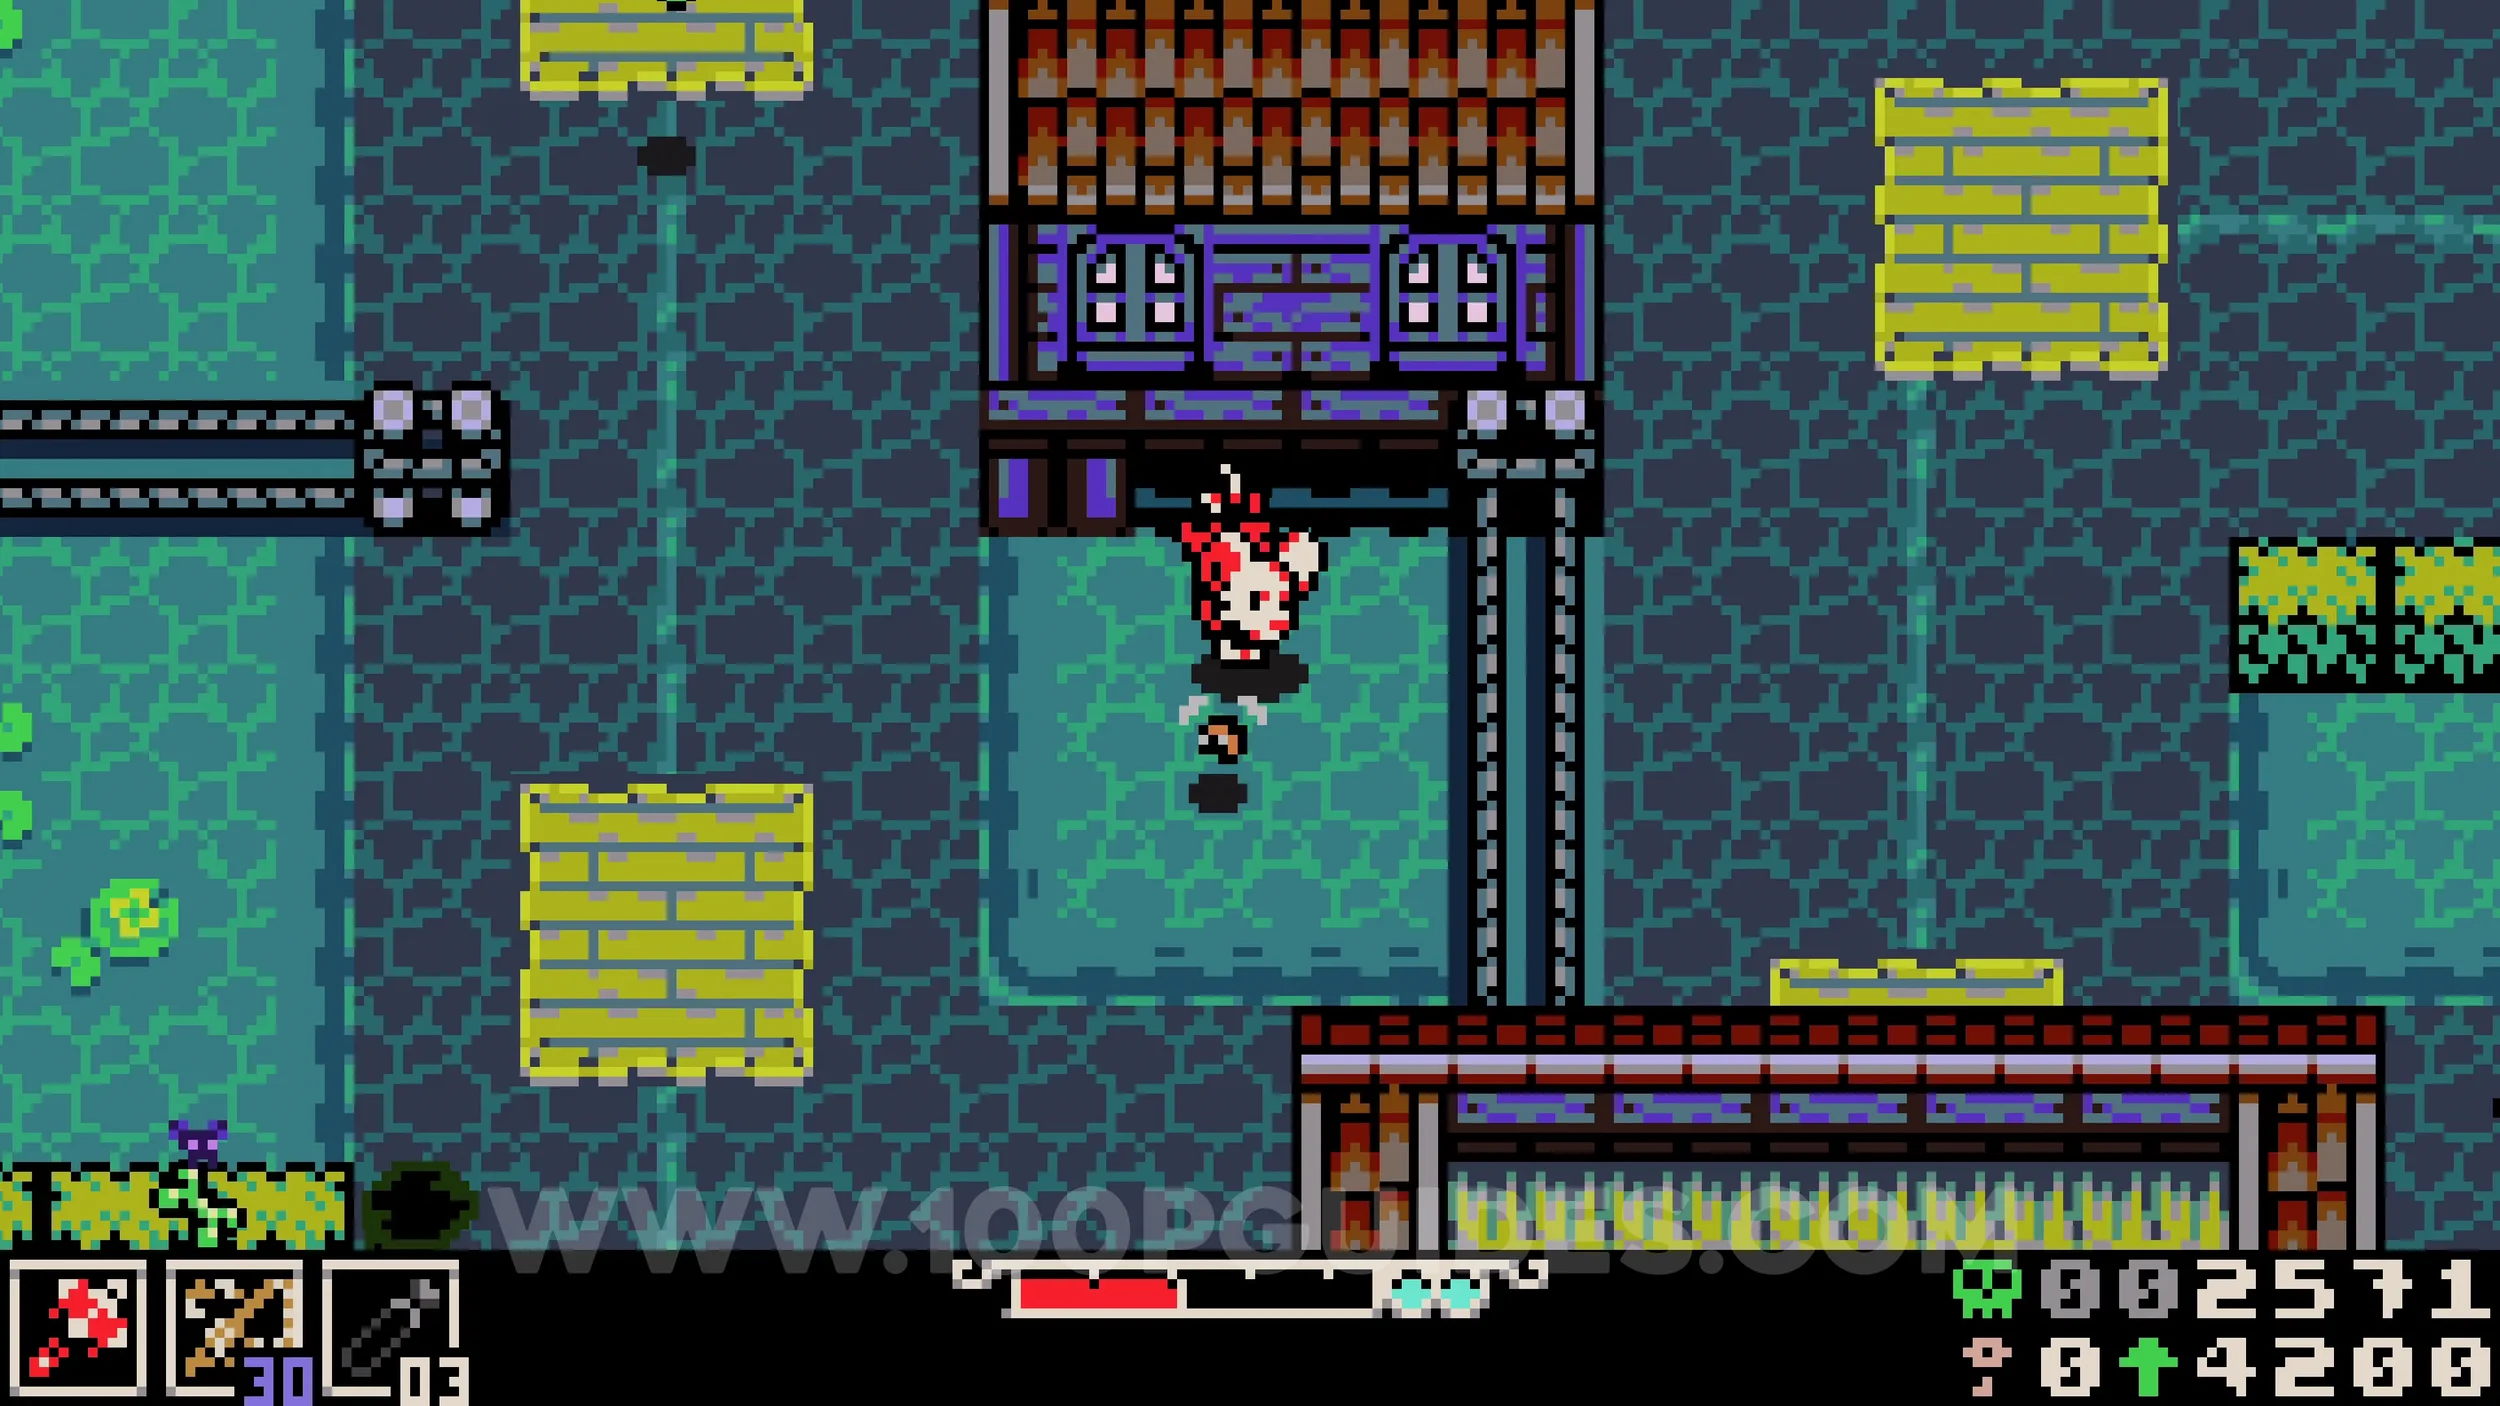
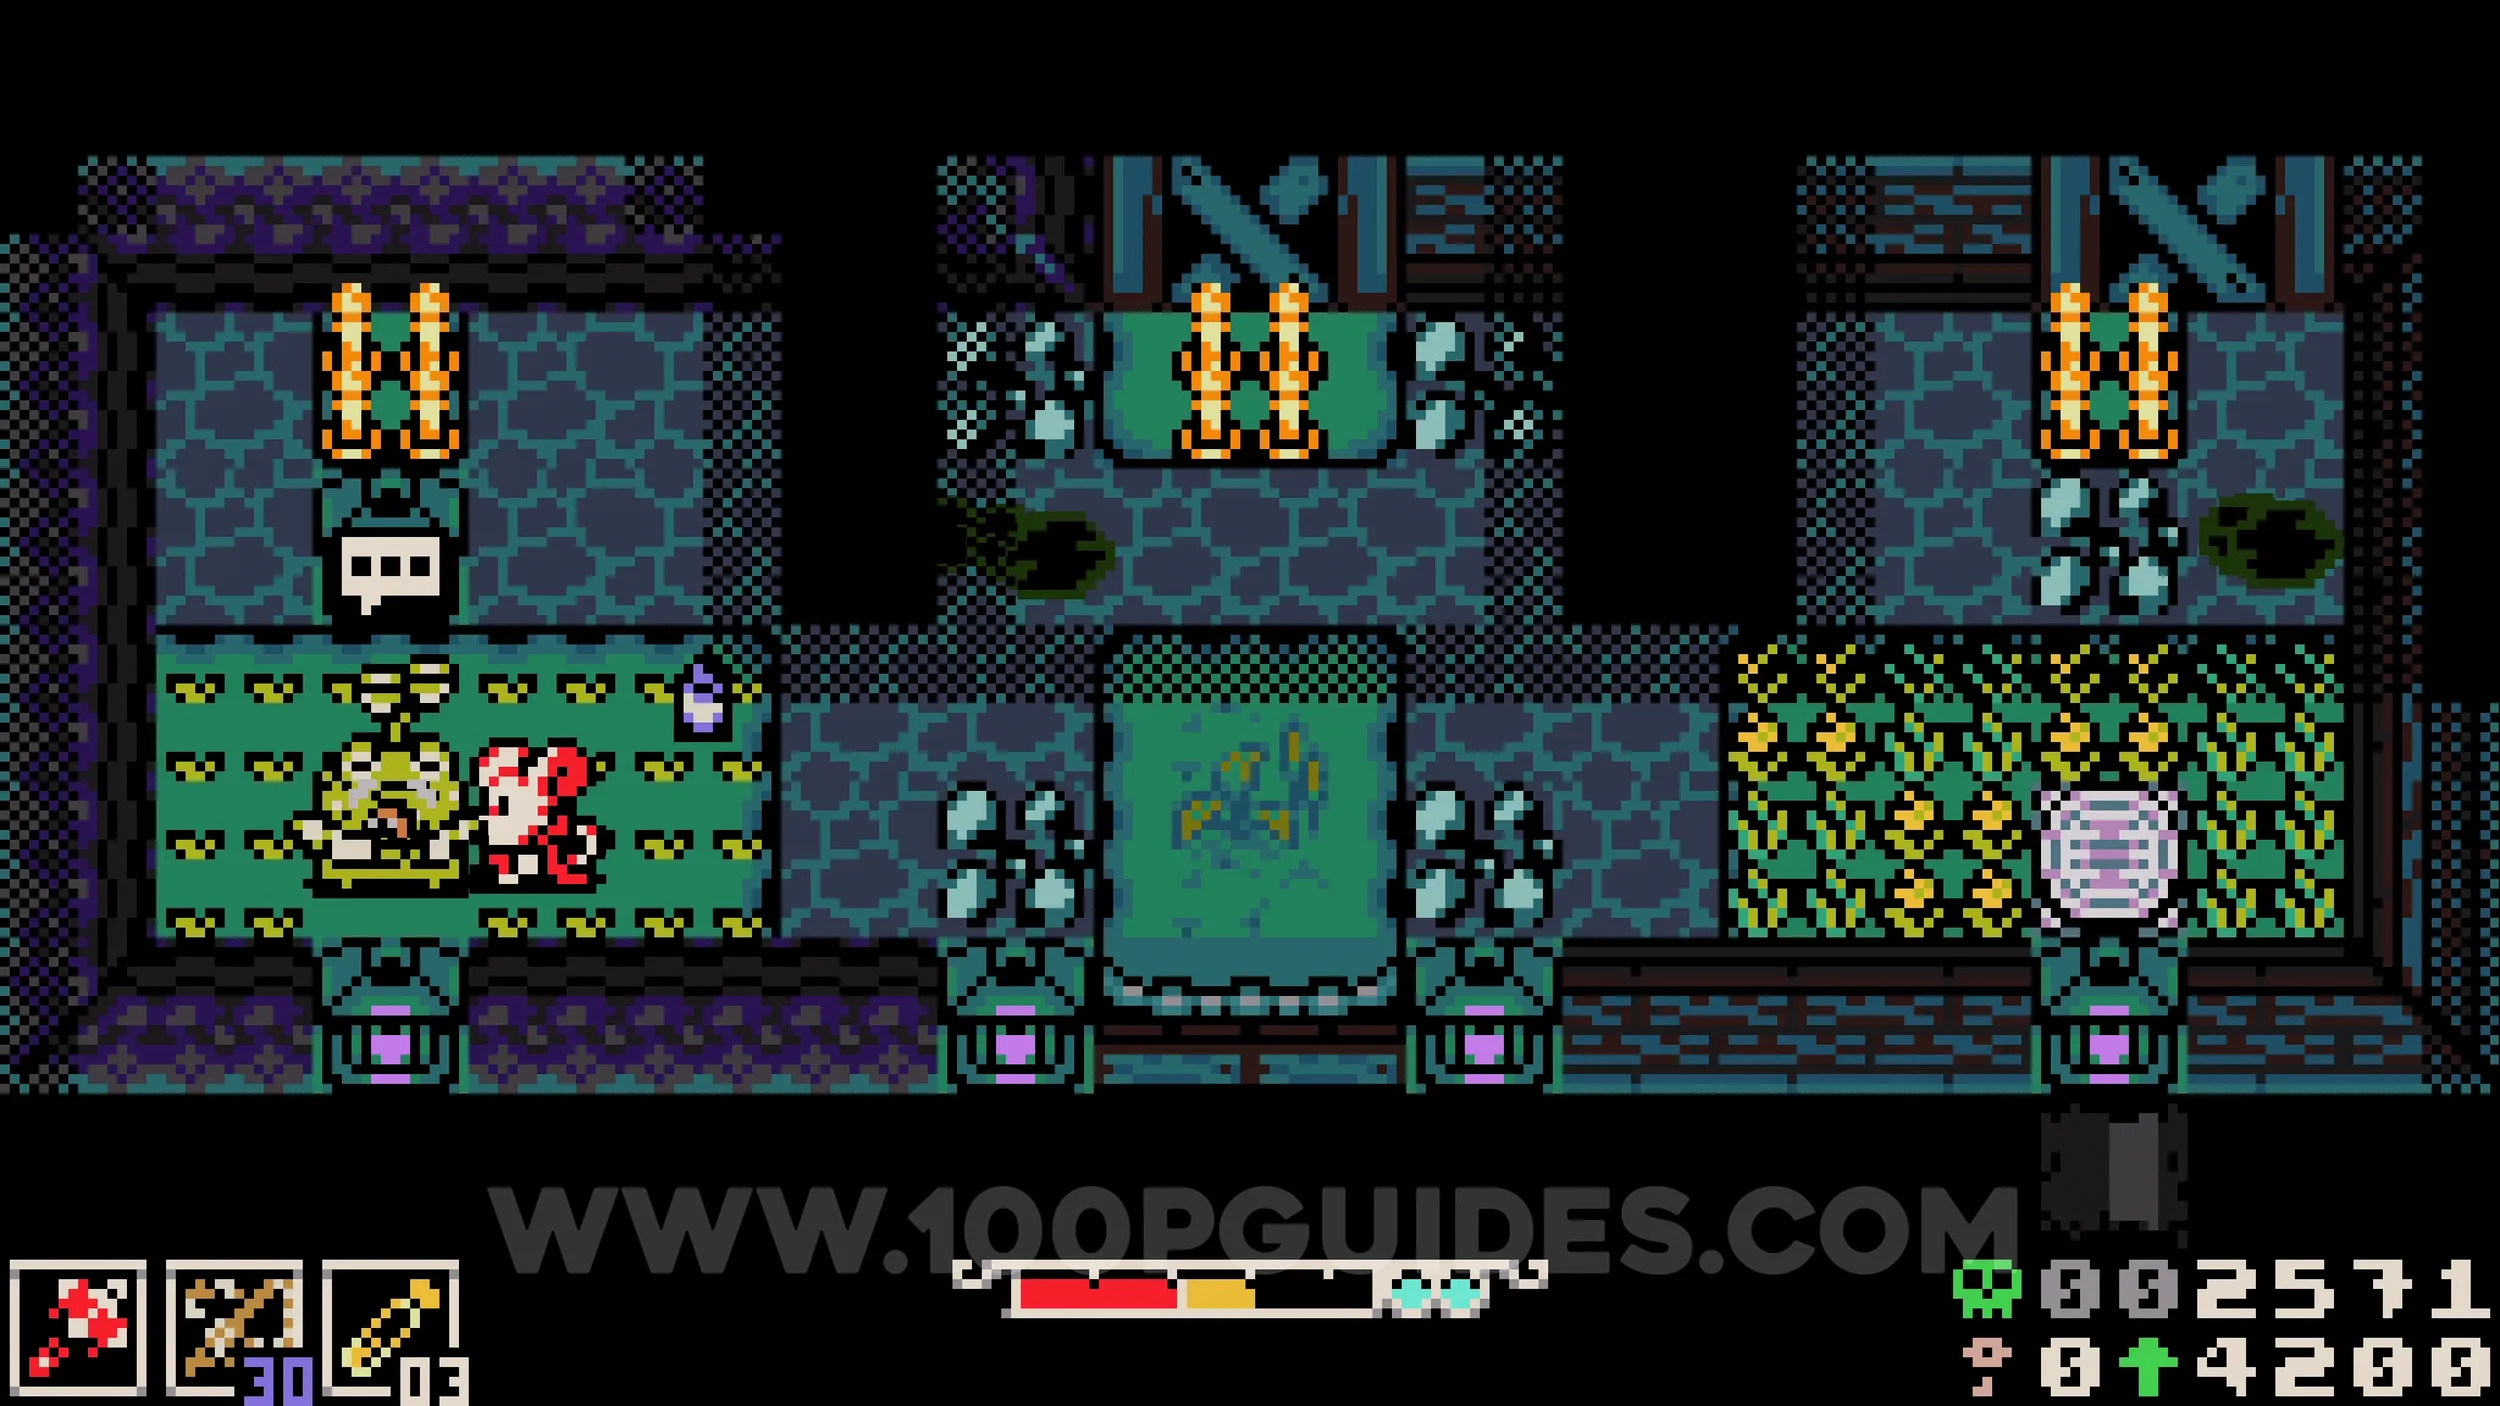
Trinket #4 - Tumbling Tutu. In the top of the area with the moving platforms where the previous collectibles were, you will find a group of NPCs who need you to bring them a frog. The frog can be found after completing the tower at the end of the Nox's Bayou area. From the tower, take the path down as if returning to Backwaters. On the way down, look for a waterfall on the left side that you can go behind and exit to the left. The frog can be grabbed in the next area. Carry it left and around the area, throwing it into the water as you jump across the platforms when needed. This will eventually lead you back to the path to Backwaters. Return the frog to the NPCs and then talk to it to receive the trinket.
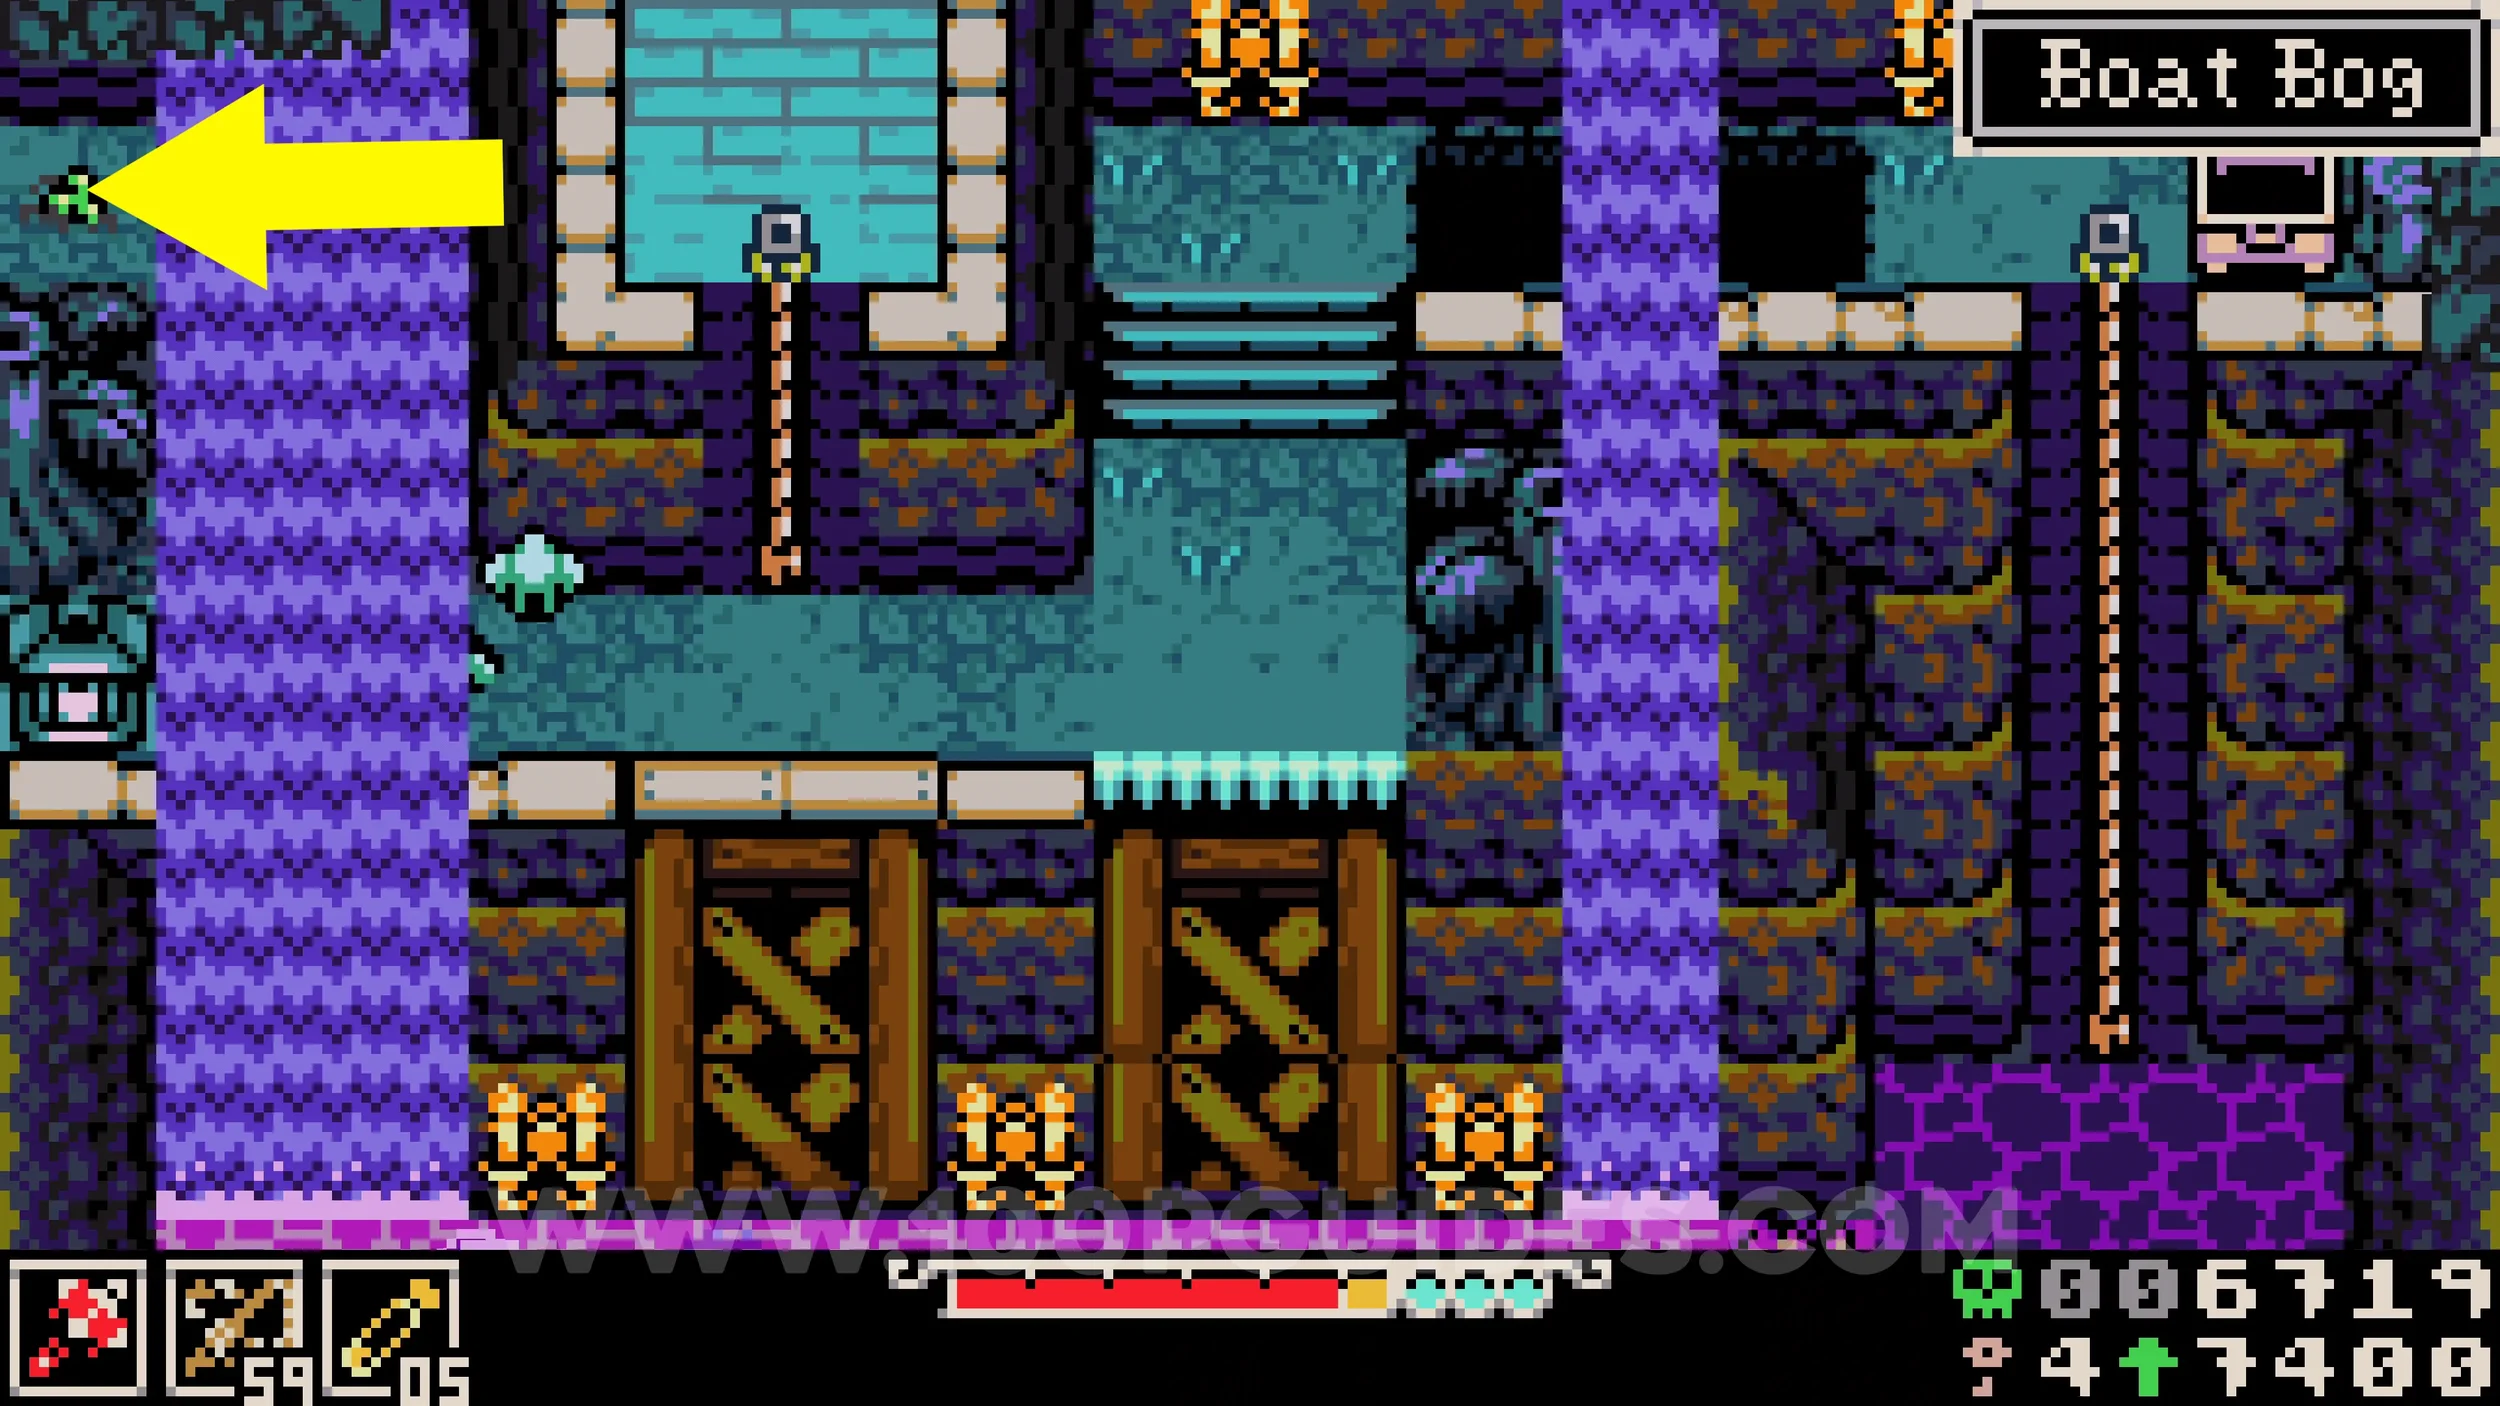
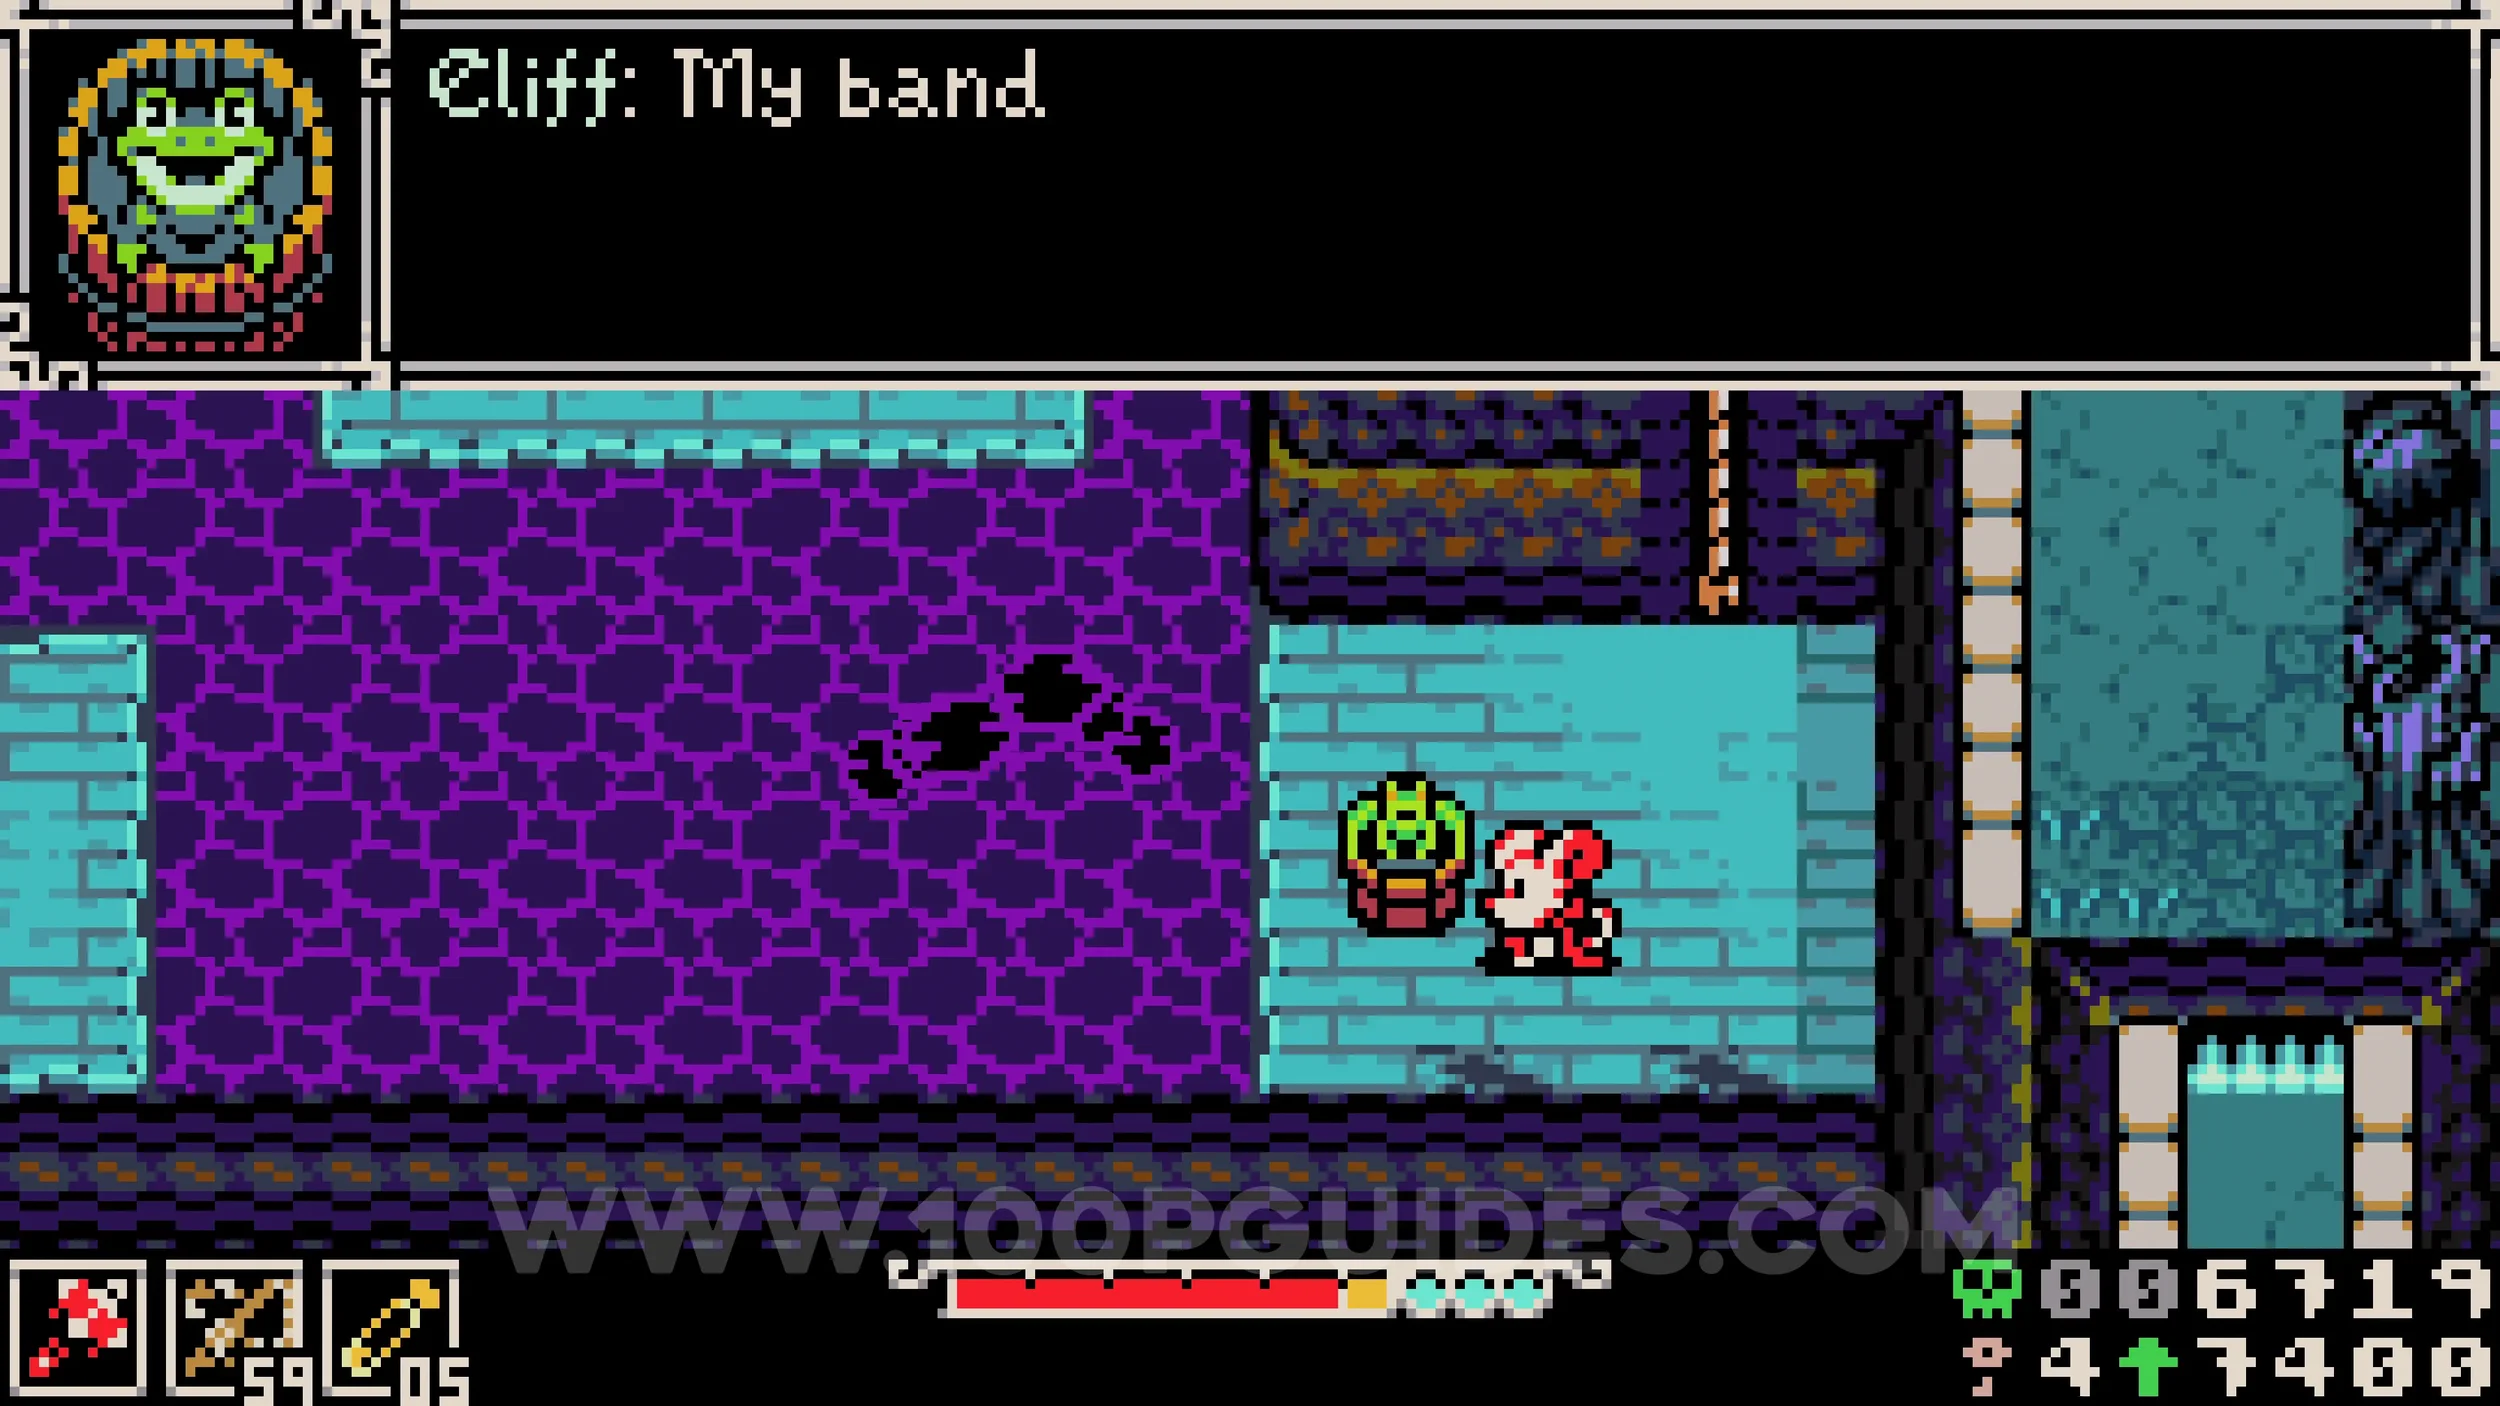
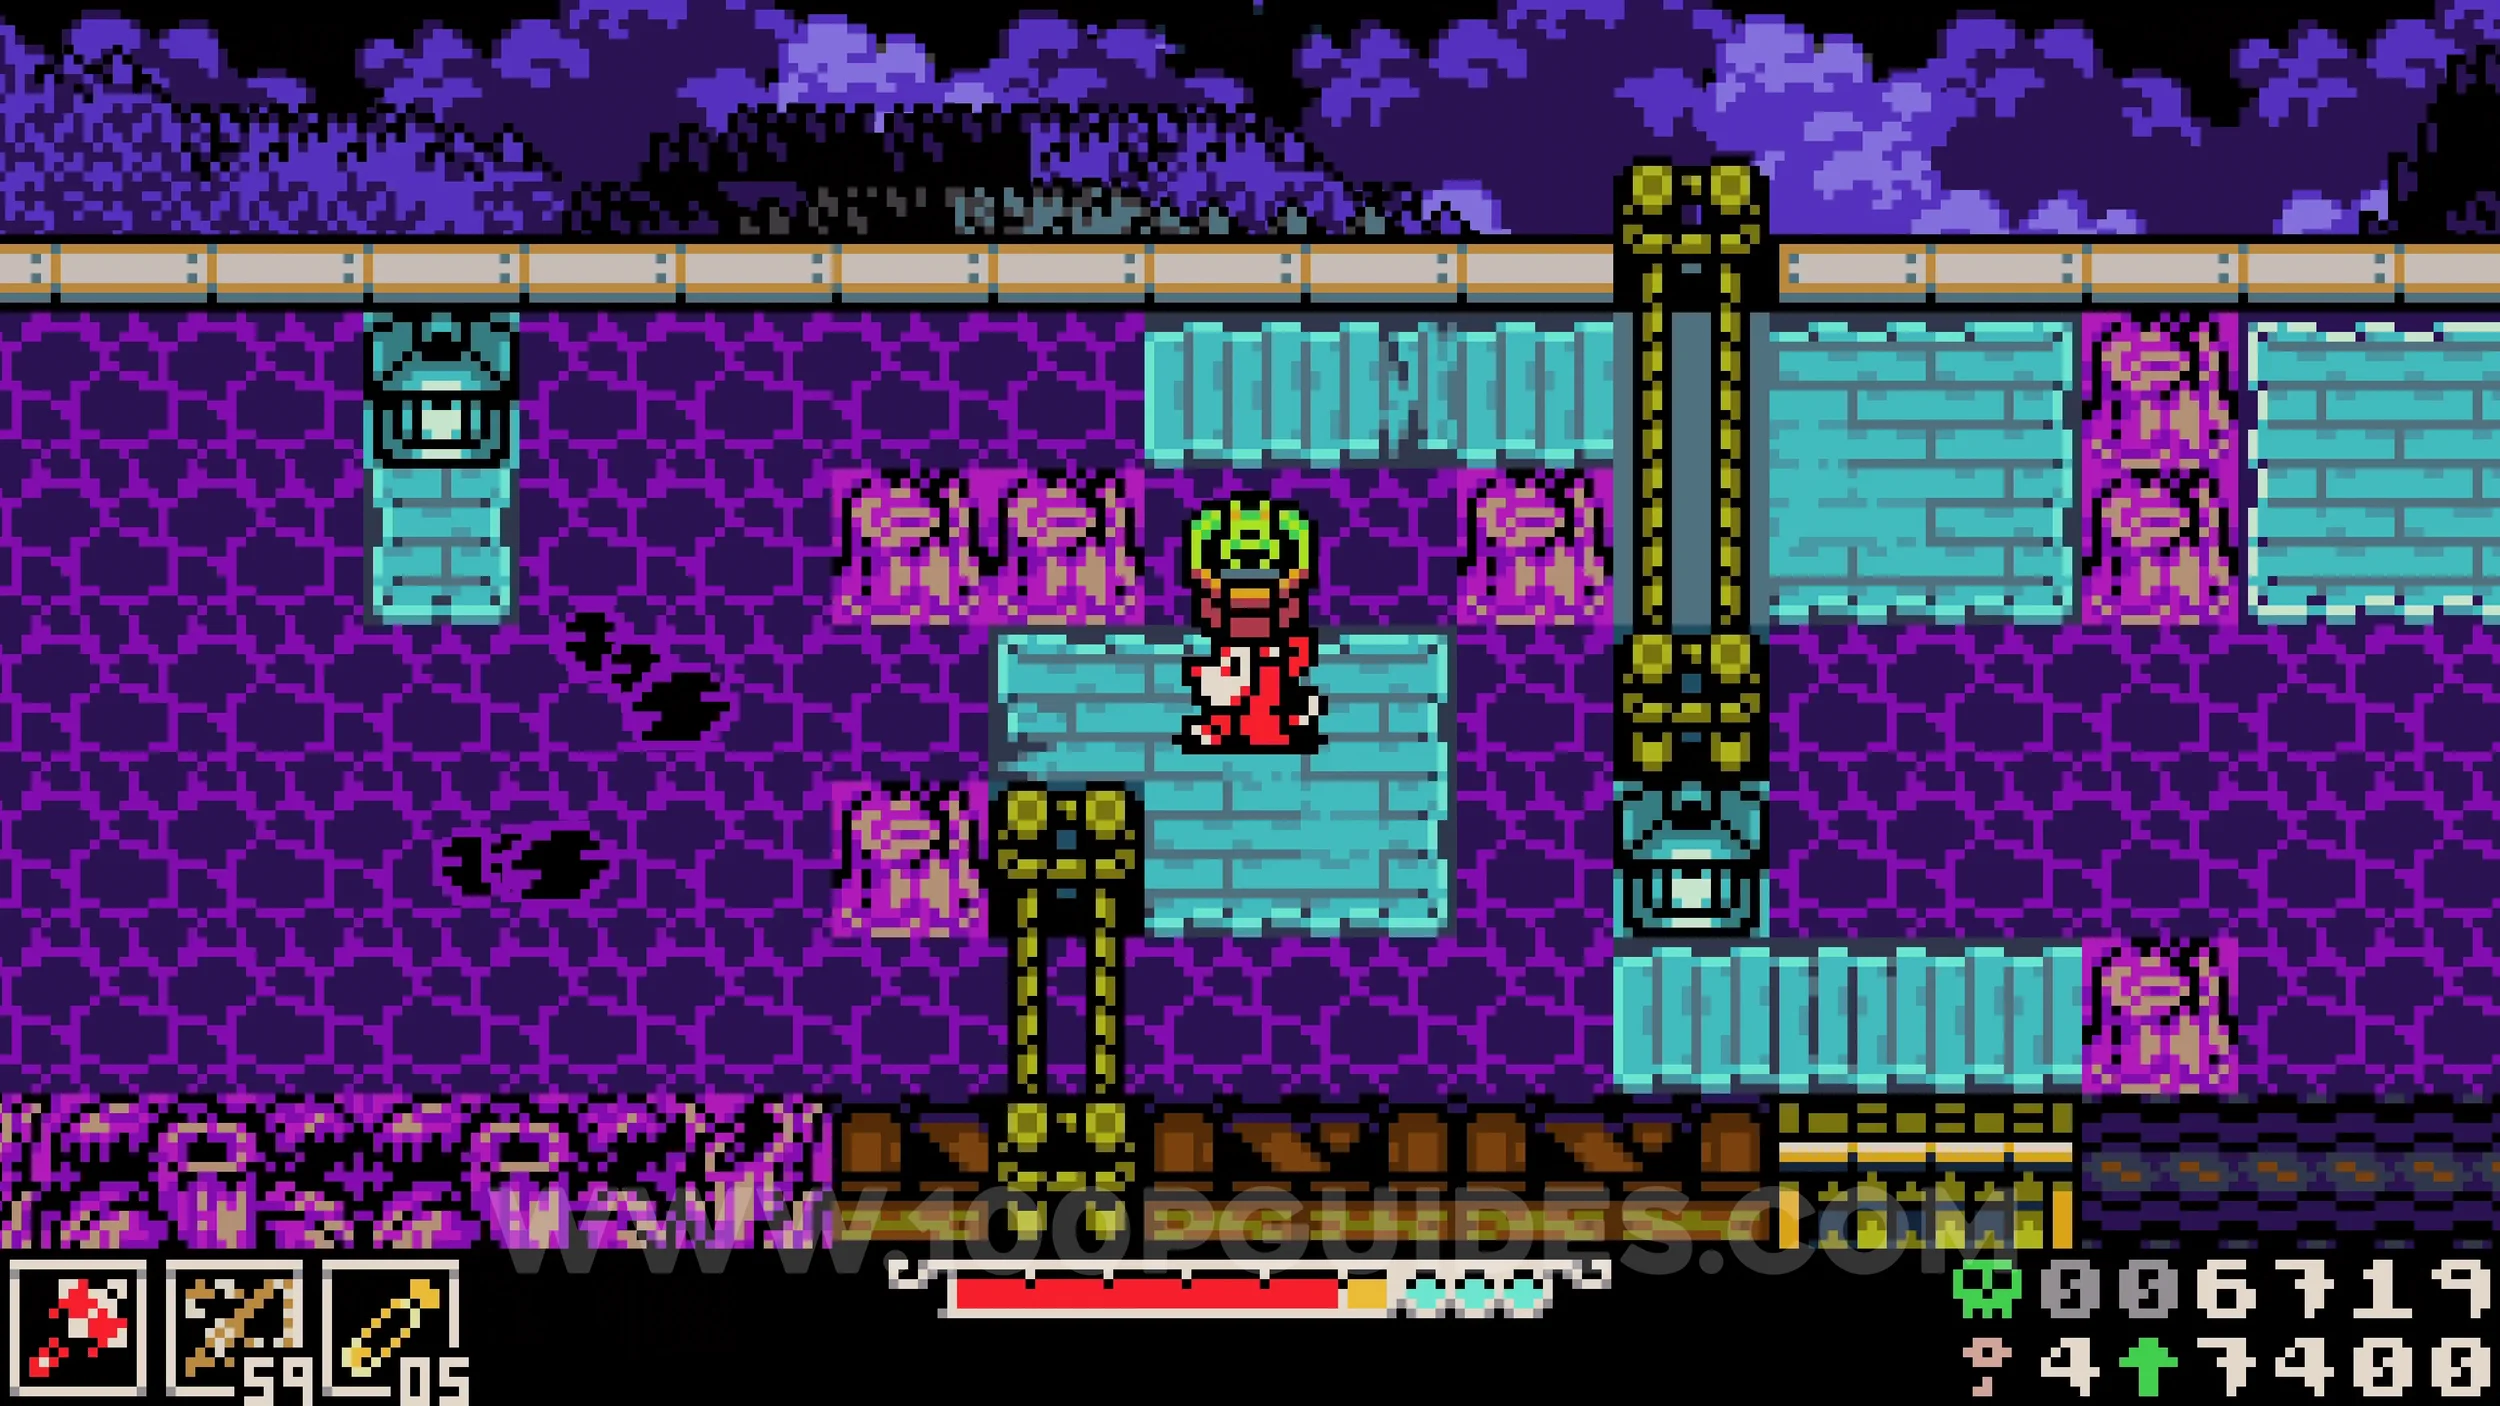
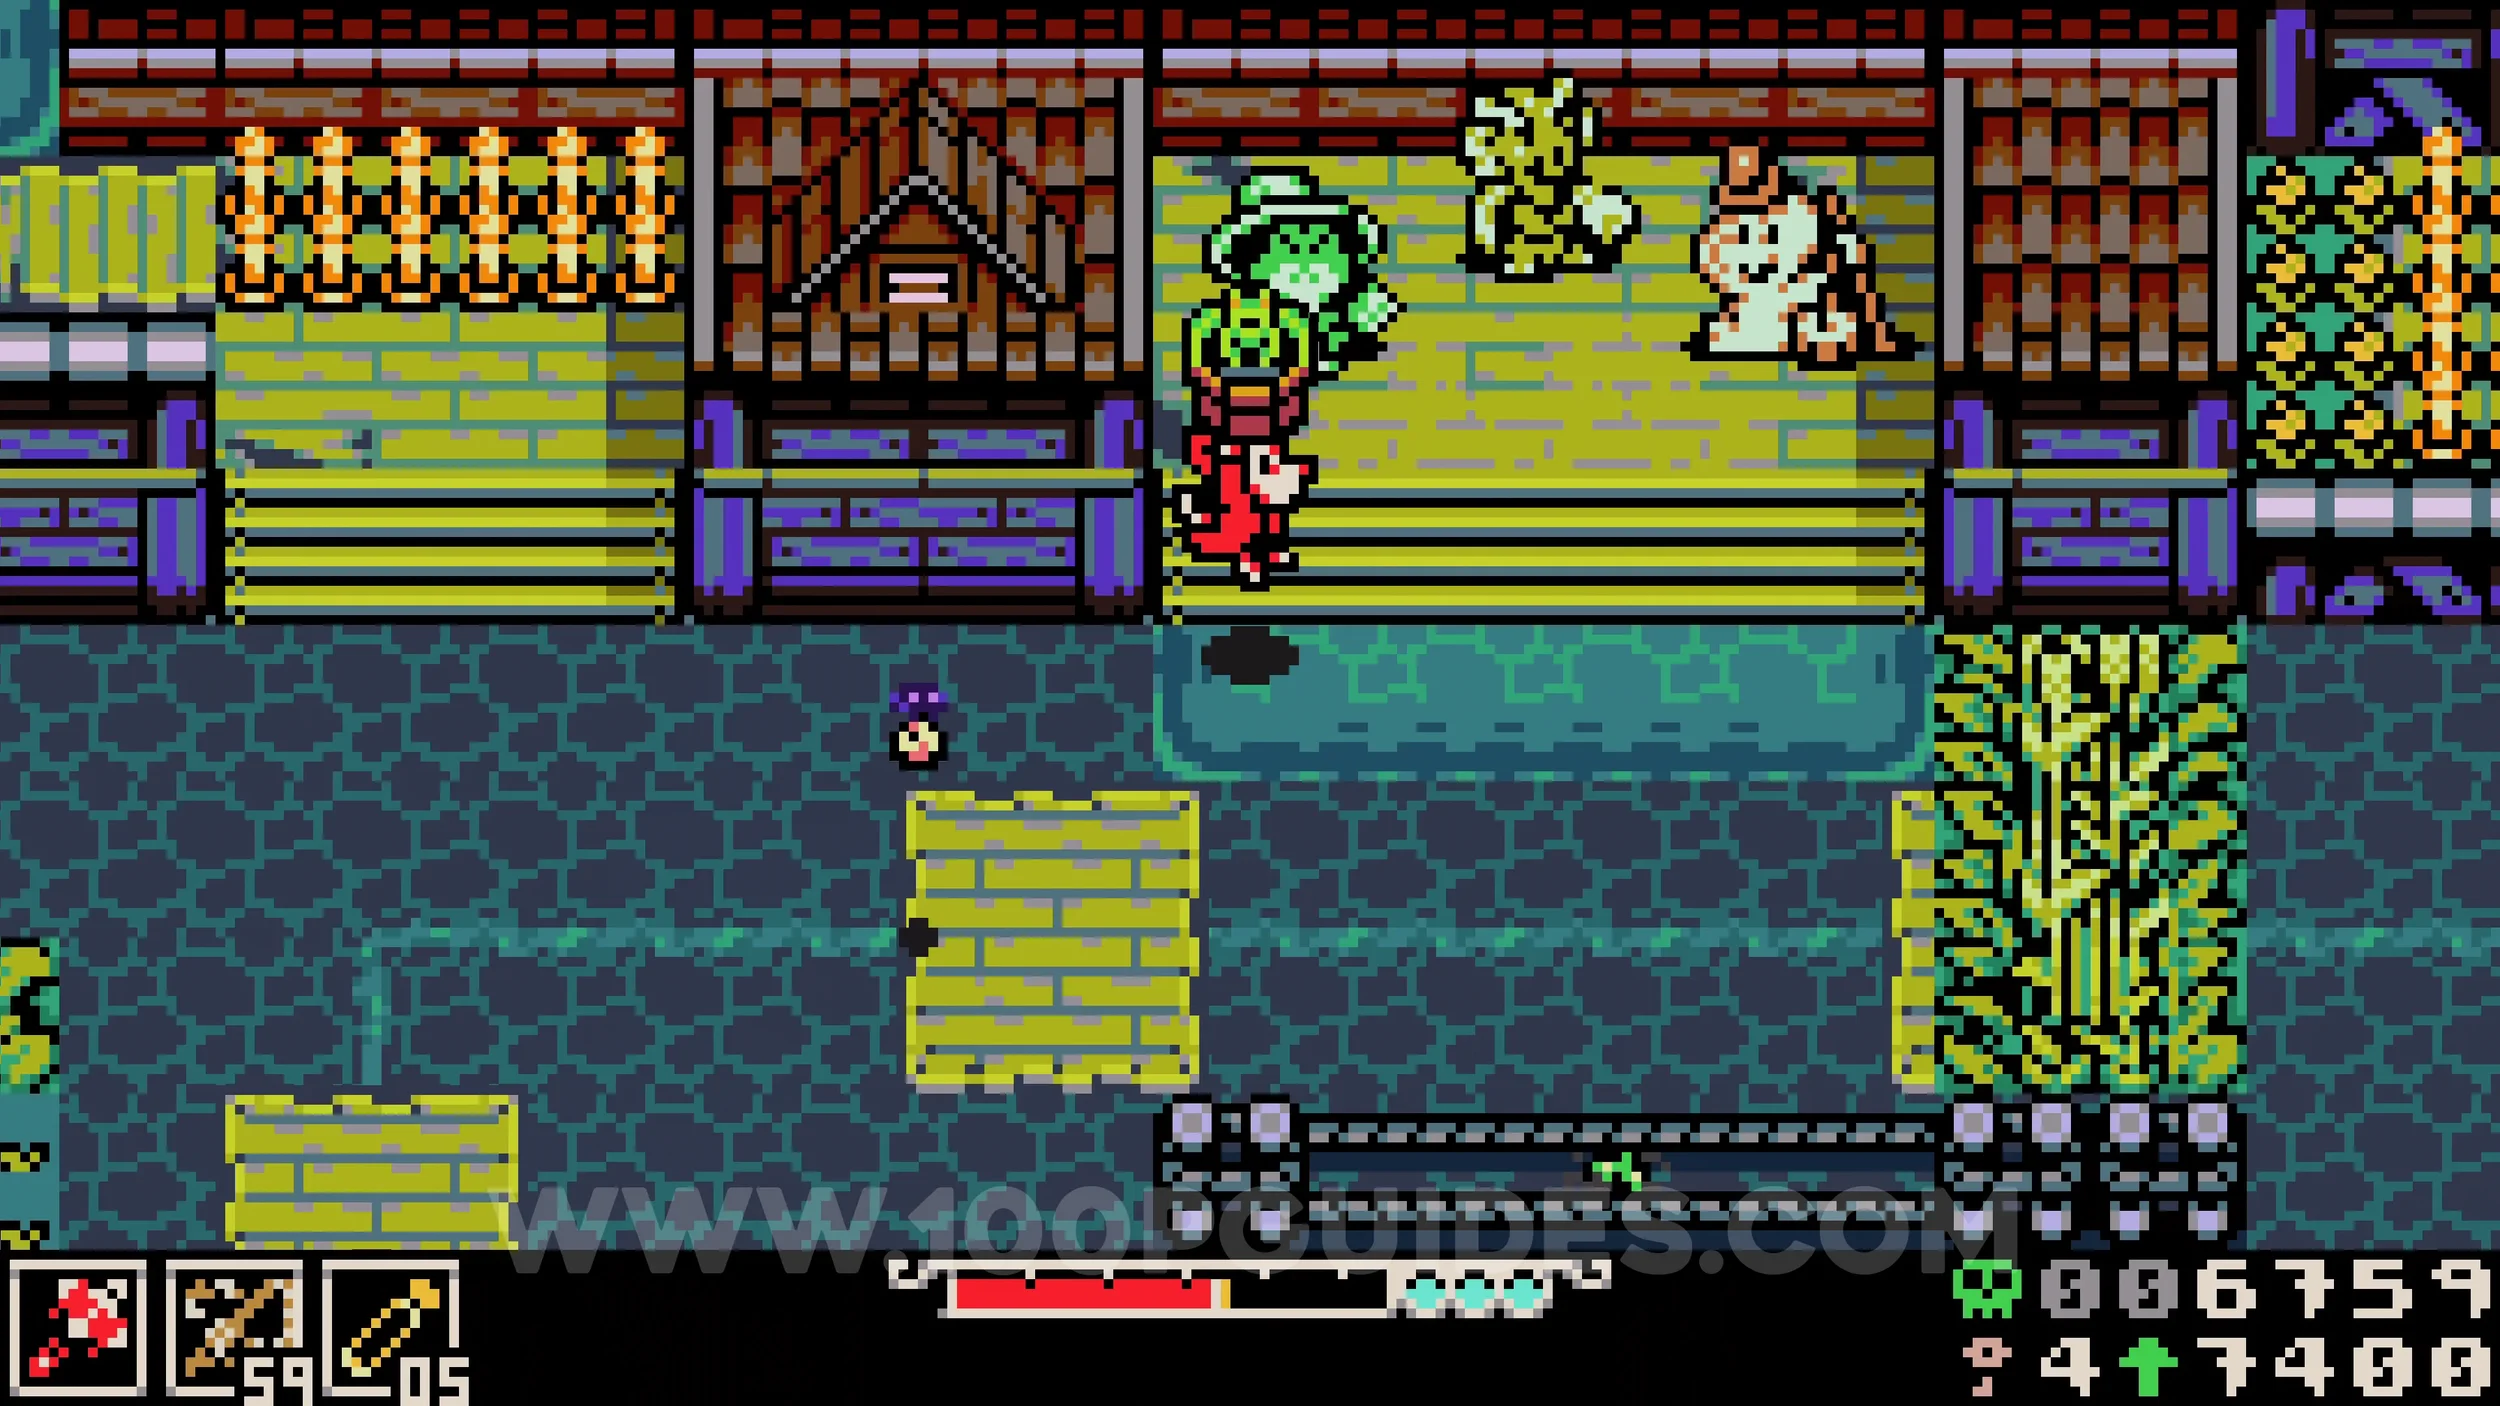
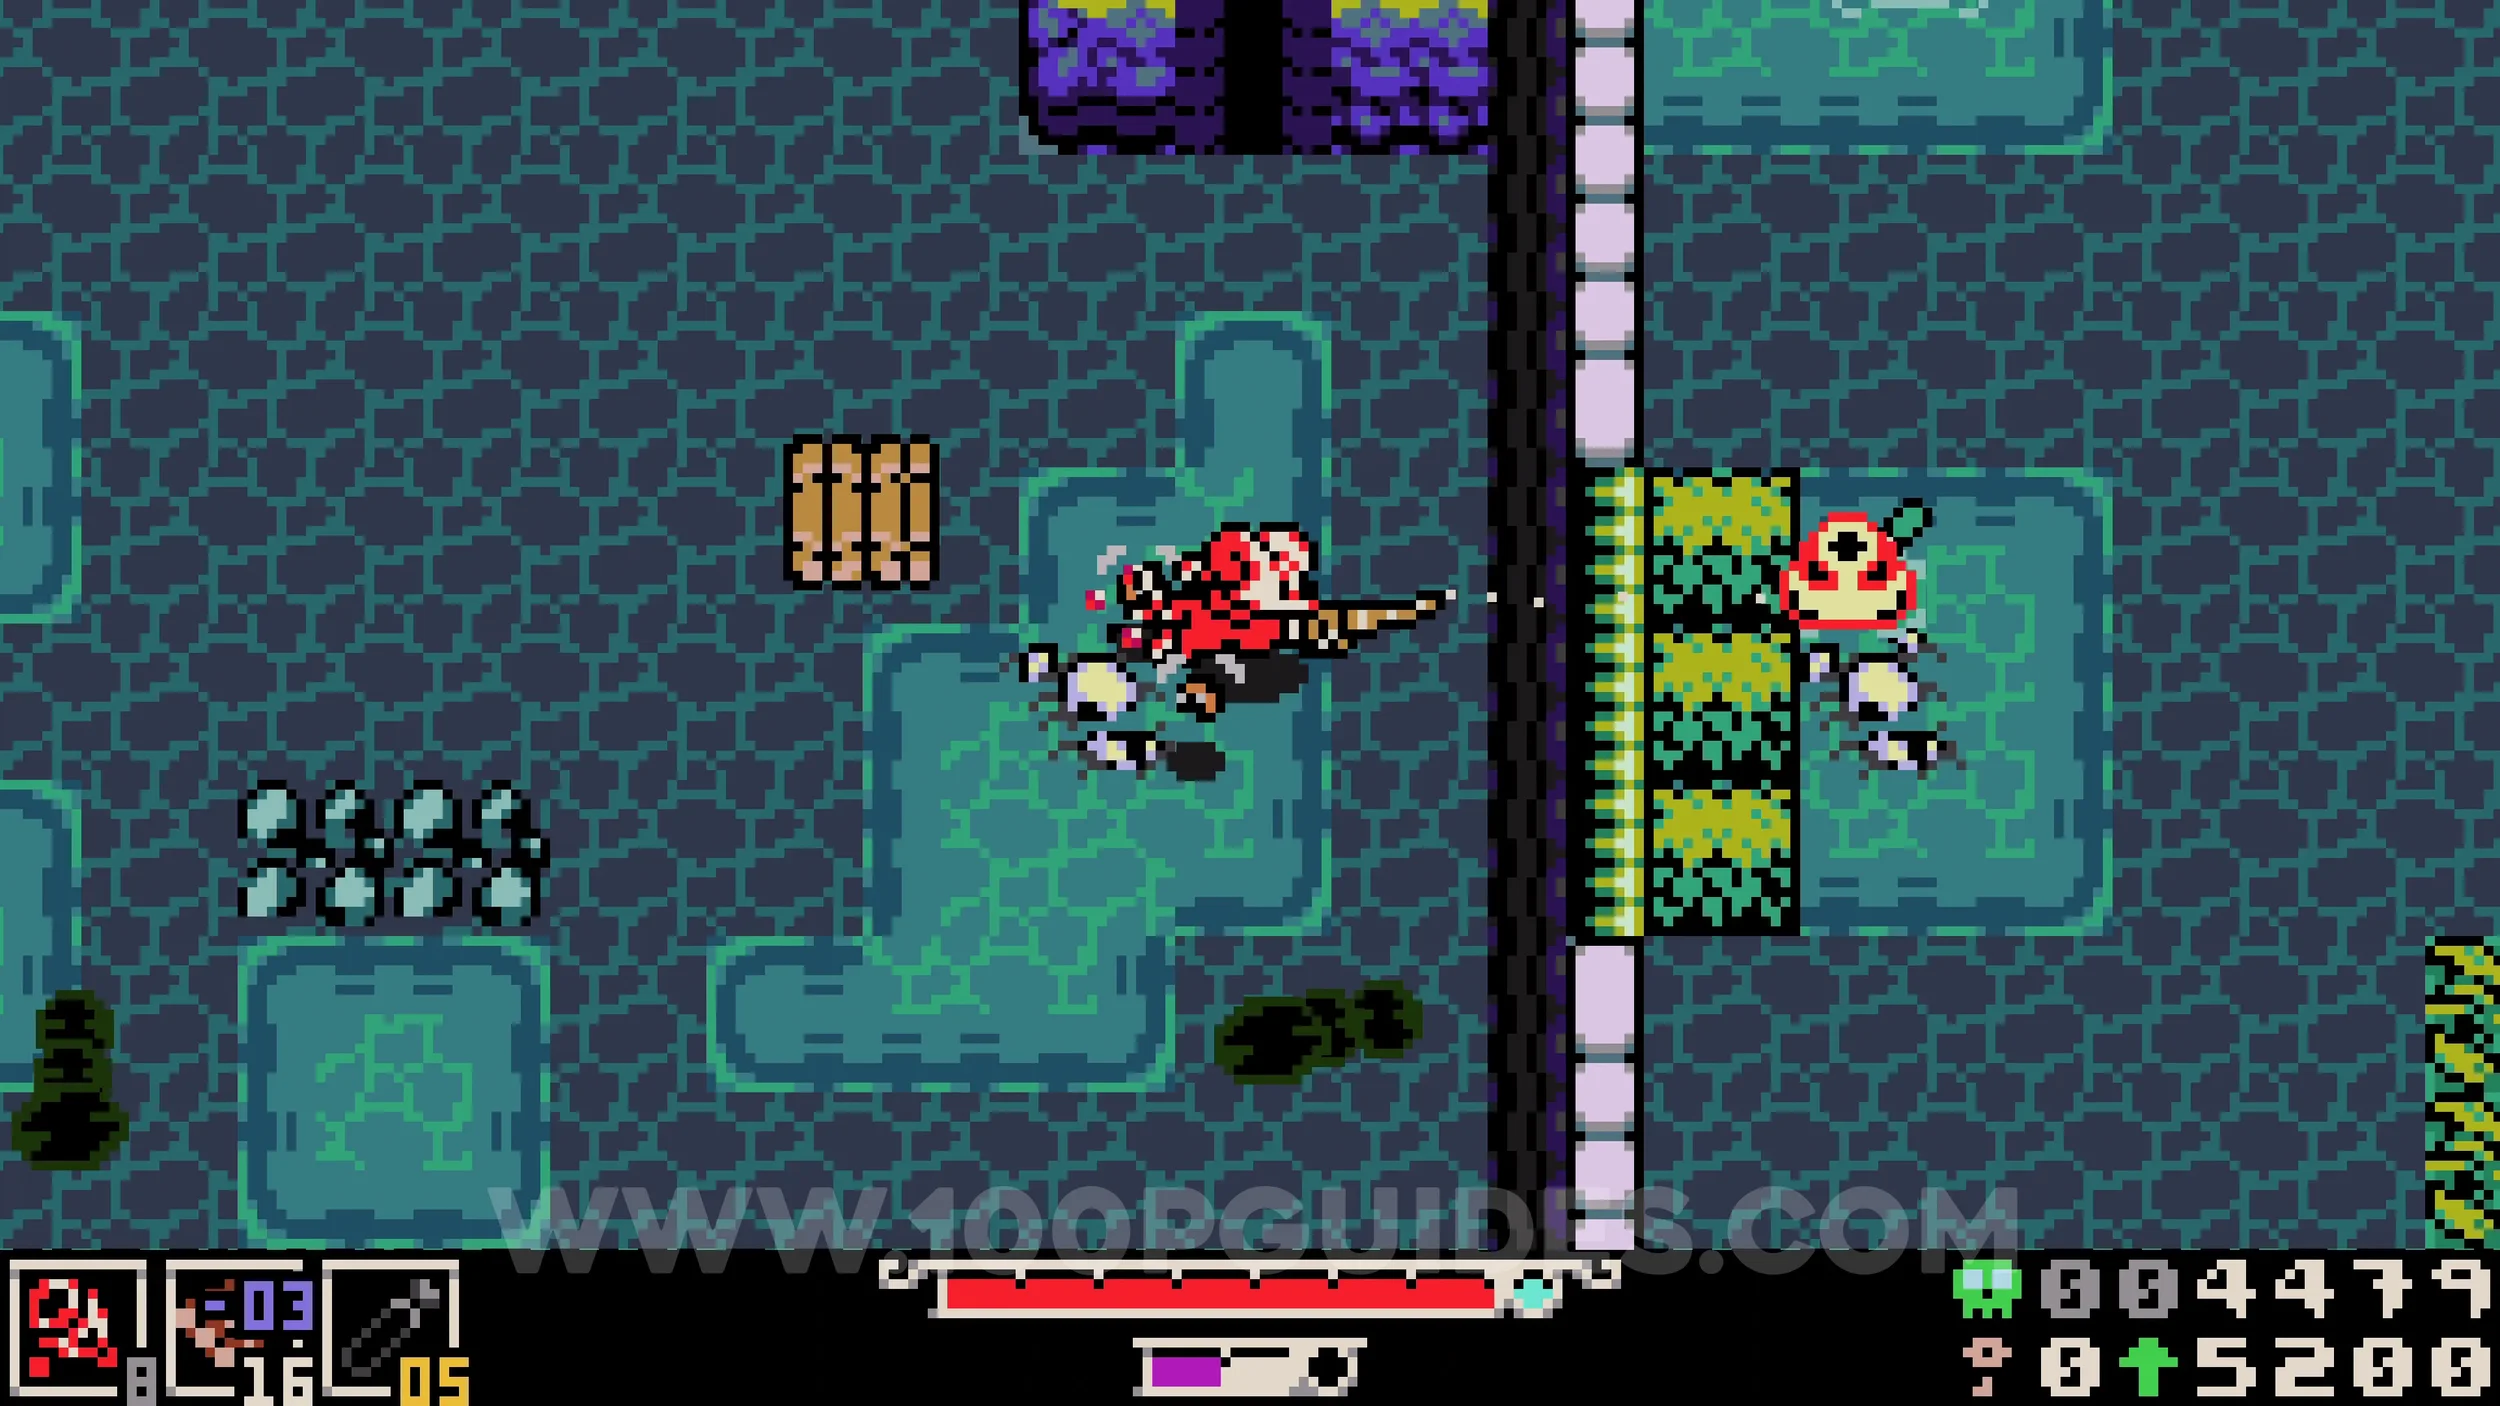
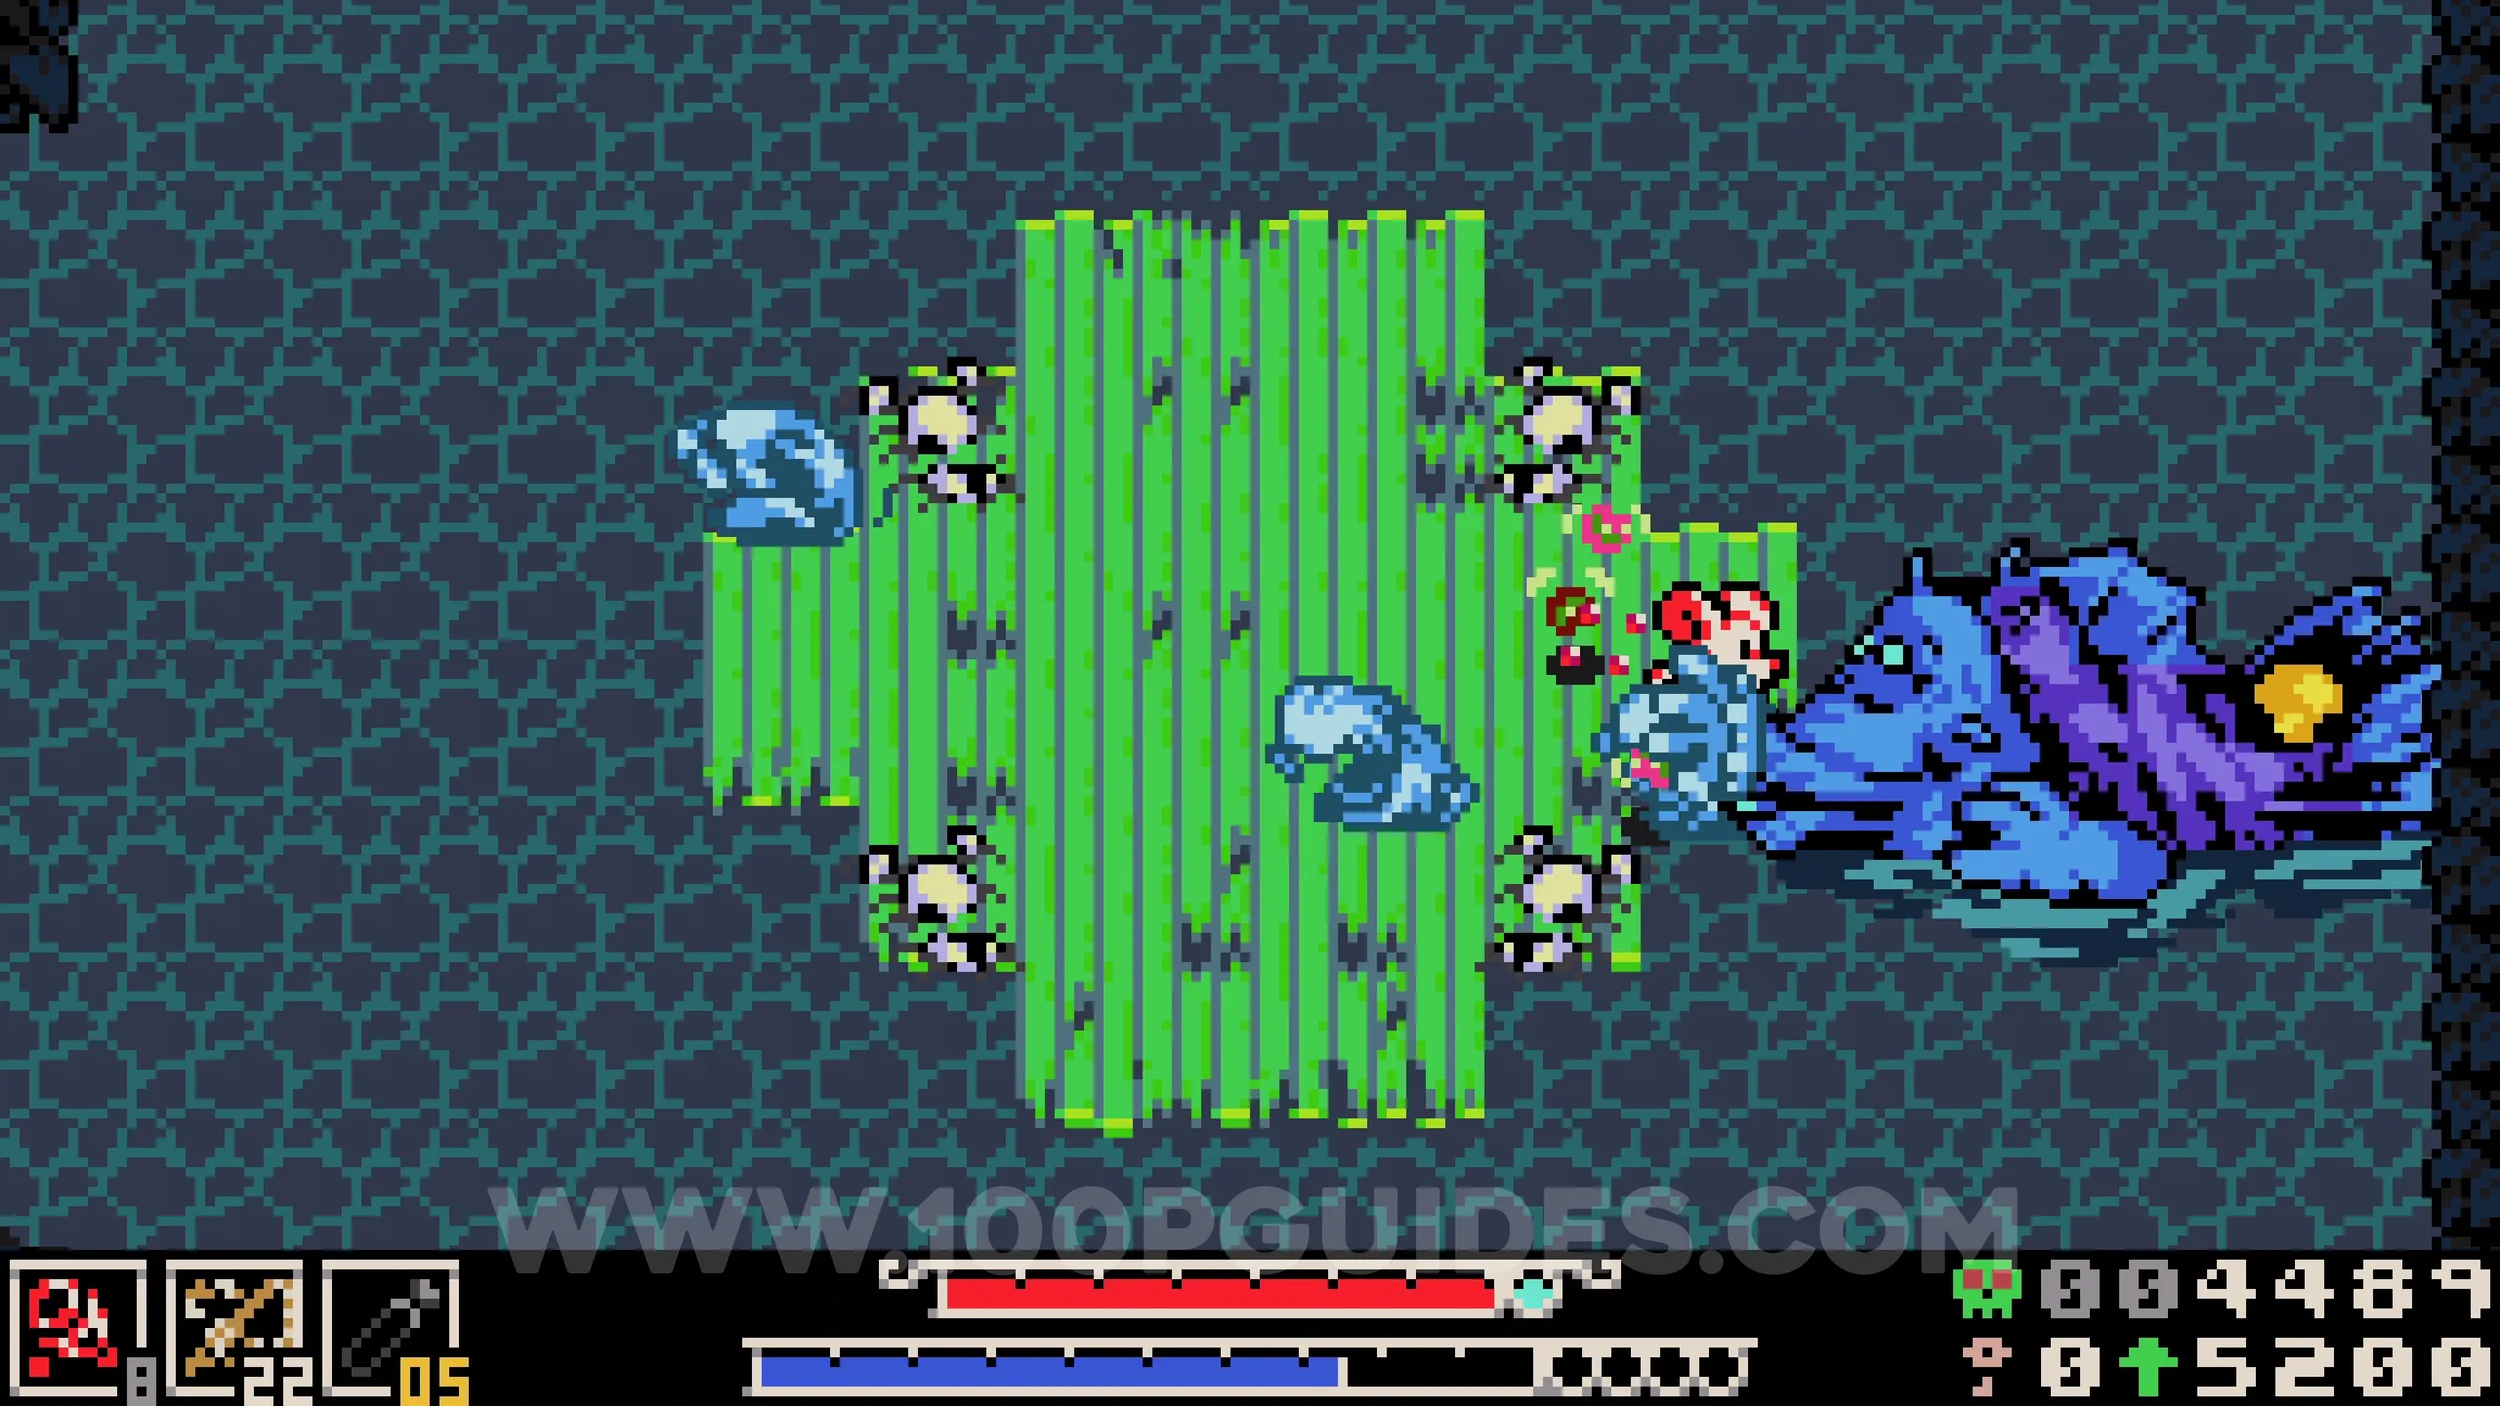
Fish #2. Found to the right of the area where you first picked up the fishing rod. To cross the first platforms you will need to return once you have the raft from the Sandfalls area, though a combination of trinkets and sidearms can also work. Once you reach the wall, use the fishing rod to hit the purple slime enemy on the other side, which will dash you towards it and over the wall. Continue right to find the optional boss, the giant fish that took the NPC and dropped the fishing rod. After defeating it, return to the area where you picked up the fishing rod to collect the fish.
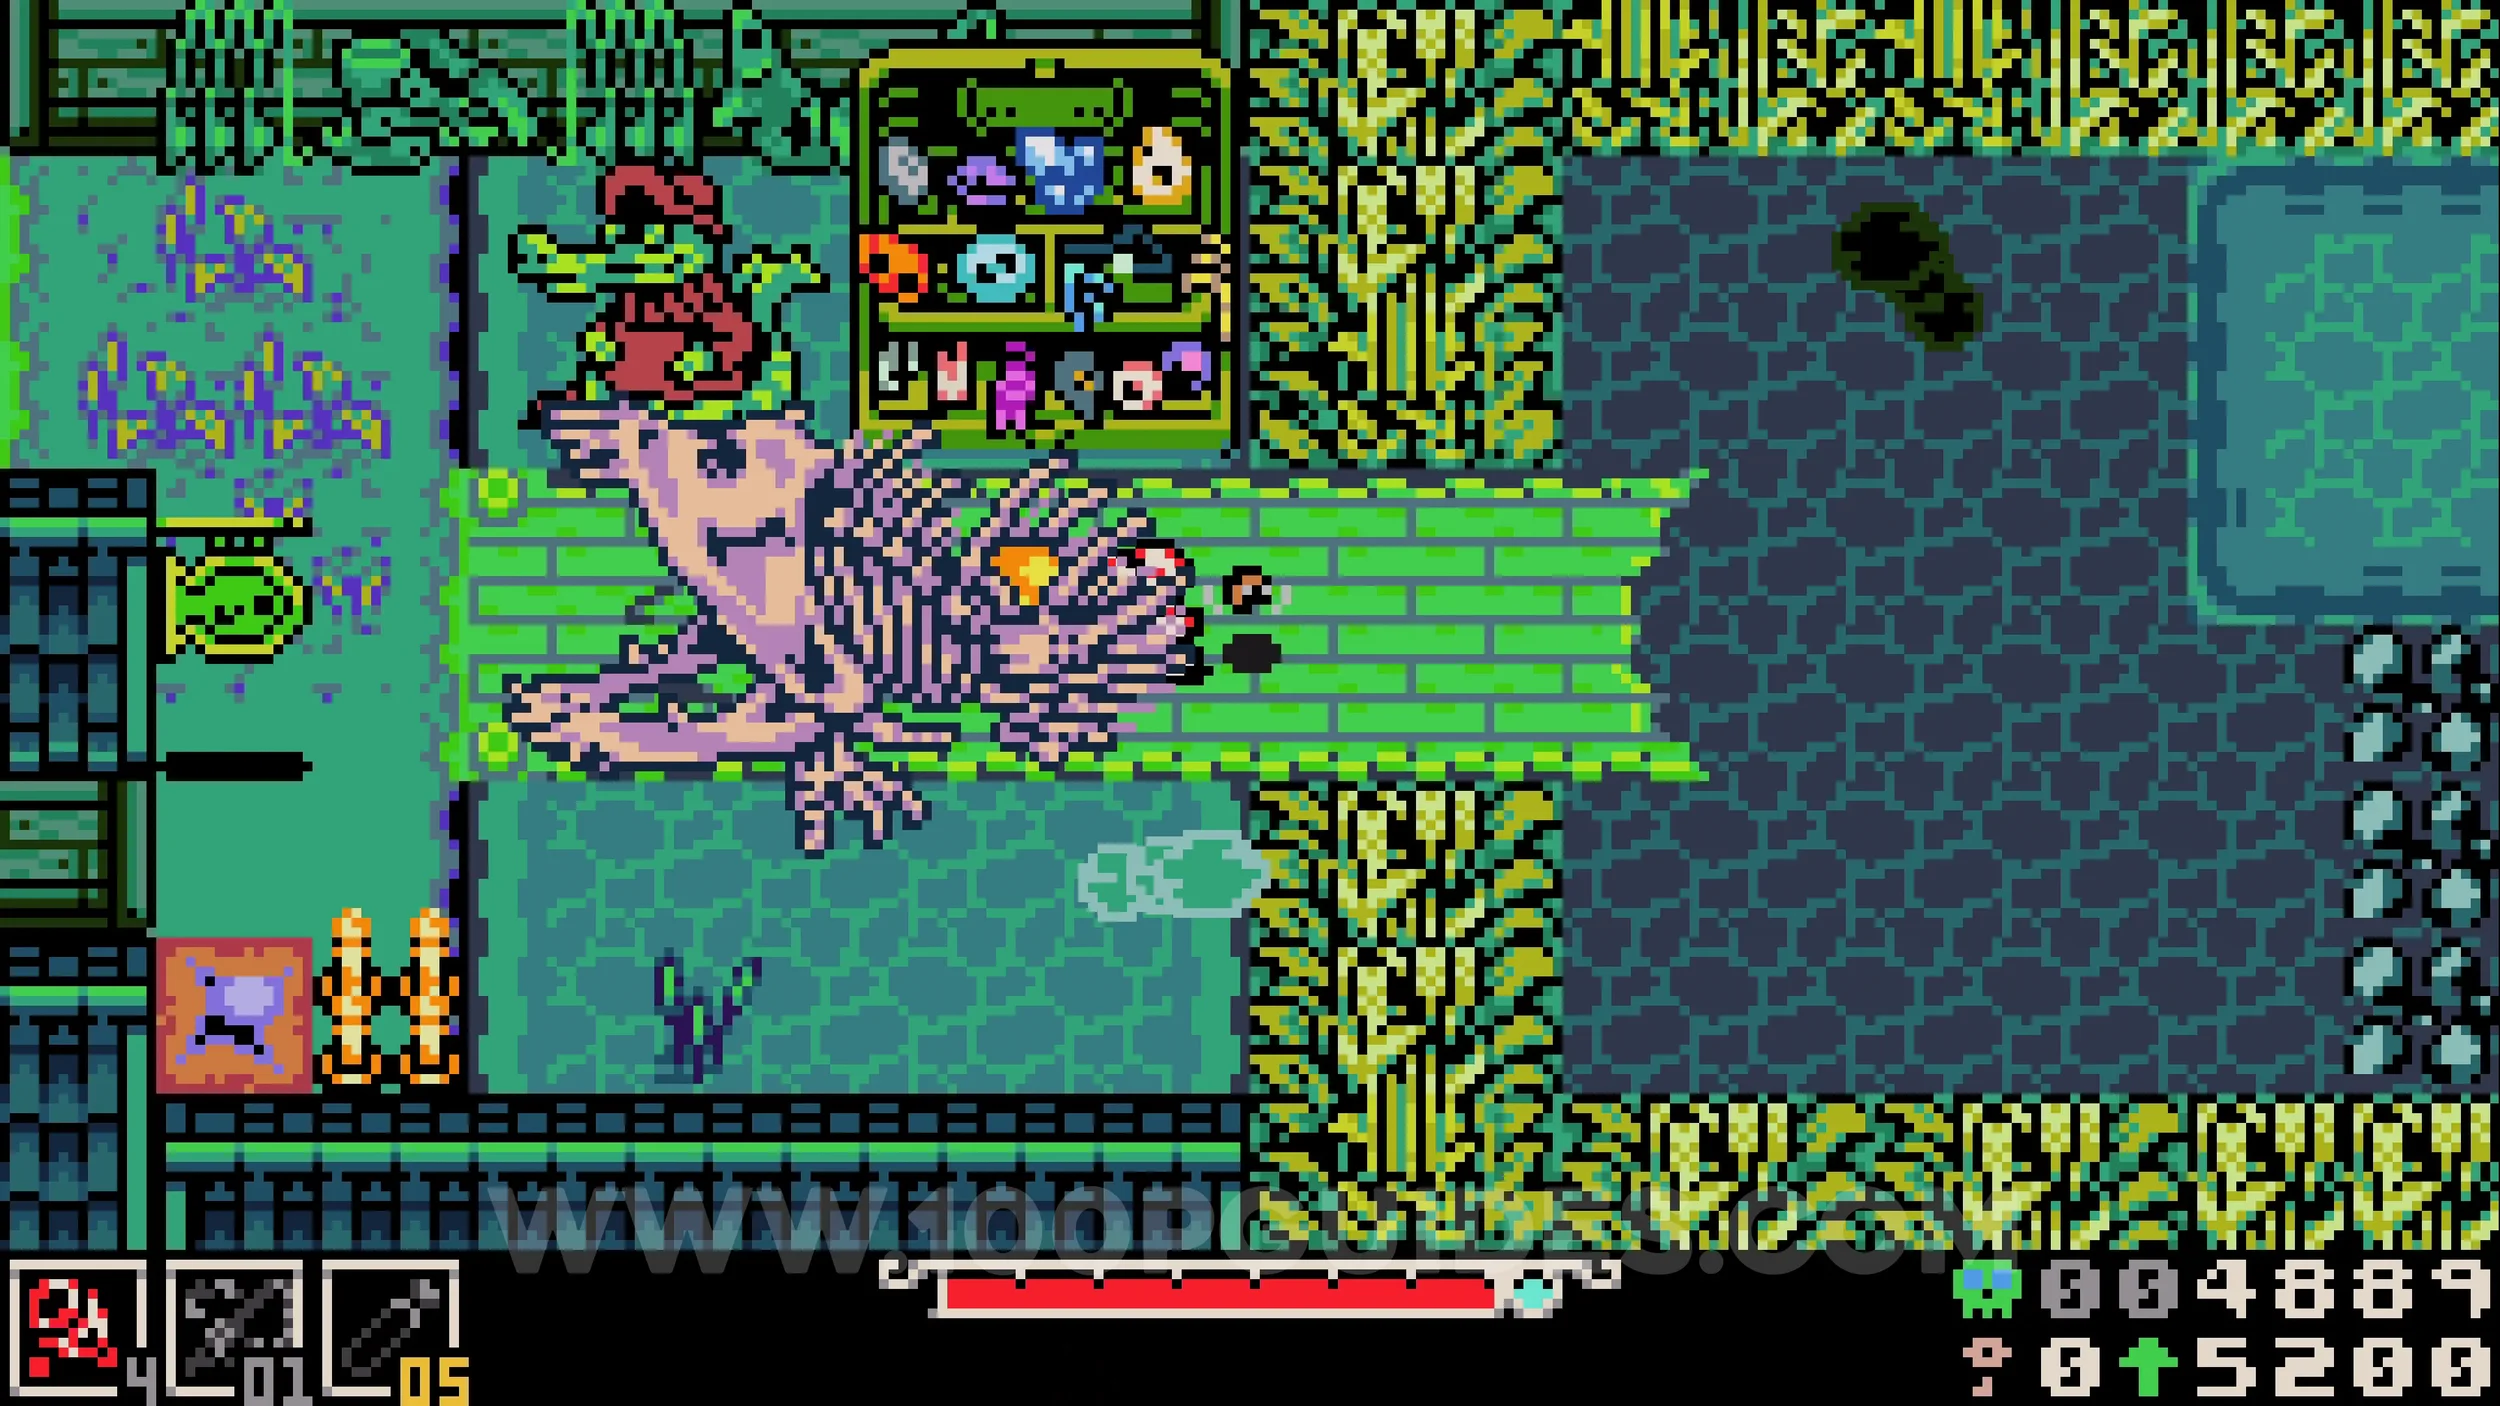
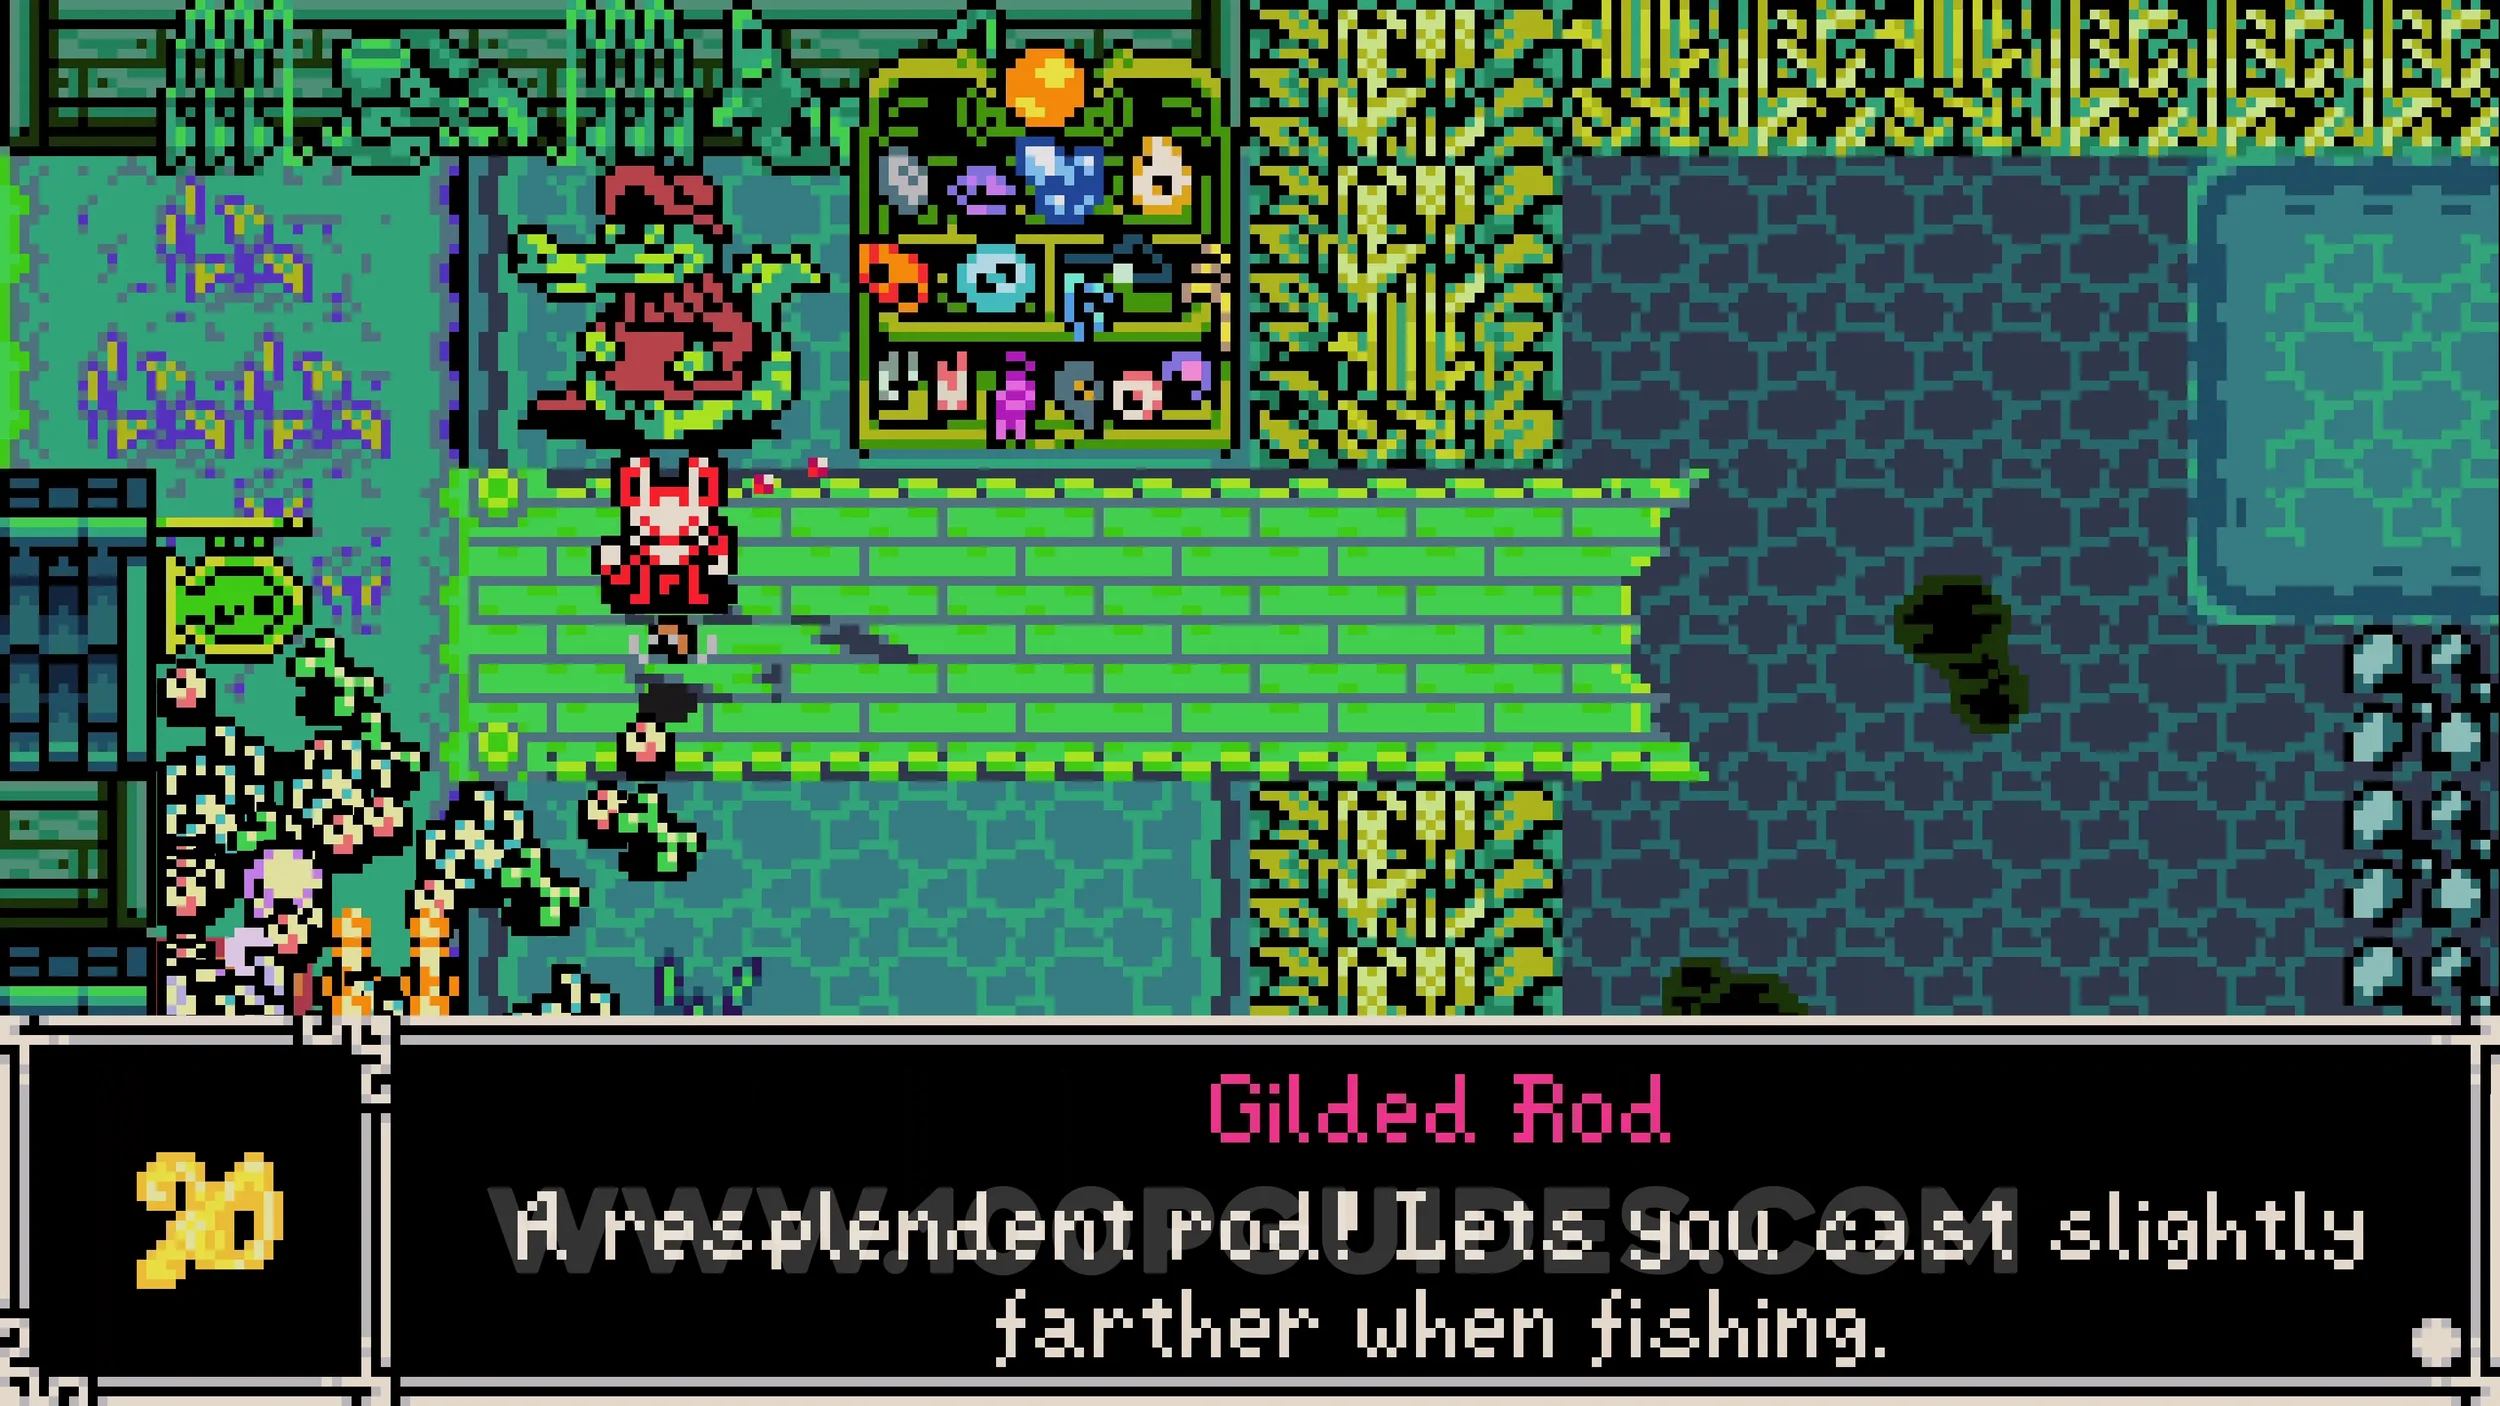
Fishing Upgrade #2 - Gilded Rod. Talk to the crocodile NPC in the area where you first picked up the fishing rod once you have caught all 16 fish in the game.
NOX’S BAYOU
Fish #1. Can be caught in the first screen of the area.
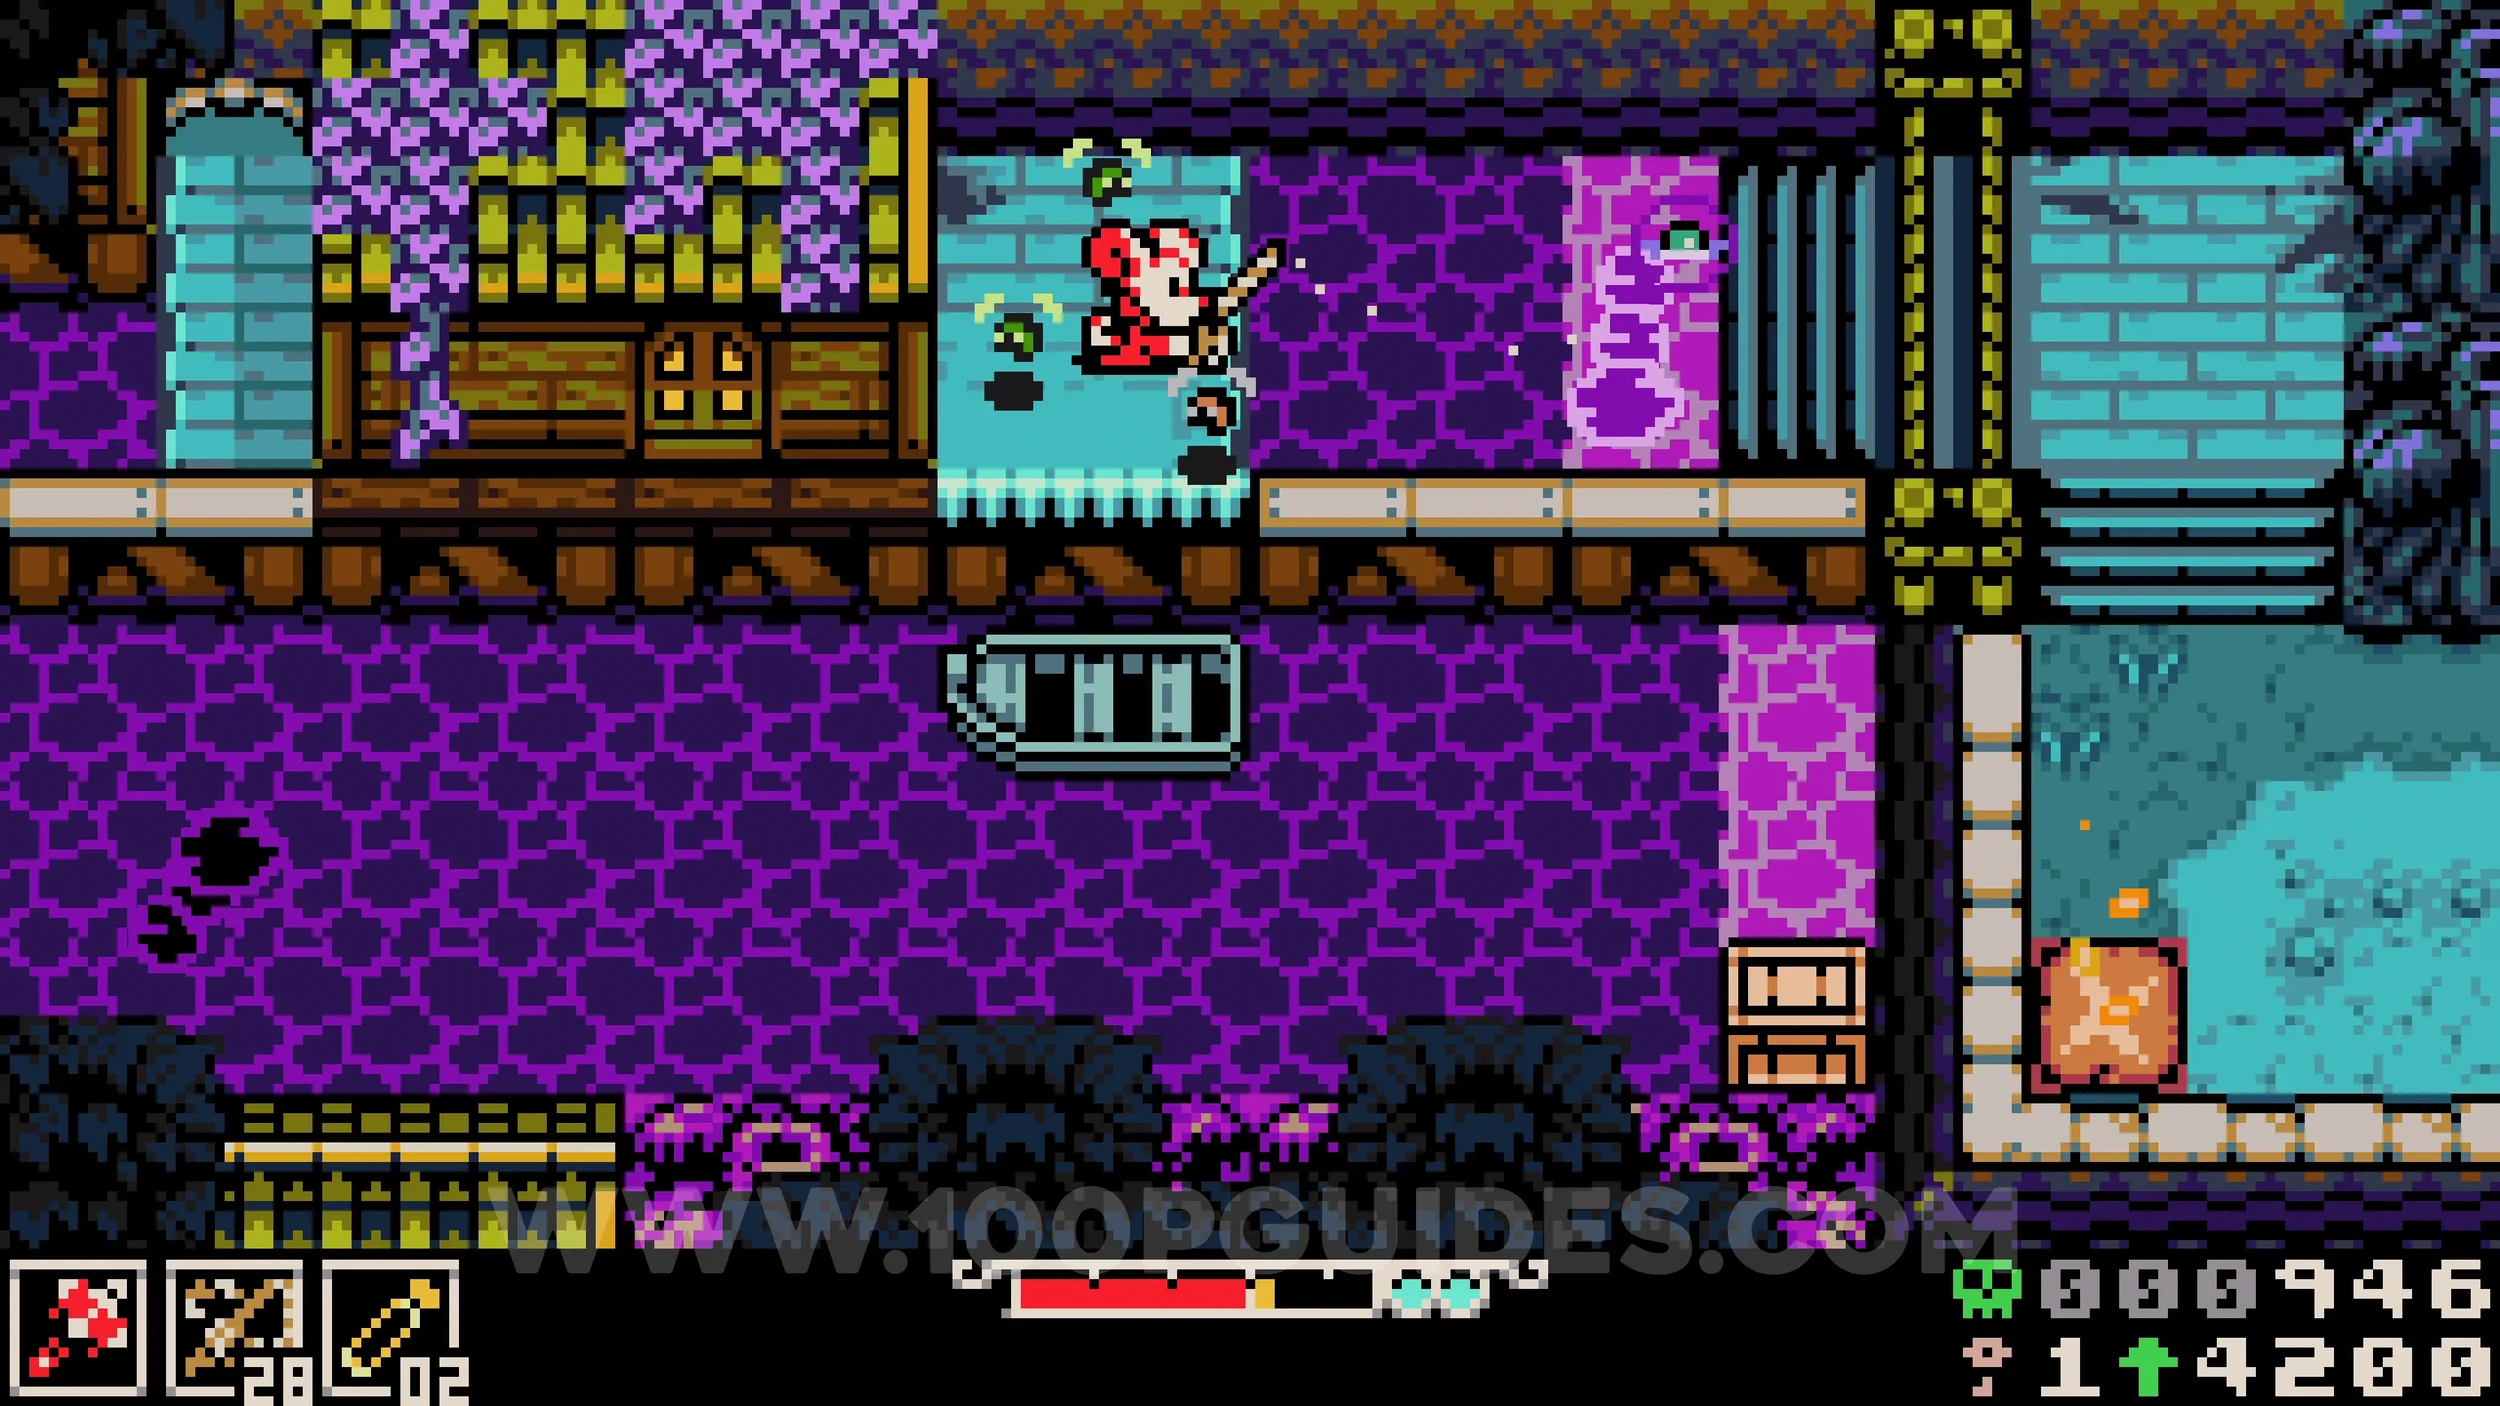
Trinket #1 - Twill Weave. On the first boat at the start of the area, look for a gap above with a platform. Continue along this path and climb the rope on the right side.
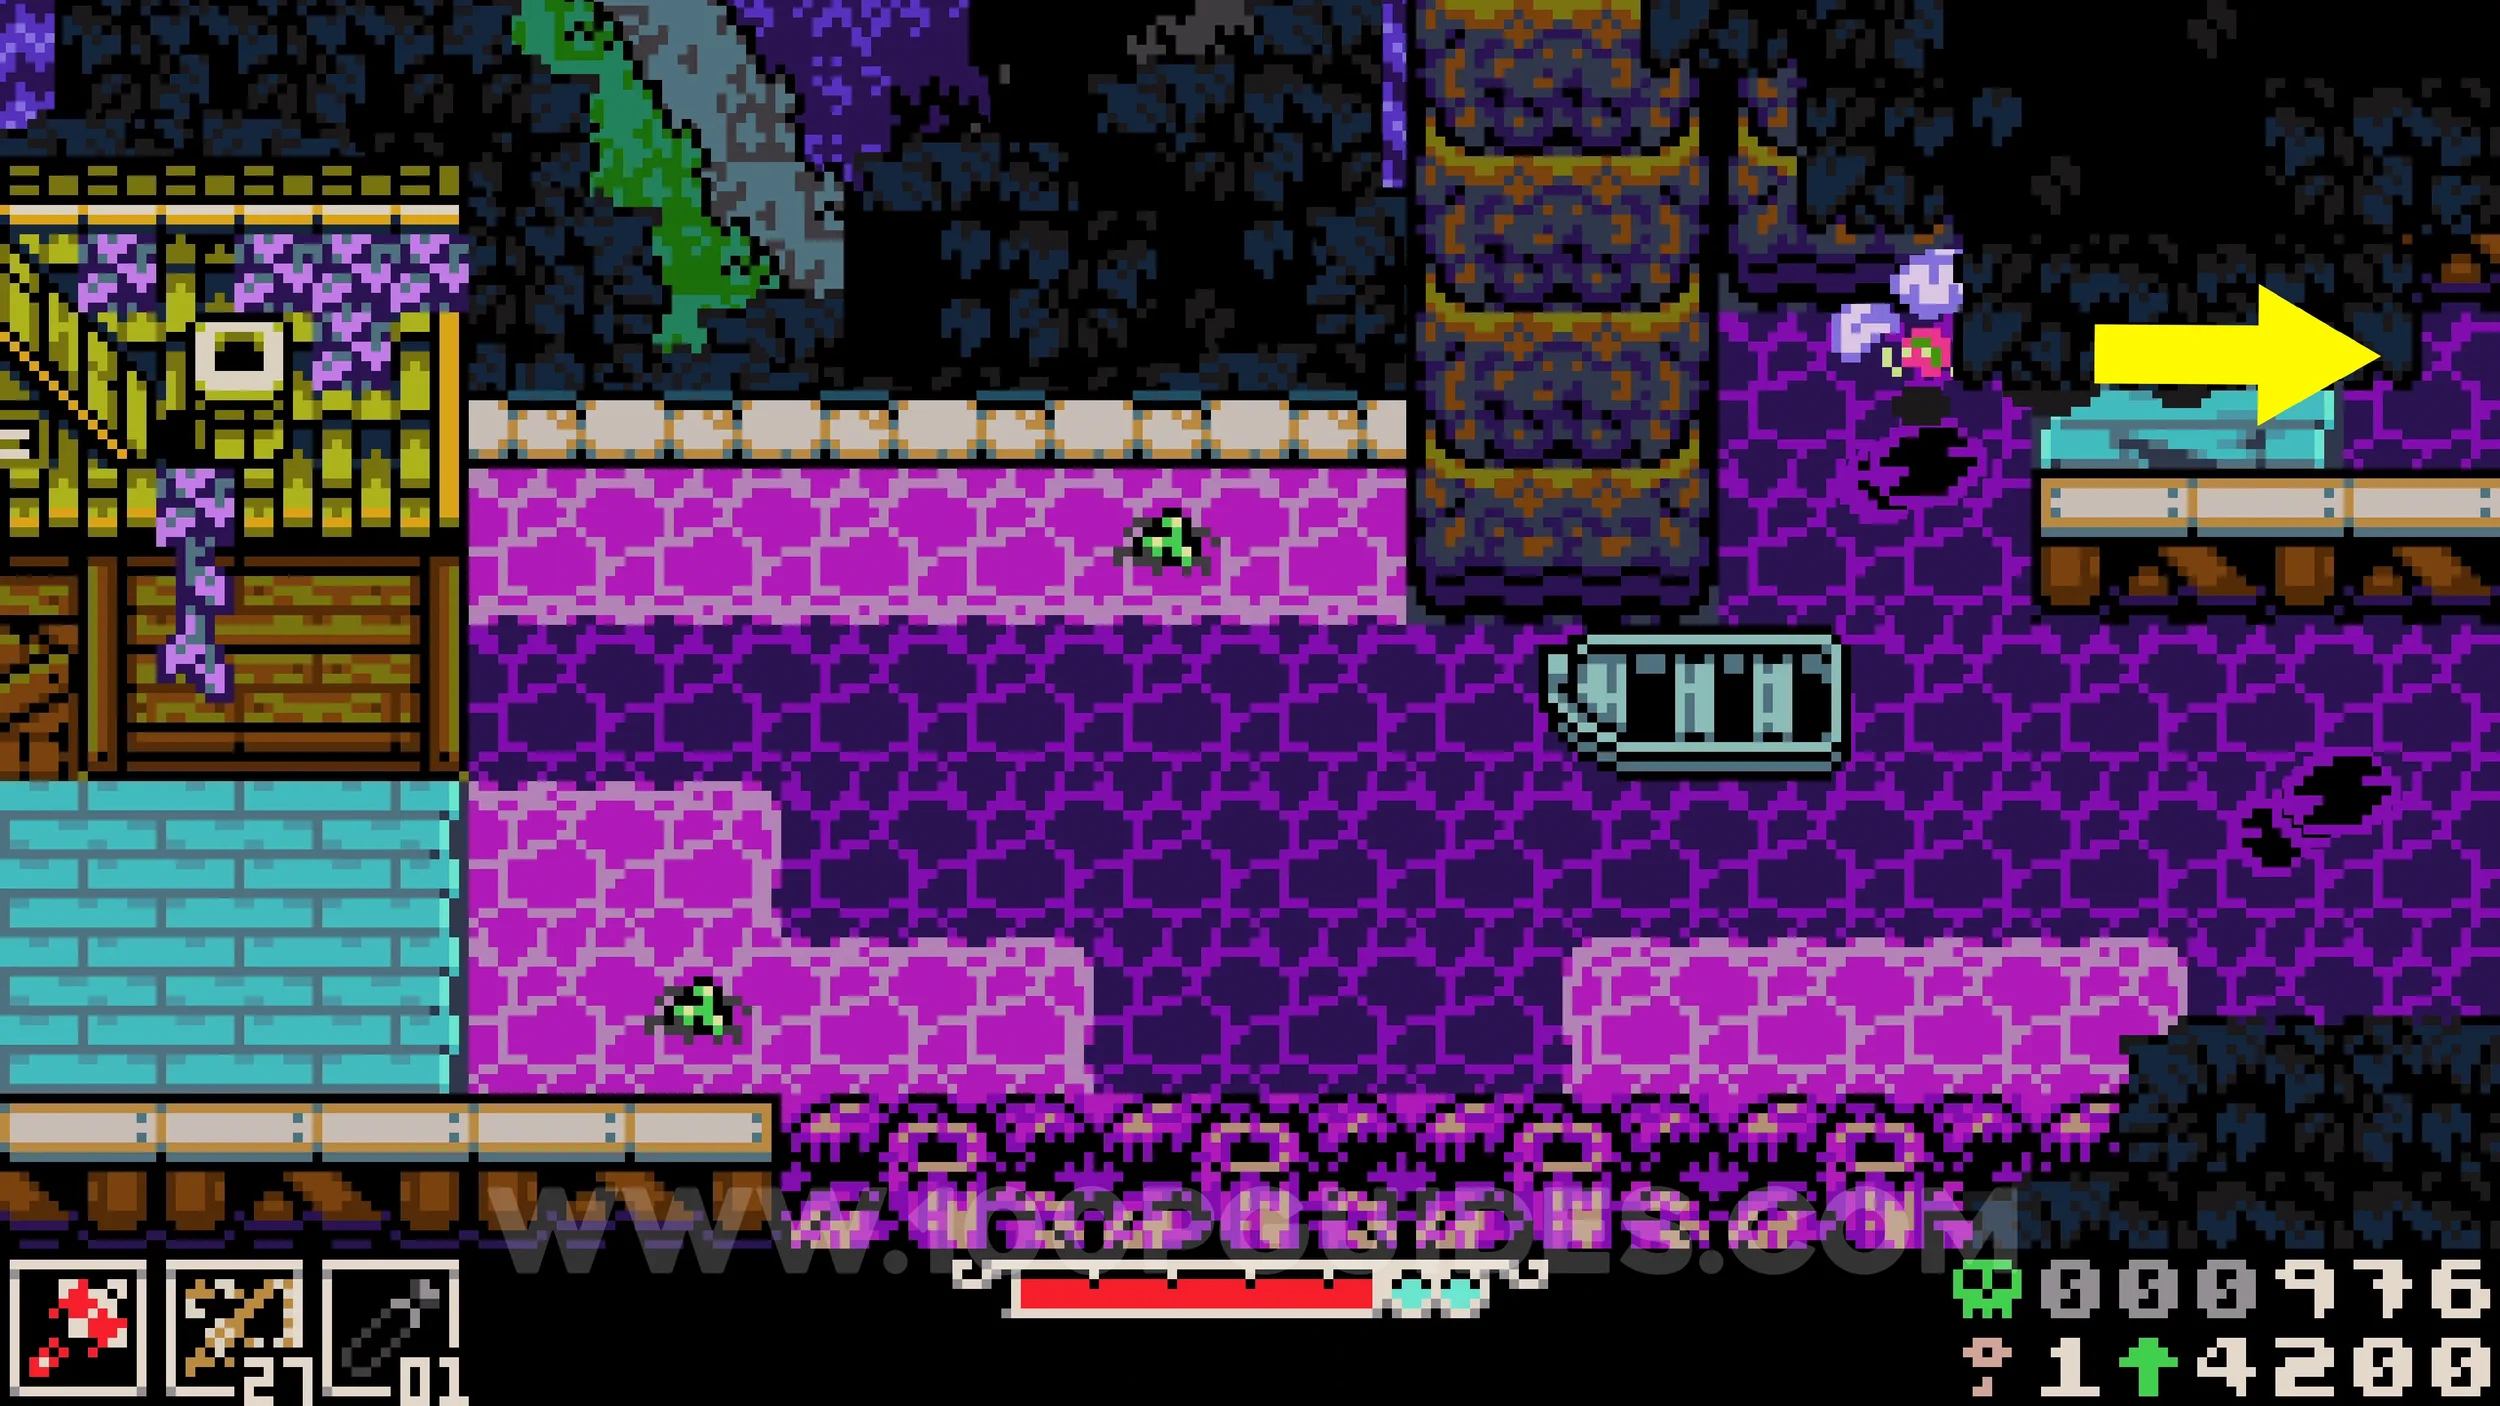
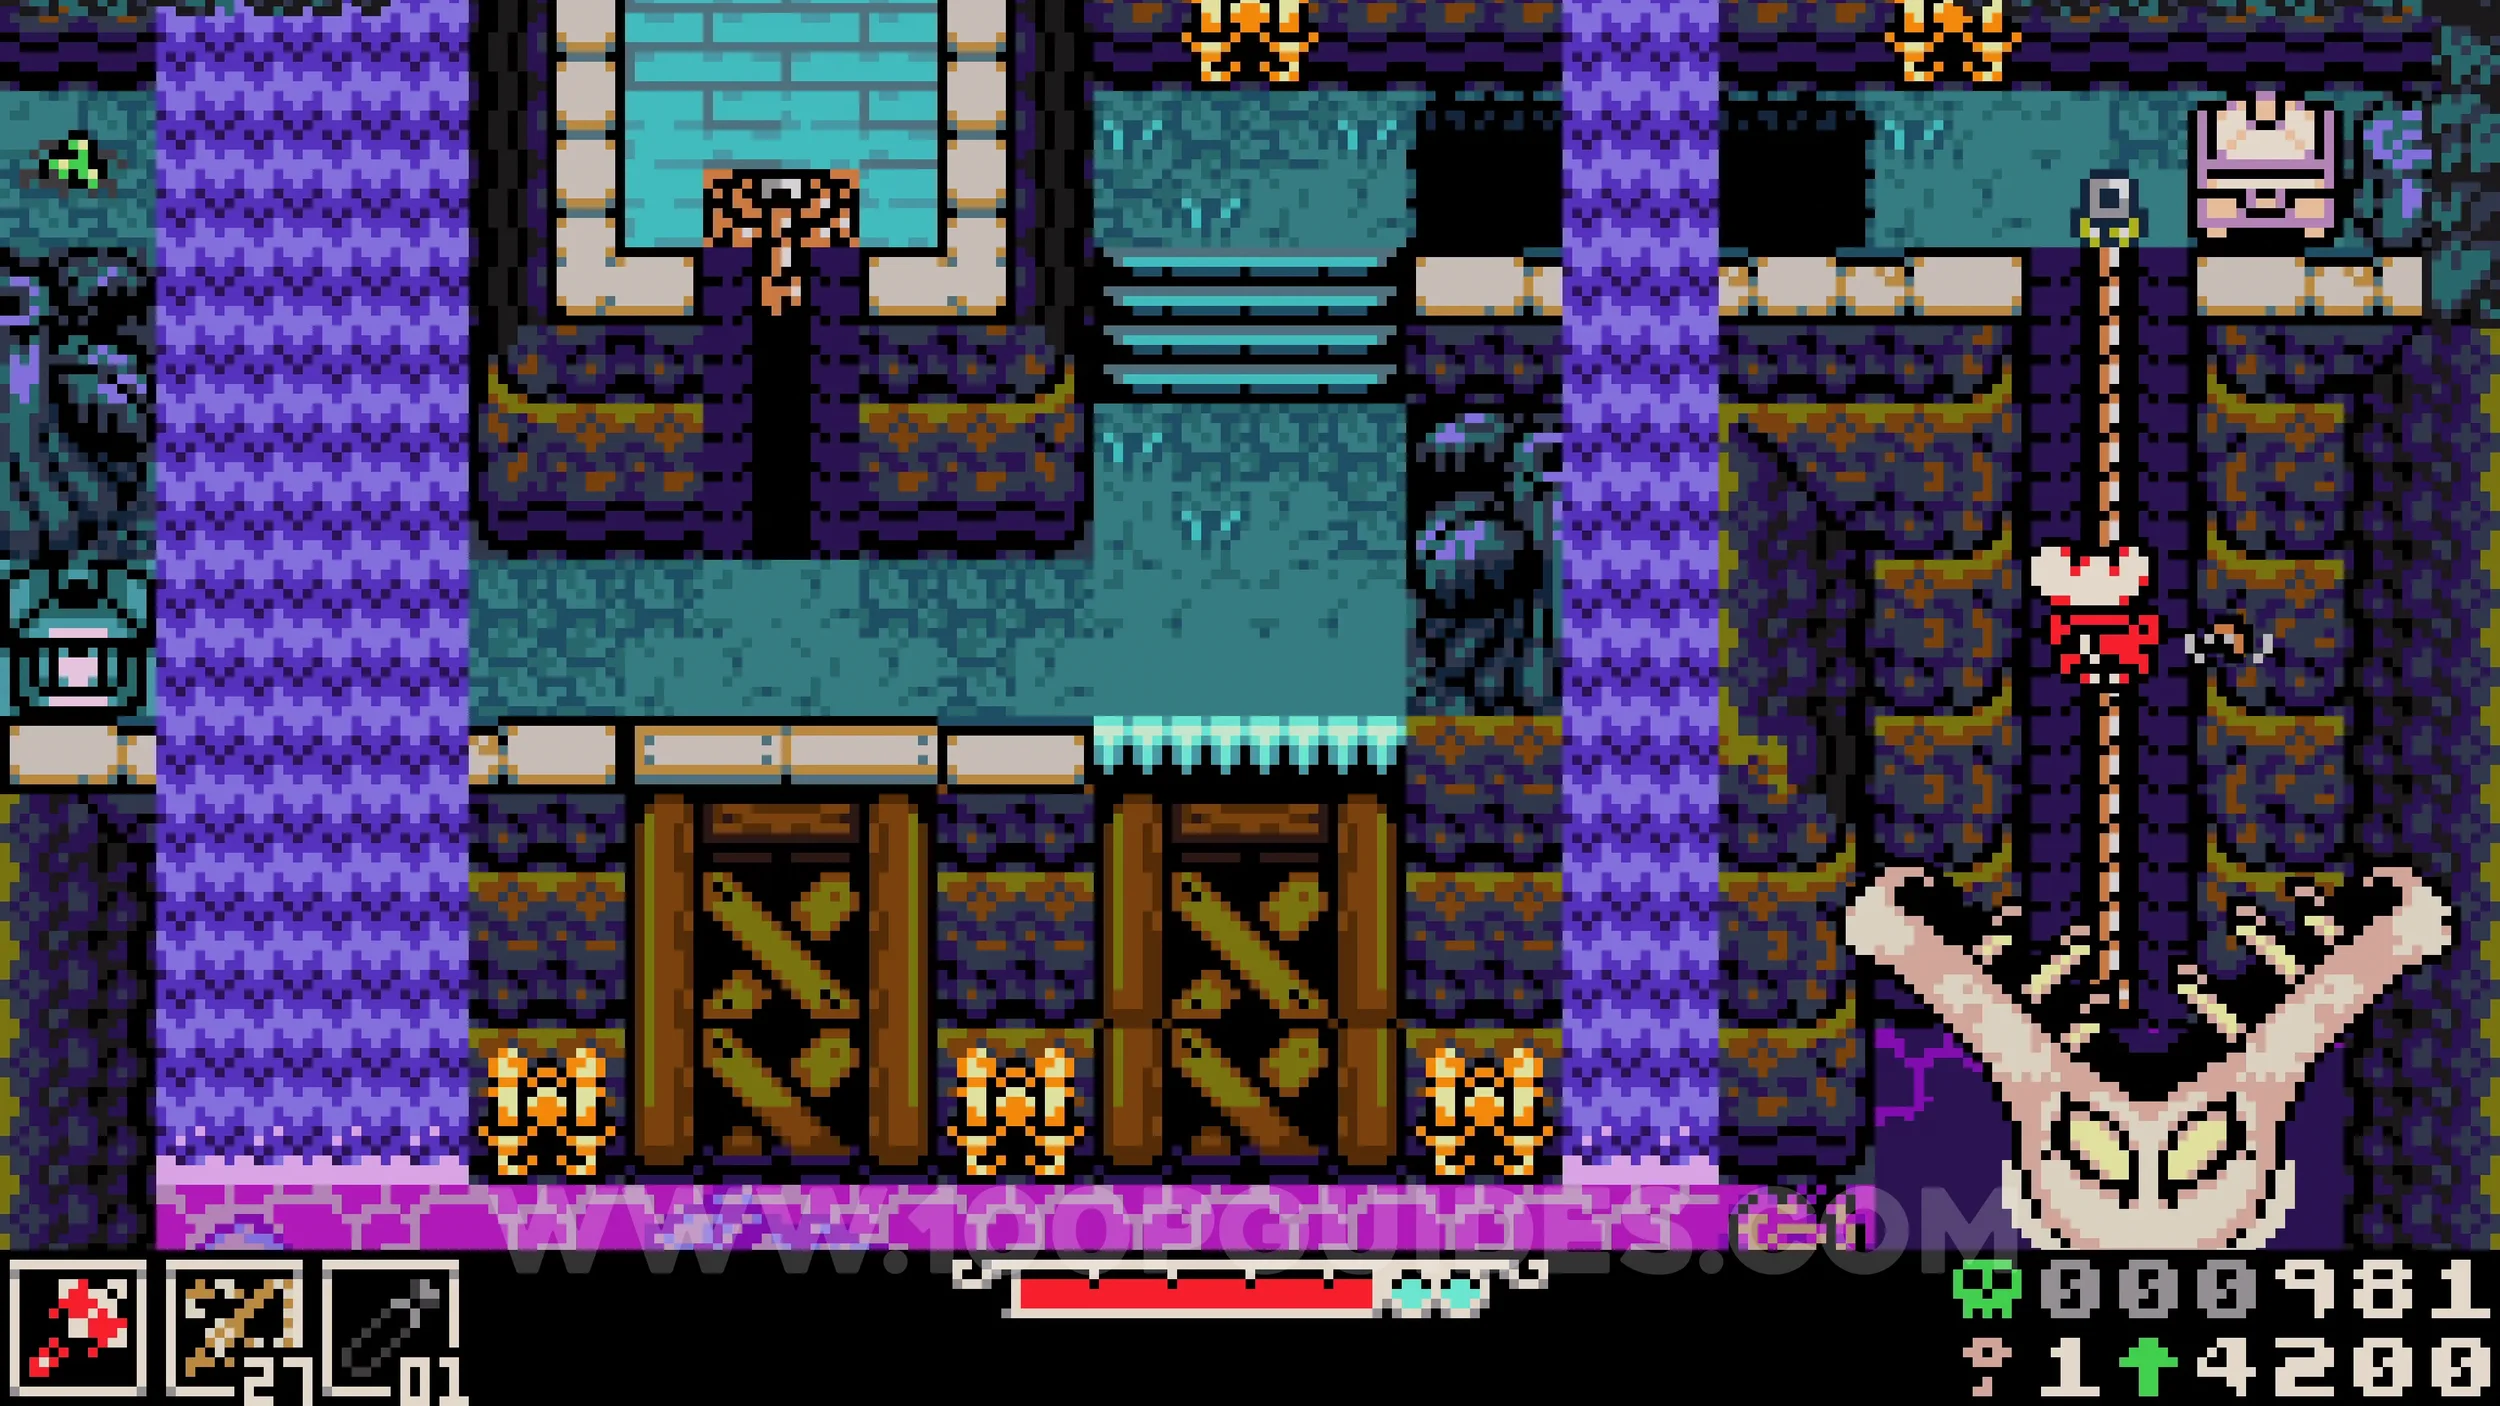
Bonestone #1. After activating the switch to raise the water level for the first time, jump onto the boat at the bottom and then across to the chest.
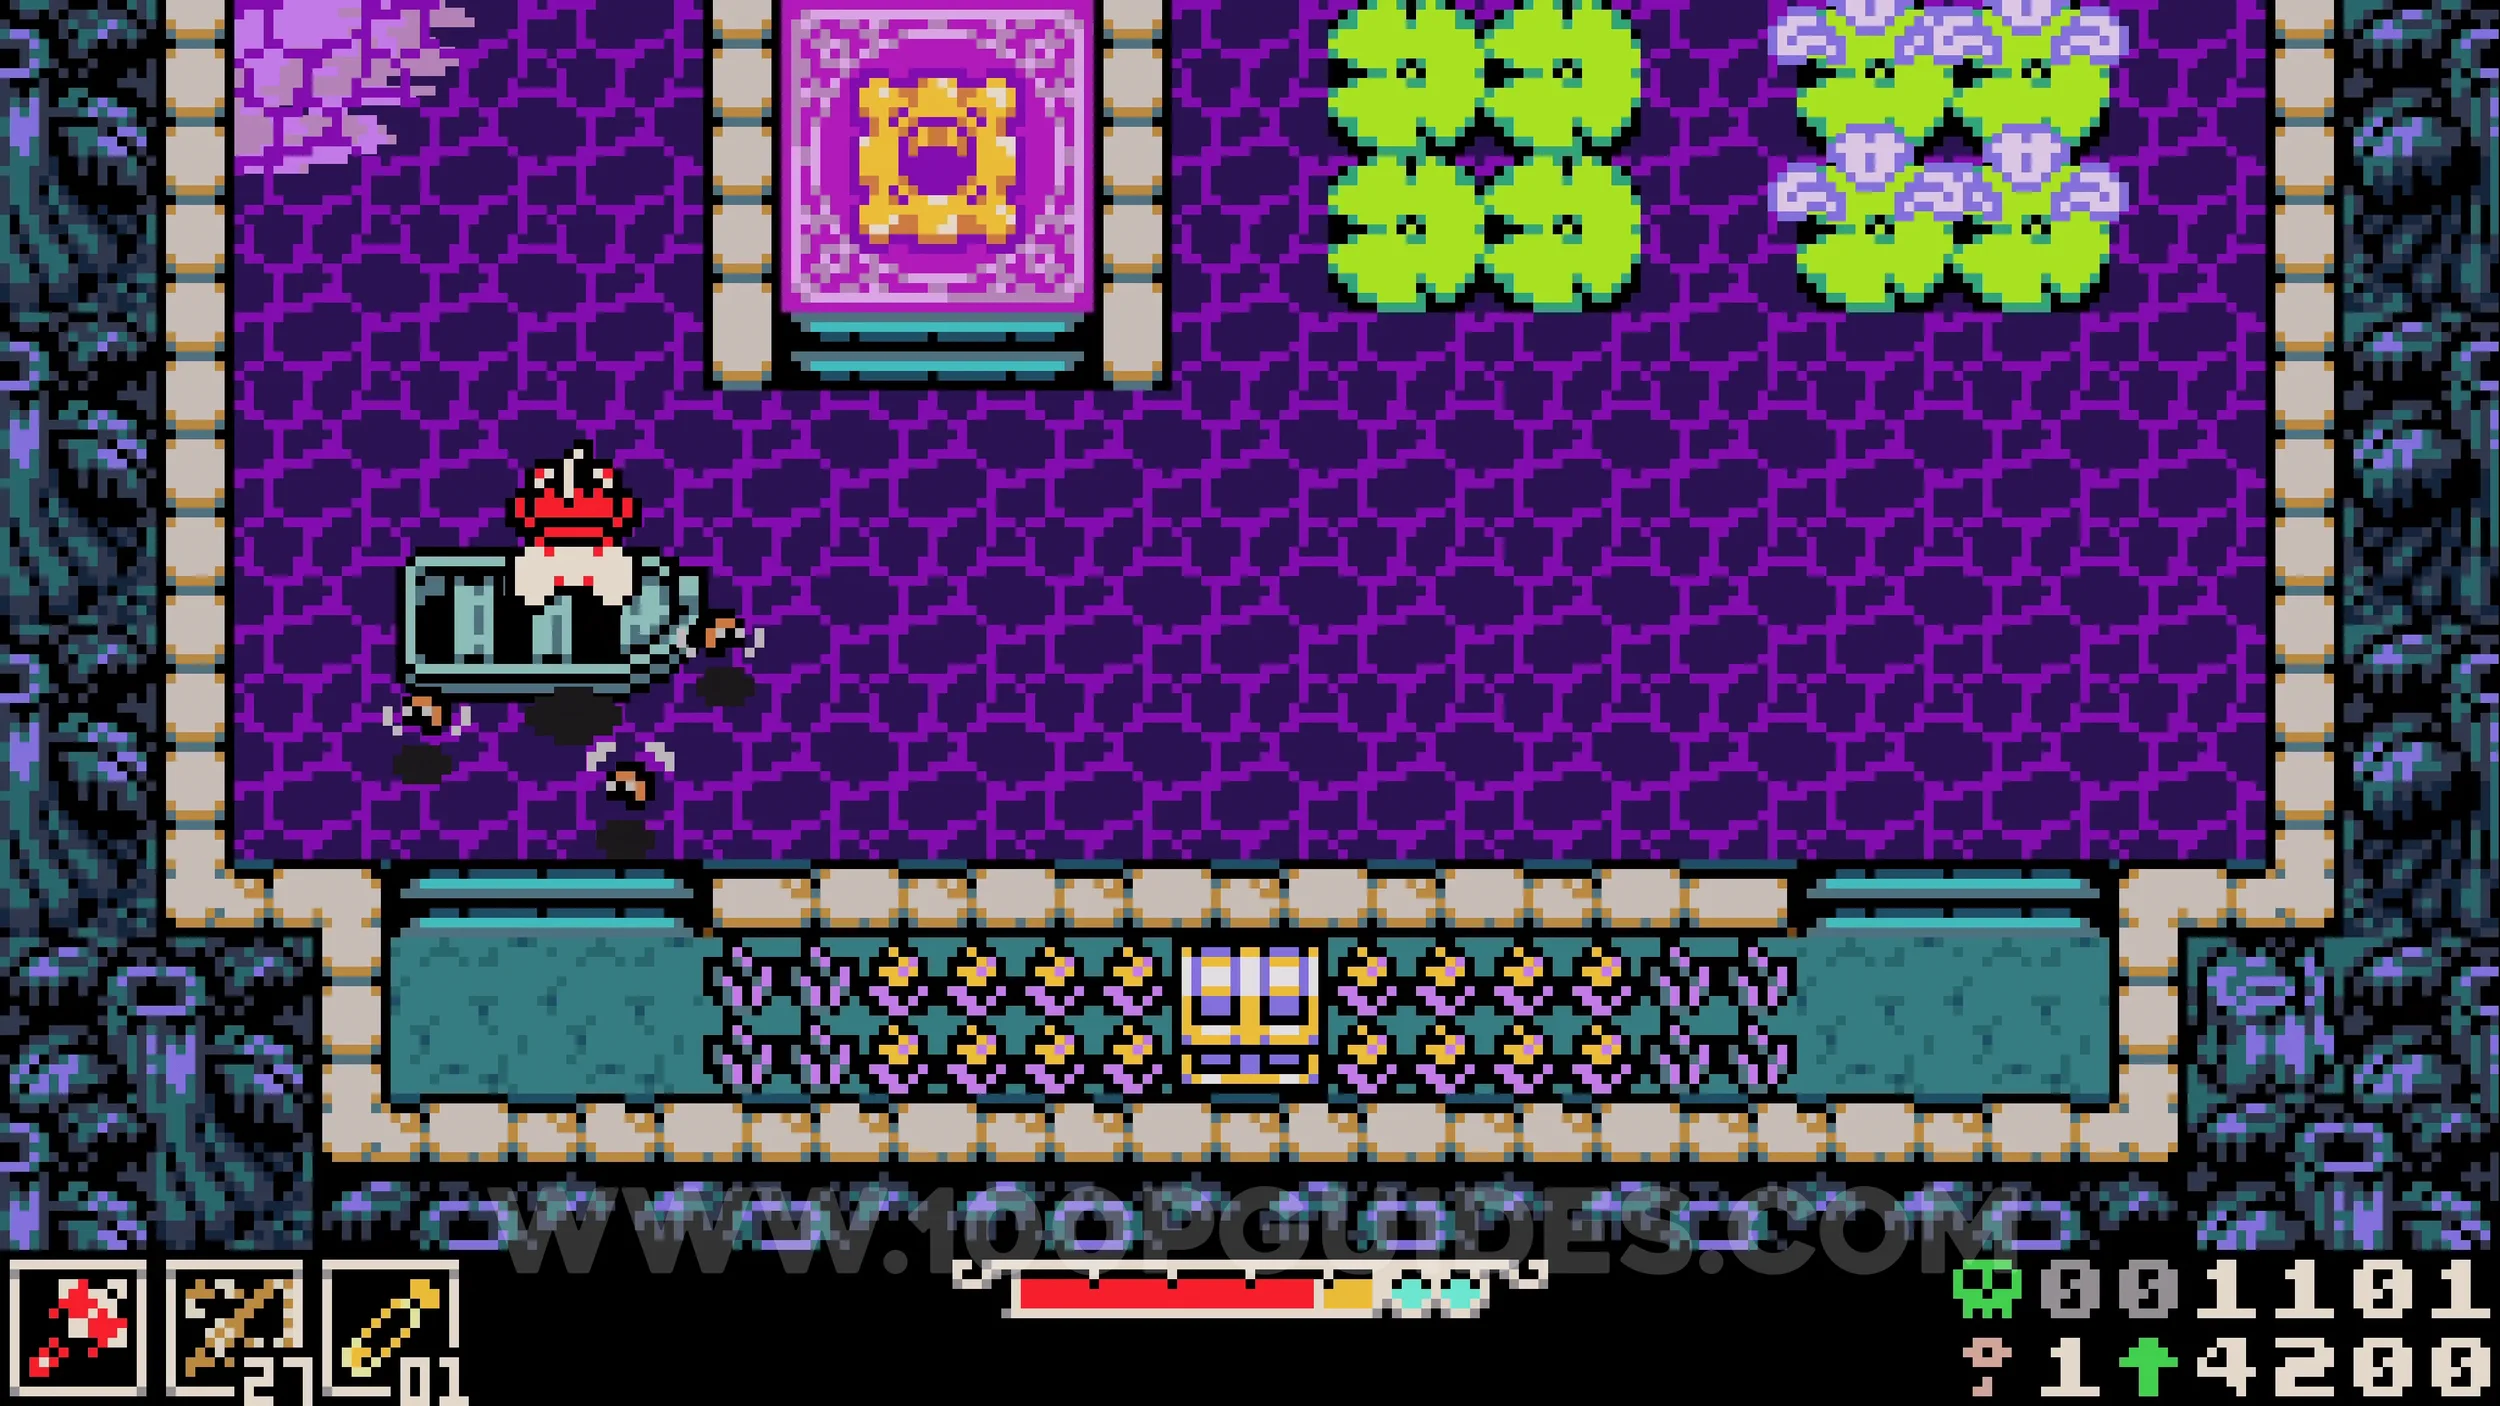
Bonestone #2. Continue through the level until you reach an area divided by a wall in the middle, with a boat on either side. After jumping to the boats in the top half of the screen, go through the small hole in the top right corner.
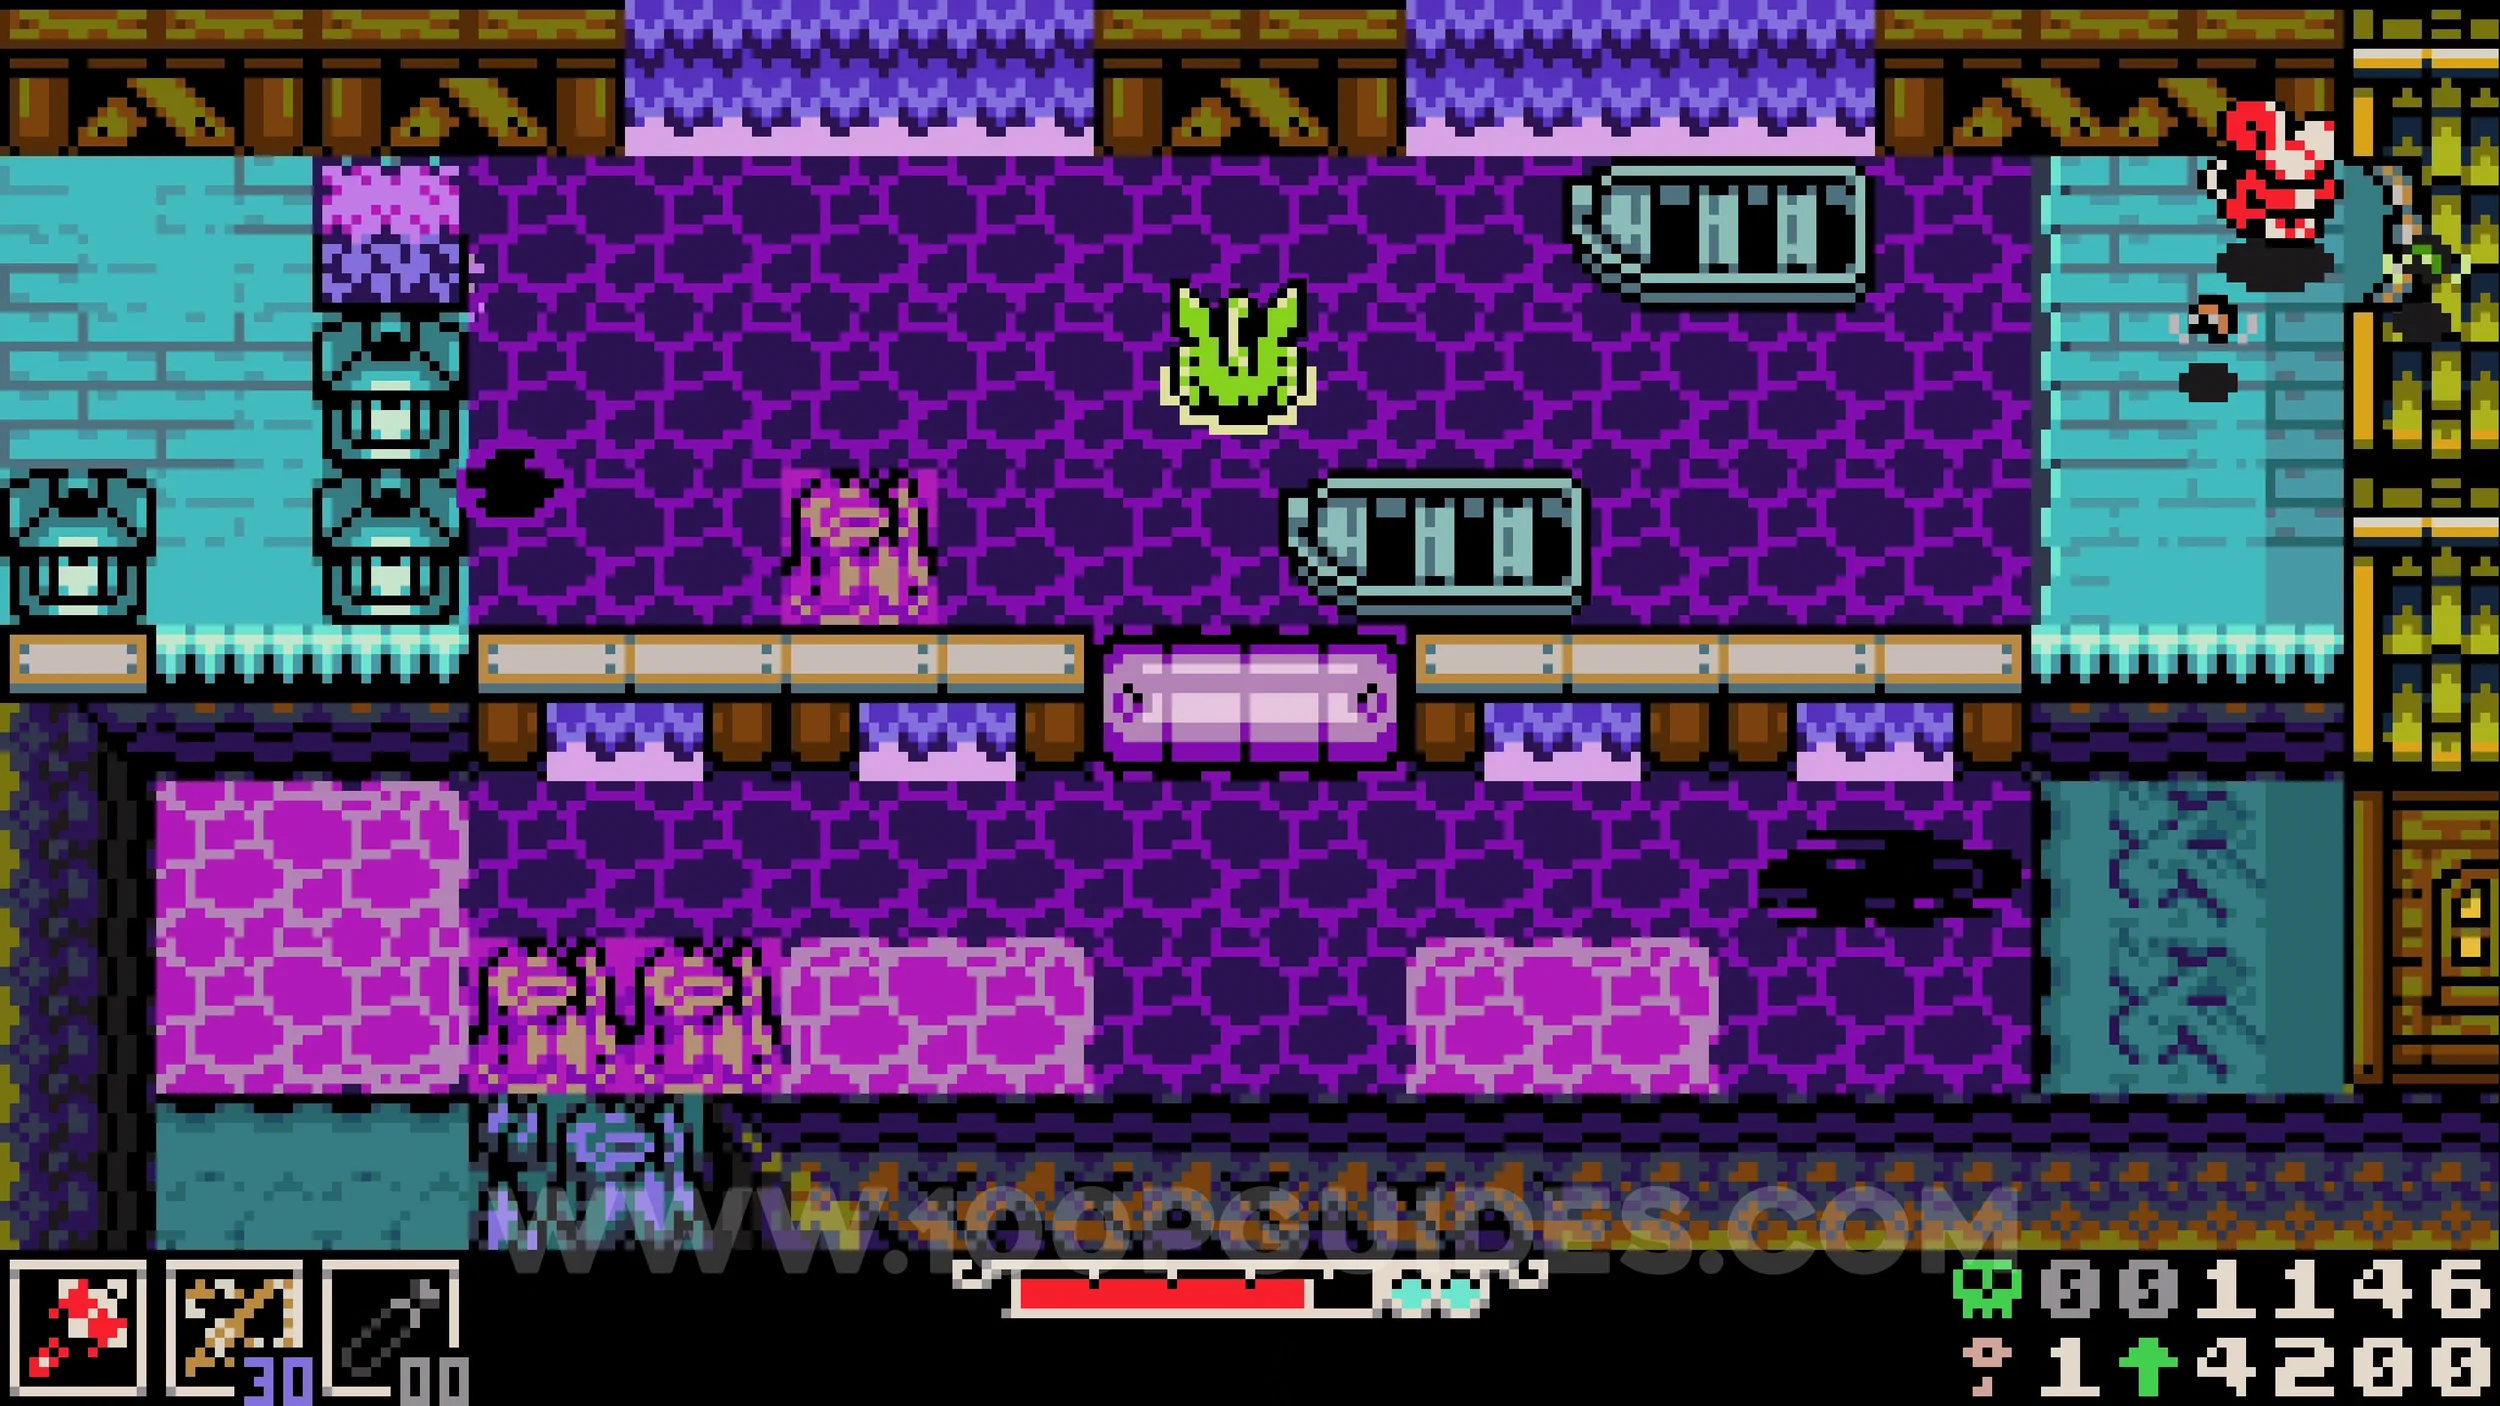
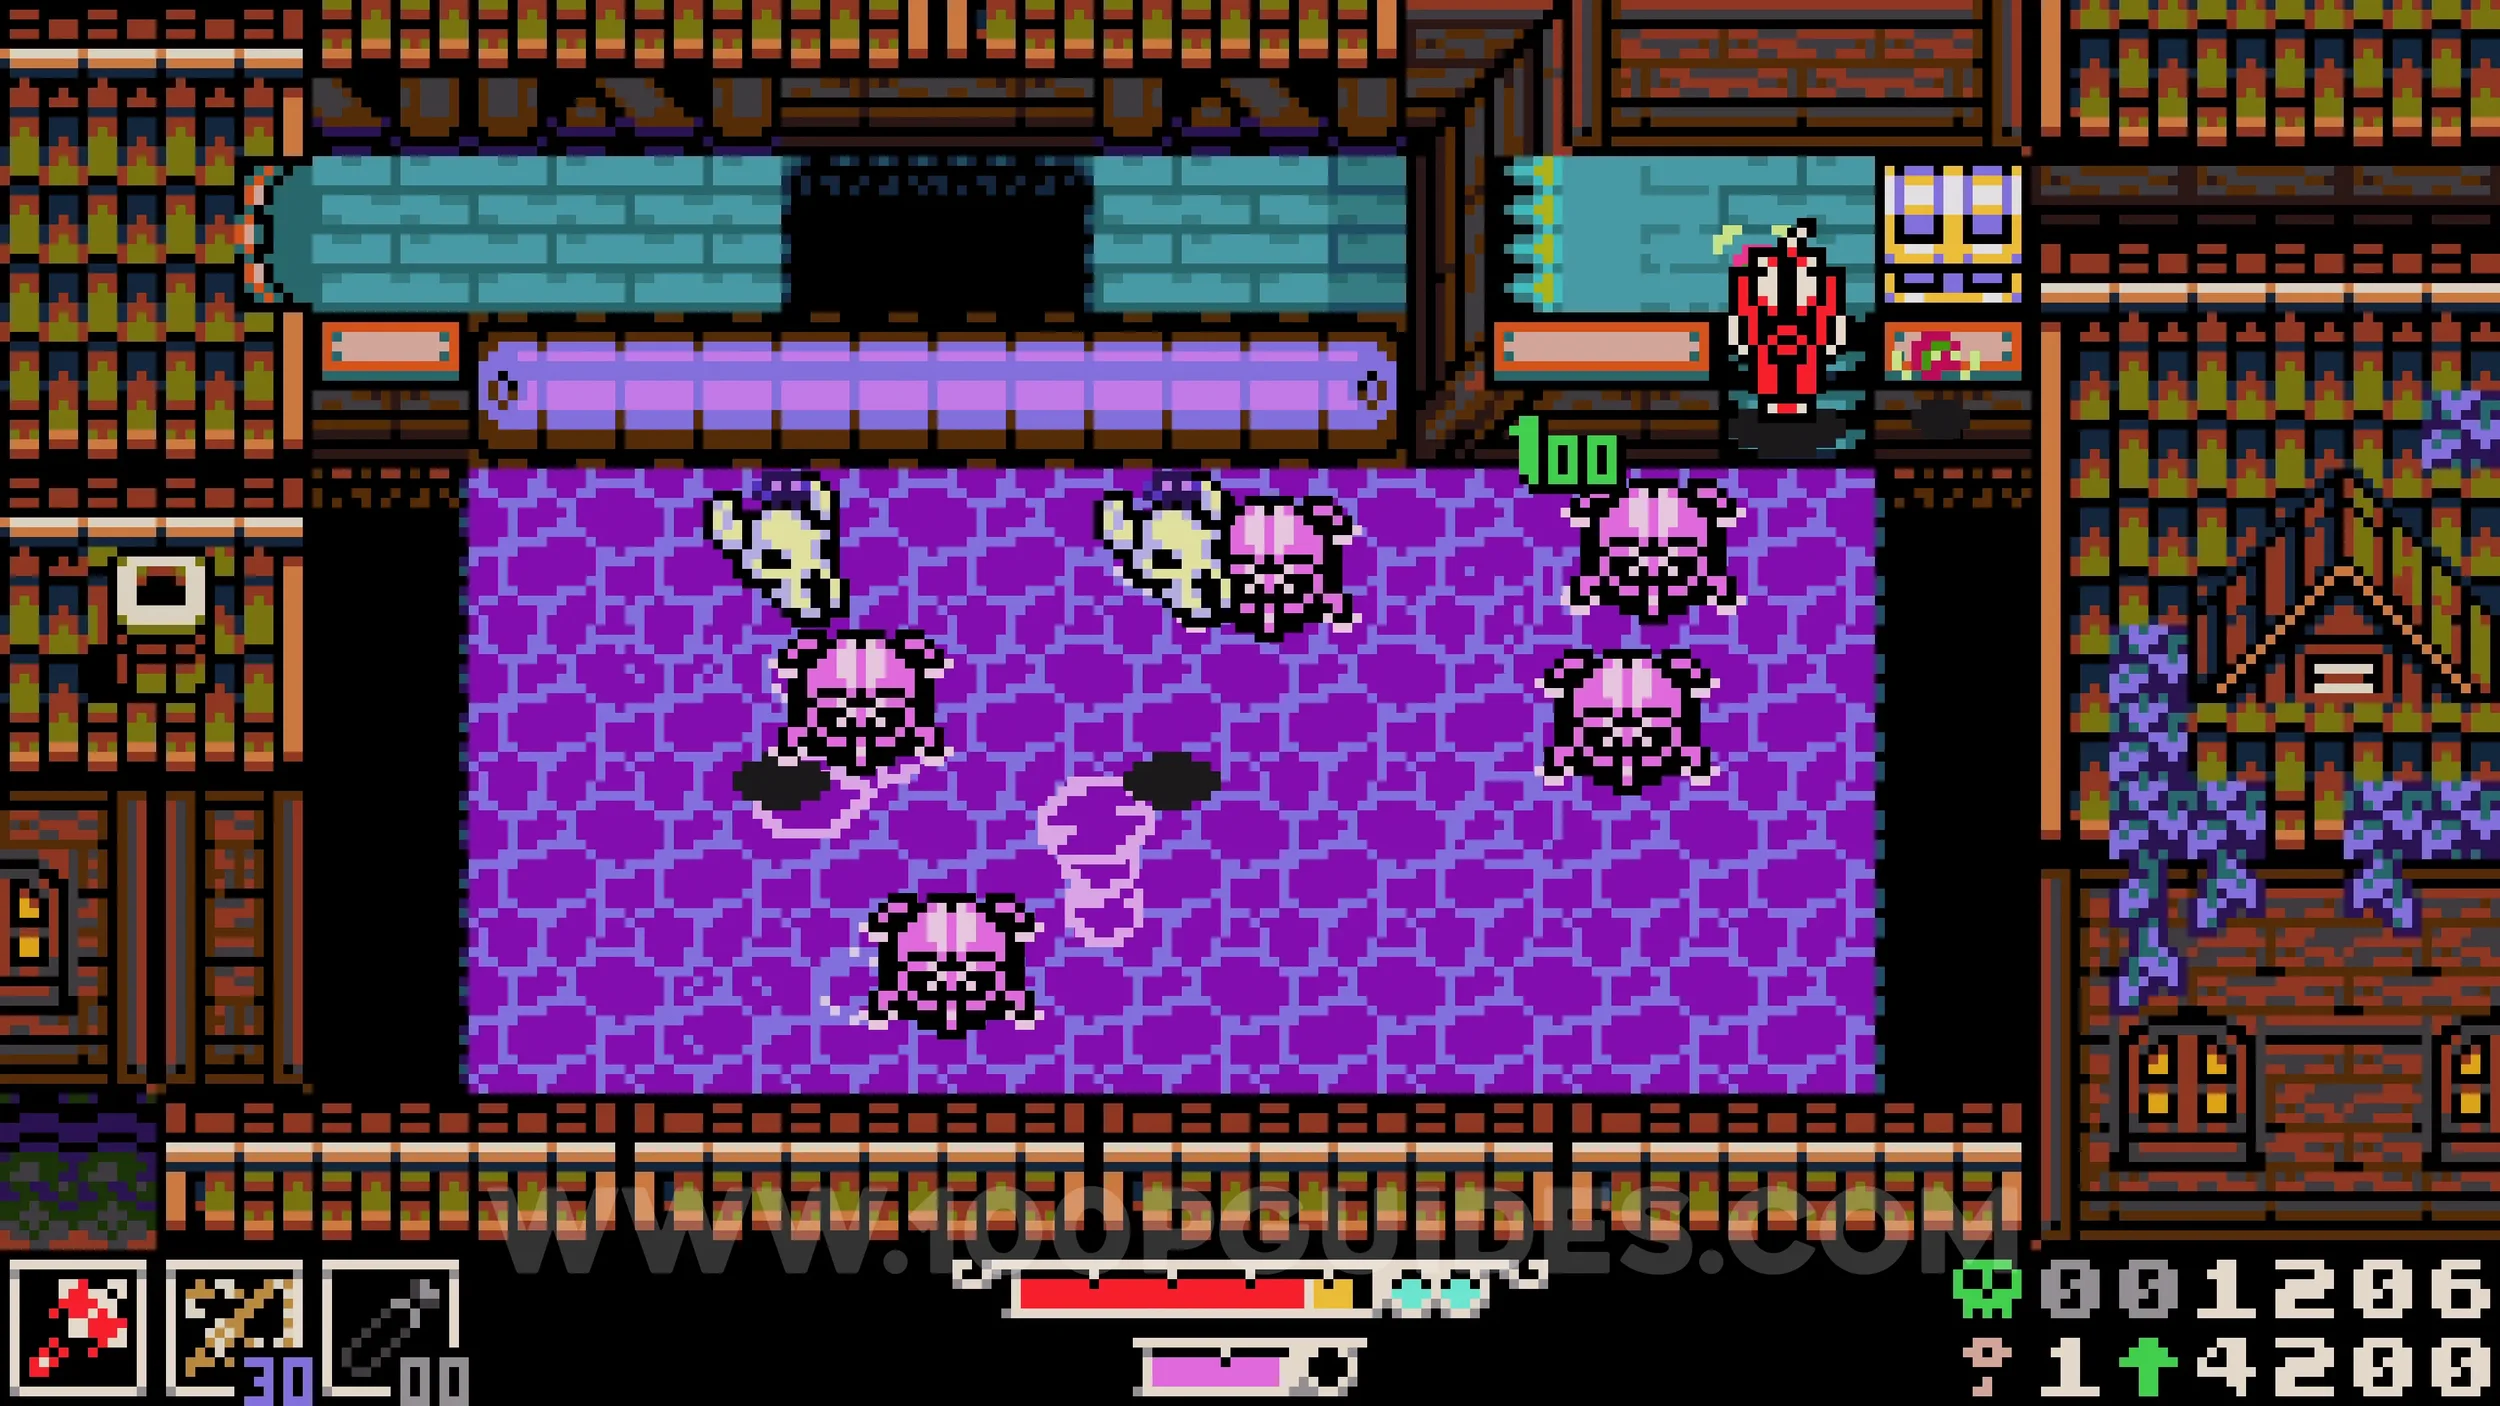
Kear #1. Once you reach the large open area where you must activate another switch to raise the water level, break the logs in the top left before pressing it to reveal a hole leading to a cave where the collectible can be found inside.
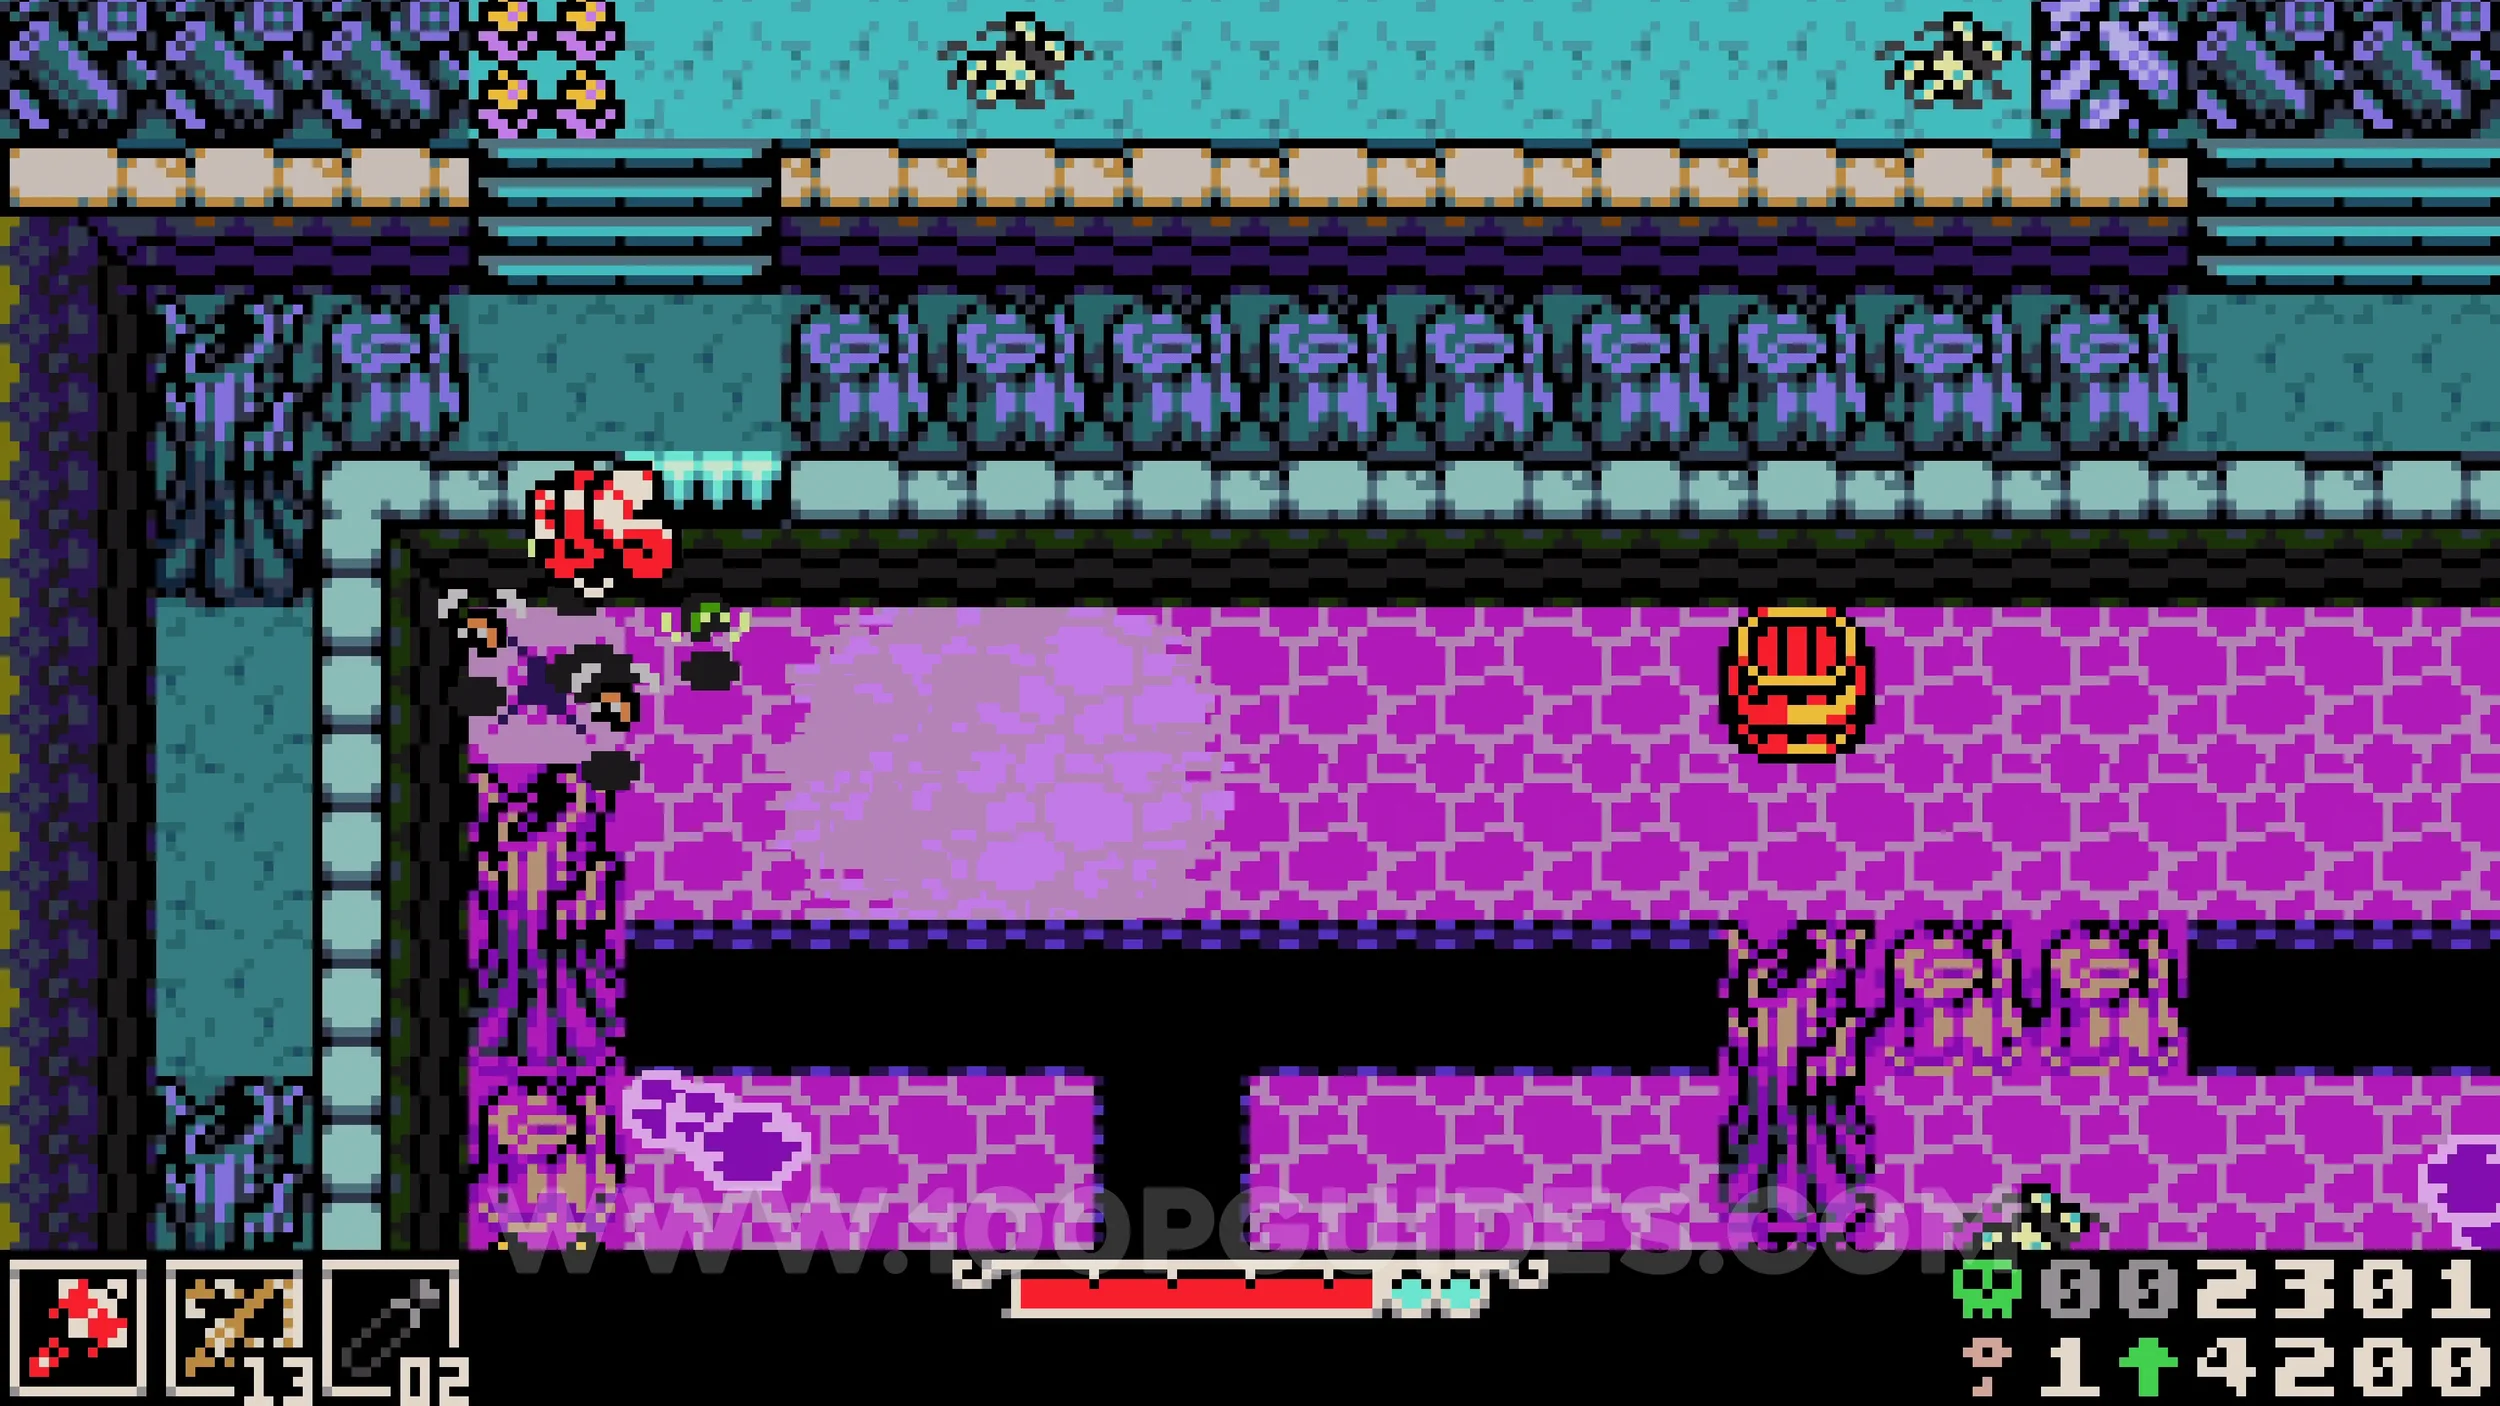
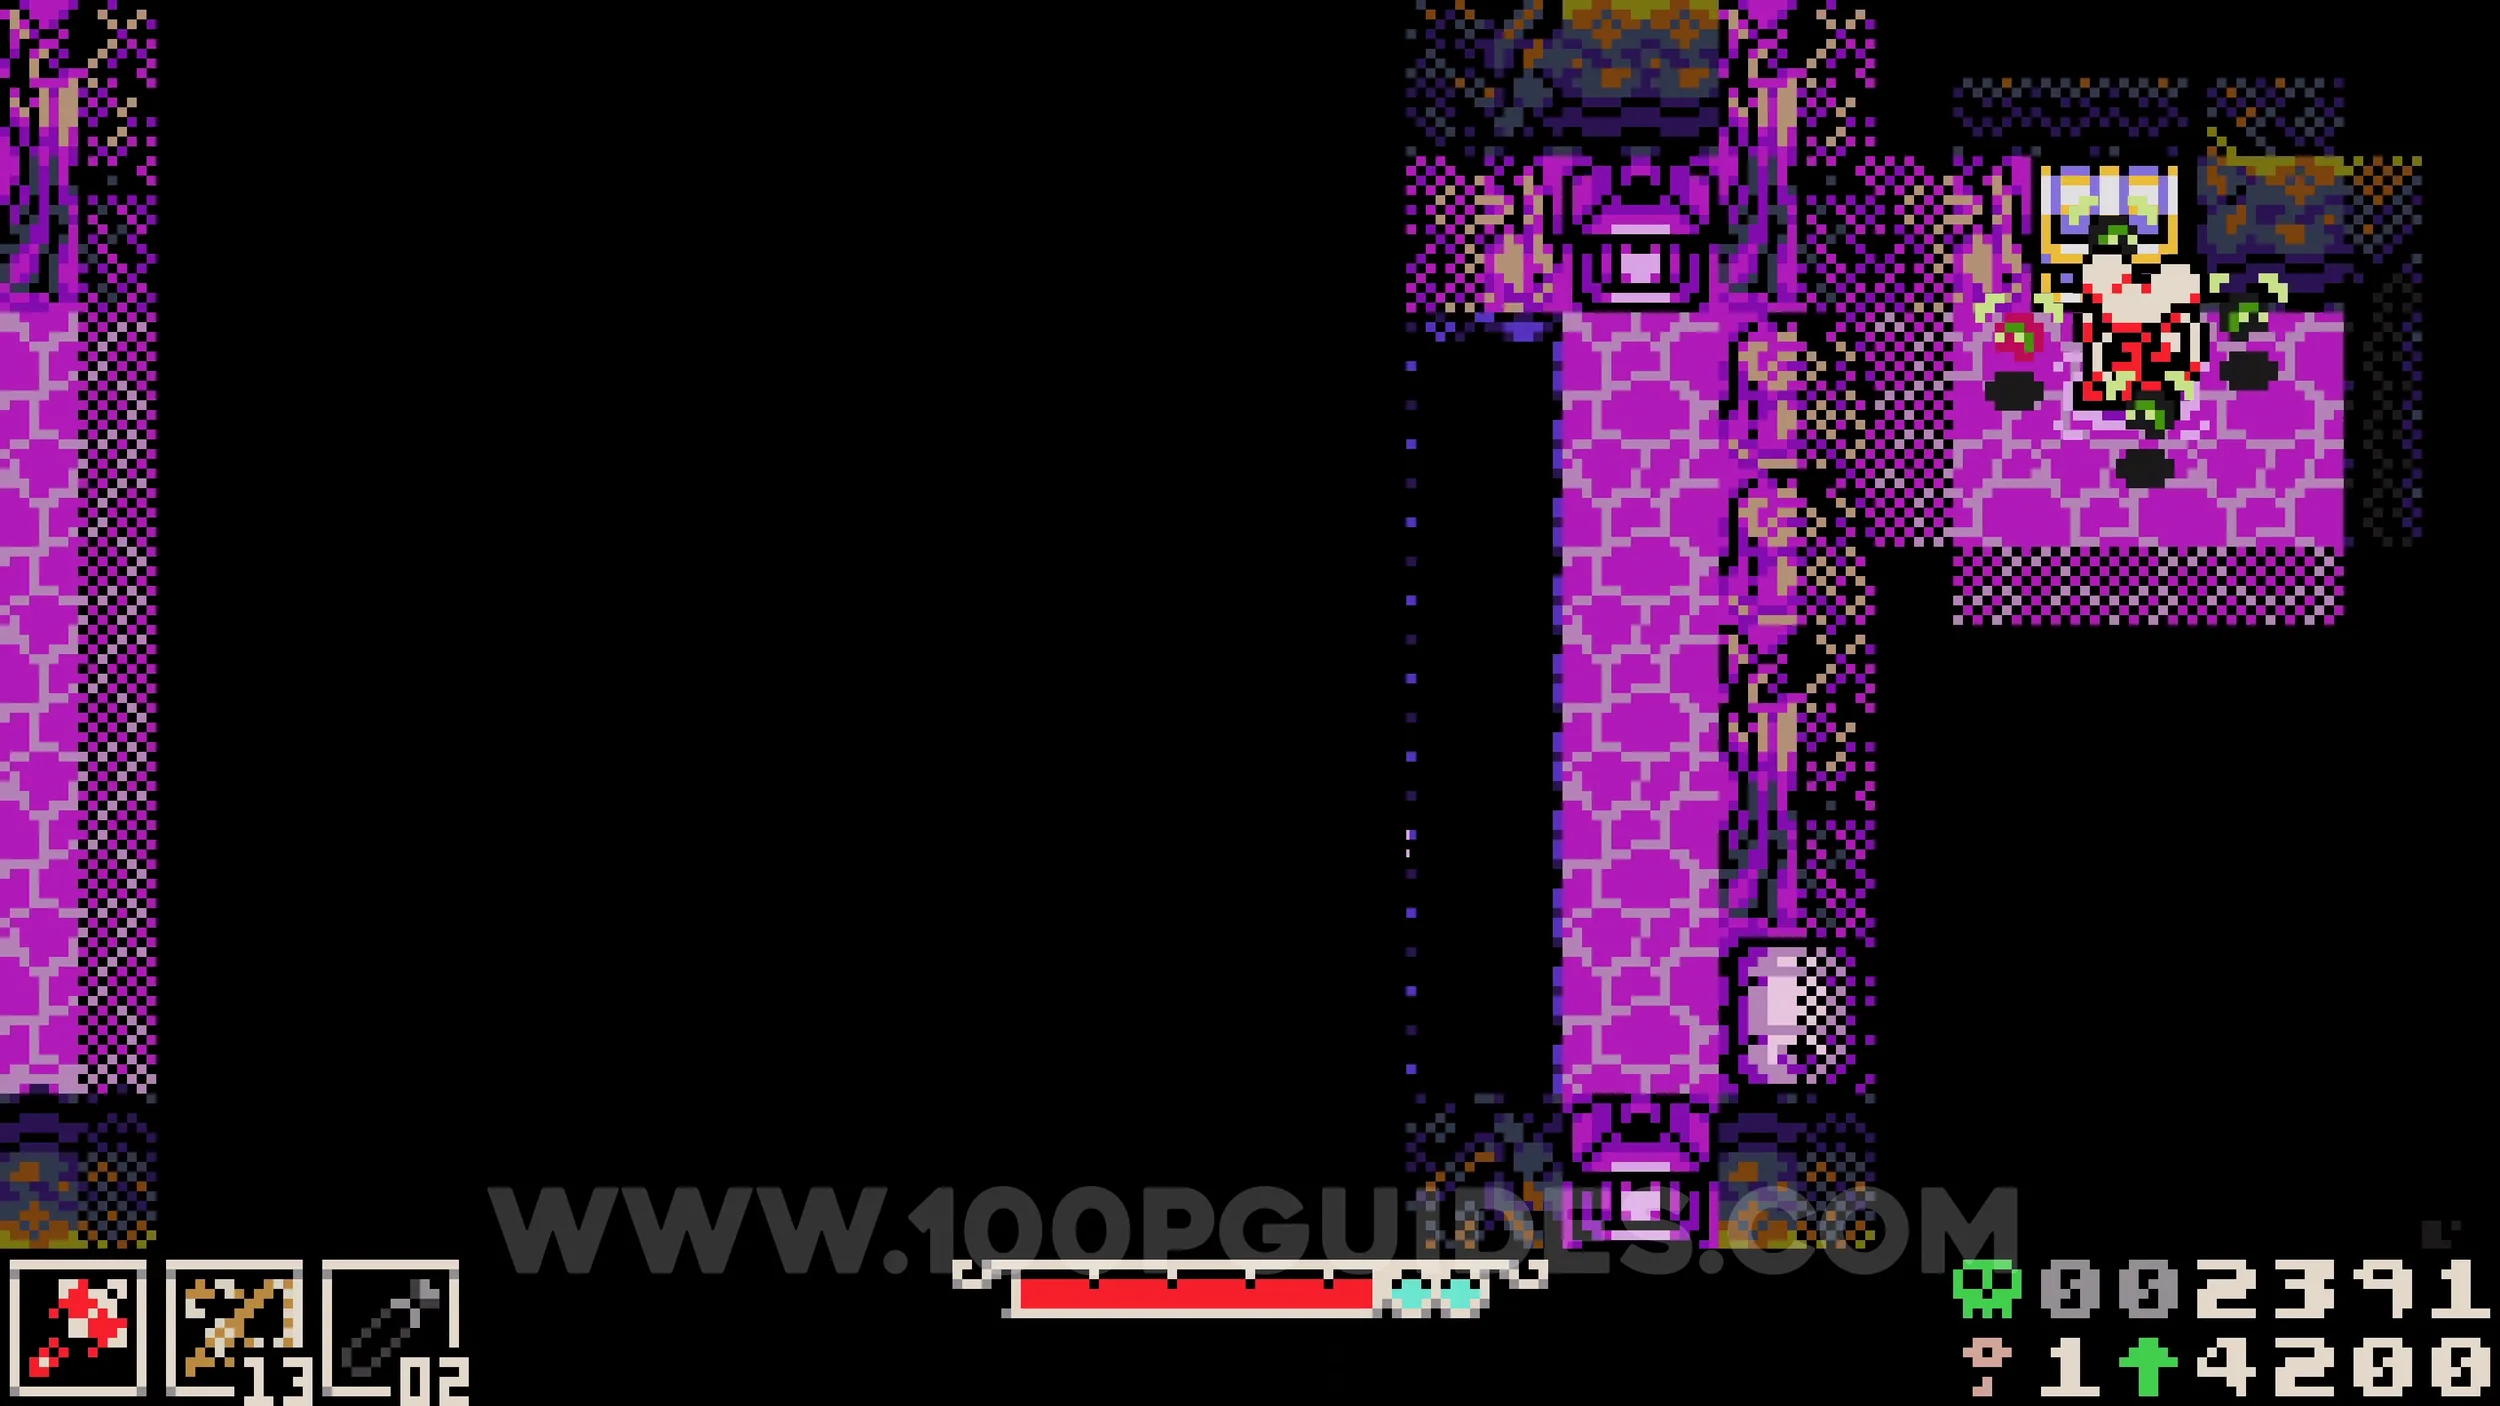
Trinket #2 - Vascular Syrup. After raising the water level with the second lever, go through the small tunnel in the bottom right corner.
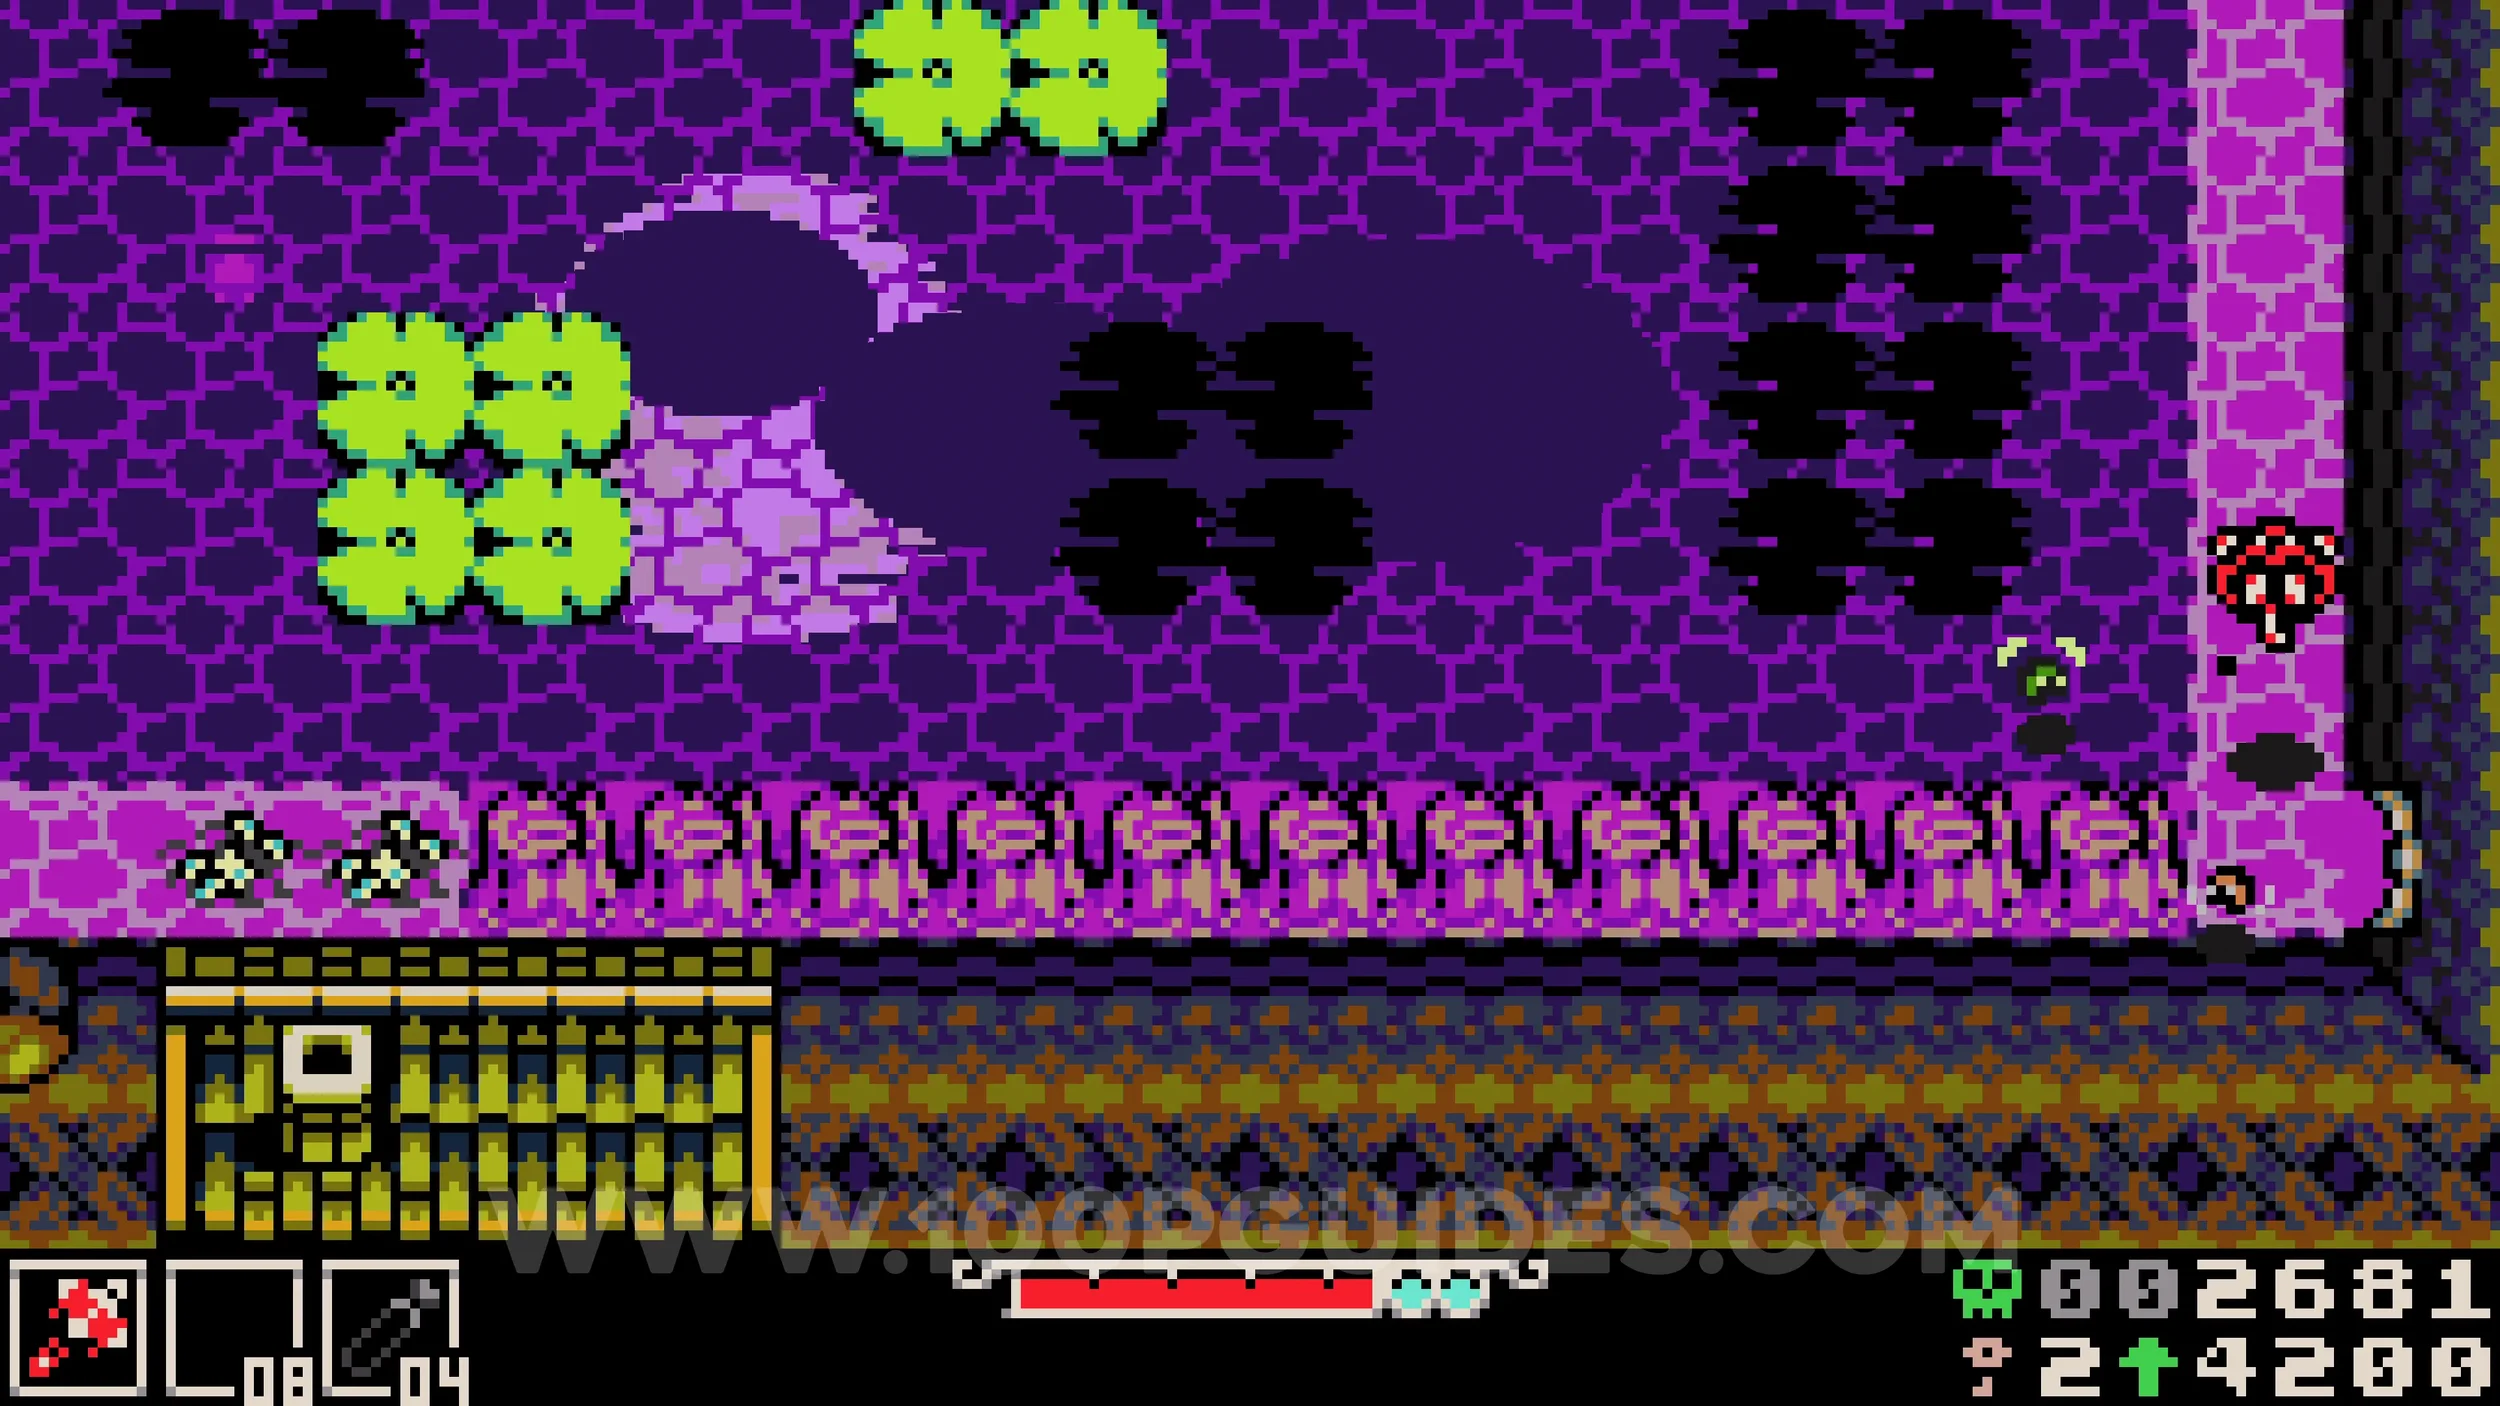
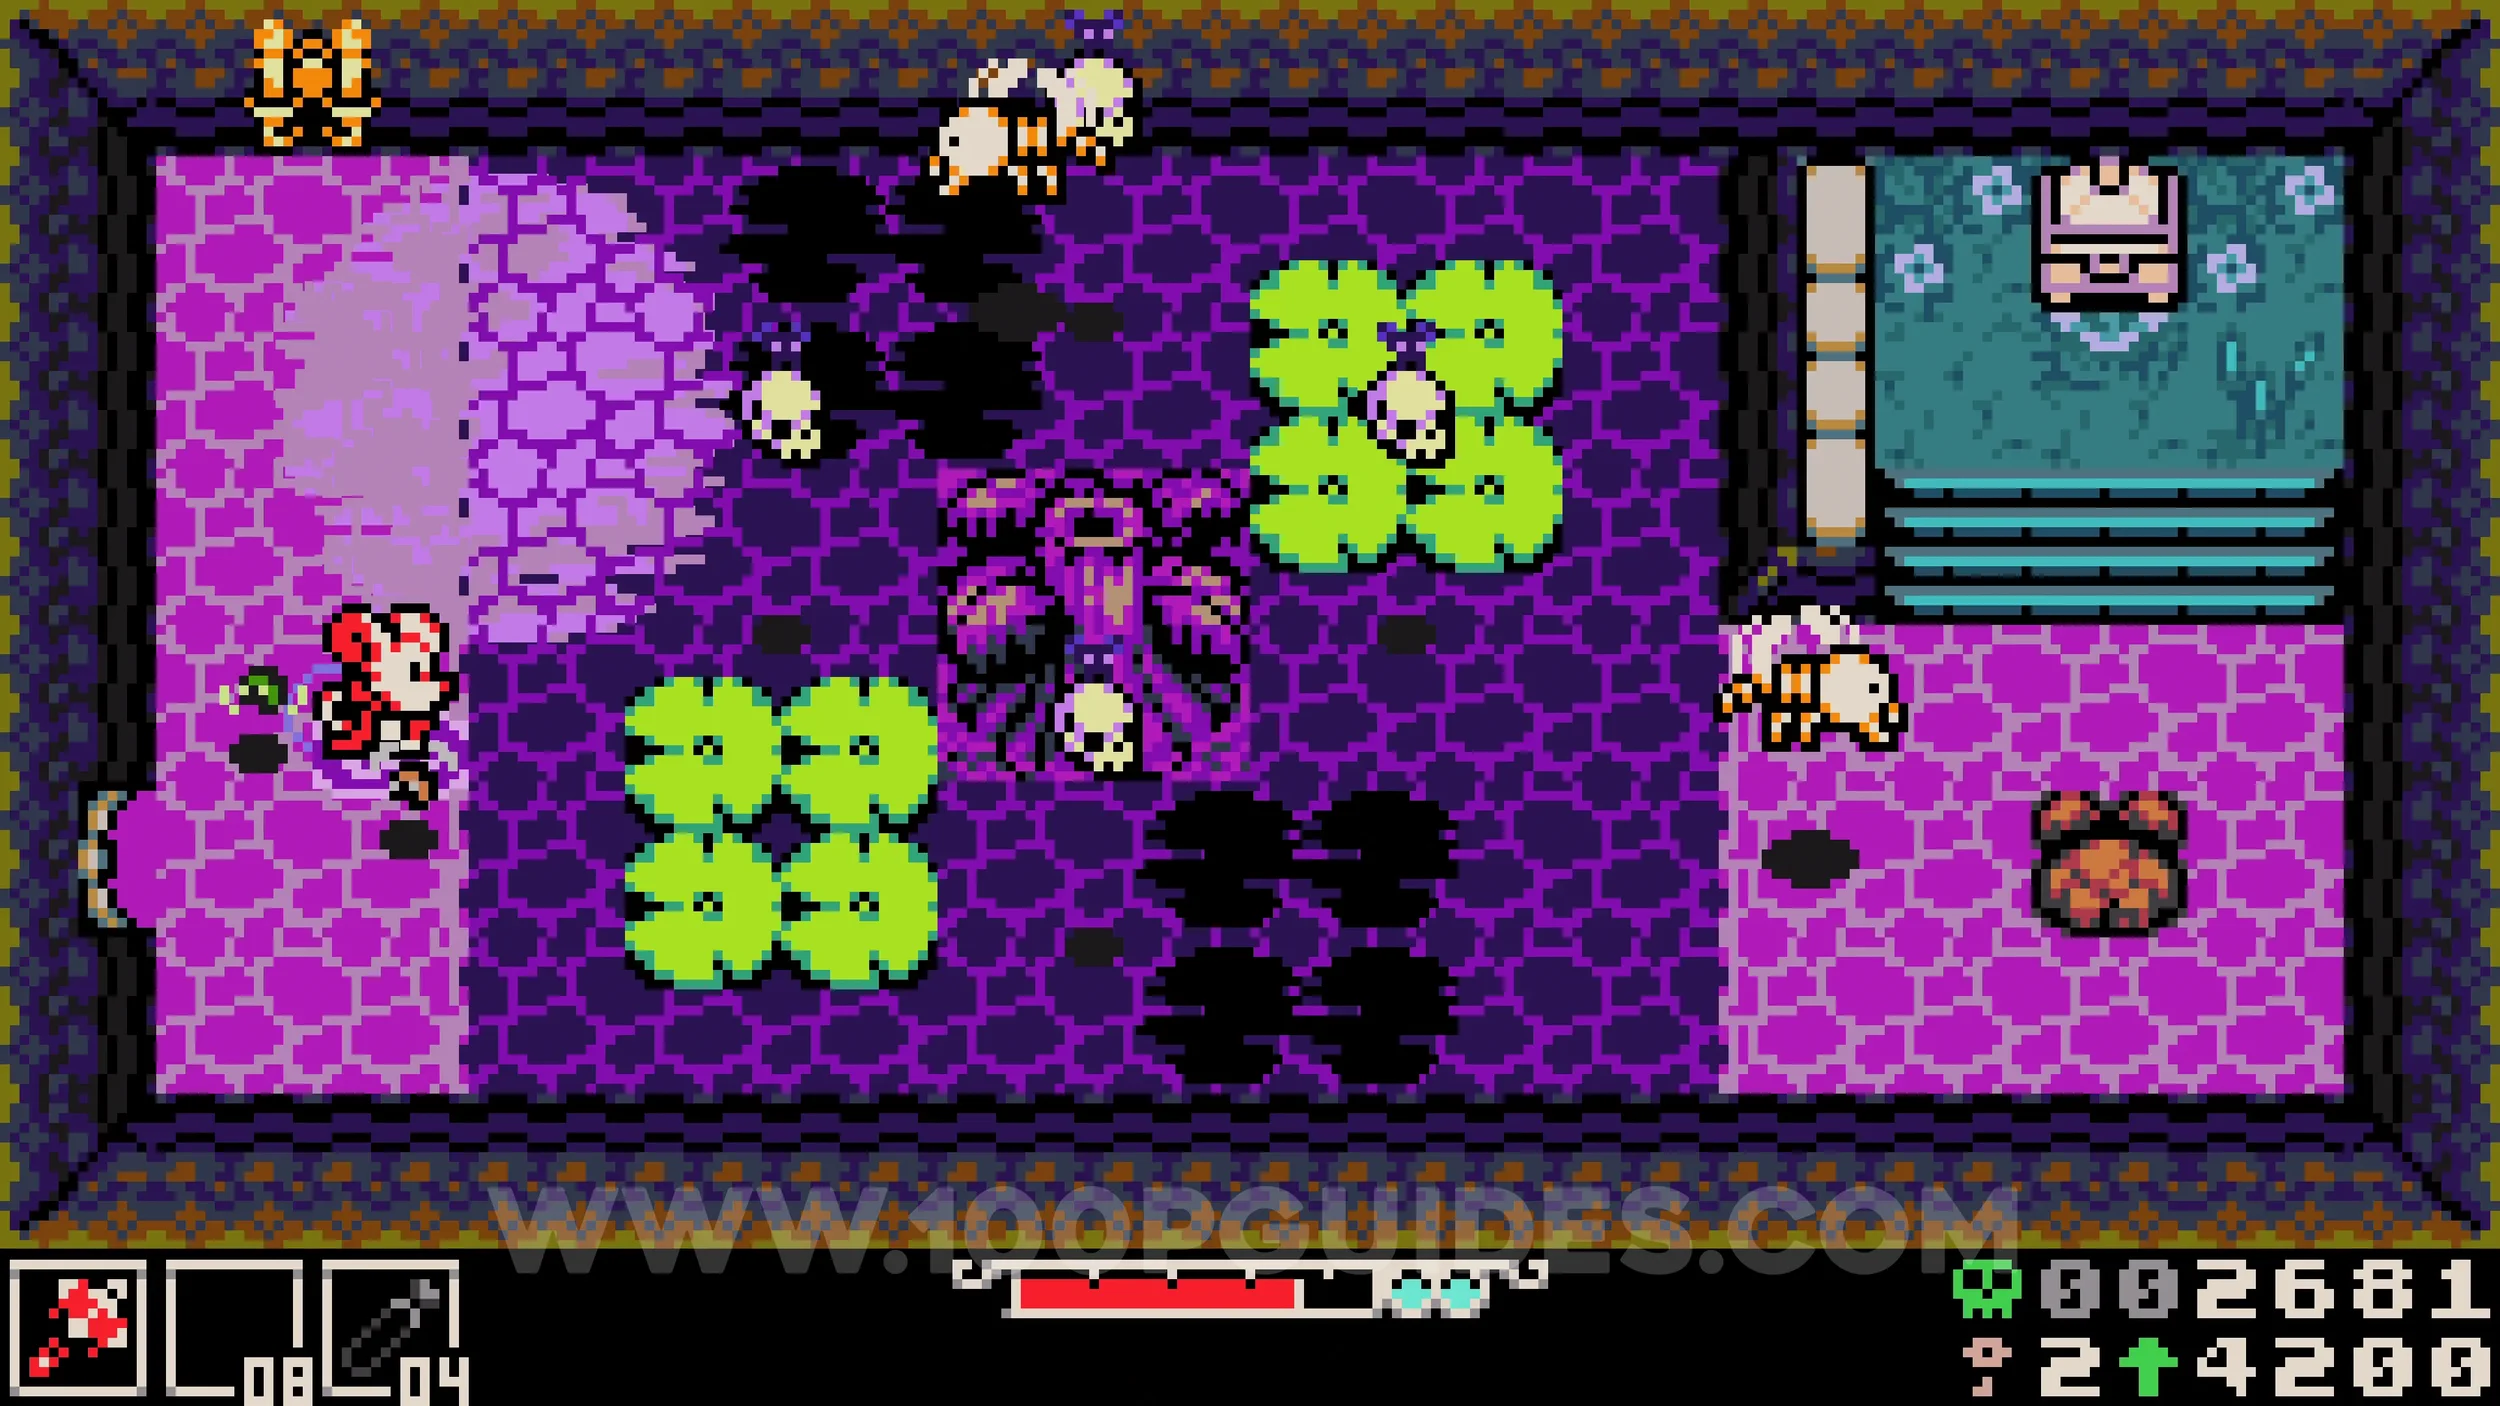
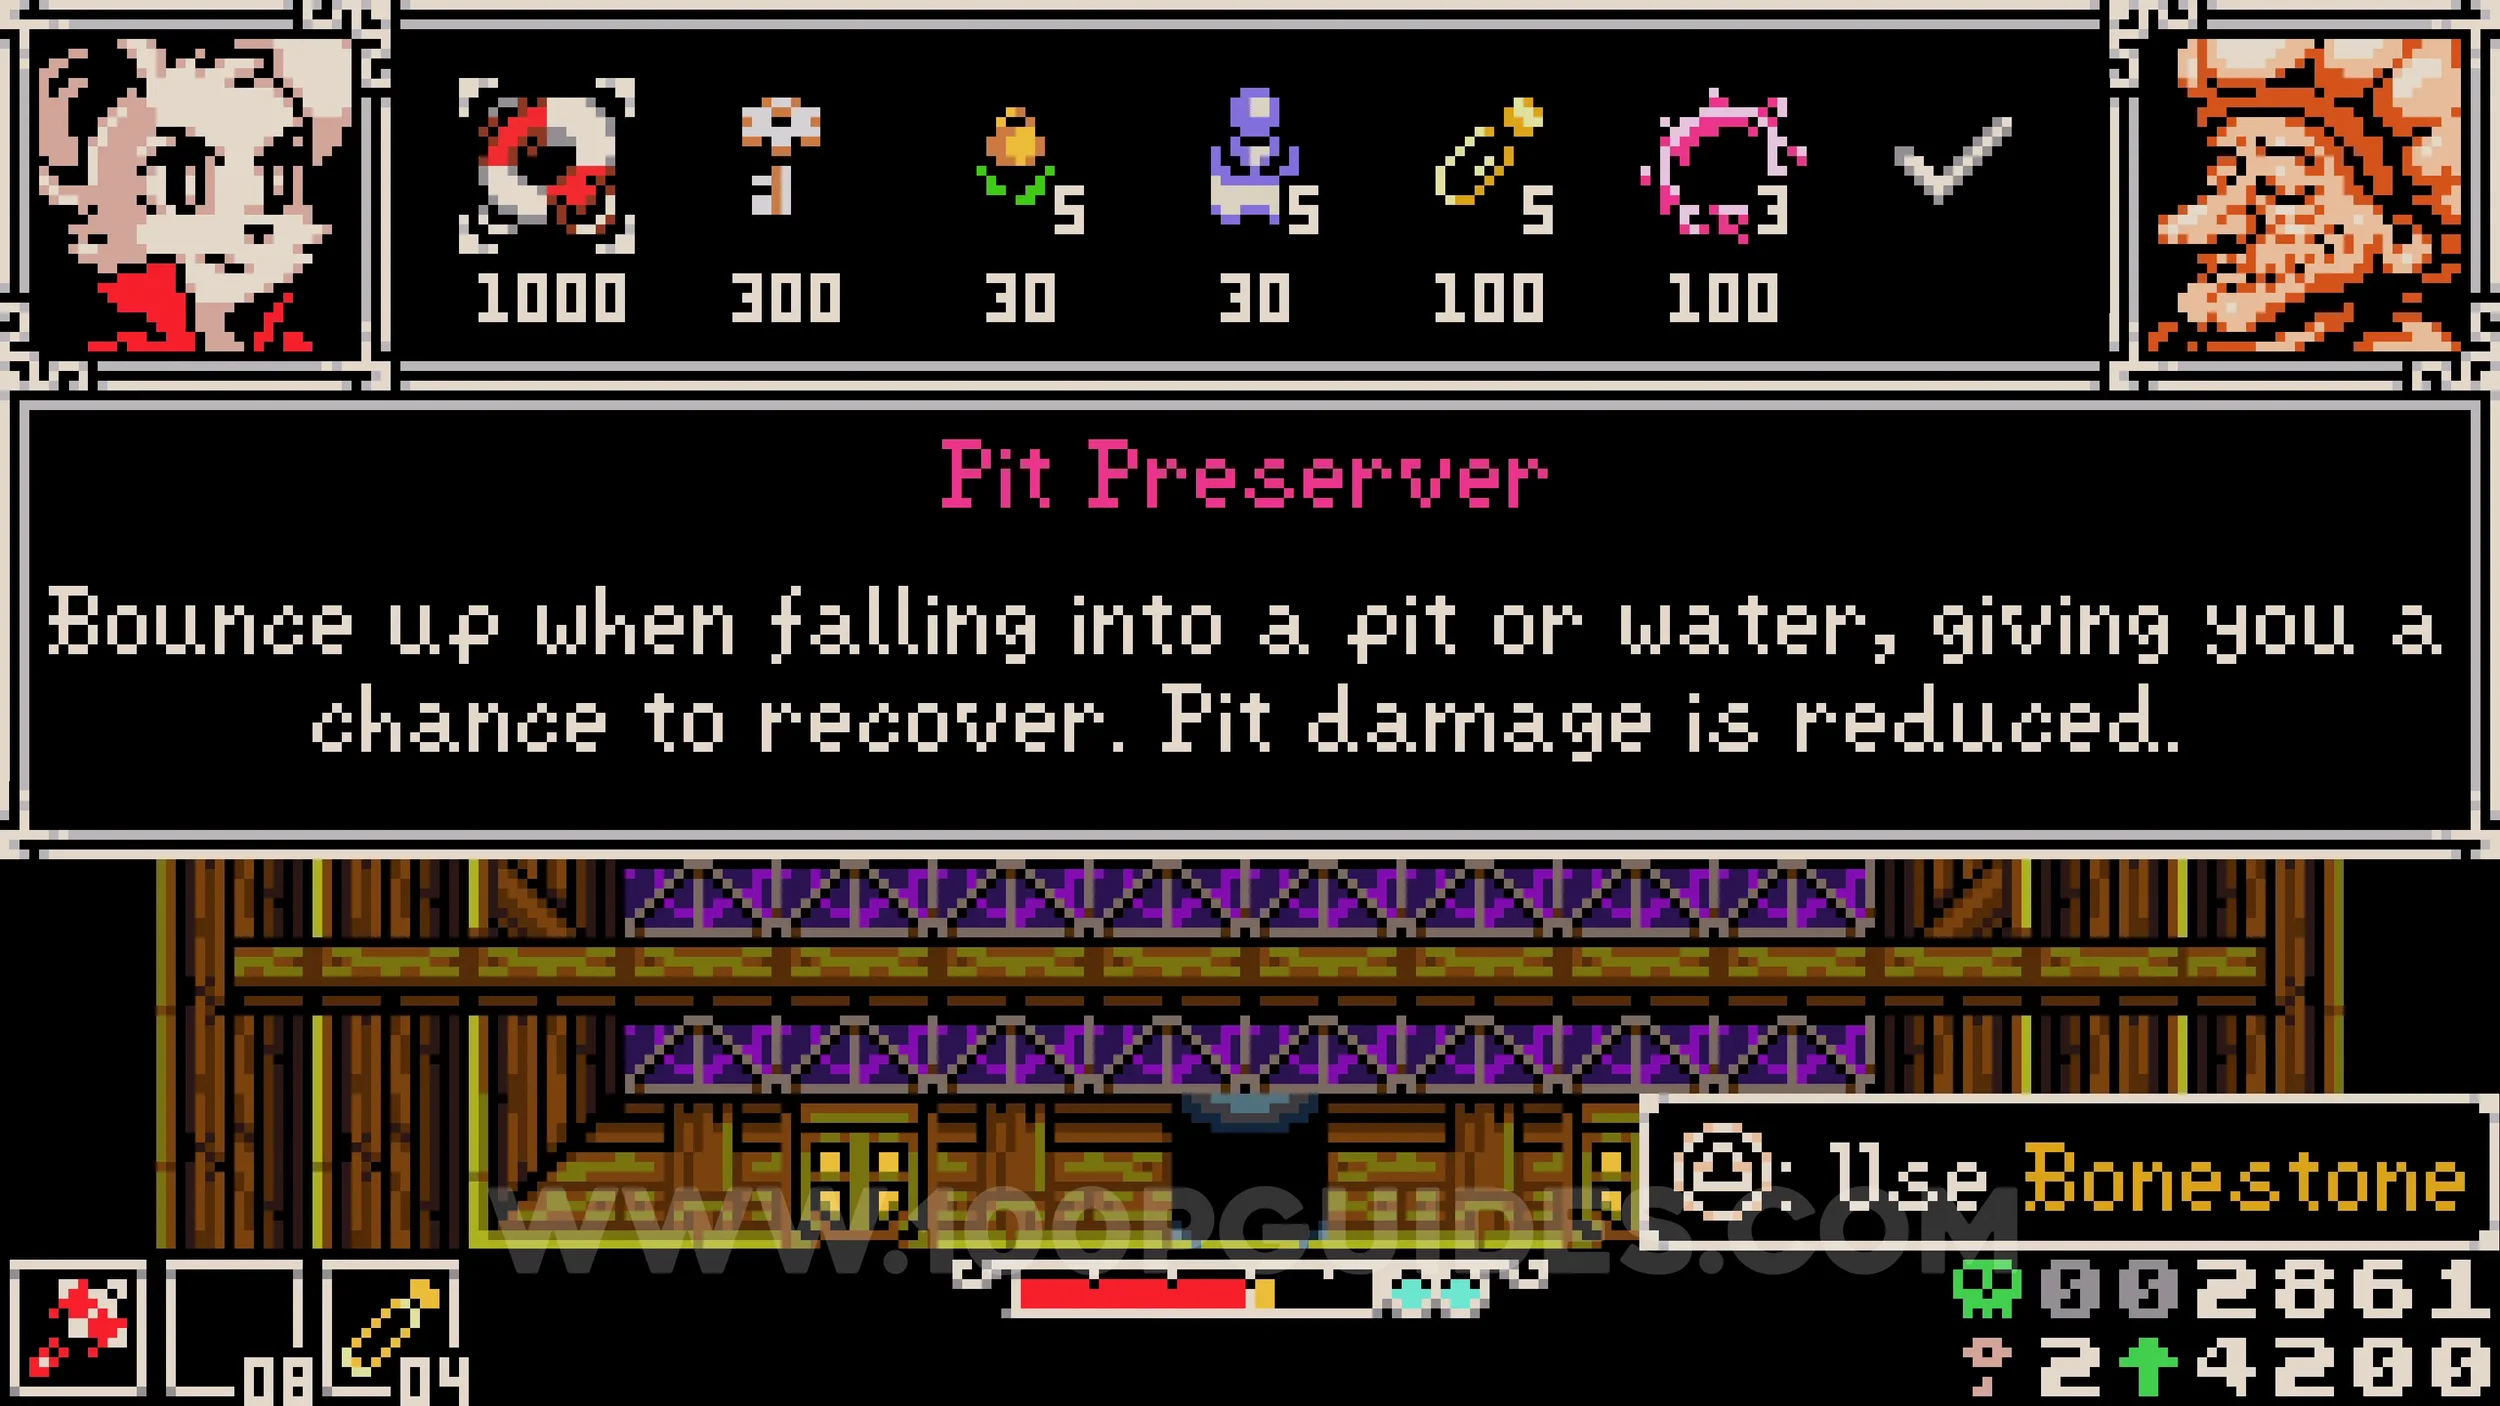
Trinket #3 - Pit Preserver & Kear #2. After raising the water in the second area, enter the building in the top right corner and purchase the two collectibles from the NPC inside.
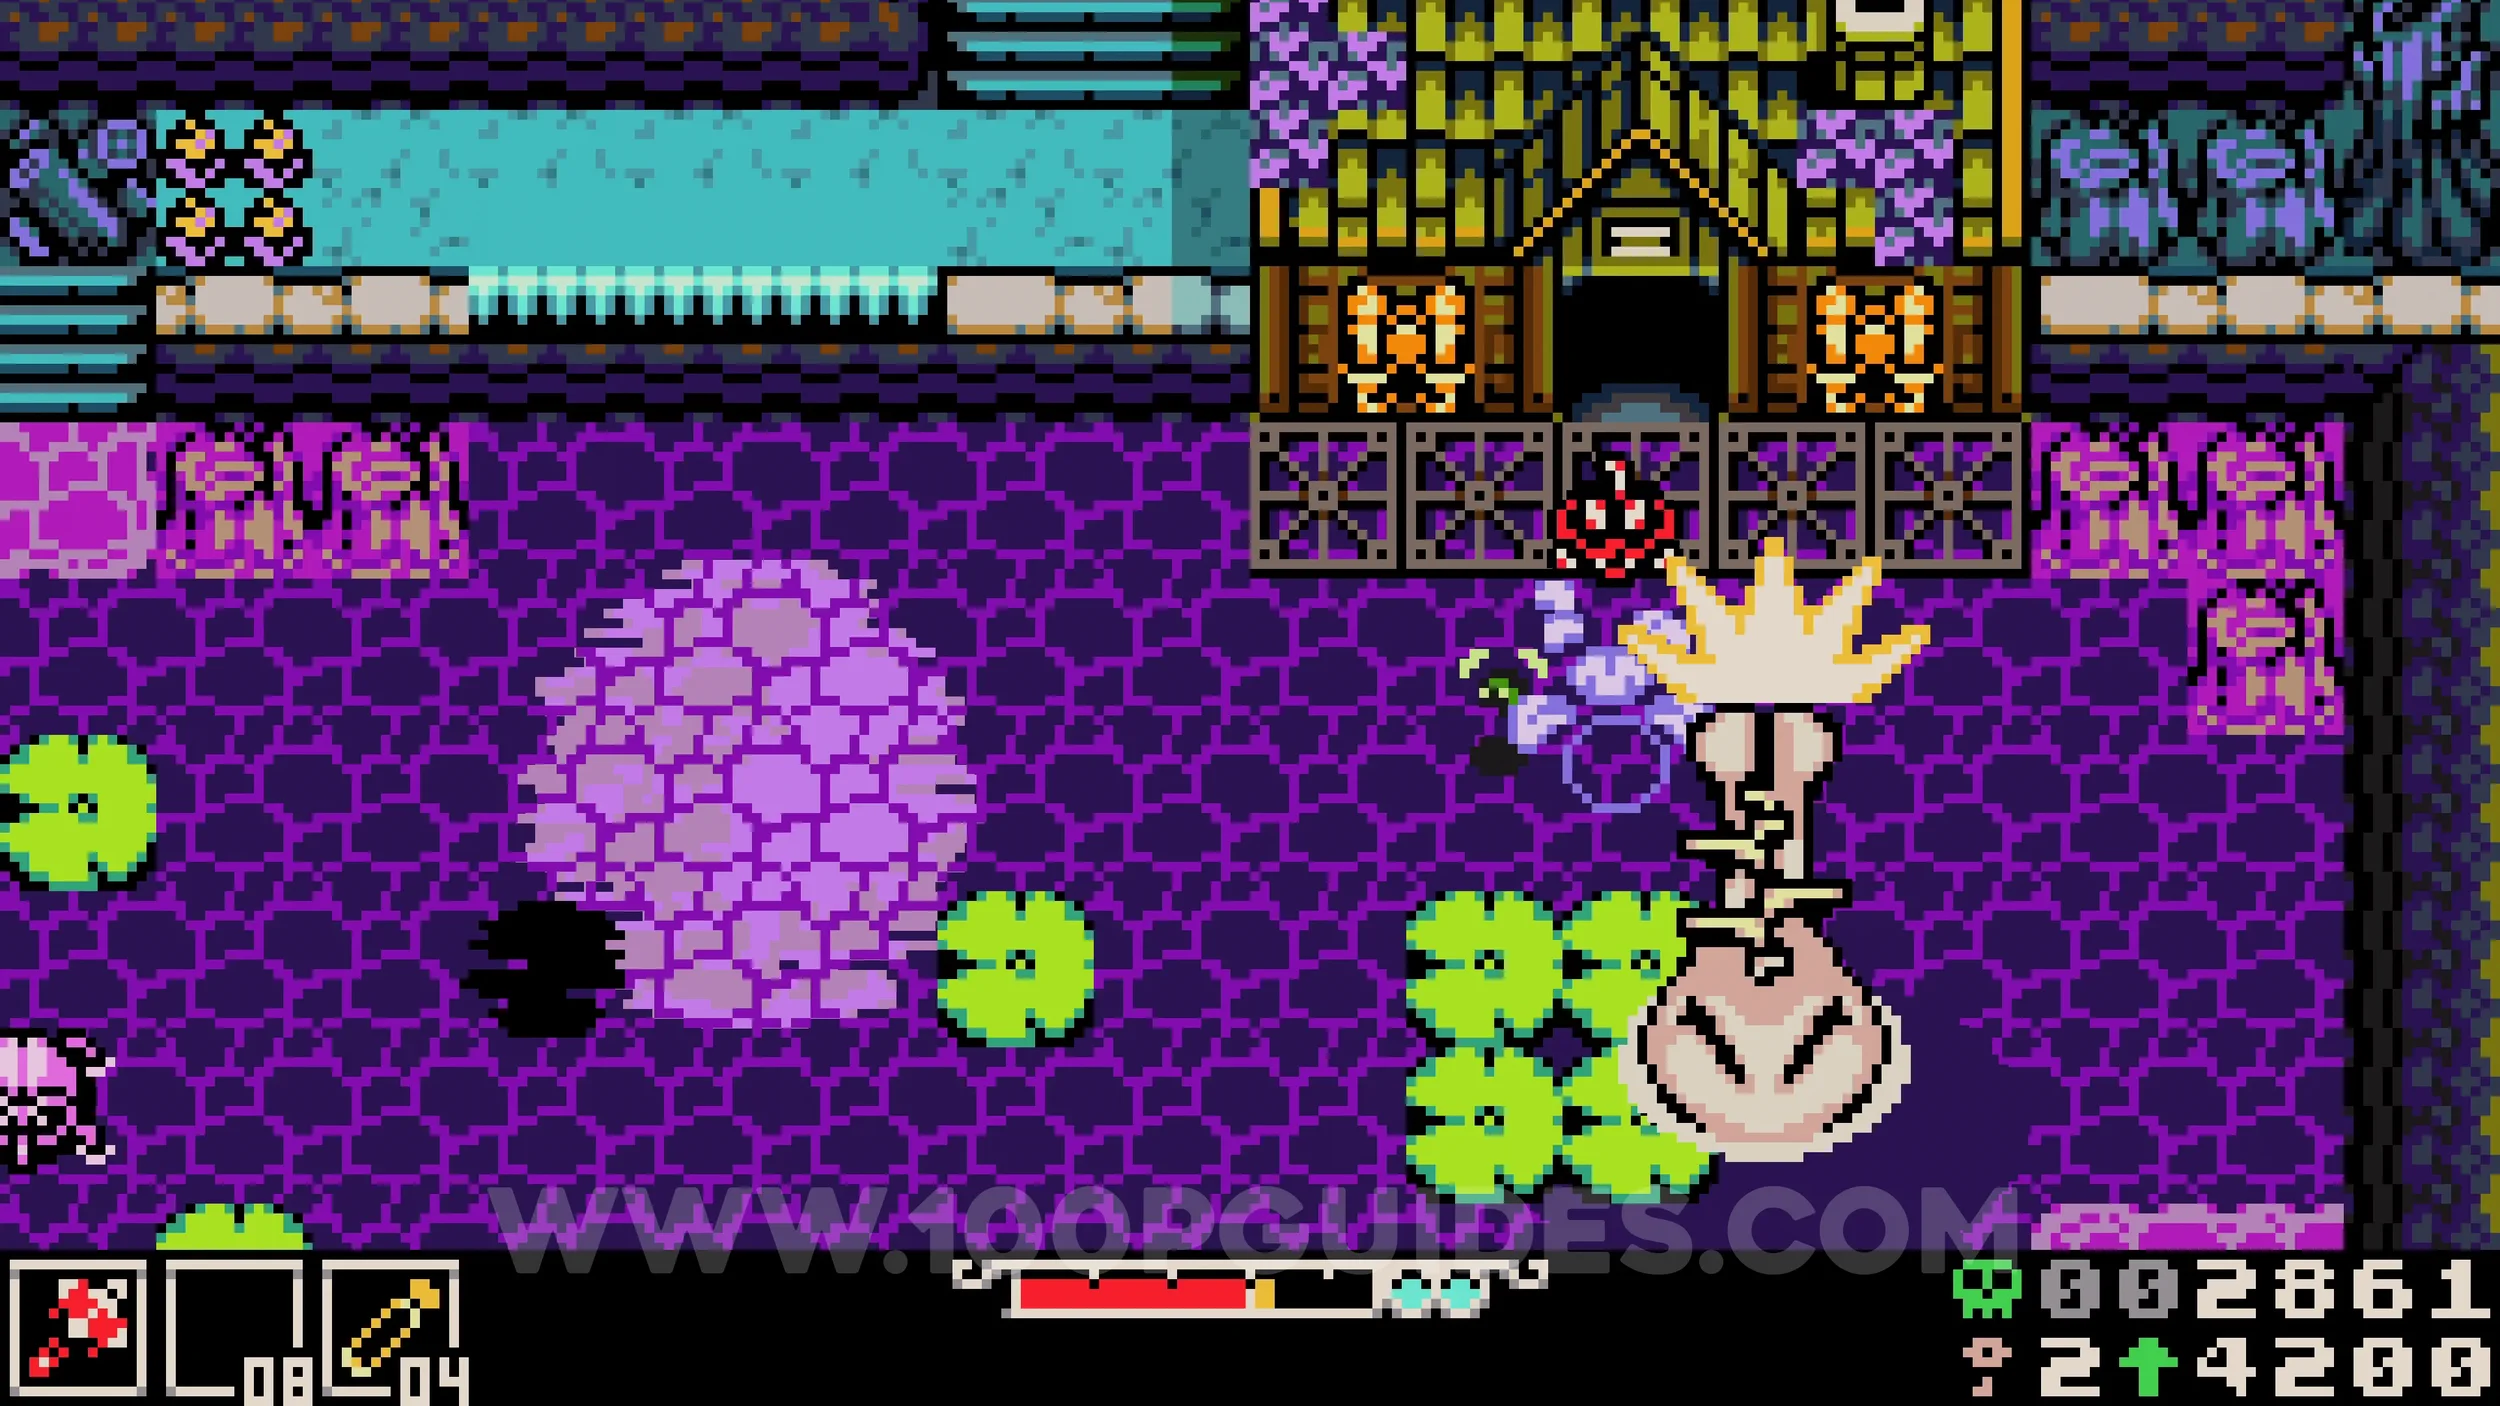
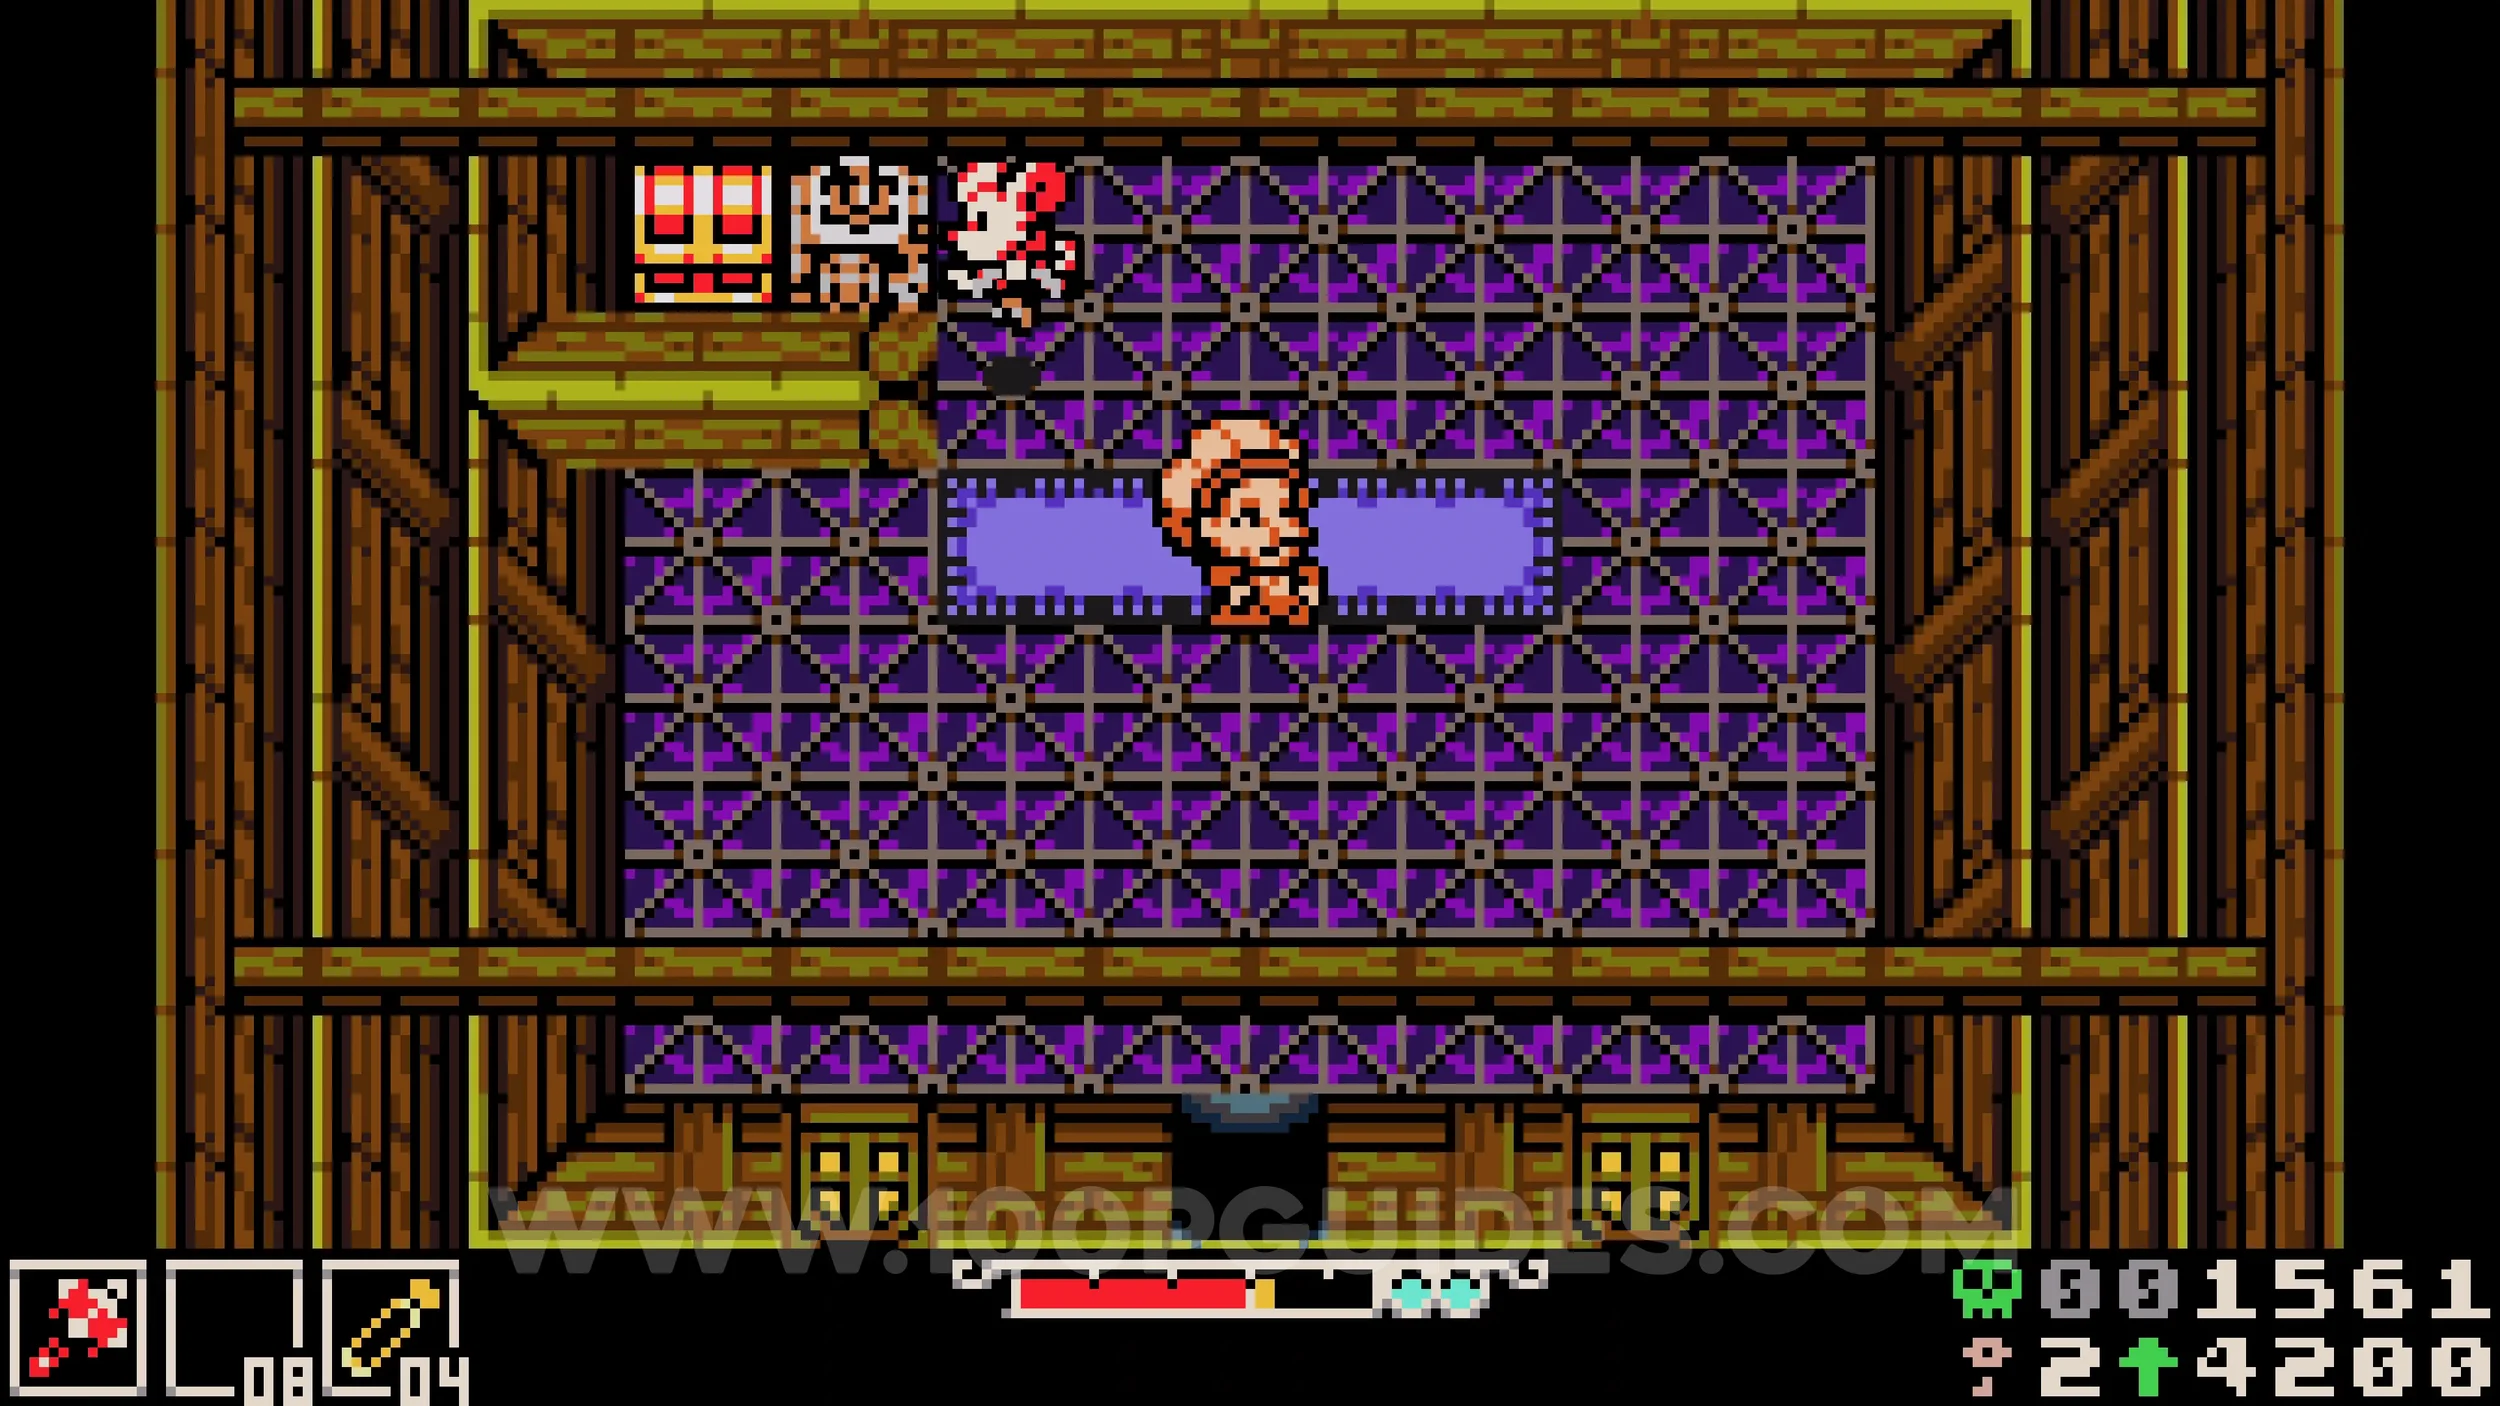
Lock #1 & Weapon - Blaststrike Maul. Also inside the same building as the shop.
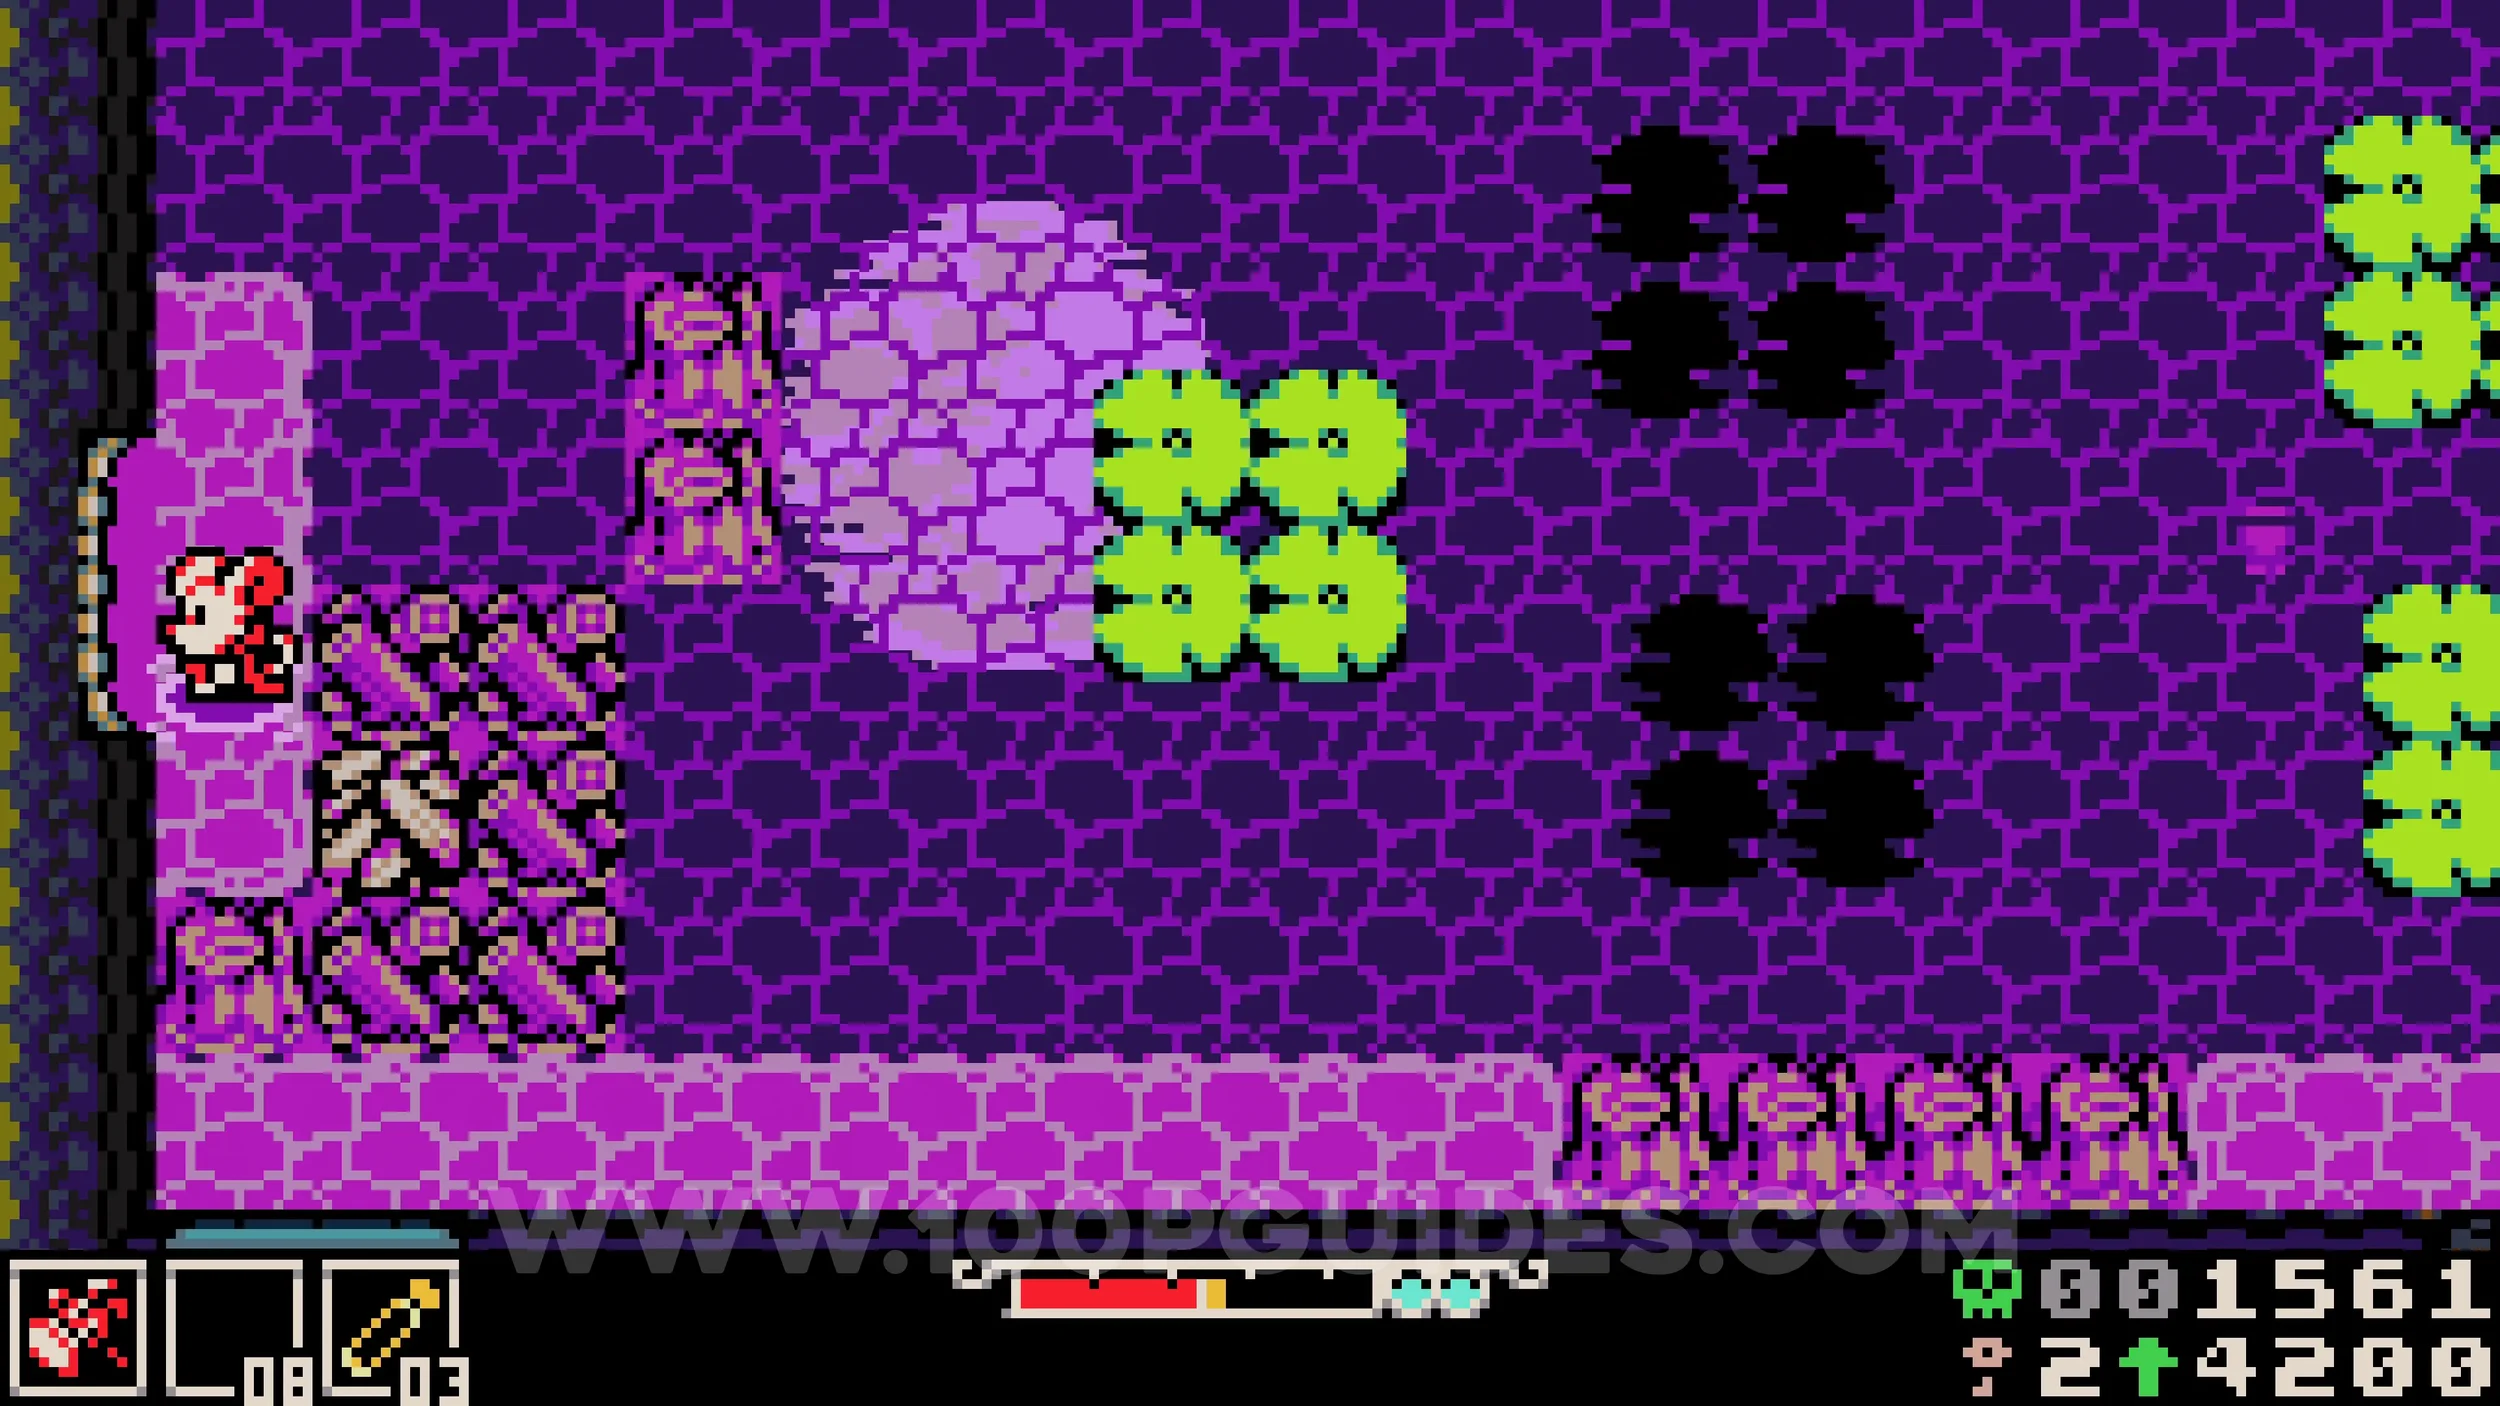
Bonestone #3. Go through the tunnel in the bottom left corner of the large area where you raise the water. Use the lily pads to travel down the river and find the collectible on your right.
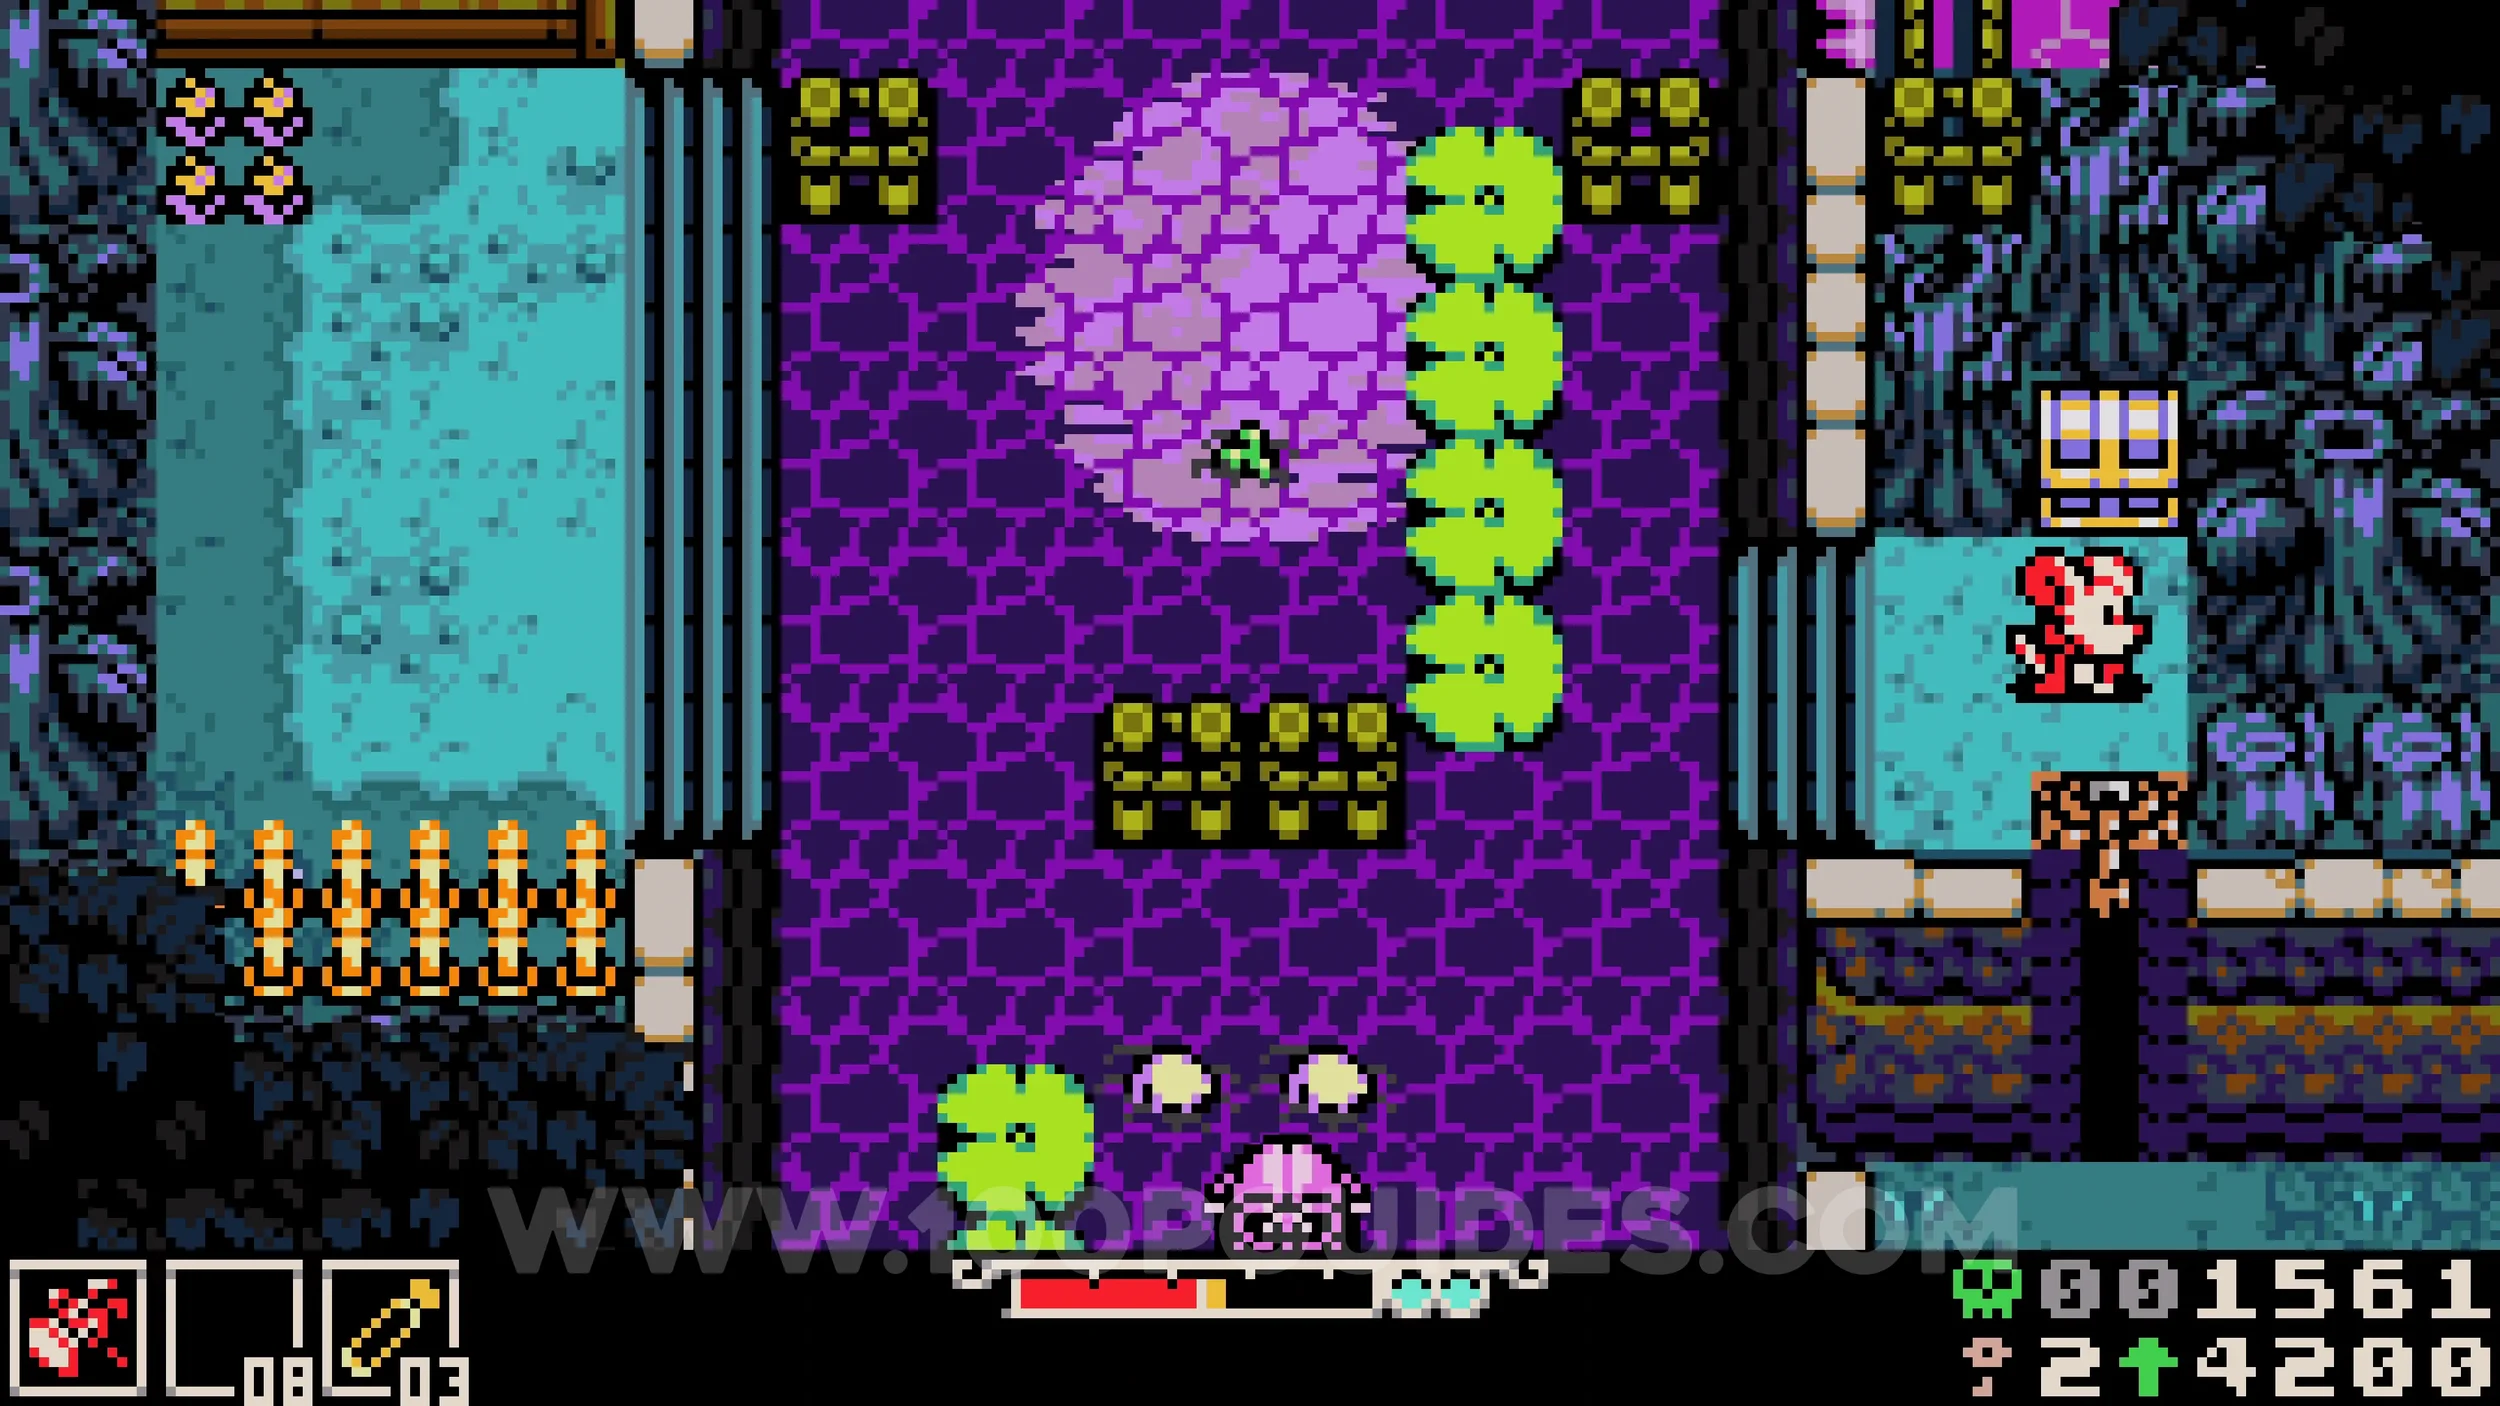
Trinket #4 - Iron Lung. From the previous collectible, use the lily pads to travel up the river all the way to the top, where you will face an optional boss. After defeating it, head up to the next screen to find the trinket in a chest.
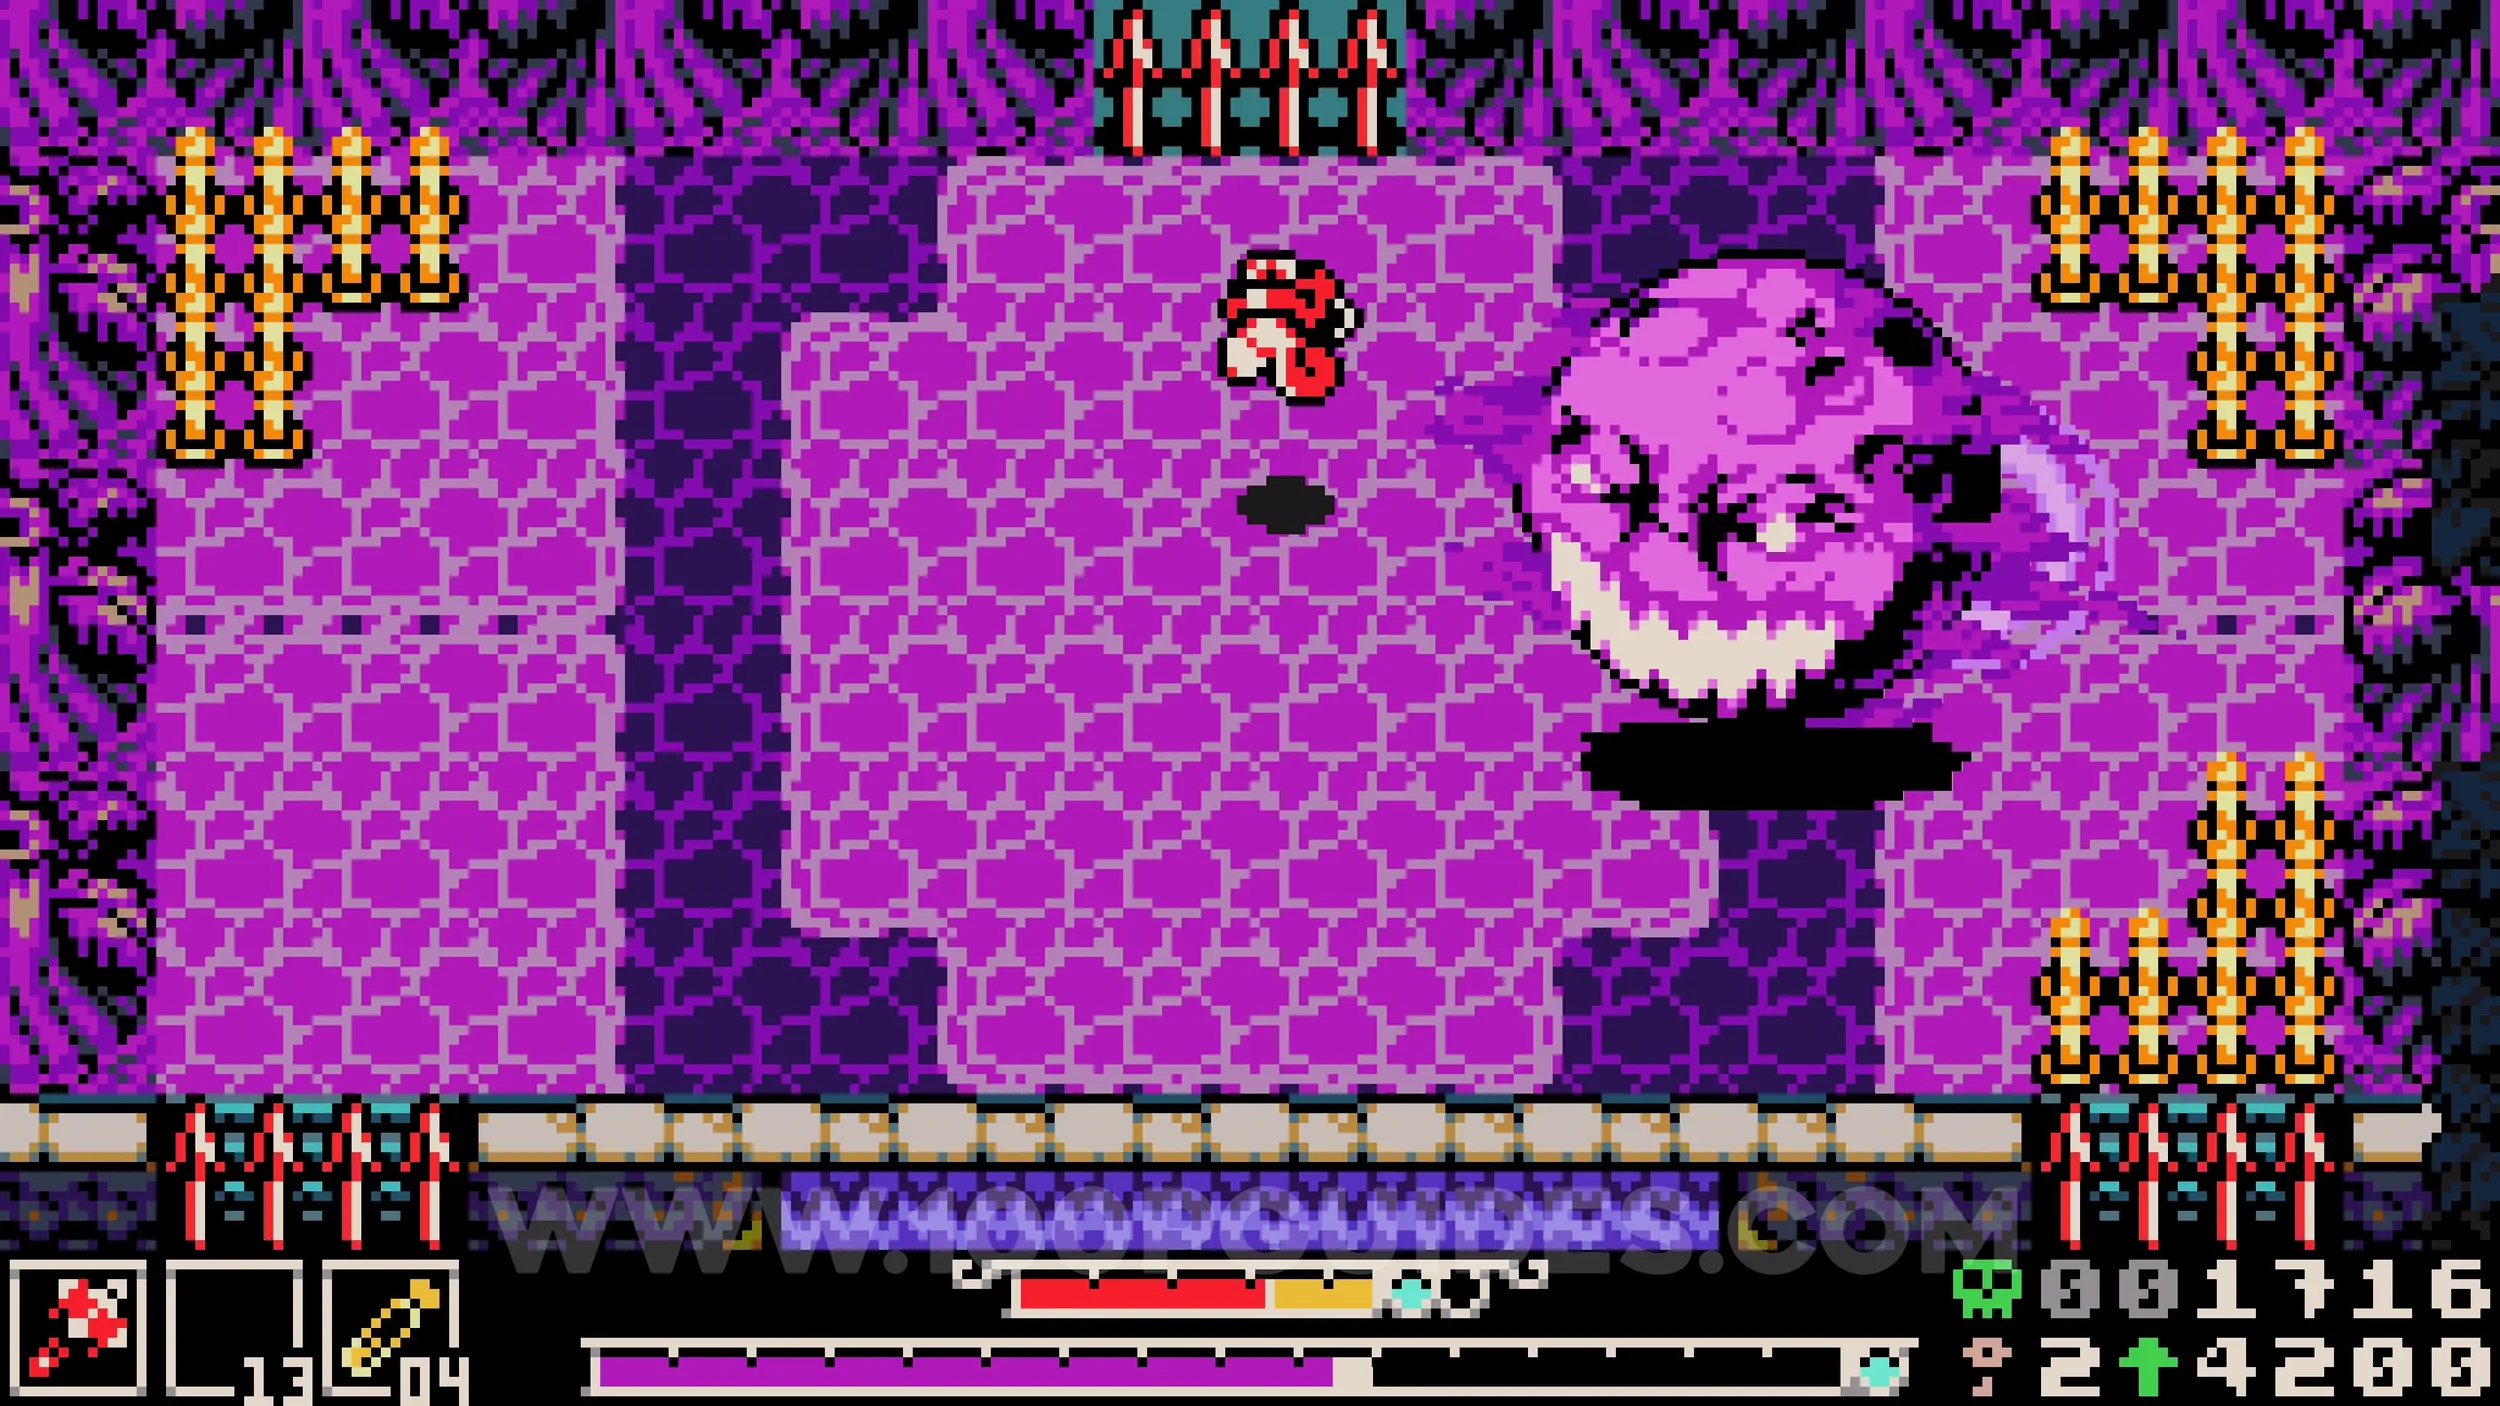
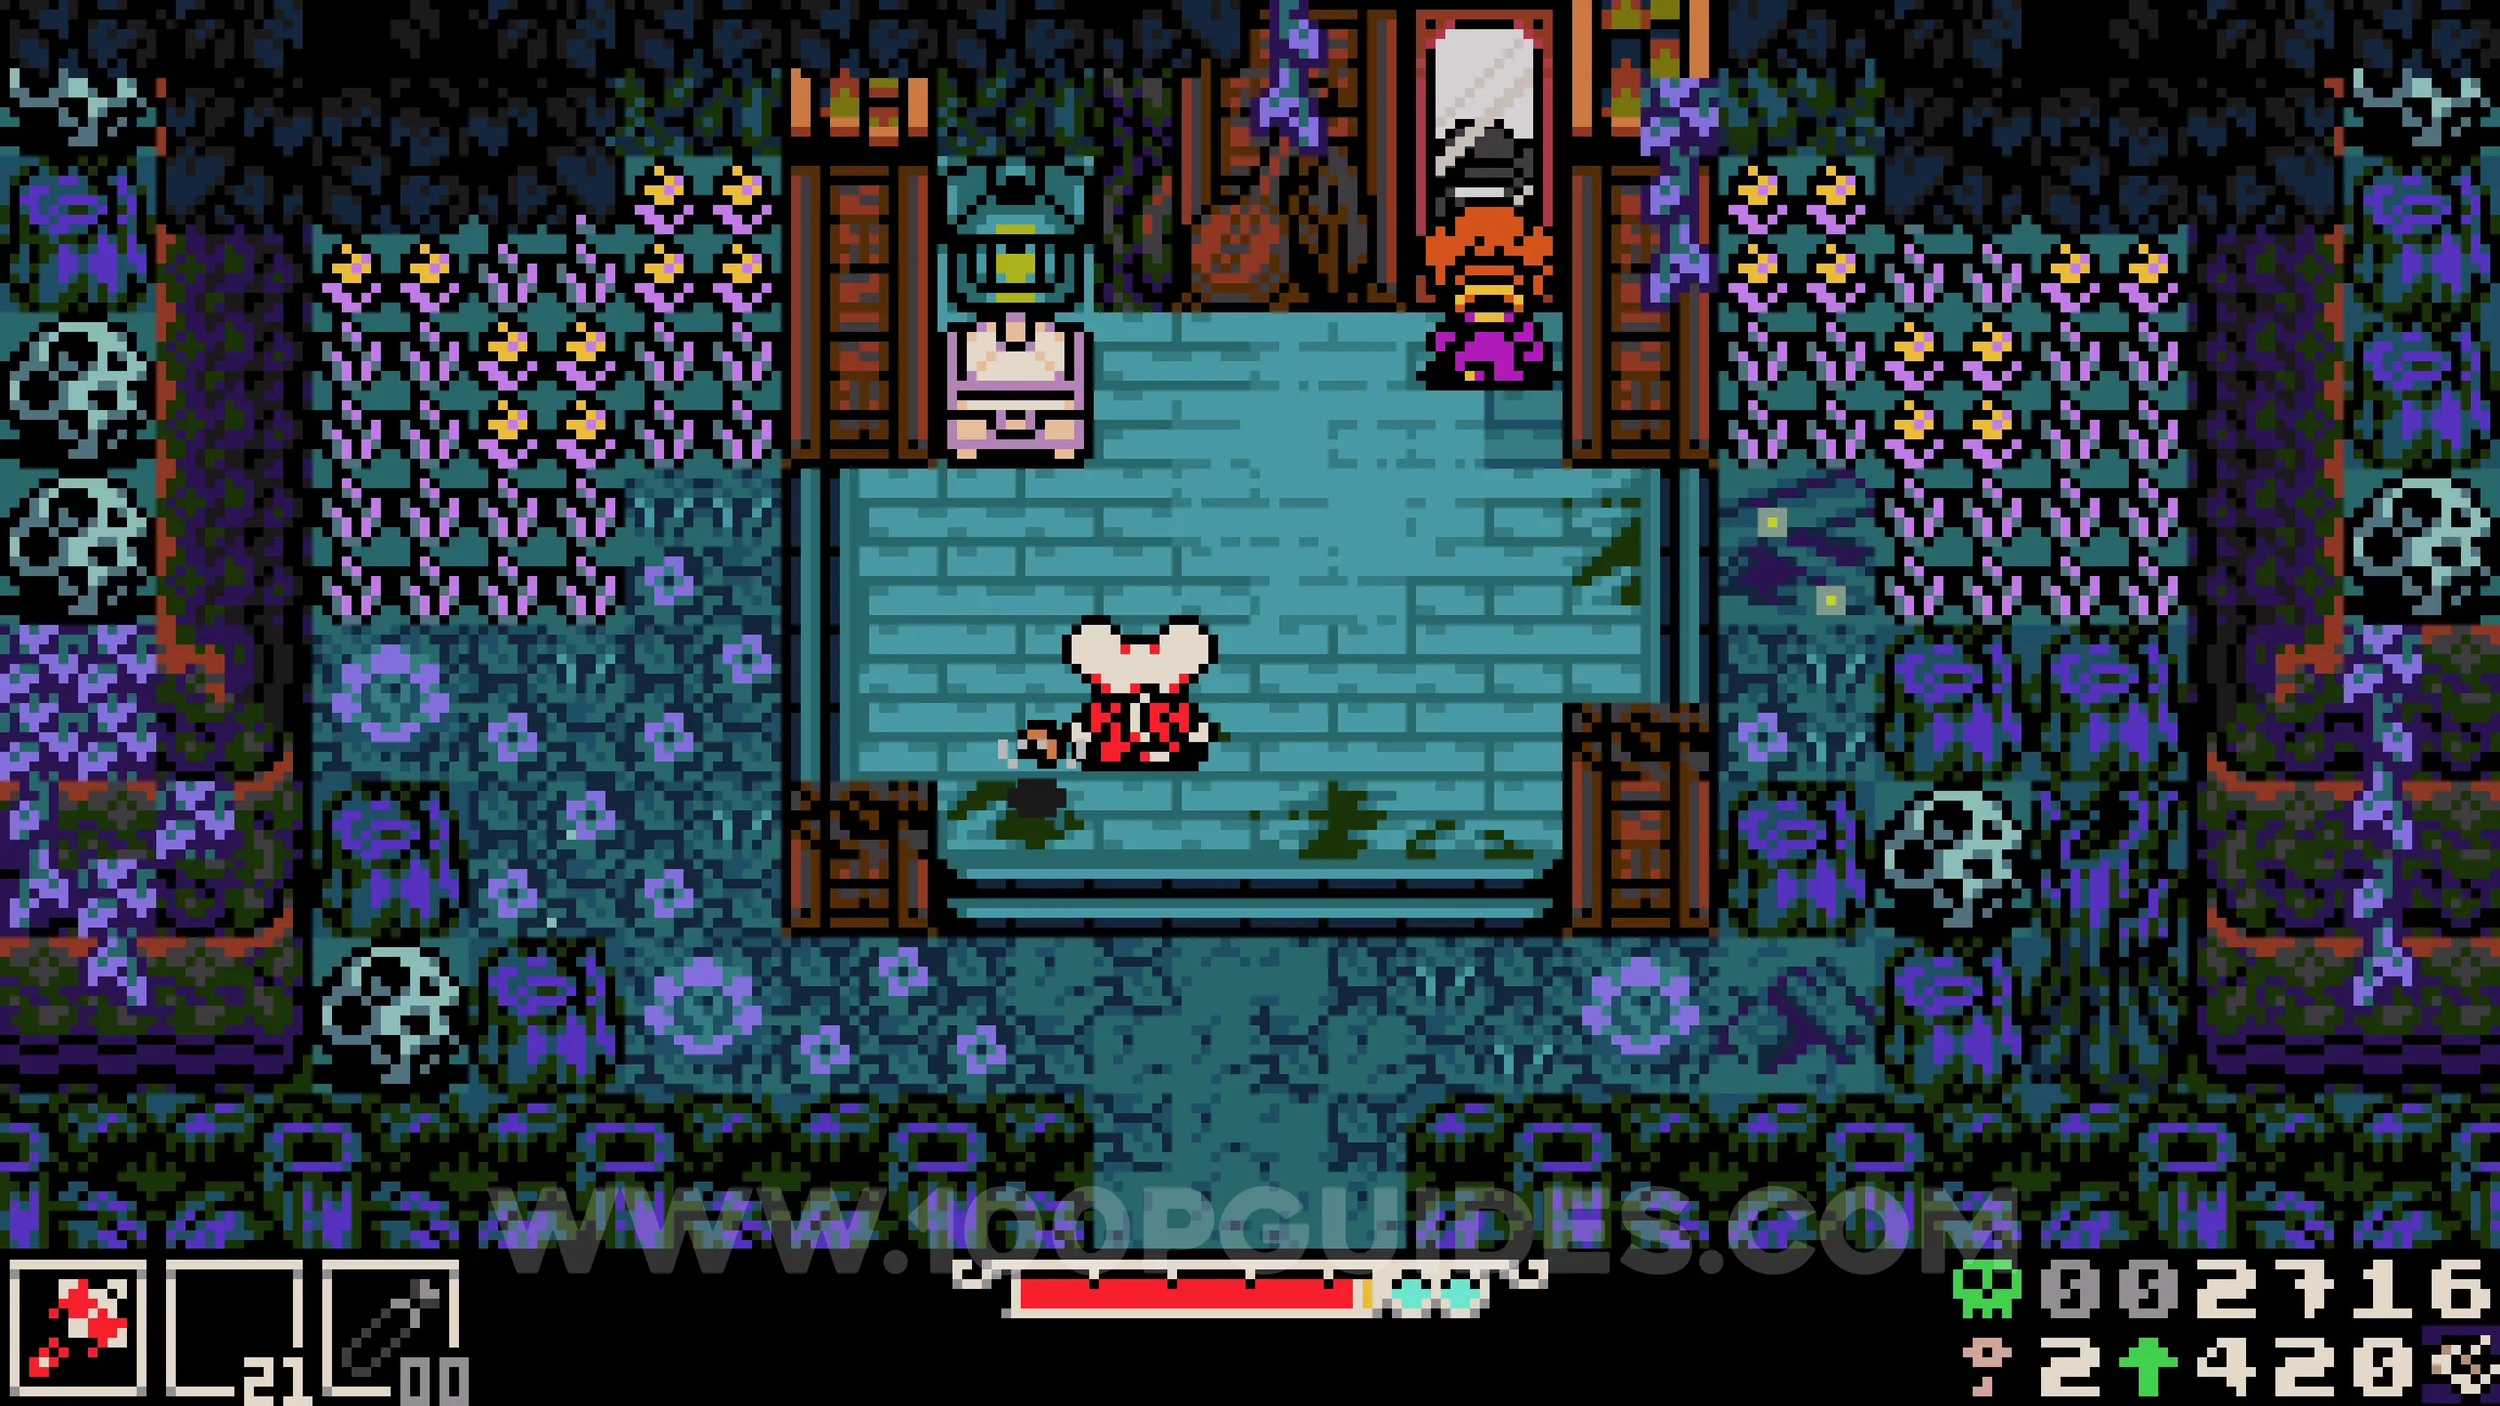
Bonestone #4. Continue through the level on the main path until you reach a screen where you drop down into water with spikes. As soon as you land, go through the tunnel on your right to find the collectible inside.
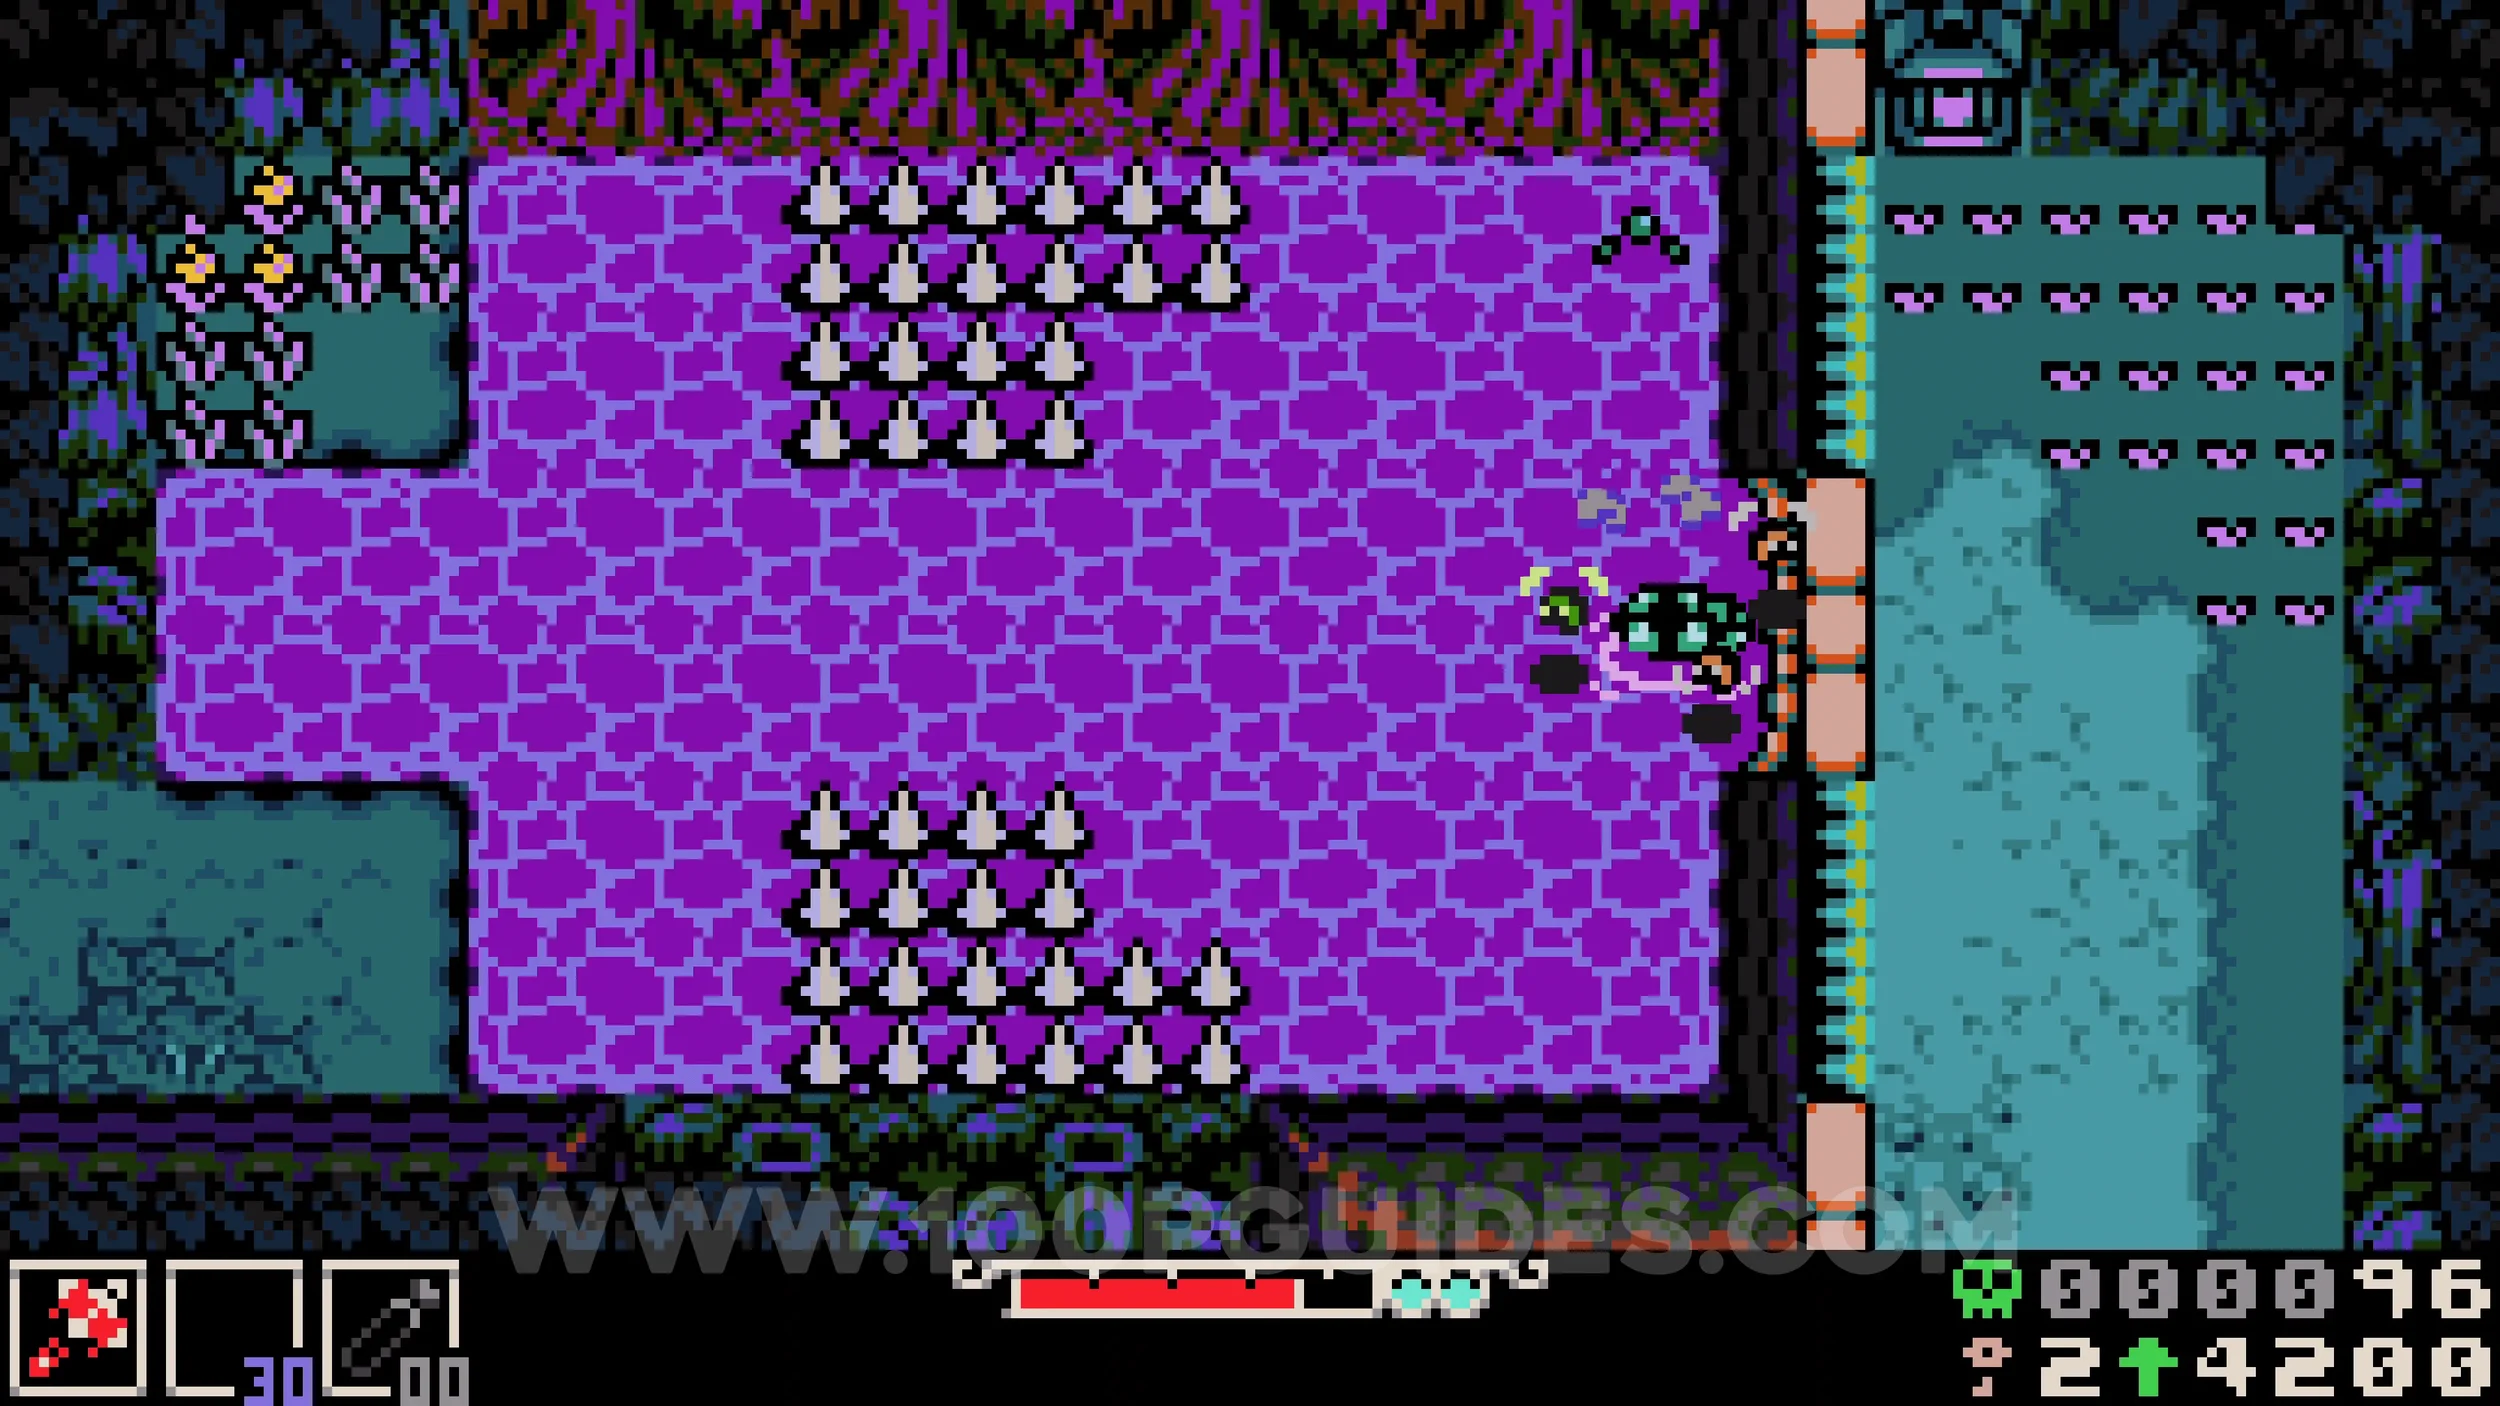
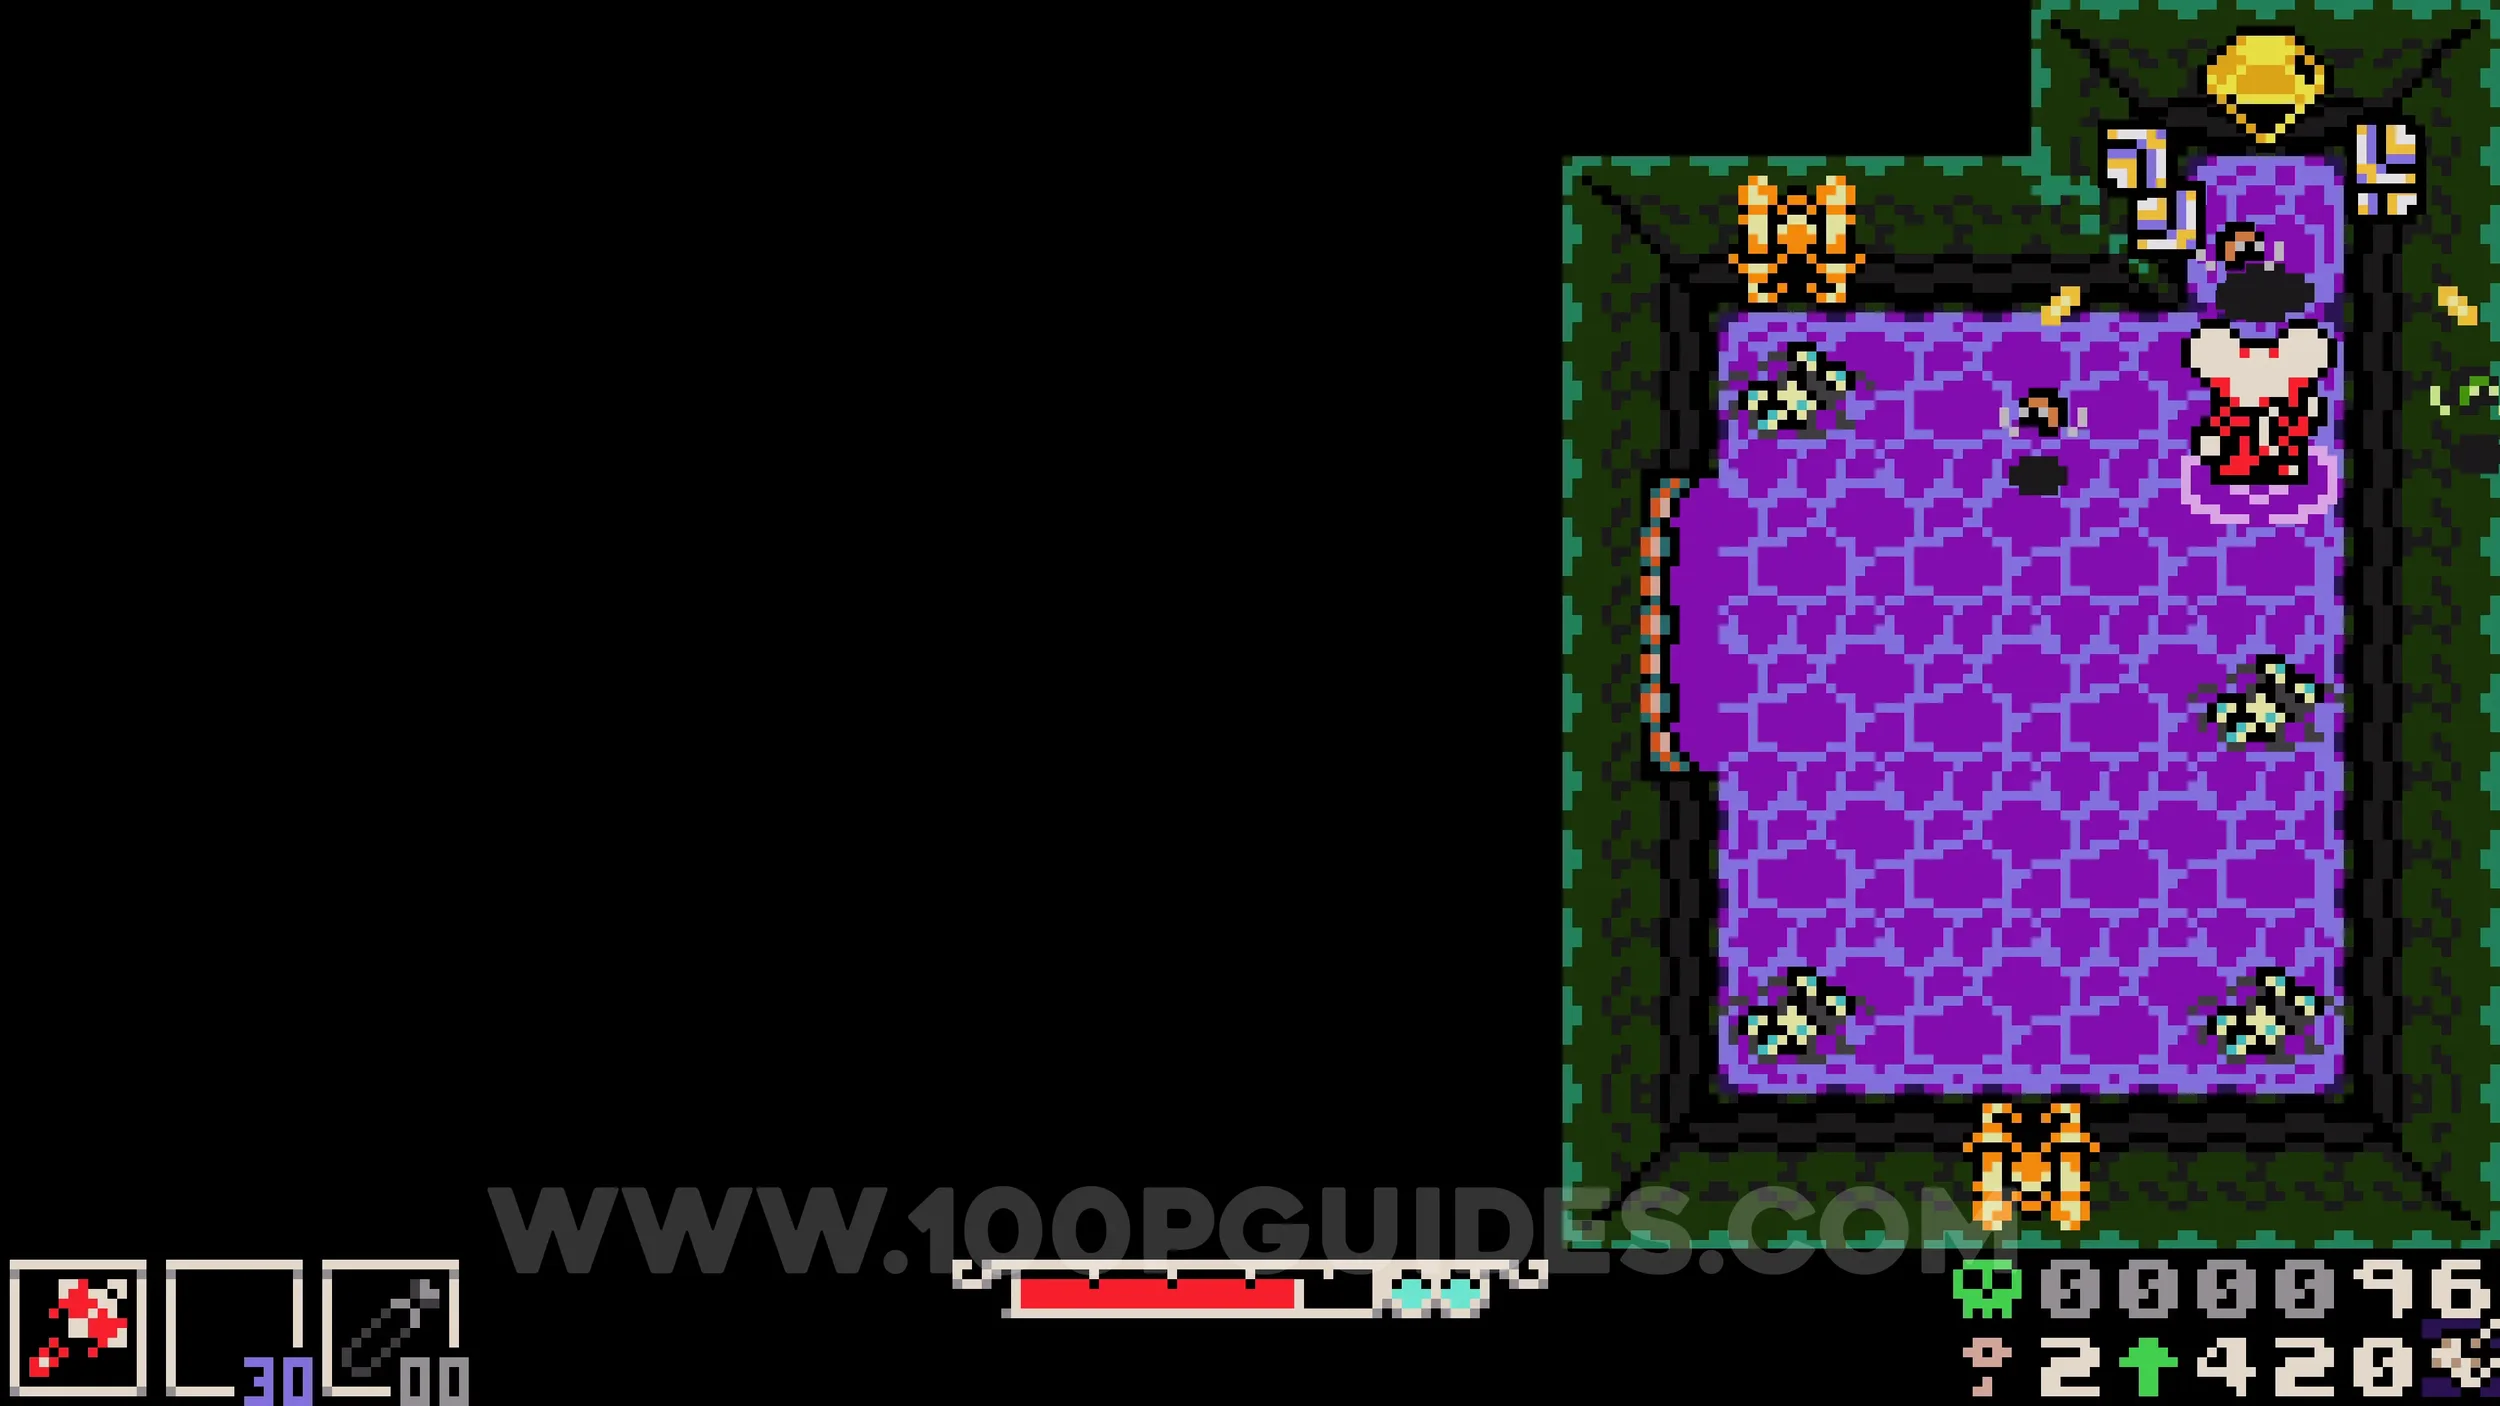
Bonestone #5. Soon after the previous collectible, you will reach a screen on the main path with a chest partially covered by a tree in the top right corner. The collectible is inside.
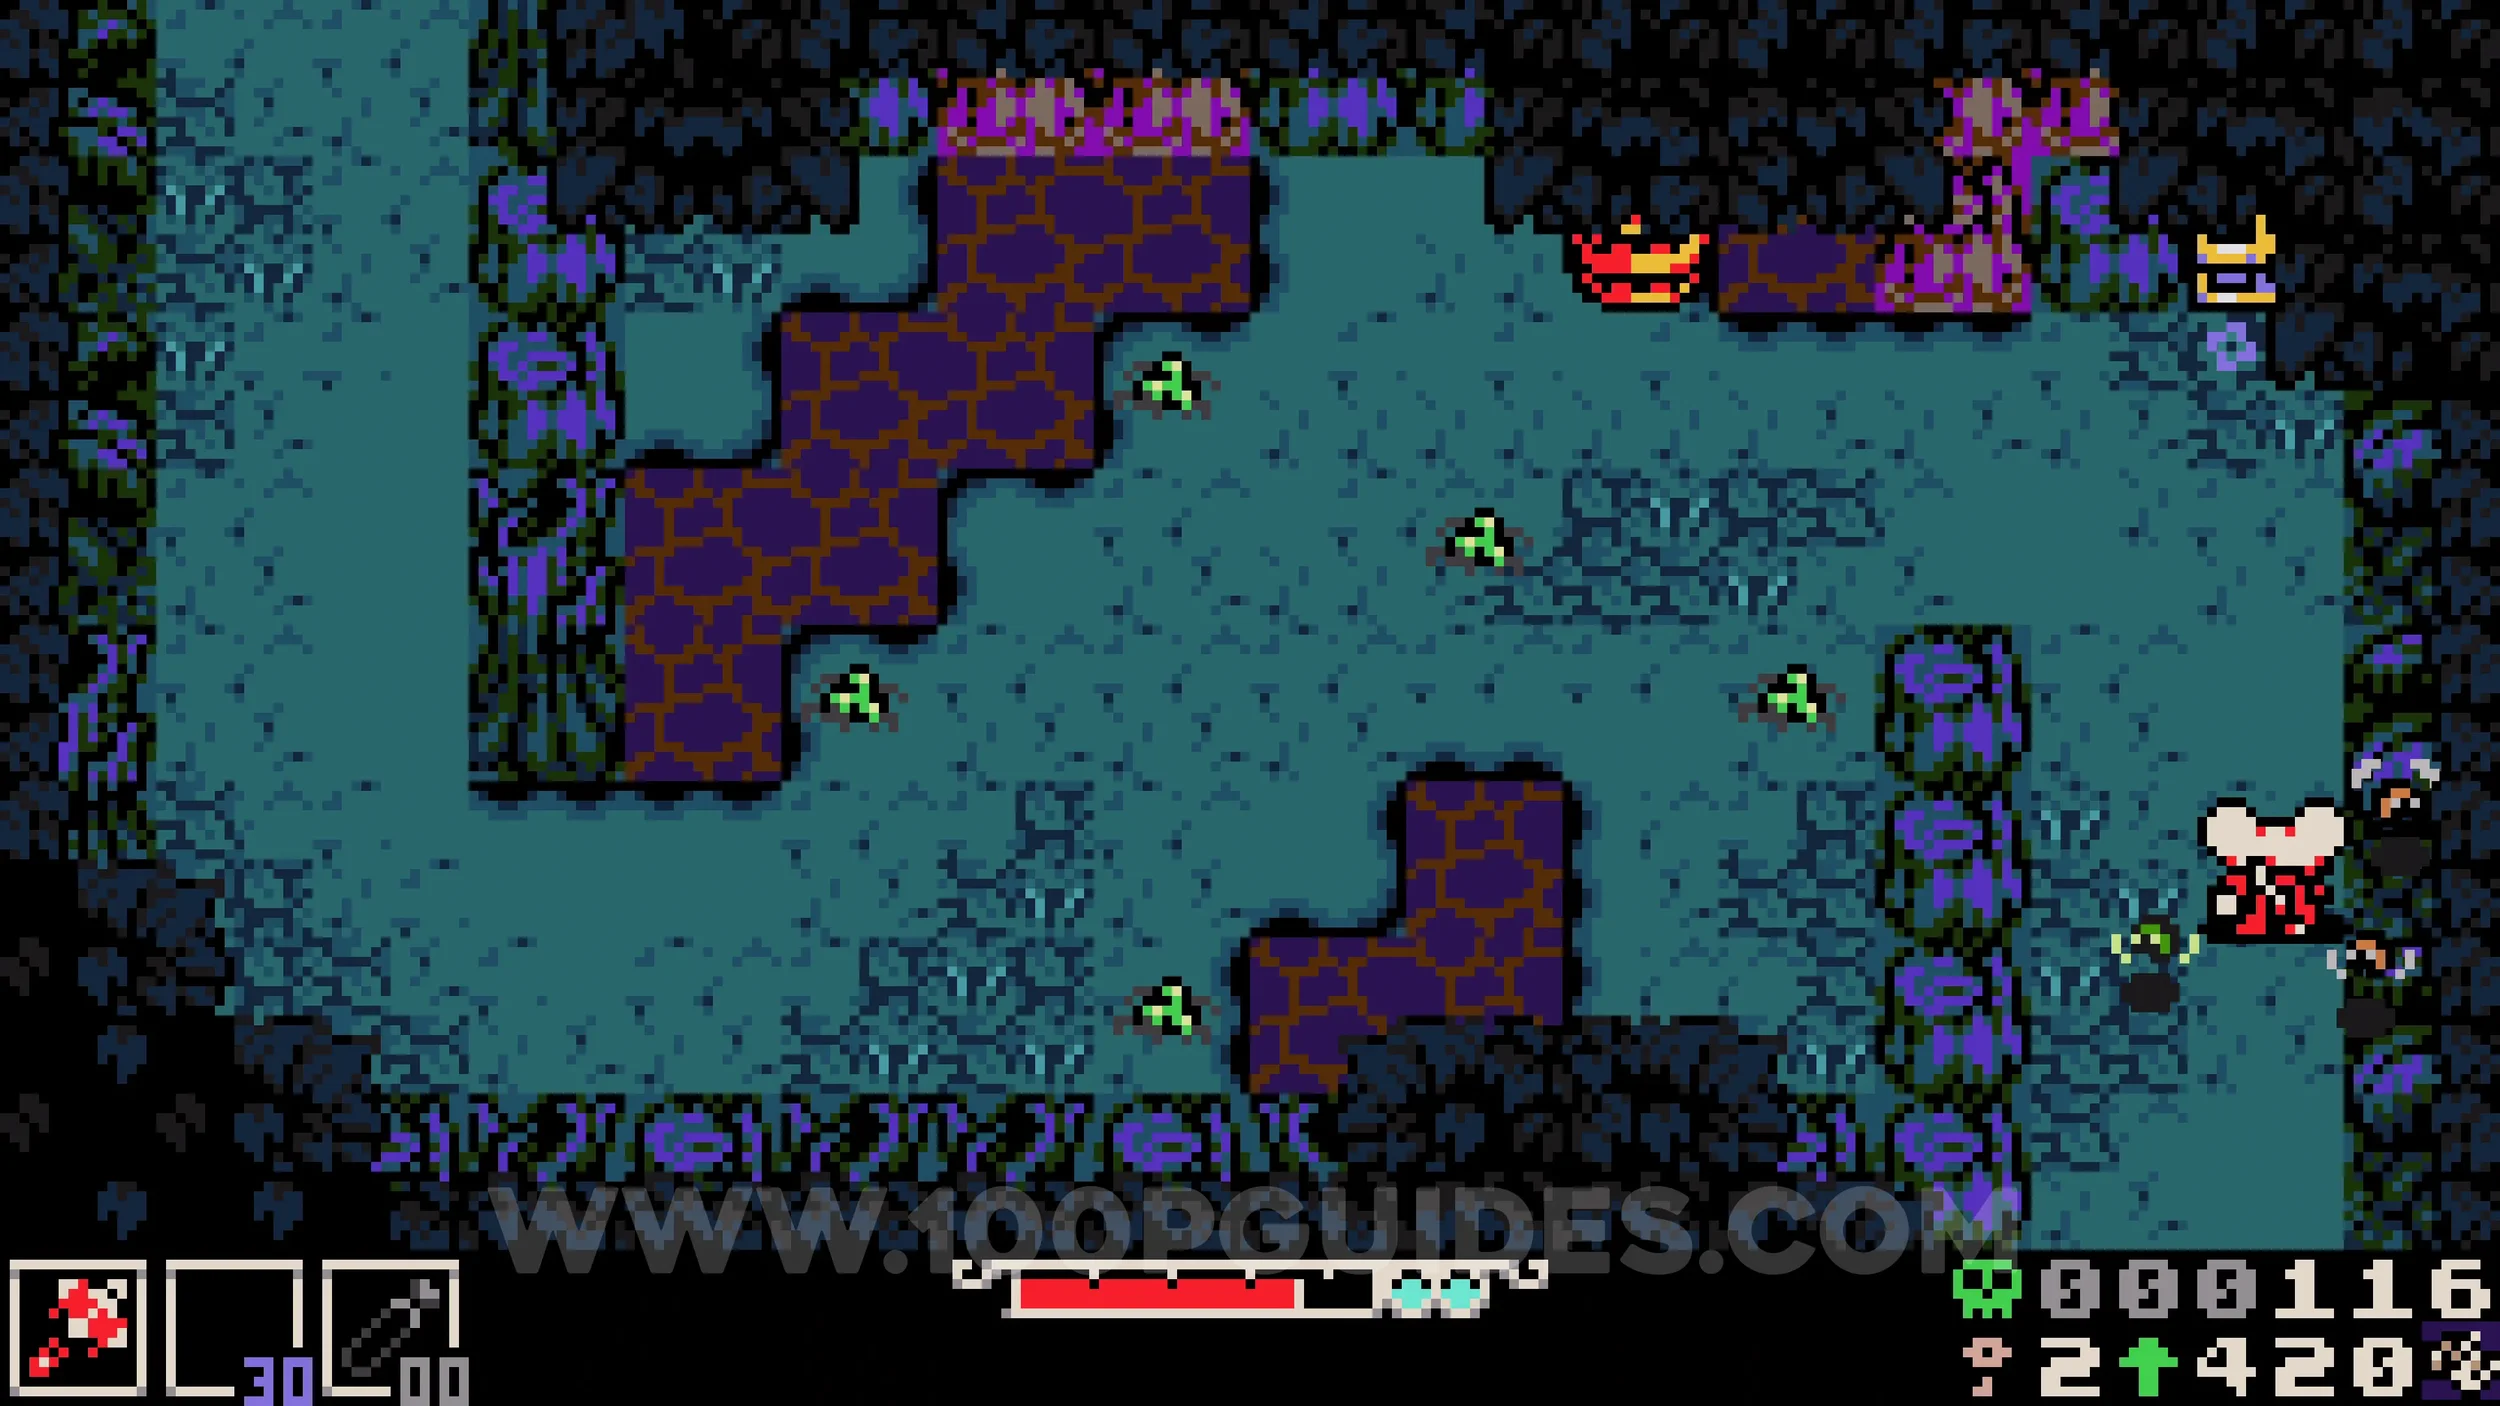
Kear #3. Continue on the main path until you pass a plant enemy on a floating platform. Just after it, head down the hidden stairs on the left side, then go right and look for a cracked wall between the trees. The collectible will be inside the revealed cave.
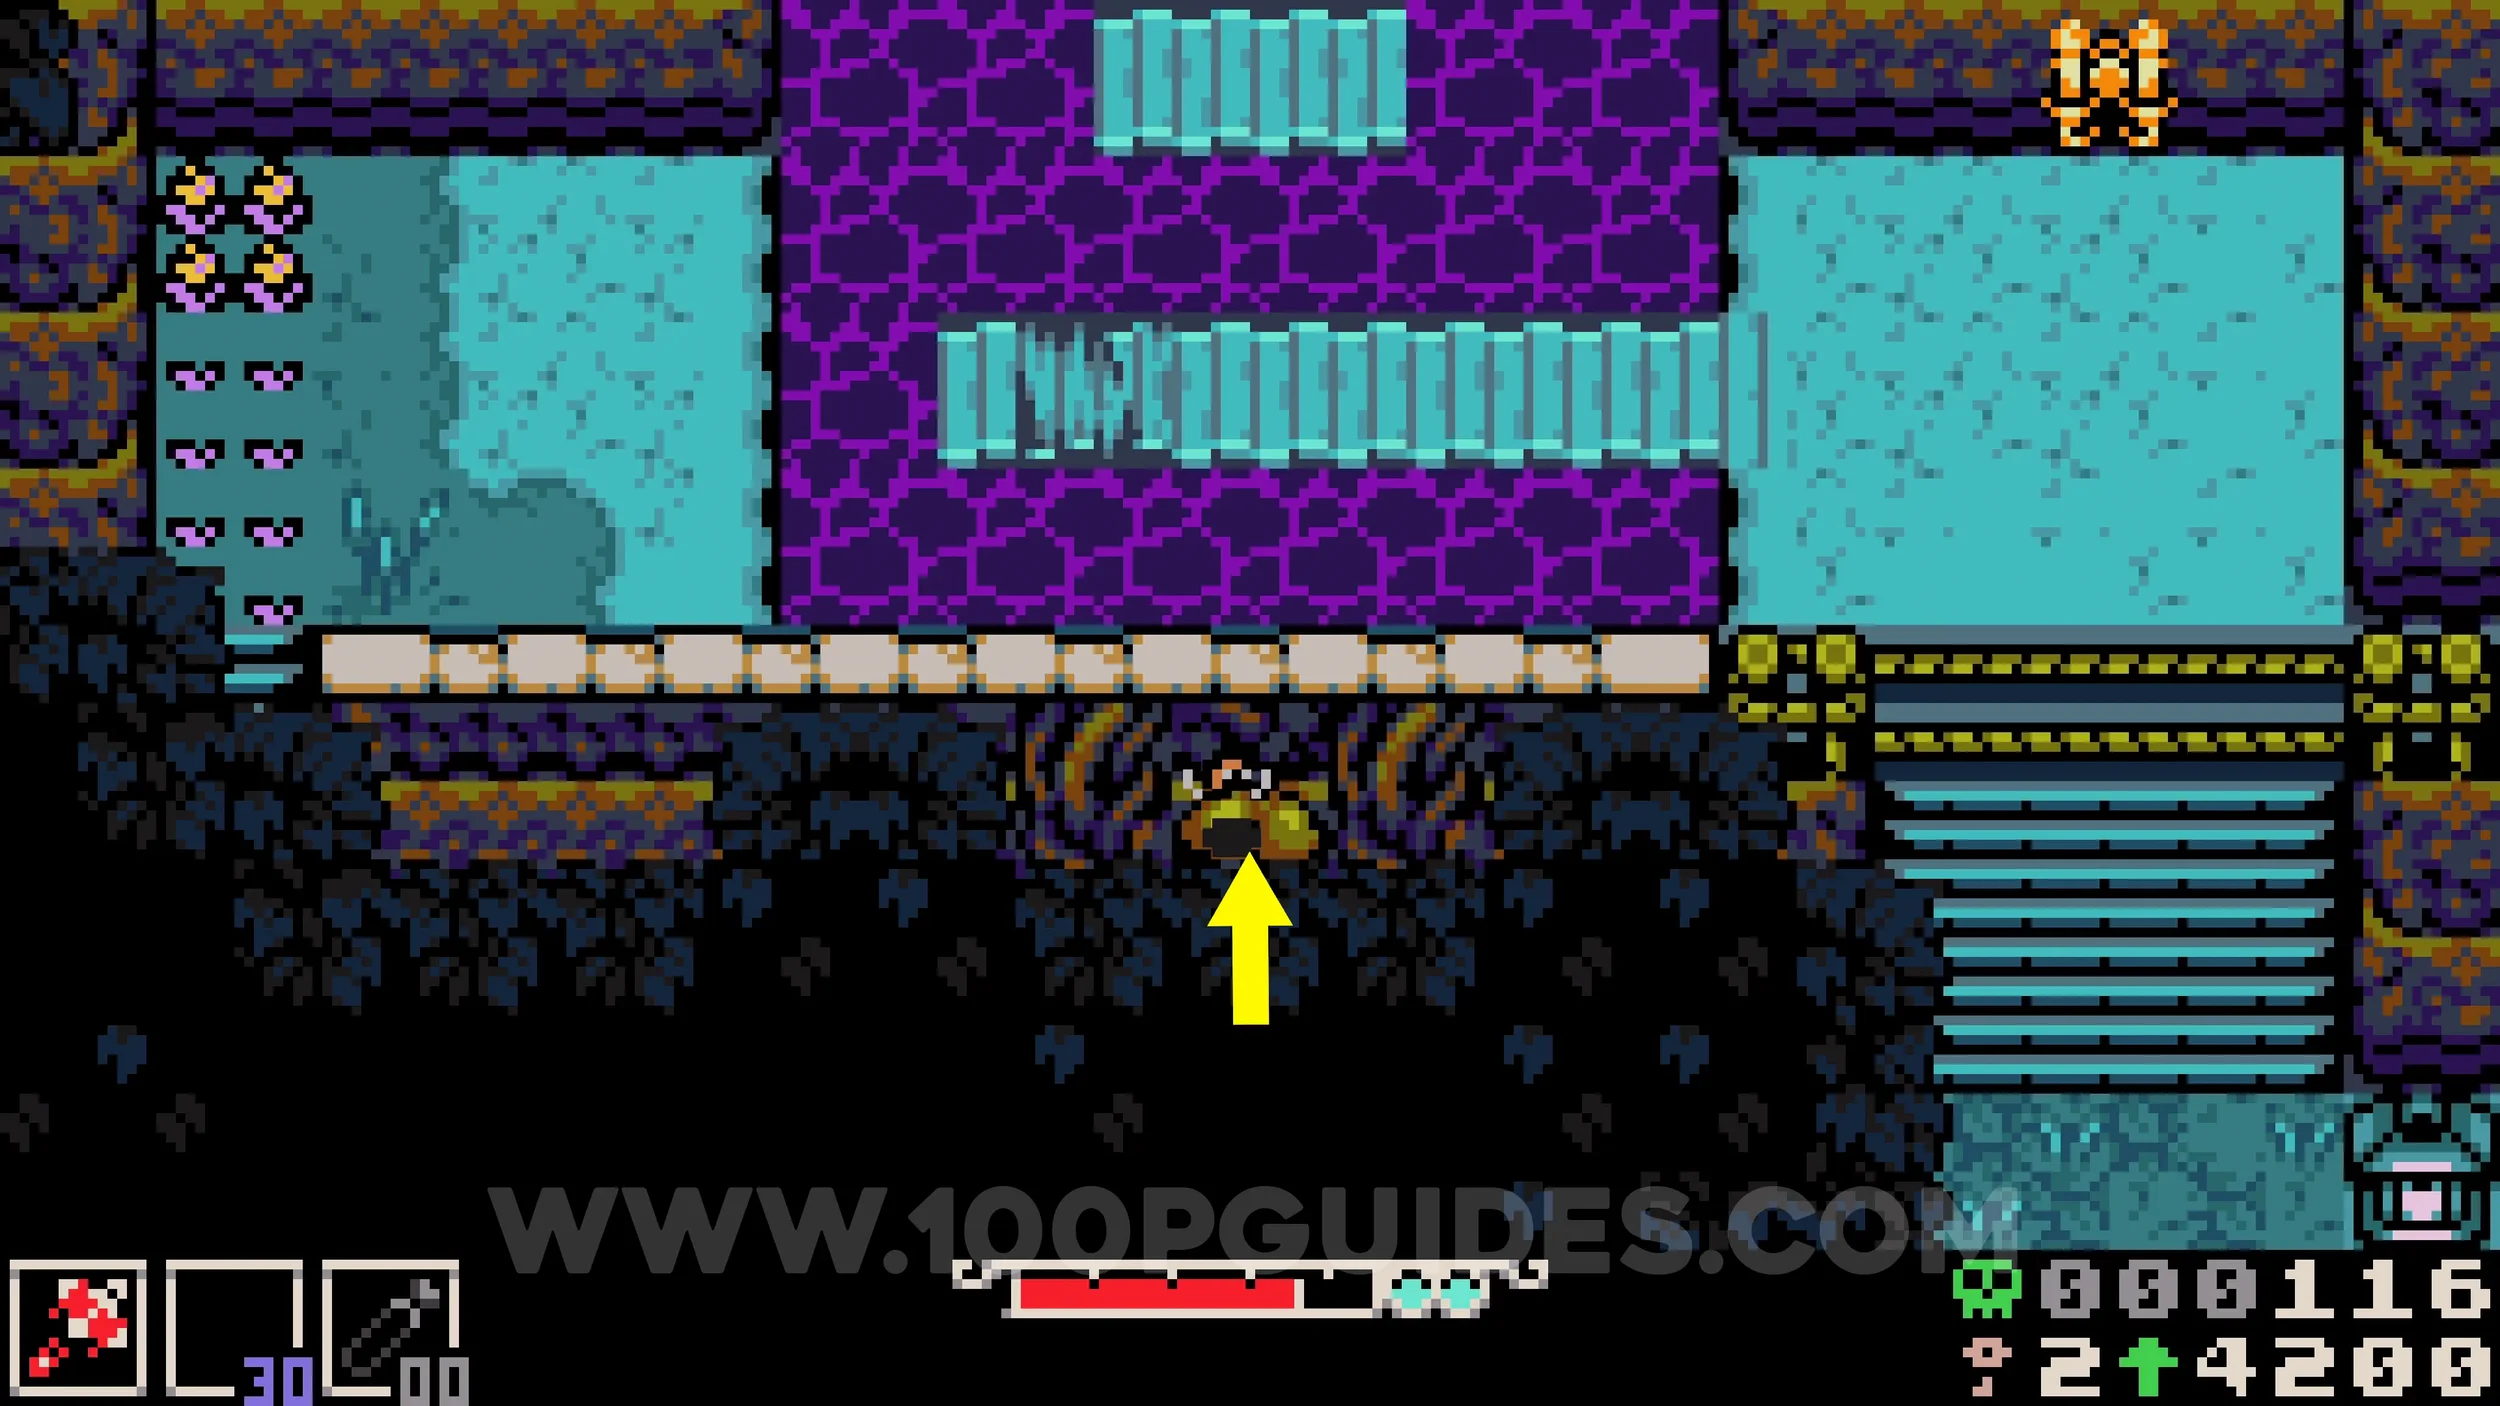
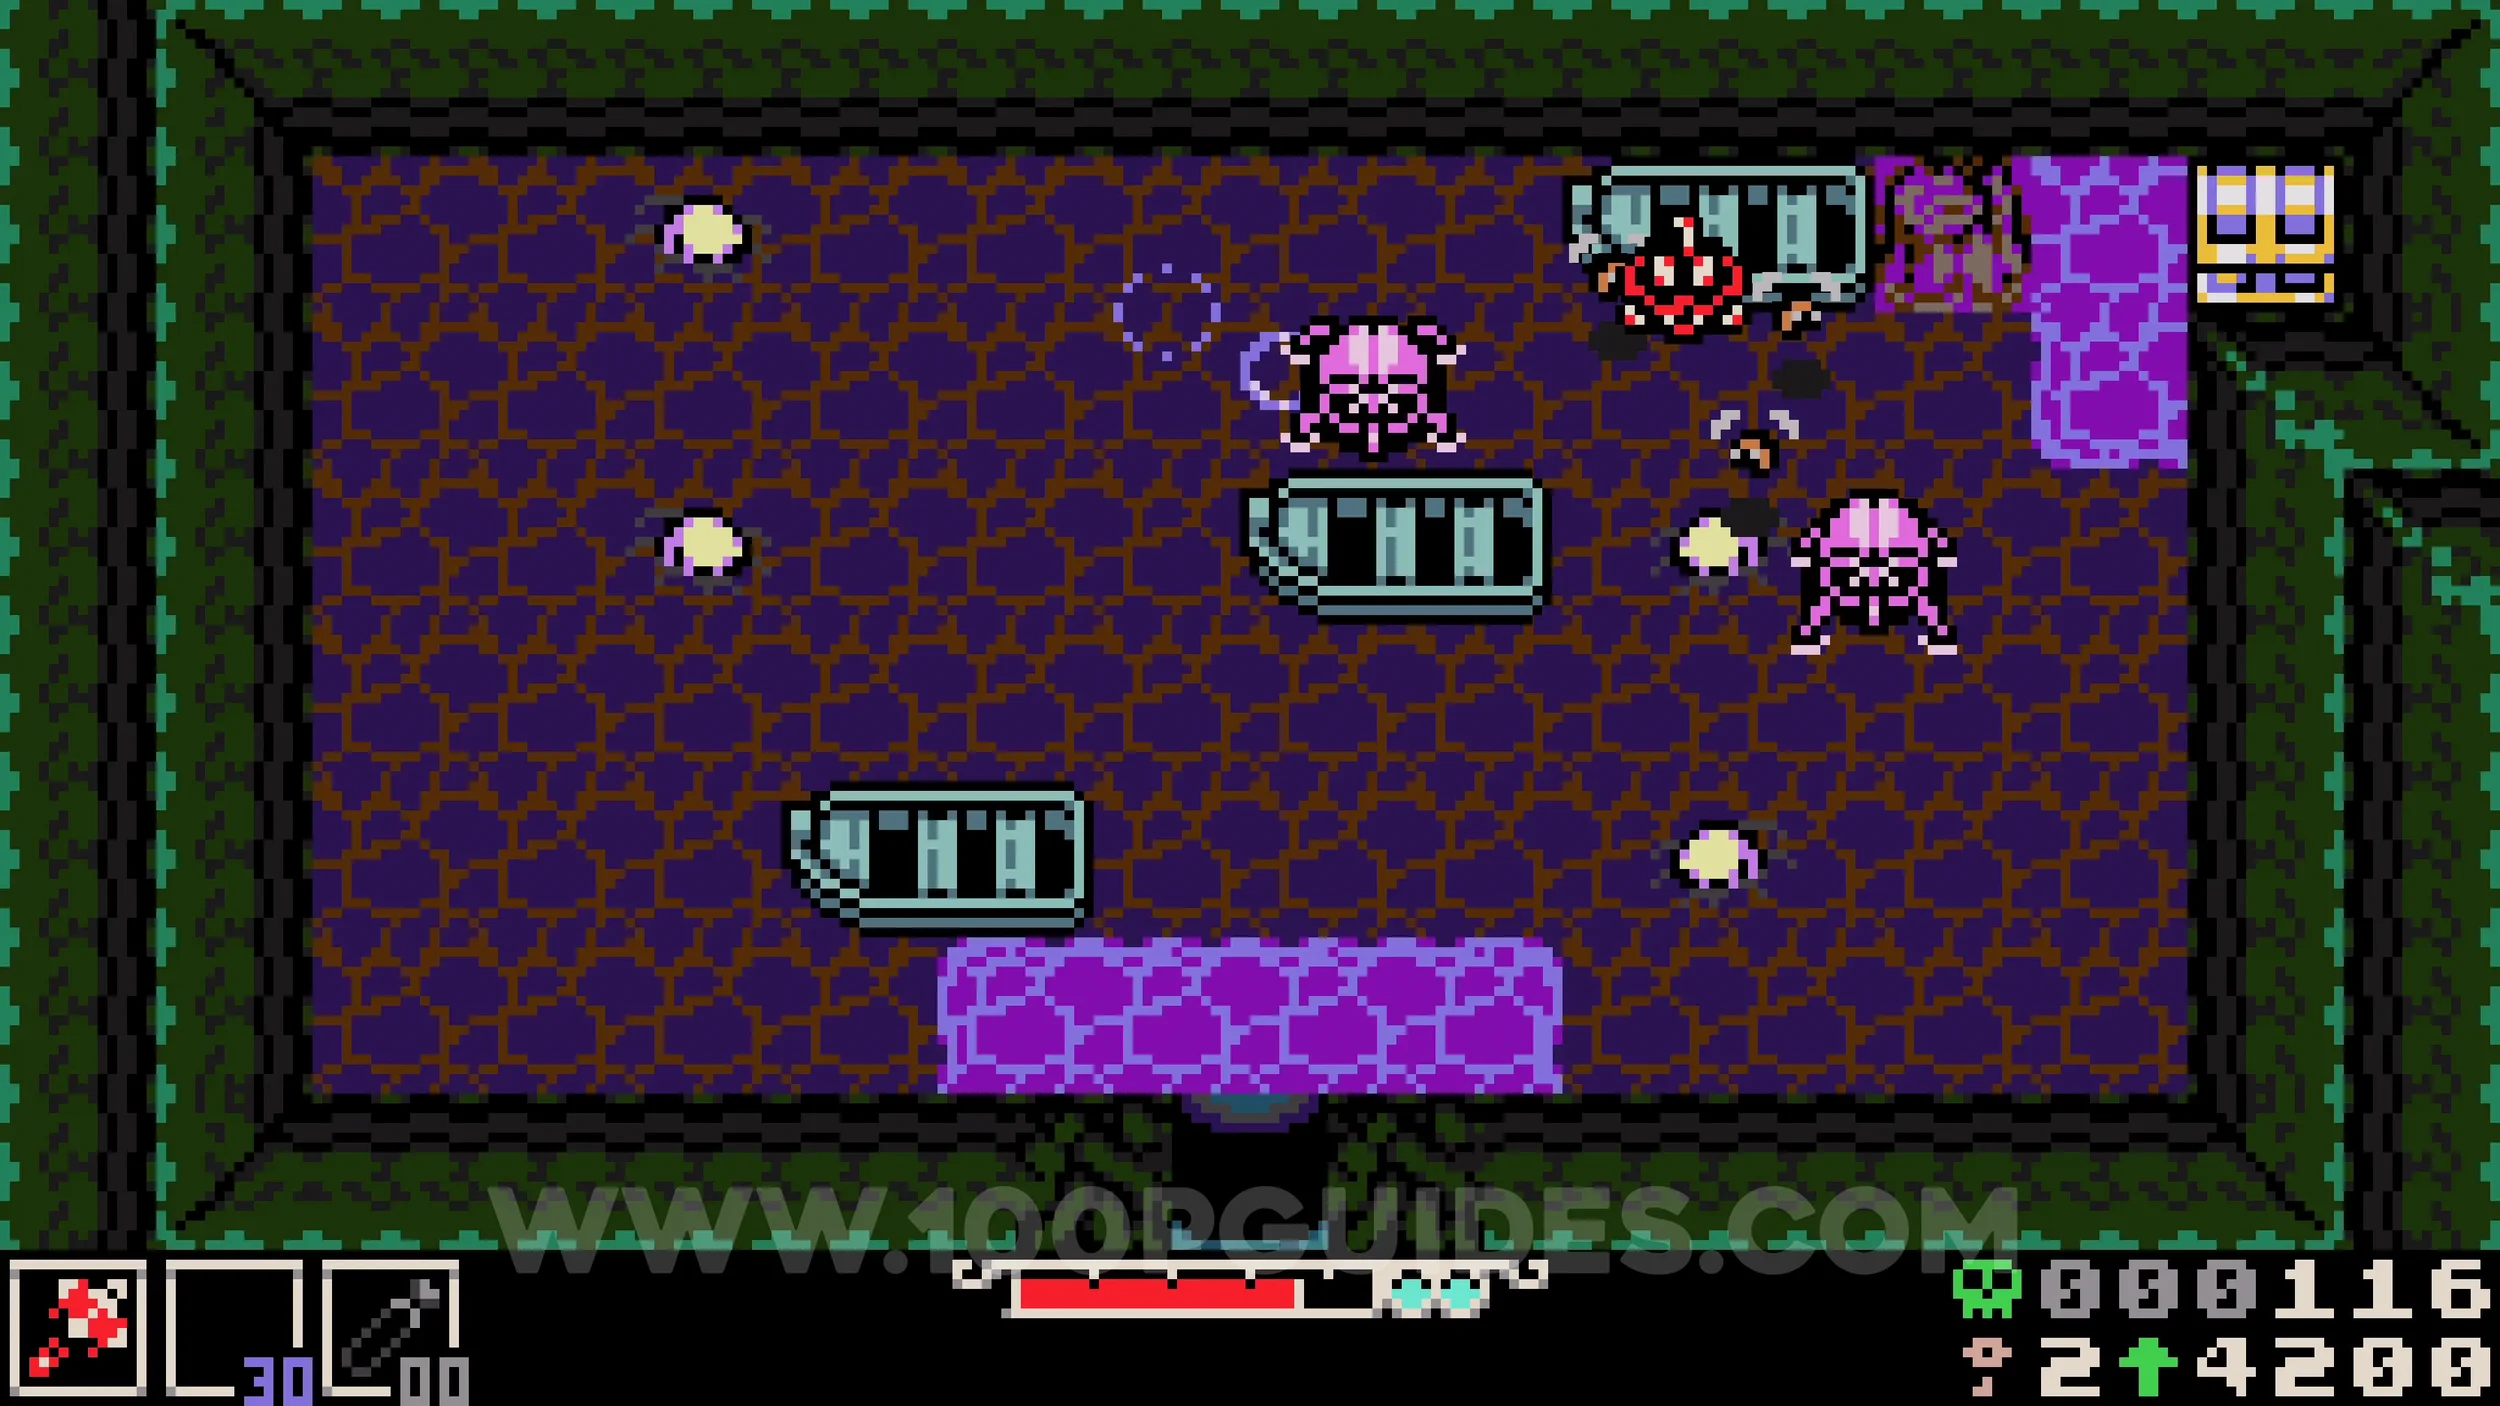
Bonestone #6. Follow the main path until you reach a large pond with two switches that raise the water level. Press the switch on the right to raise it once, then head to the screen above before raising it again. Go through the gap in the water at the top of this screen to find the collectible in the next area.
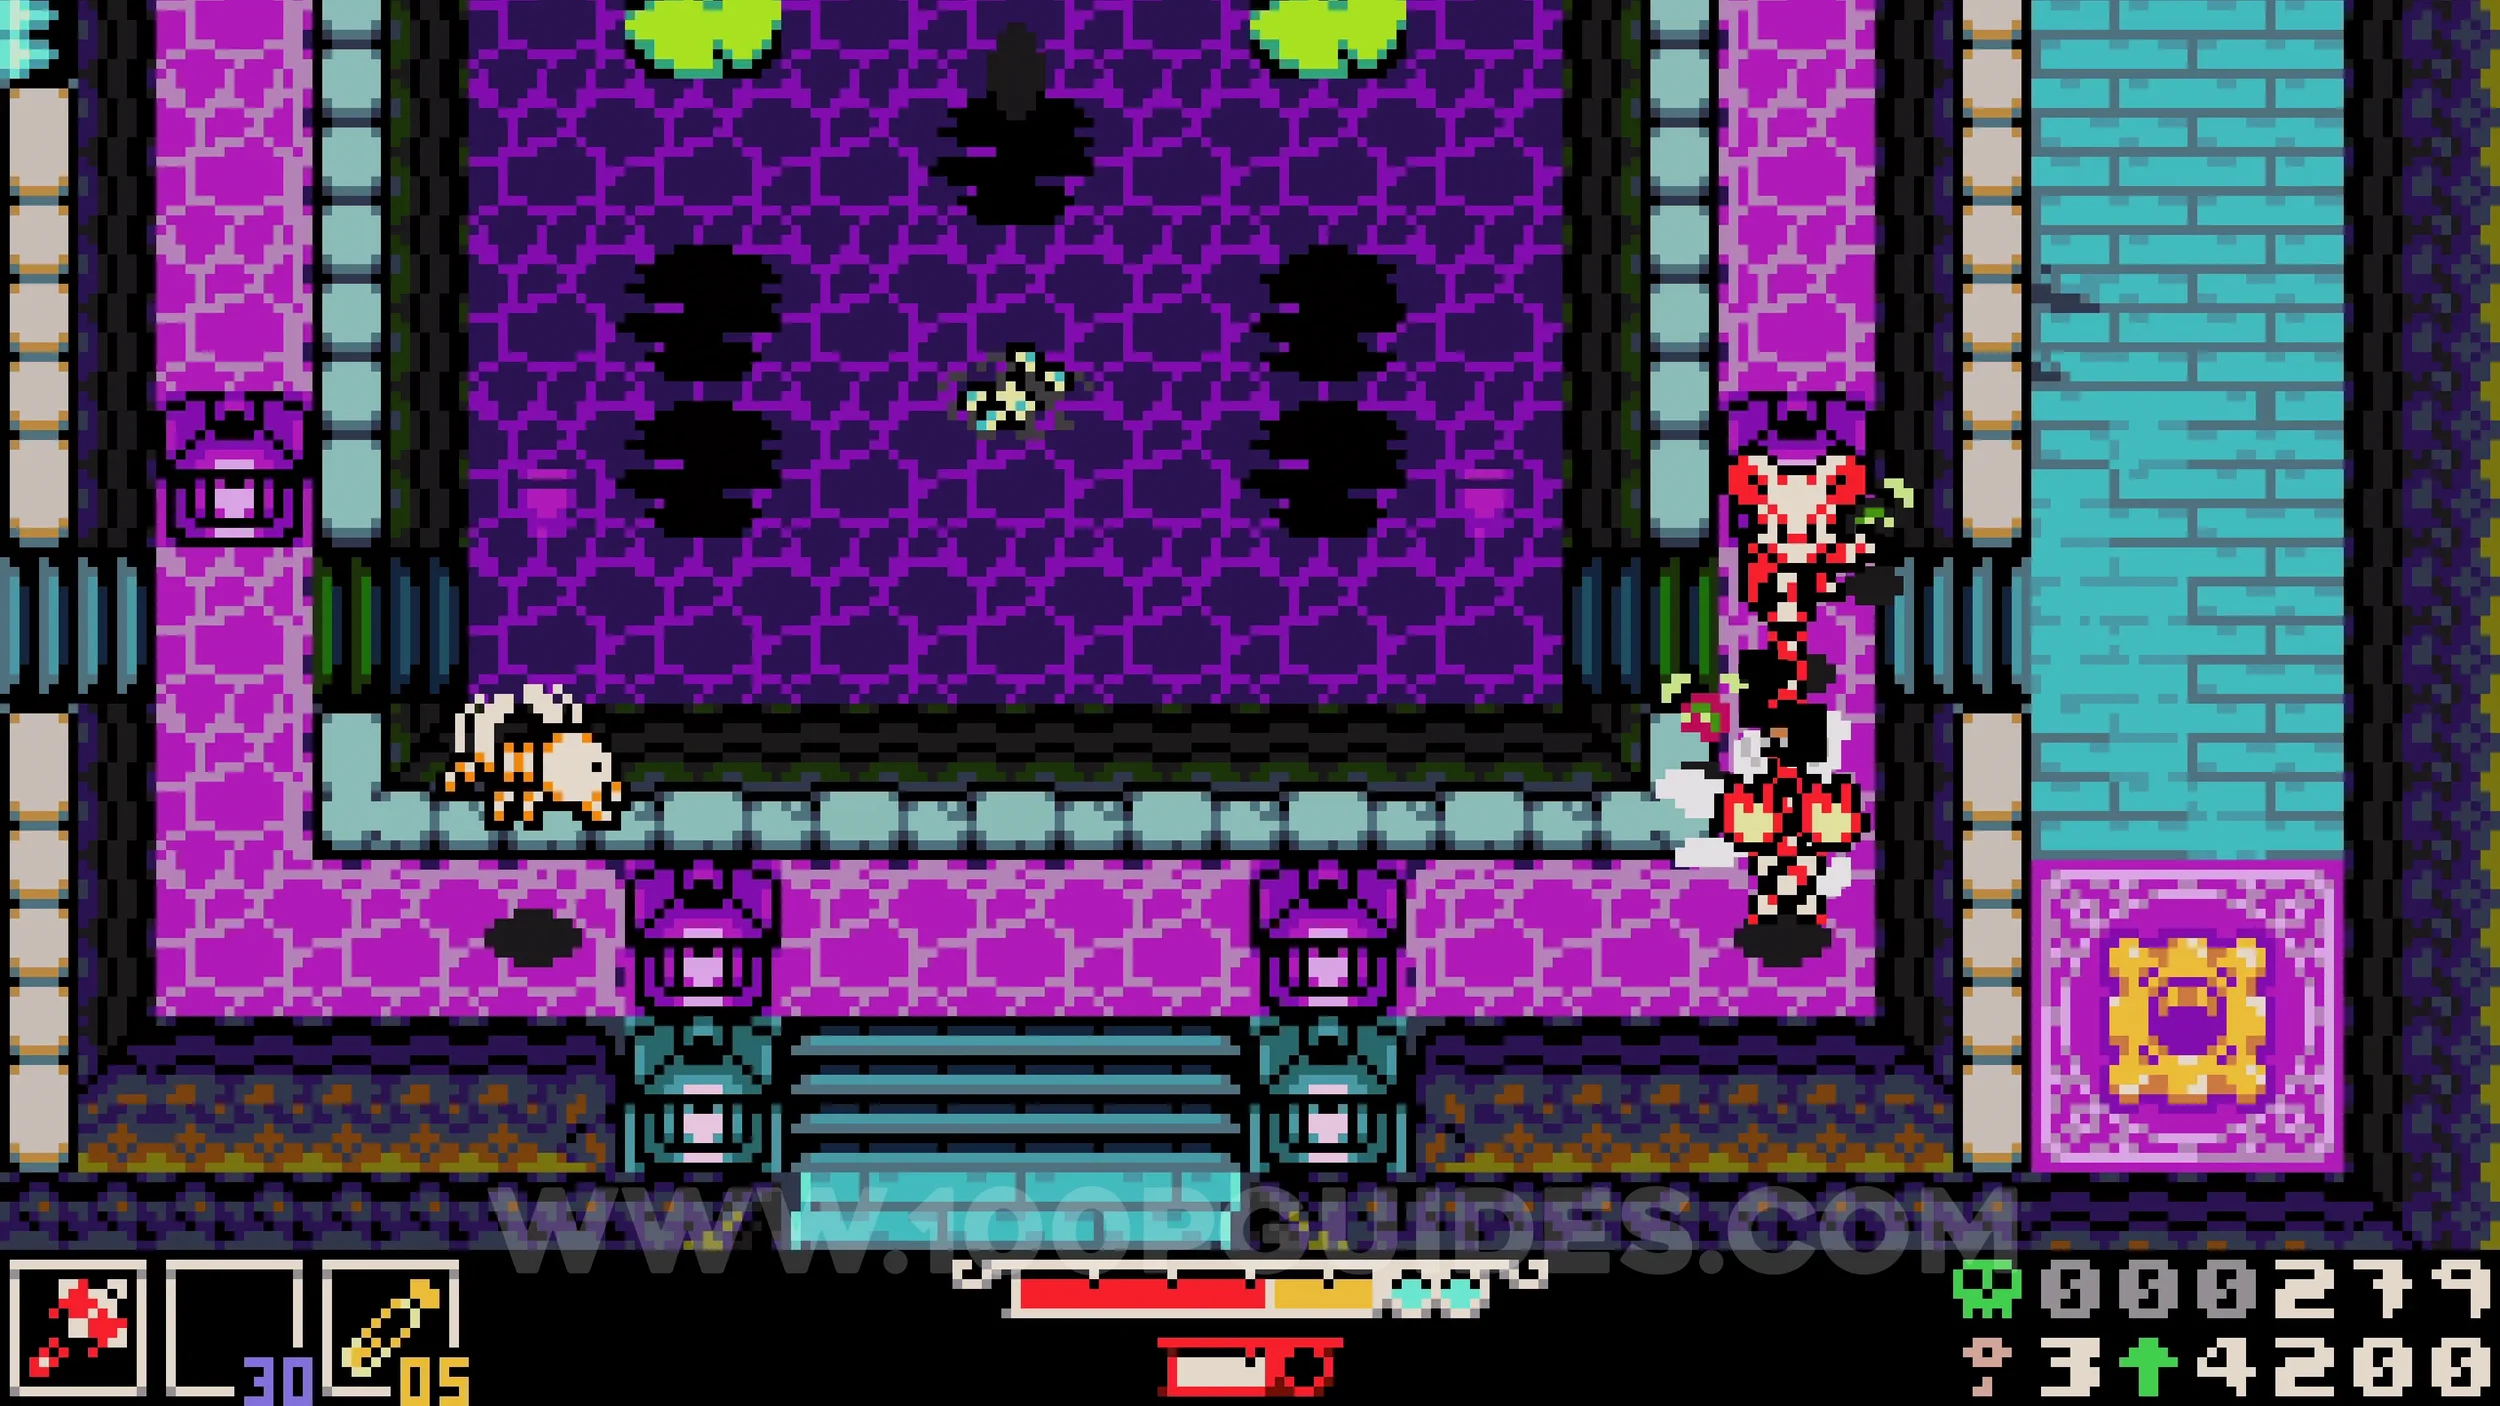
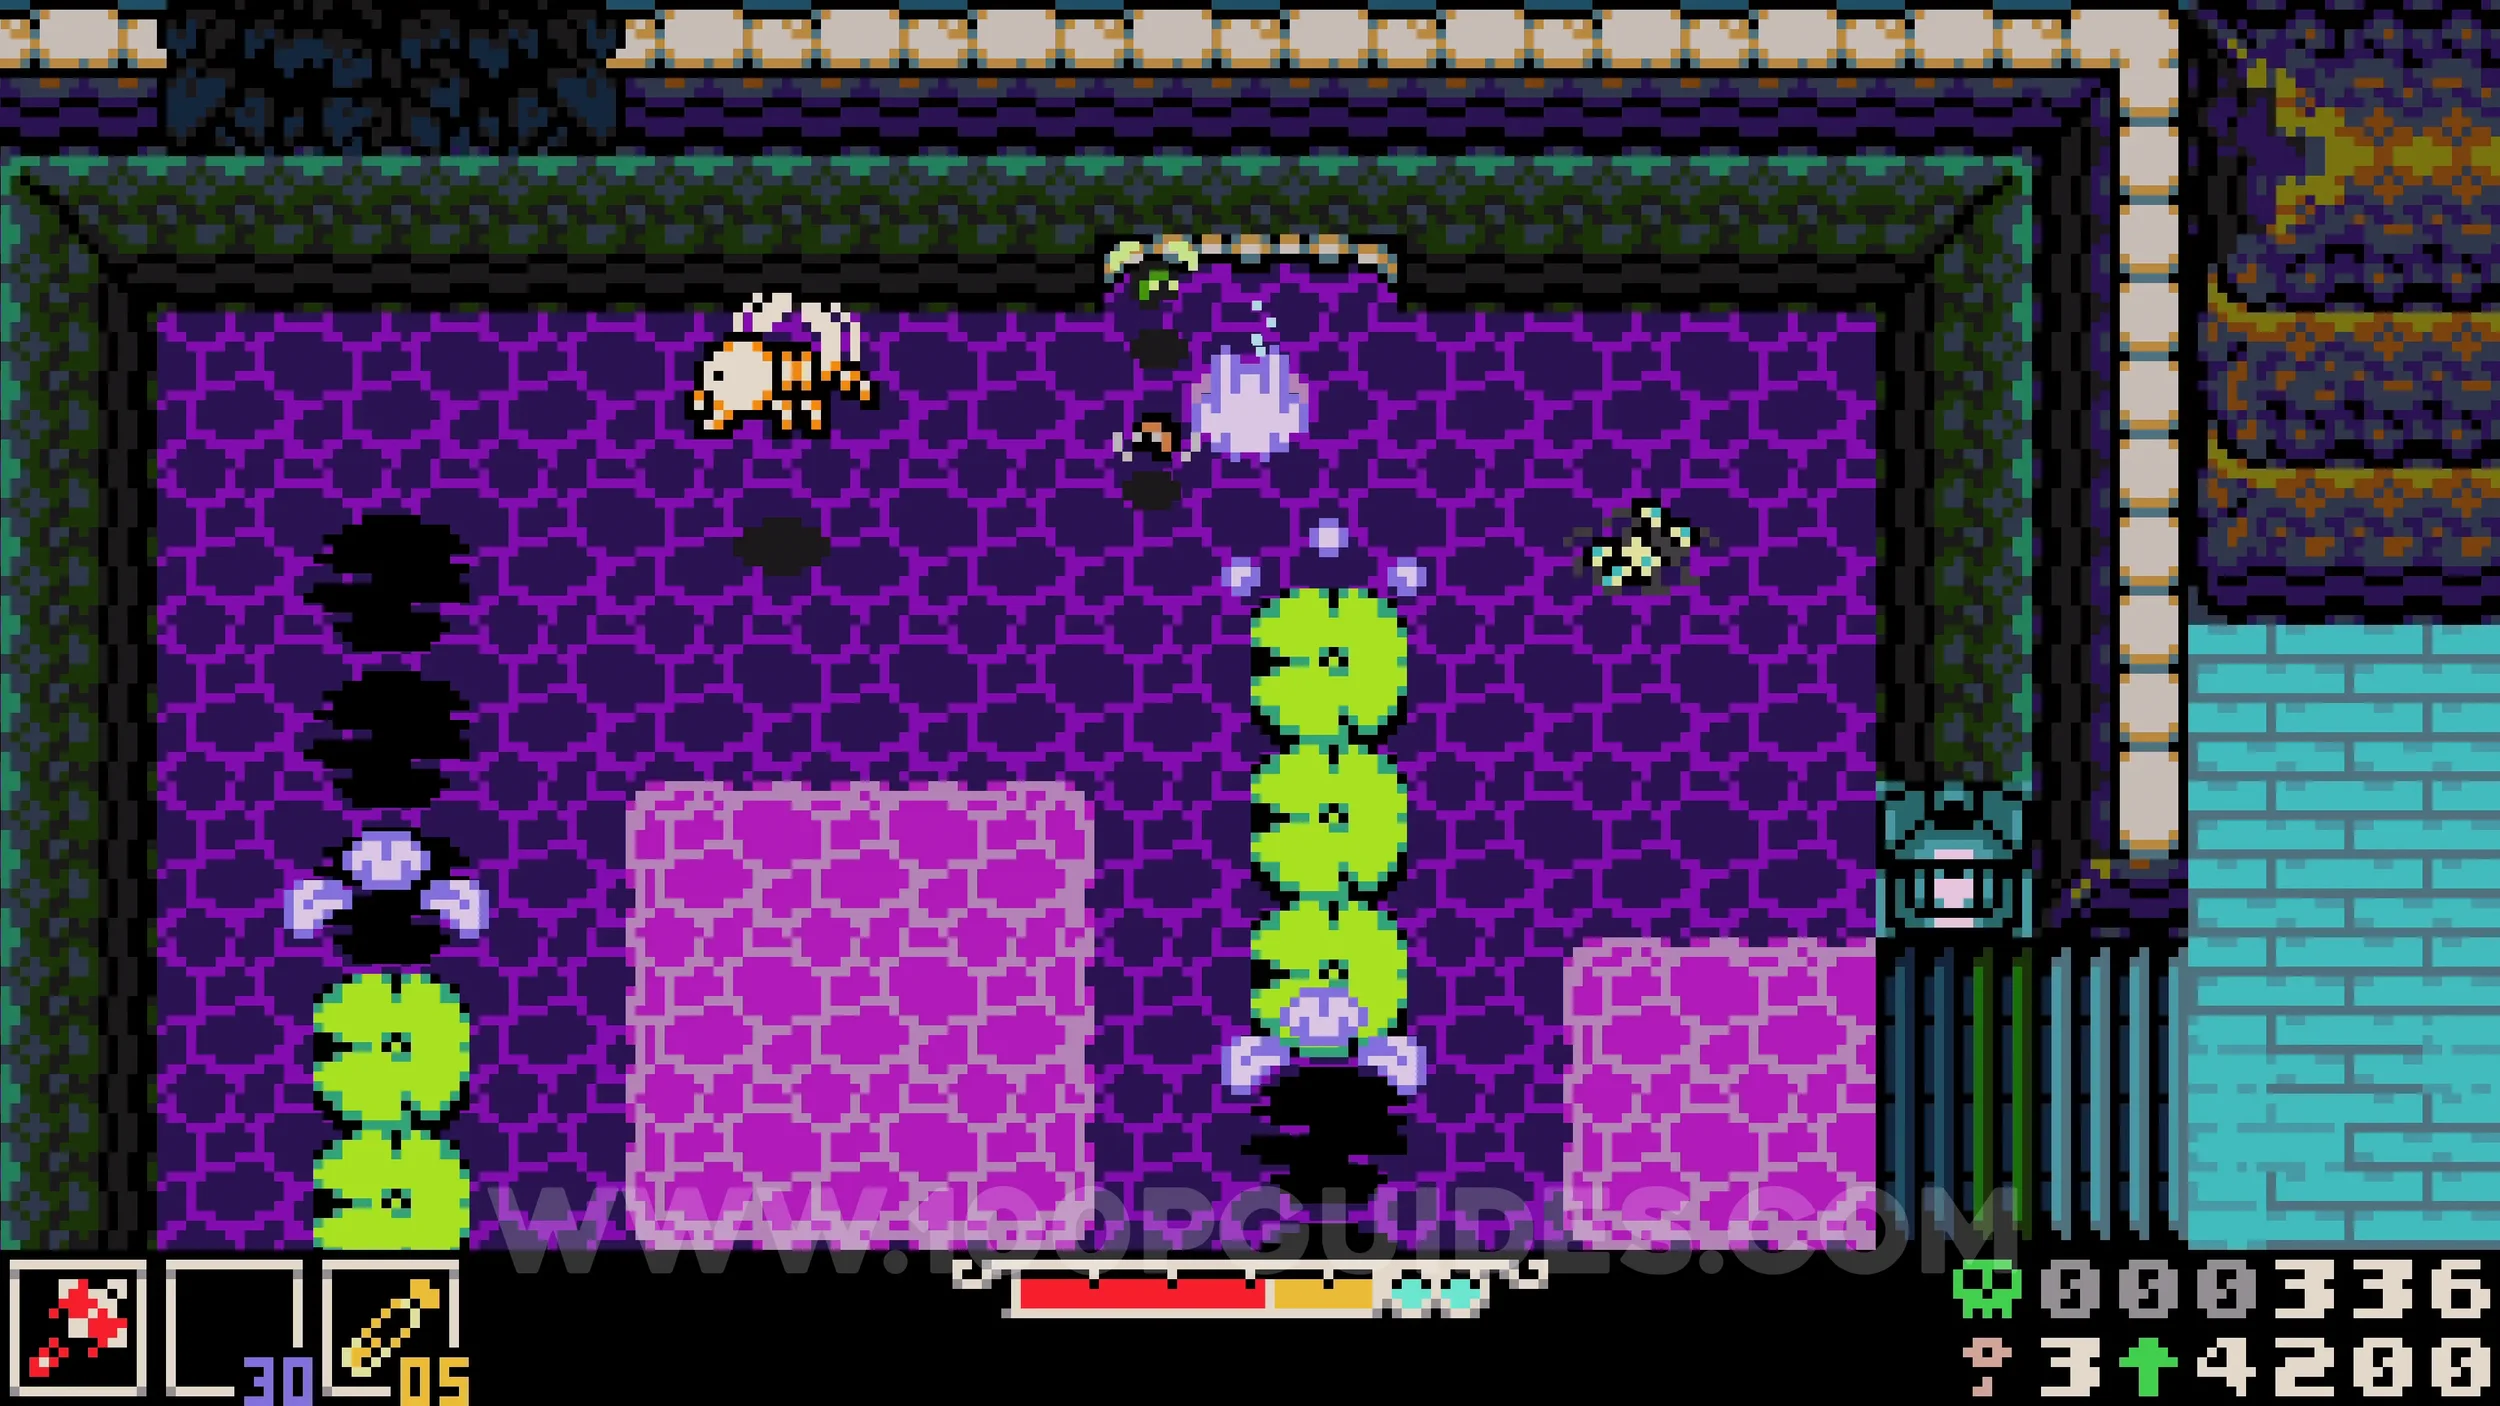
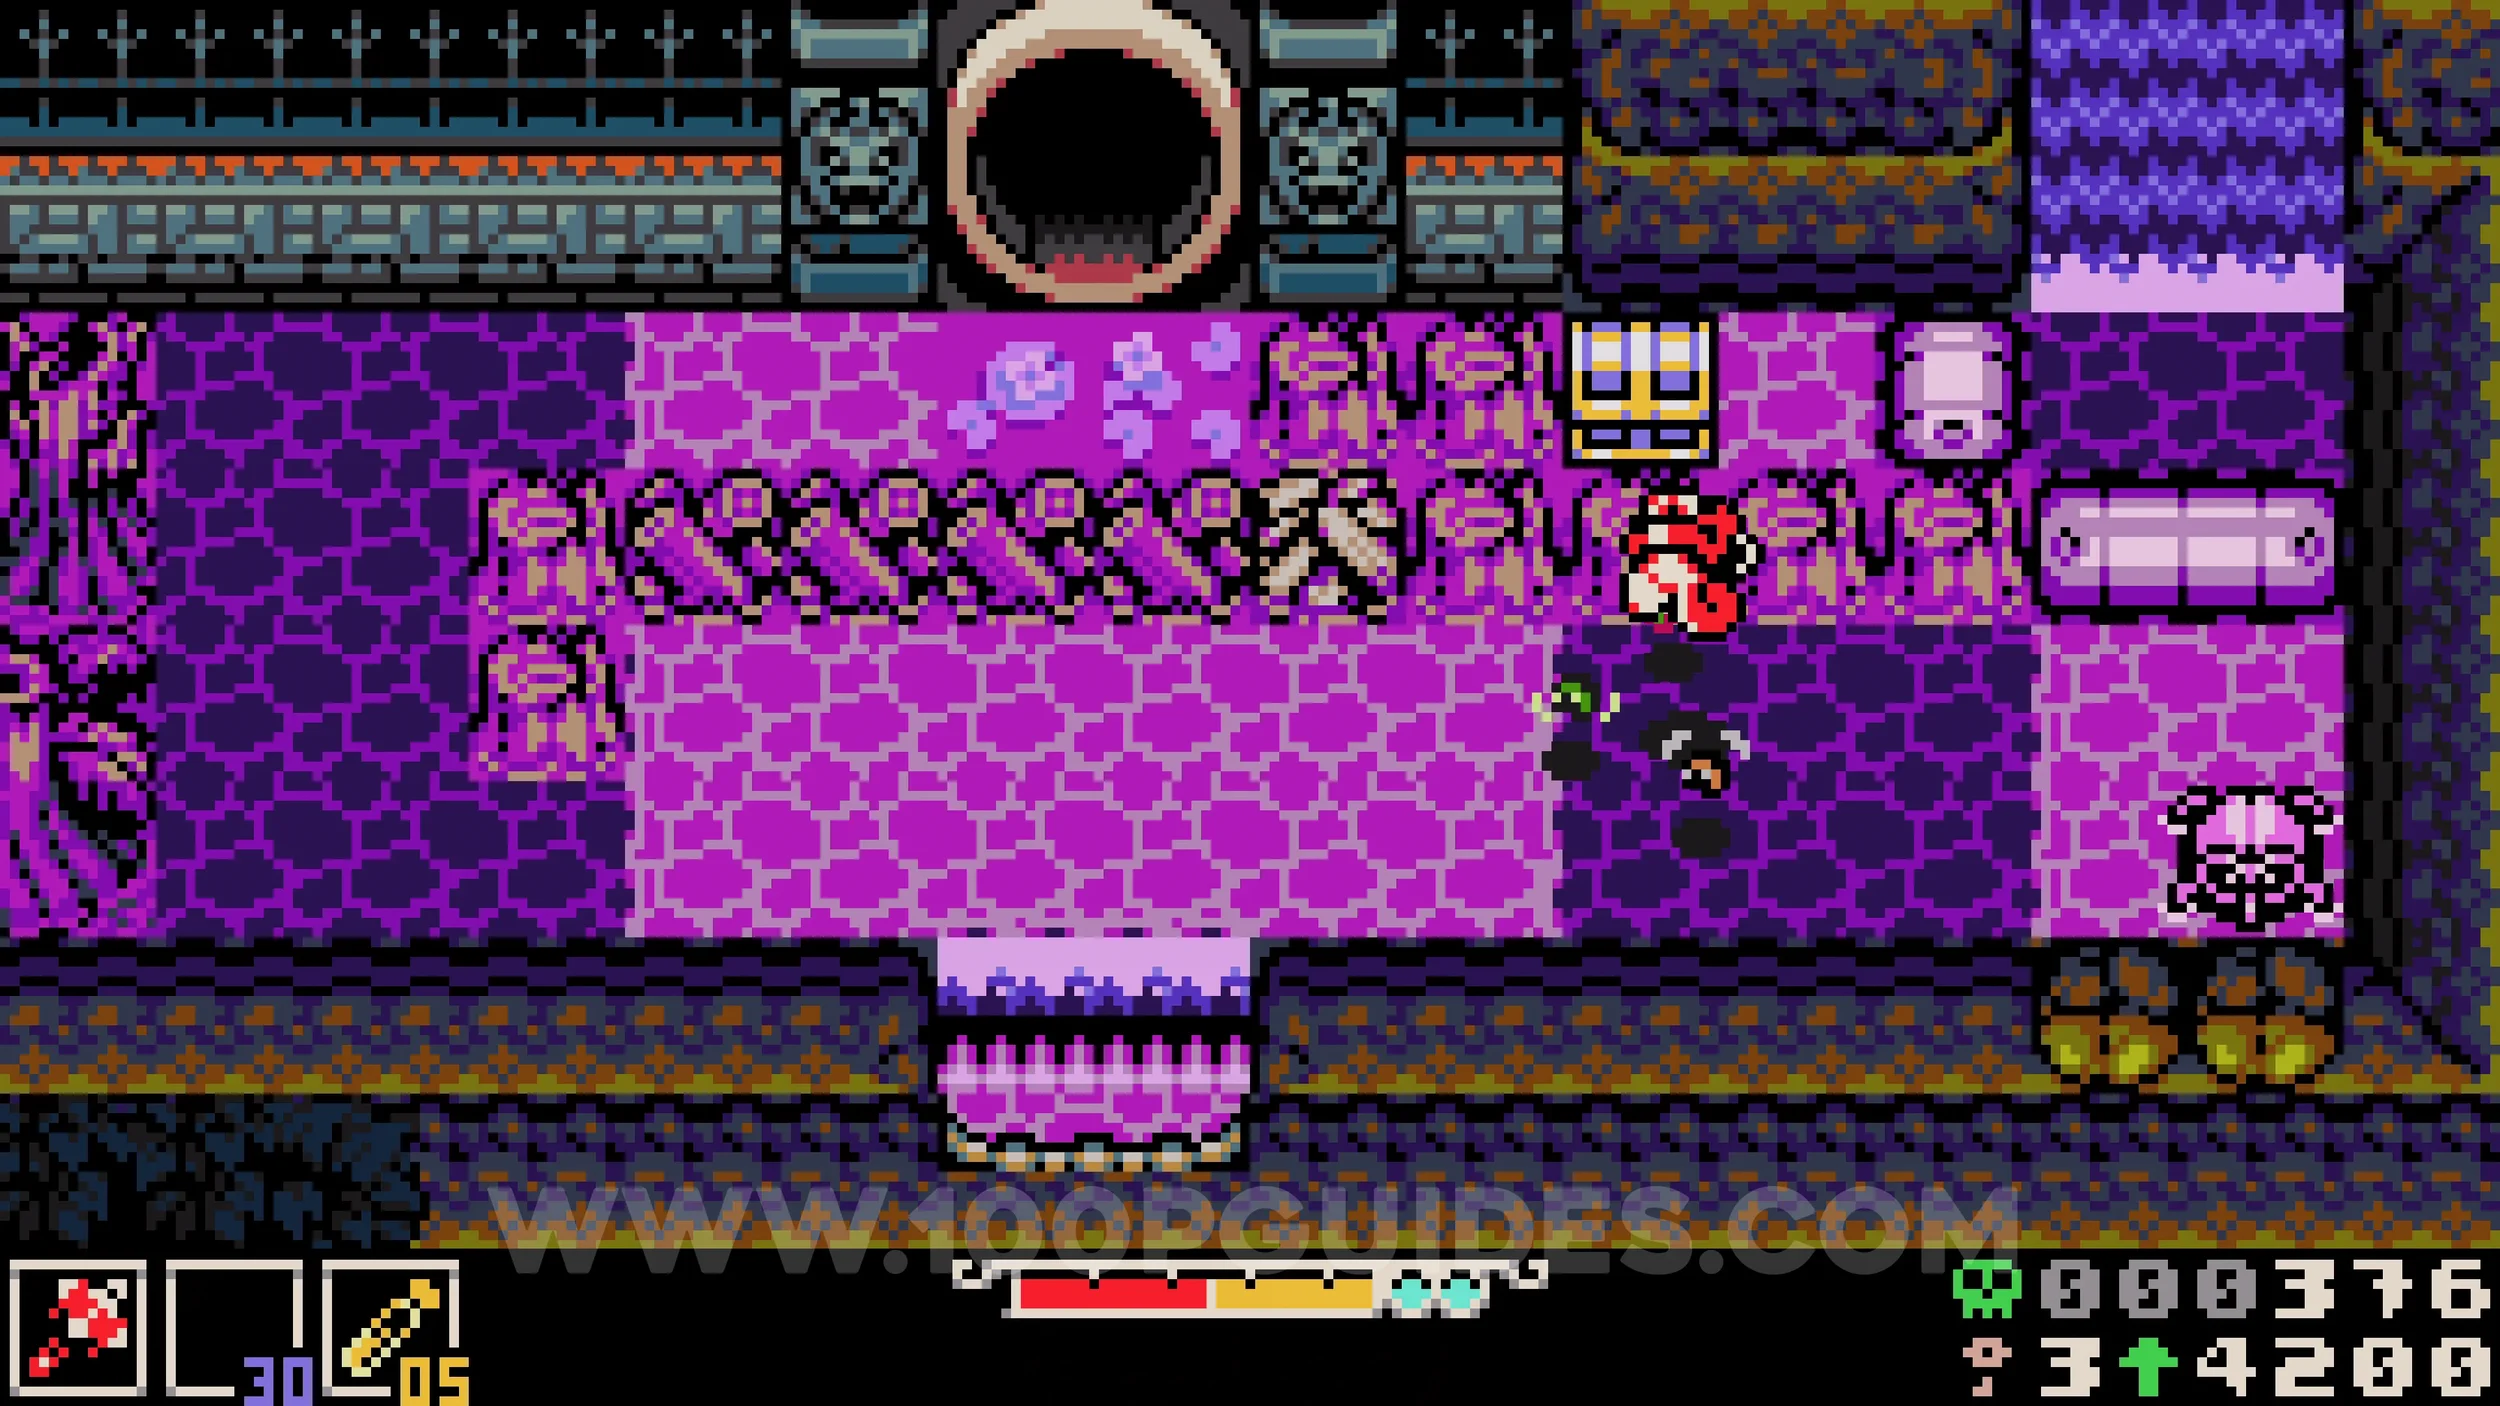
Bonestone #7. After raising the water level twice in the previous area and following the story path to the screen to the south, press the button in the bottom right corner to clear the spikes and reach the chest behind them.
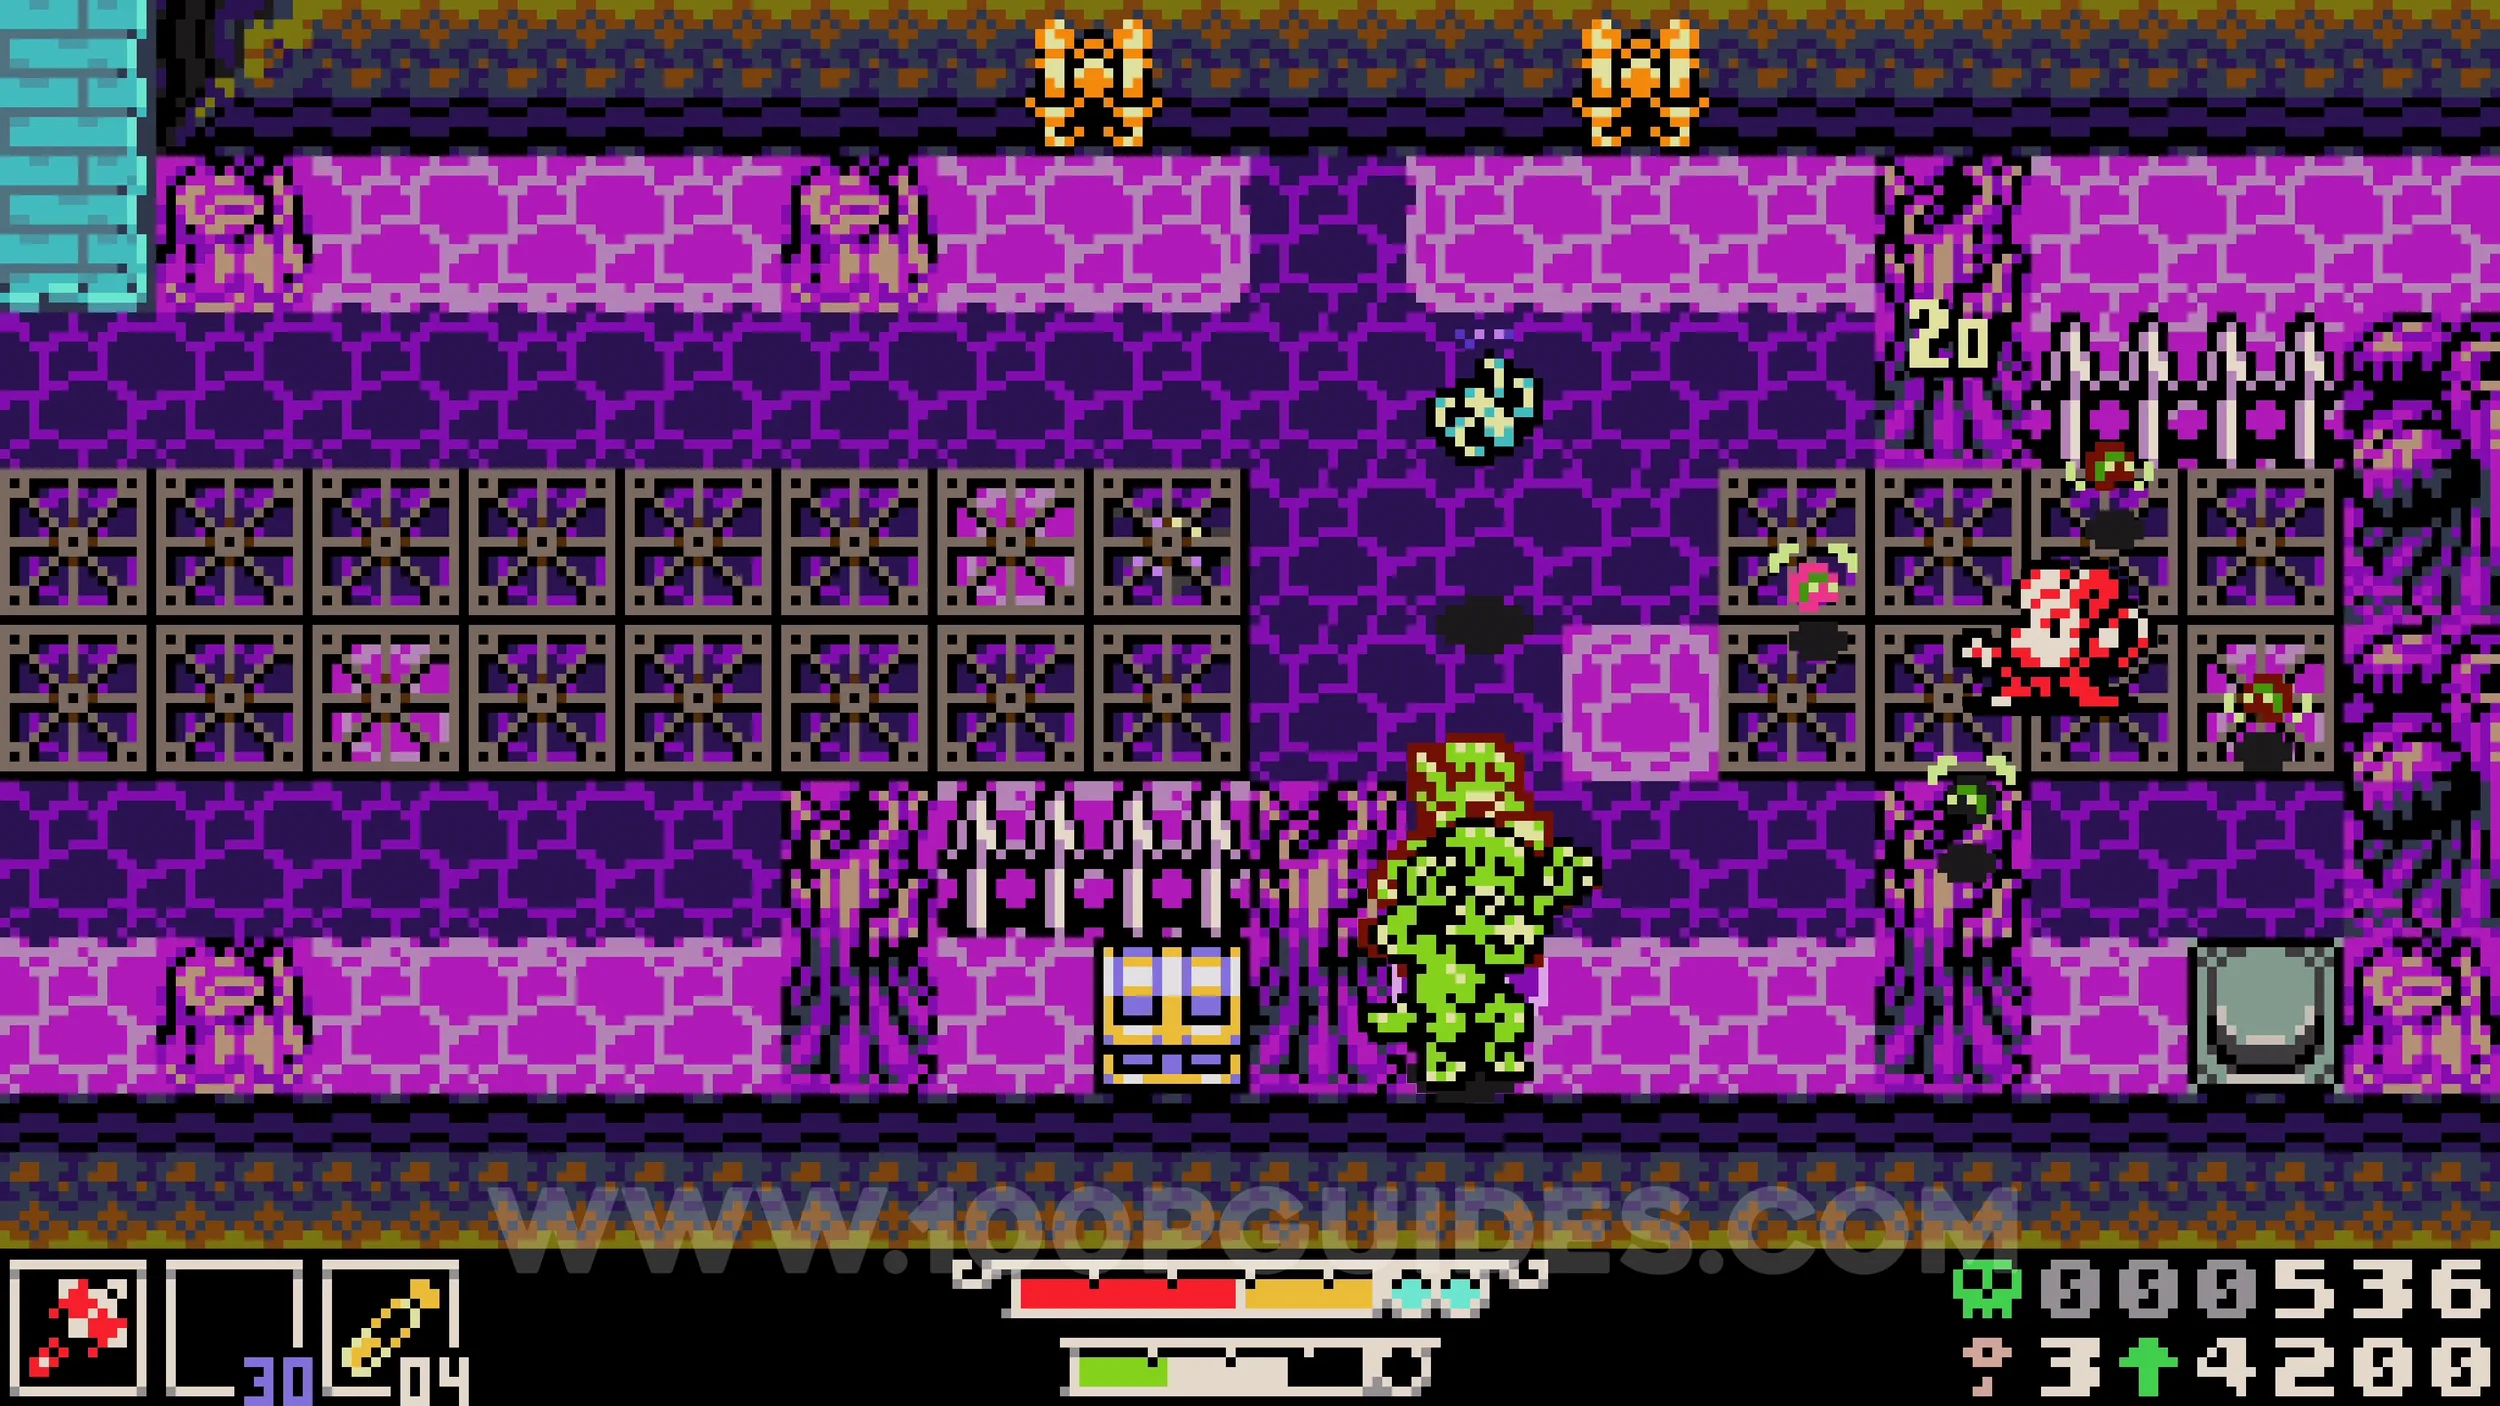
HP Upgrade #1. Story-related after defeating the boss at the end of the level.
KINDLEWOOD
Bonestone #1. In the corner of the first field with enemies.
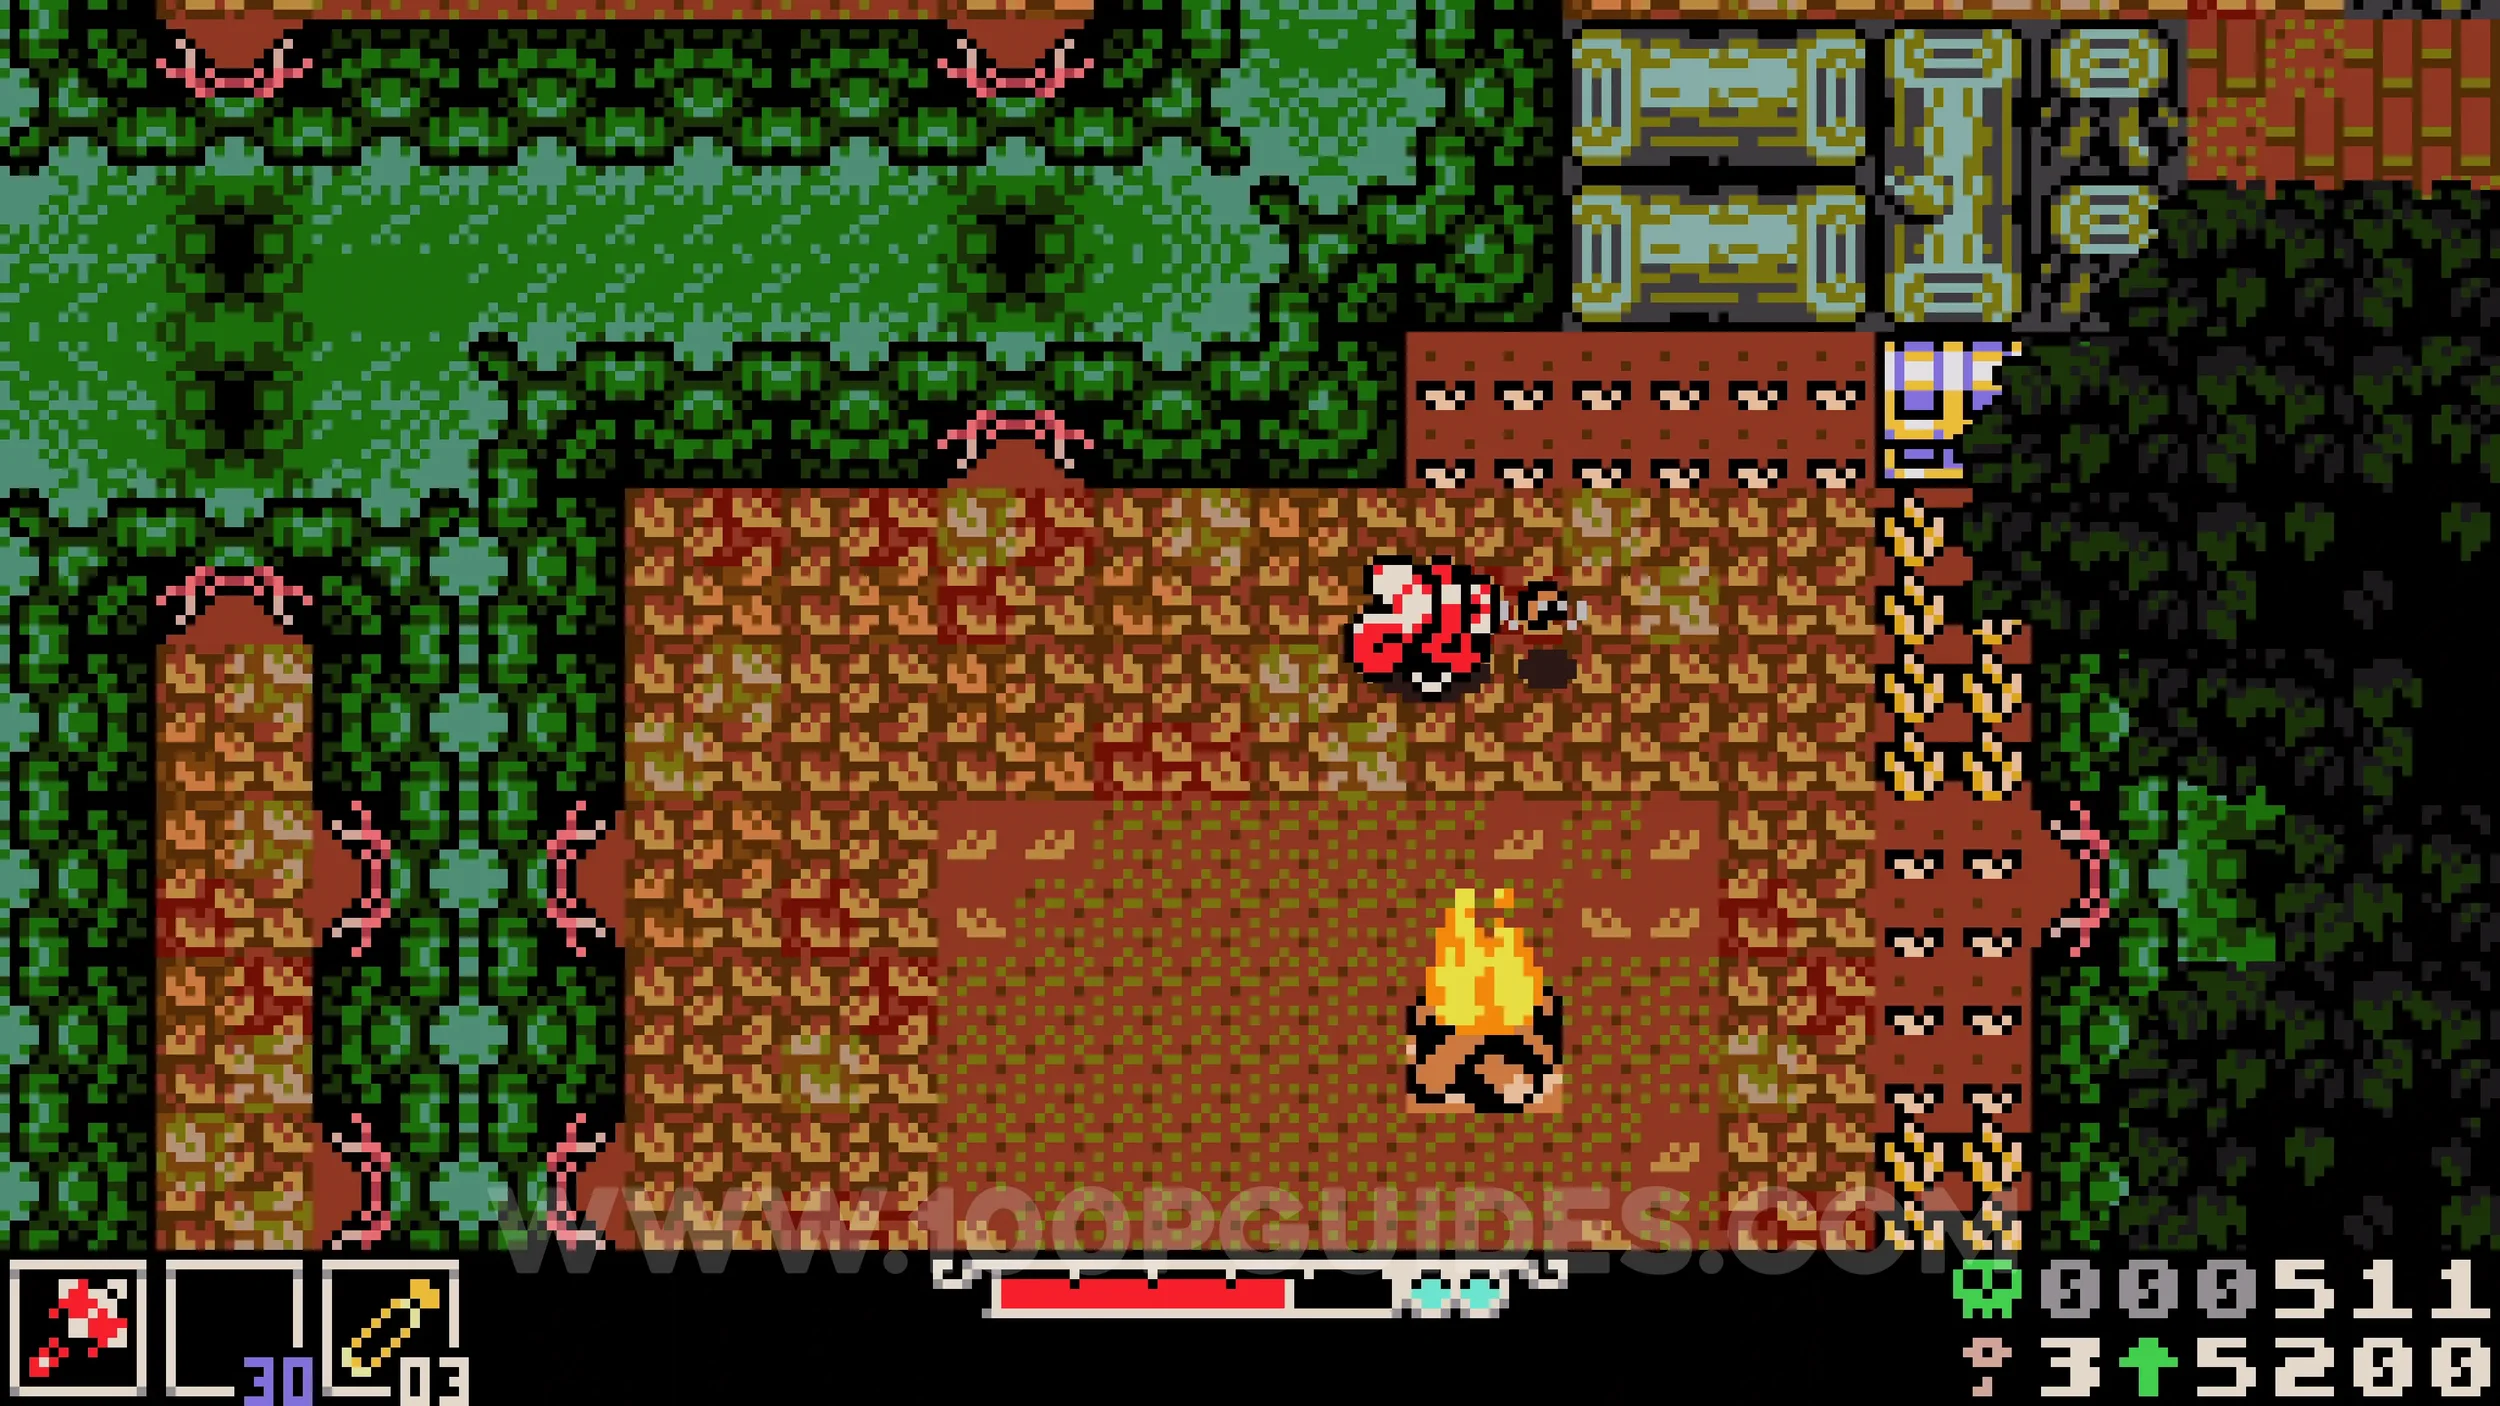
Kear #1. Continue through the level from the previous collectible until you enter a building. Pick up the torch in the left corner by burrowing under it and emerging, then carry it onto the moving platforms so that one of the flame sparks burns the leaves in the top left corner of the room, revealing a hole. Go through it to find the collectible in the next area.
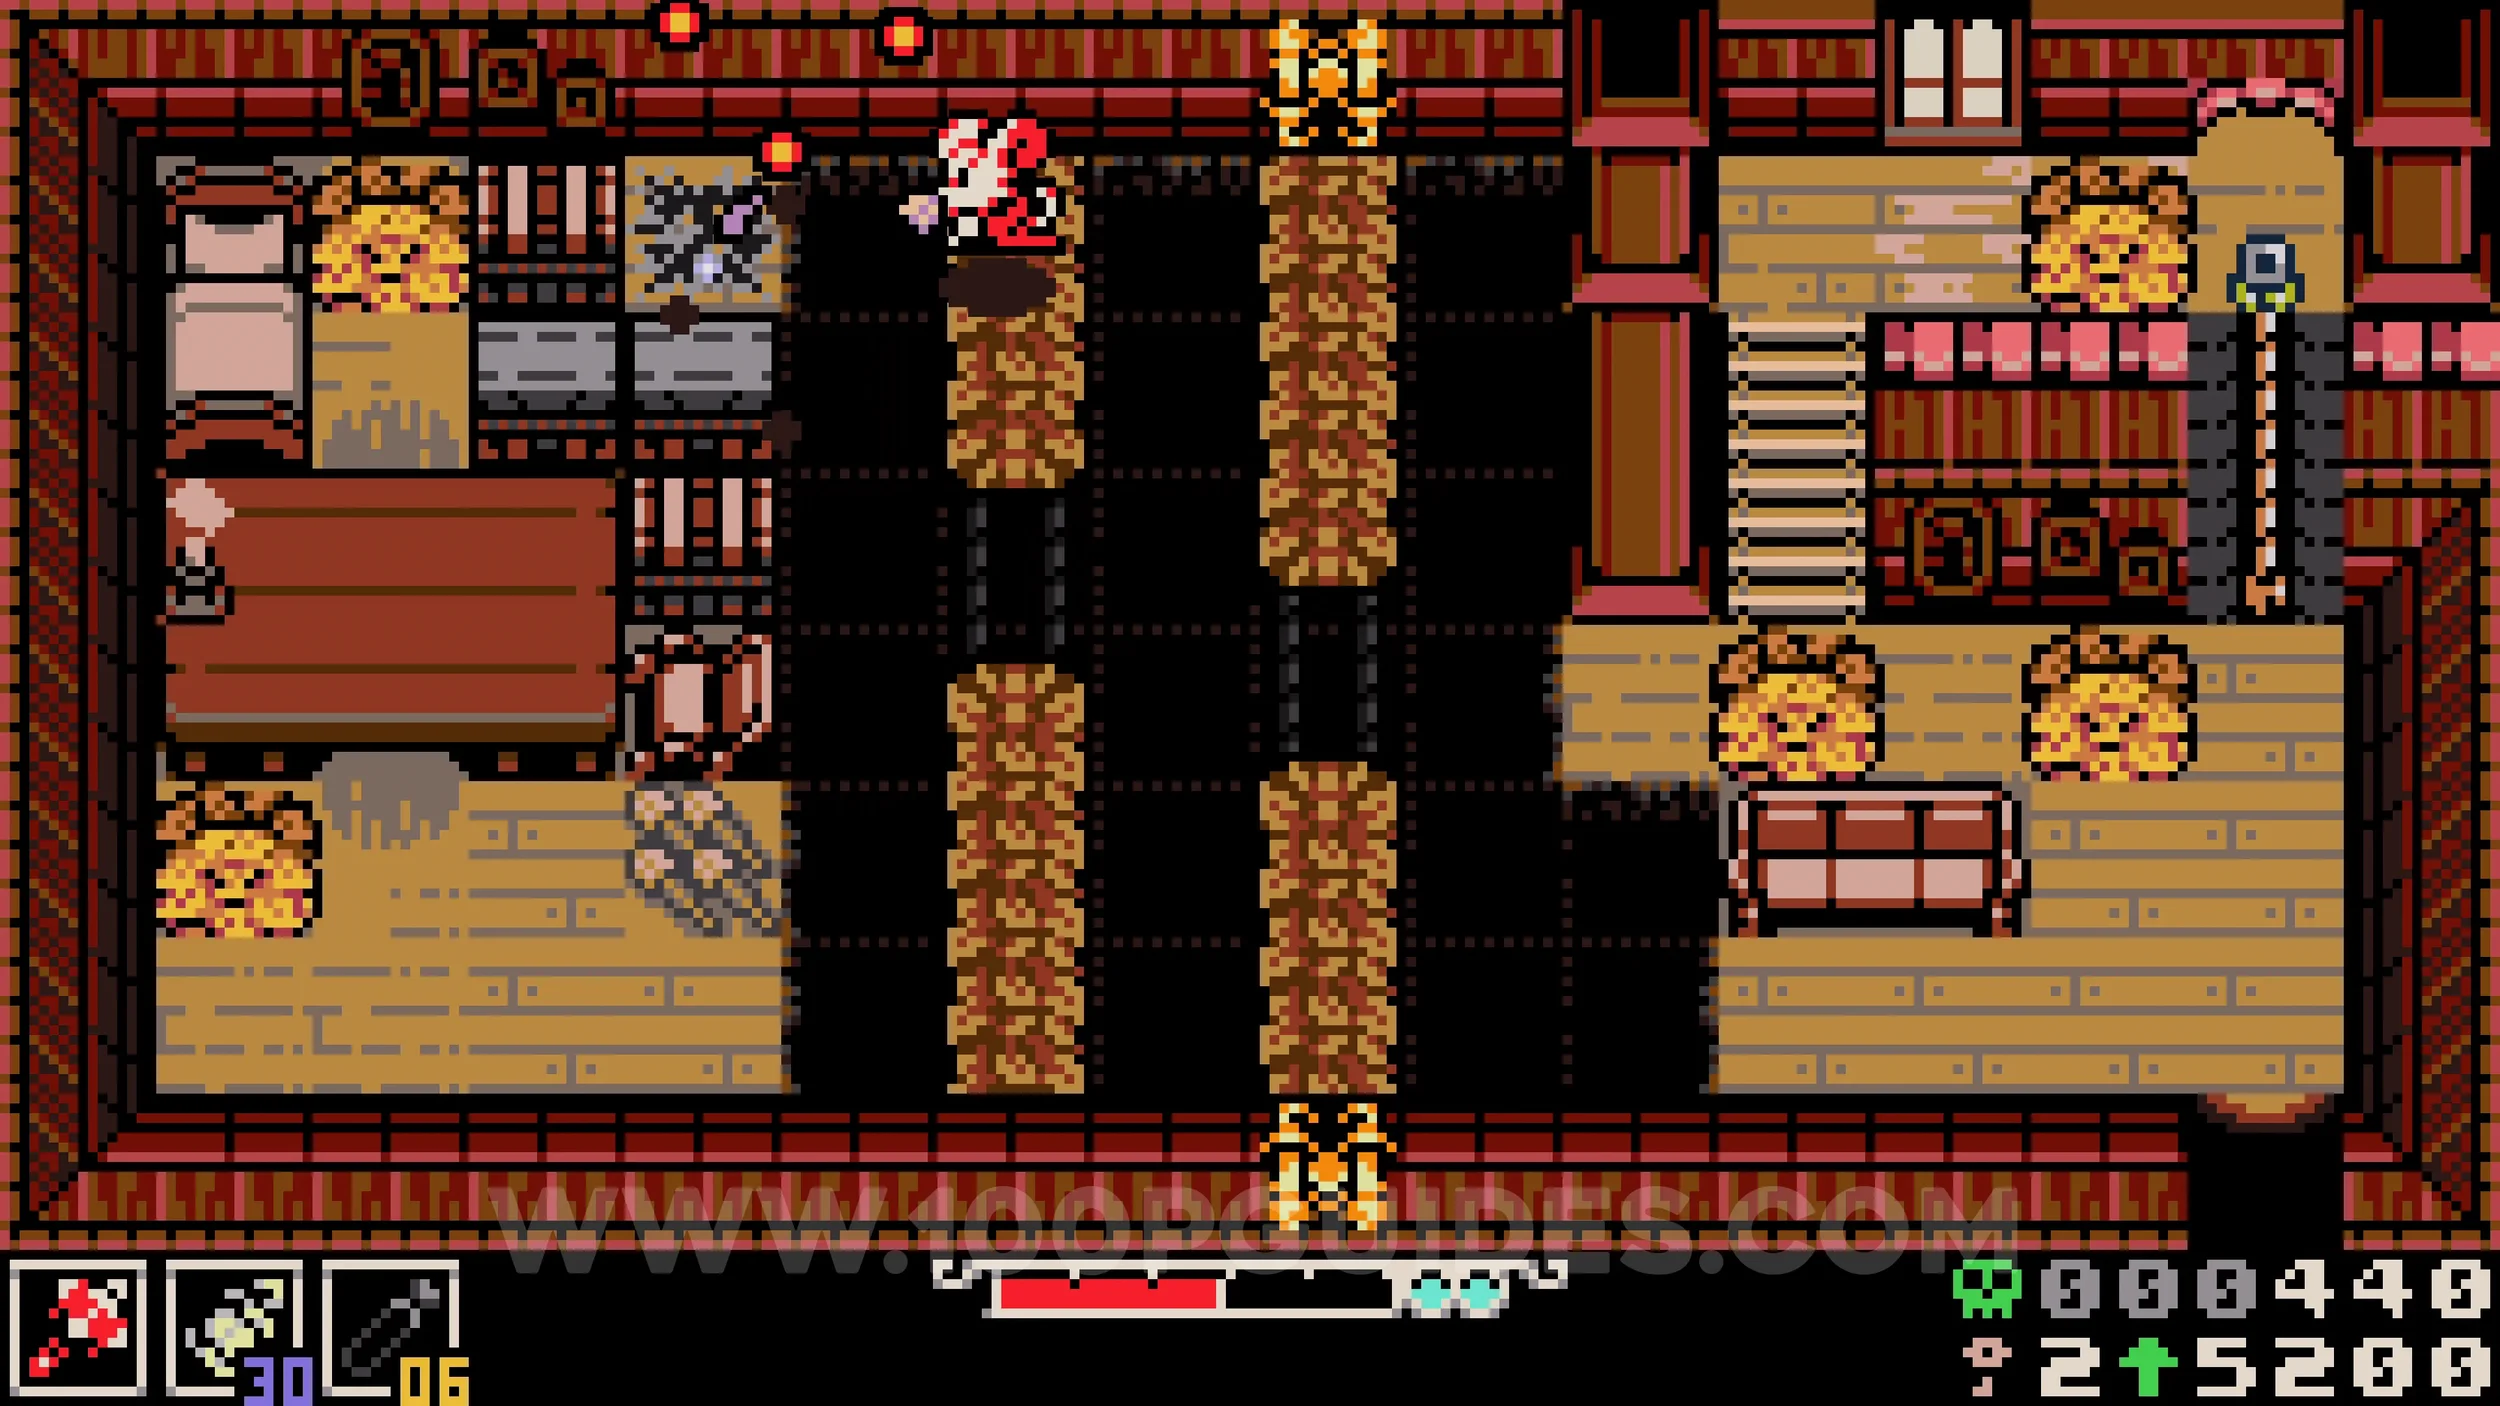
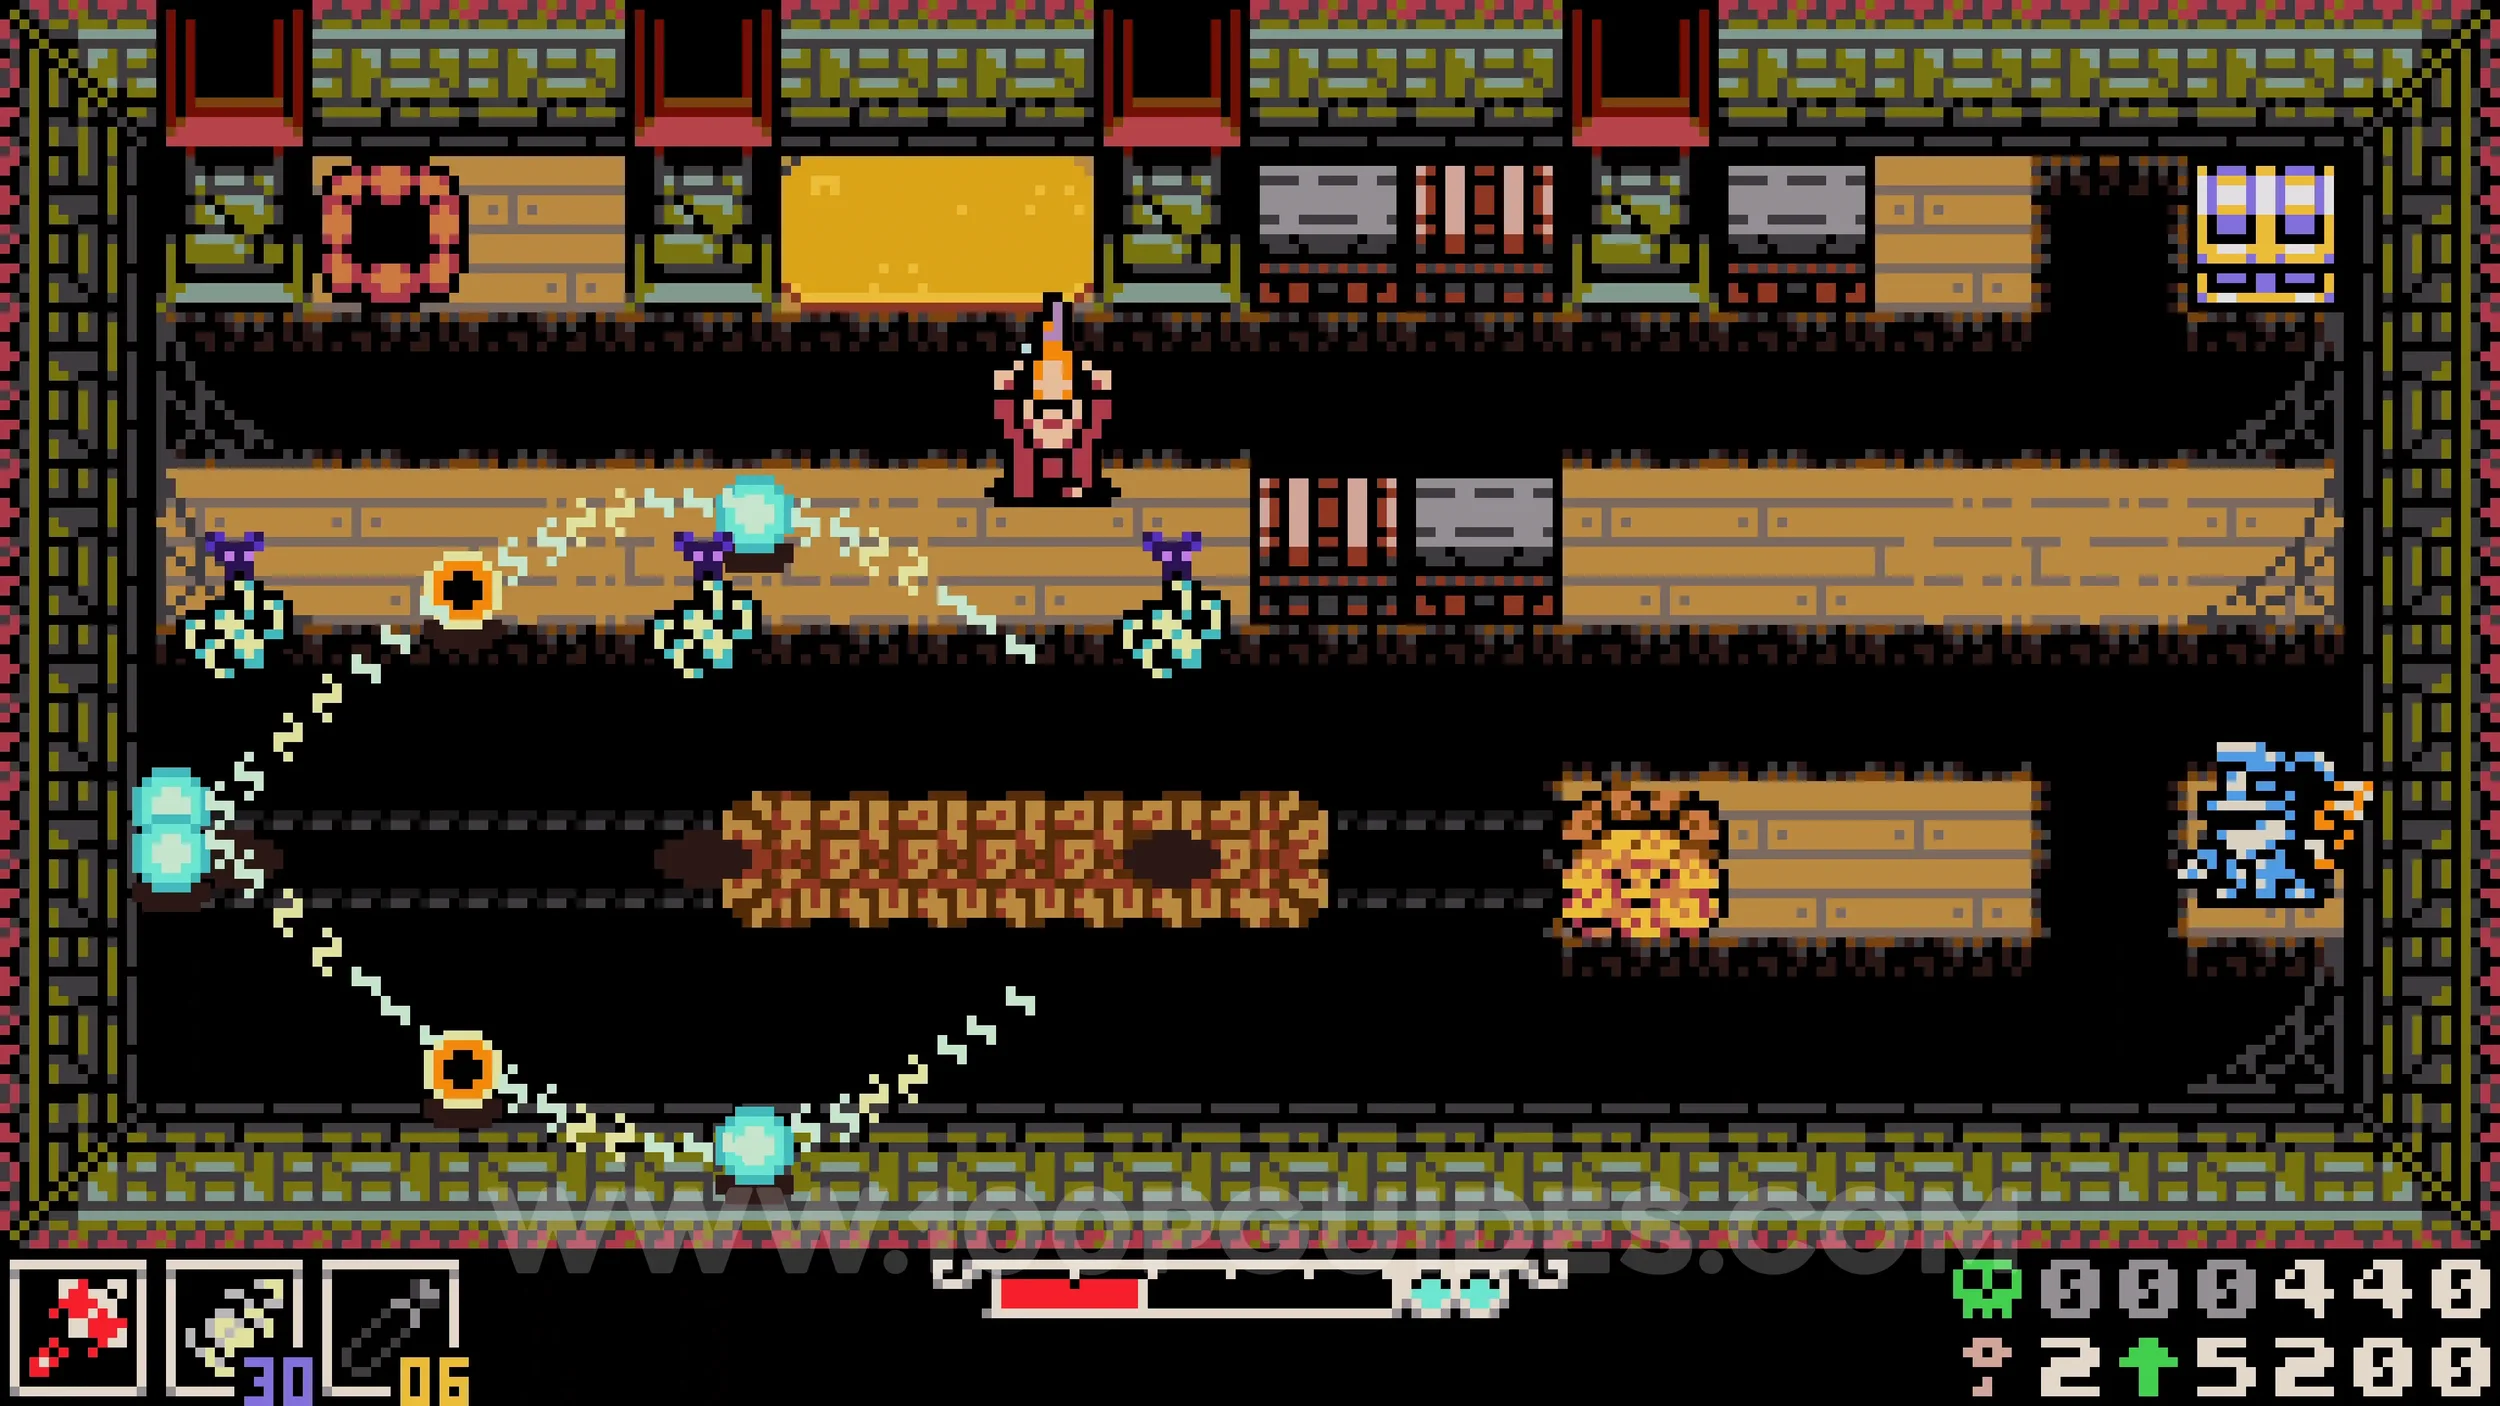
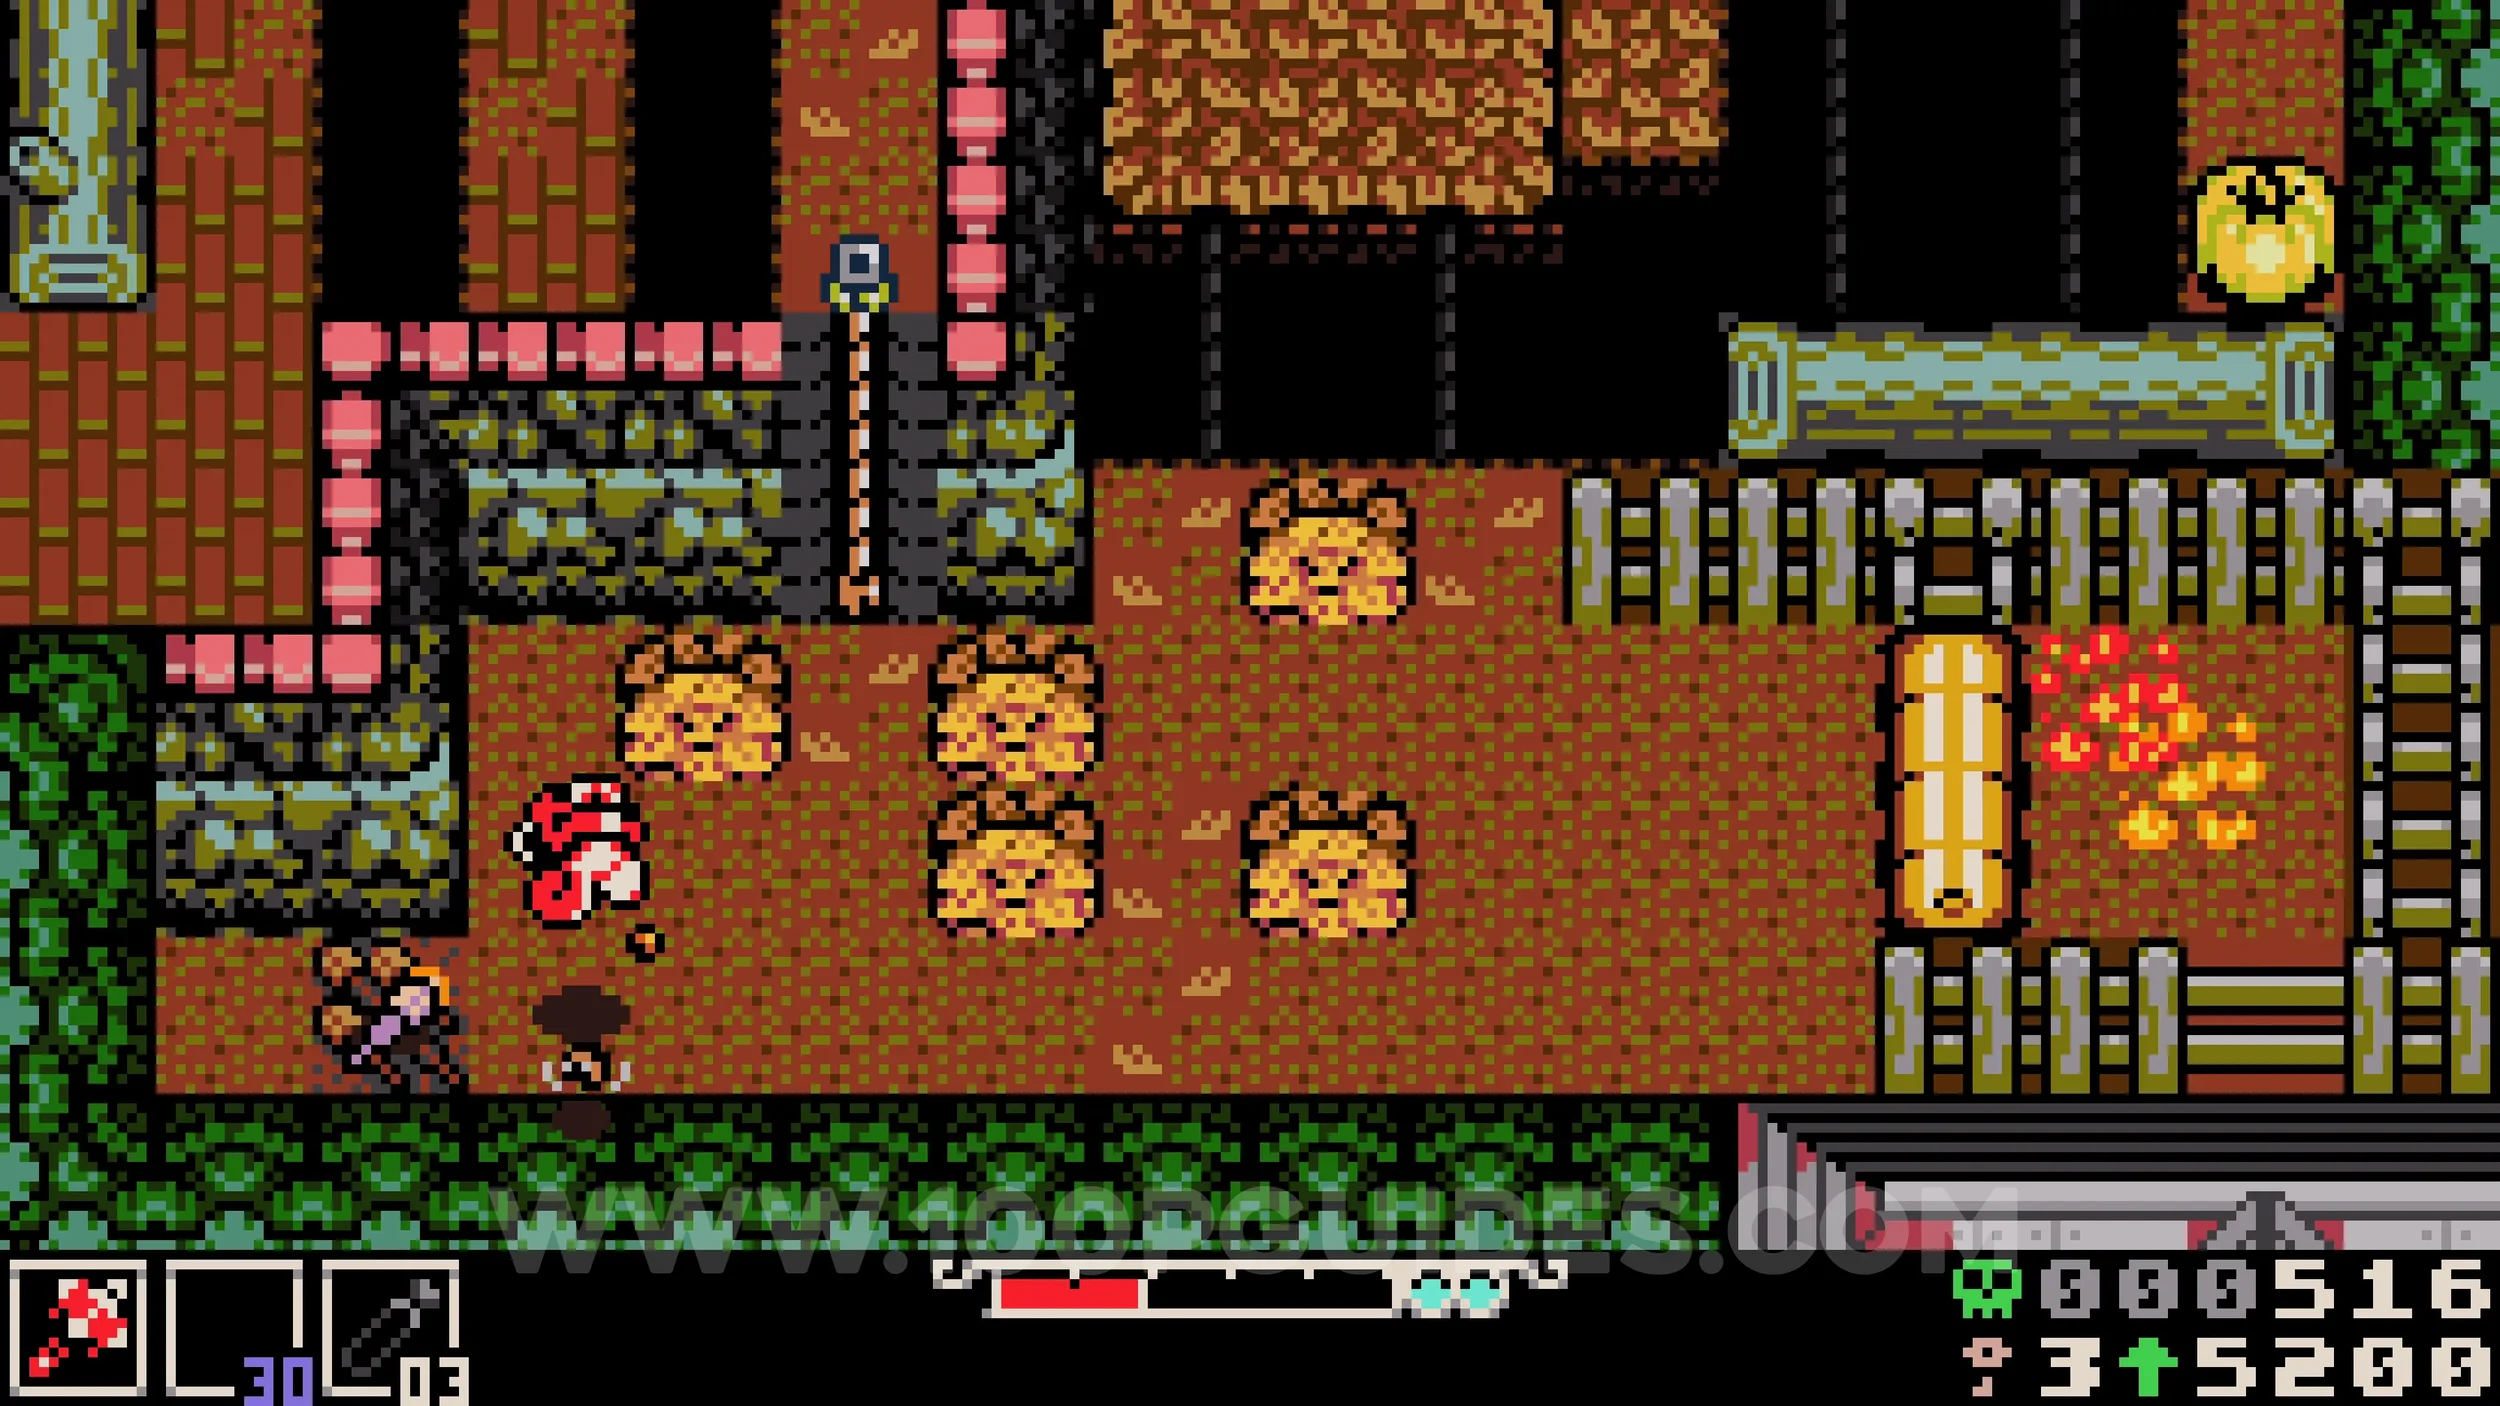
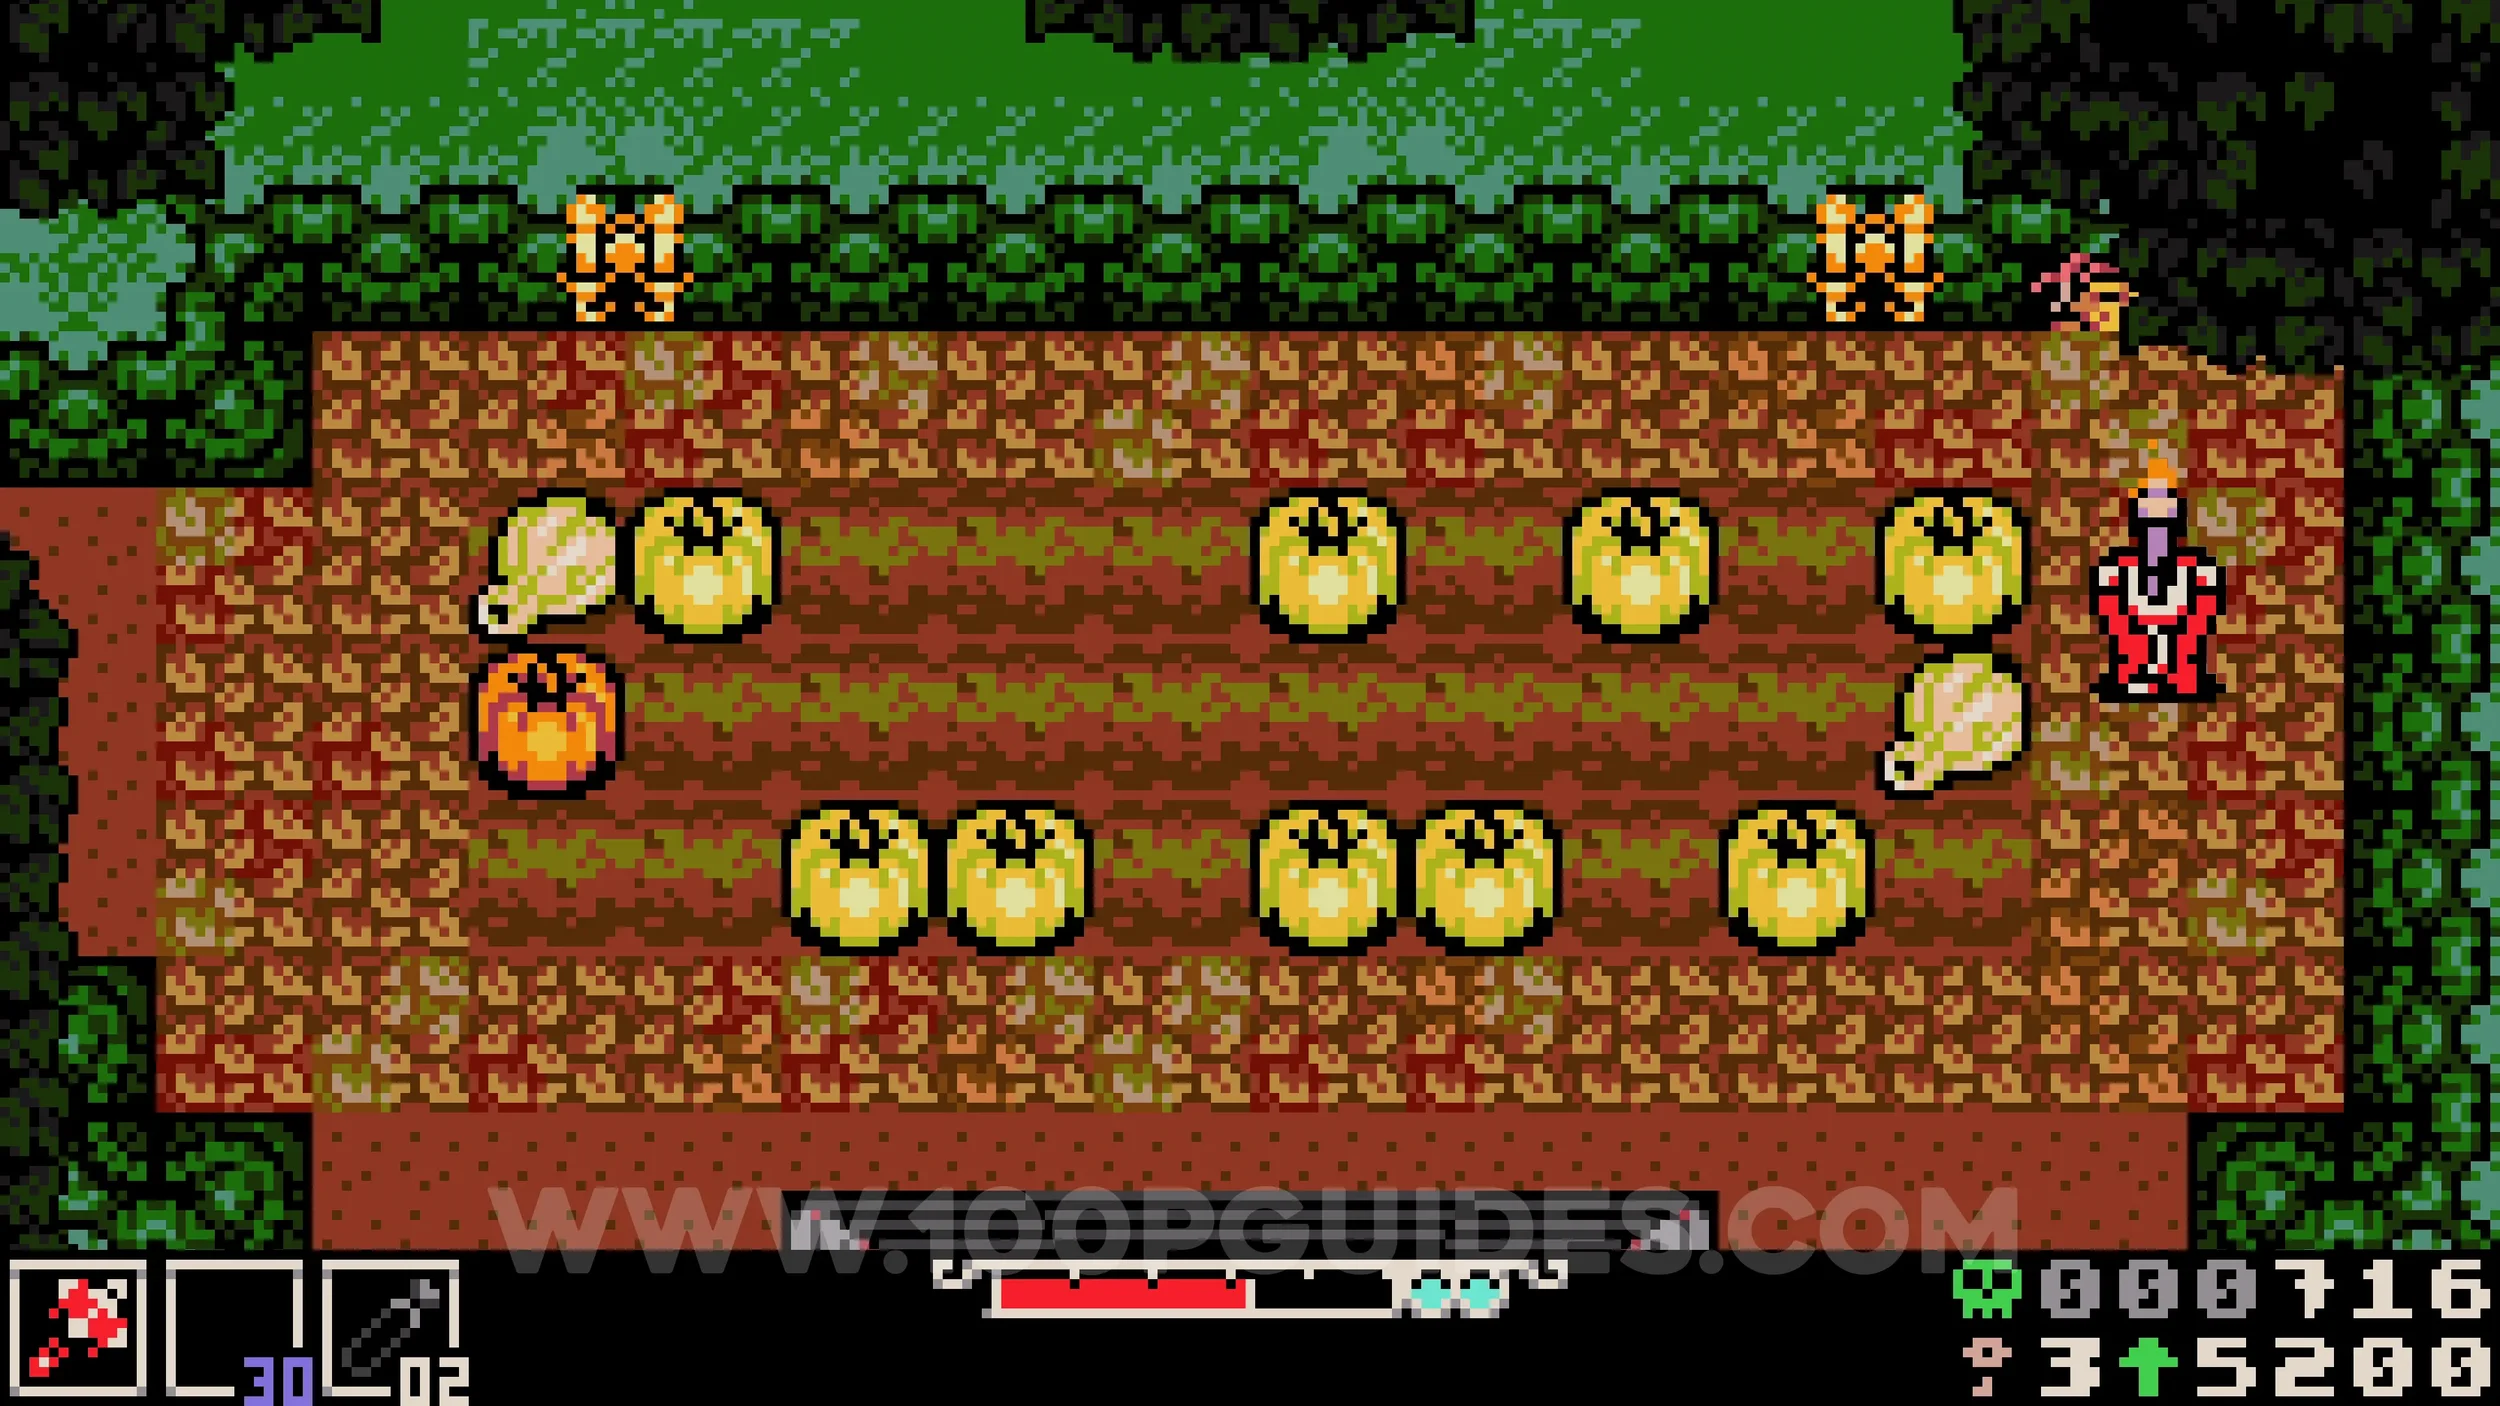
Bonestone #2. In the next room, grab the torch and carry it through the cave until you exit into the area where you defeat the house boss. Continue to the area above the house to find a small hole filled with leaves in the top right corner. Use the torch to burn them and collect the collectible.
Trinkets #1-3 & Kear #2. Can be purchased from the NPC inside the house after the boss fight.
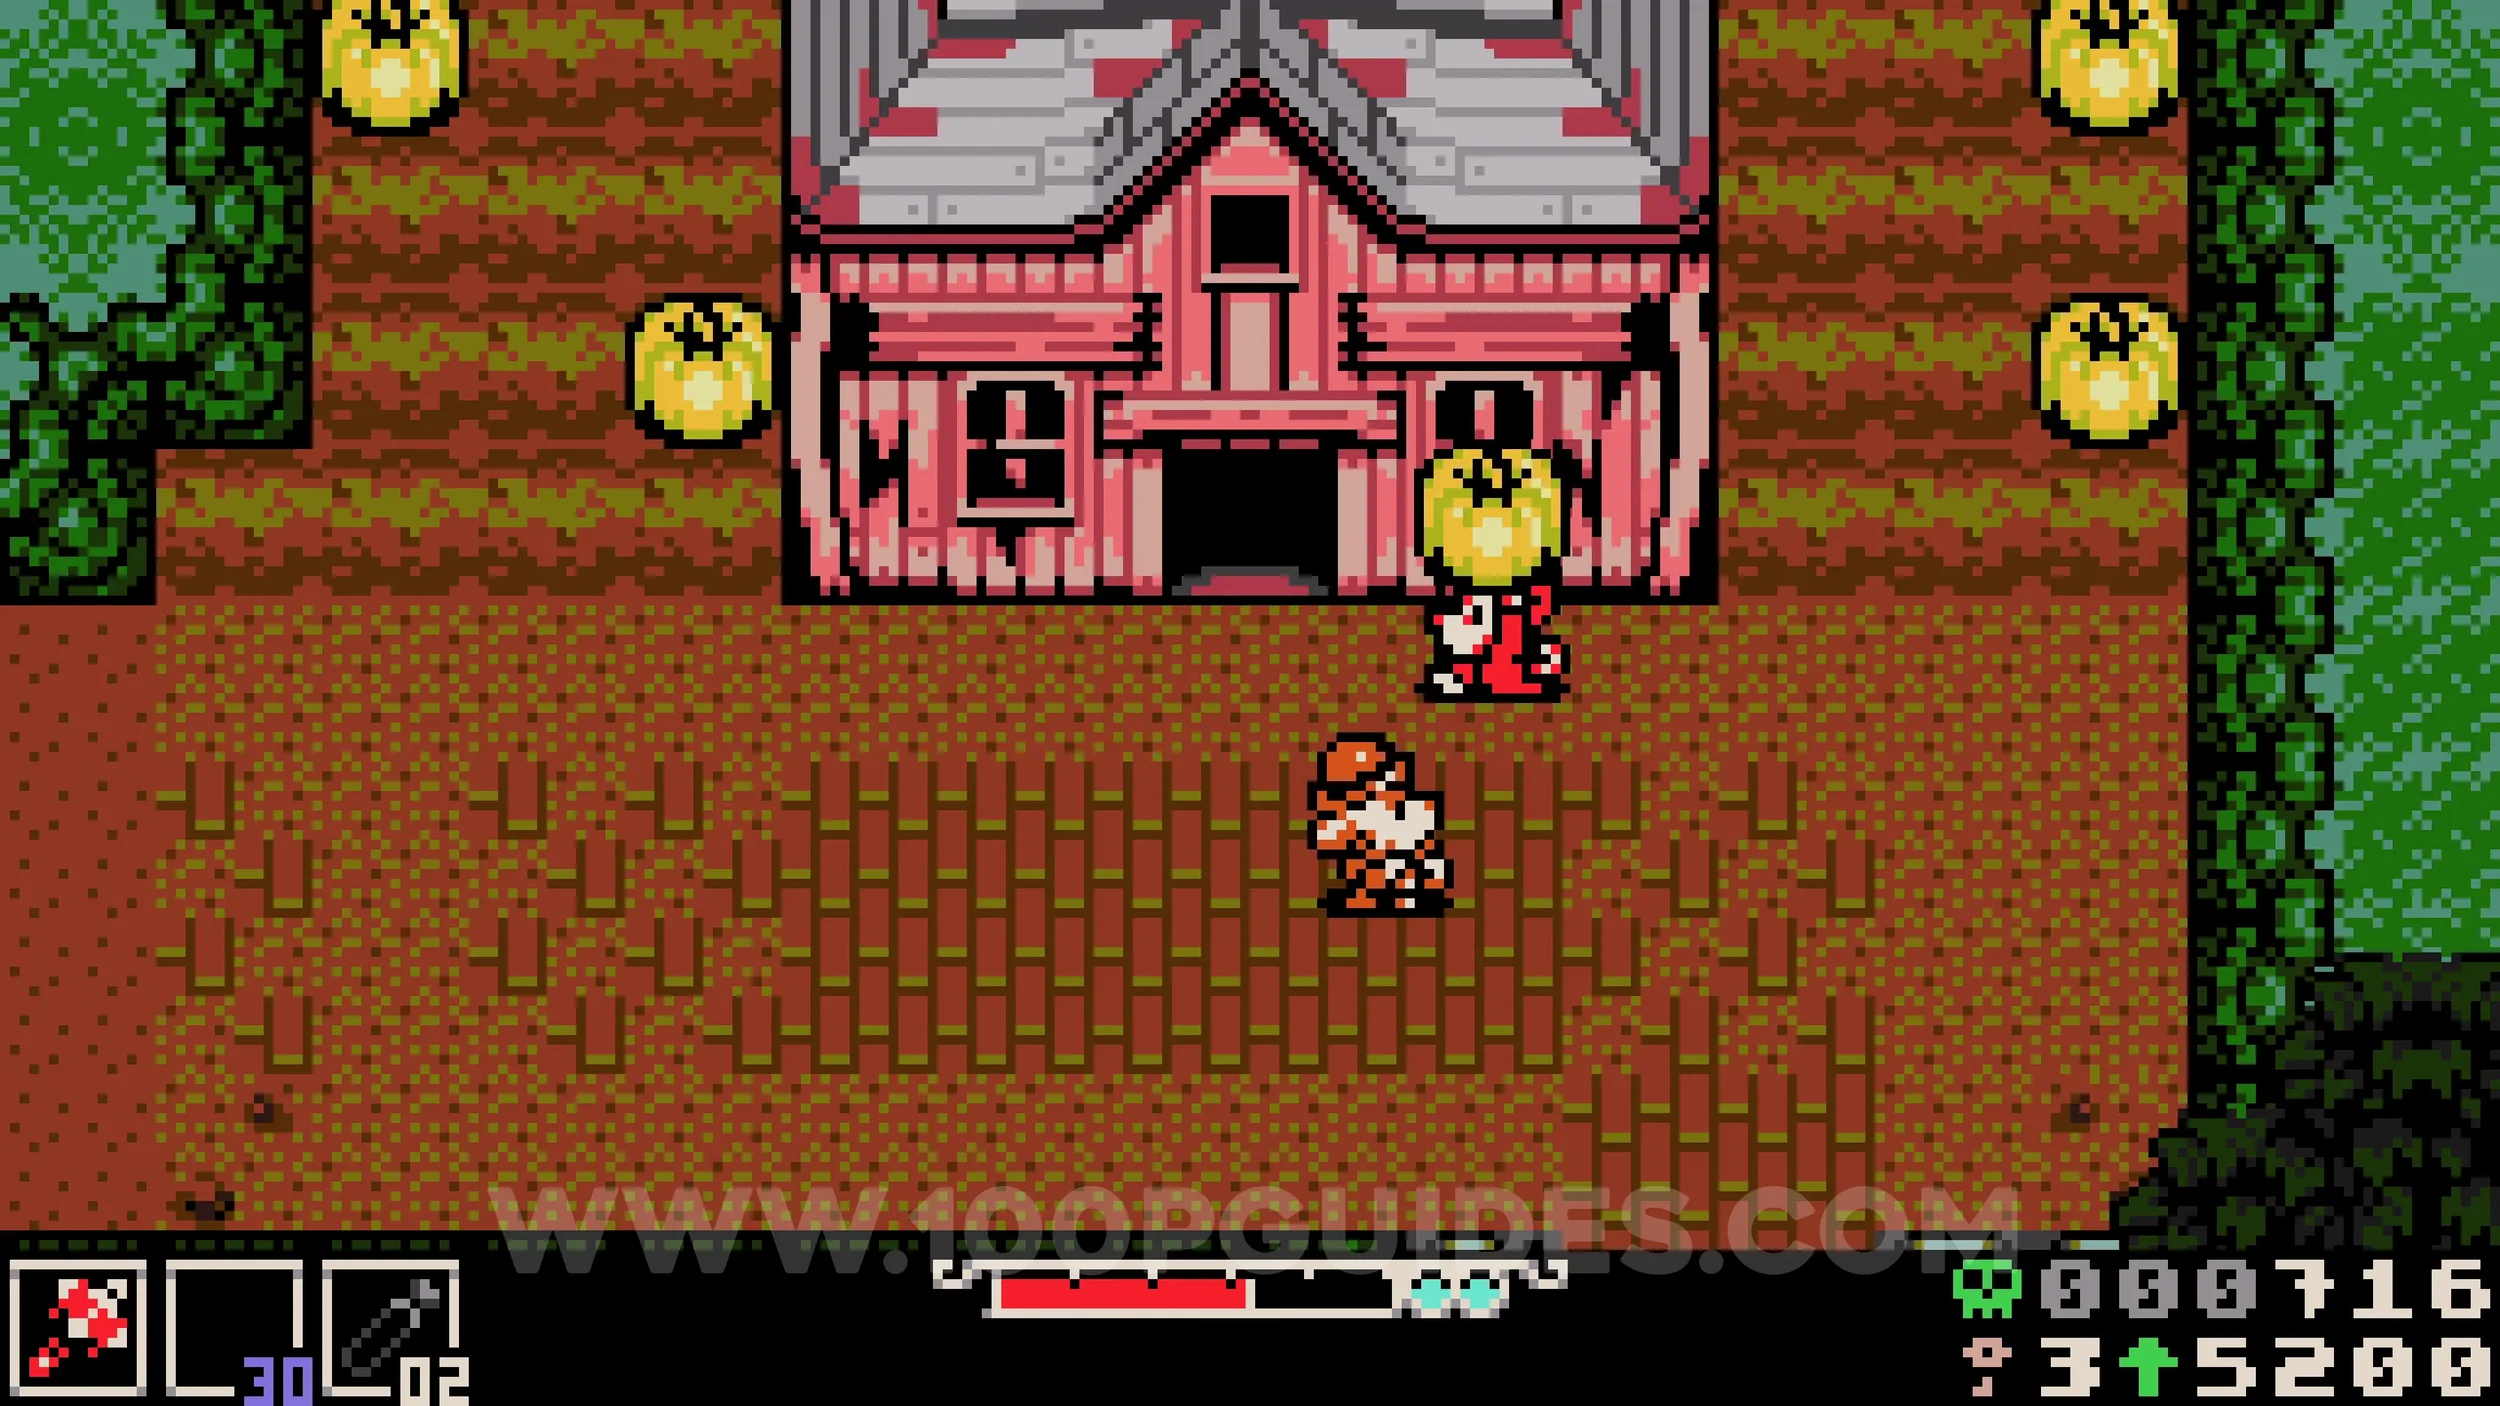
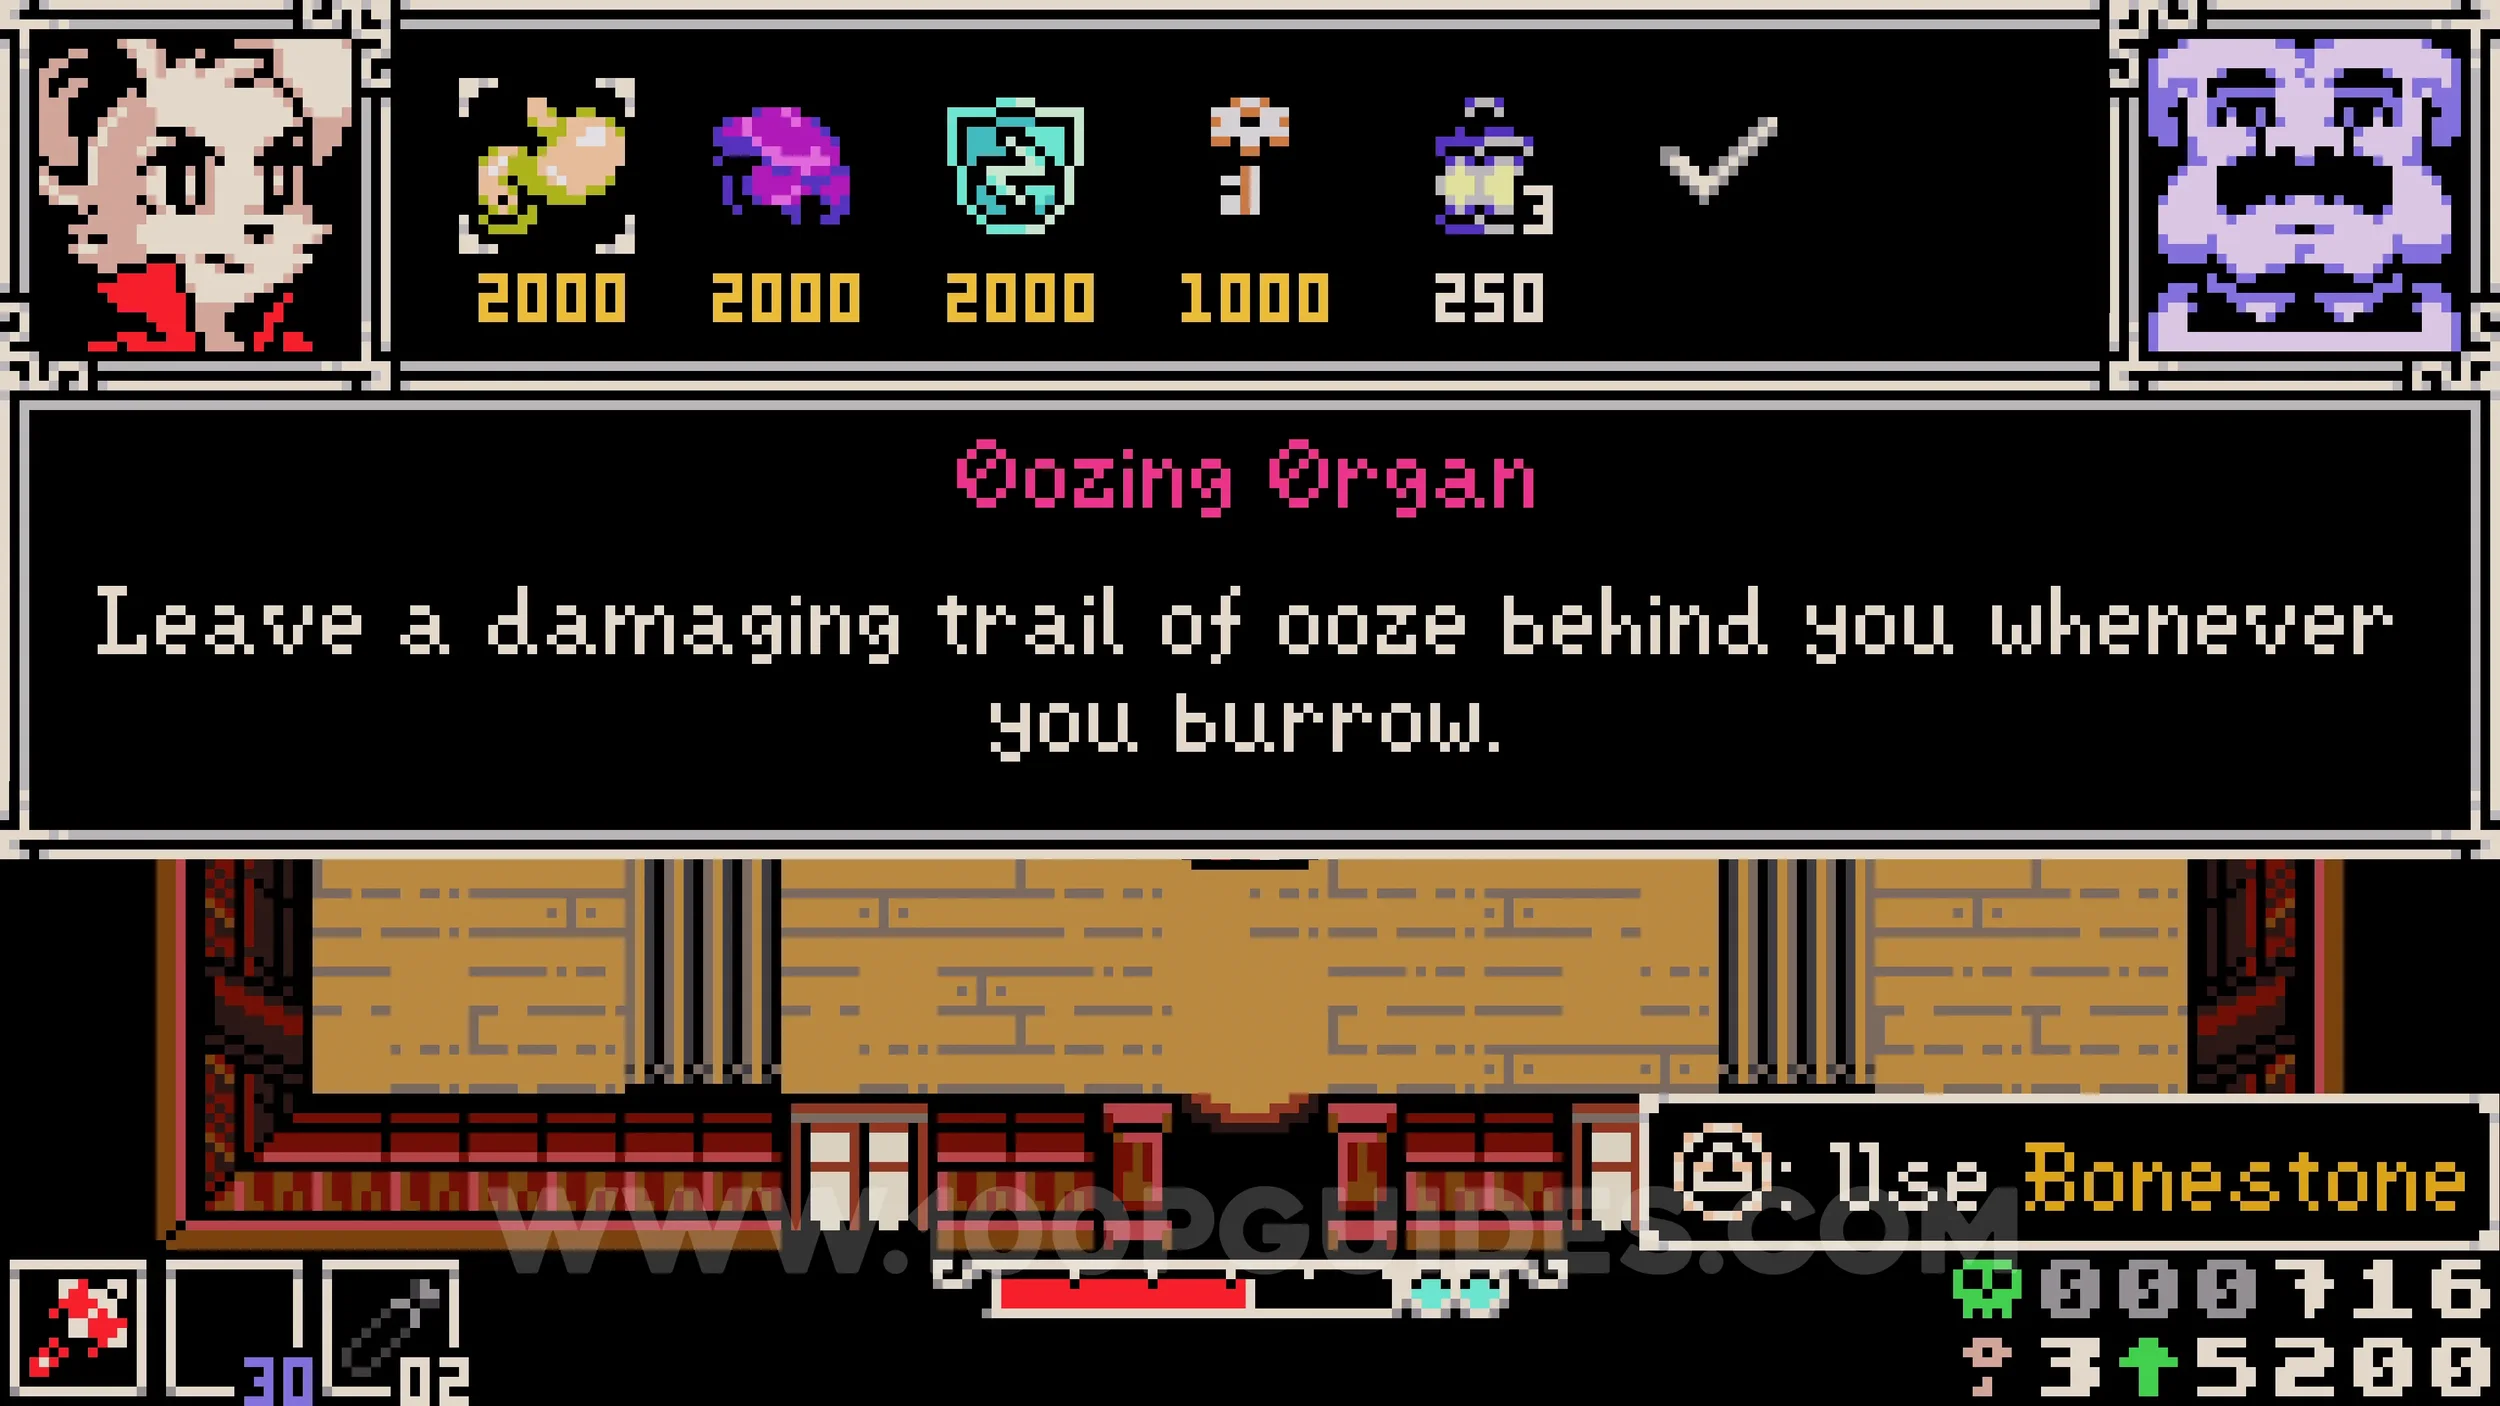
Bonestone #3. Go to the screen left of the house and then immediately up. Burrow under the fence on your left to find an NPC with a pumpkin head. Use the Oozing Organ trinket purchased from the NPC in the house to leave a trail of acid beneath the NPC by burrowing. With the acid in place, talk to him to receive the bonestone.
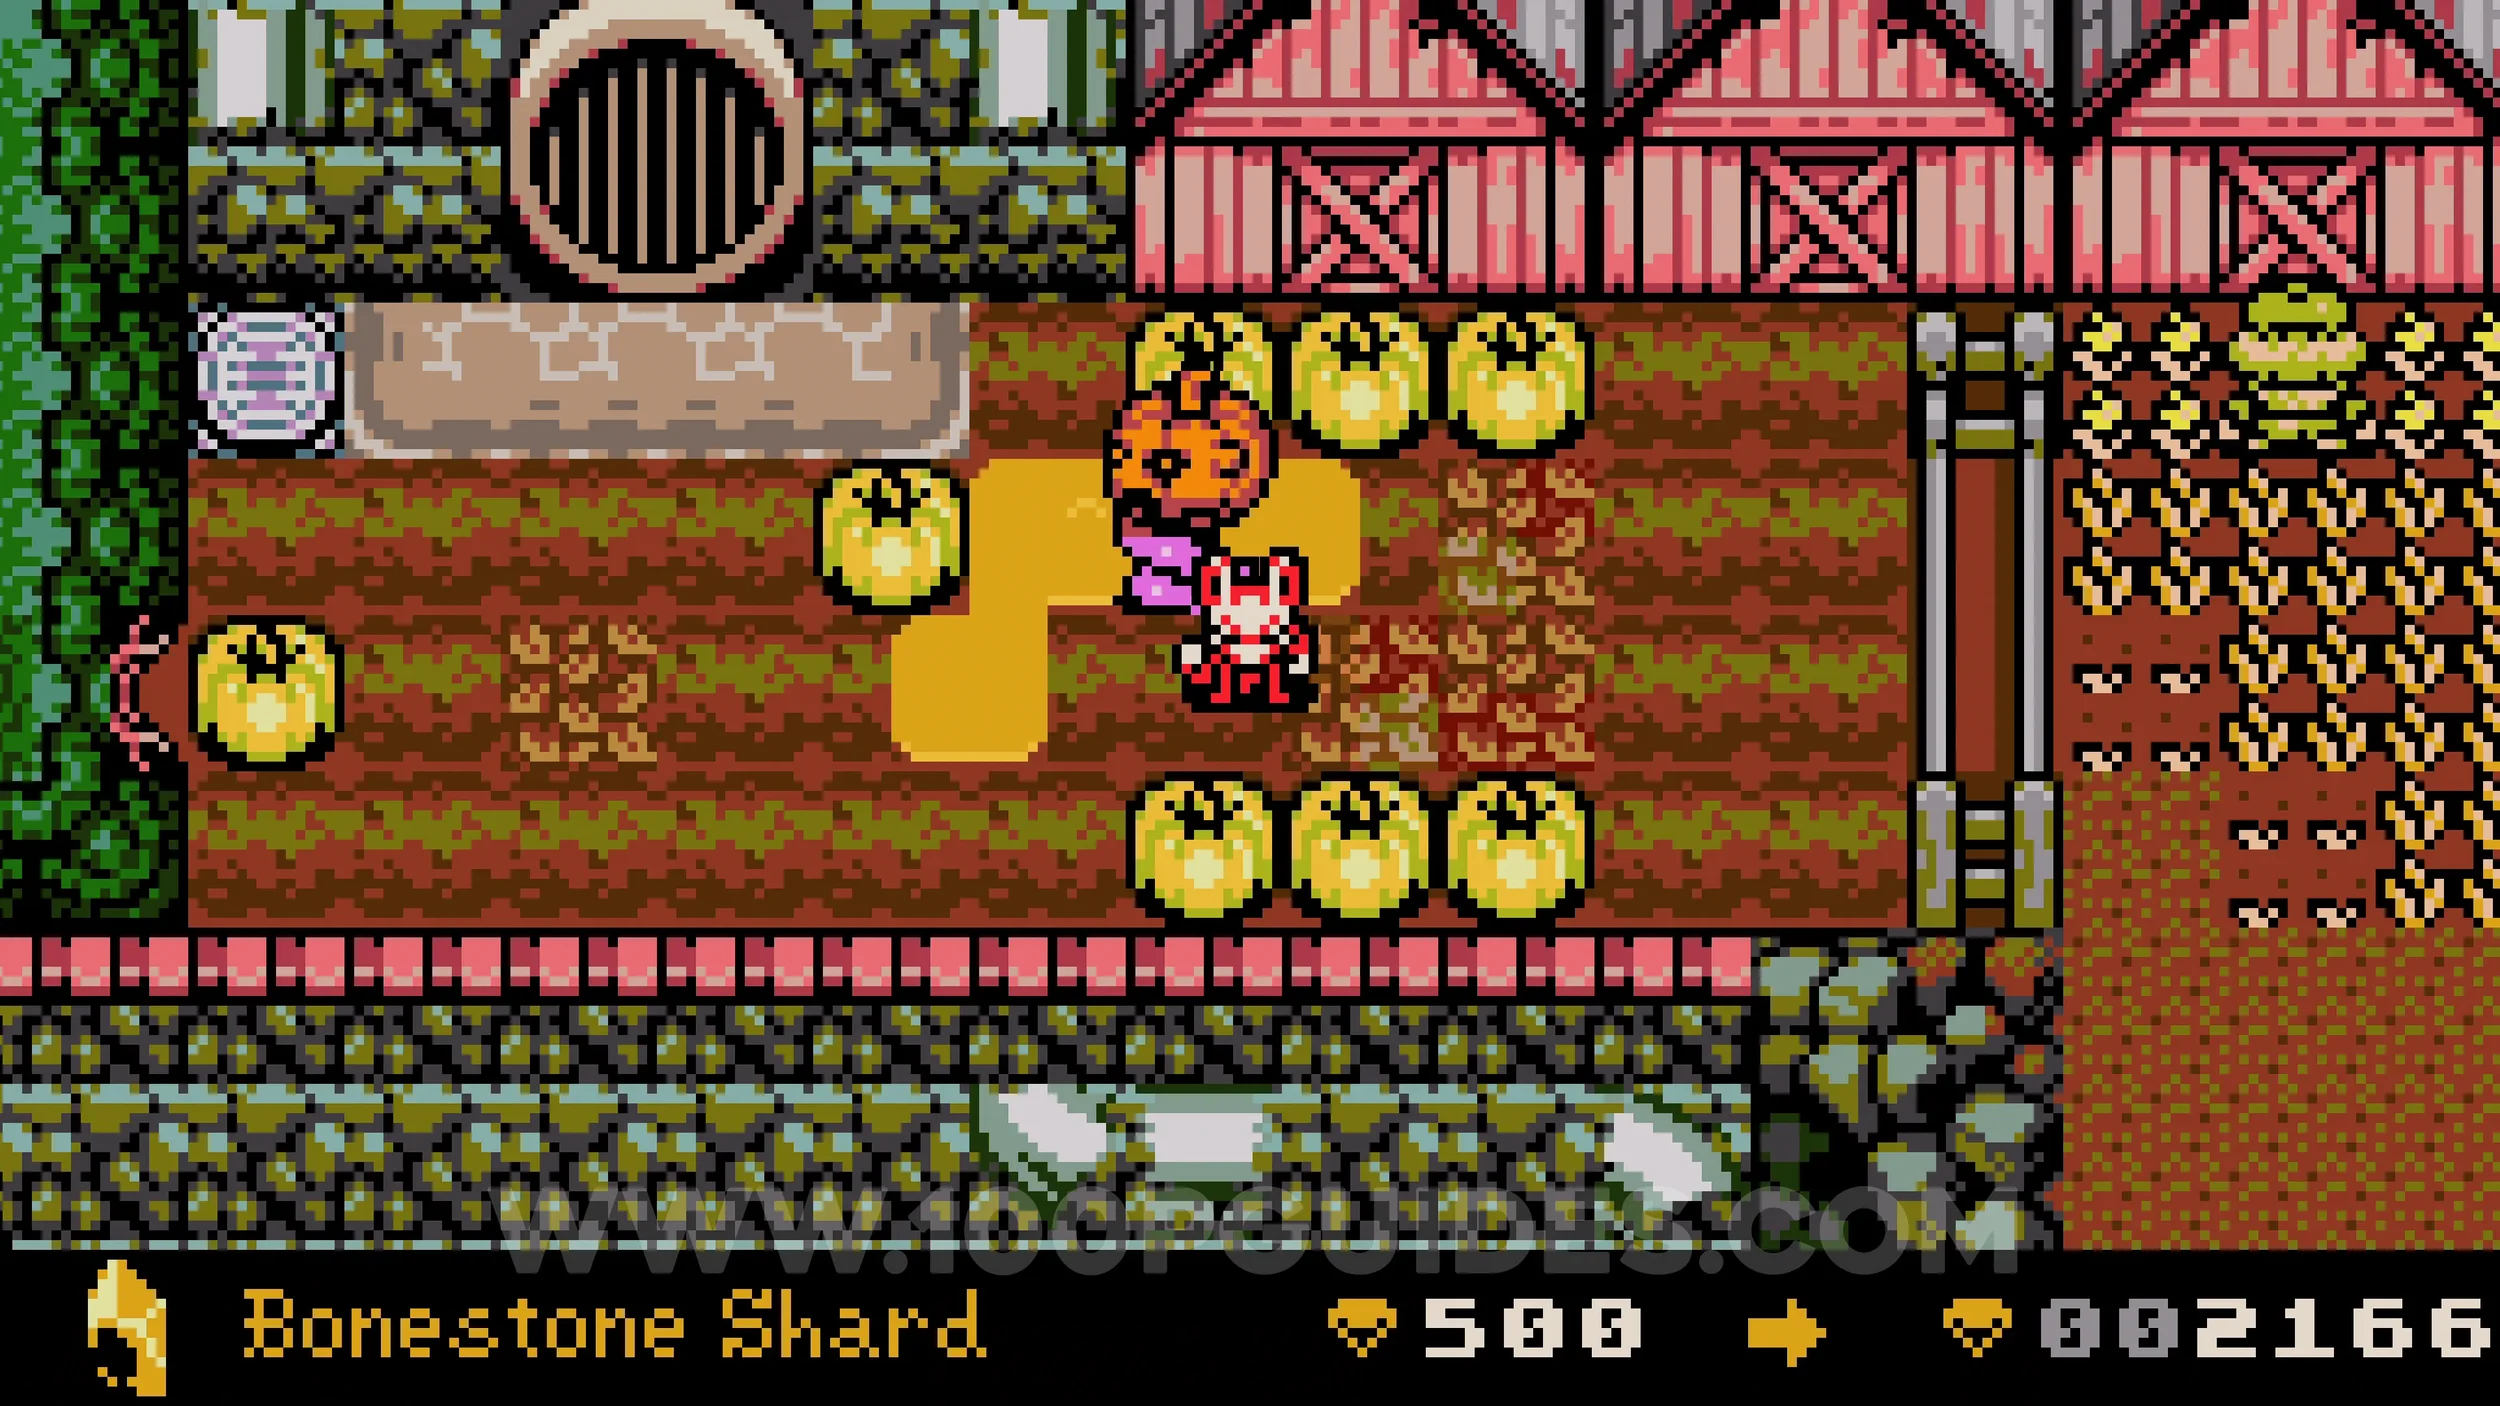
Bonestone #4. From the previous NPC, go through the green area to the left and exit through the bottom to the right of the rope, dropping down to the chest containing the collectible.
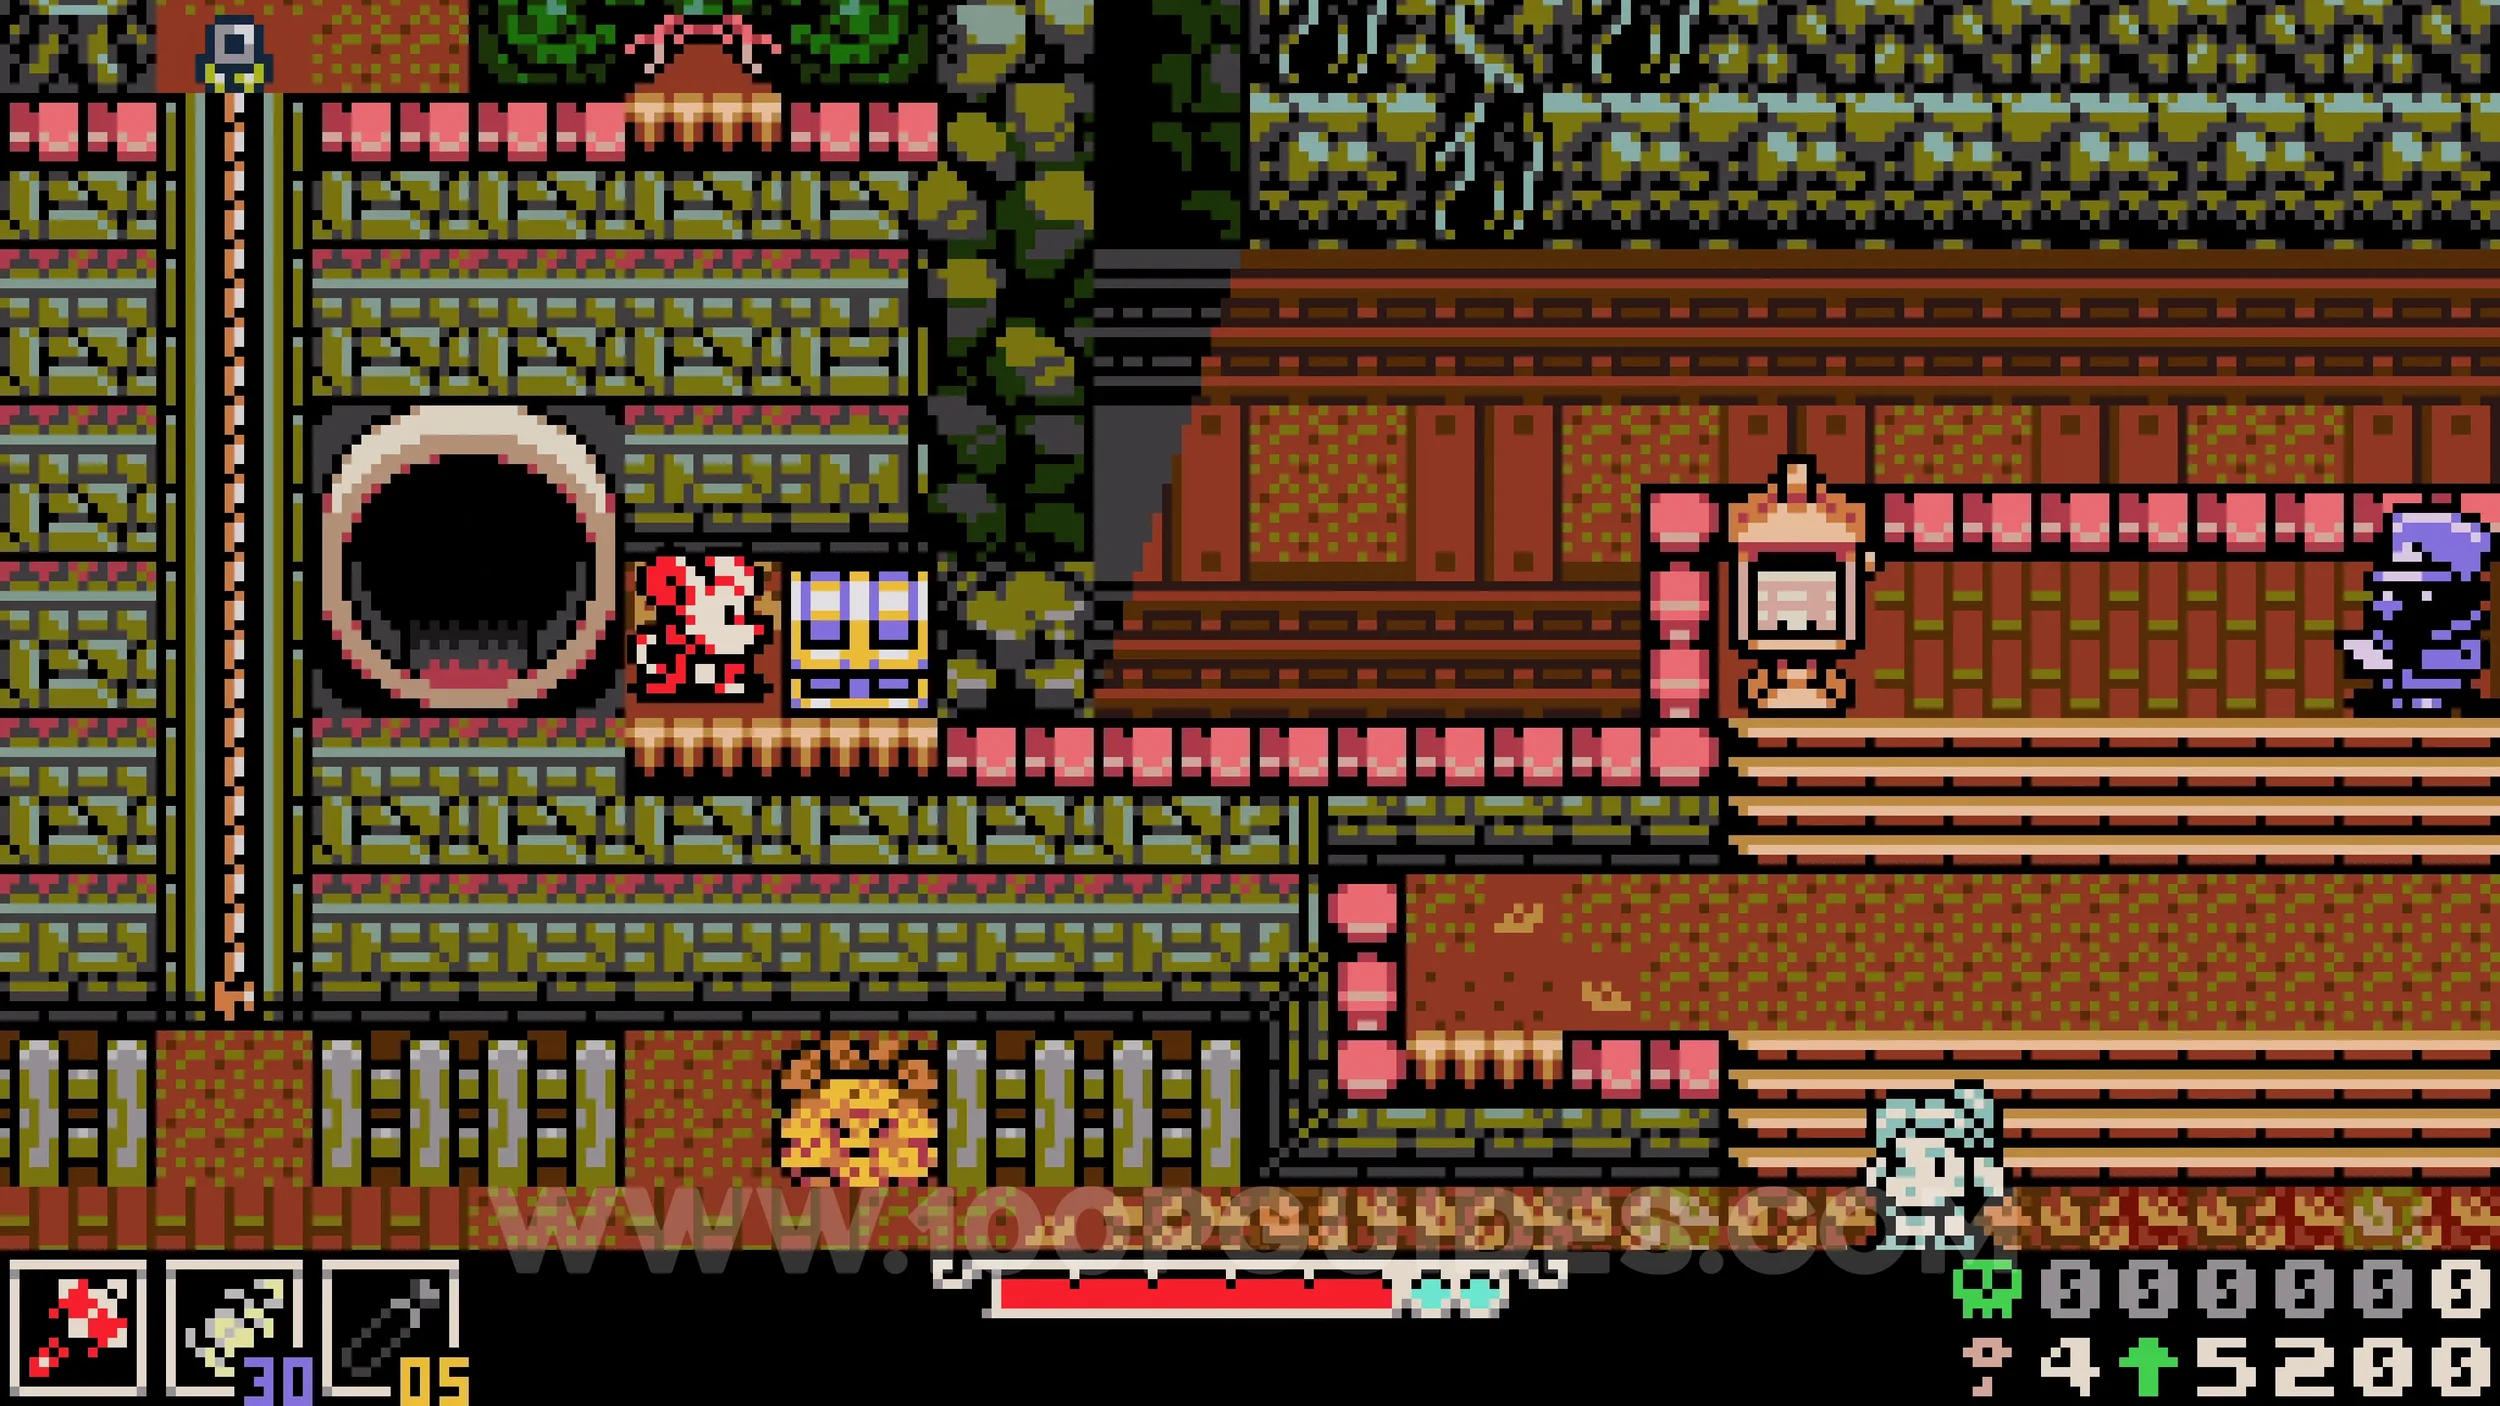
Kear #3. Return to the green area and enter the house at the top. Throw a sidearm over the chair to destroy the chest, then destroy the candle on the top wall and go through the hole behind it. Once outside the back of the house, enter the hidden hole on the left side to come through where the chest was.
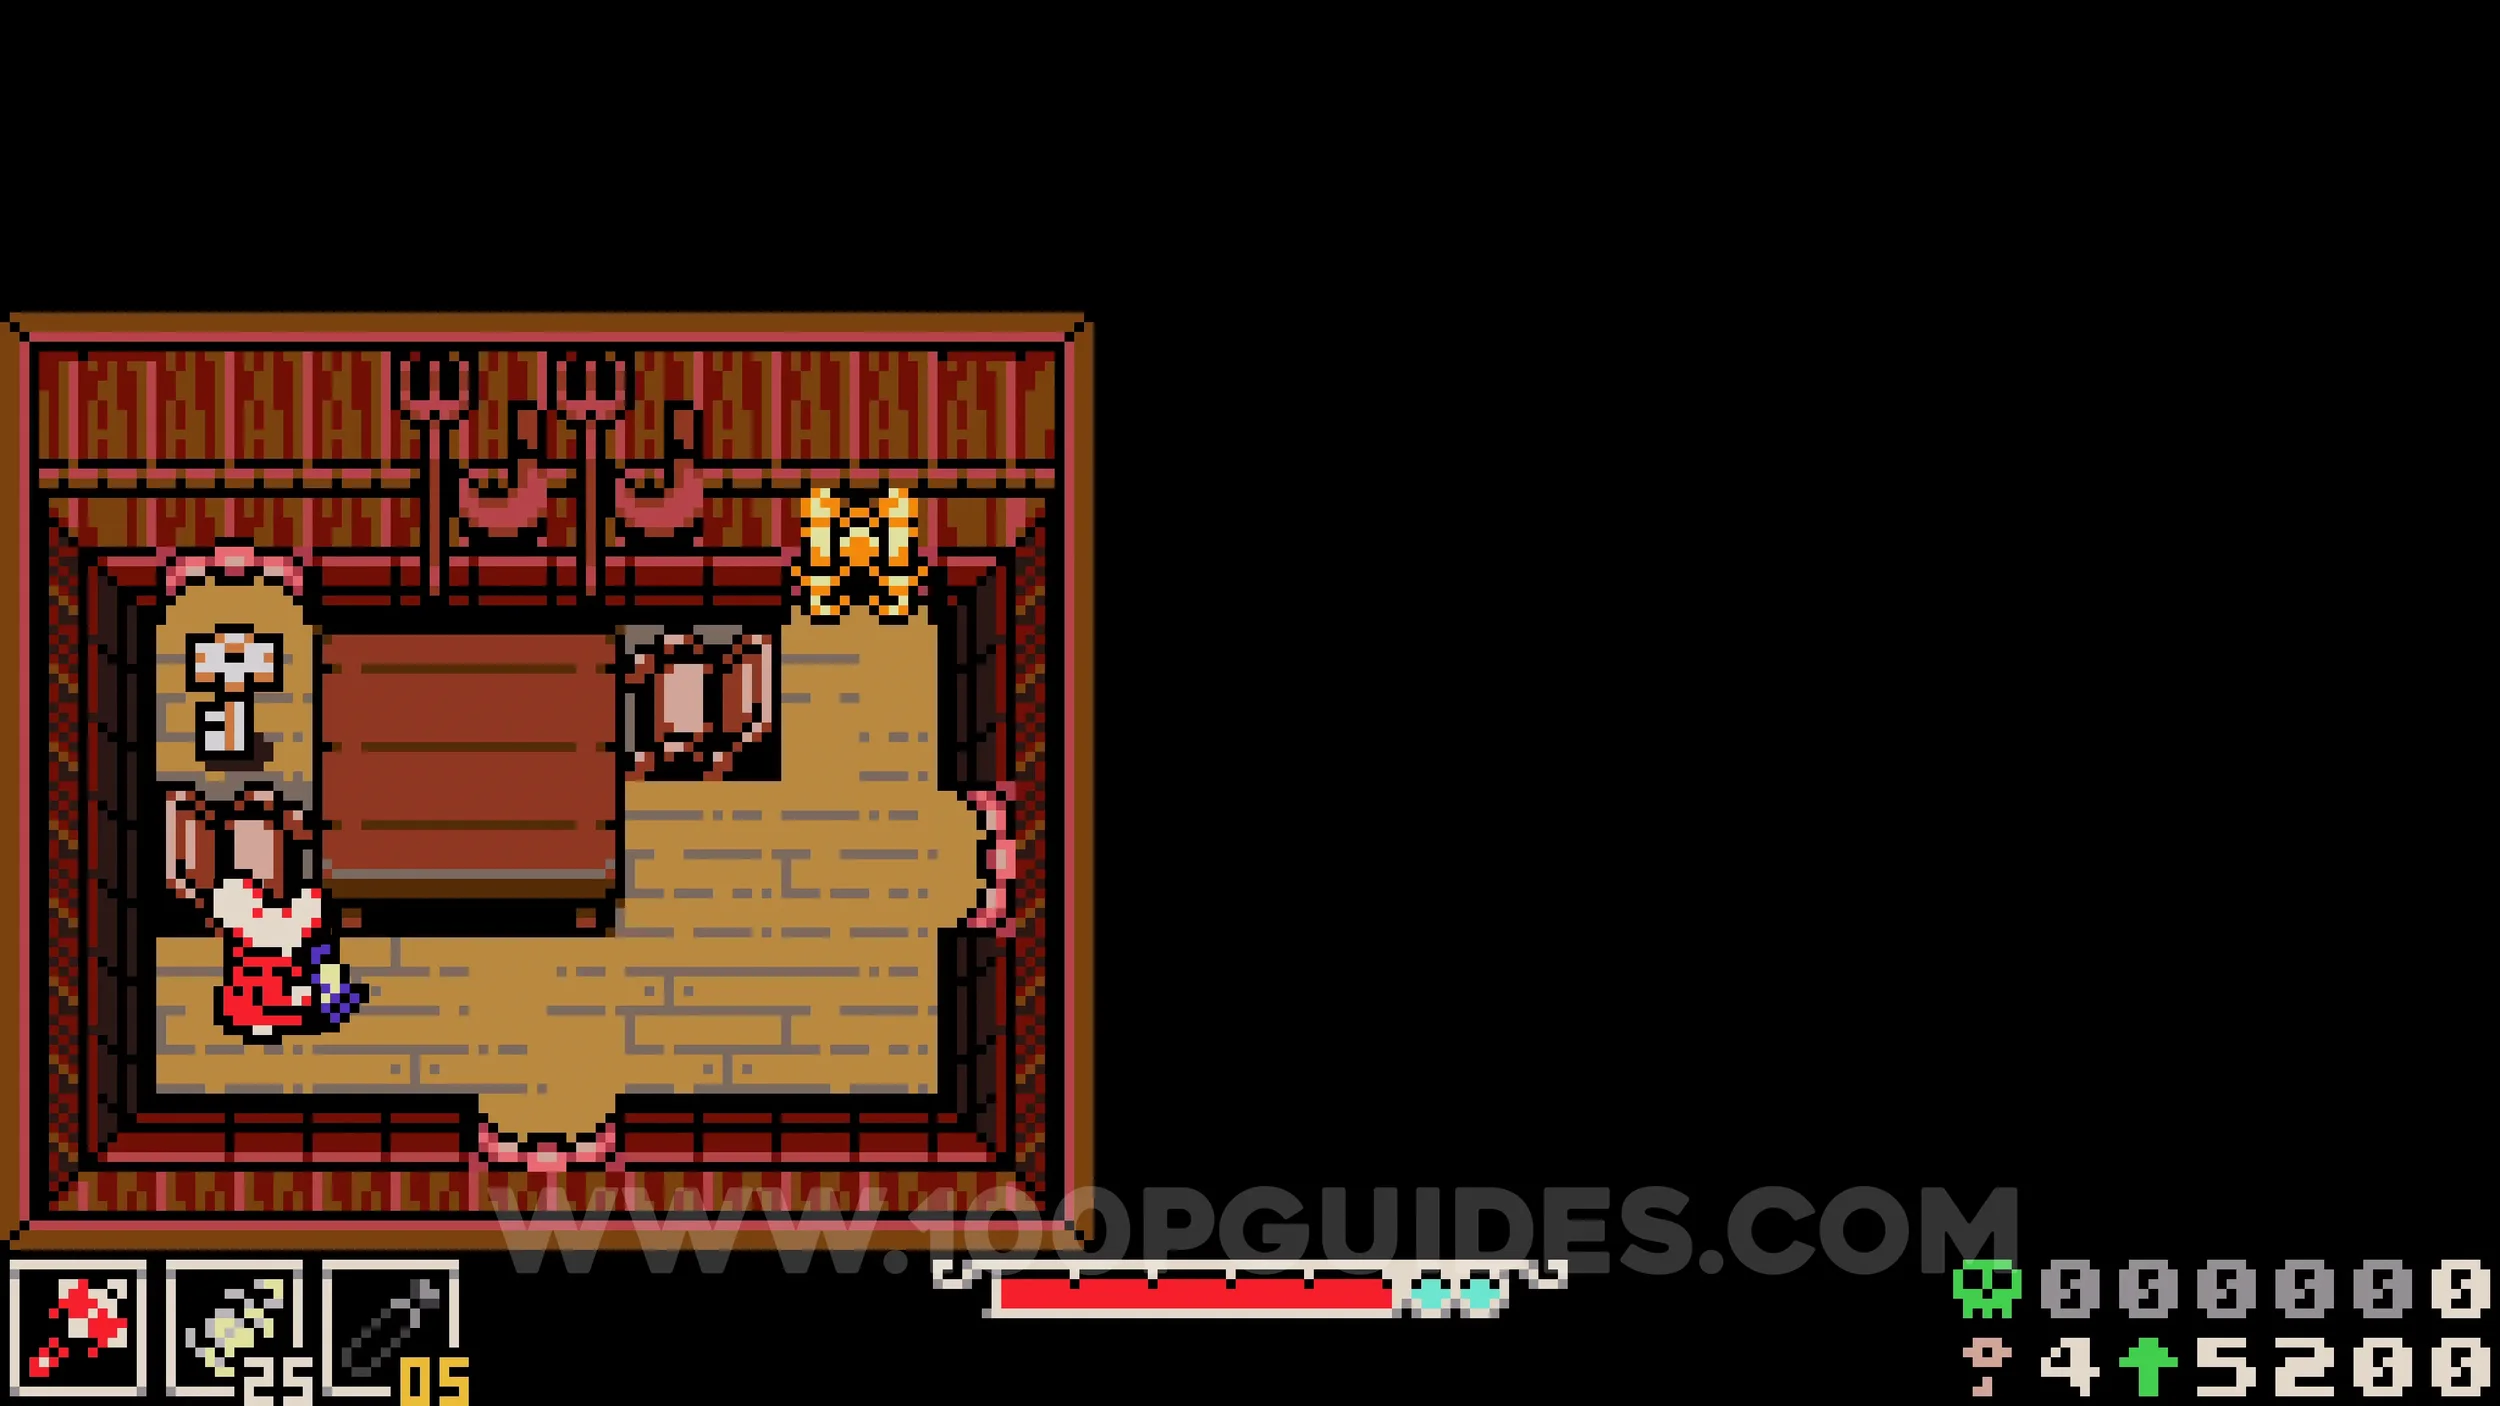
Lock #1. Exit the house where the previous collectible was through the right side to see the lock in plain sight.
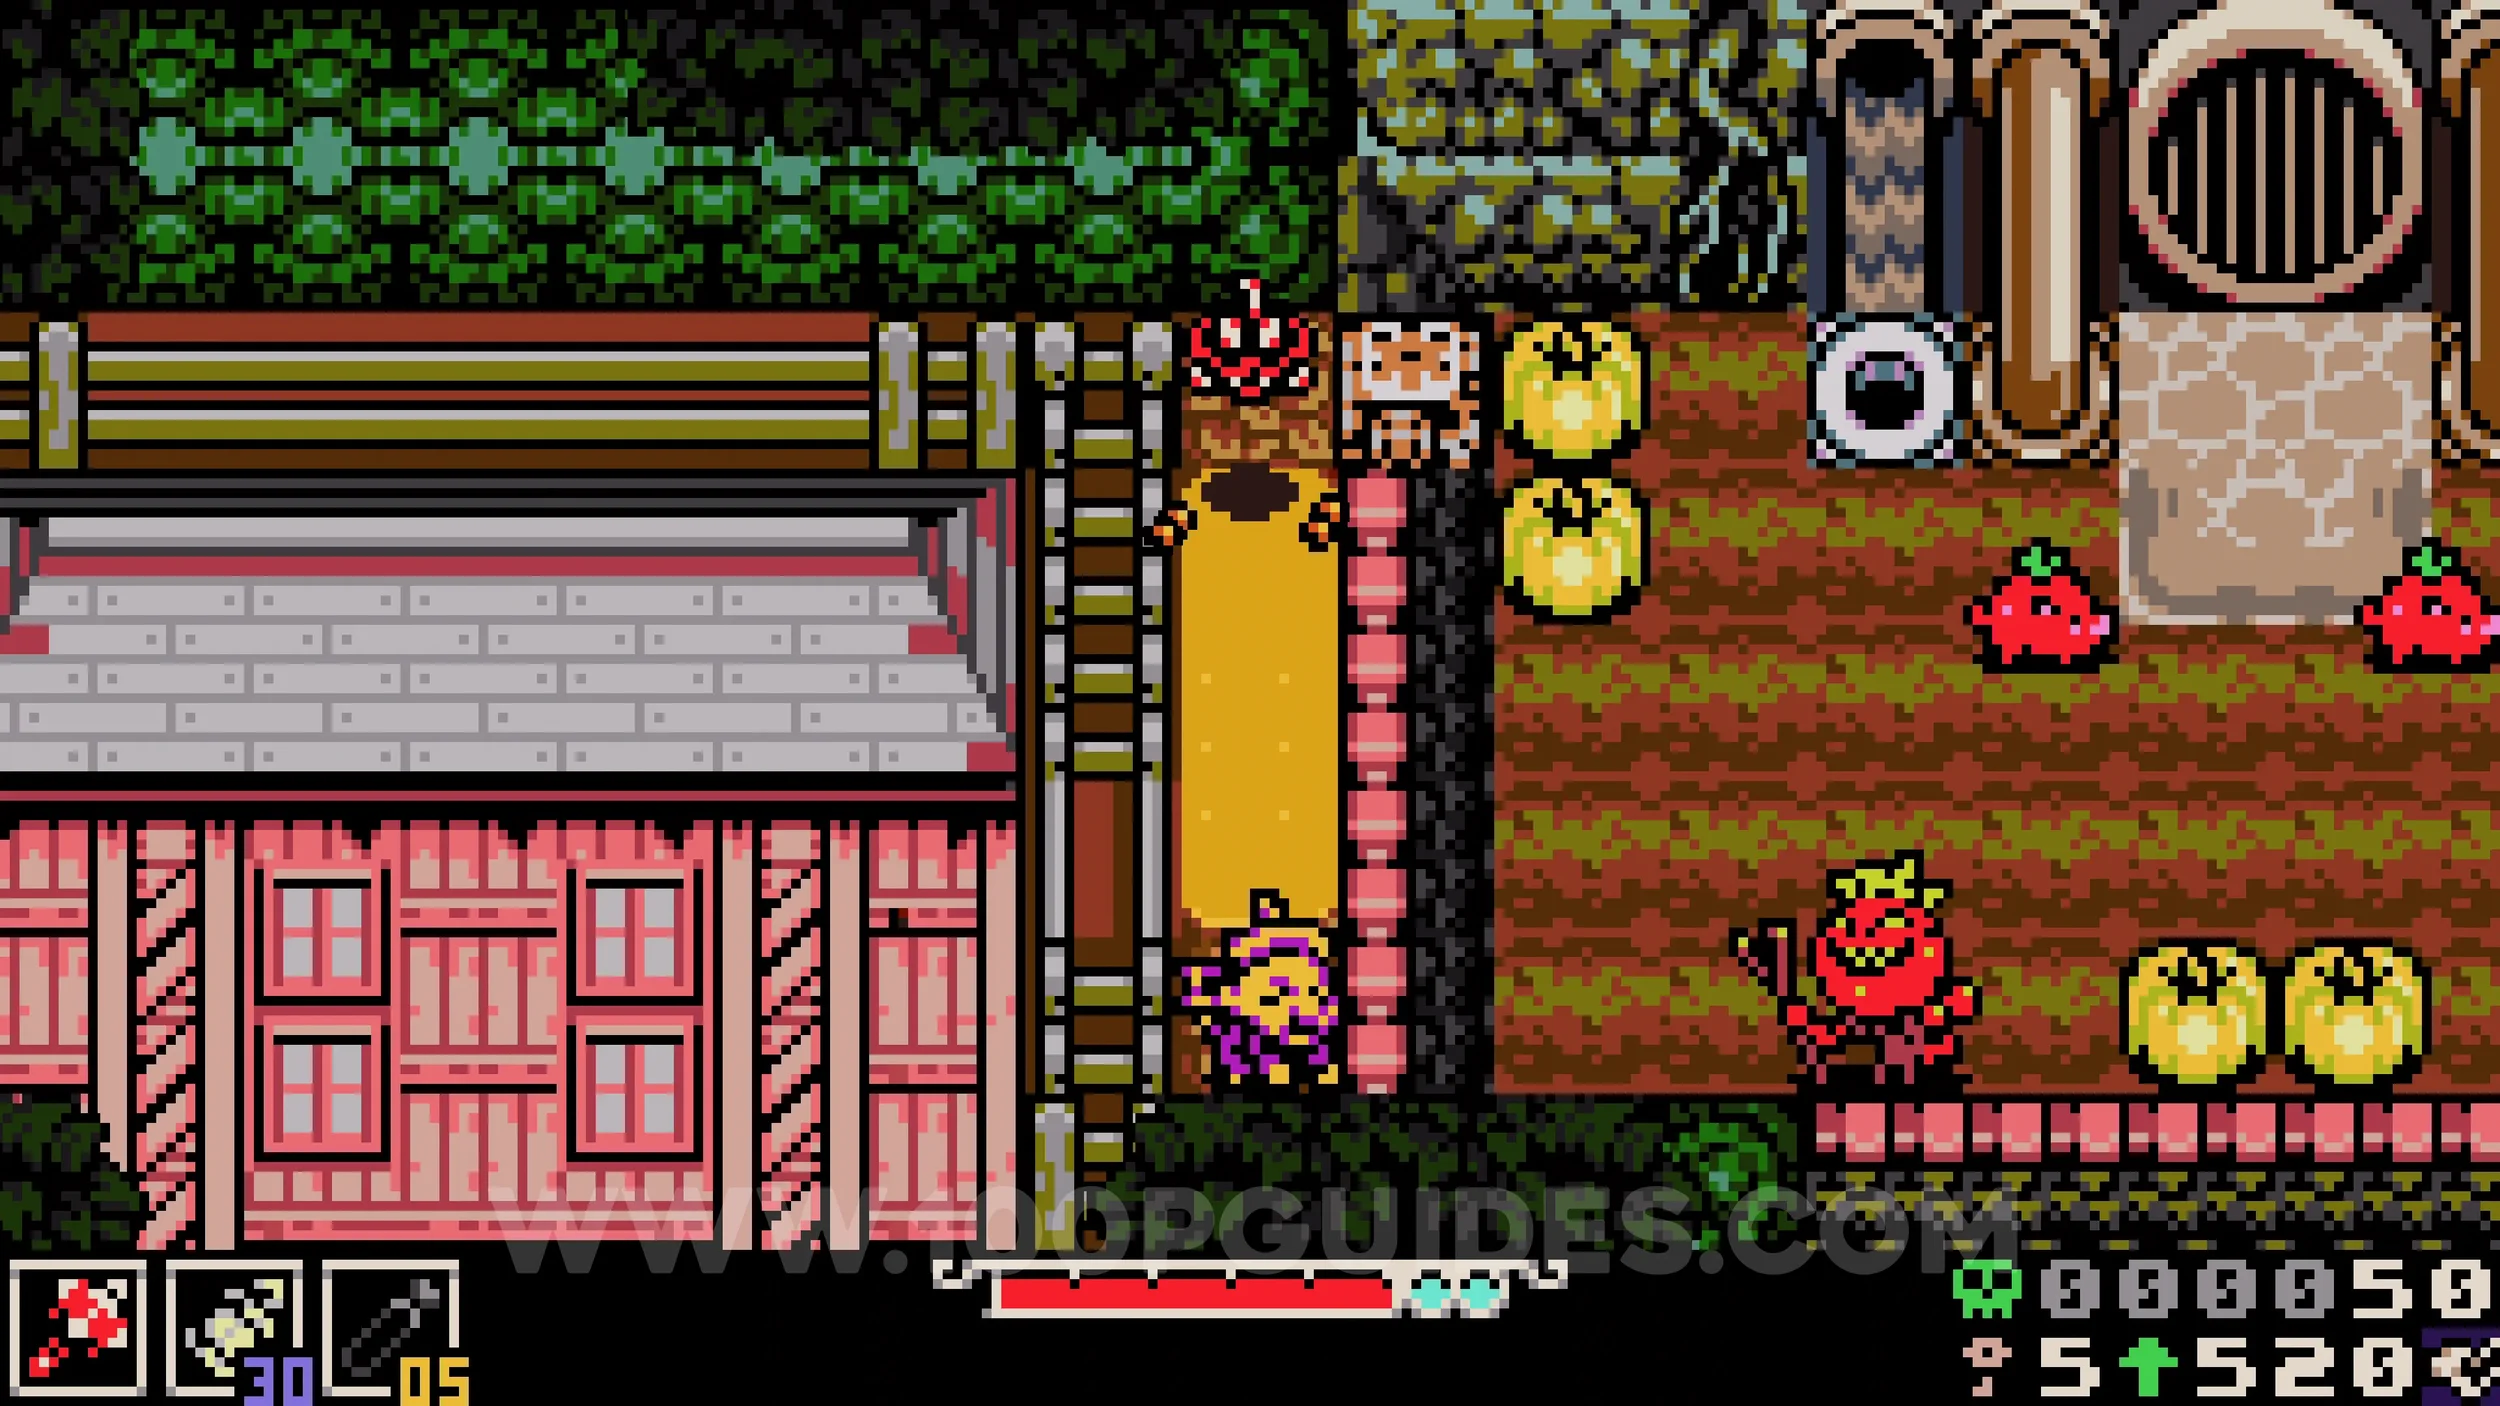
Lock #2. Past the previous lock, find the cracked pipe in the top right corner and hit it to destroy it, then go through to reach the train tracks. Enter the tunnel to your right to find the lock.
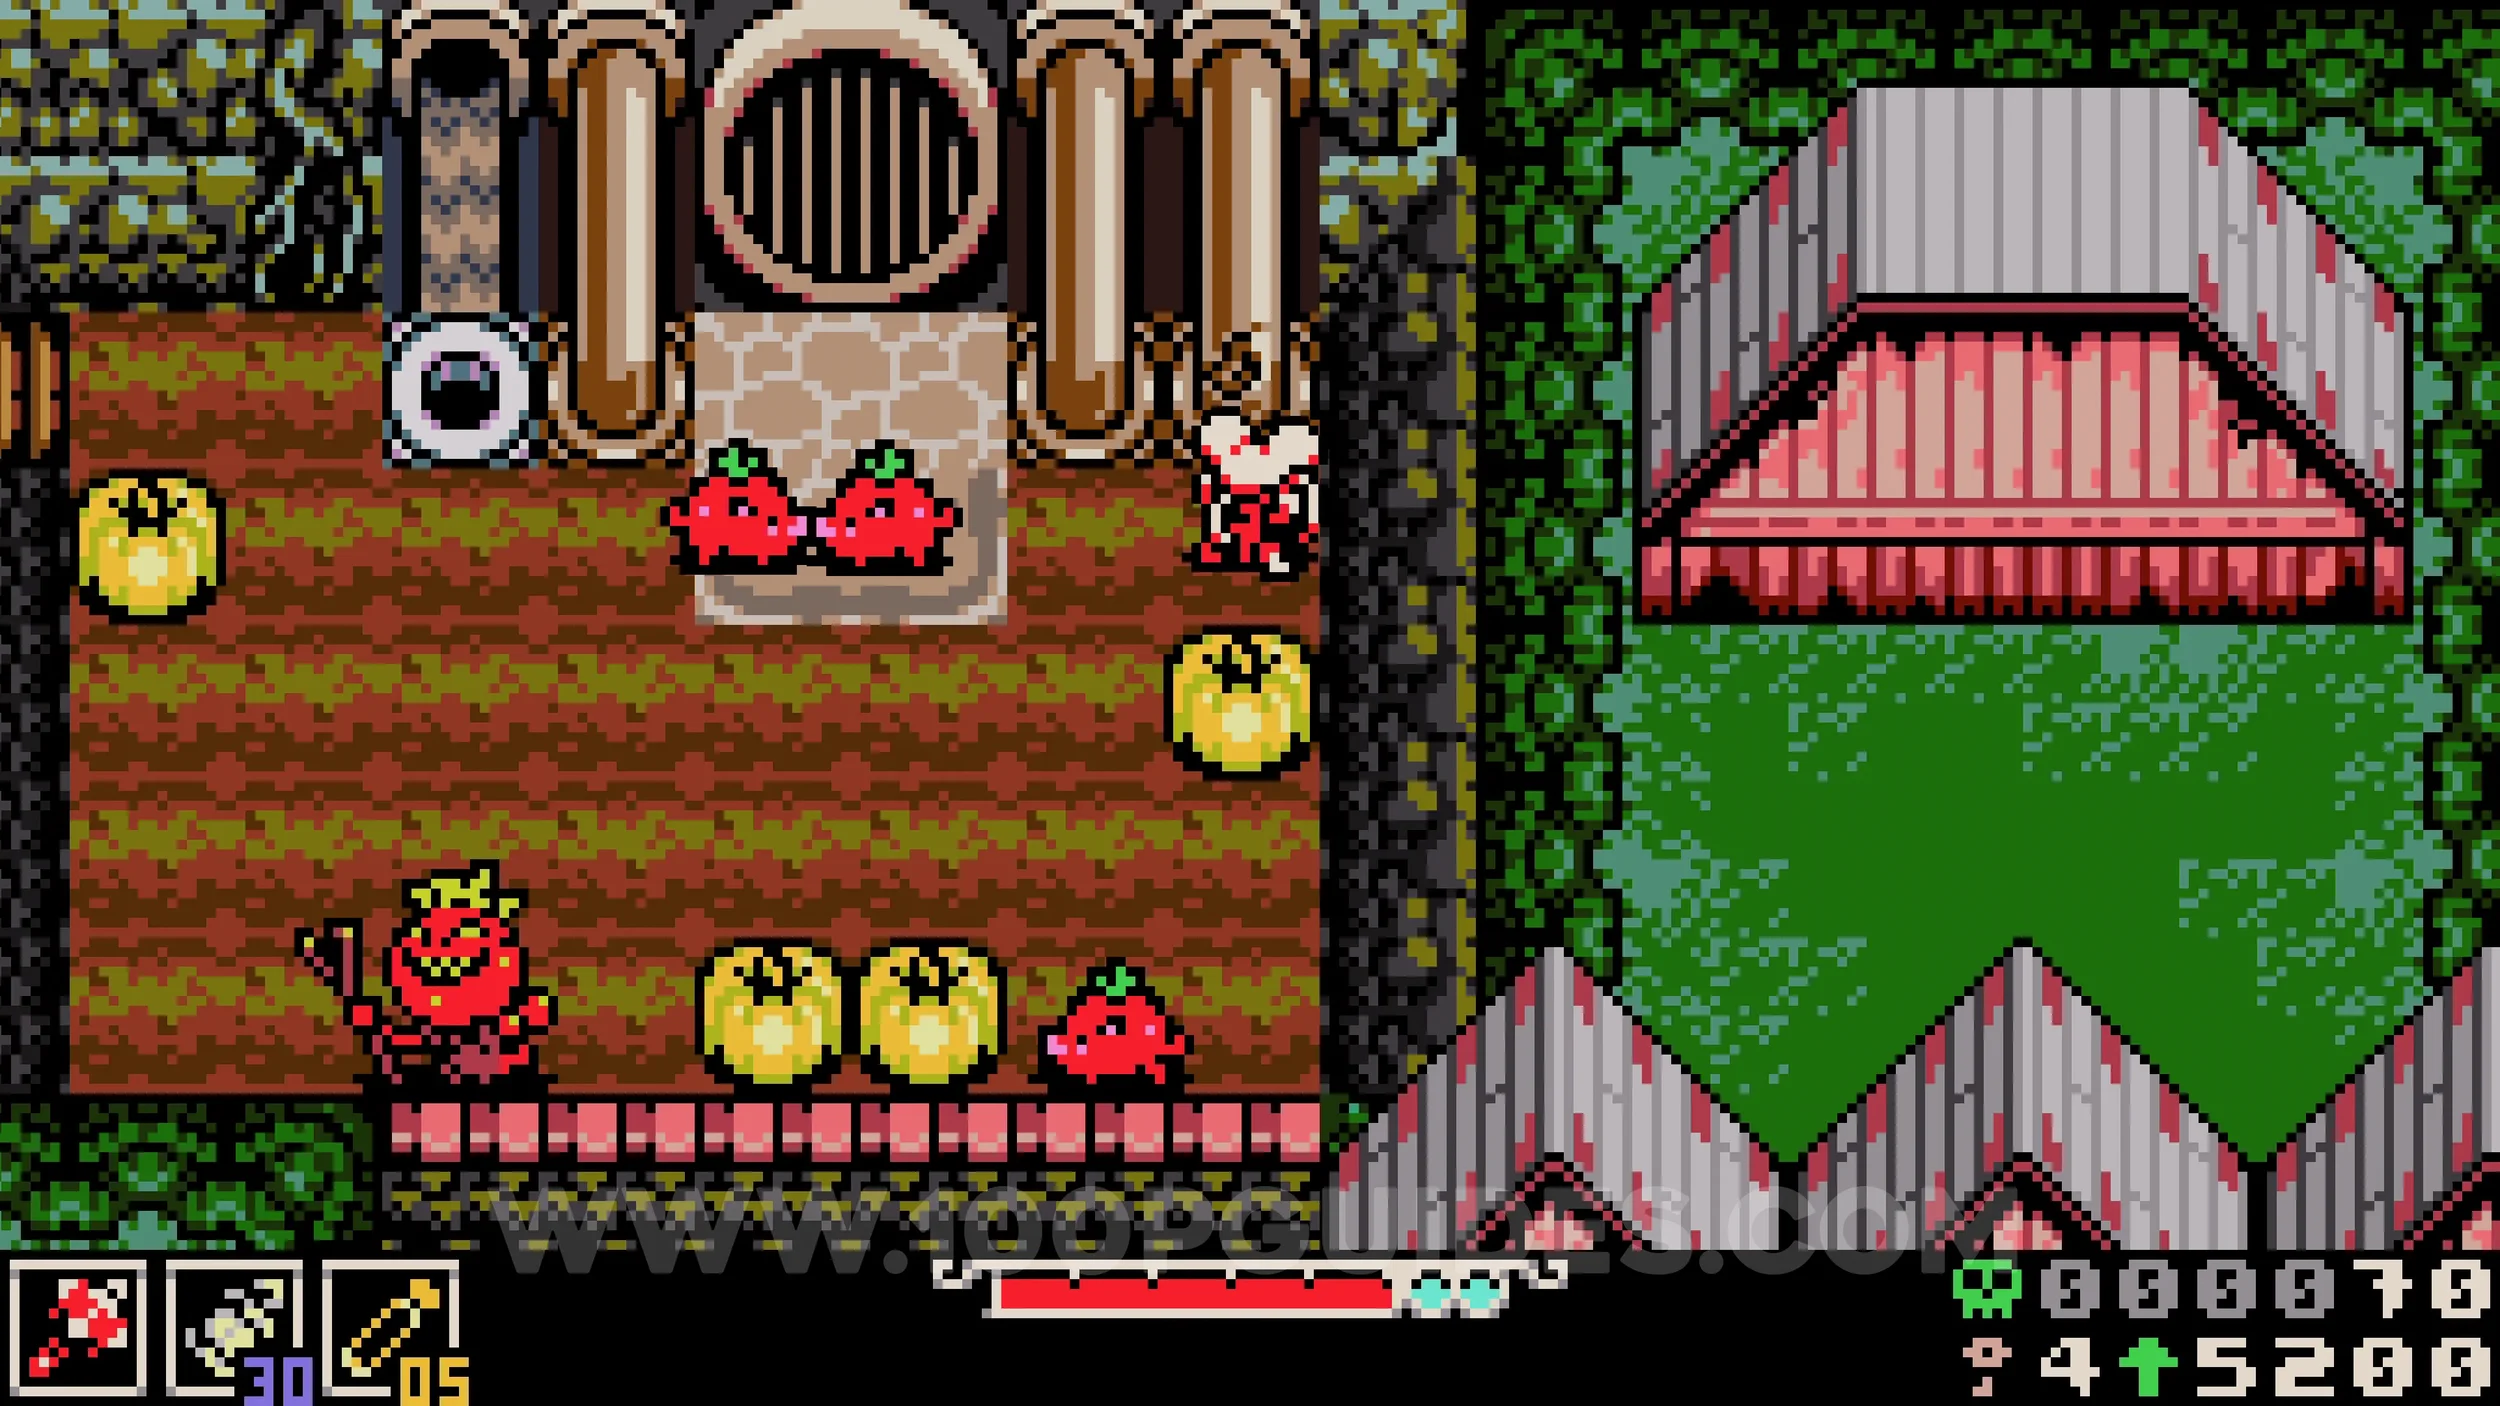
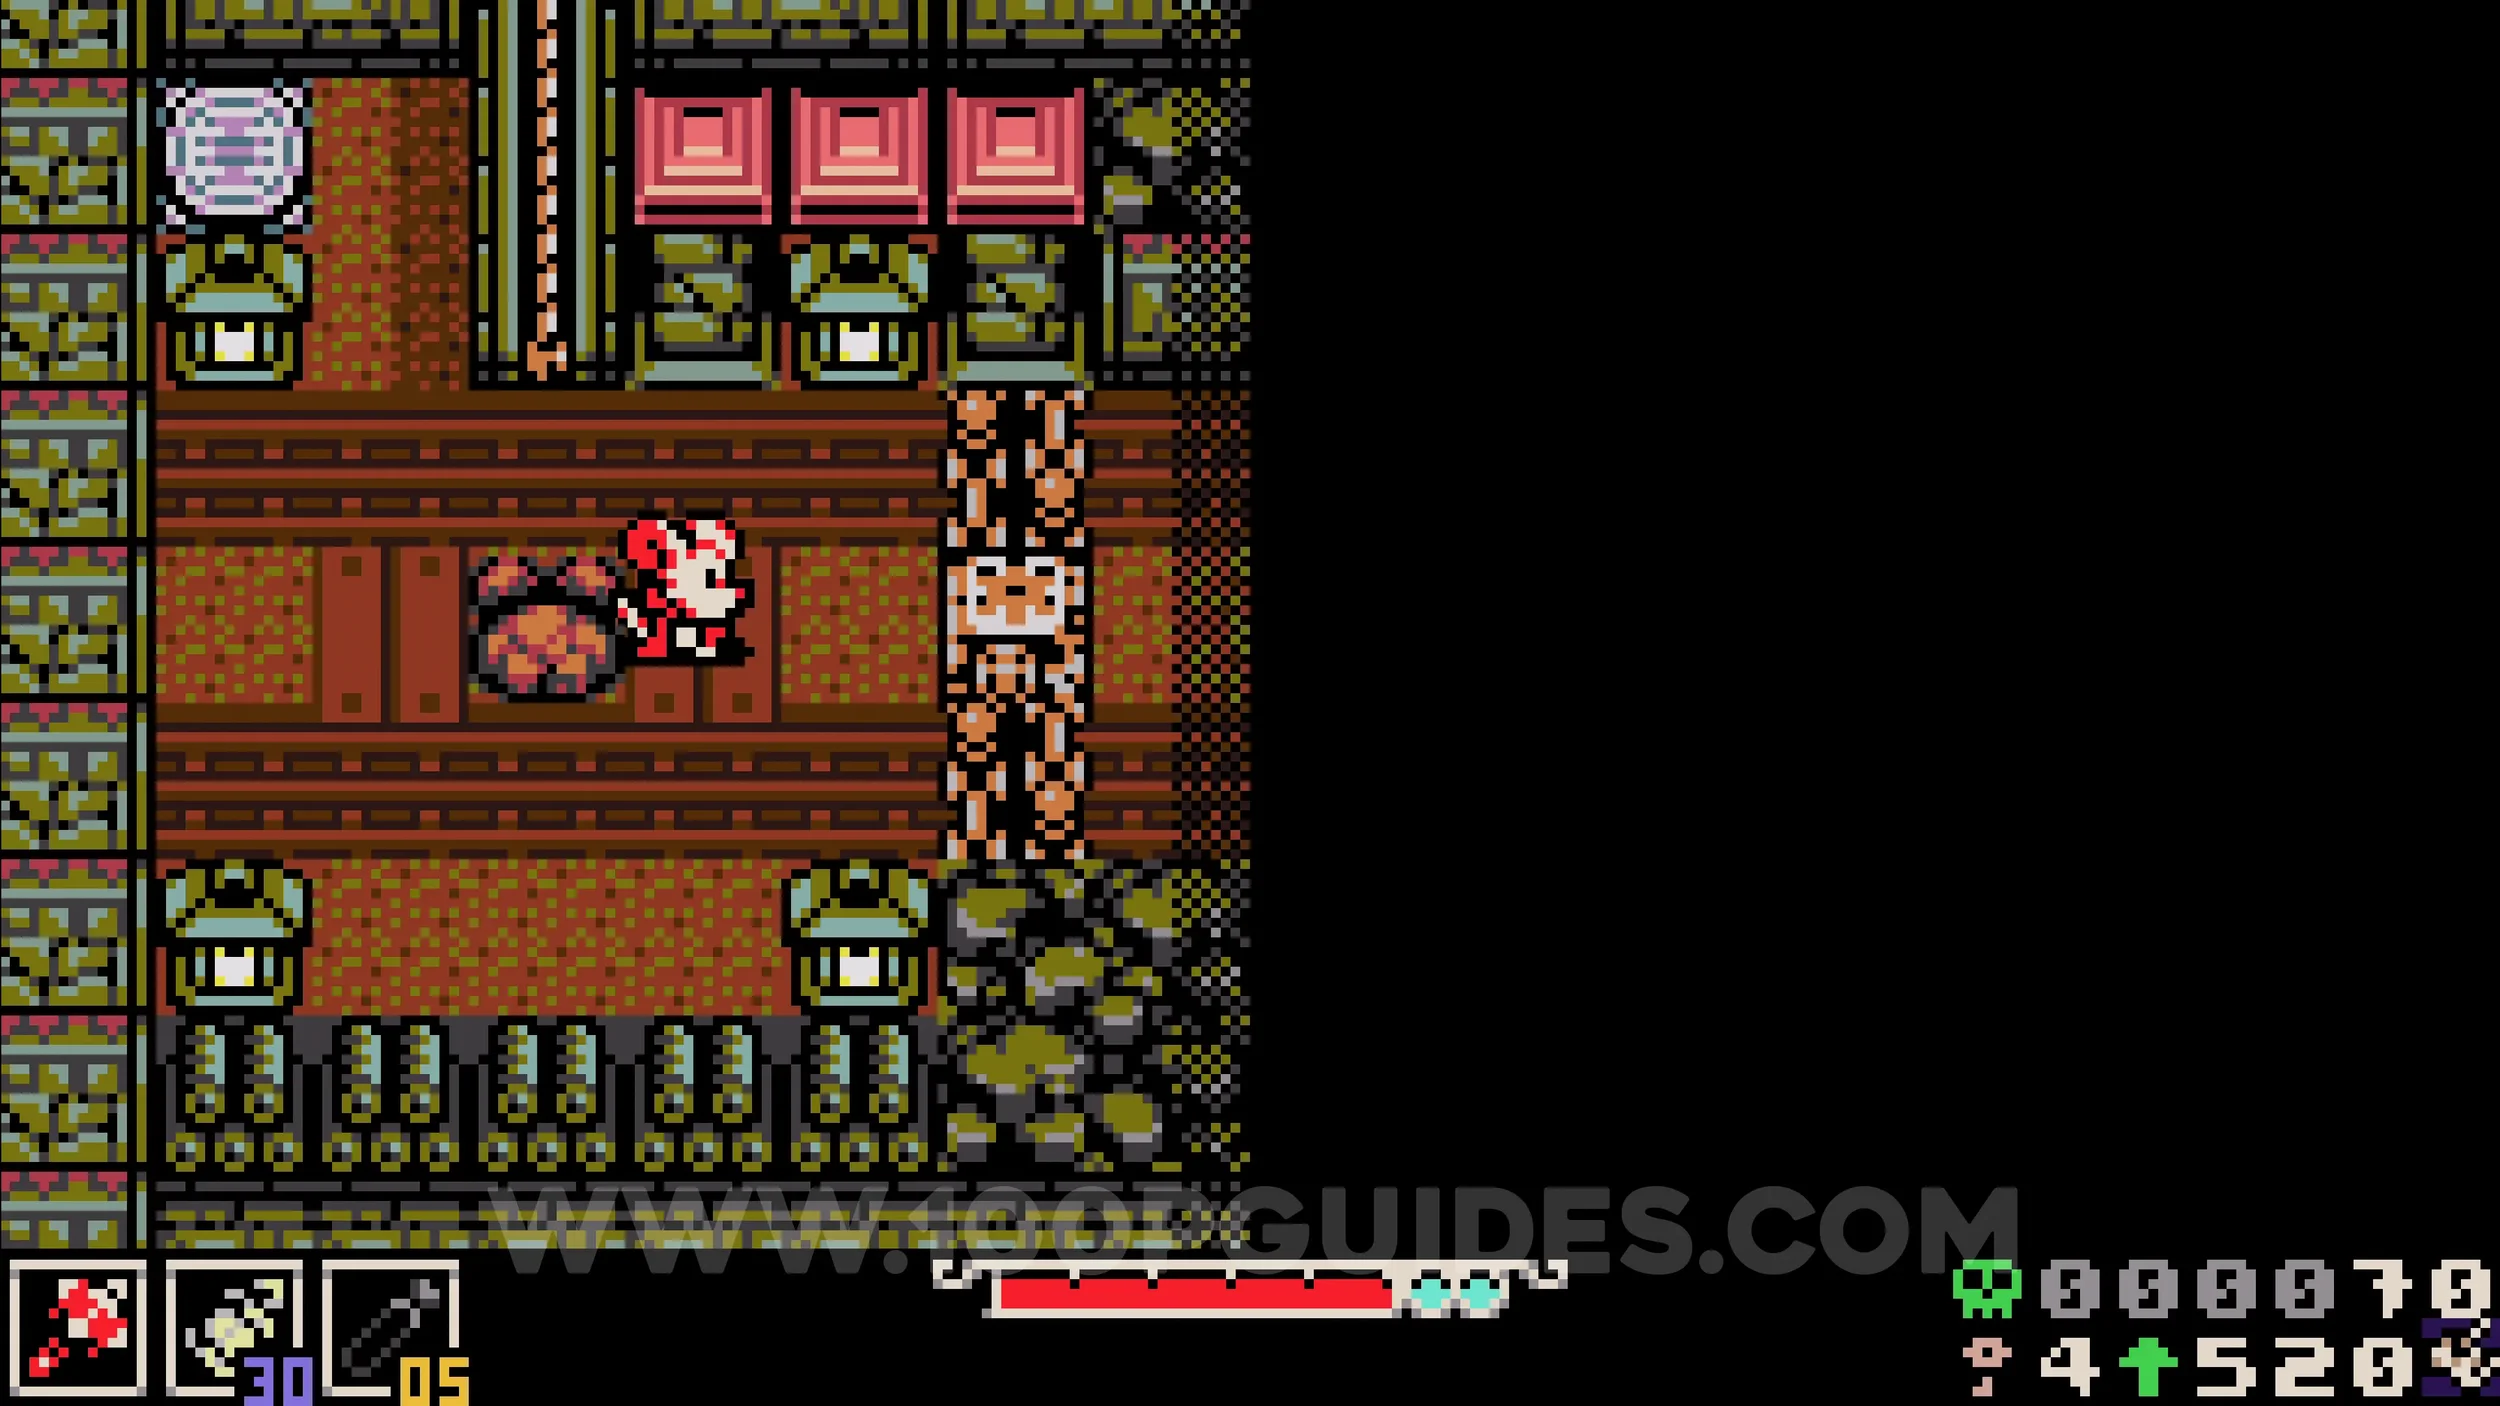
Vial Pouch #1. At the end of the cave past the previous lock. Bait the enemies into using their fire attacks to burn the leaves and reveal the pipes, then make your way through to the end.
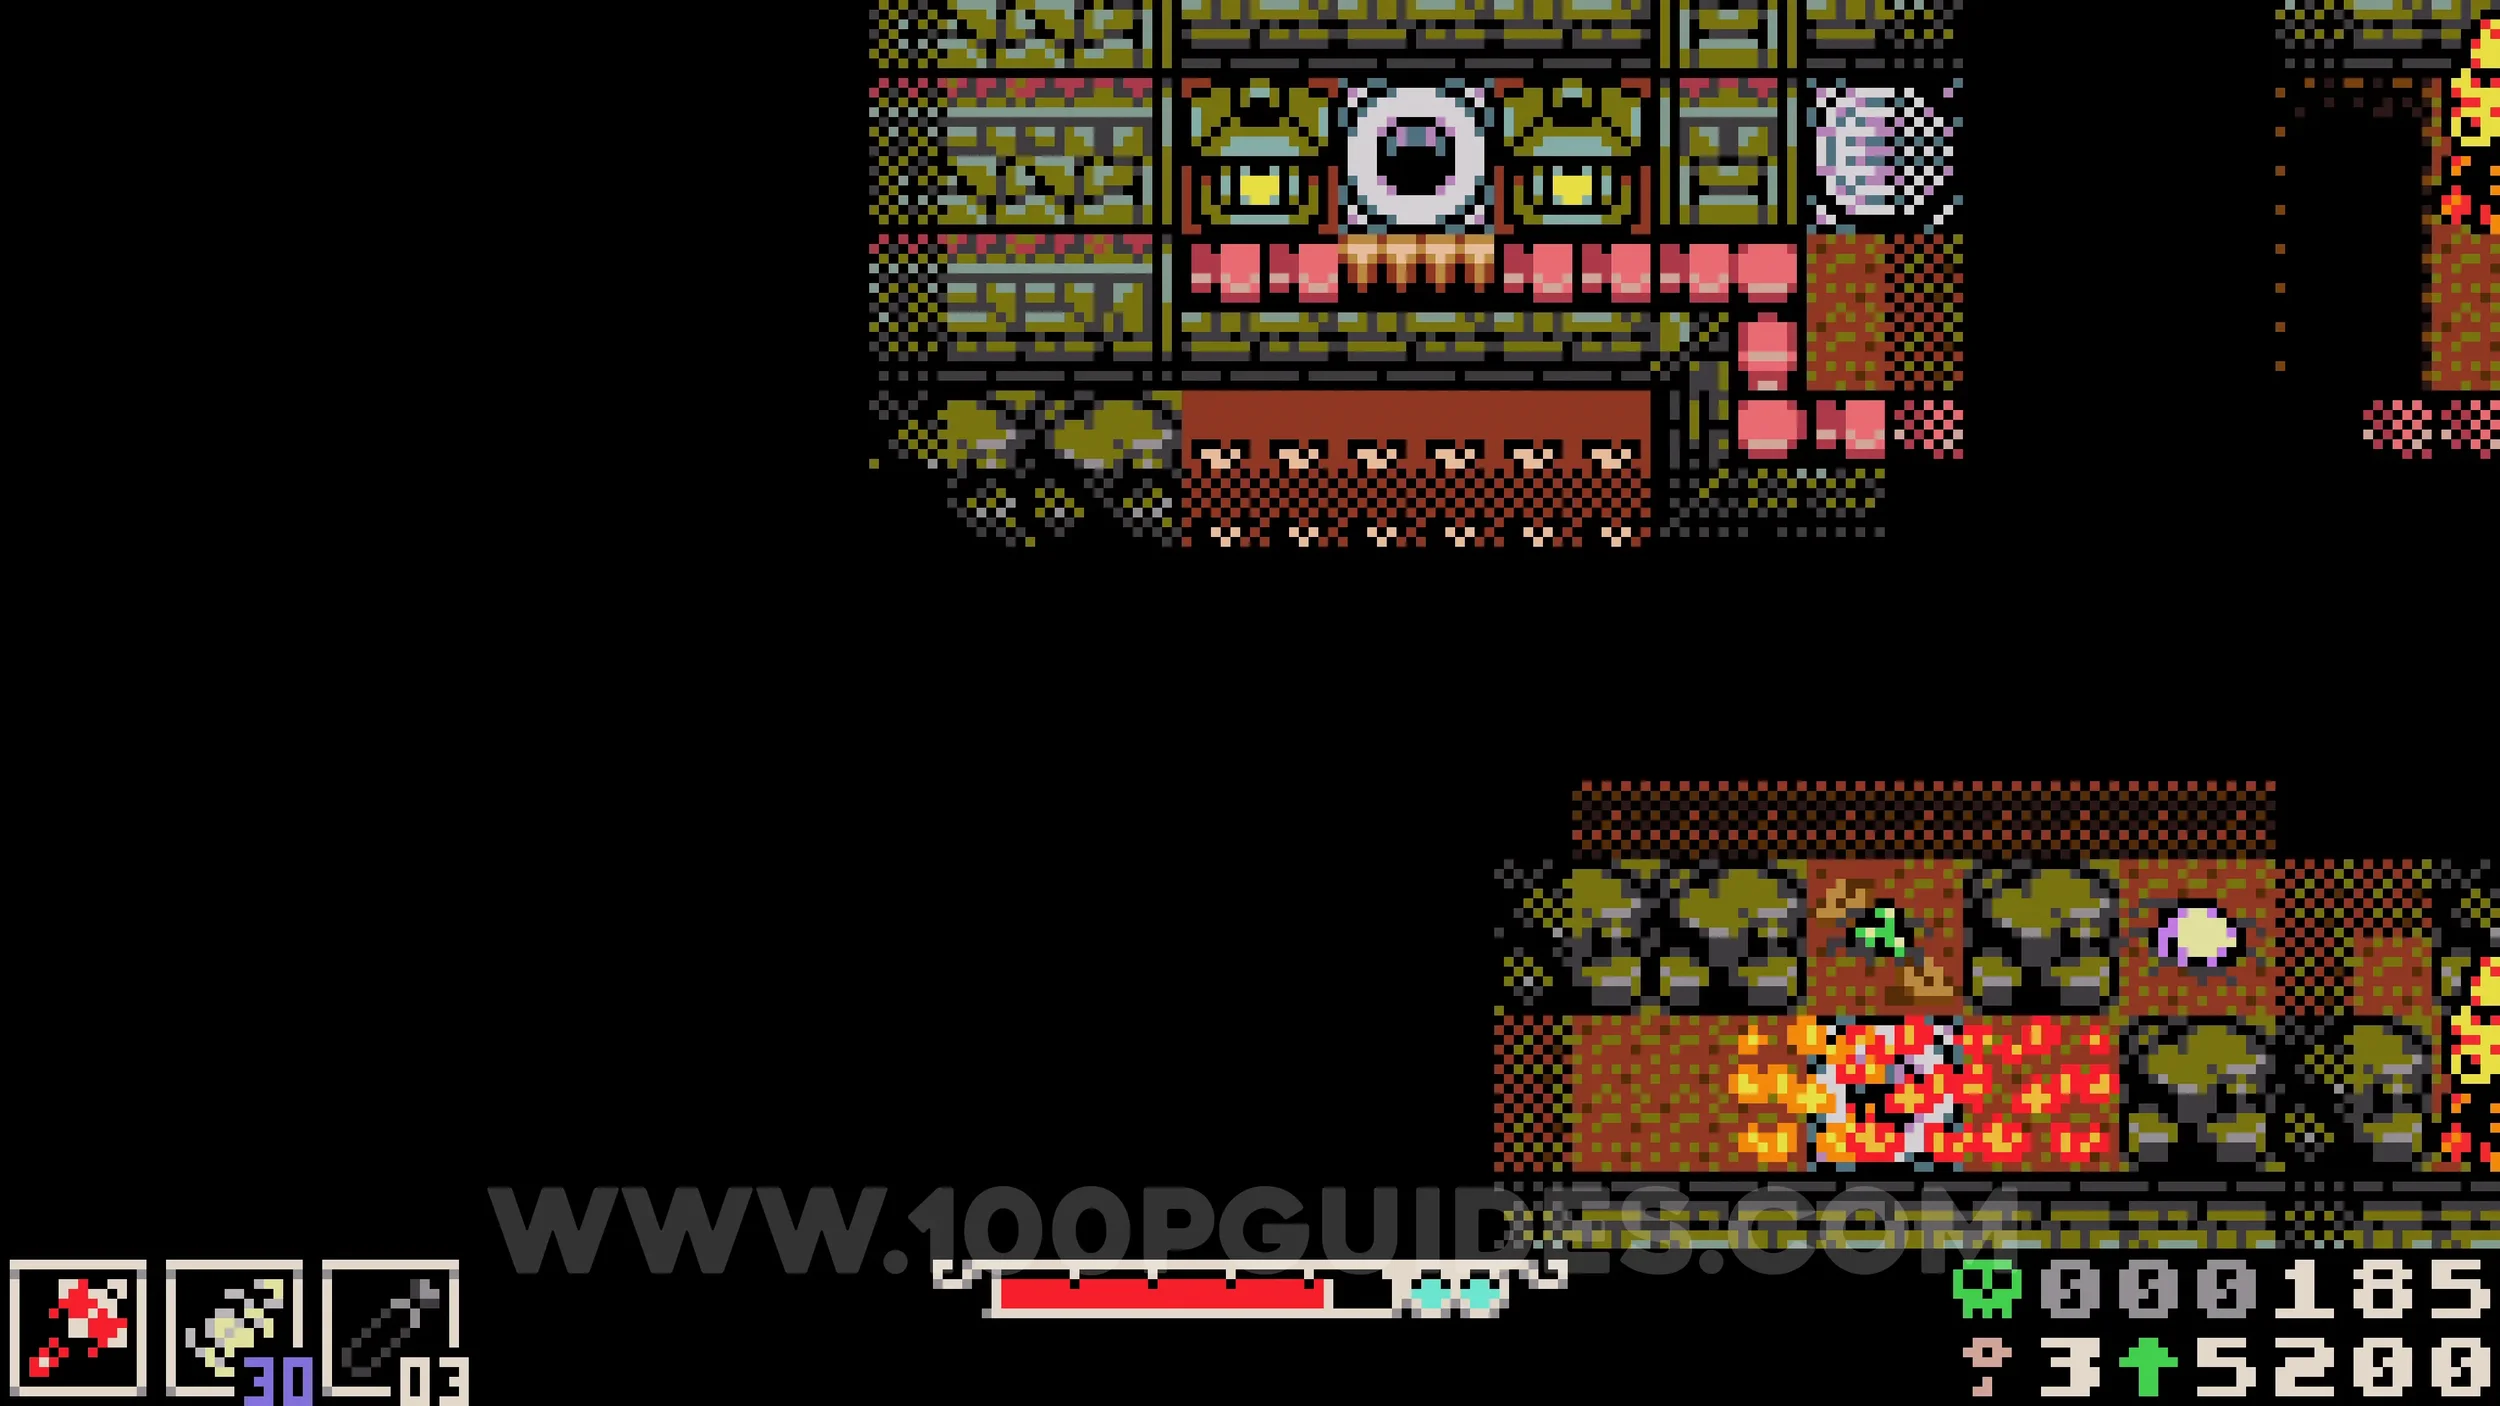
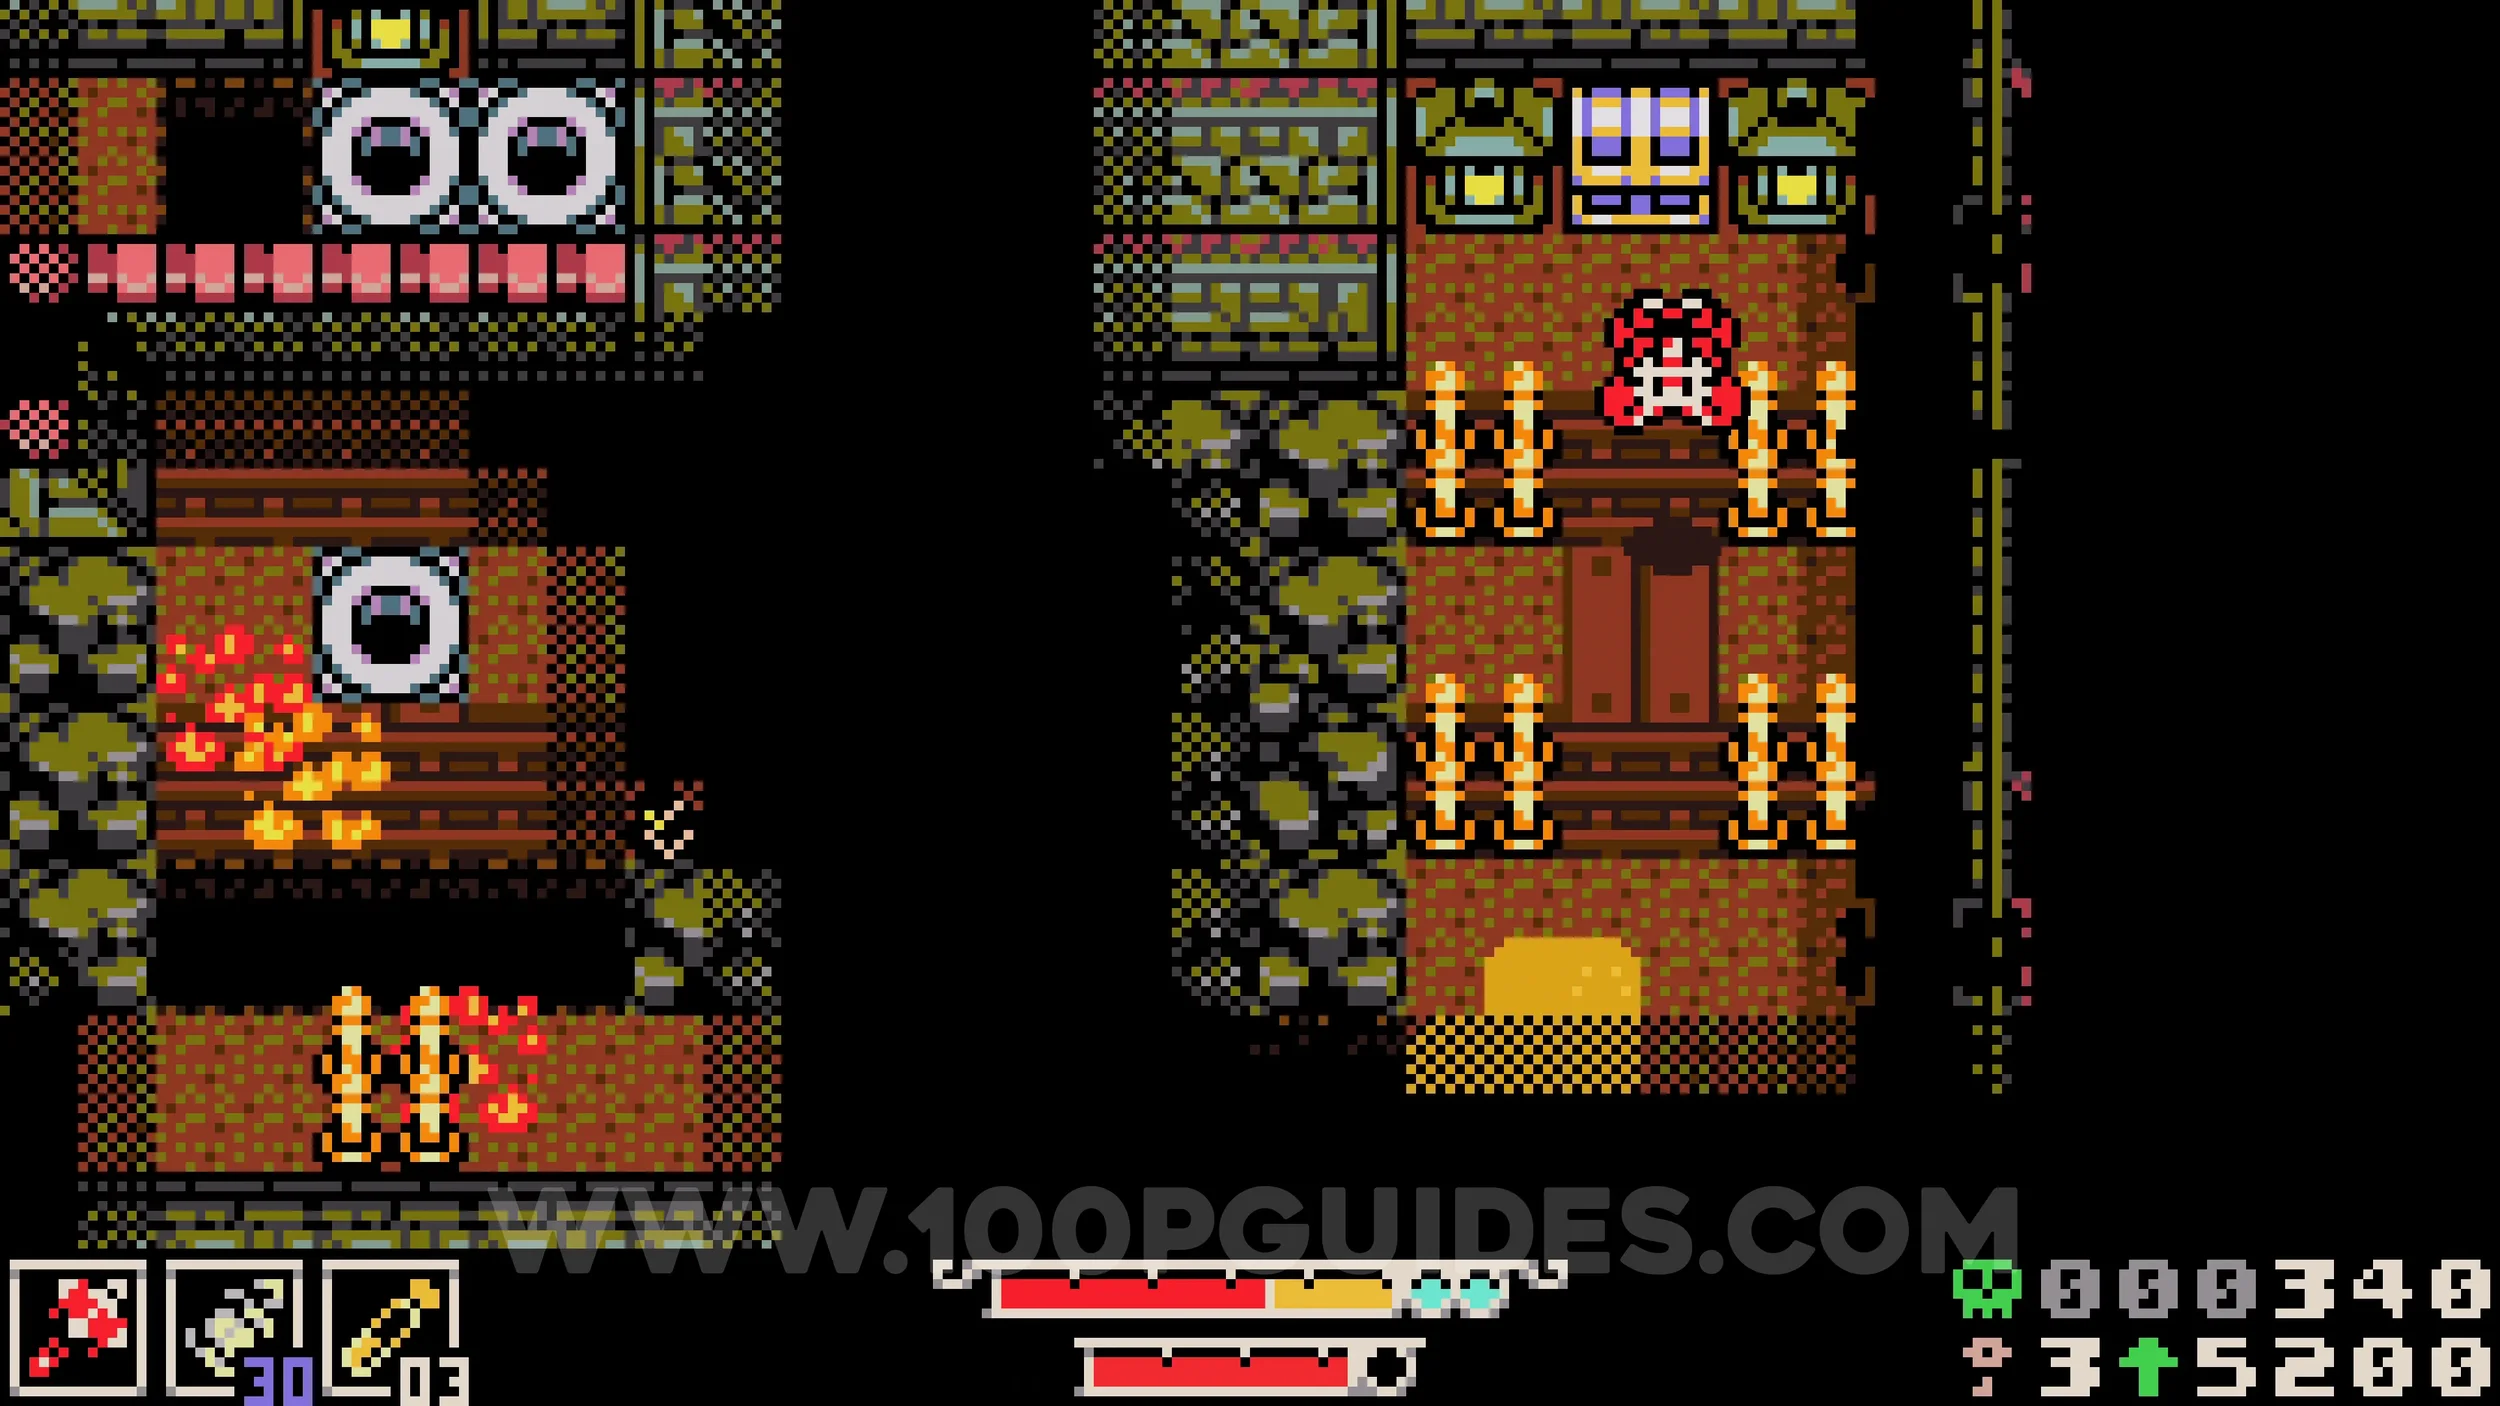
Lock #3 & Trinket #4 - Wallower's Gauntlets. Return to the train station in Kindlewood and look for a small hole under the fence at the bottom of the screen in front of the small pink building. Go through this area to the end to find the locked chest.
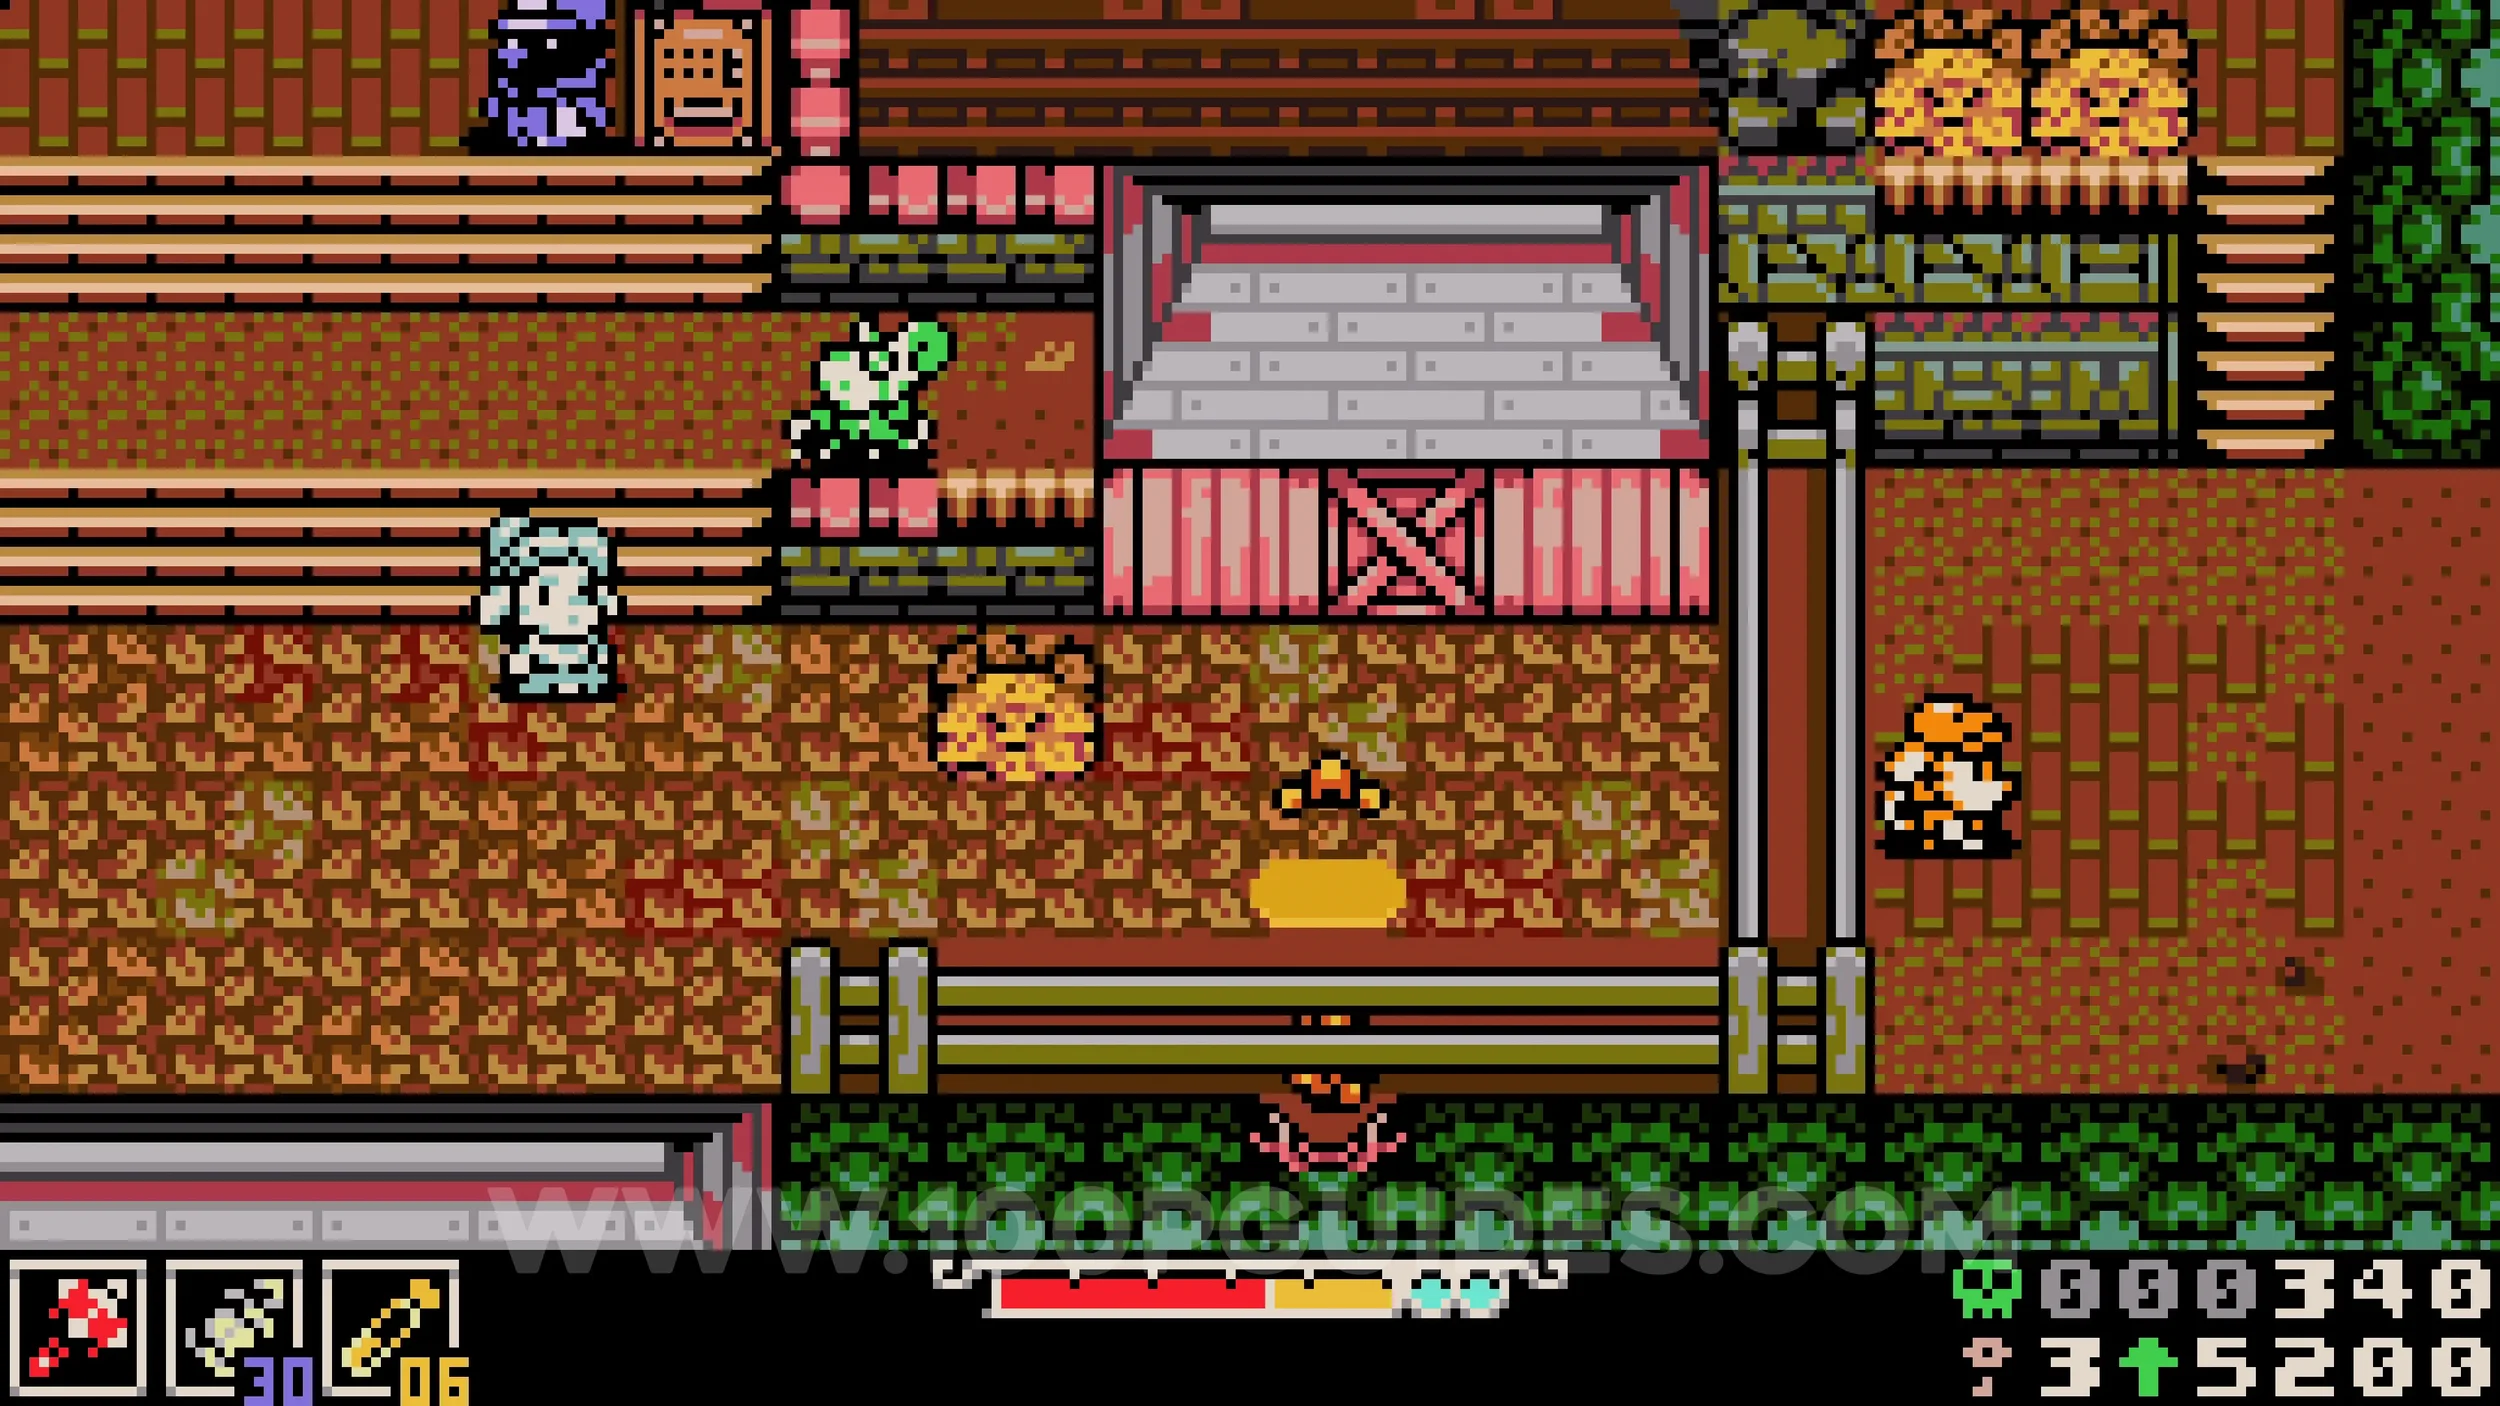
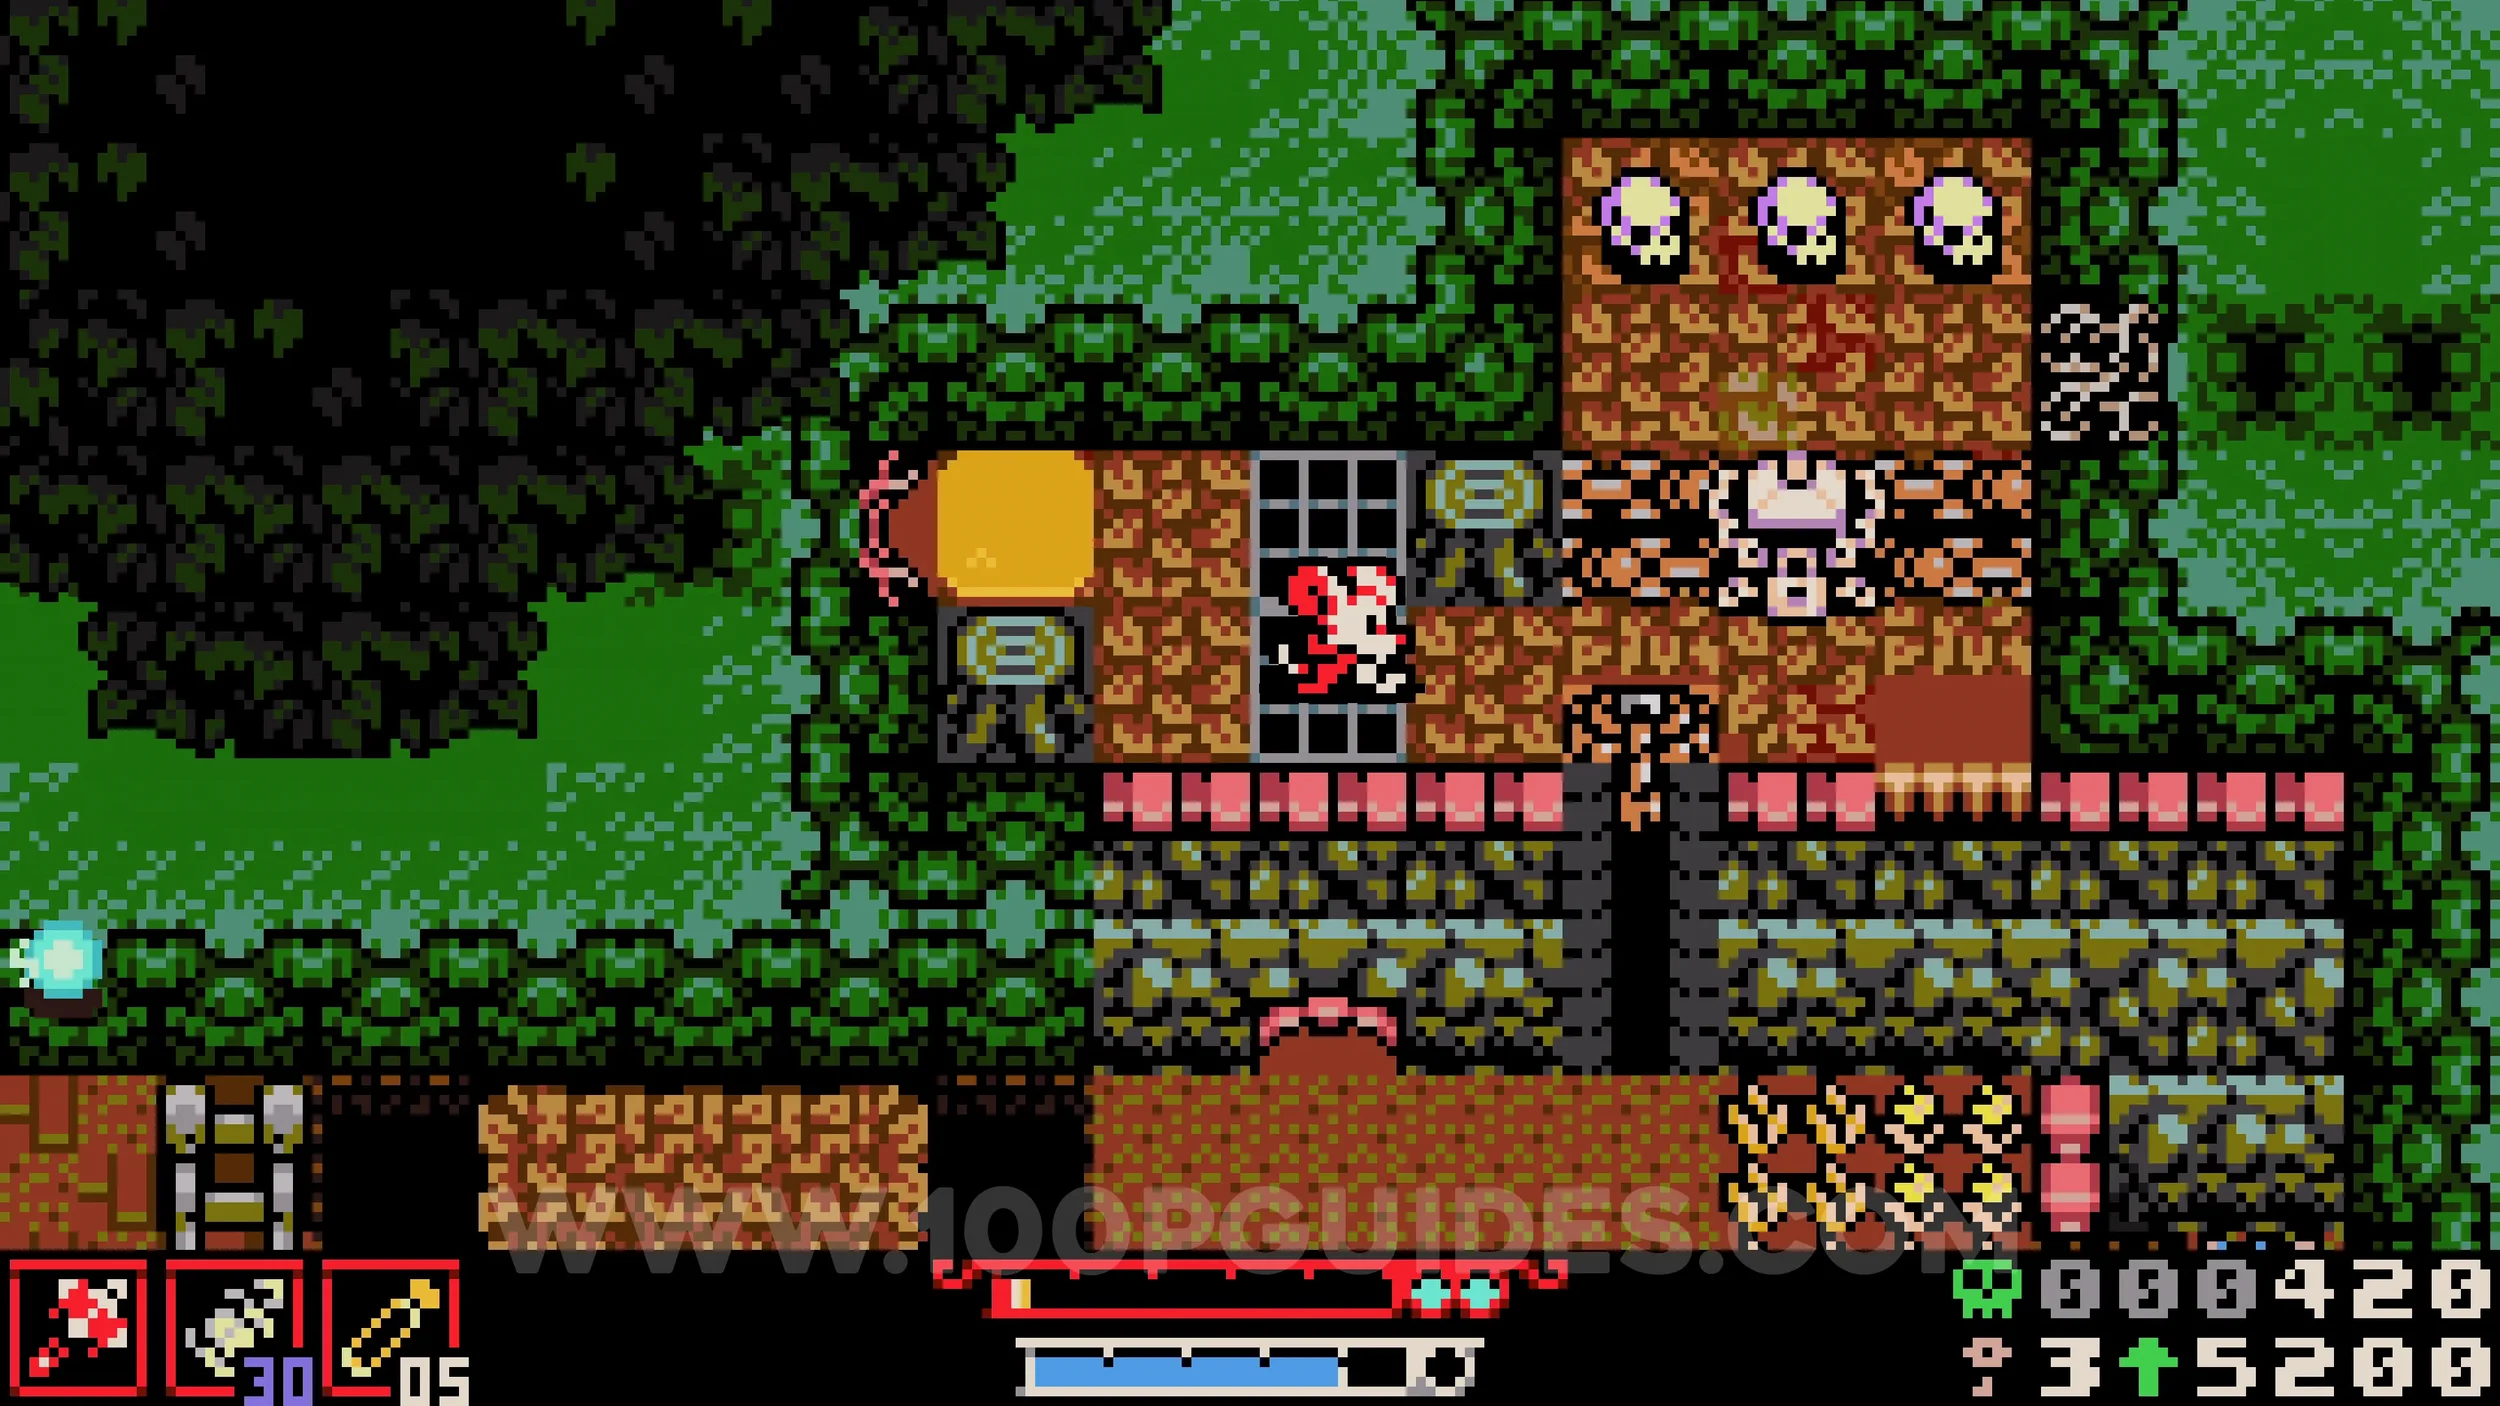
Bonestone #5. From the previous chest, go down the rope and look for an NPC to your right. Below the NPC is a large gap. Use the Wallower's Gauntlets trinket from the previous chest to burrow along the wall and clear the gap. Continue using it to reach the end of the path and find the collectible in a chest.
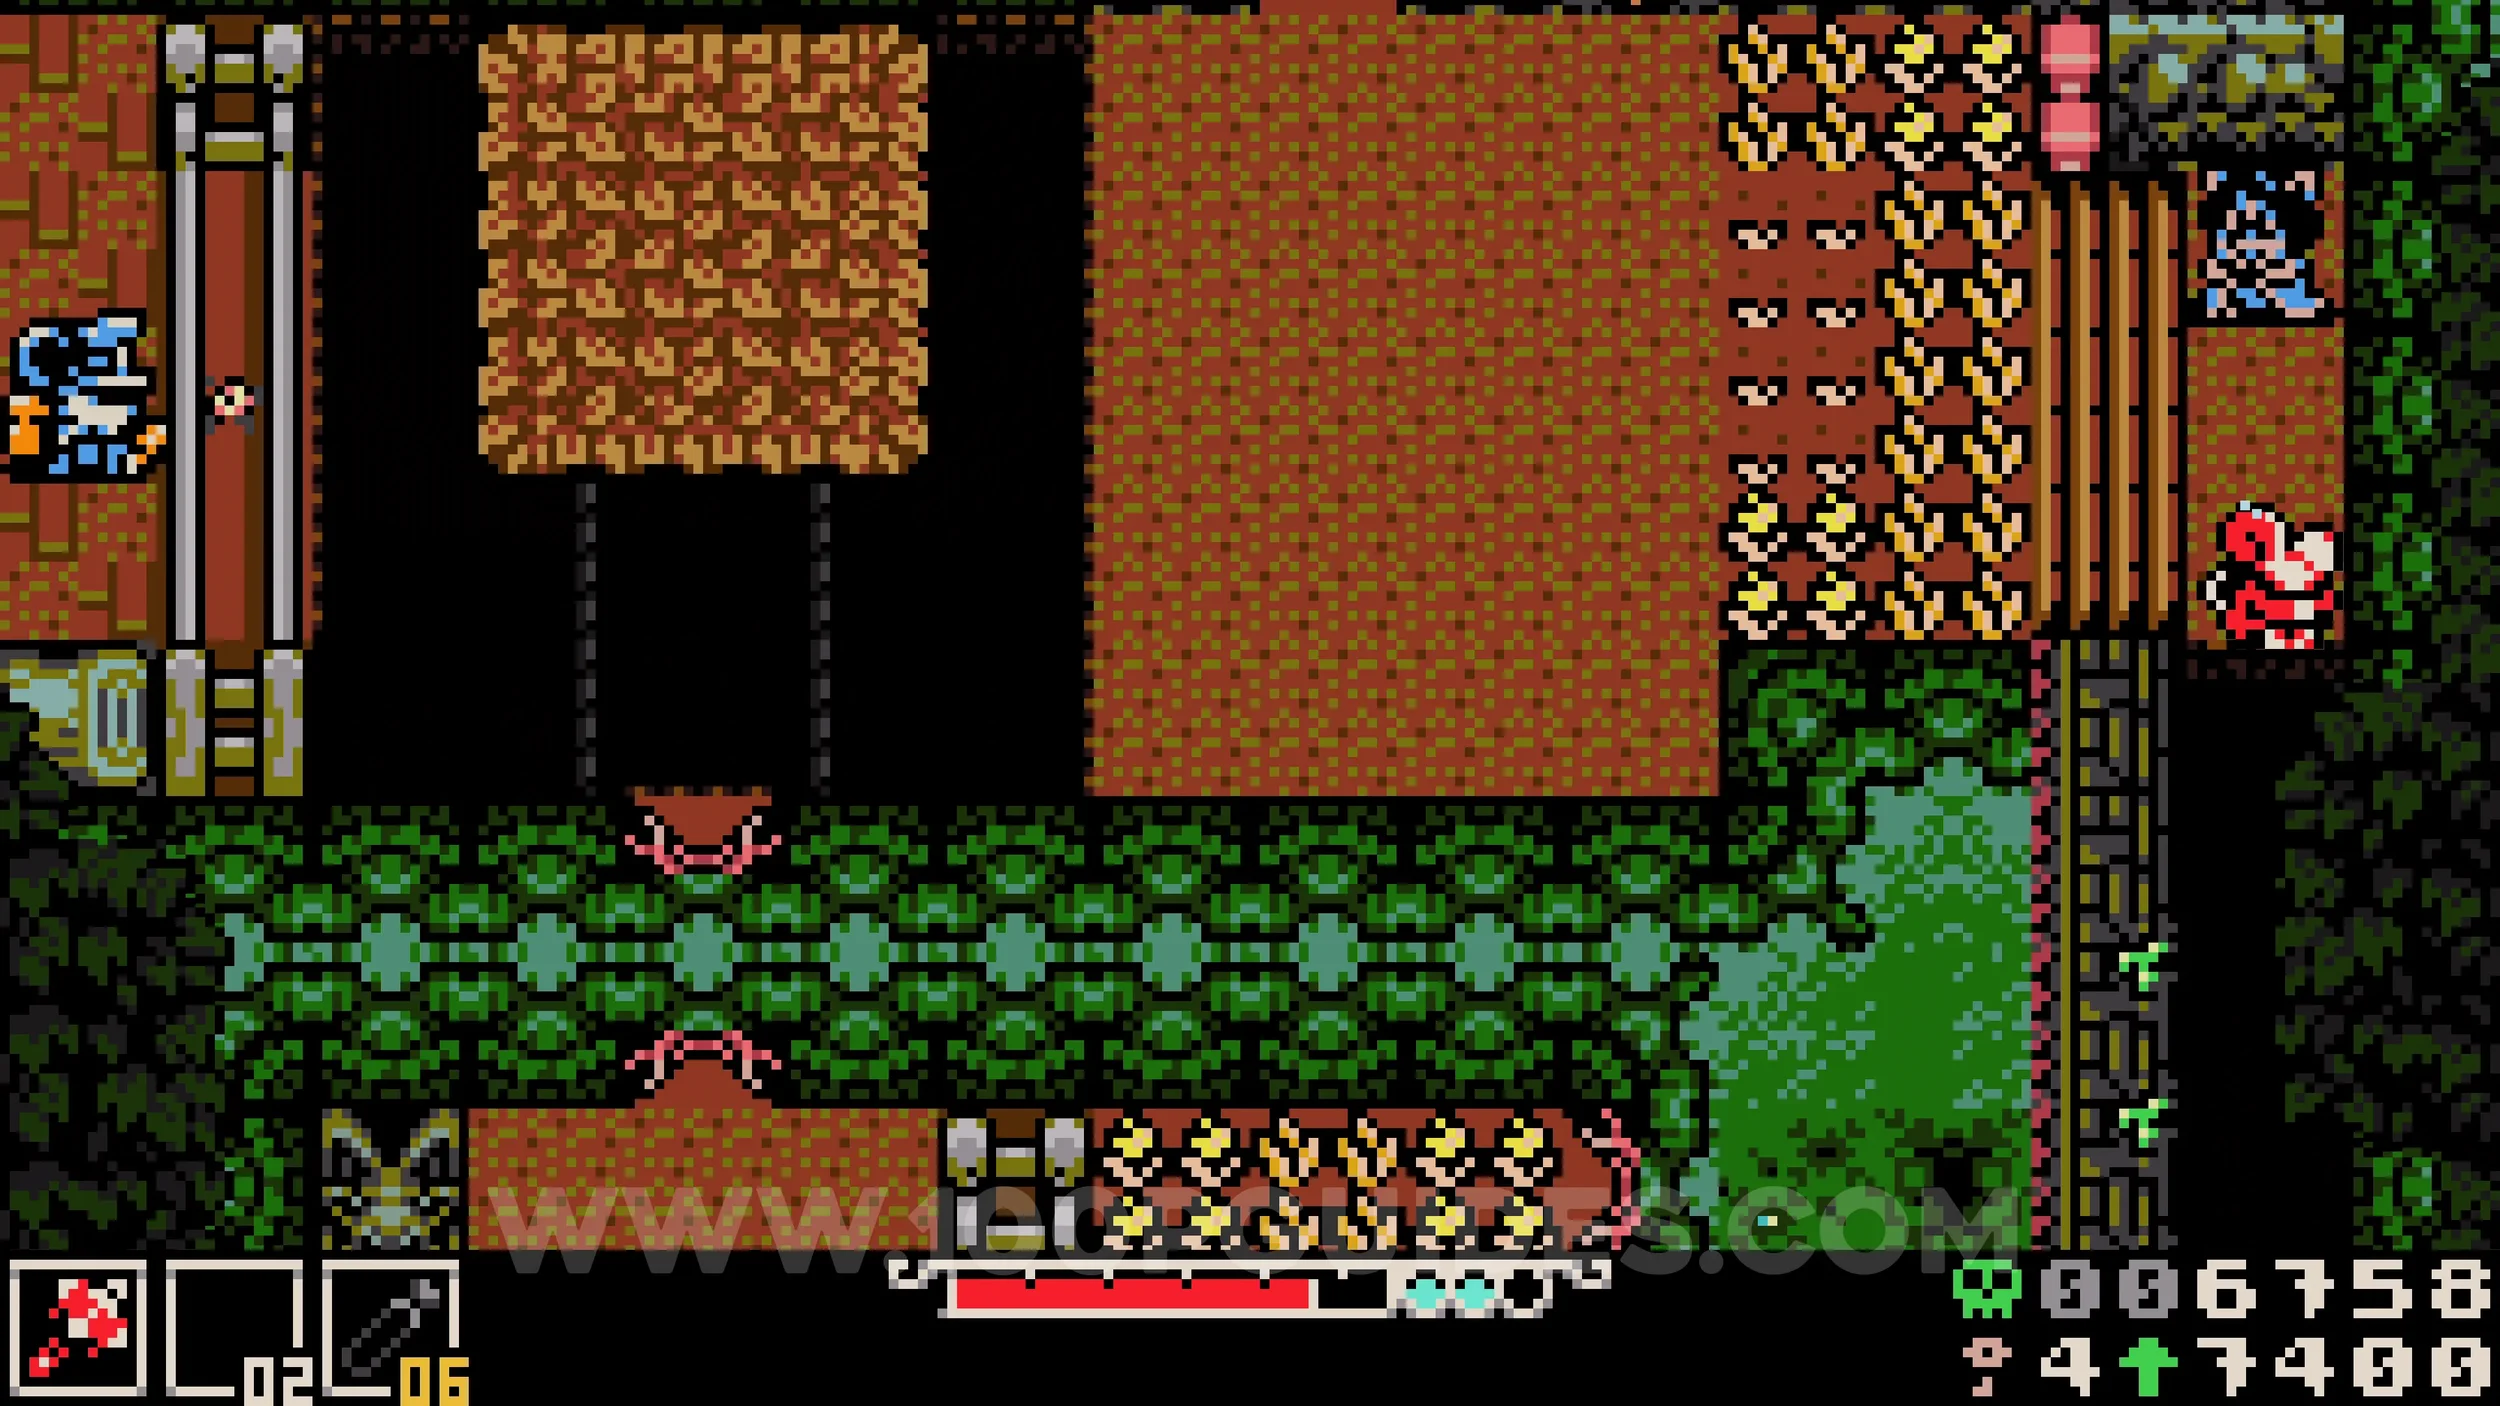
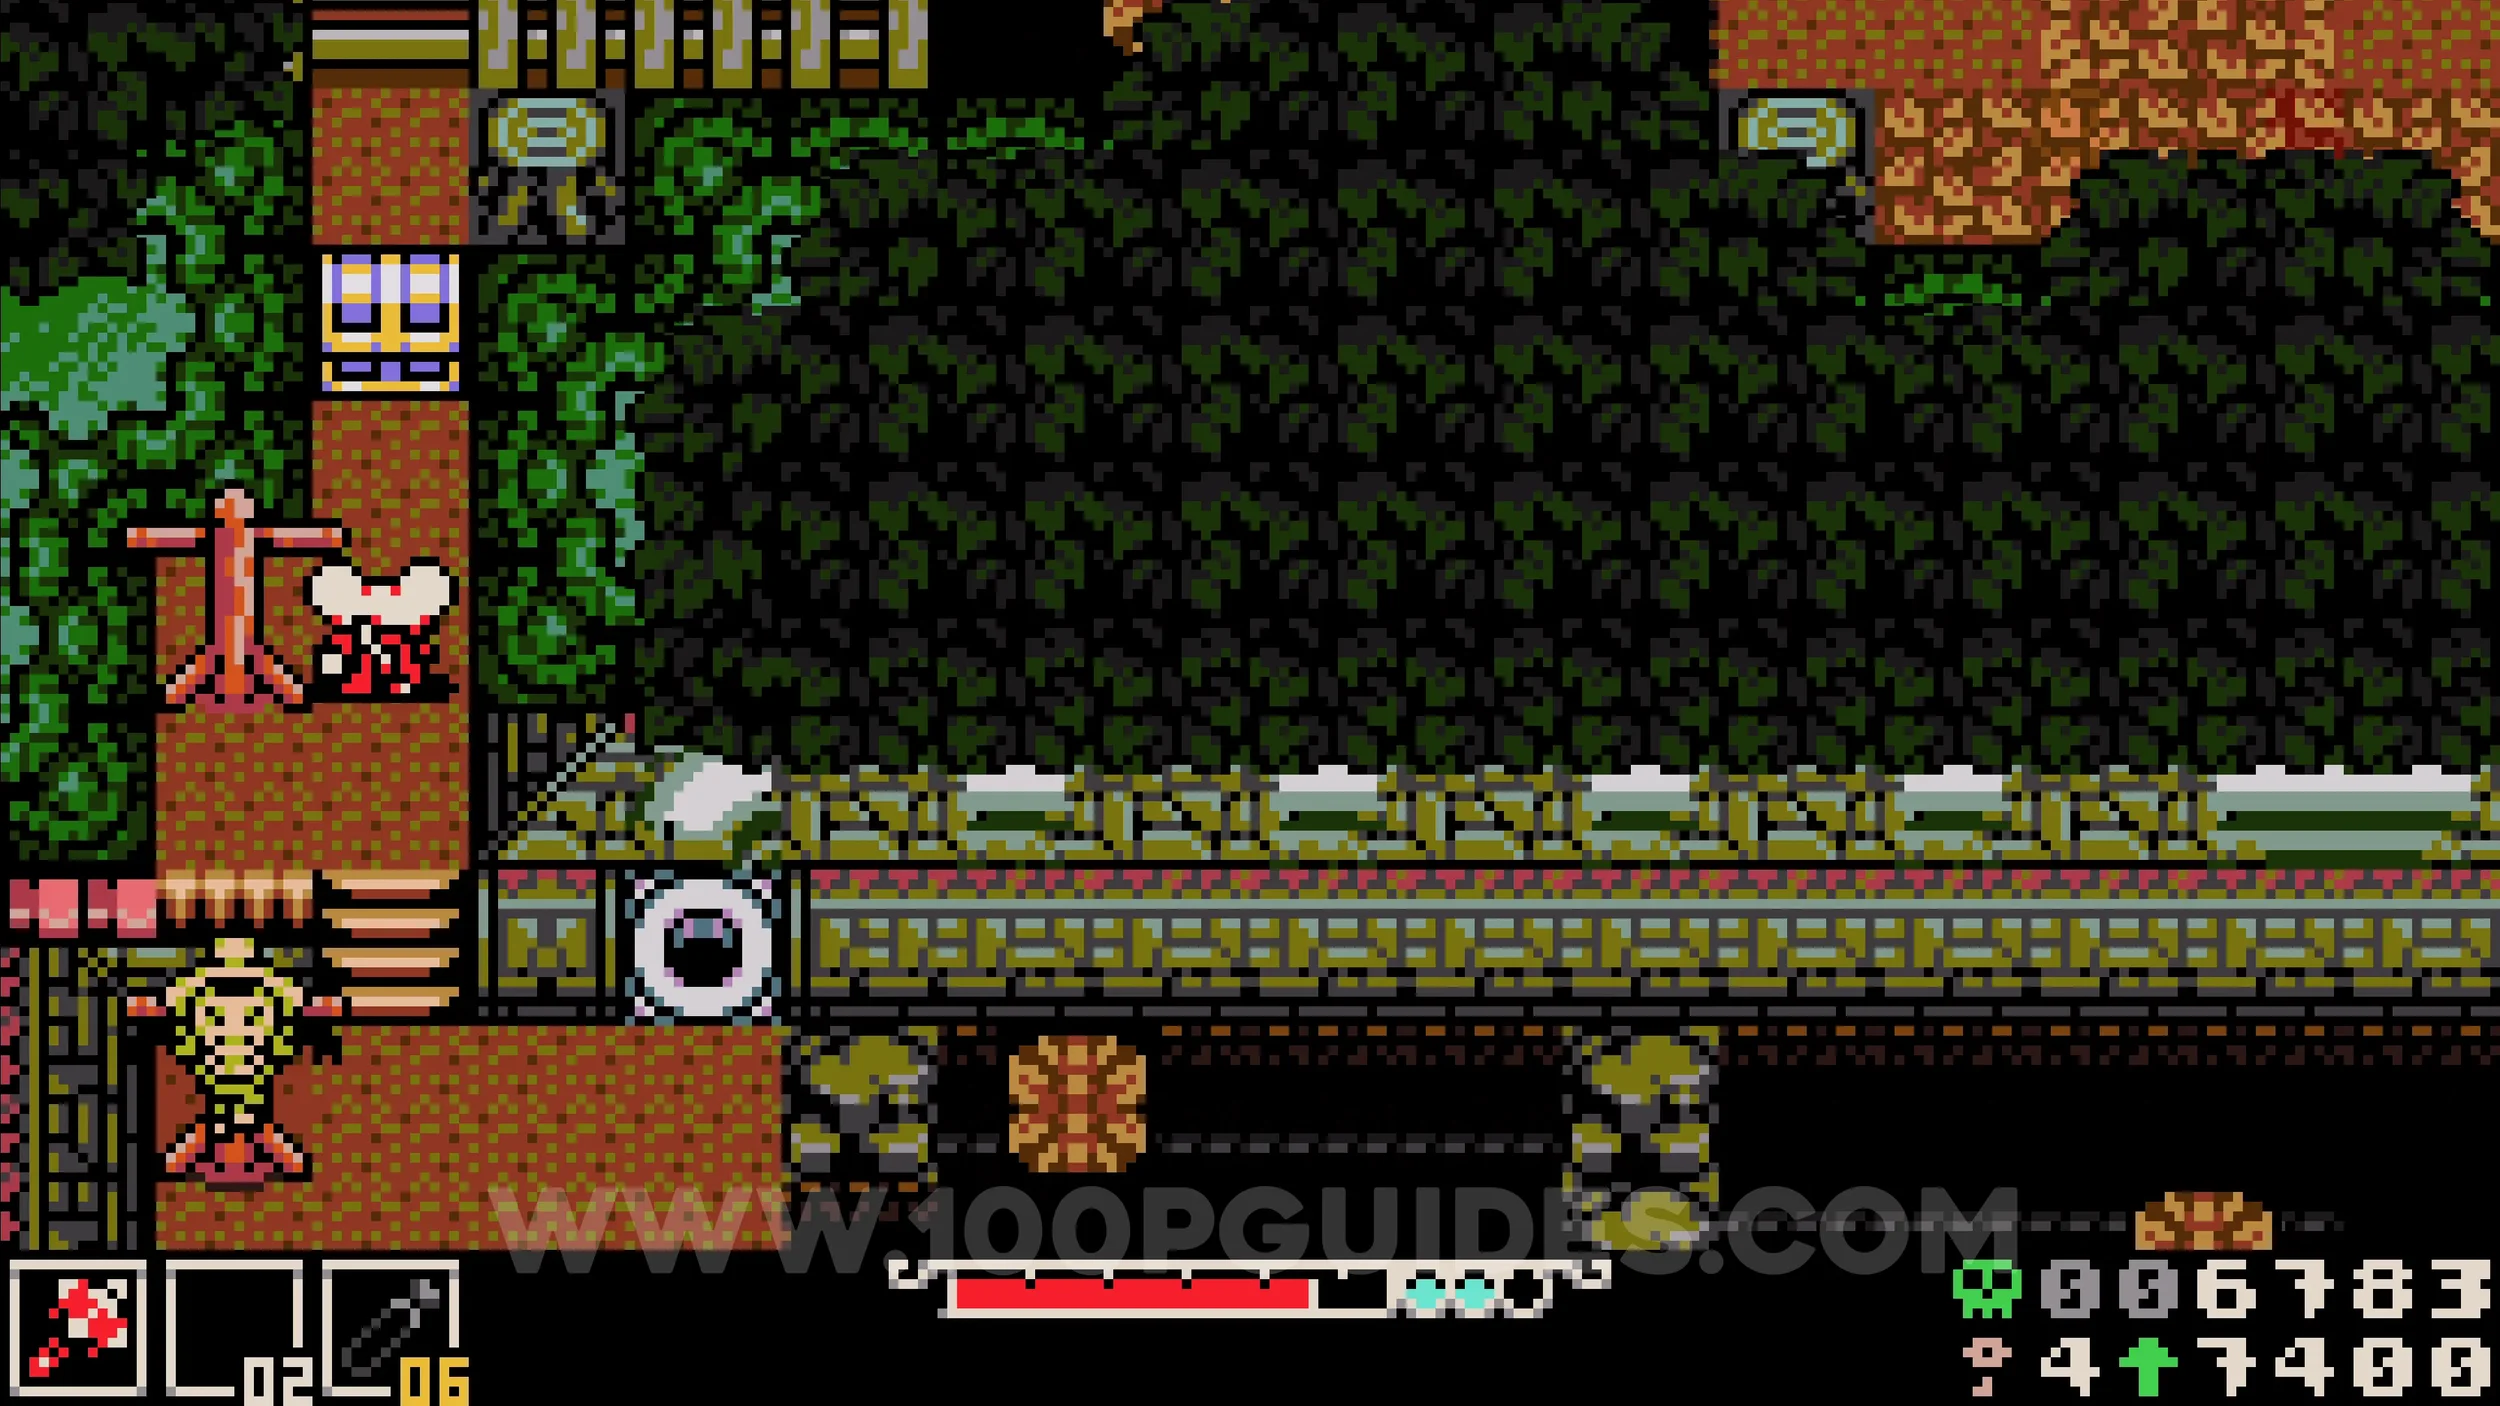
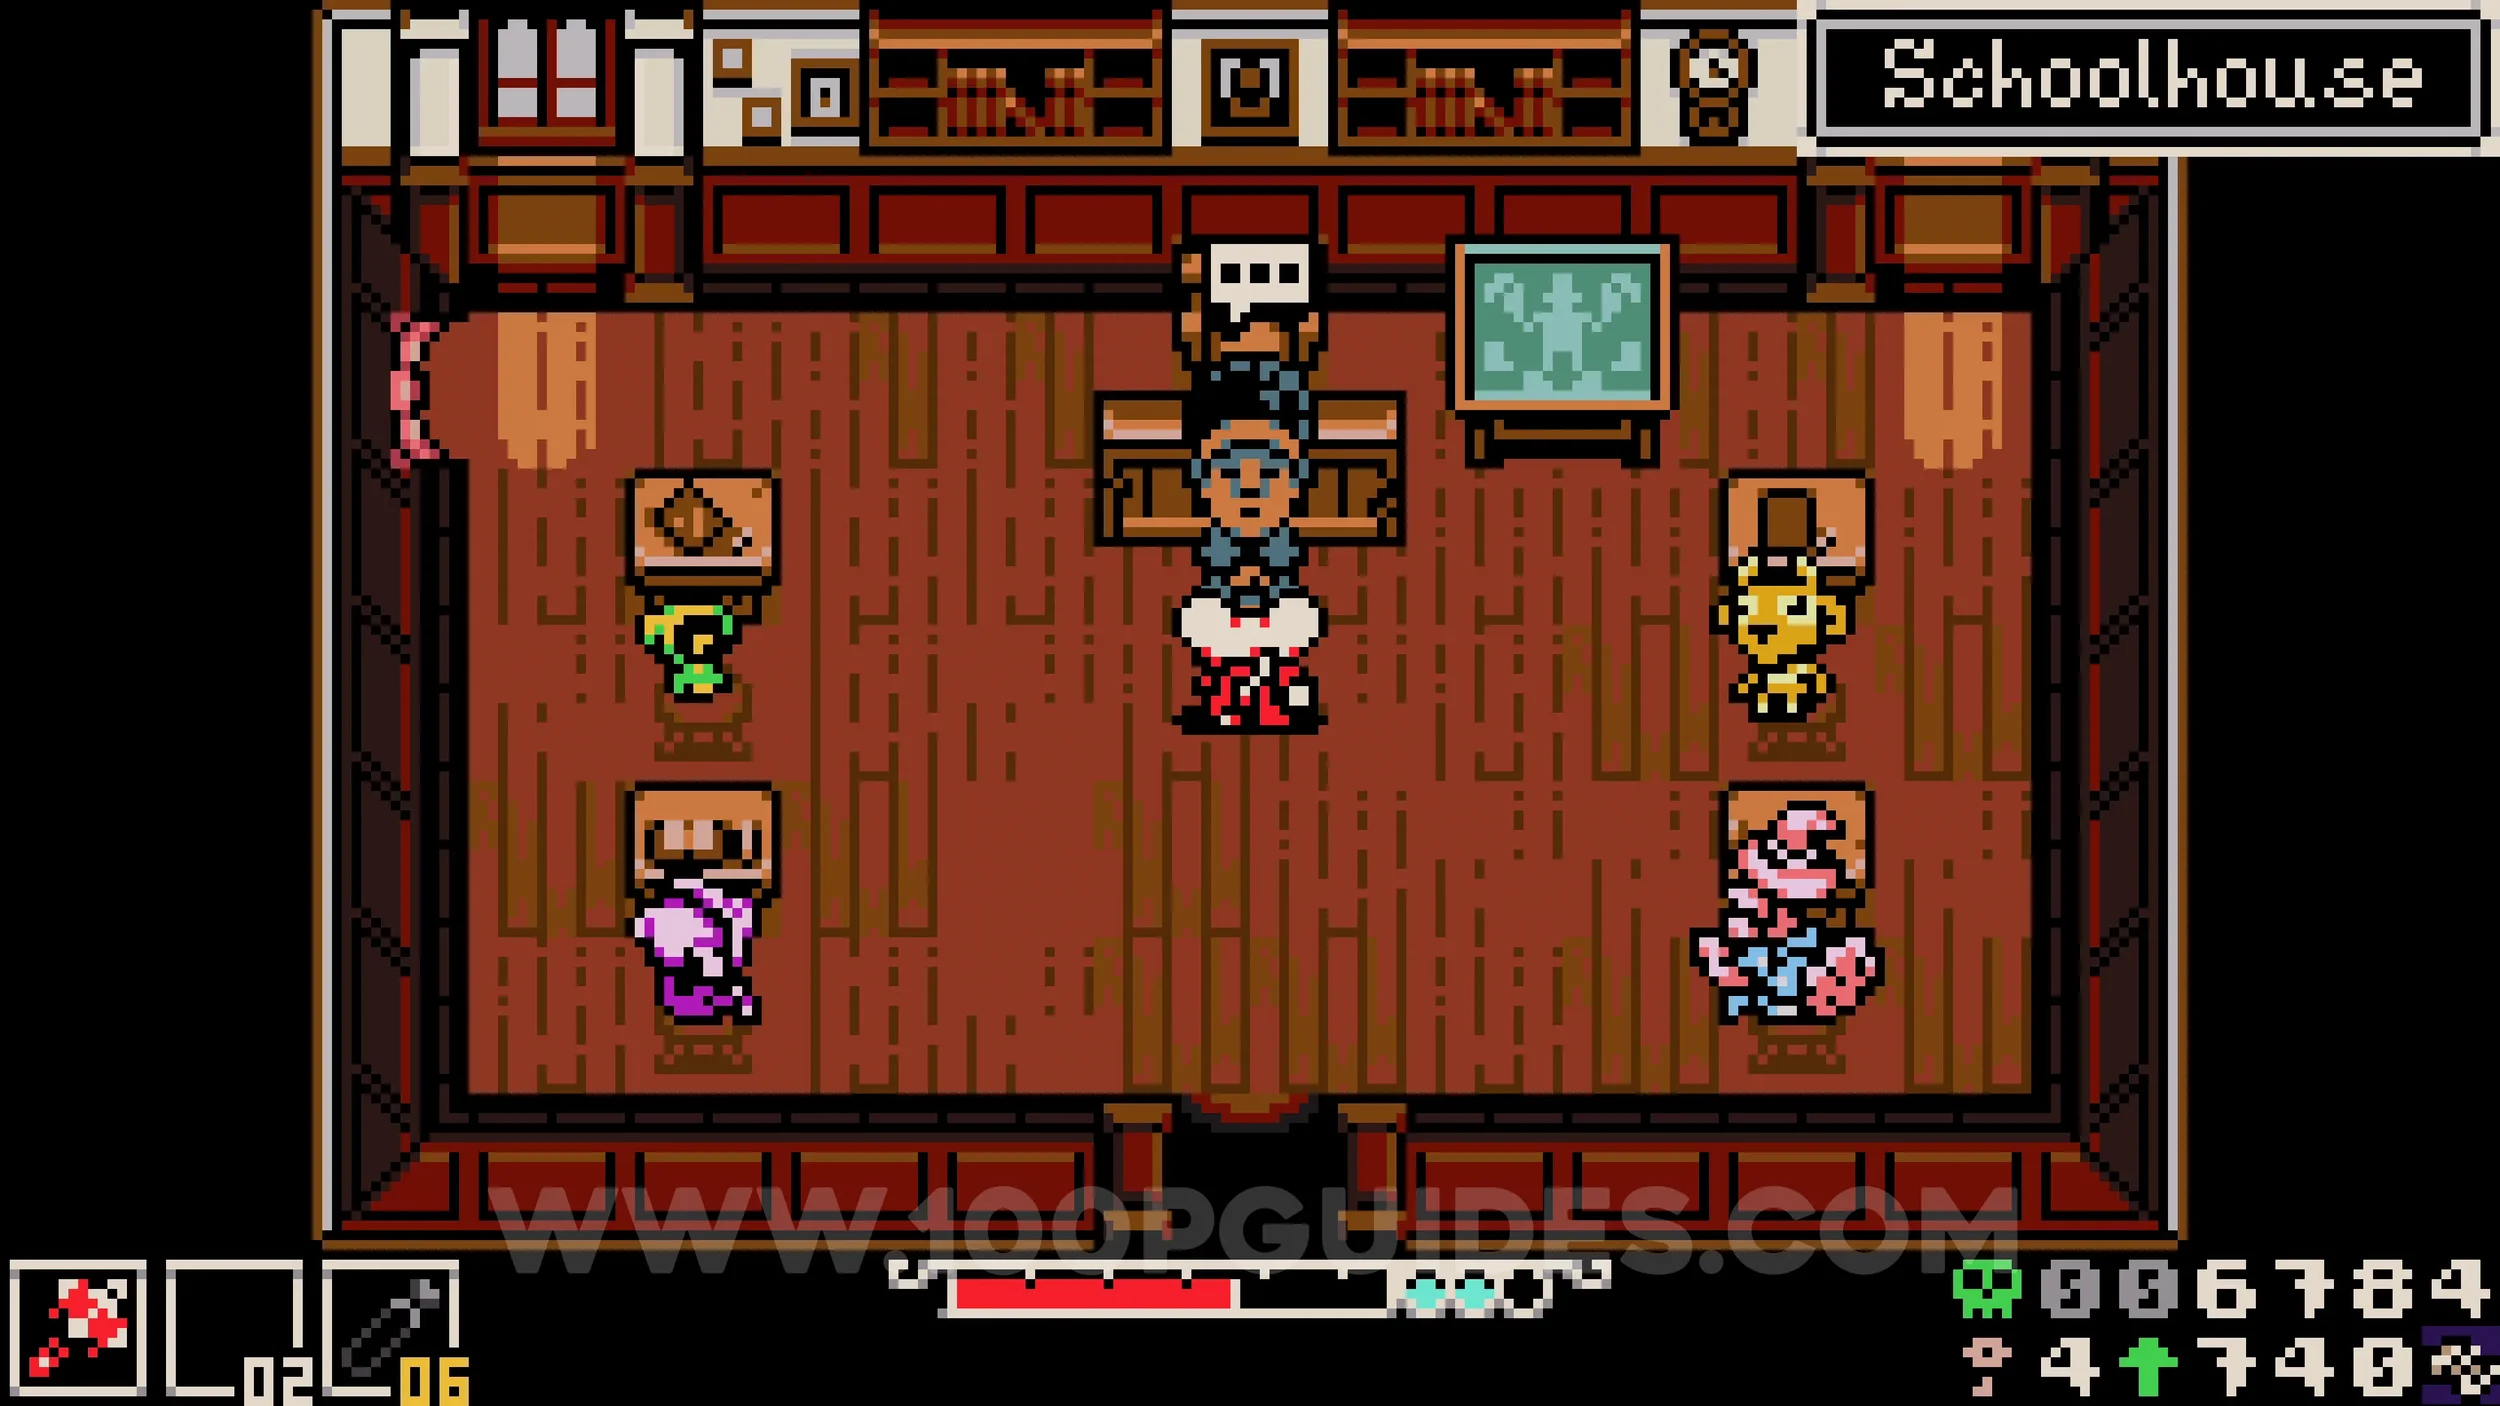
Trinket #5 - Lightning Grip. This can be obtained from the teacher in the Schoolhouse, but only if you save all 3 students during the chase scenes when passing through Septemburg for the first time. If you miss any of them, the trinket can be purchased later from the Trinket Shop in Ossex.
SEPTEMBURG
Bonestone #1. At the end of the first area, burrow under the vertical fence to reach the bottom jump pad and launch left. In the next area, wait until the first jump pad is facing left, which will take you to the top side. Then wait until the top pad is facing down. You will land on the middle pad while it is facing left, taking you to the collectible.
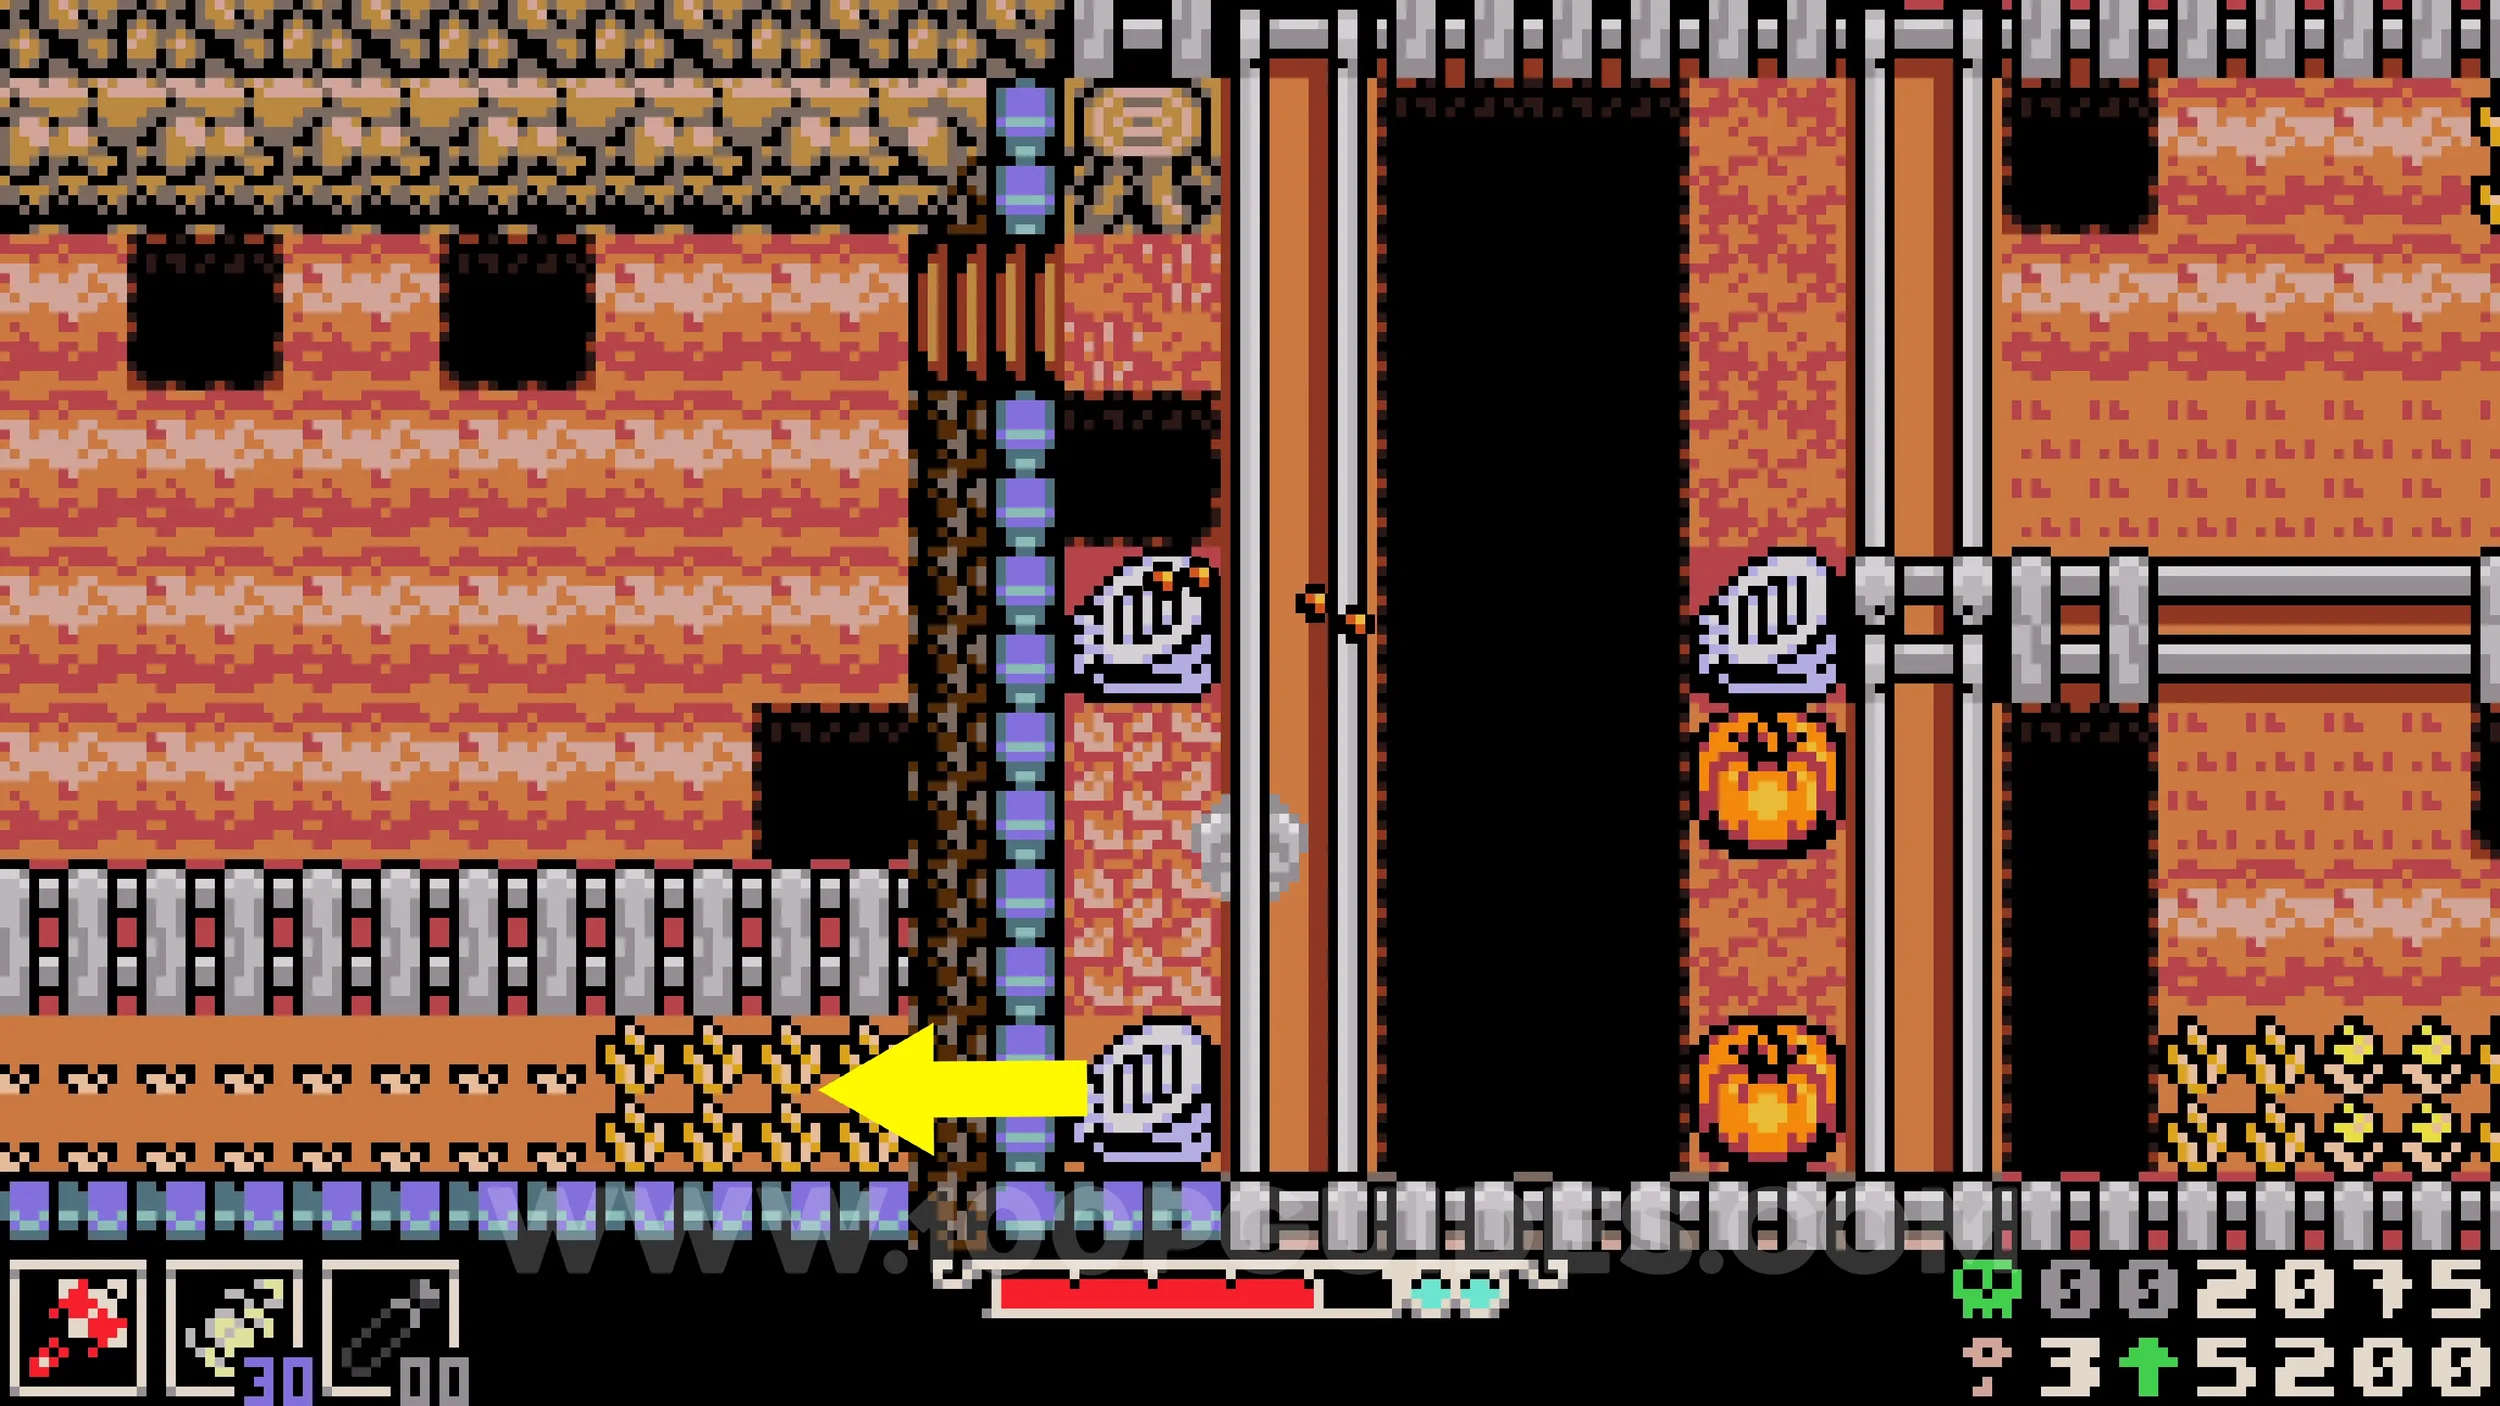
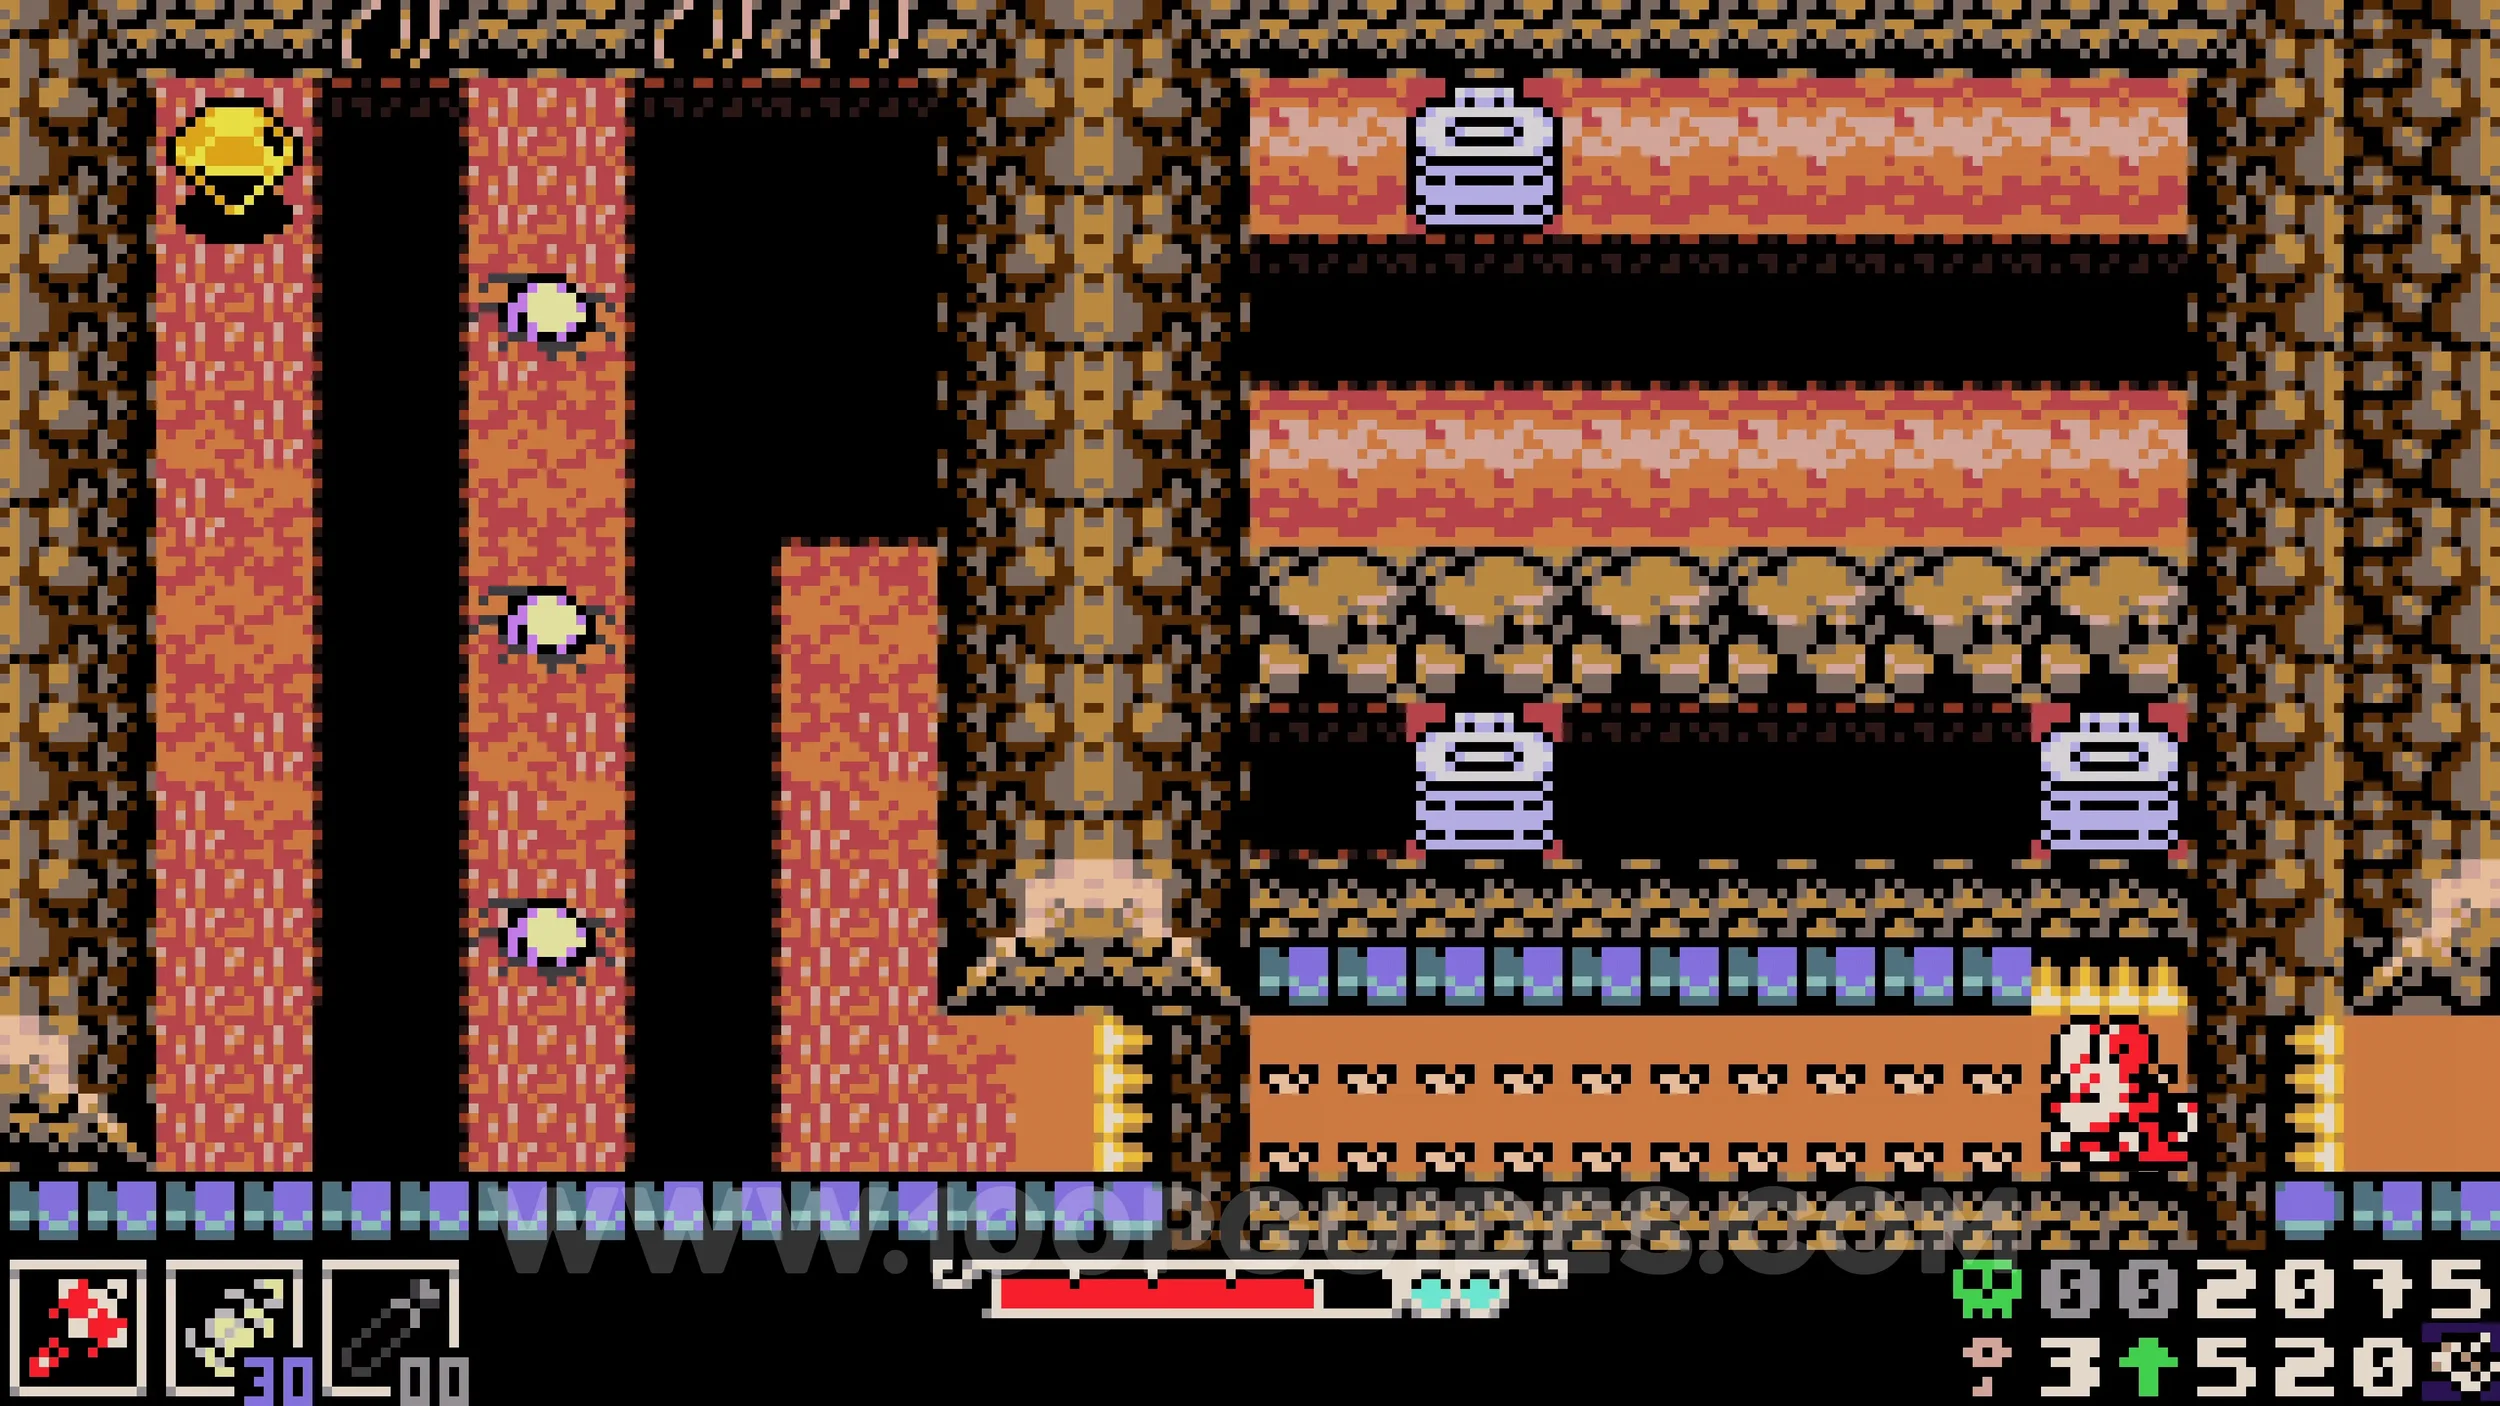
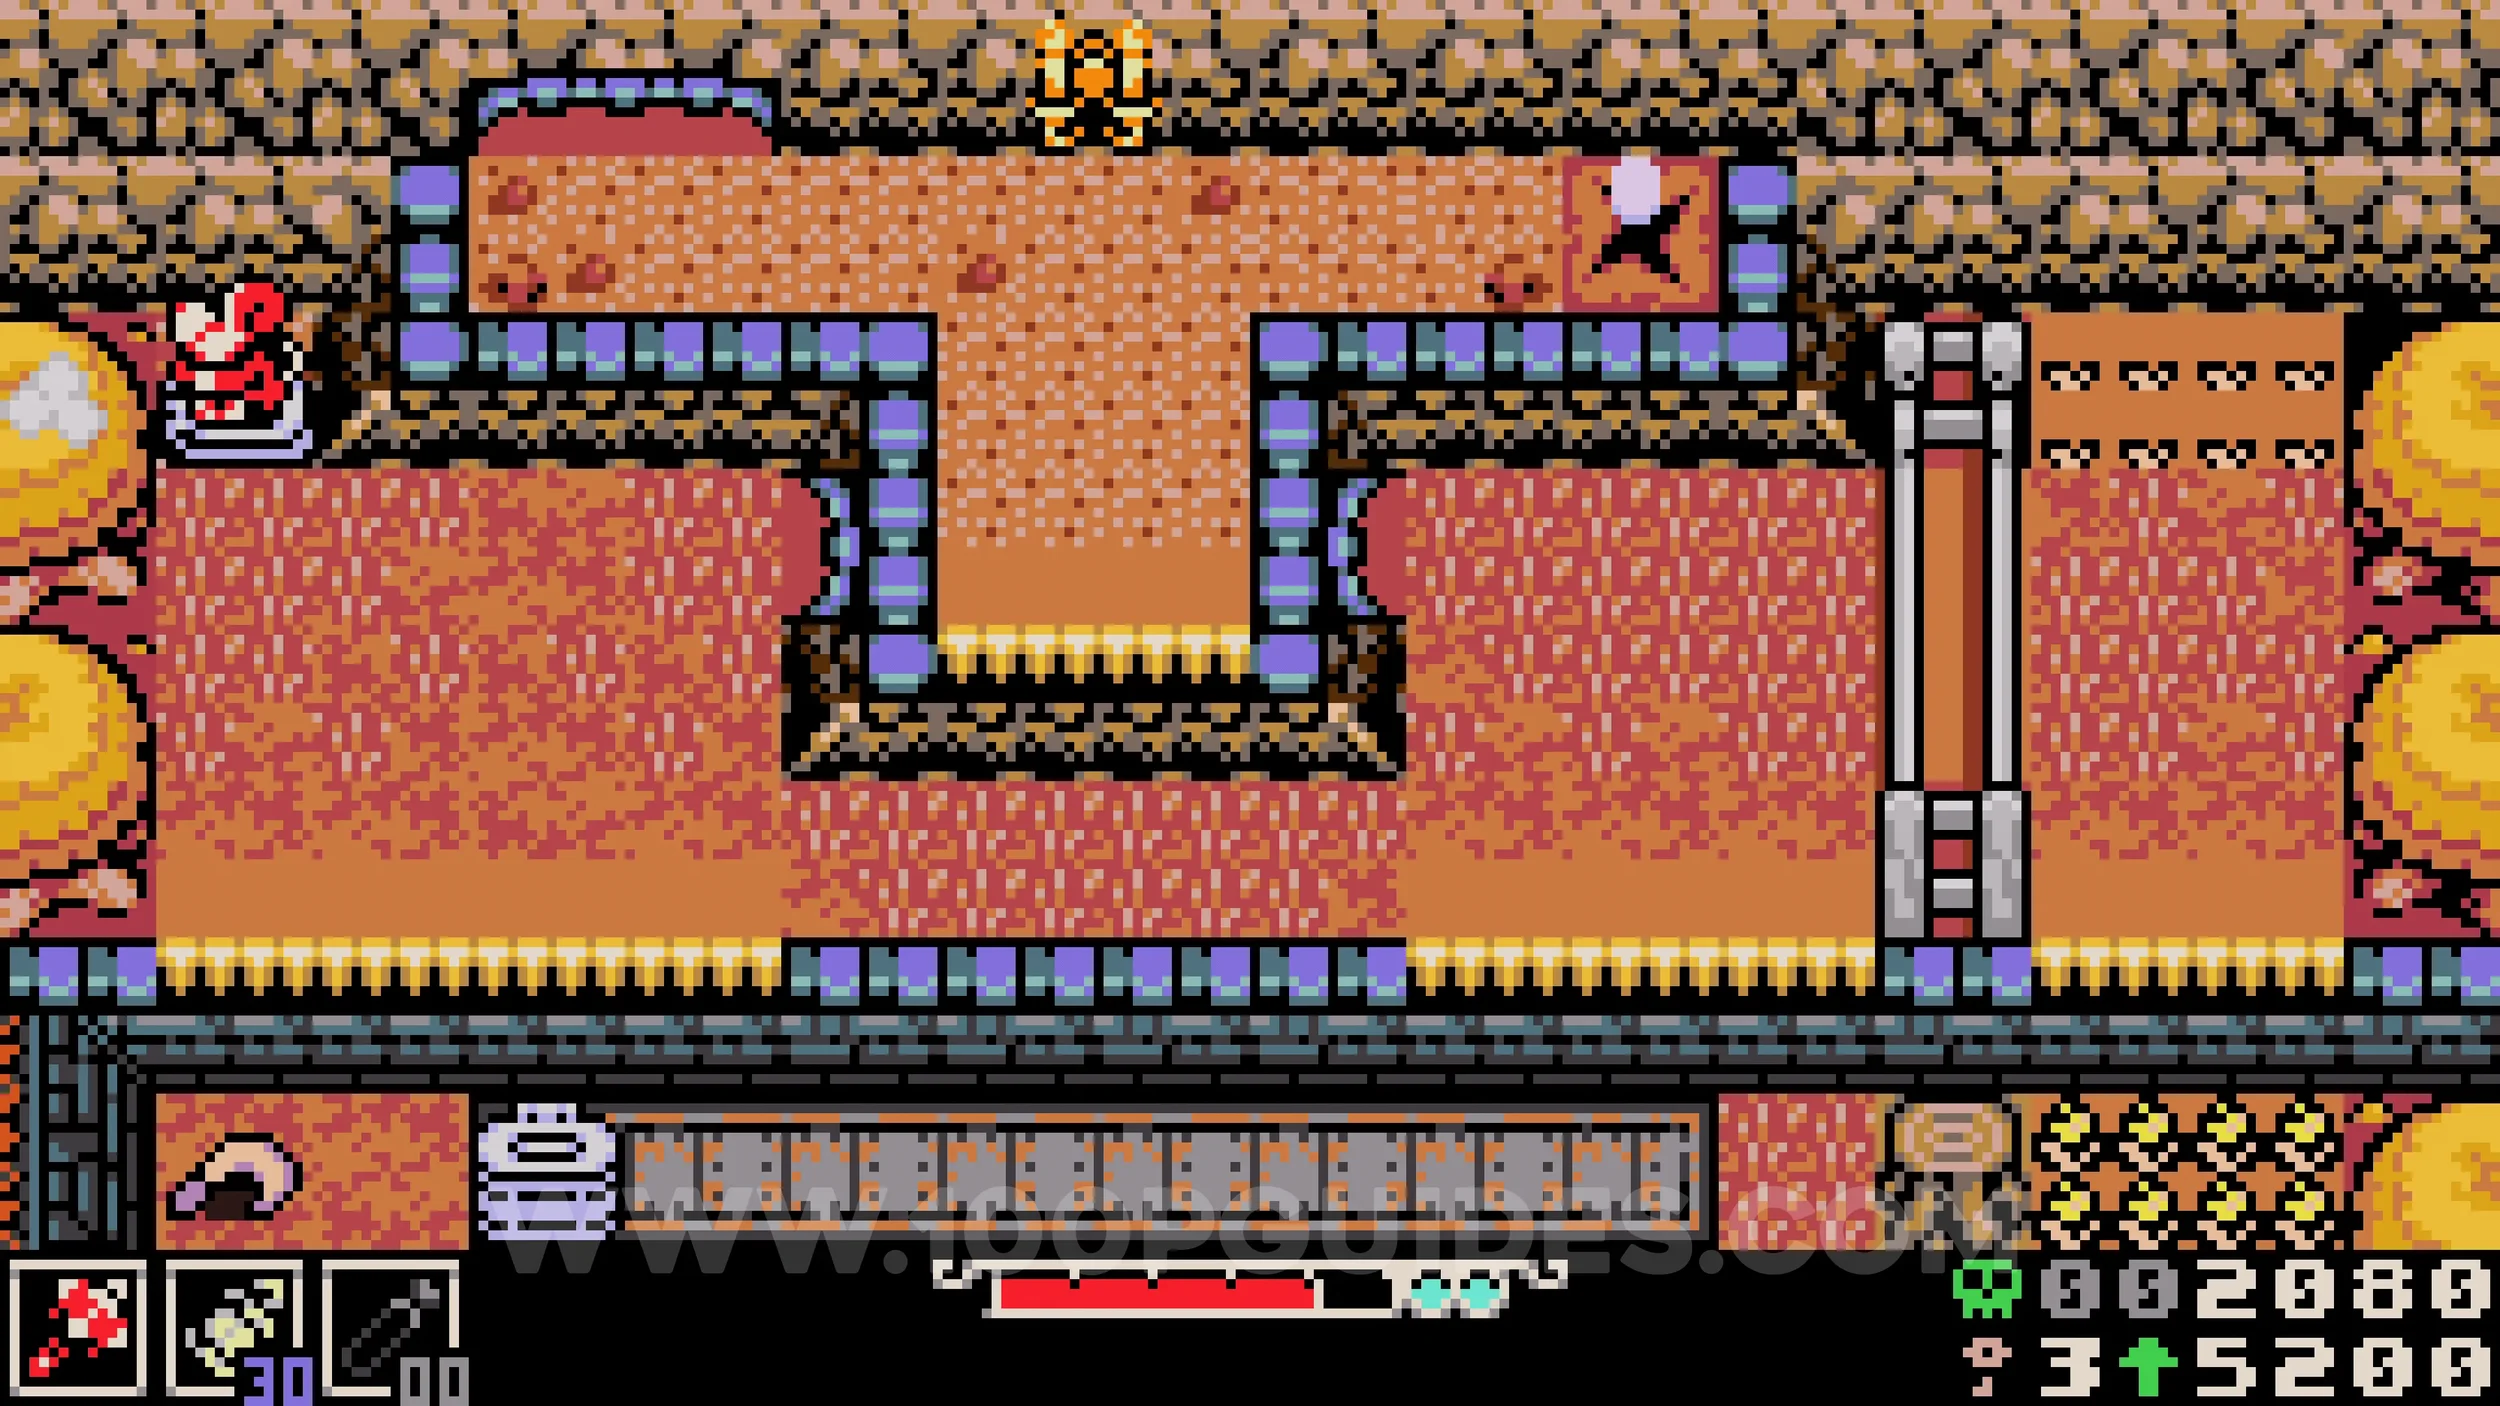
Kear #1. Once you reach the area where you must use a jump pad to reach the platform at the top of the screen, drop down to the middle platform and use the jump pad in the top left corner to reach another area. Here, use the middle left jump pad to land on the middle moving platform, then go down and right and use the jump pad to get back to the right side, staying left of the jump pads. Use the top jump pad to land on the other moving platform, which will take you to a scarecrow. Talk to it and then defeat it to get the key.
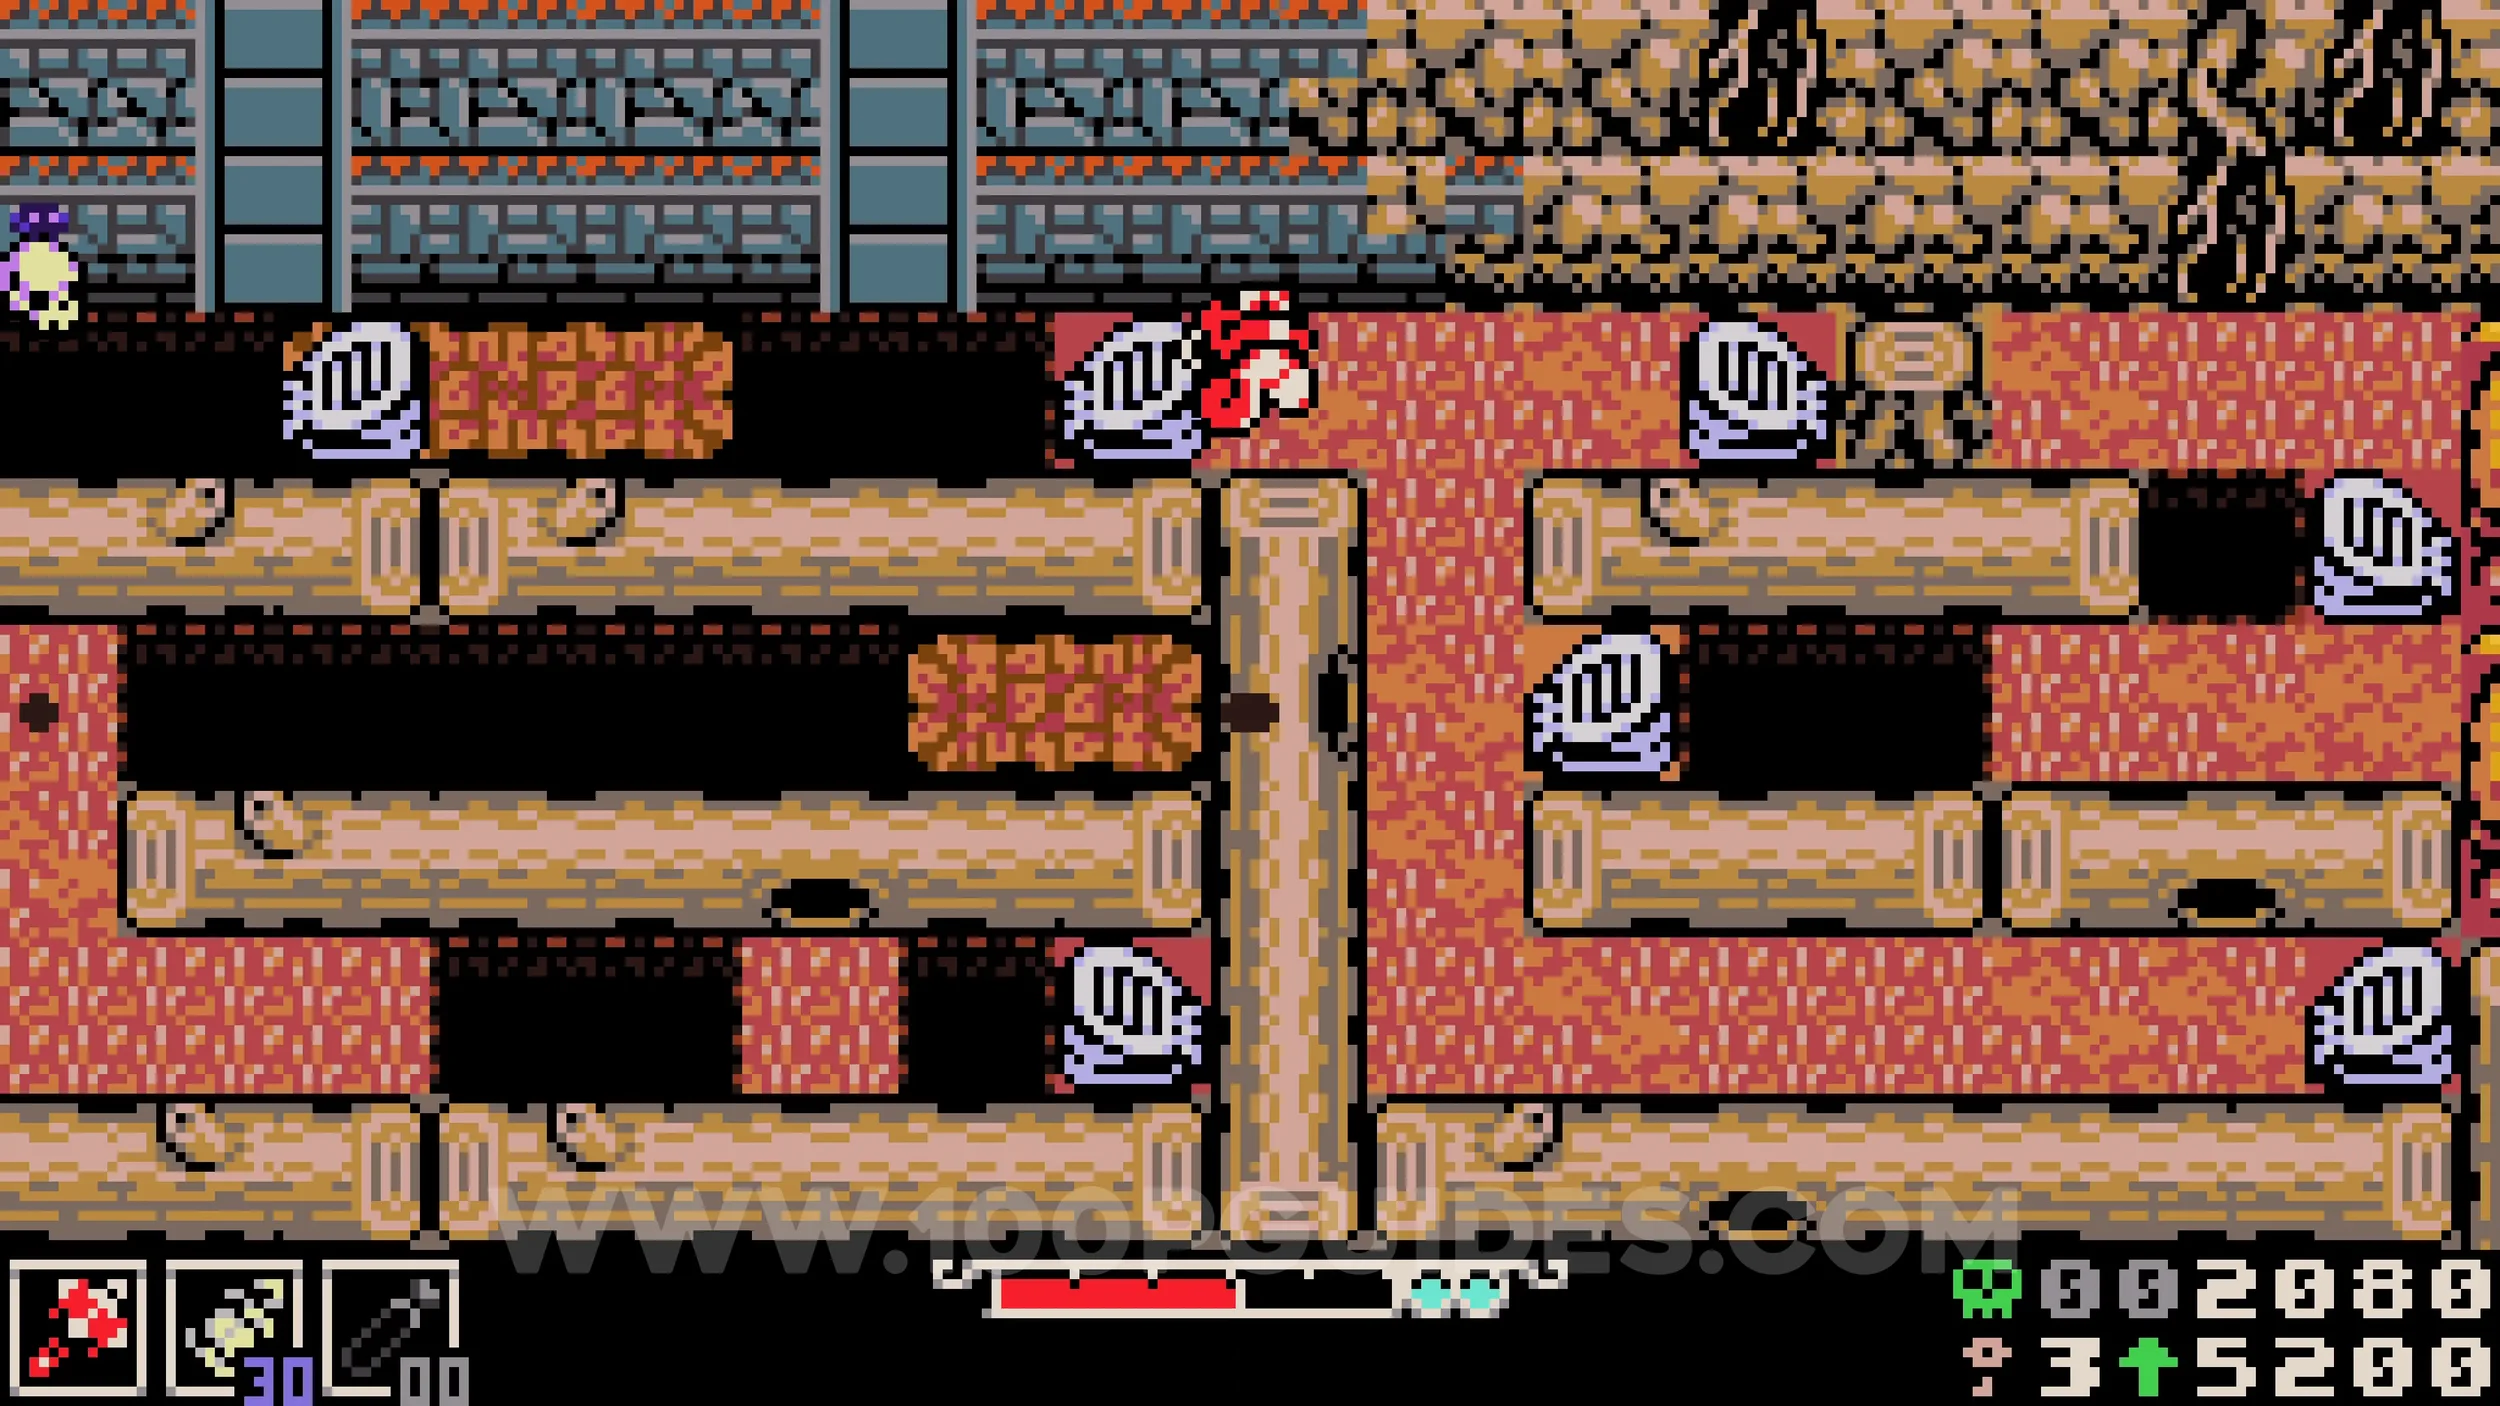
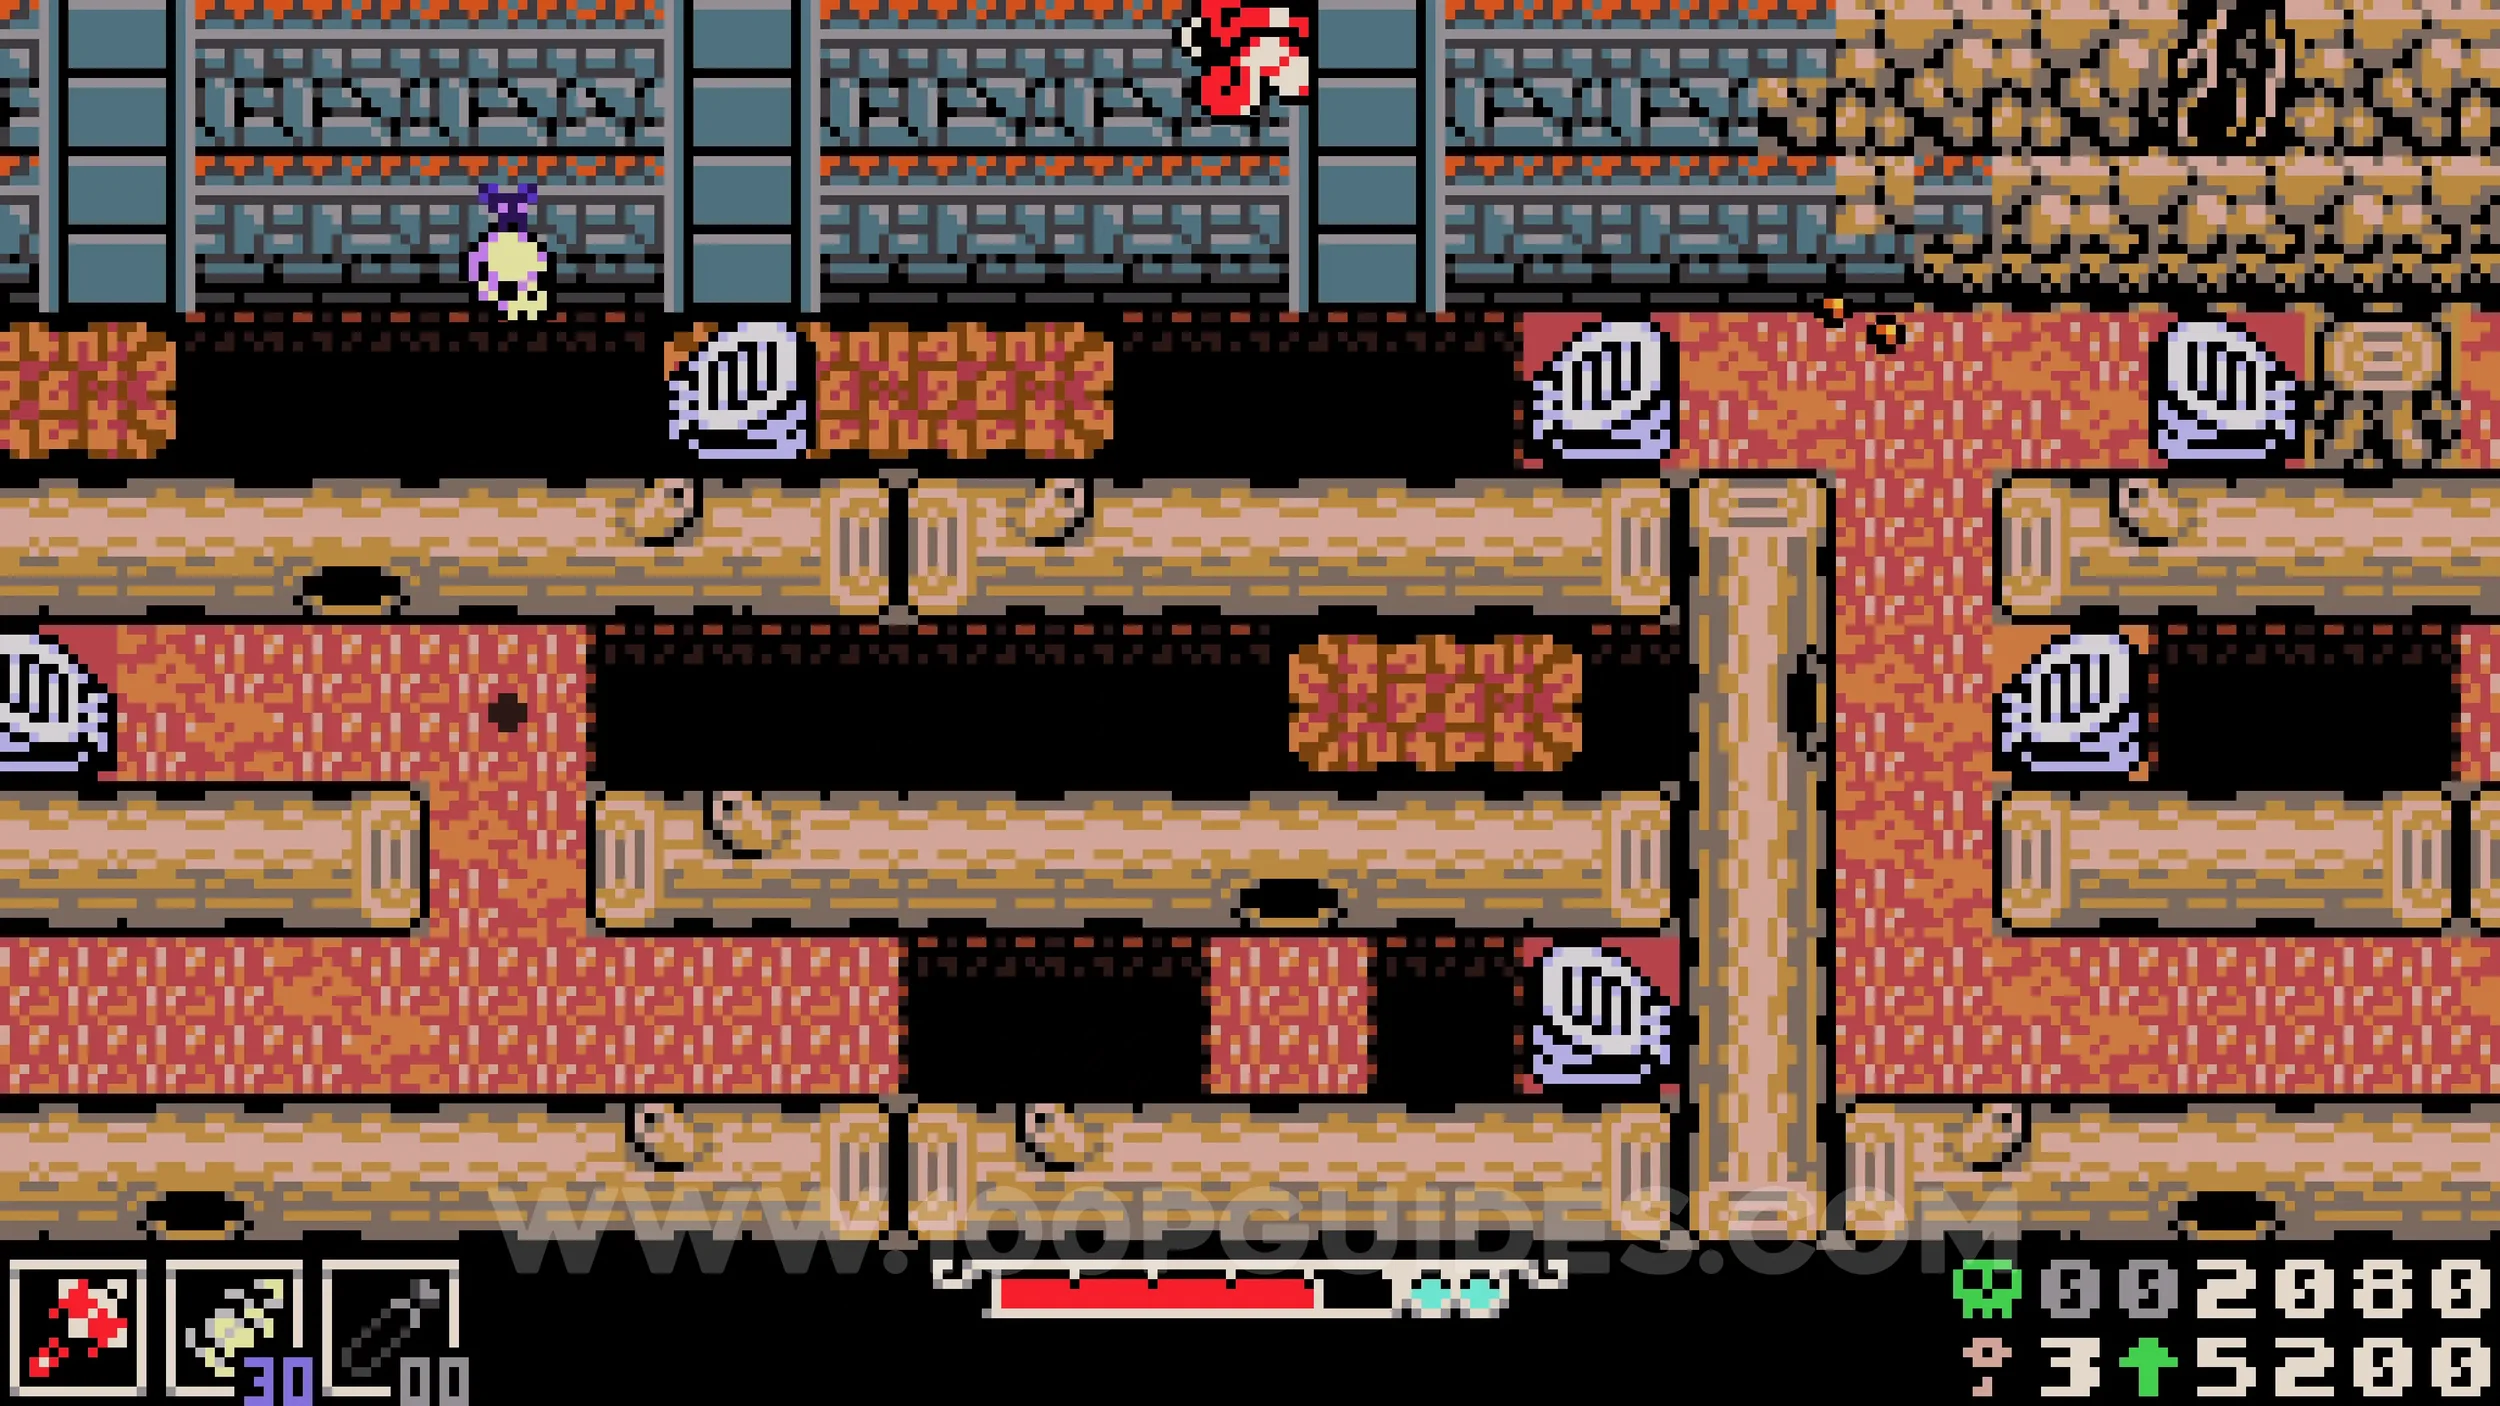
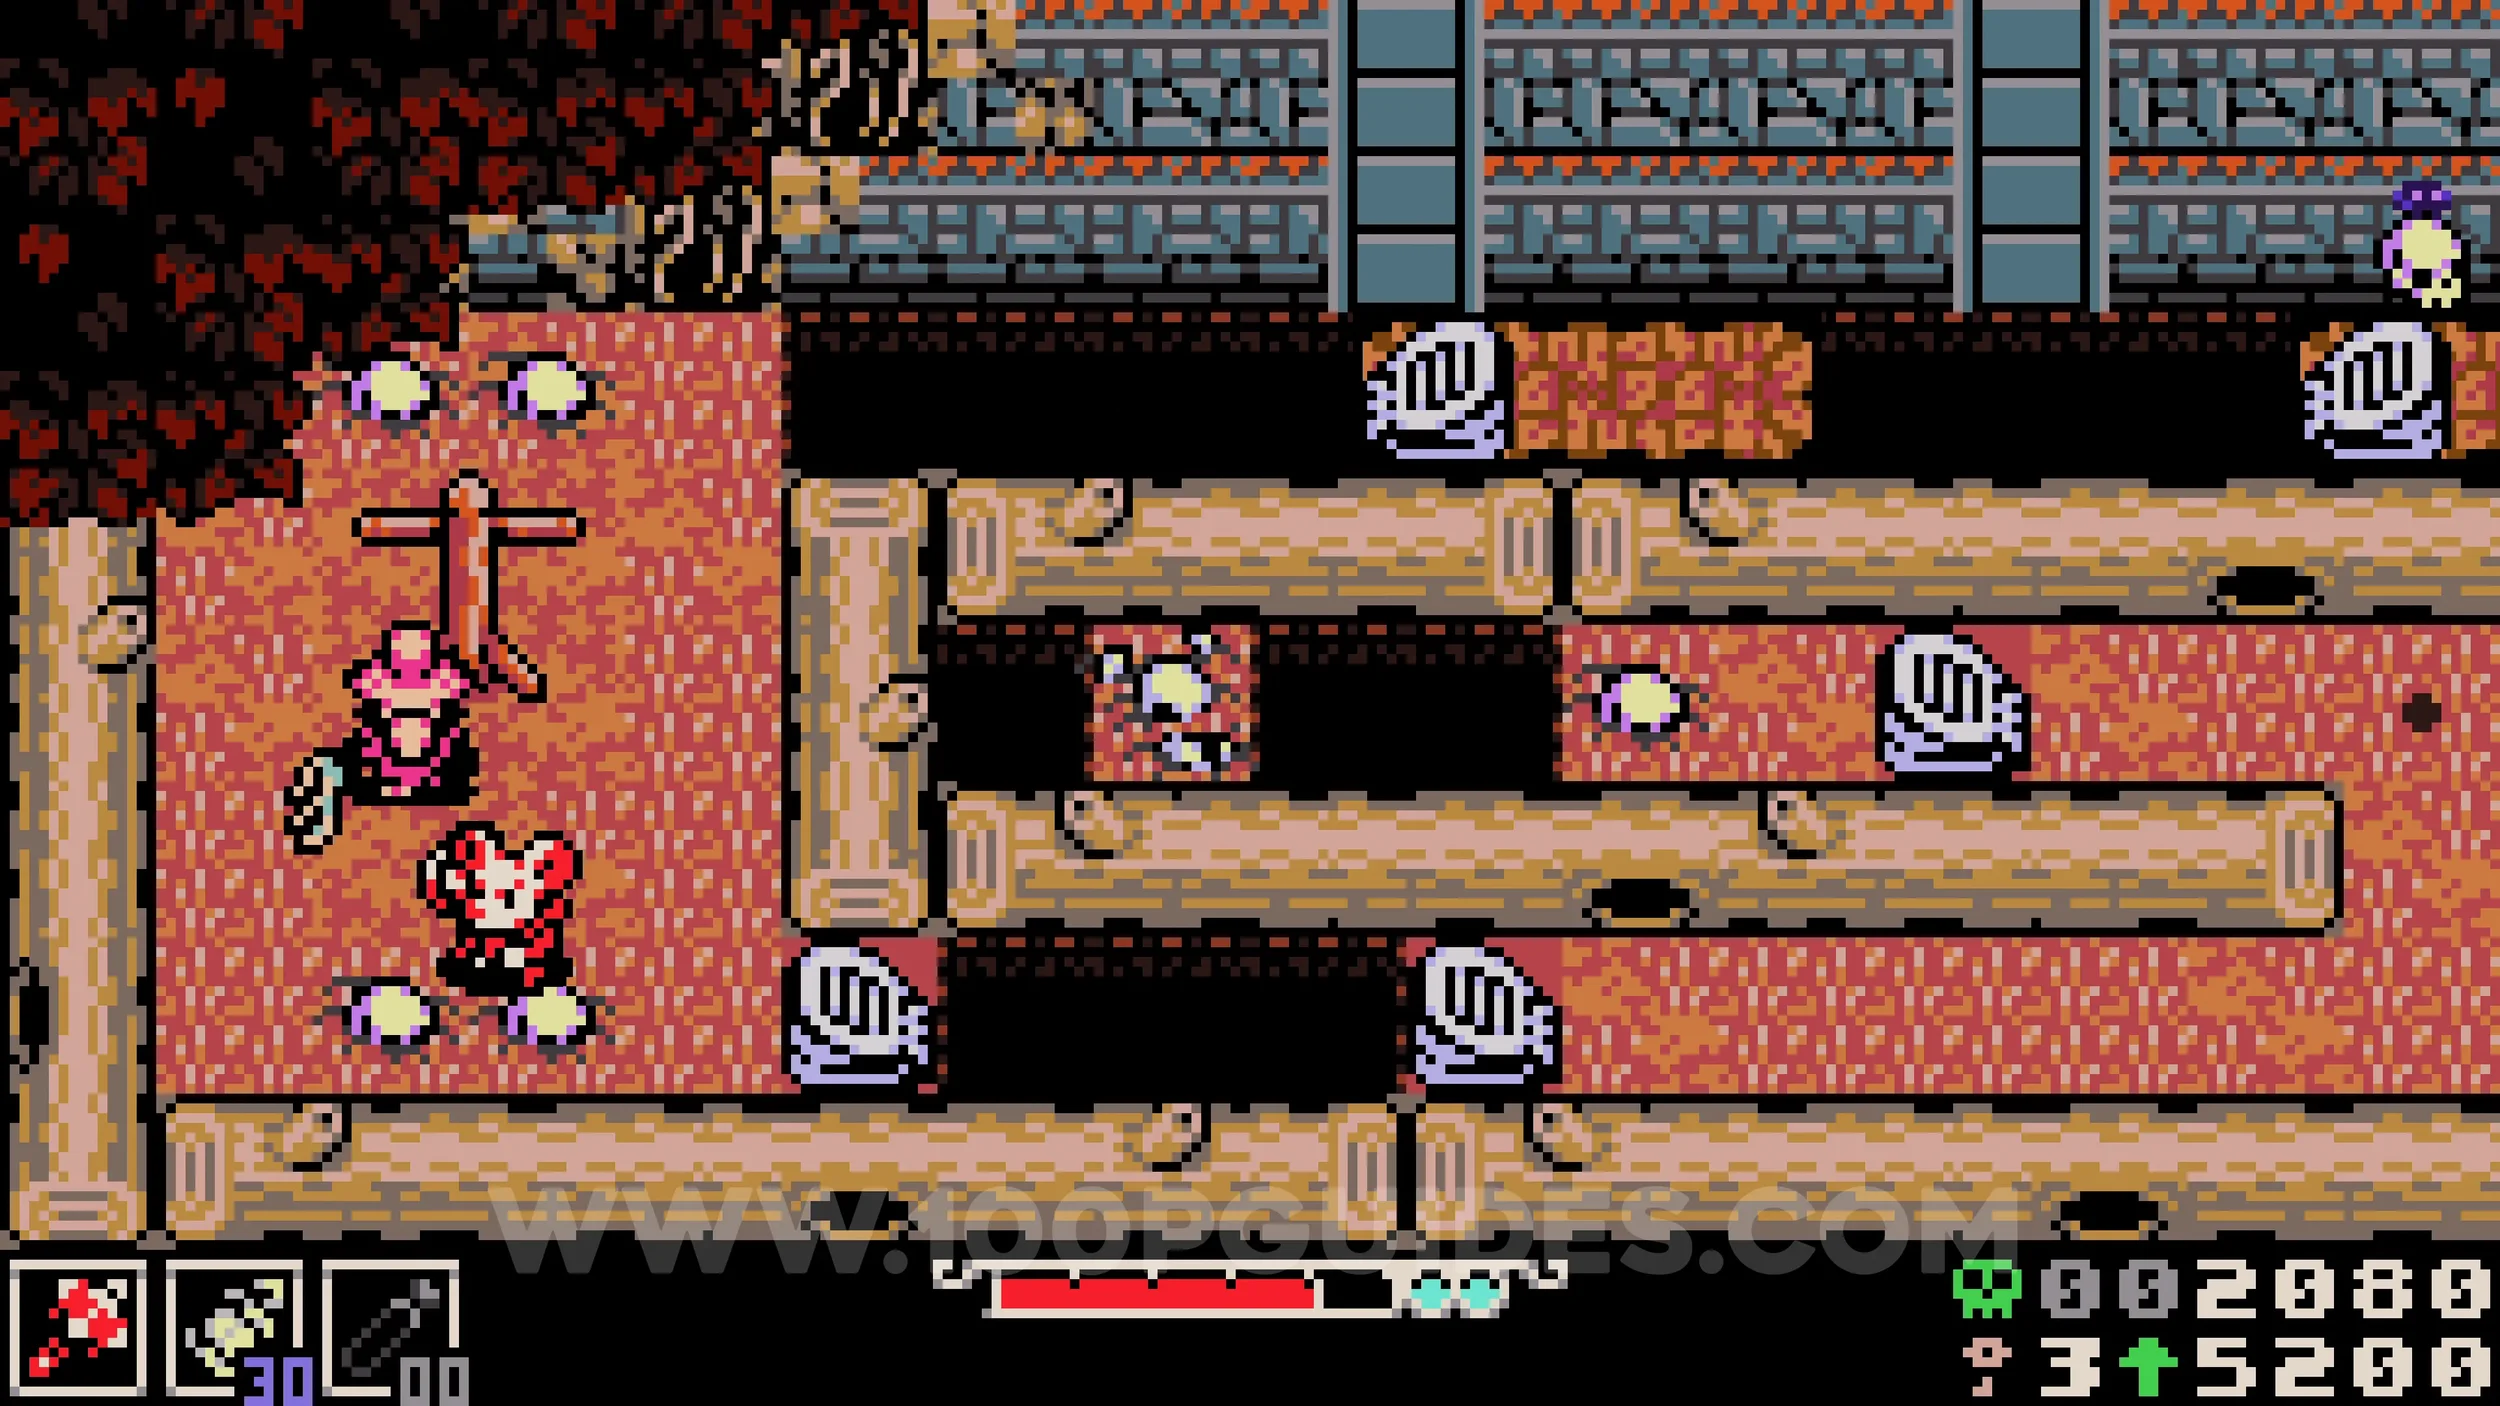
Bonestone #2. During the first chase scene, look for a hollow log you can go through at the top left of the end of the area. Go through it and talk to the NPC on the right side. The enemy chasing you will then break through the wall, revealing the collectible.
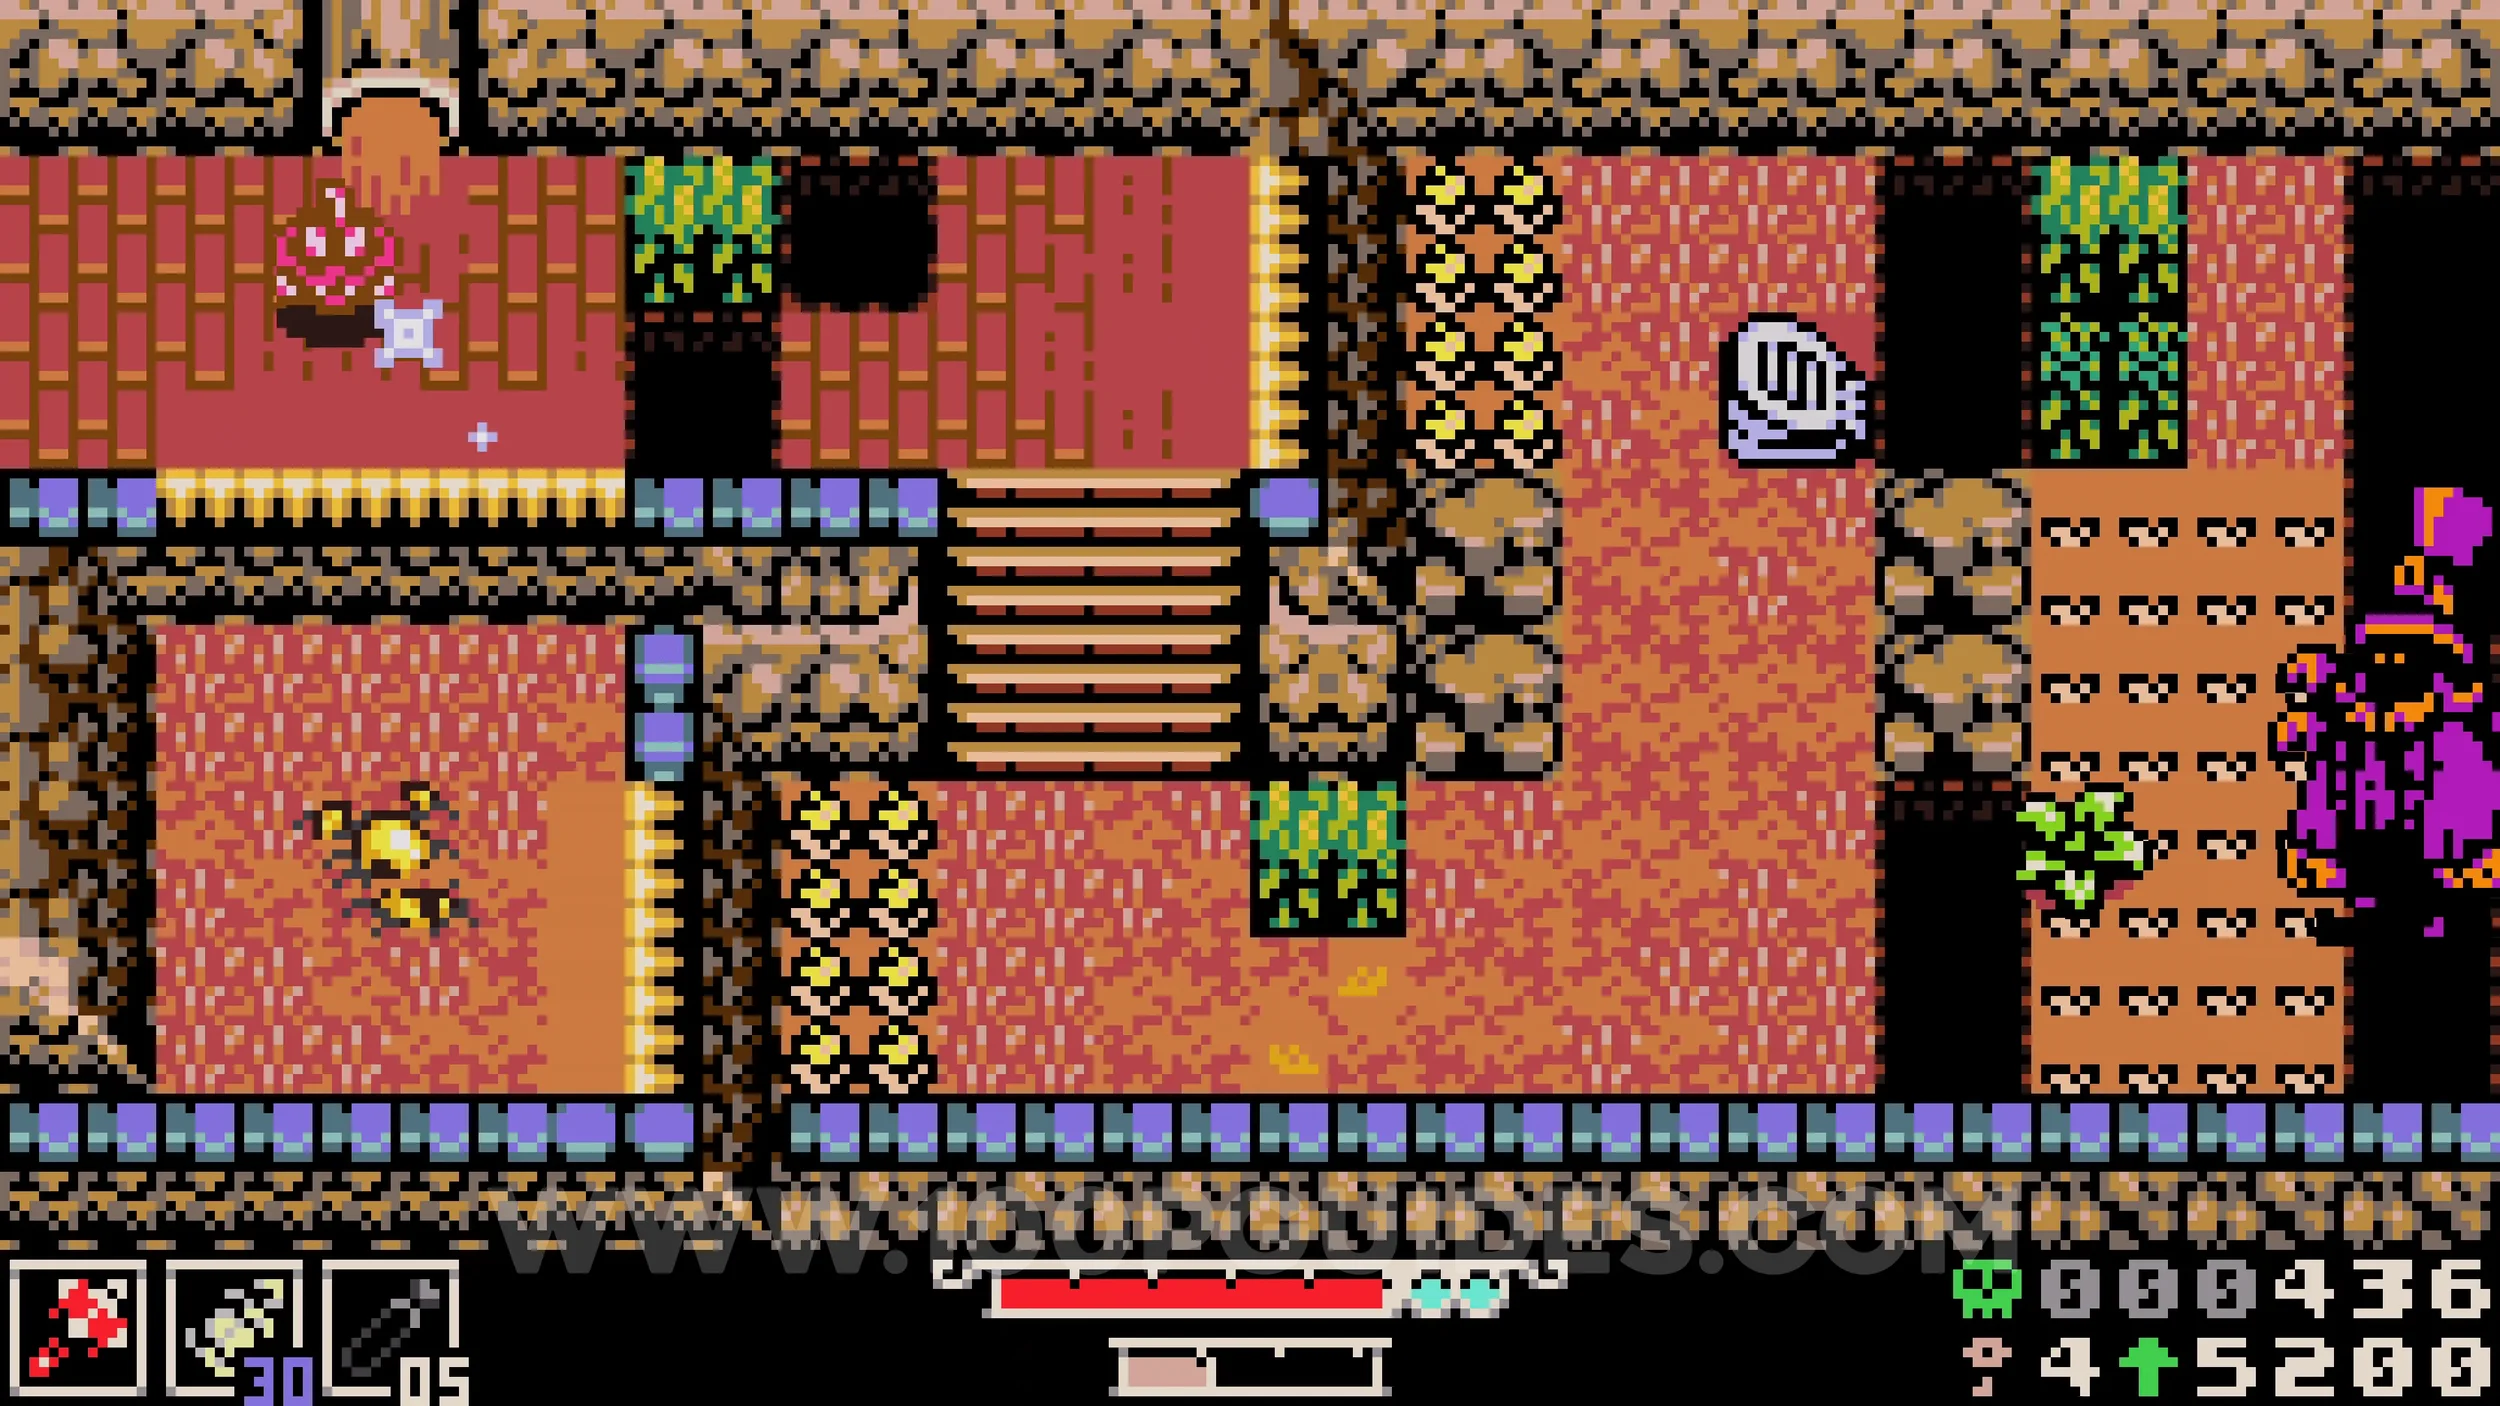
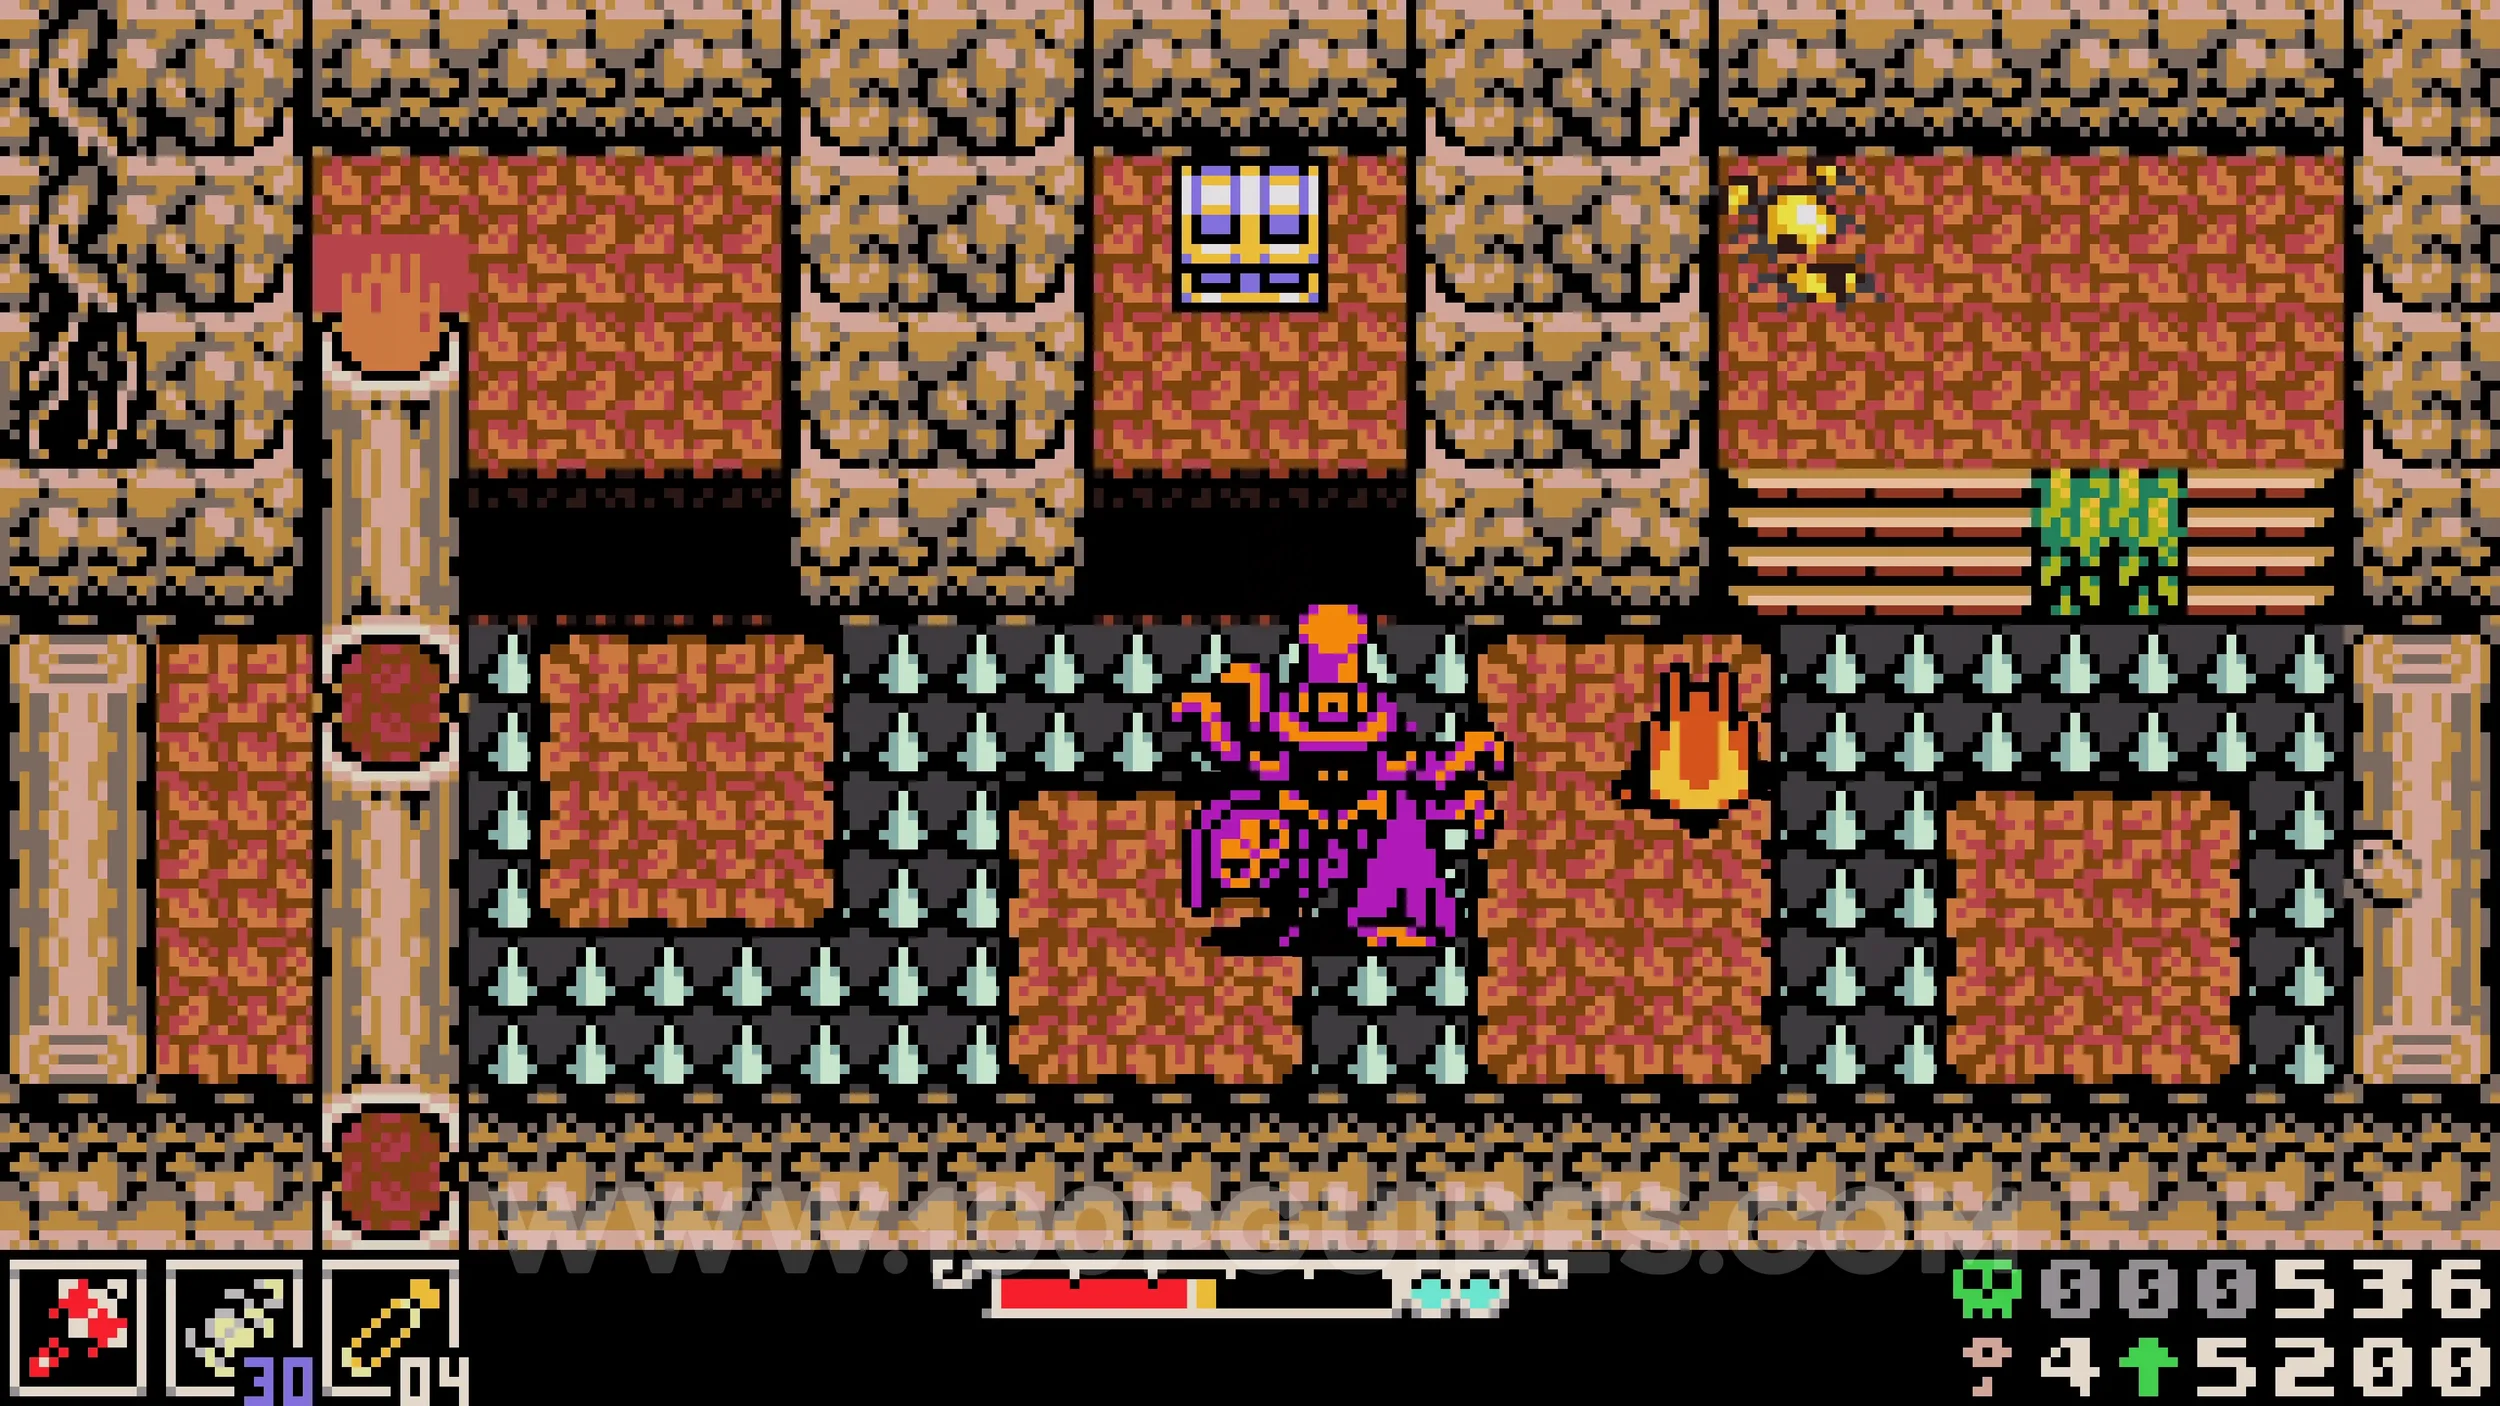
Bonestone #3. Once you reach the left end of the next windy area, burrow under the fence at the bottom and destroy the grass against the left wall to reveal a hidden entrance. The collectible can be found inside the cave.
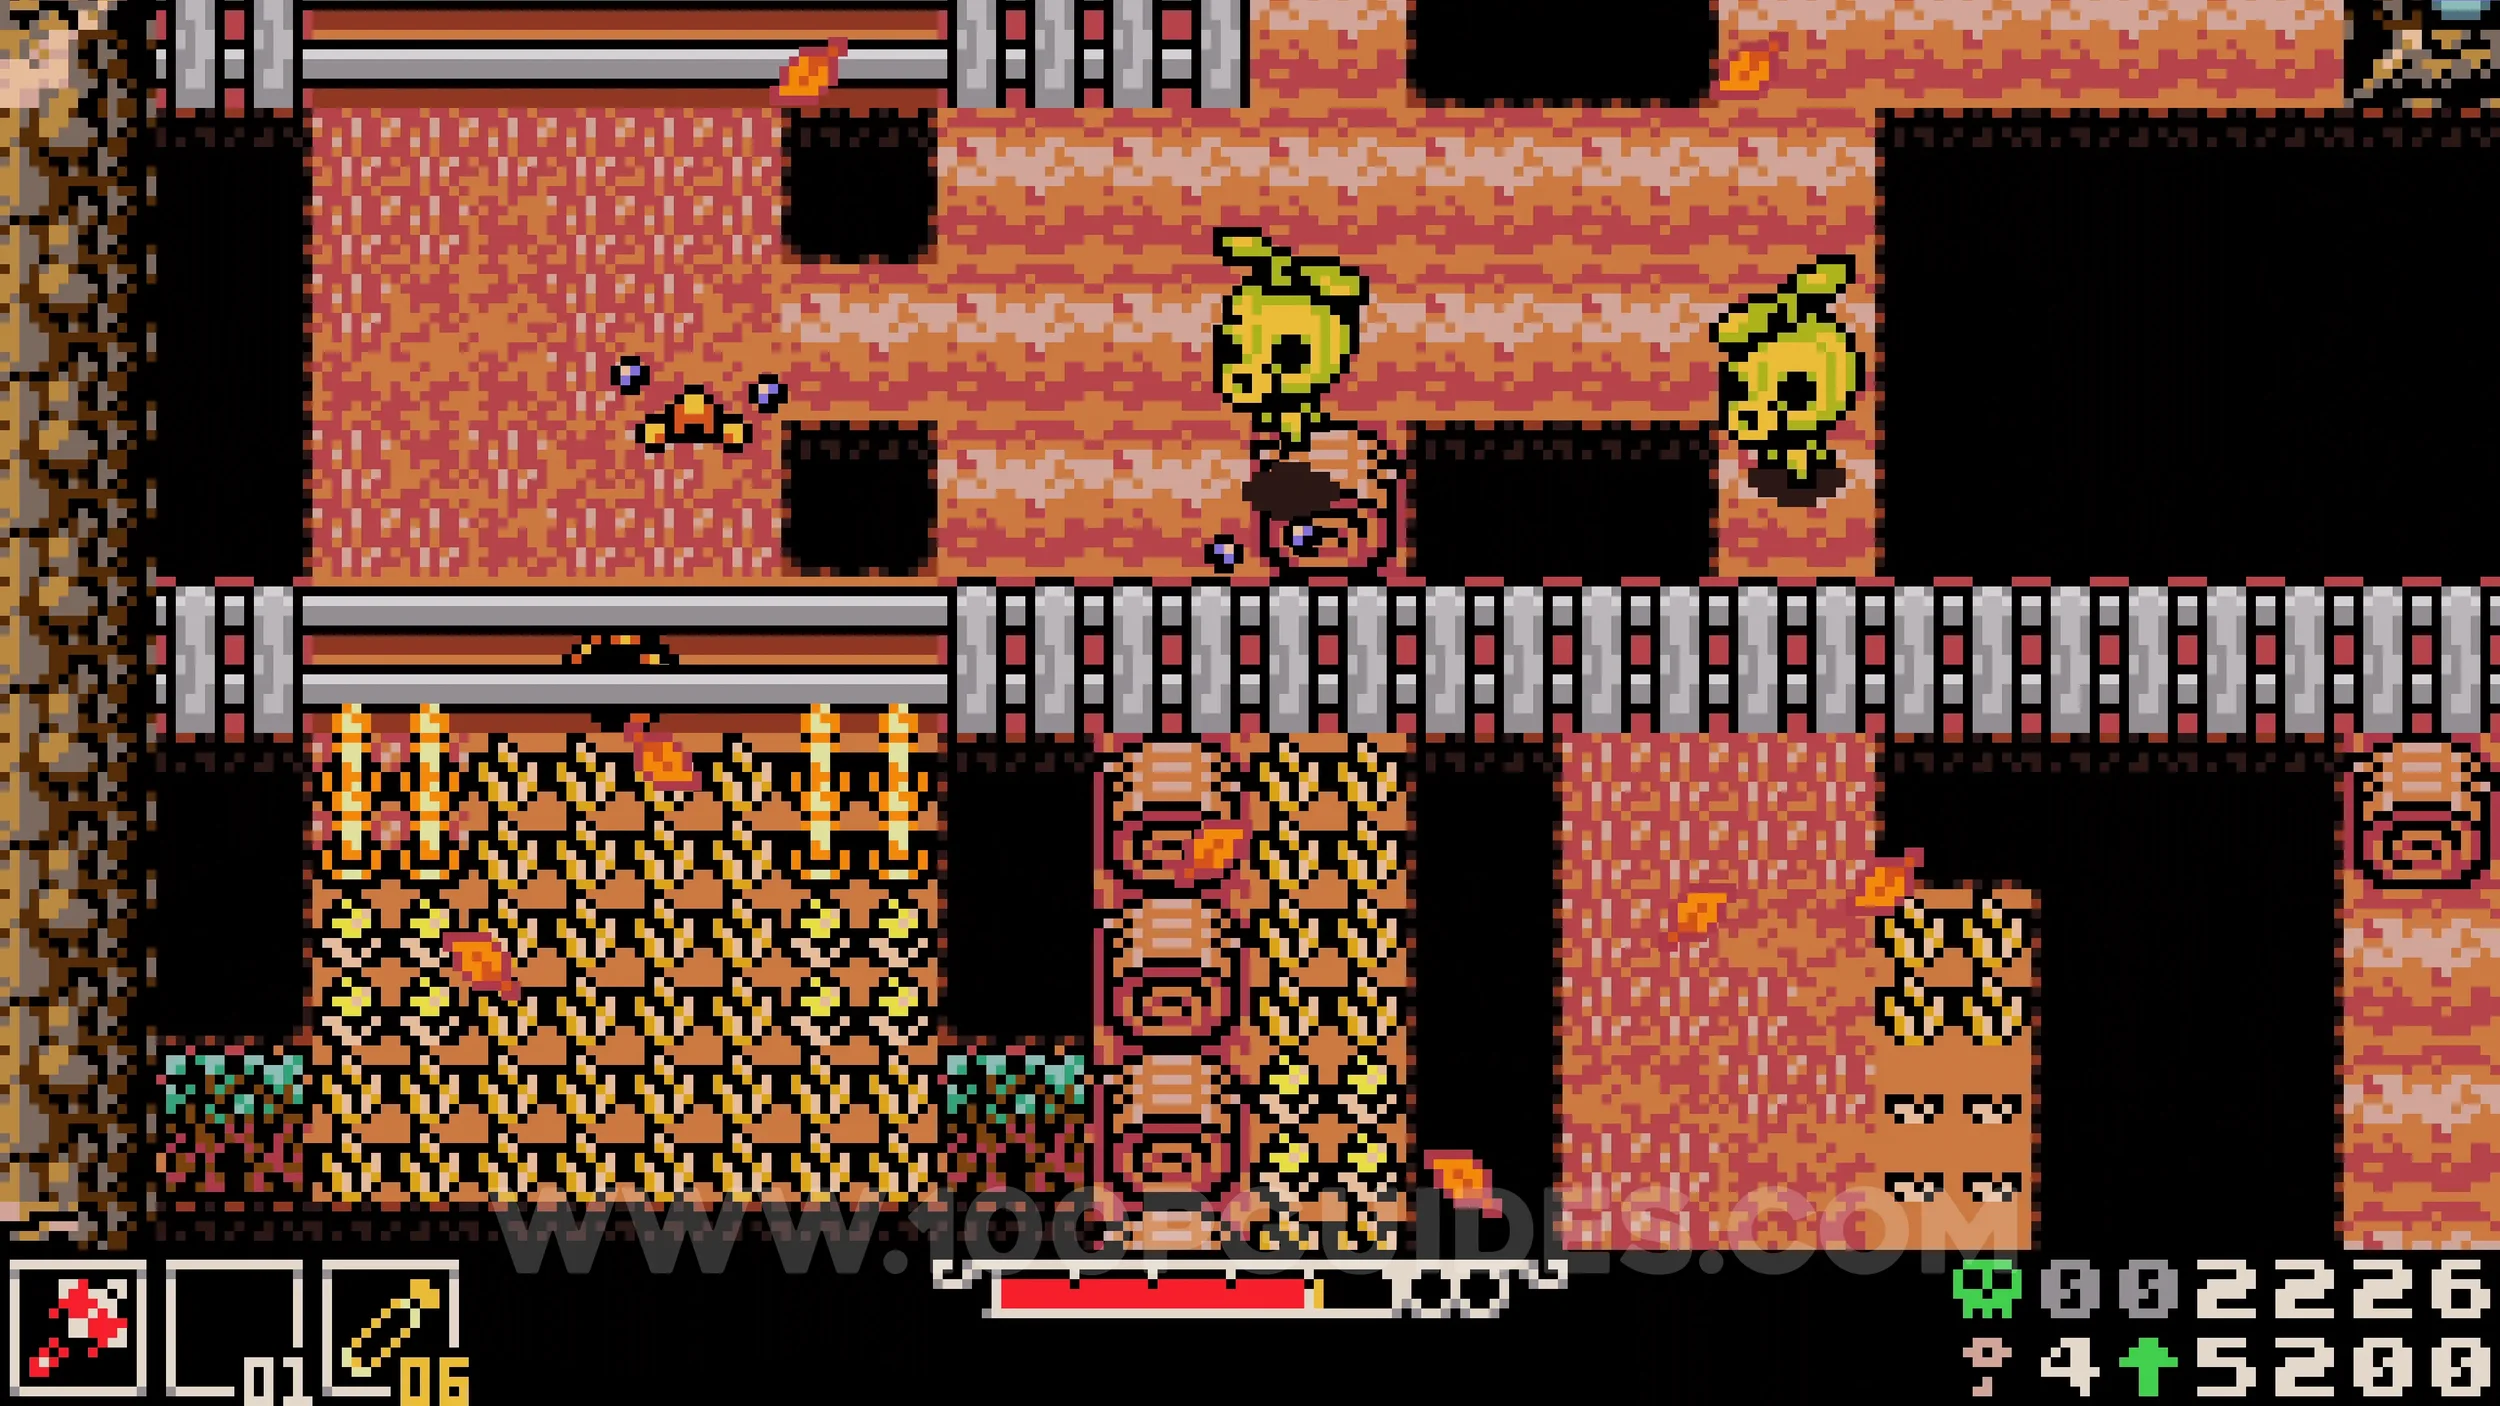
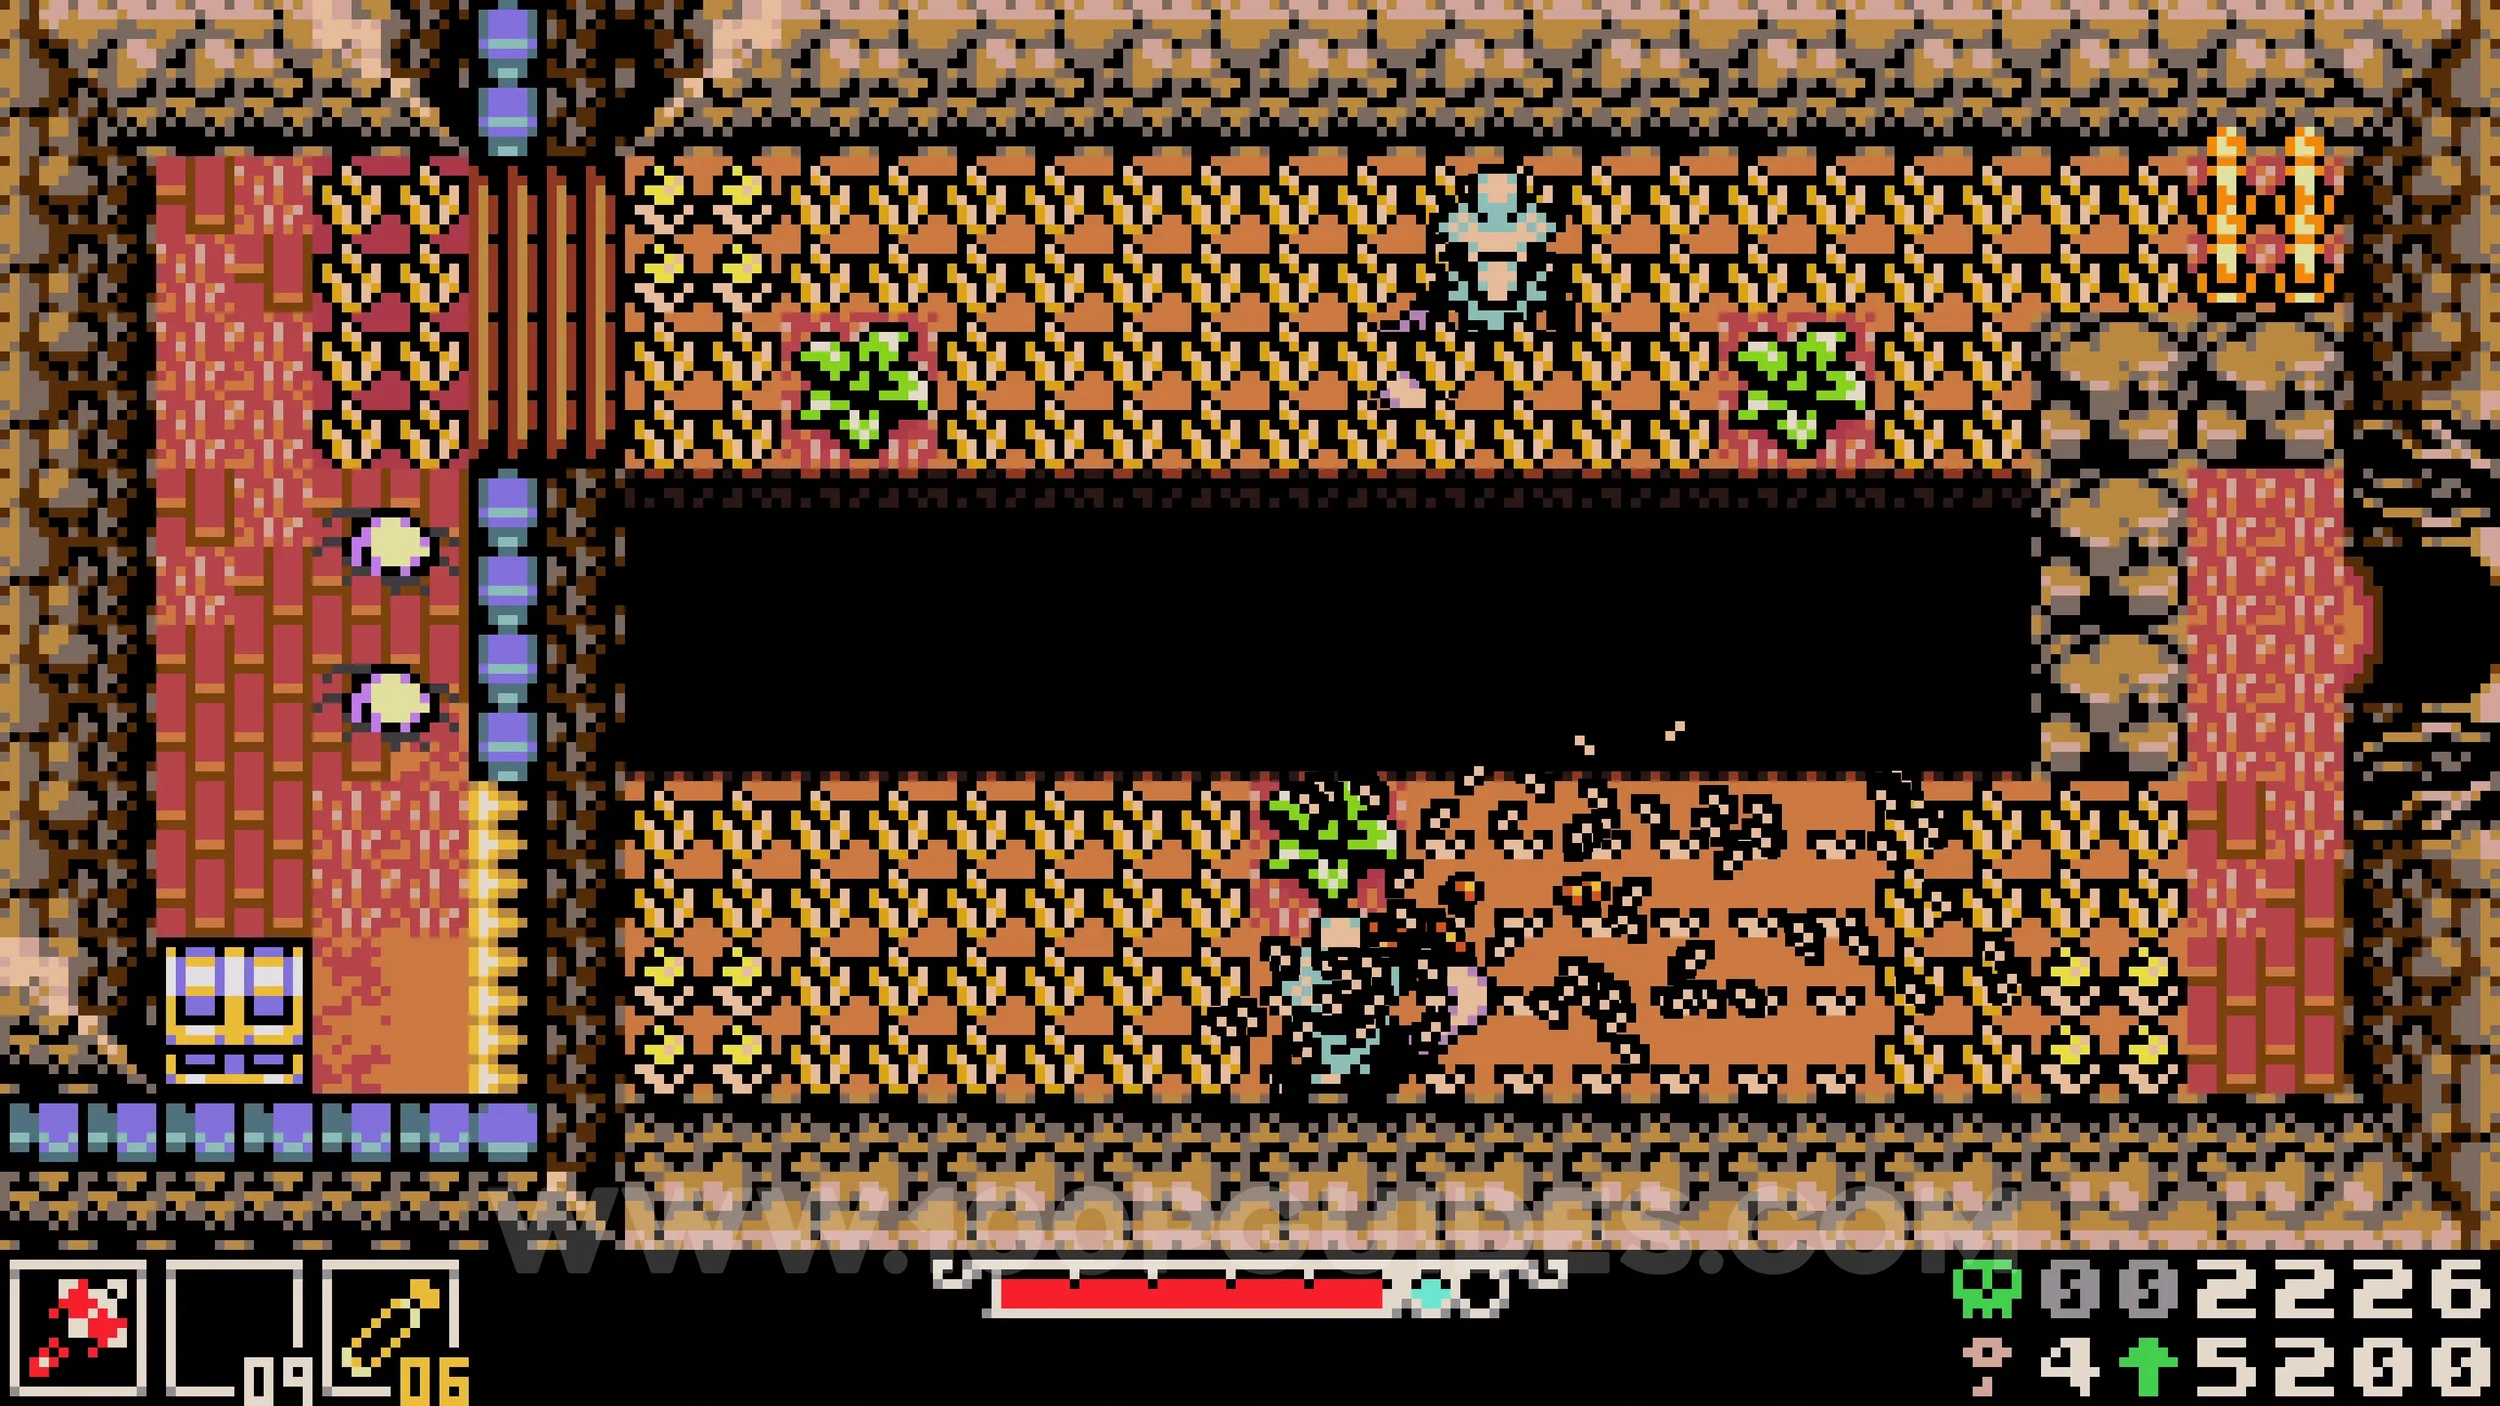
Kear #2. At the end of the area where you dodge the bulldozer machines, break a wall to trigger a bulldozer chase towards the jump pads on the left. Use the jump pads to jump over it and let it break the wall to the left of the jump pads. Head left to find another area, then go left again and wait for the bulldozer to chase you. Run back right and climb the ramp to get the machine to destroy the wall on the right. Use the newly revealed pipe to reach the collectible at the other end of the area.
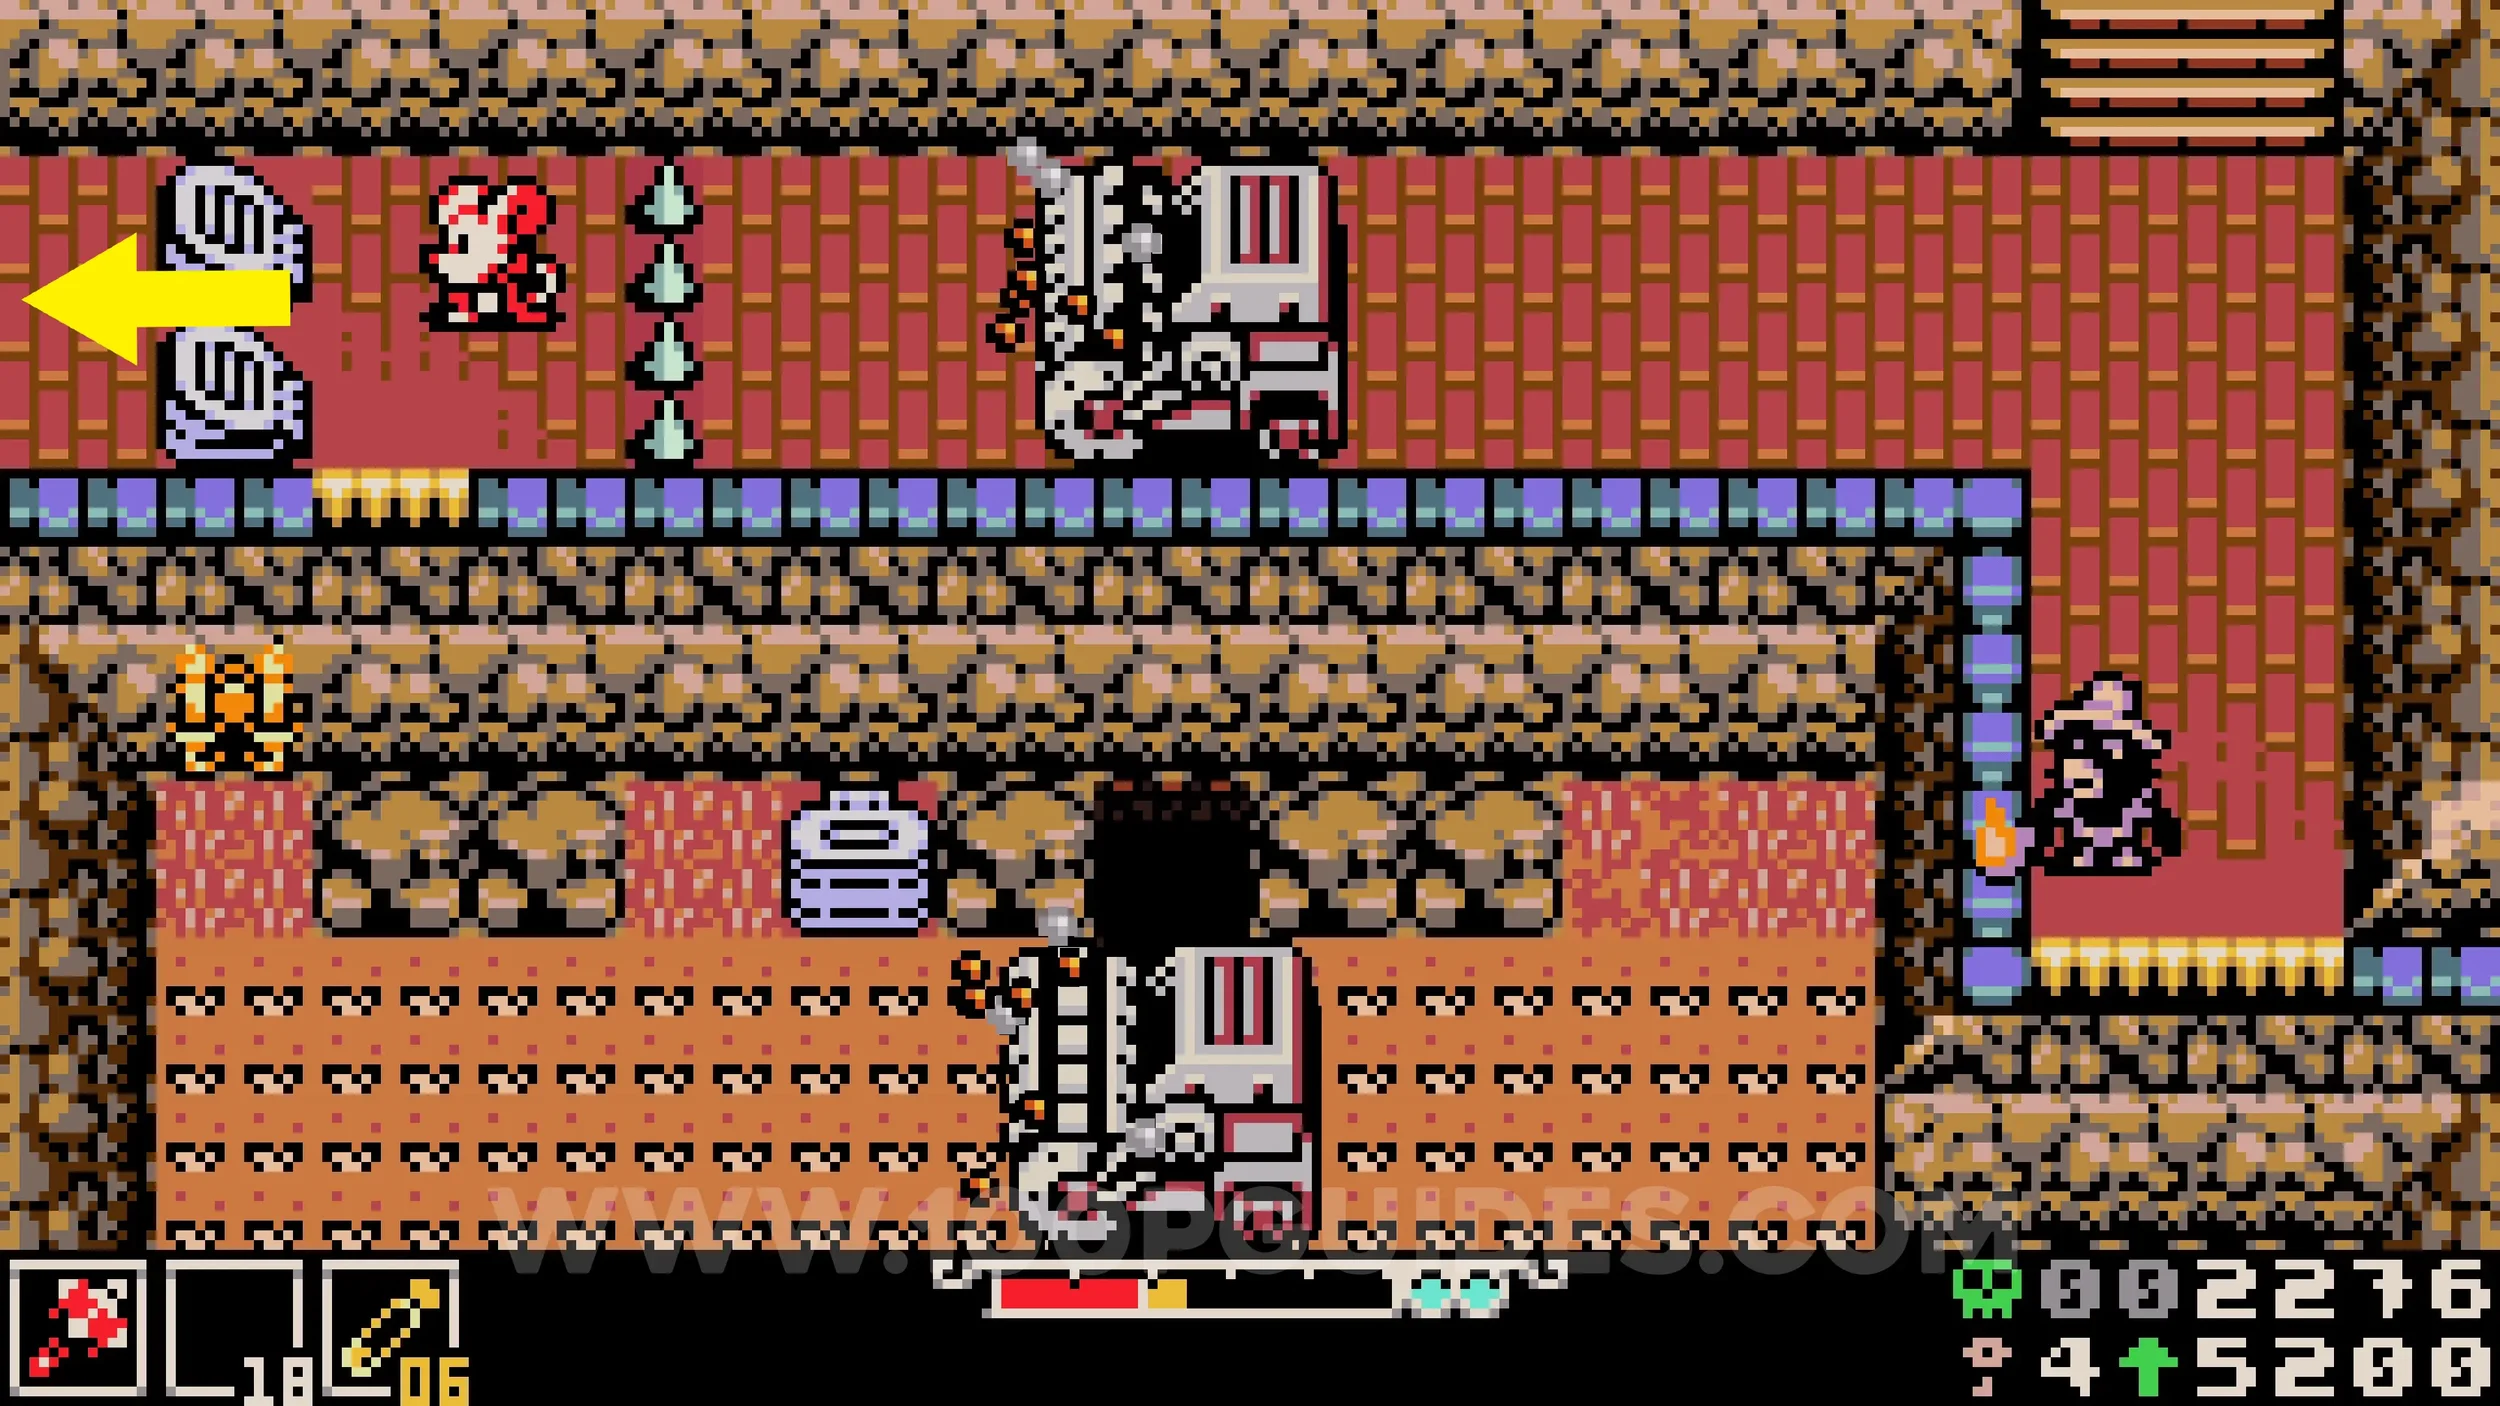
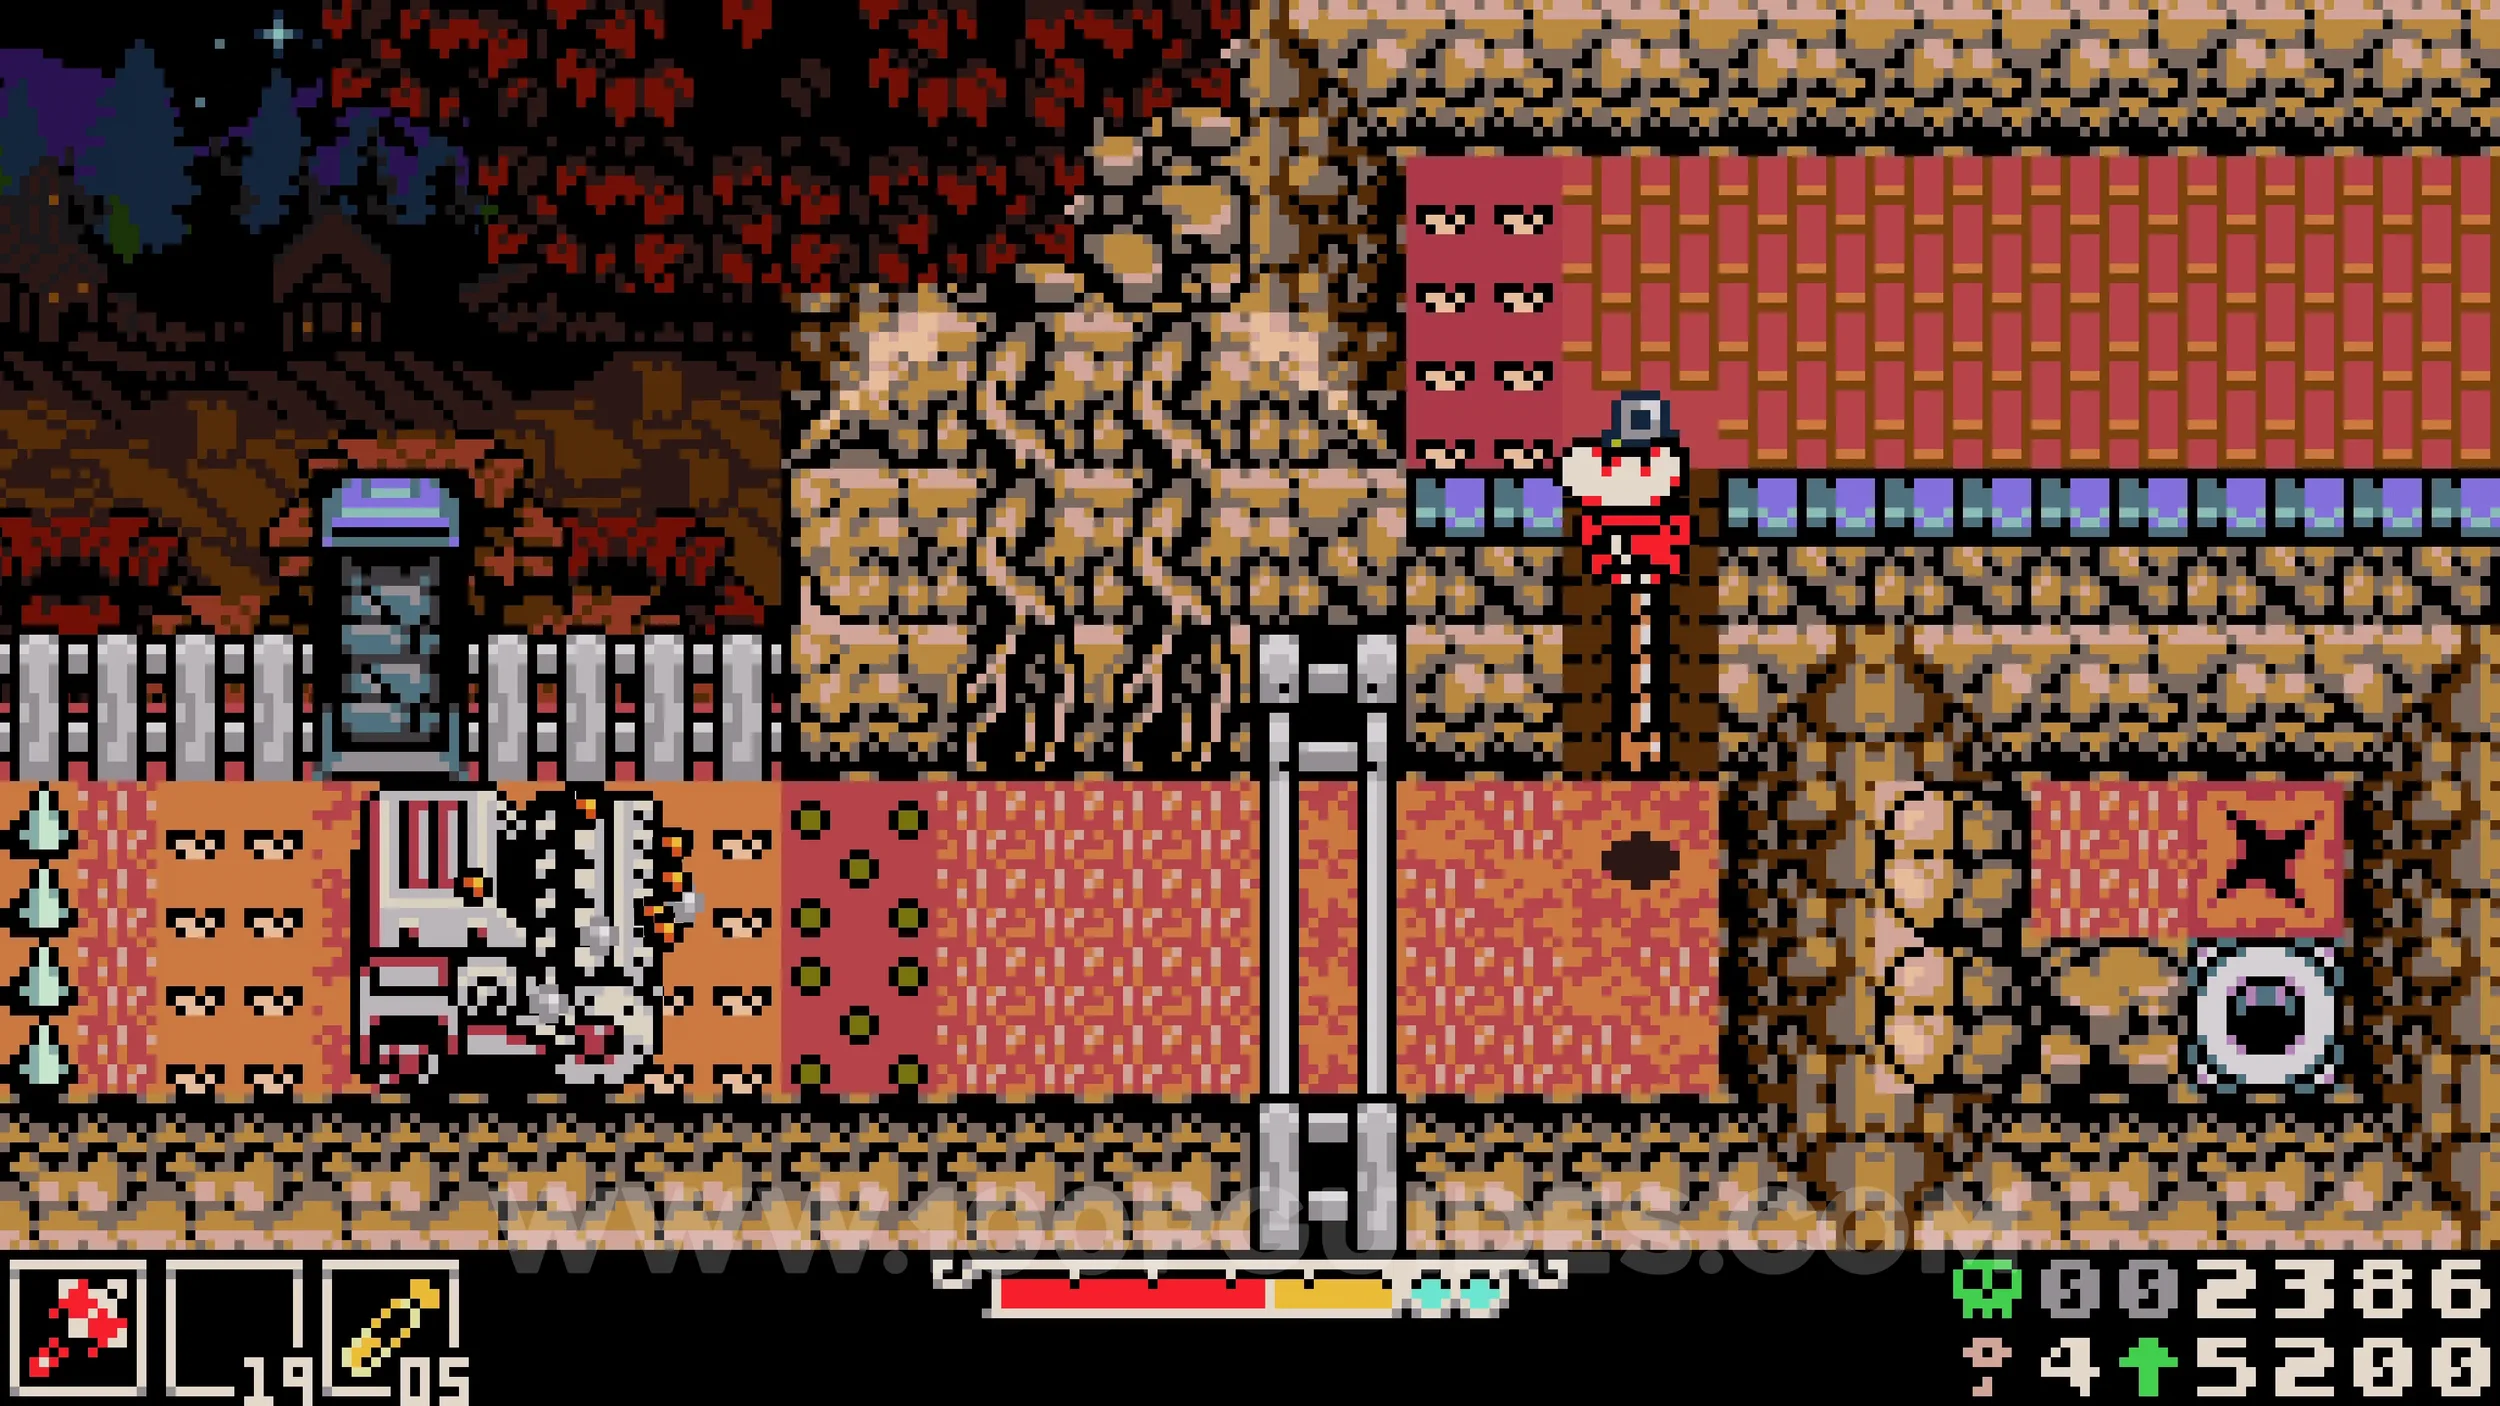
Bonestone #4. During the second chase scene, look for a hollow log at the top of the screen. Go through it to find the collectible in the chest.
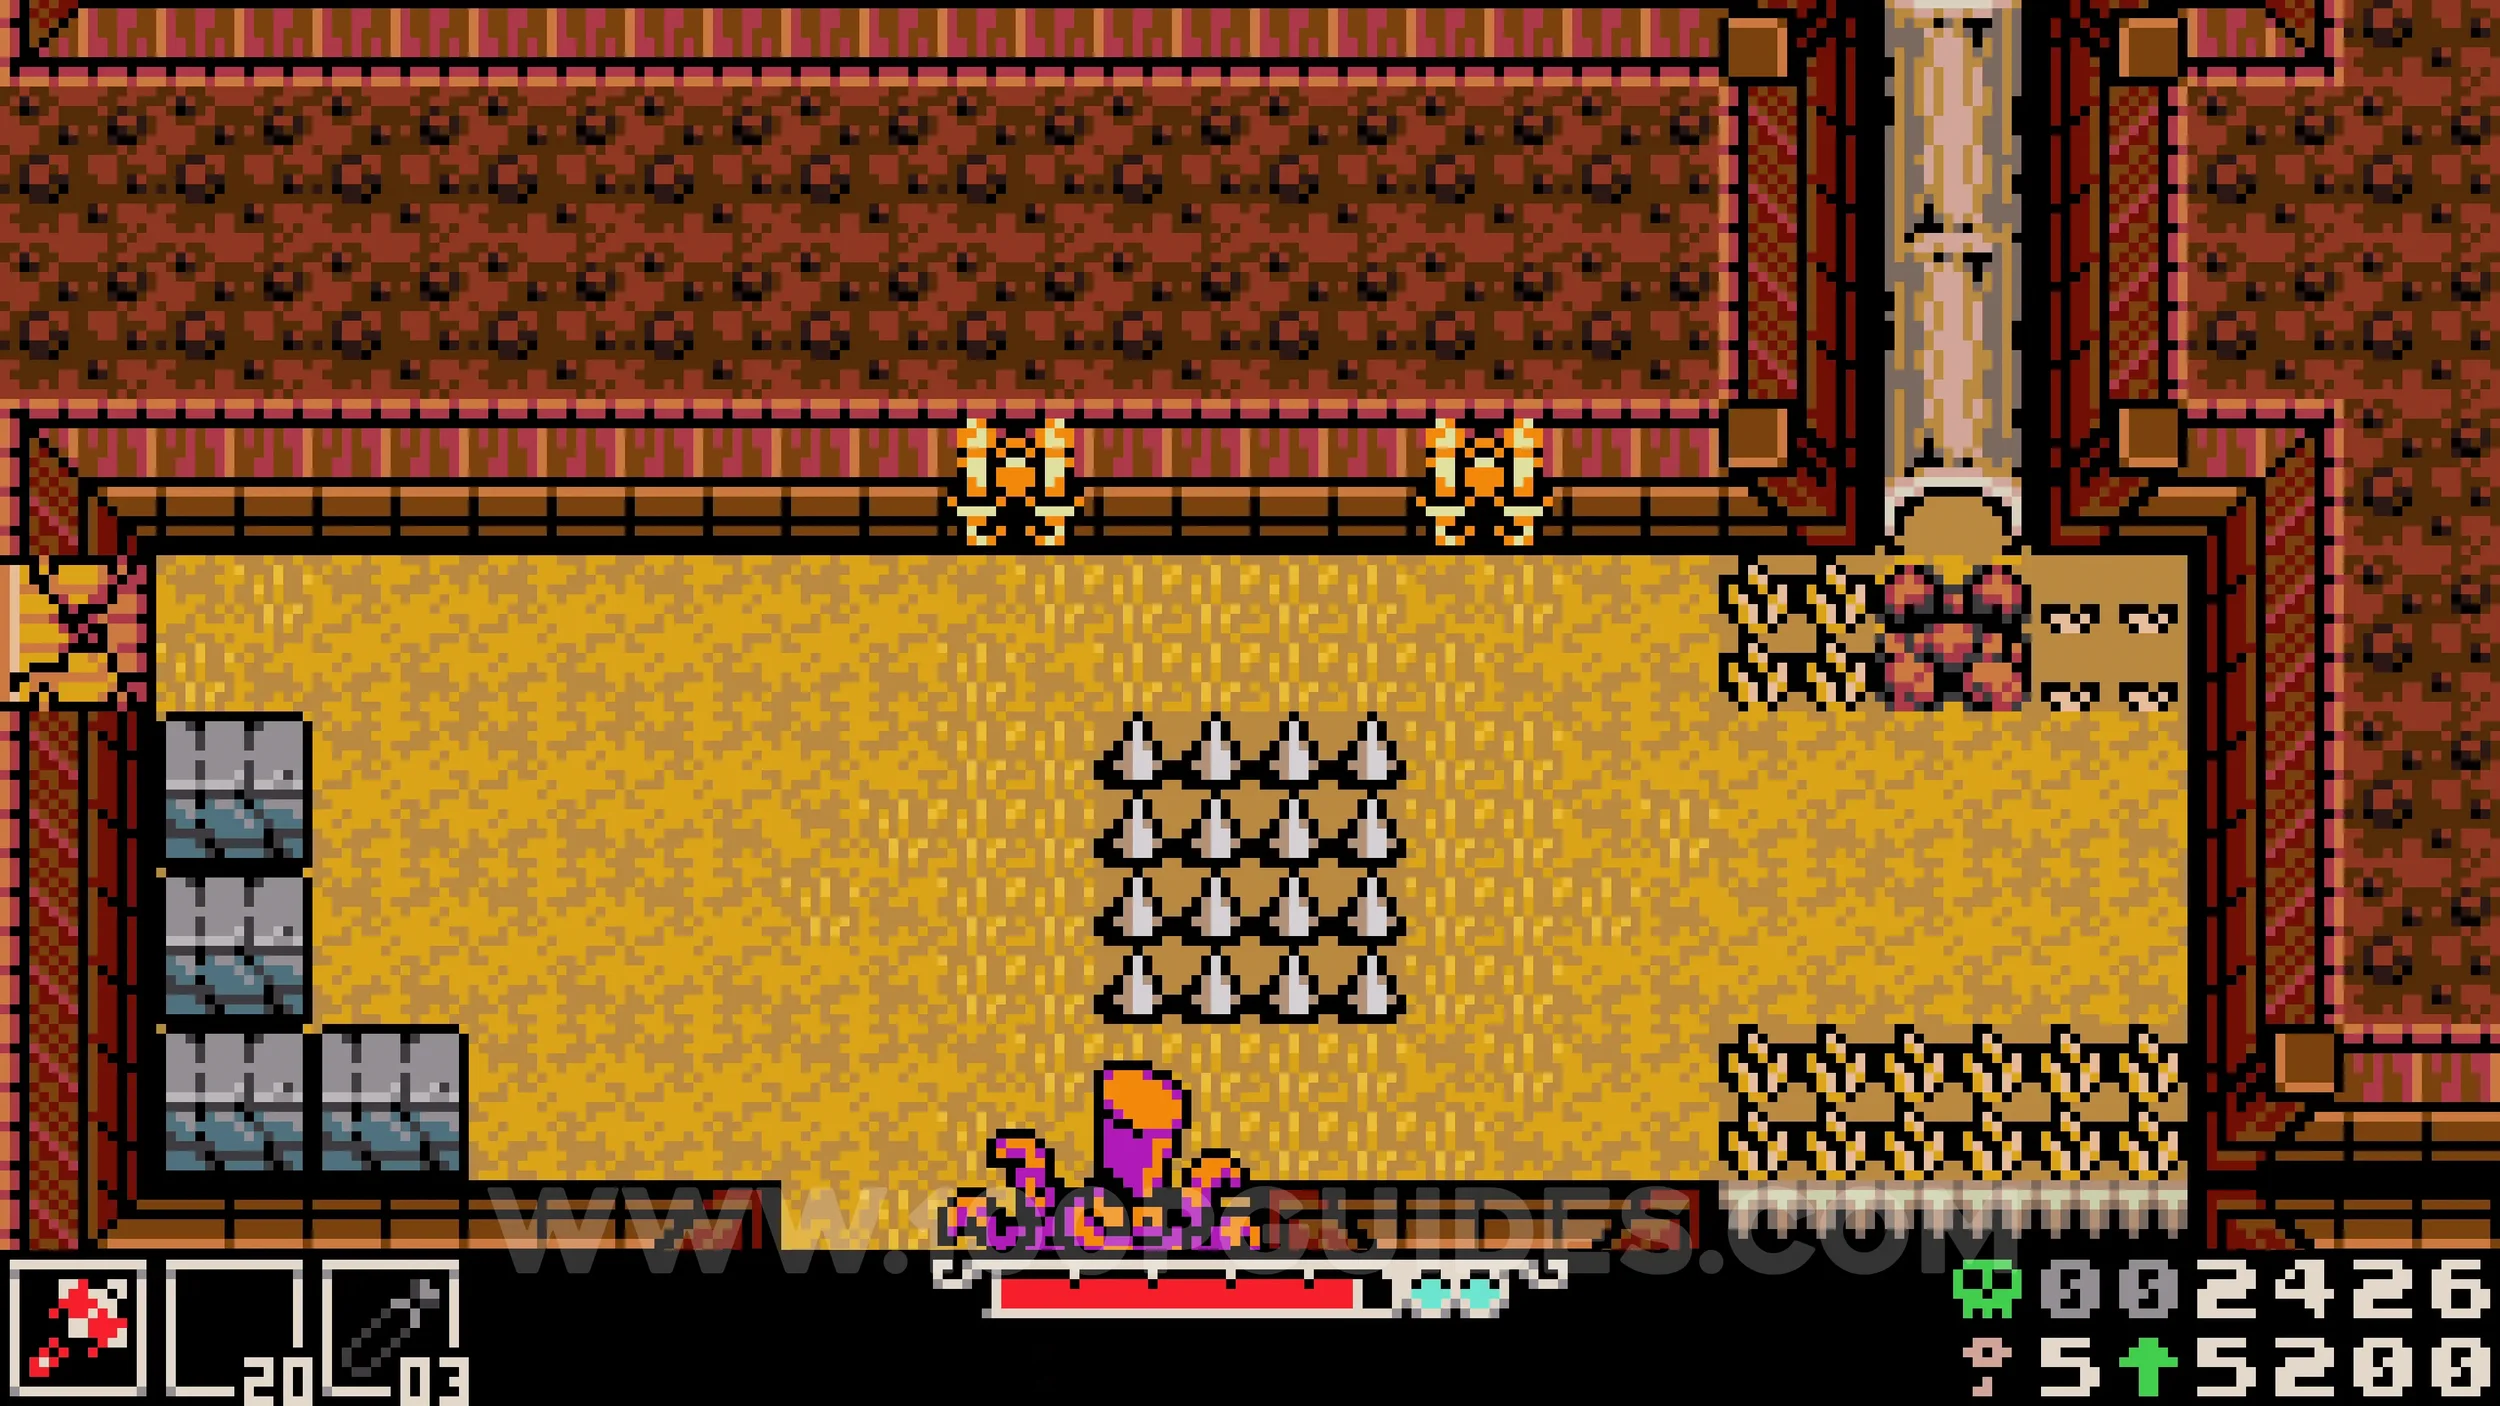
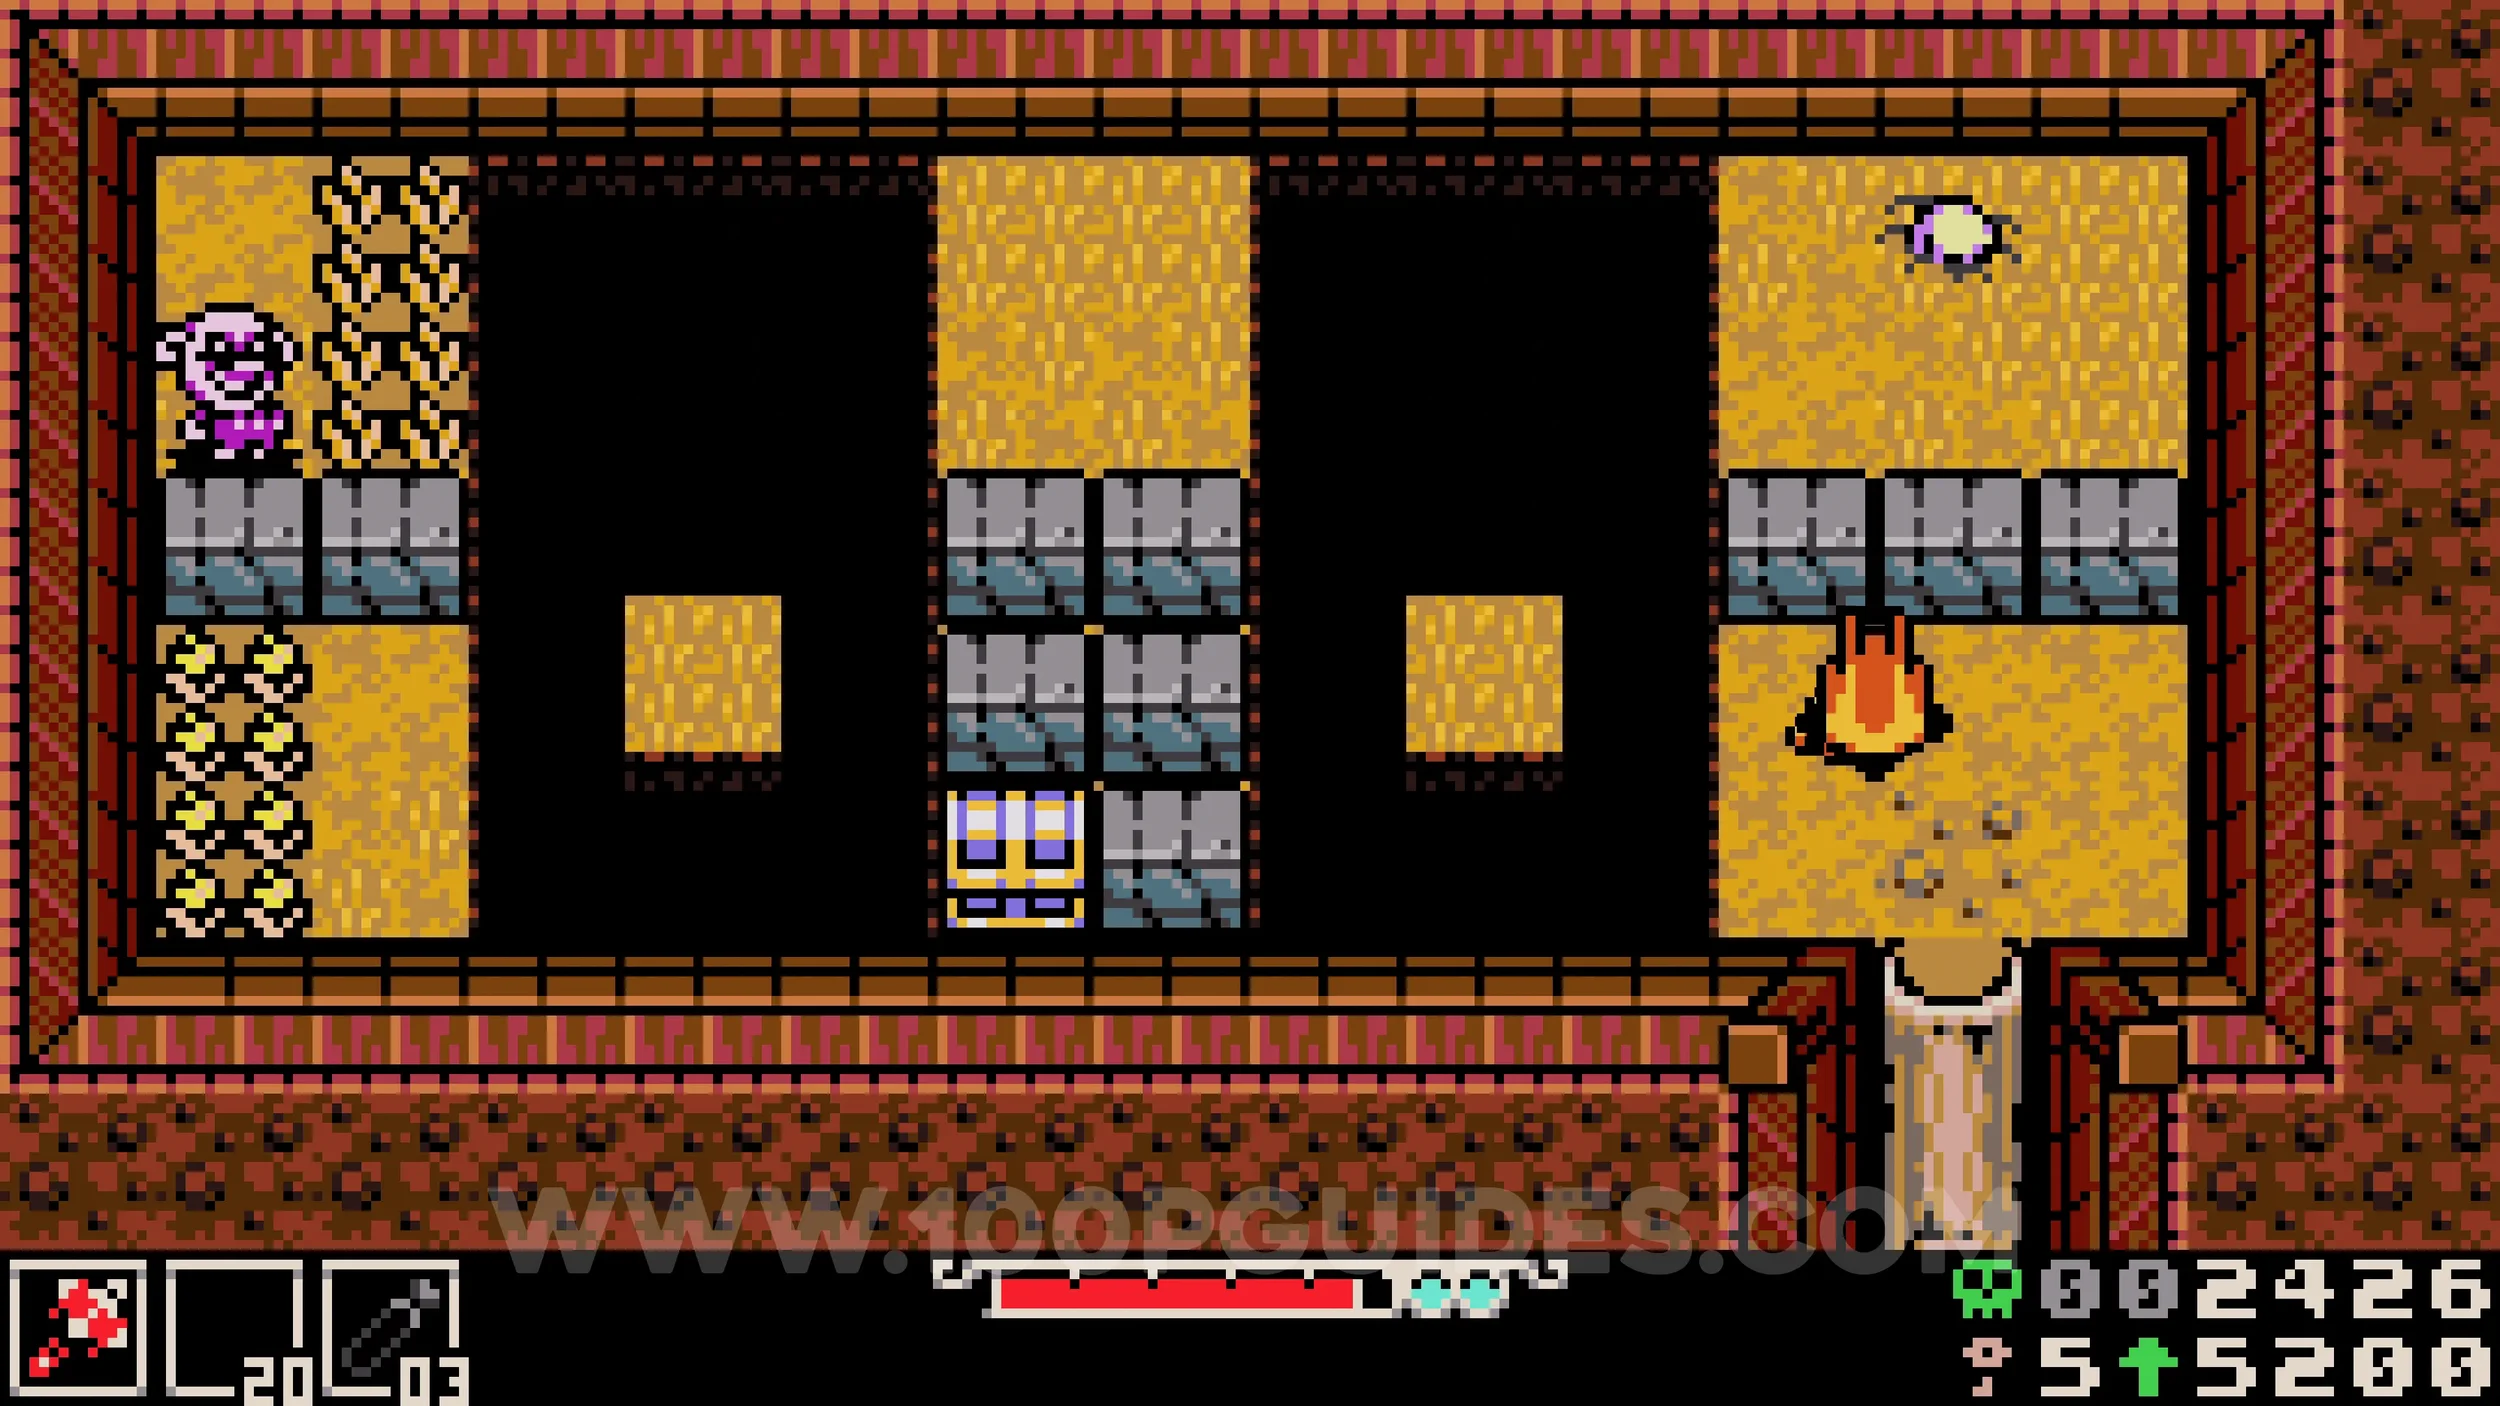
Fish #1. Found in the area with water where you must hide from the lightning inside the logs.
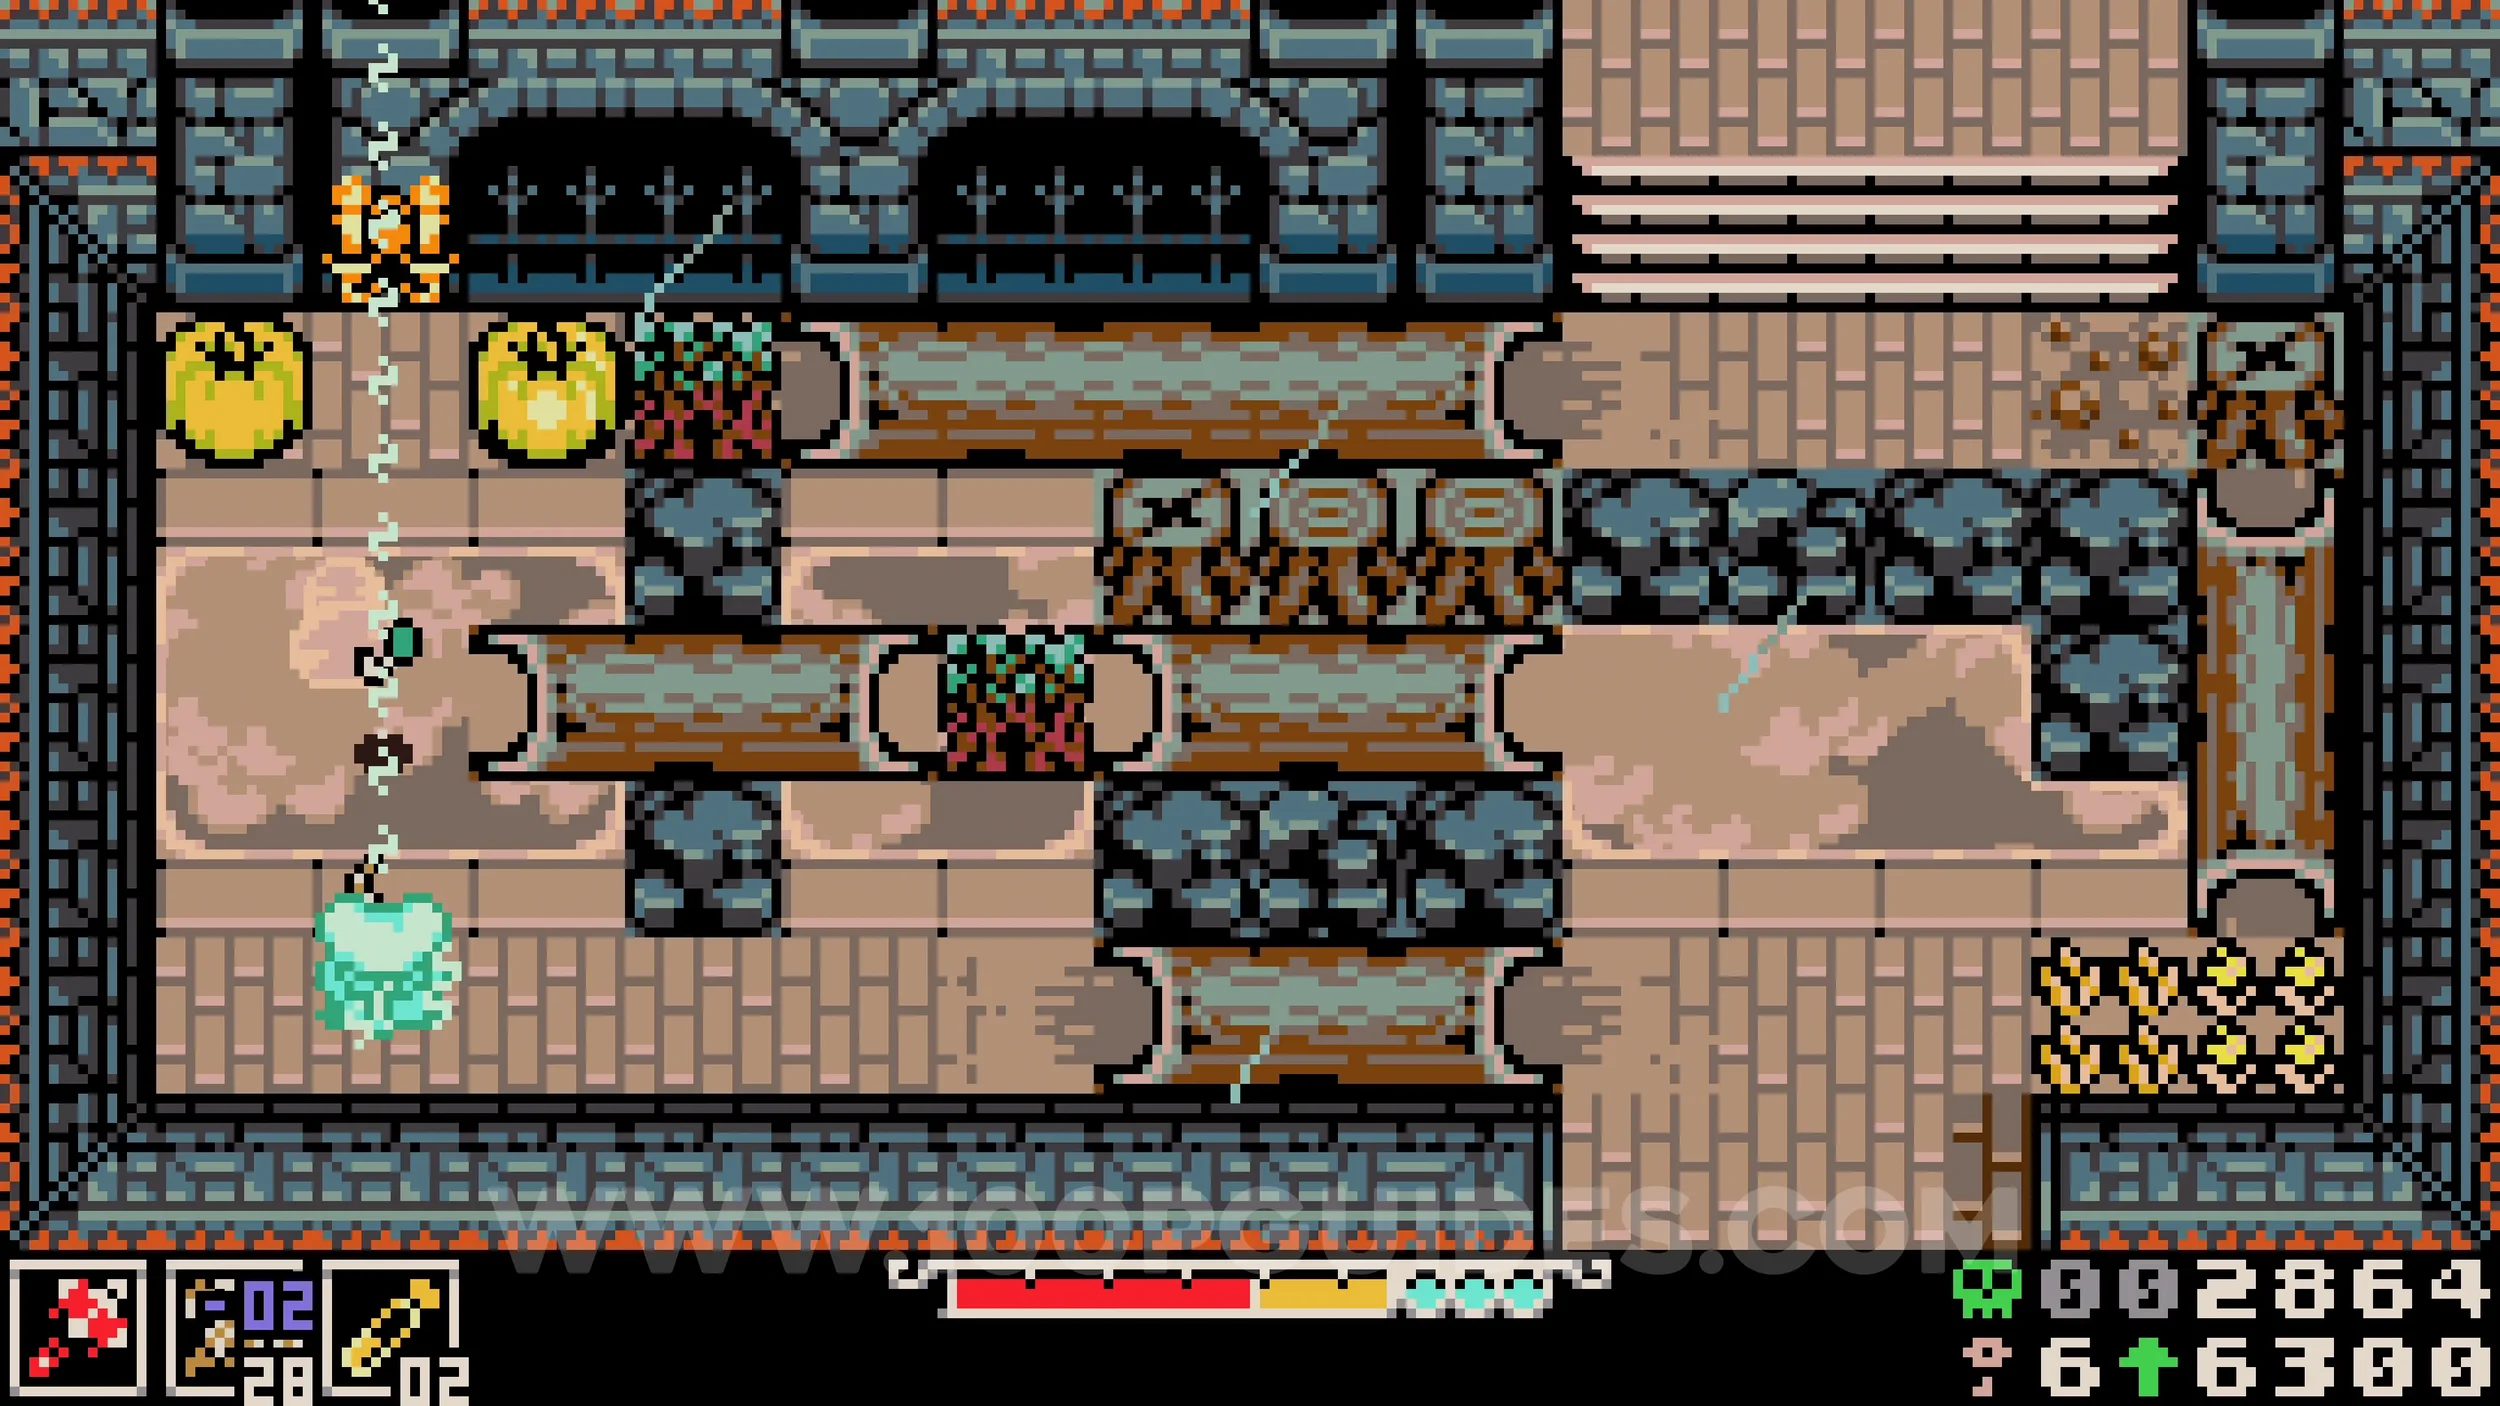
Lock #1 & Bonestone #5. In the next area, use the moving platforms and go under a bridge. On the other side, use the jump pad to reach the path on the right, then come back down and cross the bridge you went under. Go through the log at the end and continue through the next area until you reach the room where you fight the giant pig. The lock and chest will also be in this area.
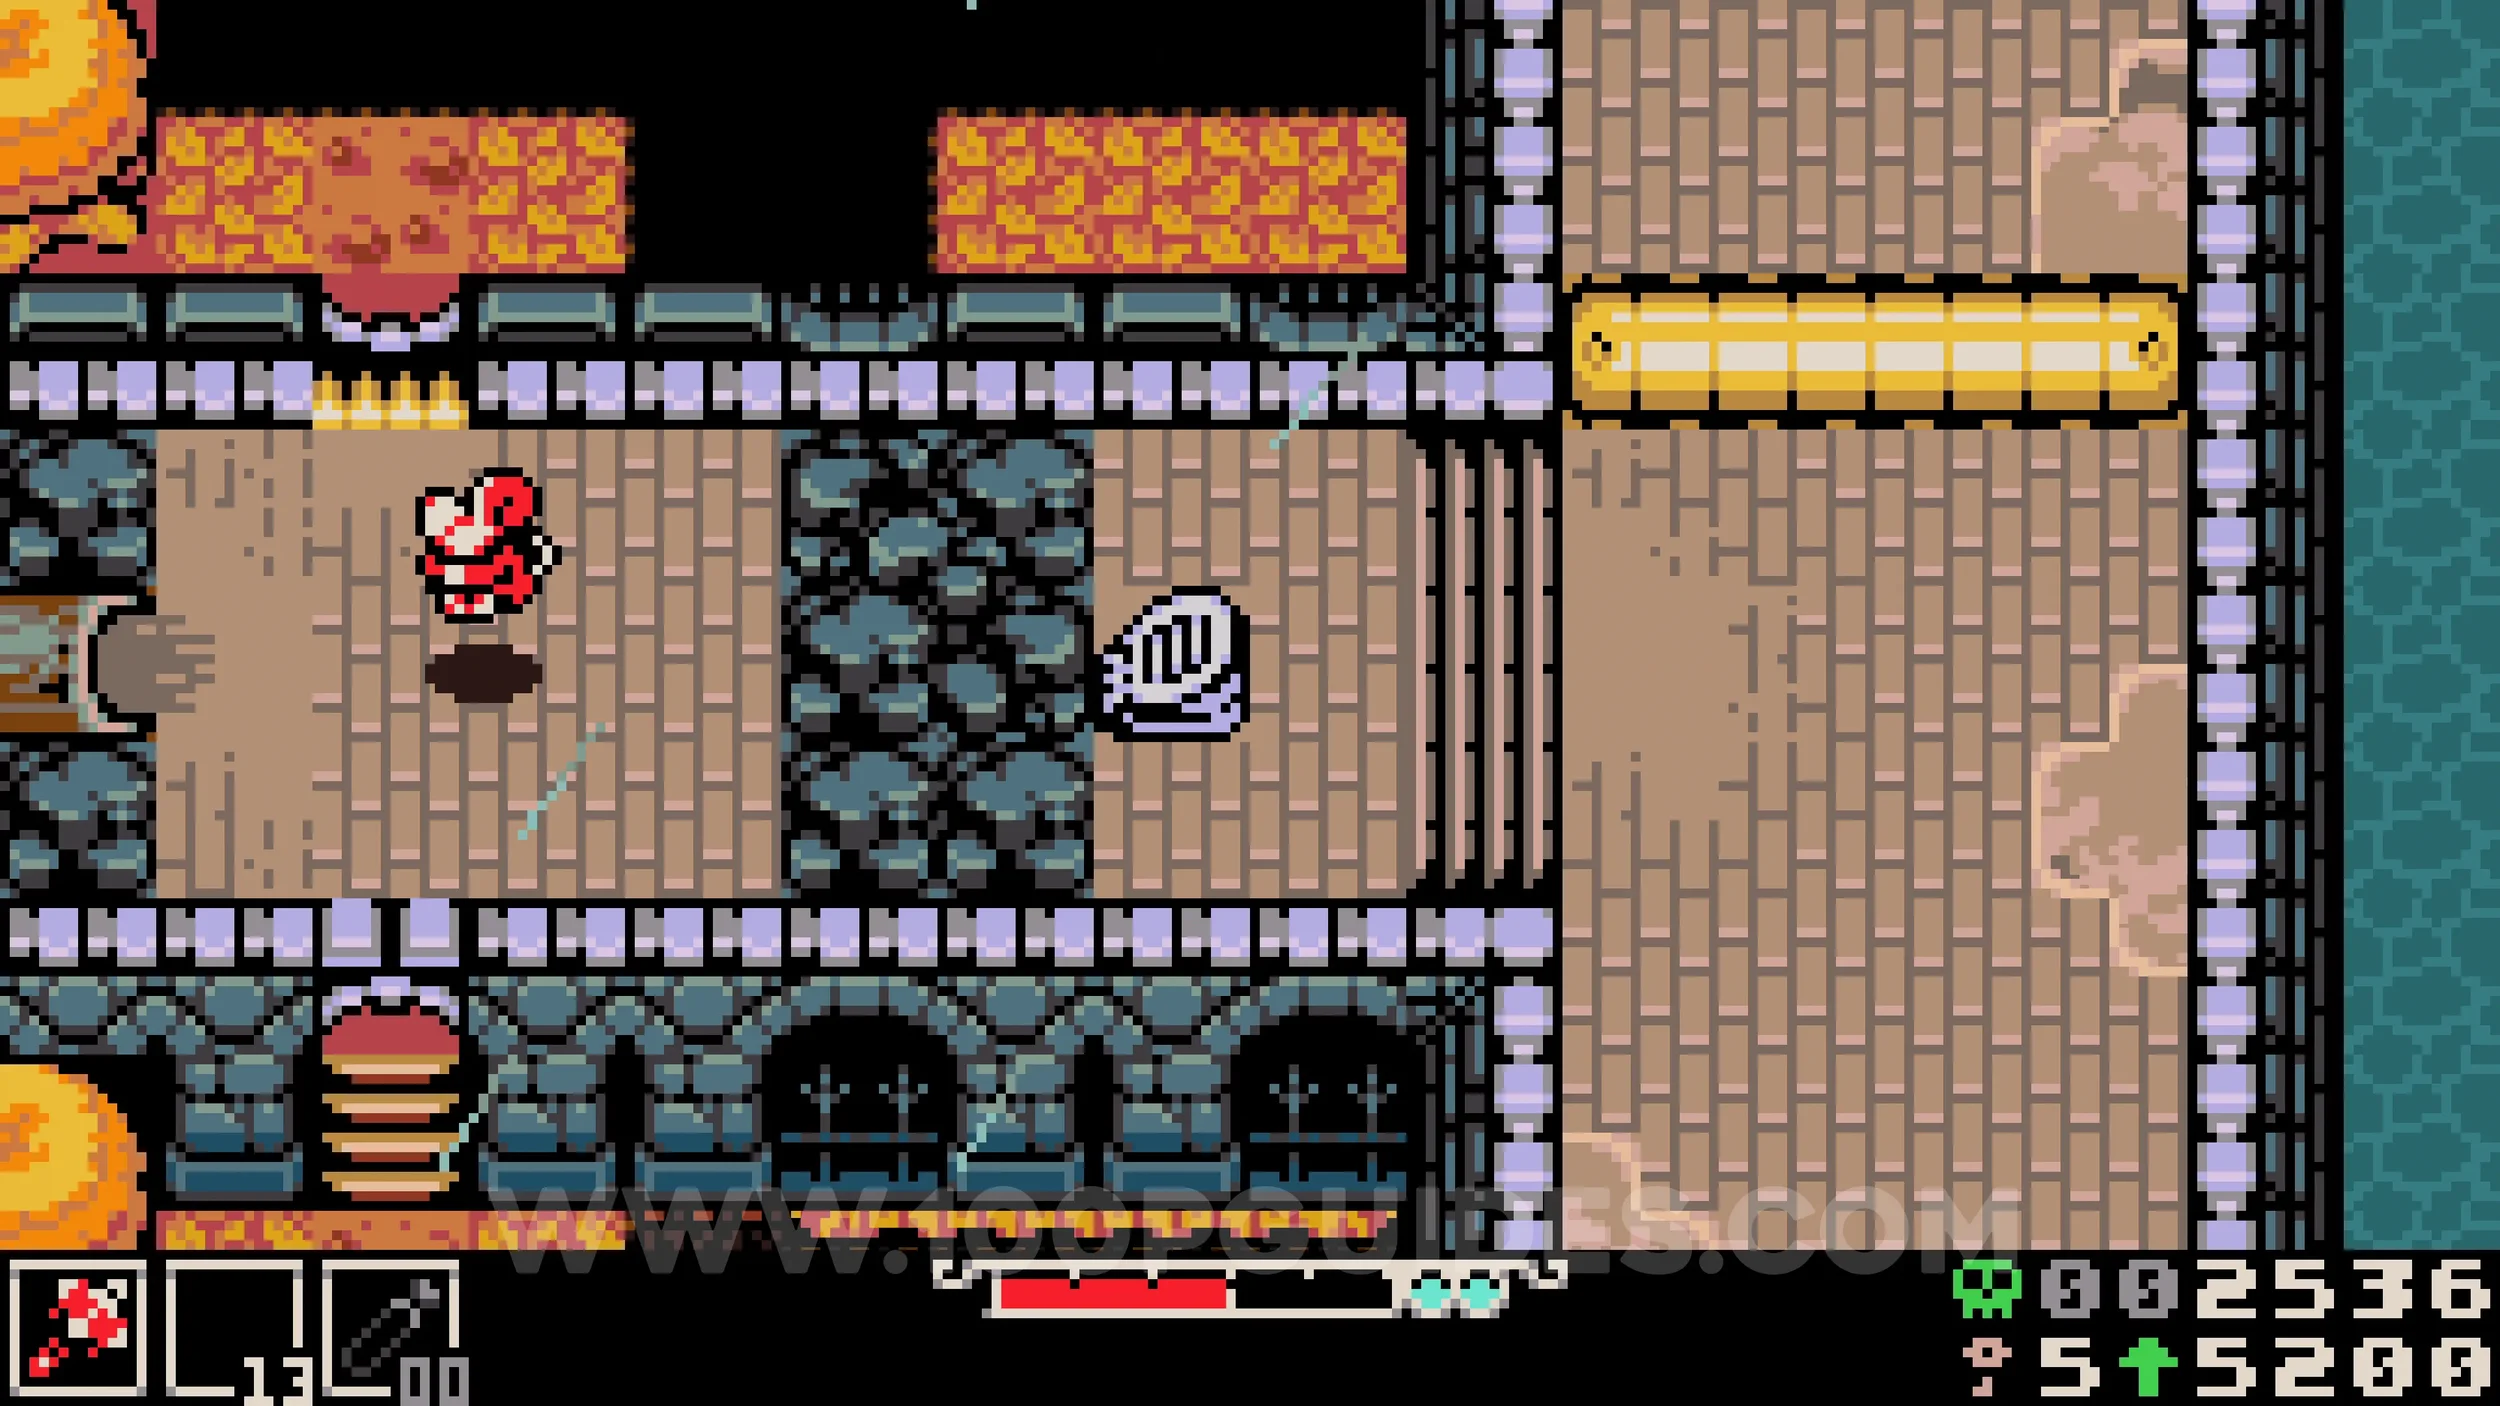
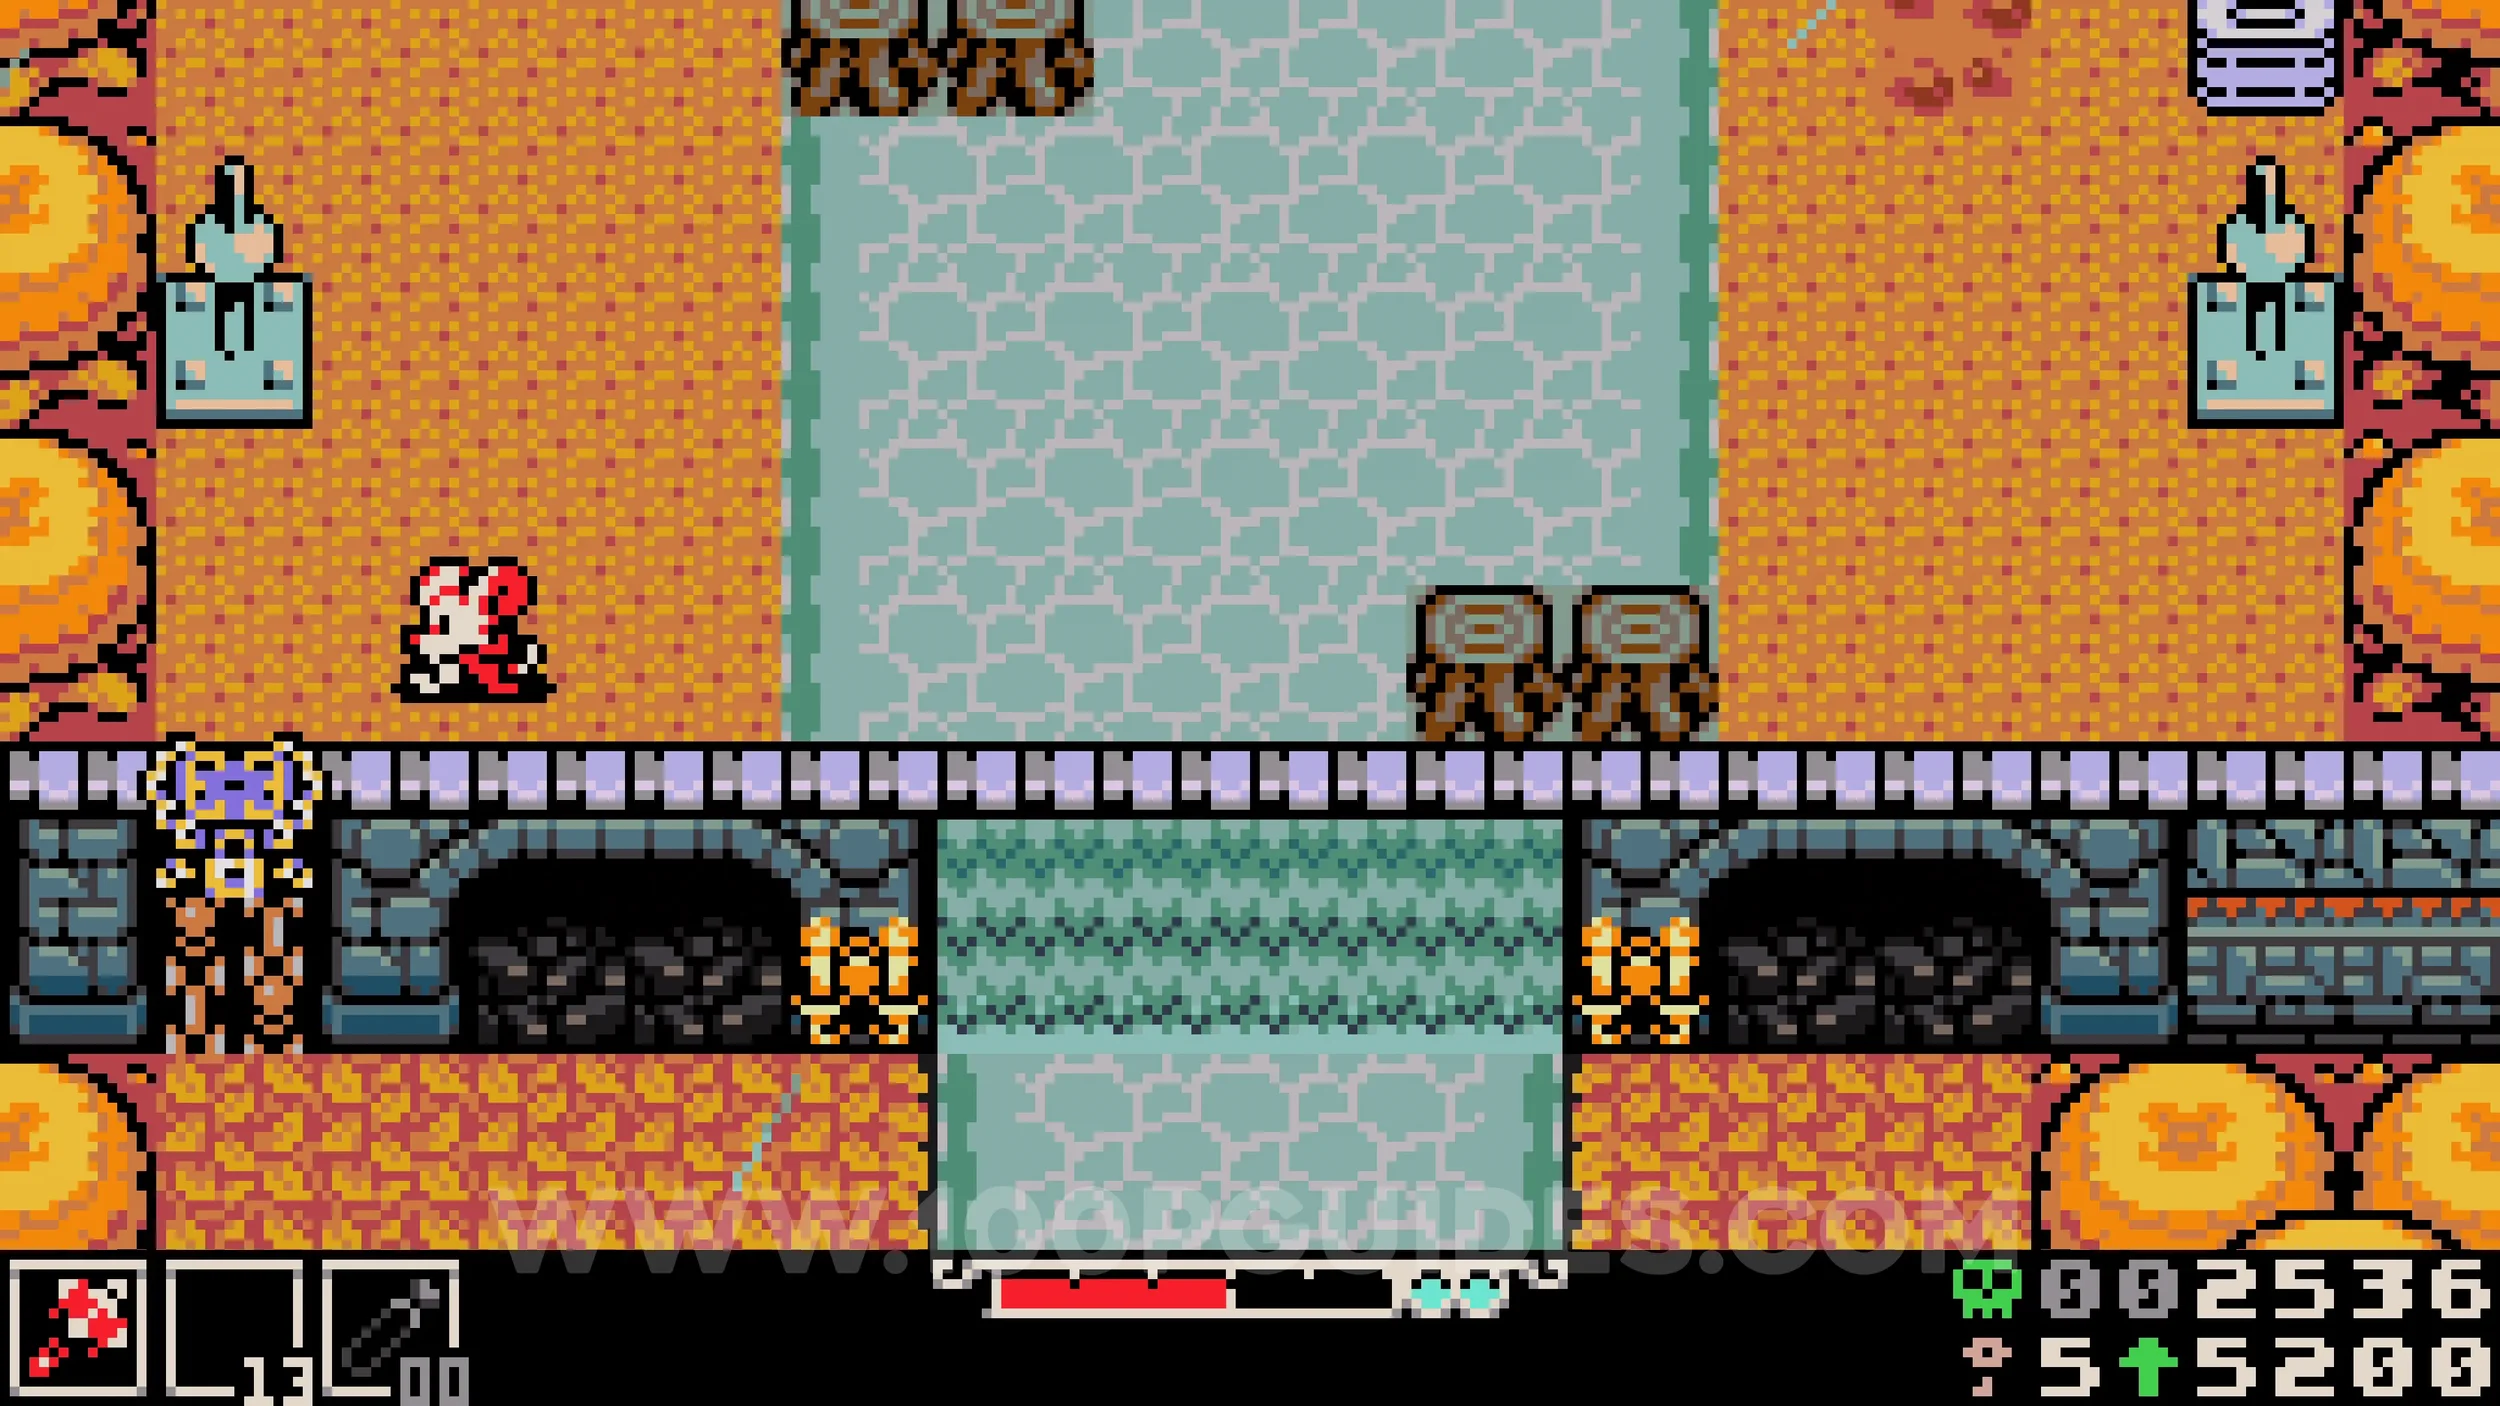
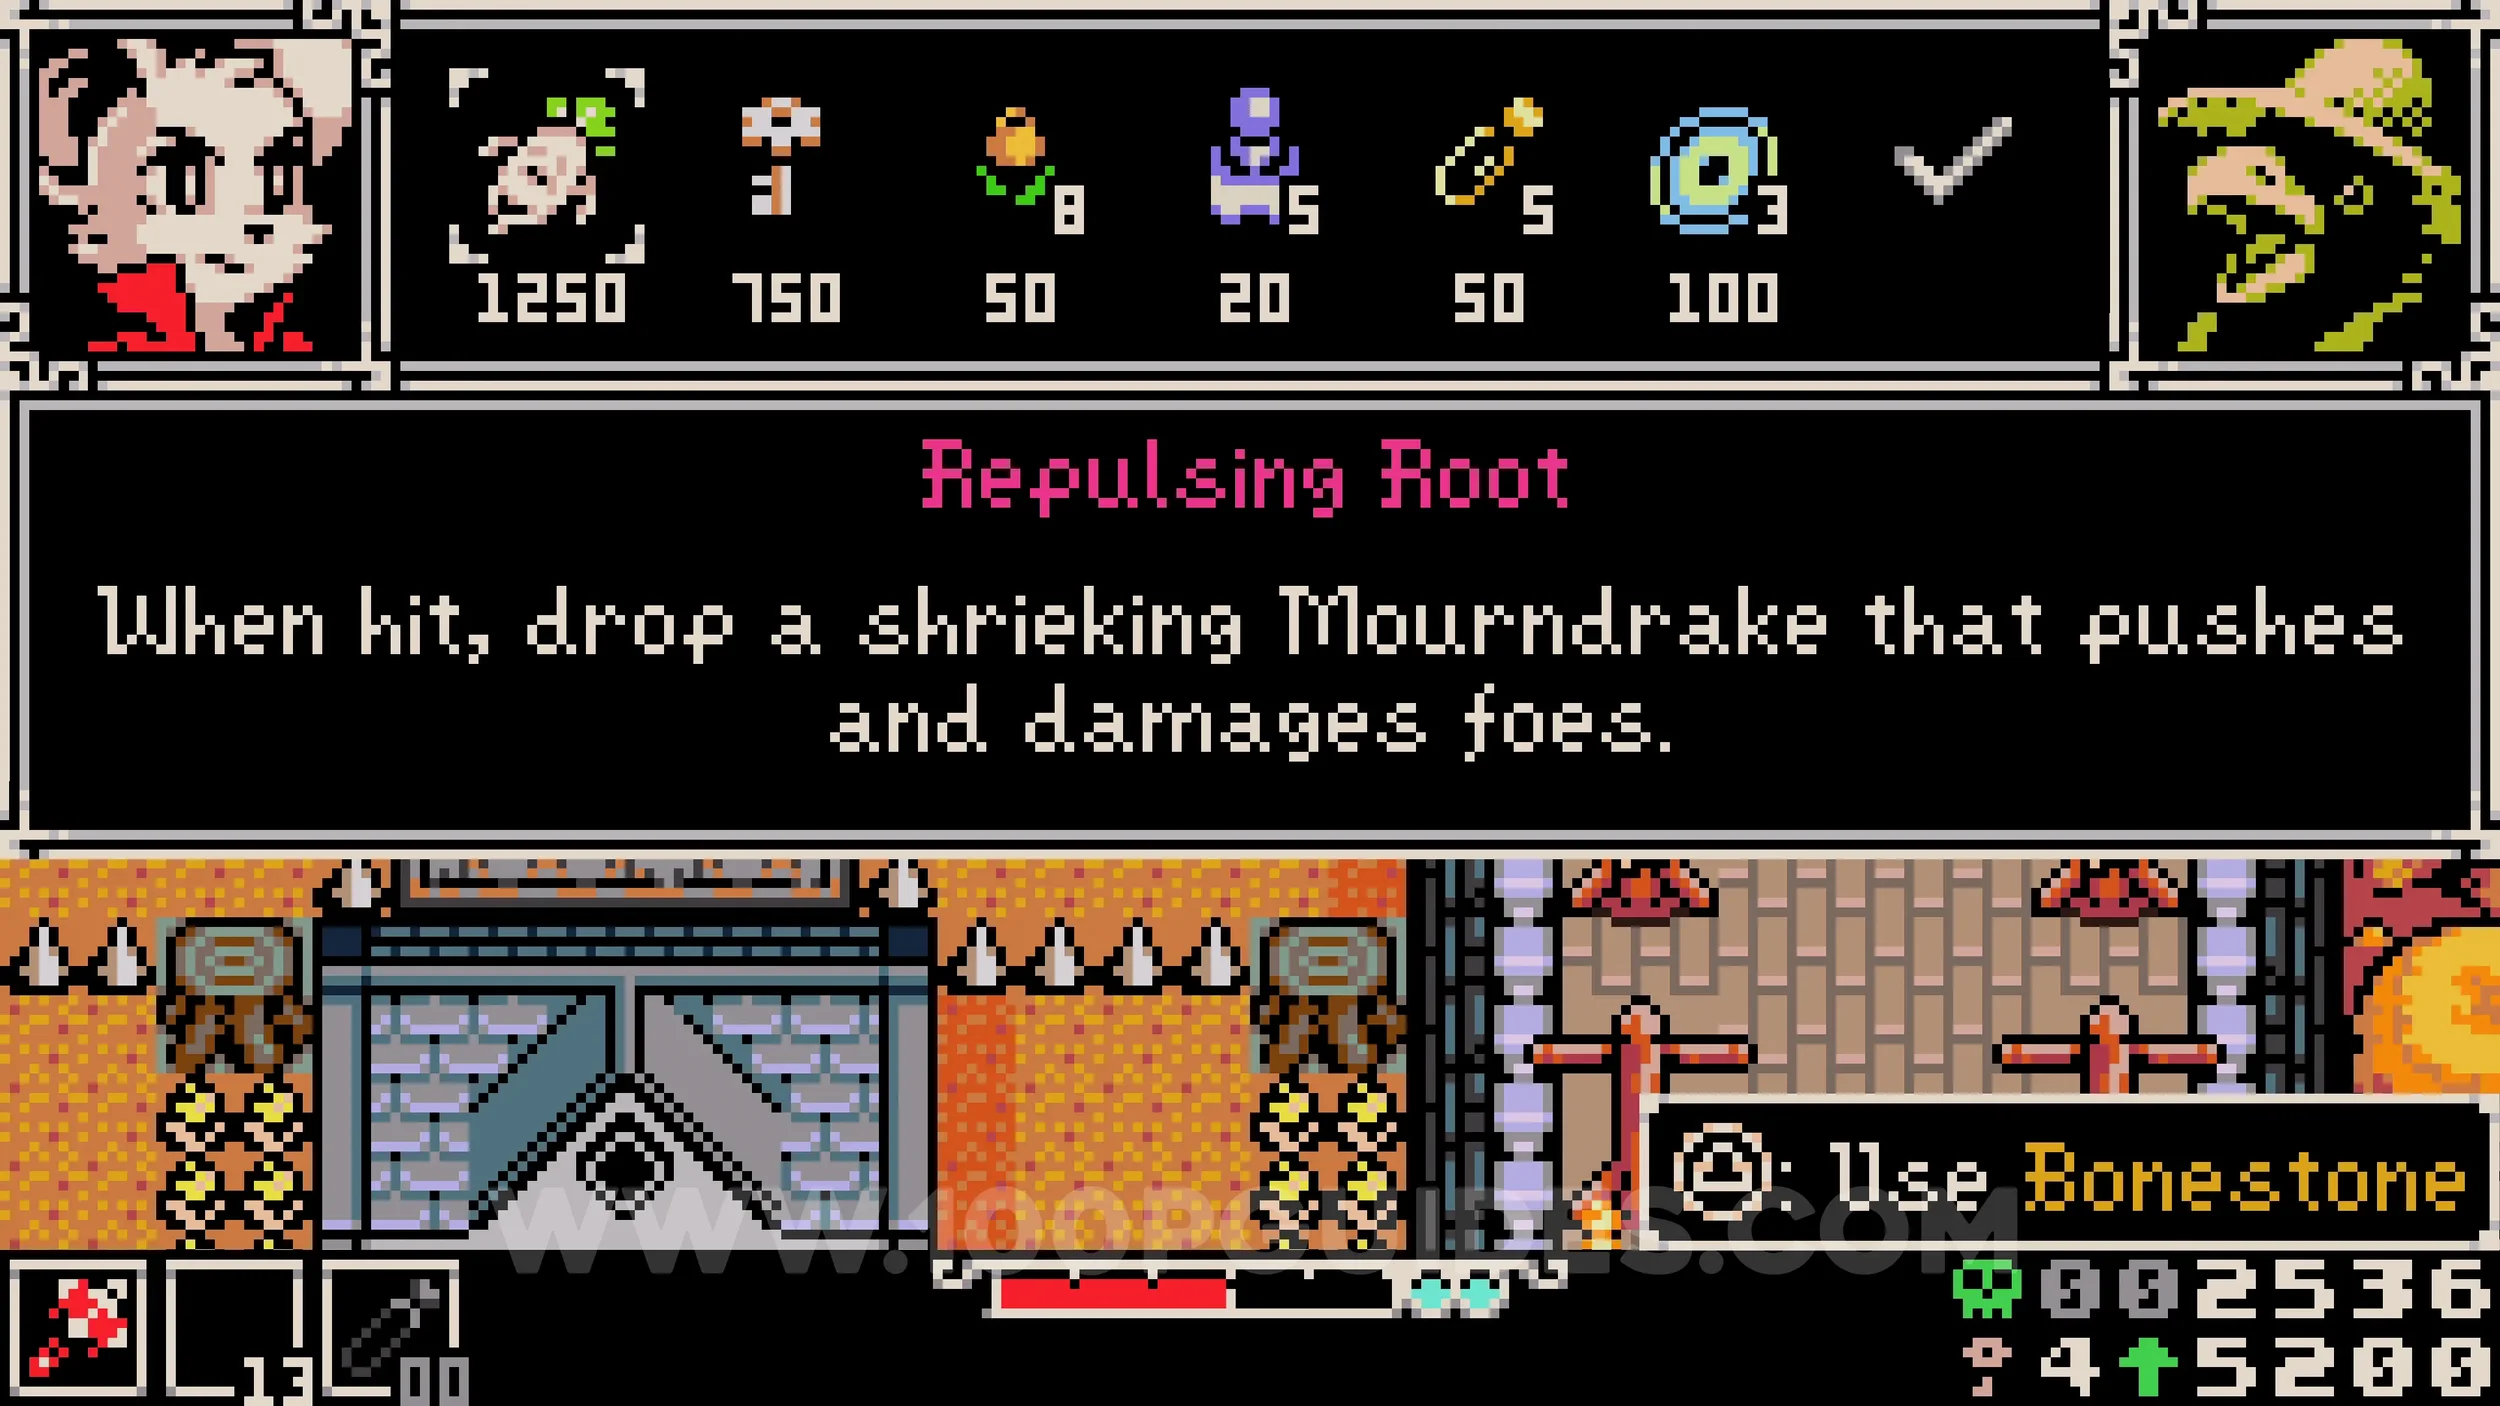
Trinket #1 - Repulsing Root & Kear #3. Return to the area with the bridge and follow the path up on the right to find a scarecrow vendor. Both collectibles can be purchased from him.
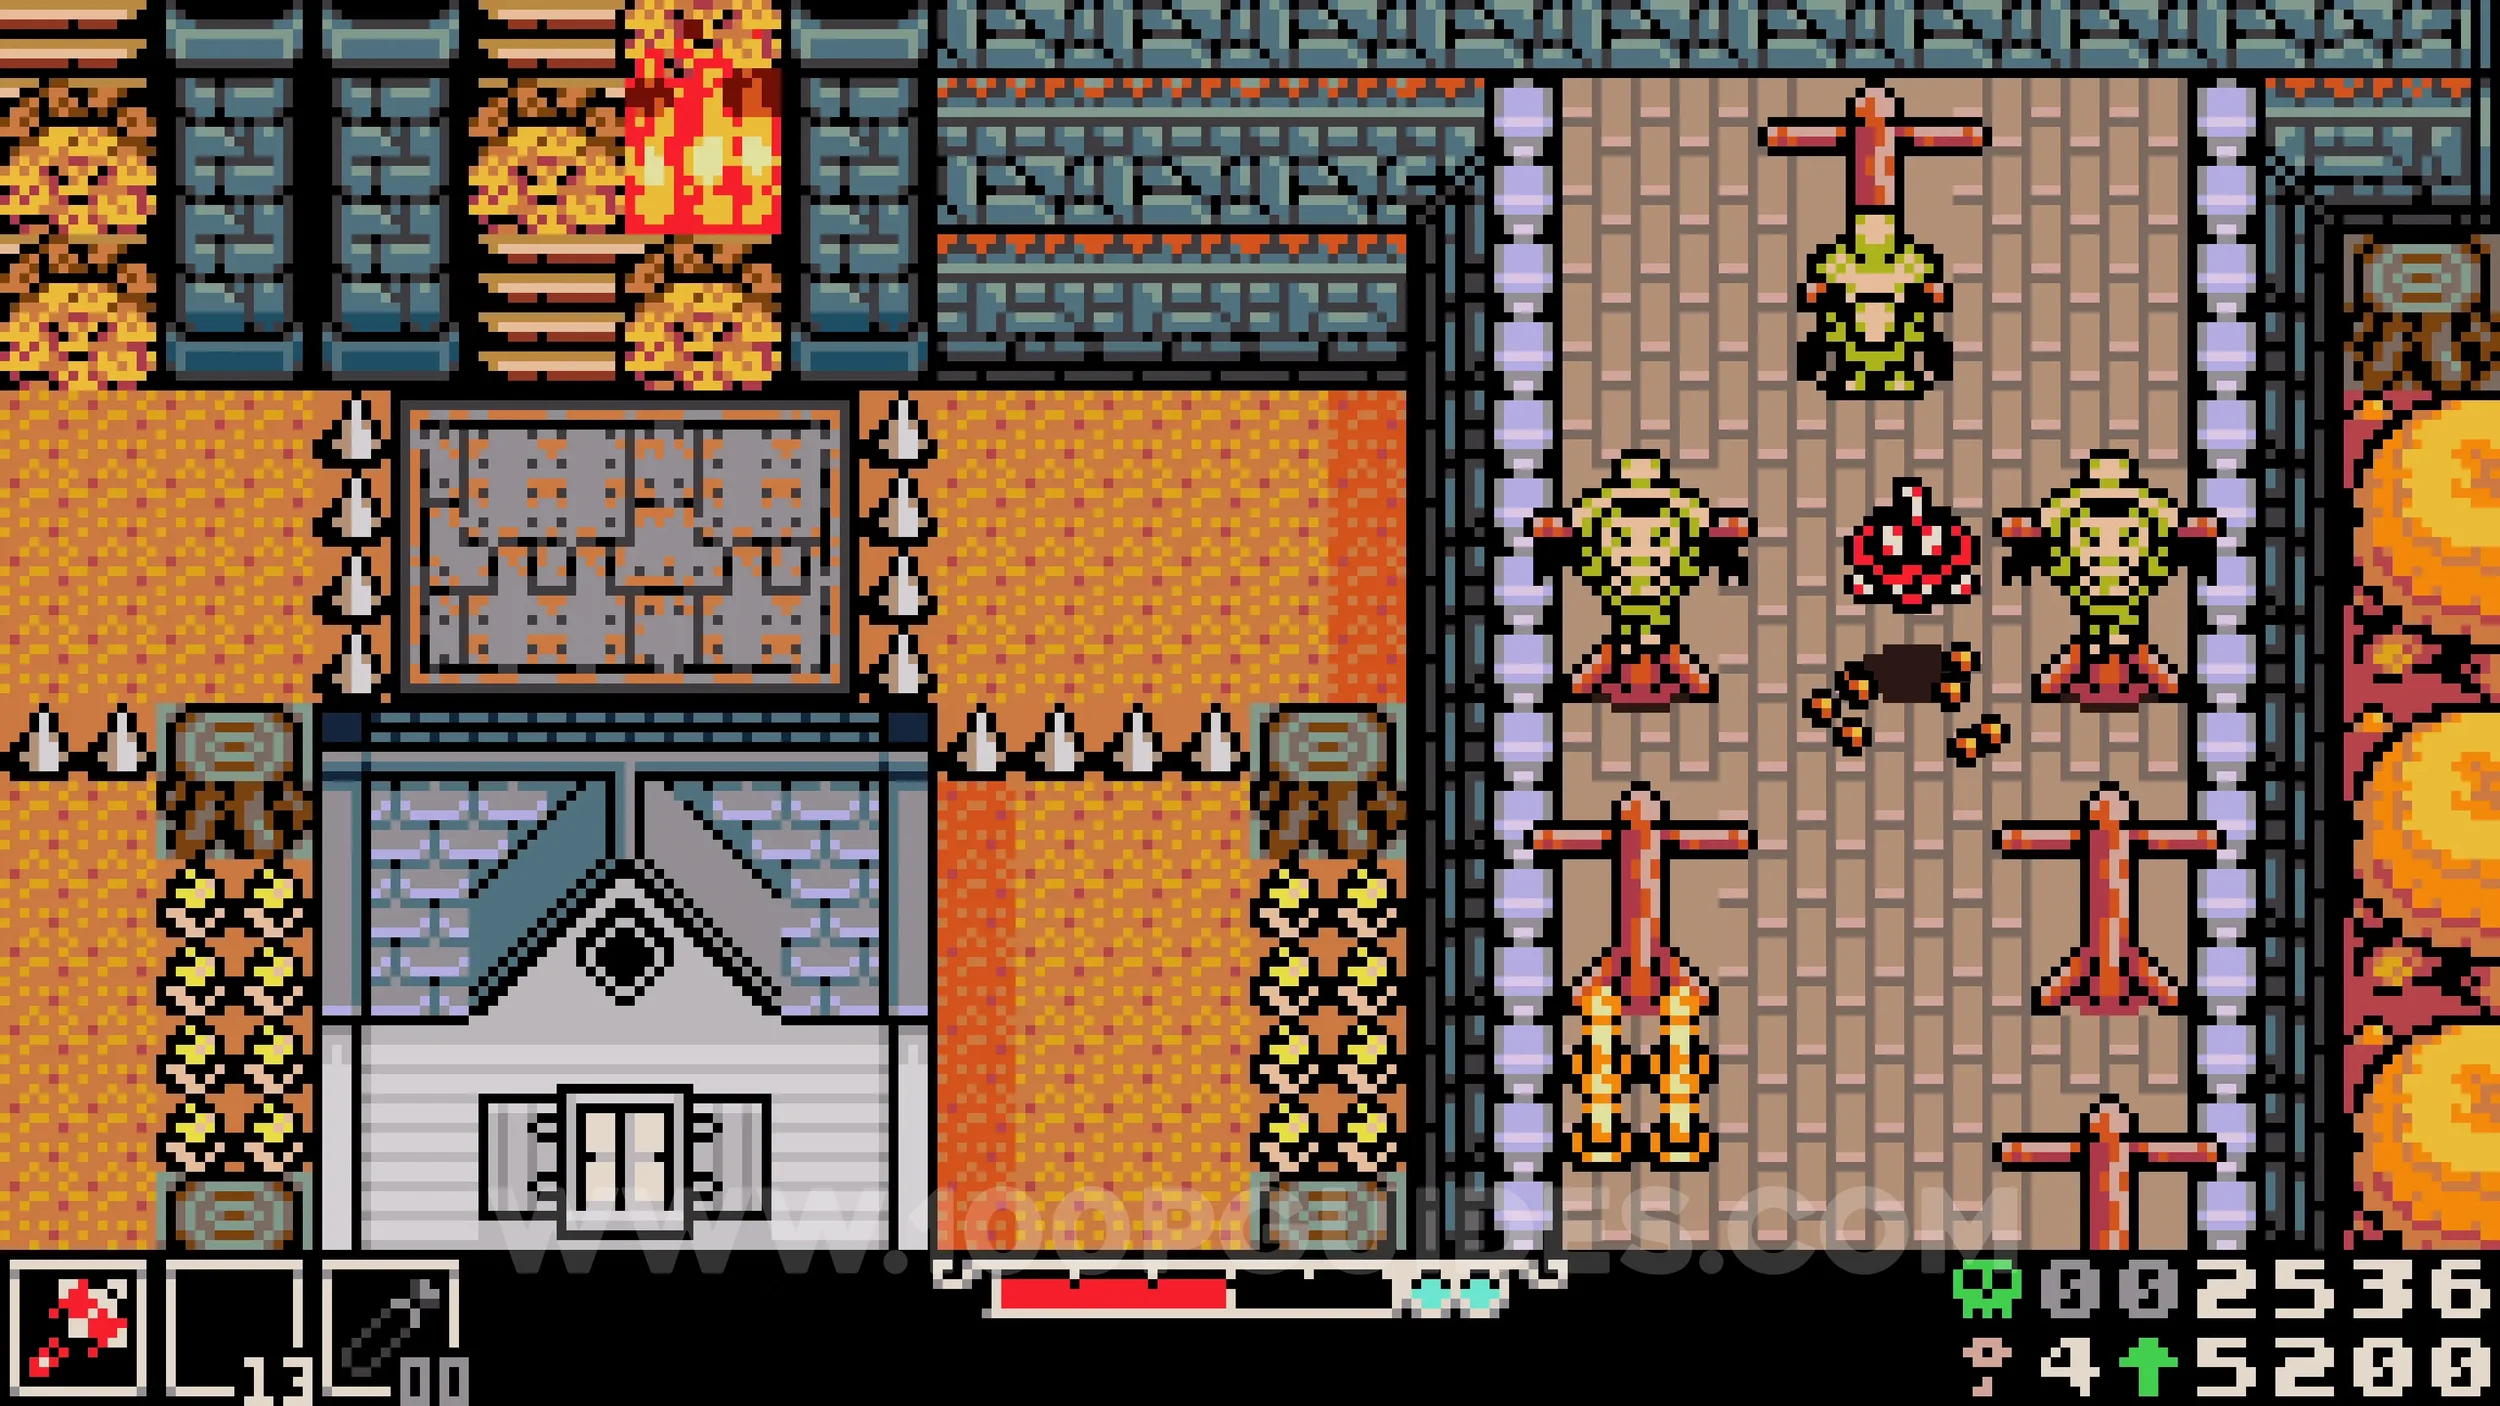
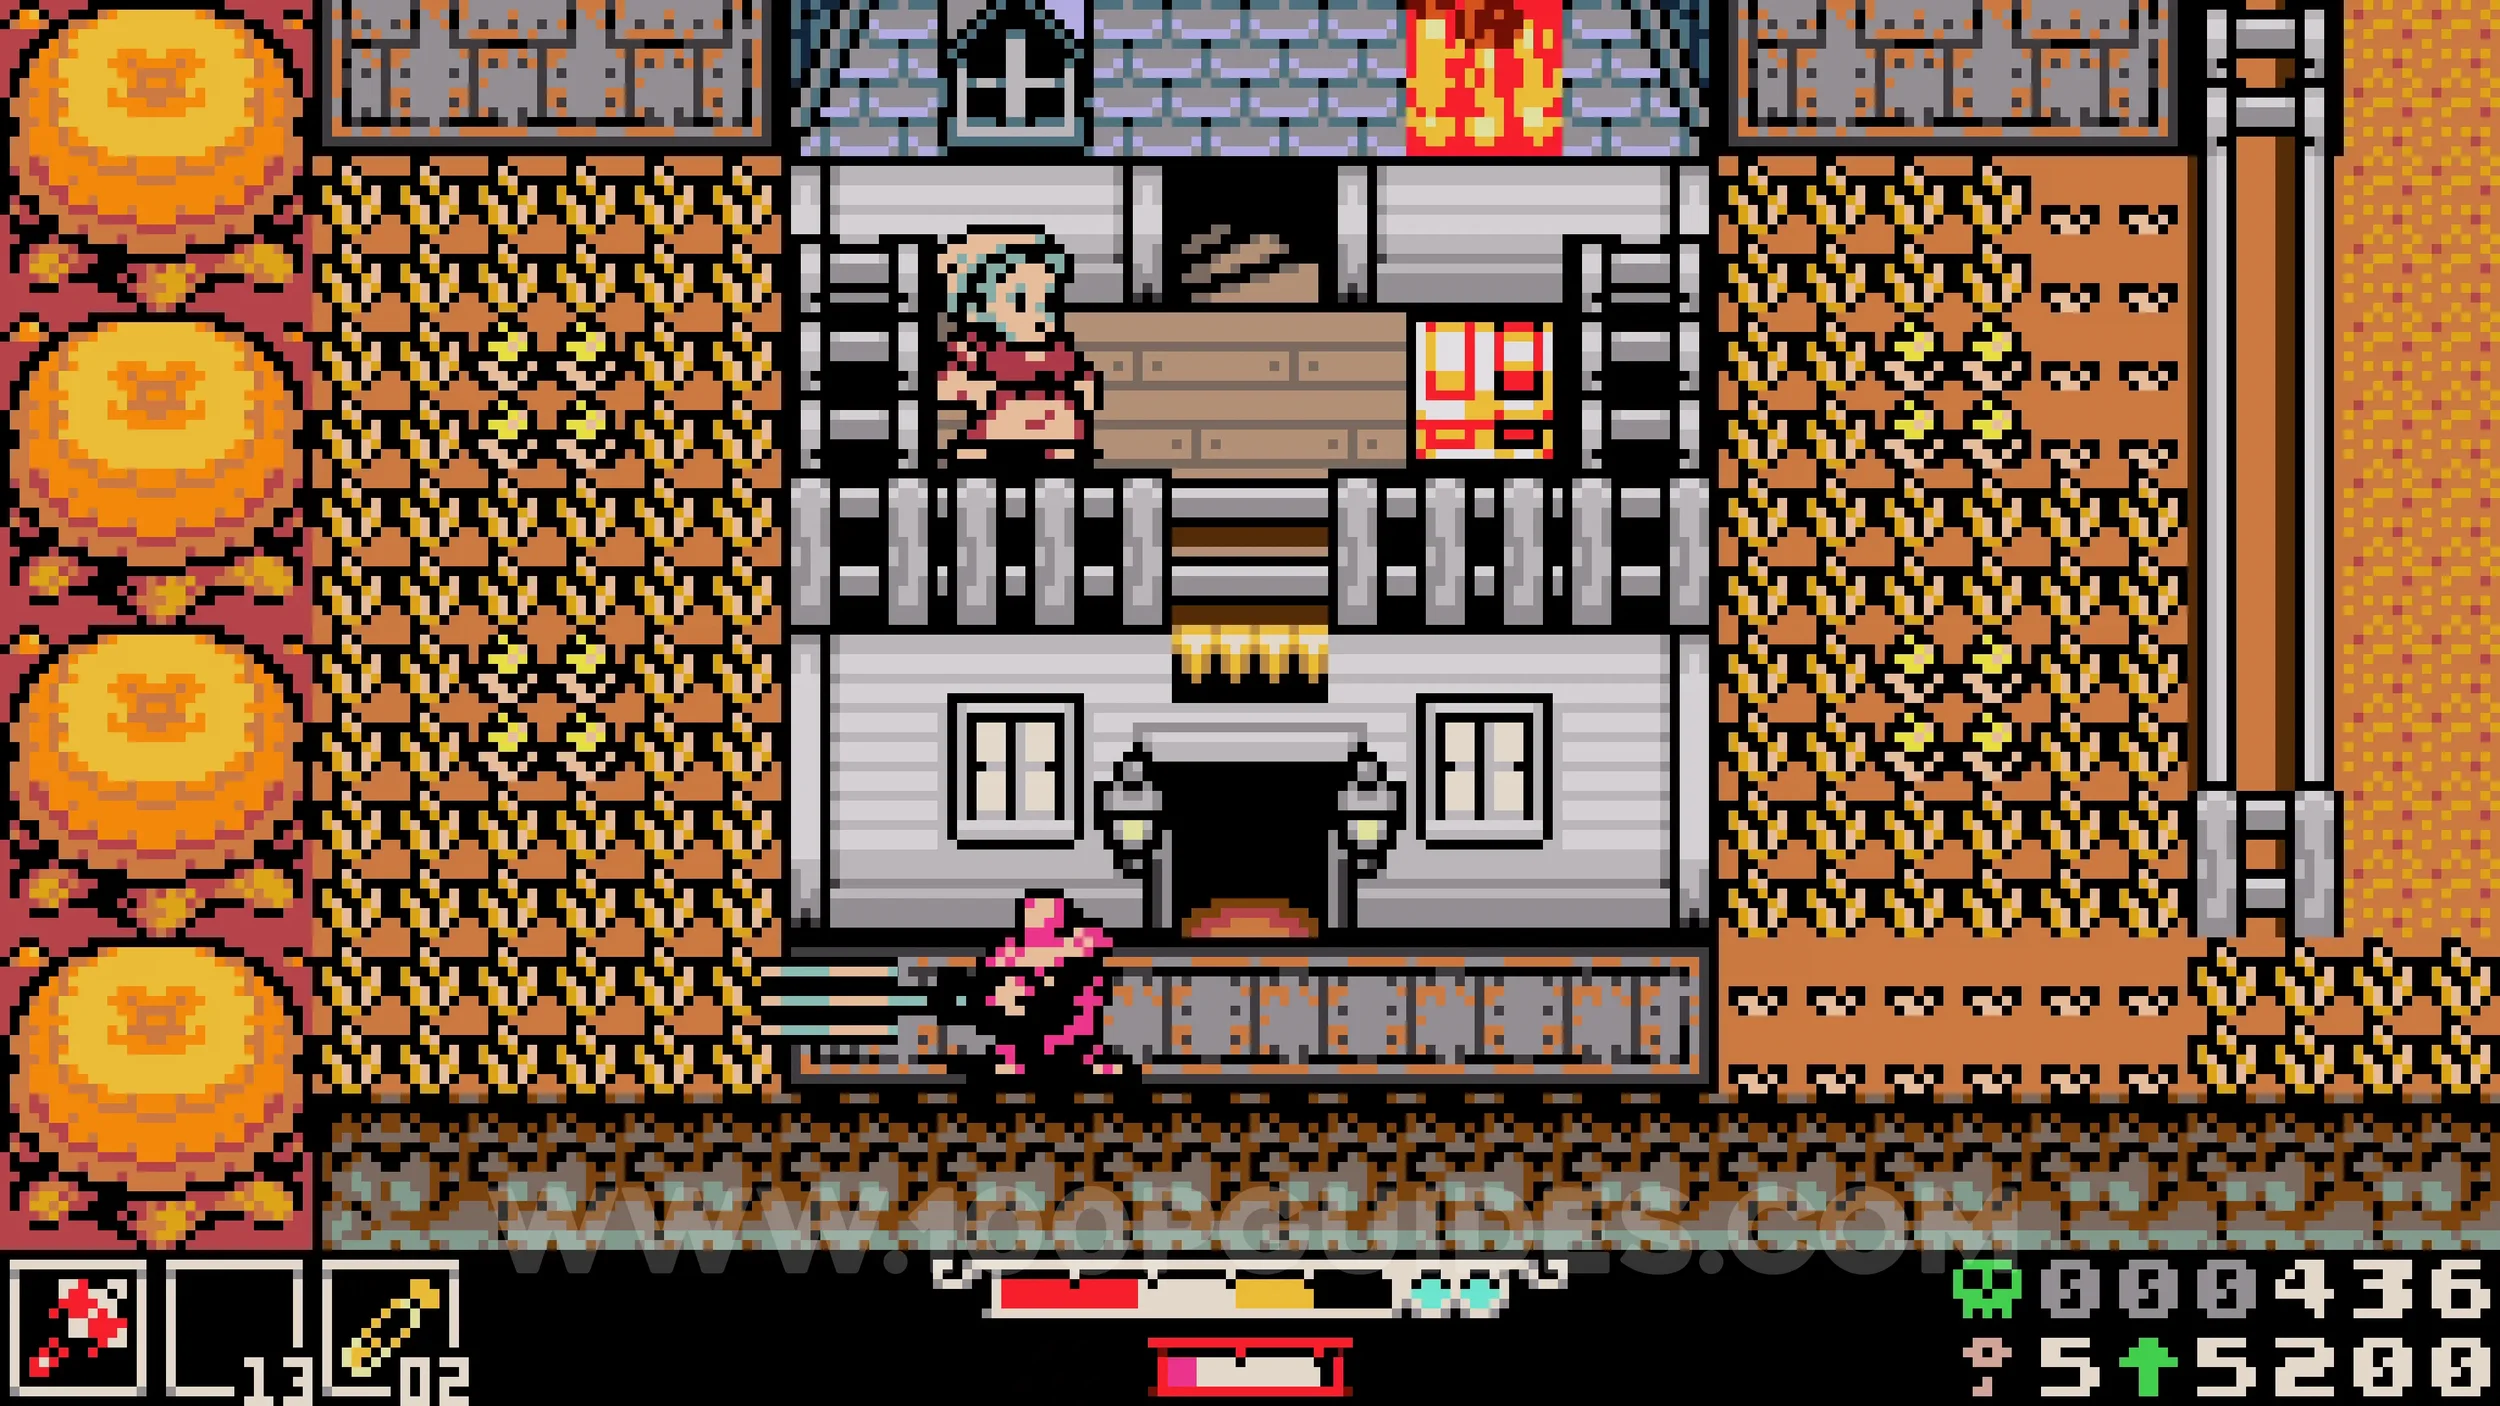
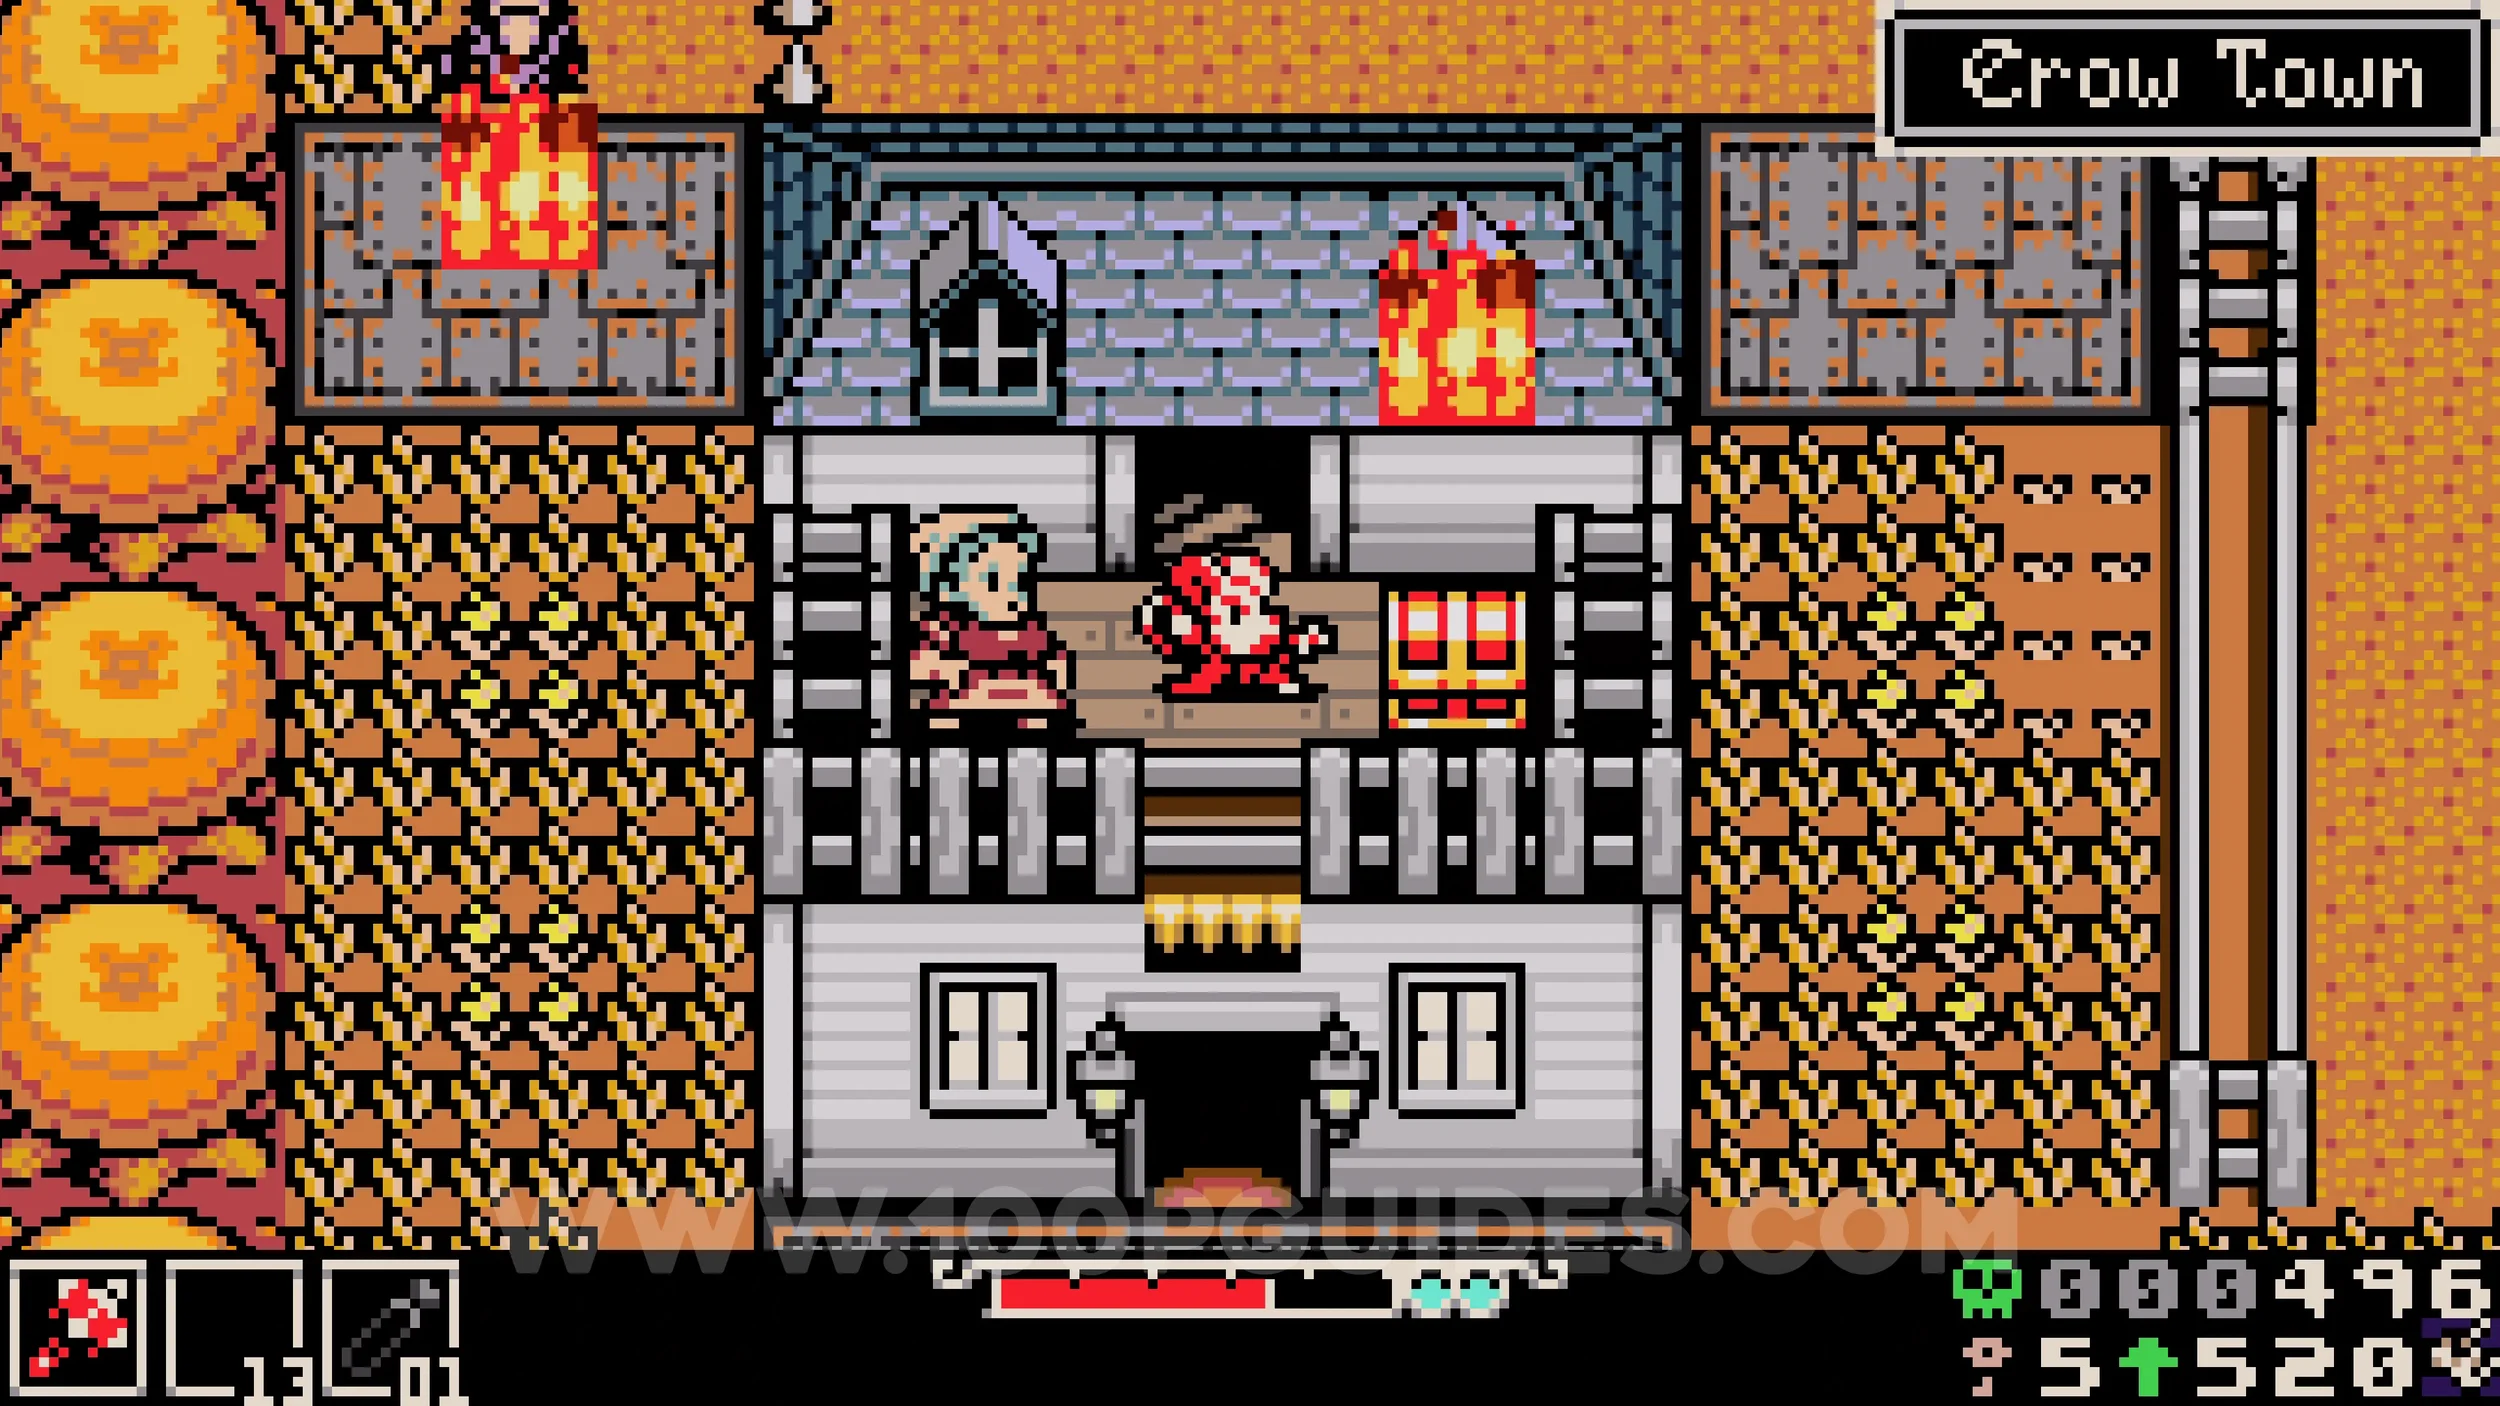
Weapon - Guardian Casket. To the left of the scarecrow shop you will find a few buildings. Walk past the door of the bottom left one and an enemy will smash through from inside. Enter the building and go up the stairs at the top of the screen to reach the balcony, where you will find the weapon in the red chest.
Kear #4. As soon as you enter the dark forest area, destroy the obstacles in the bottom right corner to reach a secret area. Open the chest in the top left of that screen.
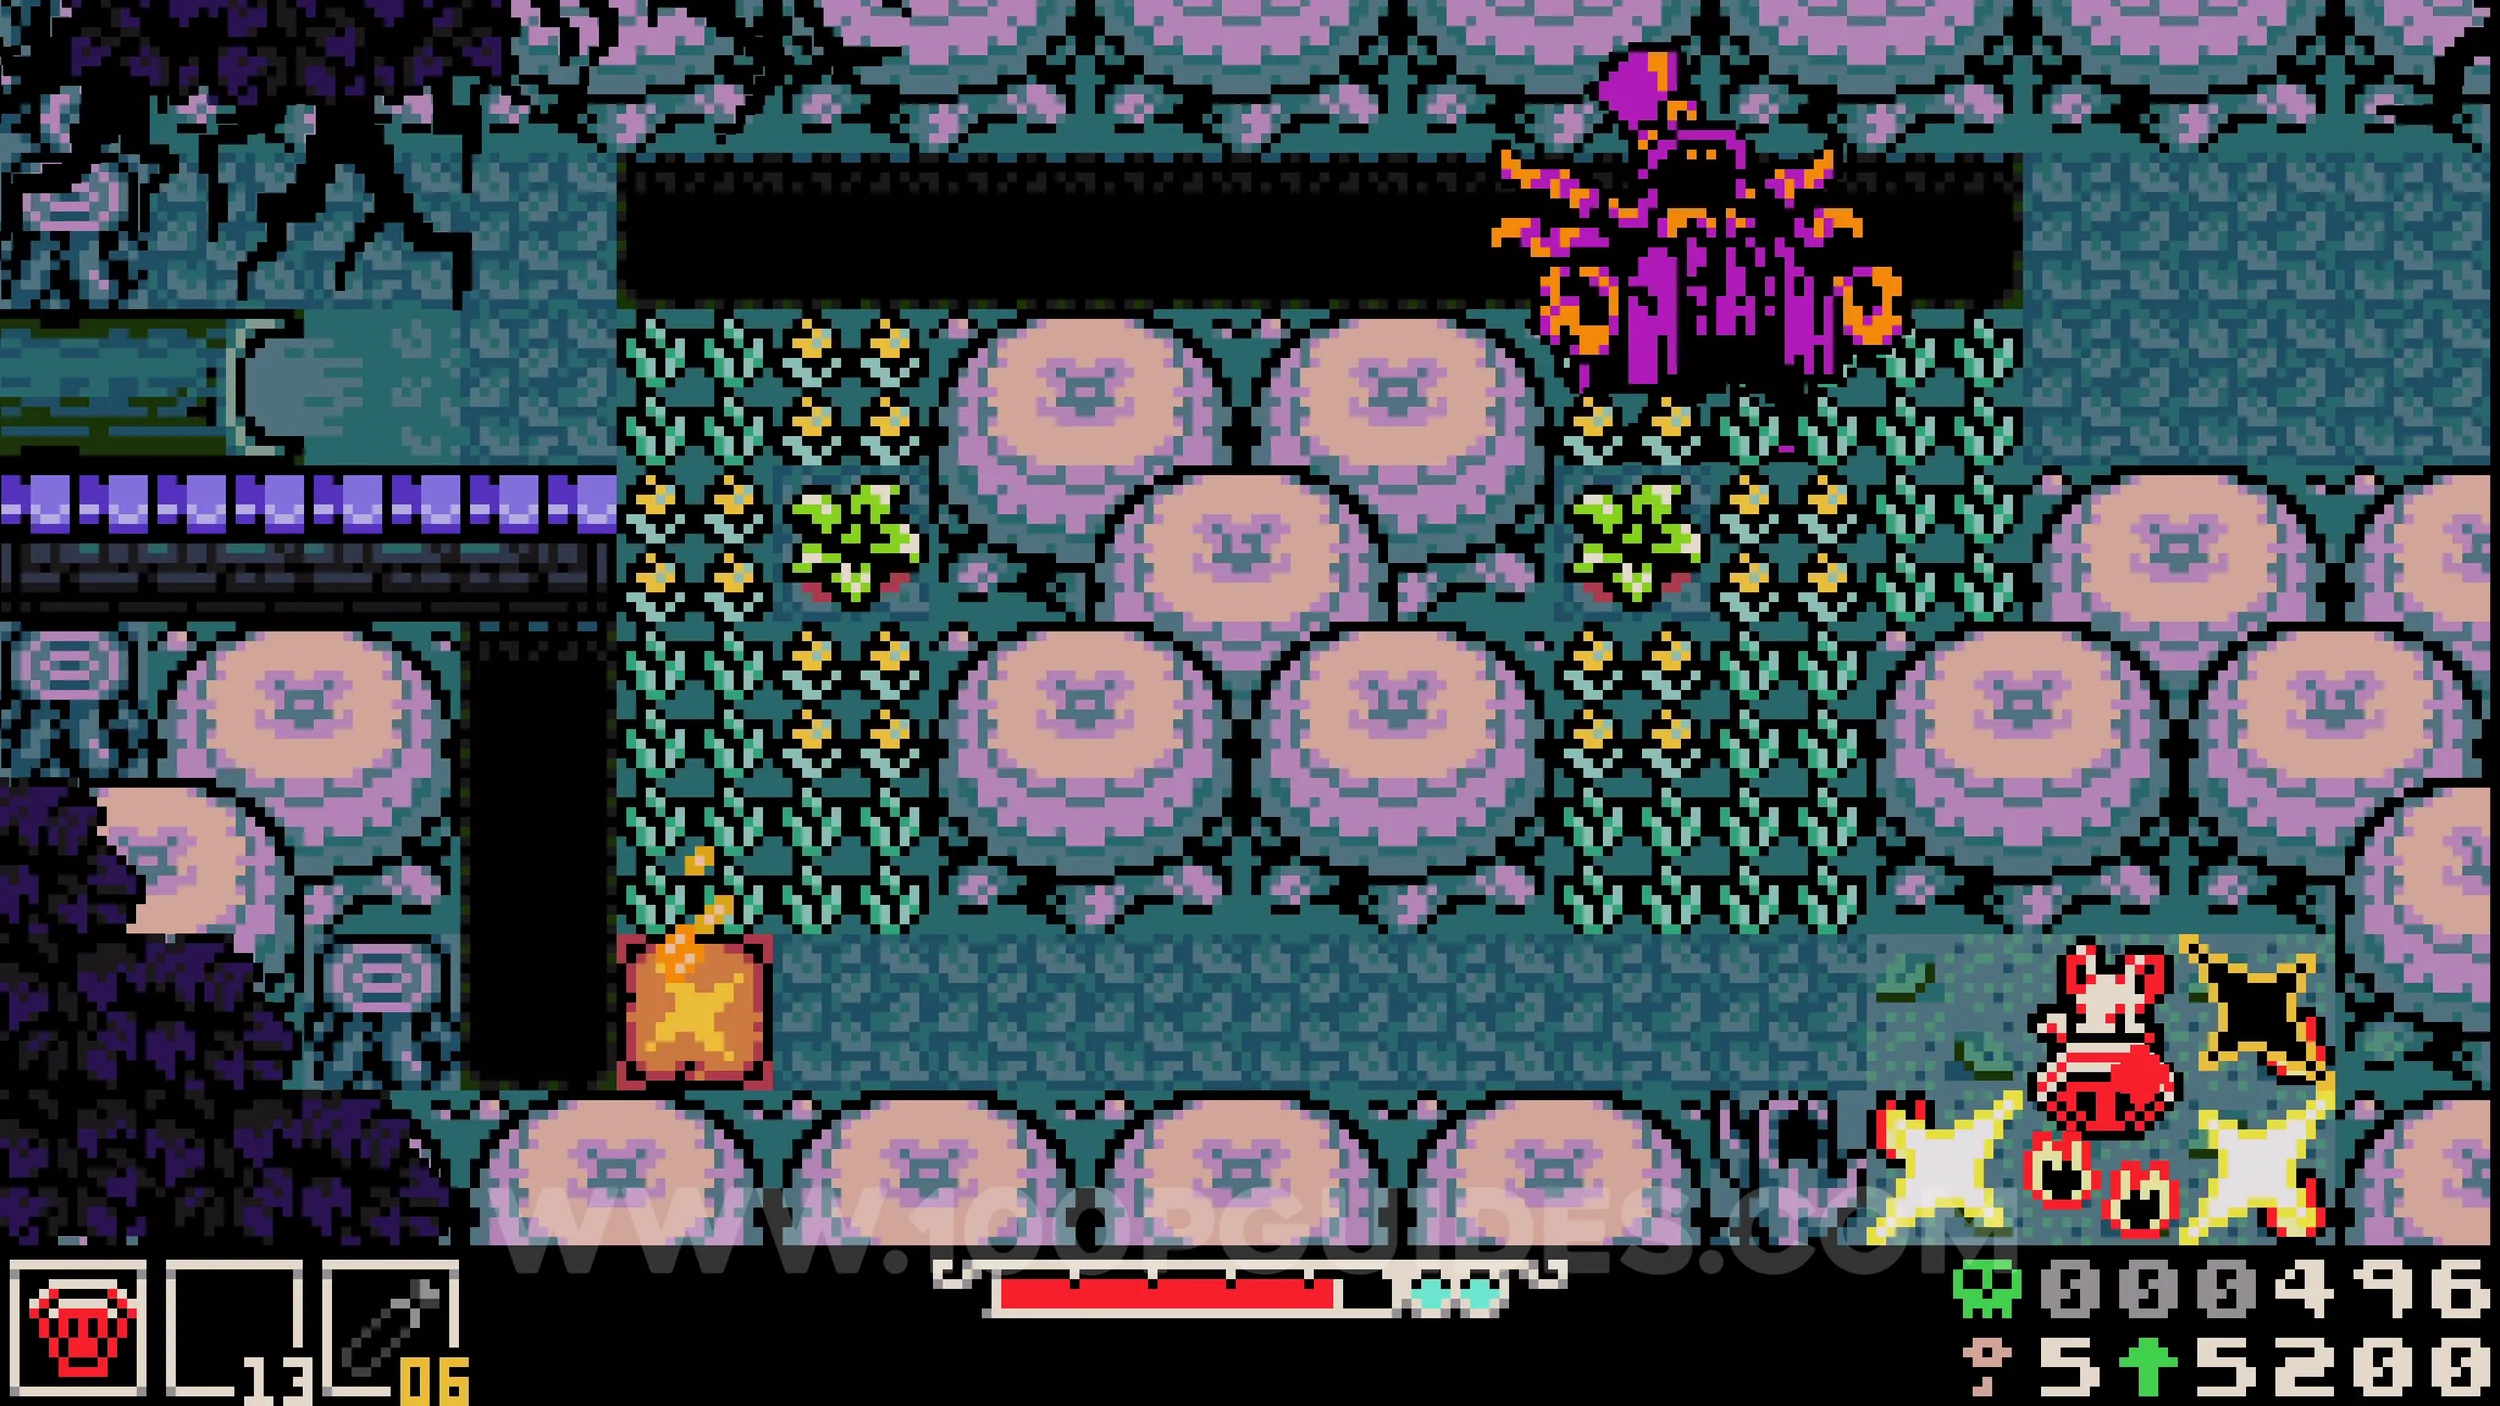
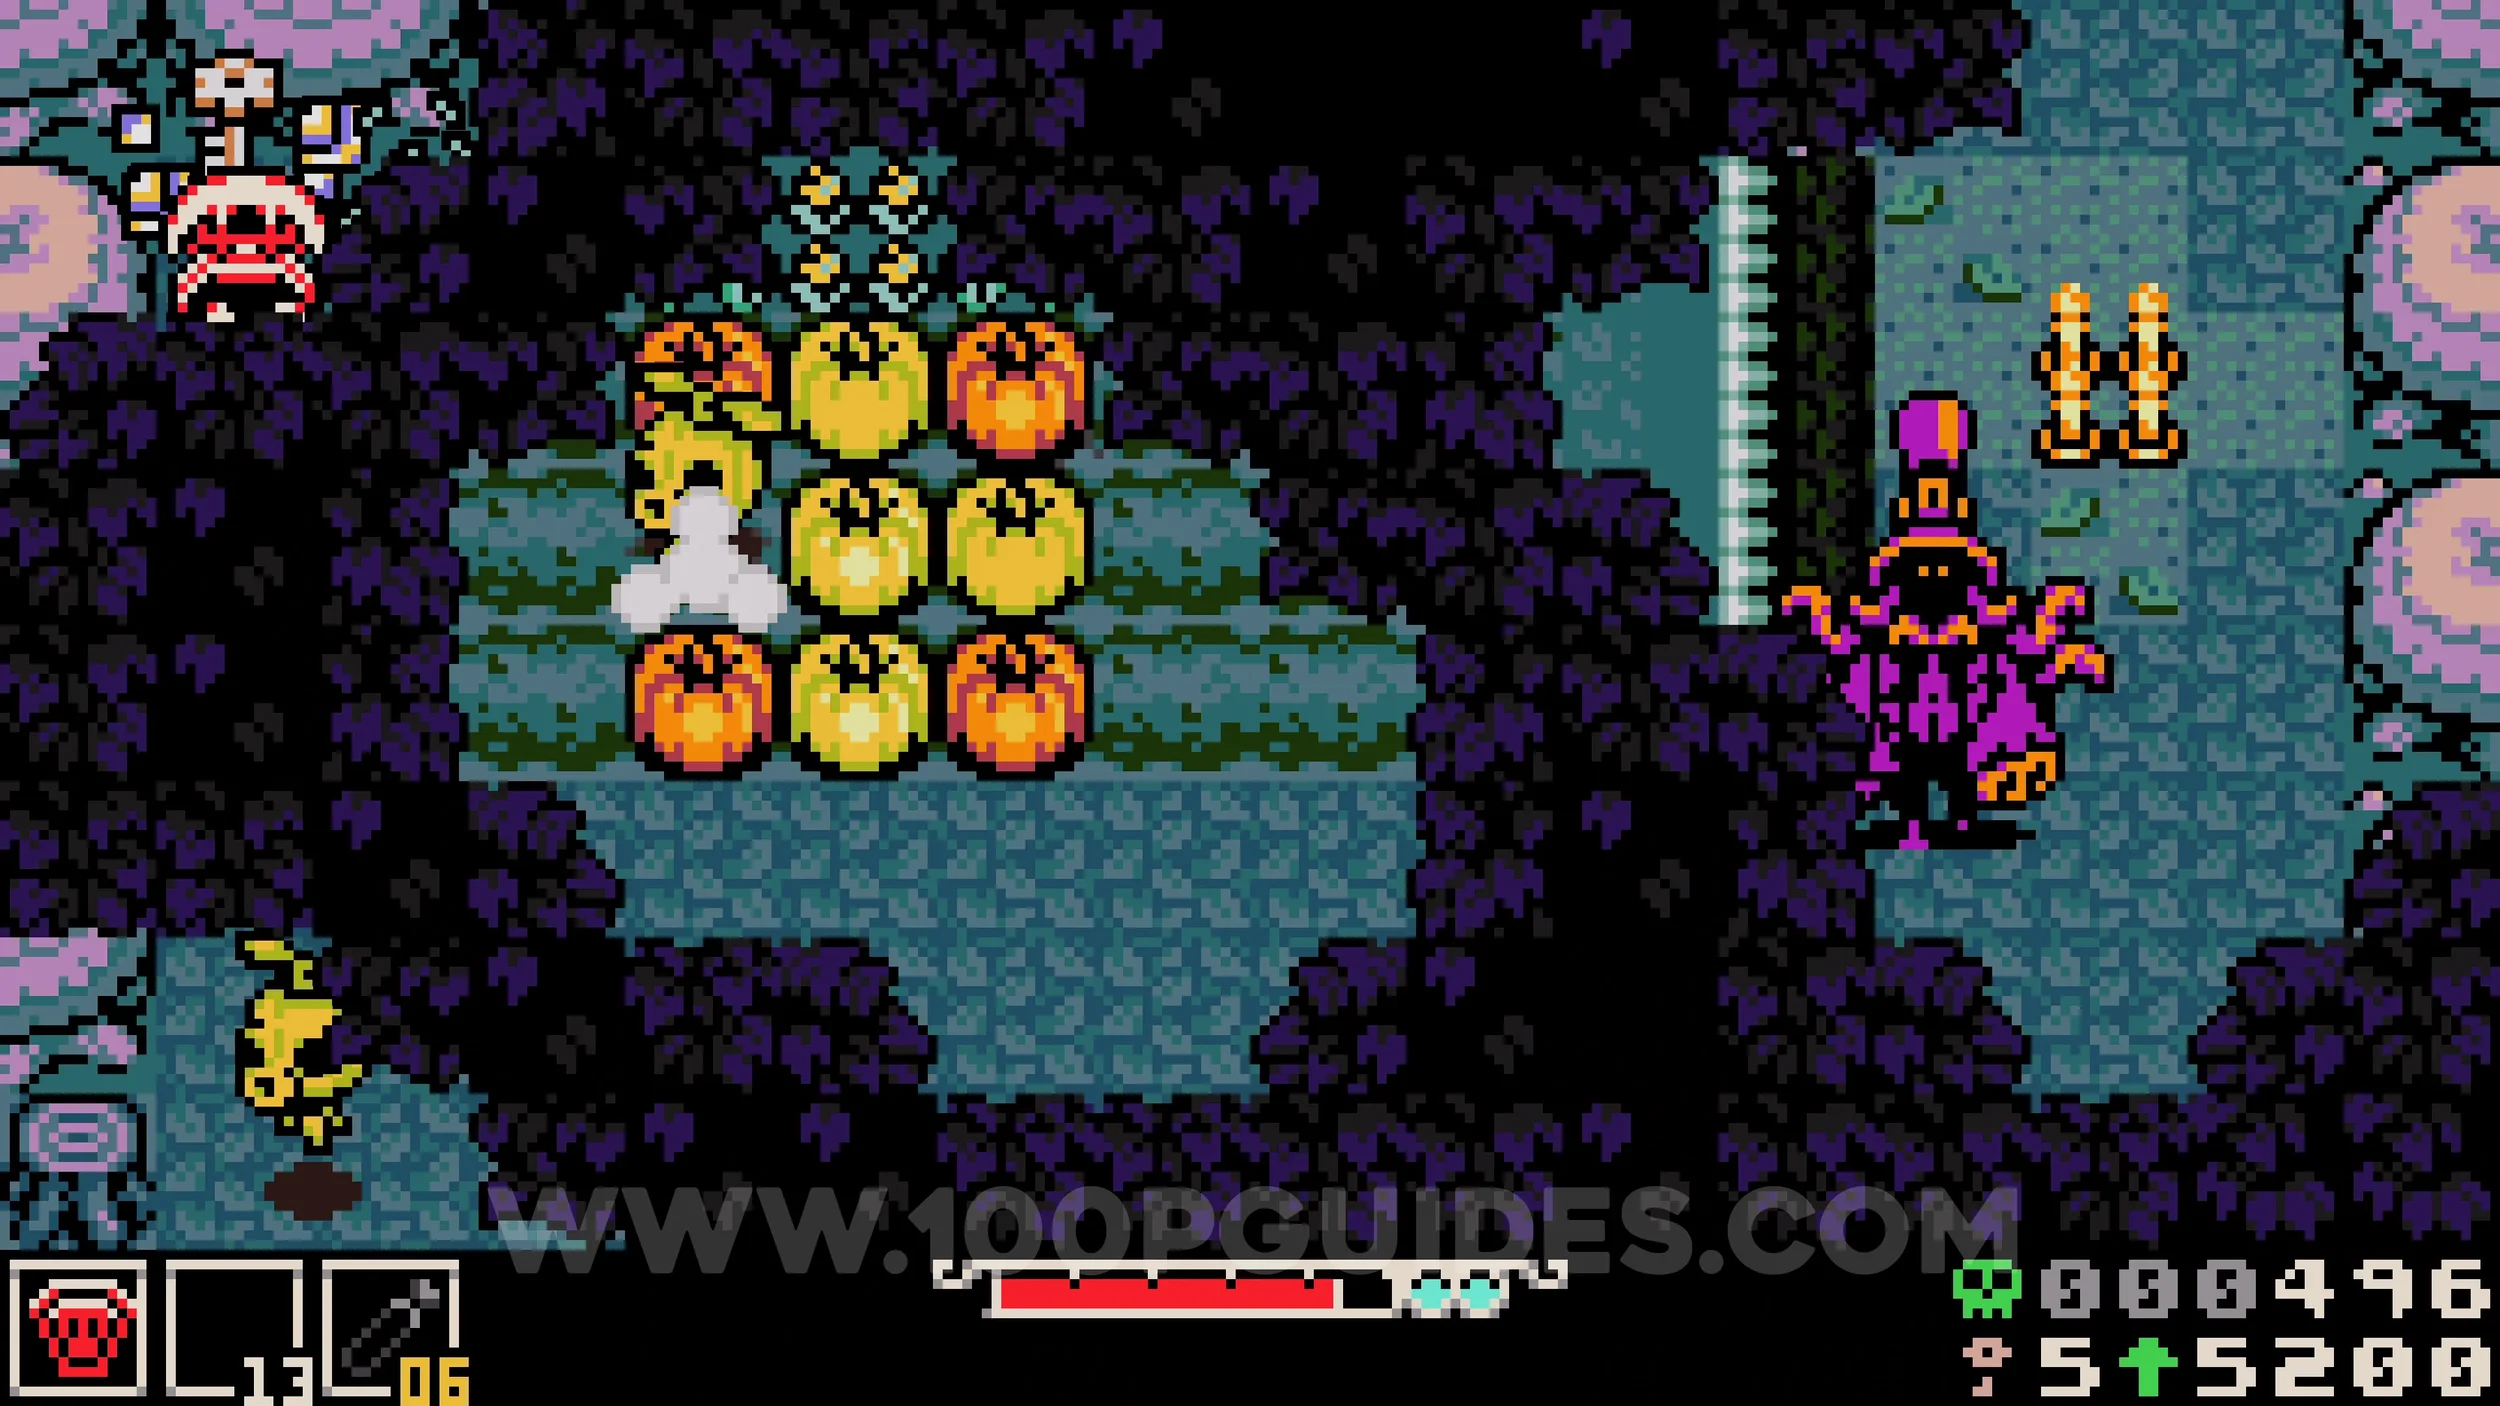
Bonestone #6. During the third chase scene, once you reach the large area where you must press a switch to lower the spikes, look for a hollow log in the bottom left corner. Go through it to find the chest on the other side.
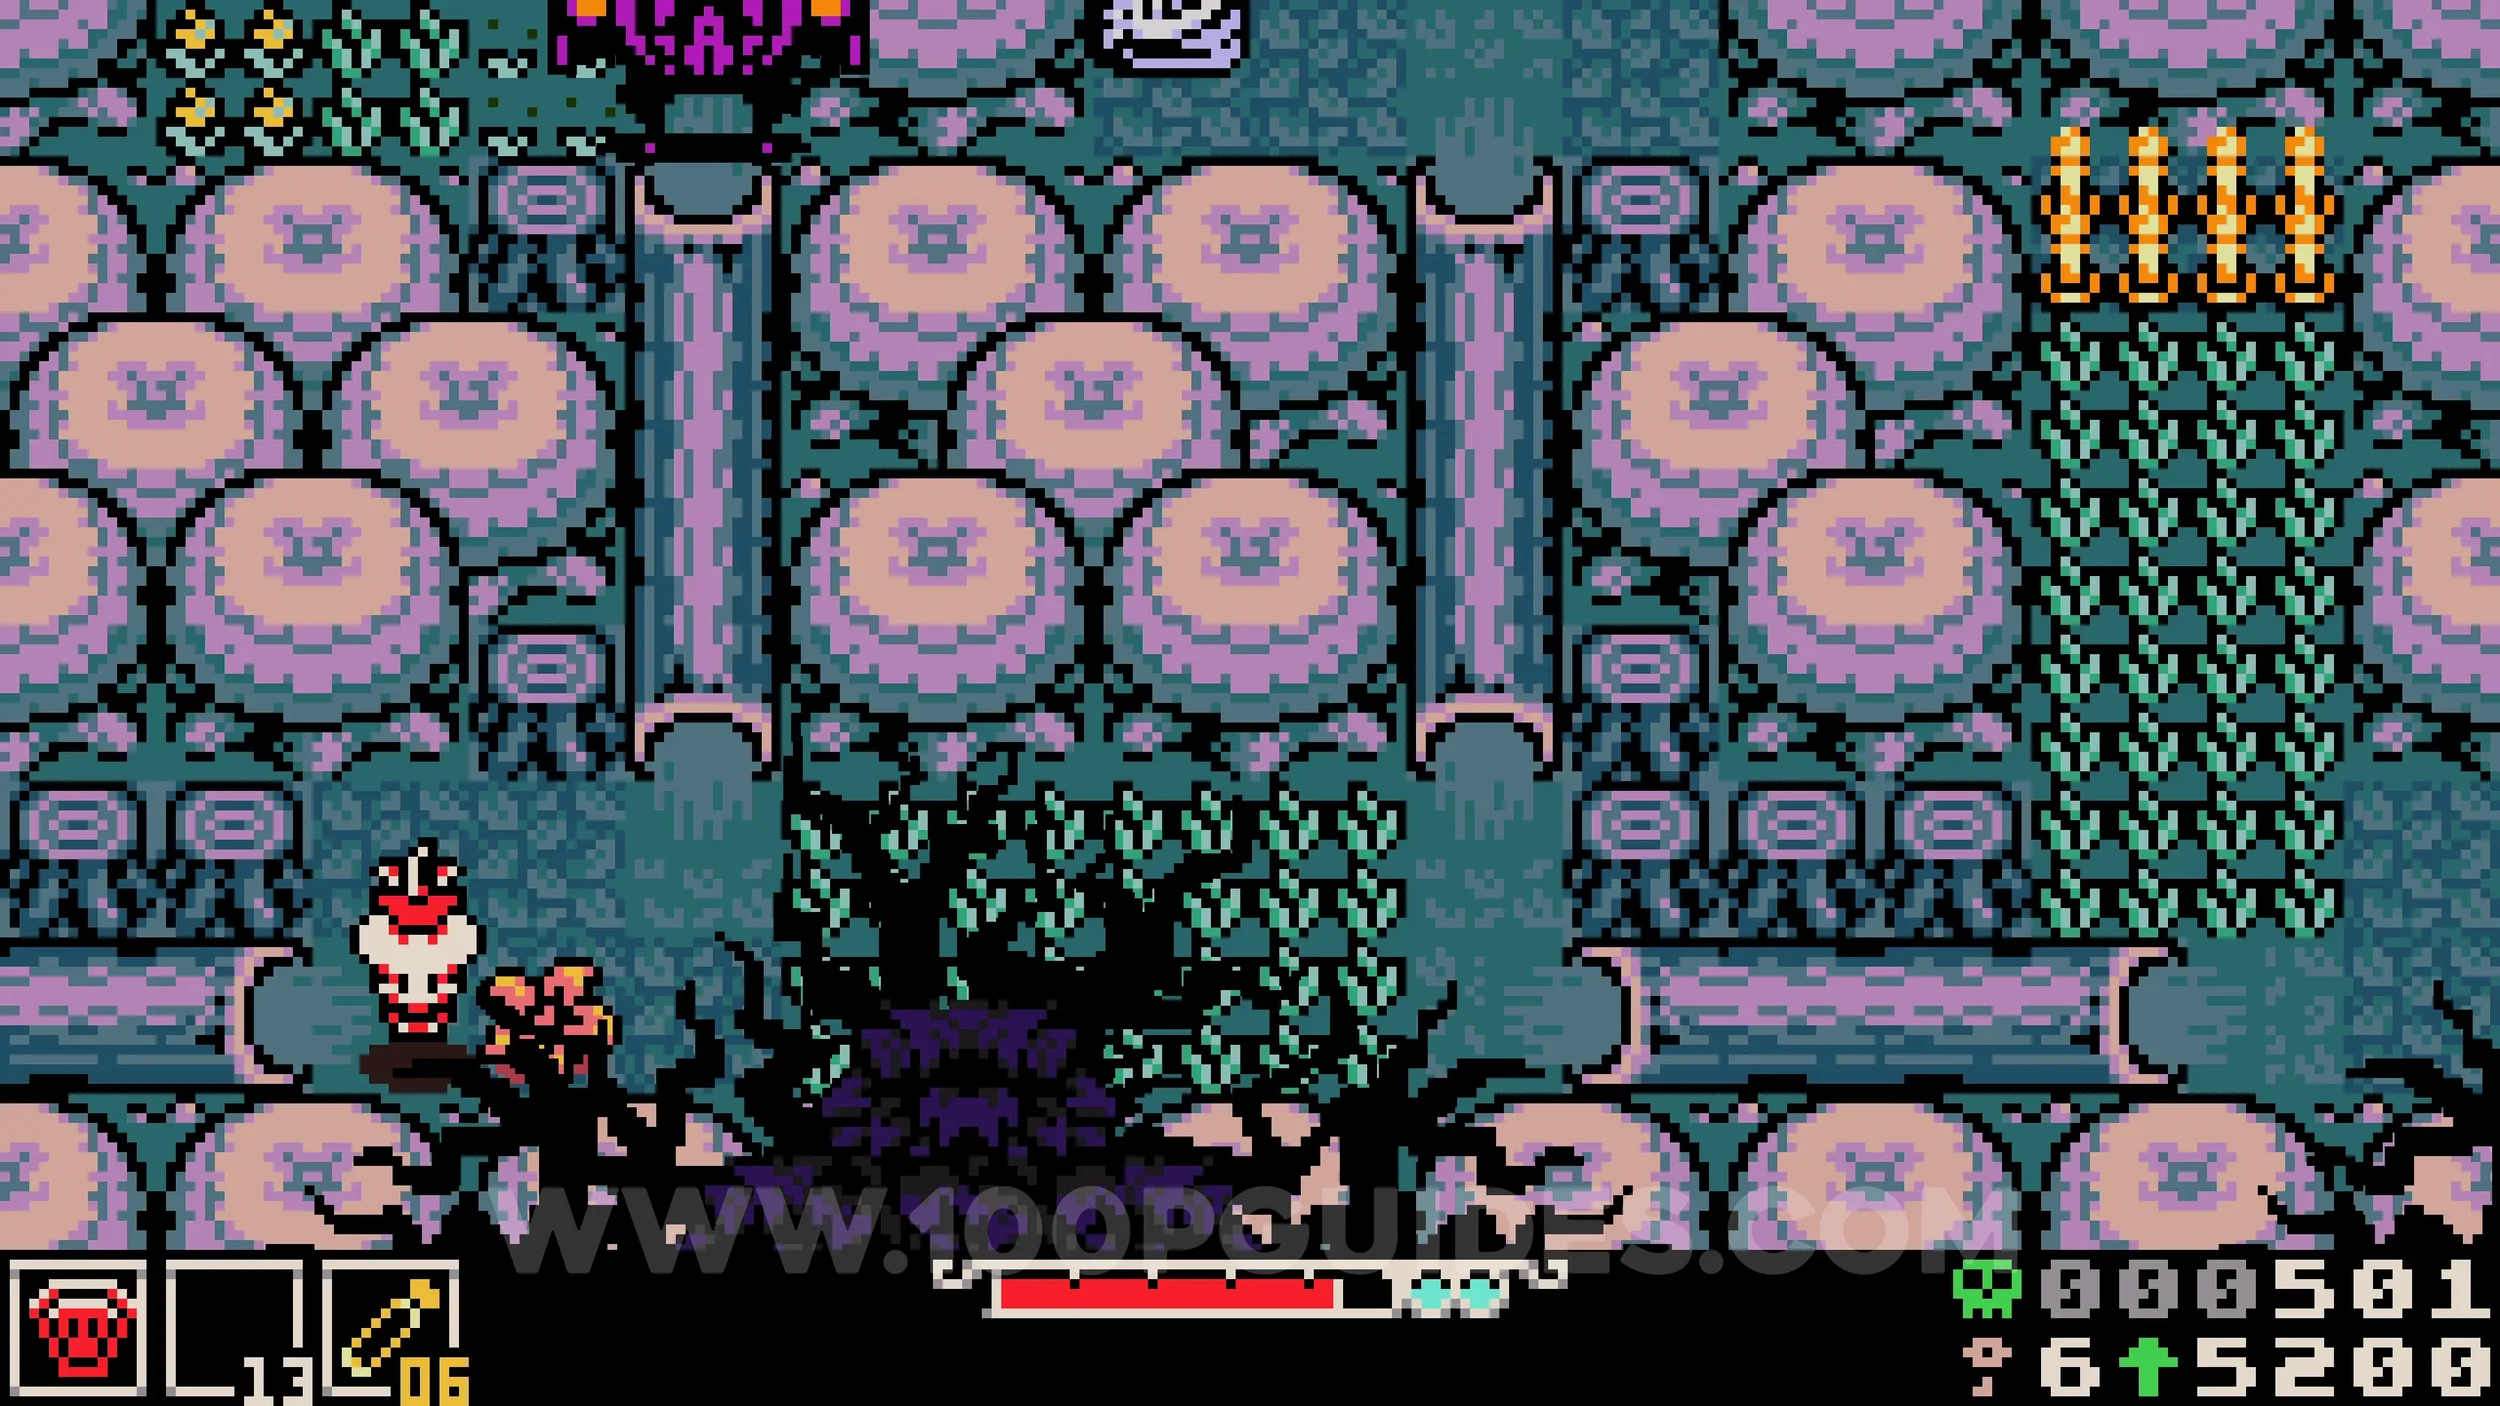
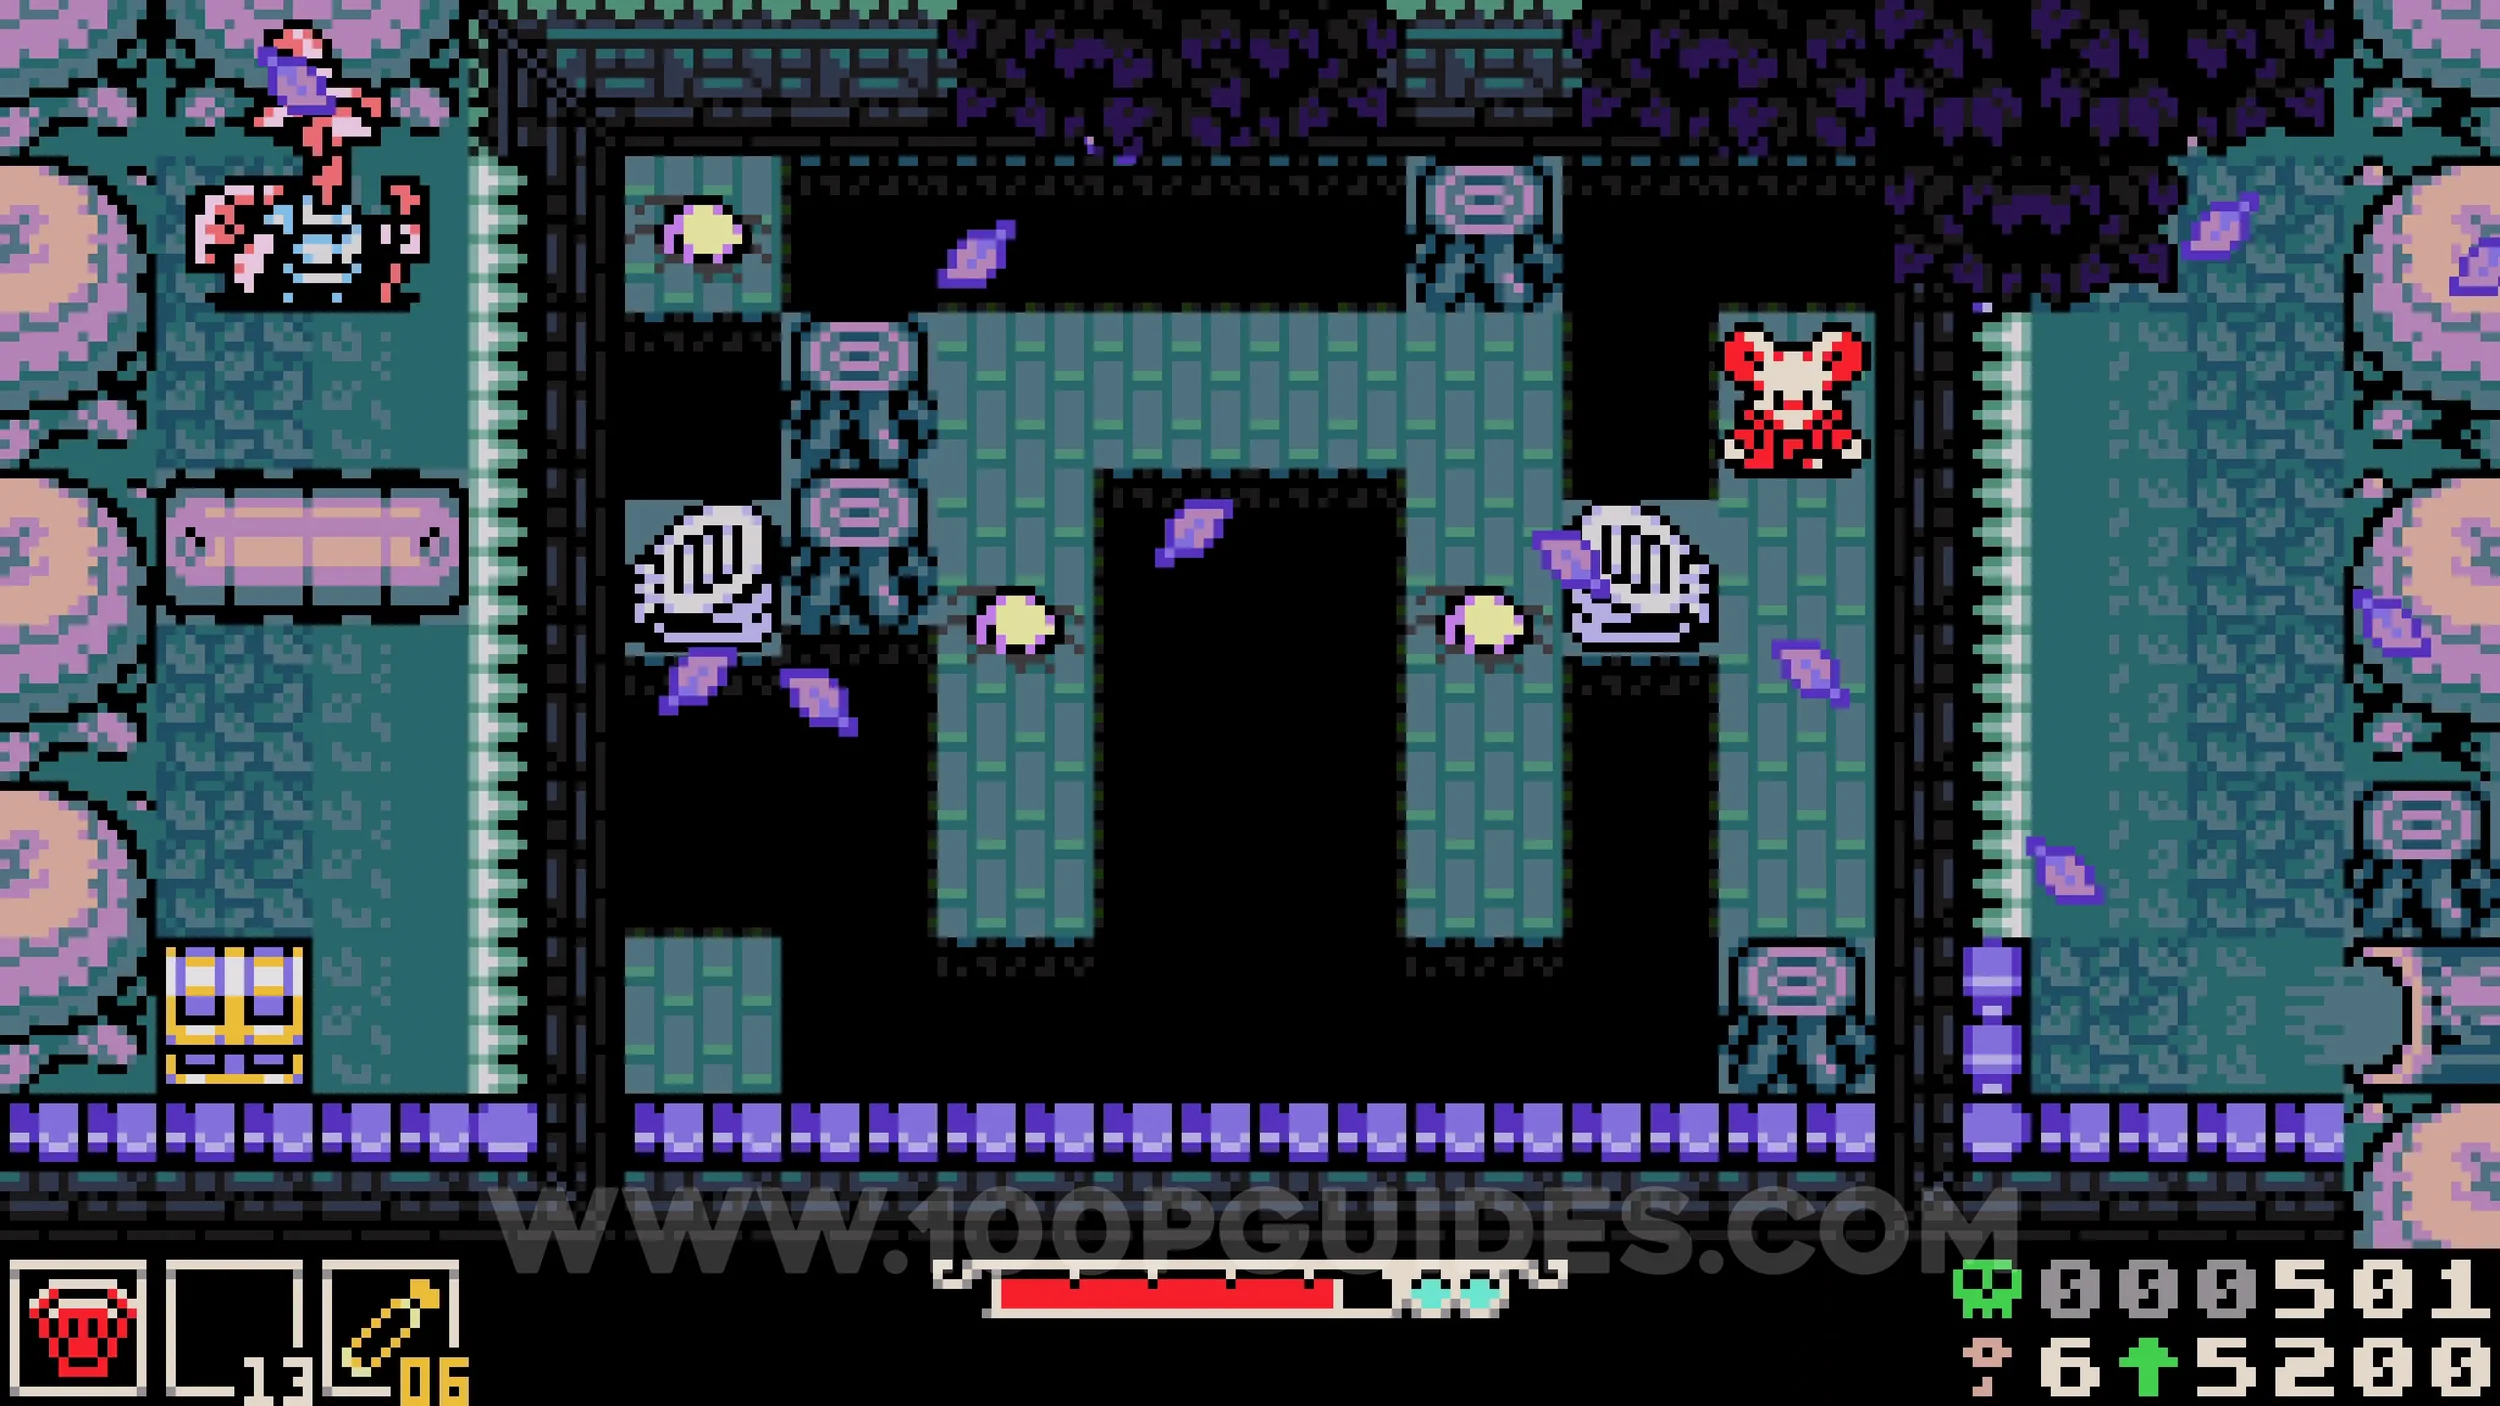
Bonestone #7. In plain sight at the end of the next section with wind.
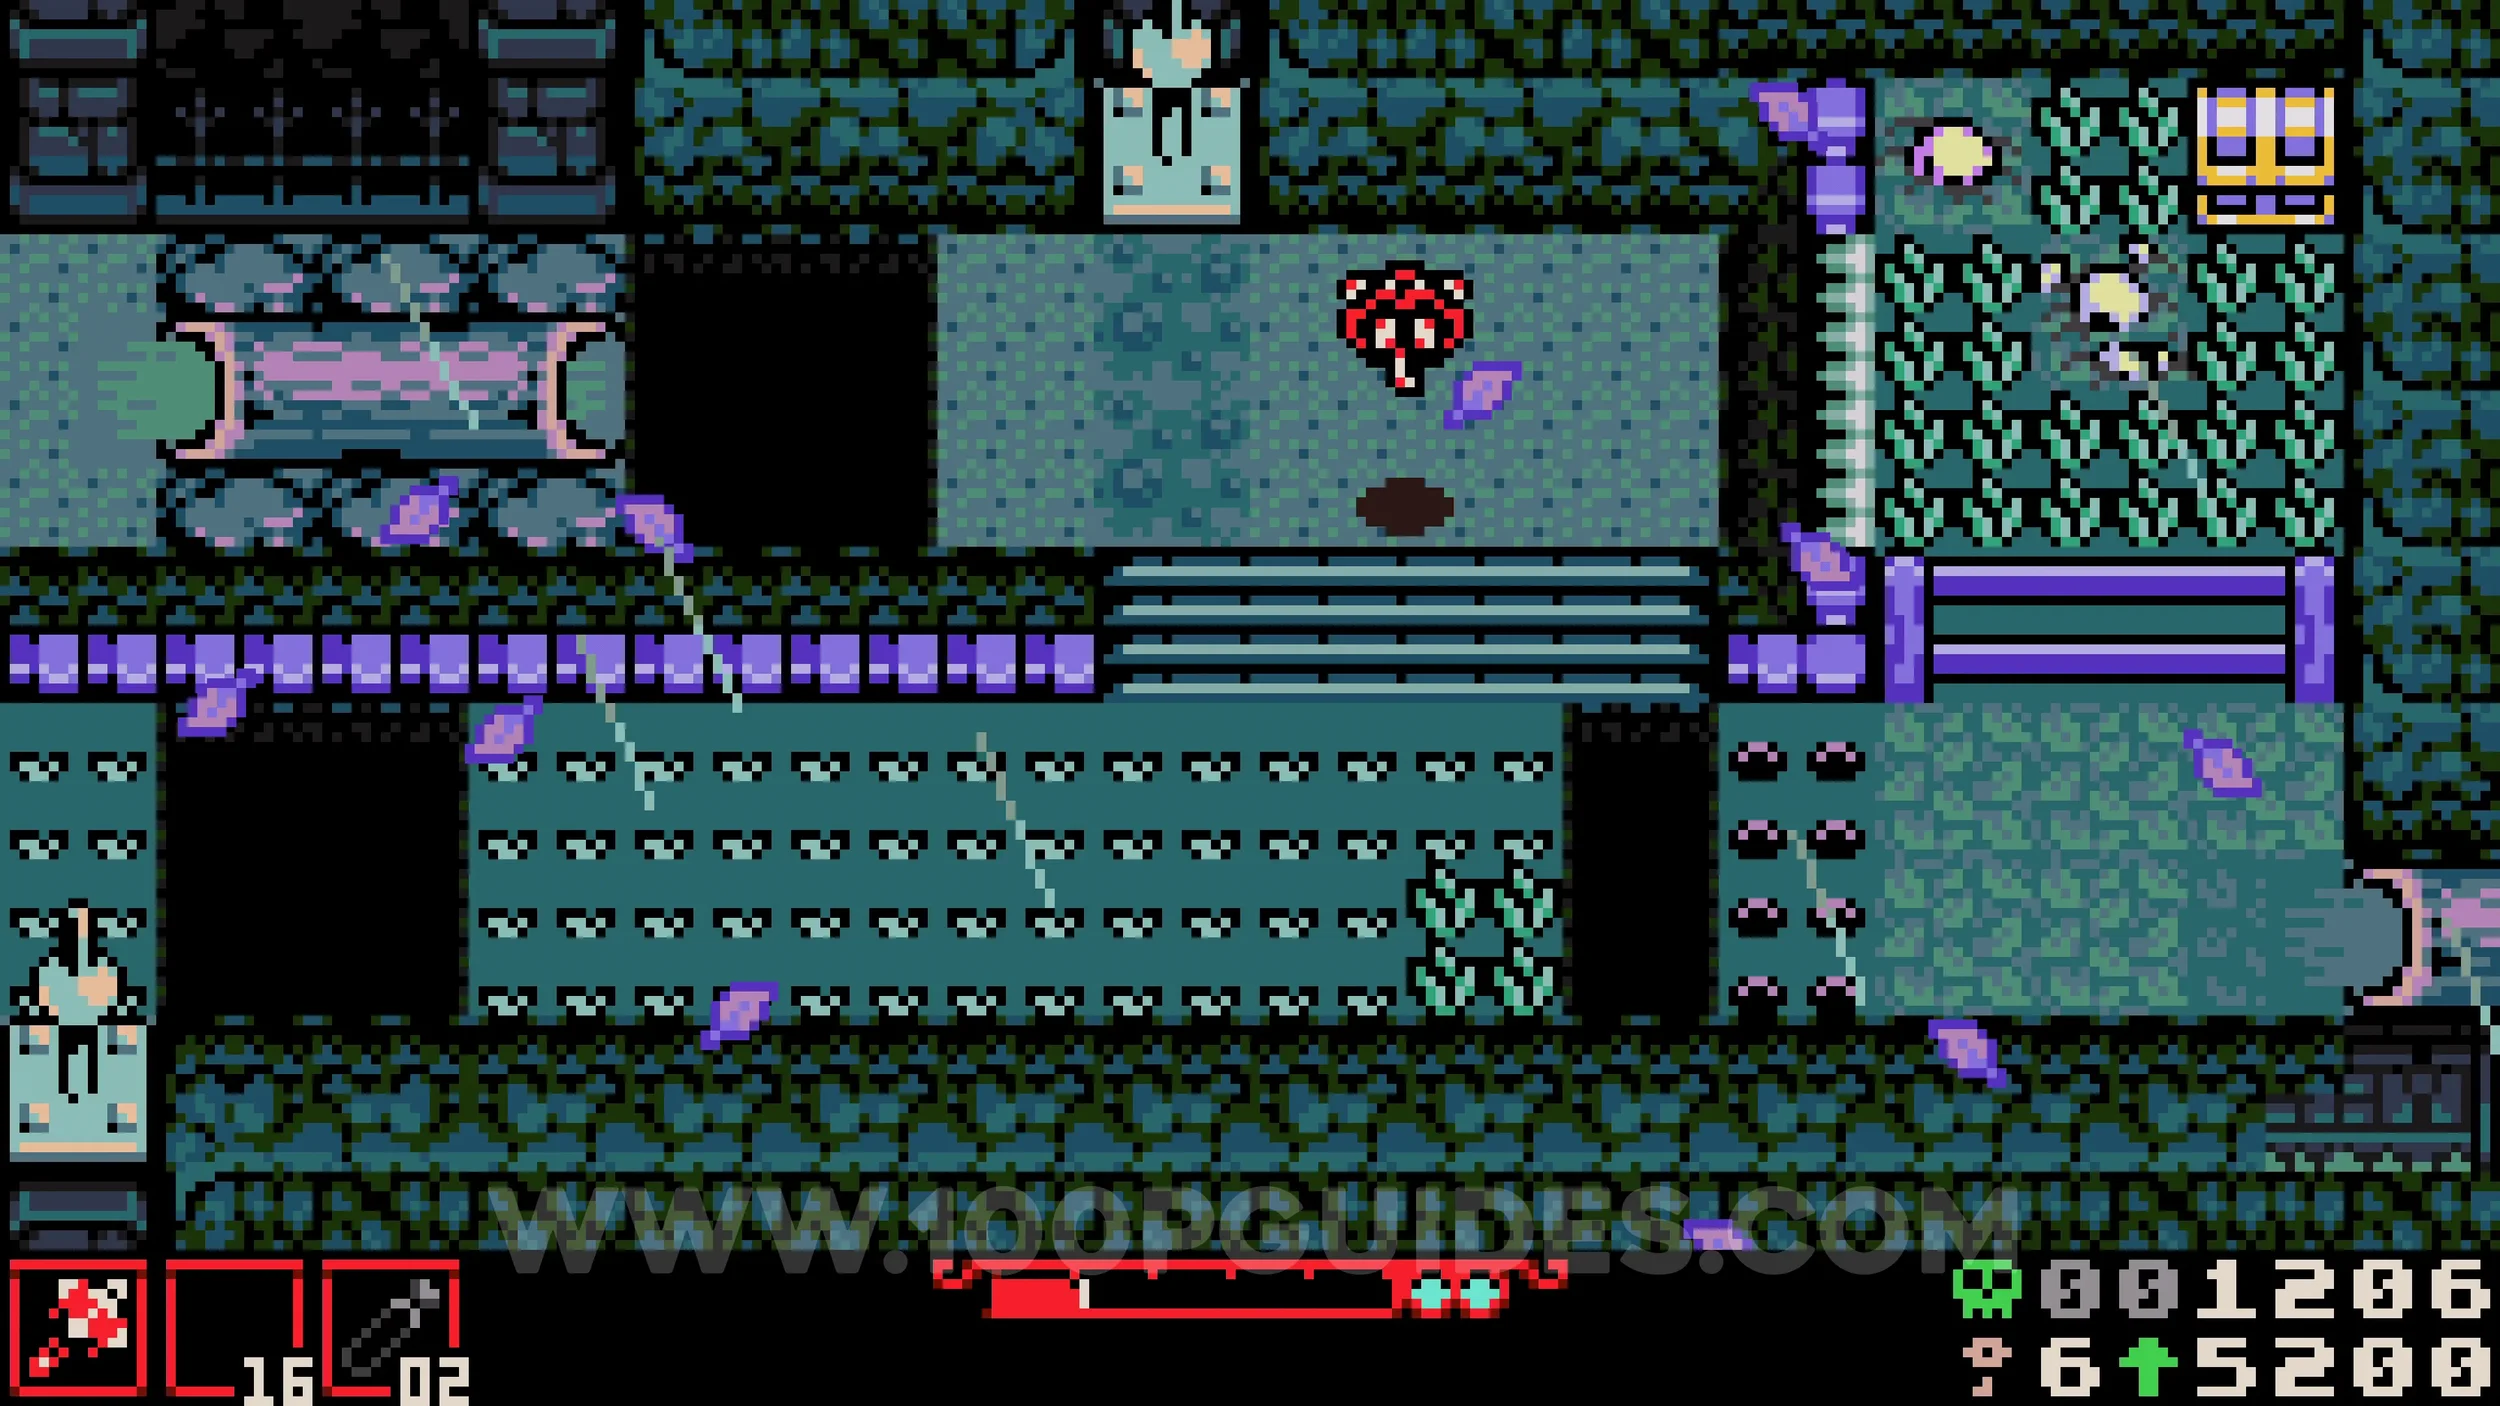
HP Upgrade #1. Obtained after the boss fight.
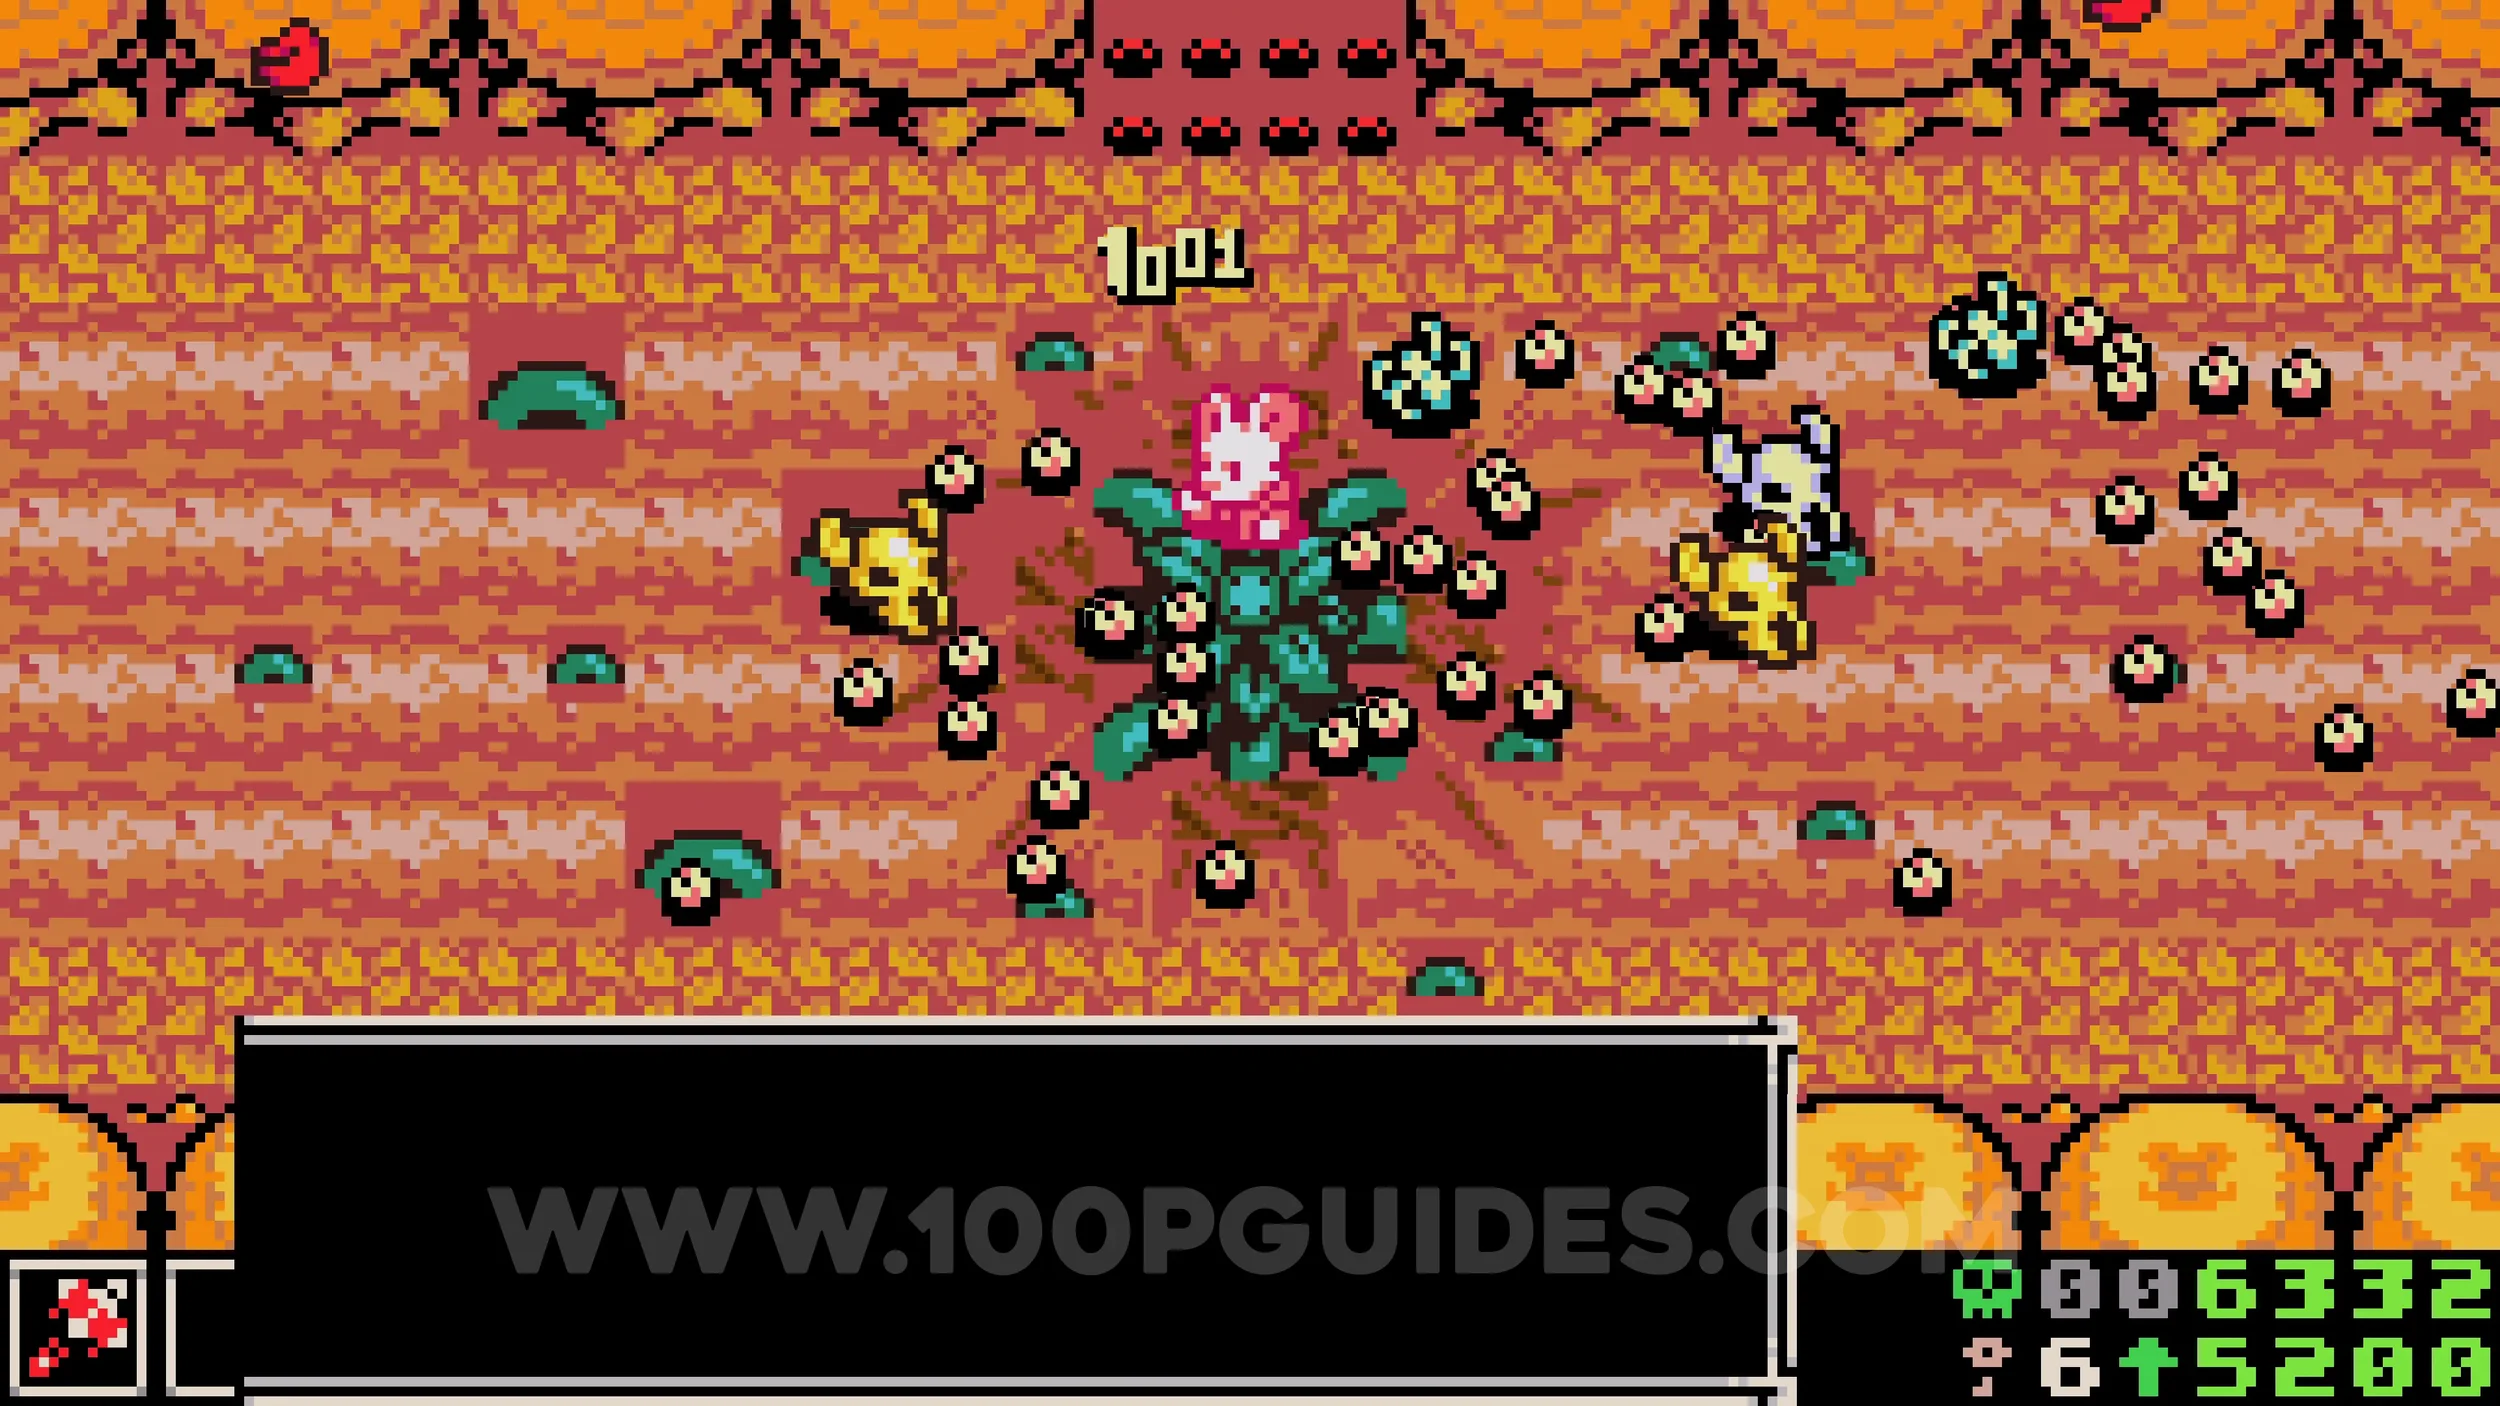
Bonestone #8. After climbing the tower, head down into the sewers to make your way back to Kindlewood. As soon as you enter, go down one screen and then go under the pipes in the top left corner to enter the room containing the collectible.
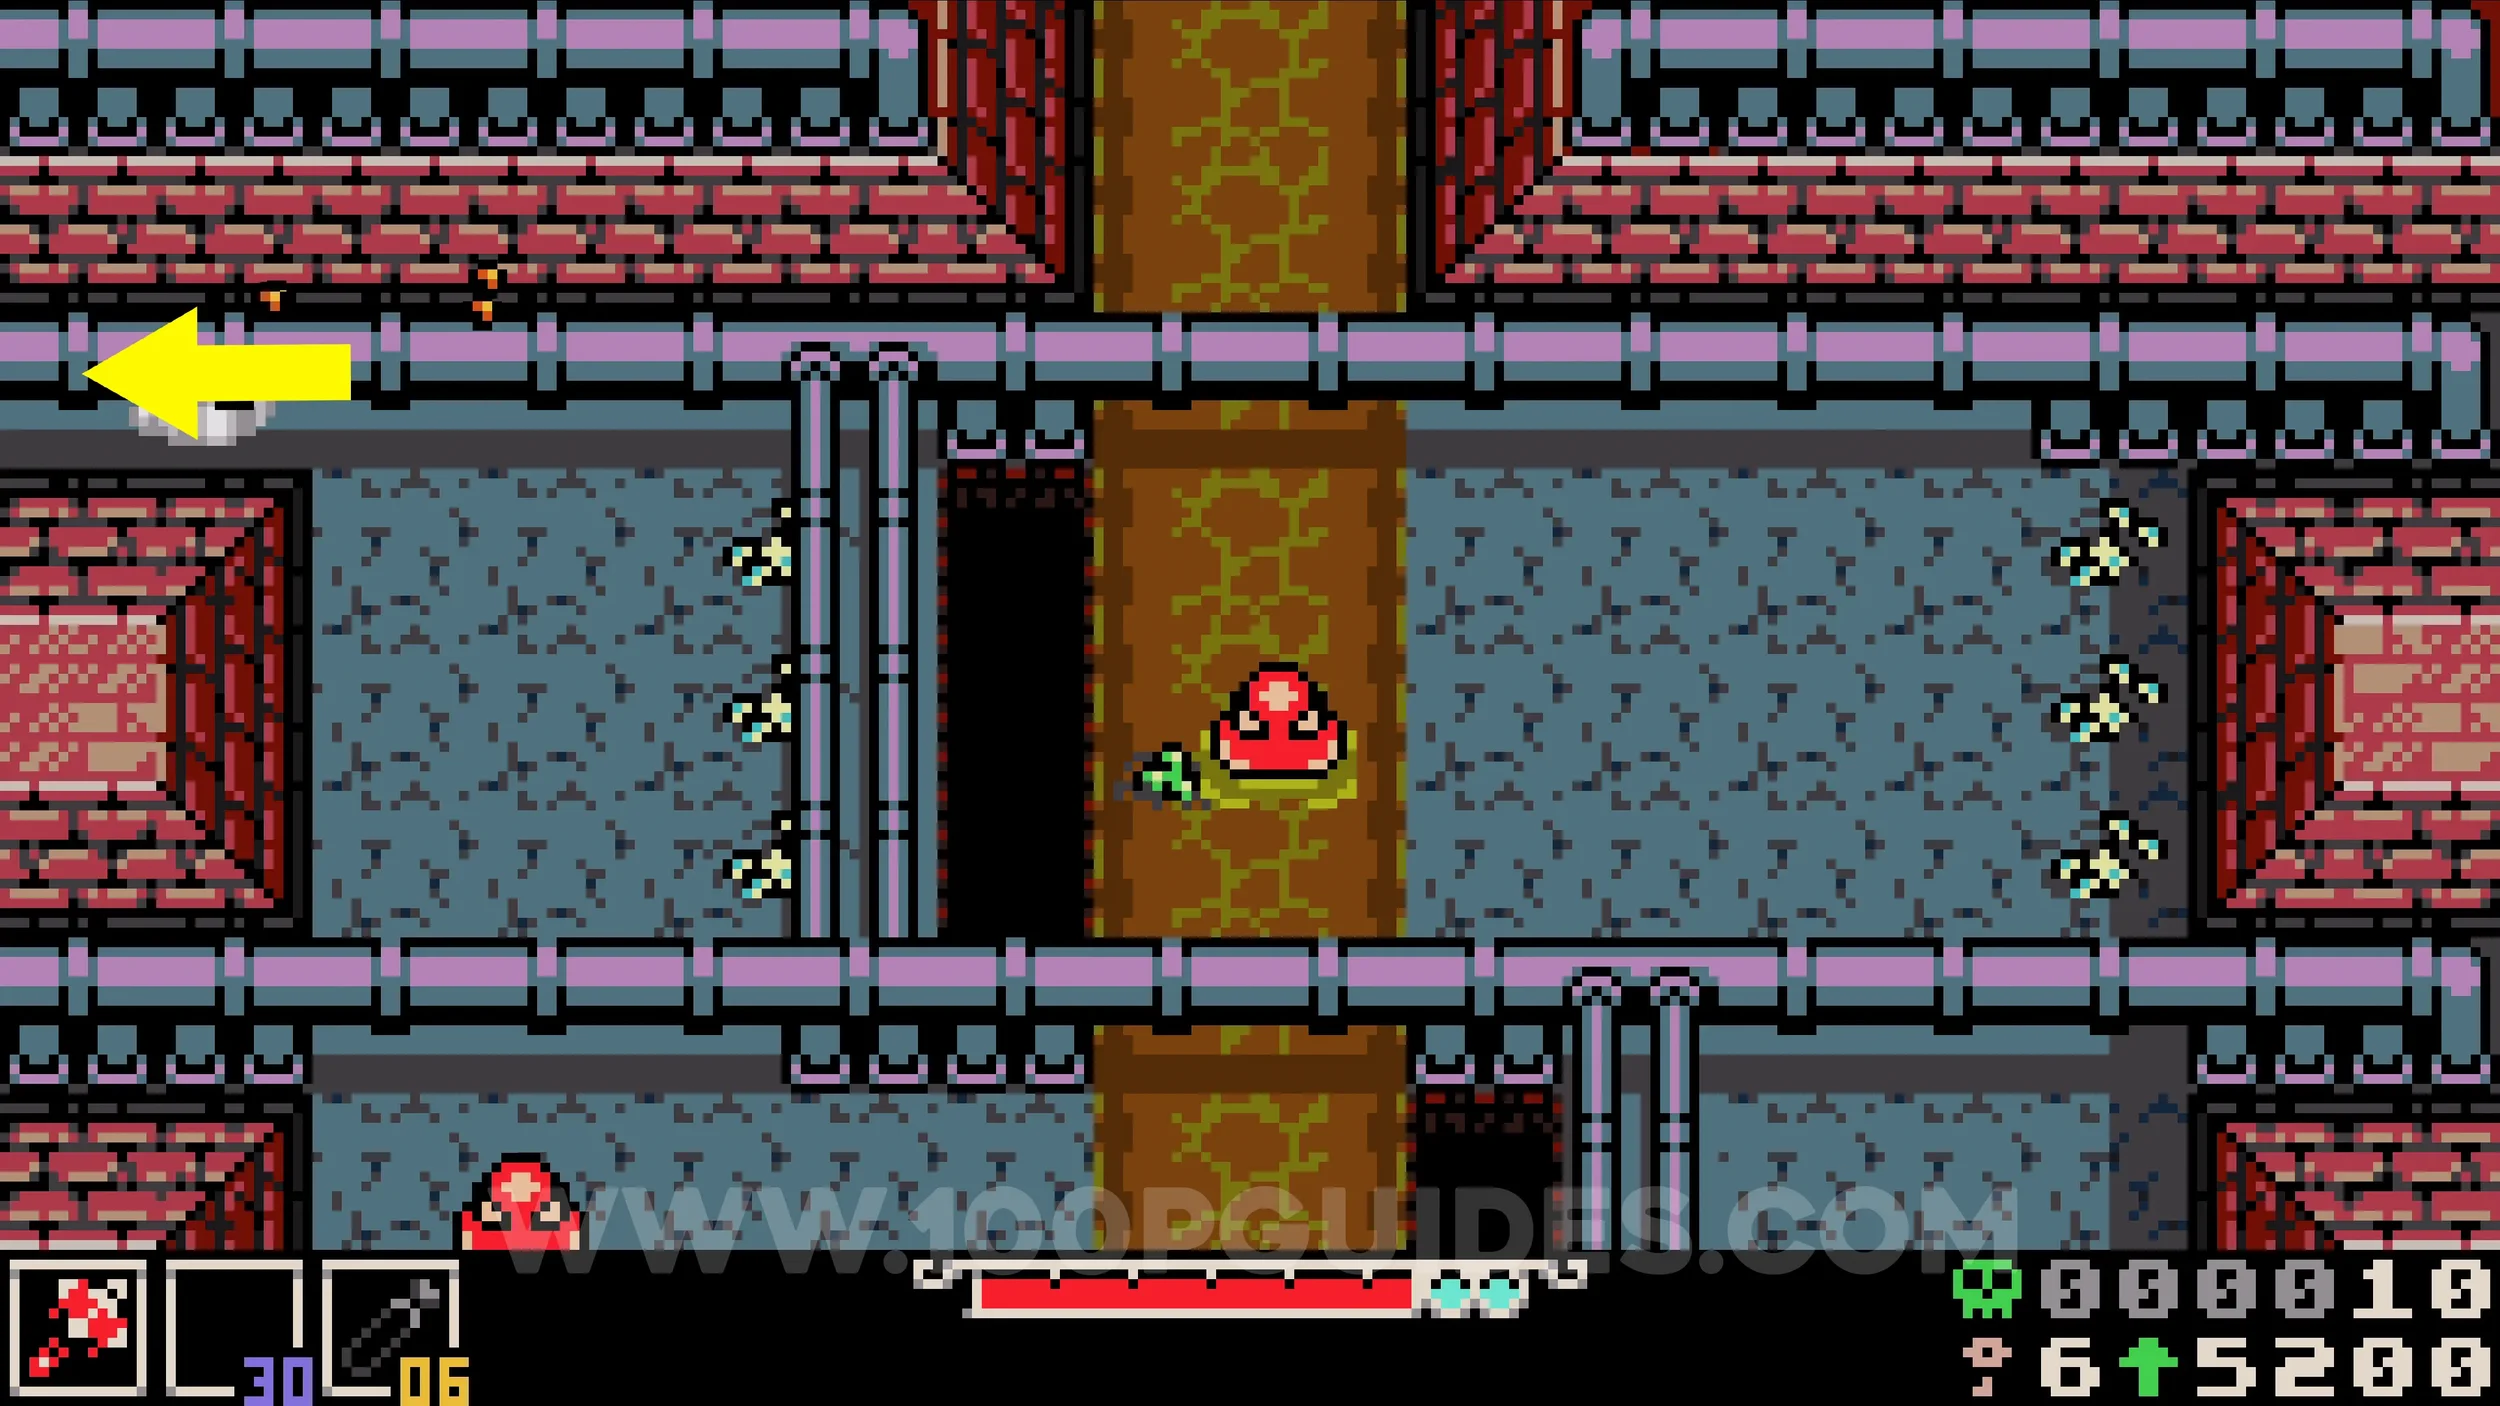
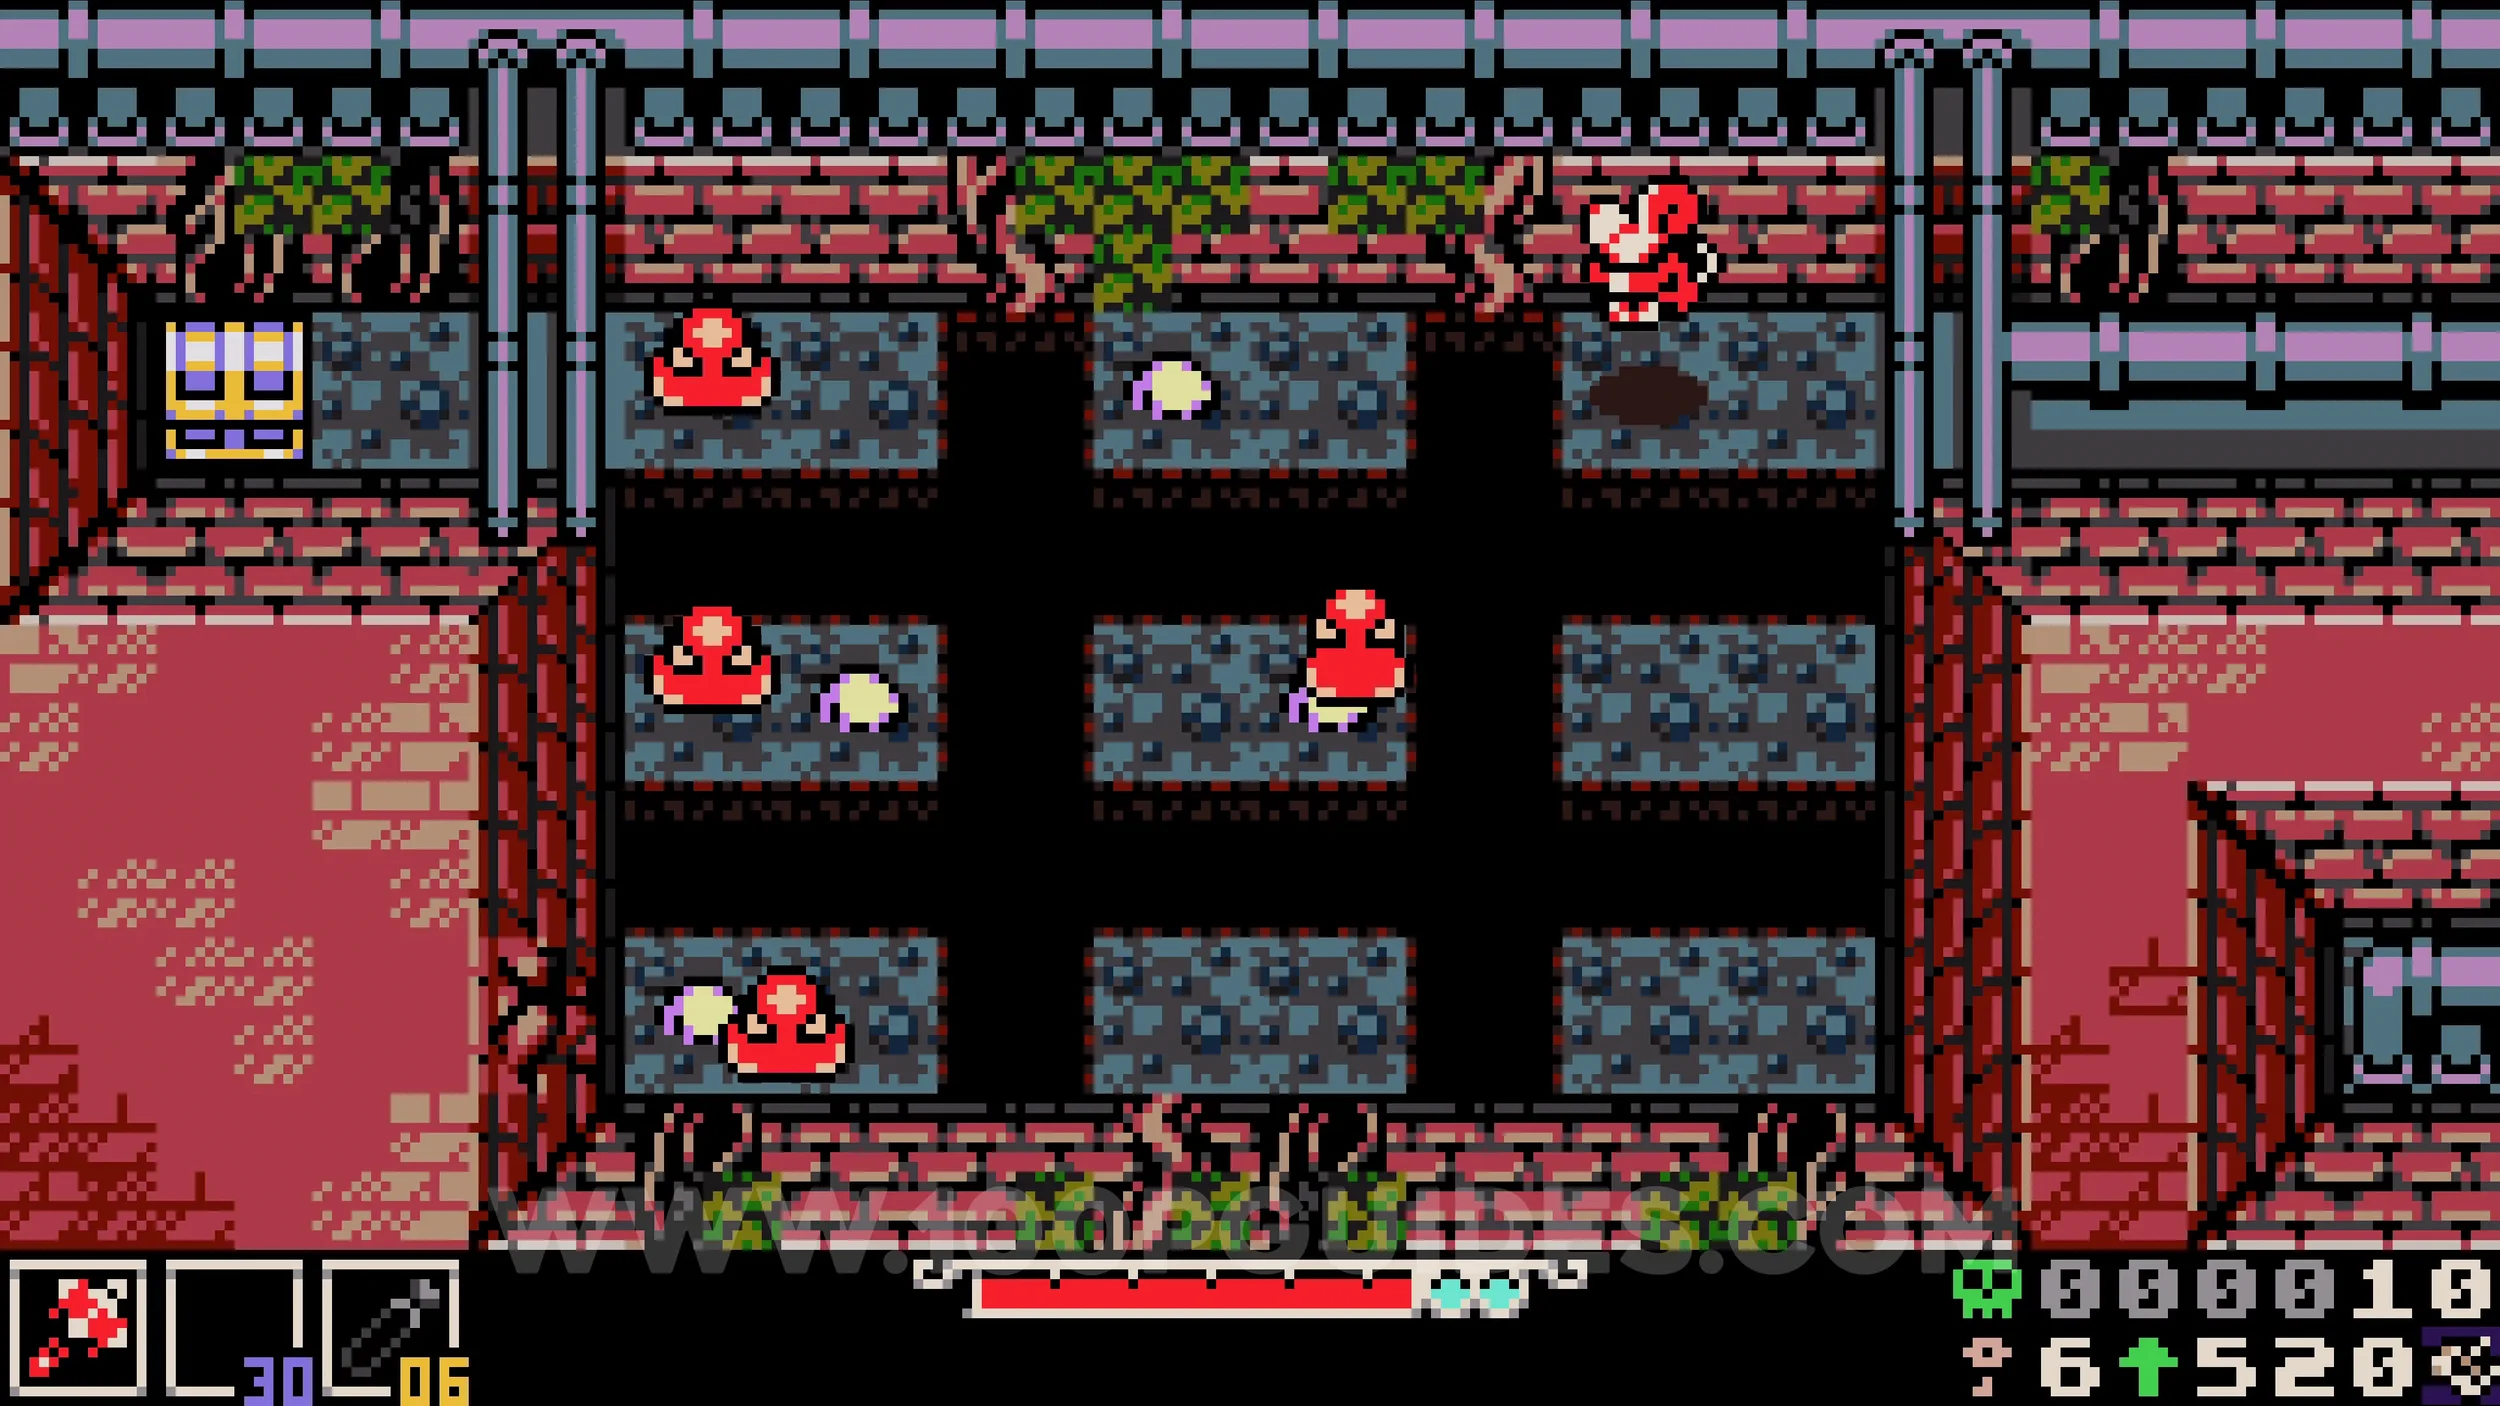
Spark Container #1. In the sewers after the tower, you will come across a giant pig enemy. At the end of this room, destroy the wall in the top right corner to reveal a door that requires 2 spark containers. Go through it to find an NPC that you must guide back to the tower, as it lights the way. At the tower you will face a miniboss. Defeat it and then heal the NPC to receive the collectible.
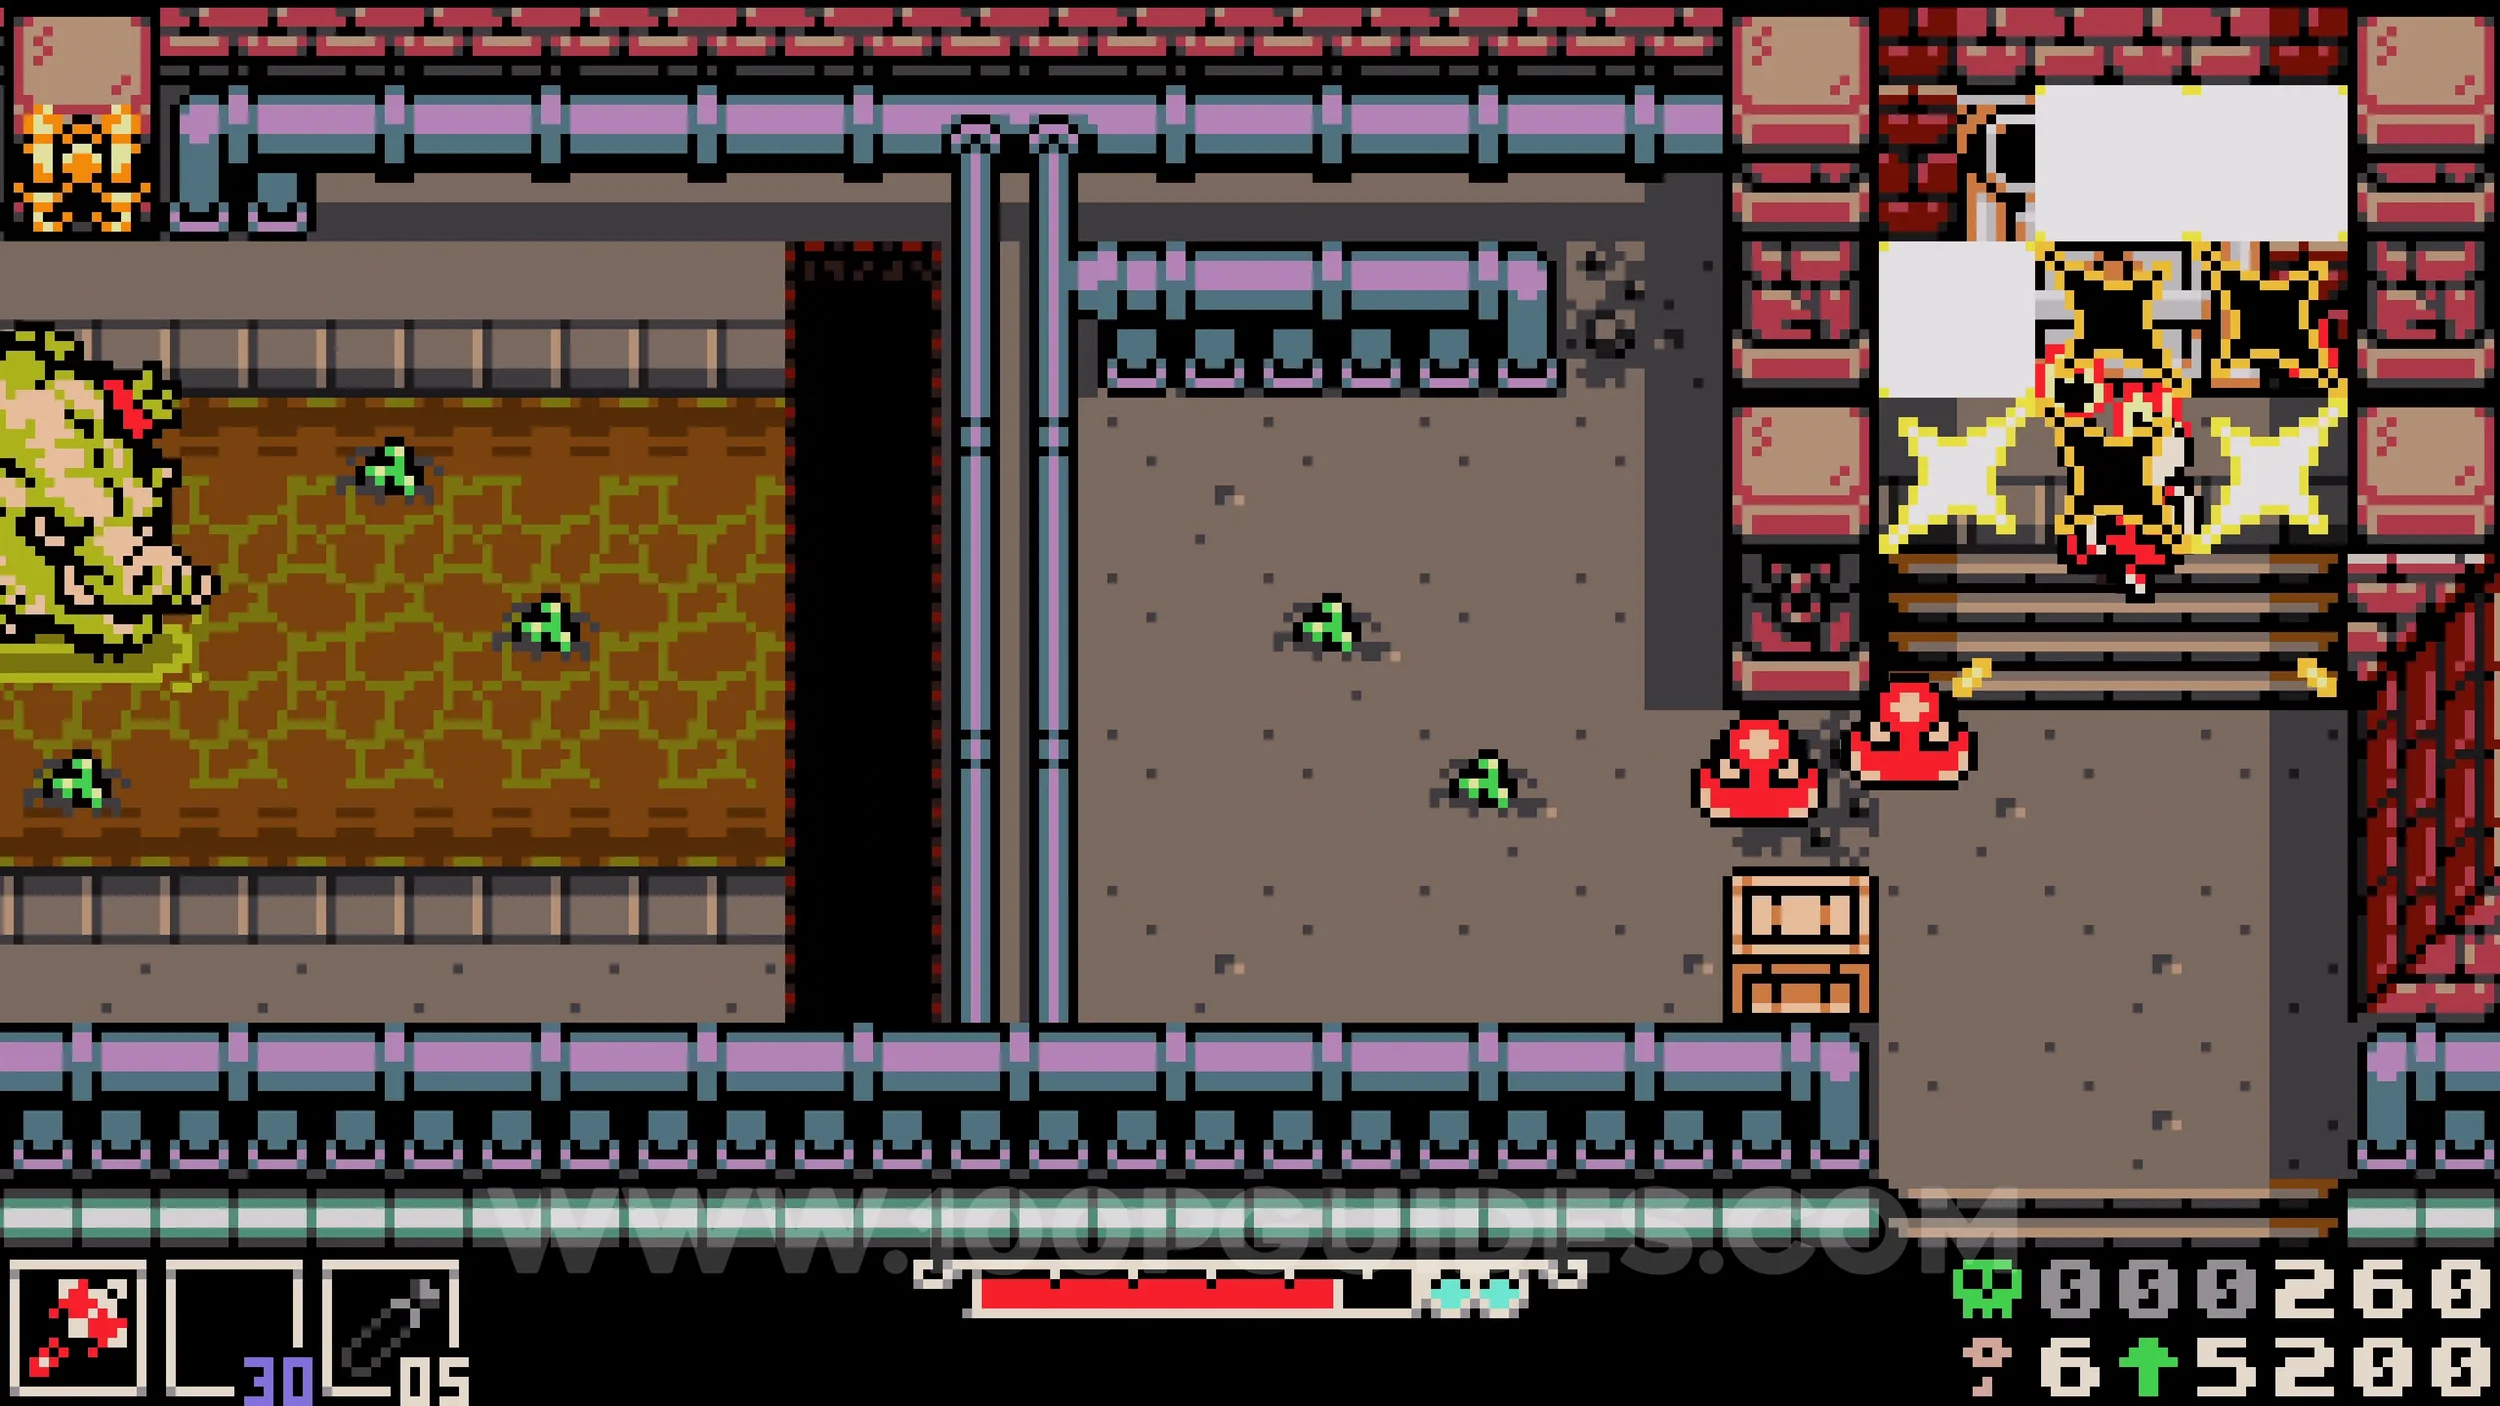
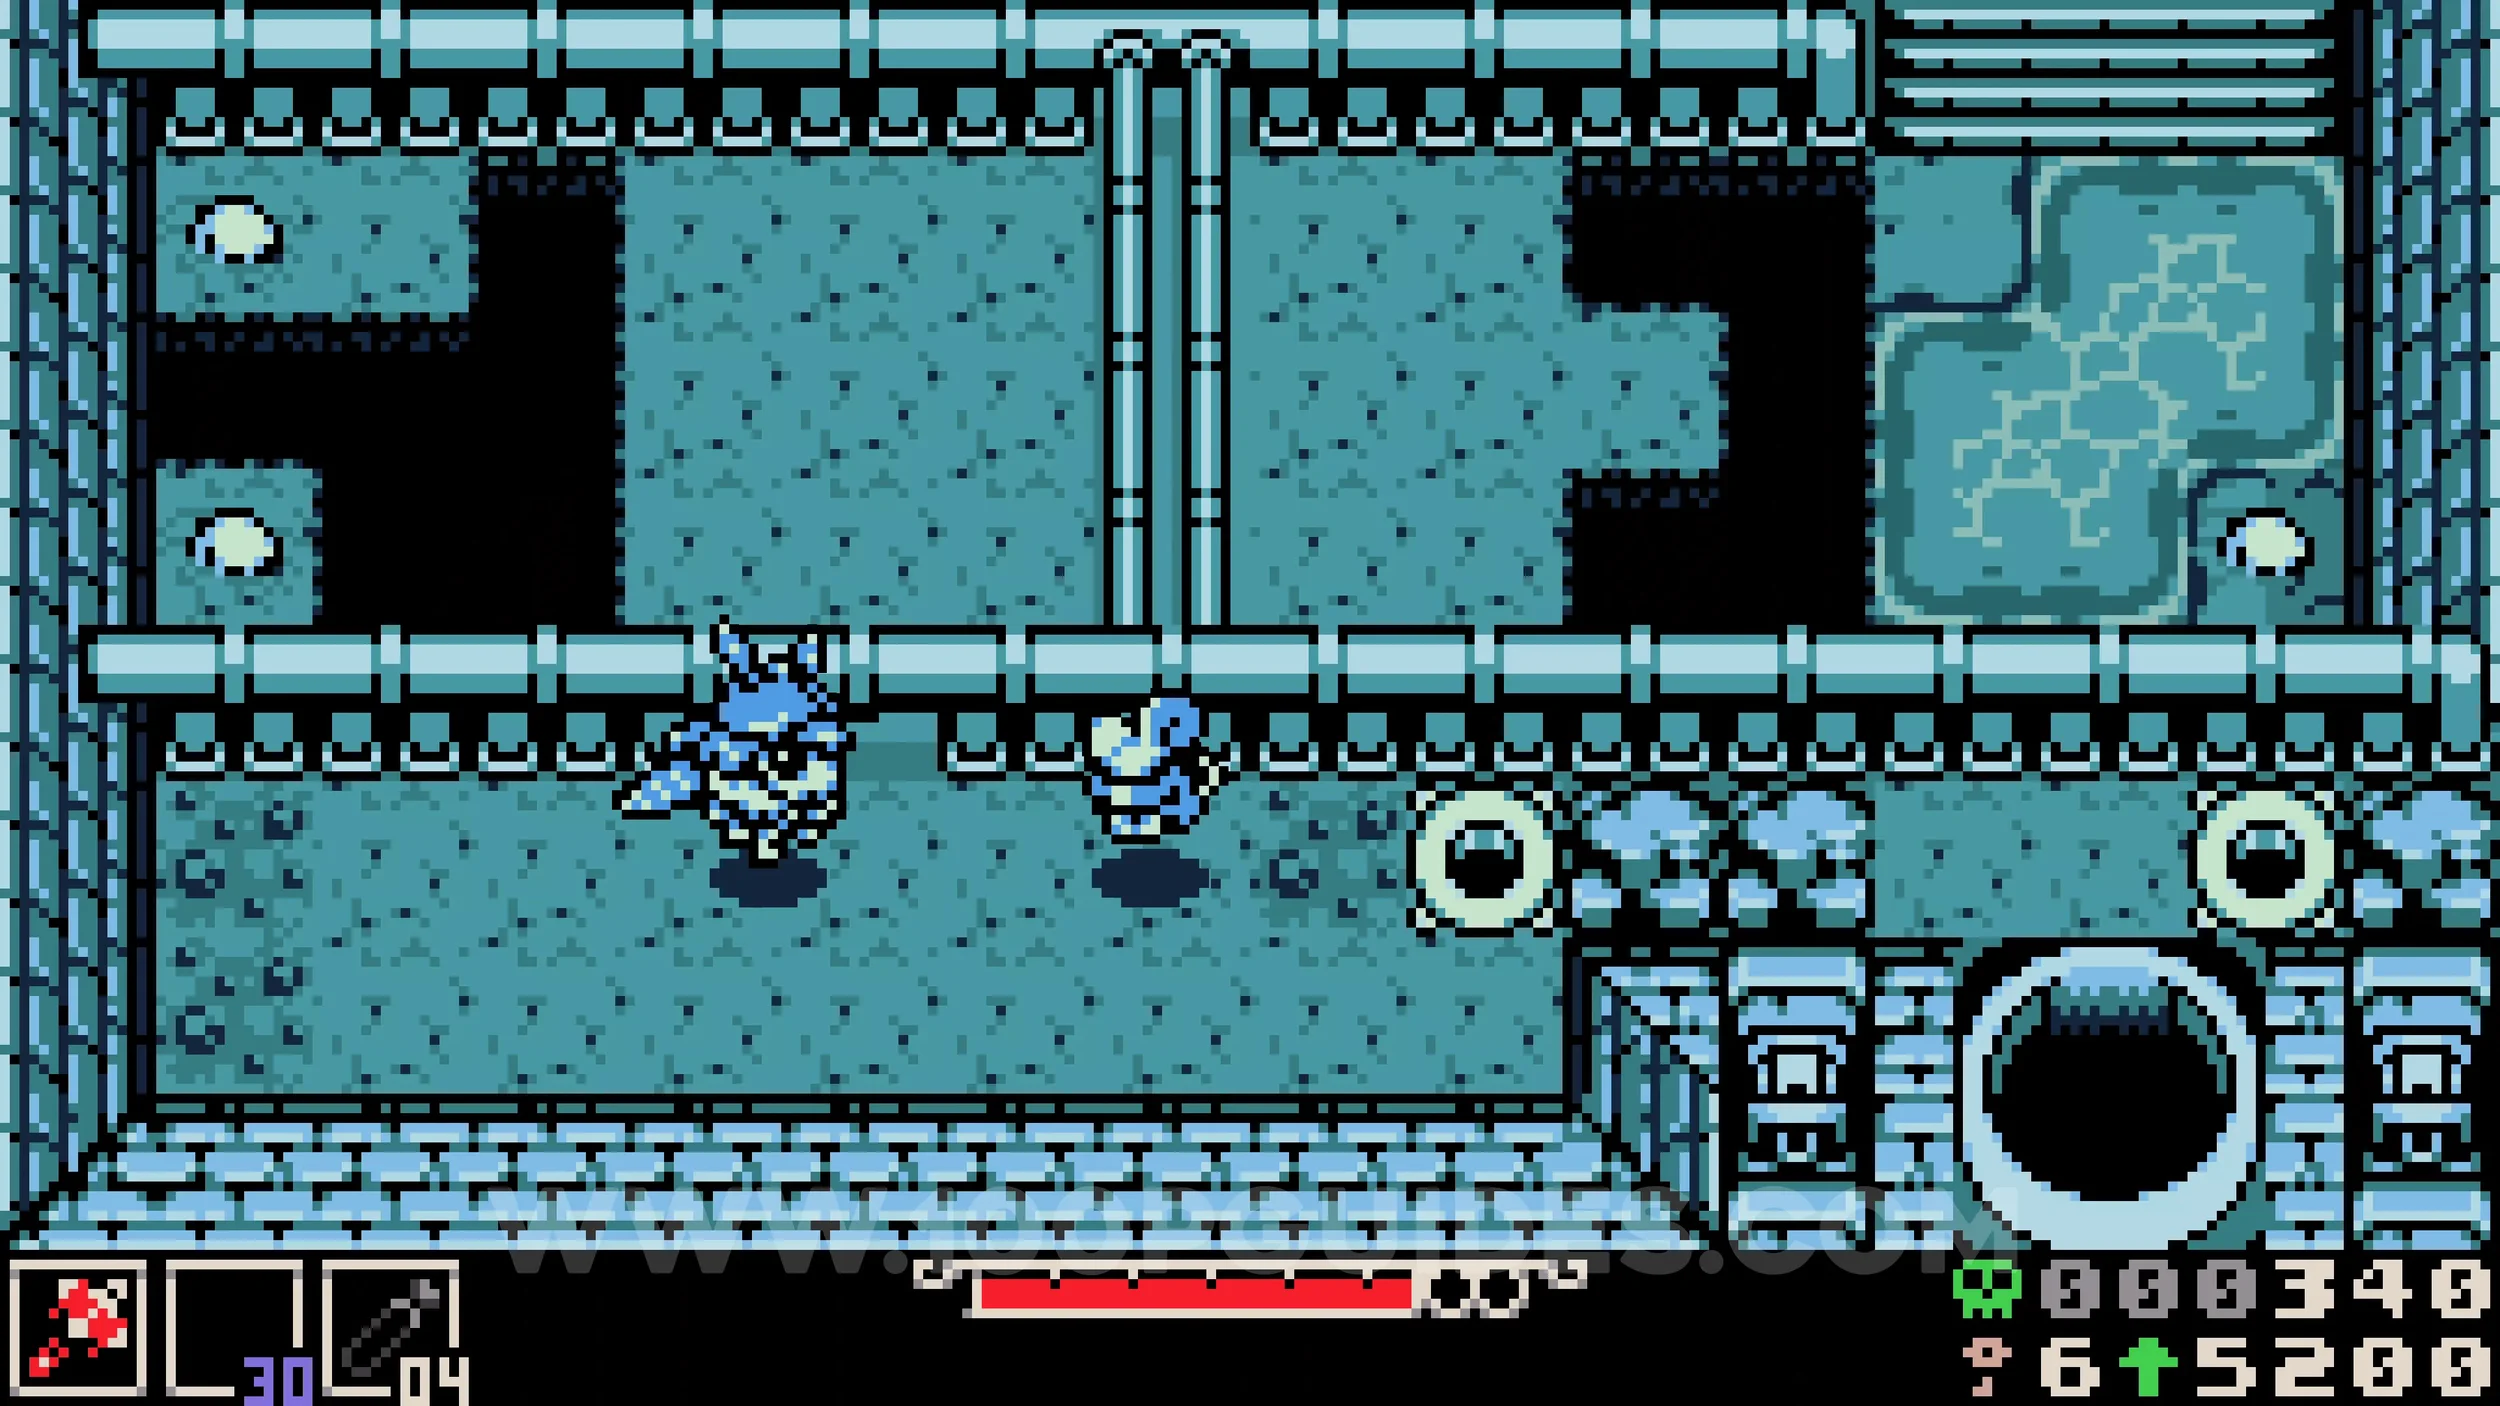
Bonestone #9. Return to the sewers and continue until you reach the room with pipes and gaps in the ground. The collectible can be found in the bottom left corner.
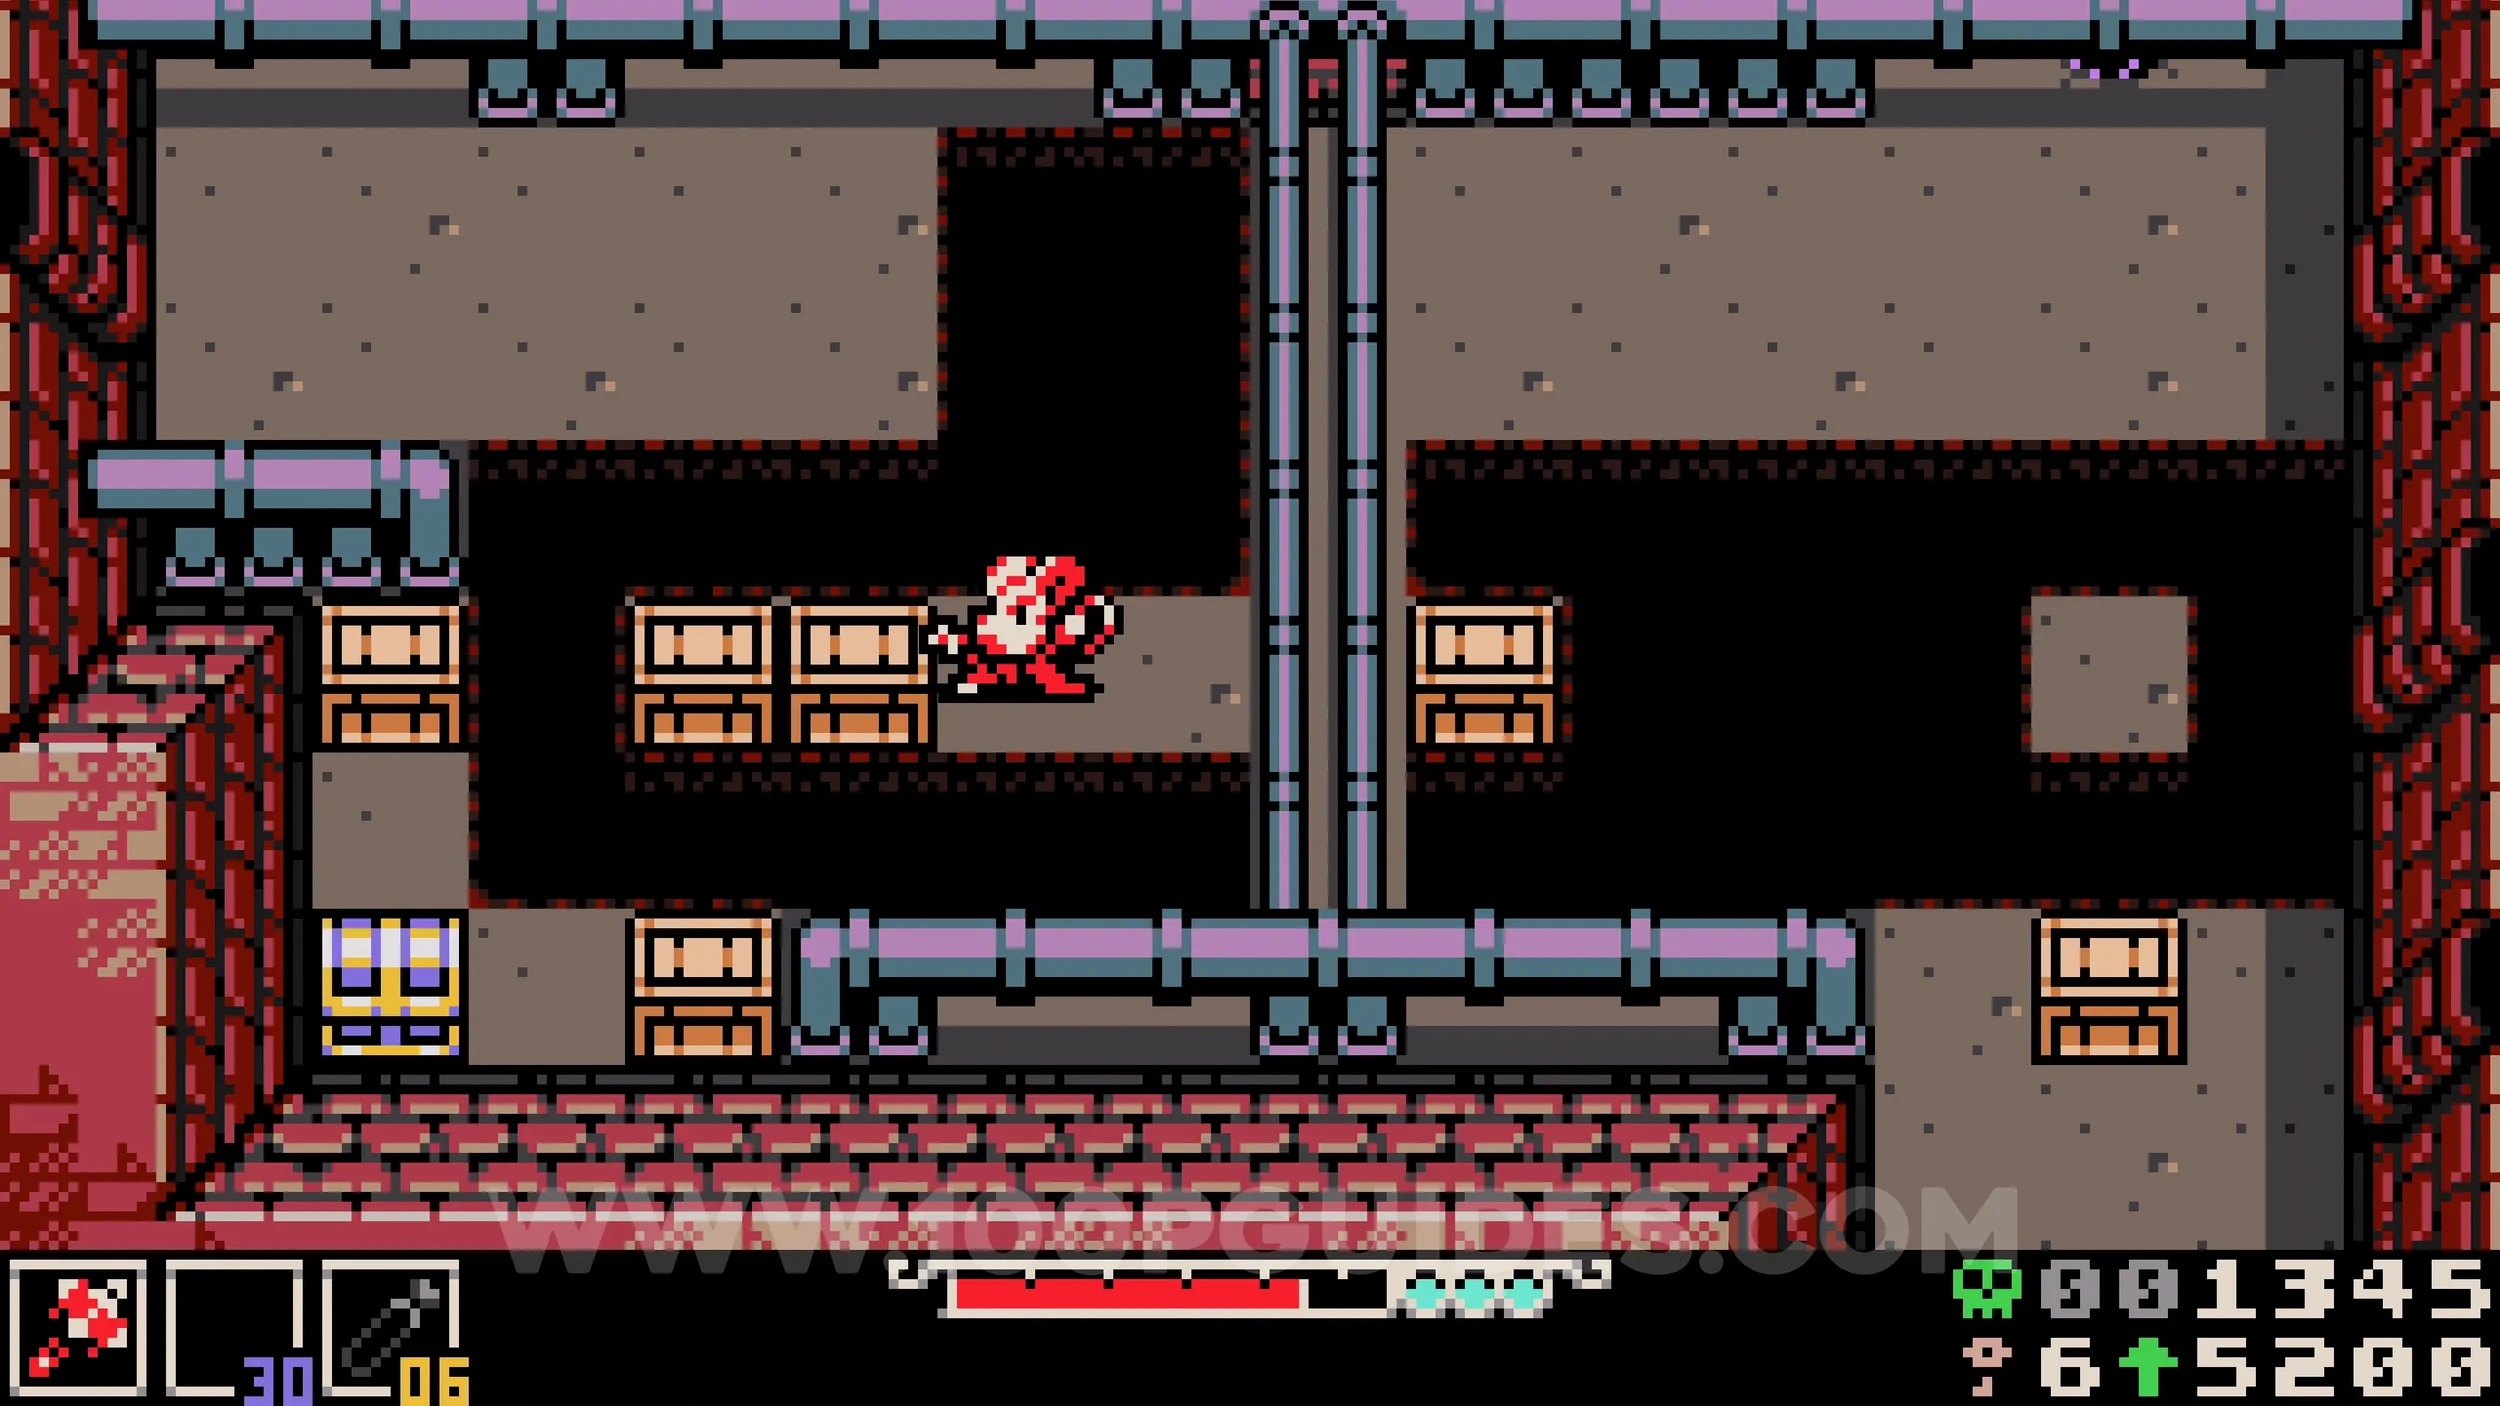
Bonestone #10. In plain sight just before you leave the sewers.
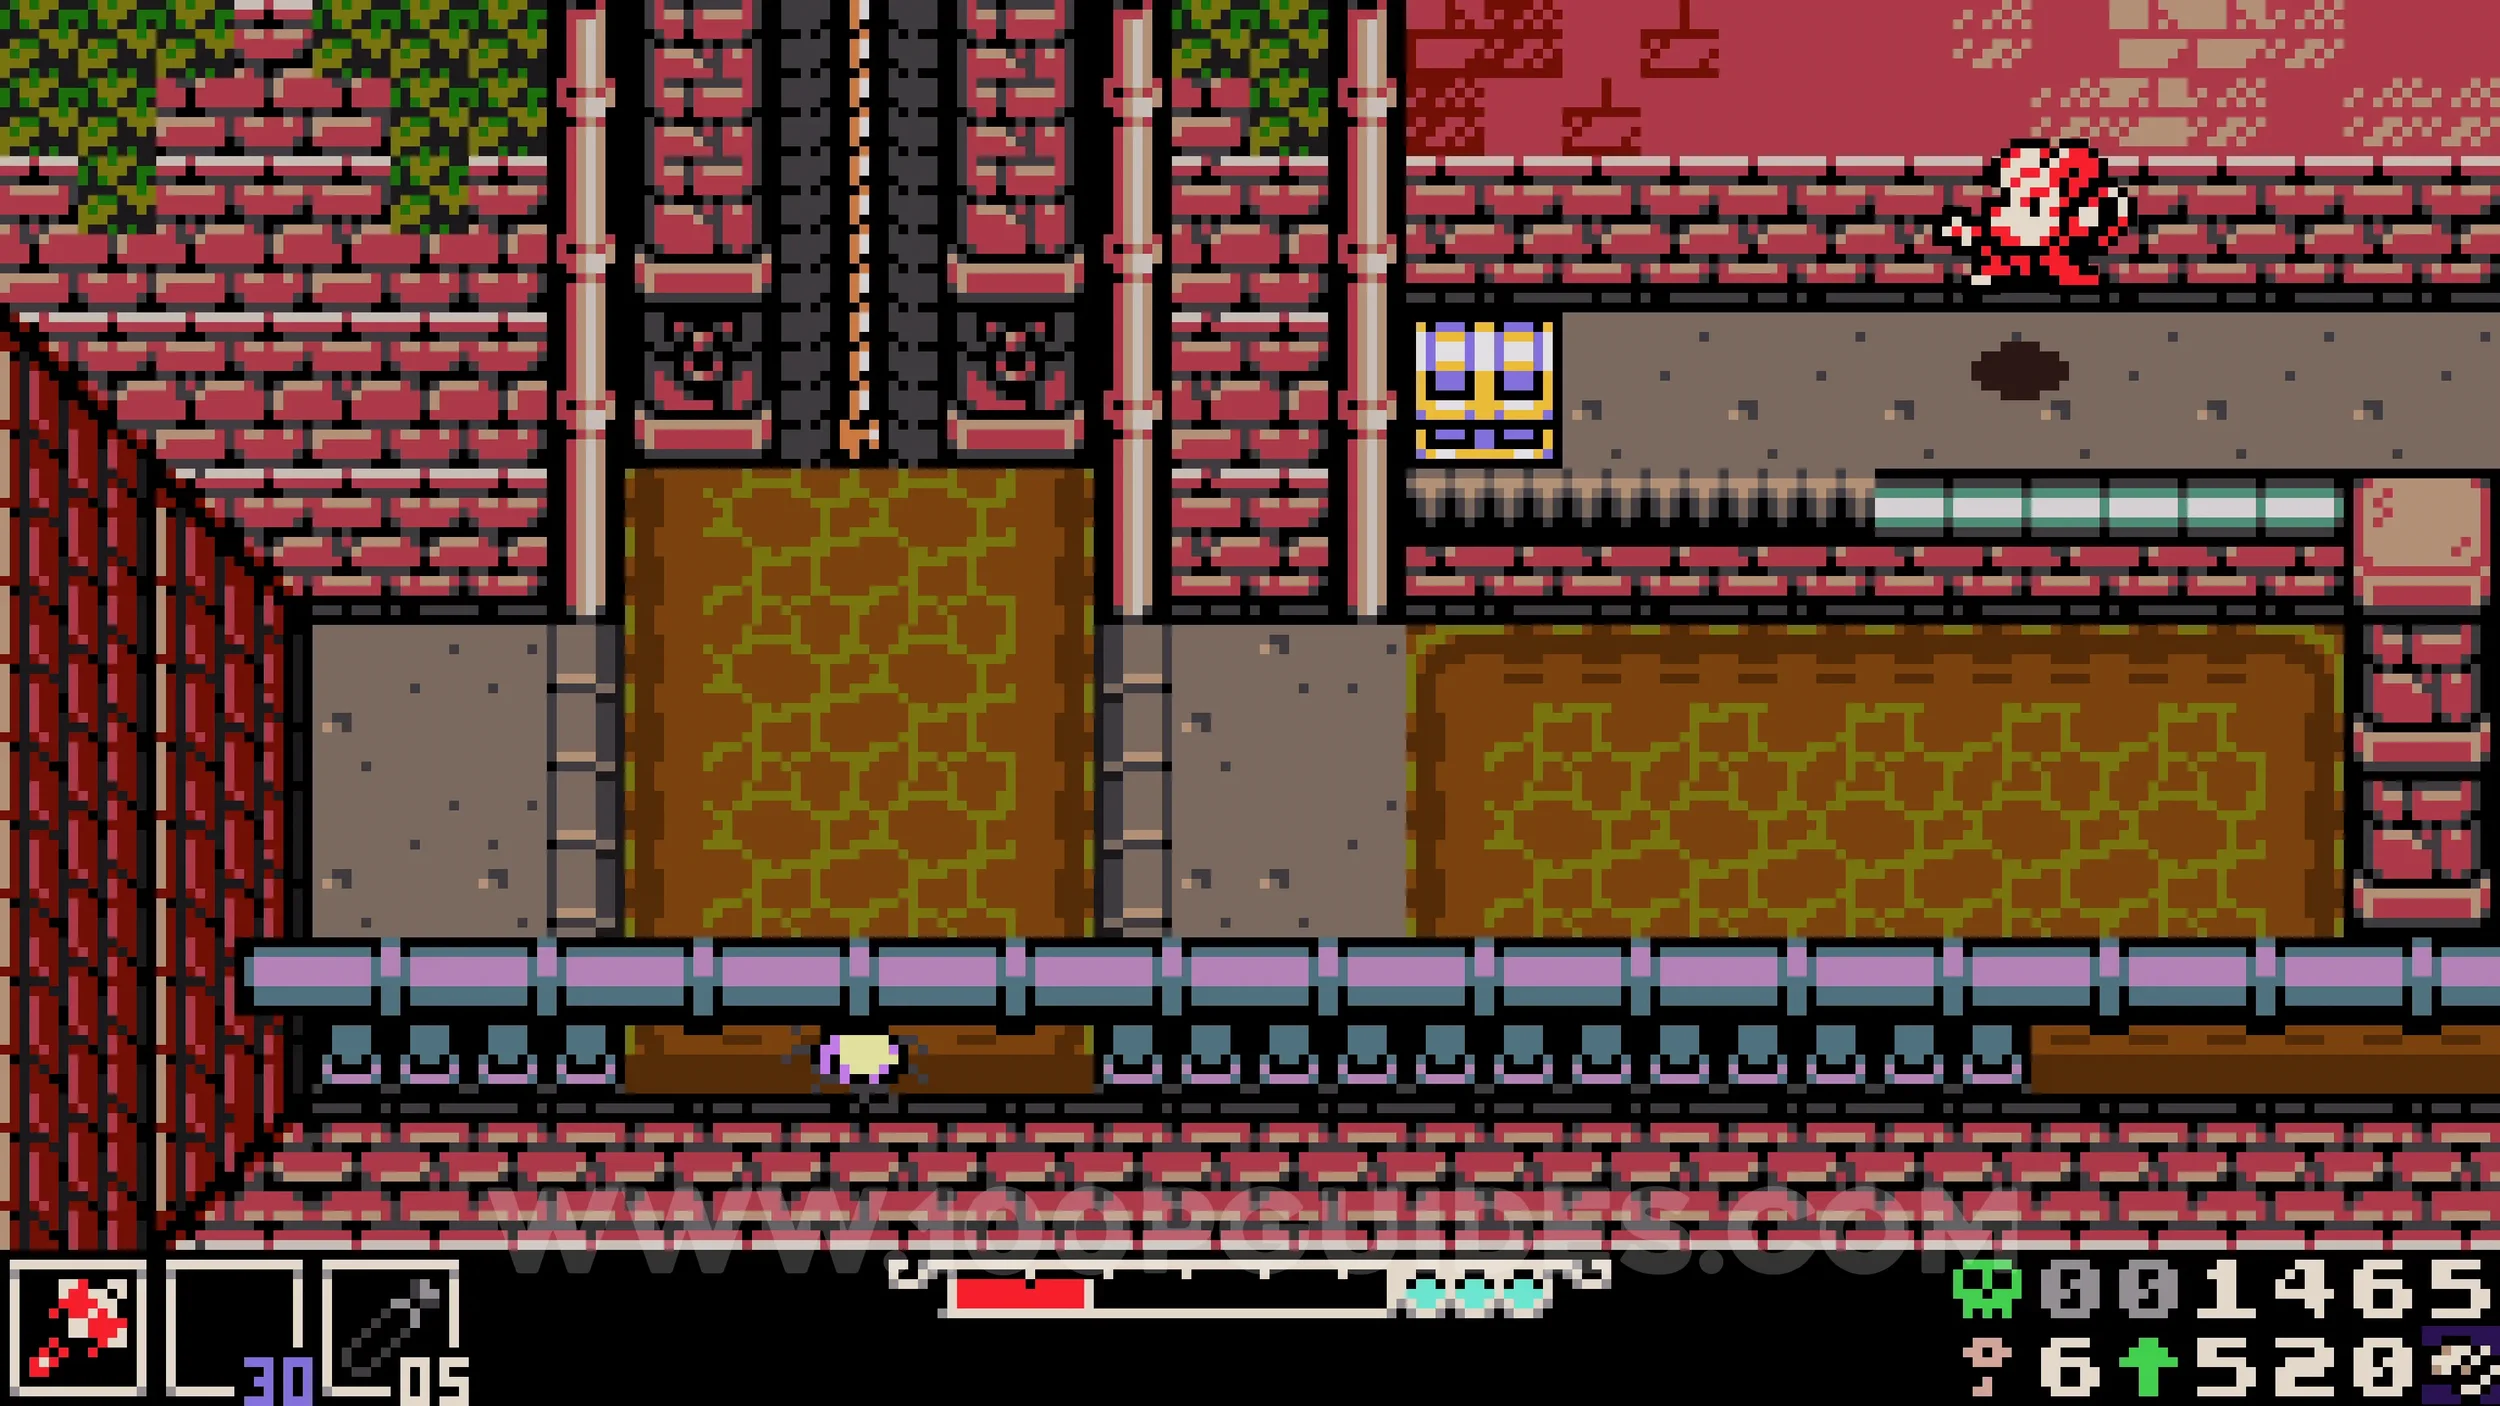
Fish #2. Found in the final room of the sewers, just before emerging into Kindlewood.
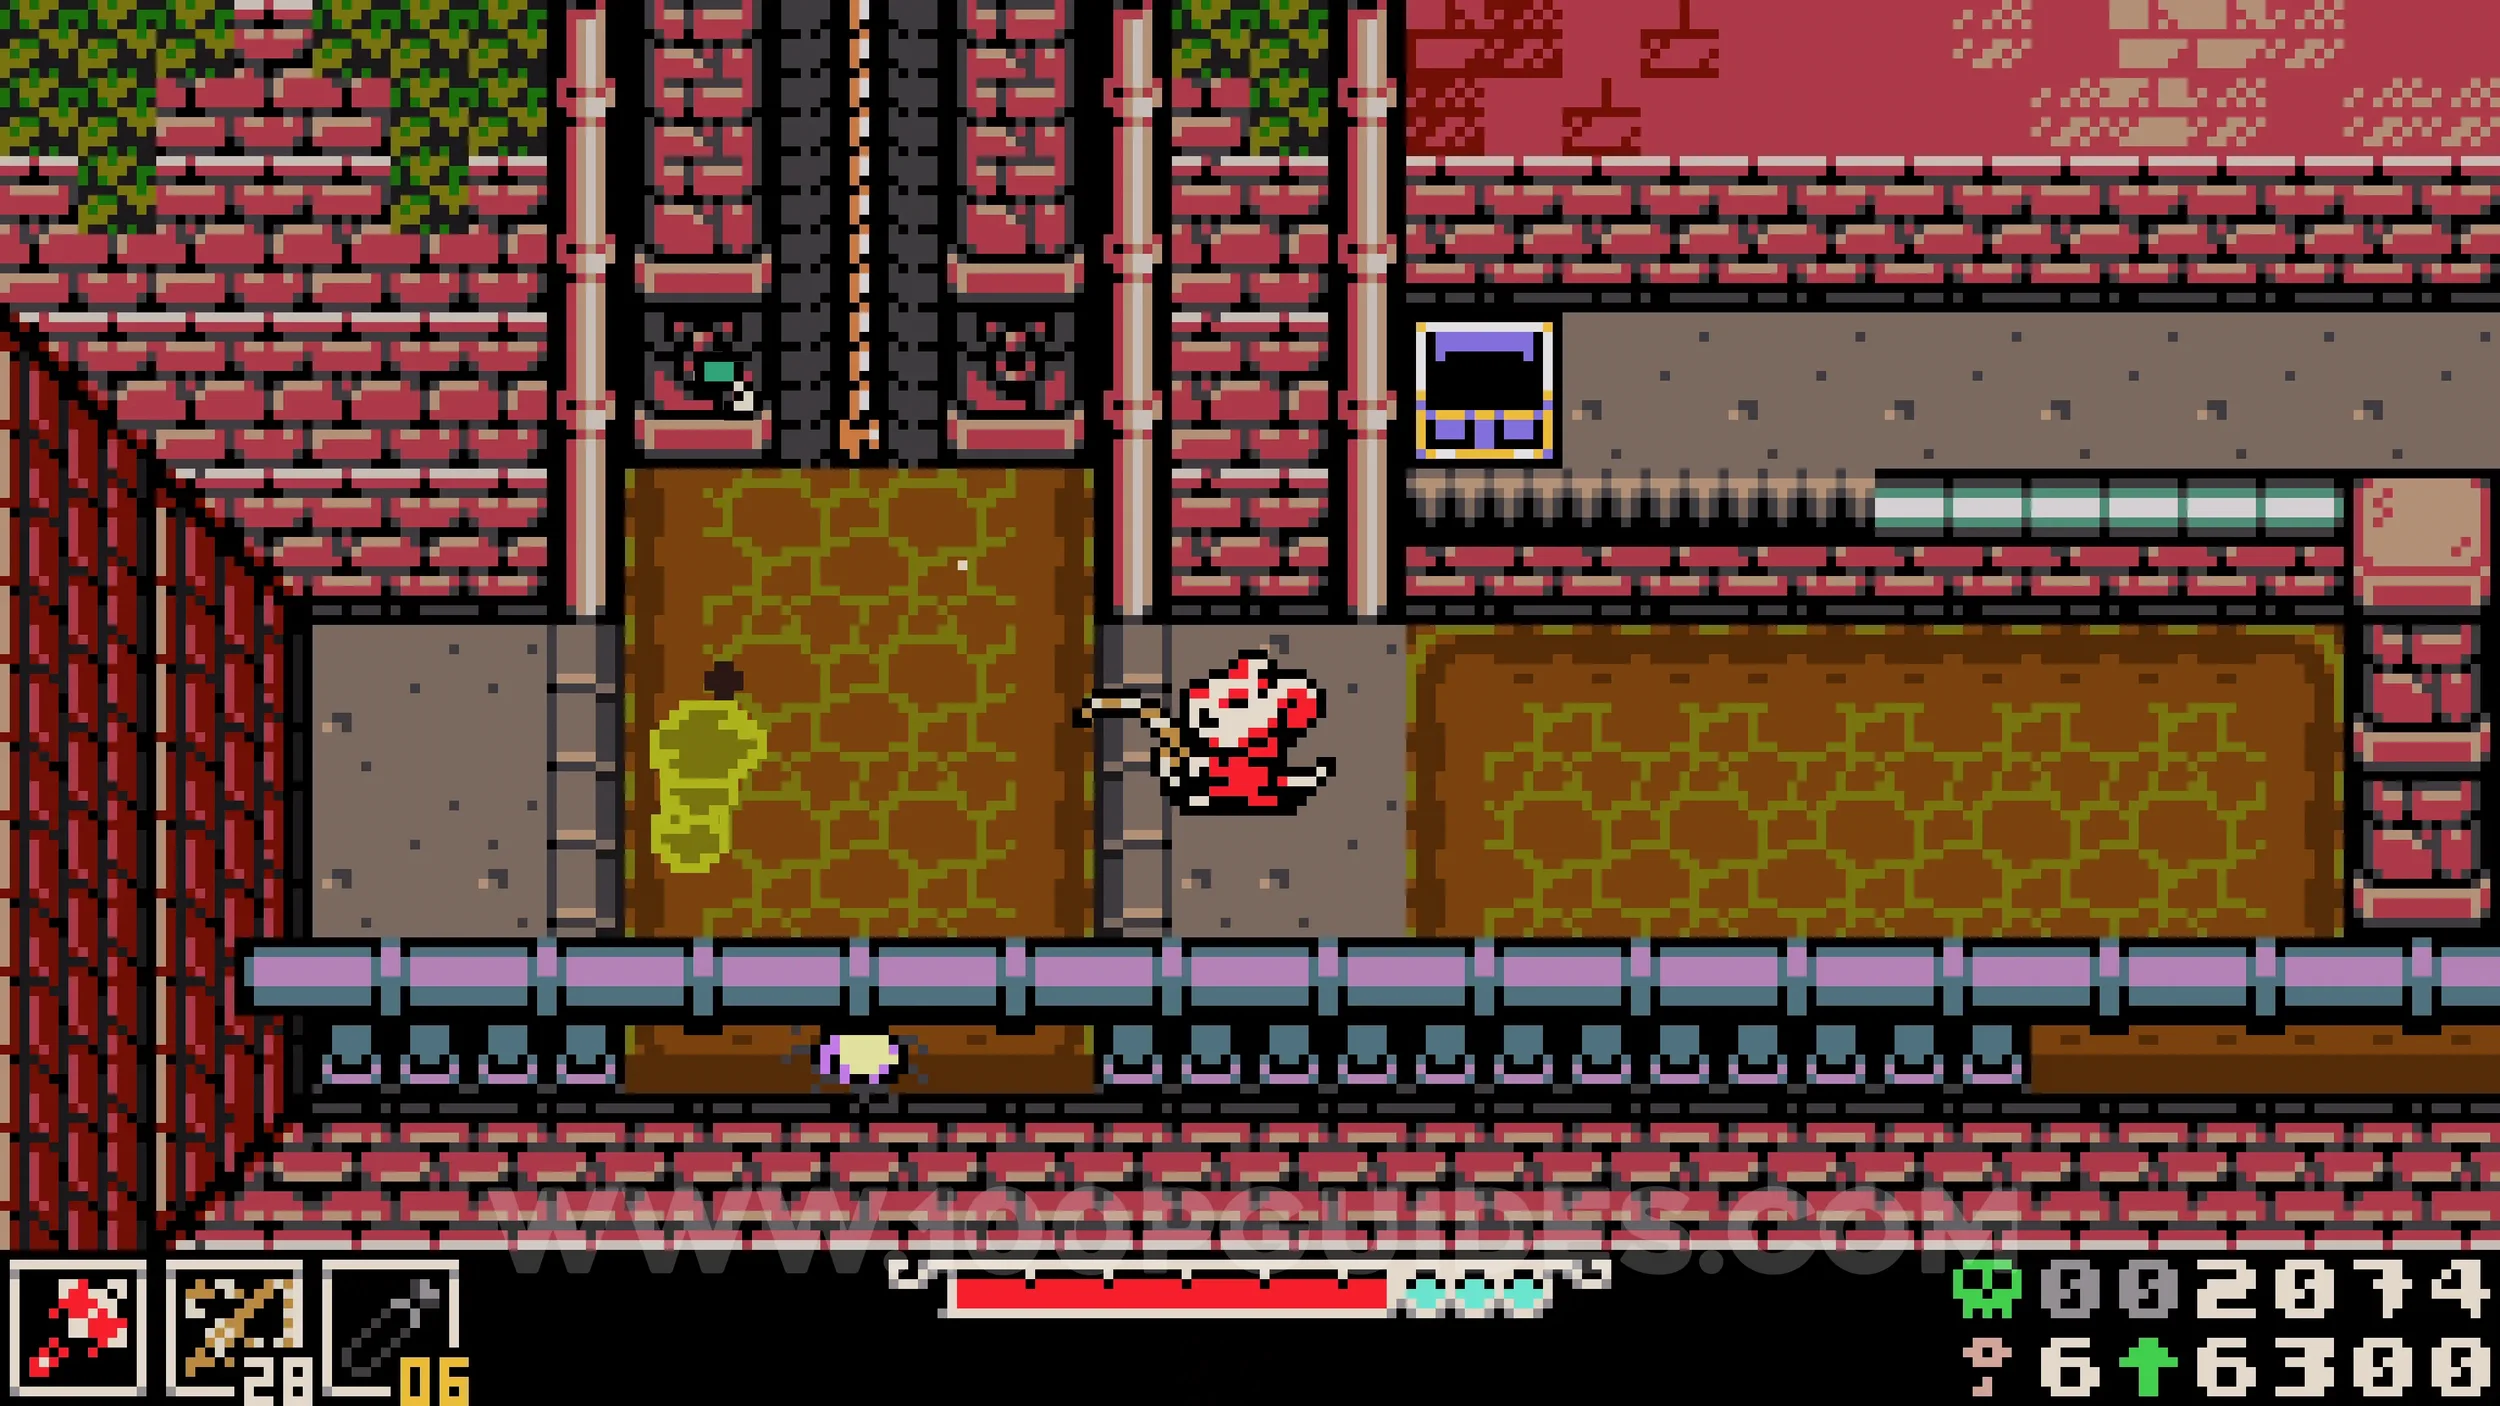
SOUTHERN OUTSKIRTS
Bonestone #1. To get this one you must start in Ossex. Take the upper level path to the west, approaching from Western Wilds if you have not unlocked it yet, and enter the small door under the rope and chest on the left side. Inside the house, go through the fireplace and exit through the hole at the end of the left path. Follow this path until you reach Southern Outskirts. From here, destroy the plants to reveal bouncy pads and burrow under them to reposition them over the gap. Use them to clear the gaps and reach the chest at the end.
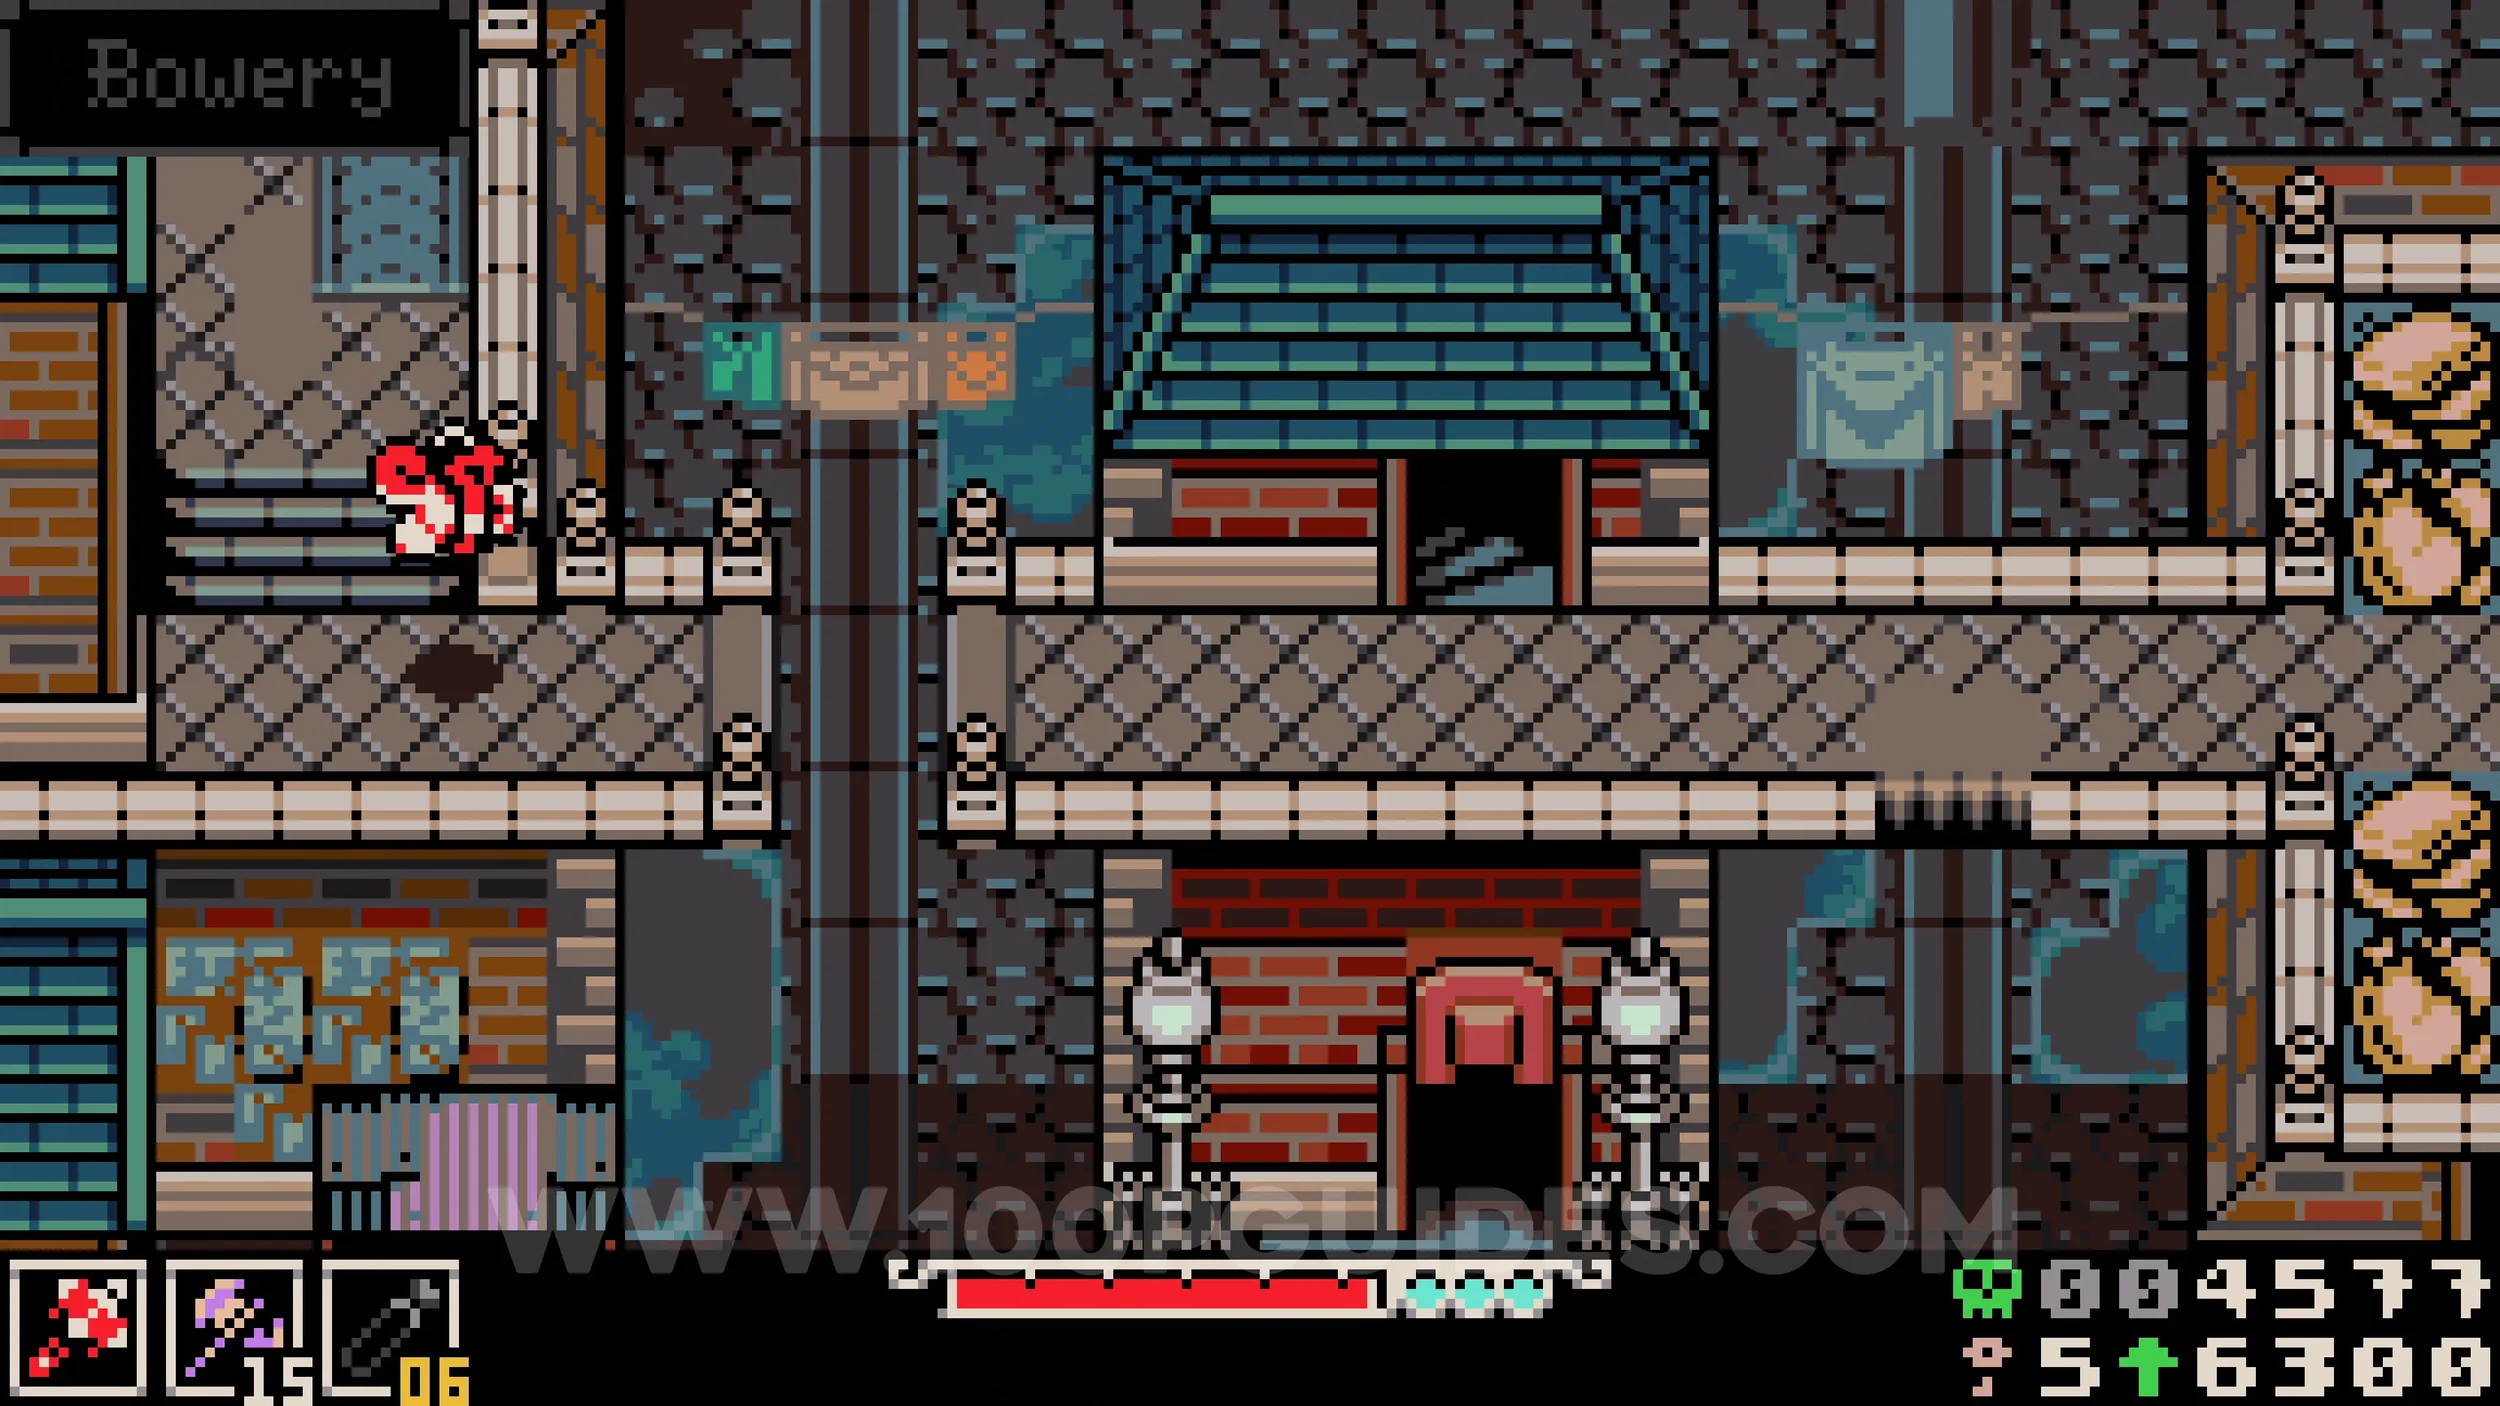
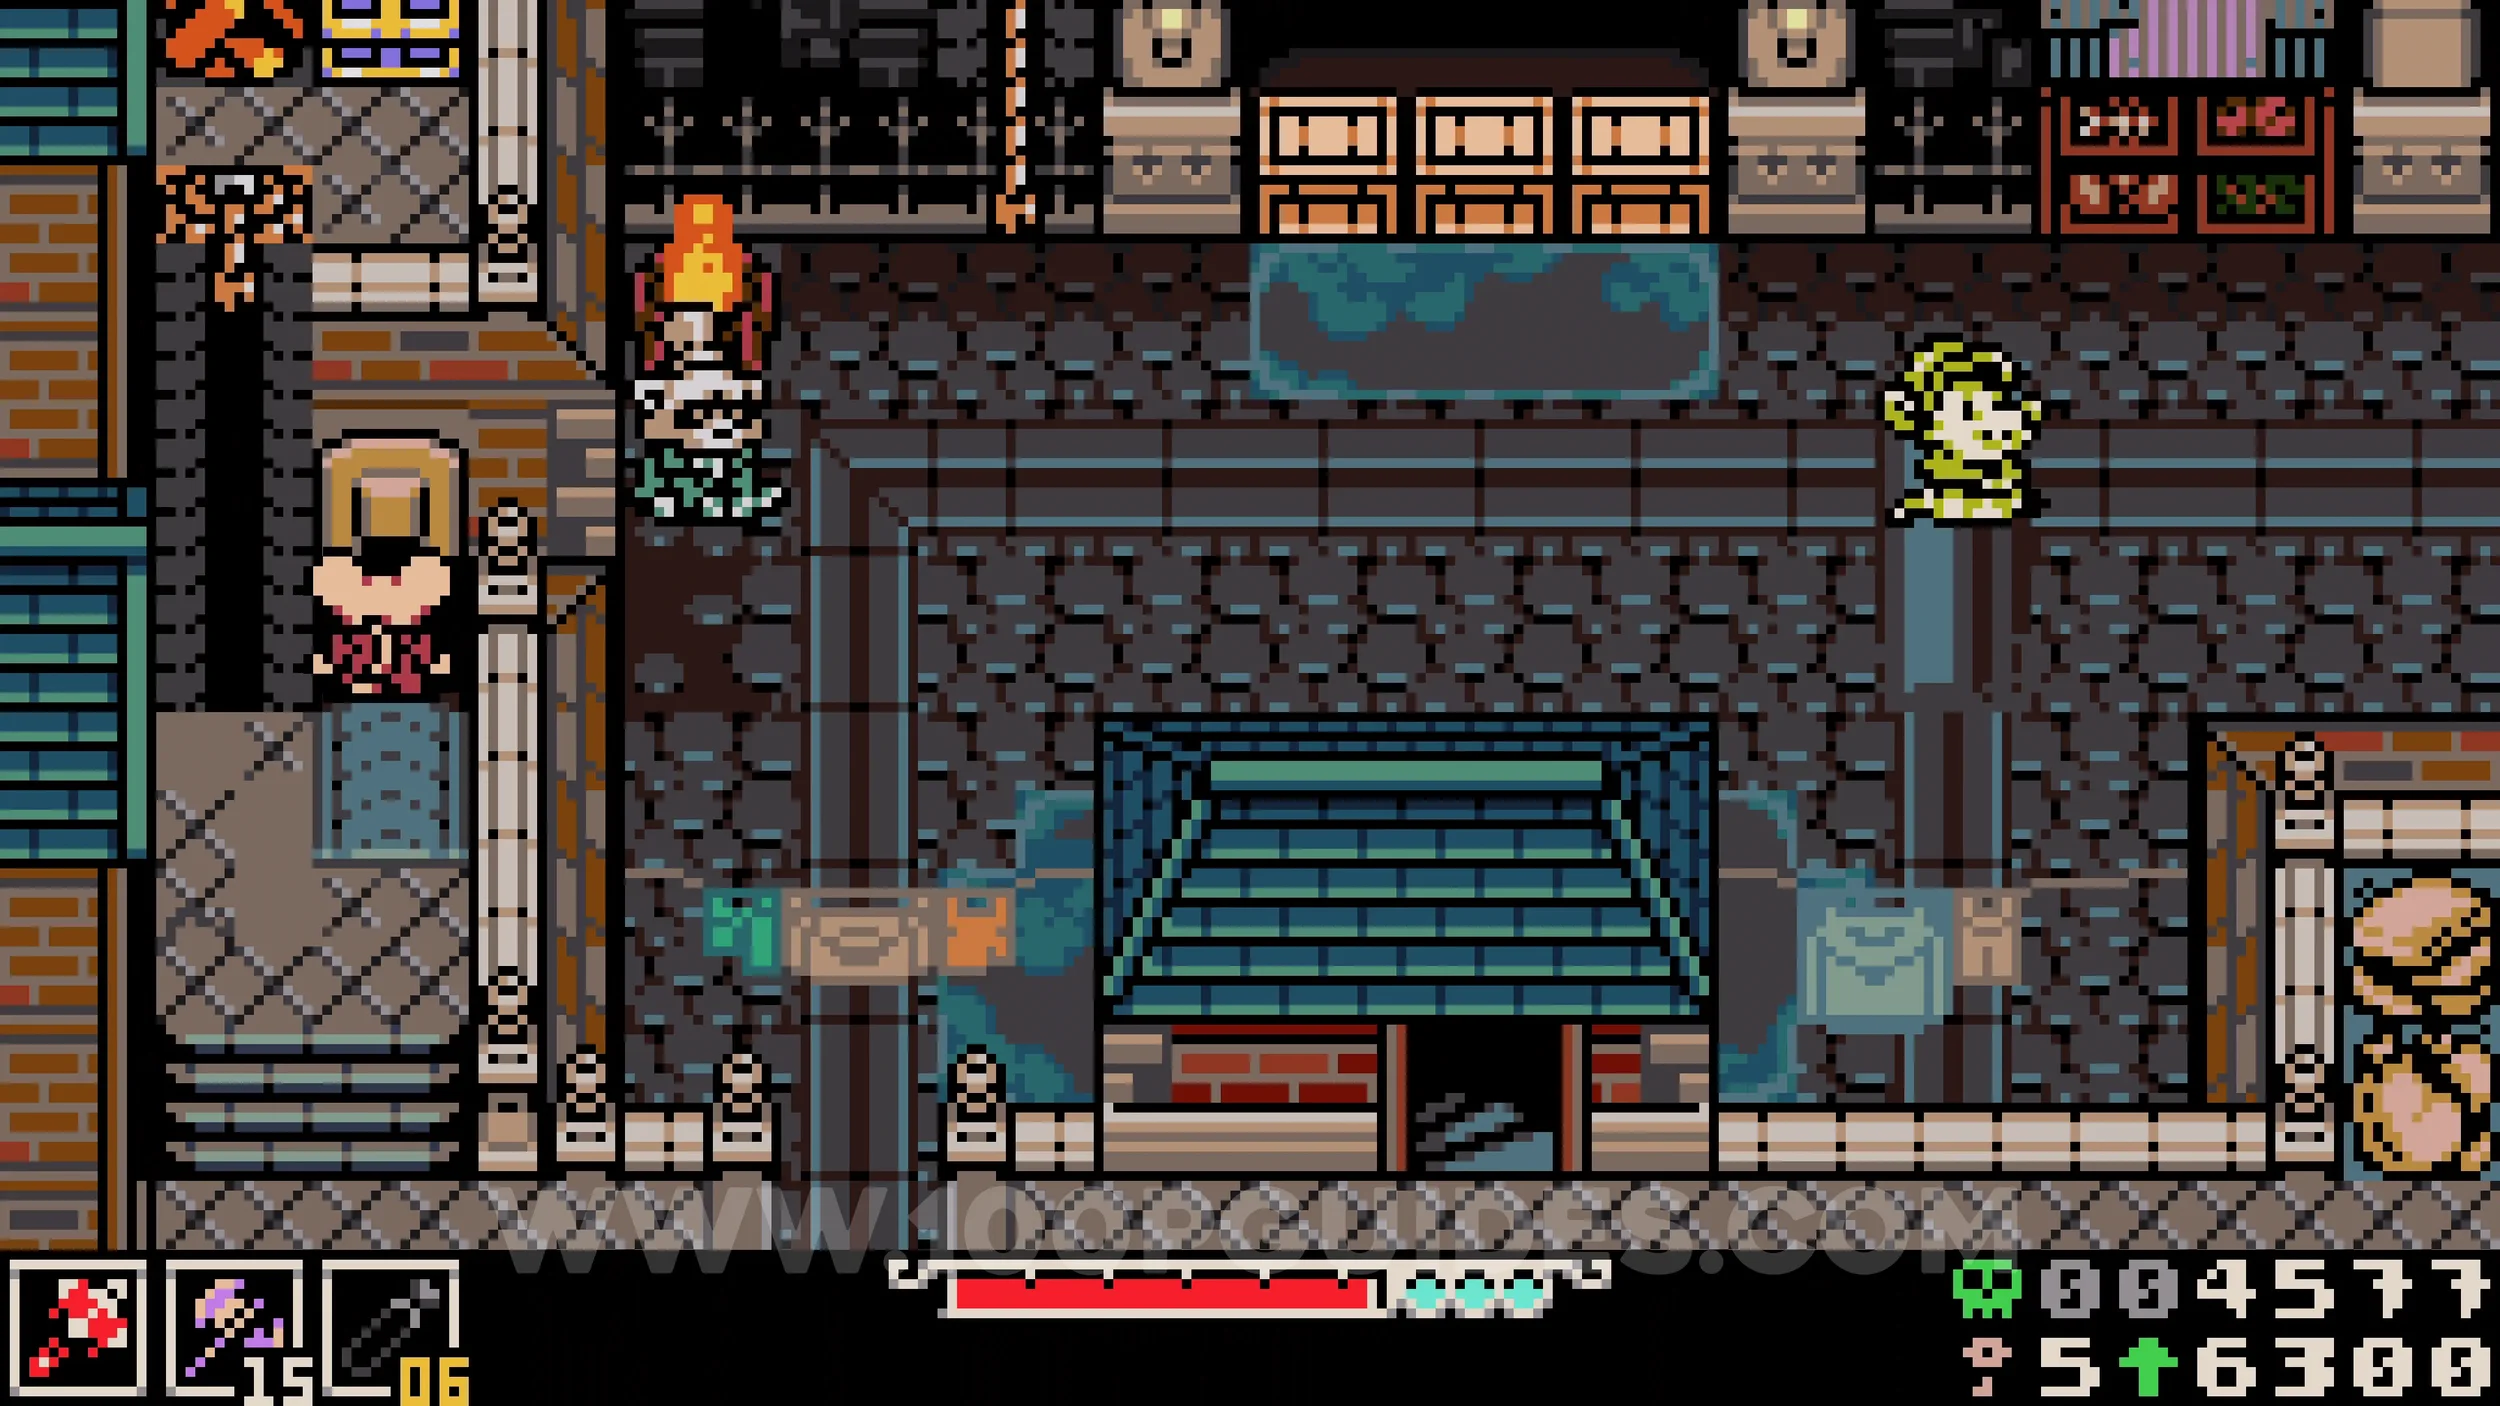
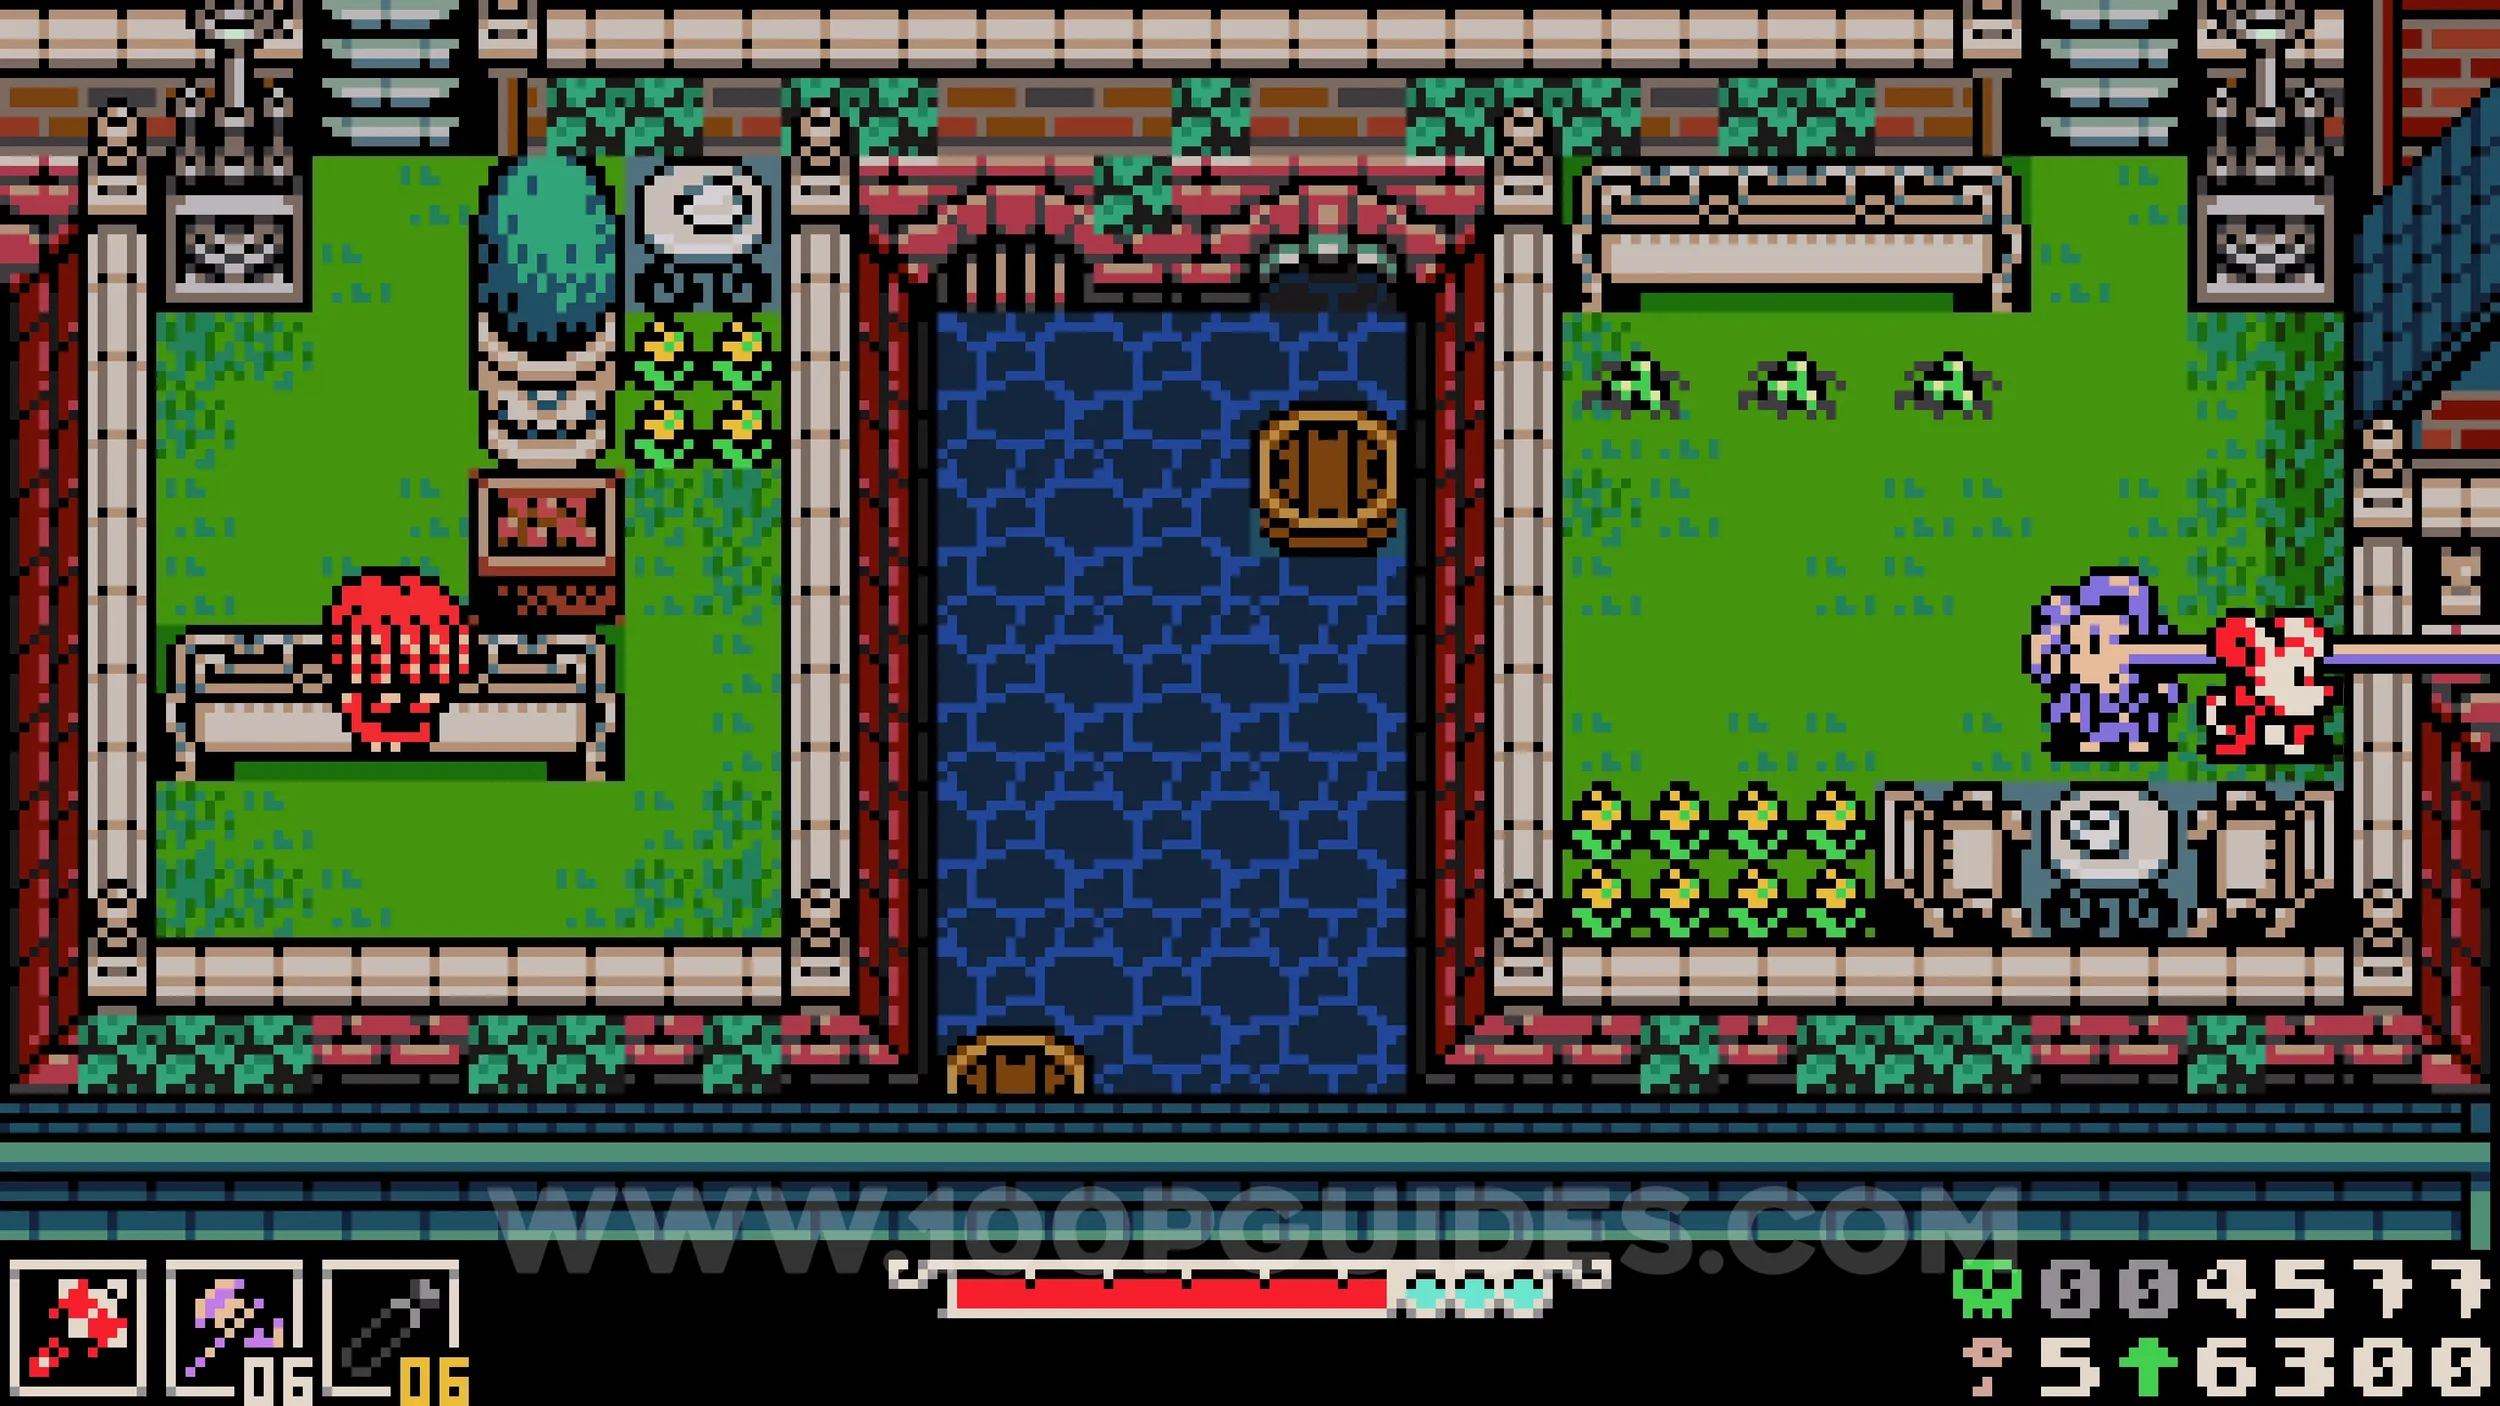
Kear #1. For this one you must also start in Ossex. On the eastern side of the city, find the purple NPC and talk to him to get him moving. Follow him south and open the lock so he can access the grassy area. Once he is there and facing right, hit him to extend his nose out of the screen, then jump onto his nose to reach the outer path around the east of the city and find the chest.
Bonestone #2. From Ossex's southern gate, head down and take the second right. Place the bouncy pad against the wall beneath the chest to reach it.
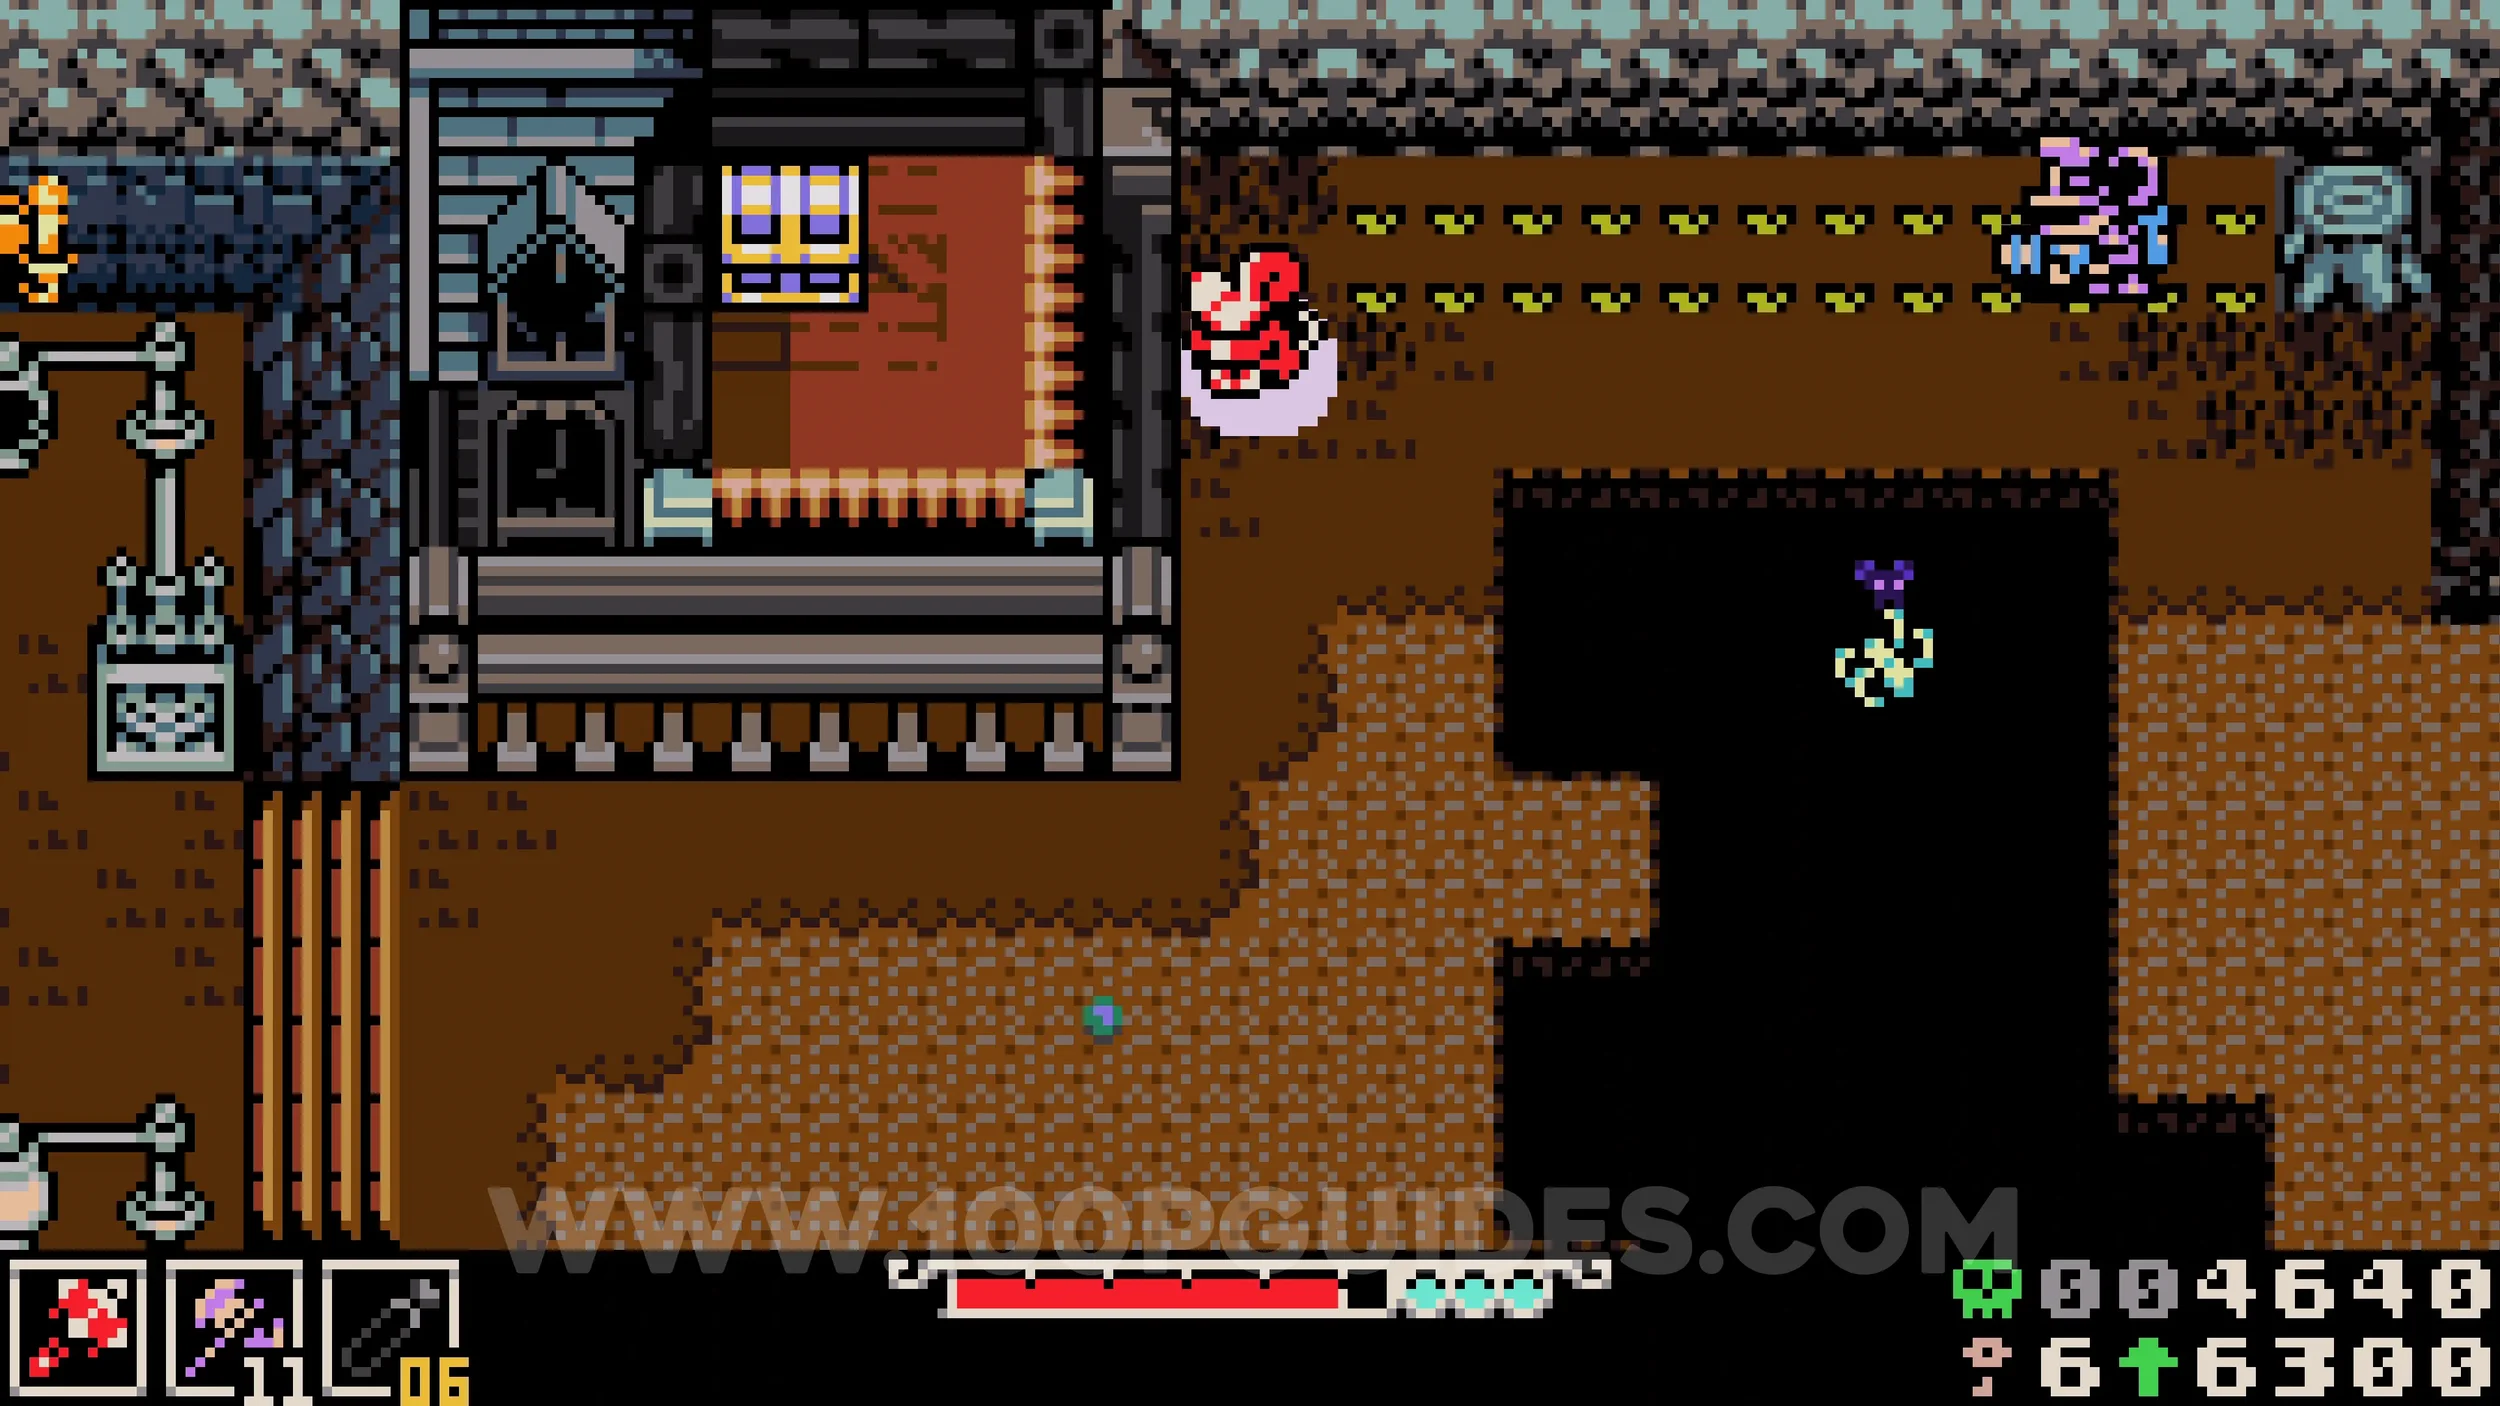
Lock #1. Enter the cave to the right of the previous collectible and use the moving bouncy pads to make your way all the way to the left side of the cave to find the lock.
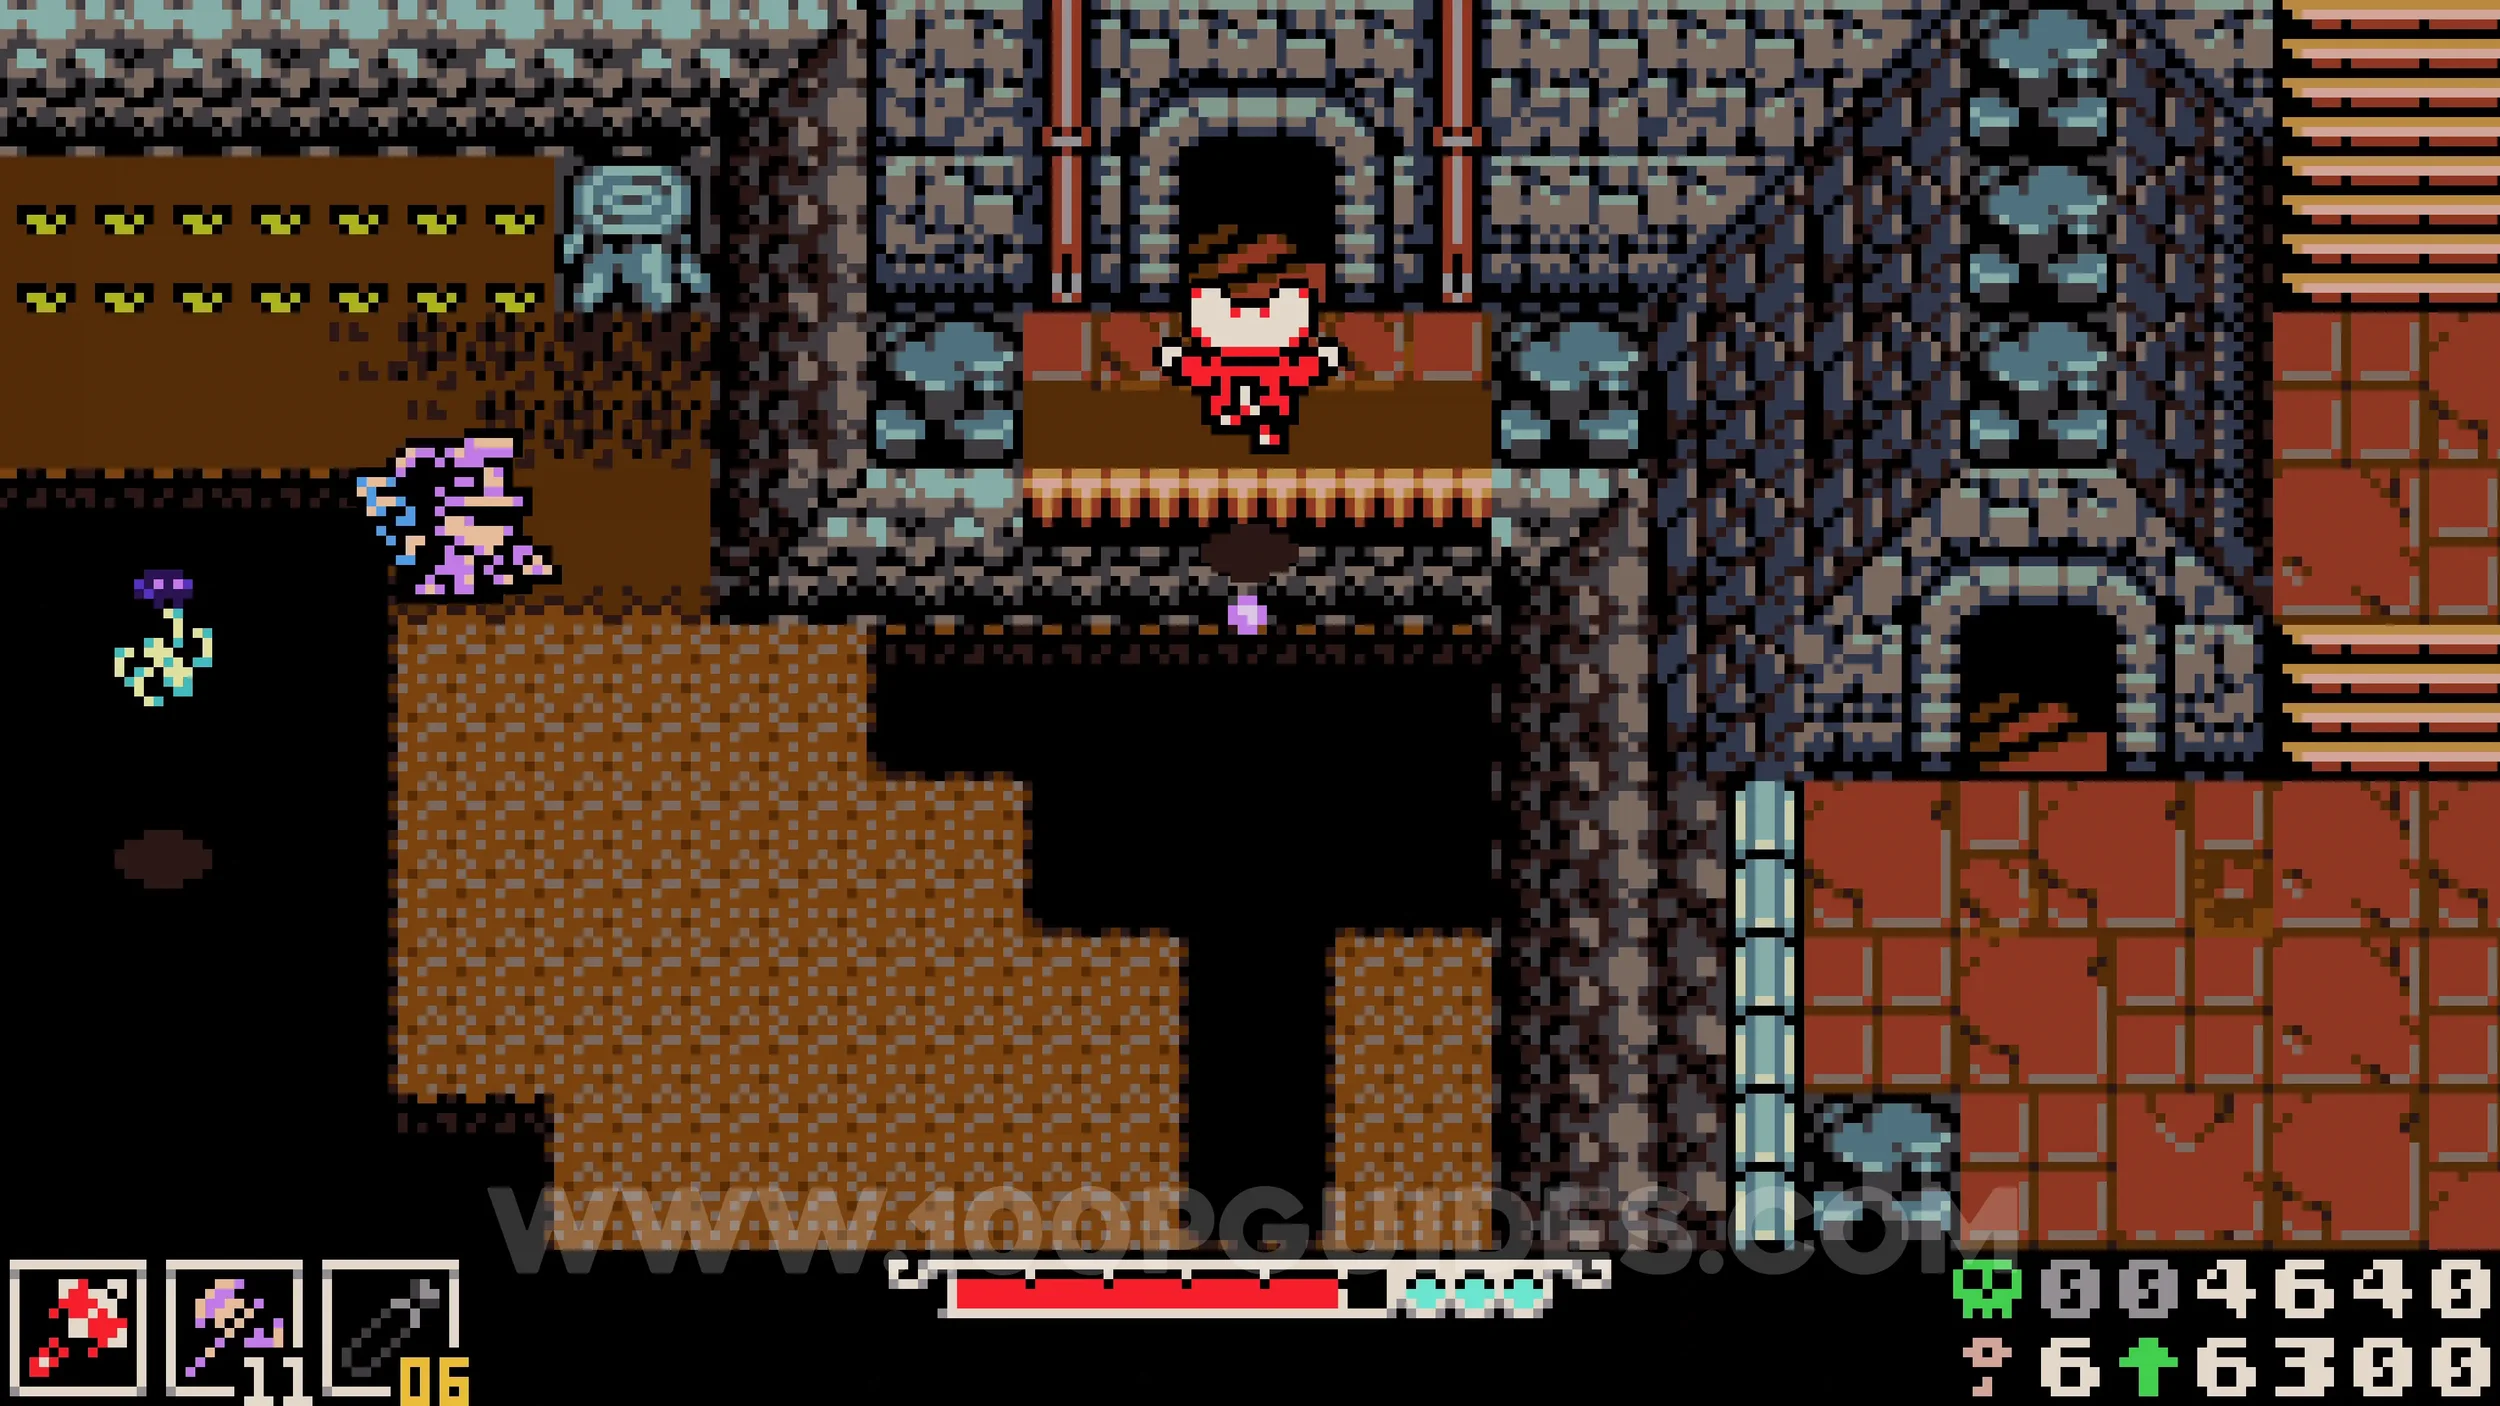
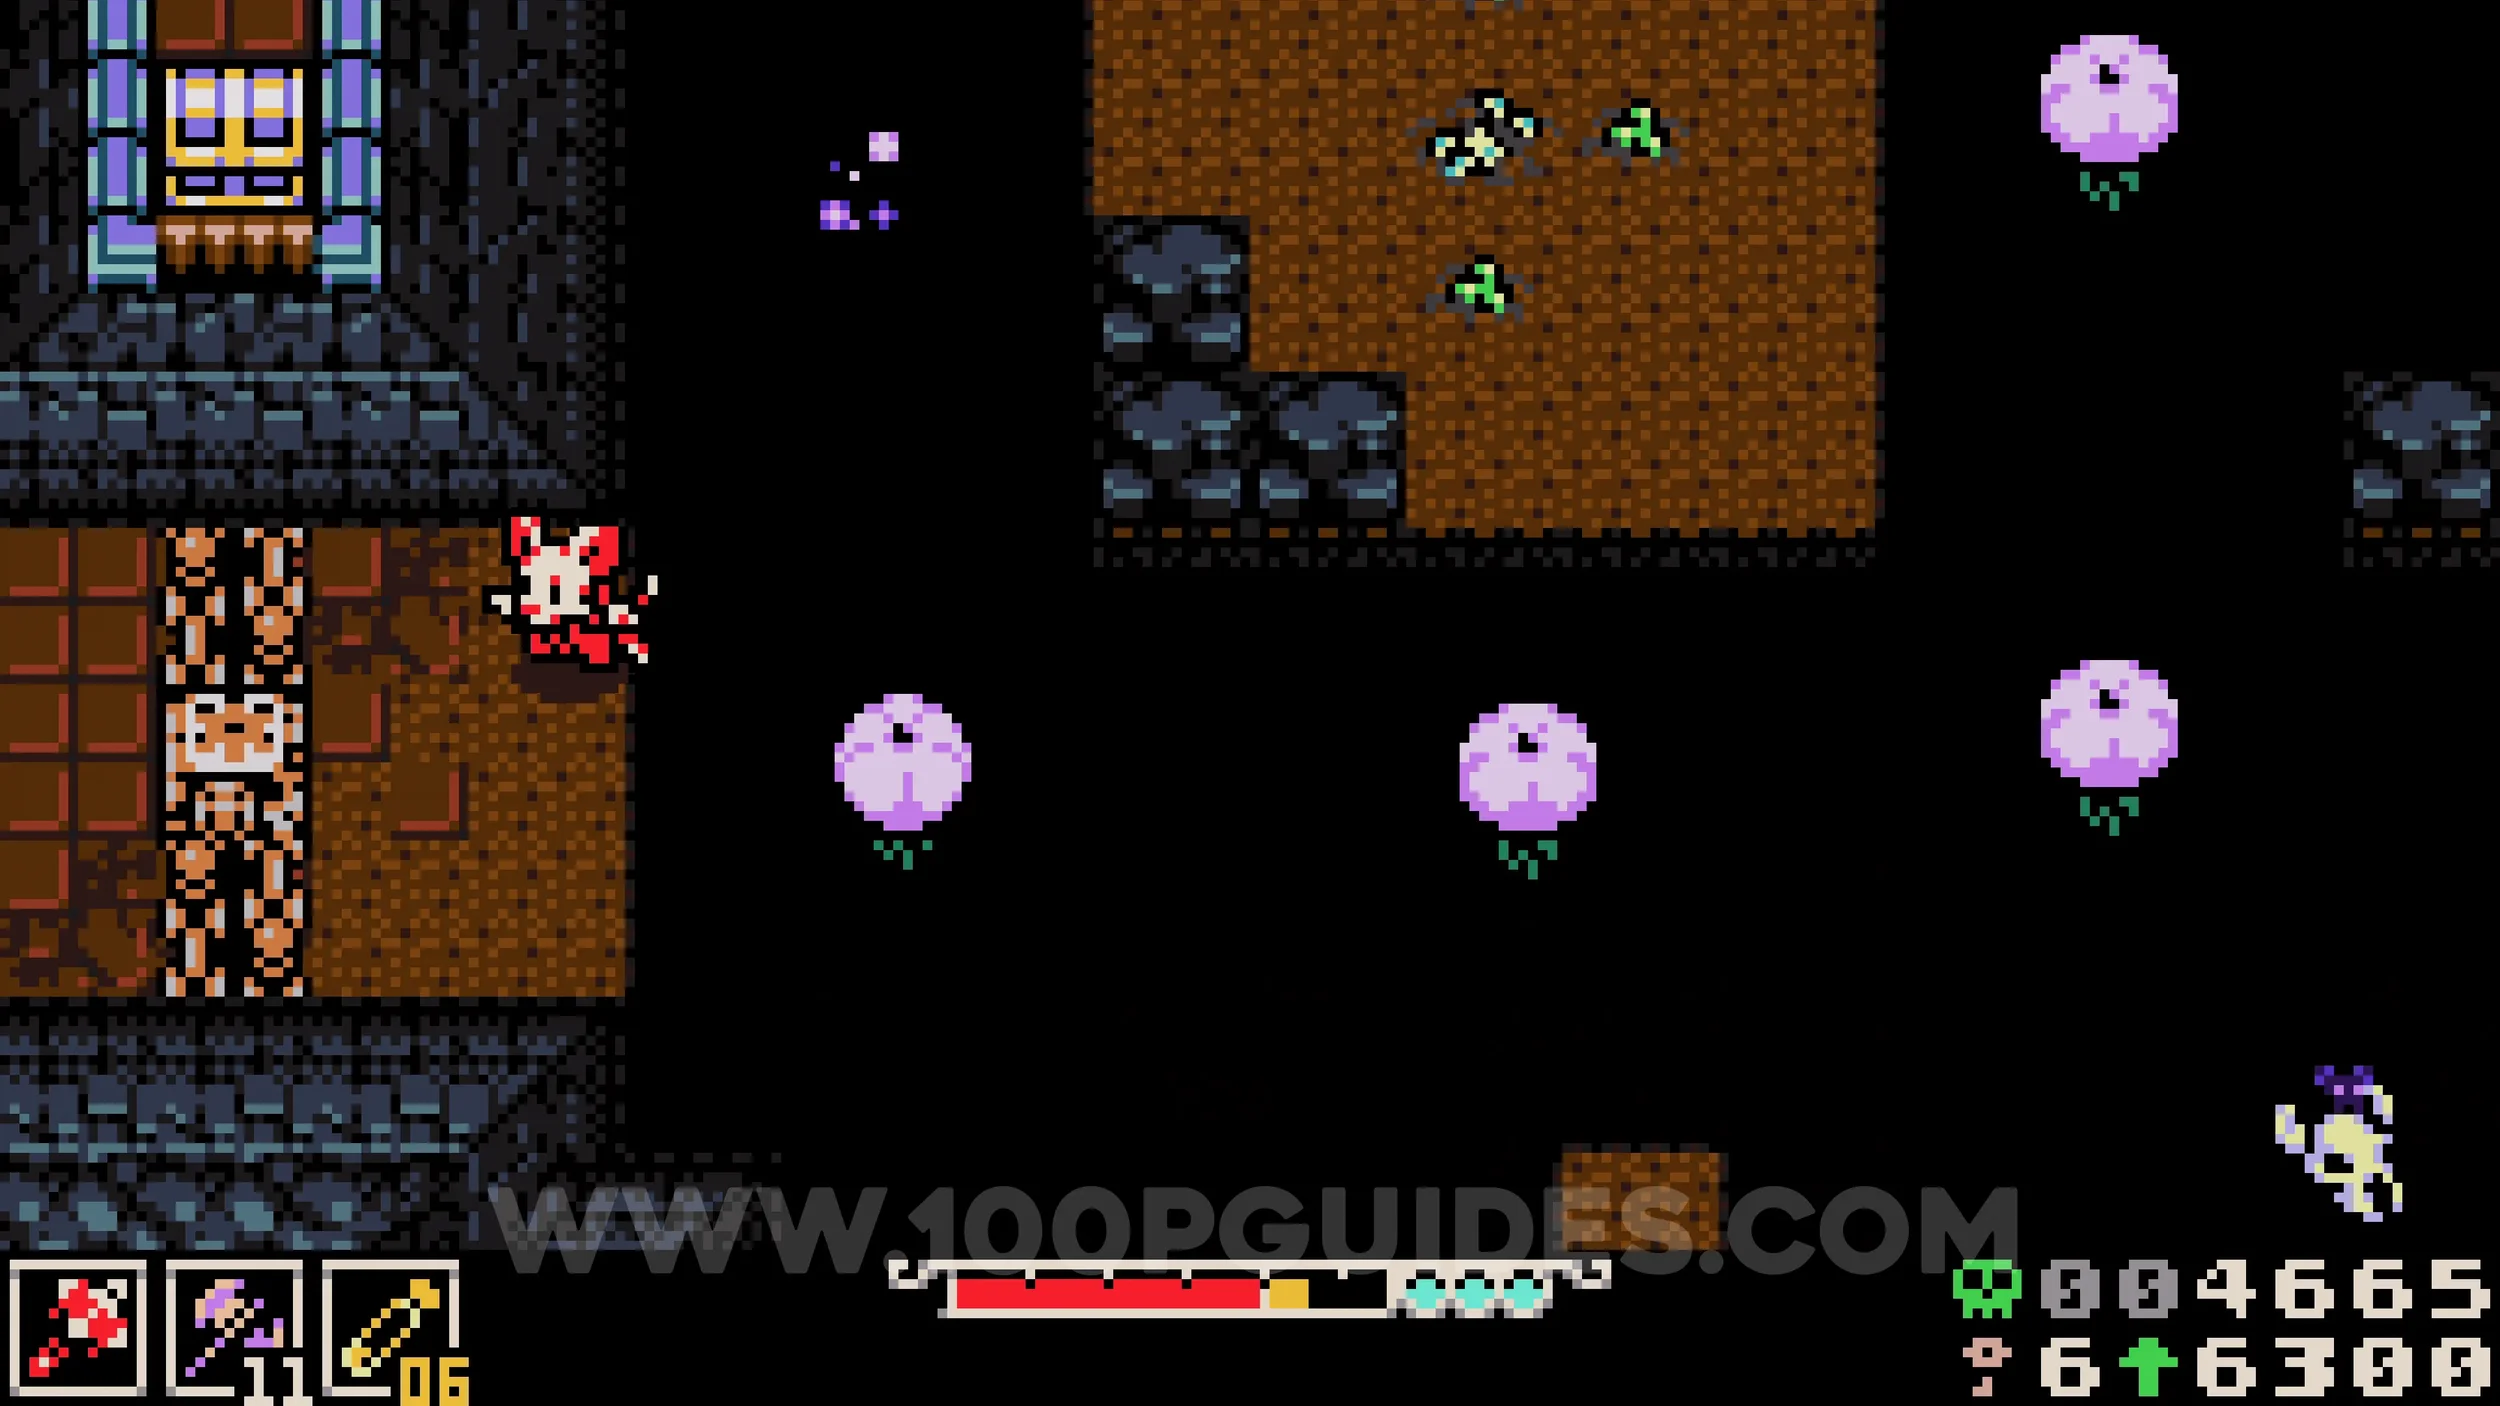
Bonestone #3. Continue past the previous lock to find a square area with an enemy and a bouncy pad in the middle. Place the pad in the bottom left corner to reach the left side path, where you will find the collectible in a chest.
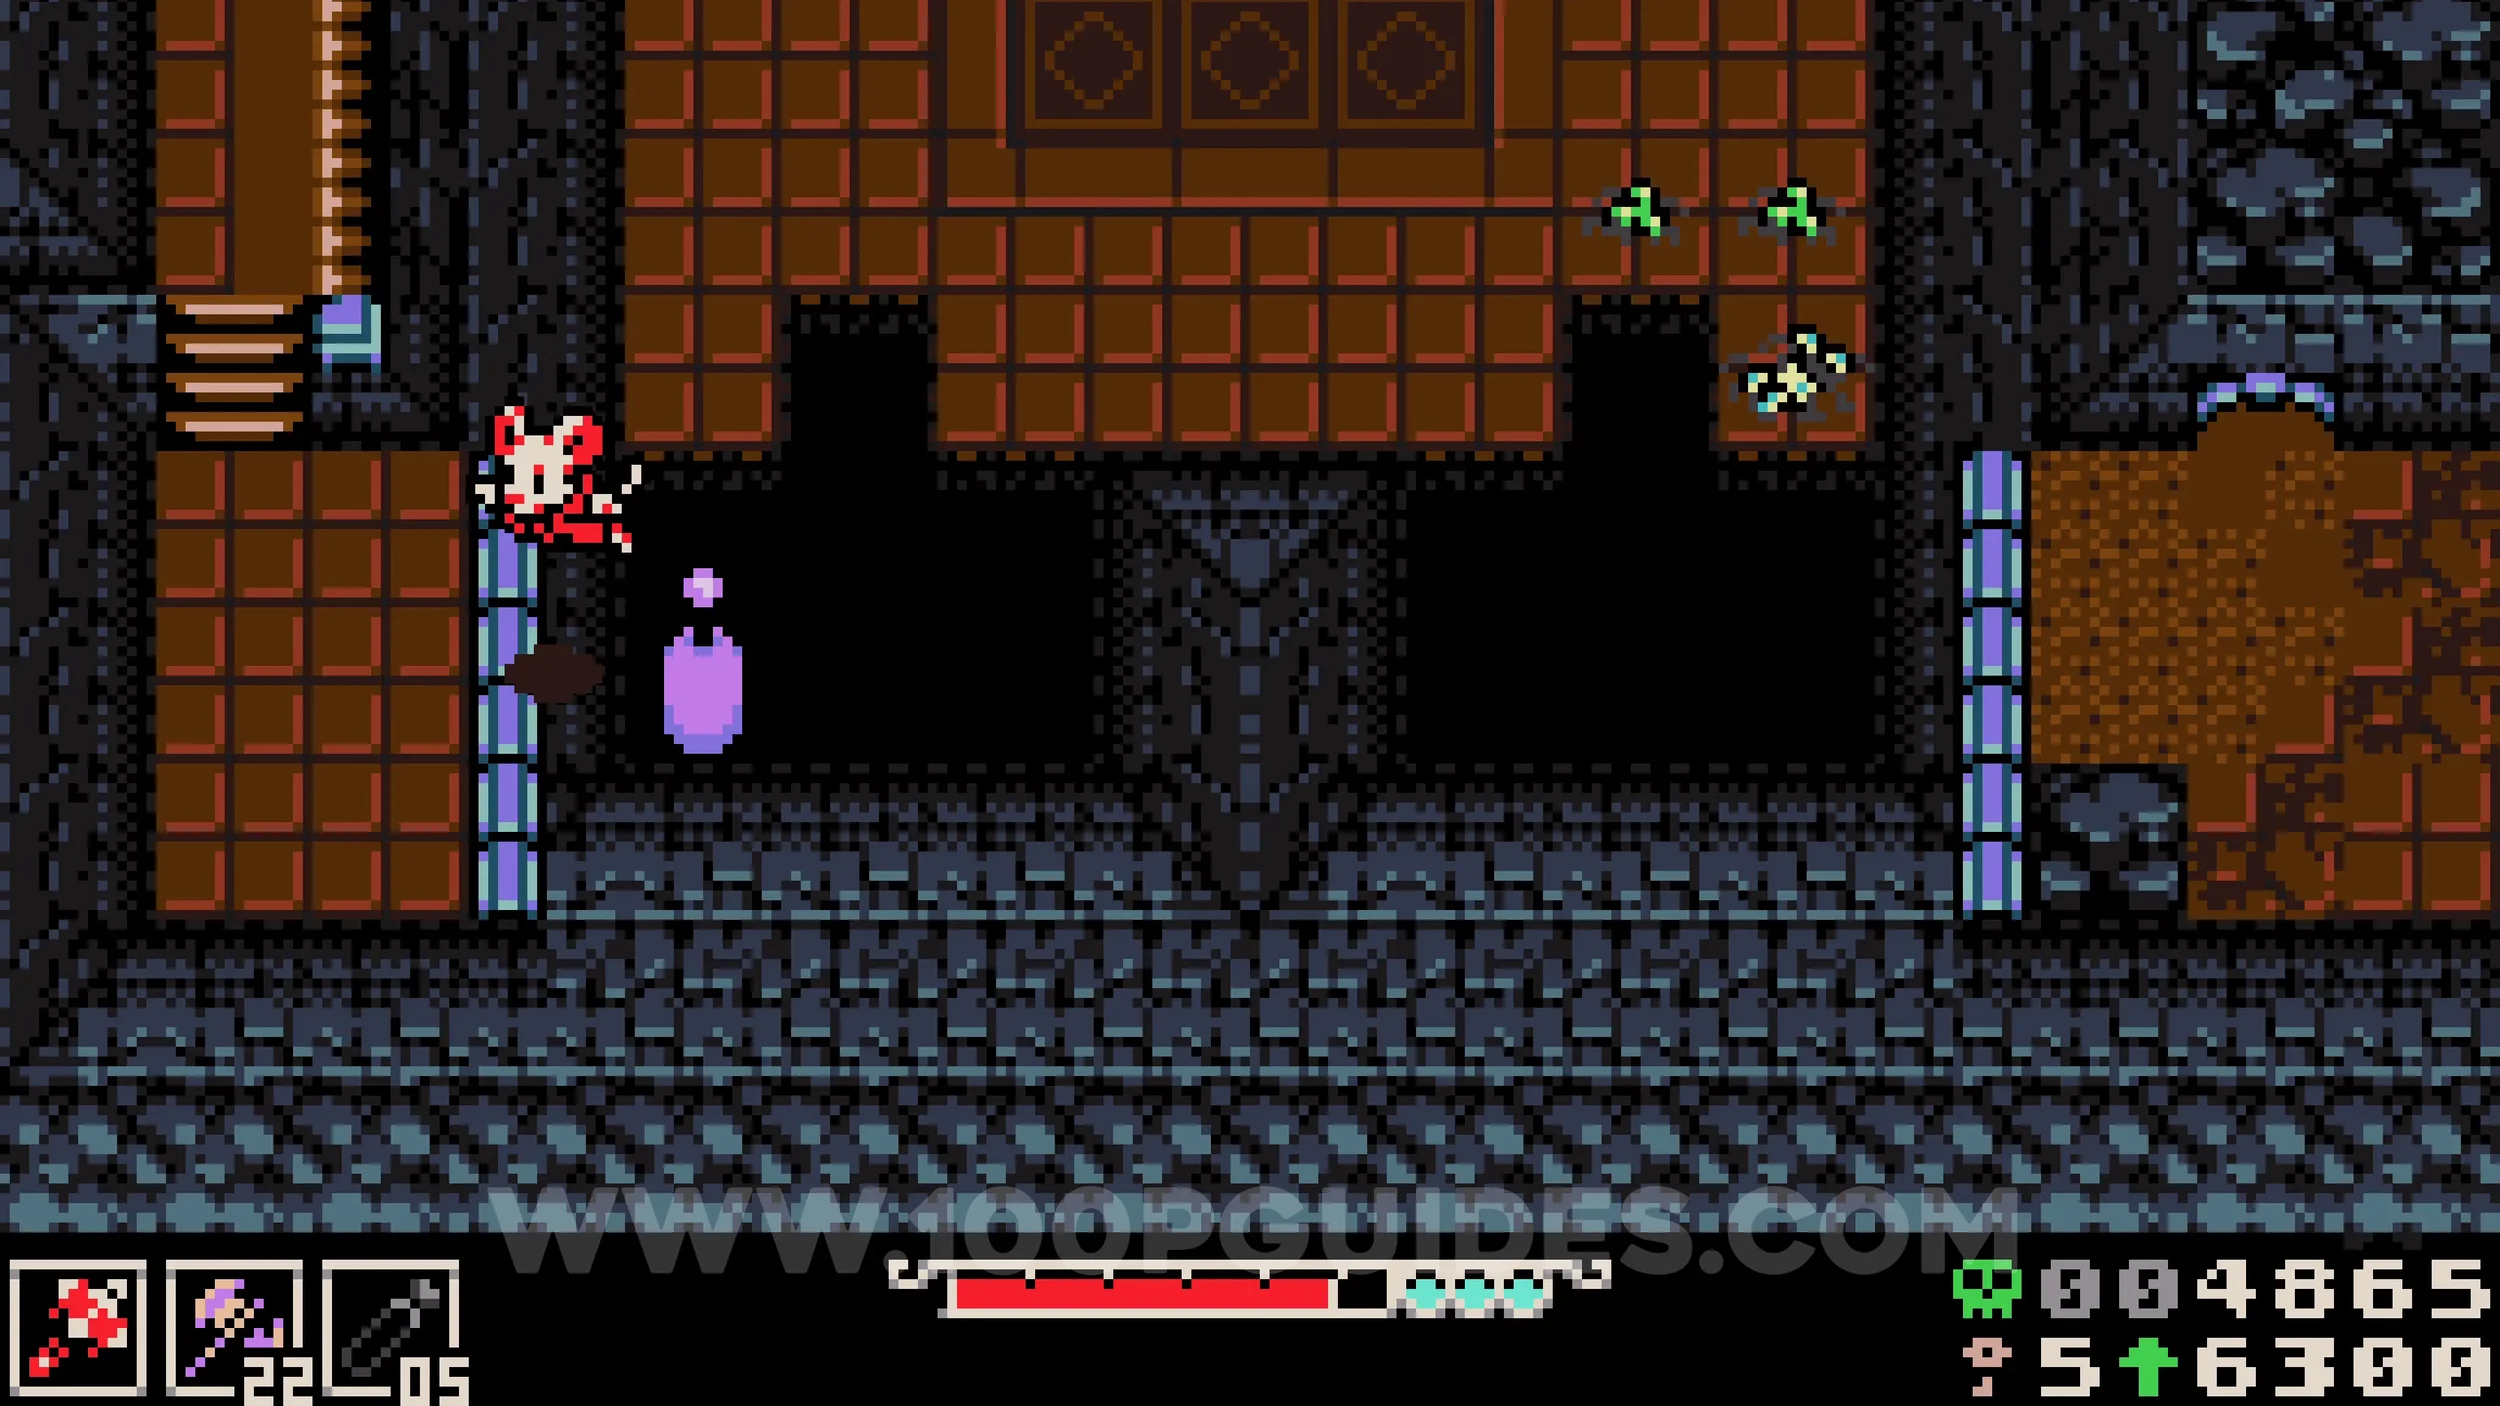
Joule Box #1. Use the same bouncy pad as the previous collectible, but this time place it against the wall to the right of the square arena to reach the chest on the right side.
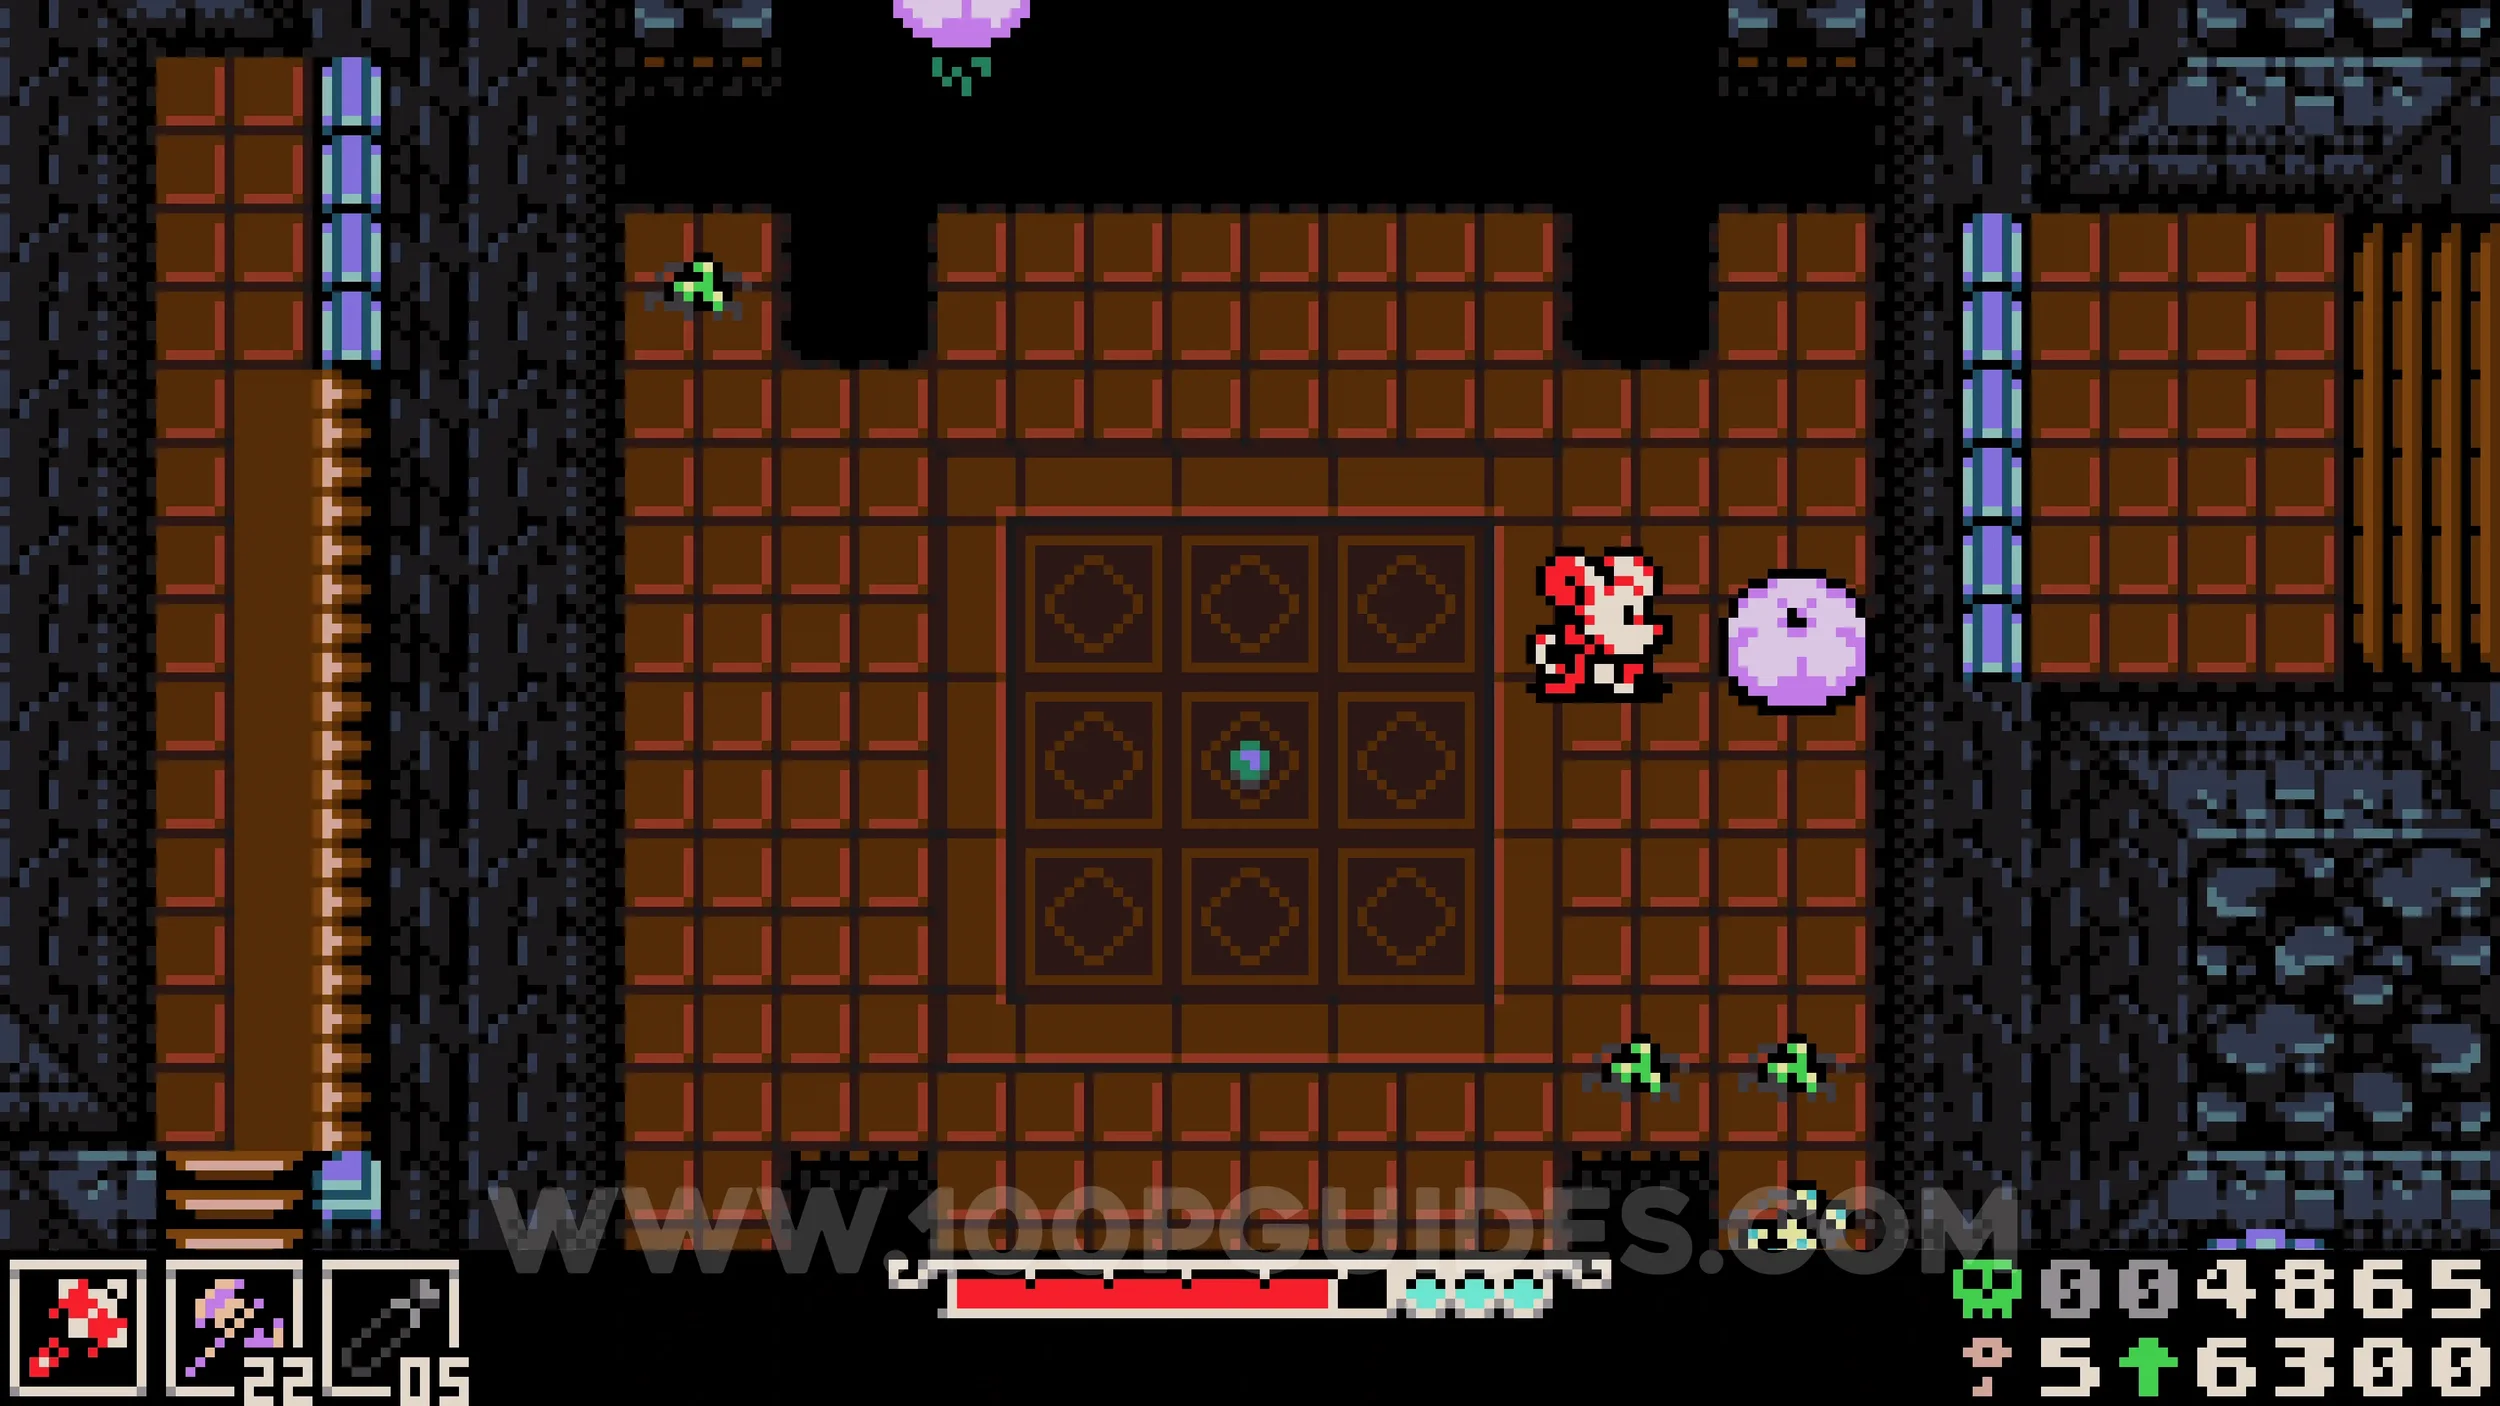
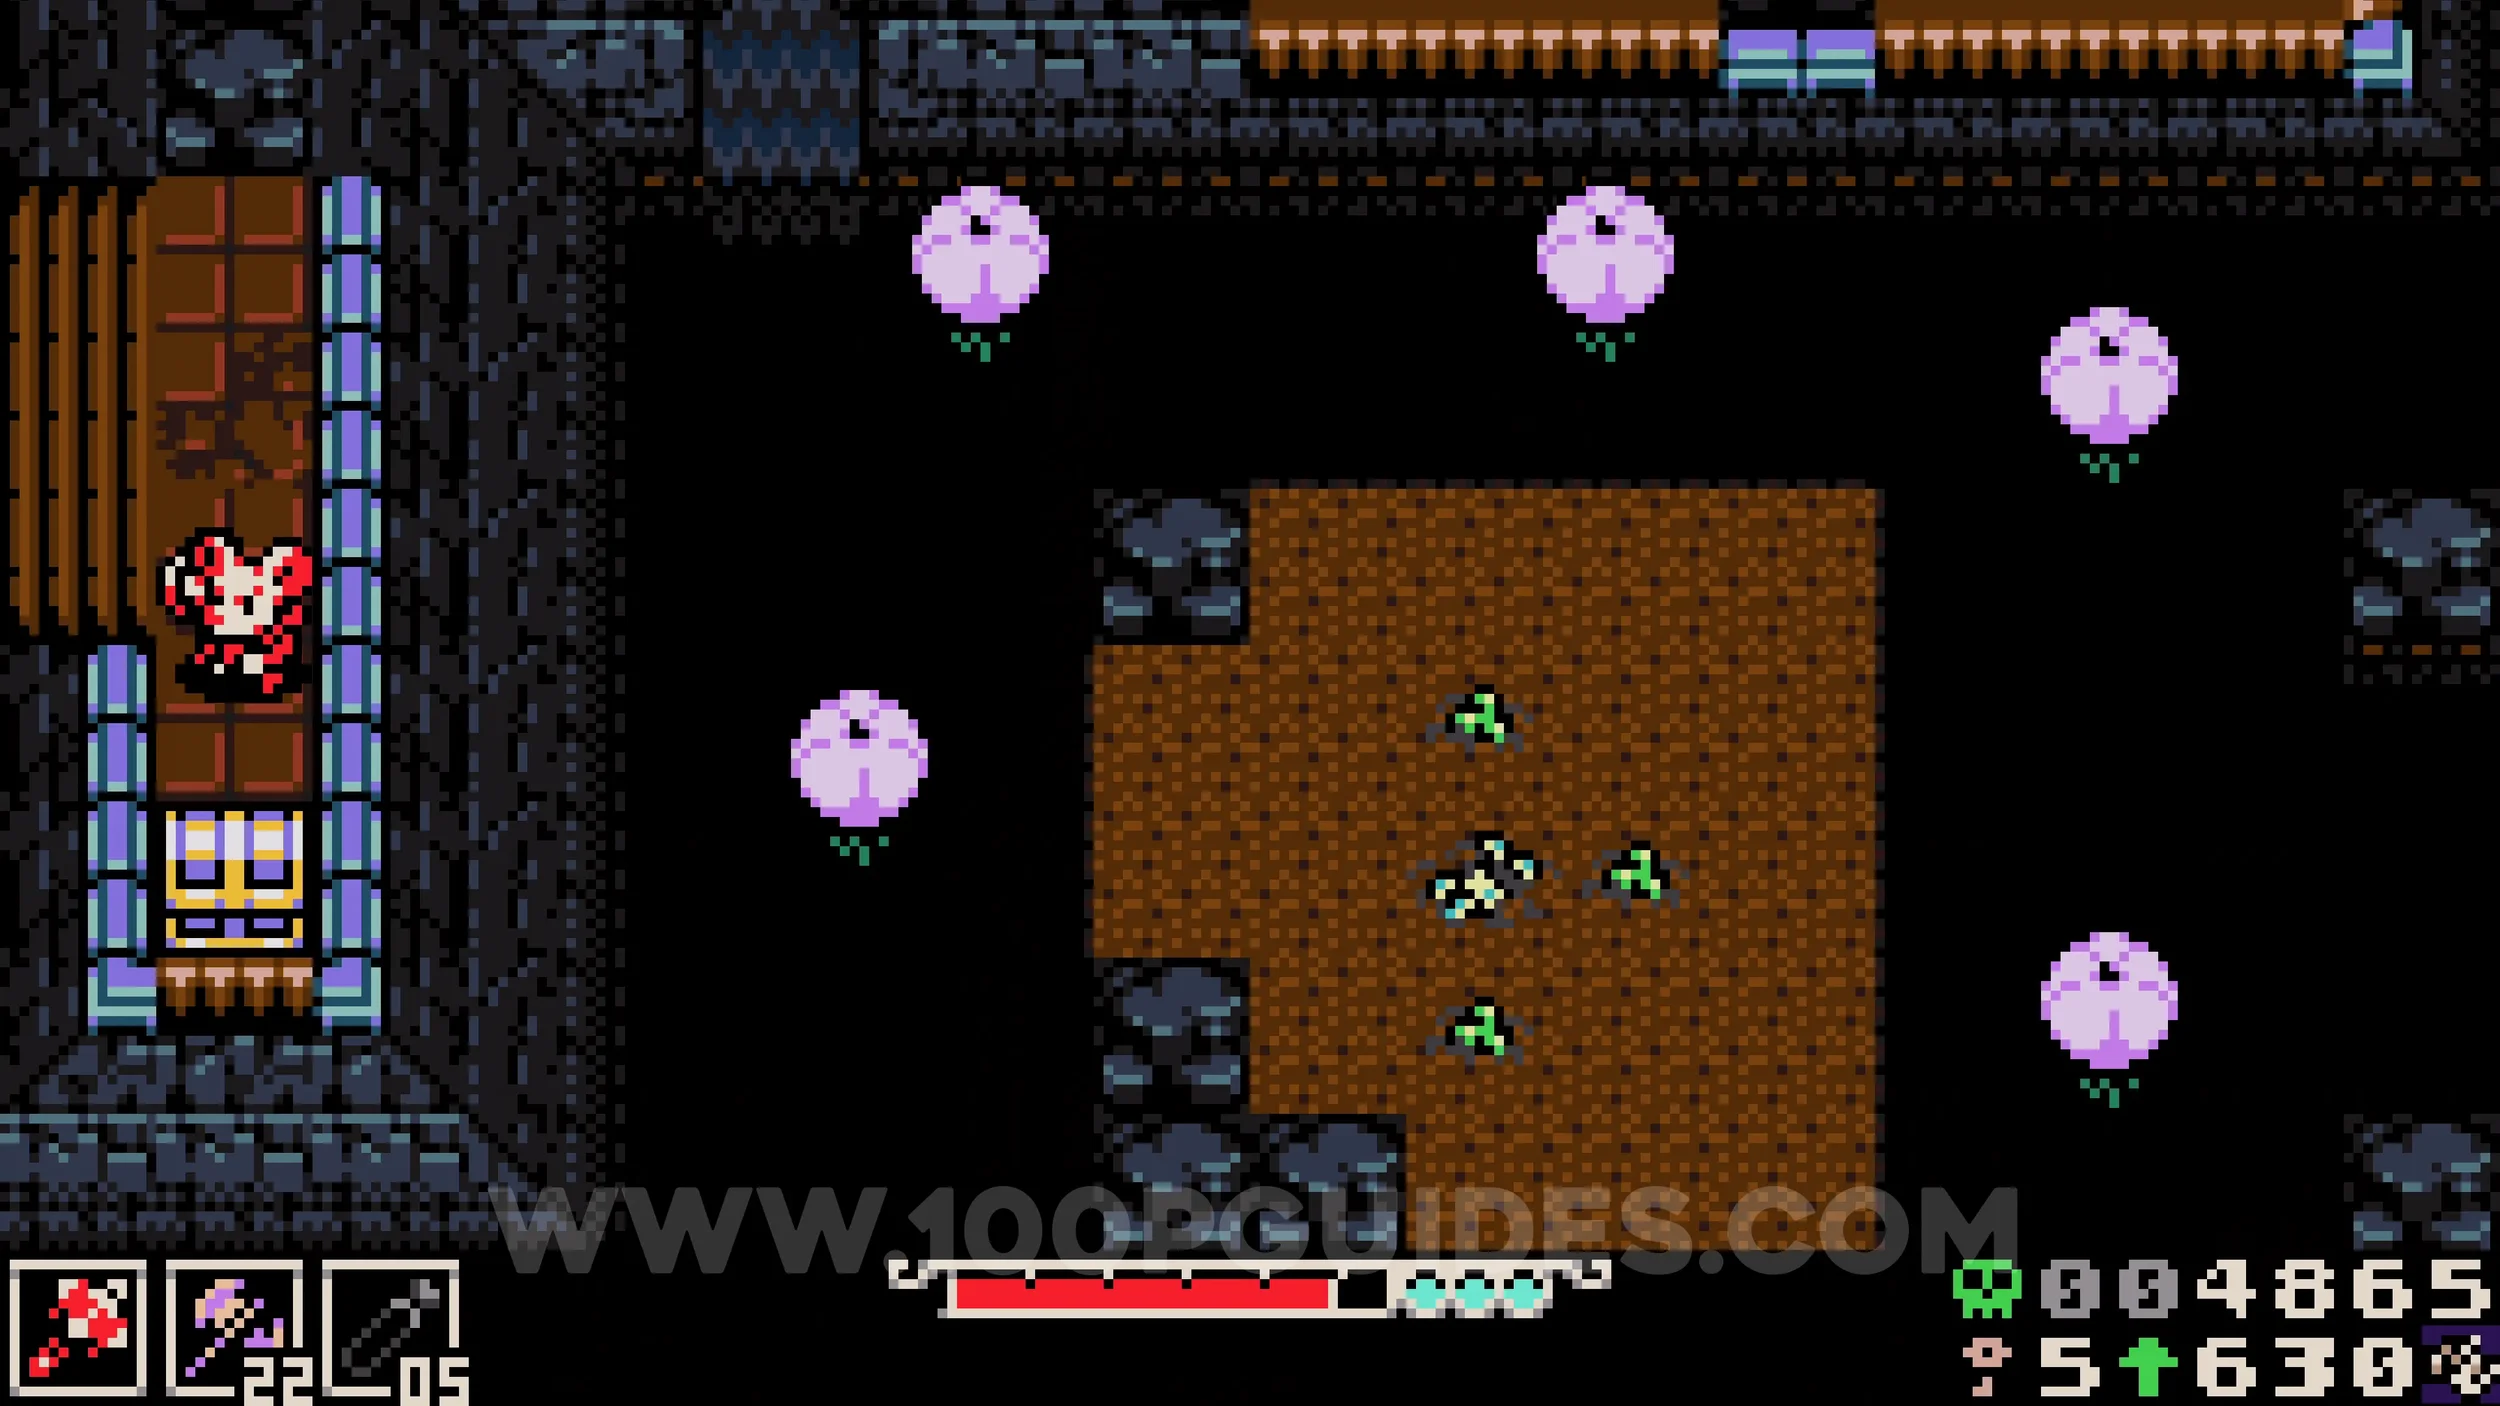
Trinket #1 - Keri the Wisp & Kear #2. Leave the cave through the southeastern exit and move the bouncy pad to the blue wall to the south, along the same path that leads to Sandfalls. After bouncing up, go right and look for a small hole you can burrow through at the bottom of the screen in the area with the two red bird enemies. Inside, purchase the collectible from Poppit.
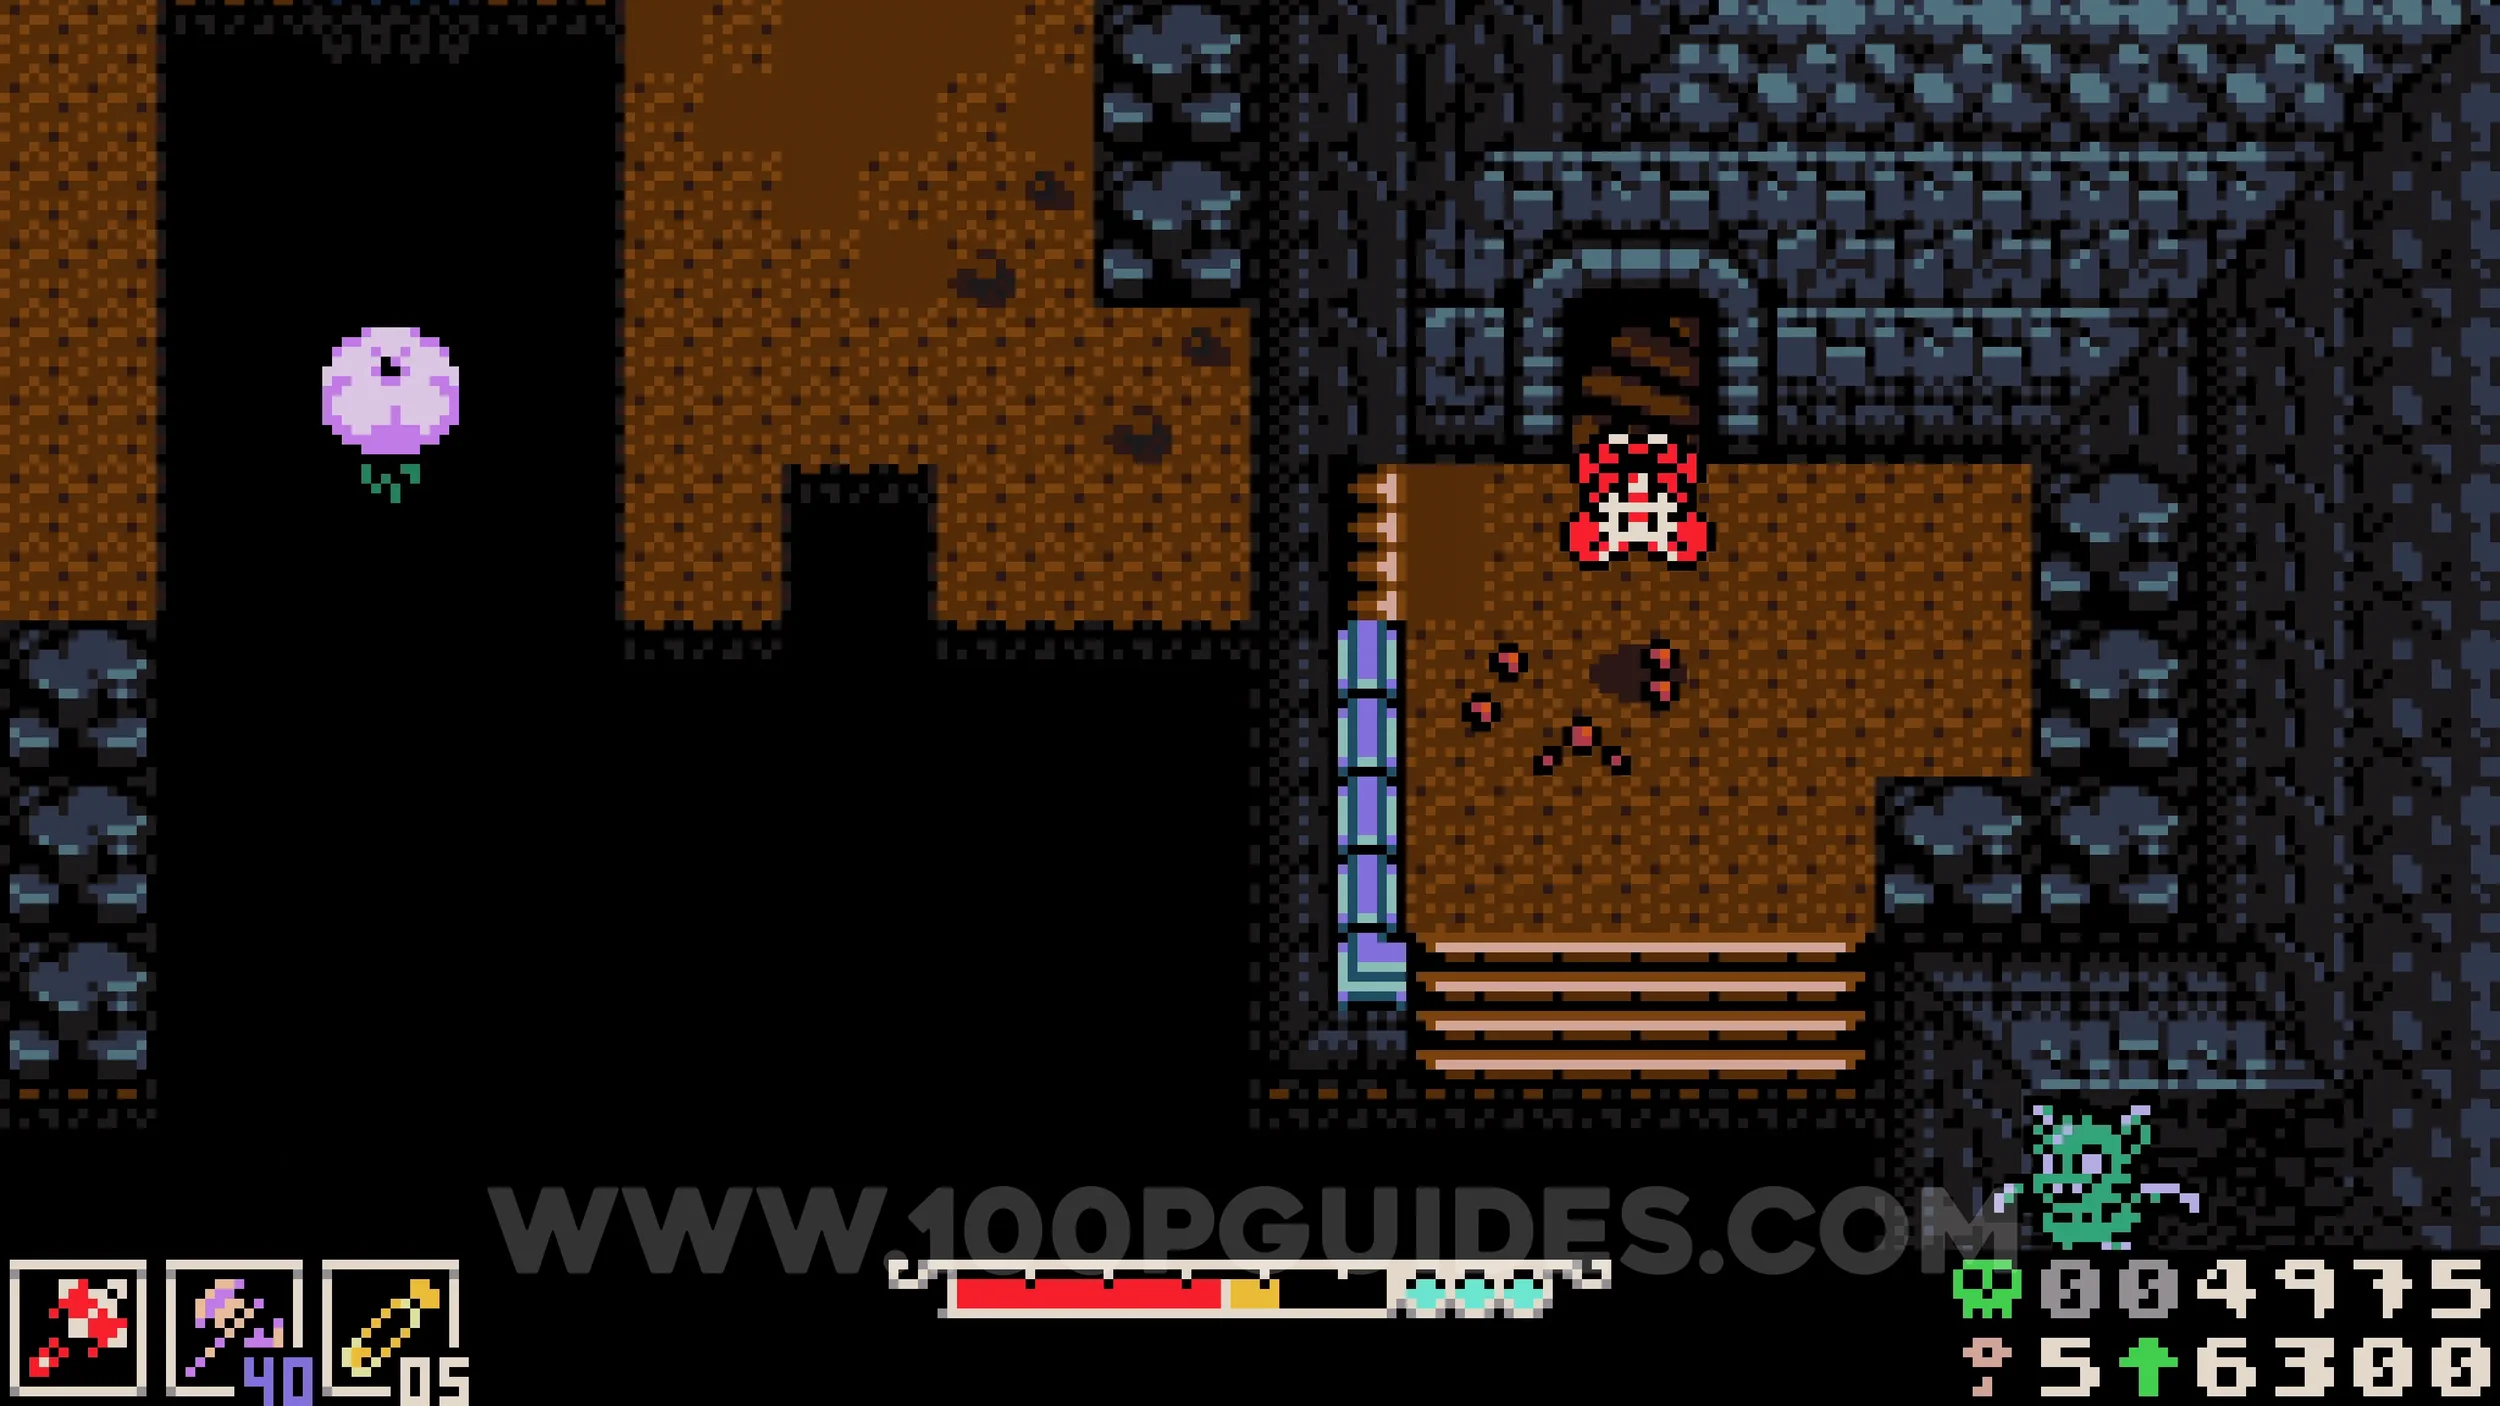
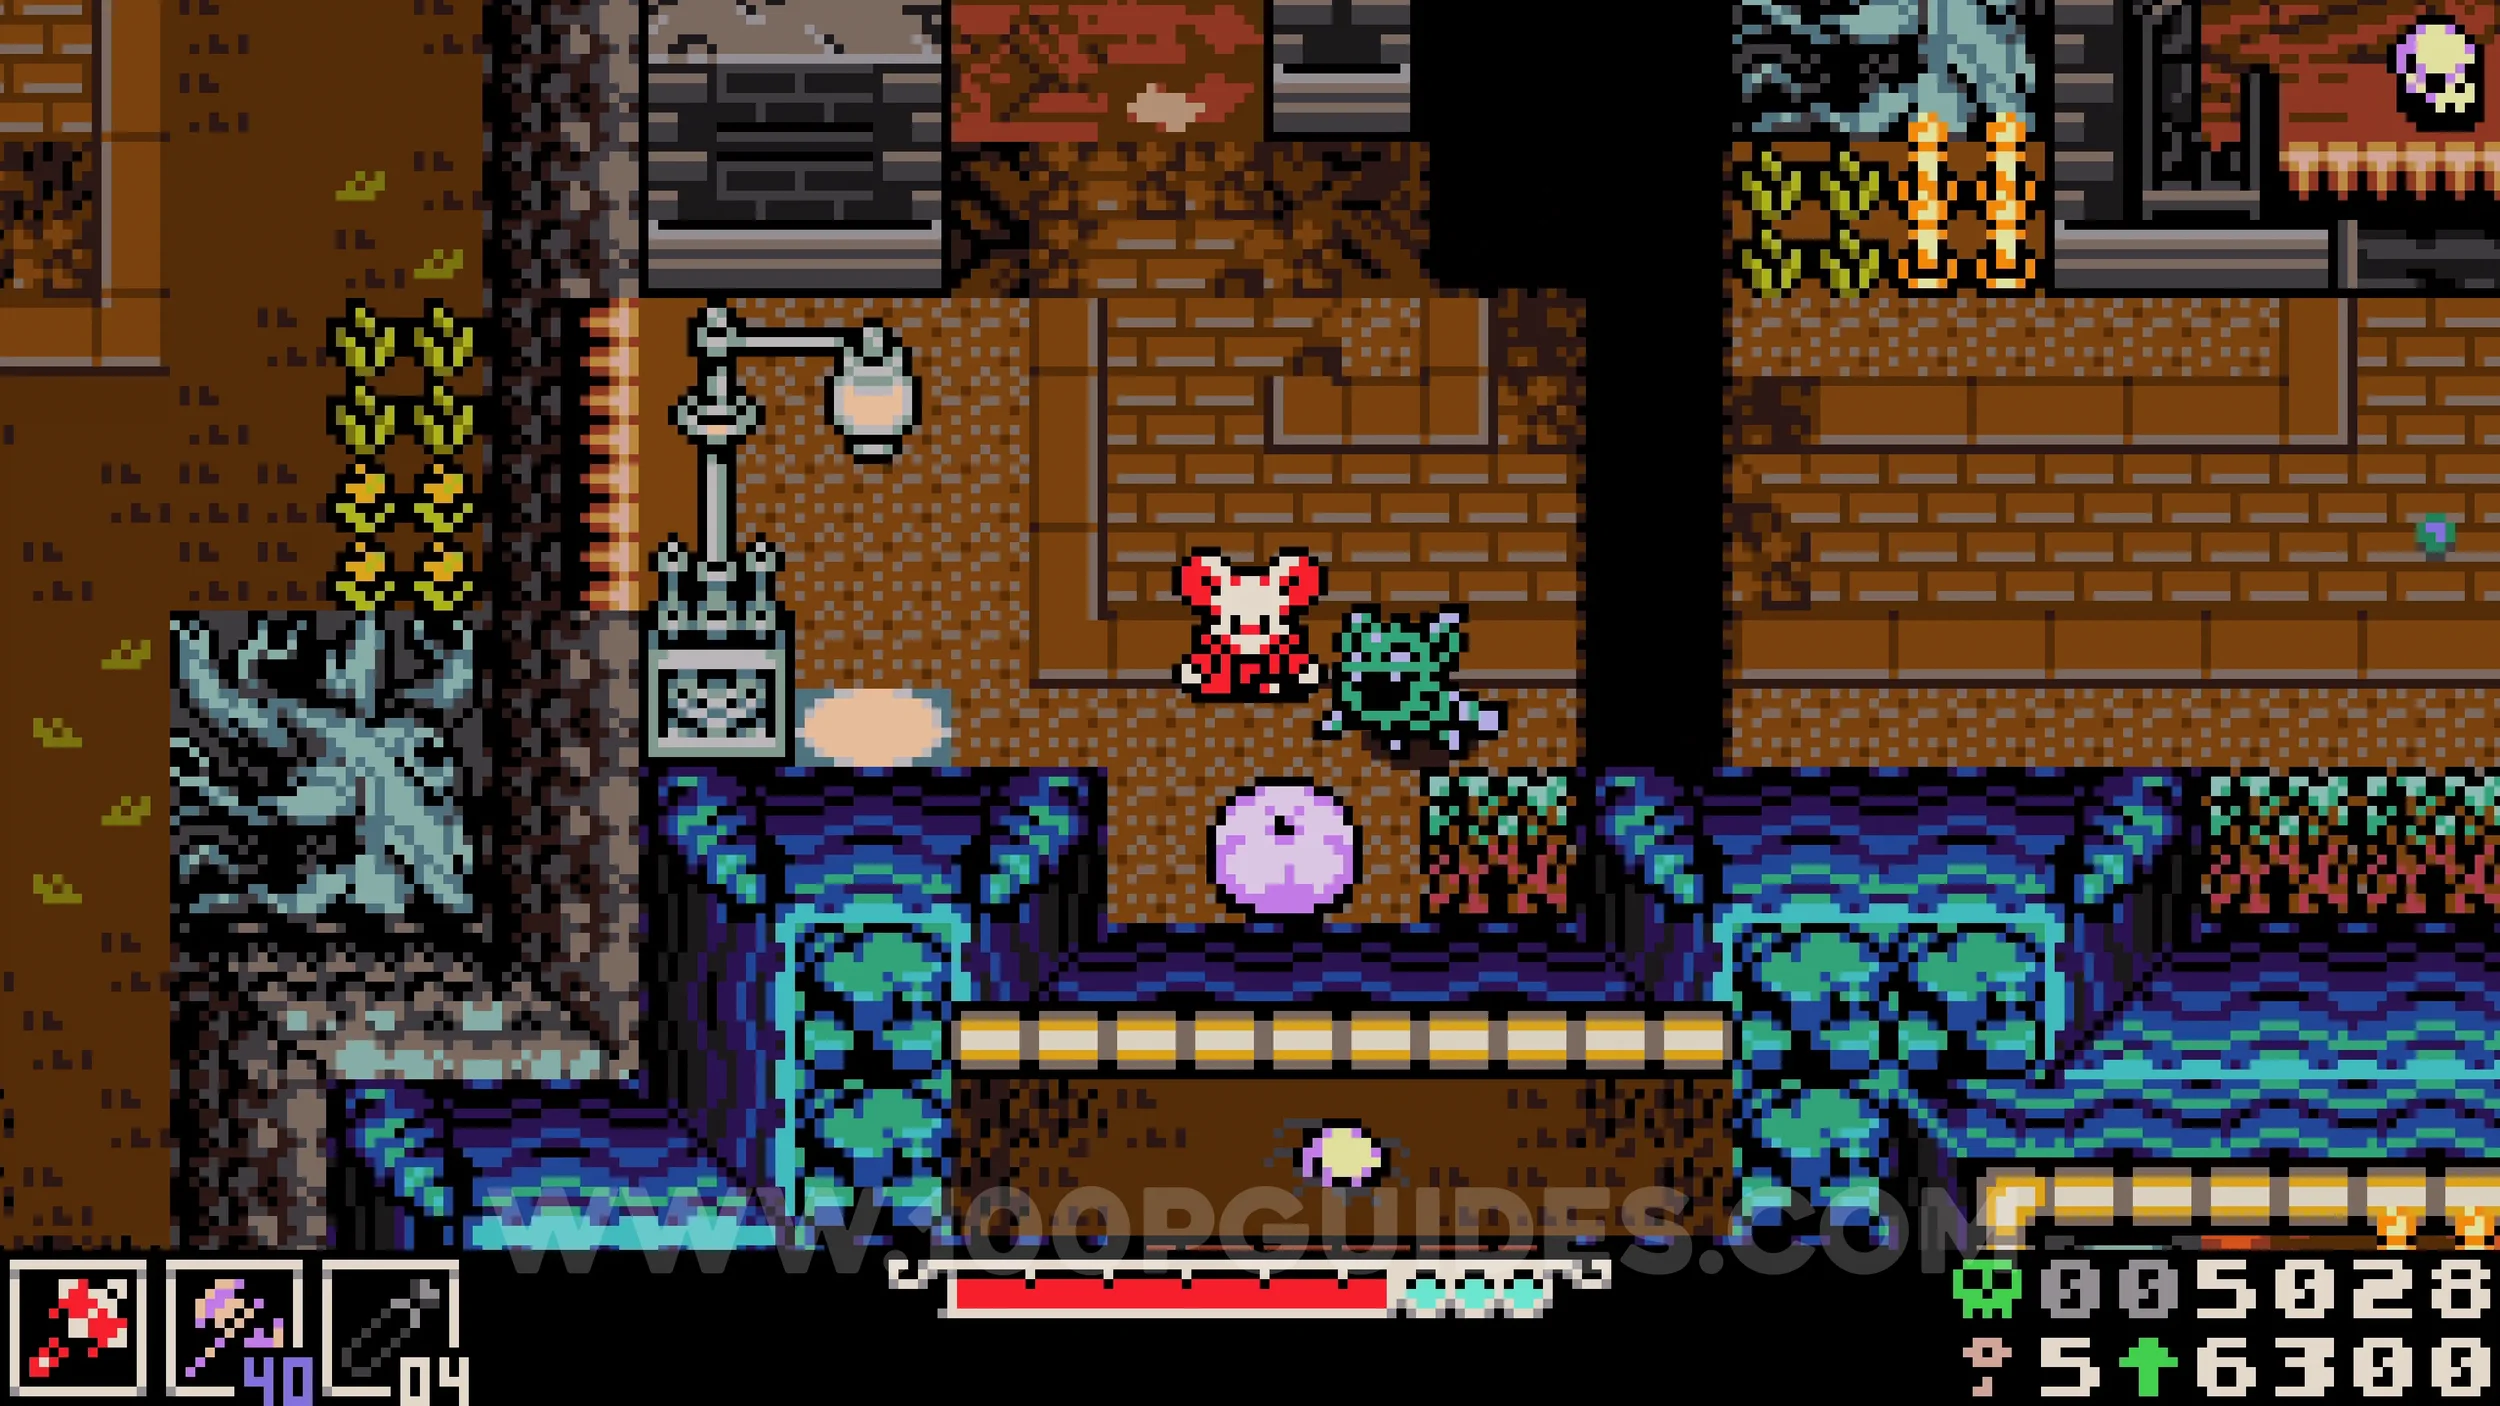
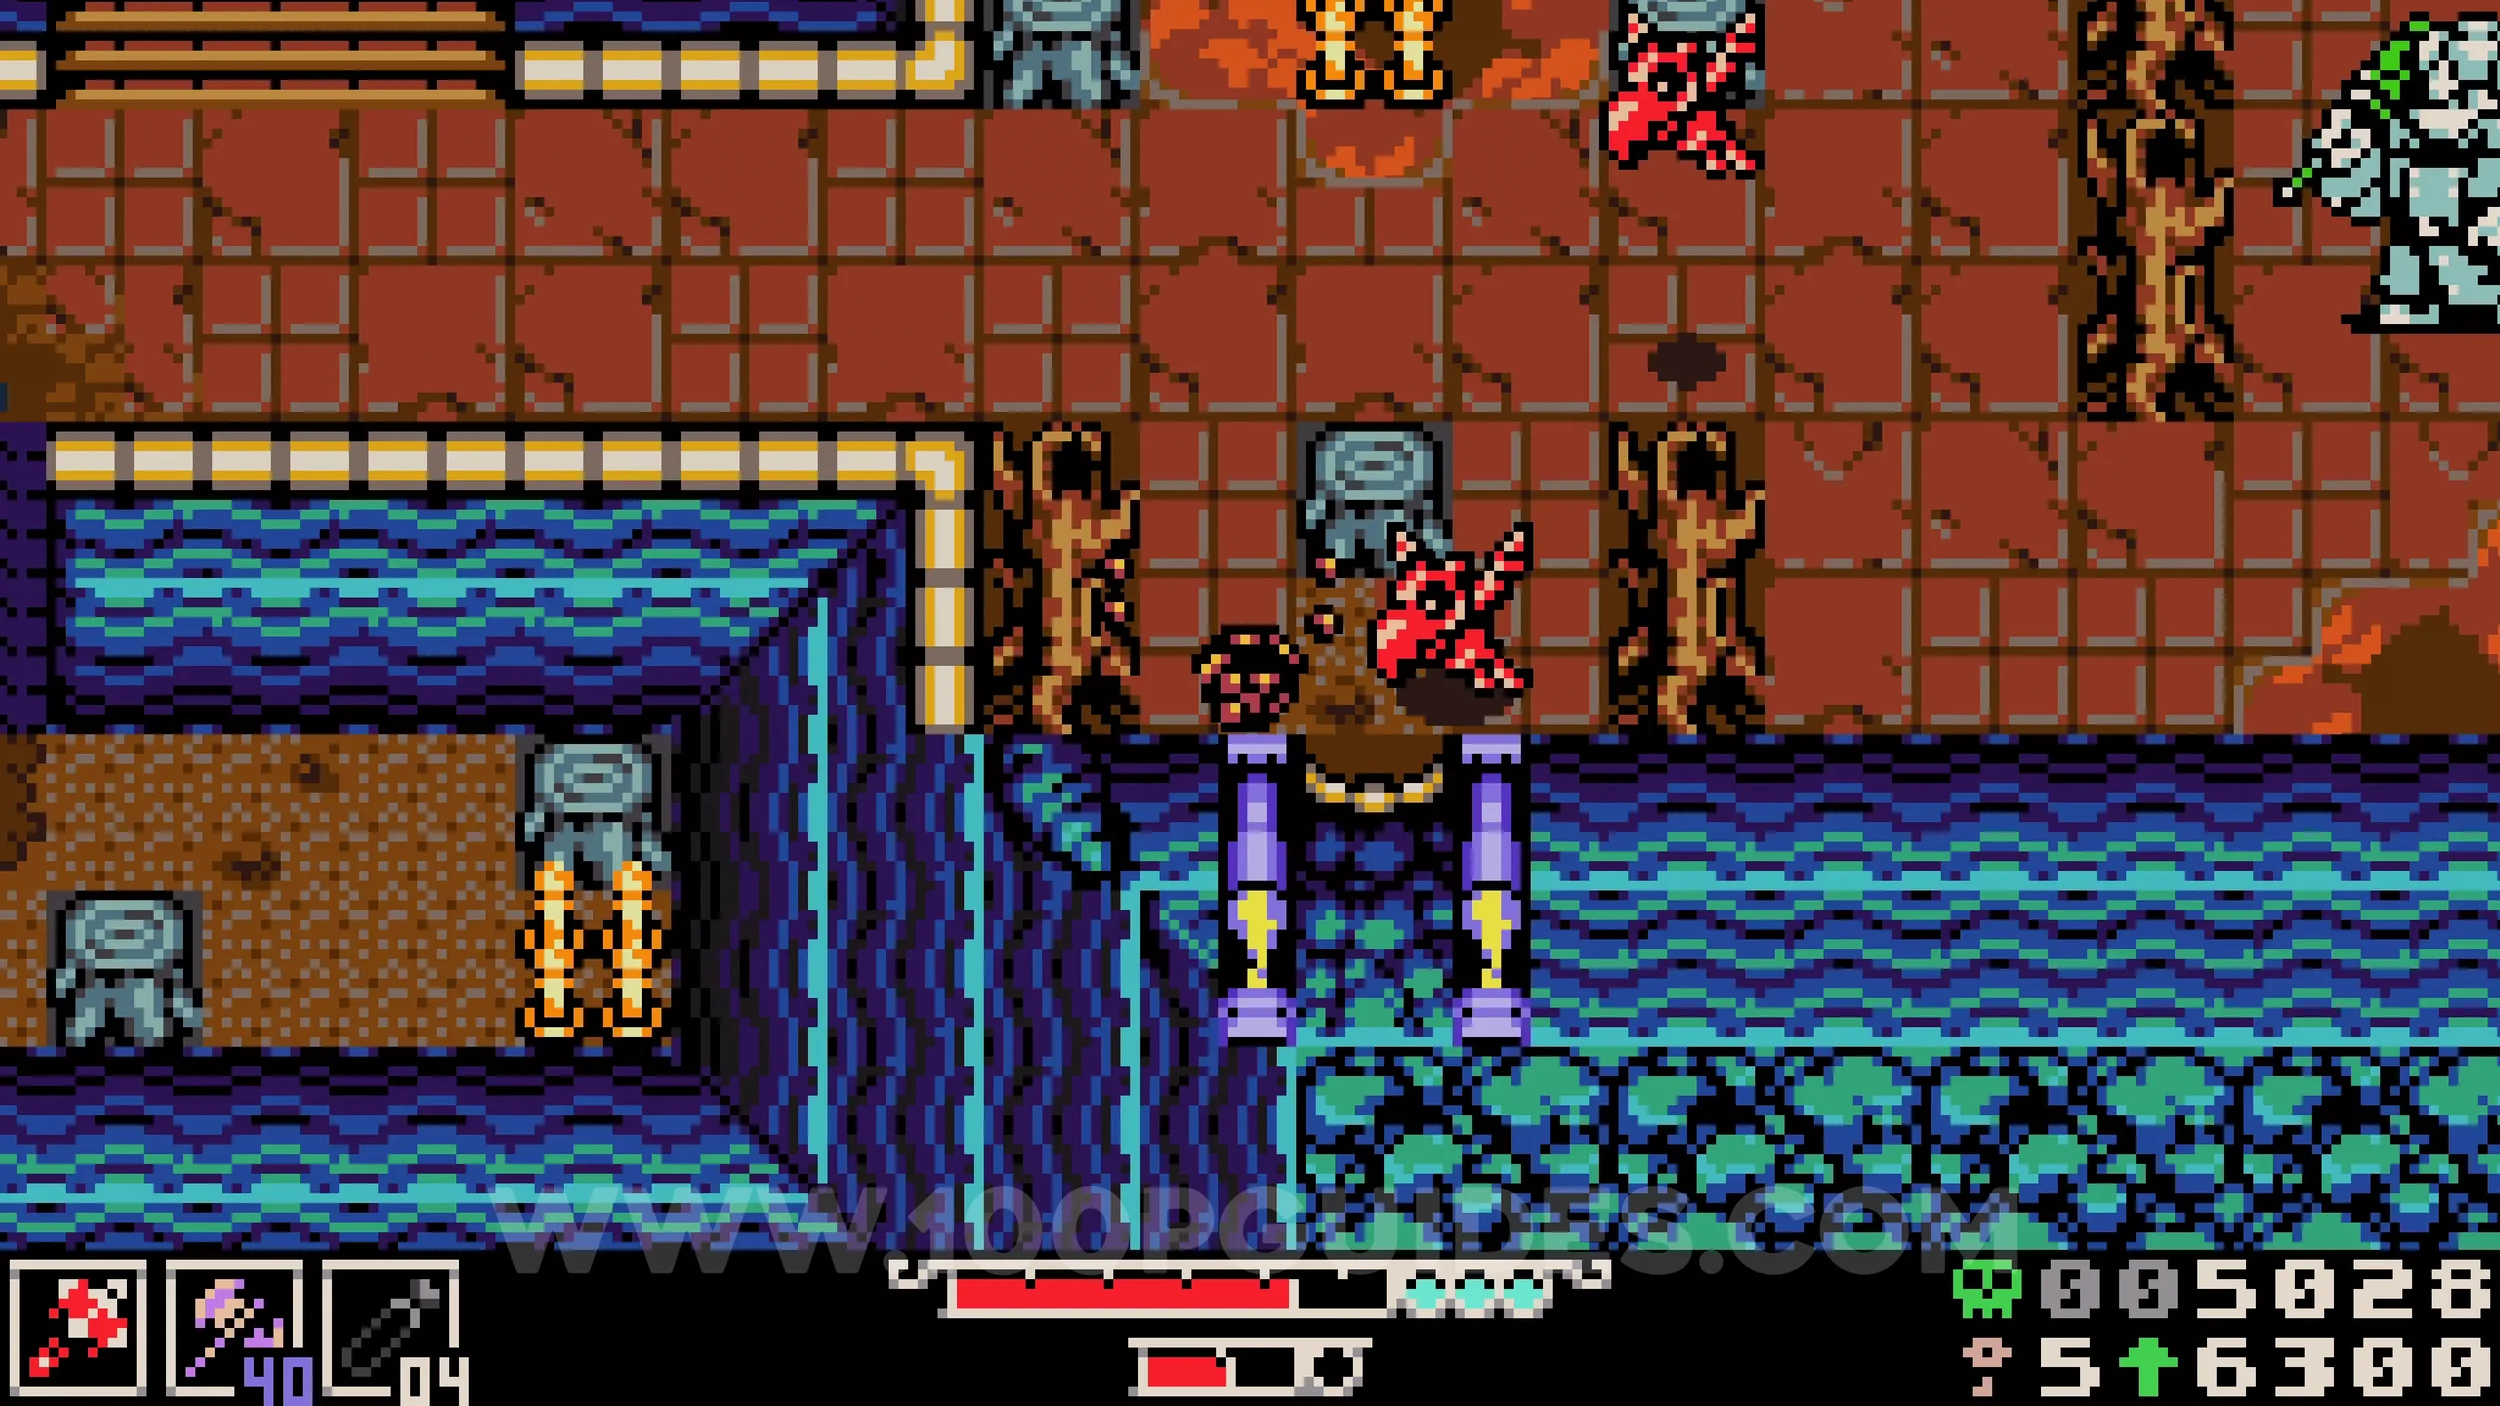
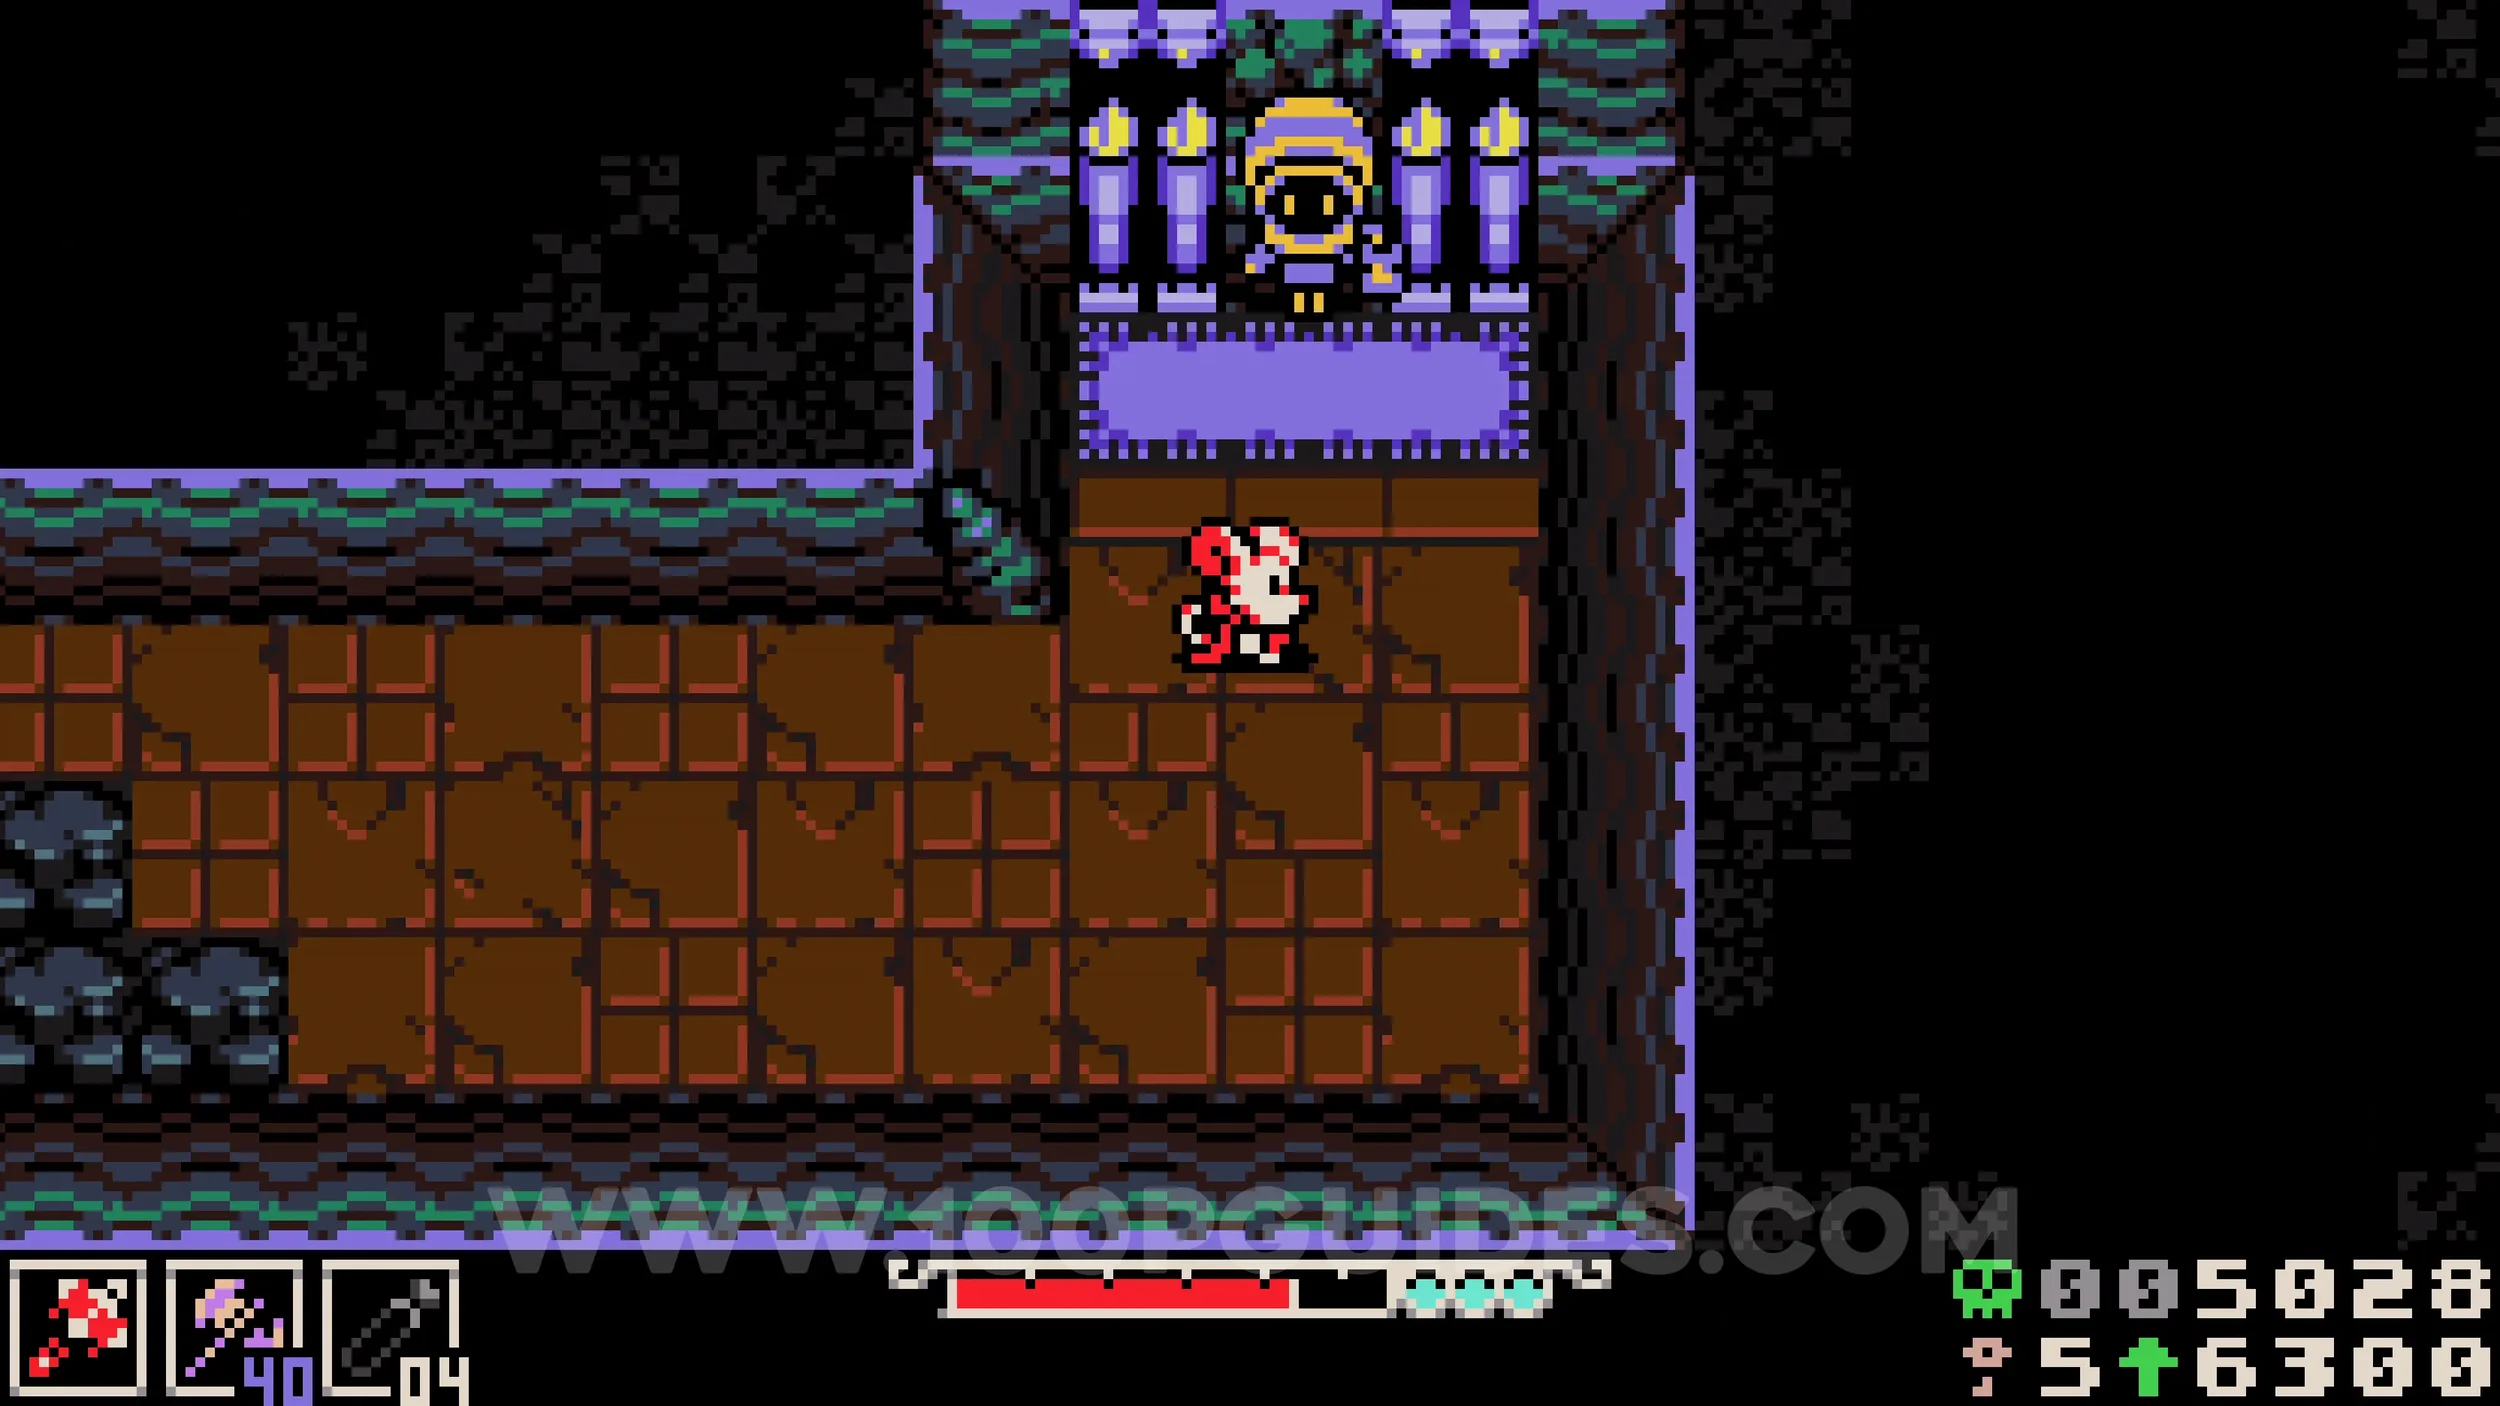
Kear #3. Exit Poppit's cave and continue right into the cave leading to Sandfalls. Just before exiting the other end, cross the invisible platforms over the large pit where you press the final switch to open the final door. Look for a small hole in the bottom left corner and go through it to find the collectible.
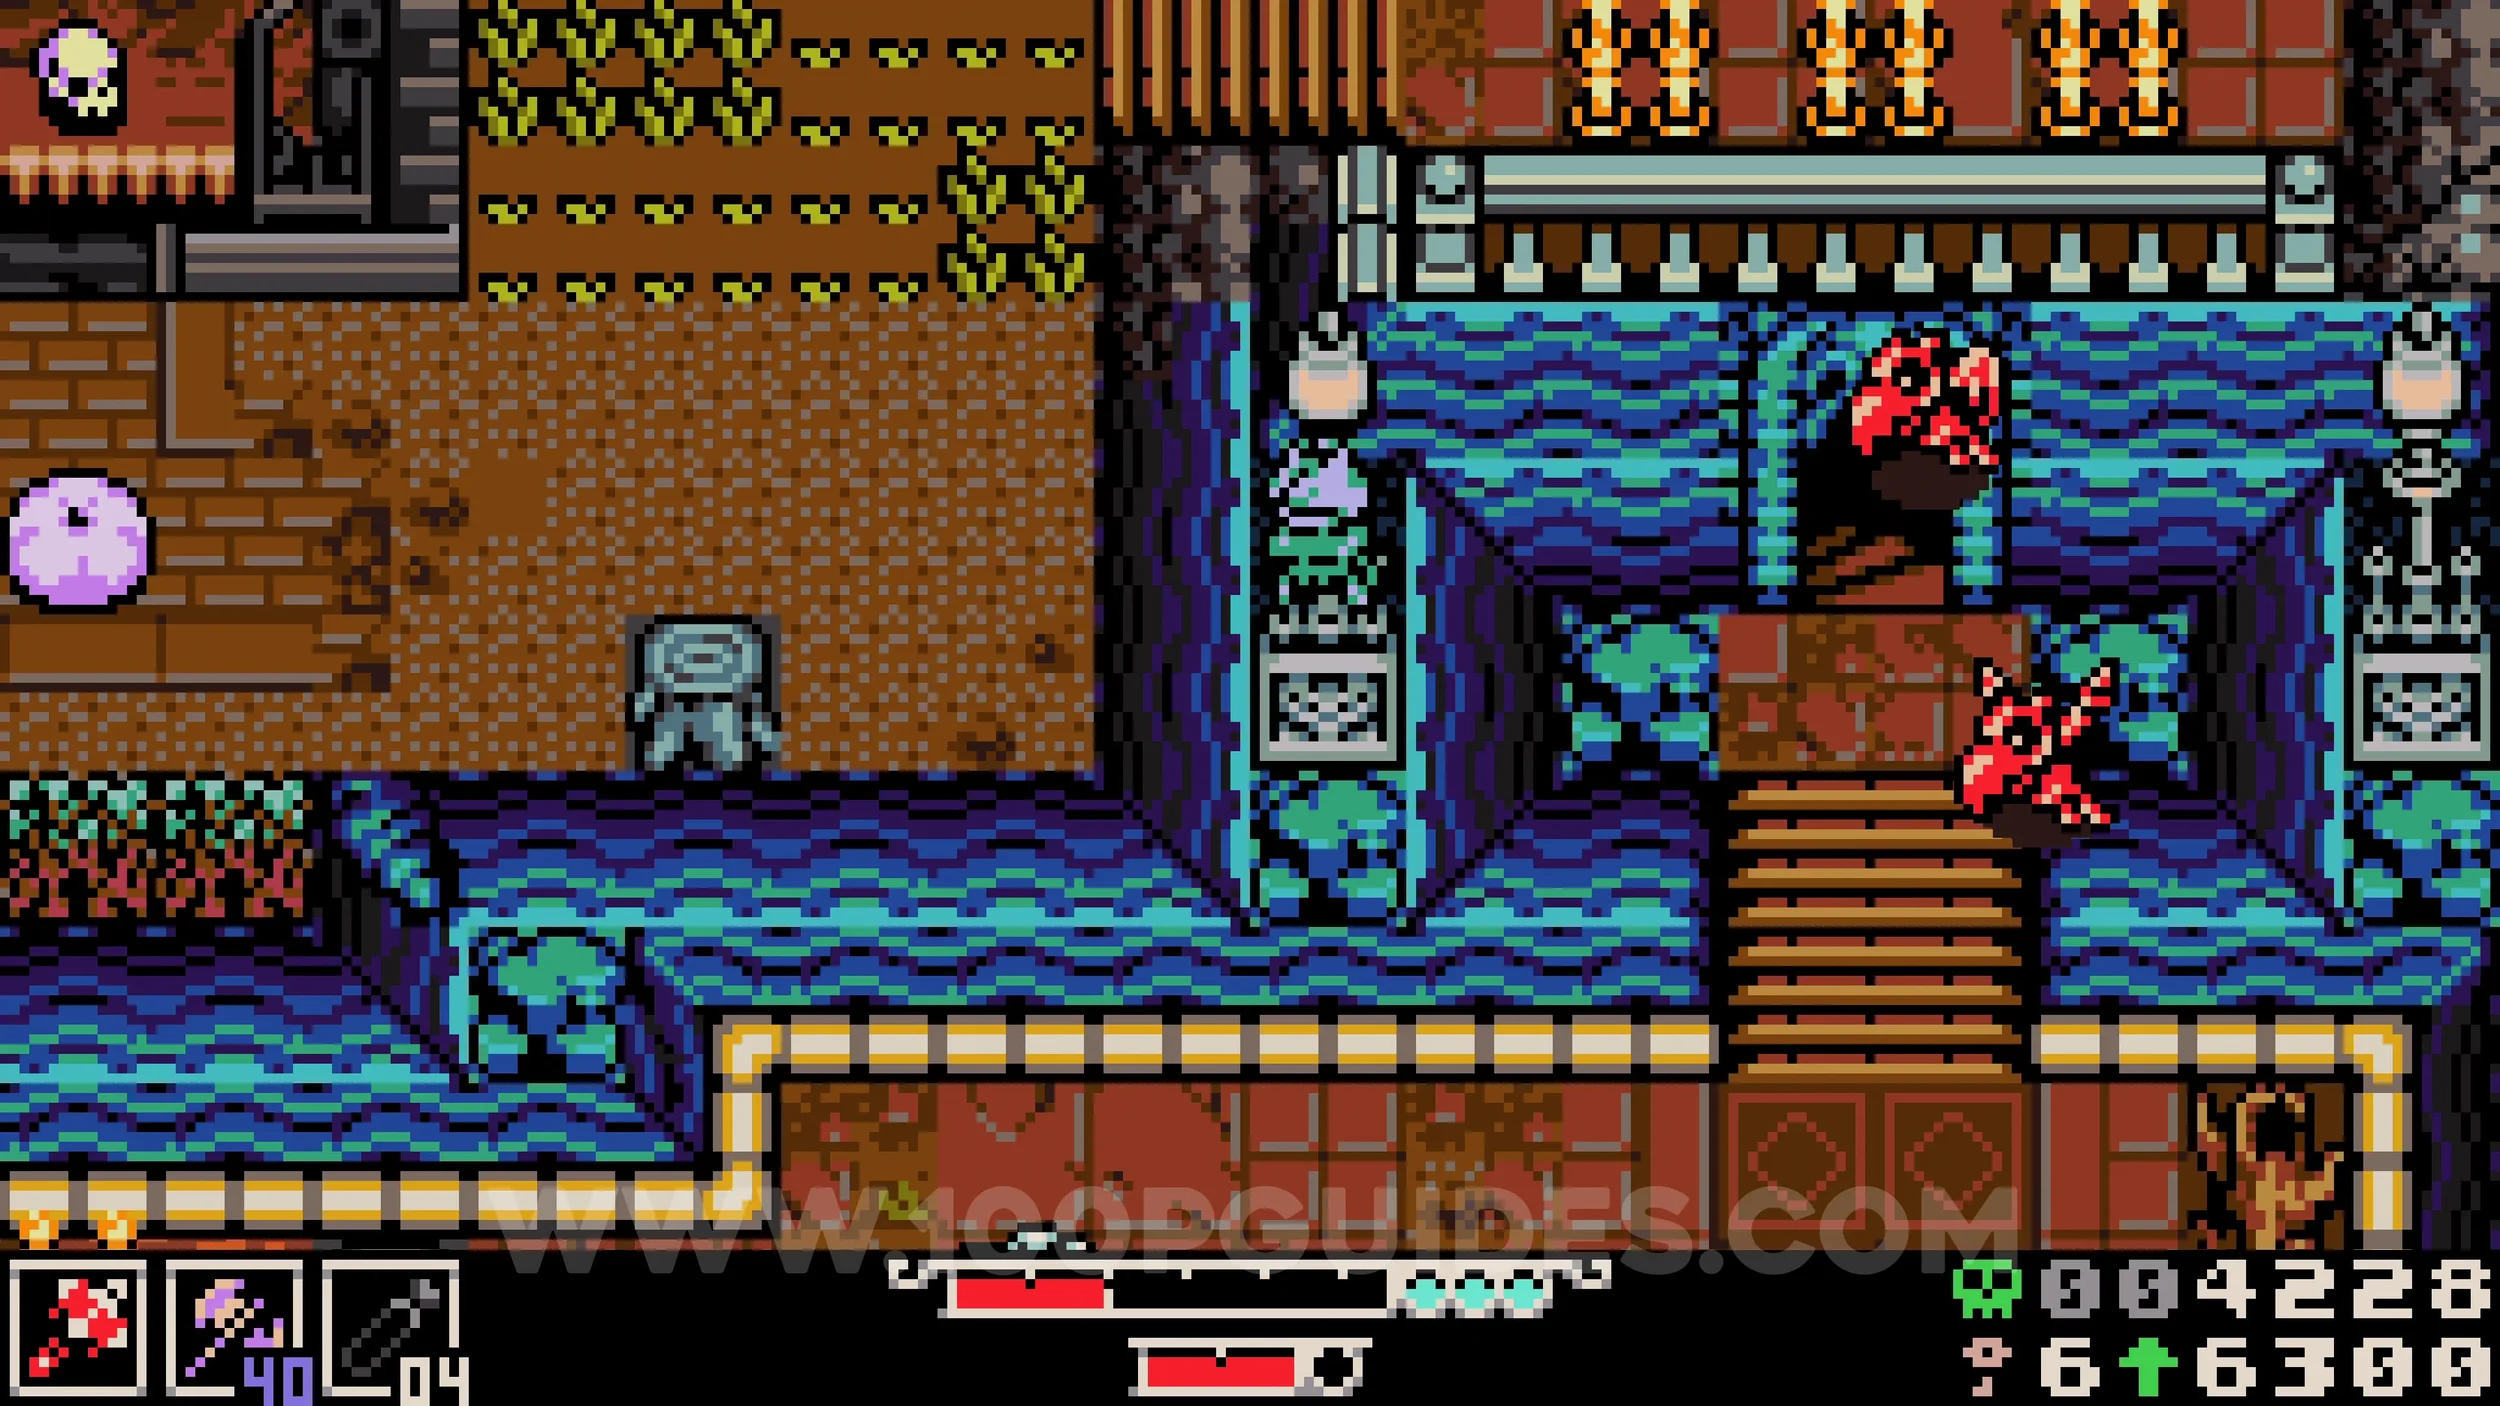
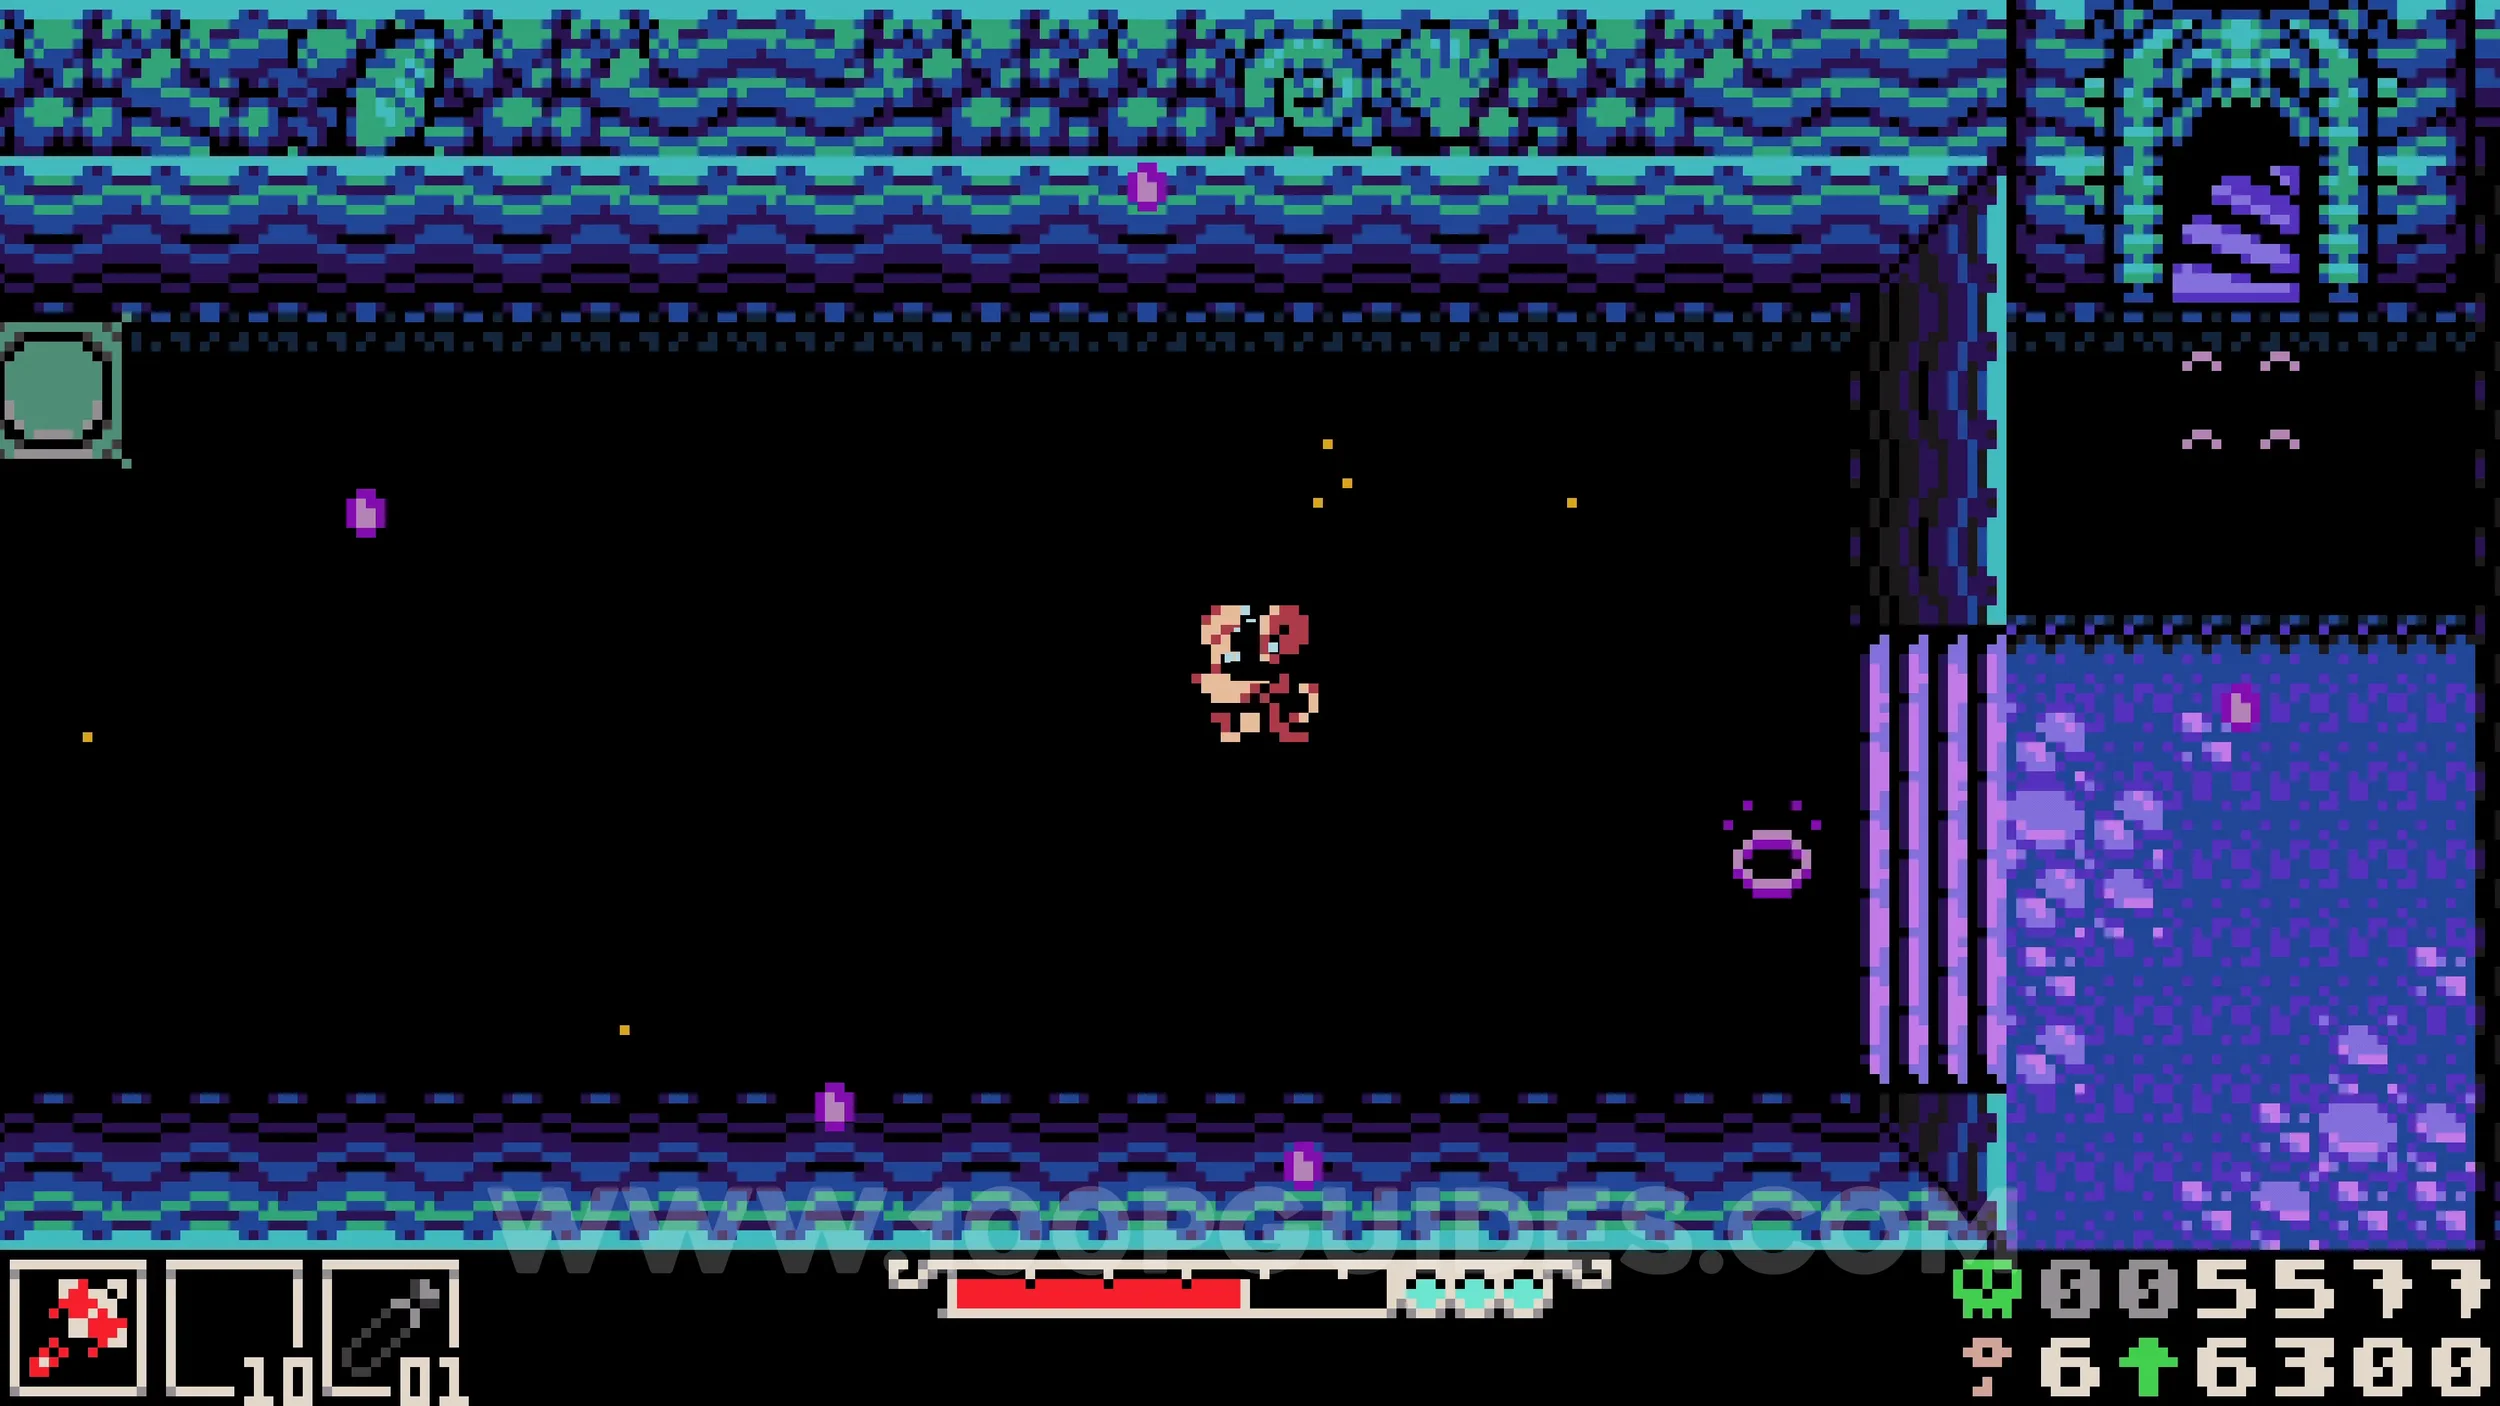
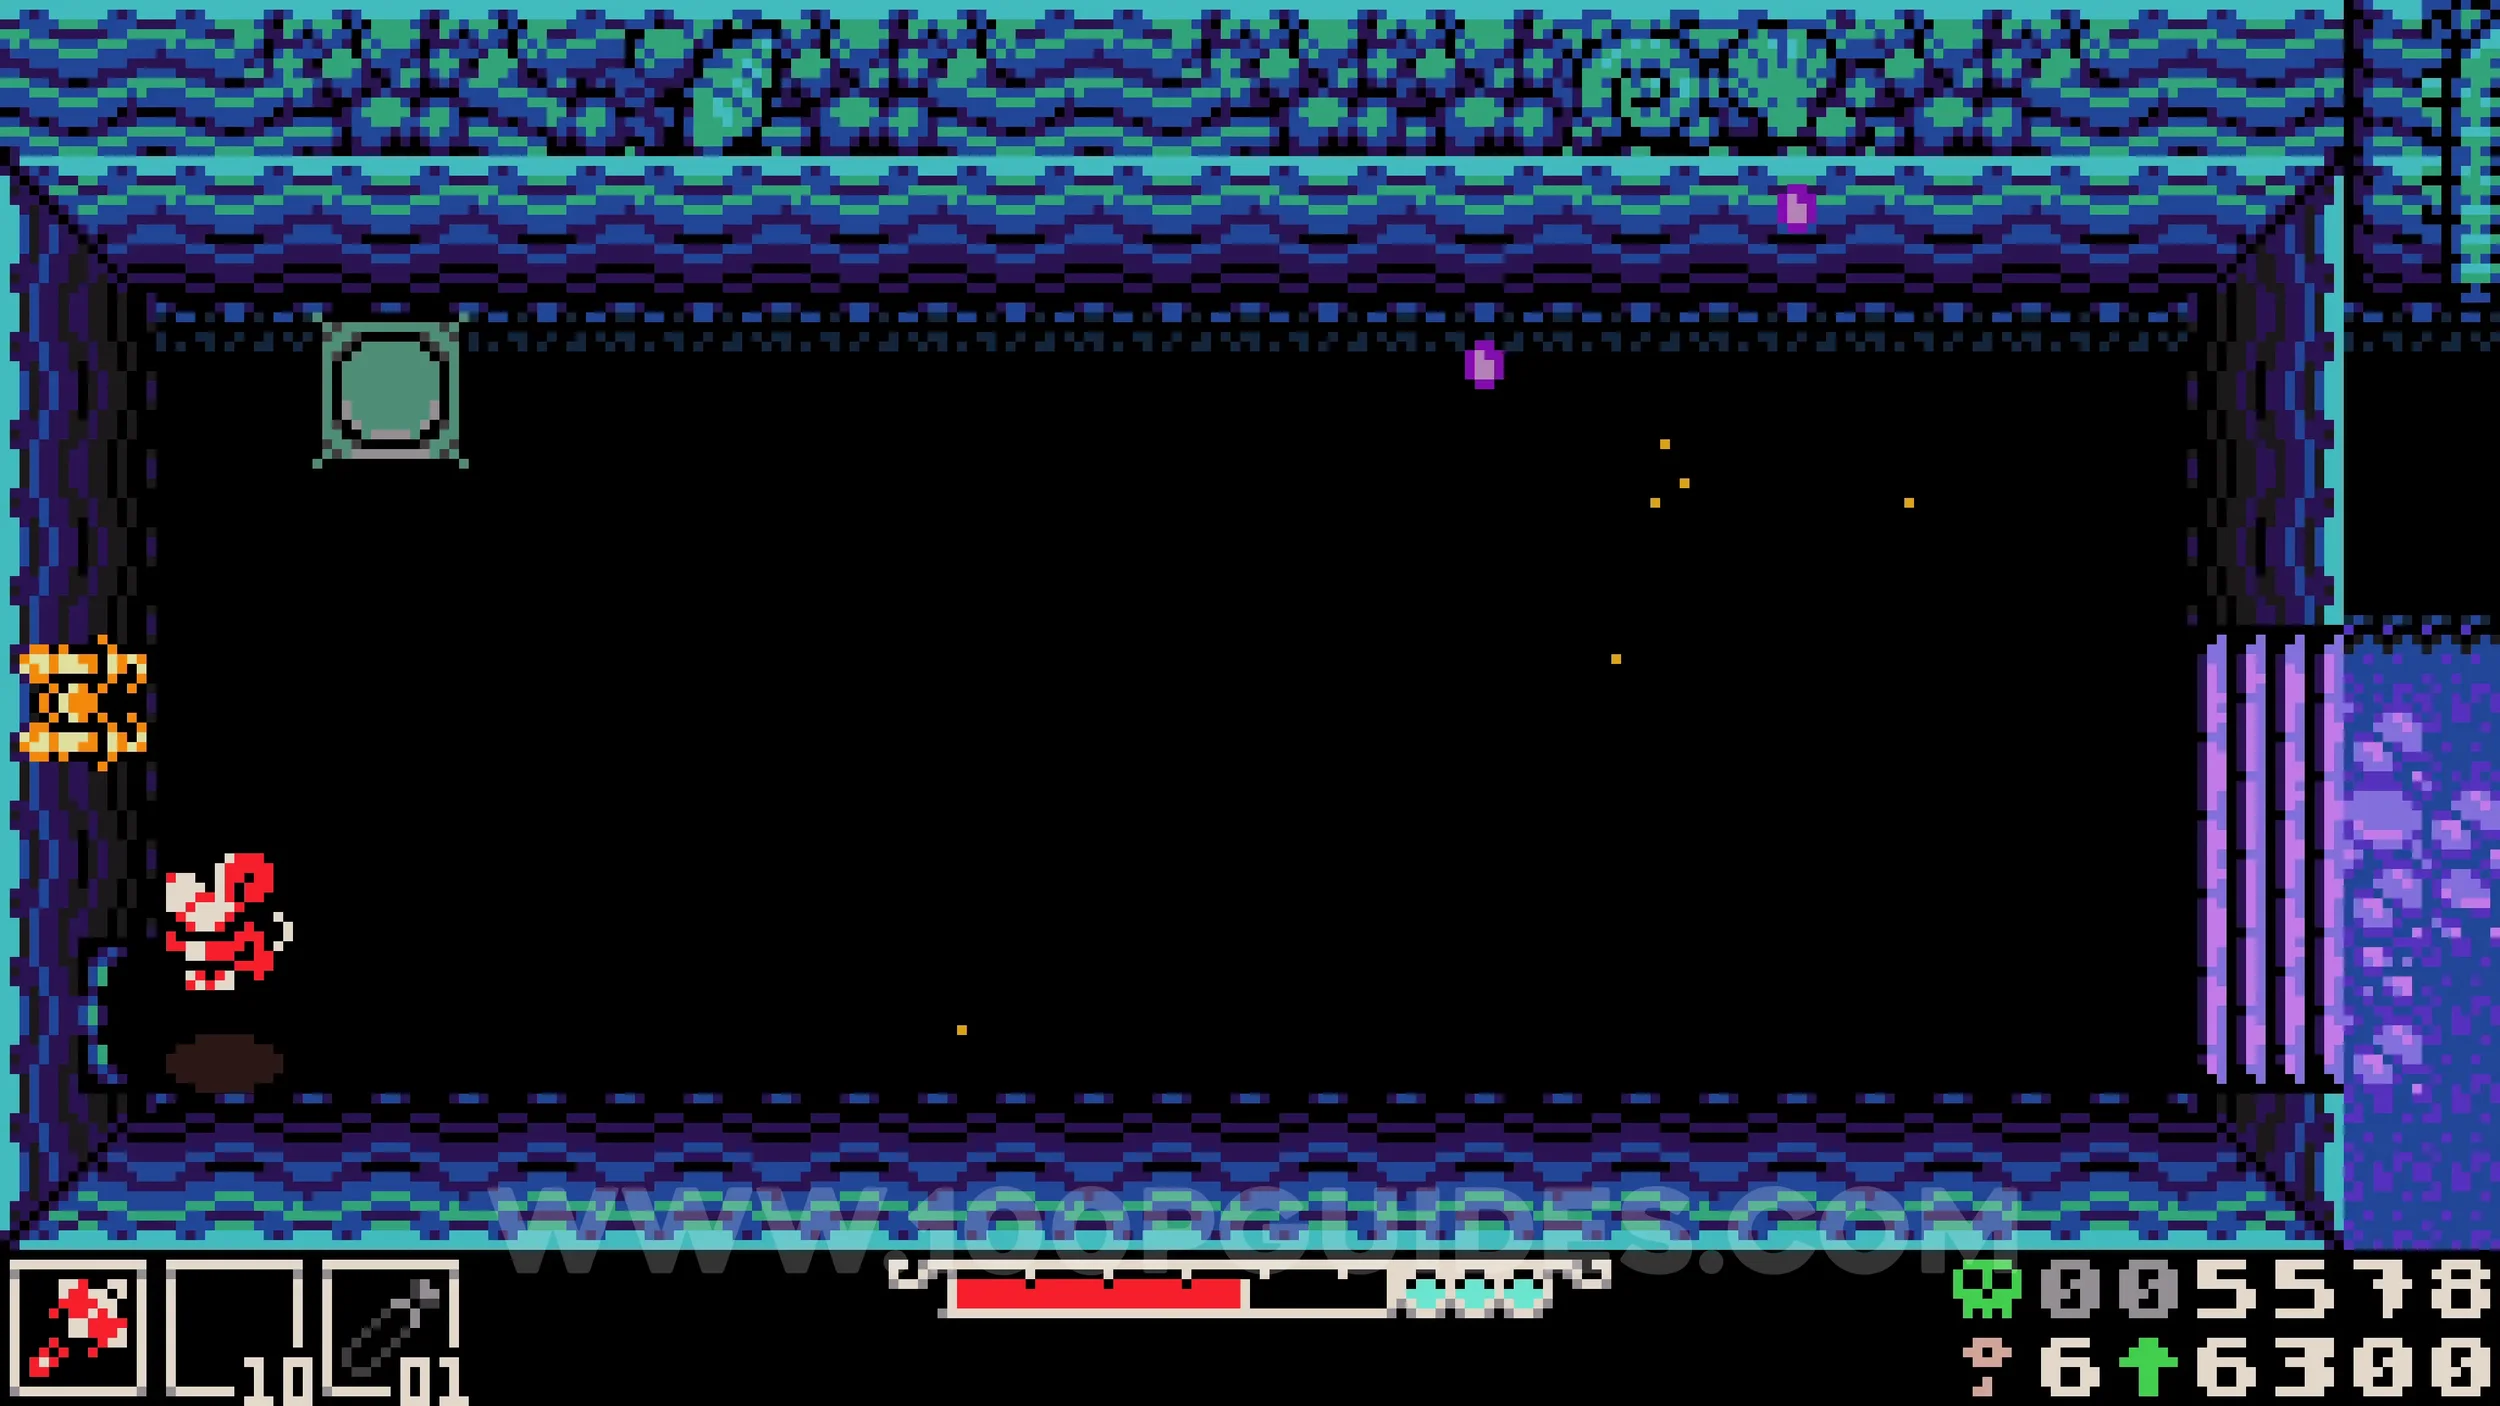
Bonestone #4. Exit the cave to reach Sandfalls. As soon as you do, look for a breakable wall to your left. Destroy it and continue along the path to find a chest on the other side of some tree trunks. Use the moving bouncy pads to reach it.
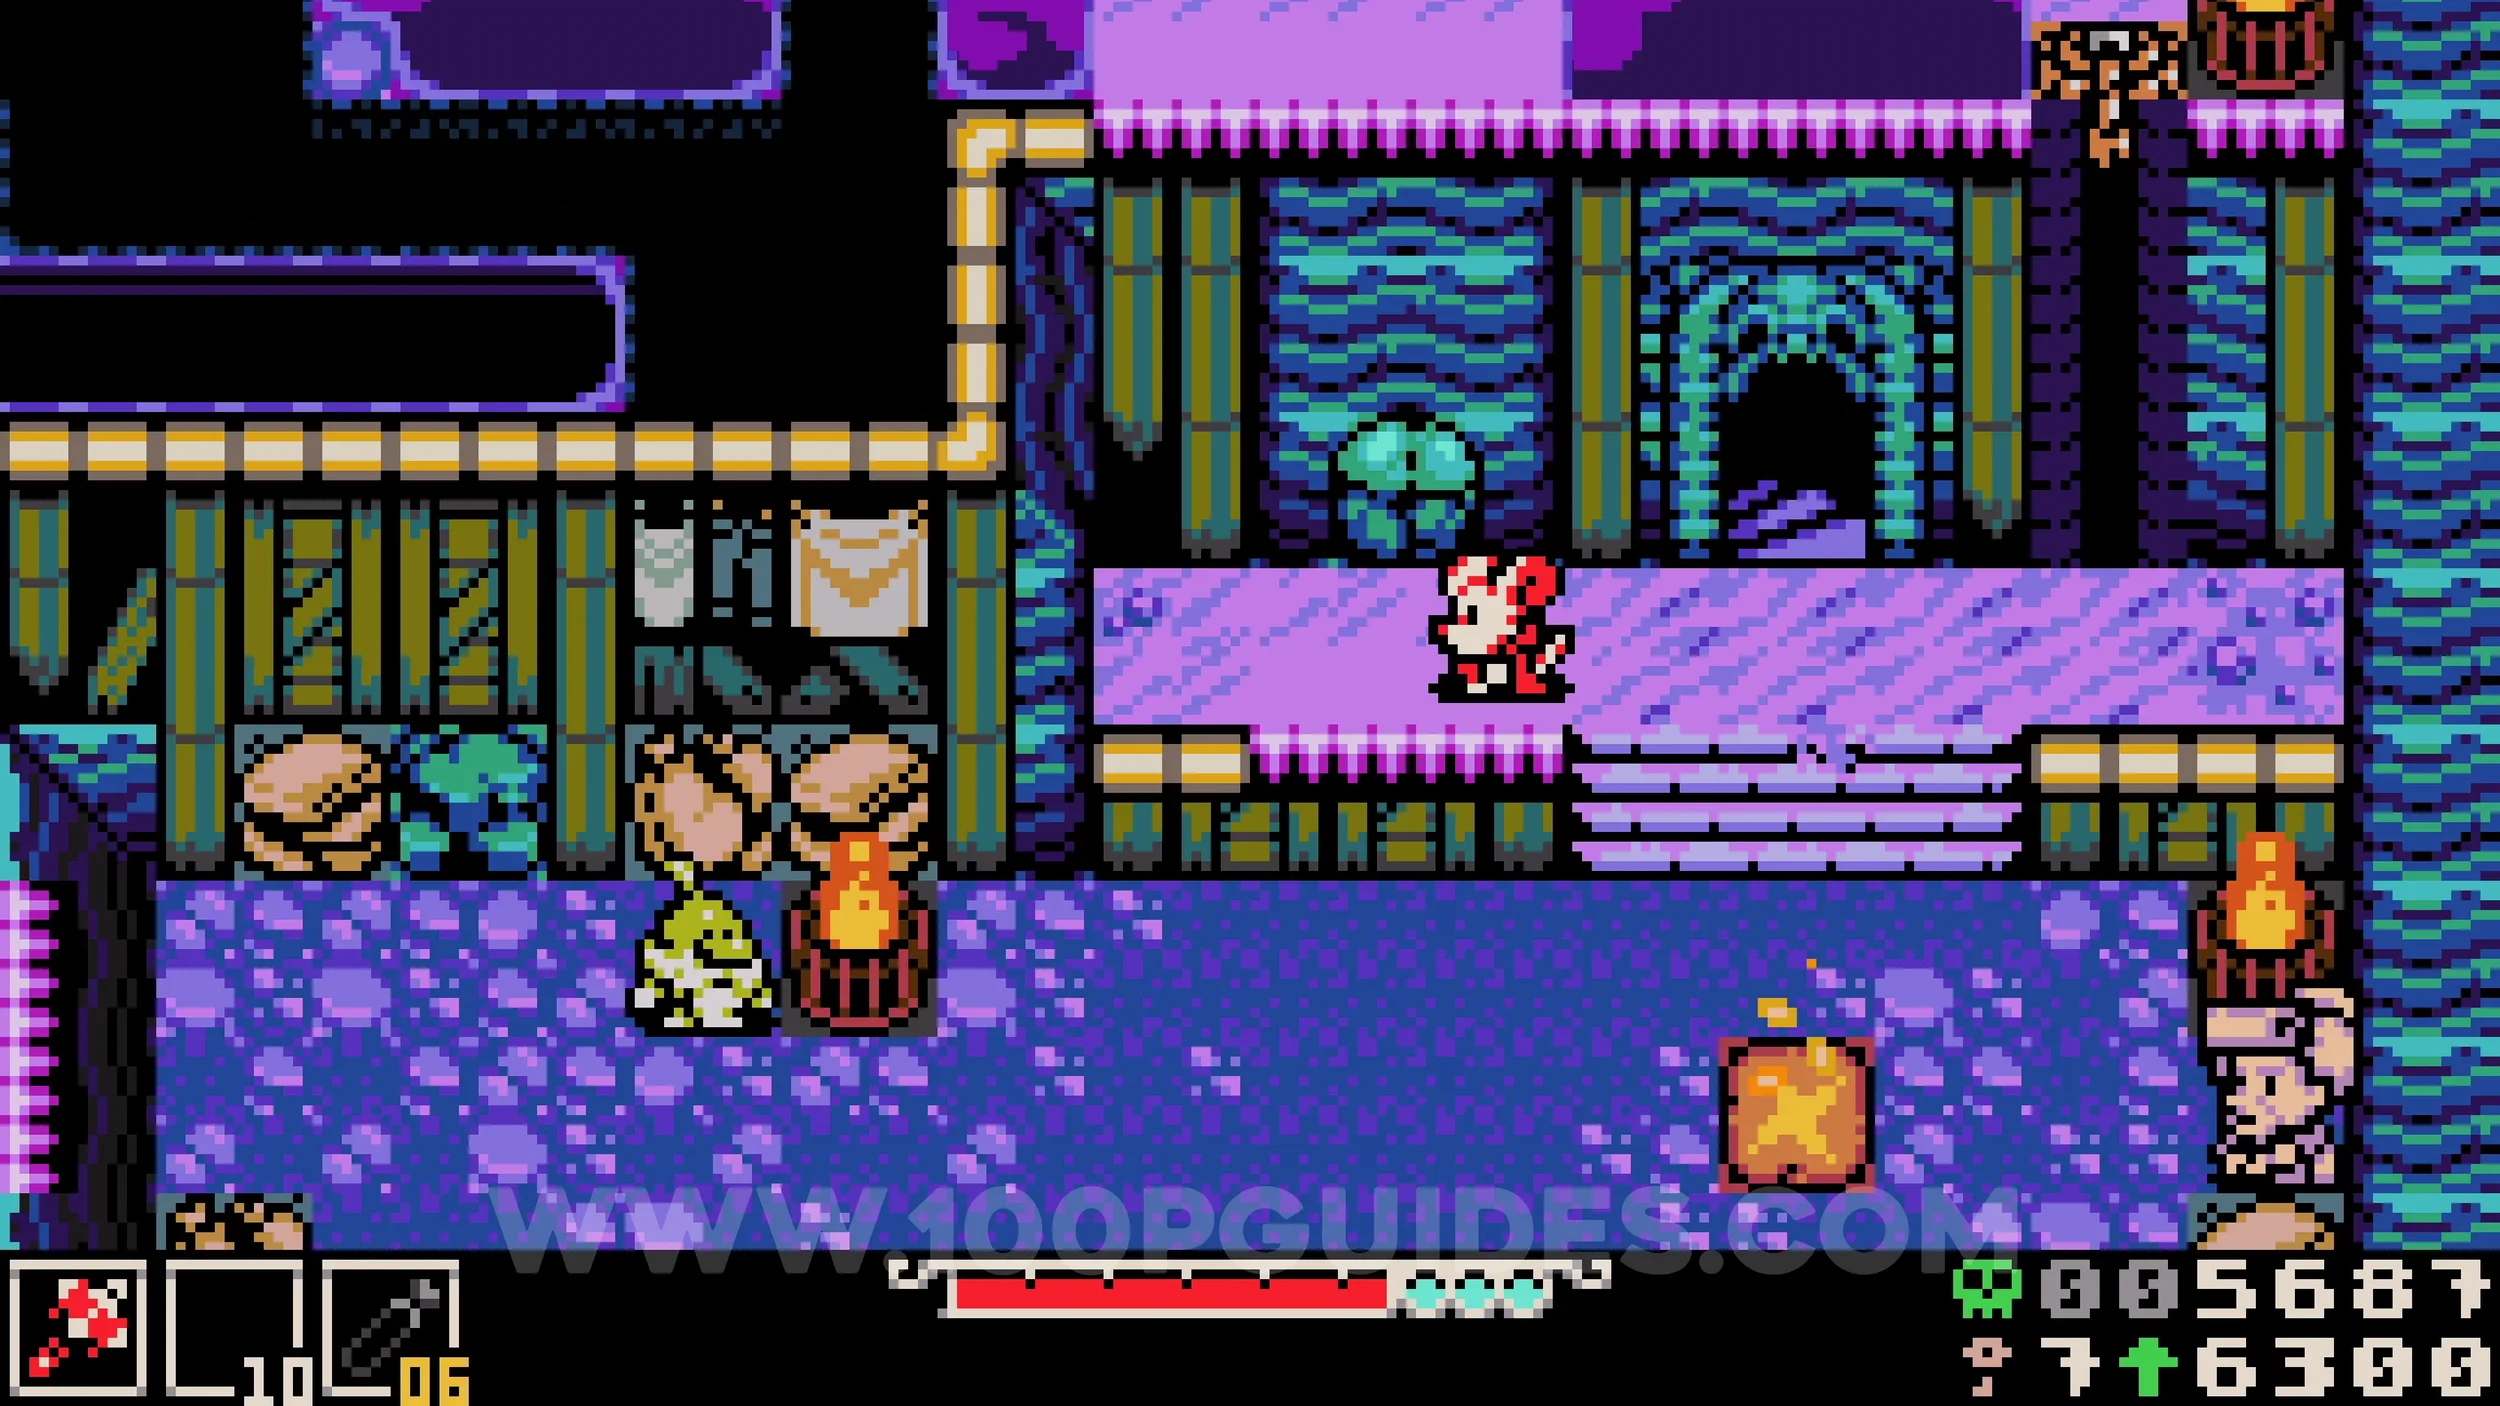
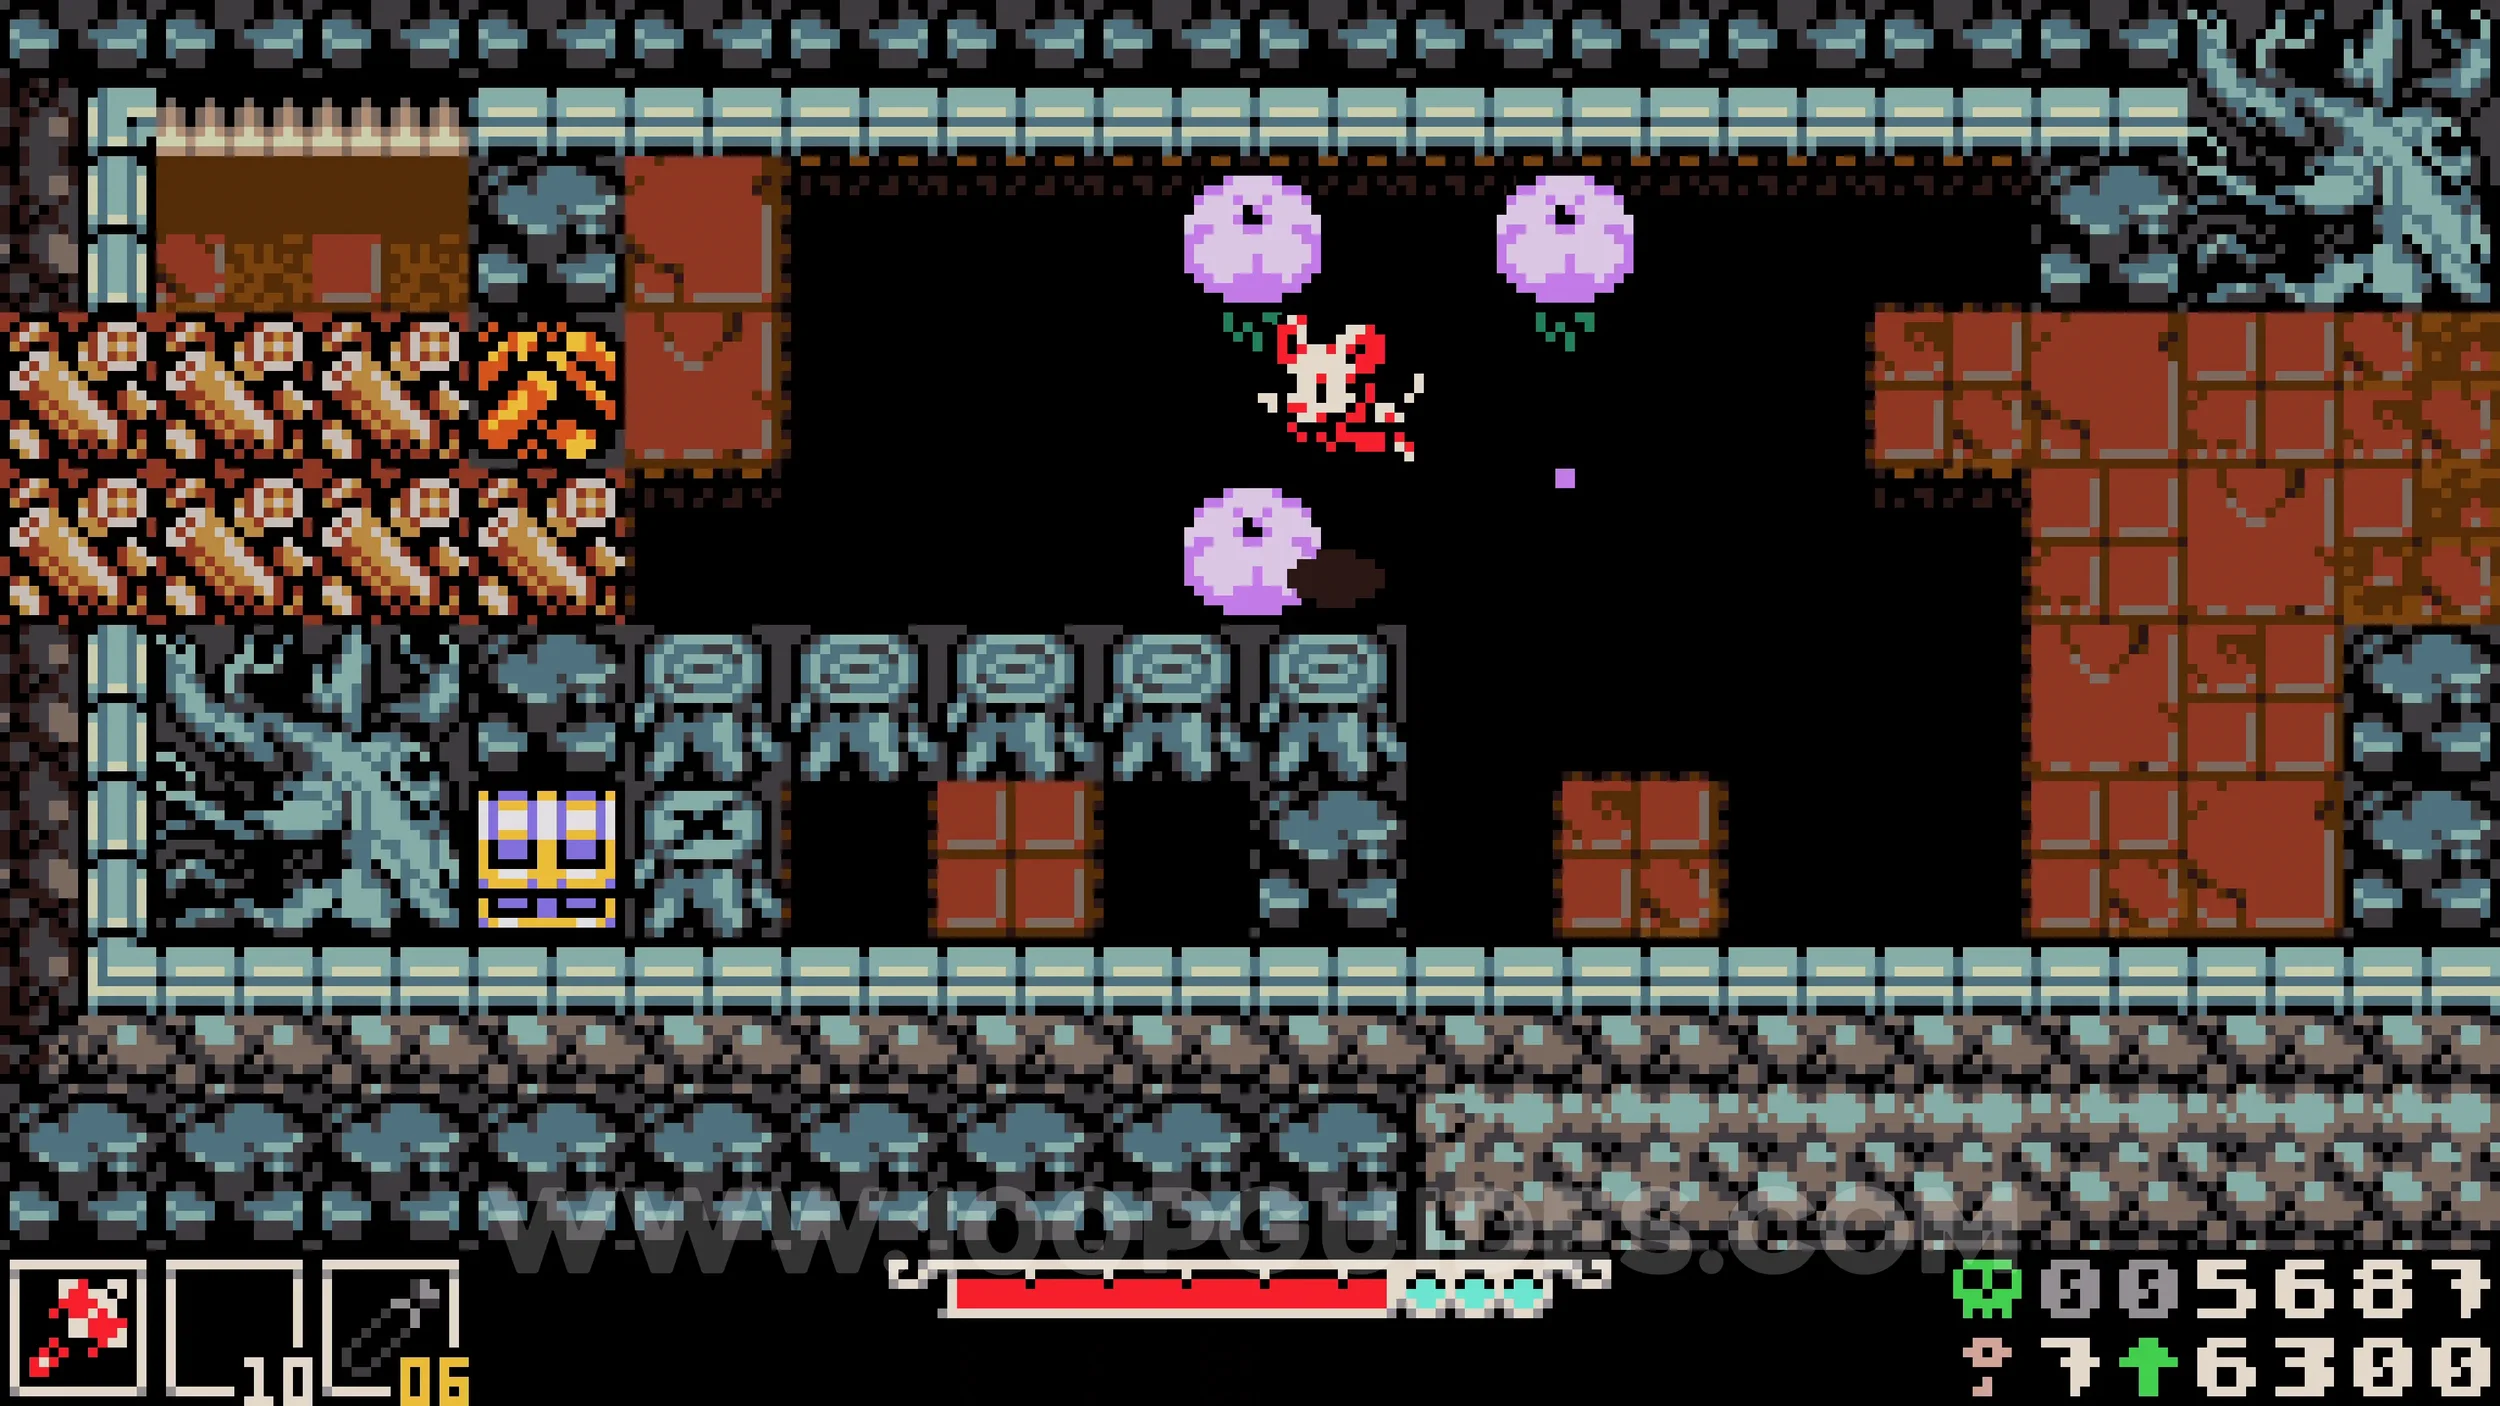
Lock #2. From the southern exit of Ossex, head straight down until you find the lock on your left at the very bottom.
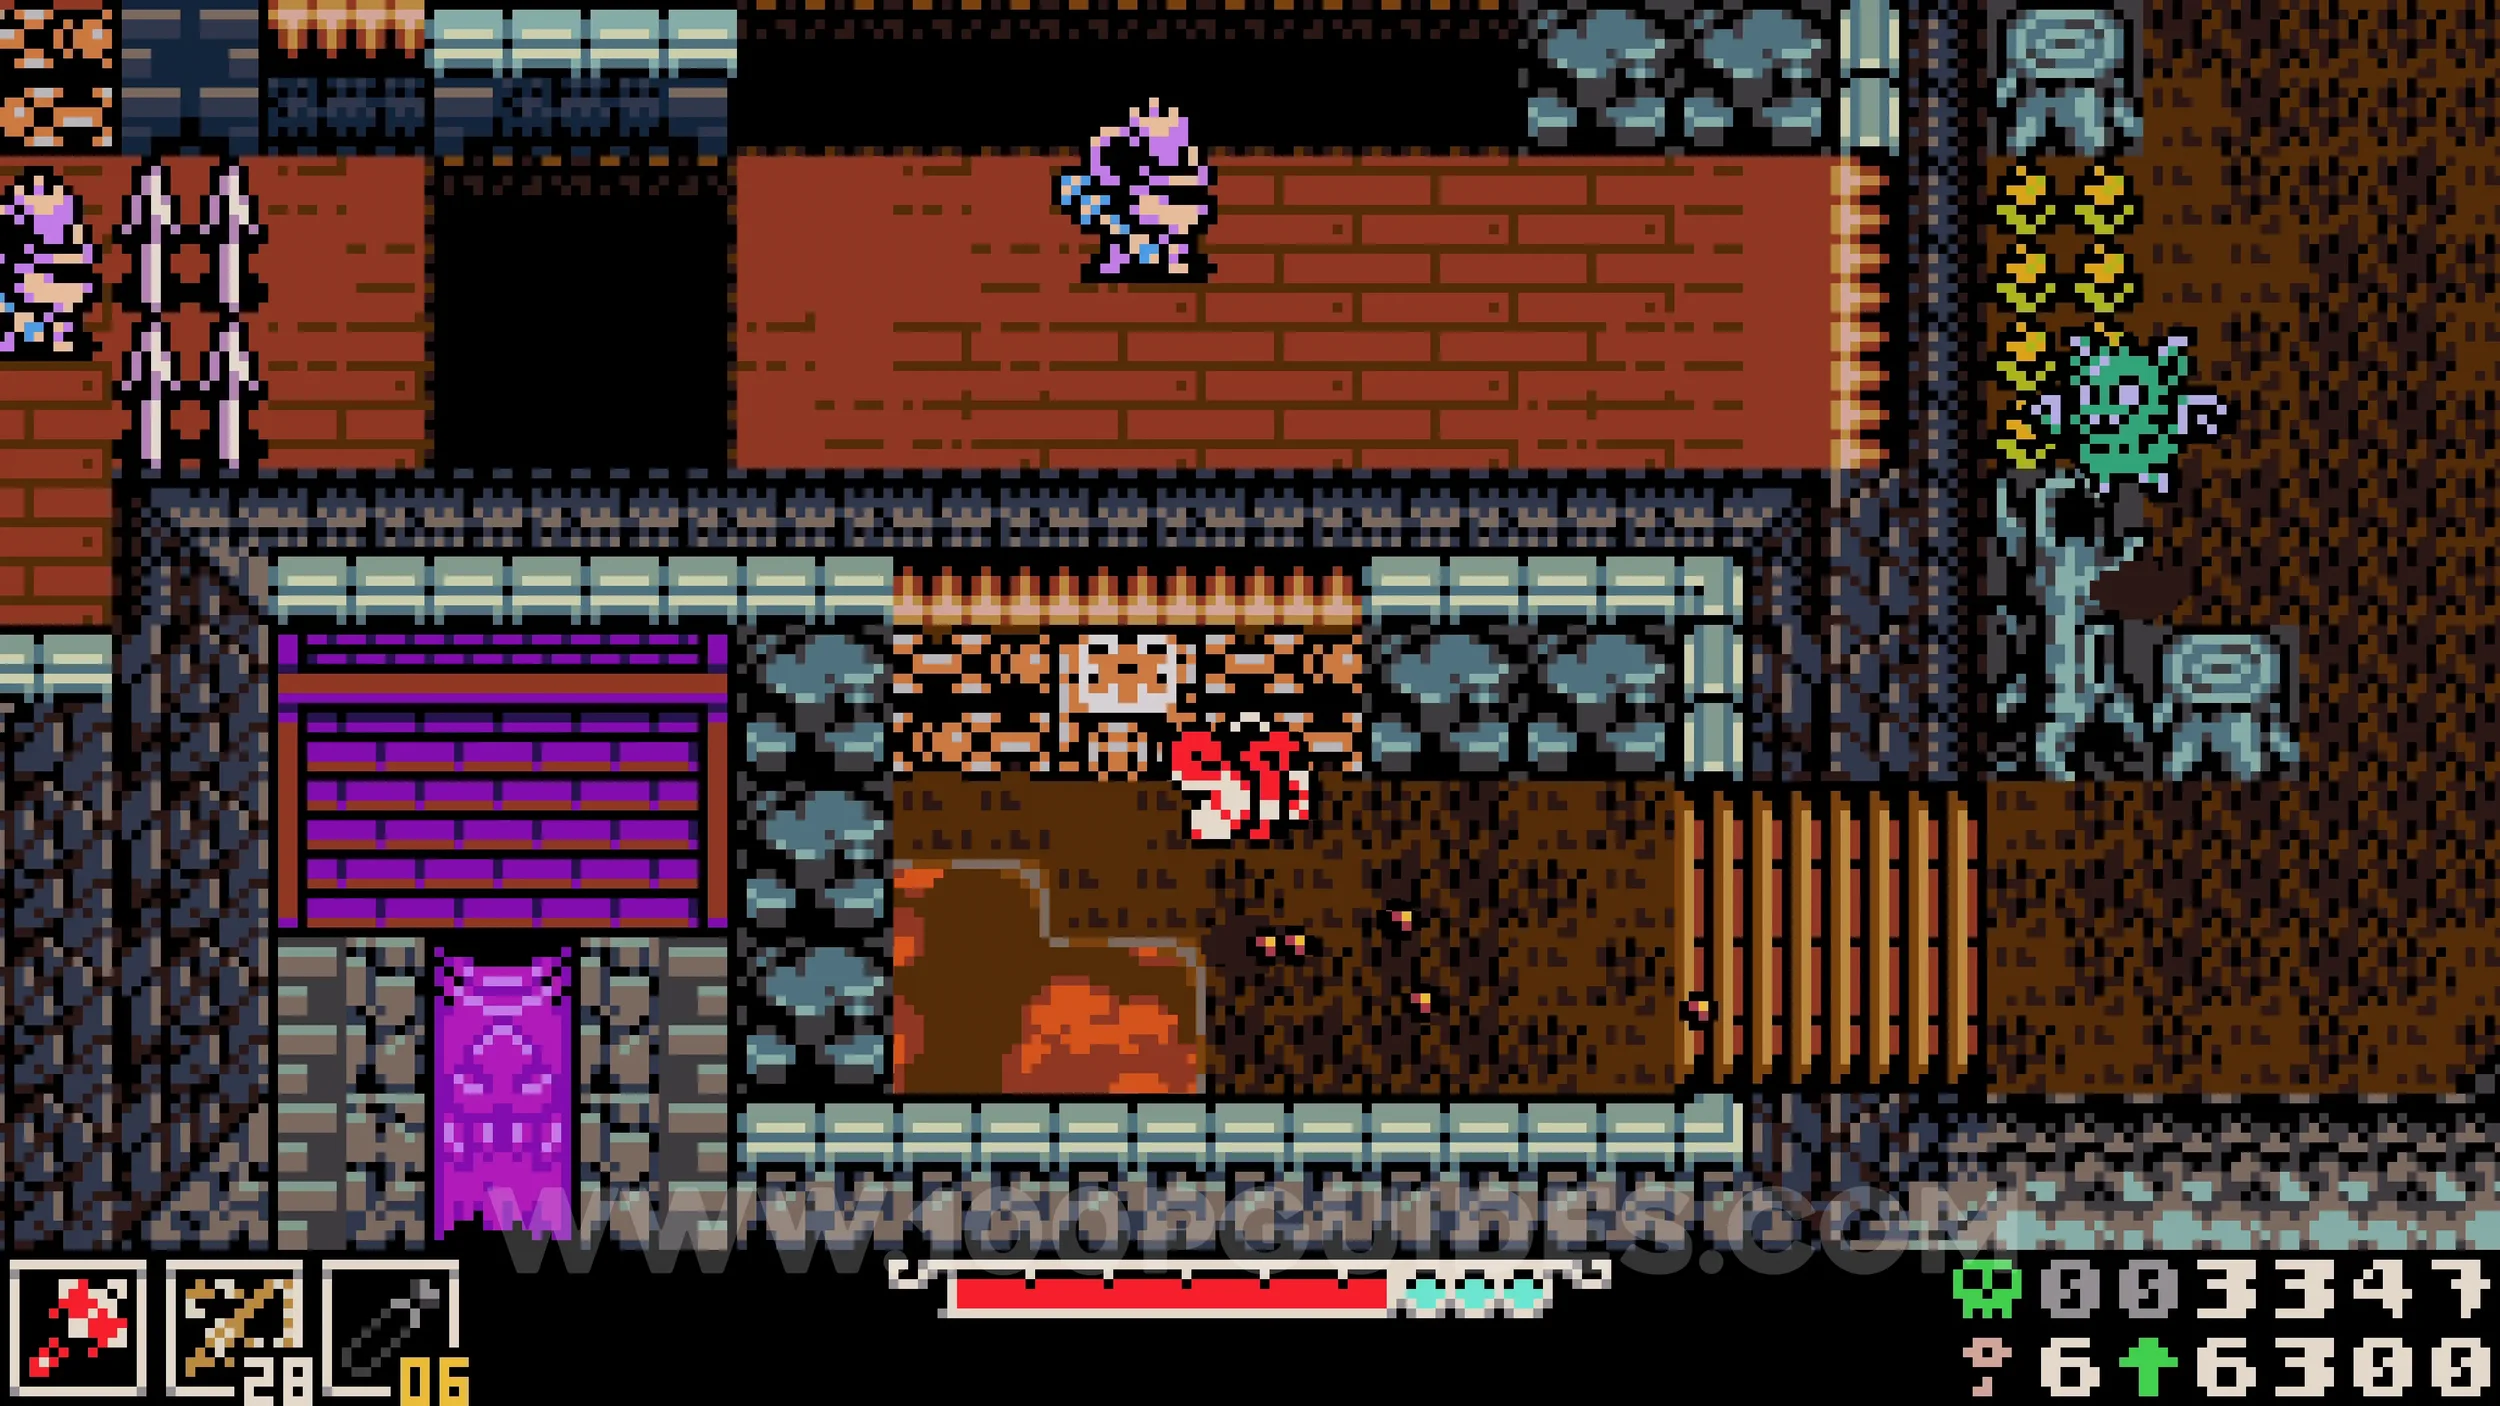
Bonestone #5. From the southern exit of Ossex, head down and take the second left. Go all the way to the end and use a sidearm such as the Drill Driver to dash across the gaps below you. Burrow under the sparkly spot at the end to reveal the bonestone.
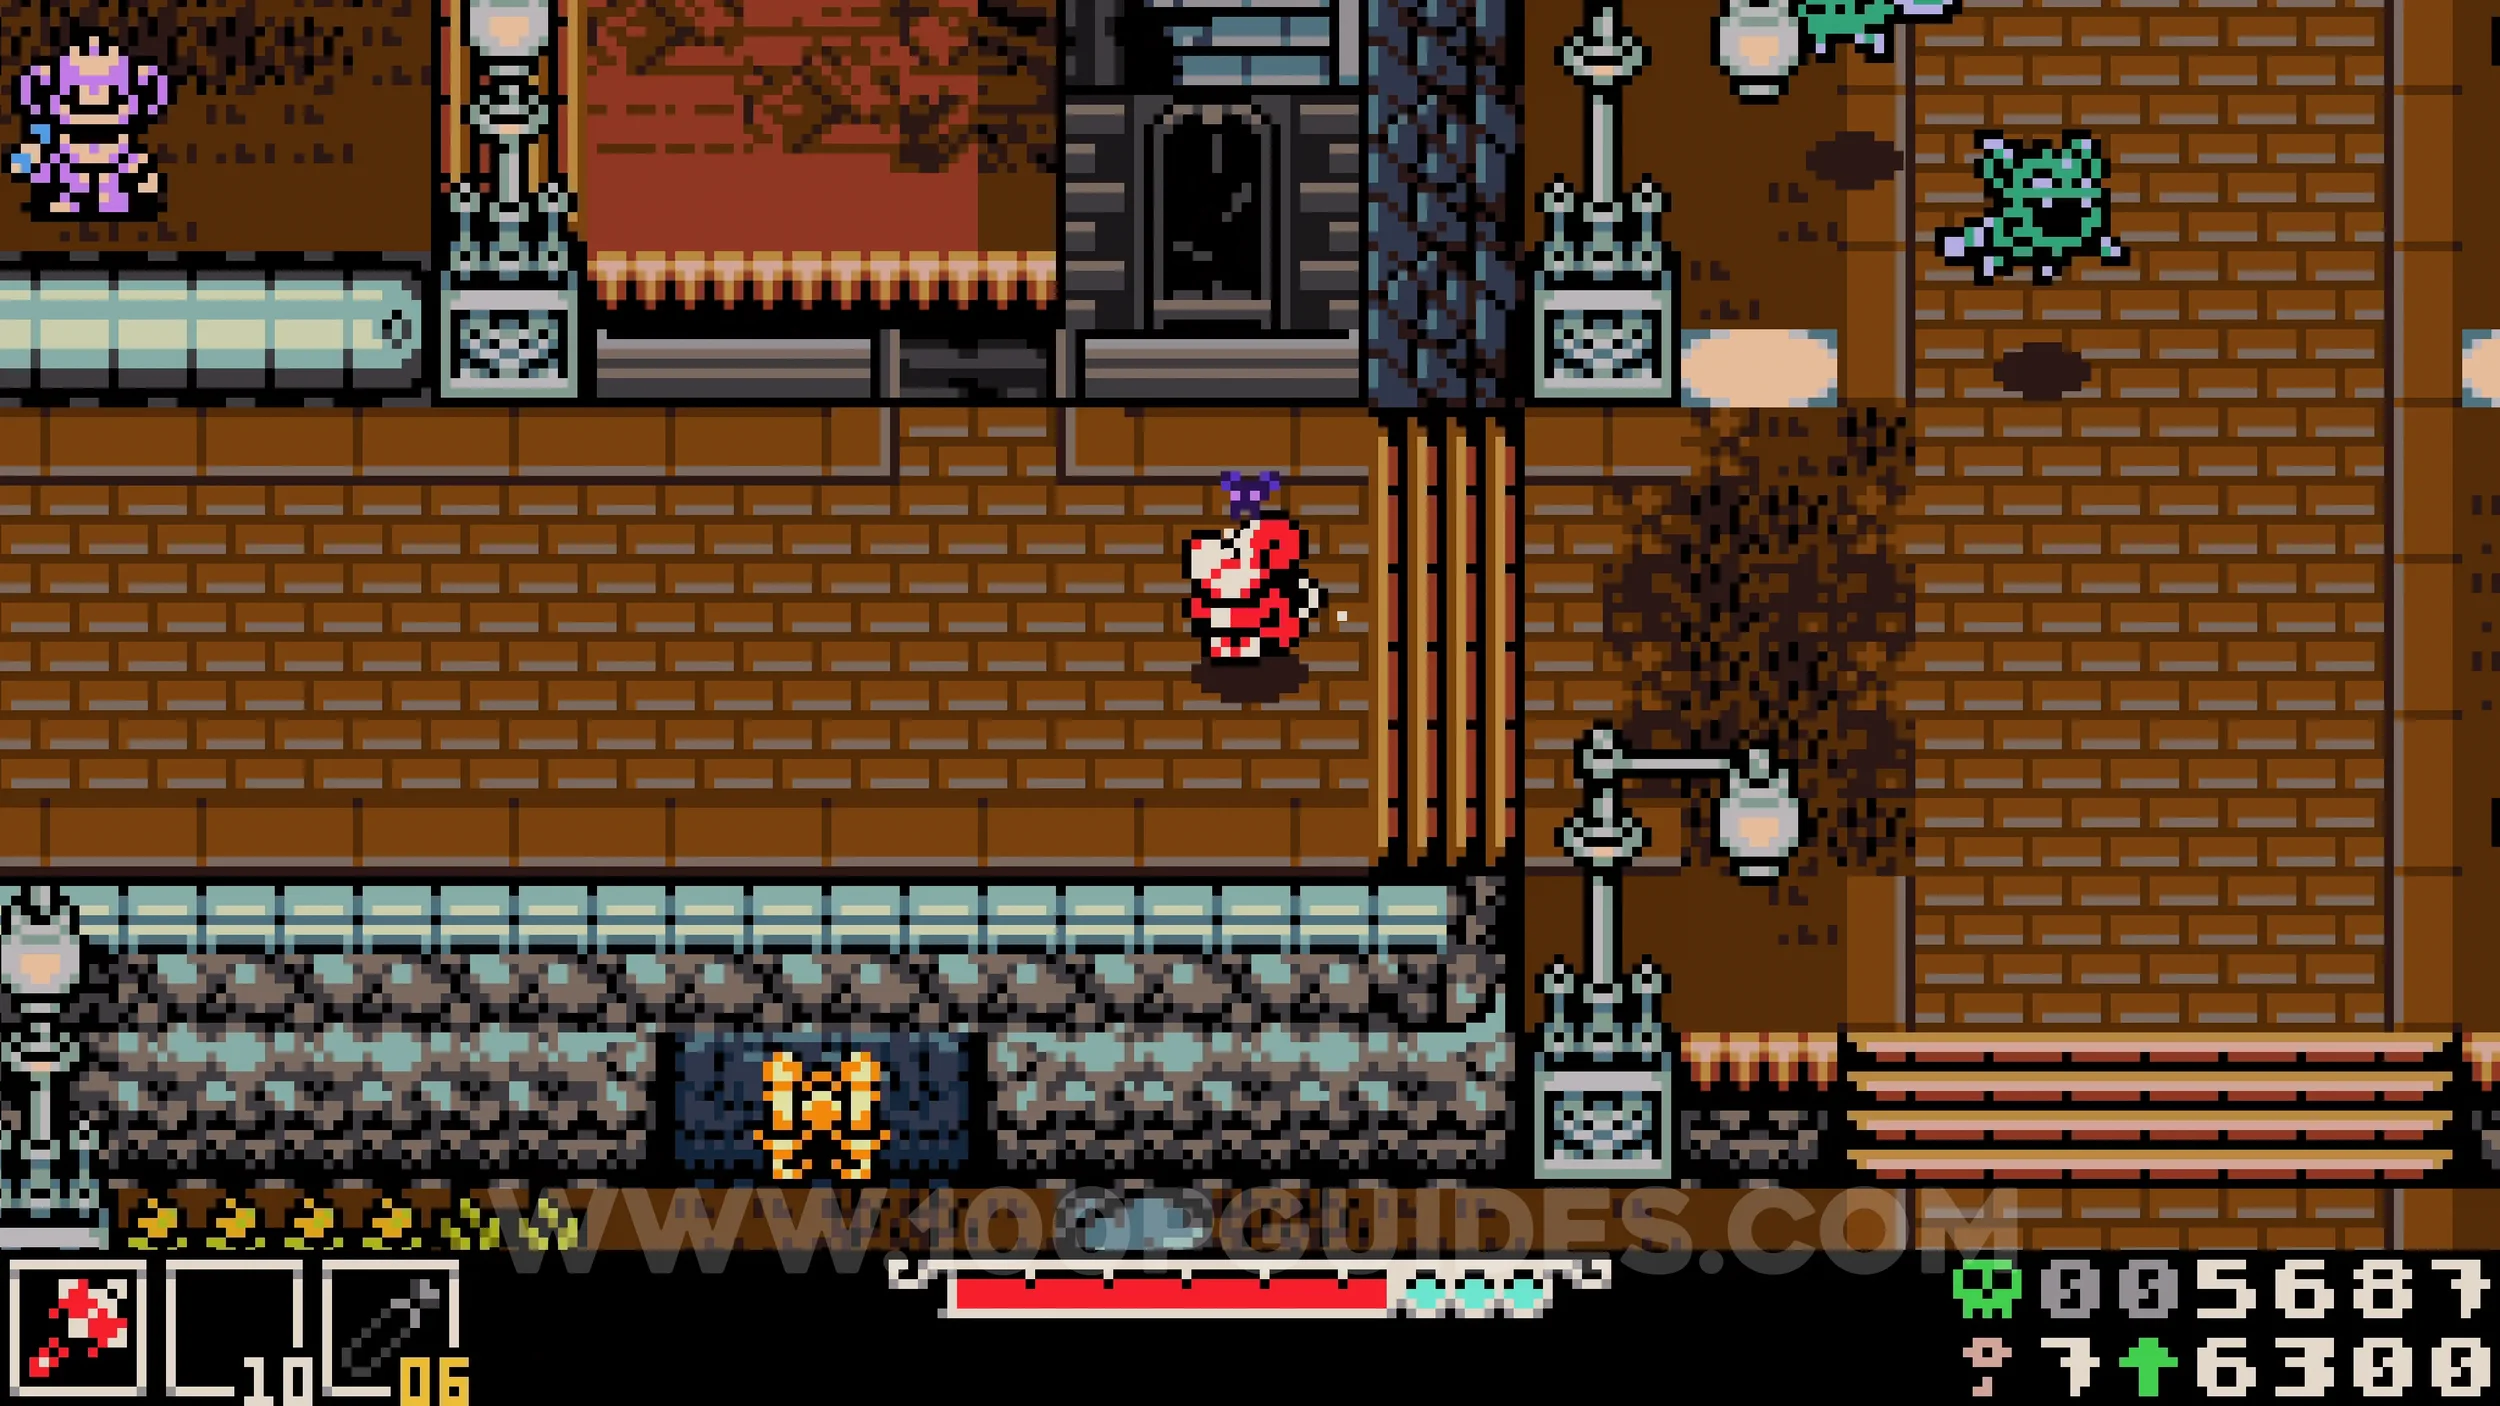
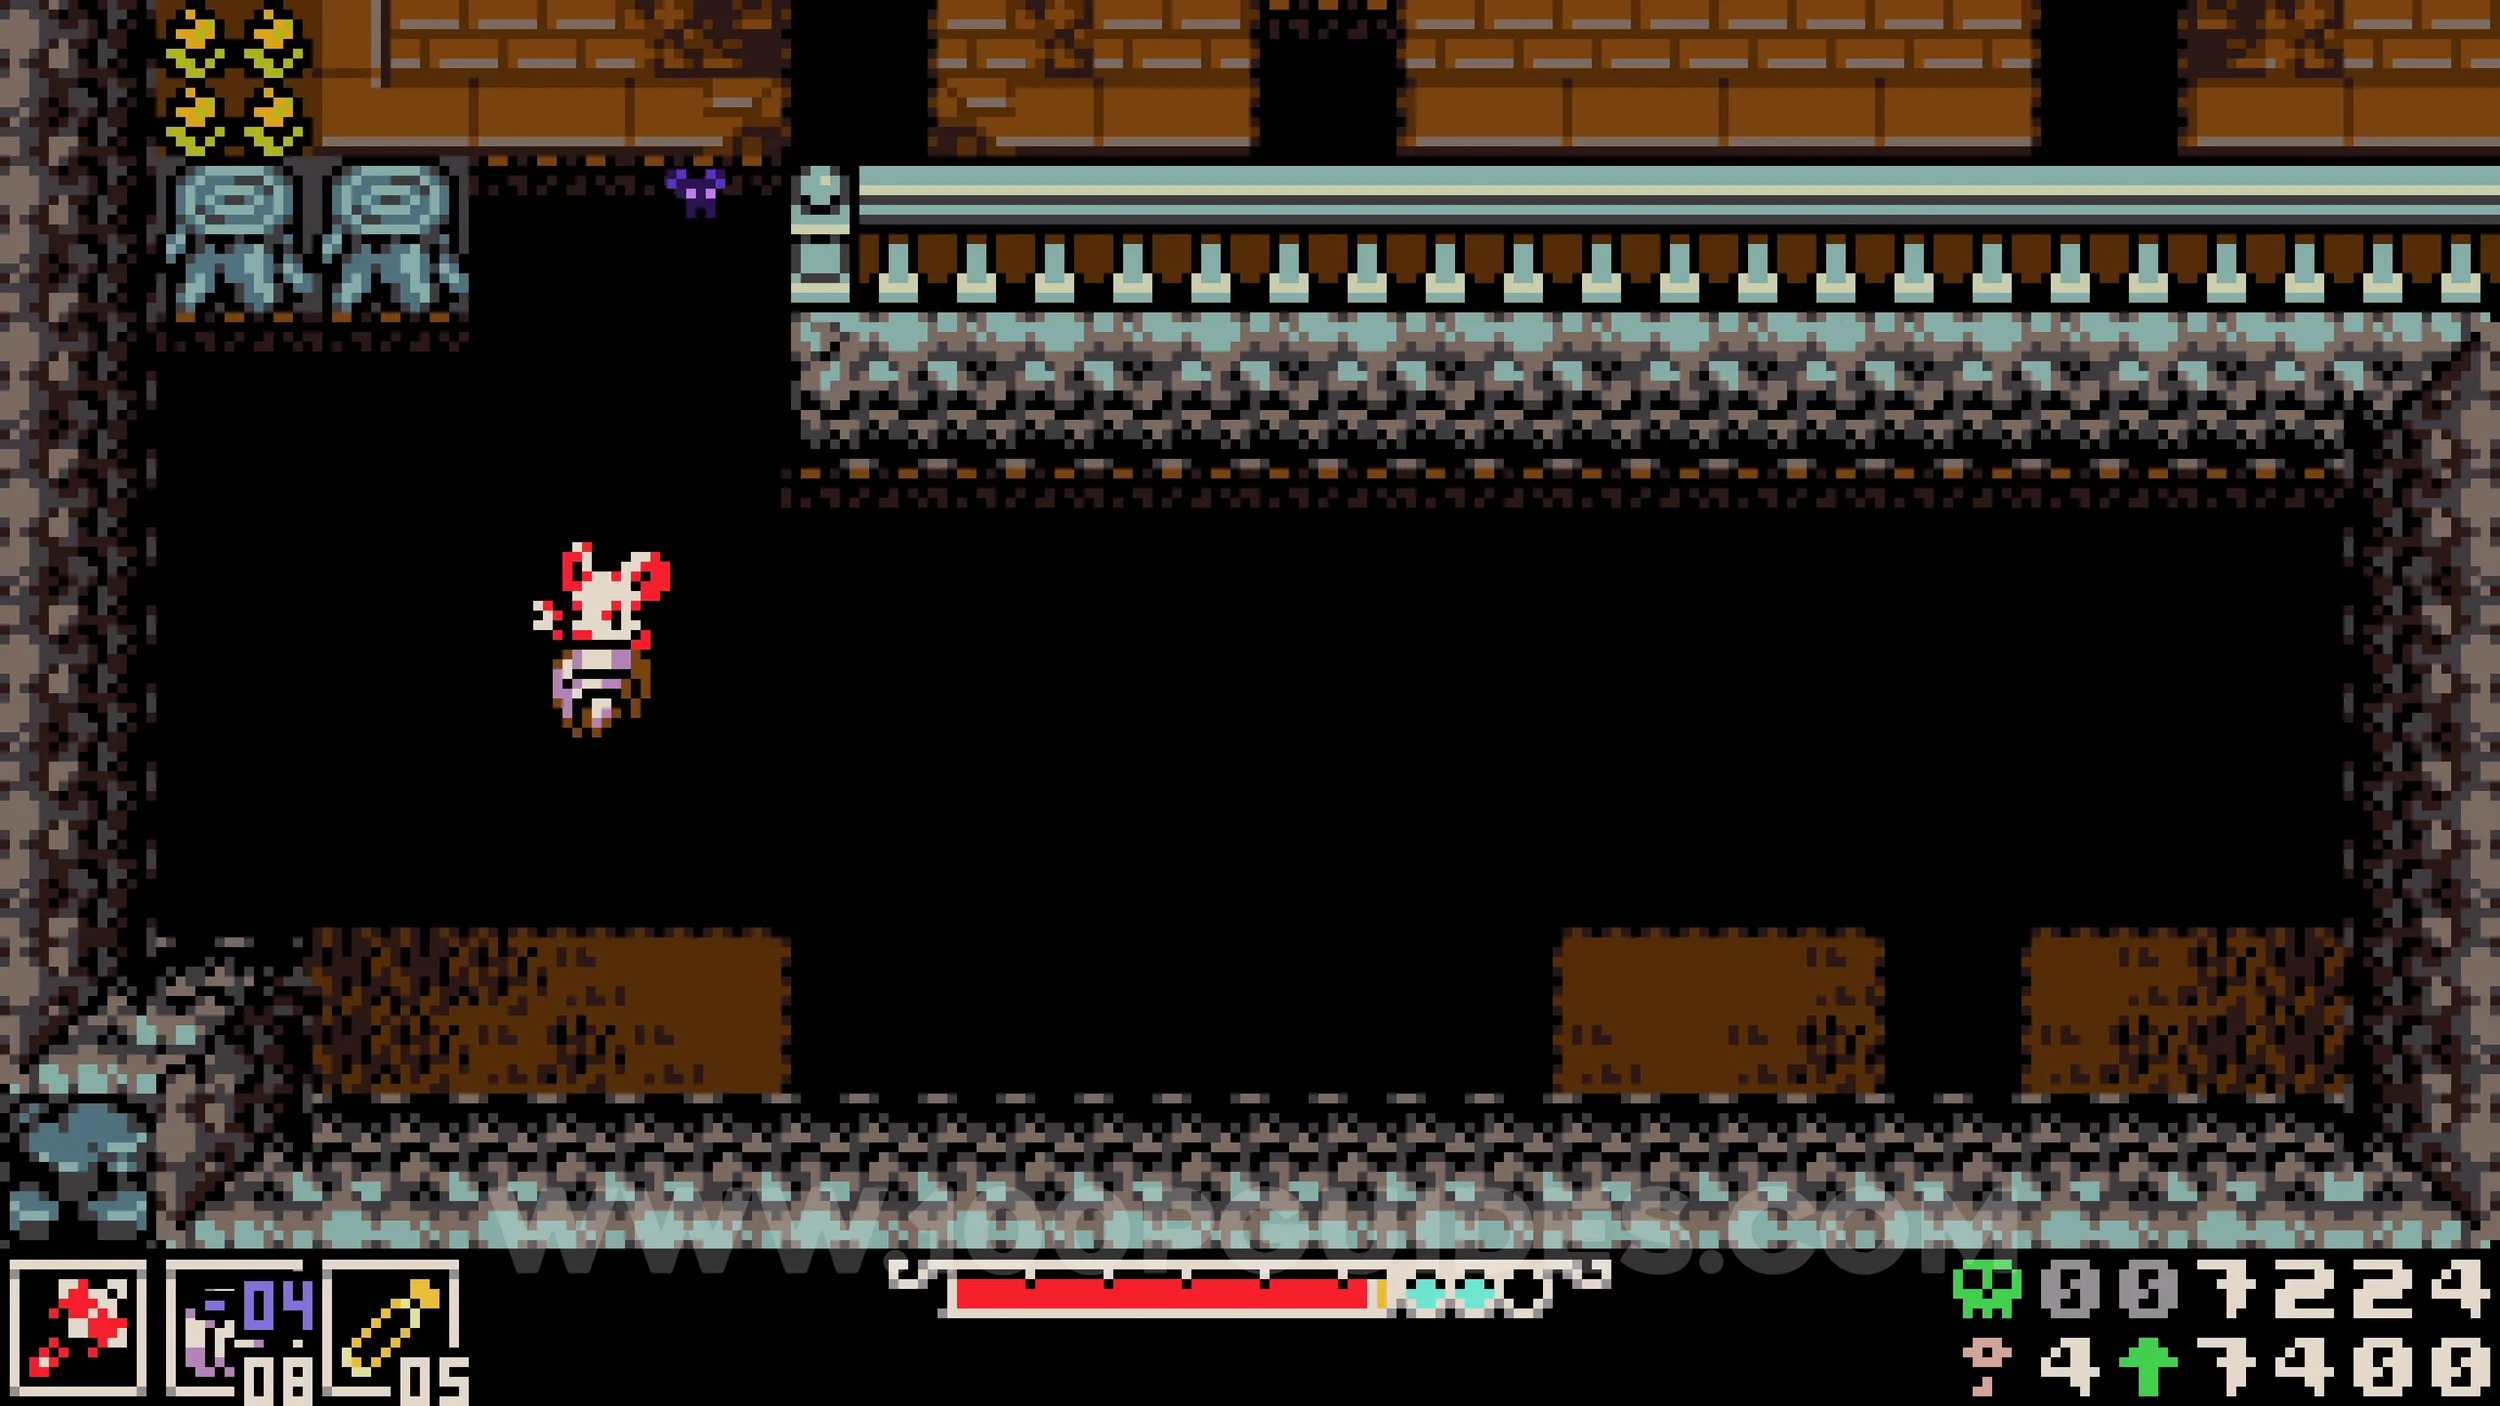
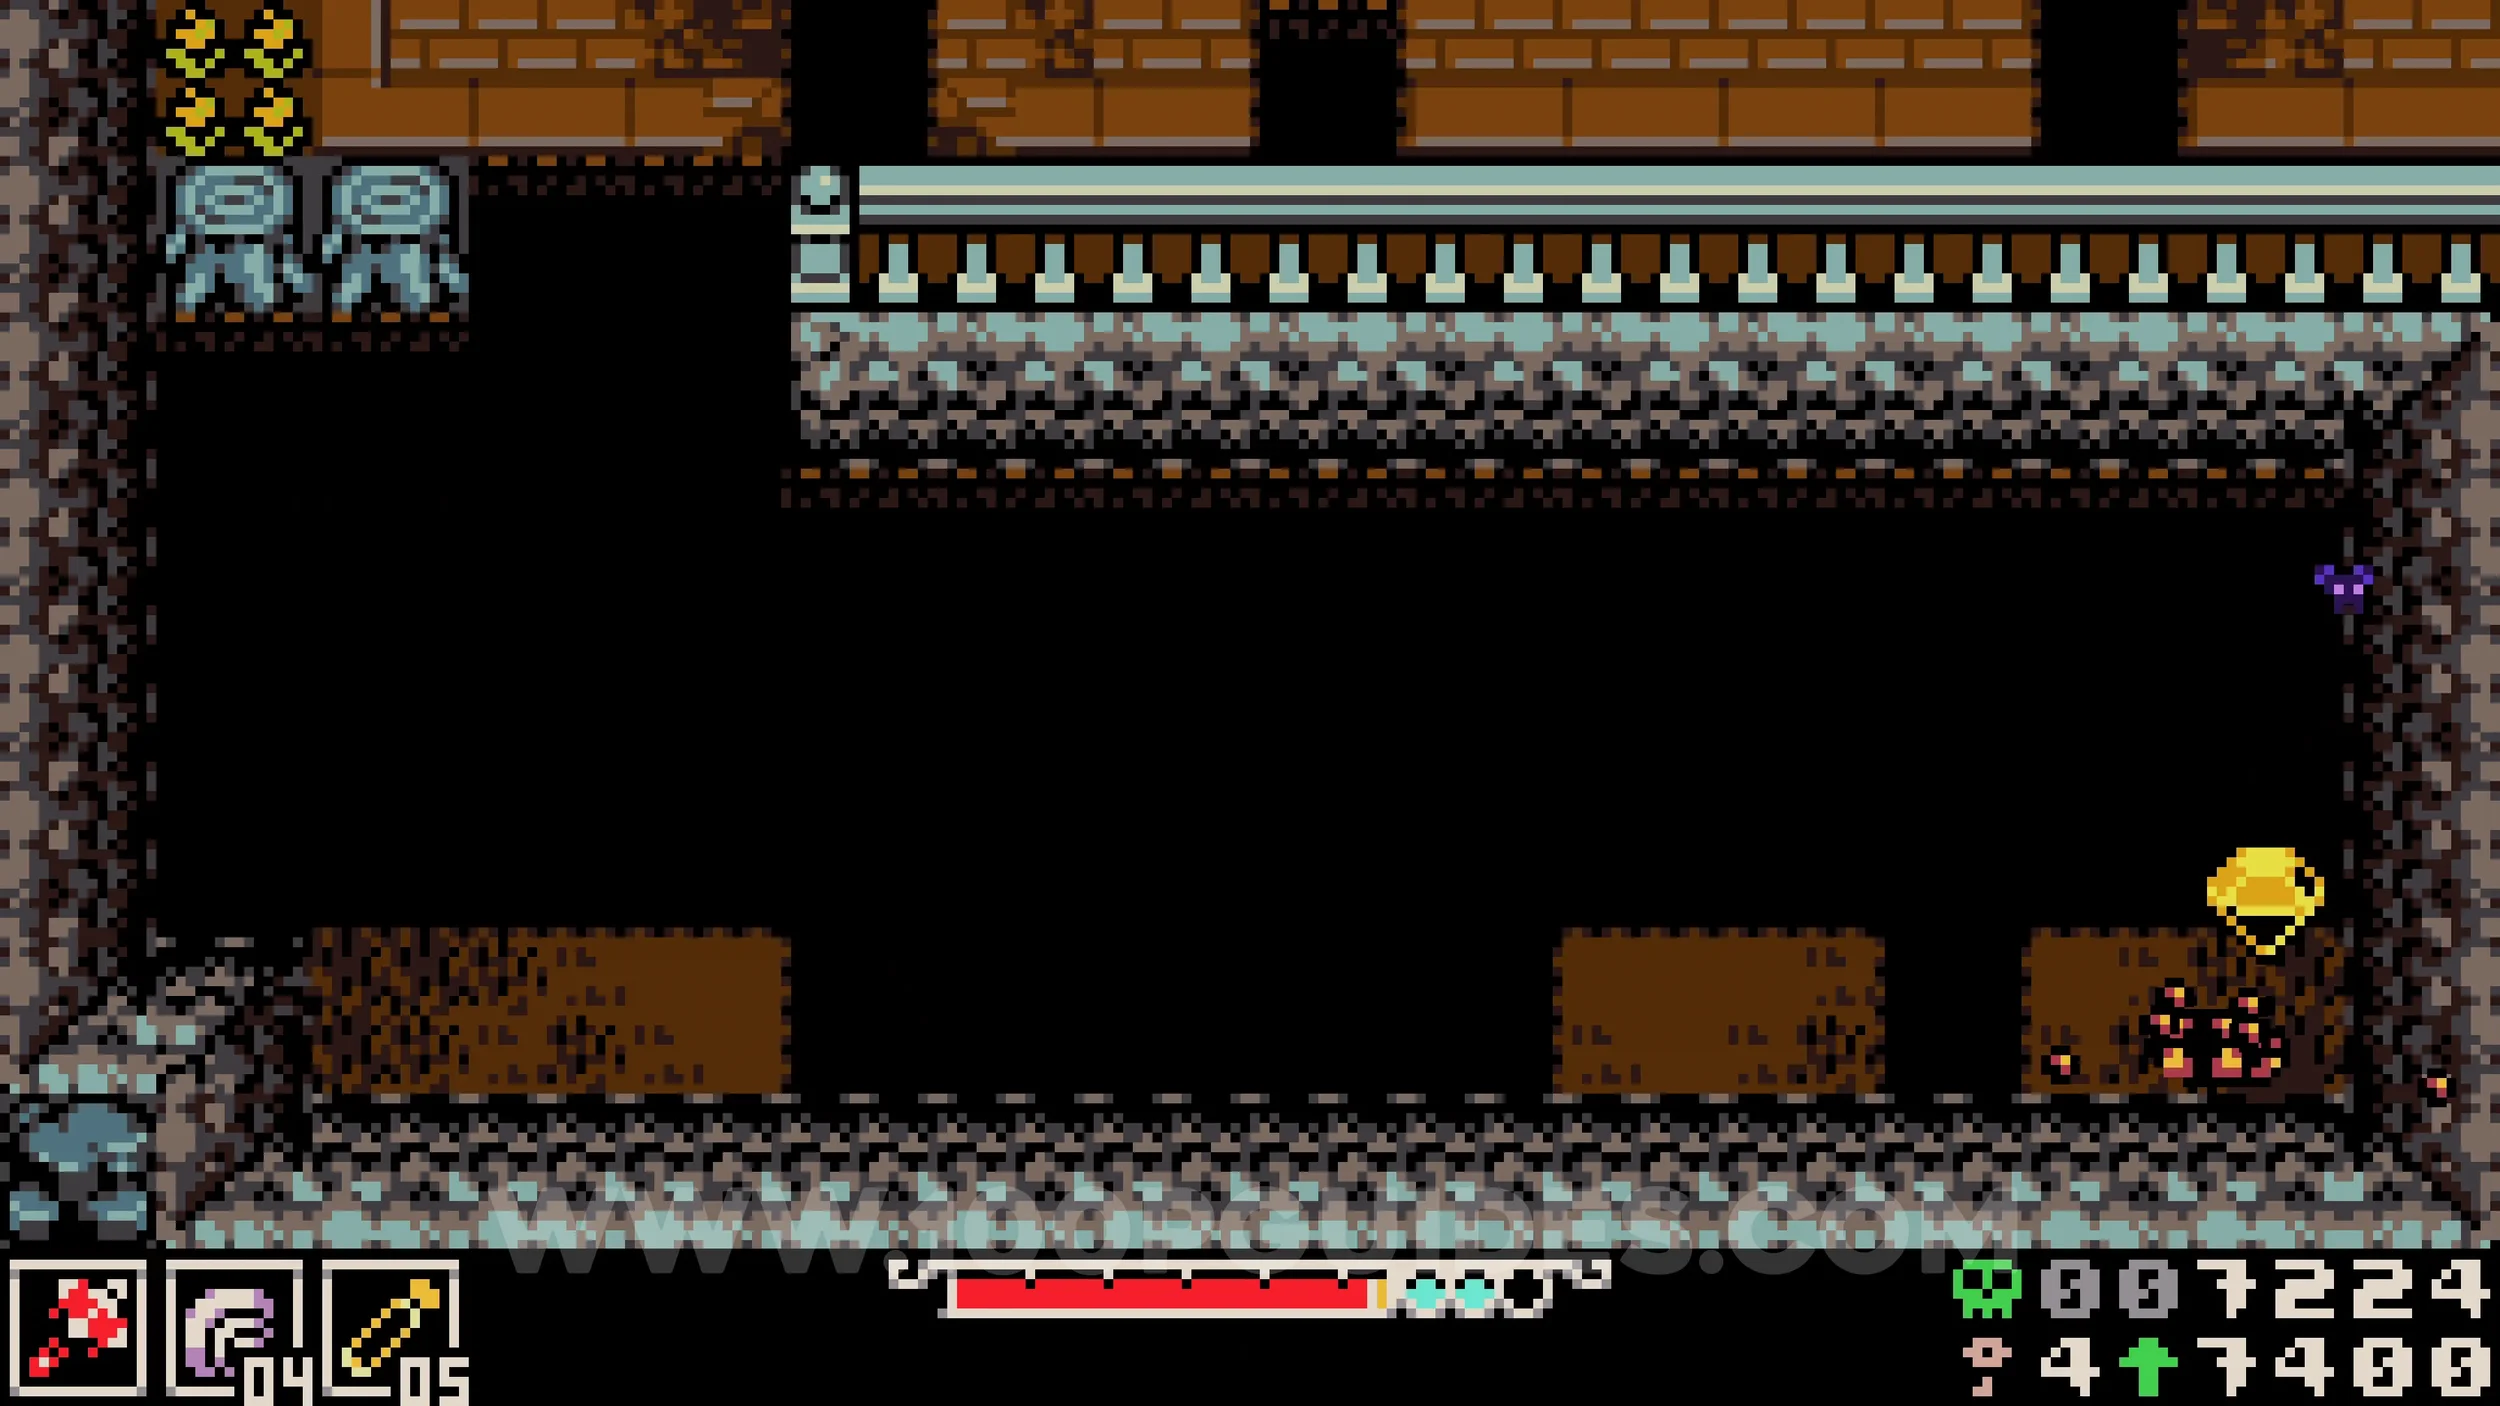
Bonestone #6. In plain sight to the north of the previous collectible.
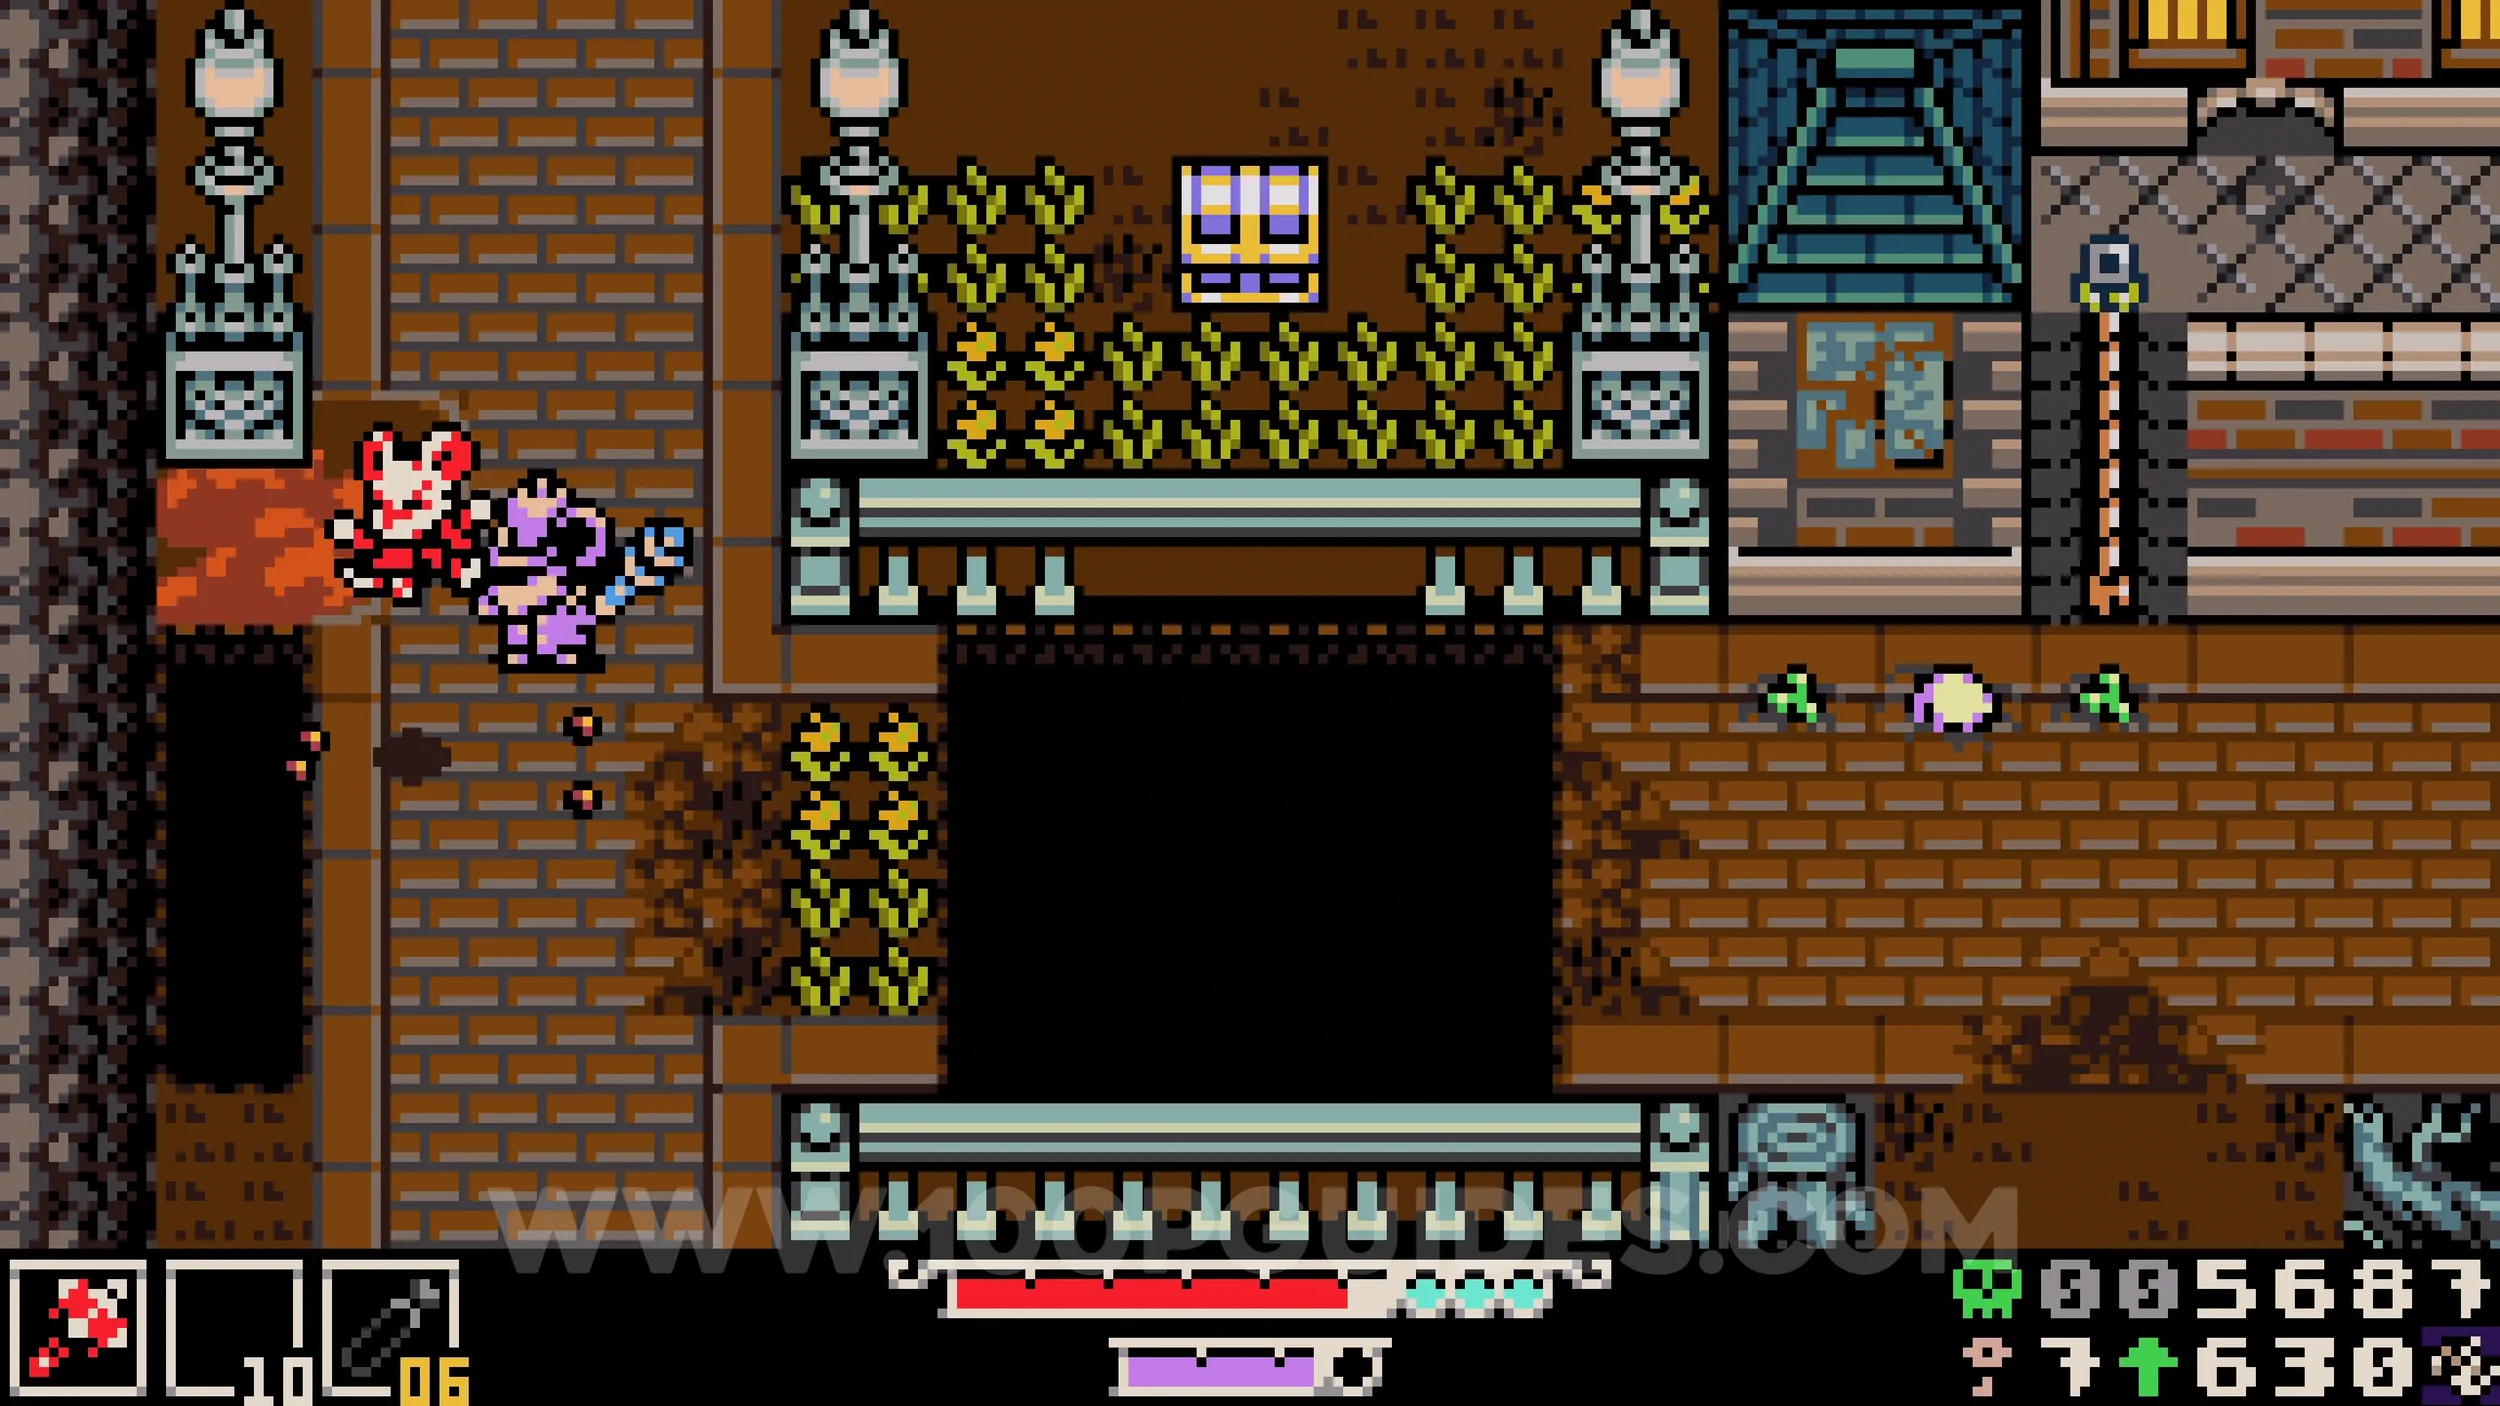
Trinket #3 - Primed Vial Pouch. Cross the large gap to the south of the previous collectible, then immediately head down. Smash the cracked trunk and go through the hole in the rooftop of the house. Inside, head down to the basement to find the collectible.
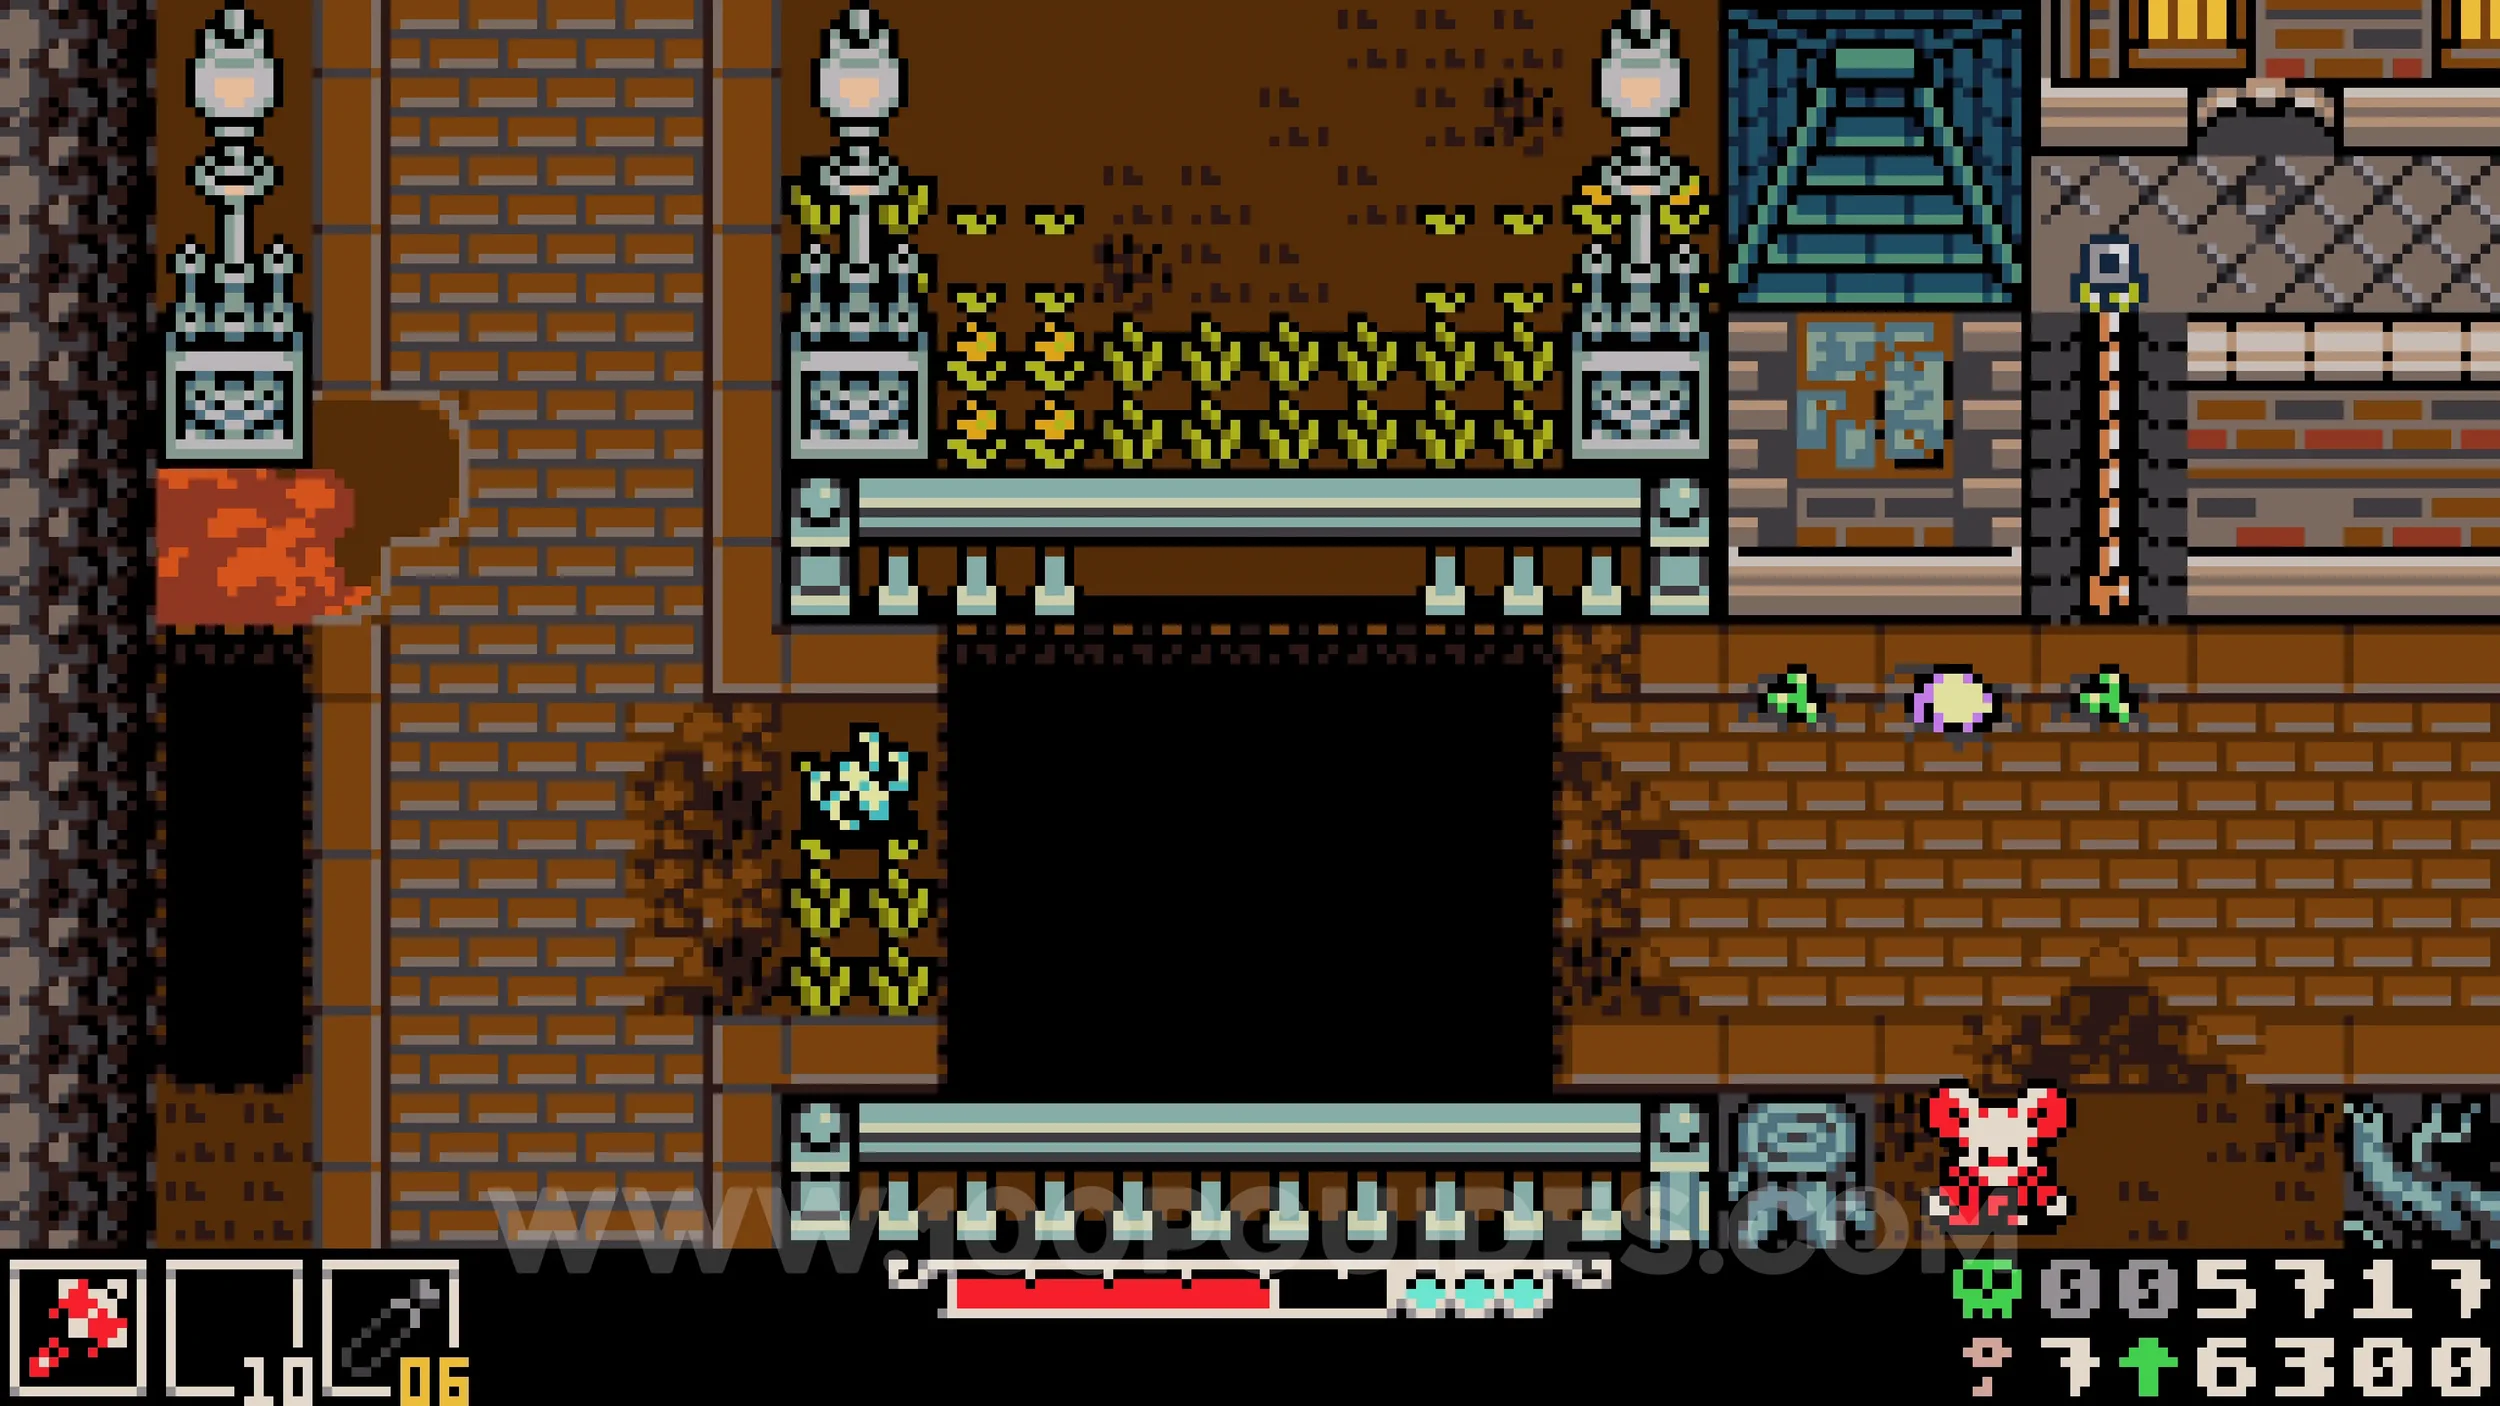
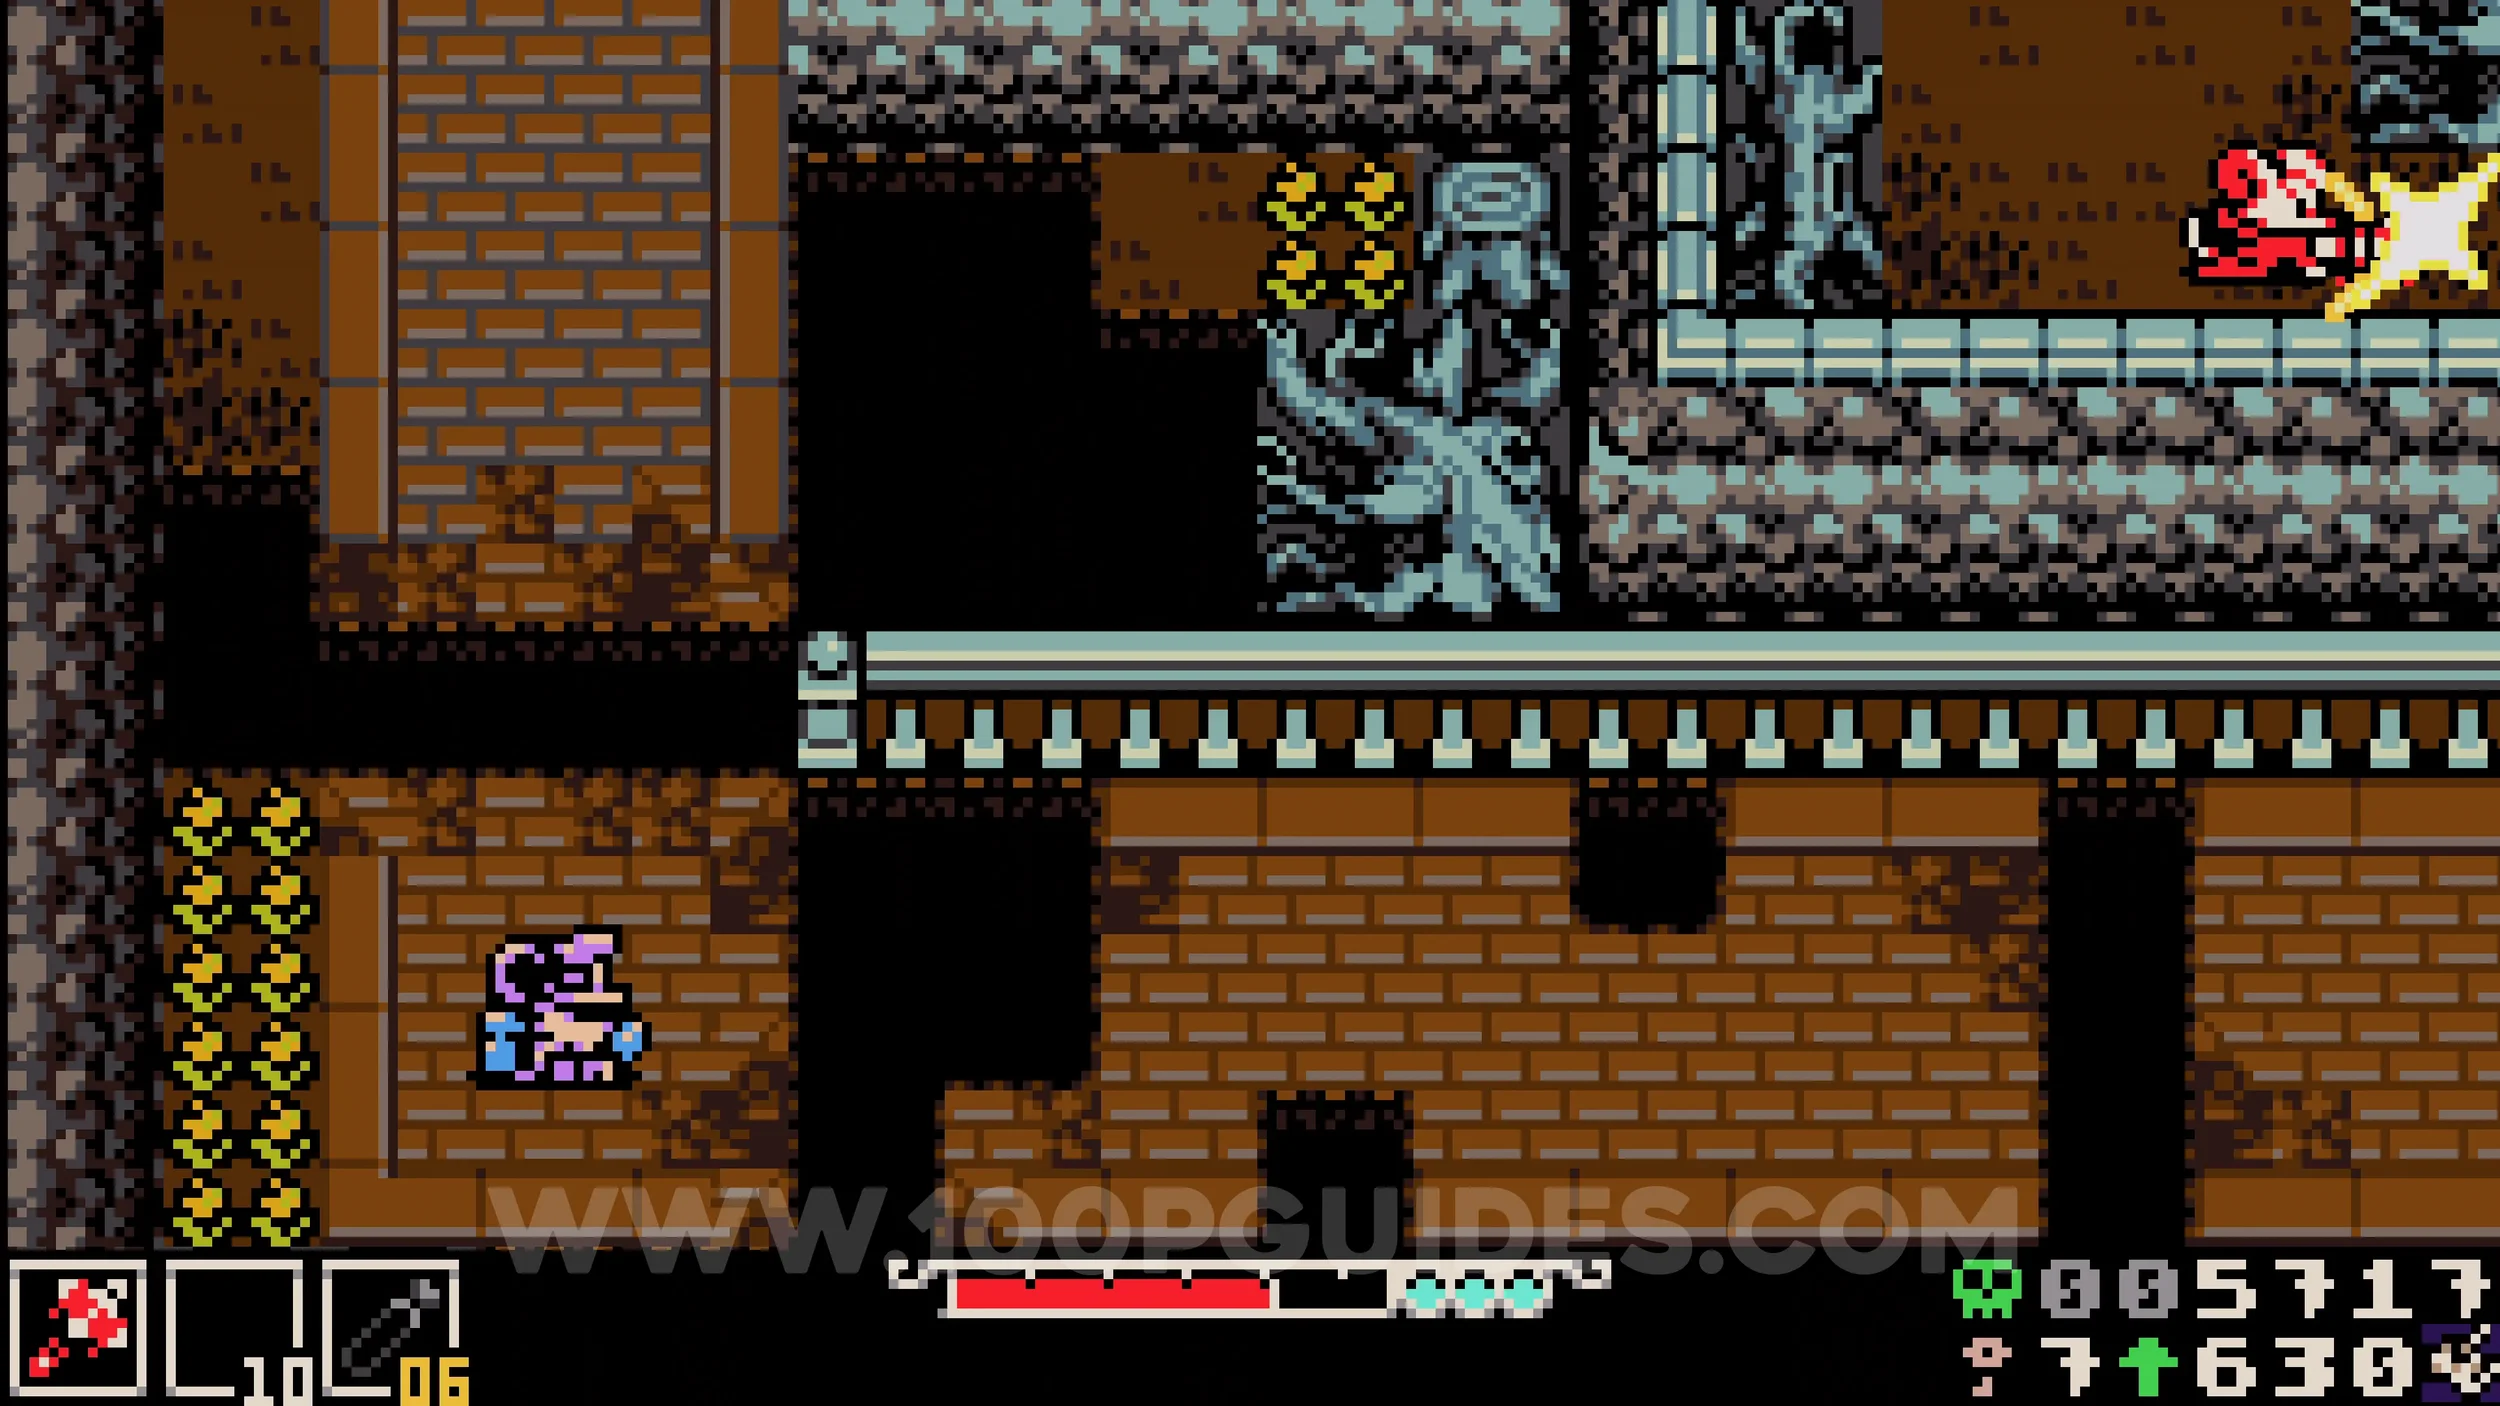
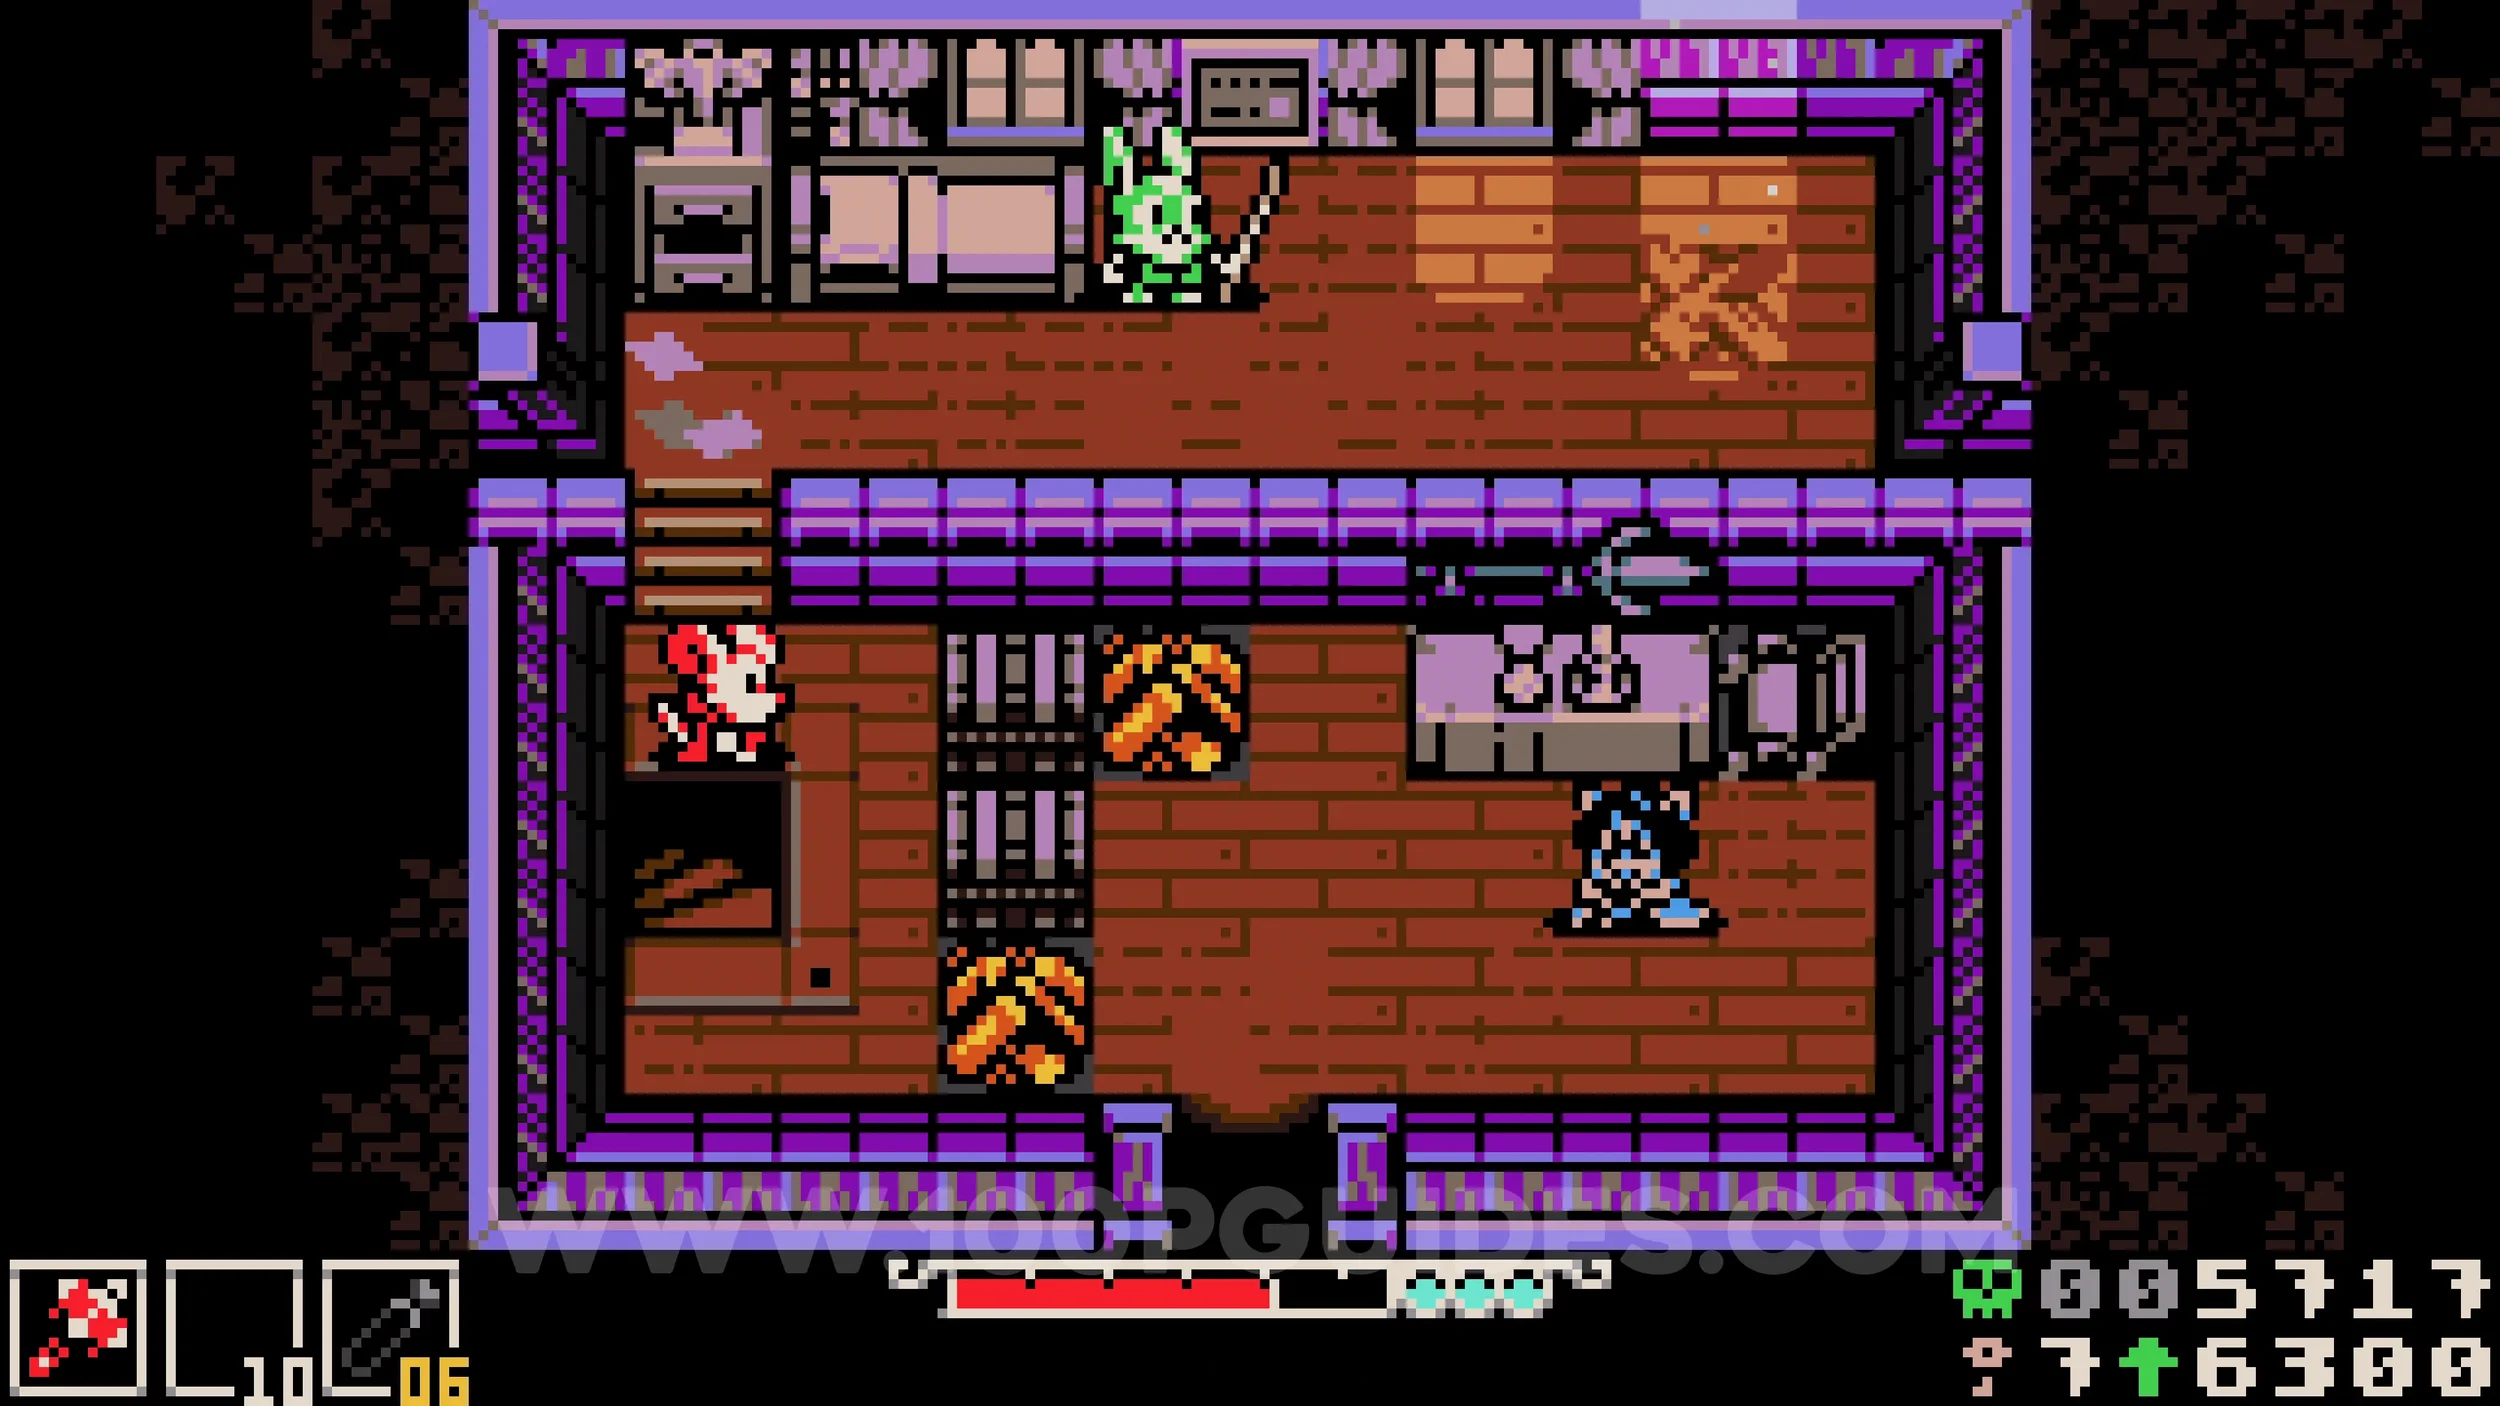
Fish #1. Can be found in any water pond in the area.
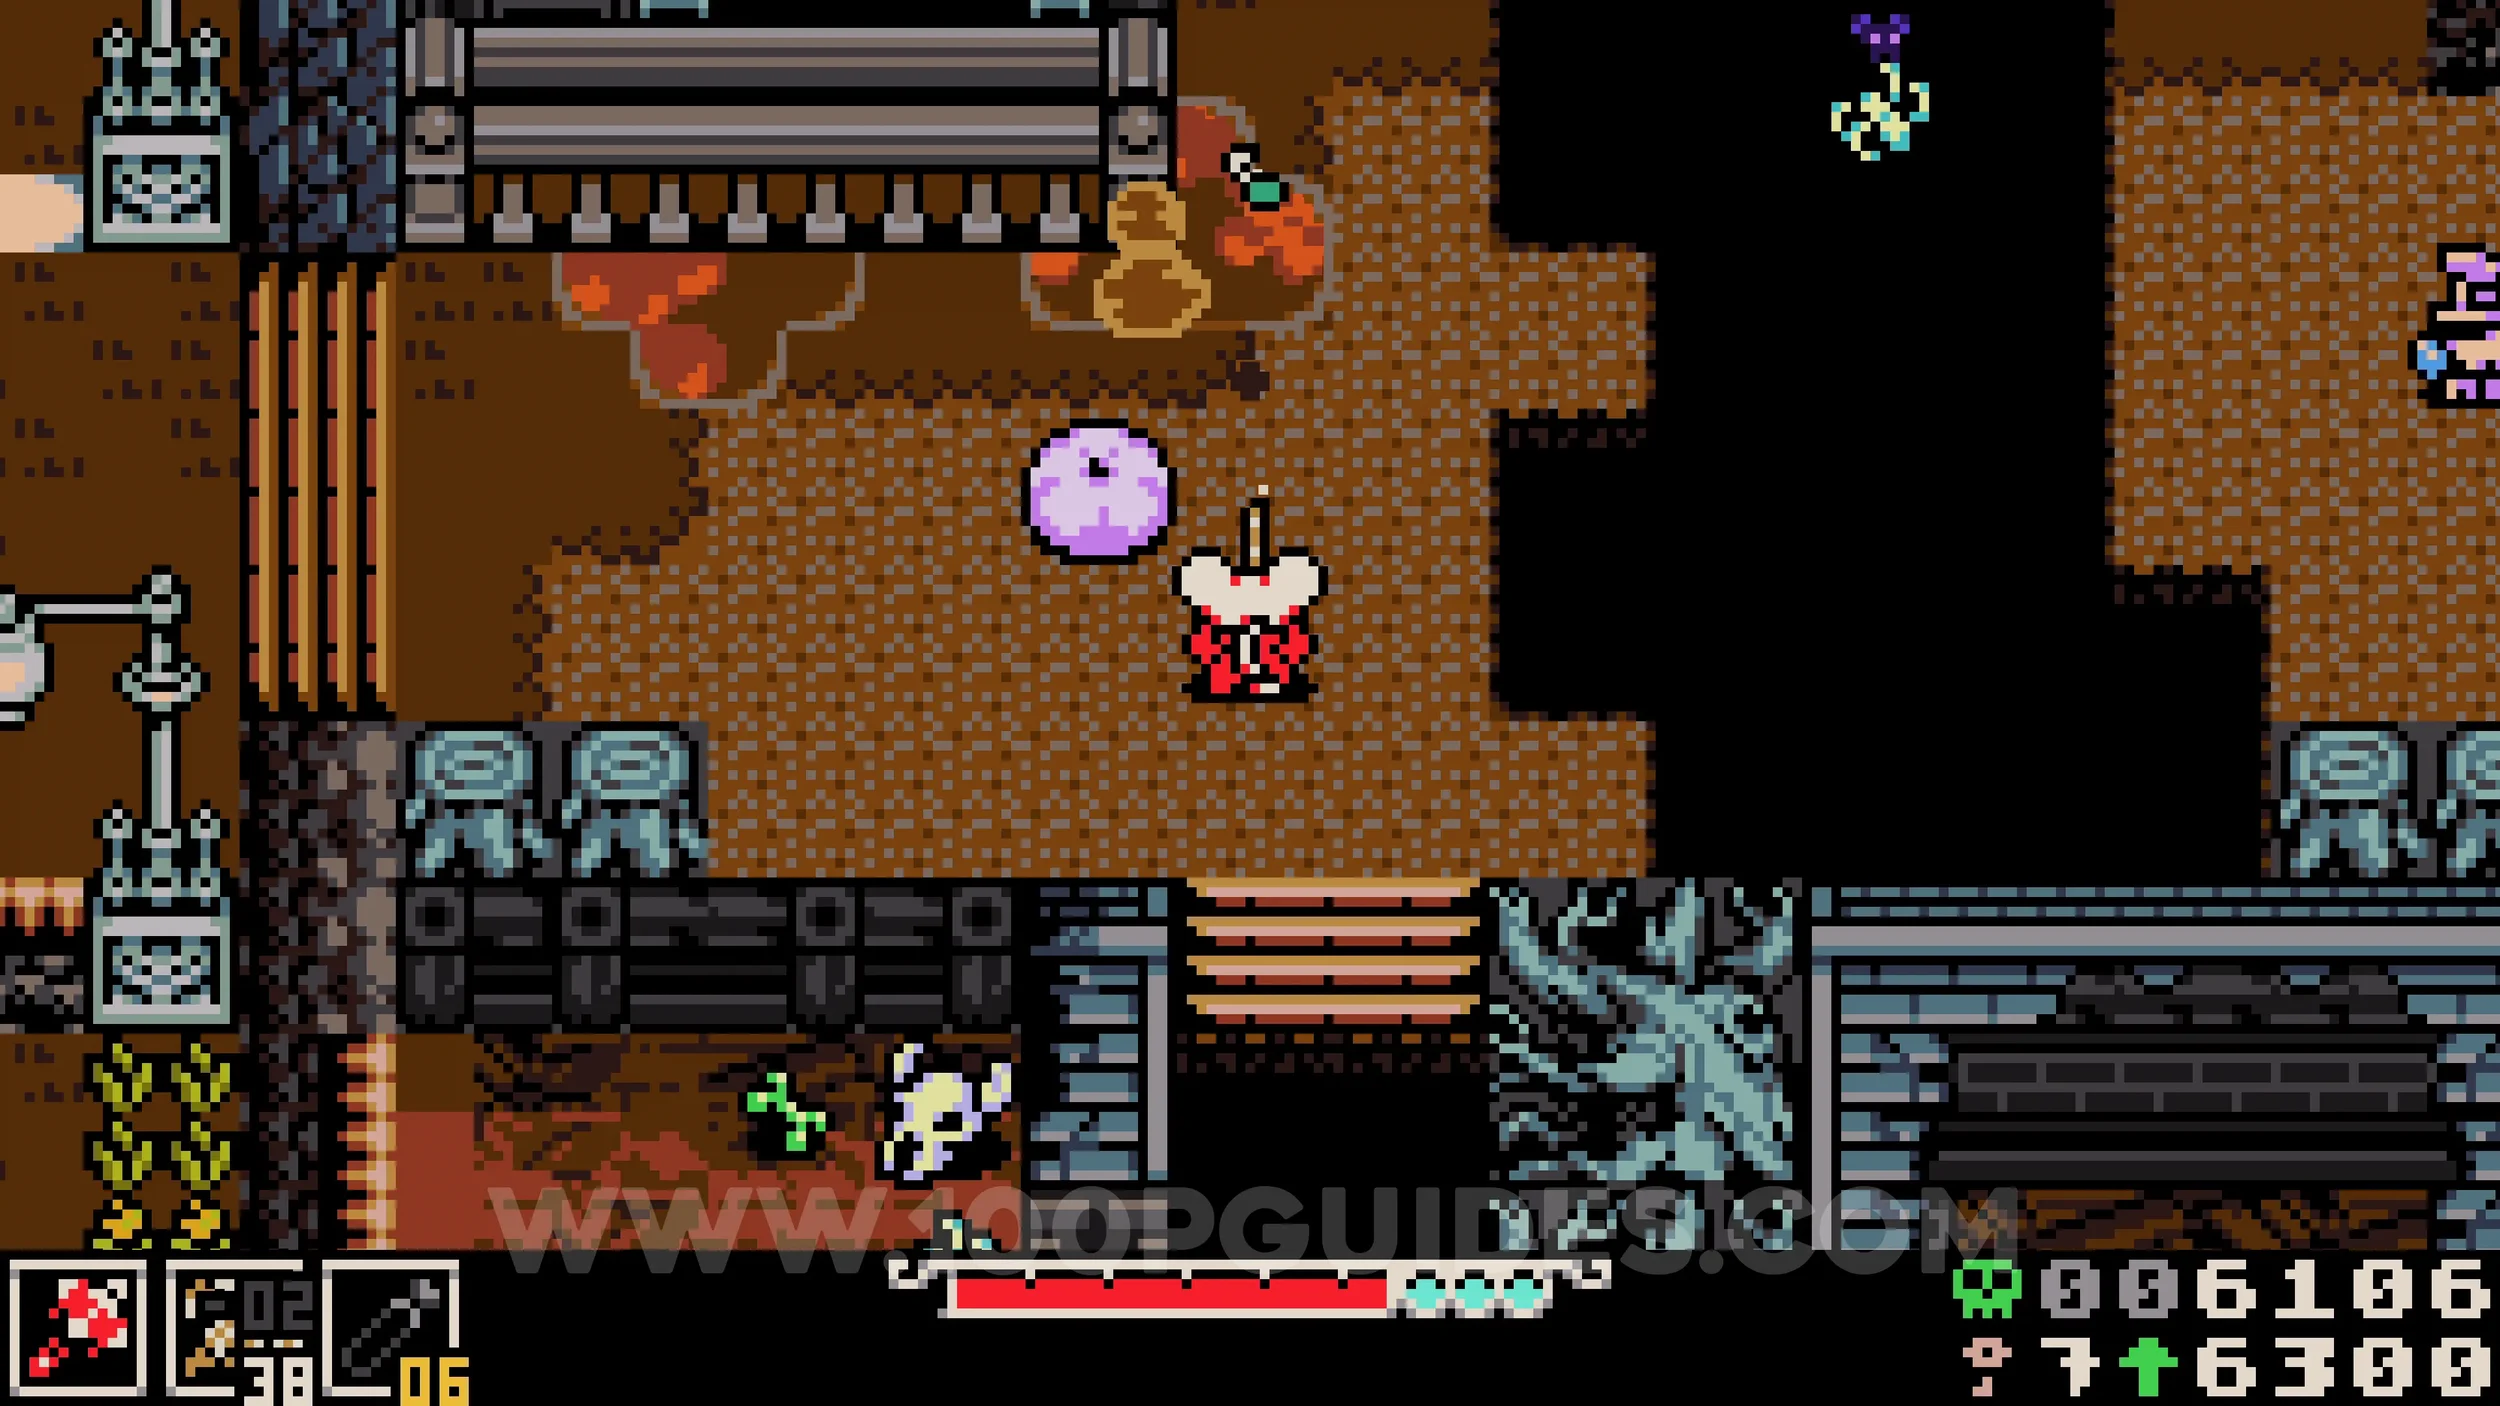
Trinket #4 - Lace Glove. This trinket is obtained by defeating Dugin twice. He is an optional boss that can appear in either the final screen of Western Wilds, just before heading down to the Backwaters area, or in the rightmost screen of Southern Outskirts. He can spawn in the same area both times. Defeat him once, complete the next main story tower, then return to find him again. Wherever you defeat him the second time, the collectible will count towards that area. Note that the collectible counter will show one less total in the area where you do not get it and one more where you do, so you will still reach 100% in both areas.
SANDFALLS
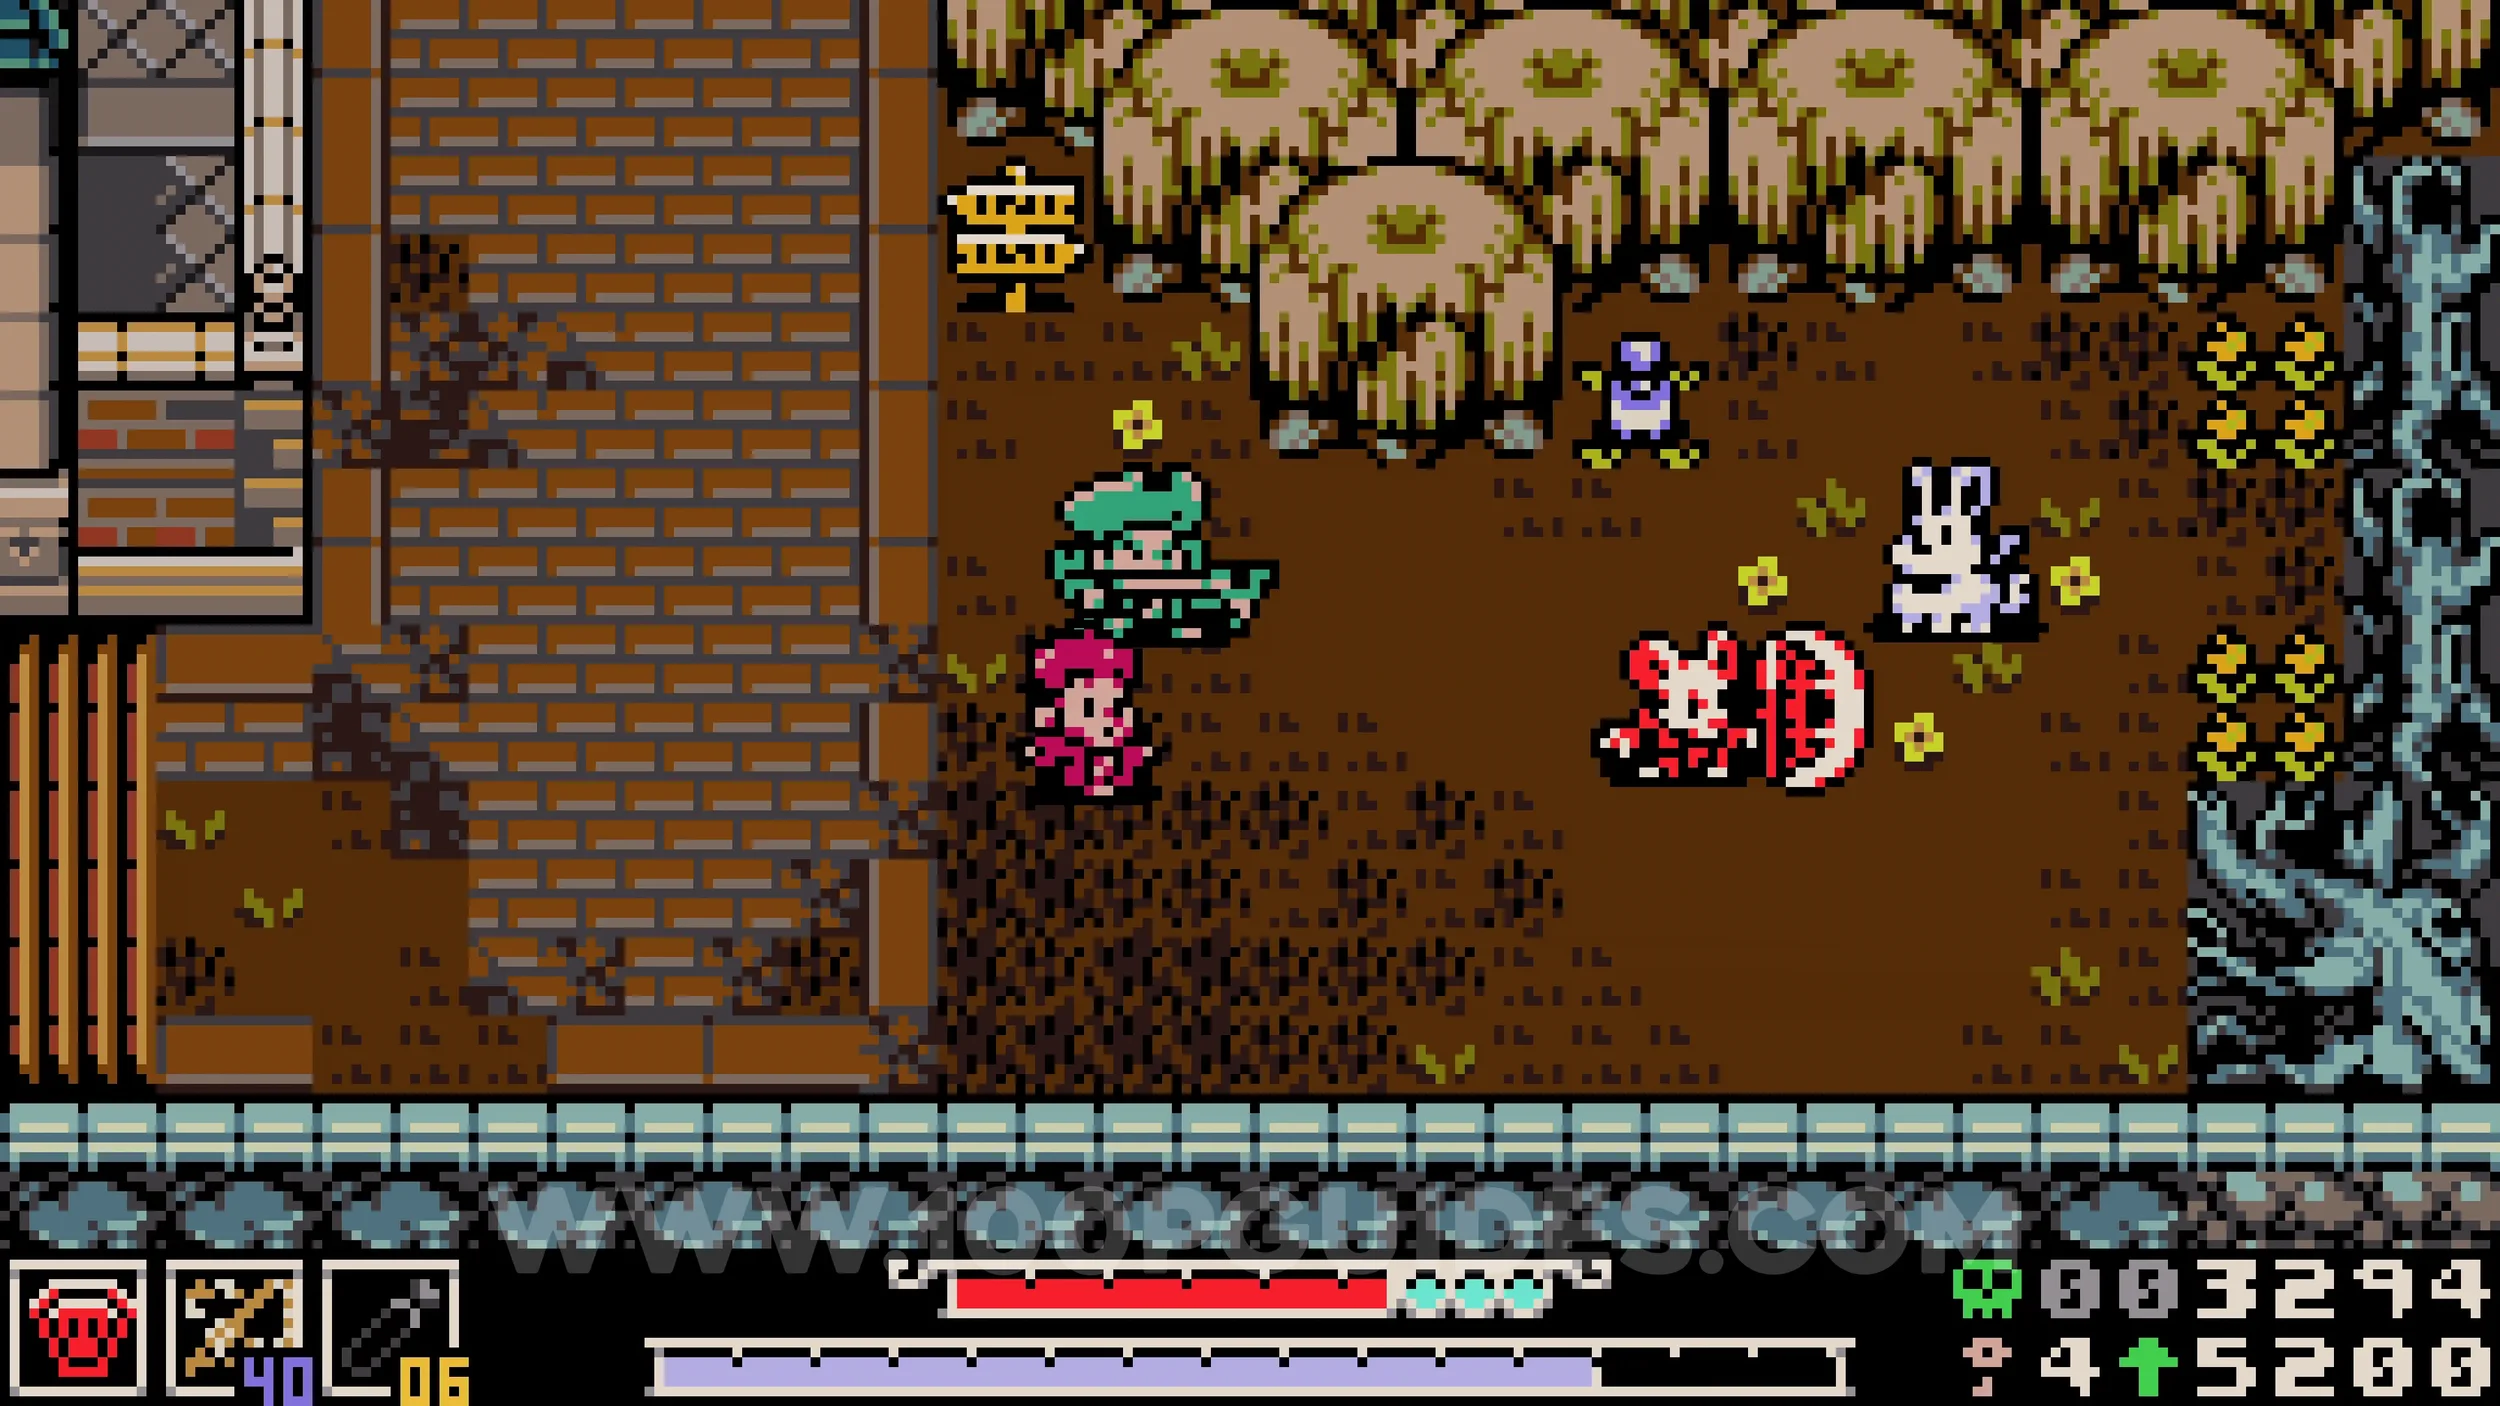
Fish #1. At the very start of the area, break the wall to the left of the cave entrance and head up the stairs to find the fish in the water at the top.
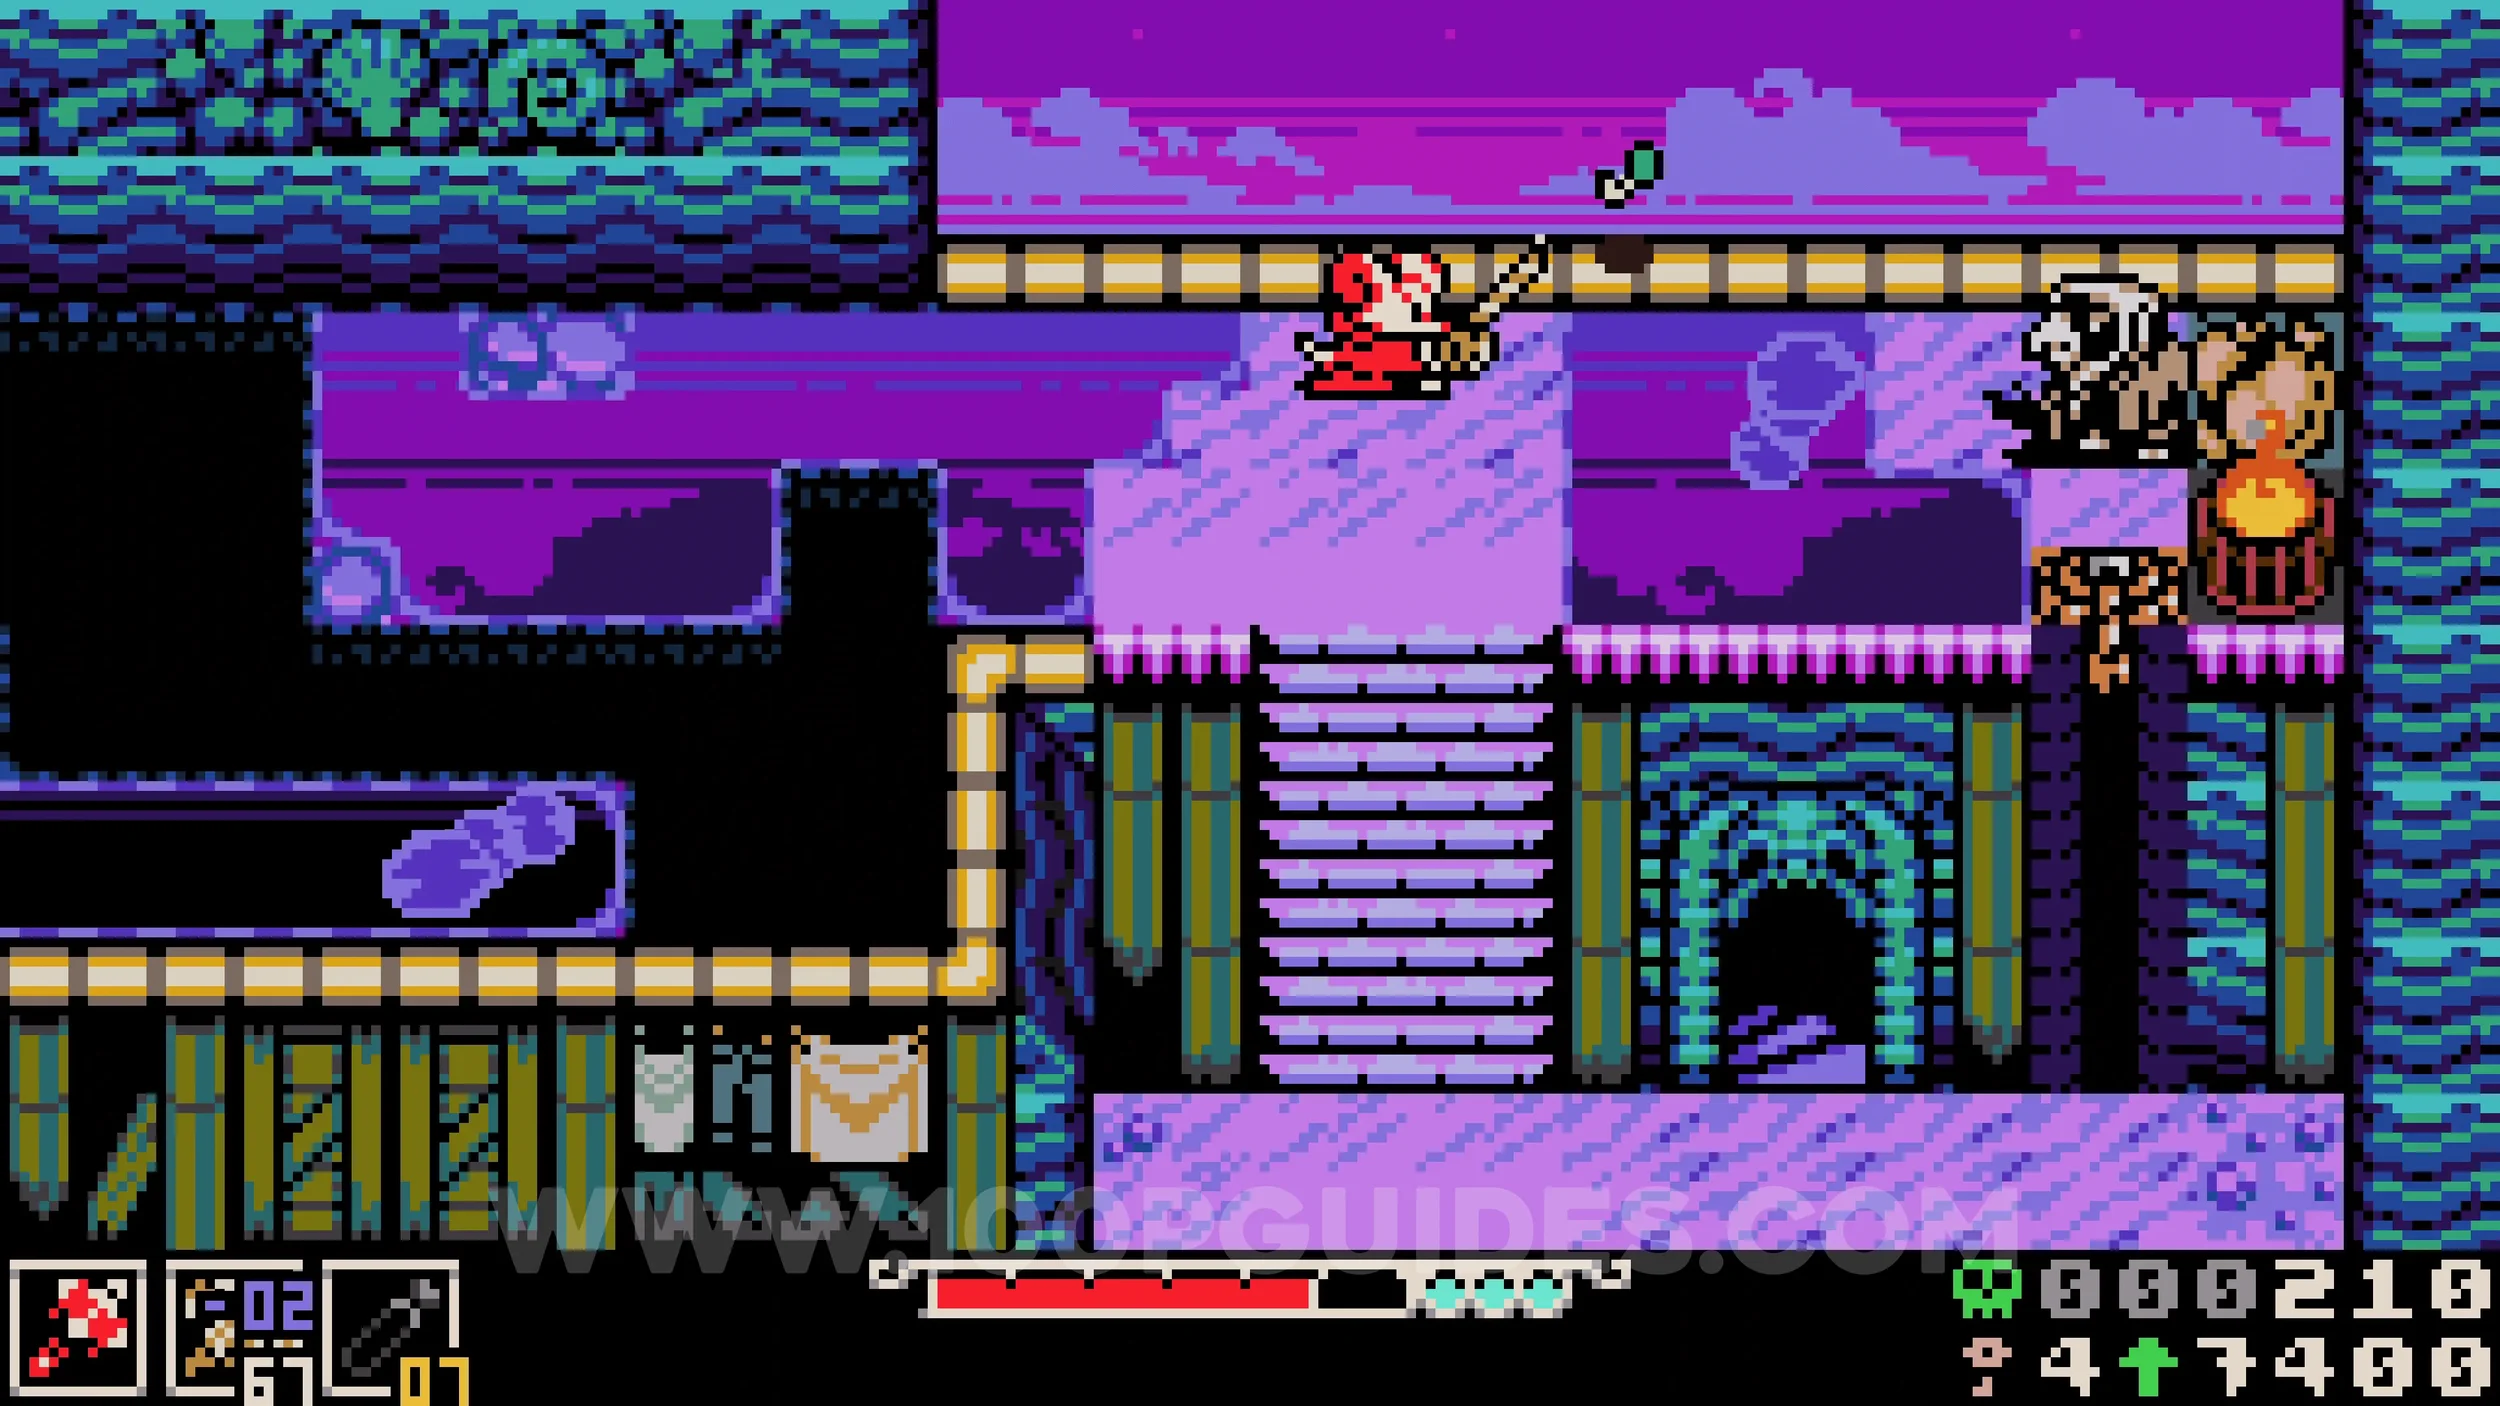
Lock #1. From the start, head down and then right to find a bomb in the sand. Pick it up by burrowing under it and throw it at the car with the TNT just above to reach the lock.
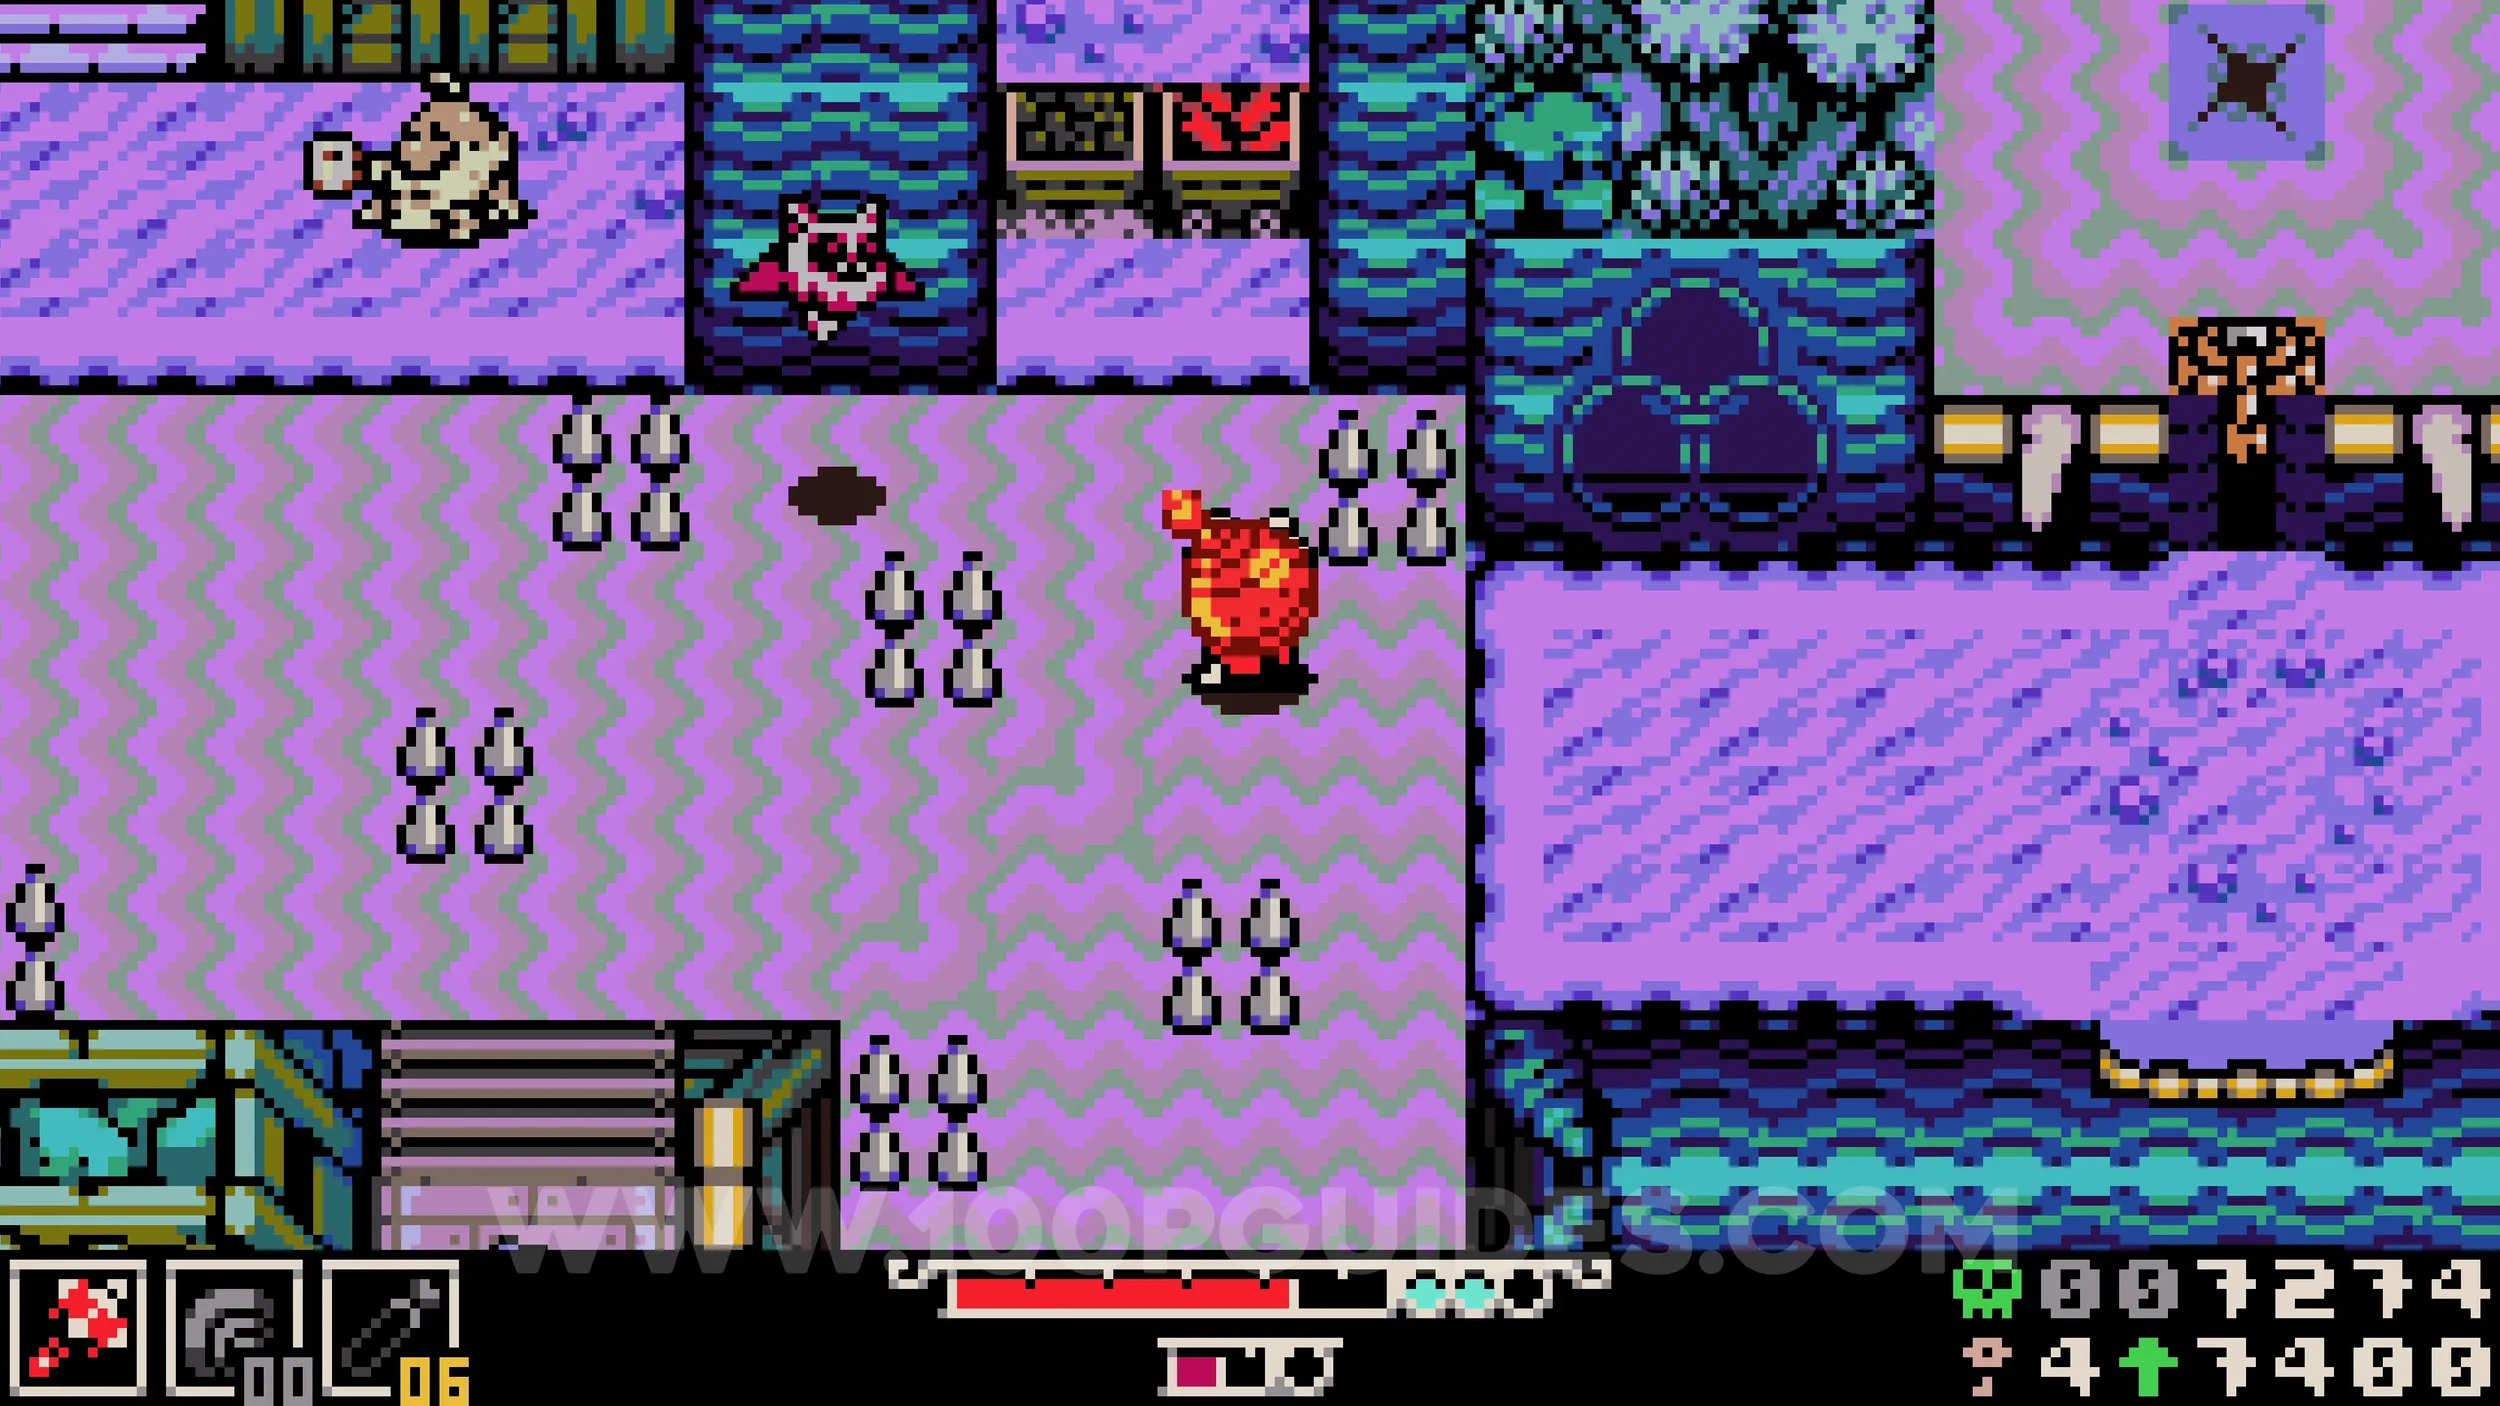
Bonestone #1, Trinket #1 - Niter Belt & Bonestone #2. All 3 can be found in the cave behind the previous lock. Use the switches on the right side to guide the bombs to the bottom. Destroy the rocks on the sides to find the 2 bonestones, then destroy the rocks in the middle and head to the top of the cave to reach the trinket.
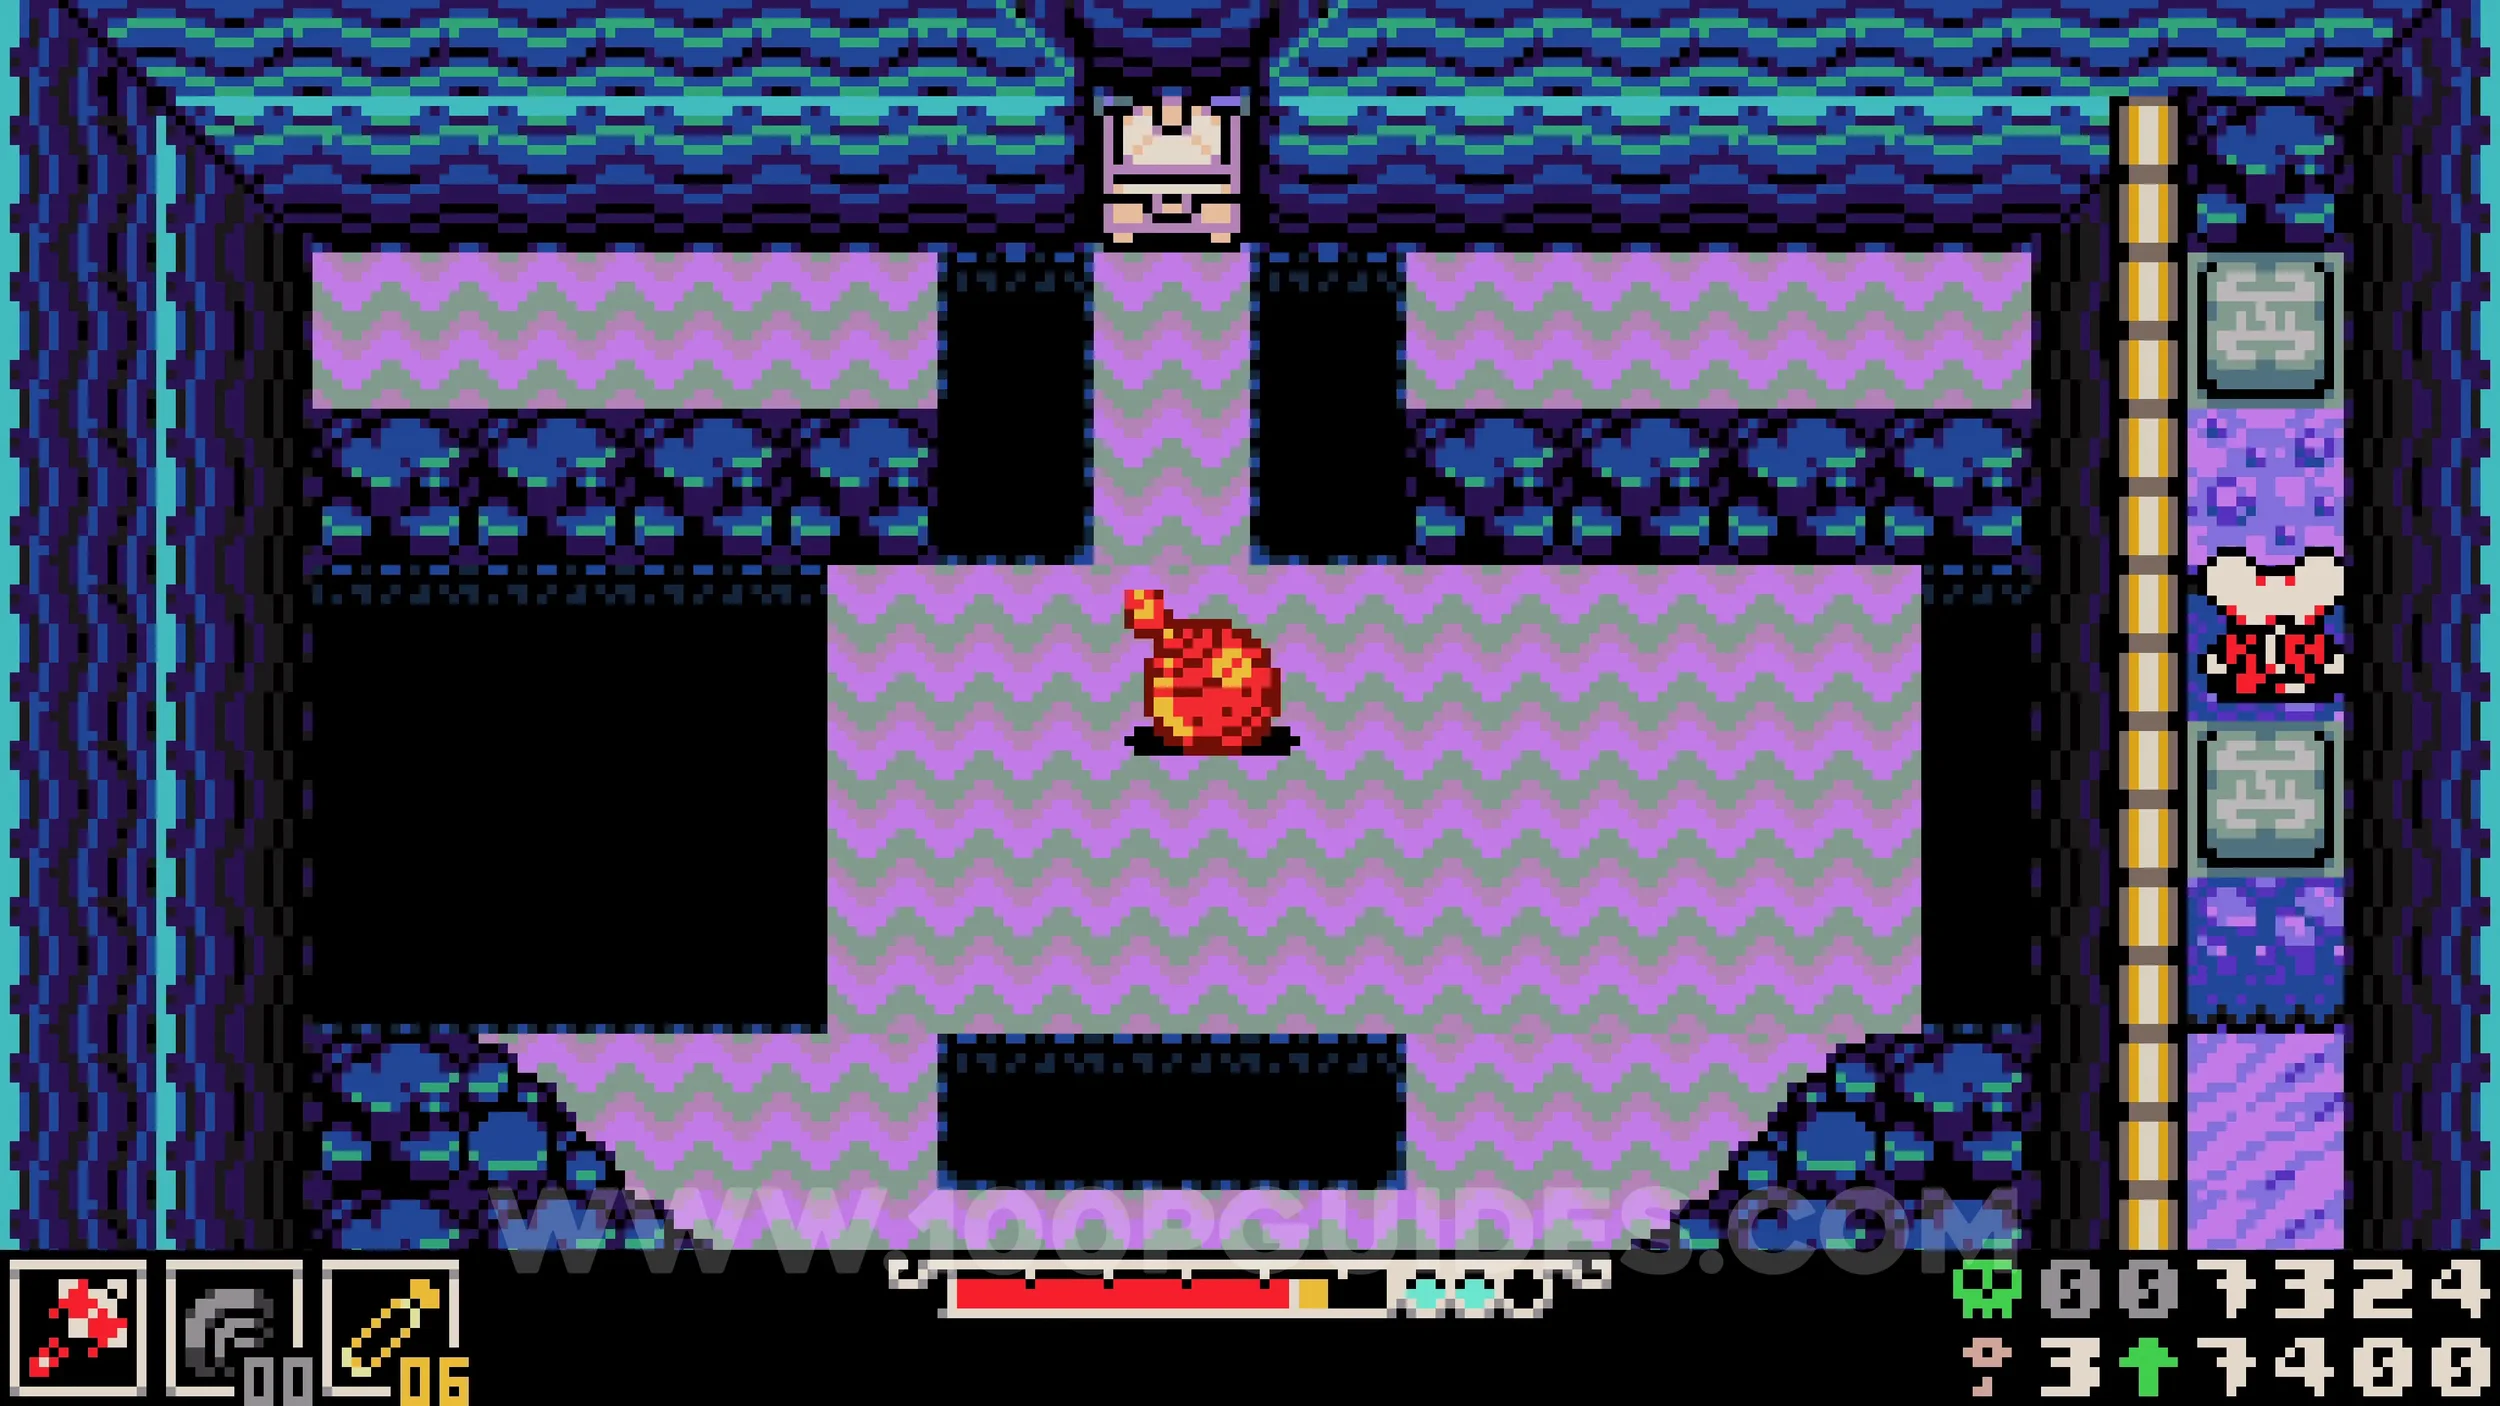
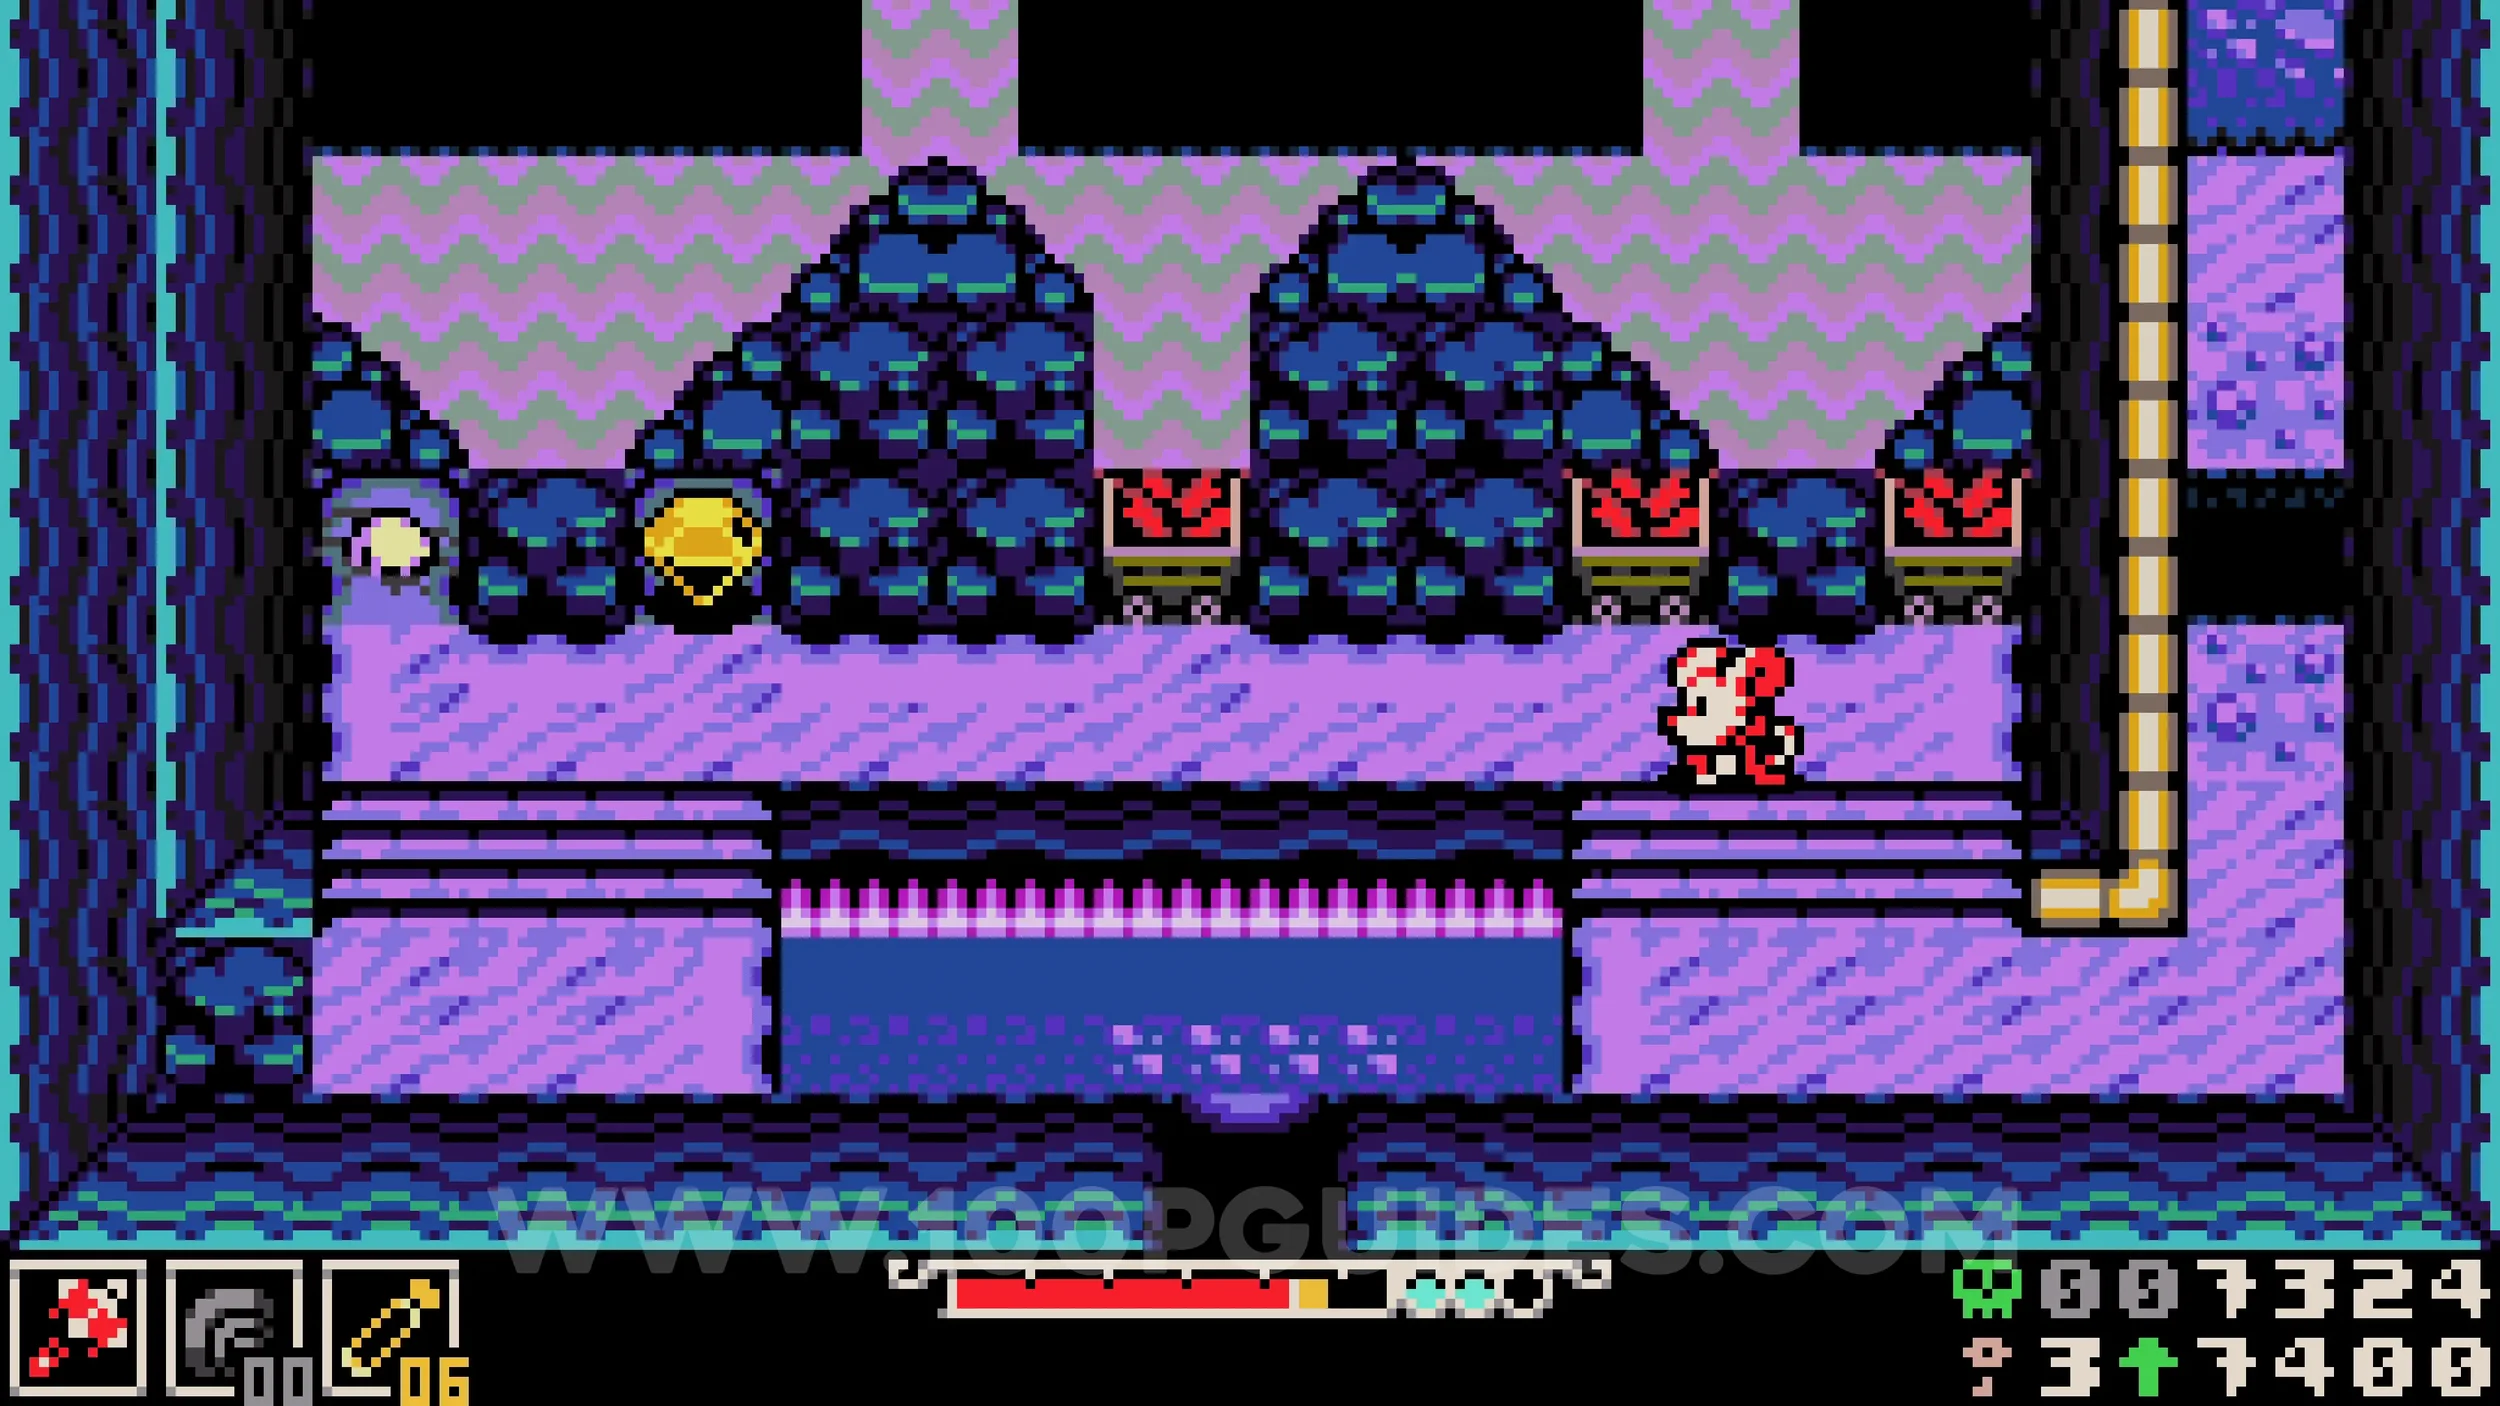
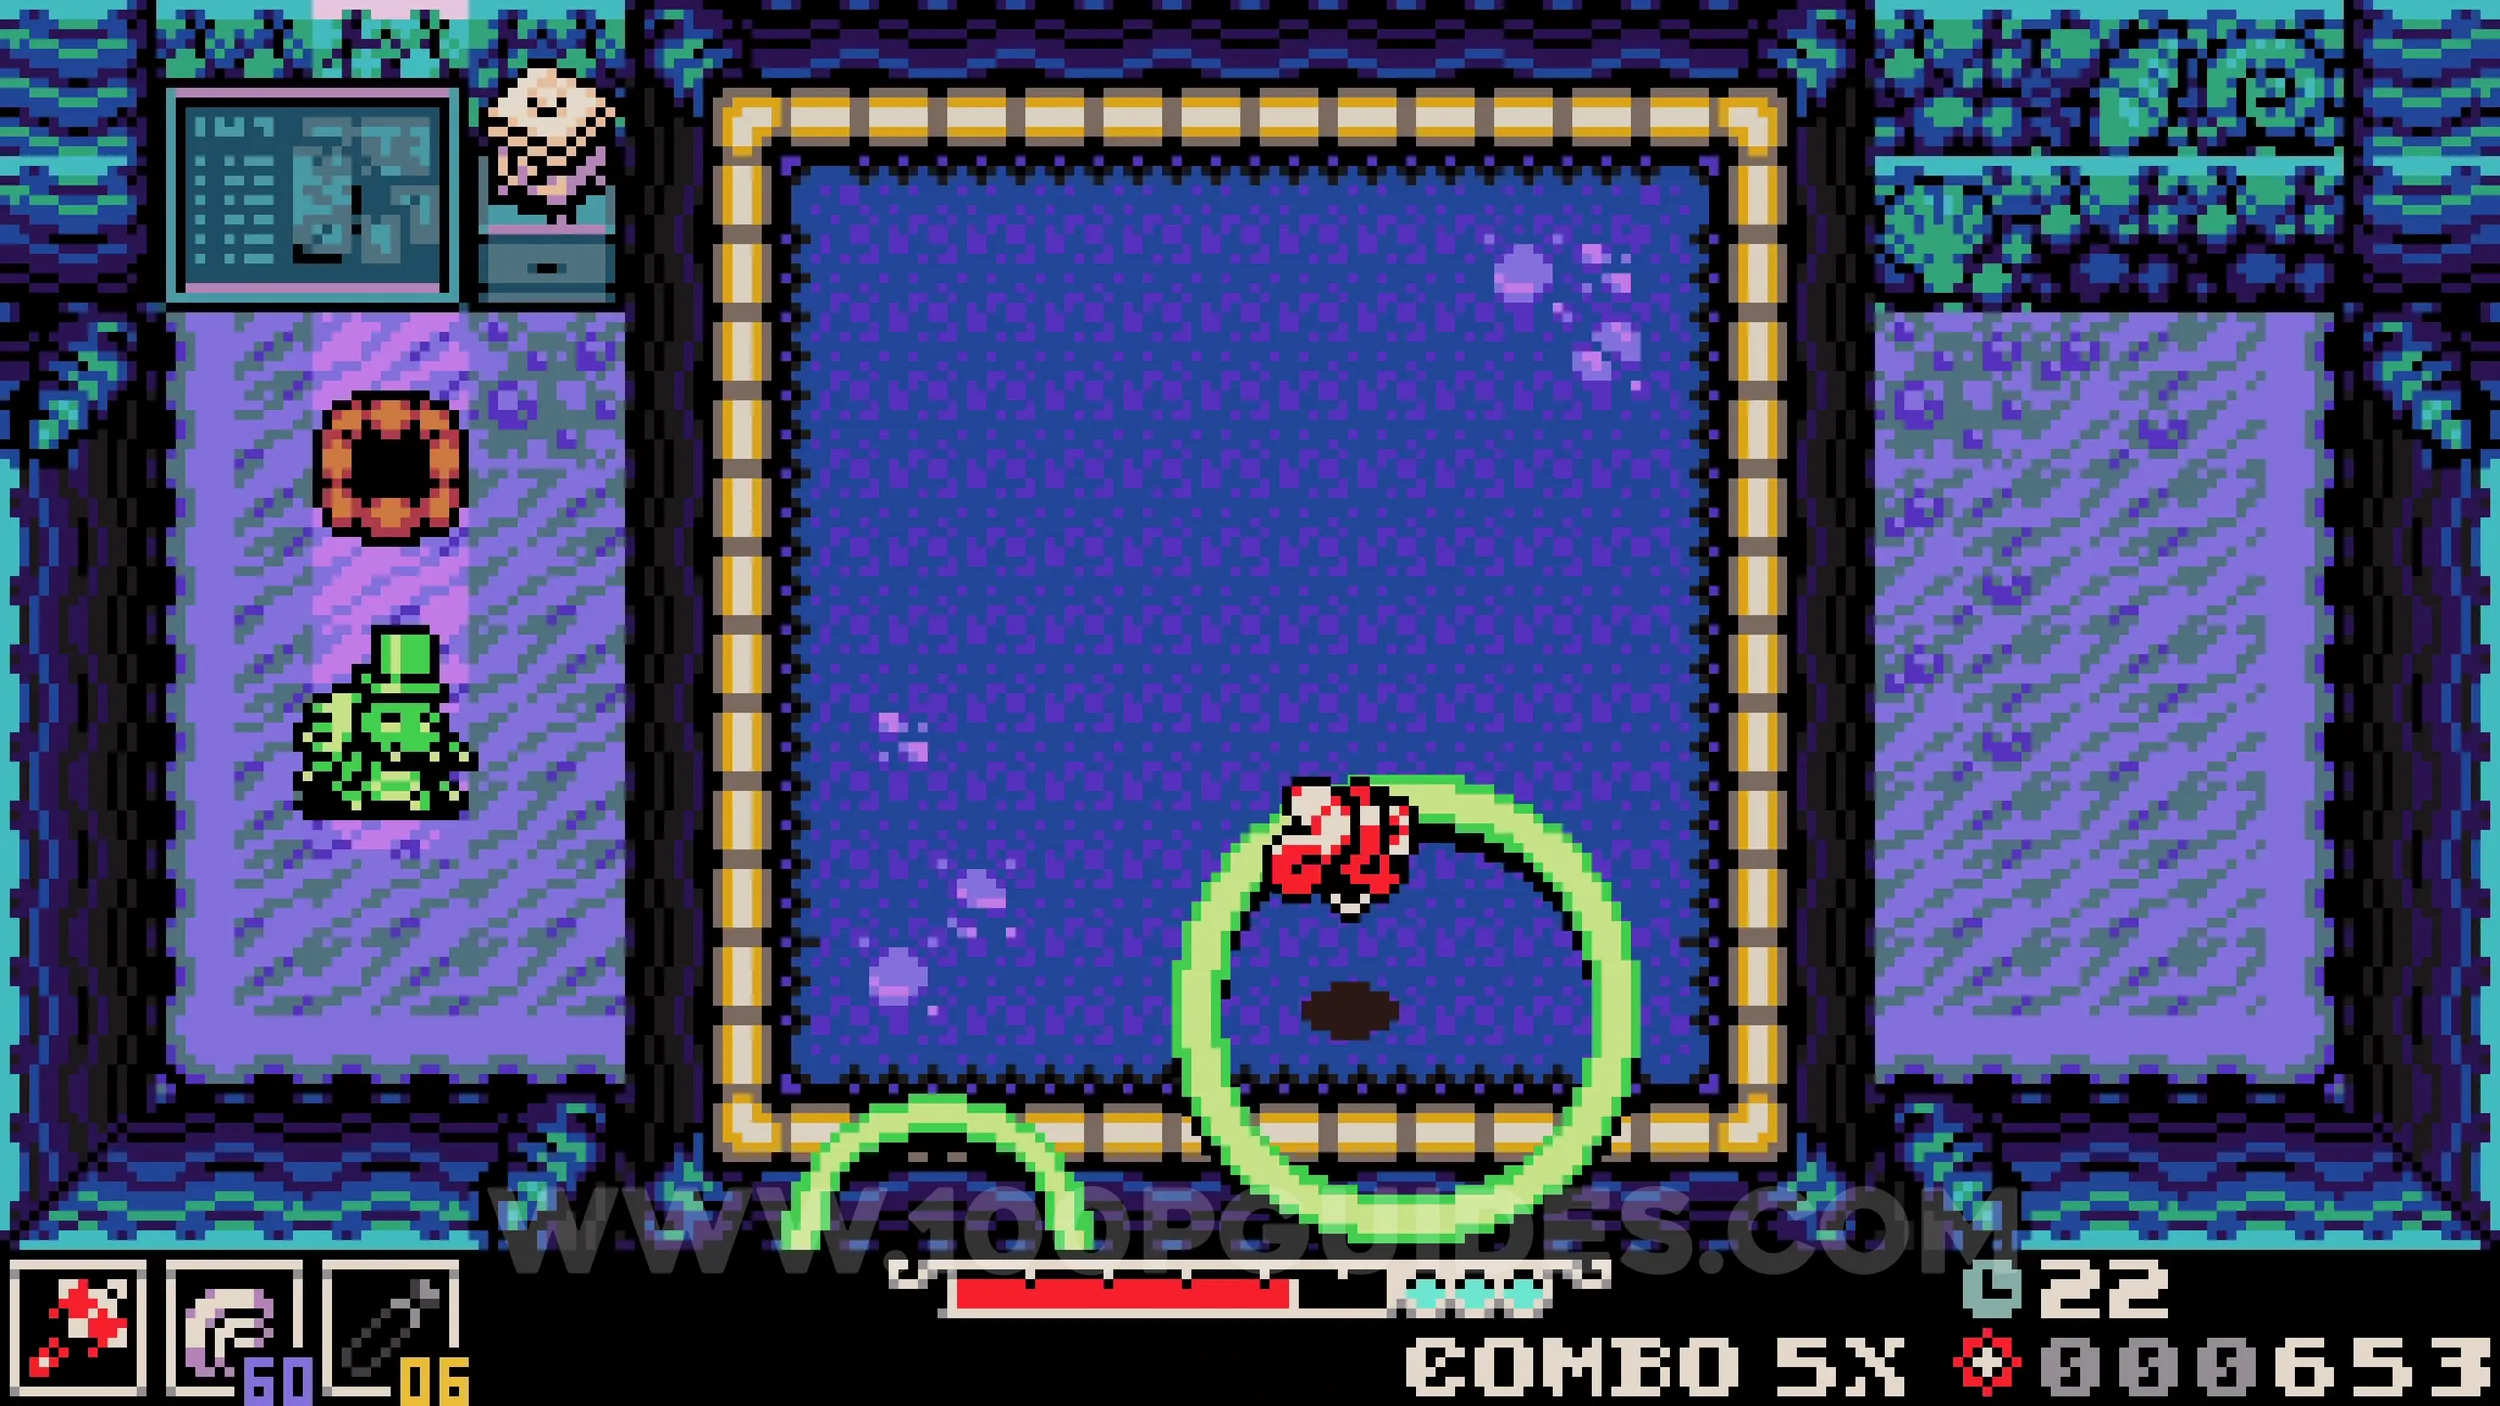
Trinket #2 - Tunneling Codex. Exit the cave and go through the gap just south of the bomb you used earlier. Drop off the ledge to the left of the house with the NPC to find a hole you can drop into. Inside, play the minigame and score 5000 points by burrowing in and out of the middle of the rings to earn the trinket.
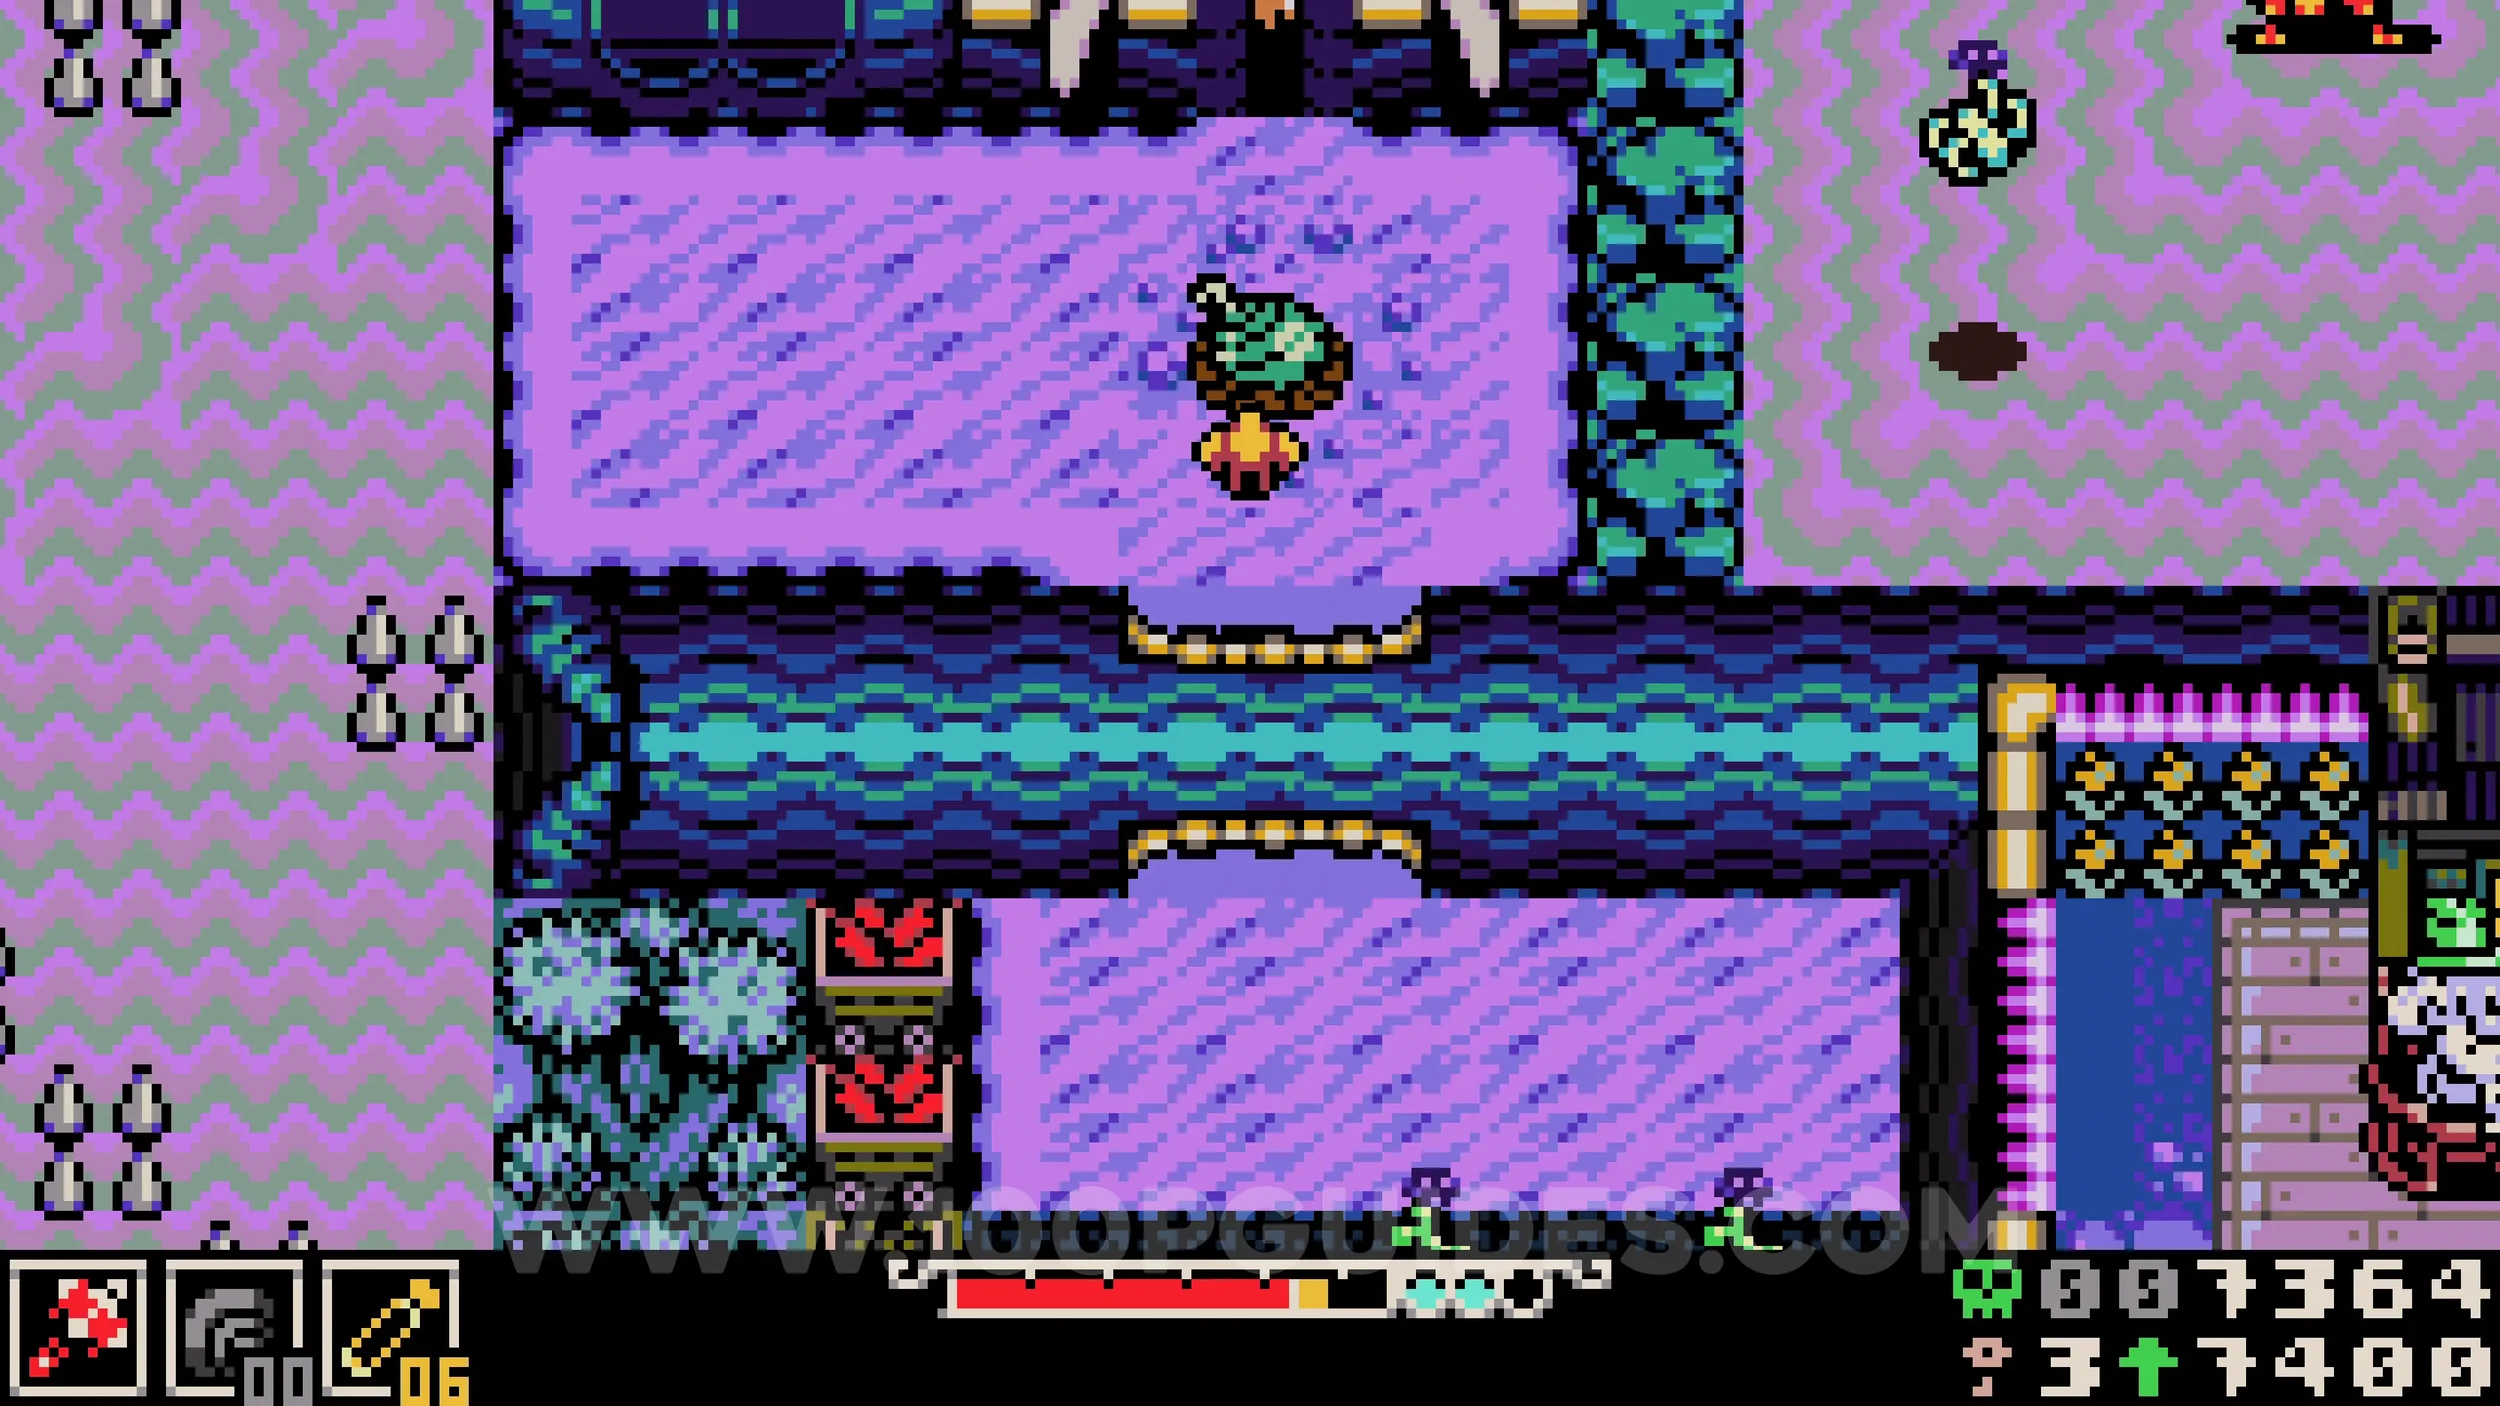
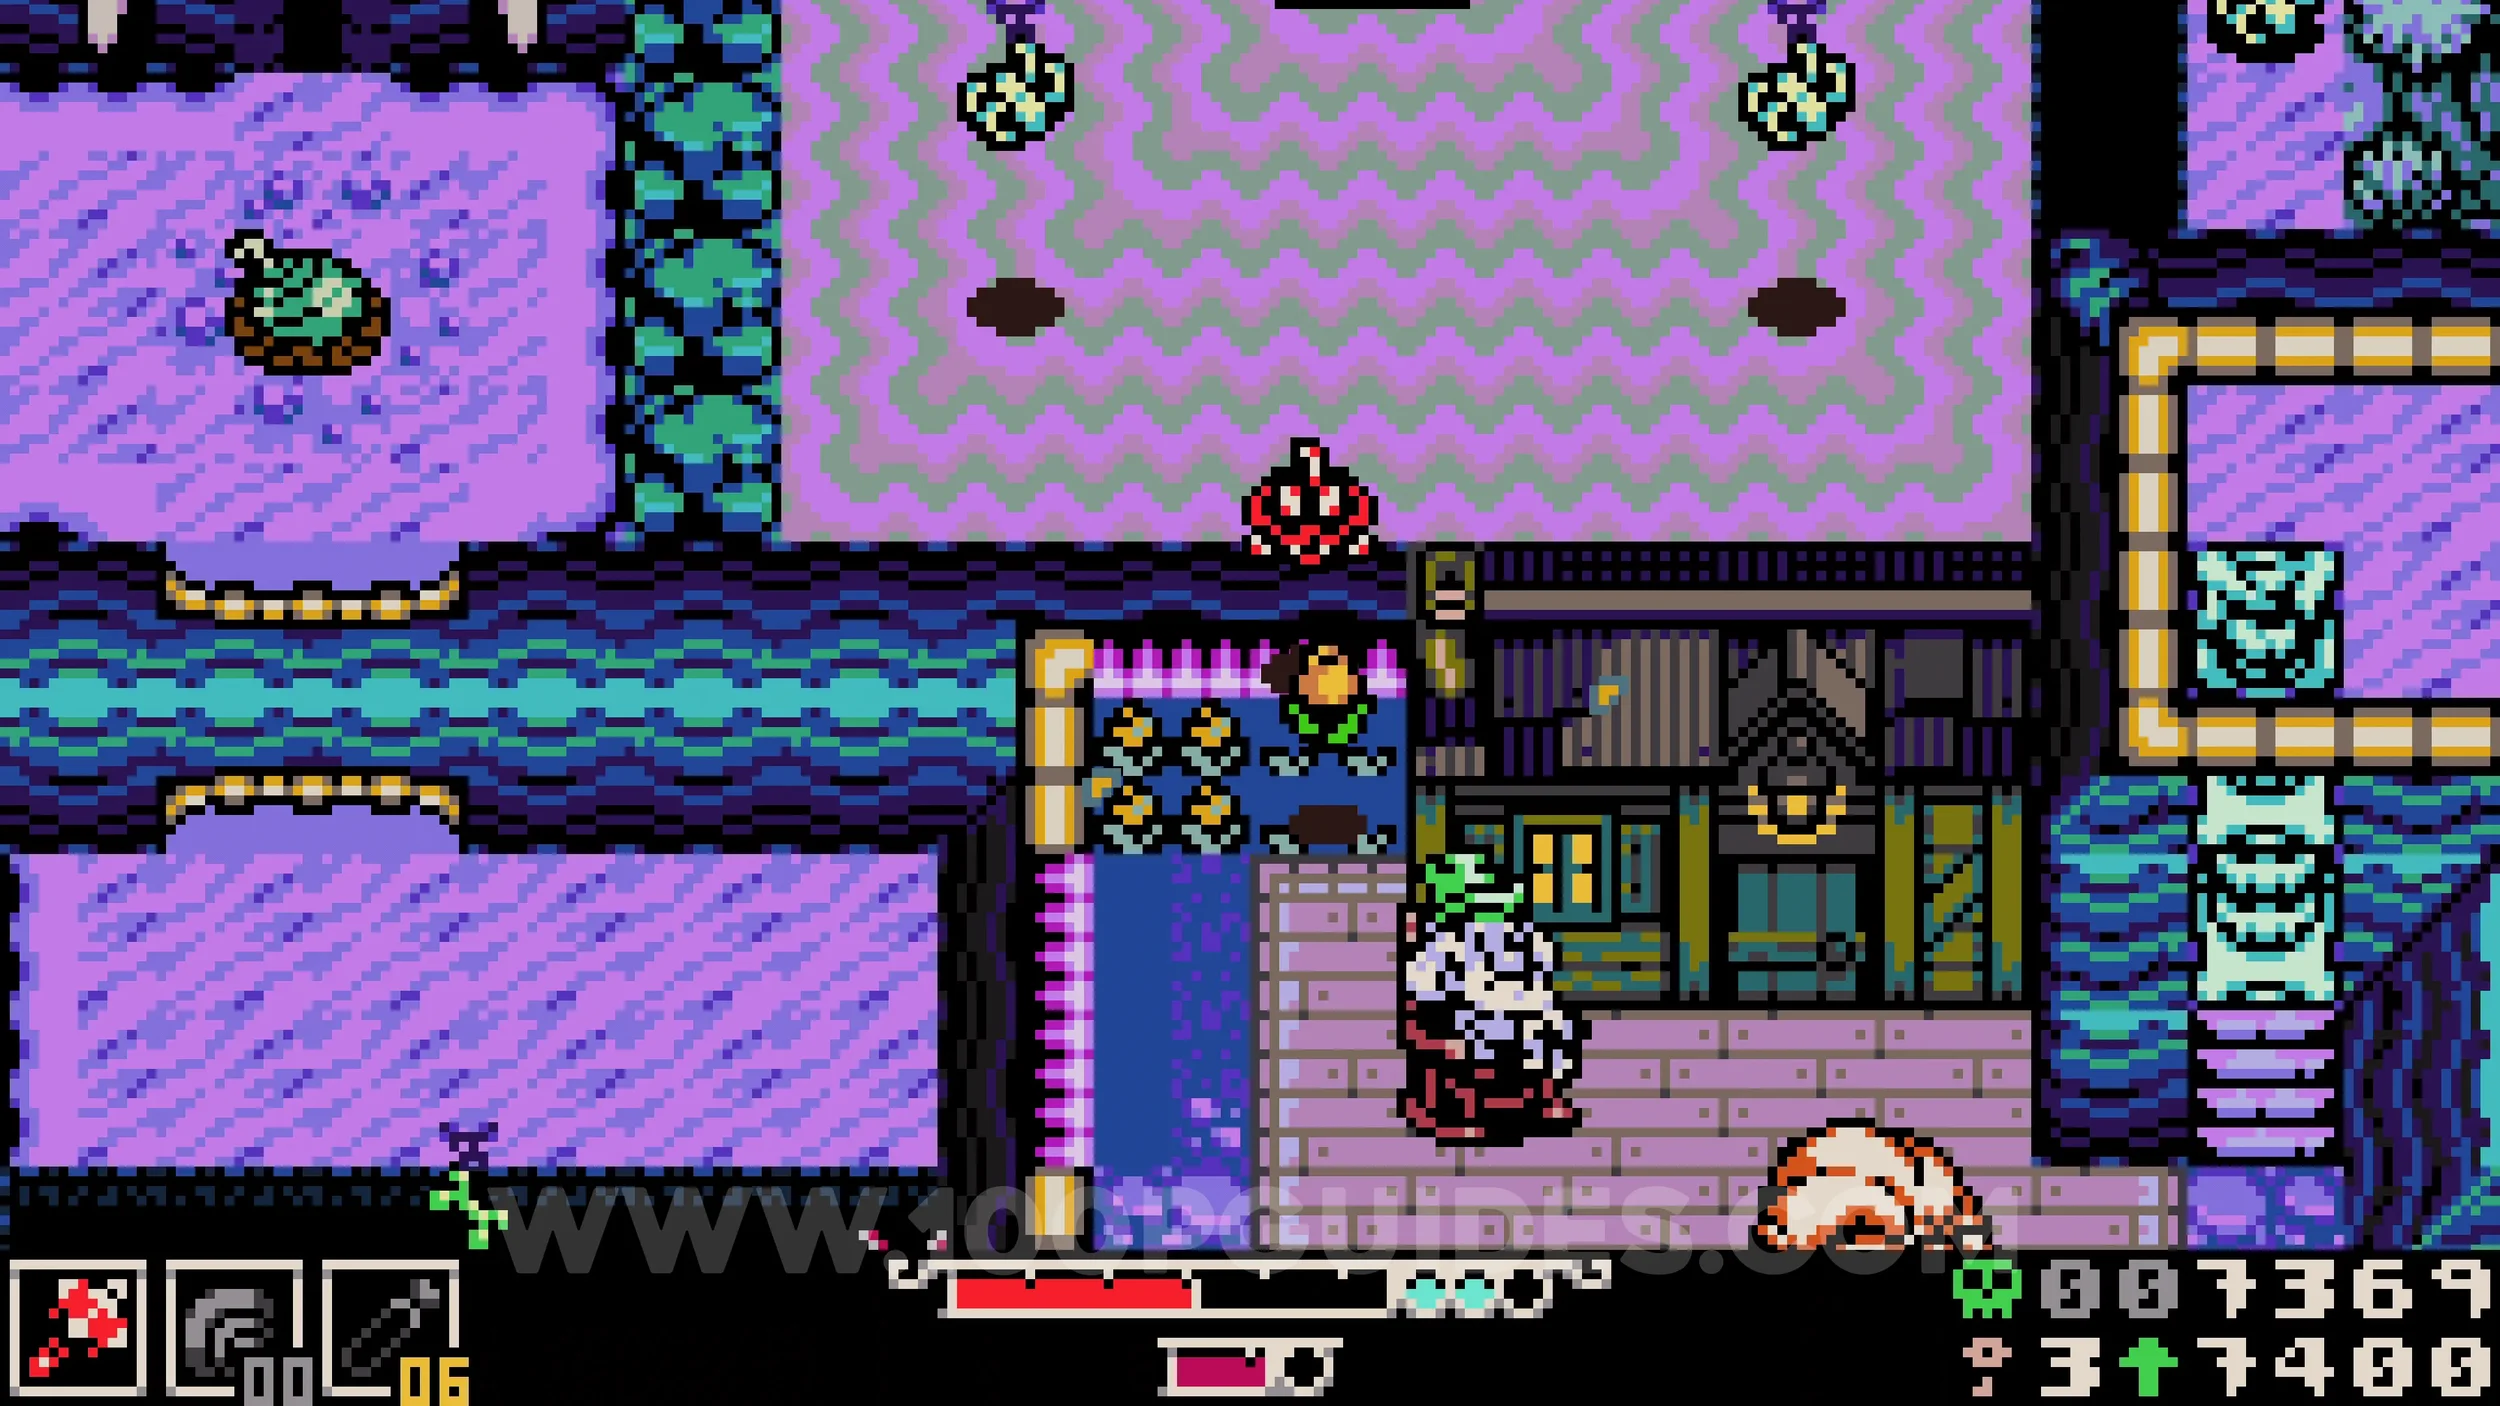
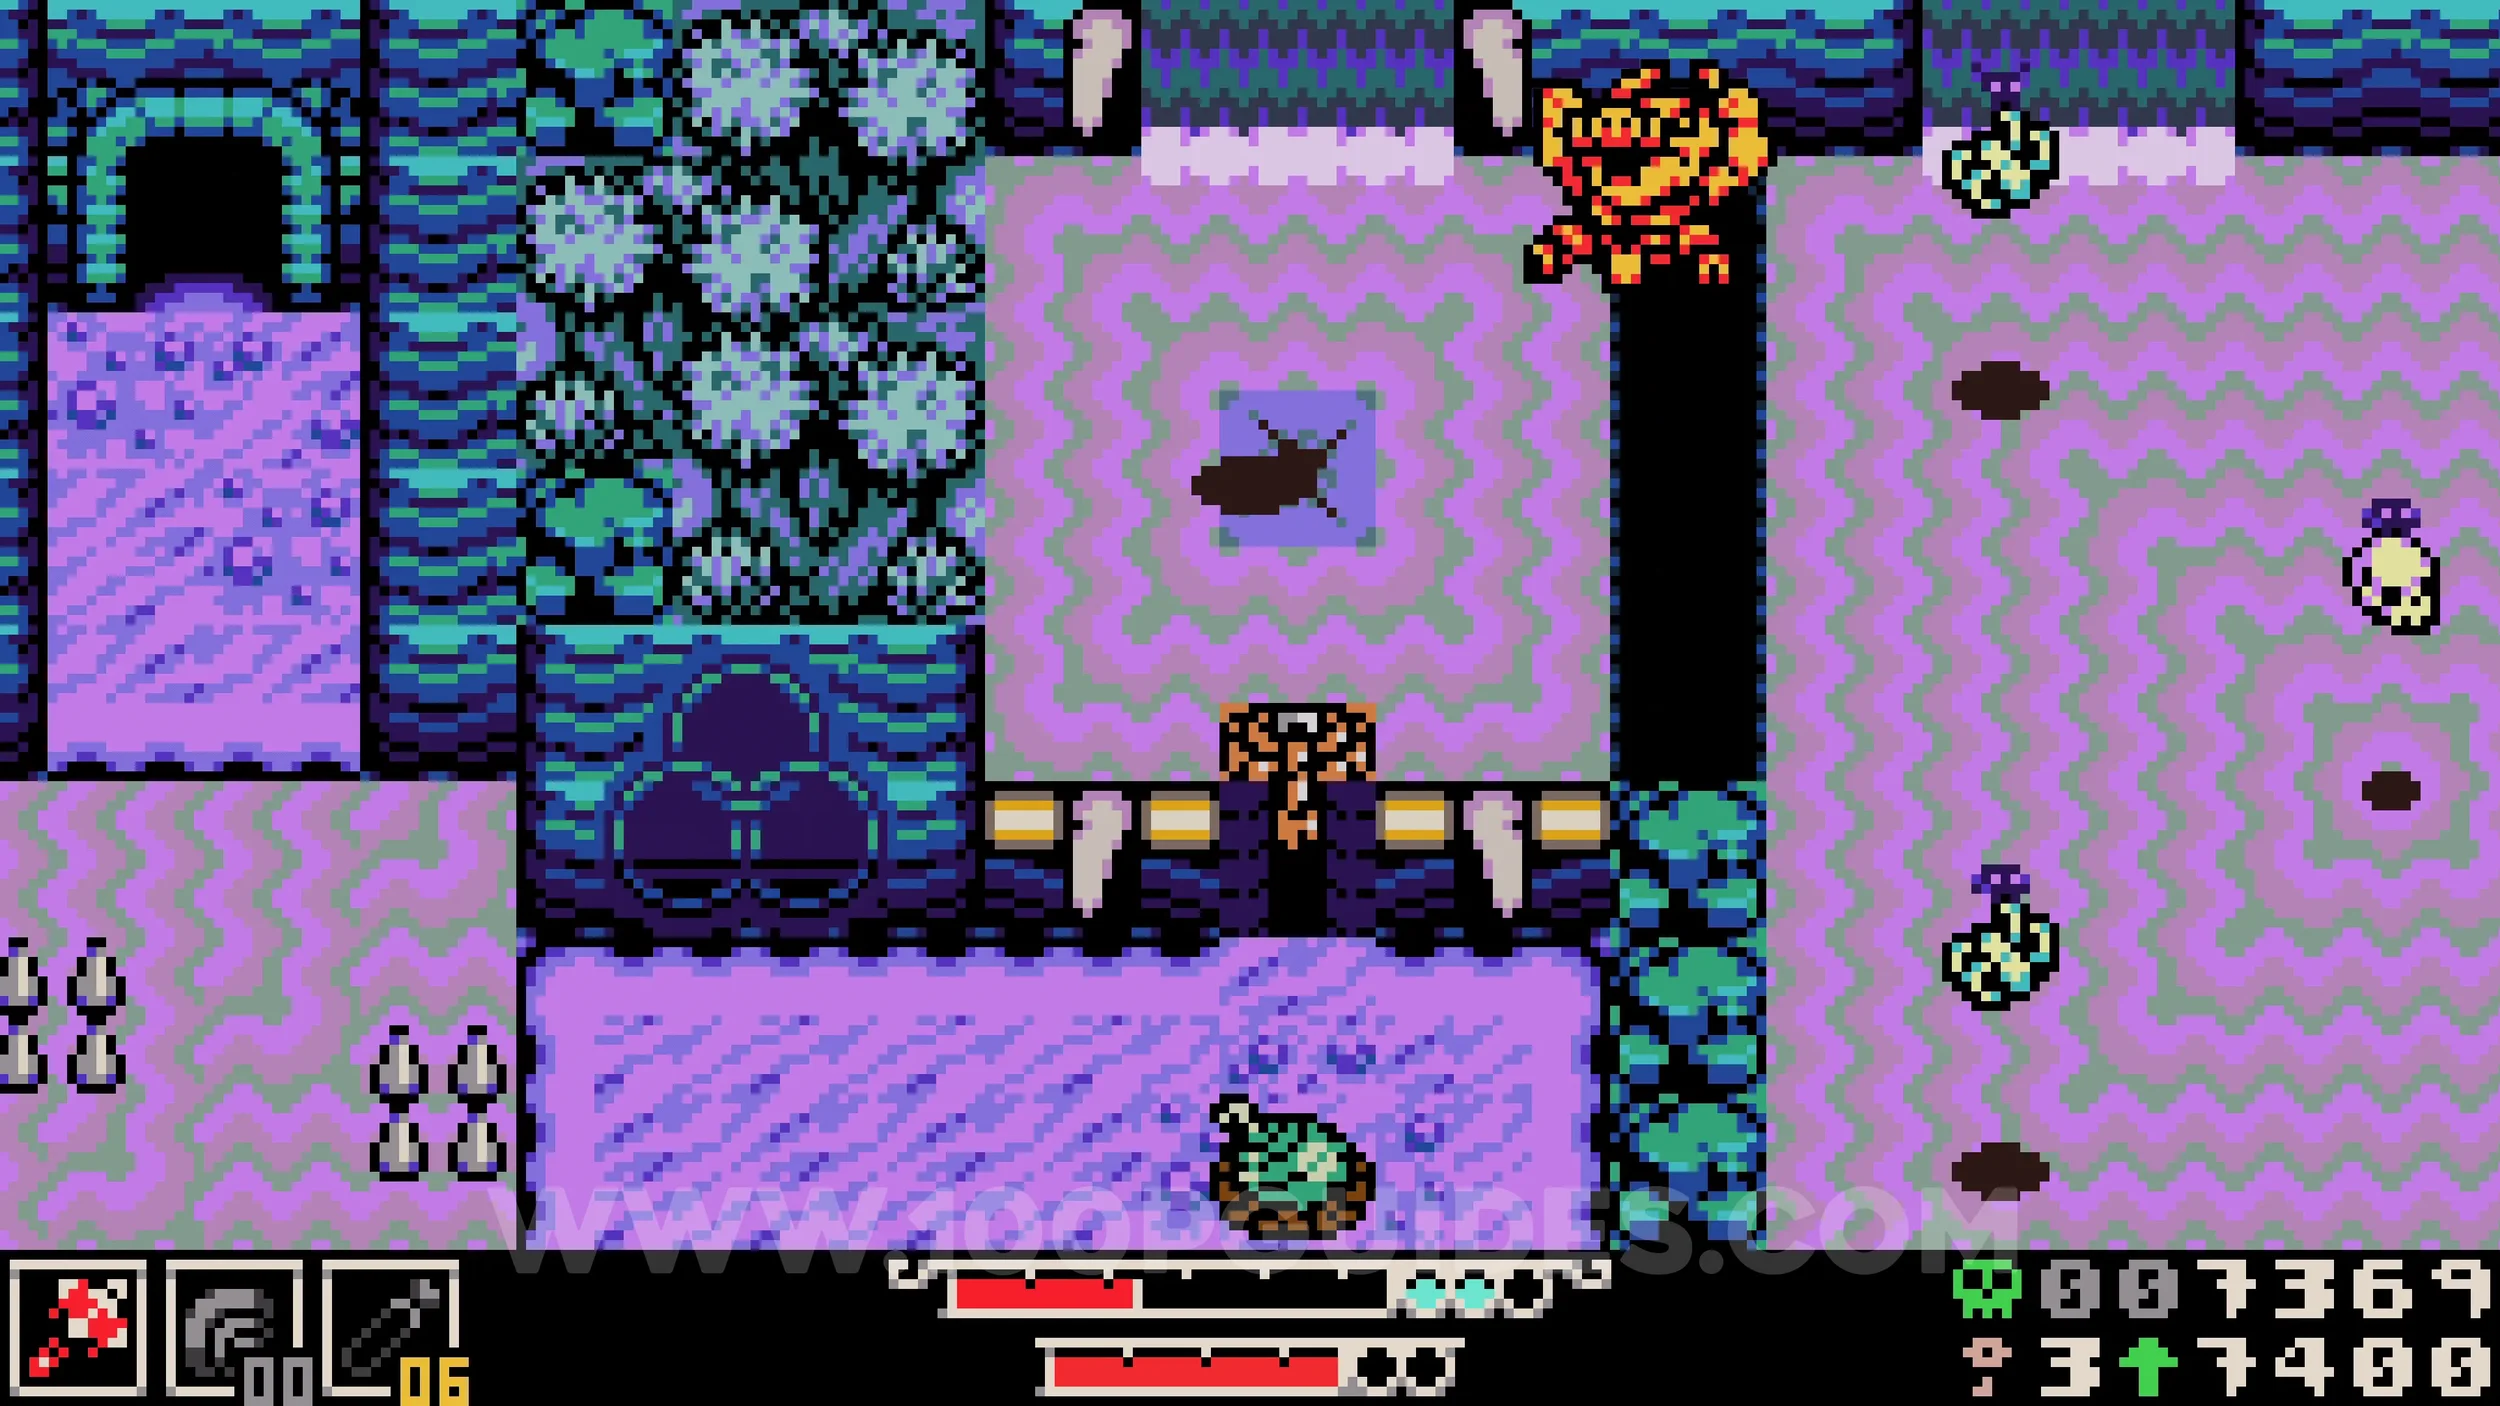
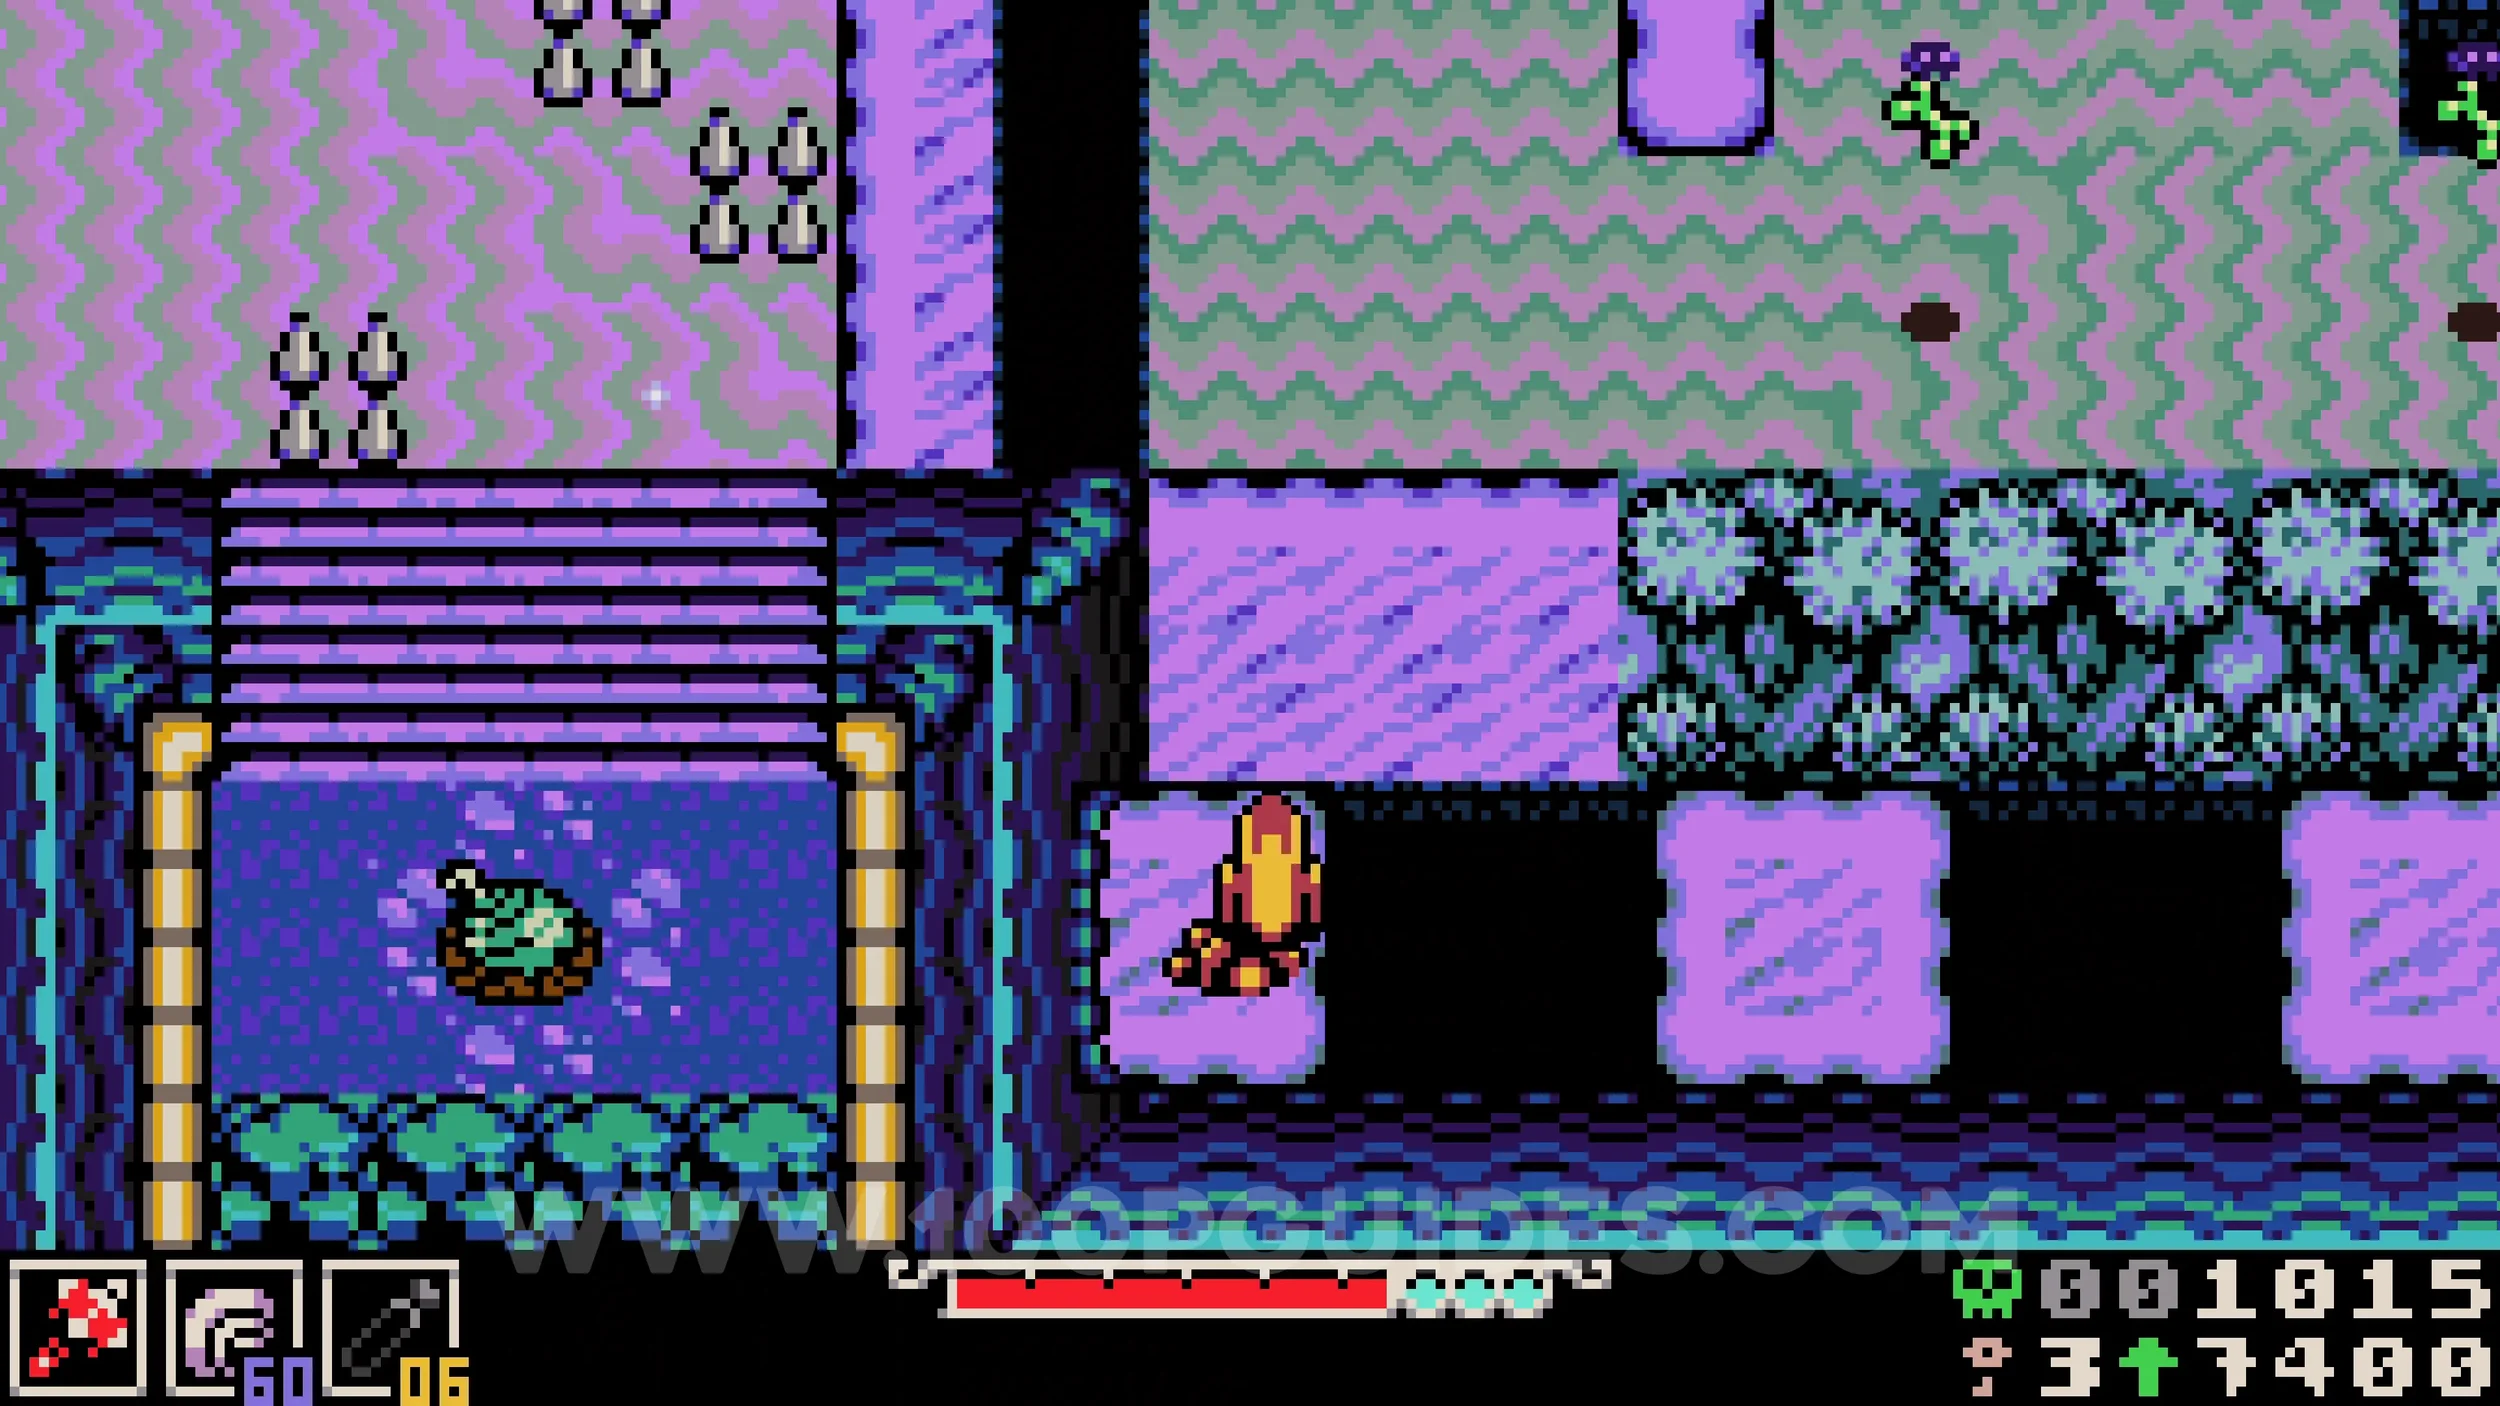
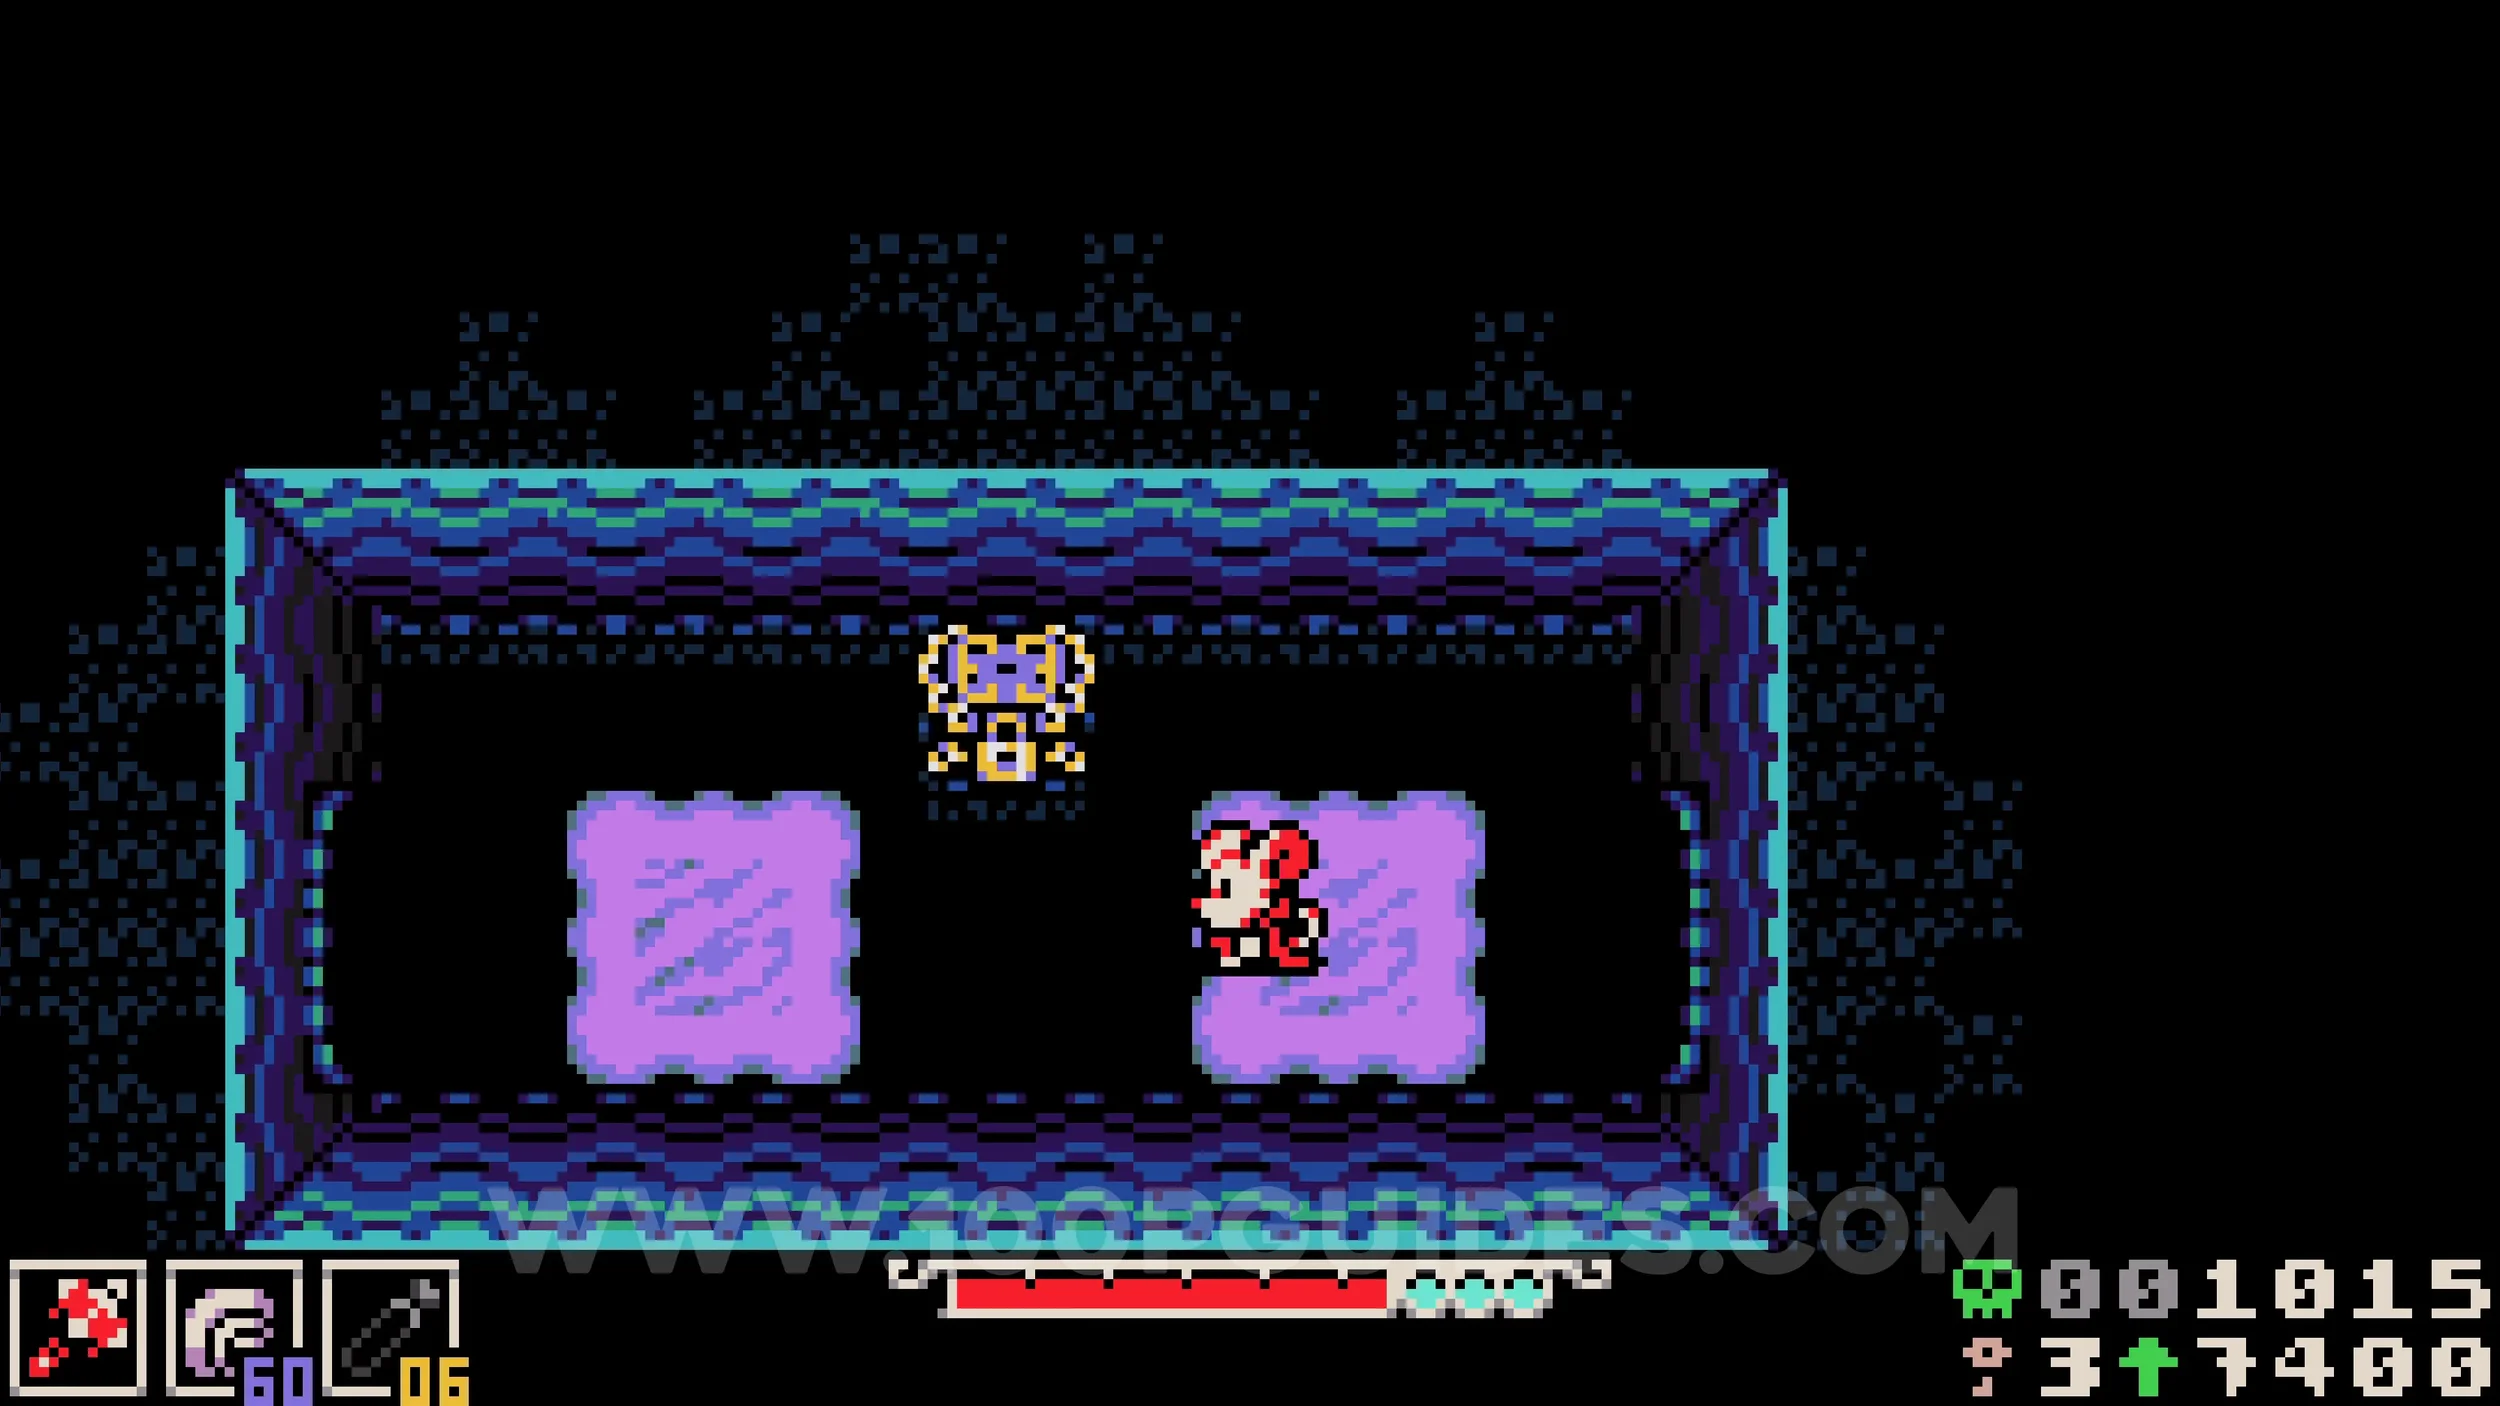
Lock #2 & Vial Pouch #1. Go down to the very bottom of the main area and look for the moving platforms on the right side of the platform with the bomb on it. As the platform passes under the area with the bomb, burrow inside to find the lock and the chest.
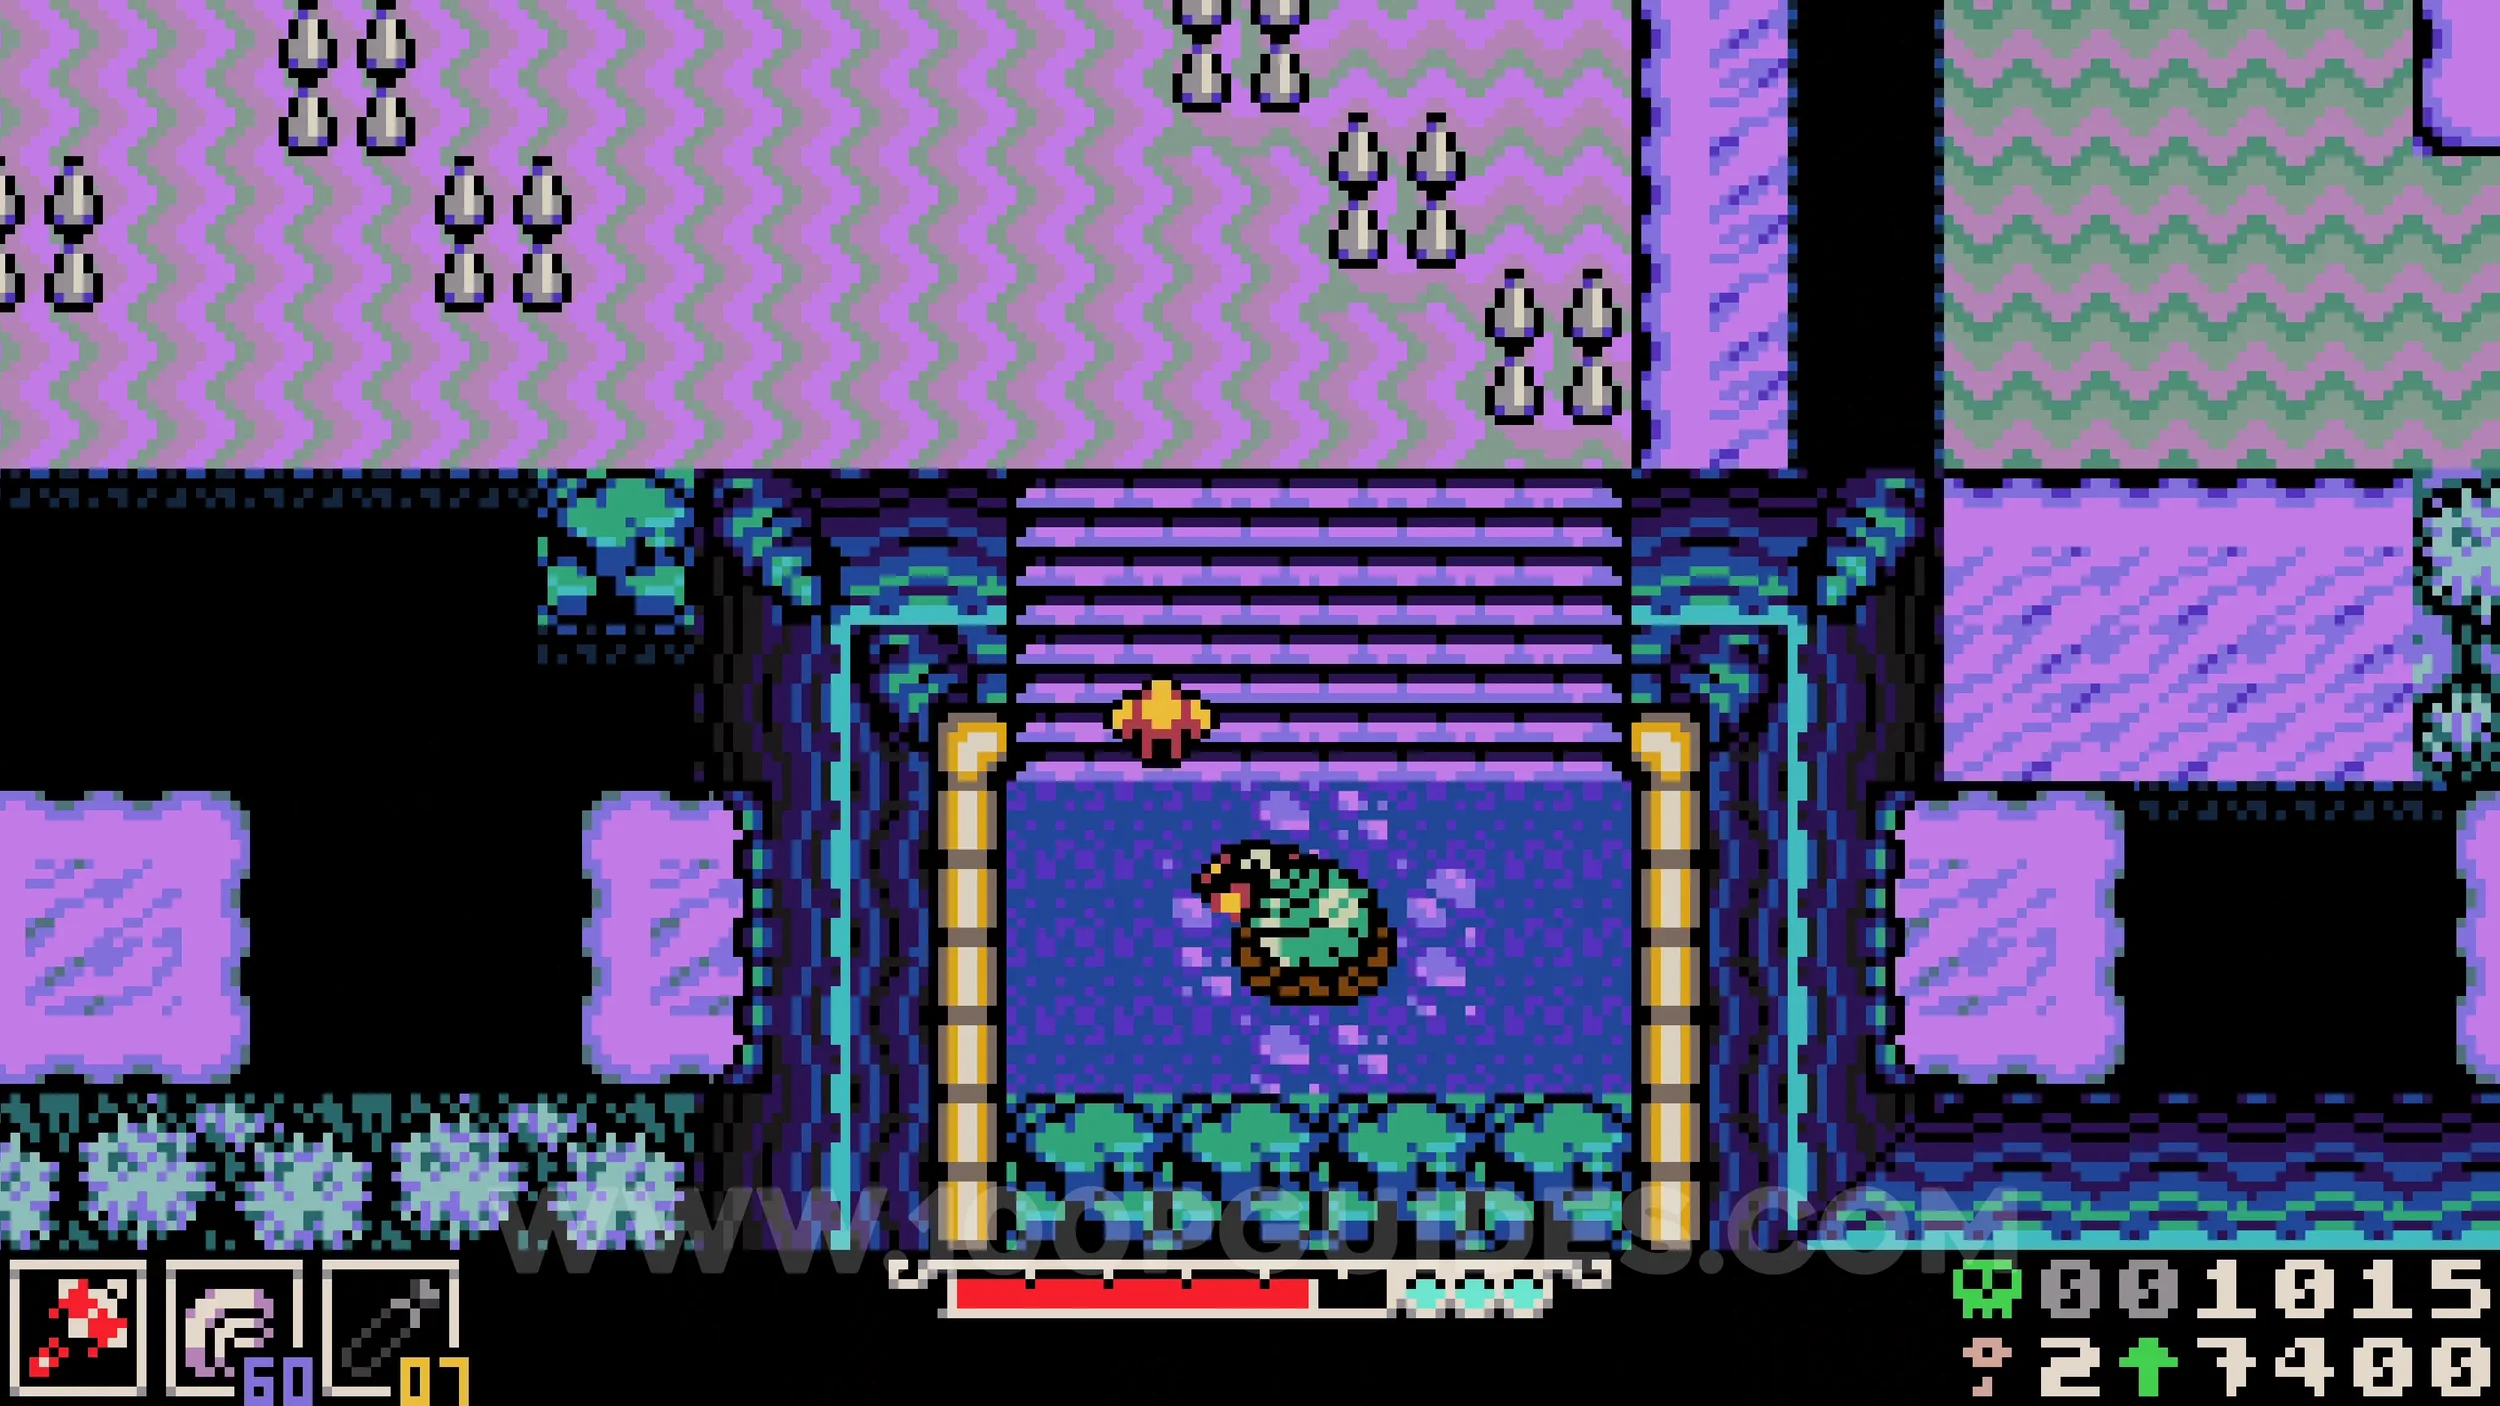
Bonestone #3. Grab the bomb from the platform above the previous collectible and throw it onto the moving platforms to the left just as it is about to explode, destroying the mine carts. Head left and get onto the moving platforms that were blocked by the mine carts, then continue left. Follow this path, using bombs to destroy the obstacles along the way, until you reach the chest on the left side of the area.
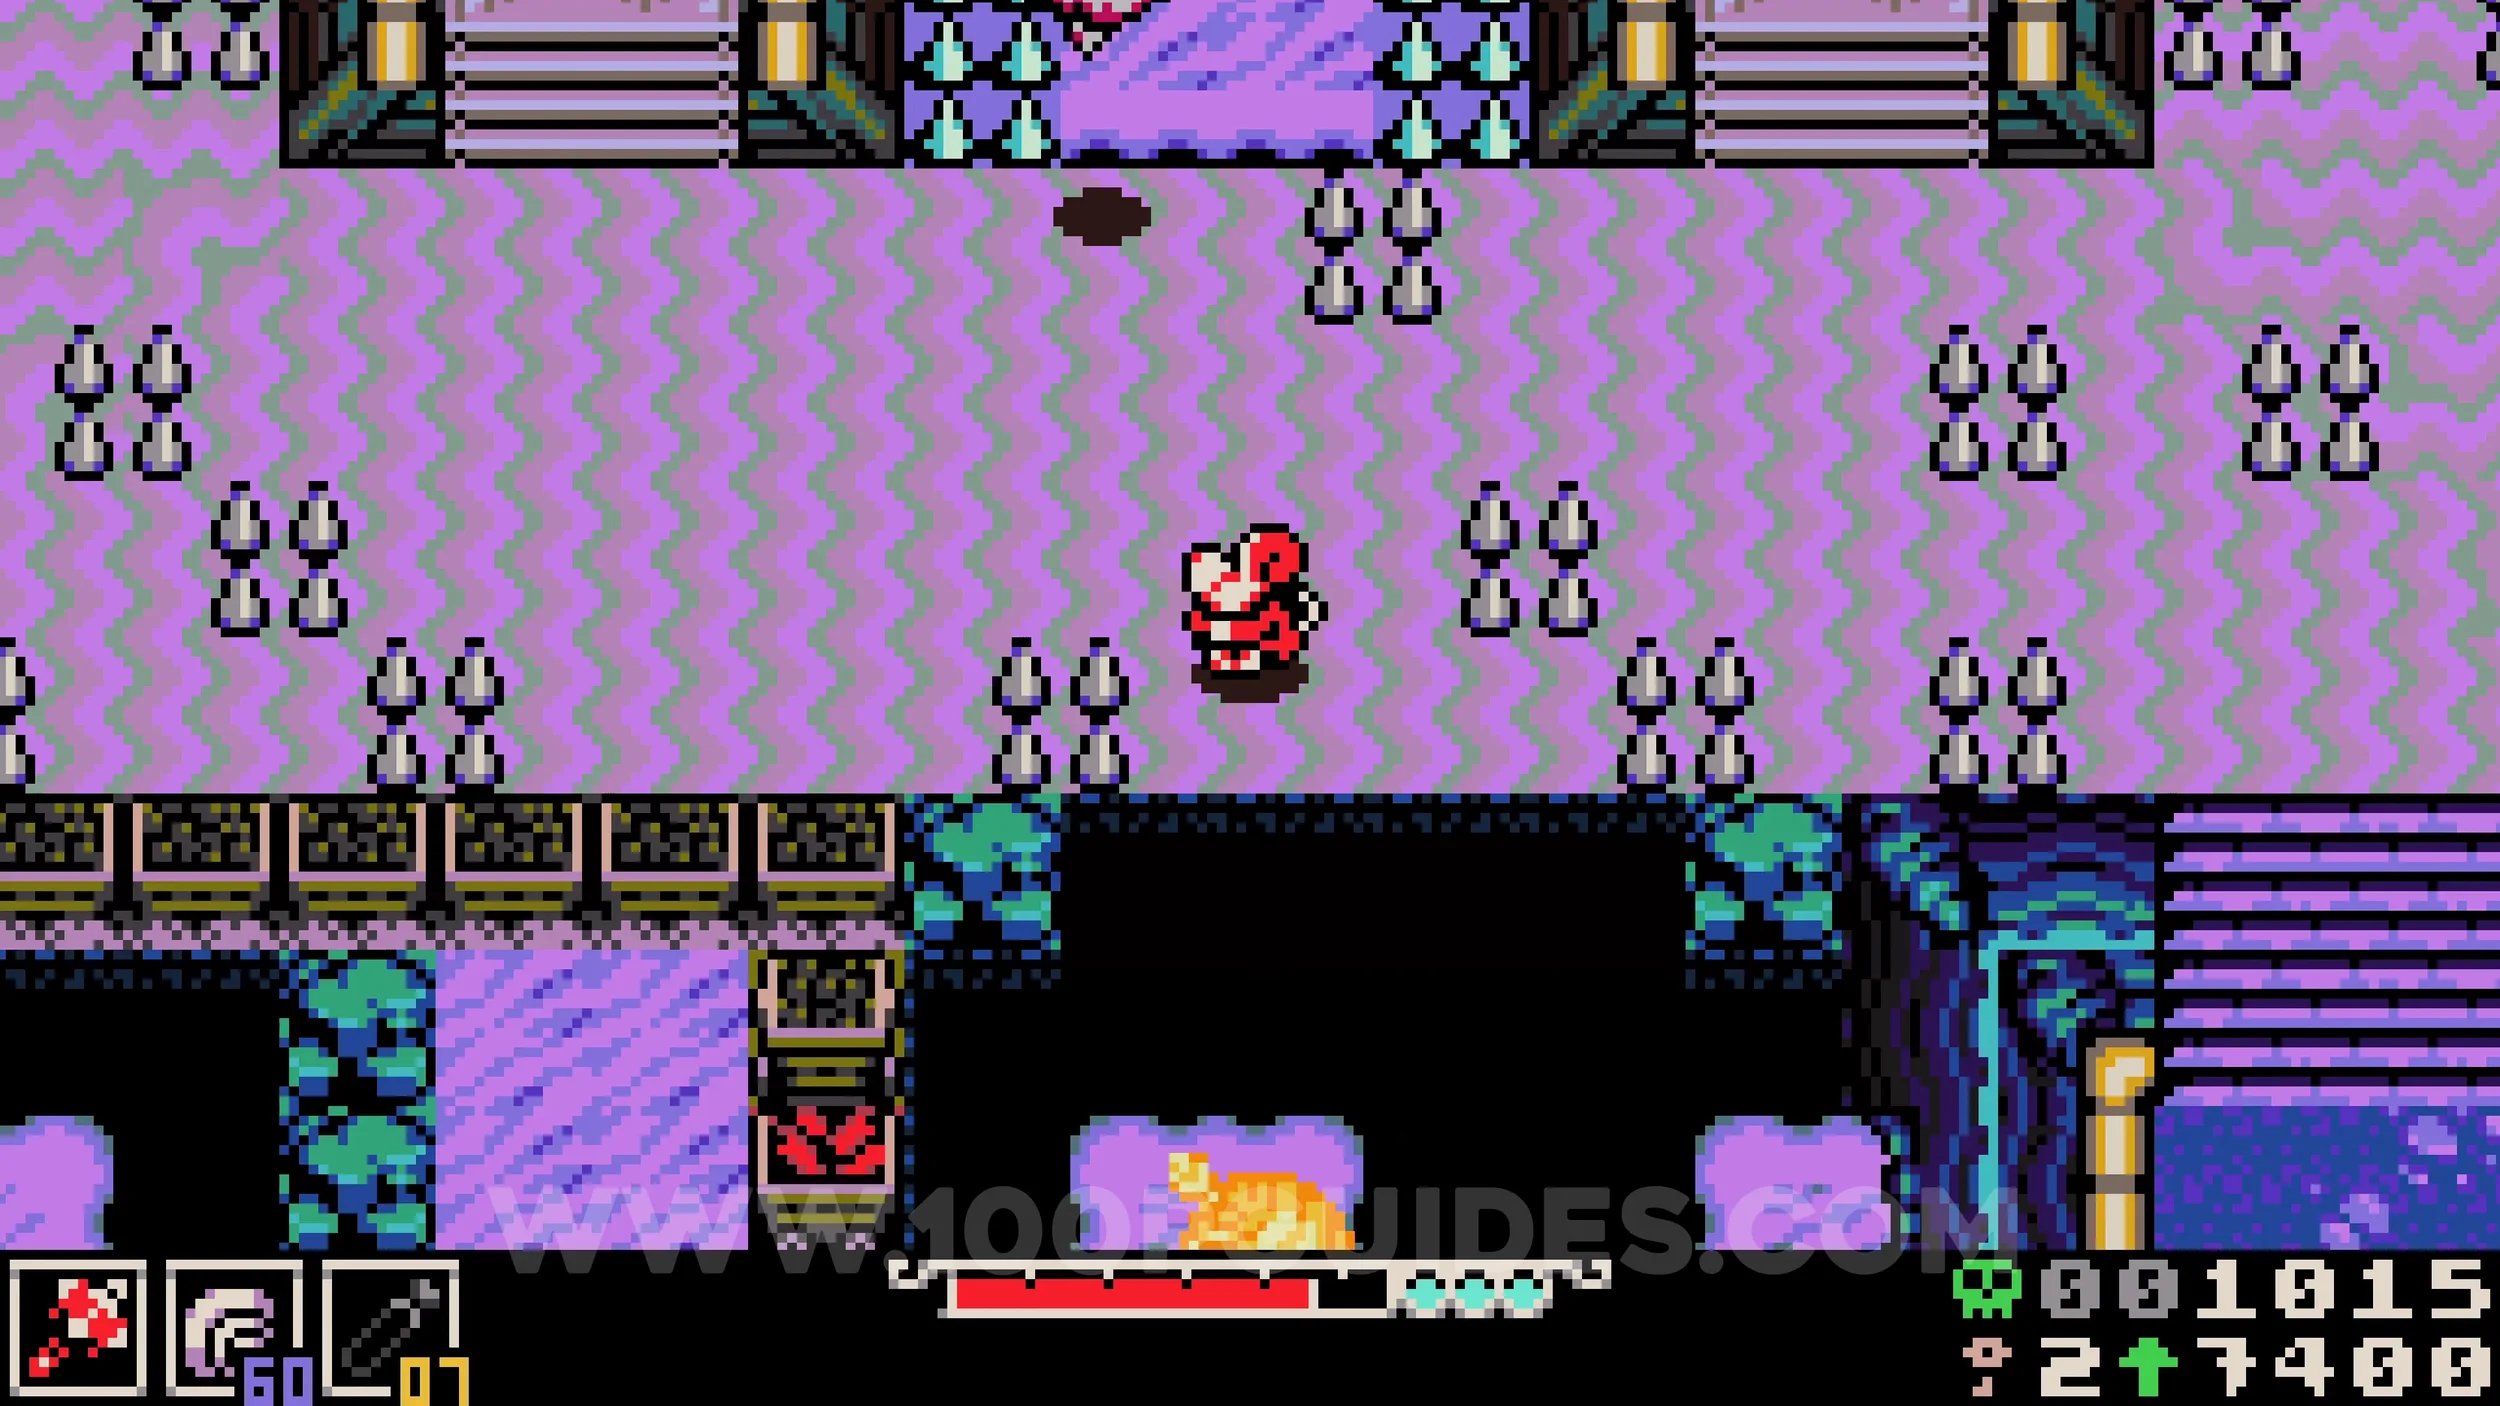
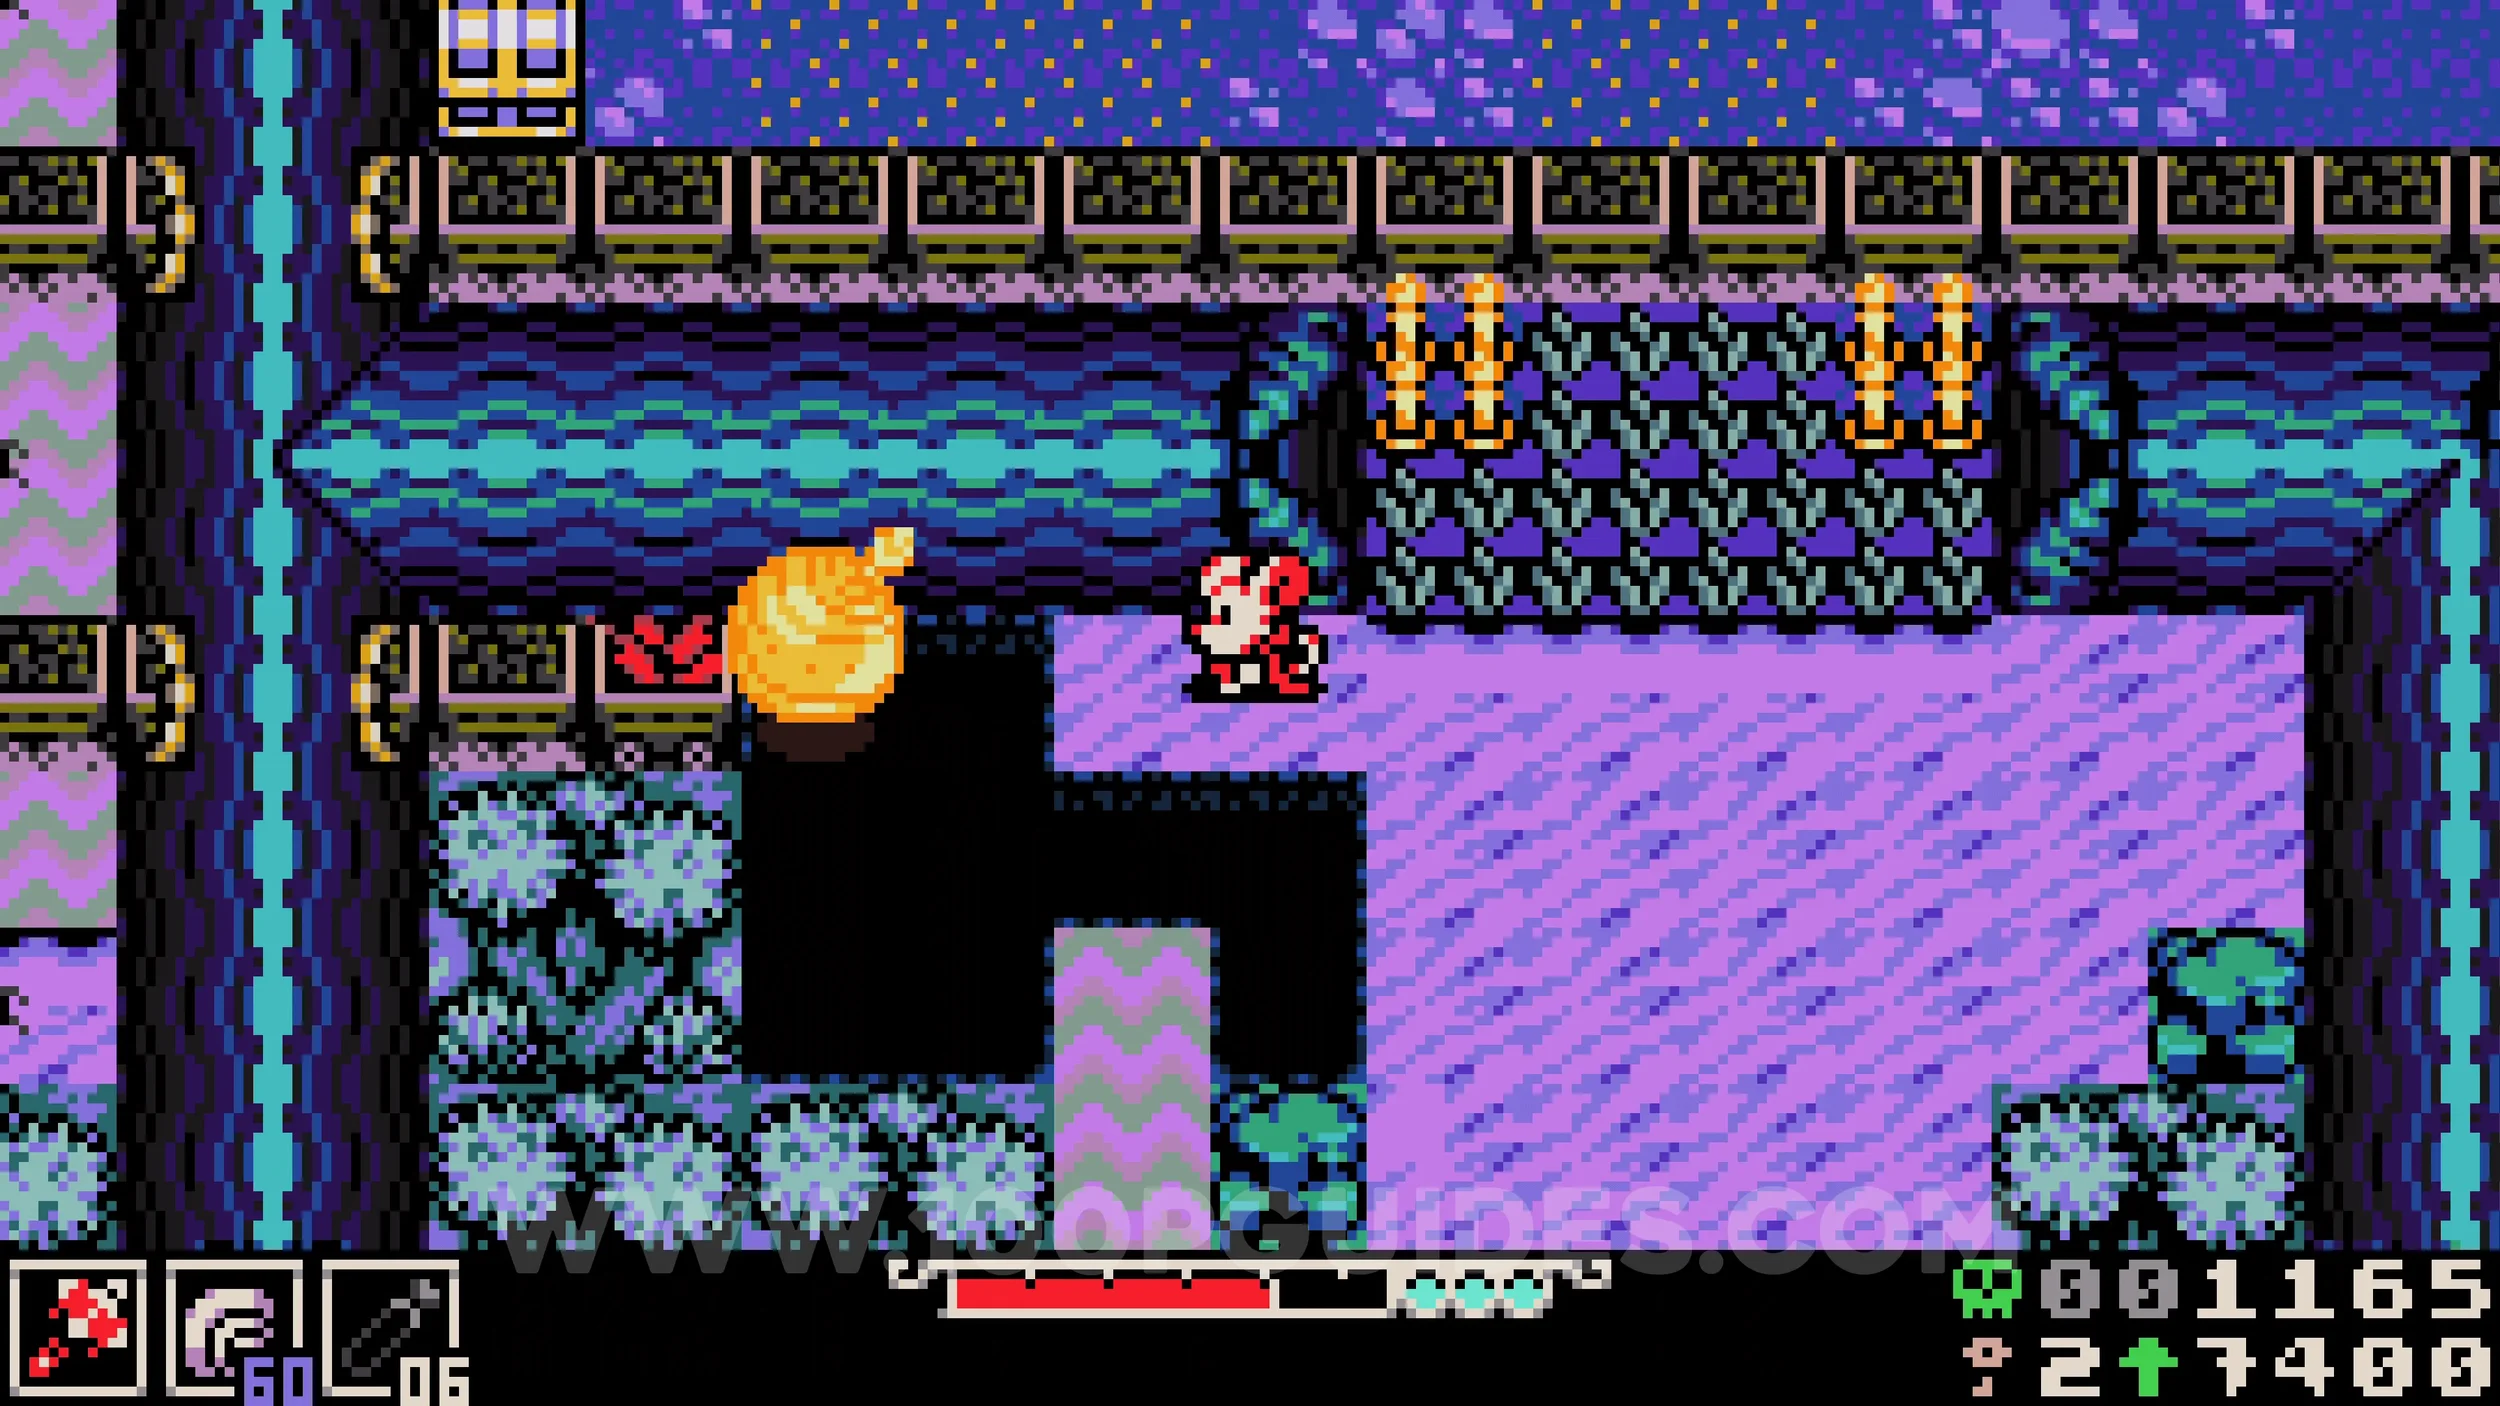
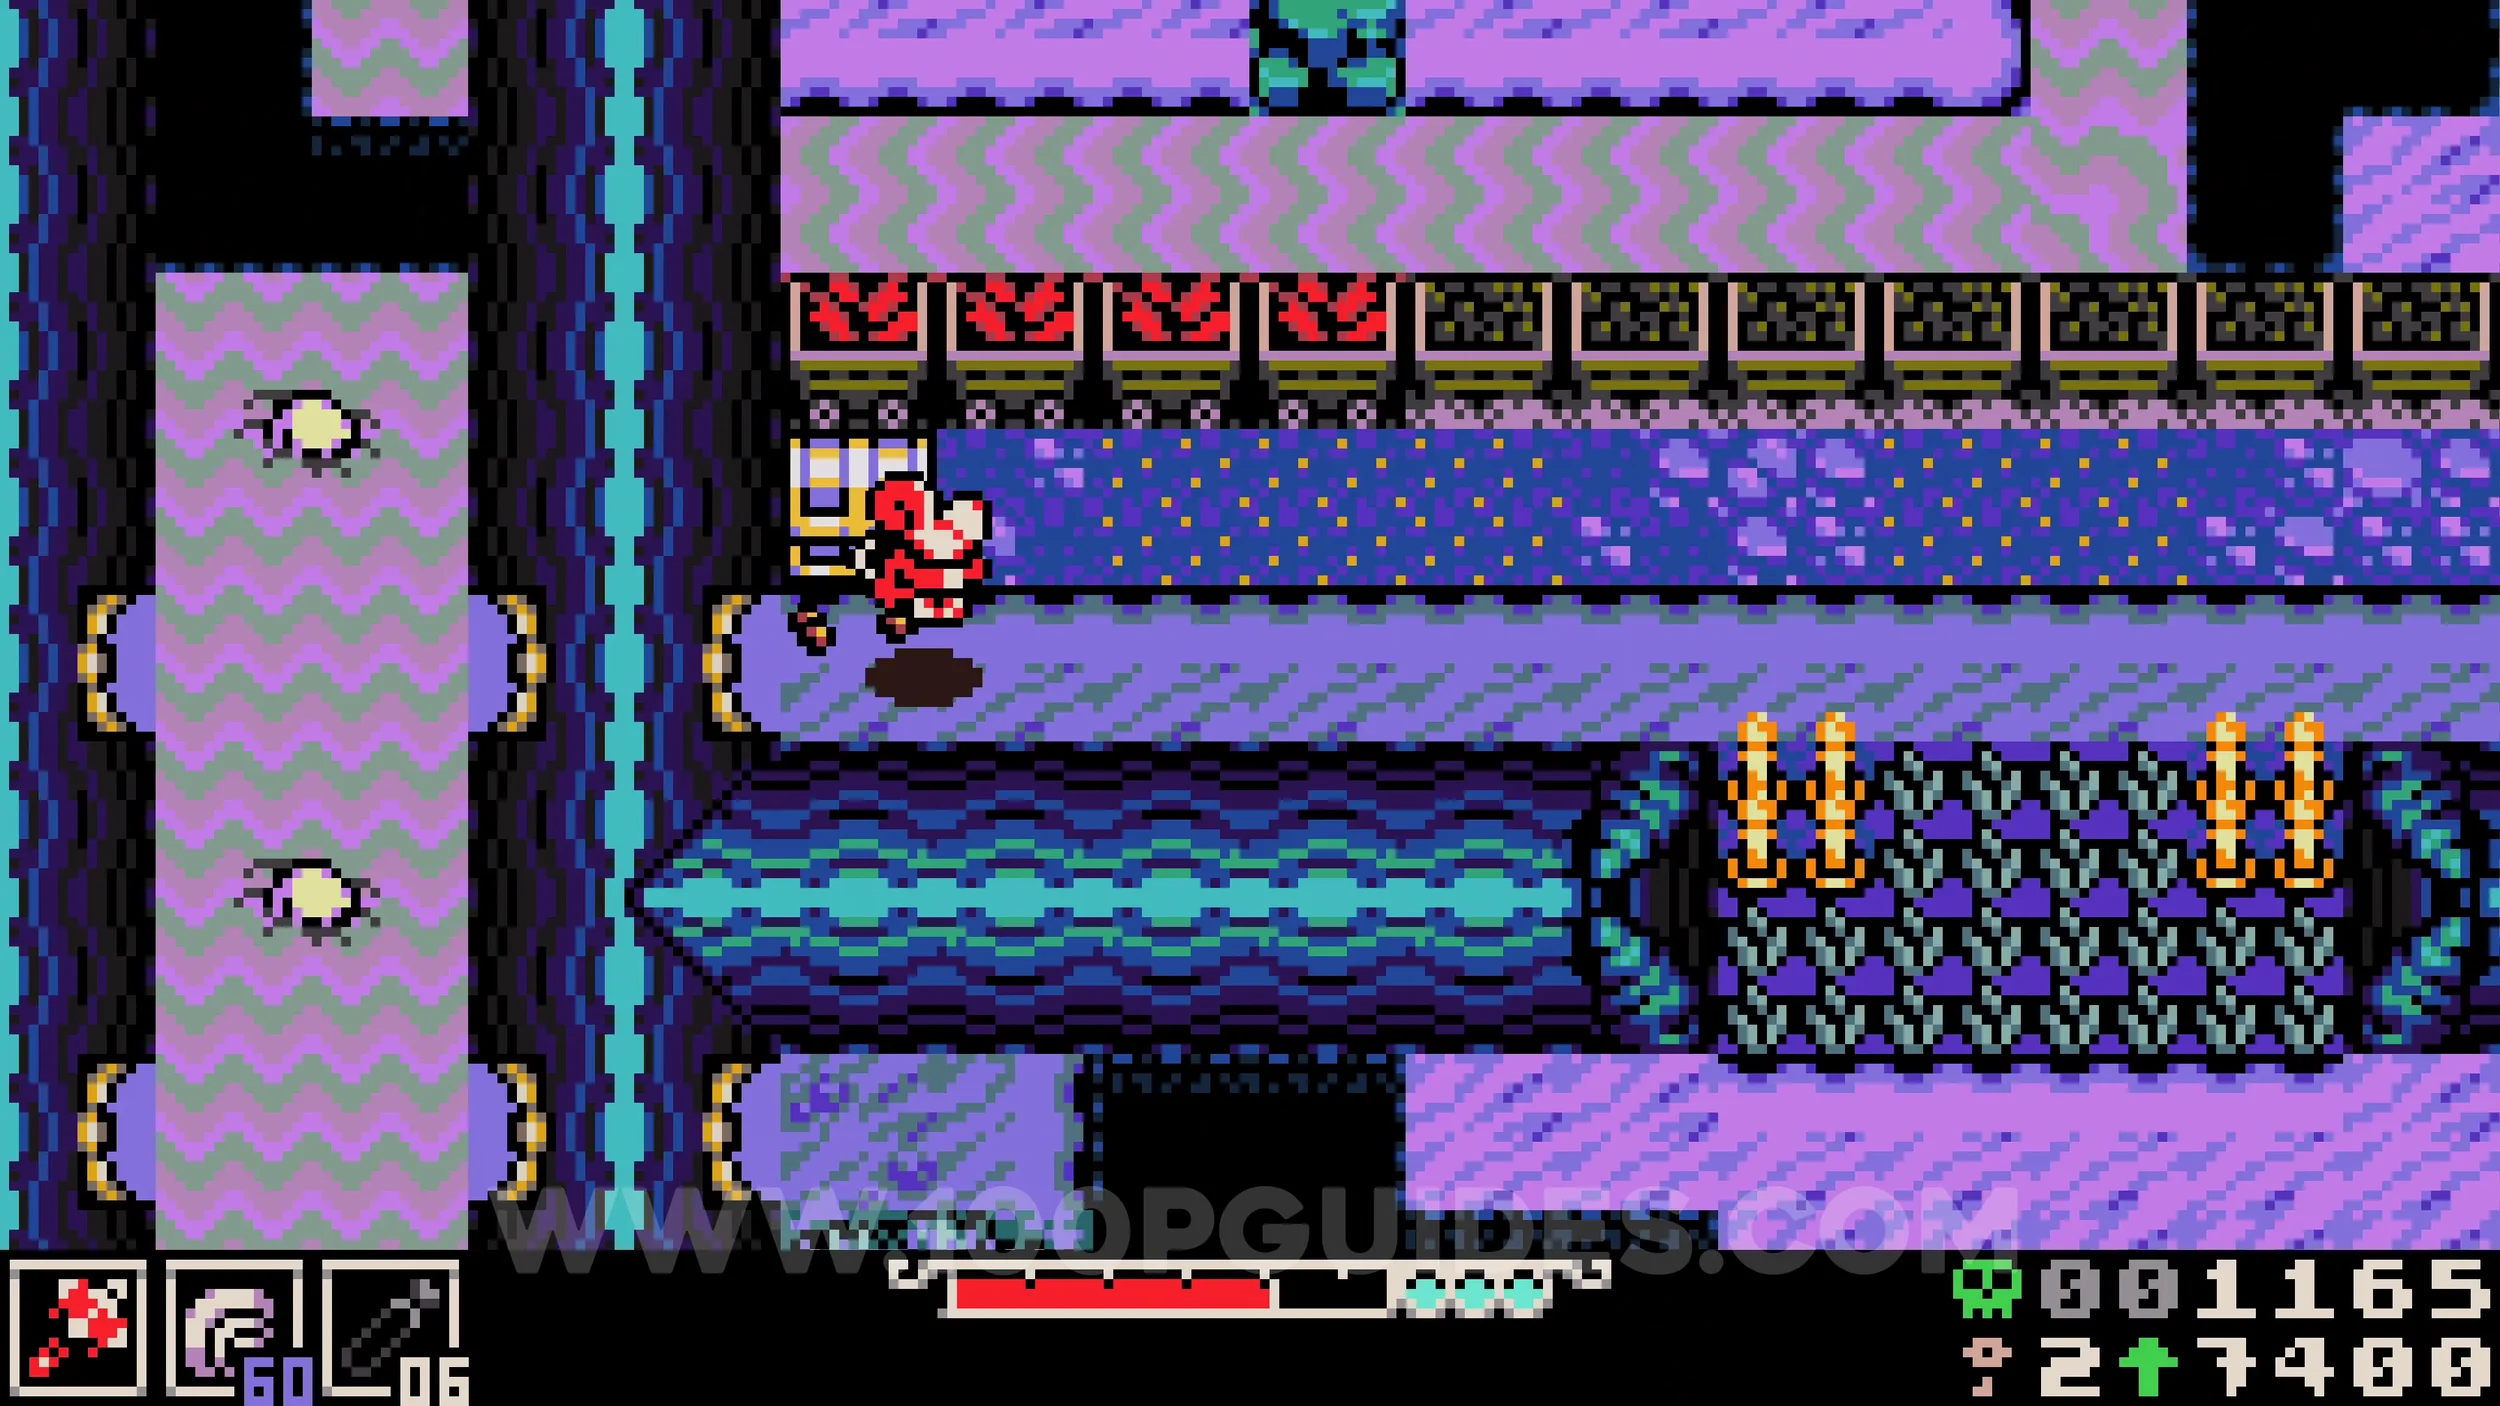
Bonestone #4. Follow the path up past the previous collectible to find another bomb. Pick it up and backtrack down the left side, throwing it against the wall at the end just below the little tunnels to reveal a hidden tunnel on the left side where you will find the collectible.
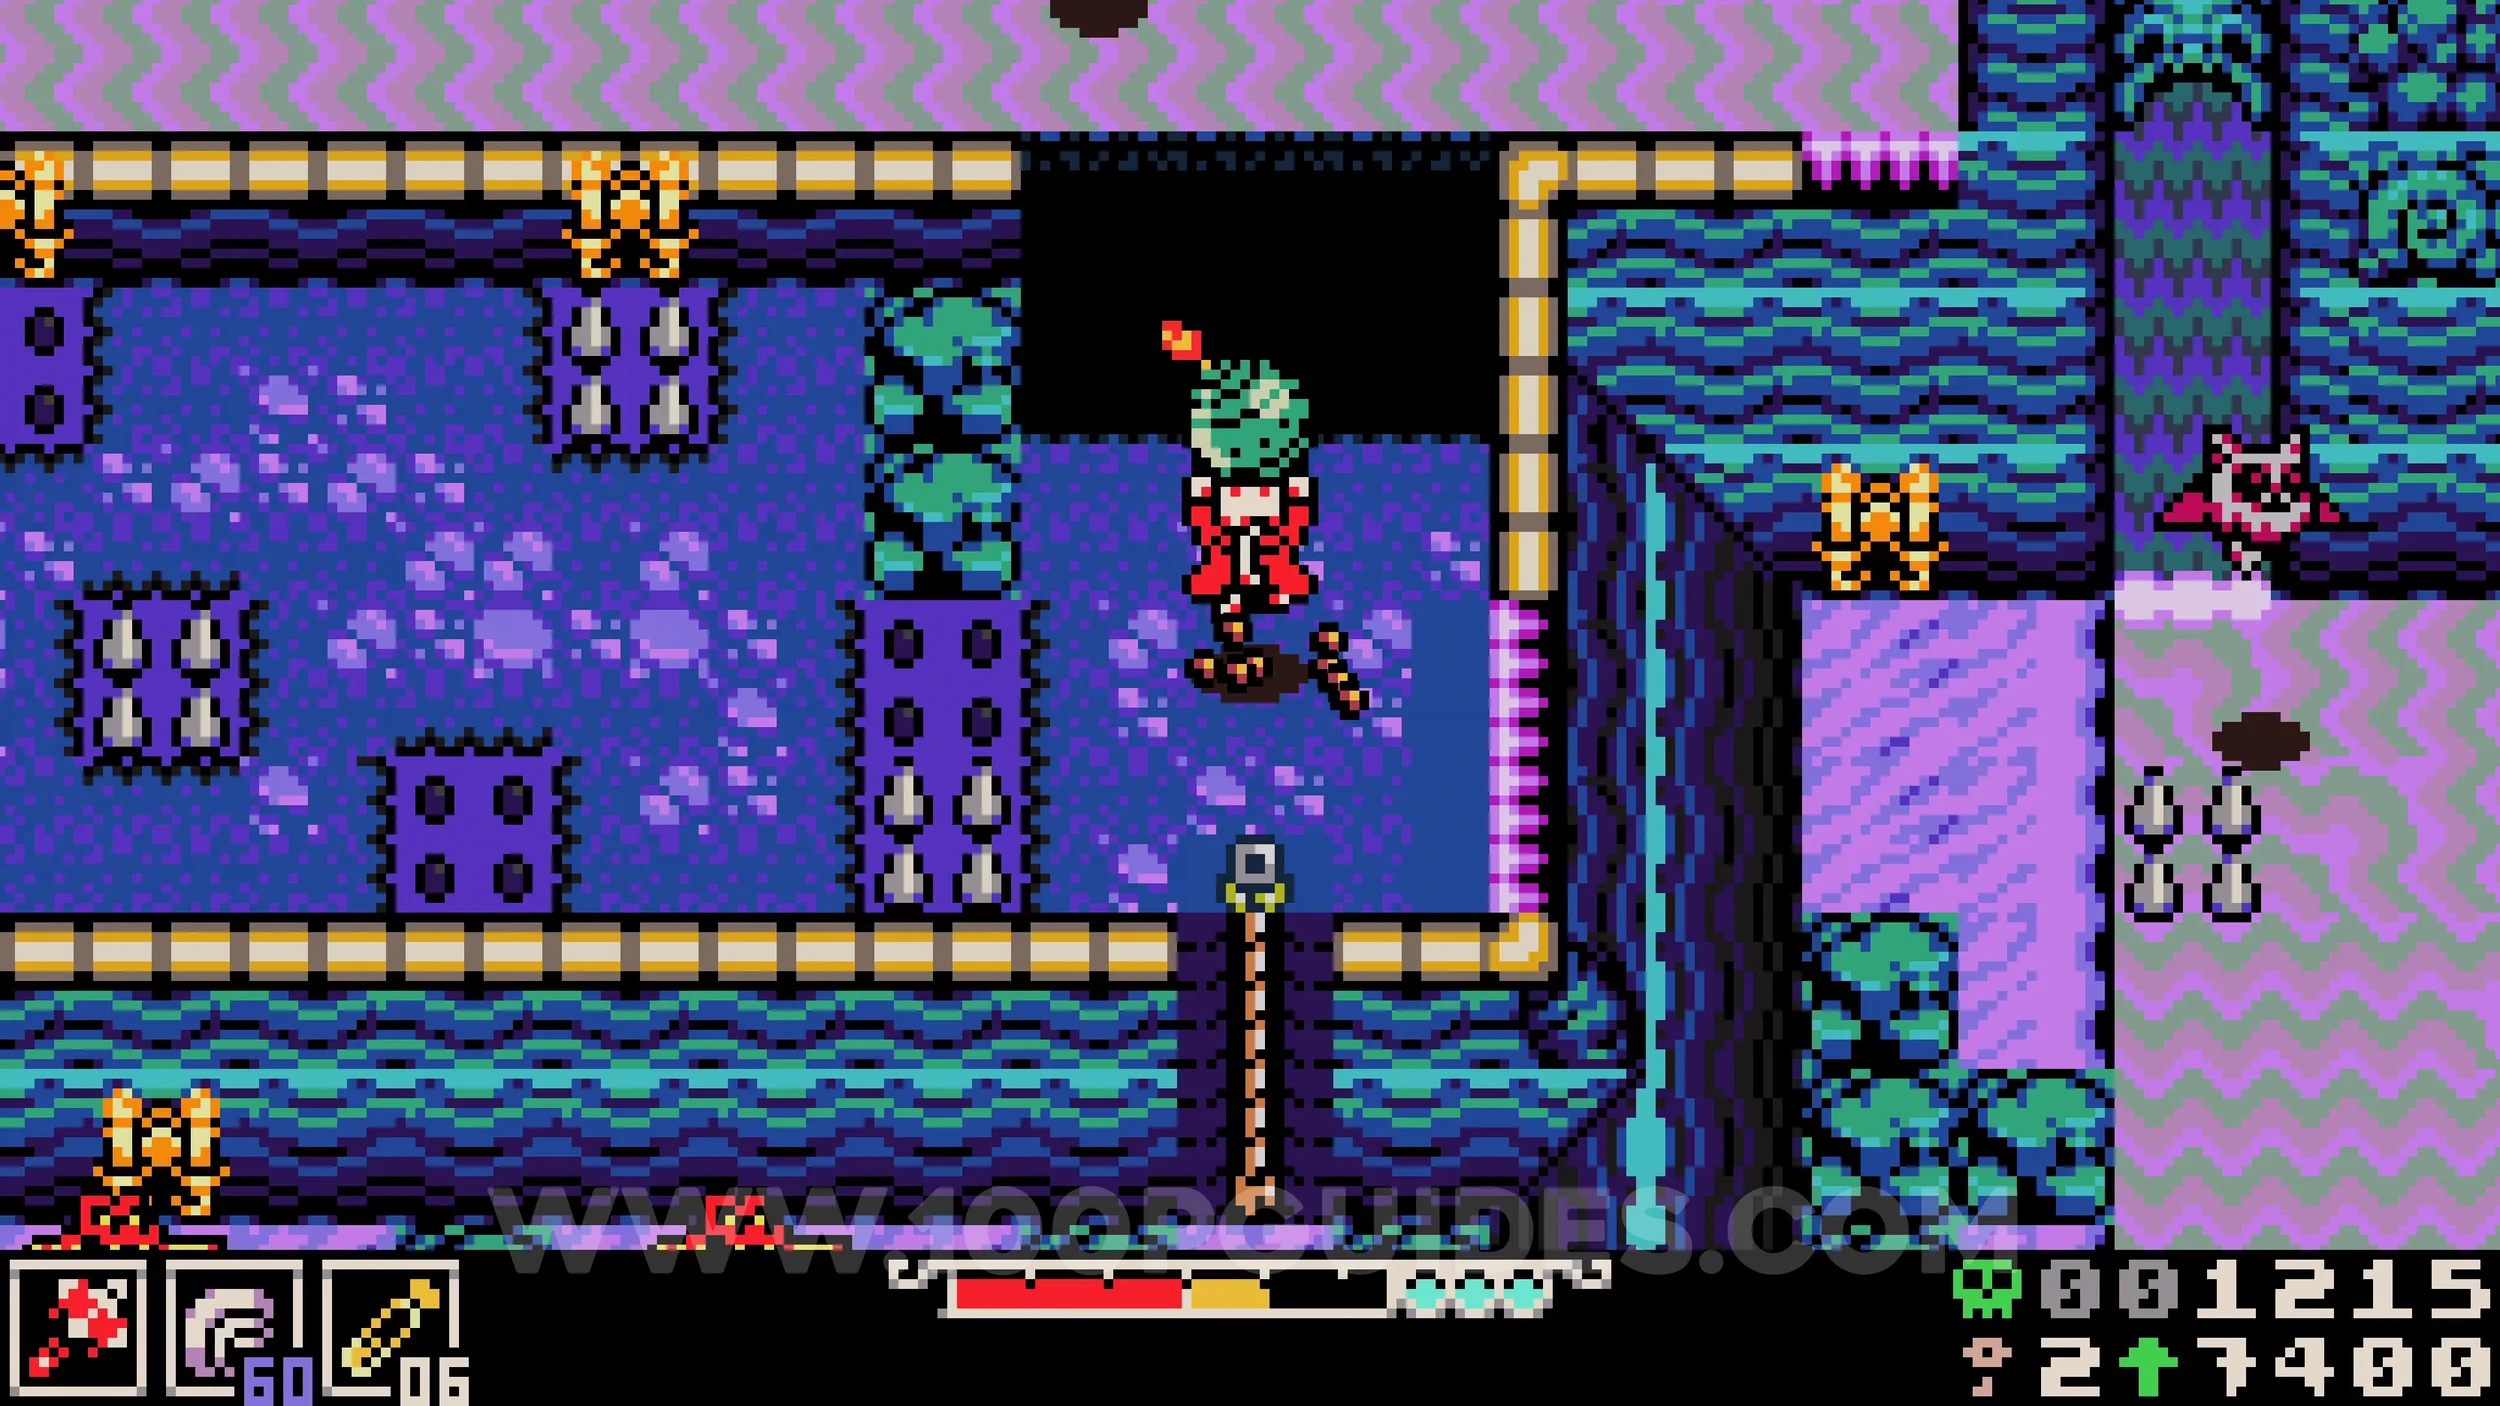
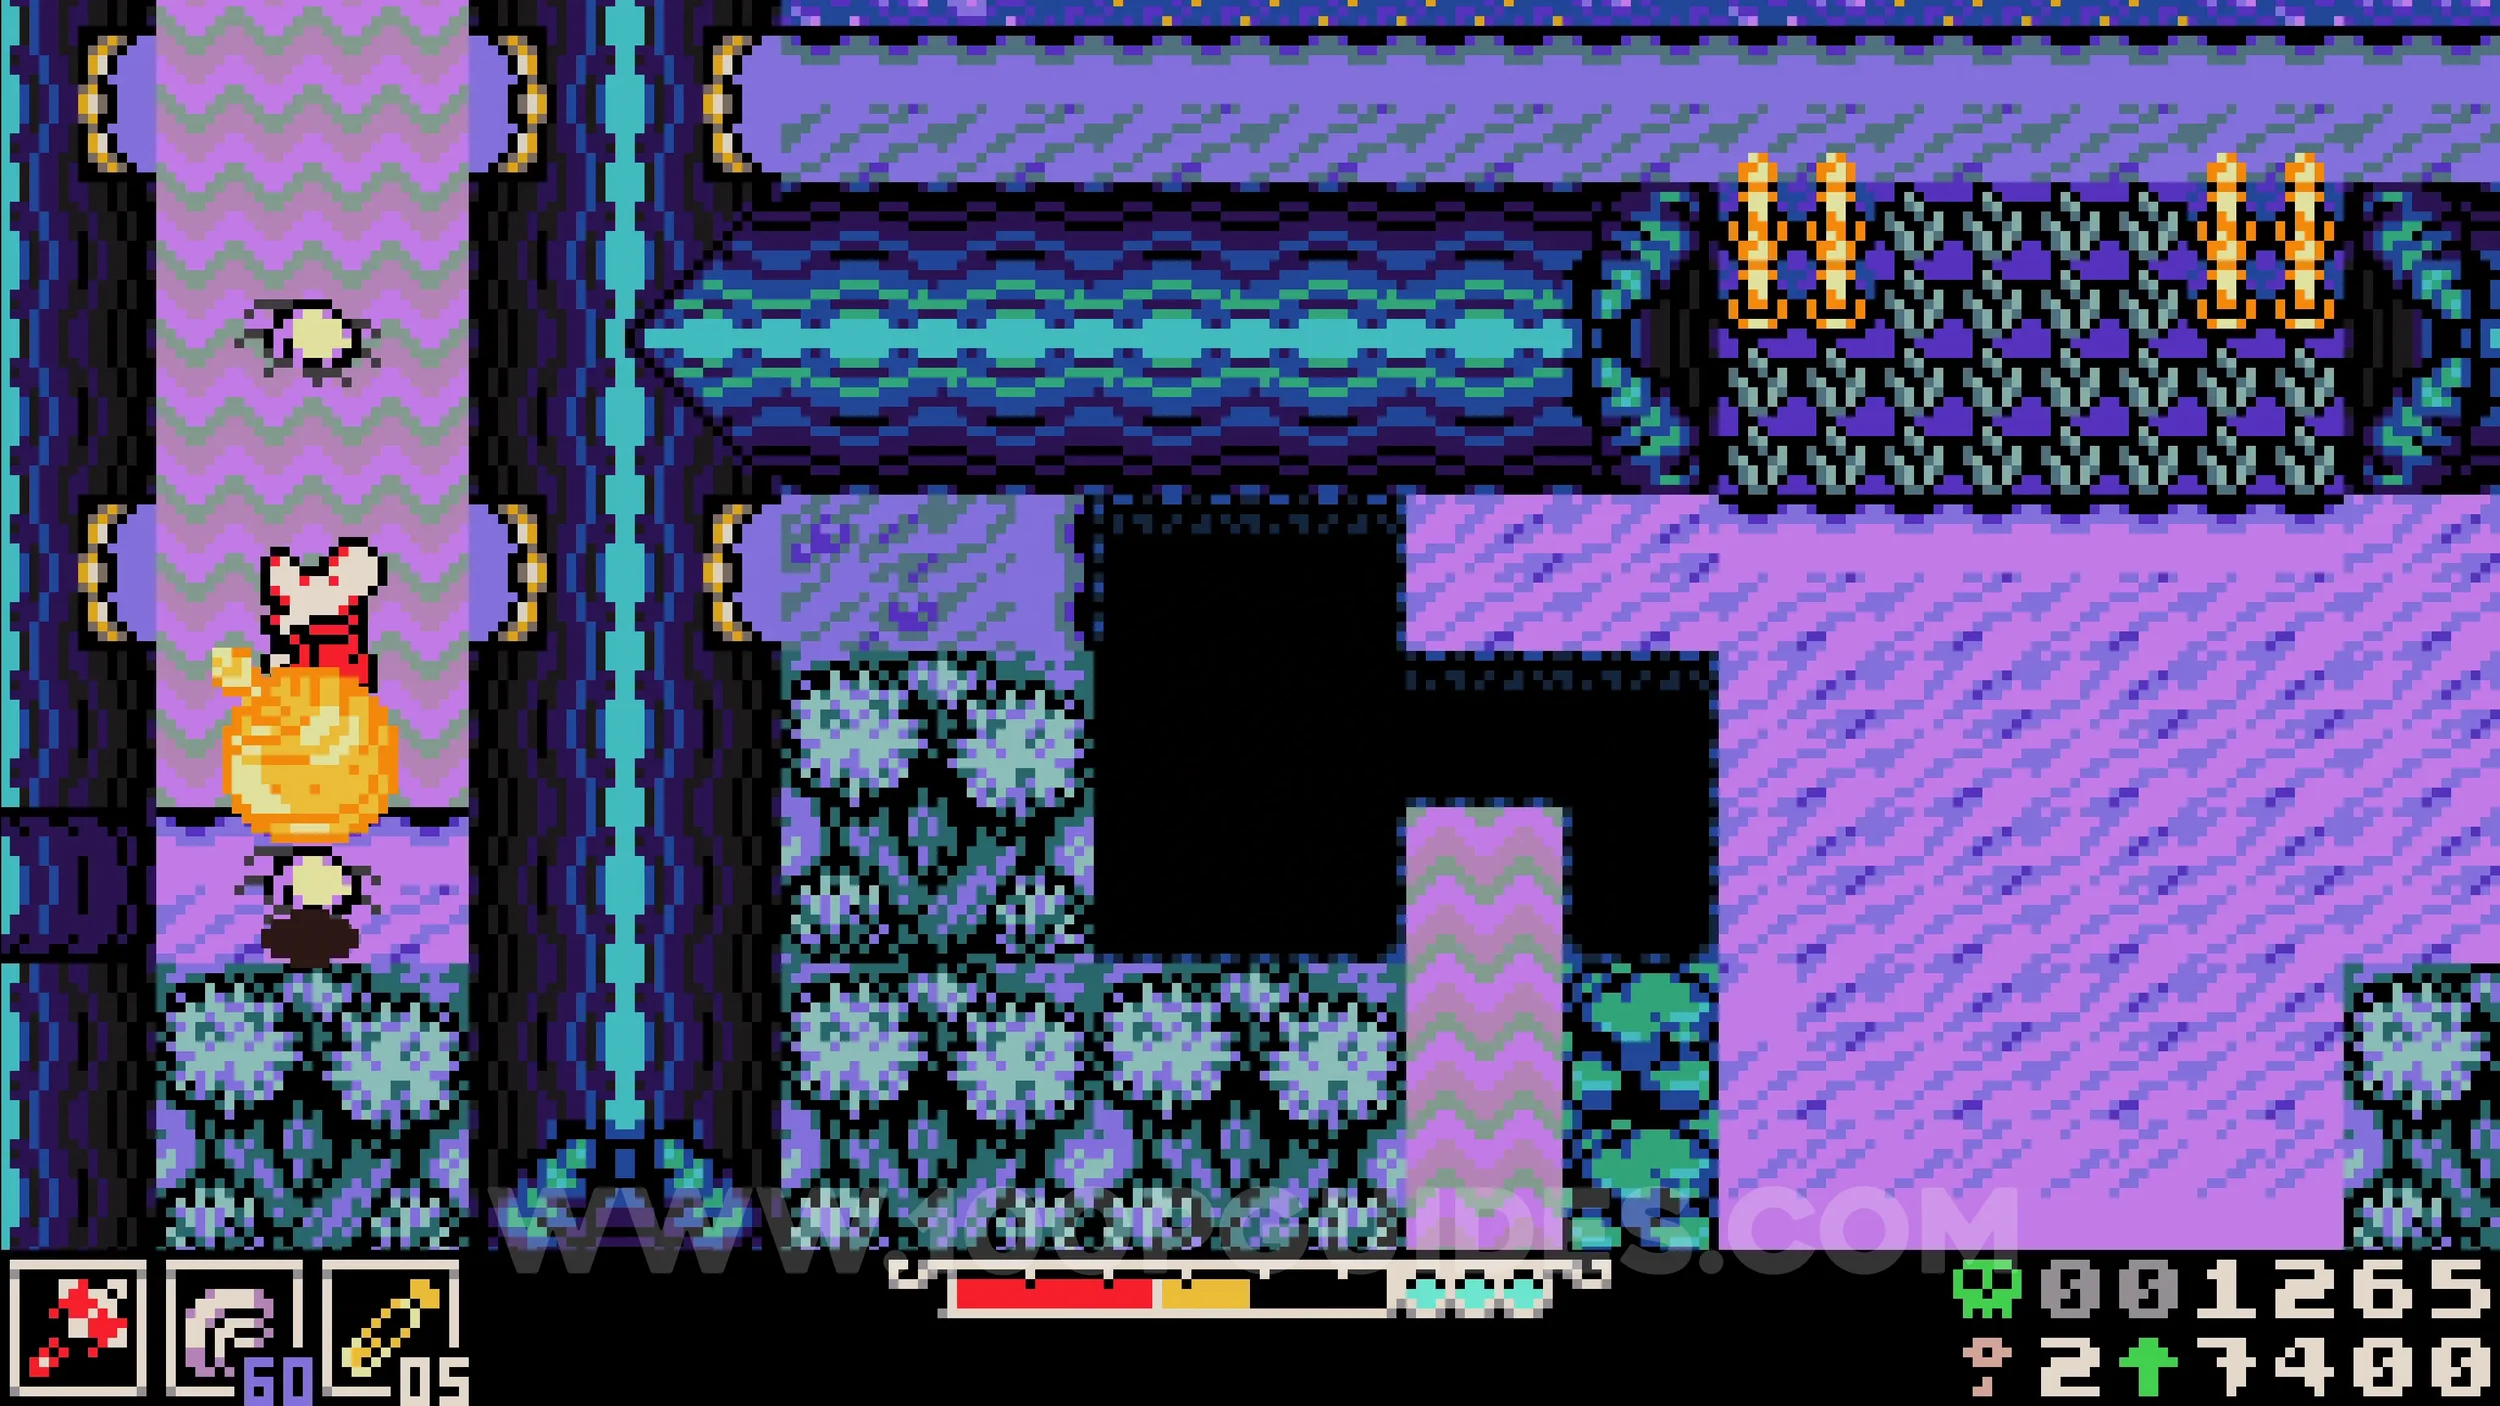
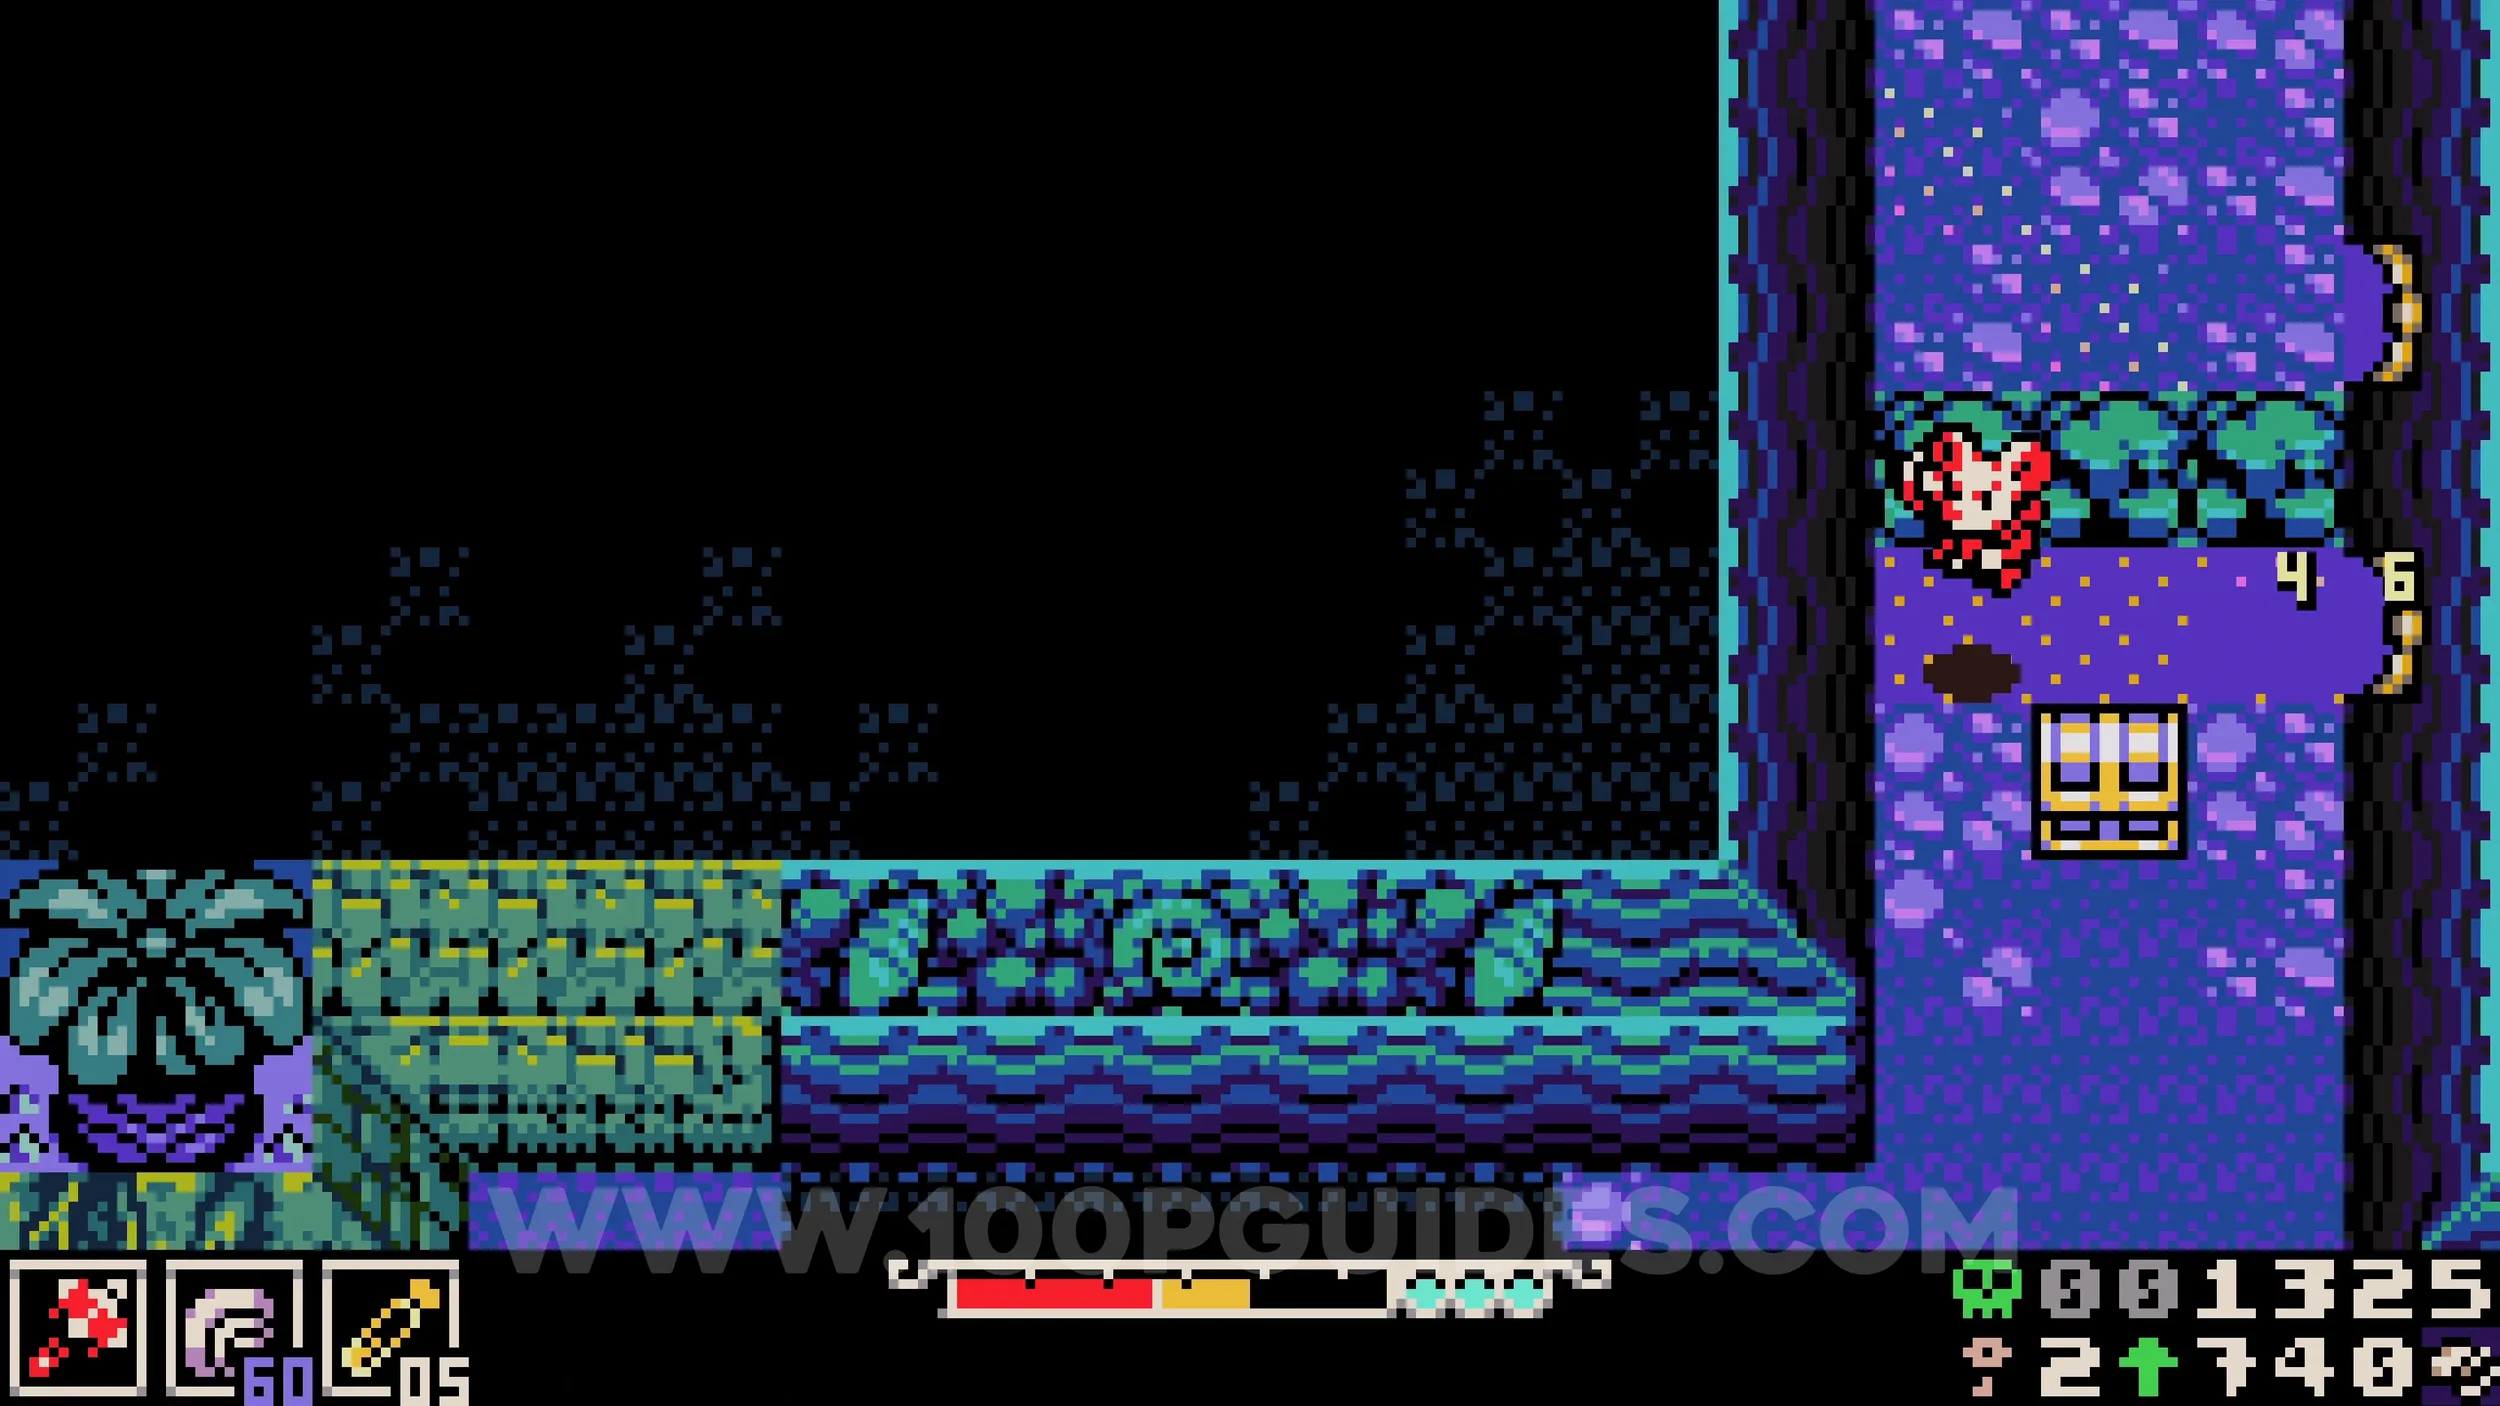
Lock #3. Follow the path to the left of the previous collectible and you will find the lock in the middle of the path.
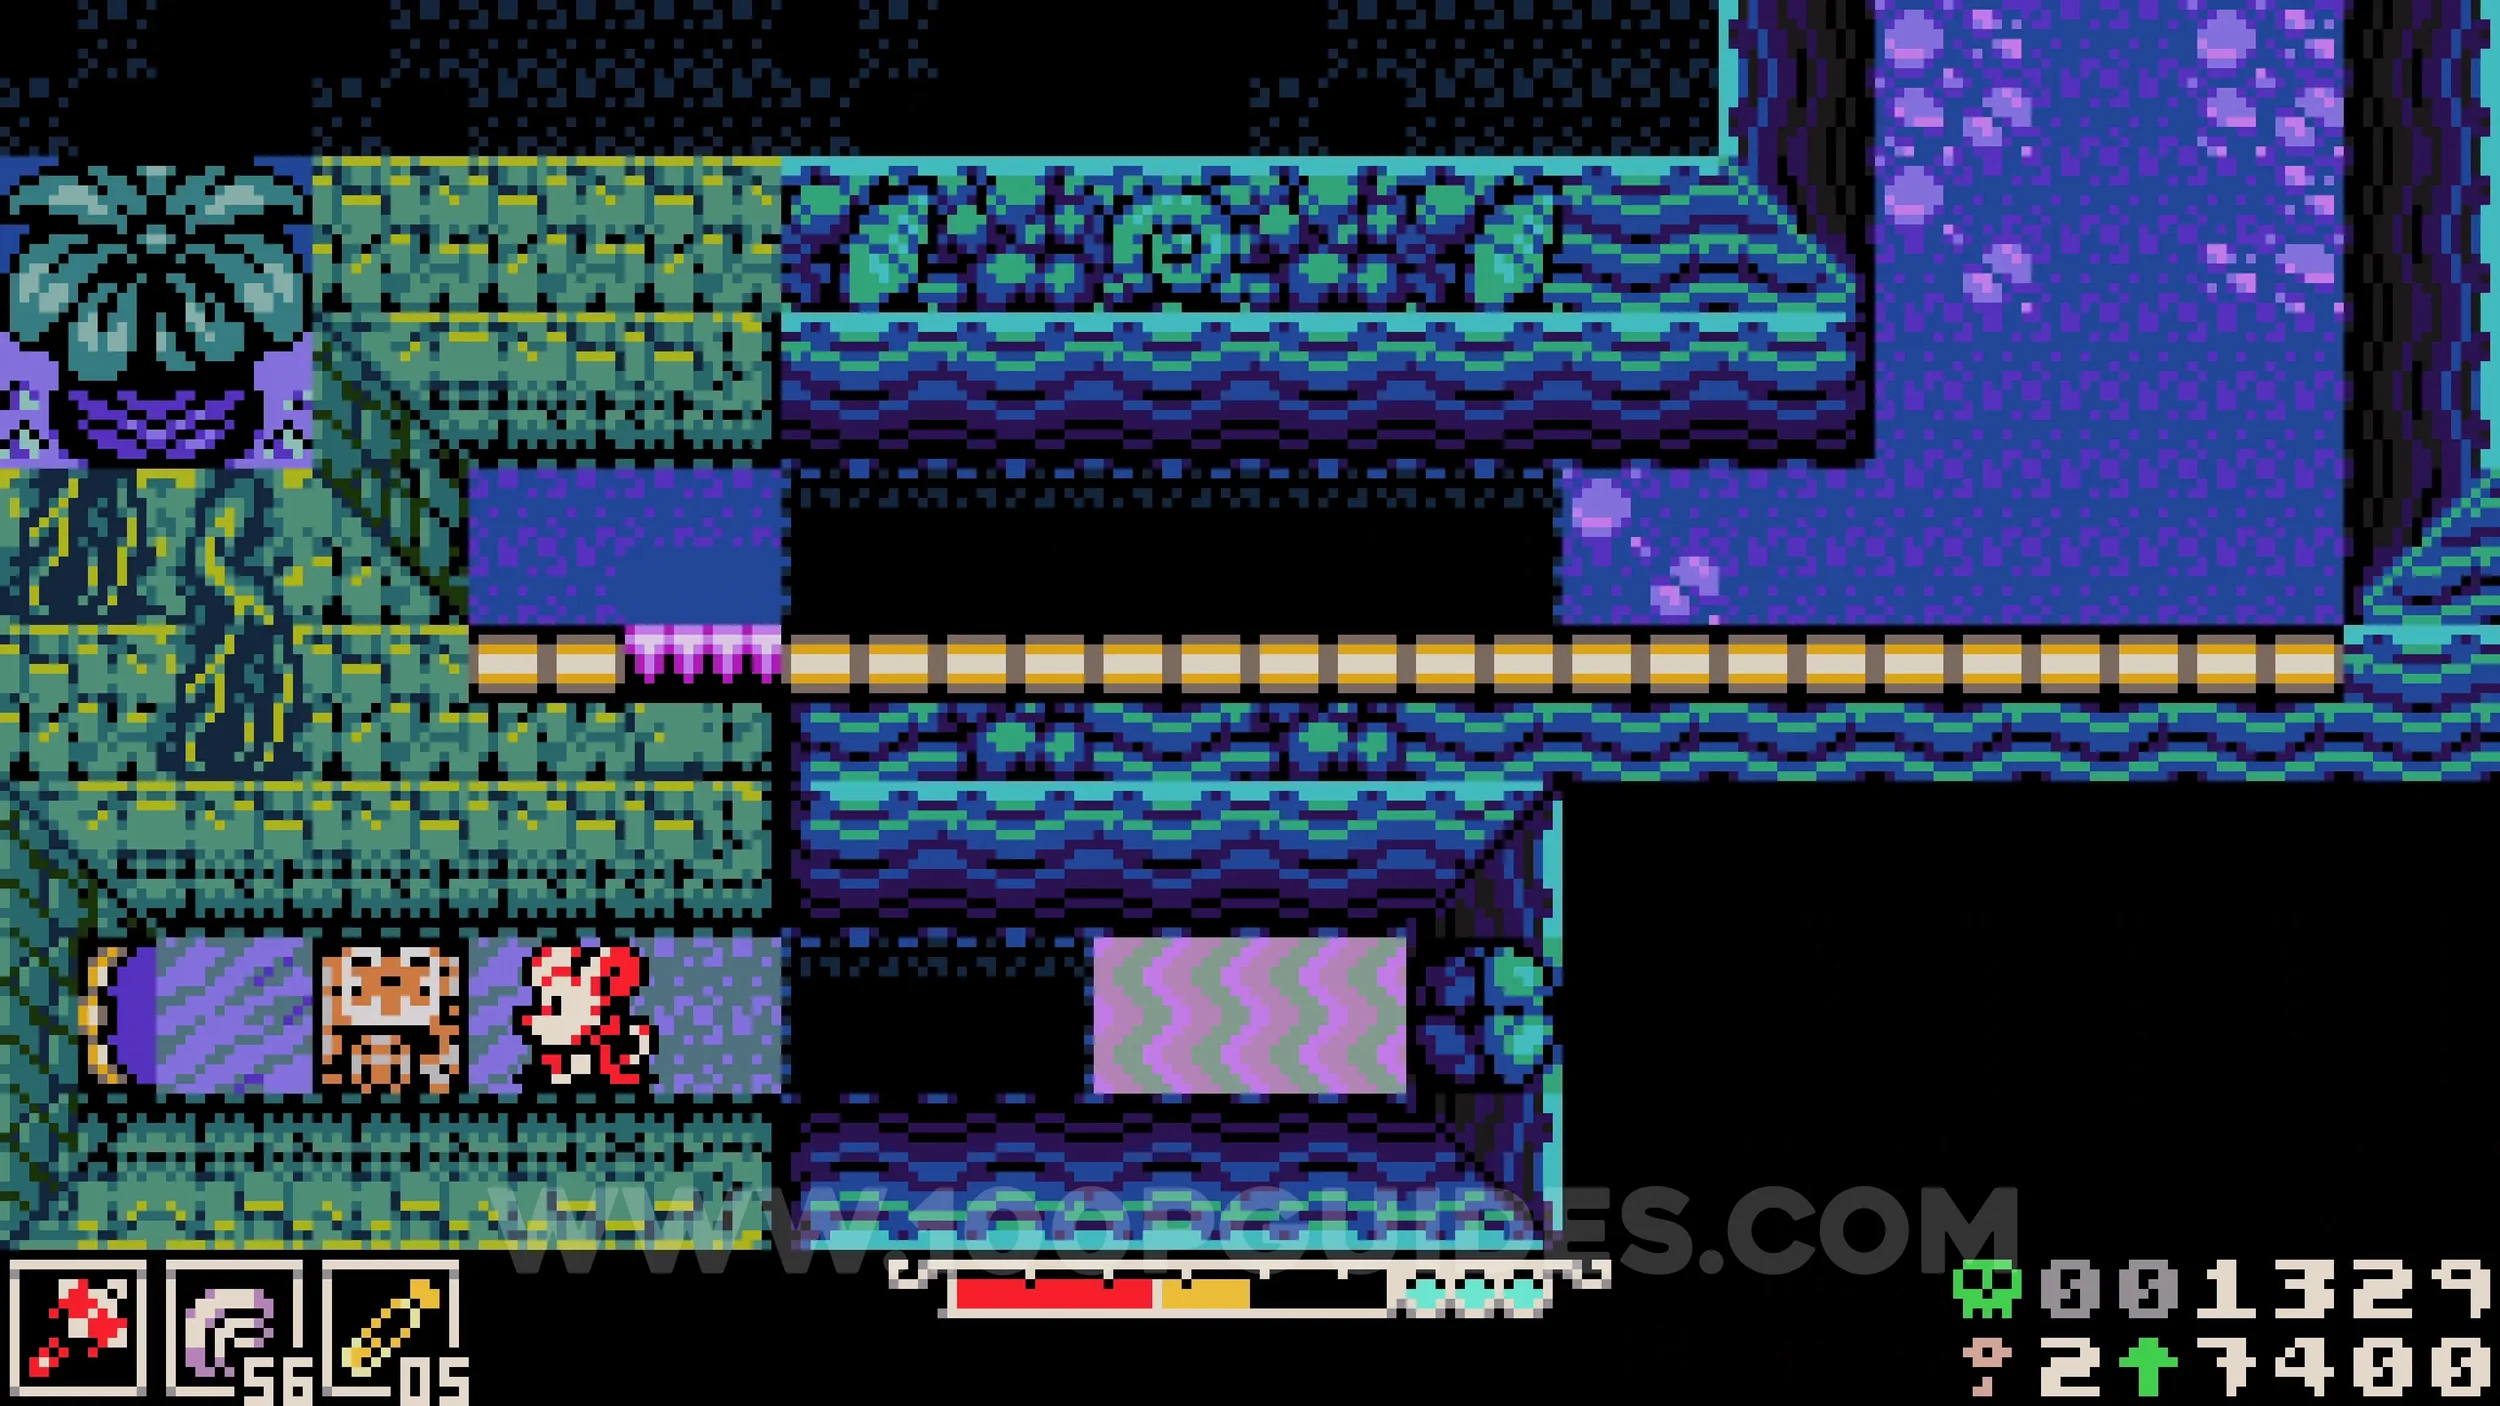
Bonestone #5. Continue past the previous lock and then take the ropes down to find the chest.
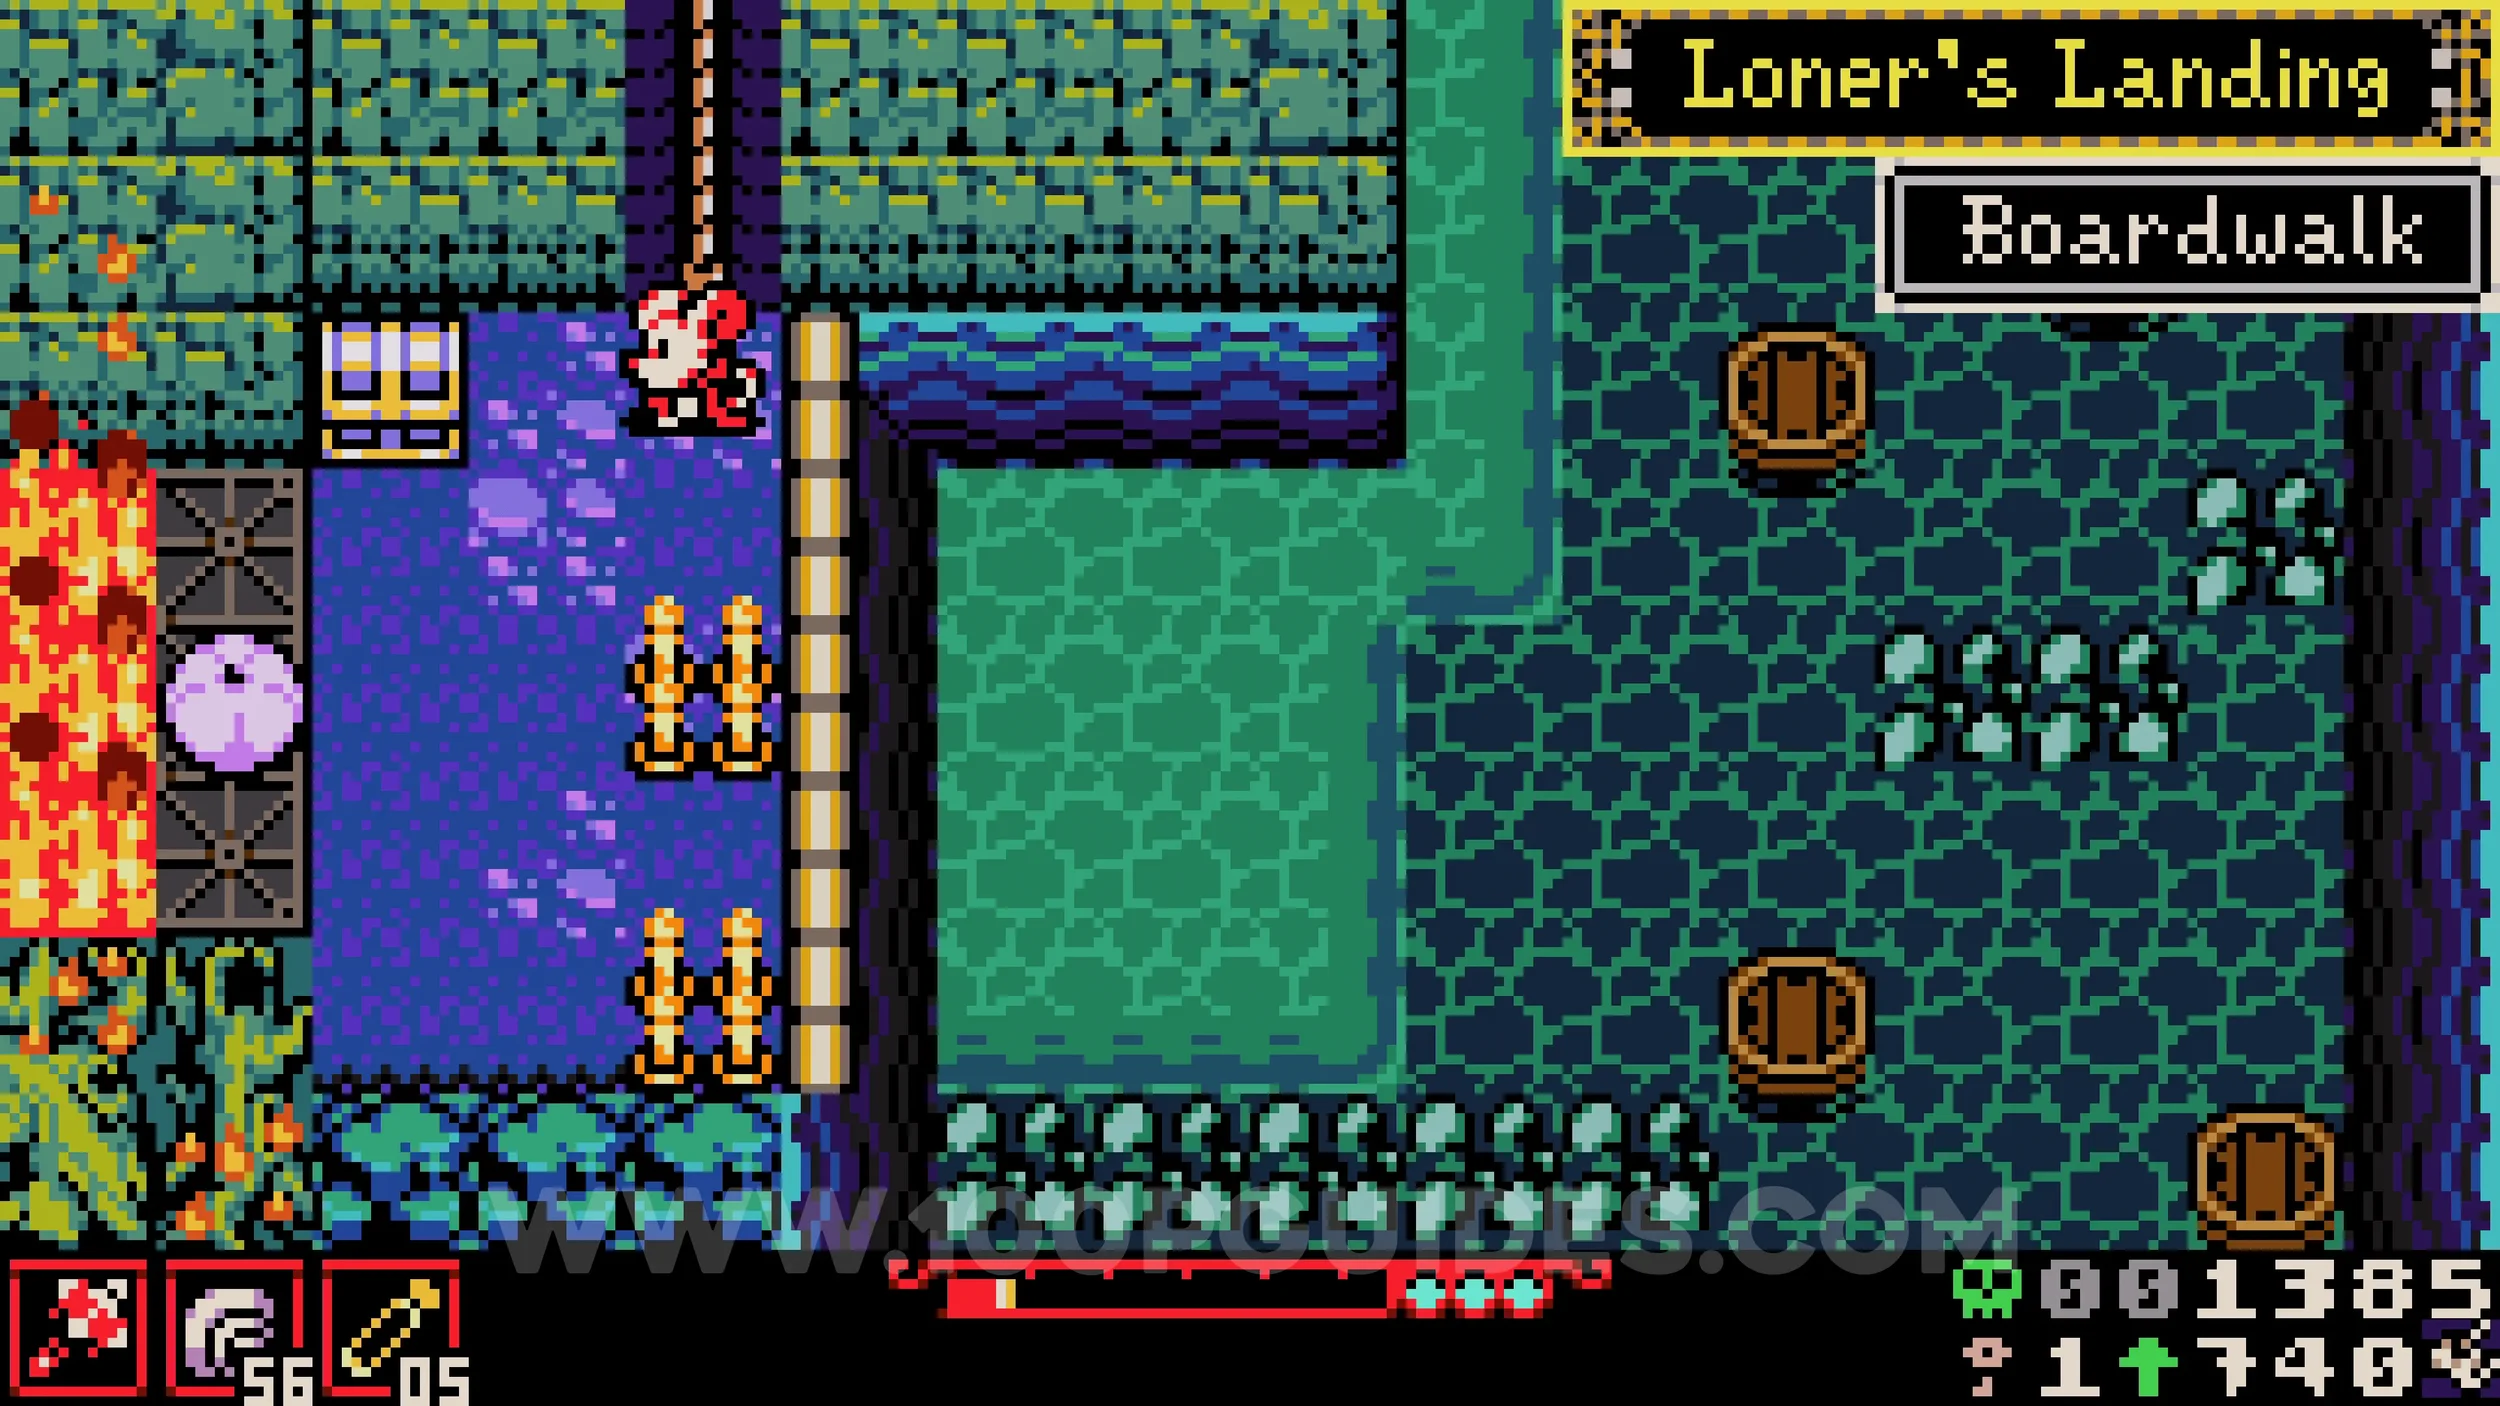
Fishing Upgrade #1 - Angler's Raft. From the previous collectible, climb back up one rope and head right to find the chest in the water.
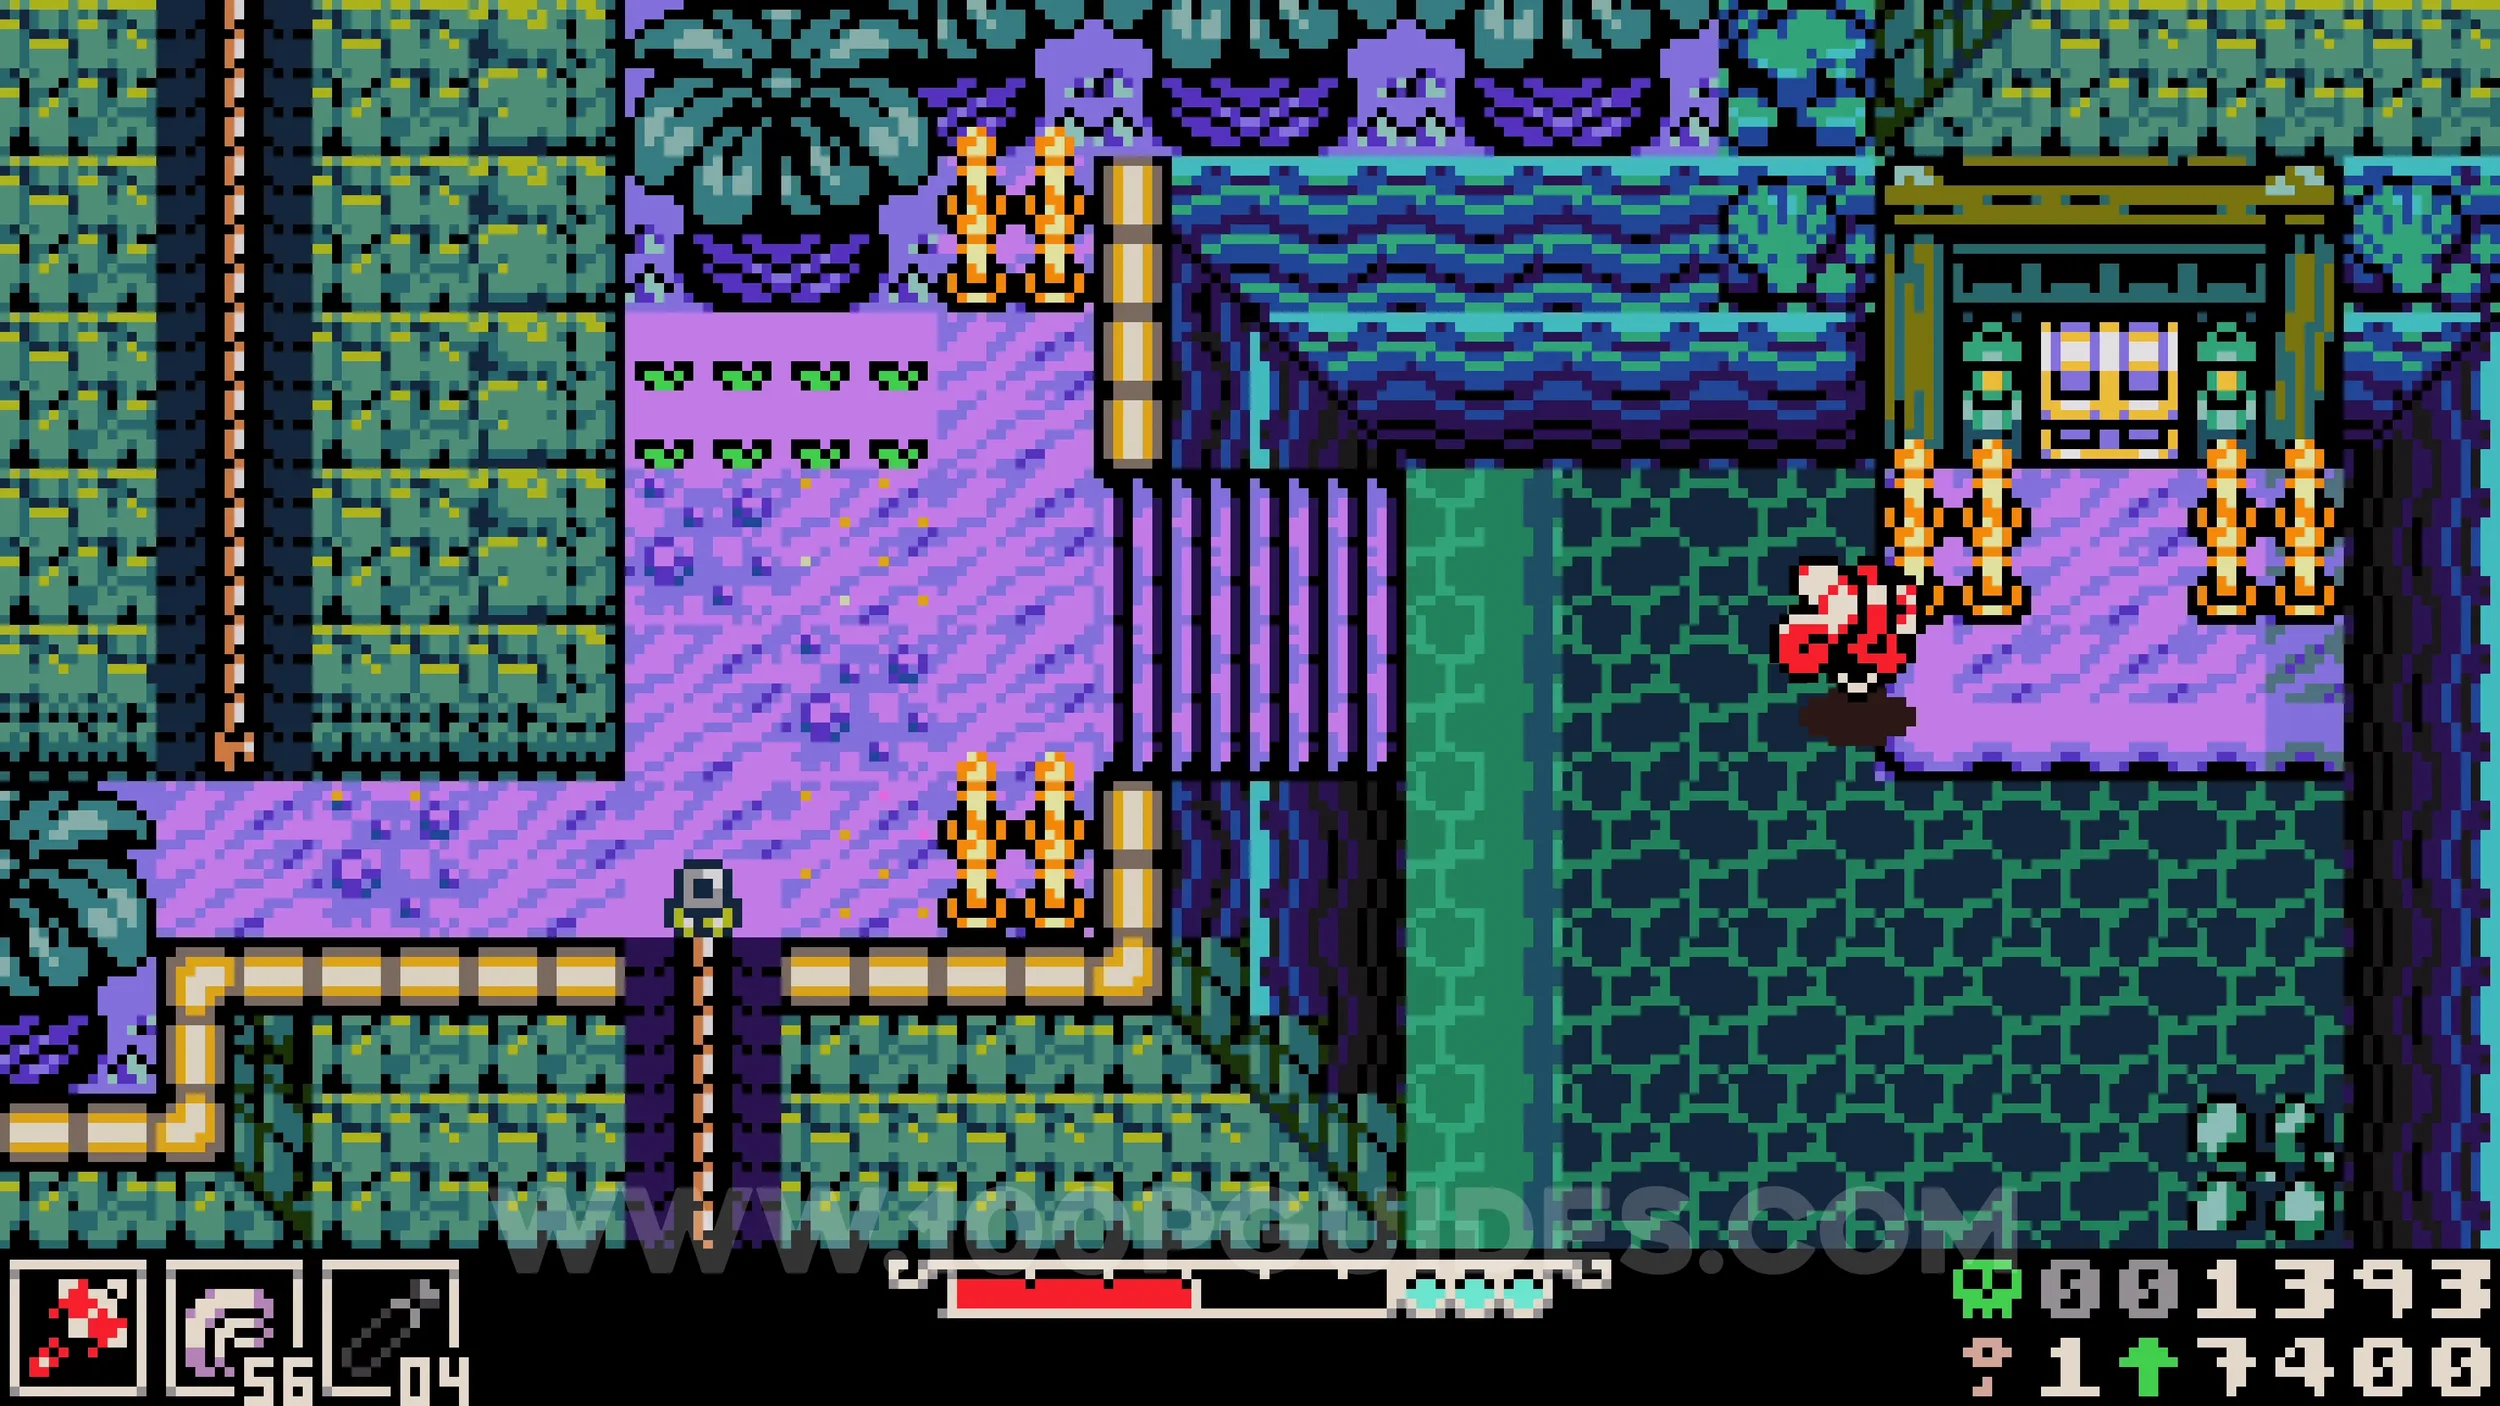
Joule Box #1. Backtrack to the bomb you used to destroy the hidden wall and throw it up into the moving sands directly above to destroy the entrance of another cave. The collectible can be found inside on the right side.
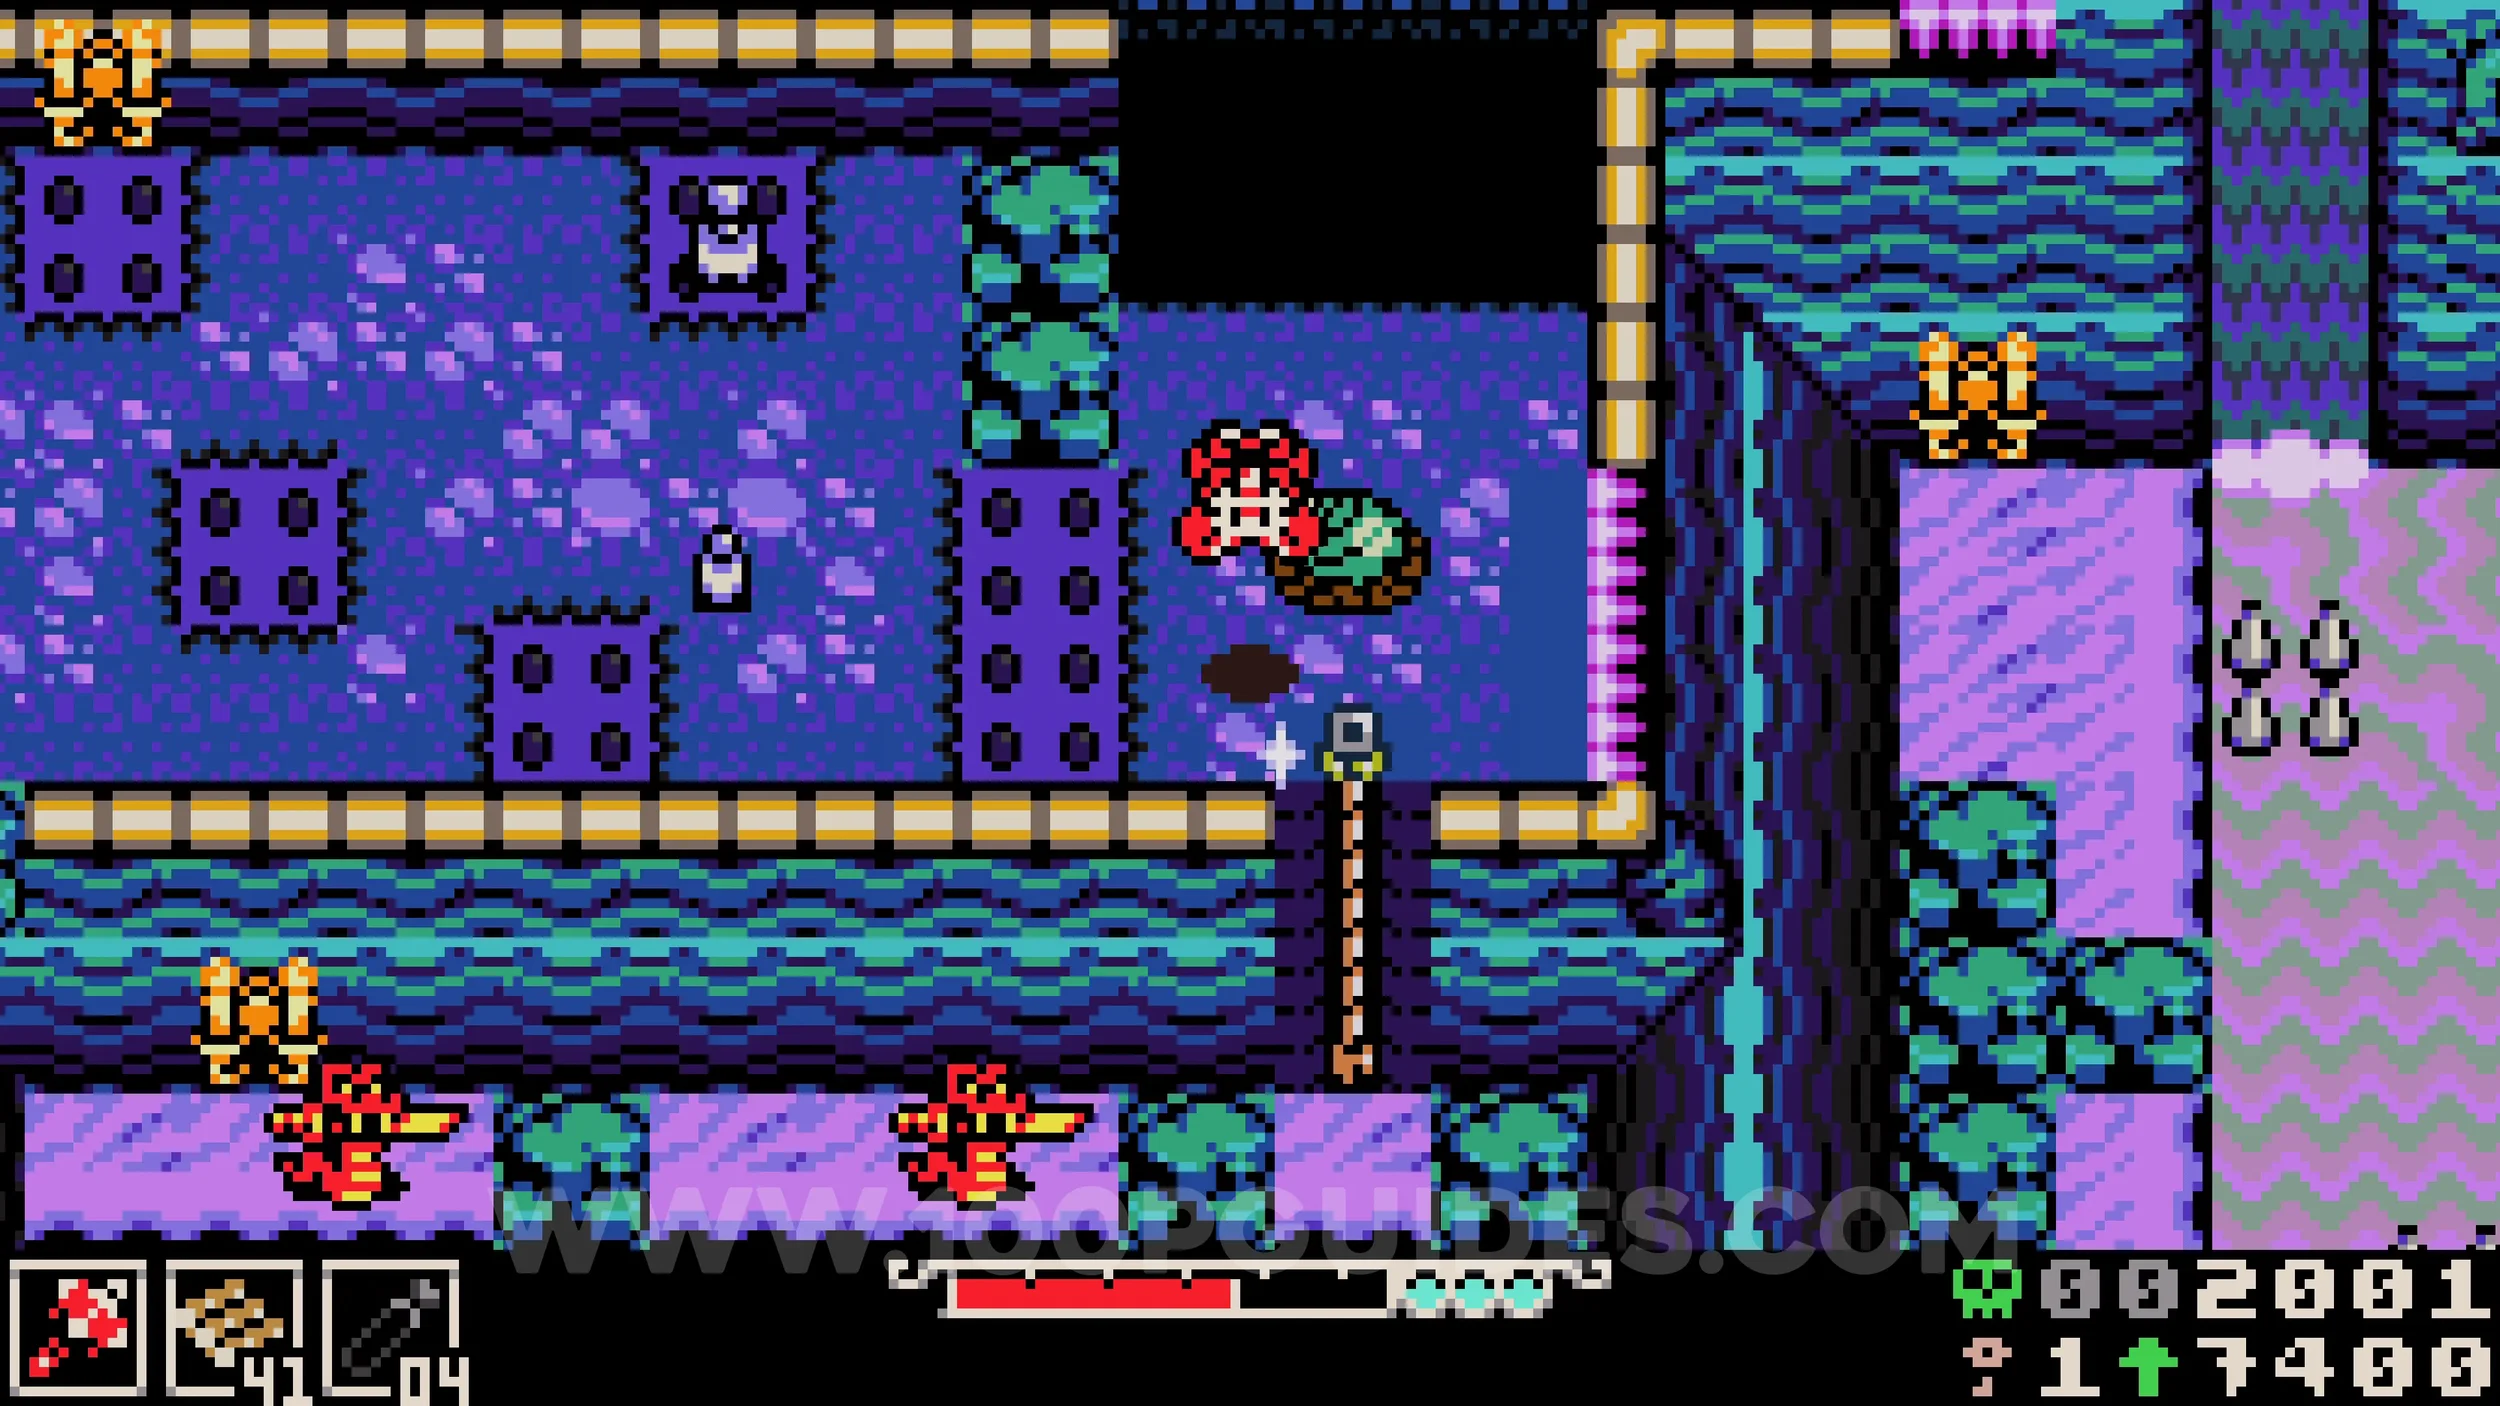
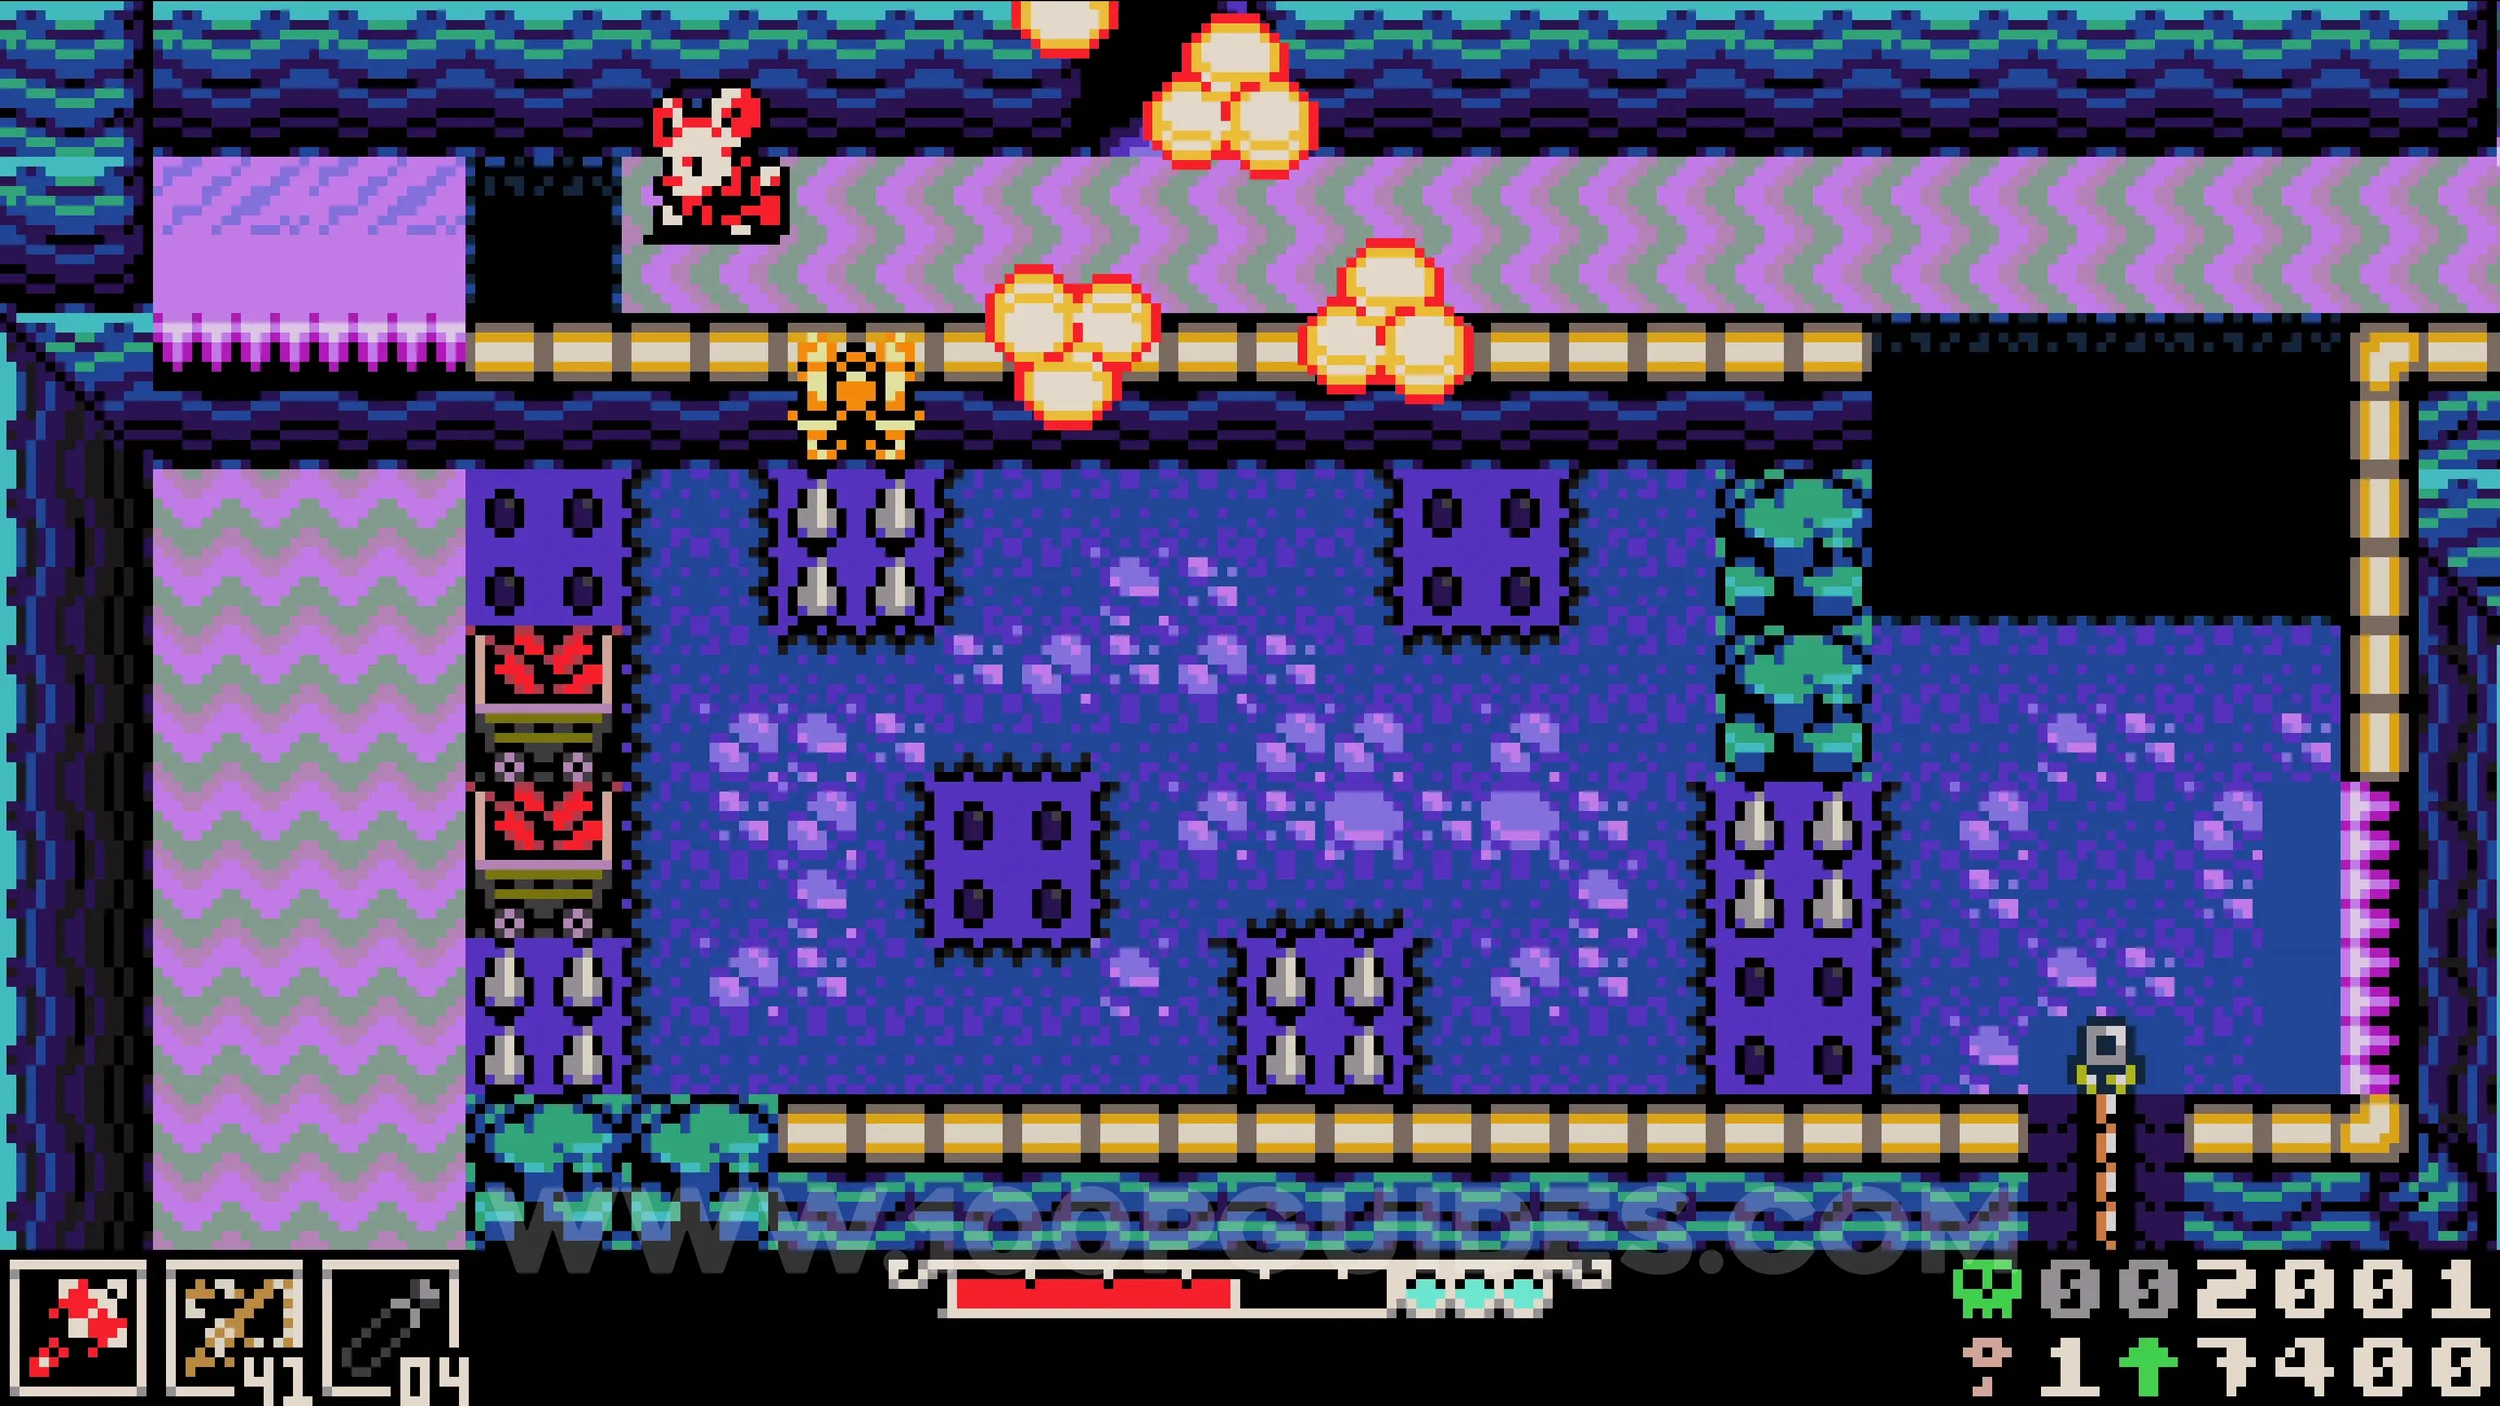
Kear #1. After finishing the Bone Beach area, return to the house where the NPC was sitting outside and defeat the creature outside.
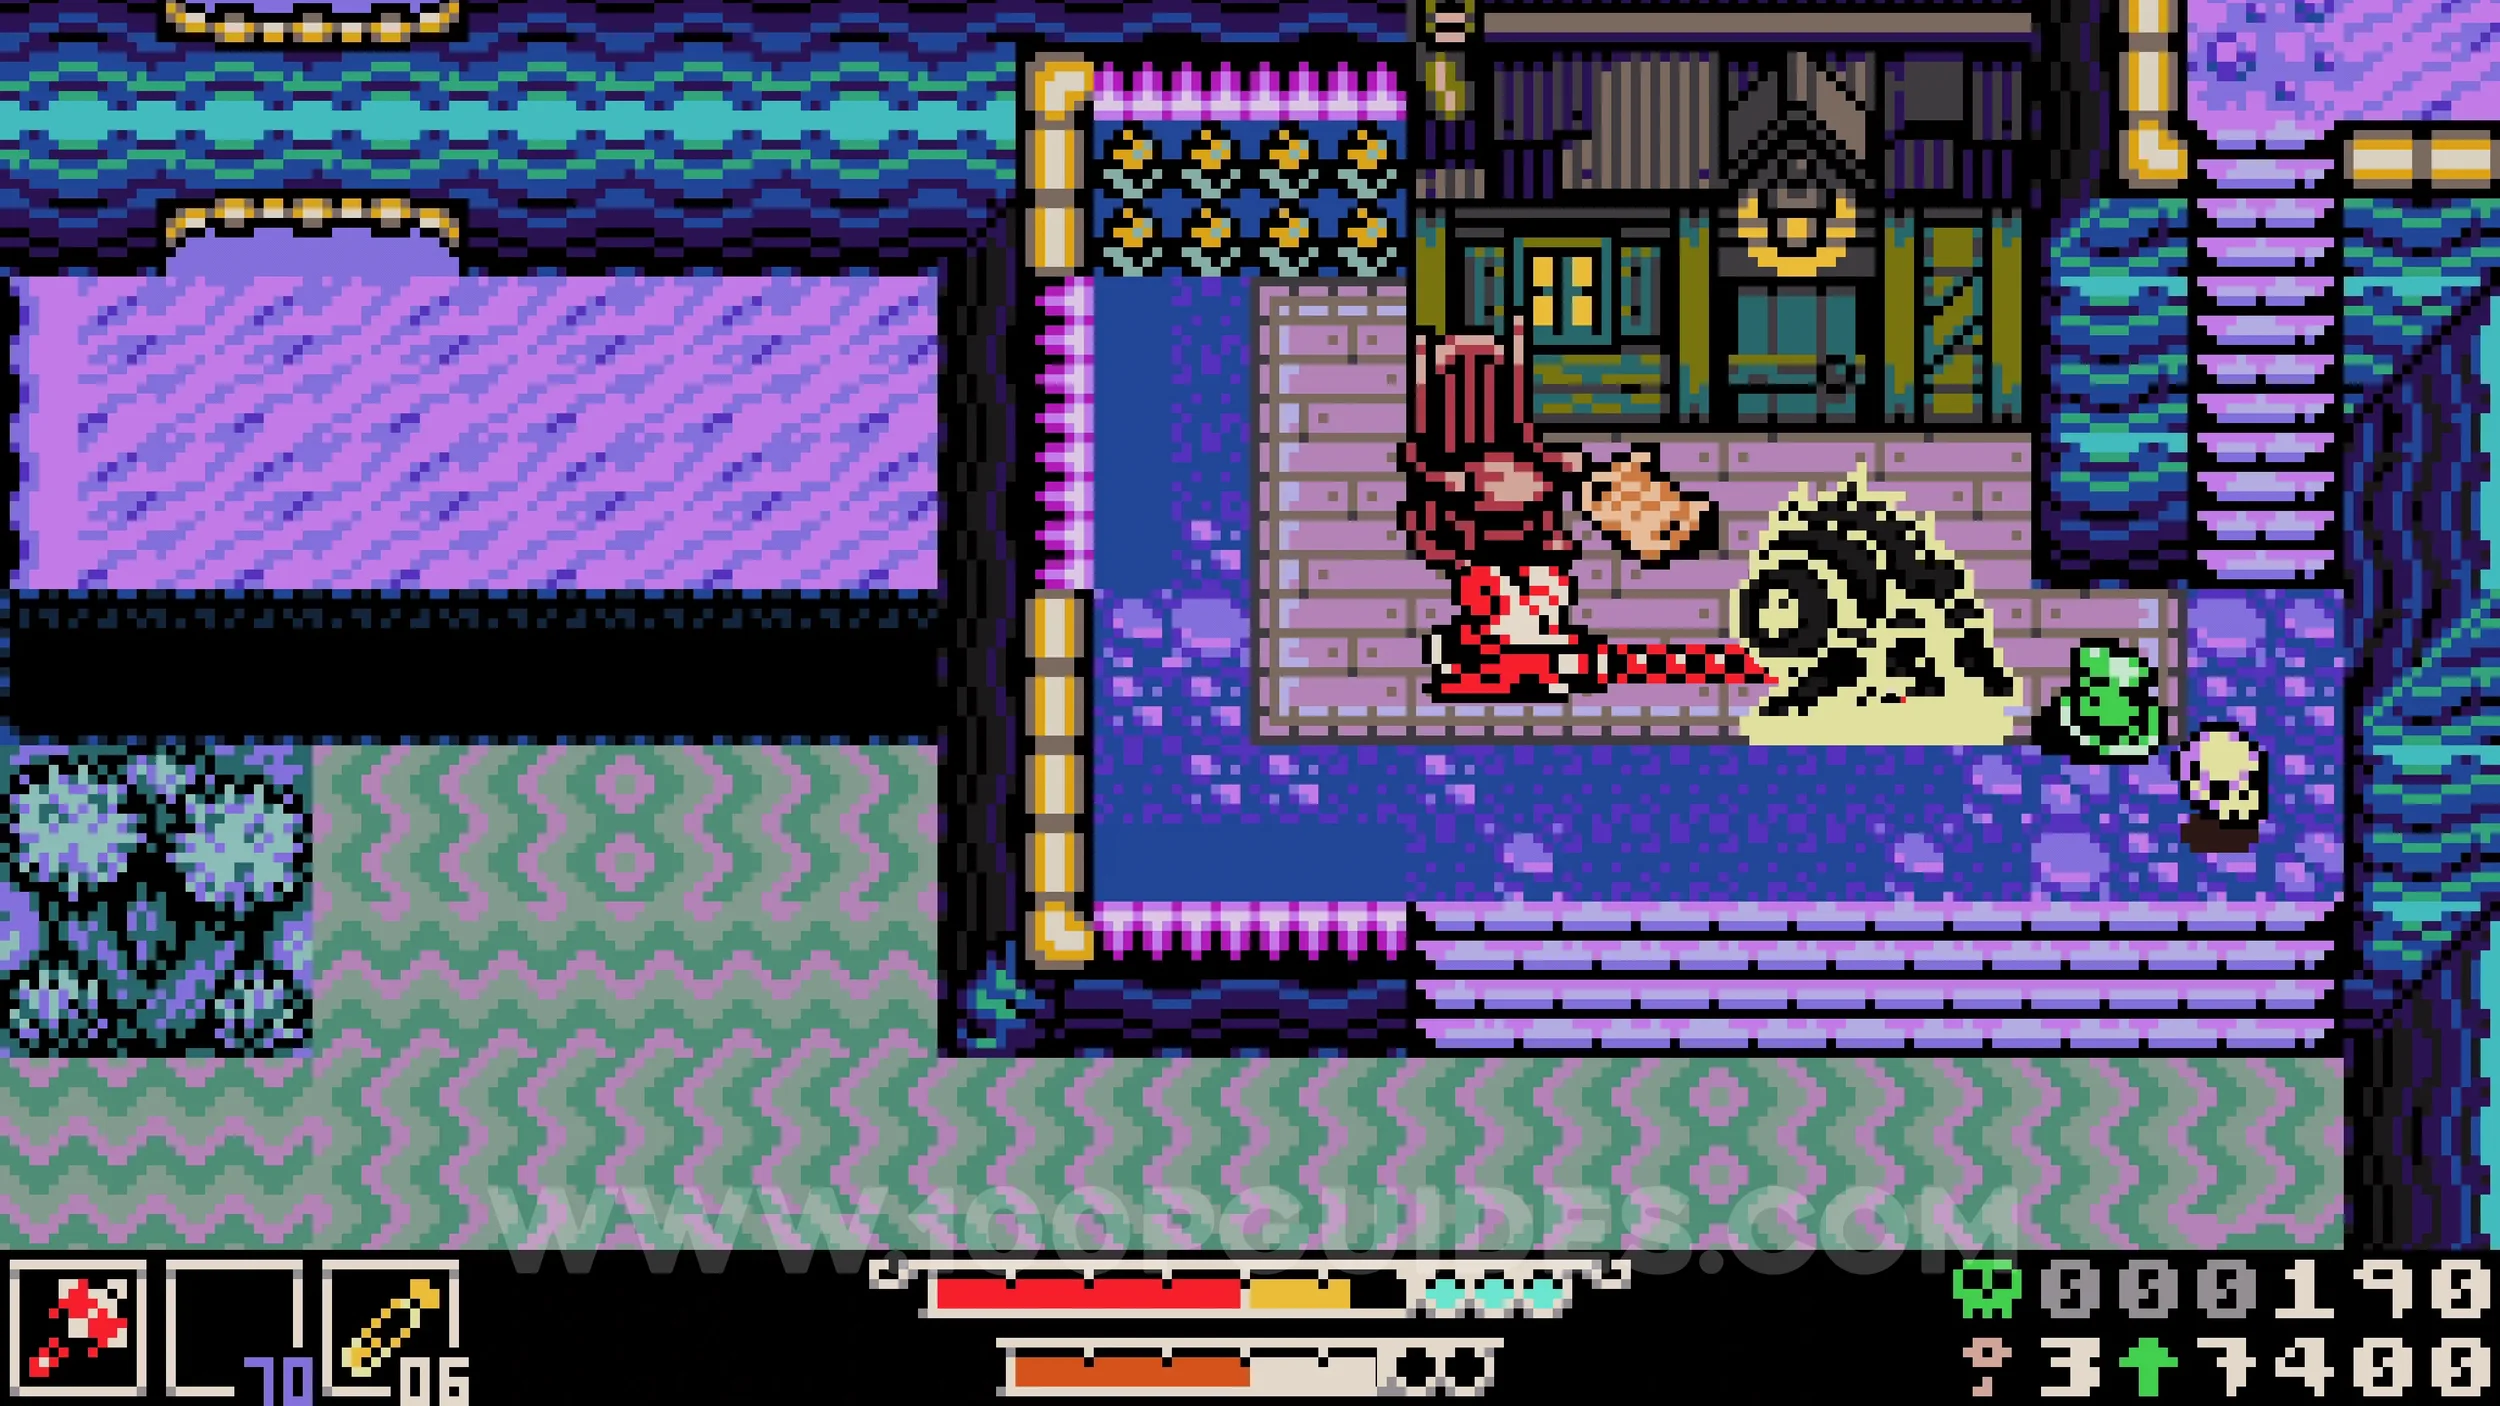
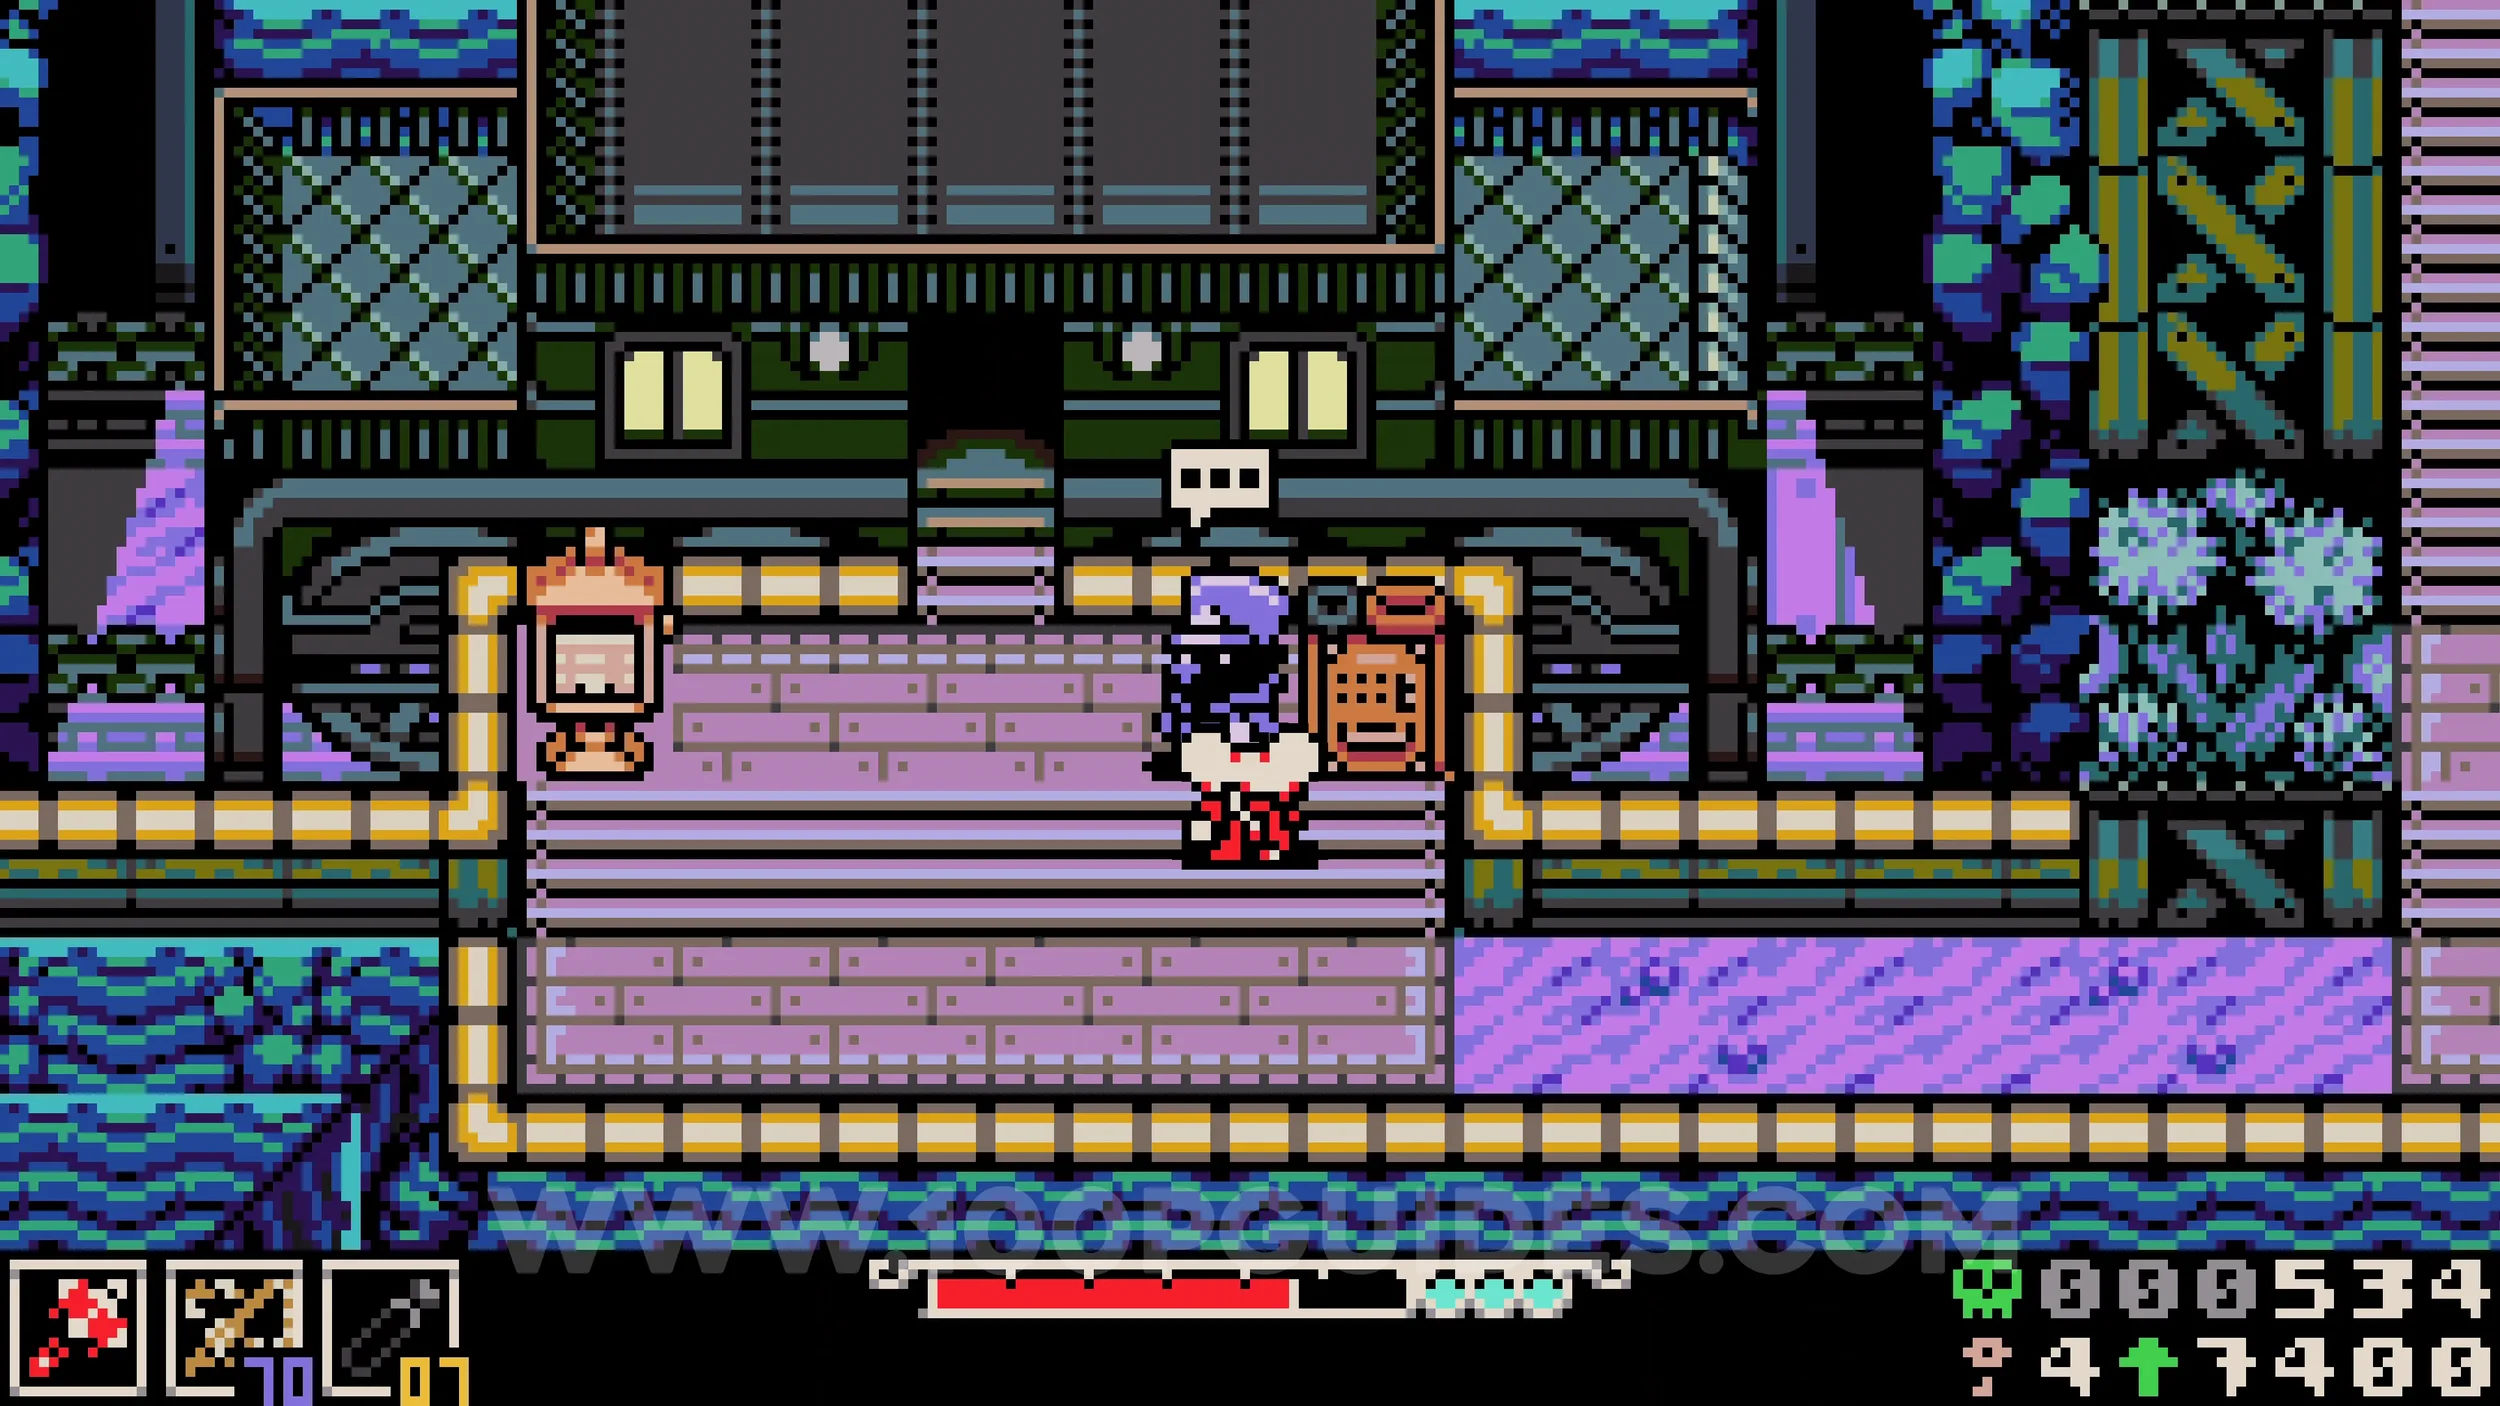
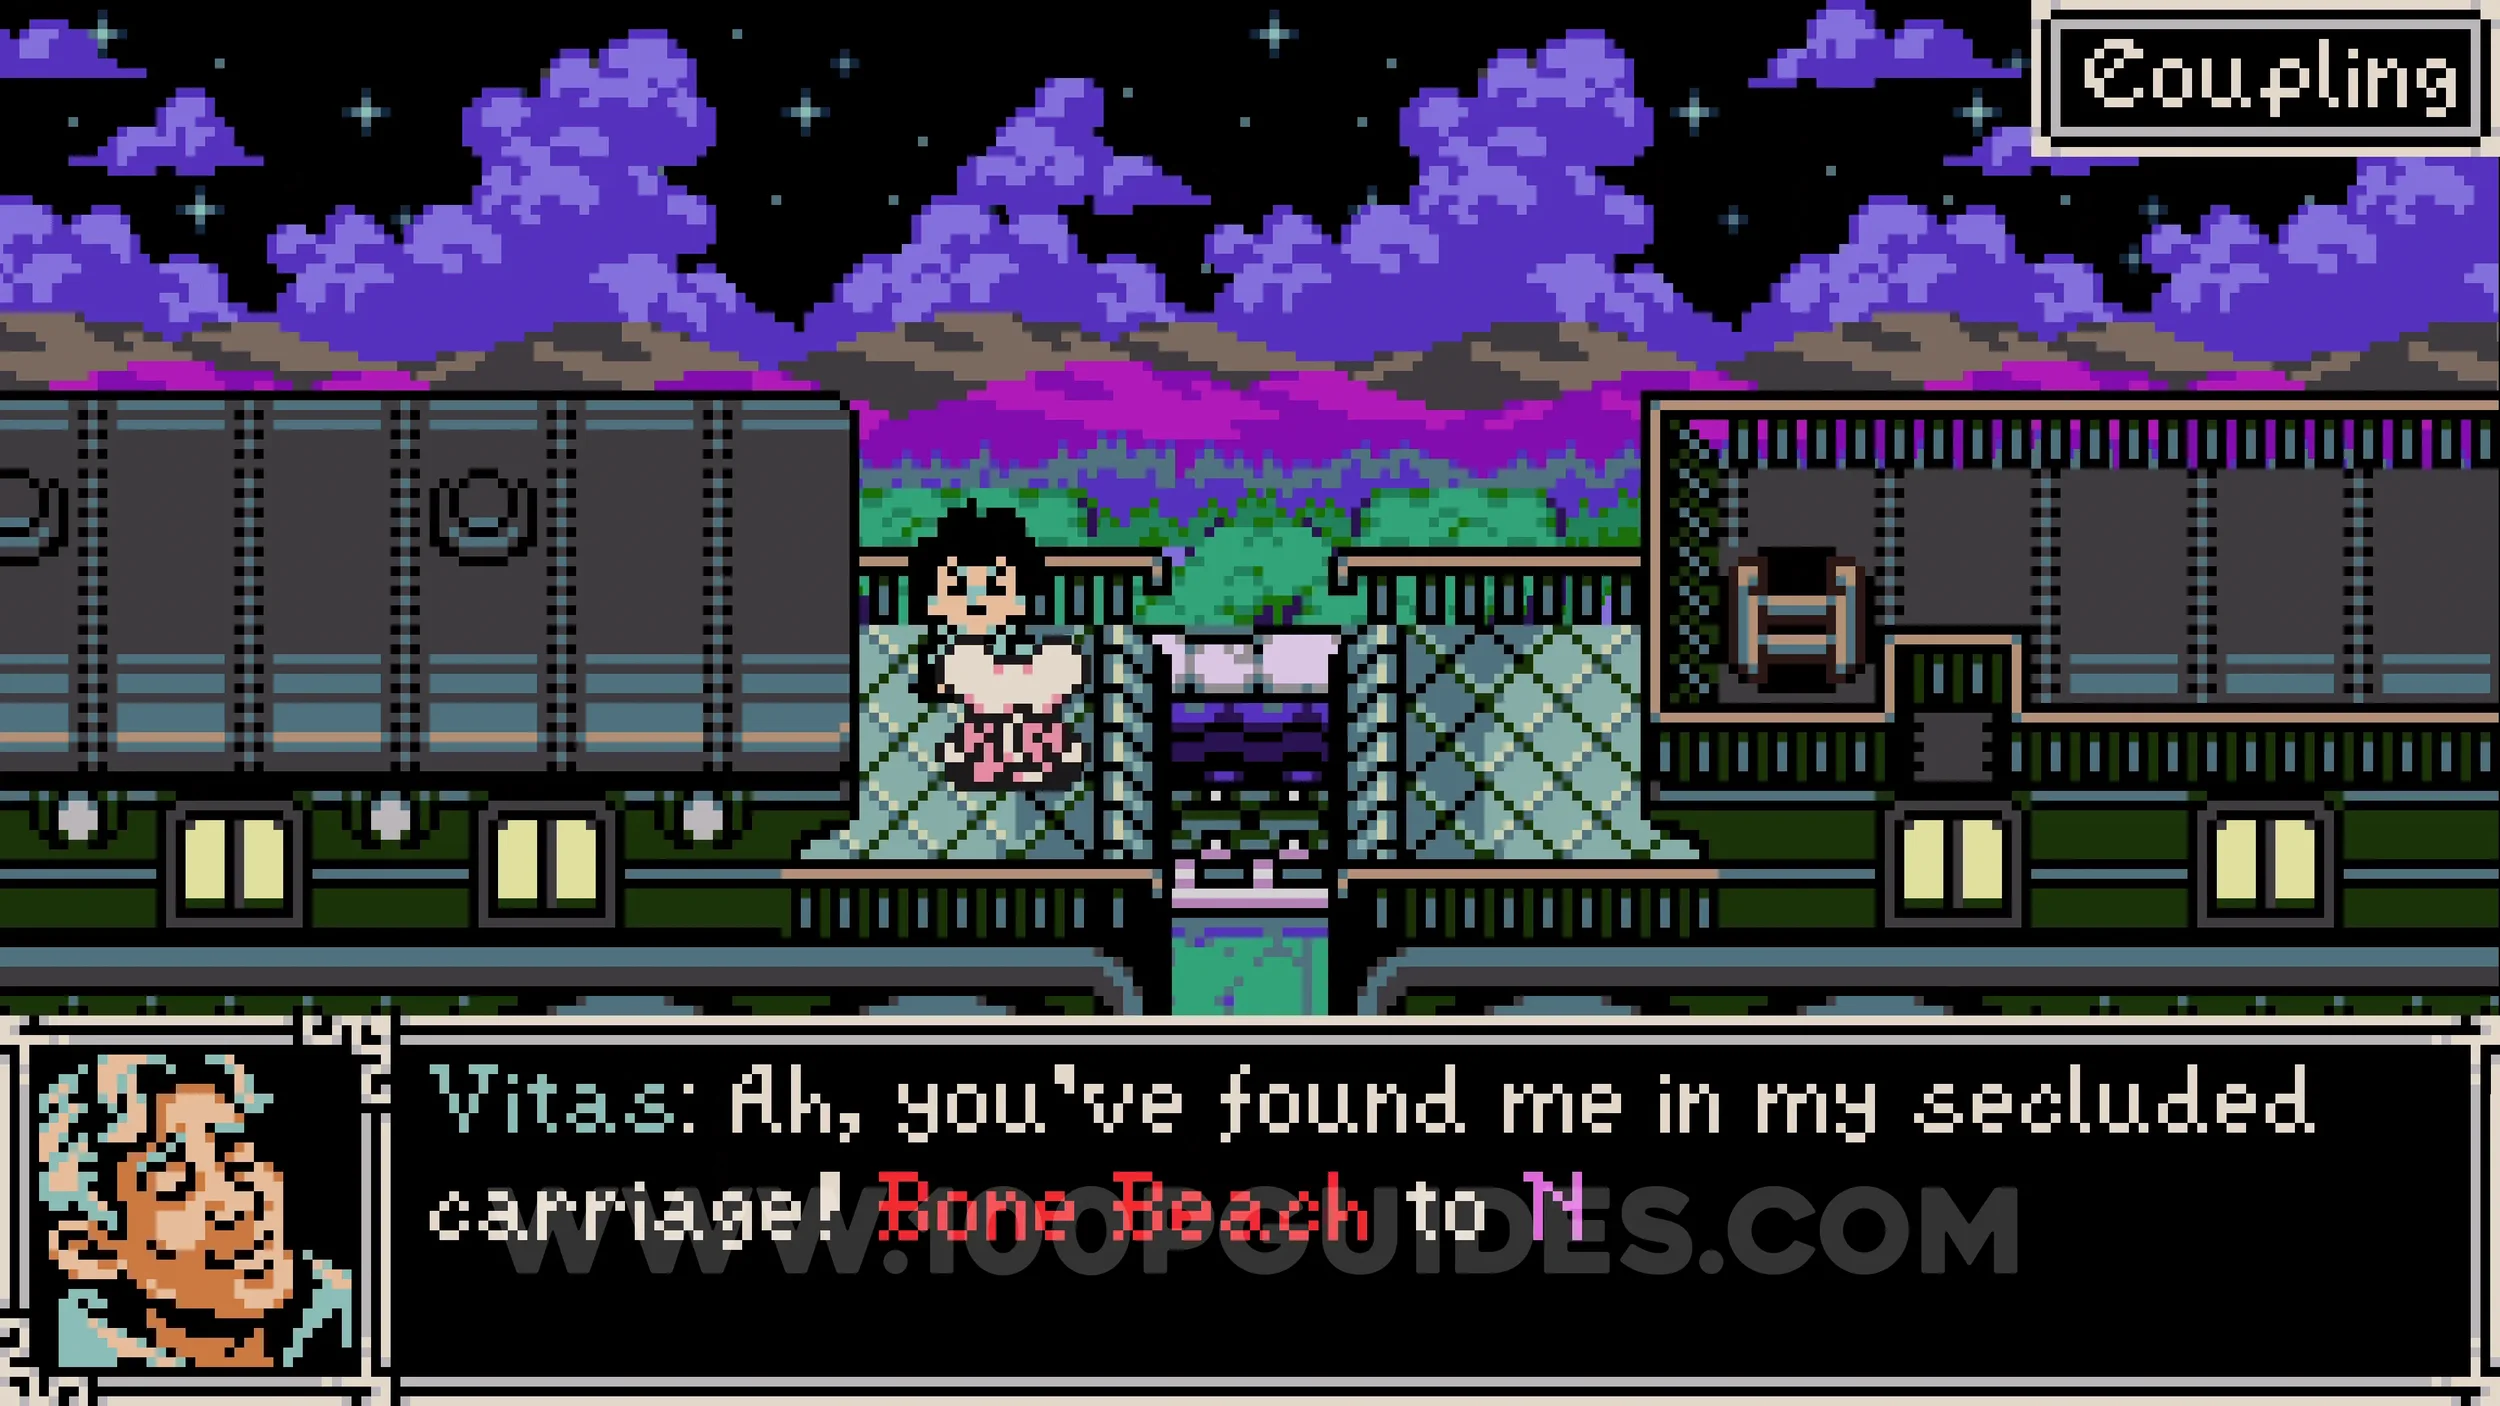
Trinket #3 - Volatile Beastium. Go to the train station south of Sandfalls and take a trip to Nox's Bayou. Once on the train, head right through the first cabin and come out the other side to find Vitas. Talk to him to purchase the trinket.
BONE BEACH
Bonestone #1. Break the wall in the very first screen of the area to reach the chest behind the tower. If the NPC is still there, return after advancing further into the area.
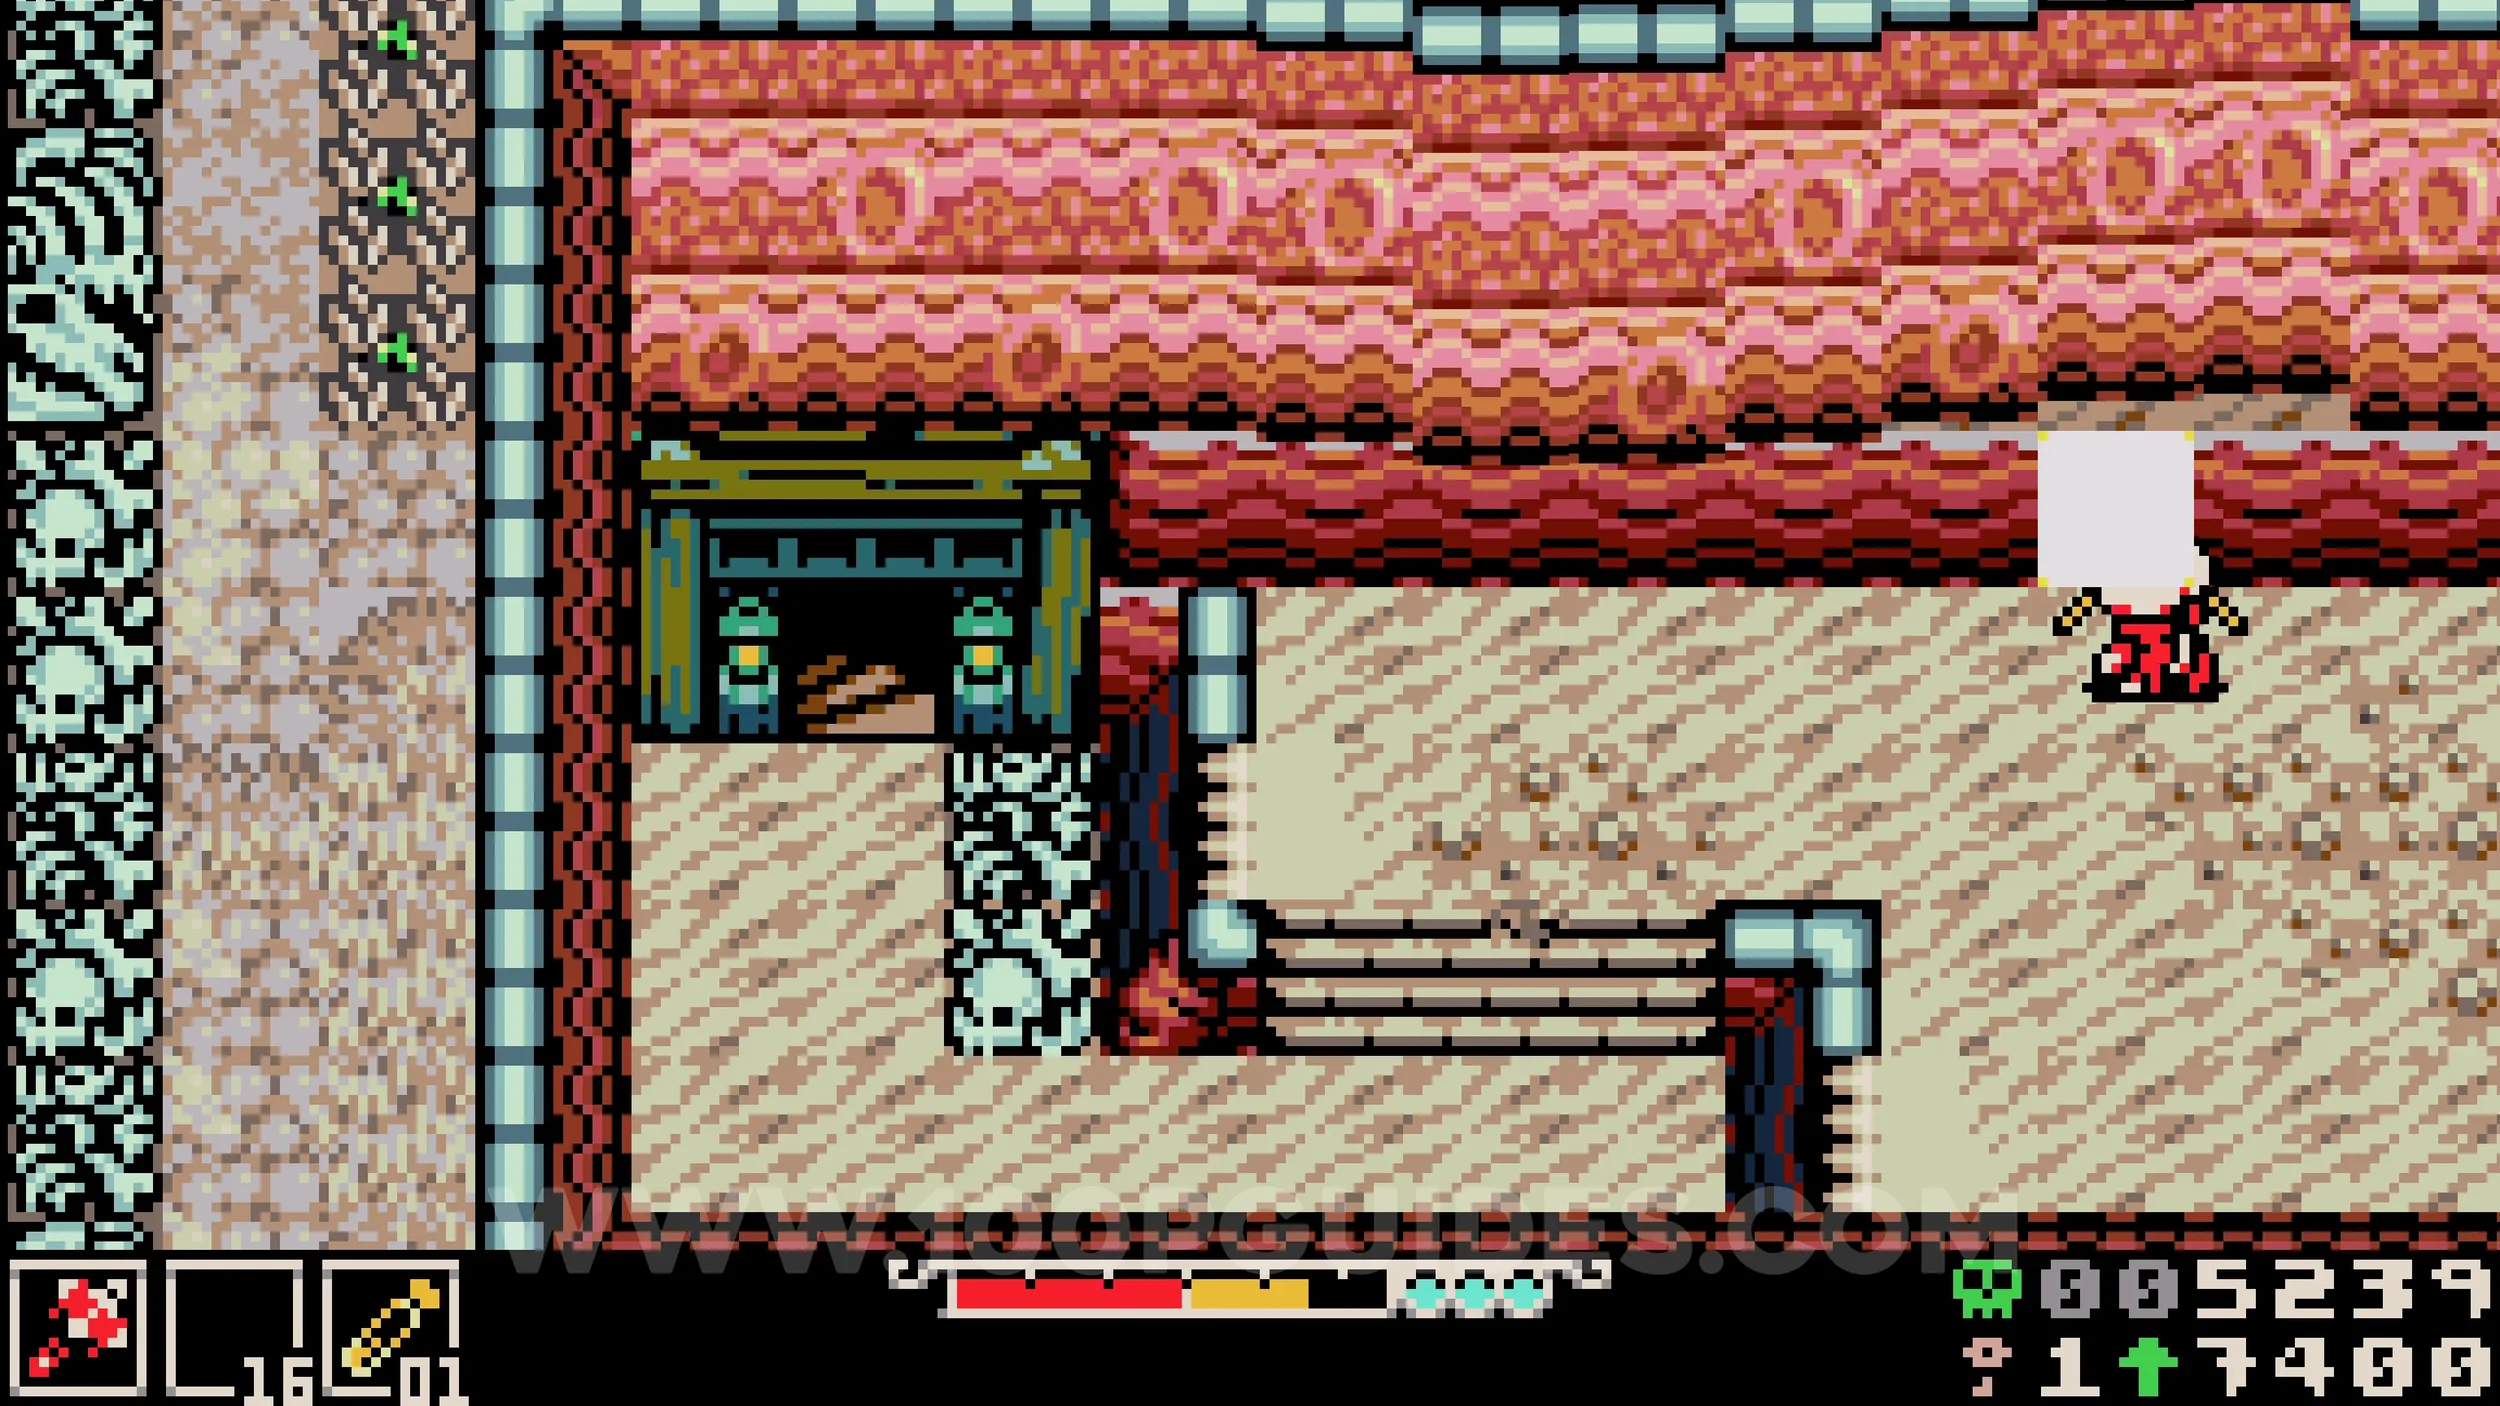
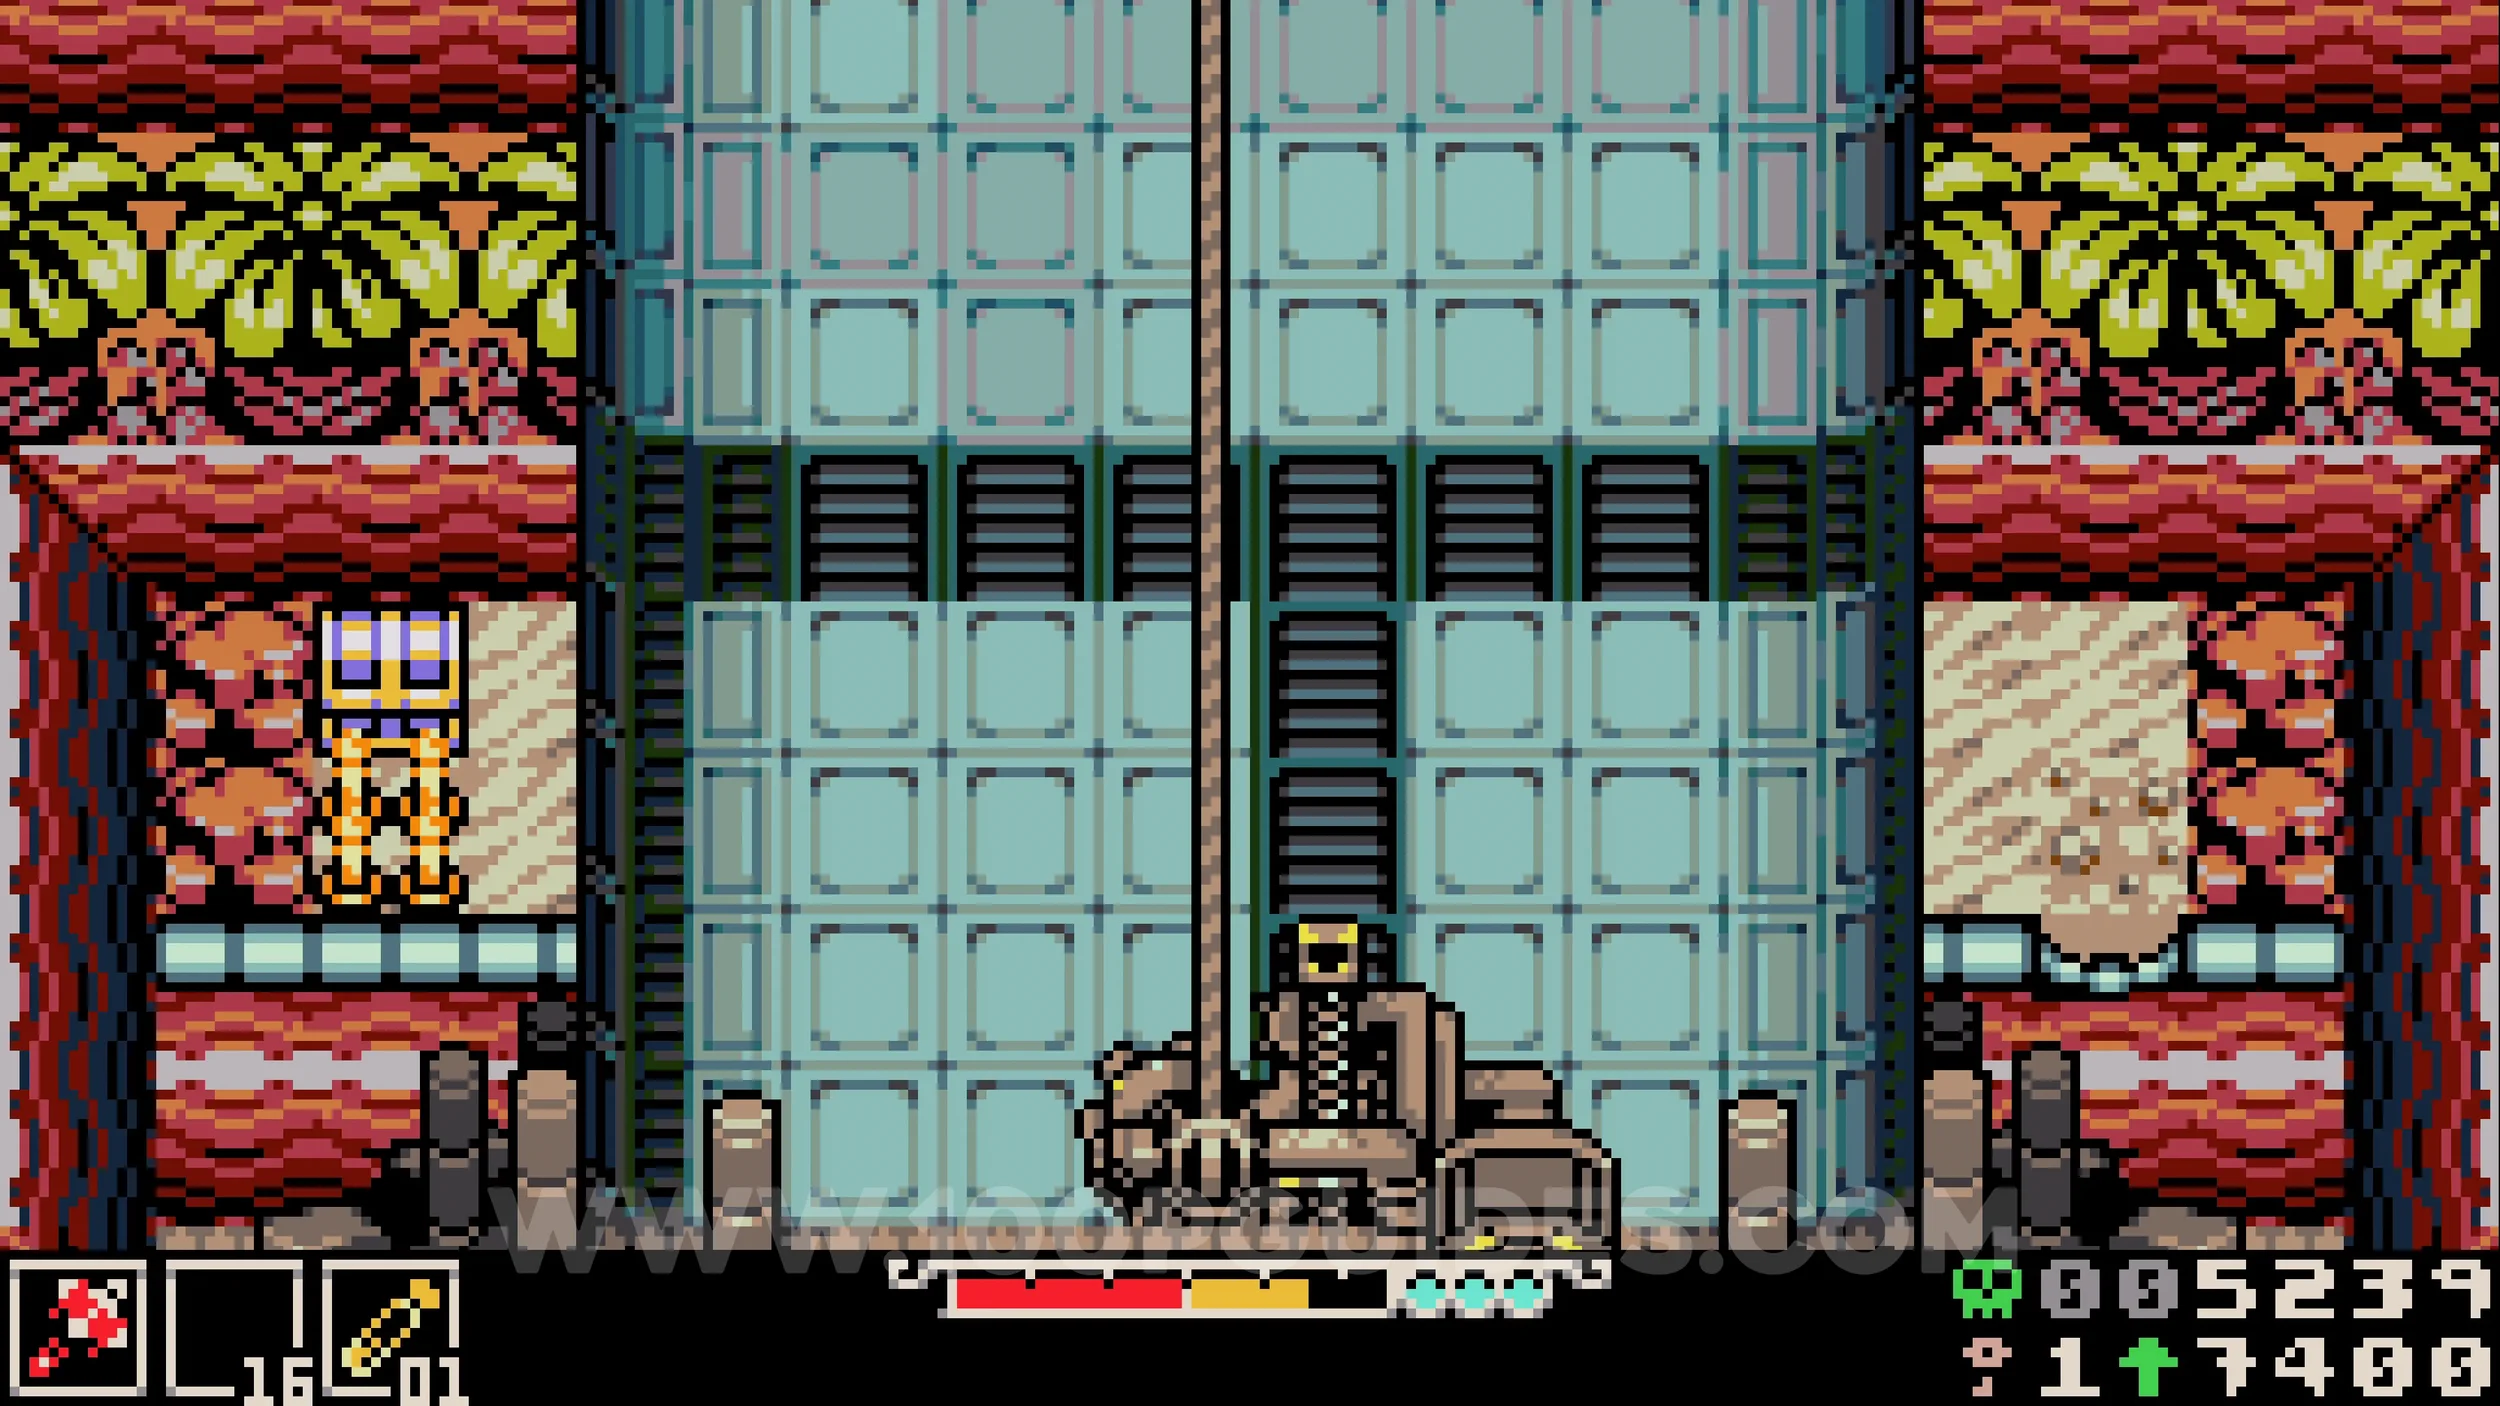
Bonestone #2. Found in the far top right corner of the area to the right of the wall you broke for the previous collectible.
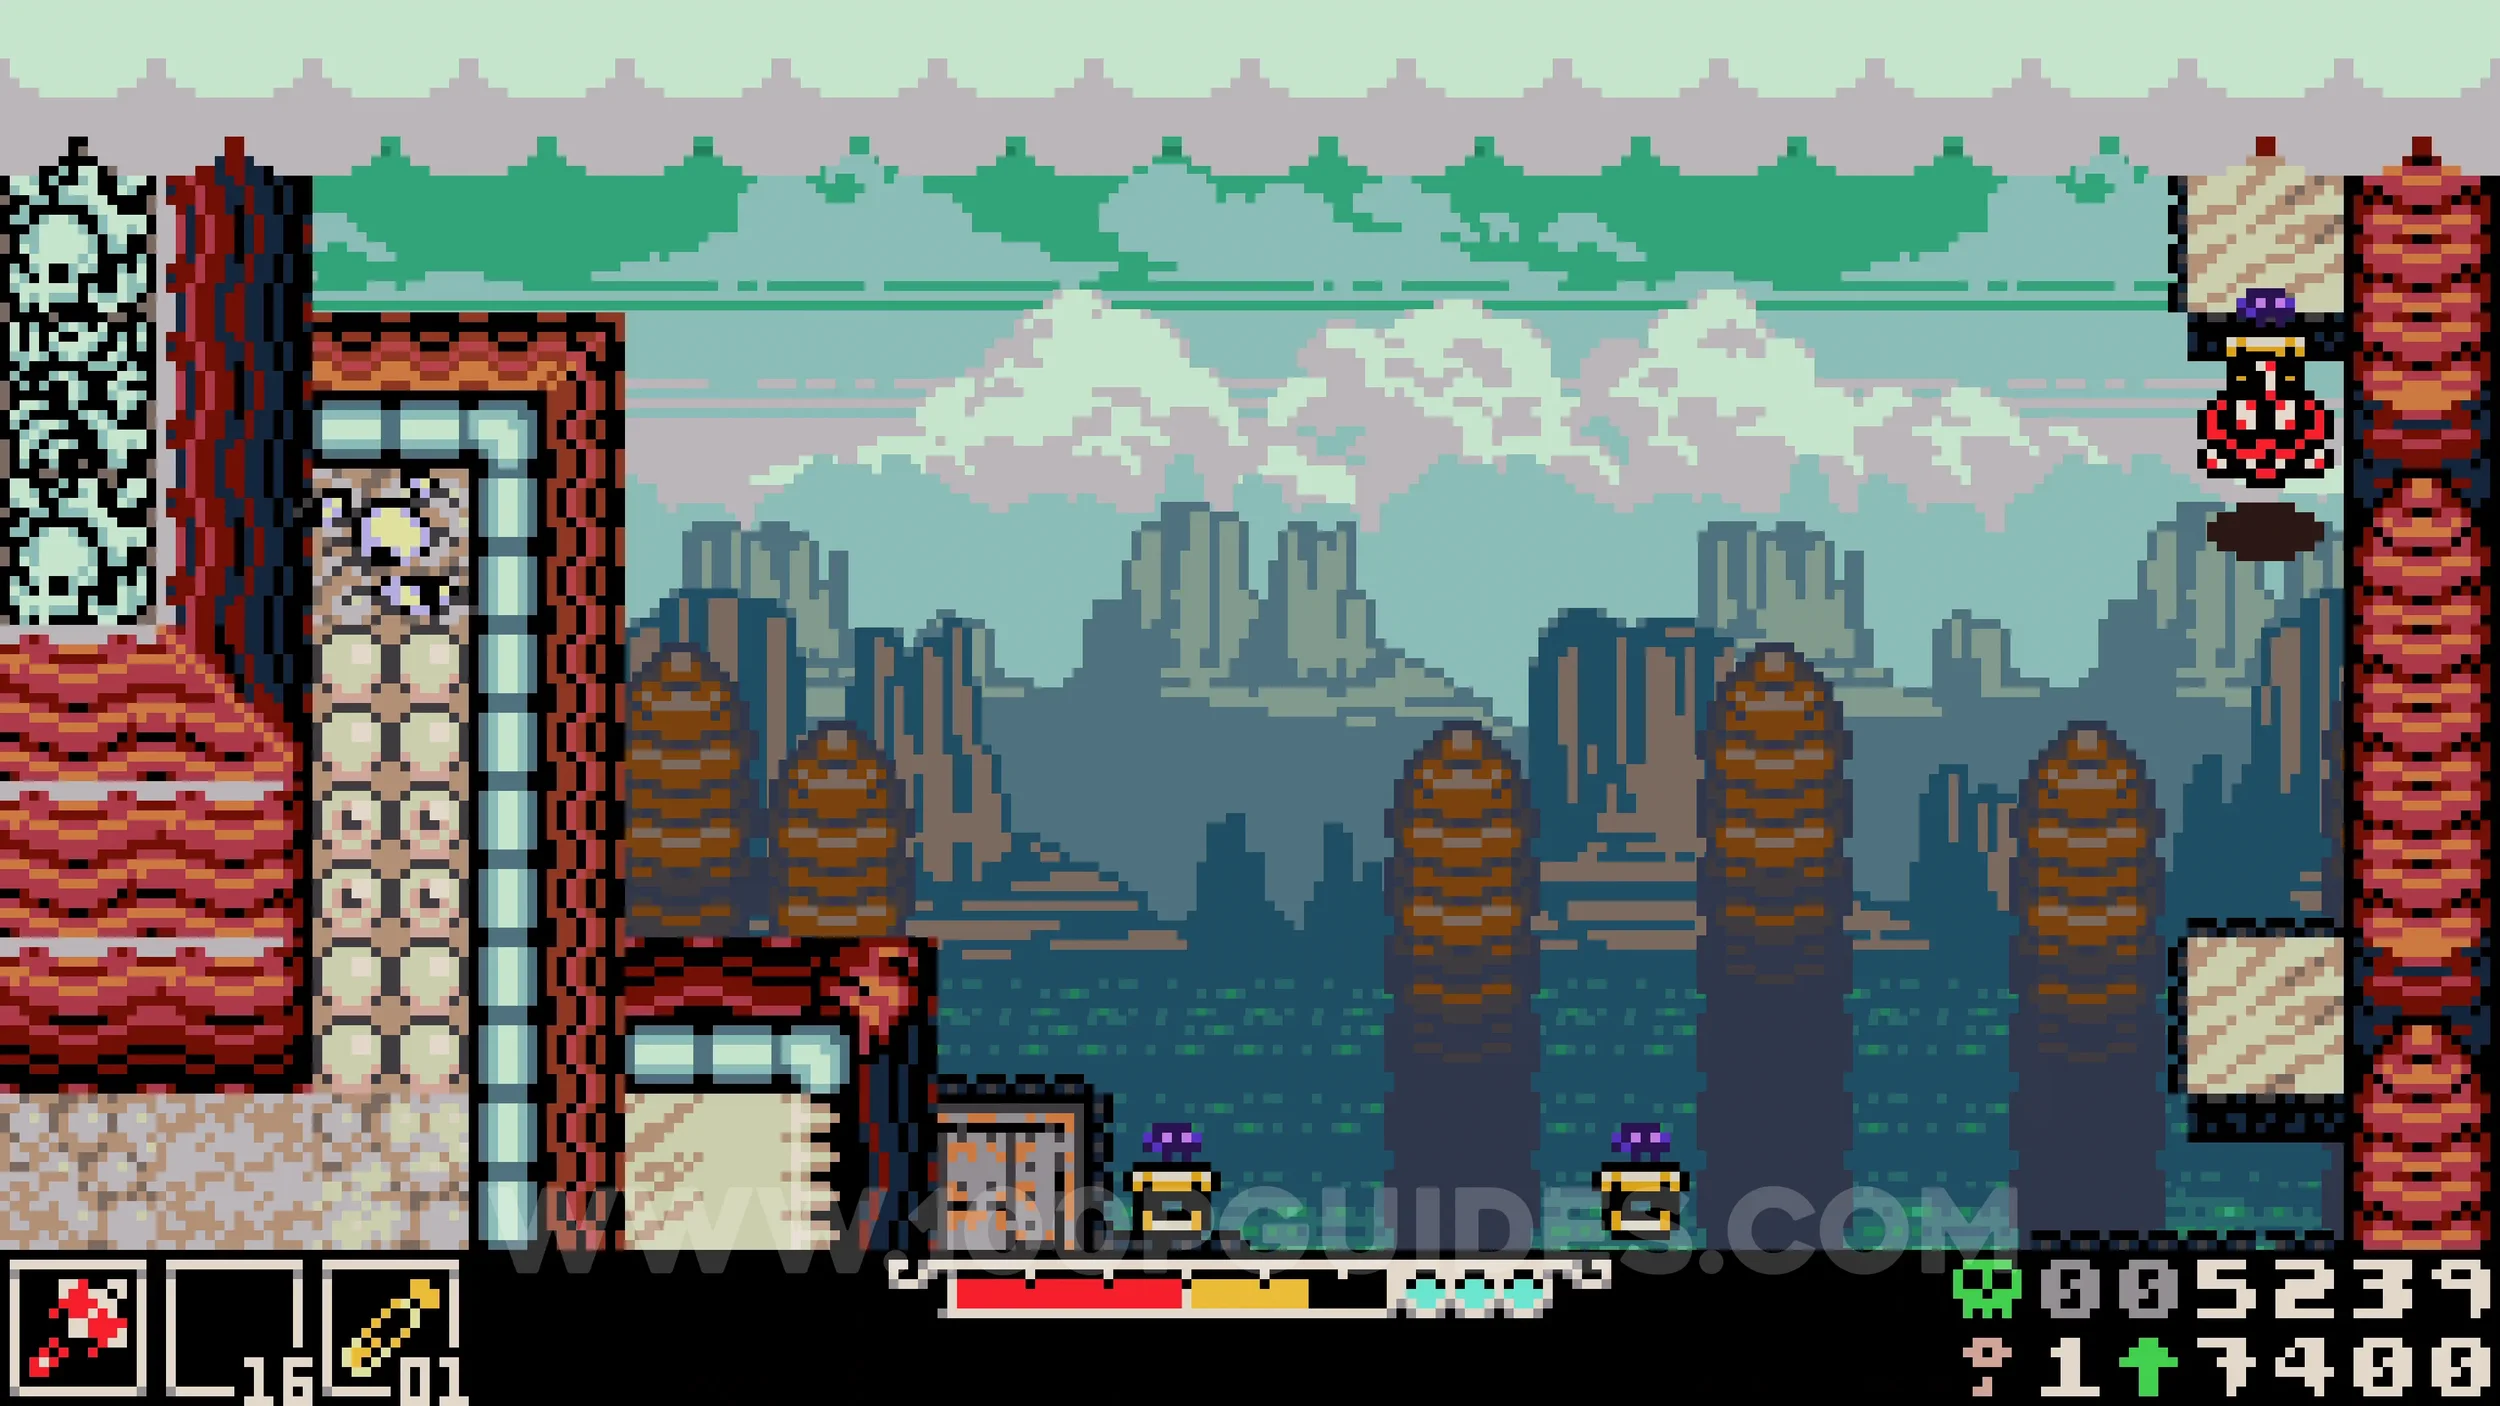
Bonestone #3. From the previous collectible, head down until you reach an area with conveyor belts and rows of three bouncy plants. Drop down to the next screen and then return to the conveyor belt screen by sticking to the left side. Drop onto a bouncy plant and keep bouncing until you can get off on the right side, where you can dig up the bonestone.
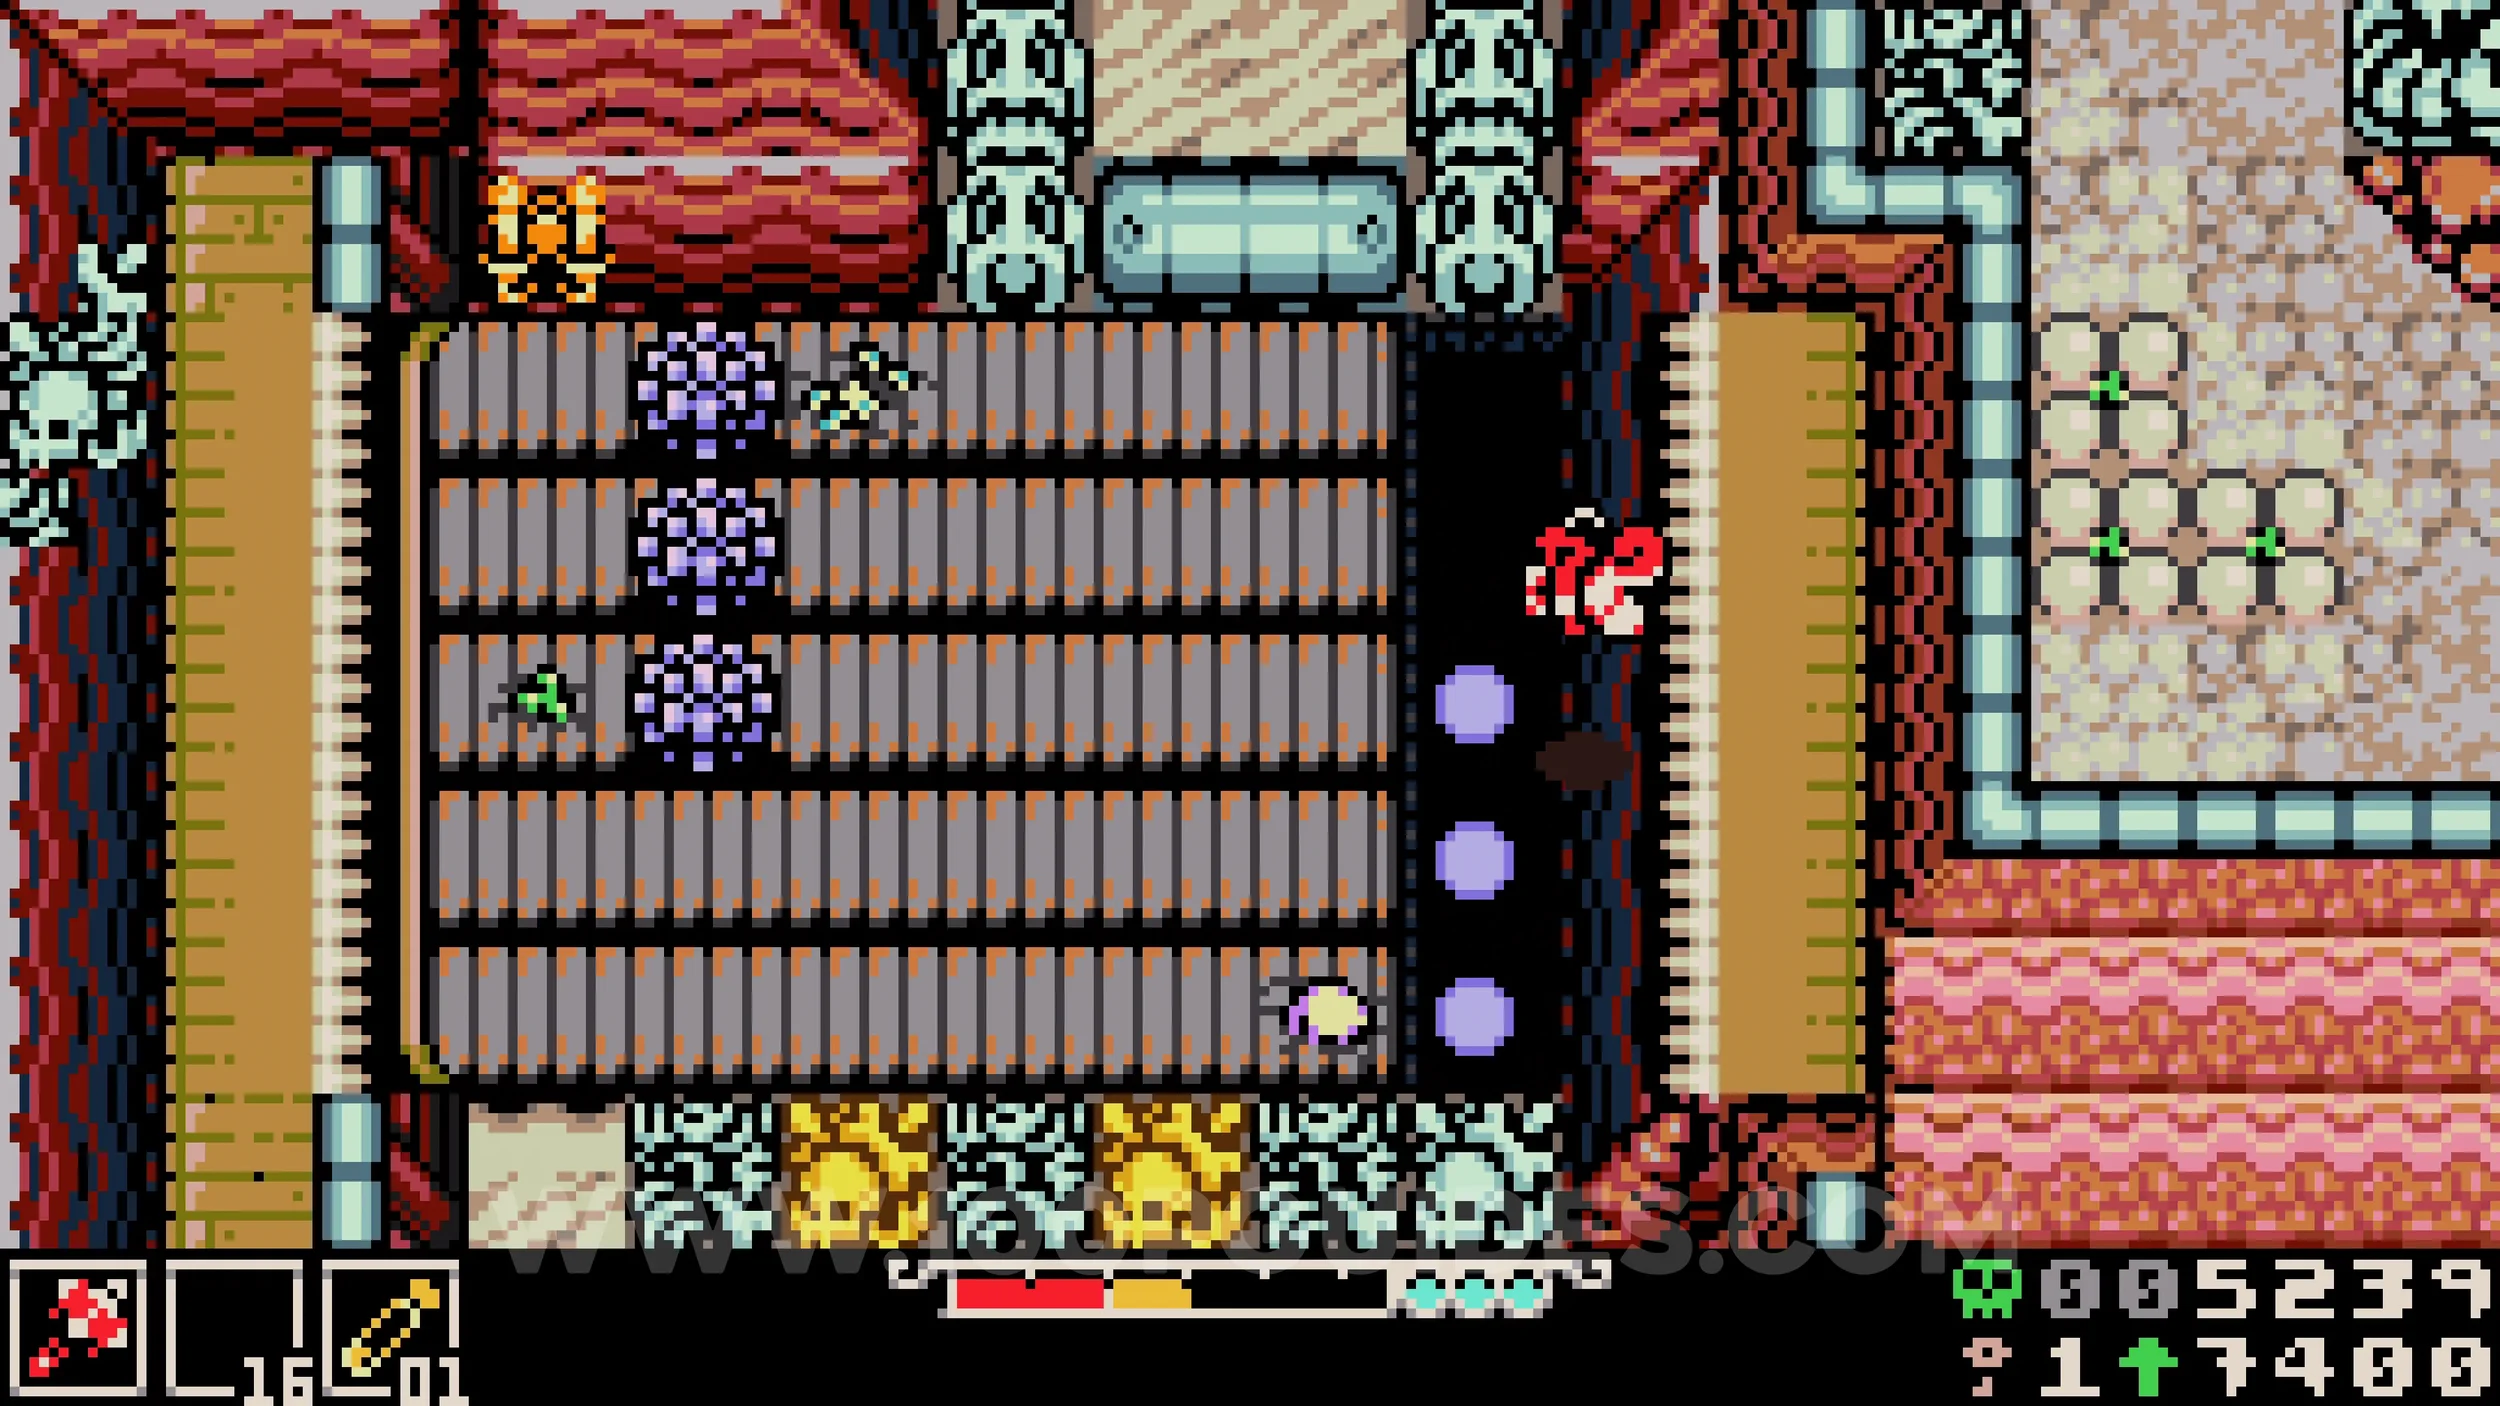
Bonestone #4. Continue down until you reach a room with conveyors and a gap on the right side that you can jump across. Do so to reach the collectible.
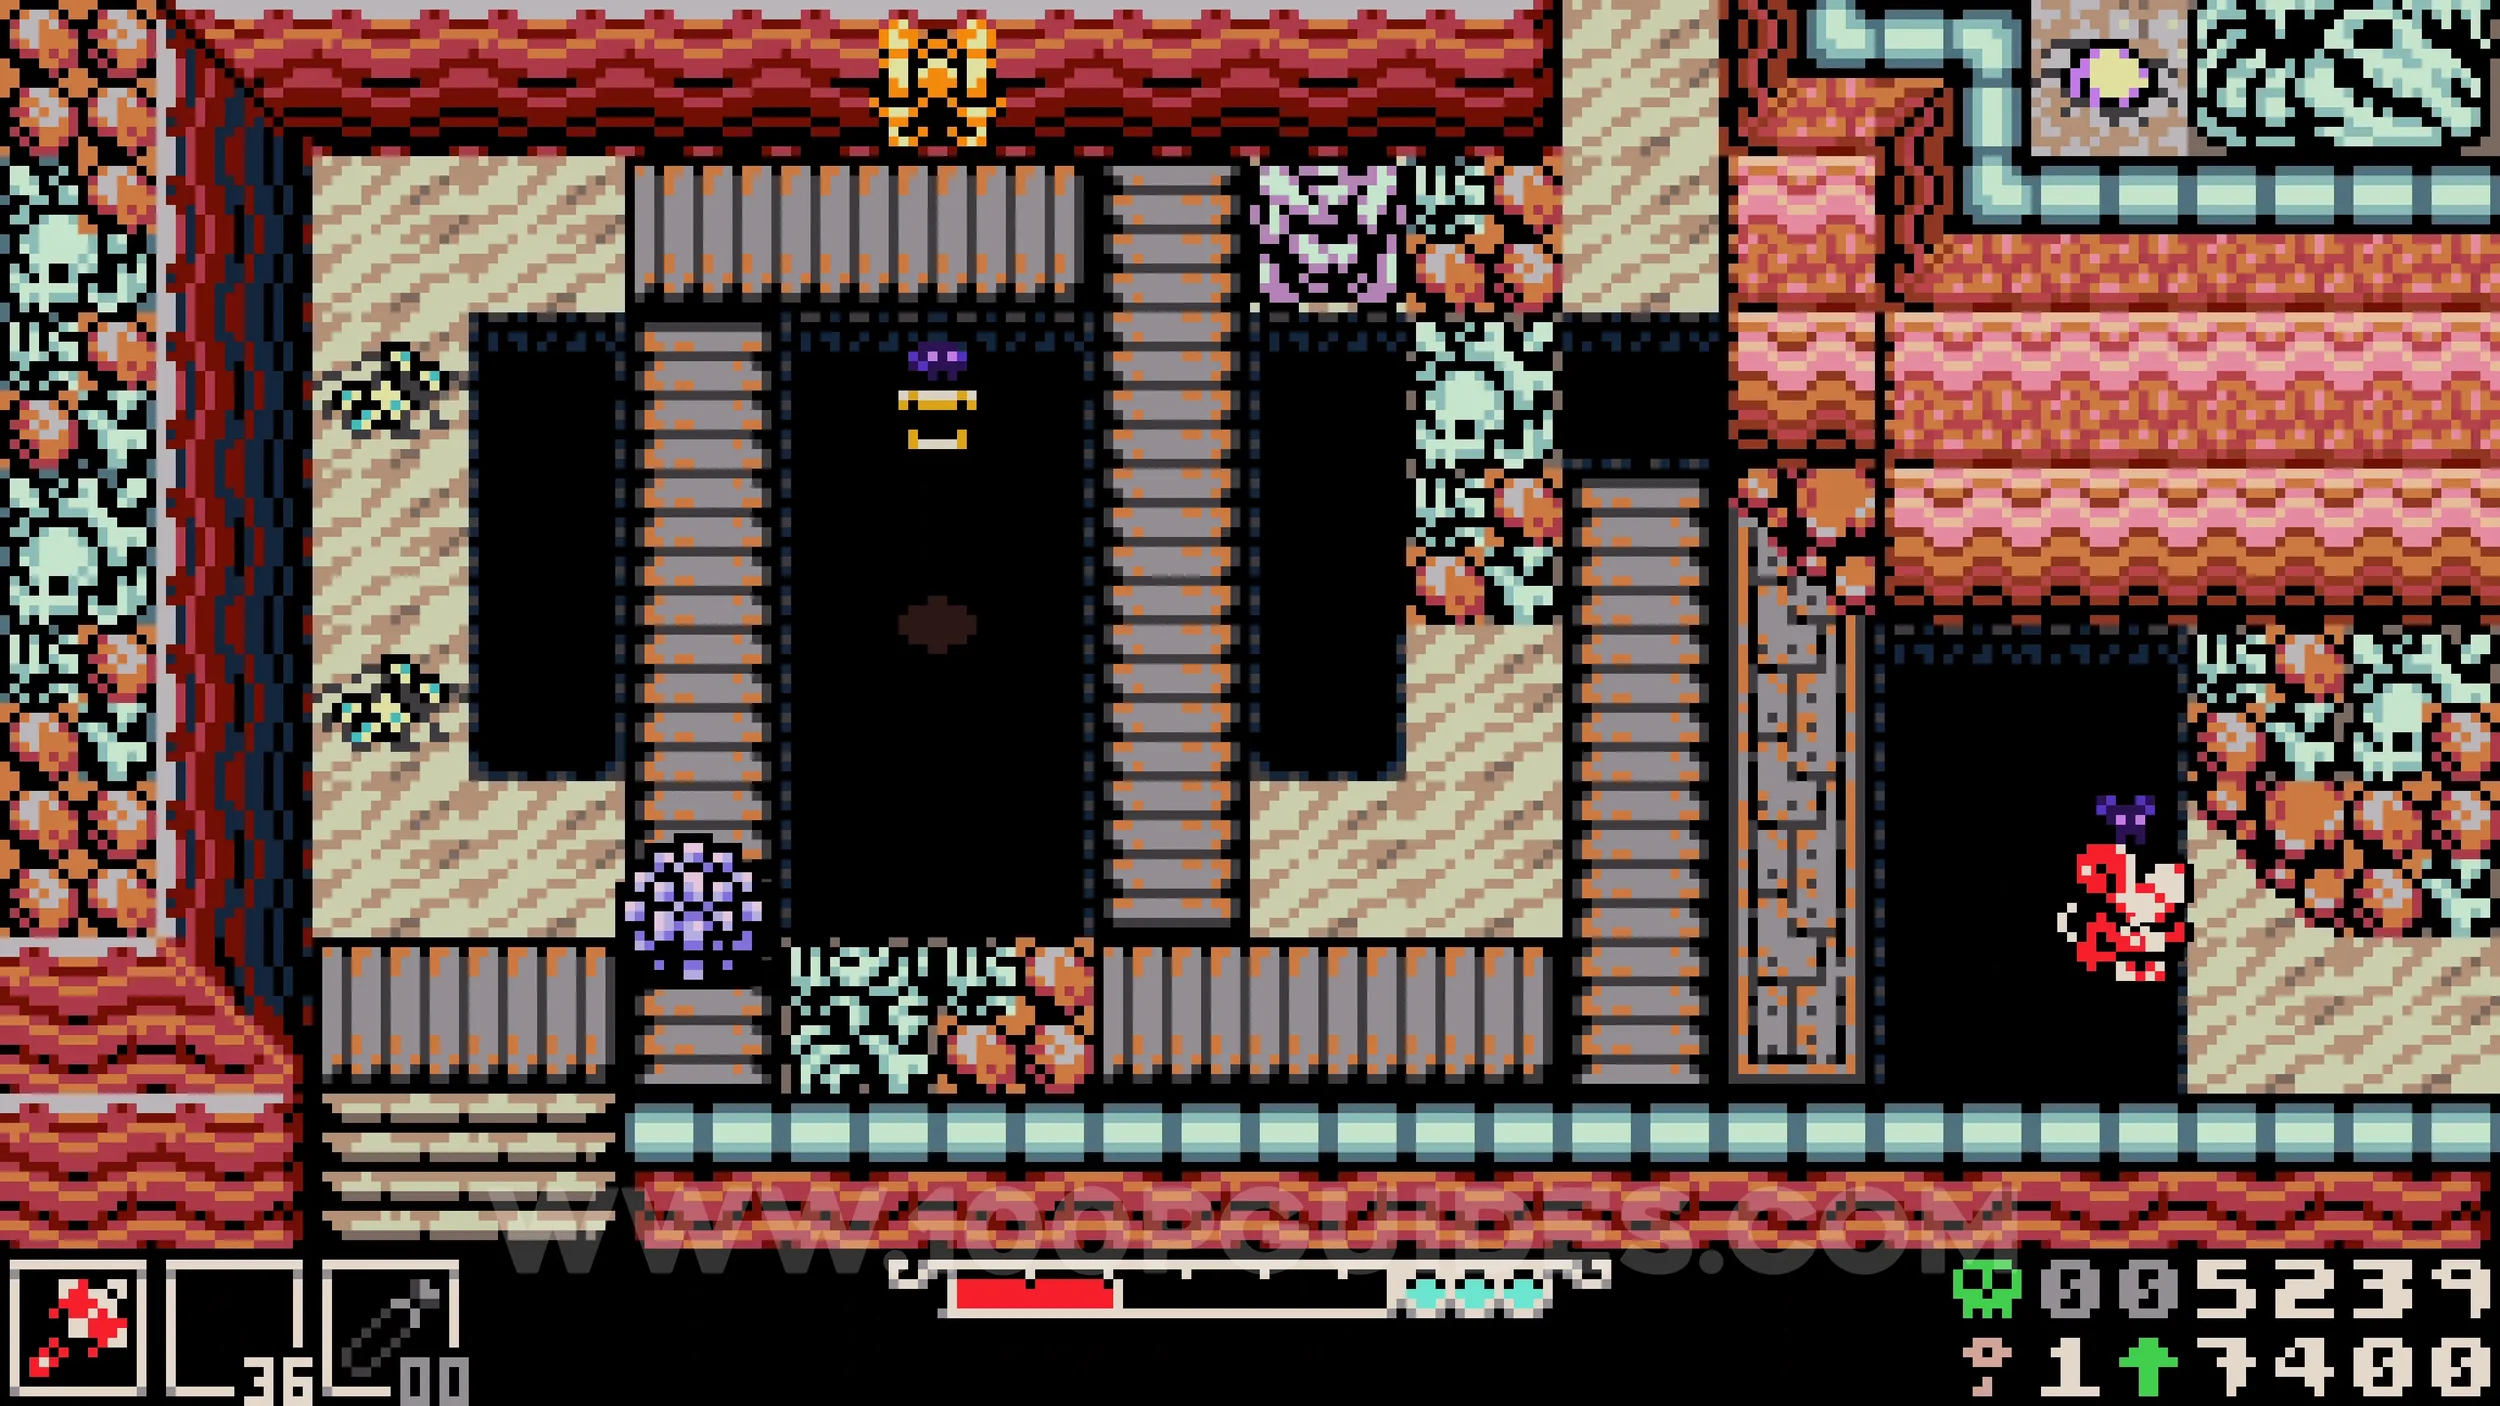
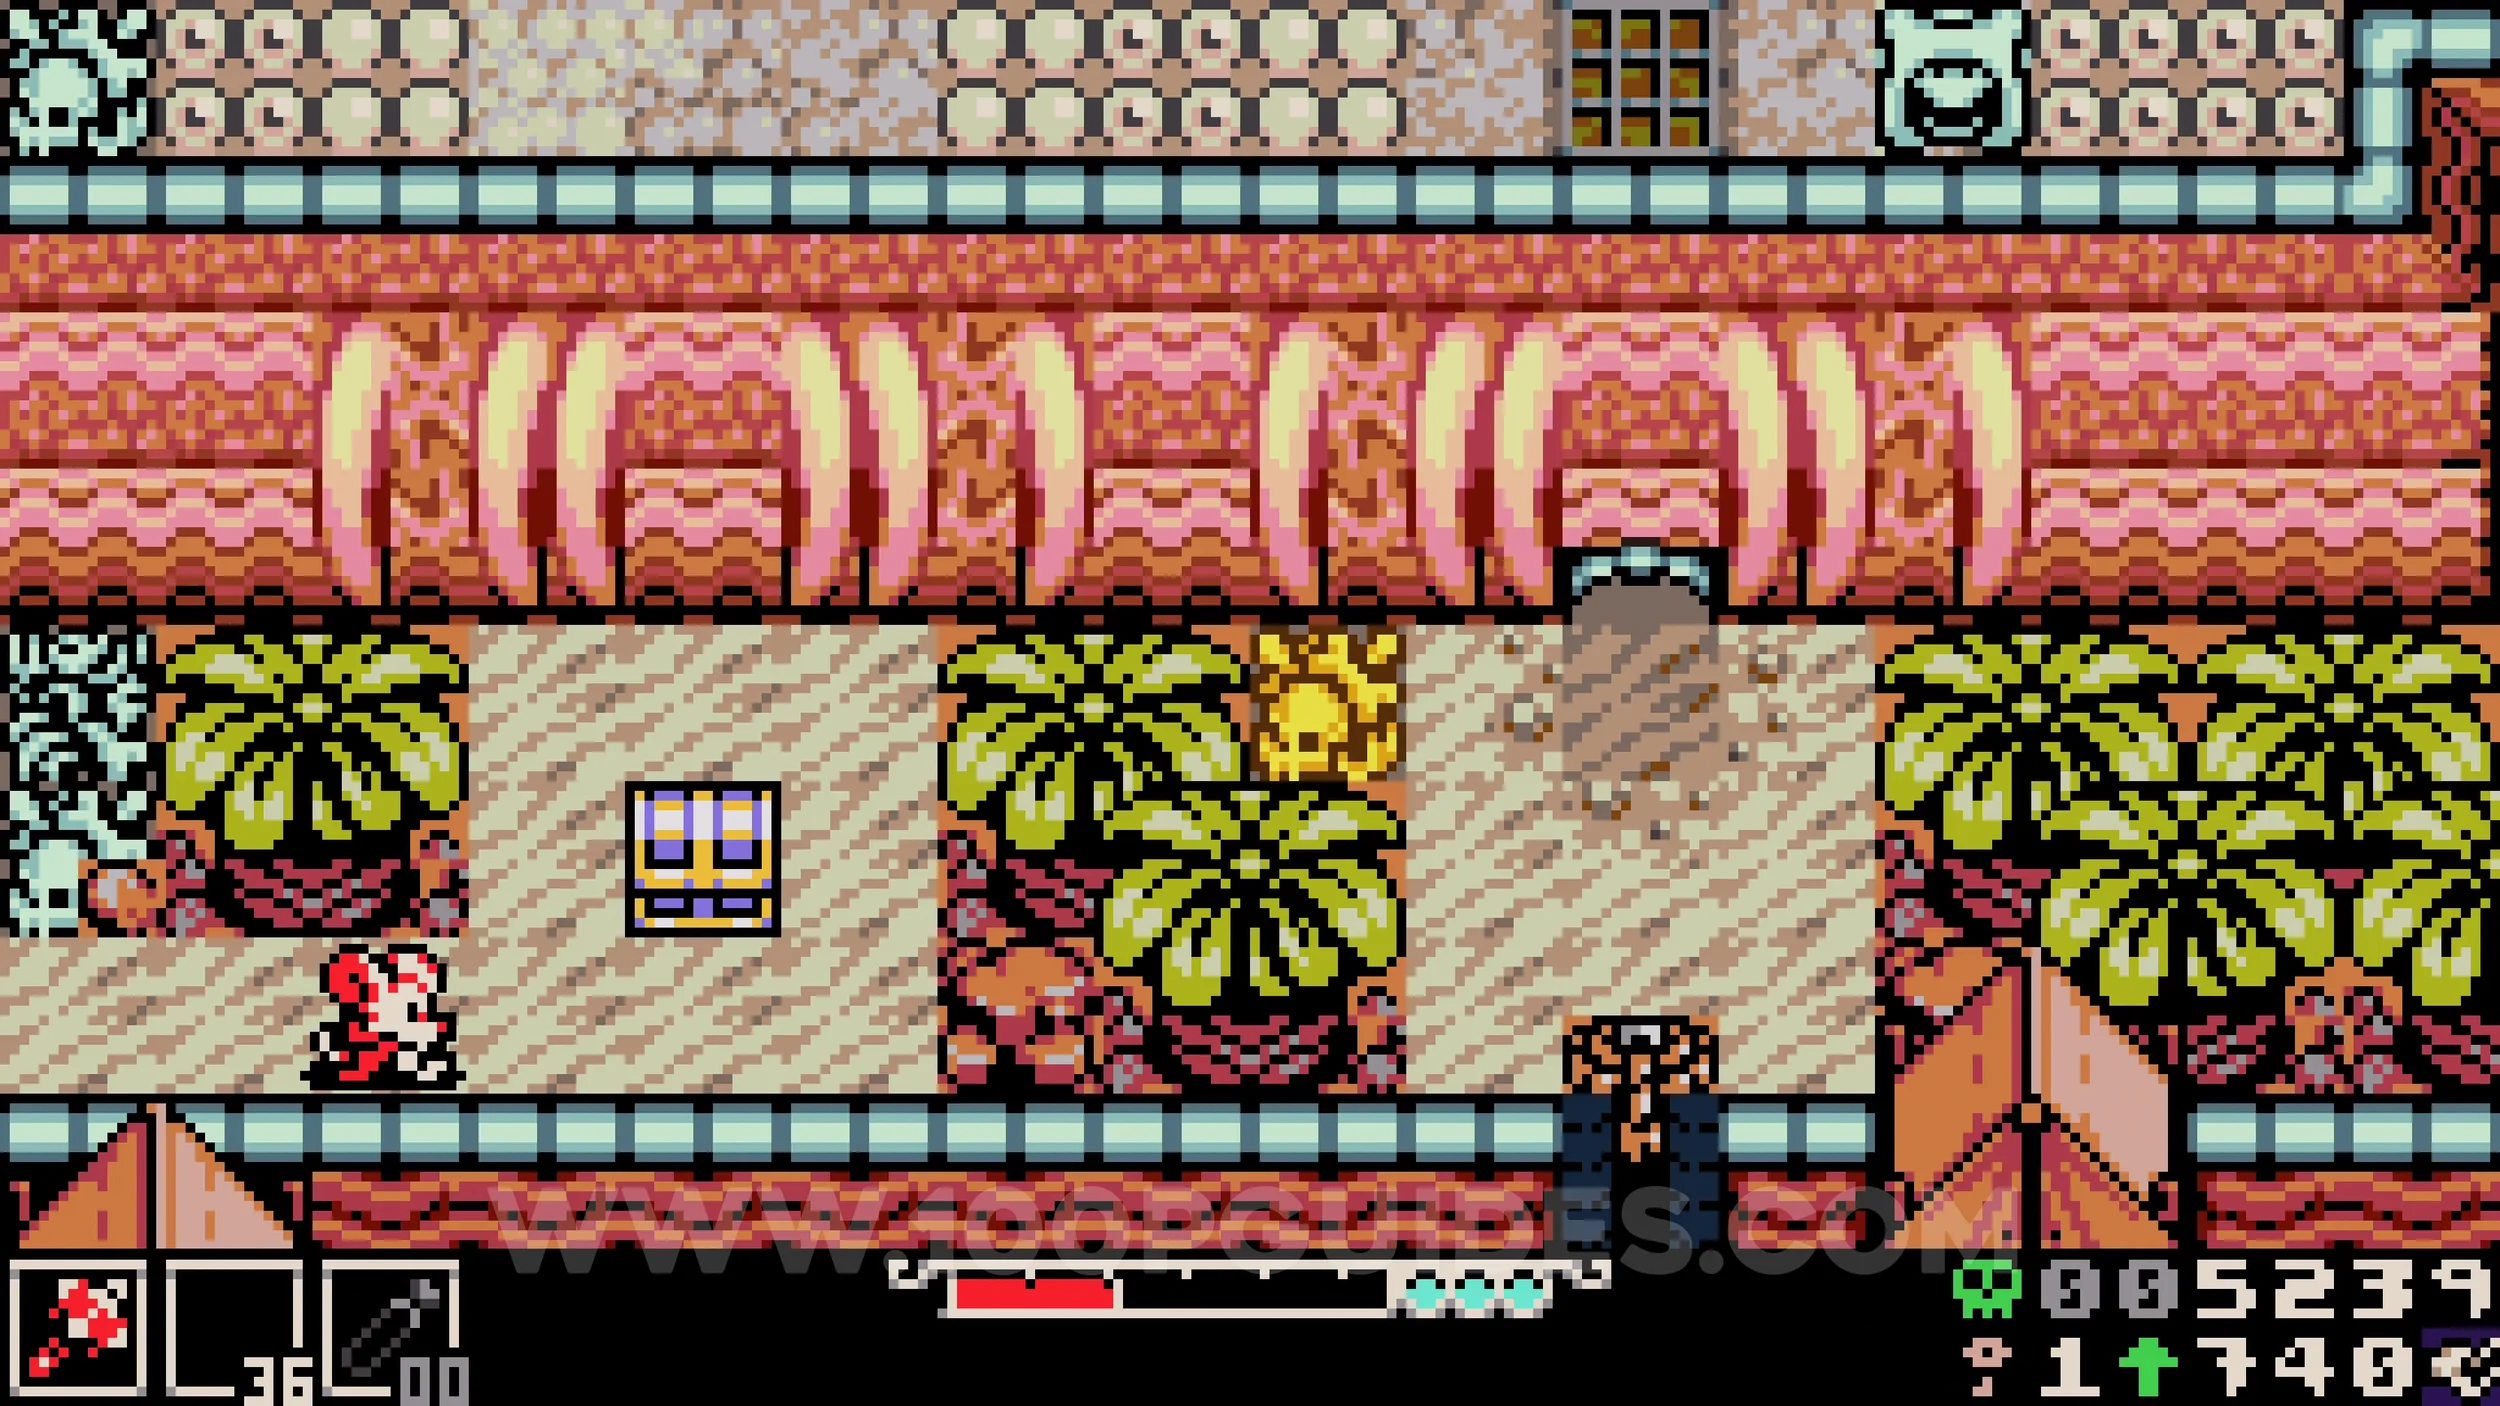
Bonestone #5. Continue down until you reach the final screen where the water starts. Use the hooks to reach the path in the bottom left of the screen, then head into the next area to find the collectible.
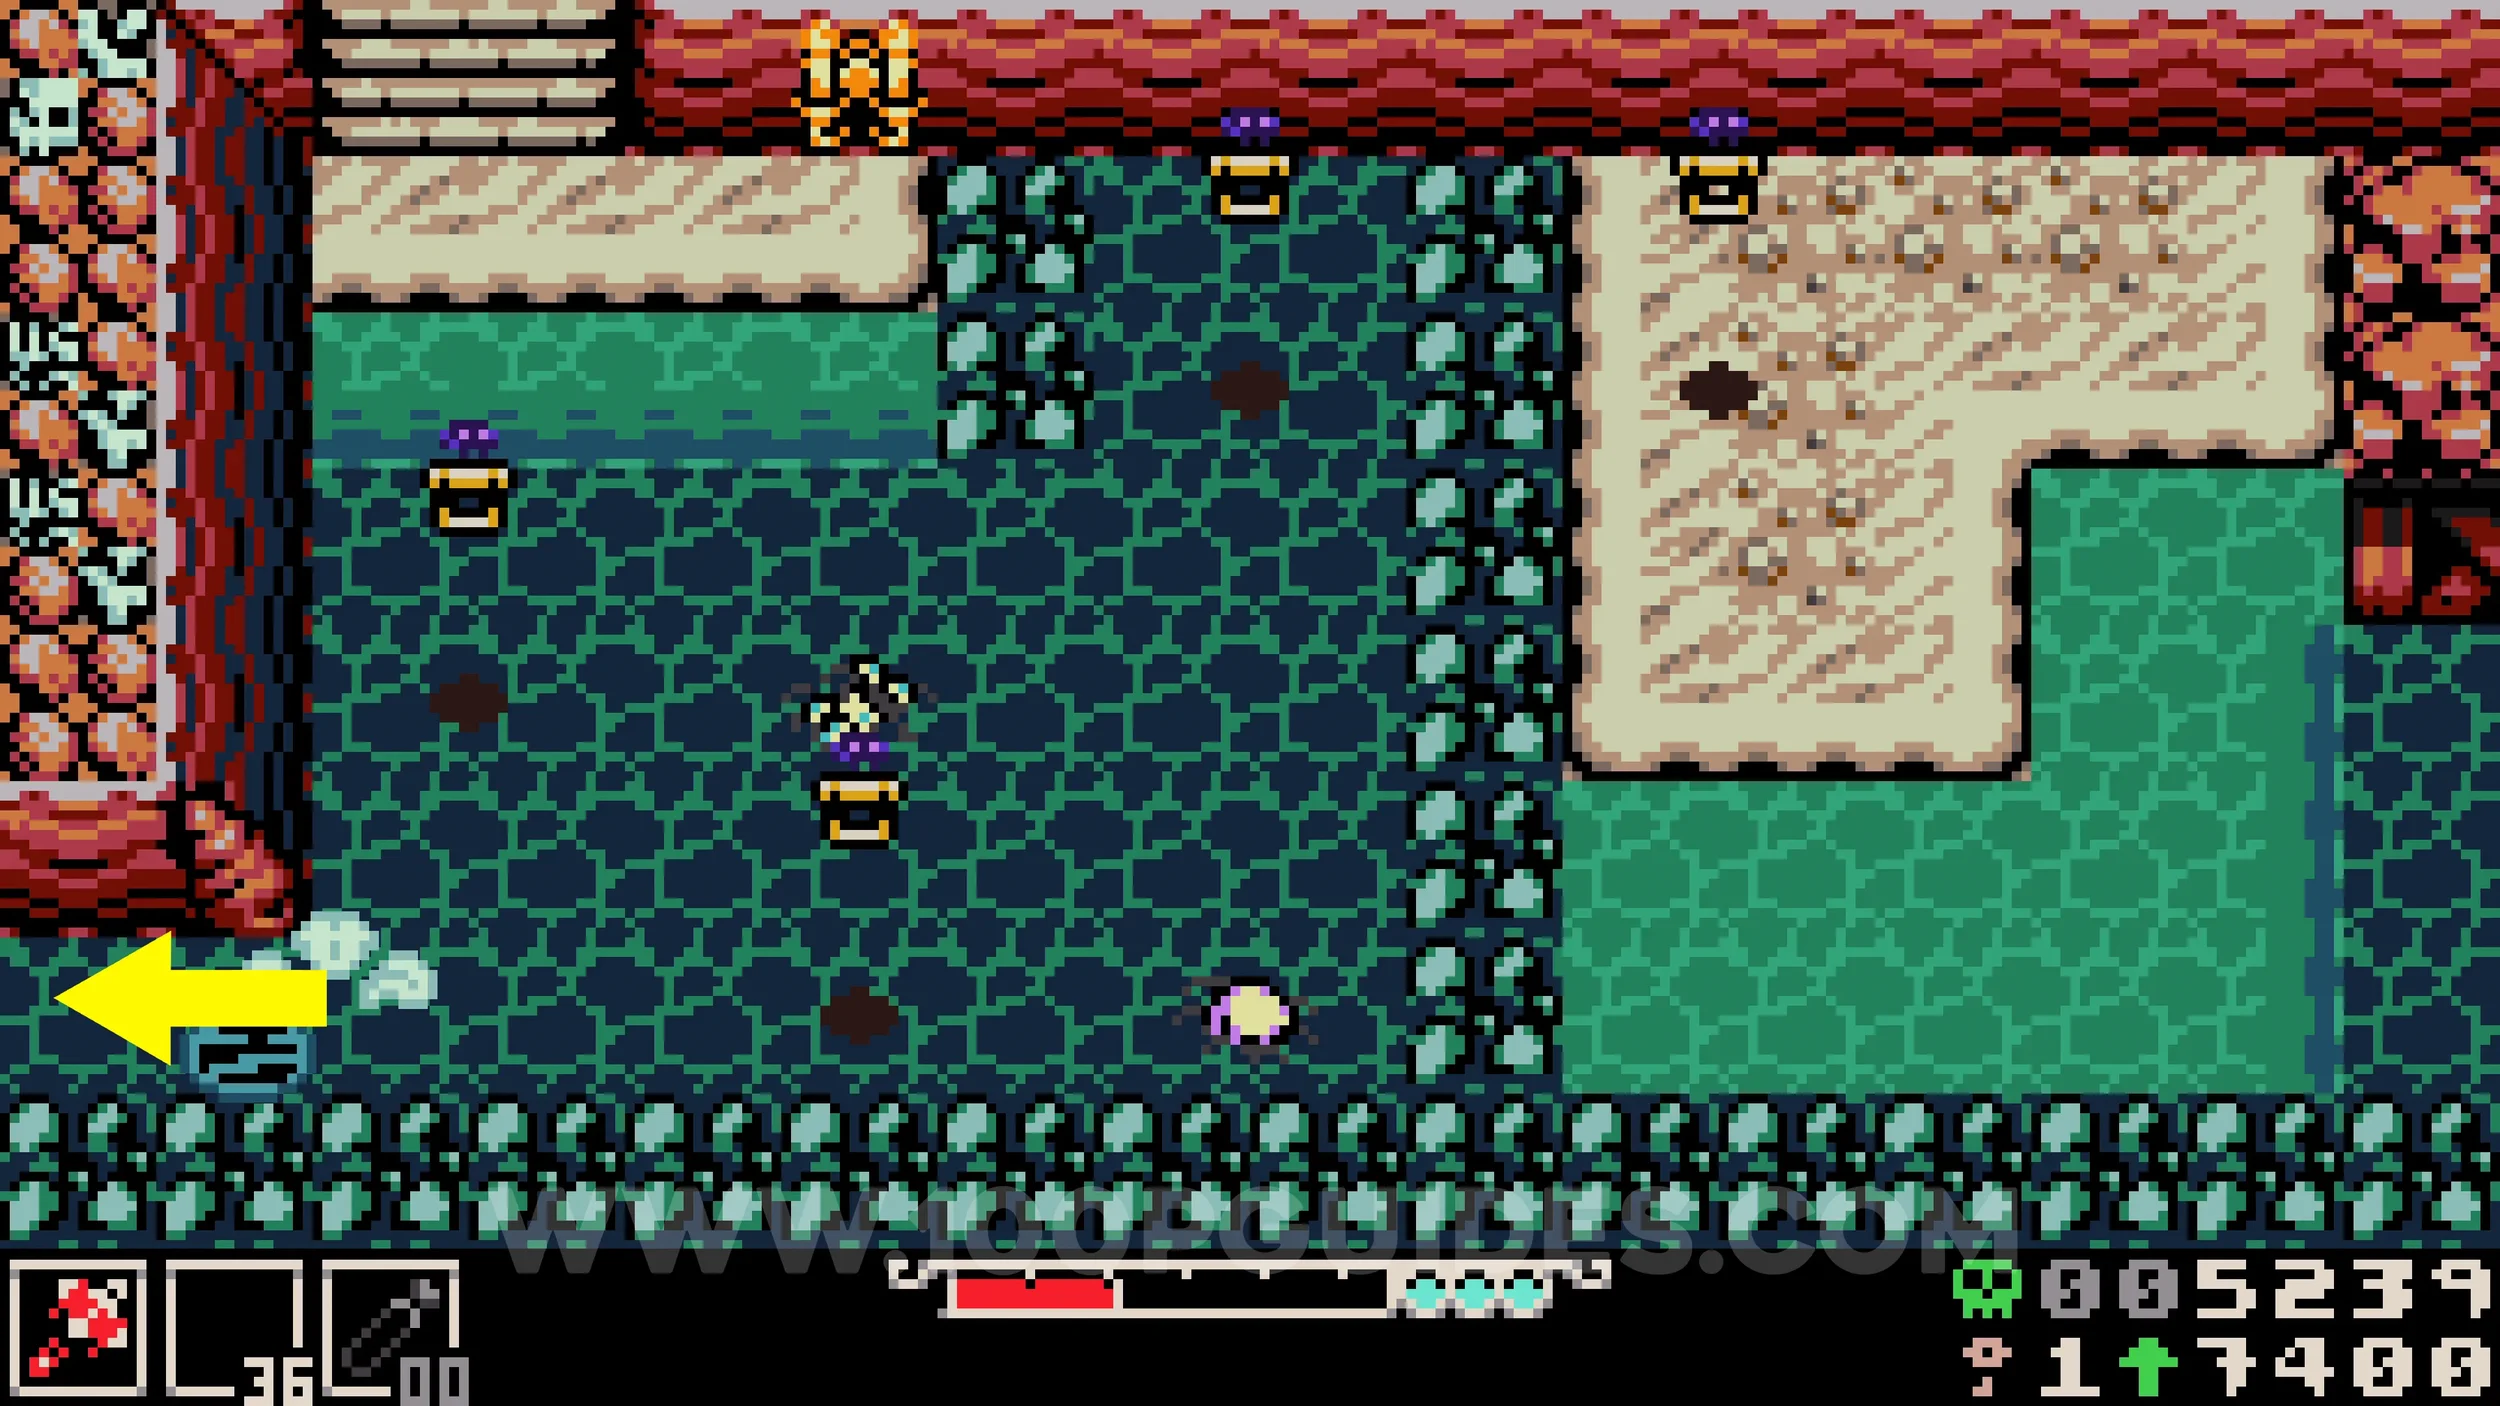
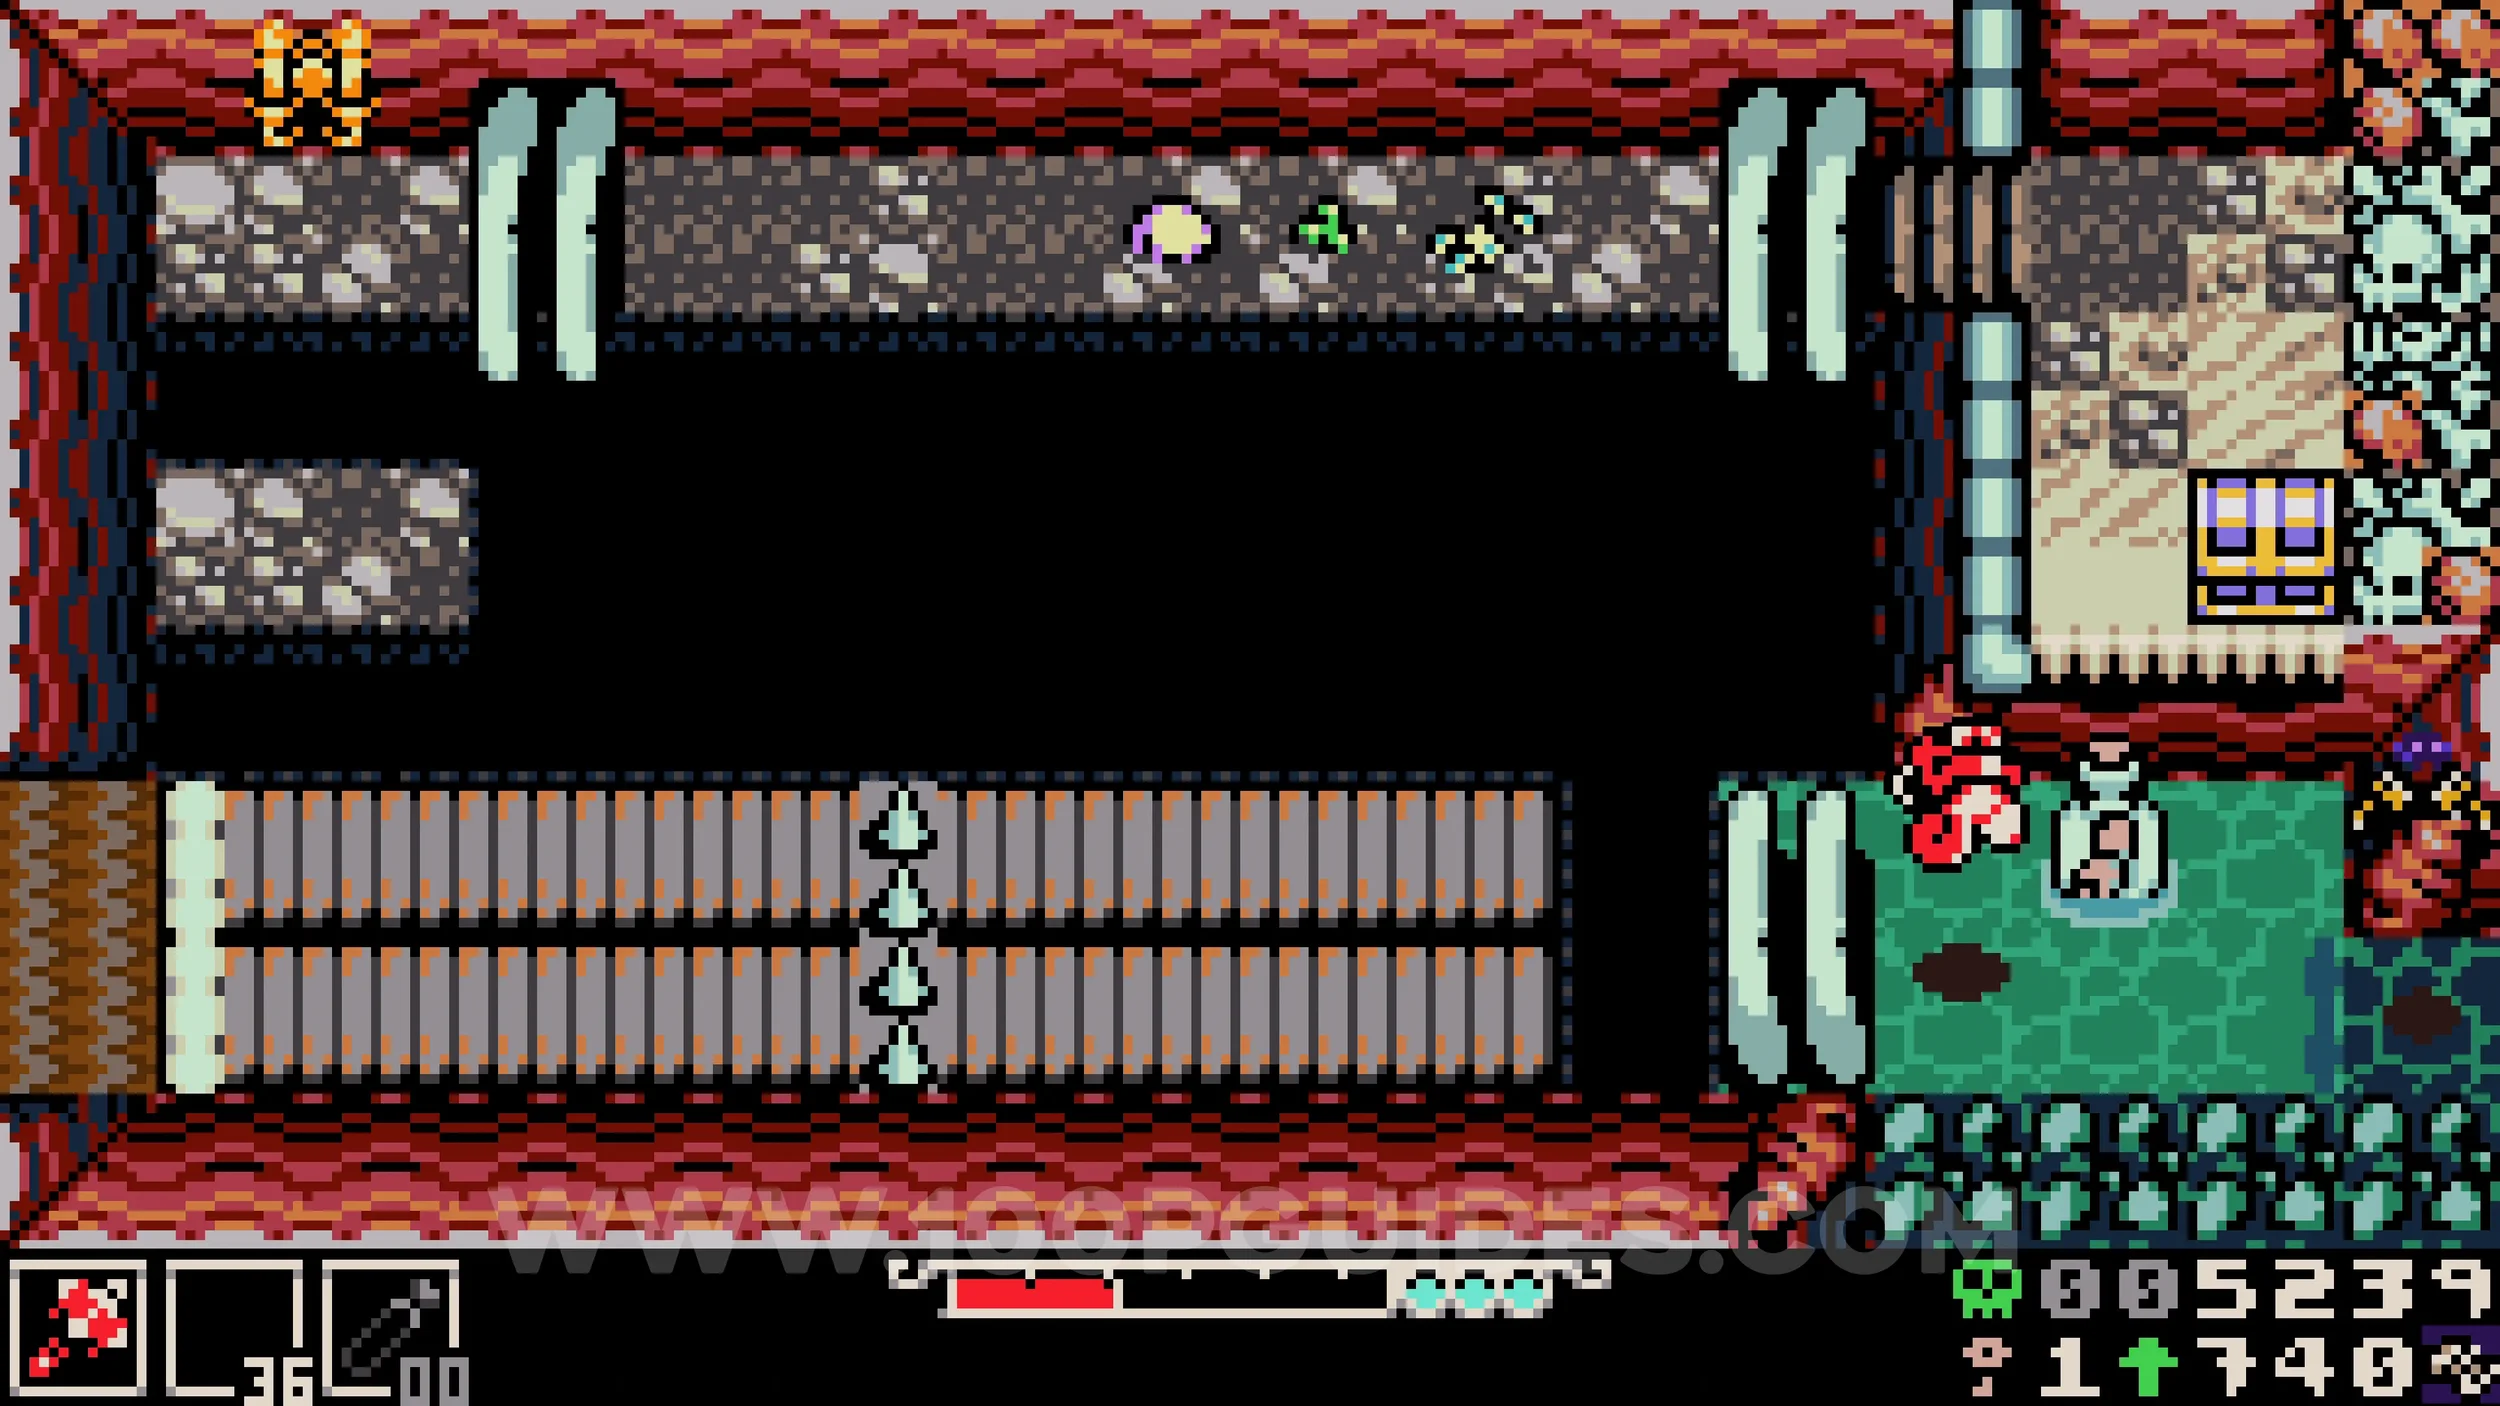
Trinket #1 - Polyp Lamp & Kear #1. Continue right along the beach and enter the shop tent. Head to the end inside to find Brac, from whom you can purchase the collectibles.
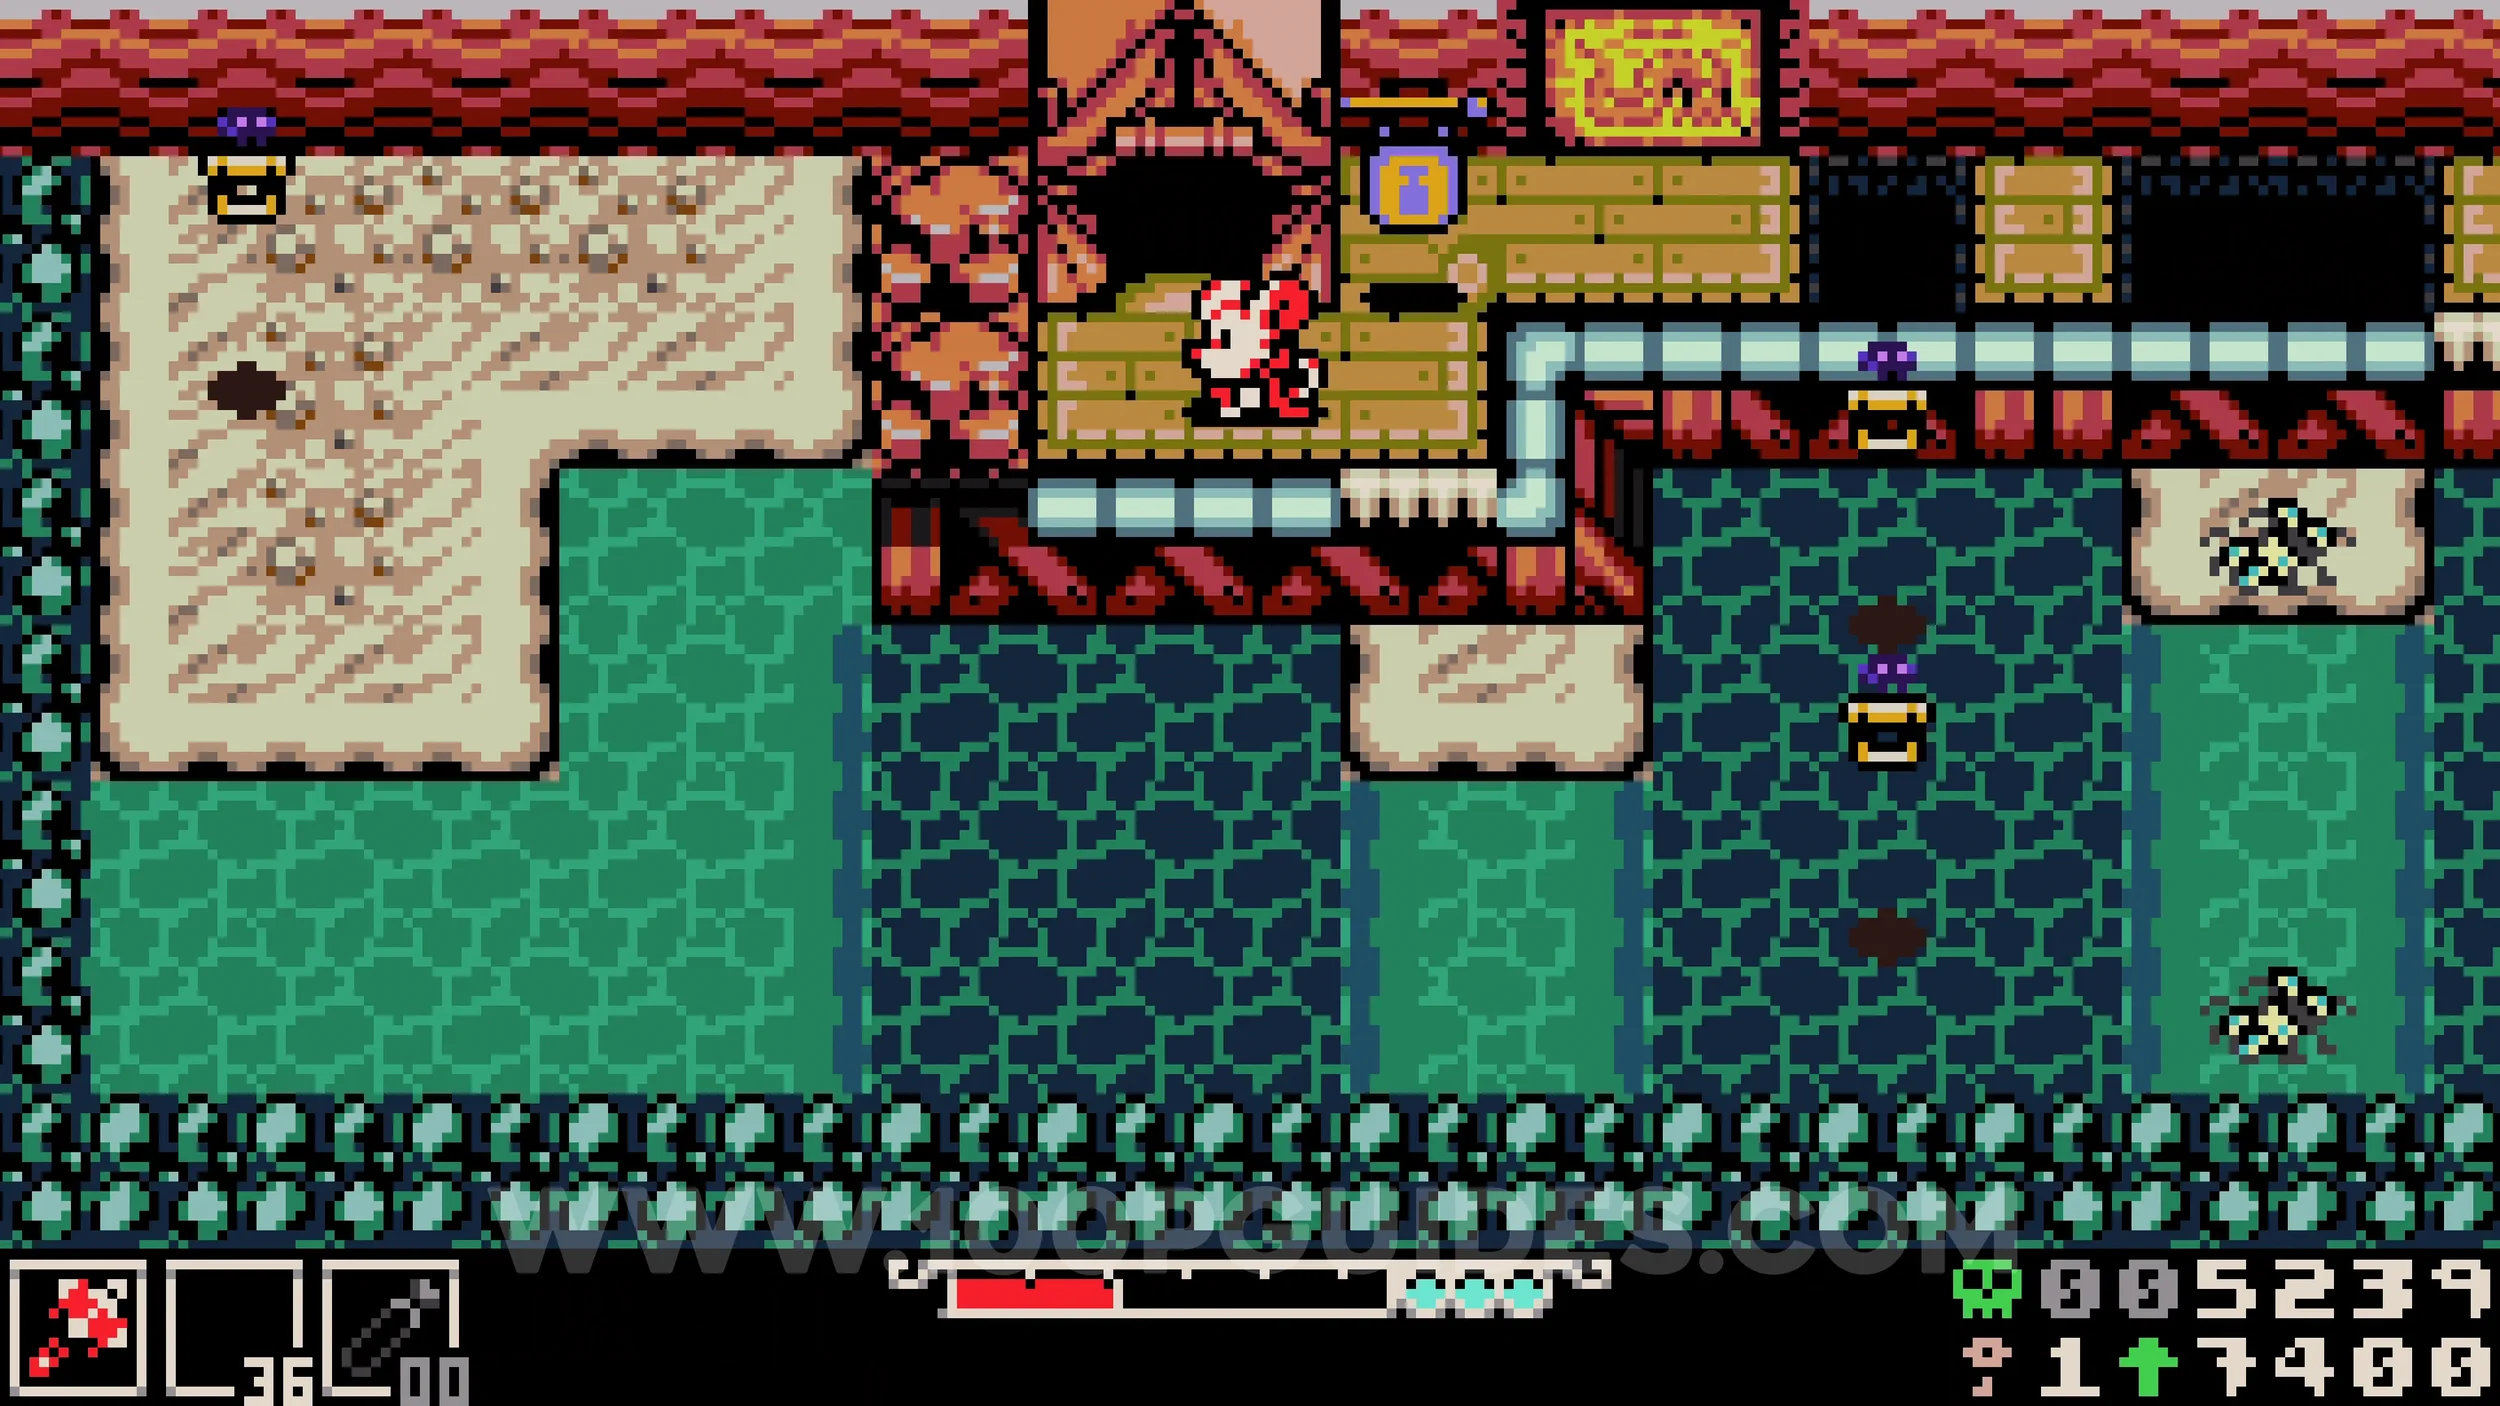
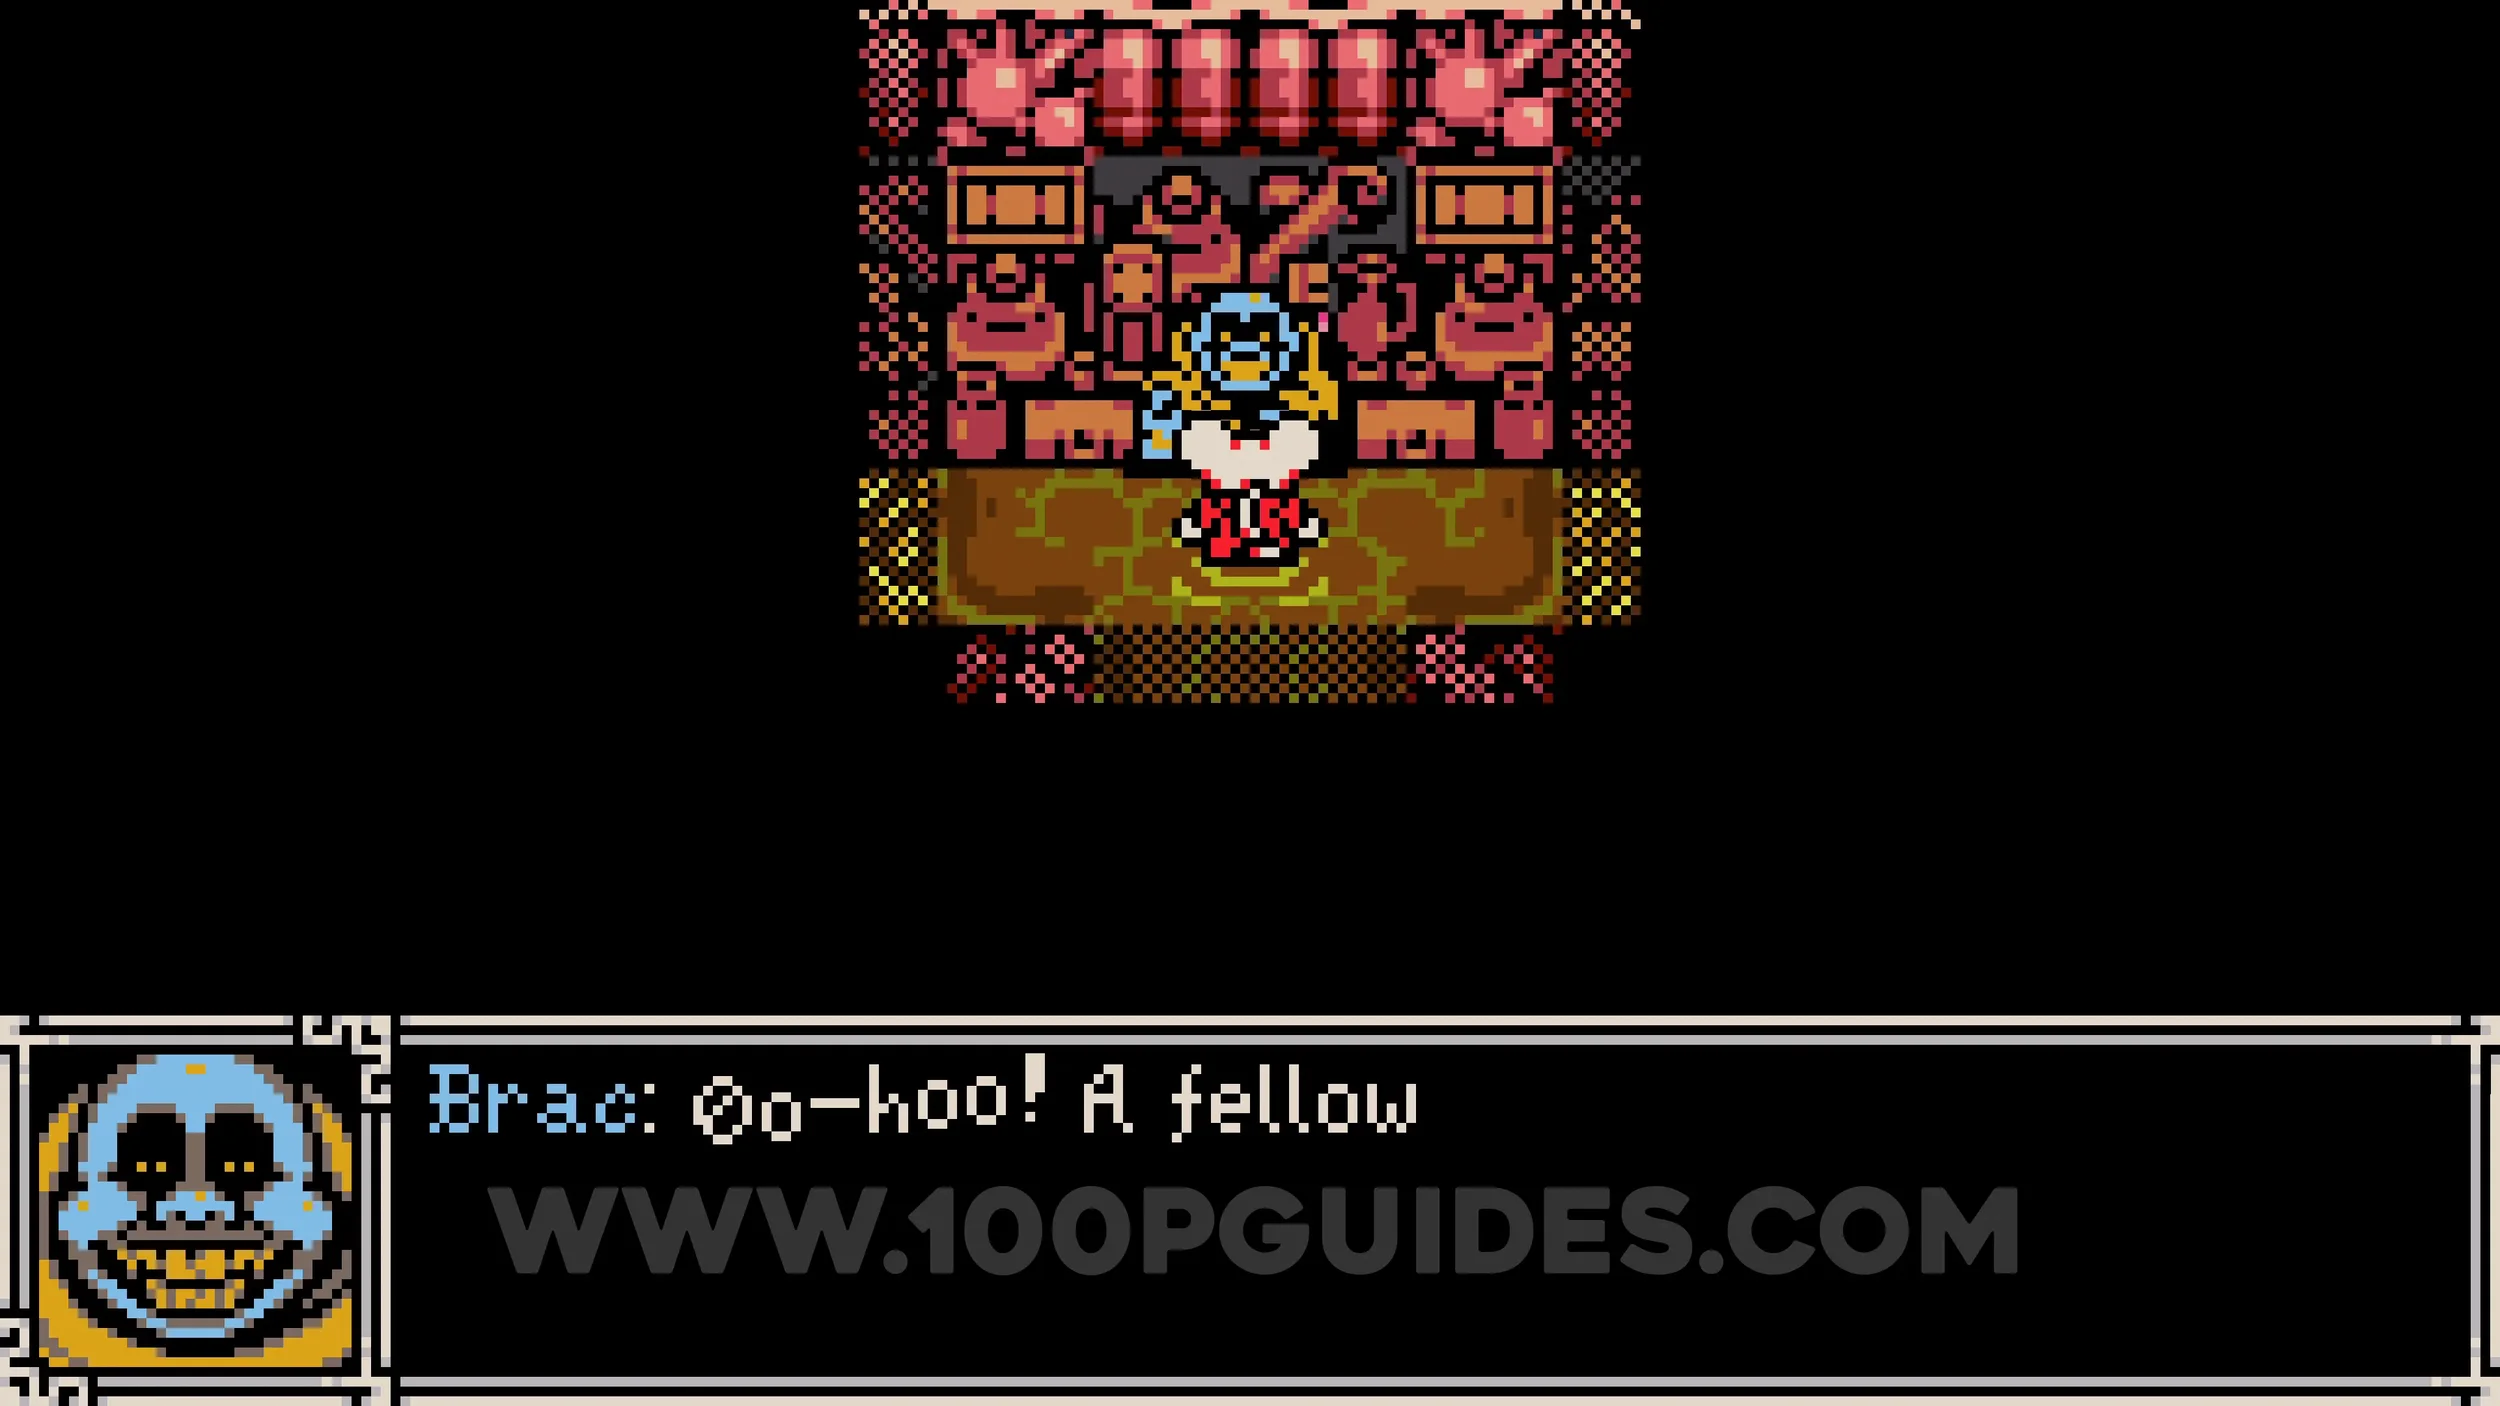
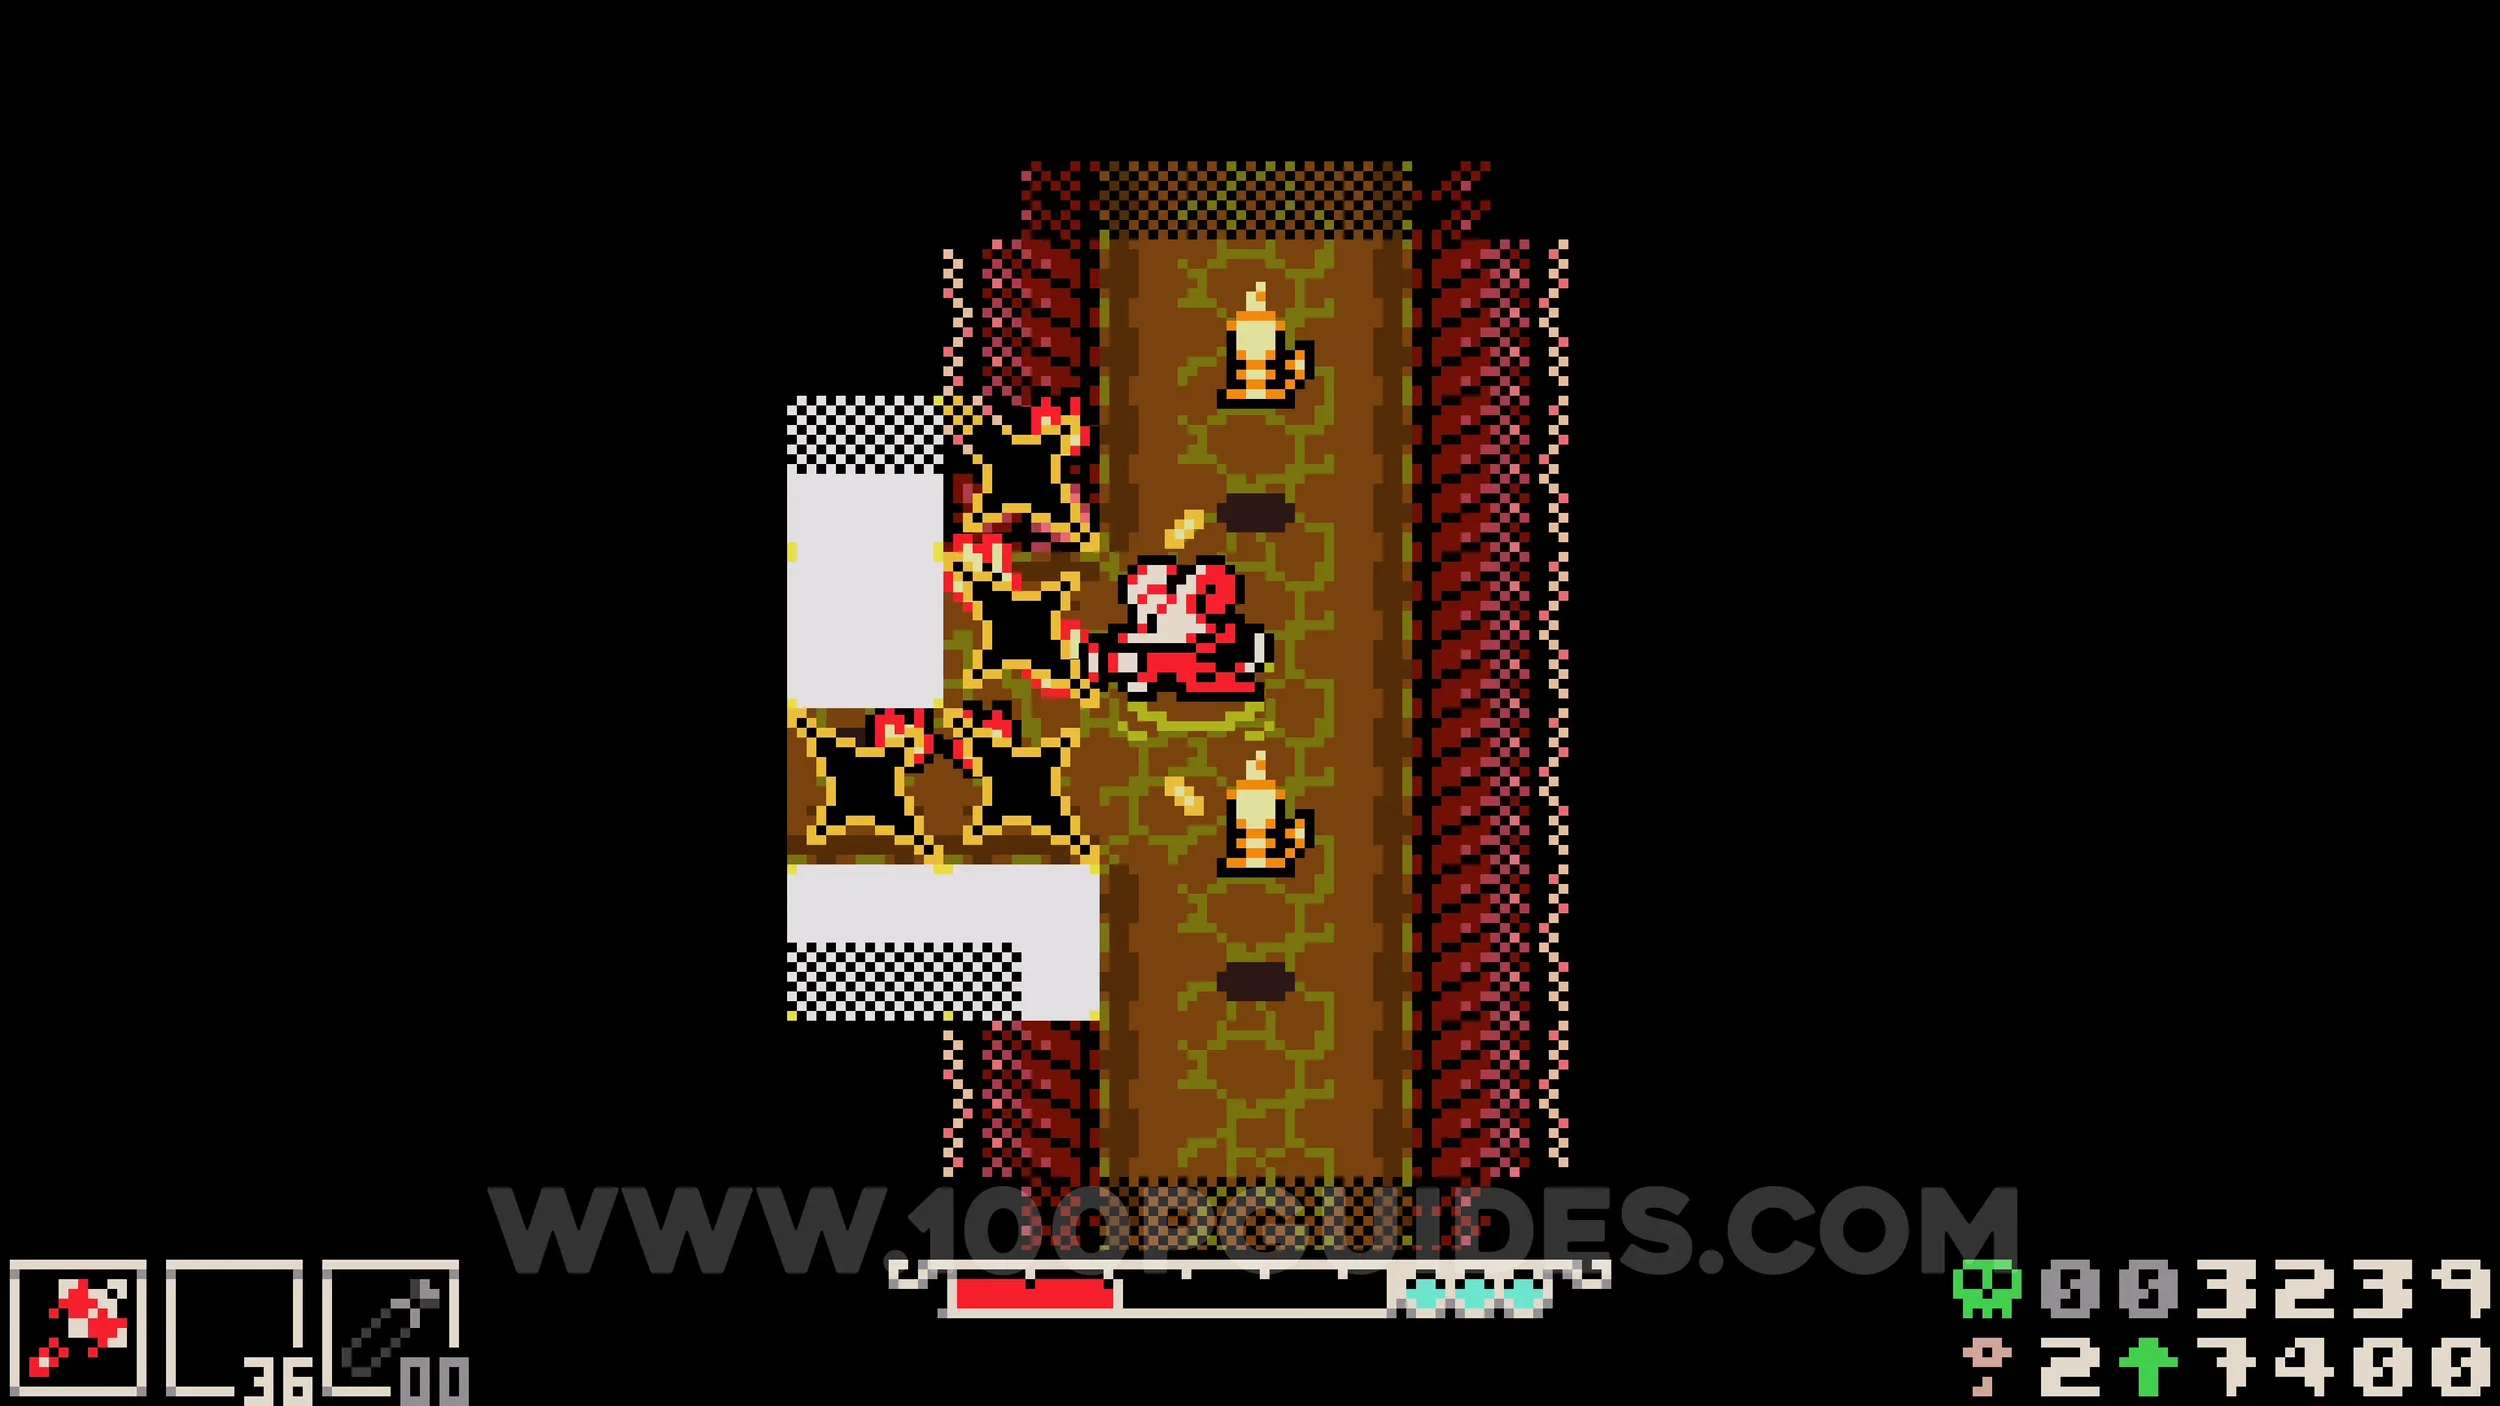
Bonestone #6. Inside the tent, break the wall on the left side of the corridor leading to the NPC from whom you purchased the previous collectibles. This will take you back to the start of Sandfalls. On the path back you will pass through a screen with carts at the bottom that can be blown up. Return to the main area of Sandfalls, grab the bomb from the bottom right, and quickly bring it back to blow up the carts. This will reveal a hole on the right that you can go through to find the collectible.
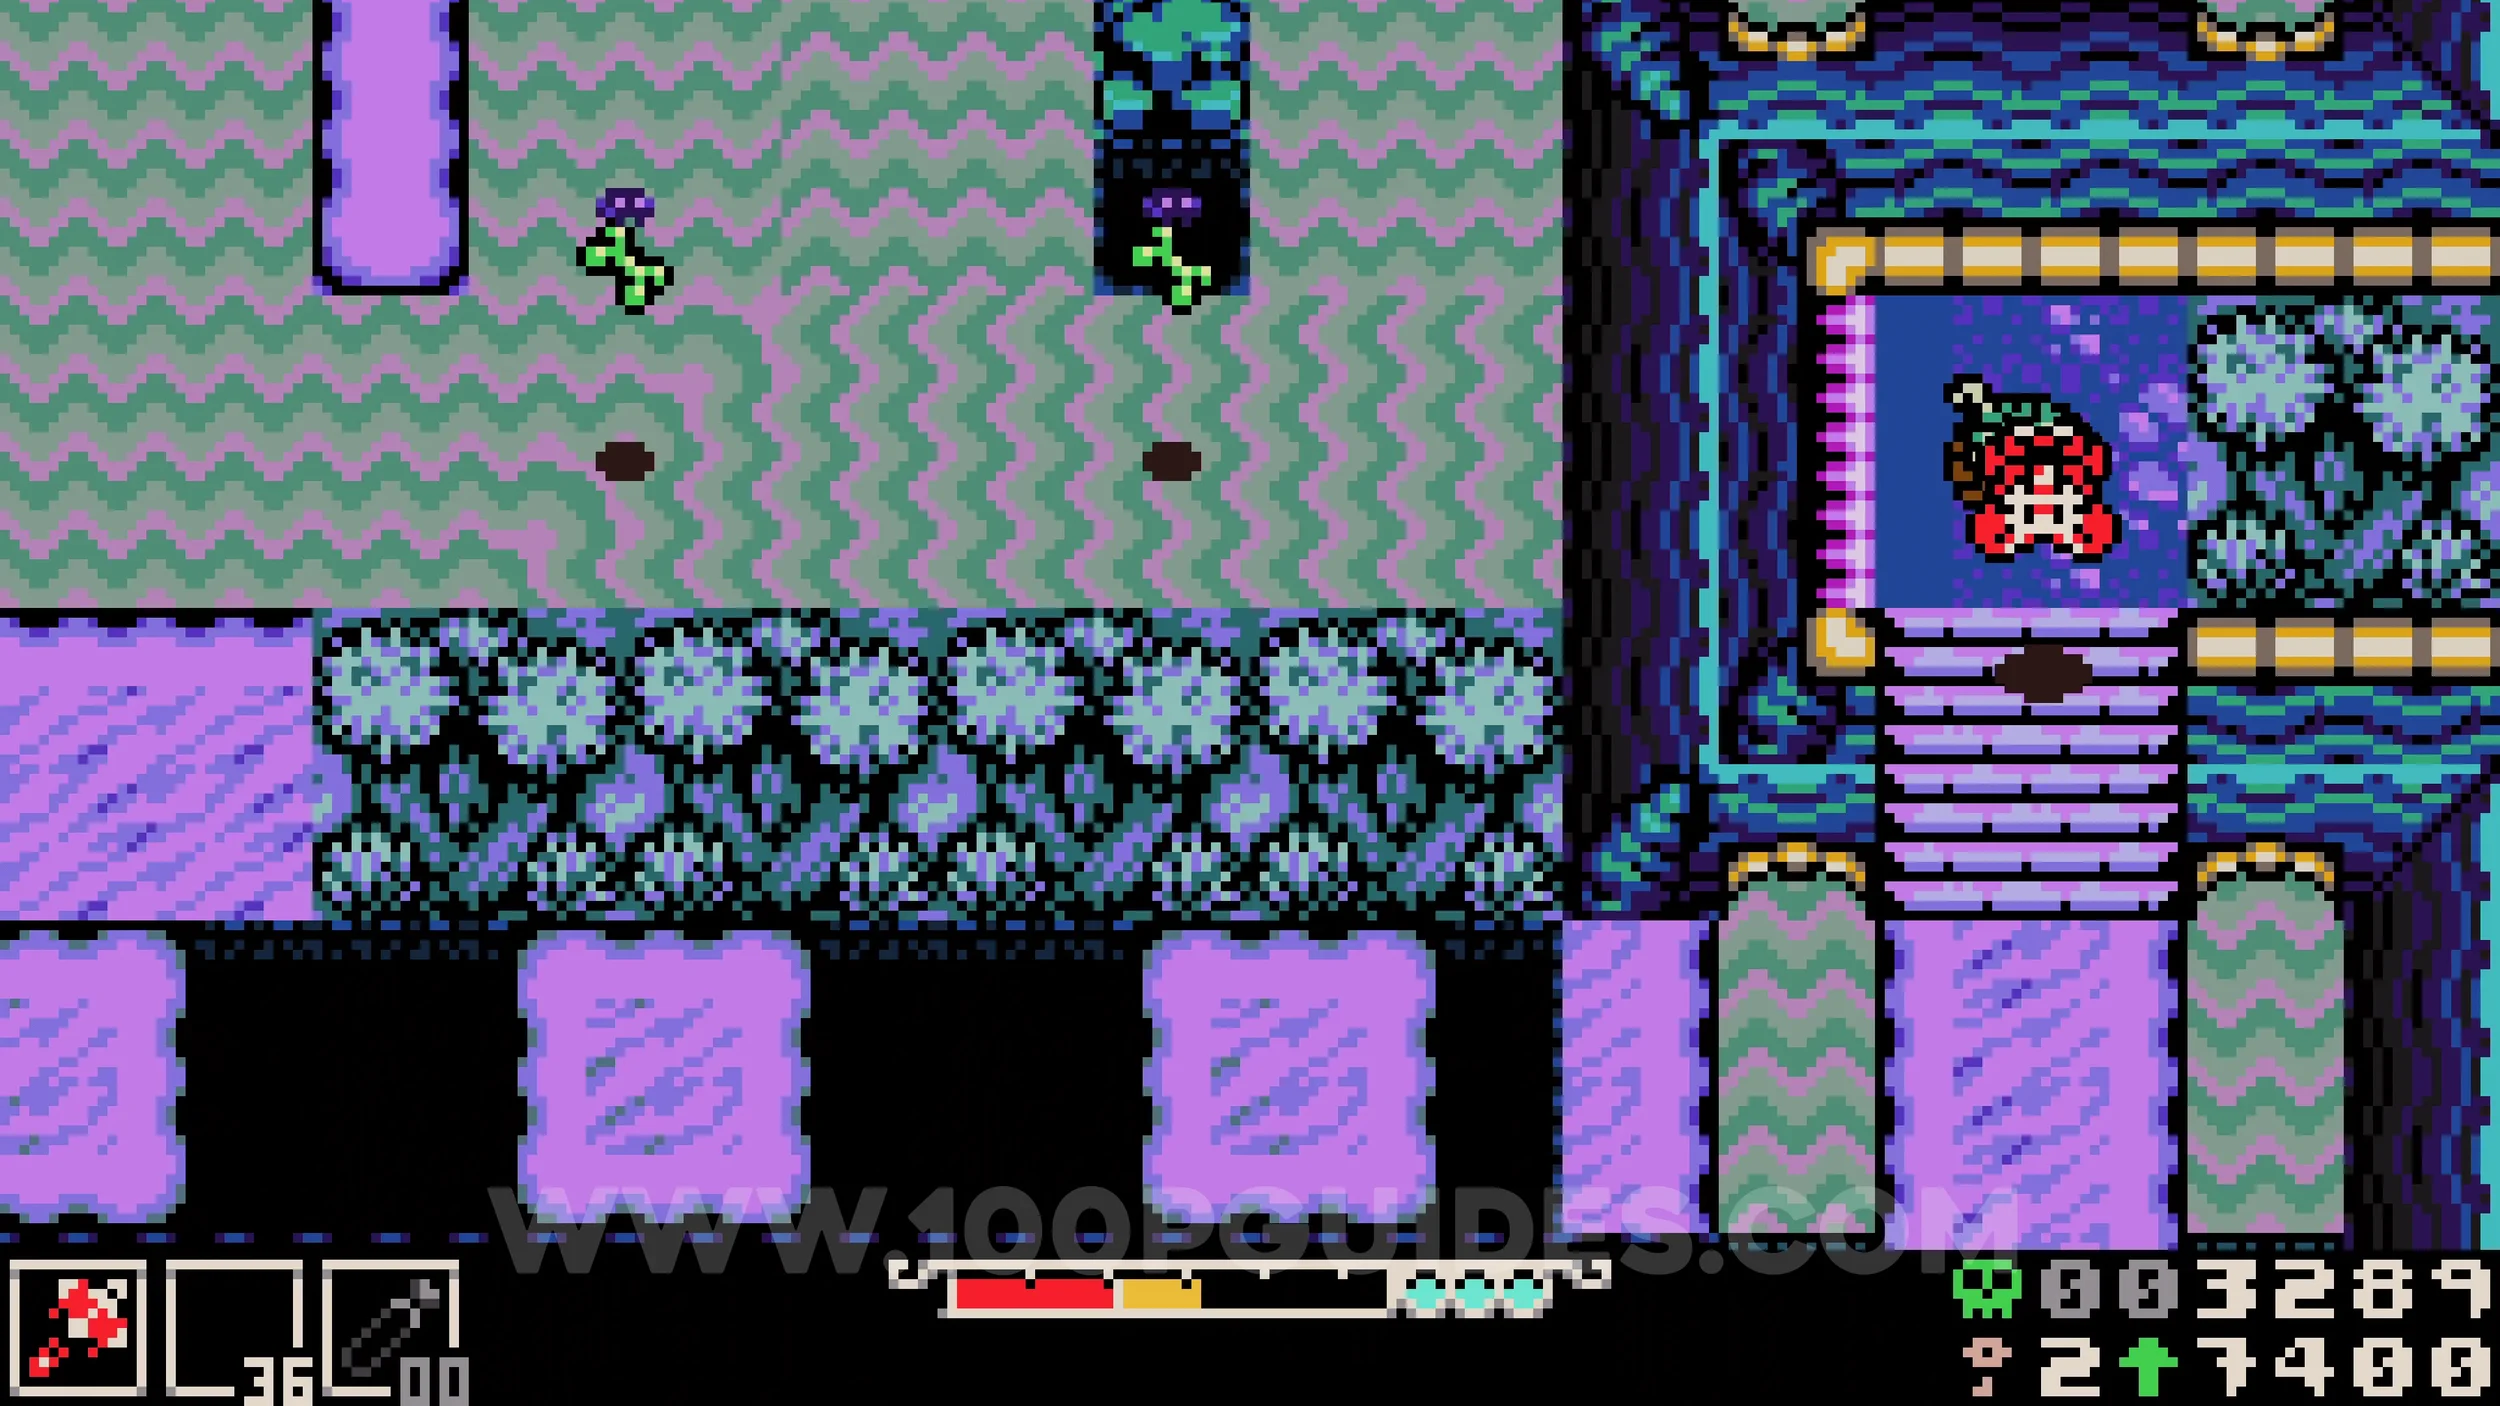
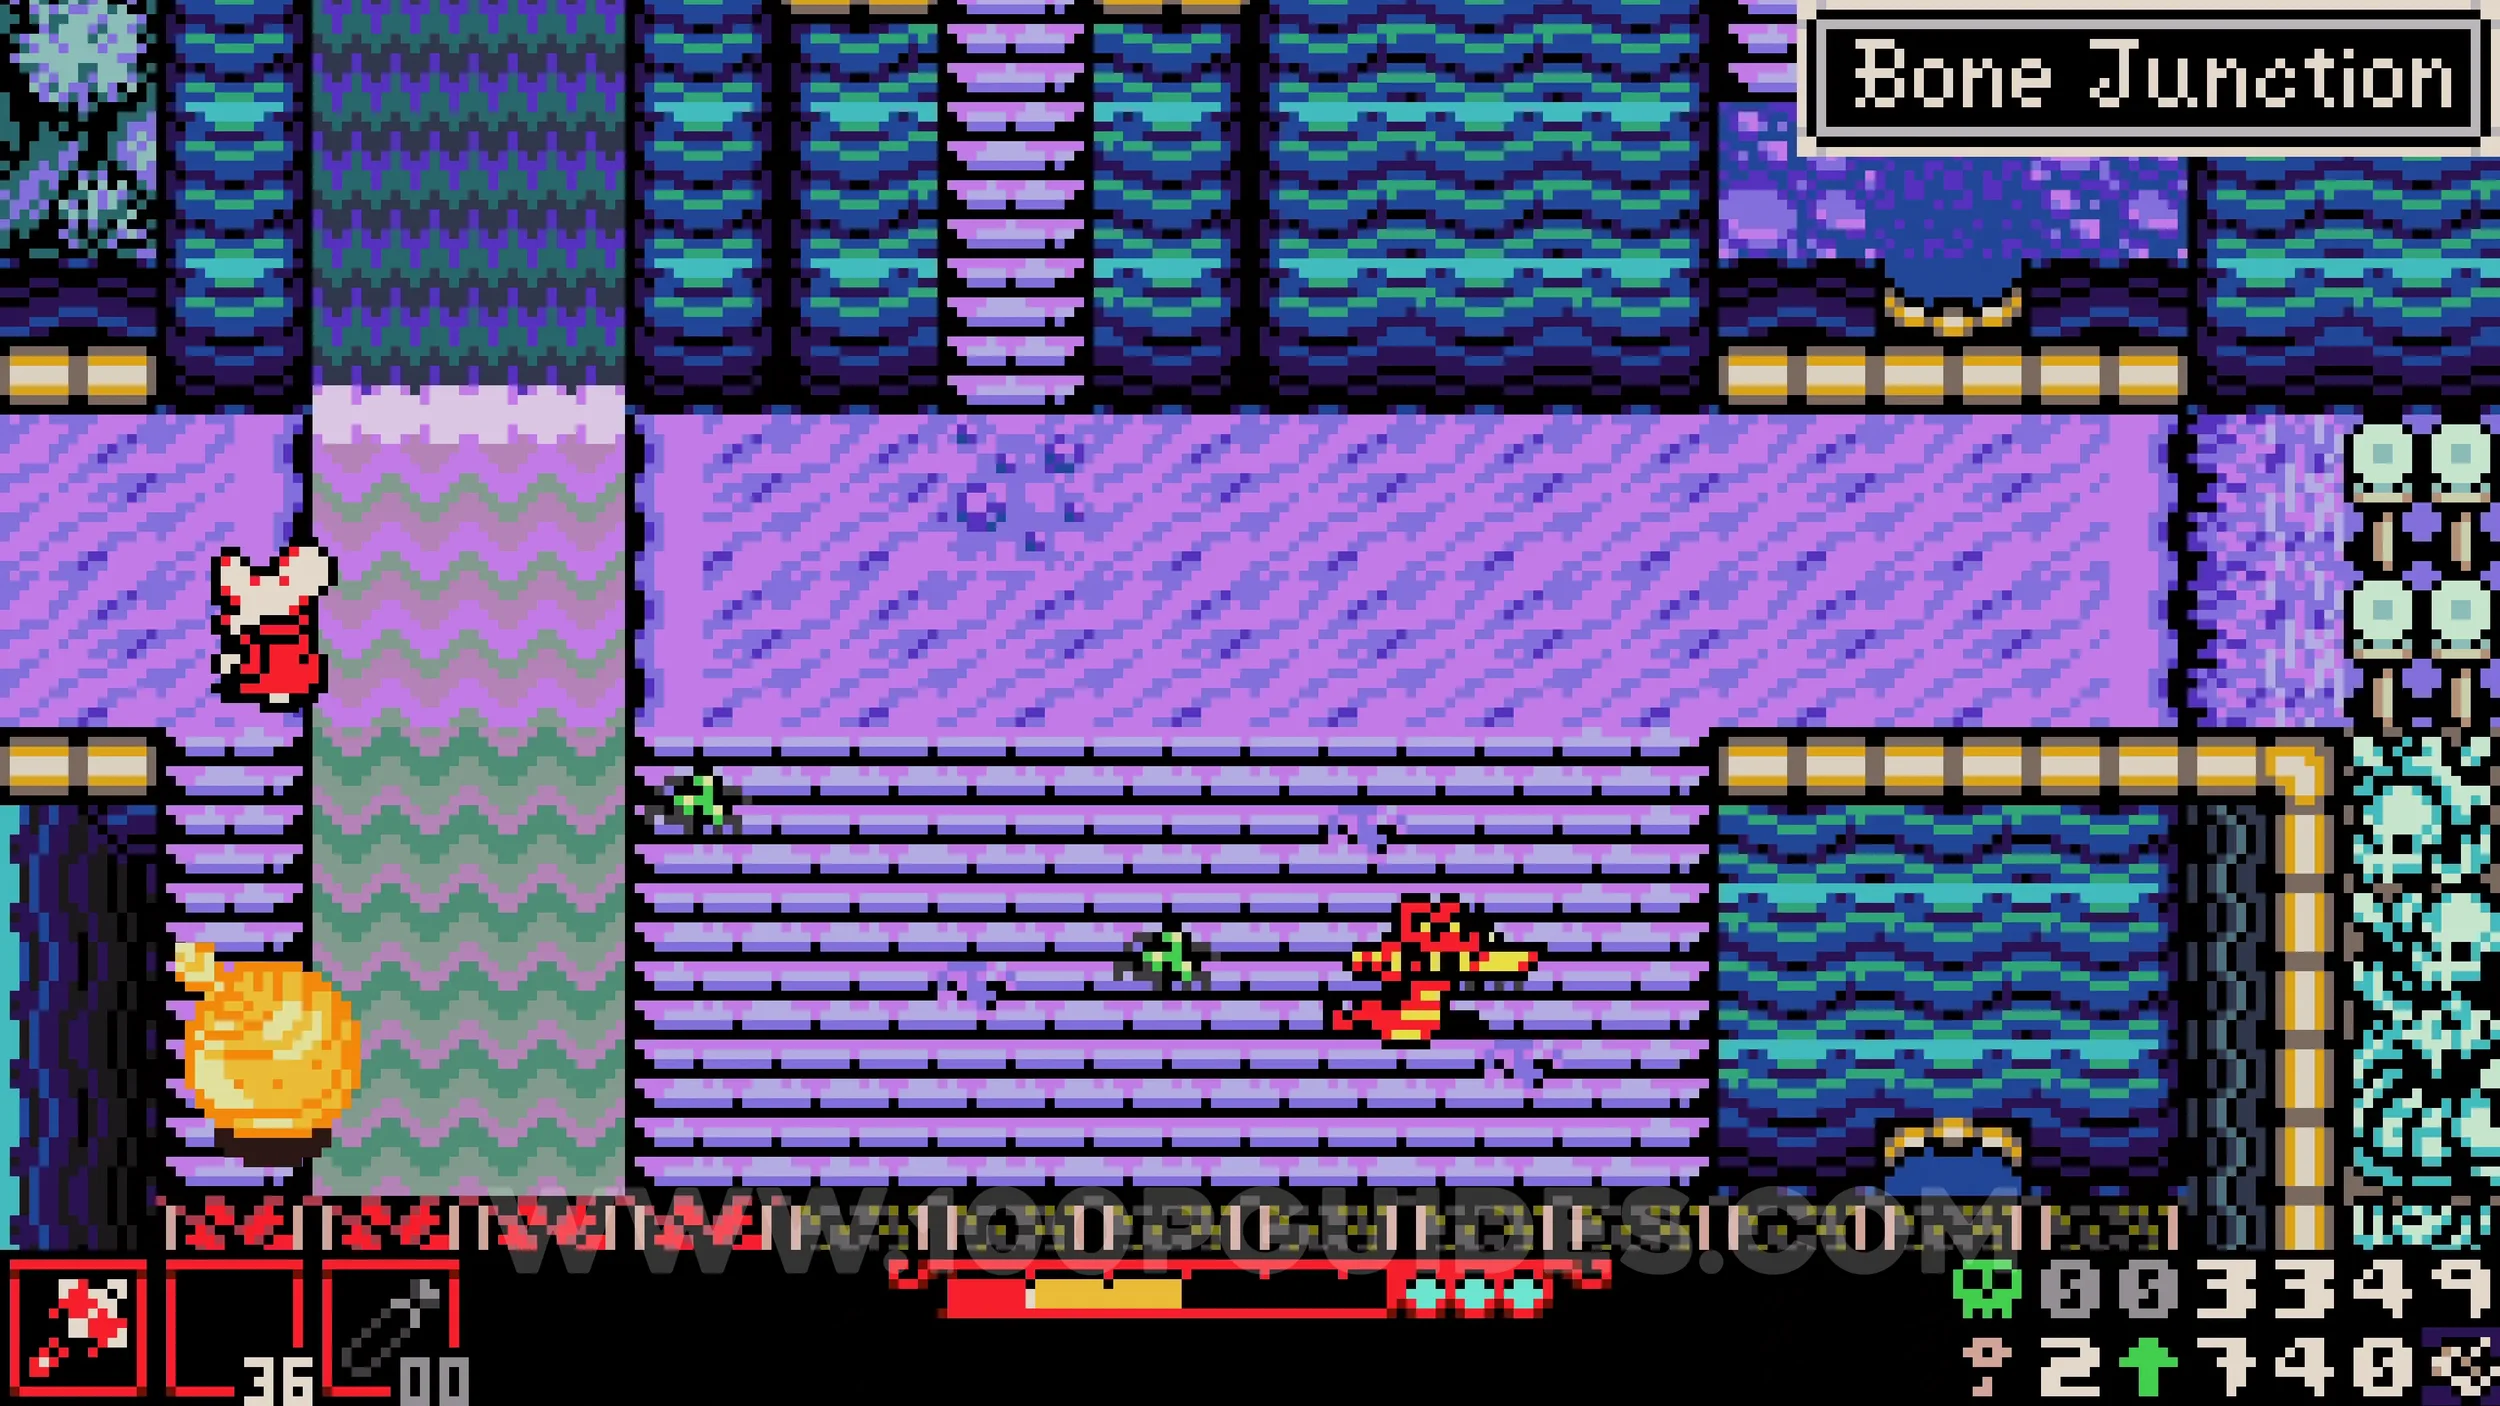
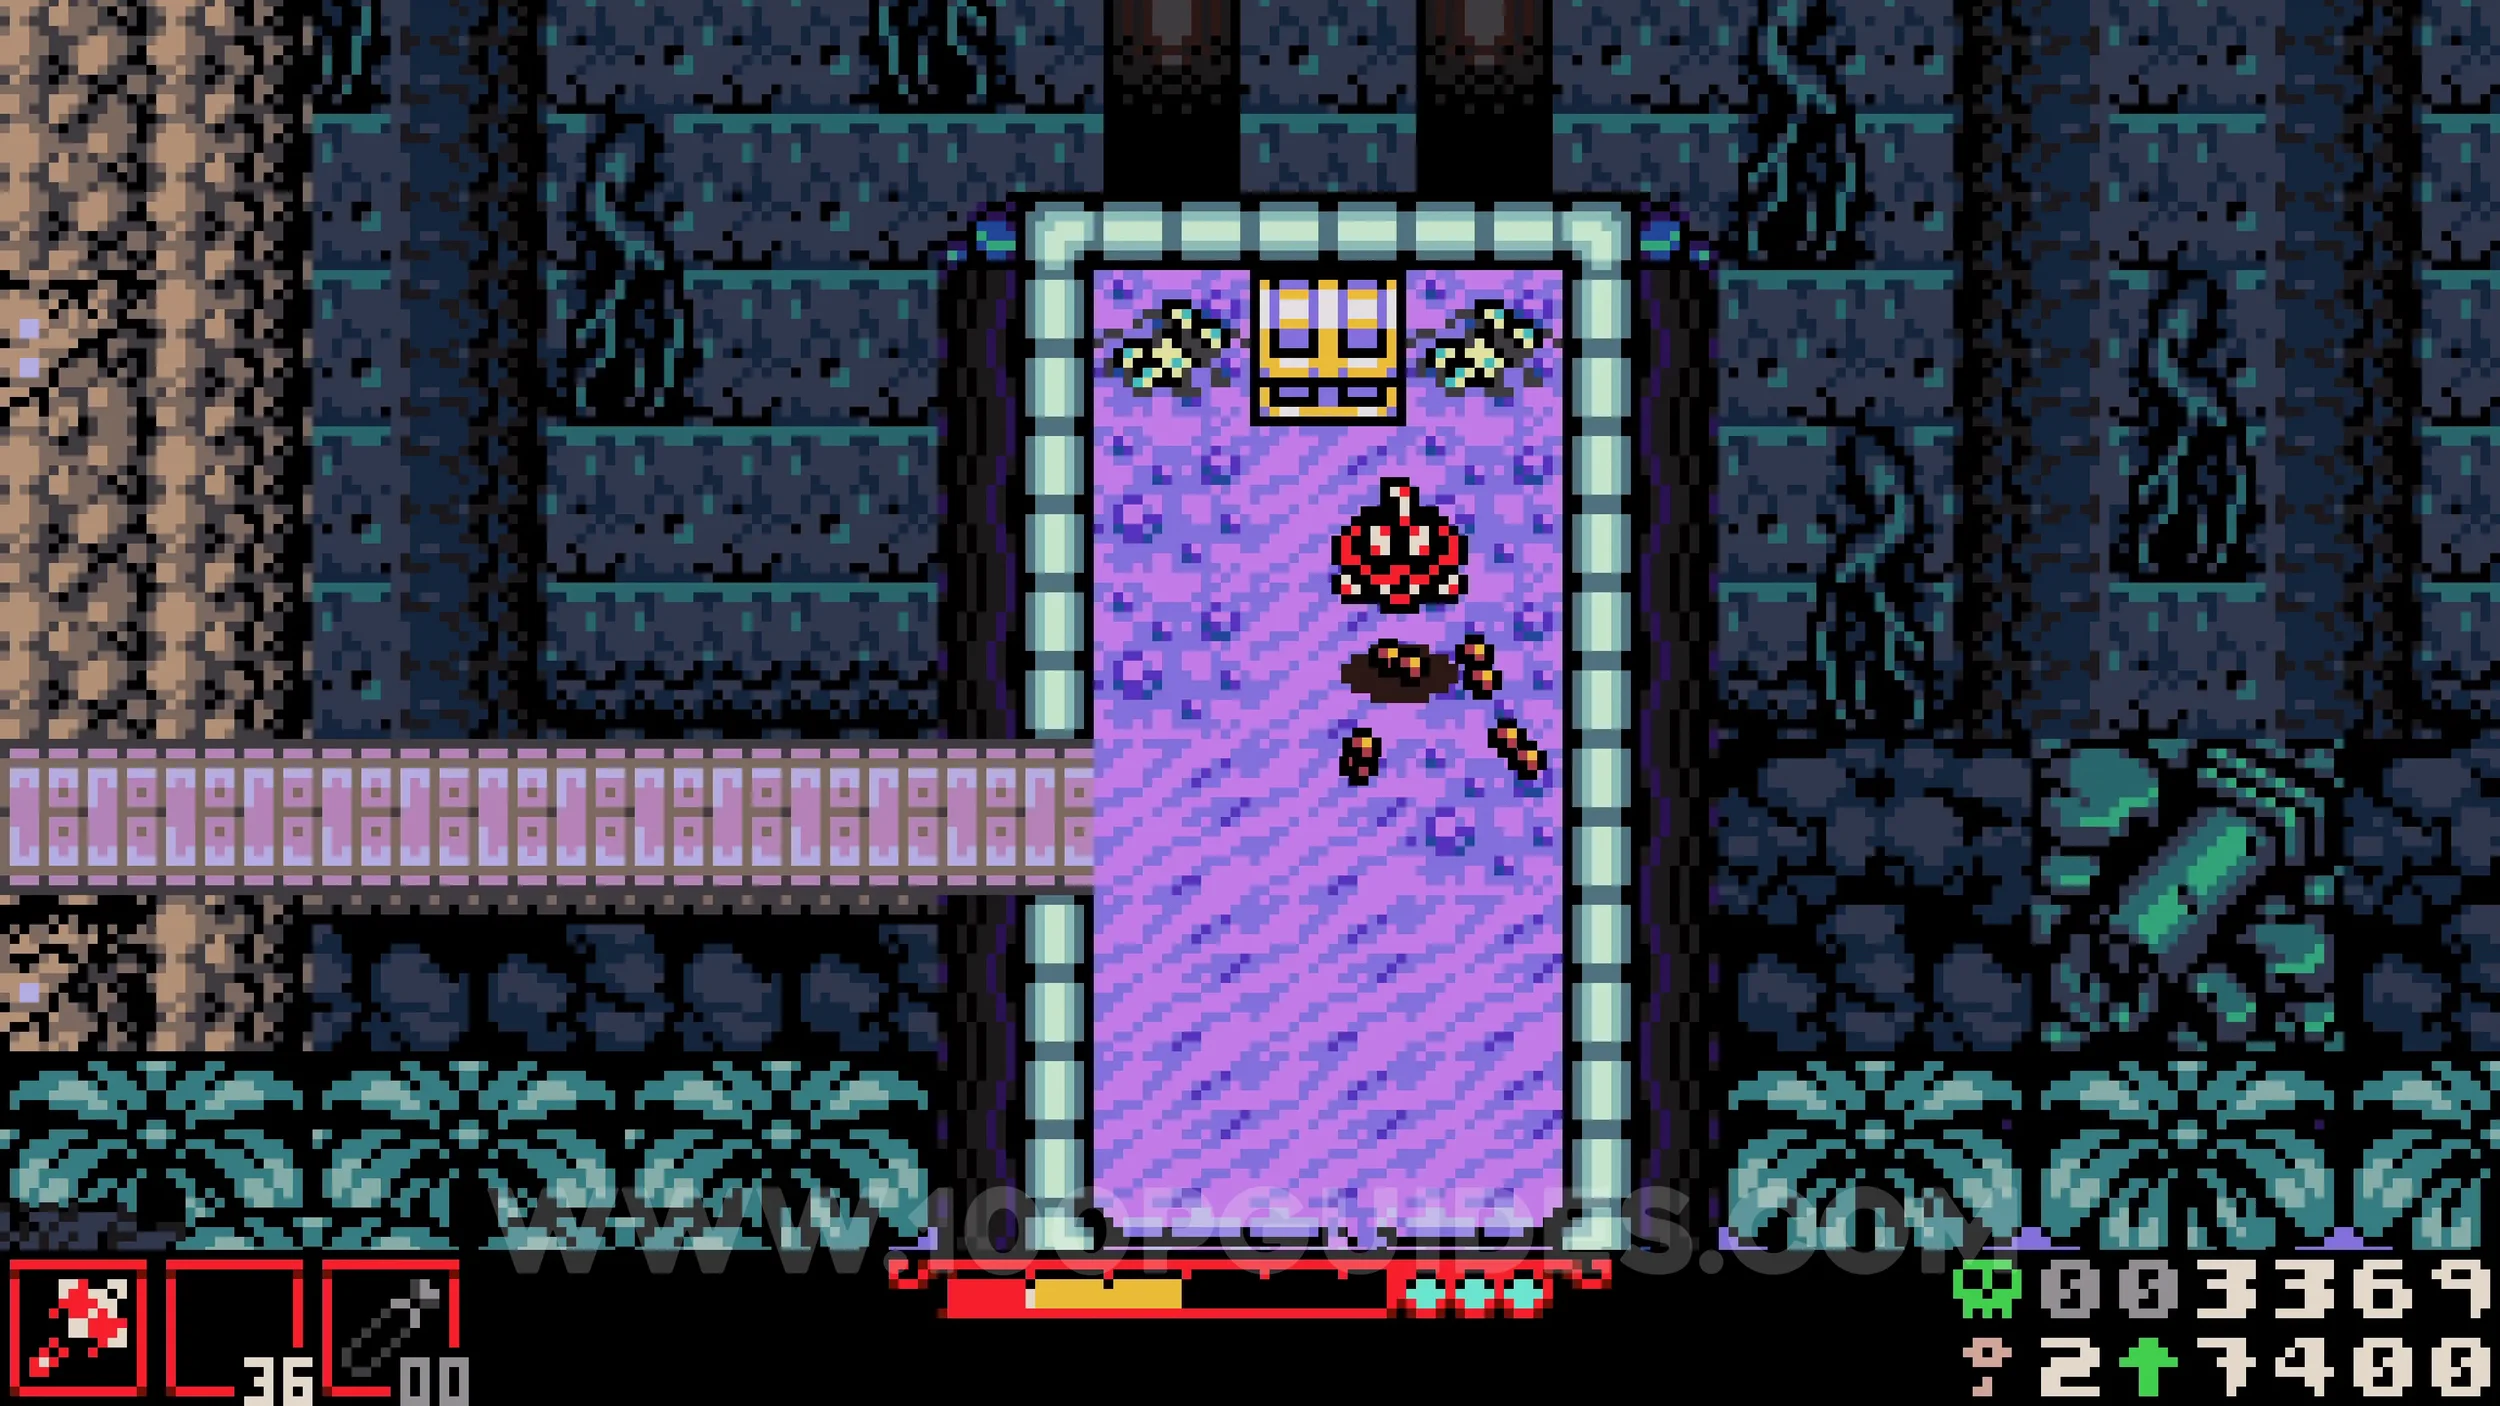
Fish #1. Can be caught in the water in the main beach area just outside the shop tent.
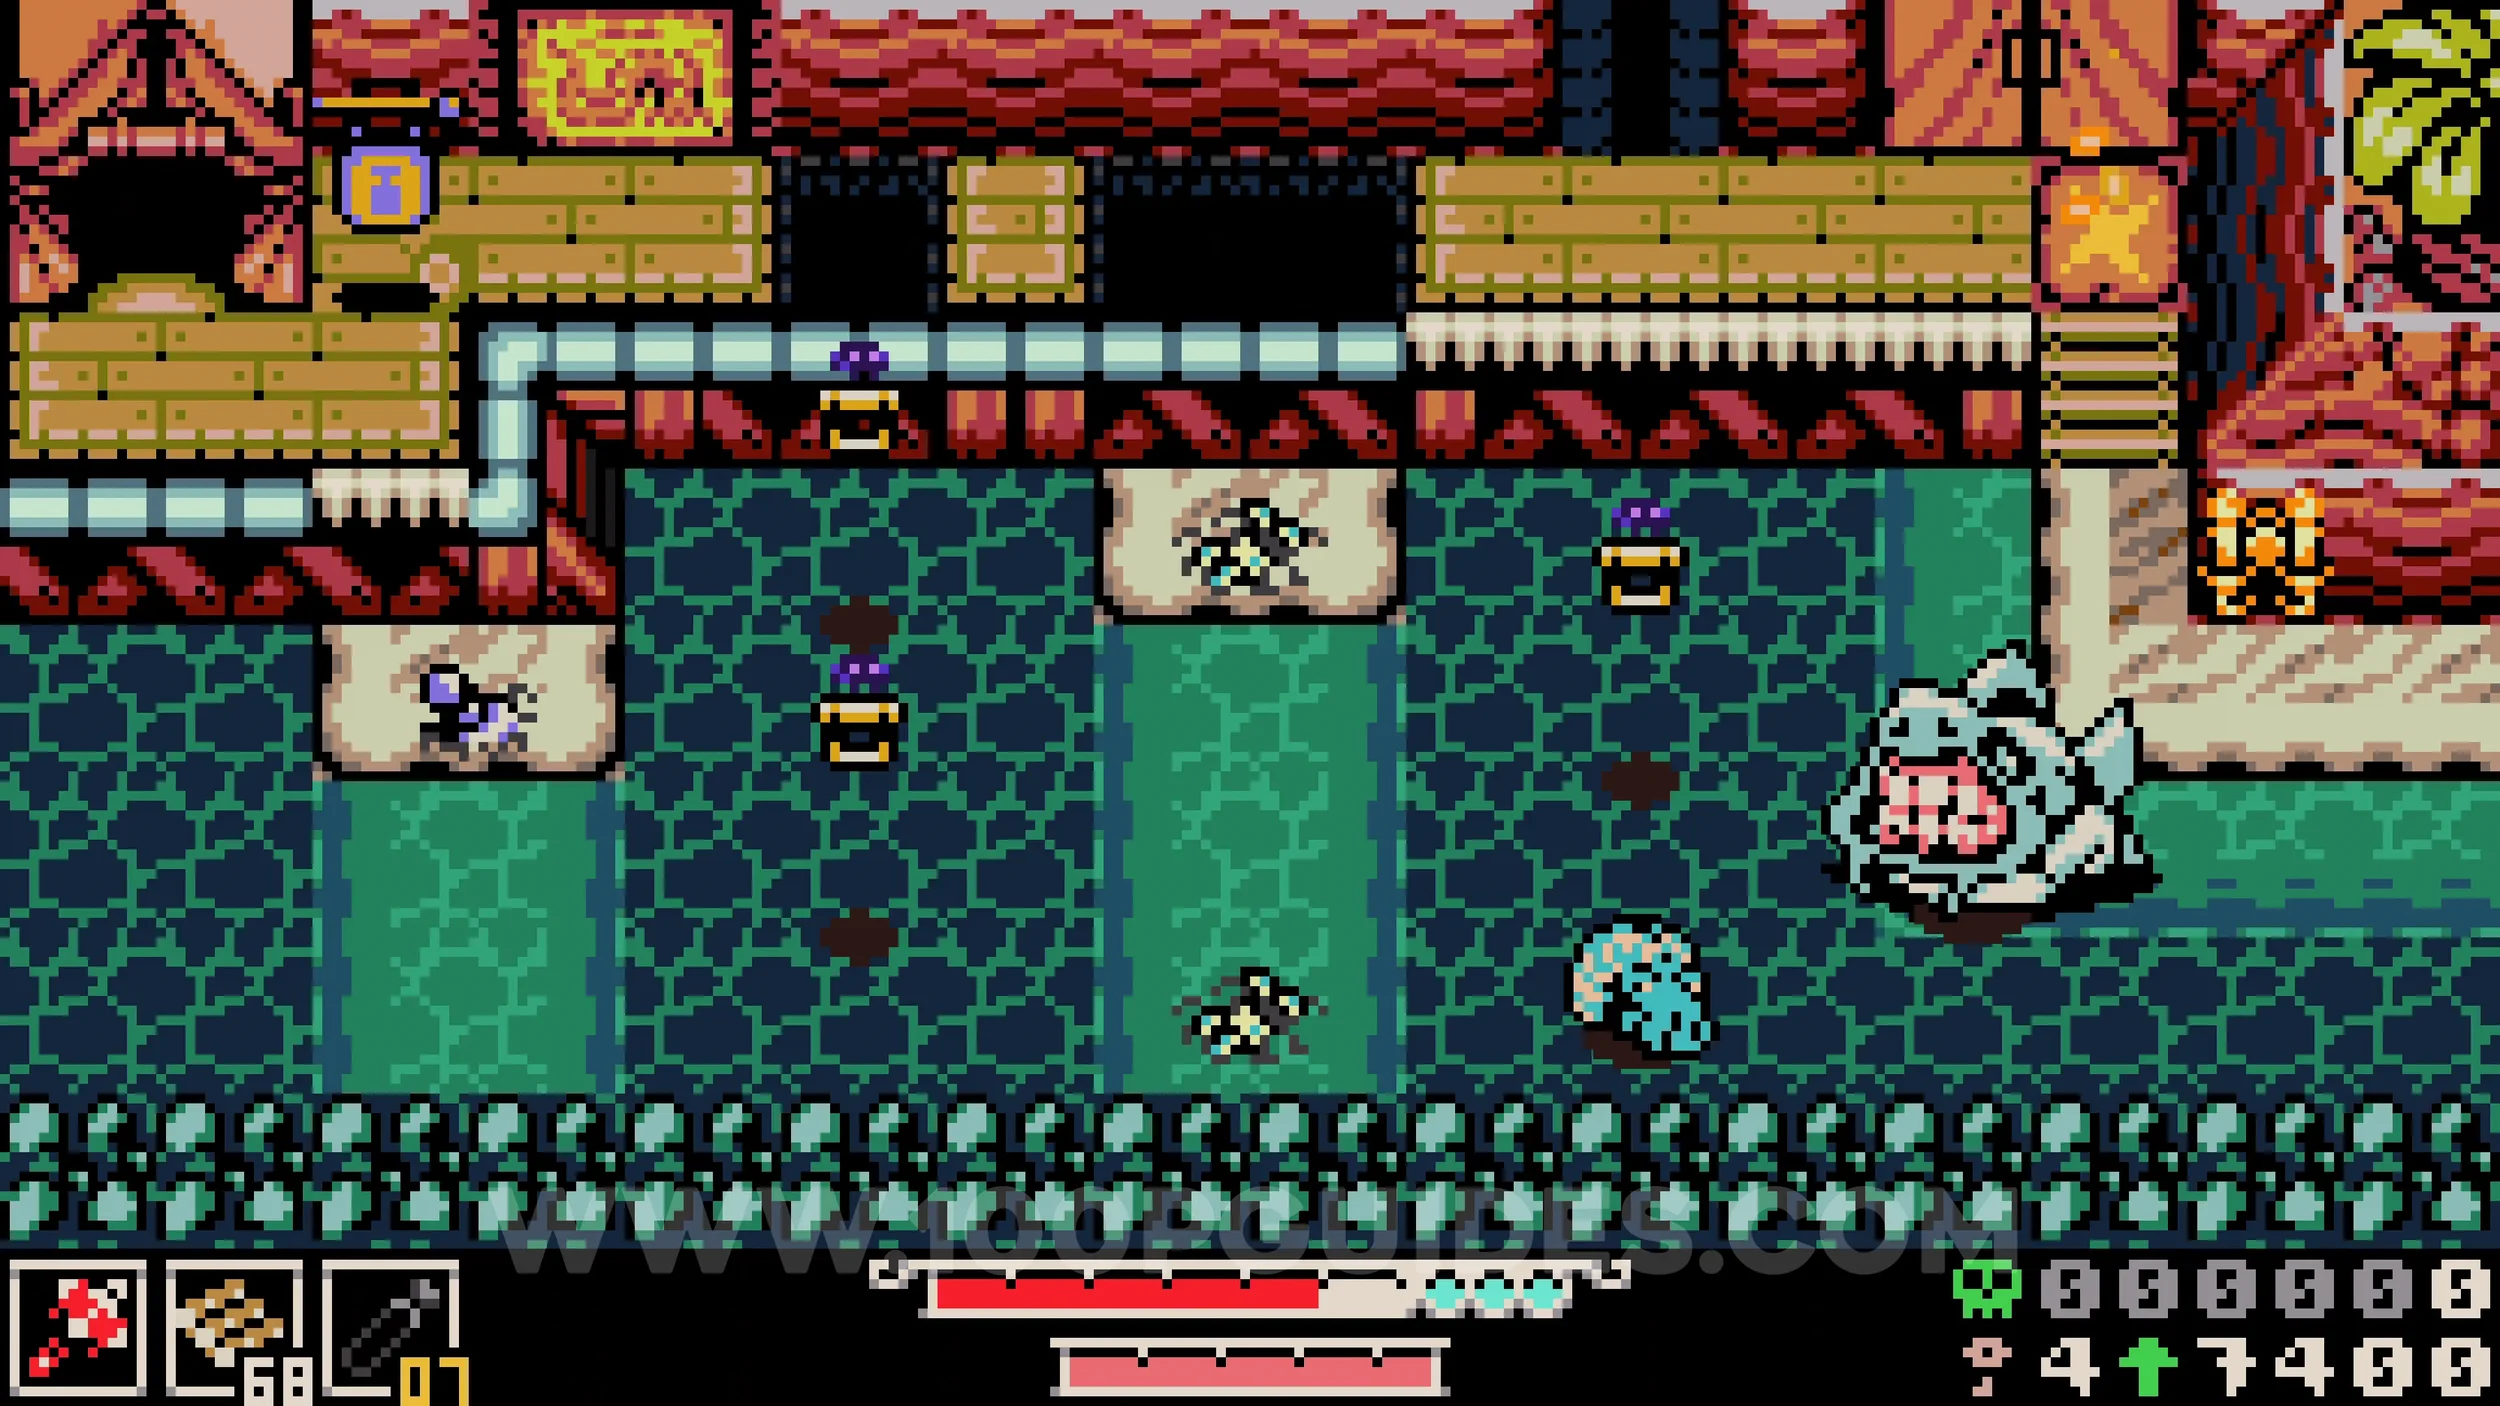
Trinket #2 - Joule Syringe. Continue right from the tent and look for a gap at the end that lets you head south. Follow this path all the way down until you reach an island with an NPC on it. Dig up the trinket behind the tree.
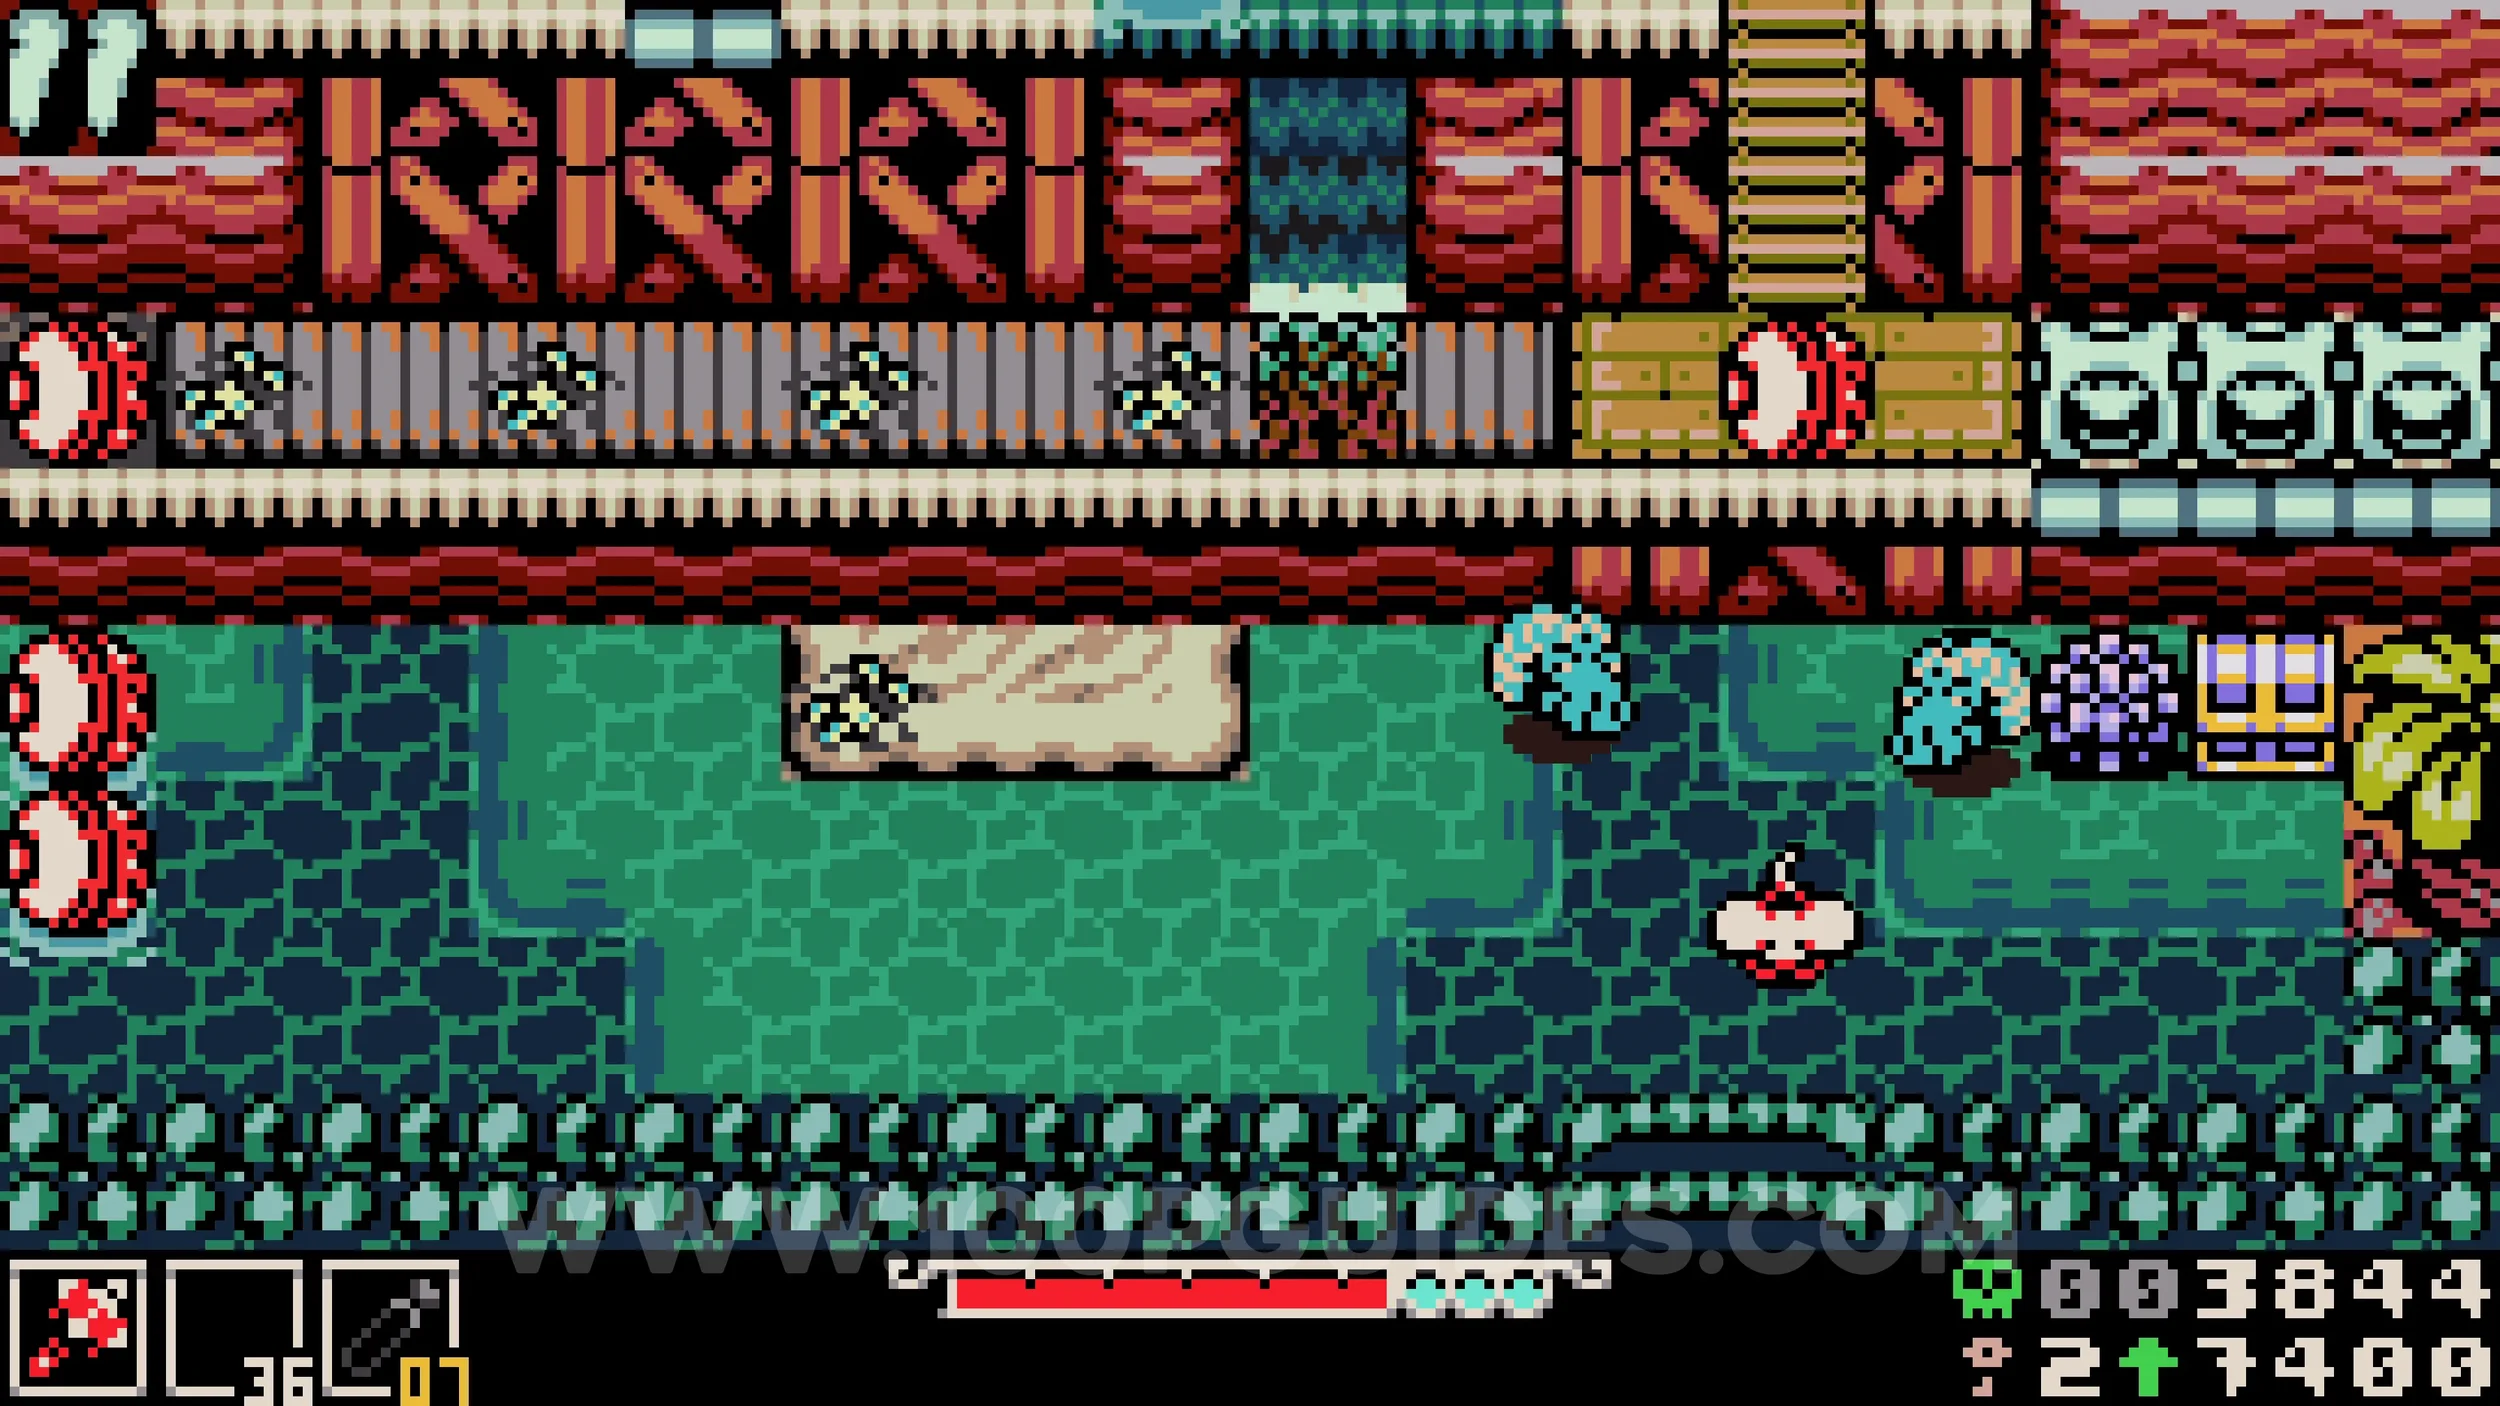
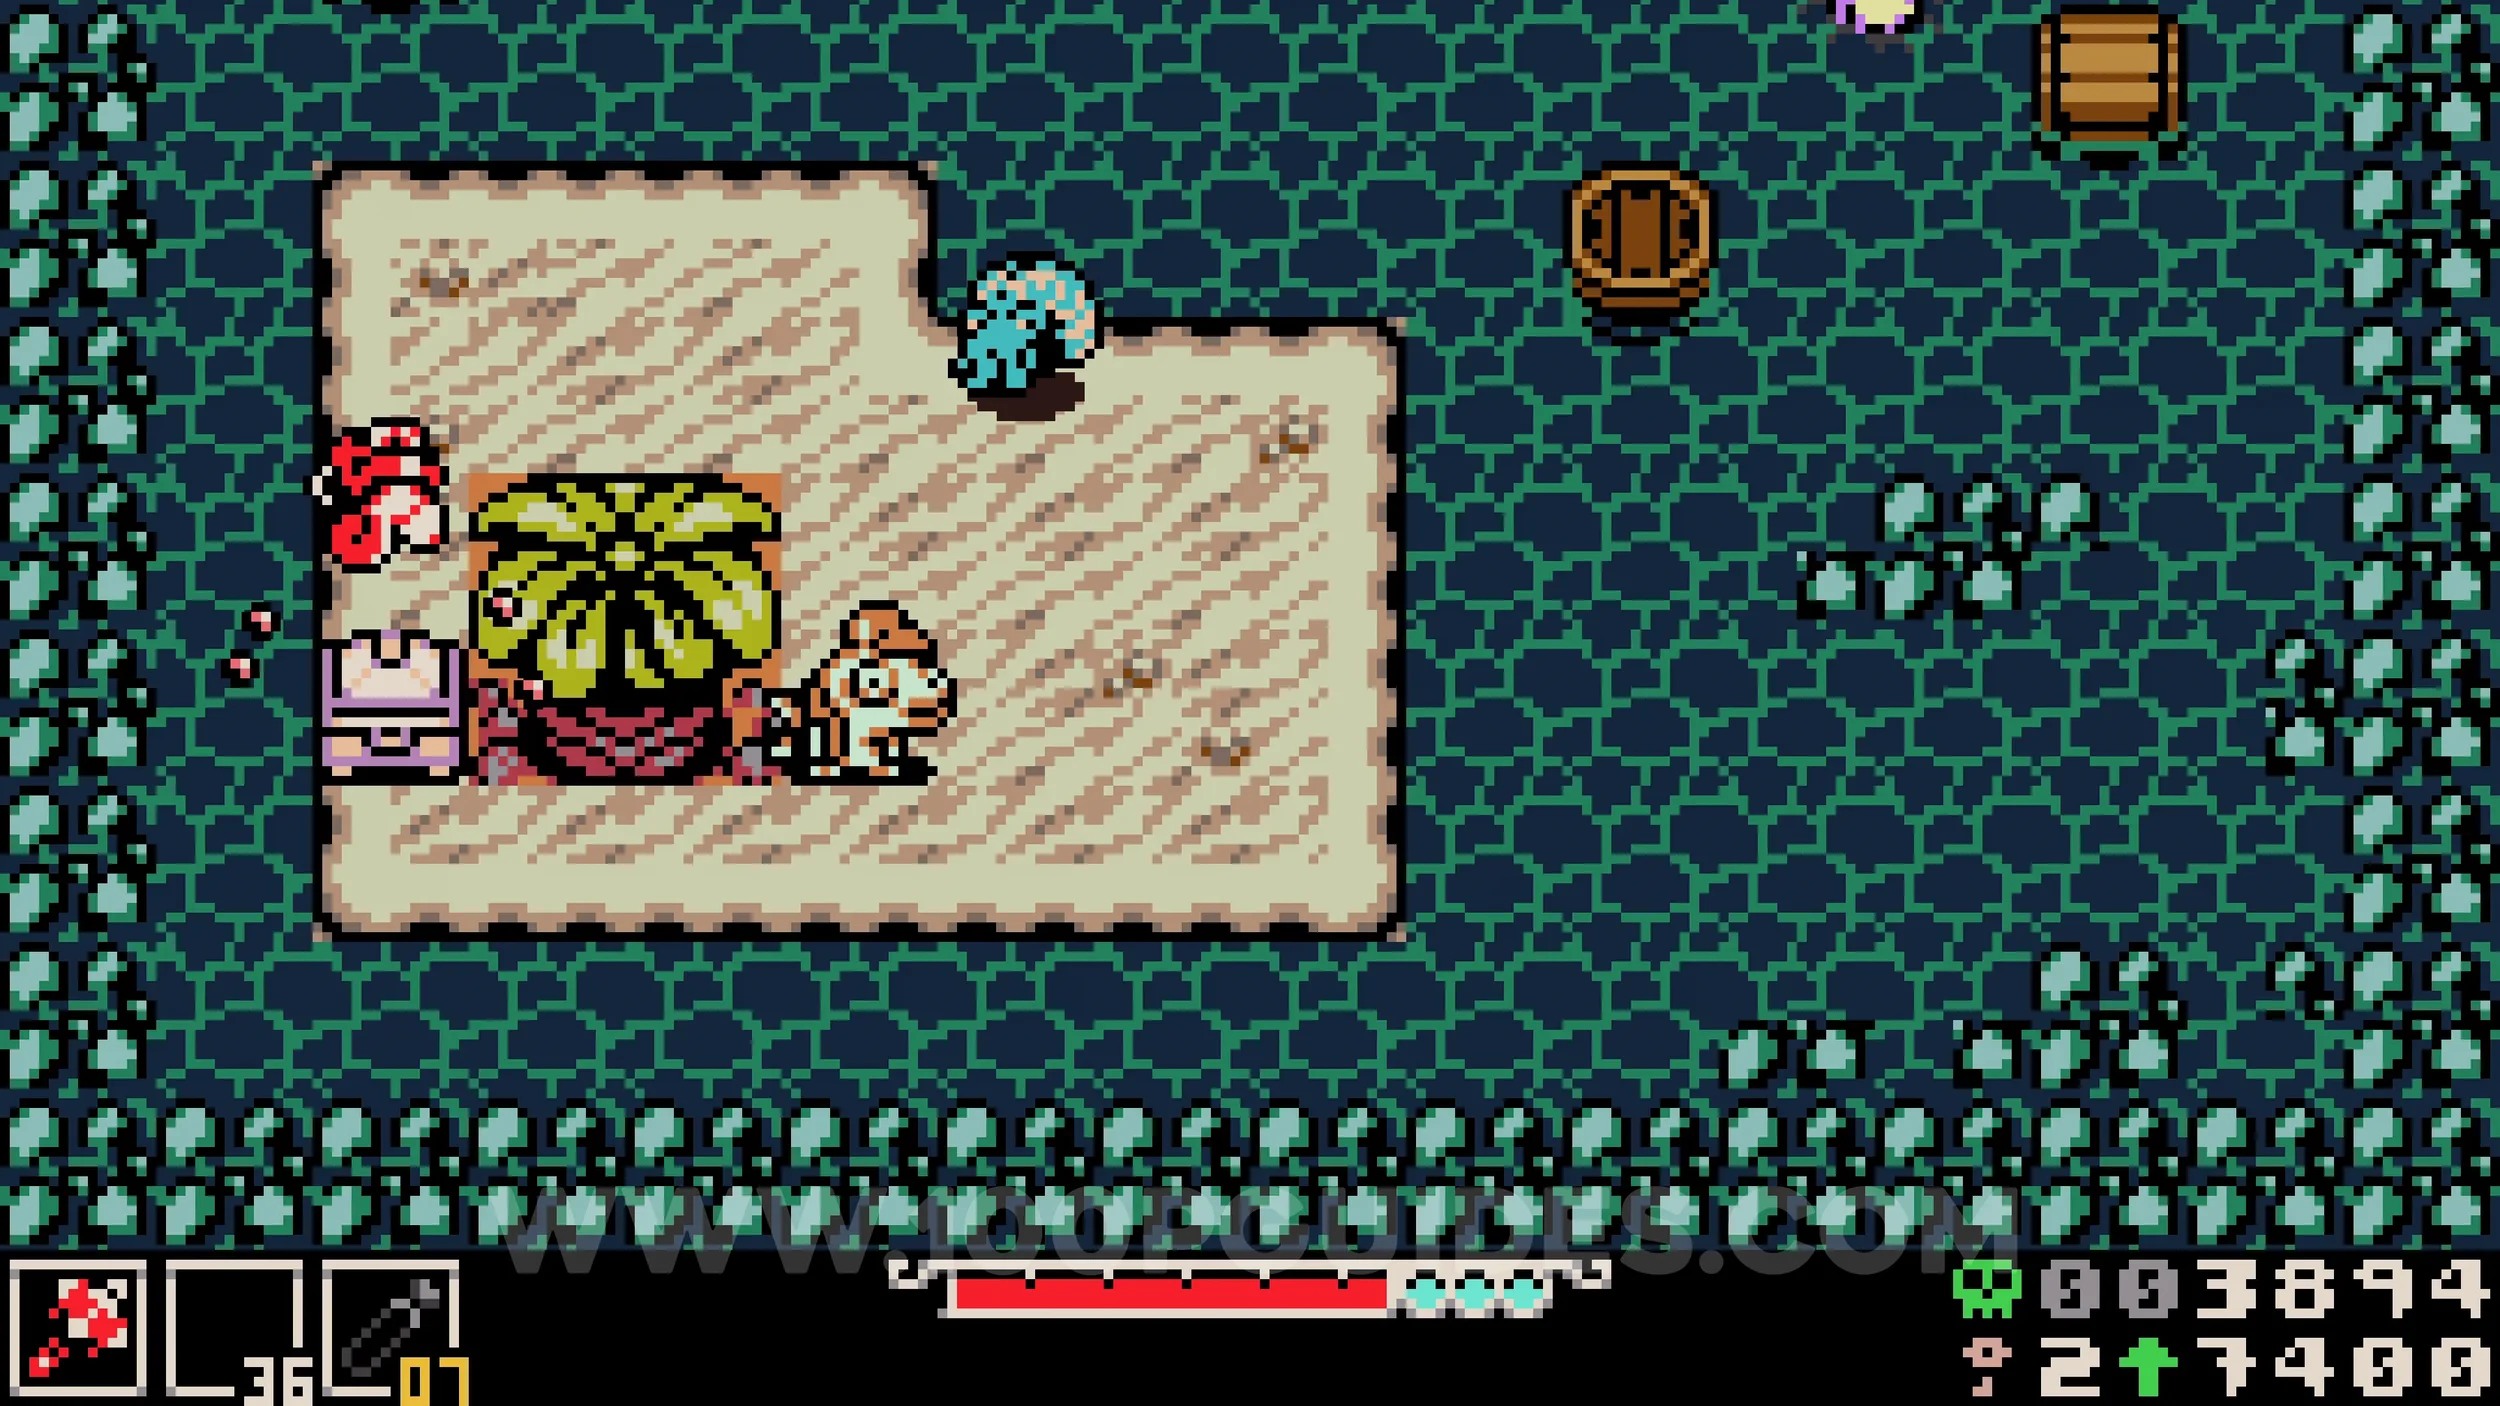
Kear #2. Return to the area to the right of the tent and climb up the ropes. Drop down into the cave to the left of the long rope to find the collectible inside.
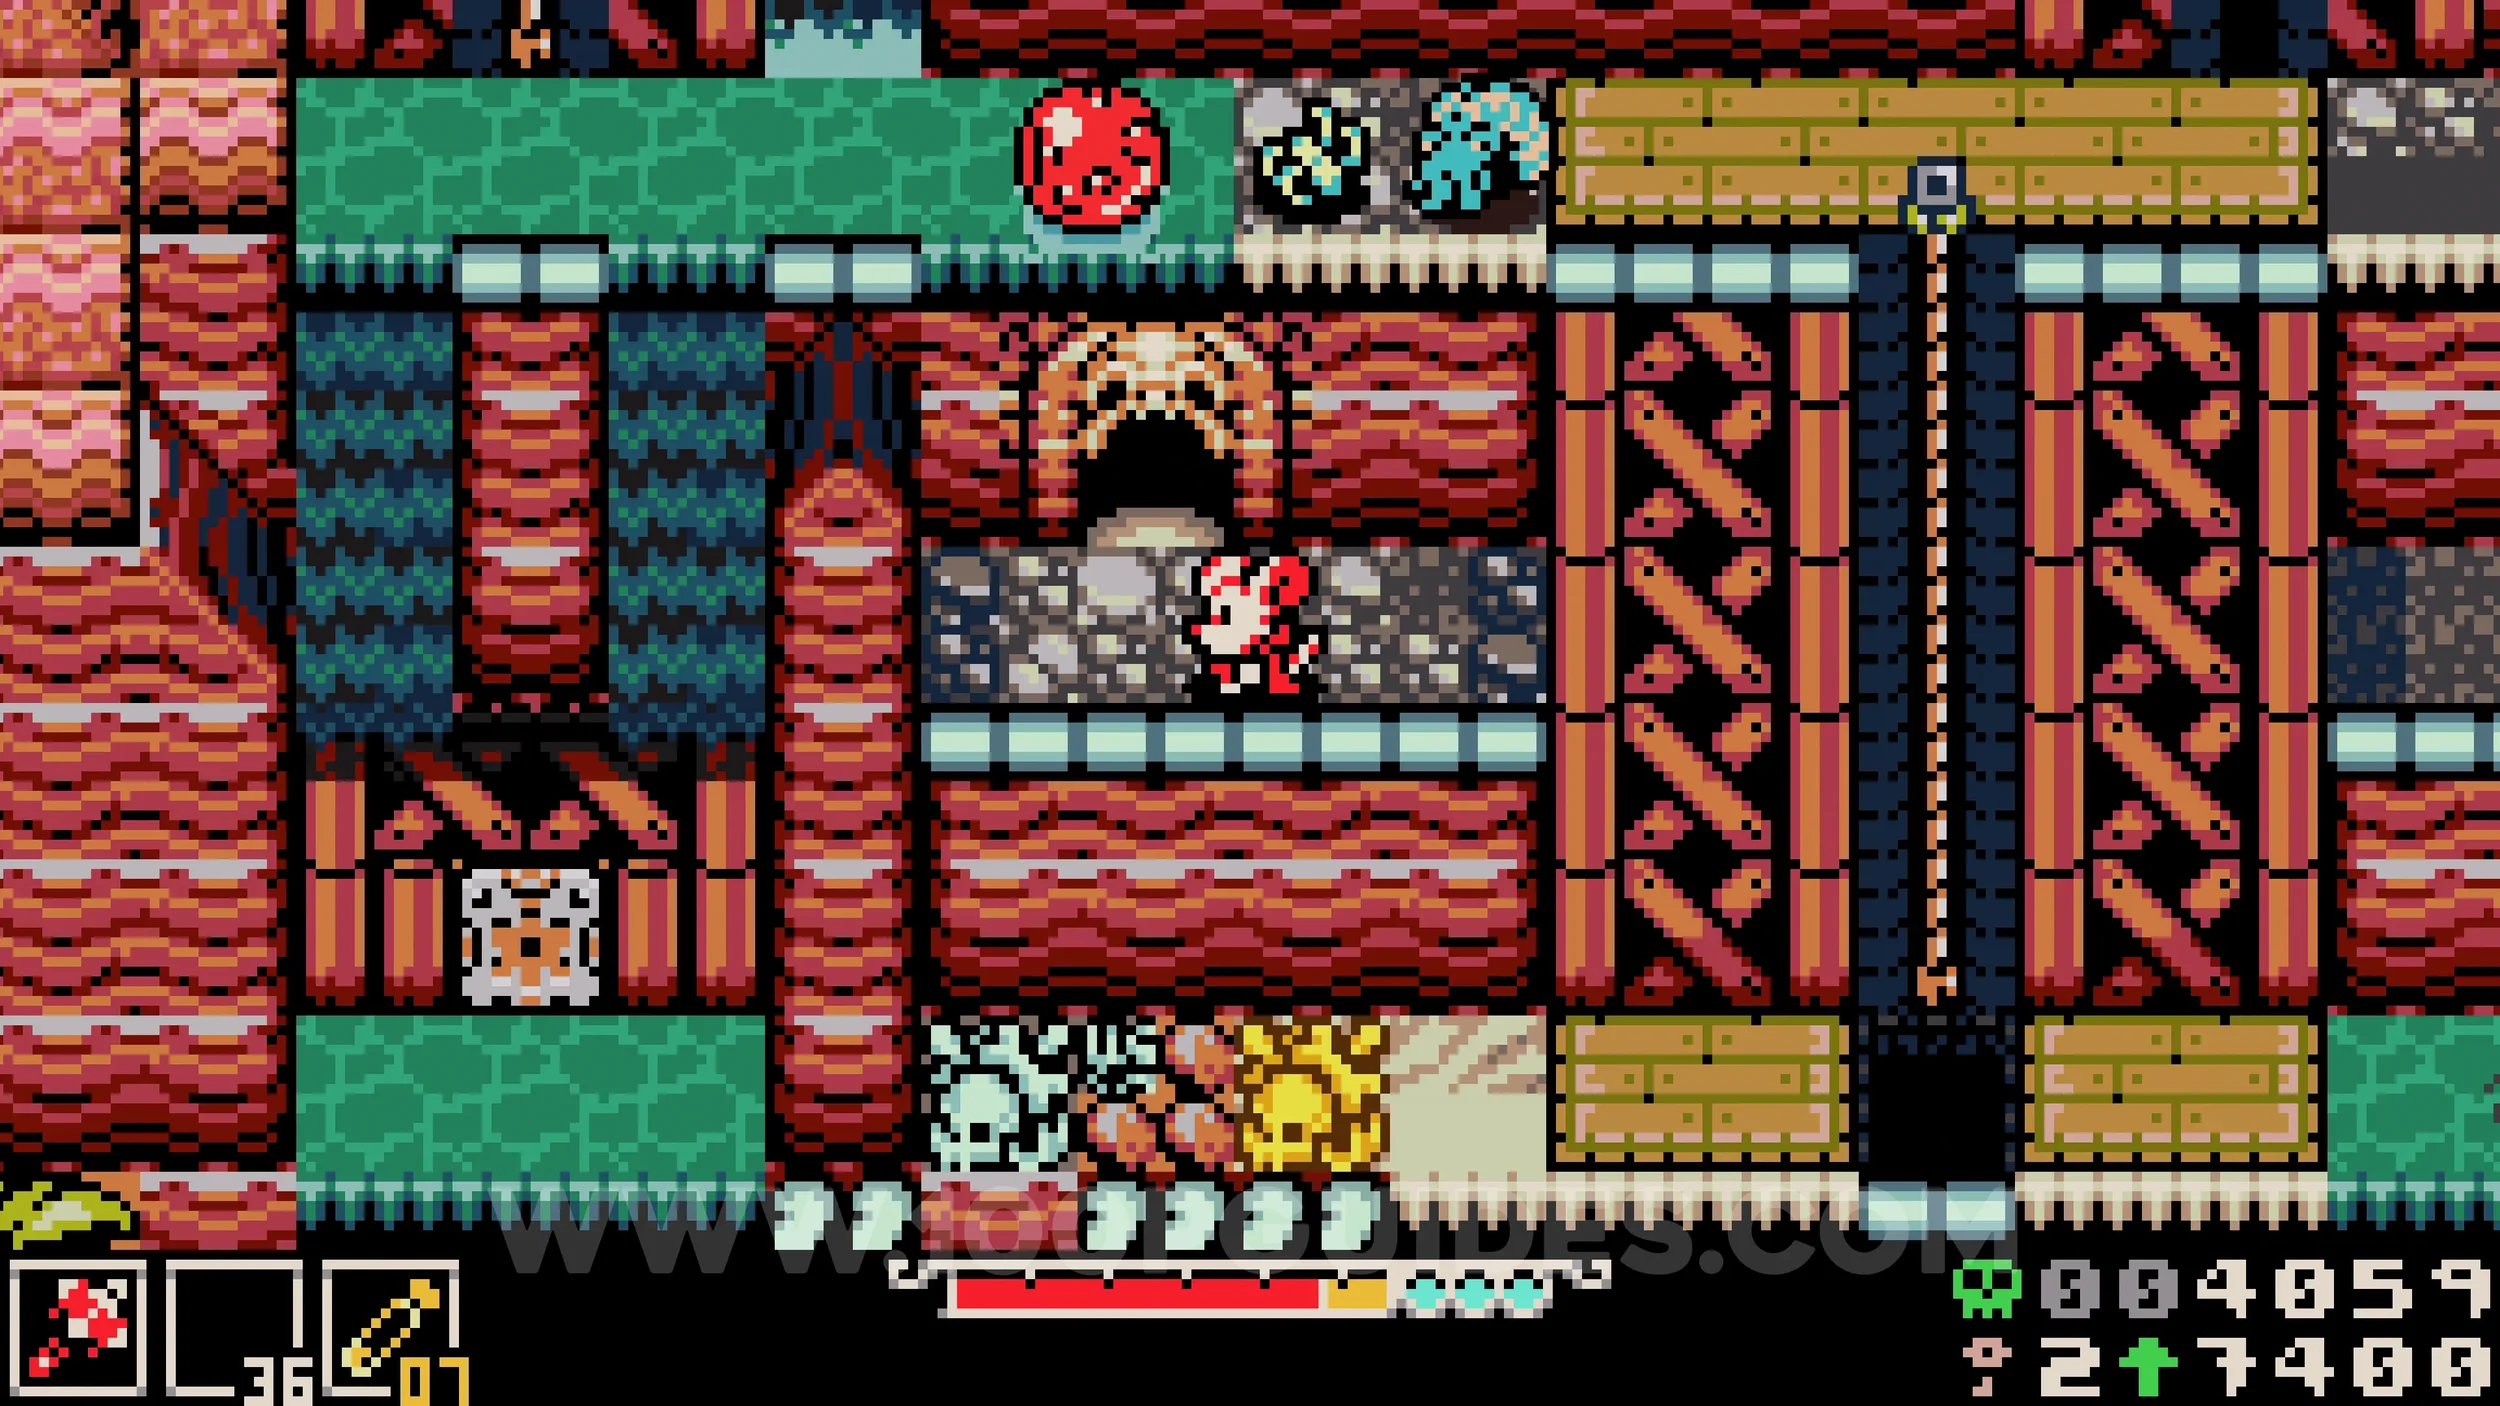
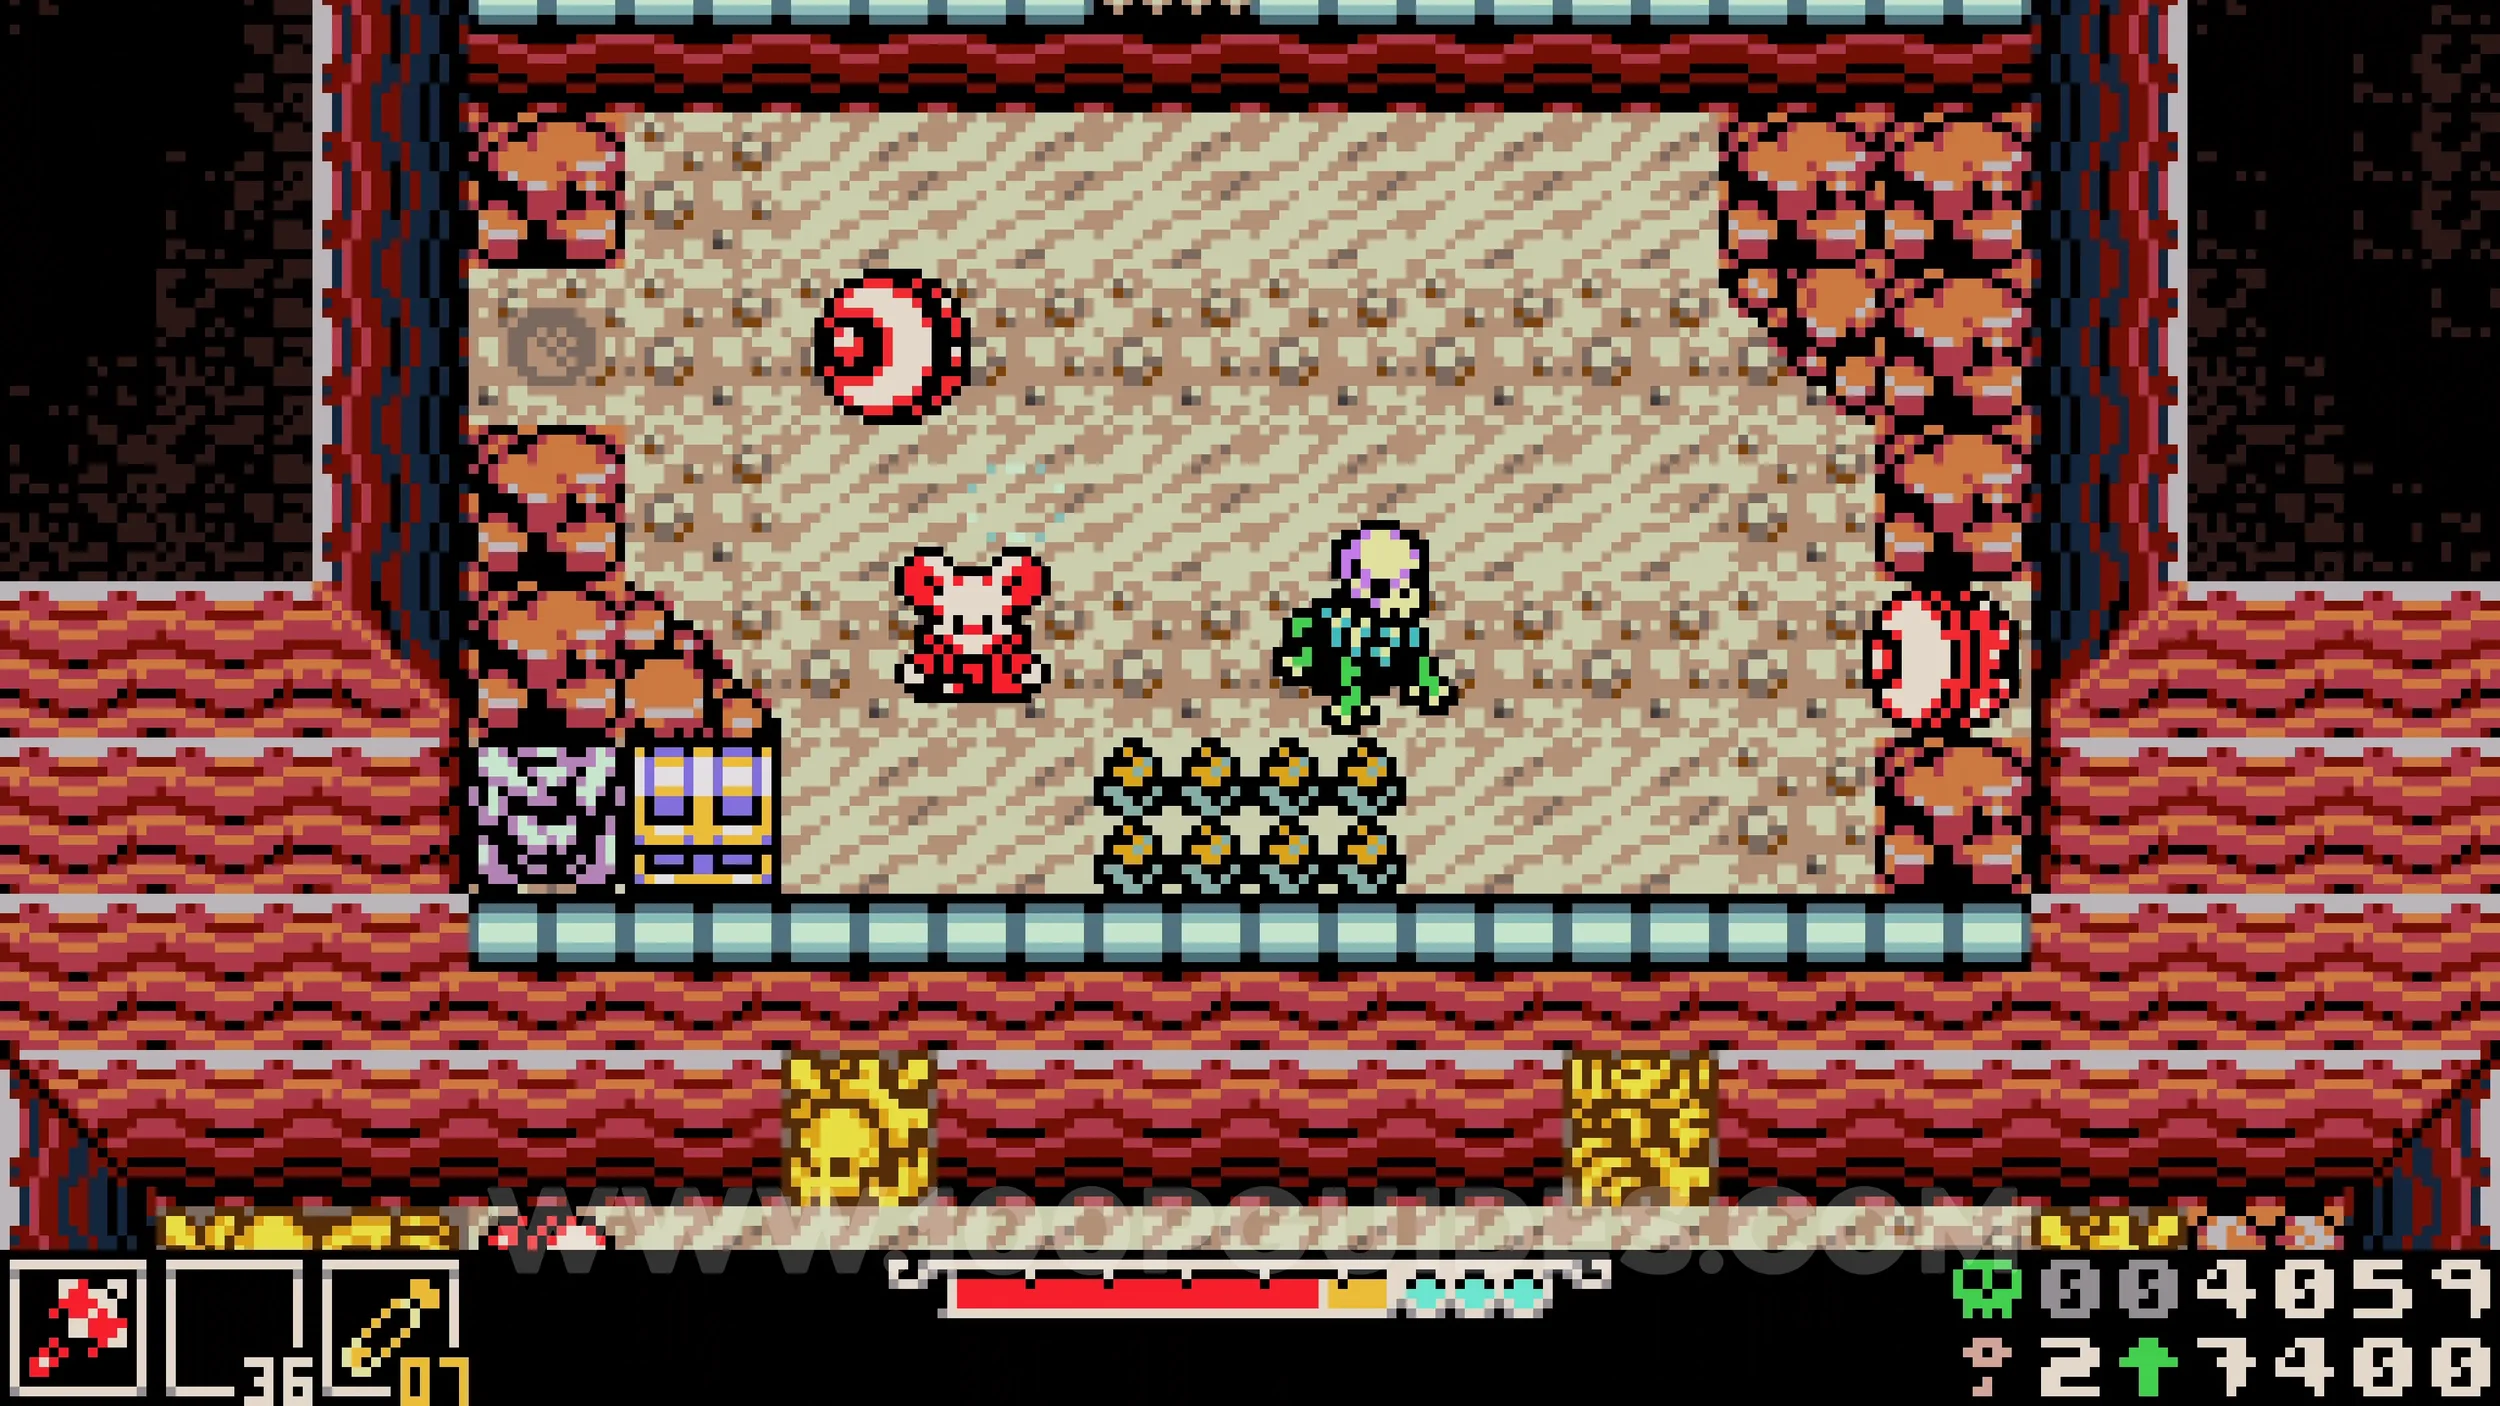
Lock #1. Climb the rope again and then drop down to the lock below the waterfalls to the left.
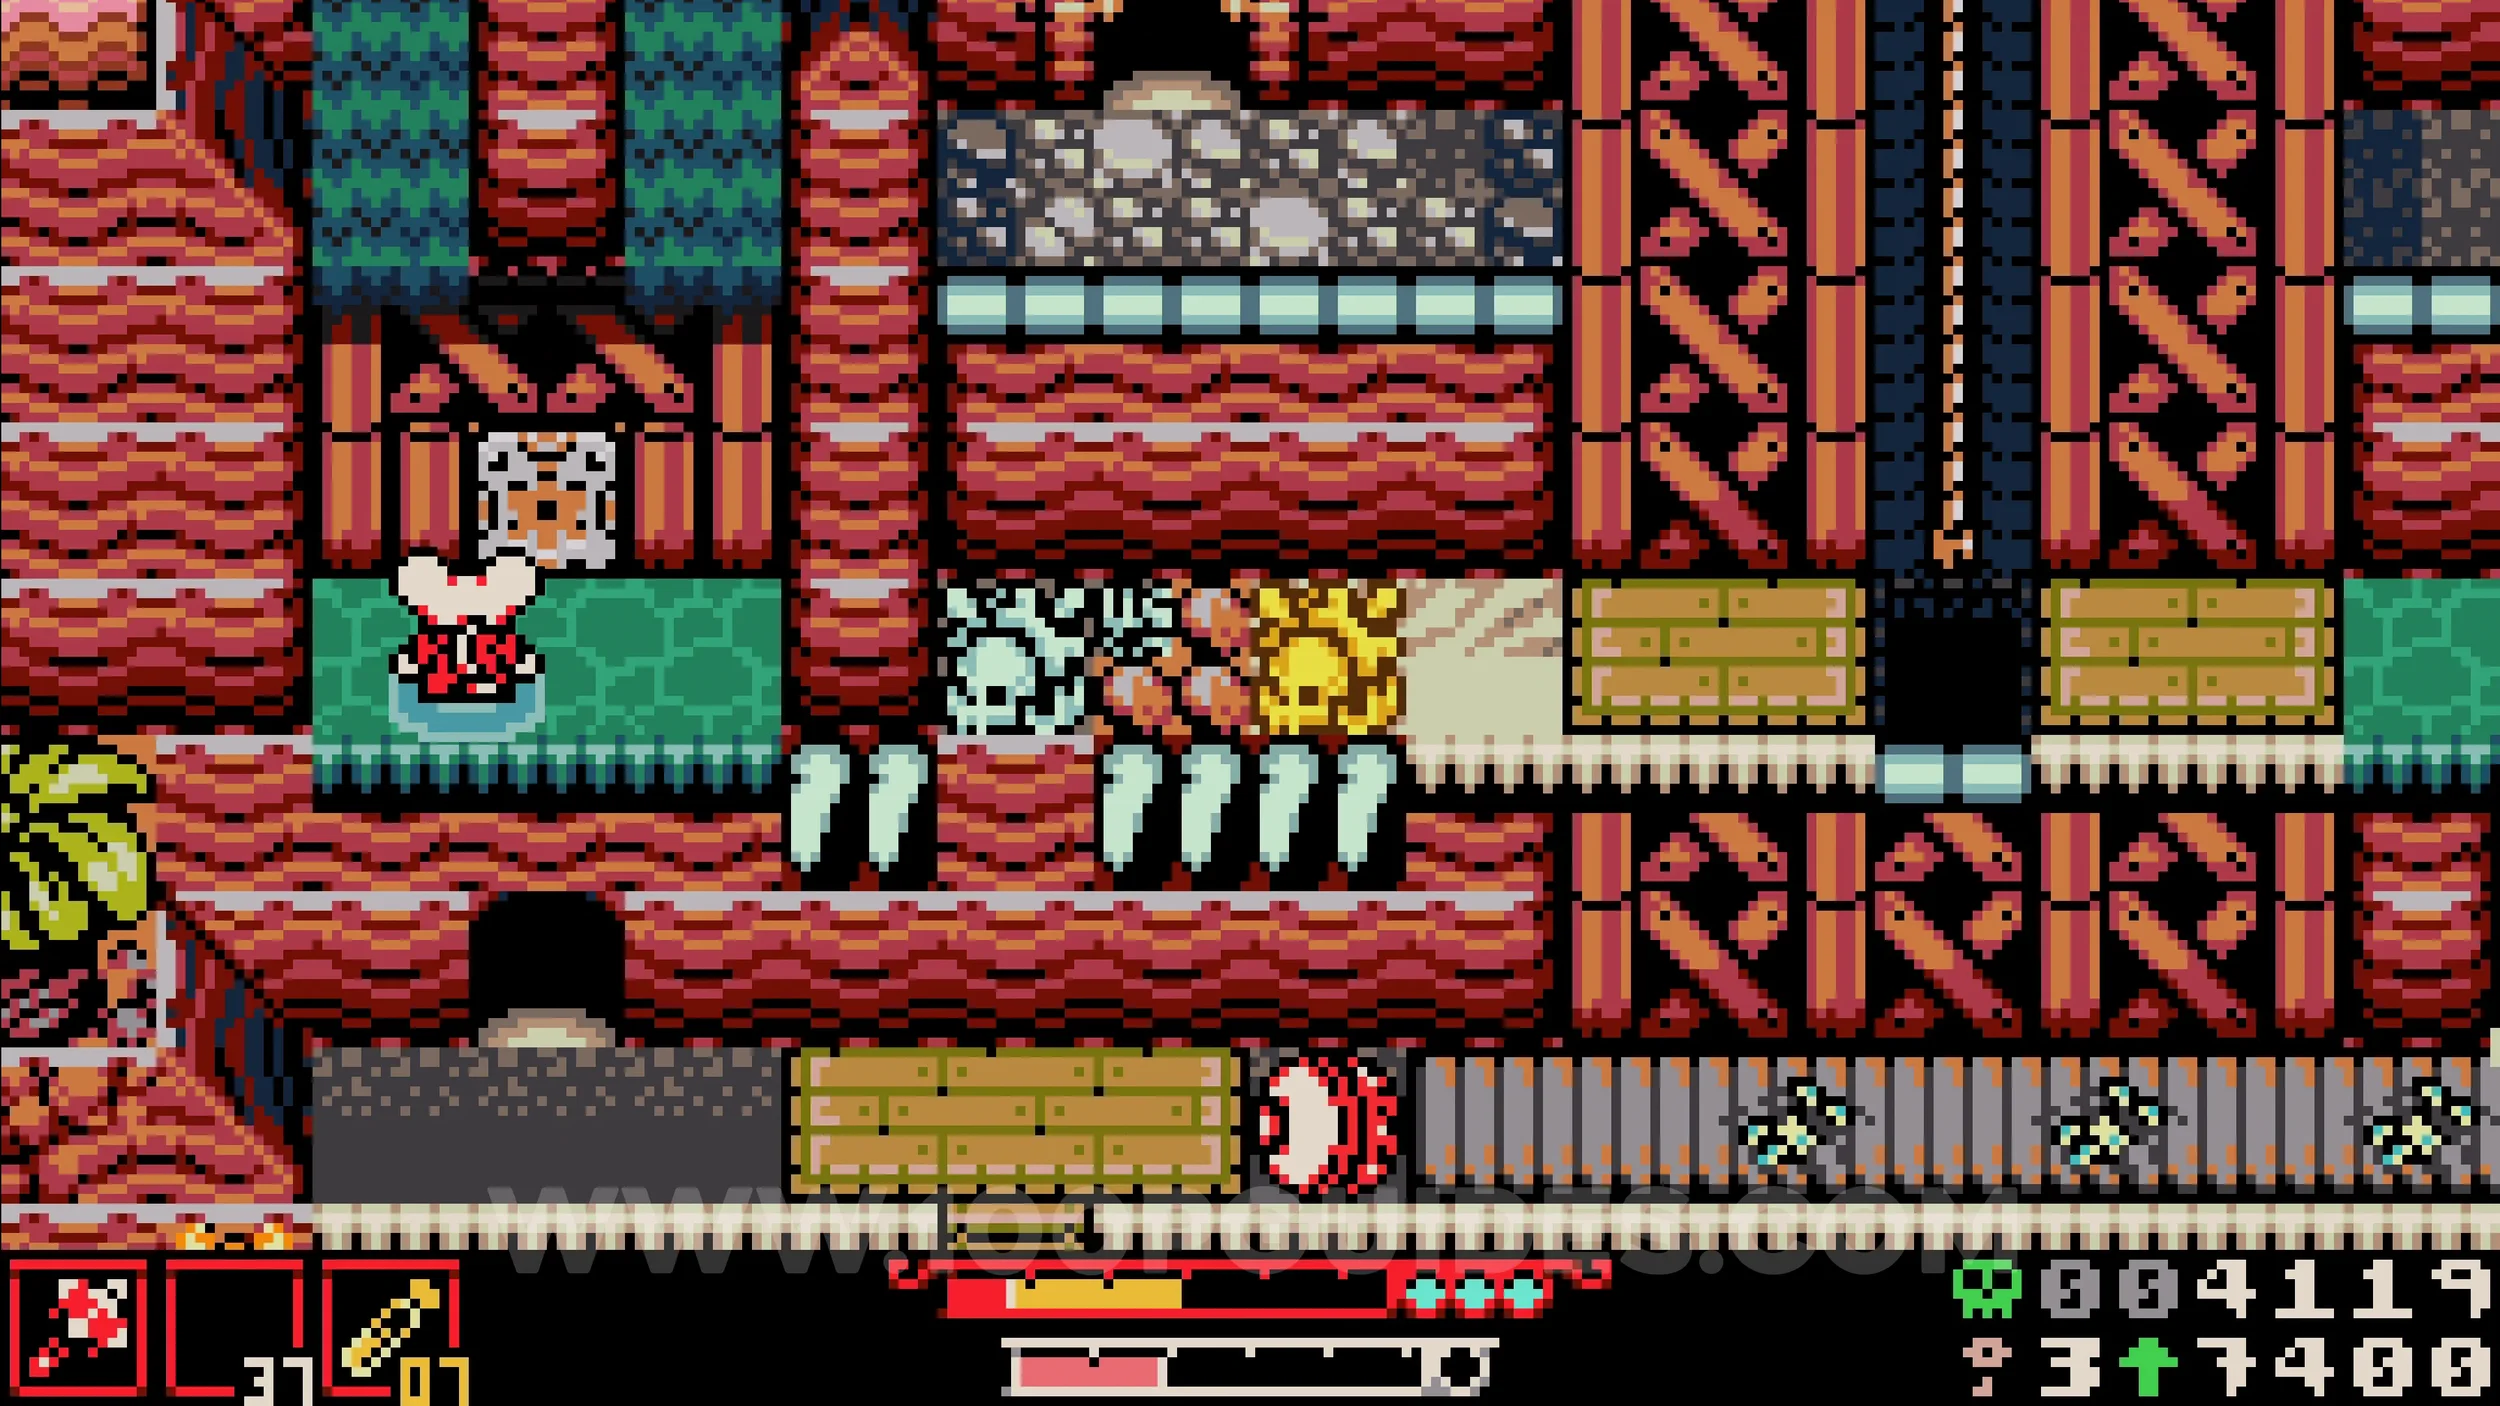
Bonestone #7. Enter the cave behind the lock and break the wall at the end next to the NPC. Also talk to the NPC for a future collectible in Ossex.
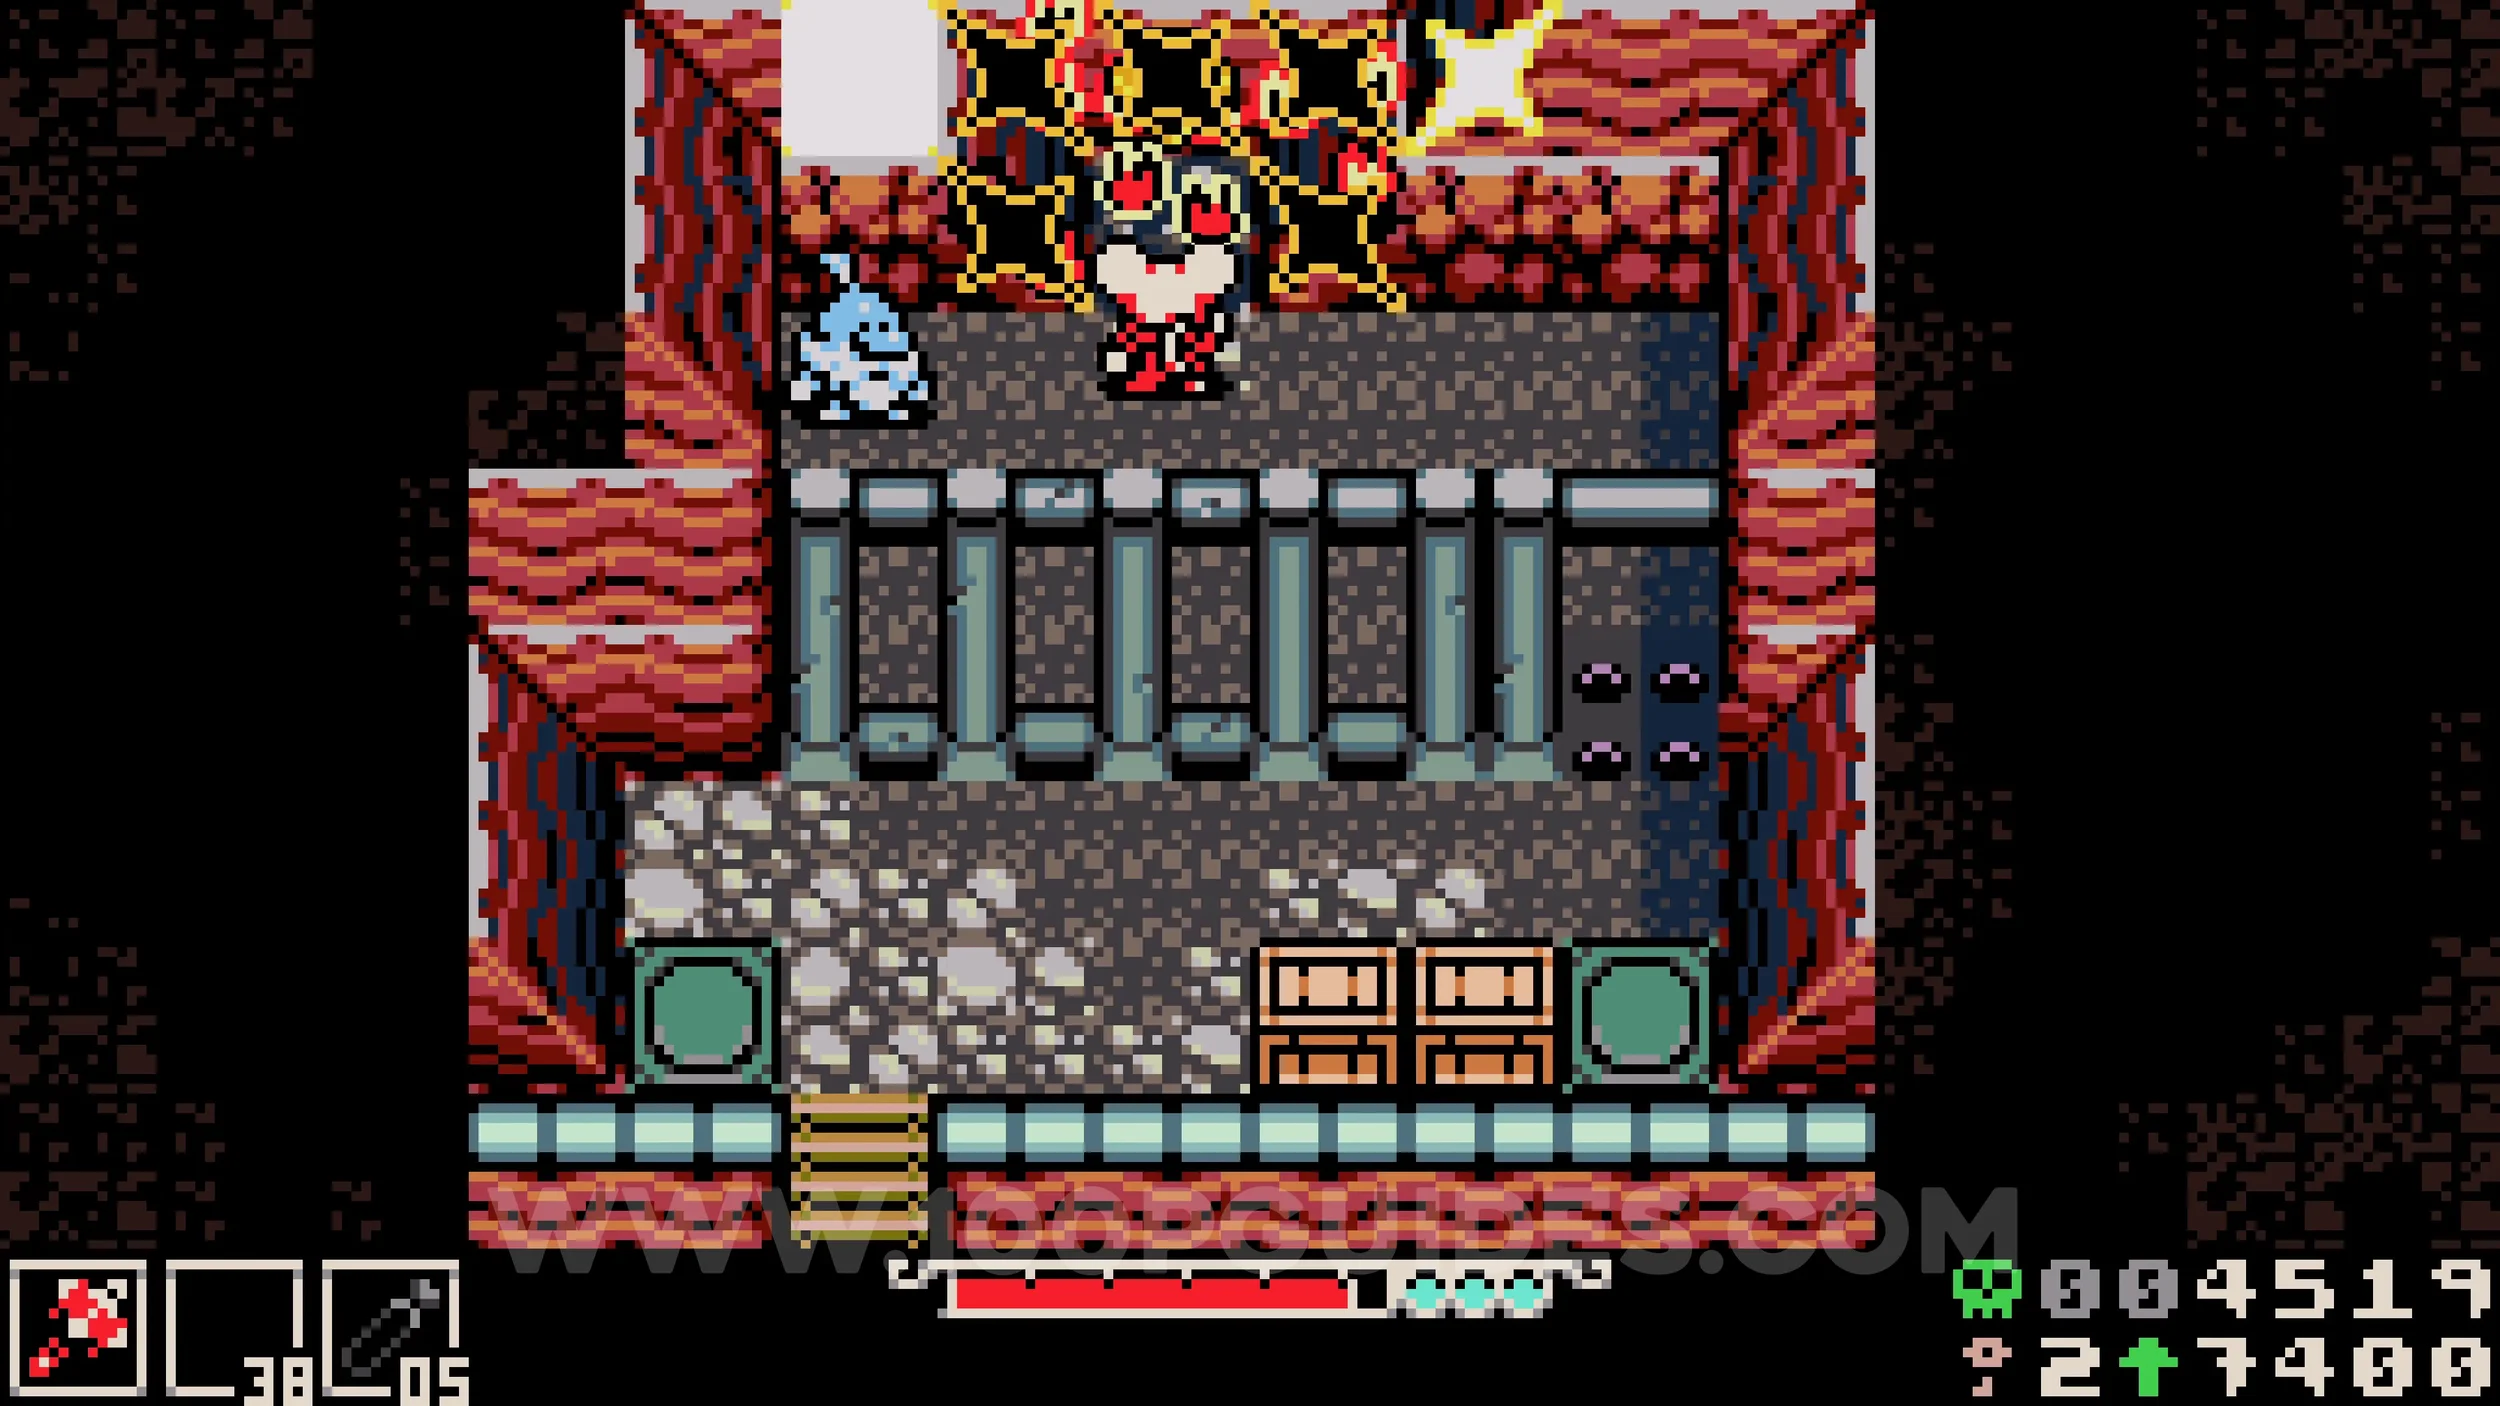
Bonestone #8. Once you reach the massive monster head on the beach, before heading inside break the boxes on the right and continue right over the water. Head up the stairs and drop down to the shallow water on the right side. Burrow into the water where the sparkly areas shine to reveal handles you can grab. Follow the sparks to reach the chest at the end.
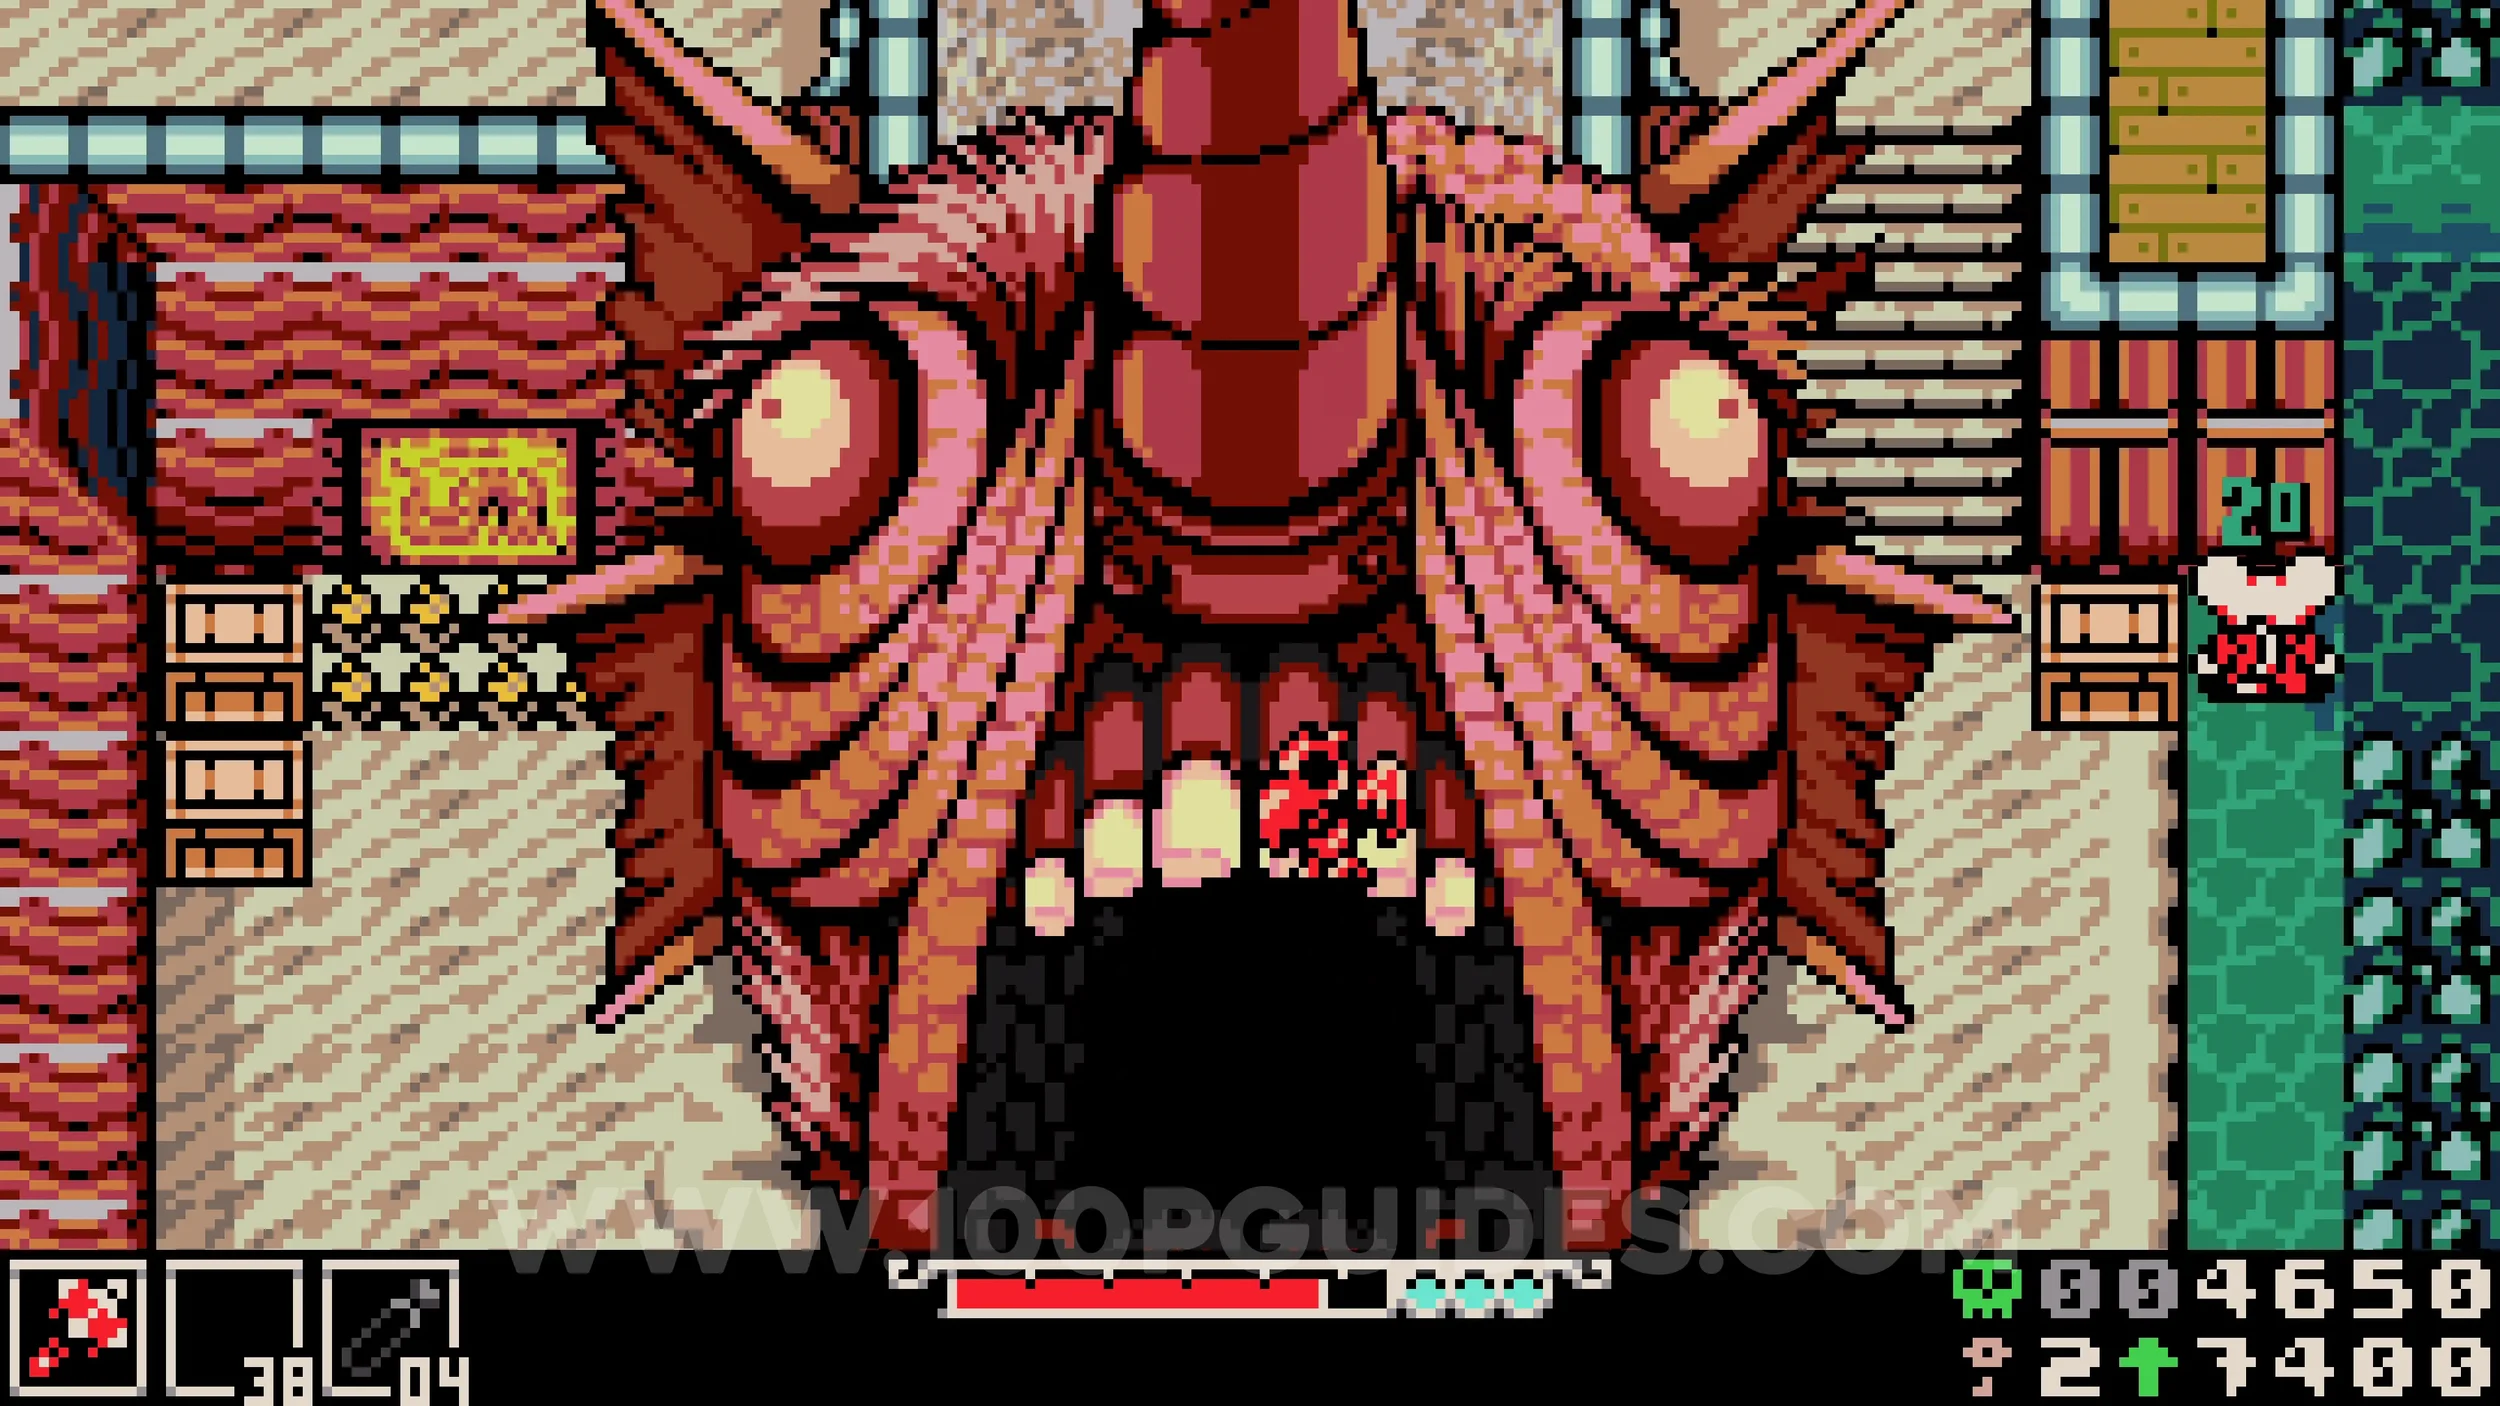
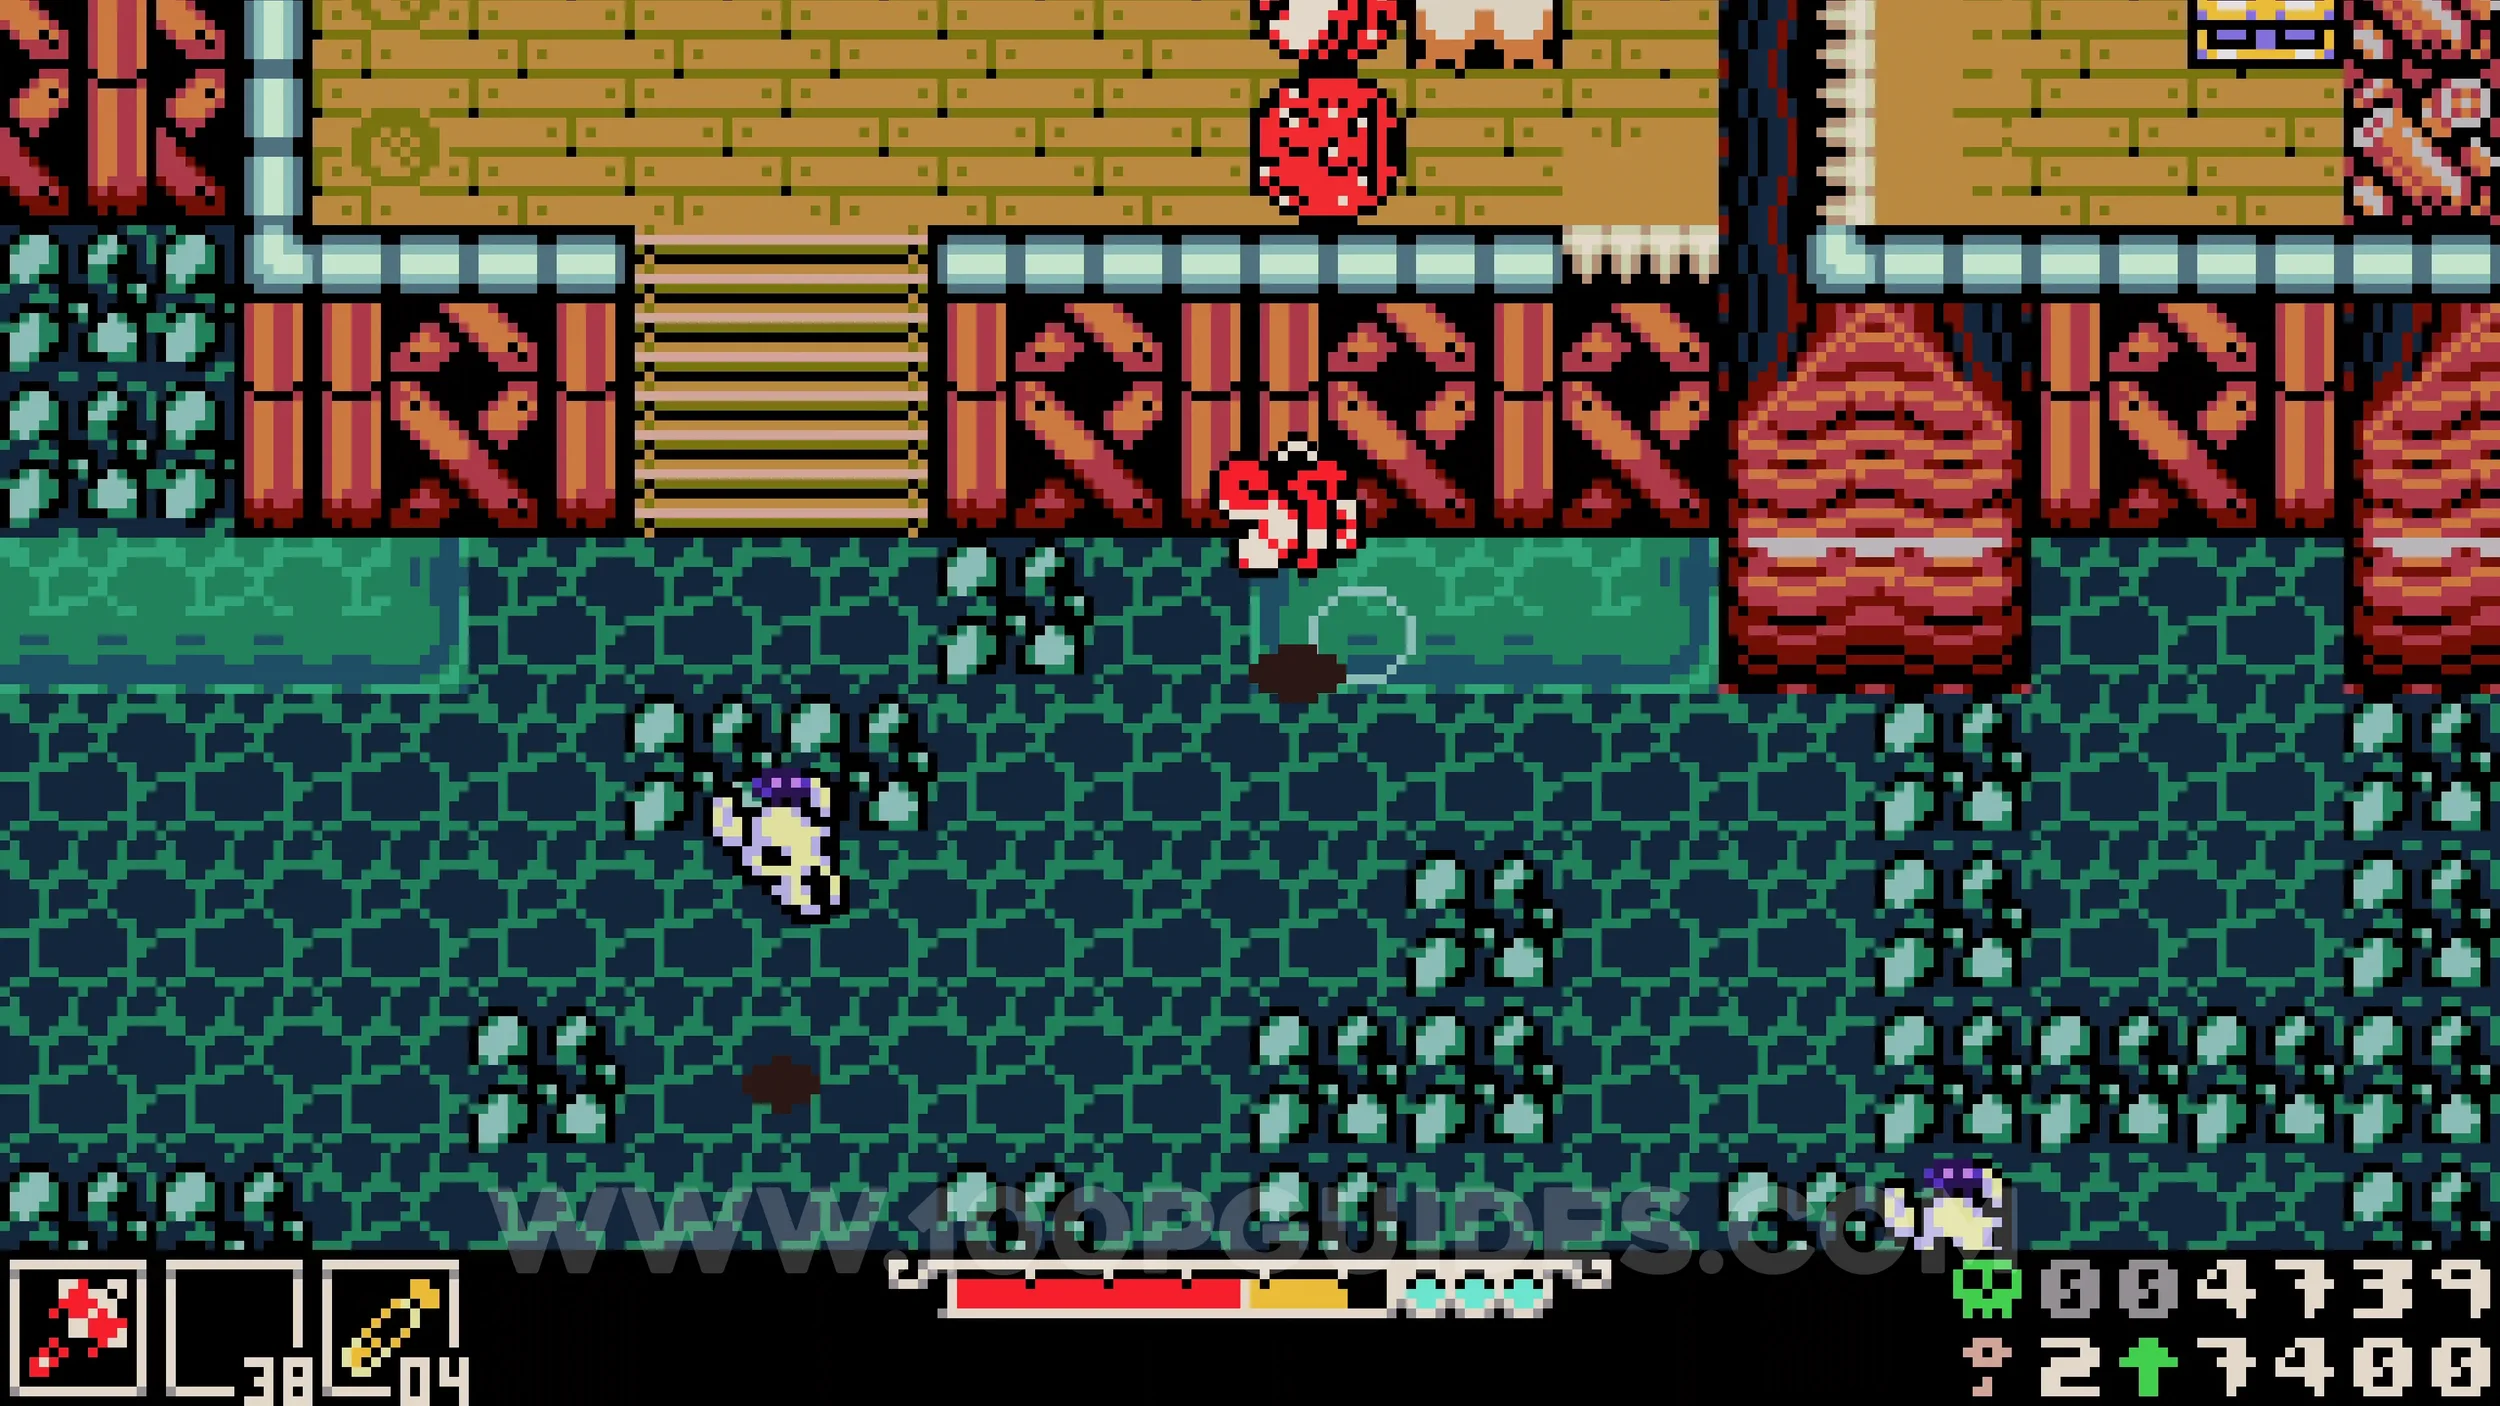
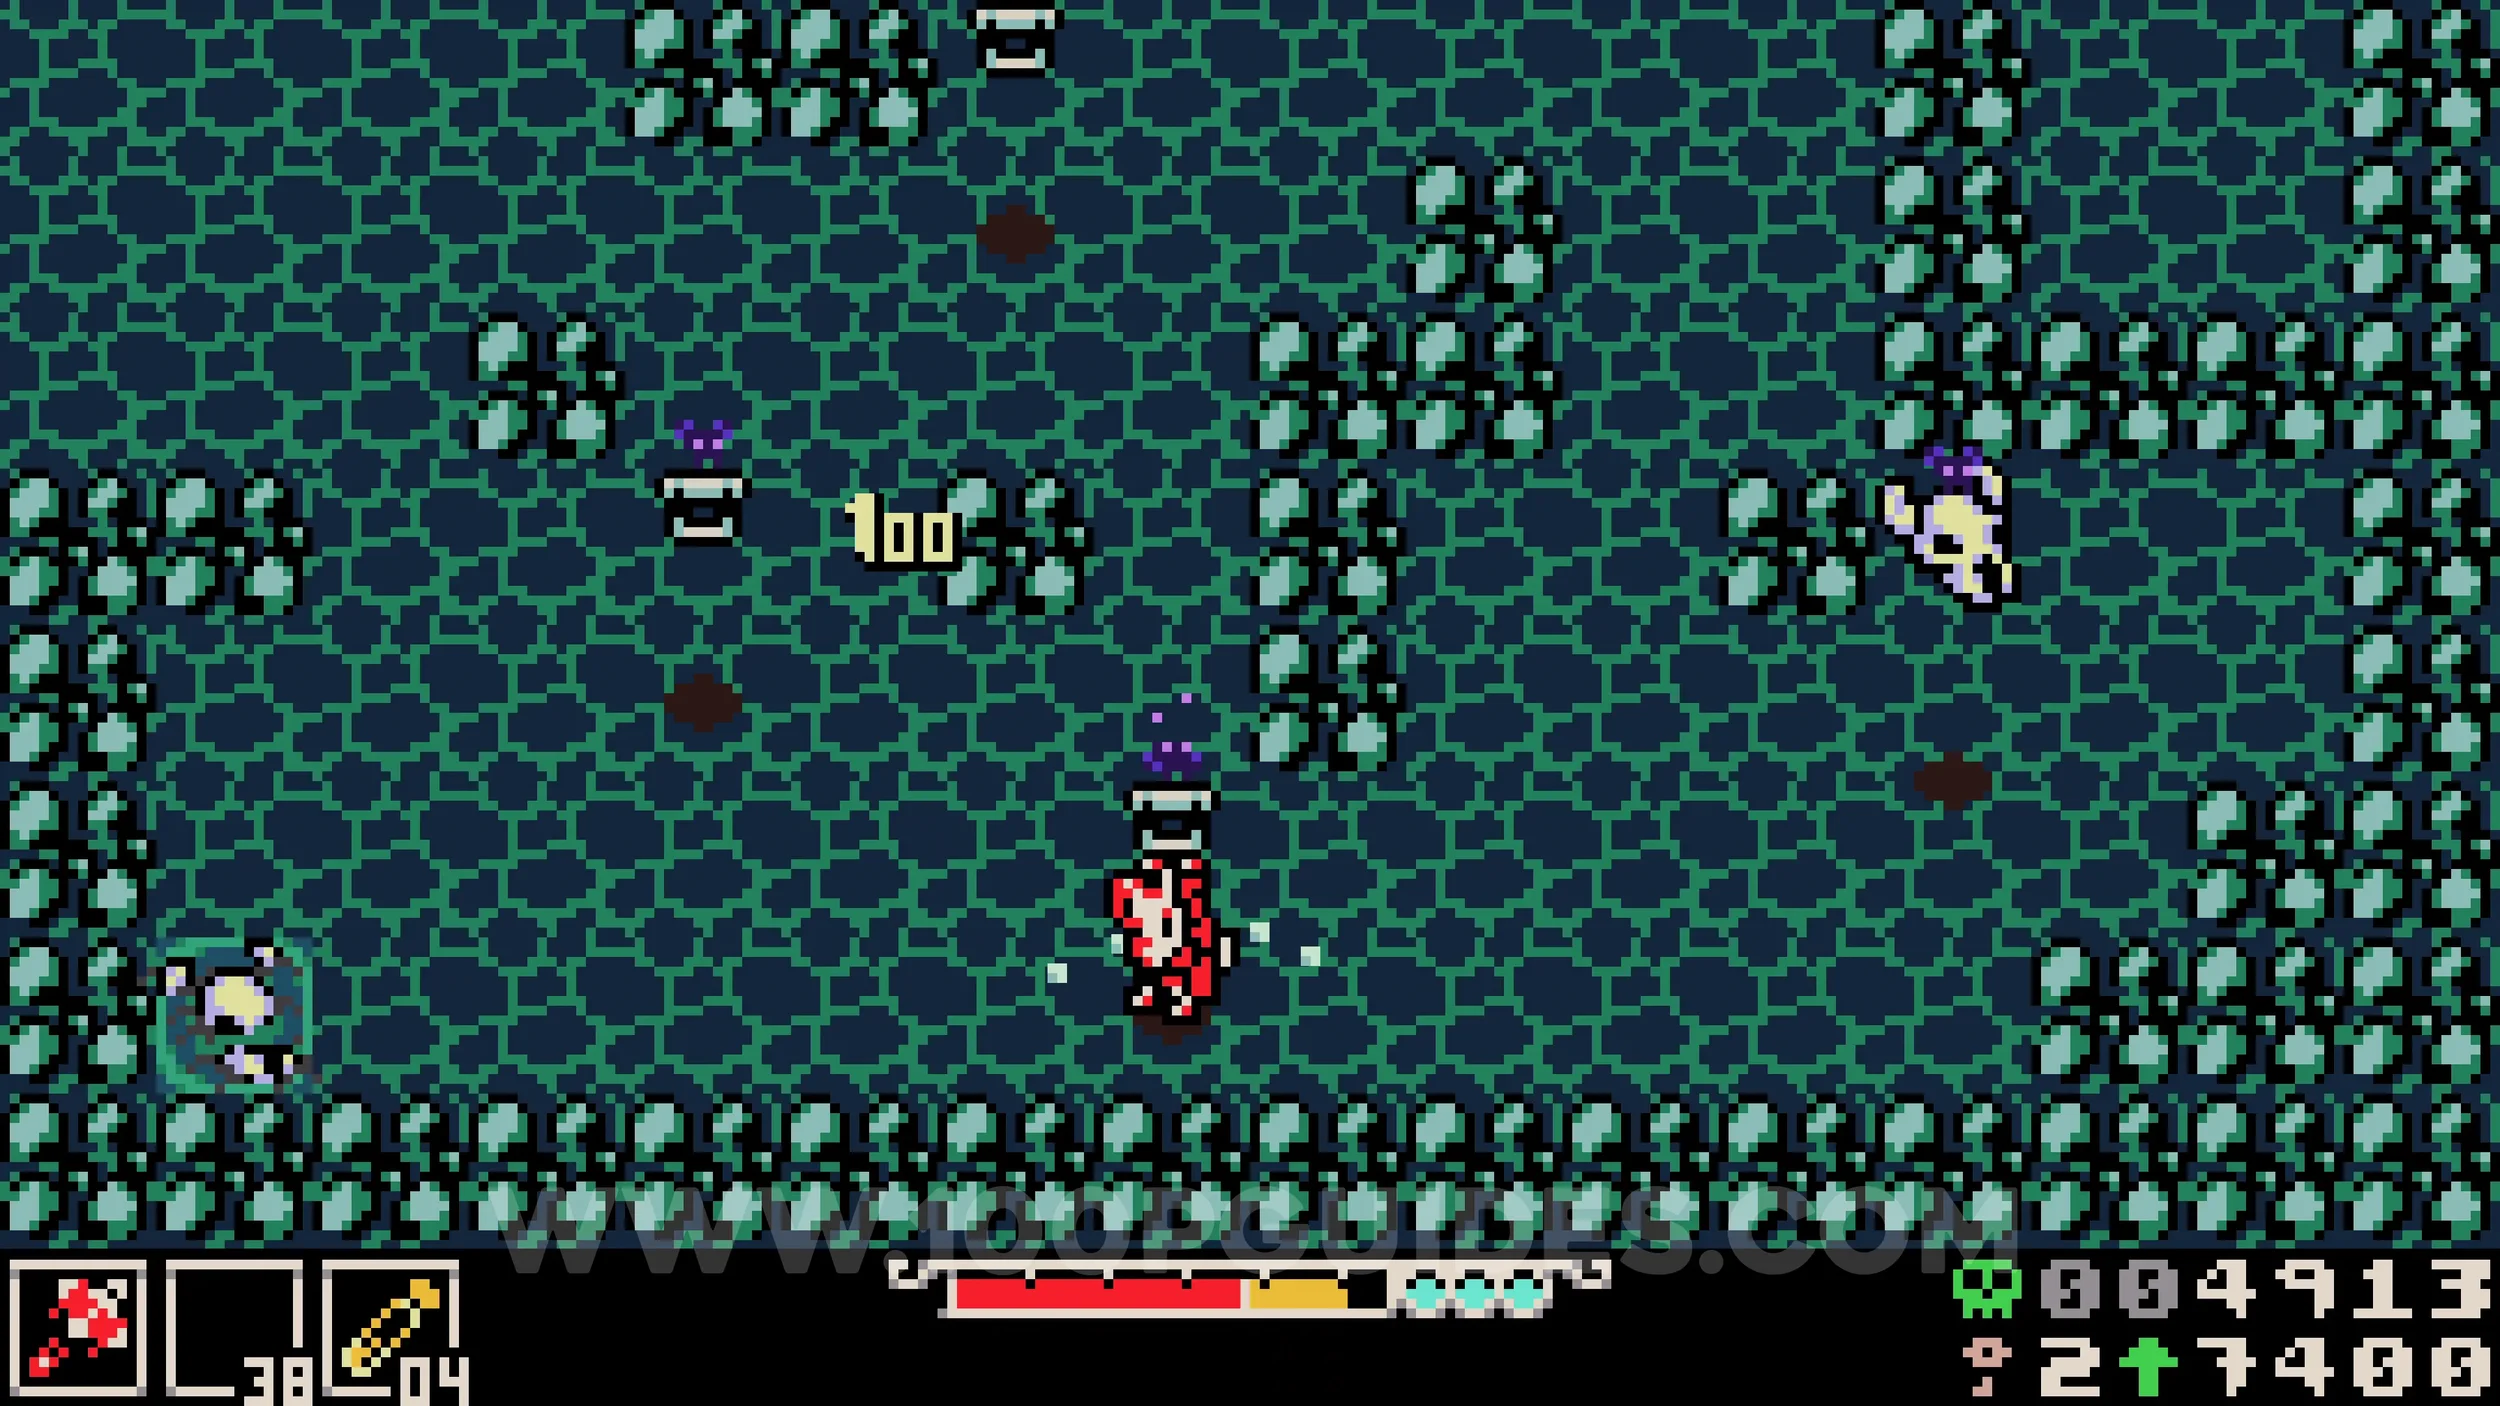
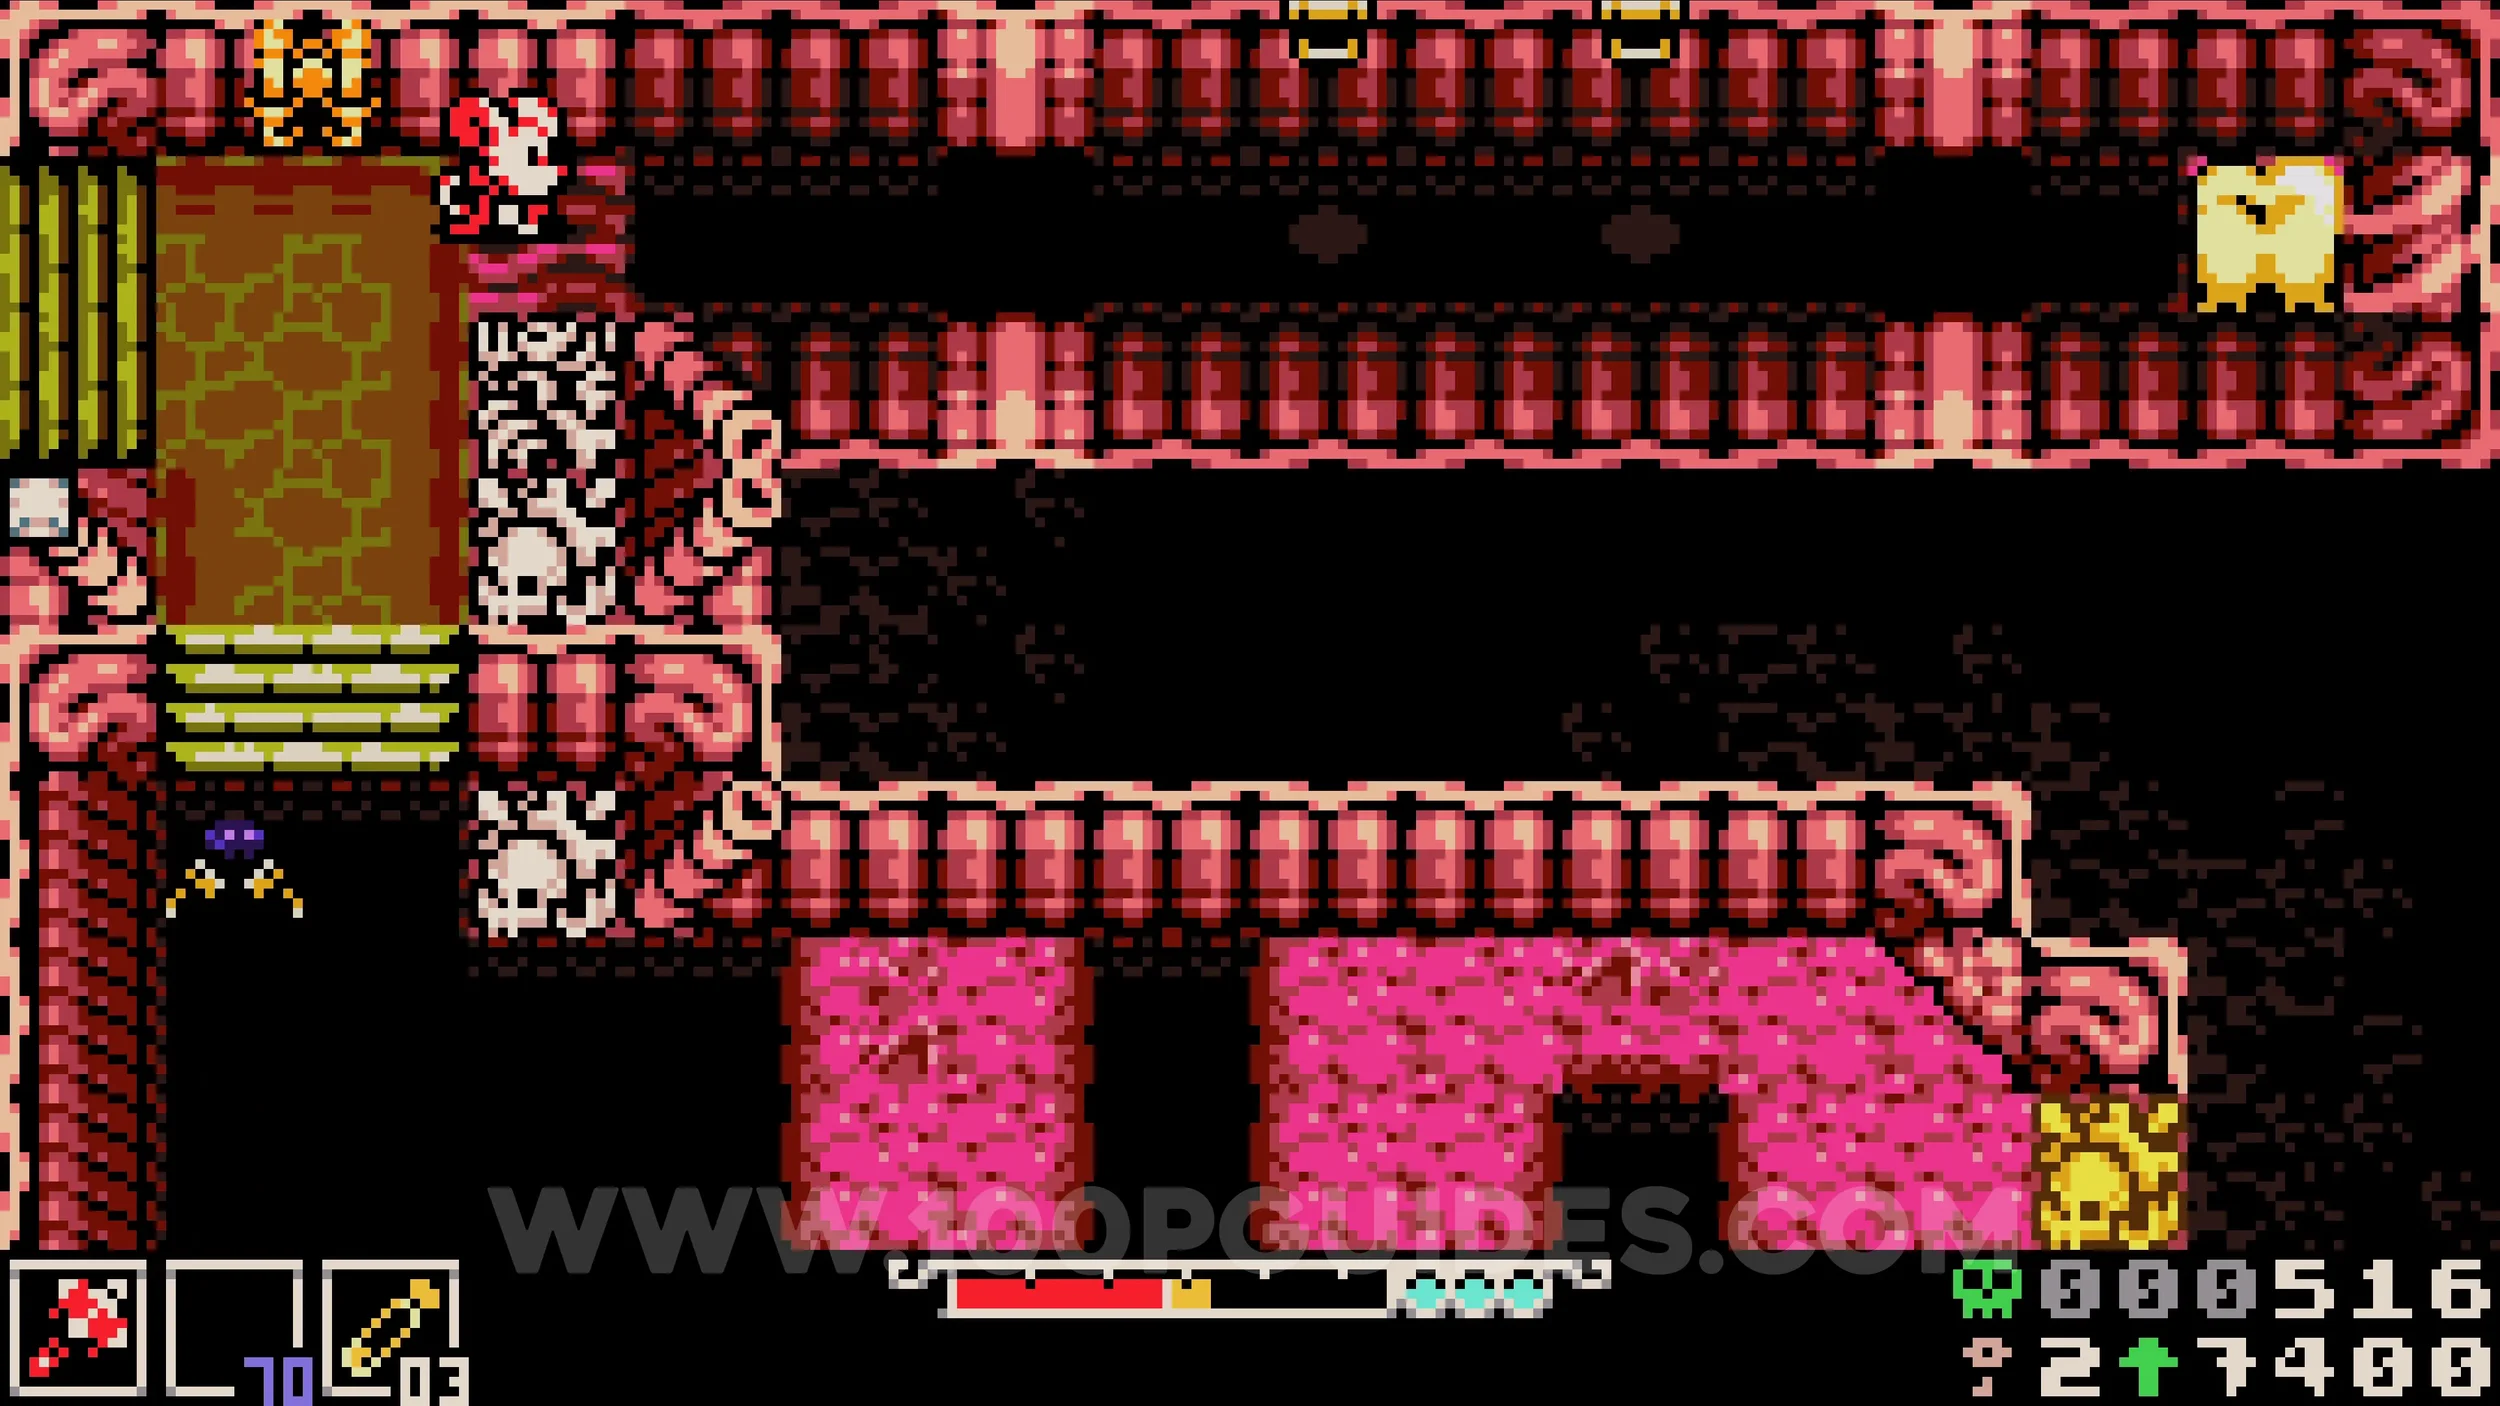
Bonestone #9. Once inside the massive monster on the beach, continue through the first rooms until you are about to leave through the exit on the left. Before doing so, break the wall on the right and then the tooth at the end of the secret corridor to find the collectible.
Weapon #1 - Battery Buster. Once you return outside to an area with a tent below you, drop down onto the bouncy plant in the top right corner and continue left, jumping over the tent to exit left and find the red chest containing the weapon.
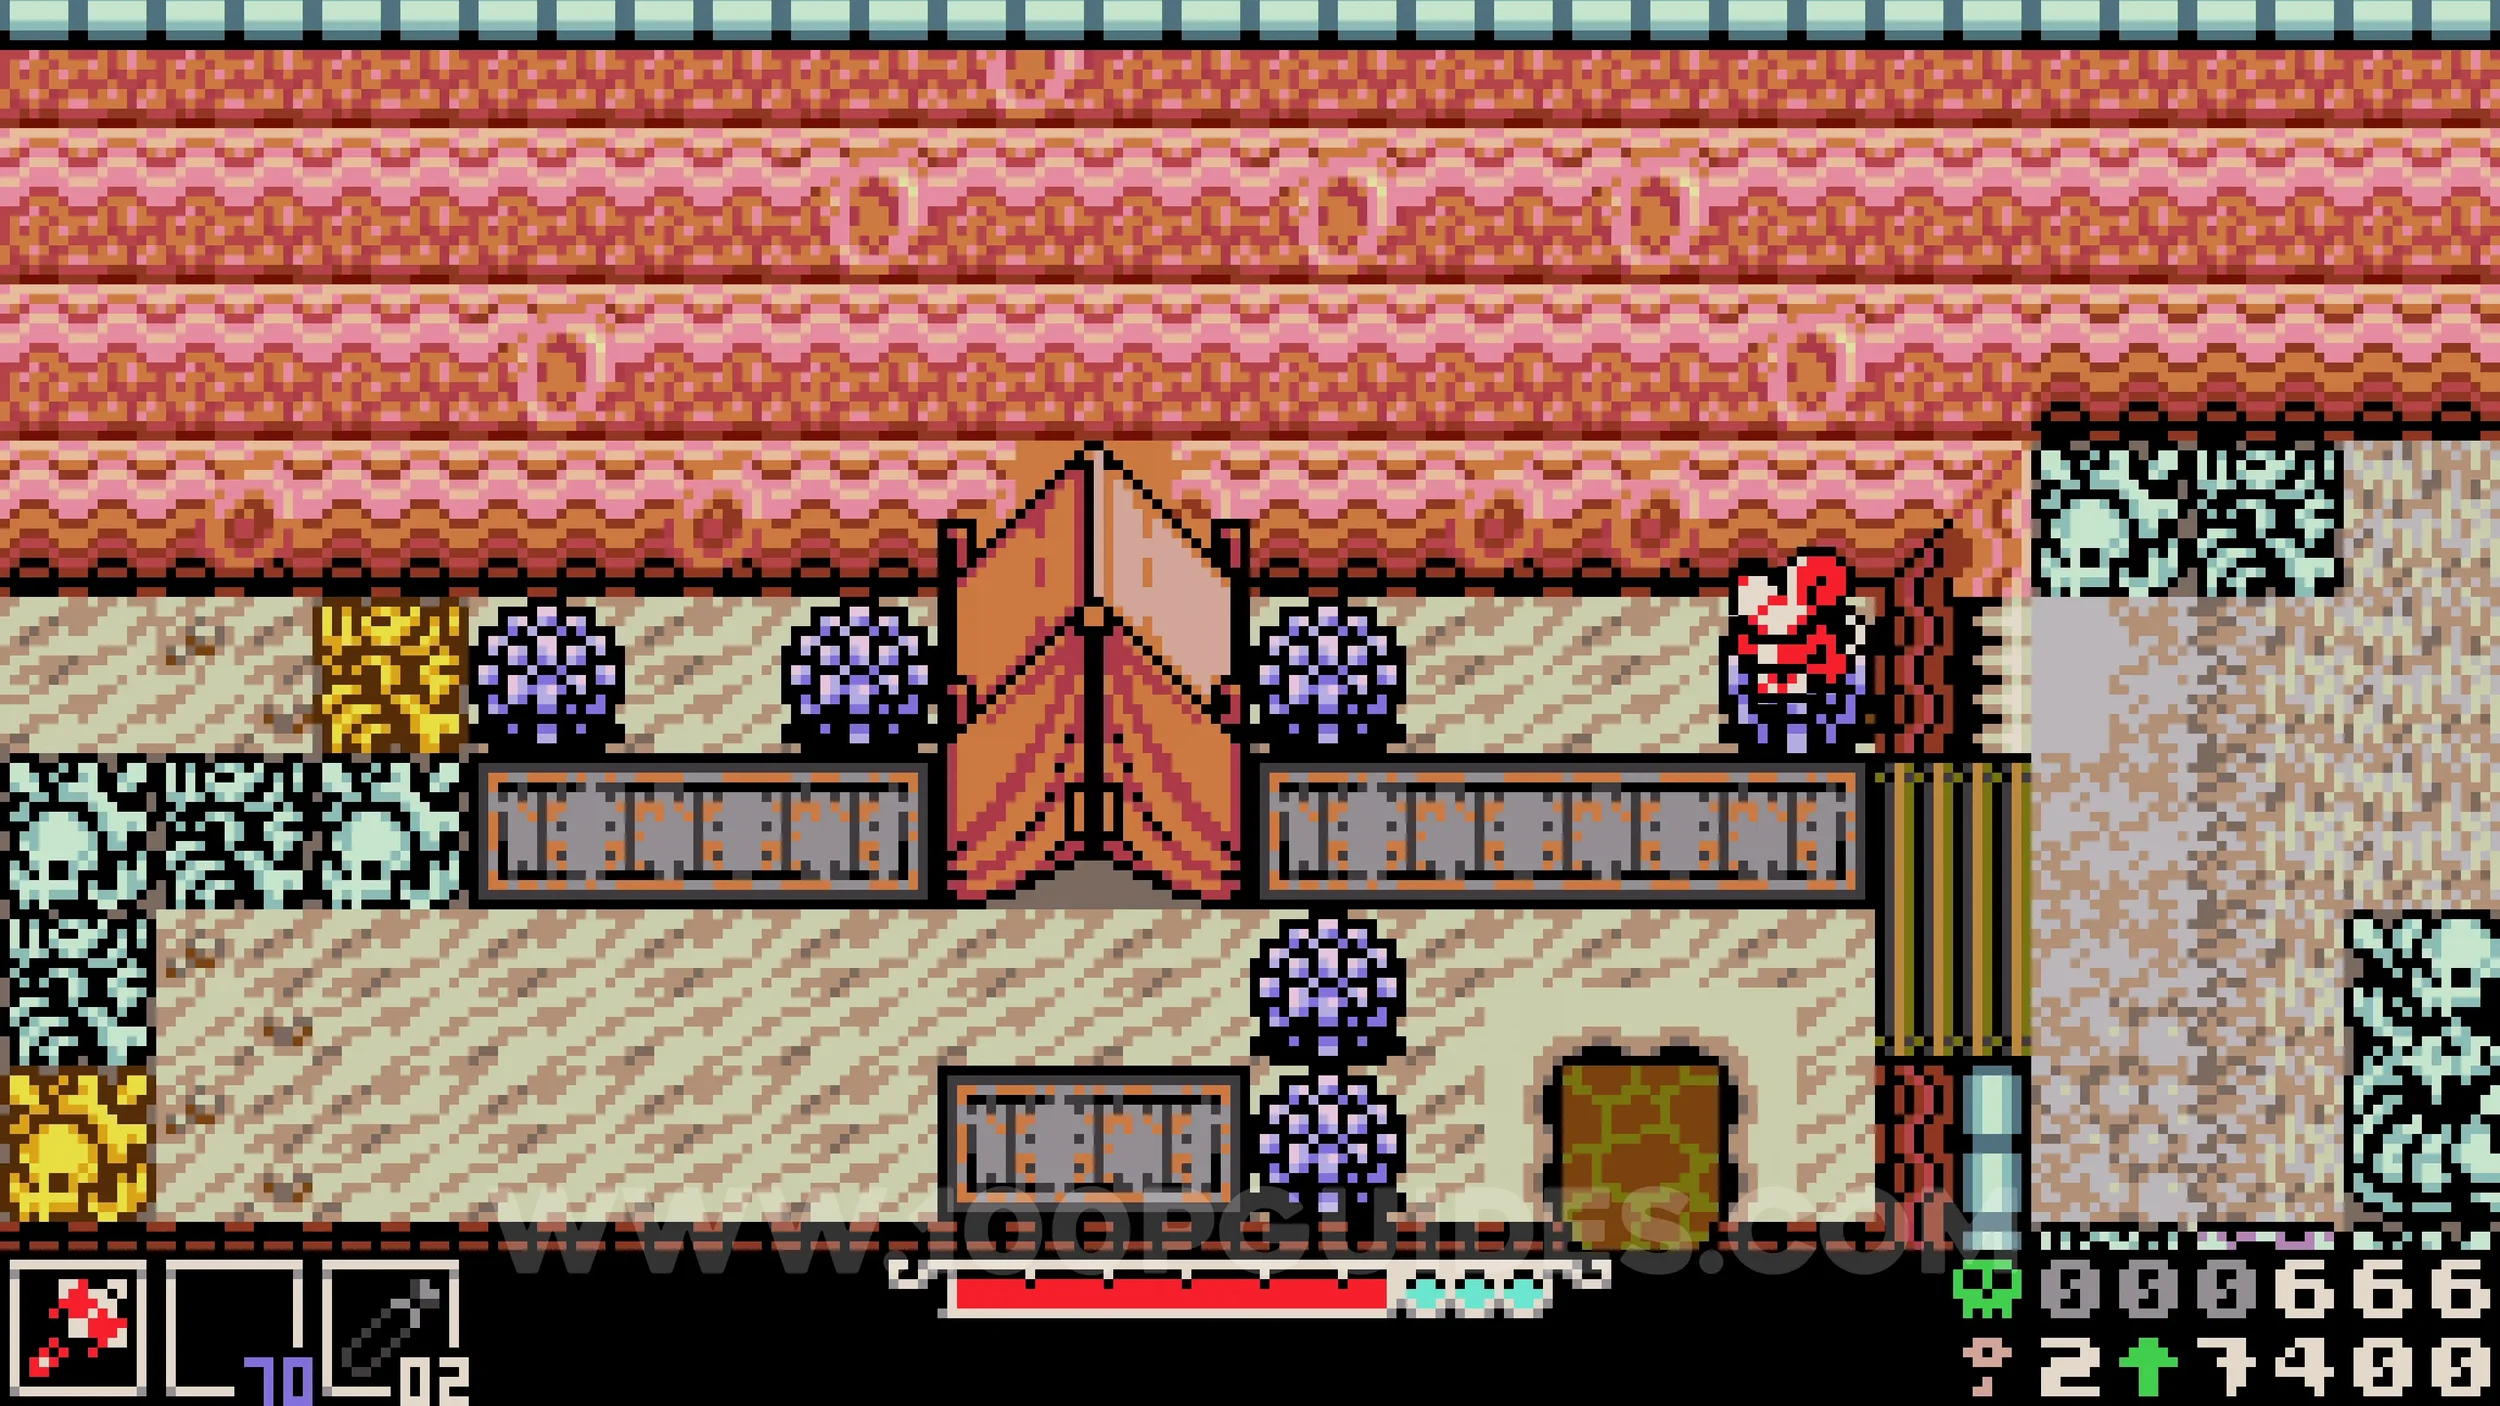
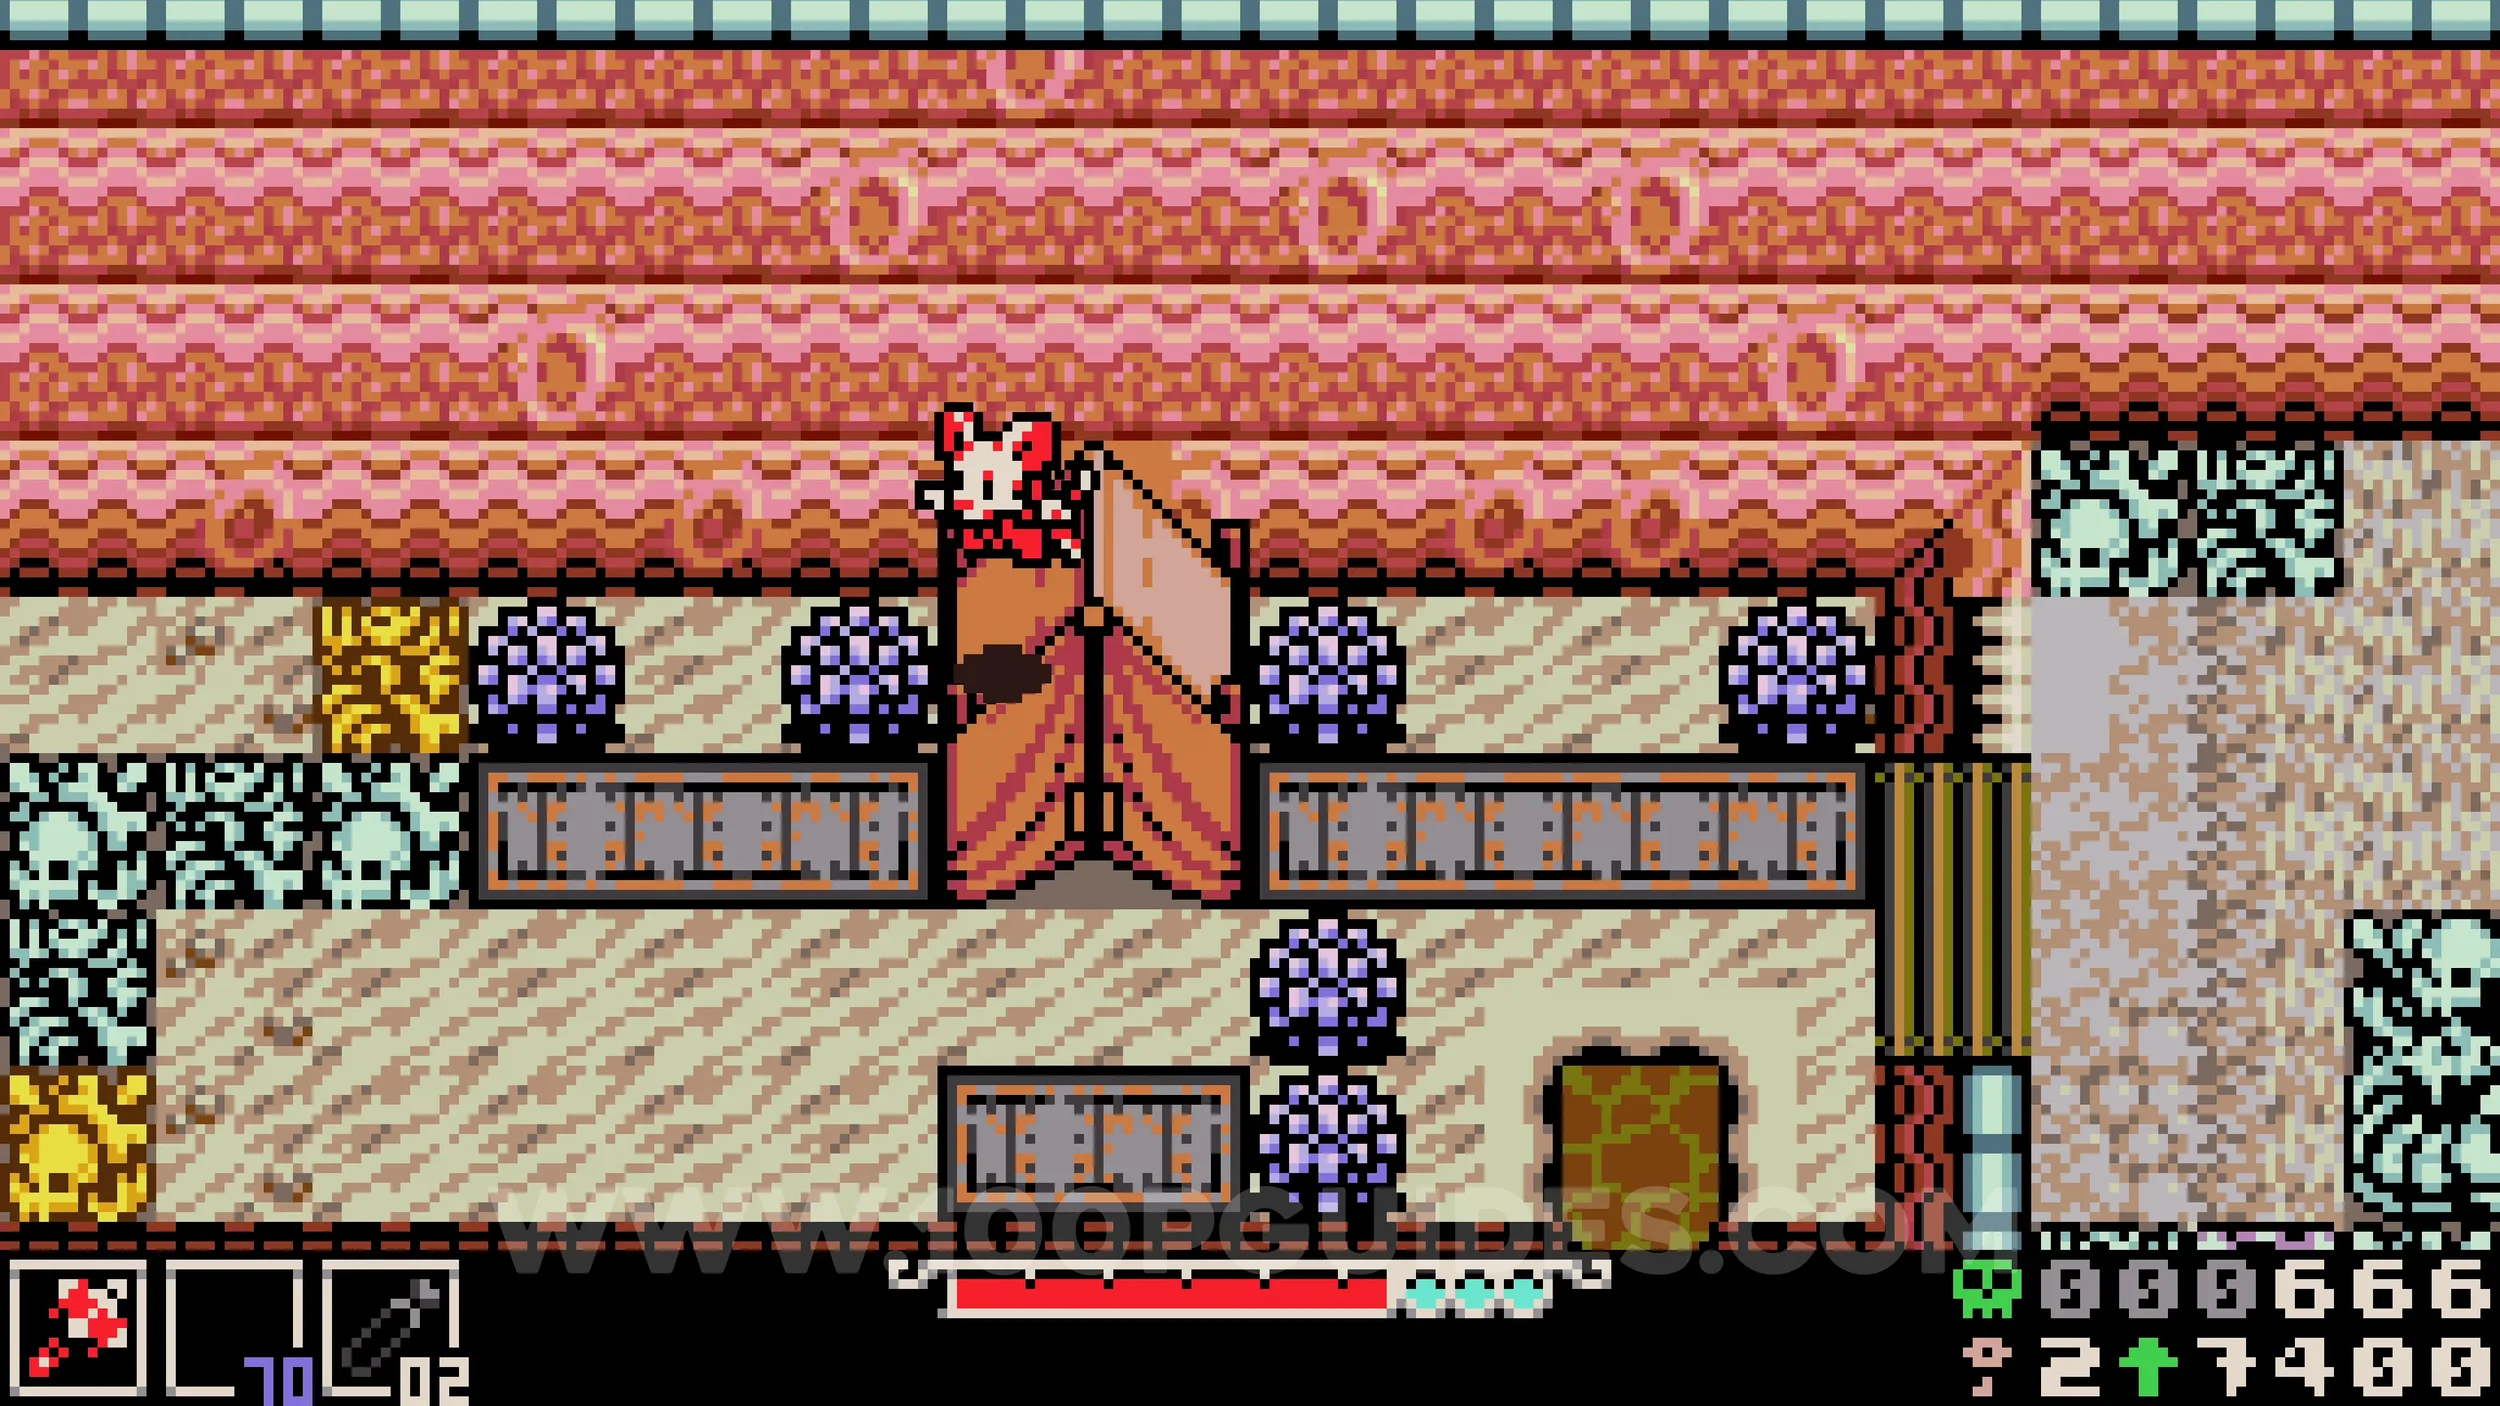
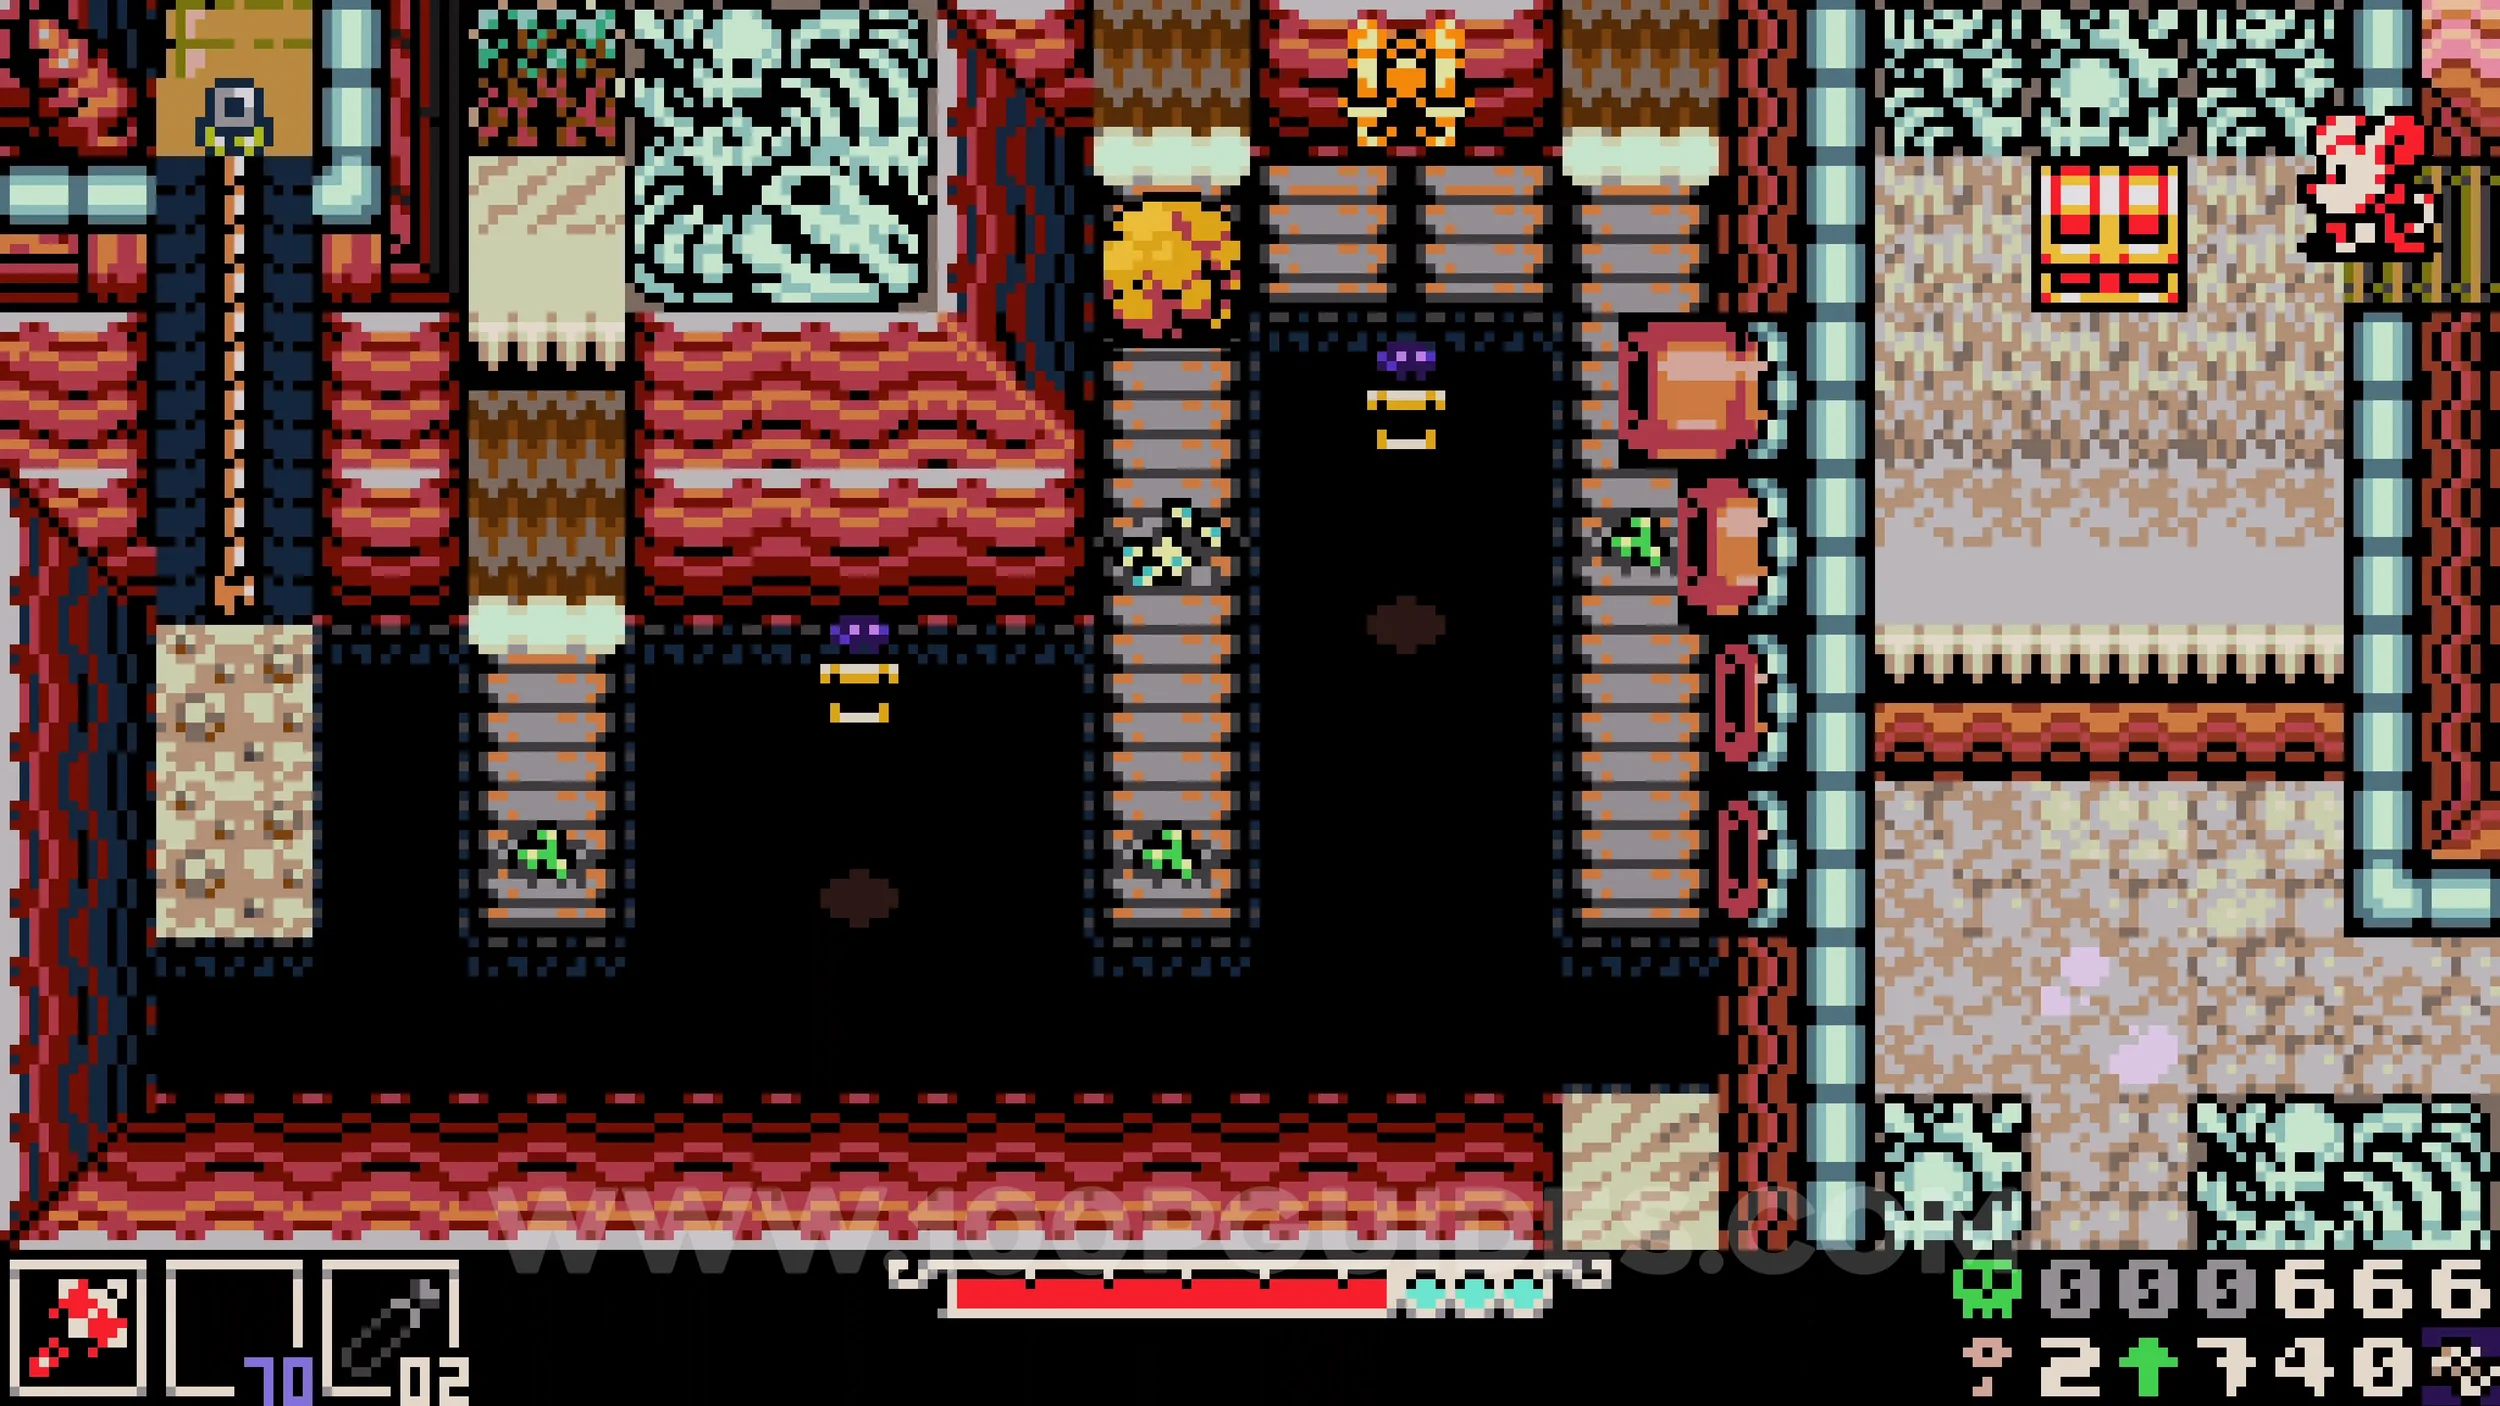
Bonestone #10. Continue right from the tent where the previous collectible was and then take the wooden path down to the right to find it at the end.
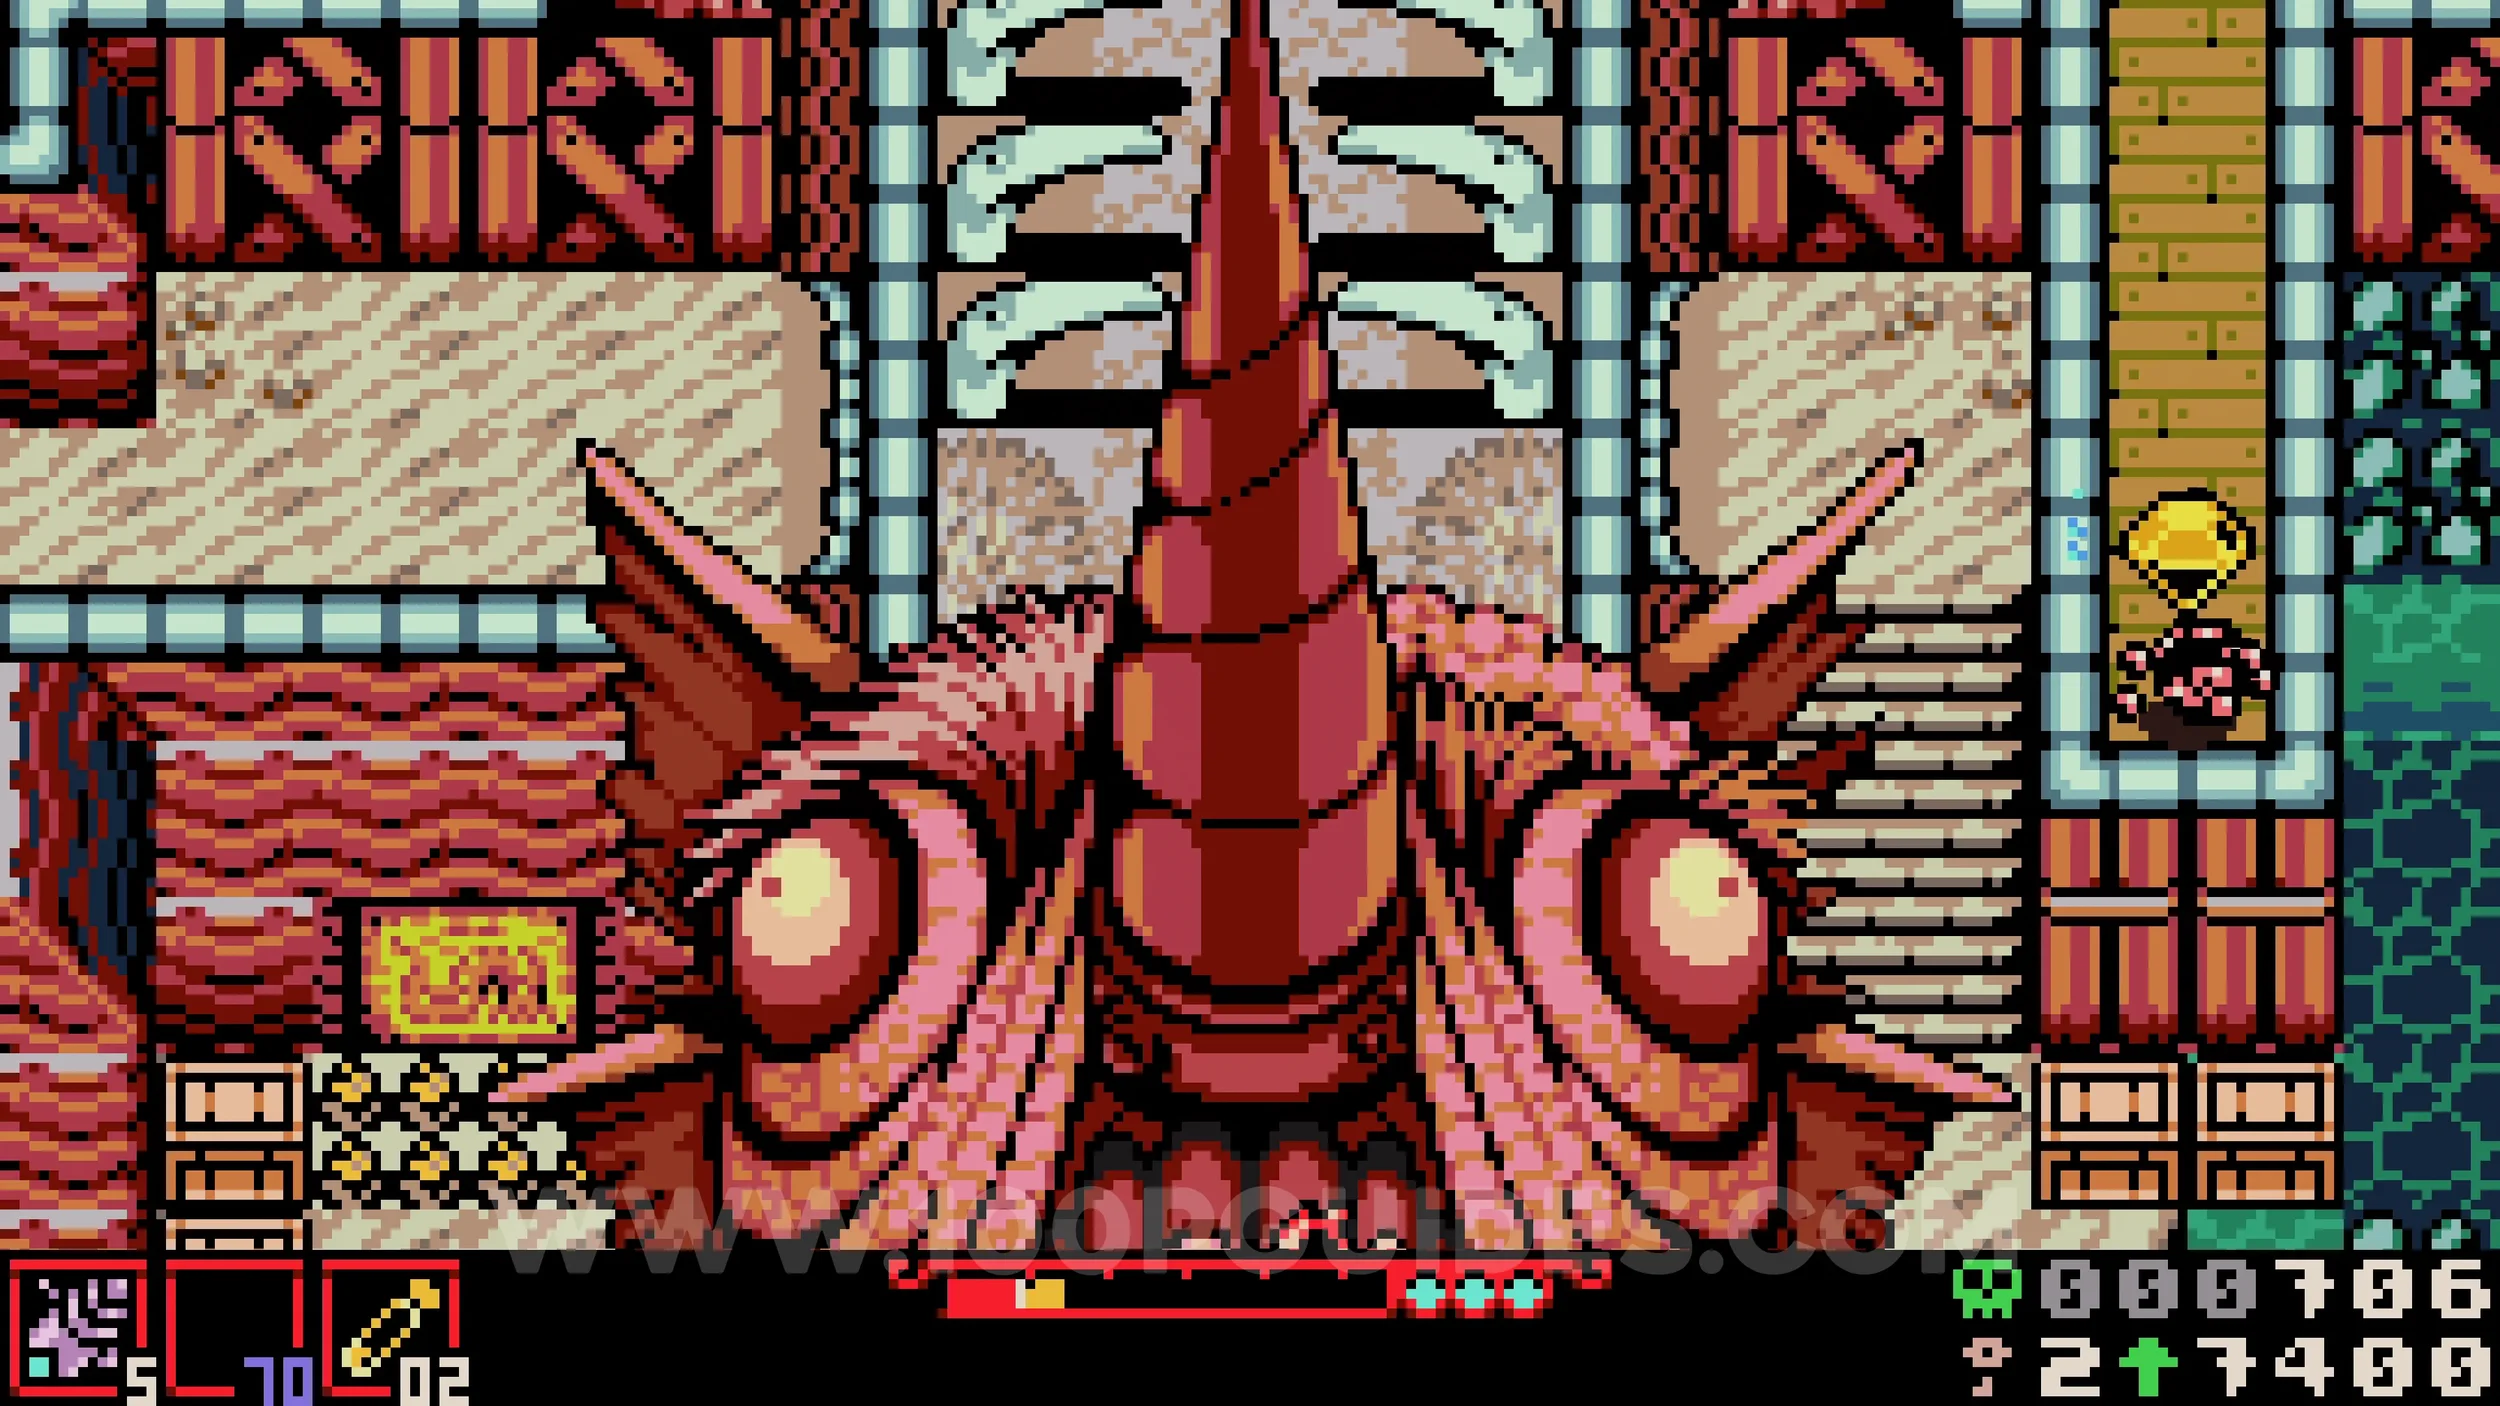
Kear #3. Once you reach the very large area inside the creature where you defeat the brain enemy in the center to access the upper area, ascend and use the grabbing hooks to reach as far as possible into the bottom right corner. You will fall onto a path in the bottom right of the lower room, where a key lies on the other side of the obstacles to your right. Wait for a jump pad to emerge from the hole on the right and use it to bounce across to the key.
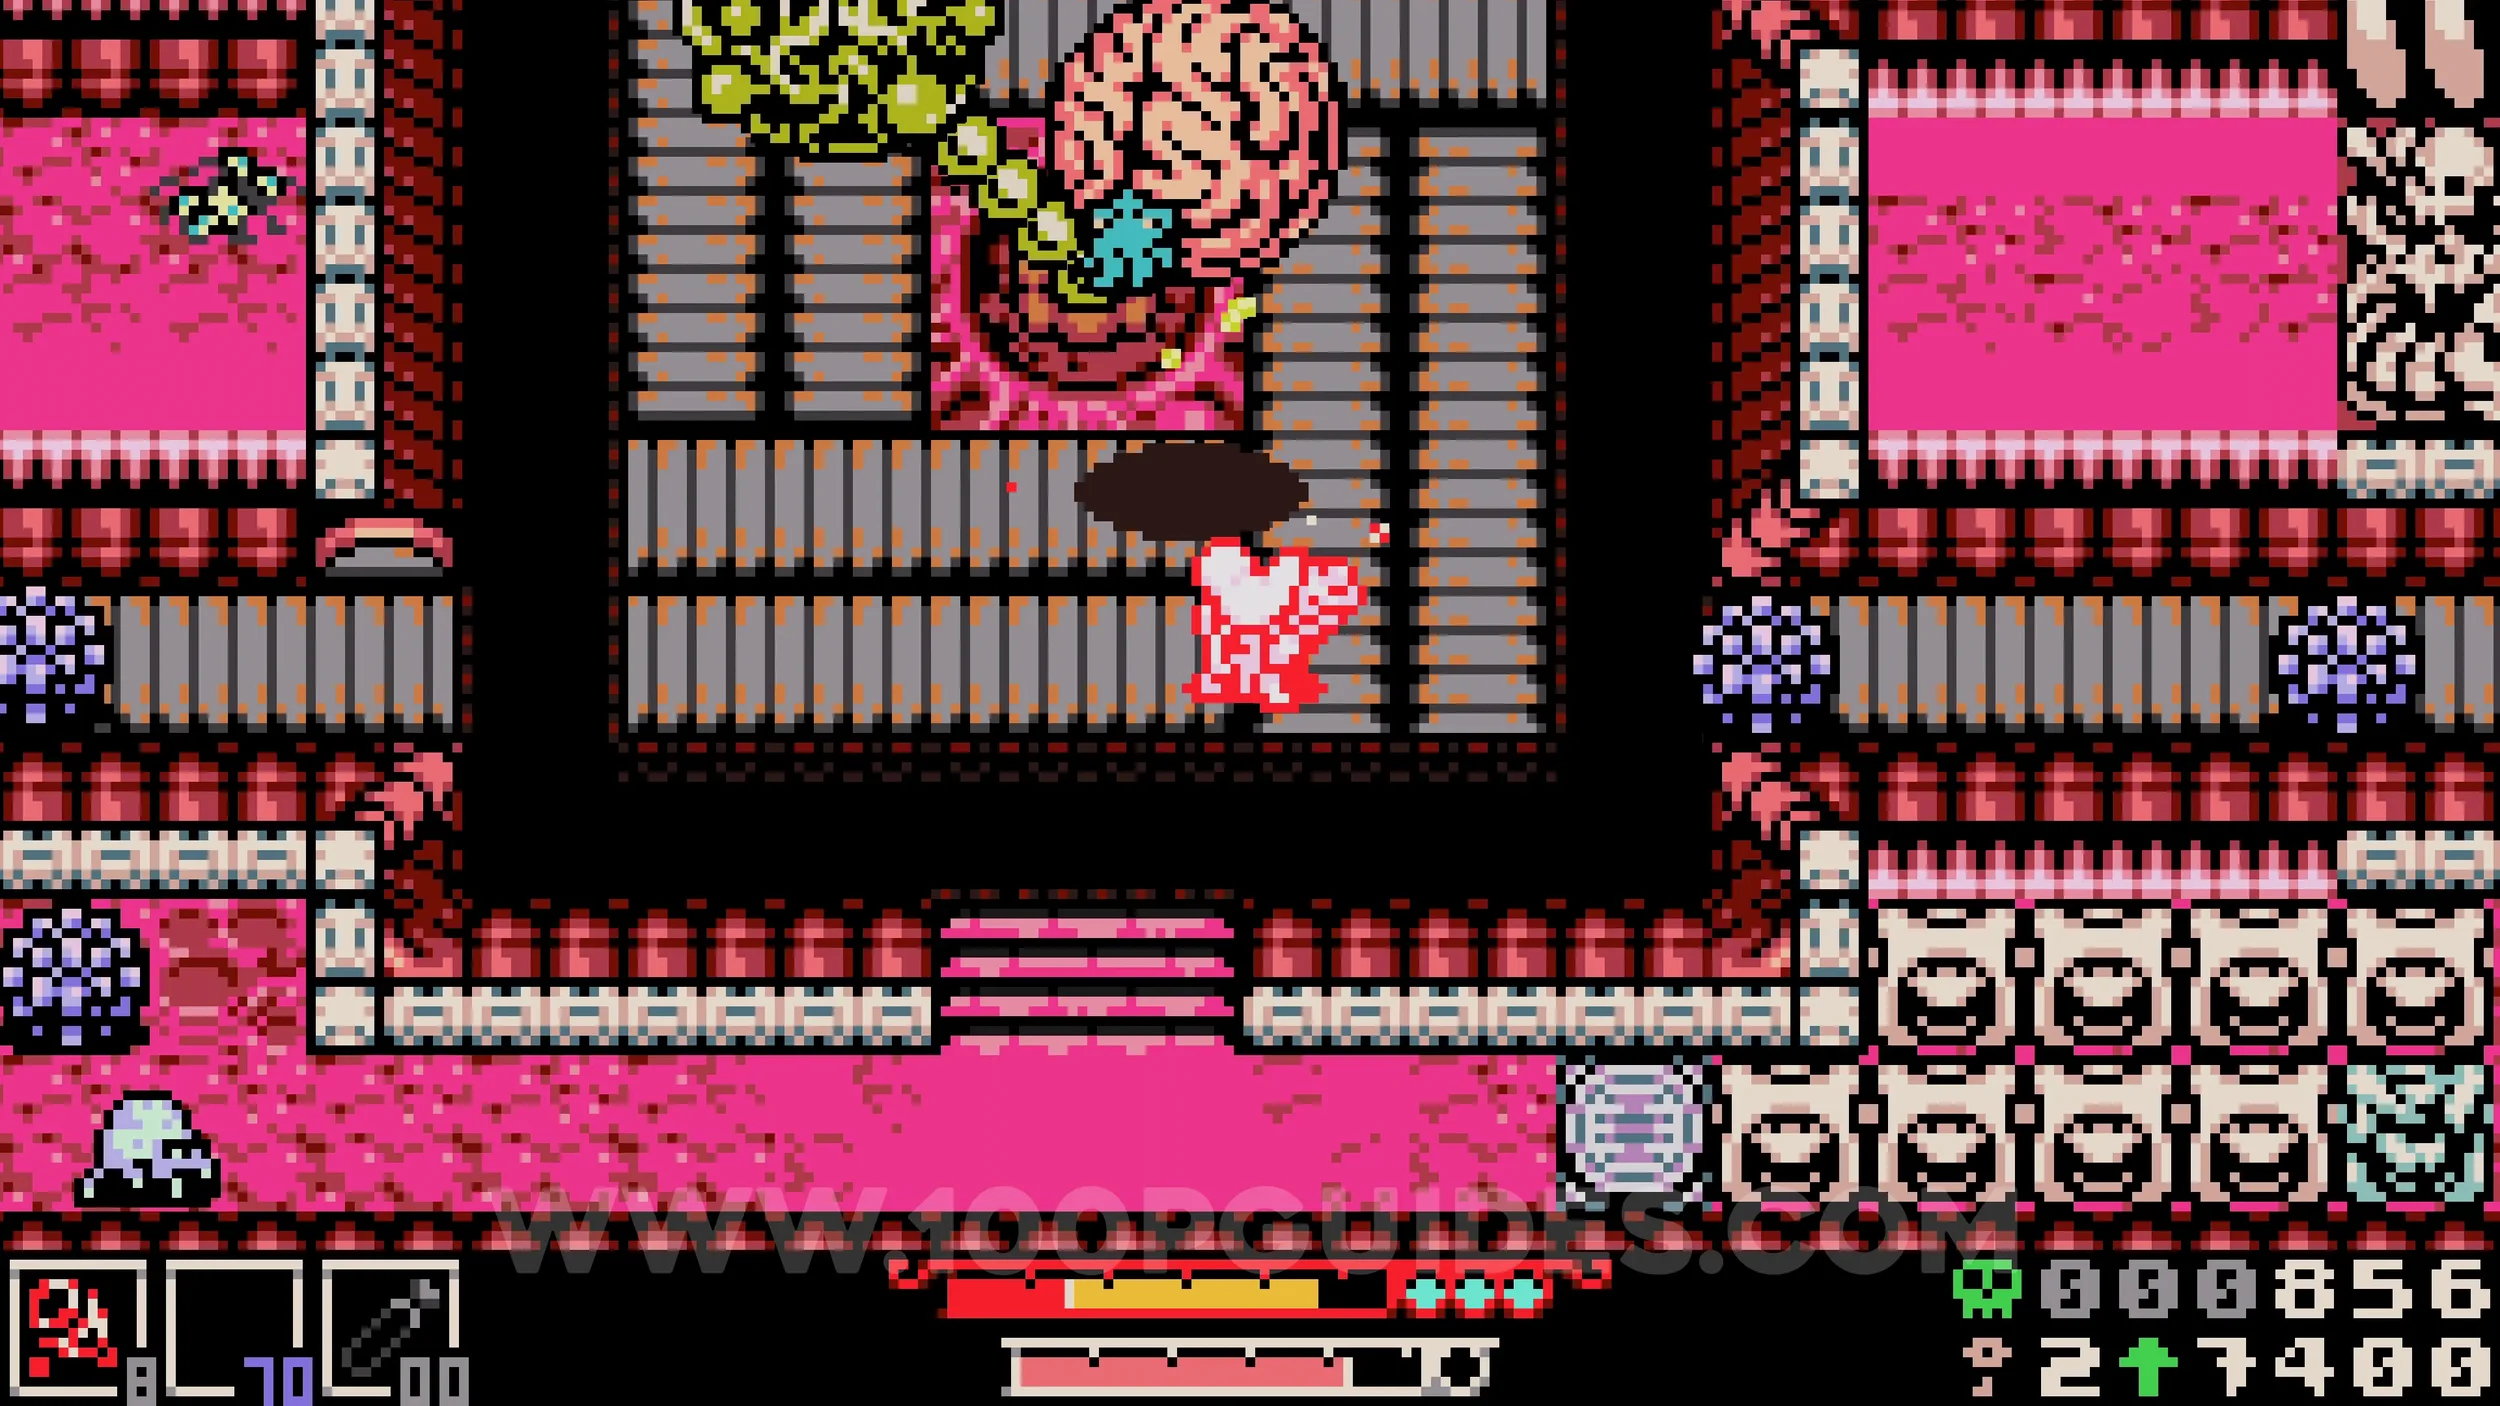
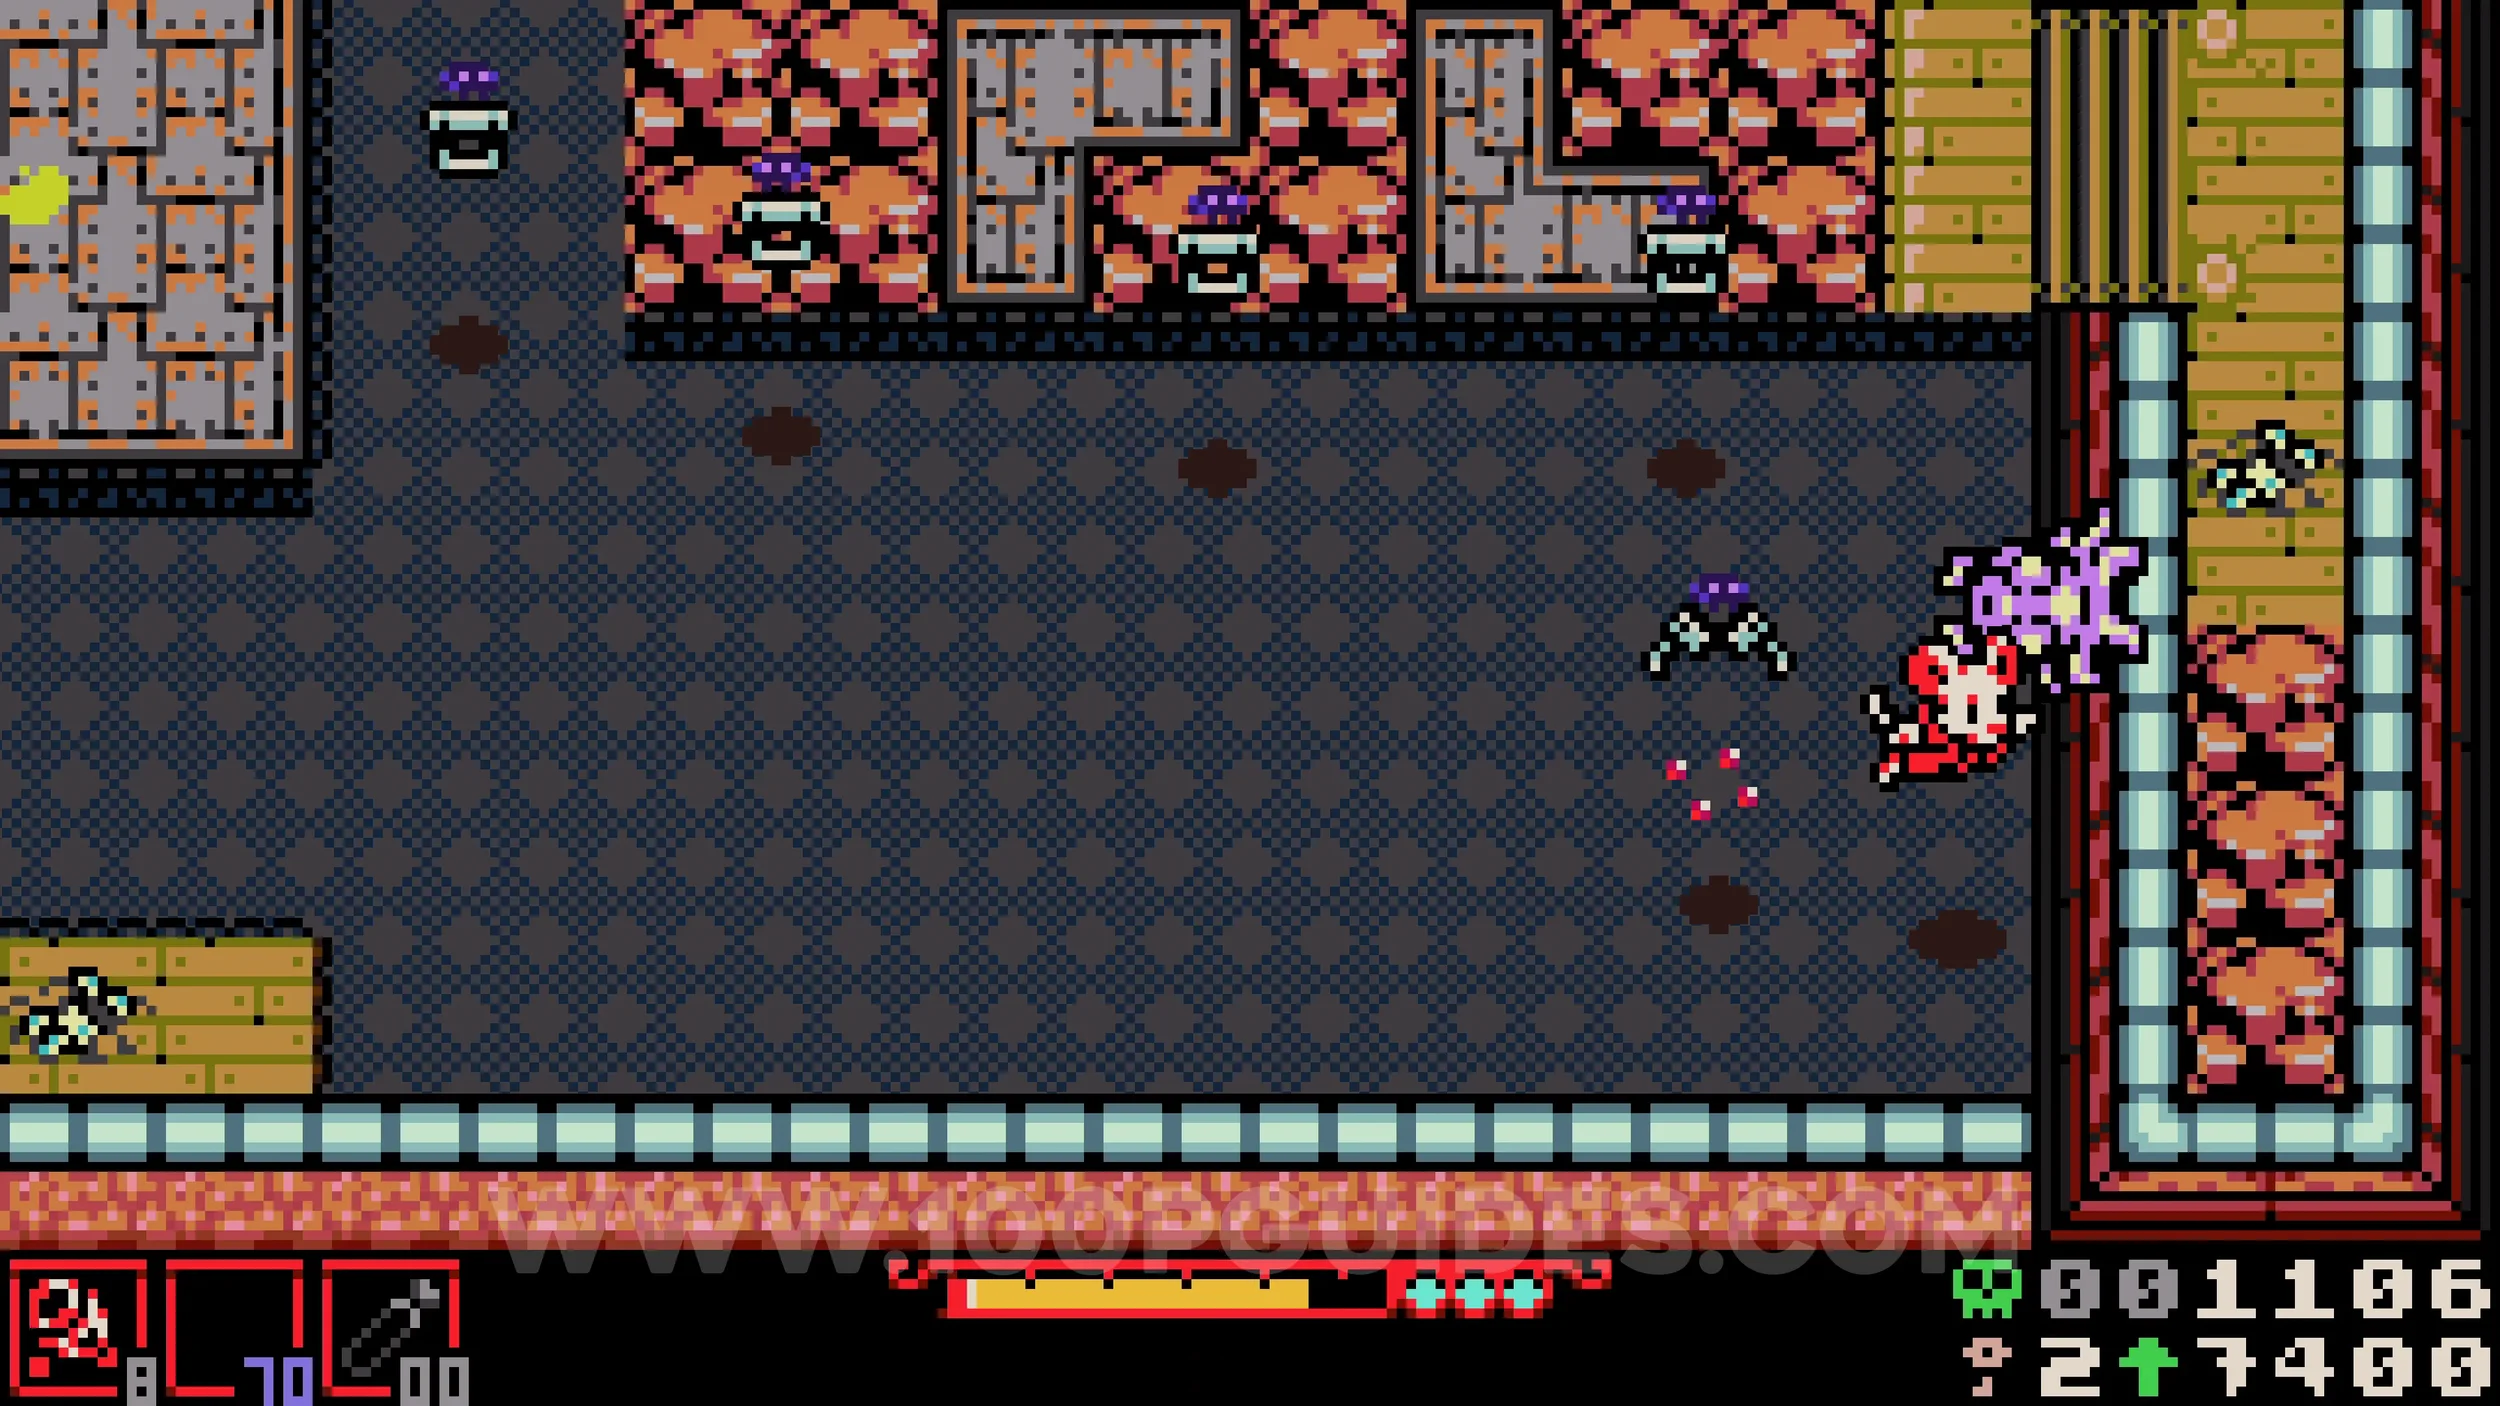
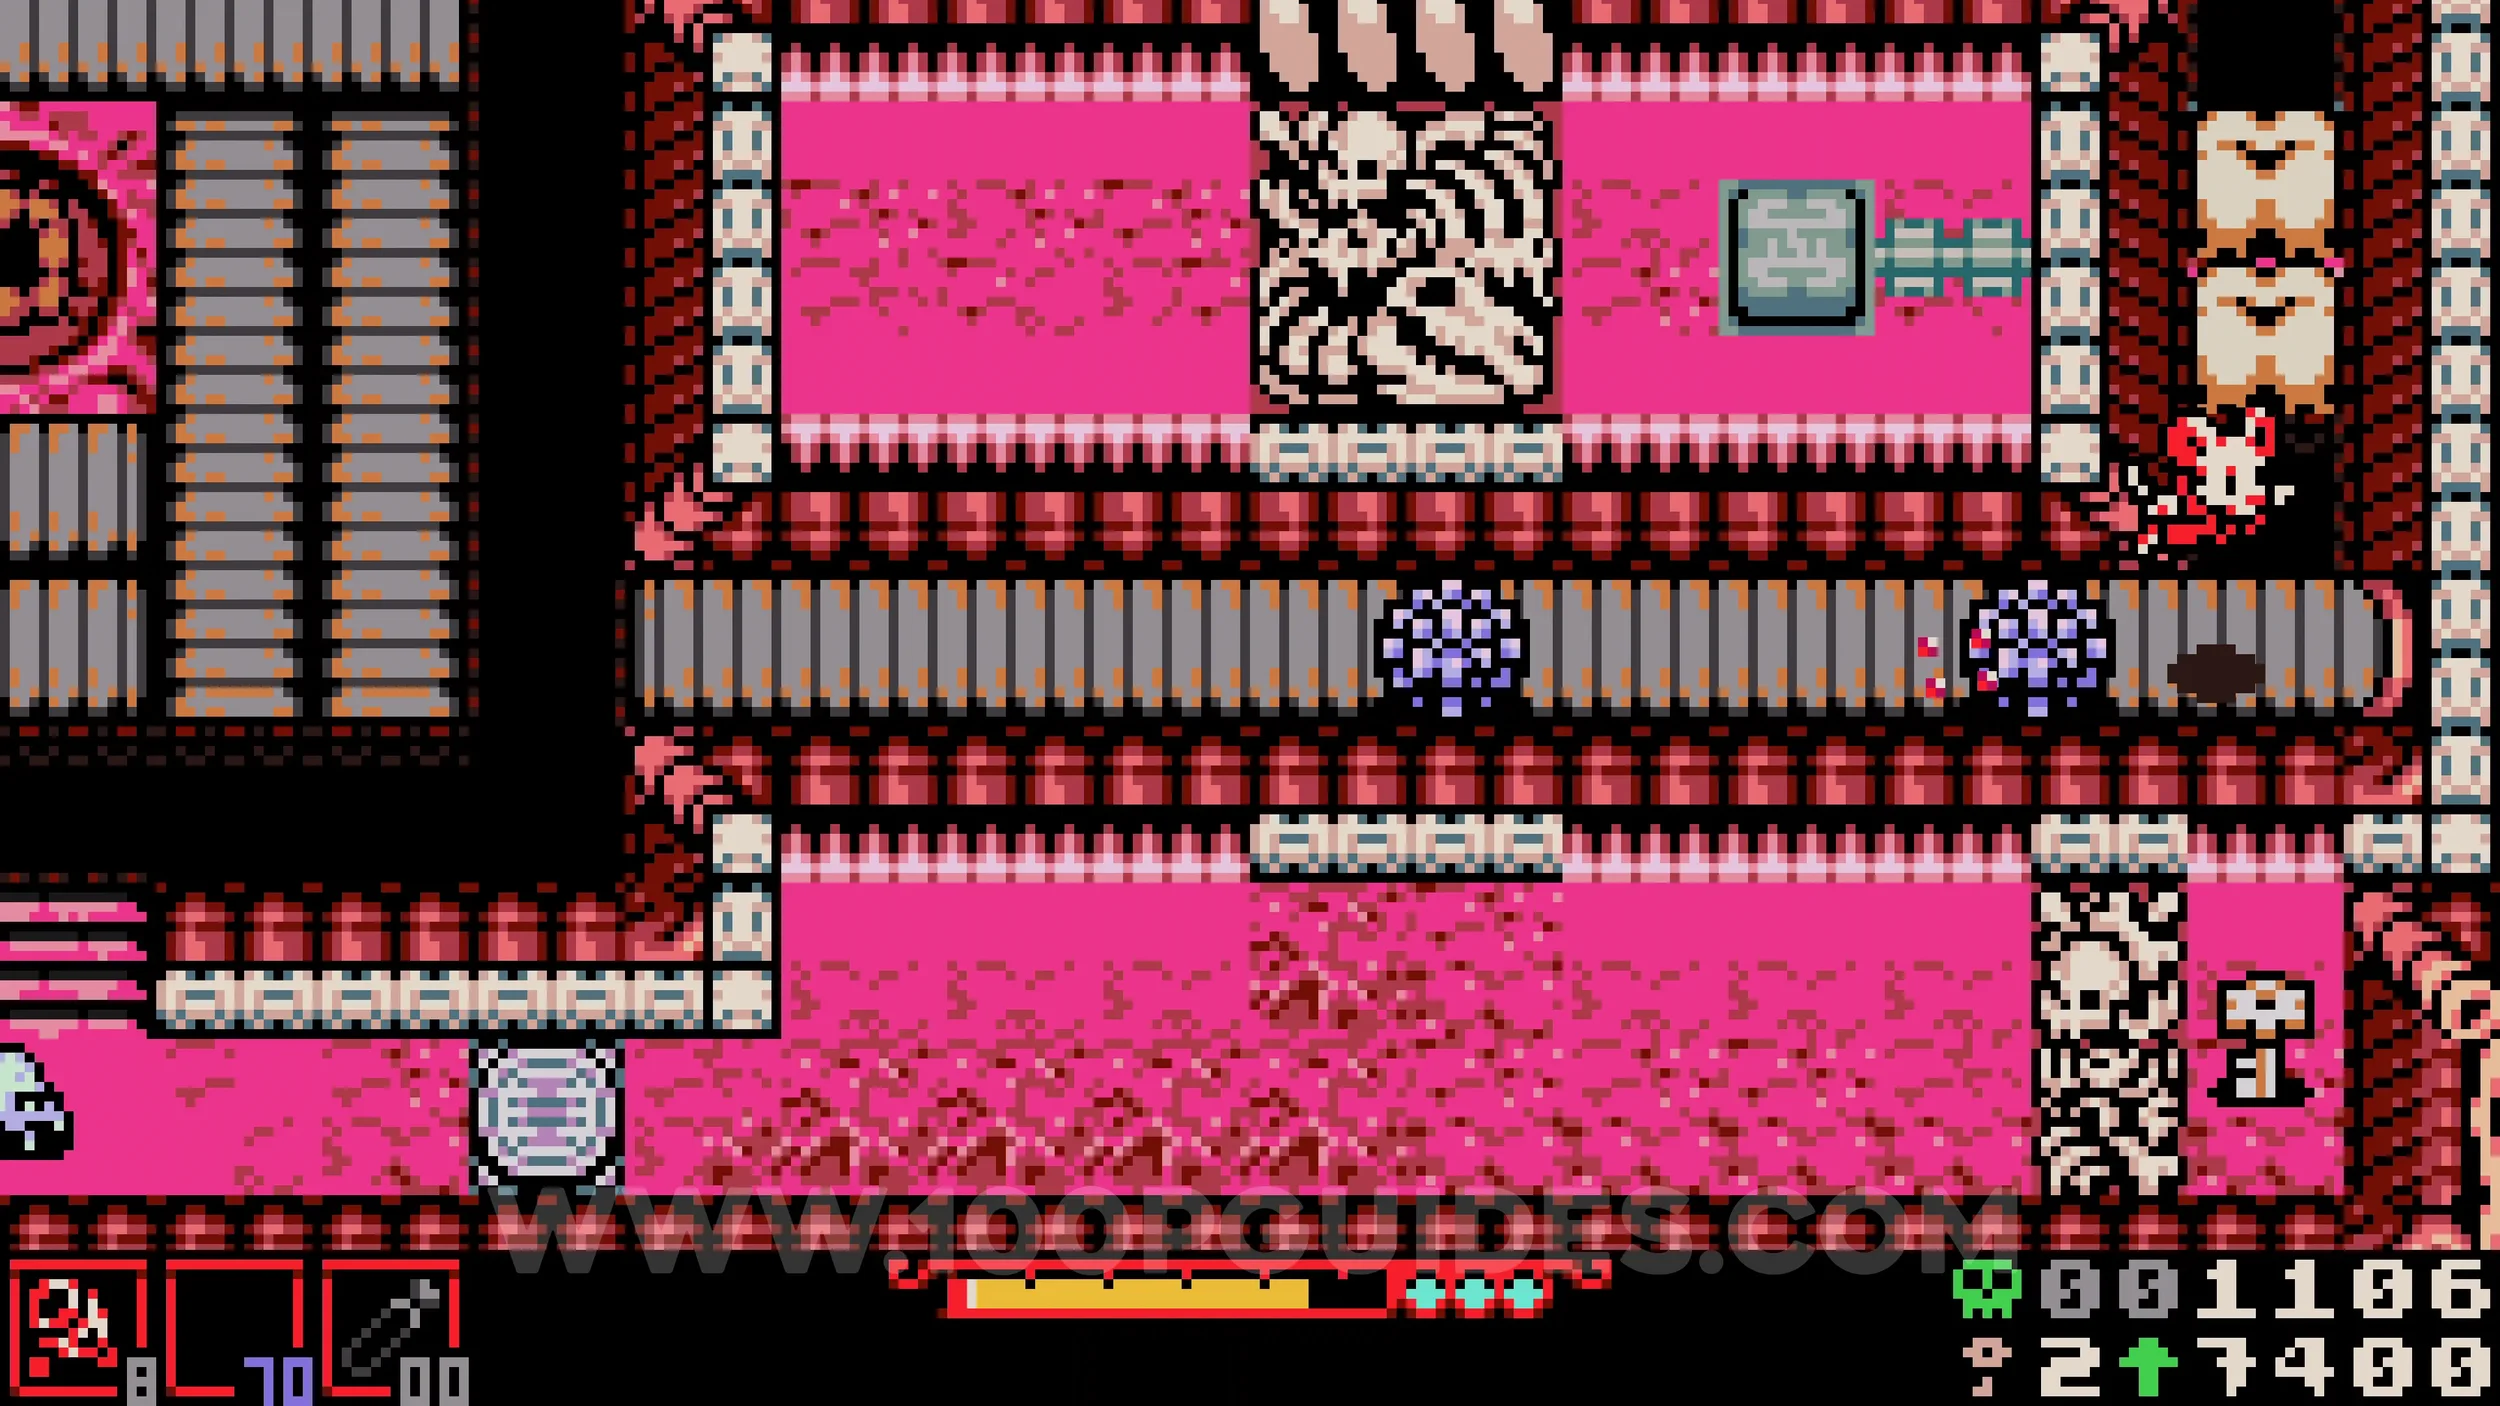
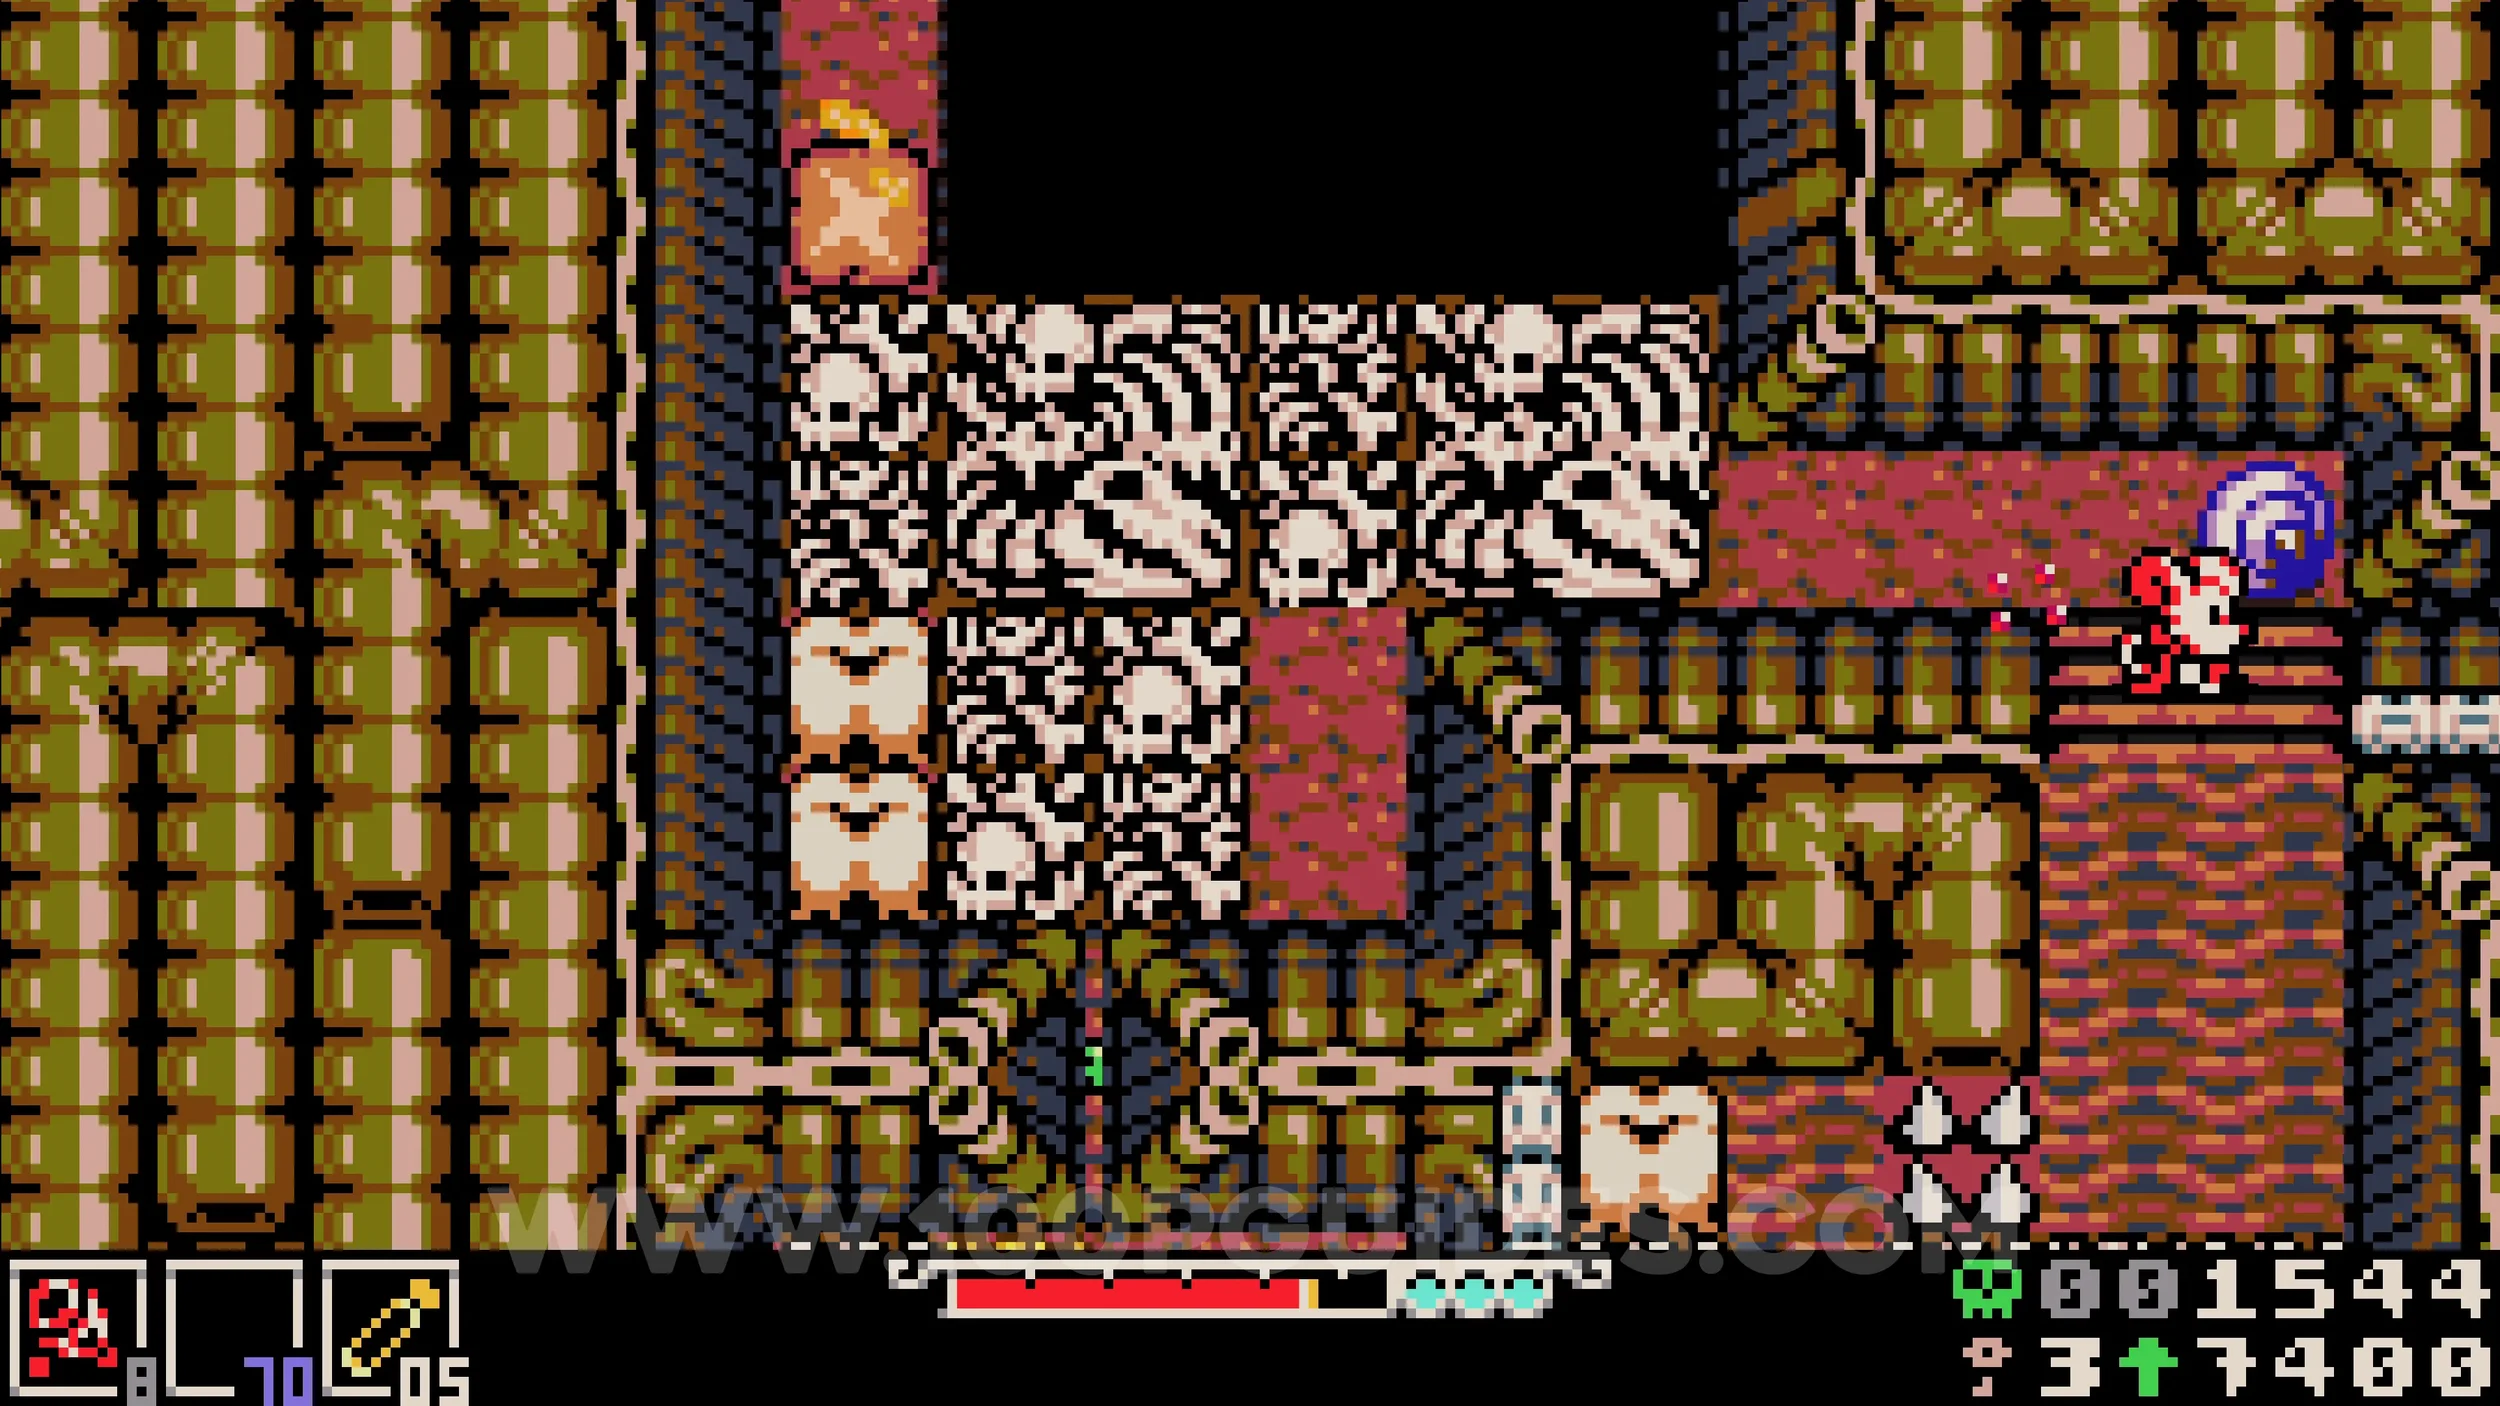
Bonestone #11. After the previous large room where you press 2 switches, you will arrive at another massive room with an autoscrolling camera. After passing 3 green slime ball enemies, look for a section on your right that moves in and out of the screen. This section has a small set of stairs at the top. Stand on the stairs and wait for the platform to carry you off screen to the right, taking you to a secret room where the gem can be found underground on the right side.
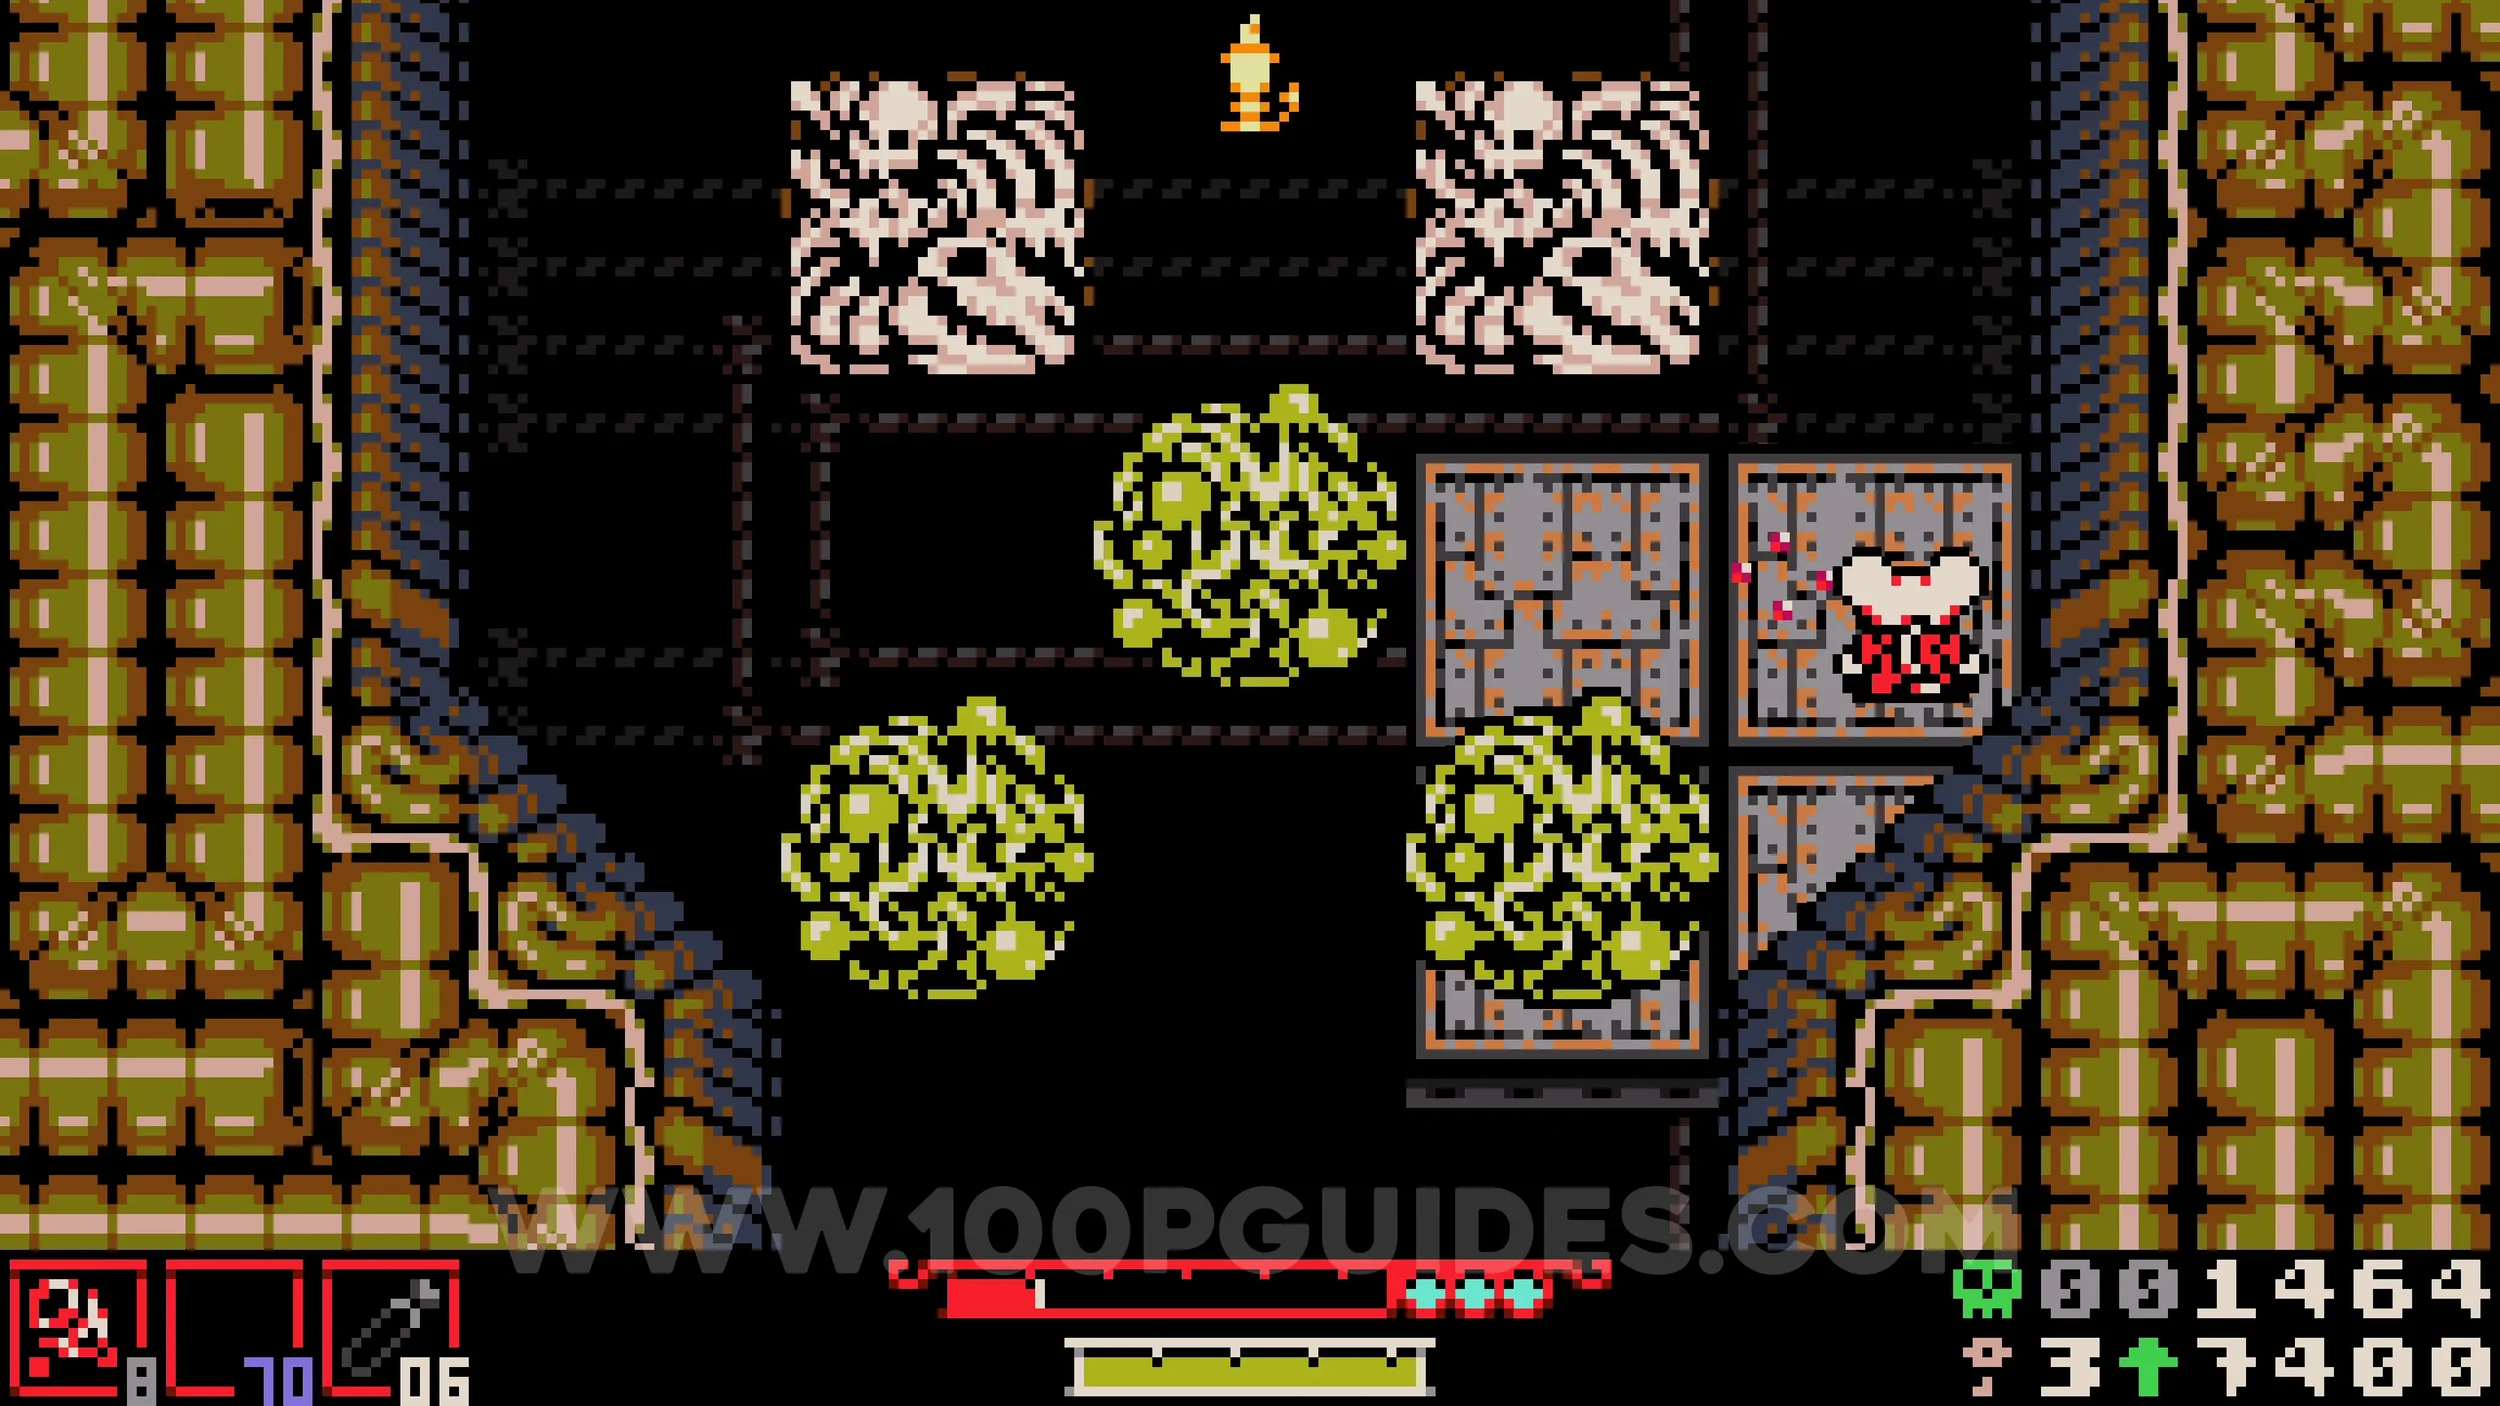
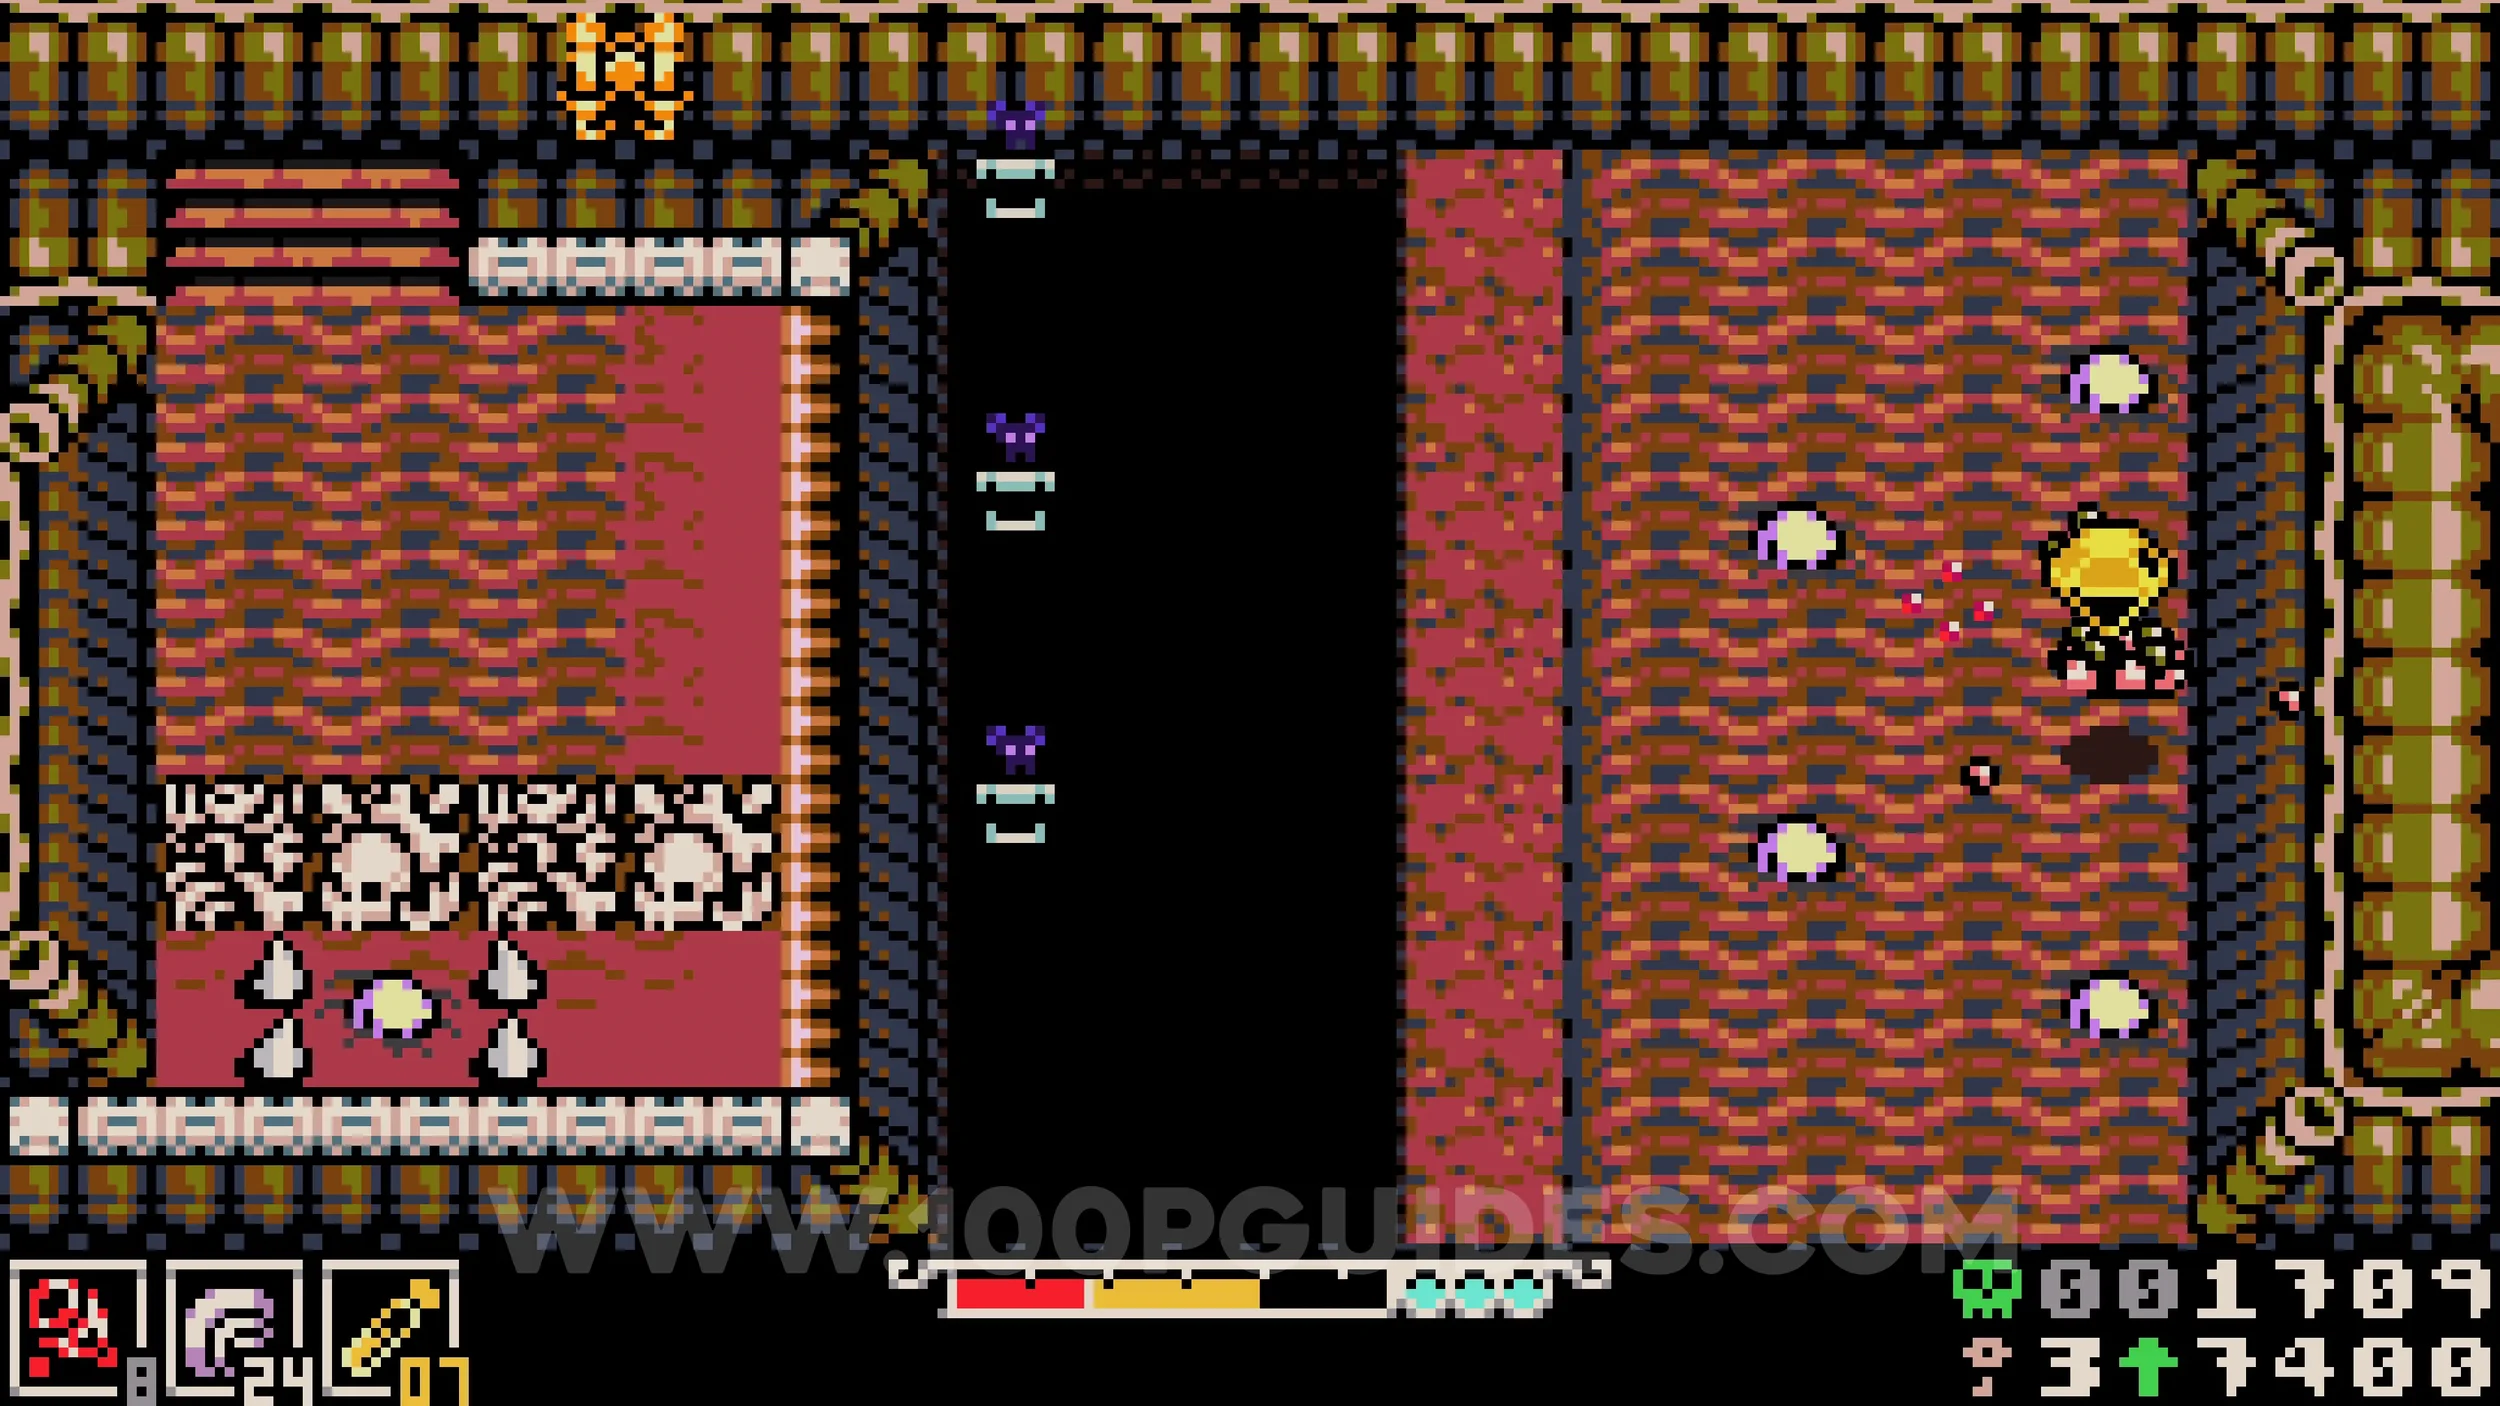
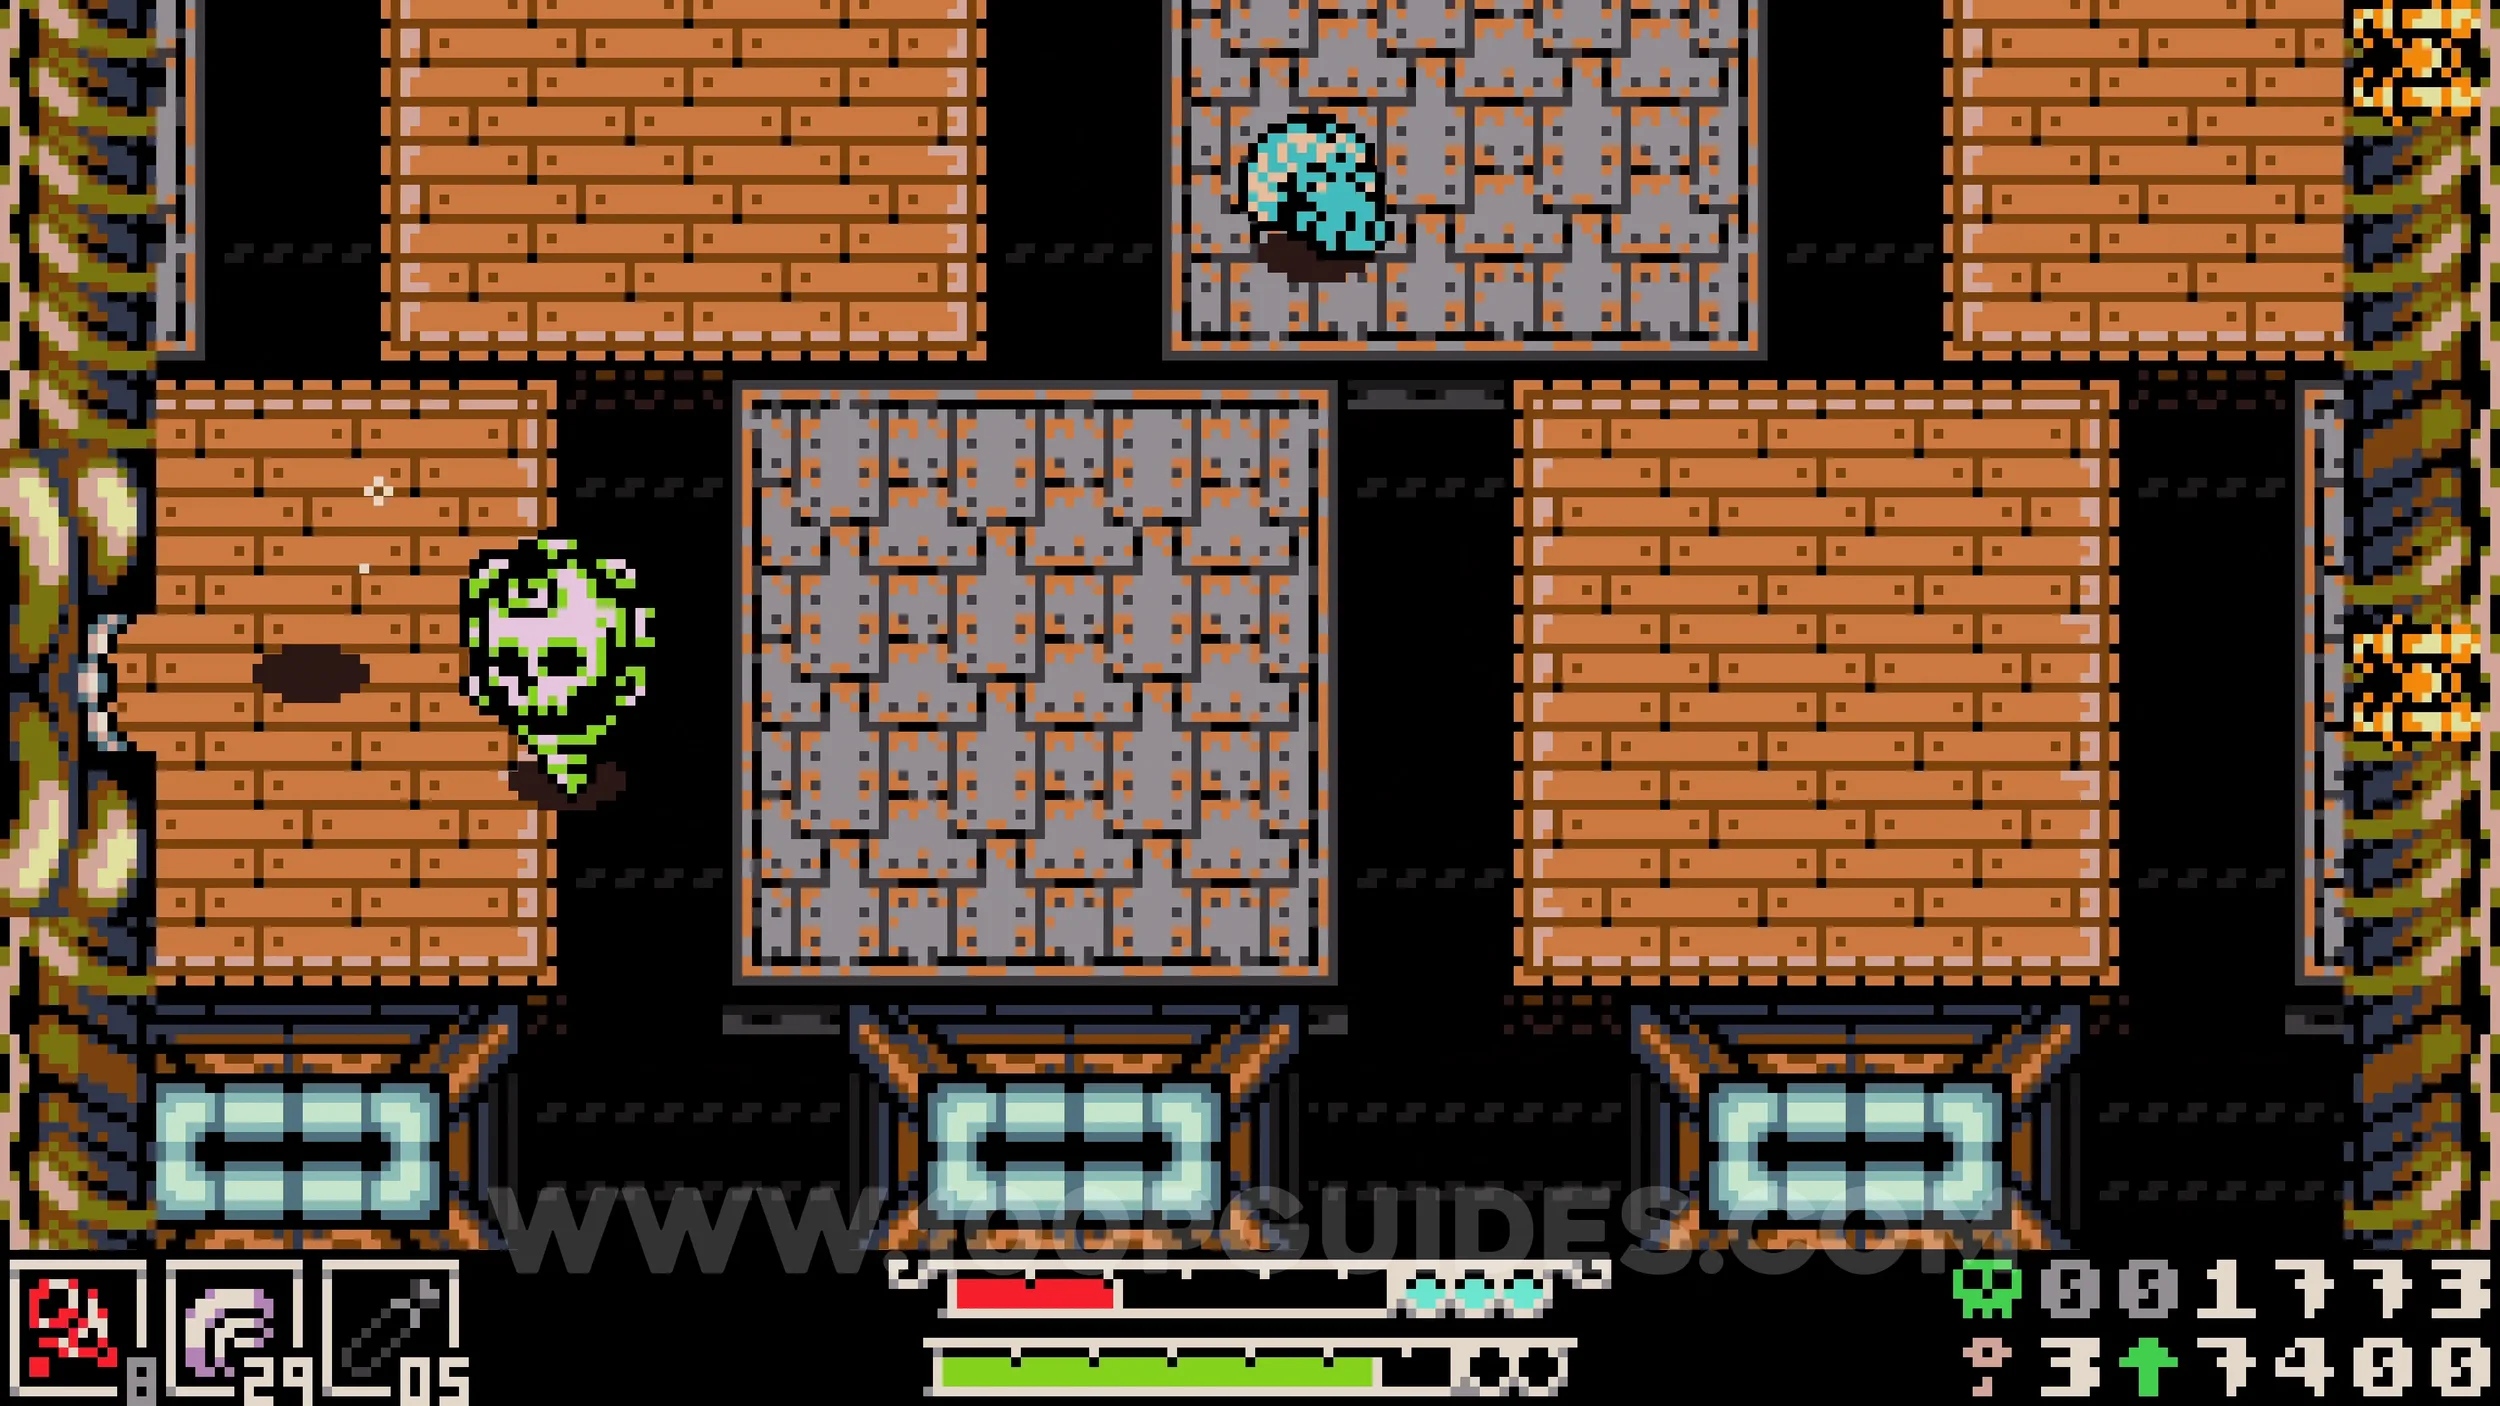
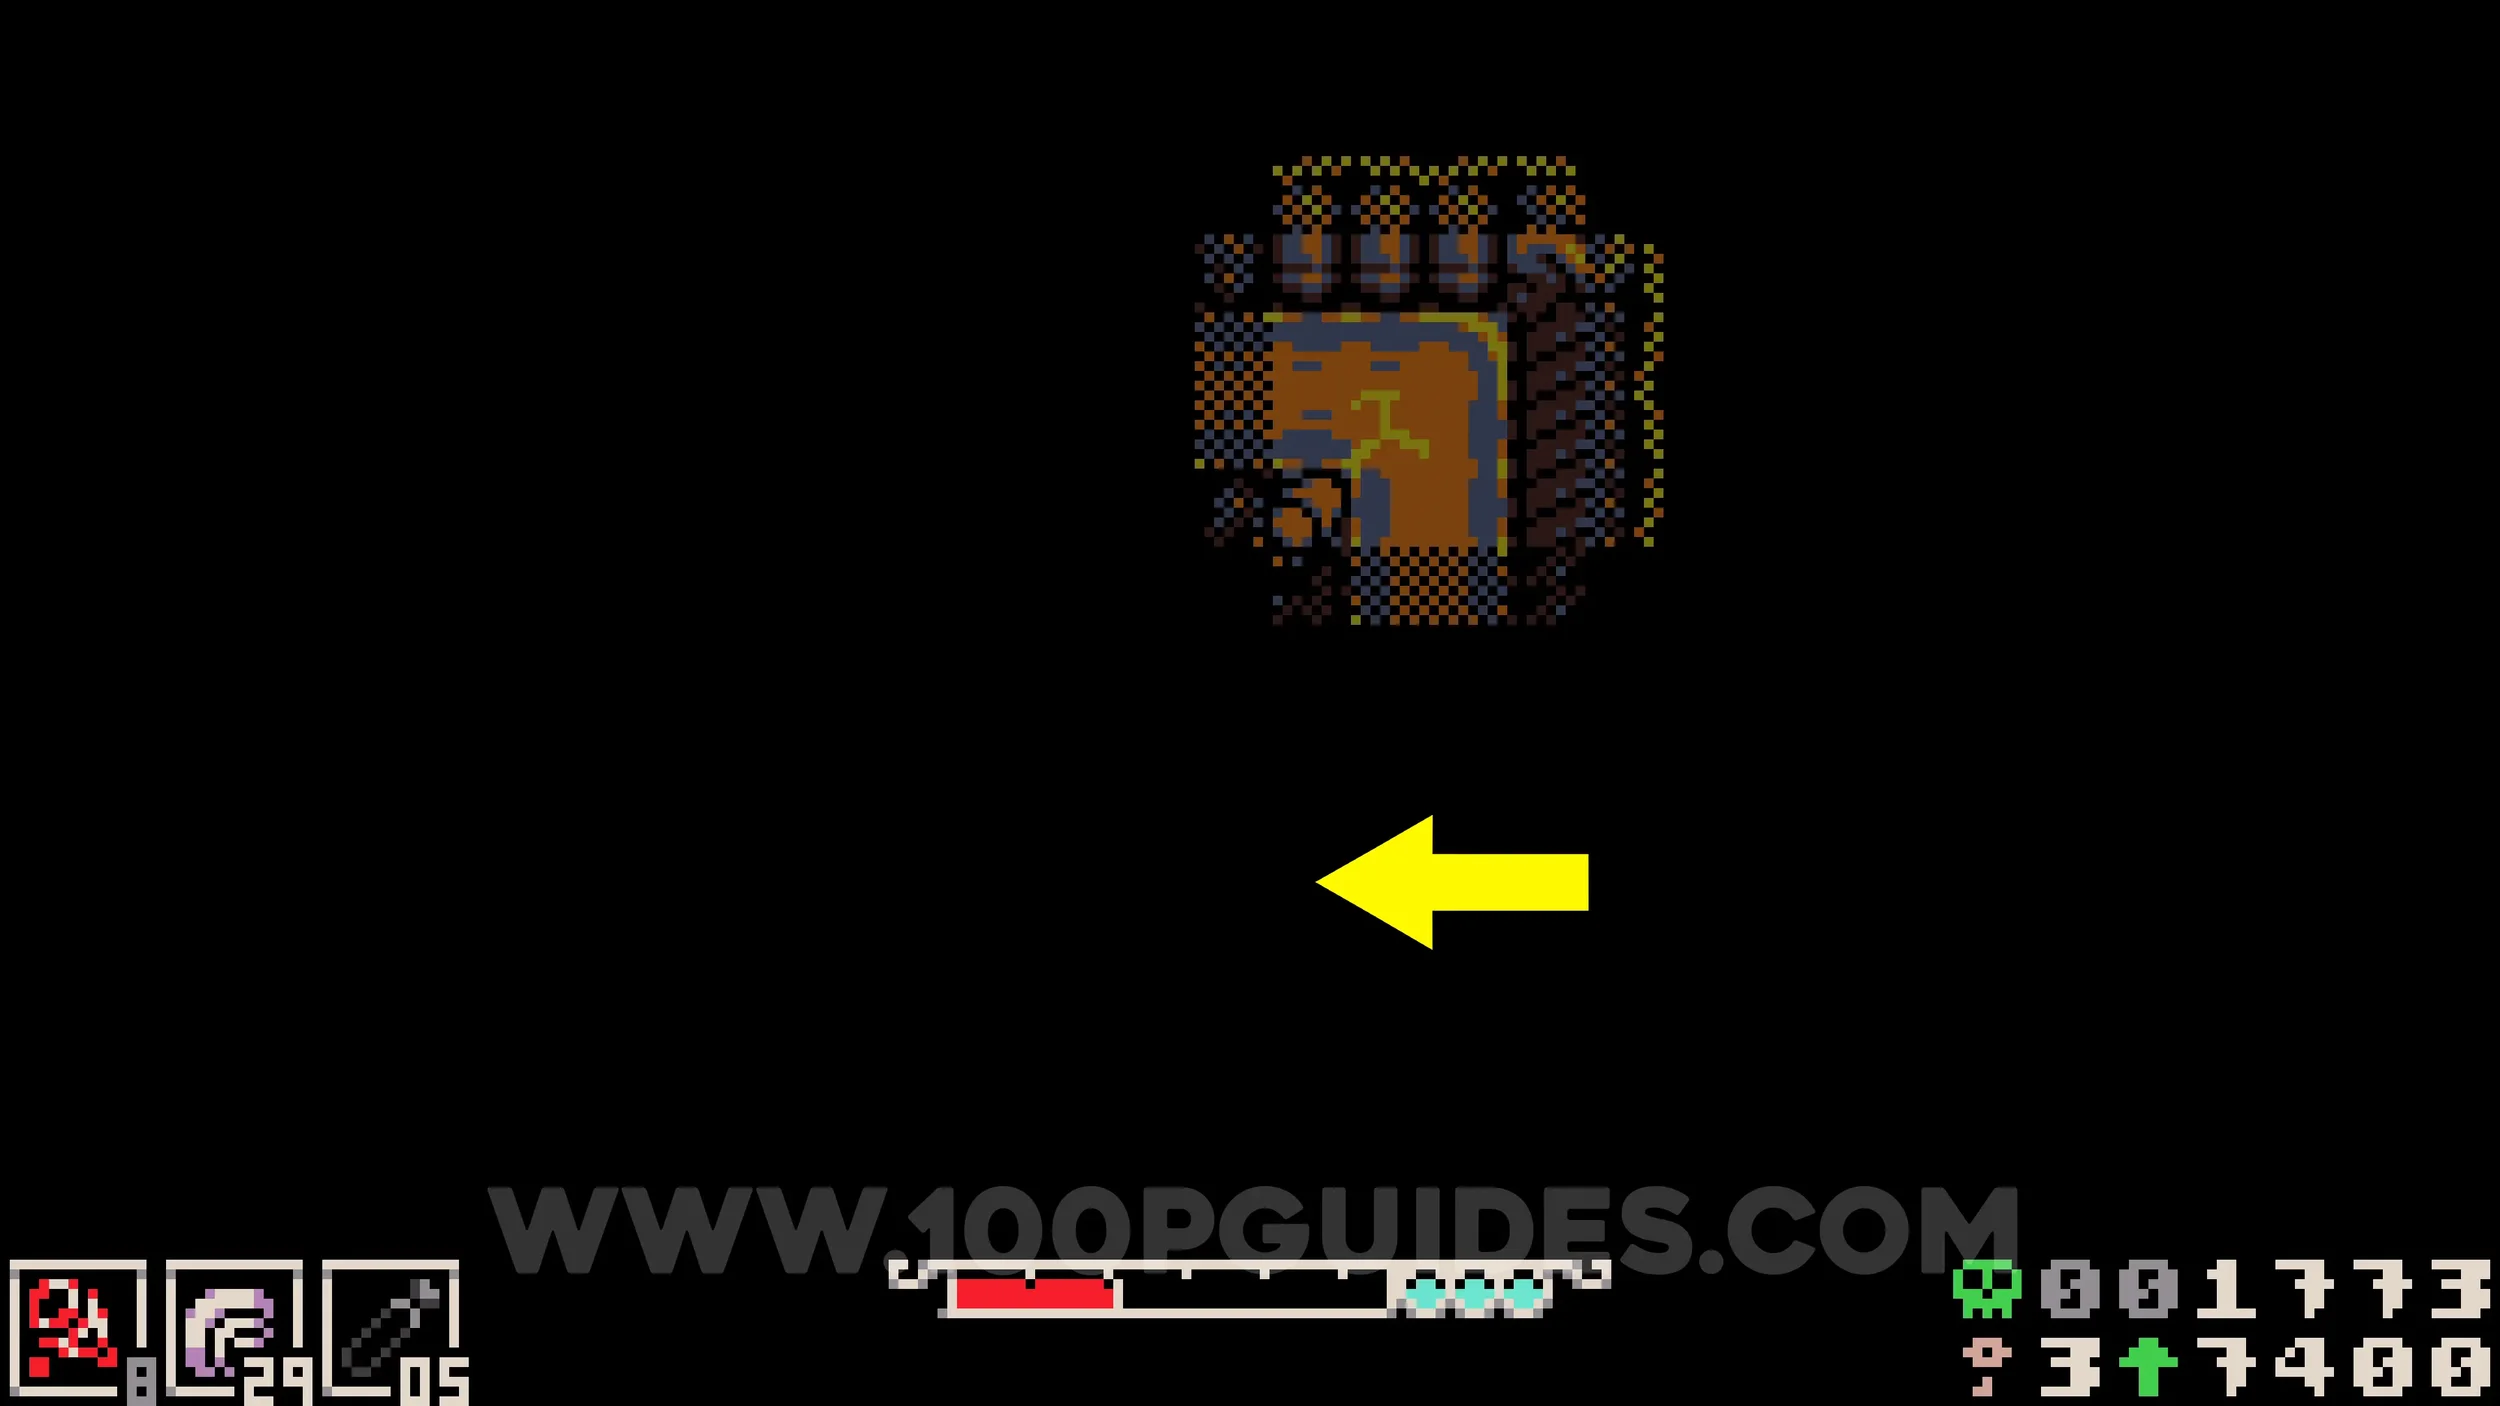
Bonestone #12. Just before leaving the autoscrolling room, look for a hidden tunnel on the left side of the large wooden and metal platforms. Go through it and head directly left, continuously attacking to destroy the obstacles in the dark. The collectible can be found at the end.
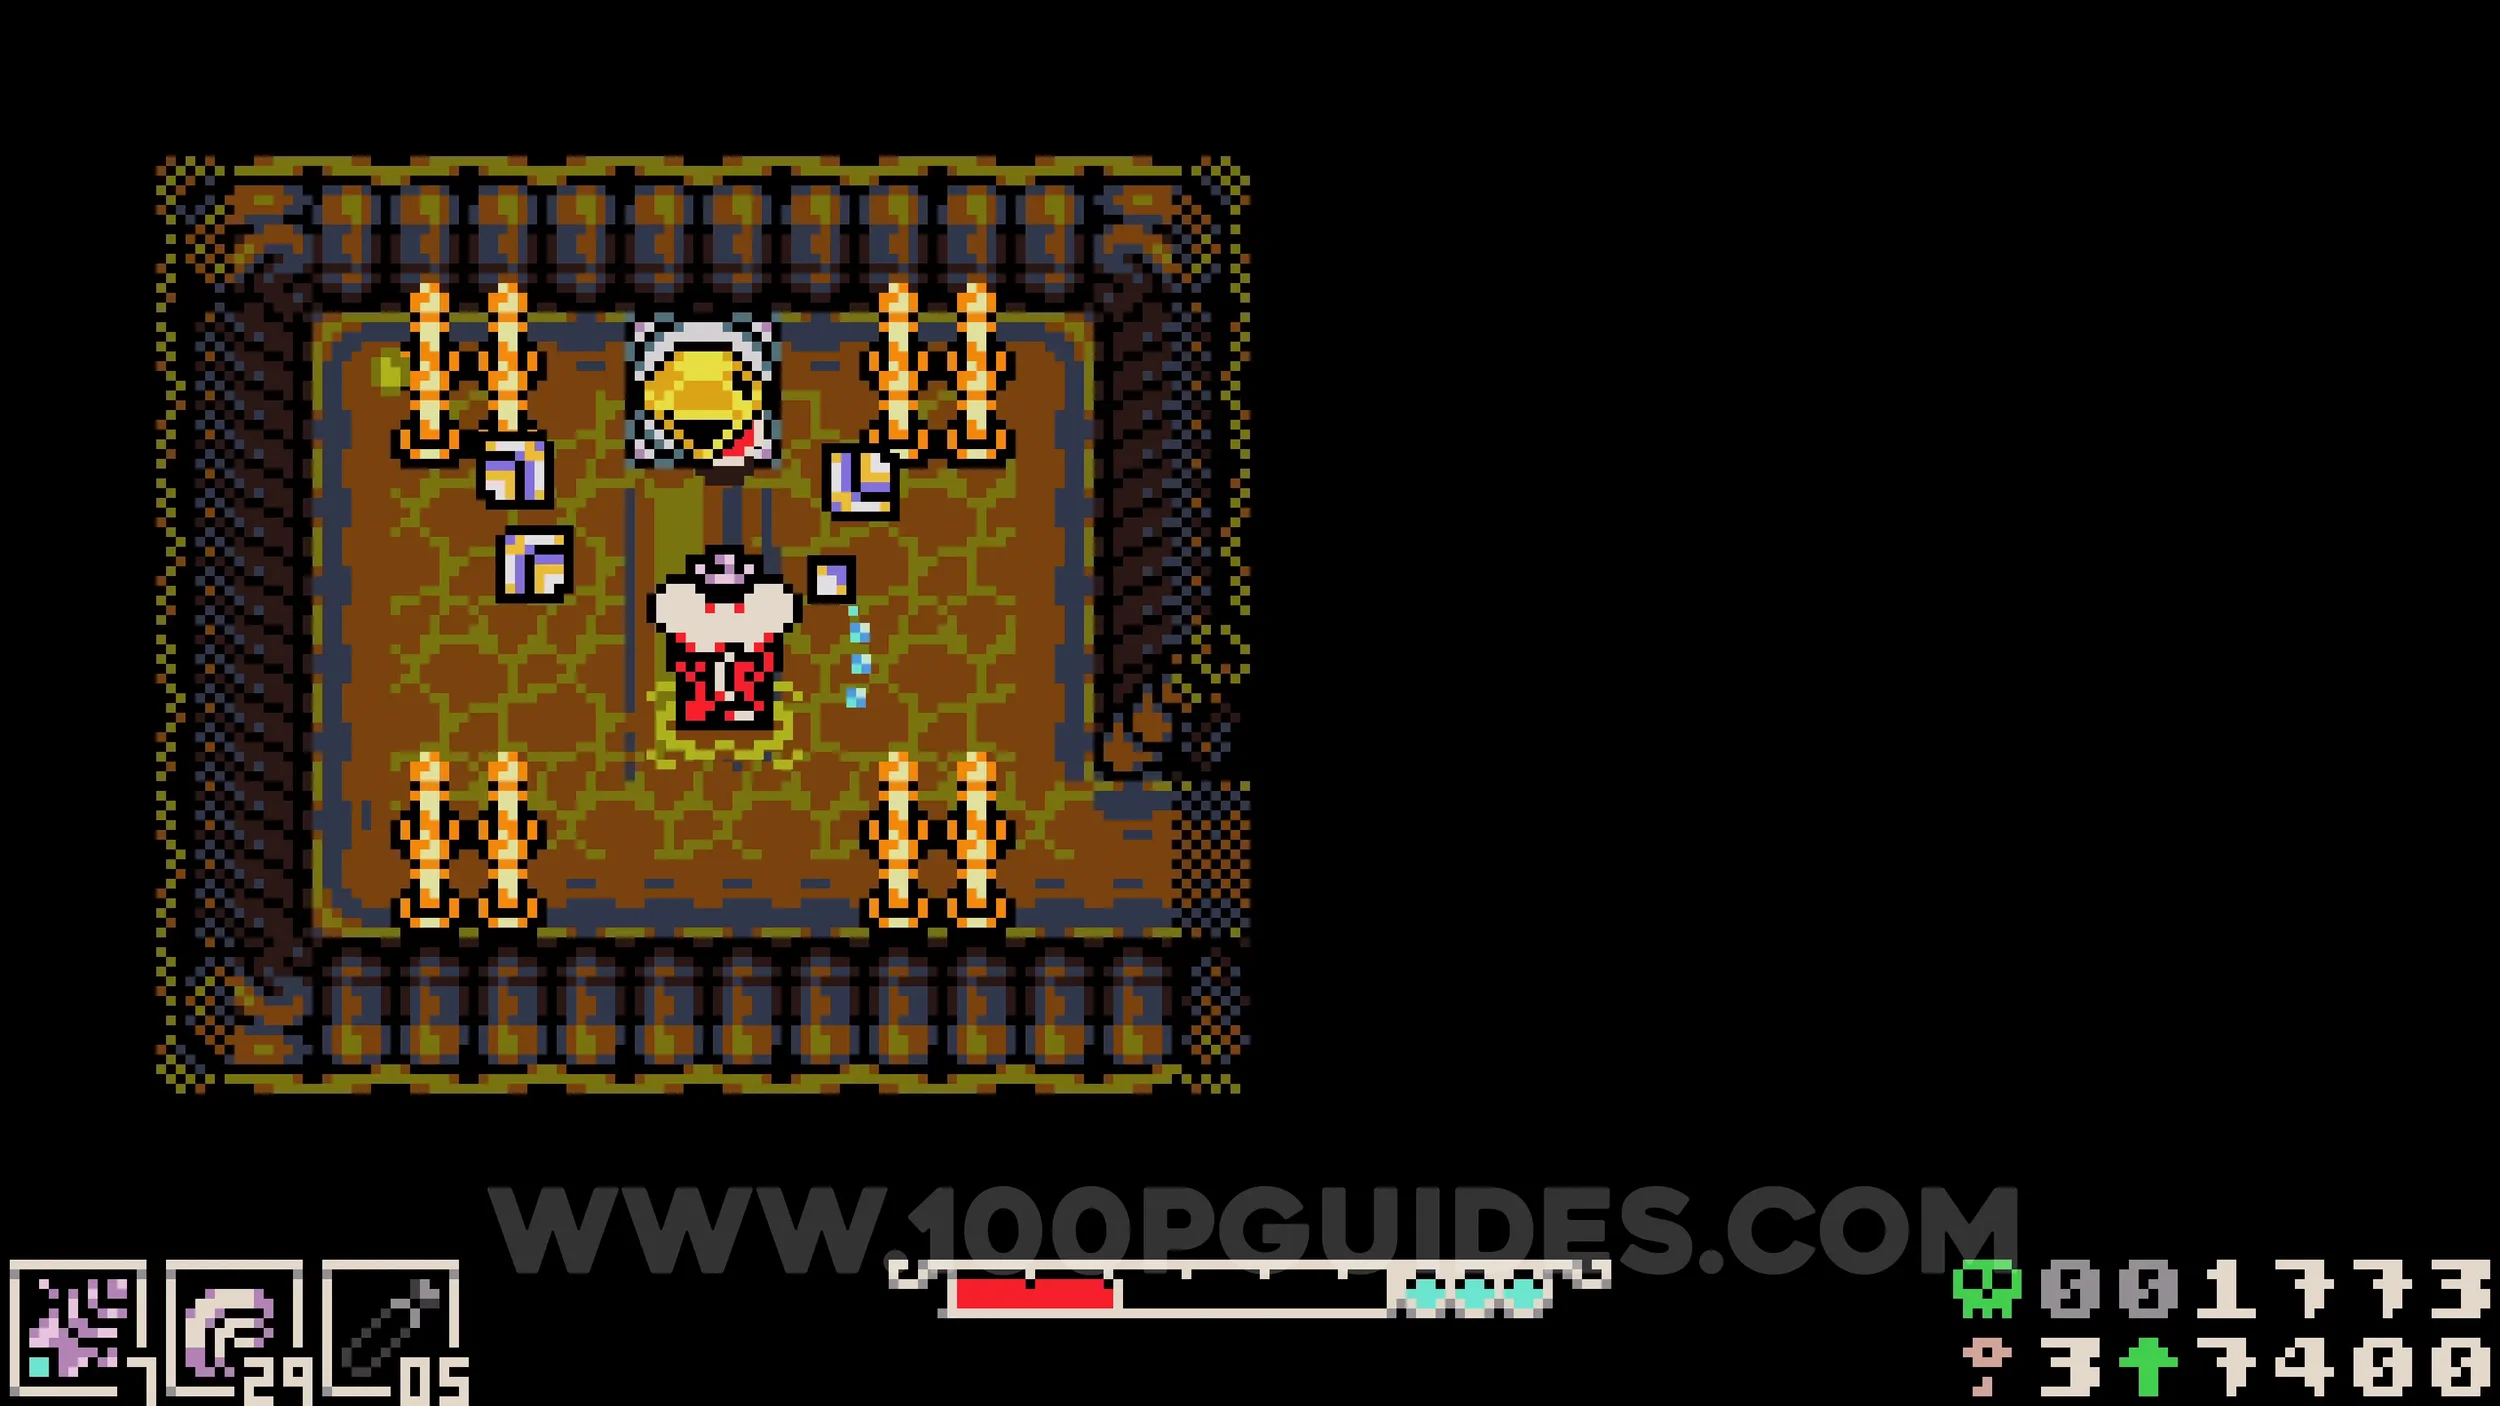
HP Upgrade #1. Obtained by defeating the boss at the end of the dungeon.
COLTRANE PEAK
Bonestone #1. From the train station, take the left path. Once you reach the section with the pits, drop down onto the moving platforms below until you spot a rope on your right leading to the chest containing the collectible.
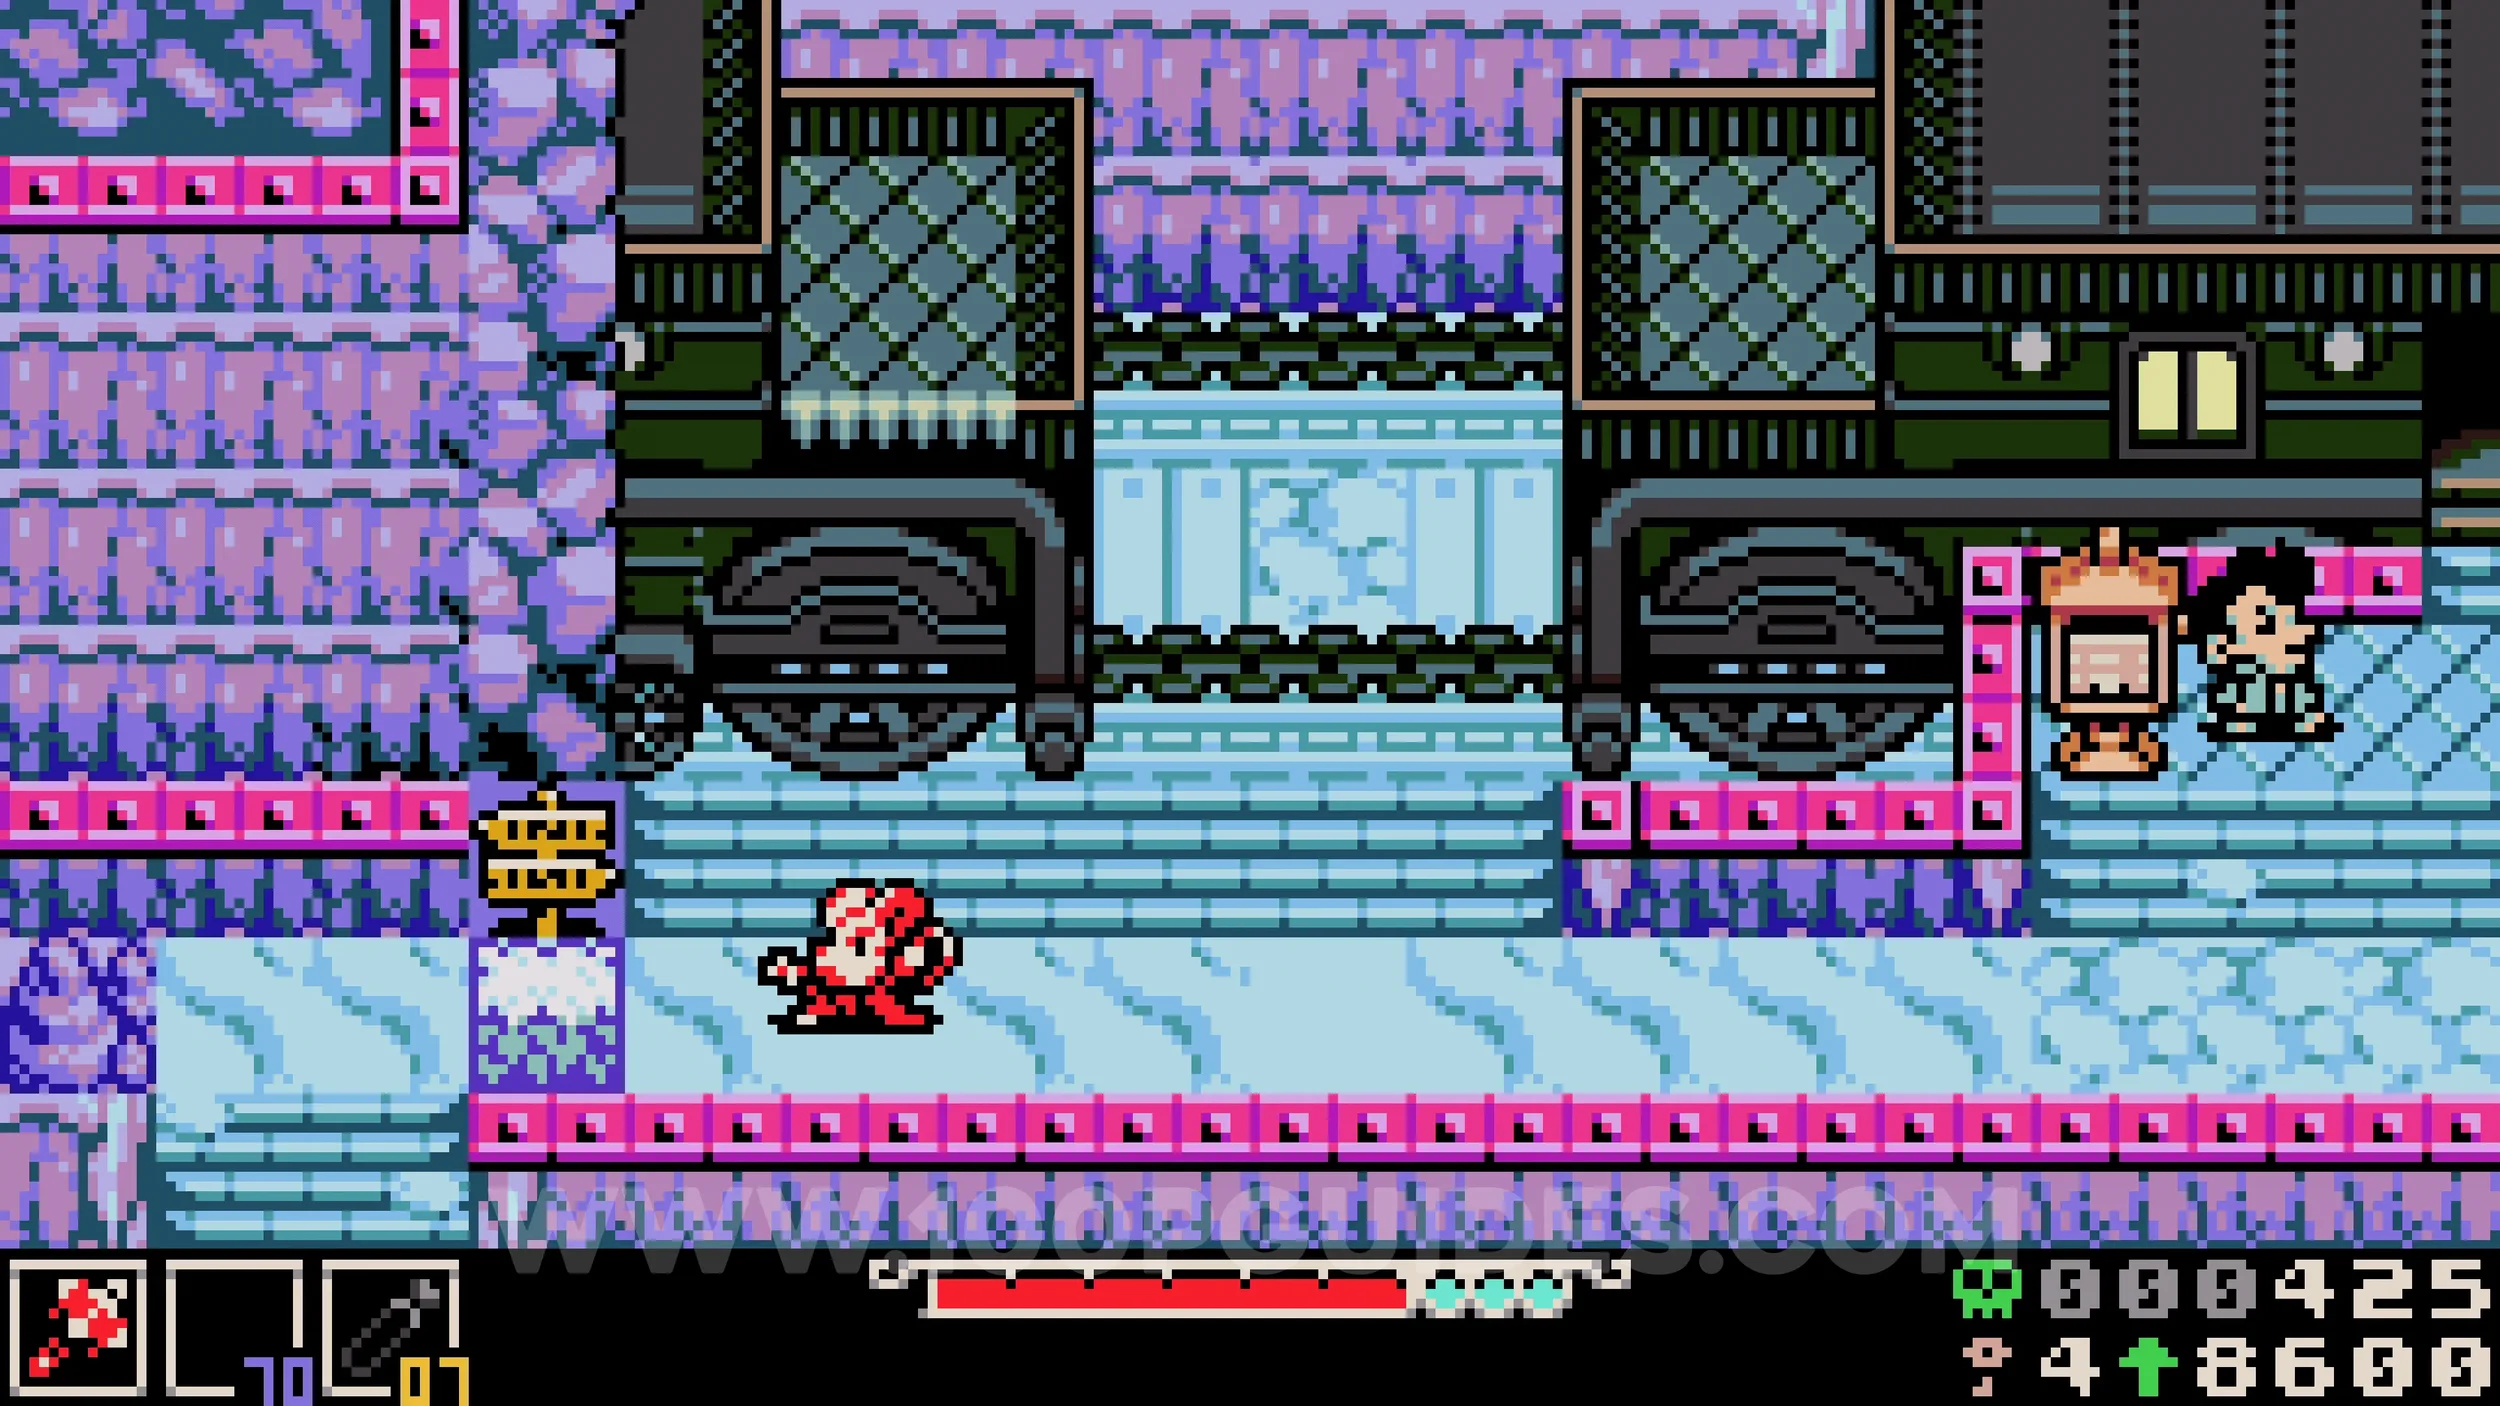
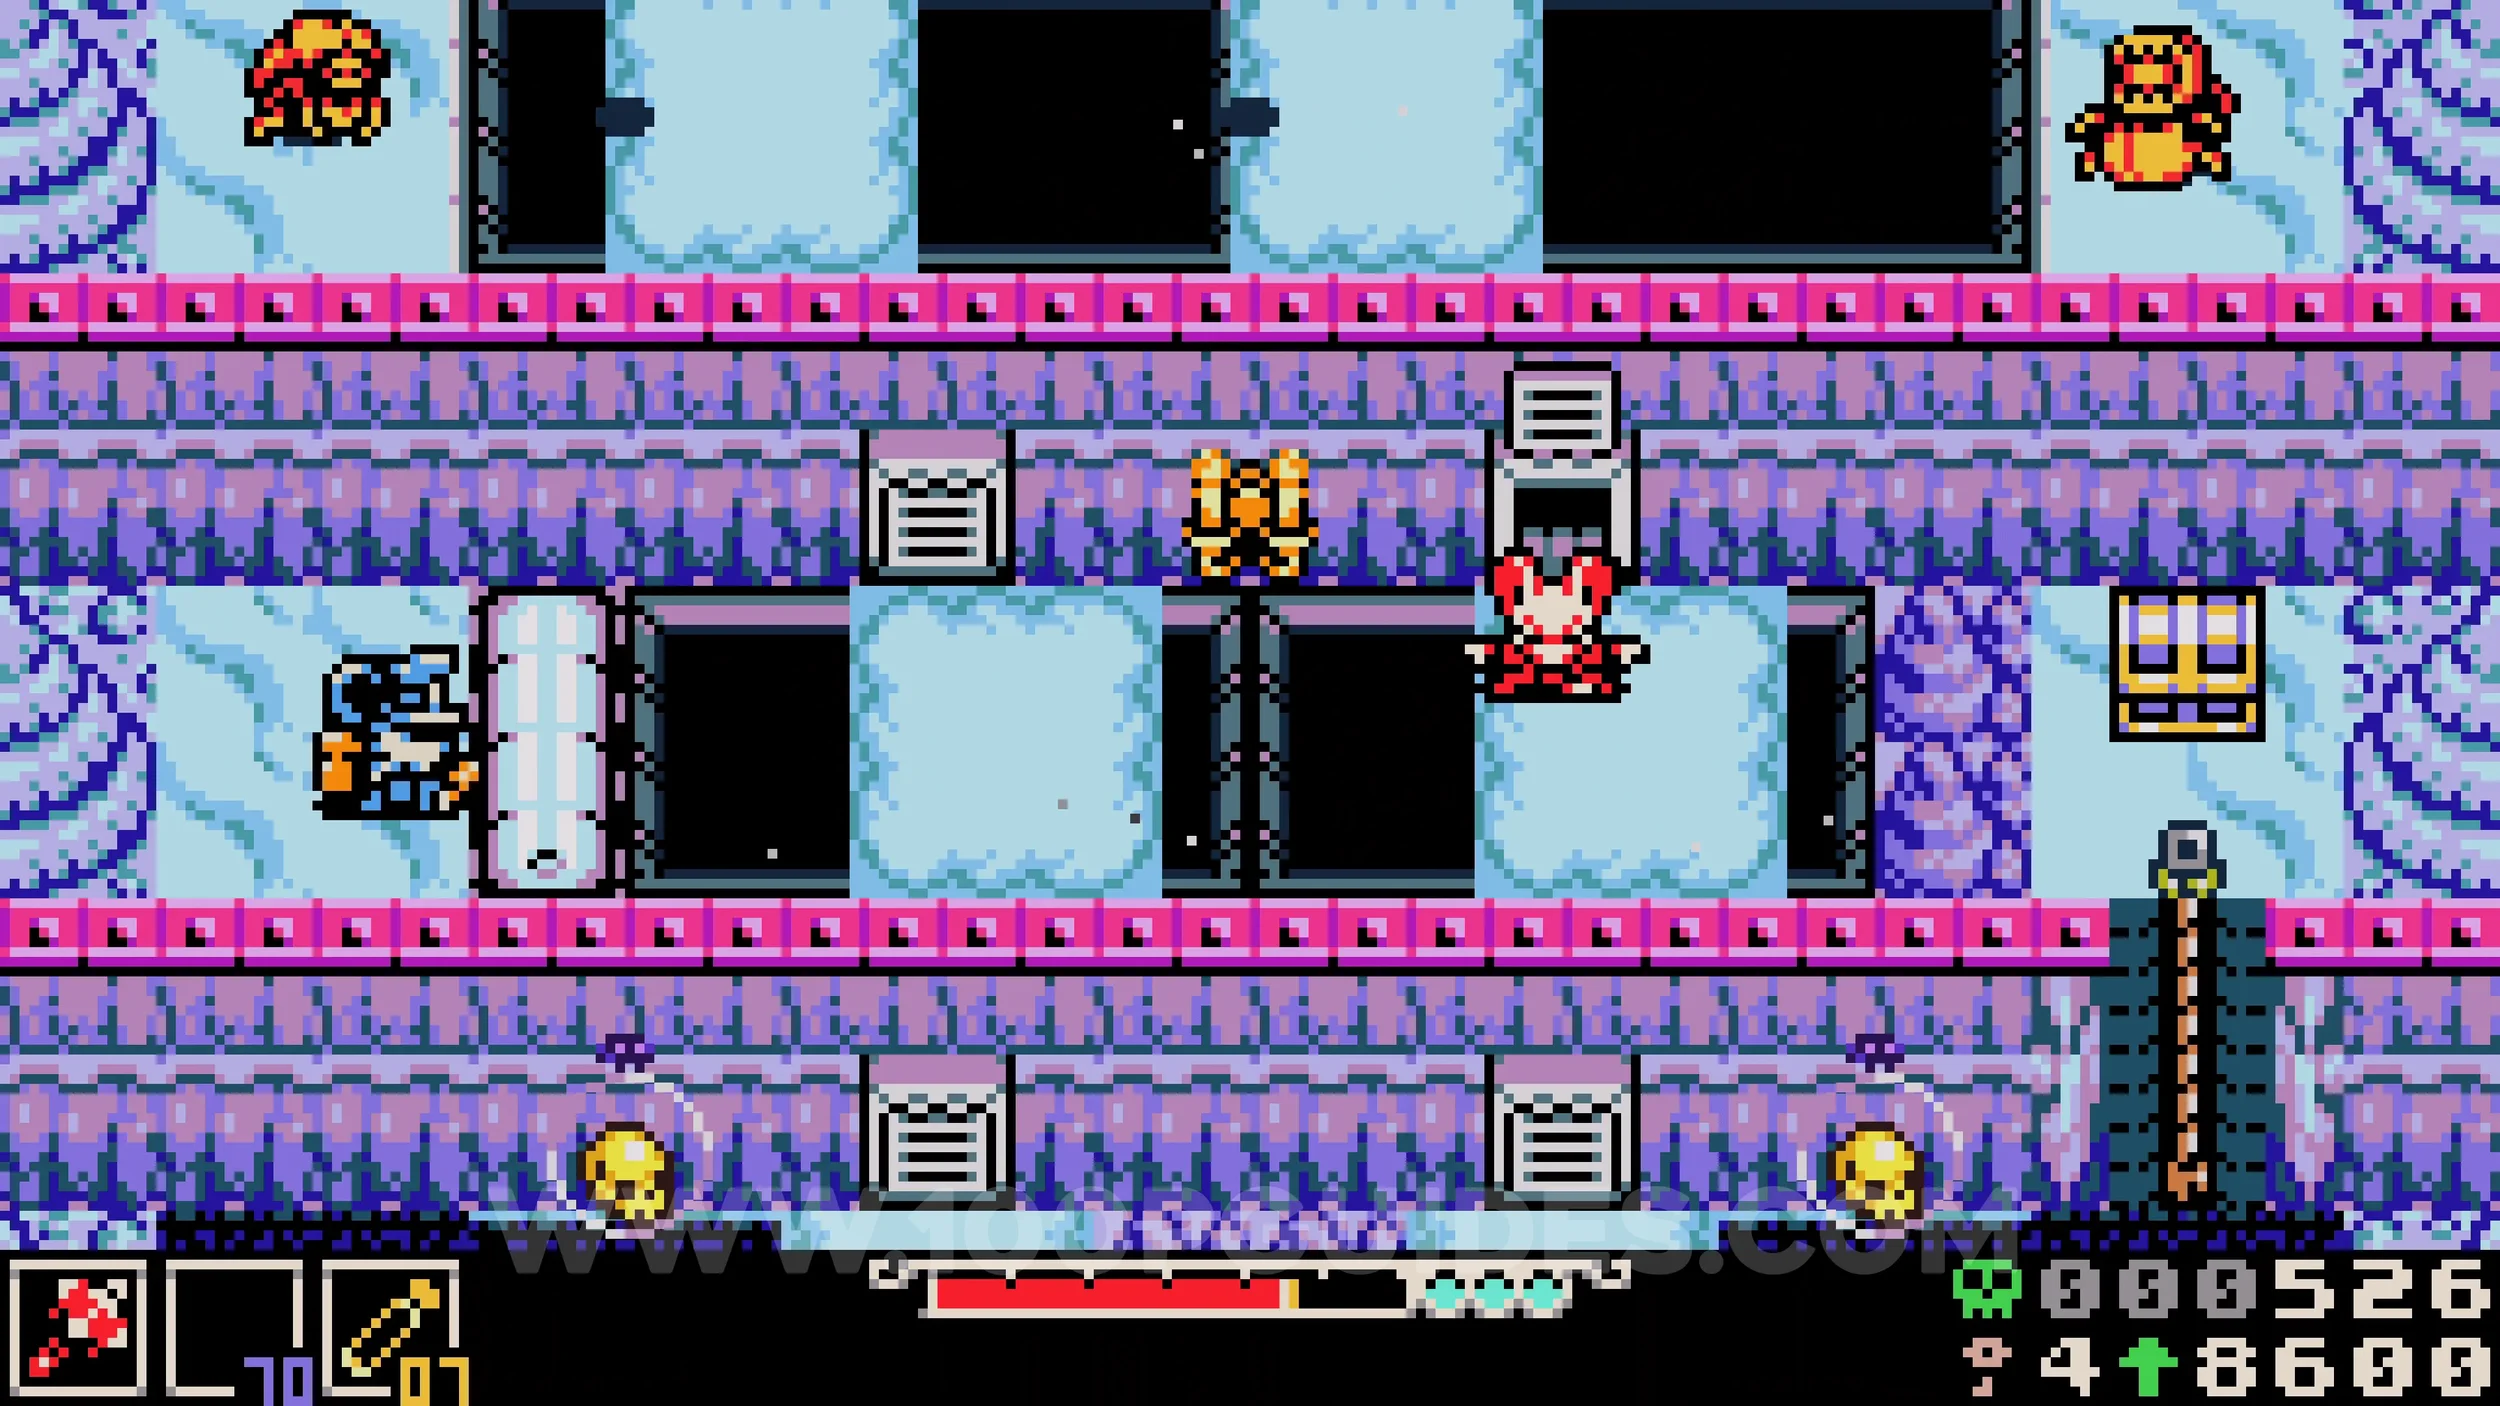
Lock #1. From the previous collectible, continue falling down the pits until you see the lock on your left.
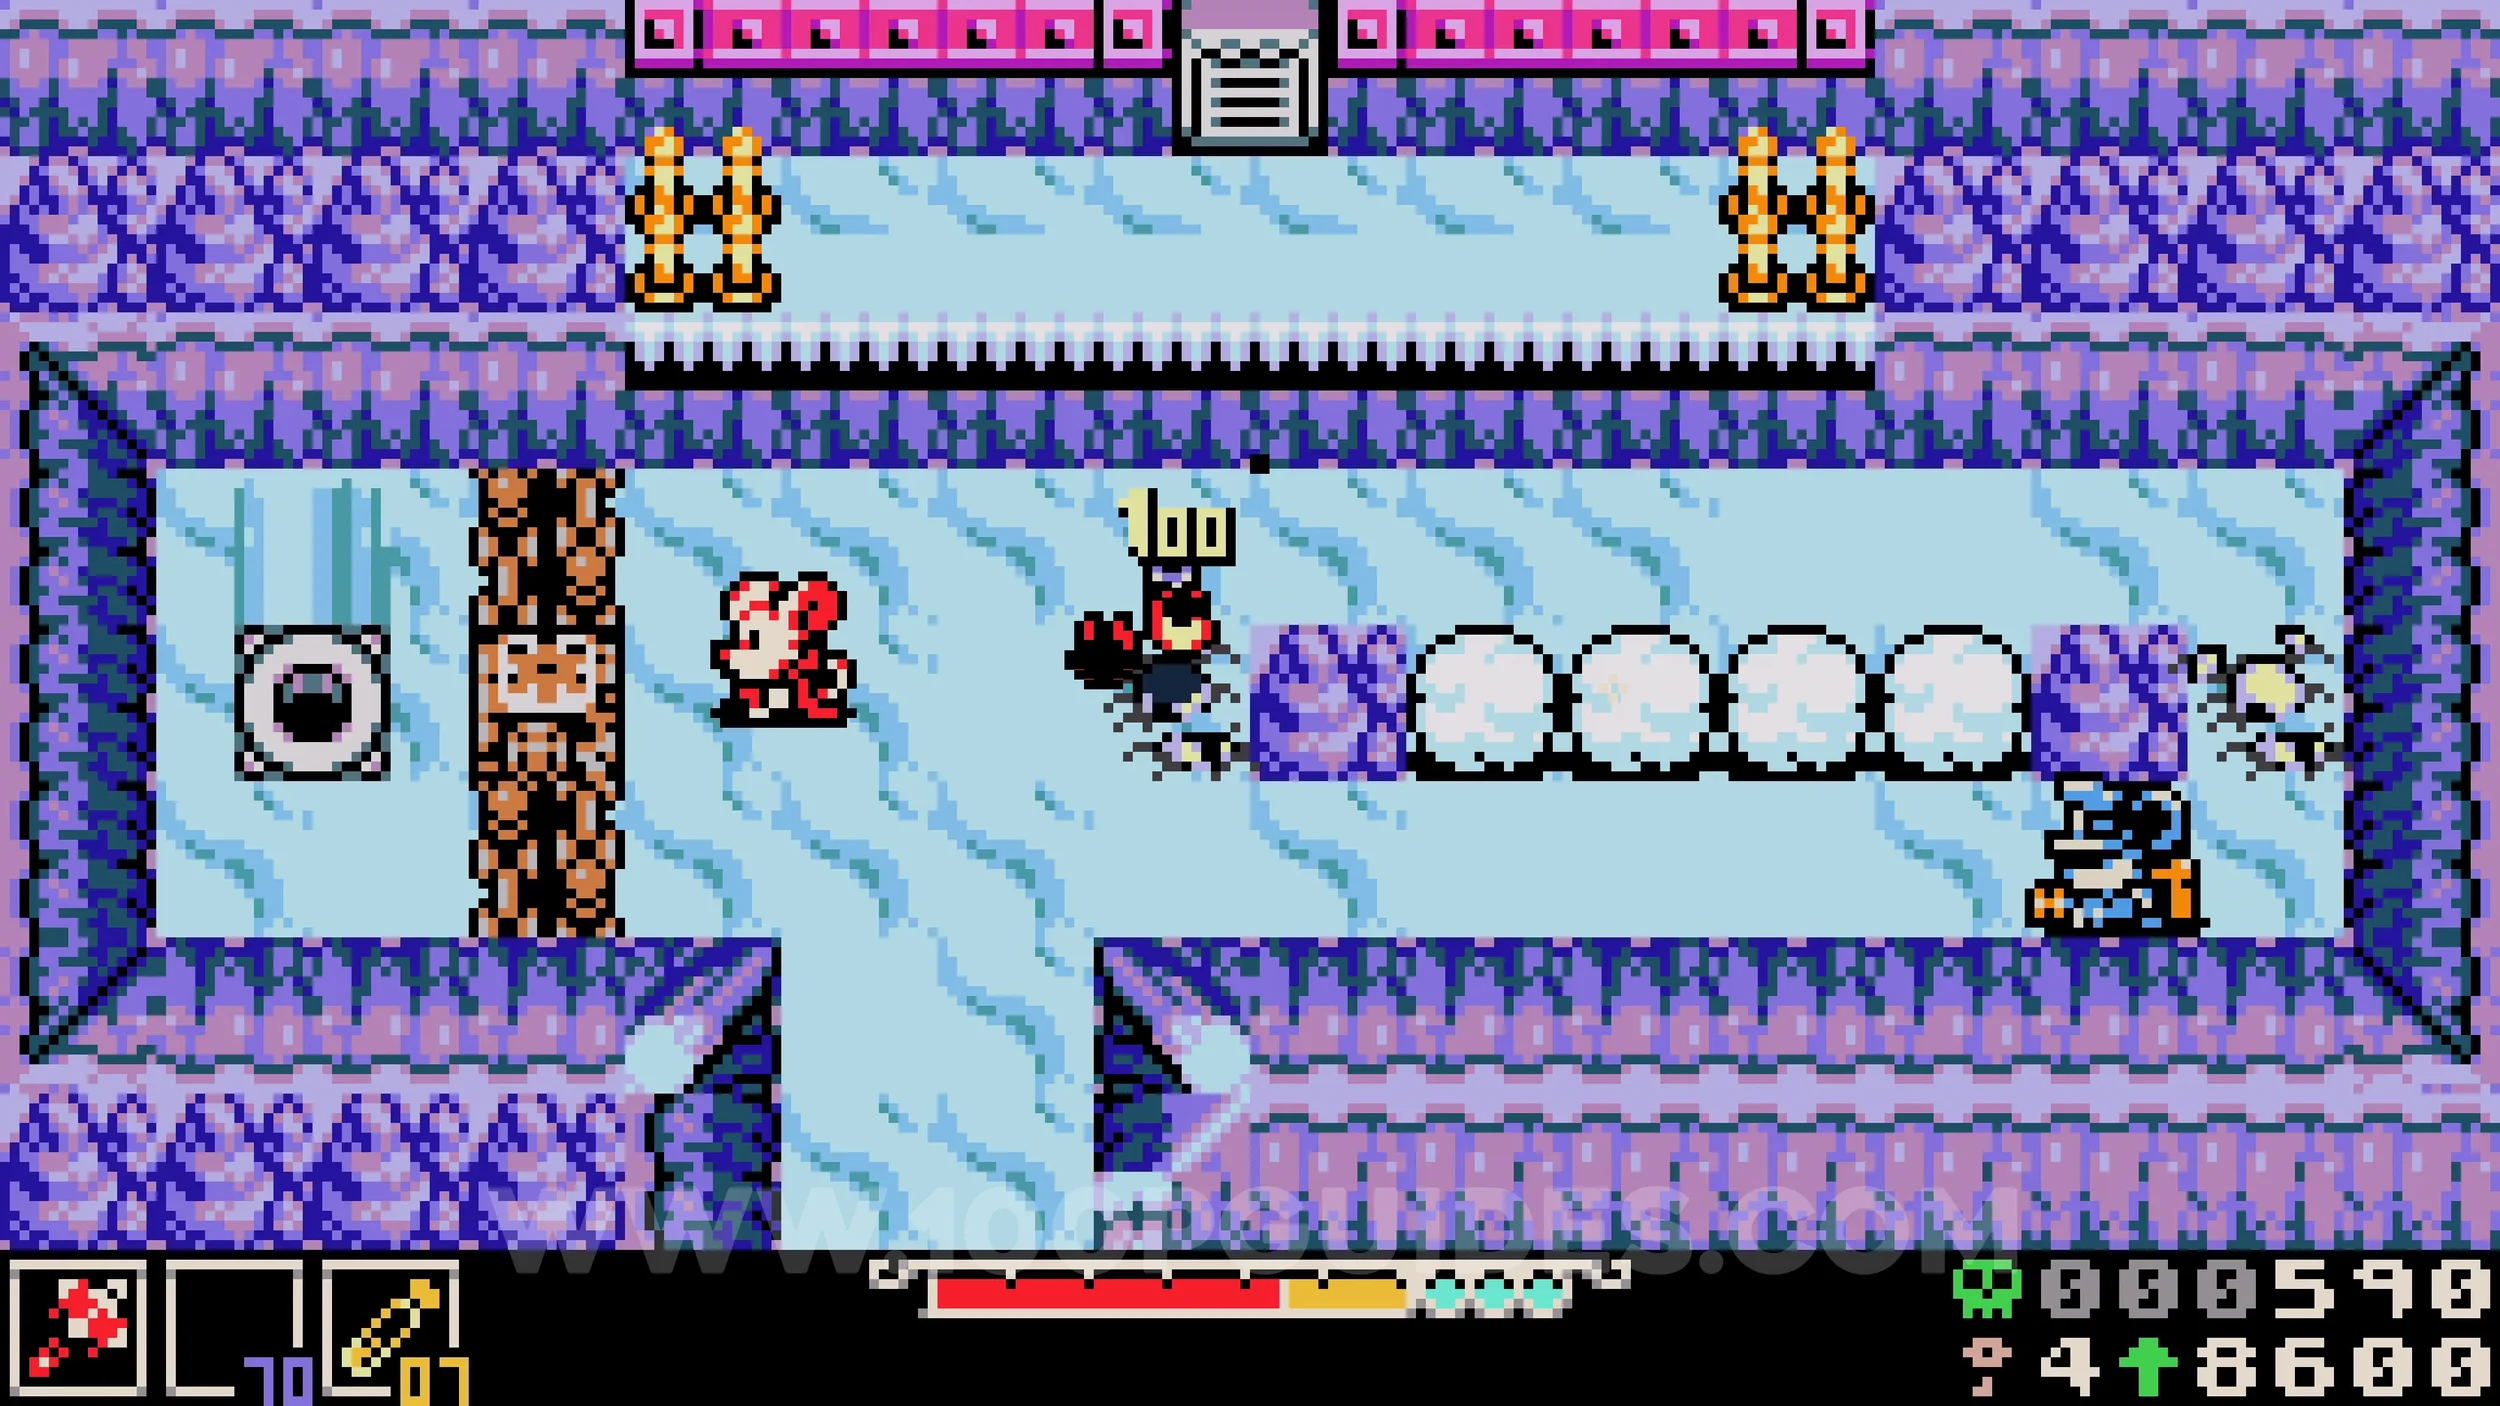
Bonestone #2. Return to the train station and purchase a ticket to anywhere, but do not board the train and let it leave without you. You will then be able to stand on the track where the train was and go through the tunnel on the left. Follow this path to the end to find the collectible.
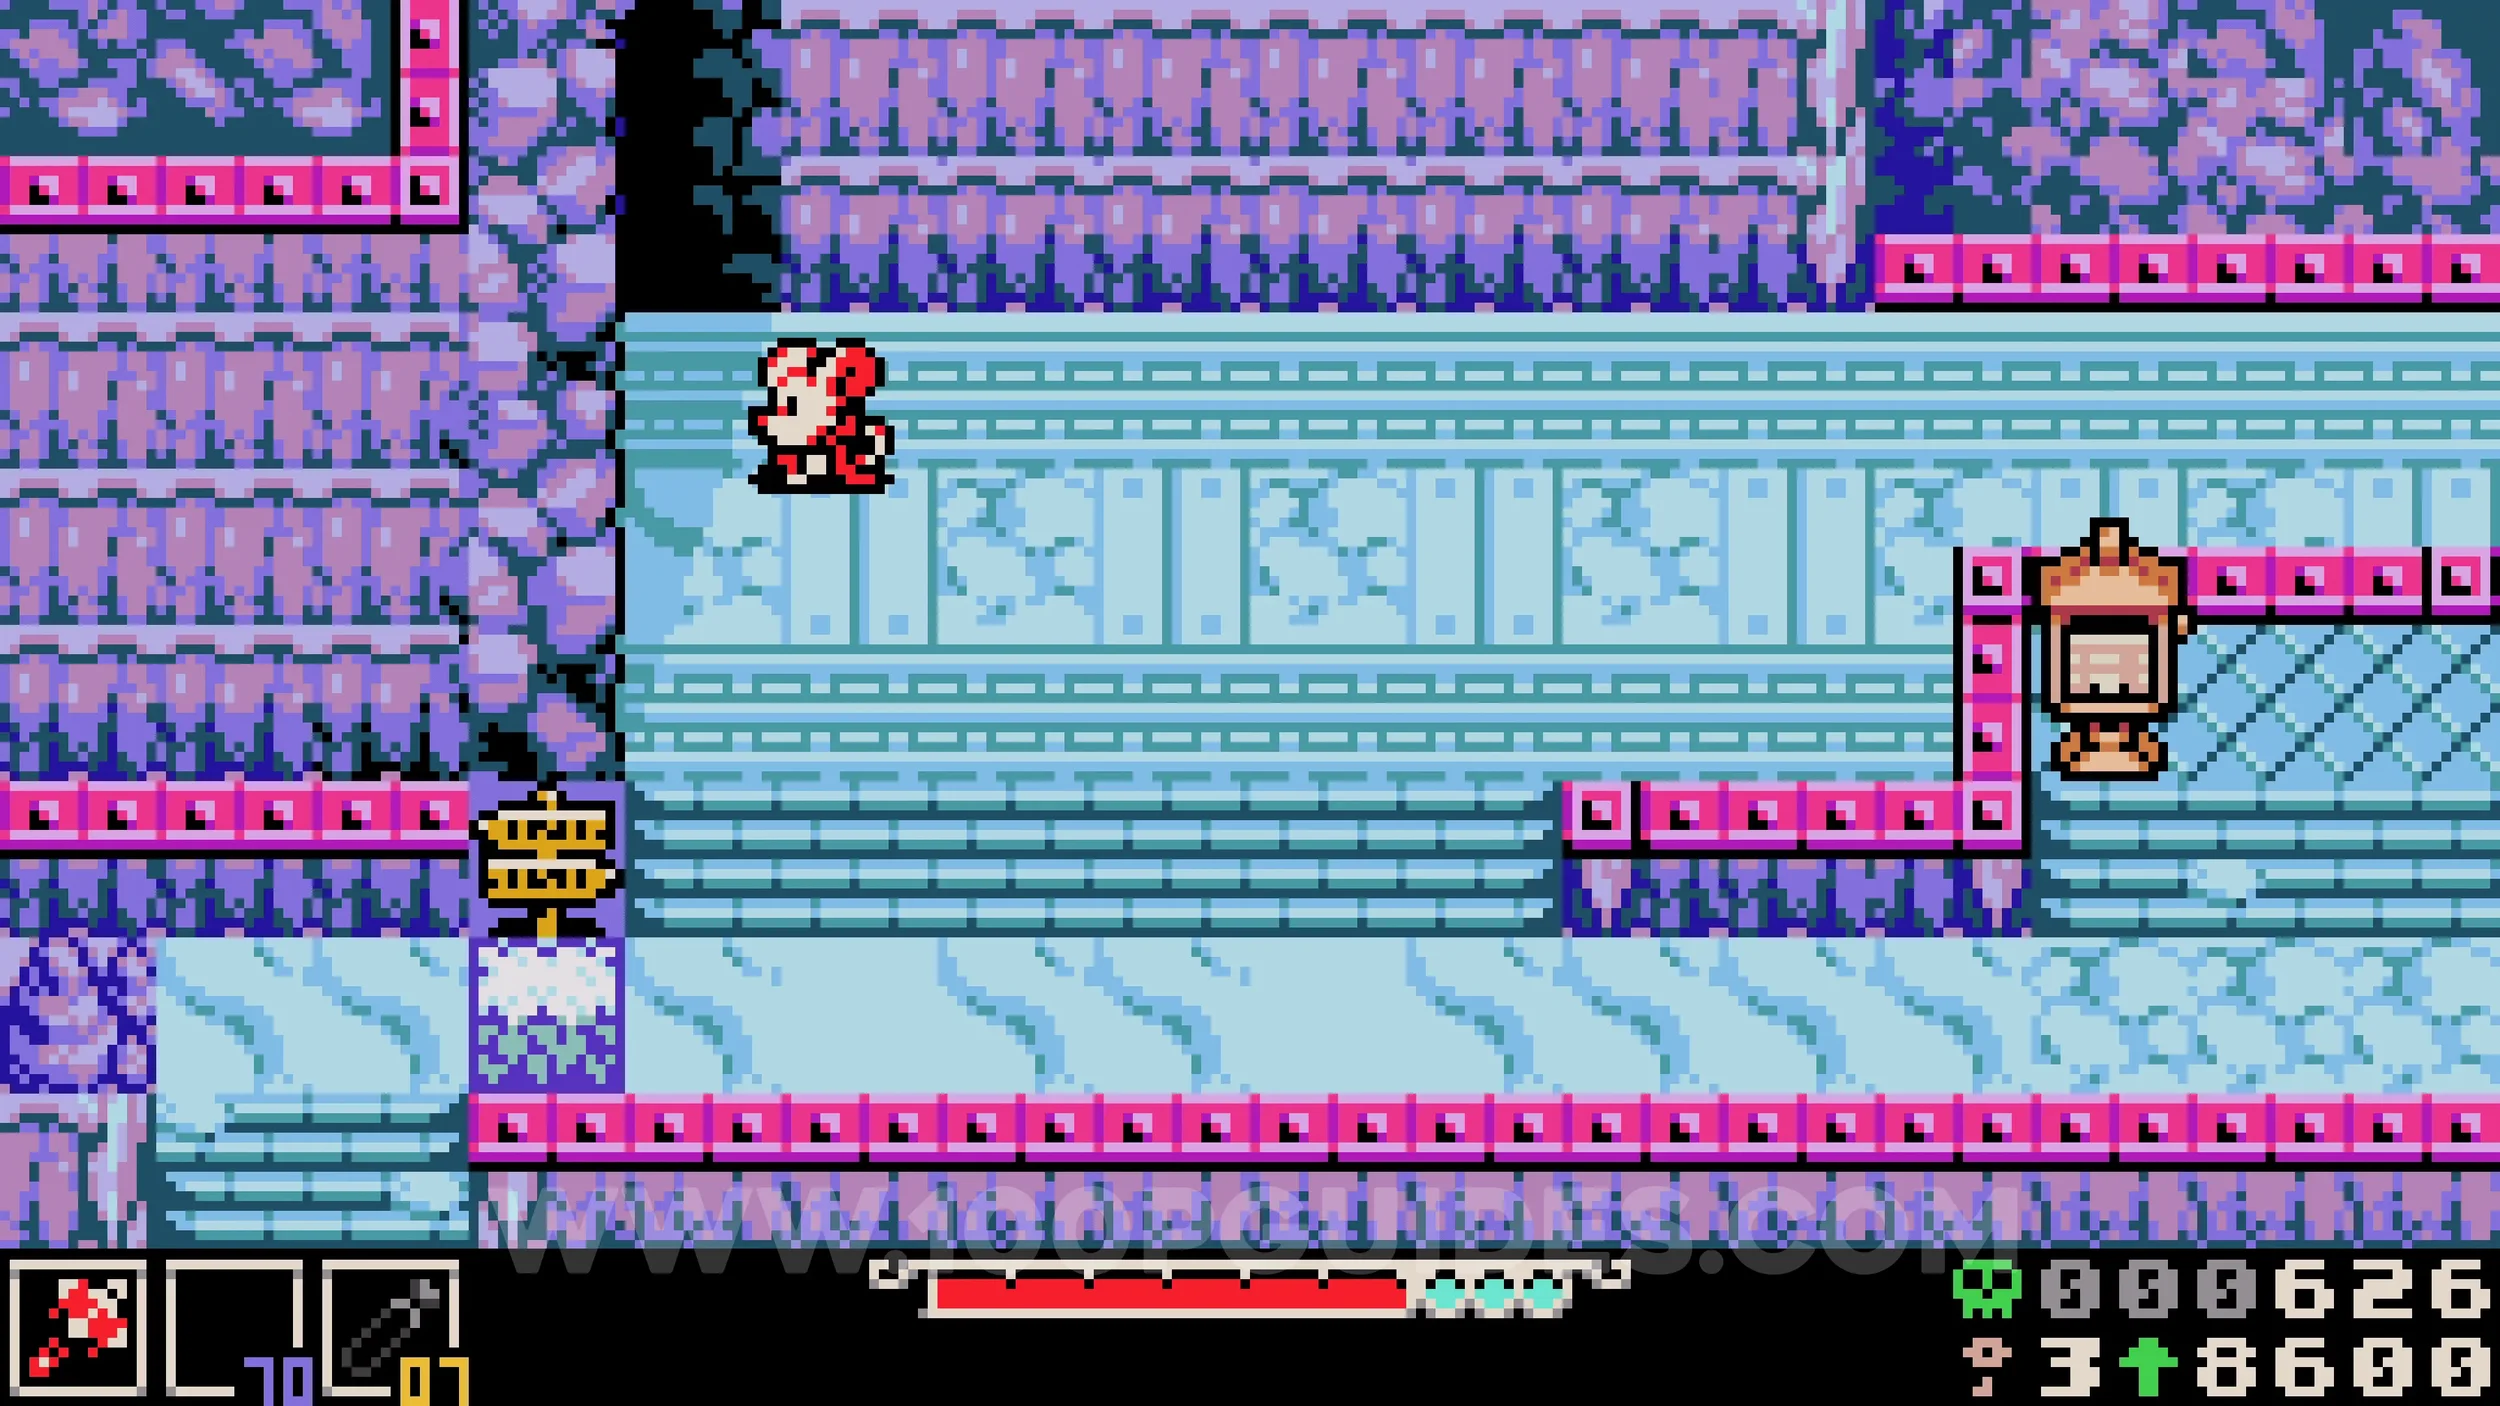
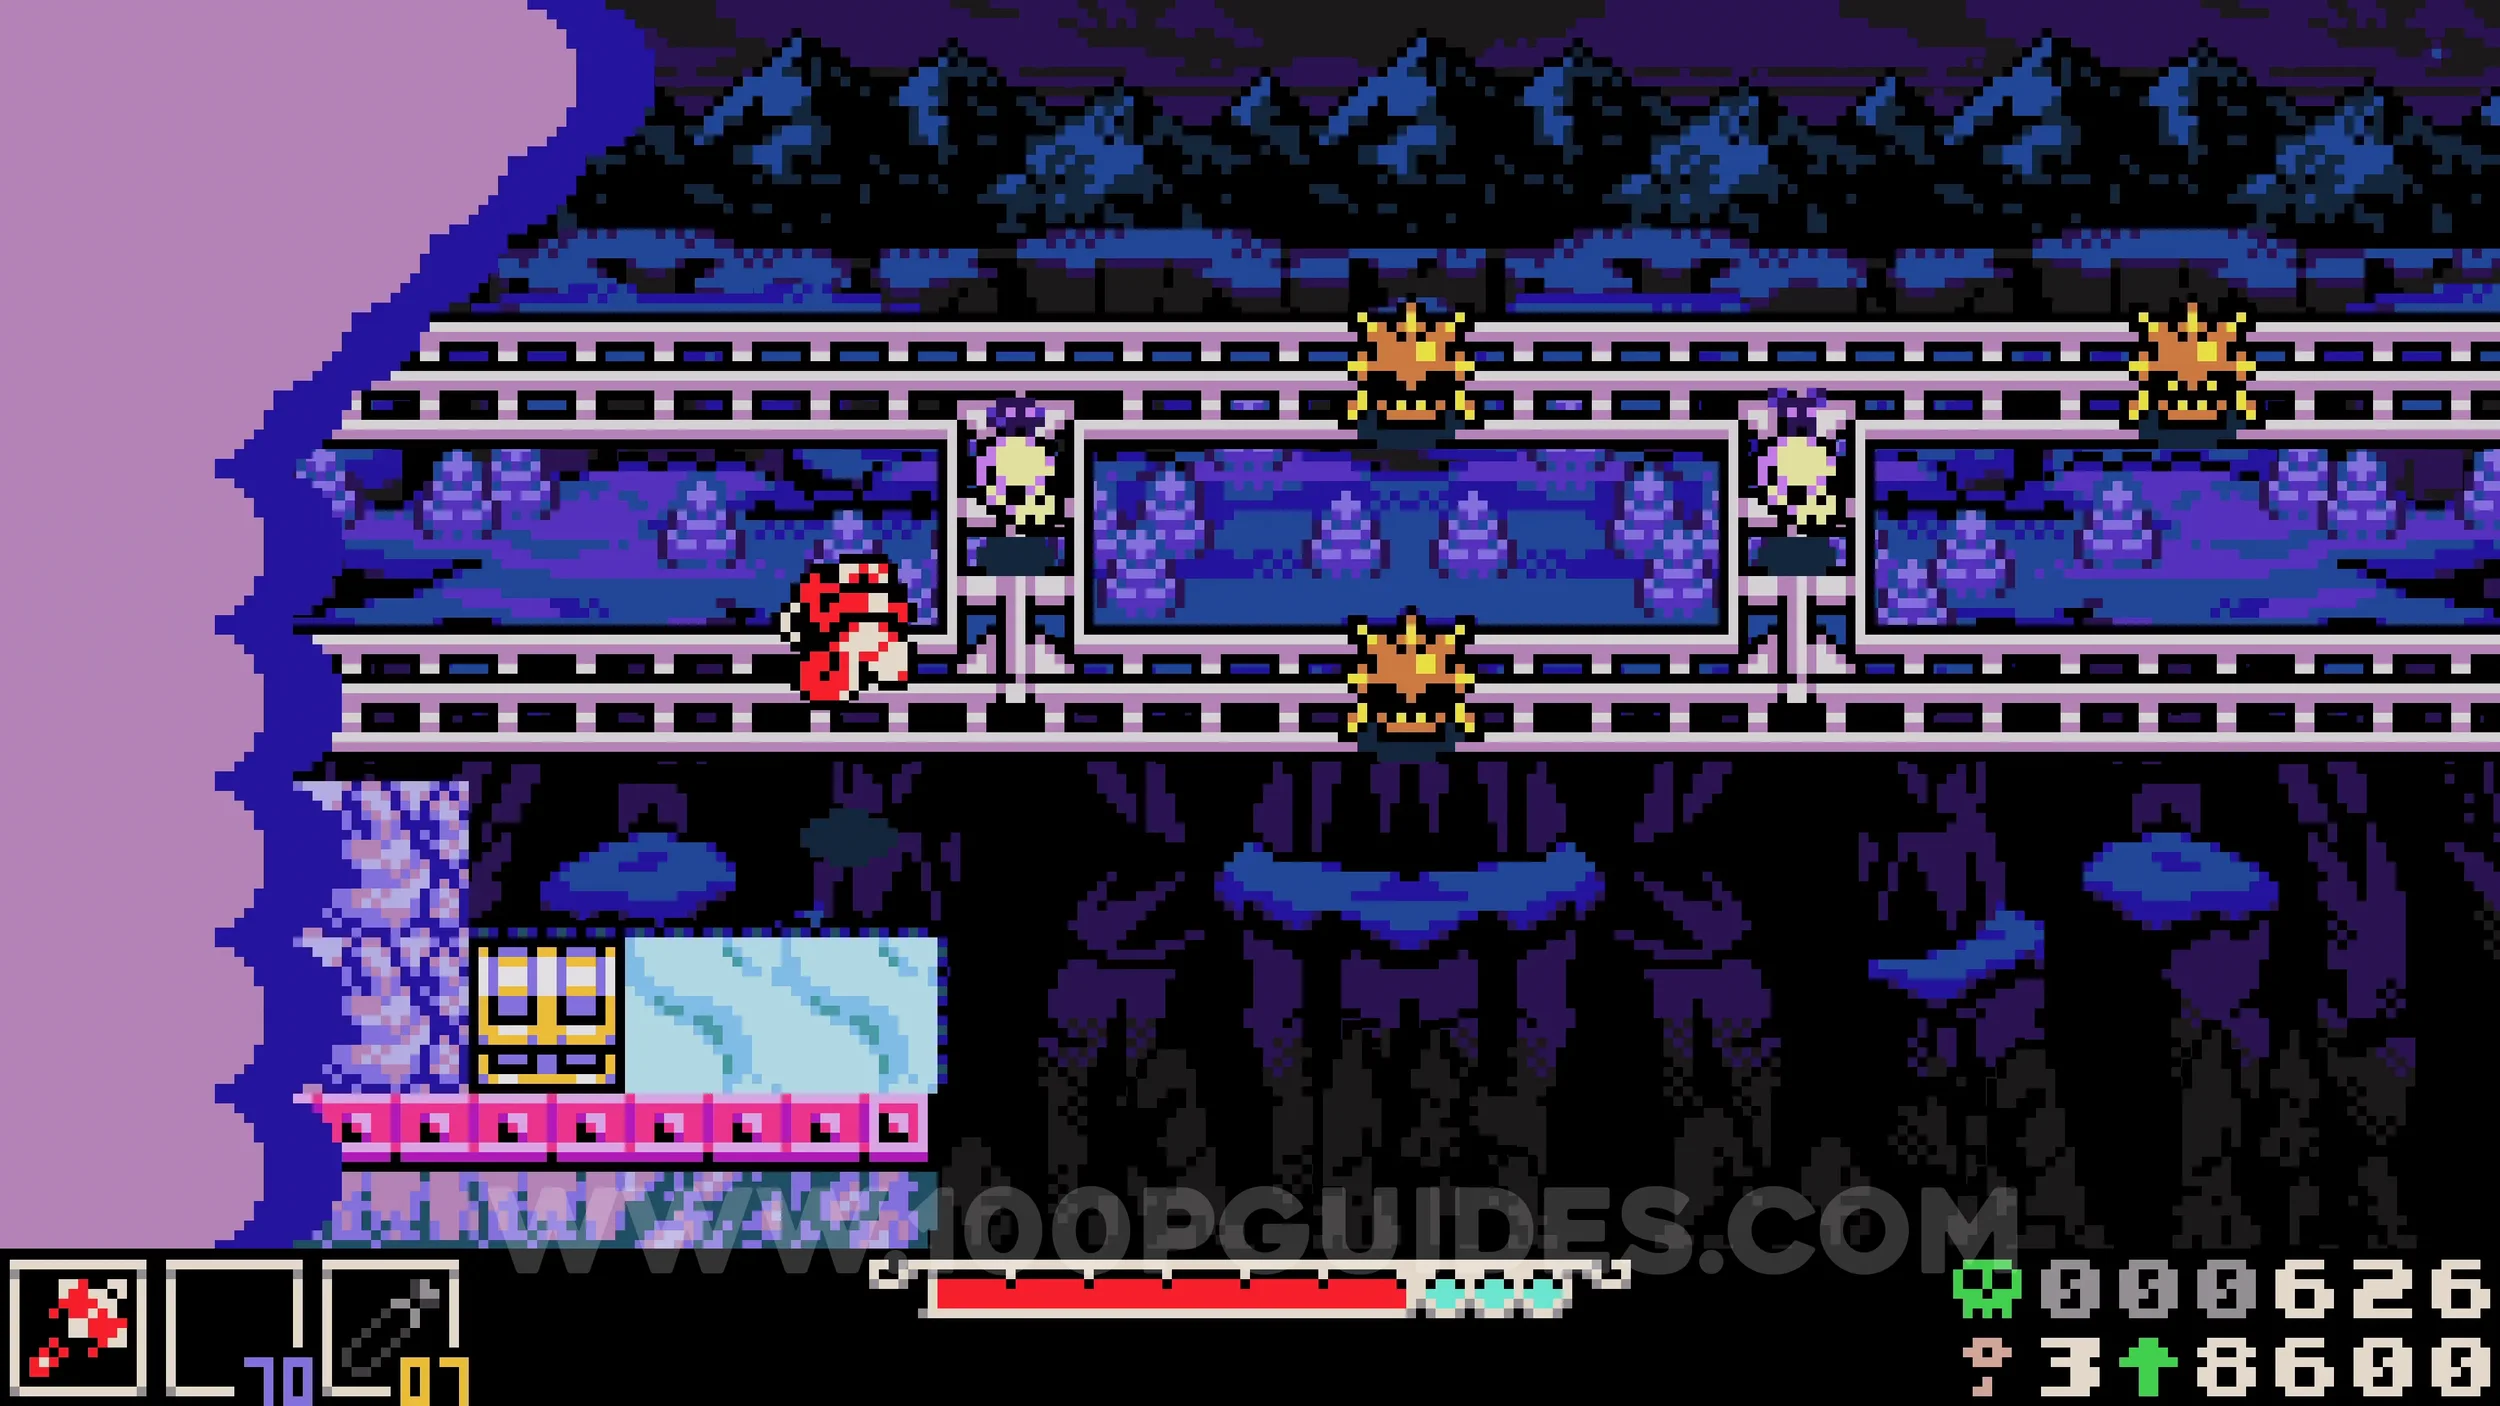
Trinket #1 - Burning Beastium. Continue on the main path until you reach a room with an icy floor, pits, and ice blocks to move and destroy. In the bottom right corner, look for a small hole in the wall. Go through it and follow the path to the end to find the trinket.
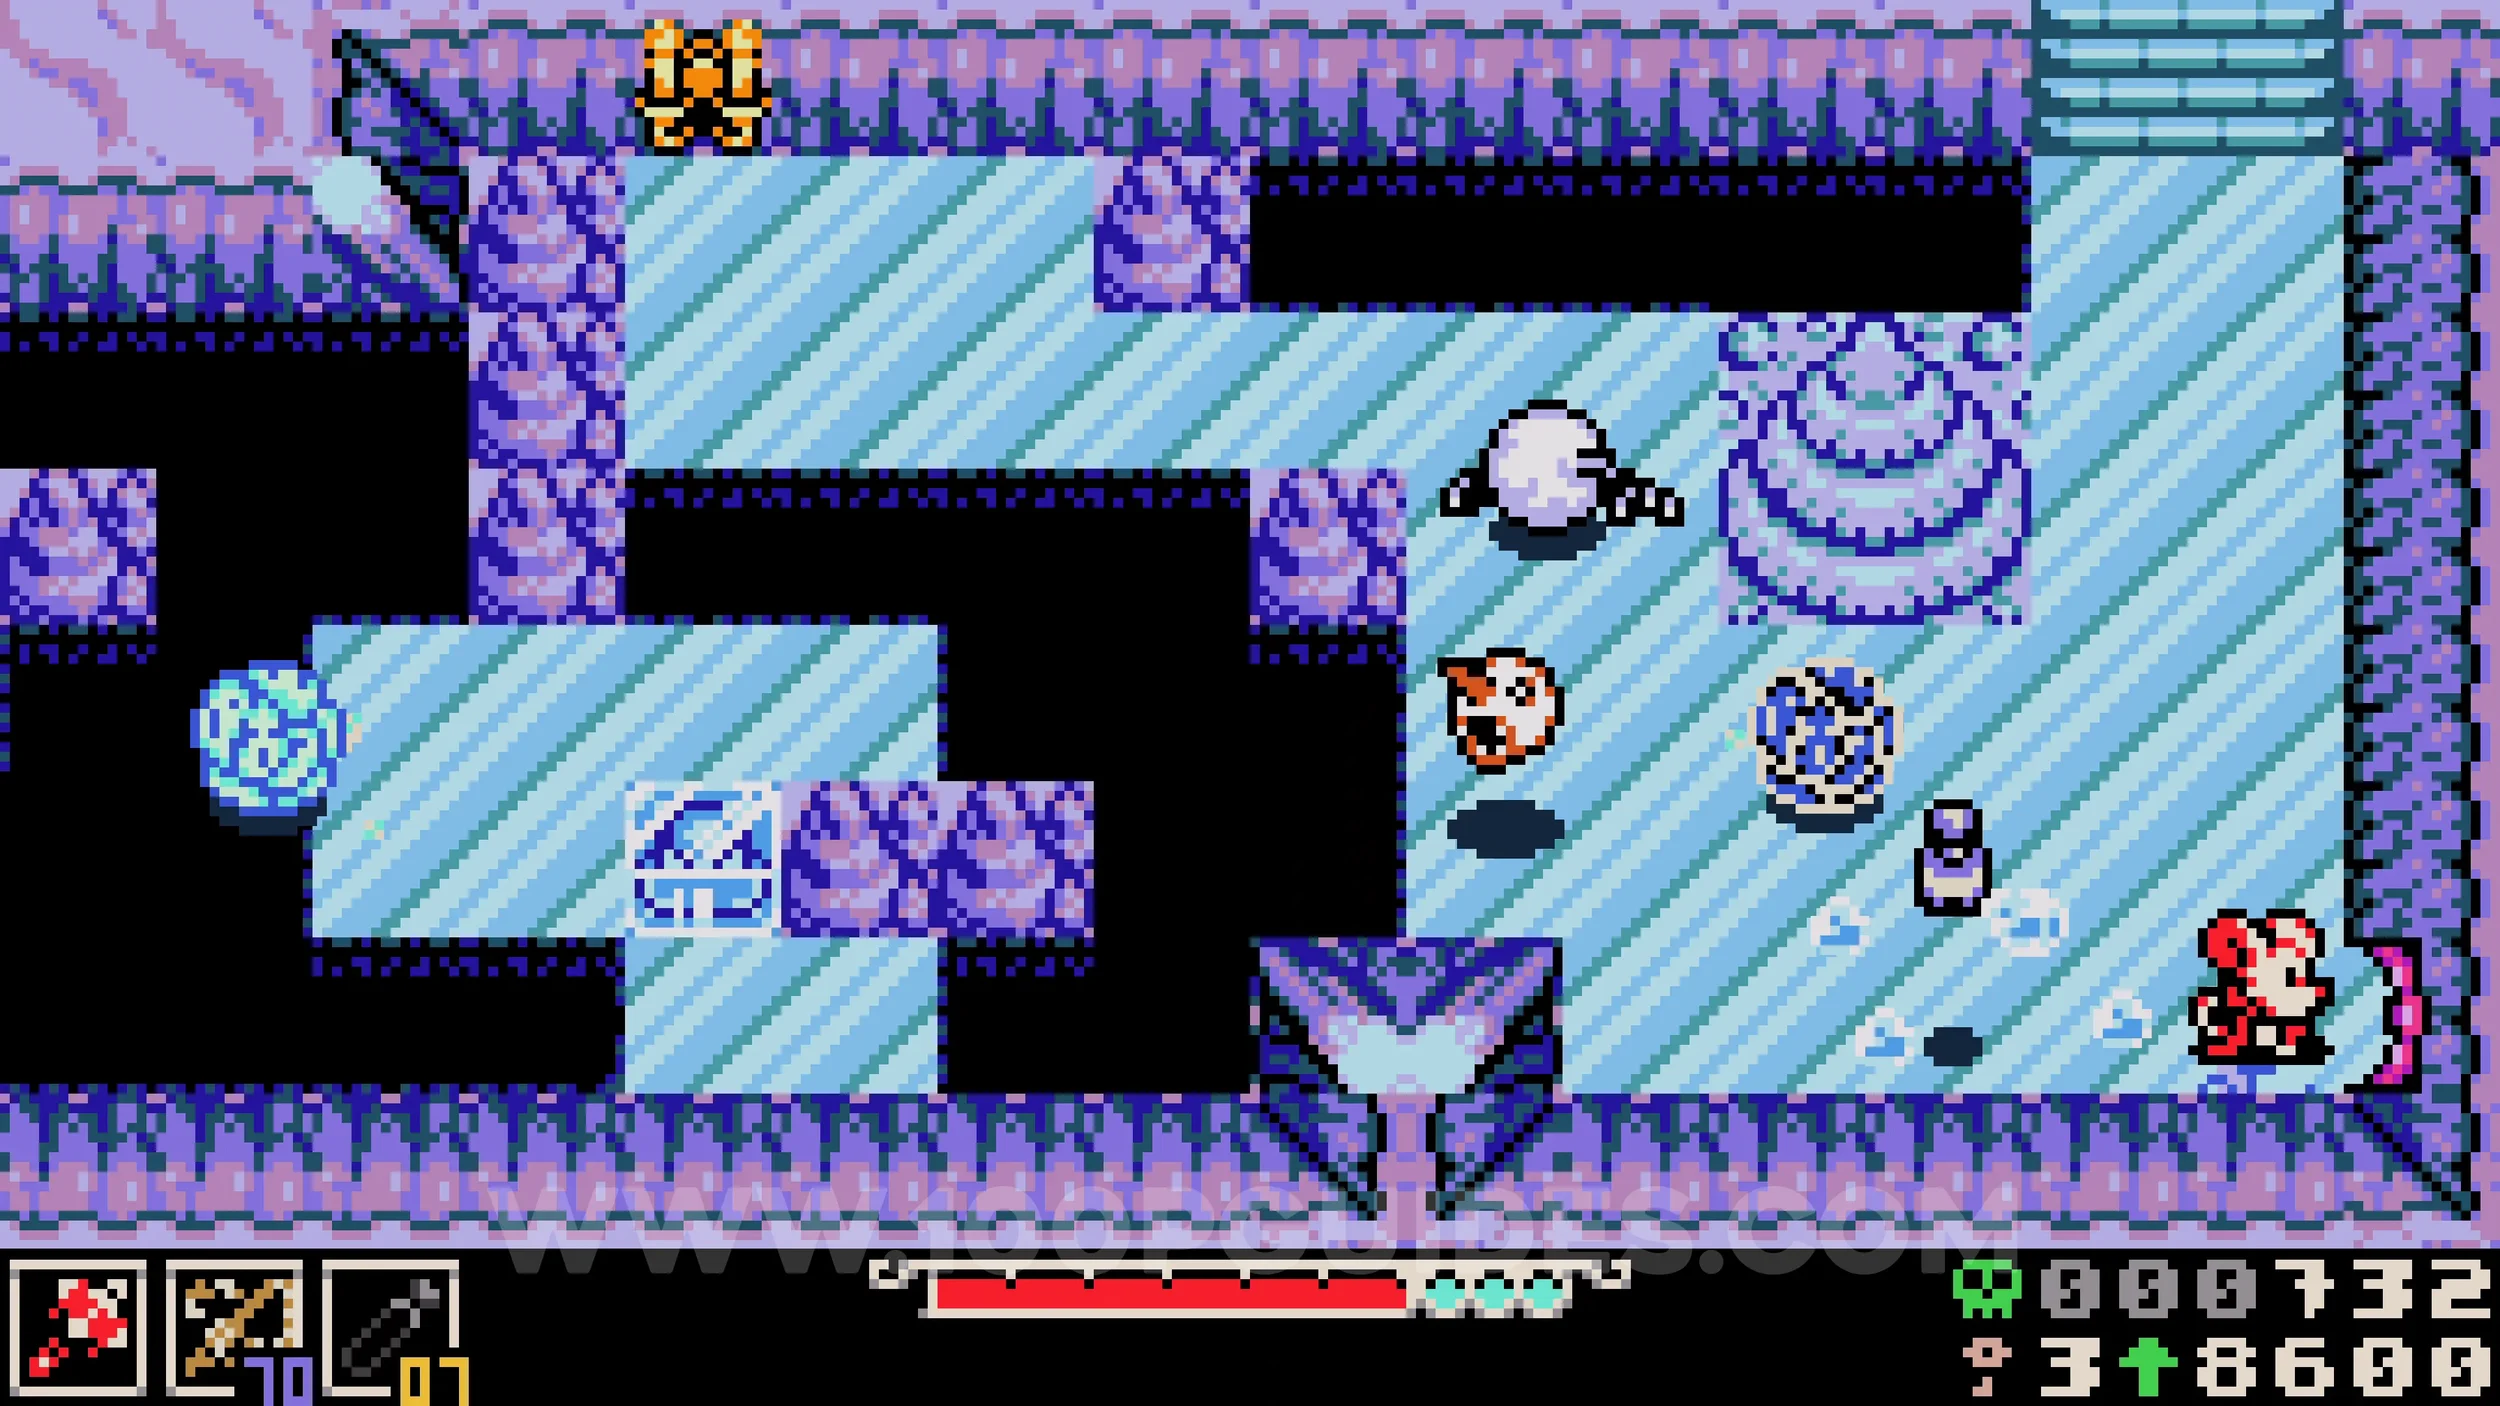
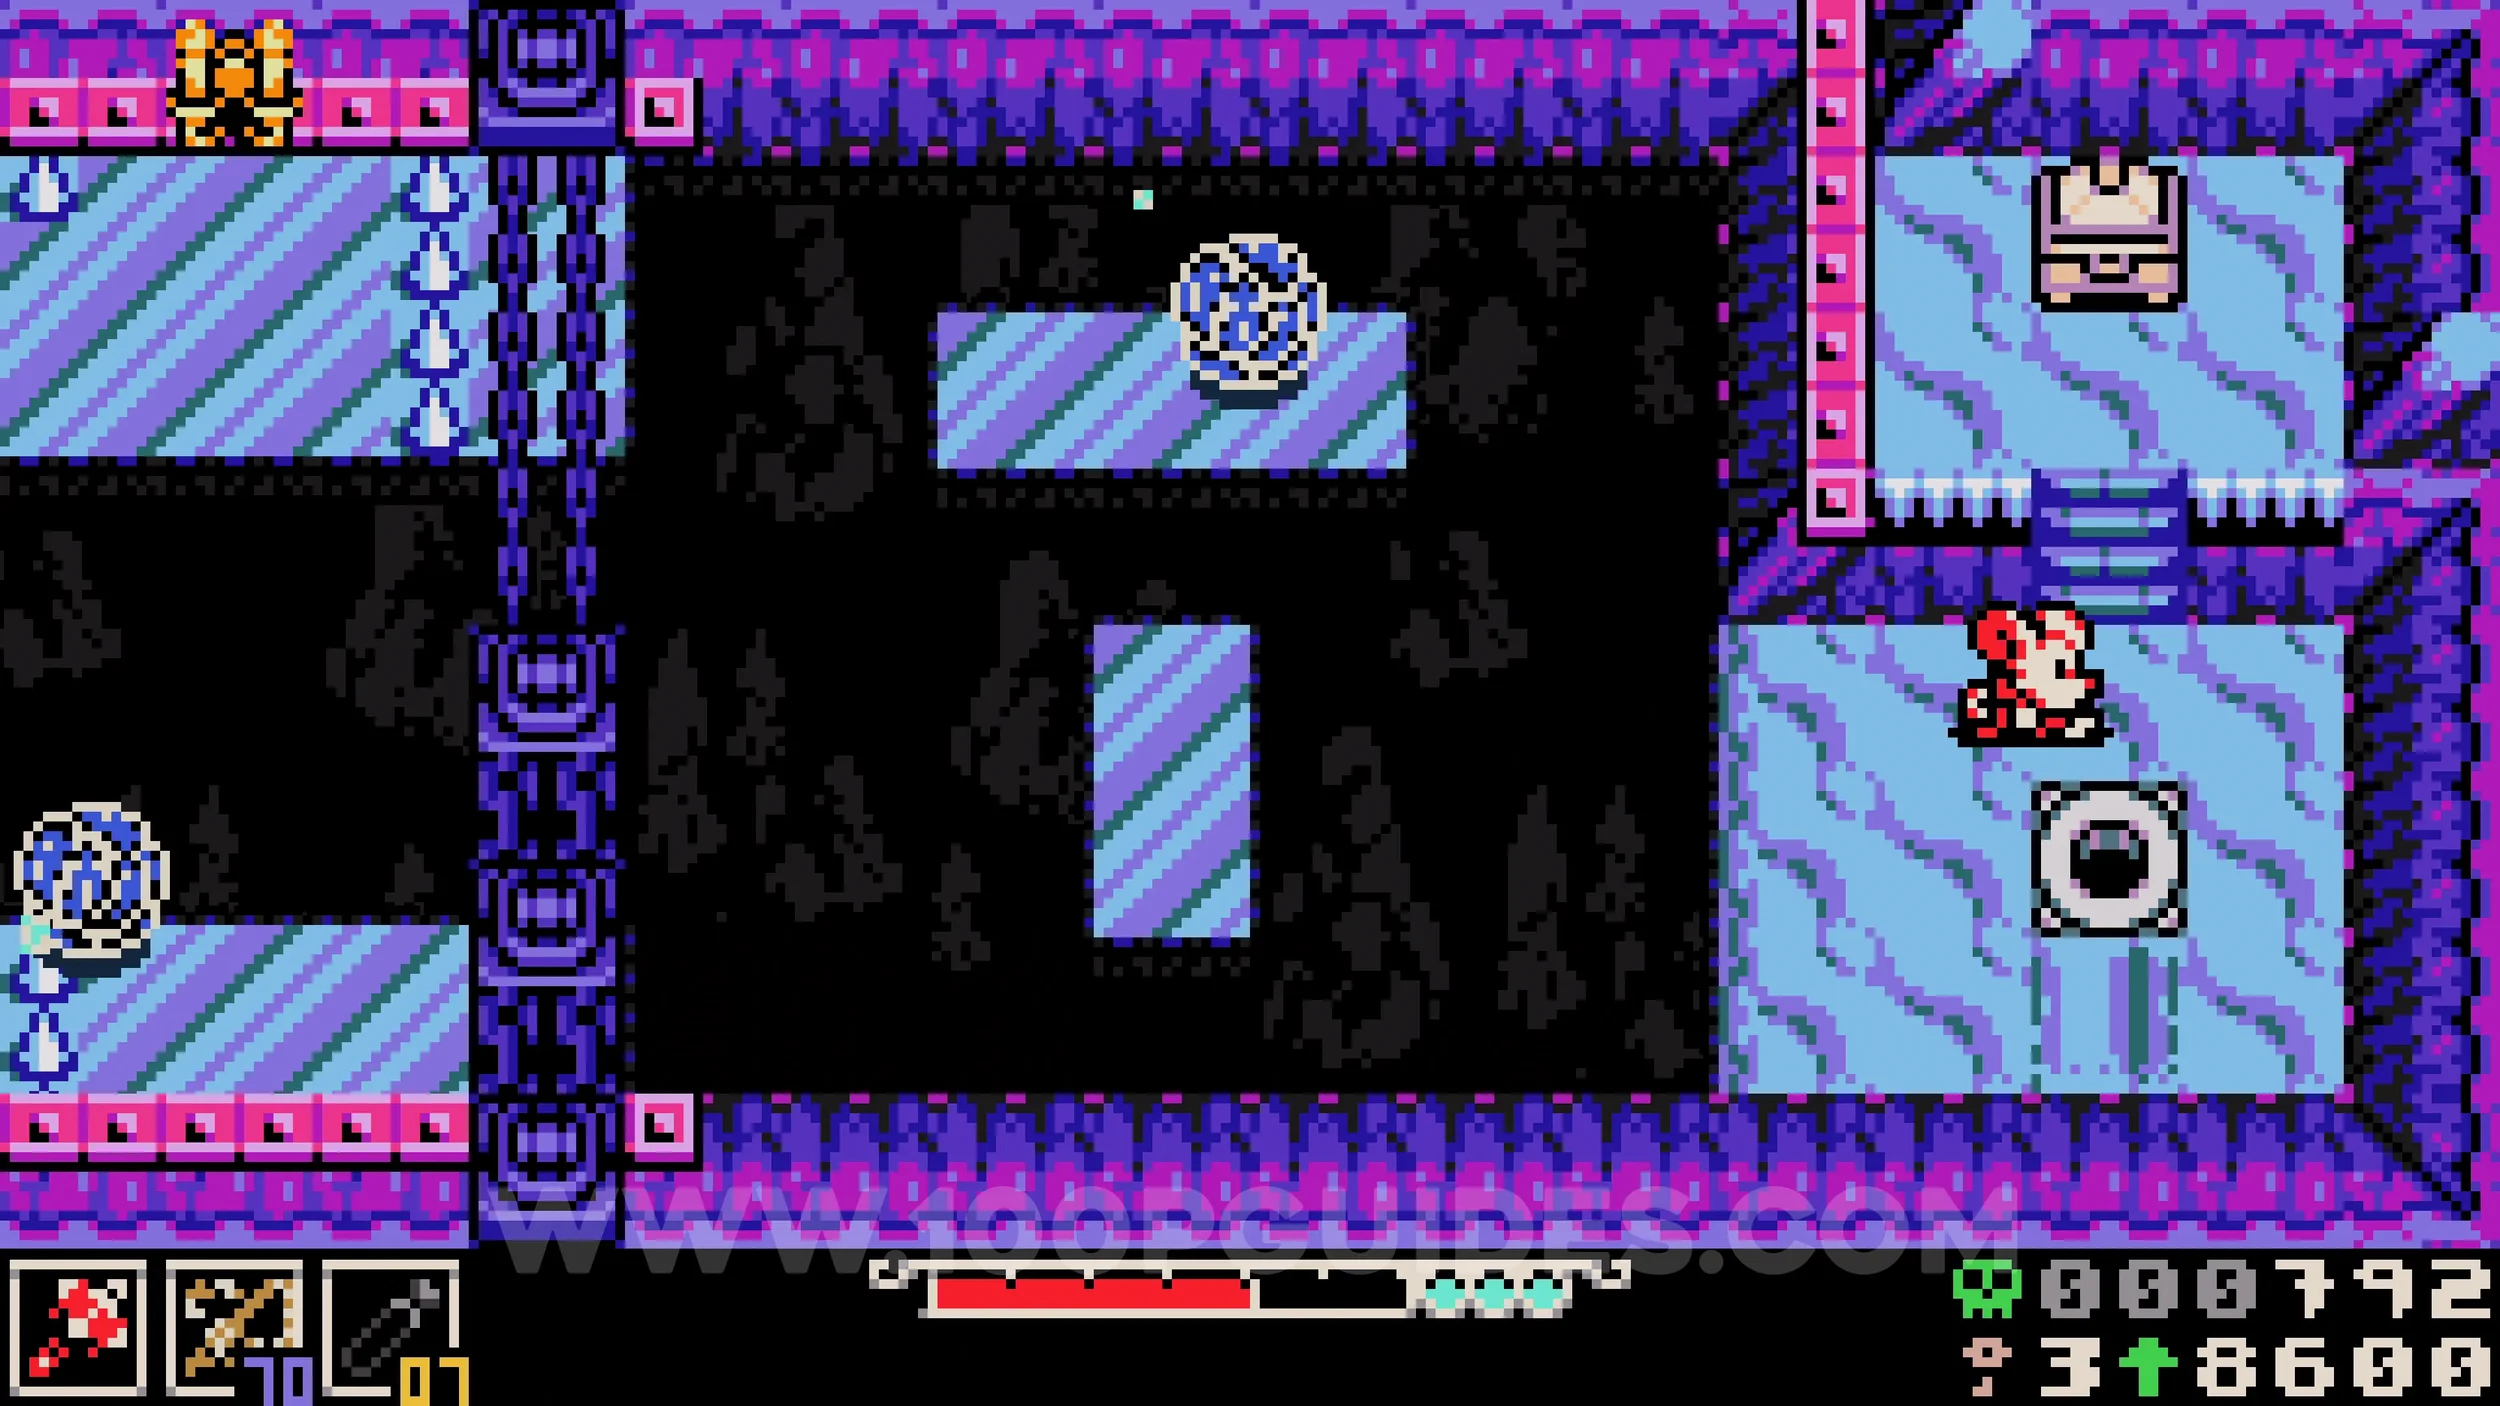
Kear #1. Continue on the main path until you reach an area where you ride rails, heading right. At the end, notice a small hole in the wall where the rails terminate. To reach it, get off the rails in the middle of the room with the see-through floor and burrow under the rails. The collectible will be in the next room.
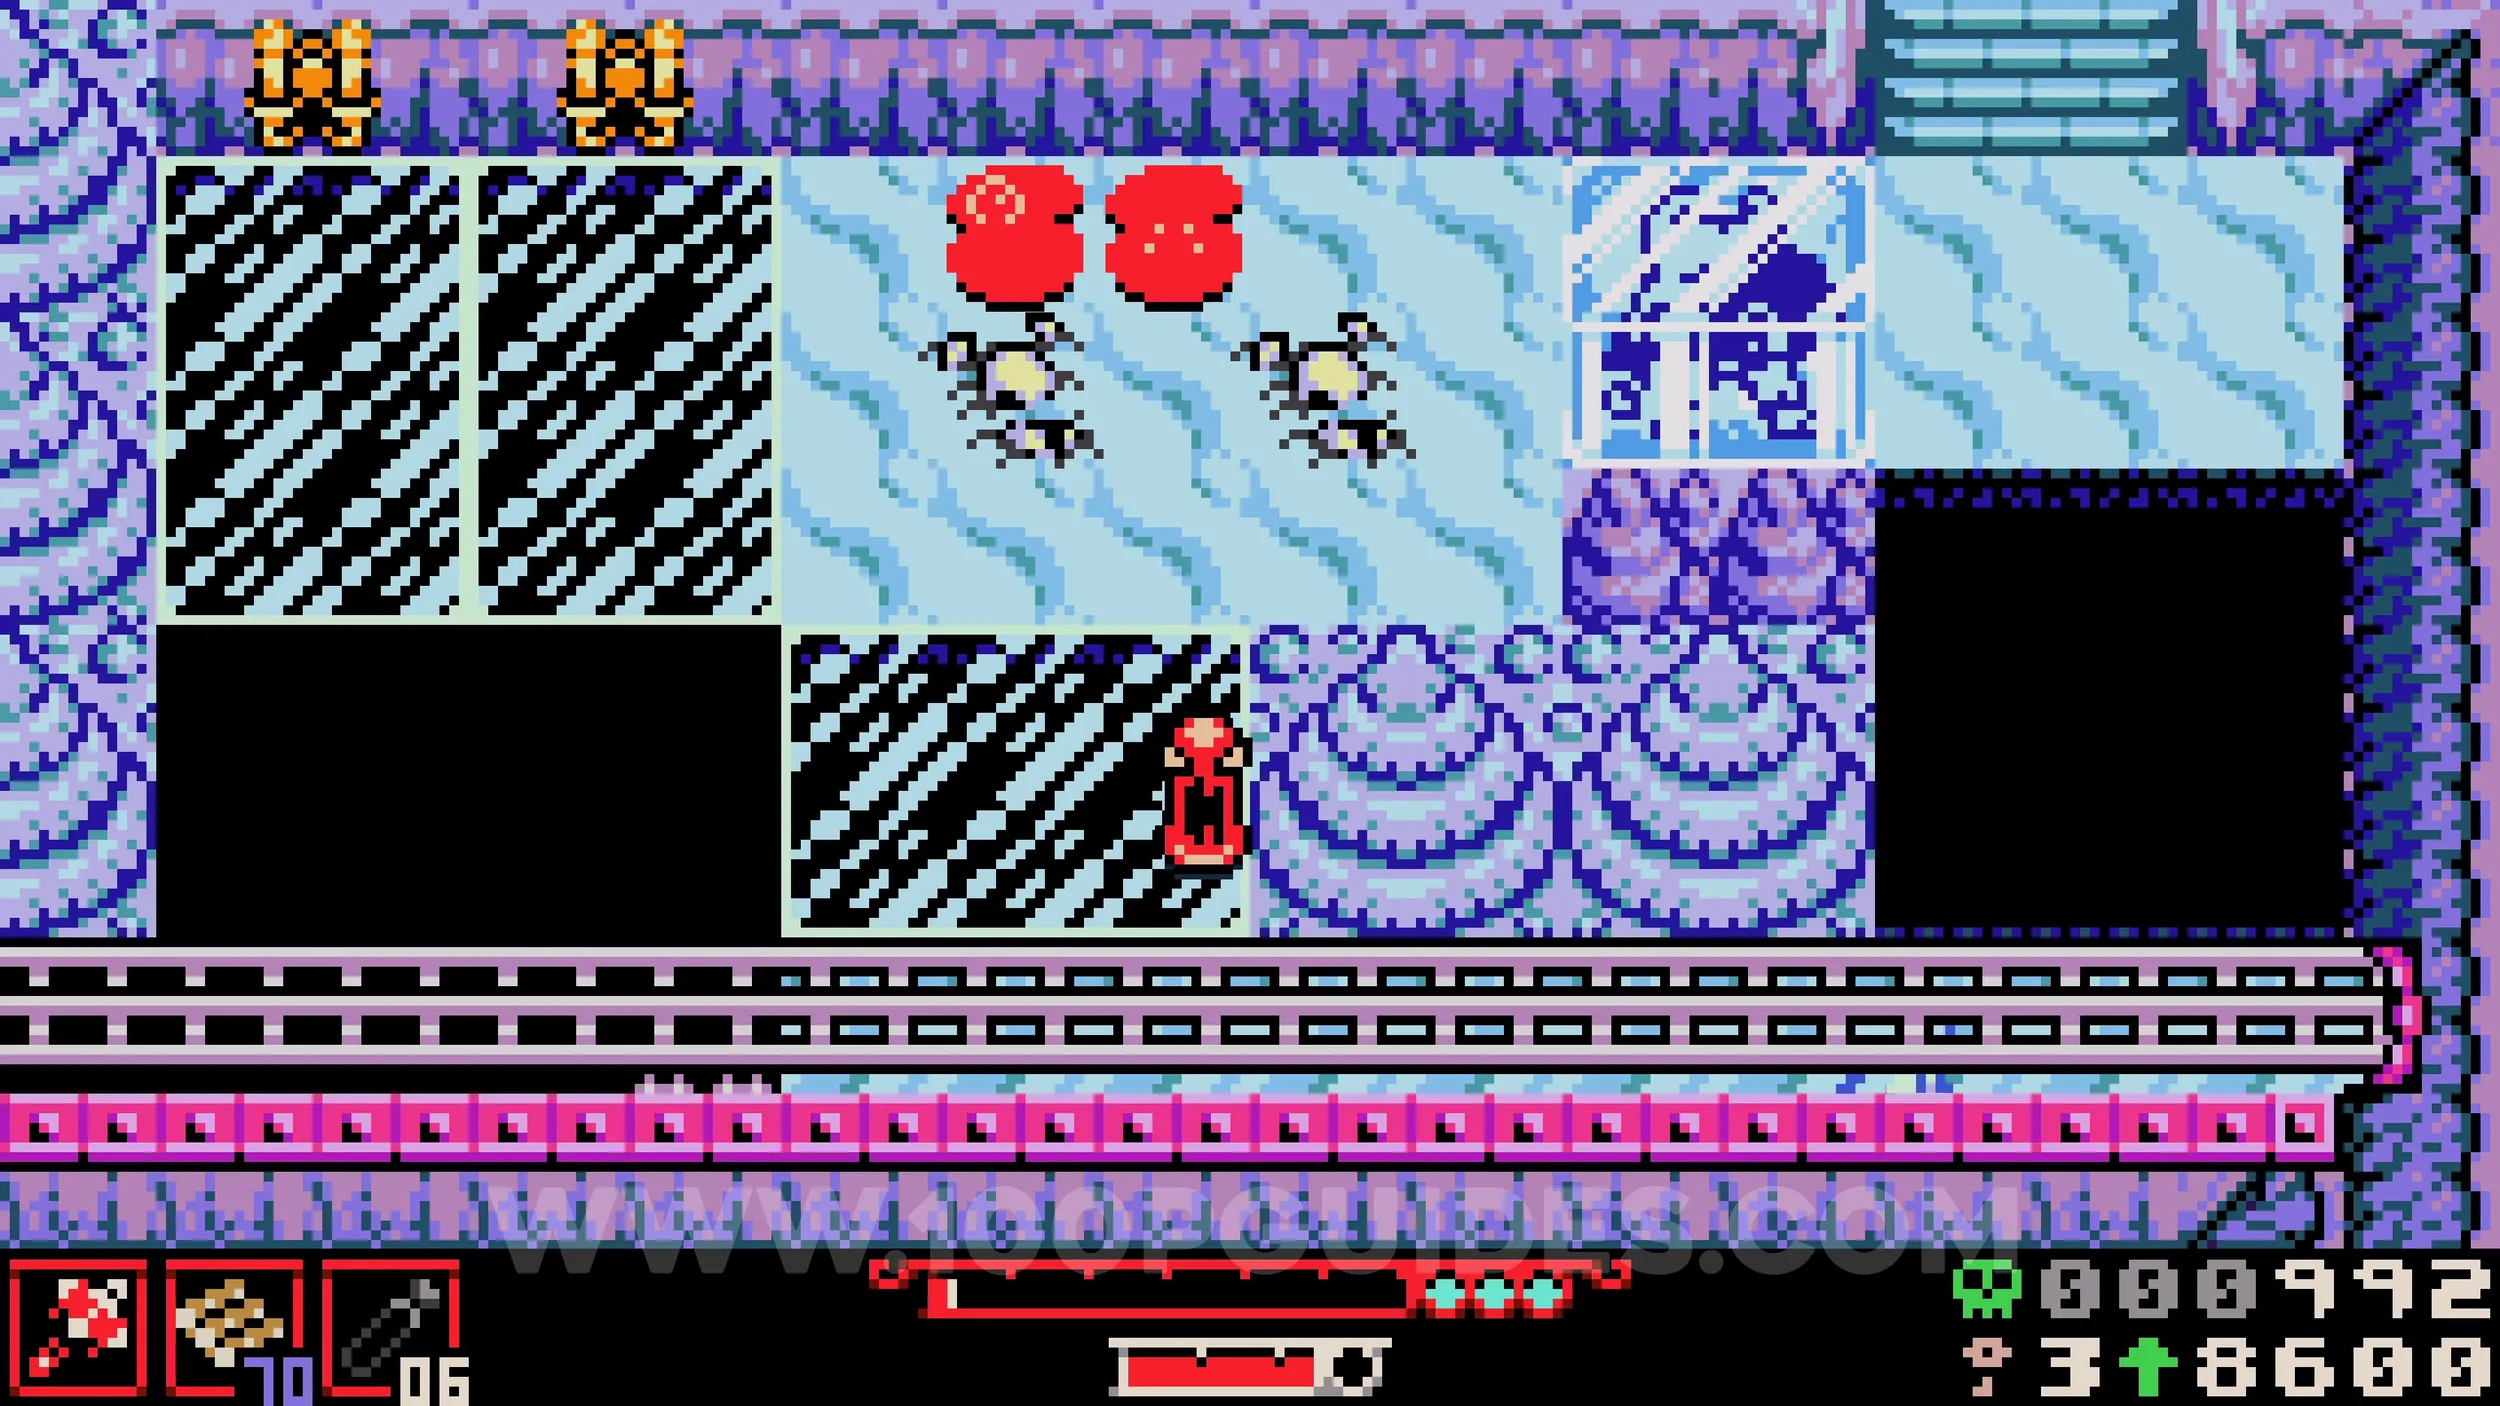
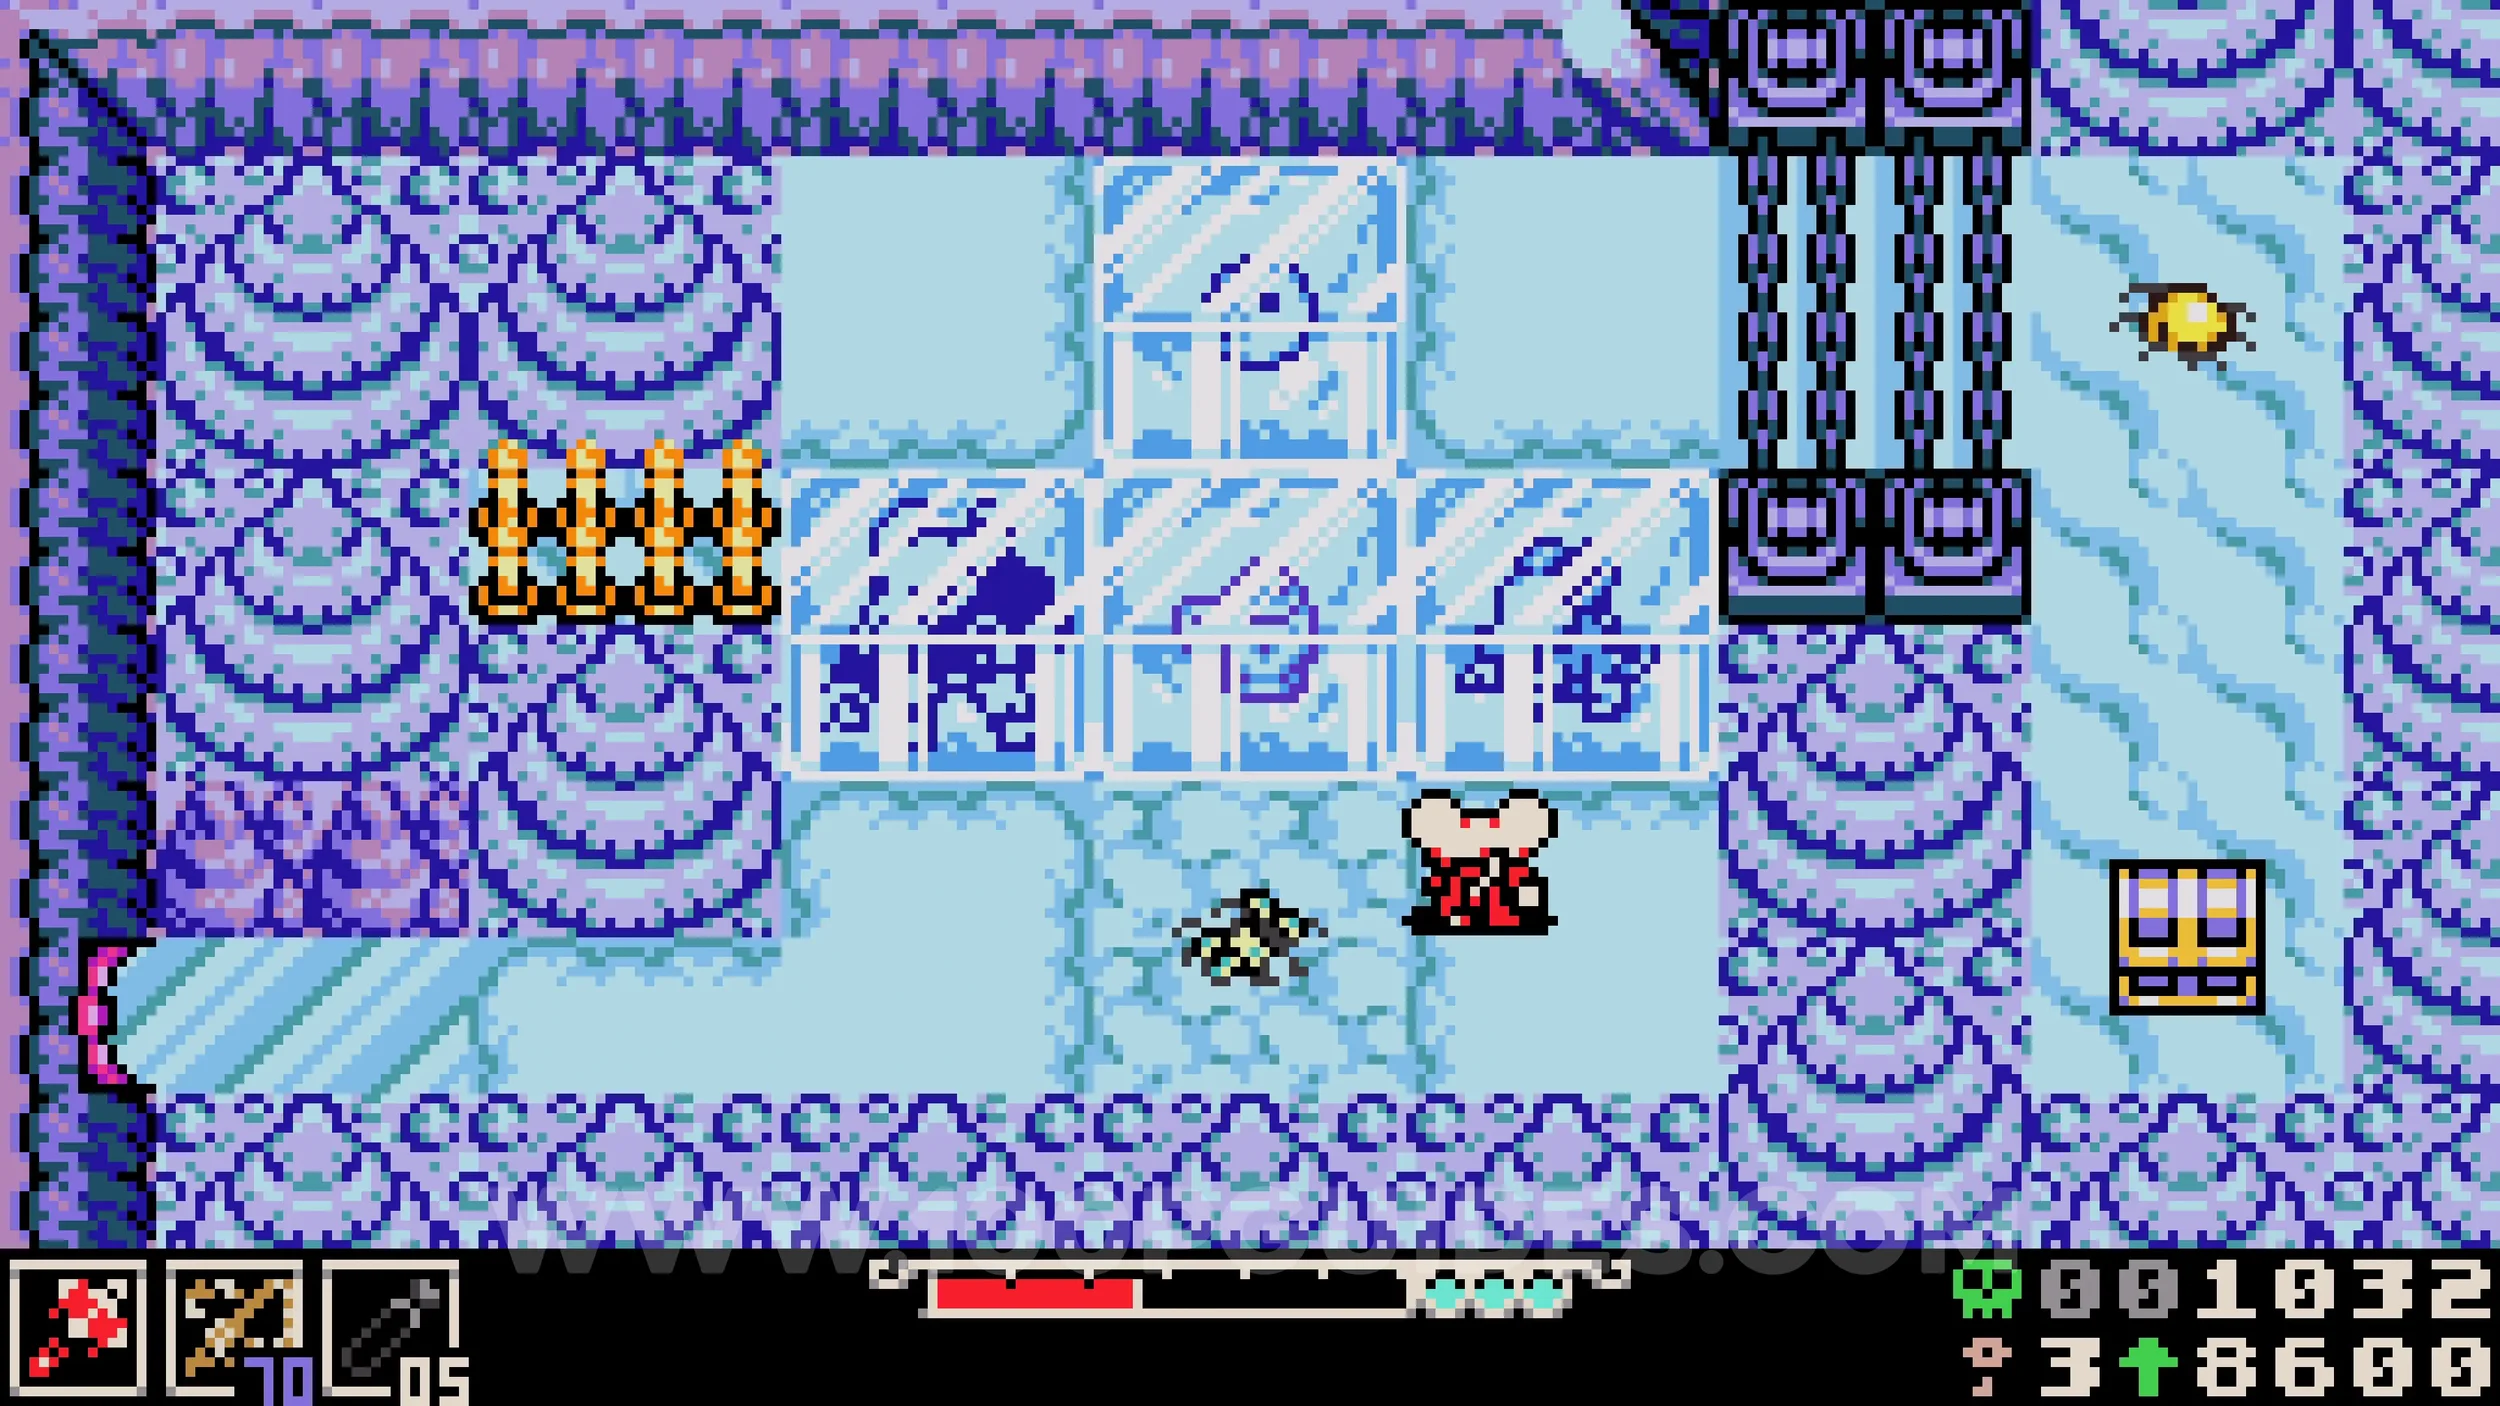
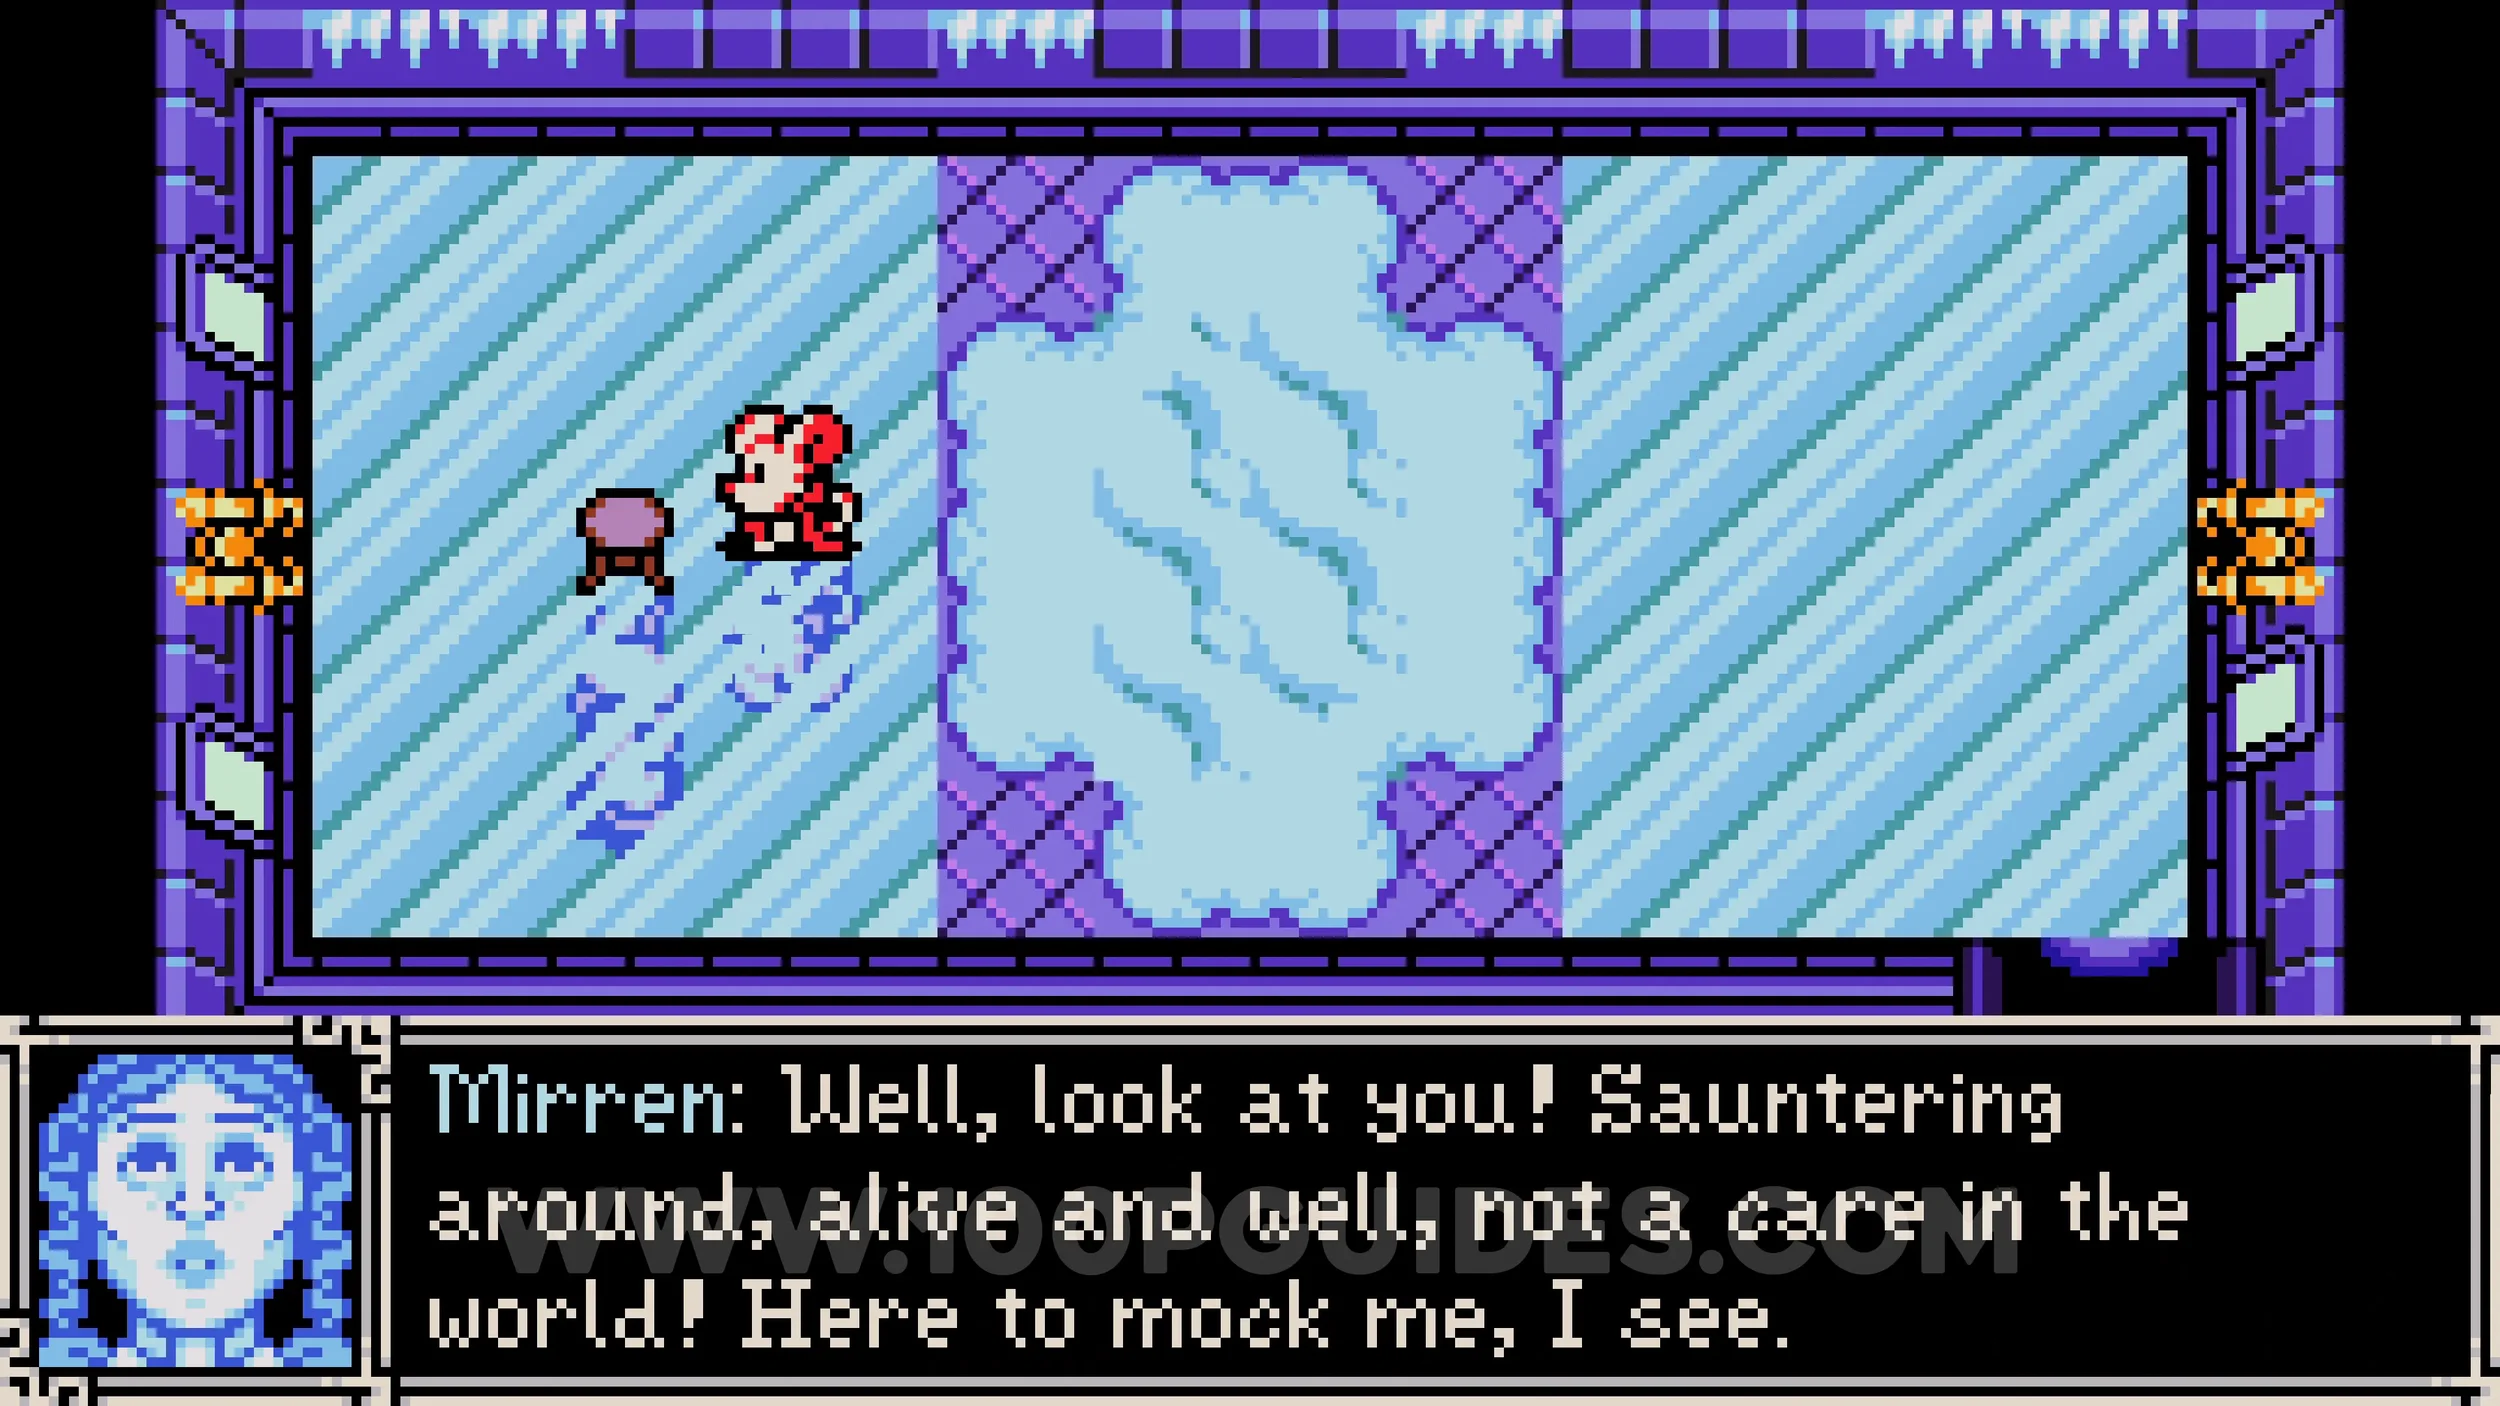
Trinket #2 - Blinking Glass. Once you reach the next underlab, head down the path to the right. You will soon come across a building with an empty stall inside. Interact with it to speak with Mirren, then defeat her in the boss fight to receive the trinket.
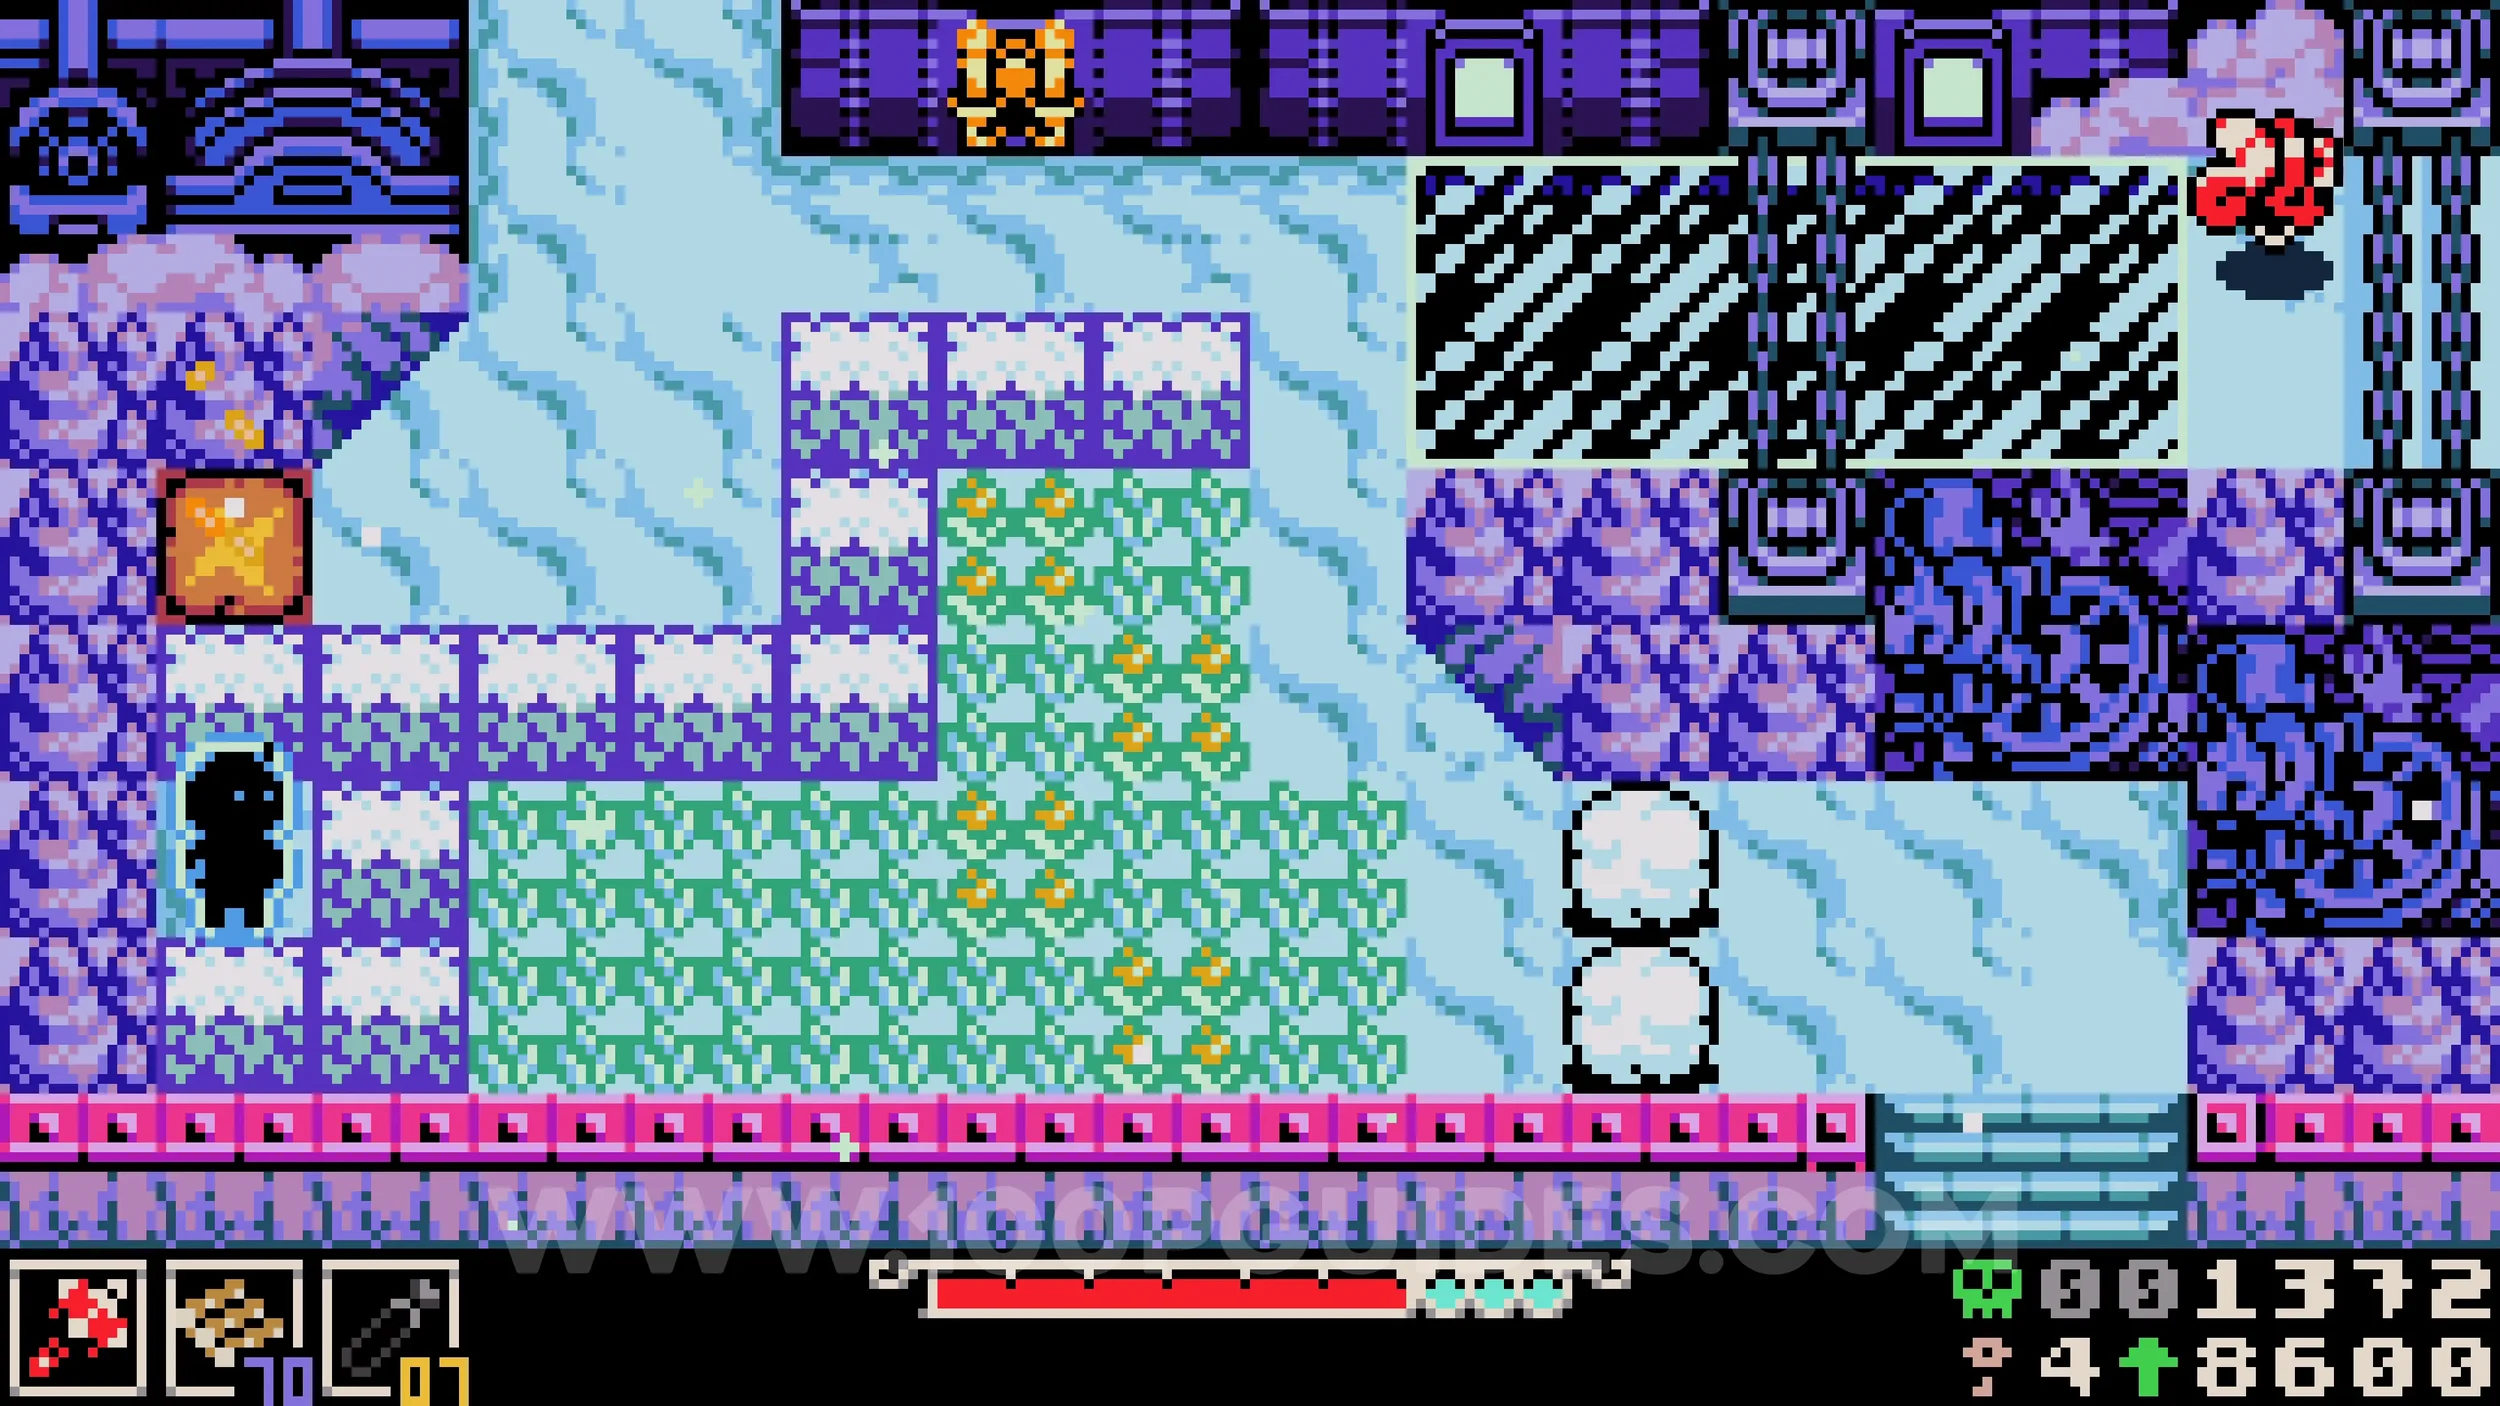
Bonestone #3. Once you reach the next section with rideable train tracks, head to the middle left, go past the snowmen enemies, and drop down to the chest.
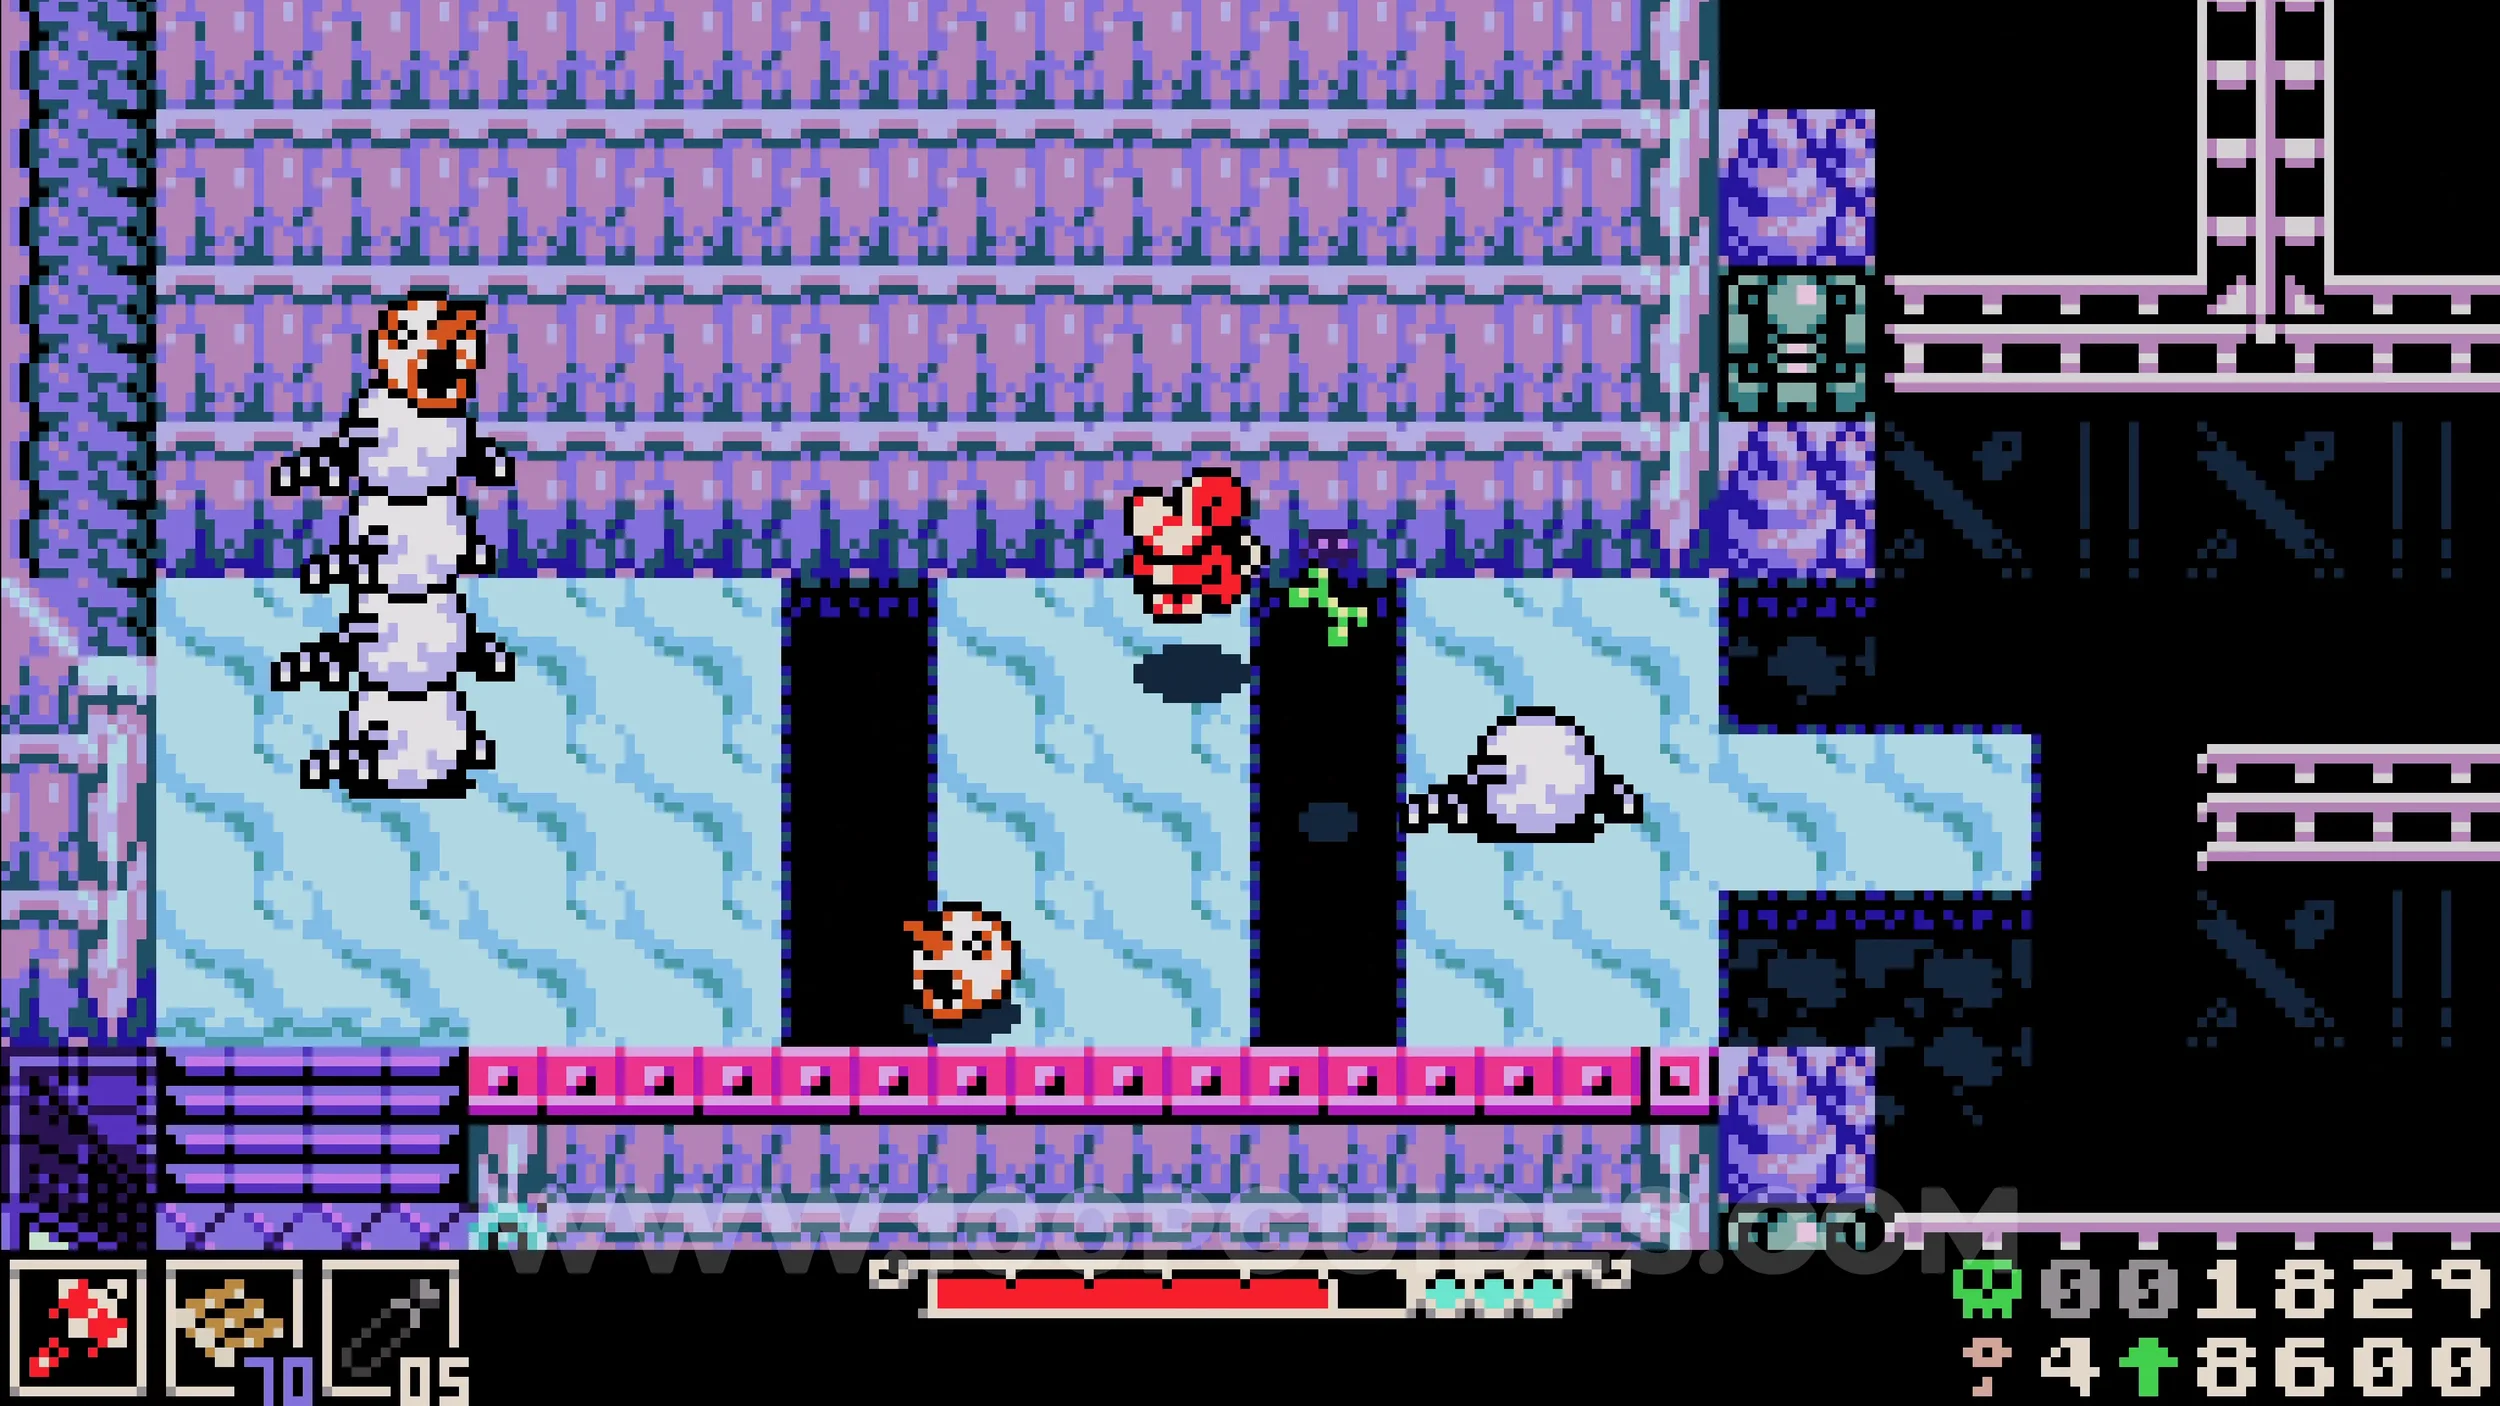
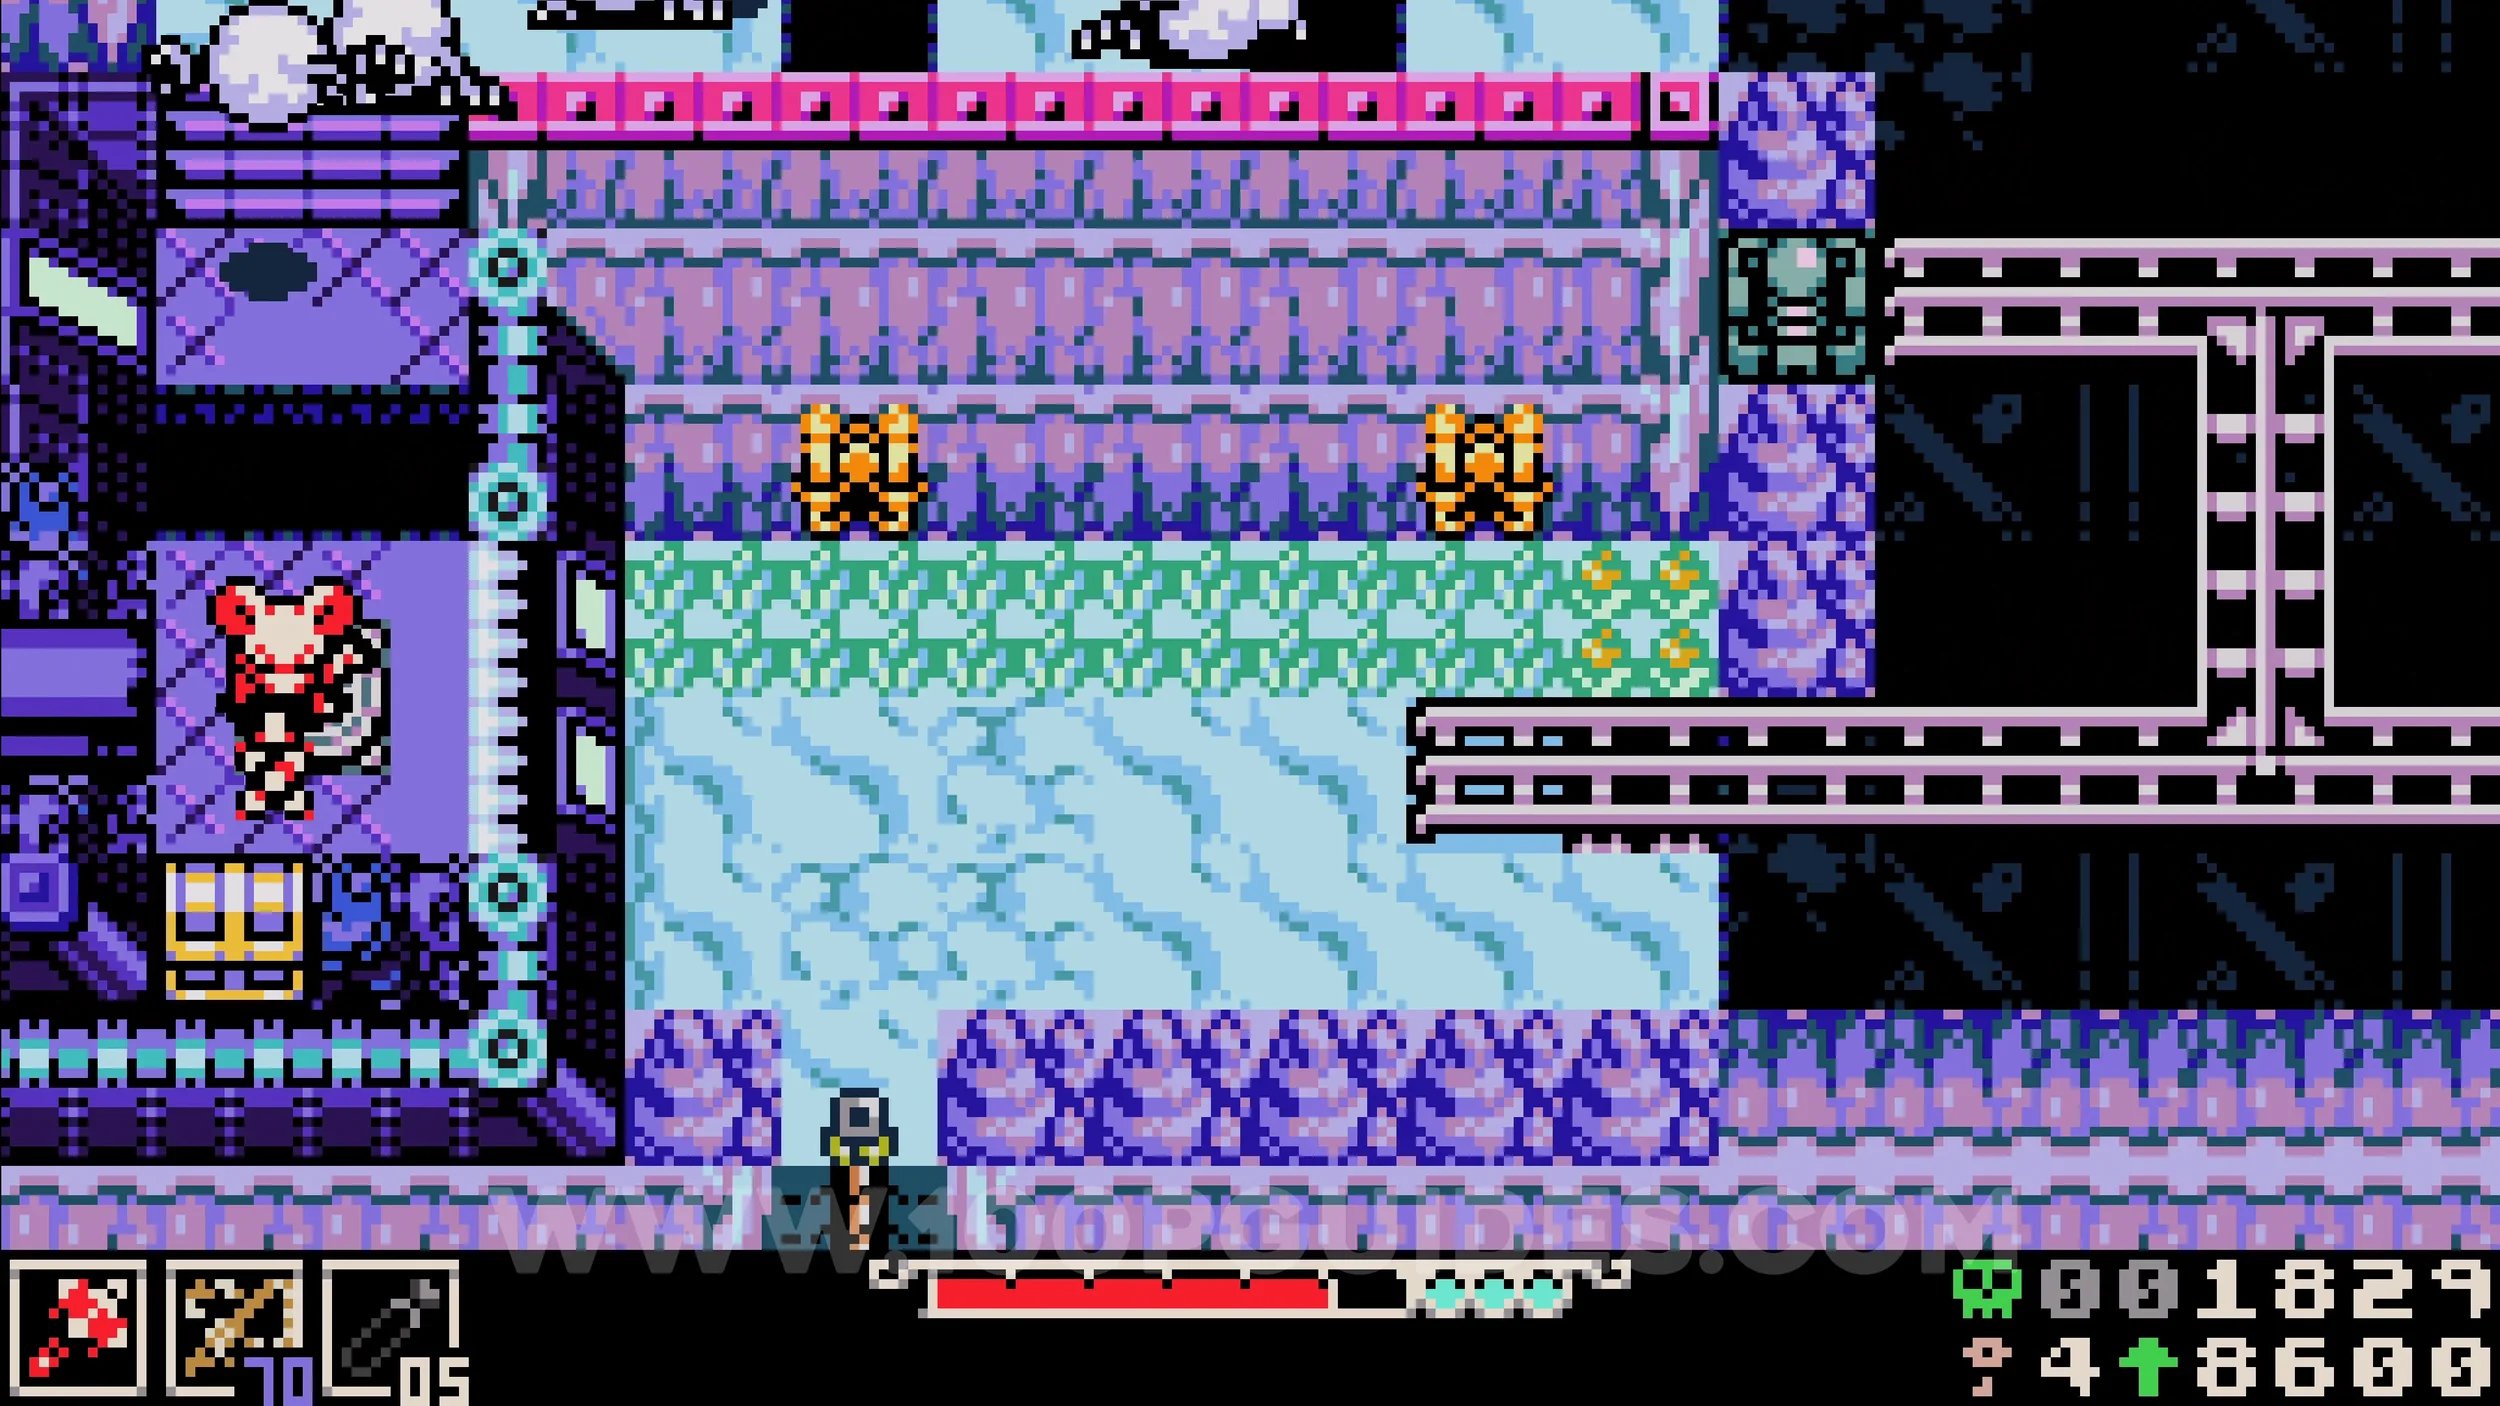
Lock #2. Also in the same area with the train tracks. This time in the top left corner.
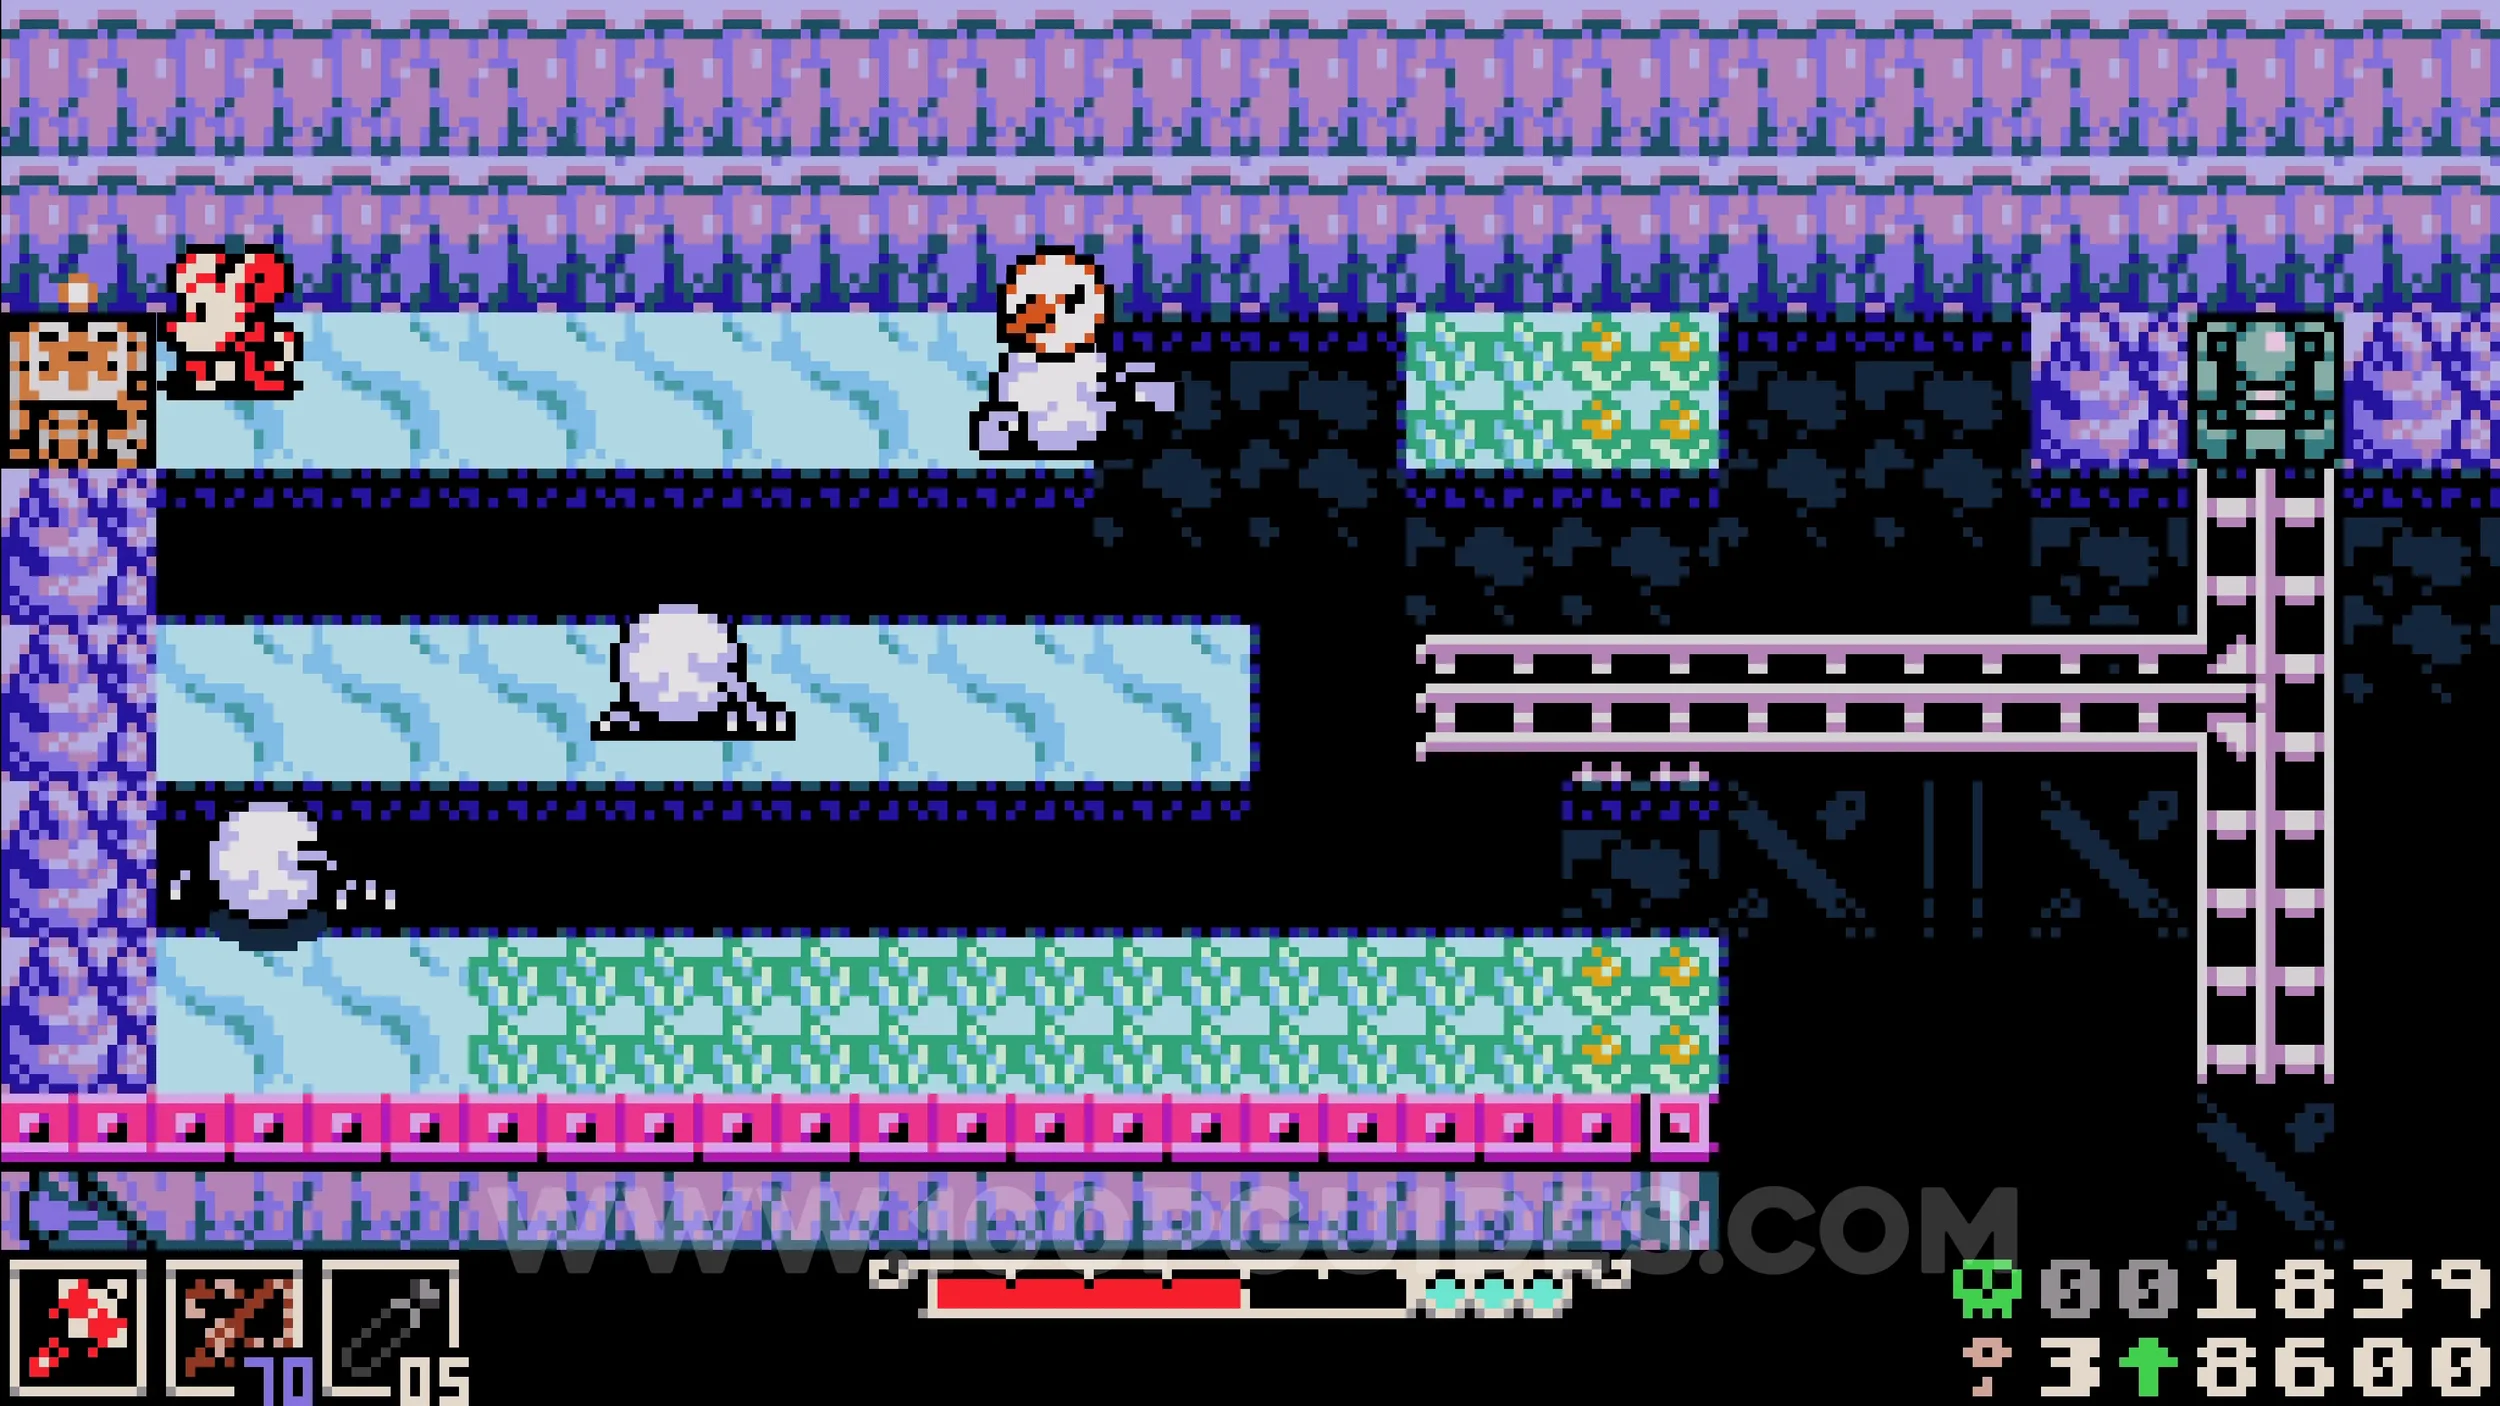
Trinket #3 - Watchful Eye & Kear #2. Past the previous lock you will find an NPC to talk to. You will then have to race across the icy platforms to reach the bottom path before the NPC gets to the end. Look out for him beneath the icy bottom path and burrow under where he is to save him. He will then sell you the collectibles.
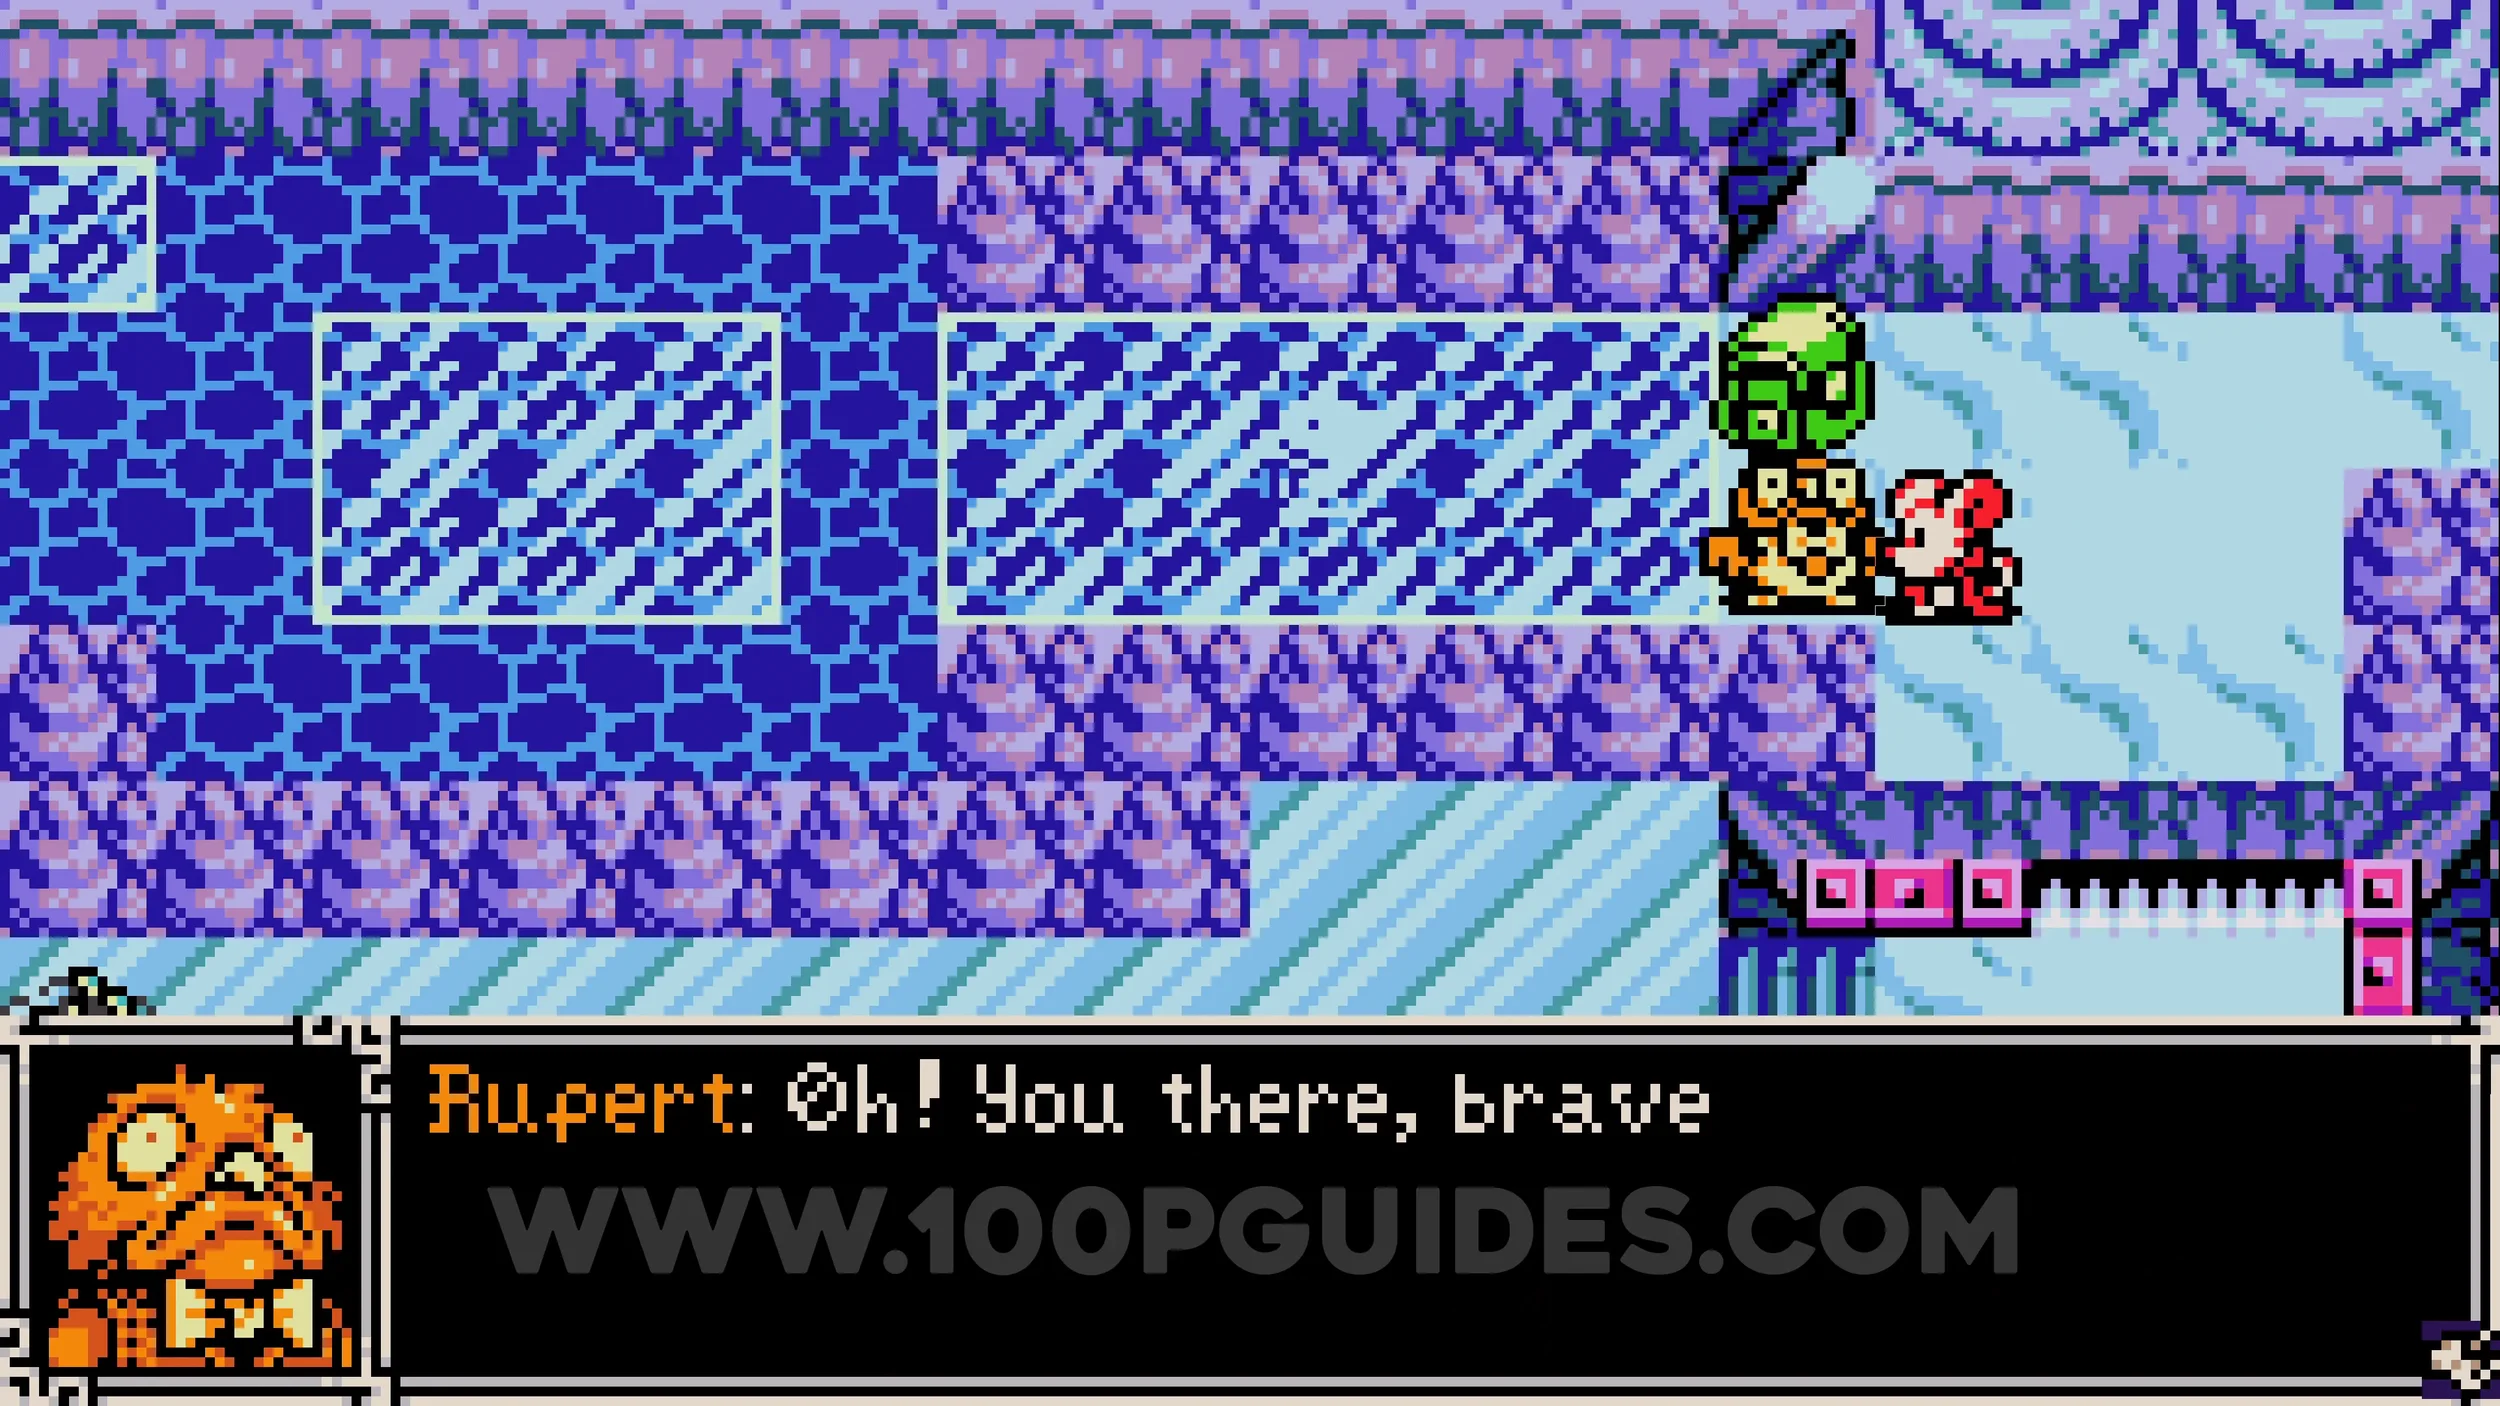
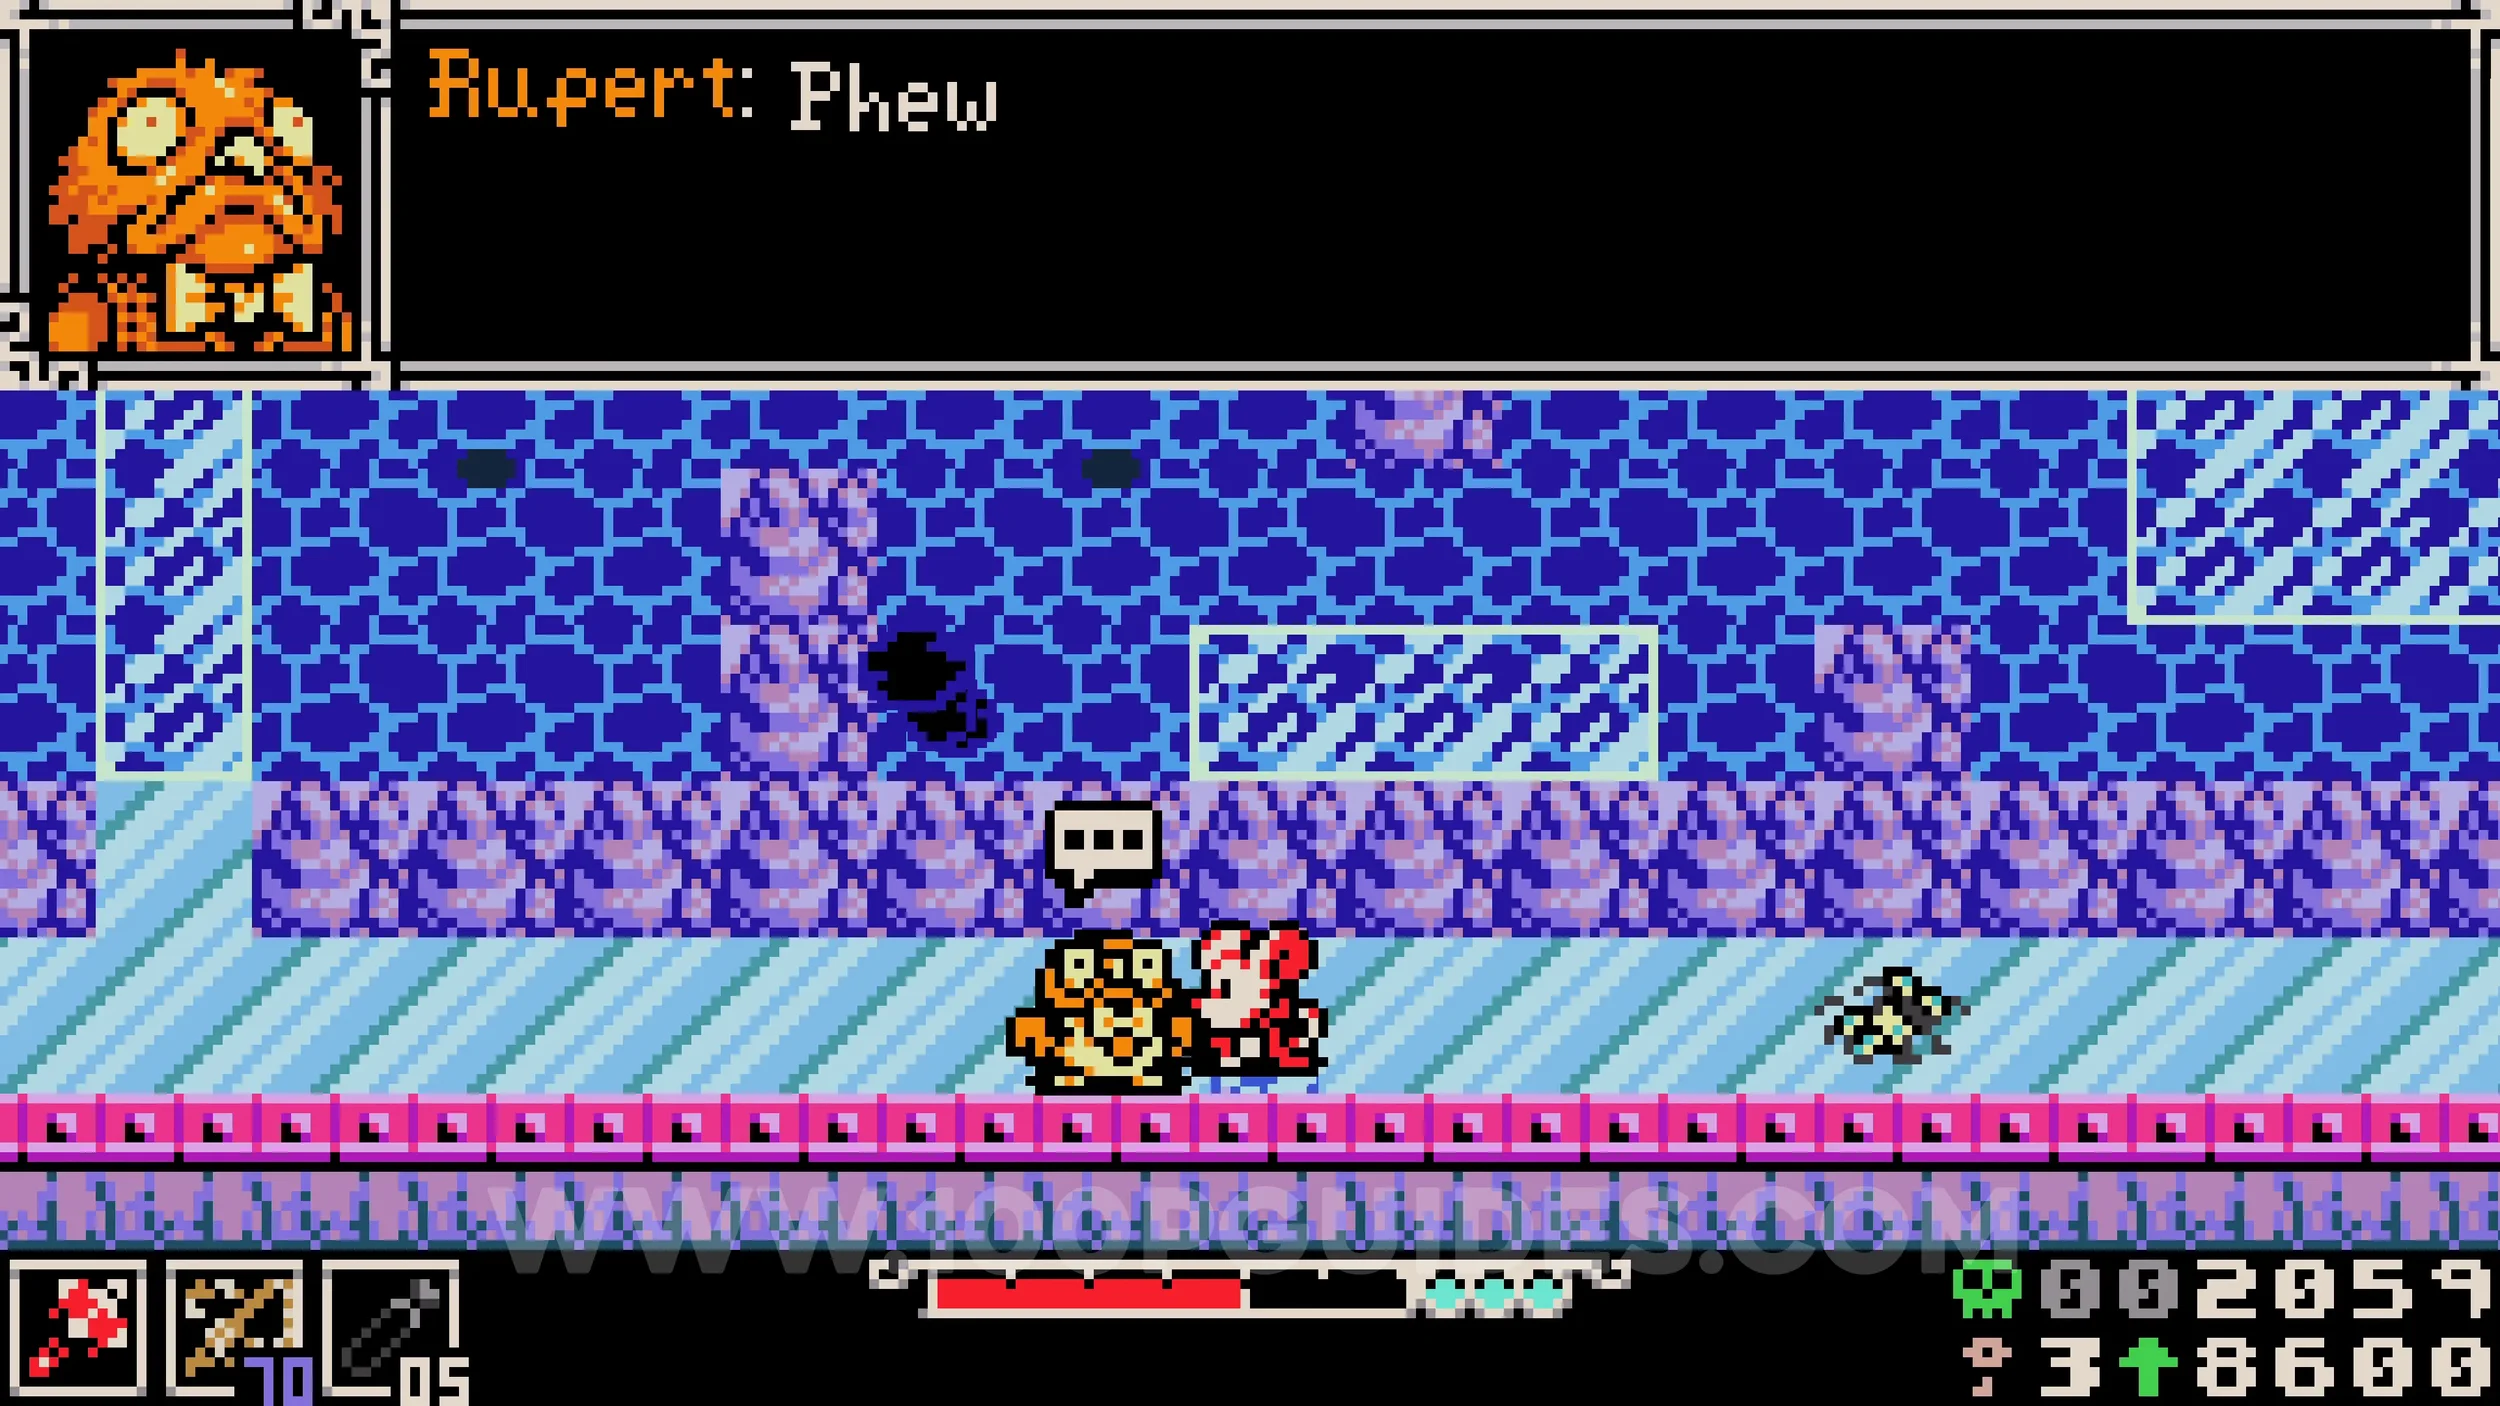
Fish #1. In the water in the same area as the previous NPC.
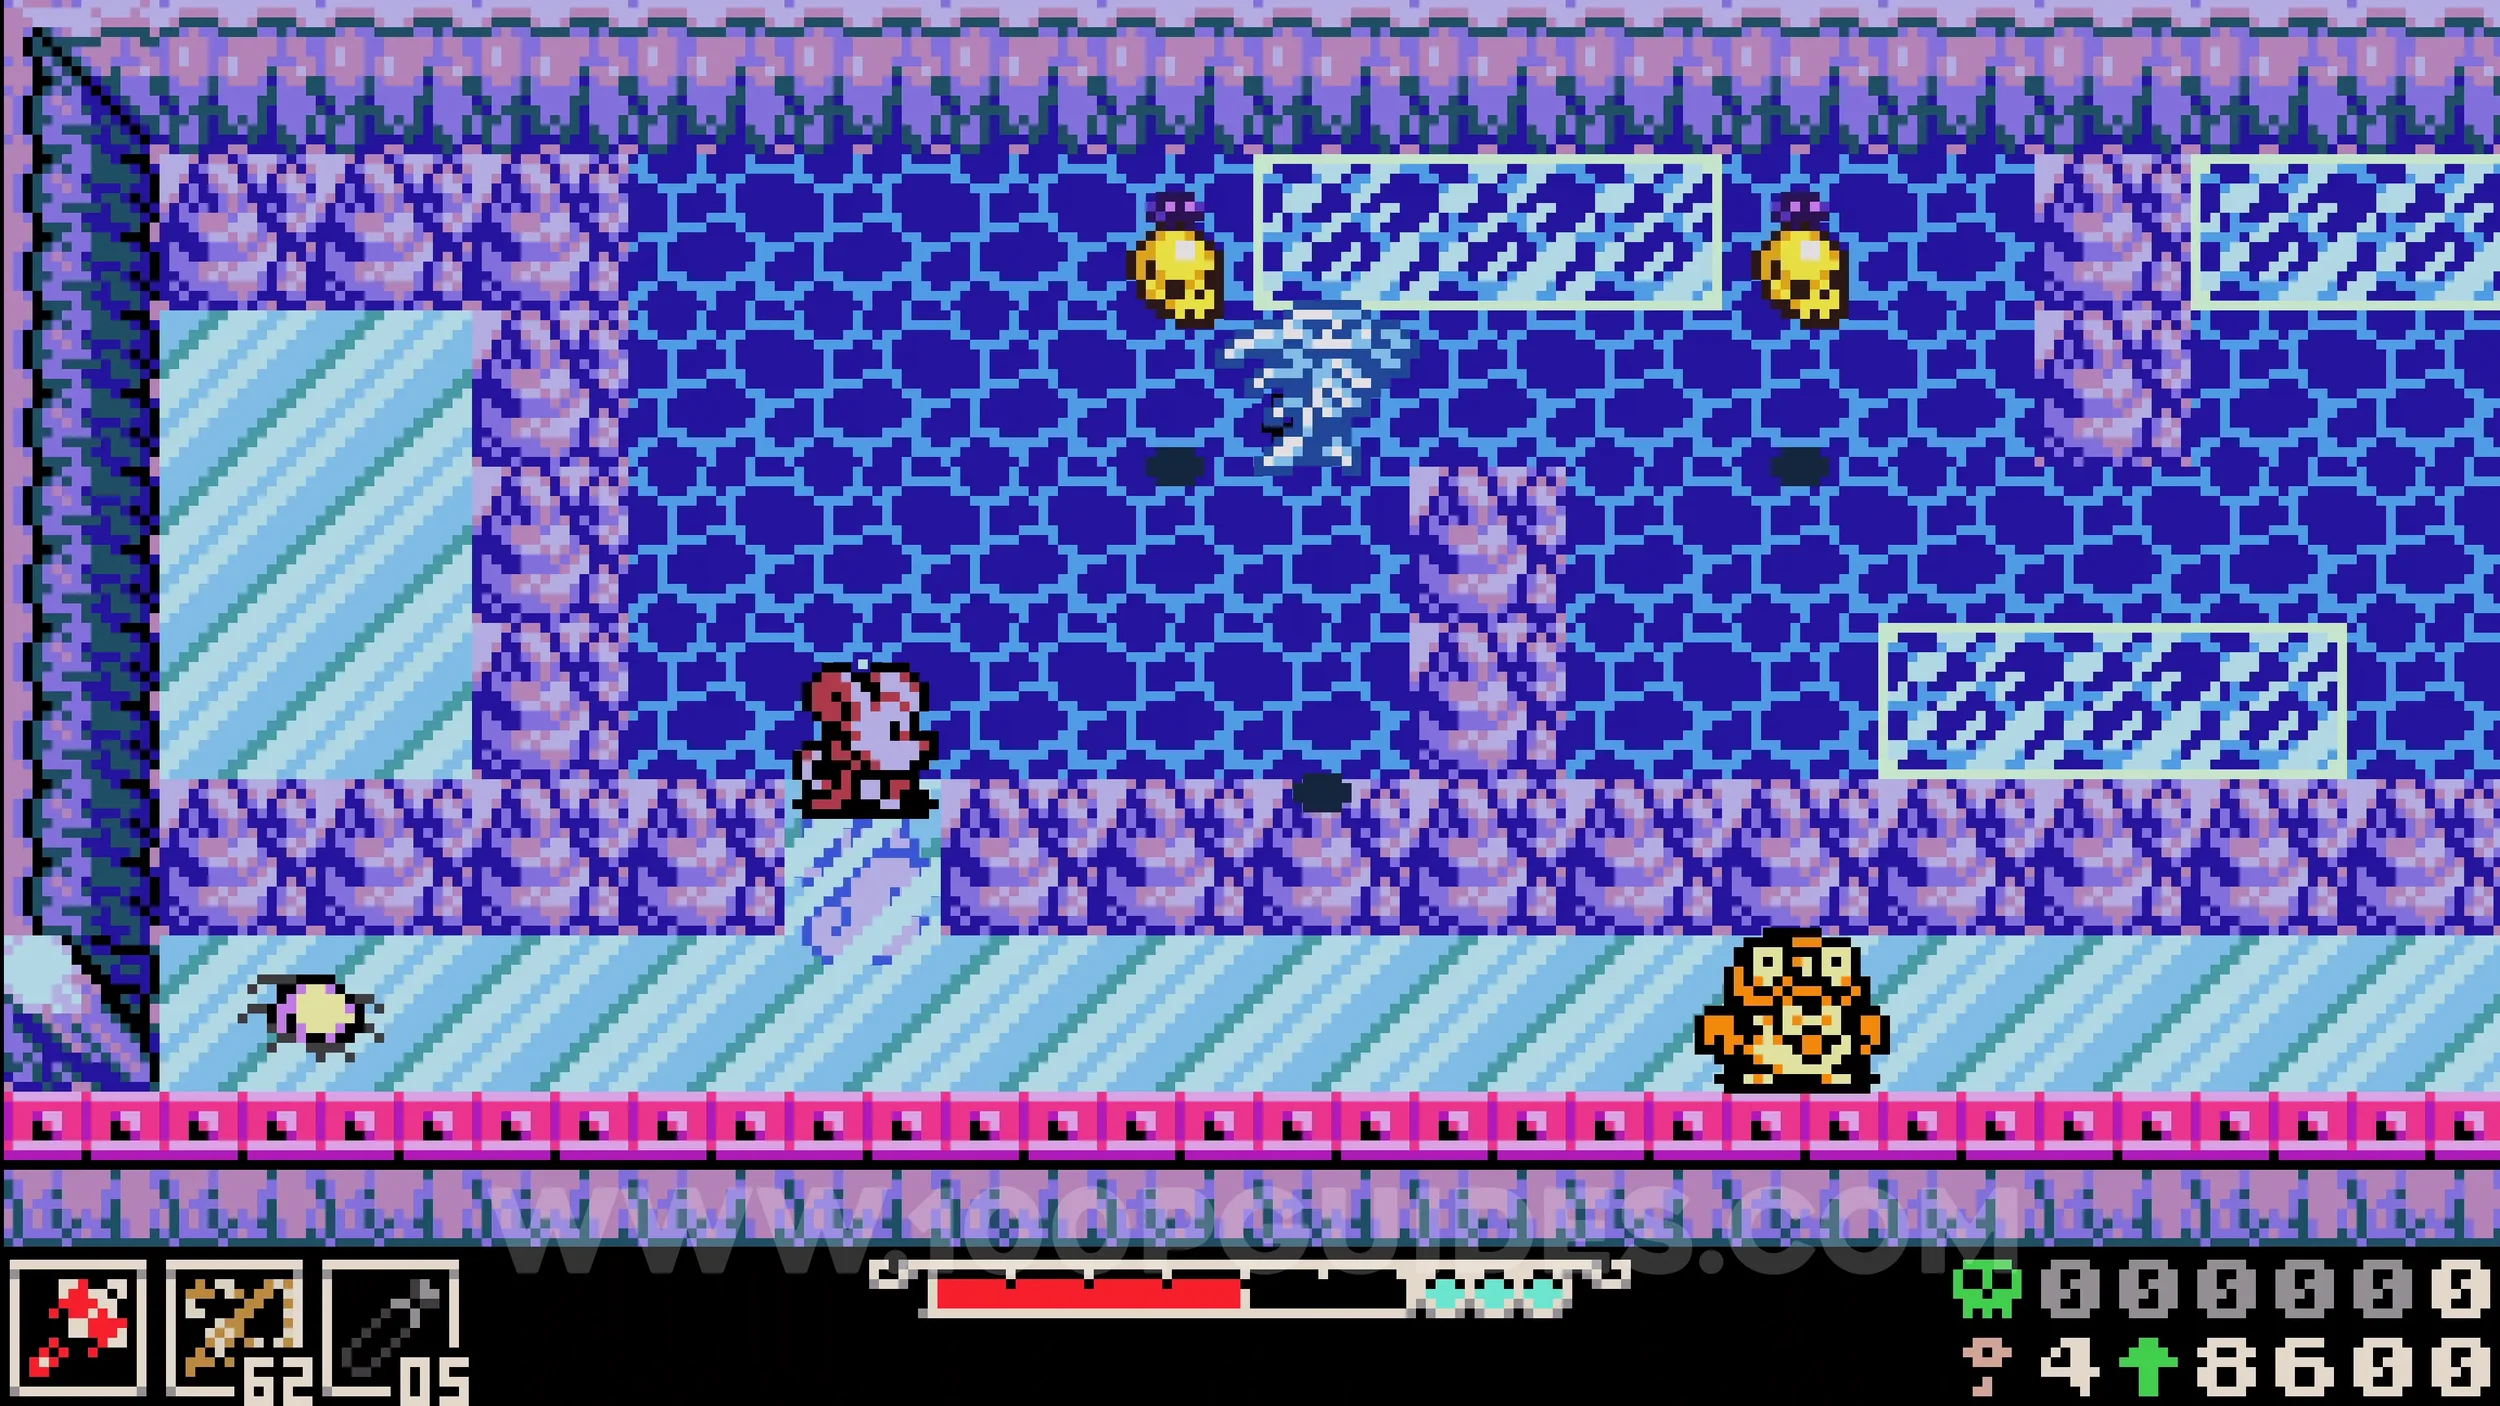
Bonestone #4. Return to the area with the train tracks and cross them to find the chest in the middle of the right side.
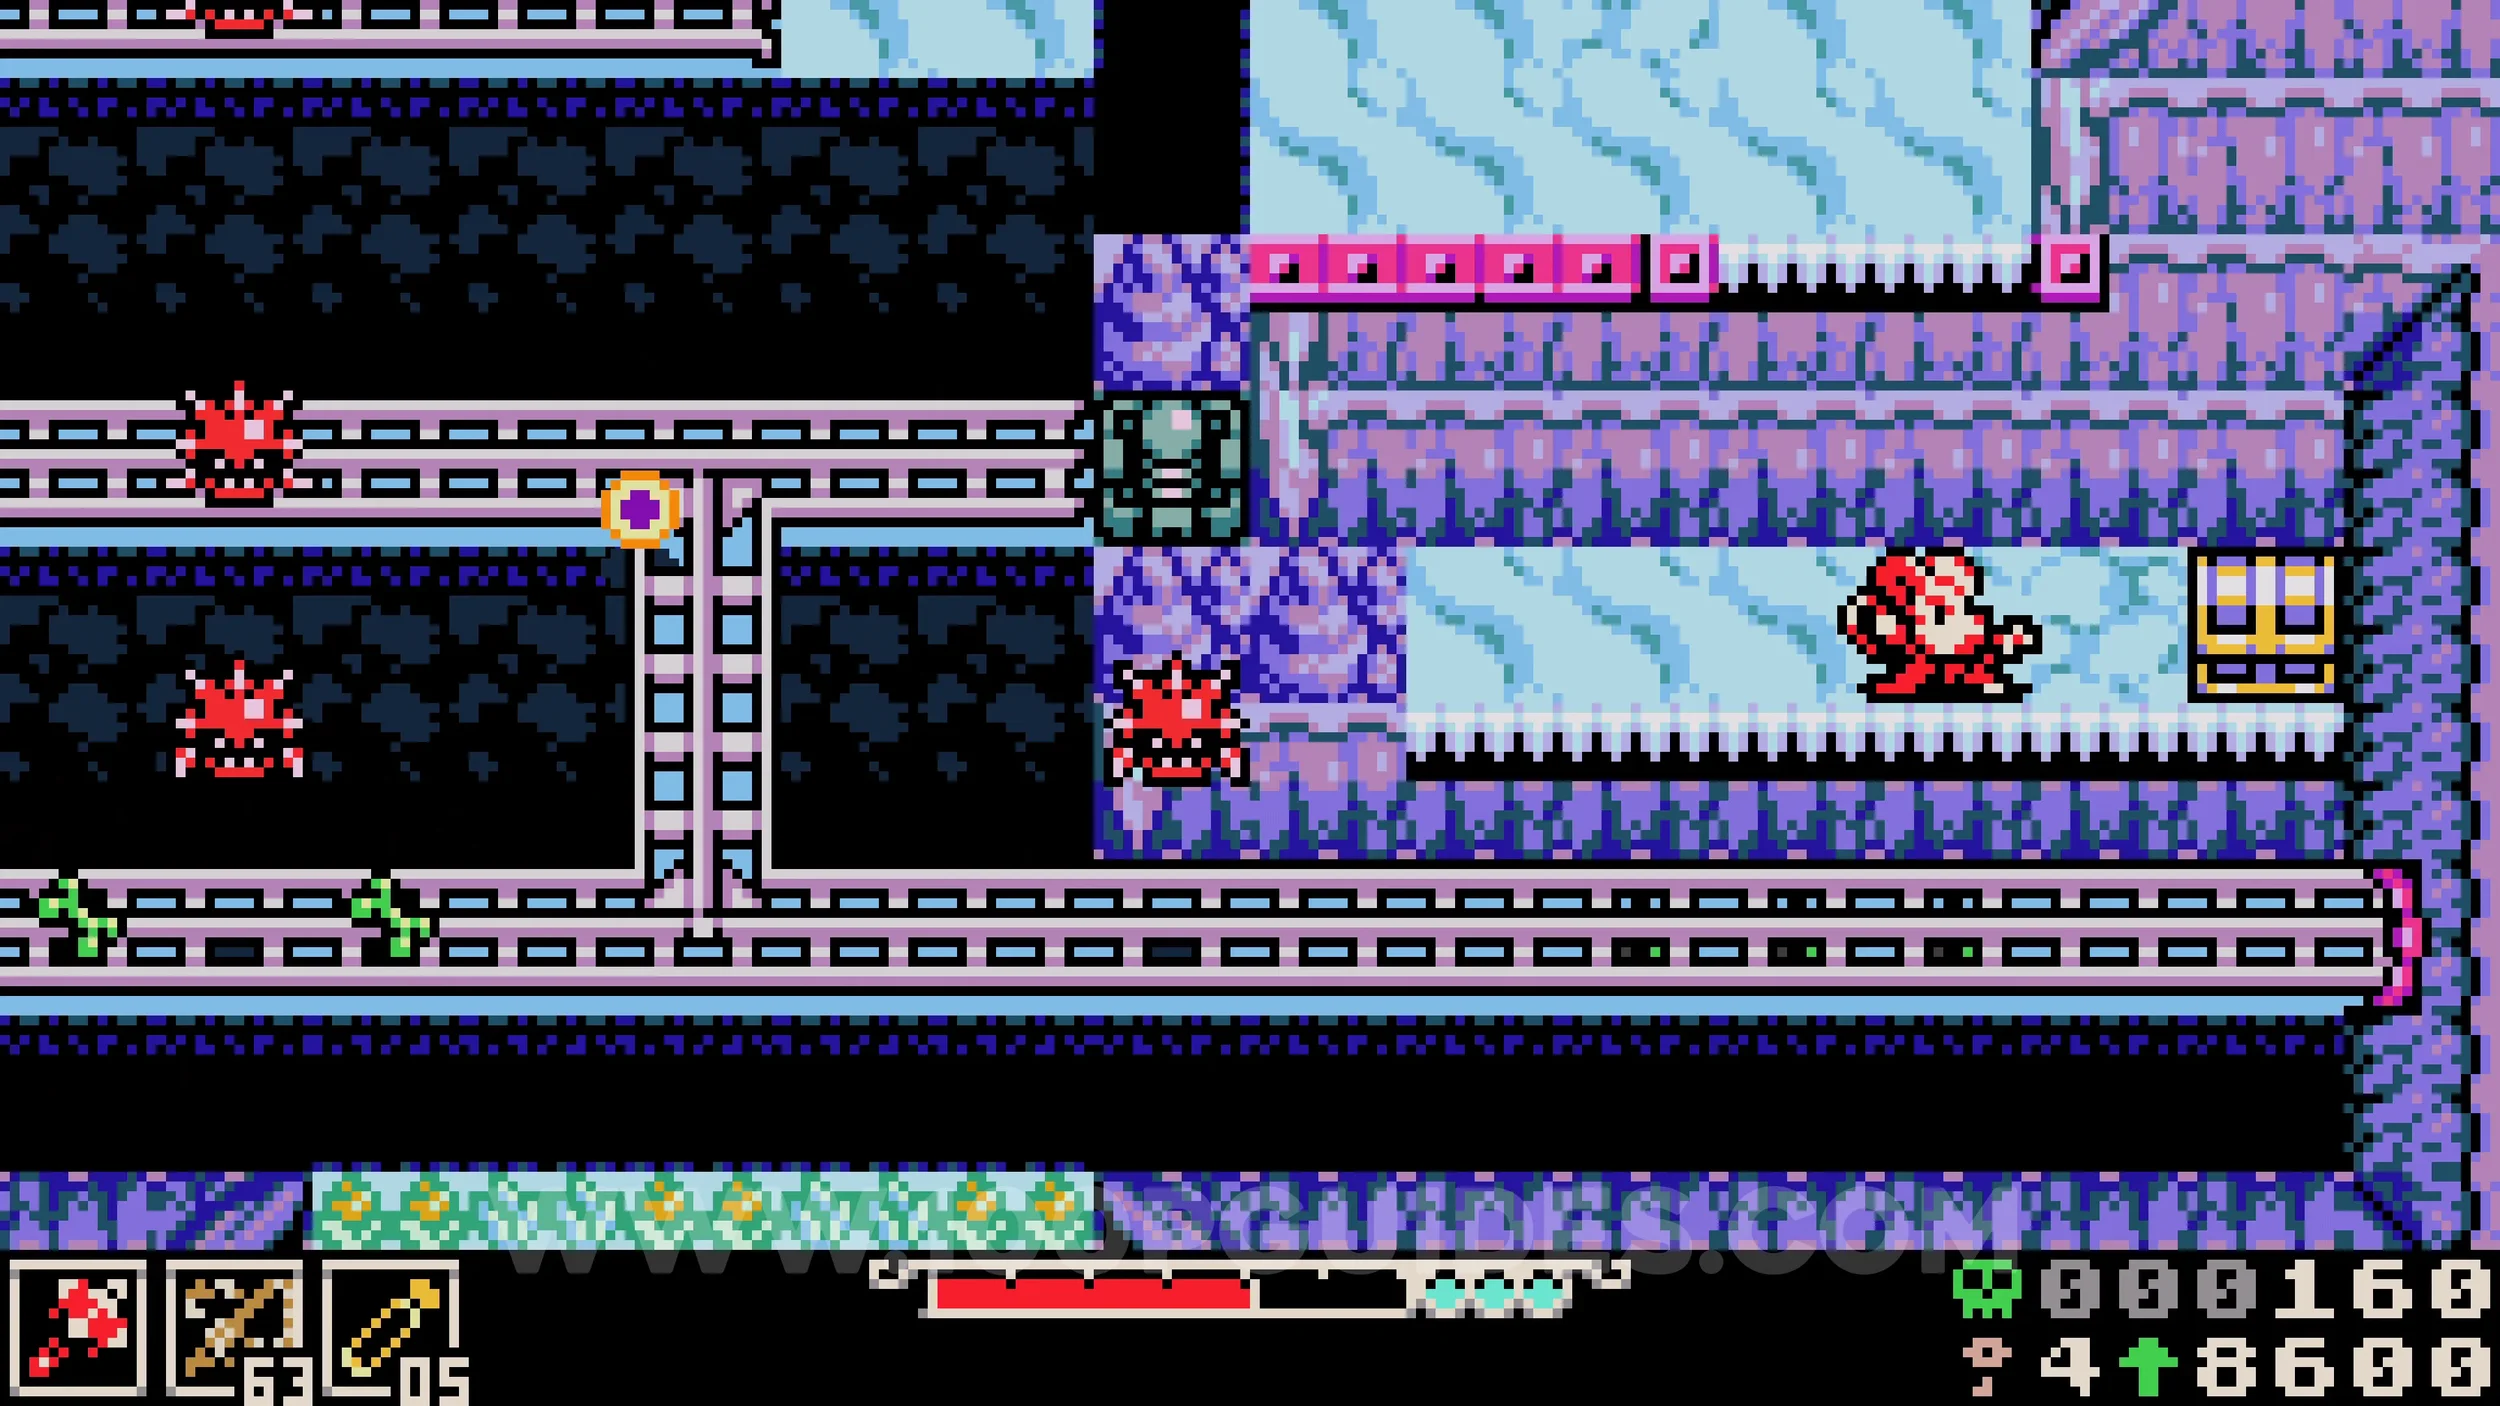
Weapon #1 - Guardian Casket. Below the previous chest, look for a hole in the wall at the right end of the rail. Just as before, burrow under the rails to enter it from the small patch of snow where the rails end just above the previous chest. Go through the hole and follow the path to the end to find the chest containing the weapon.
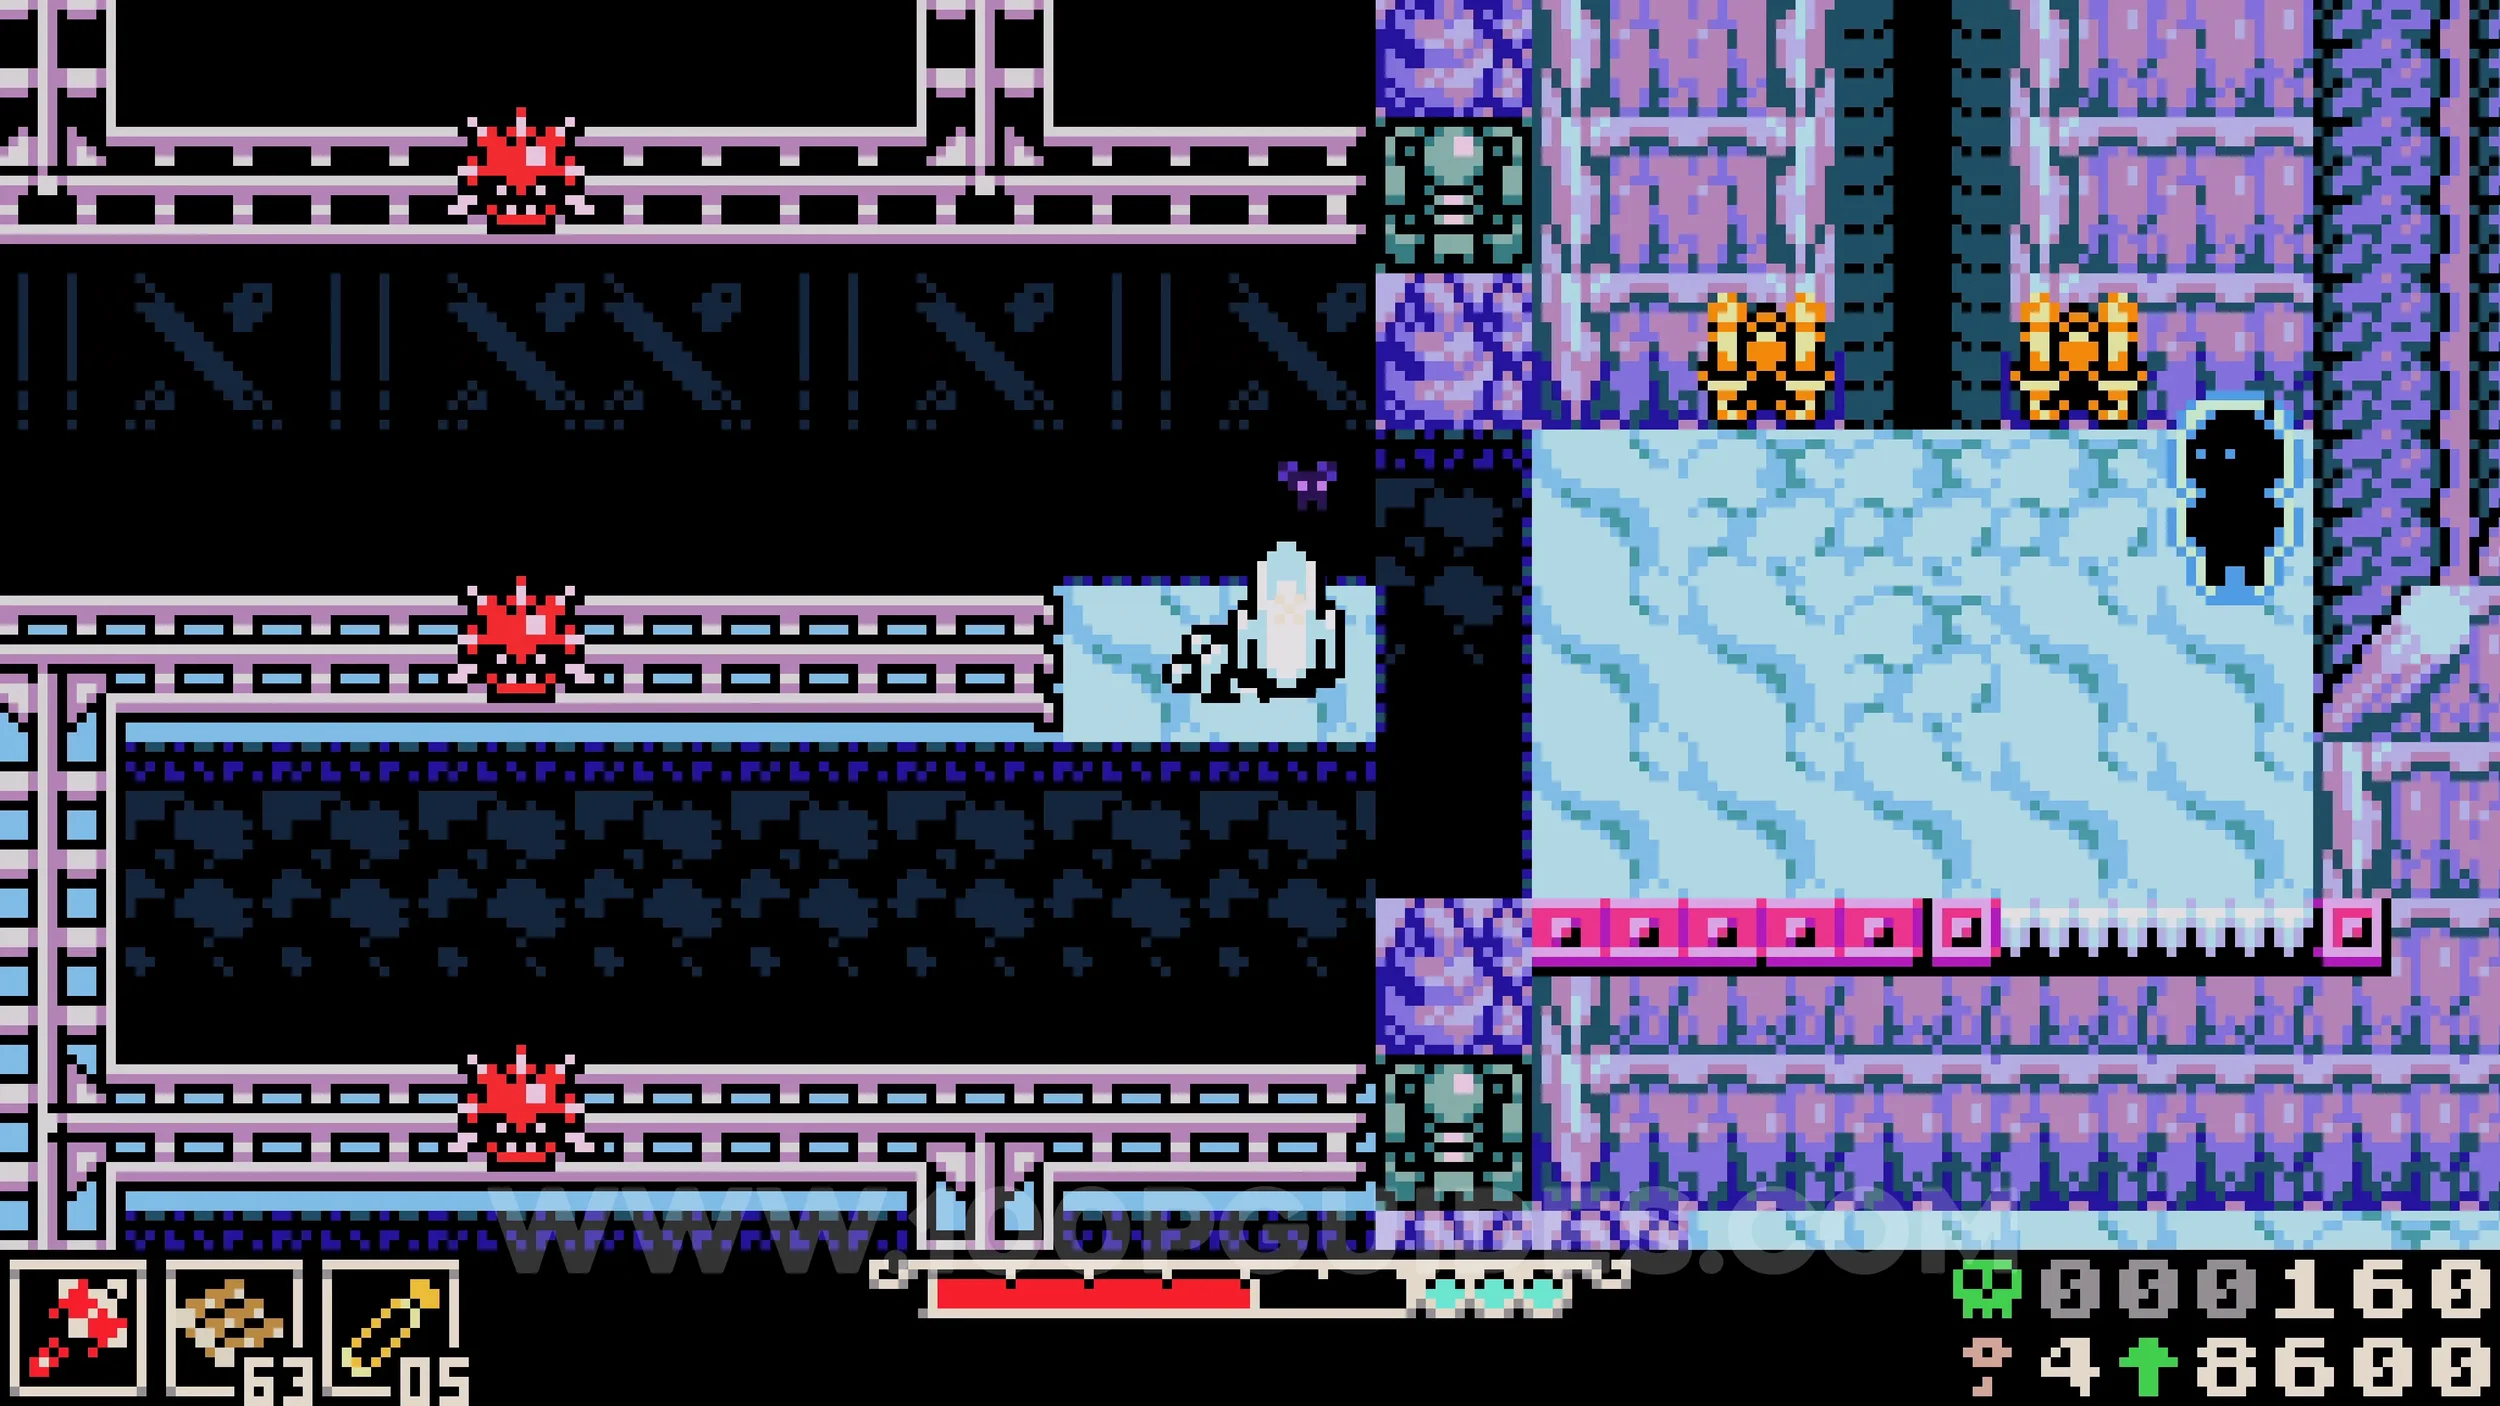
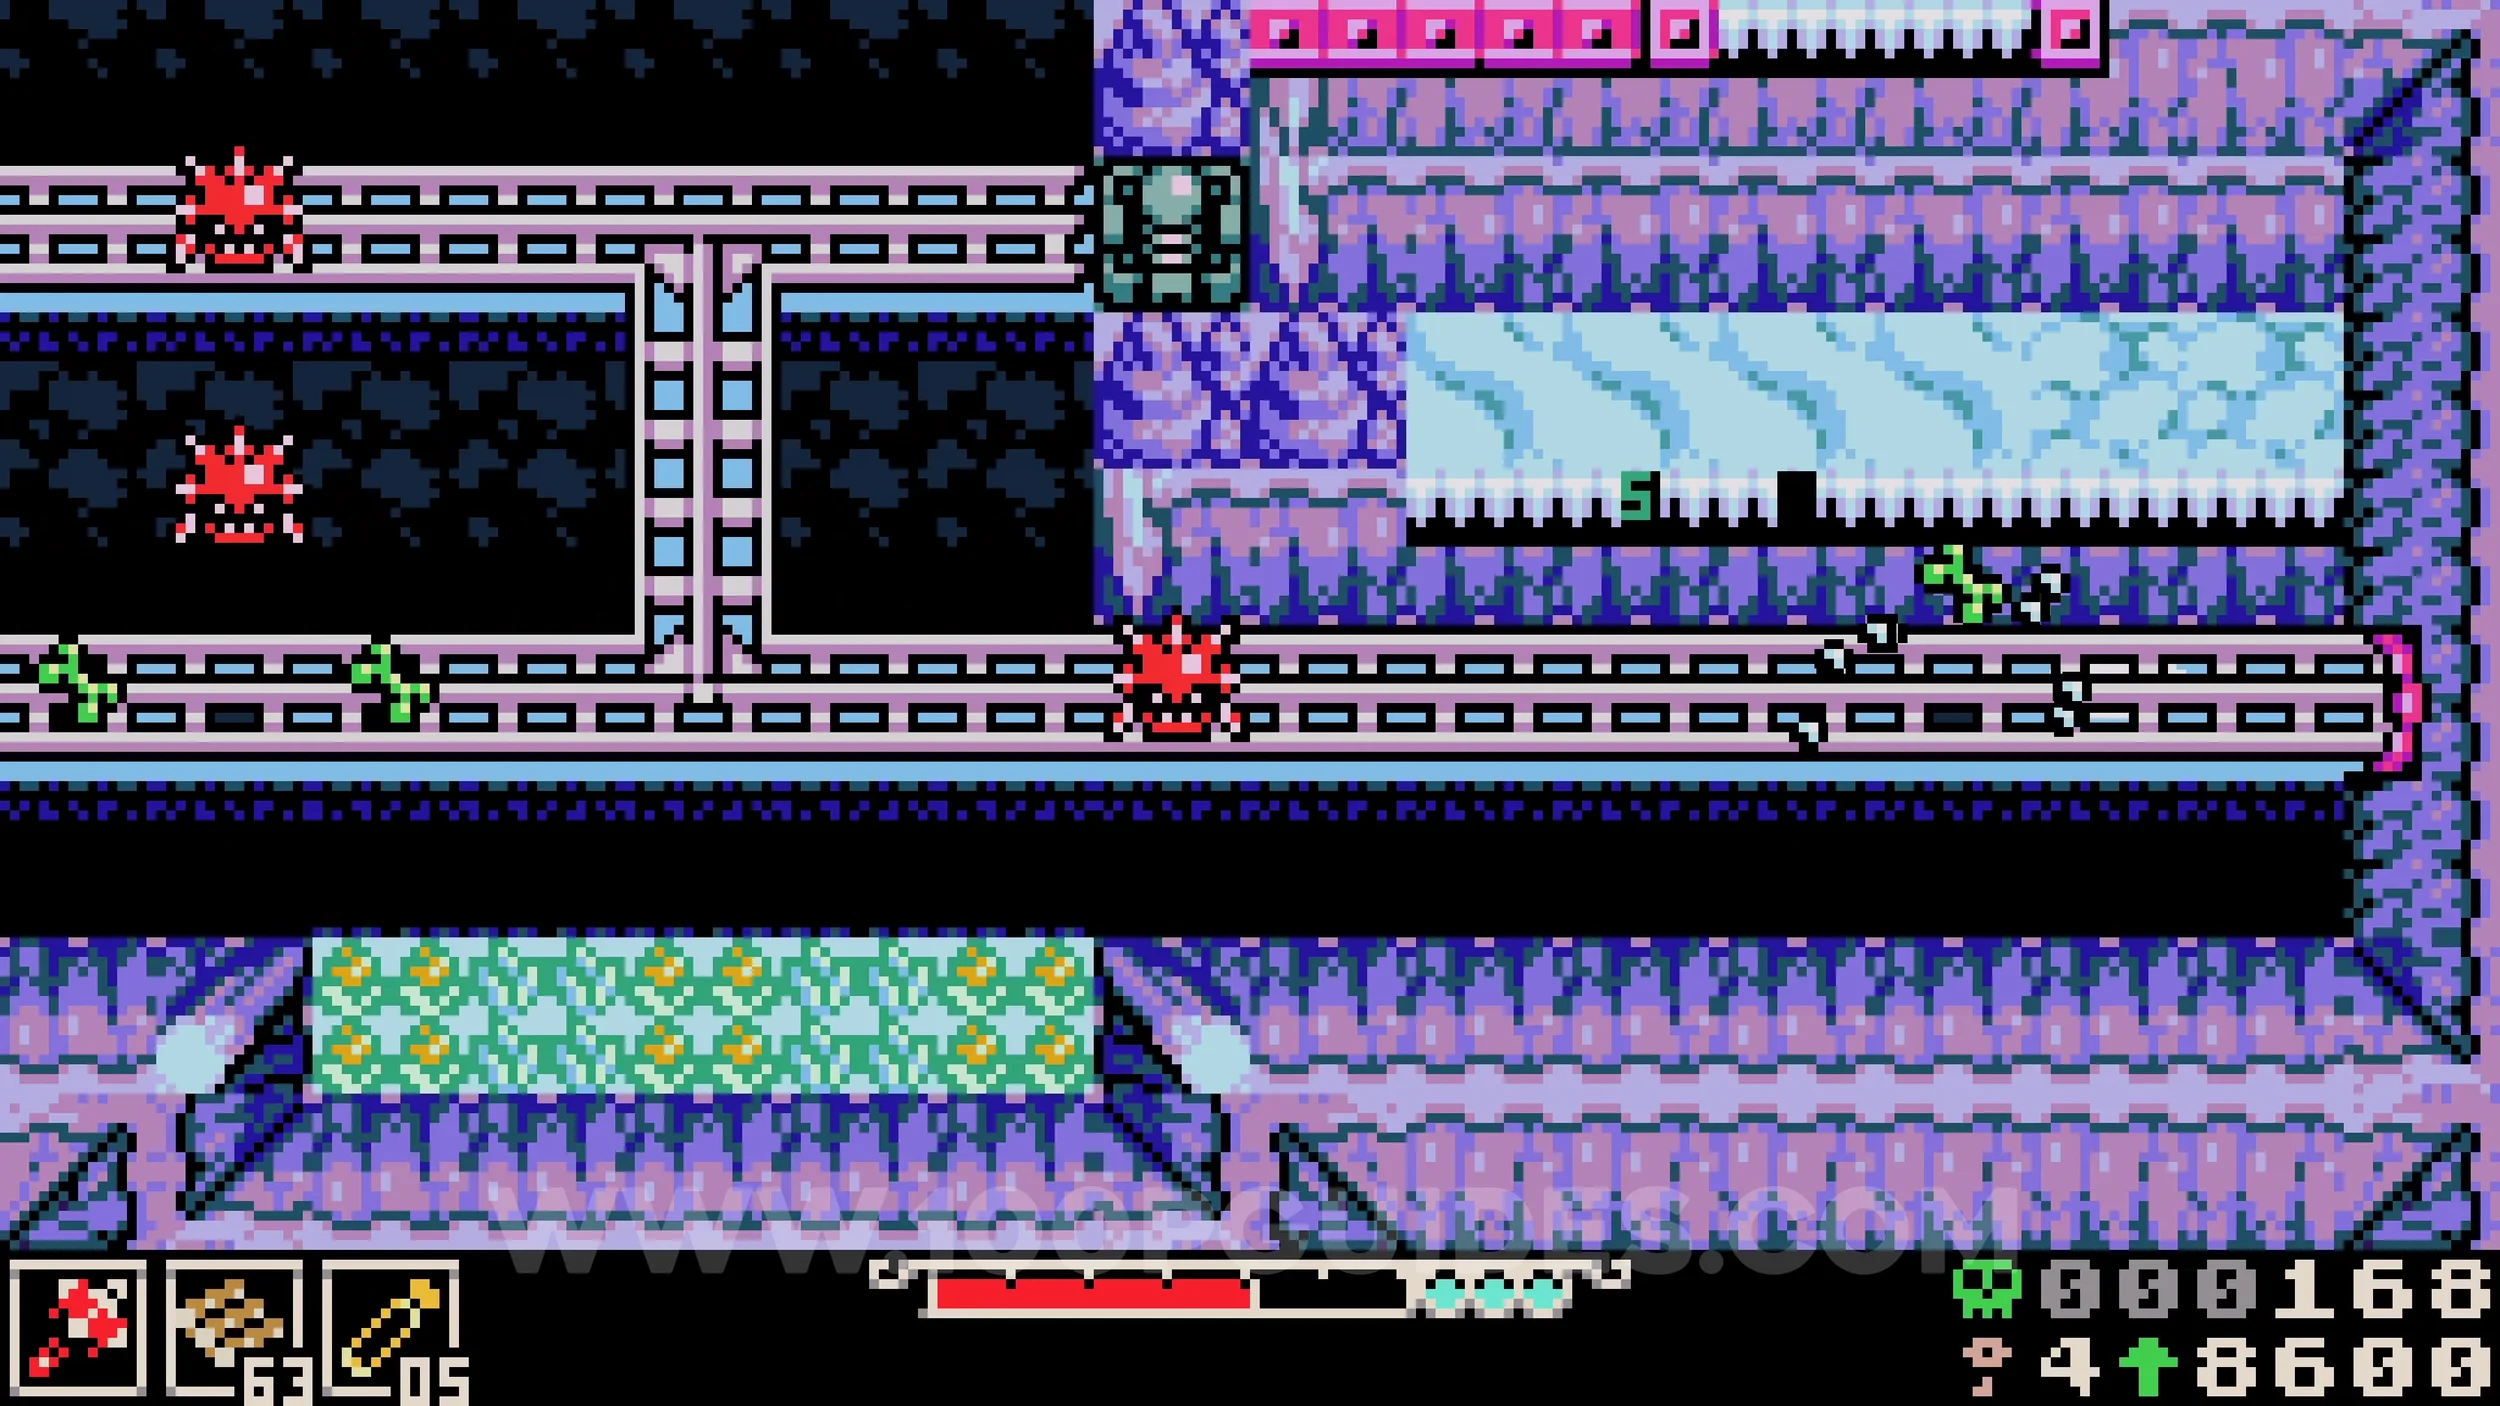
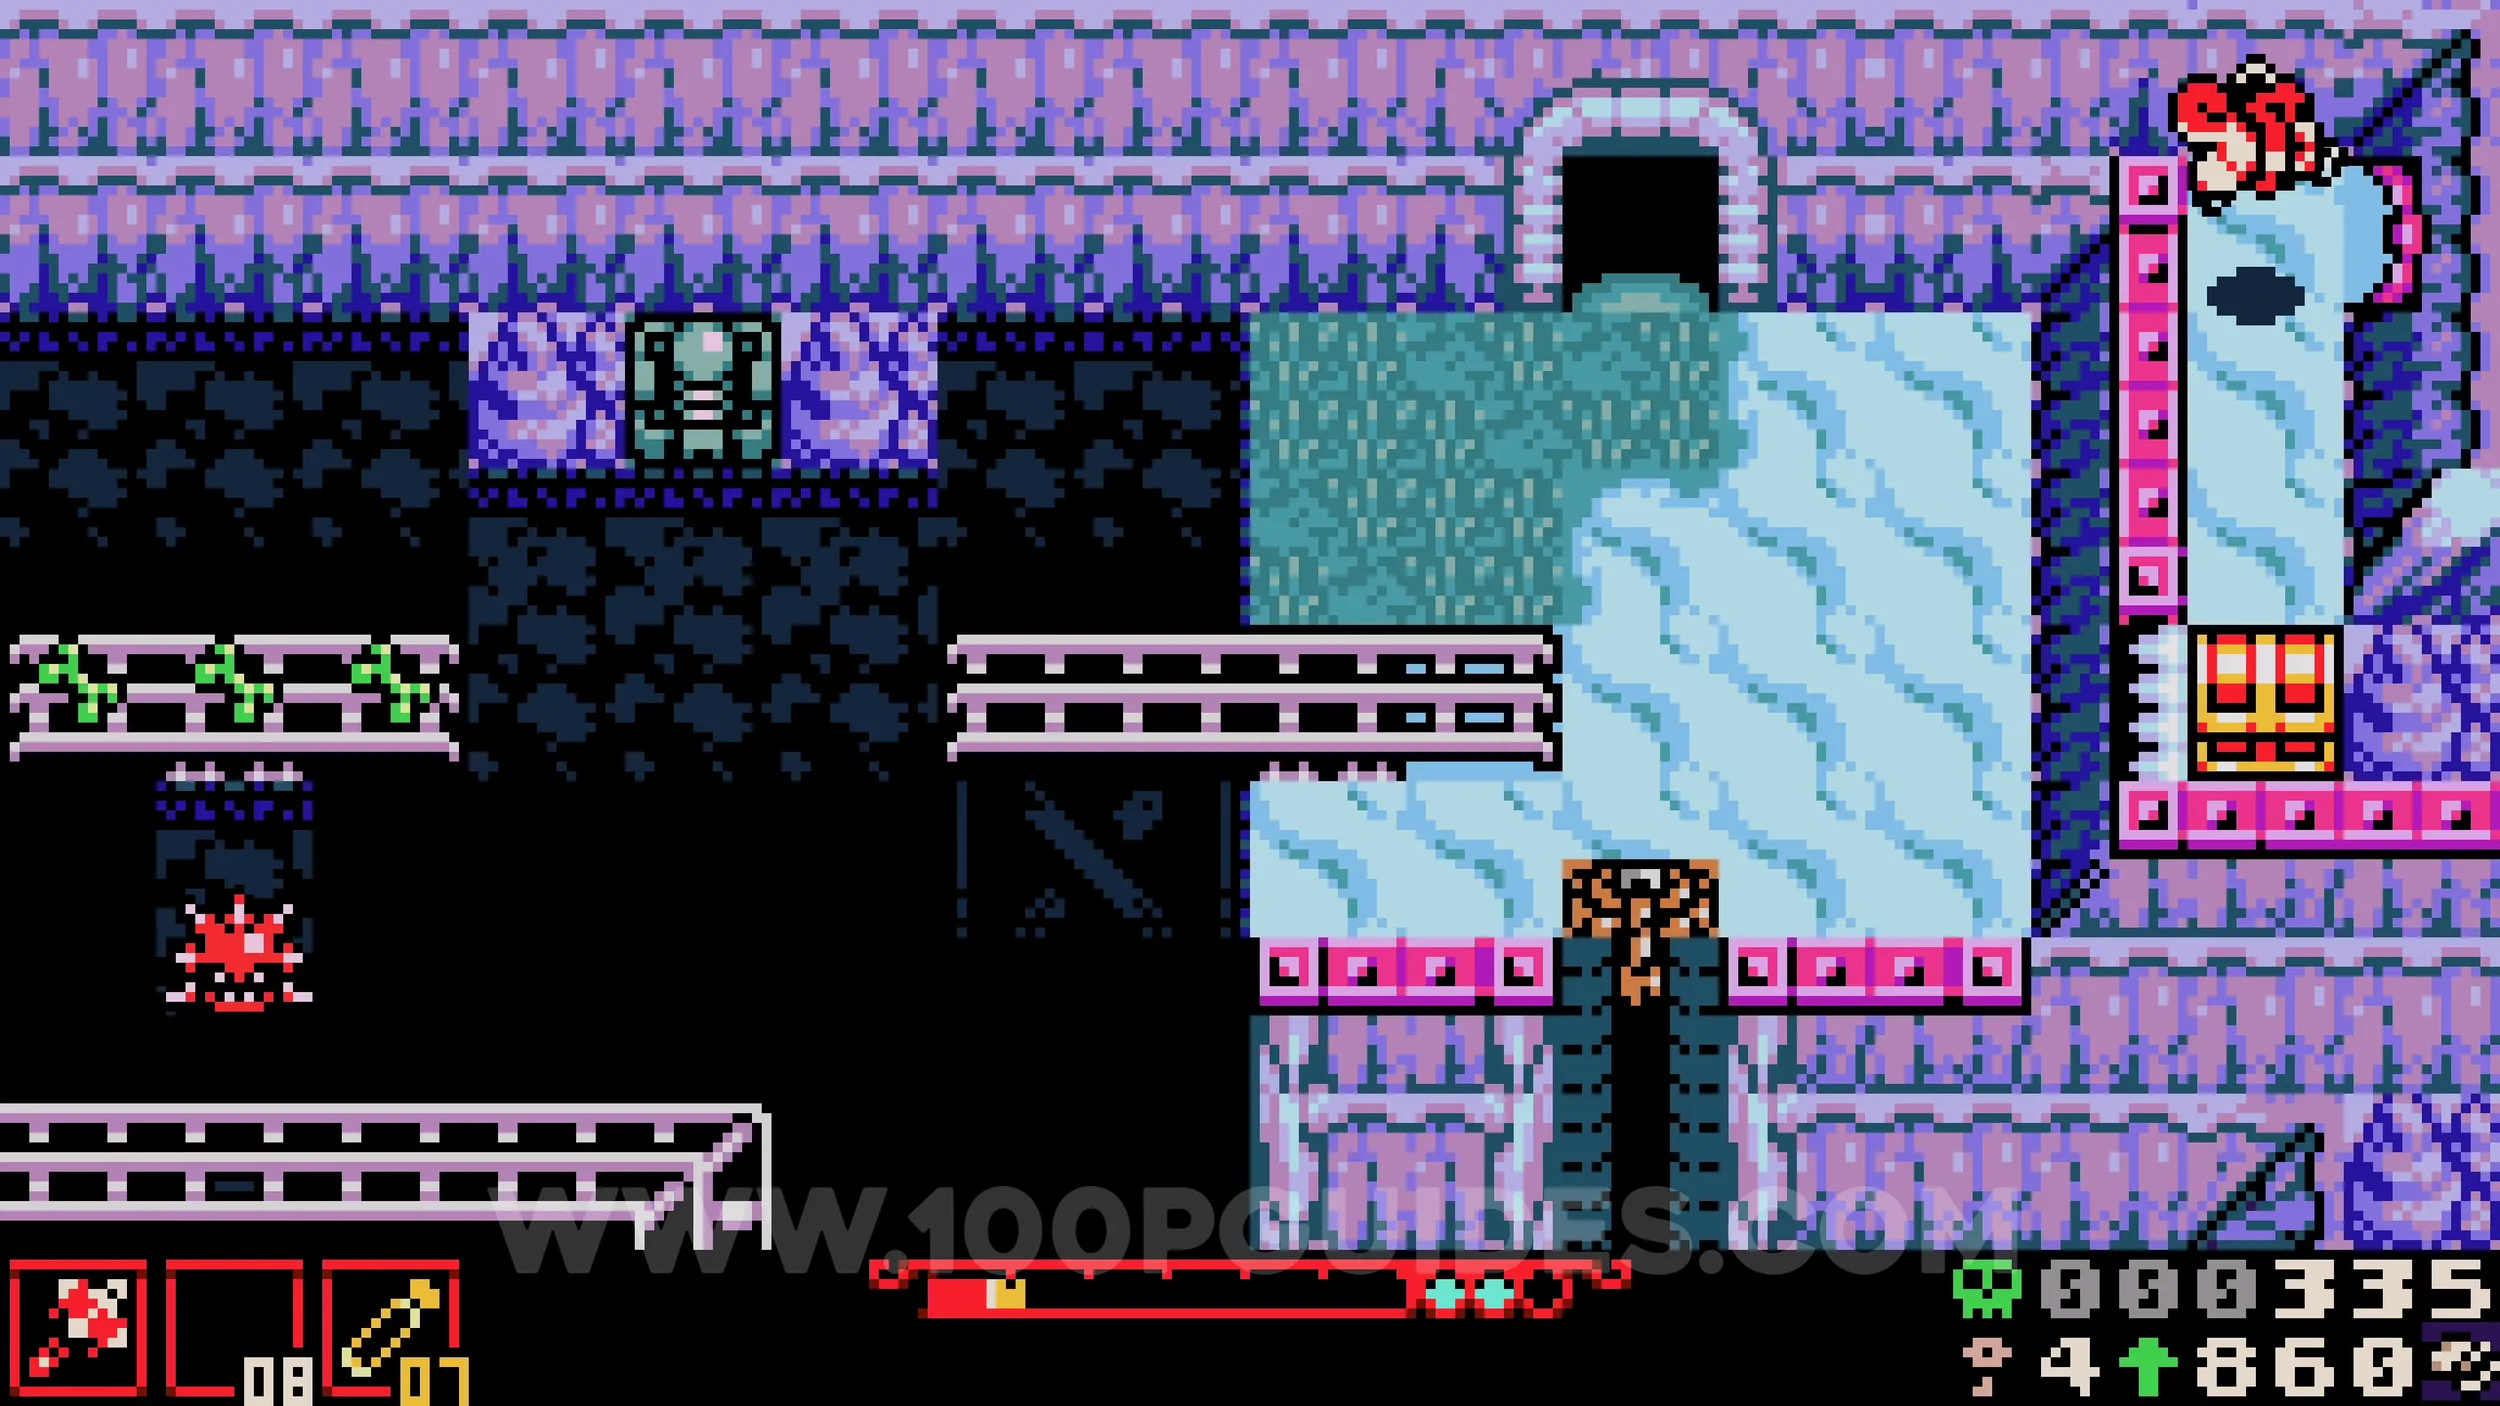
Kear #3. Continue on the main path until you reach an area where you must stand on the fragile floors and let them break, dropping you onto the platforms below. In the top left corner of this area, break the wall and head left to find the collectible in the next room.
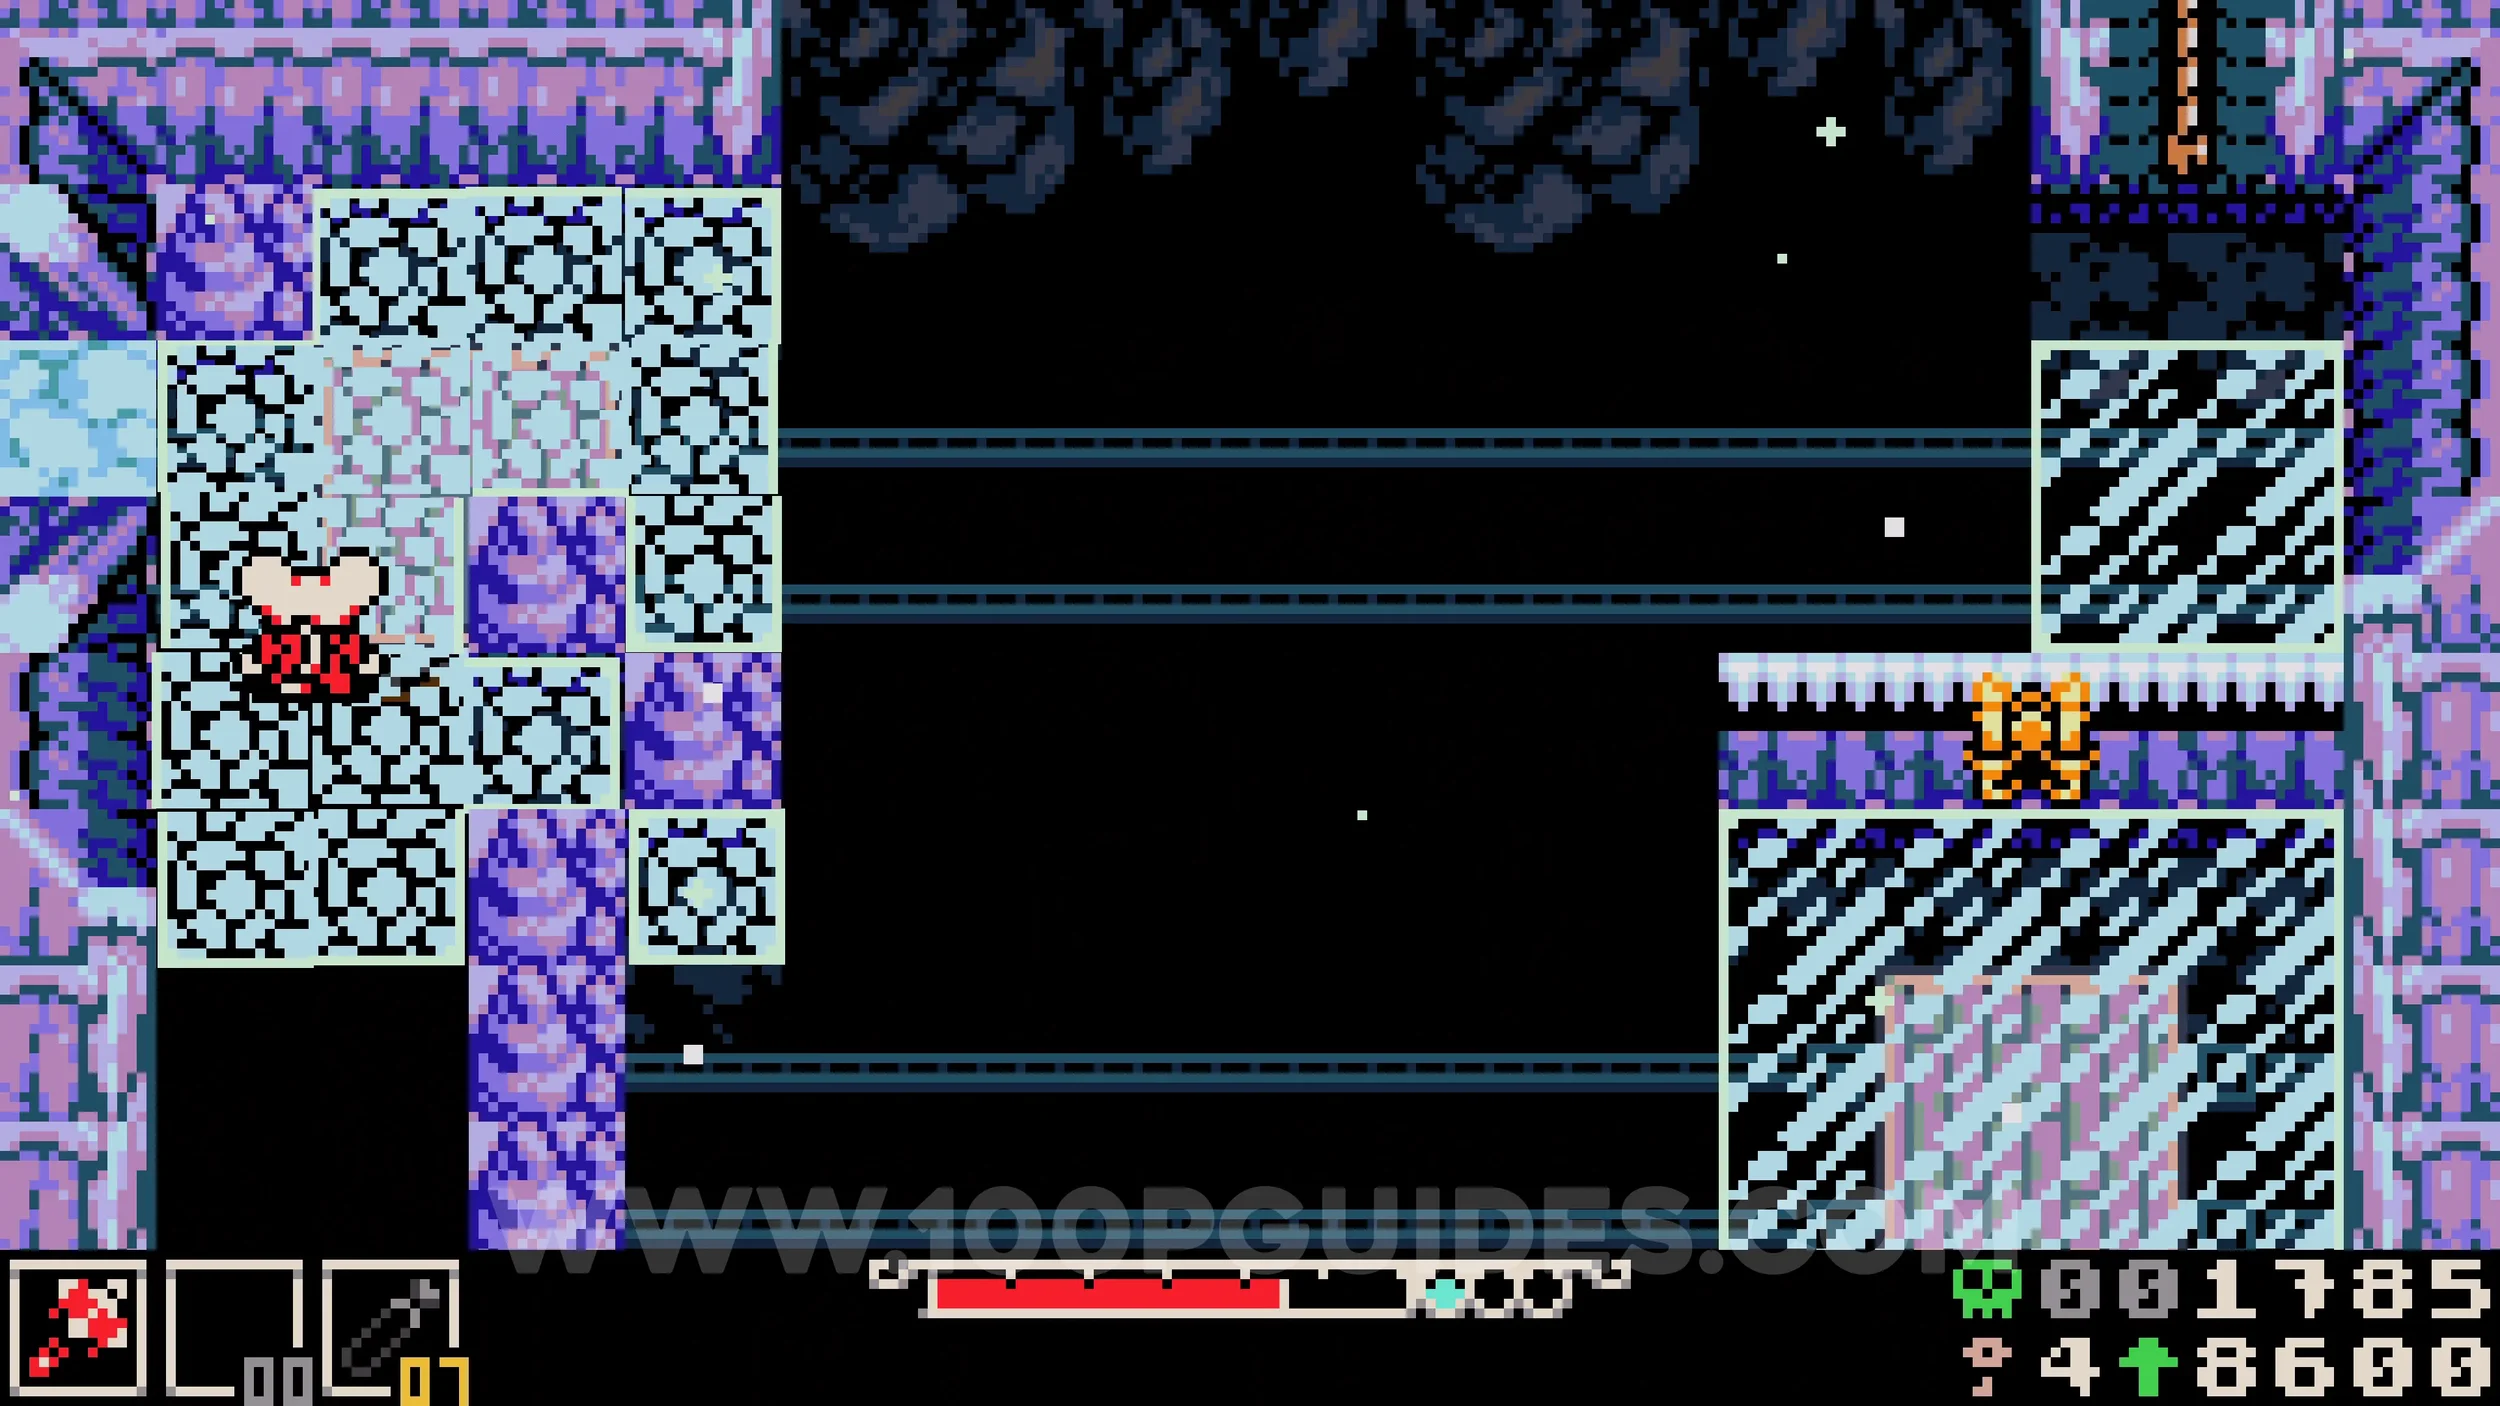
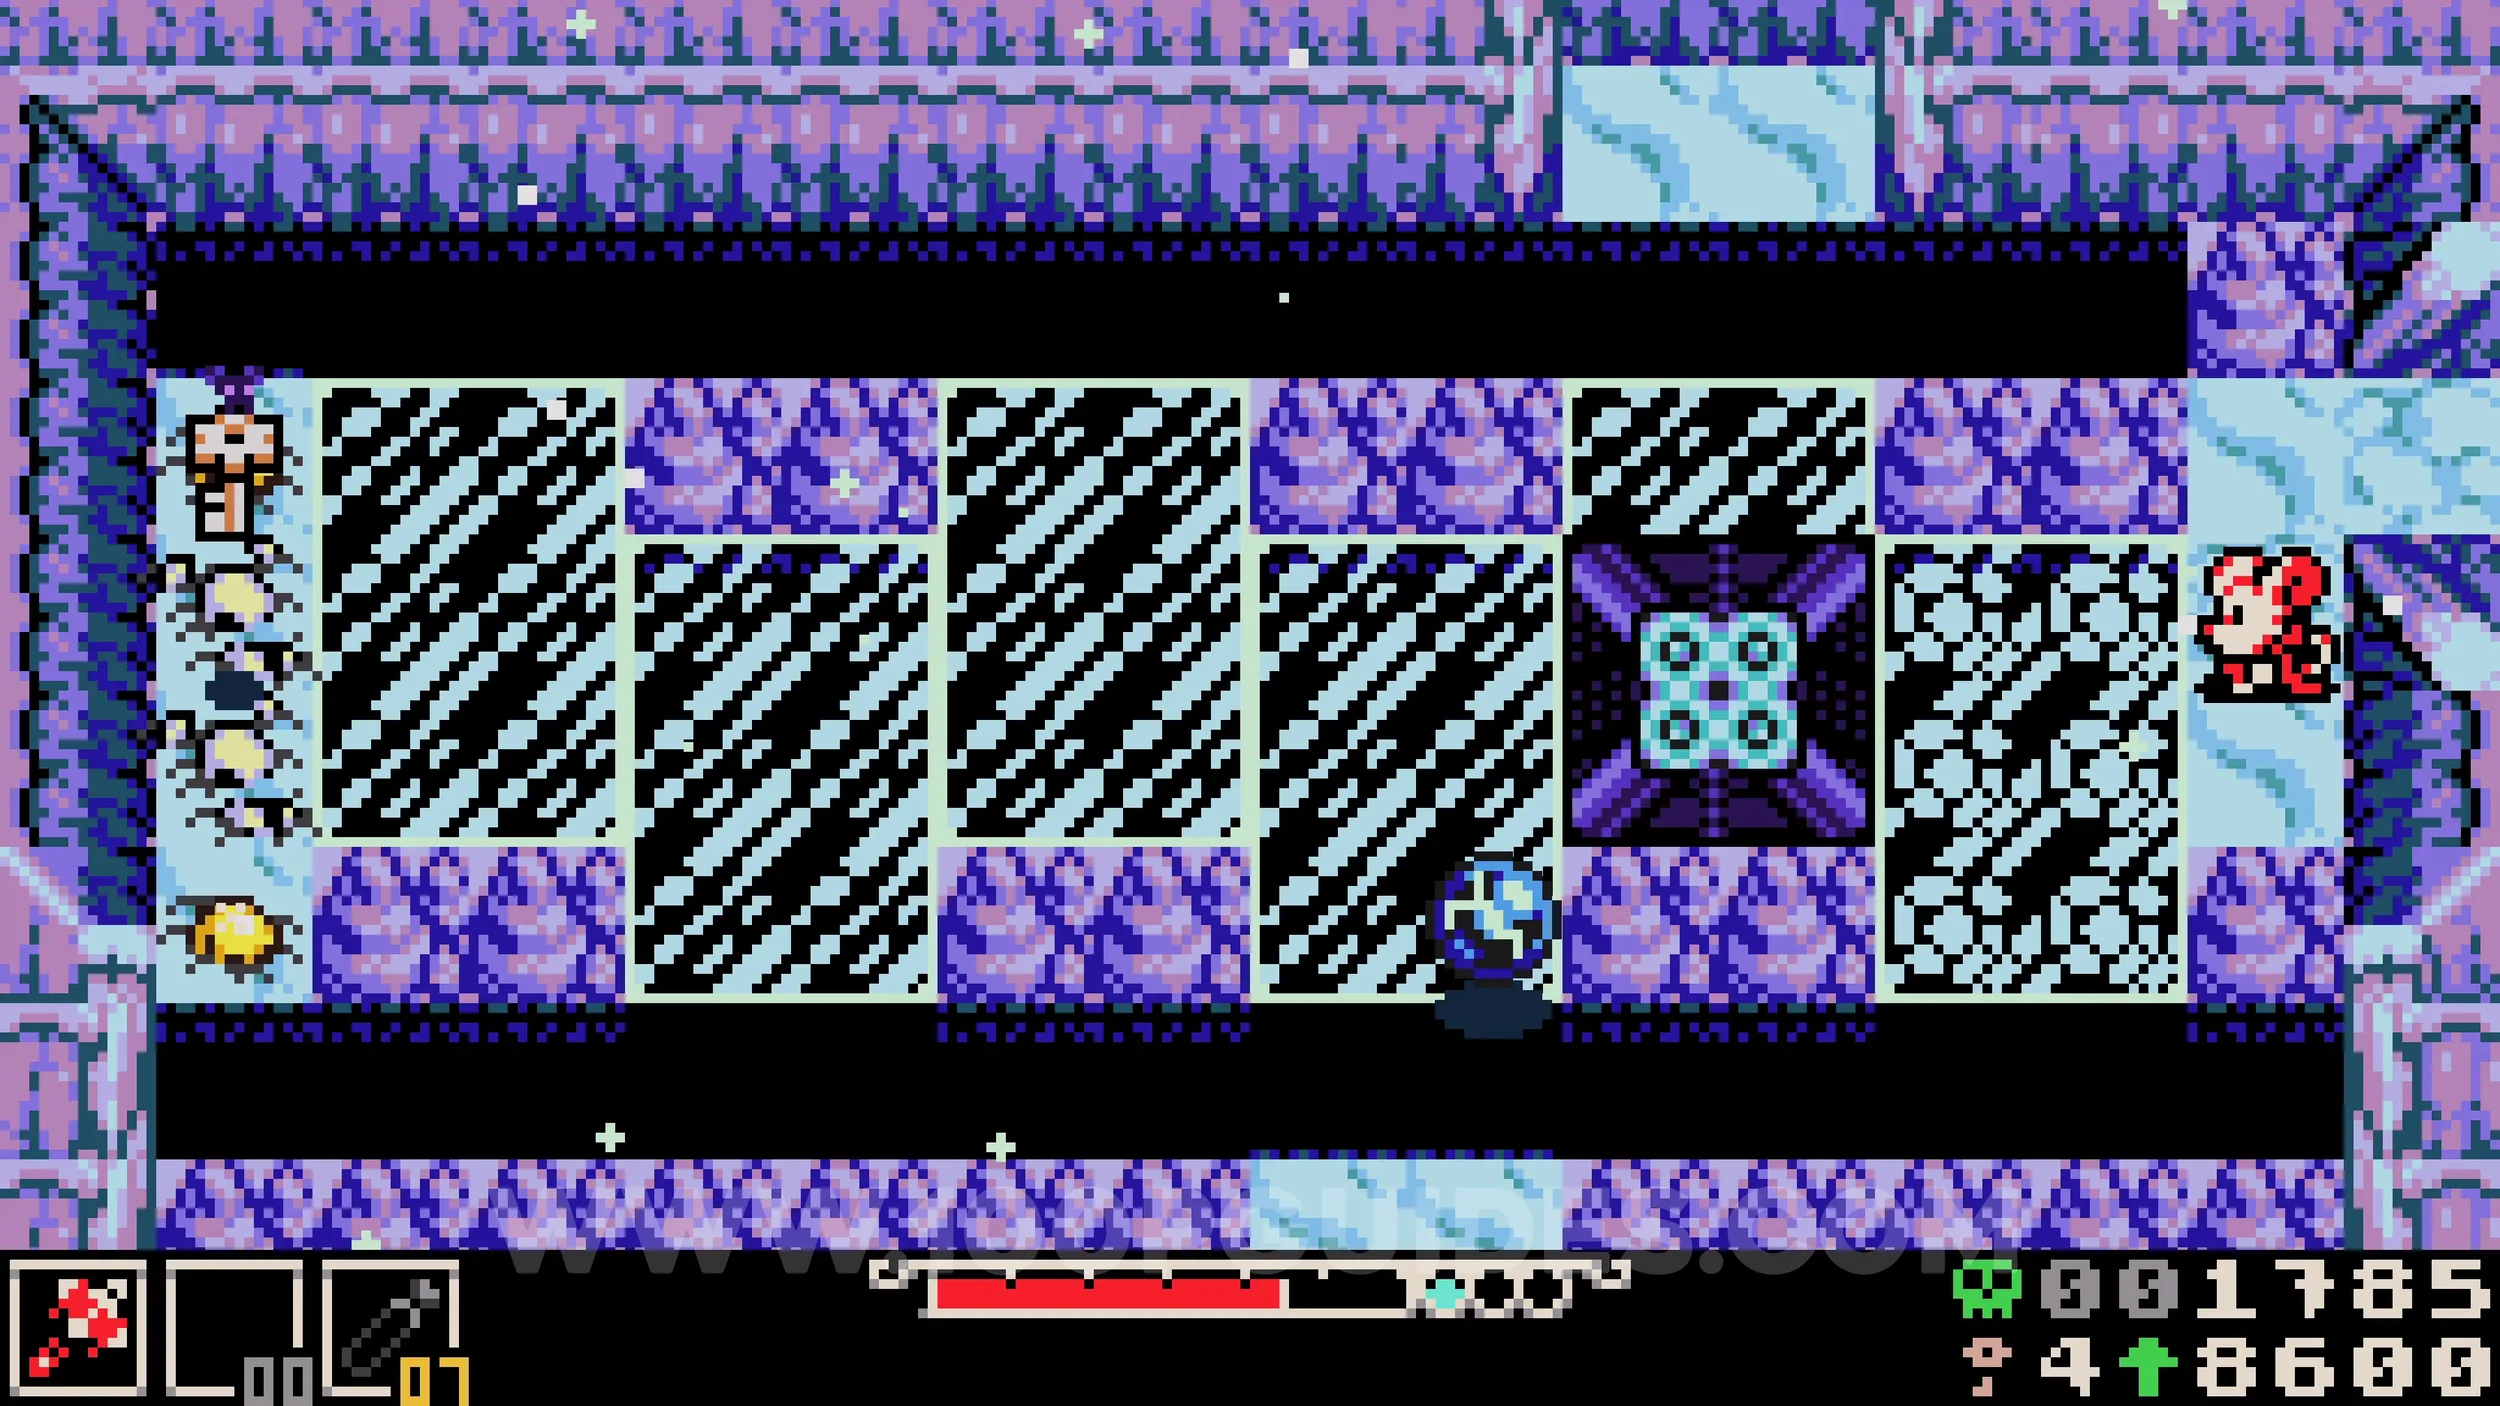
Bonestone #5. Once you enter the train, break the wall on the left side and then defeat the miniboss in the next room.
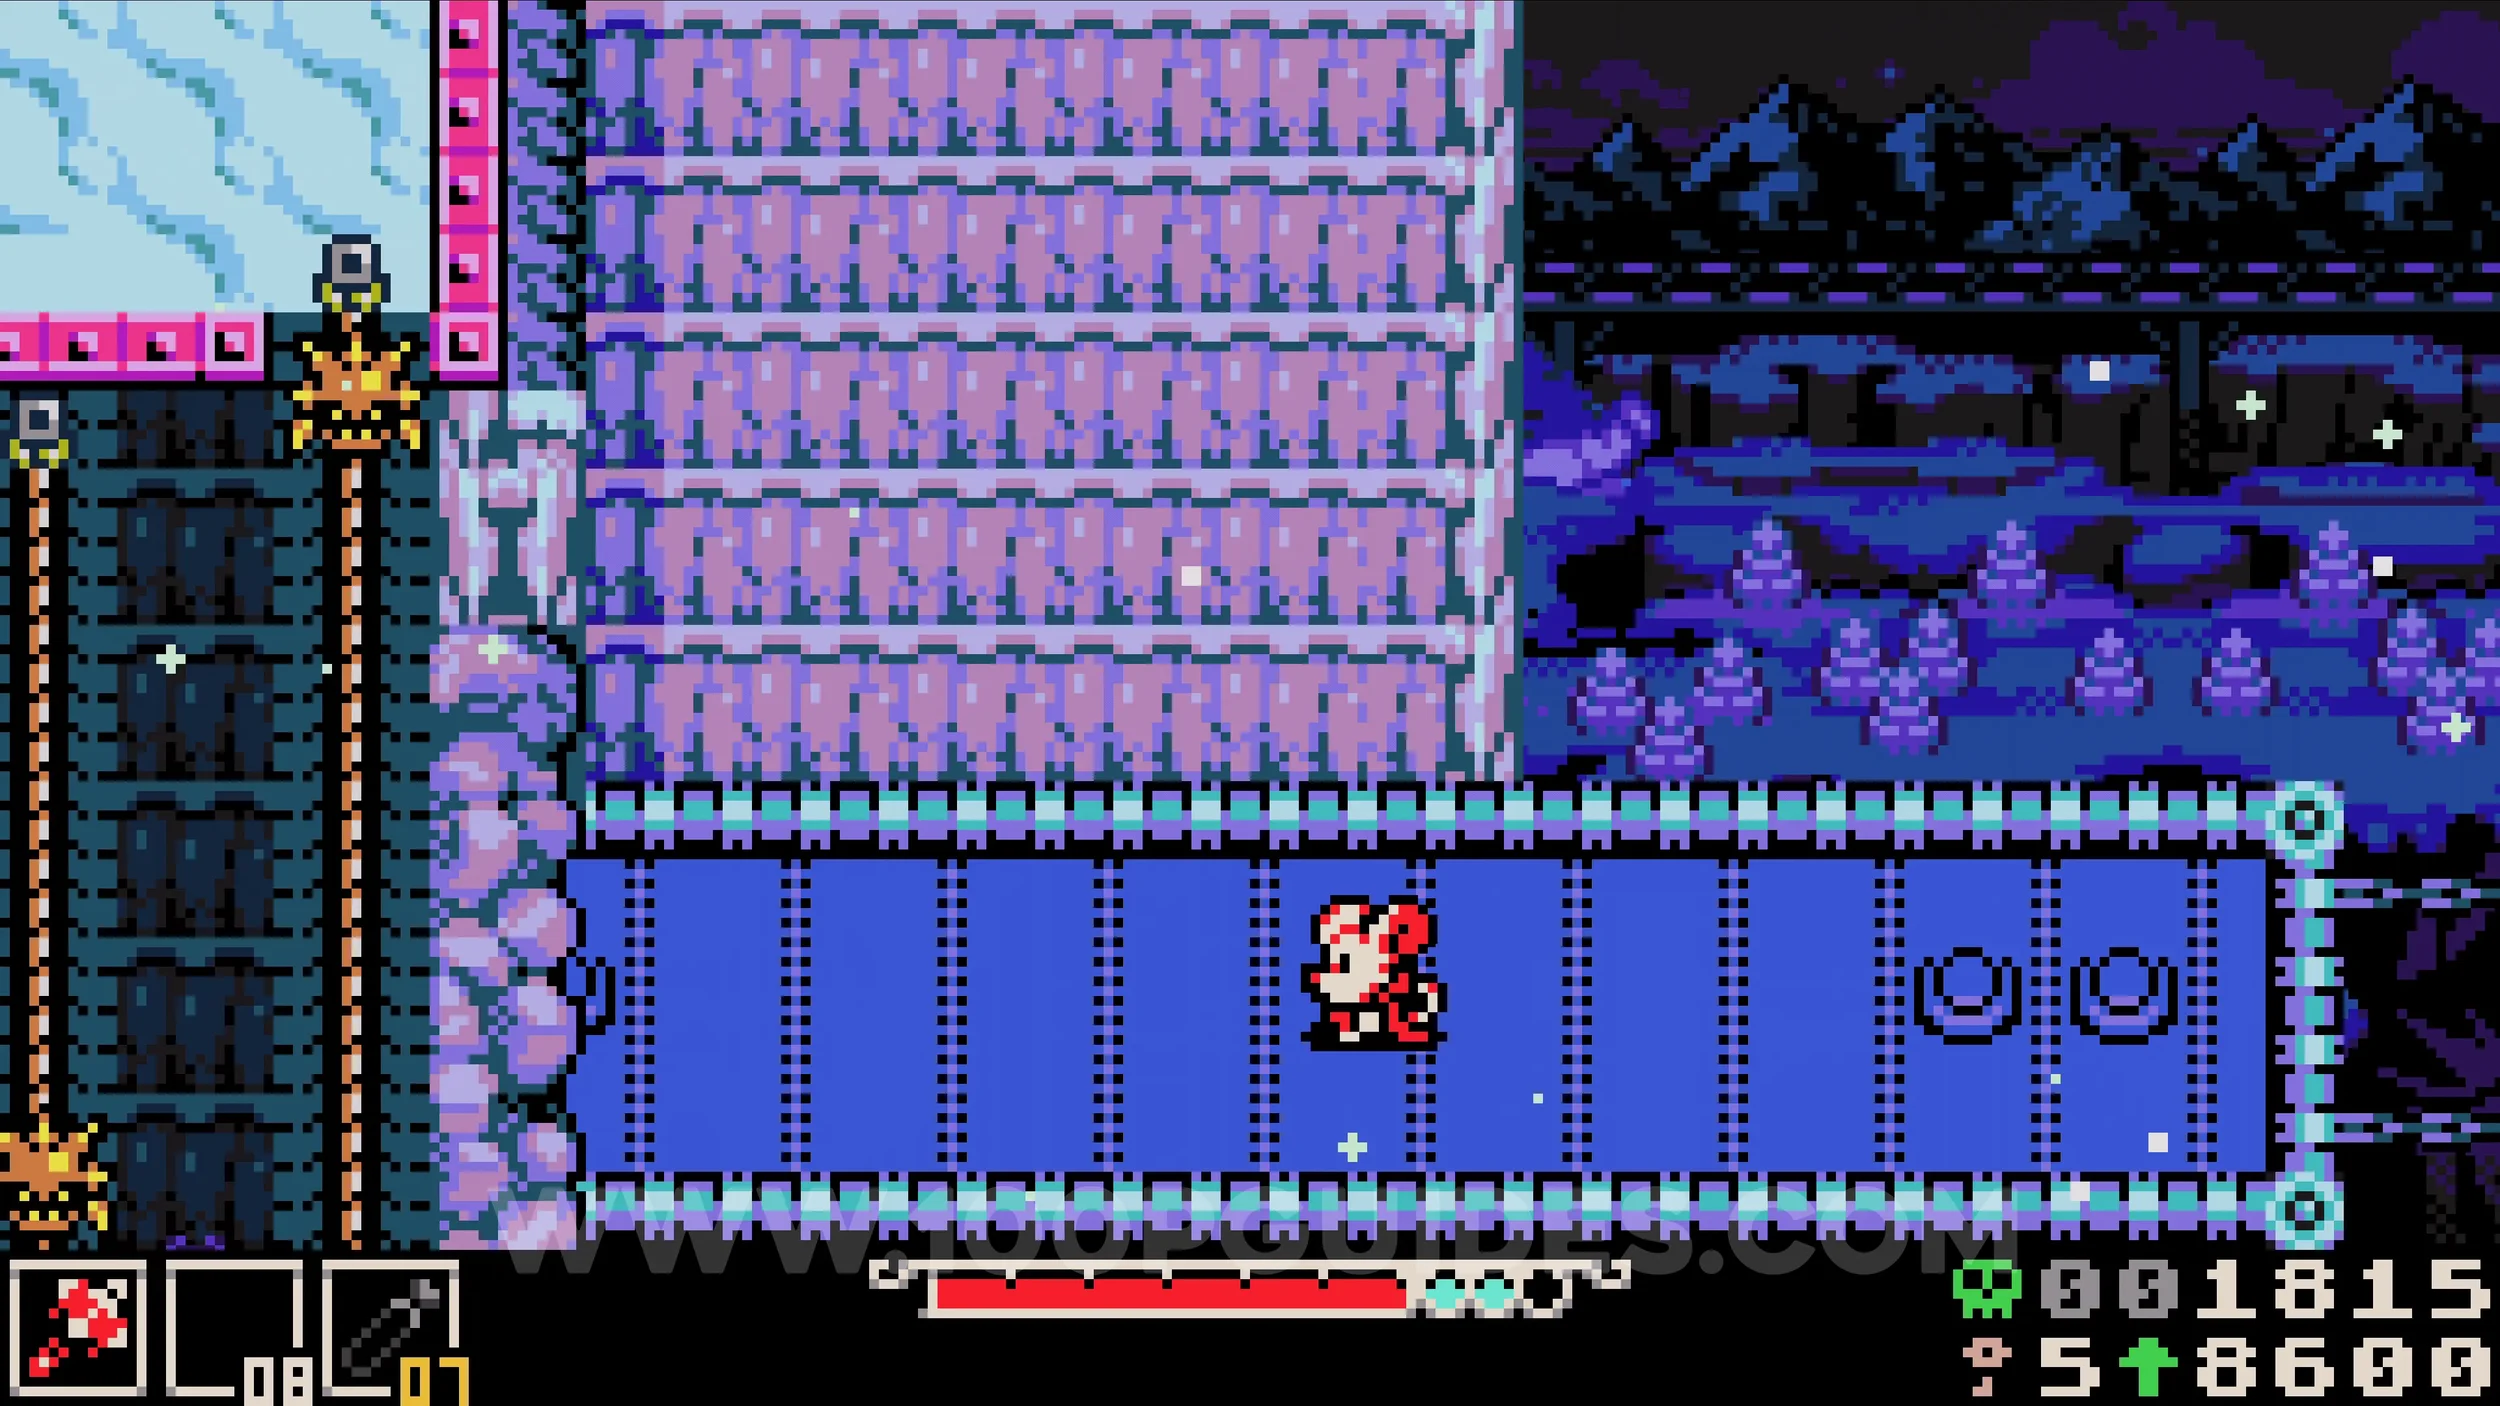
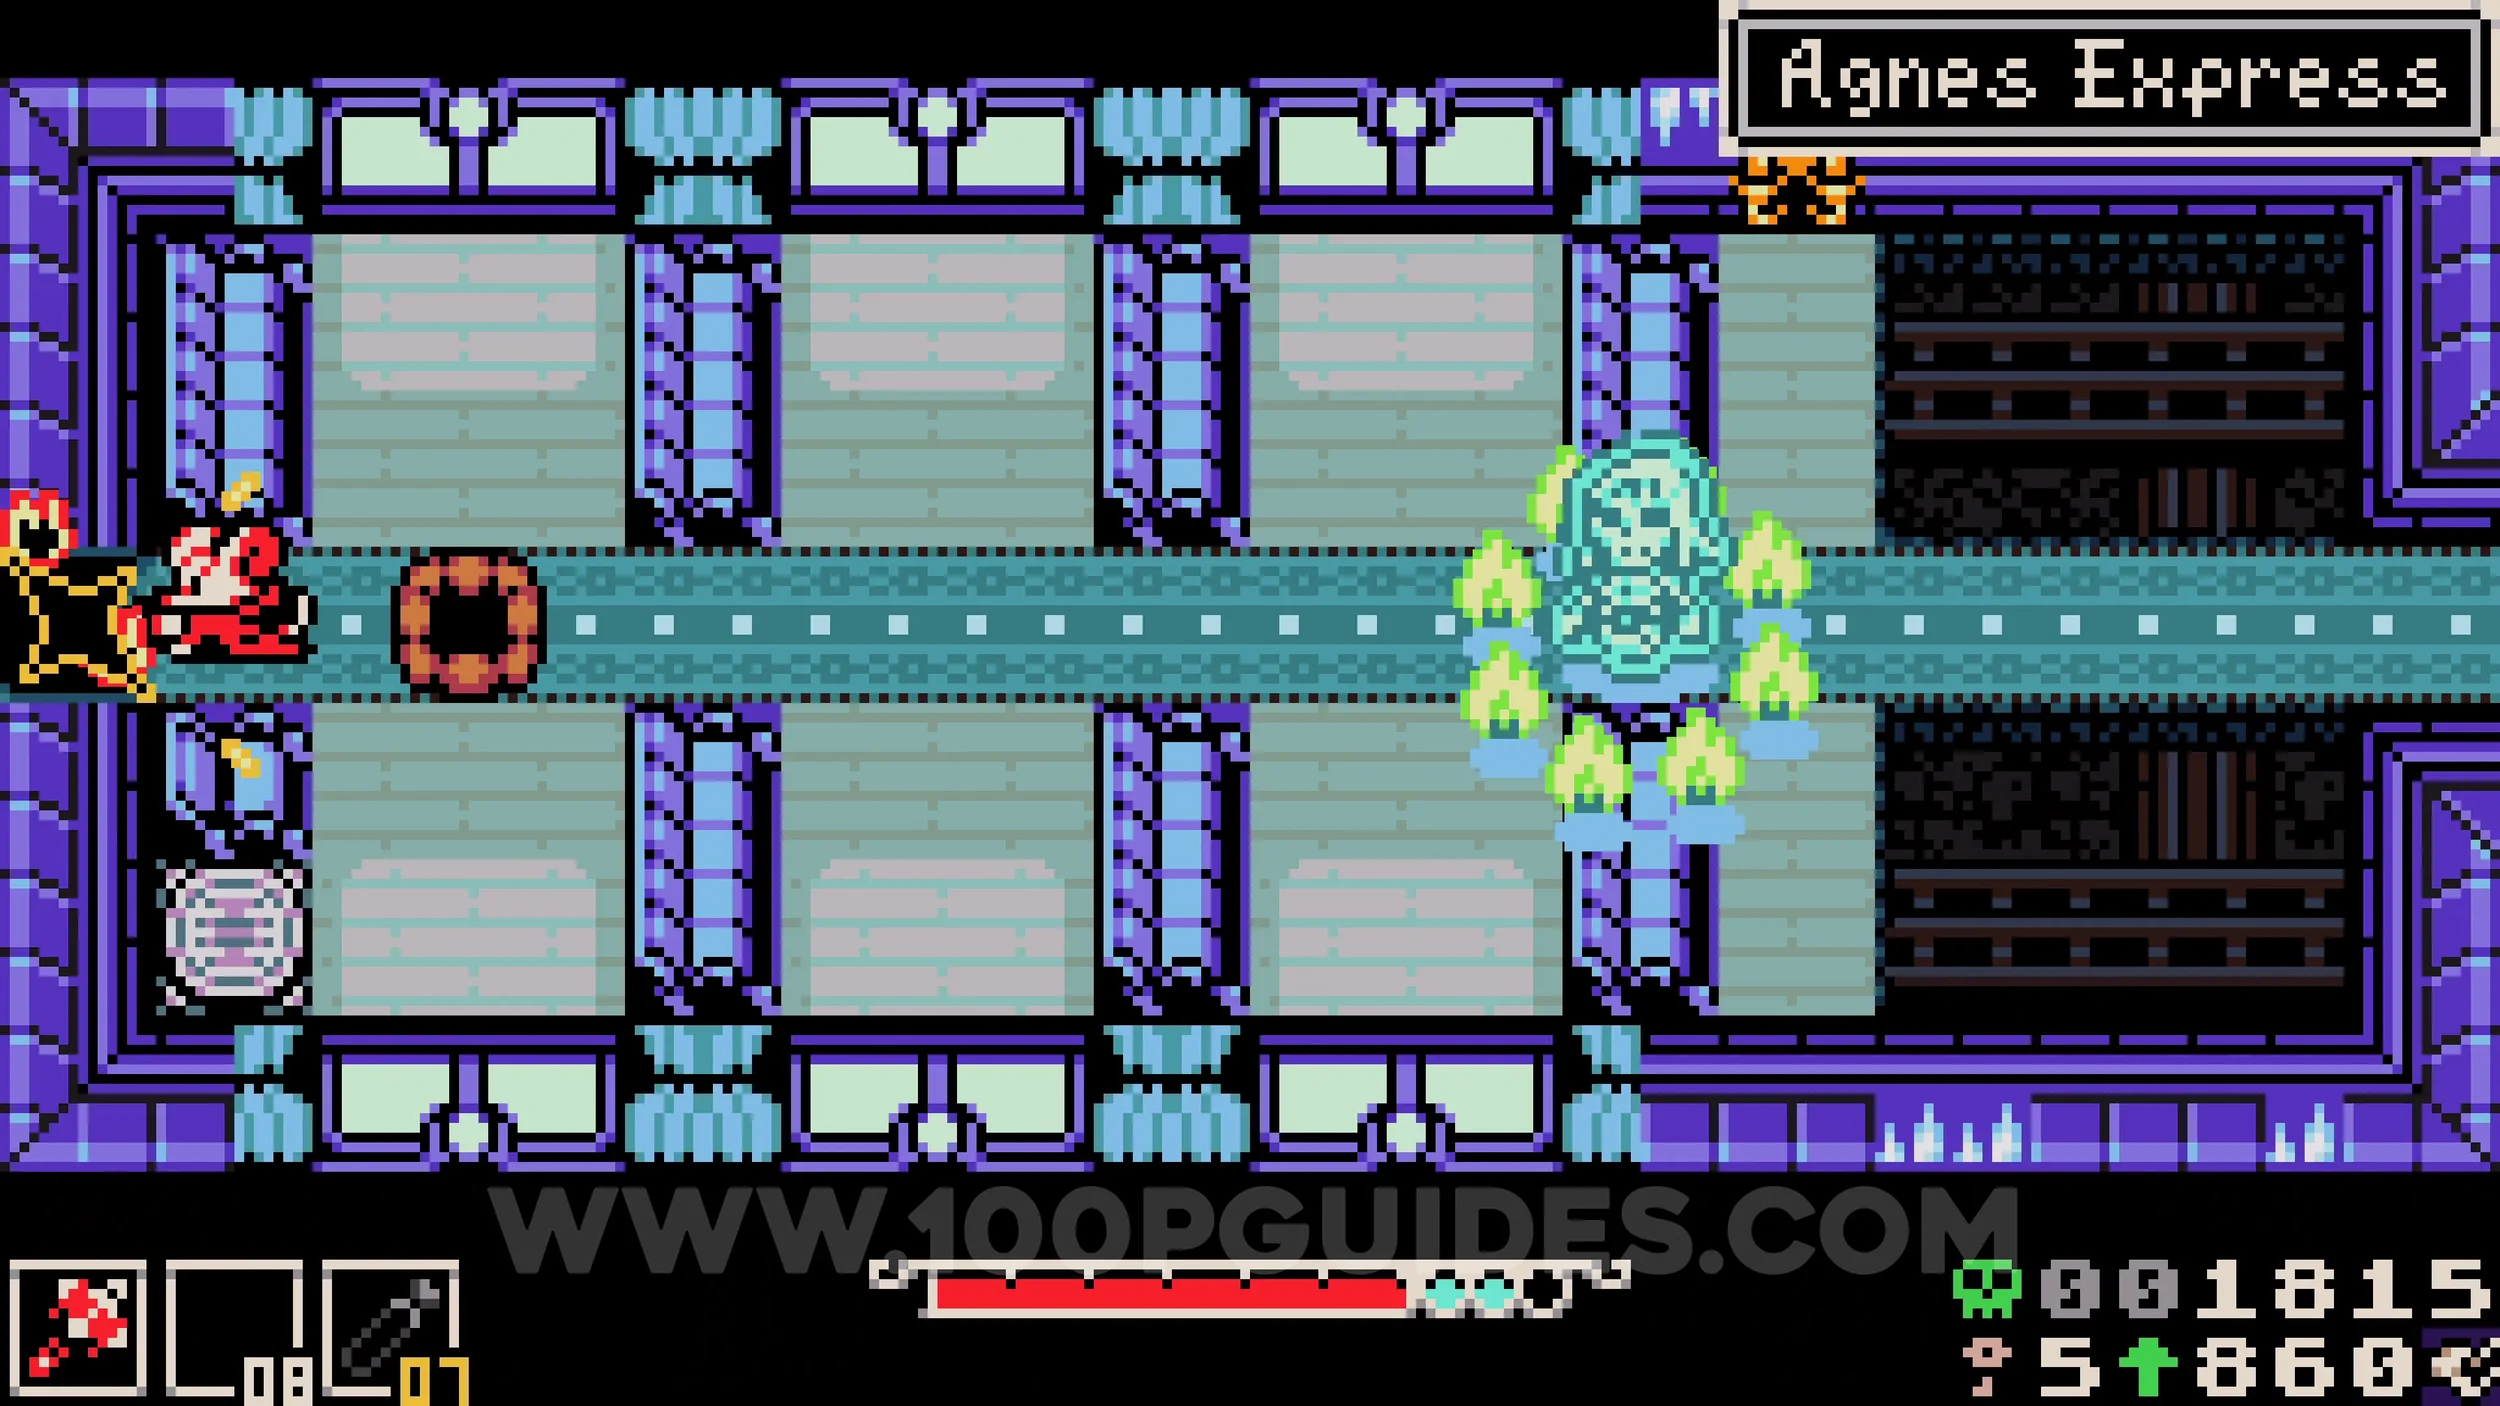
HP Upgrade #1. Dropped by the boss at the end of the region.
ASTRAL ORRERY
Fish #1. In the pond of water in the middle of the first area where the mirrors connect.
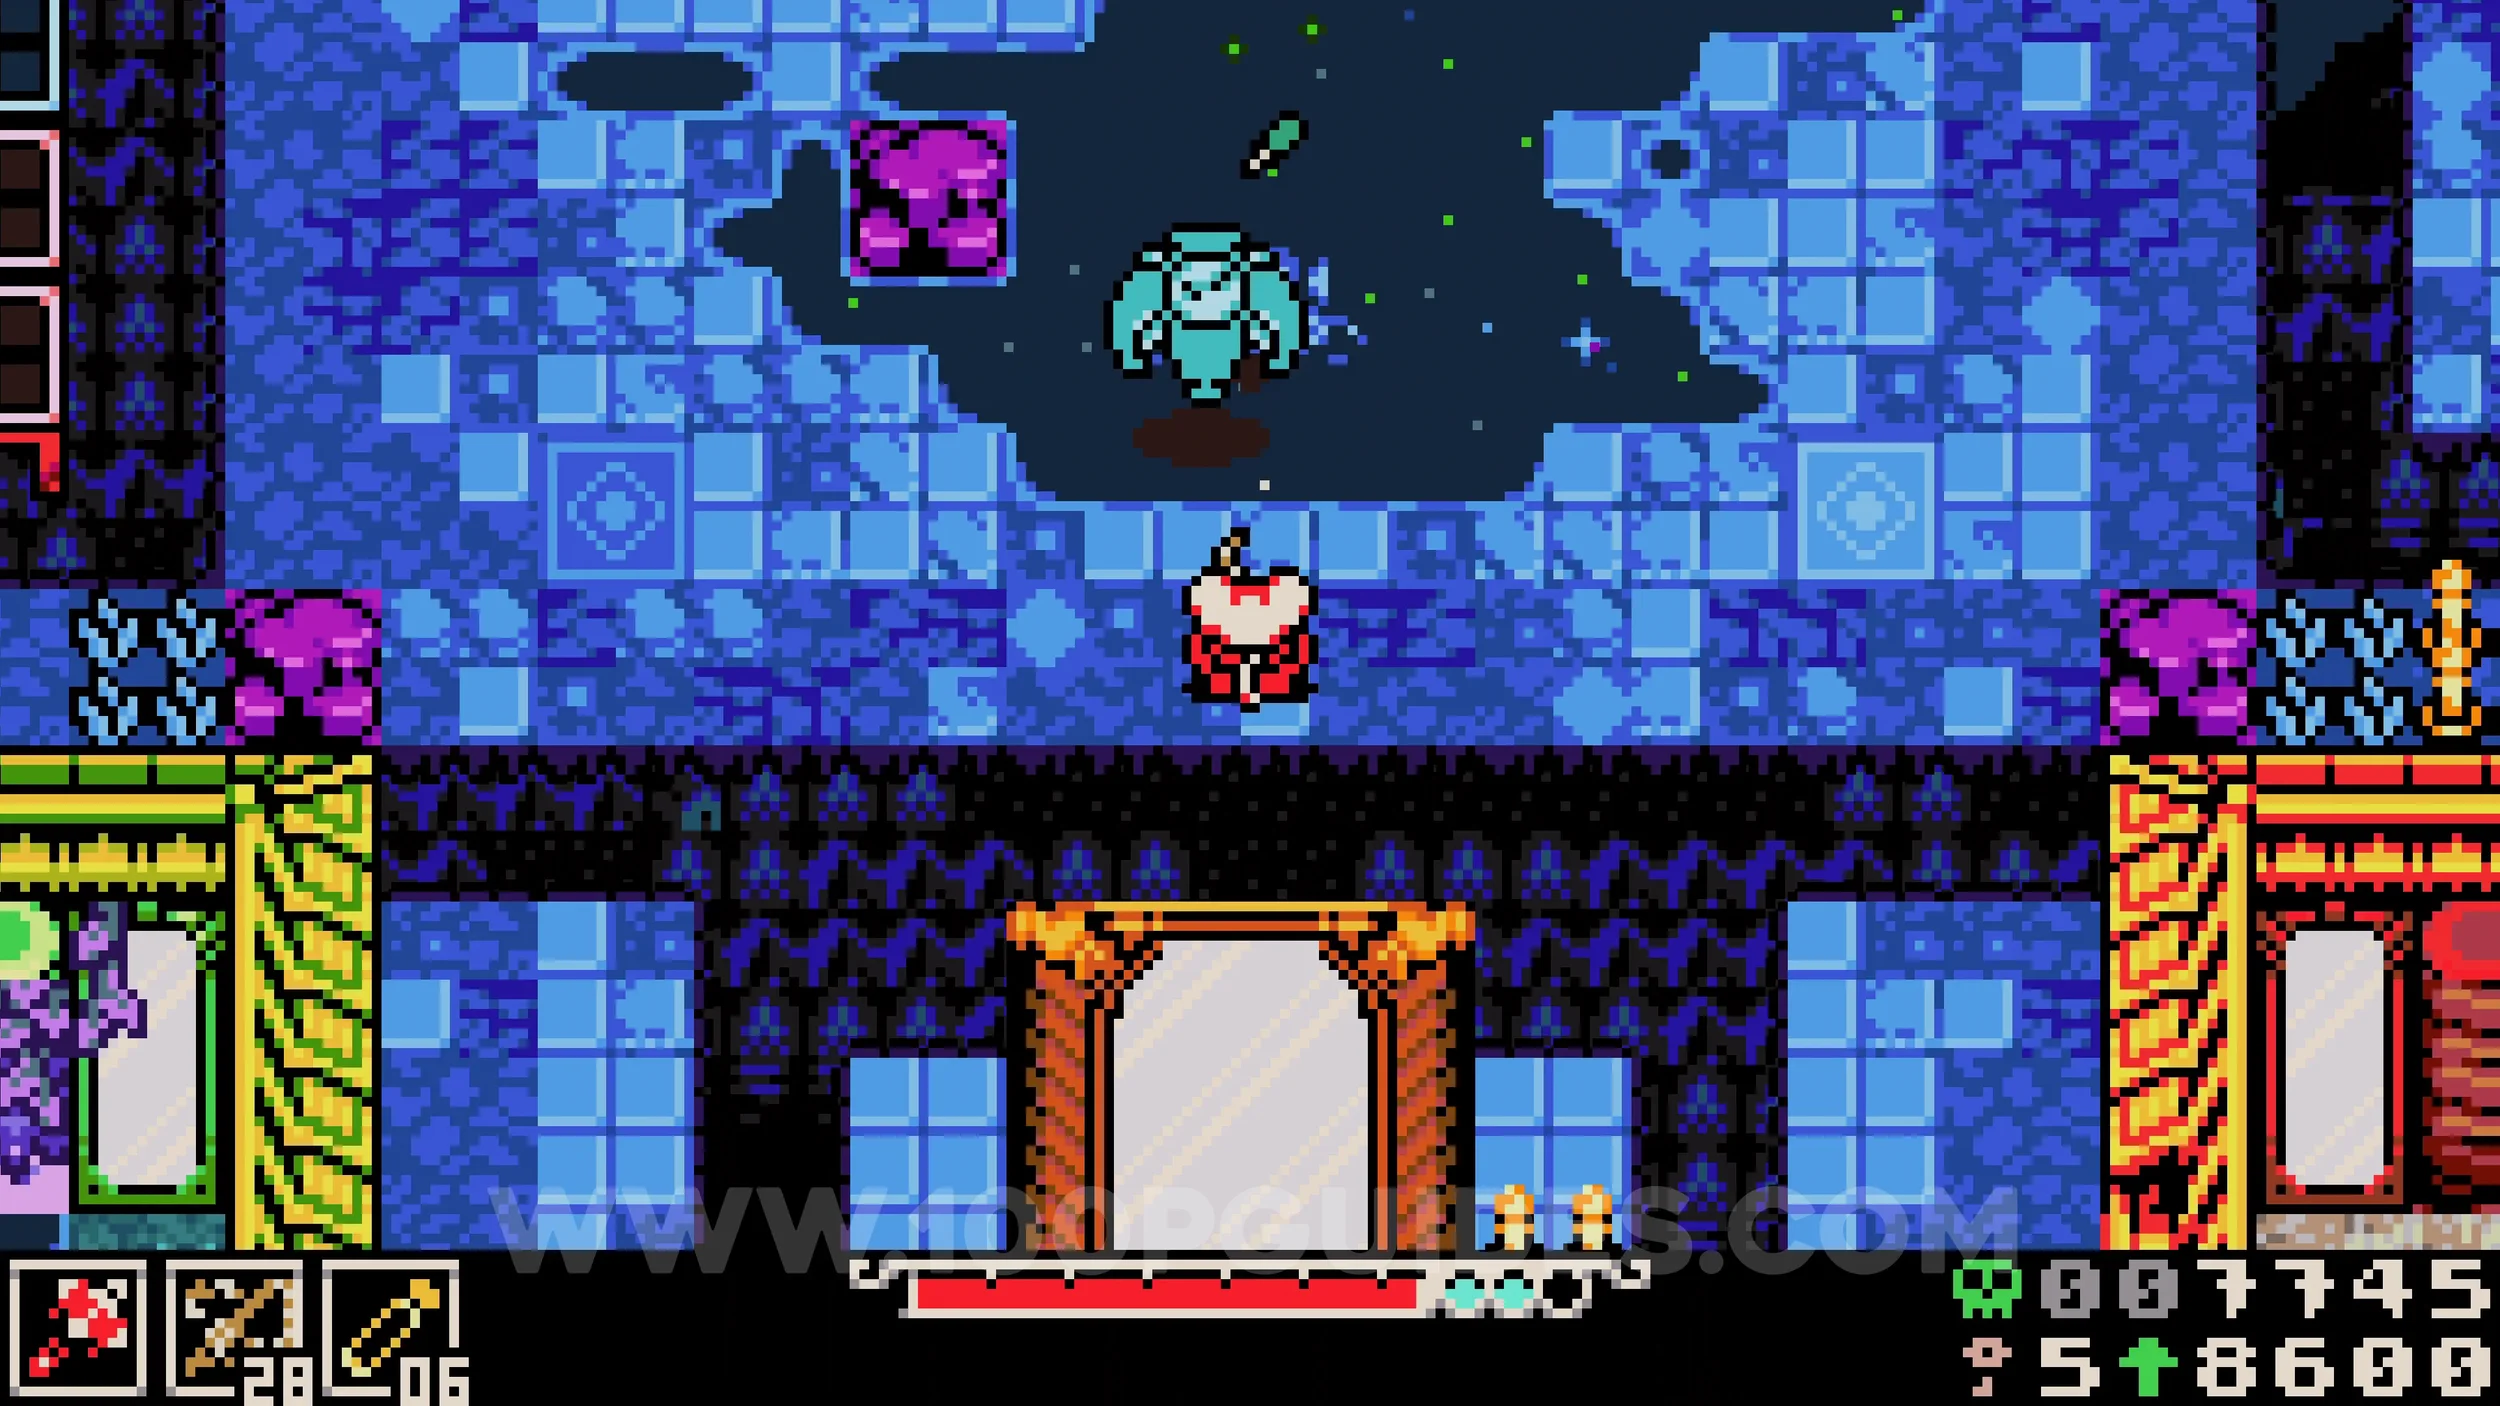
Lock #1 & Trinket Bag #1. On the left side of the first area where the mirrors connect. The bag is on the other side of the lock.
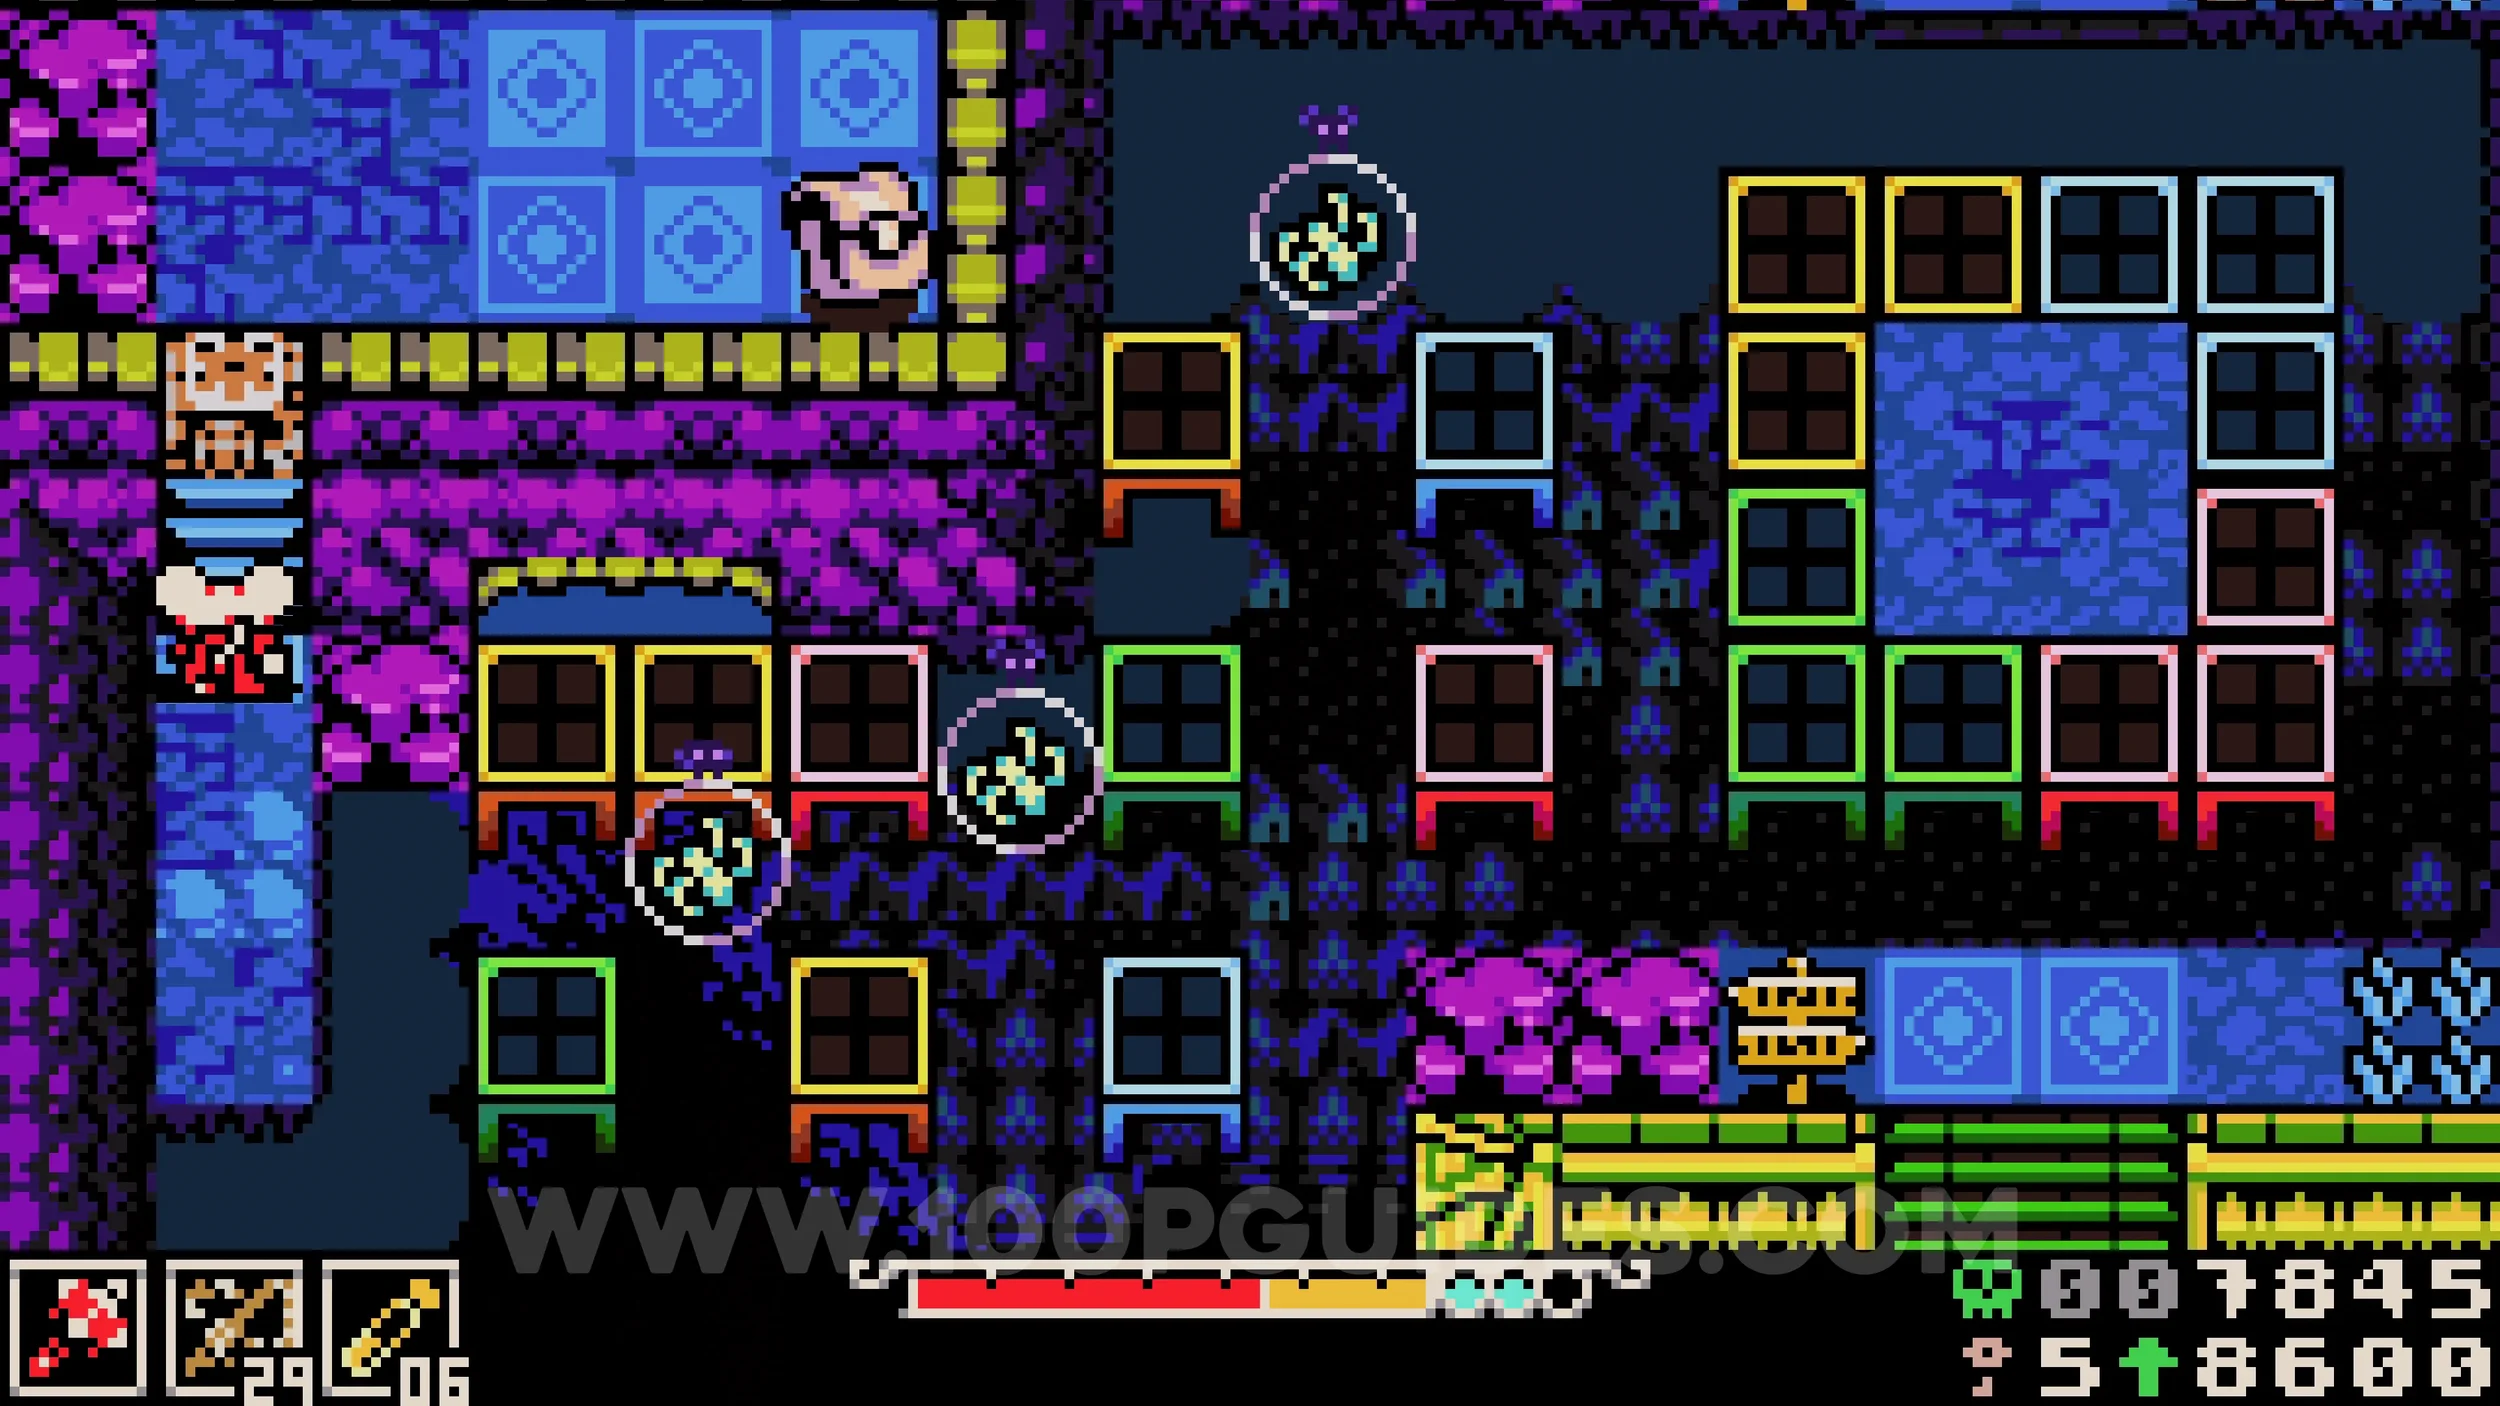
Bonestone #1. To the right of the large mirror in the middle, go through the small tunnel under the area with the red mirror. The collectible will be in plain sight on the other side.
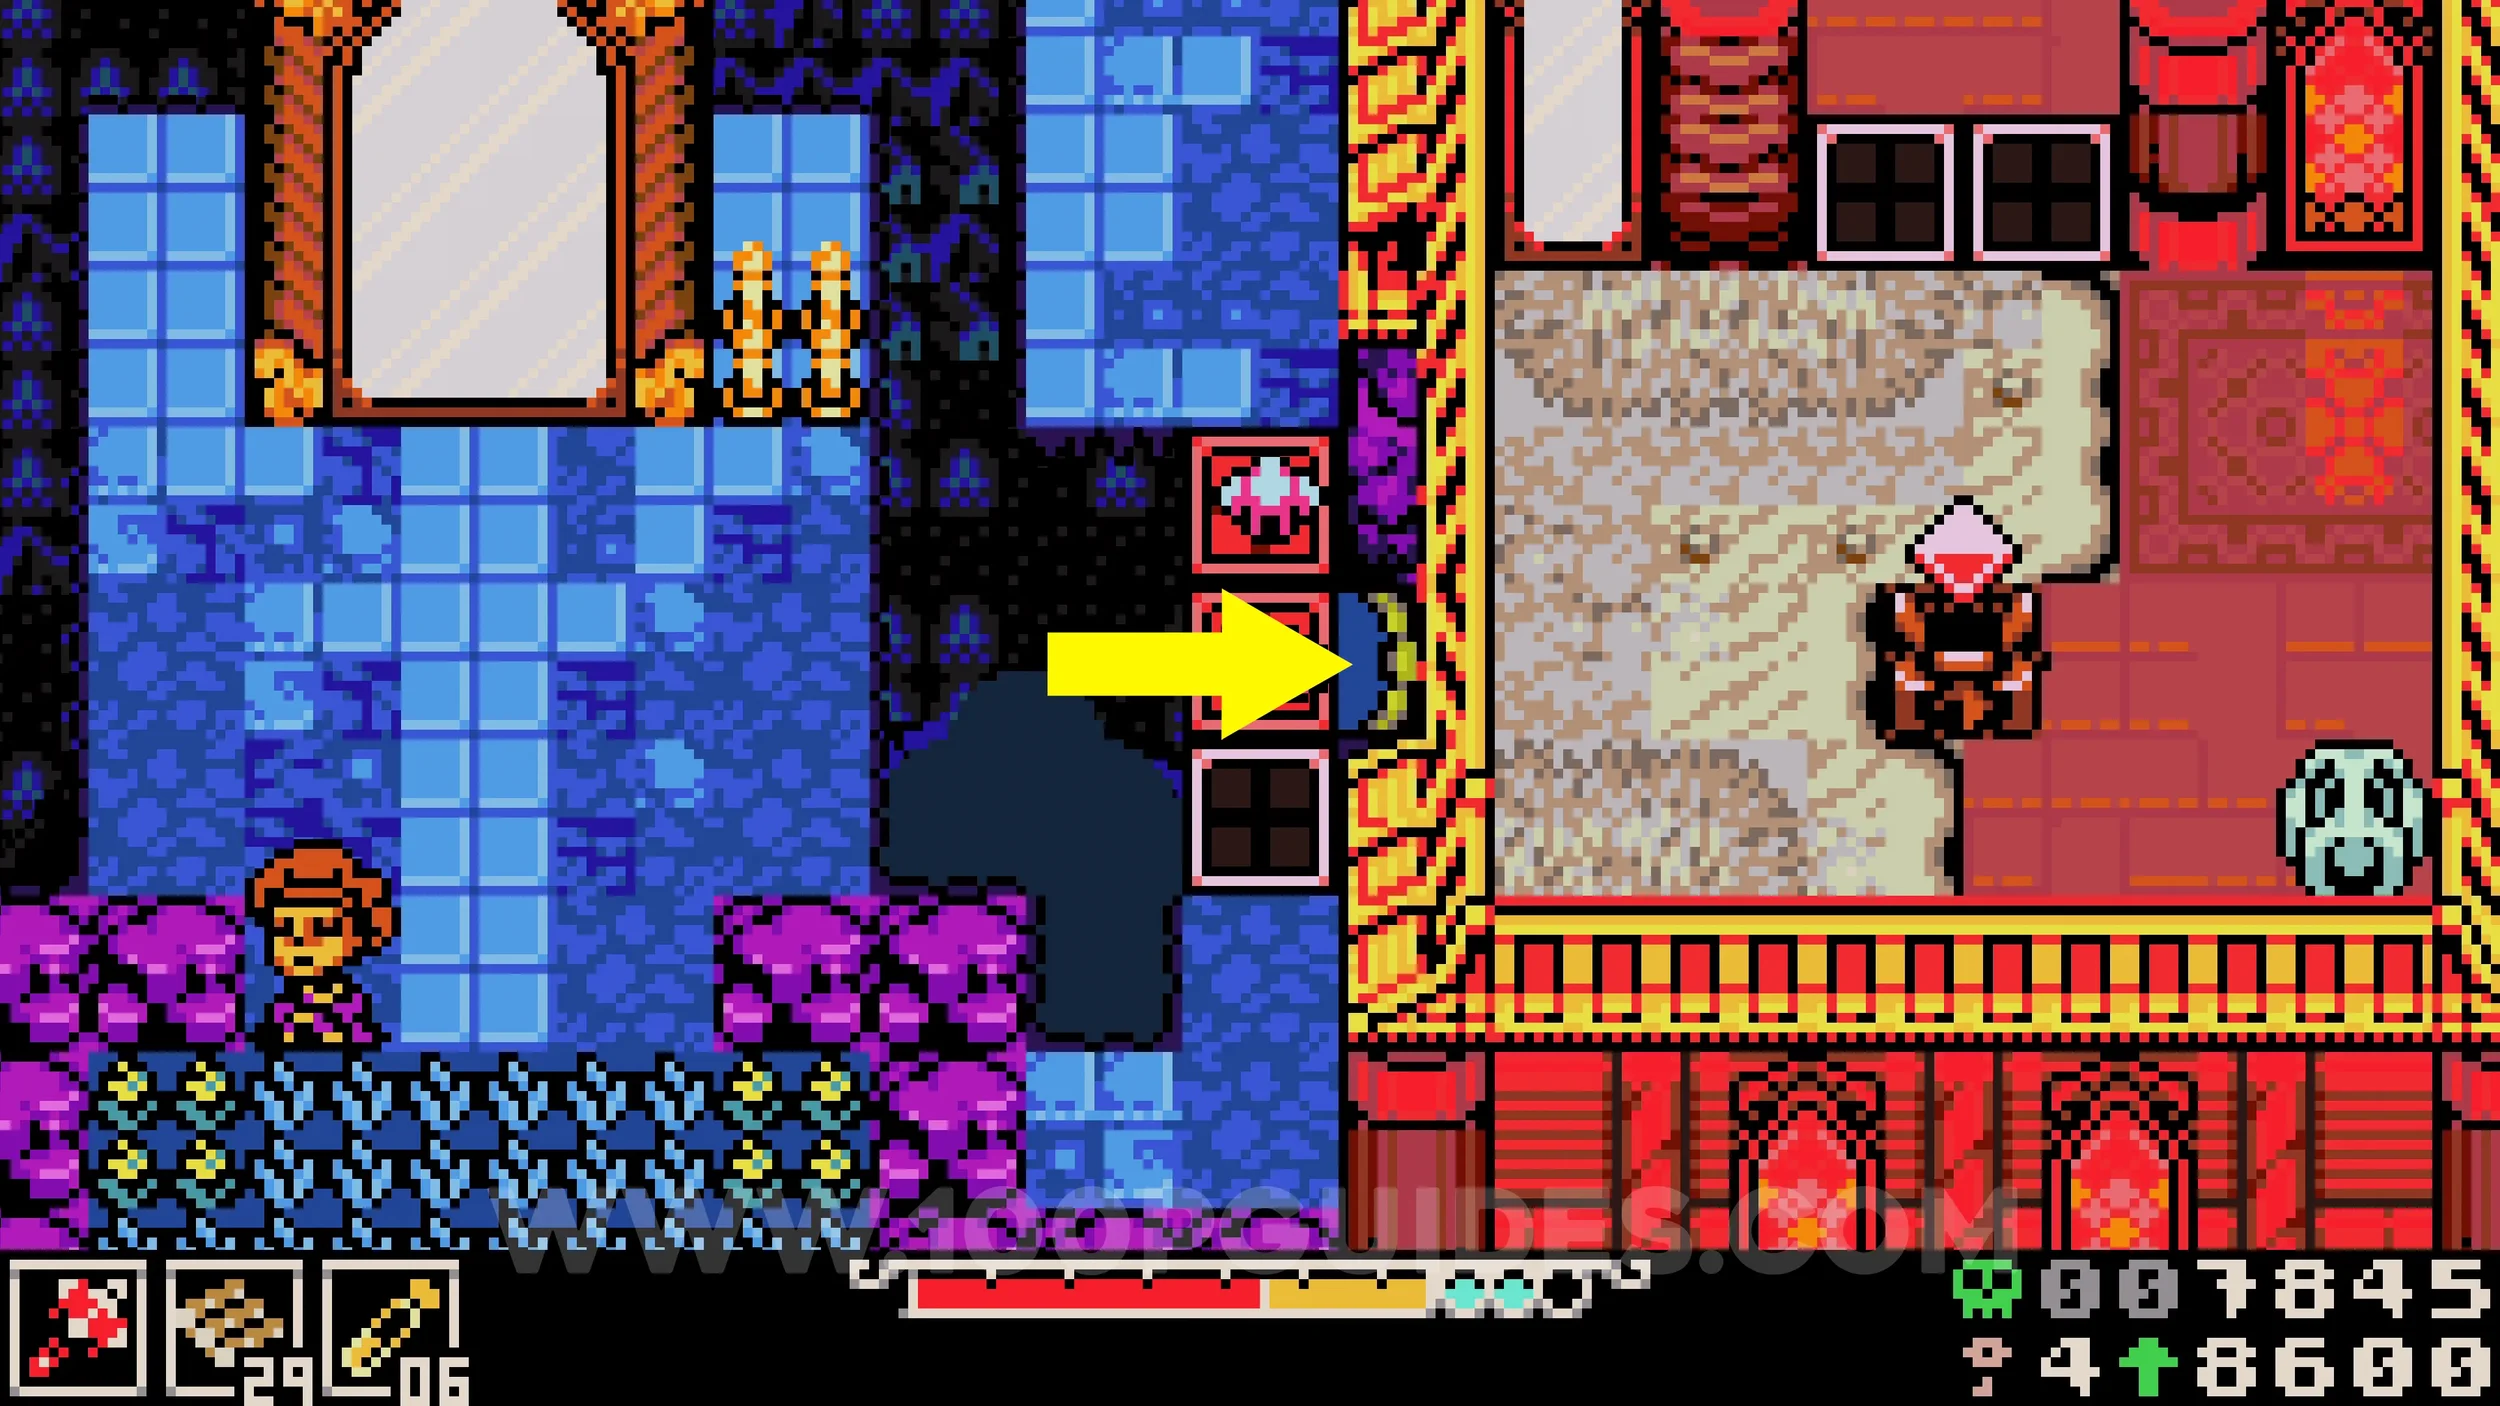
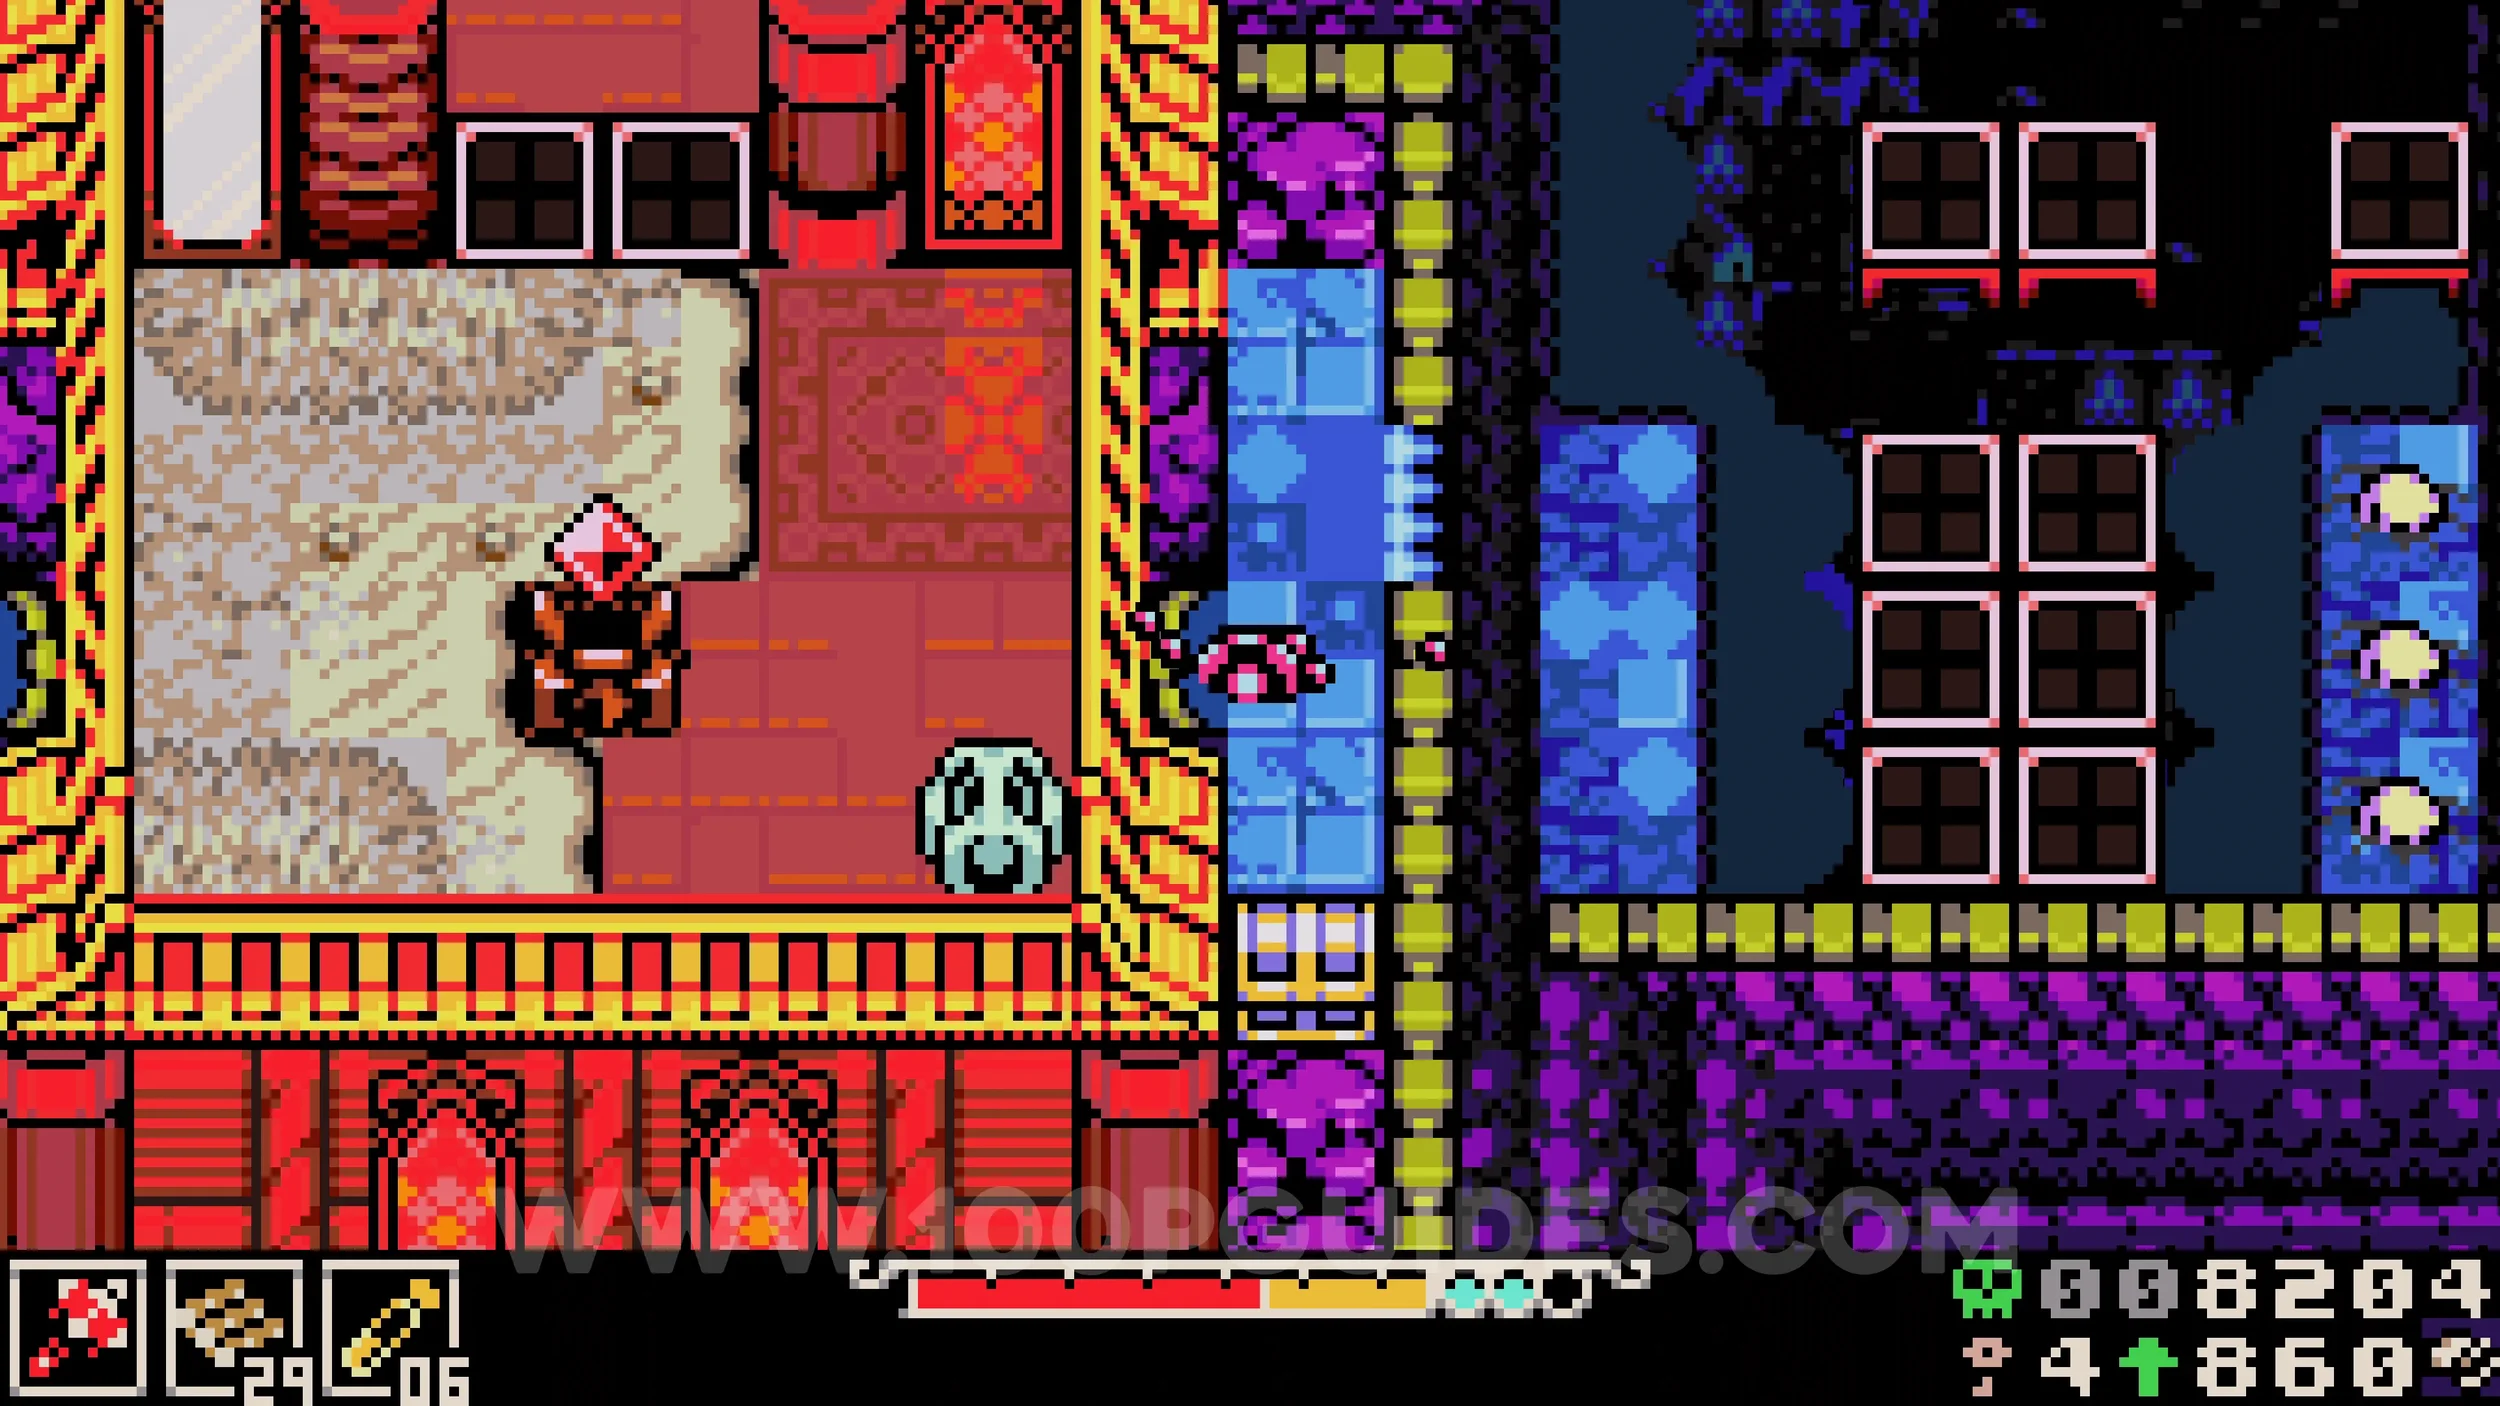
Bonestone #2. In the first area where the mirrors connect, go up the right side of the blue mirror to find the collectible in a chest.
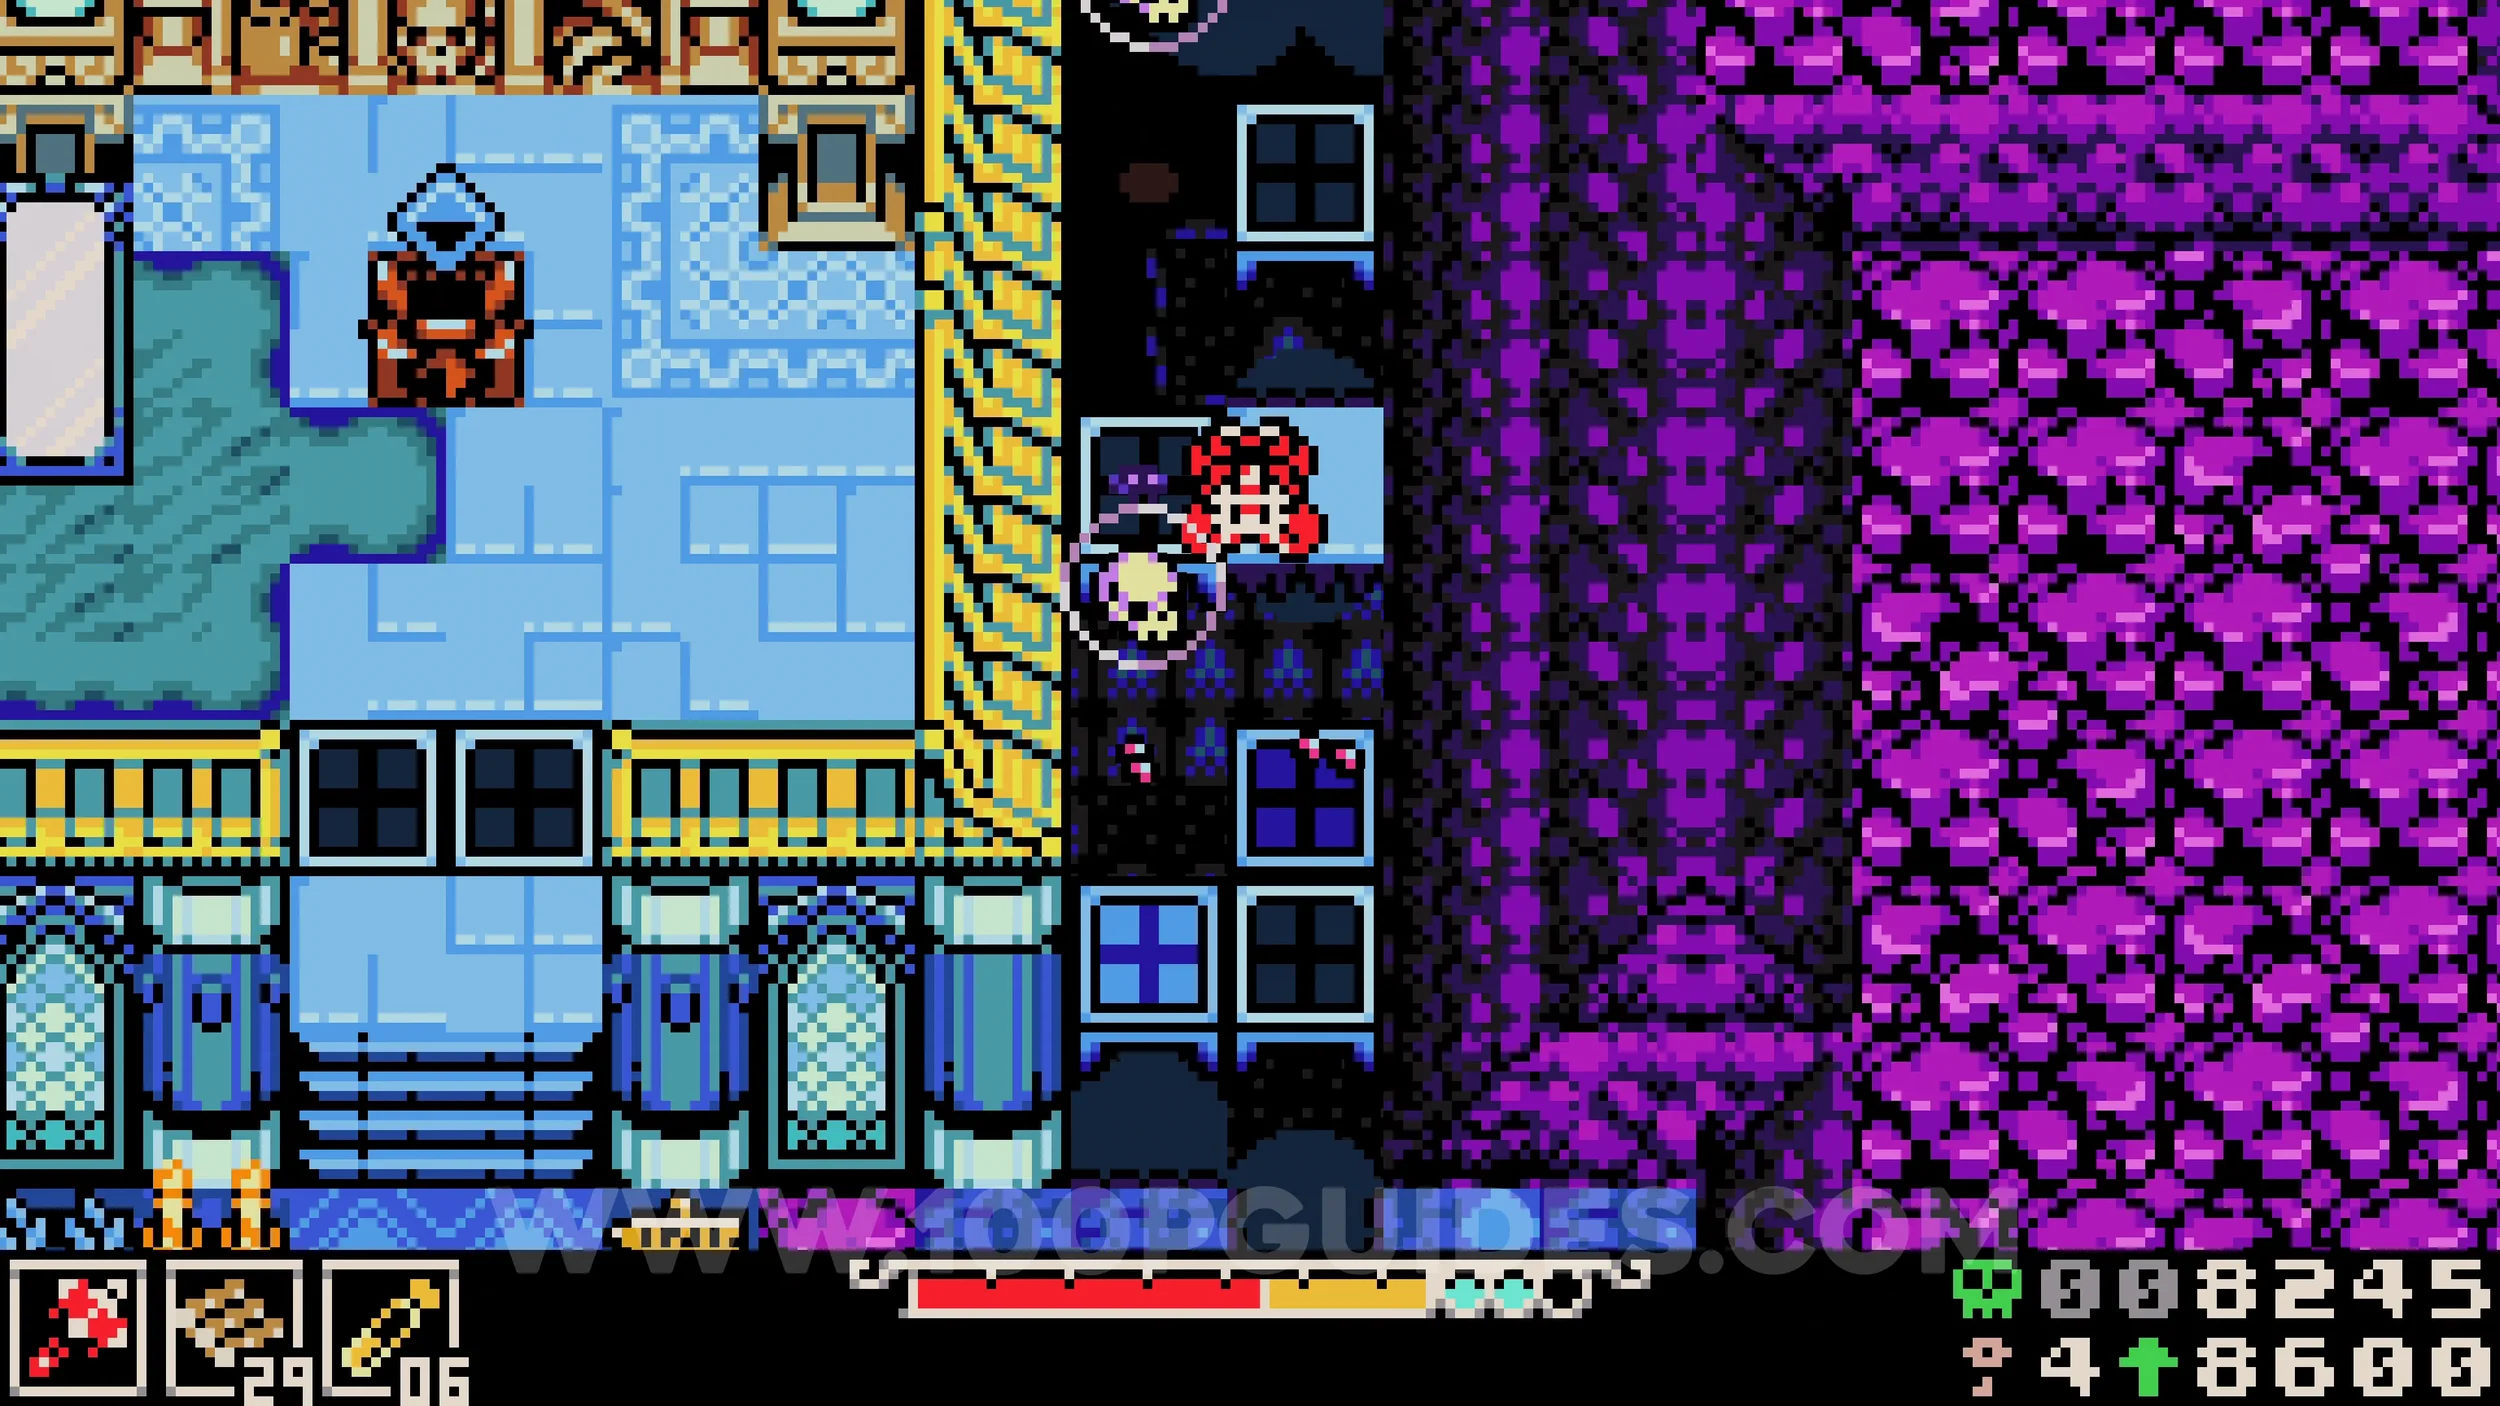
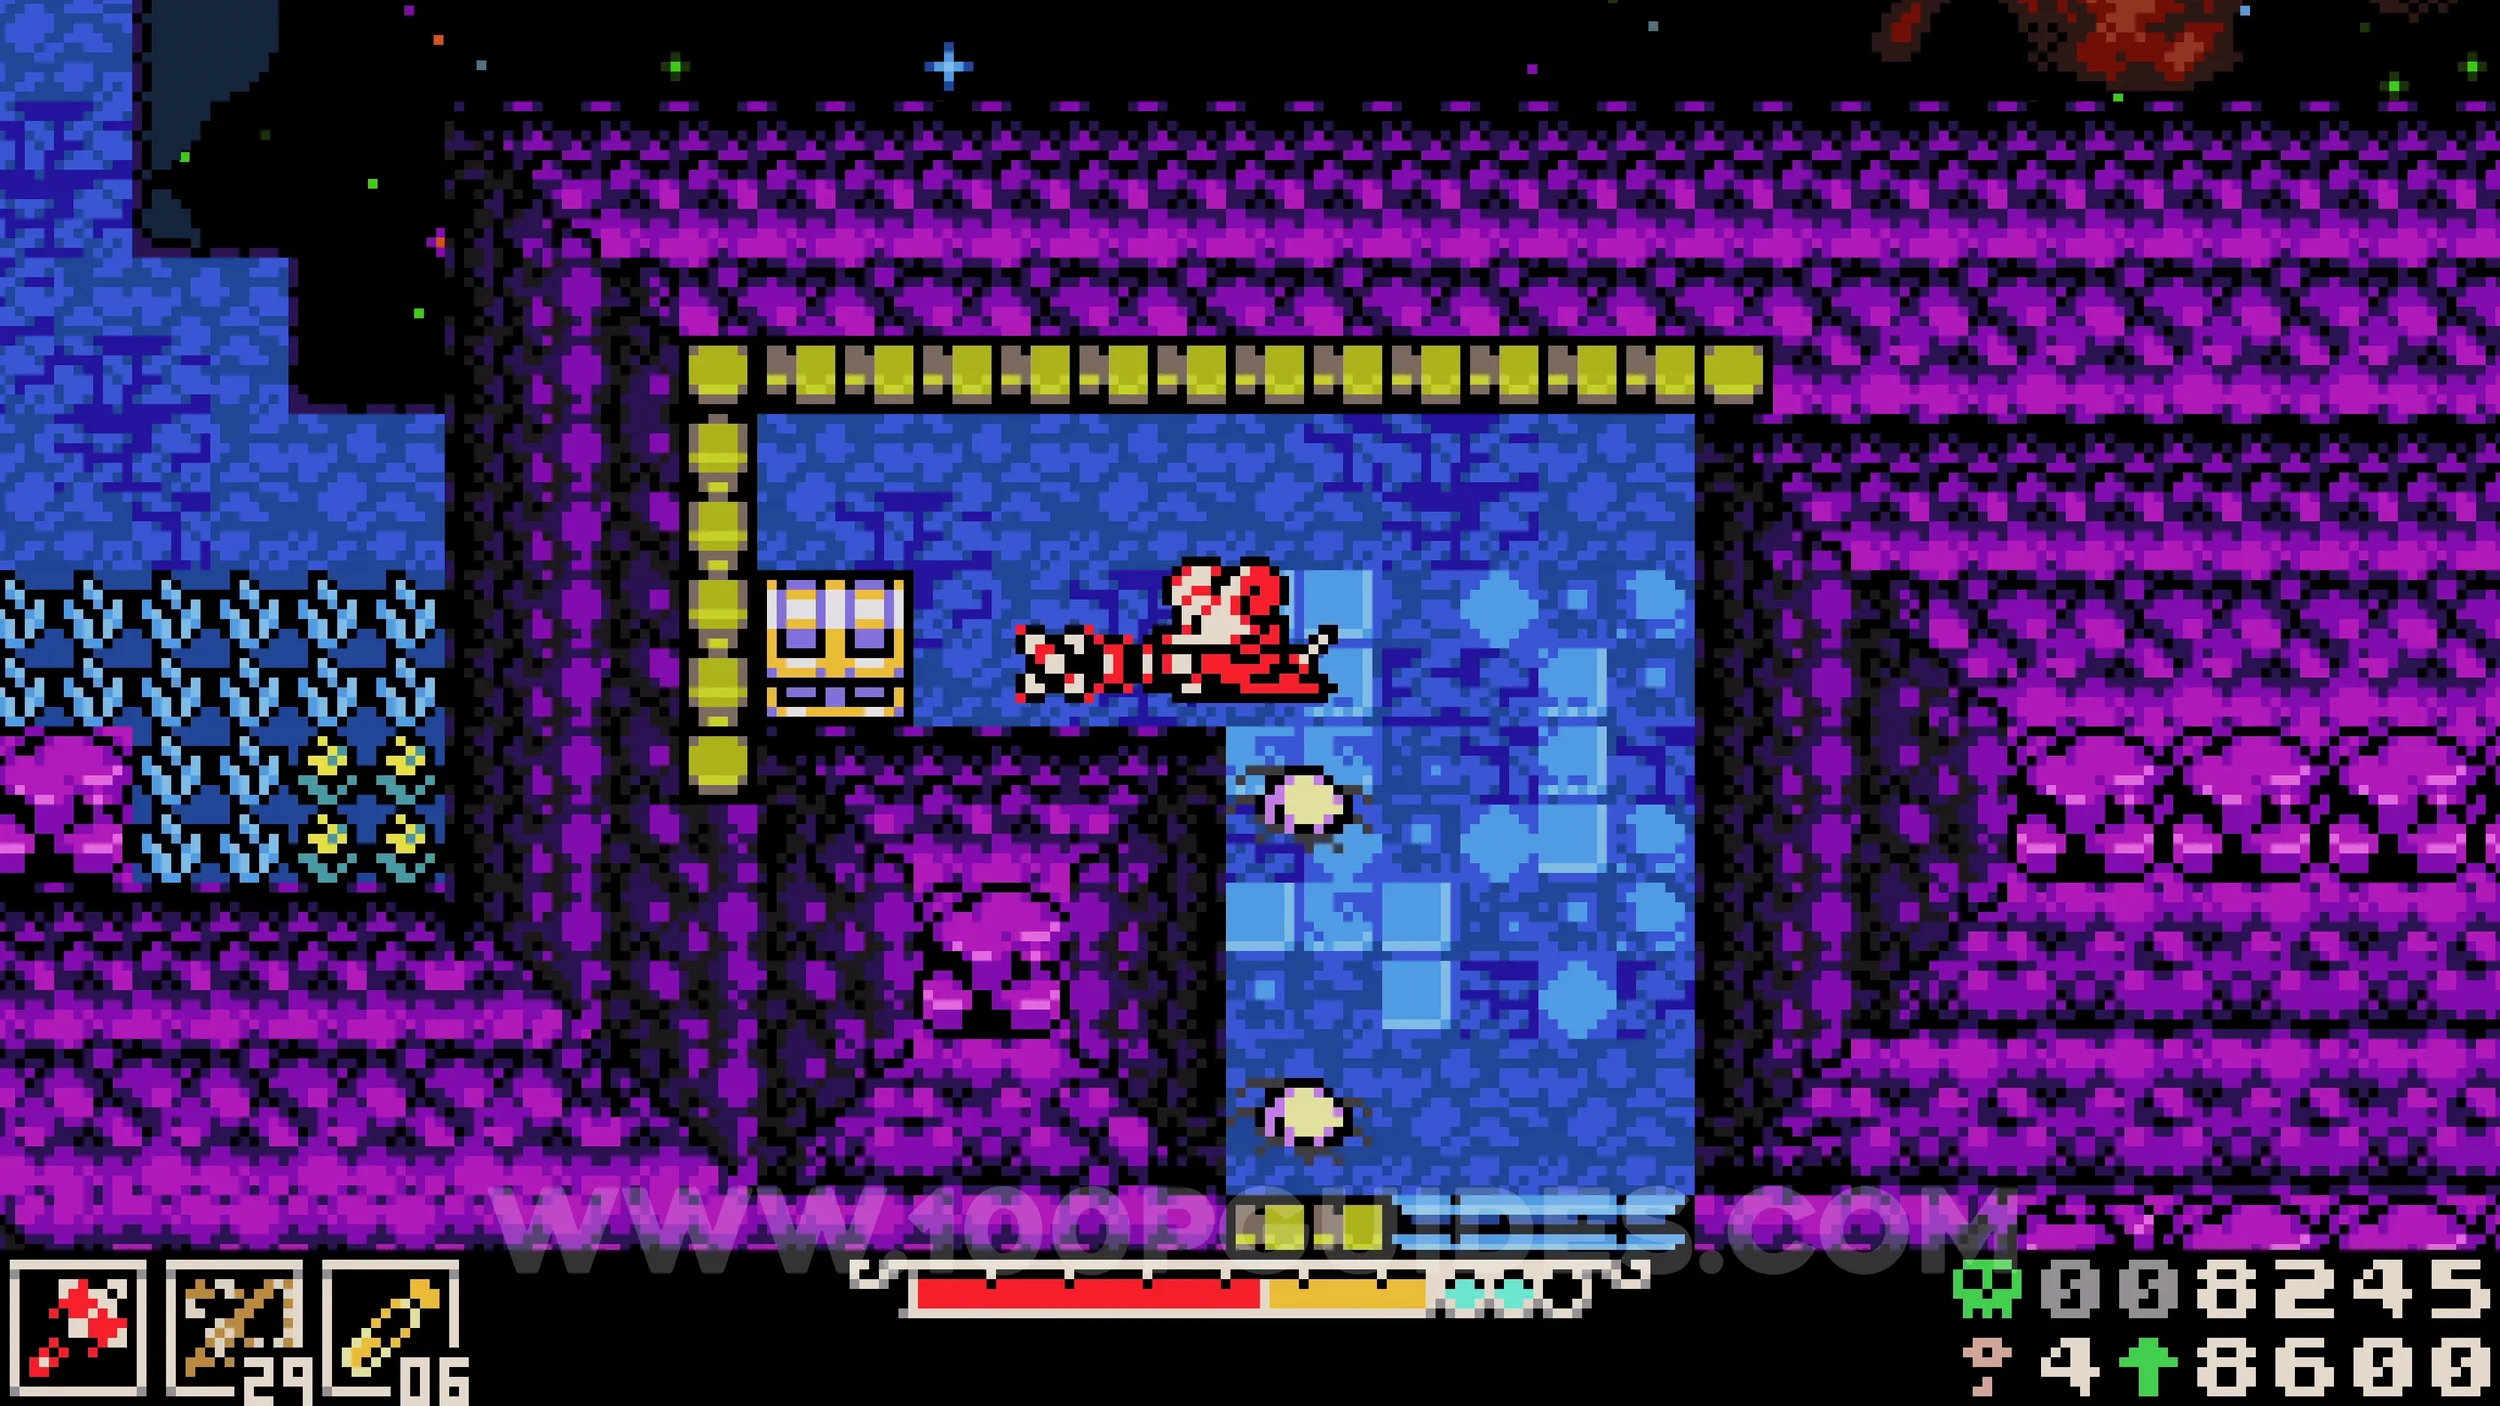
Lock #2. On the right side of the first area where the mirrors connect.
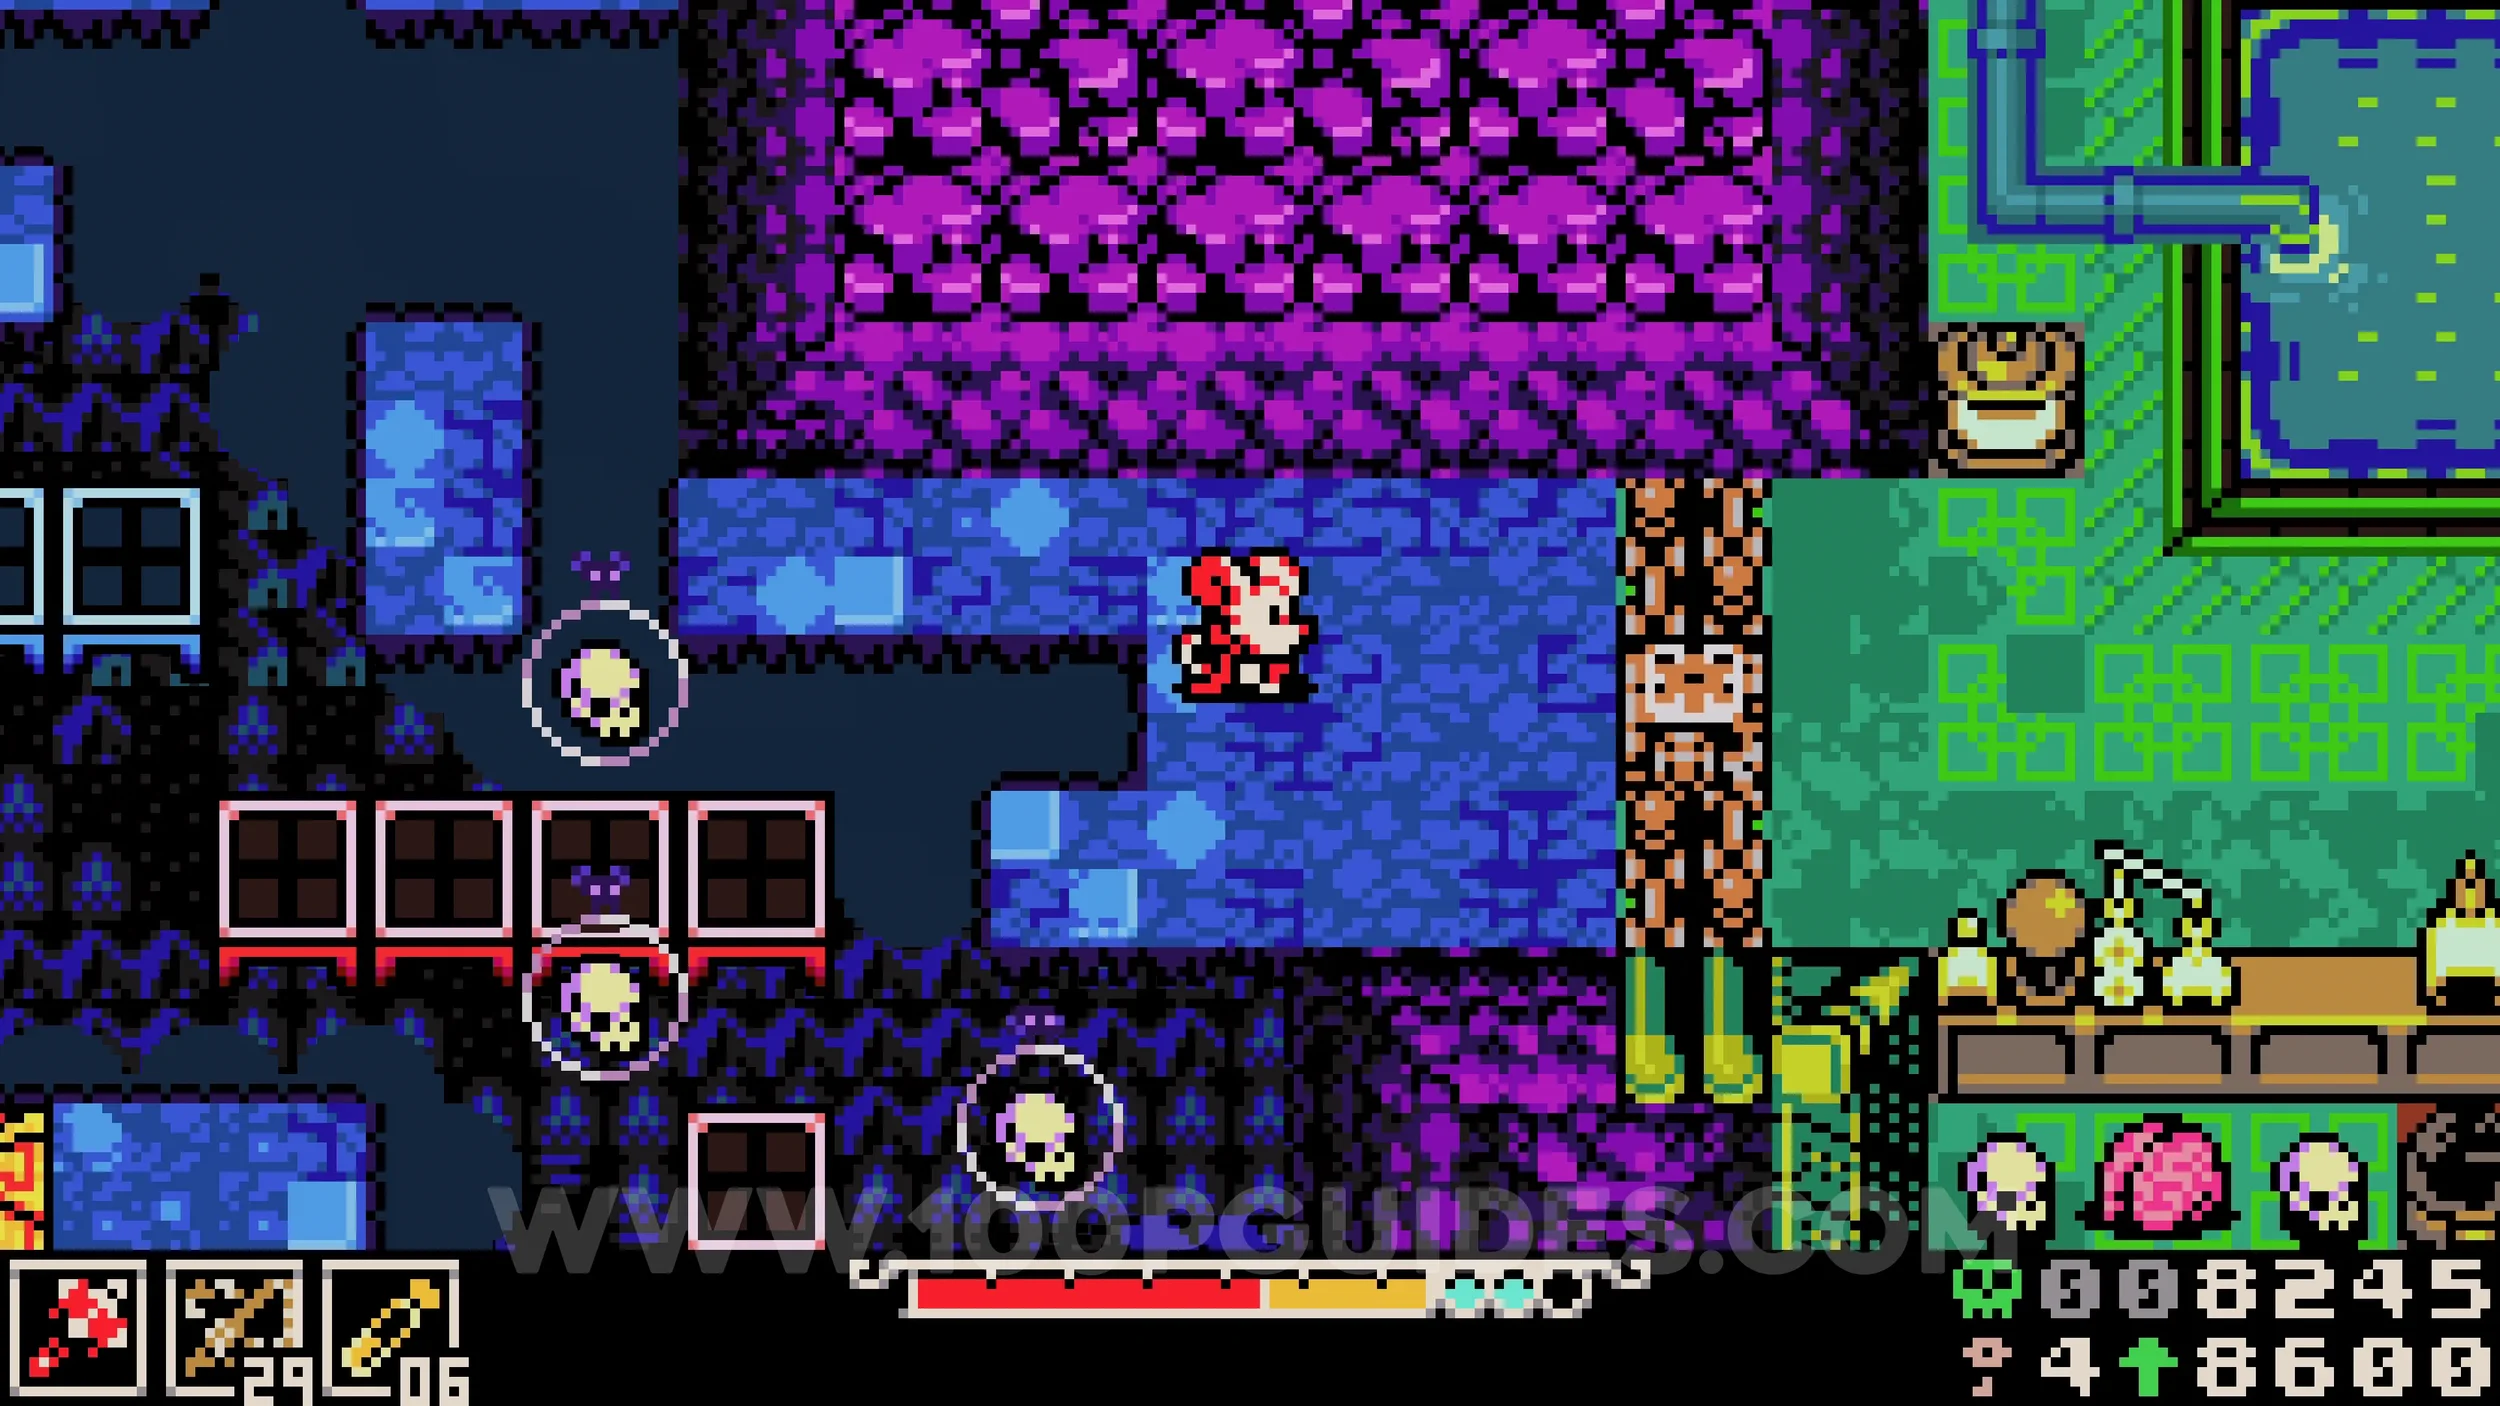
Trinket #1 - Reckless Beastium. On the other side of the previous lock you will find an NPC that requires the correct brain. To find it, break the wall on the left side above the NPC and continue breaking walls along this path until you reach the correct brain. Throw it at the NPC to receive the collectible.
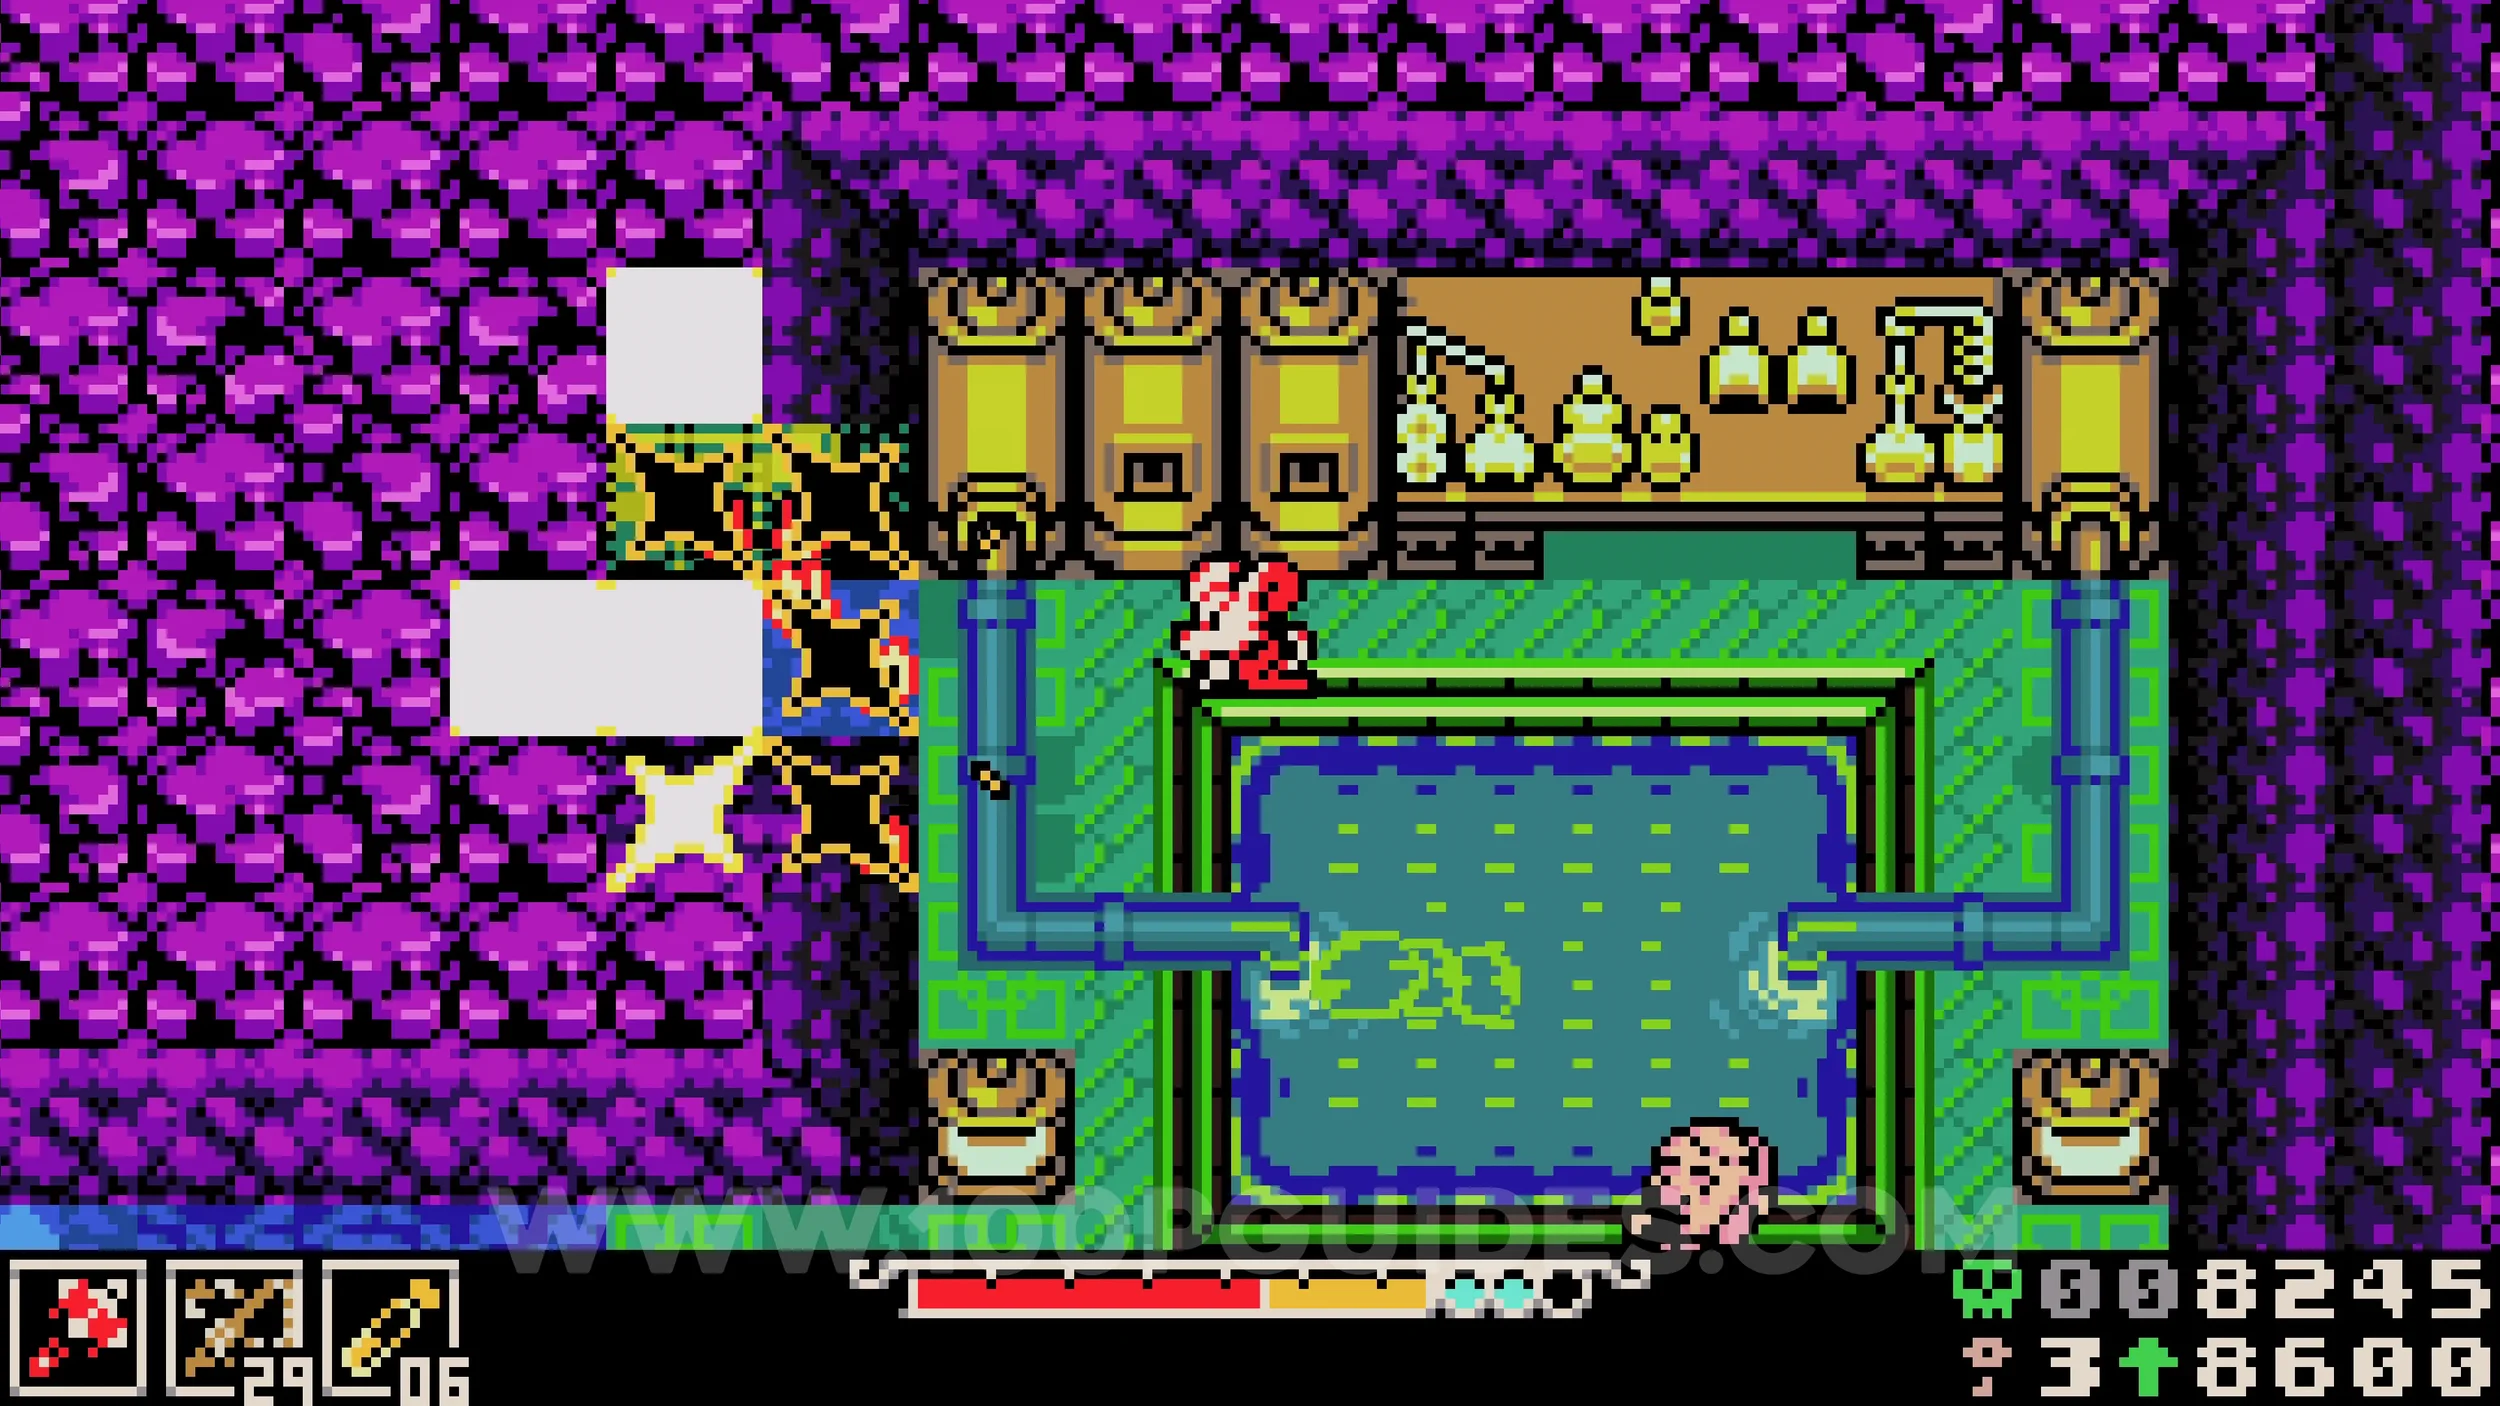
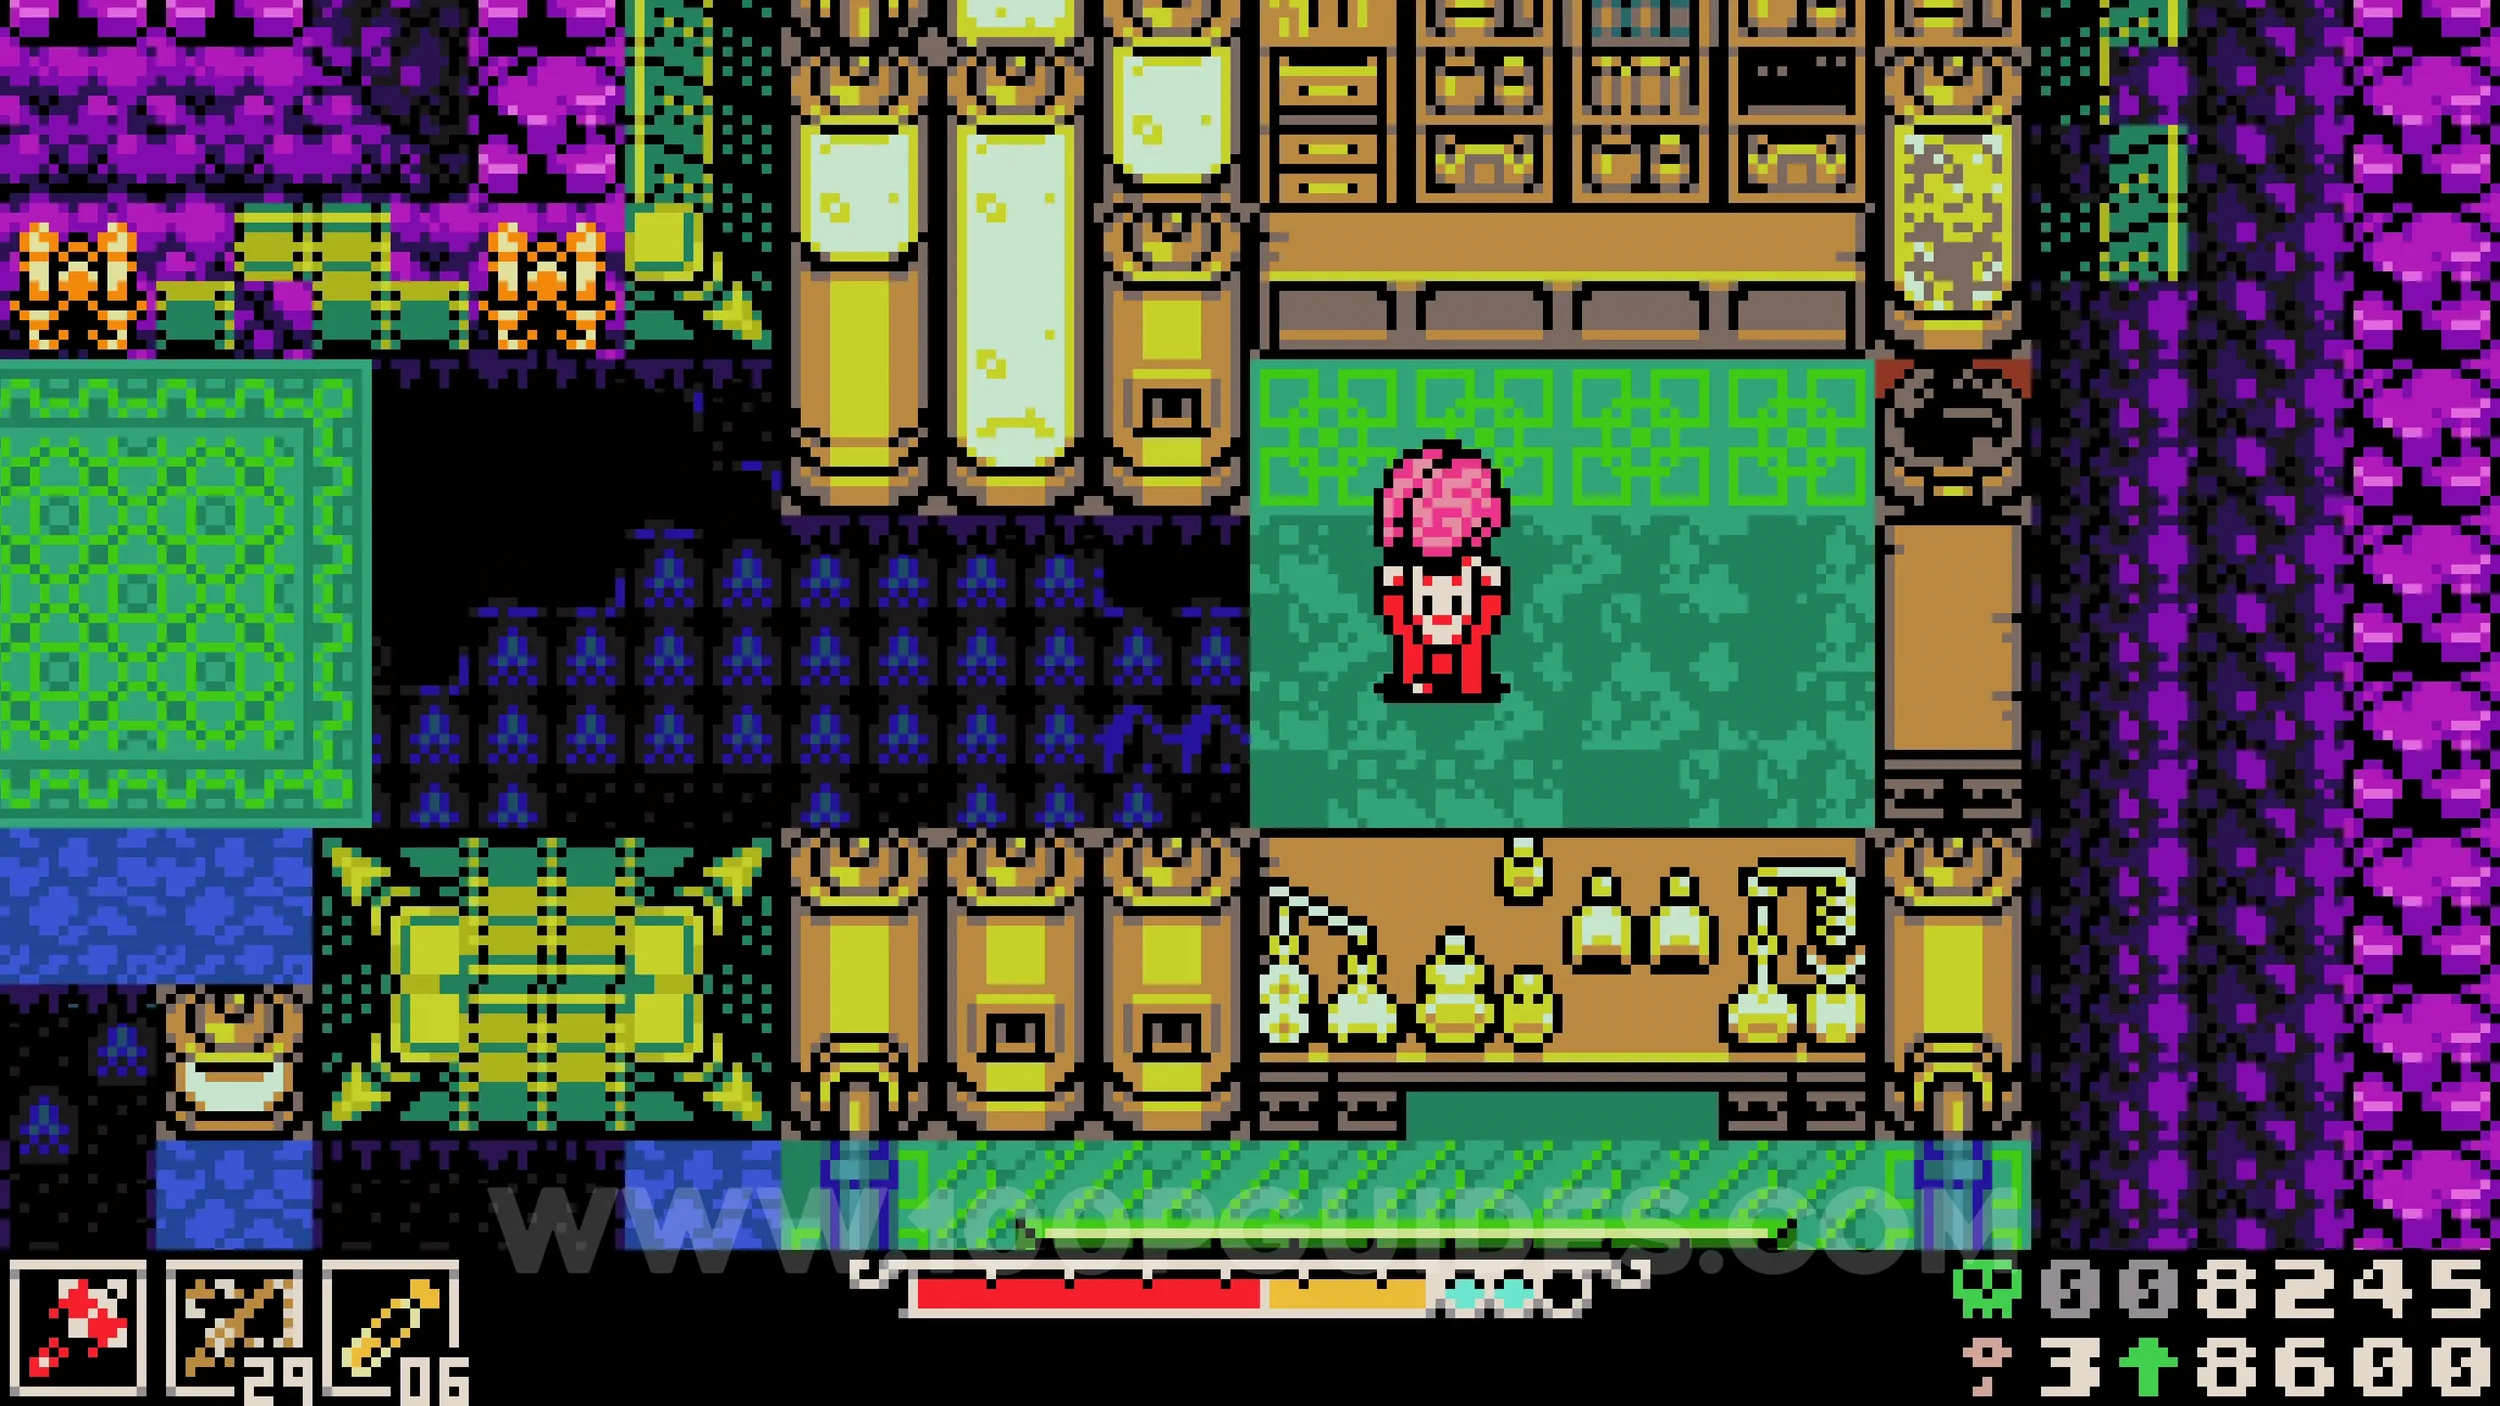
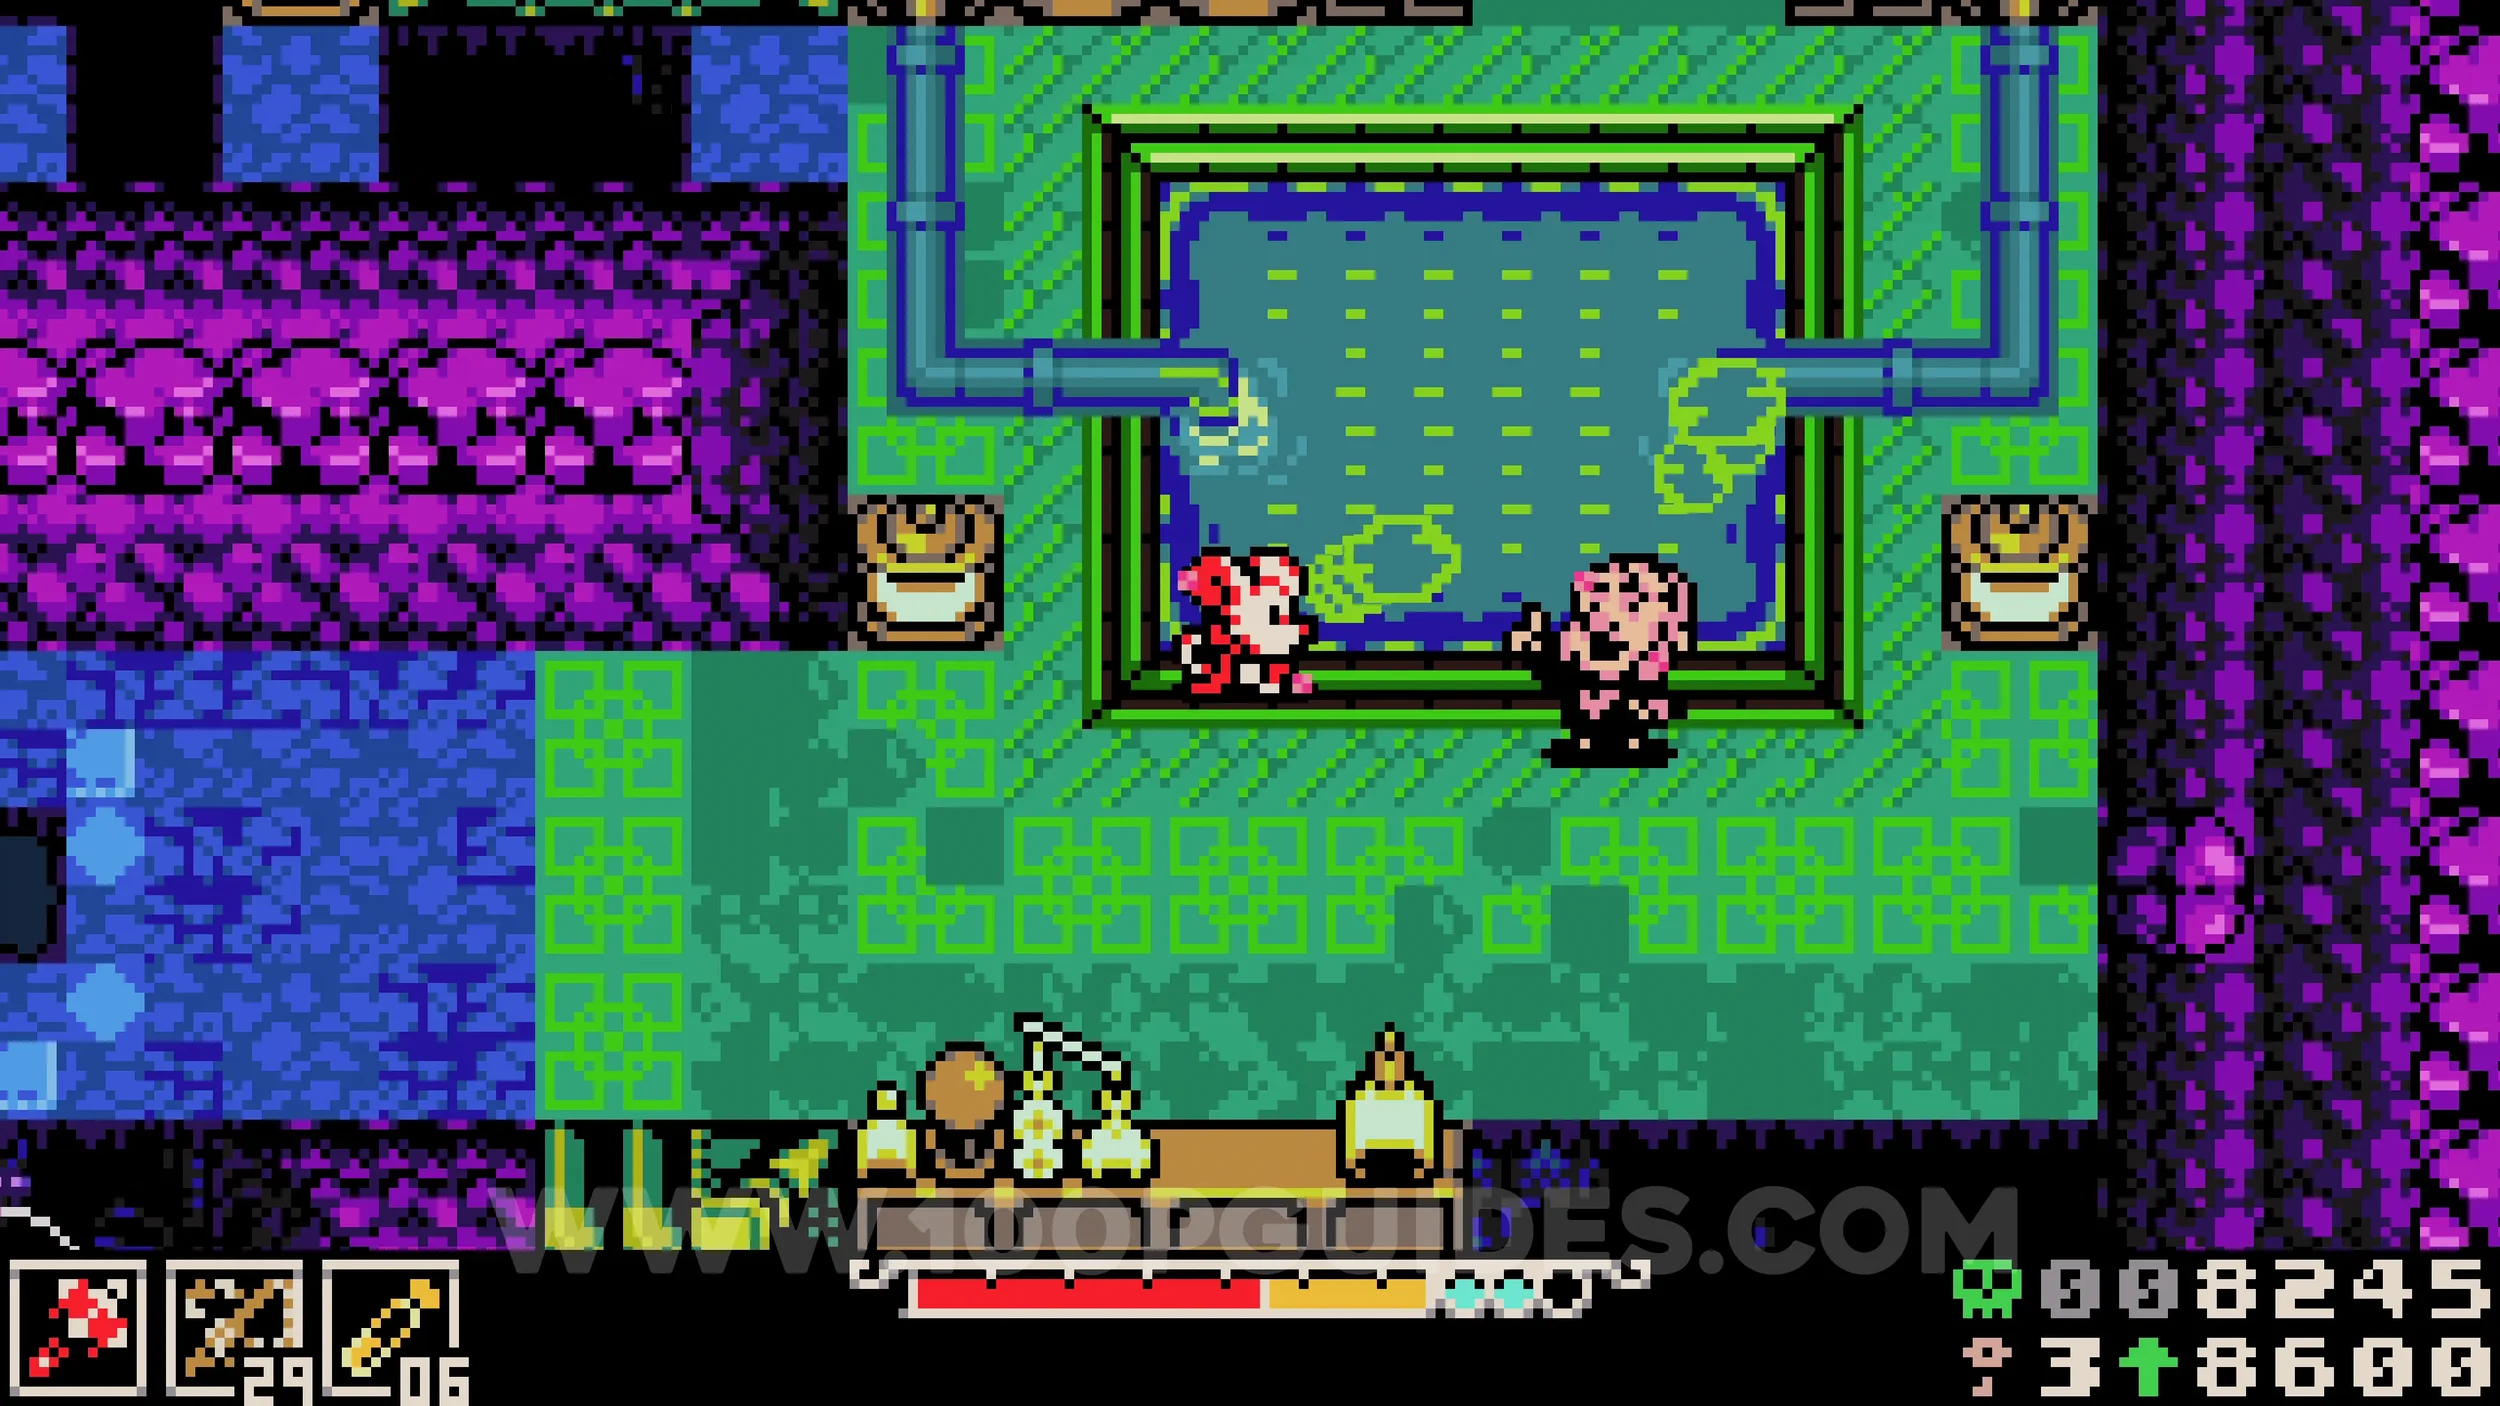
Bonestone #3. Once you reach the main area of the region you will have 4 challenges, one in each corner, which must be completed to advance the story. Start with the green challenge in the bottom left. Once you reach the bottommost room and return to the room to the north, break the wall on the right side of the straight glass path to find the collectible.
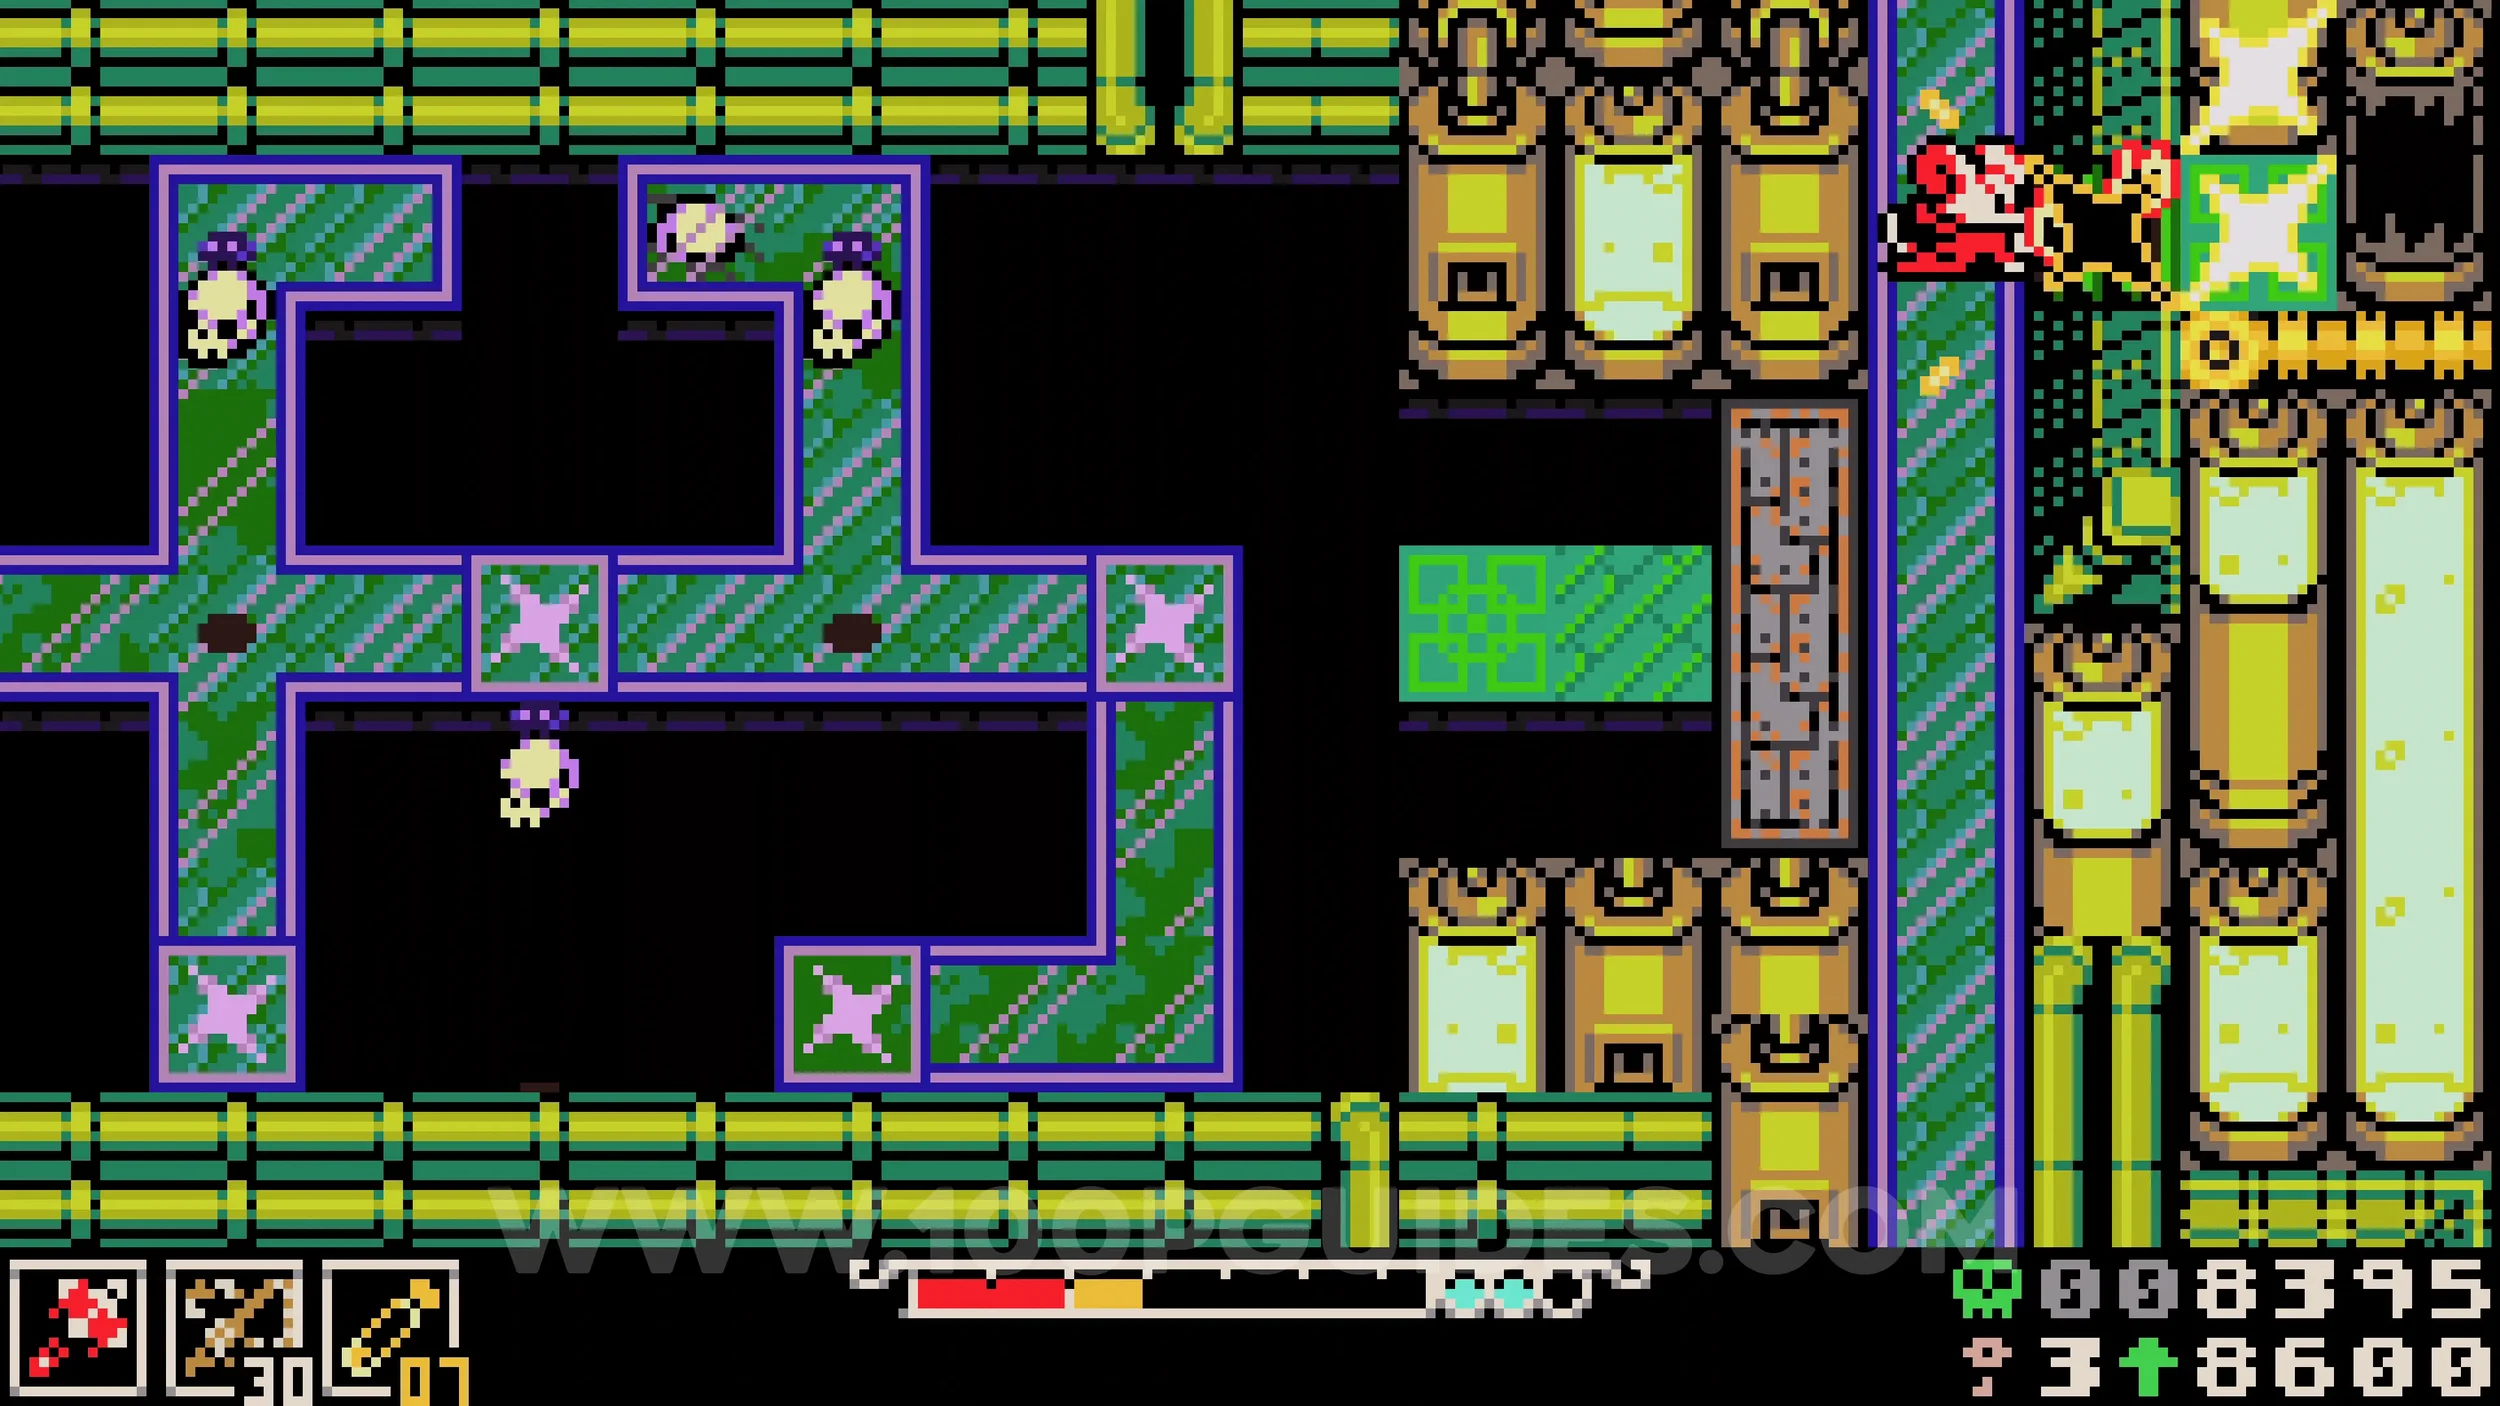
Trinket #2 - Bridge Weaver. Continue through the green challenge until you head left into a room where you pass under a massive glass panel with a red enemy firing projectiles at you. To continue the main path you would normally leave through the south. For the collectible, burrow under the pipes in the bottom left corner.
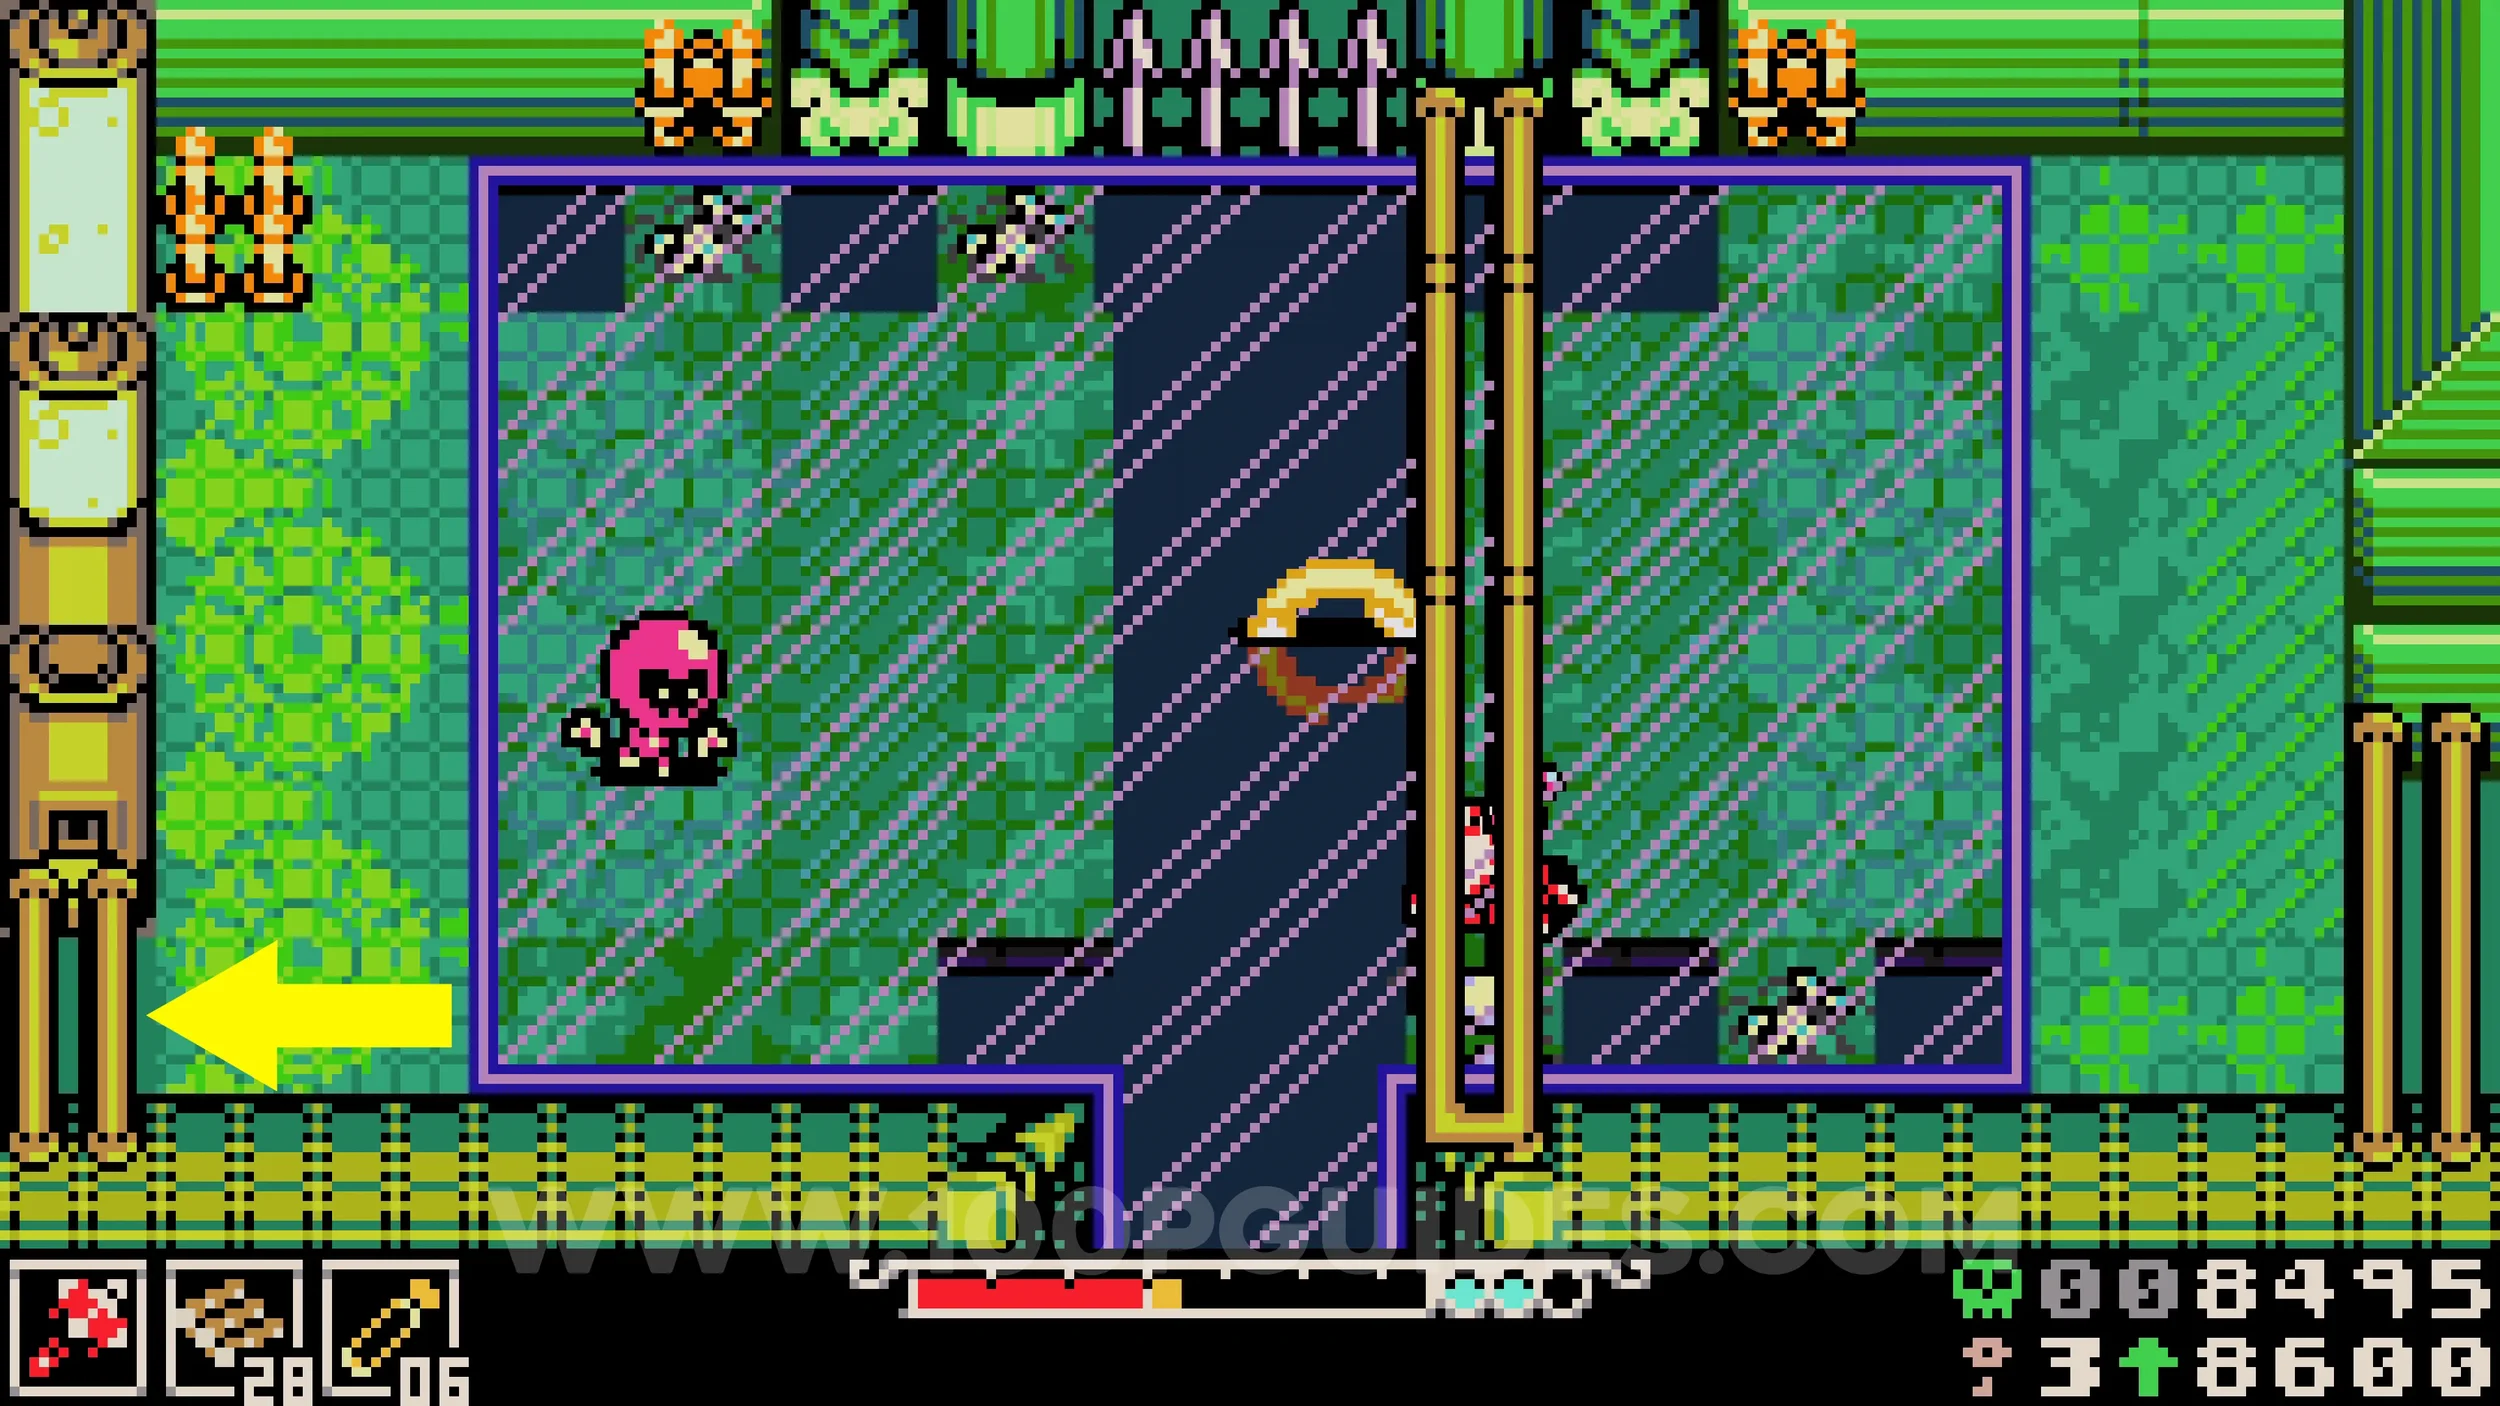
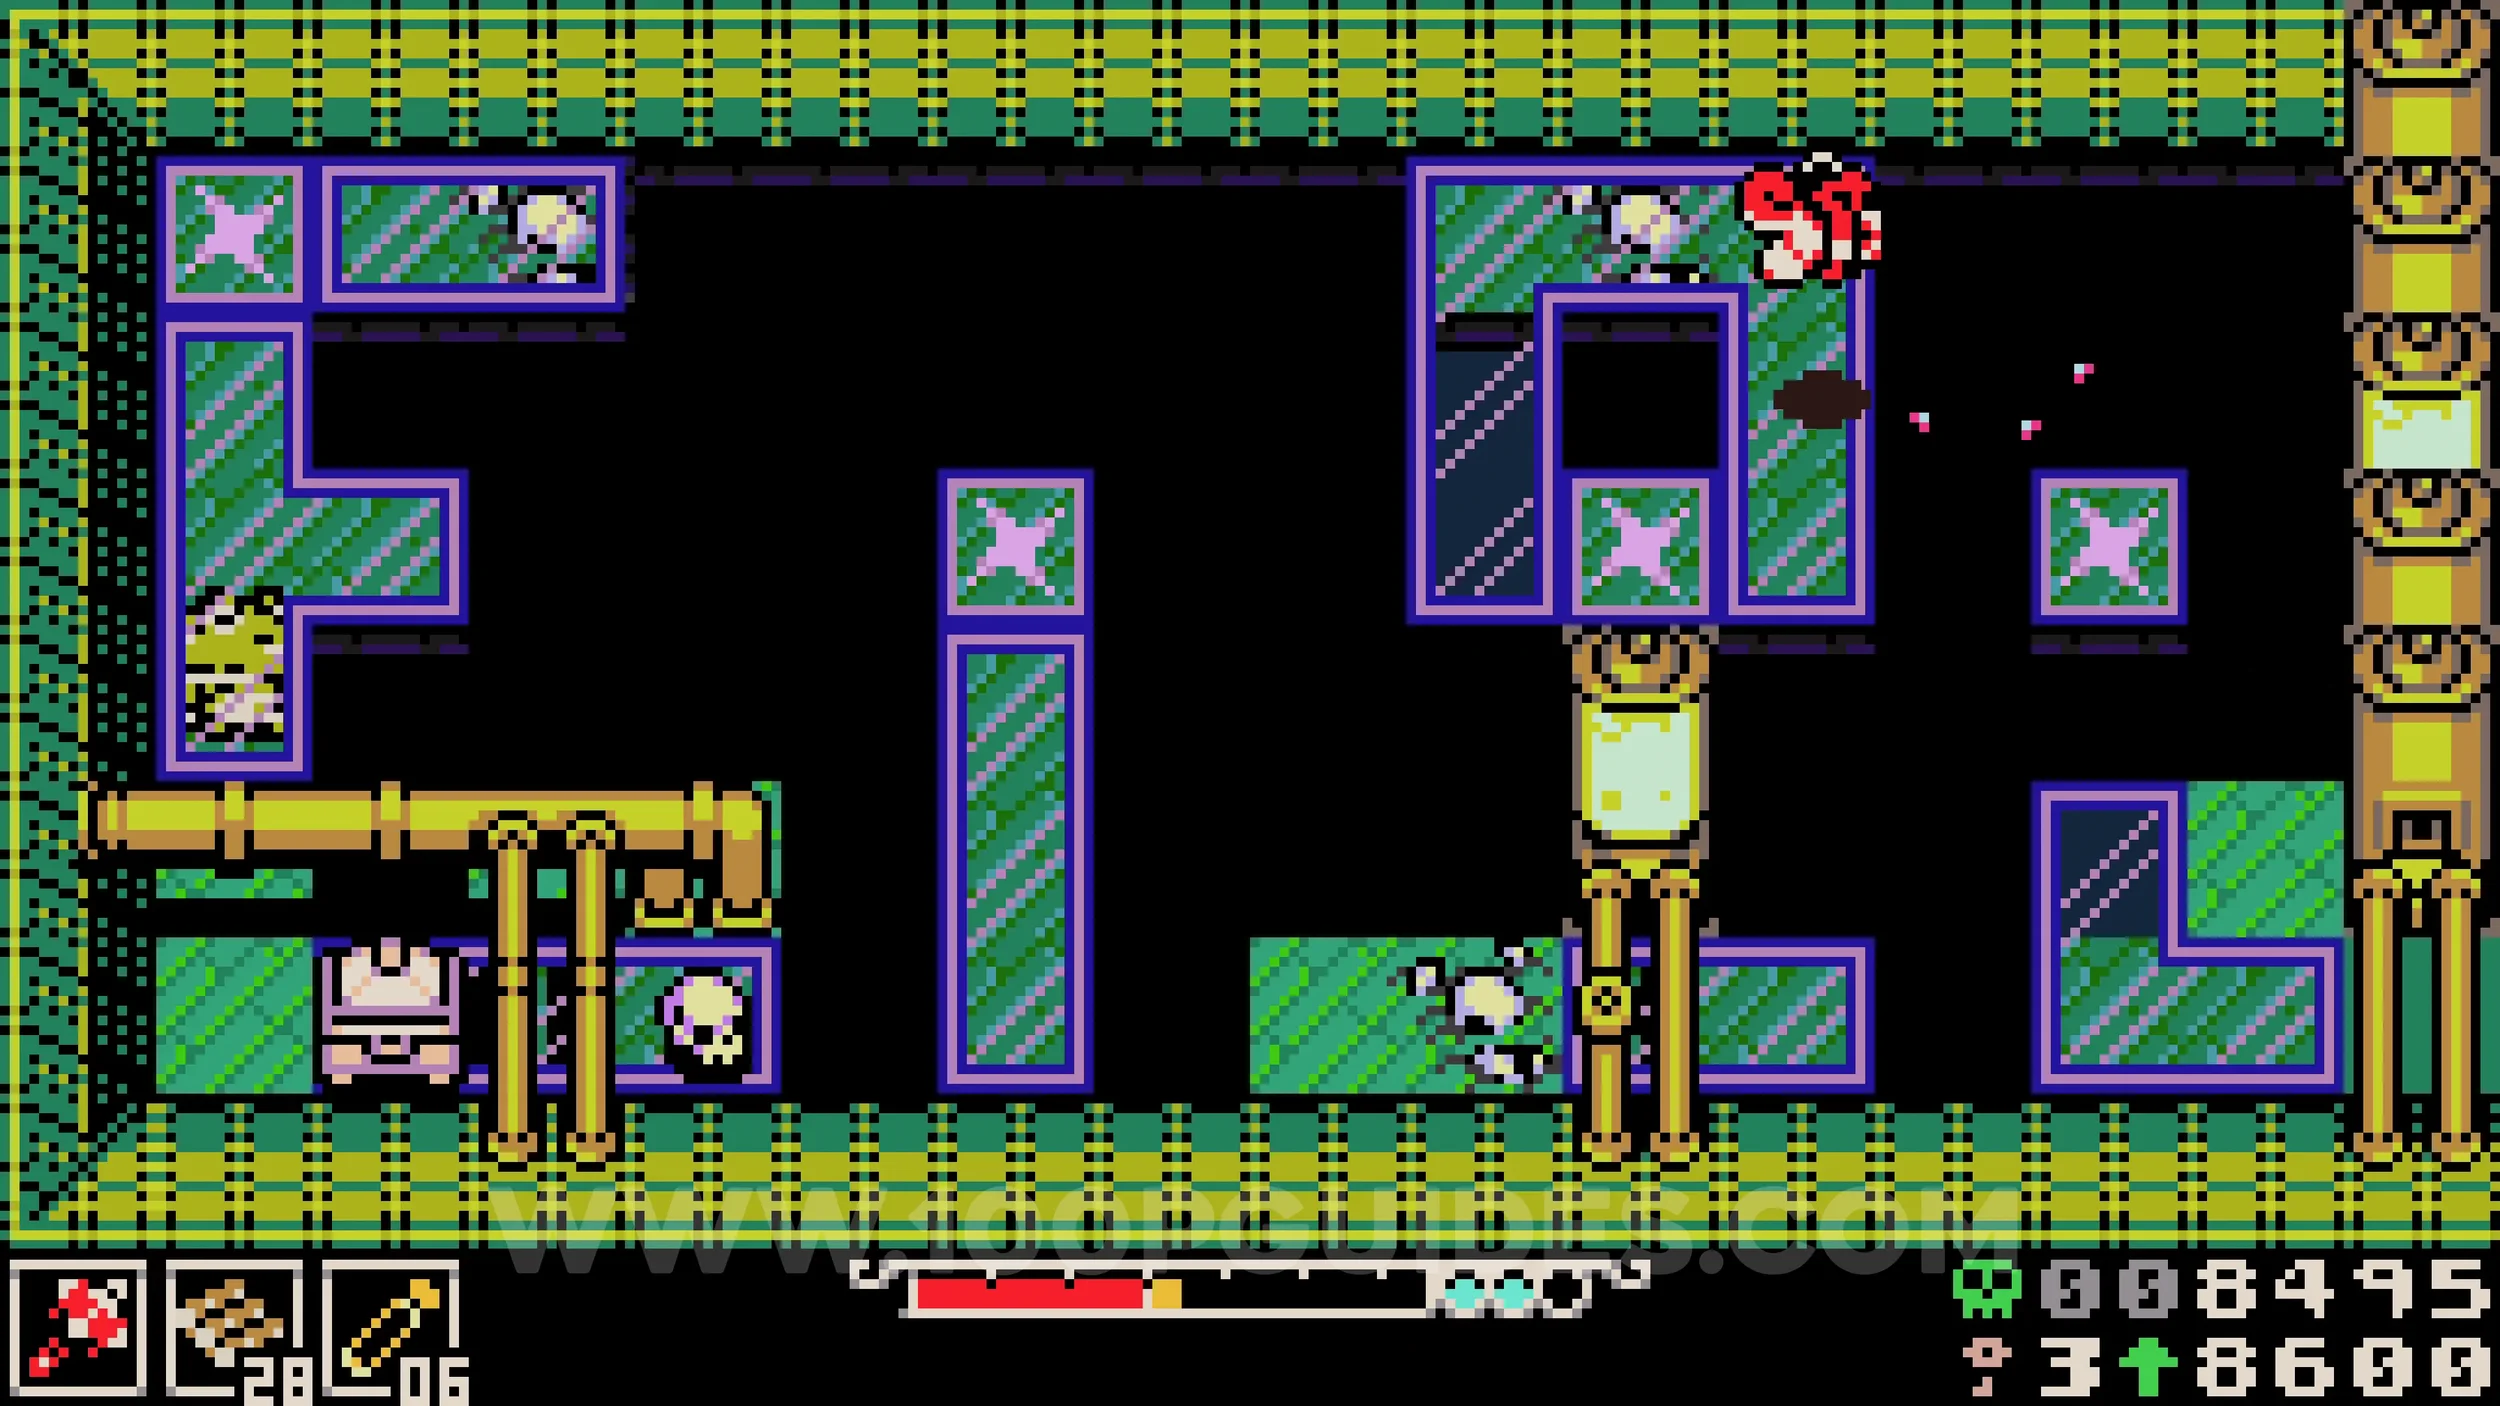
Trinket #3 - Vial Salvo & Kear #1. After finishing the green challenge and returning to the main area, drop down to the platform below and interact with the capsule on the left side to access the shop, where you can purchase the collectibles.
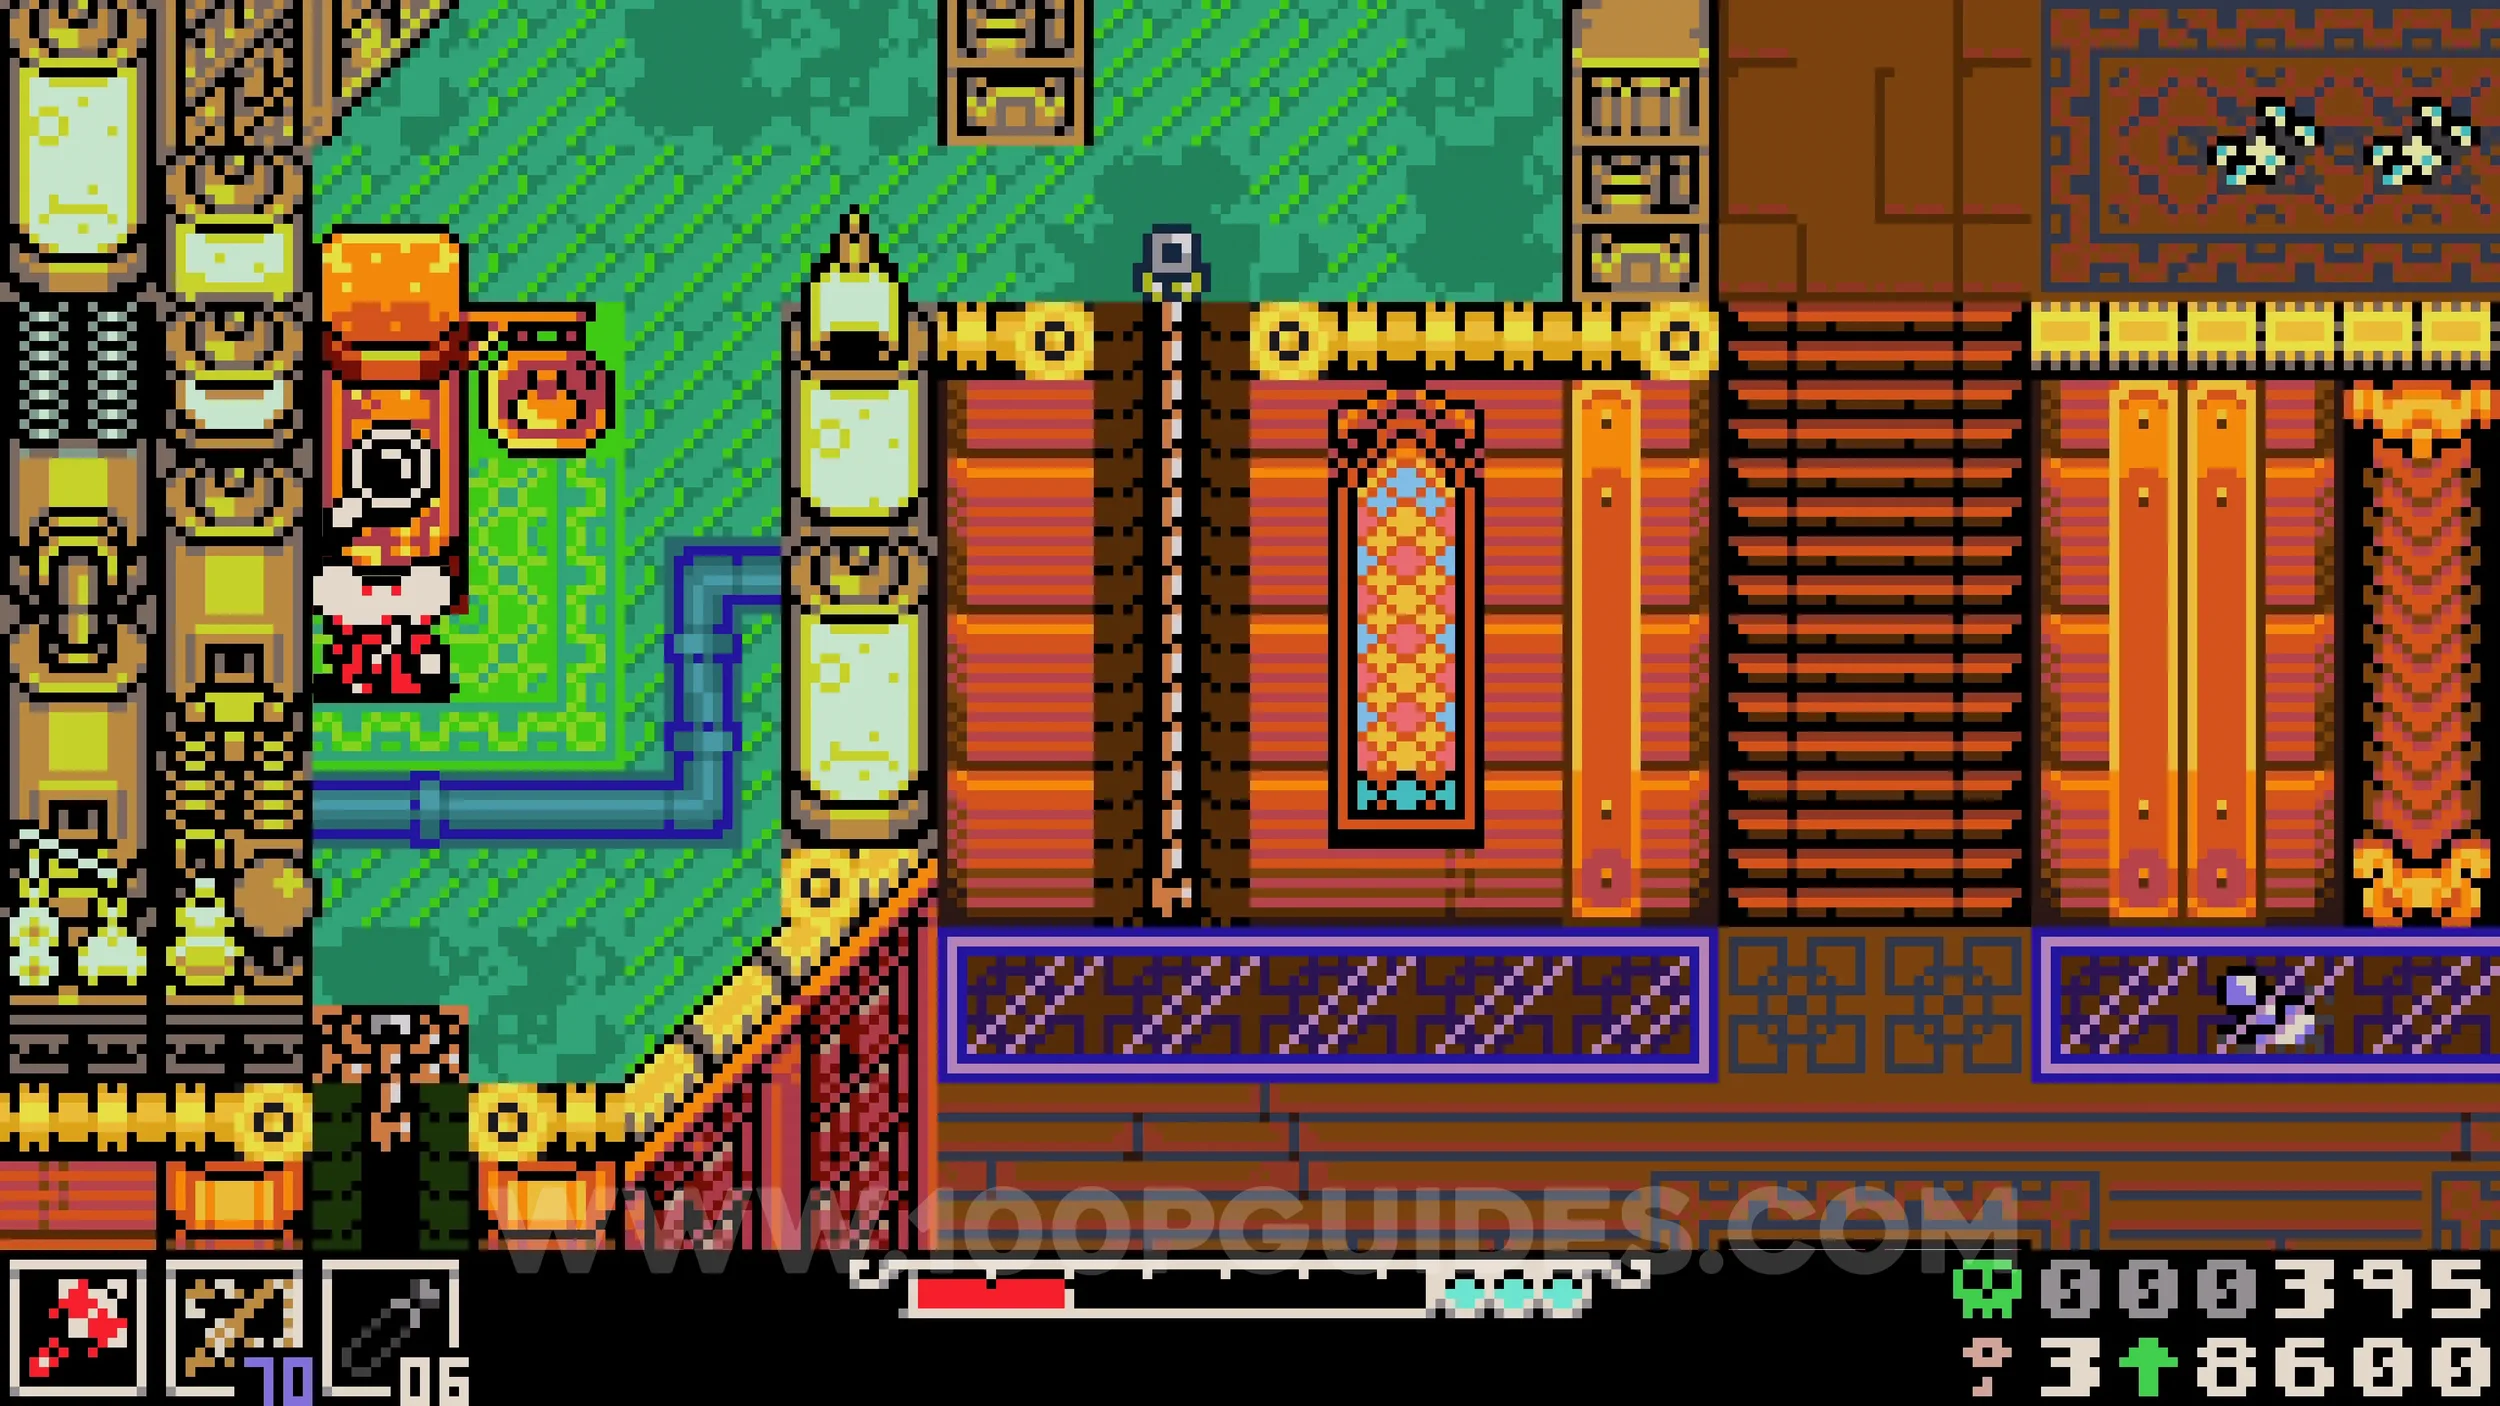
Bonestone #4. Once you enter the purple challenge you will have to defeat a wave of enemies before they reach the left side of the screen. After defeating them all, drop down through the top of the vertical hole on the right side of the screen to land on the small corner platform in the room below, where you can find the collectible.
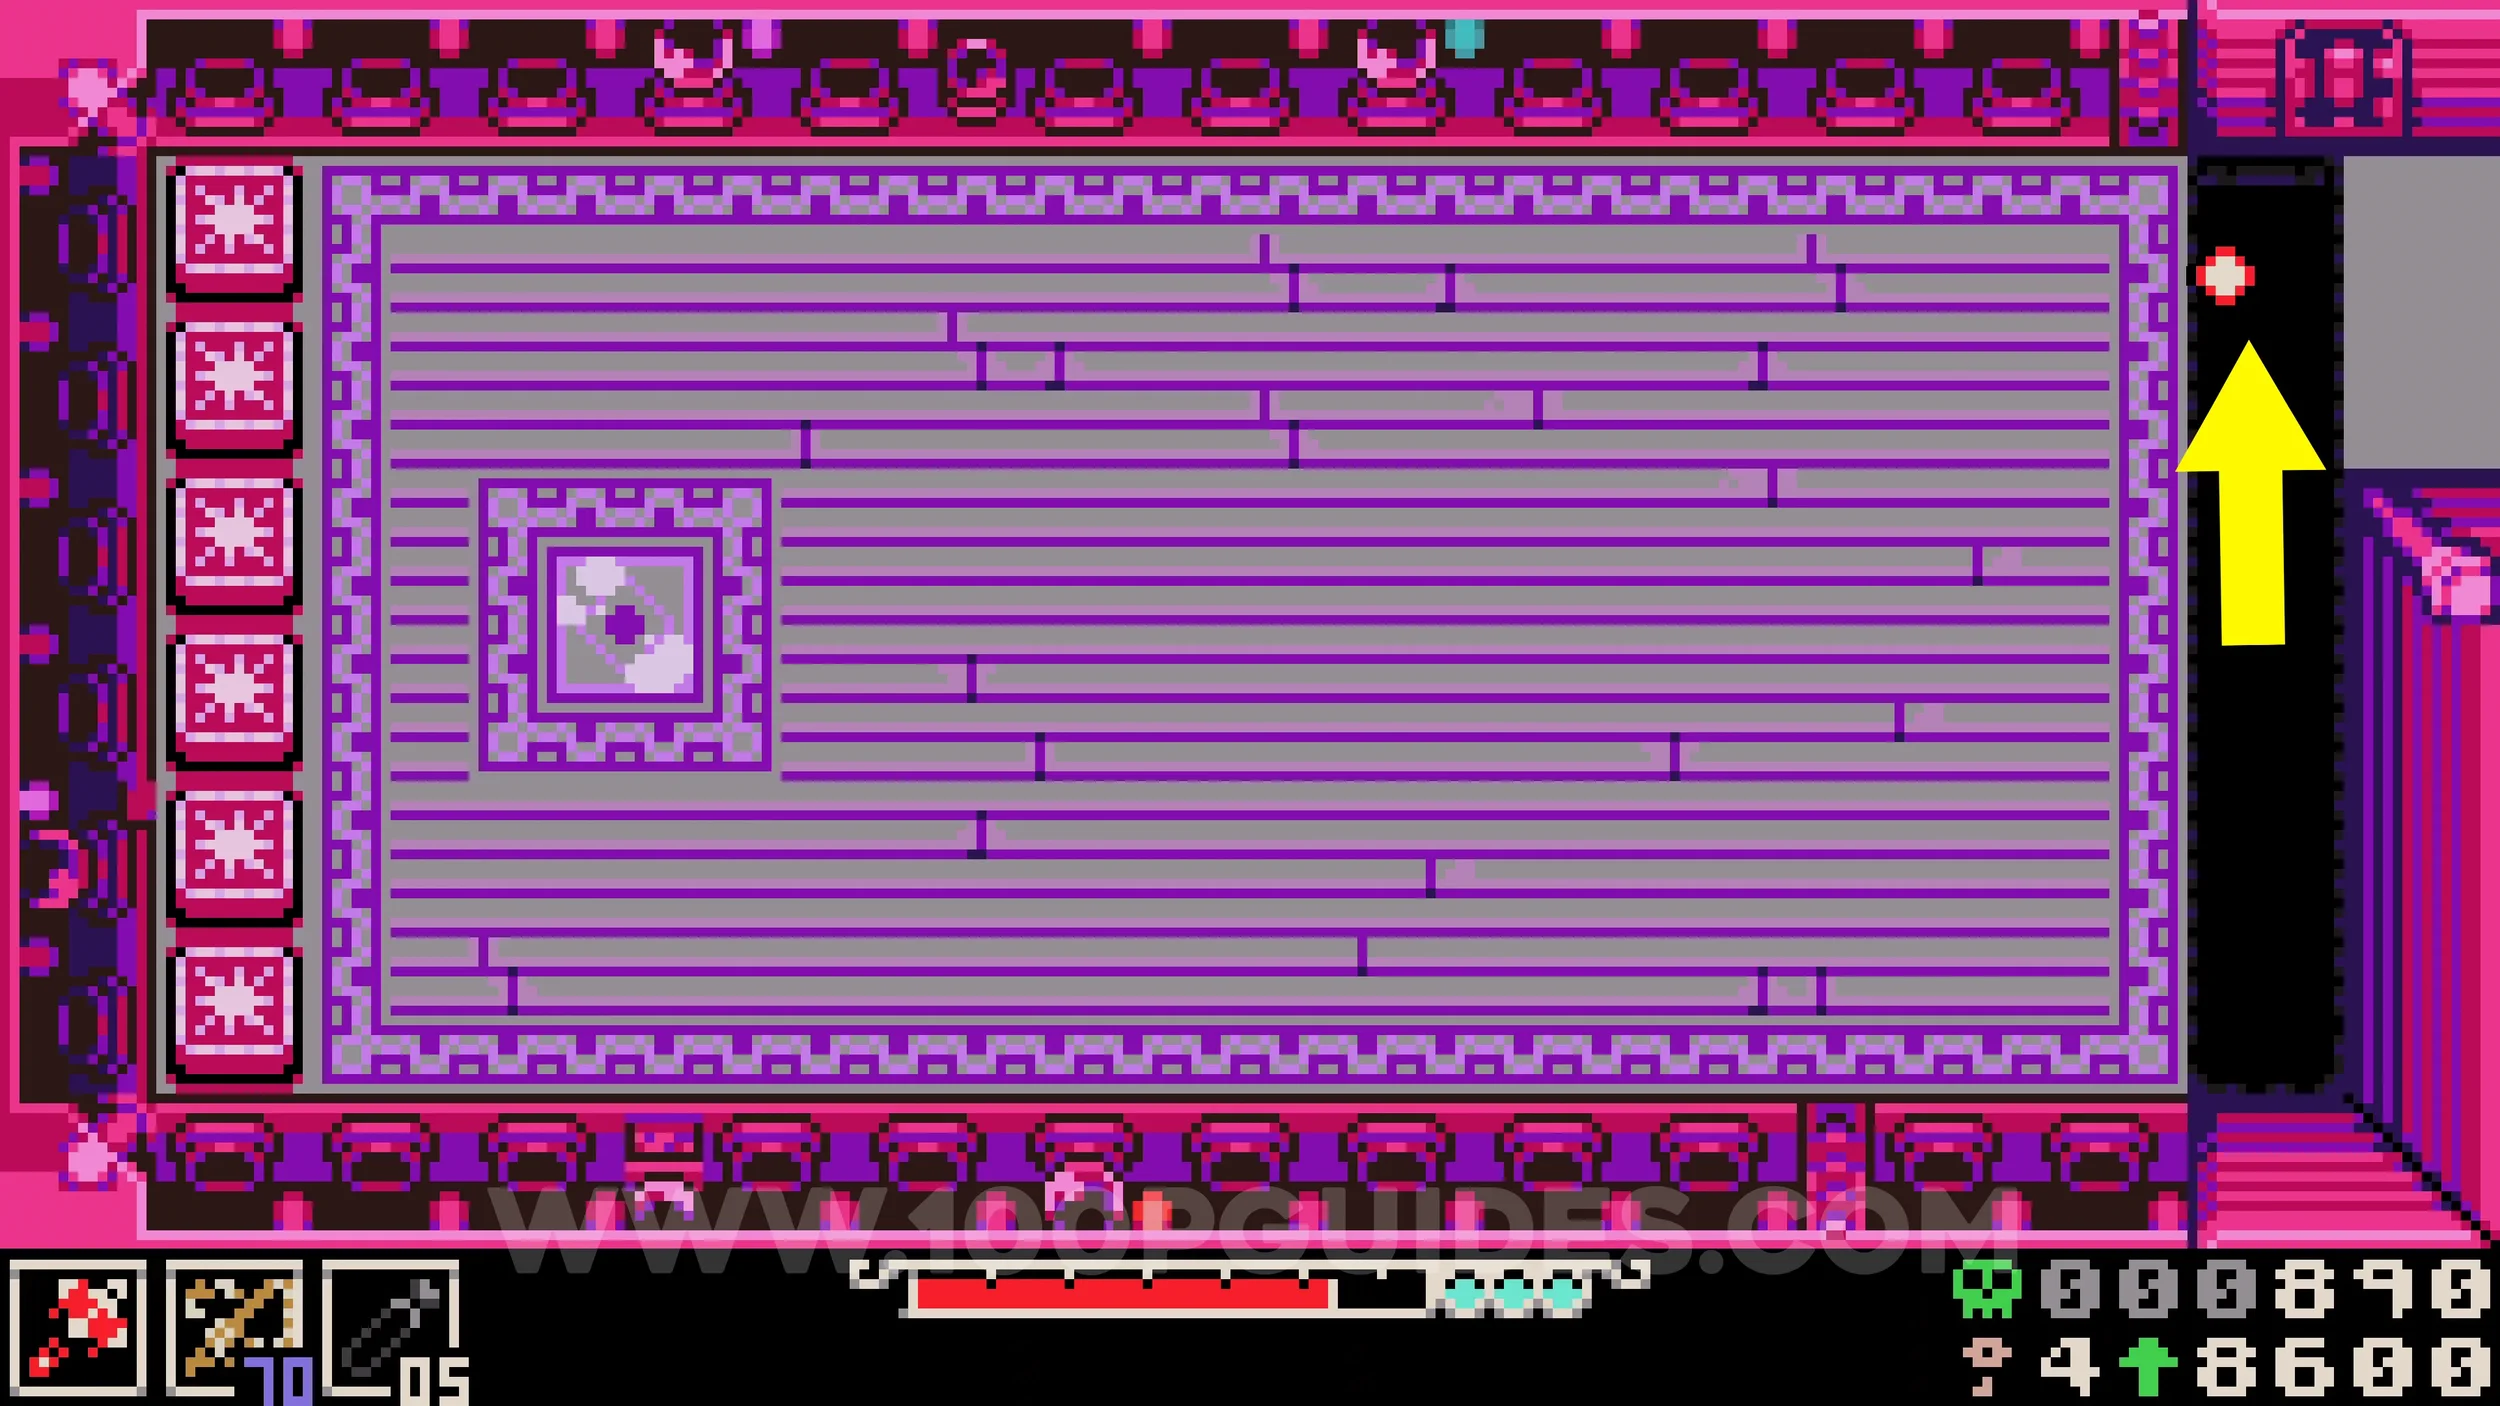
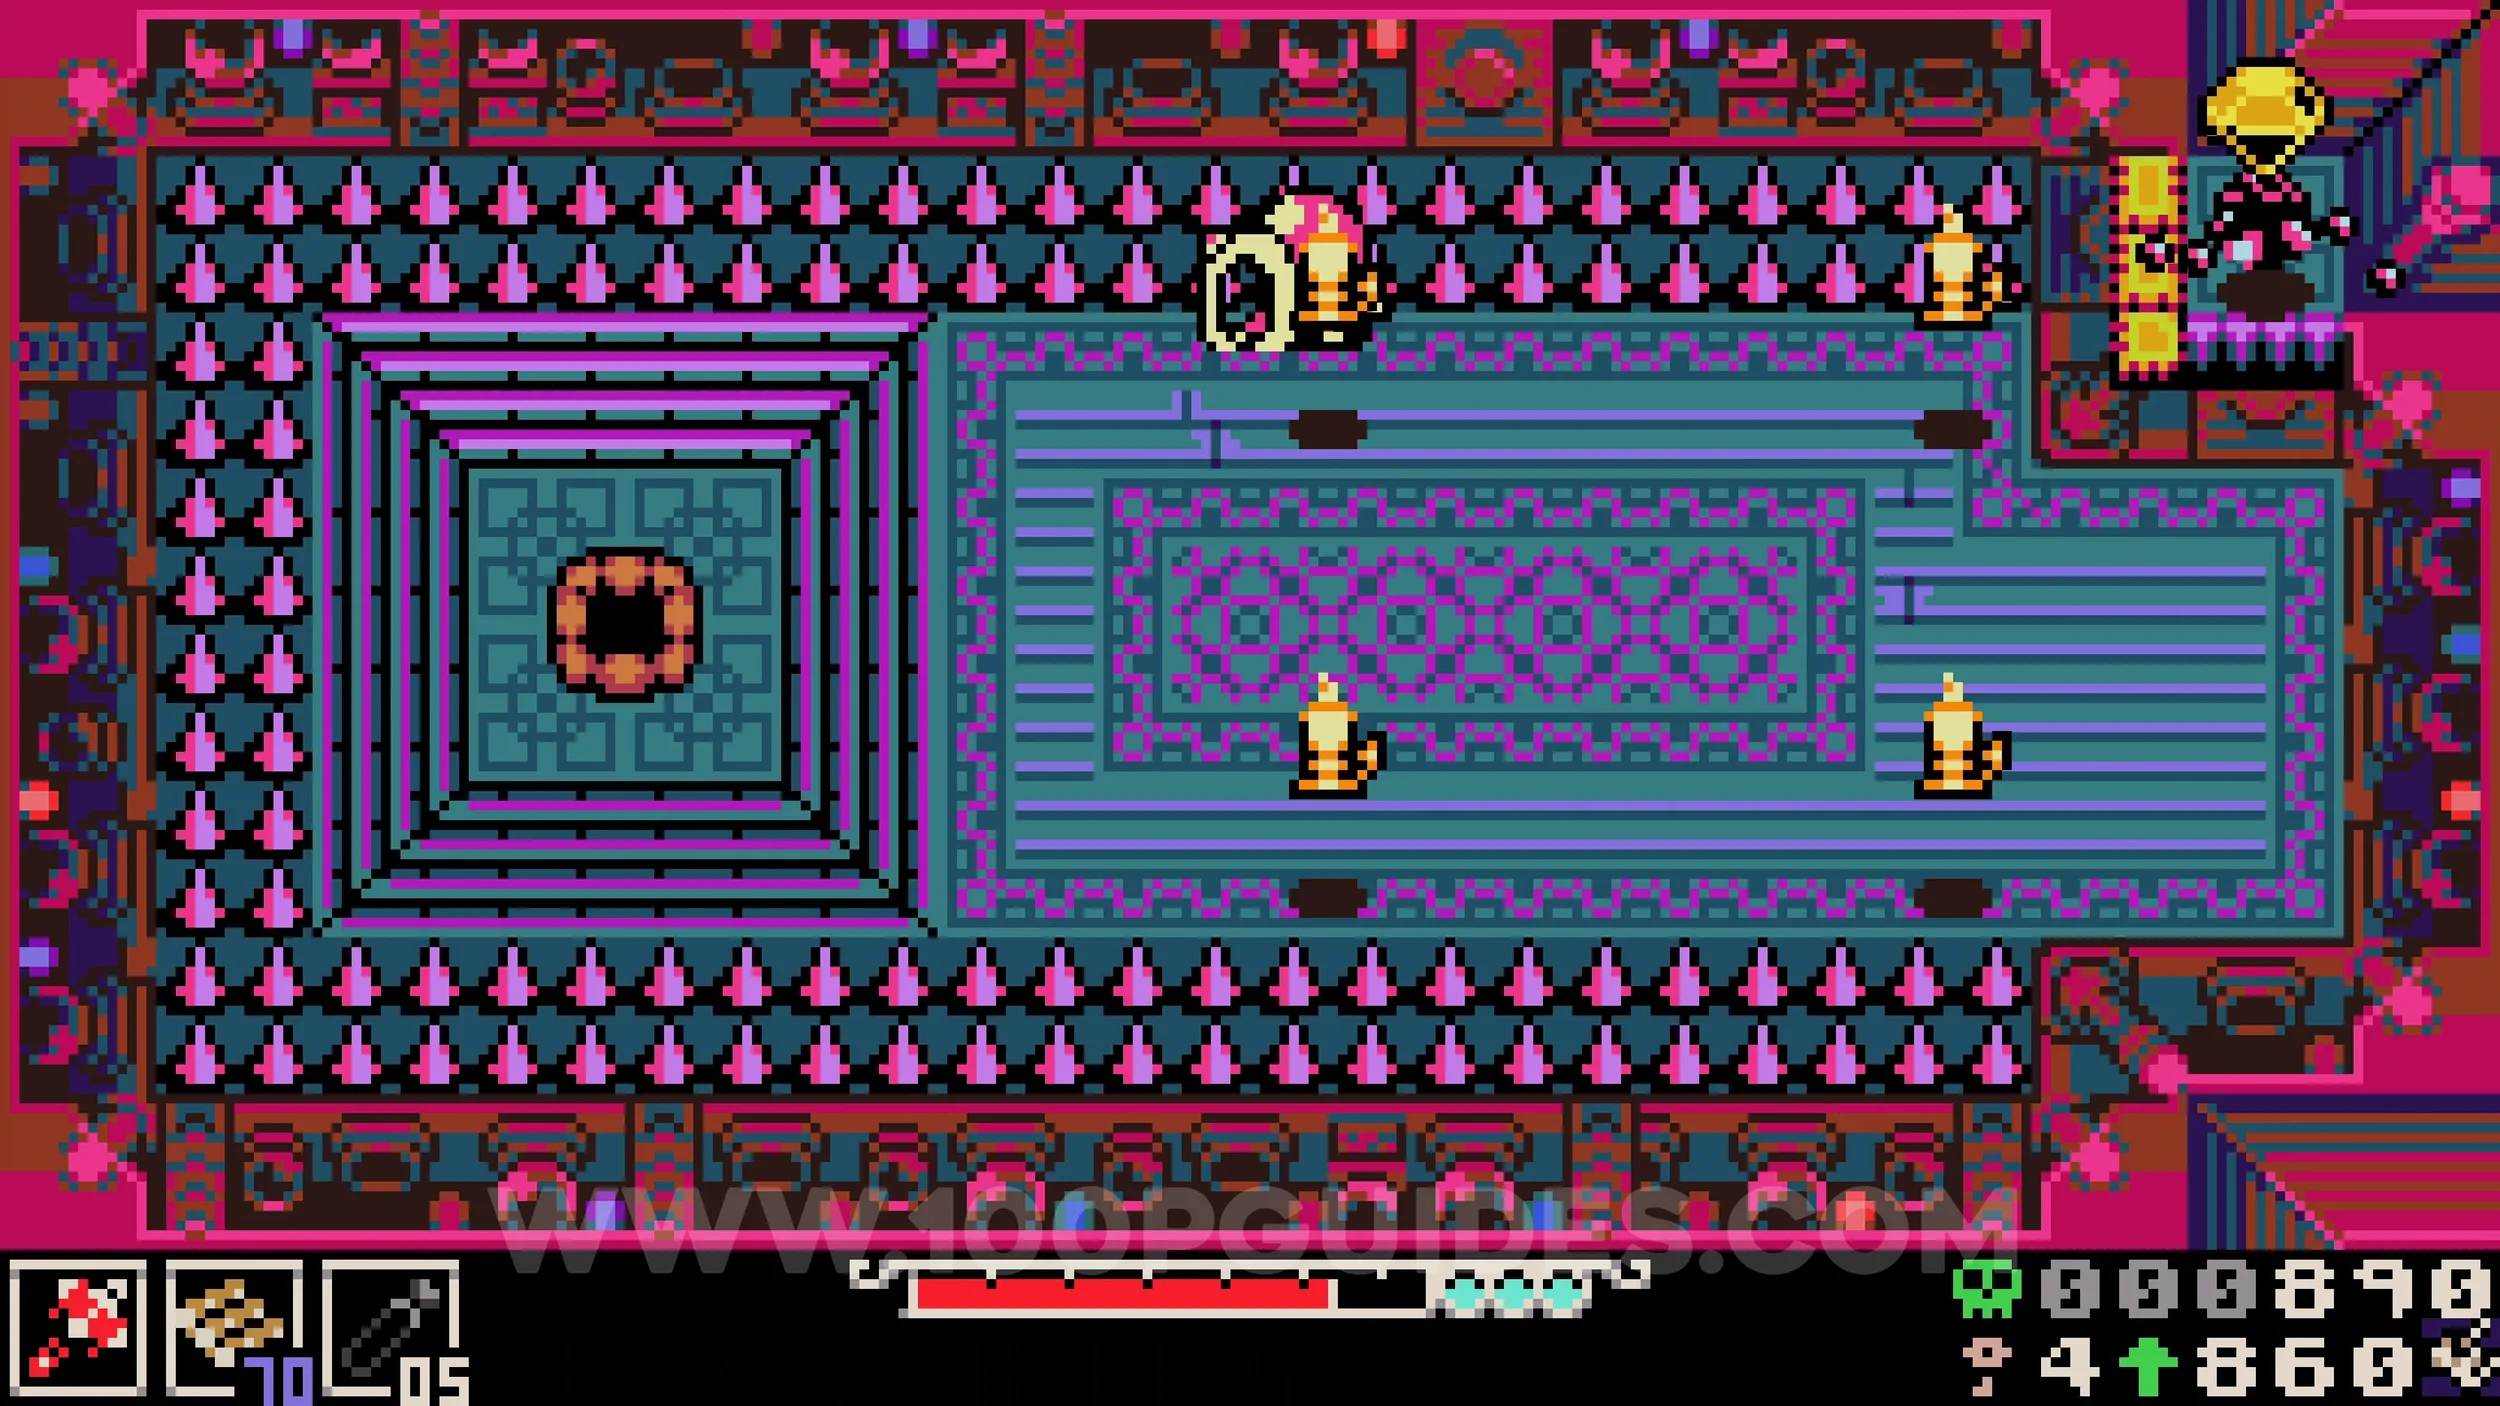
Bonestone #5. Also in the purple challenge. At the end to the right of the exit mirror.
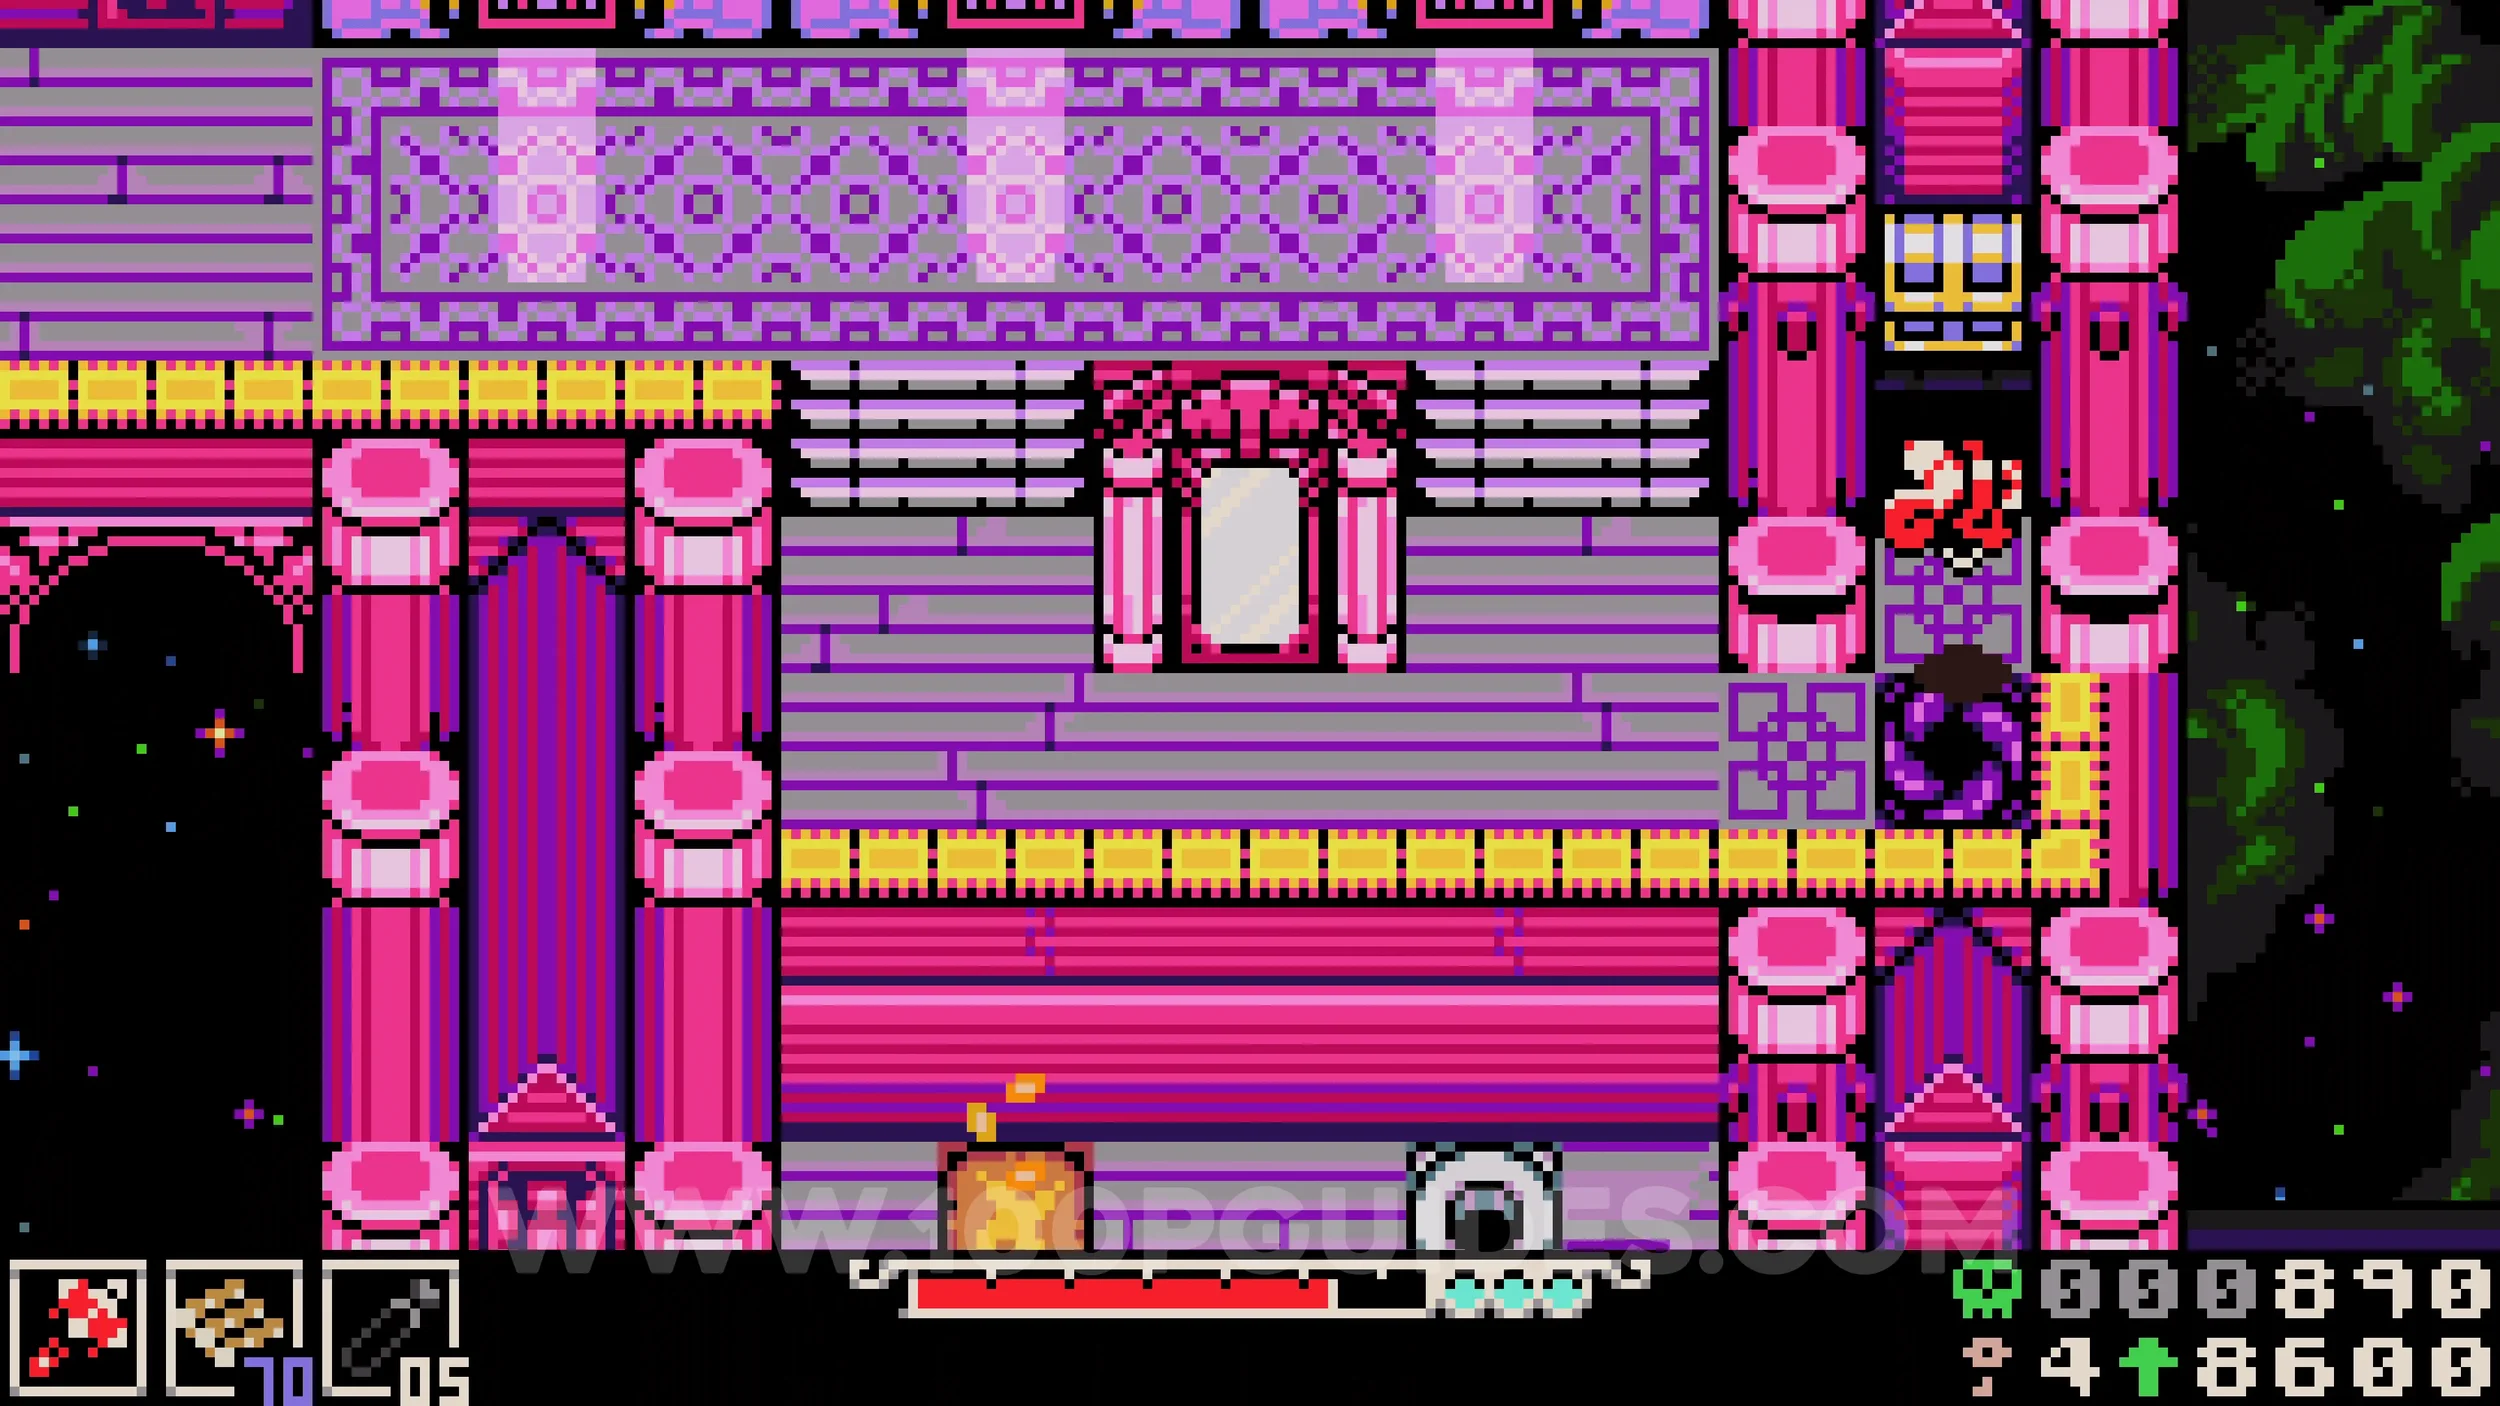
Kear #2. In the blue challenge, reach the right end and activate the switch that spawns the portals. Jump over the portals to the right of the switch to find the collectible in the next room.
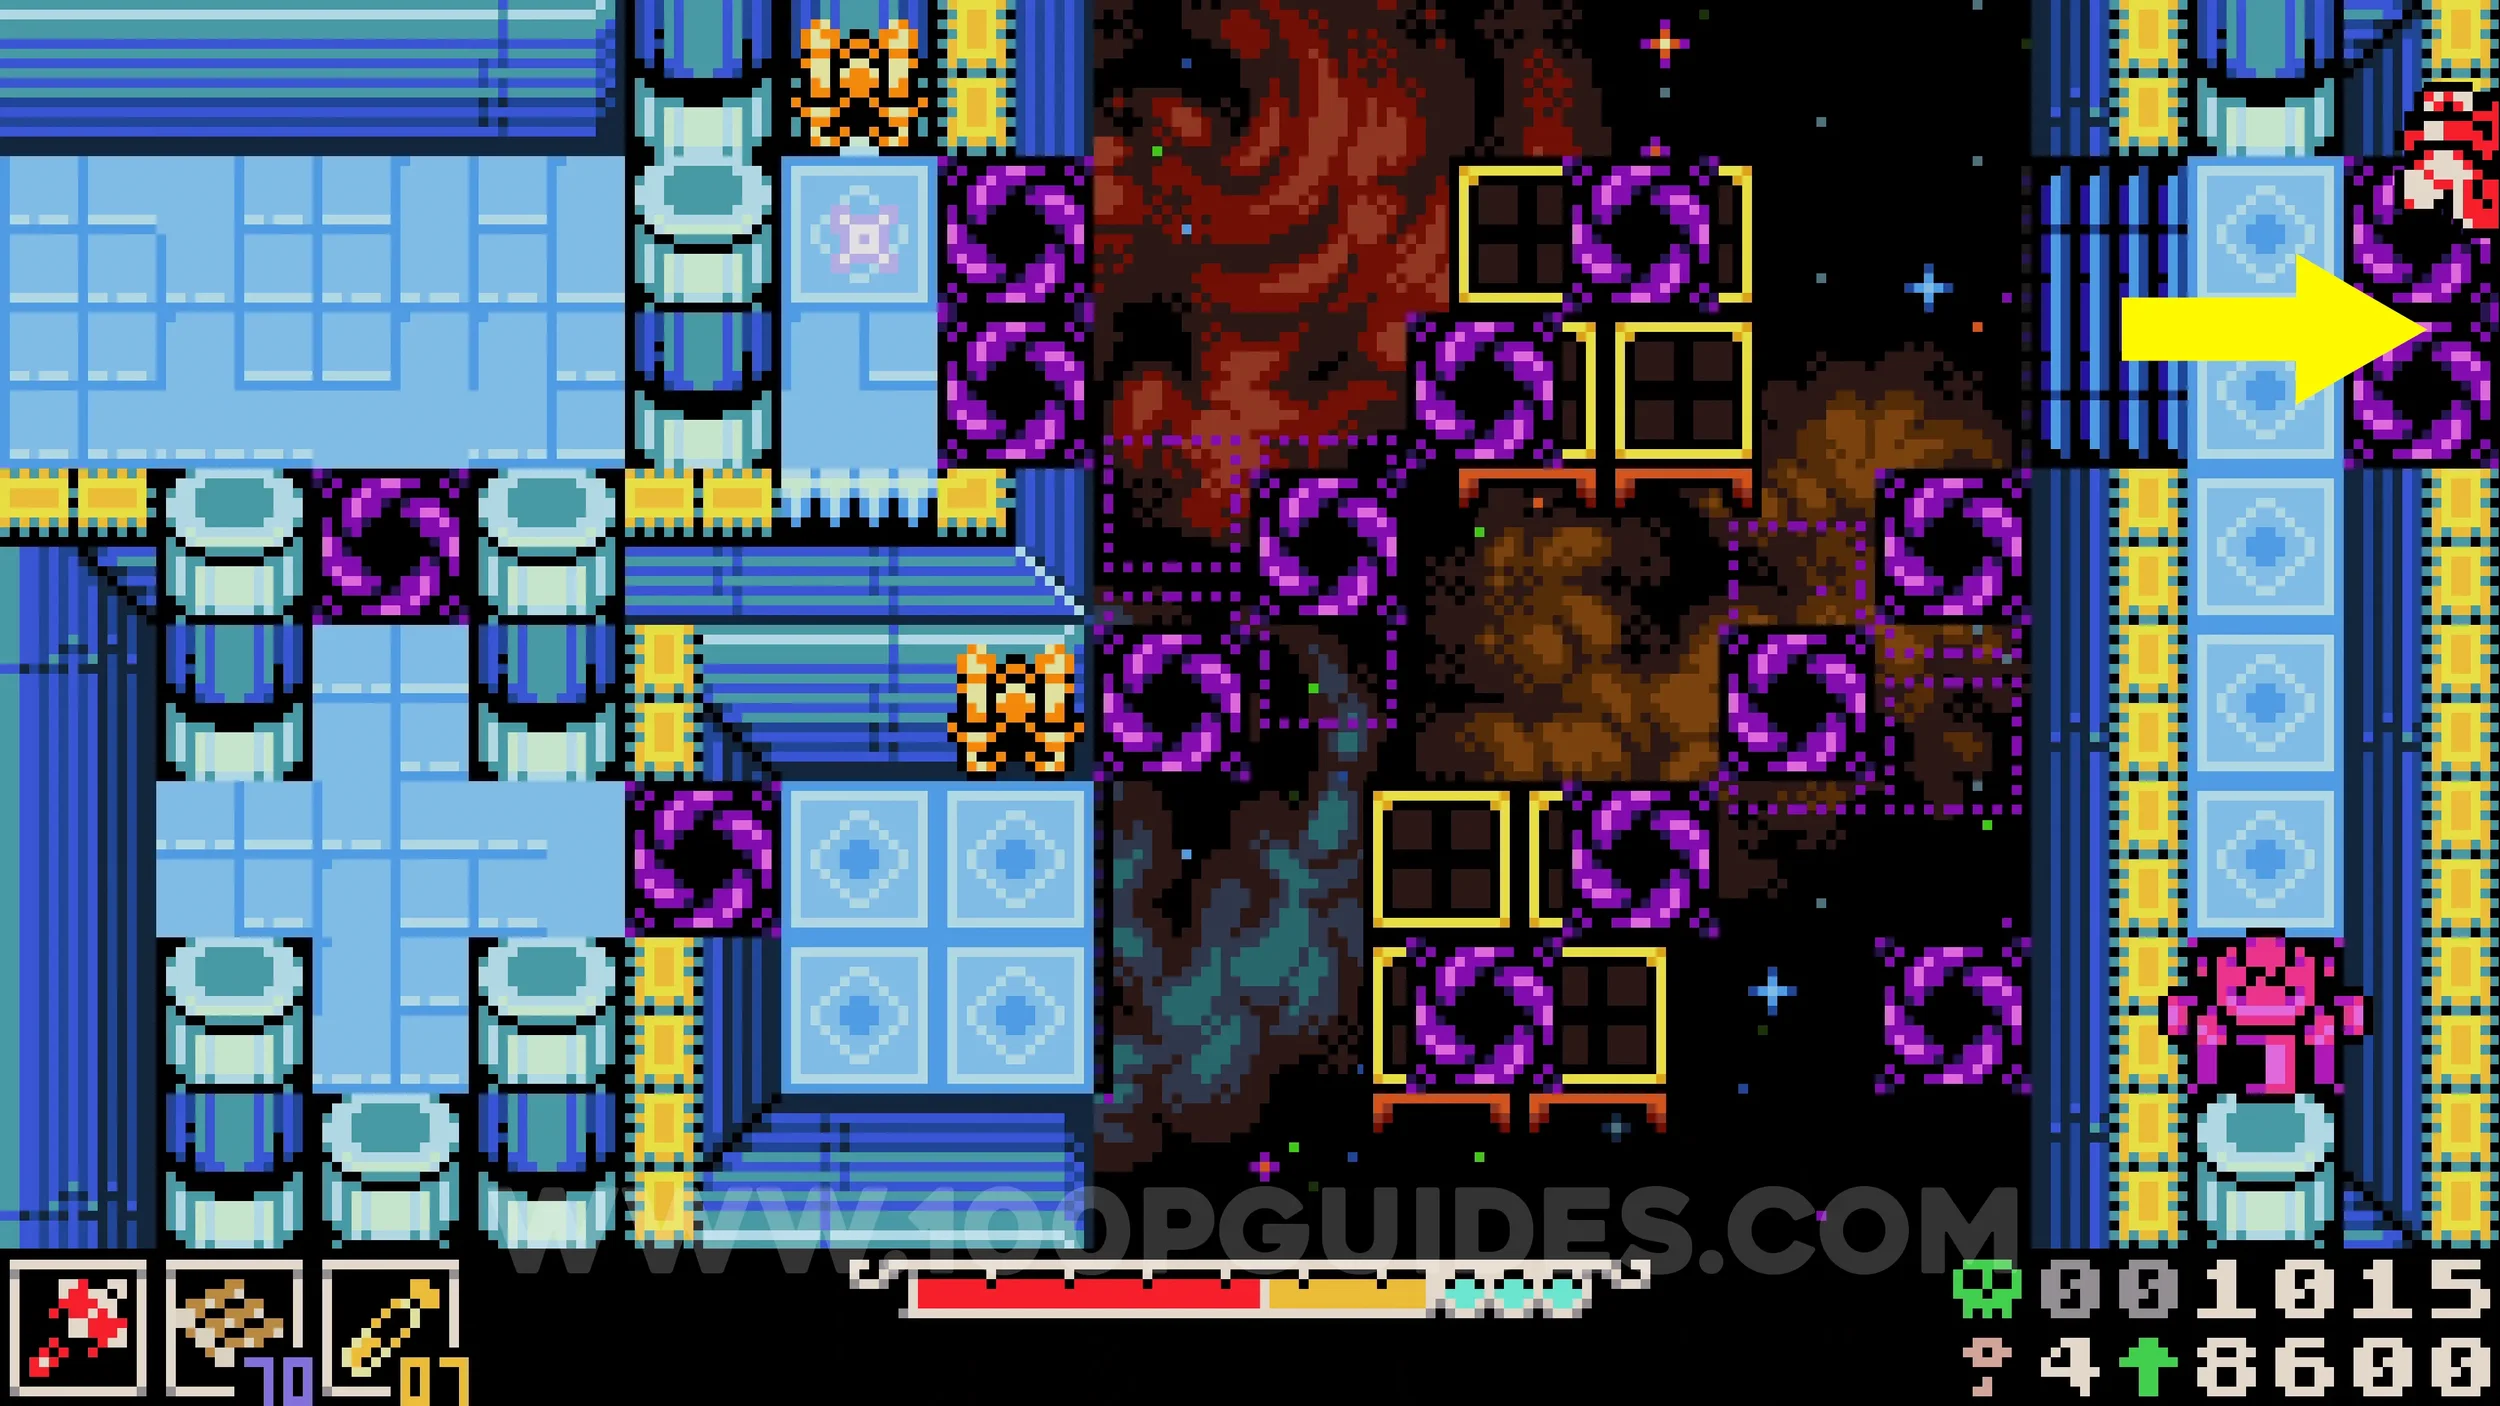
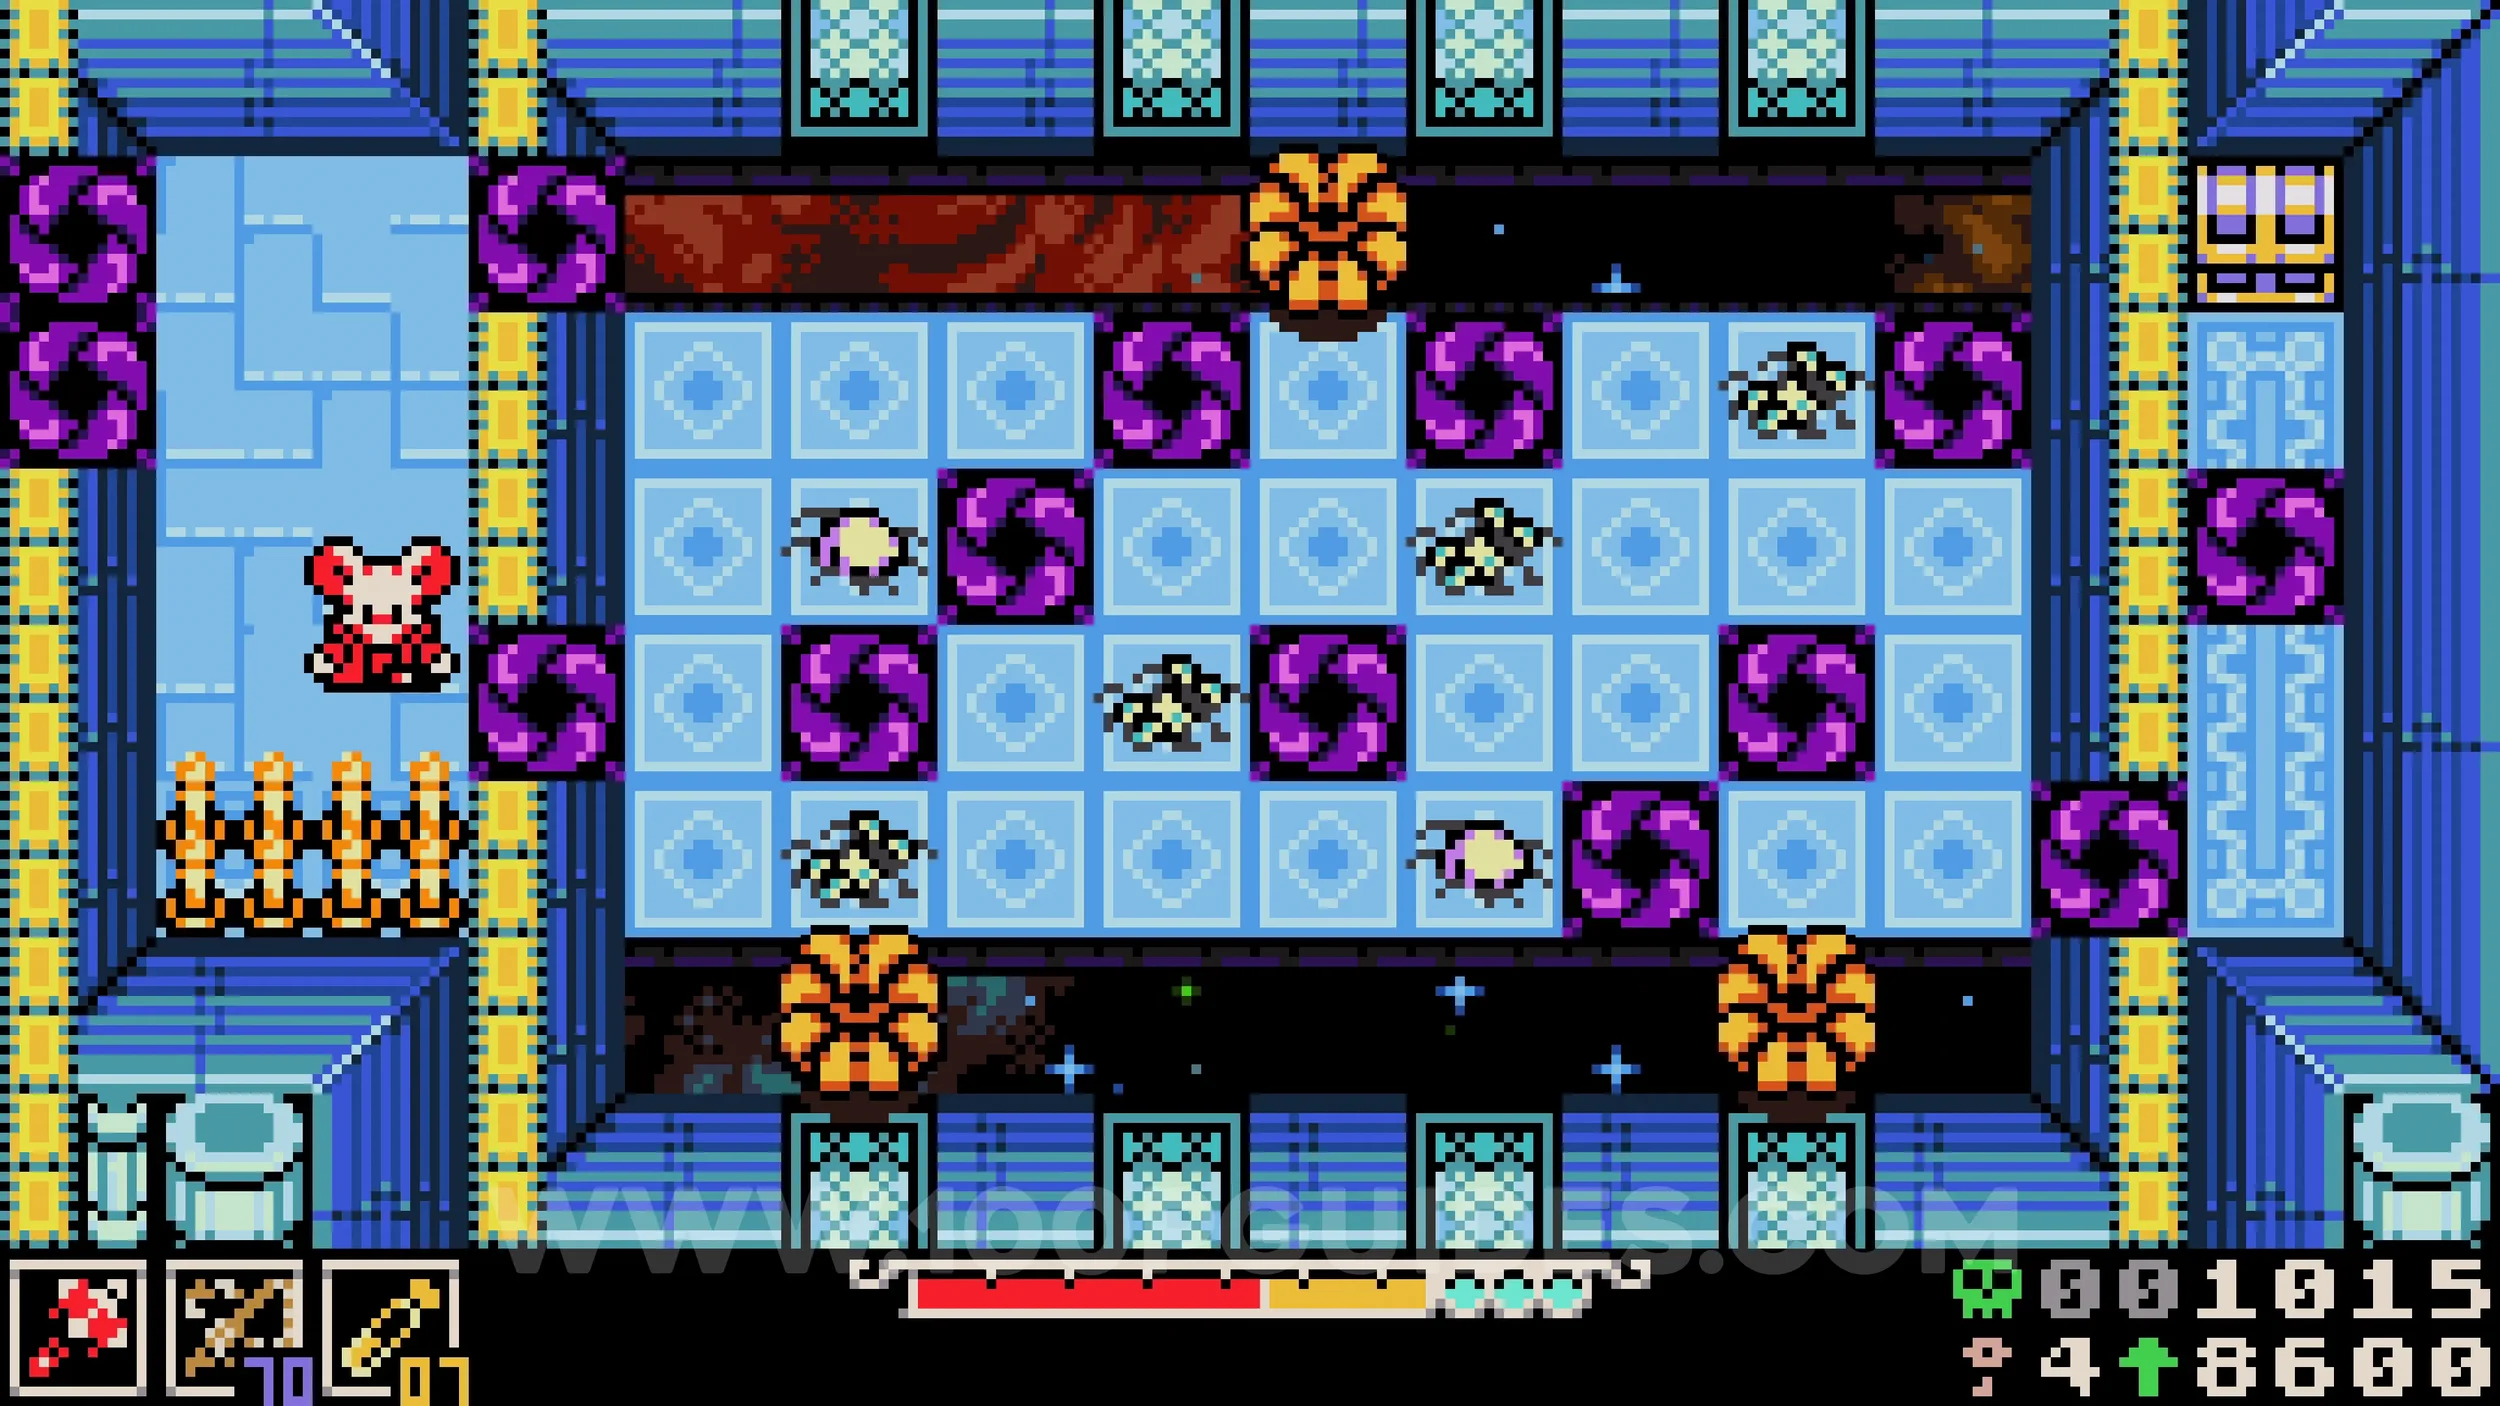
Bonestone #6. After activating the portal switch at the right end of the blue challenge, return left to the previous area and look for a breakable wall below you. Break it to find the collectible.
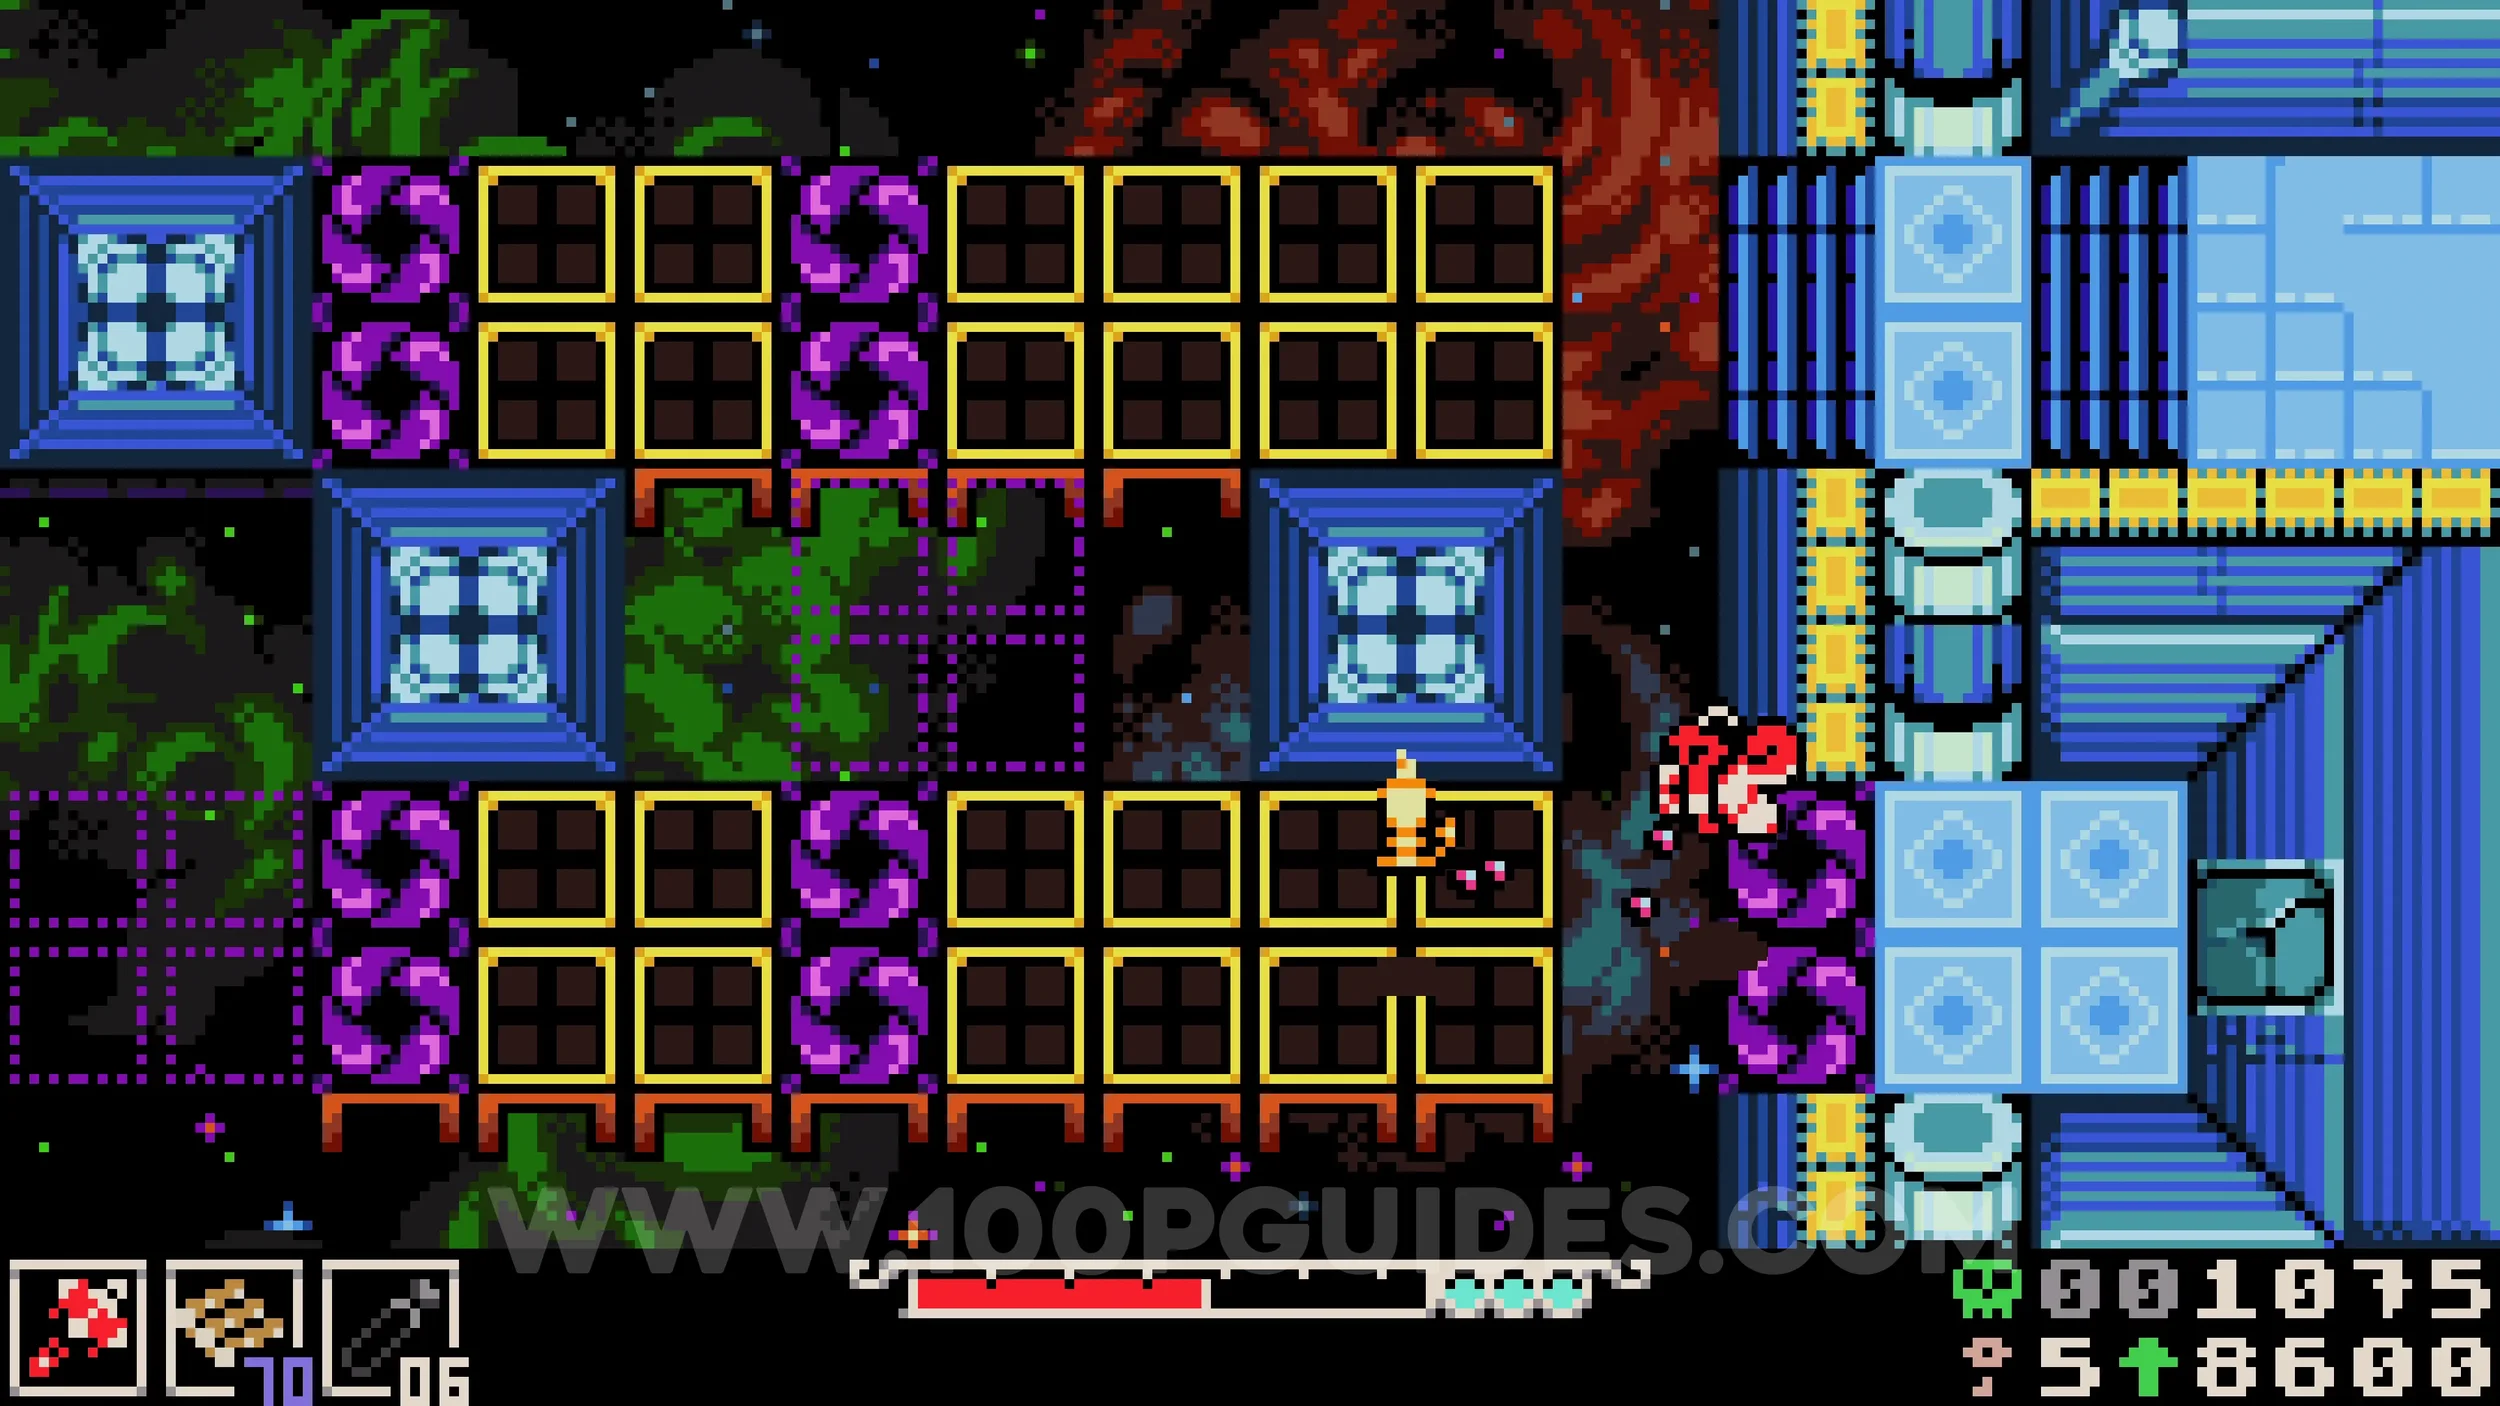
Bonestone #7. Also in the blue challenge. Continue returning left after activating the portal switch until you reach the start point. Head down to the room where you must press the next switch, then wait until the line of portals moves over the wall at the bottom of the screen. Jump over them to reach the room containing the collectible.
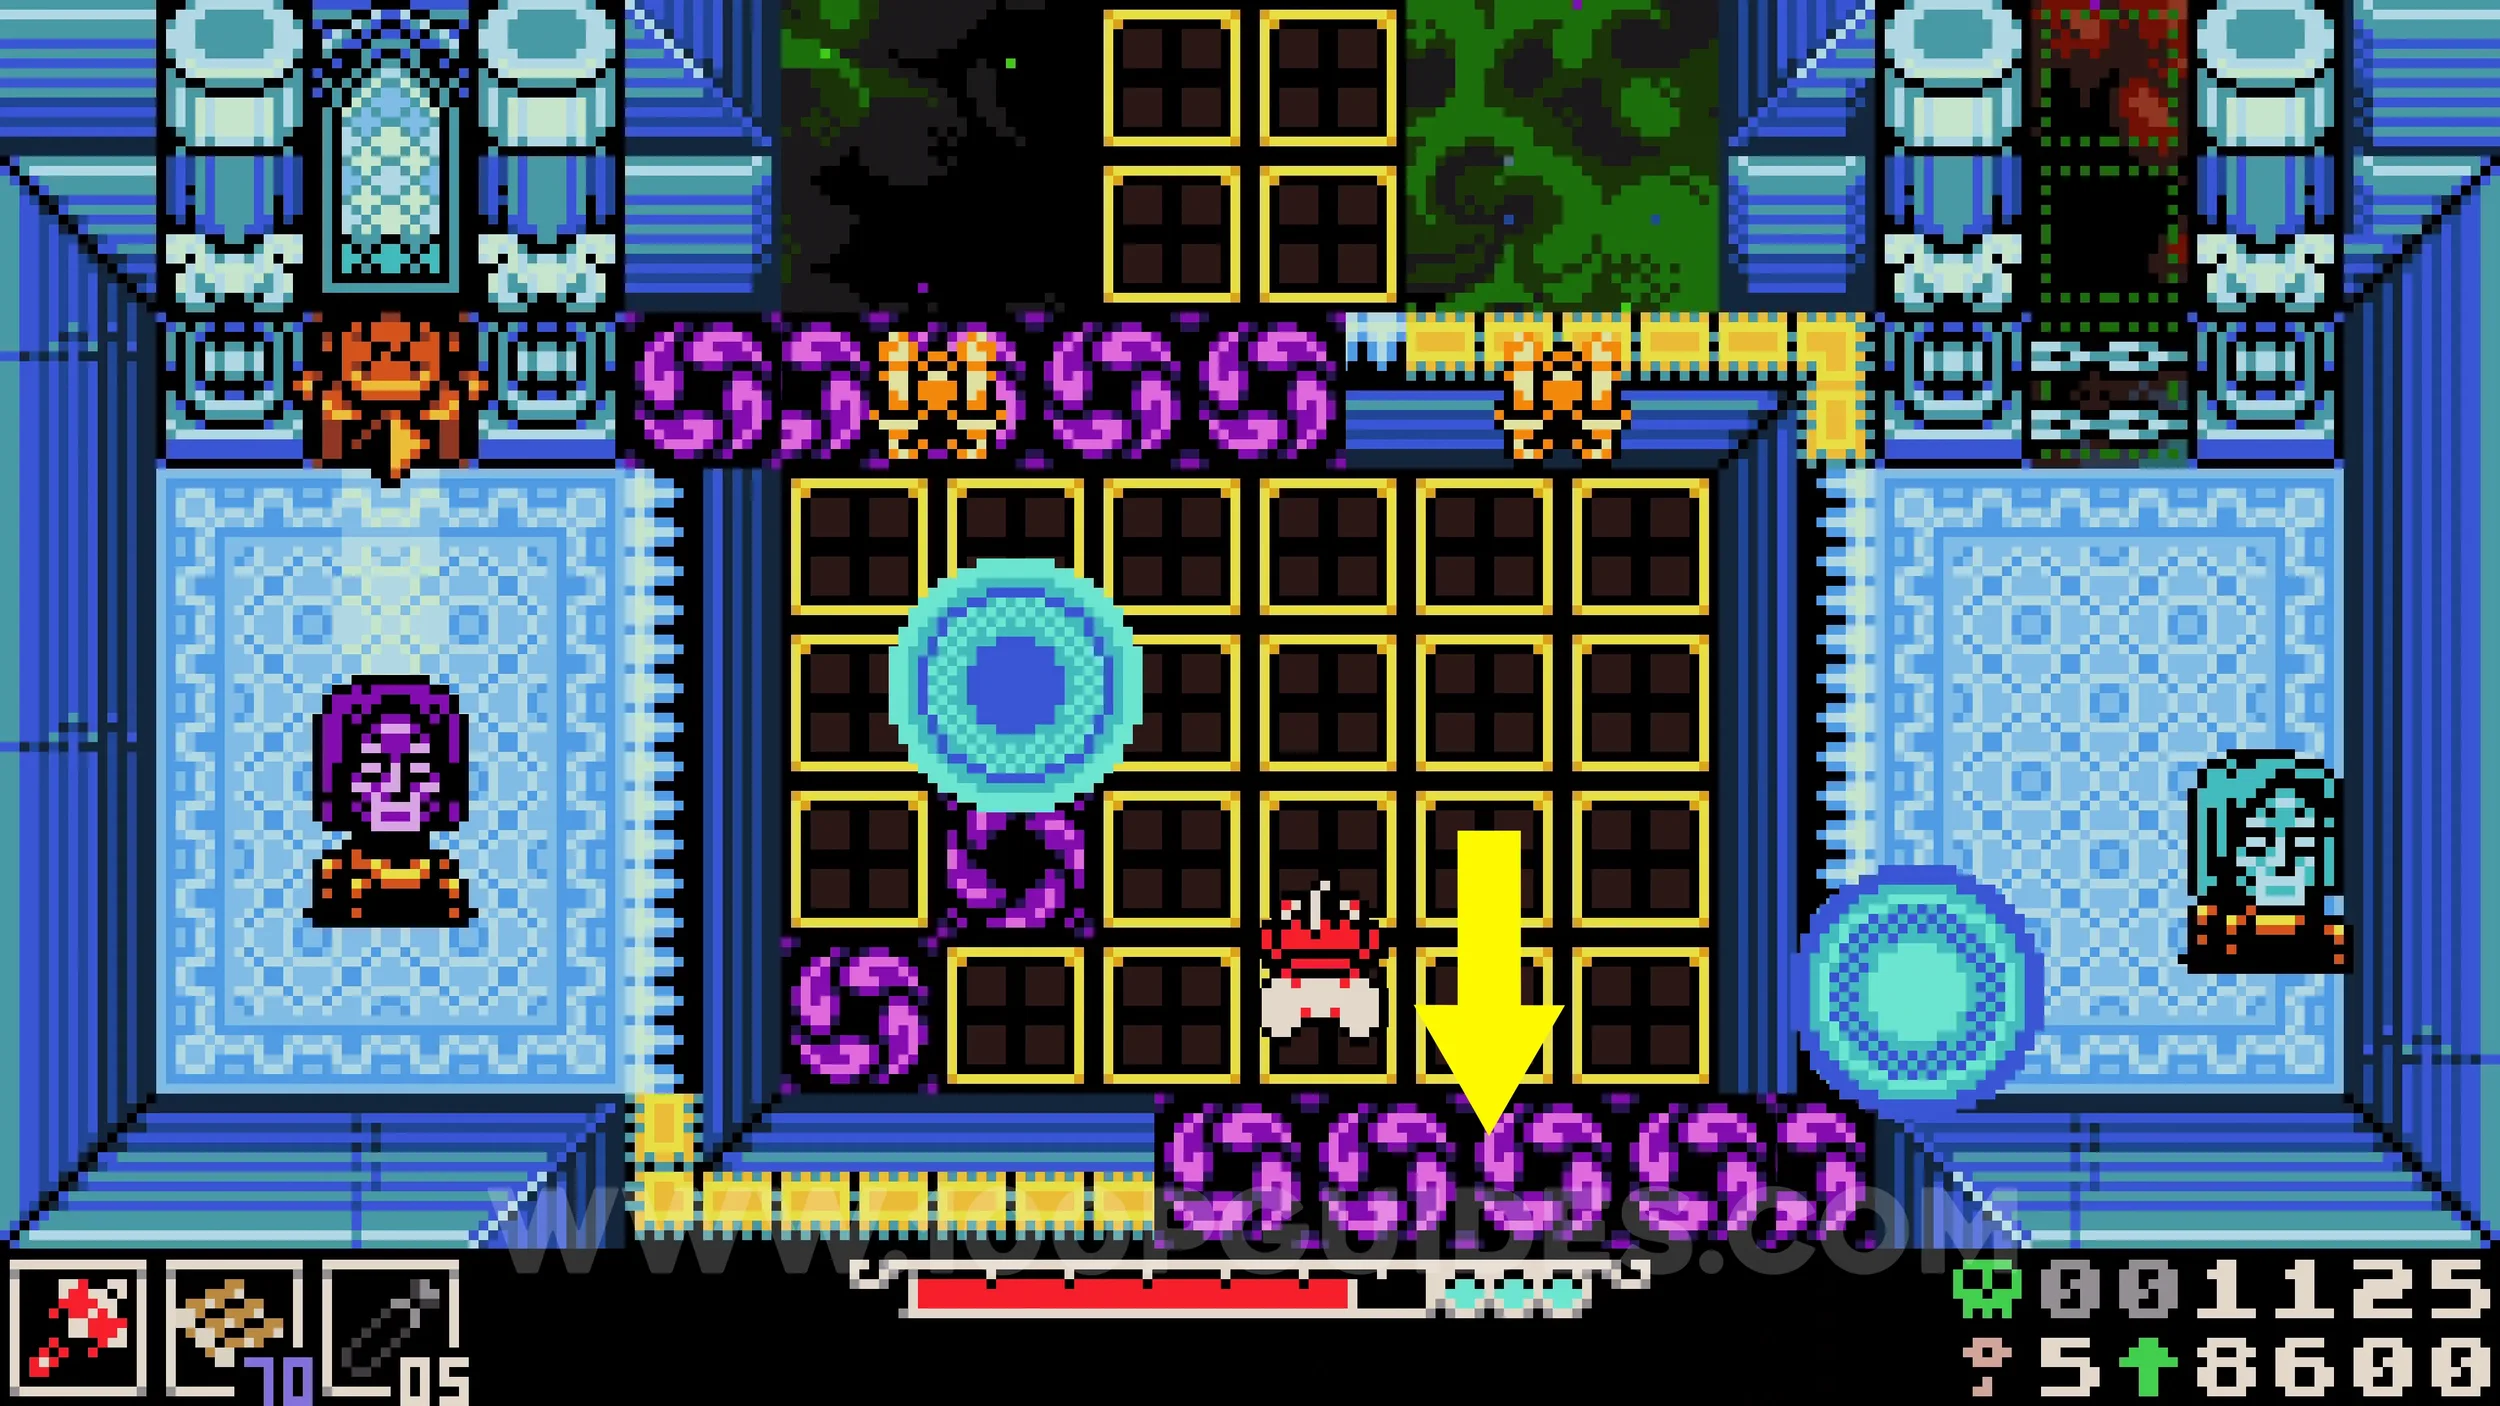
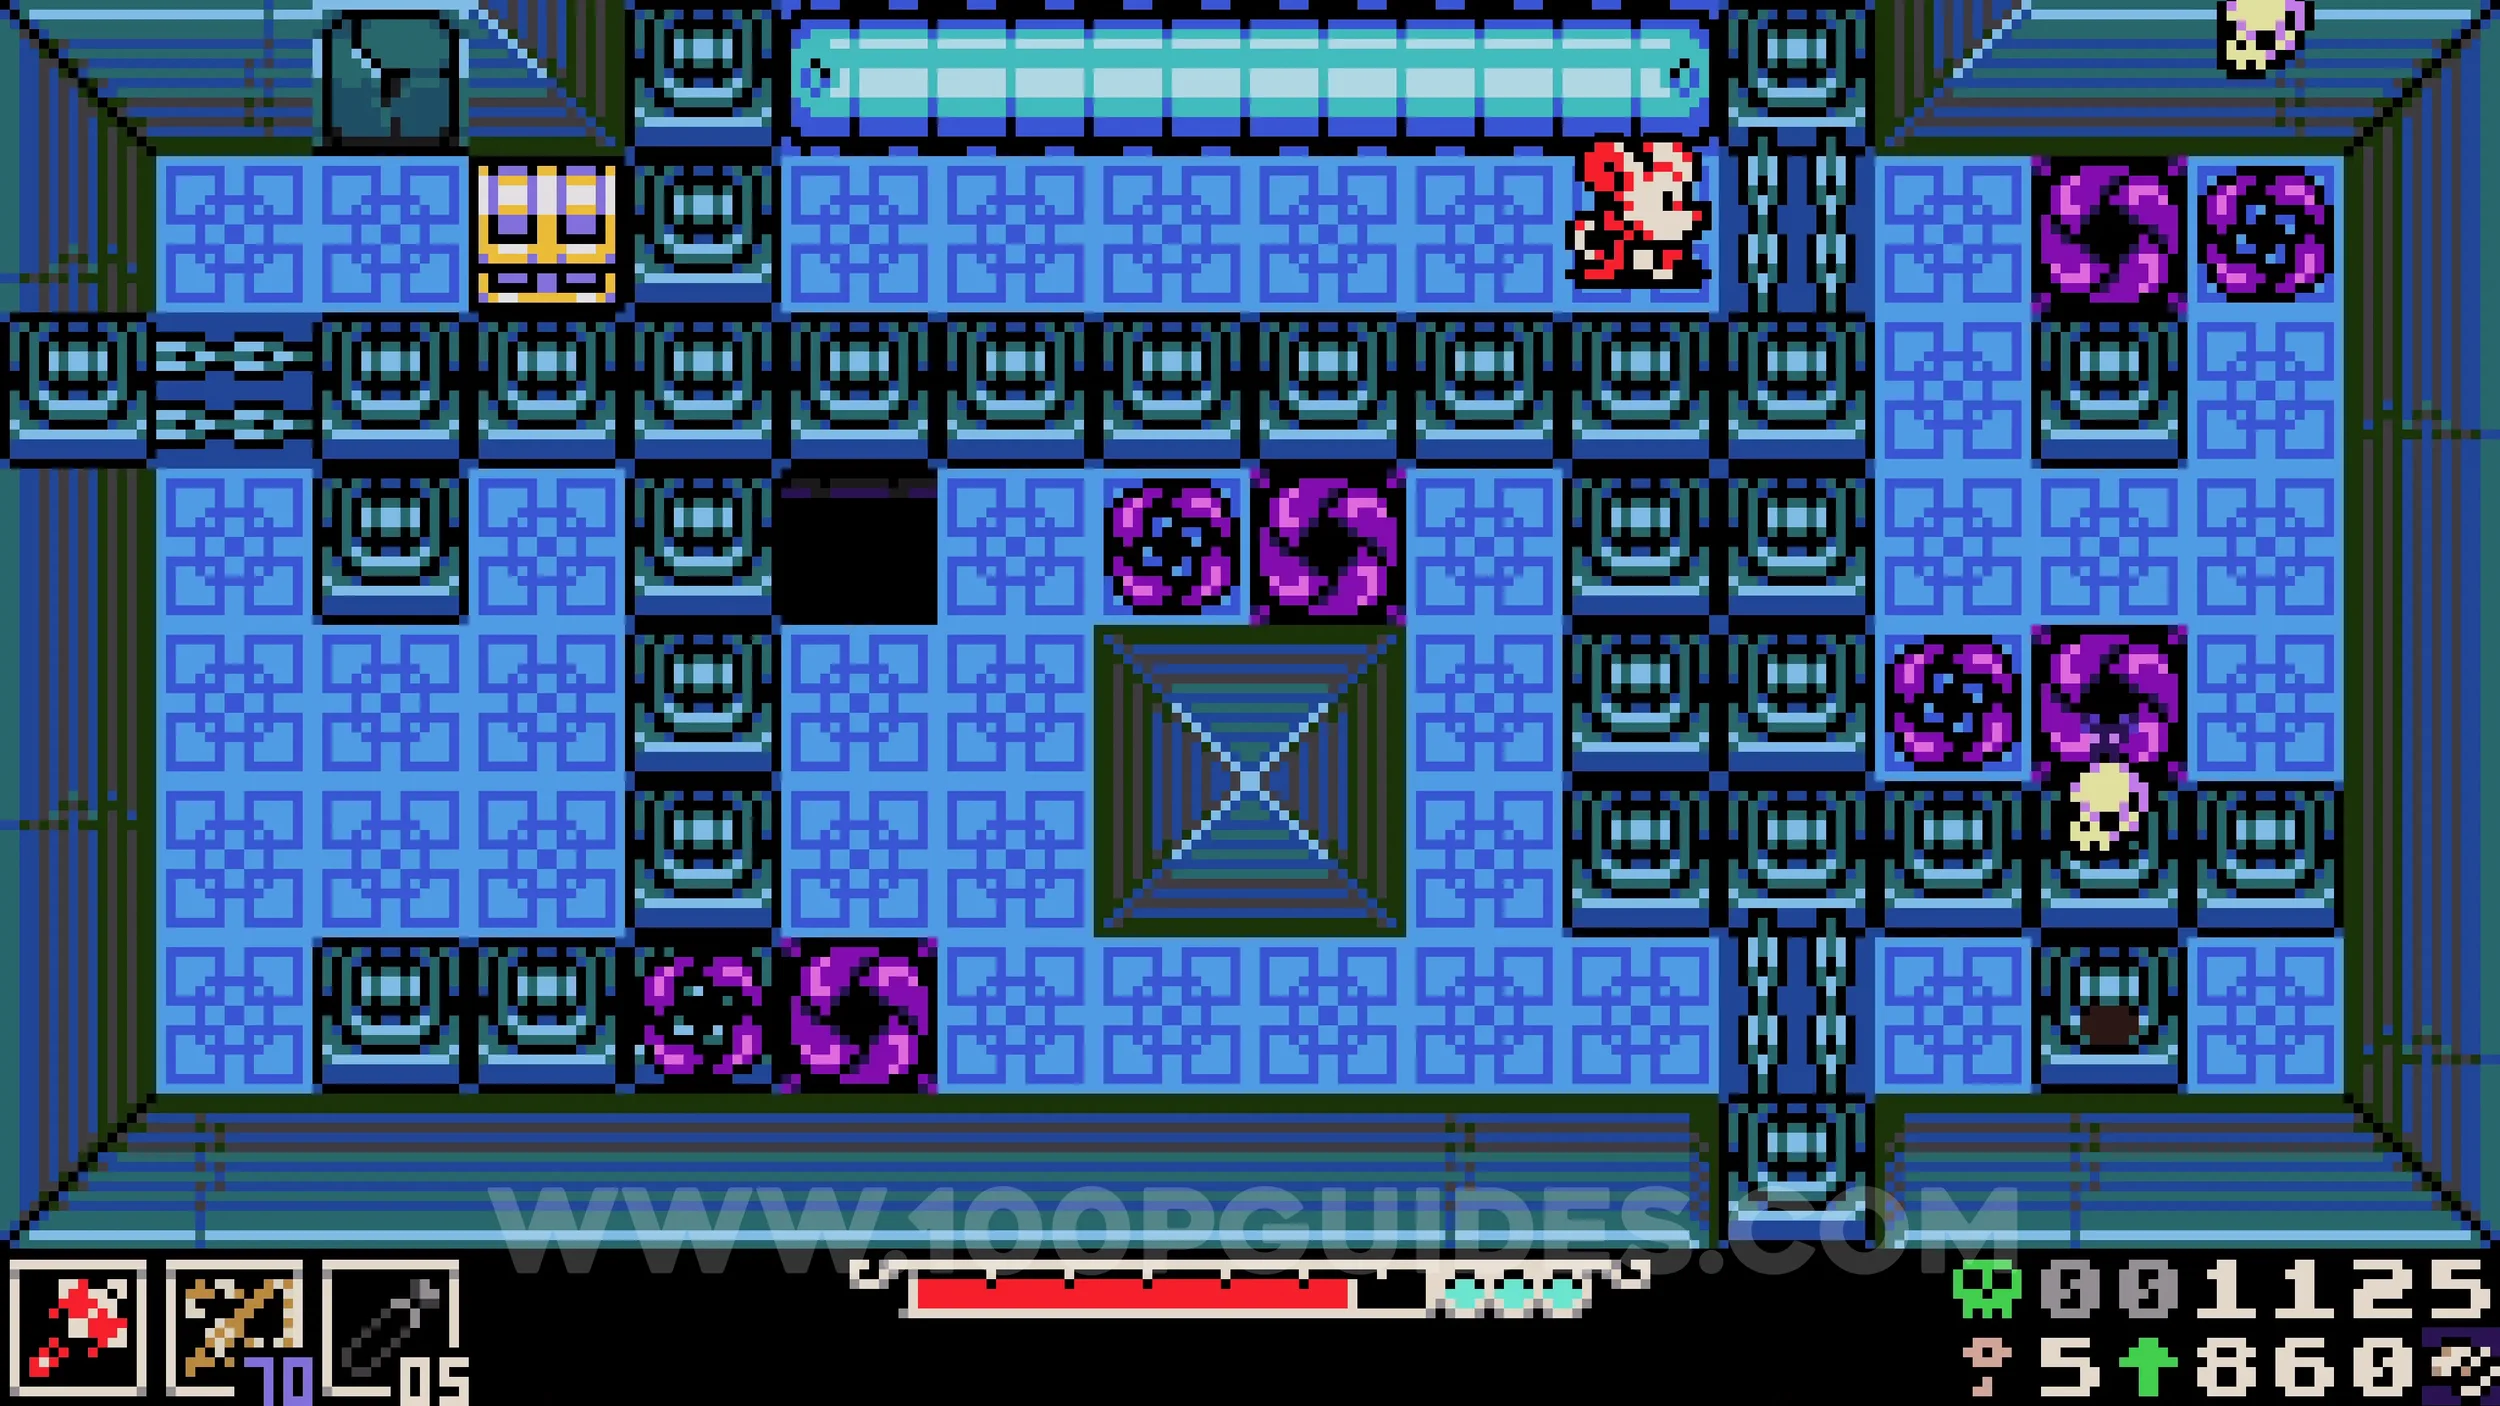
Lock #3 & Weapon #1 - Battery Buster. After exiting the blue challenge, drop down to the right side to find the lock and weapon chest.
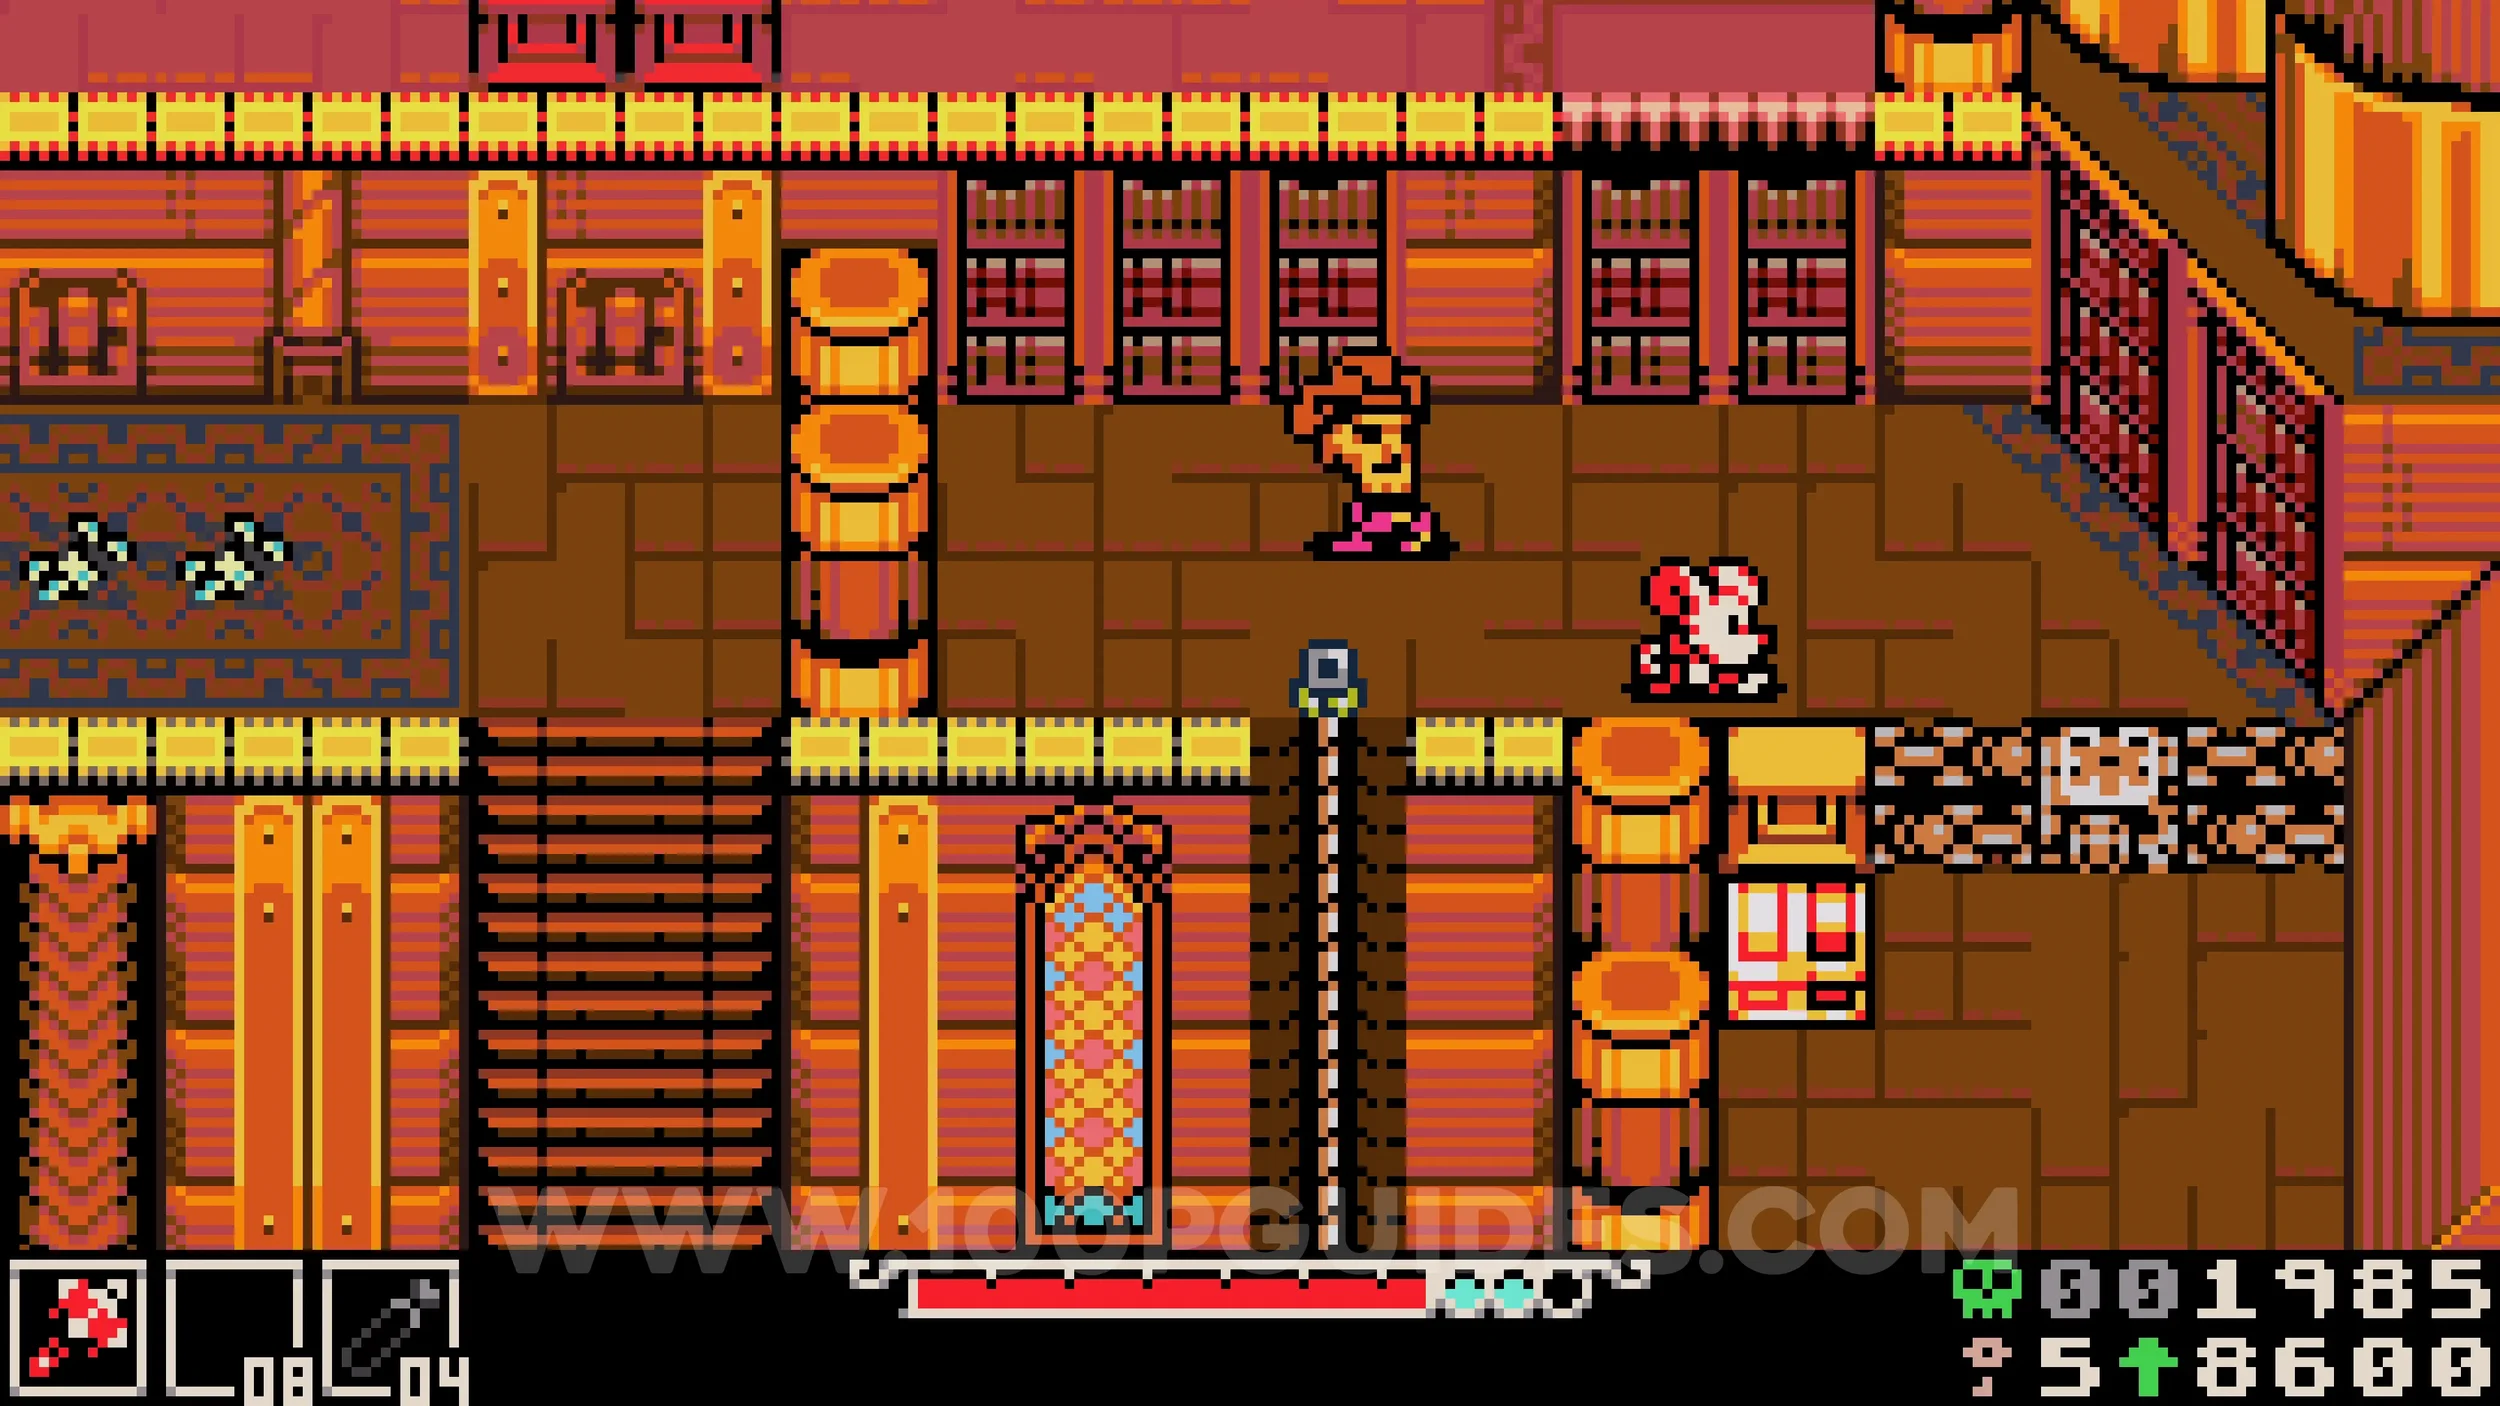
Bonestone #8. In the red challenge, after picking up the first cube go left and then straight down. Throw the cube at the electrical block in the middle of the barrier at the bottom to destroy it and pass through. Use the moving platform on the other side to reach the tunnel on the left, which leads to the room containing the collectible.
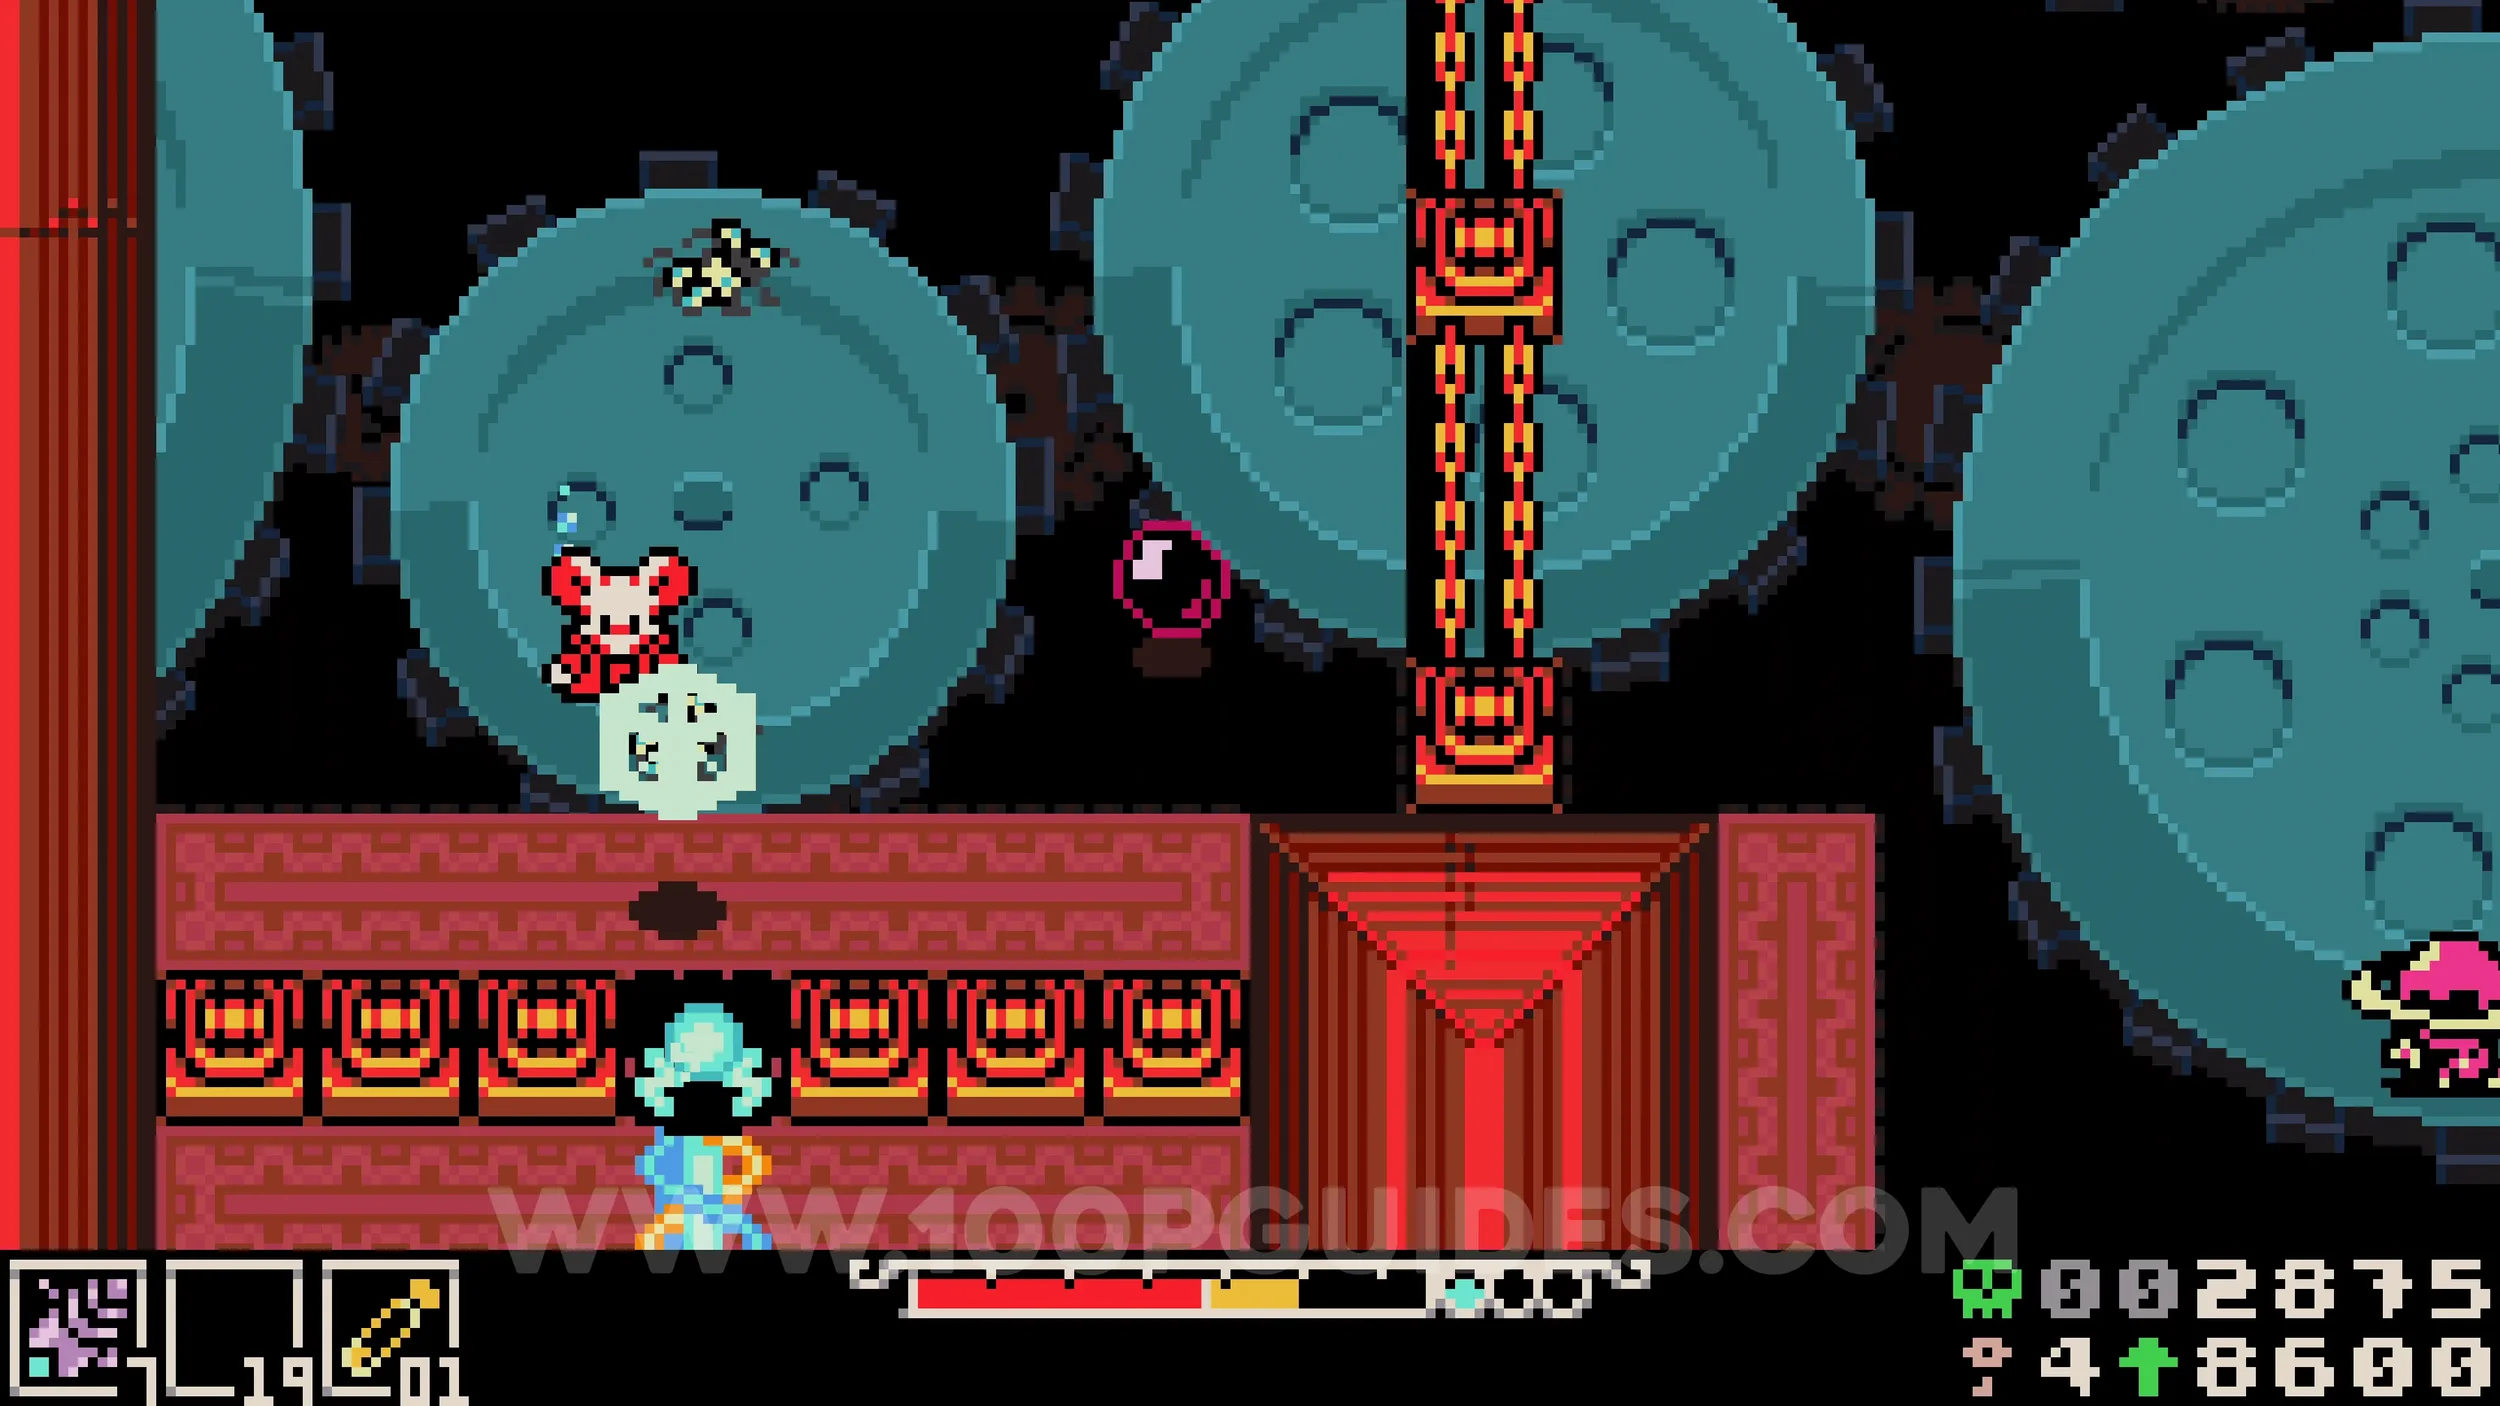
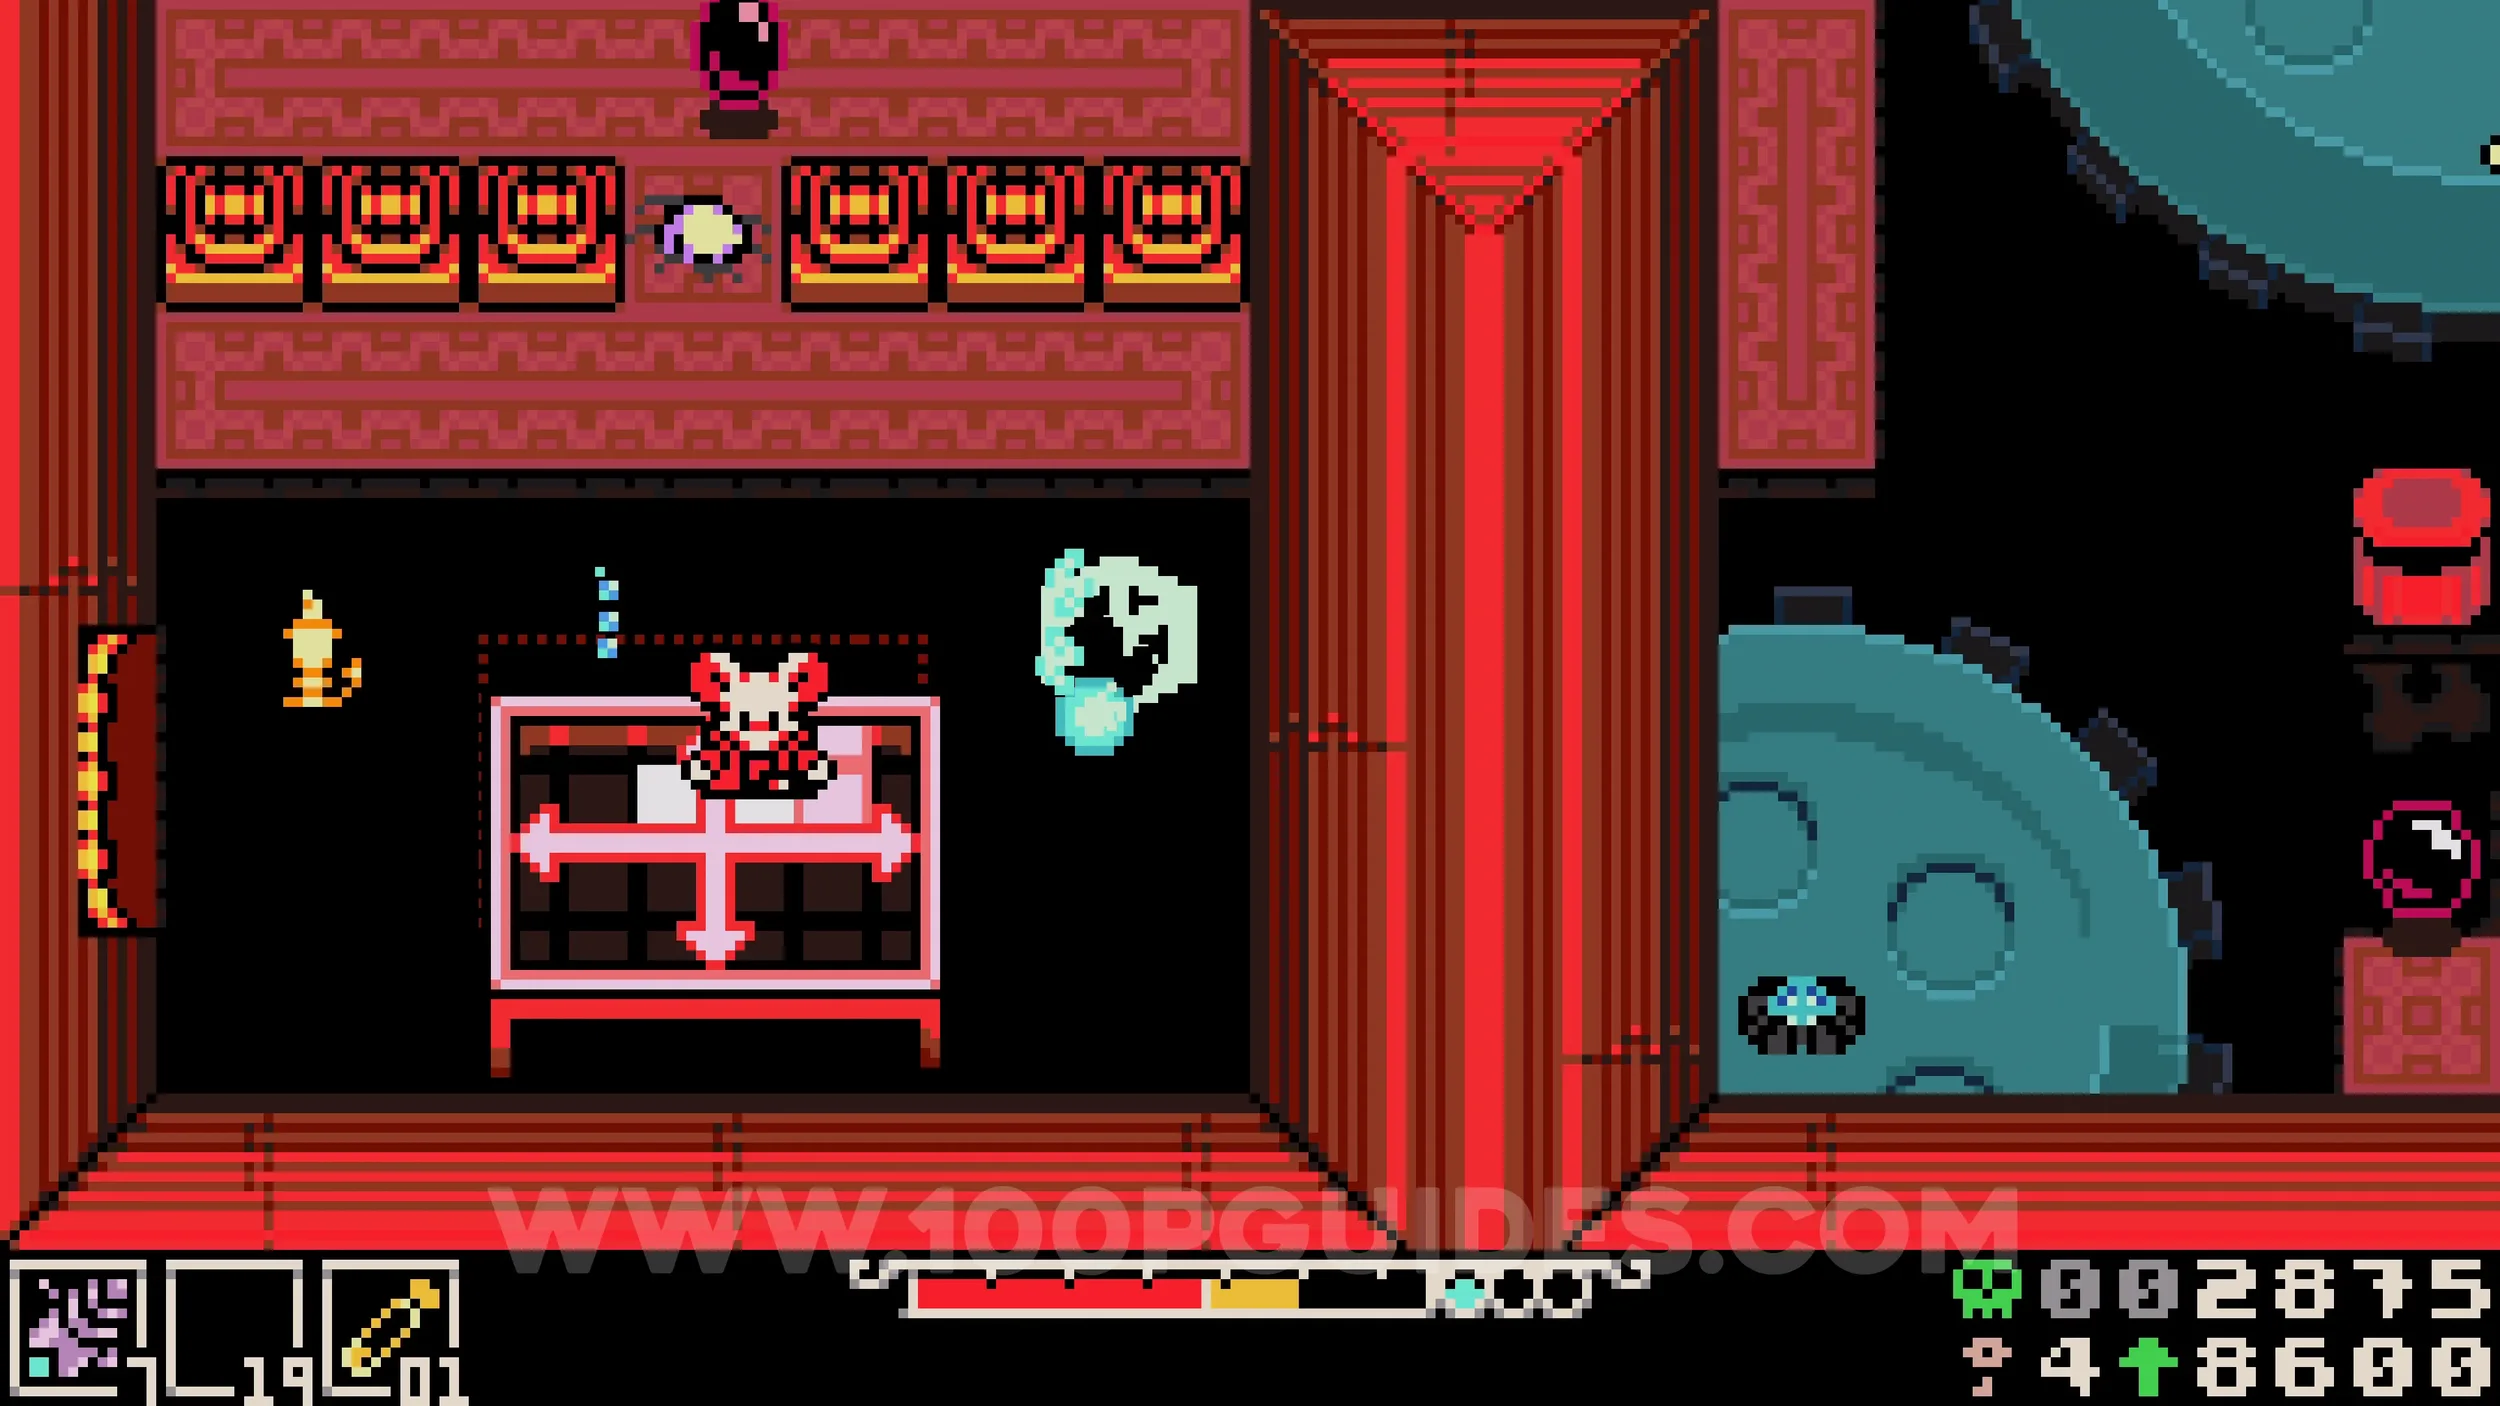
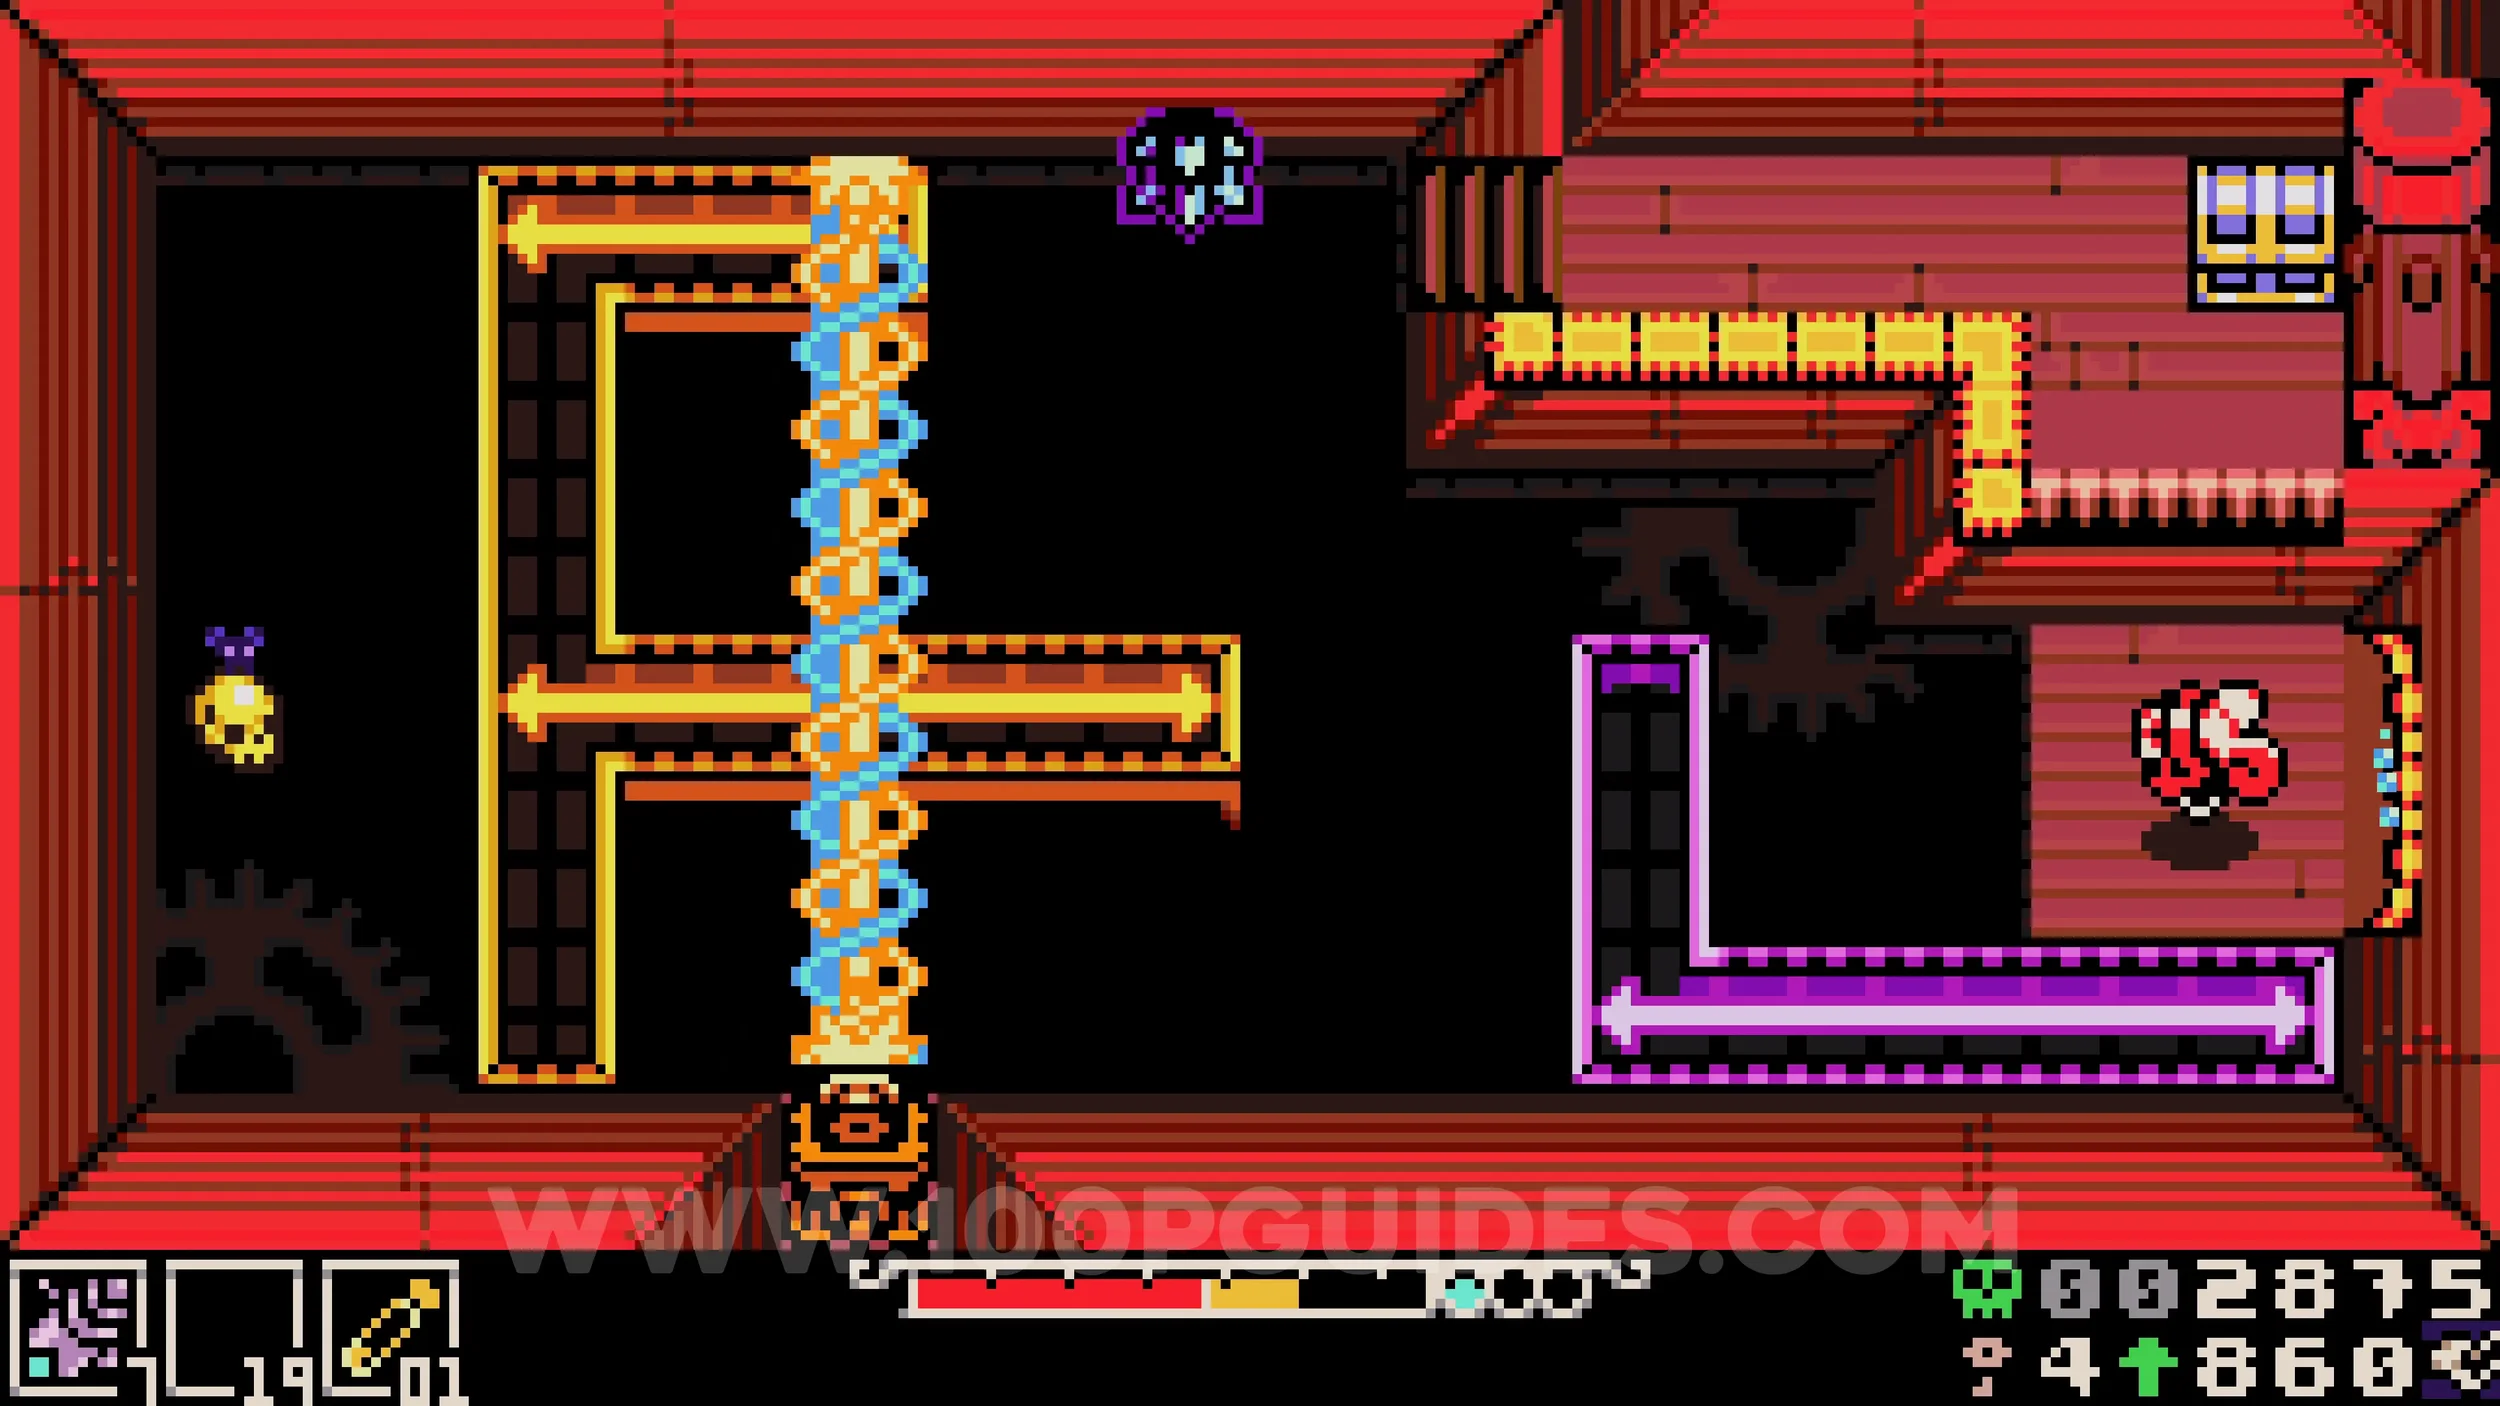
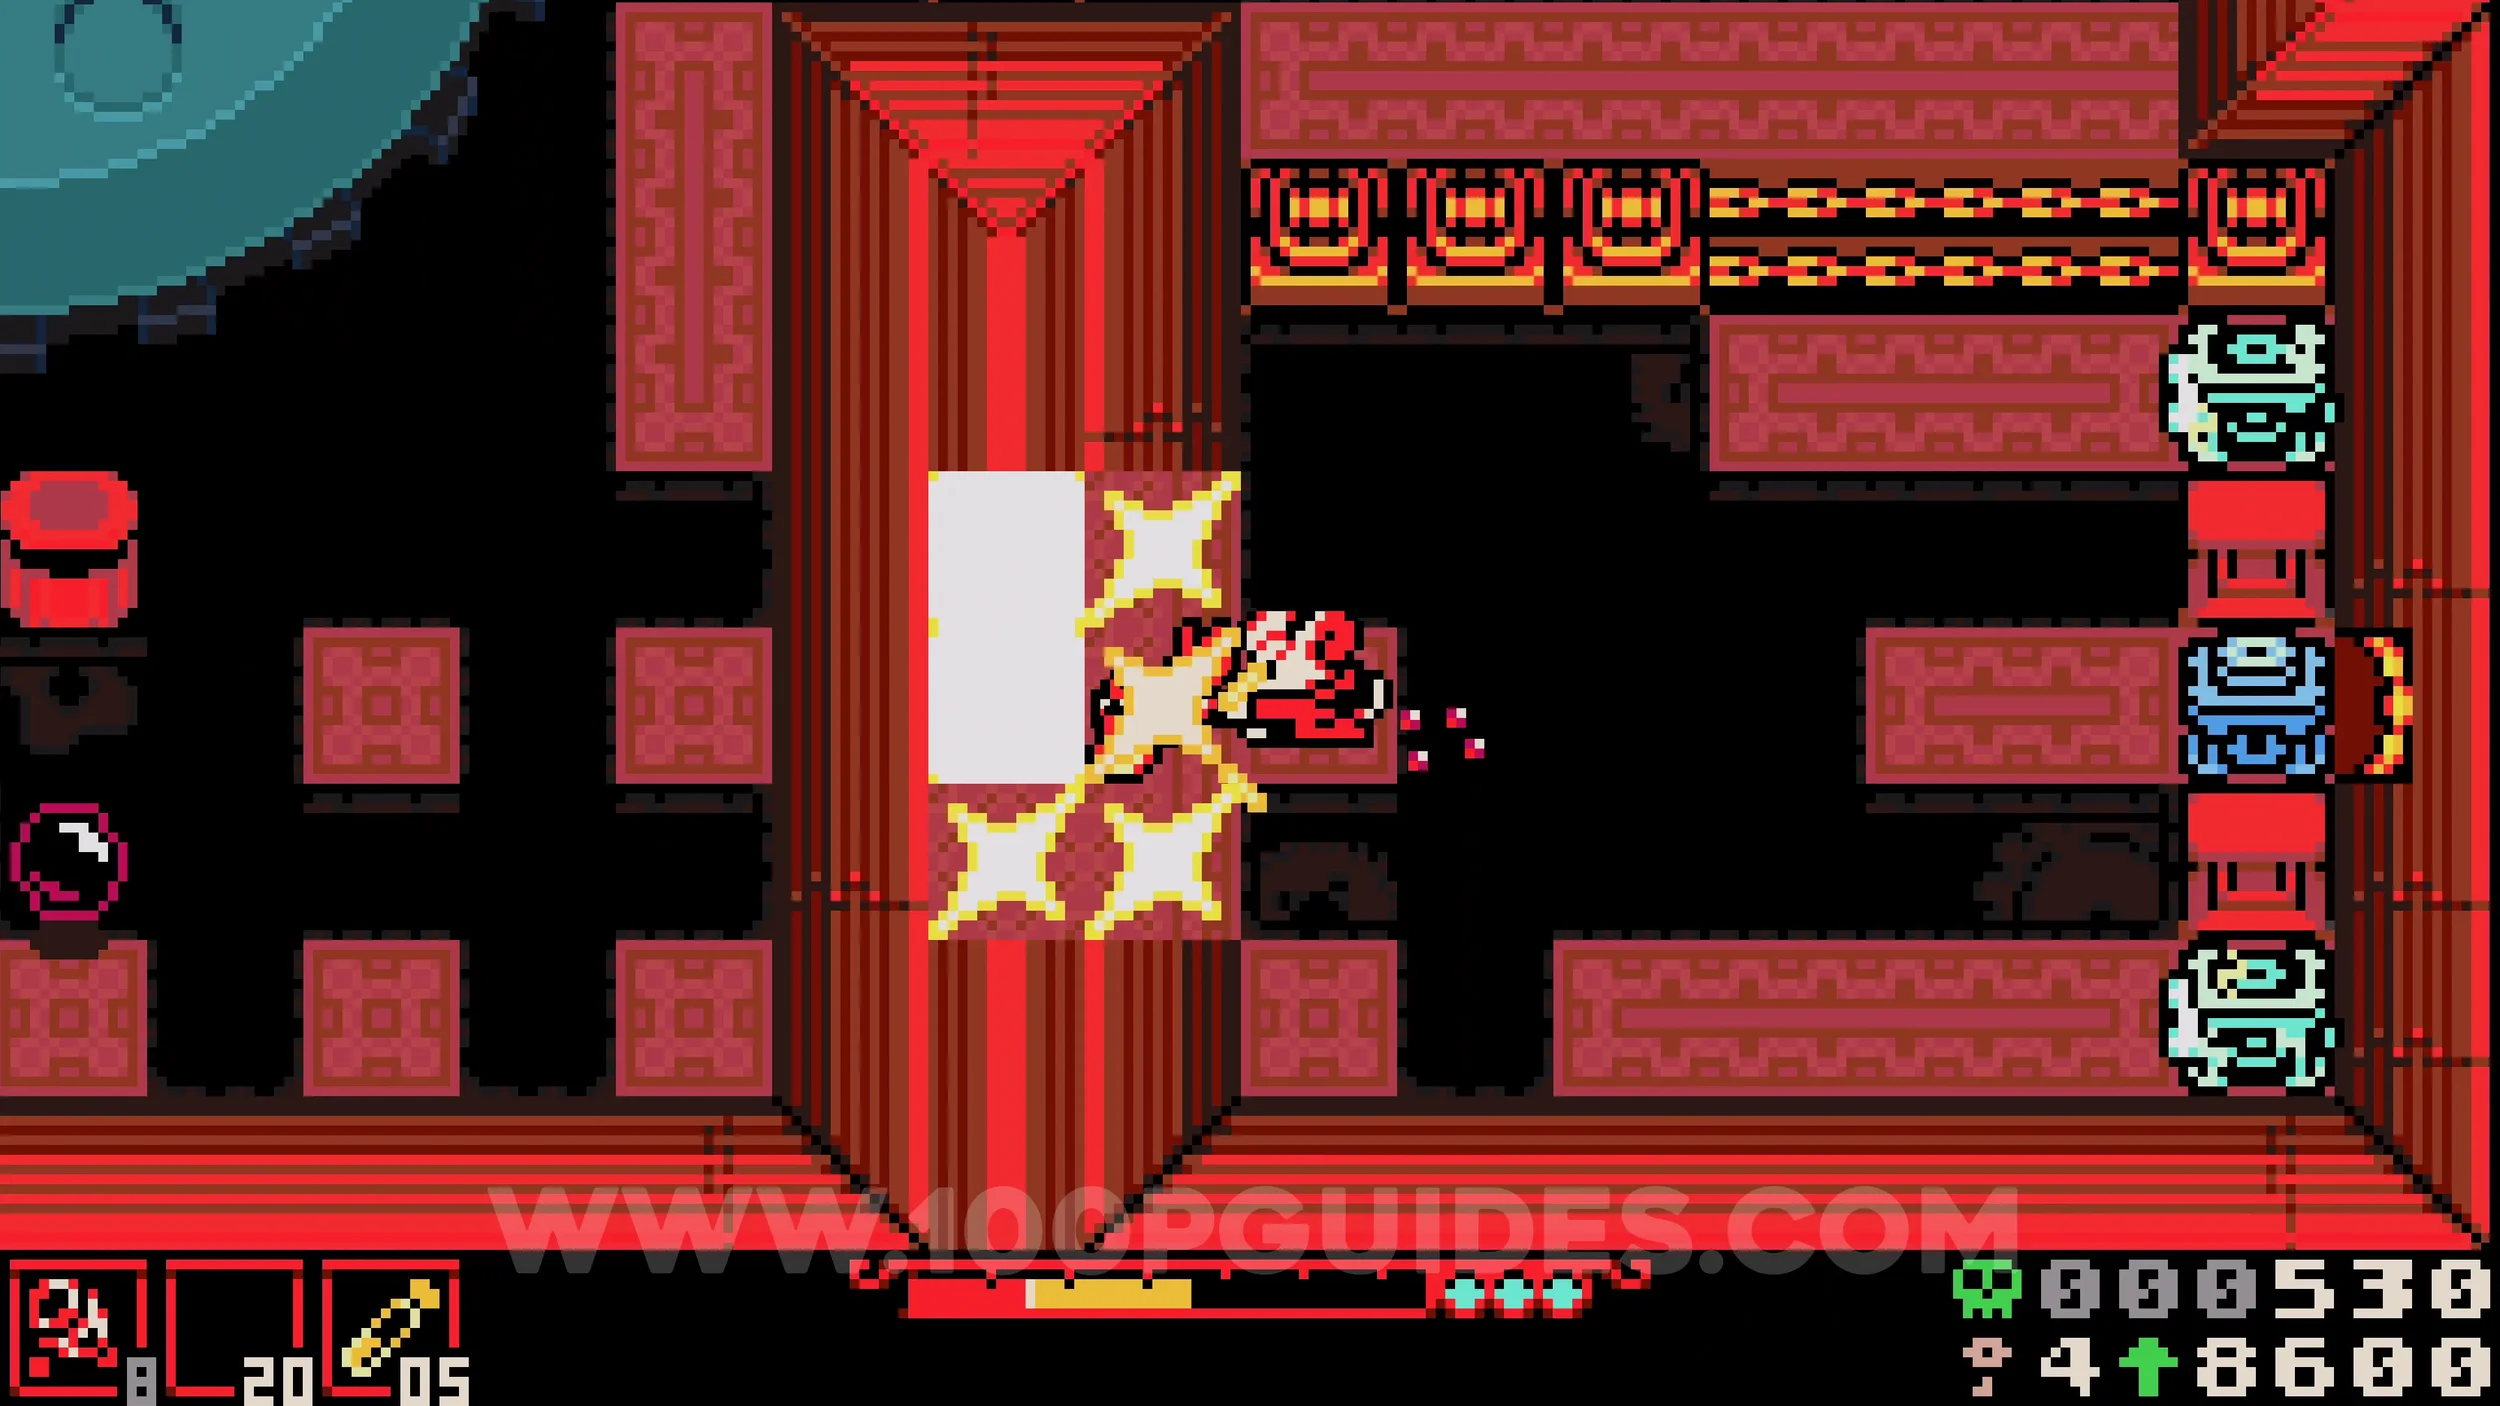
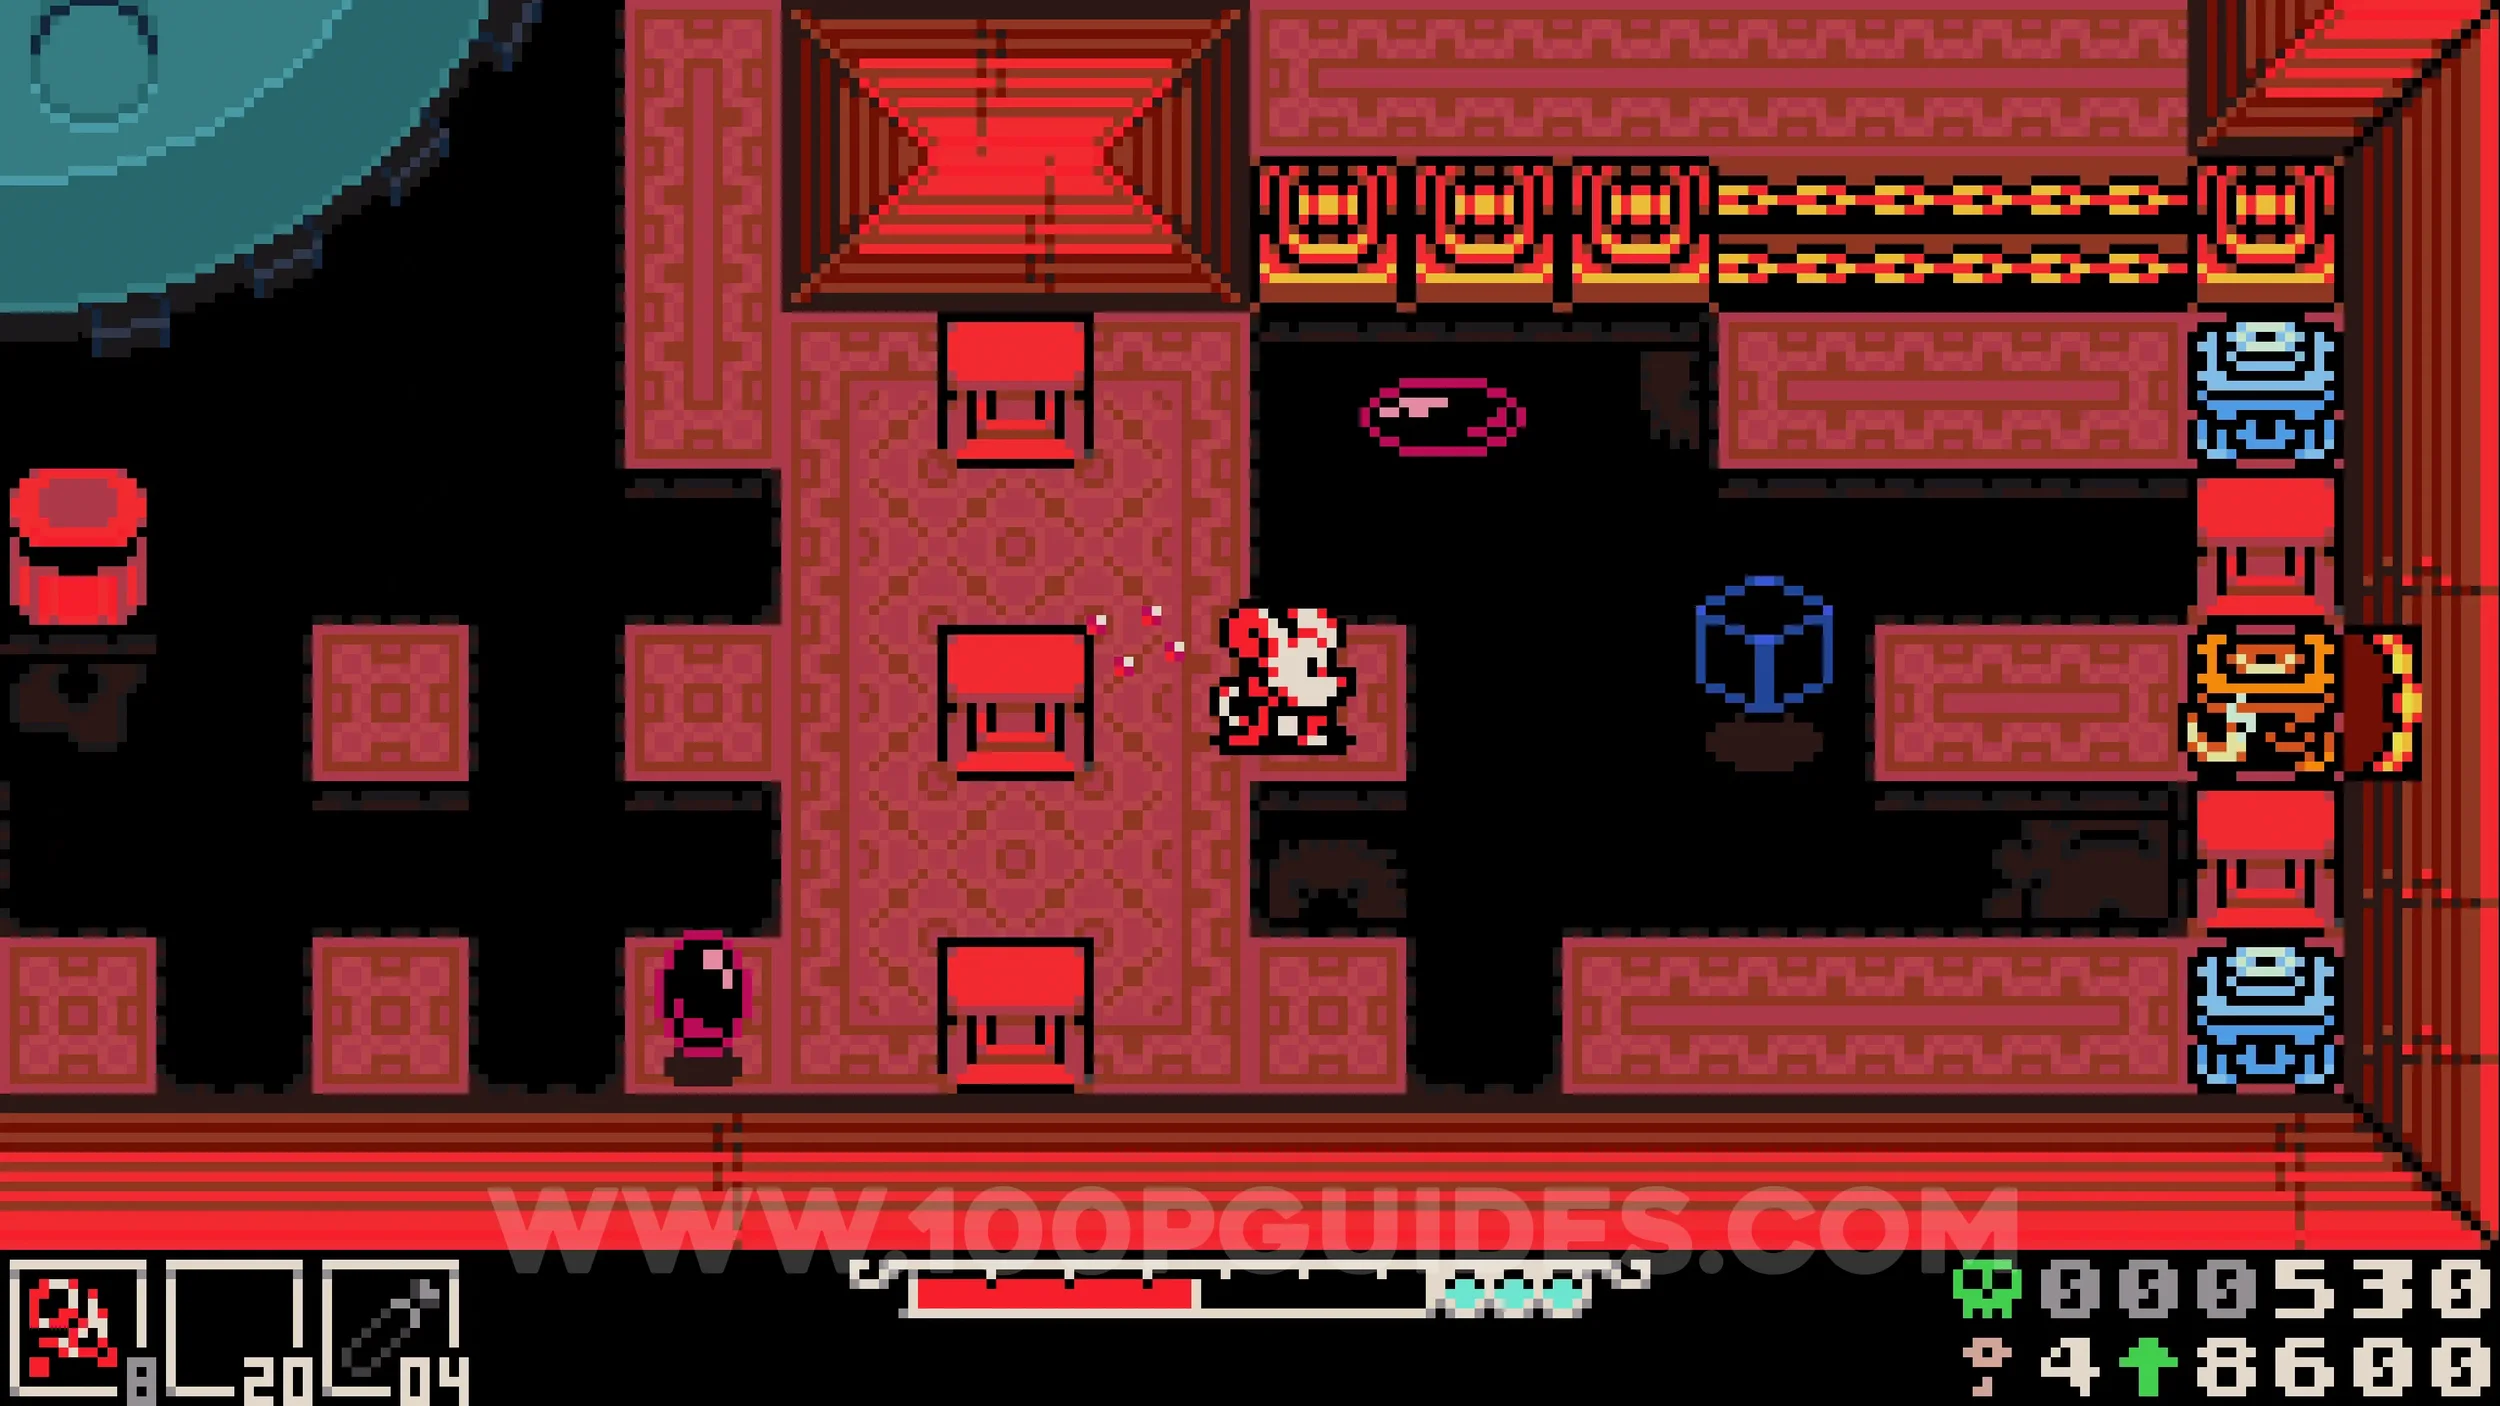
Kear #3. Continue through the red area until you pick up another cube, then pass through the large area with spinning round platforms. In the bottom right corner you will find 3 electrical cubes firing at you. Break the wall on the left side, then bring the cube back through the opening and throw it at the middle laser to reveal a tunnel leading to the collectible.
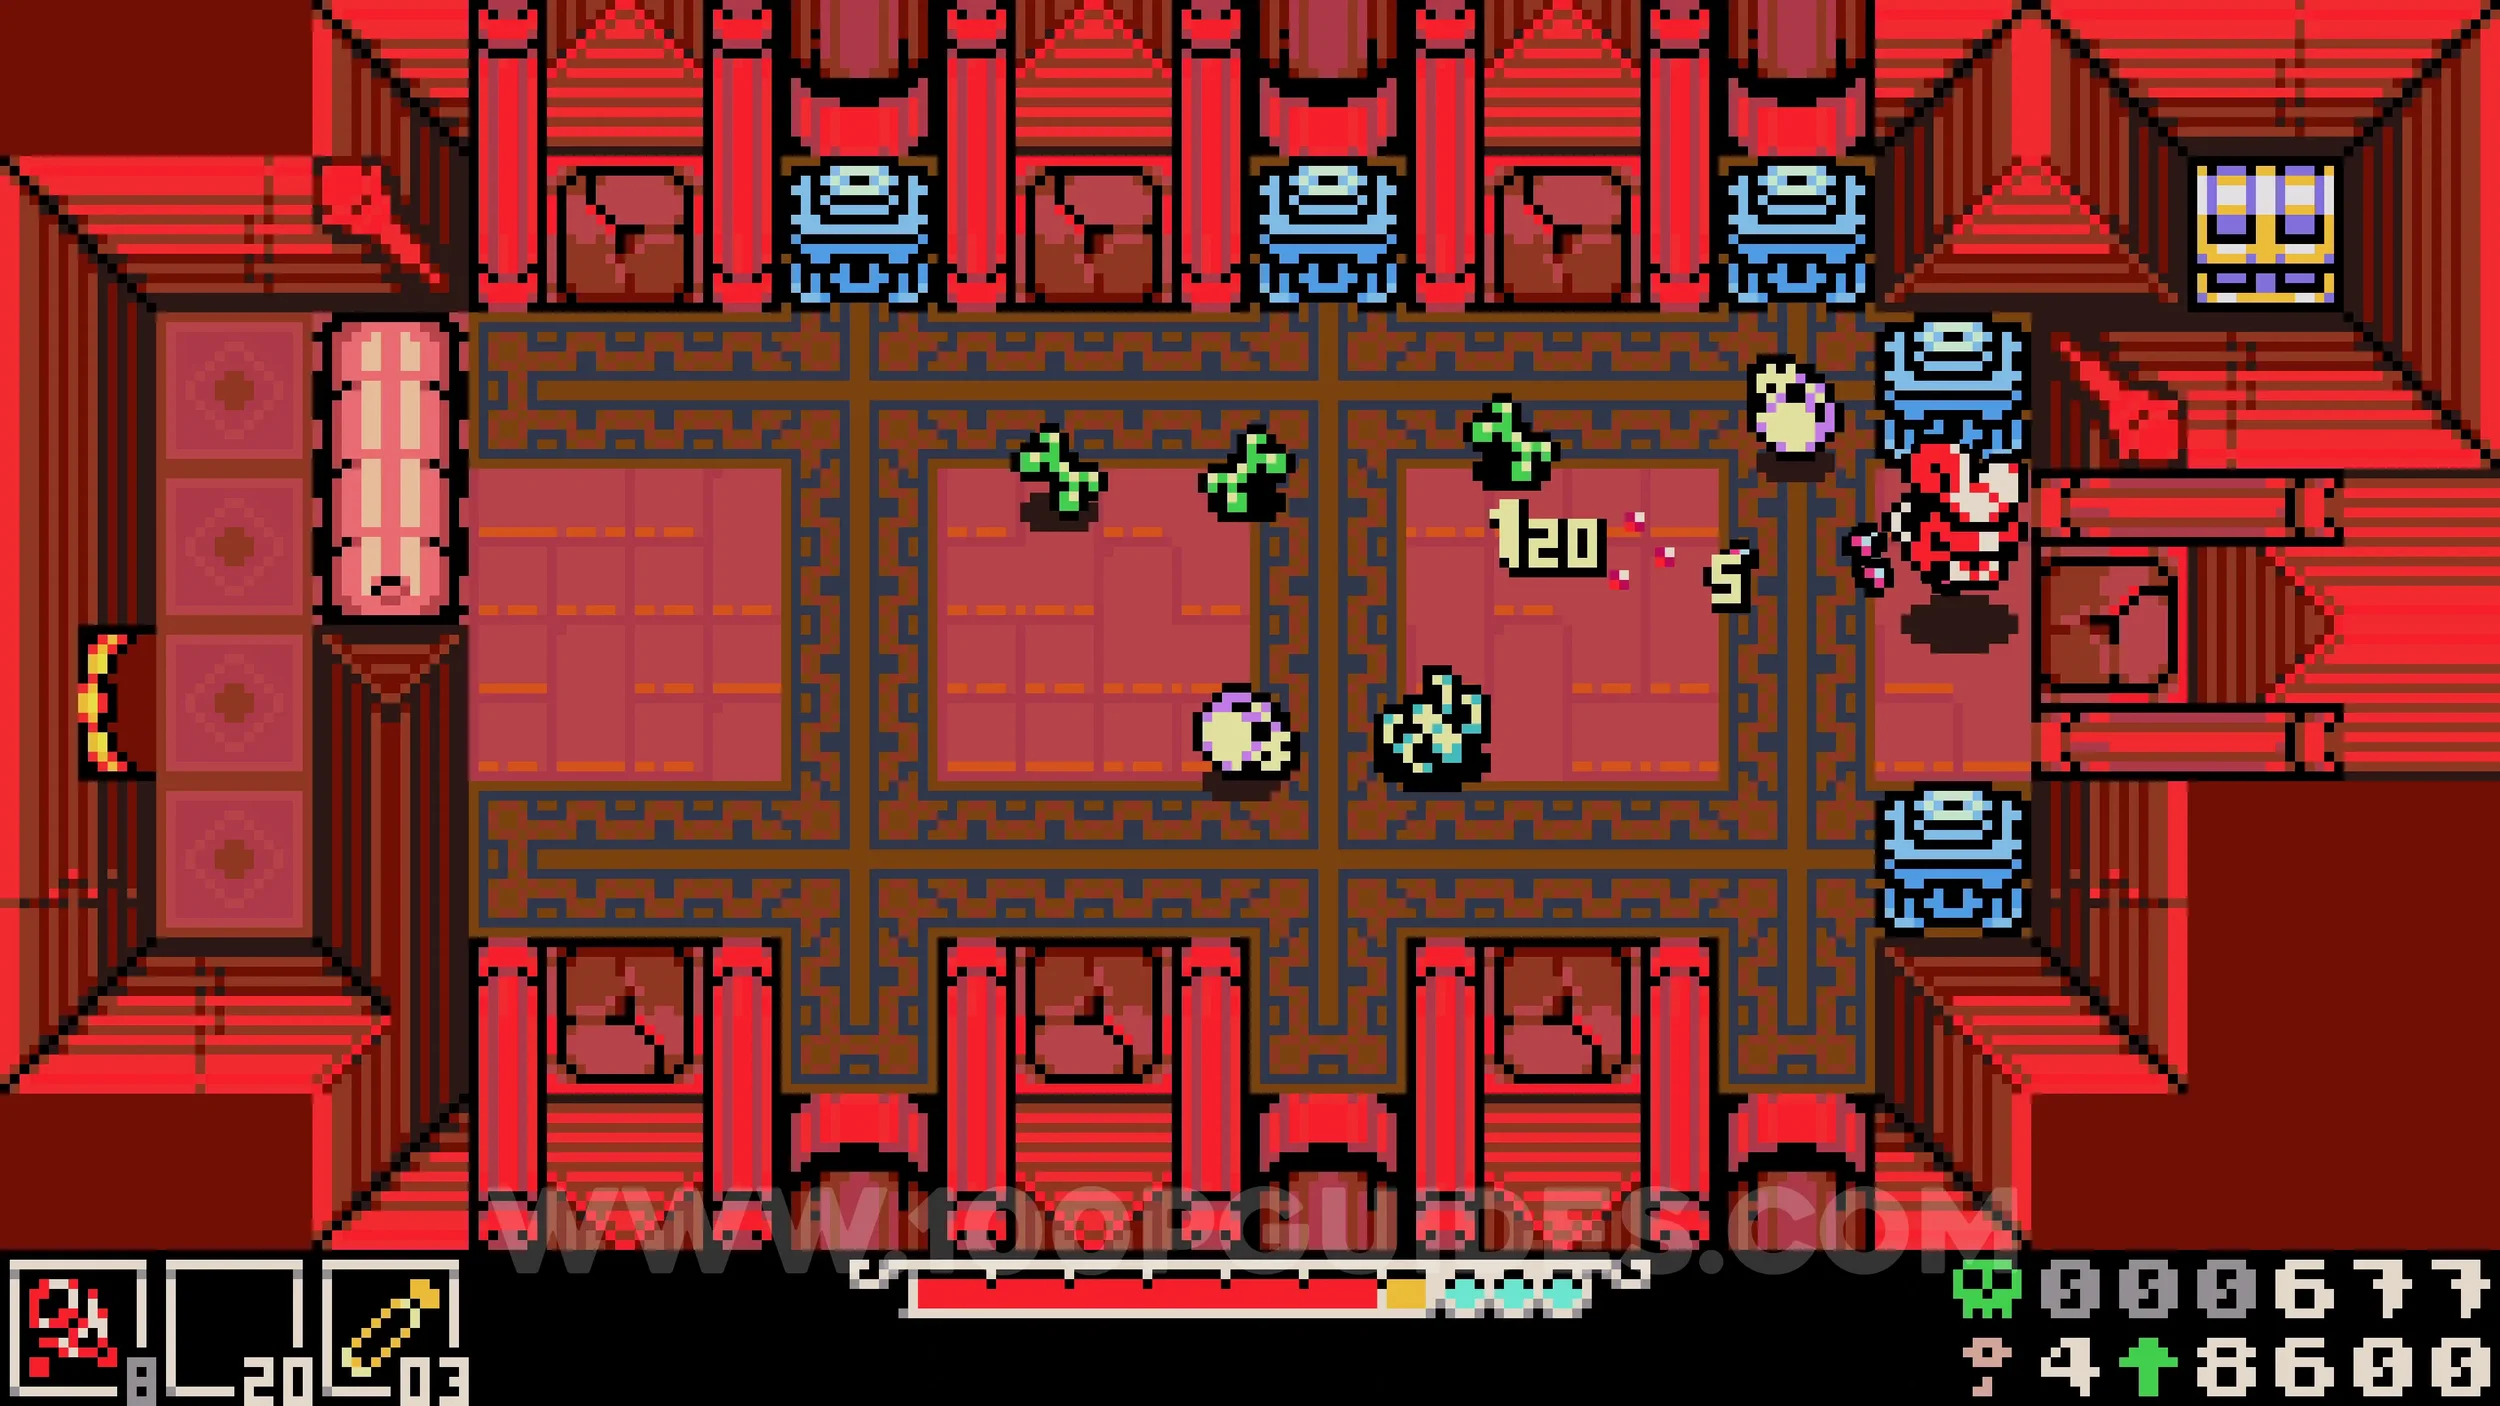
HP Upgrade #1. Defeat the boss at the end of the region.
RADIANT MANOR FOYER
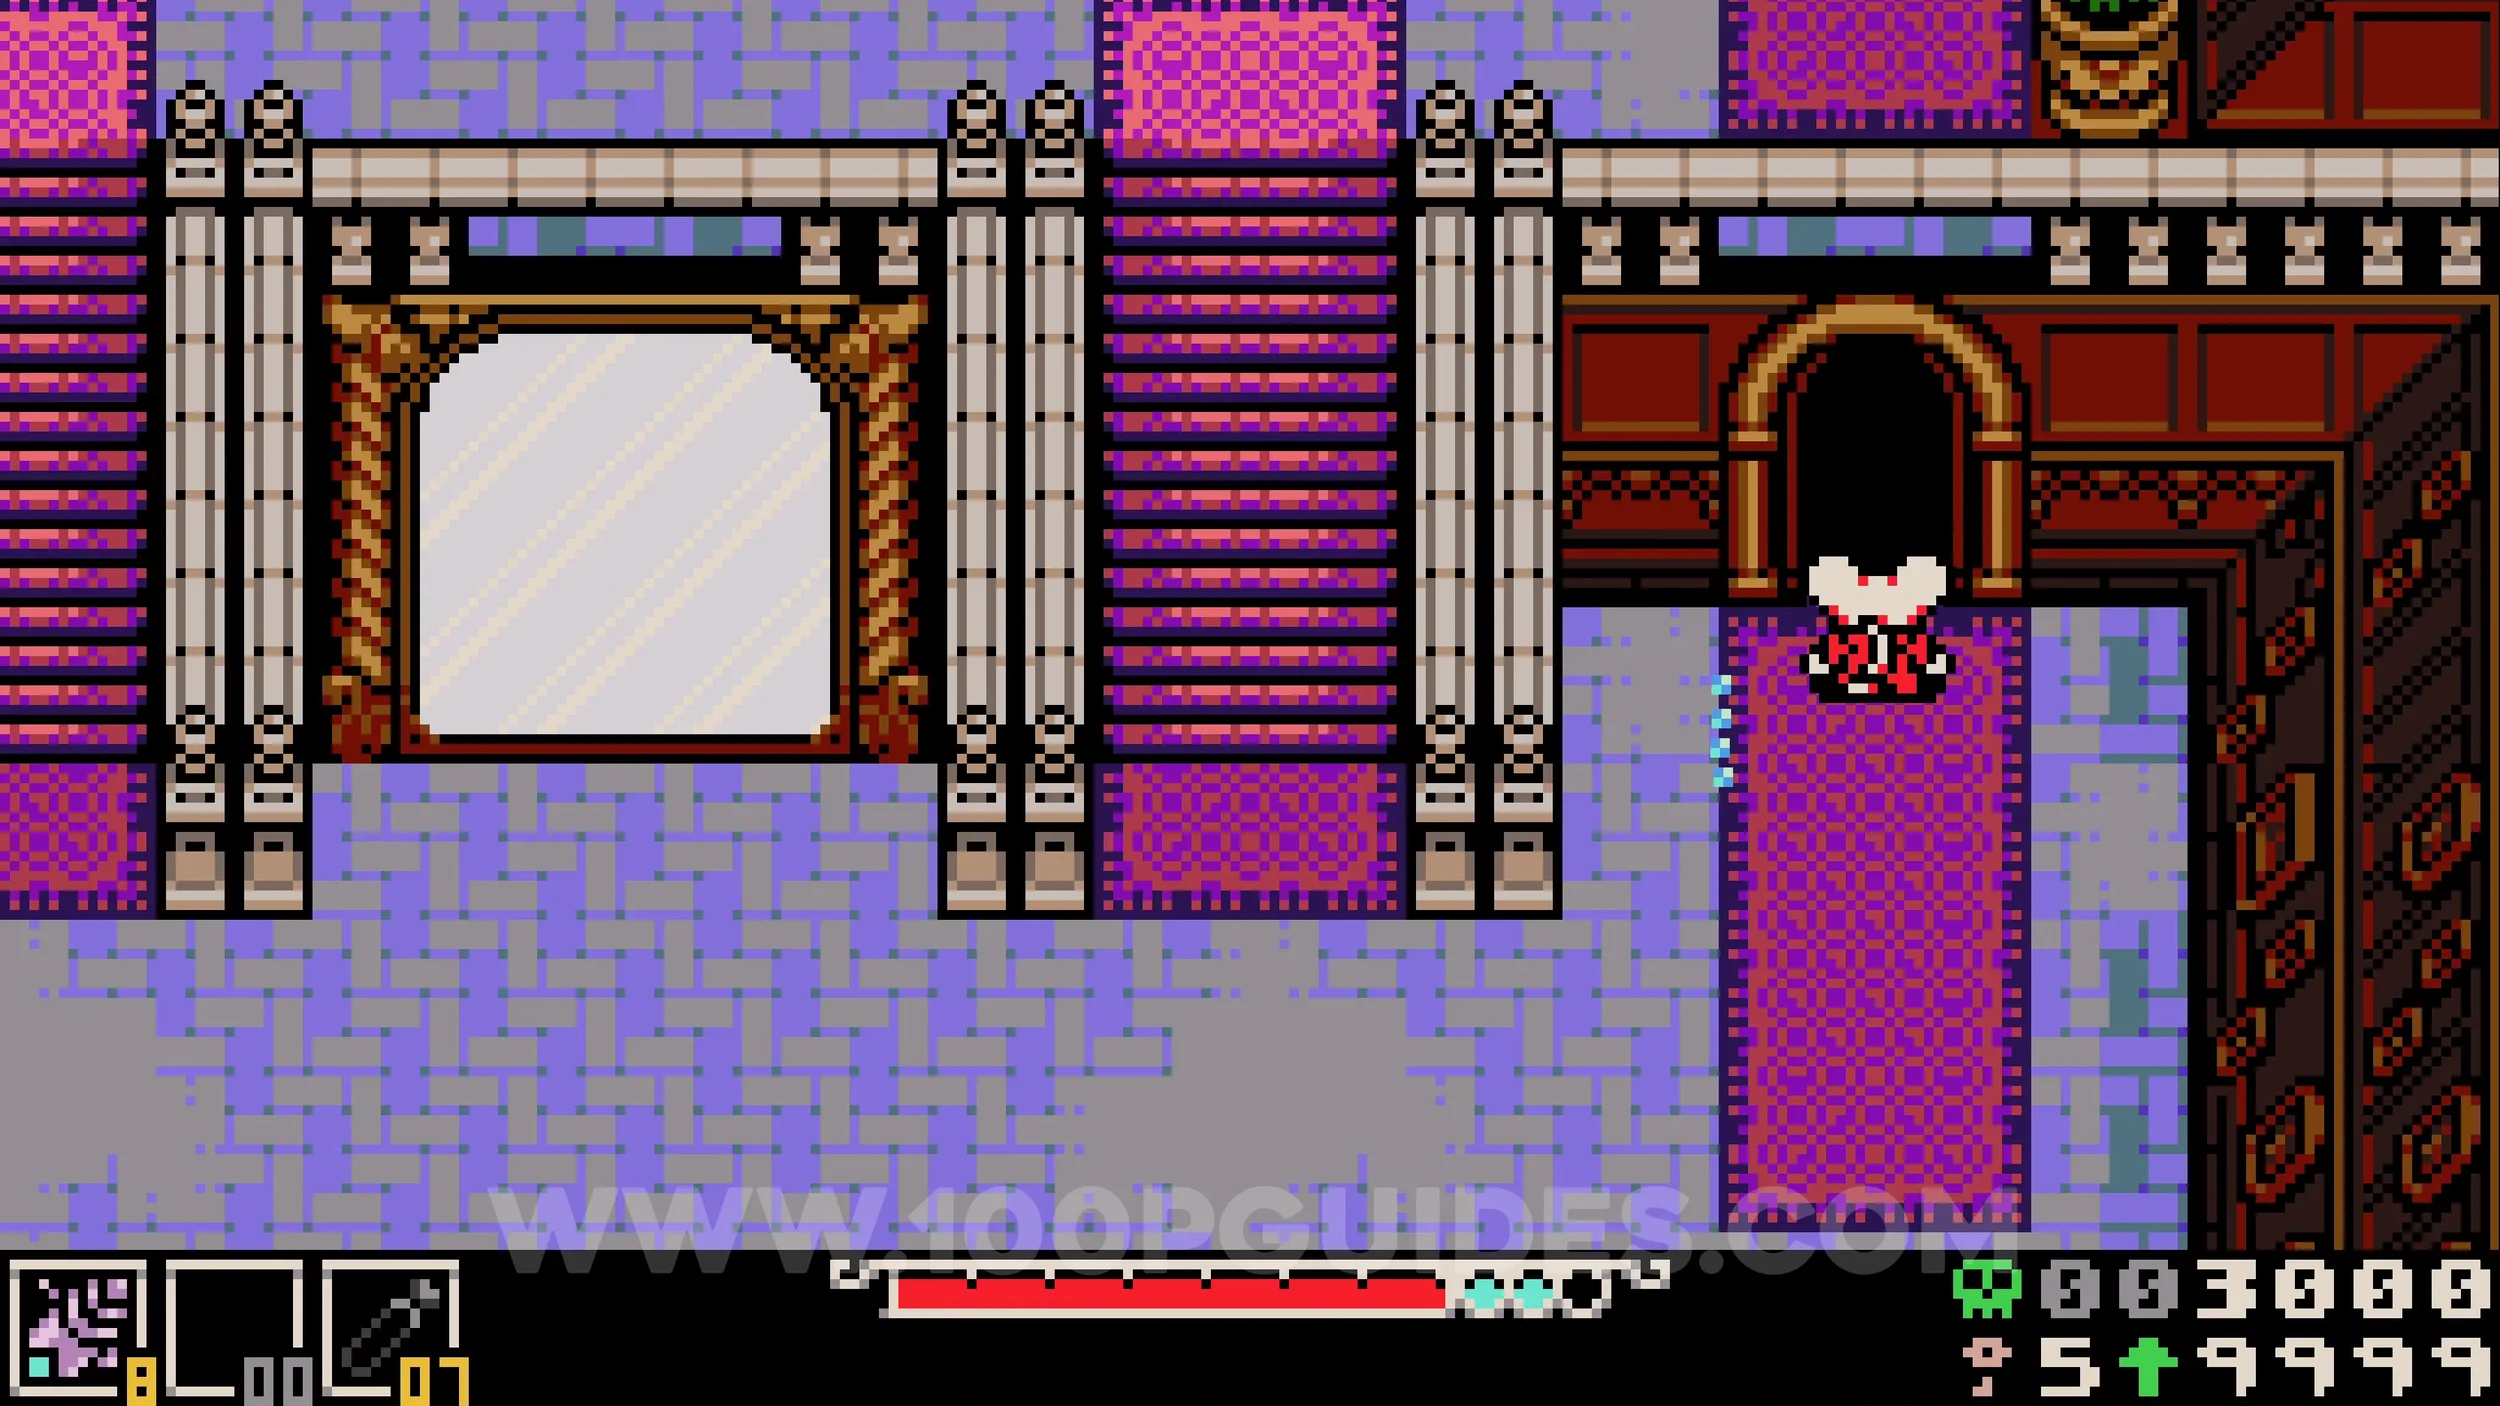
Bonestone #1. Go through the door to the right of the large mirror at the start of the area. In the next room, destroy the left side pillar to reveal a ladder you can use to reach the chest.
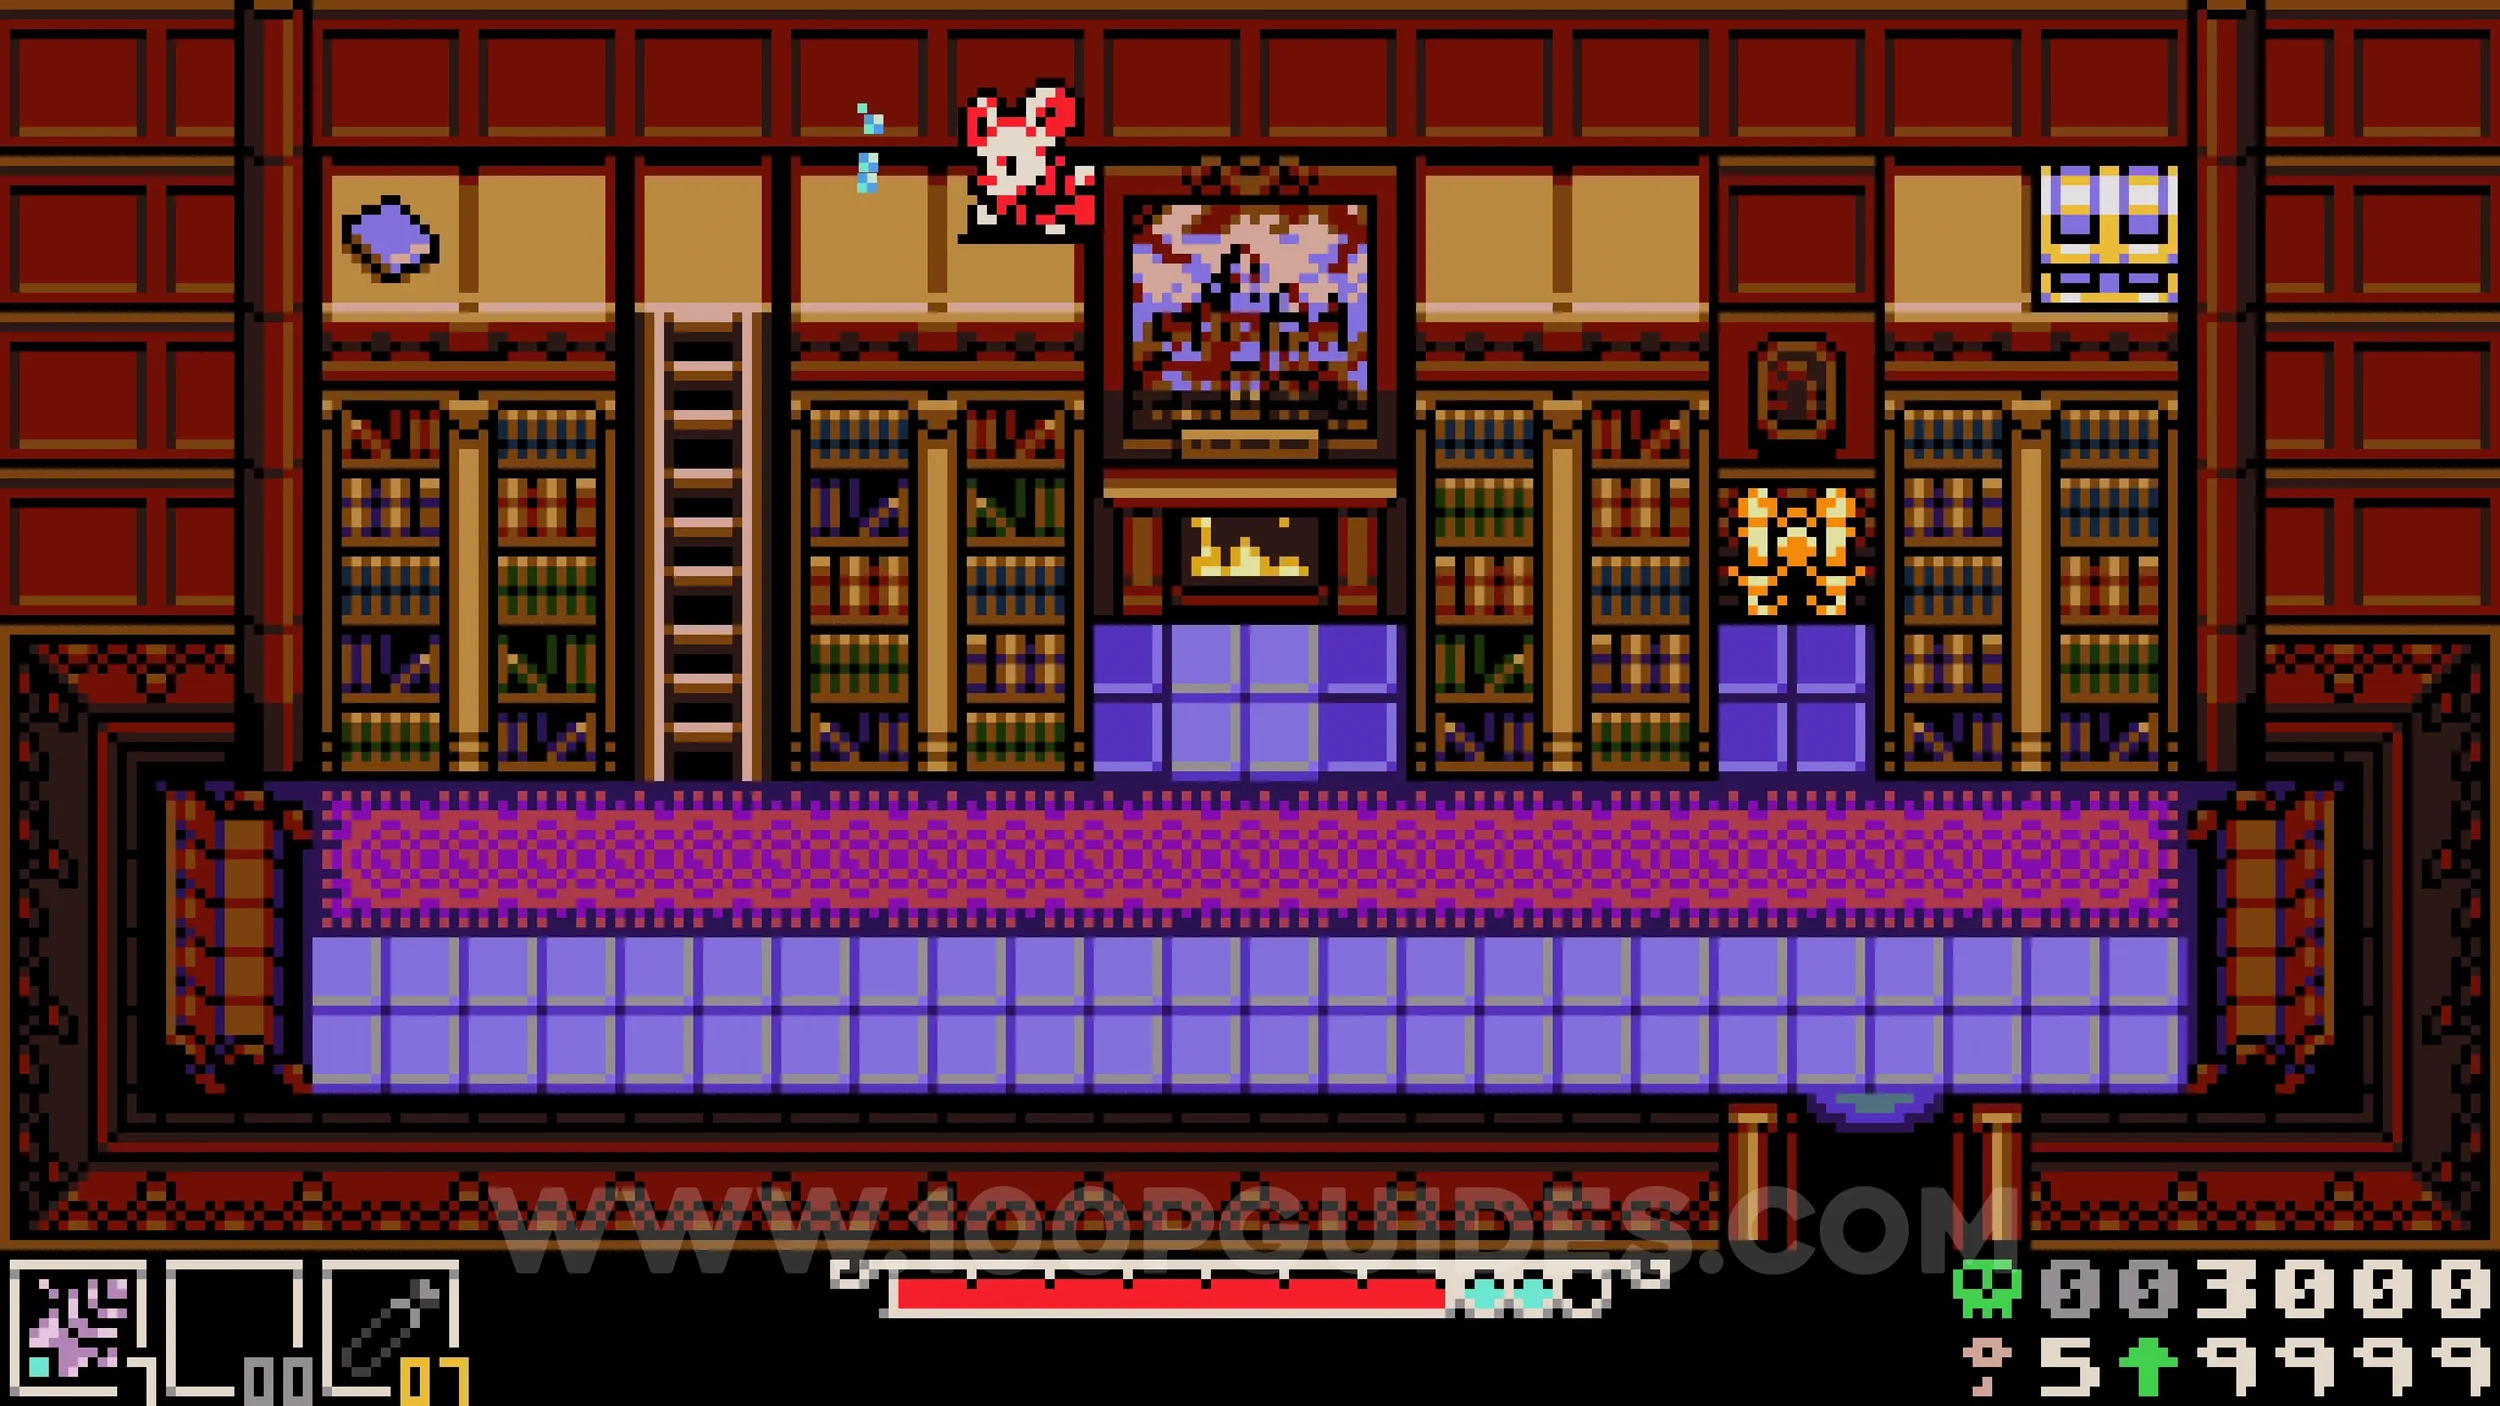
RADIANT MANOR
Trinket #1 - Dodging Pendulum. In the top right of the first large room, destroy the plants to reveal a hidden passage. Inside you will find two mimic enemies. The one on the right drops the trinket.
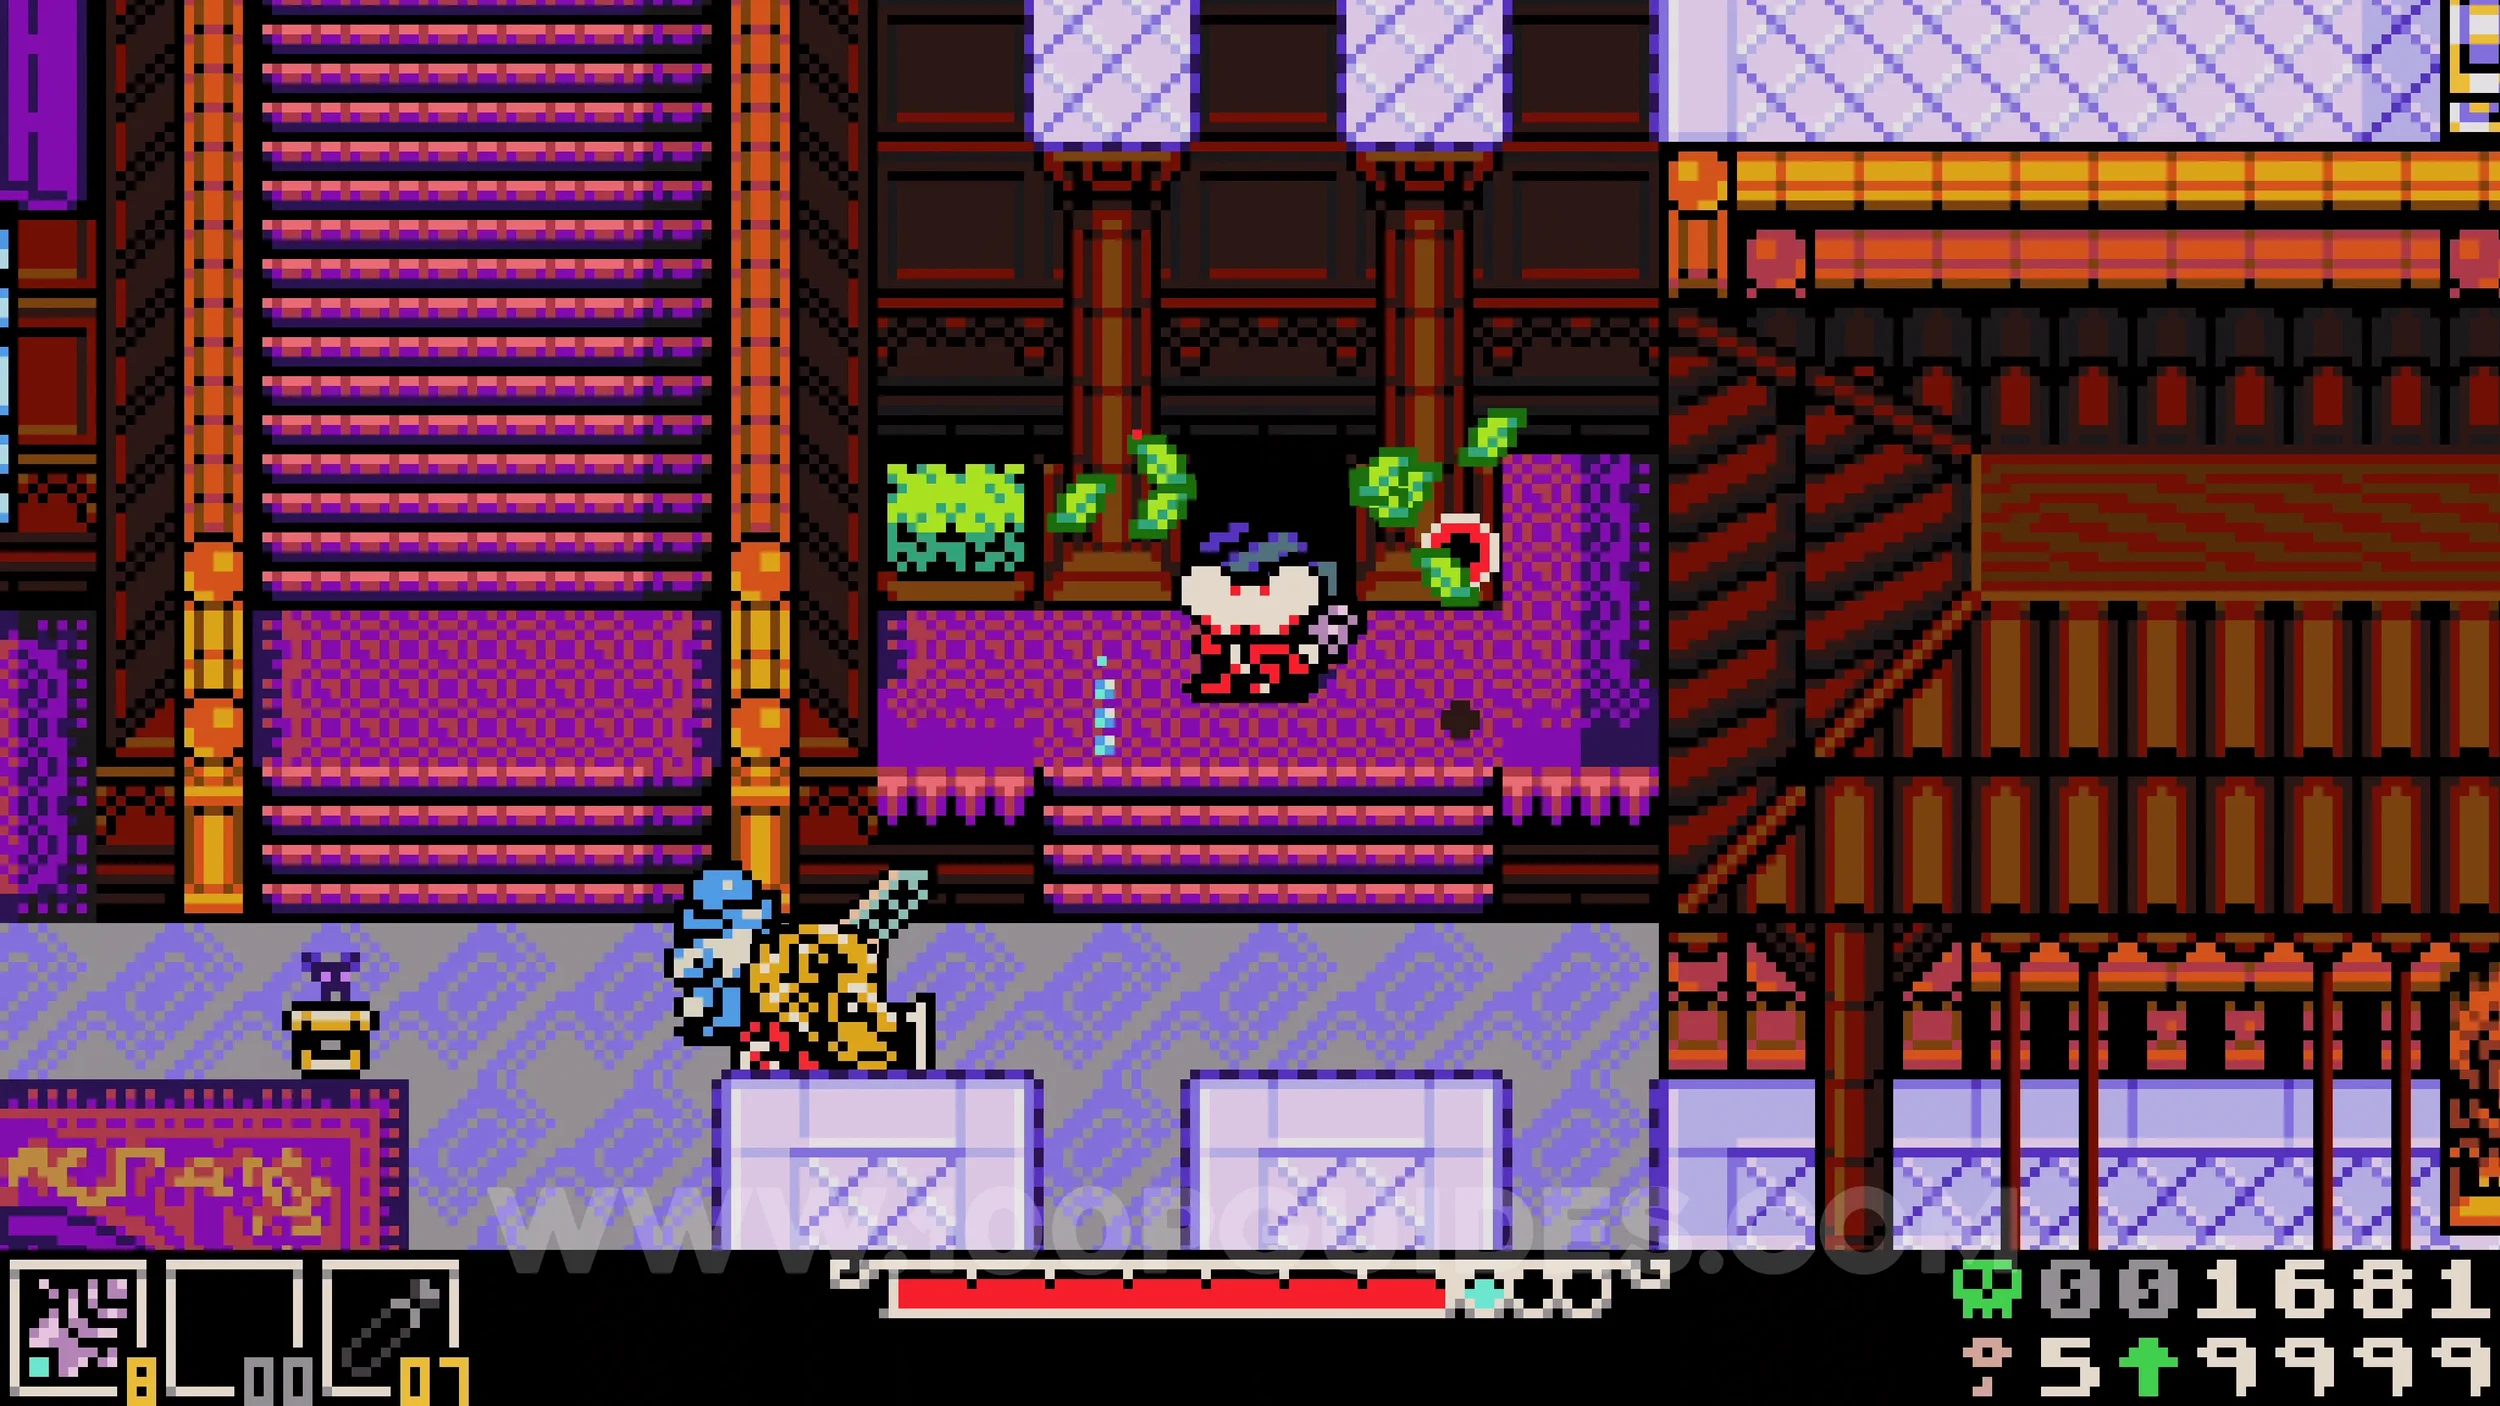
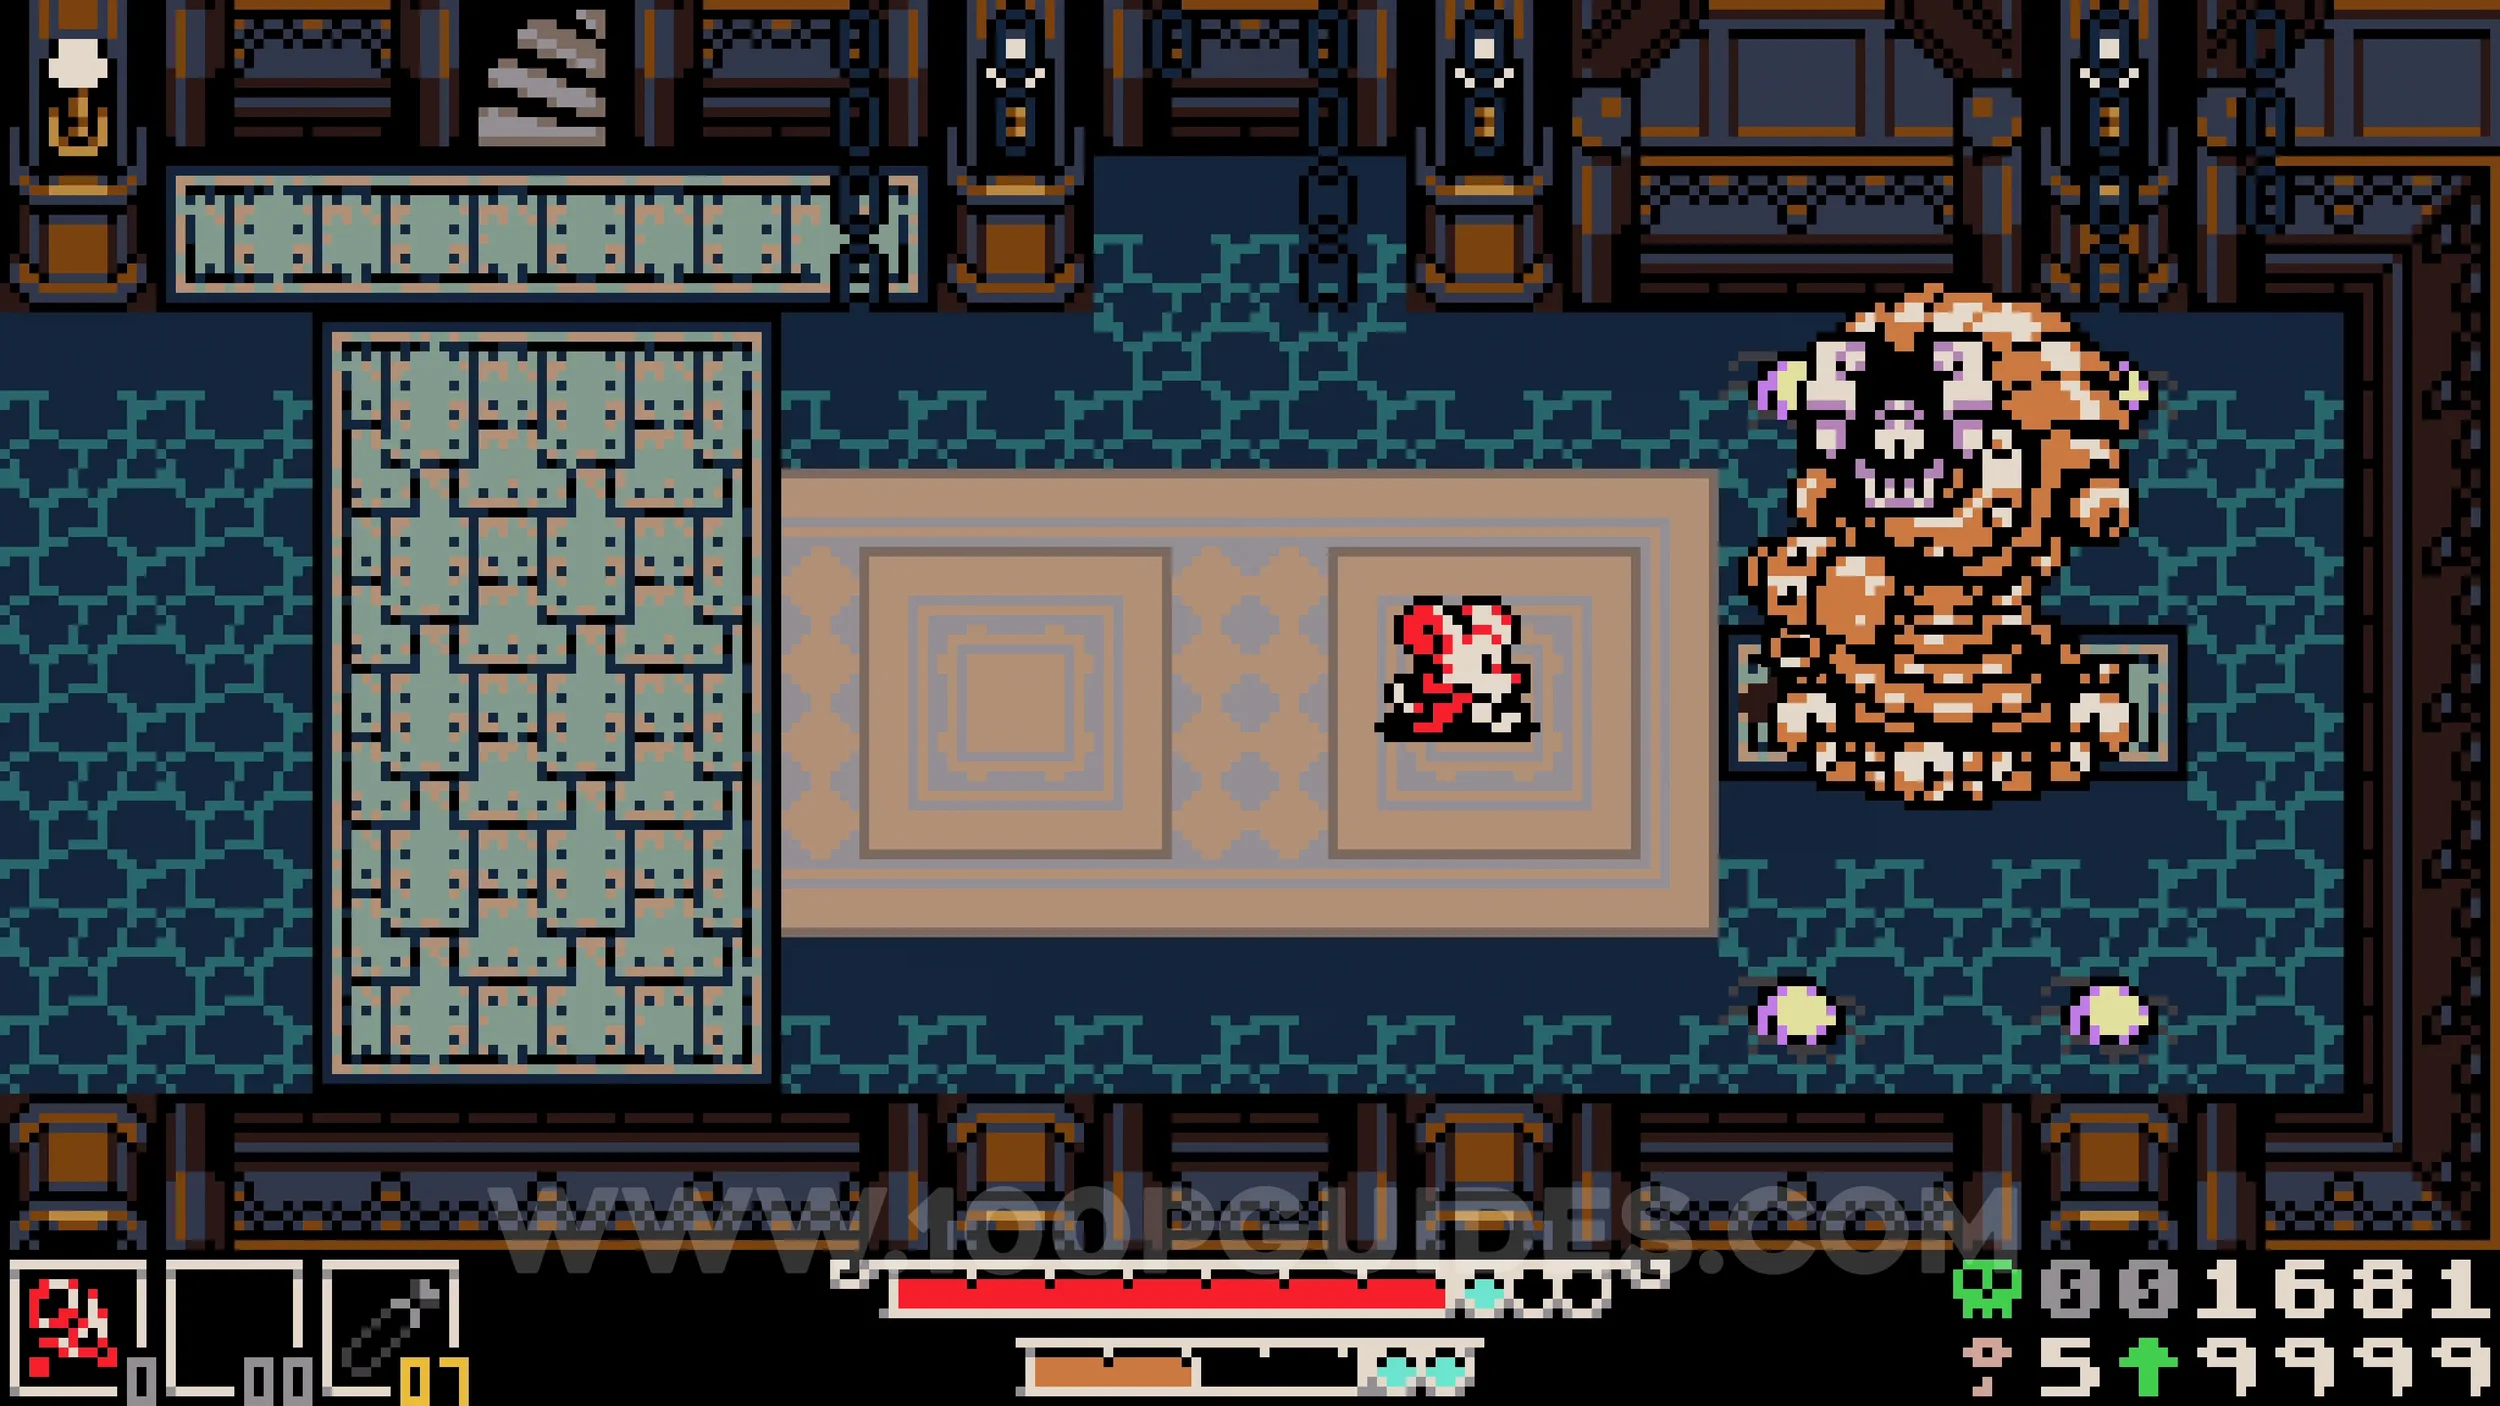
Cat #1. In the same room as the previous collectible, break the wall above the left mimic to find one of the cat-like creatures. These are not direct collectibles for the area, but you will need to find all 8 to earn one of the bonestones.
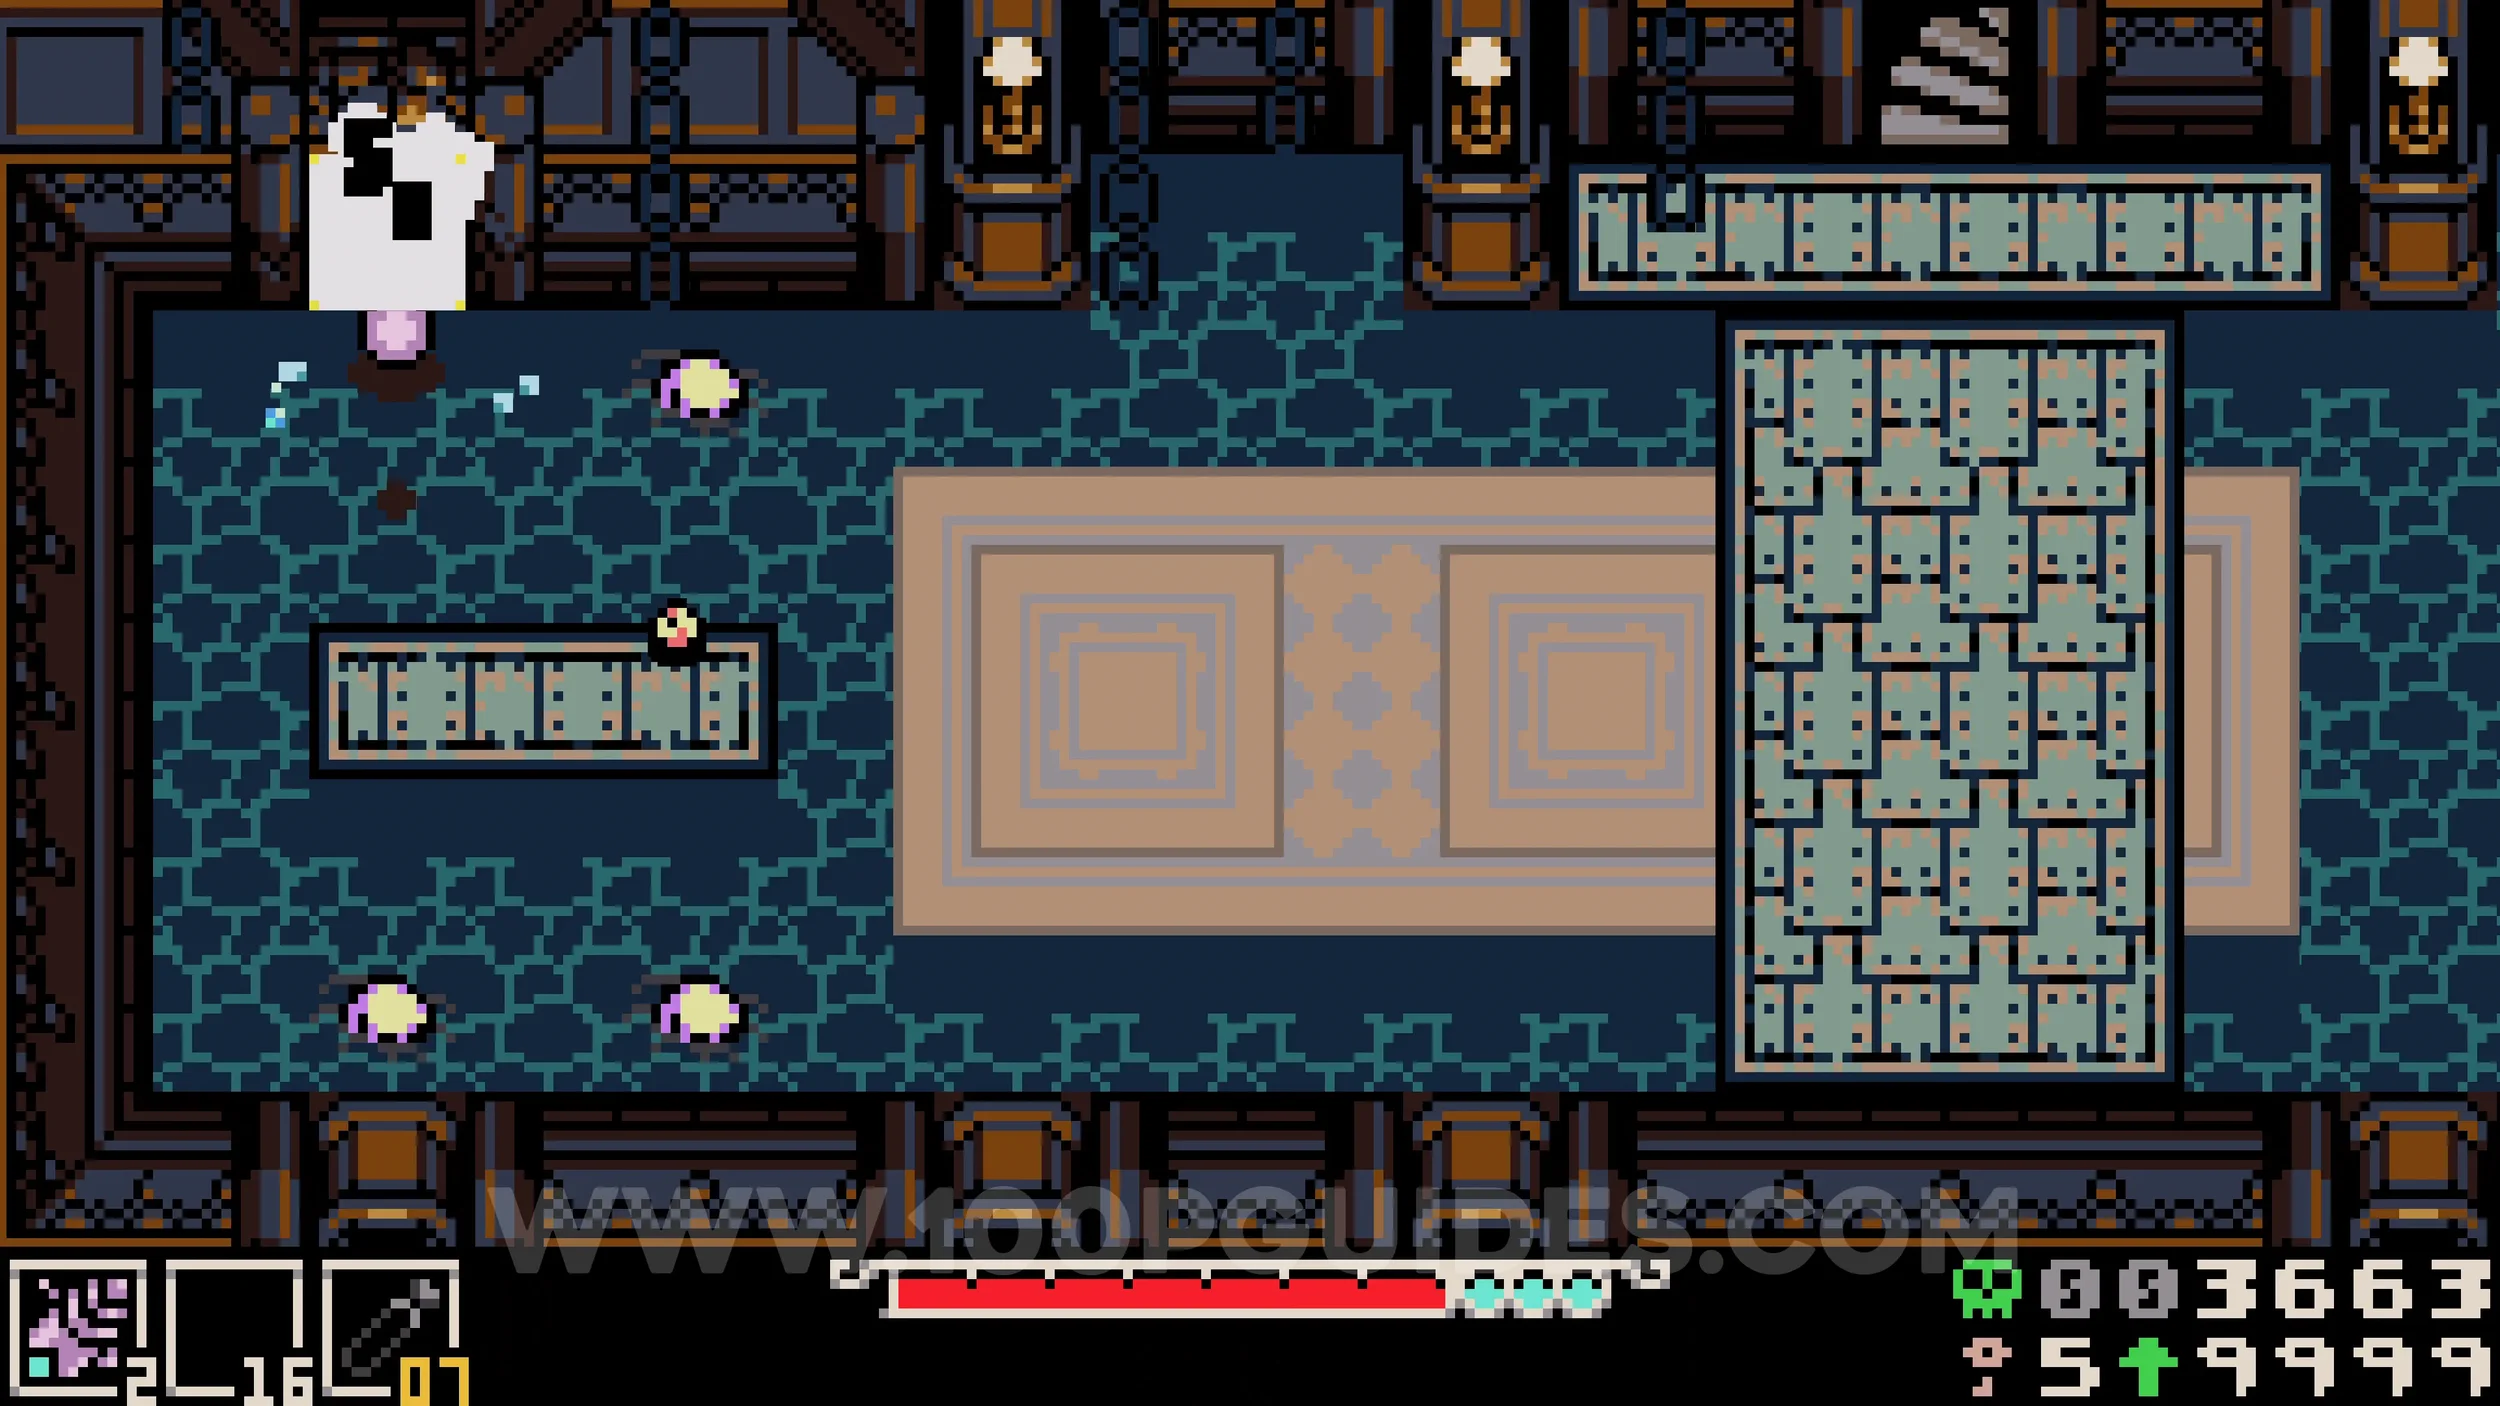
Cat #2. Continue on the main path until you reach the first outside area via the corridor to the left of the main room. Take the path north between the statues, then break the wall under the bridge. Follow this path to the end to find the cat next to the statue head.
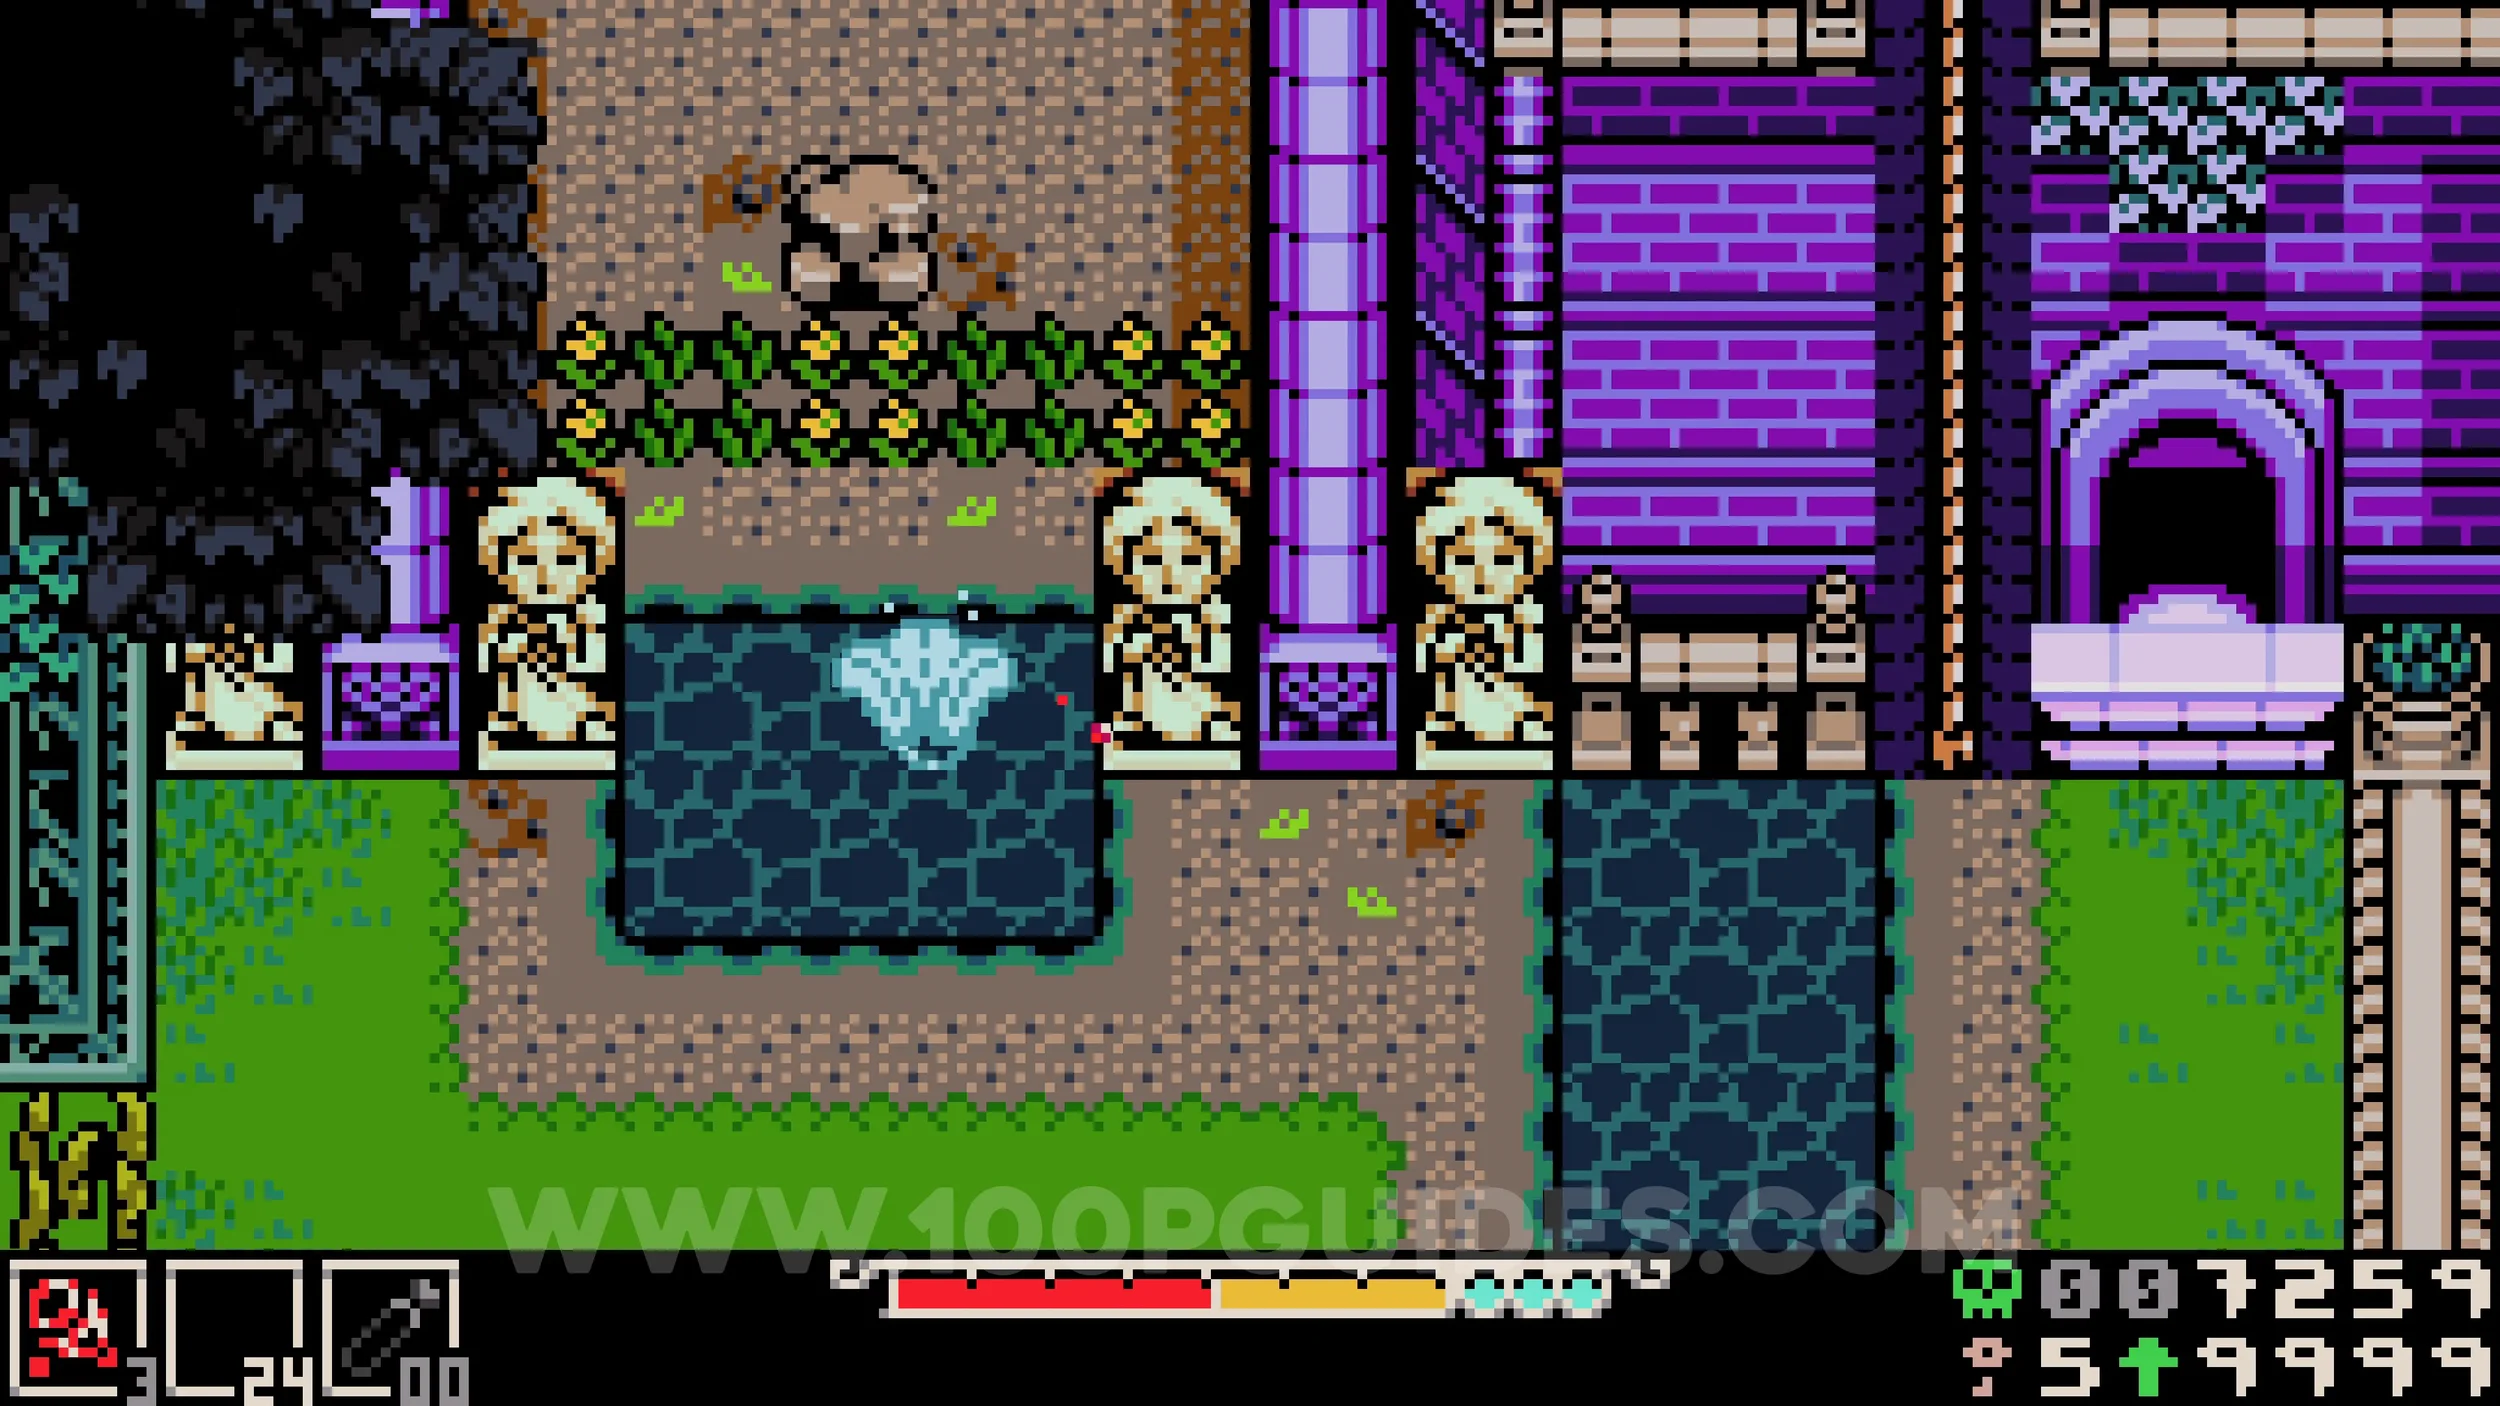
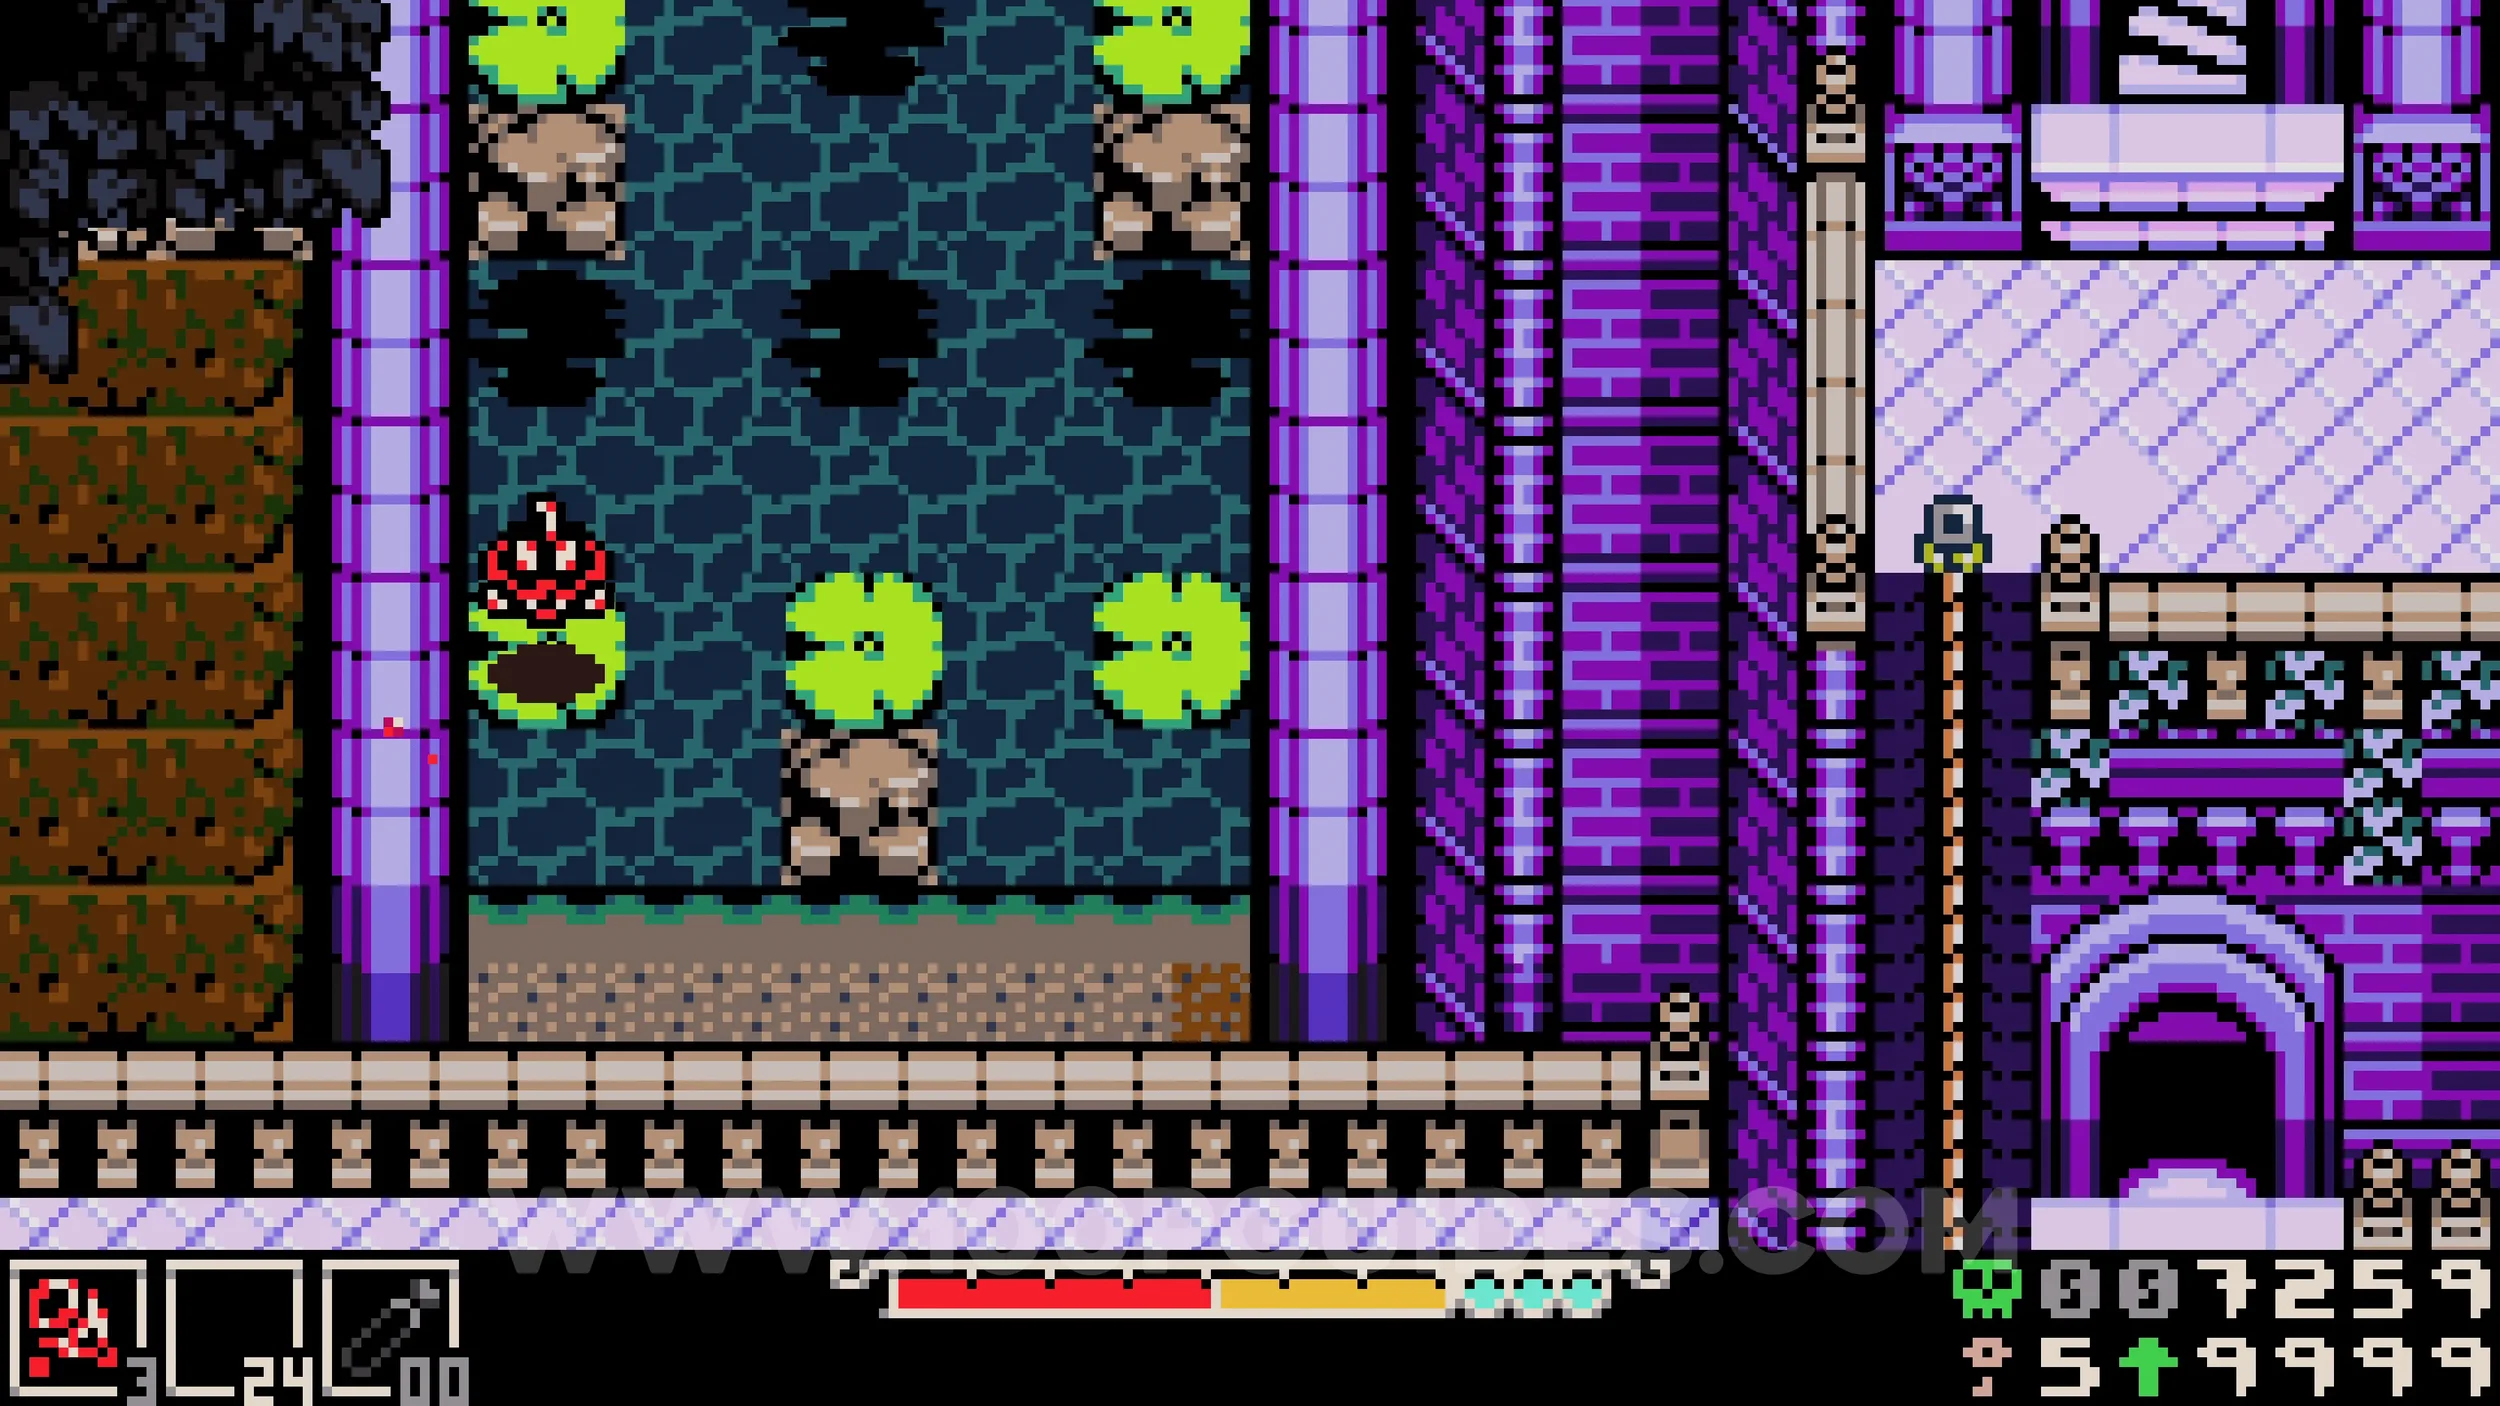
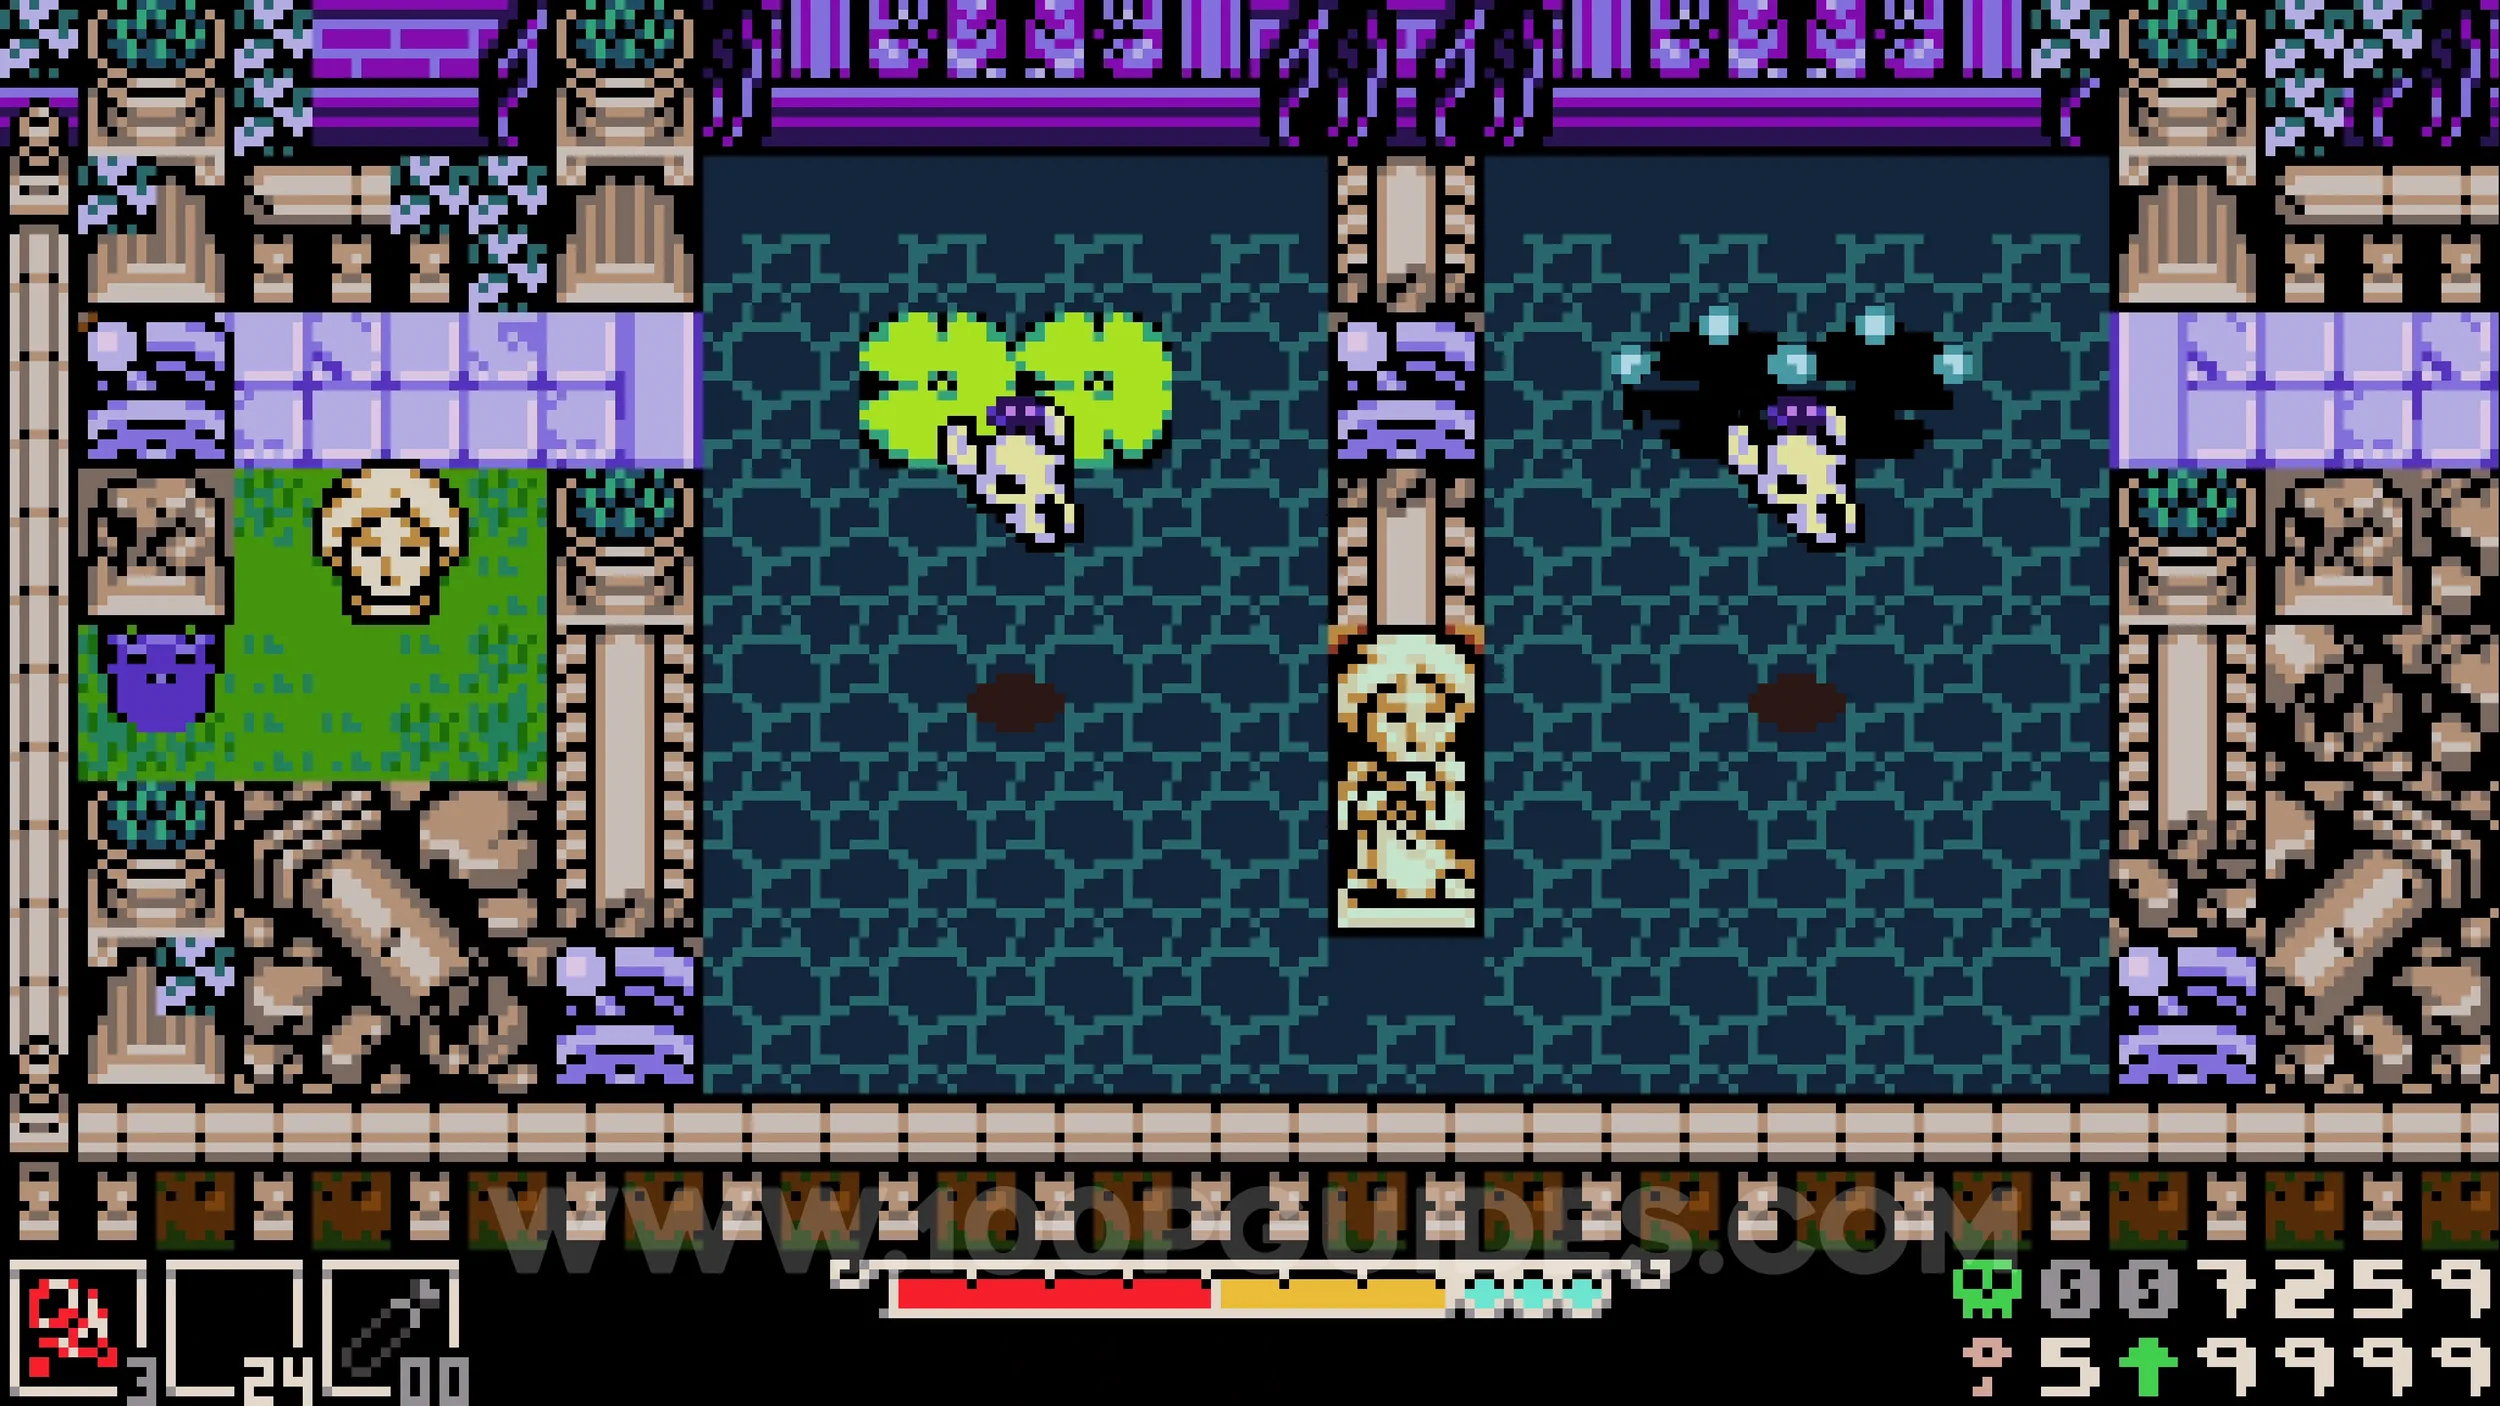
Cat #3. Continue on the main path to the left of the main room until you reach the attic area with the mouse traps. The cat can be found in the top left corner.
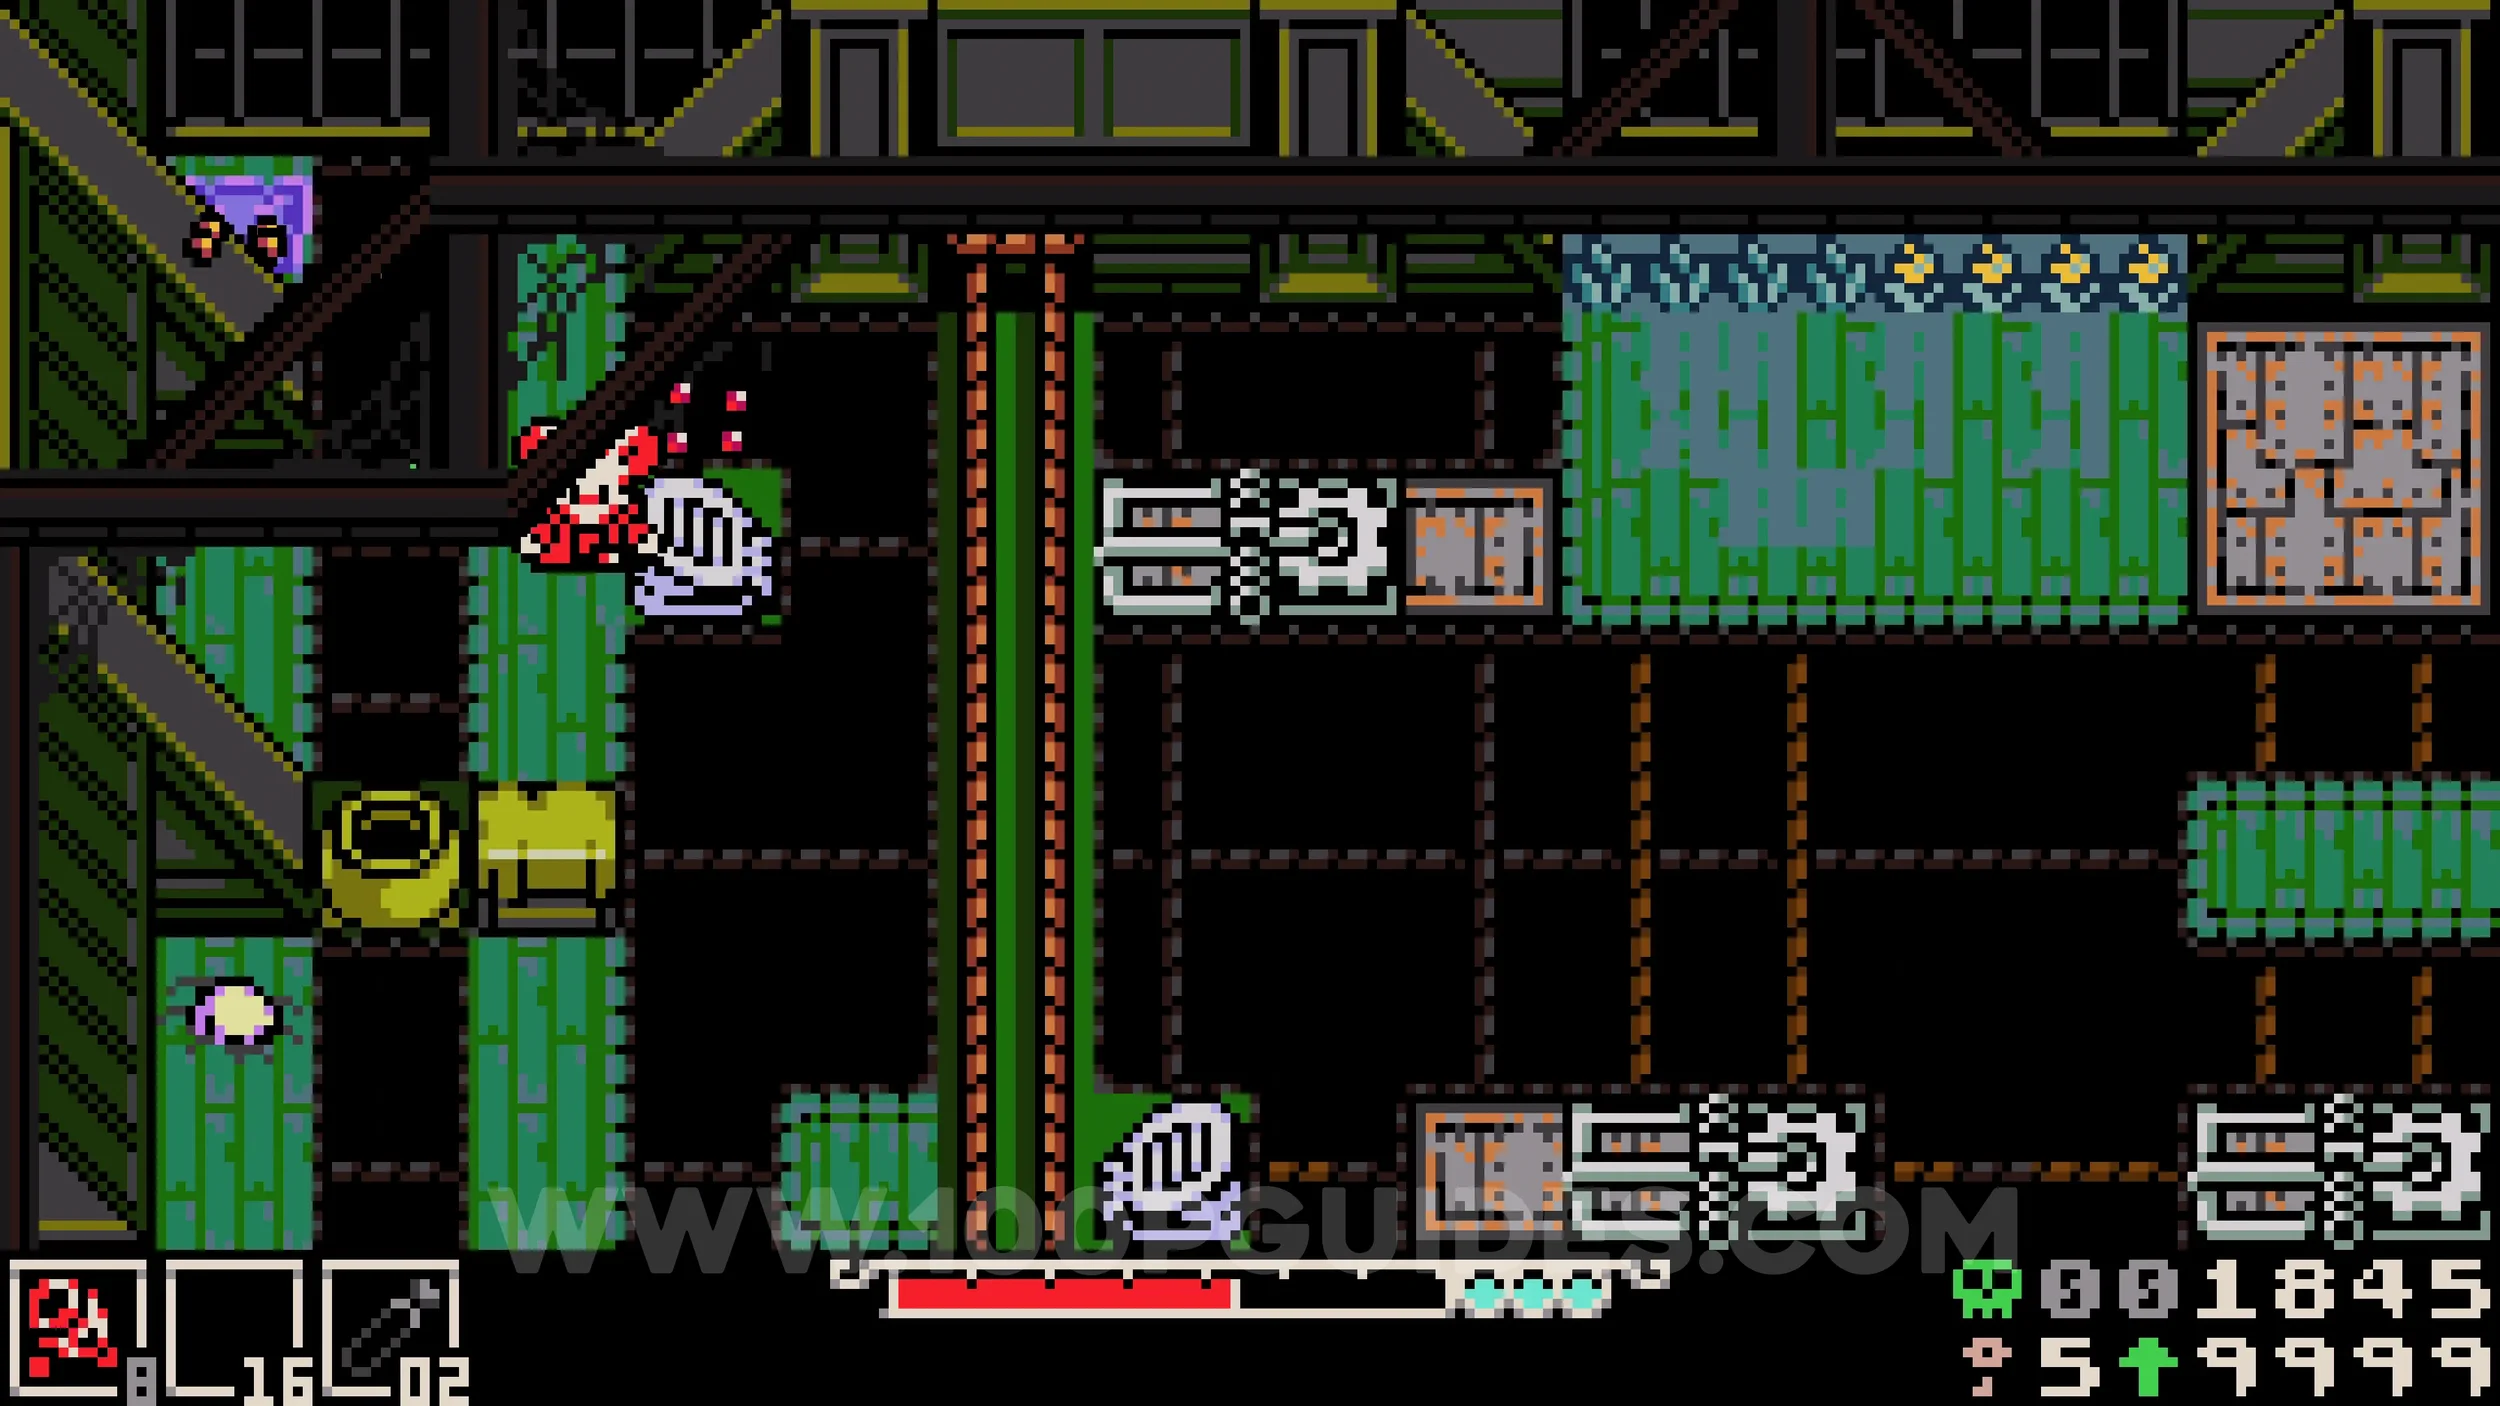
Bonestone #1. In the same room as the previous collectible. This time destroy the wall in the top right corner.
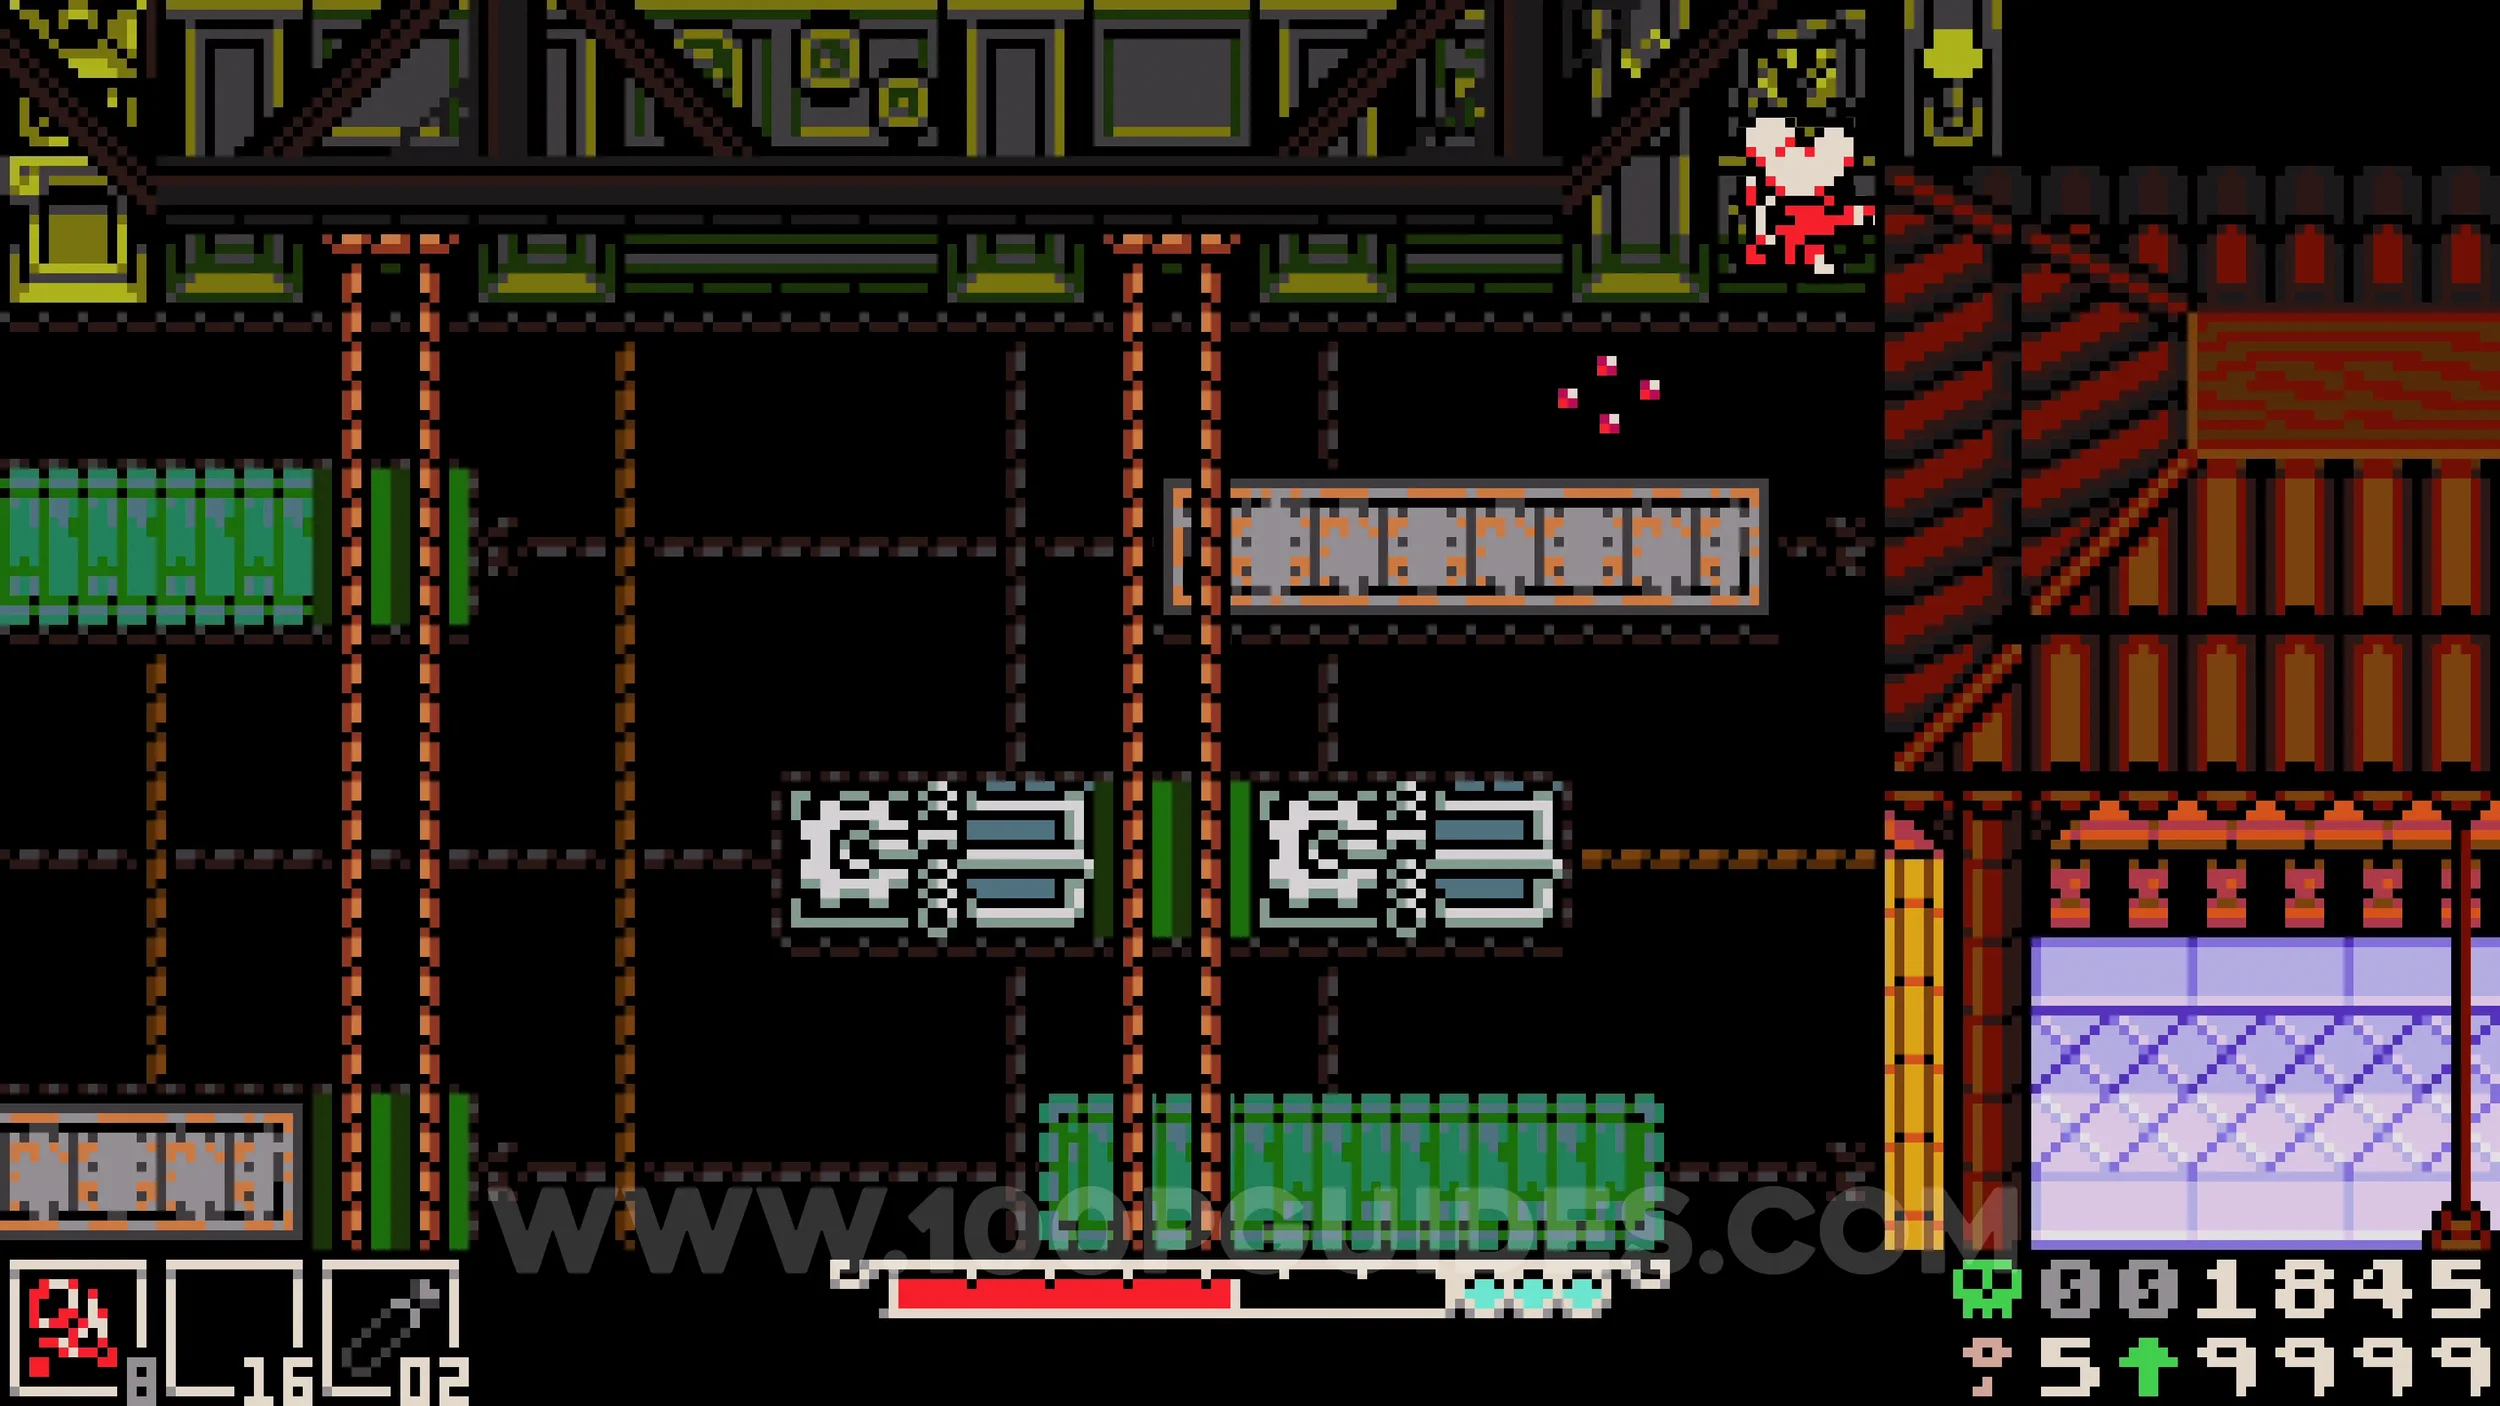
Cat #4. Once you circle back around to the upper left area of the first main large room and press the switch to clear the spikes blocking the path to the two pillars, go through the hole above the switch and hit the dirt patch on the other side.
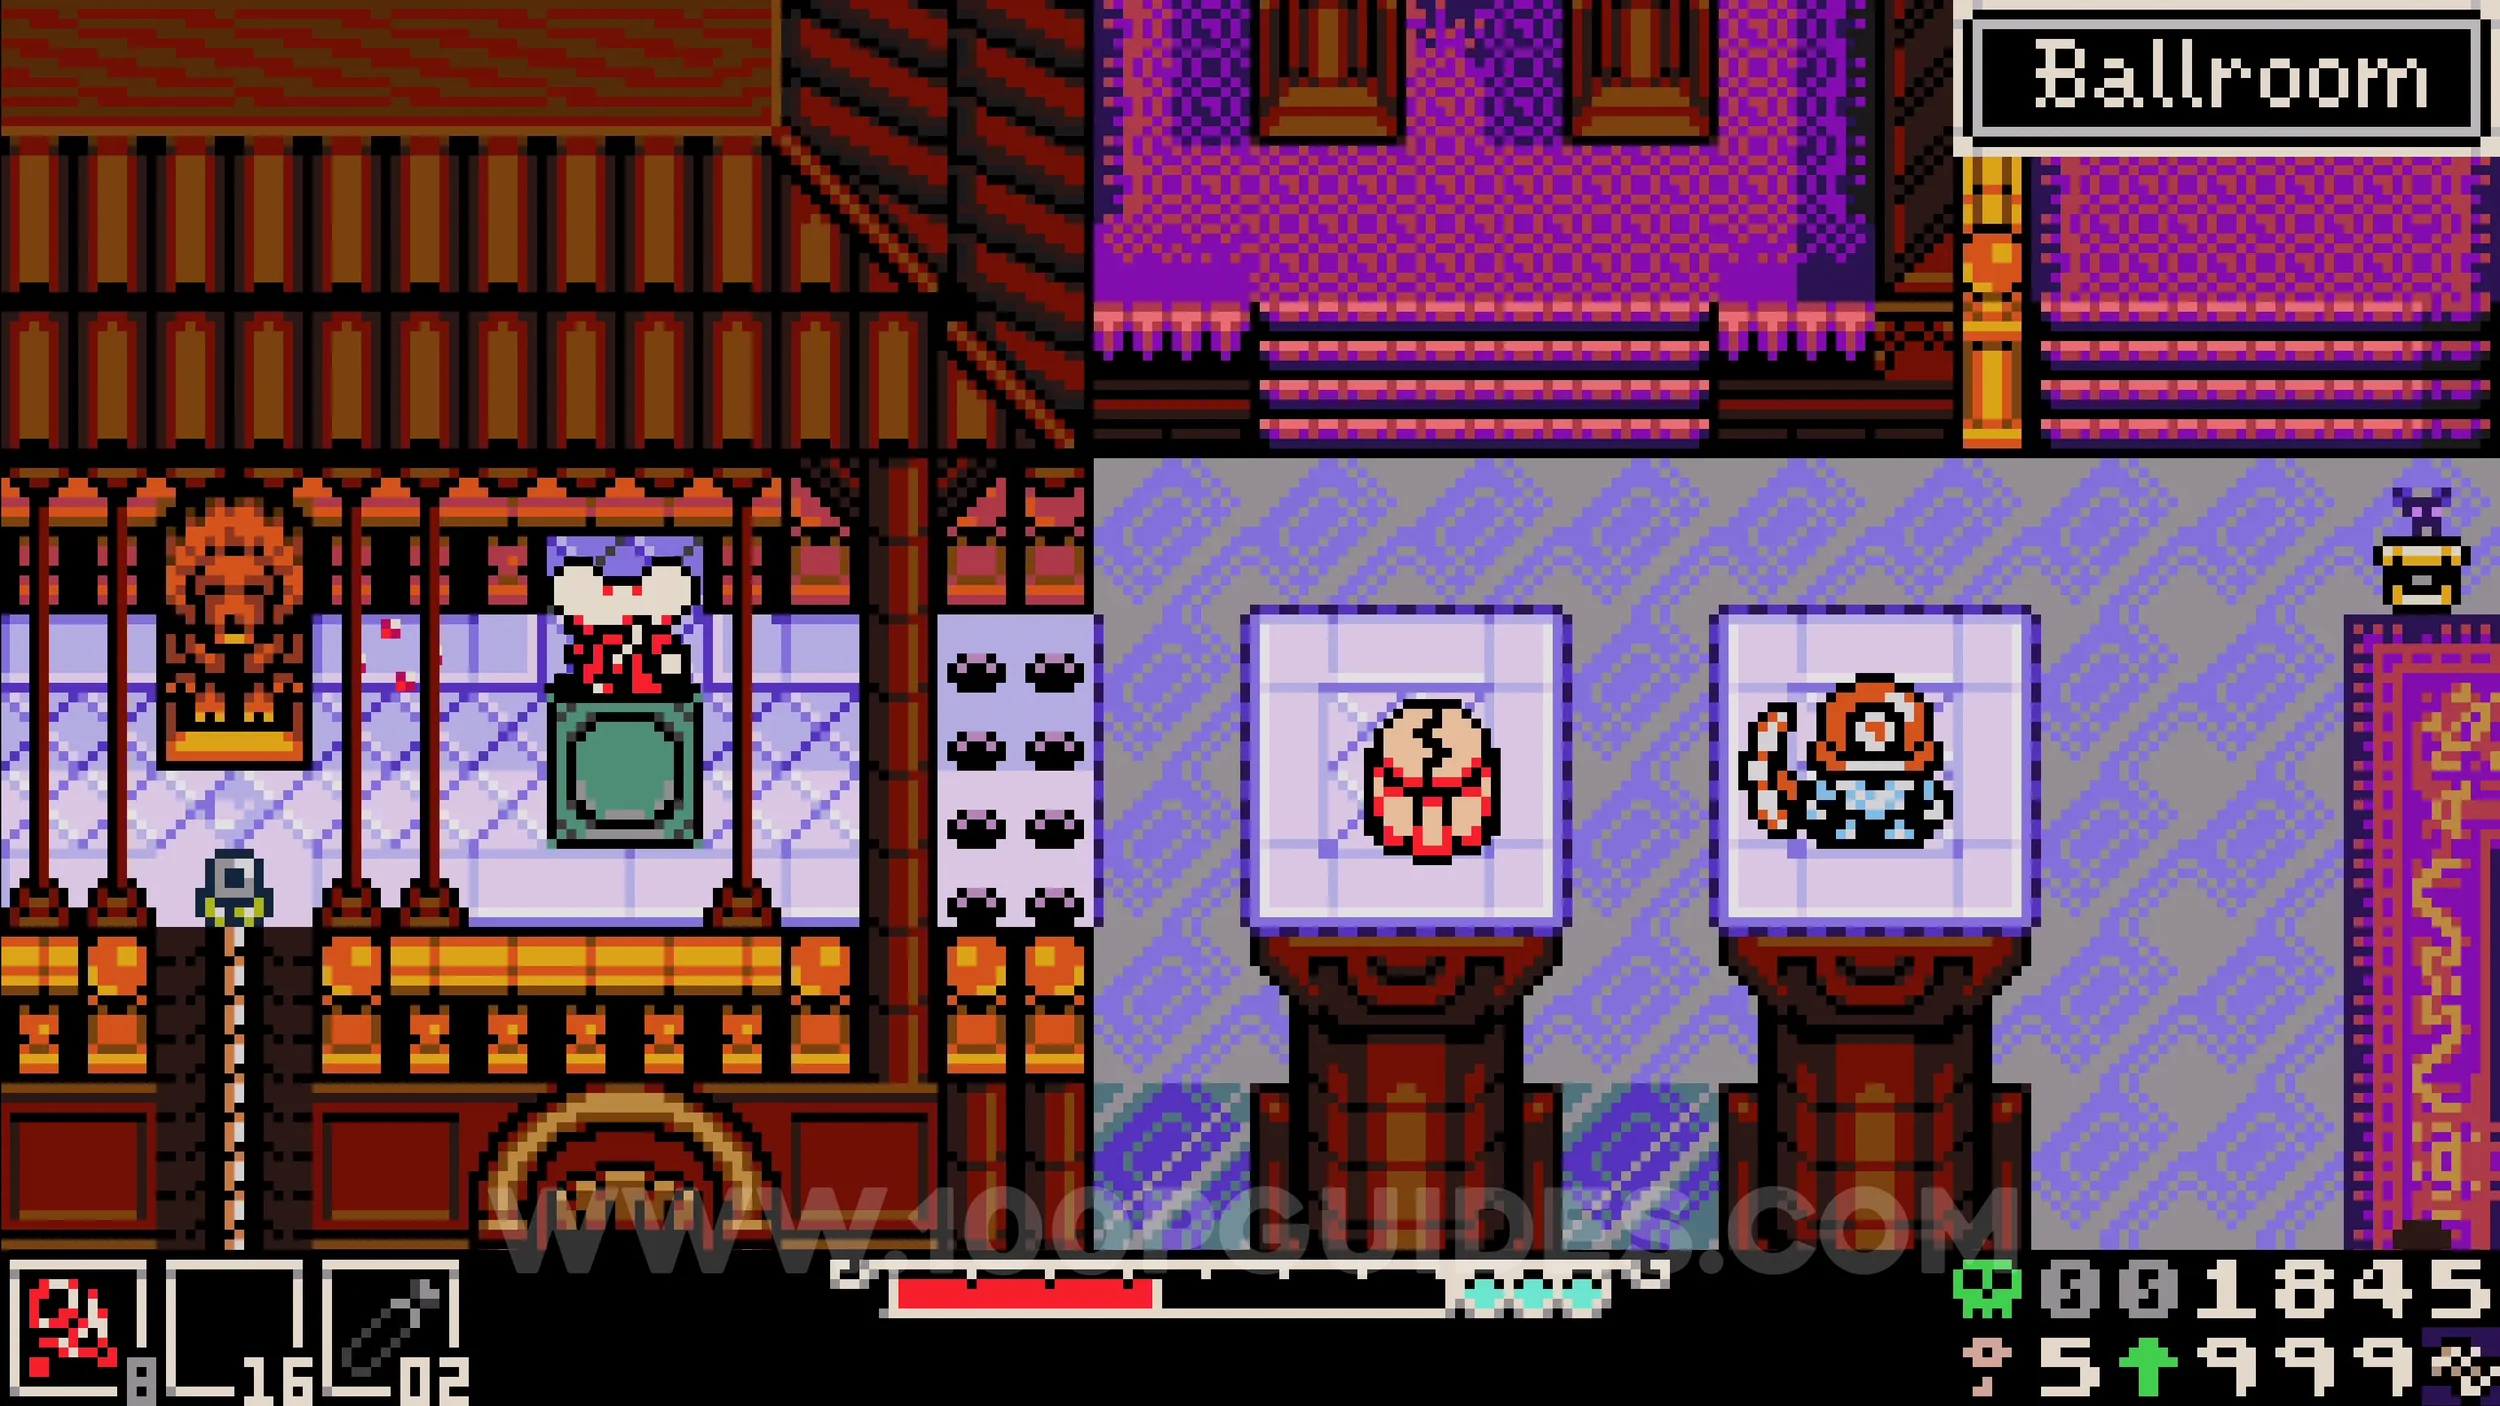
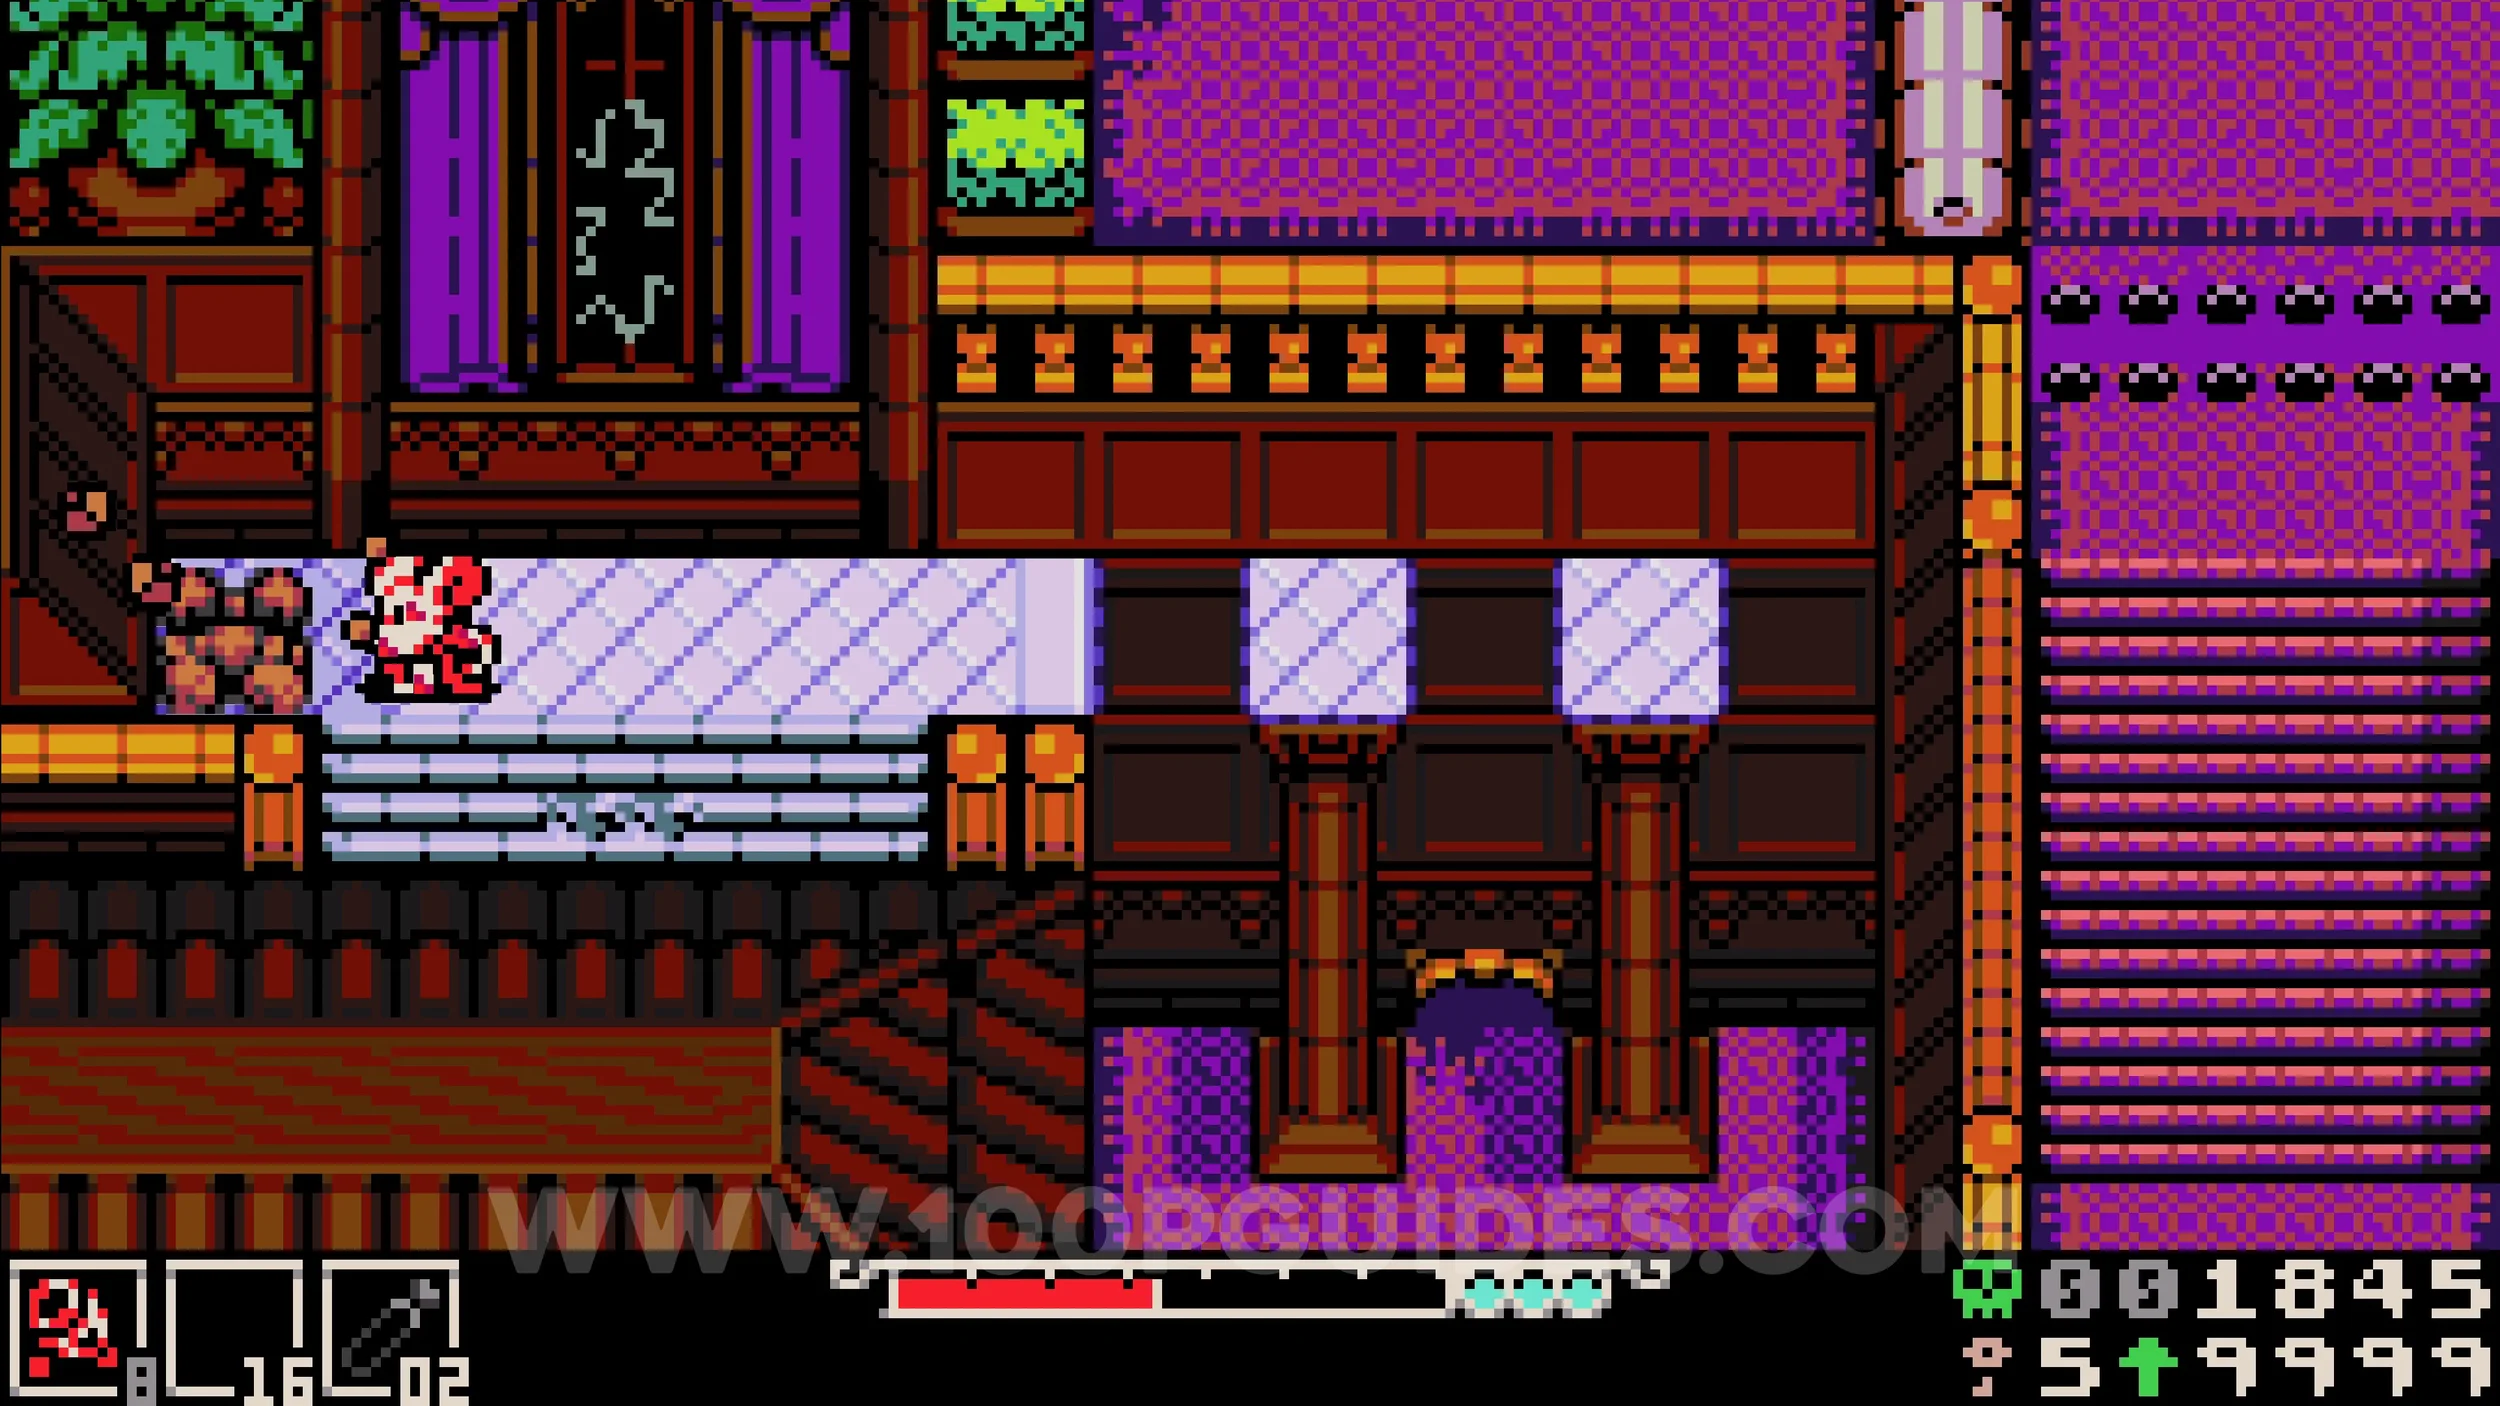
Cat #5. From the previous cat, go right and drop between the two small pillars, then go through the hole in the wall. In the next room, use a sidearm to destroy the chests and burrow under the wooden railing to reach the cat.
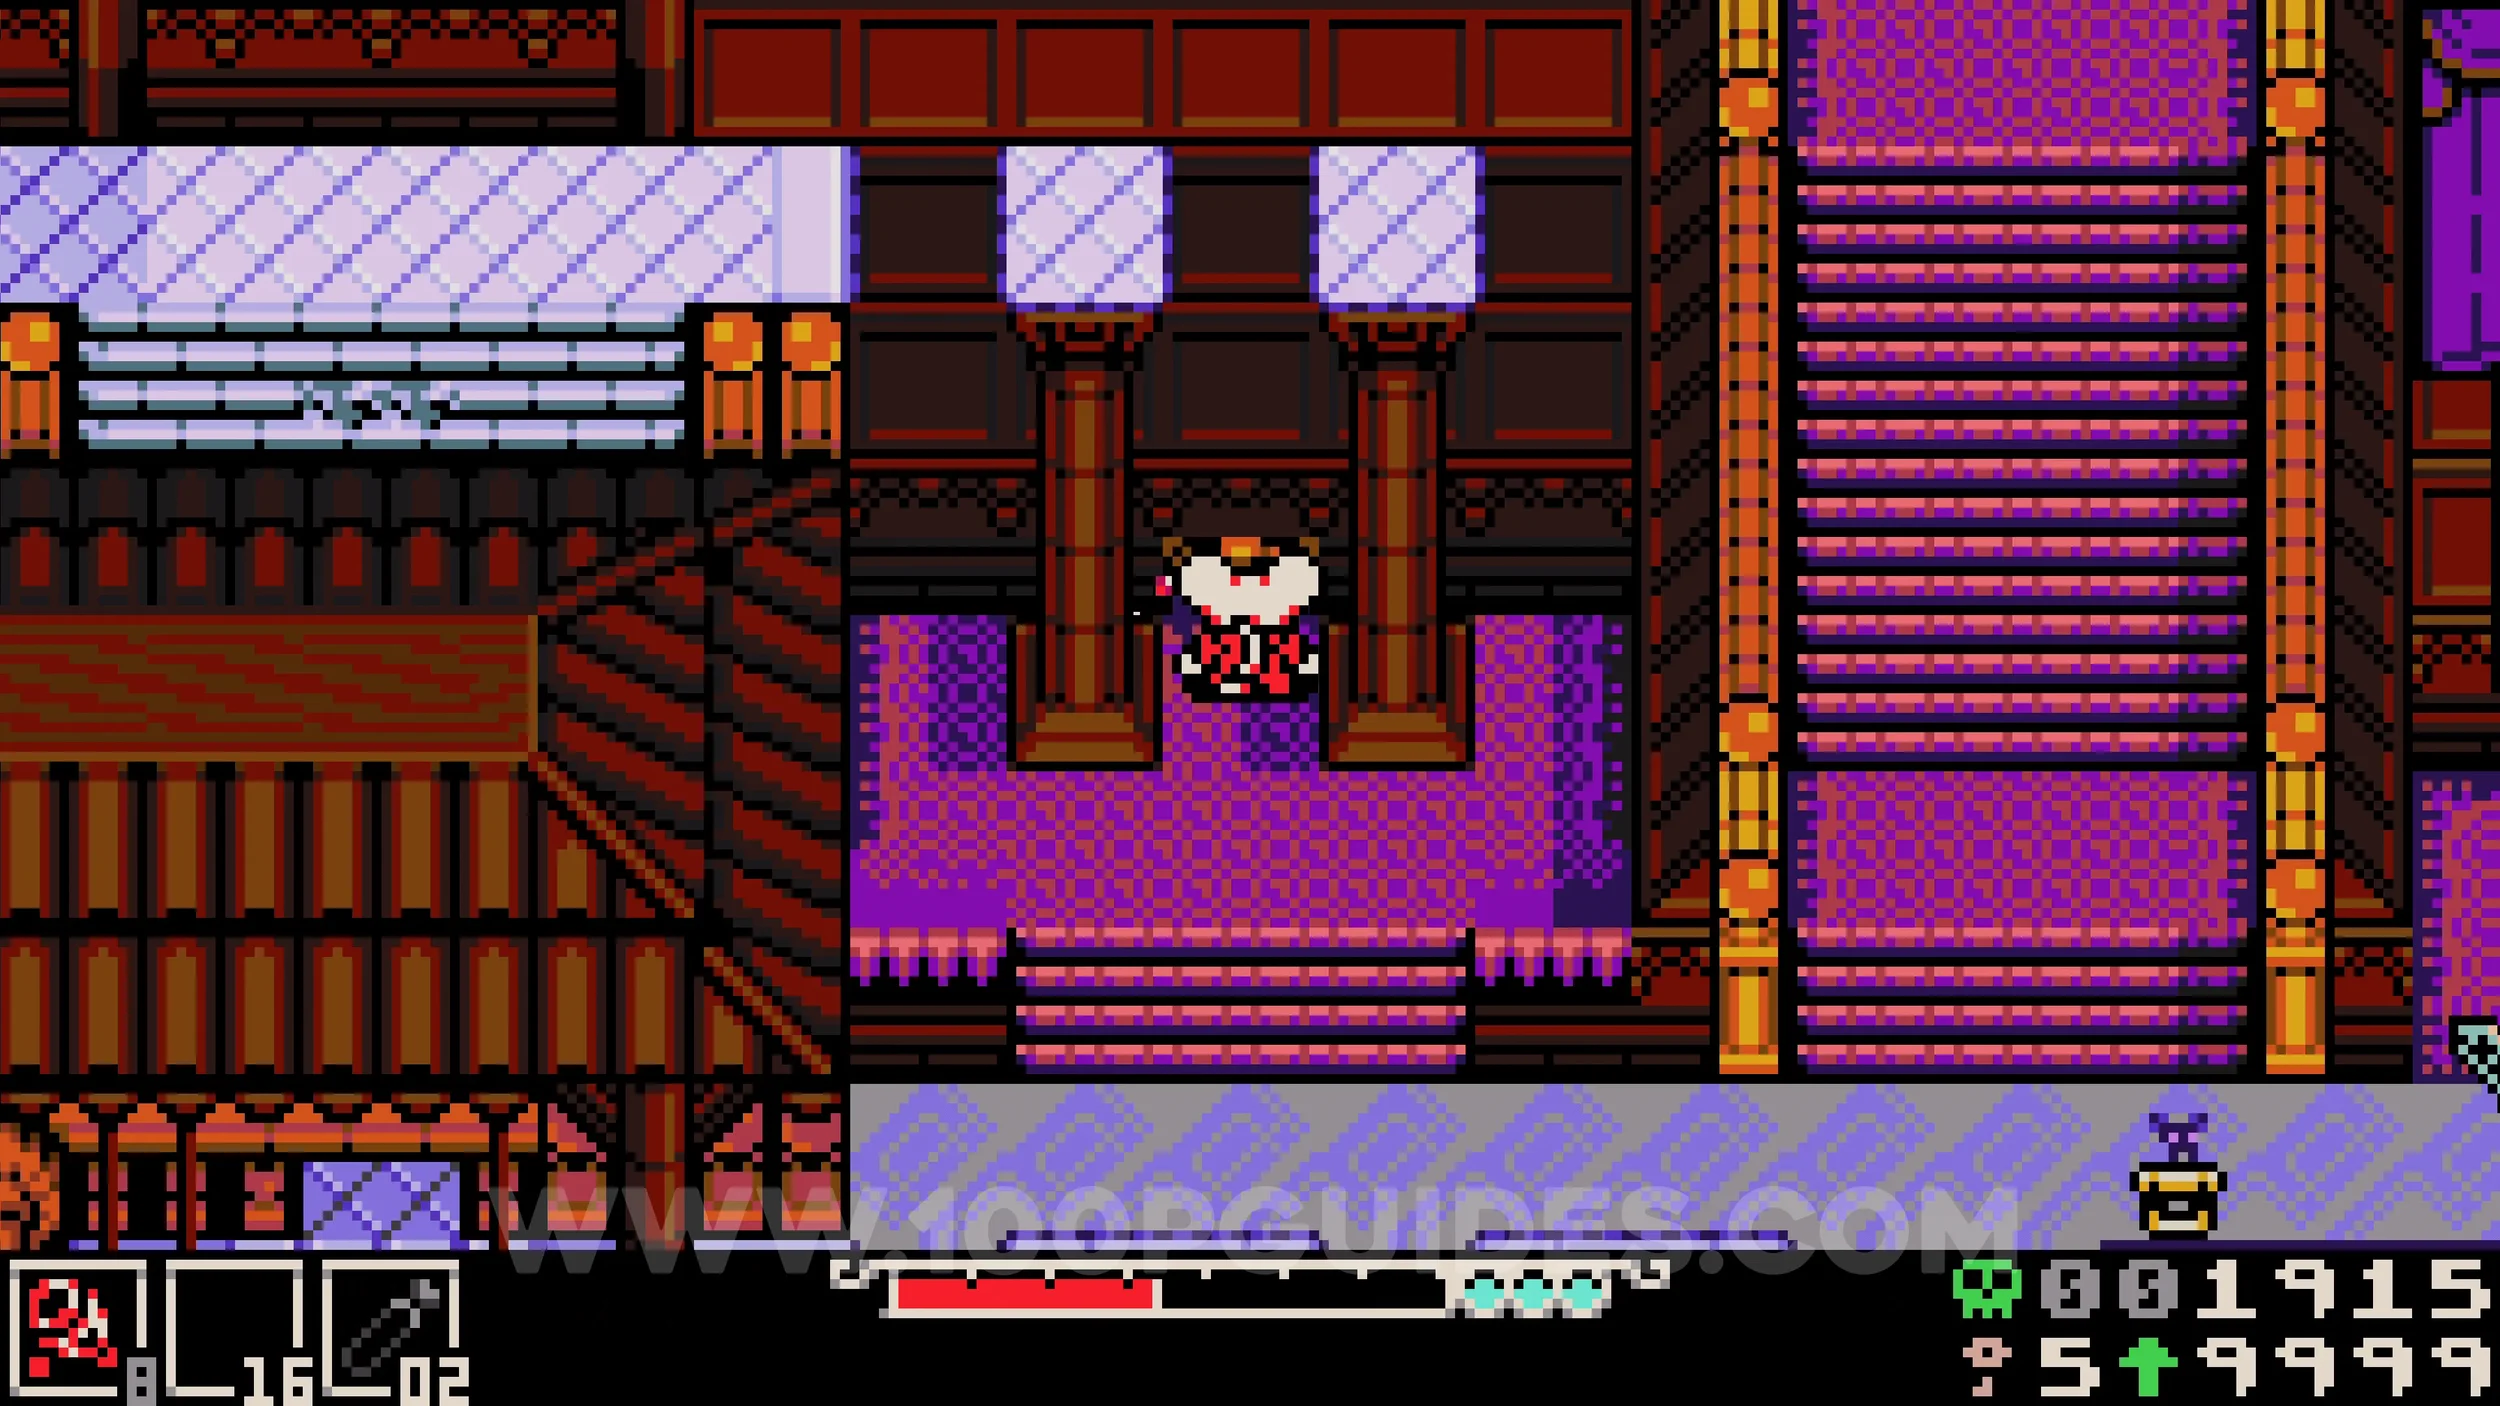
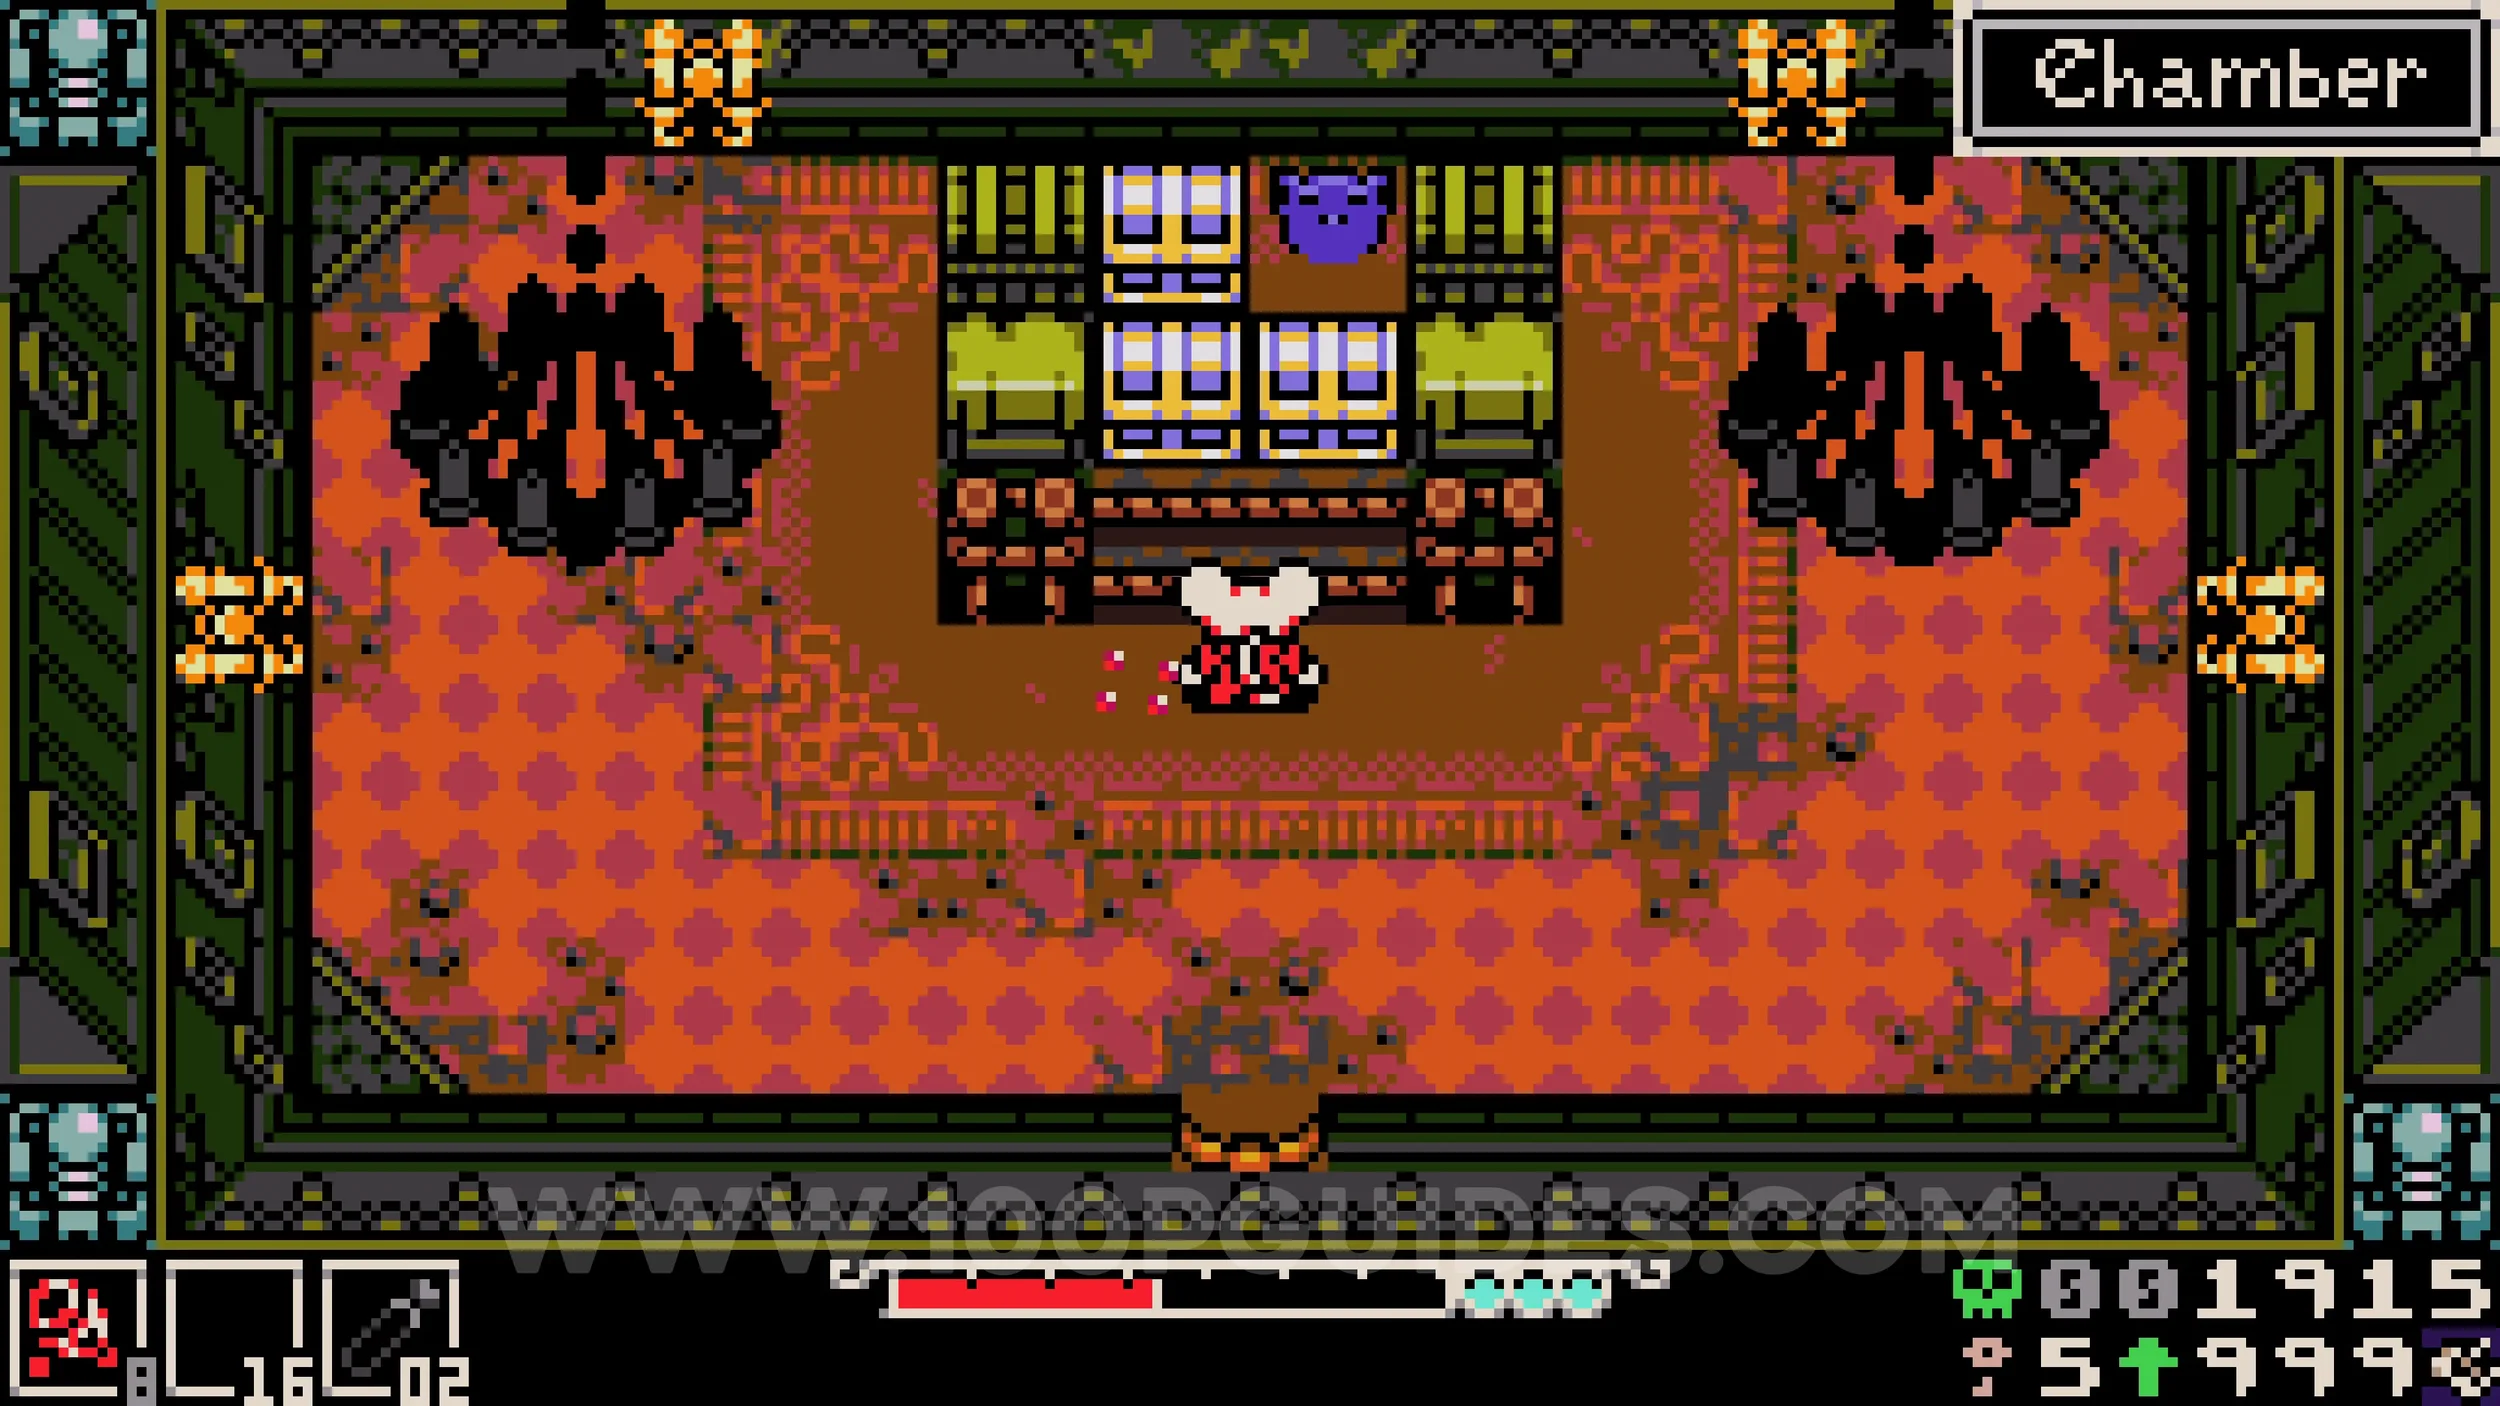
Trinket #2 - Spring Heels. After crossing the large pillars and continuing right from the main central room, press the switches to lower the spikes and clear the path. You will then reach a room with an underlab on a purple carpet. Look for a hole in the railing at the bottom of the screen, burrow through it, and talk to the soldier in the next room. He will sell you the collectibles.
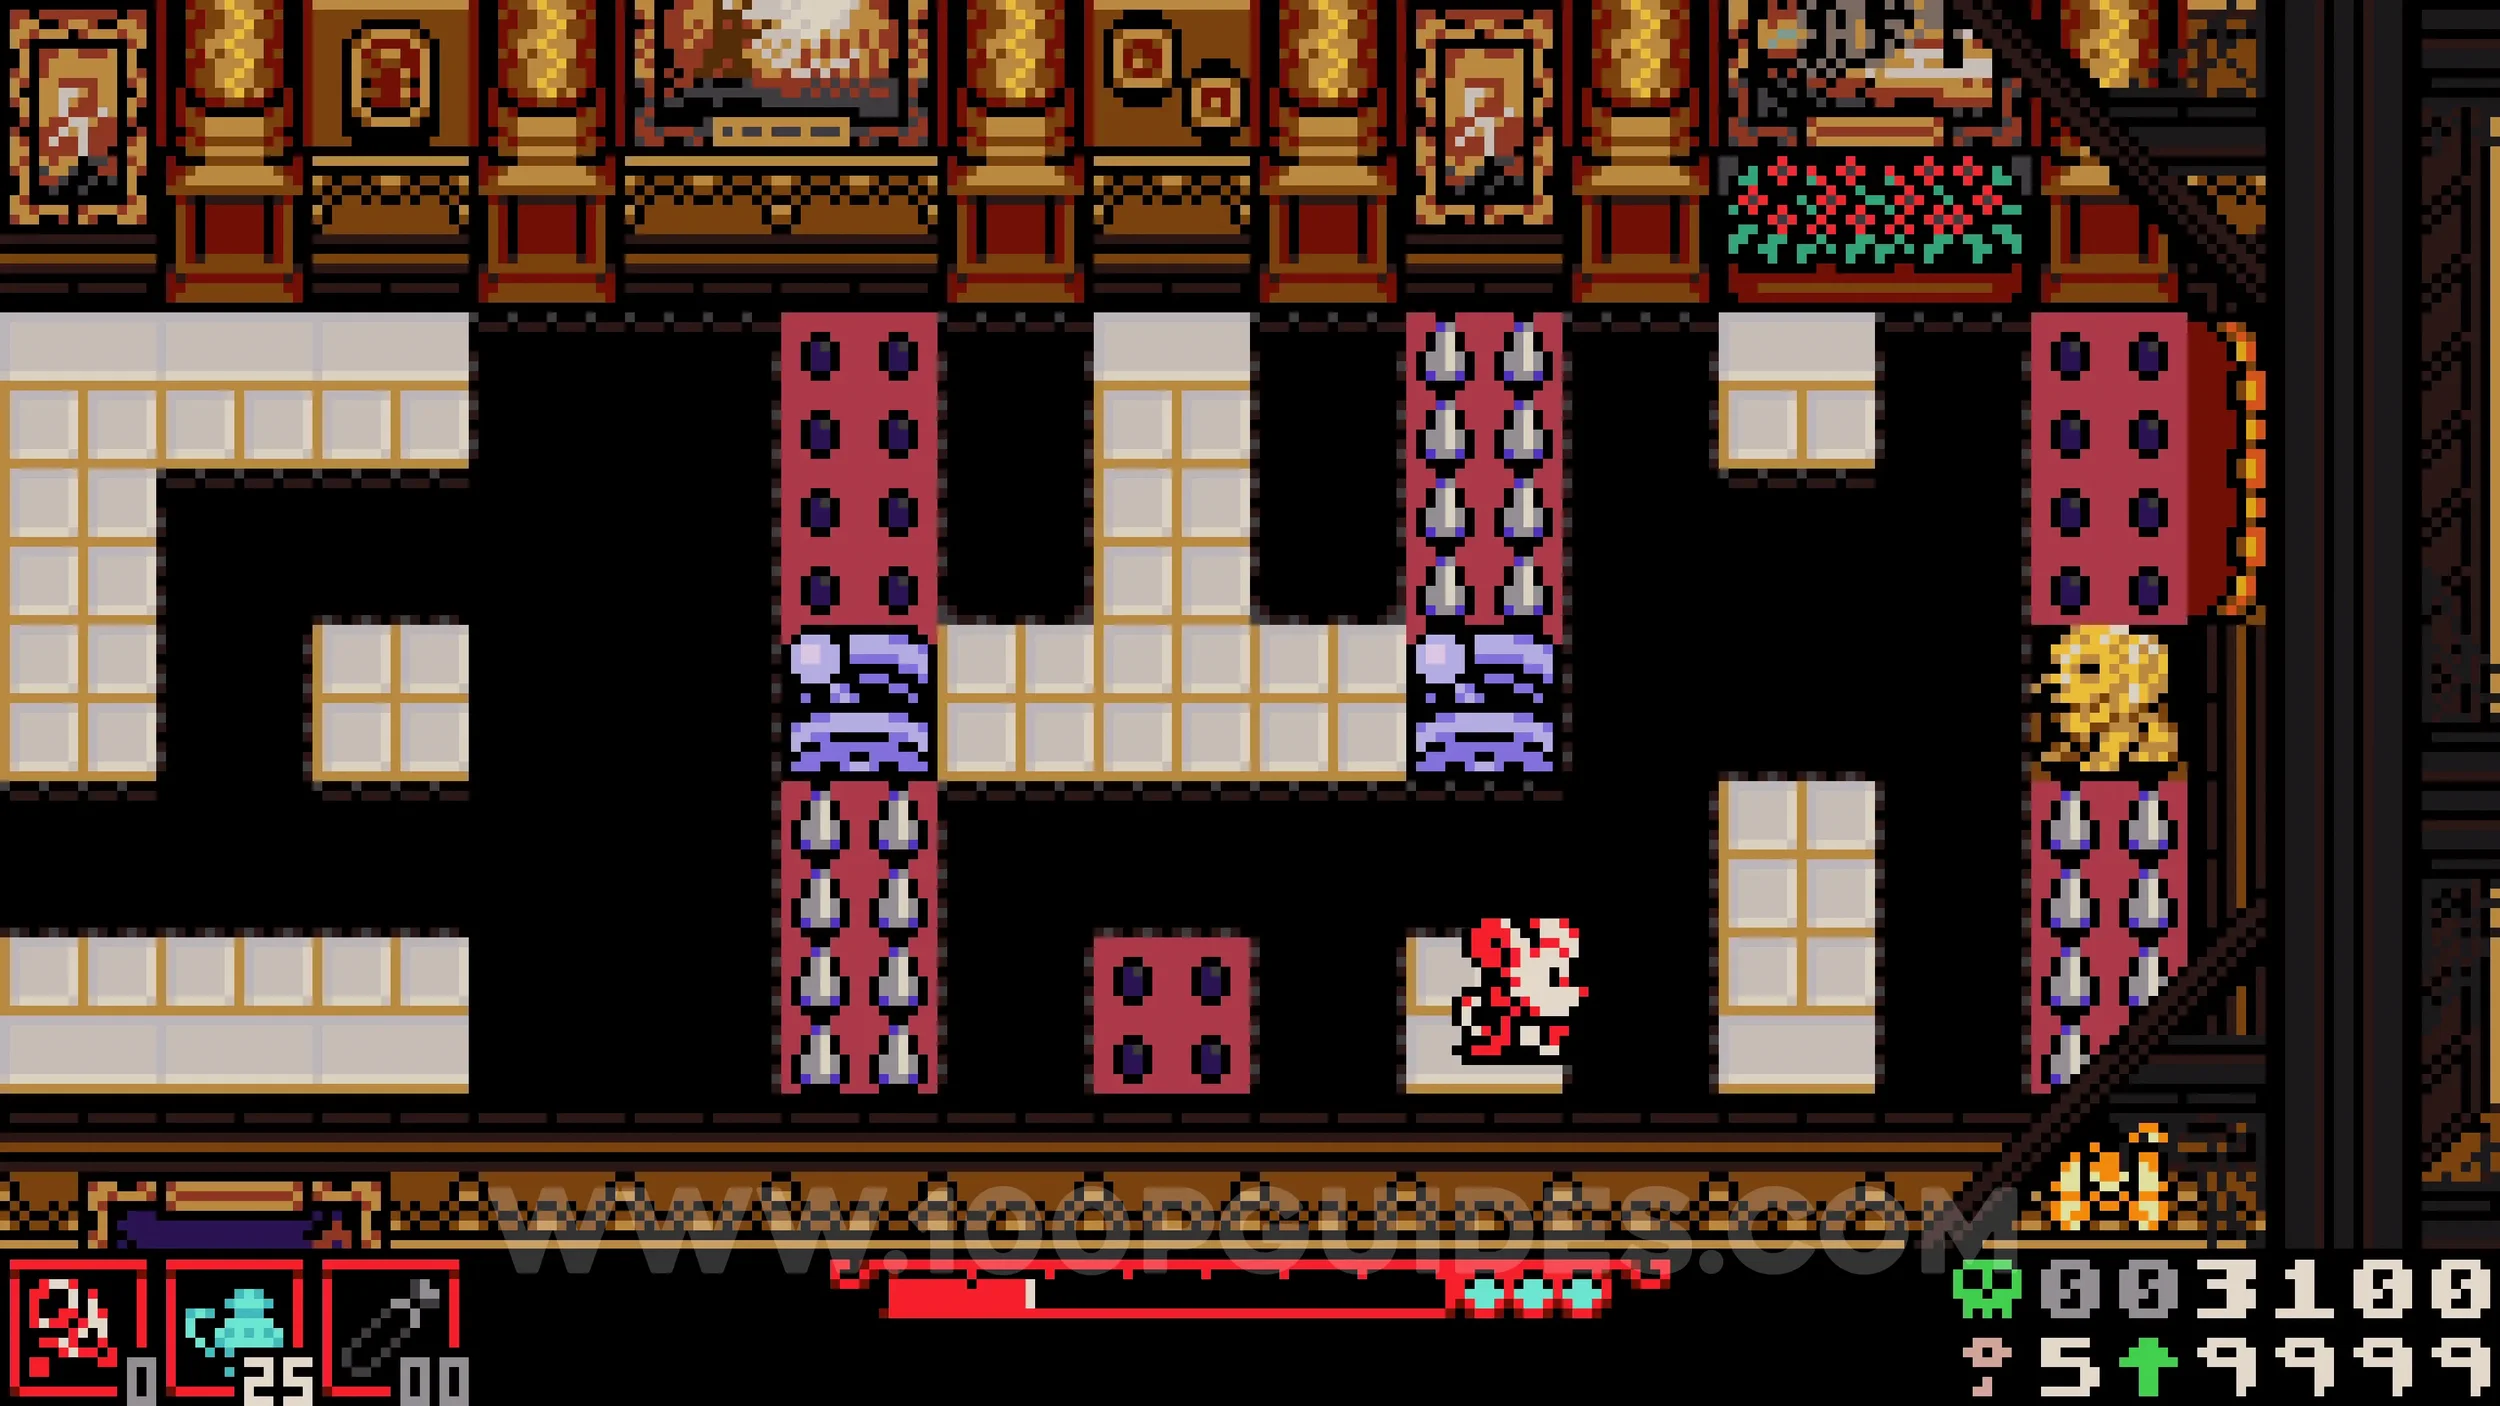
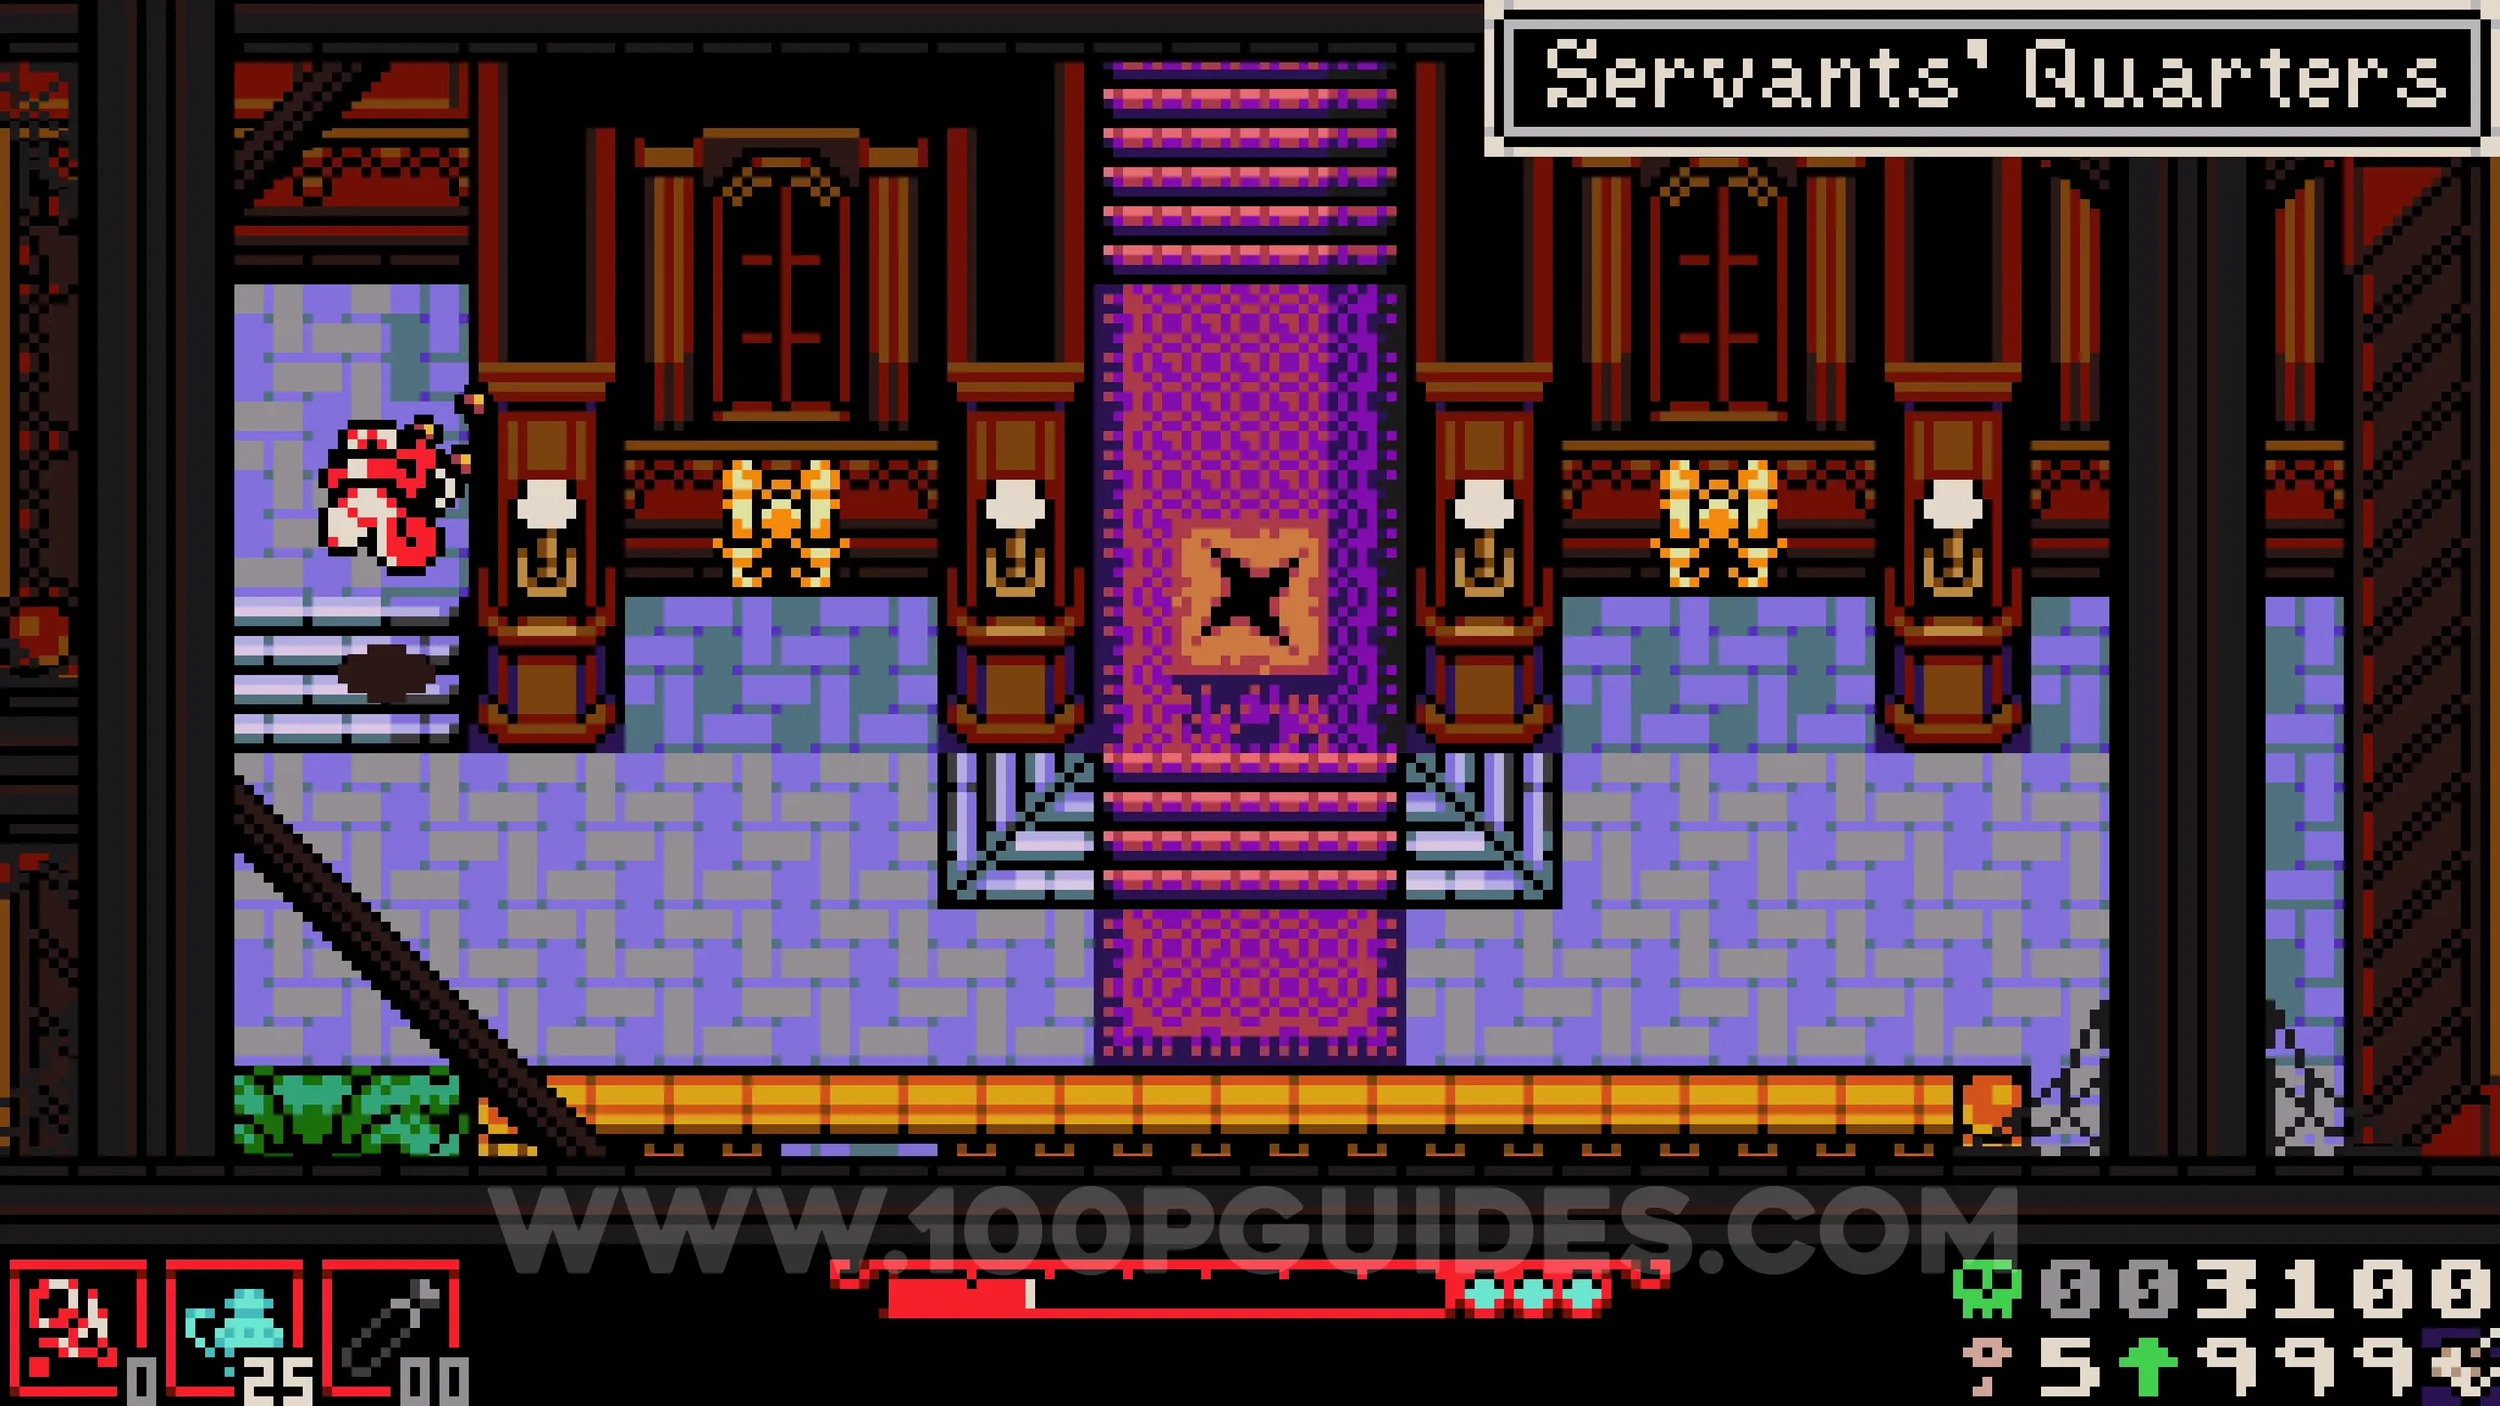
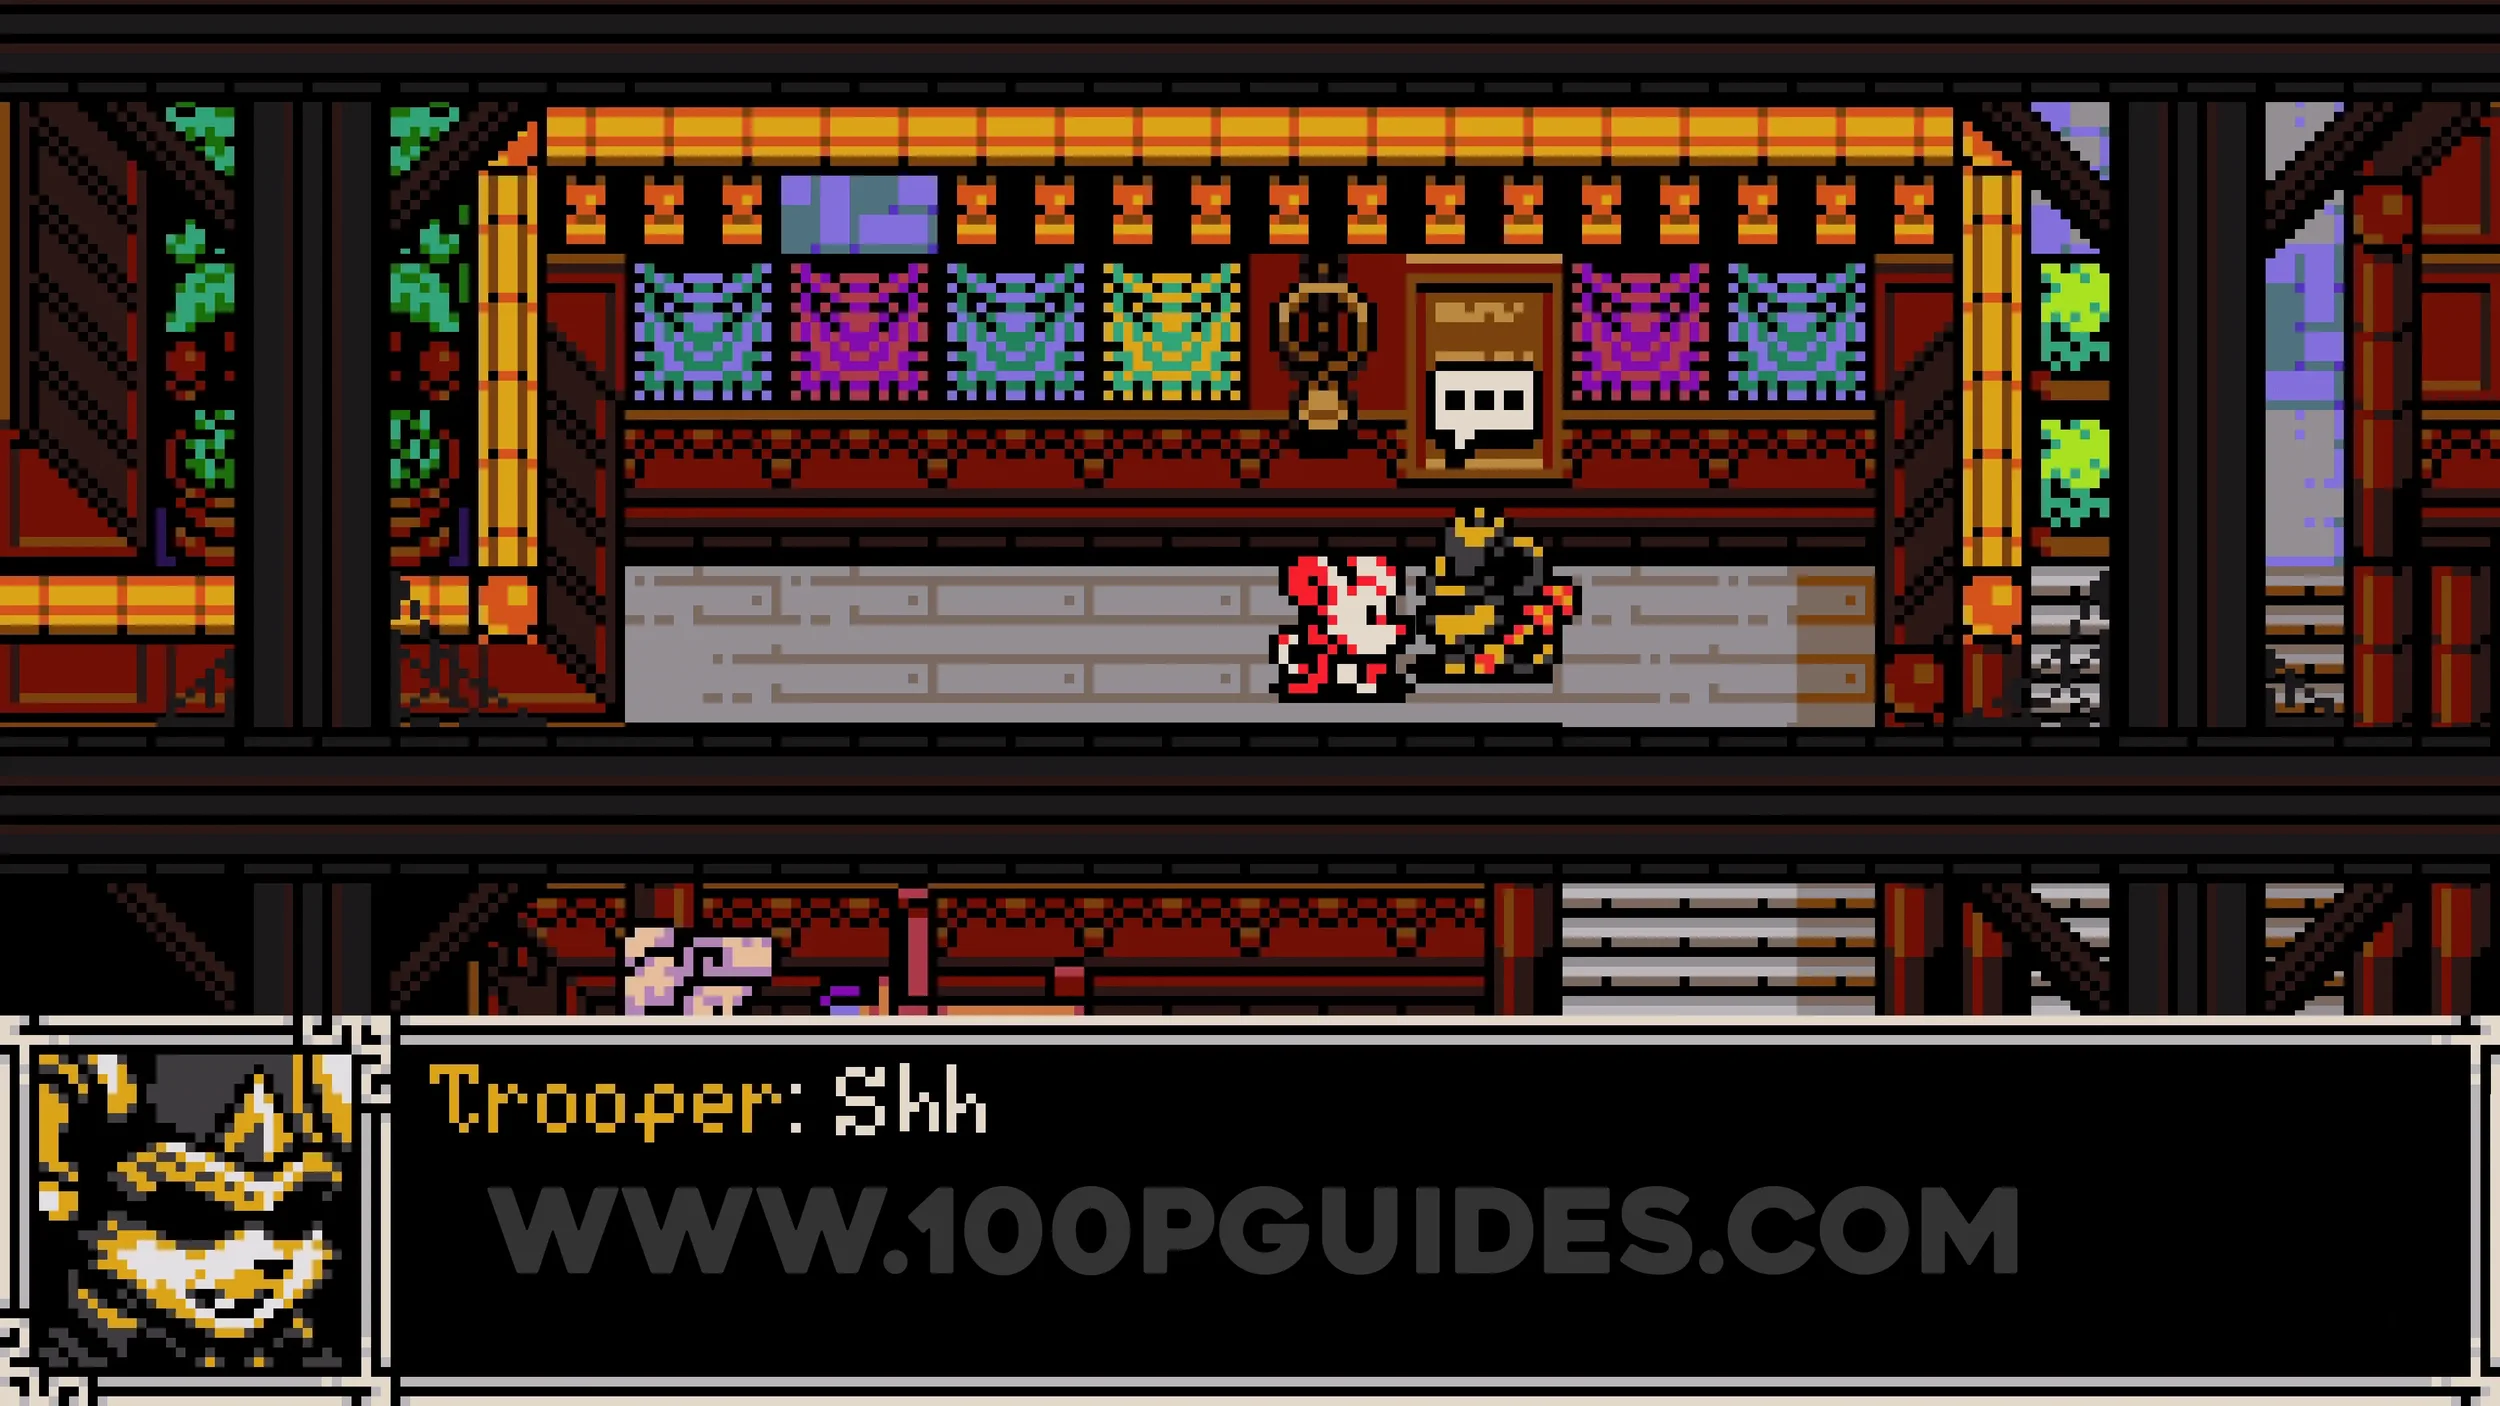
Cat #6. Burrow under the shop NPC that sold you the previous collectible and then break the wall on the left side of the room to find the cat.
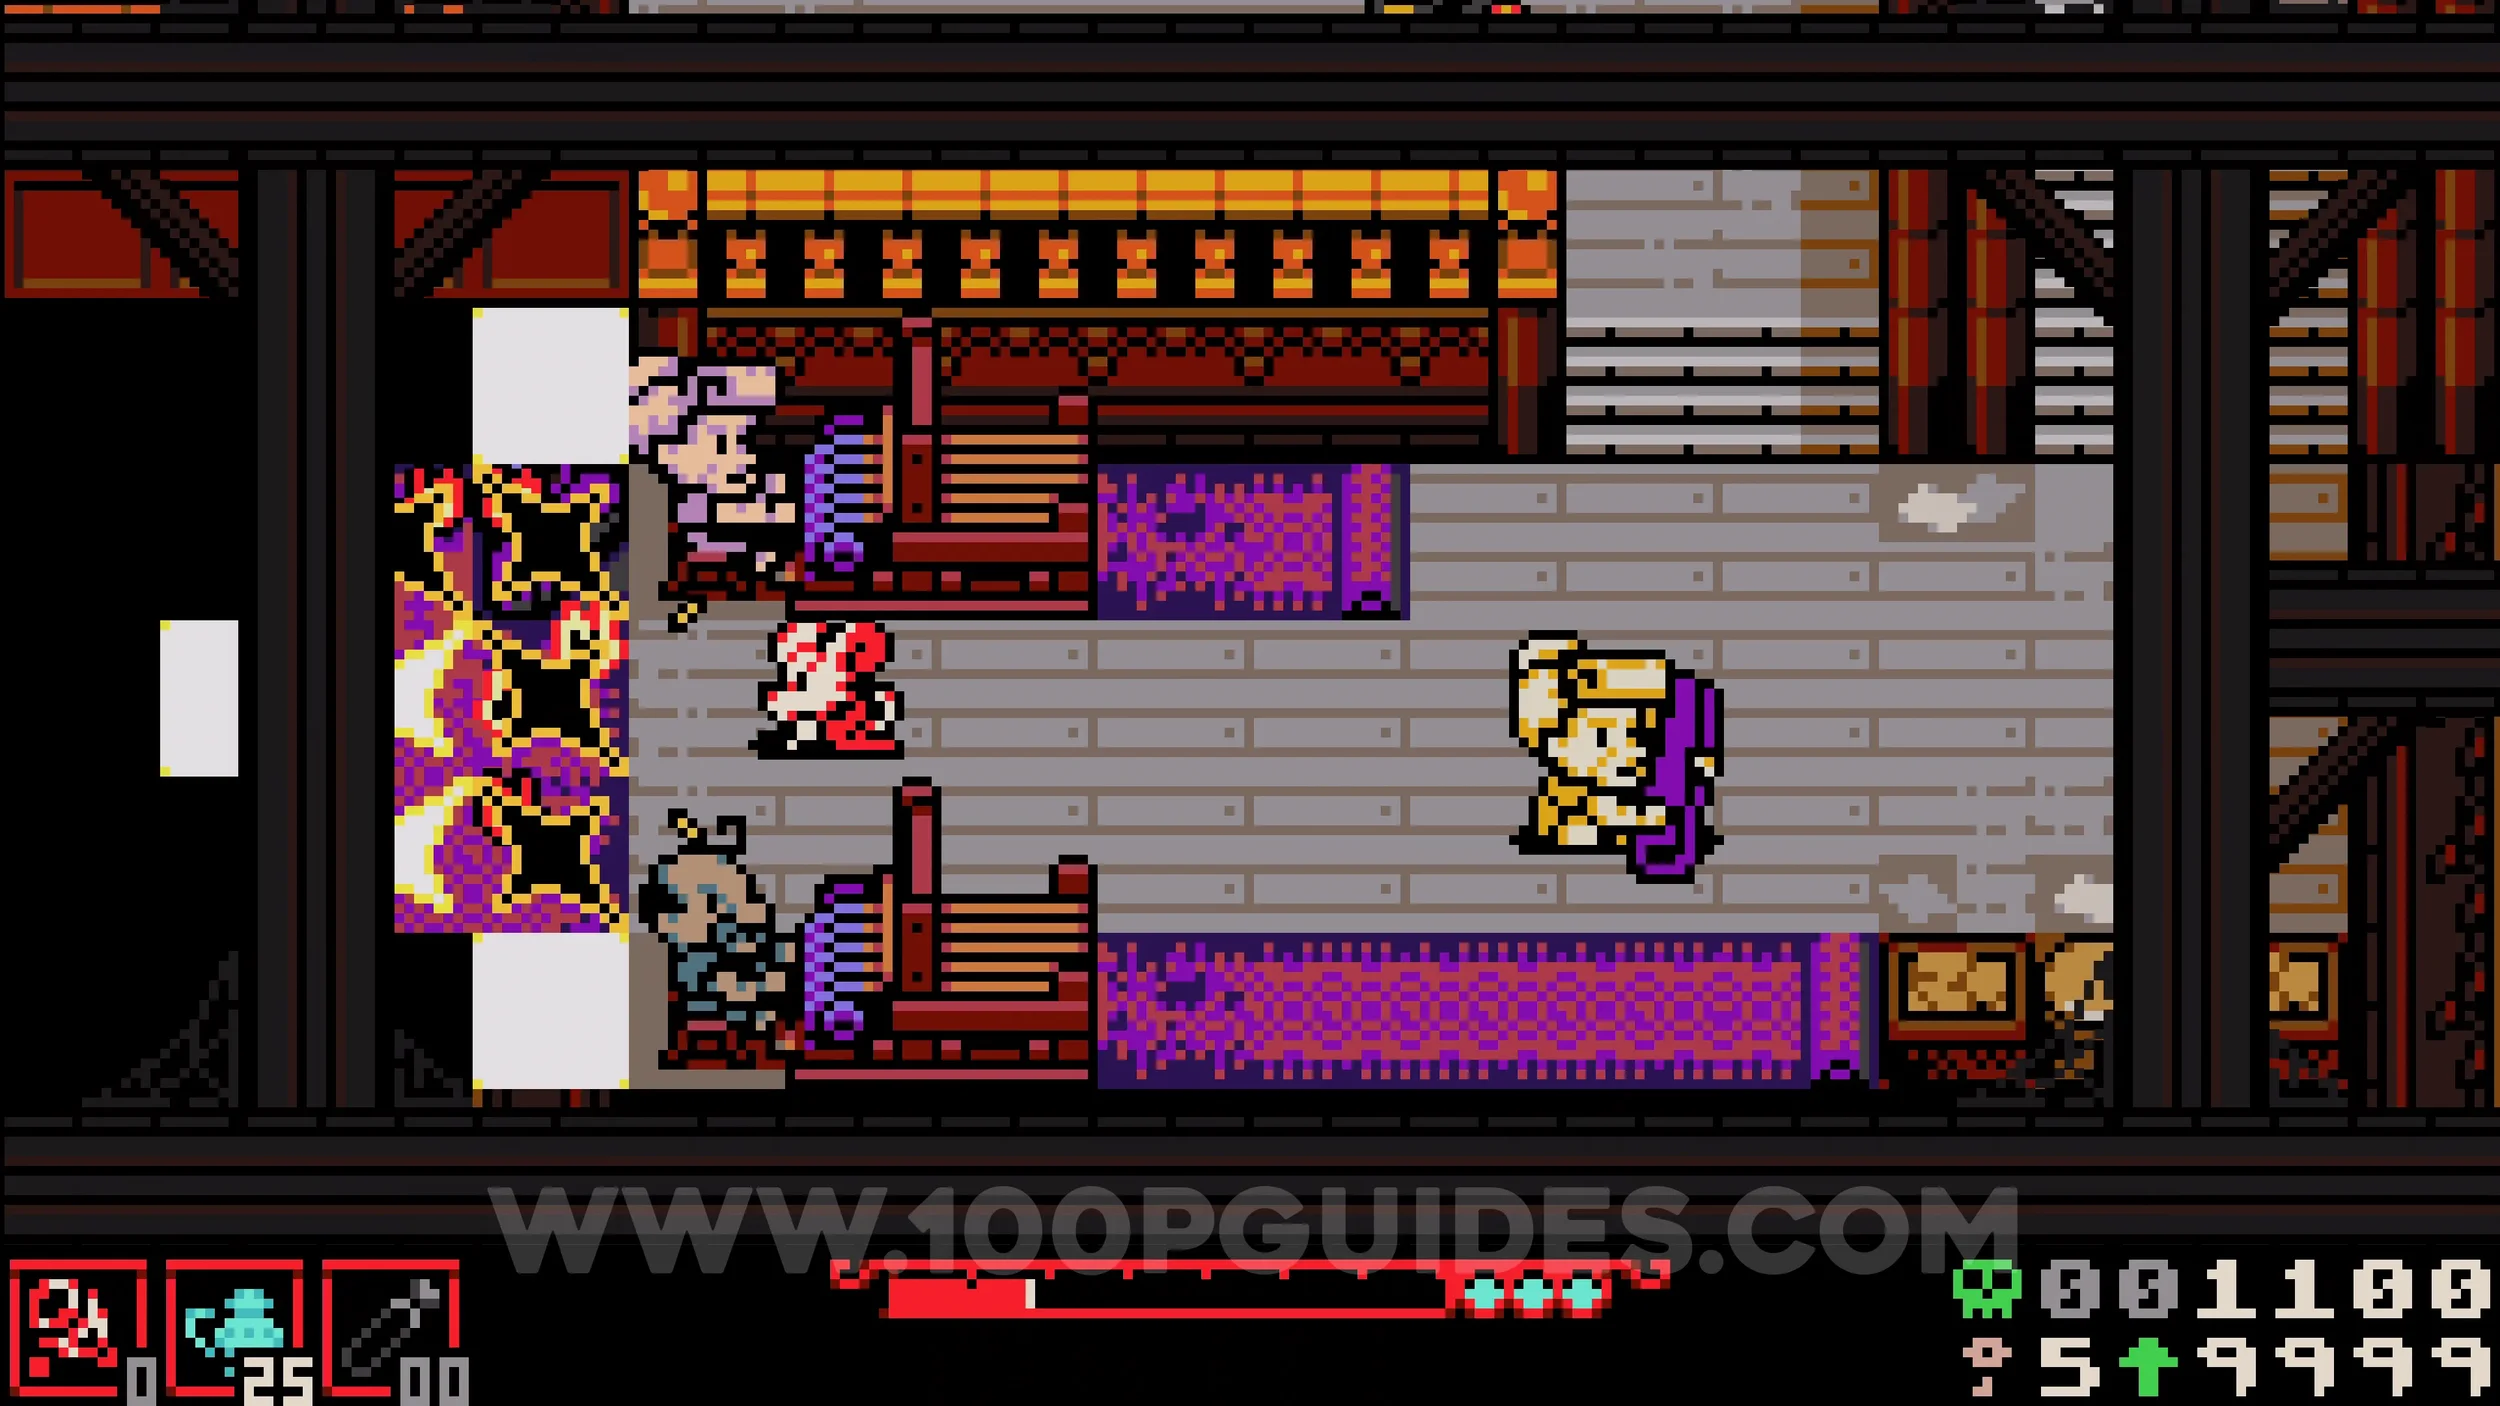
Cat #7. Continue on the main path past the underlab and defeat the miniboss. You will eventually reach a section with glass windows you can see through. The cat is at the very end of the glass section, behind the windows.
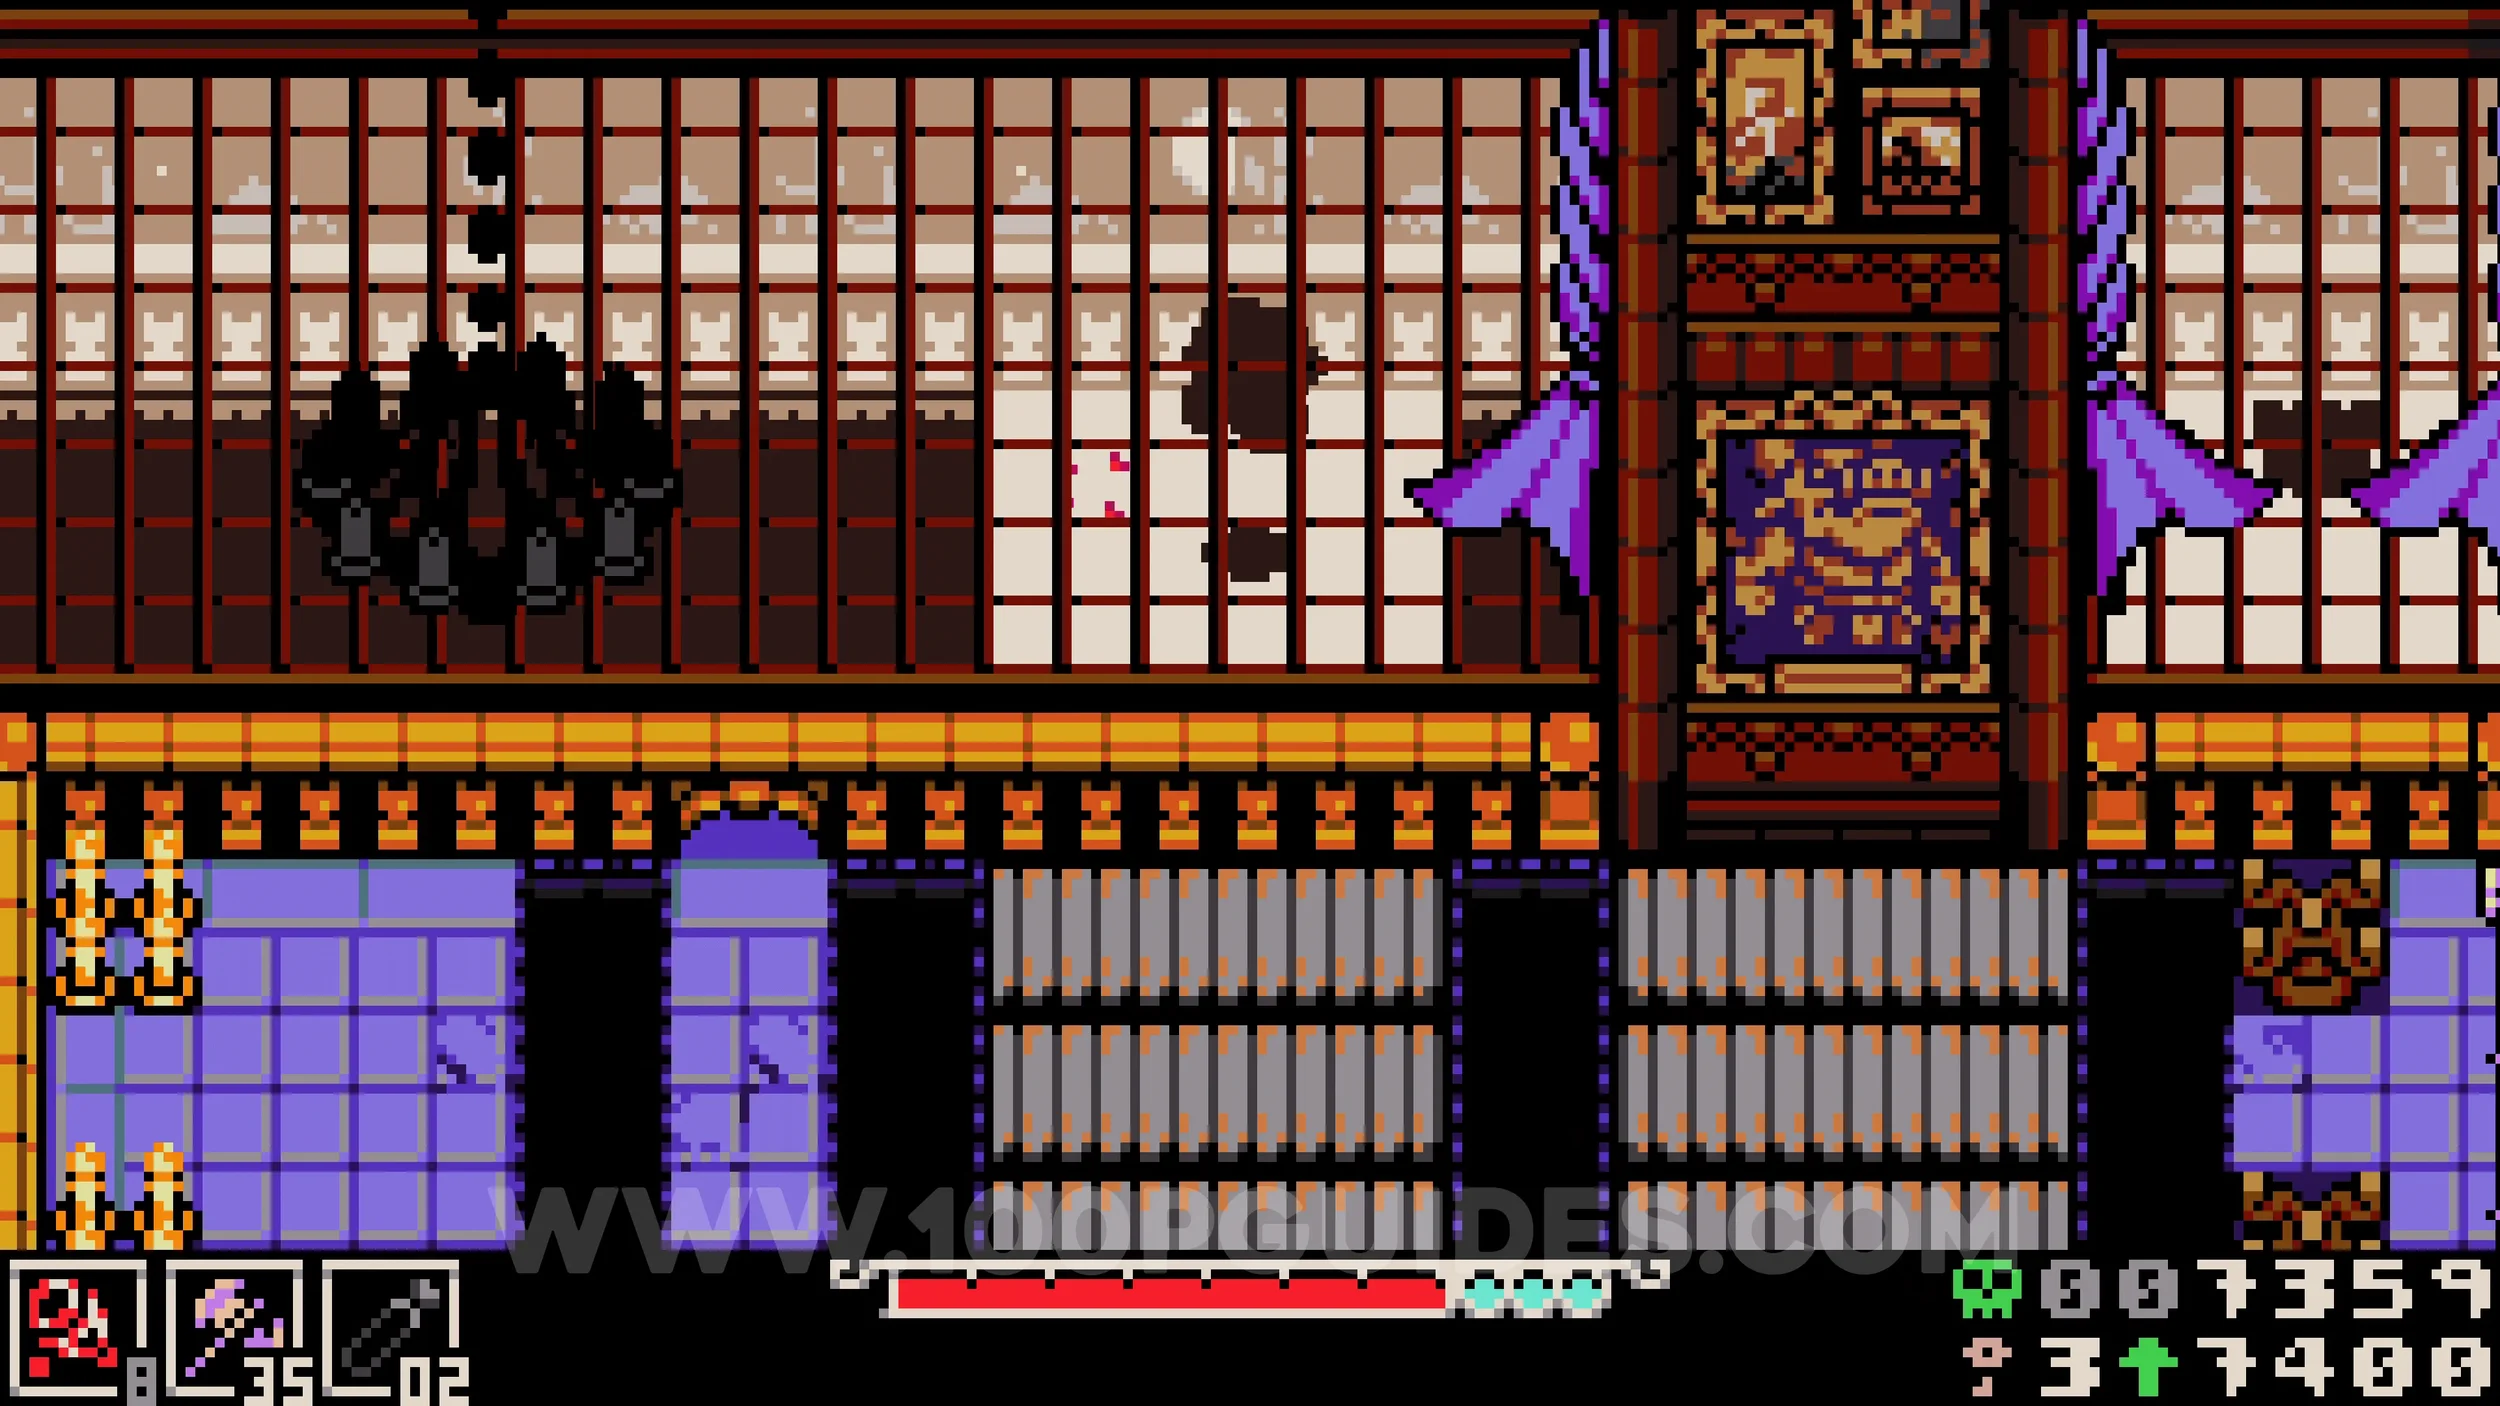
Bonestone #2. Once you circle back around to the main central room for the second time, you will be at the very top where you can press the switches to clear the spikes. Use the jump pad to the right of the large enemy and head right to find the chest.
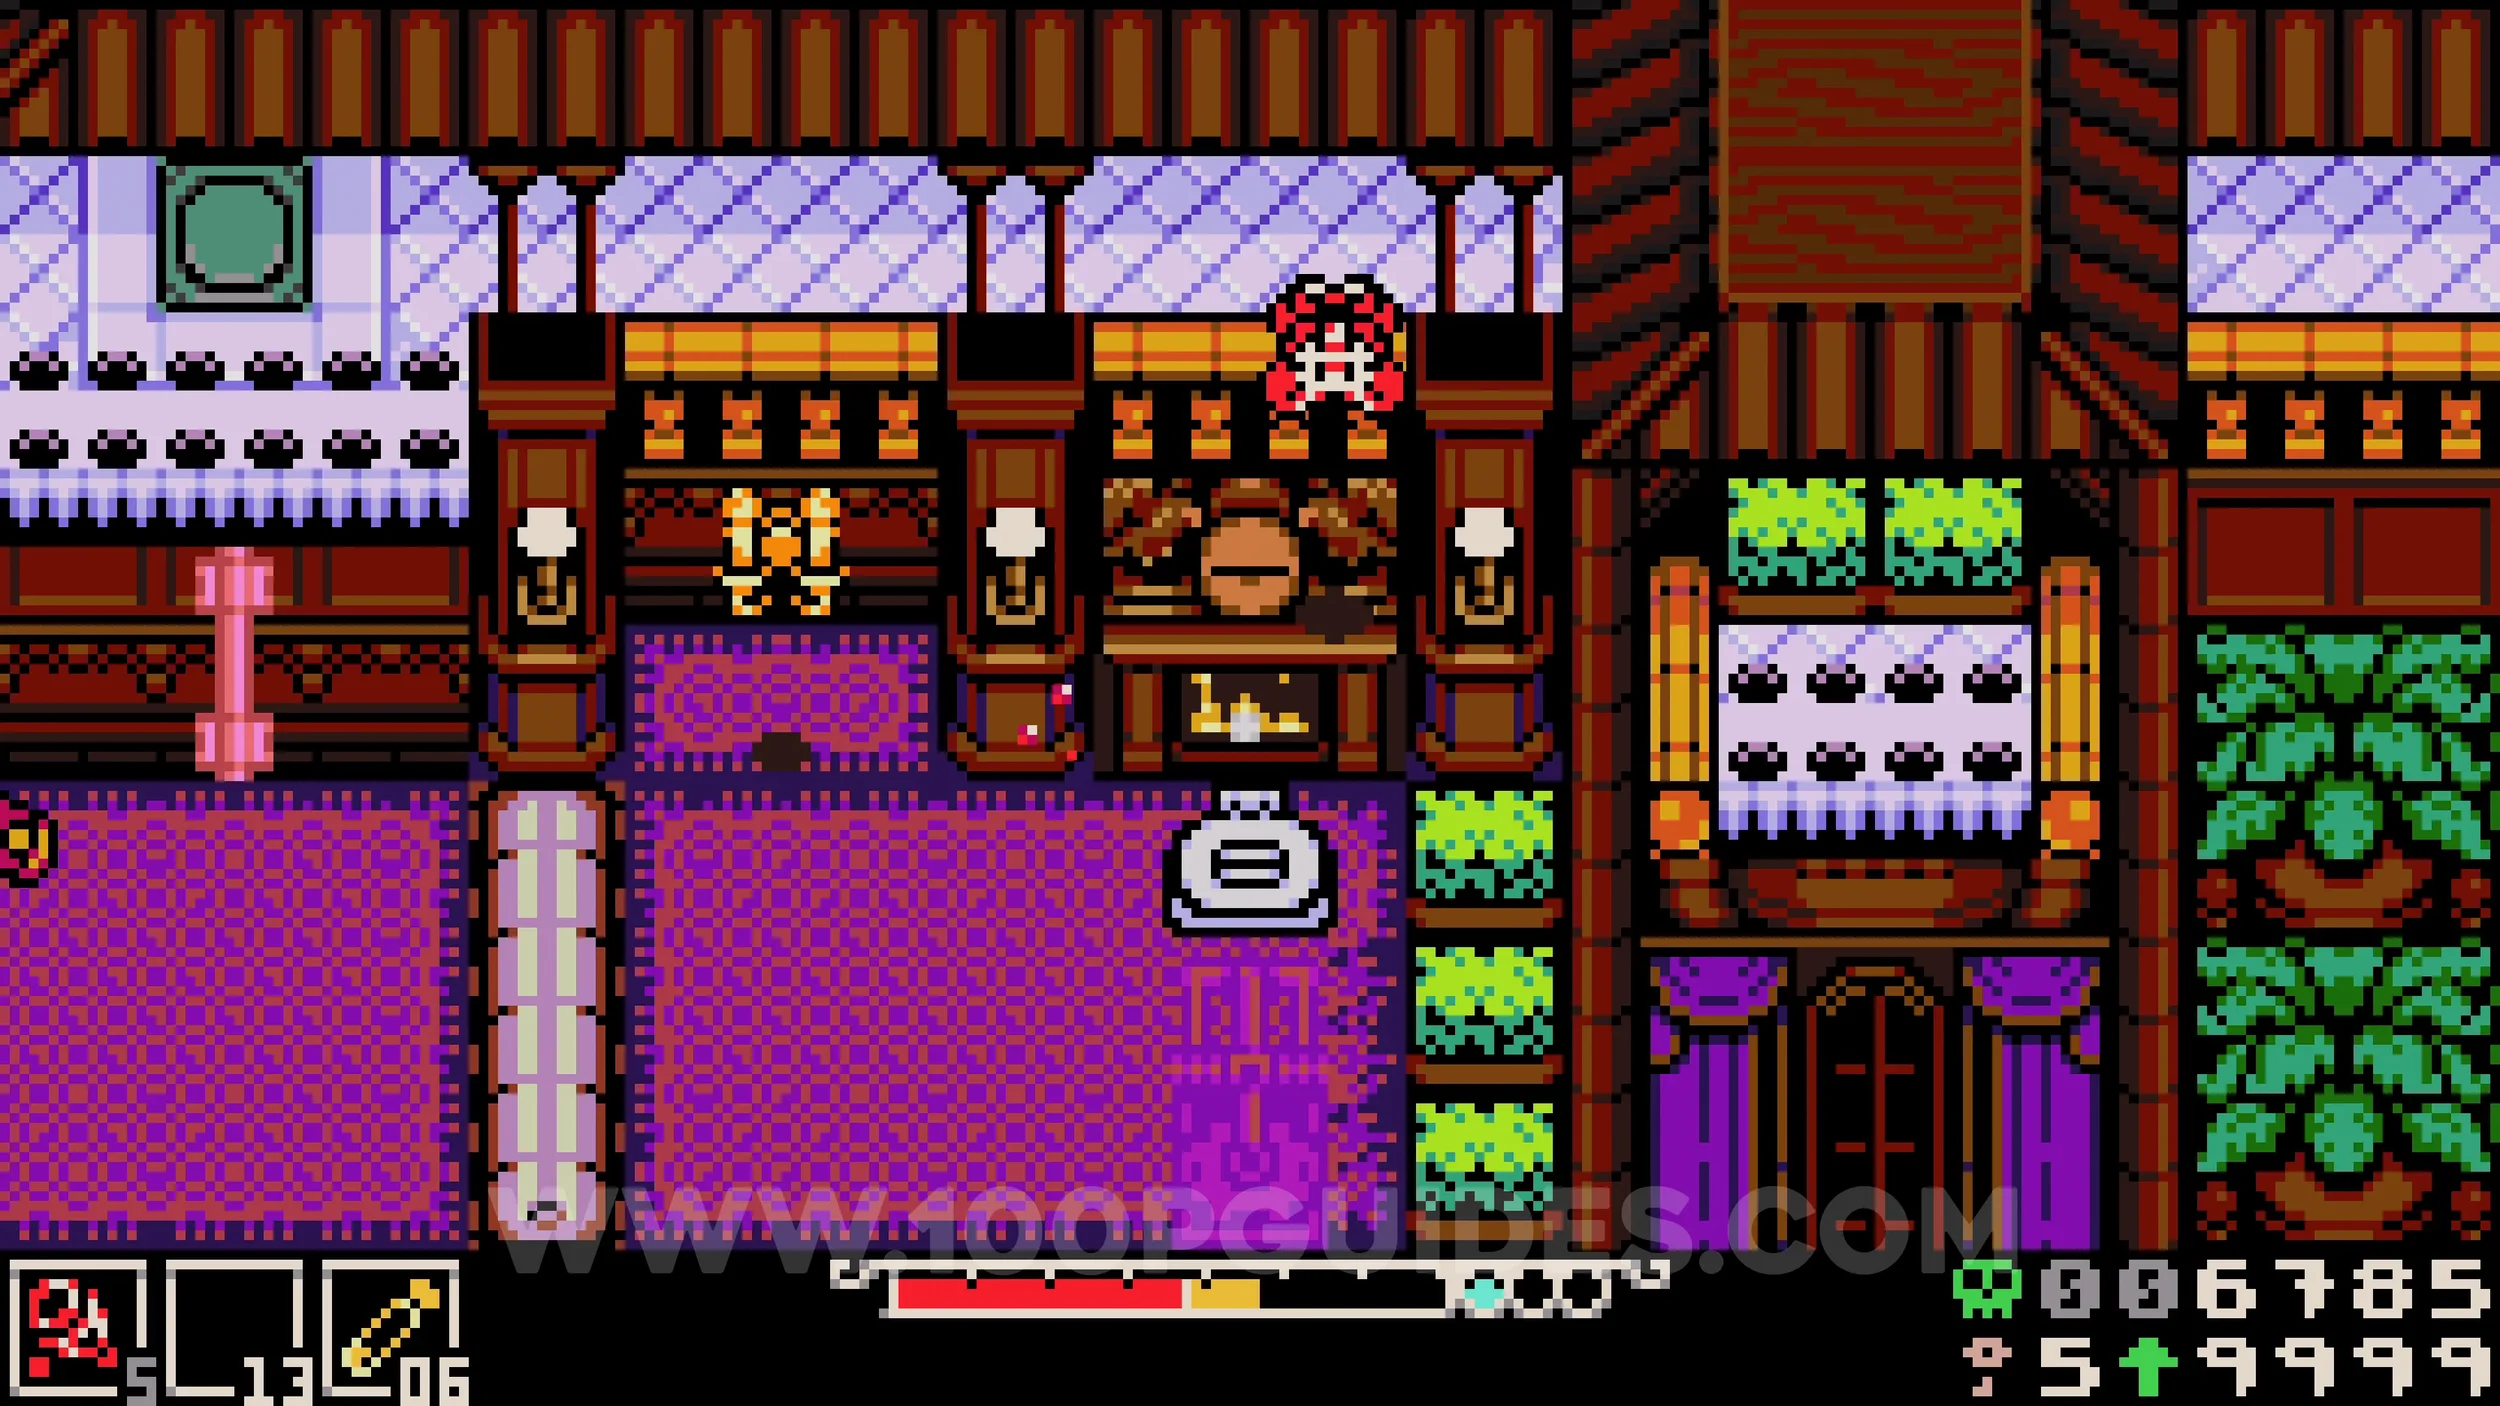
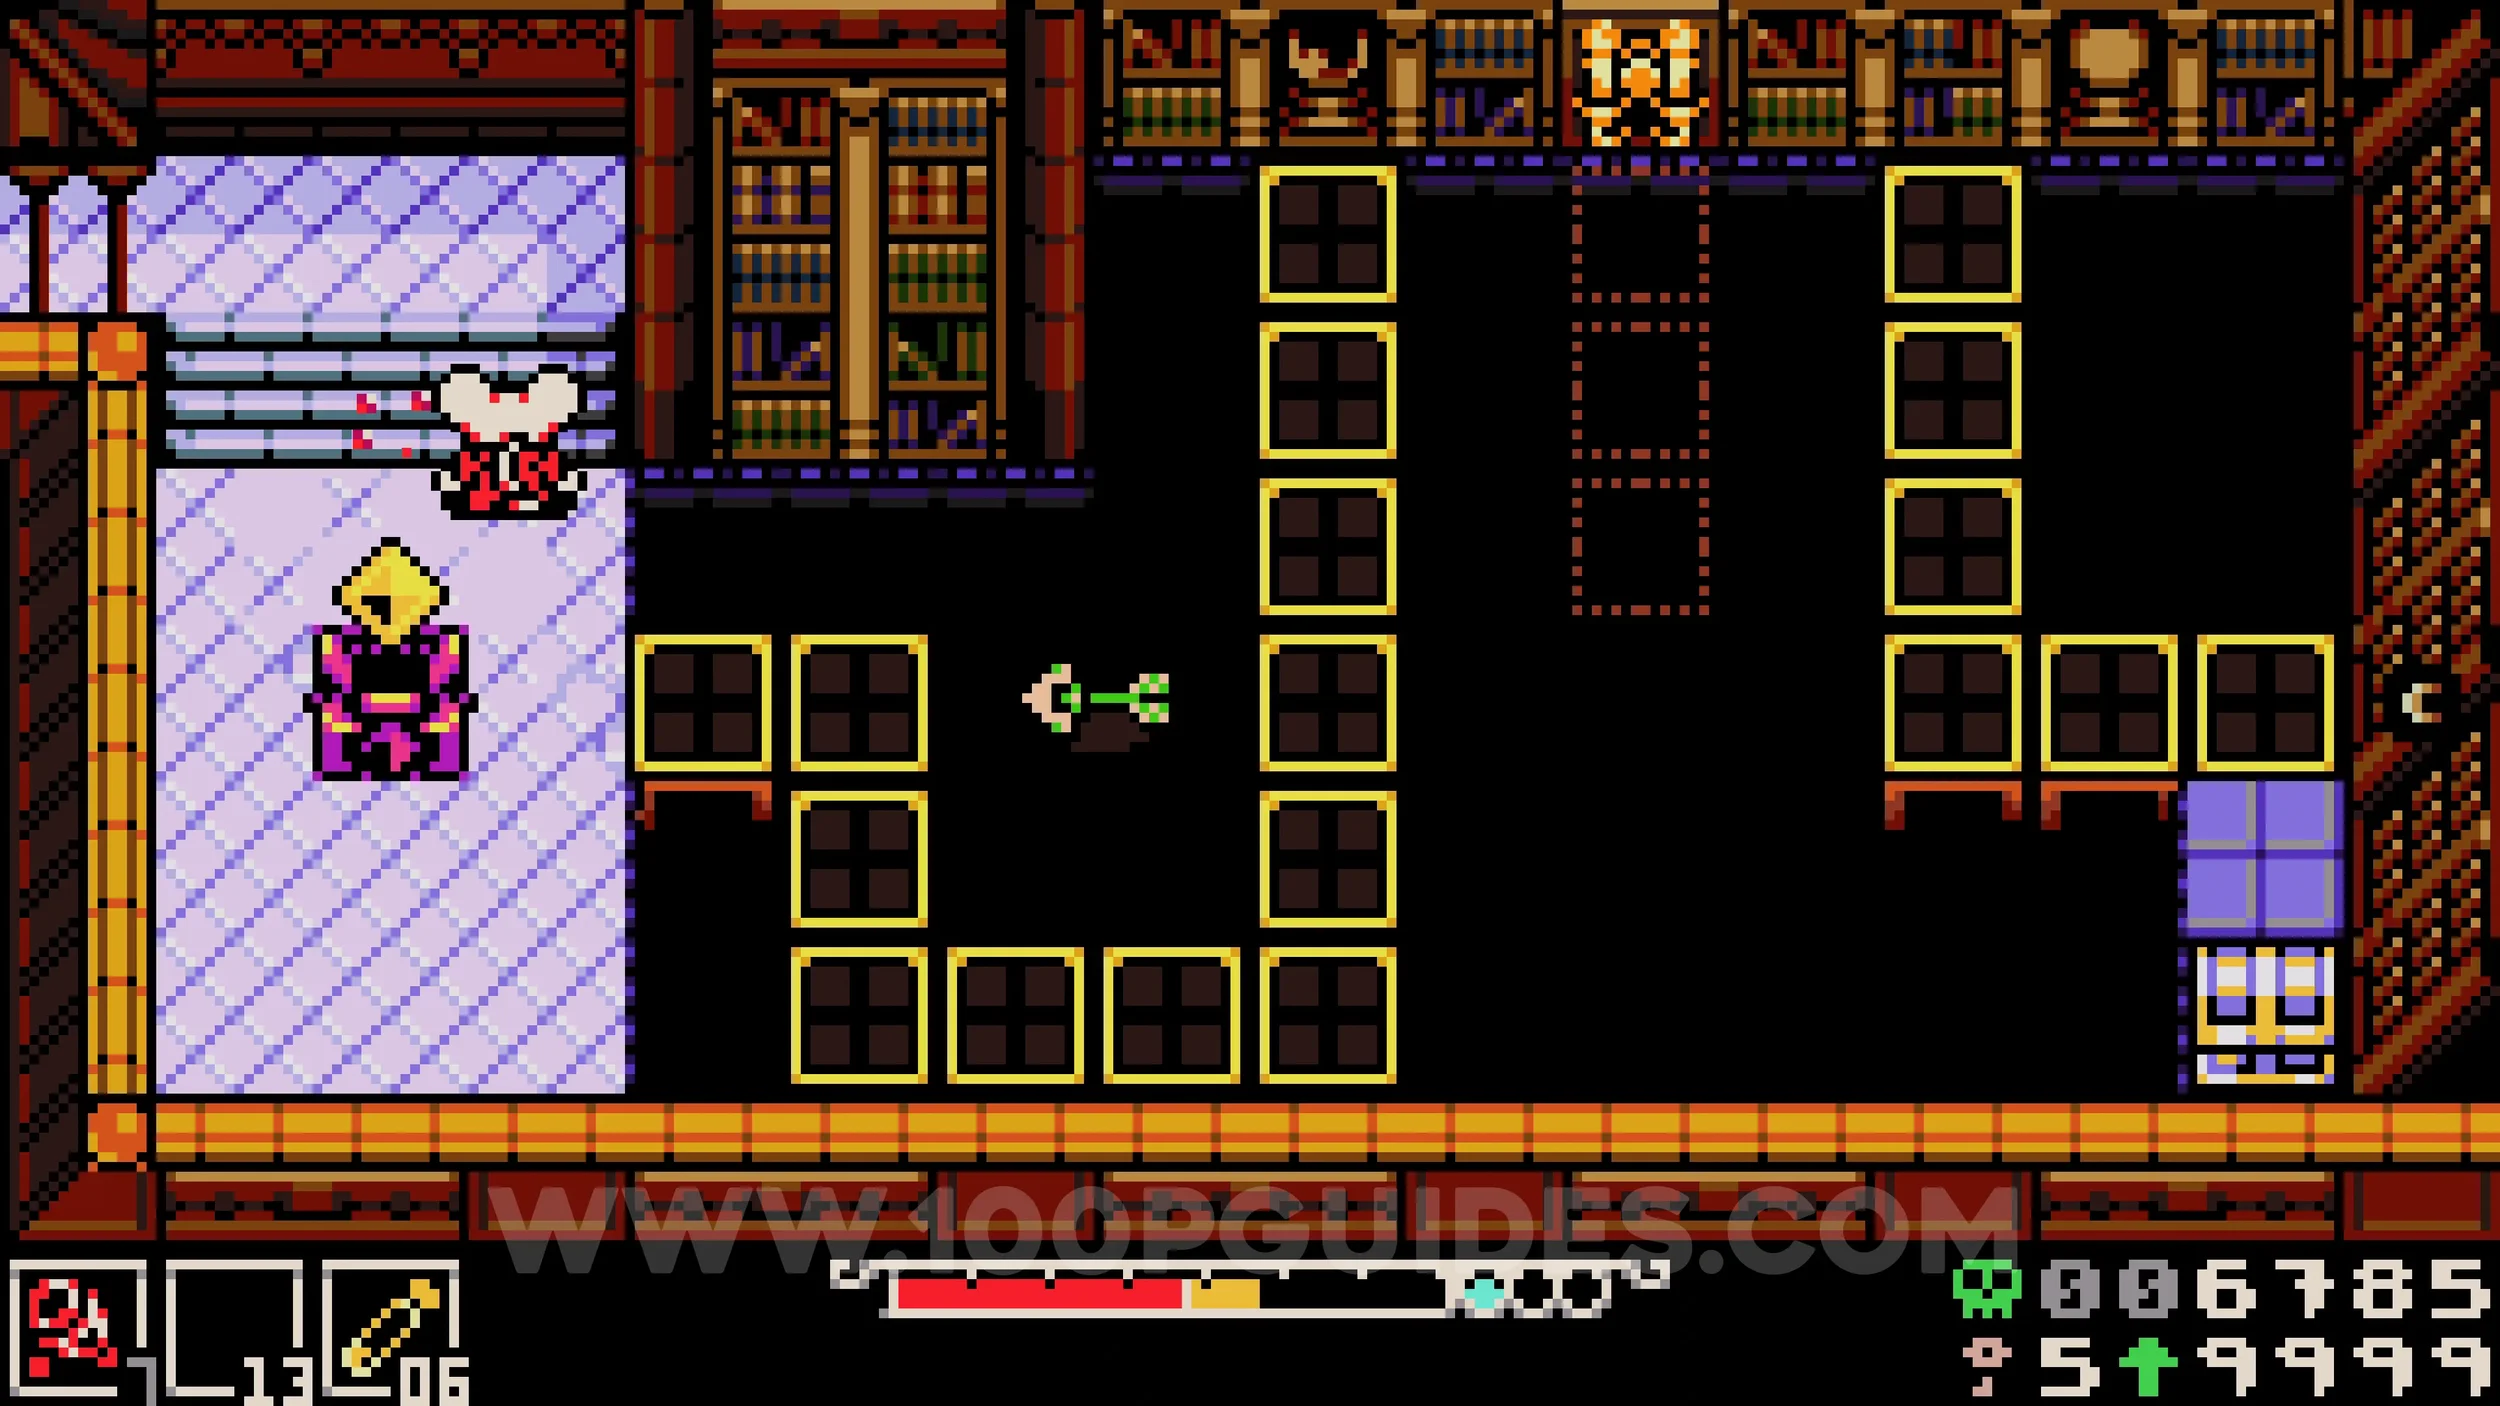
Bonestone #3. From the previous collectible, return left and destroy the plants in the covered section. Head towards the area where the spikes were, making sure to press the nearby switch first to clear them, then drop down to find the chest below.
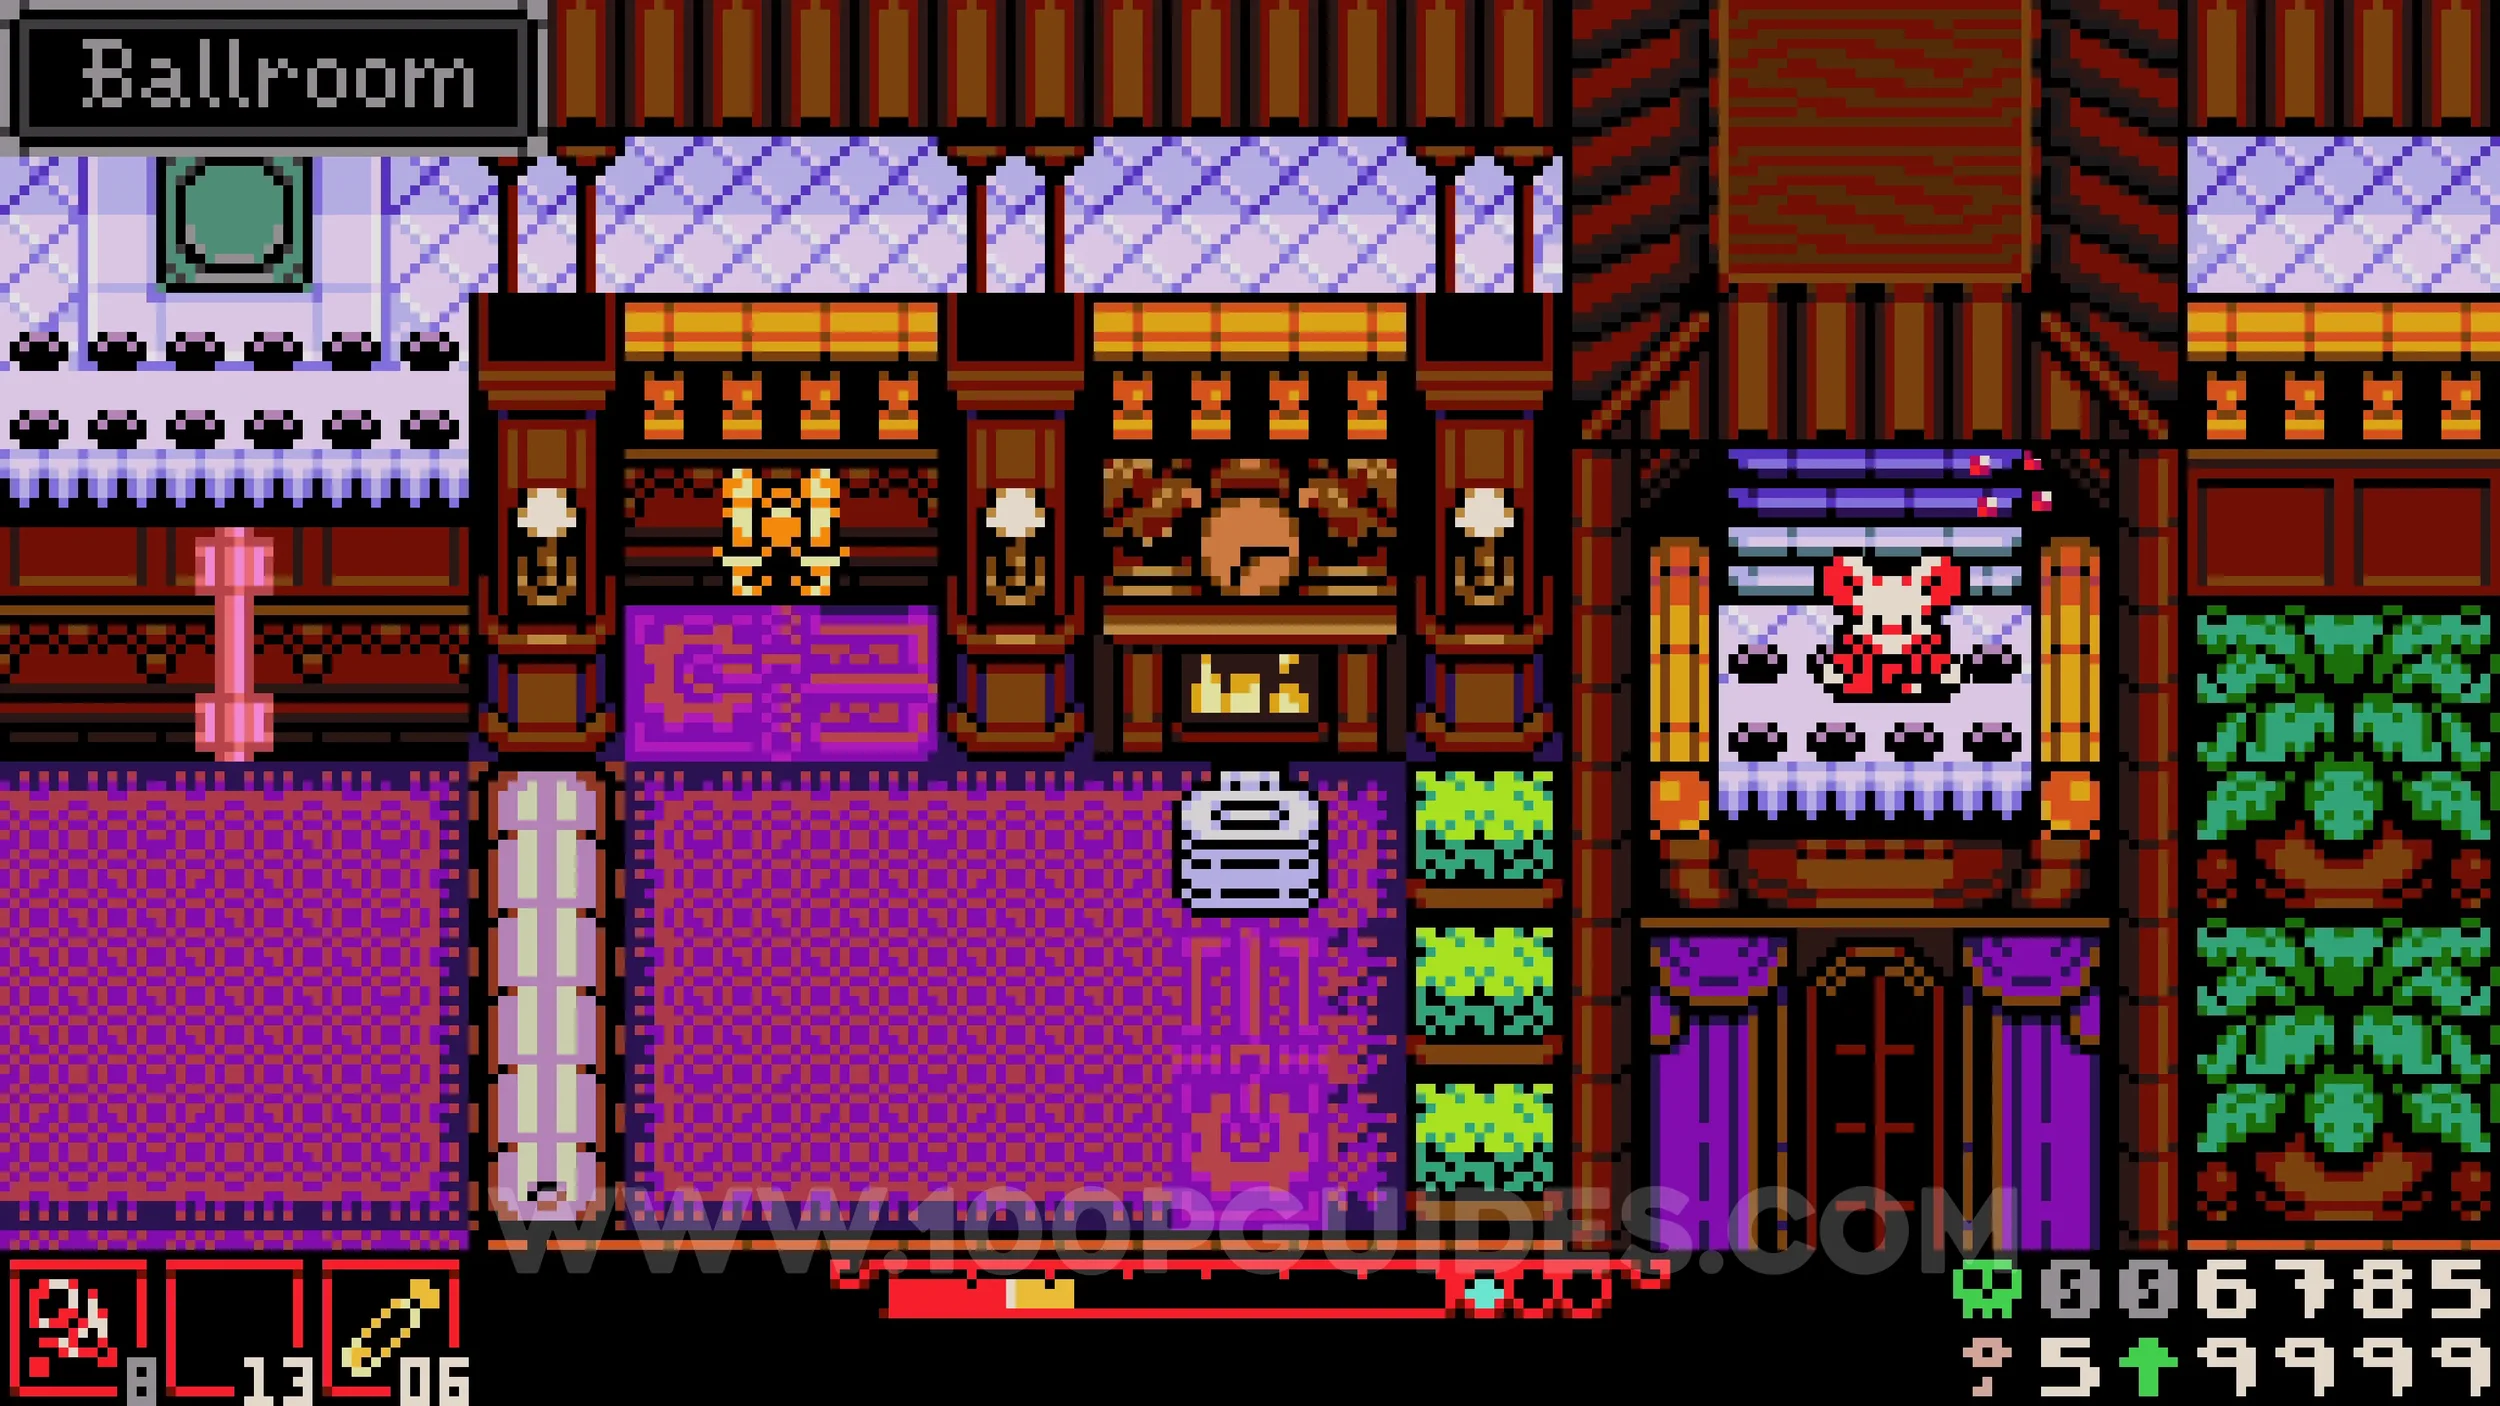
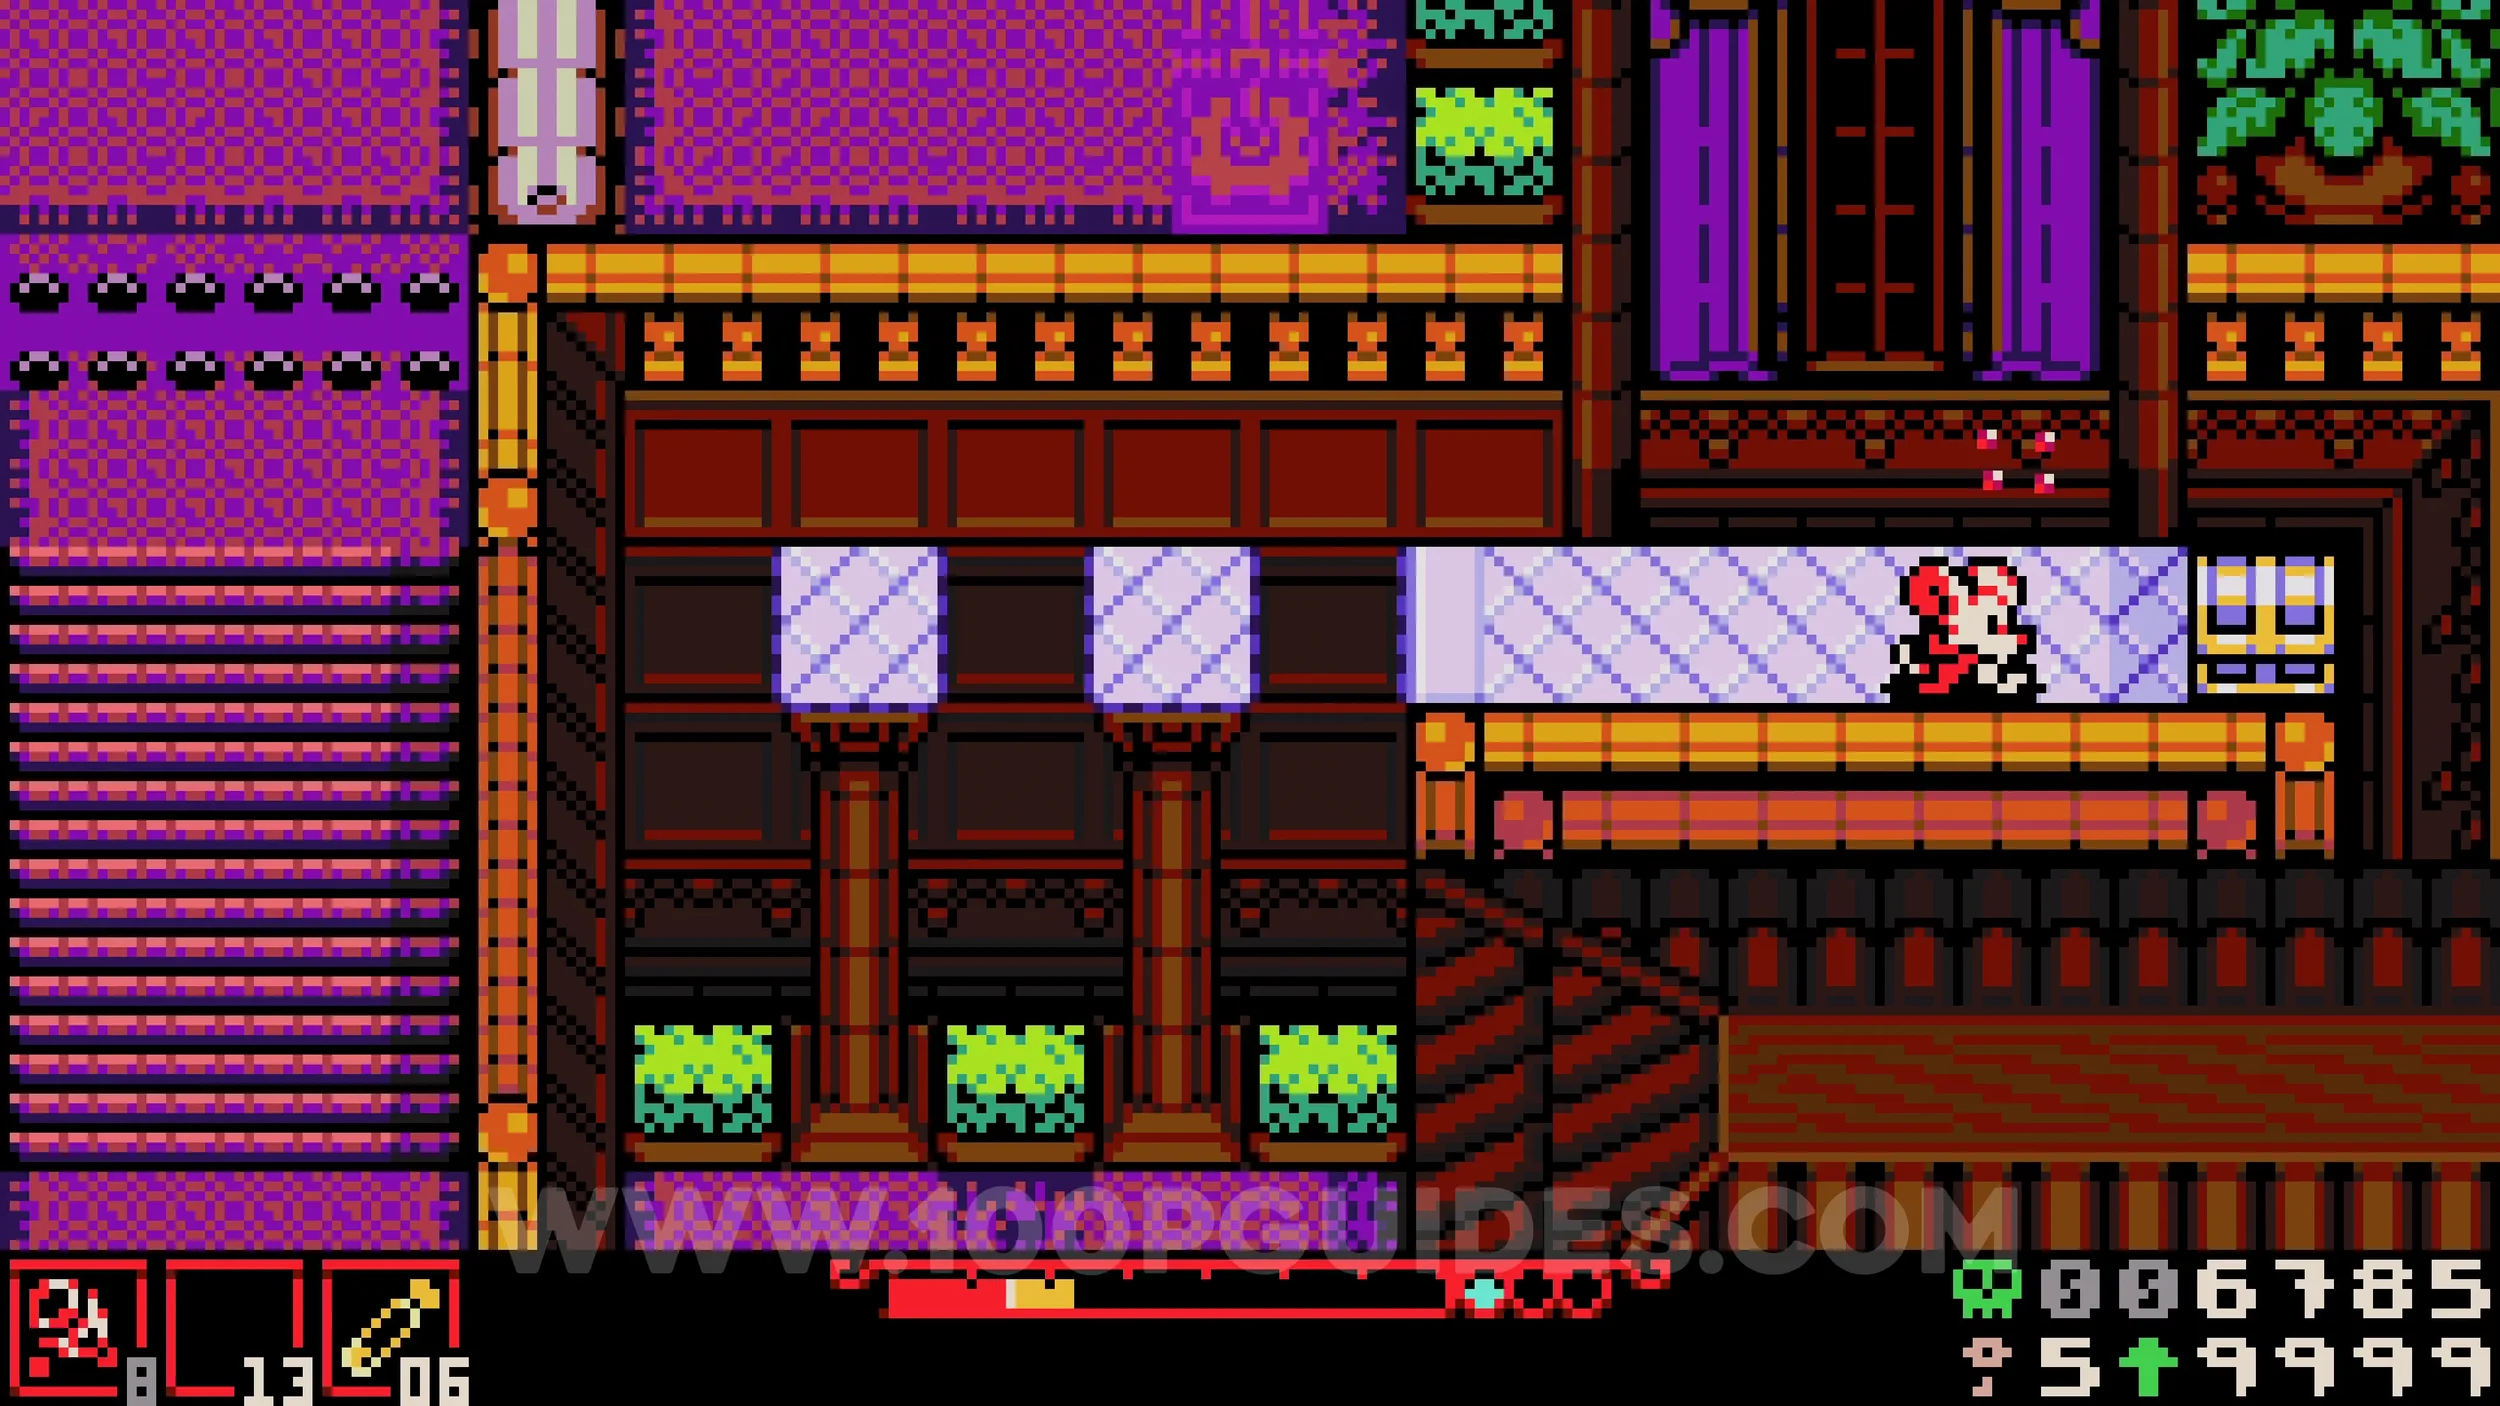
Lock #1. Return to the bottom of the main central room and then go right to find the lock blocking a door.
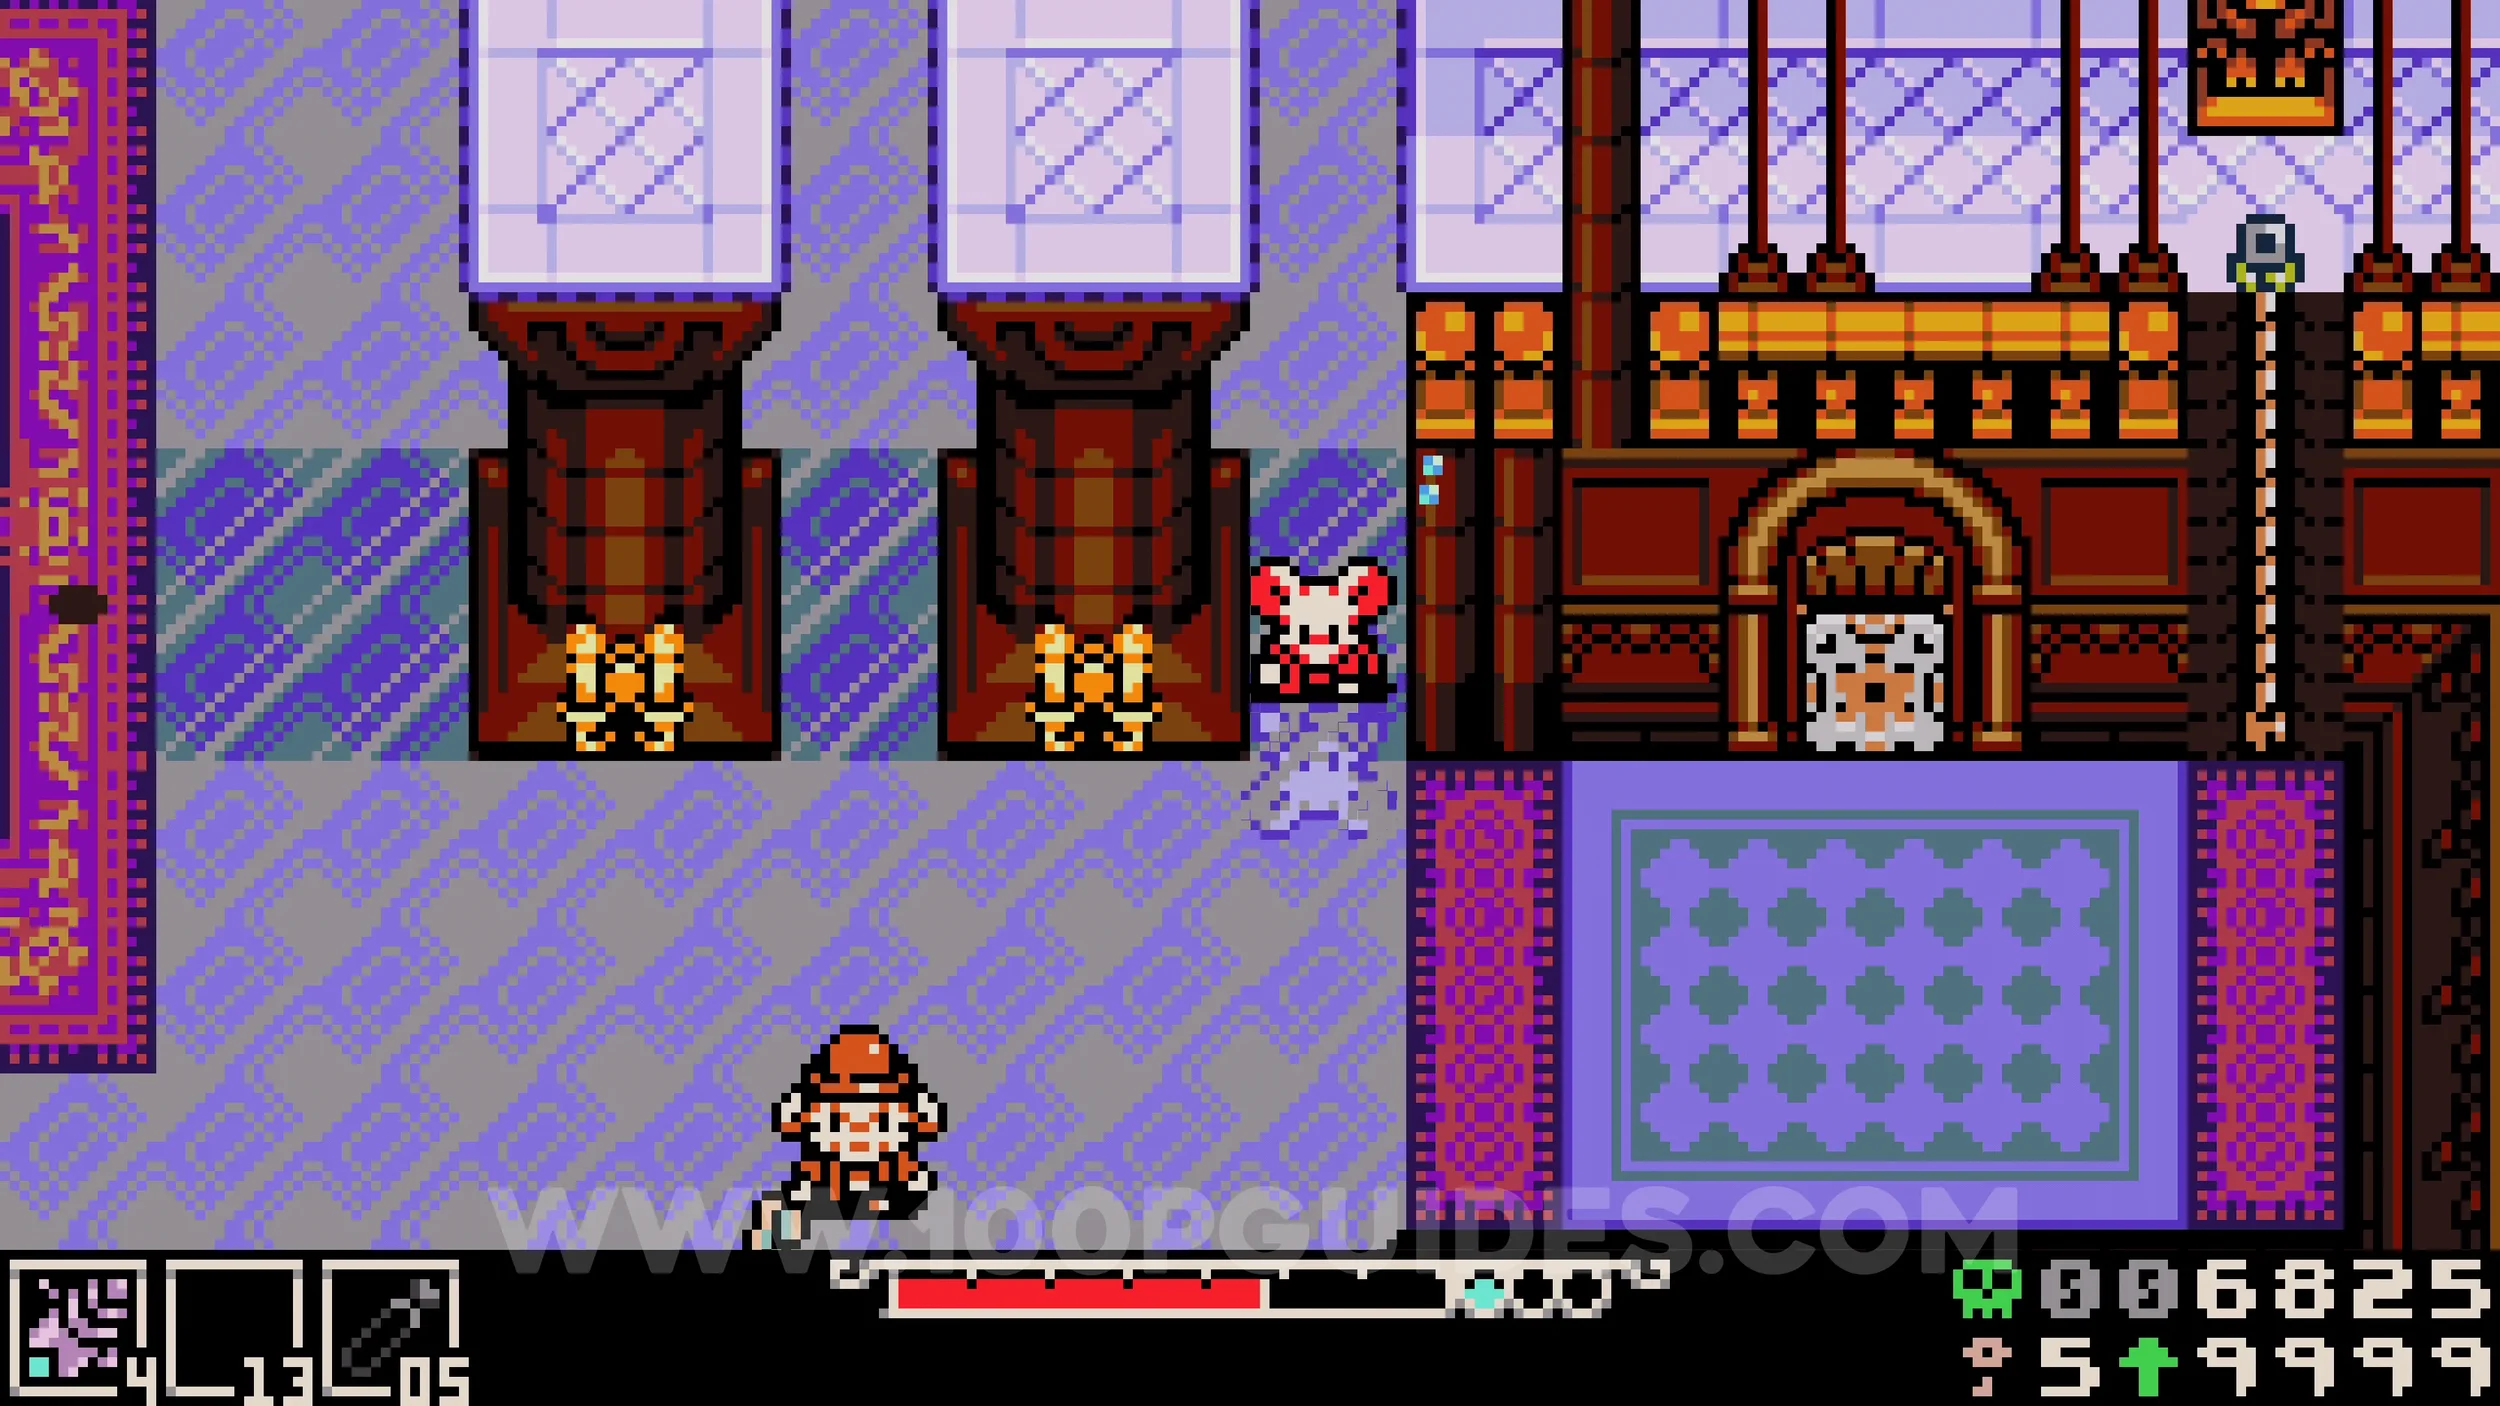
Cat #8. Behind the previous lock you will enter the room where the cats return to. The final cat can be found in the room behind the lone cat on the left.
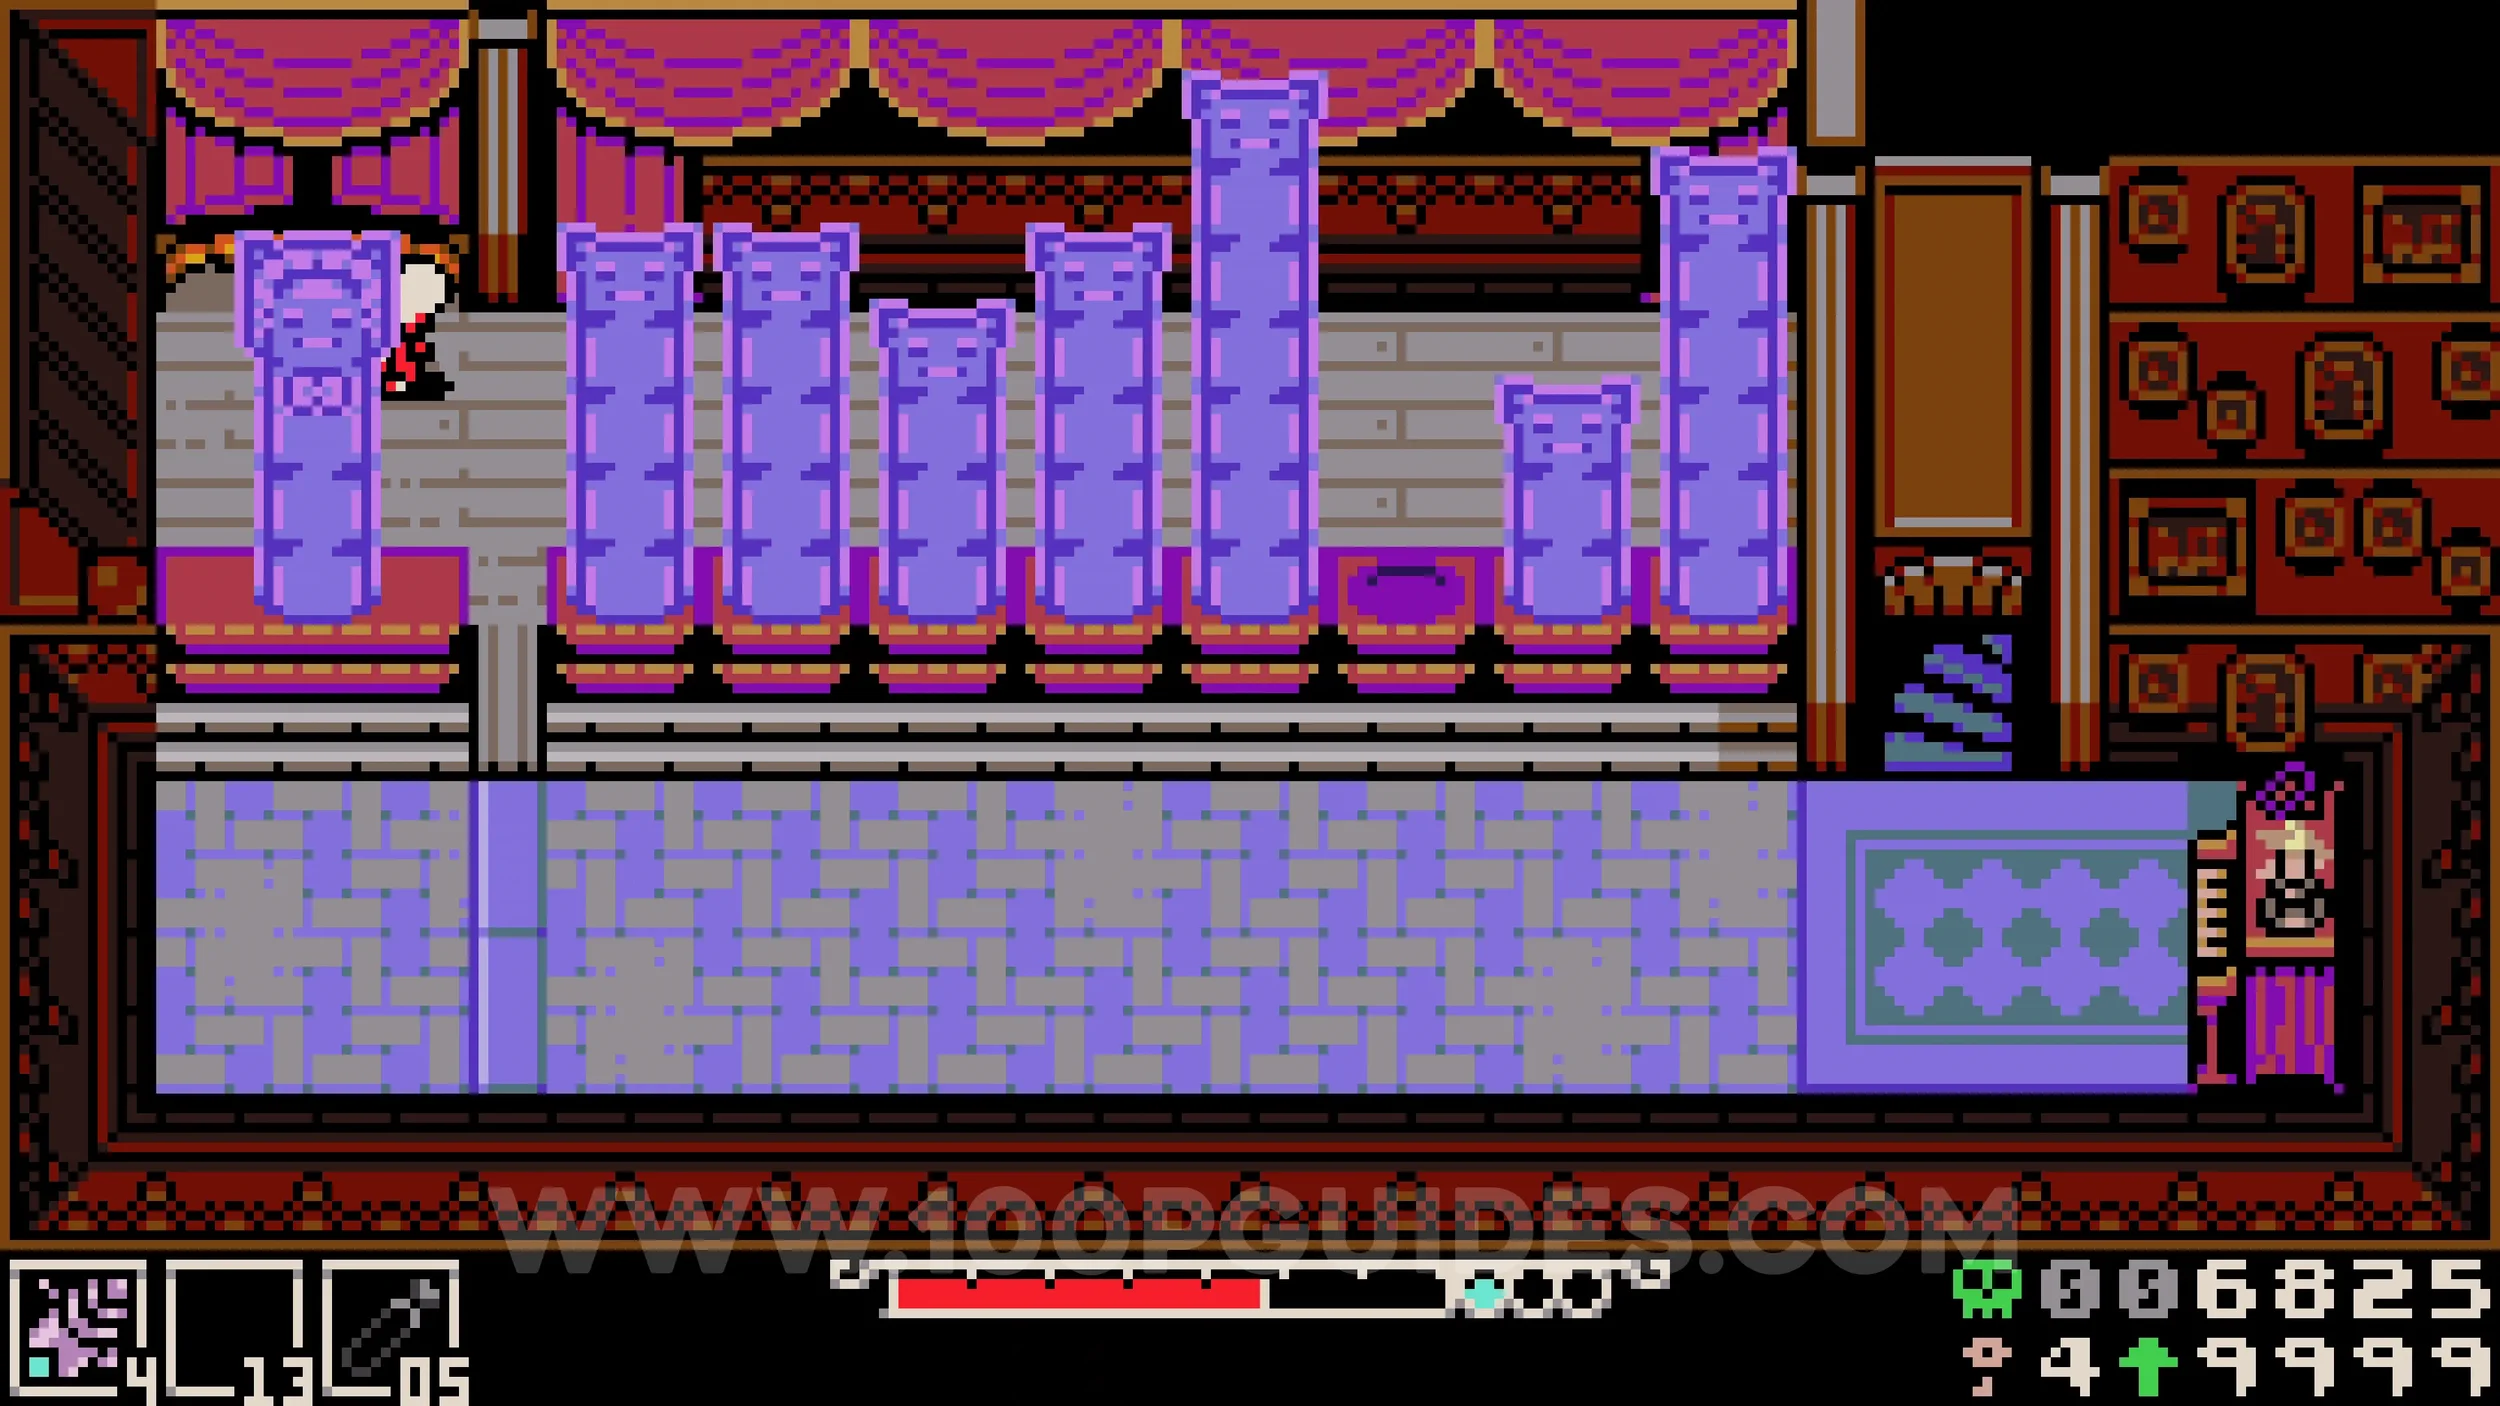
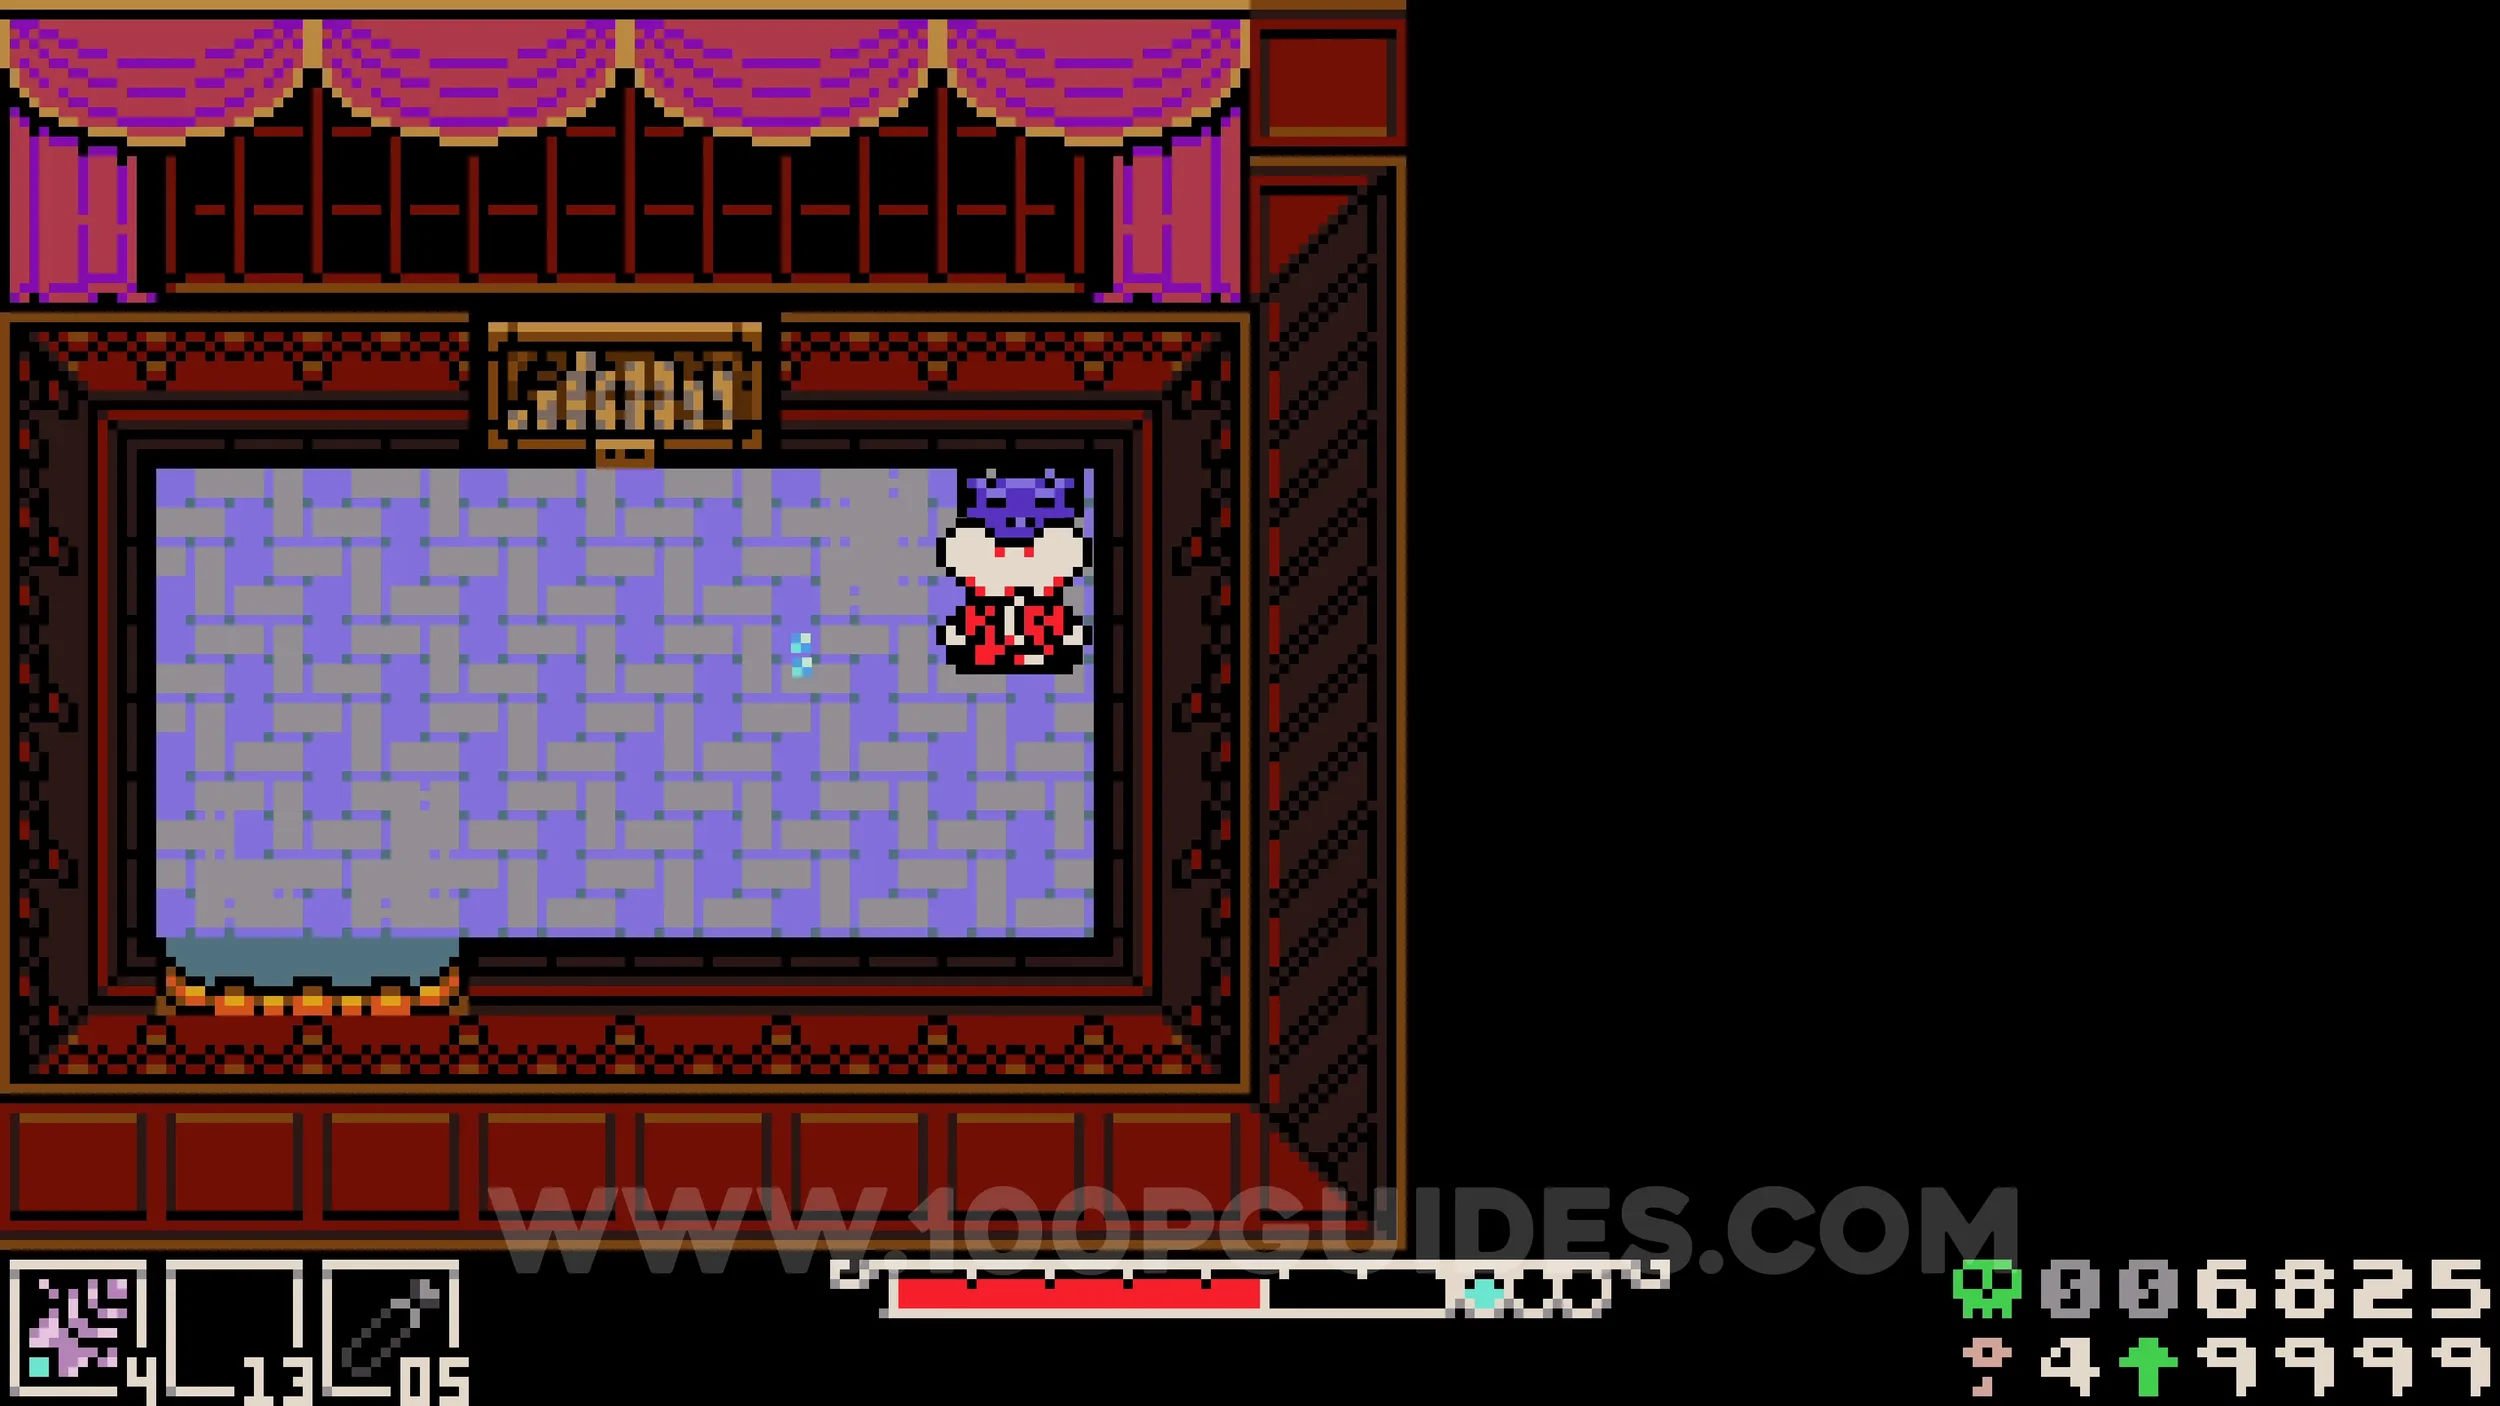
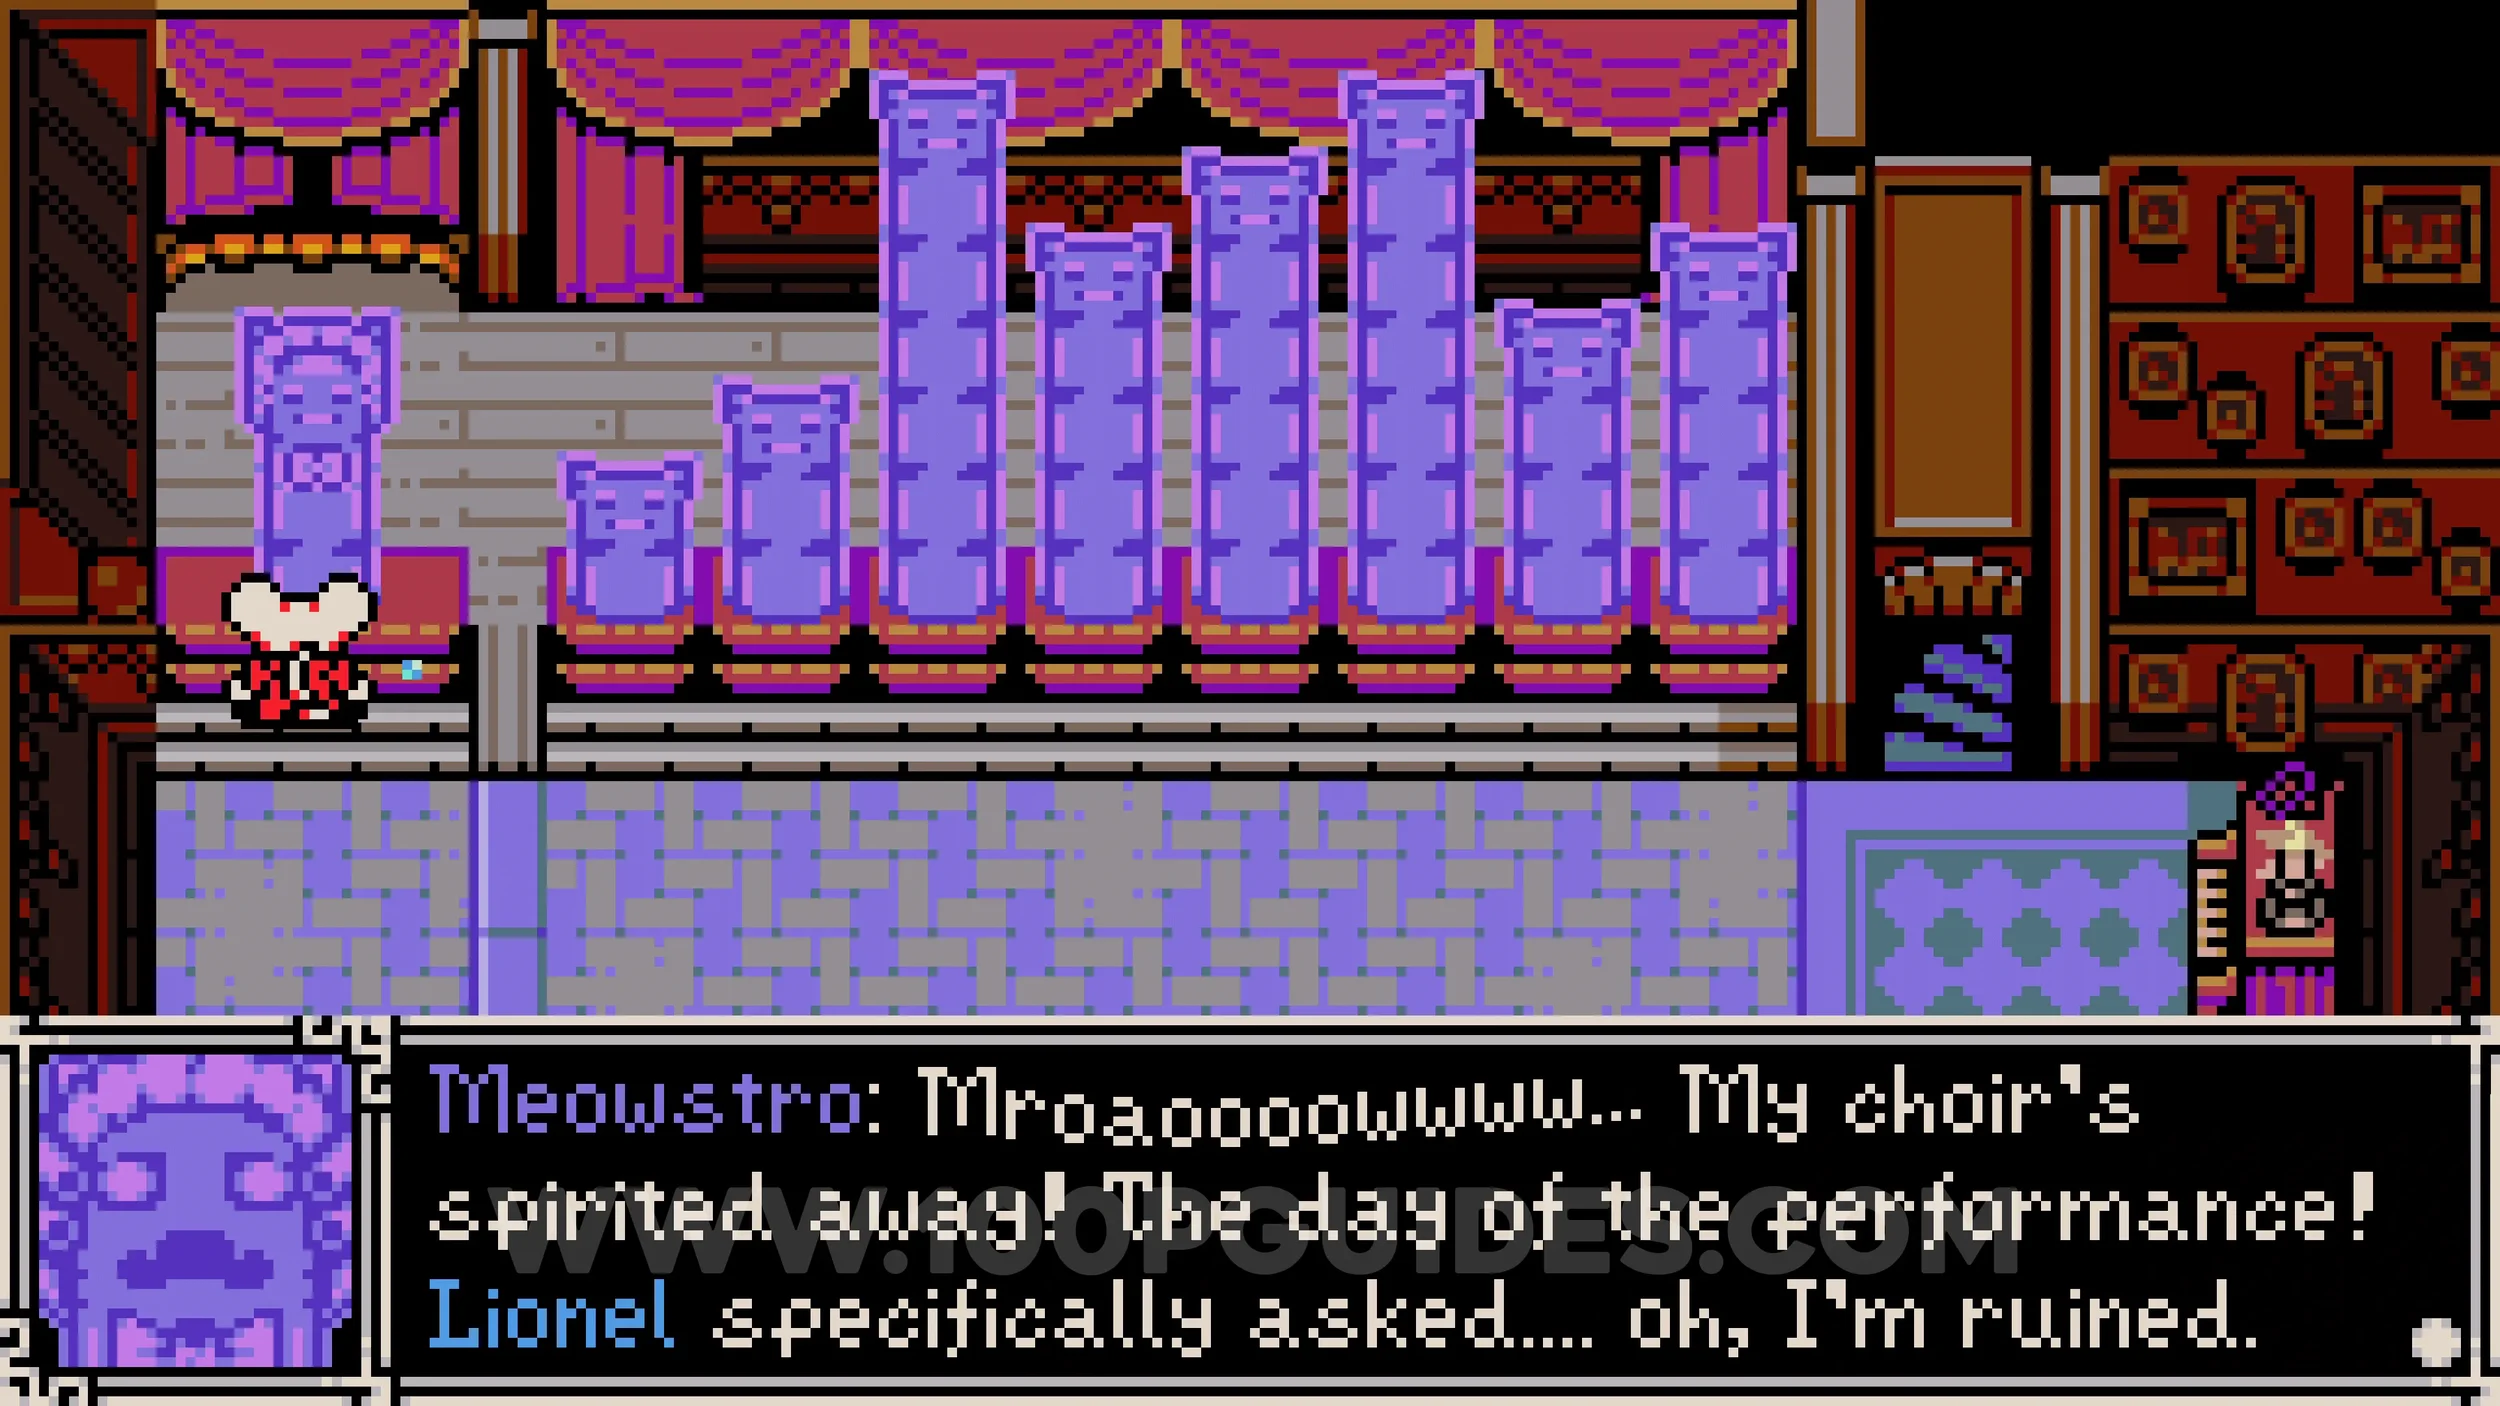
Bonestone #4. Now that you have all 8 cats, return to the previous room and hit, burrow, and jump towards each one to raise and lower them to the correct height. Check the image below for the correct positions, then talk to the lone cat on the left to solve the puzzle and receive the gem.
OSSEX
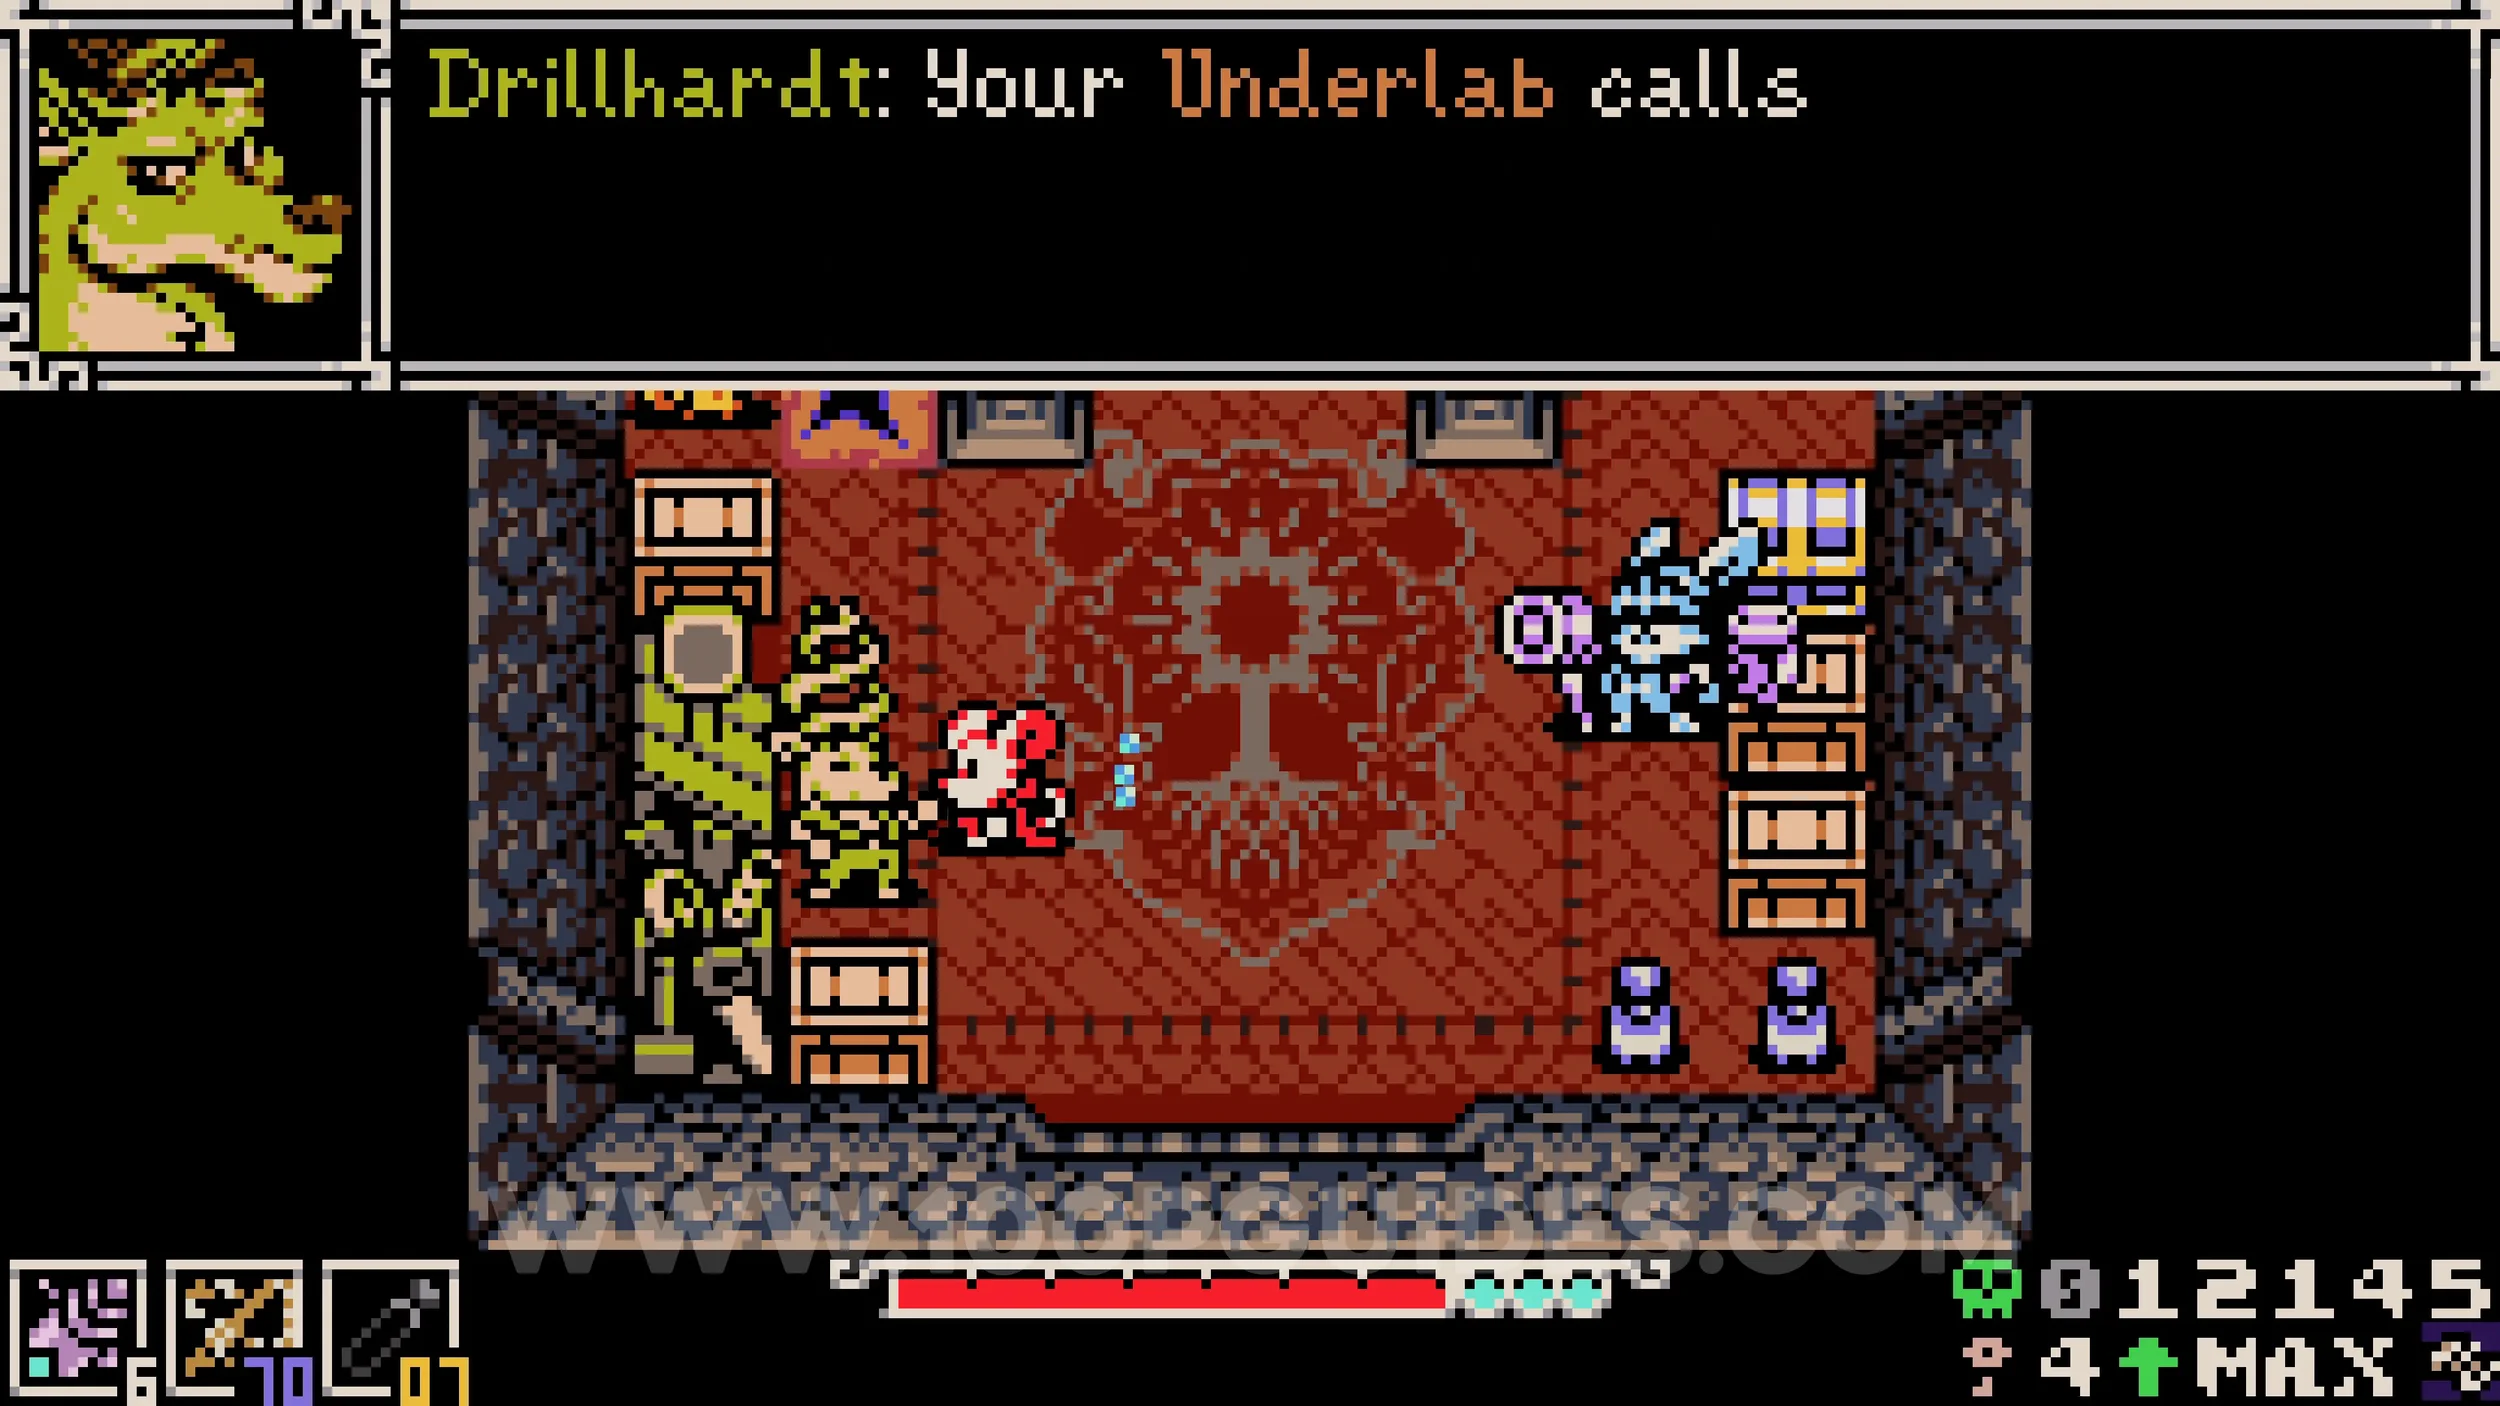
Underlab Equipment #1-9. All 9 Underlab Equipment items can be purchased from the guild shop to the right of the underlab near the southern exit of Ossex. To enter the building for the first time, go around the right side and break the boxes. To unlock Drillhardt, the NPC who sells the equipment, you must first save Rhene from the large building in Southern Outskirts. More equipment will become available as you advance through the story.
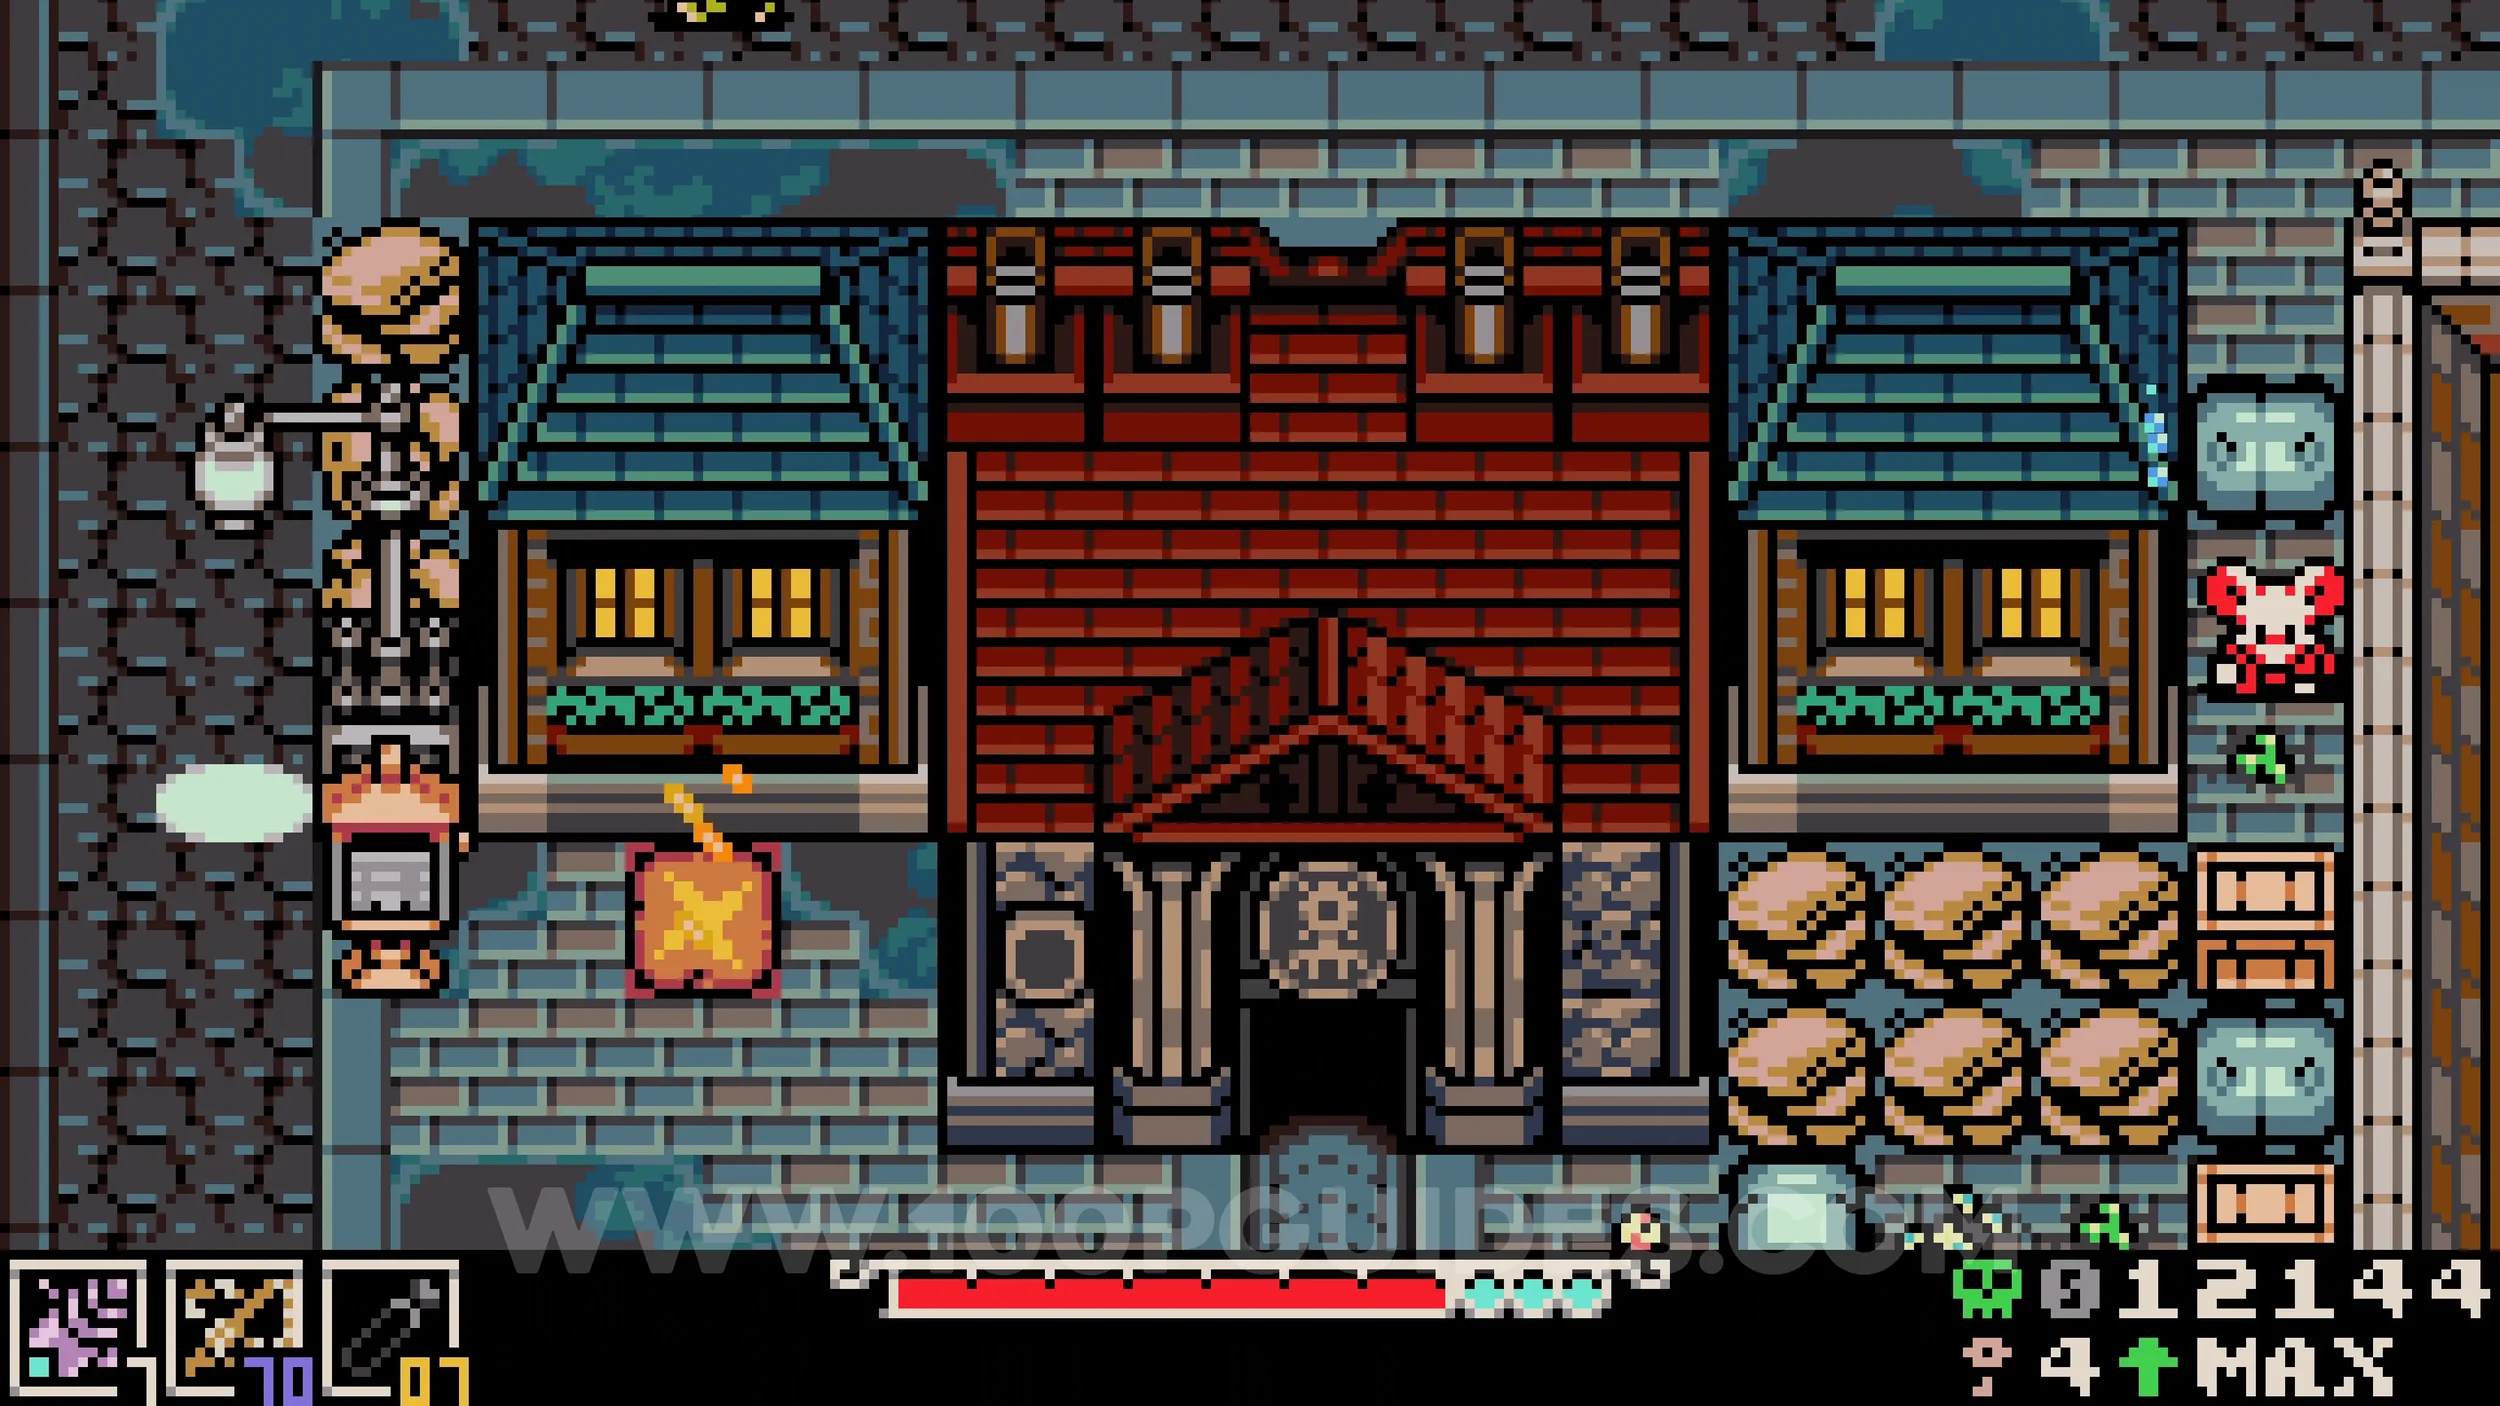
Kear #1. In the chest in the guild building.
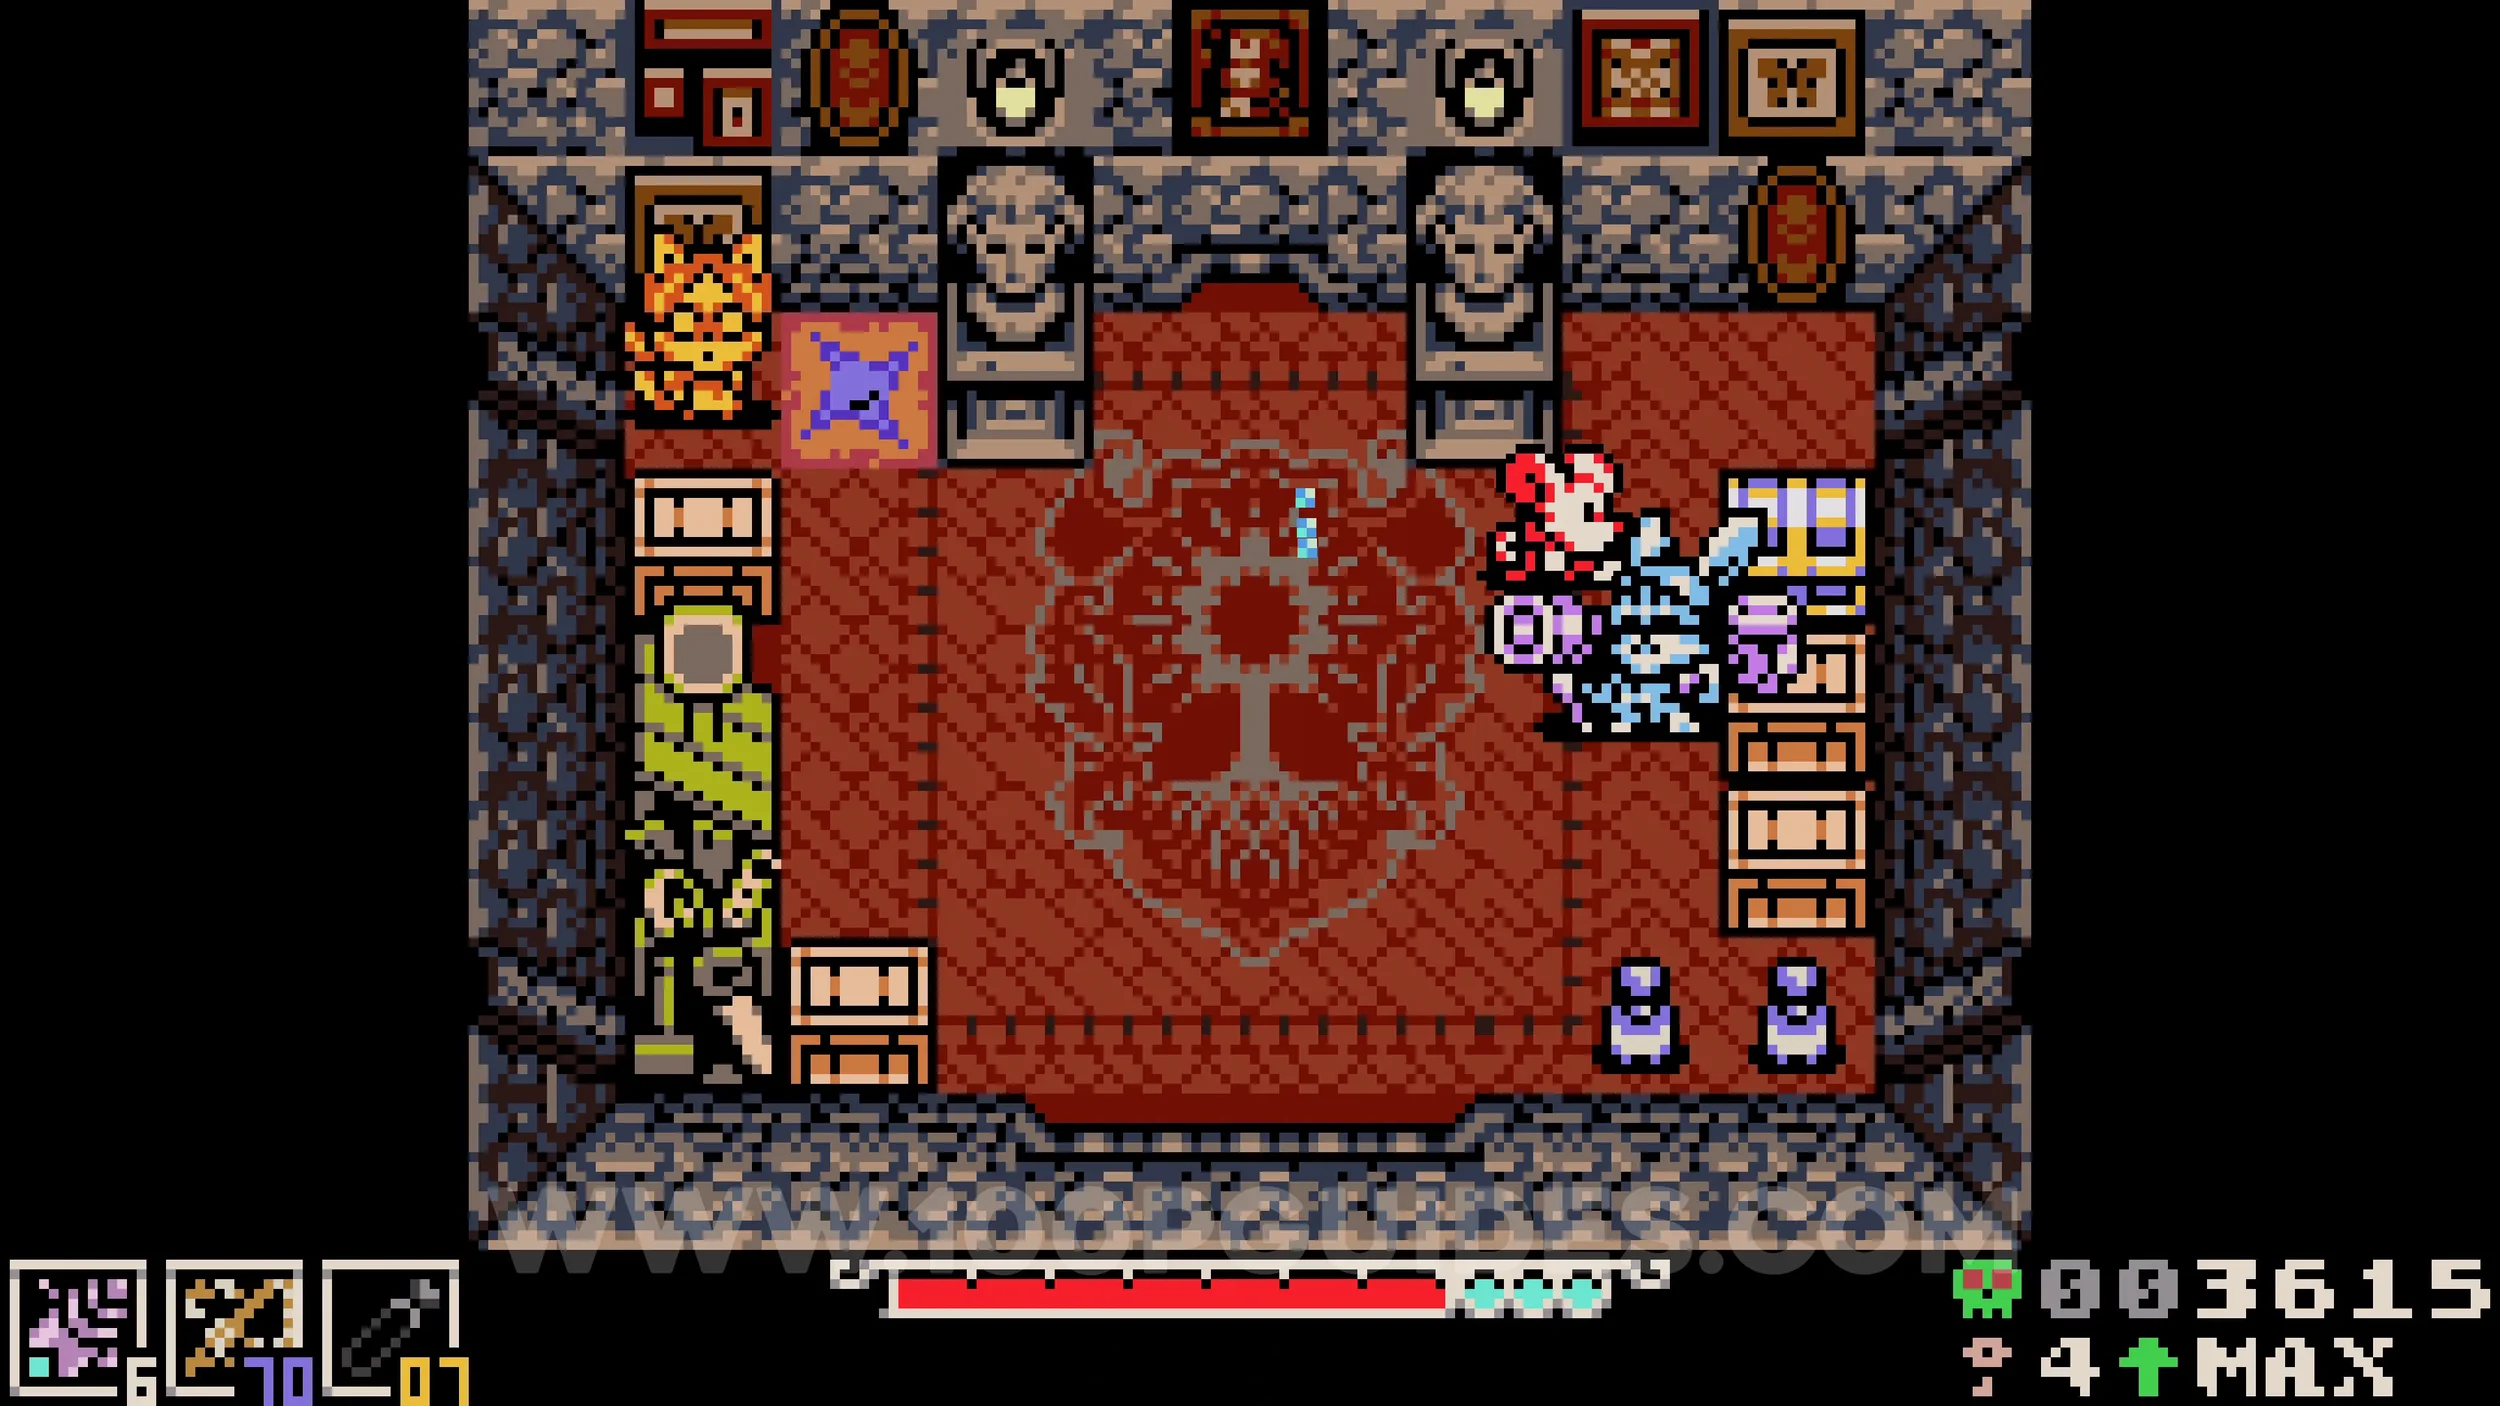
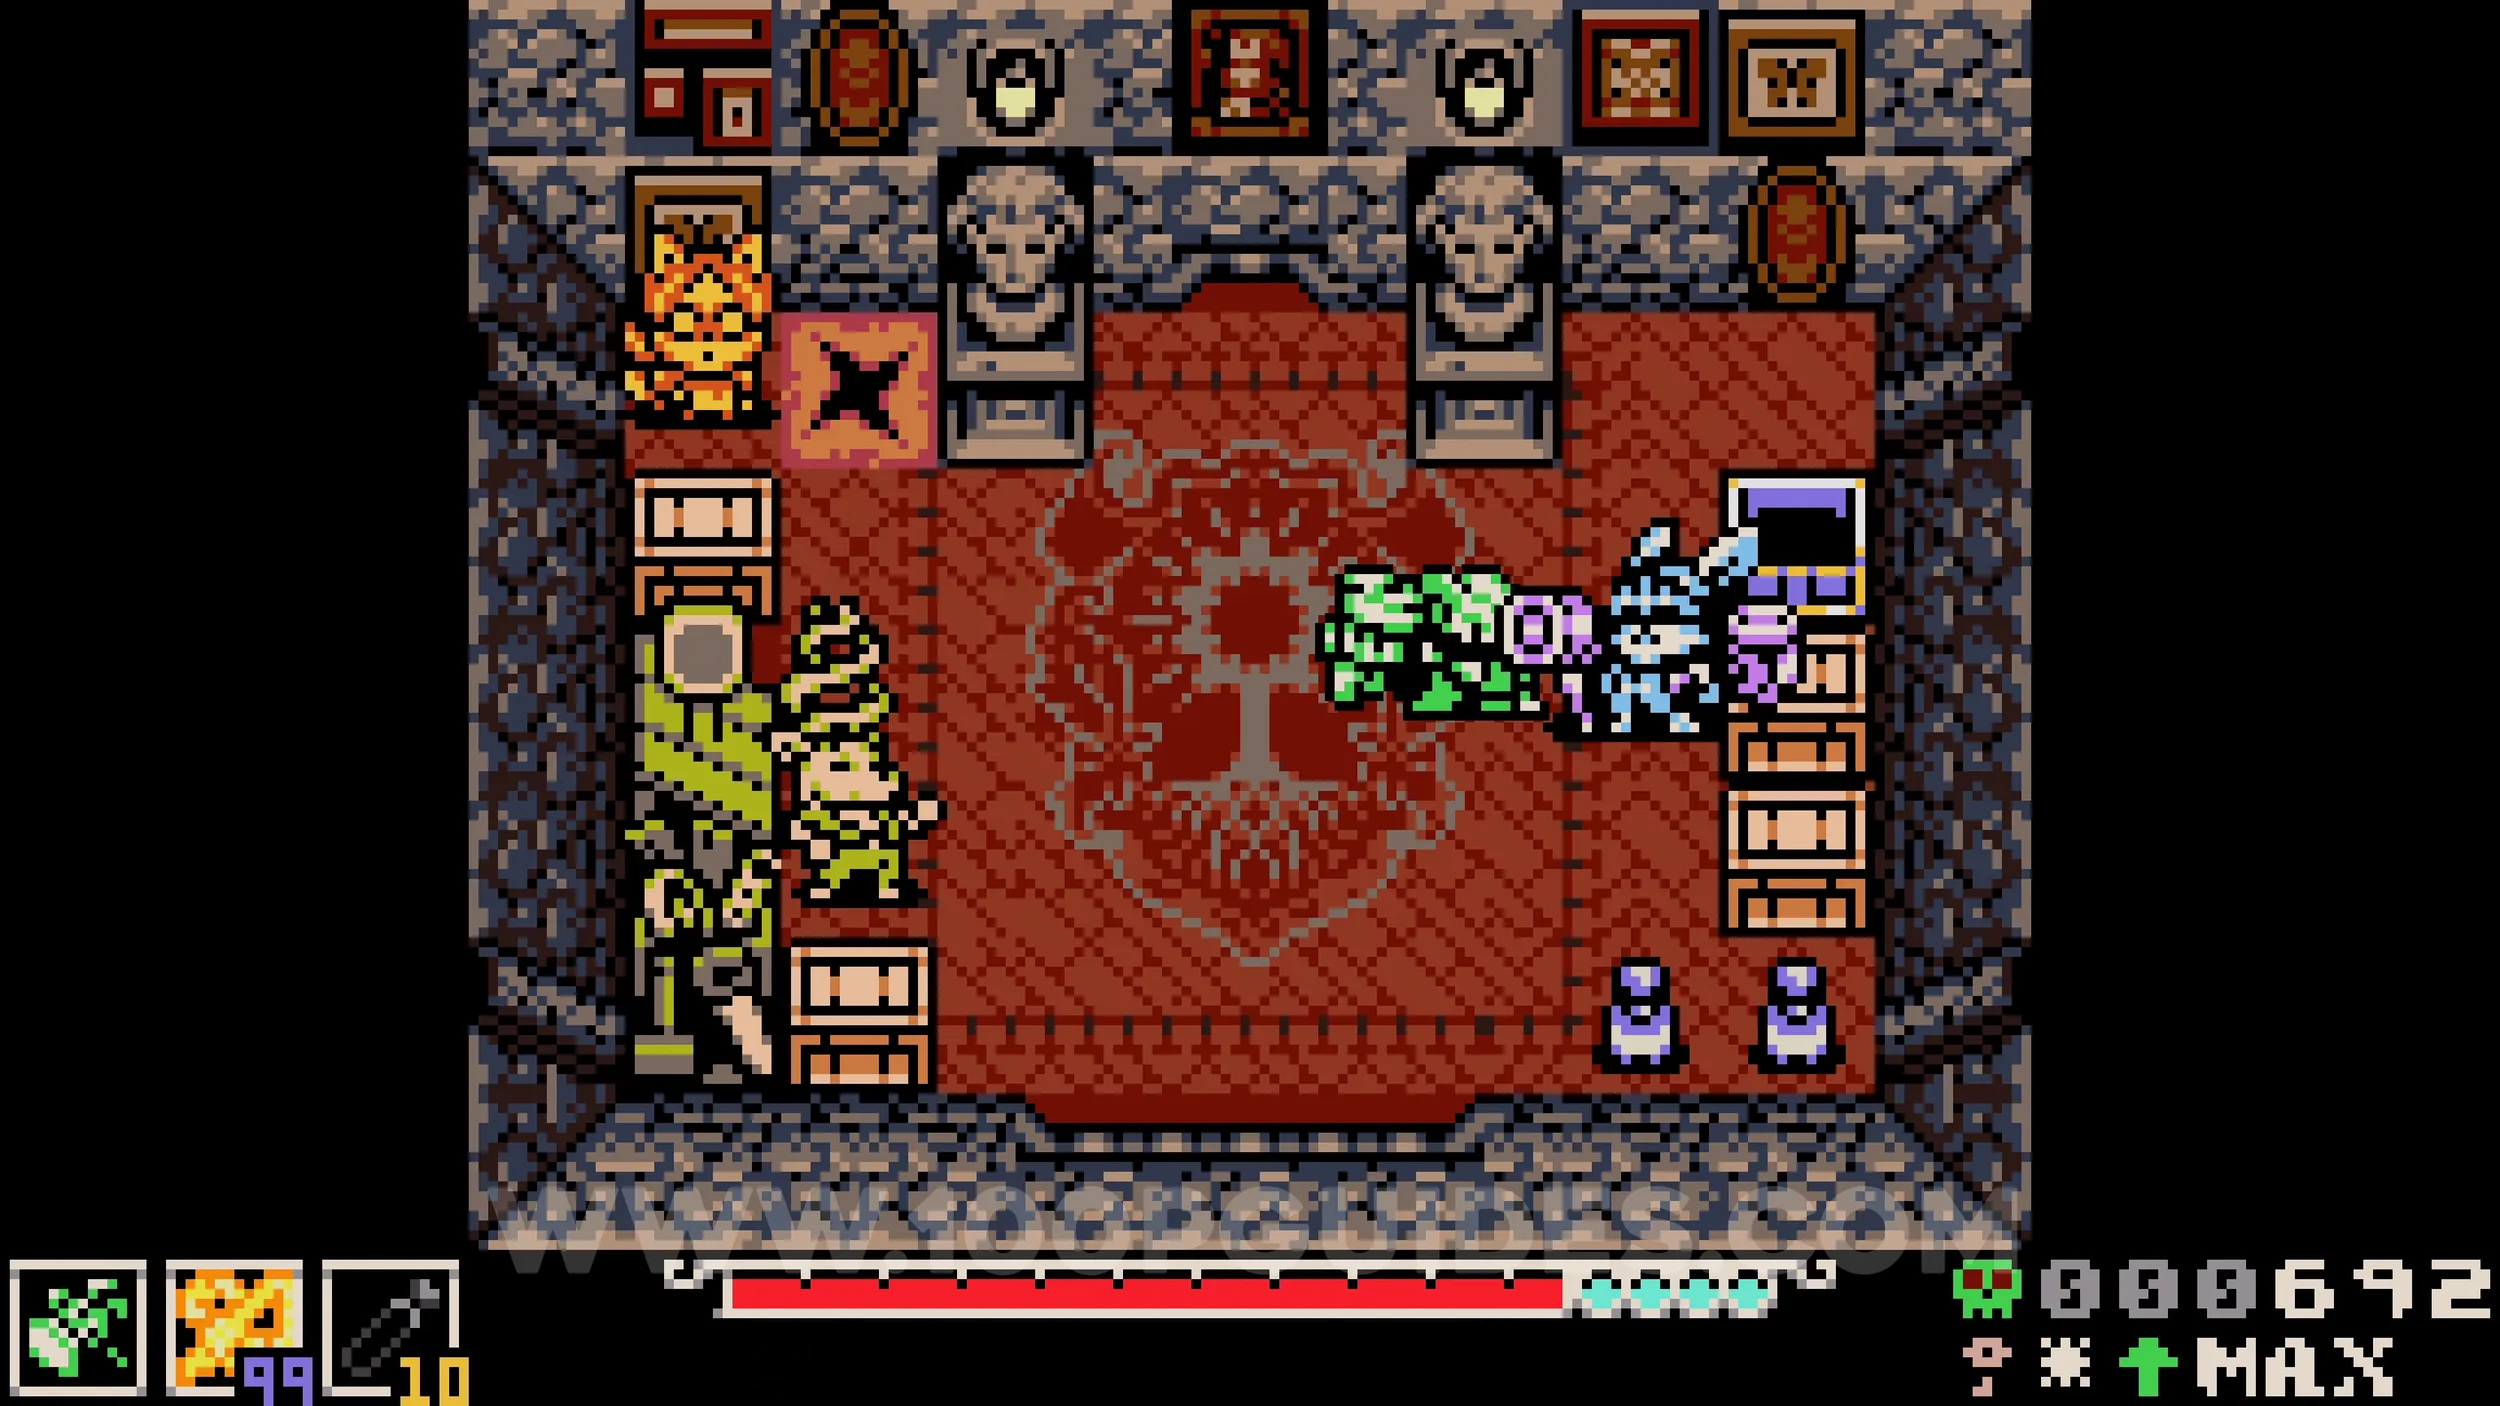
Bonestone #1. Also in the guild building. Once you have upgraded the hammer to level 2, hold the attack button to charge up, then immediately press attack again to perform a horizontal strike. Hit the blue NPC with this attack to receive the bonestone.
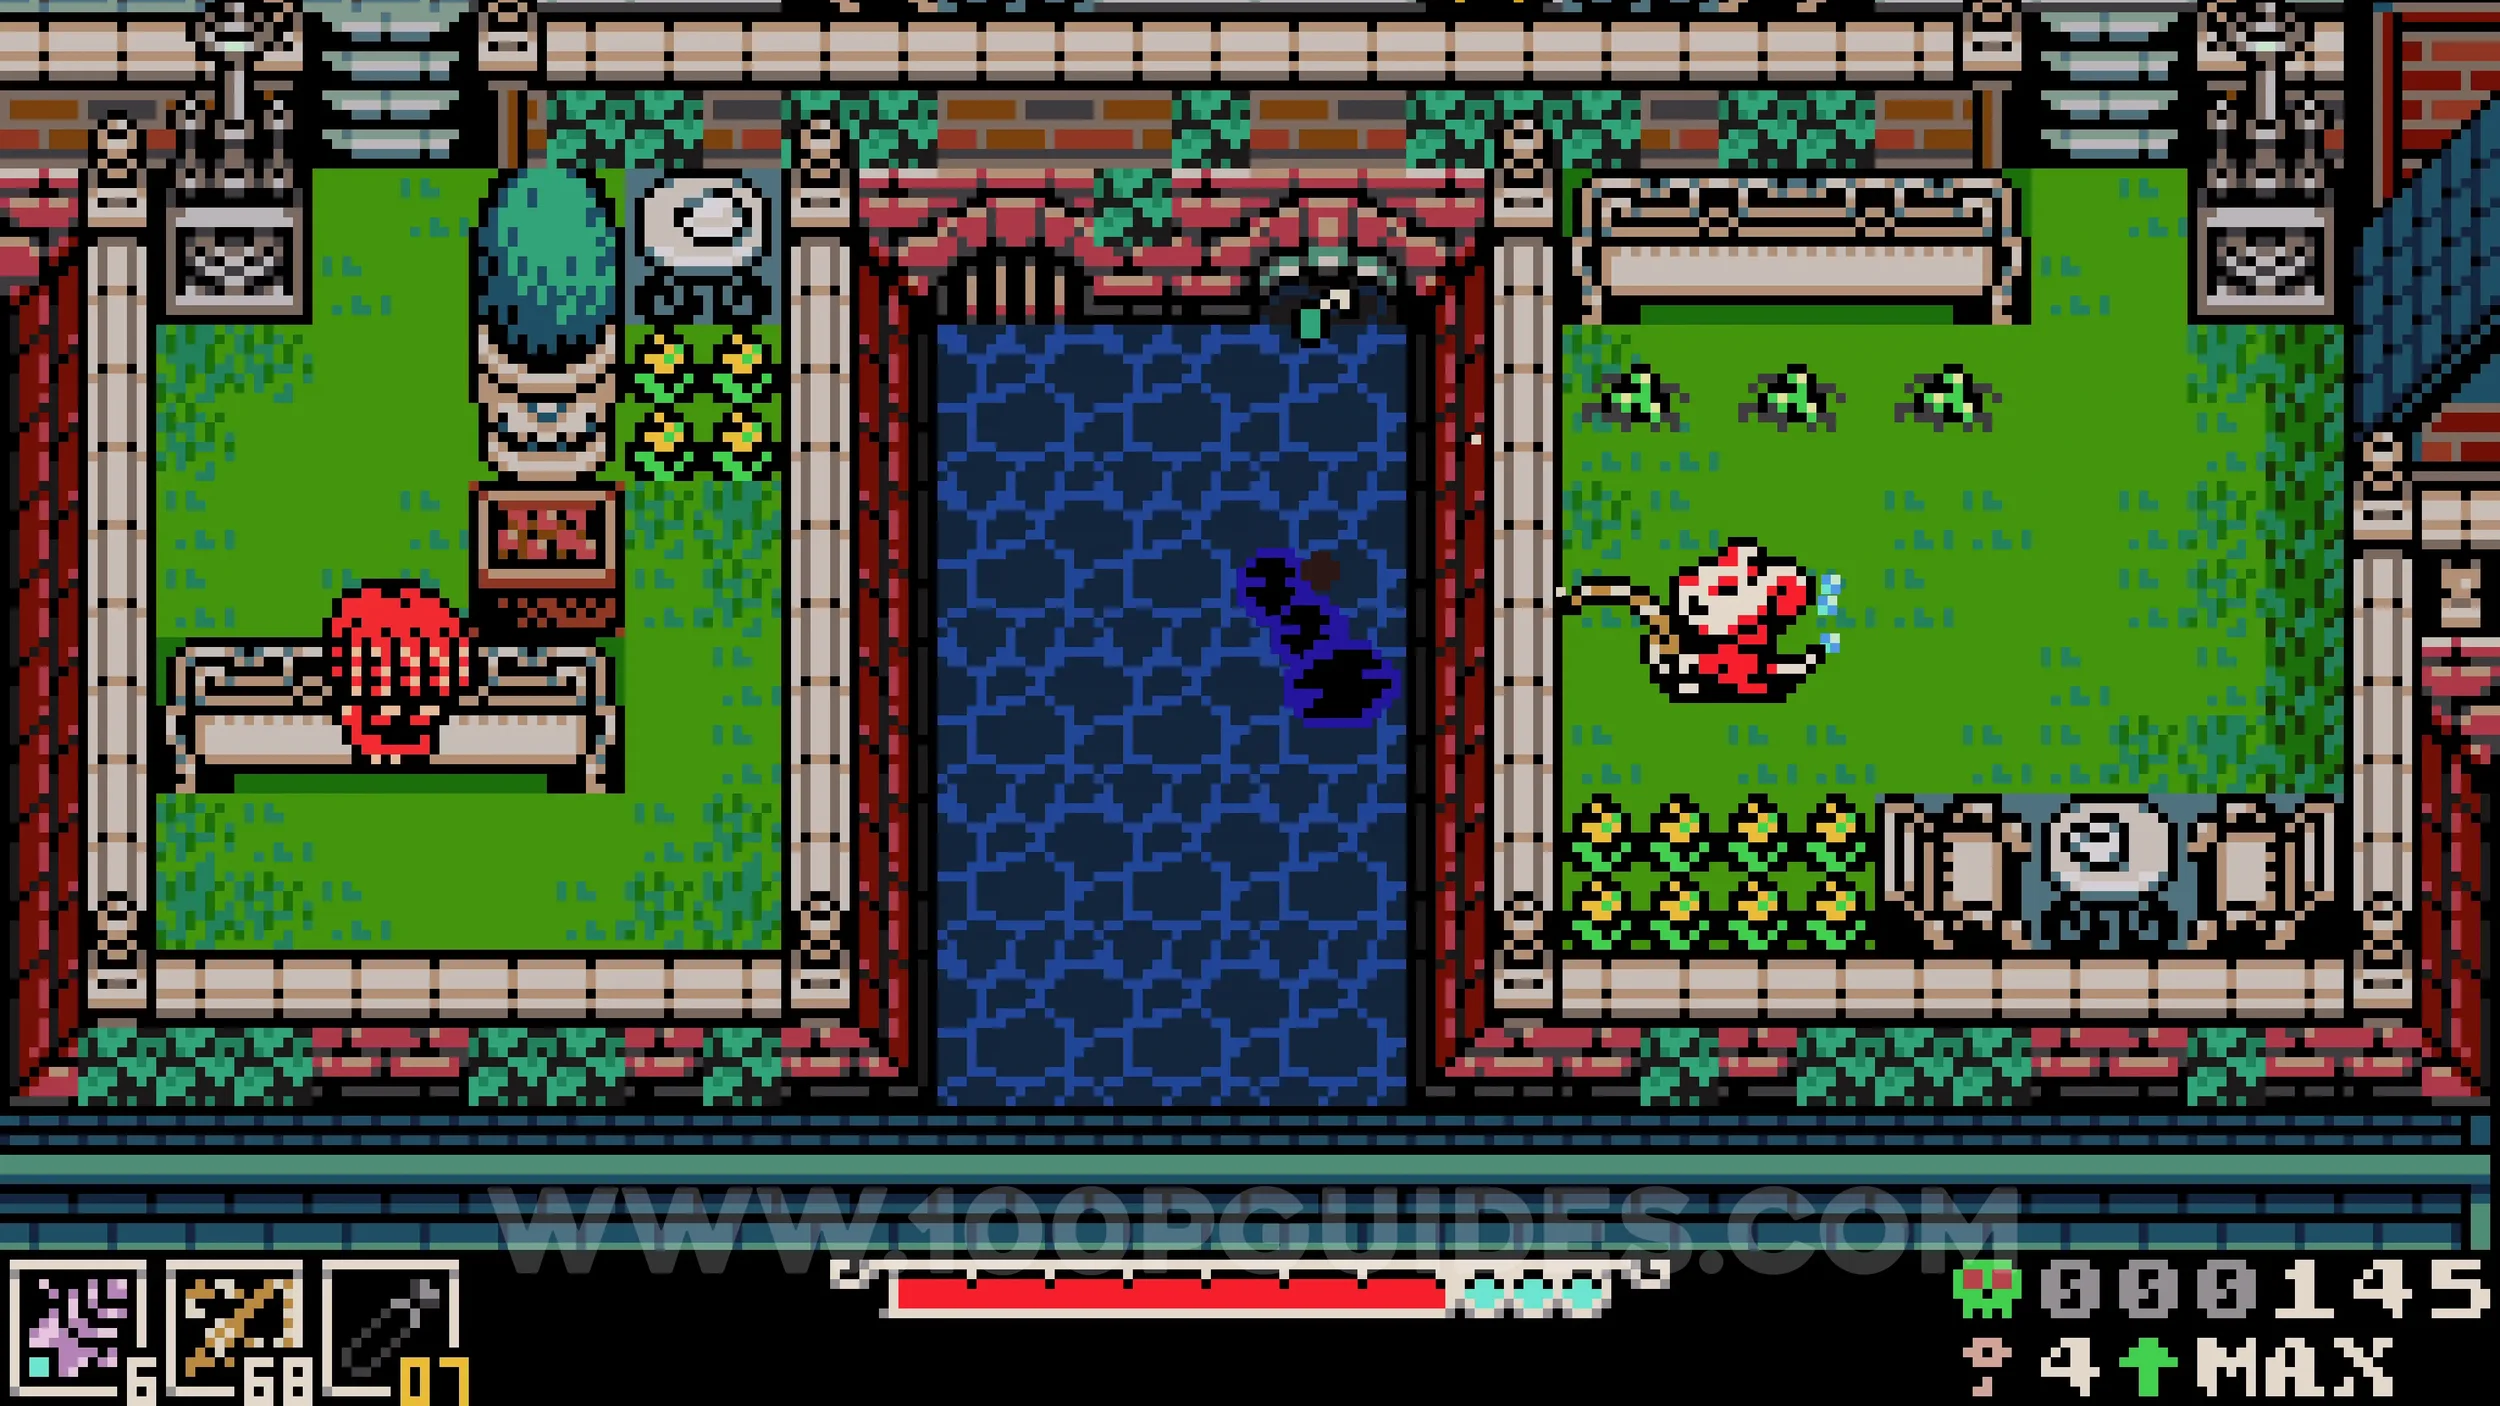
Lock #1. Found in the bottom right corner of Ossex.
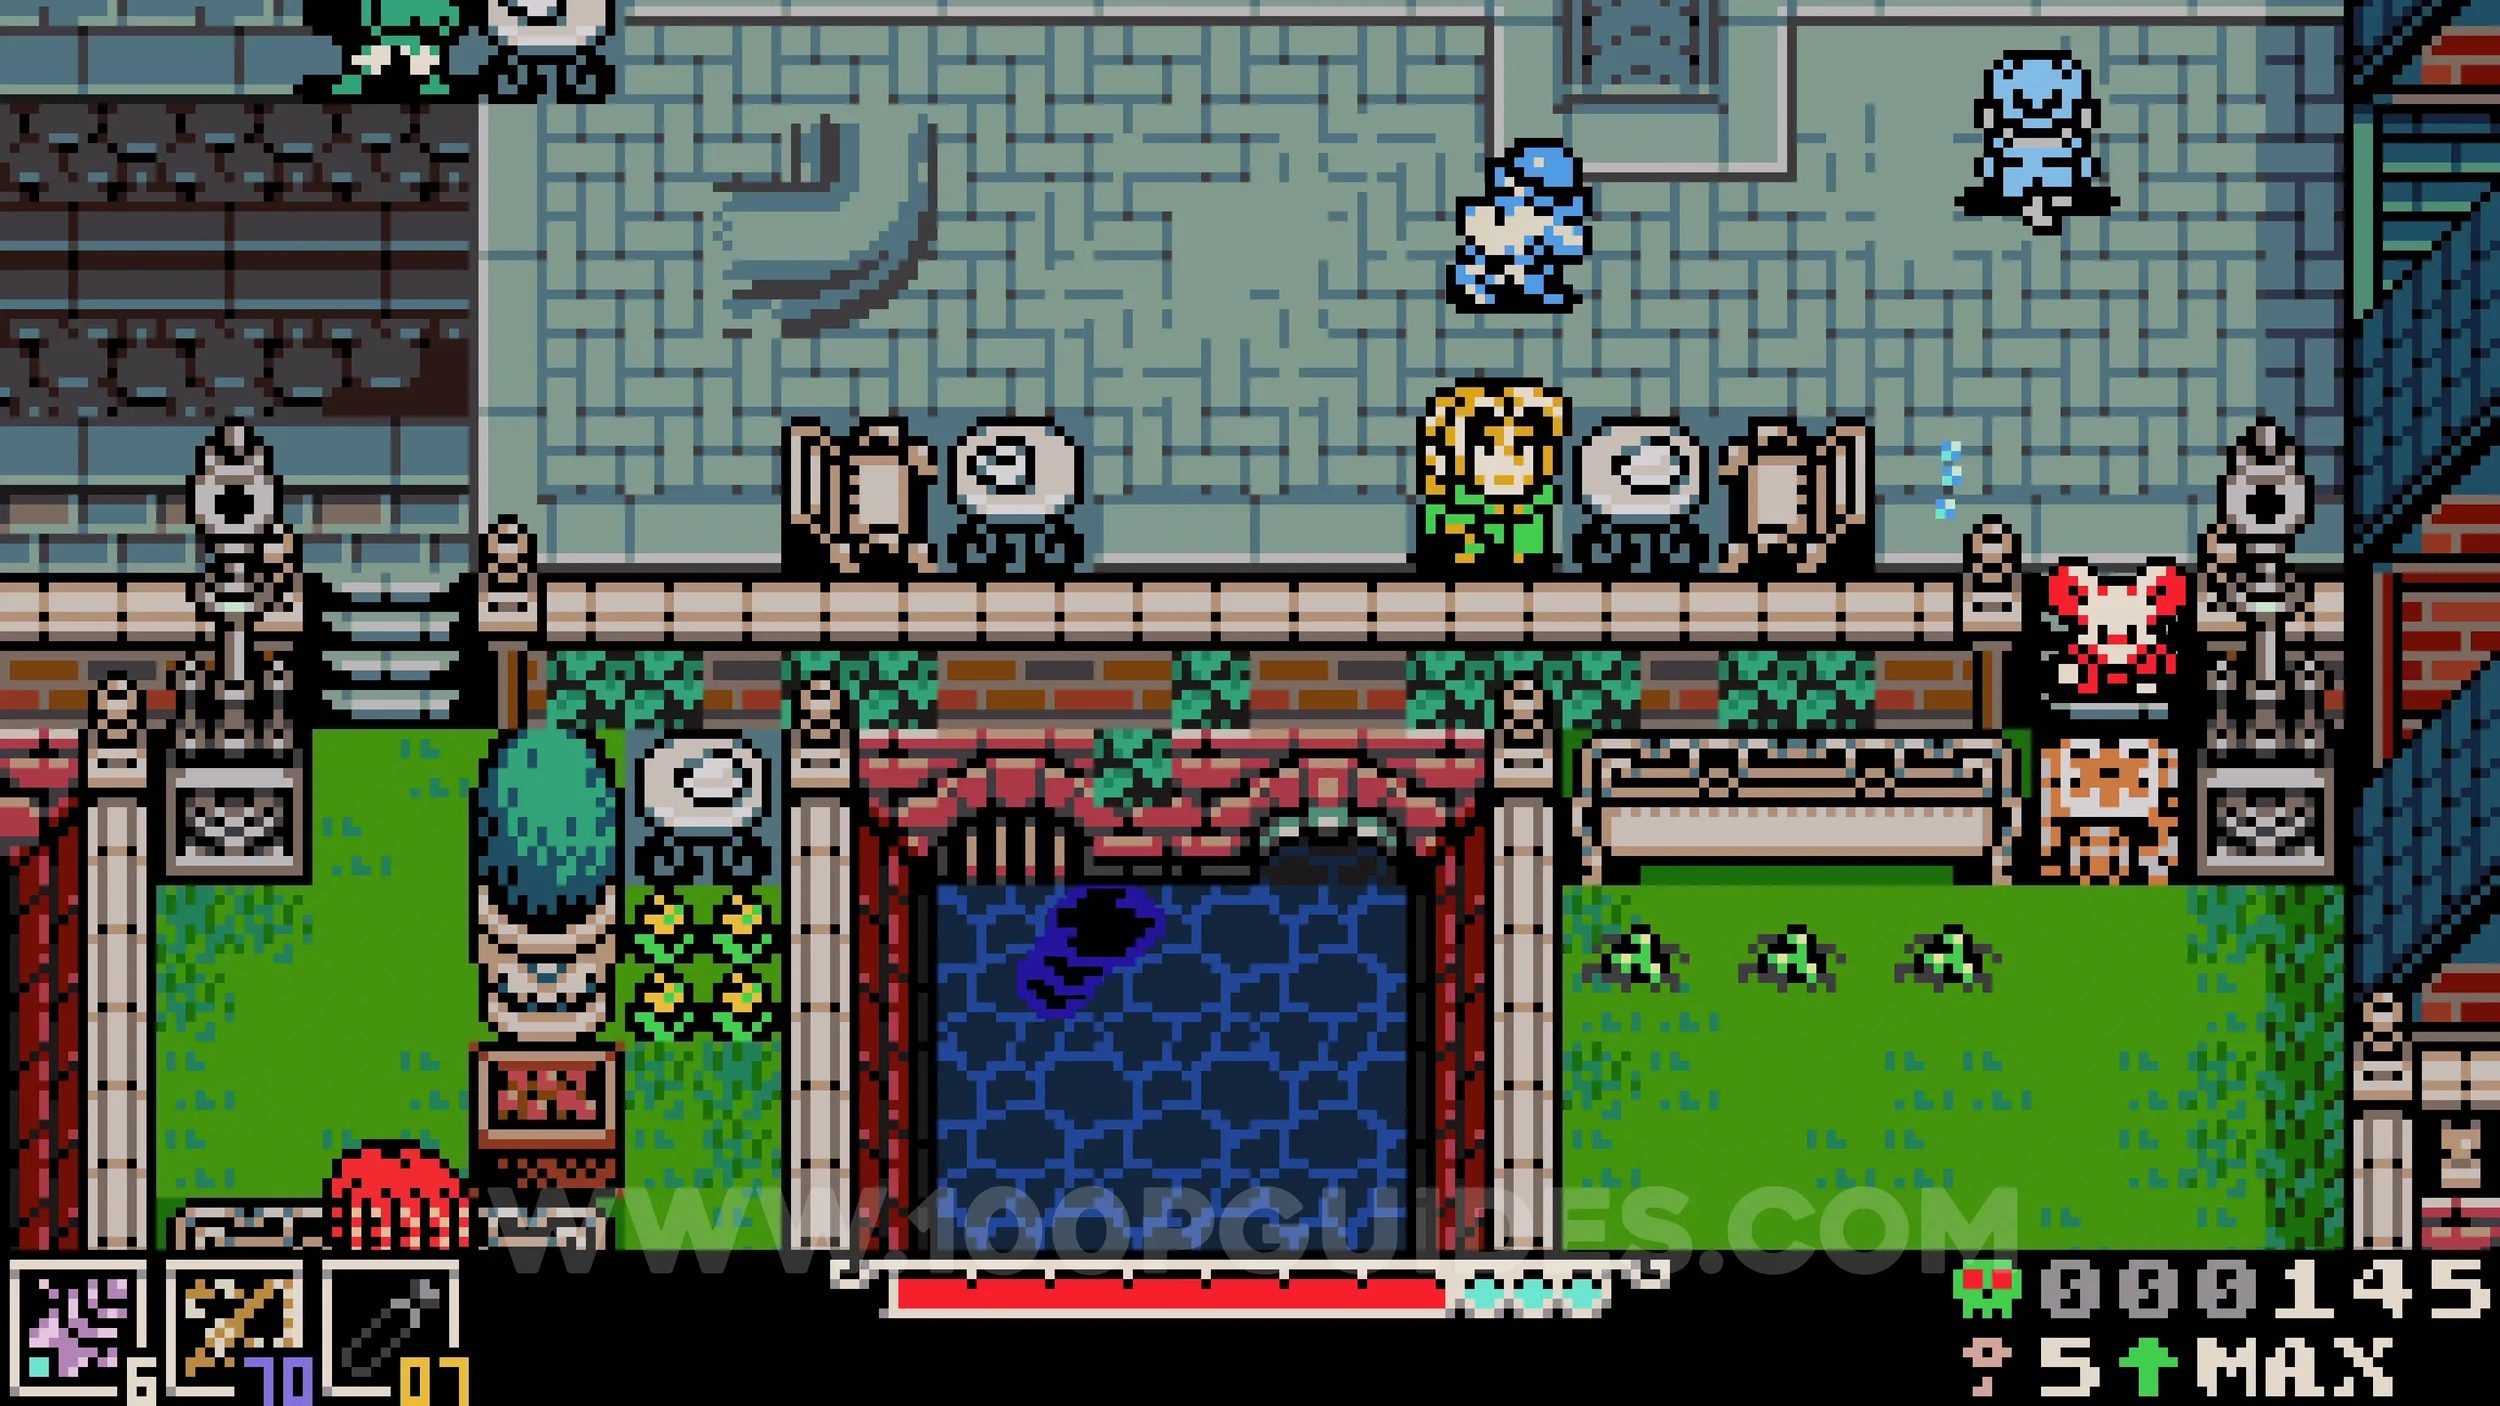
Fish #1. In the pond in the bottom right corner of Ossex.
Bonestone #2. Enter the cloak shop just north of the previous lock, then go through the hole in the bottom right corner to find the chest in the next room. To reach it you will need a trinket or sidearm that extends your jumping range.
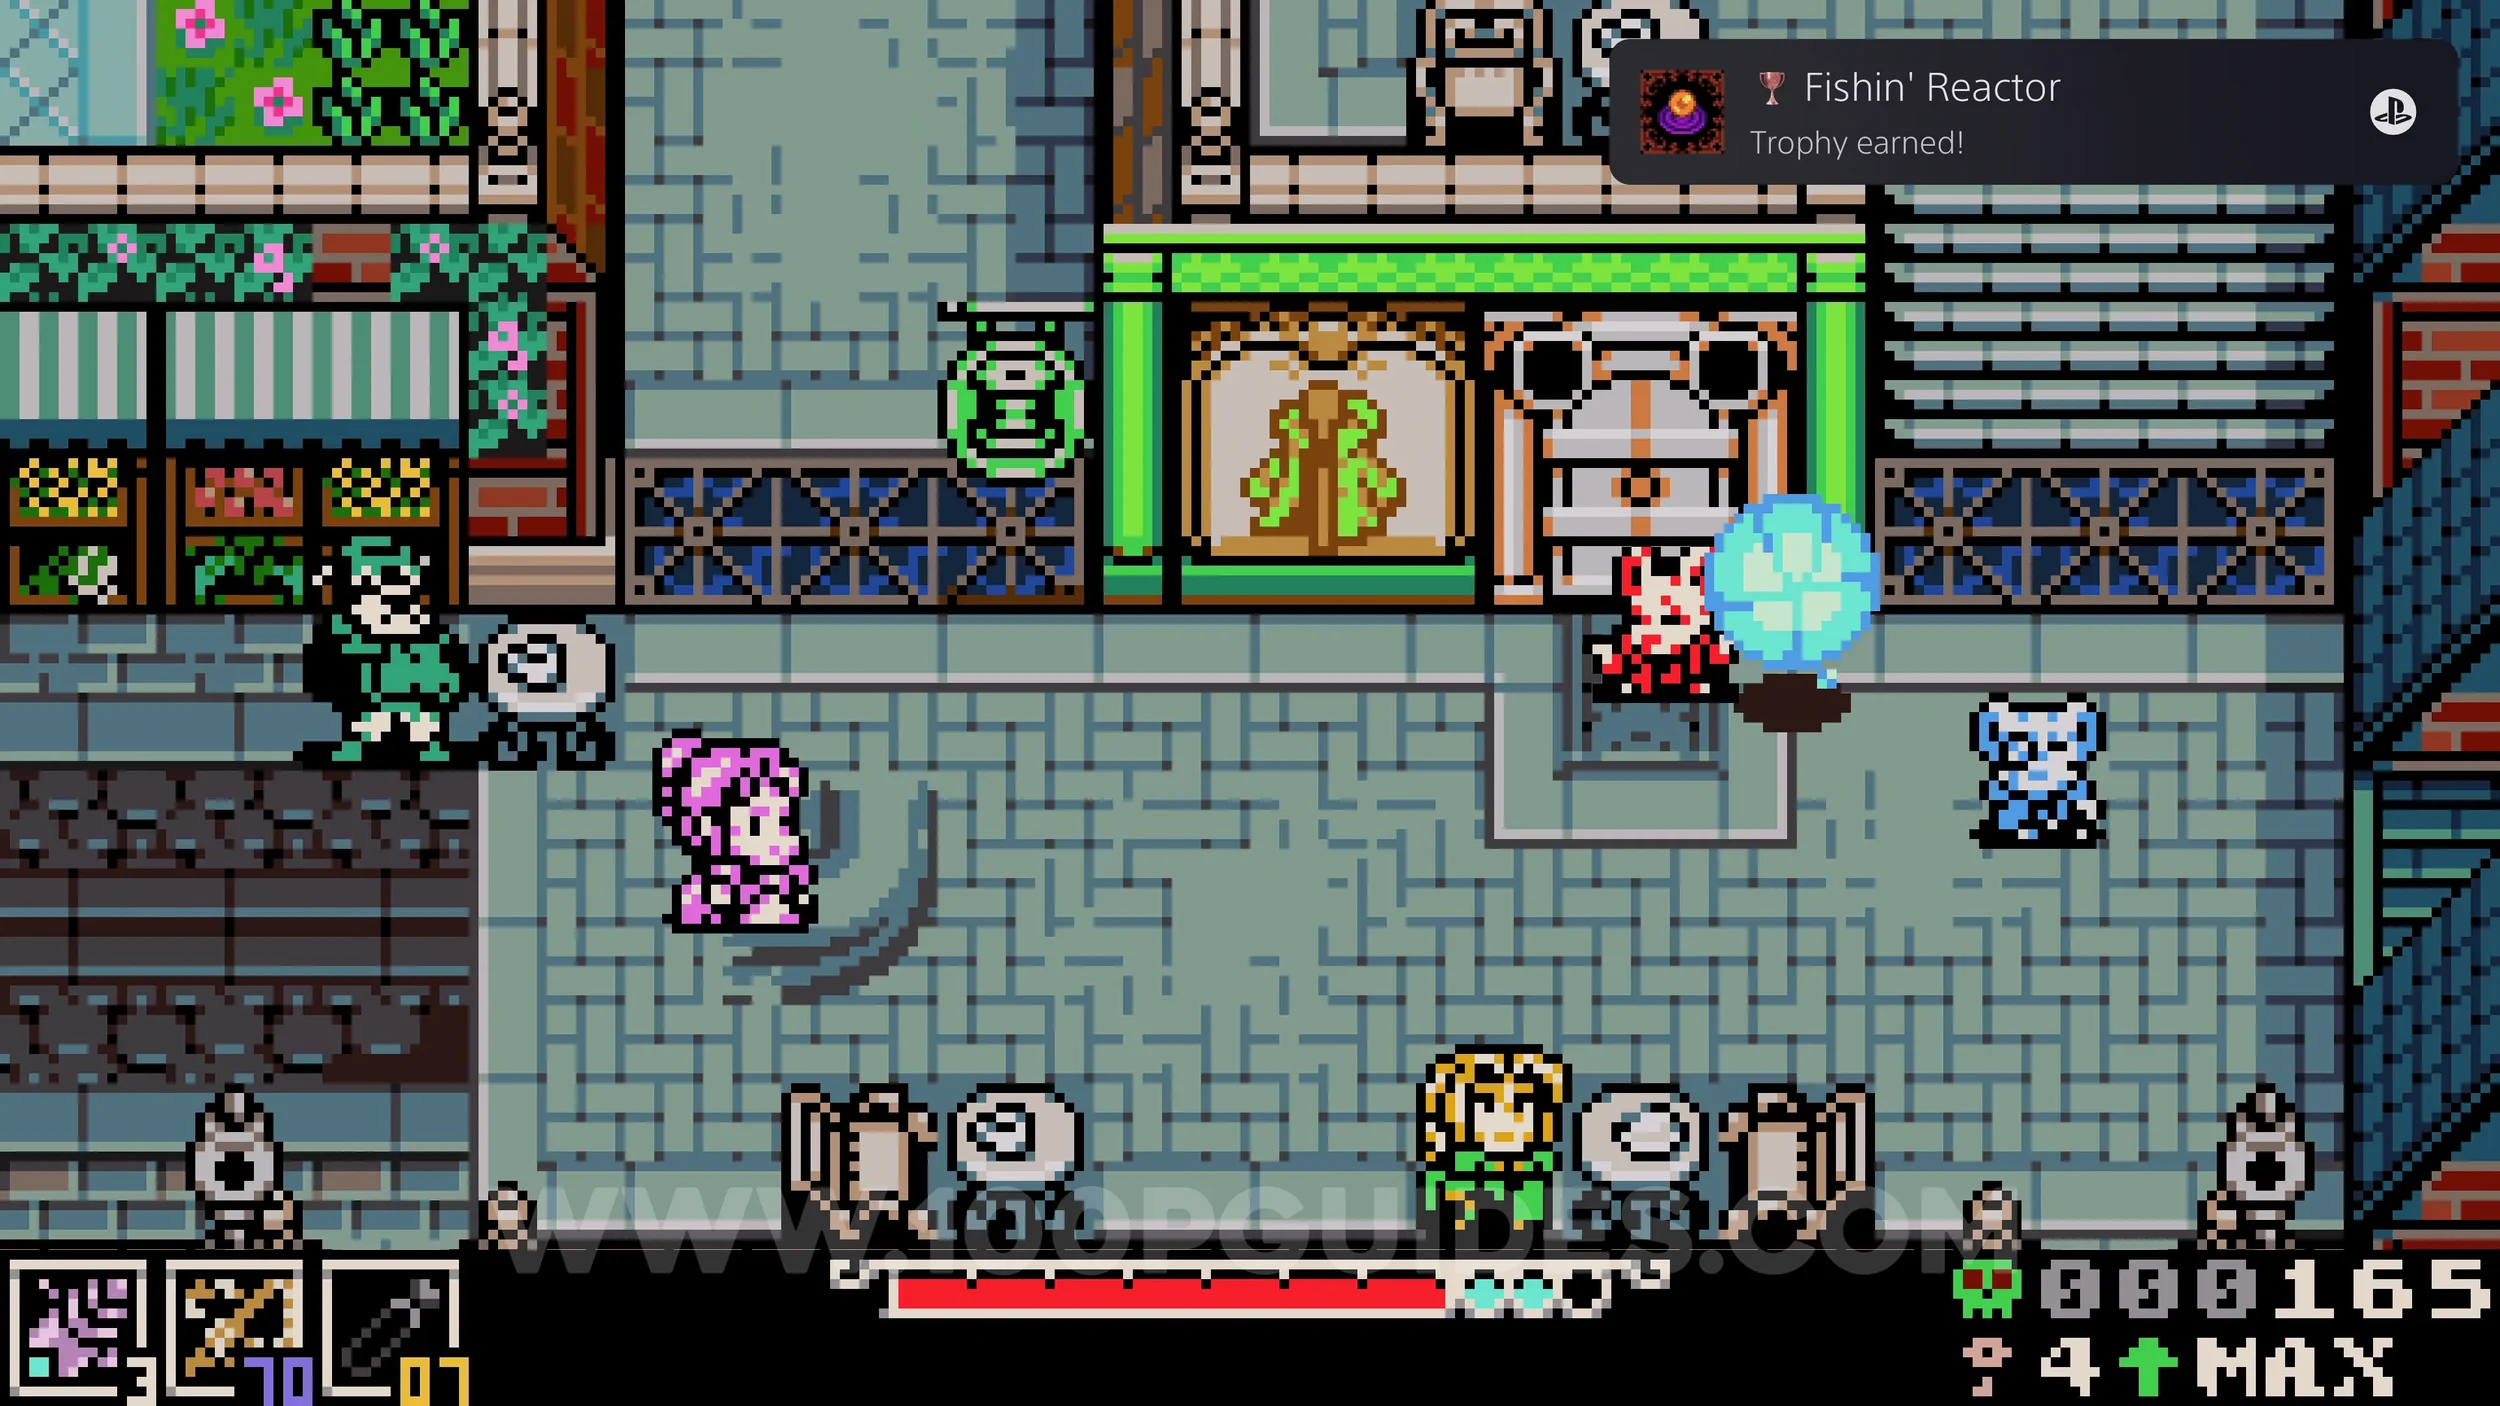
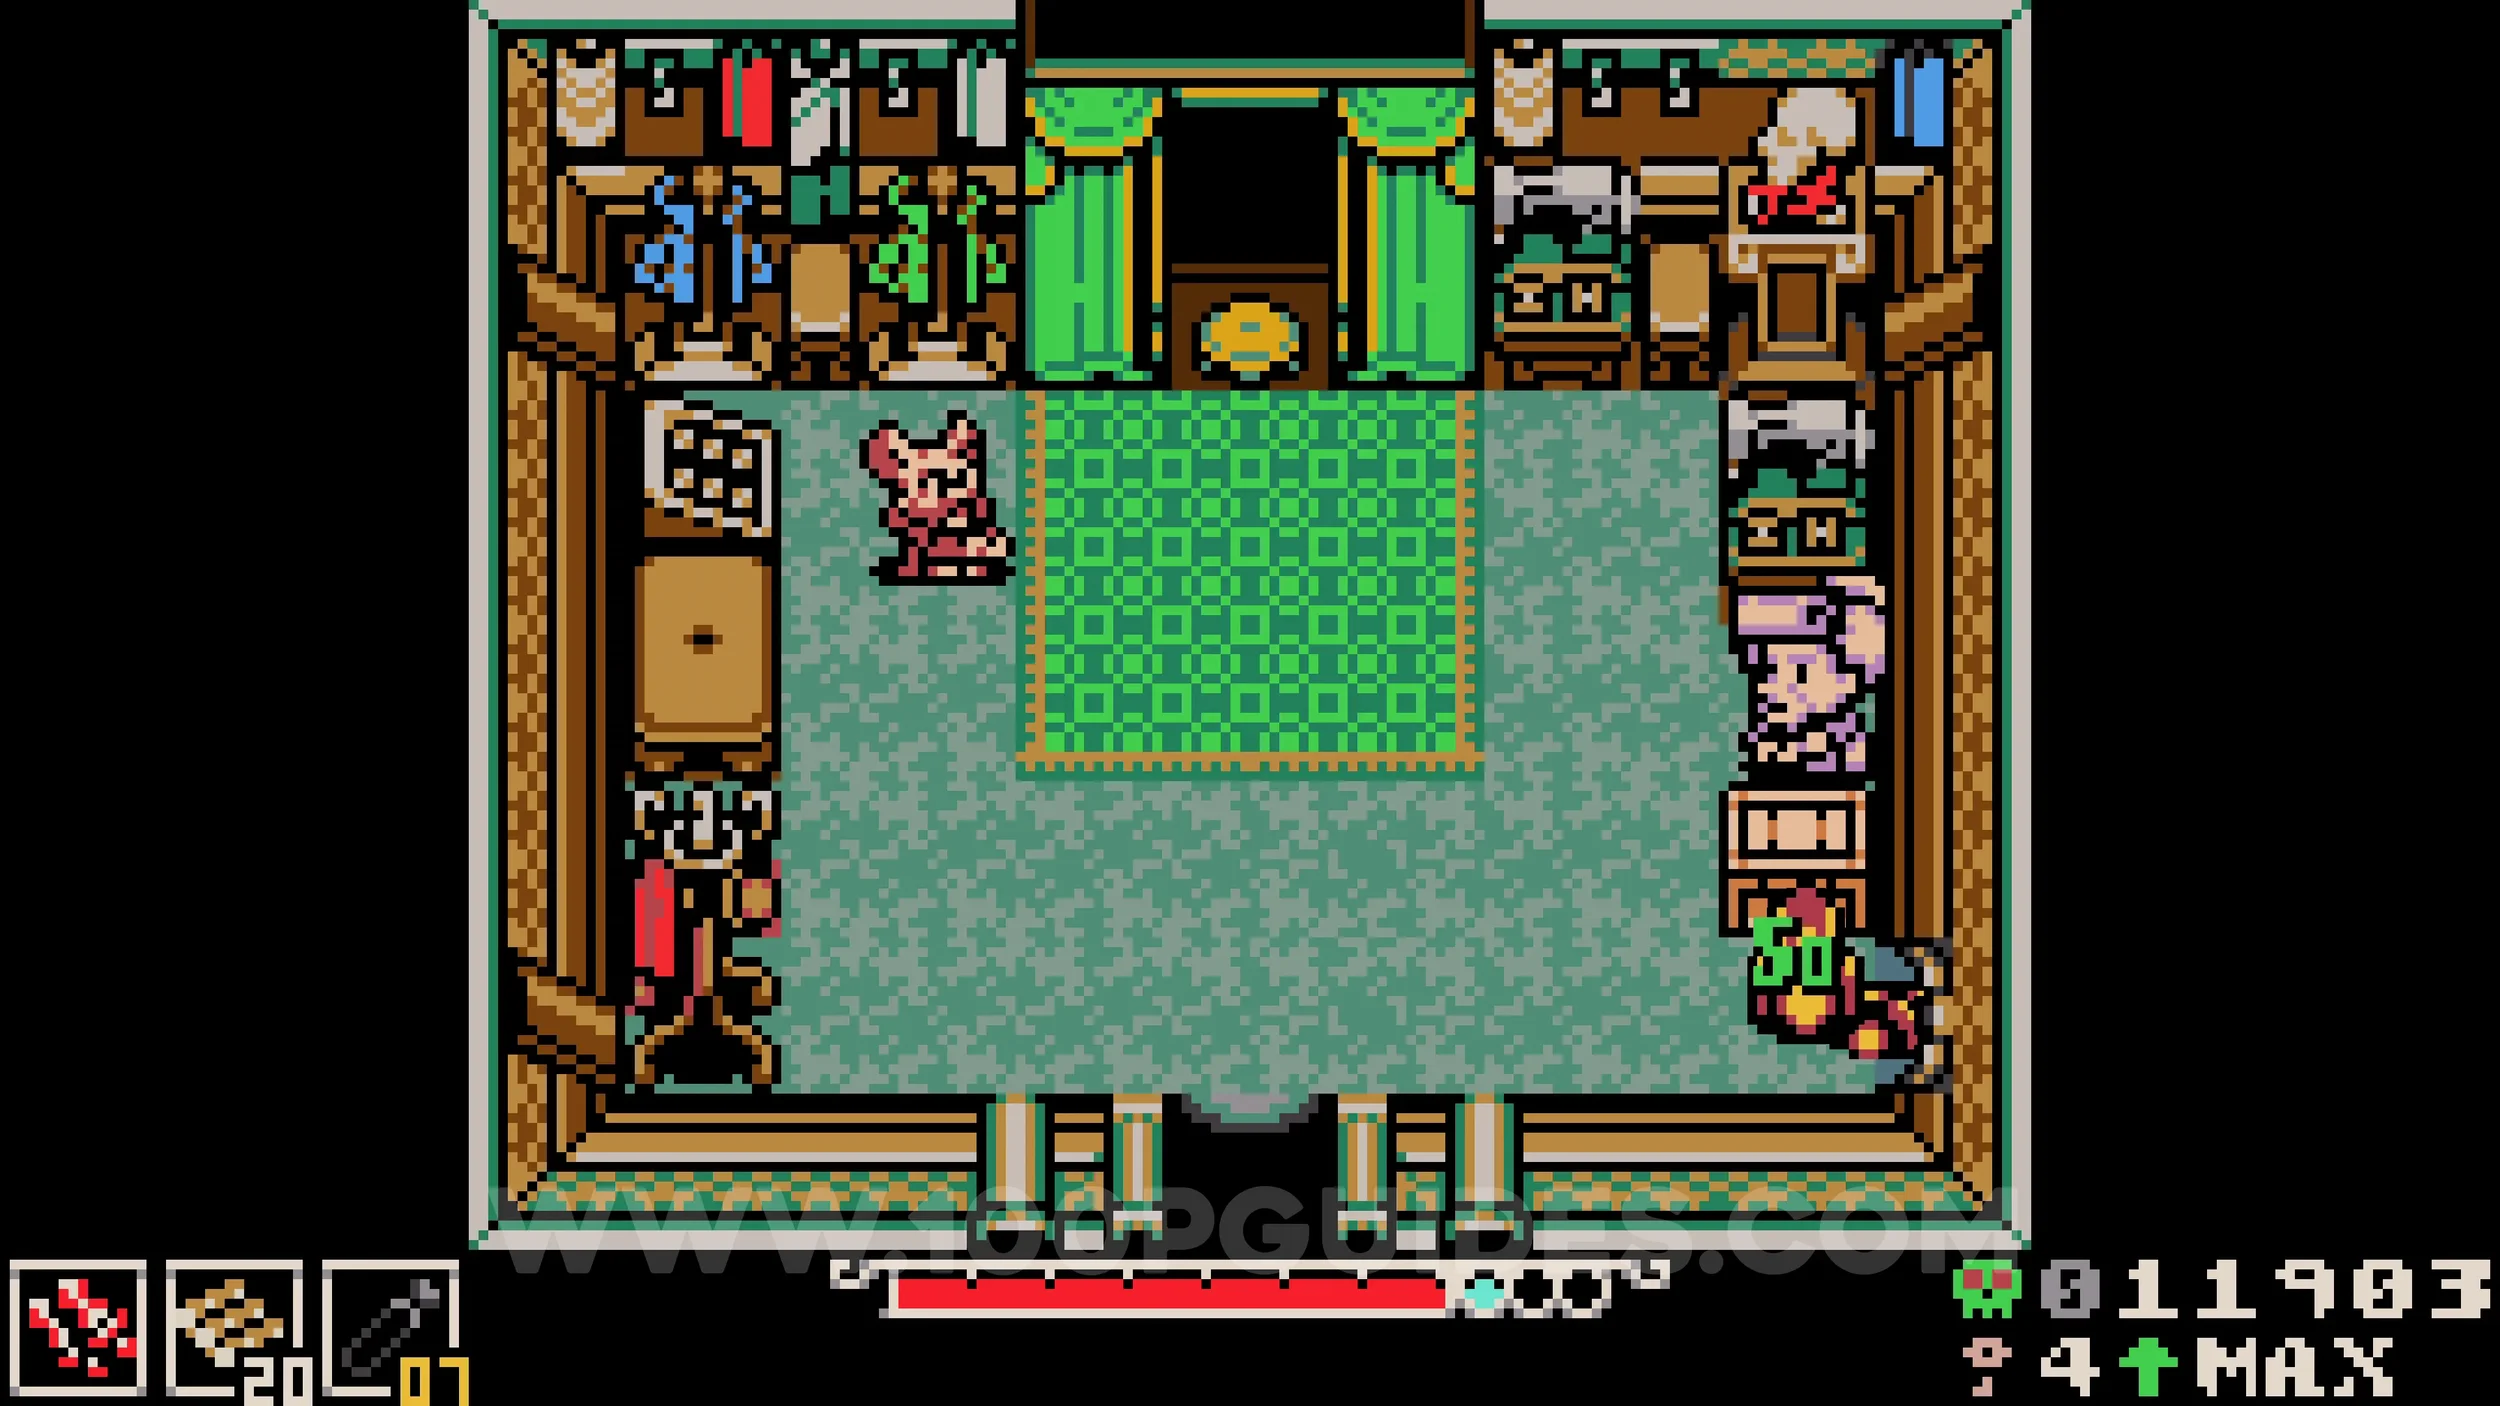
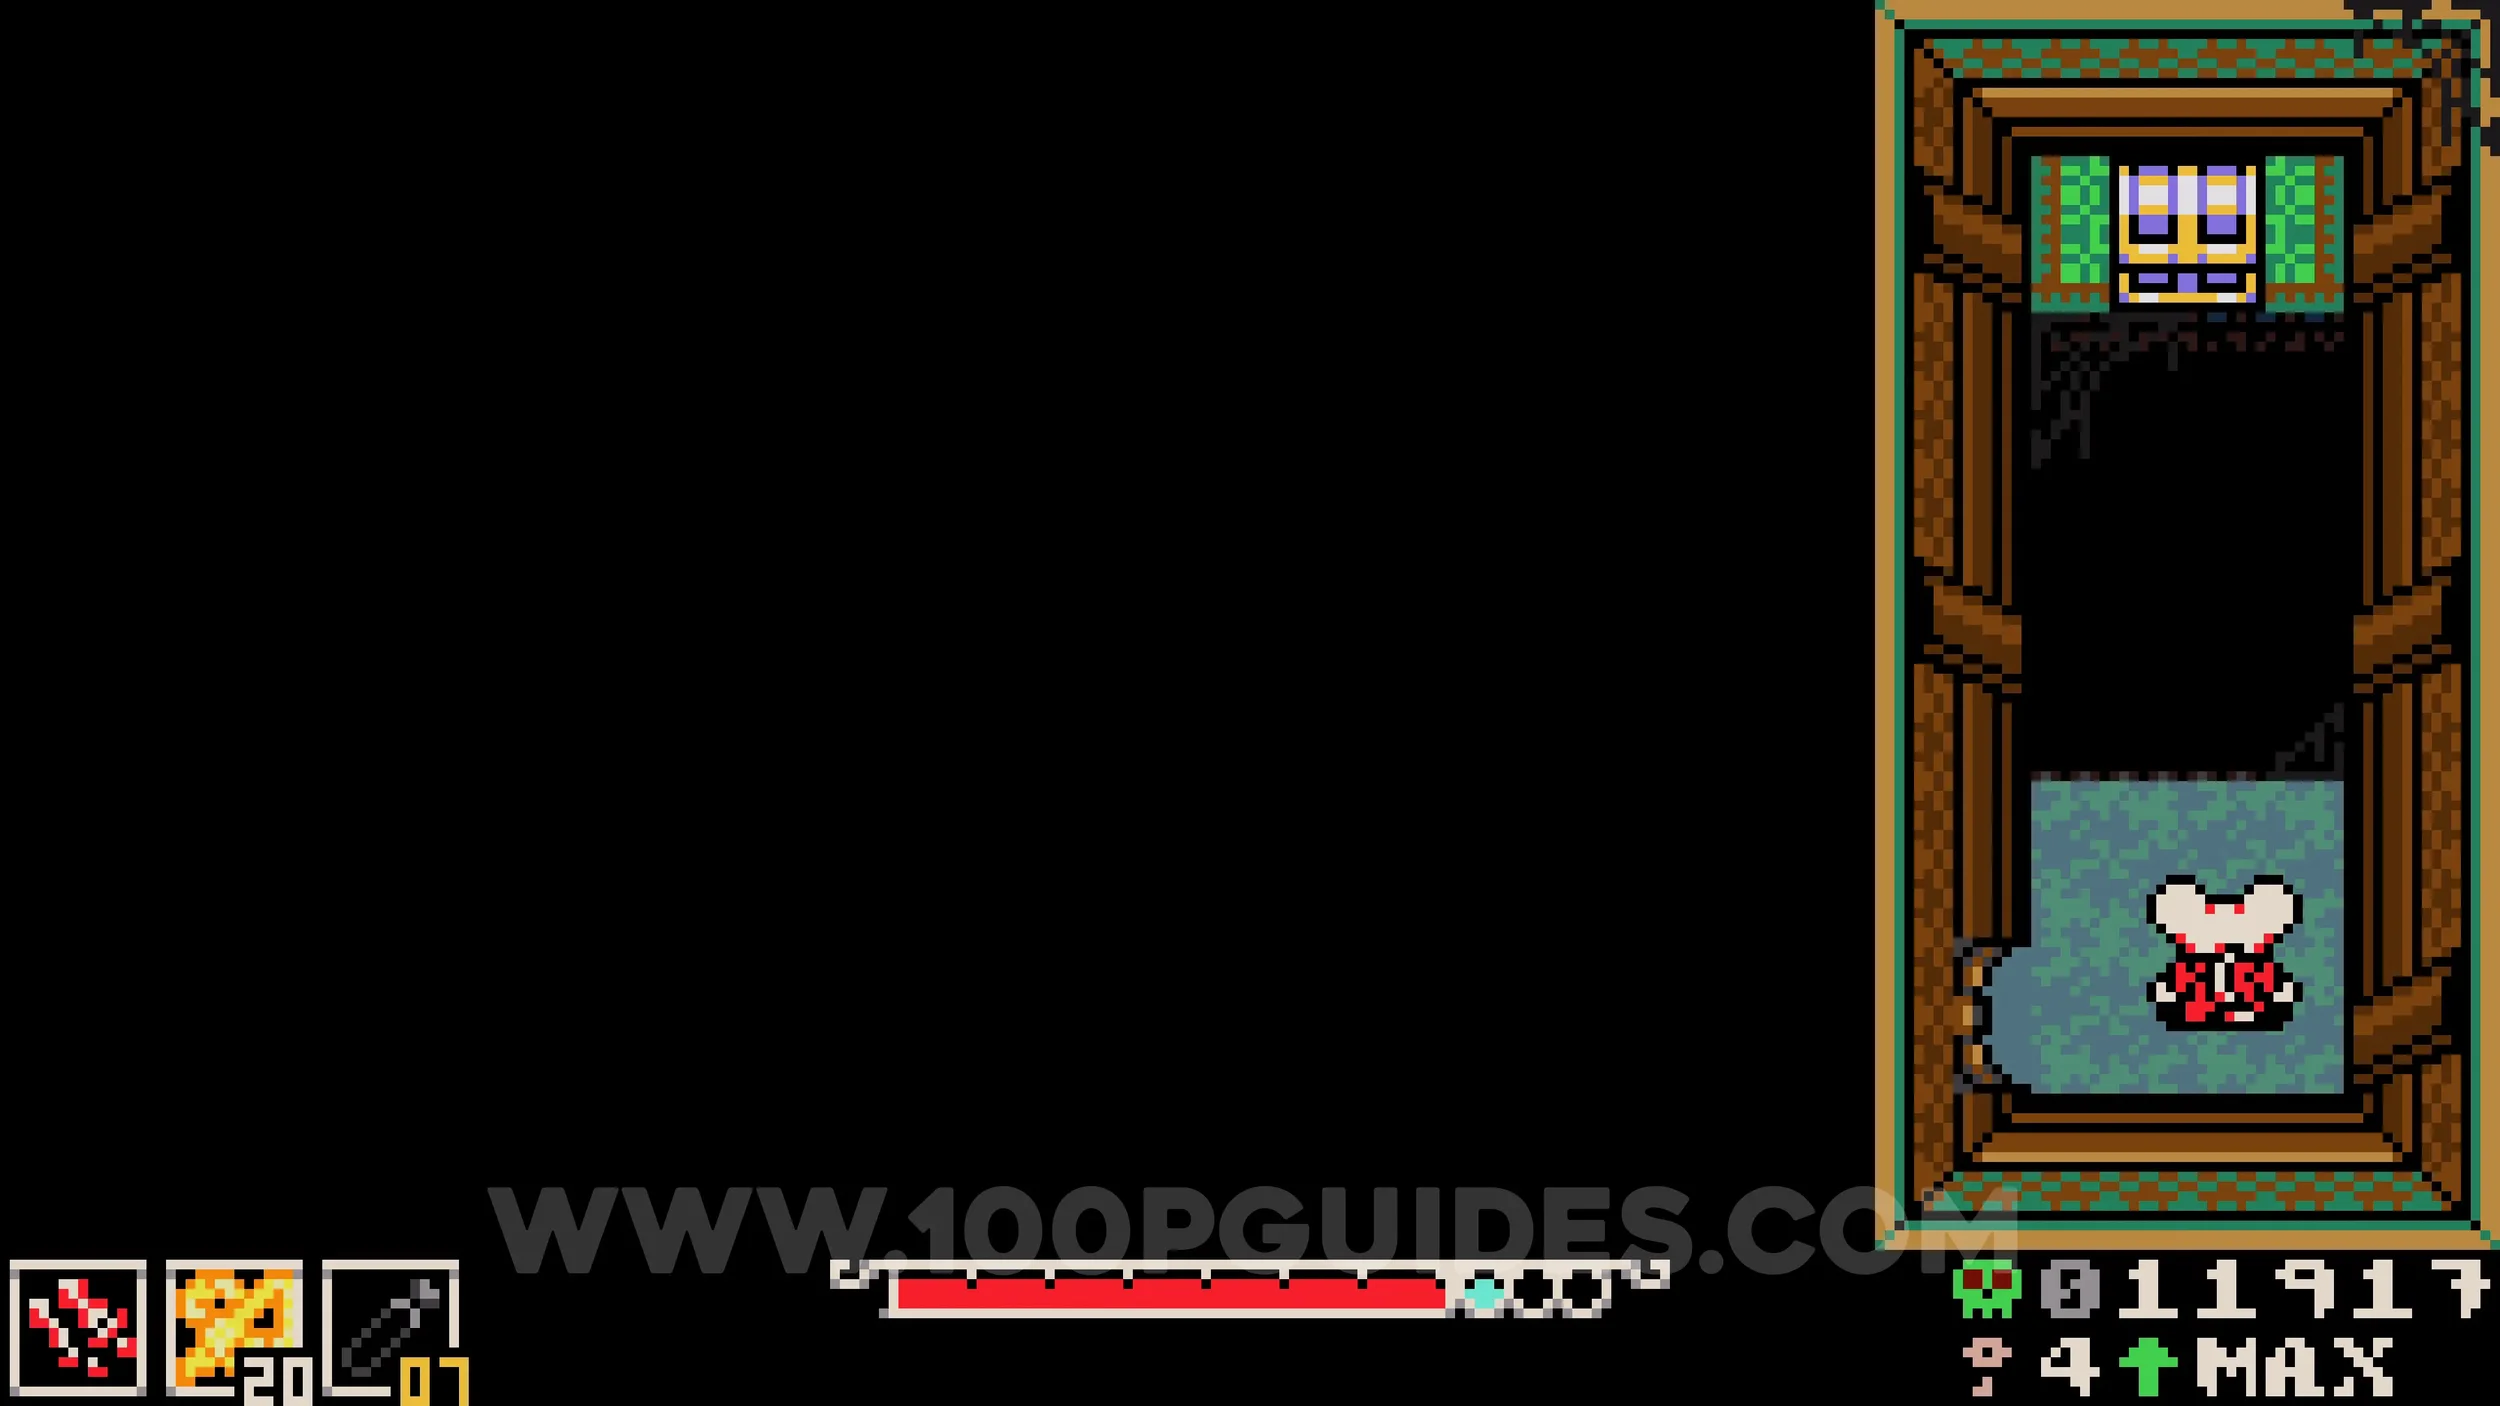
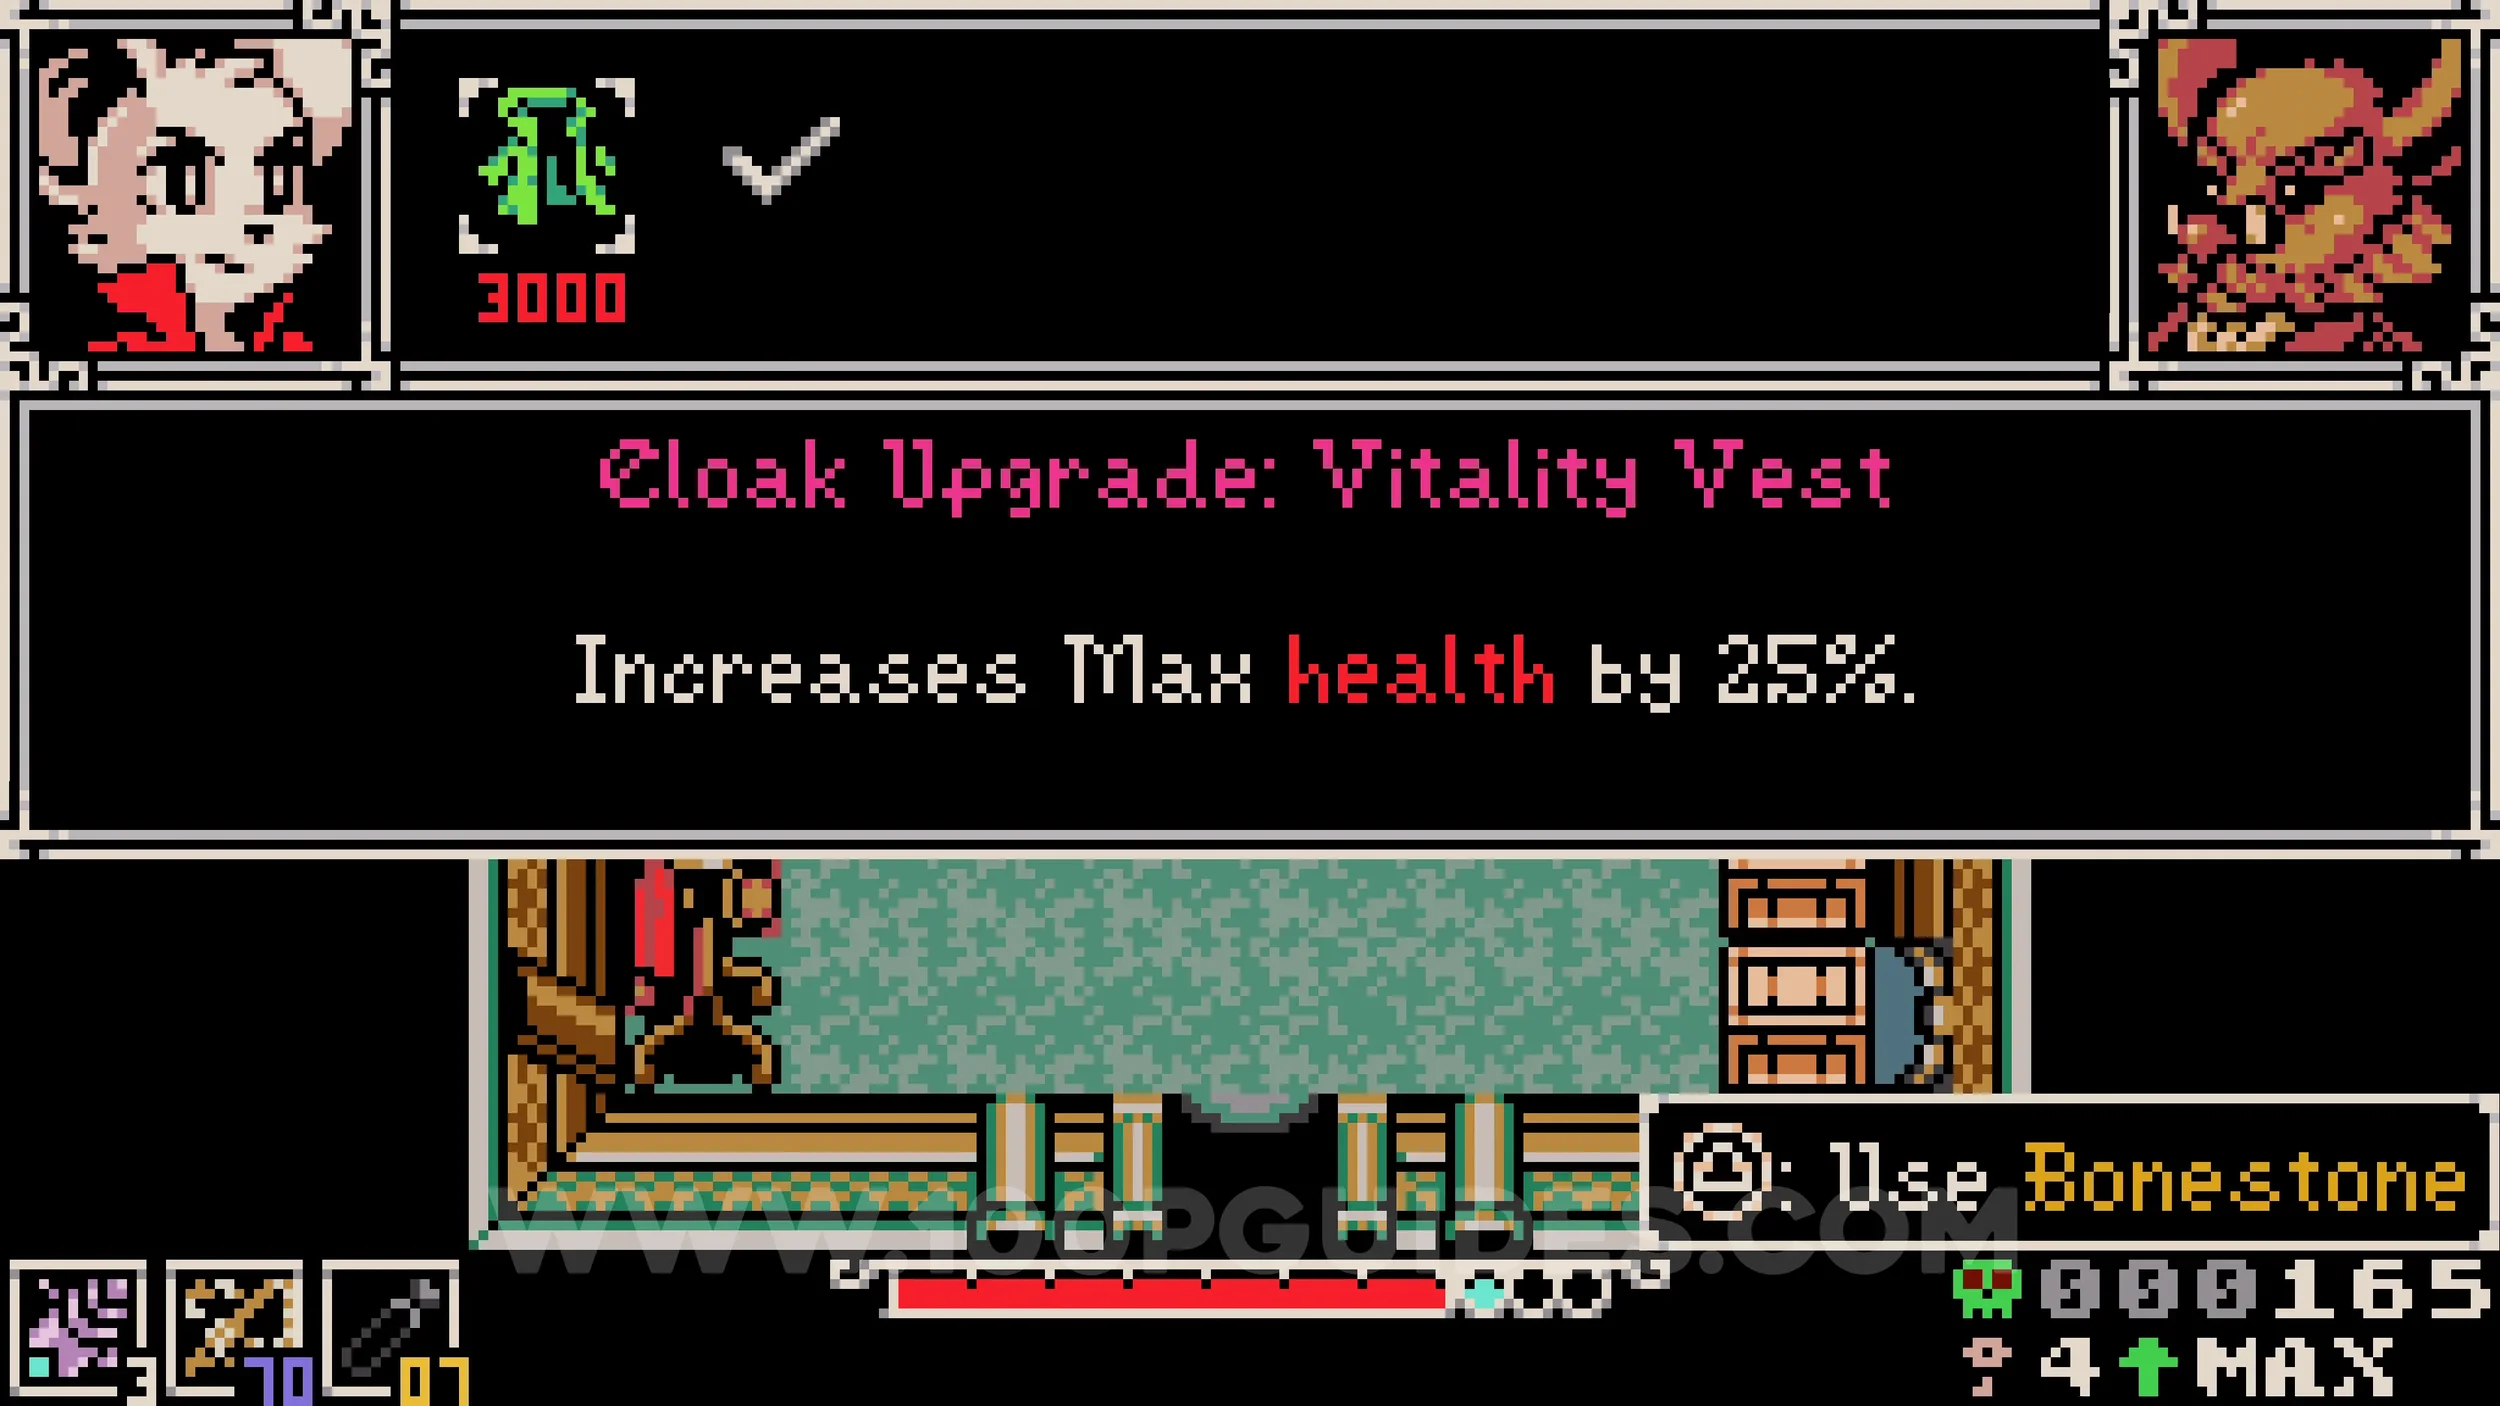
Cloak #1. Can be purchased from the cloak shop.
Bonestone #3. Above the cloak shop you will find a purple NPC. Talk to him to get him moving, then wait until he makes his way to the bottom right green area on the other side of the lock you opened earlier. Once he is facing the pond, hit him to extend his nose over the water. Jump onto his nose, then drop into the water and burrow through the hole in the upper wall. The collectible will be in the hidden room.
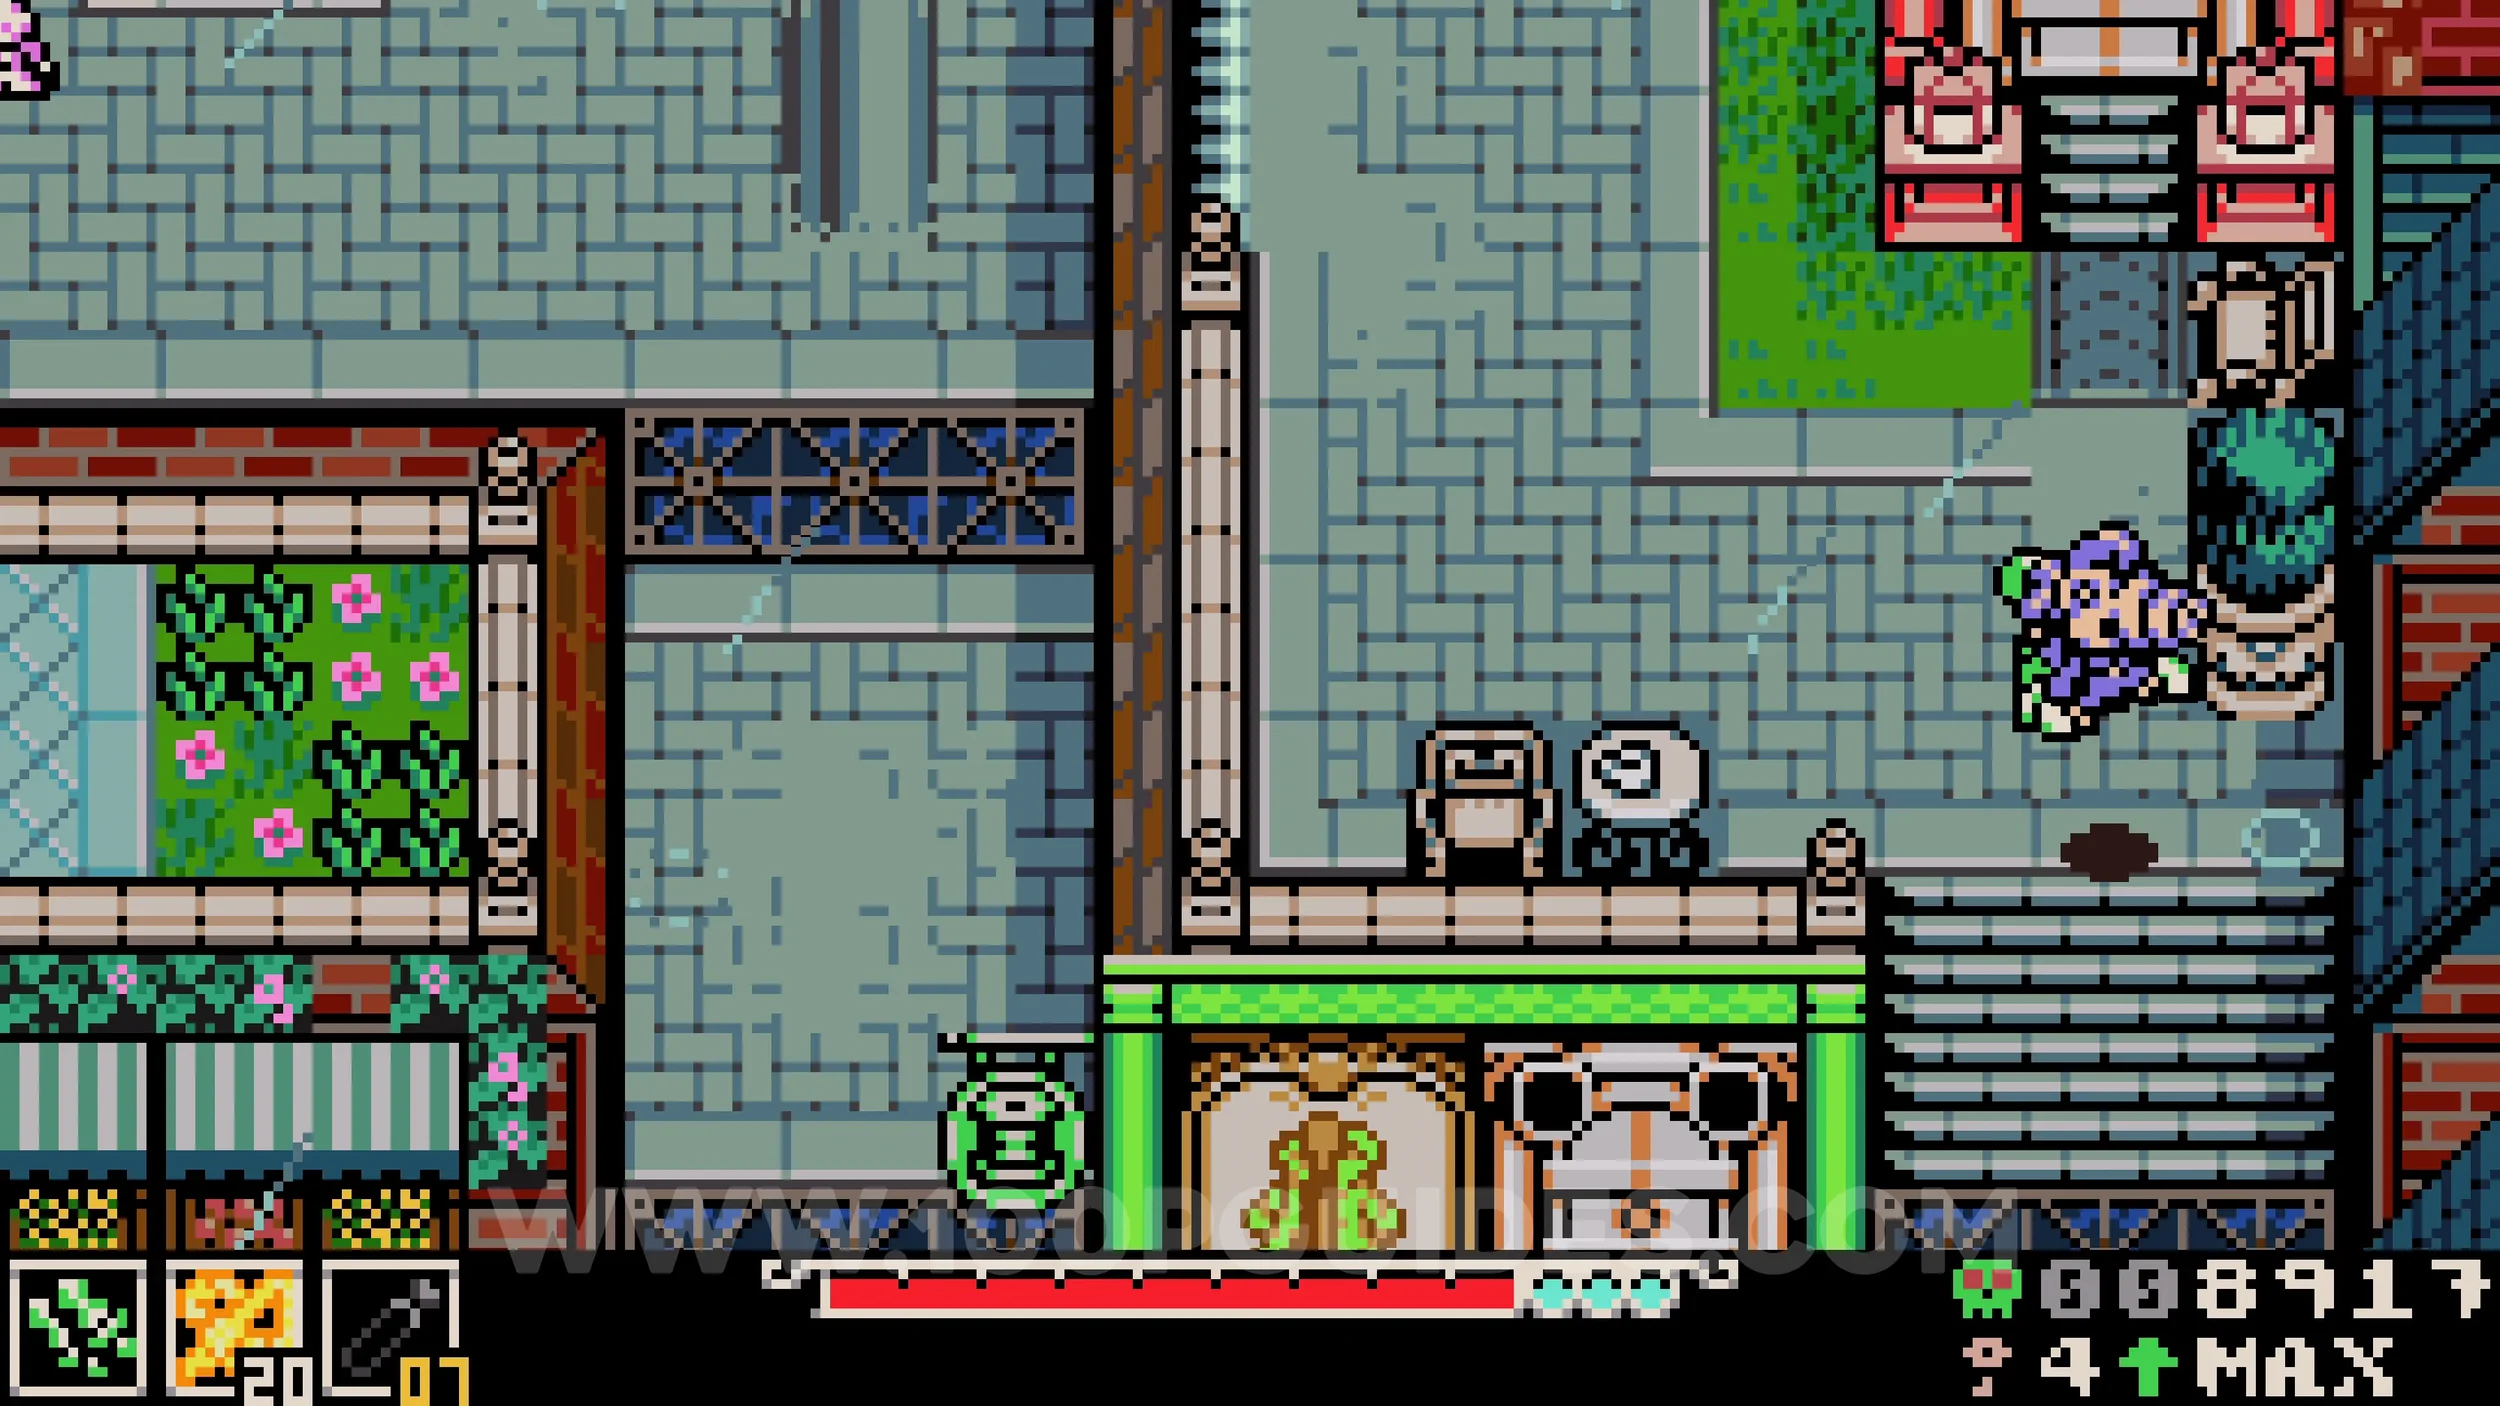
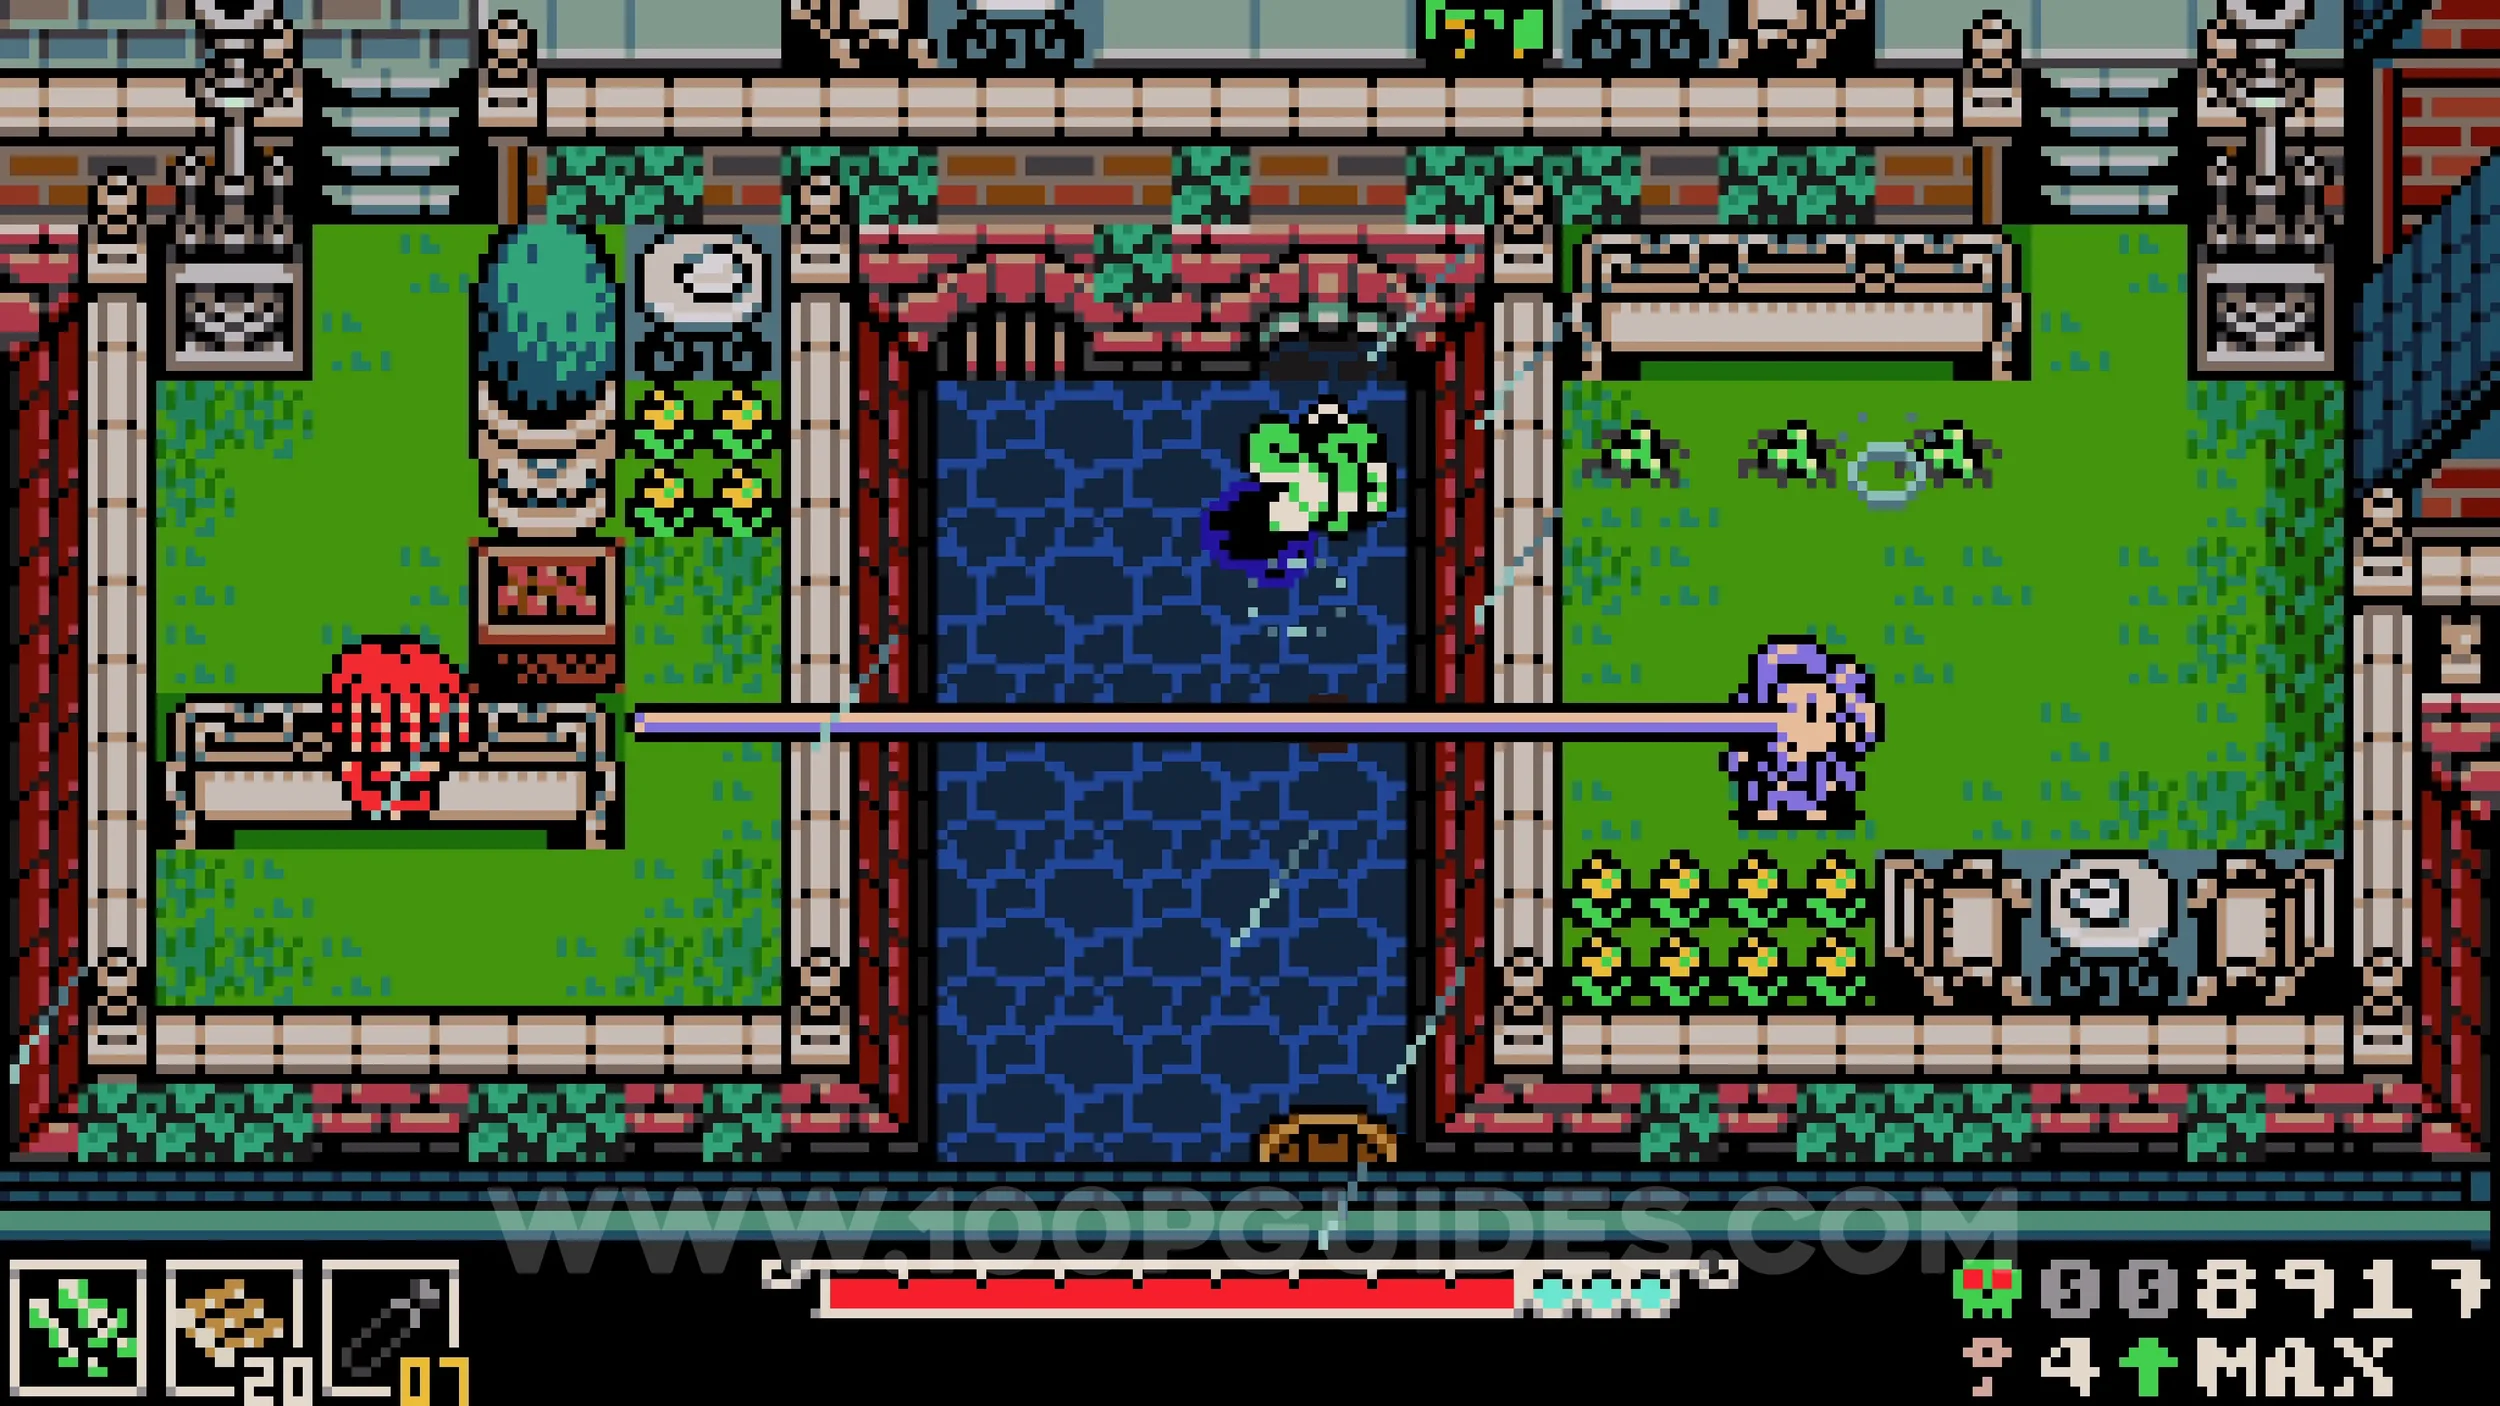
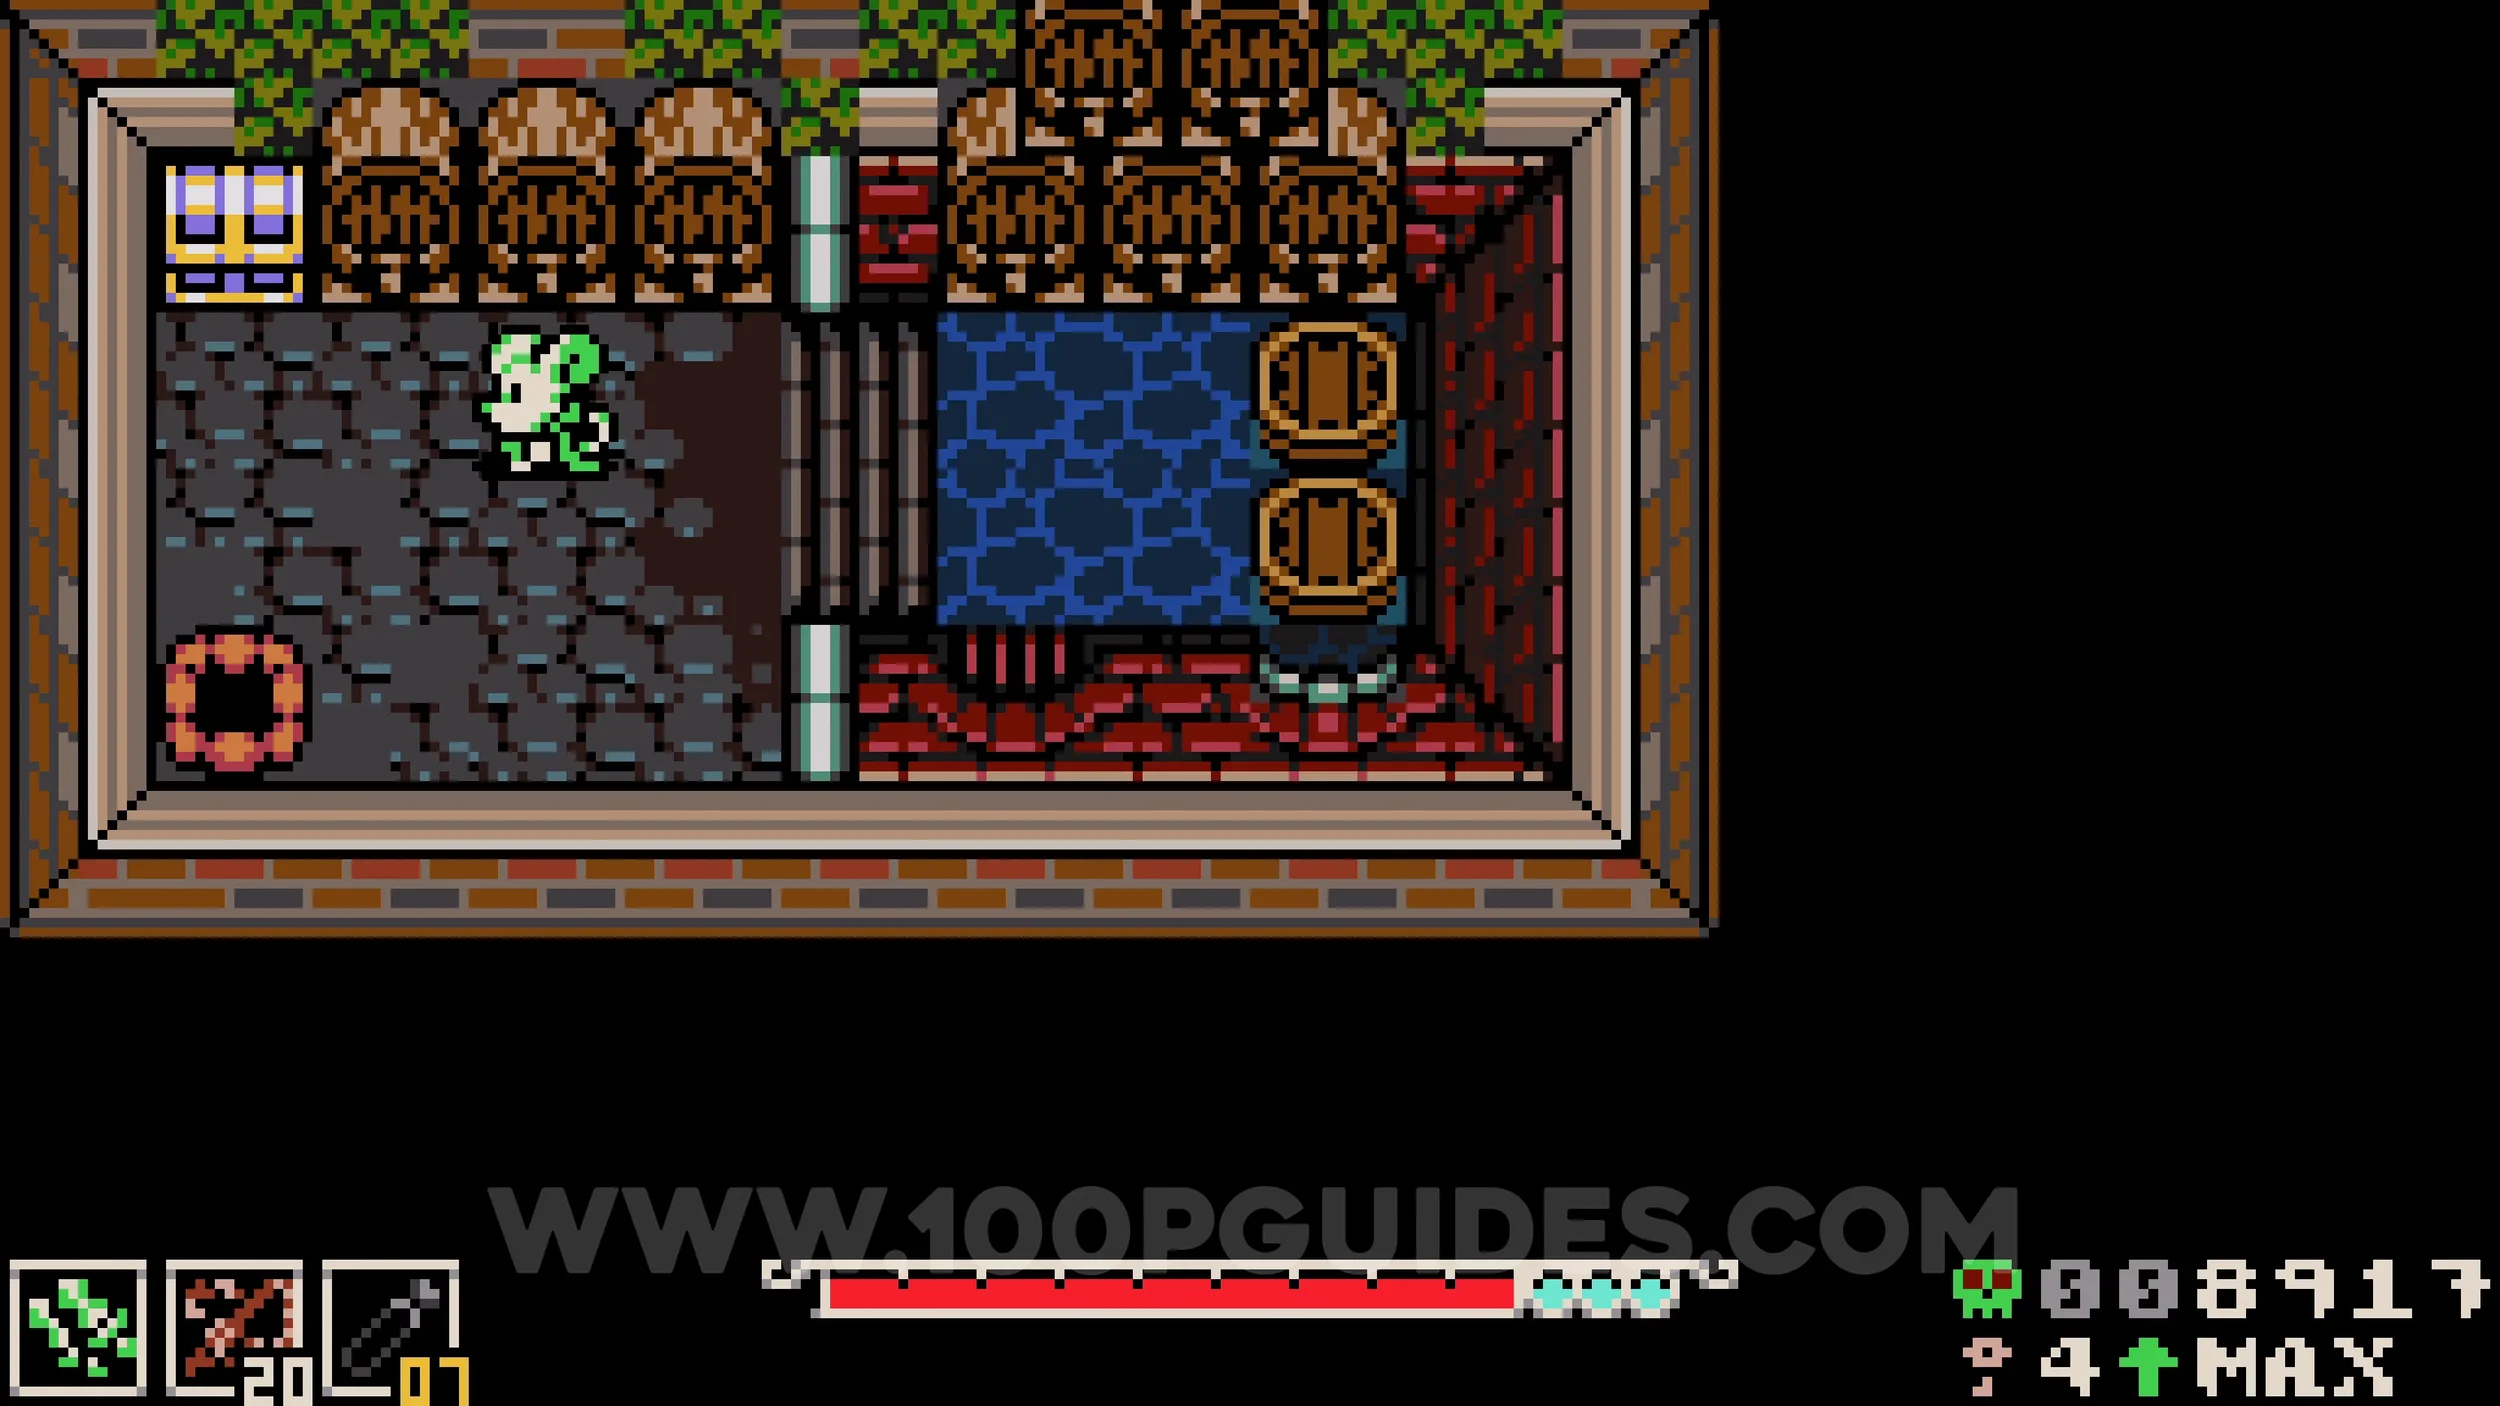
Trinket #1 - Valor Medallion. Wait until the nose NPC is directly above the cloak shop and facing left, then hit him to extend his nose over to the rooftop on the left. Cross over and burrow under the plant pot to pick it up, then give it to the nose NPC. Once he is facing the water at the bottom of the area, as he was when you found the previous collectible, talk to him to bring the NPC on the other side over. This will reward you with the trinket.
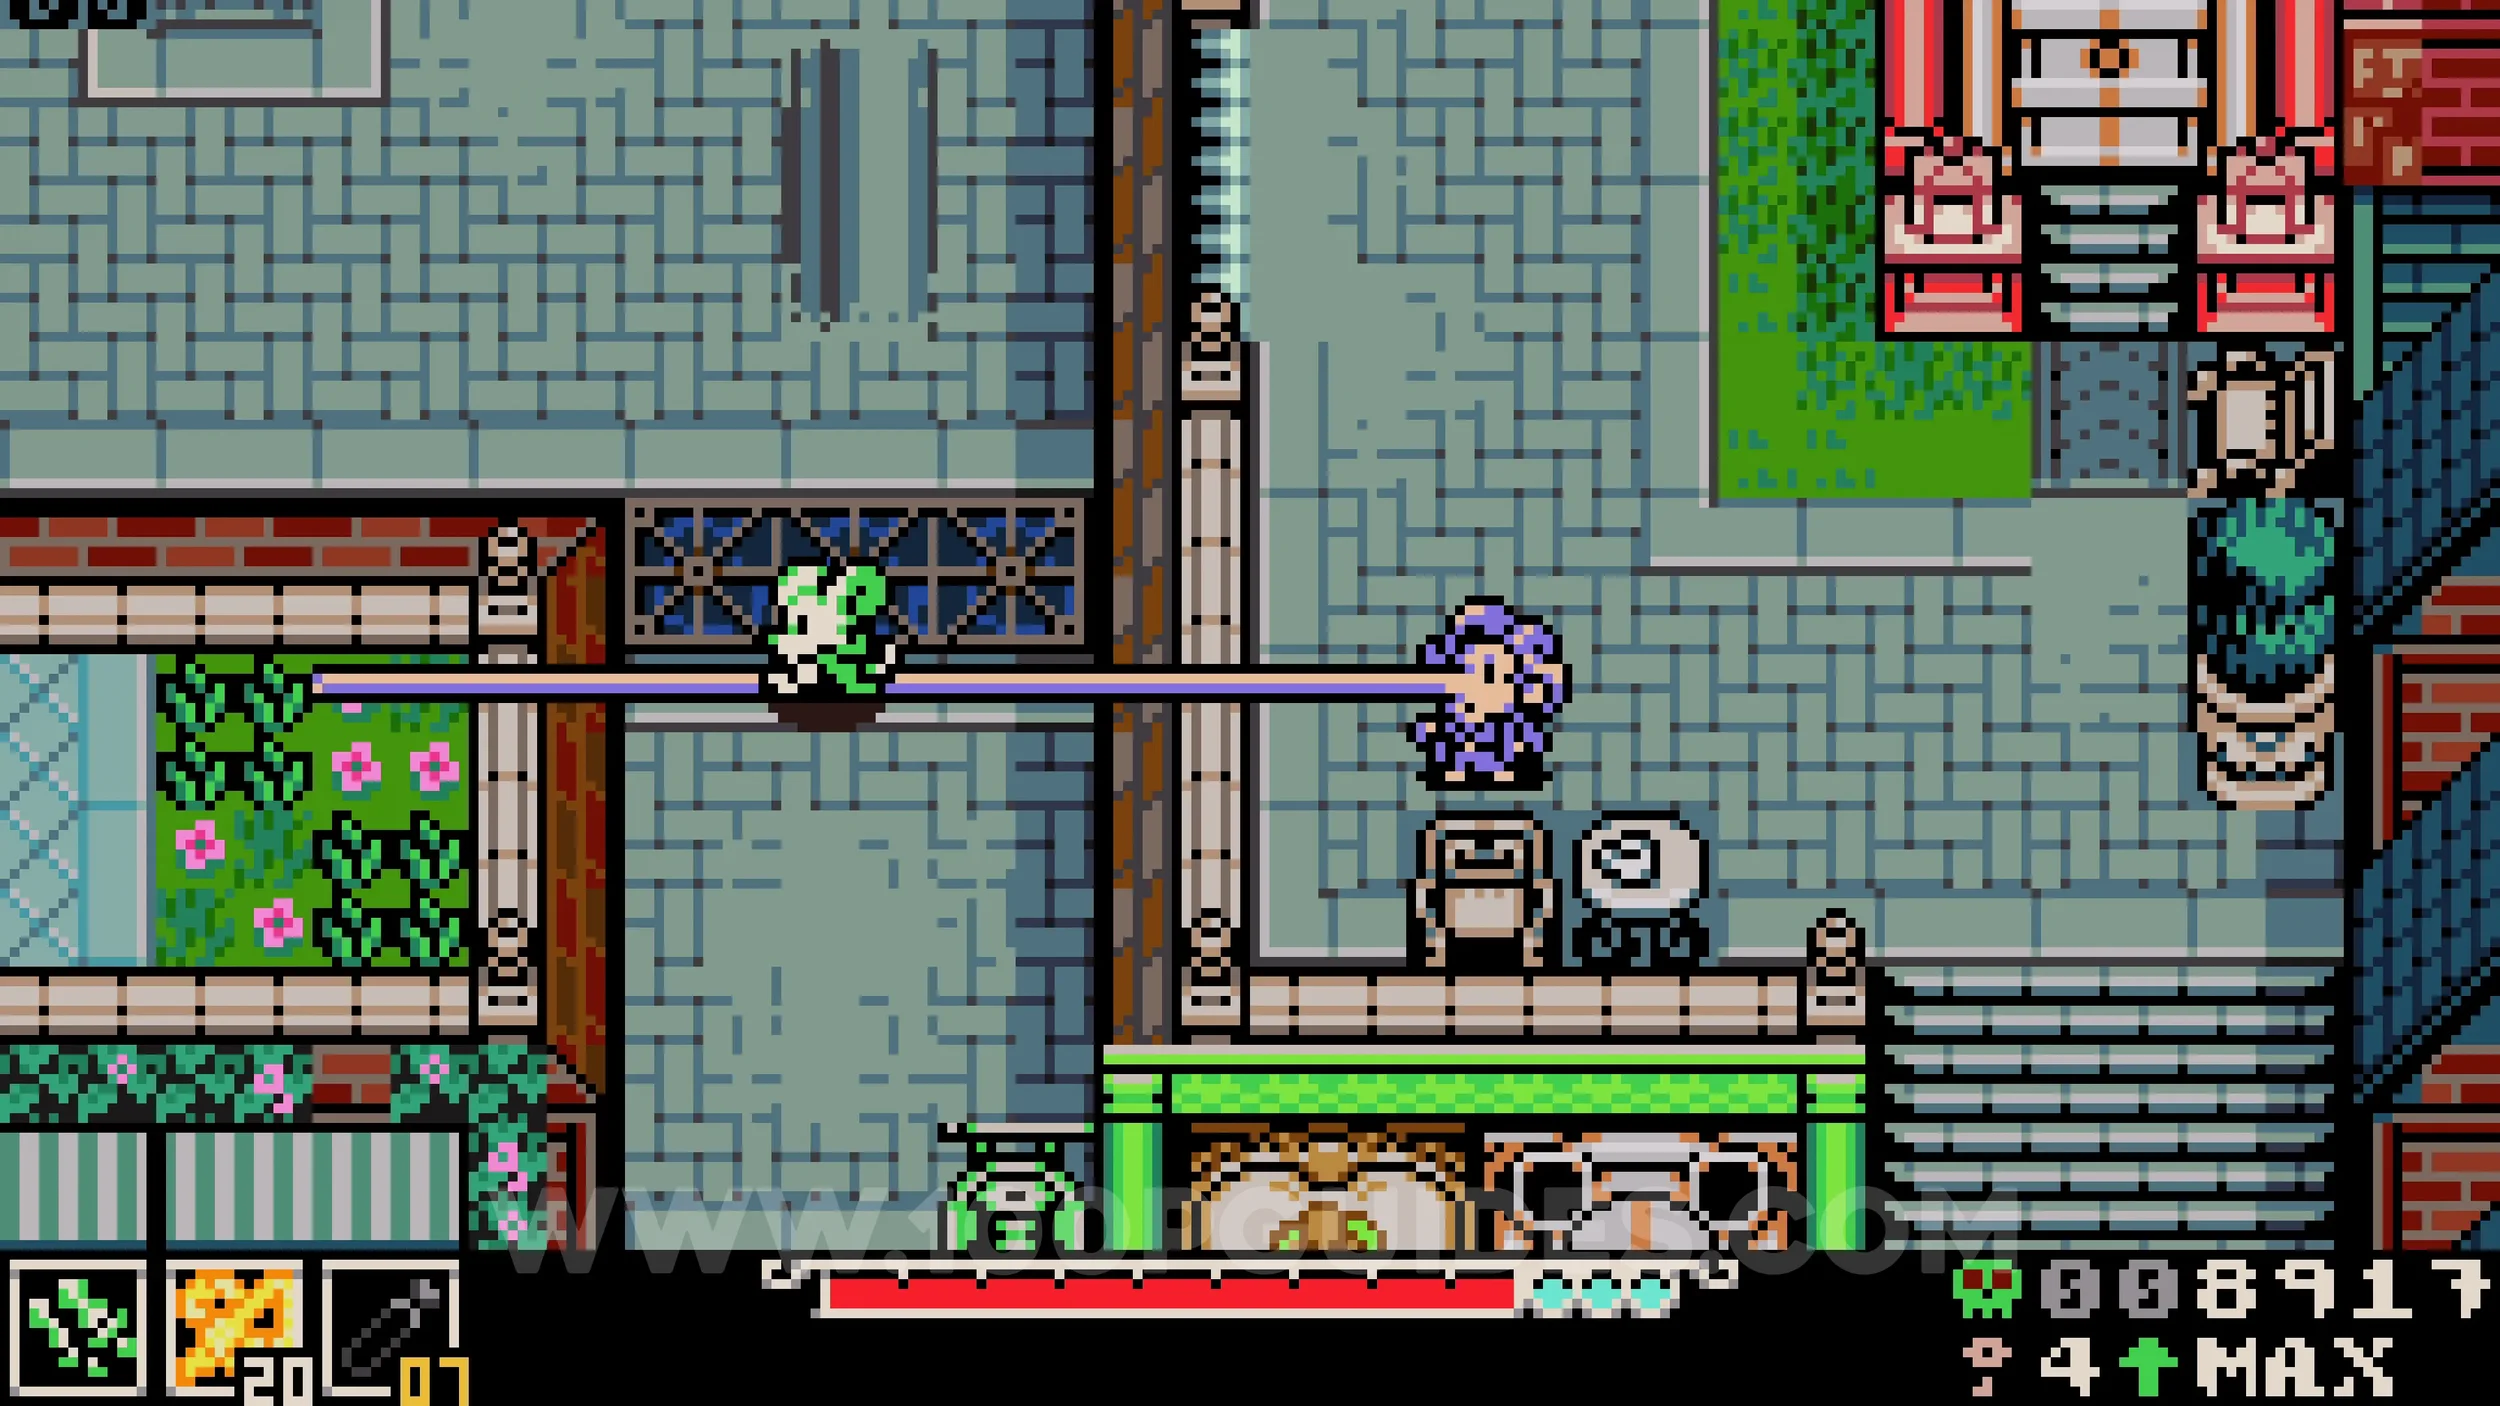
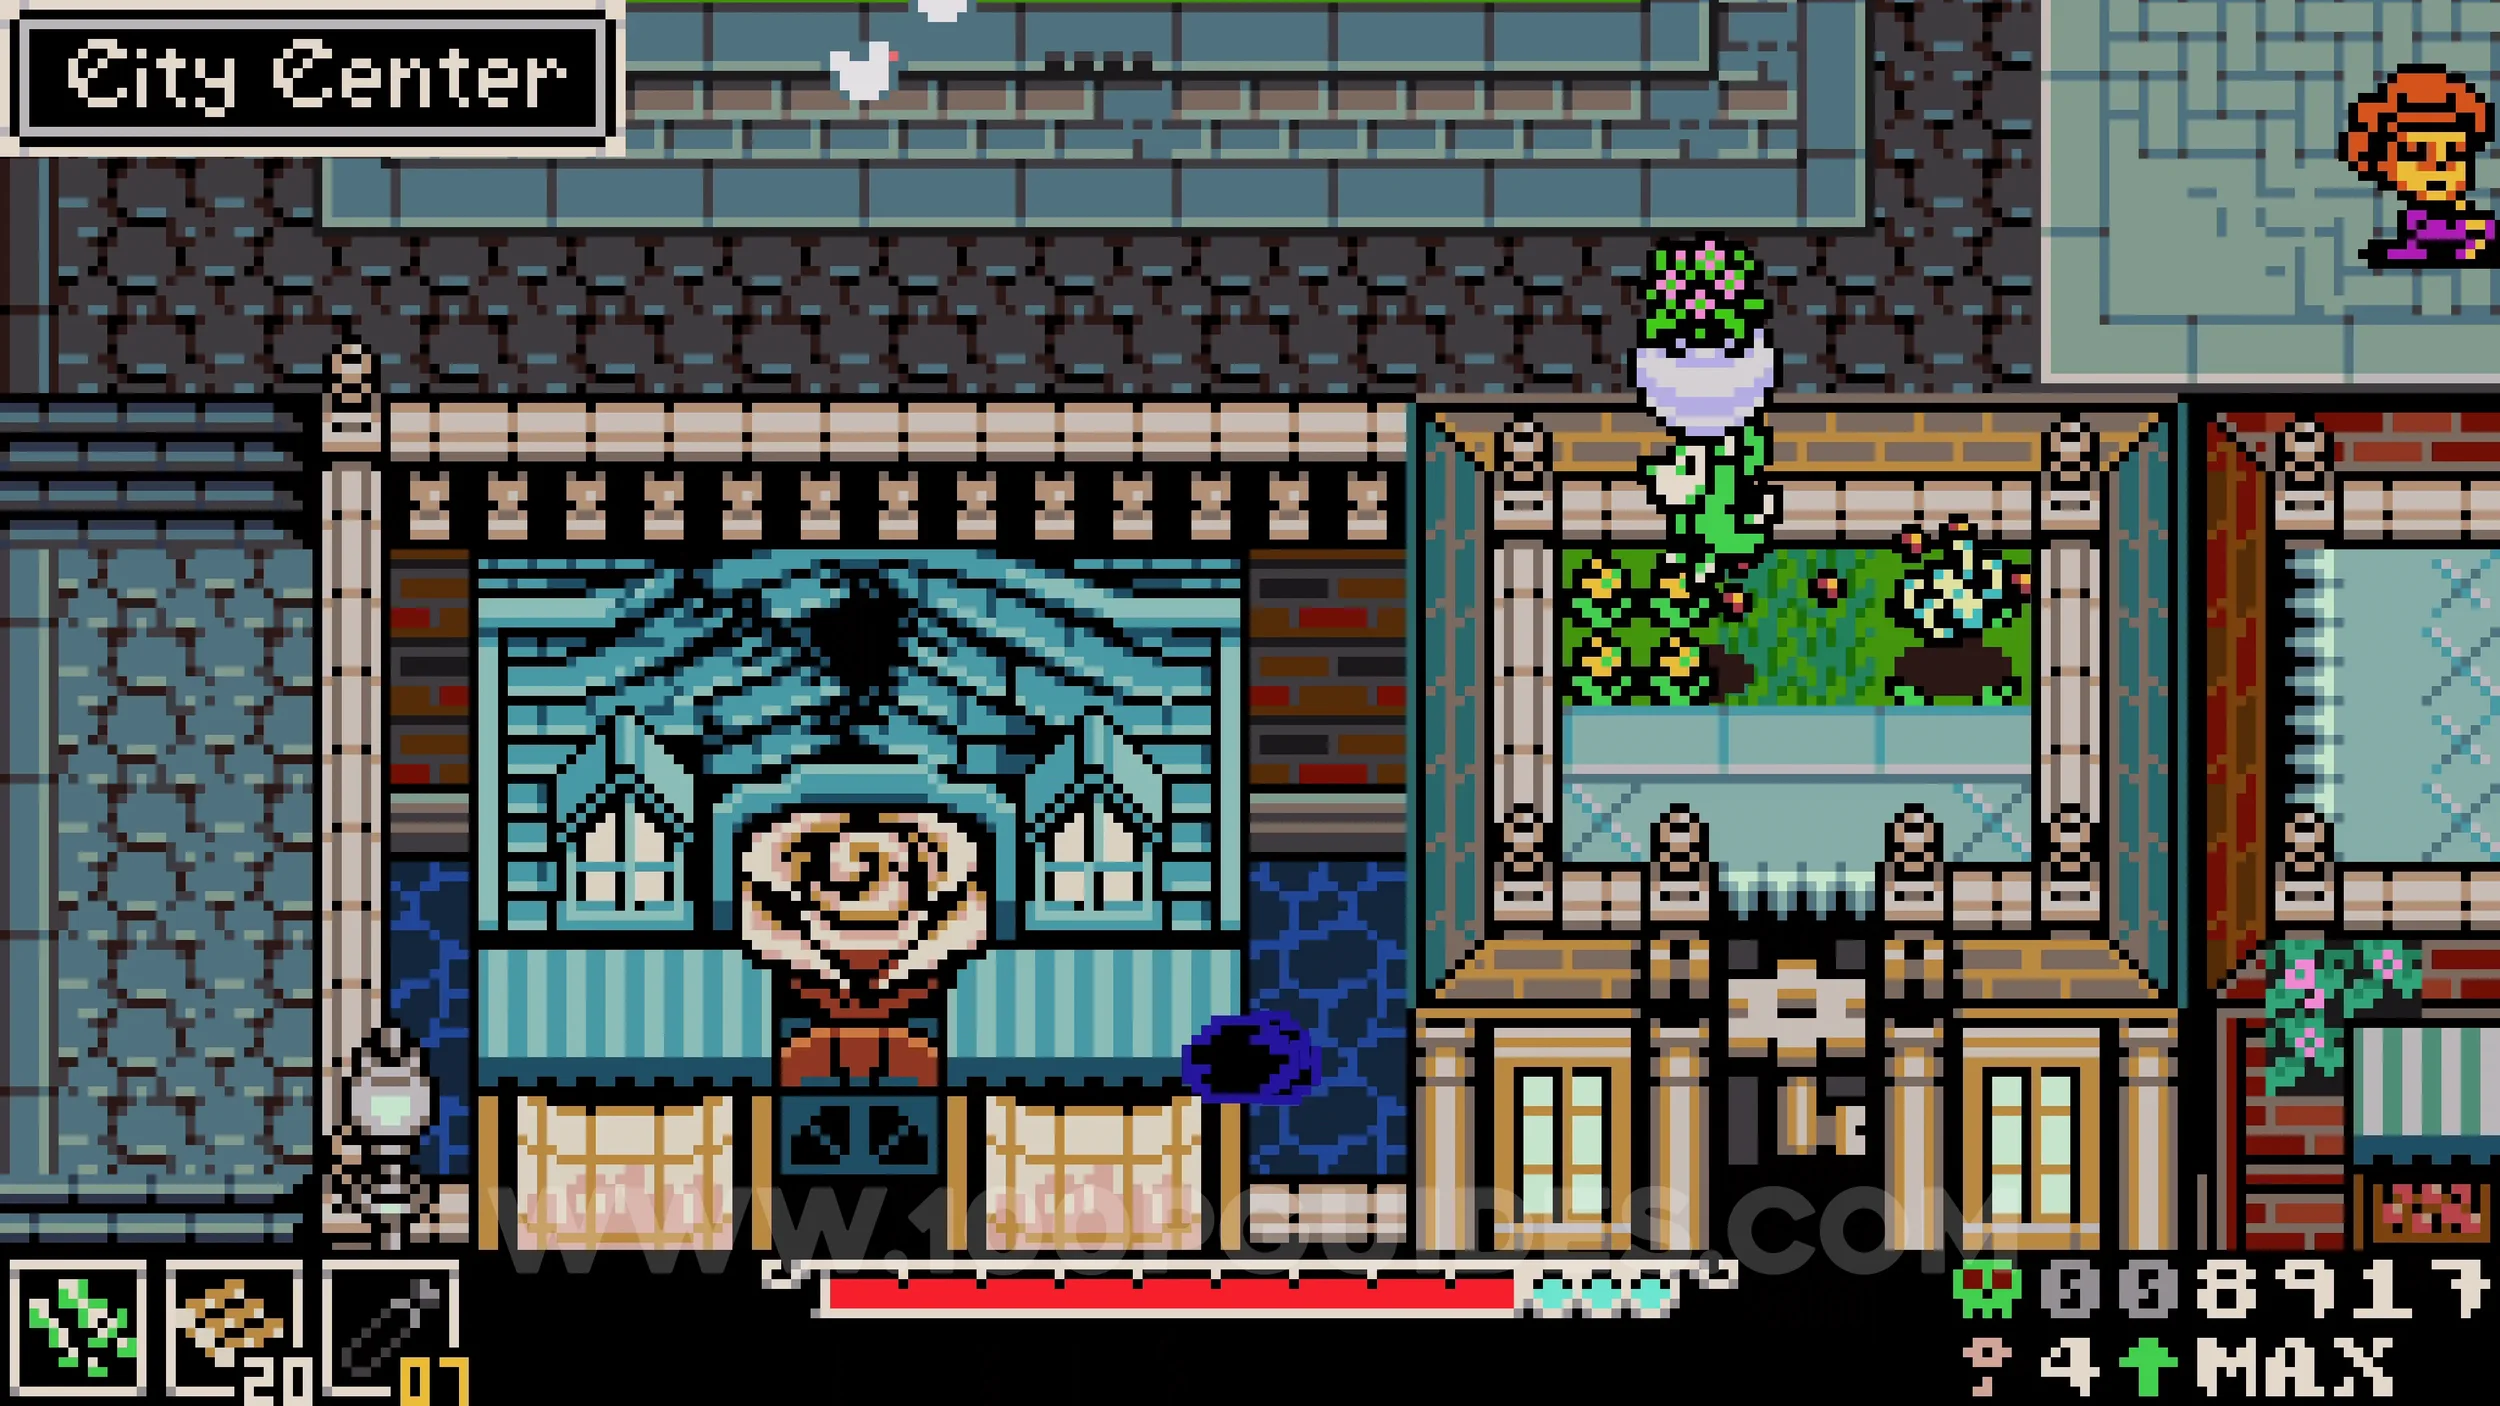
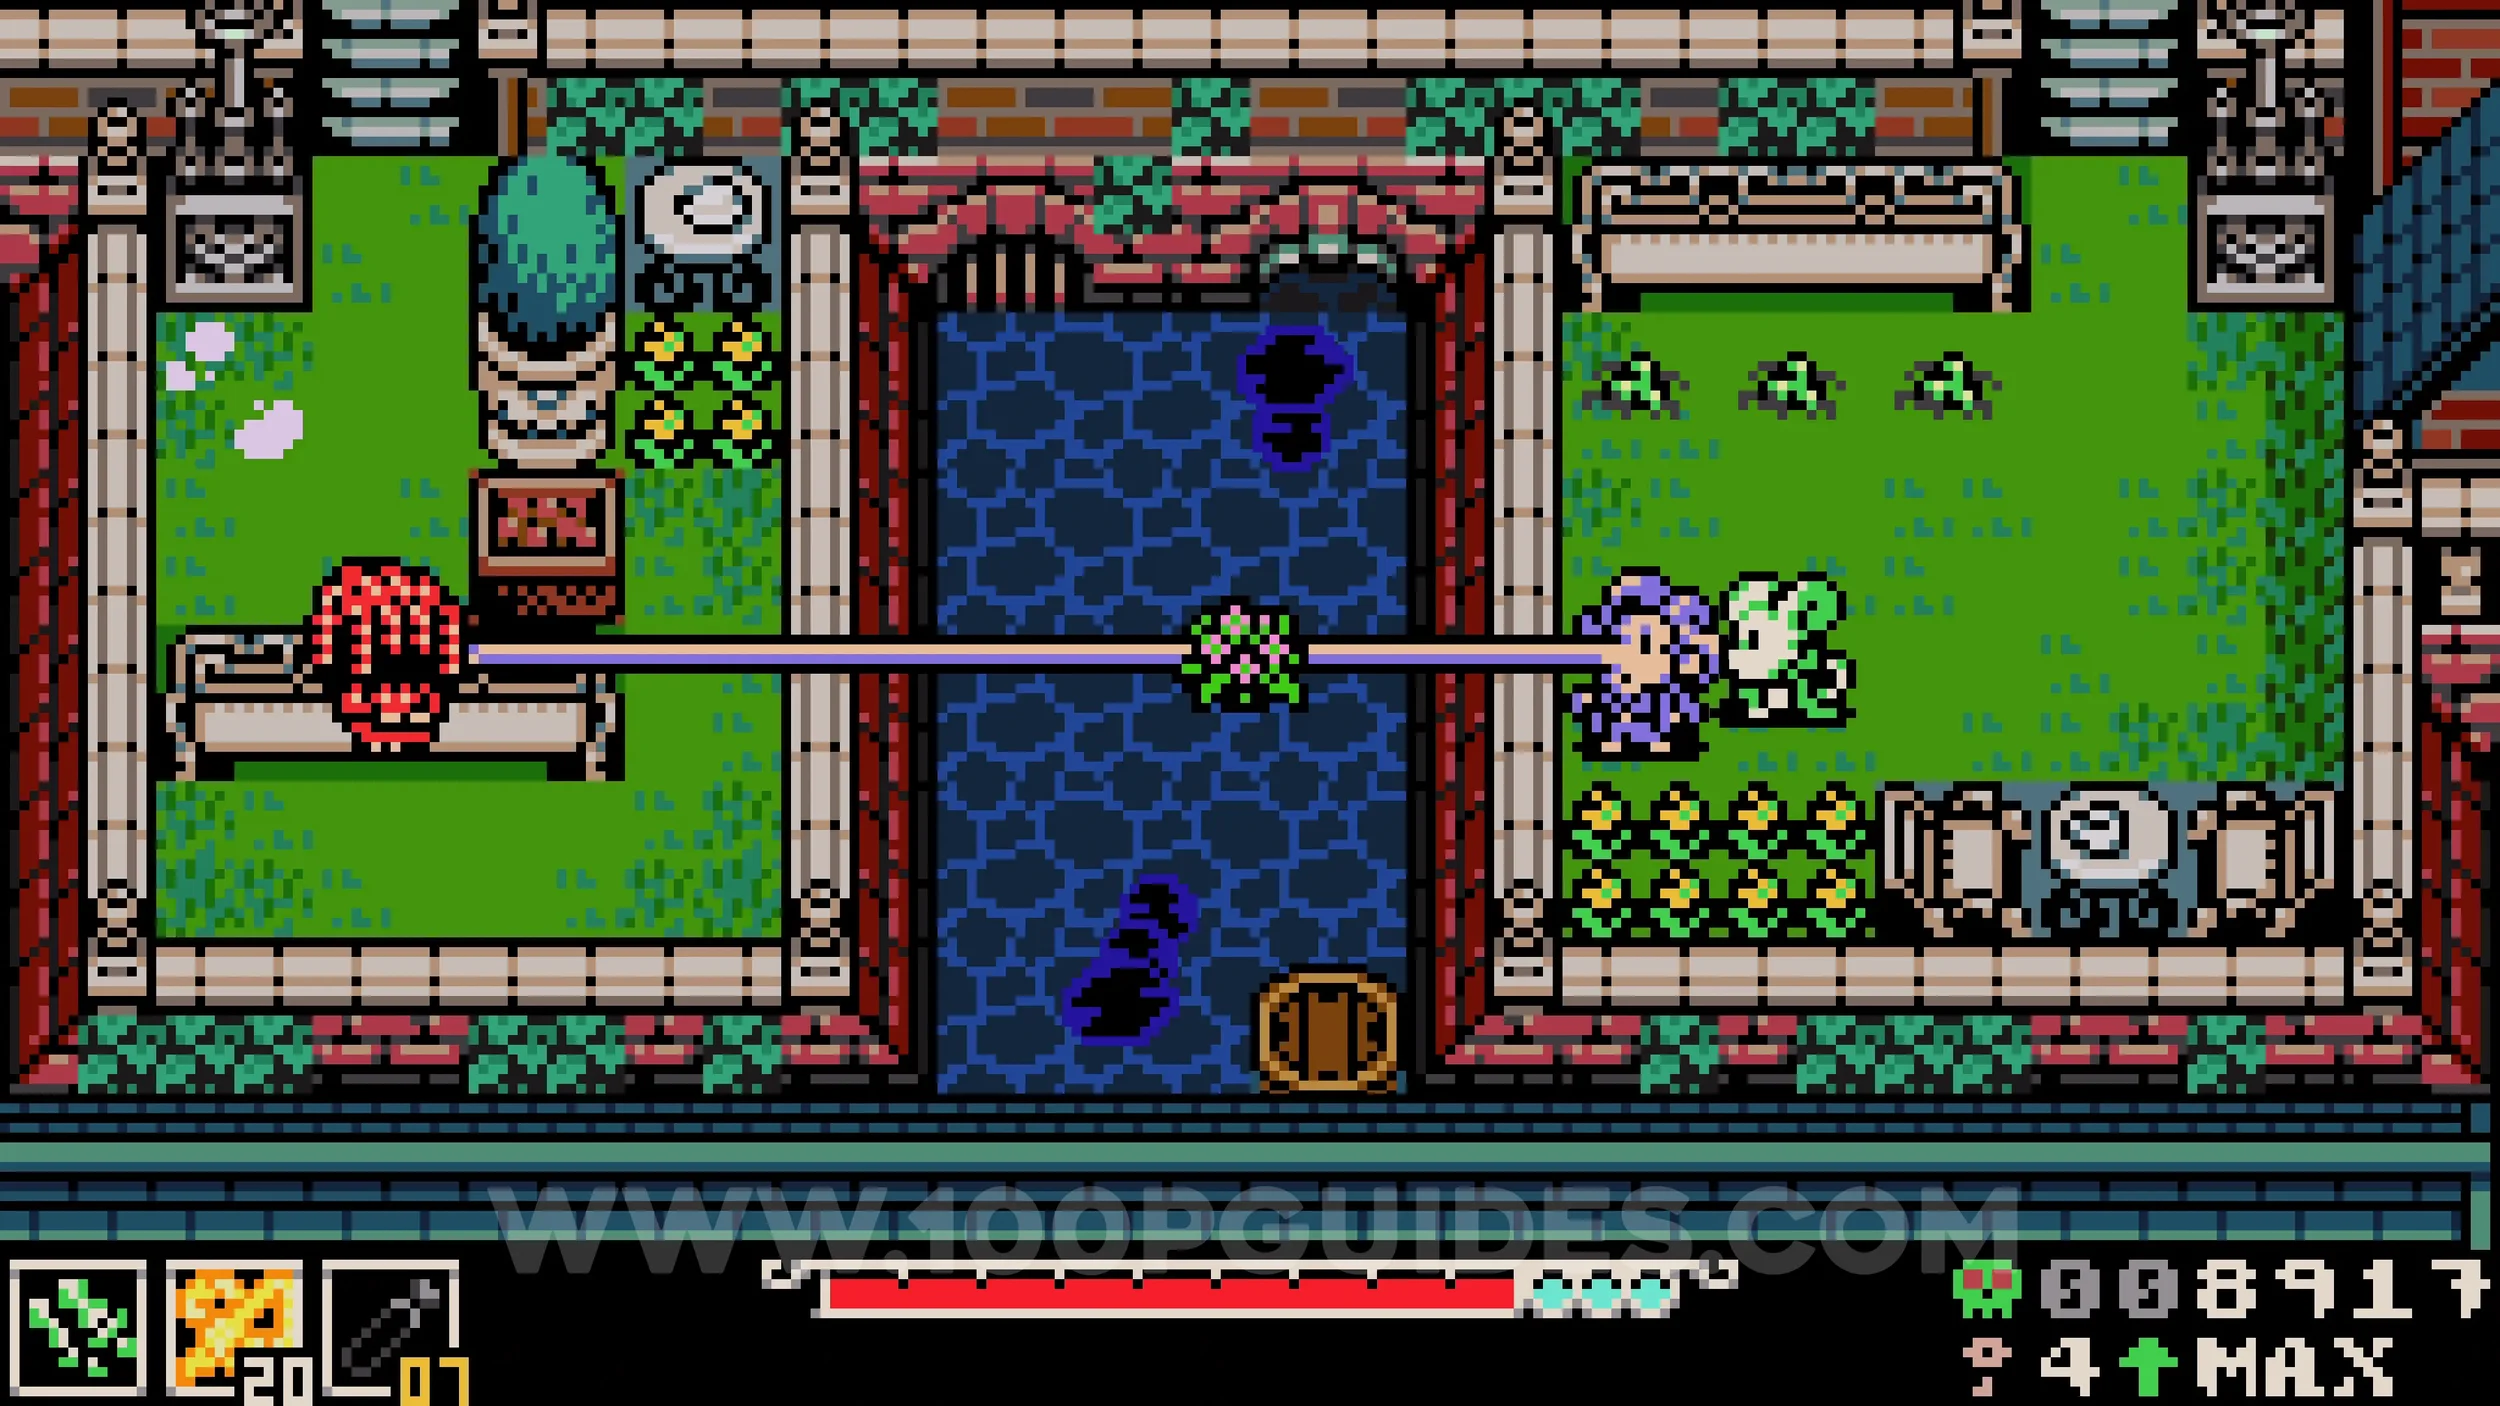
Bonestone #4. Enter the building on the east side of Ossex with the red dome on the roof. Once inside, use a sidearm to destroy the chest on the other side of the table, then burrow under it to reach the collectible.
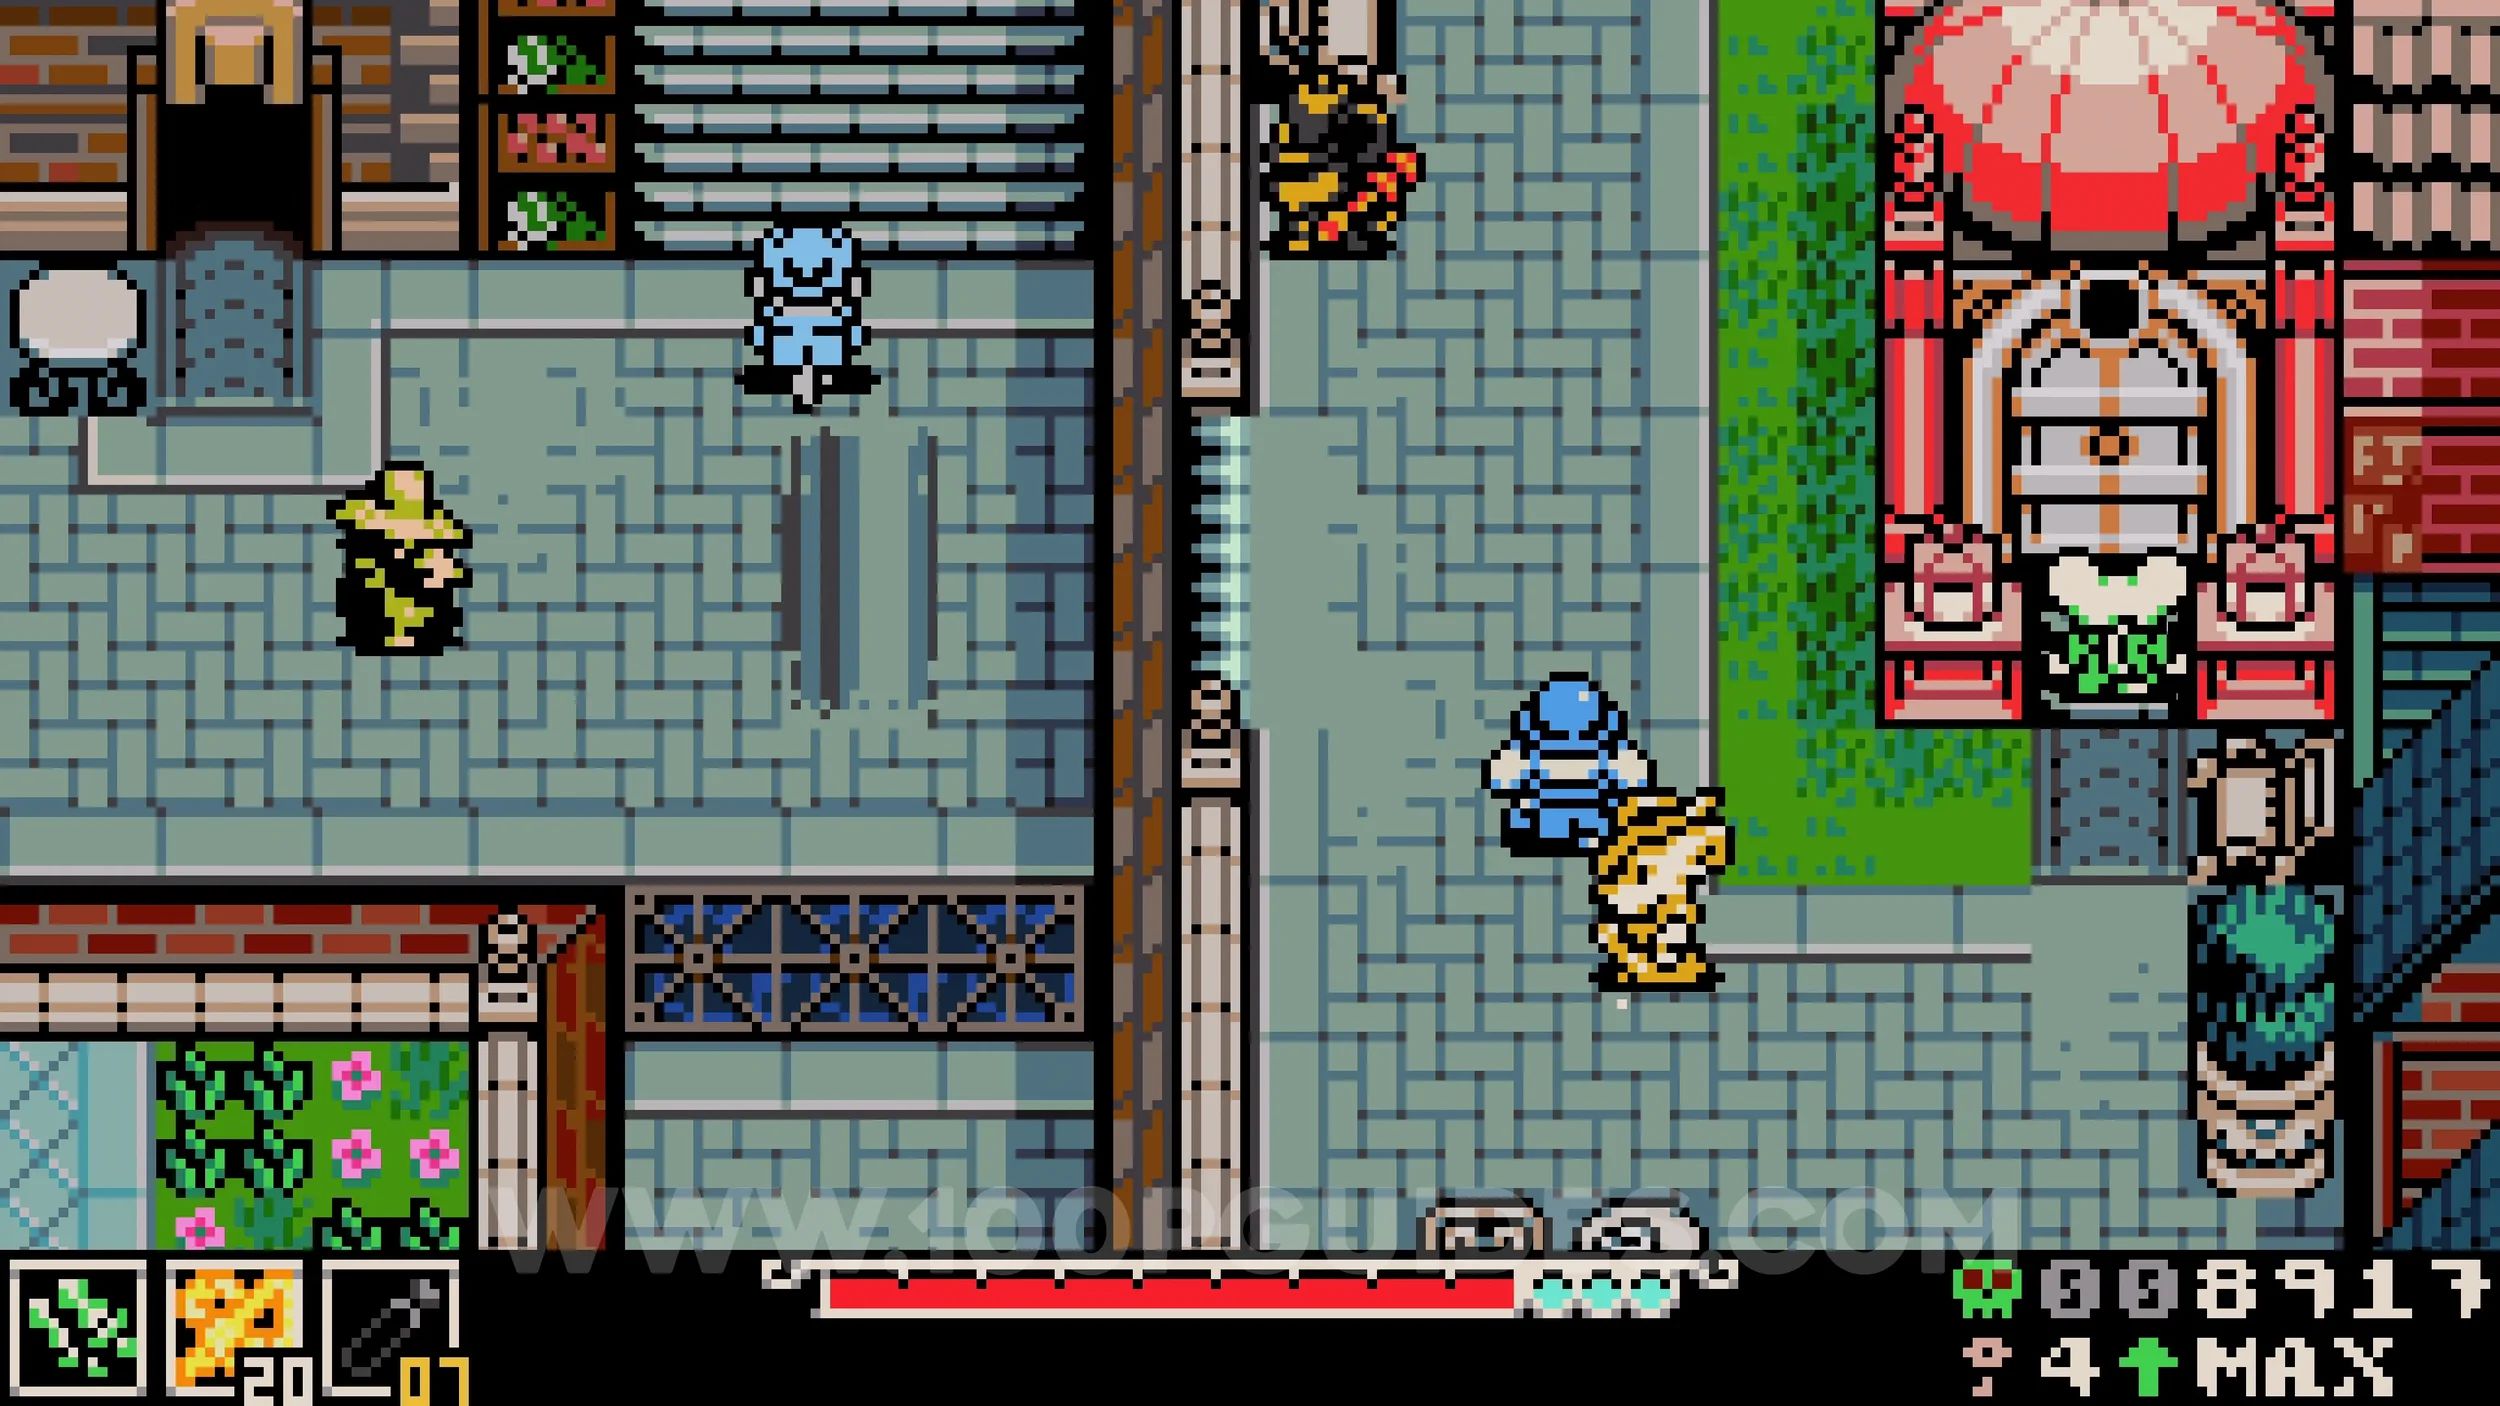
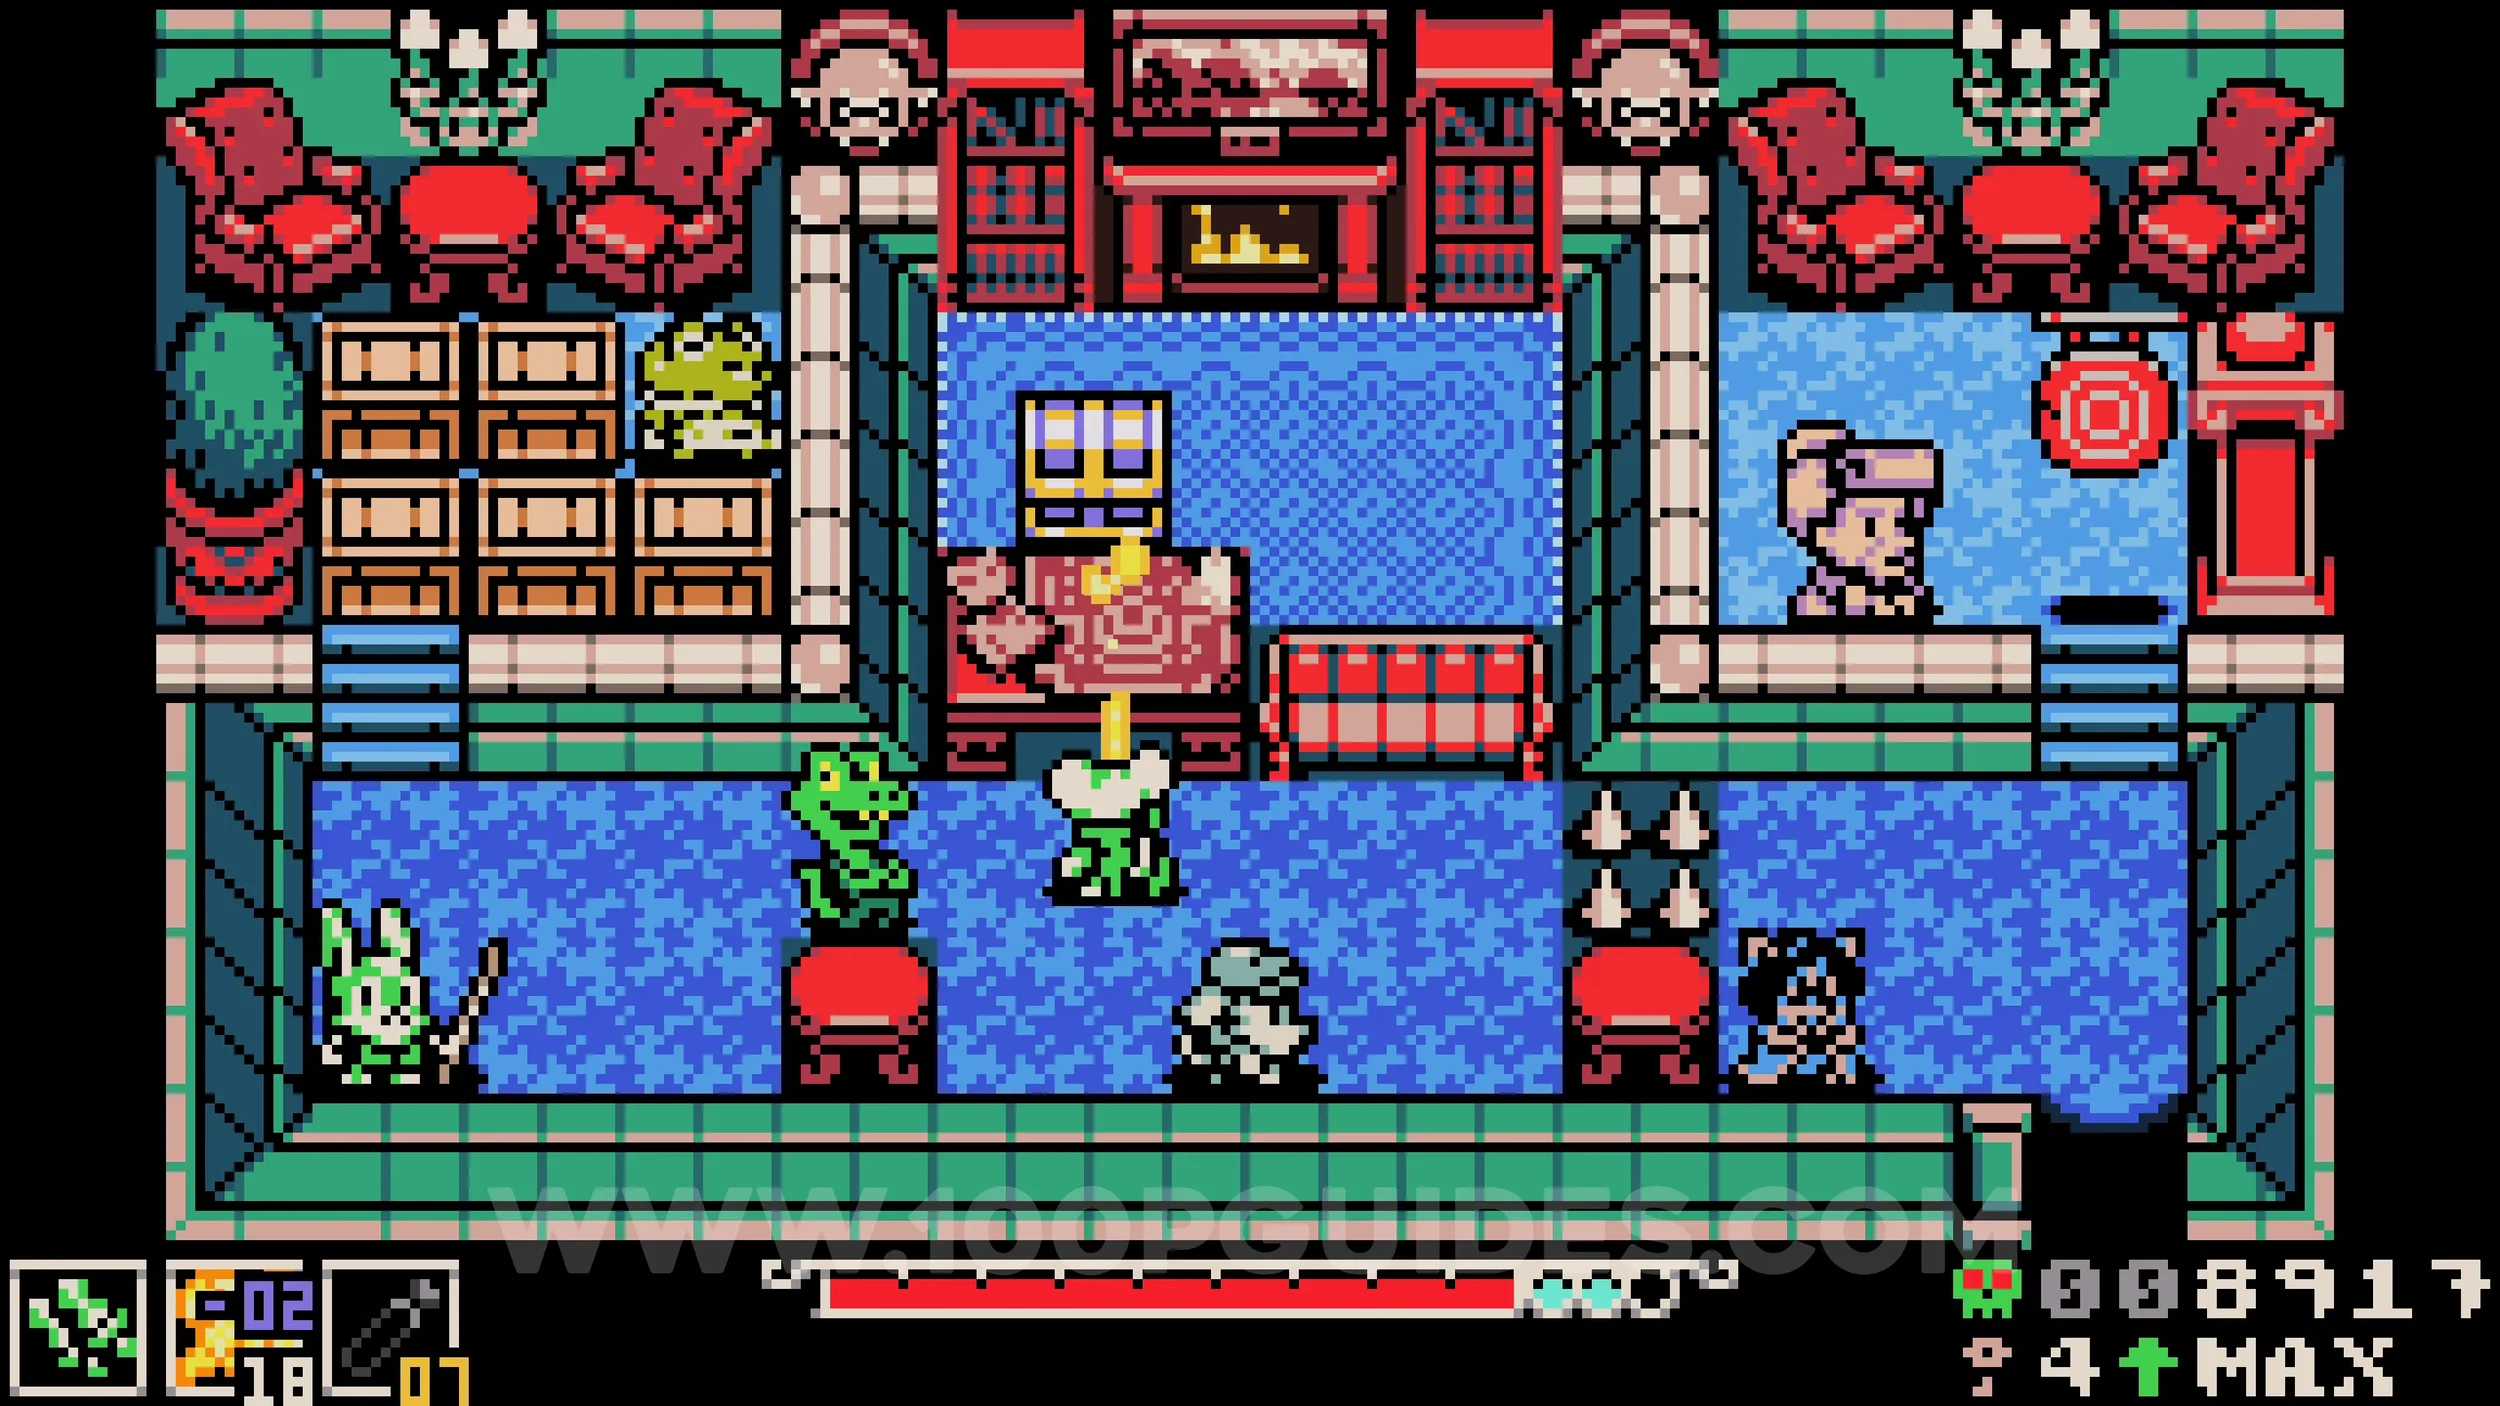
Bonestone #5. In the same building as the previous collectible, burrow under the lizard NPC and use the charge attack from the upgraded dual blade weapon to throw one at his back. This will earn you the bonestone.
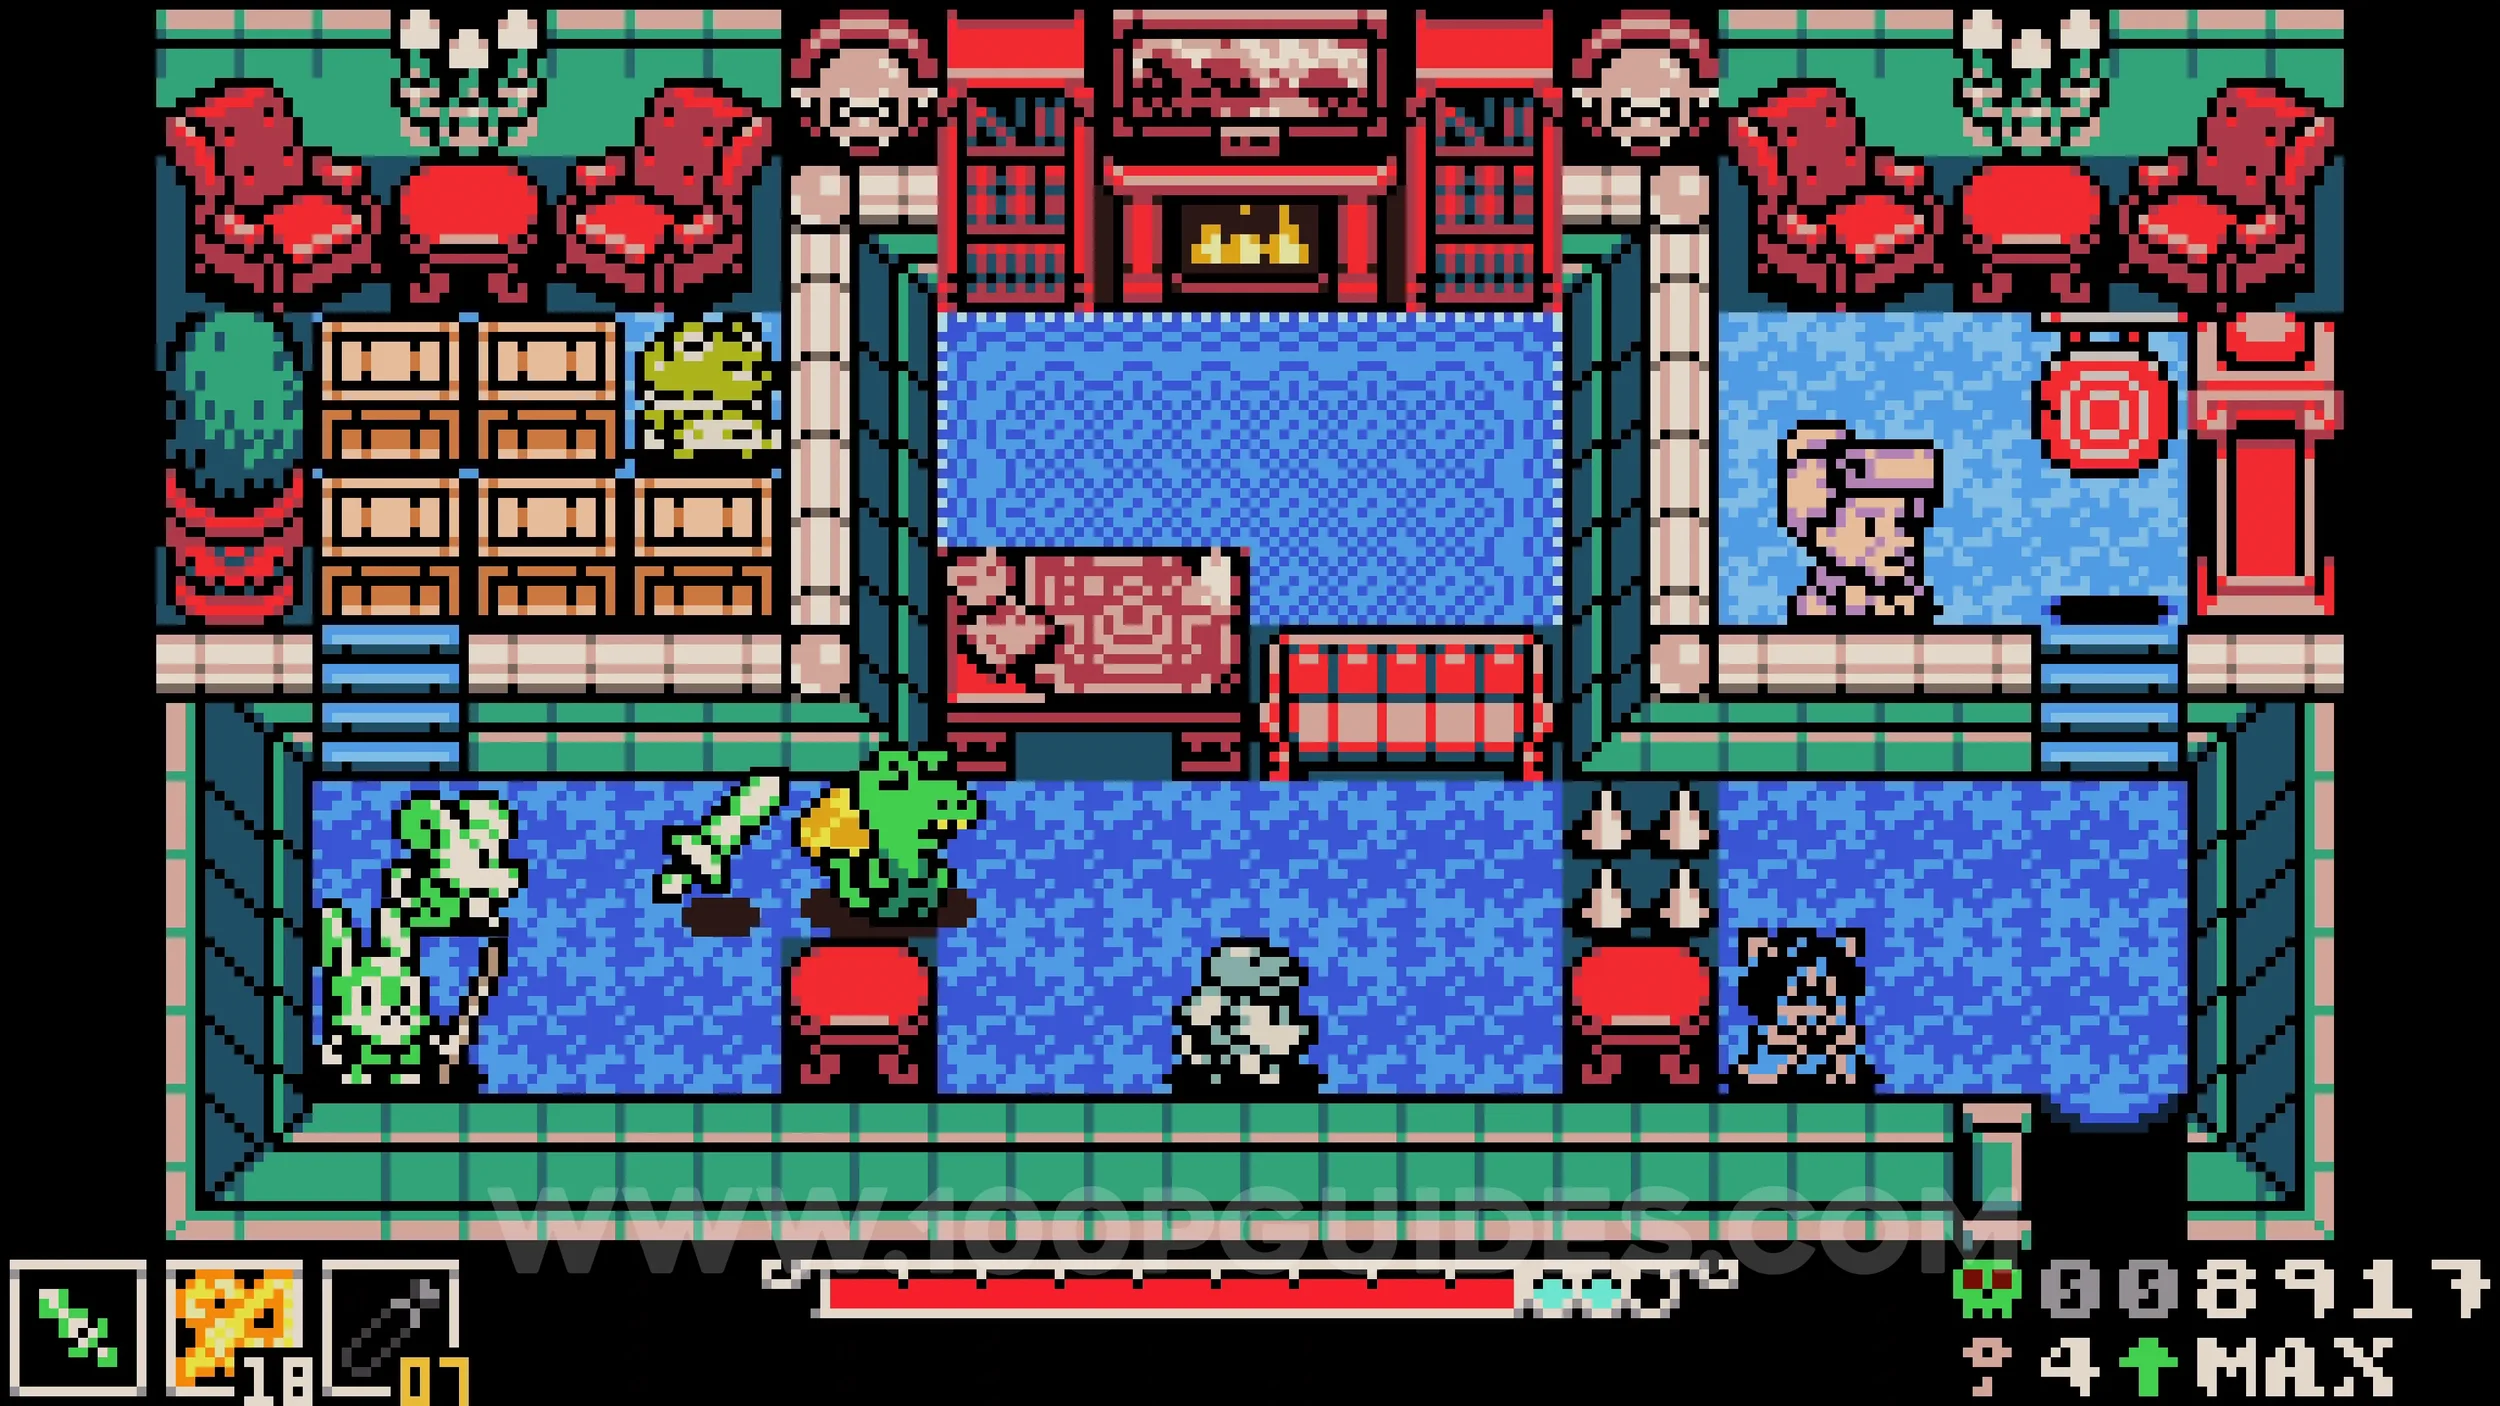
Lock #2. Found just above the red domed building.
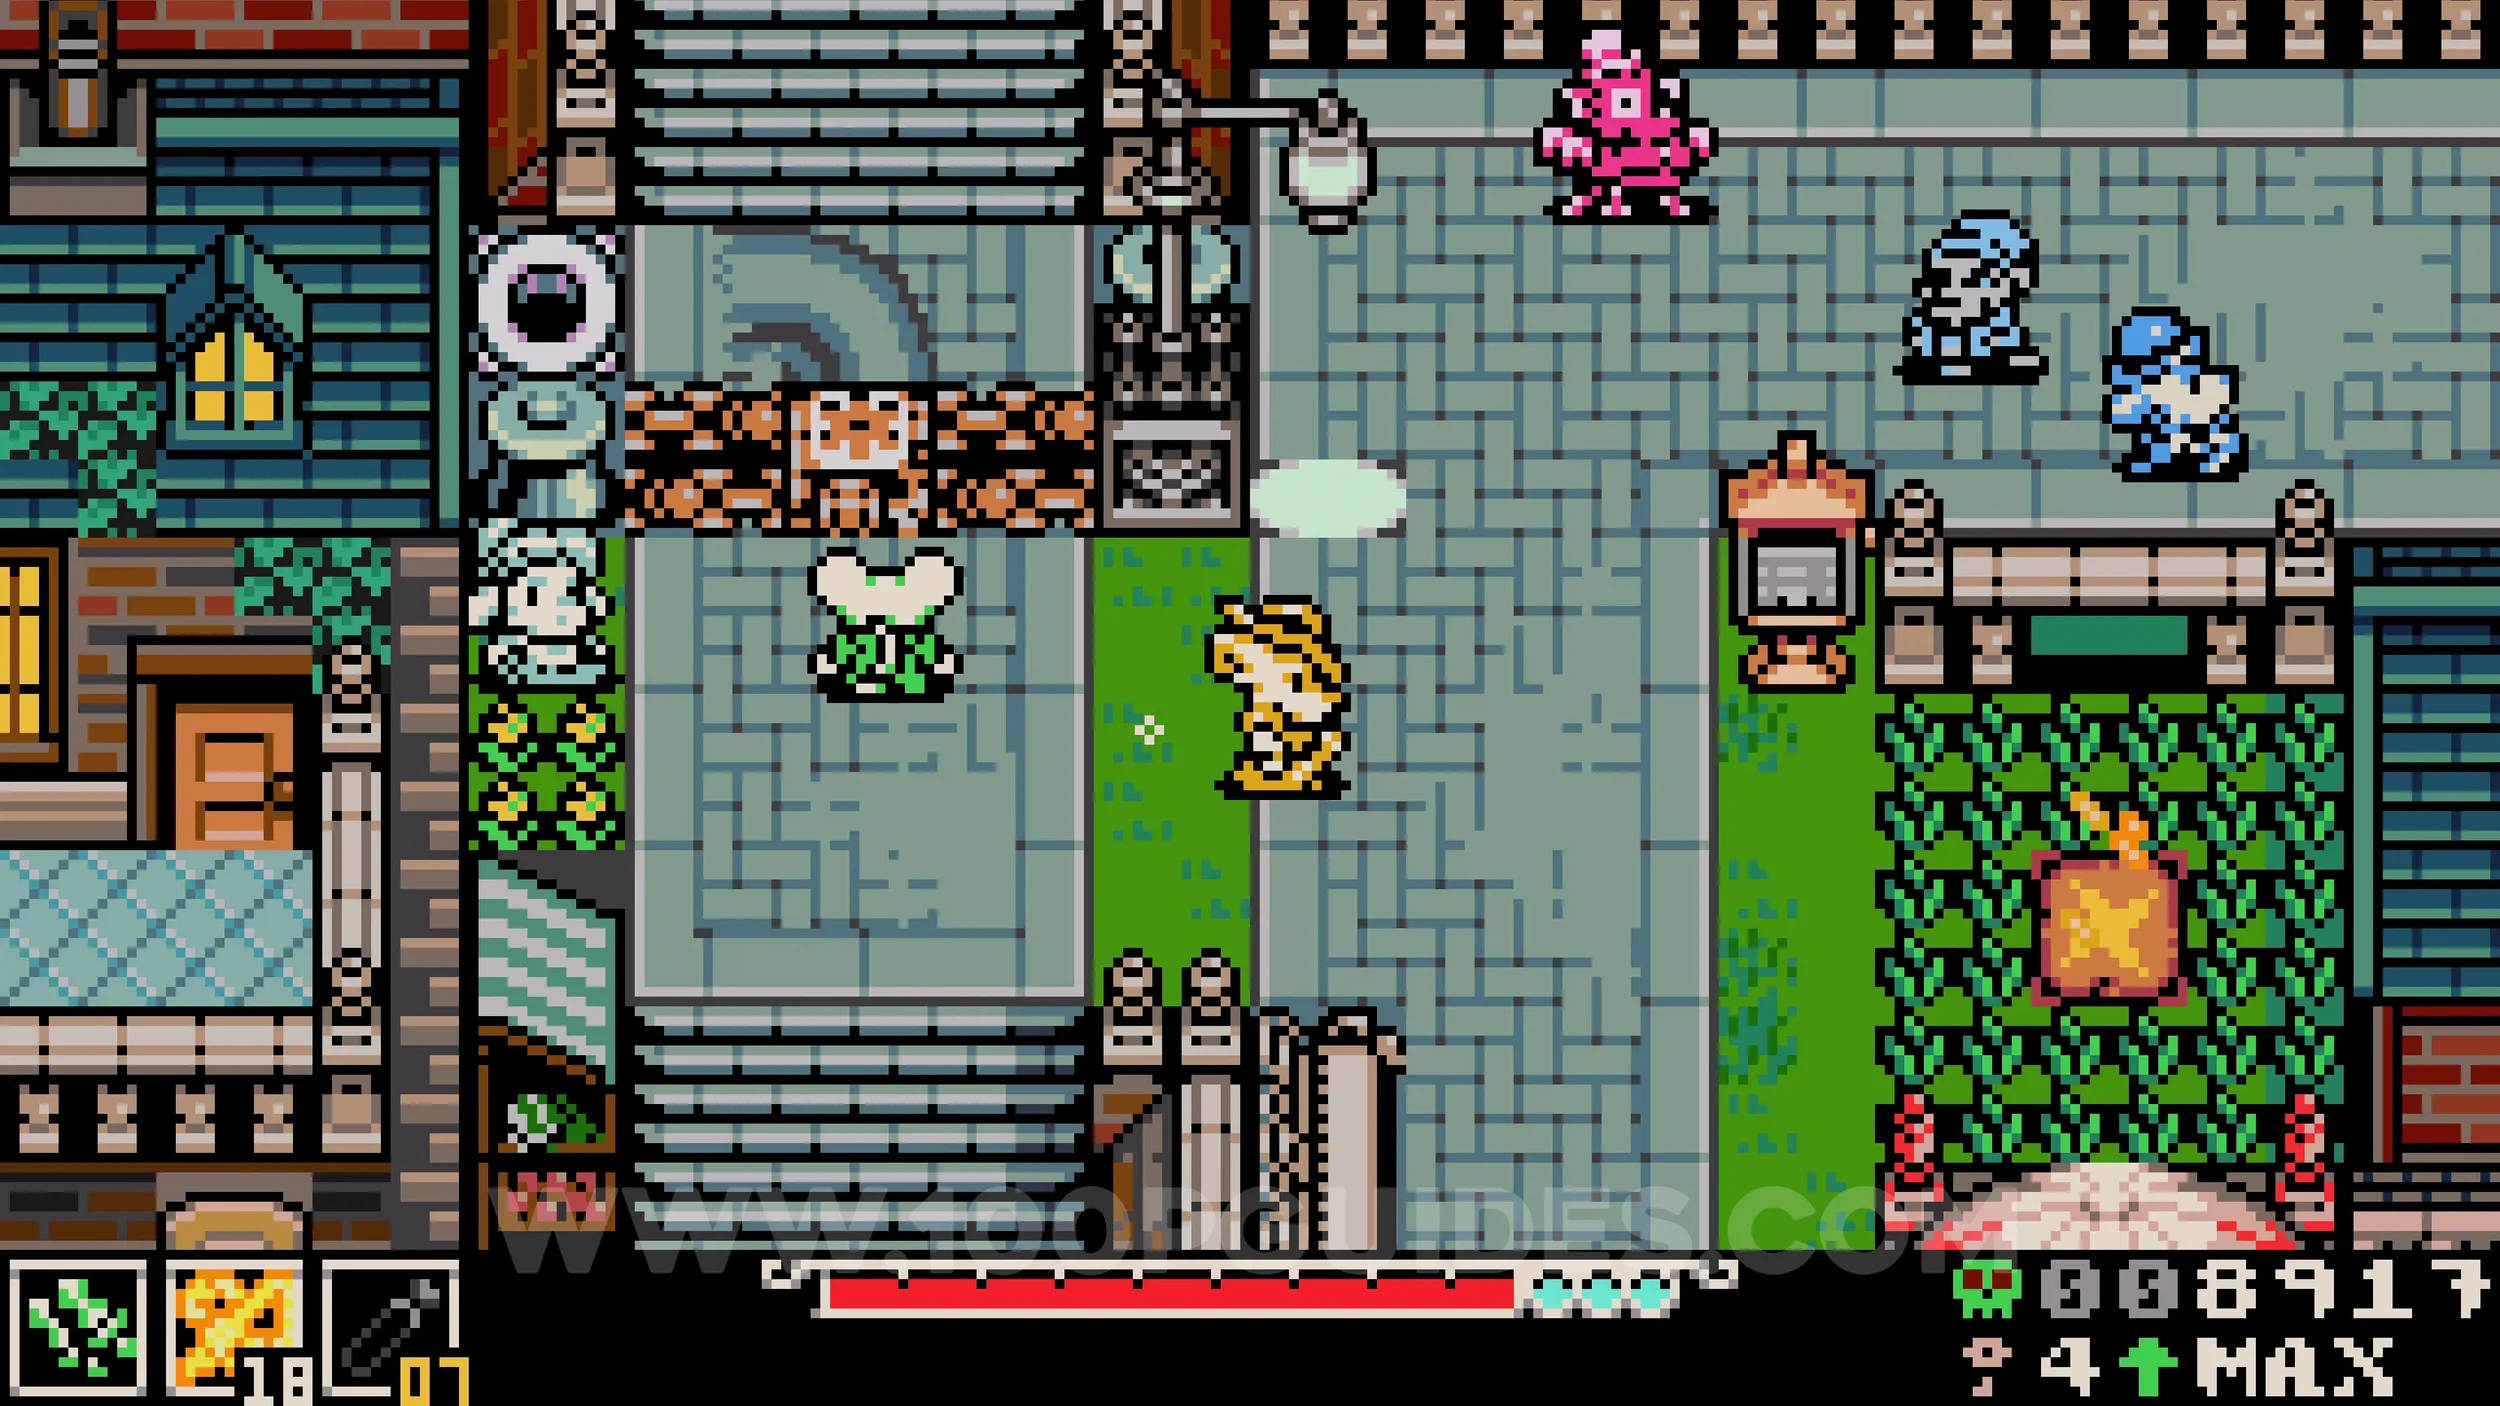
Kear #2. Interact with the telescope on the other side of the previous lock. Look for the large planet on the right side and focus on it for a few seconds to receive the key.
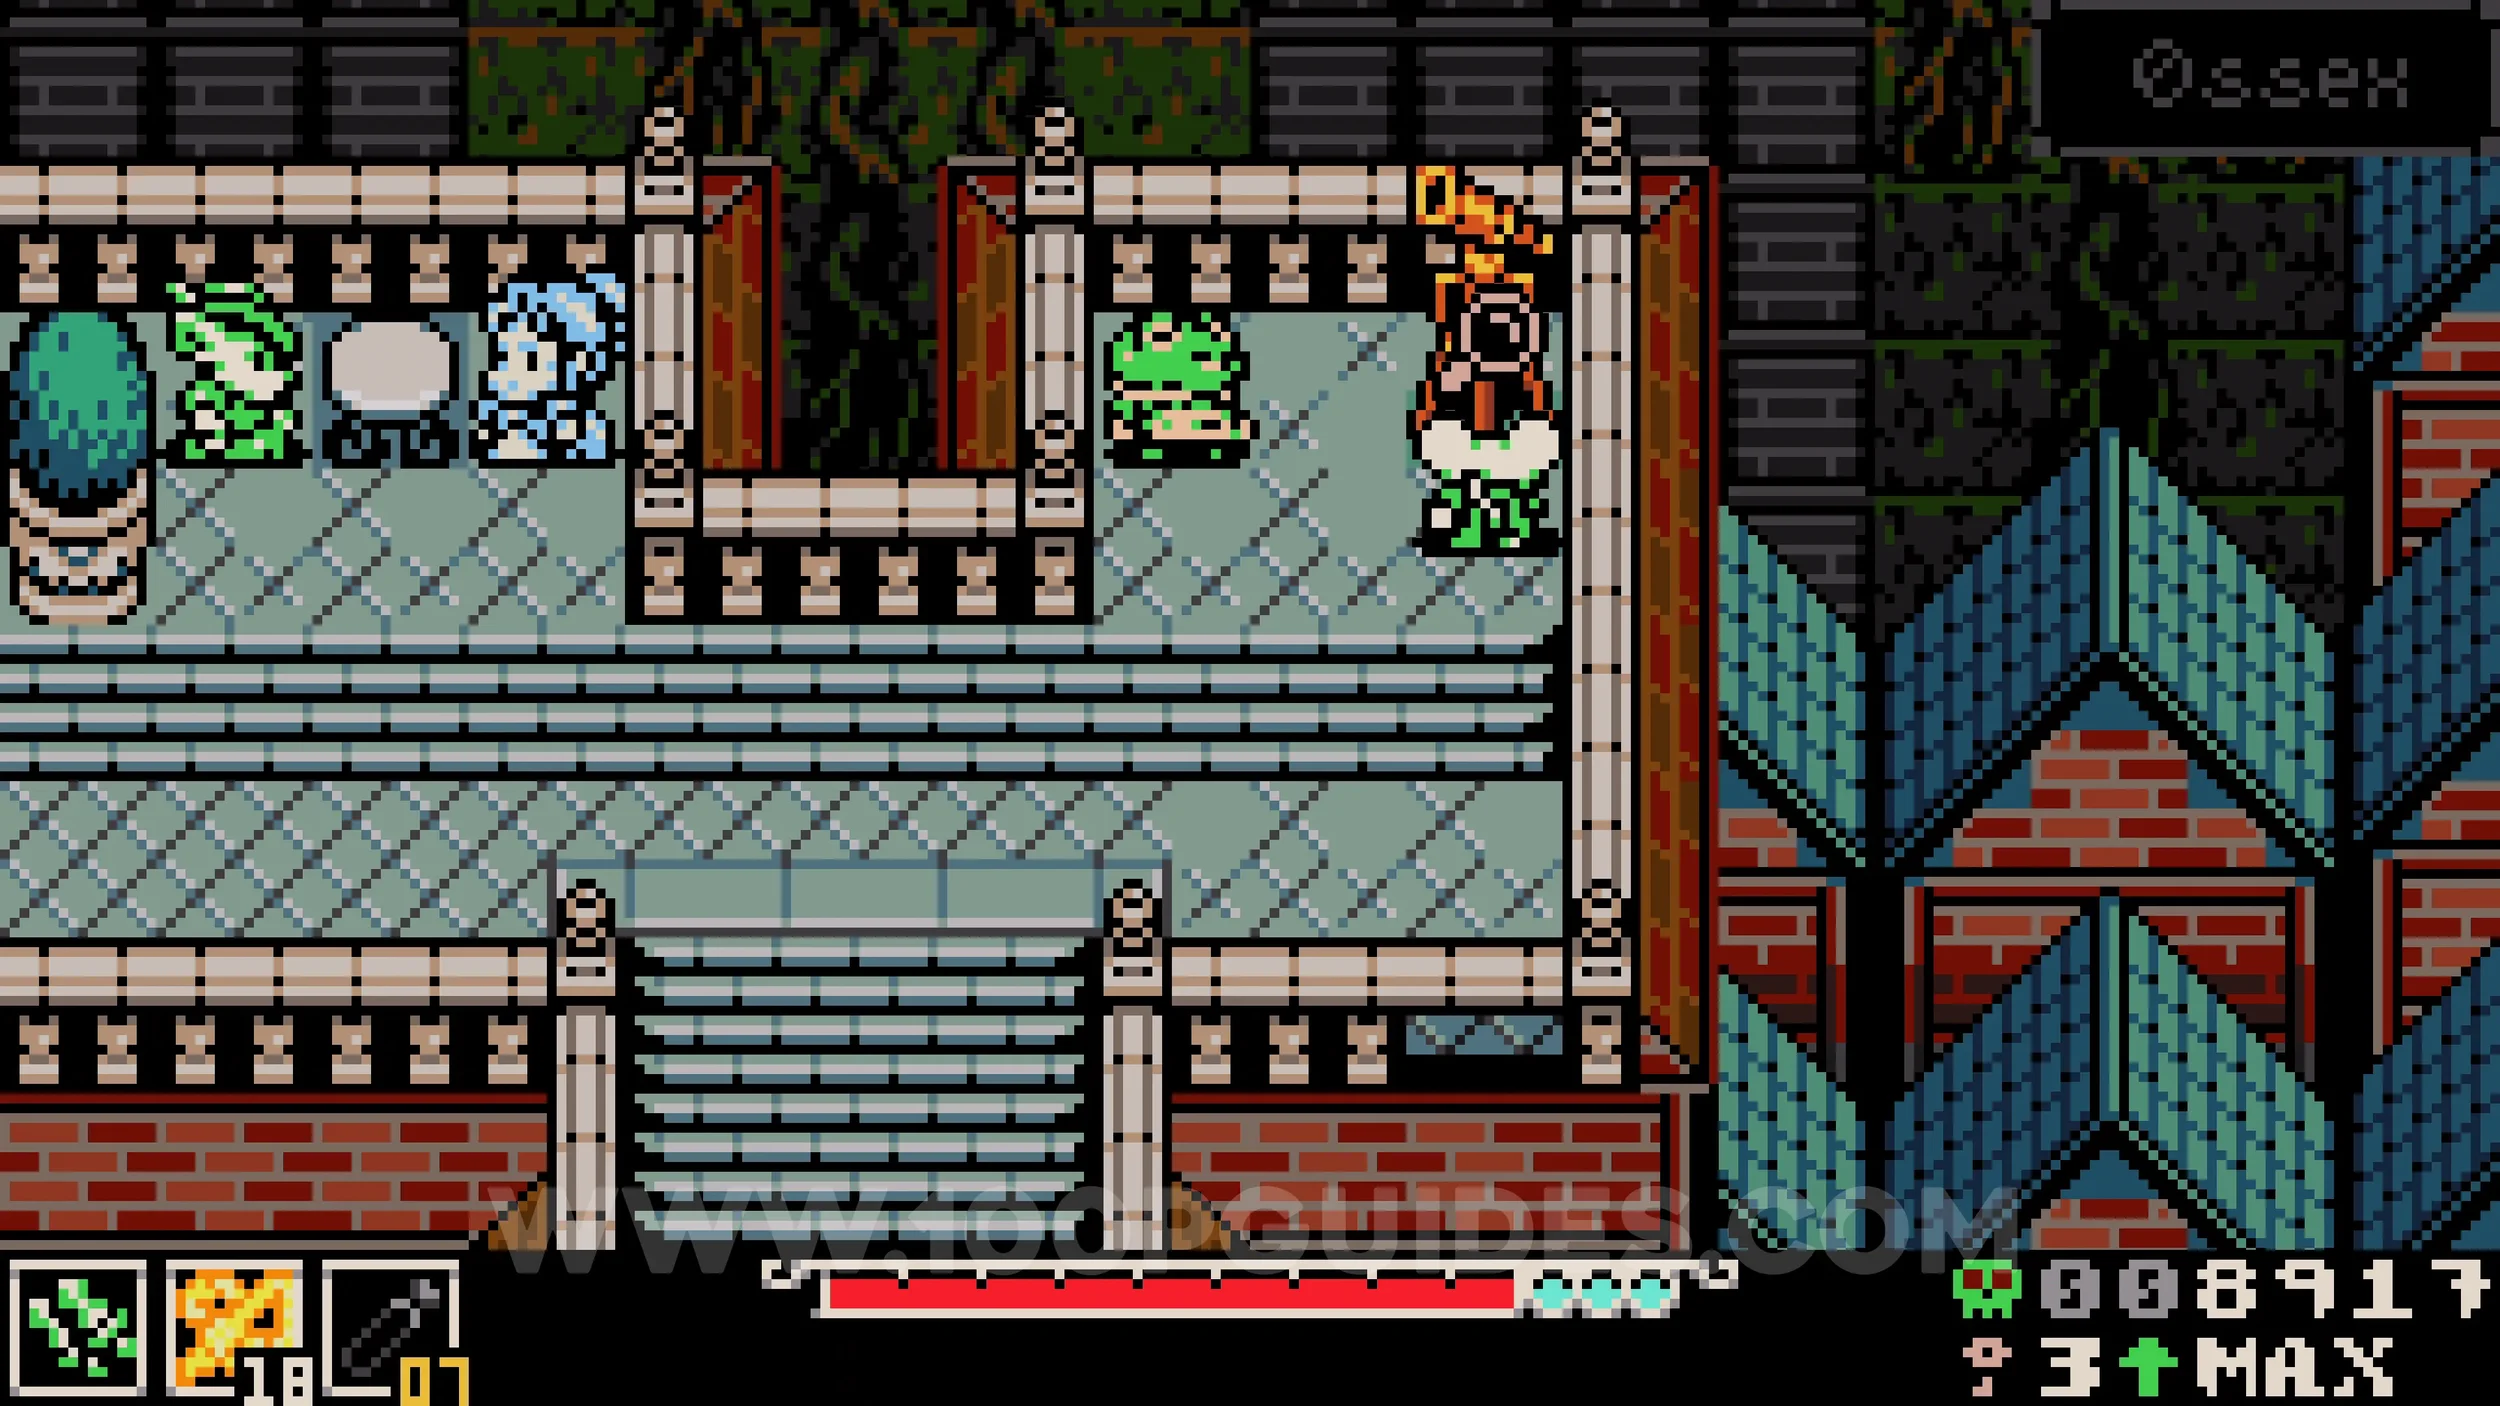

Bonestone #6. From the telescope, go left and go under the railing at the bottom of the screen to enter a building. The chest containing the collectible can be found in the corner.
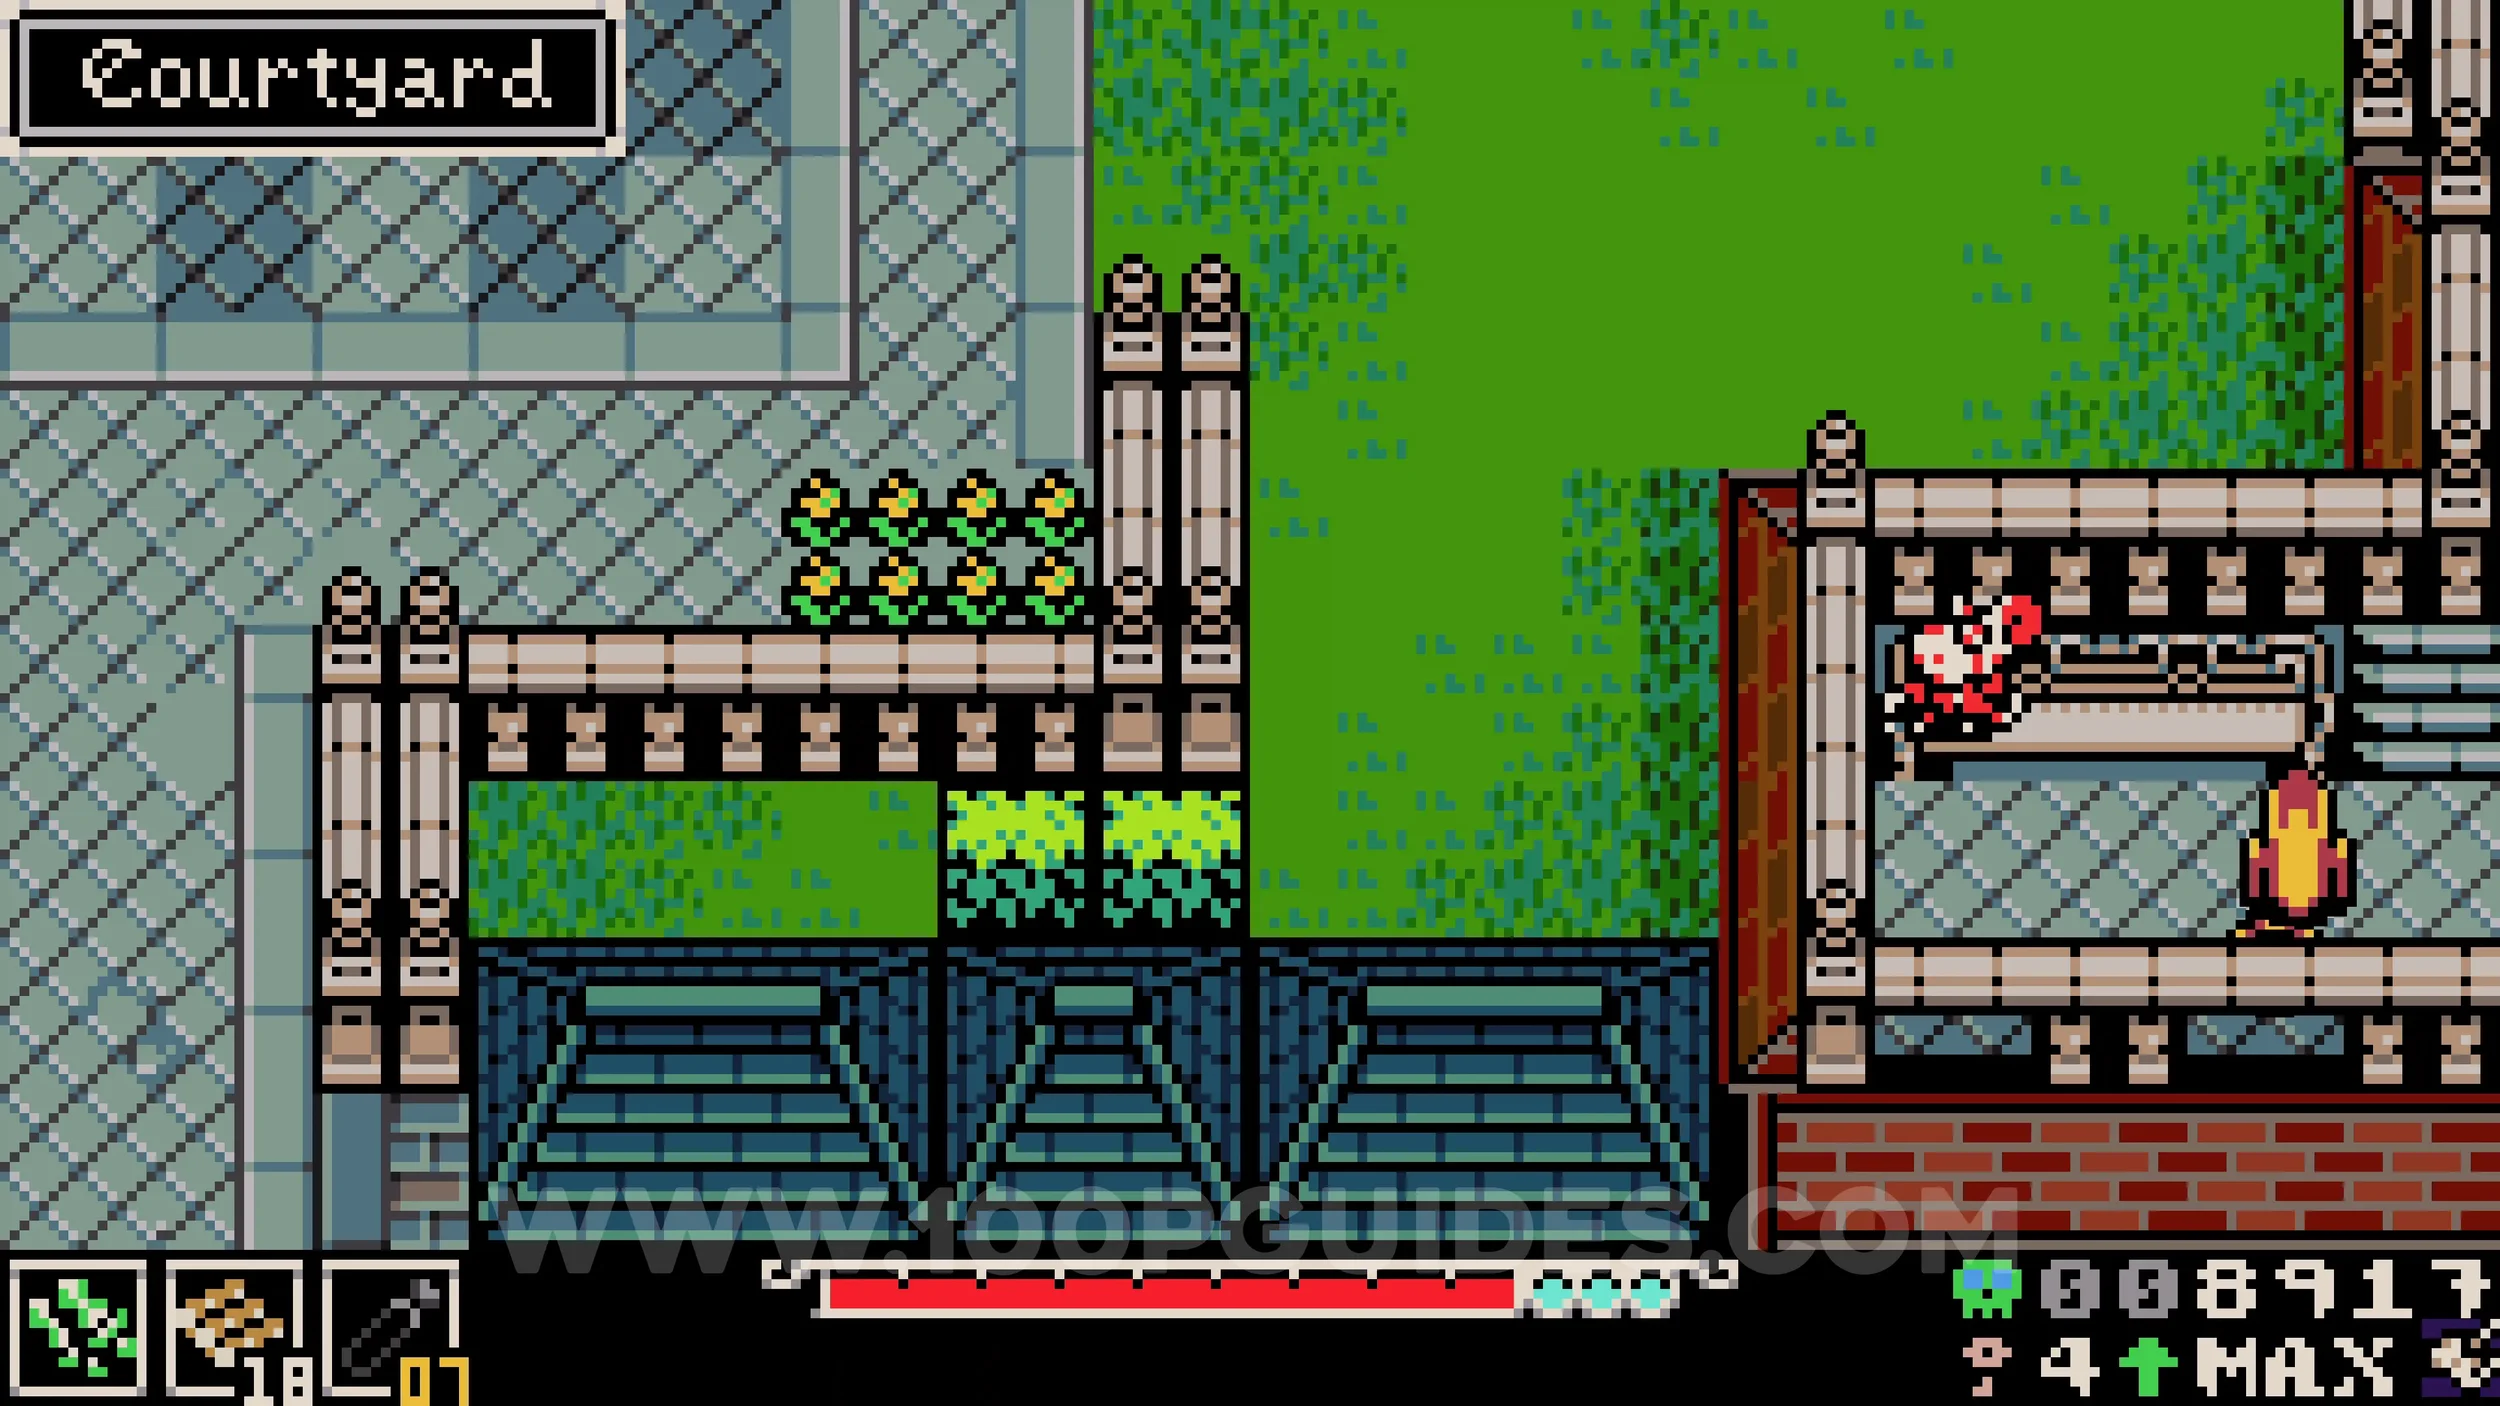
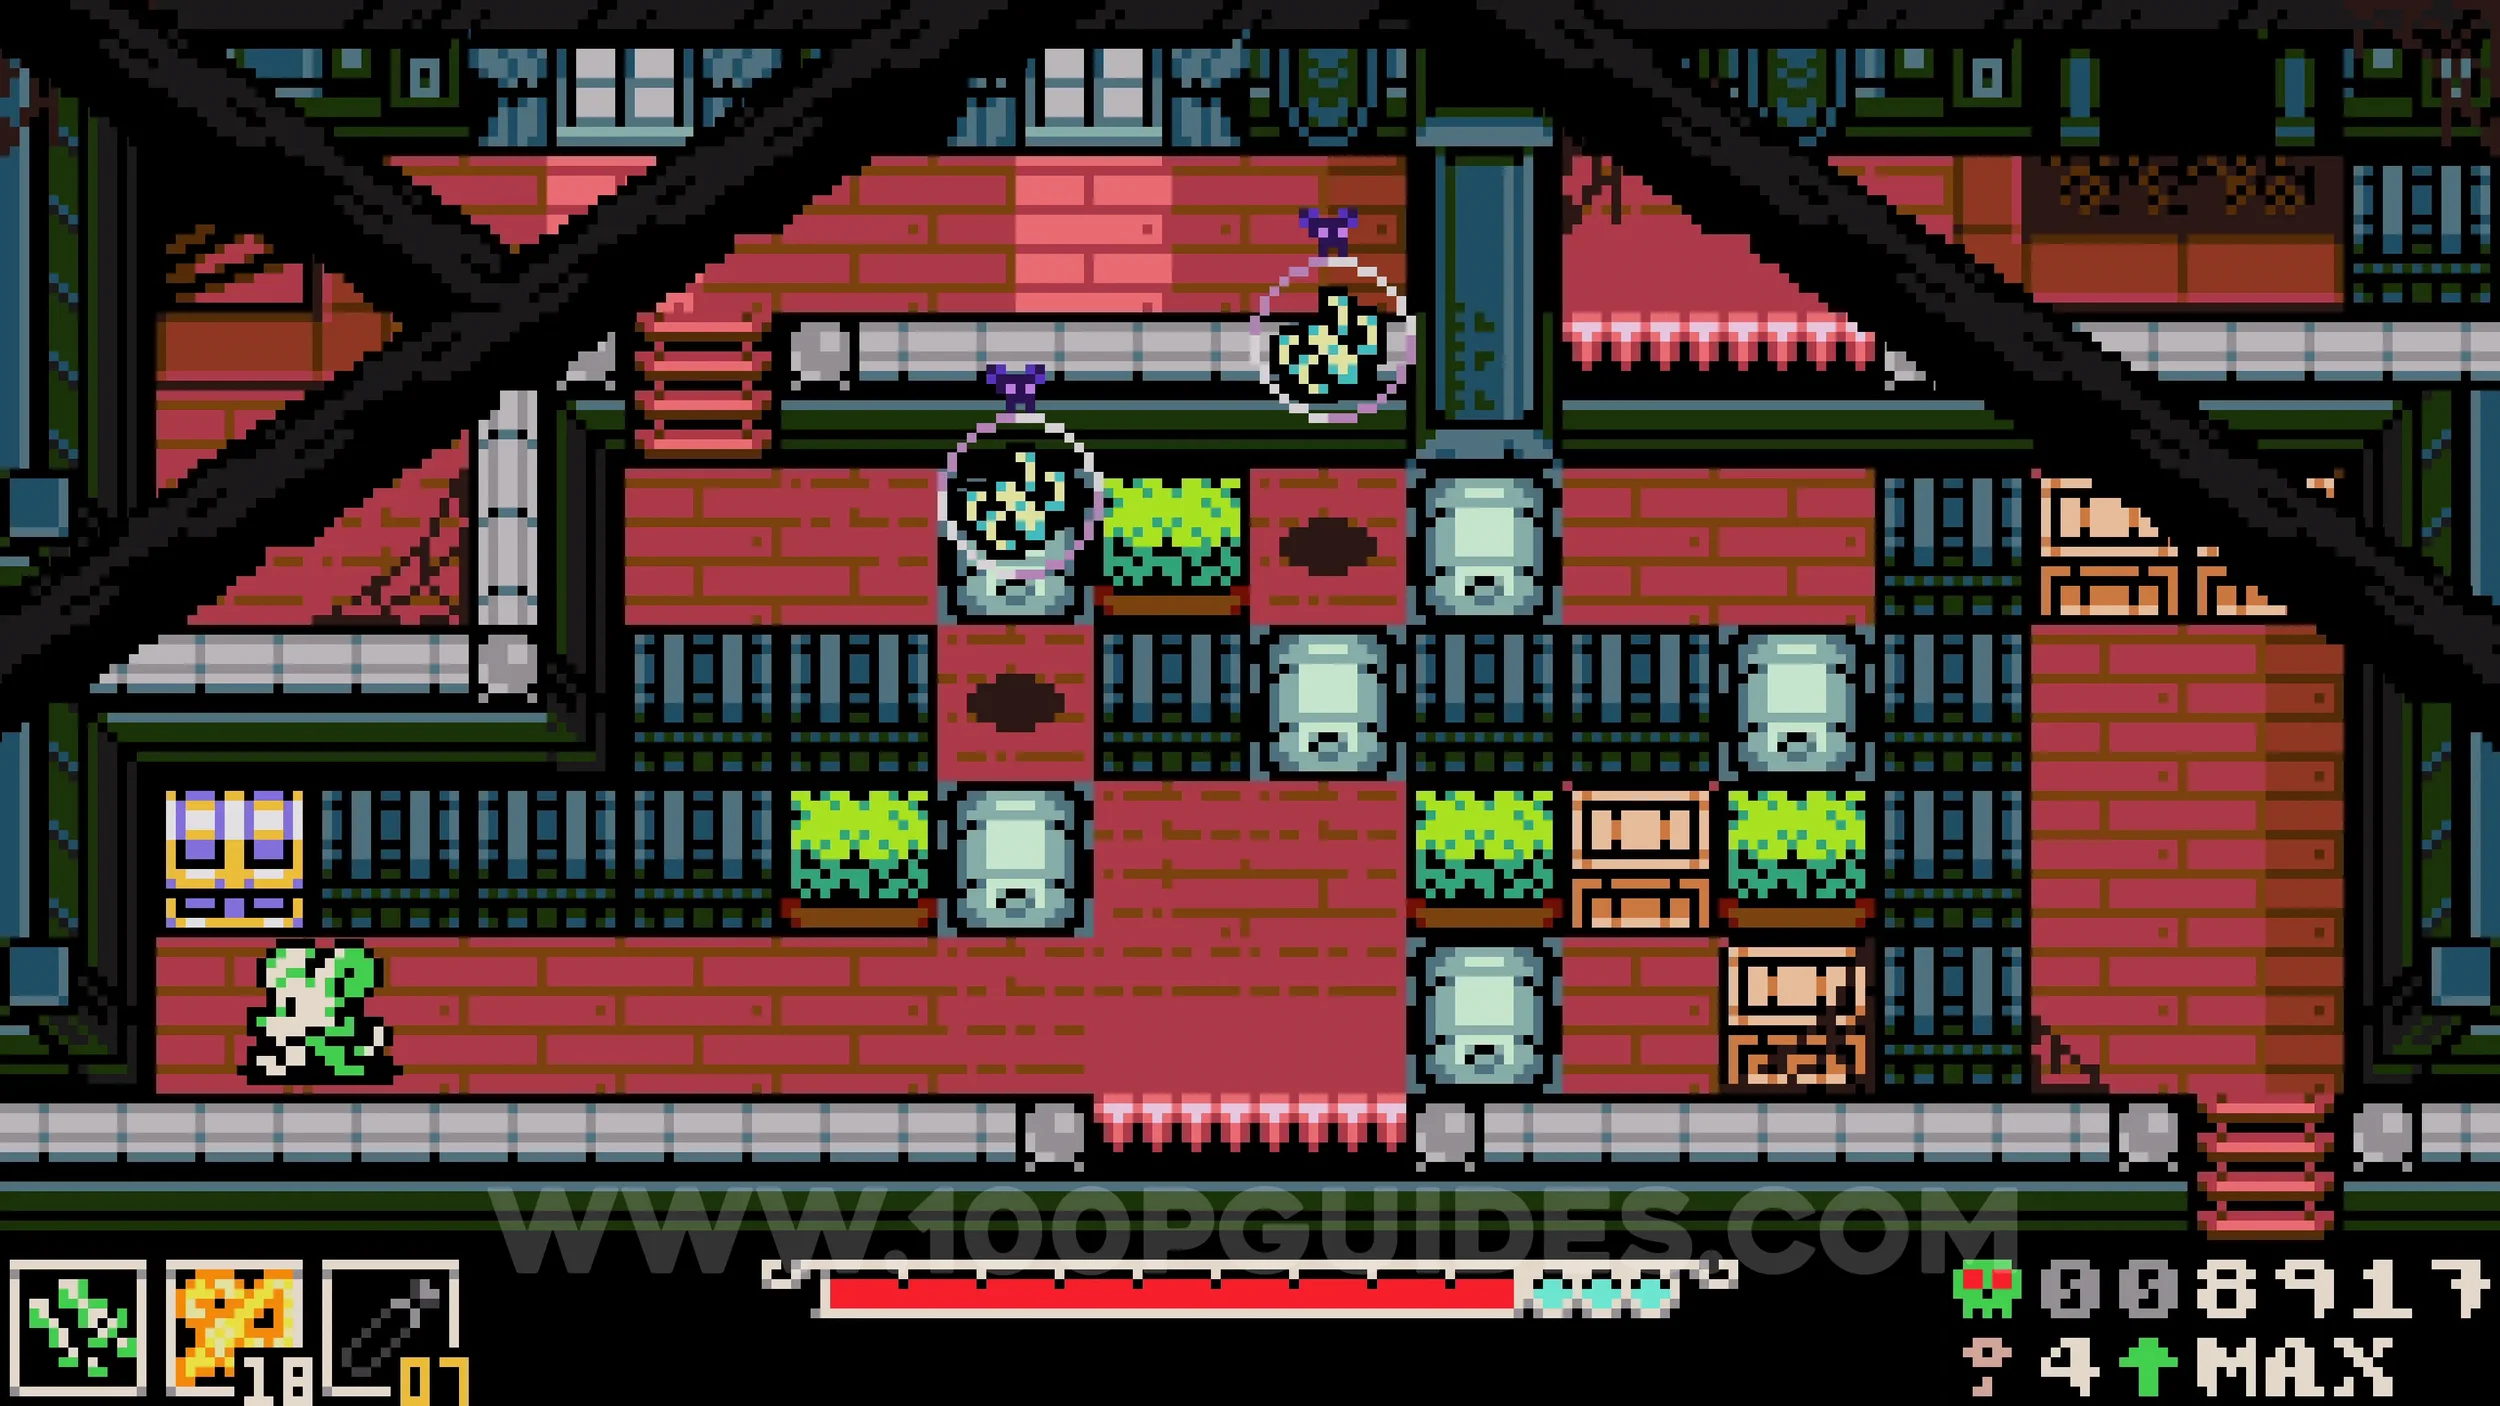
Trinket #2 - Steady Soles. From the previous collectible, leave through the stairs in the top left corner to reach the balcony where the trinket is found.
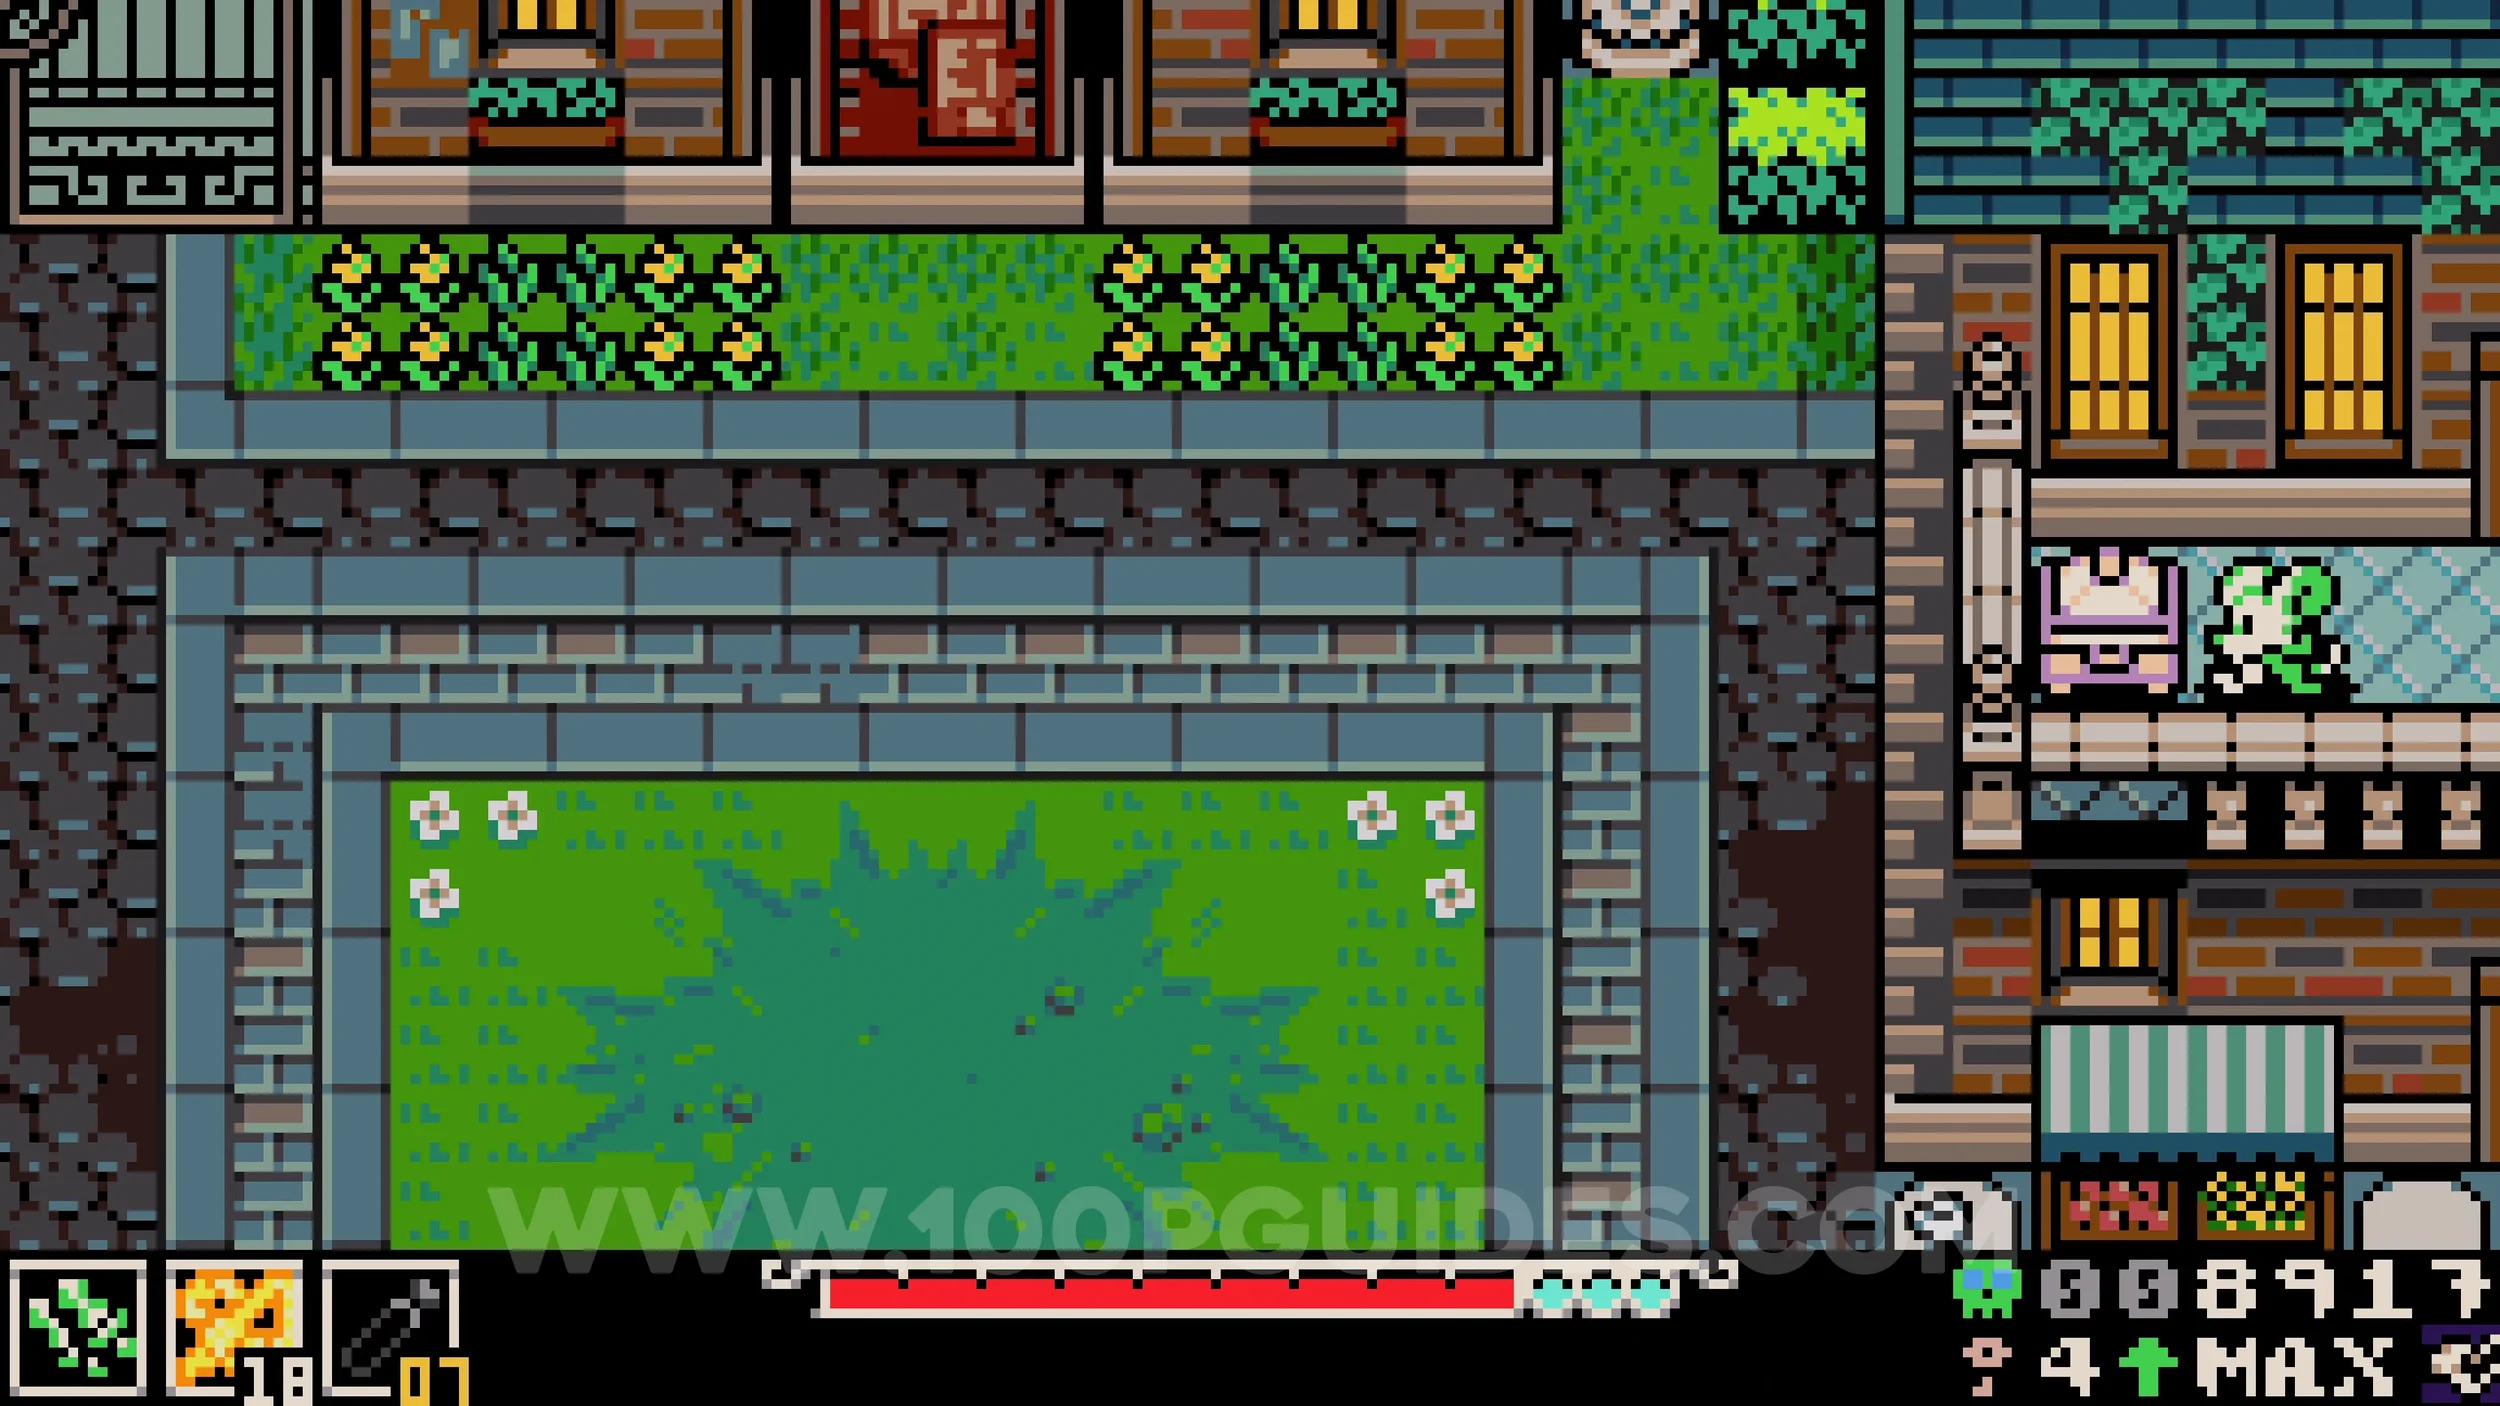
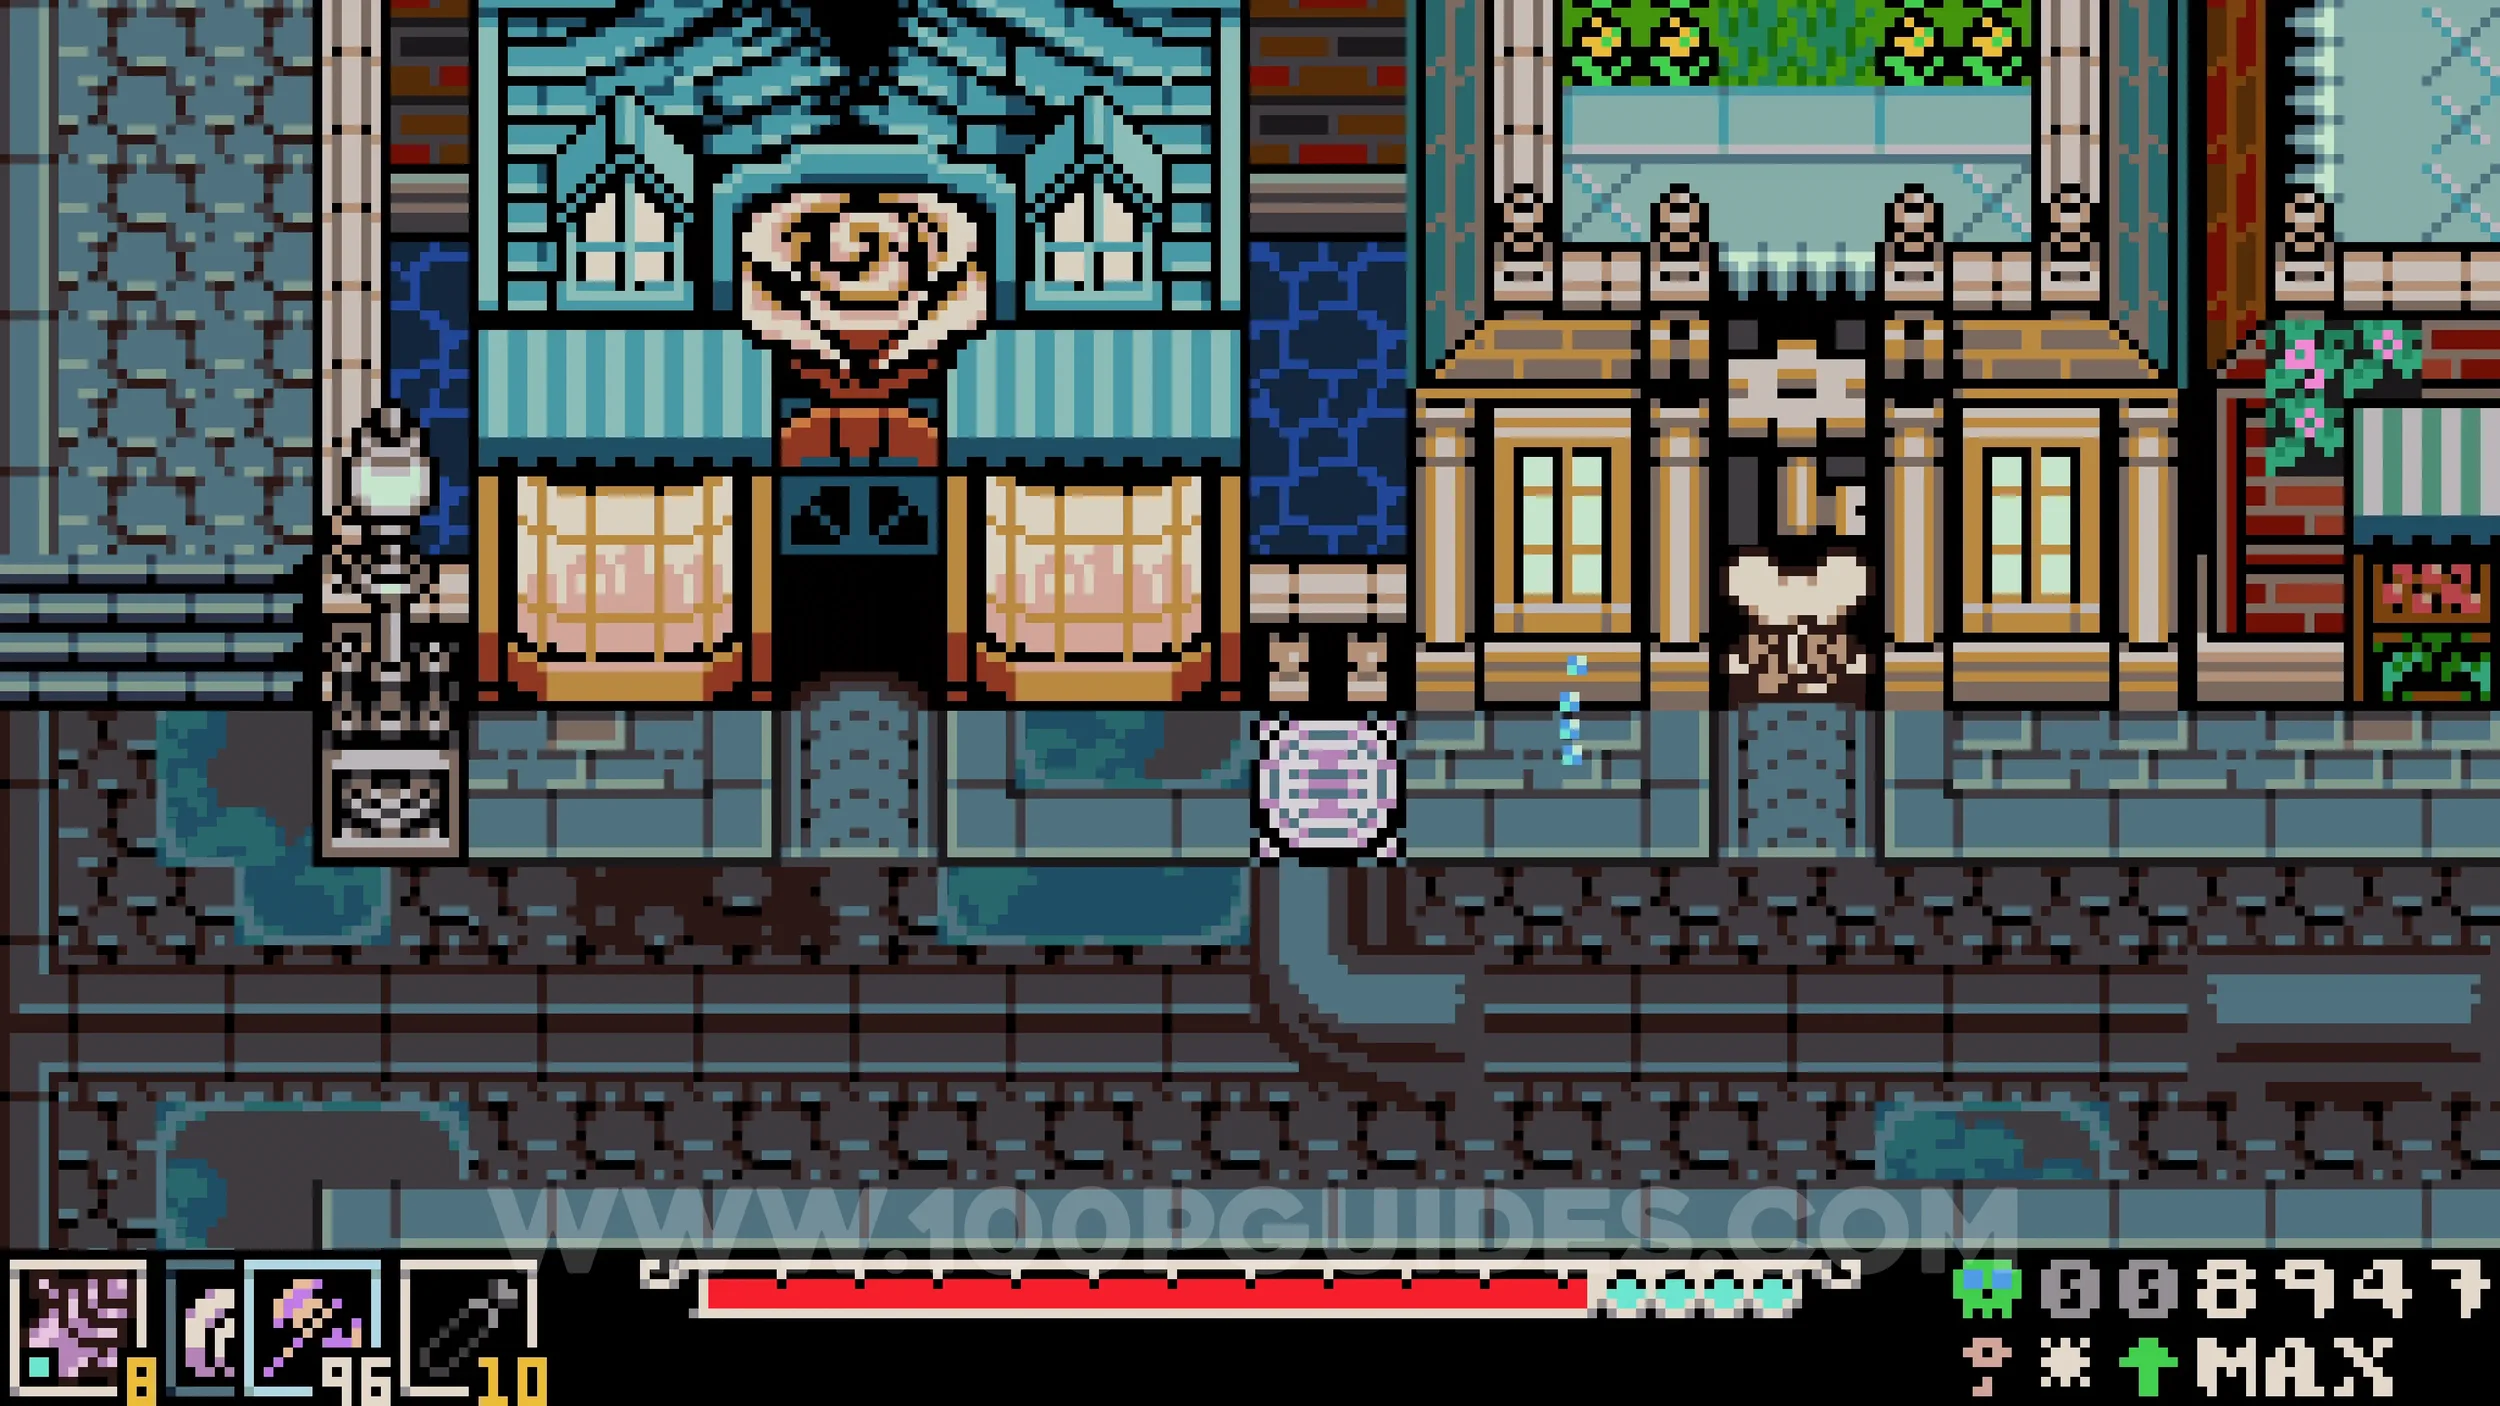
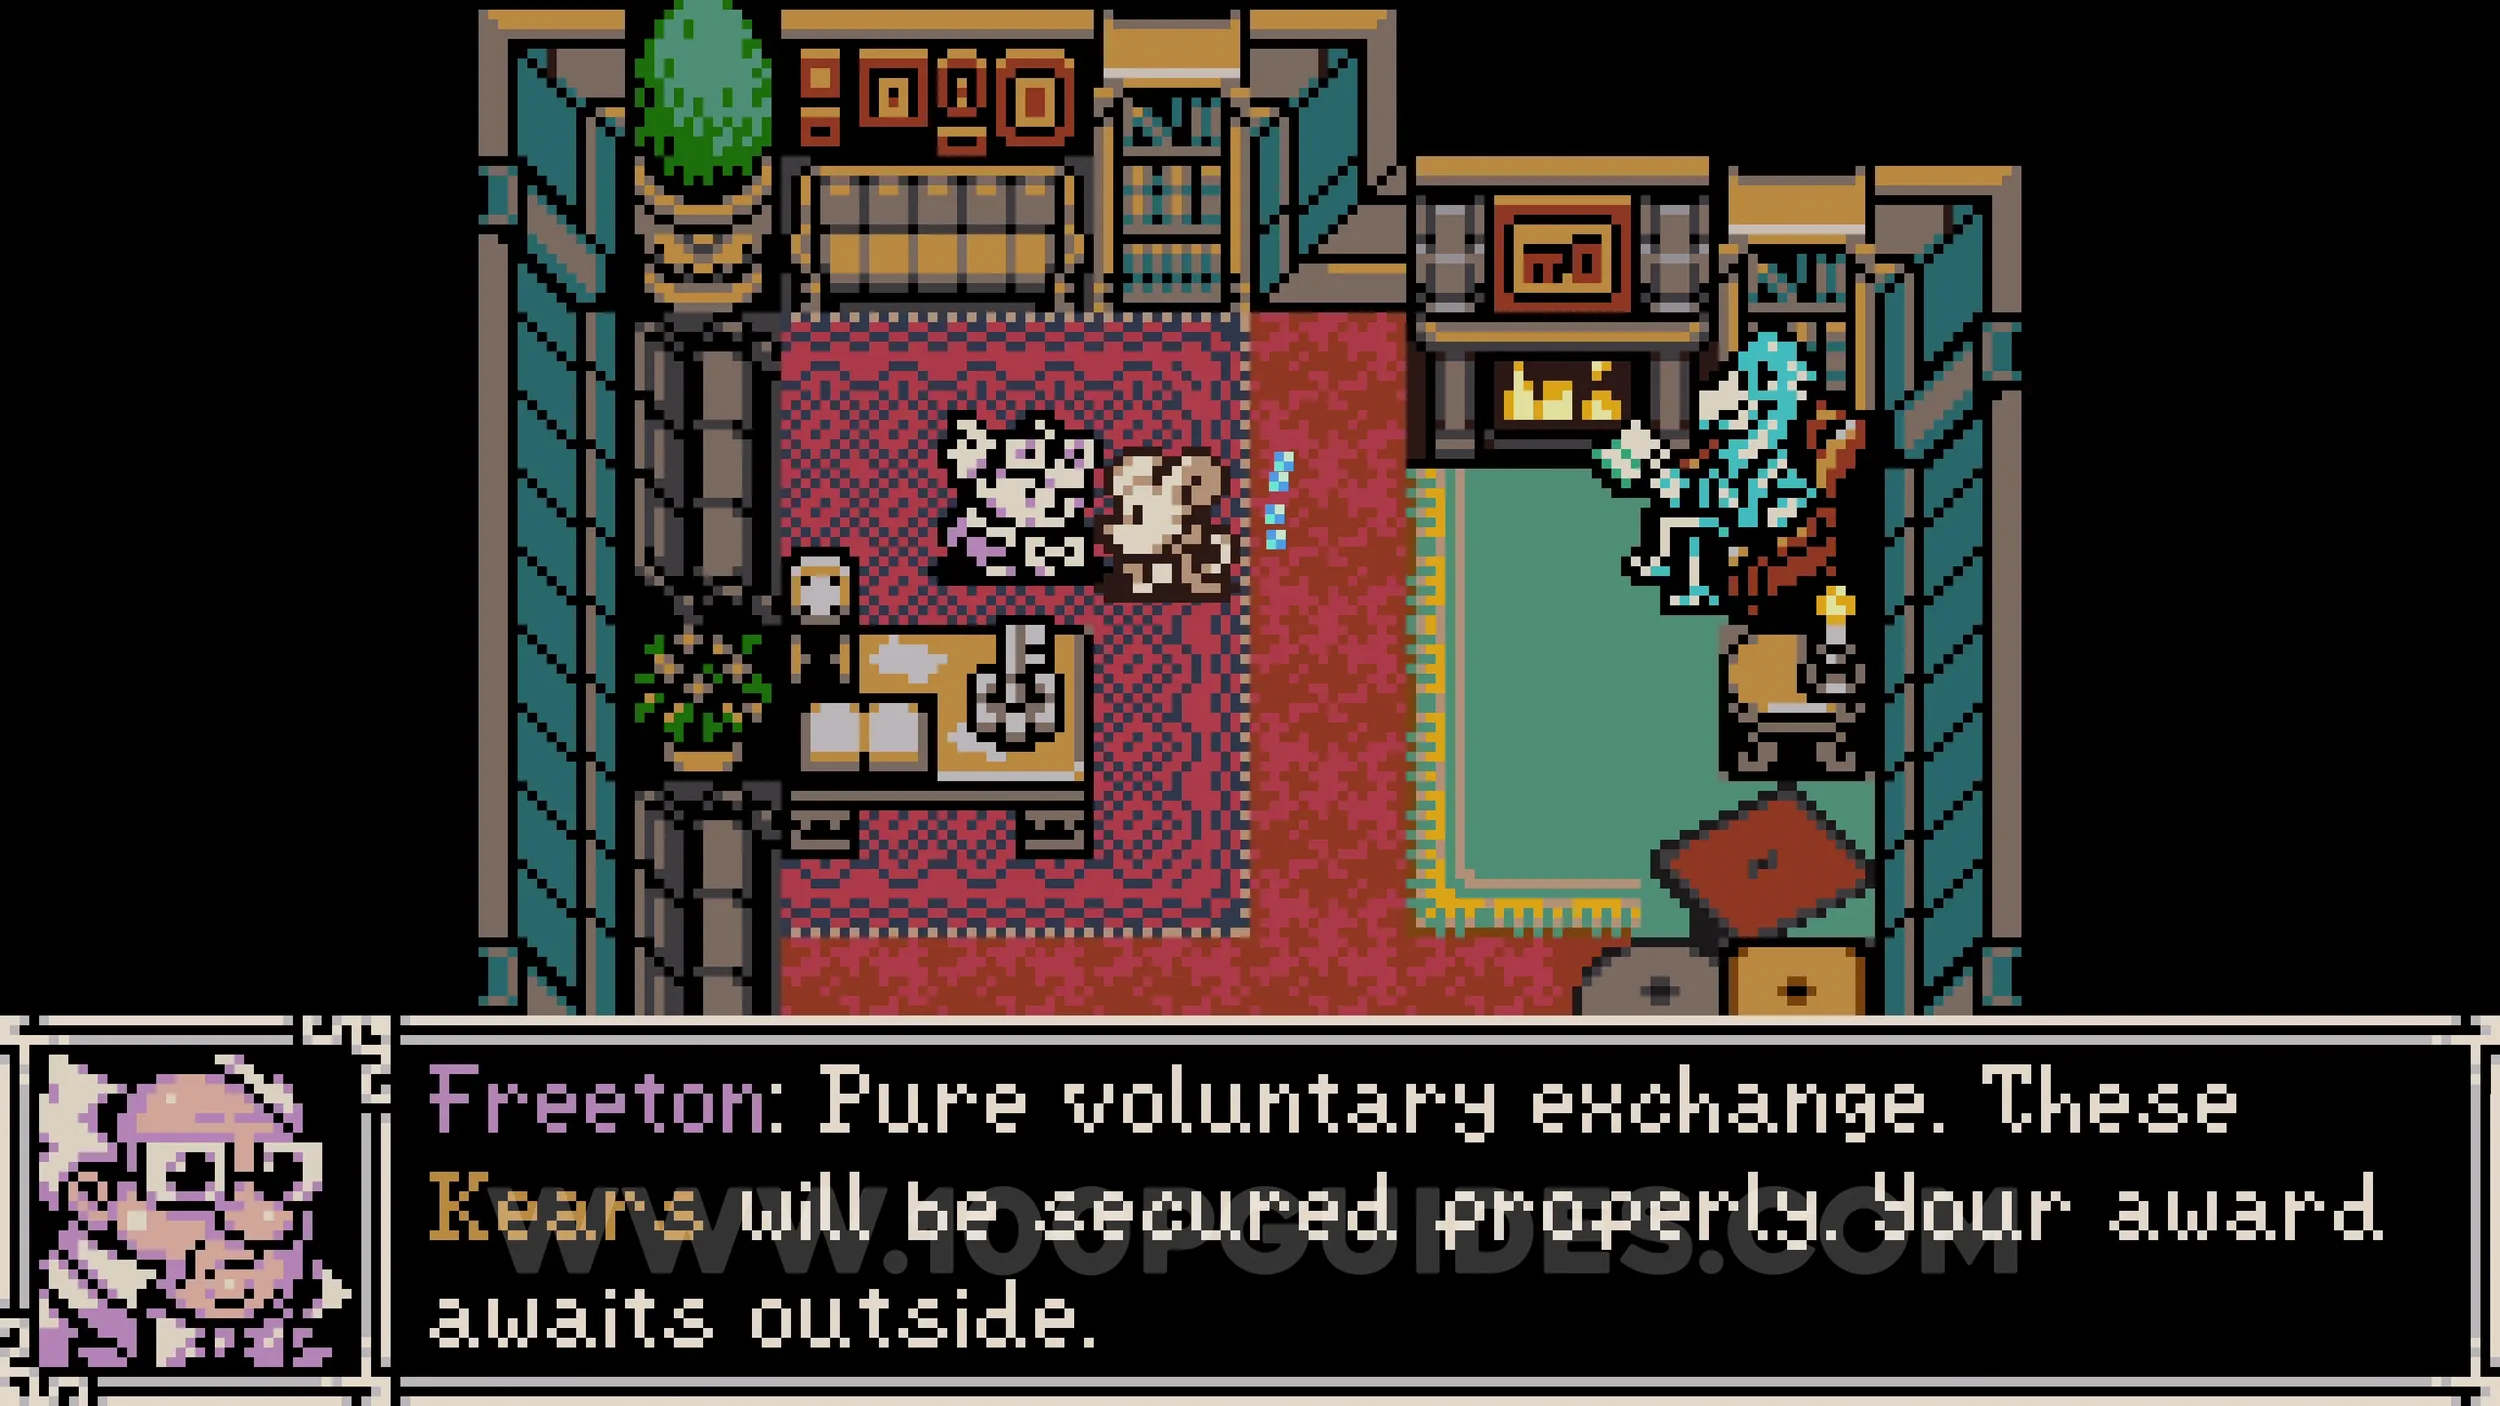
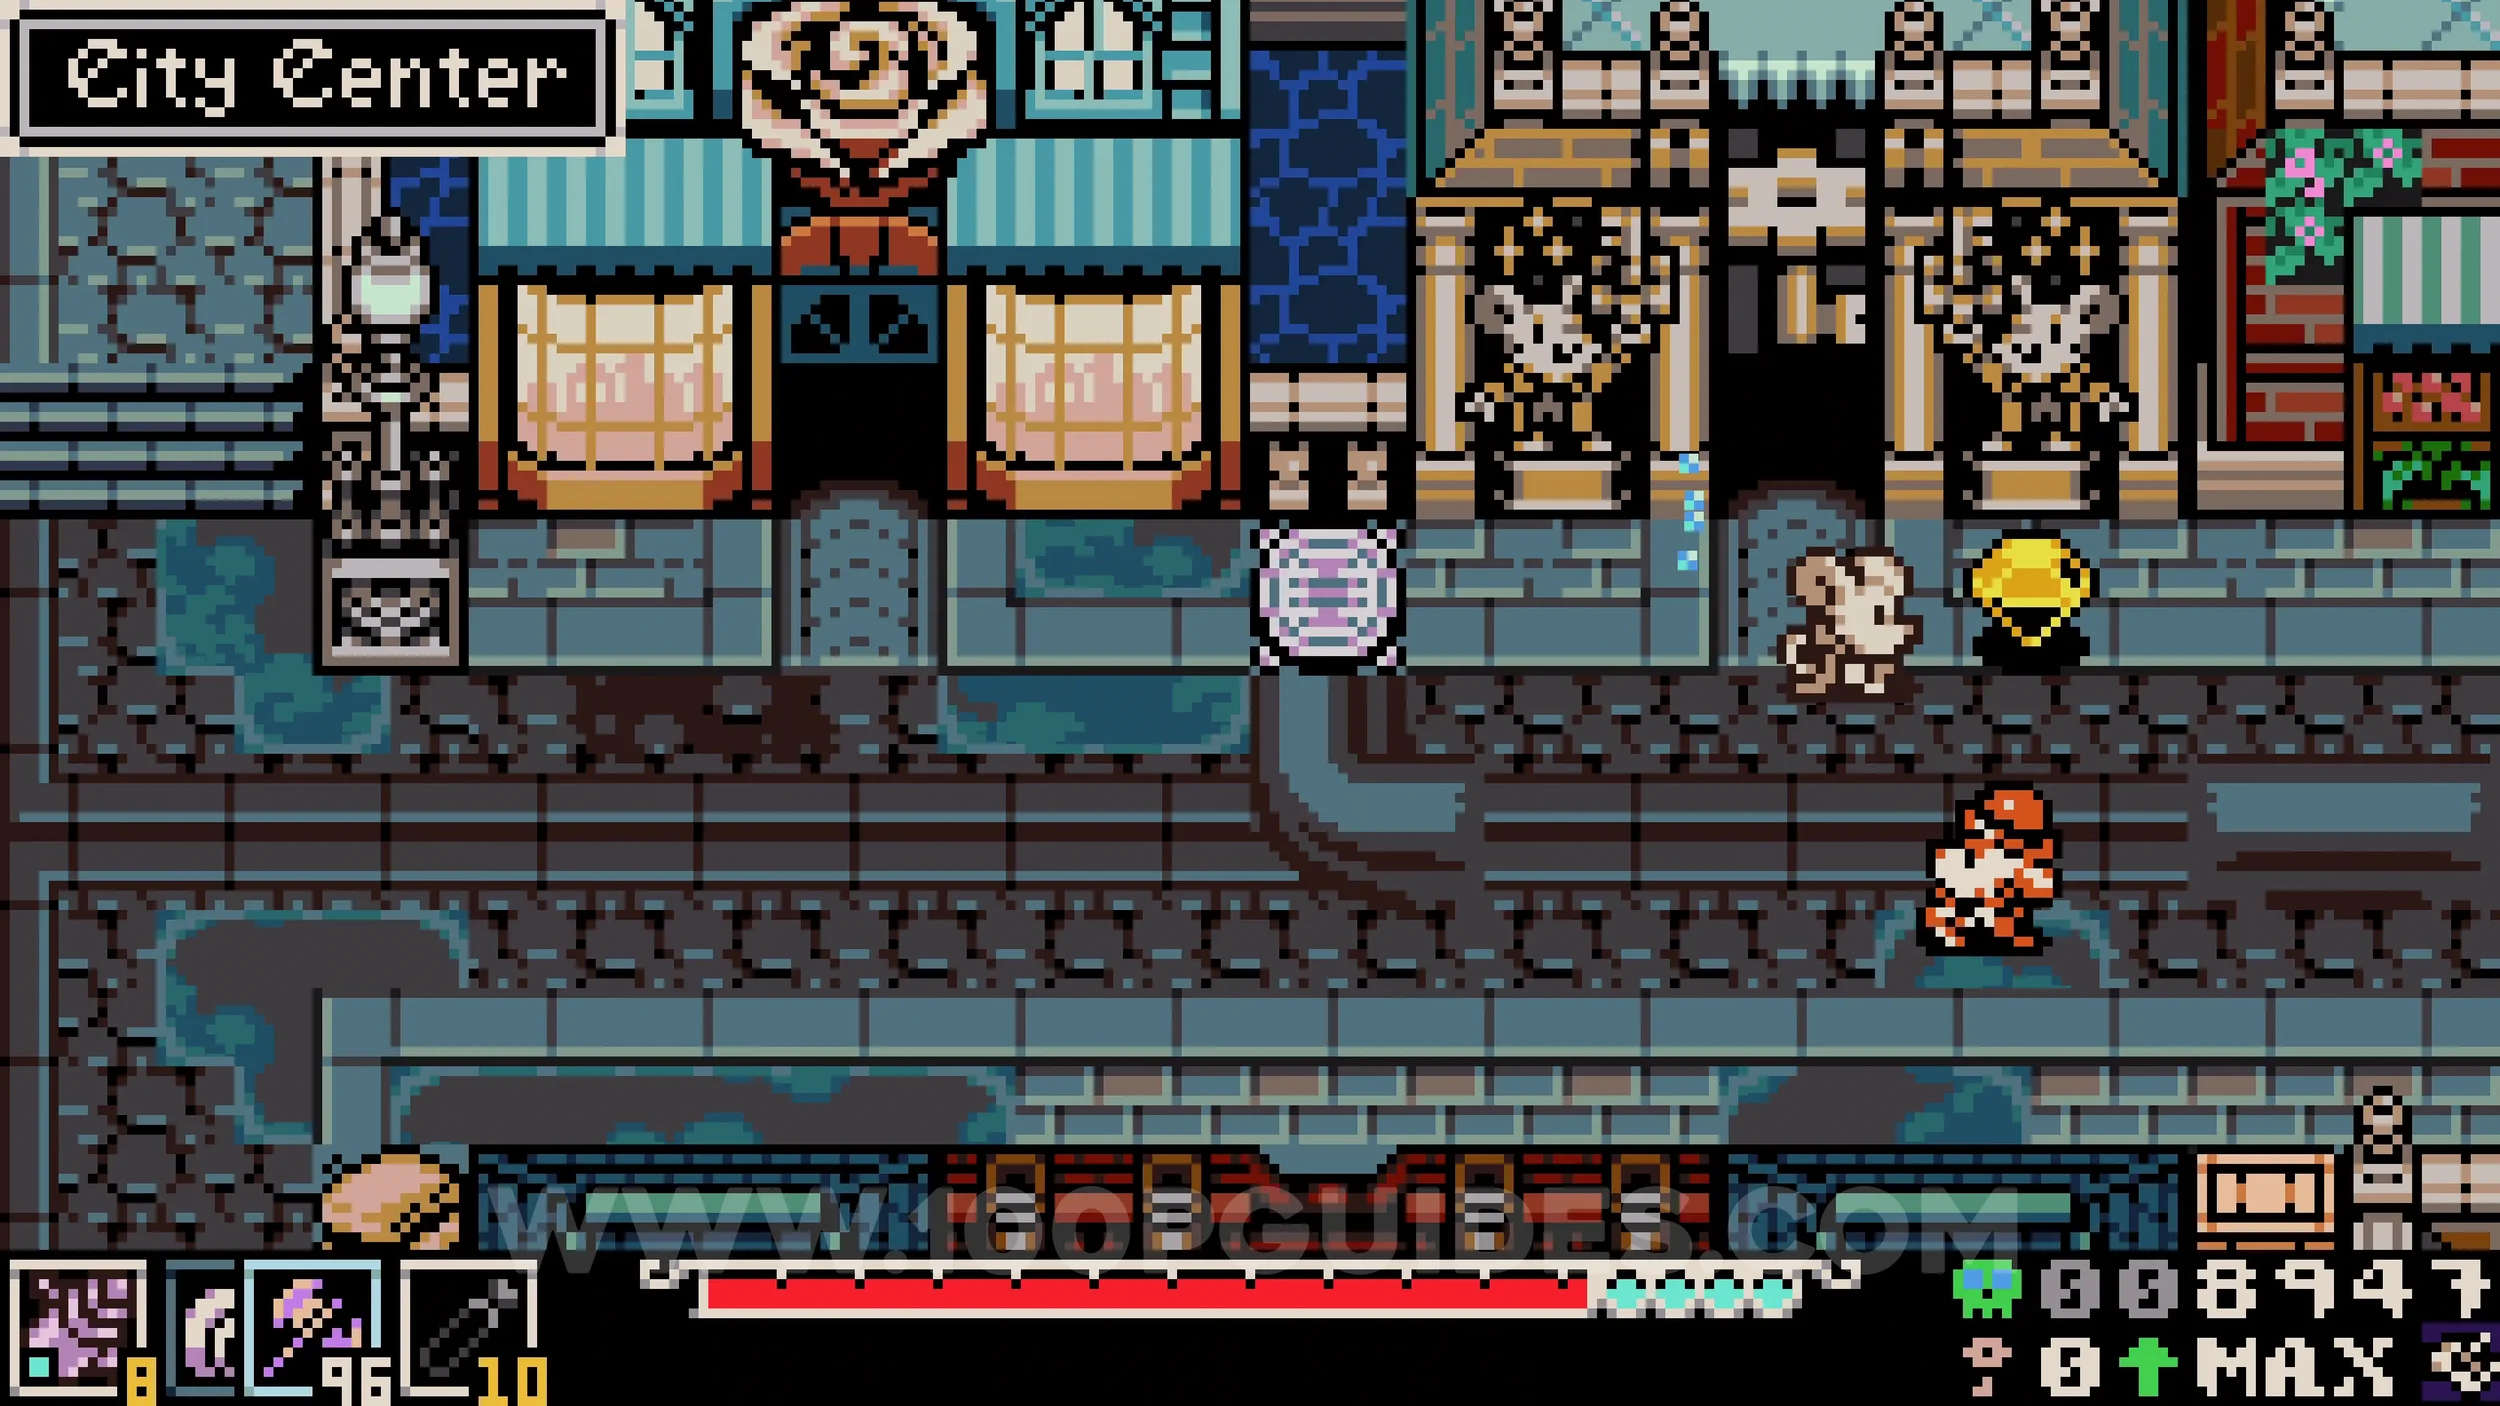
Kear #3-11. All 9 can be purchased from the NPC in the key shop just south of the fountain in the middle of Ossex.
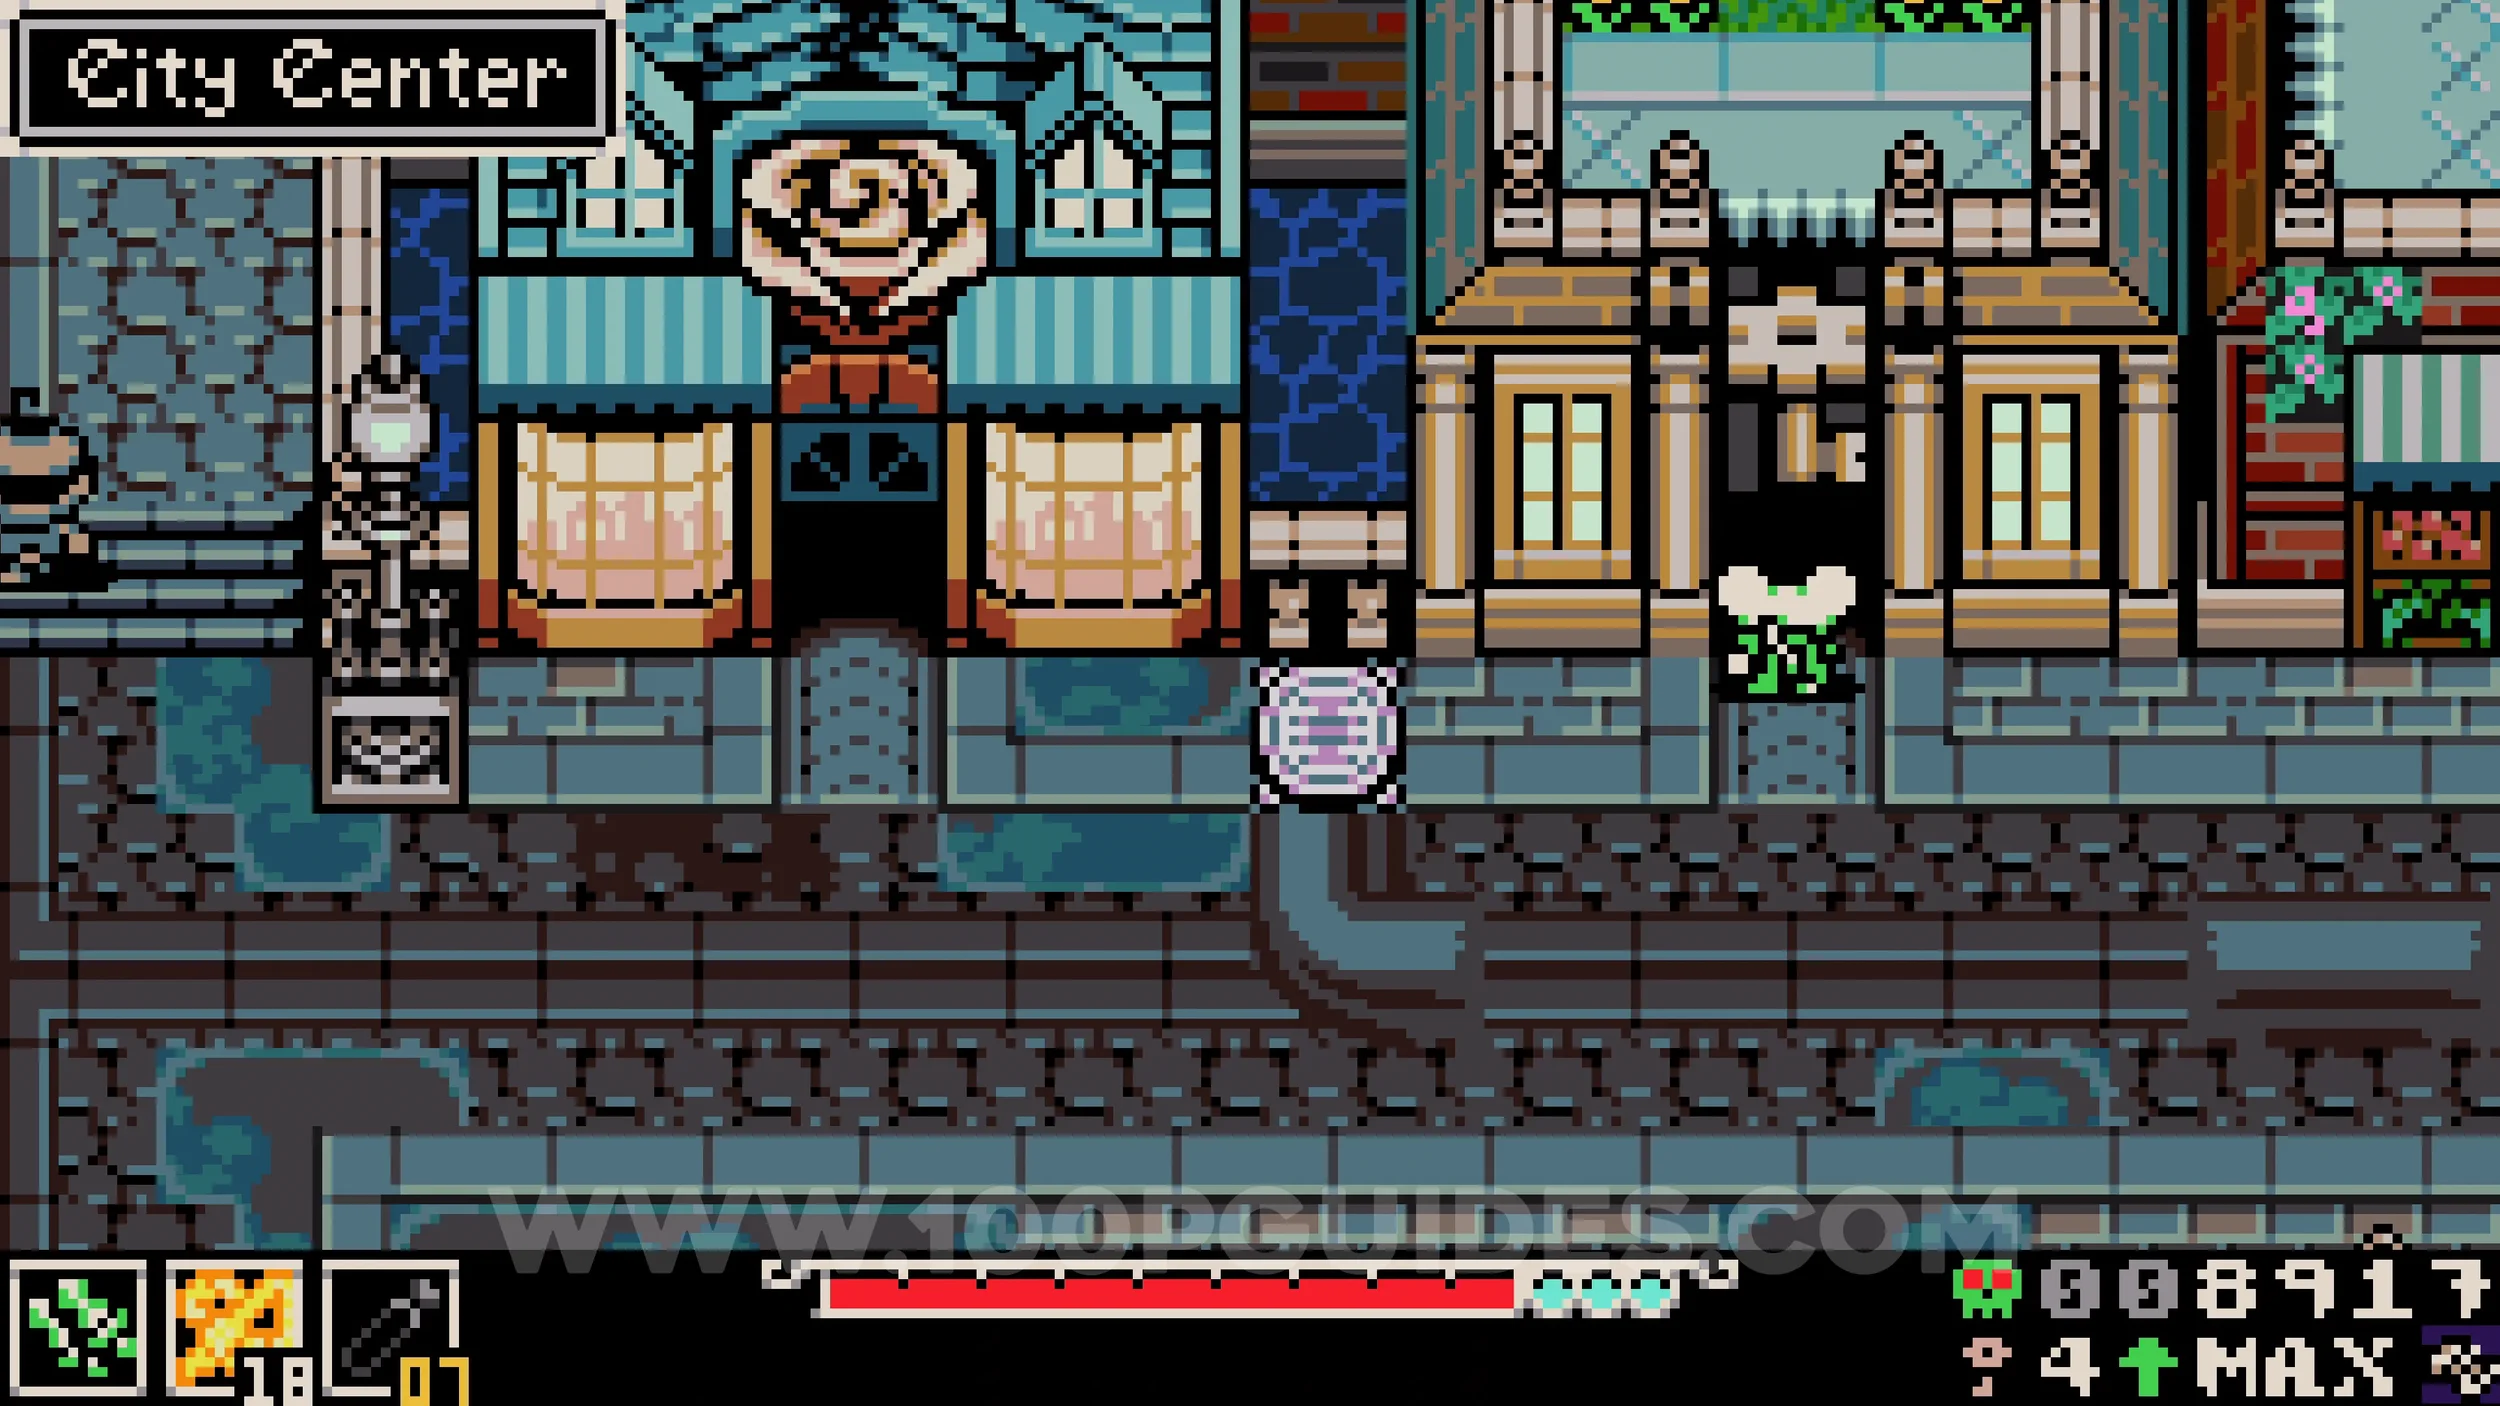
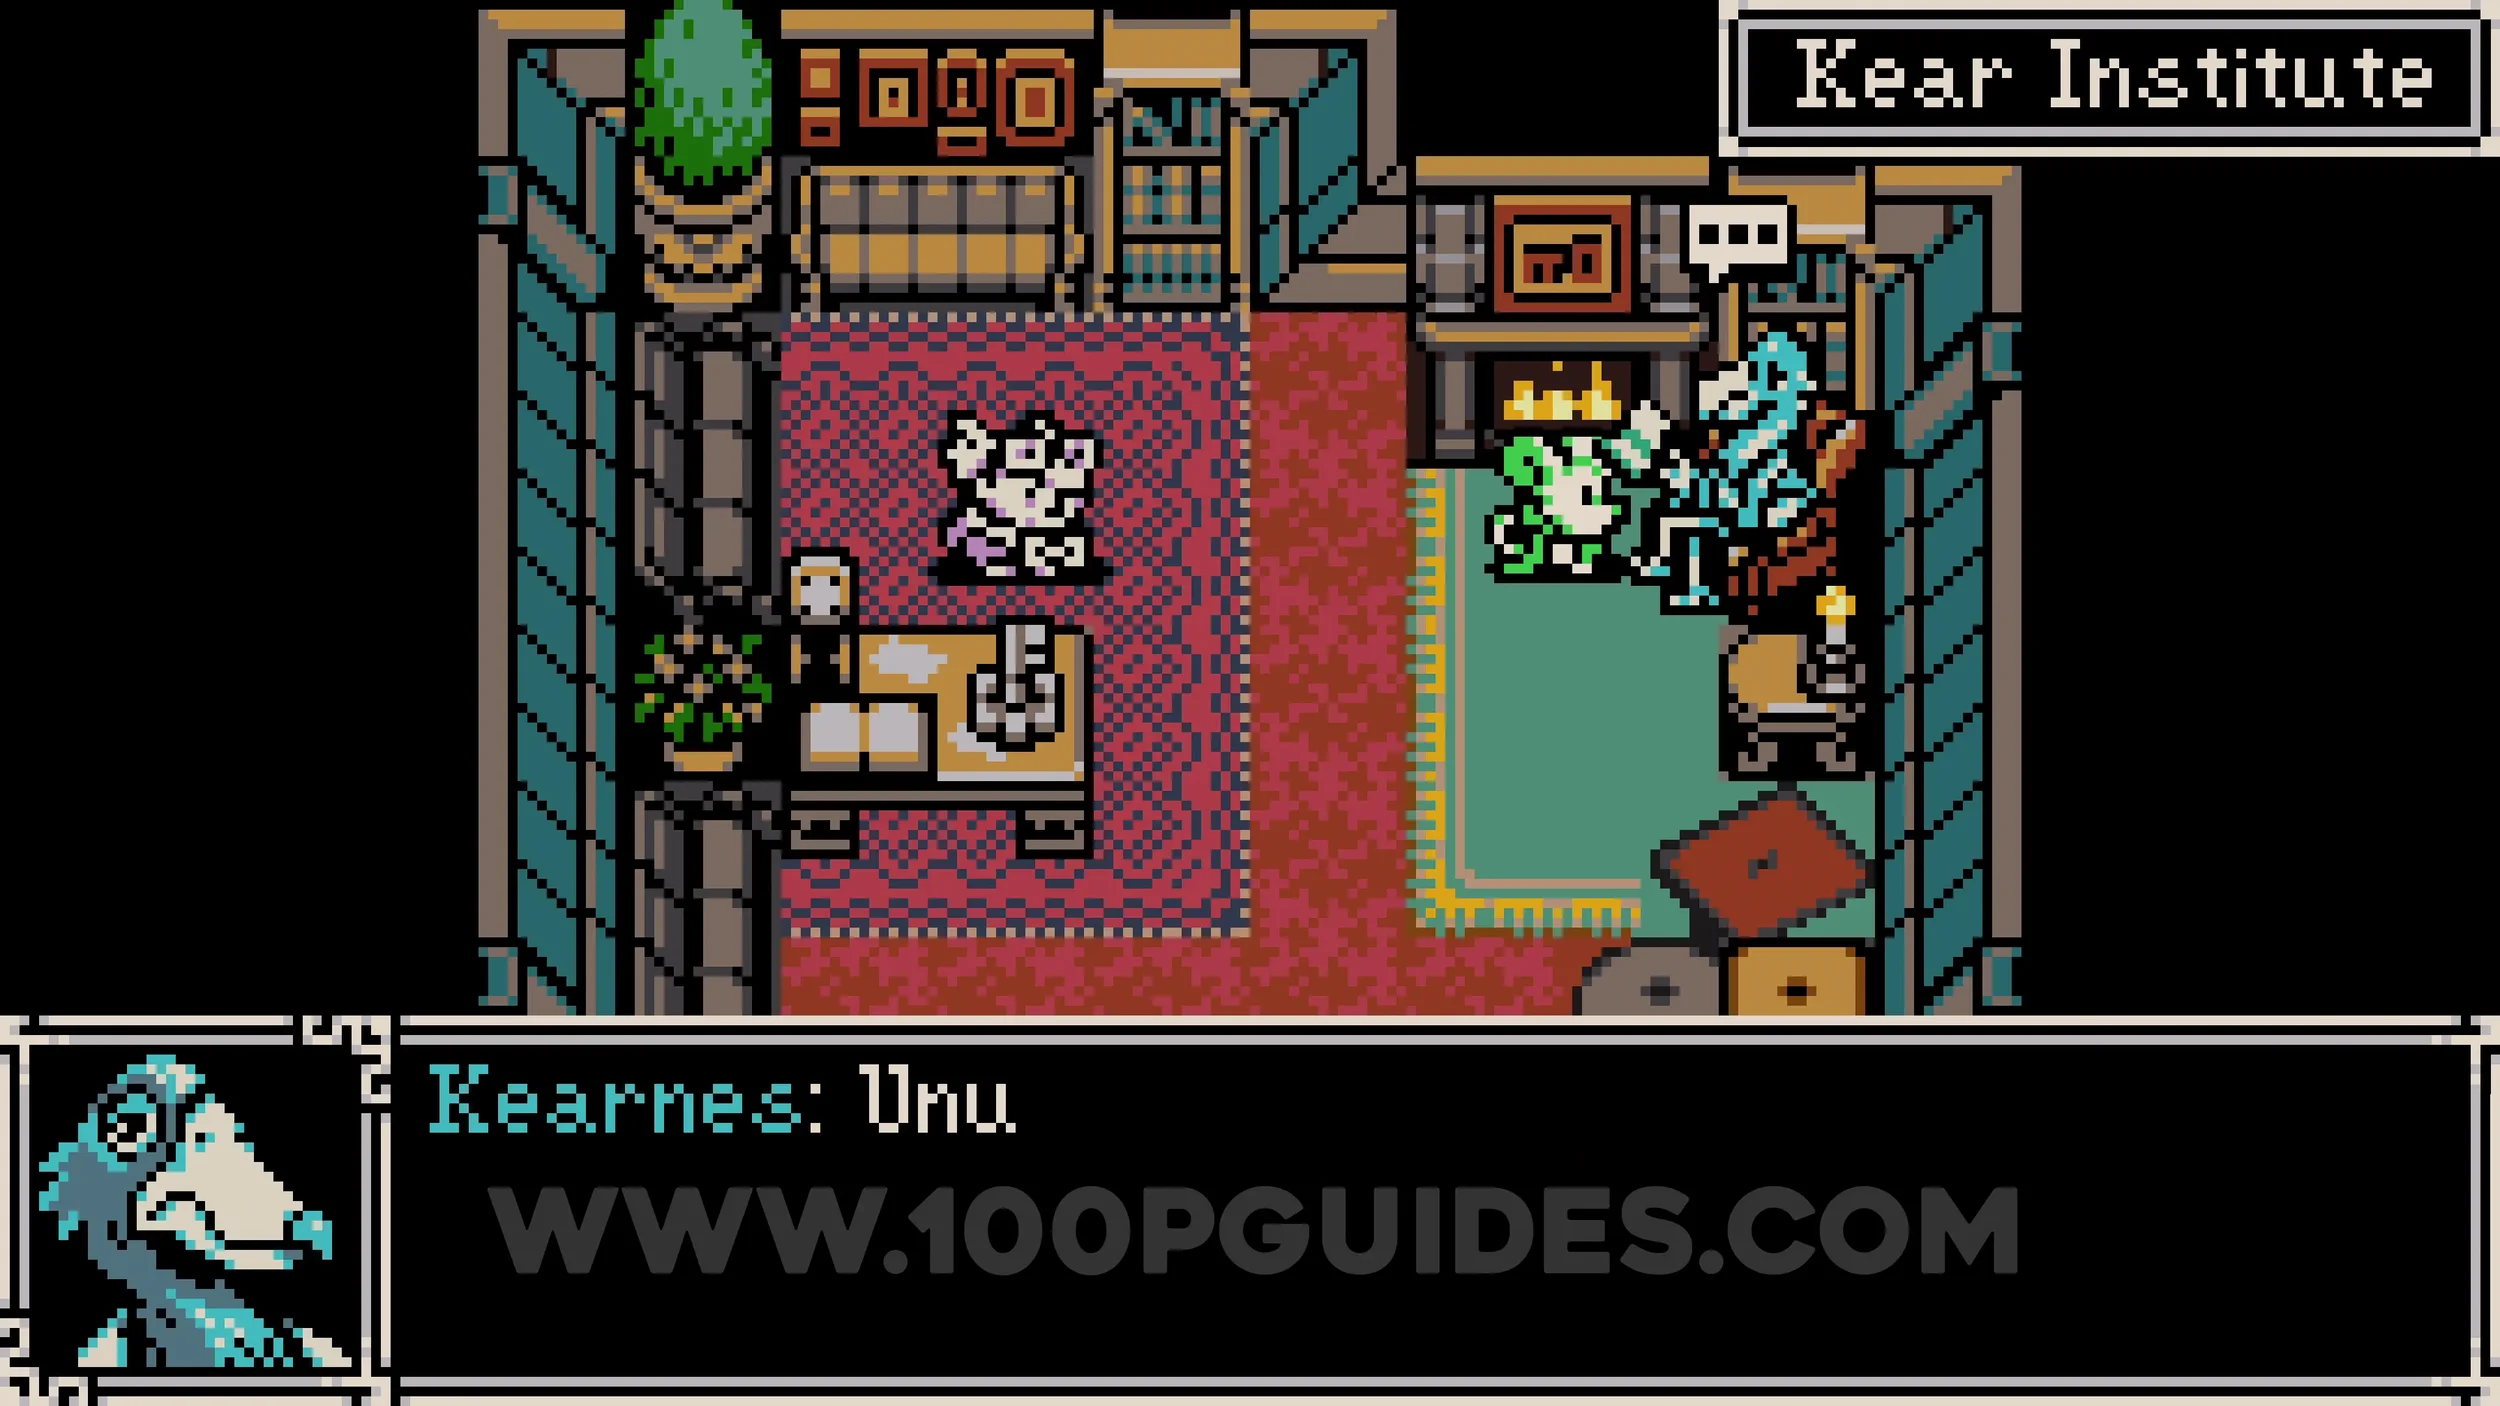
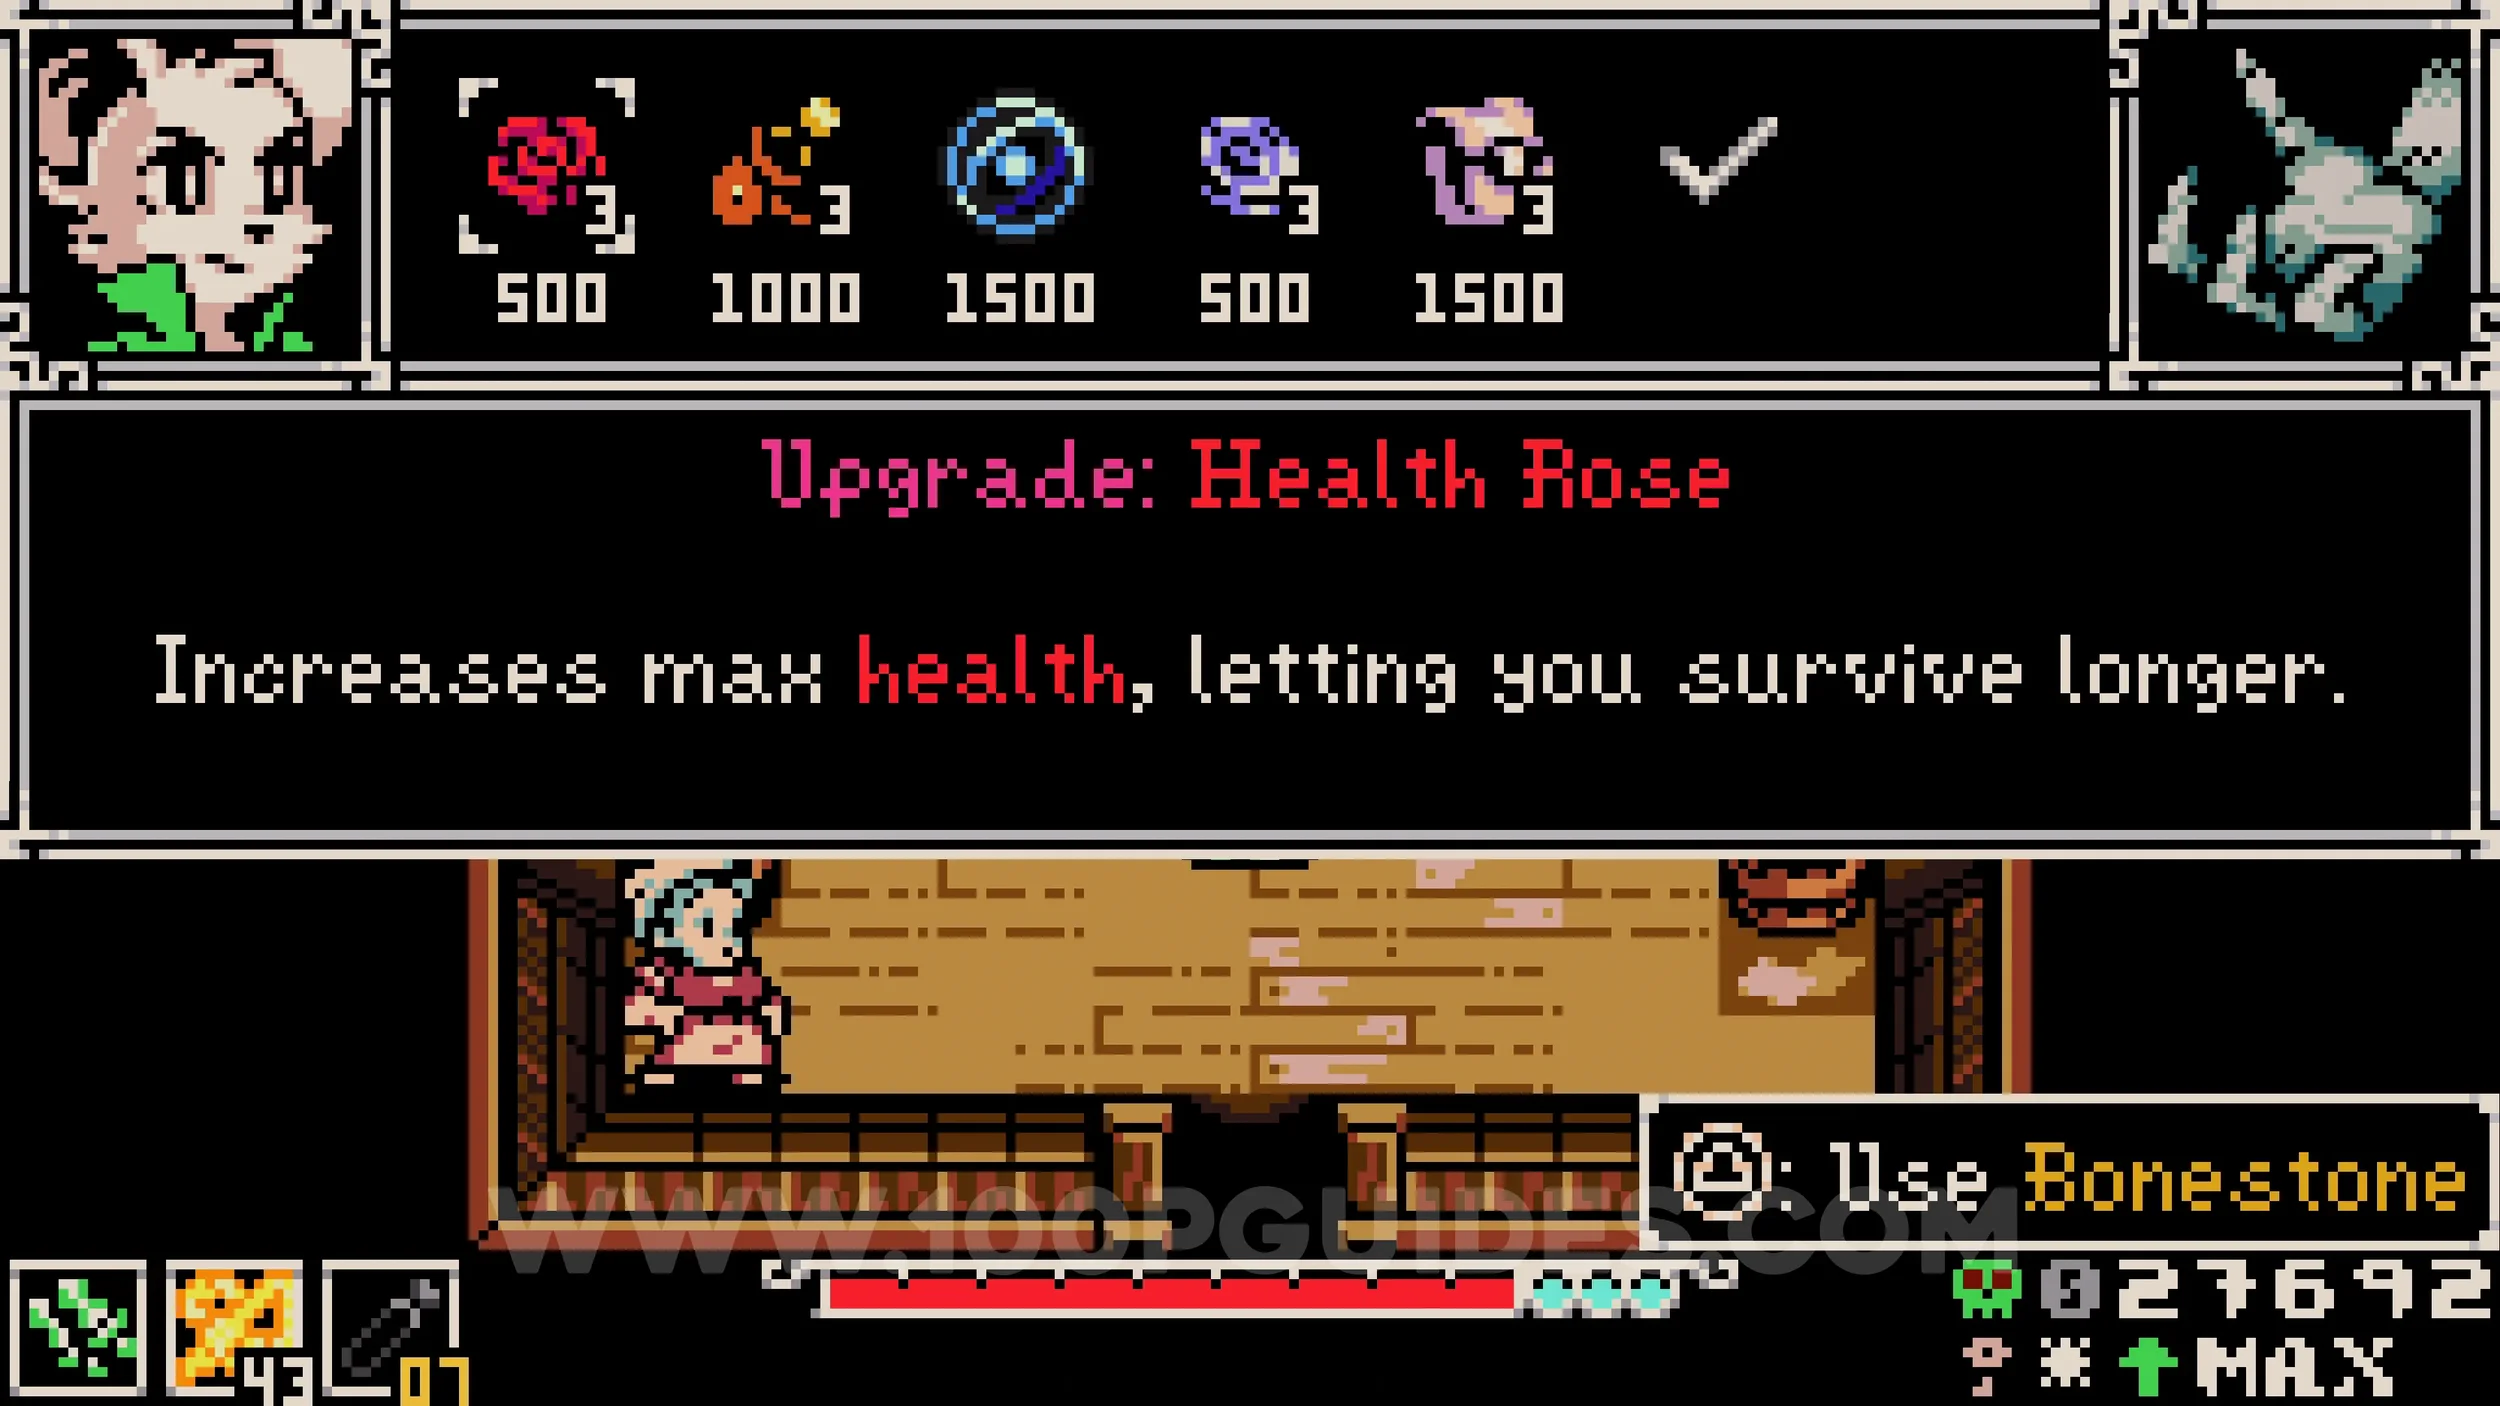
HP Upgrade #1-3, Vial Pouch #1-3, Spark Container #1, Joule Box #1-3 & Trinket Bag #1-3. All these upgrades can be purchased from the Emporium, found just south of the fountain in the middle of Ossex. This is the shop that tries to pull you in every time you walk past.
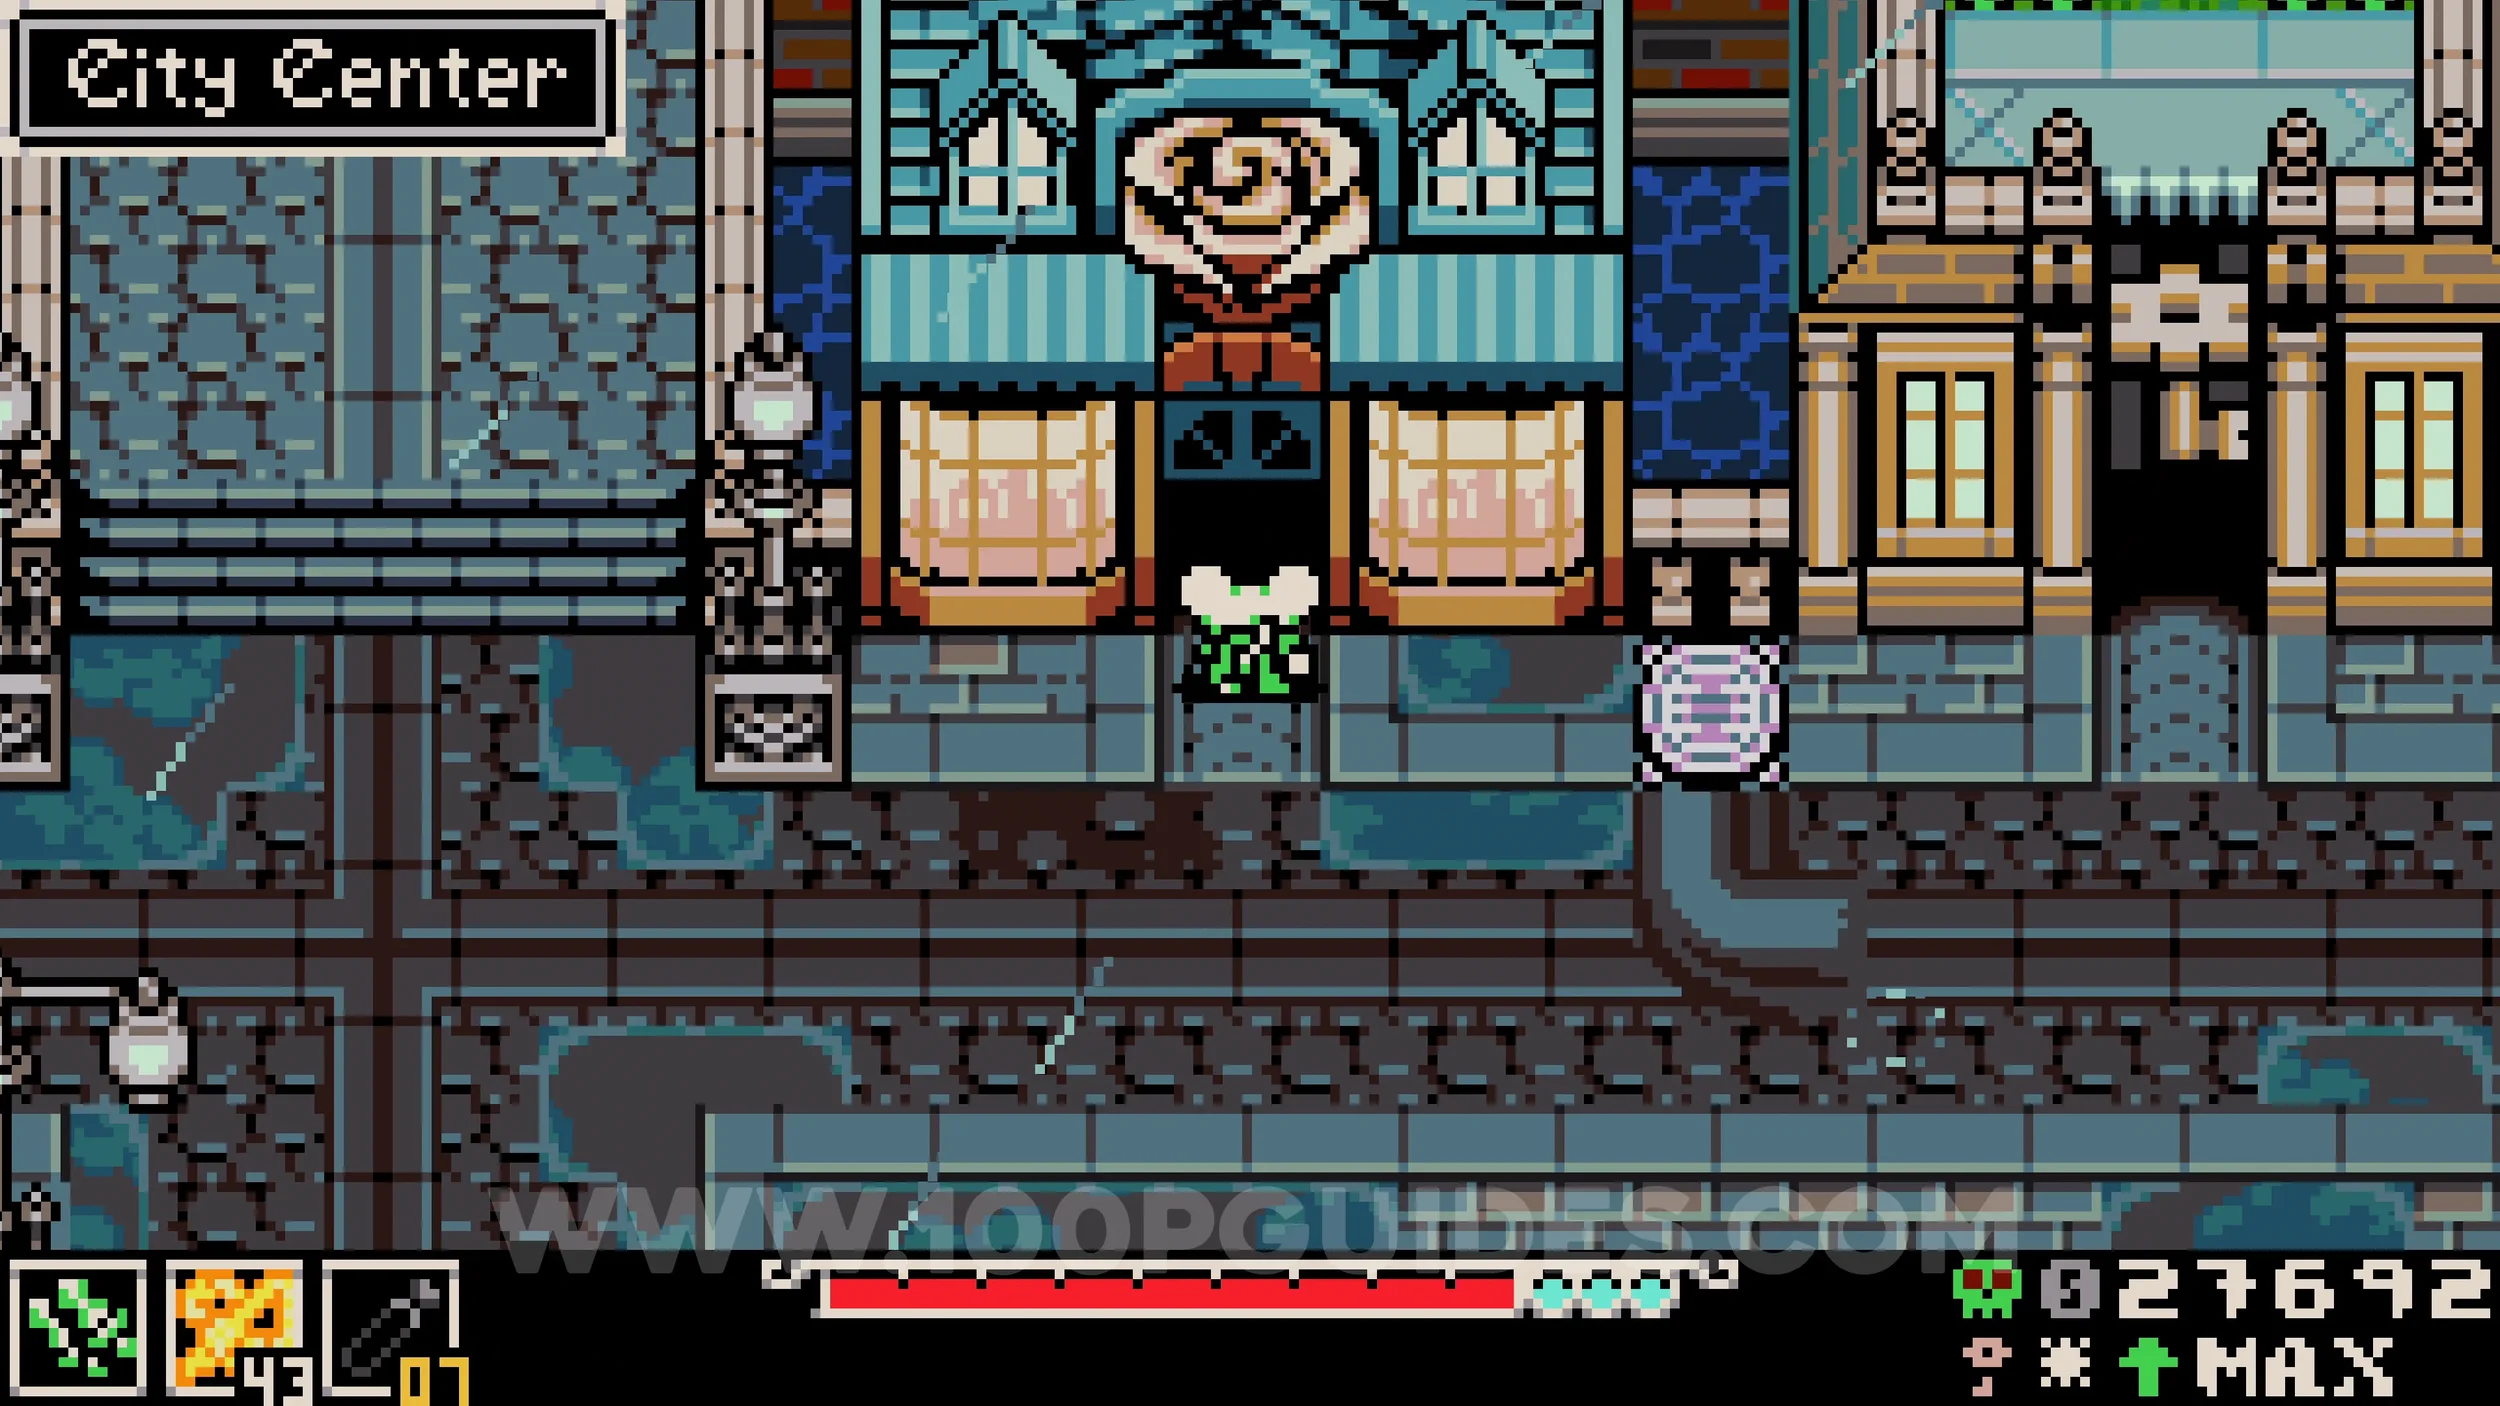
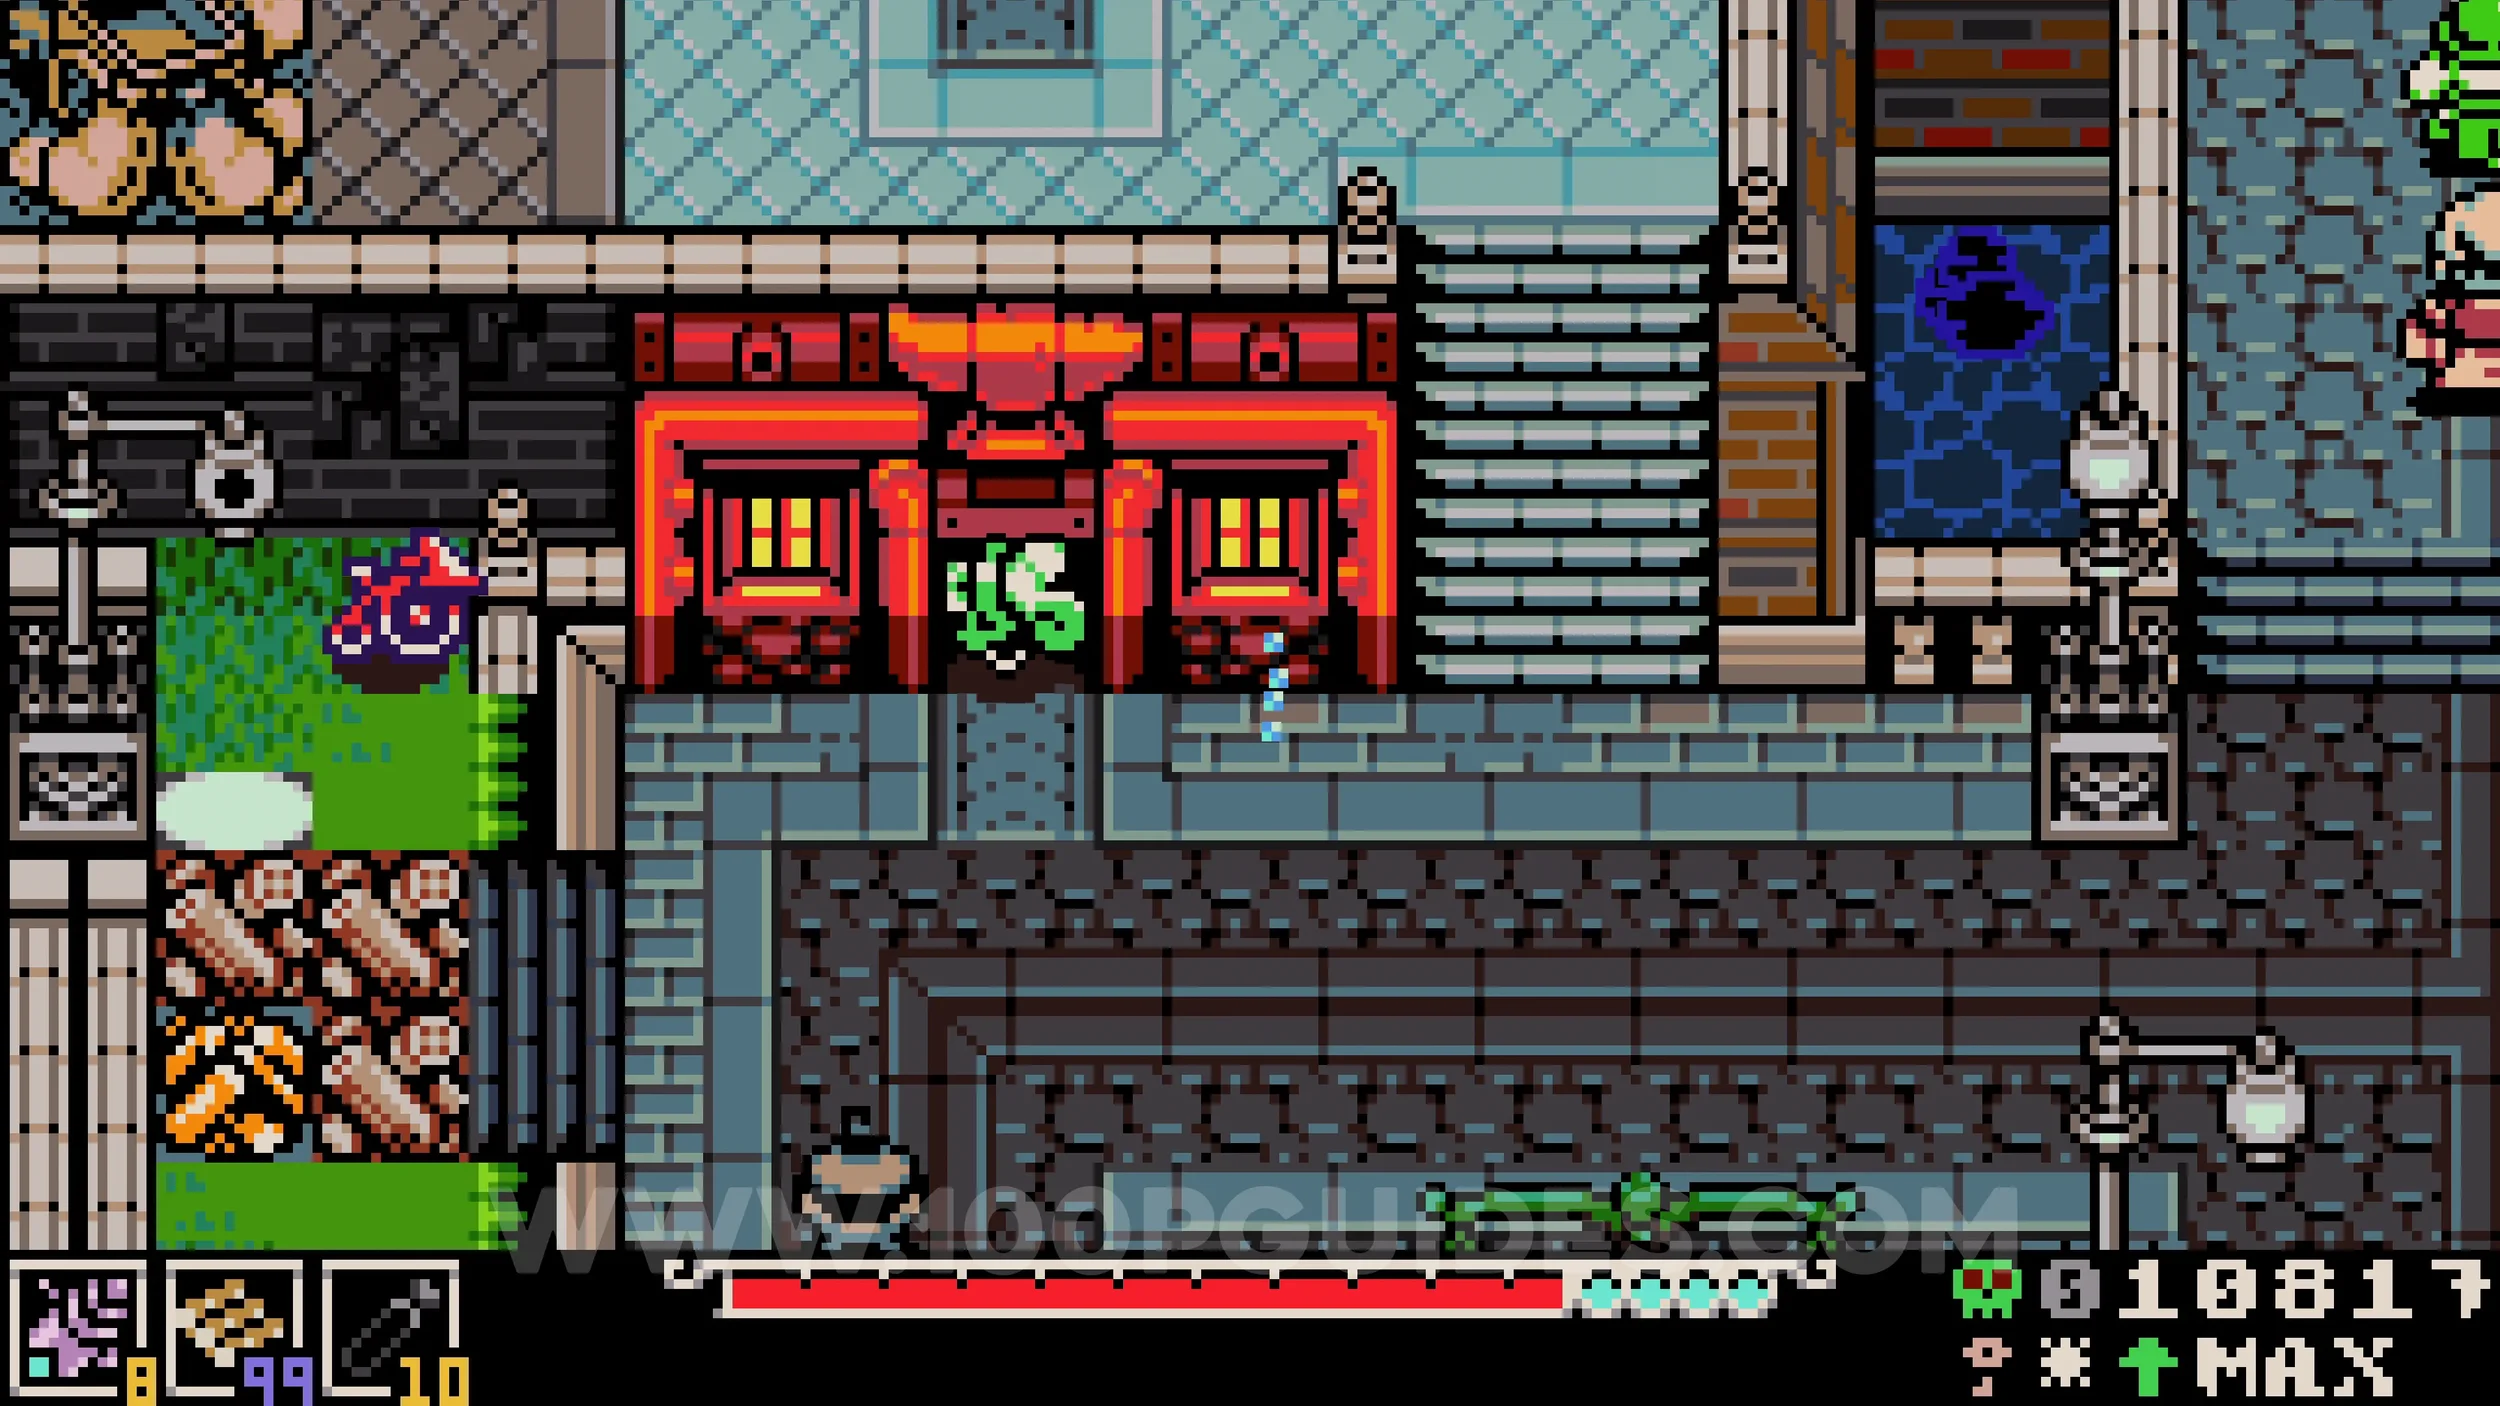
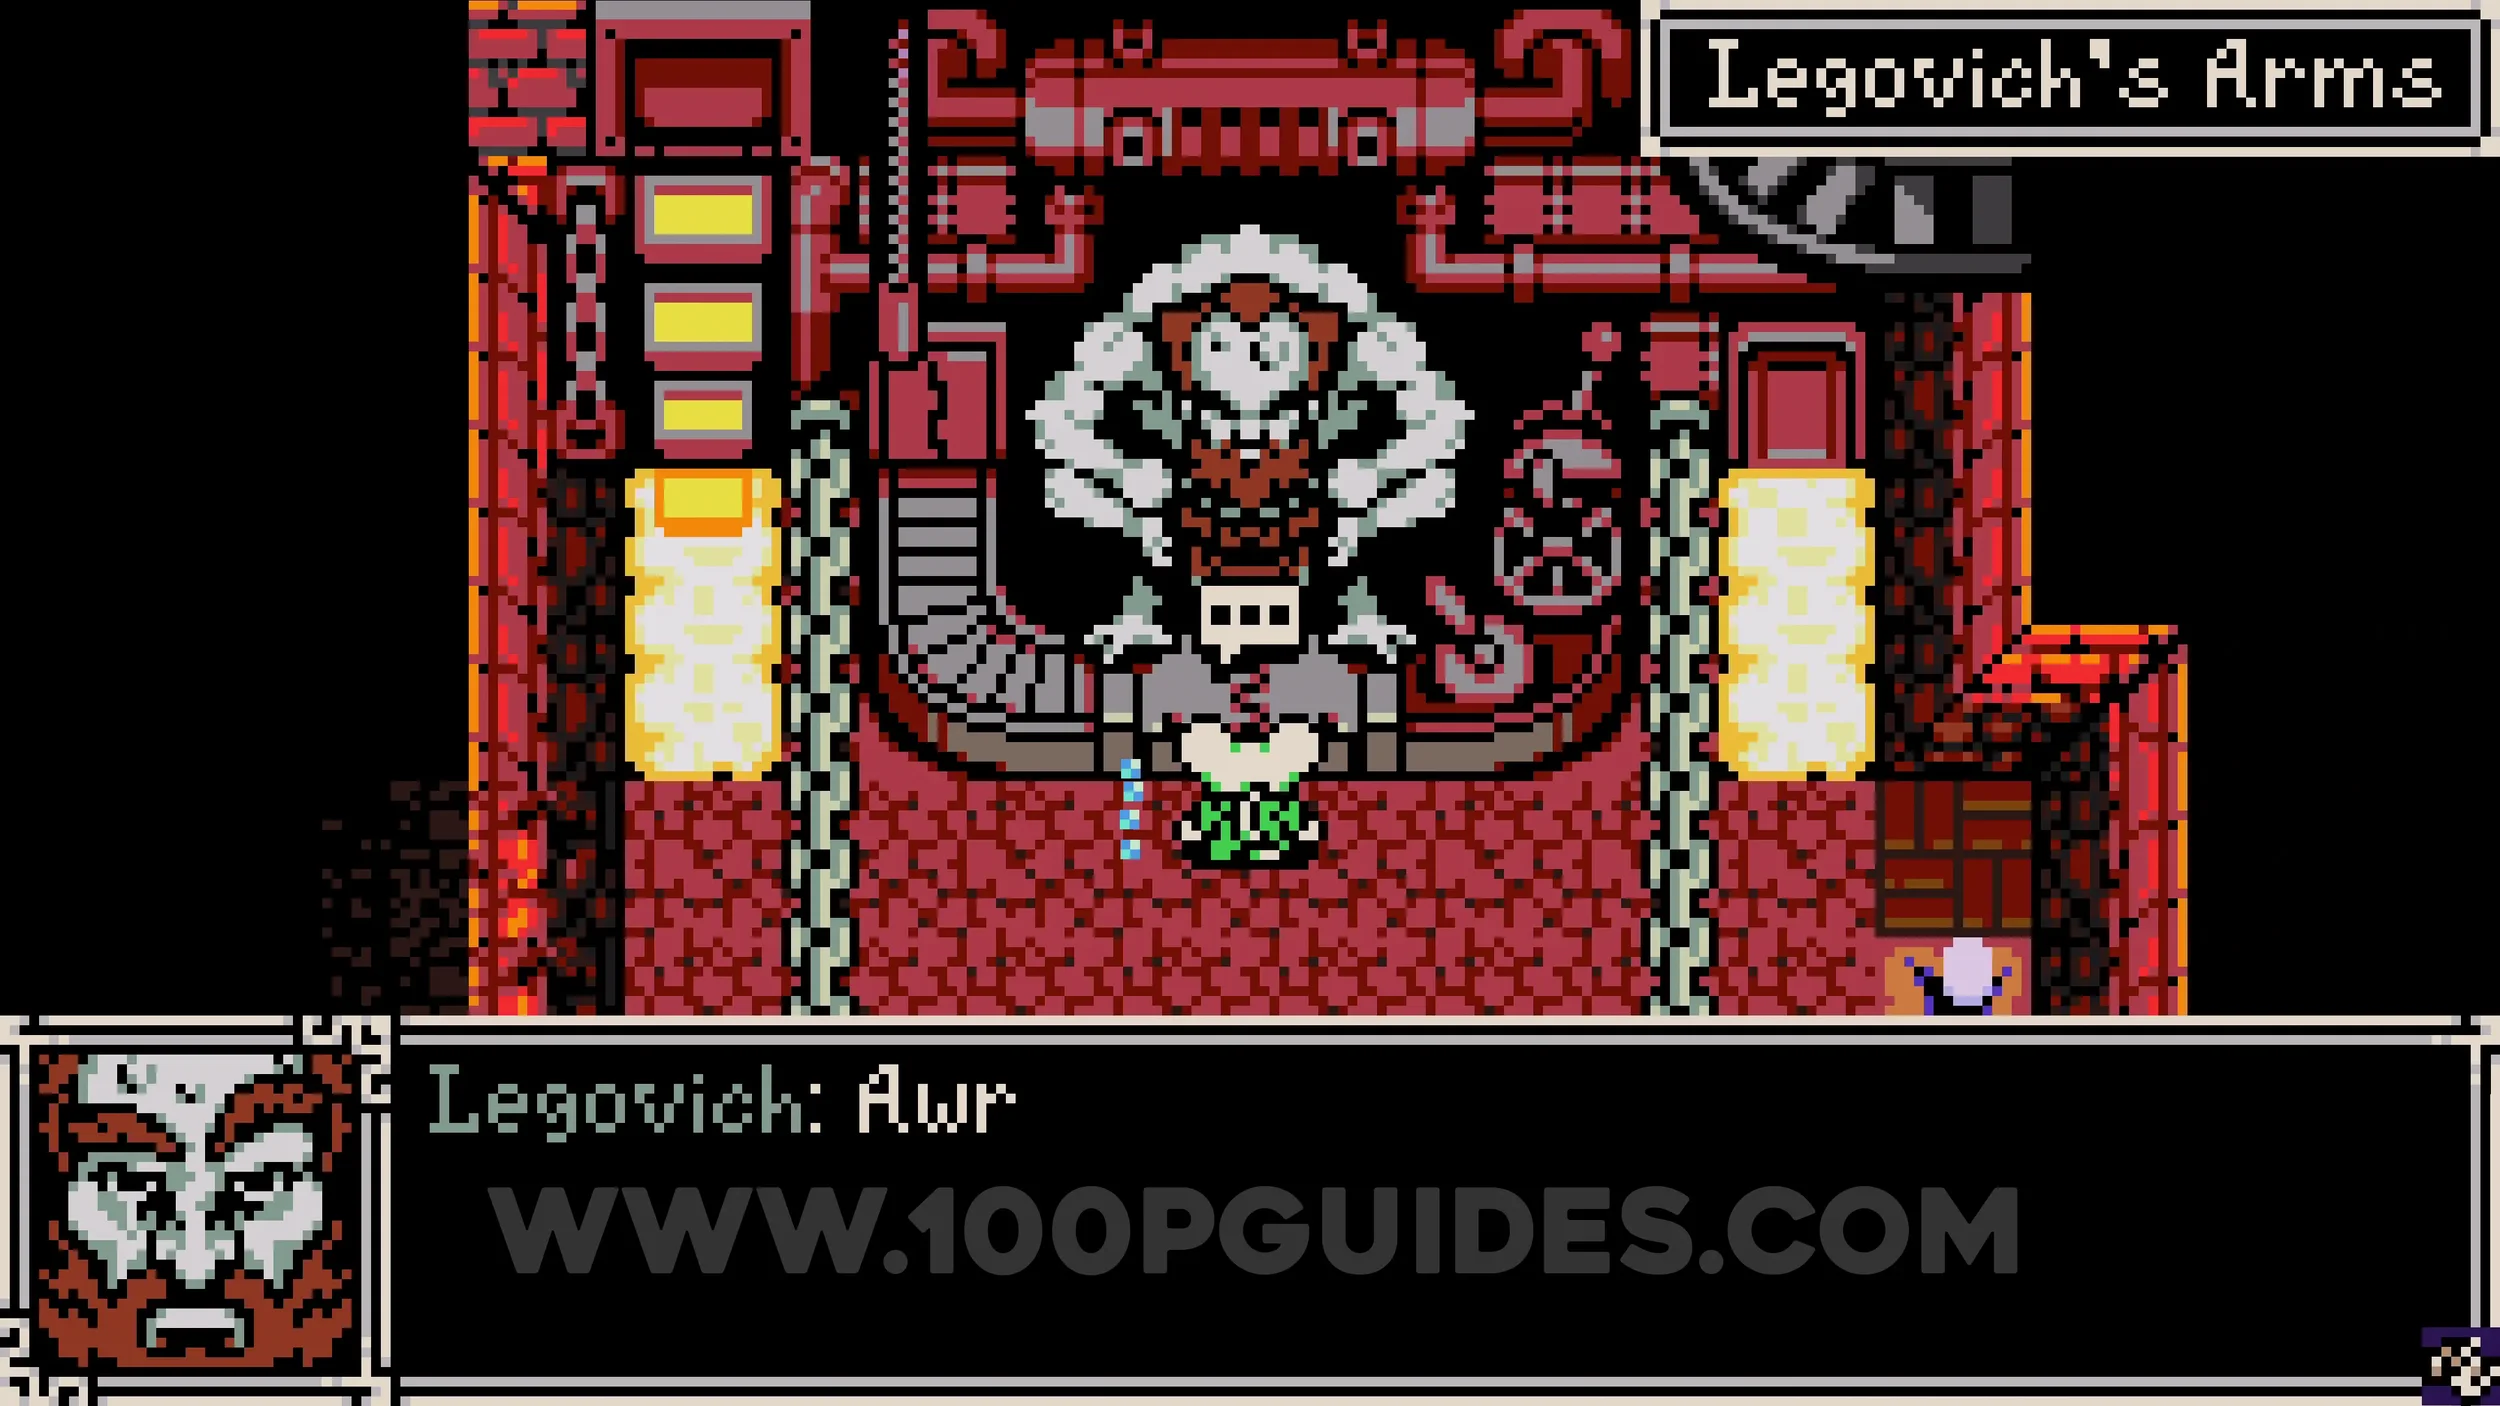
Weapon #1-5. Can be purchased from the blacksmith, the red building to the left of the emporium and the Kear shop. You will have to defeat an optional boss when attempting to purchase the second weapon.
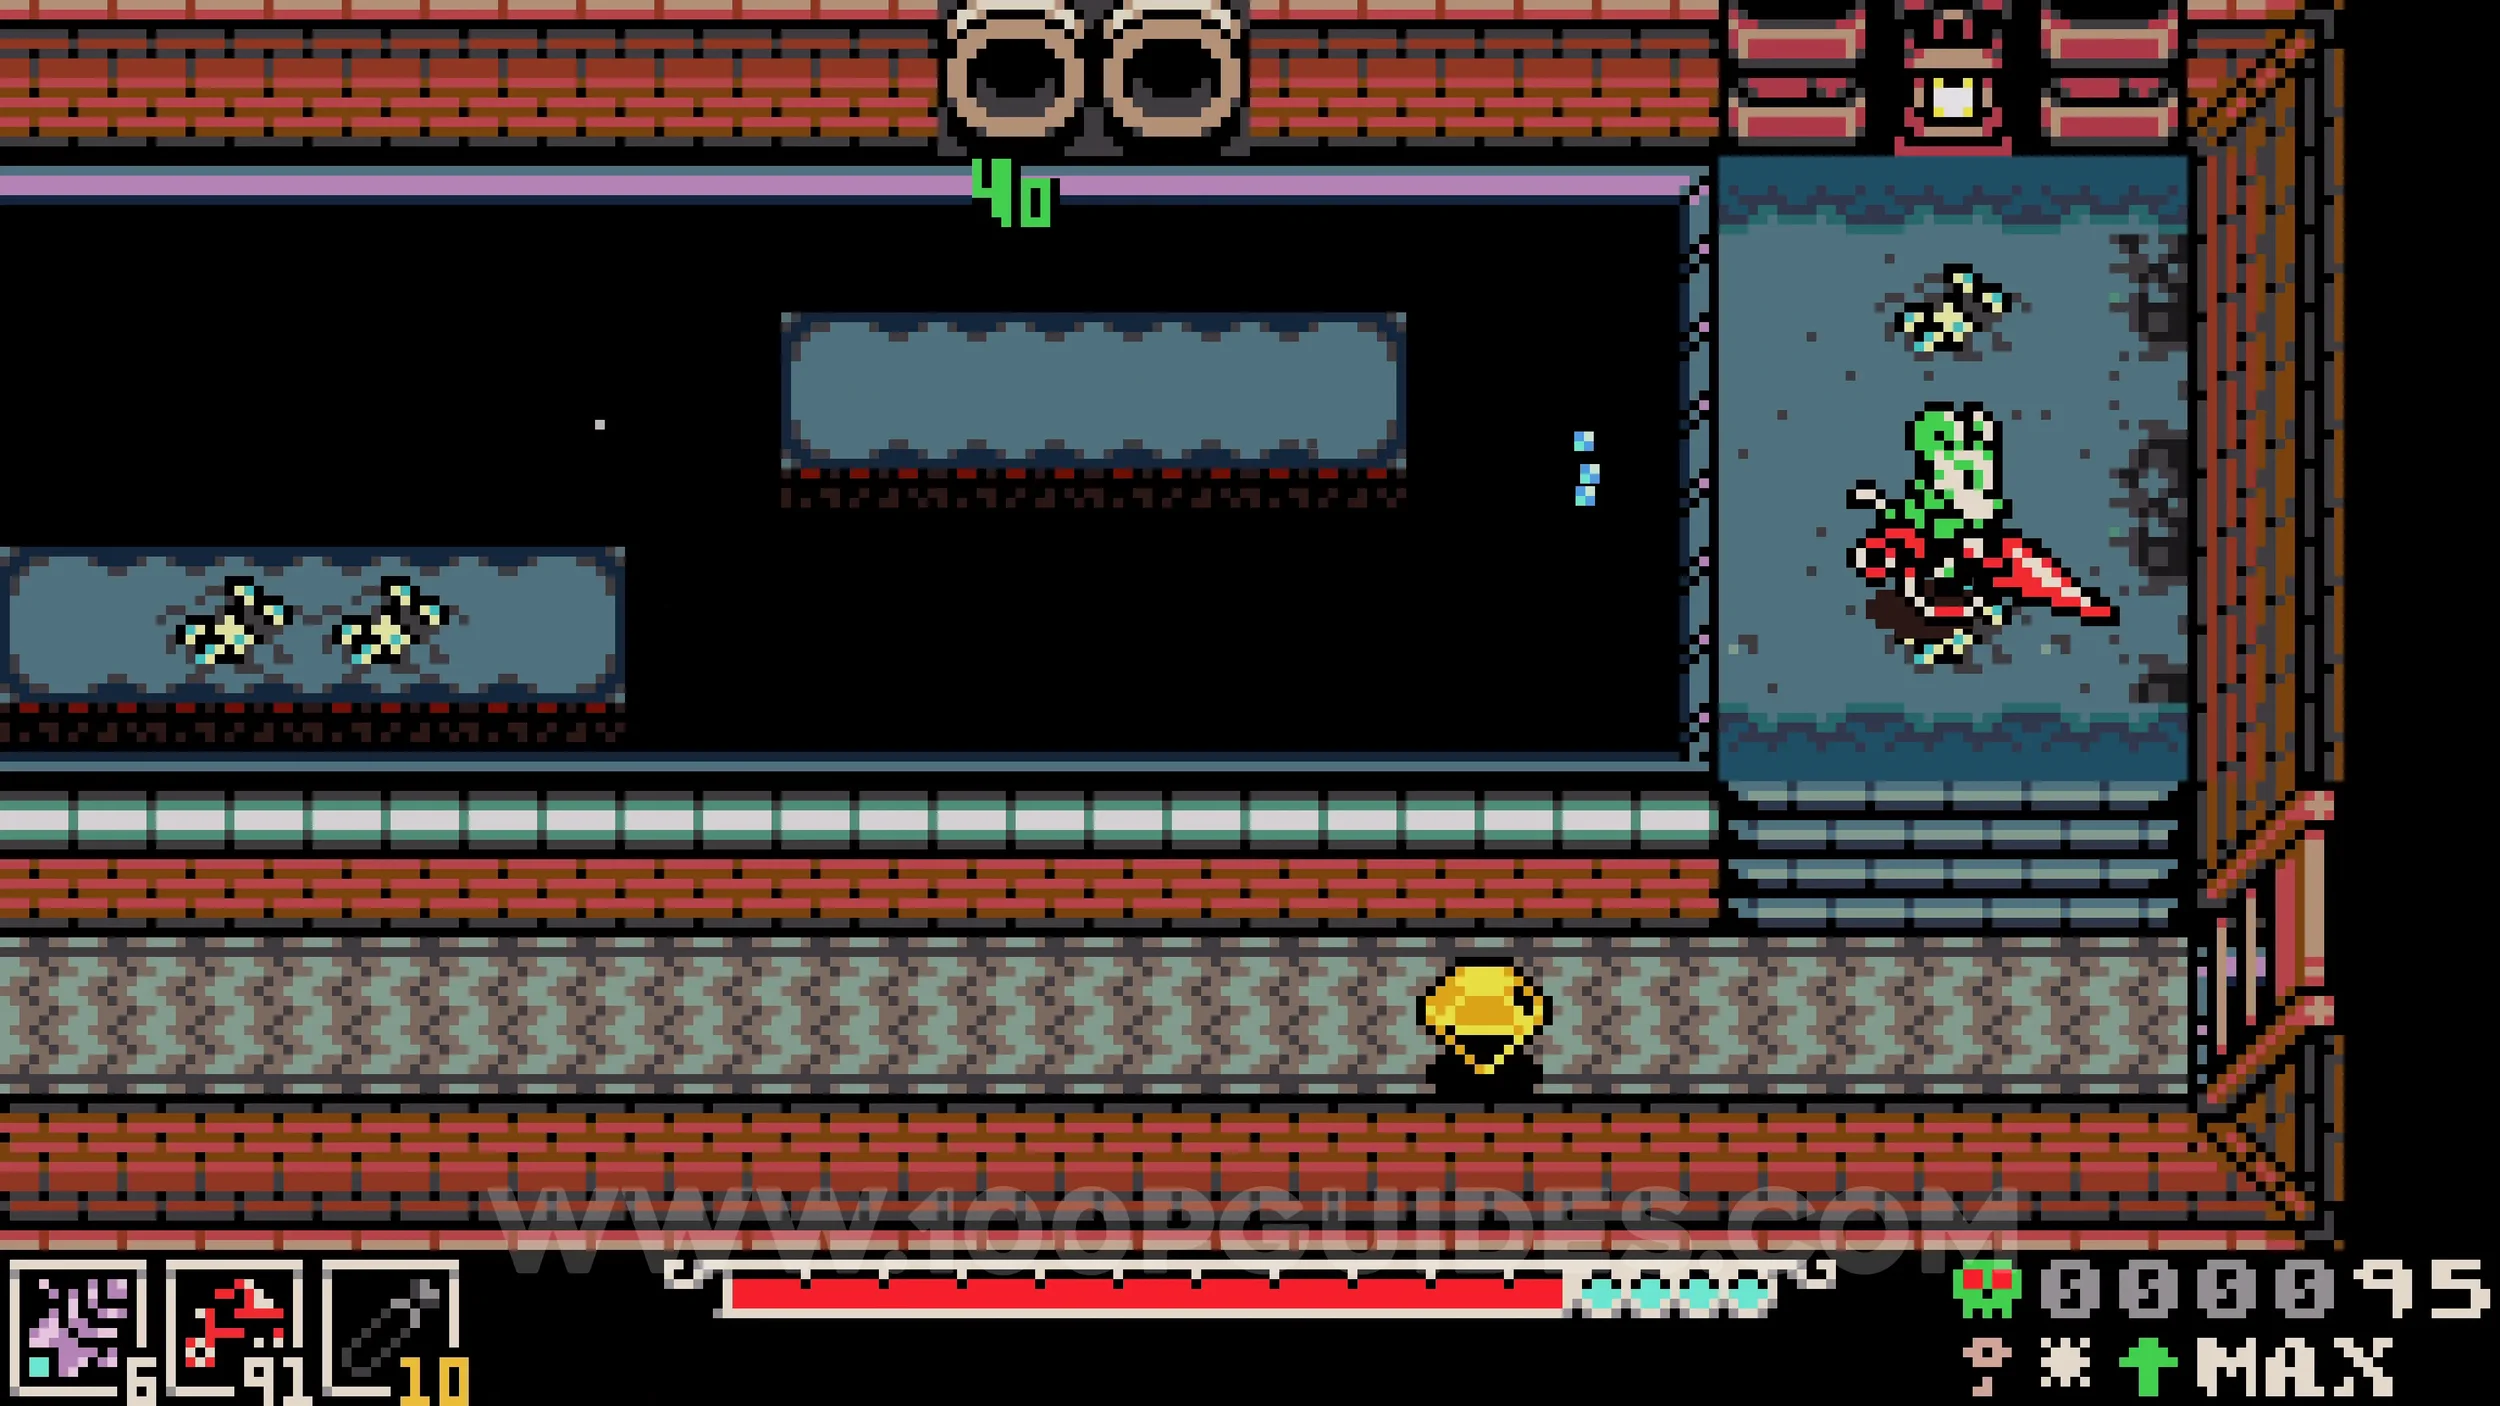
Bonestone #7. Go down the street below the blacksmith and go through the house on the left. Once you come out the other side, pick up the bike sidearm and then drop down the hole. Inside, press the switch and use the bike to race to the other end of the area before the timer runs out to claim the bonestone.
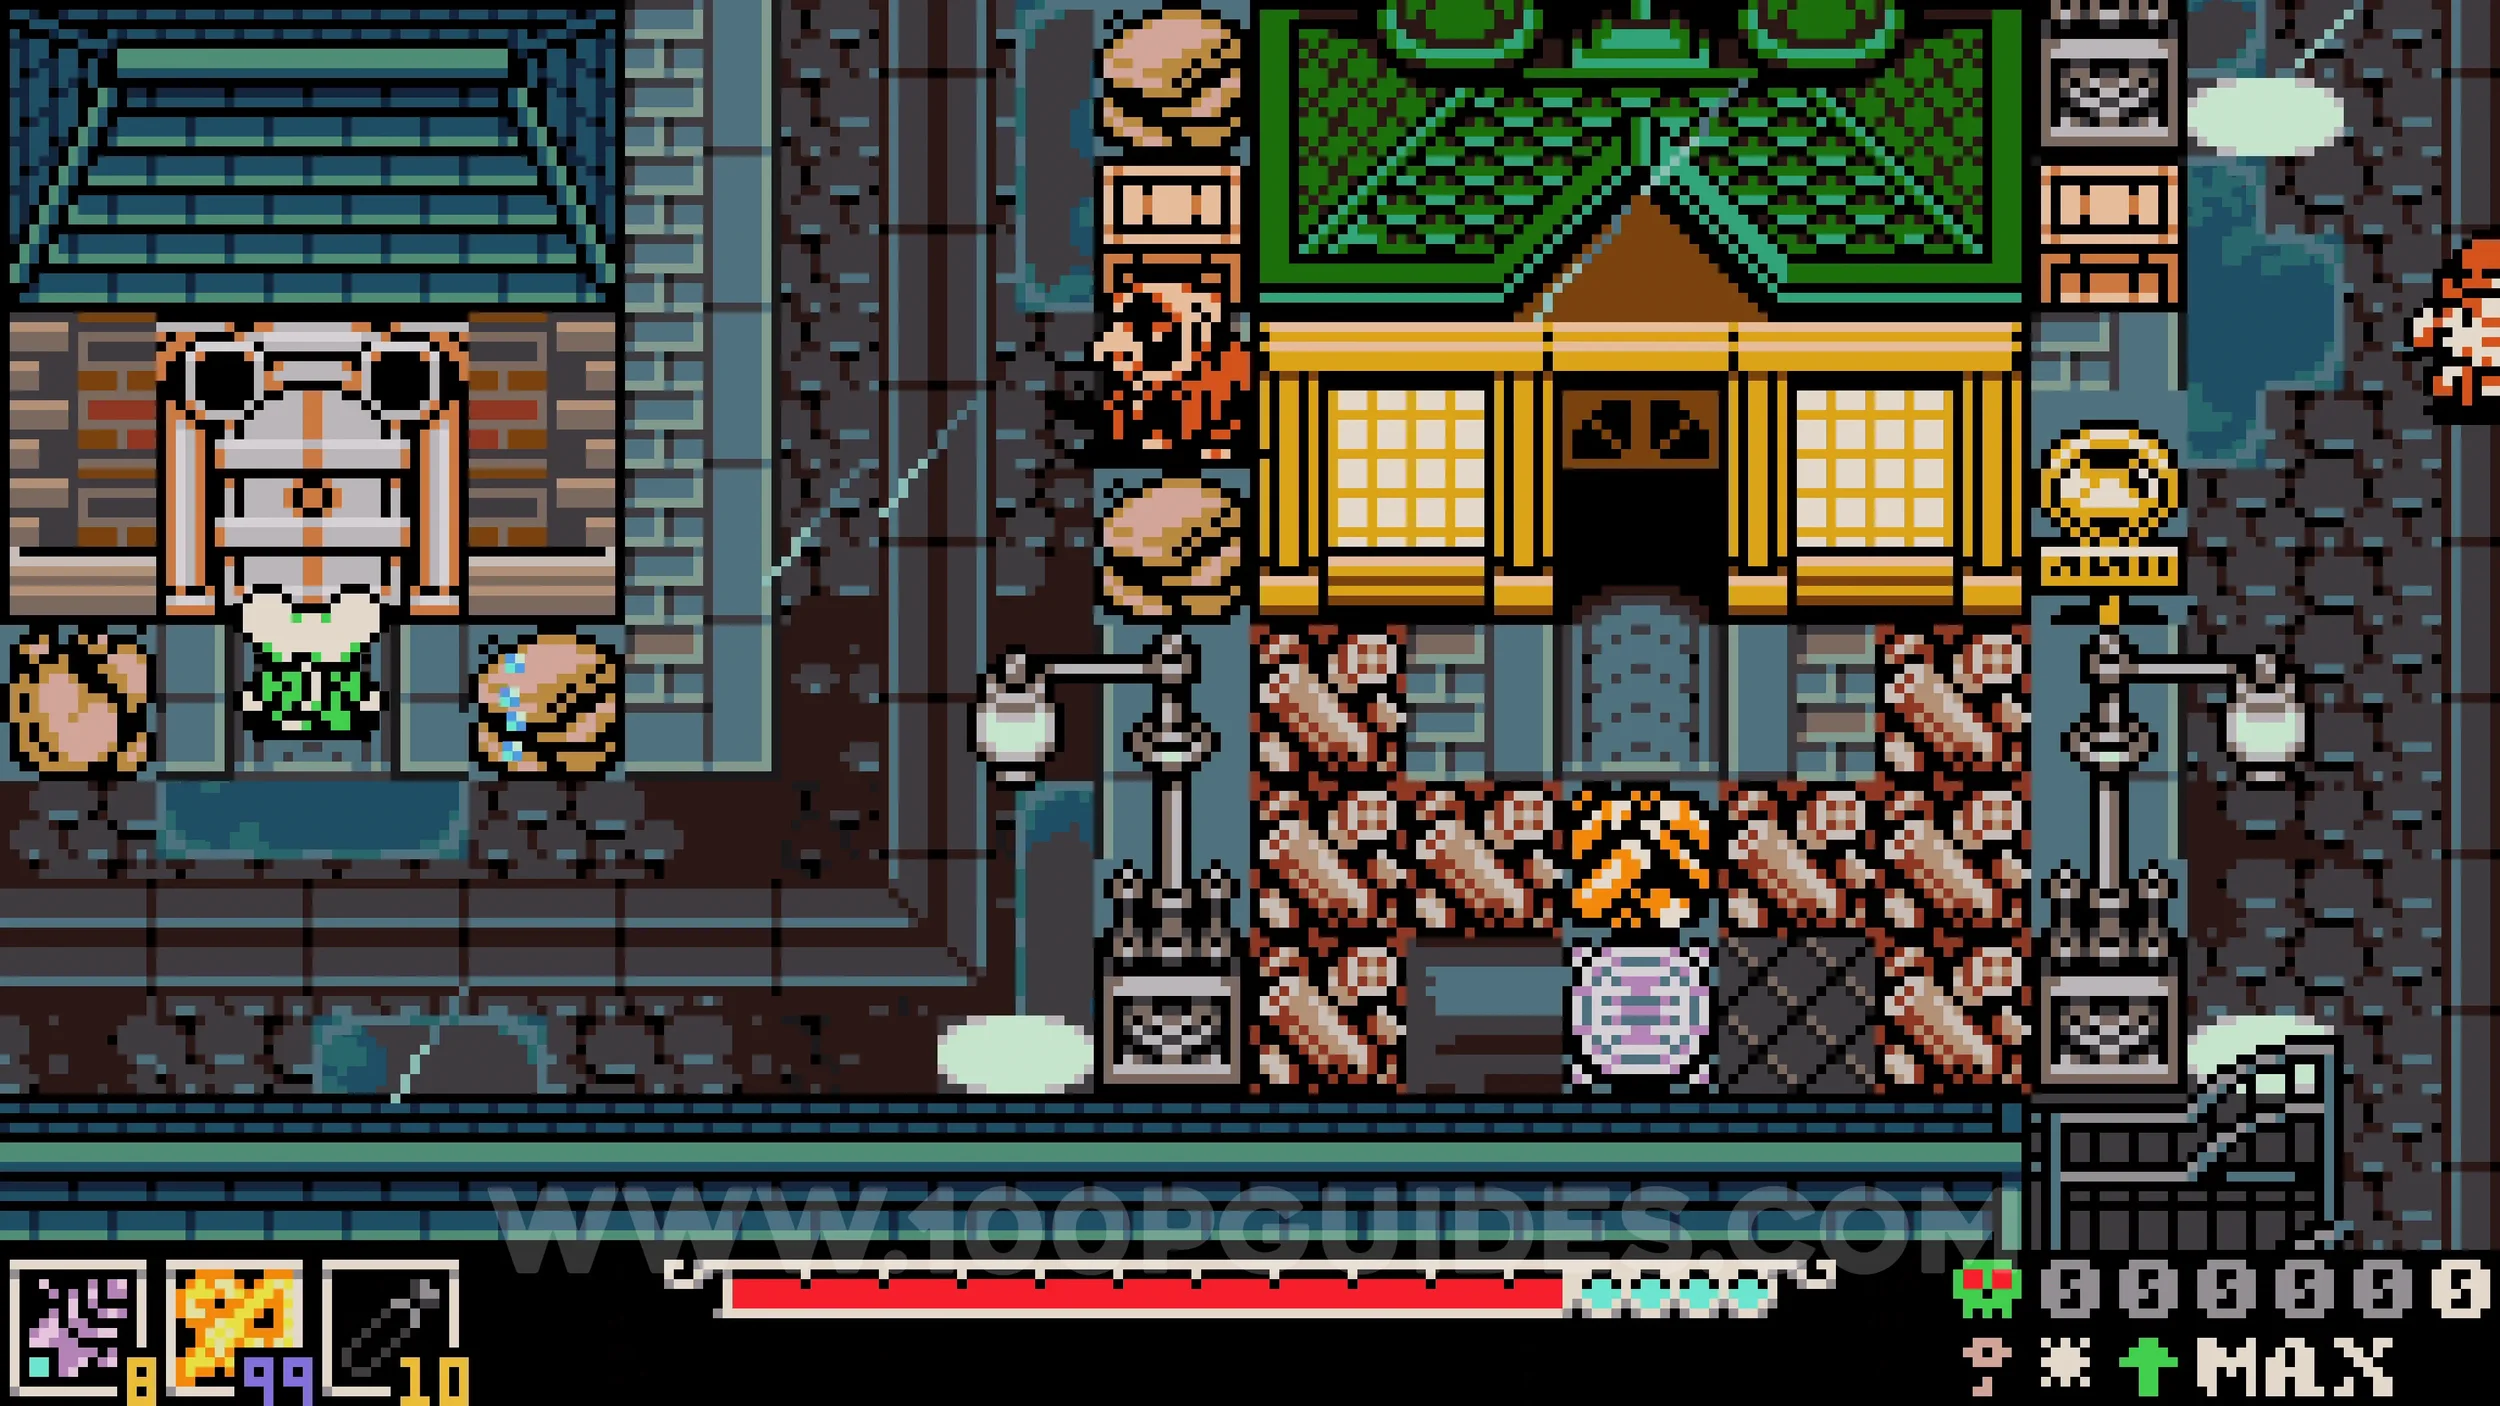
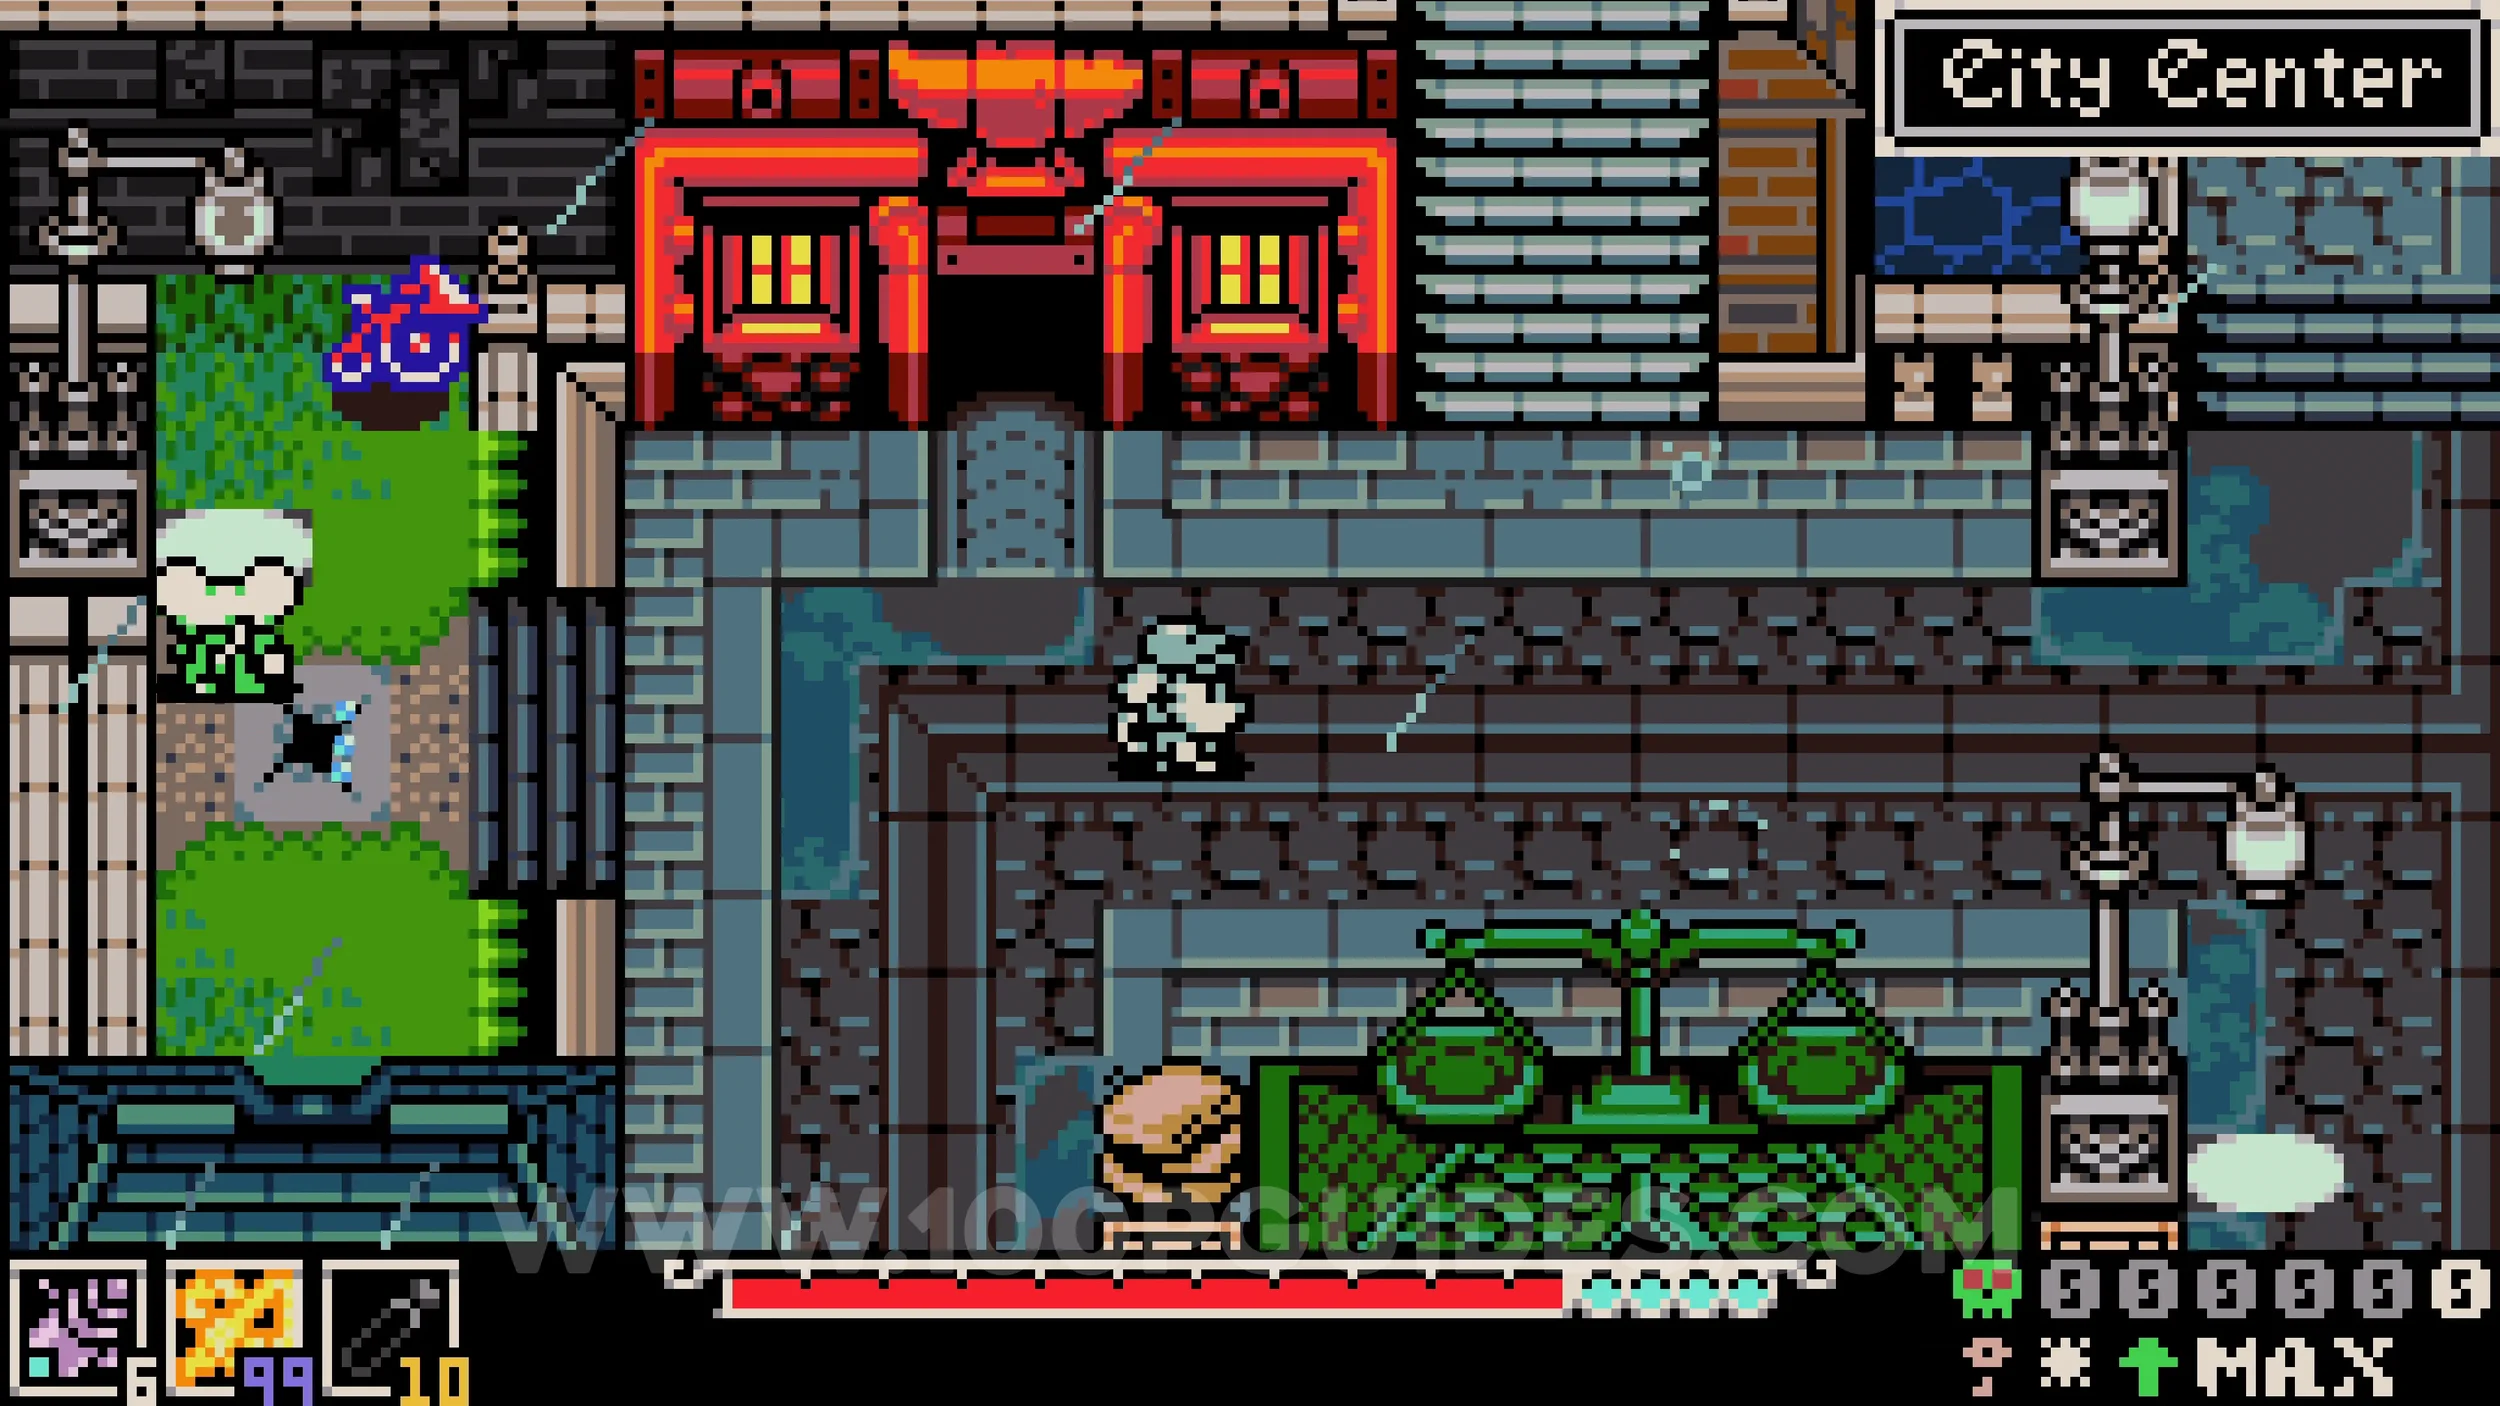
Bonestone #8. To the left of the house you went through for the previous collectible you will find the music hall, the blue building. To get past the bouncer outside, wait until the NPC walks past him and he moves up, then burrow underground to reach the door. Inside, go under the doors to get to the other side of the bar where the collectible is.
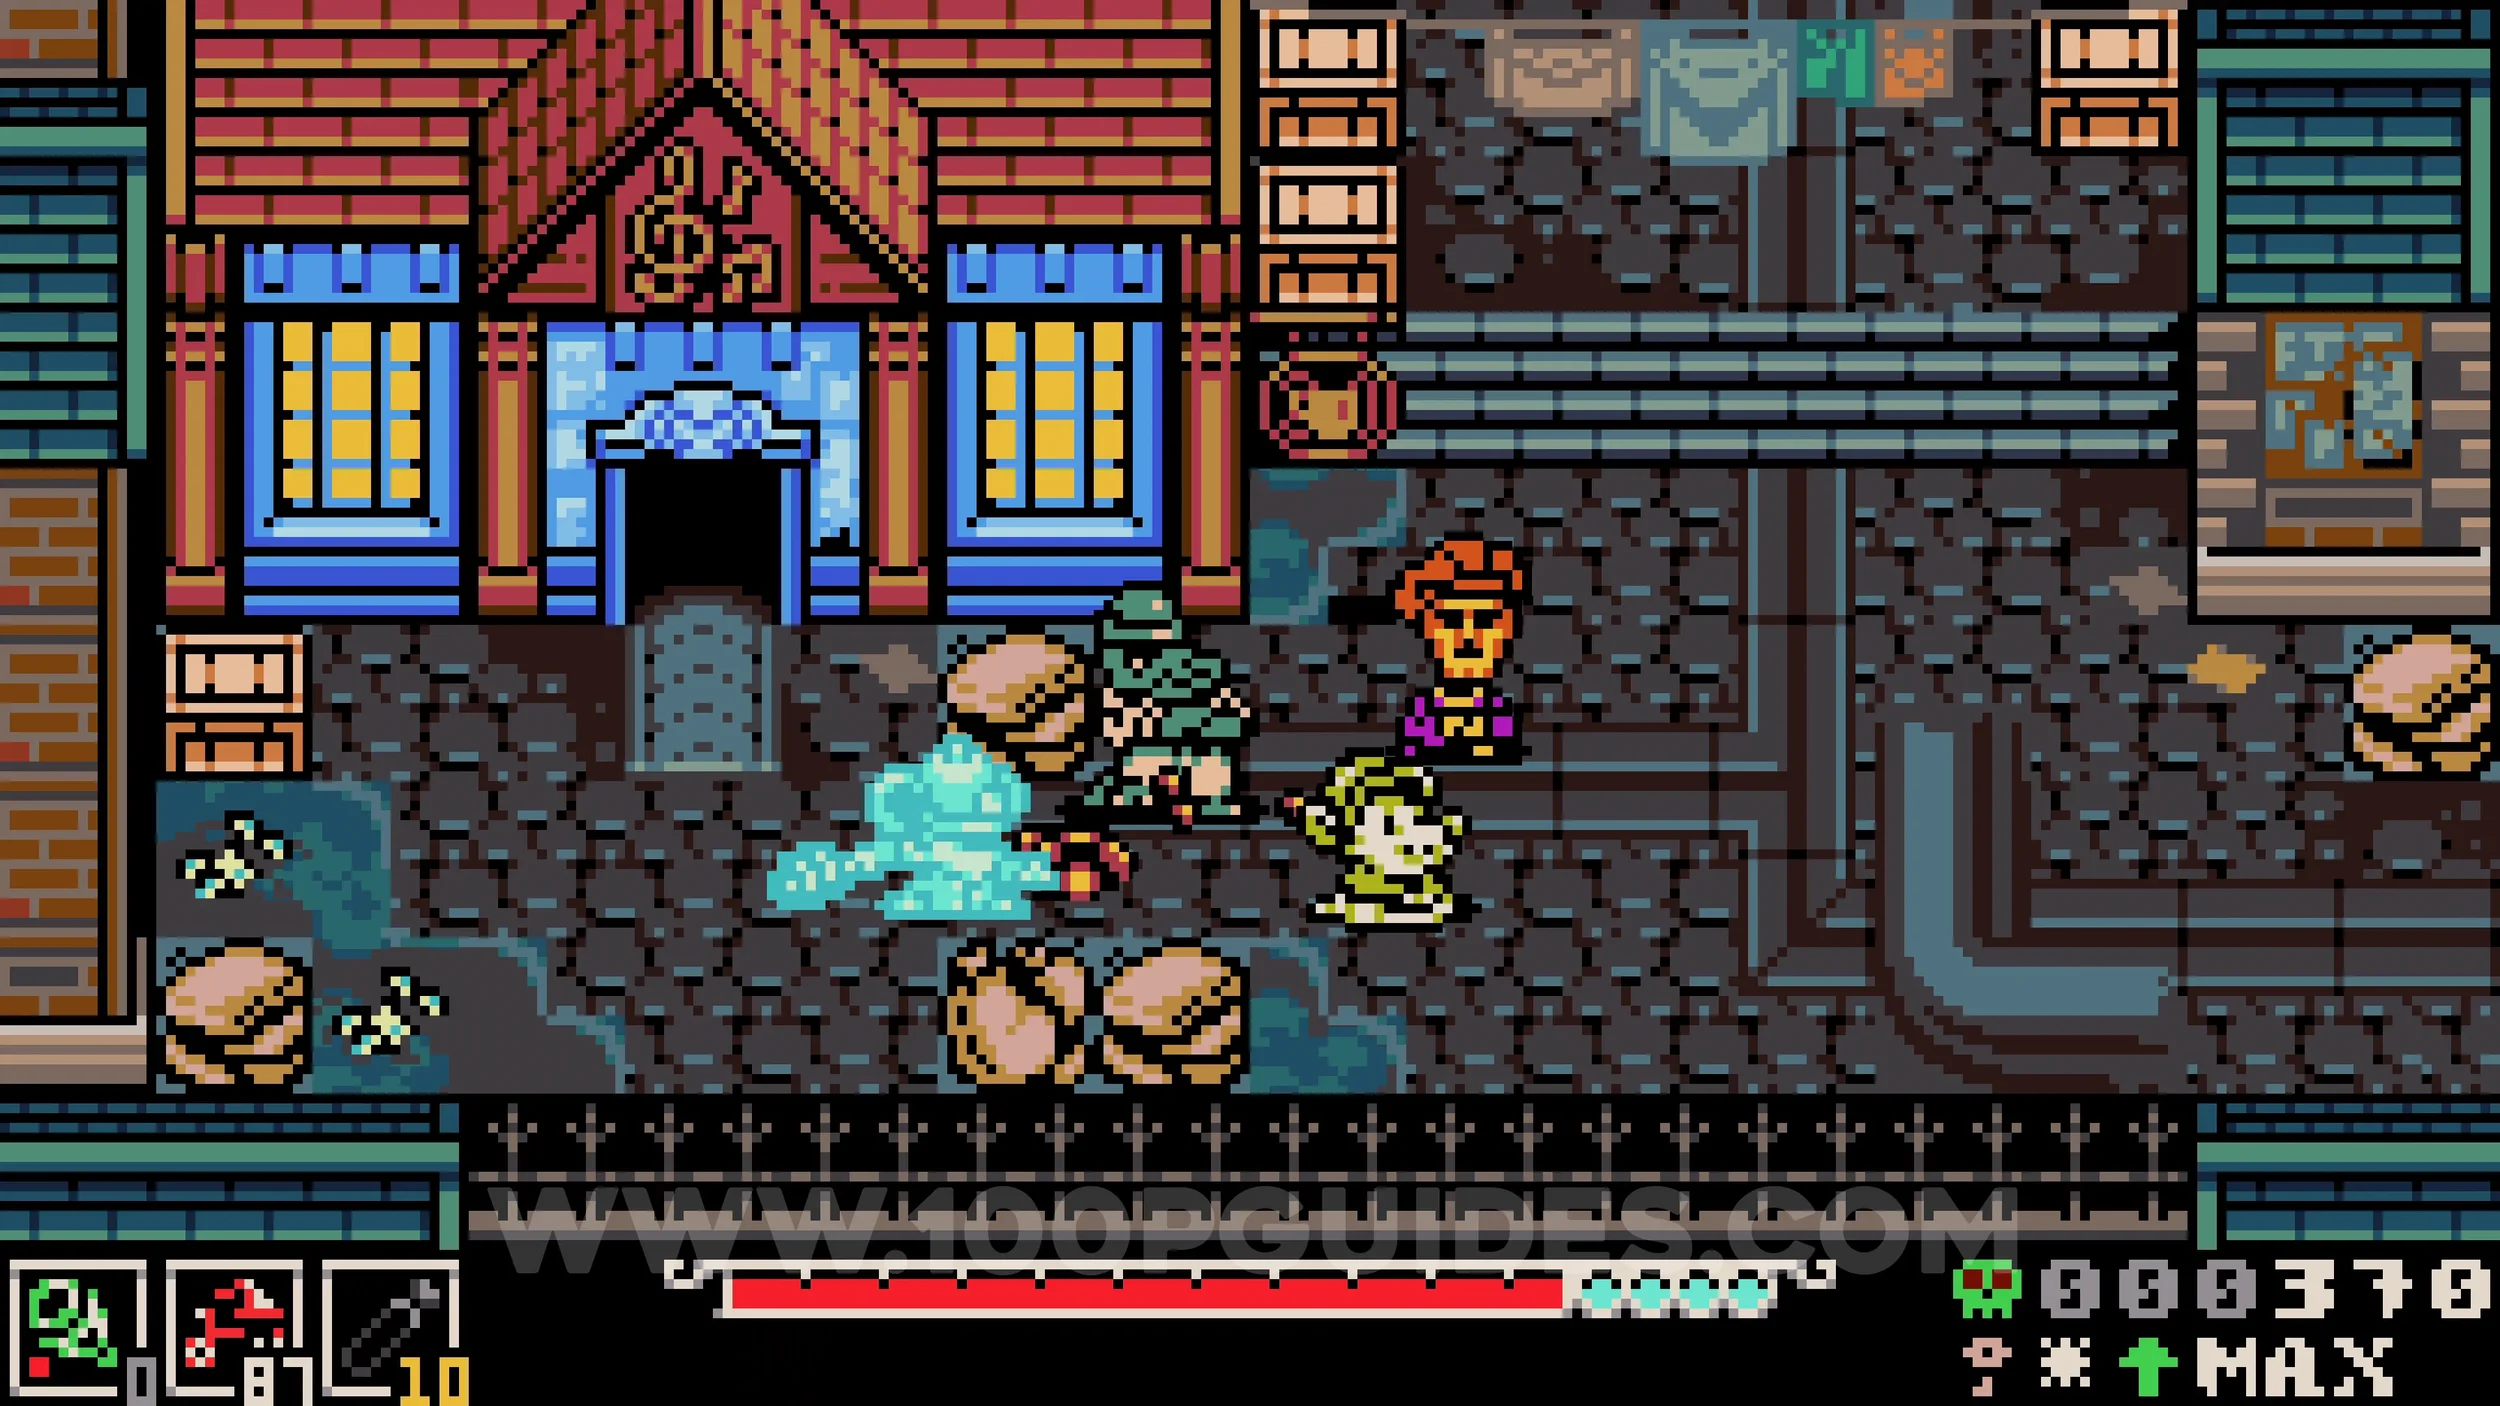
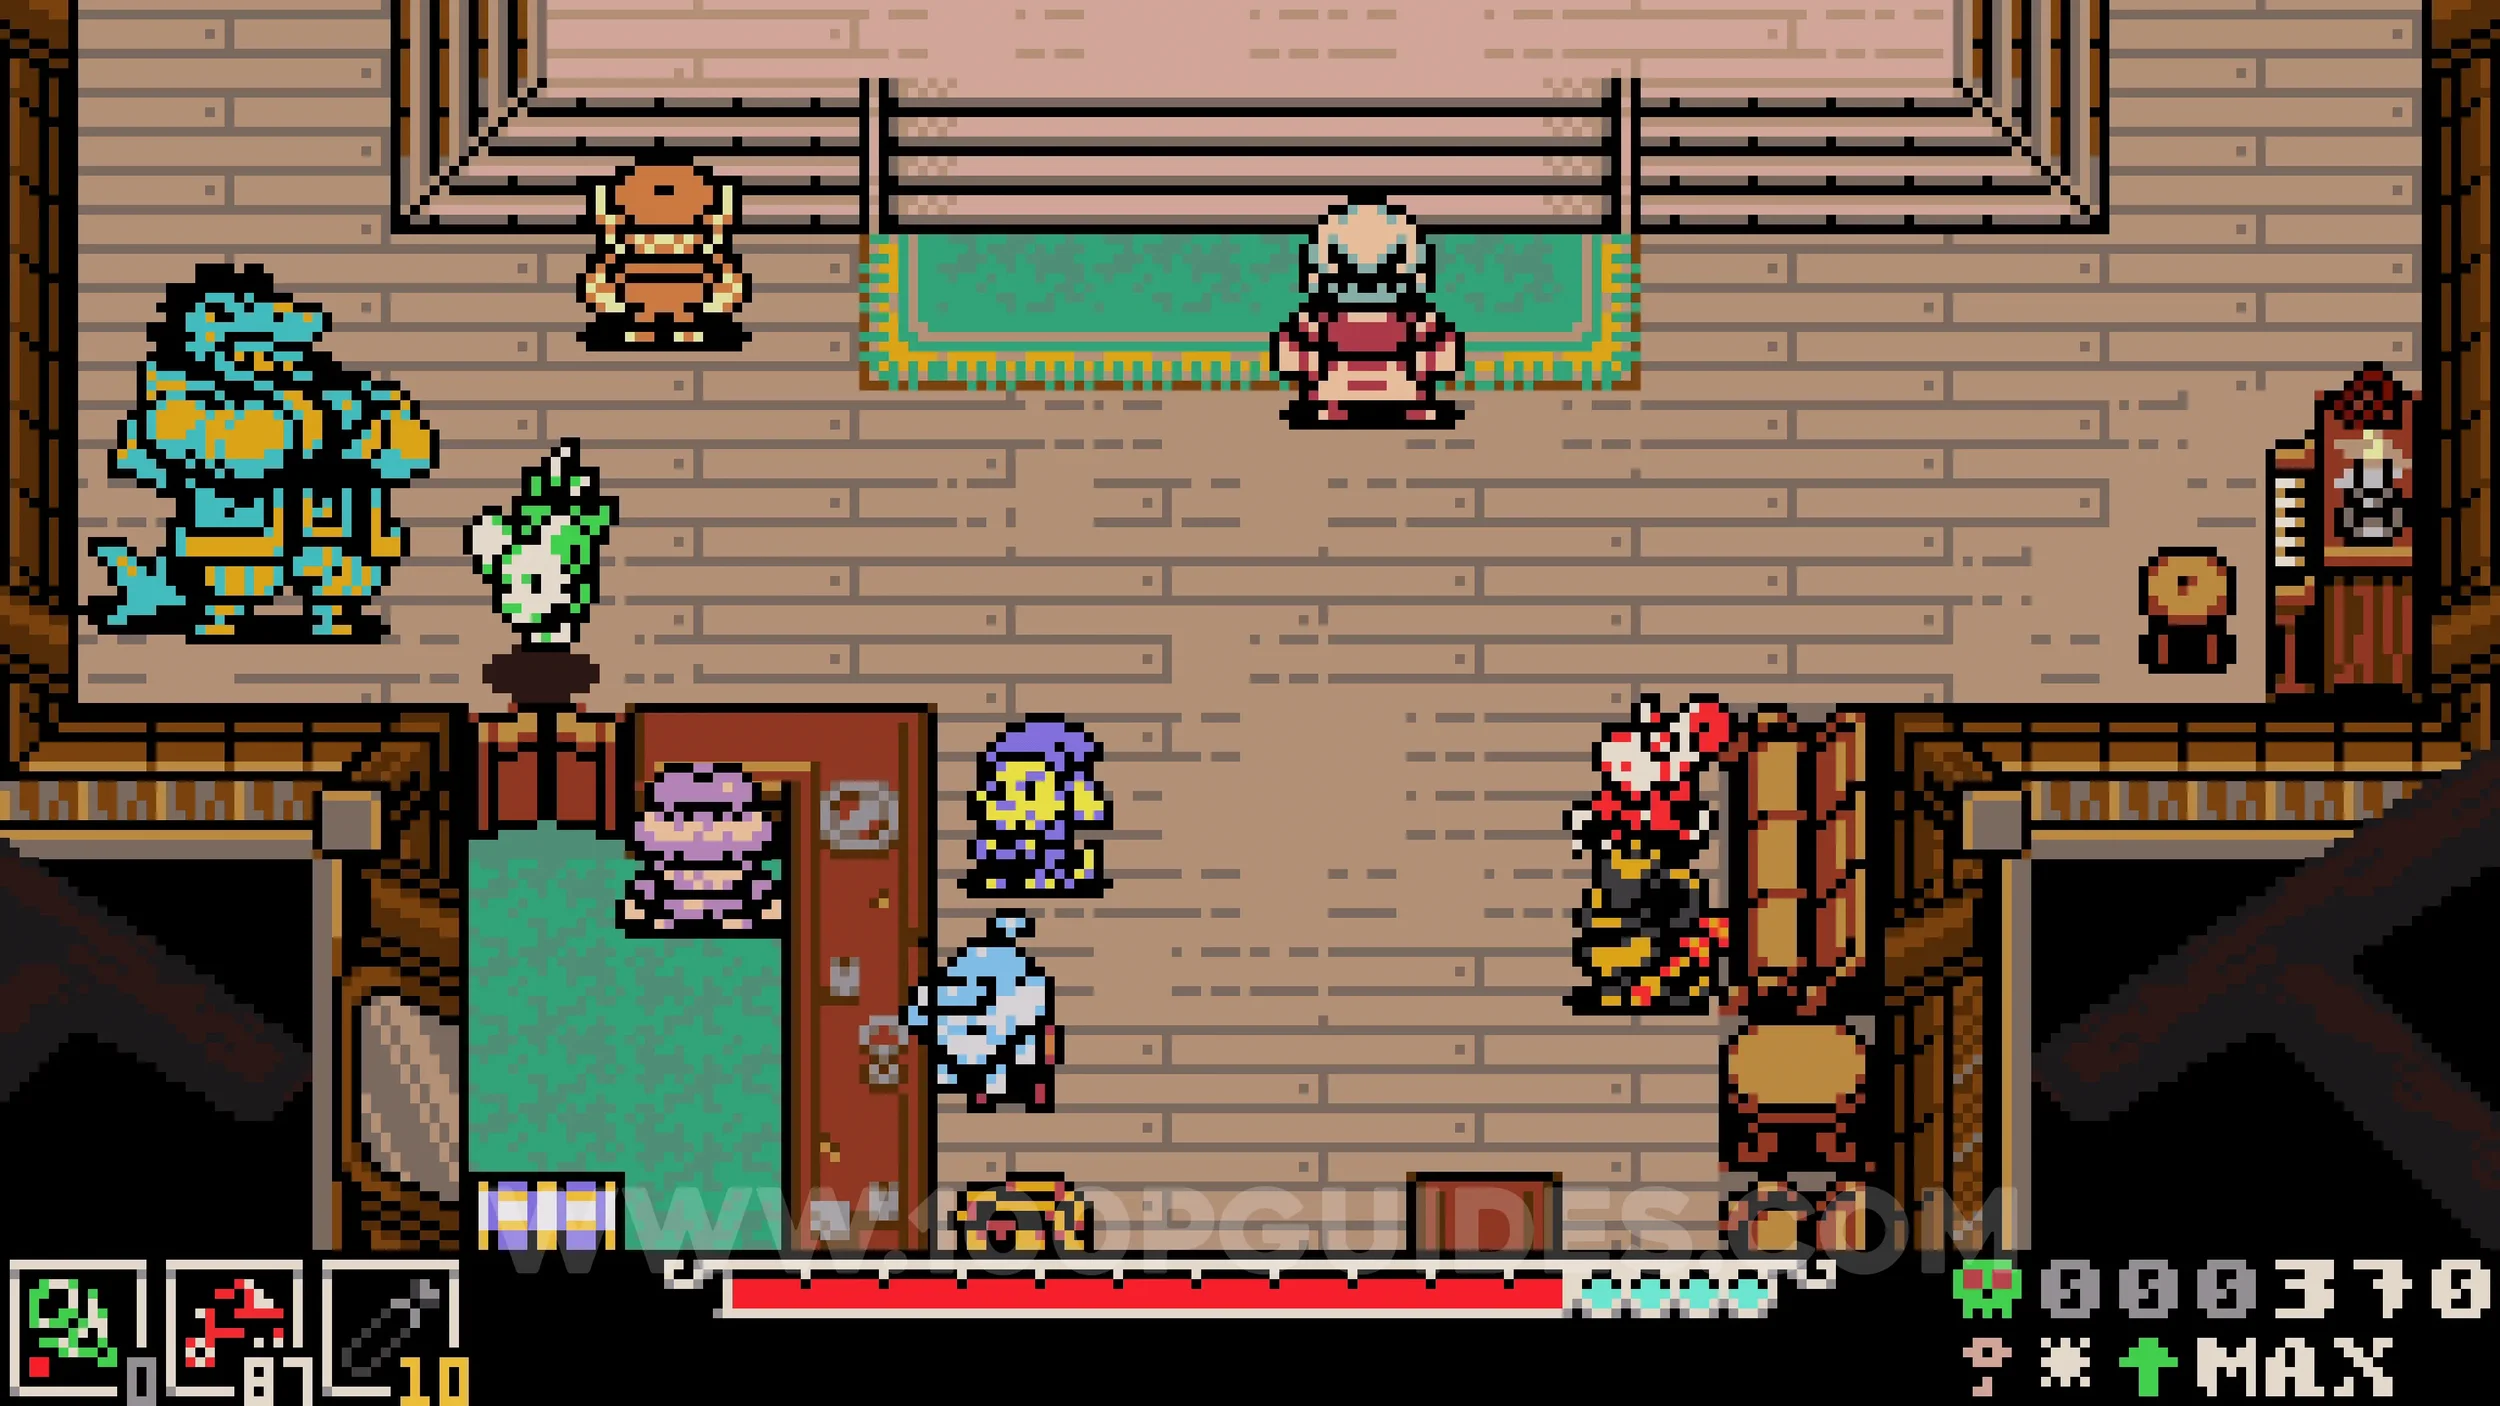
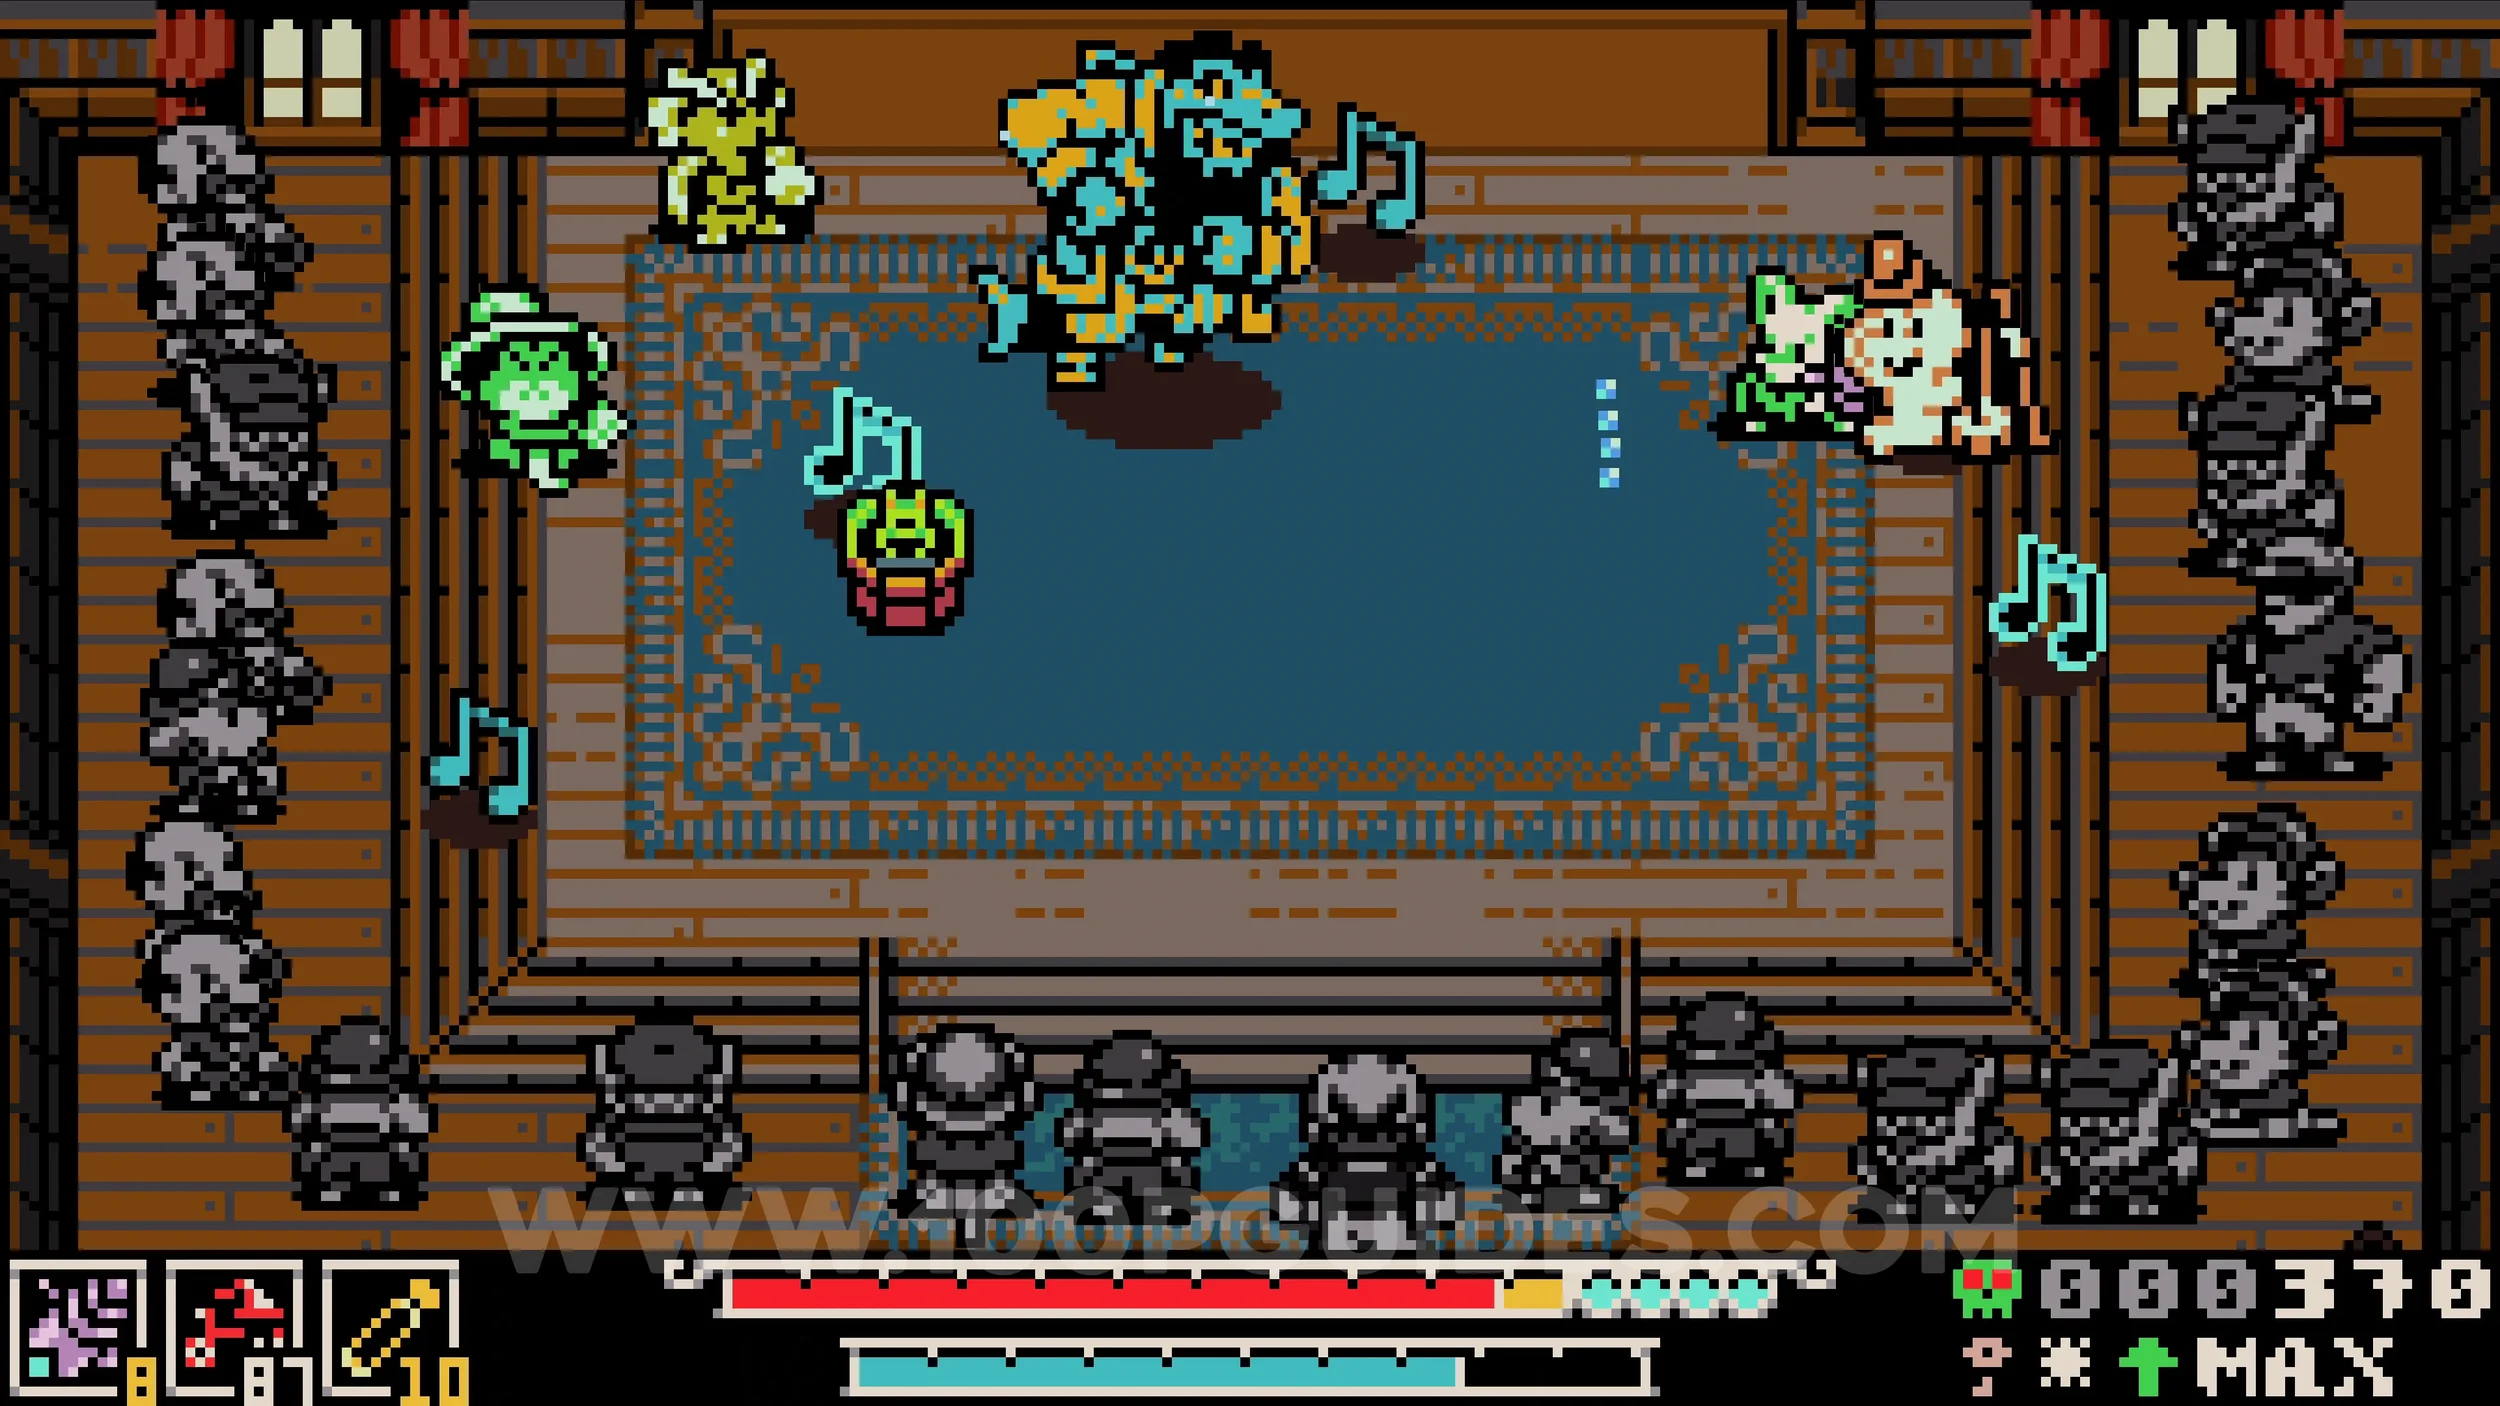
Trinket #3 - Pneumatic Armlet. Talk to the large shark NPC in the same building as the previous collectible and defeat him. He will only agree to fight you if you completed the frog sidequest in the Backwaters area.
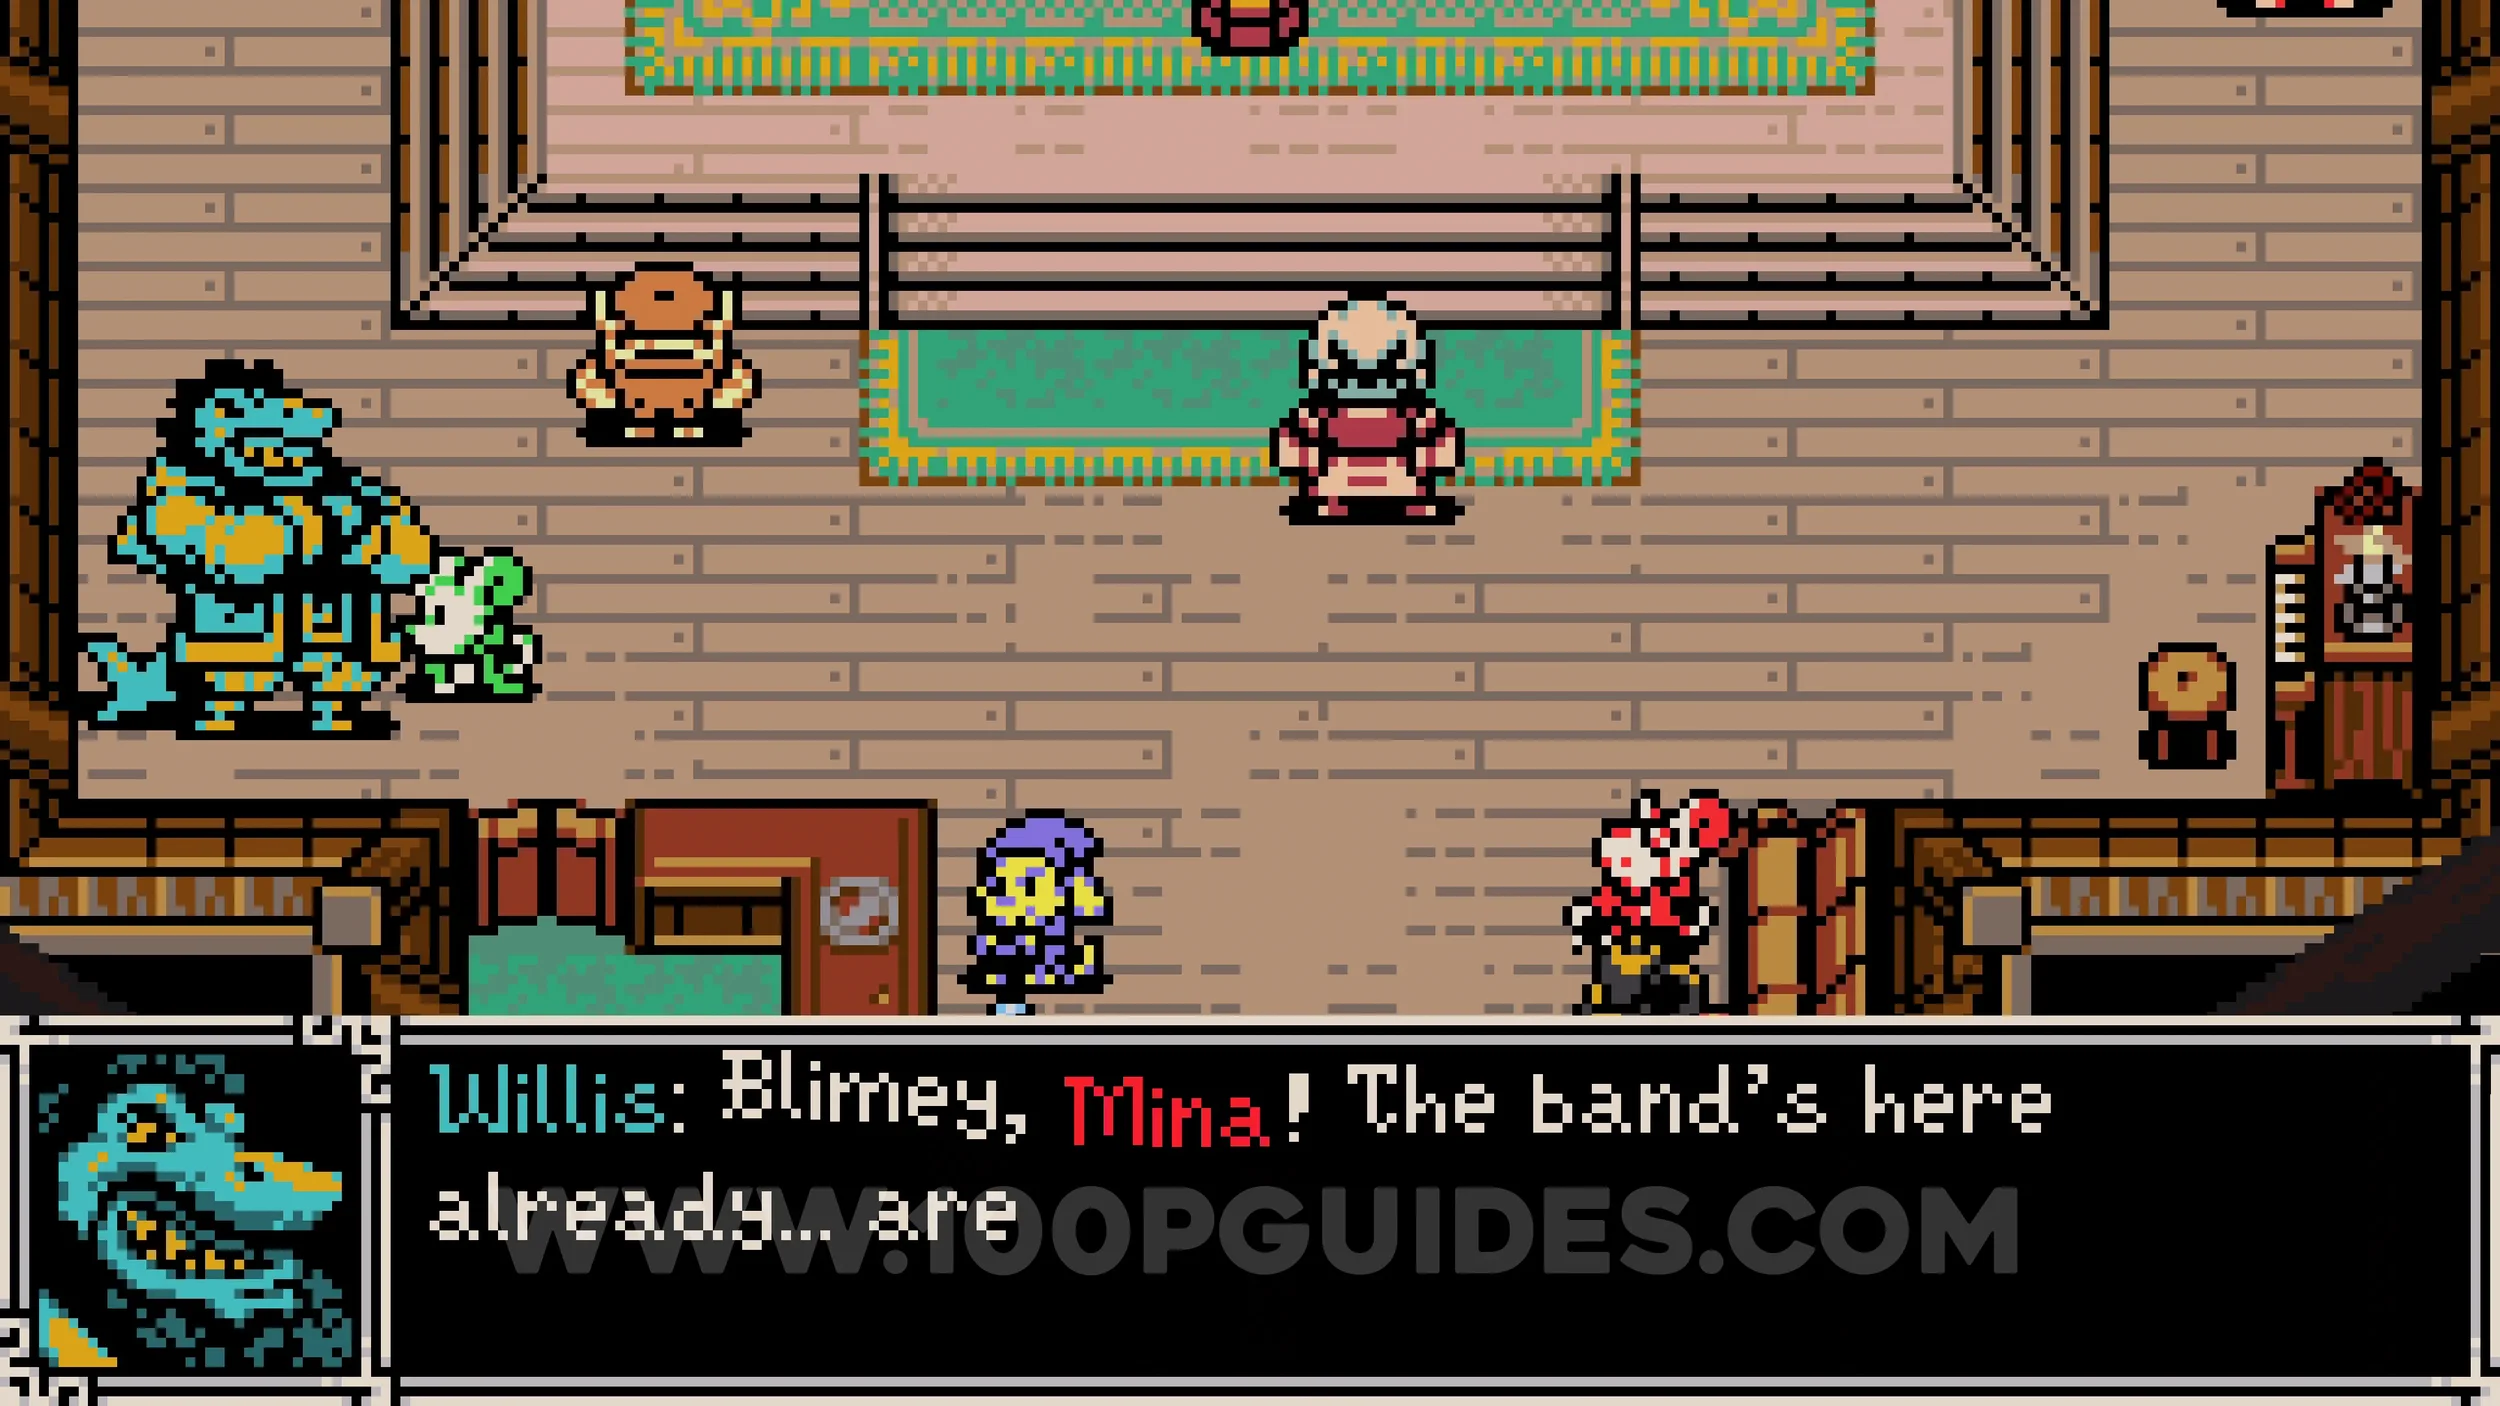
Dual Sidearm Permit. Talk to the purple NPC above the music hall. If your sidearms stat is at level 5 or higher, you will be able to purchase the permit.
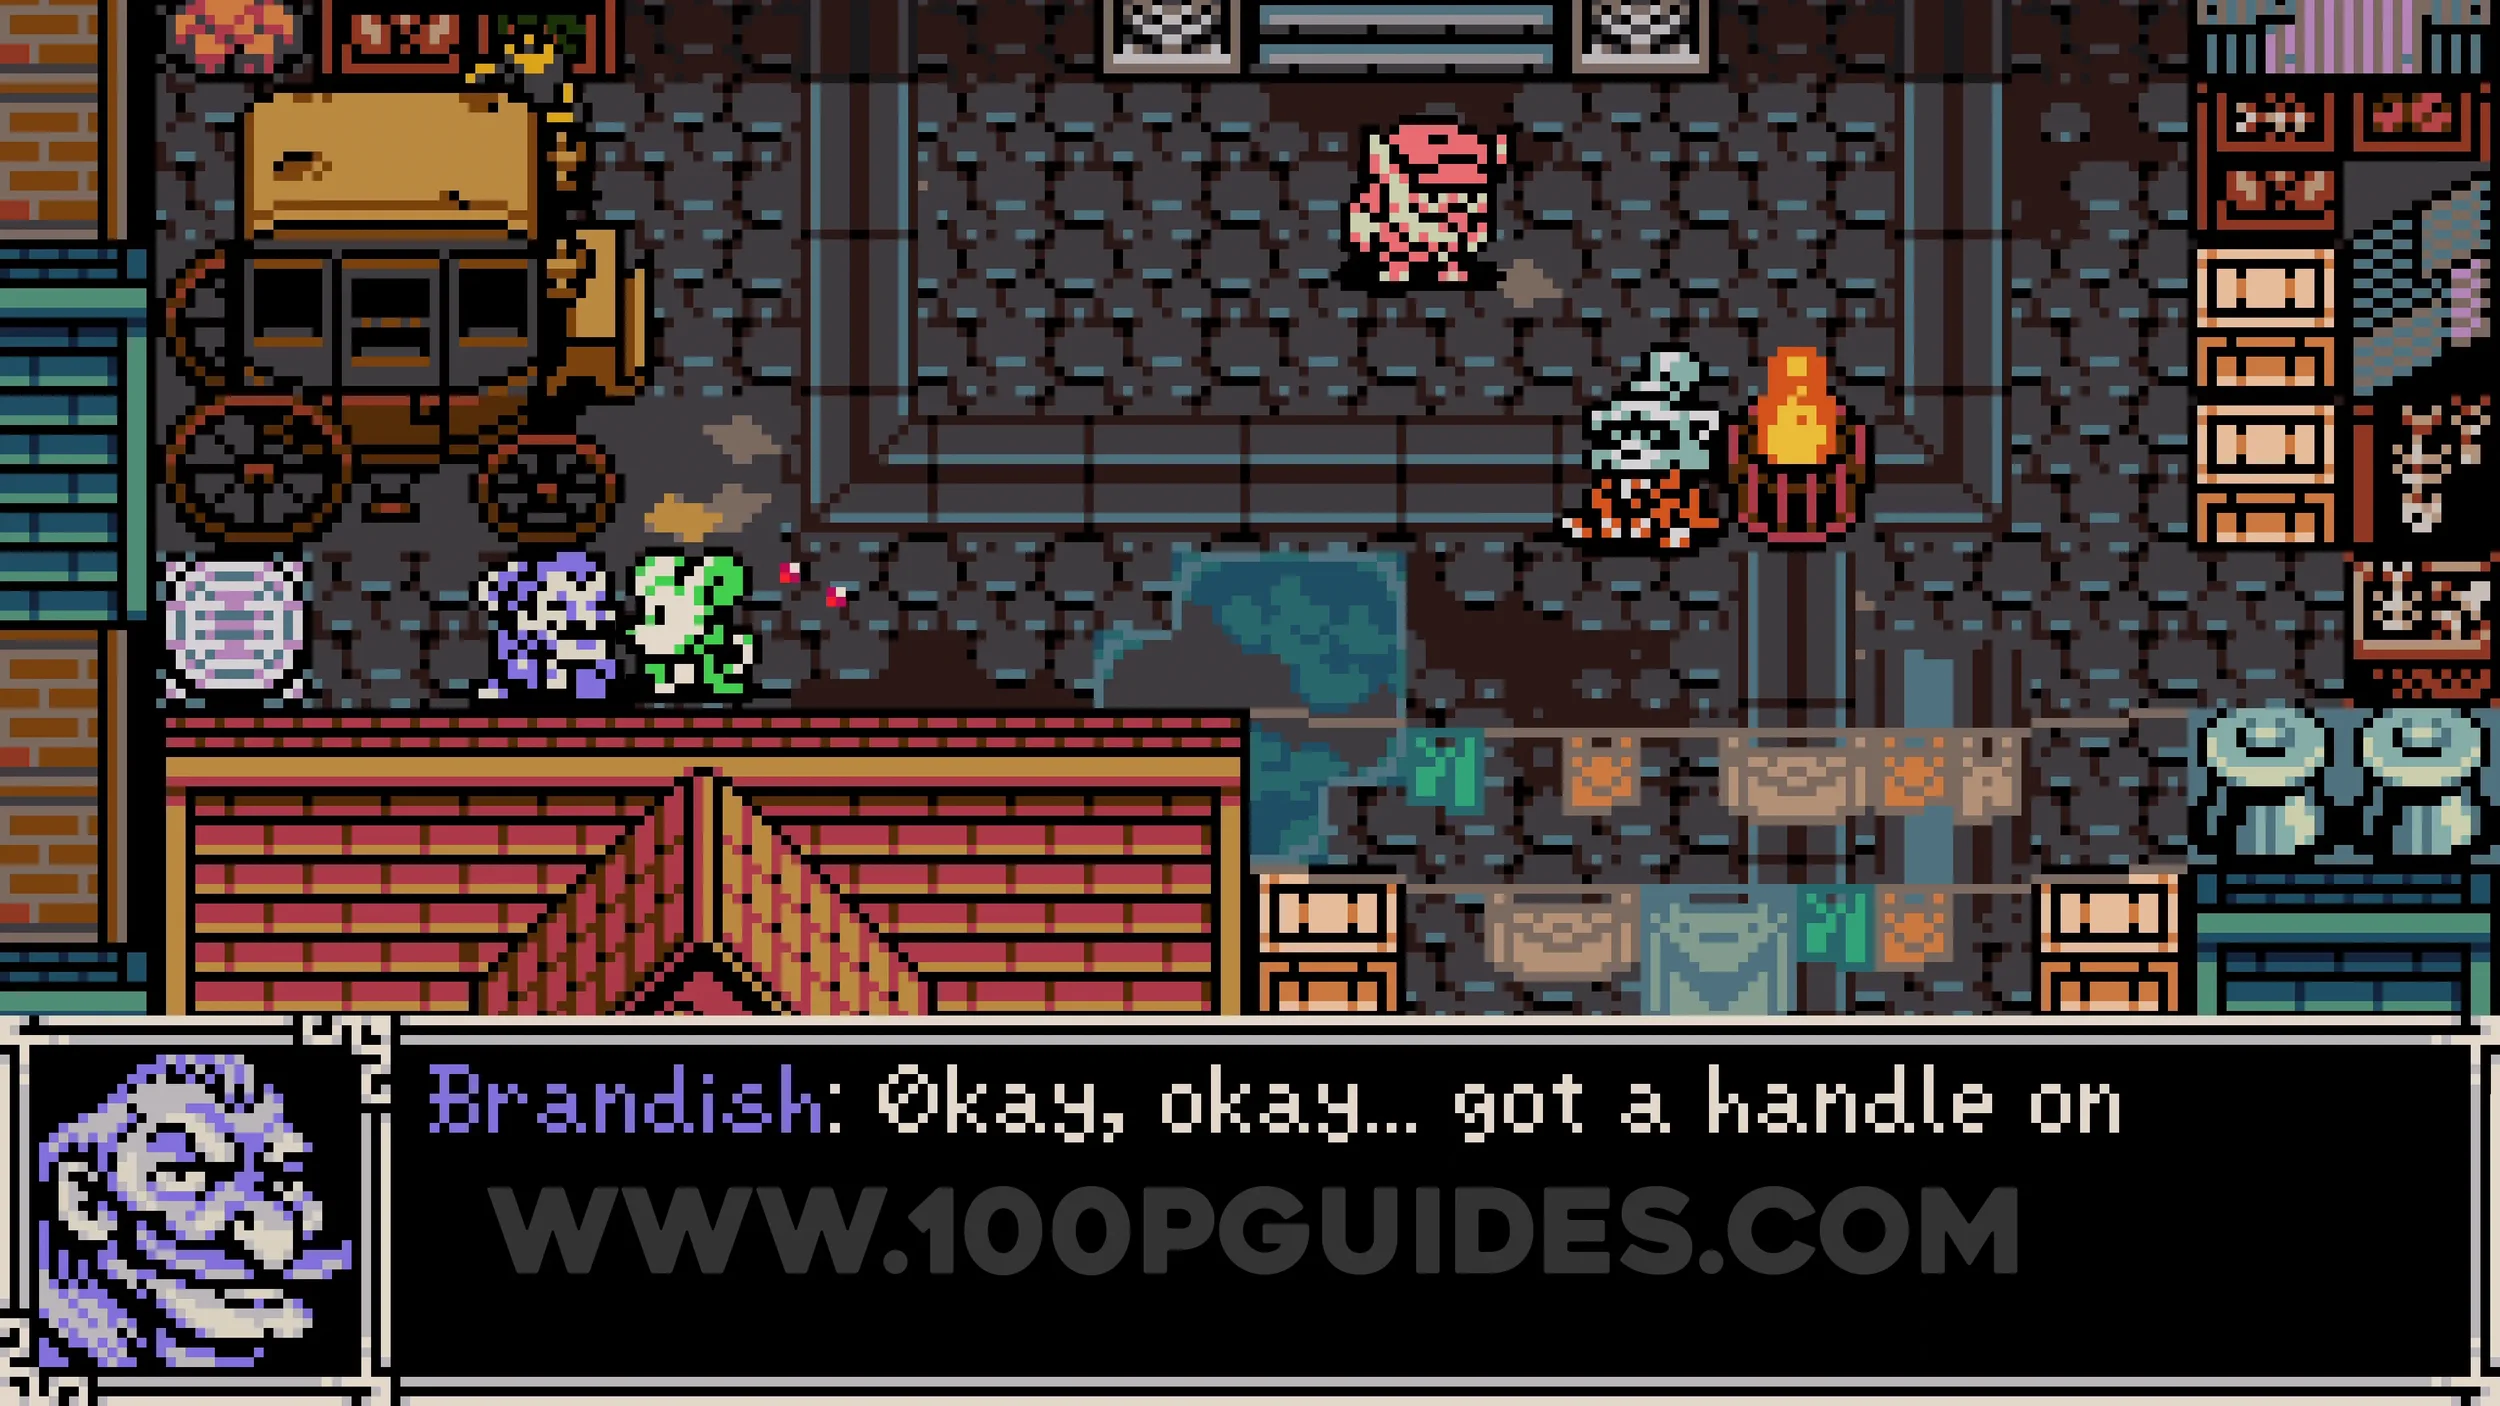
Train Pass. To the north of the purple NPC who sold you the permit, you will find Ossex's train station. Donate 10,000 bones at the machine next to the NPC to receive the train pass. This can also be done at the train station in any region.
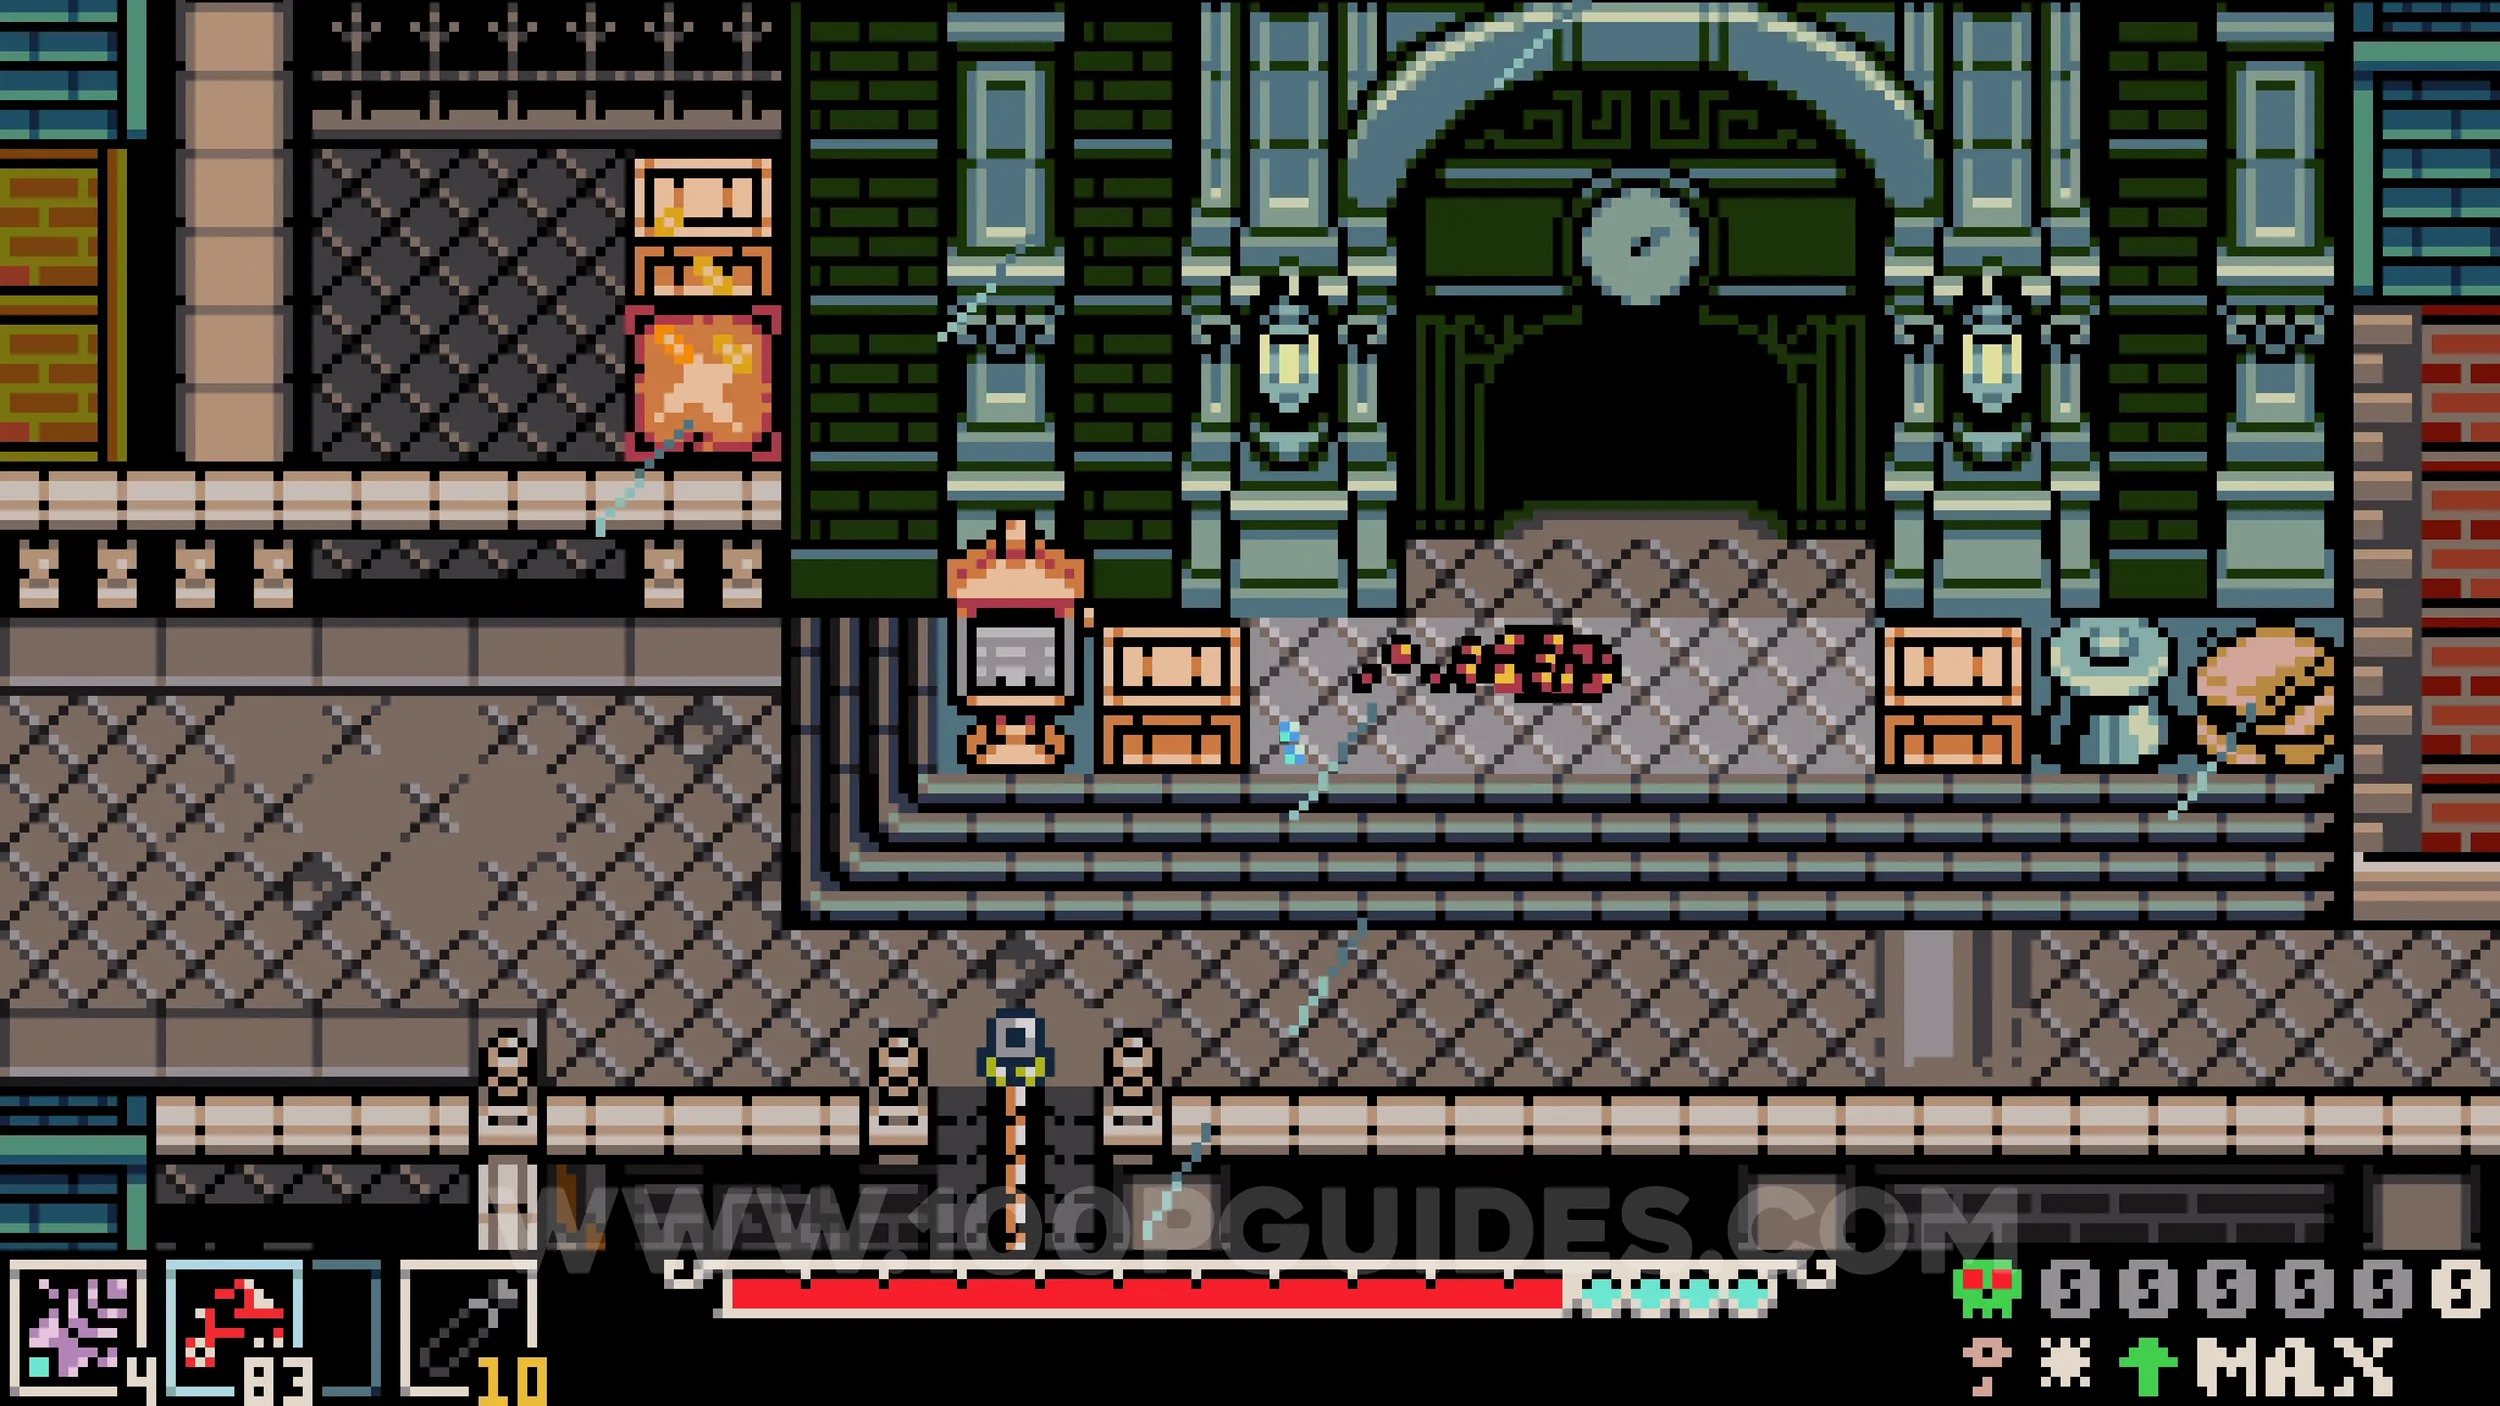
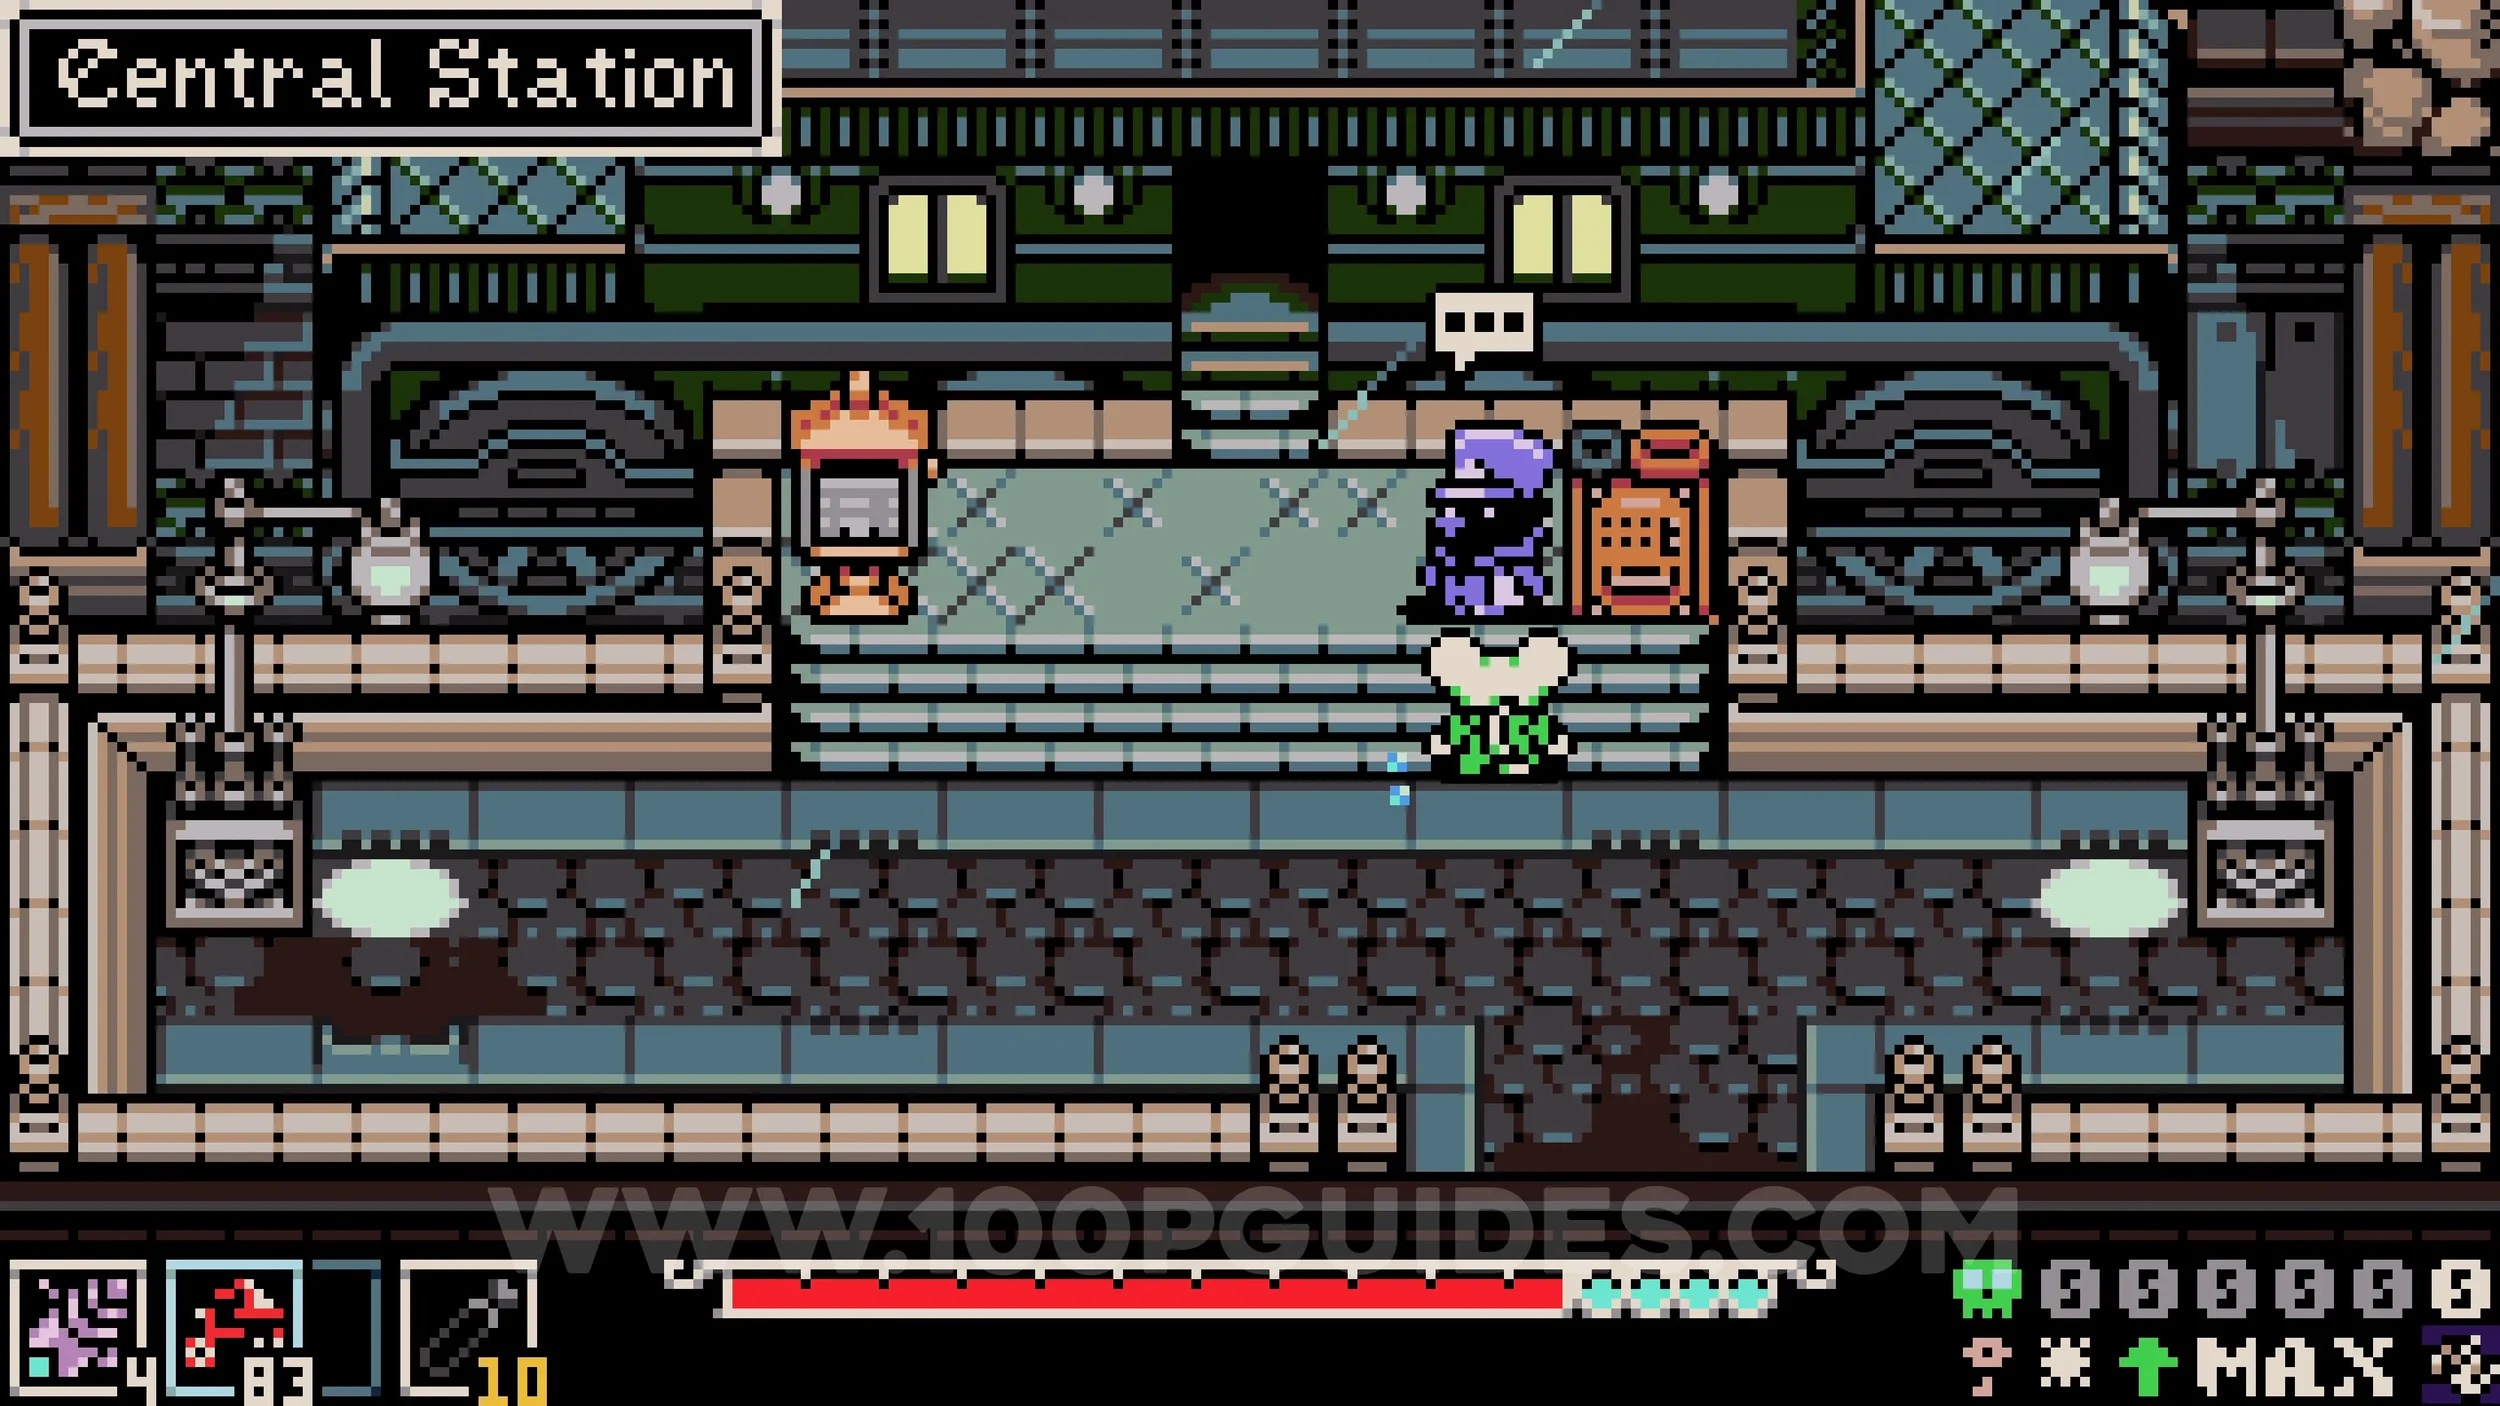
Weapon #6. In the train station, burrow under the bottom railing in the bottom left corner to access a secret tunnel. In the next room, jump across to the rope on the right and destroy the obstacle in the top right corner to reveal another tunnel. Go through it and head left to find the weapon in the red chest.
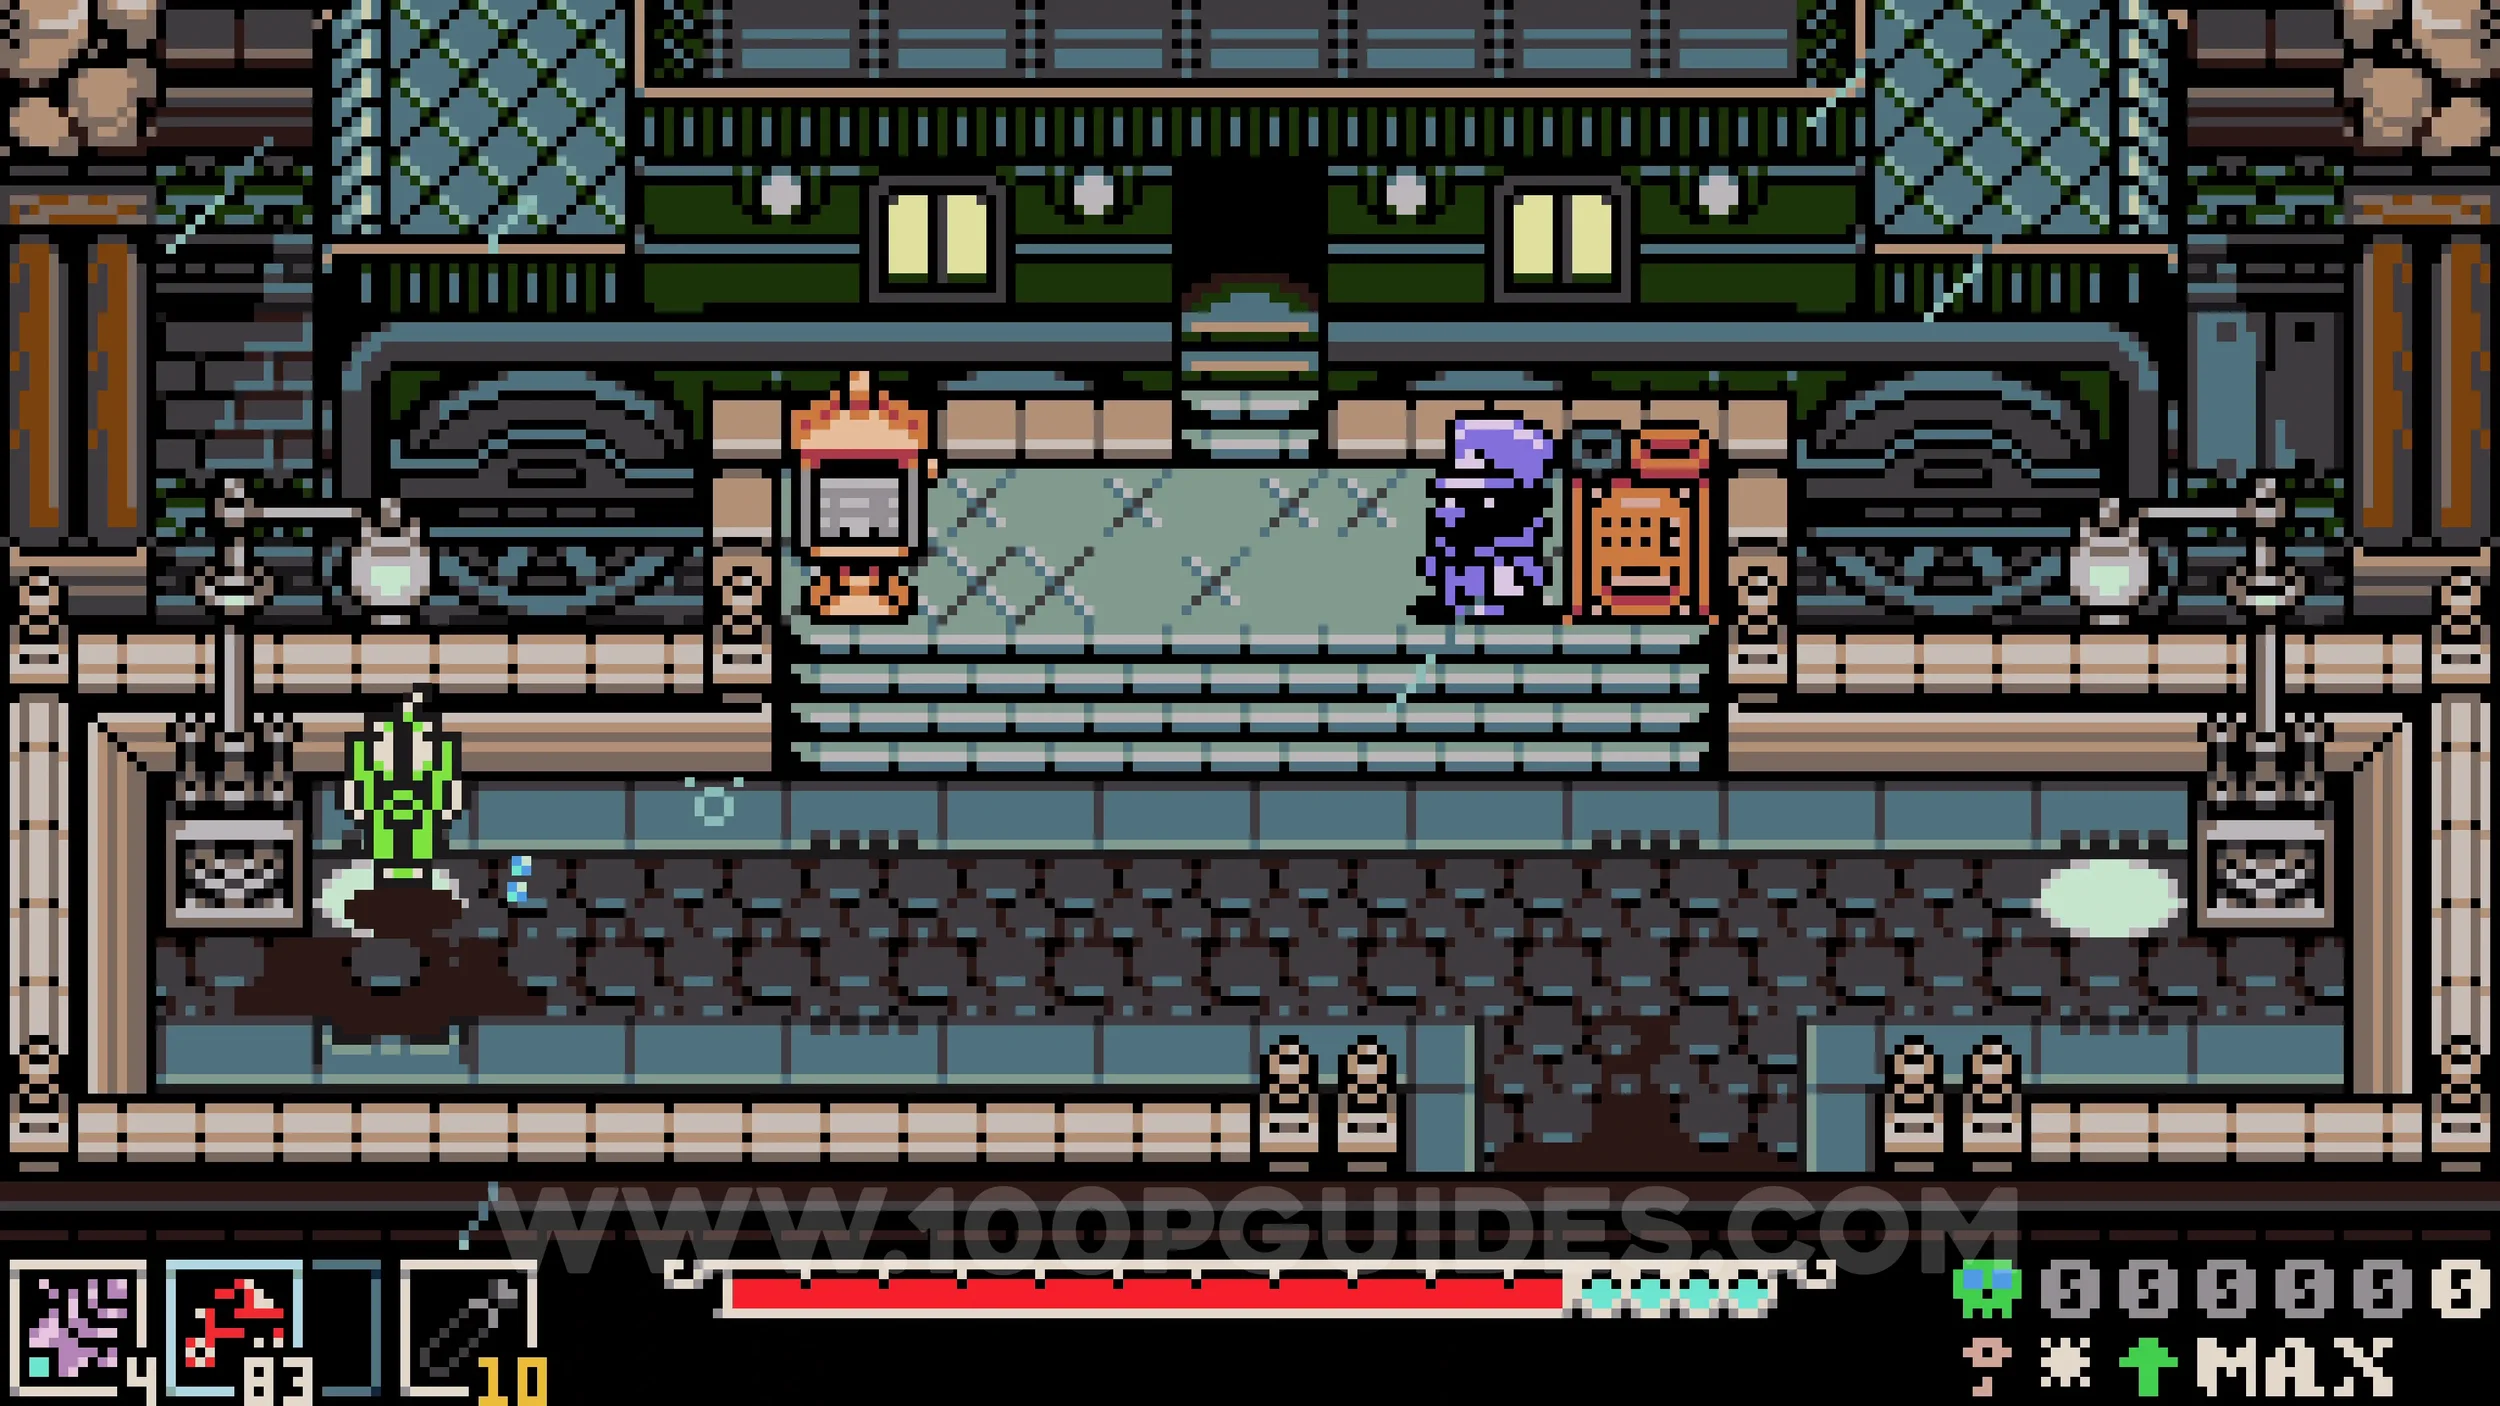
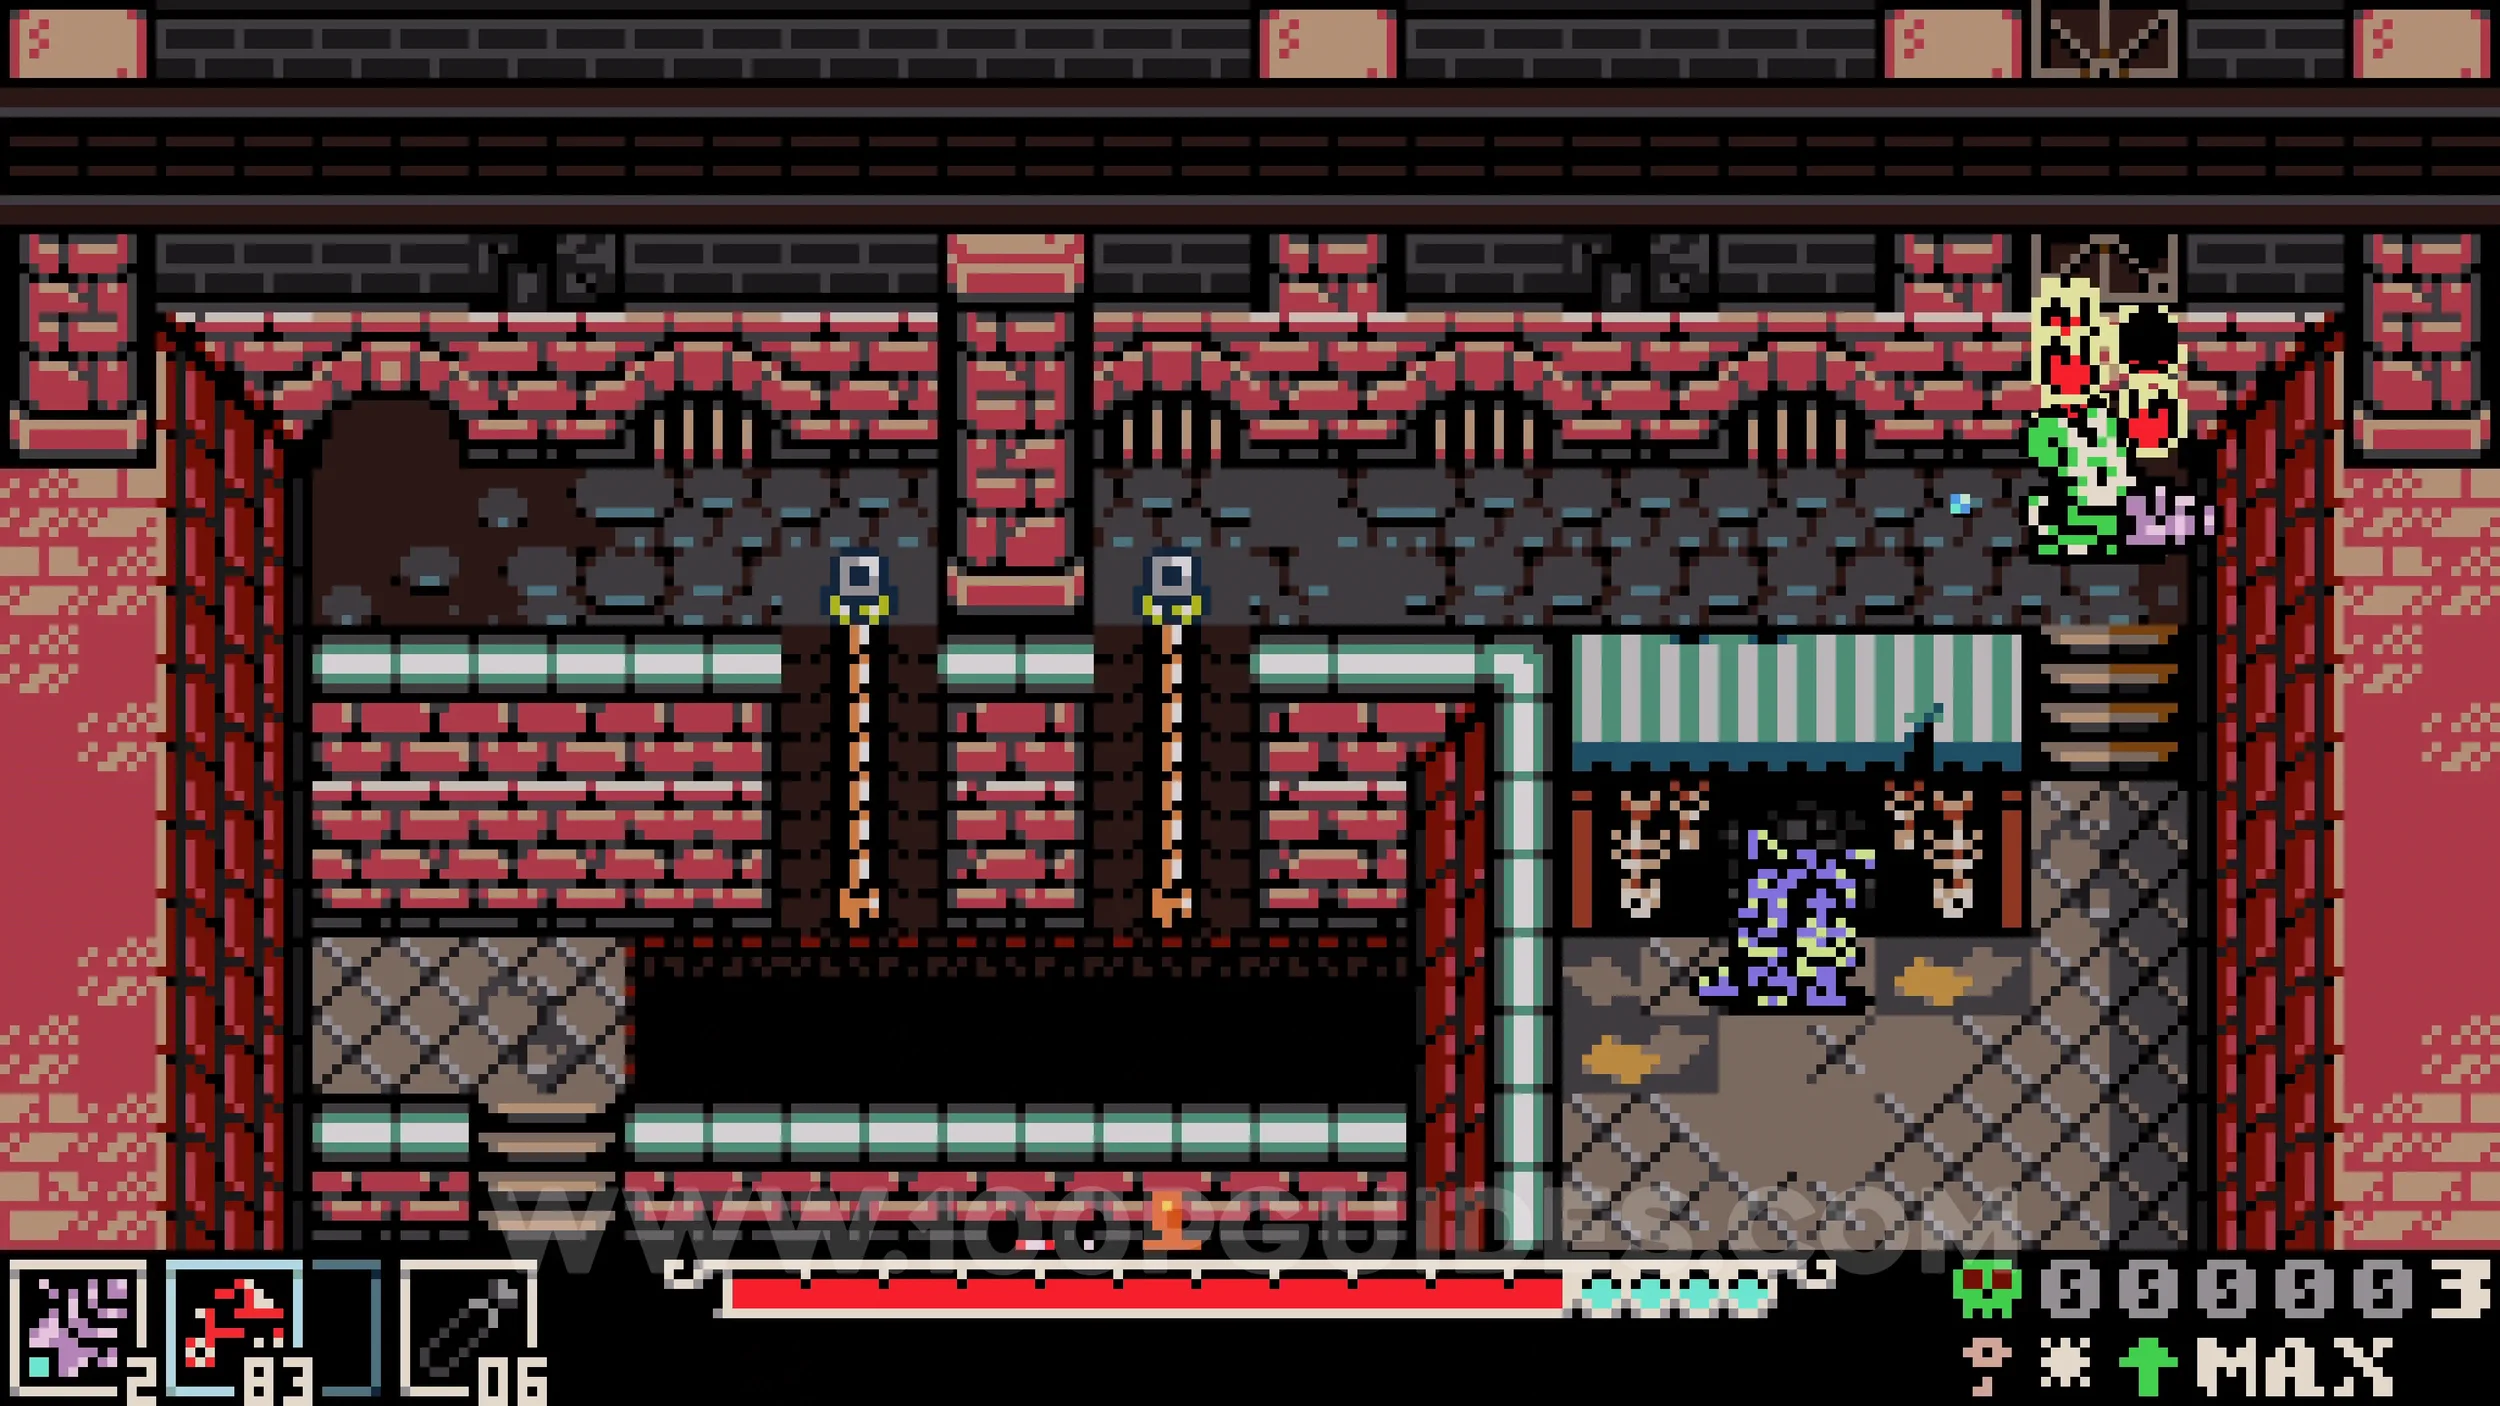
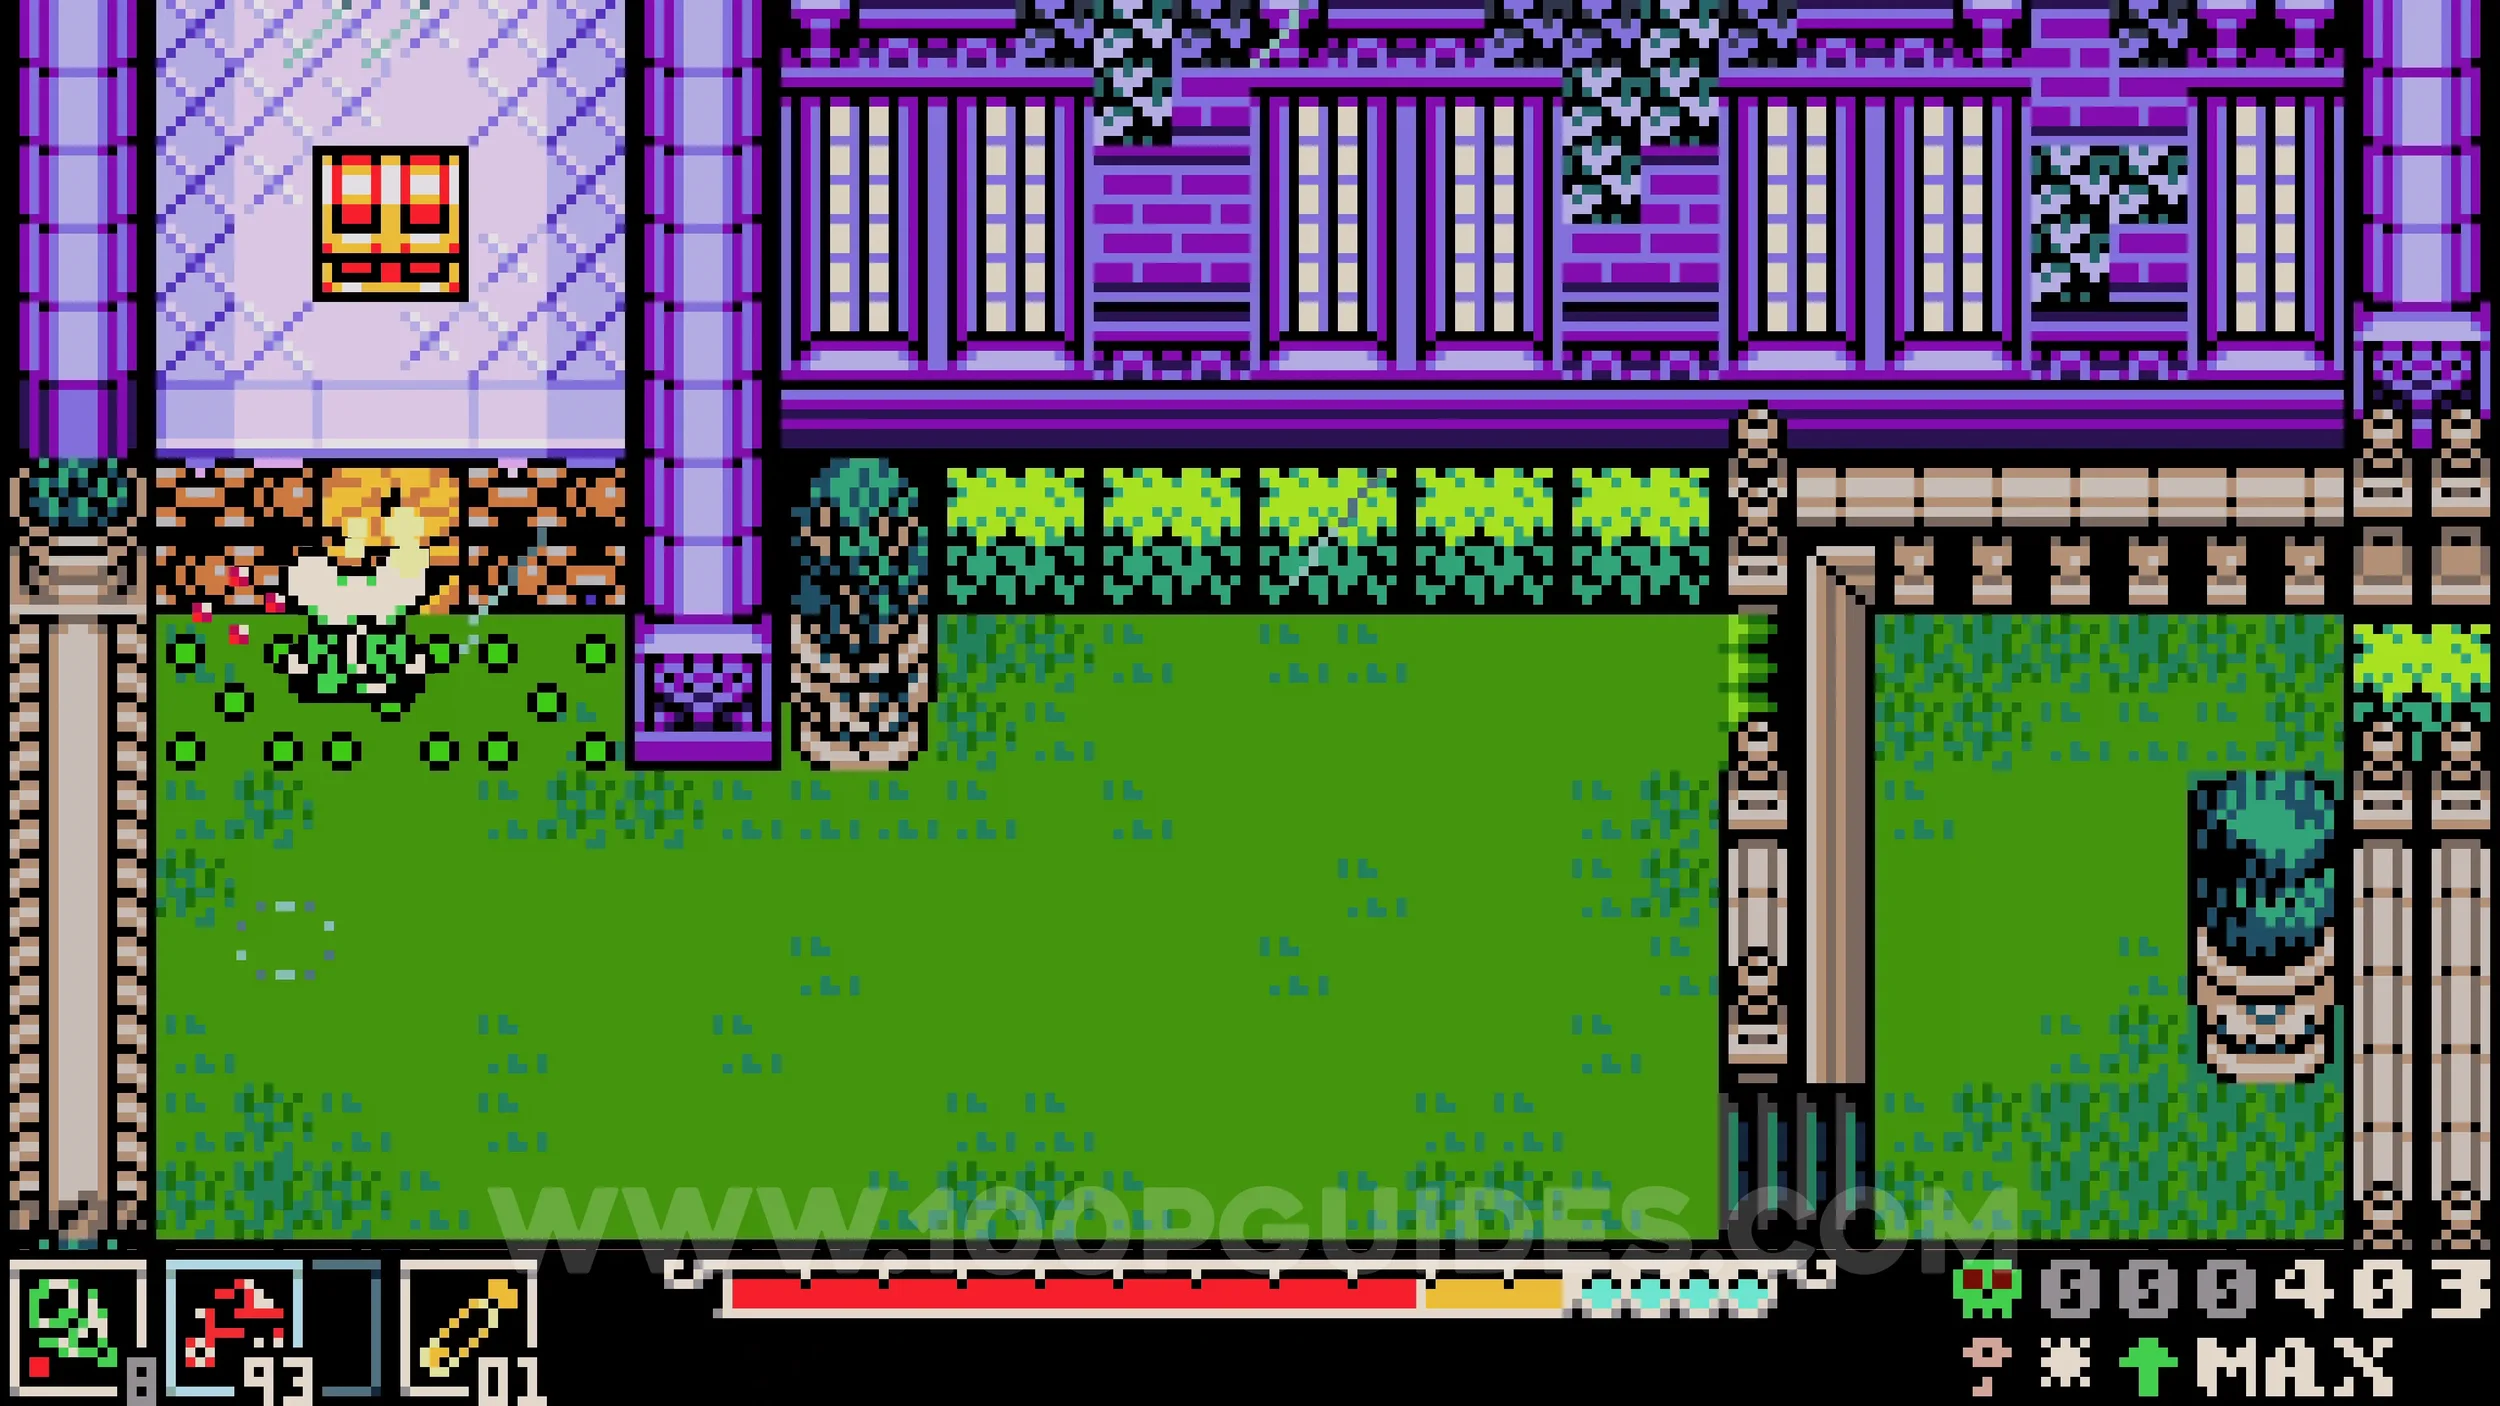
Trinket #4 - Deboning Wand. From the previous chest, exit right and cross the courtyard by continuing right. Talk to Elizabeth and select "Nice Skul..." and then "Yes". Pick up the bones, then talk to her again and agree to give her the bones to receive the trinket.
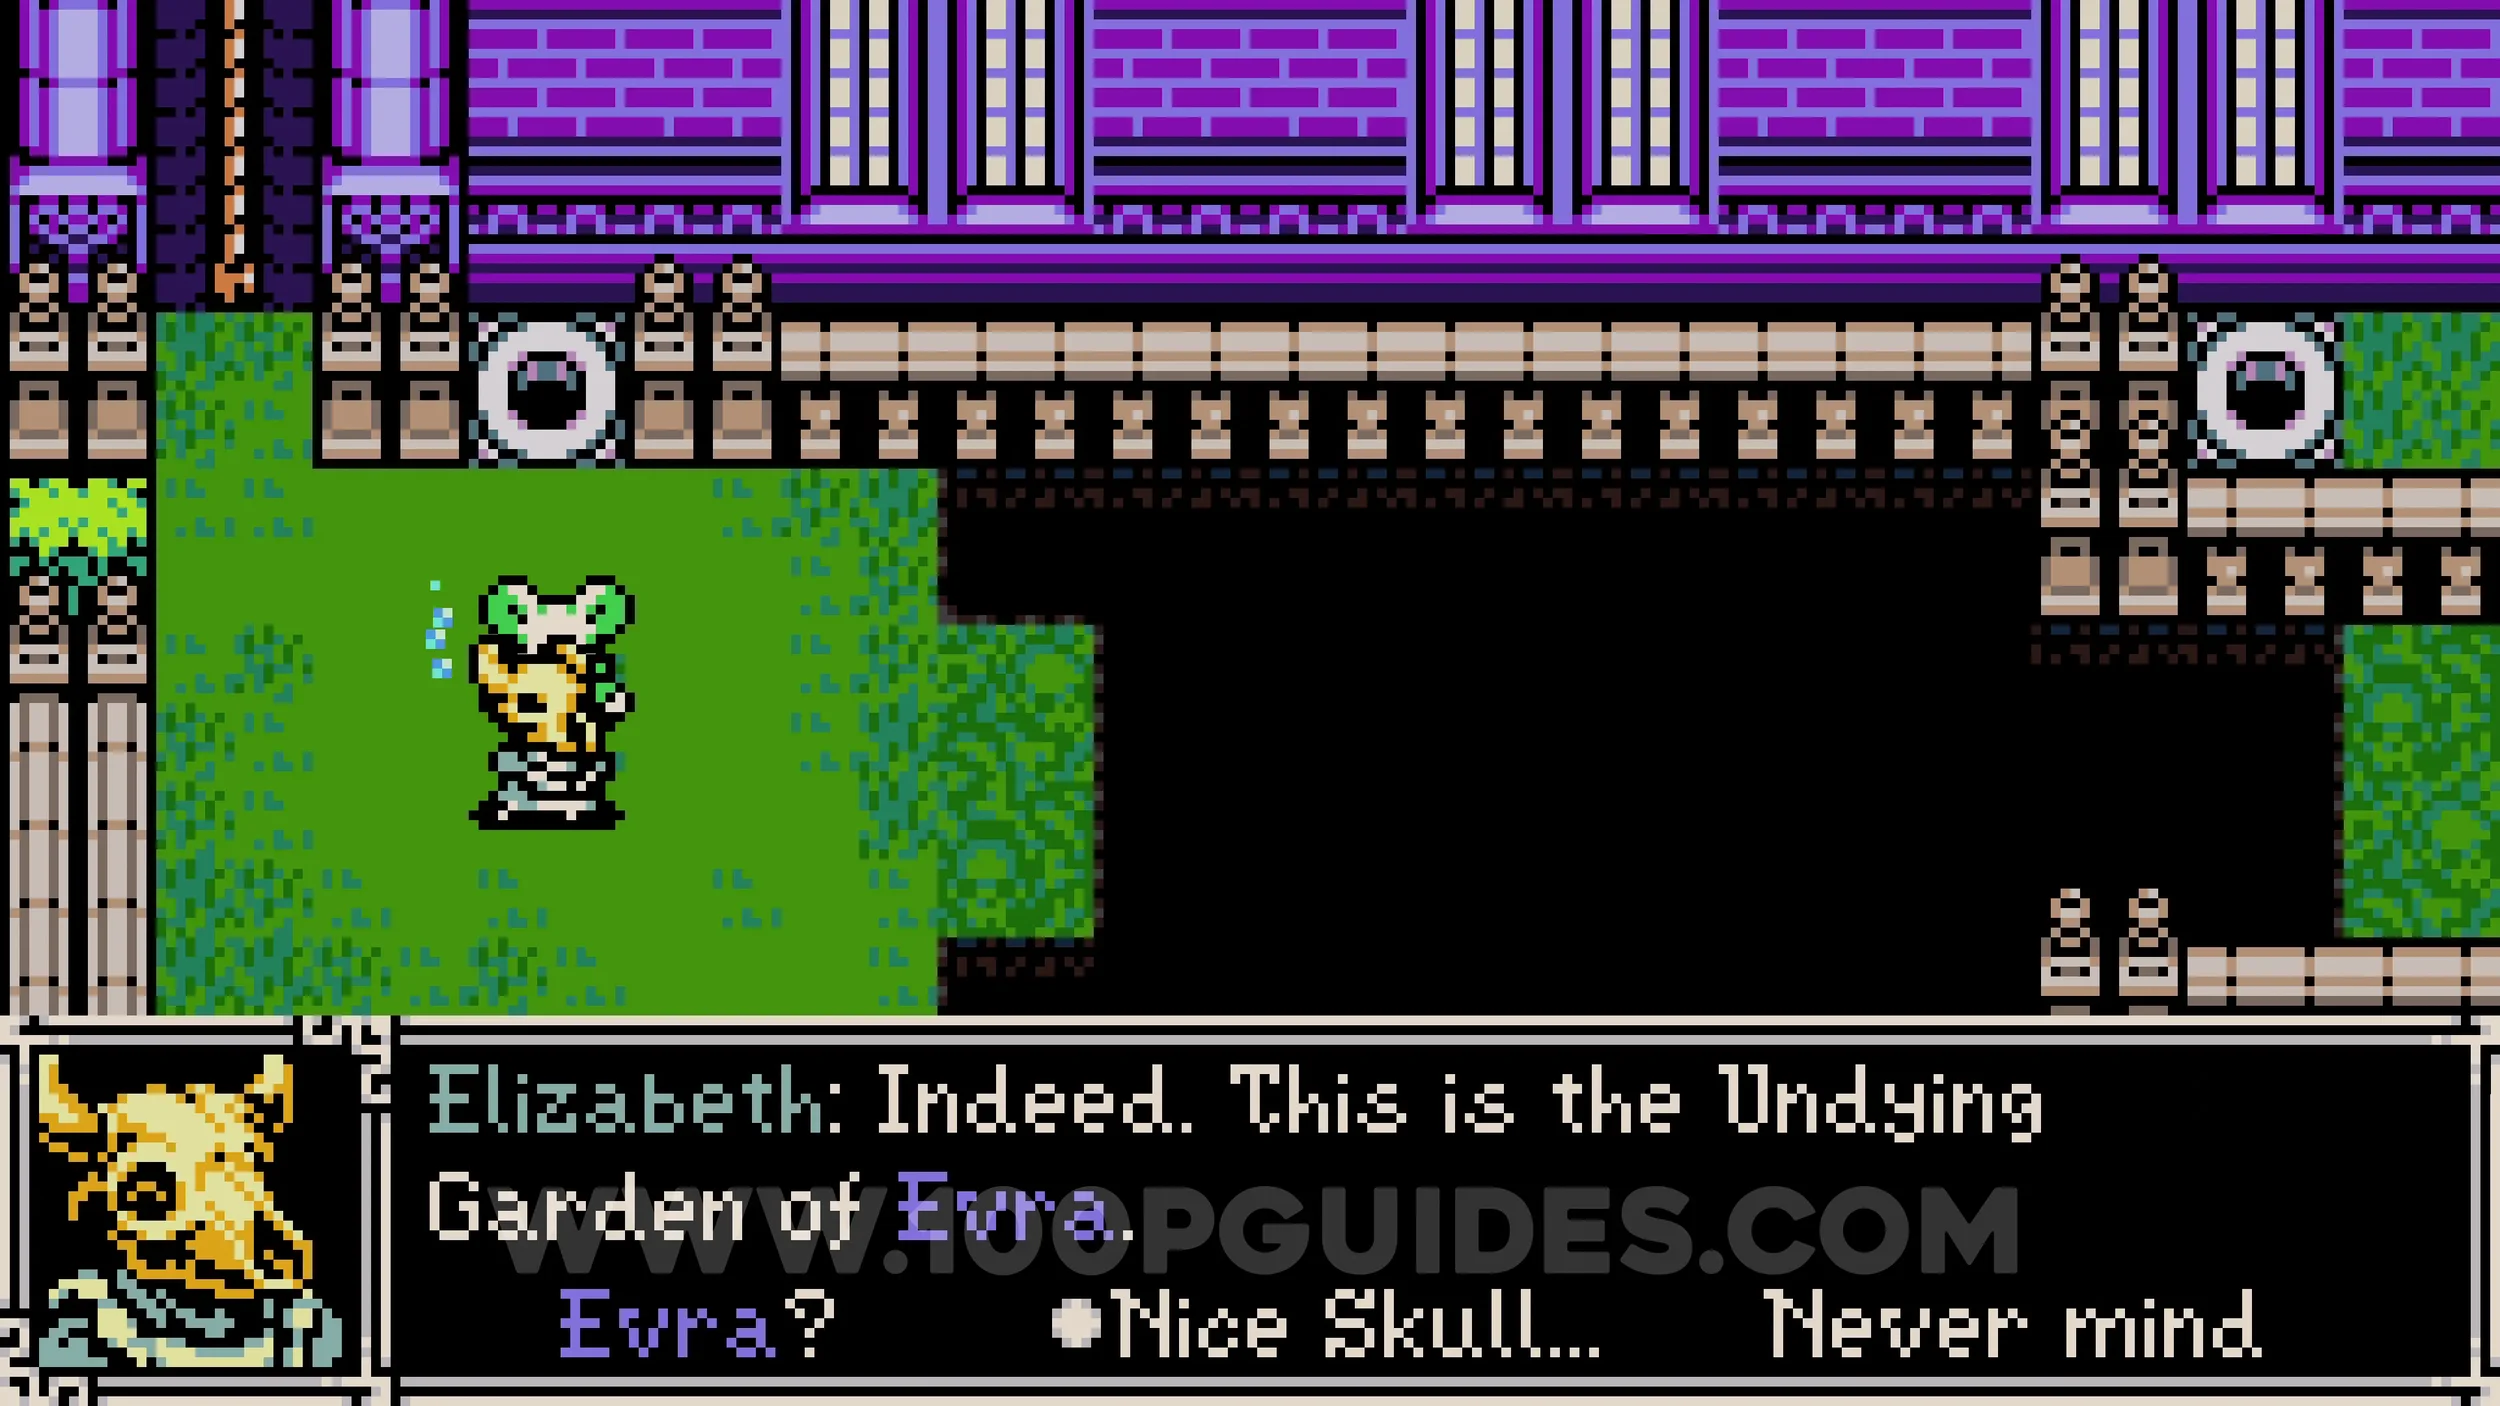
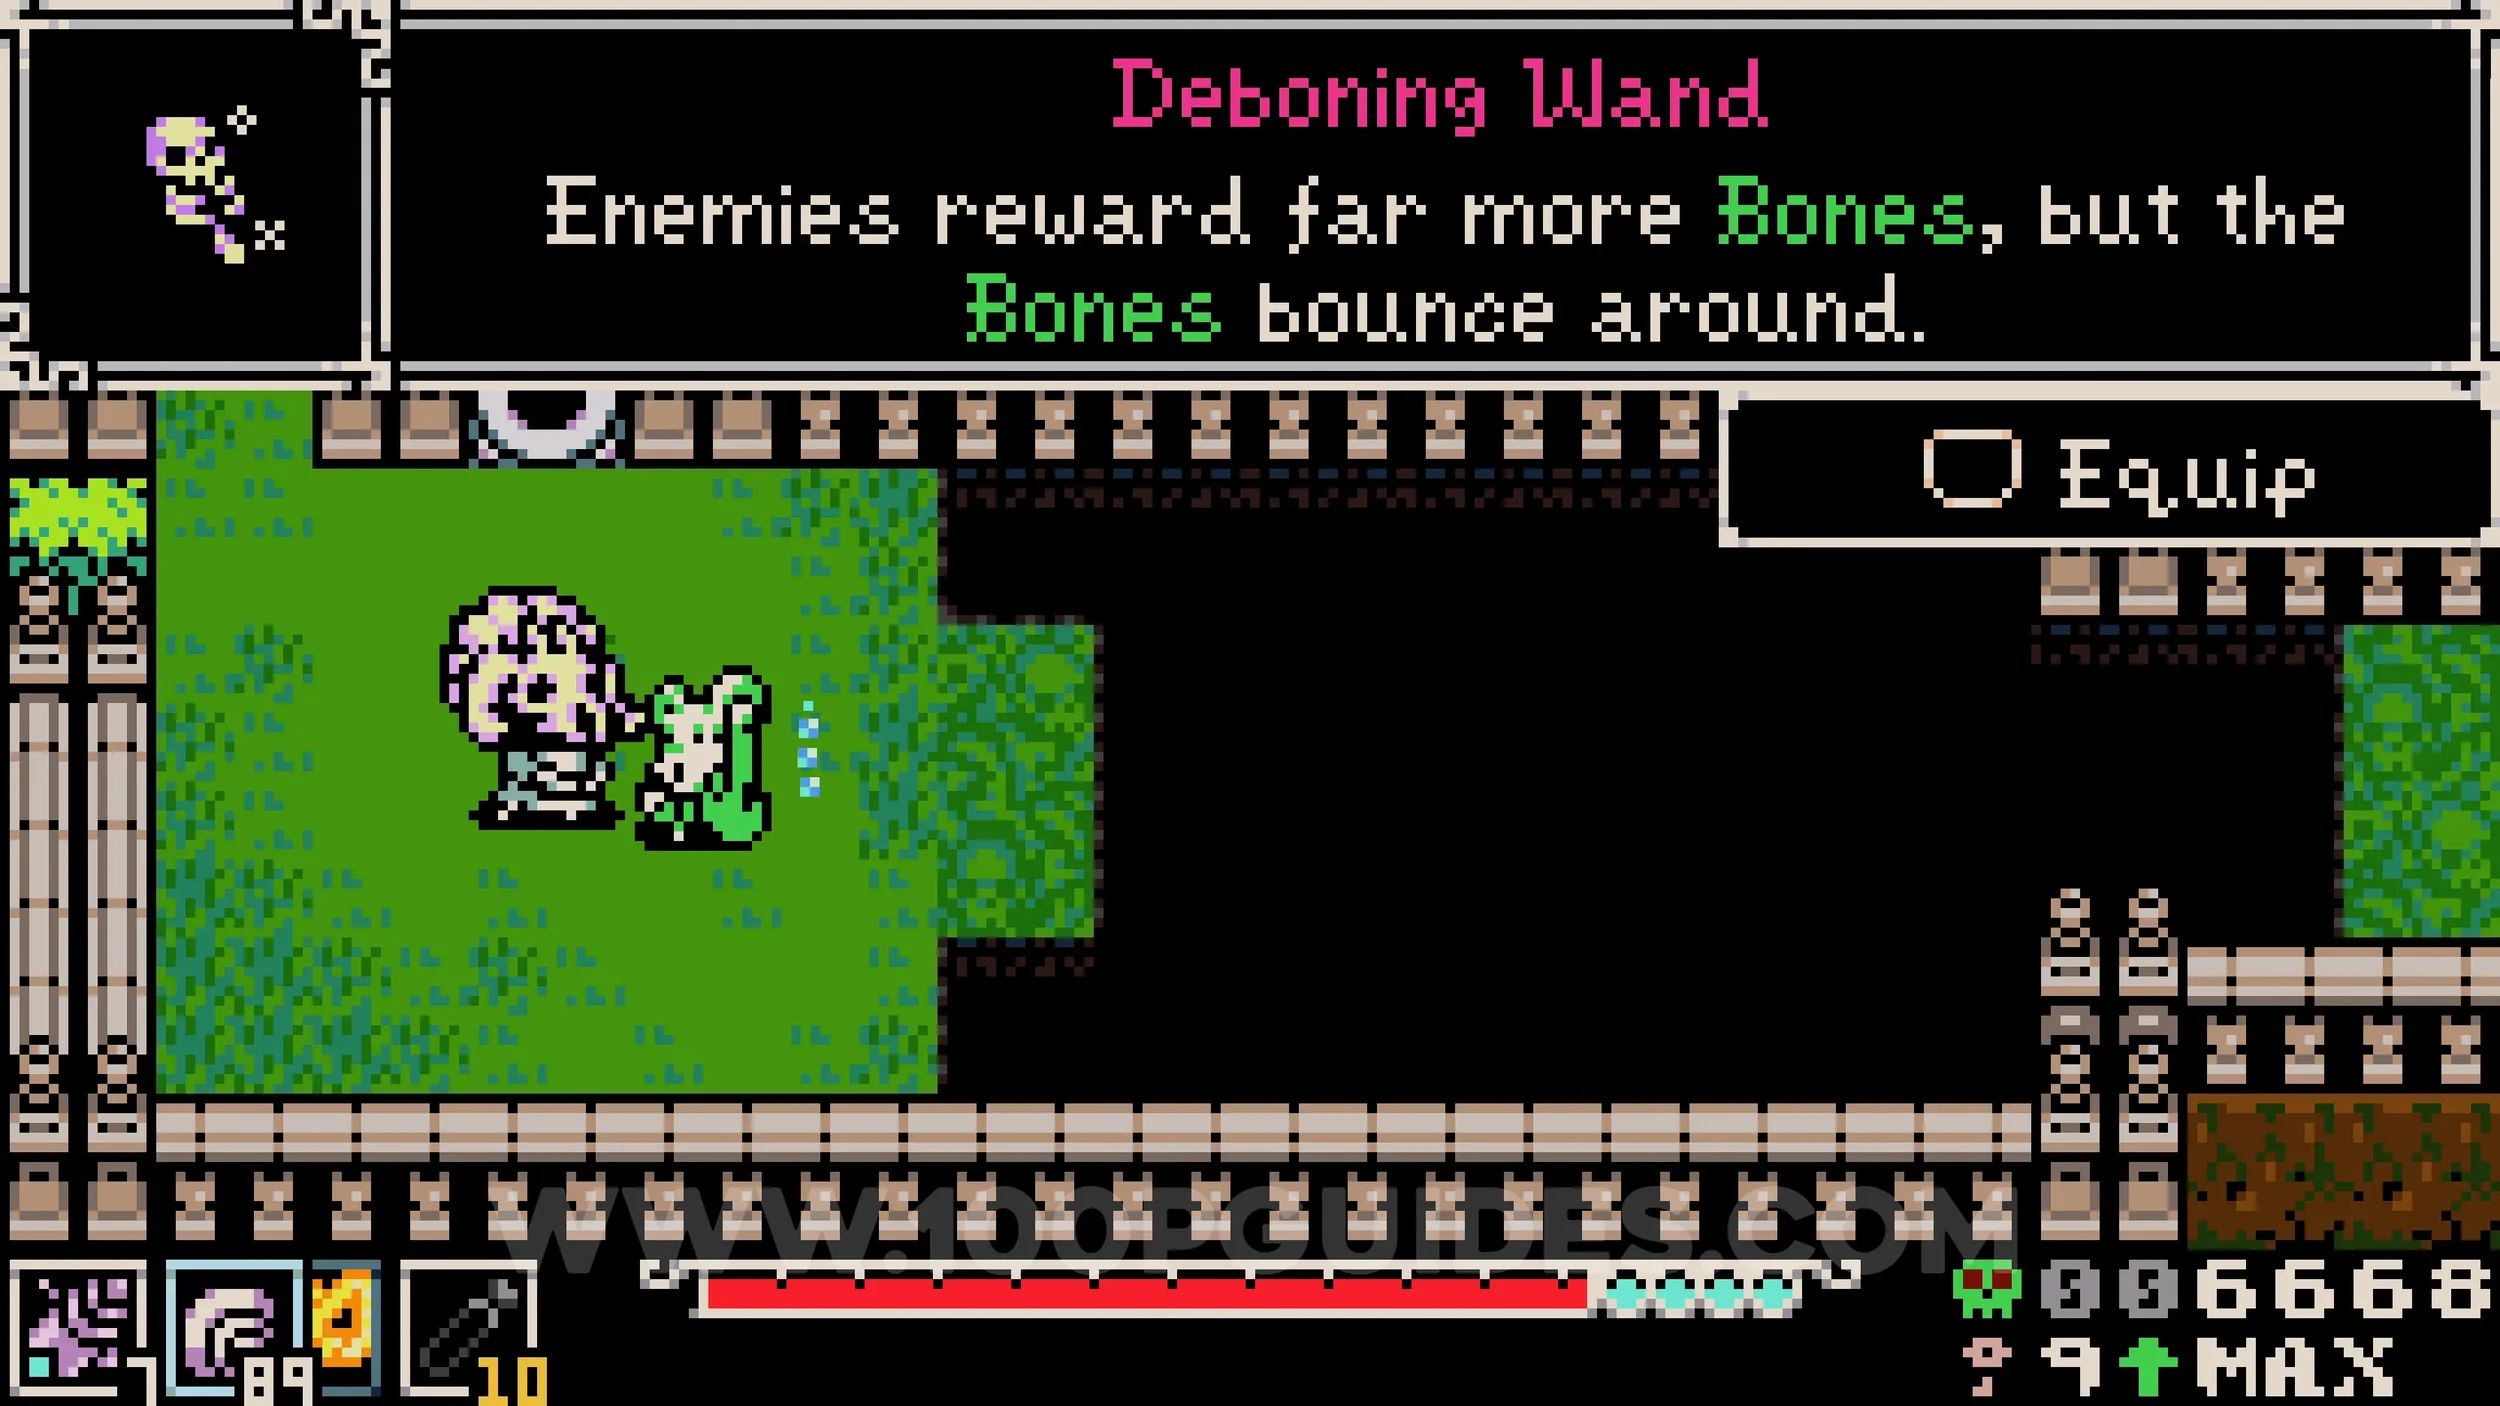
Trinket #5 - Warding Beastium. Cross the gap to the right of Elizabeth using sidearms or trinkets such as the Wallower's Gauntlets trinket and the Drill Driver sidearm. The trinket can be found on the other side.
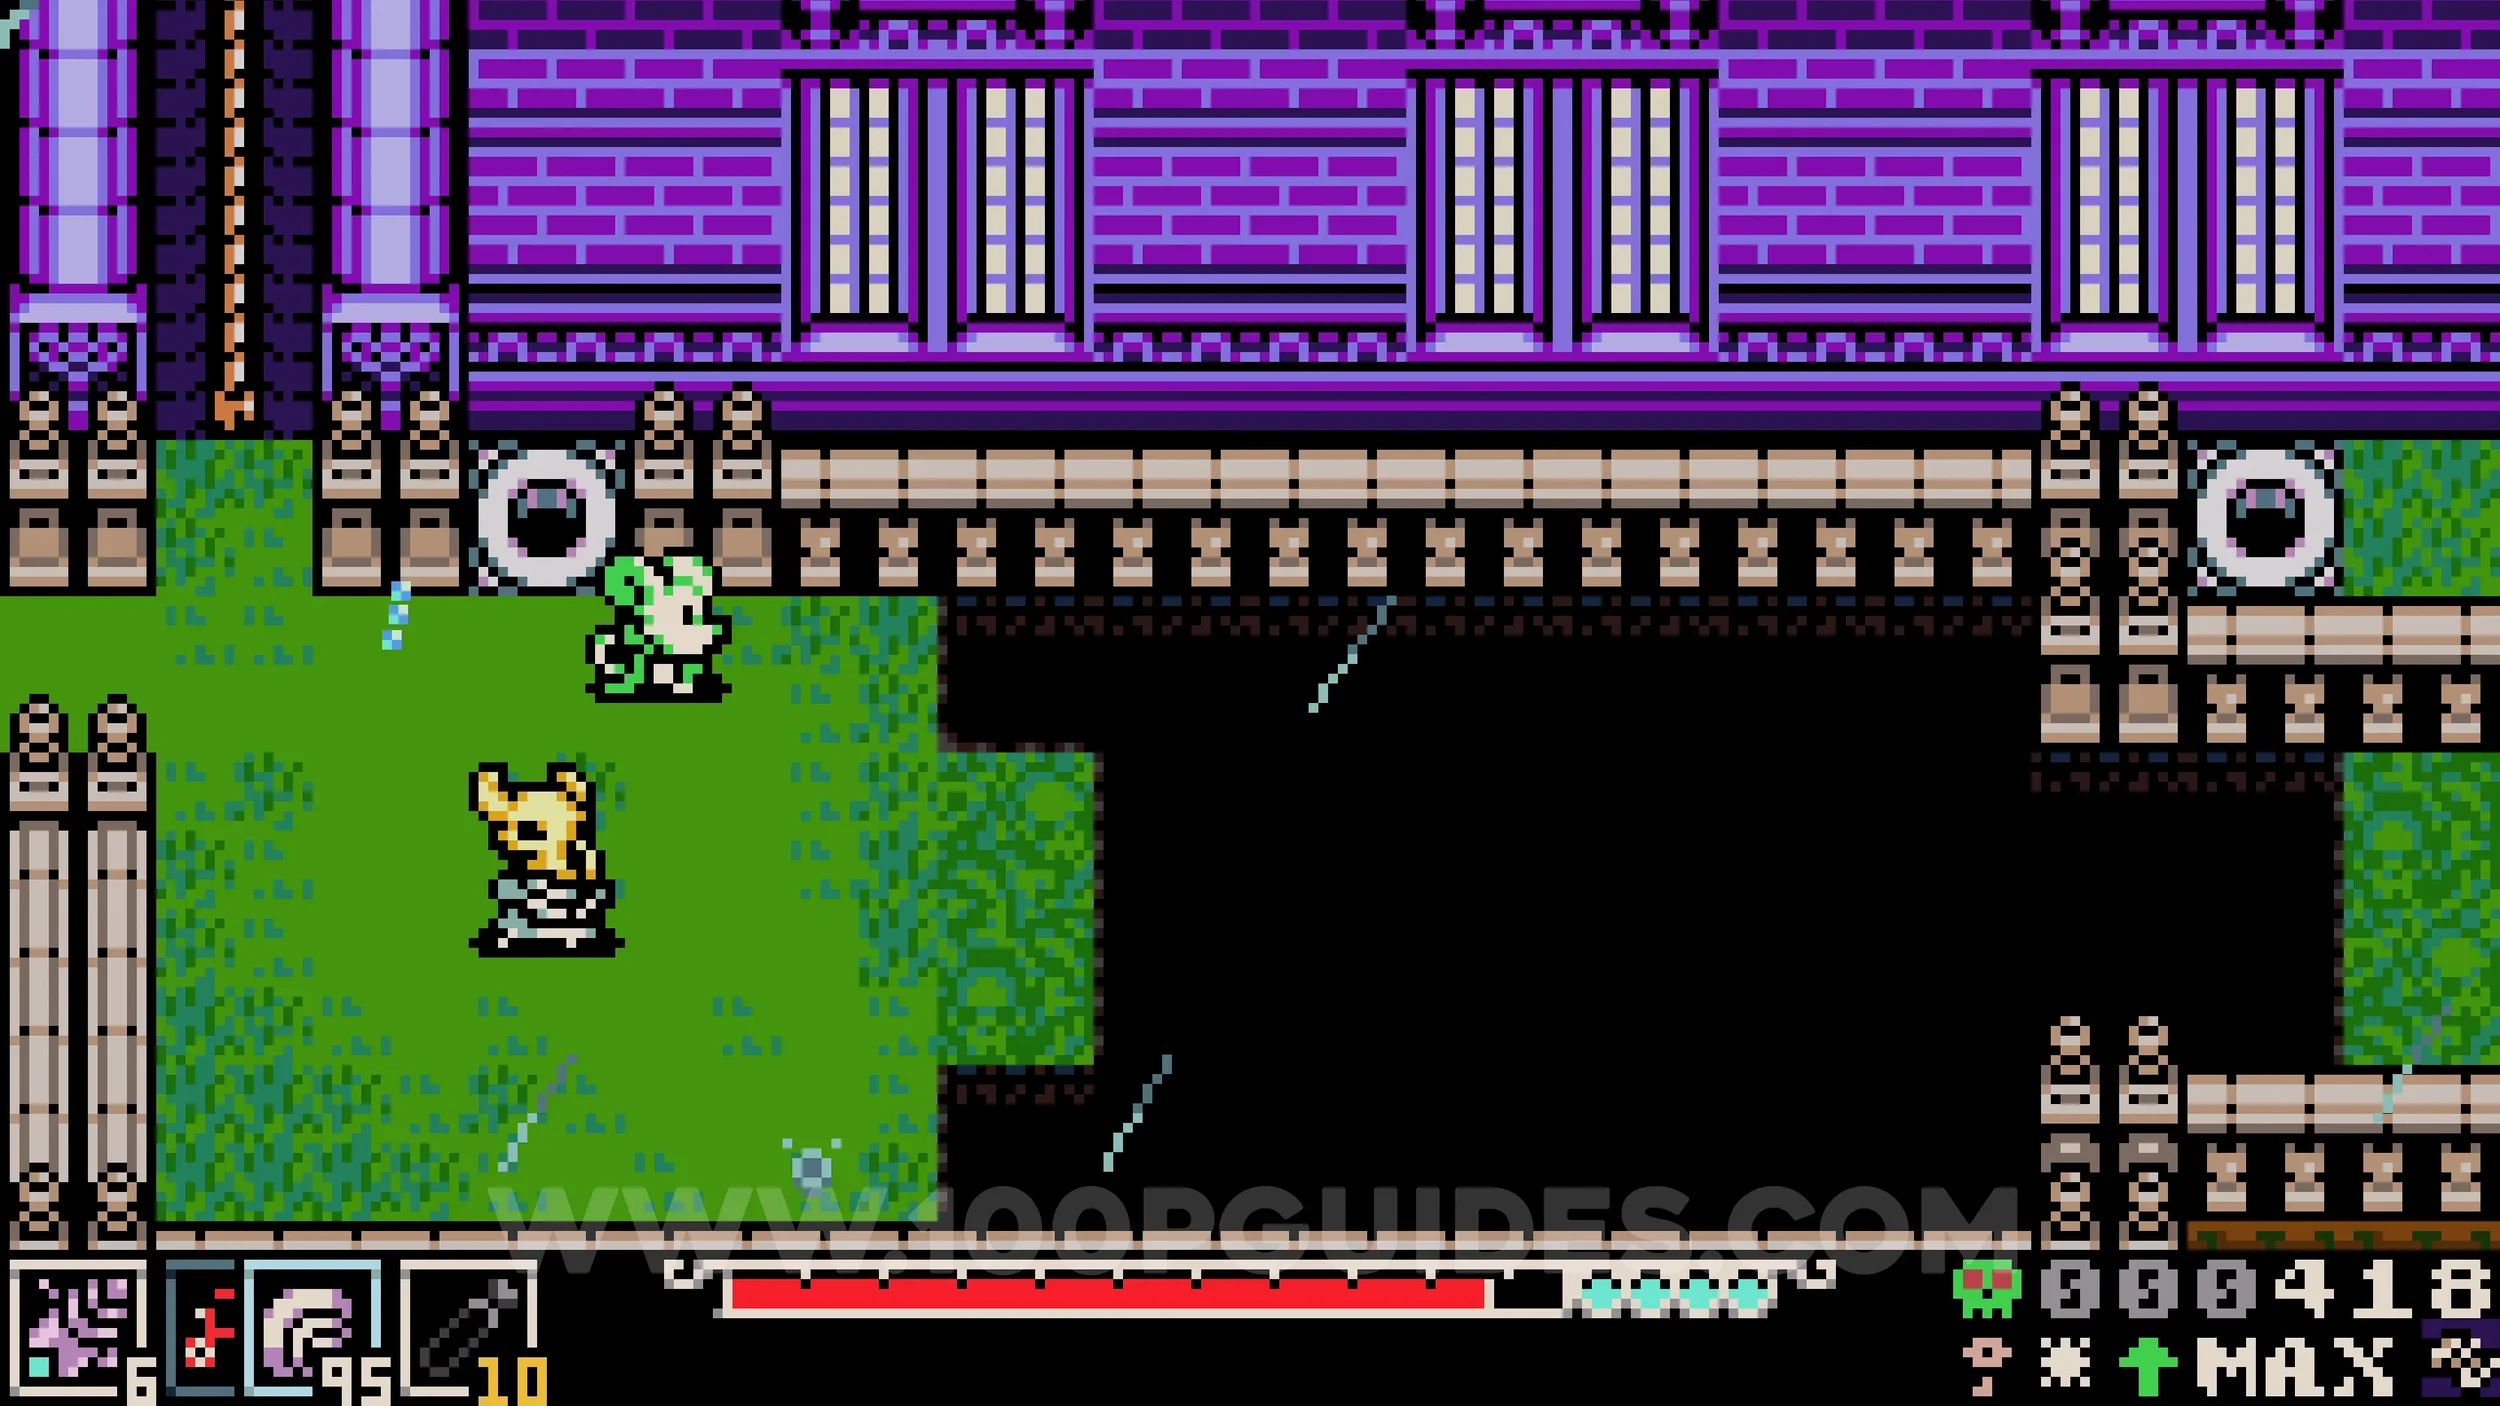
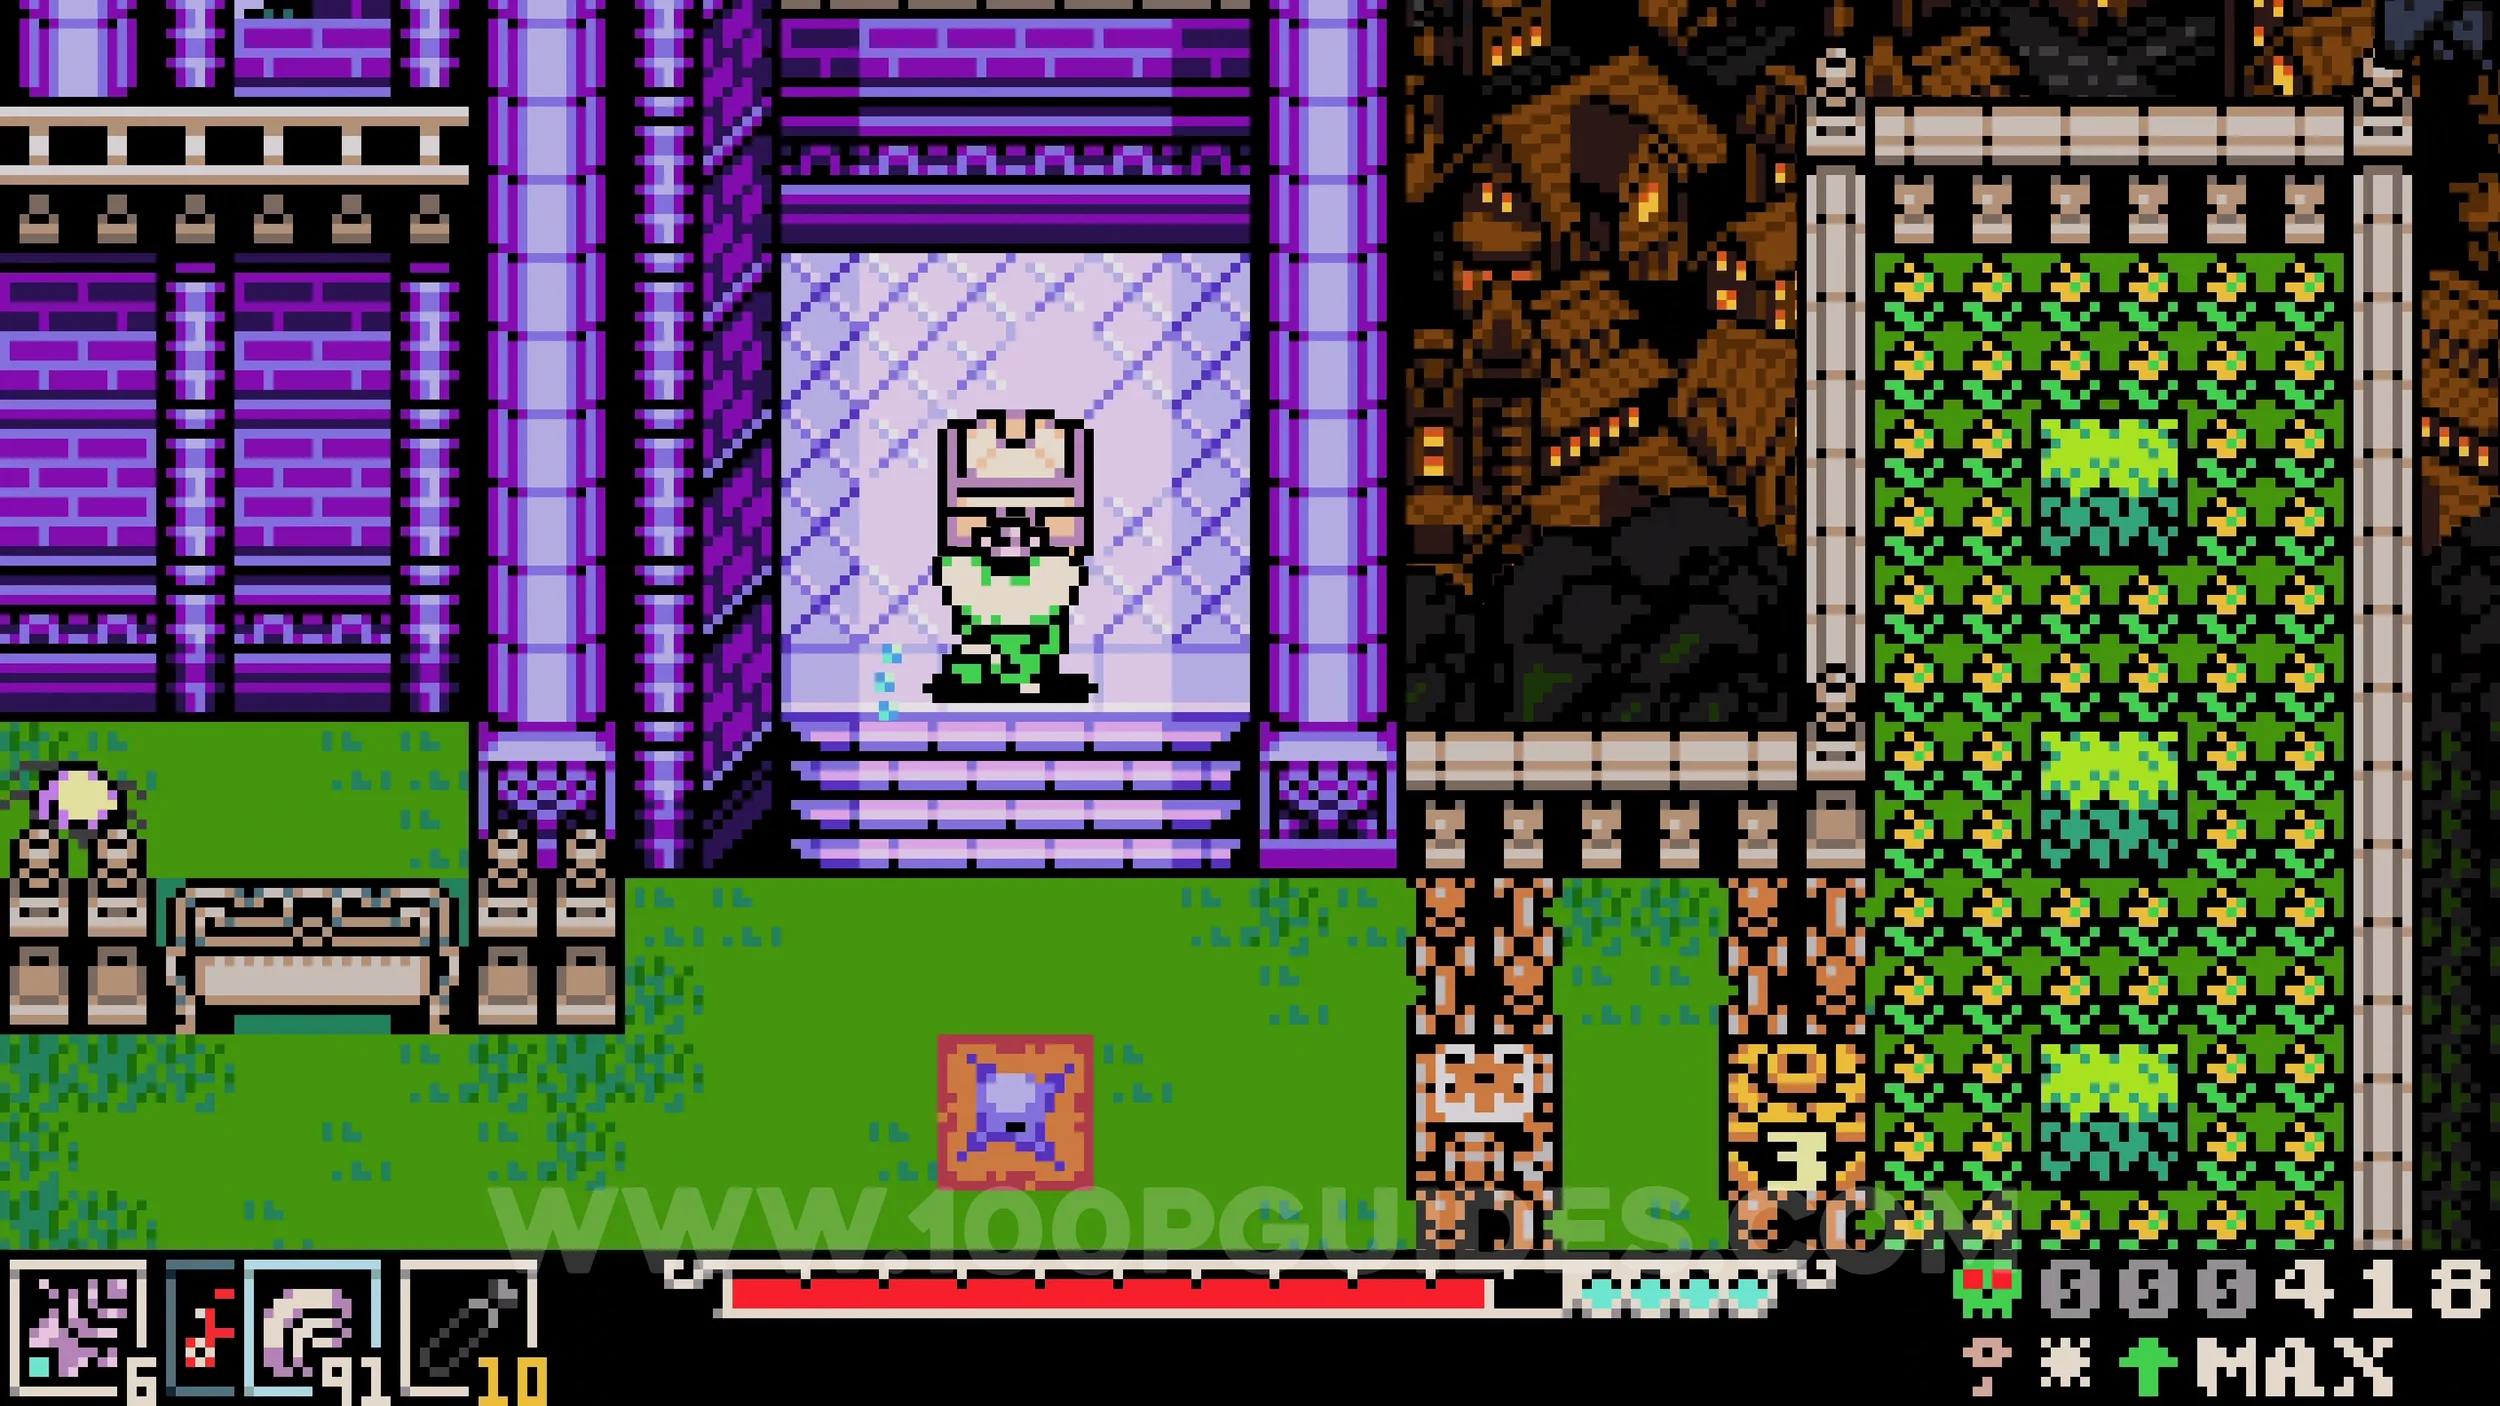
Lock #3. To the right of the previous collectible.
HP Upgrade #4. Destroy the bushes to the right of the previous lock to uncover a hole. Drop down and defeat the boss at the end of the dungeon.
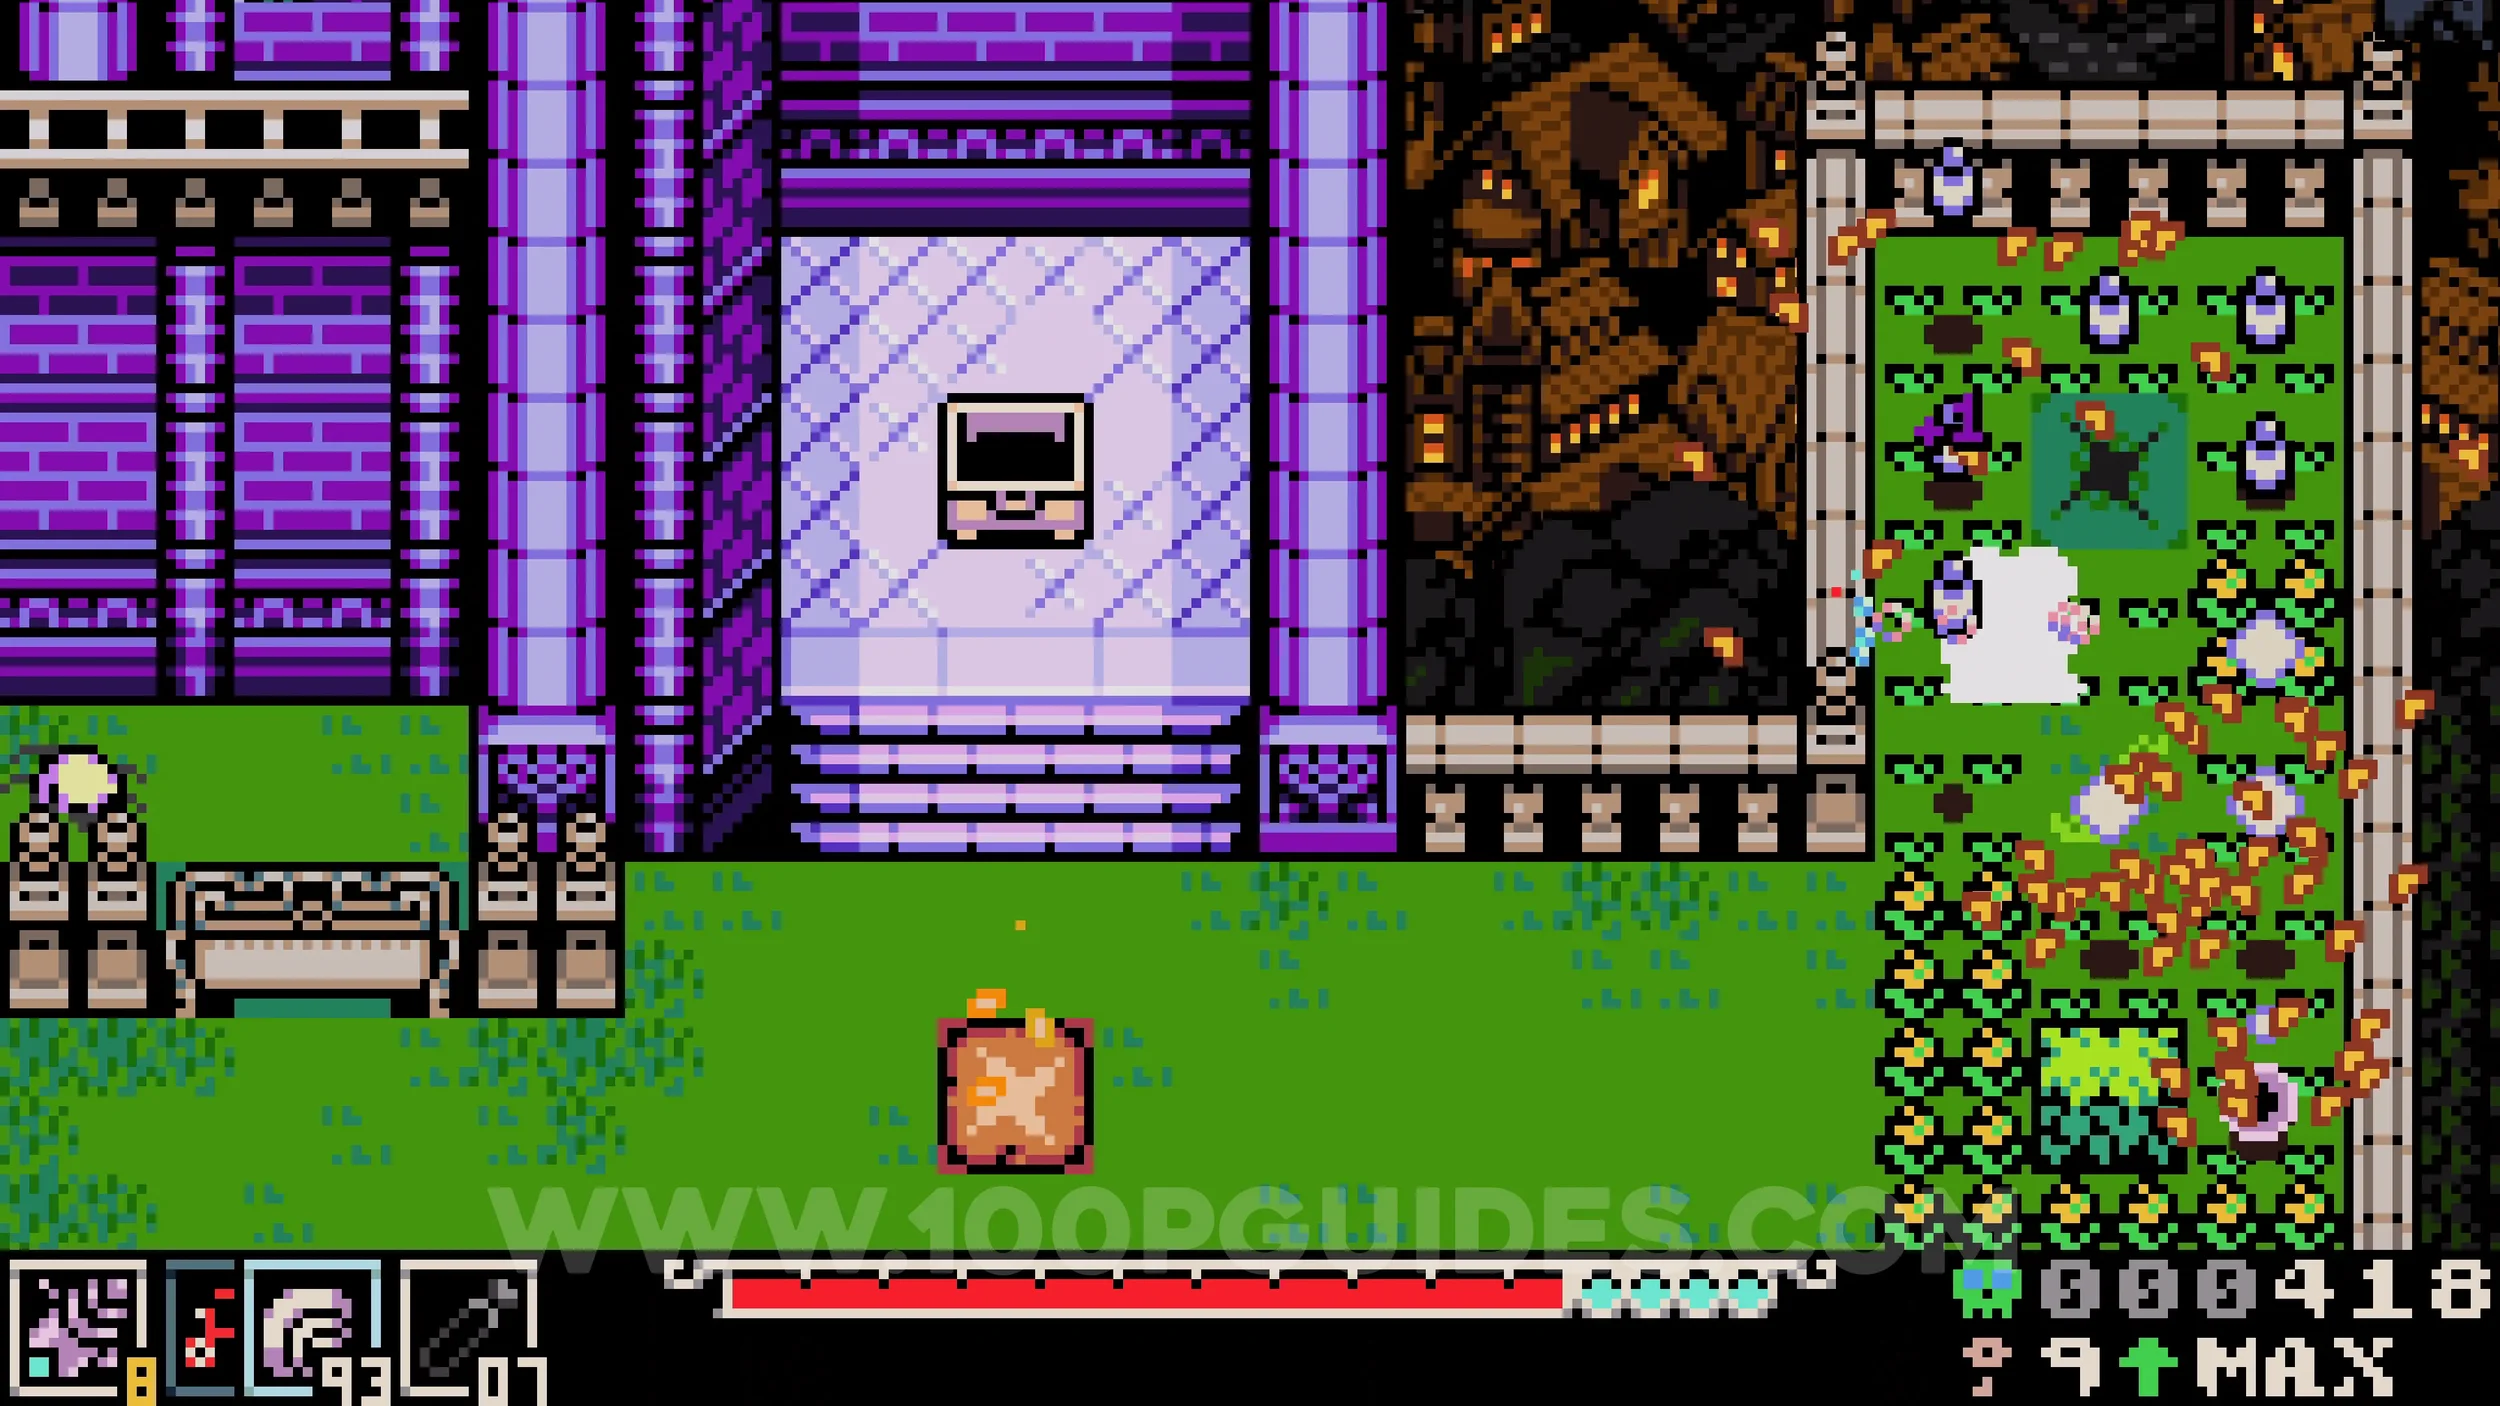
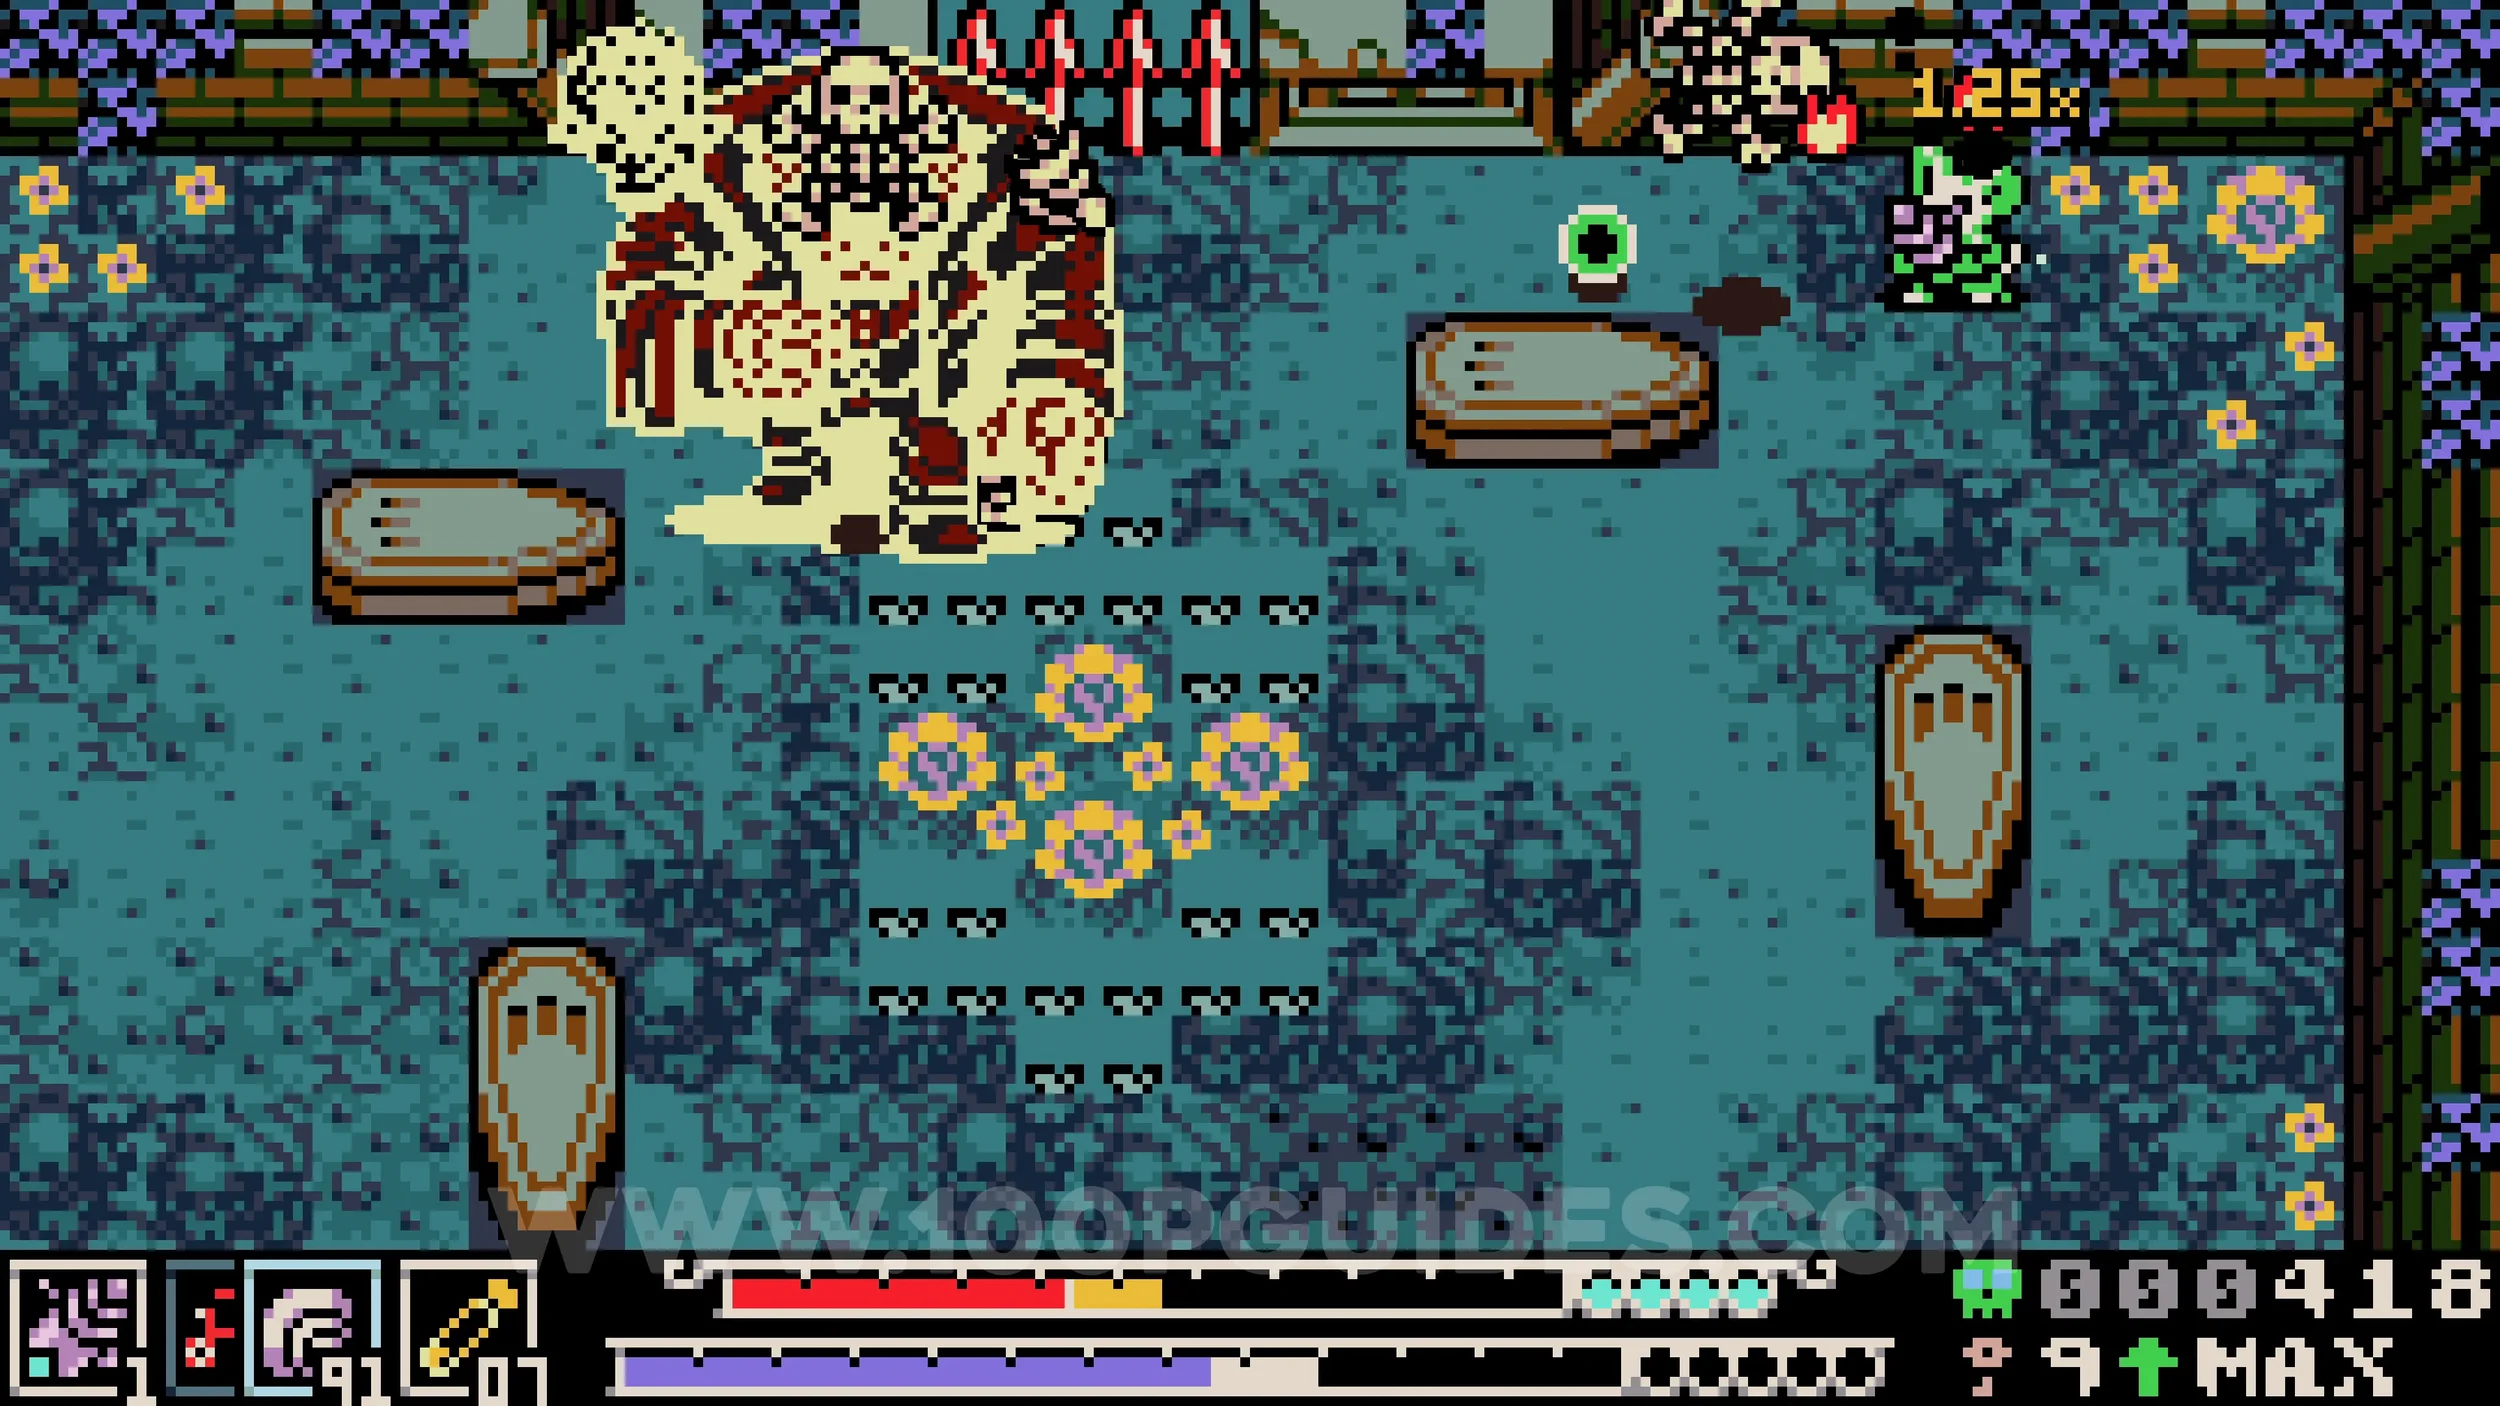
Bonestone #9. Return to the main fountain area in the middle of Ossex, head left, and enter the first house directly above the trinket shop. The collectible can be found in the bottom right corner.
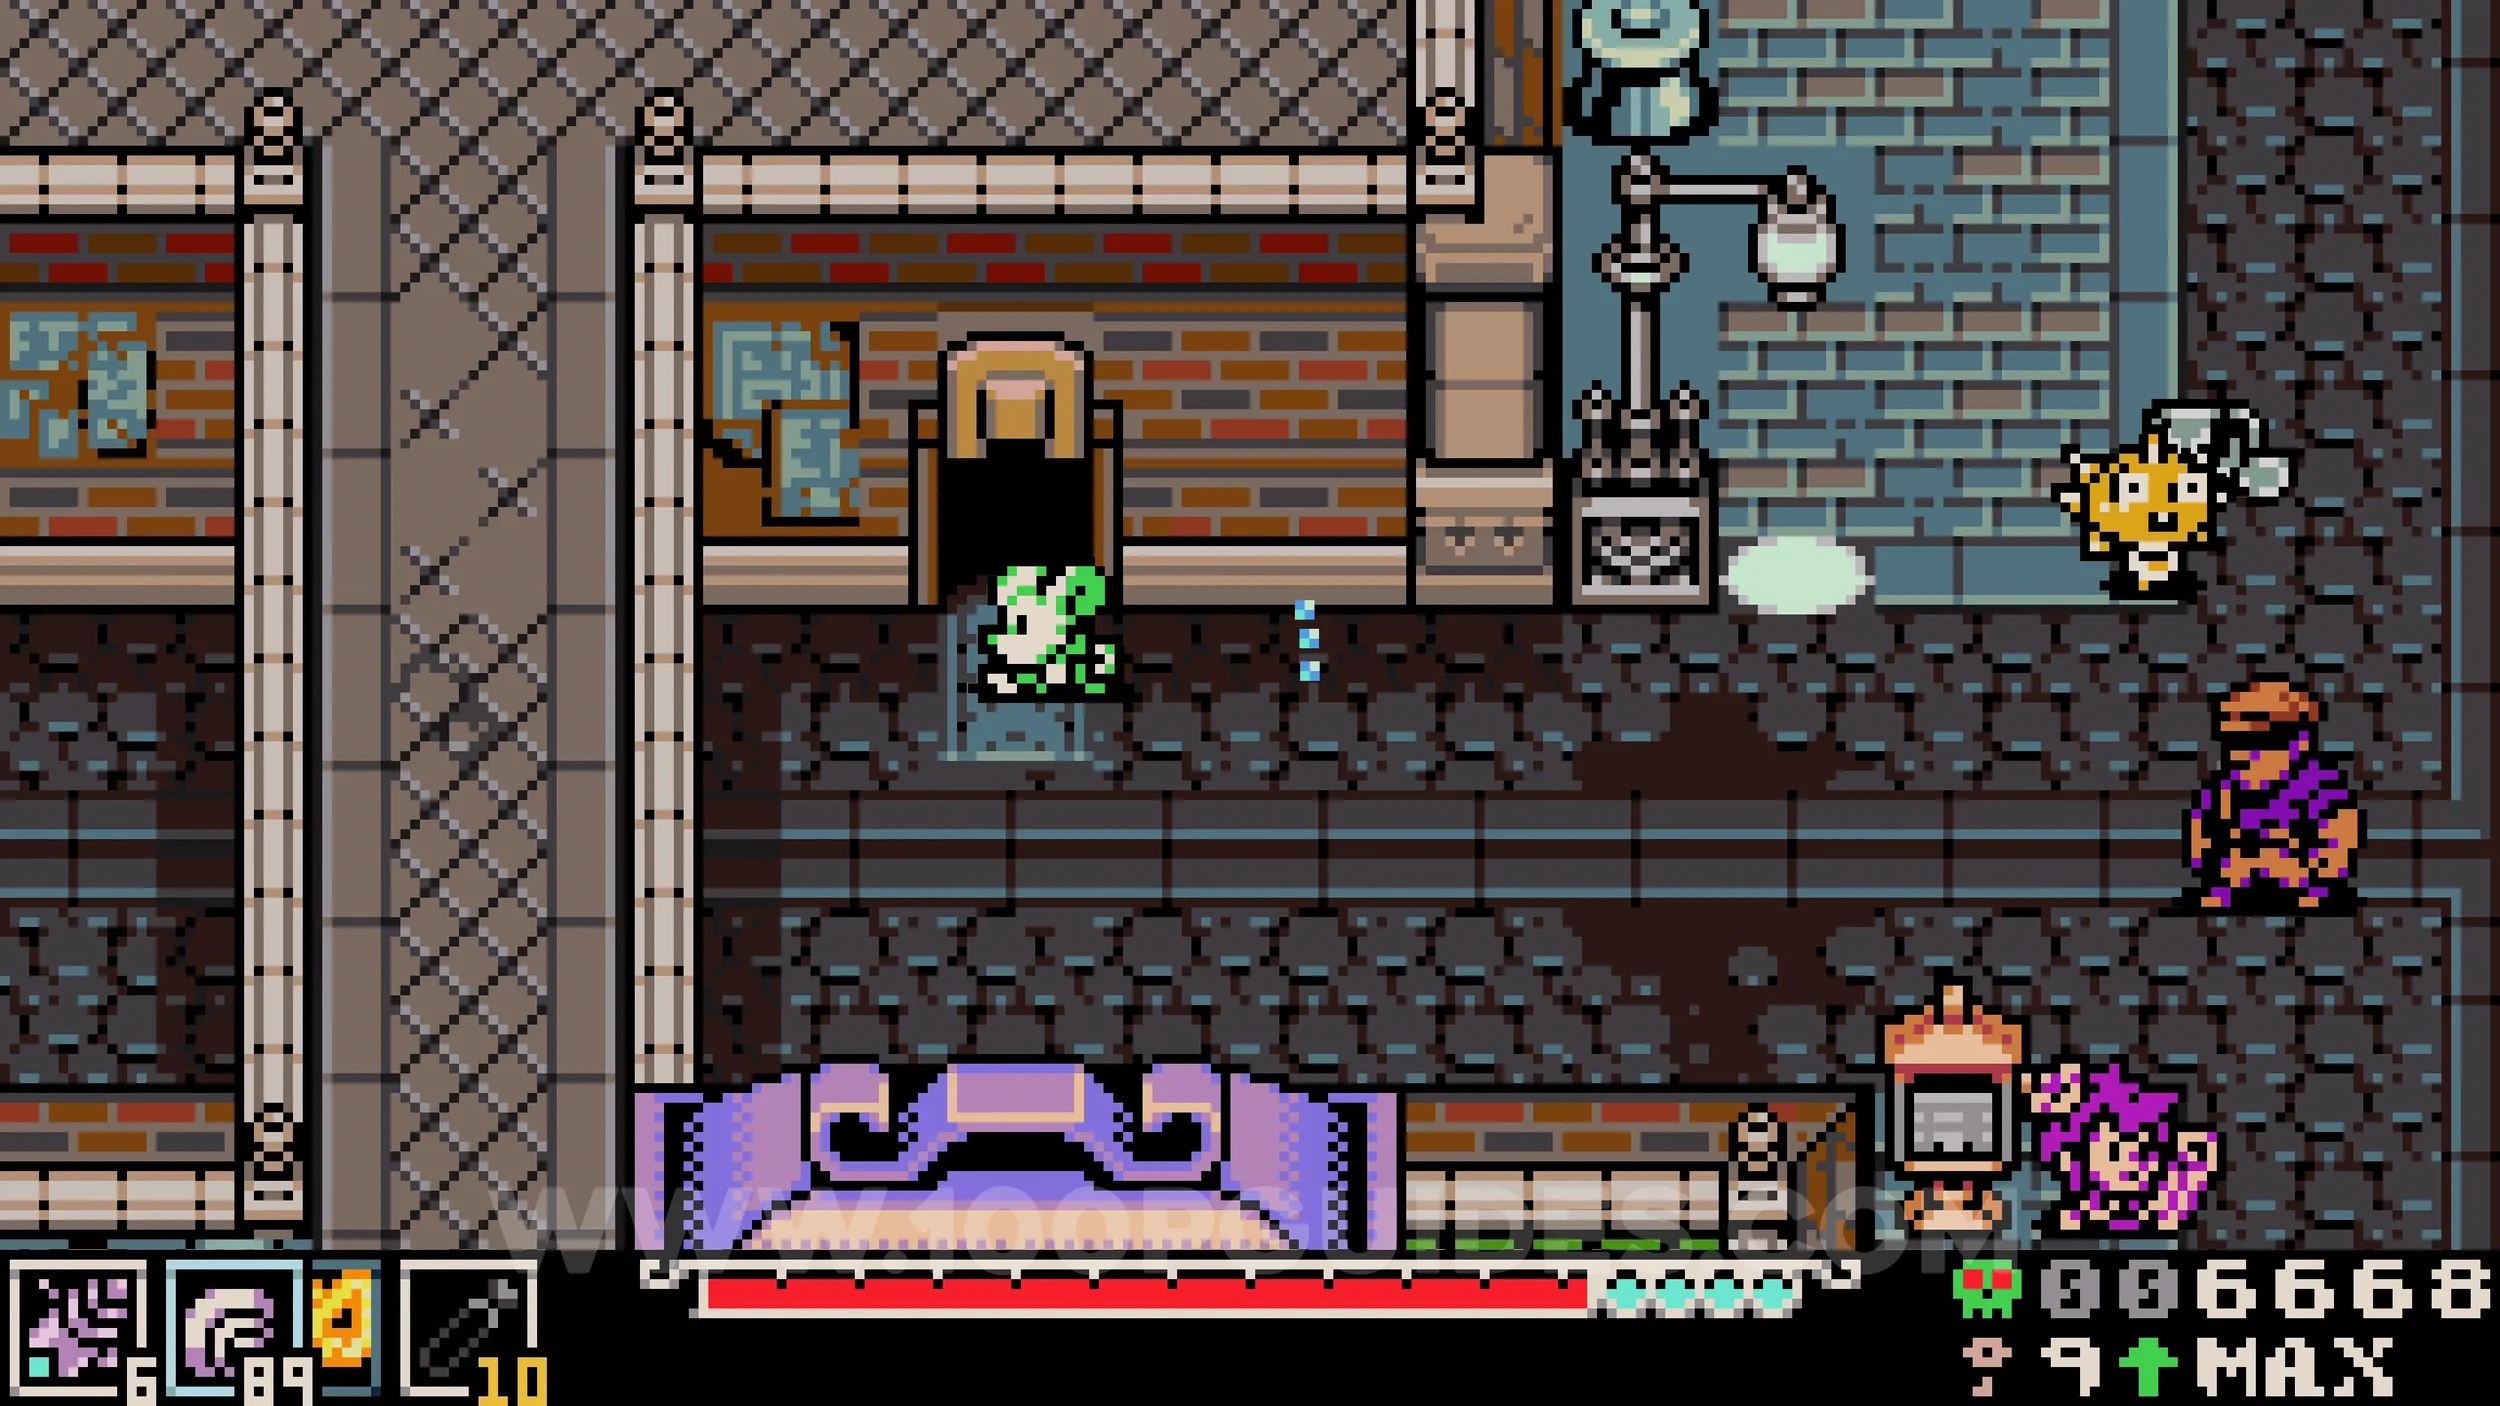
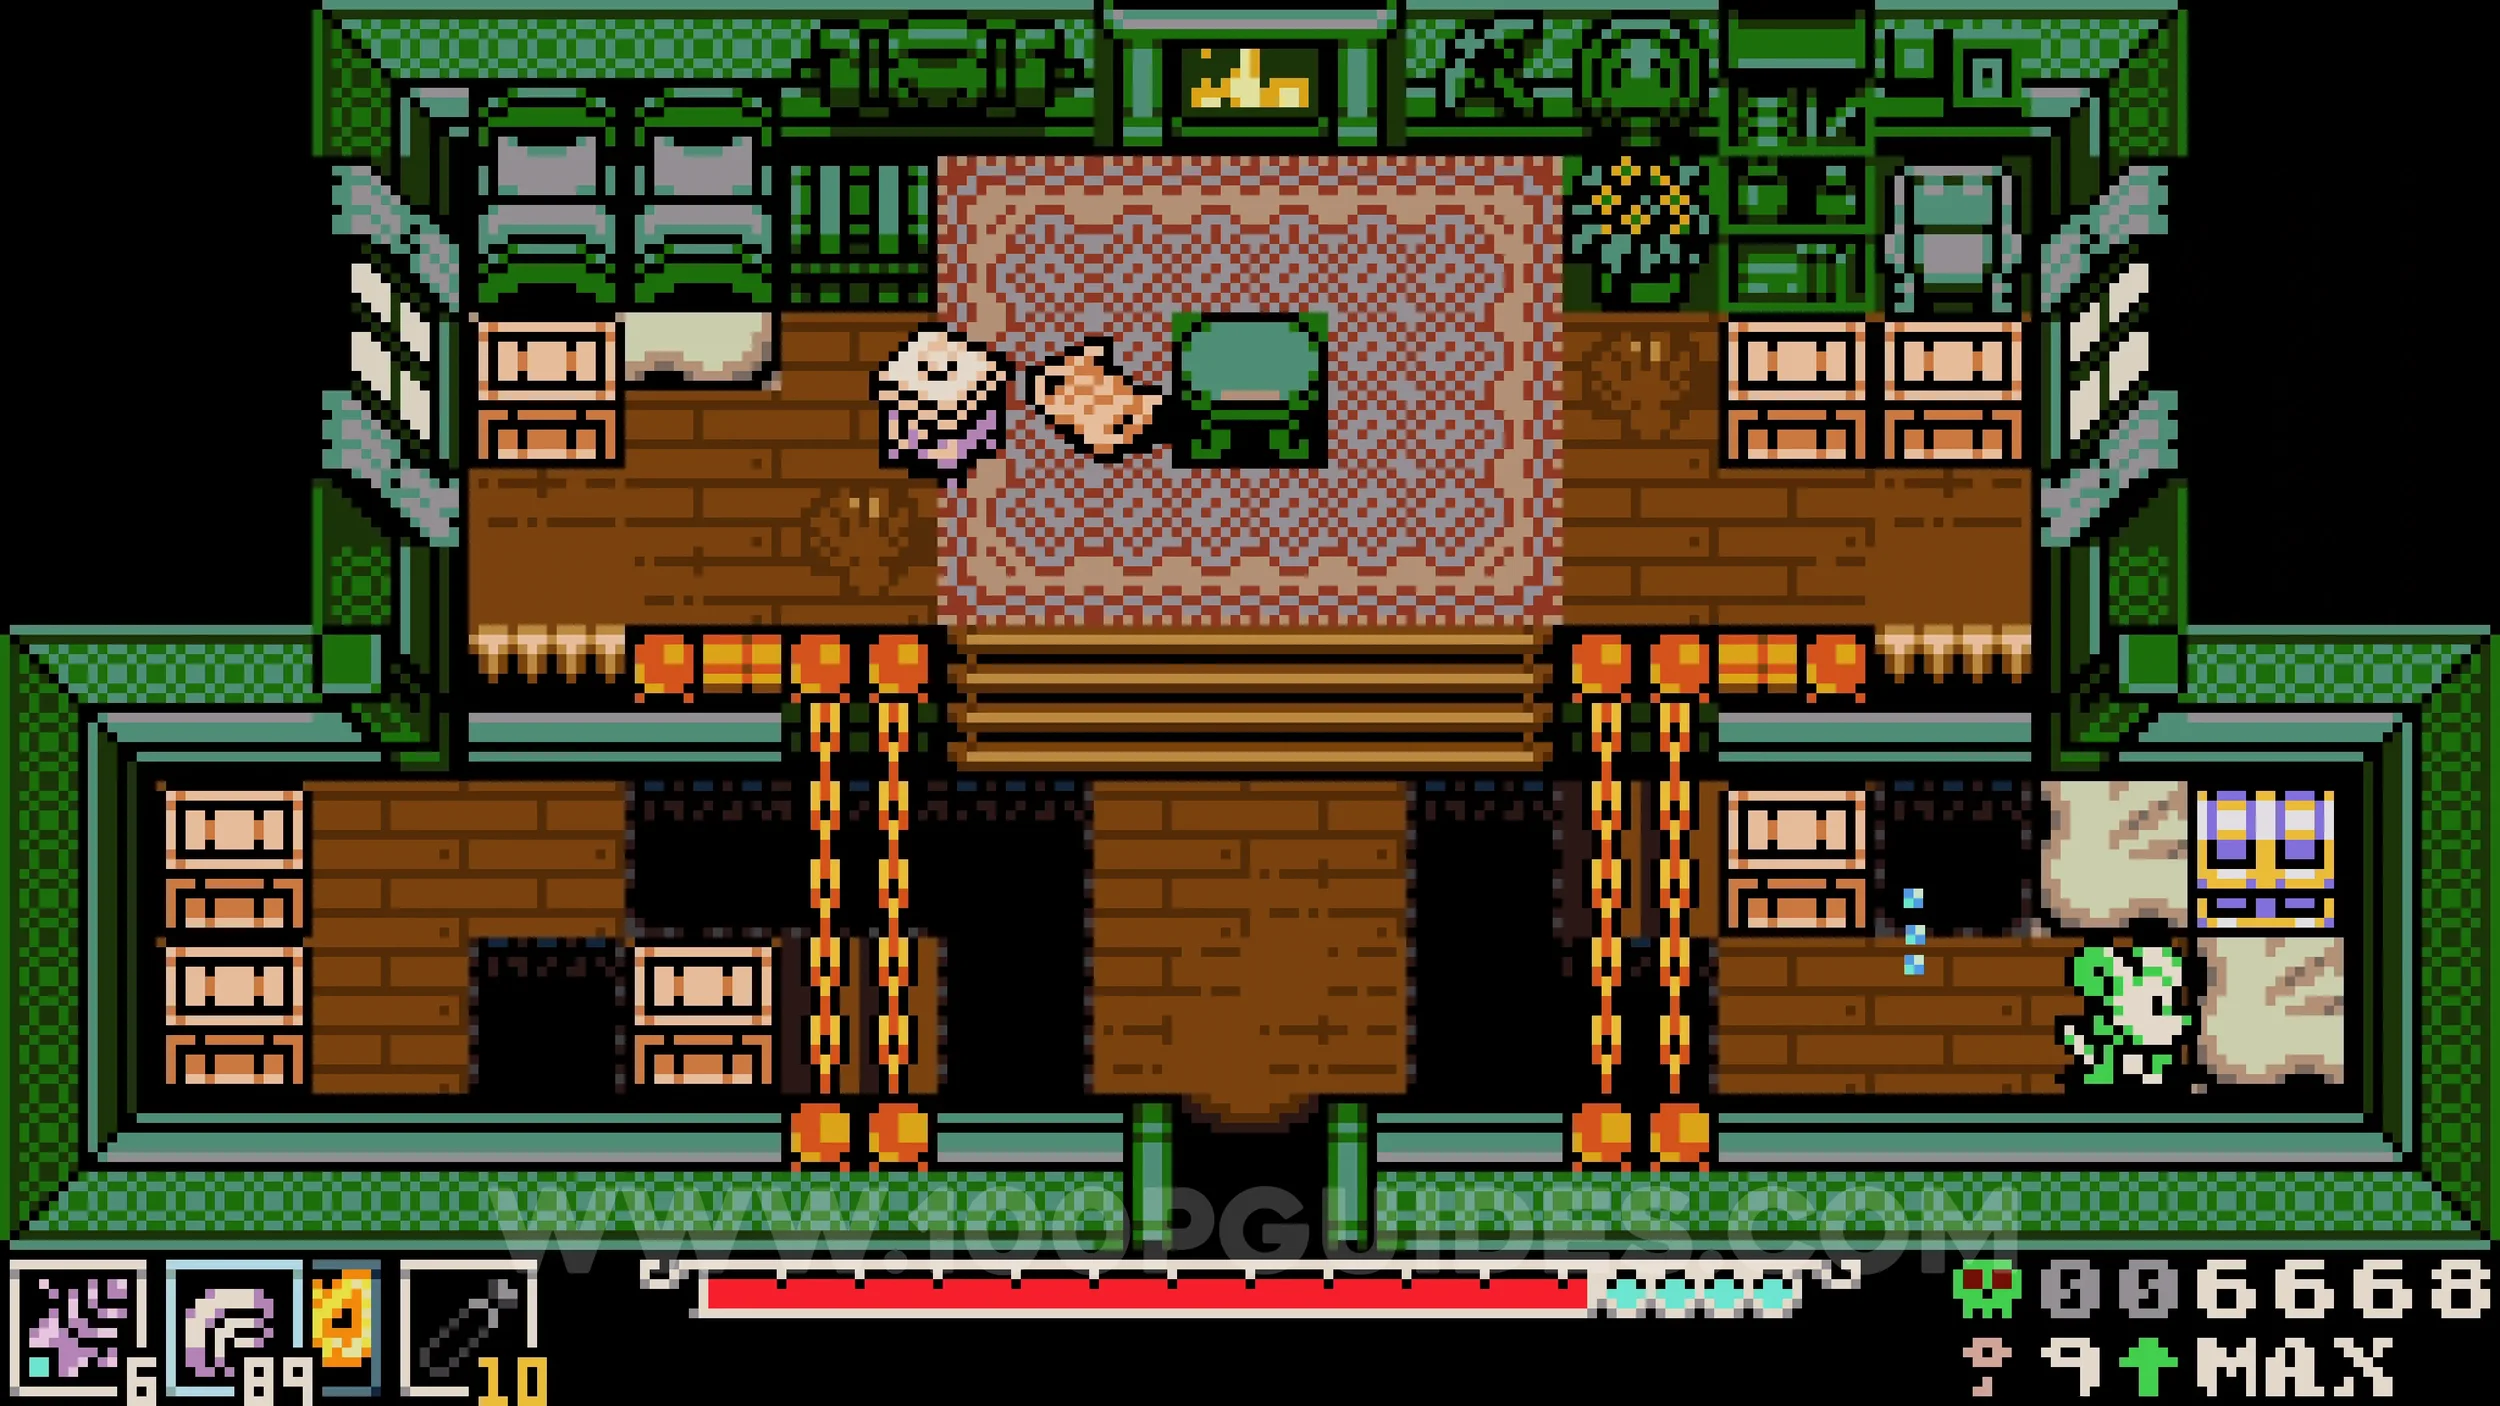
Bonestone #10. Found in the chest to the left of the train station entrance. Use a sidearm to break it open, then burrow under to reach it.
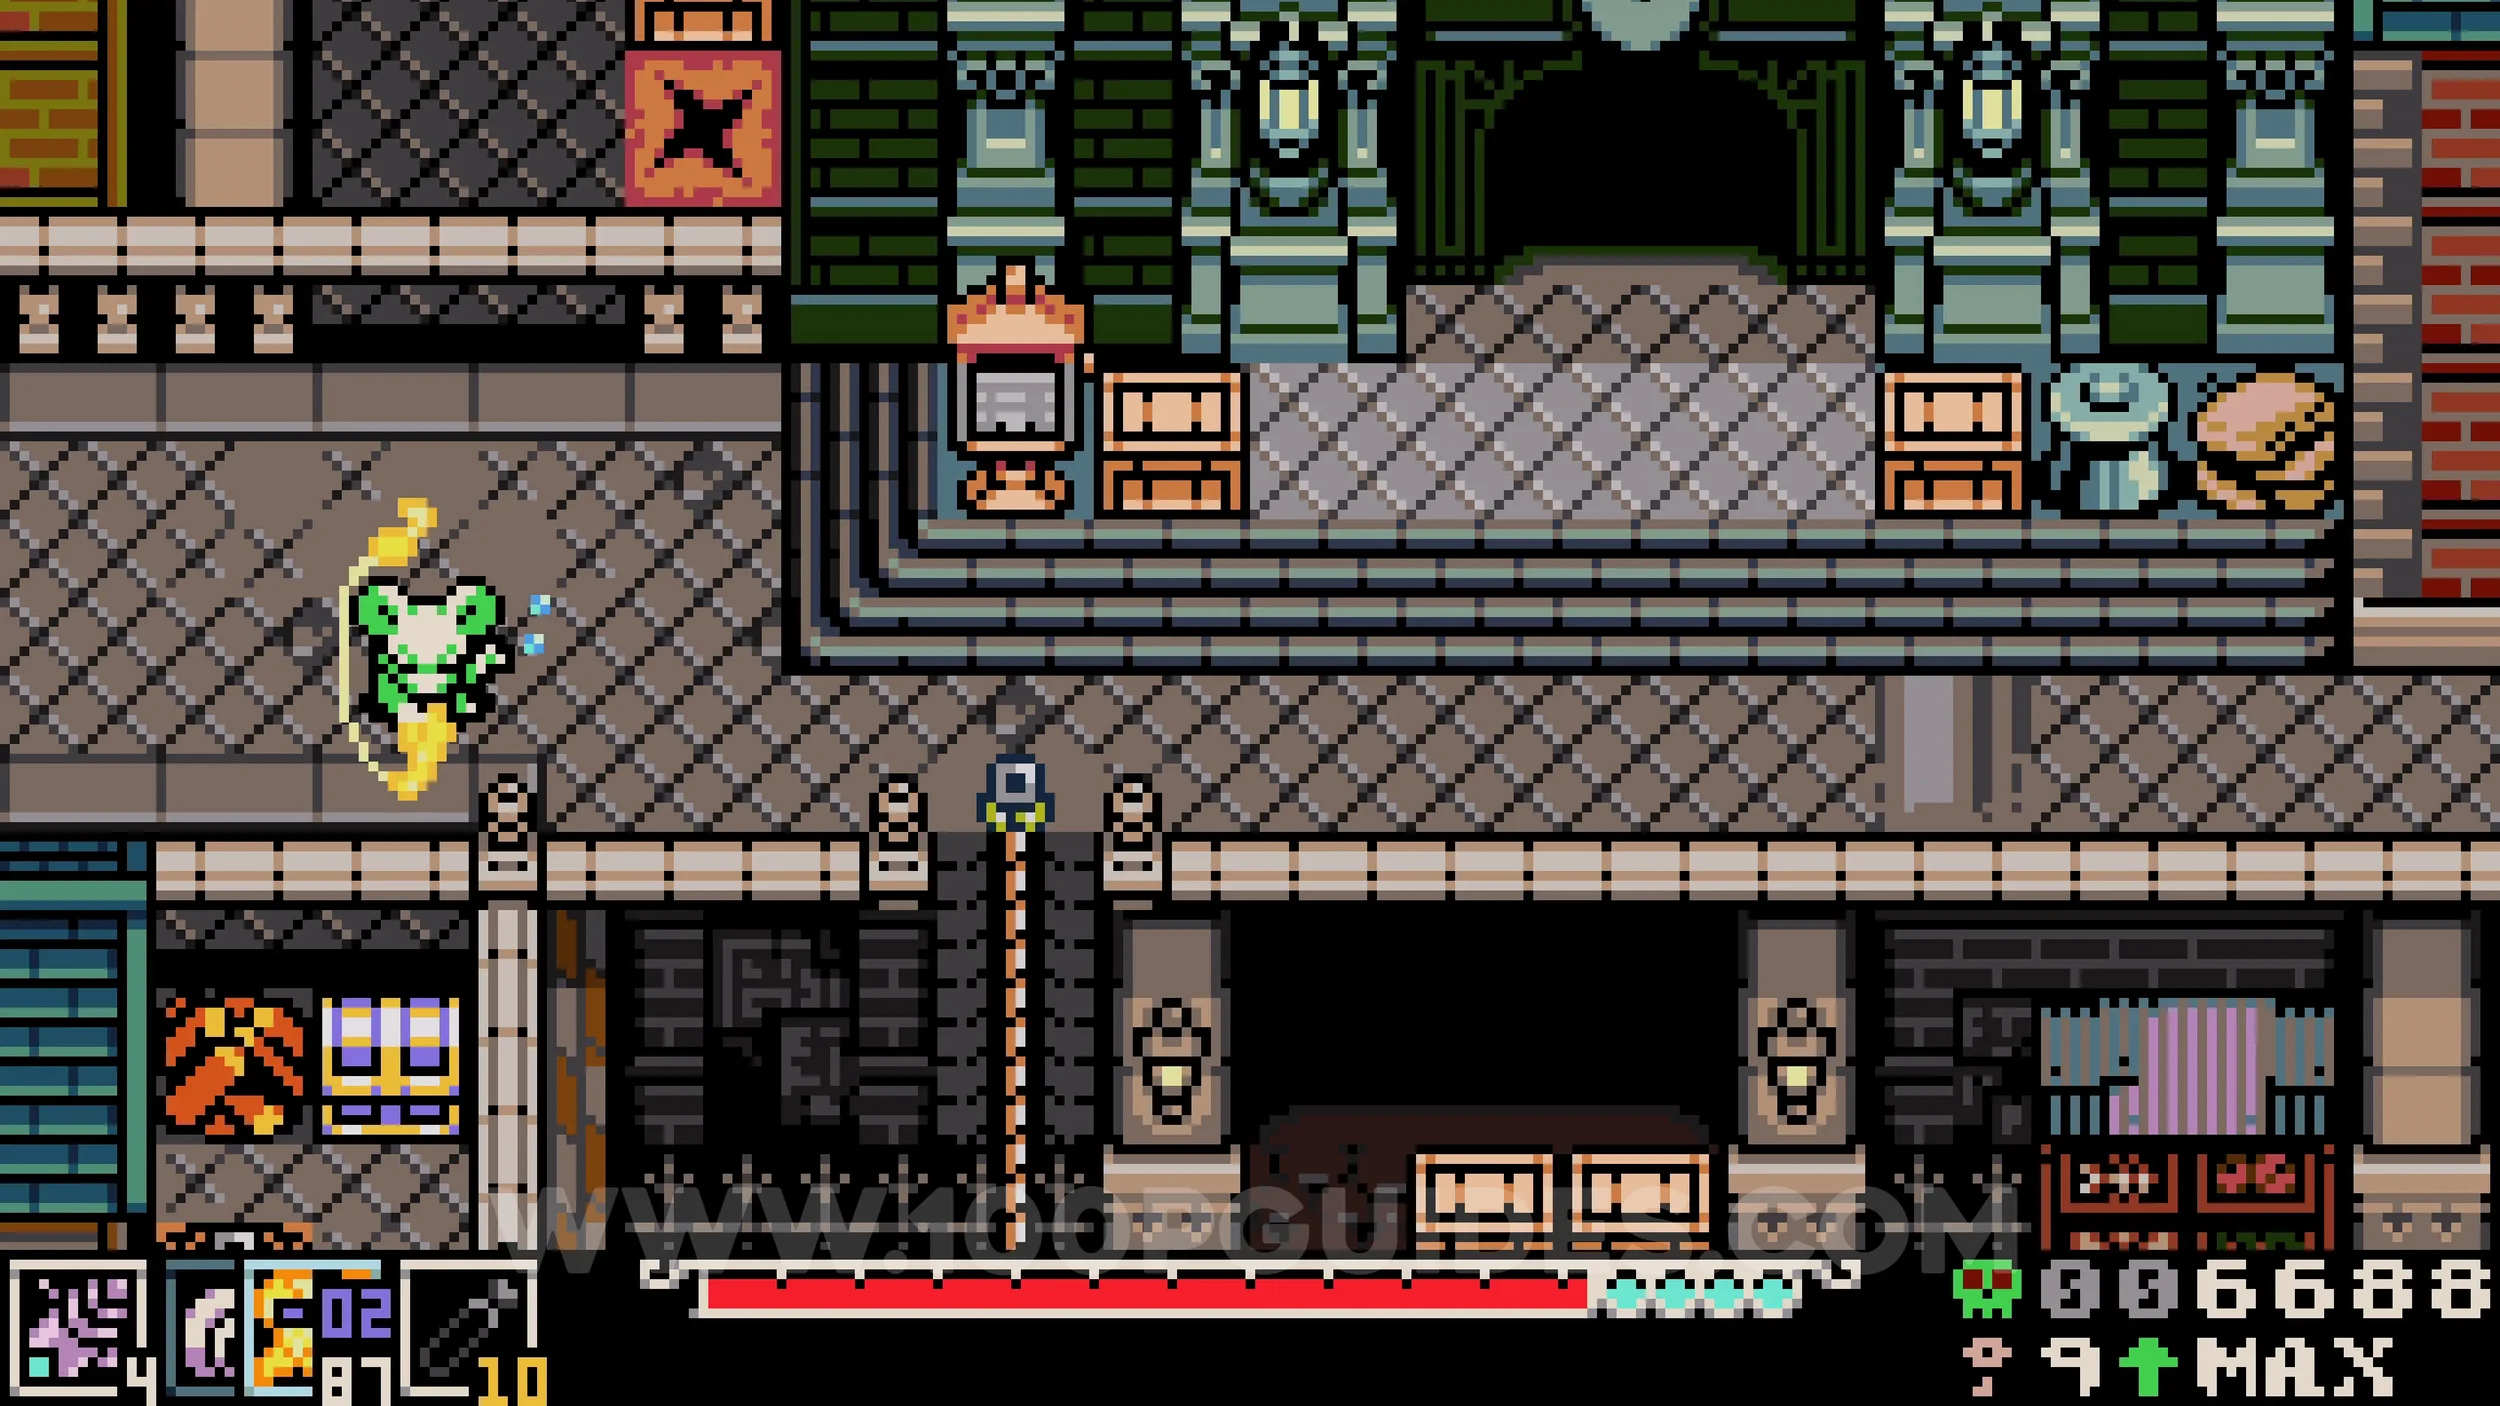
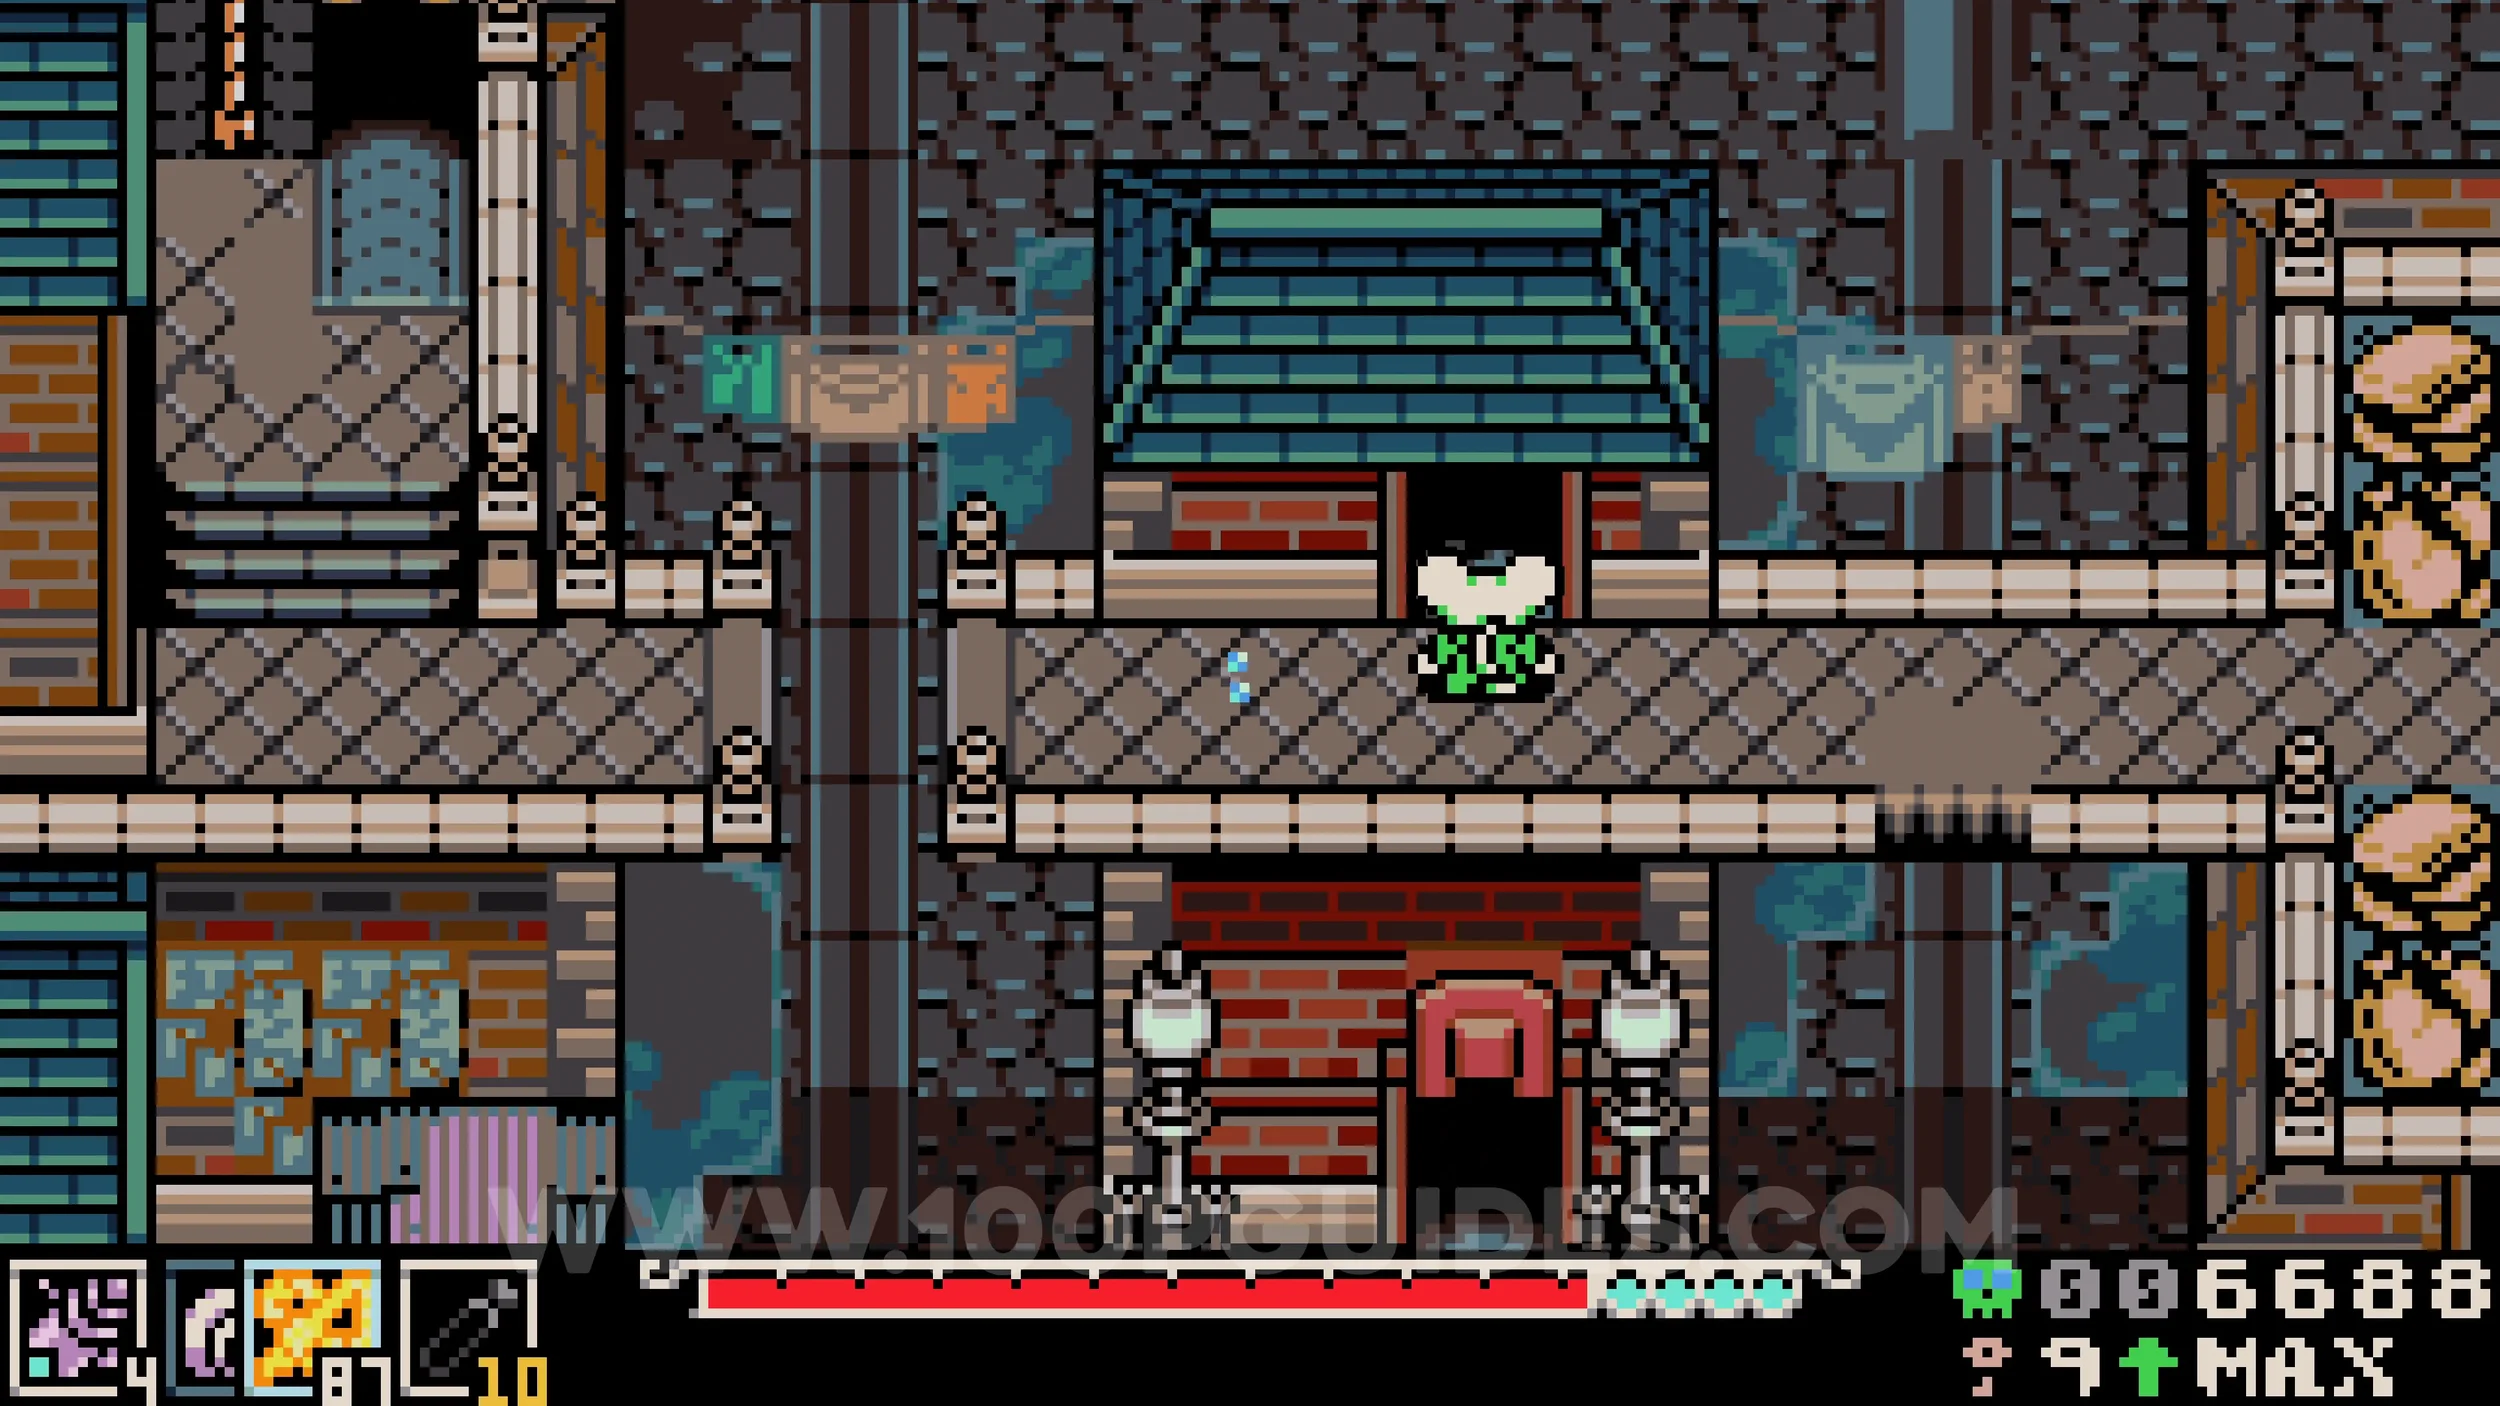
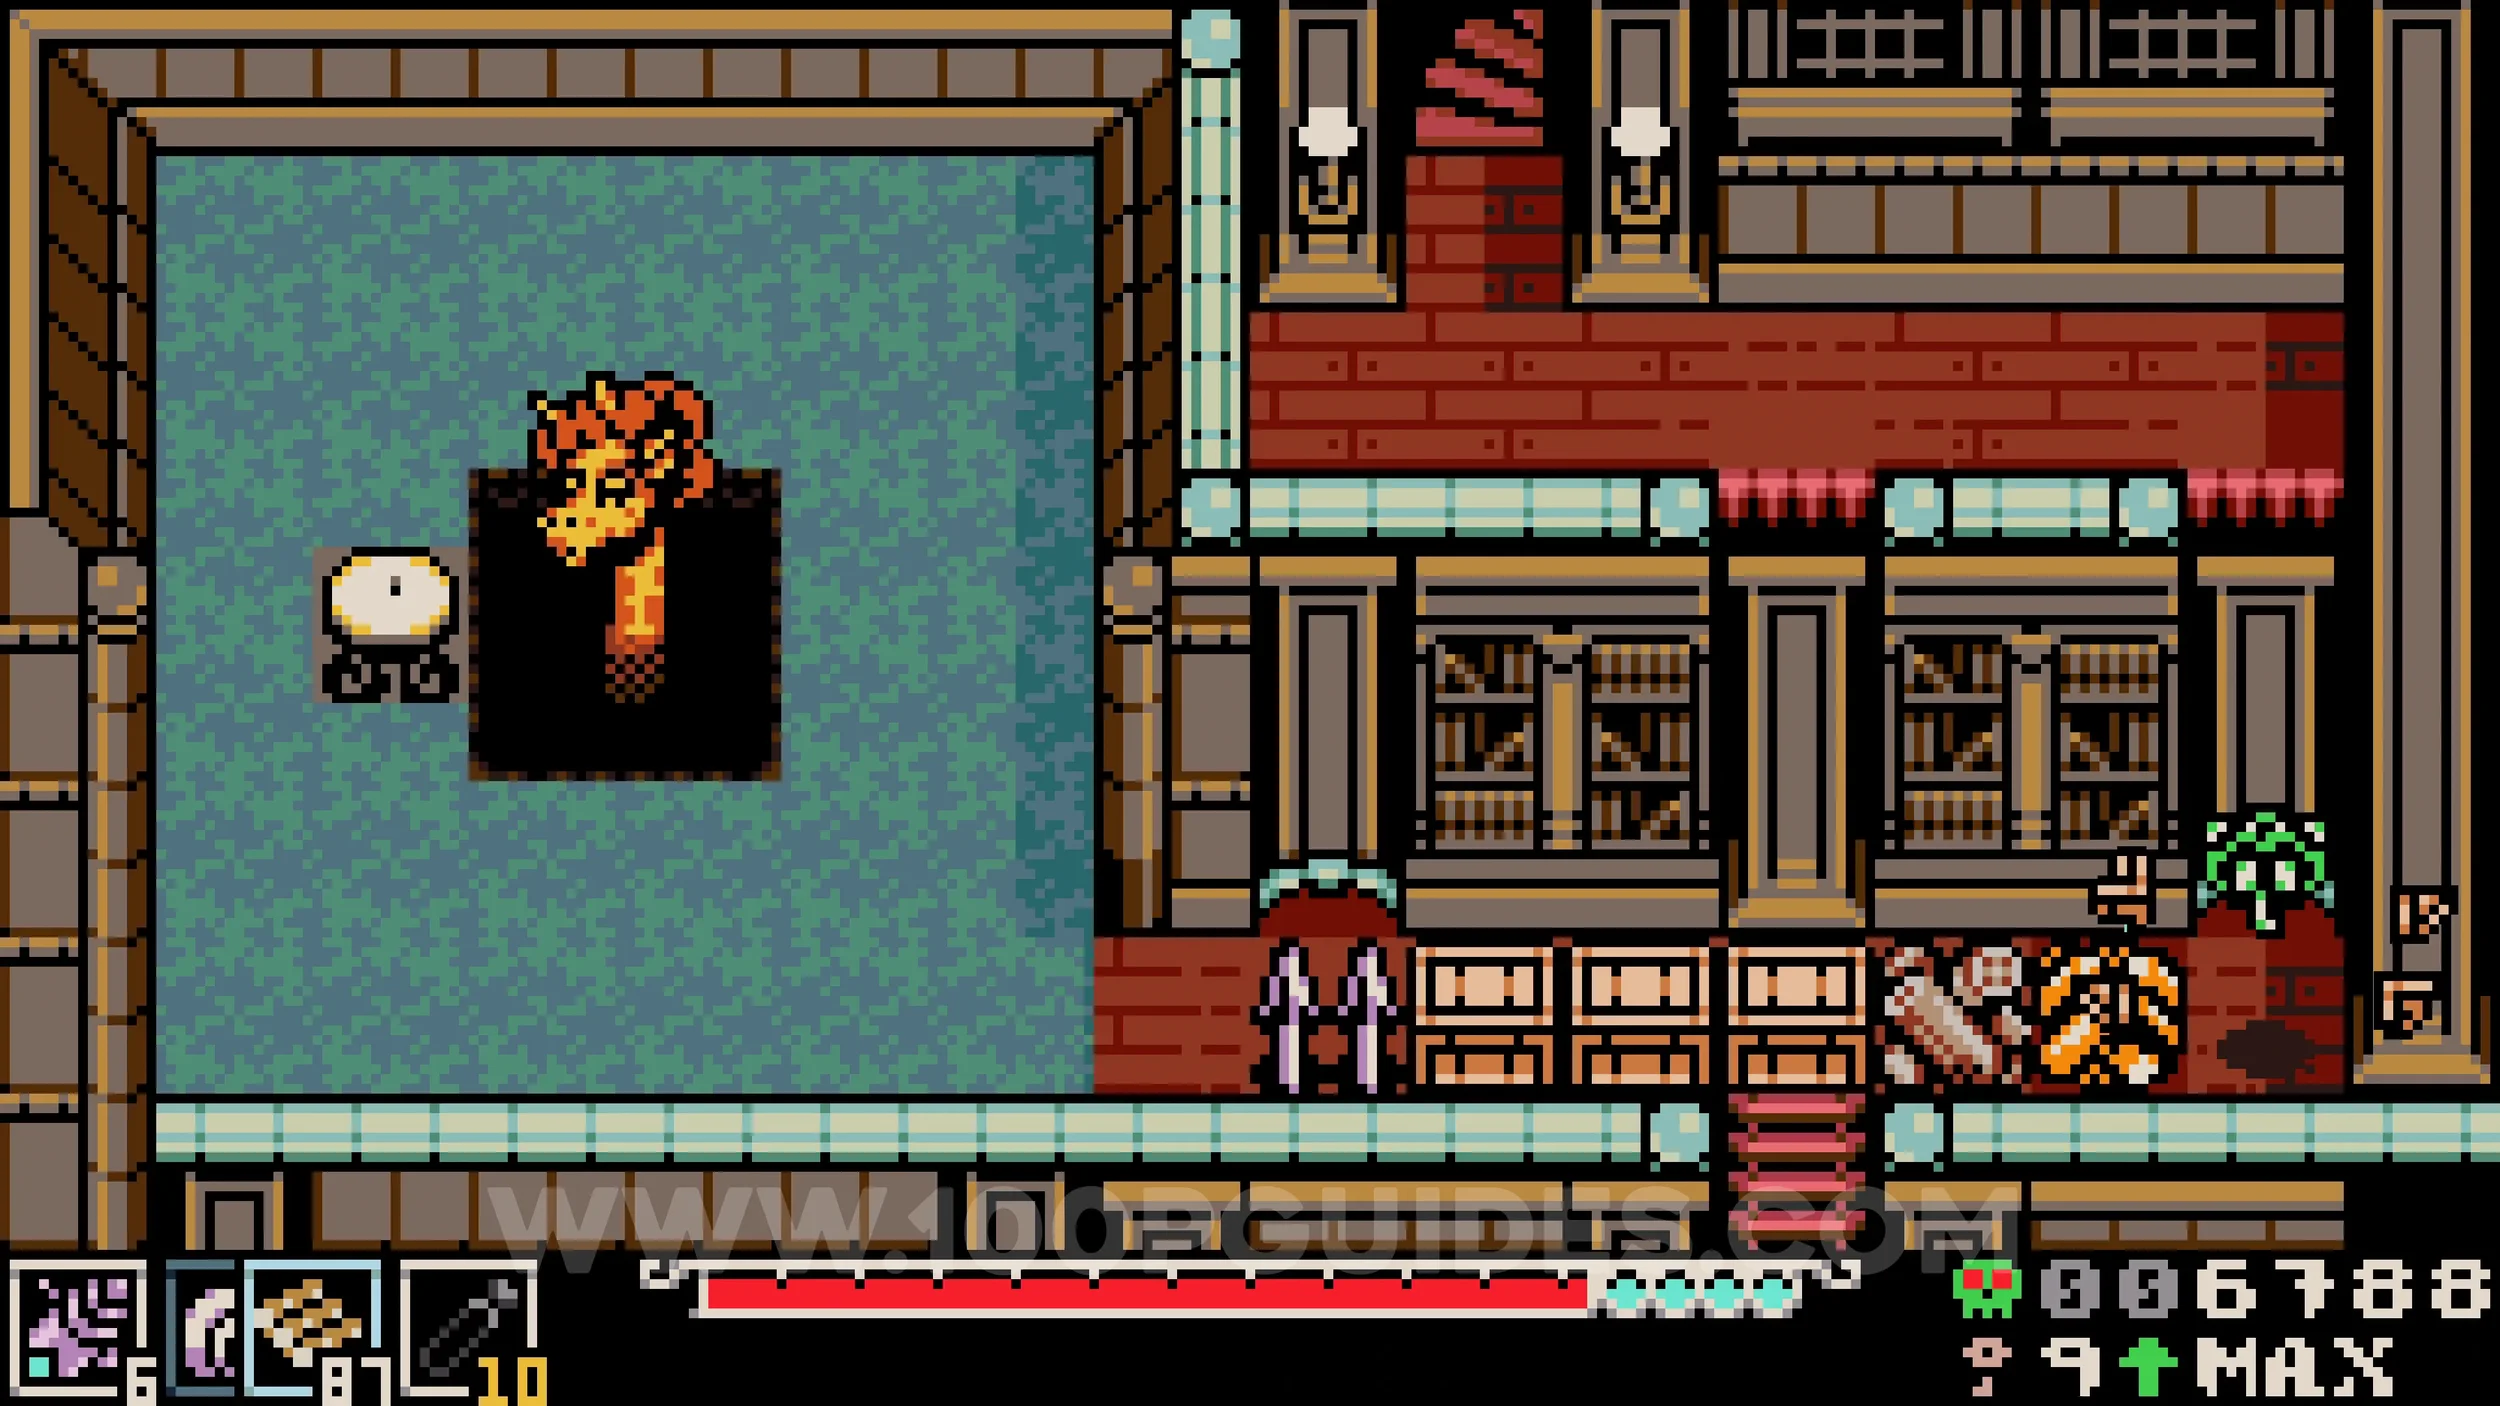
Bonestone #11. From the previous chest, continue down the rope and jump over the gap on the right, then enter the house. Inside, drop down the right side, go through the hole, and press the lever to reach the giraffe, which will give you the bonestone.
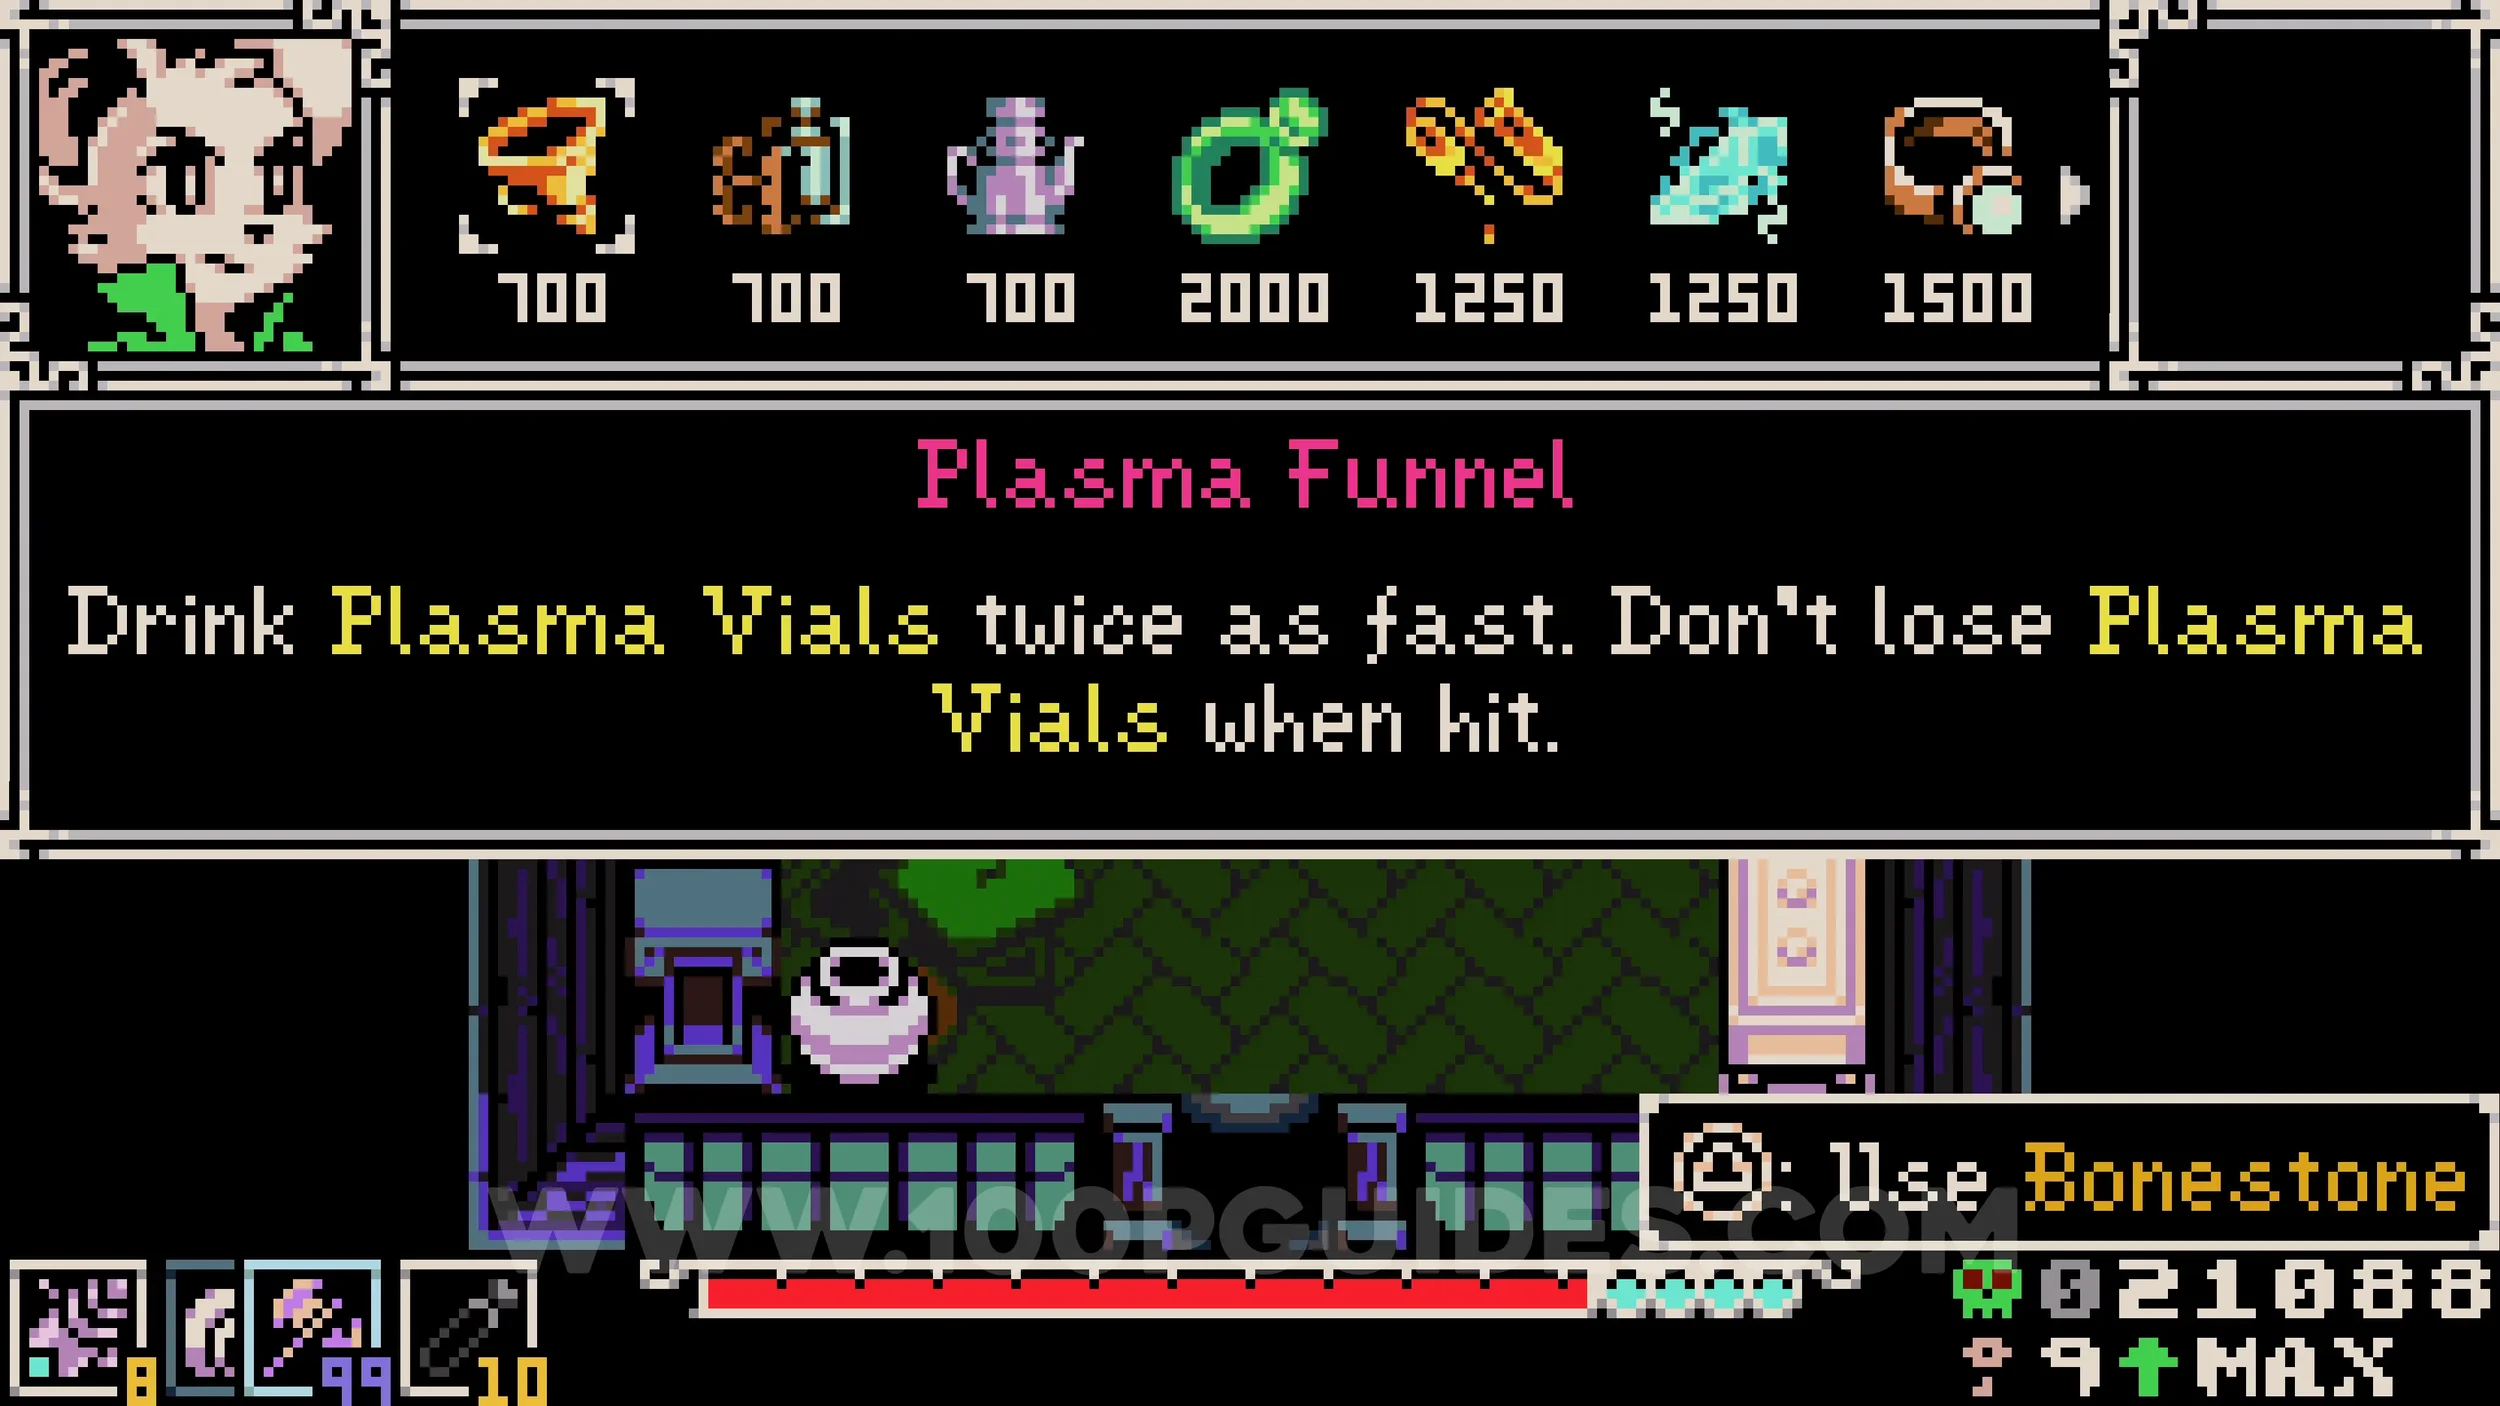
Trinket #6-14. From the building where the previous collectibles were, head right and enter the trinket shop, the purple building. All of these trinkets can be purchased here, with more stock becoming available the more trinkets you have collected. Once you have 20, all trinkets will be available. You can also purchase the trinket for defeating the tutorial Kraken and the trinket for saving the school kids in Septemburg here if you missed them earlier.
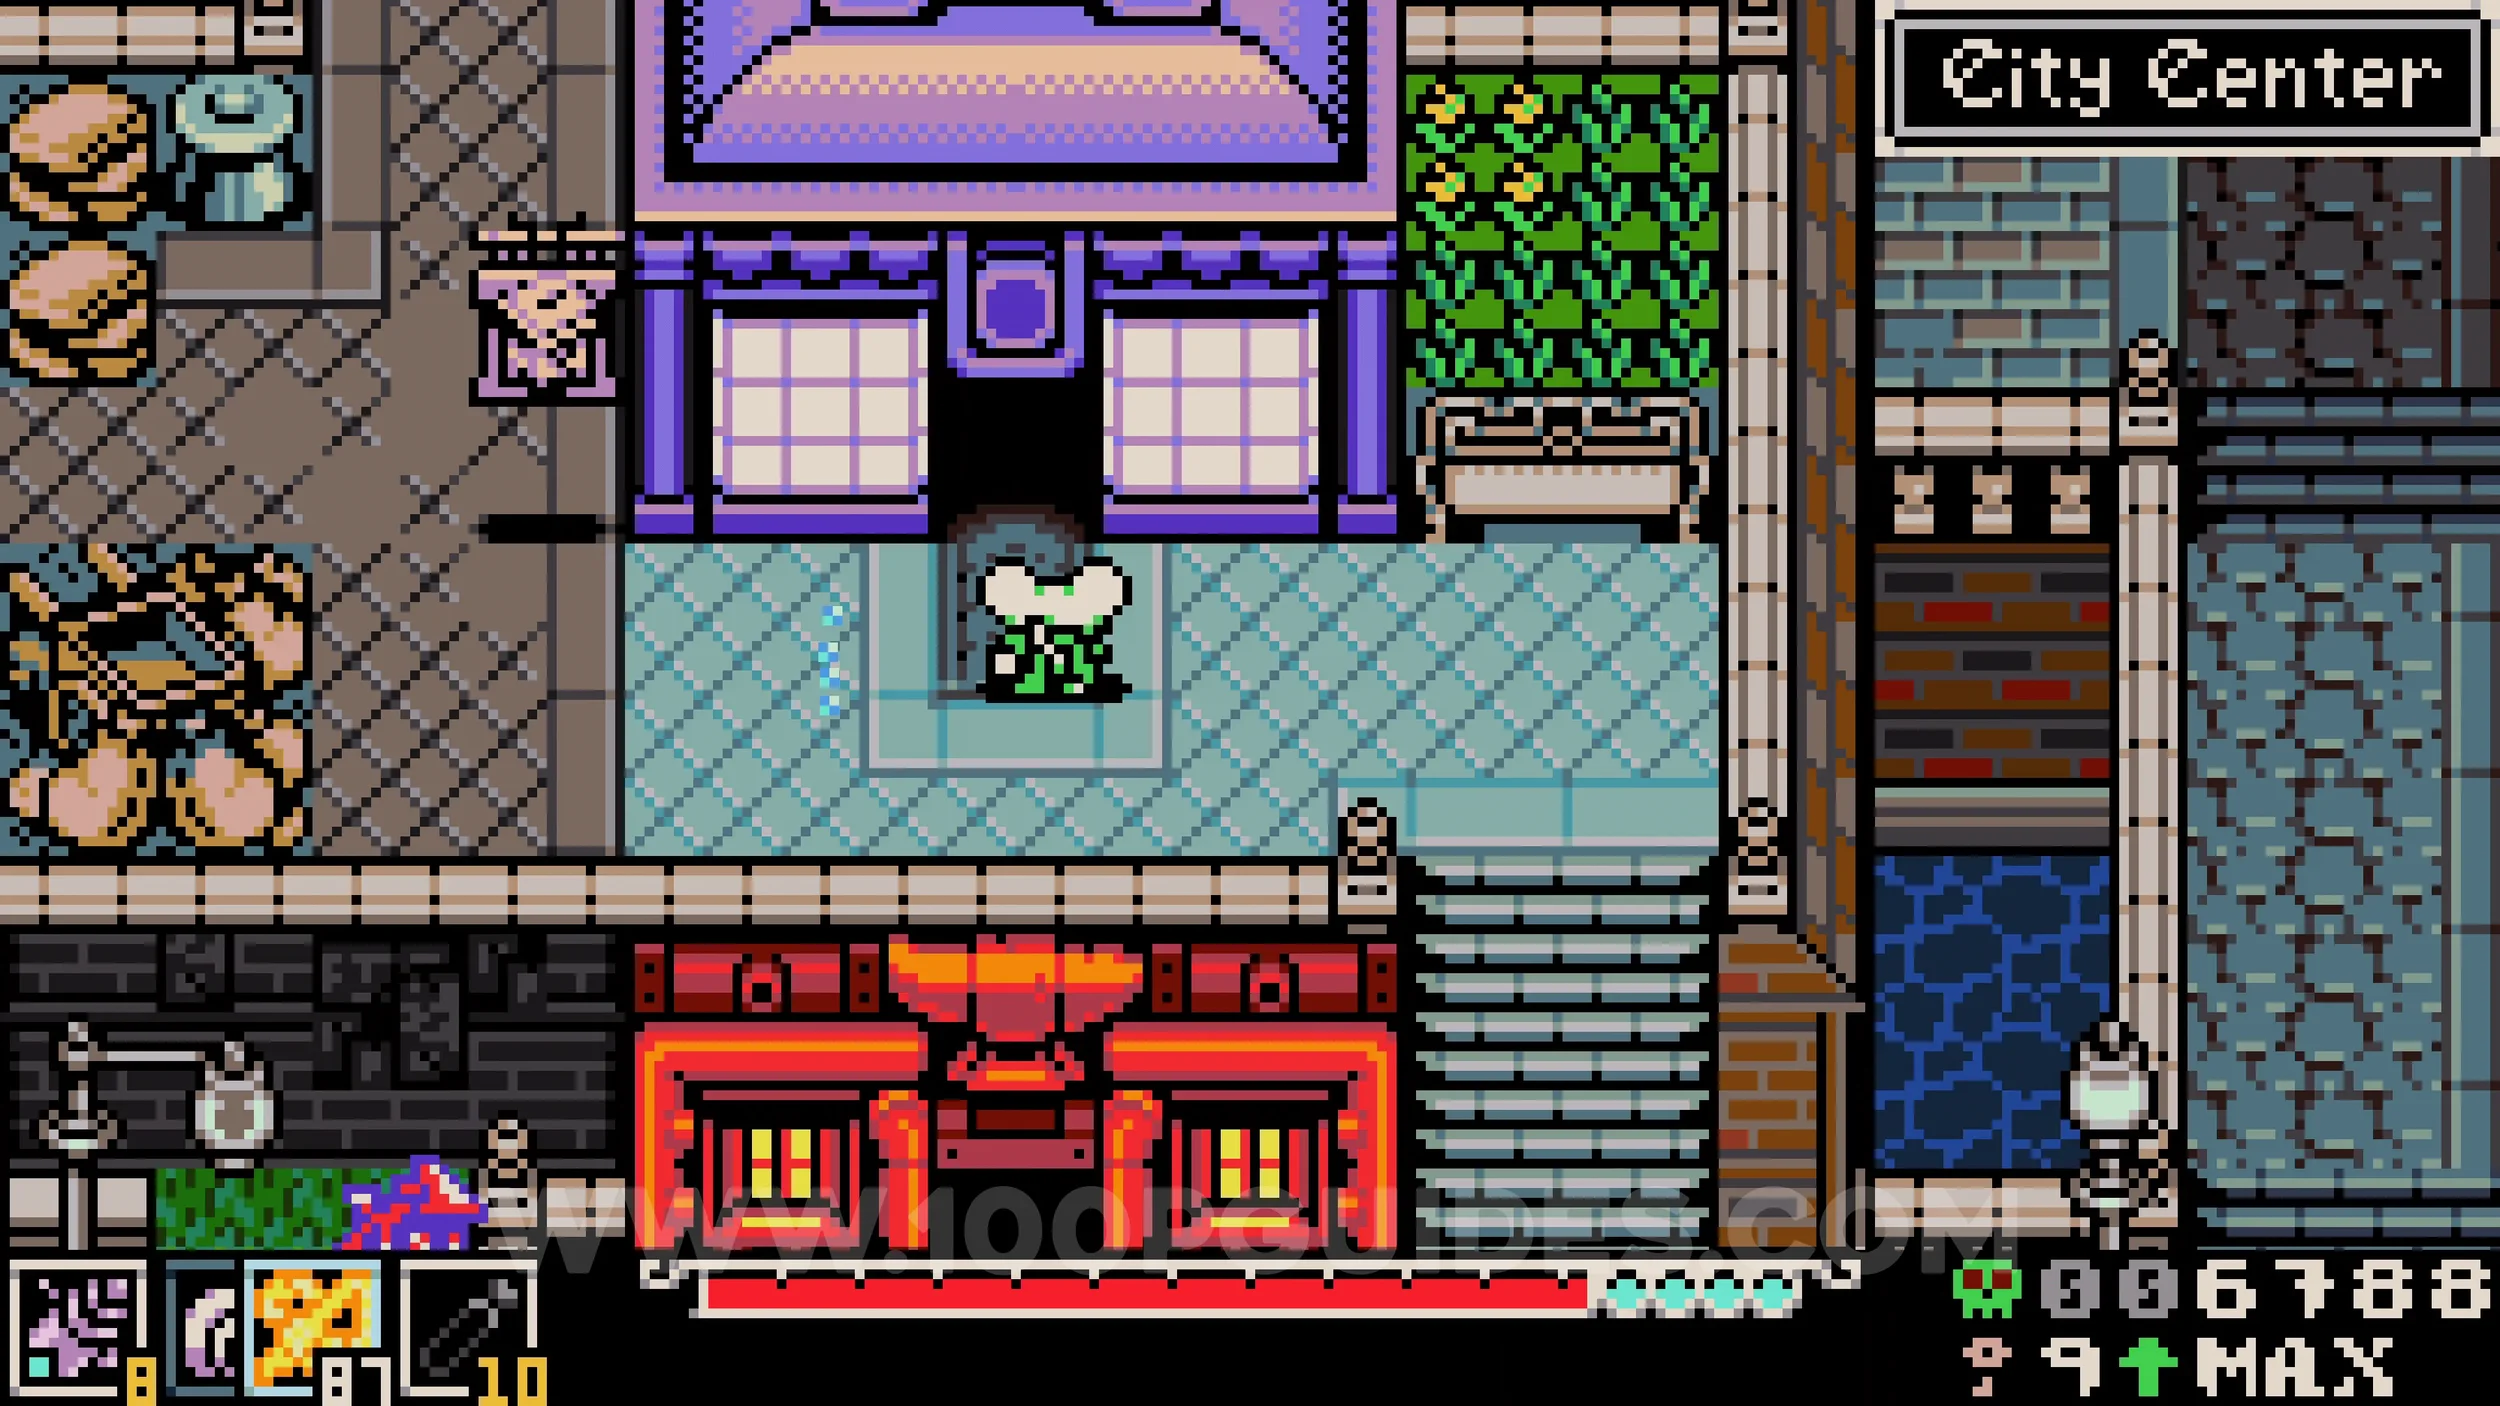
Kear #12. Hit the merchant in the trinket shop on the head until it is spinning at full speed, then sneak into the basement through the trapdoor in the top left corner. Speak to the NPC in the cage to receive the key.
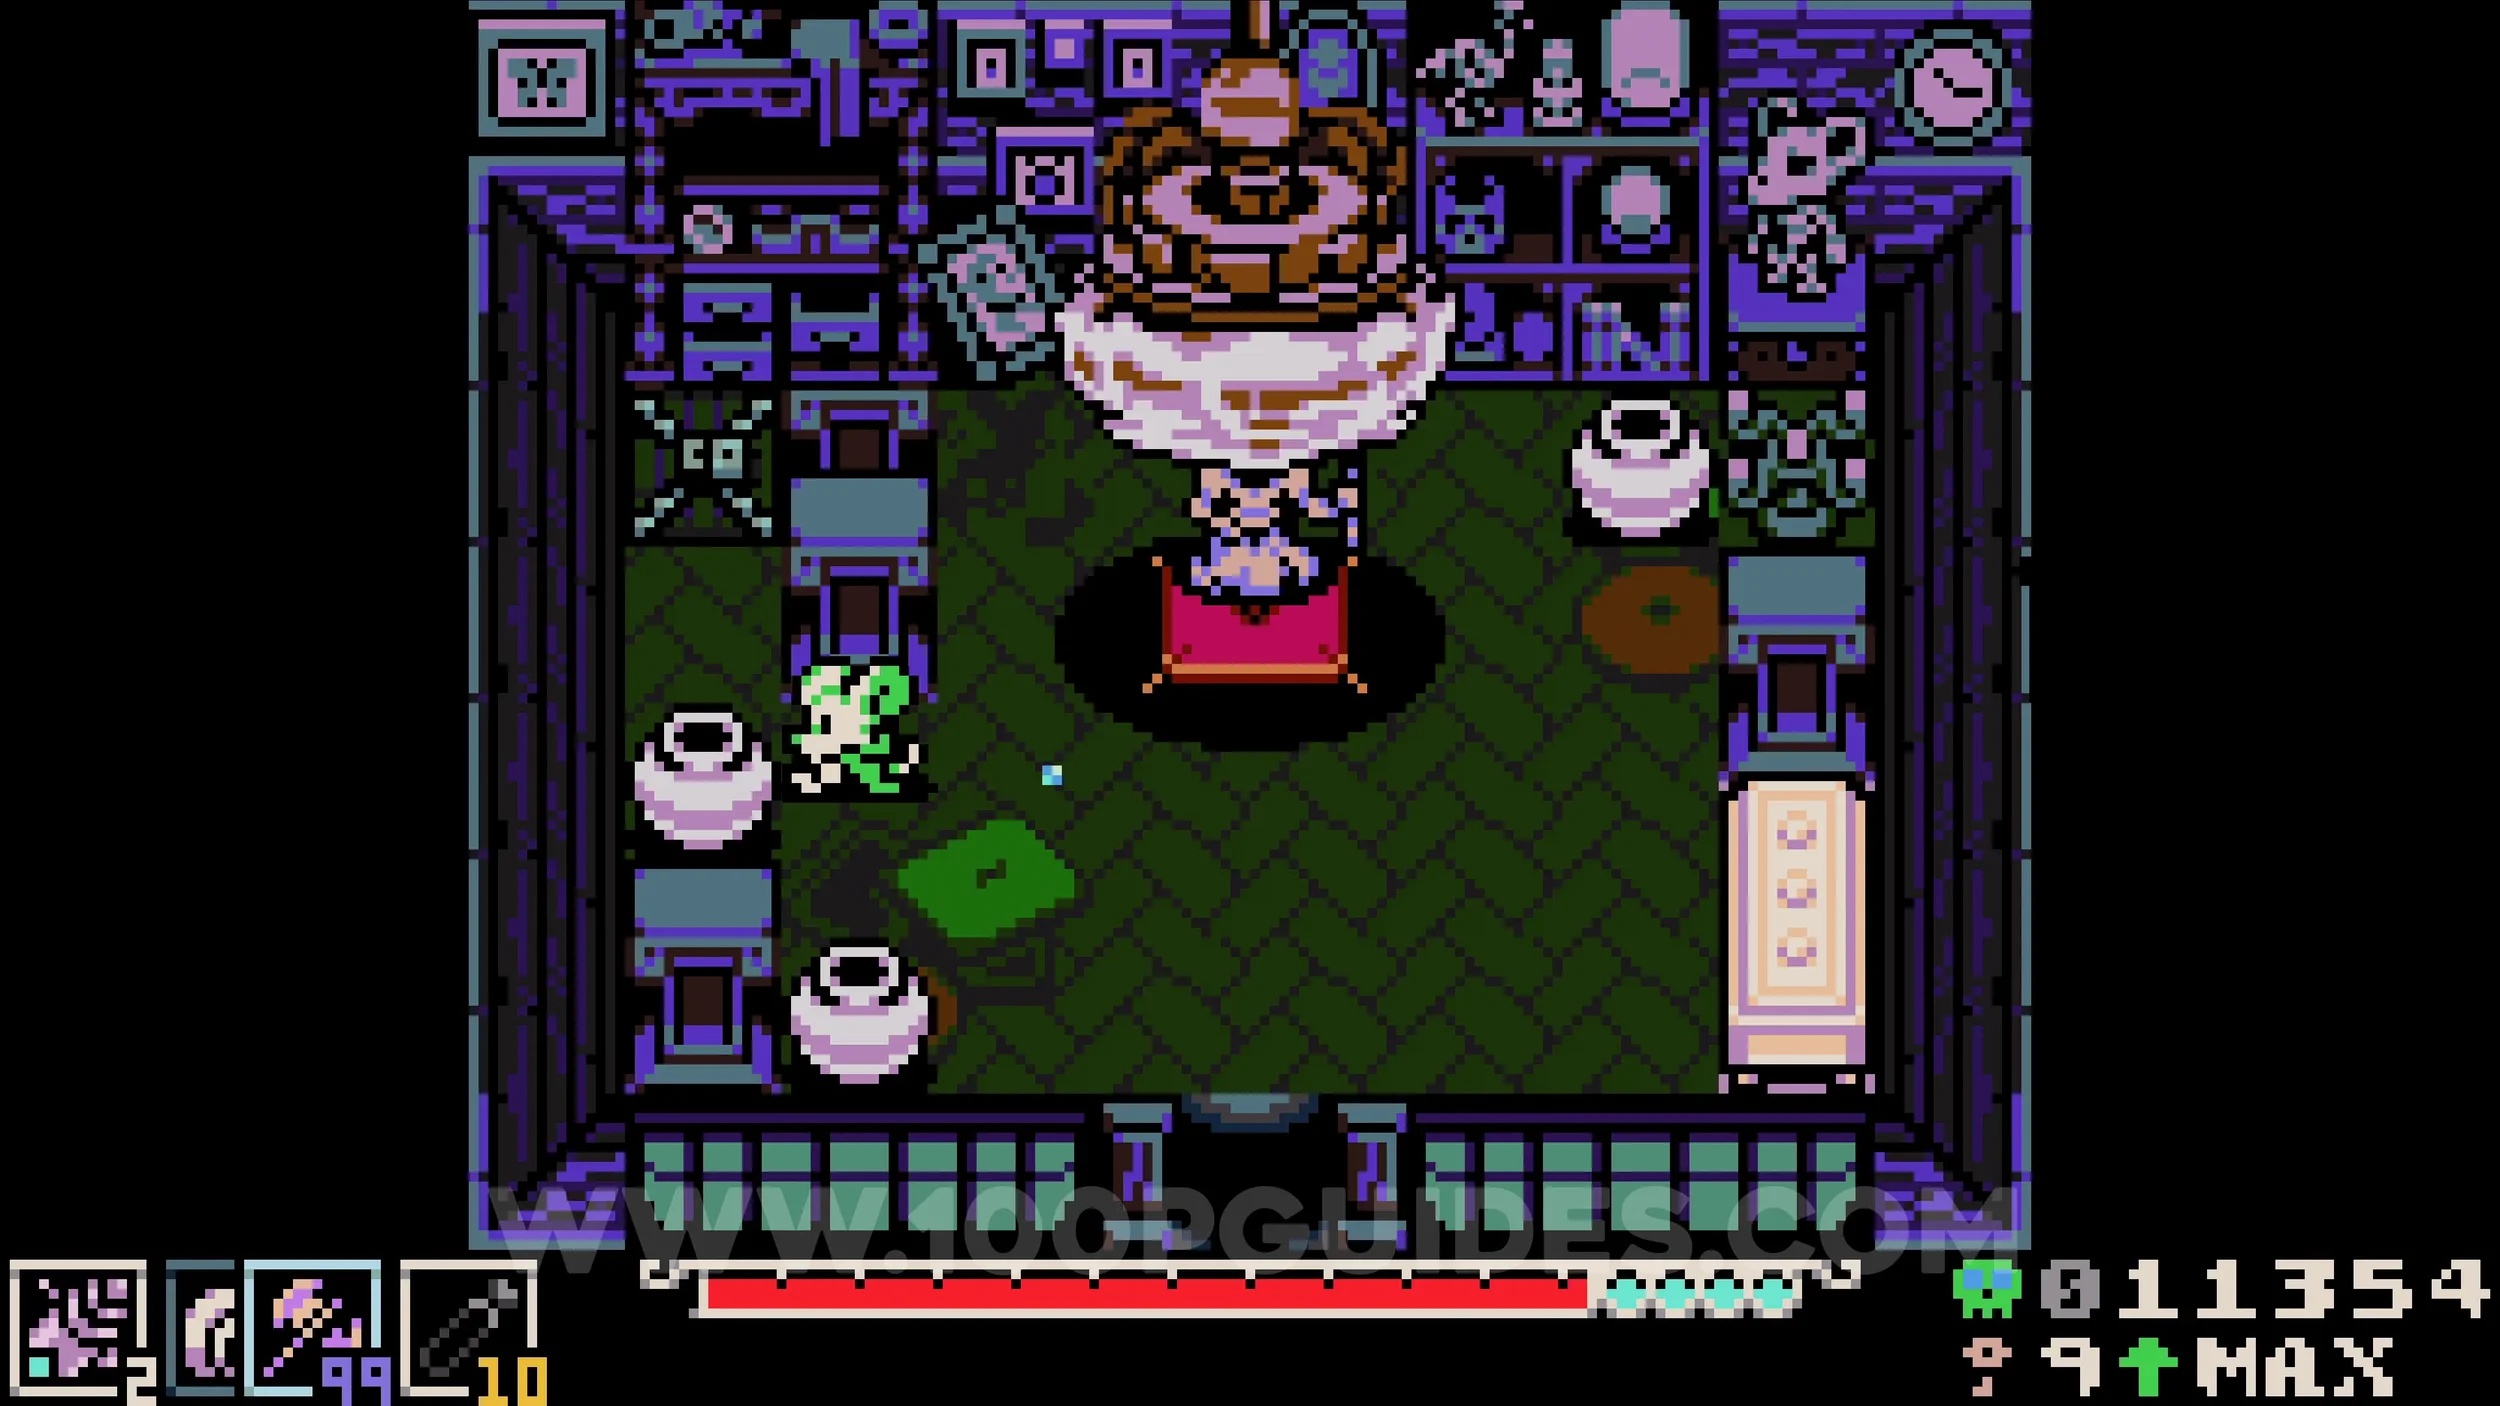
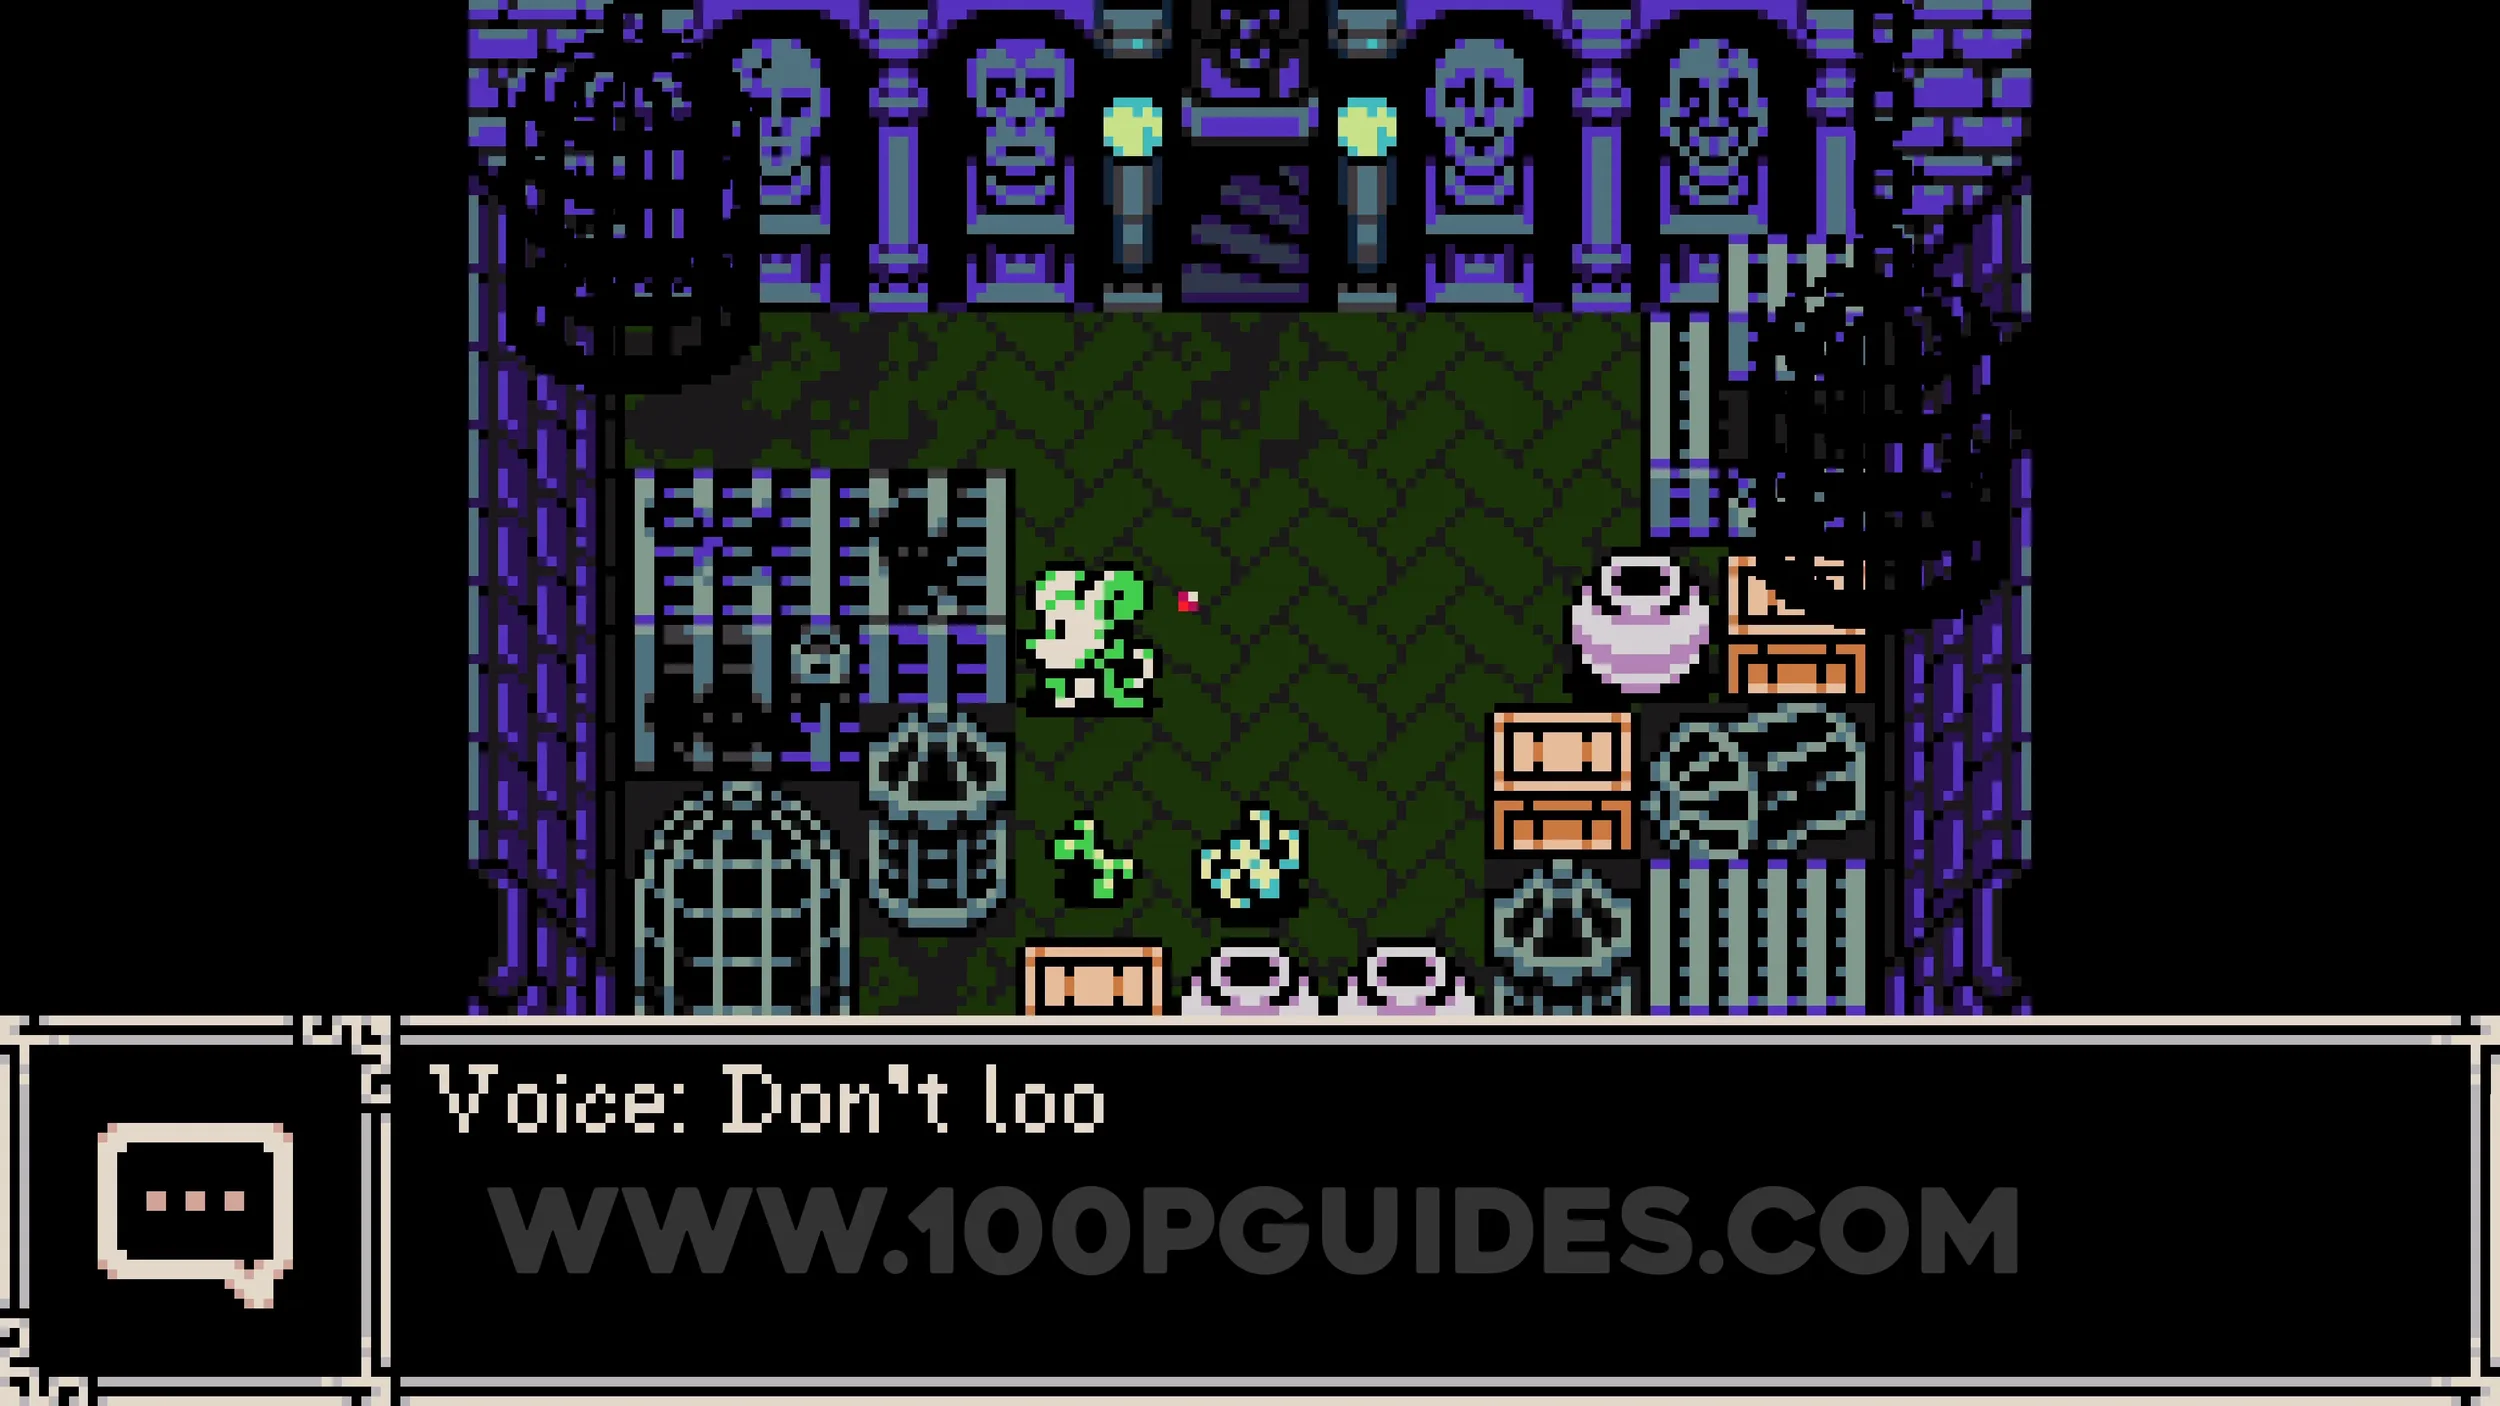
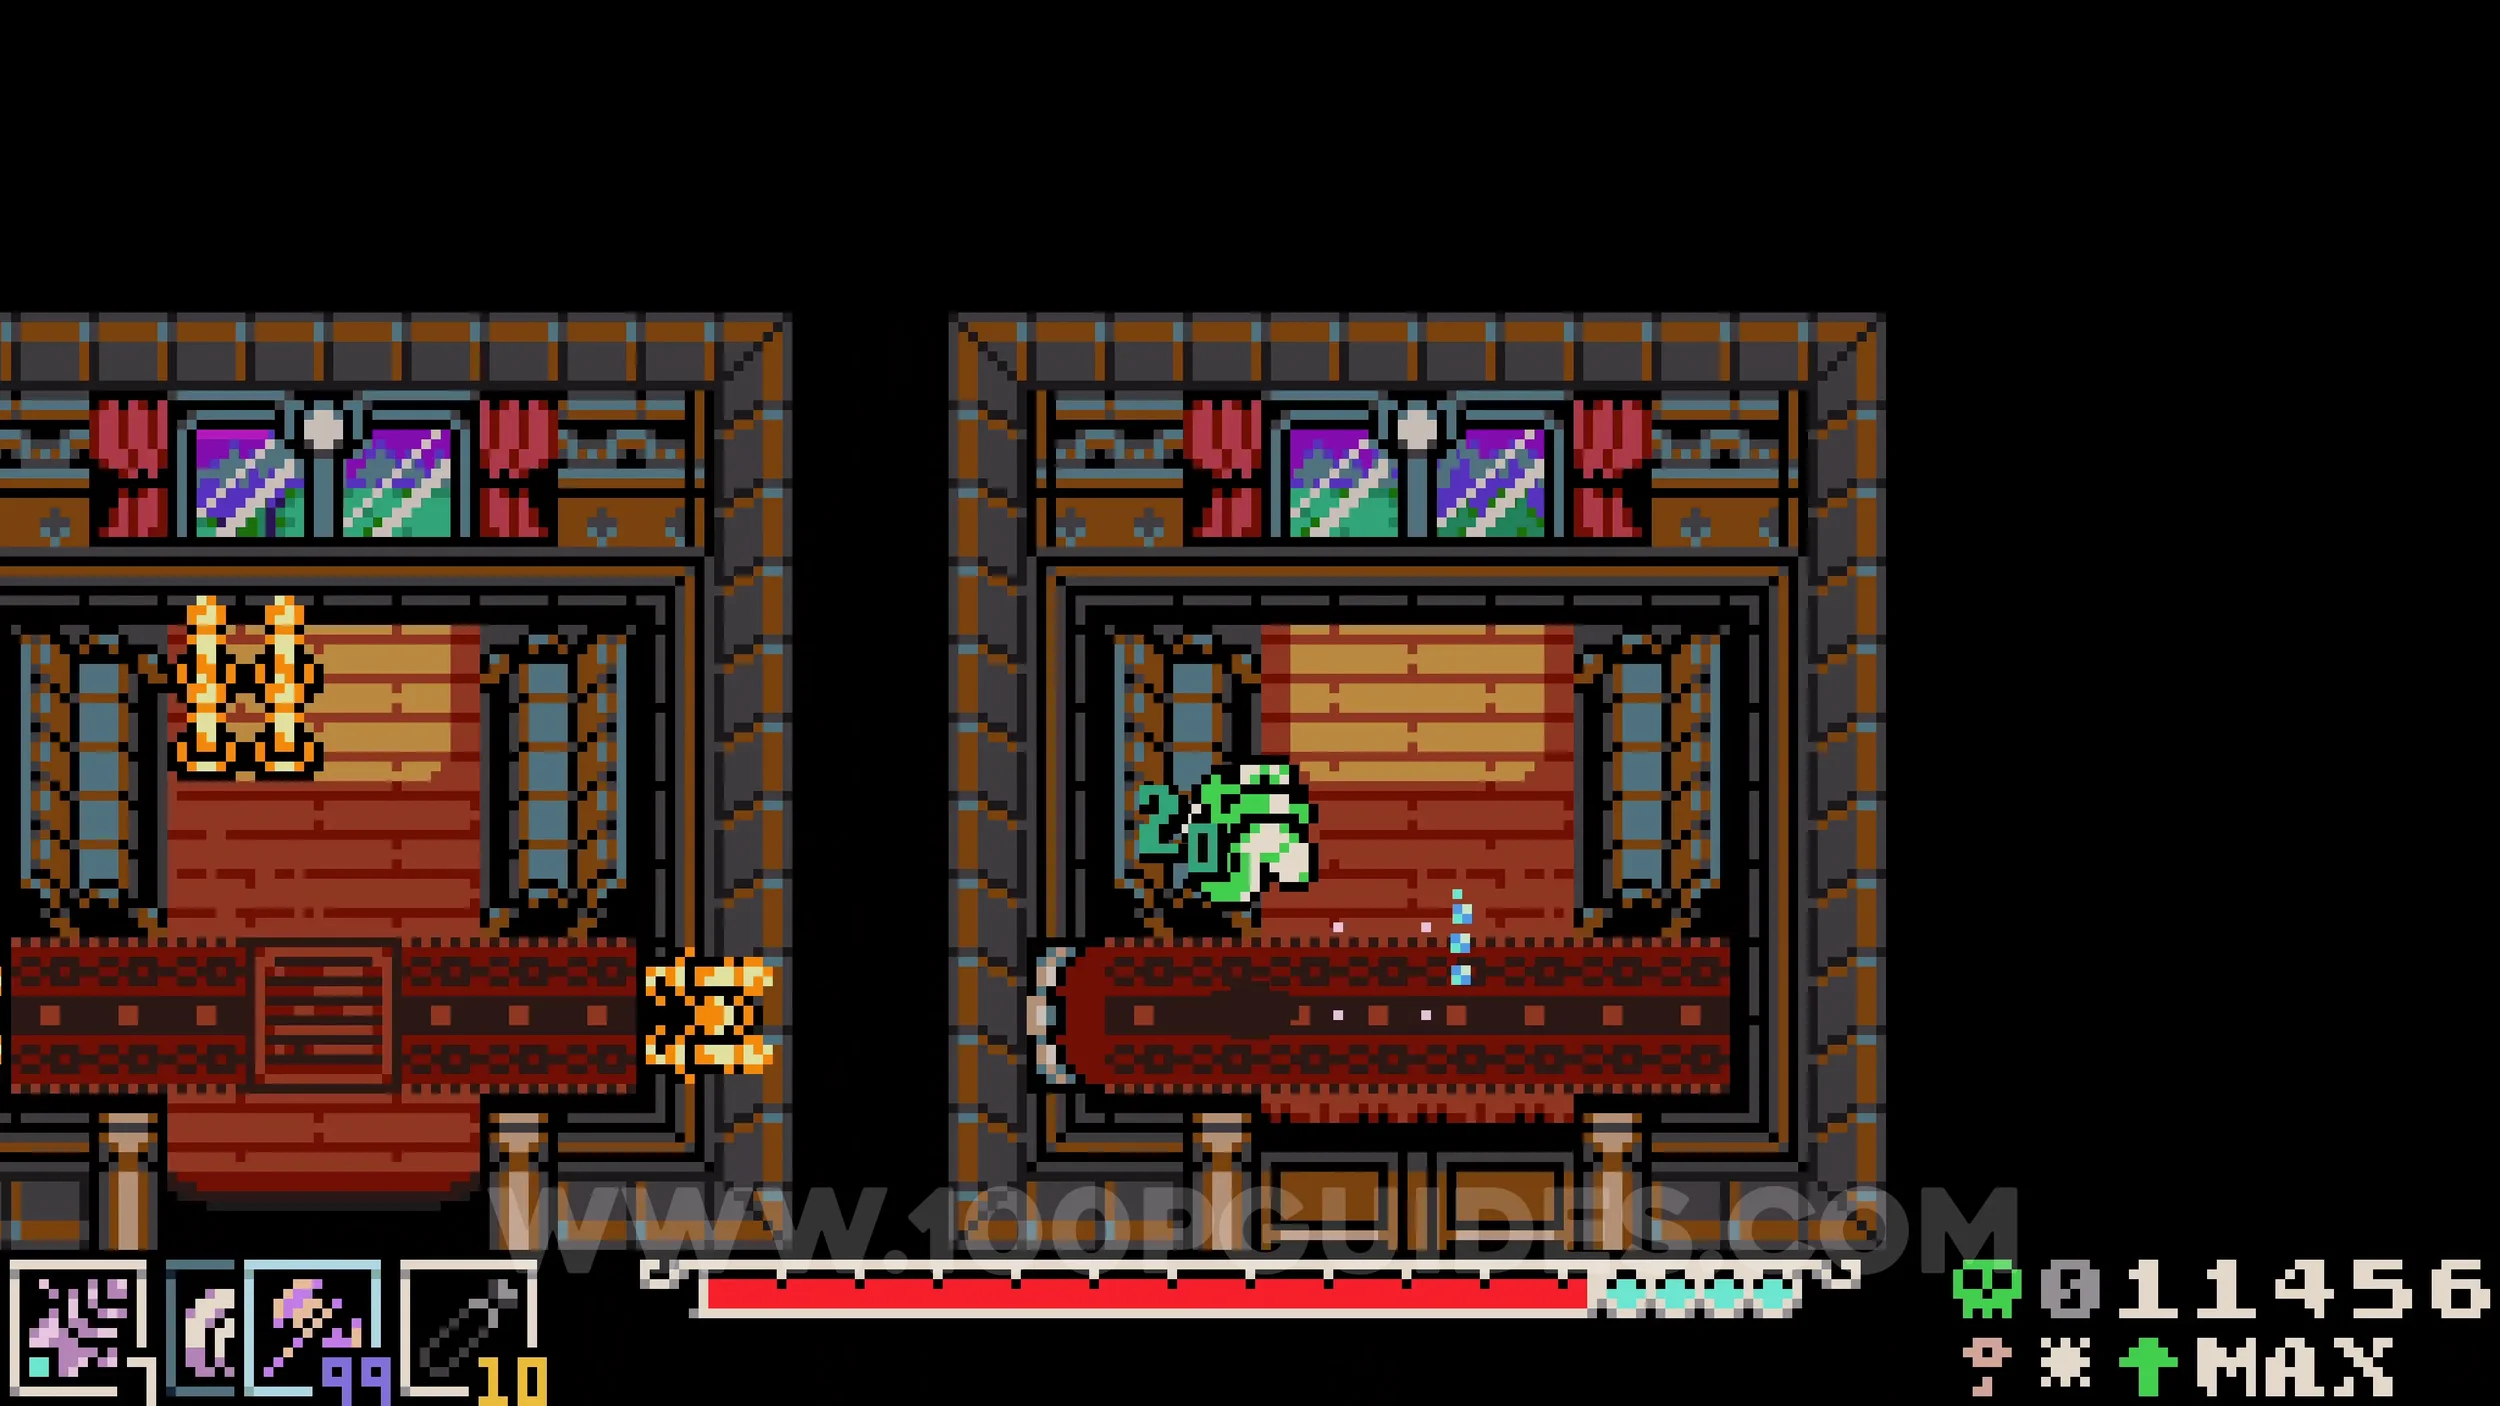
Lock #4-5, Bonestone #12 & Cloak #2. Go to any train station and take the train to any destination. In the first cart, look for a shut door to the right of an open one. Burrow under it and destroy the candle on your left to reveal a tunnel. Go through it to reach the room containing the collectibles.
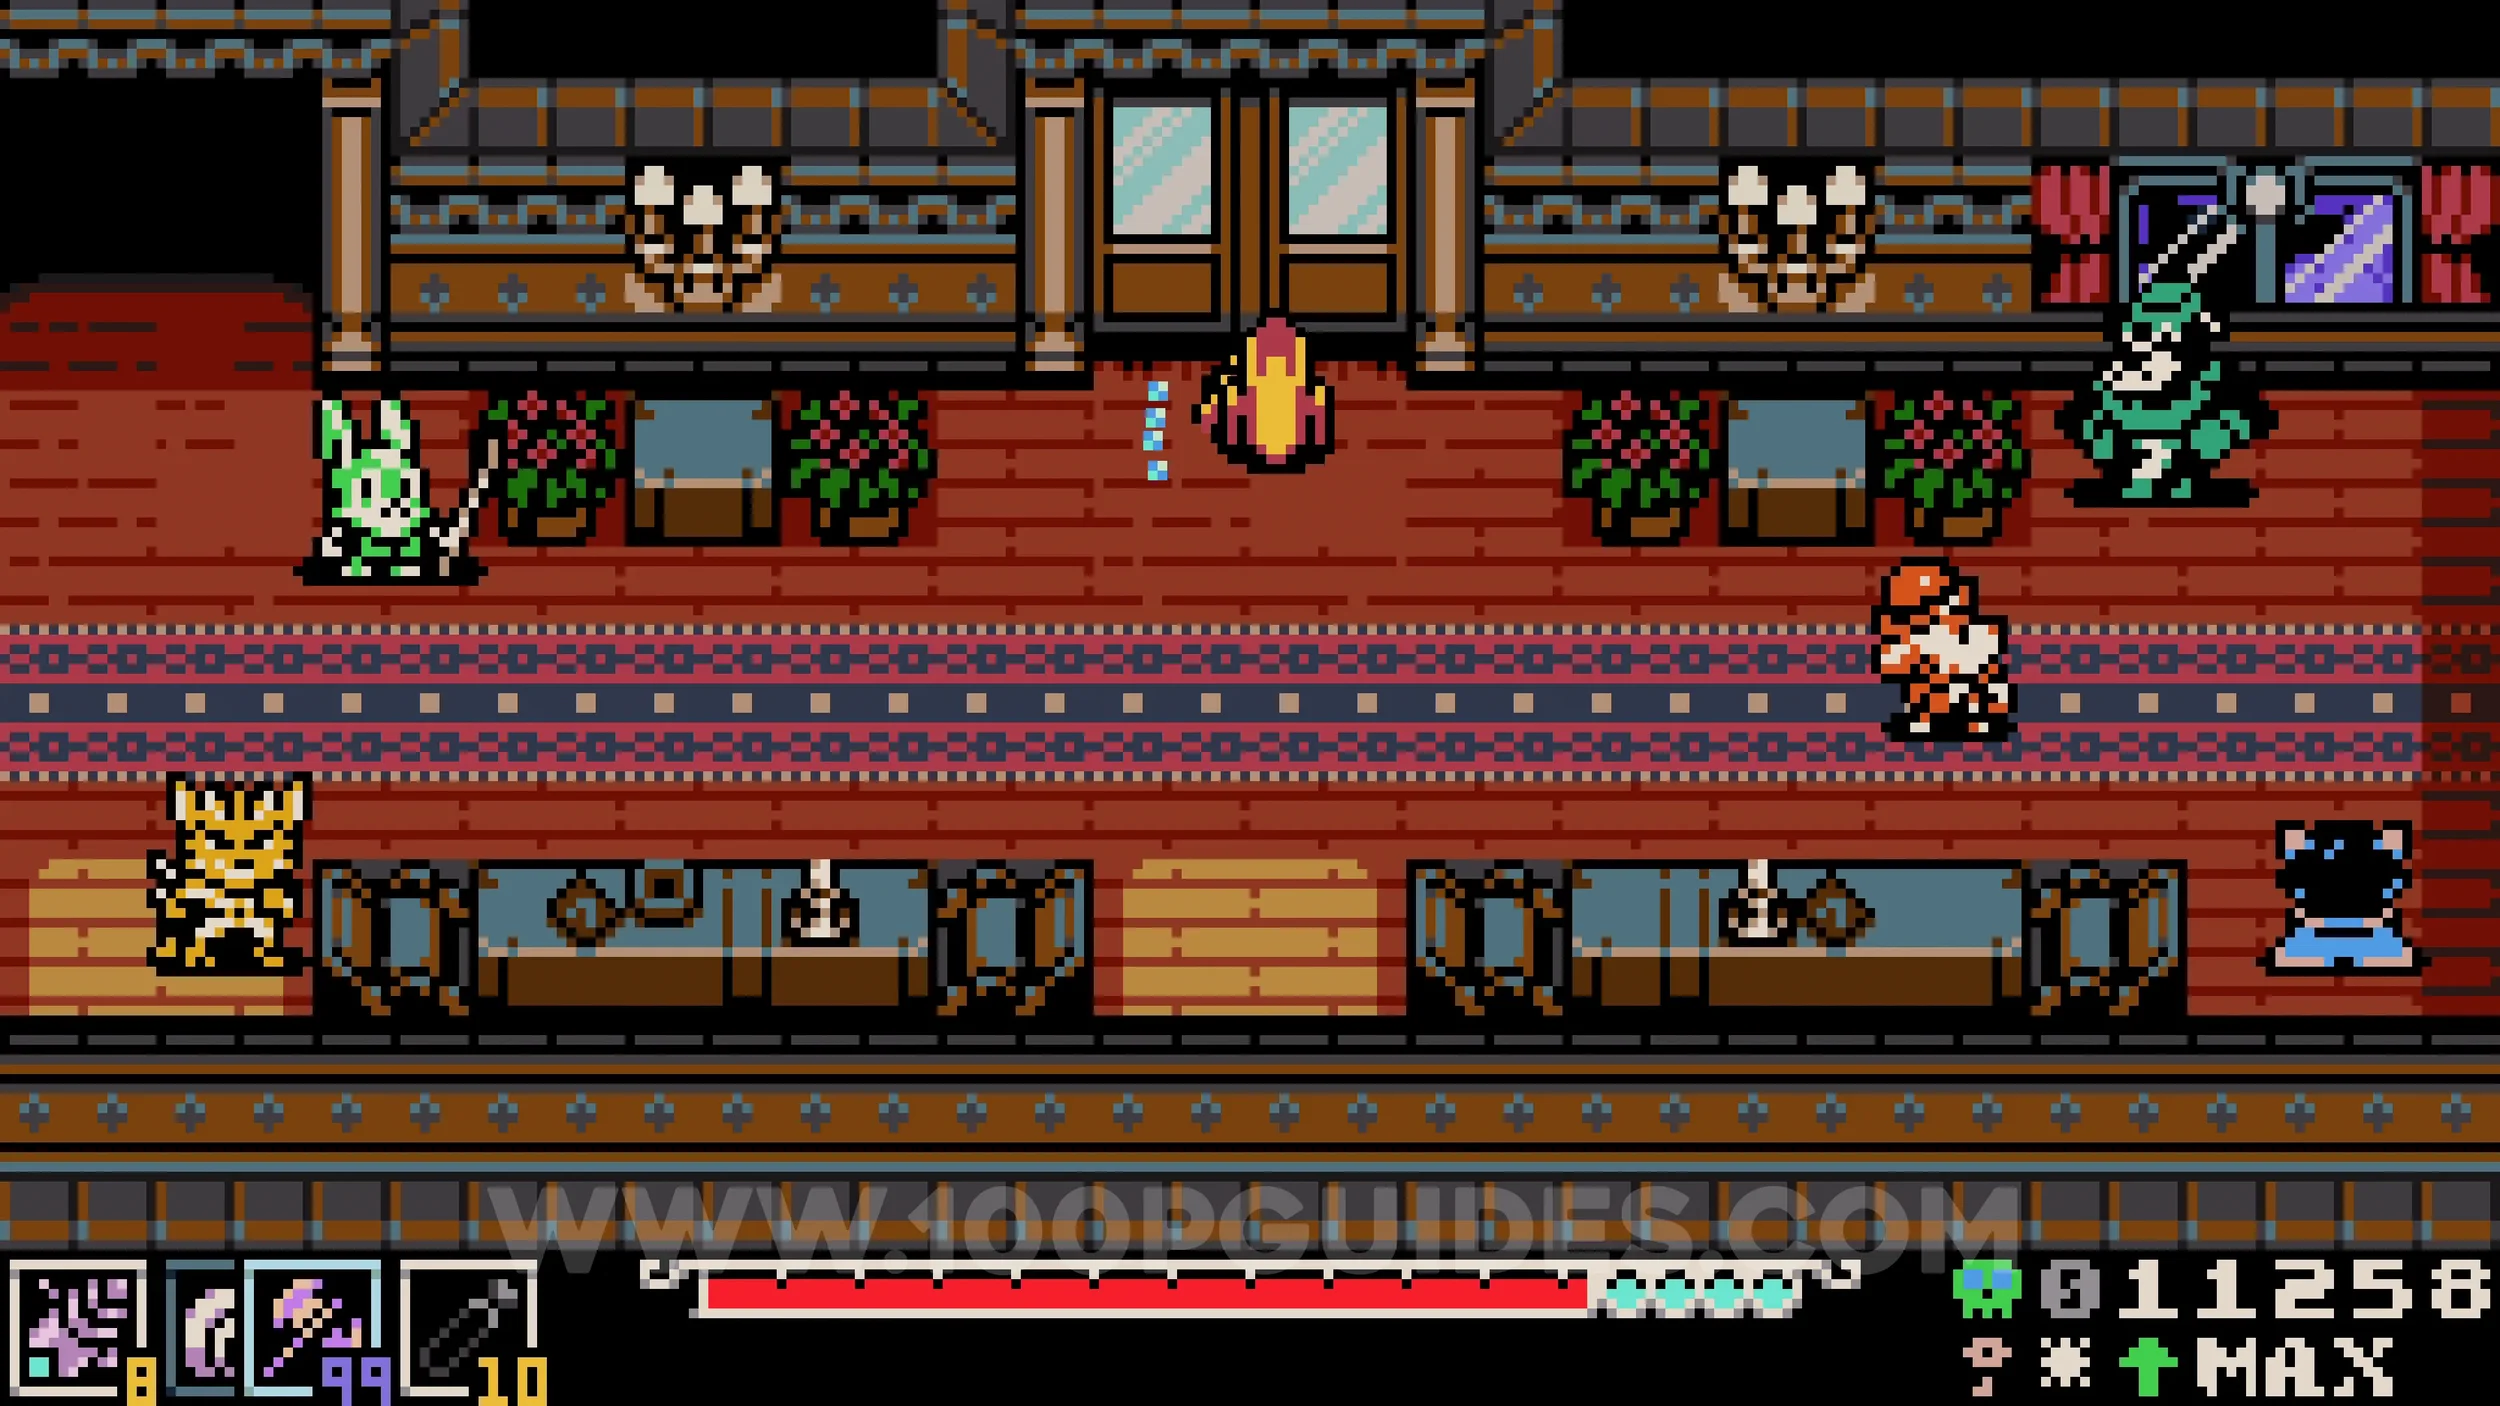
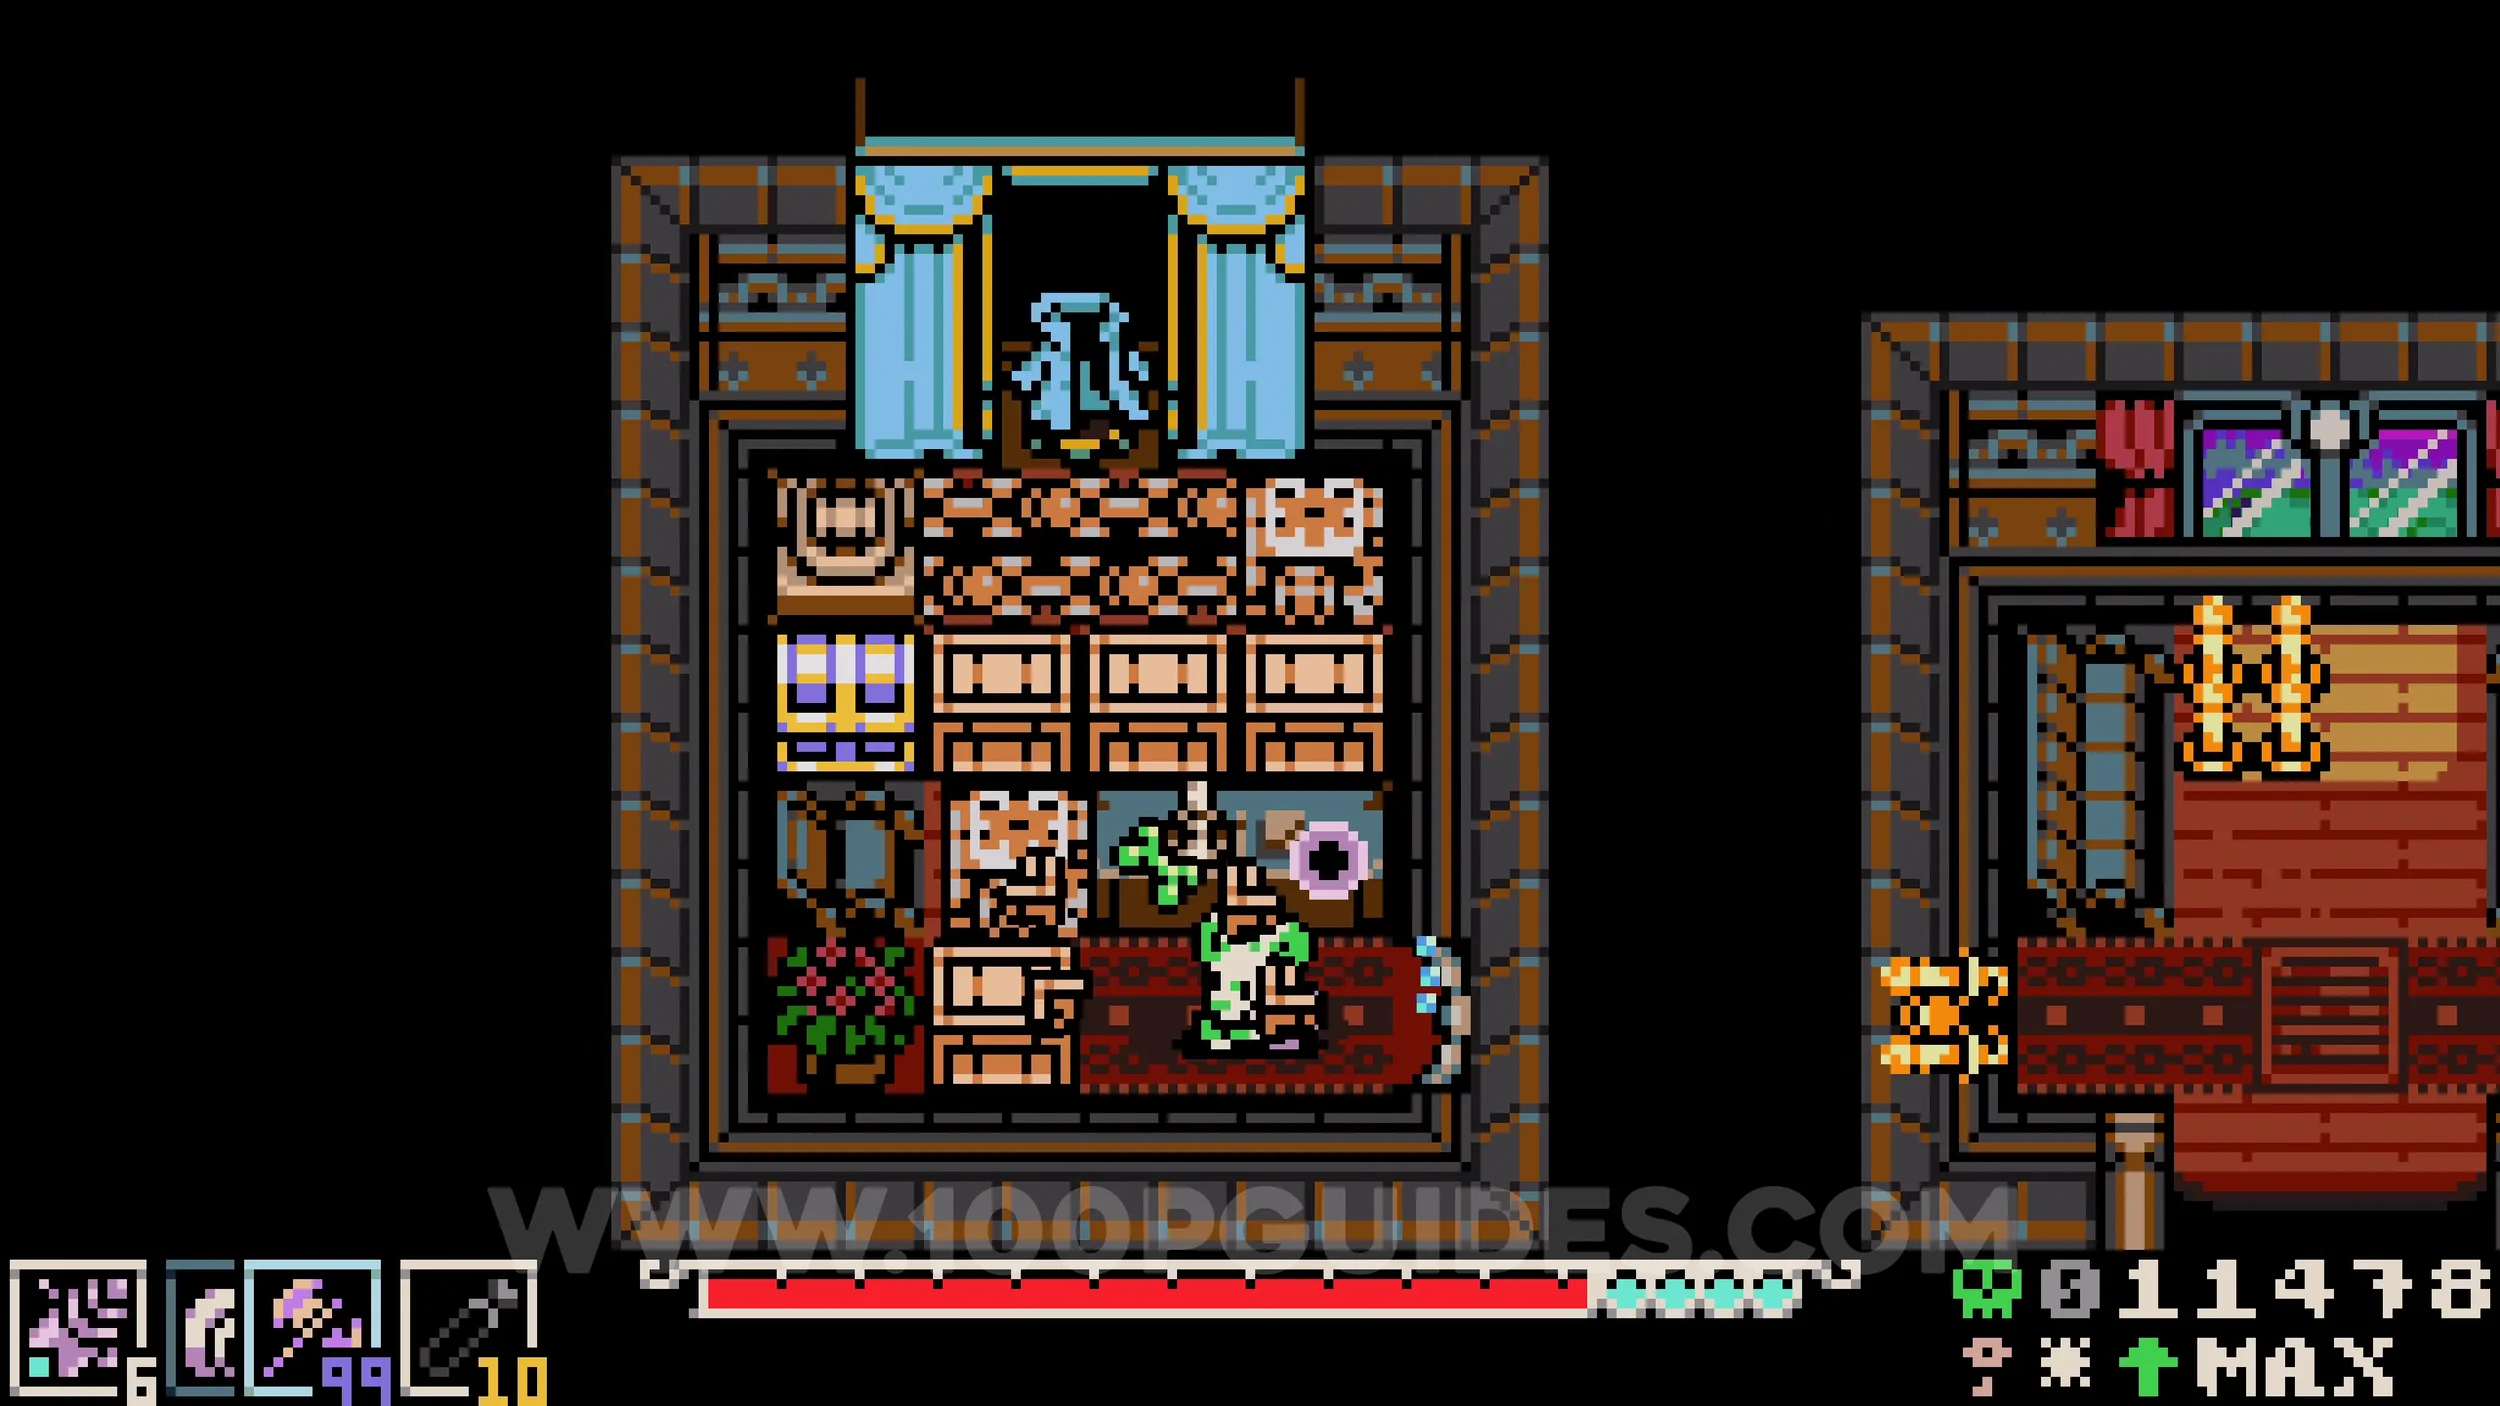
Cloak #3. Once you have the other two cloaks, return to the cloak shop and purchase the custom one.
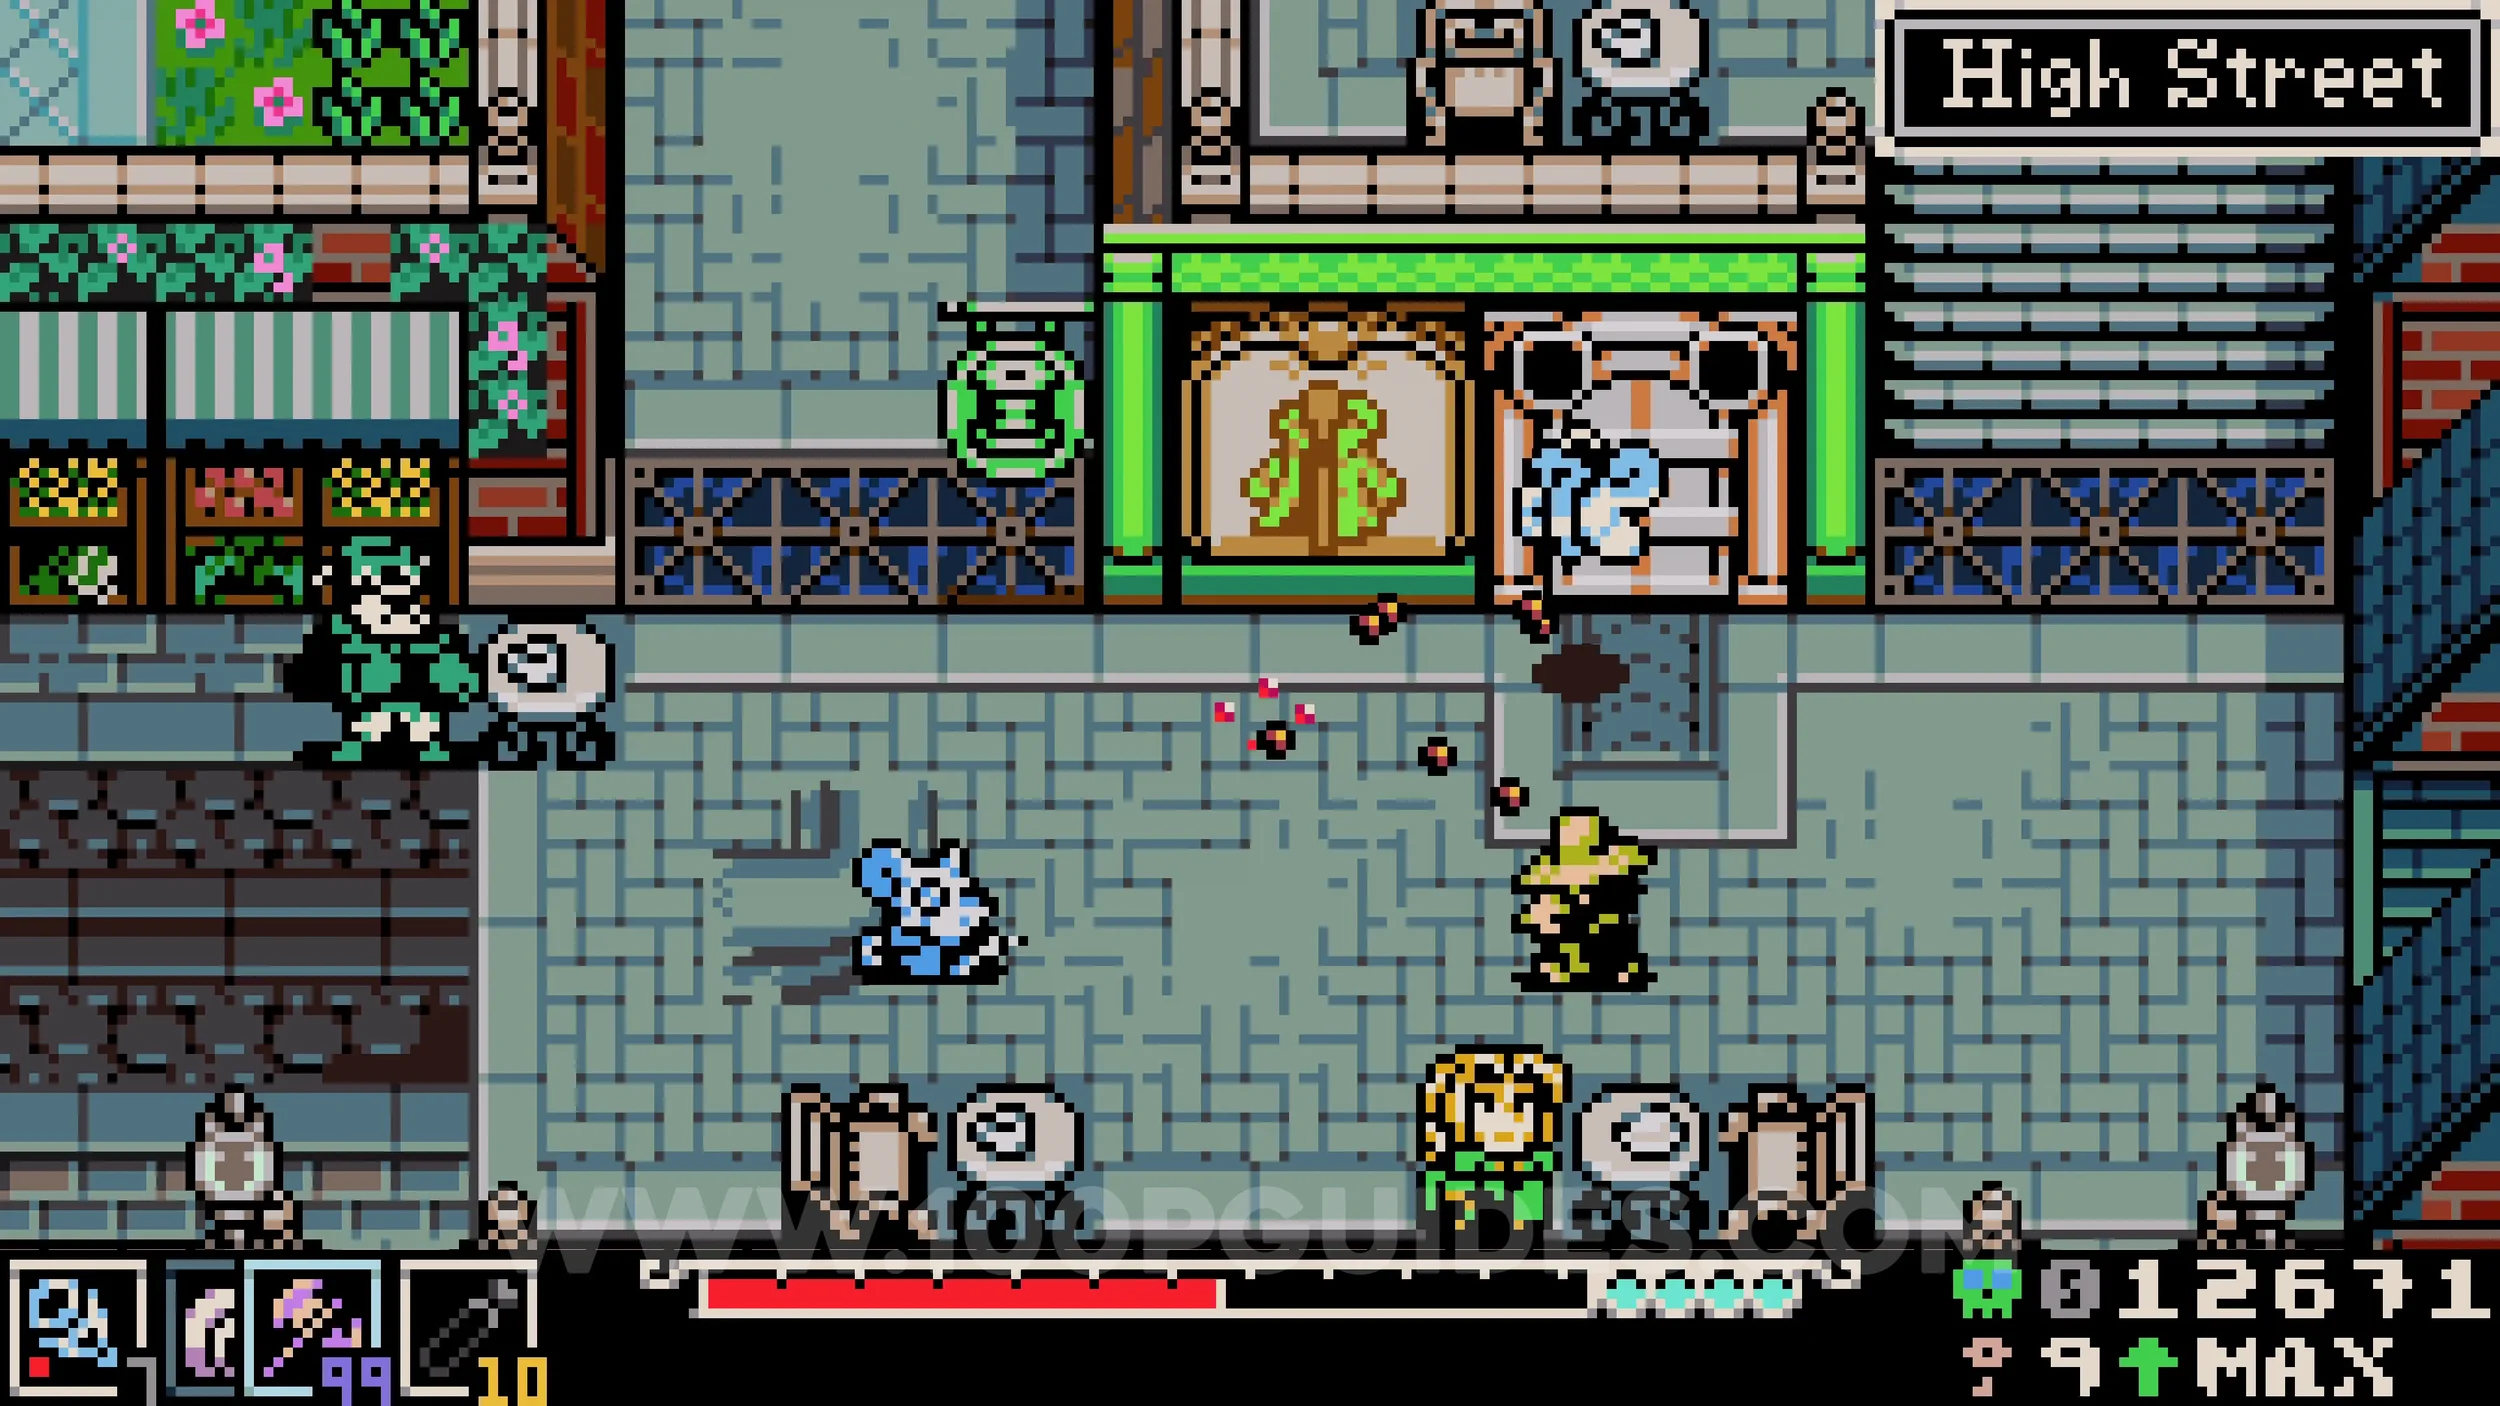
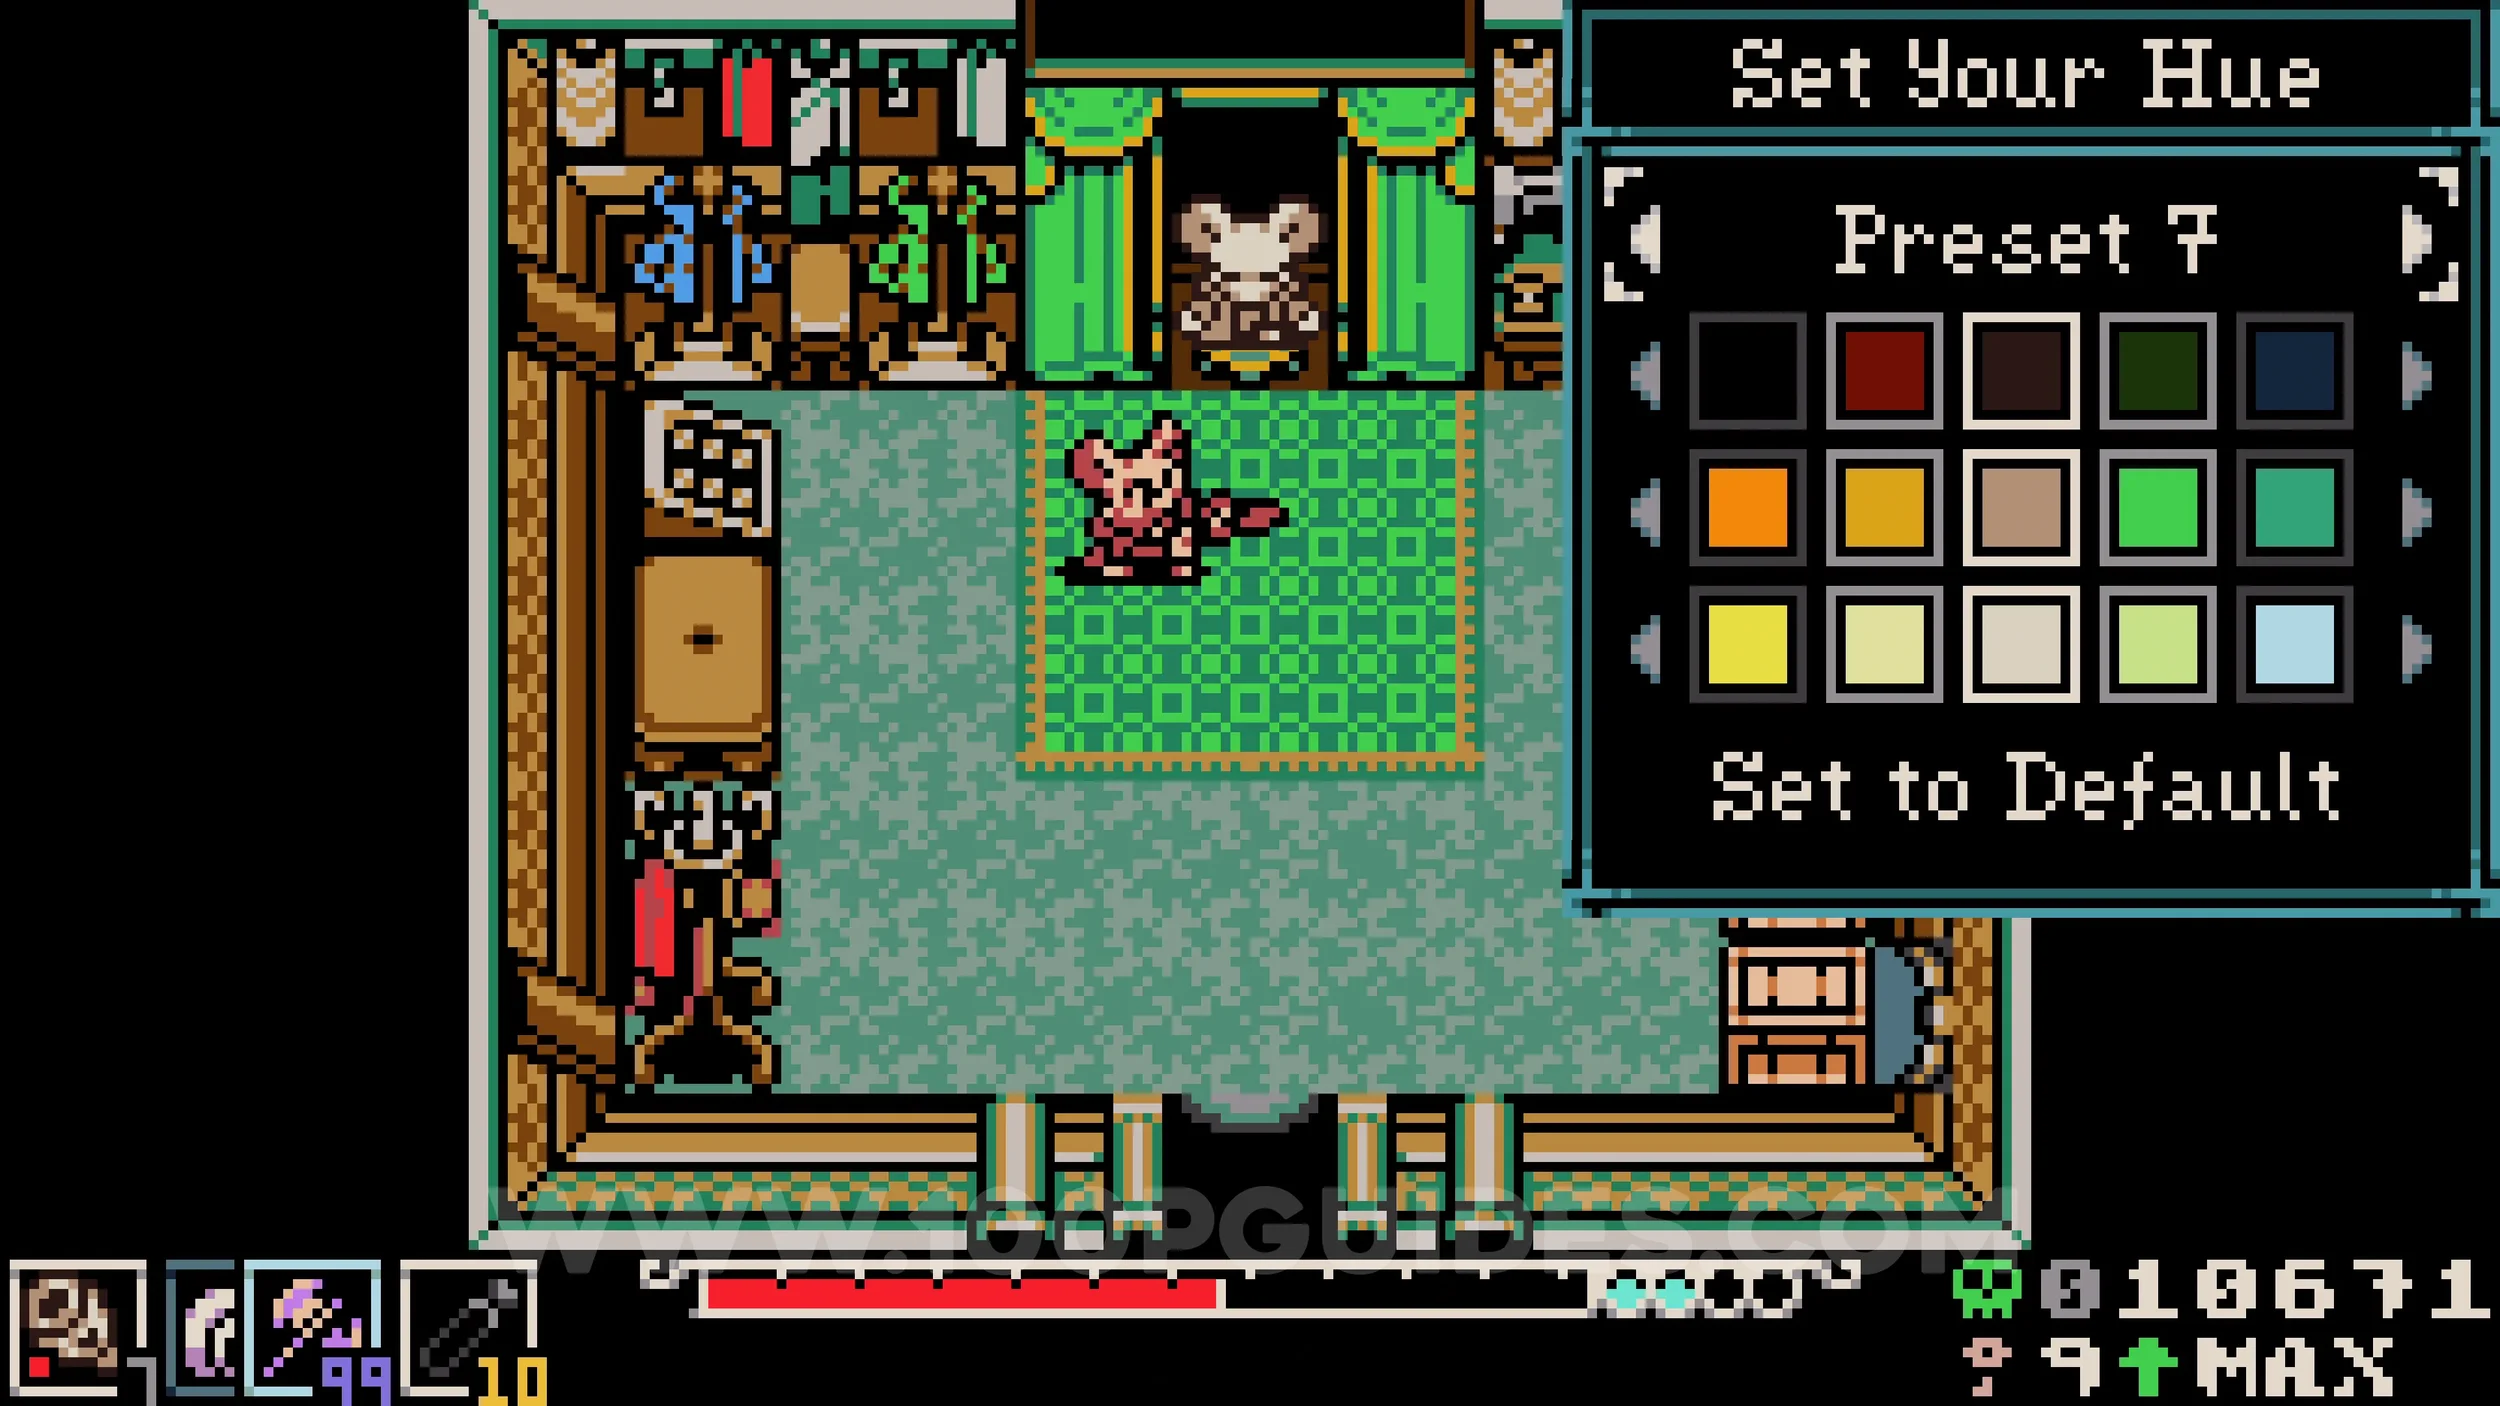
Kear #13 & Trinket #15 - Bellows Bustle. Rewards for winning the races. Their are 3 in the game:
In Ossex to the right of the train station.
In Western Wilds next to the exit to Kindlewood.
In Sandfalls just before the train station to the south of the main area.
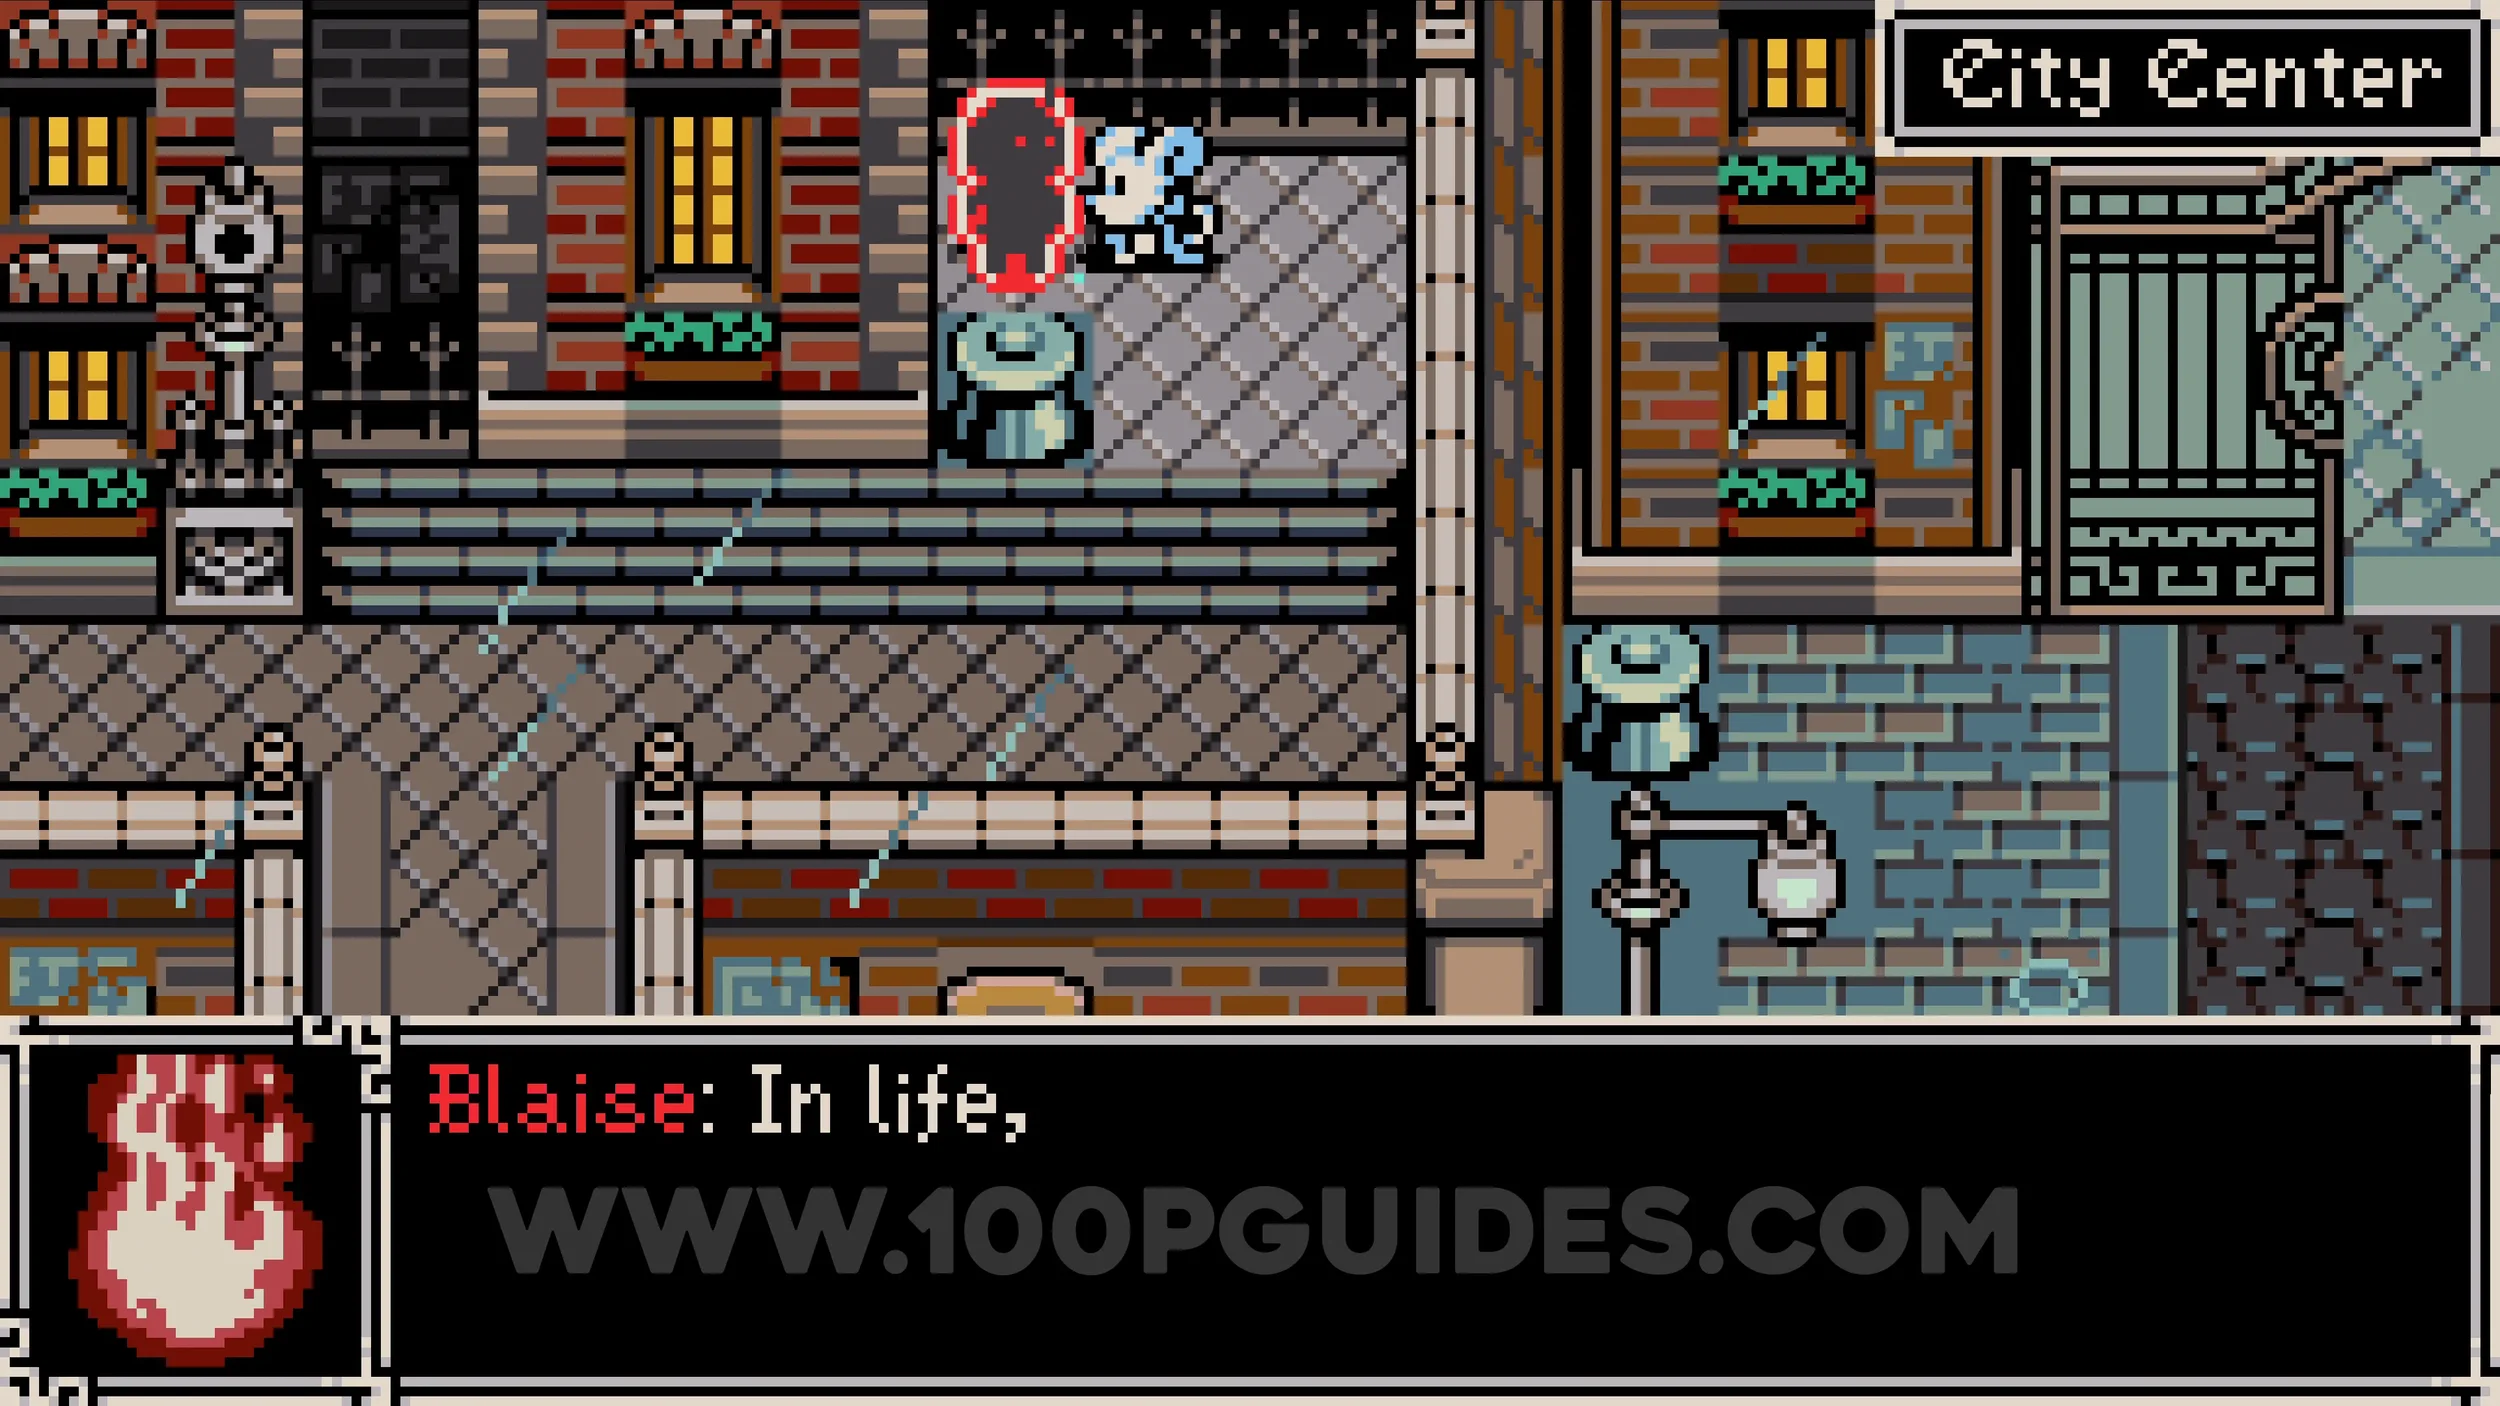
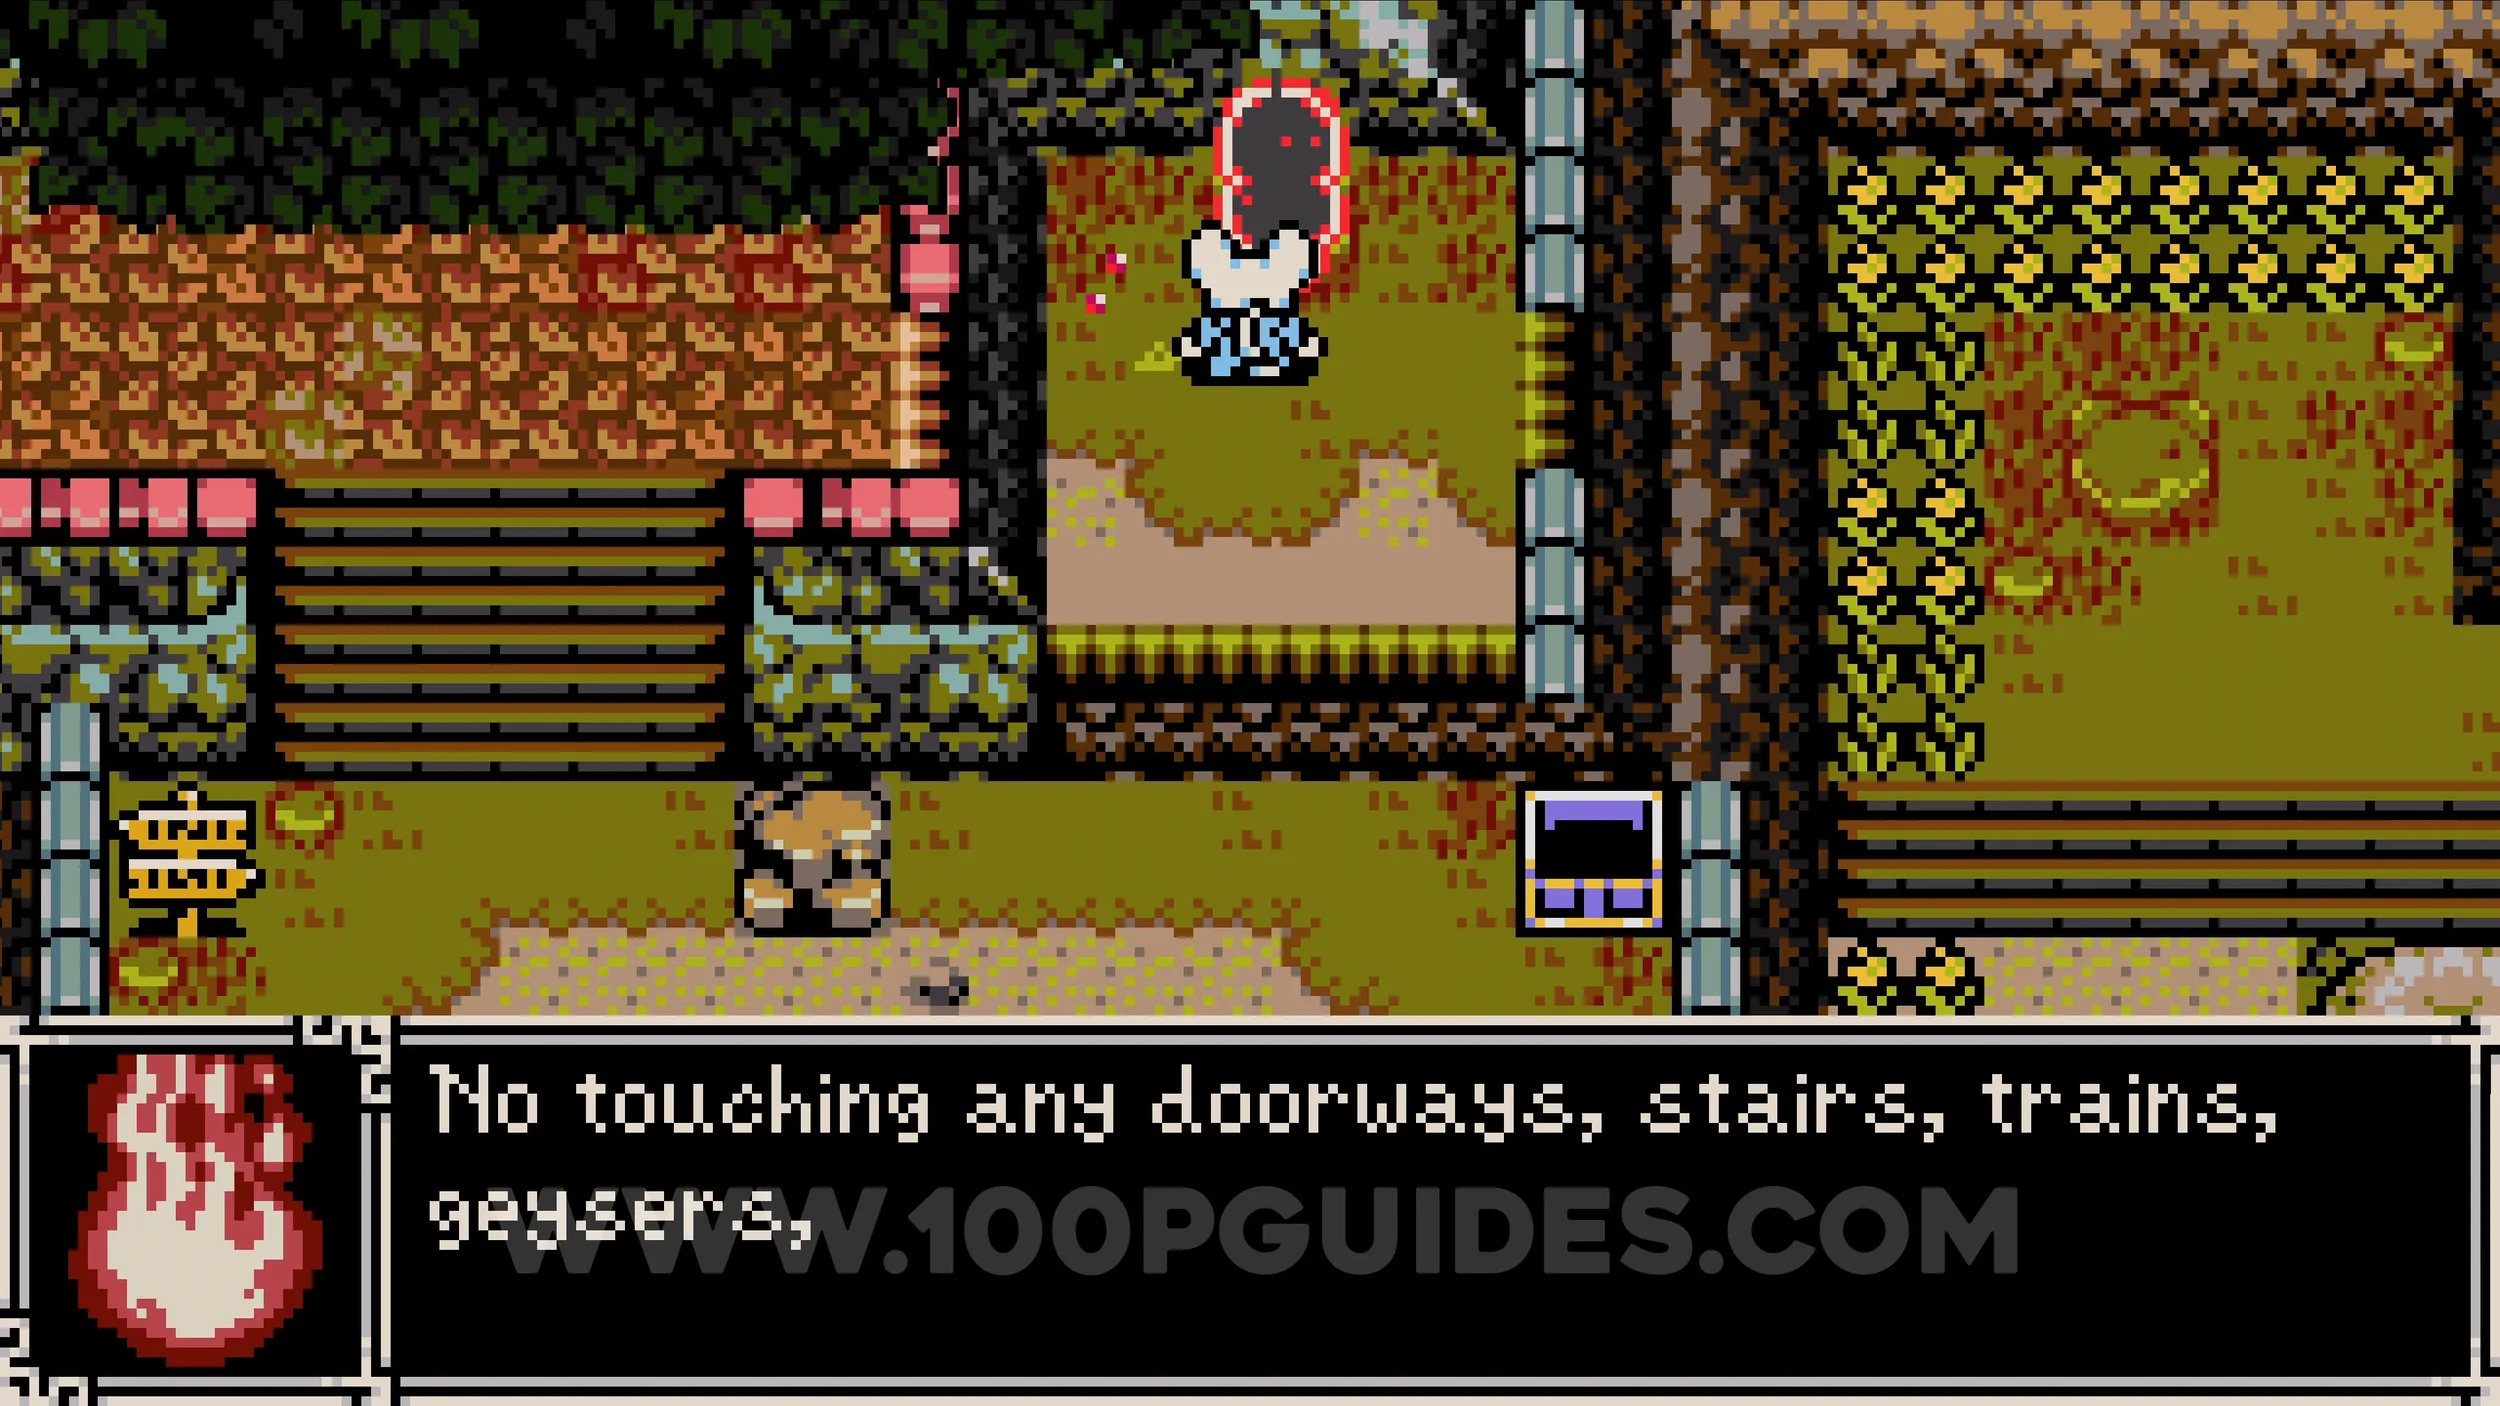
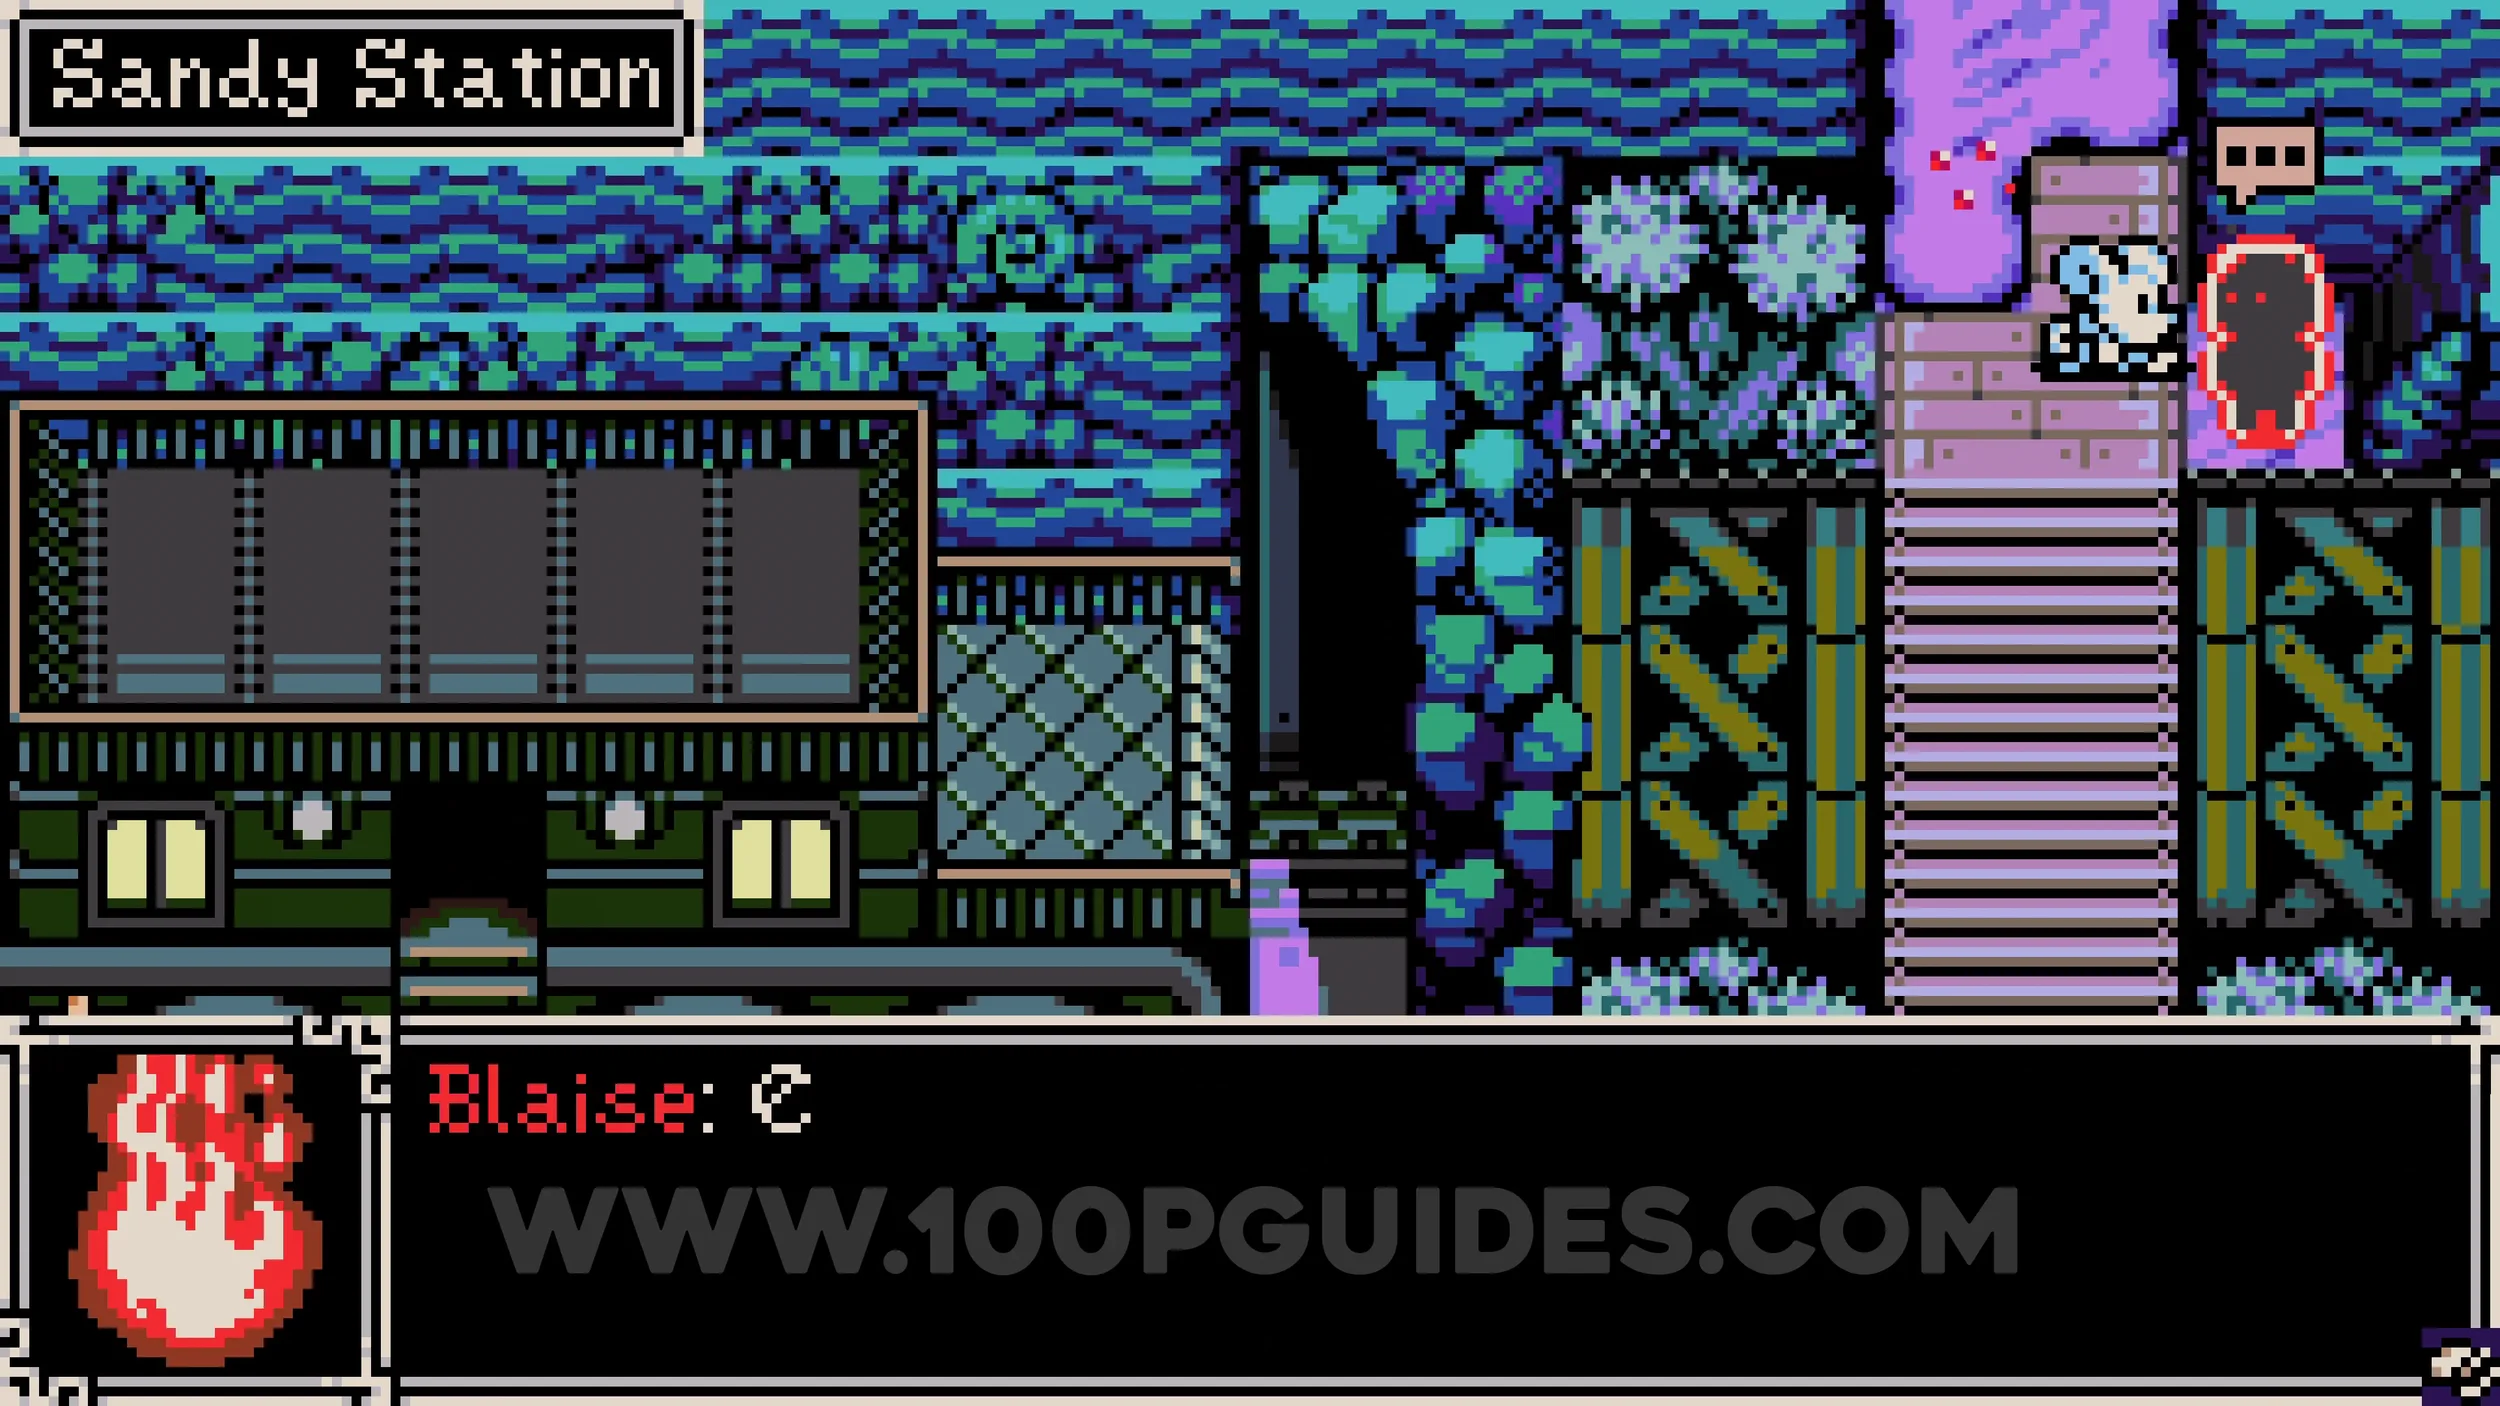
Trinket #16 - Bell of Grace. Enter the building beneath the train station and talk to the red NPC. Then walk around Ossex and watch for a red NPC who will run into you and steal some of your bones. Chase him down and hit him until he gives them back, then return to the room under the train station and give some bones to the NPC there to receive the collectible.
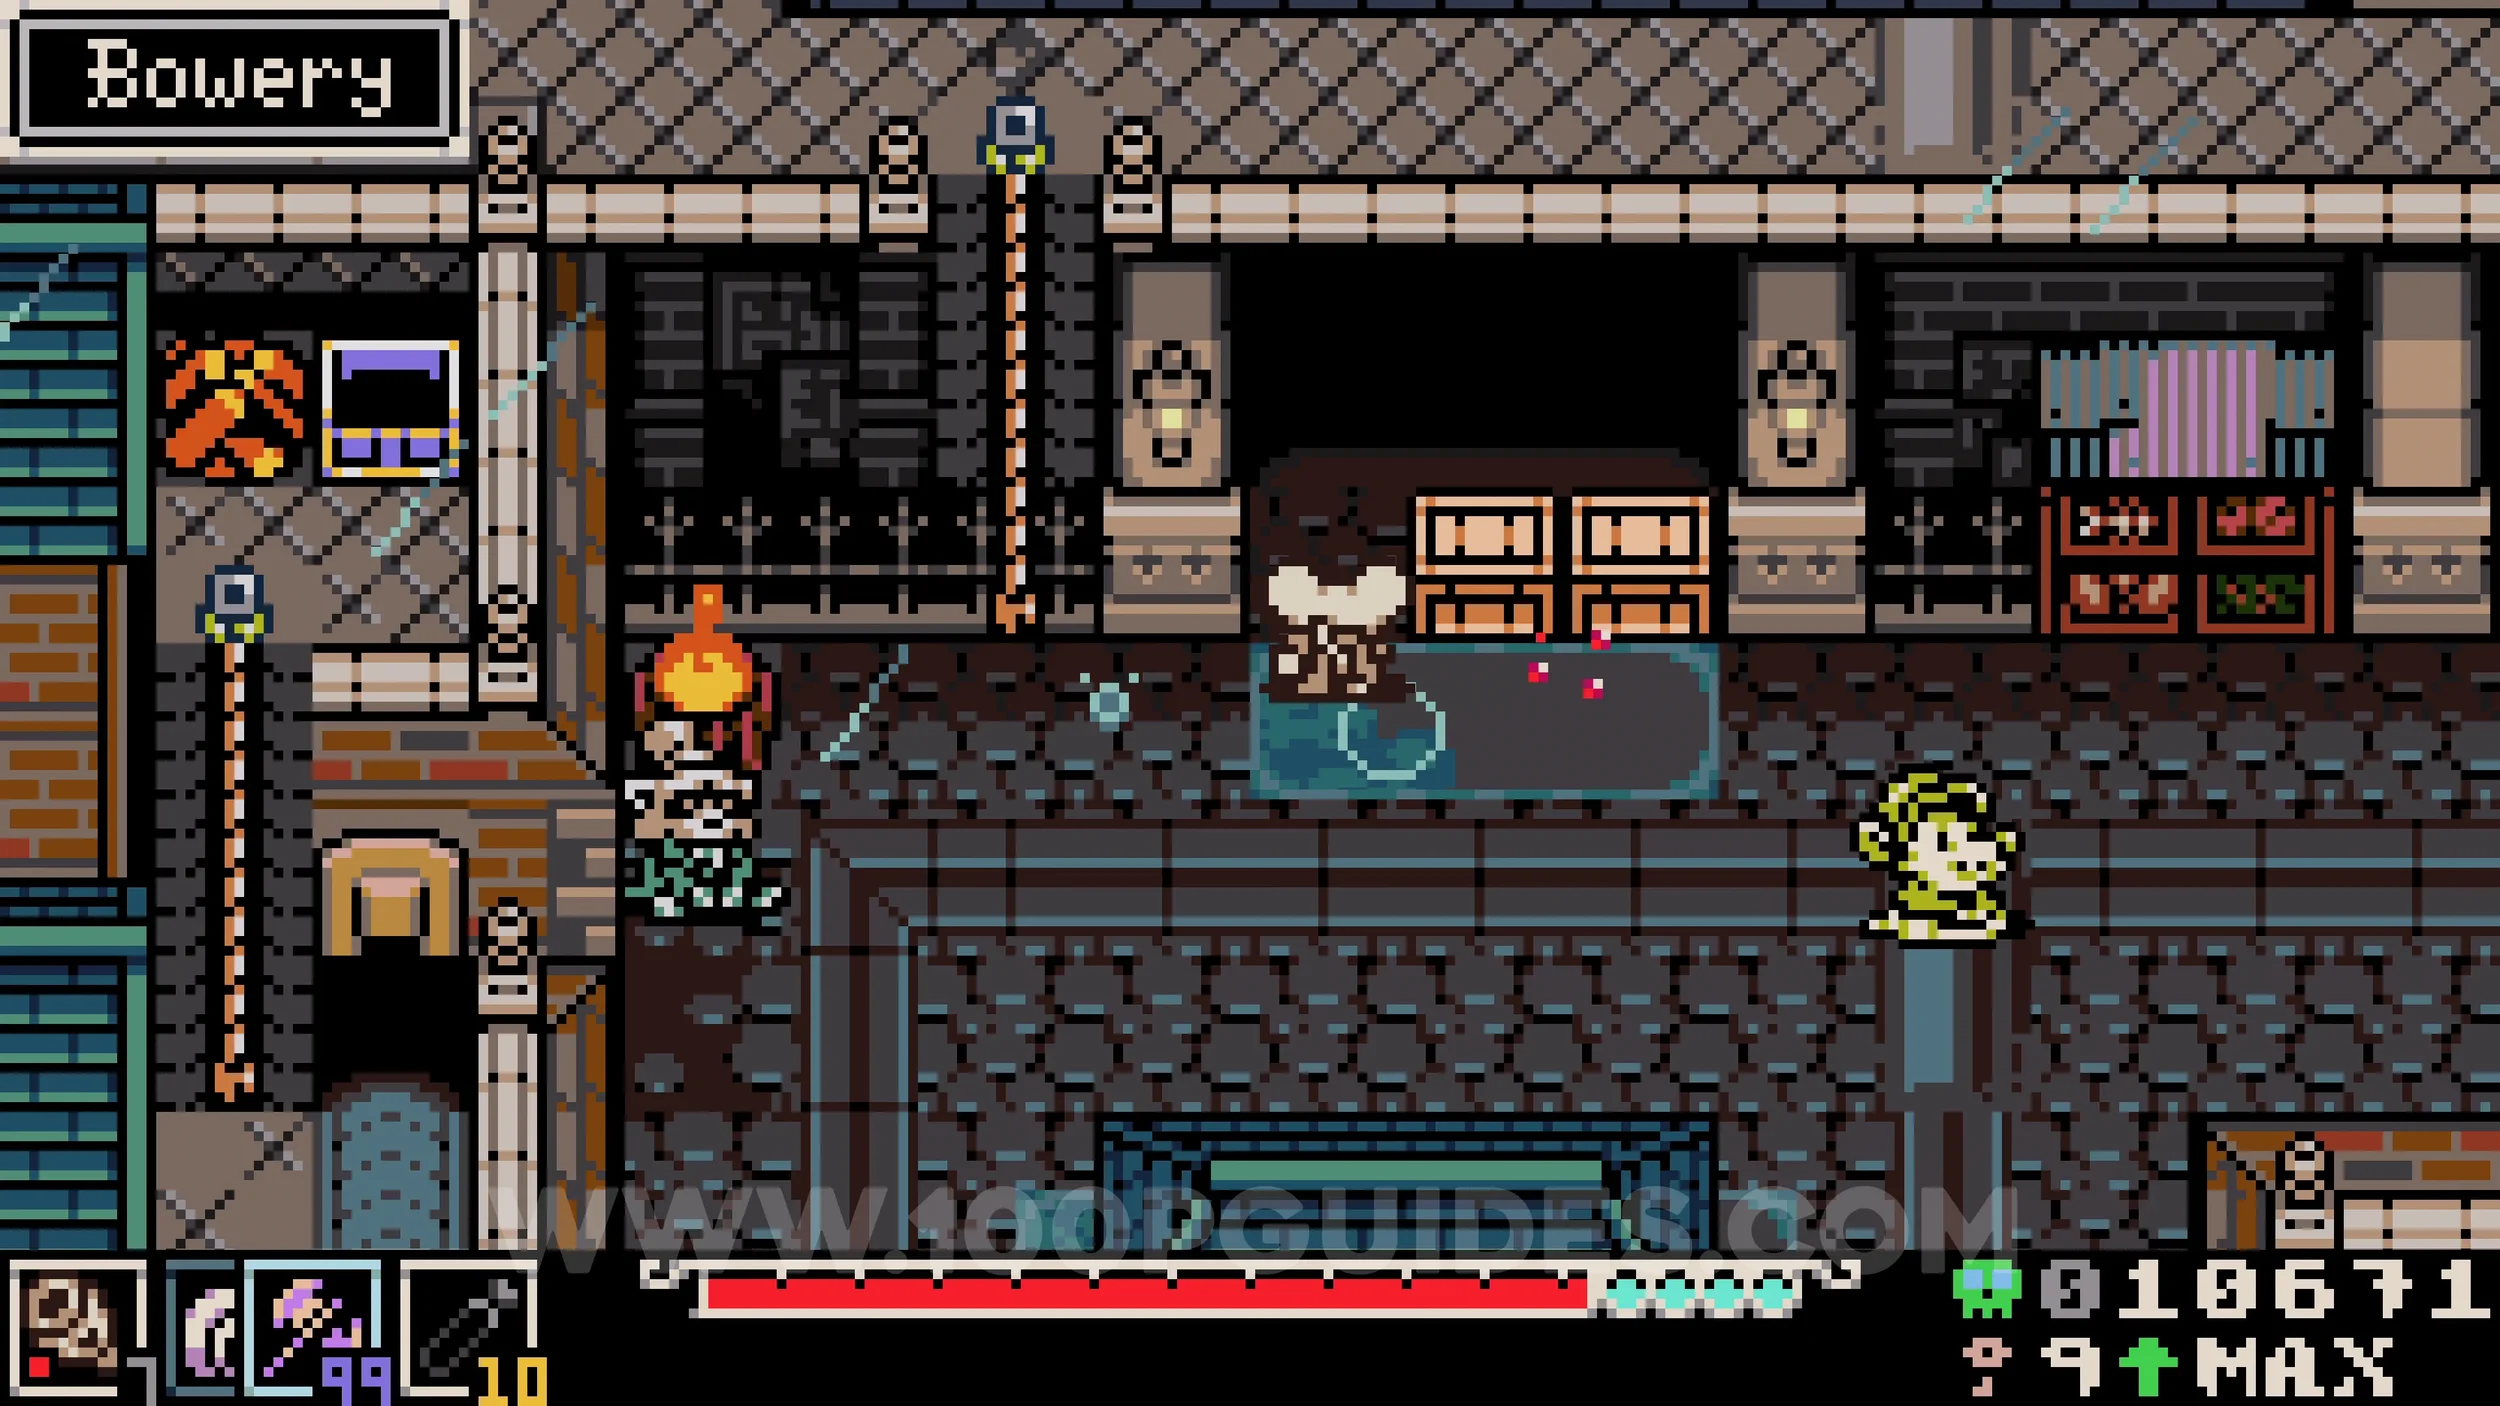
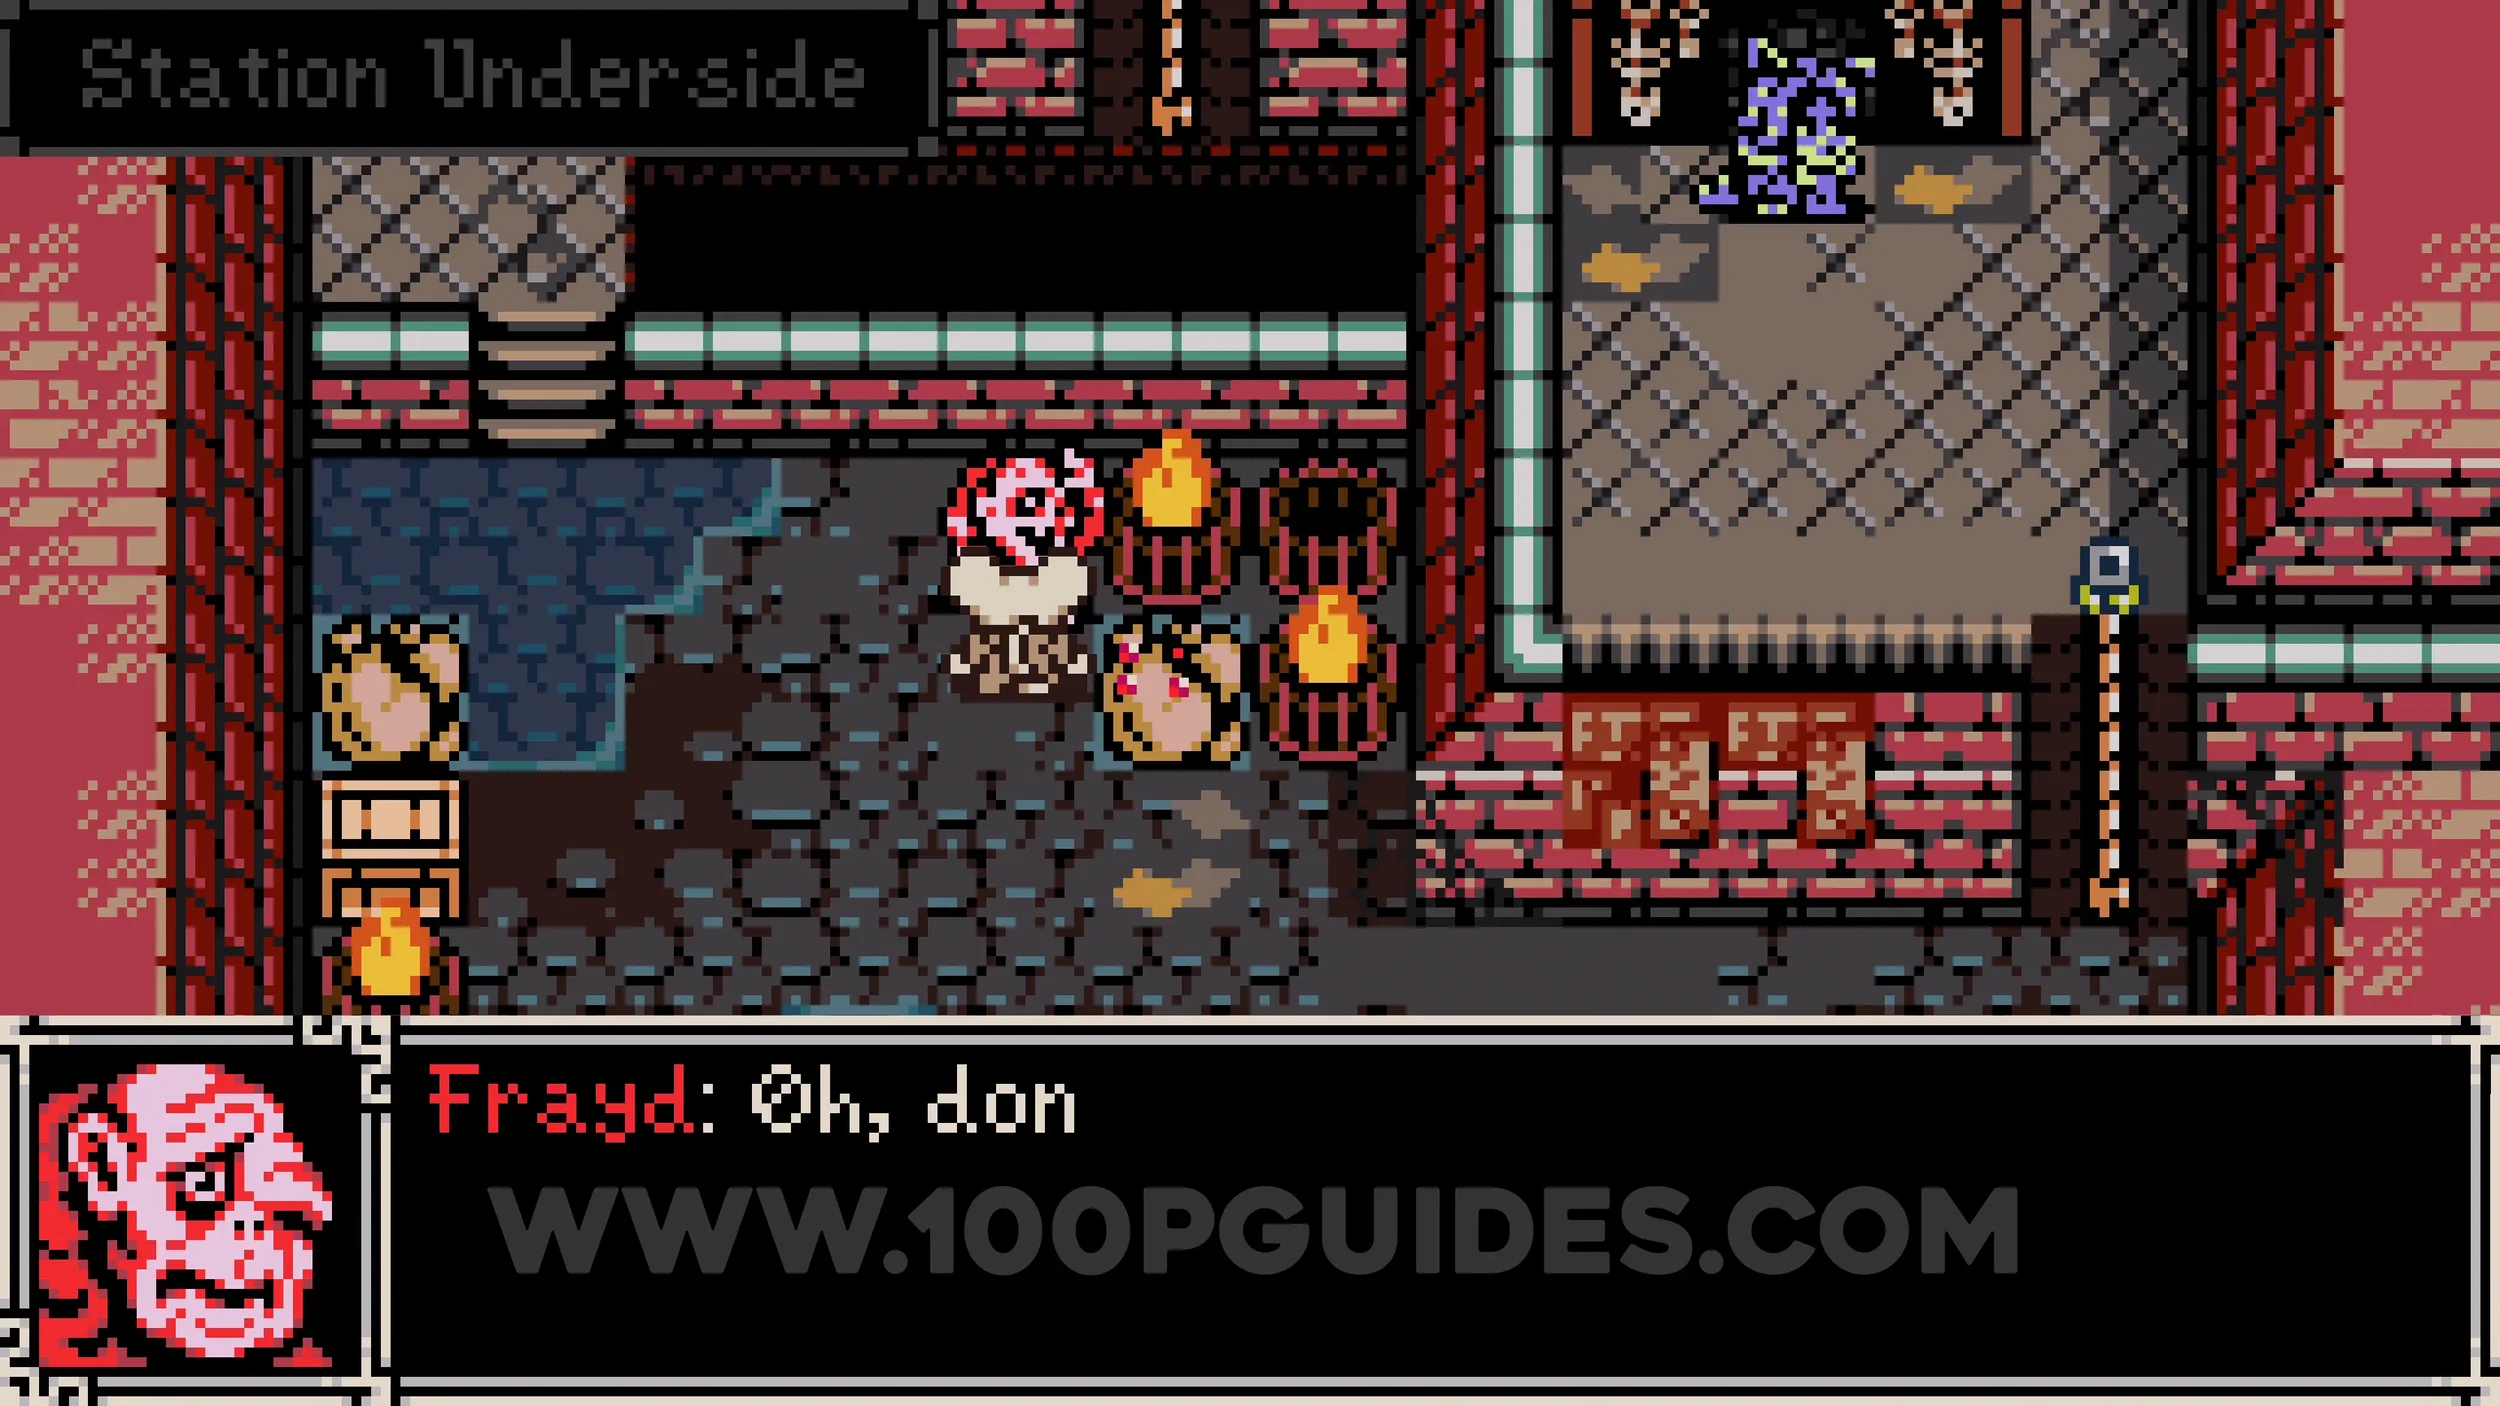
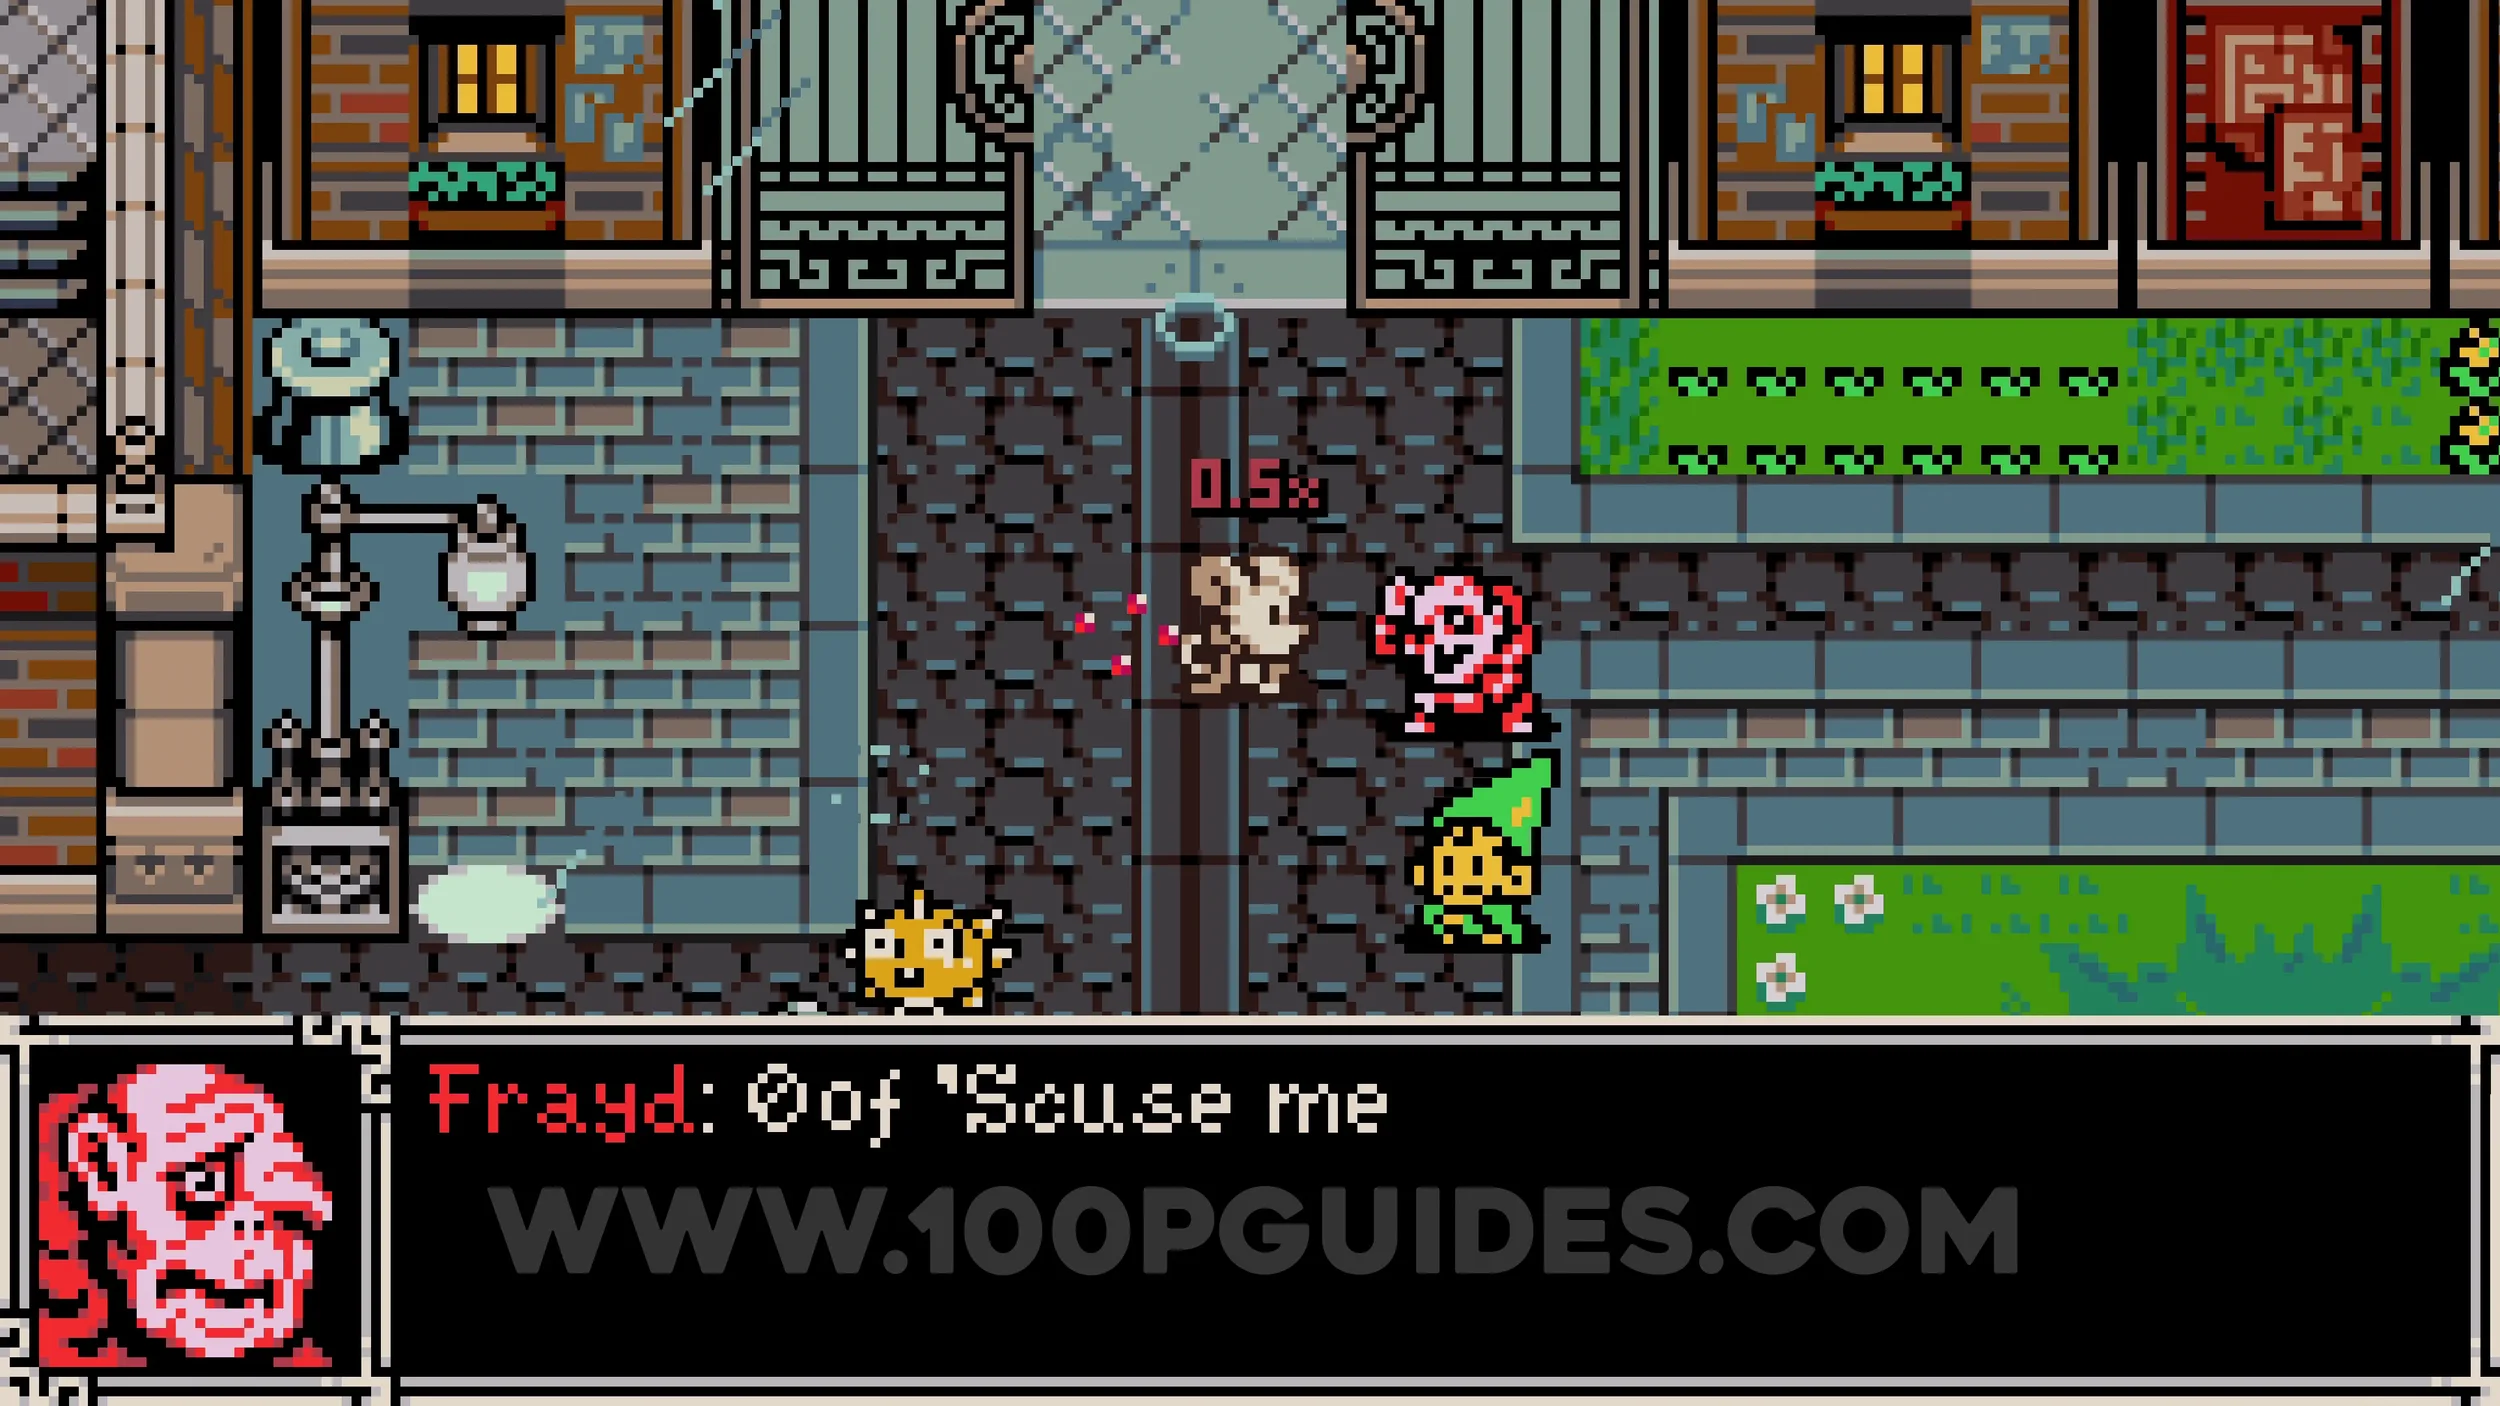
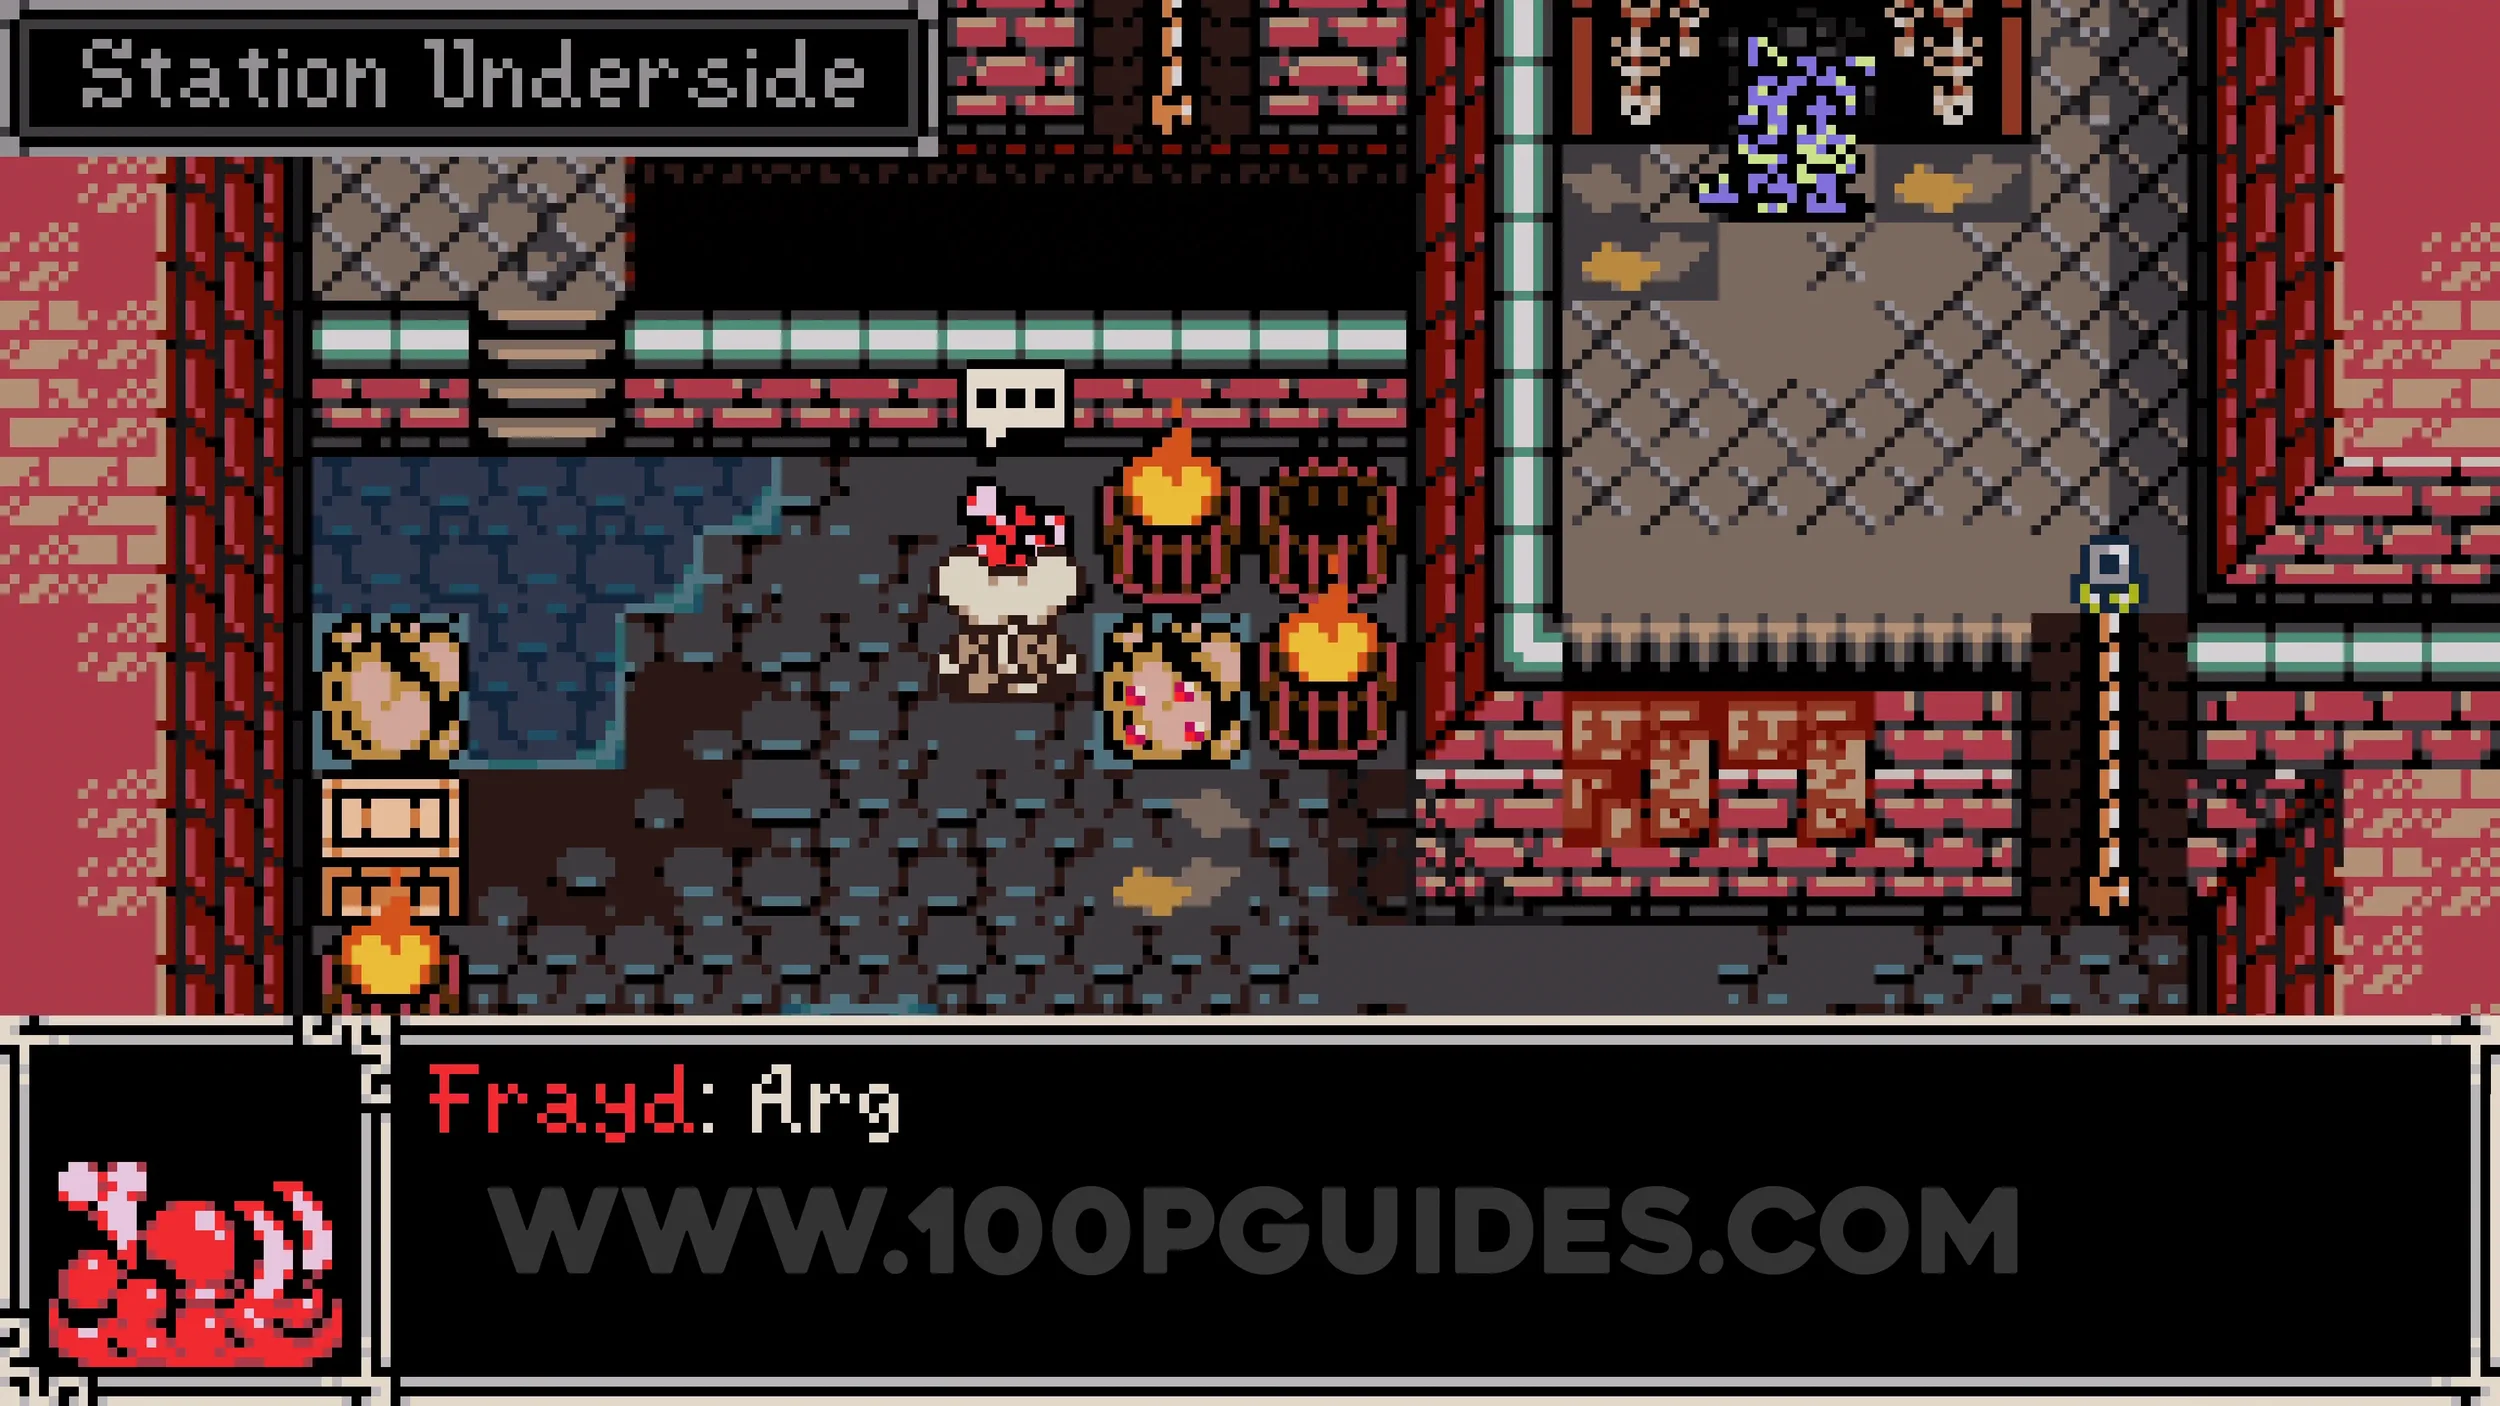
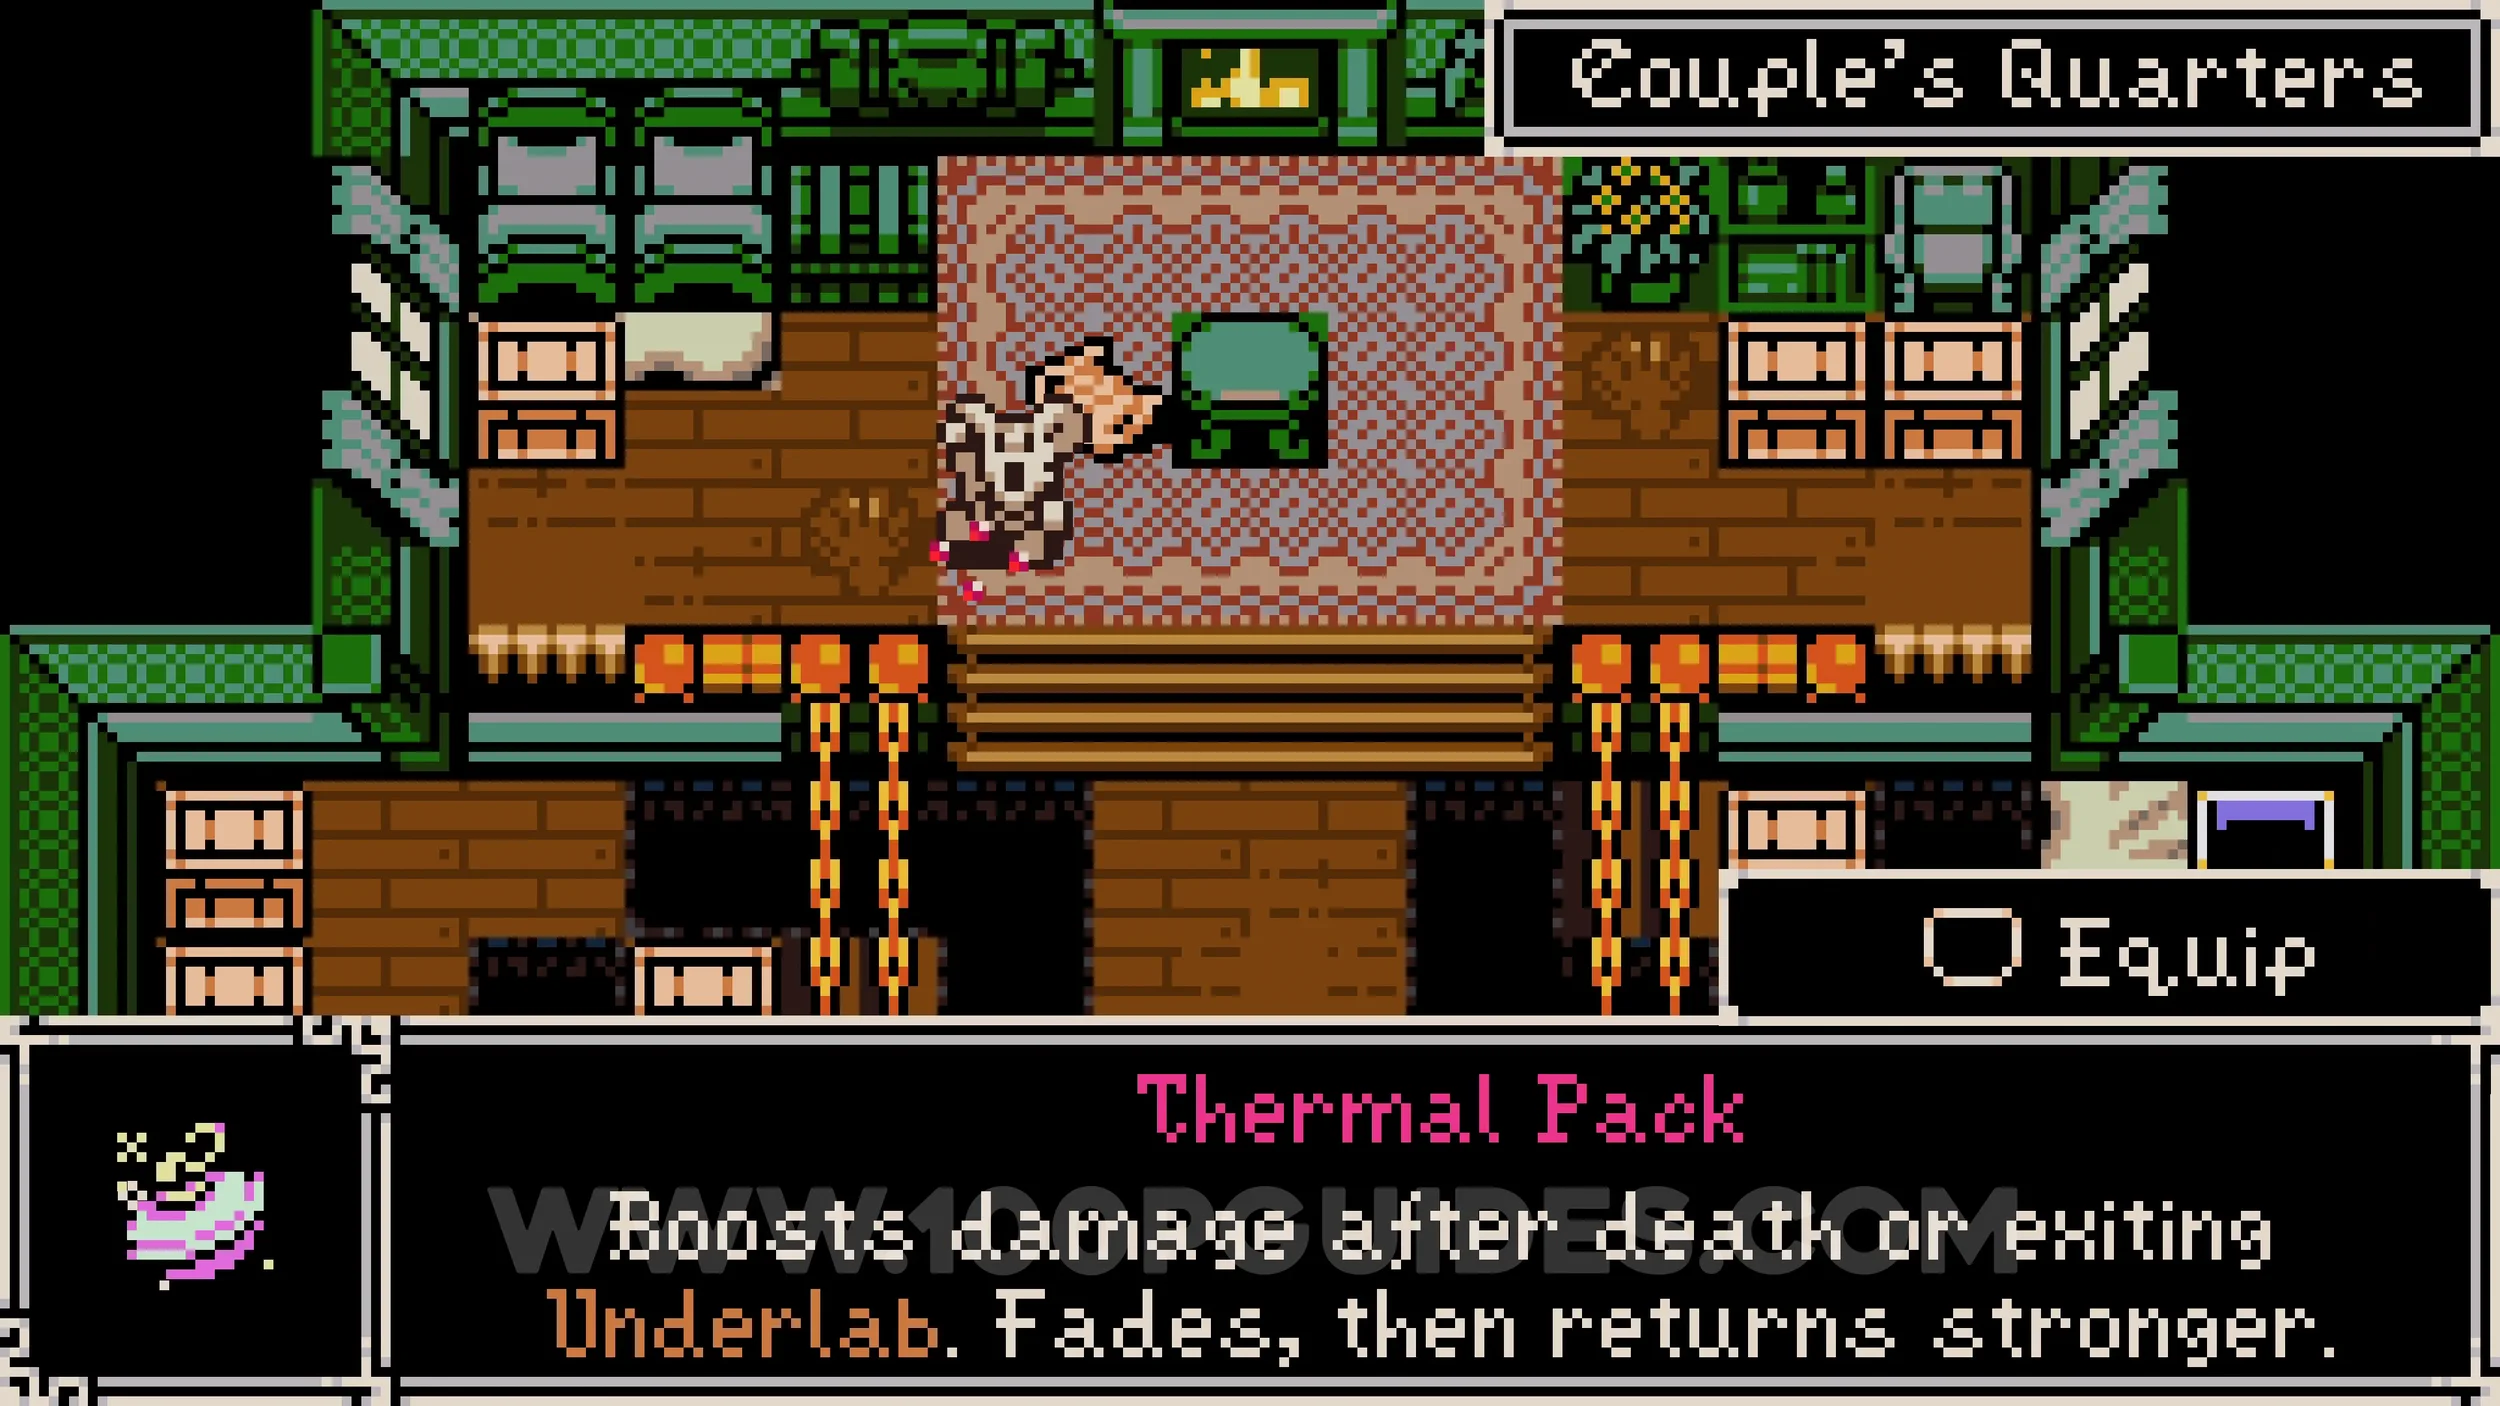
Trinket #17 - Thermal Pack. After saving the NPC in the cave on the beach in Bone Beach (check Bonestone #7 in Bone Beach), enter the building to the left of the fountain in Ossex to find the trinket next to the table.
Disturbing Dance. Rewarded for finding and purchasing everything from all 3 of Poppit's shops. If you have followed this guide and collected everything else, you will have already visited them all.
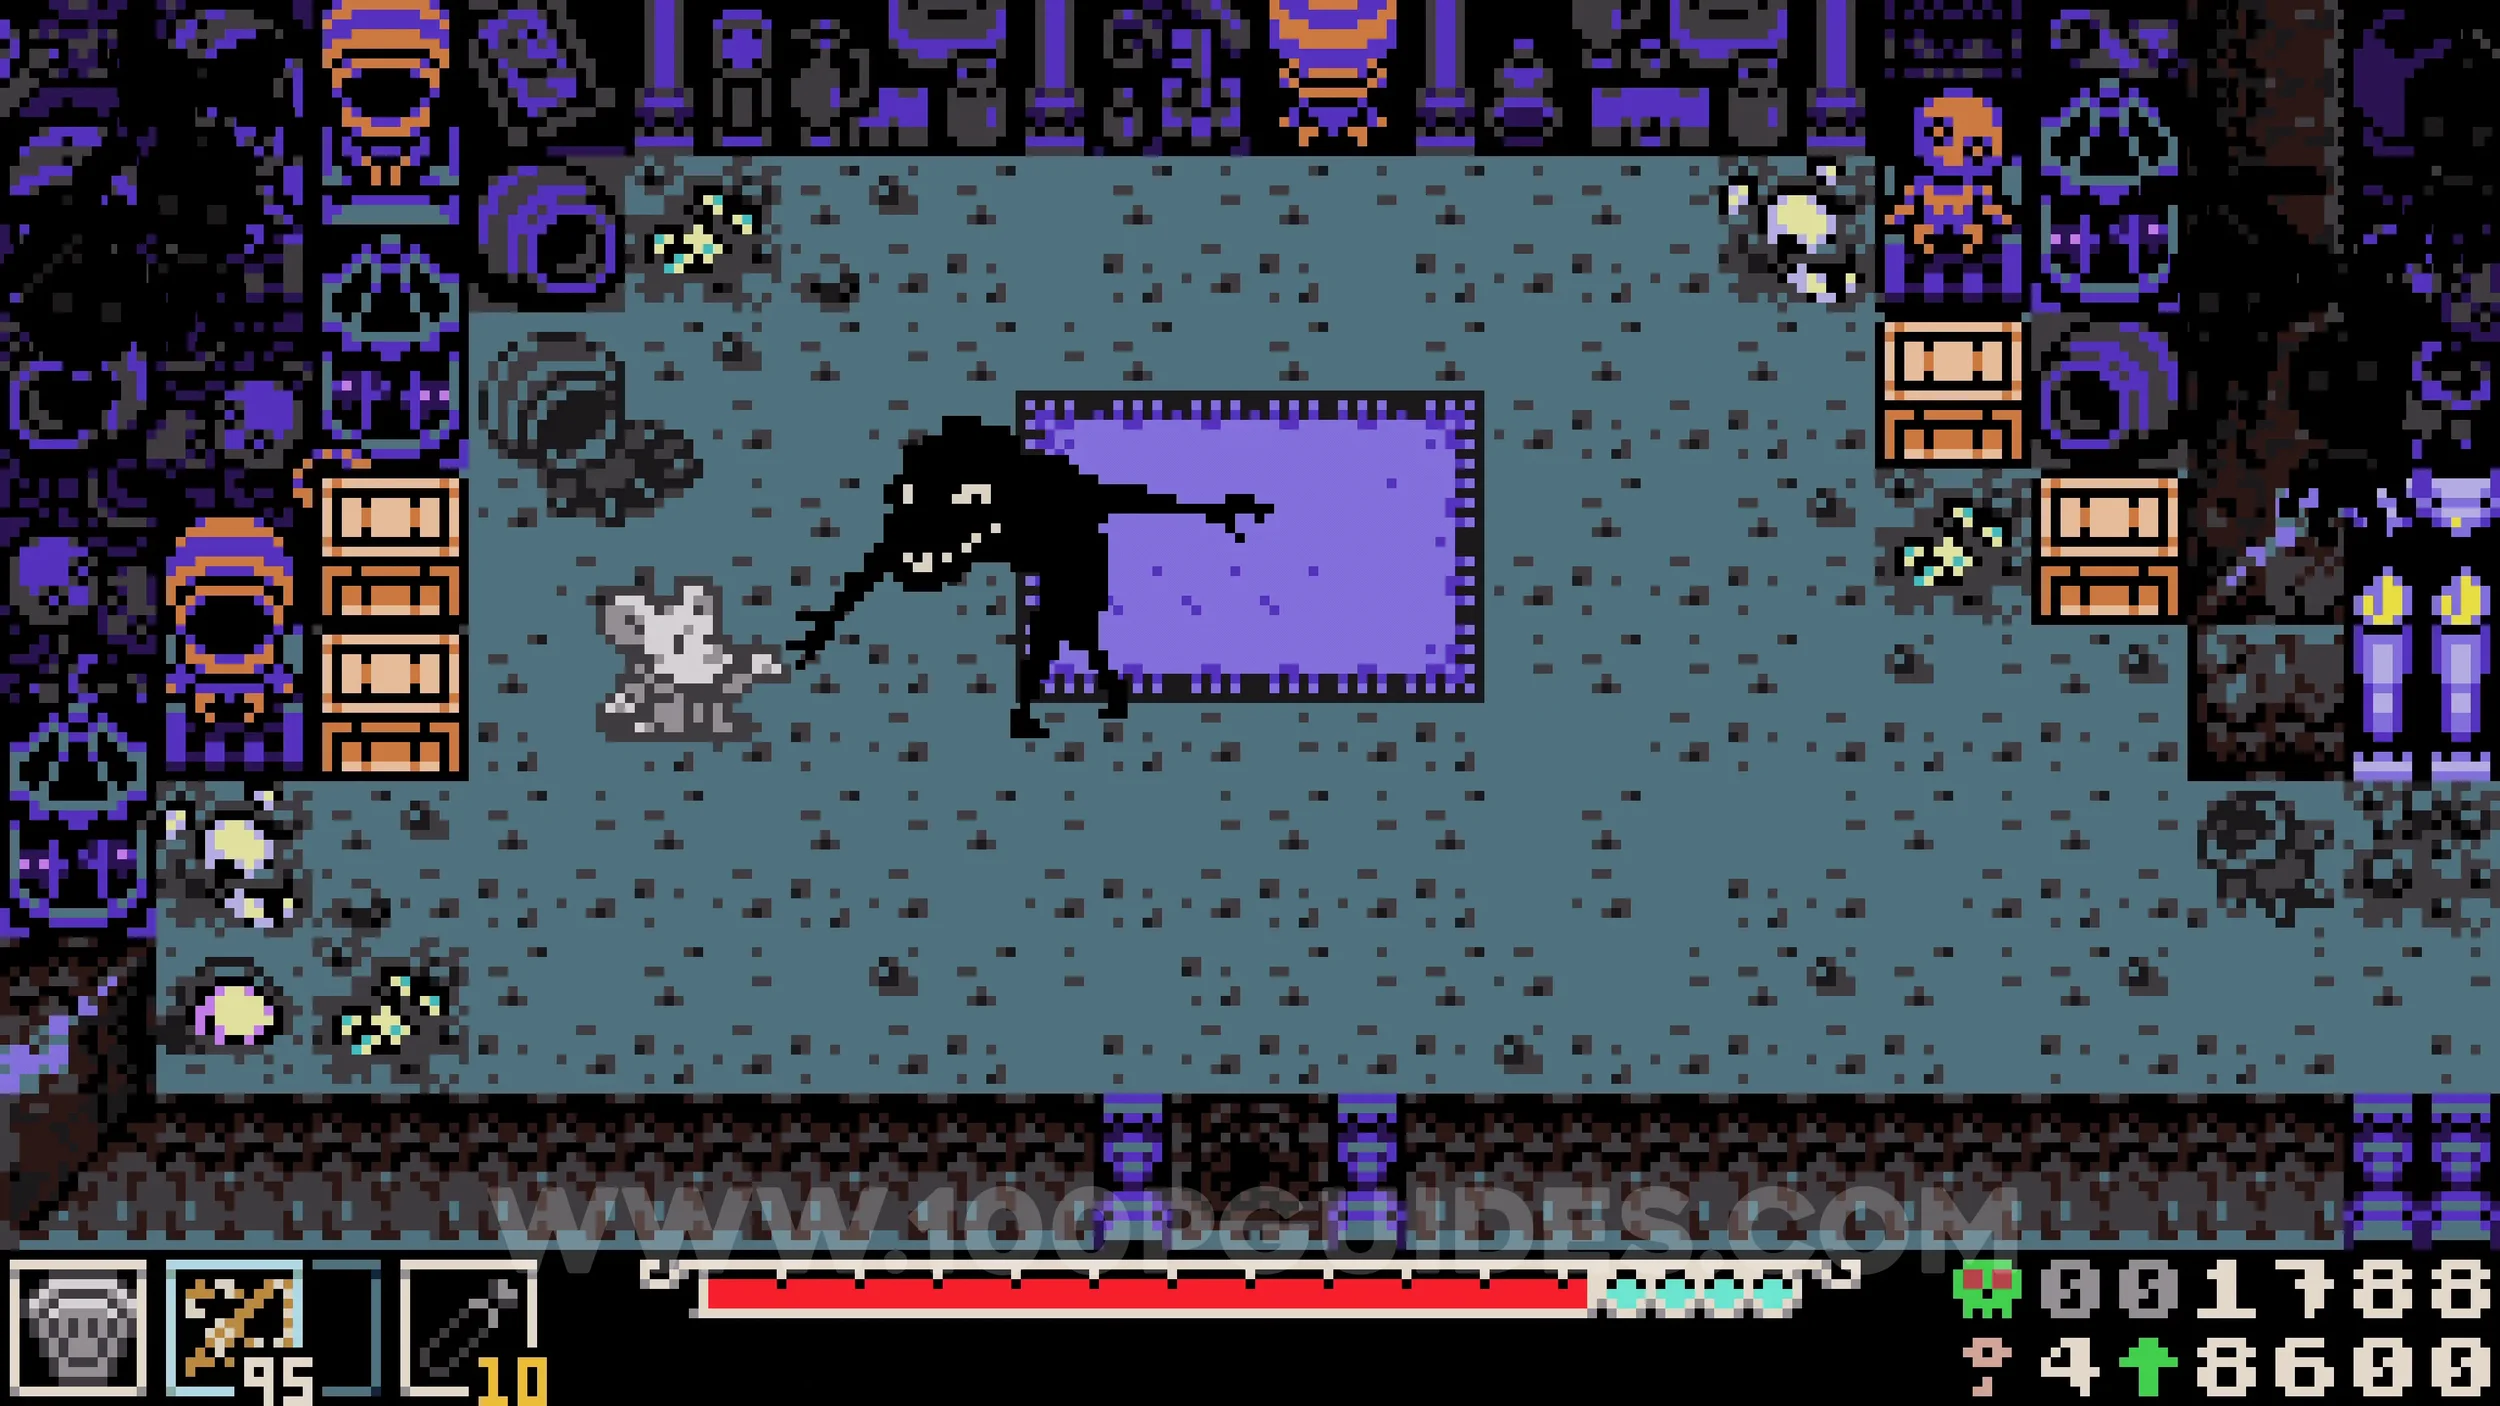
Kear #14. Talk to the two tramps in the area south of the train station and donate bones to them. Then go left of the train station entrance, head down the rope, and enter the building at the bottom. Talk to the NPC on the right inside to receive the collectible.
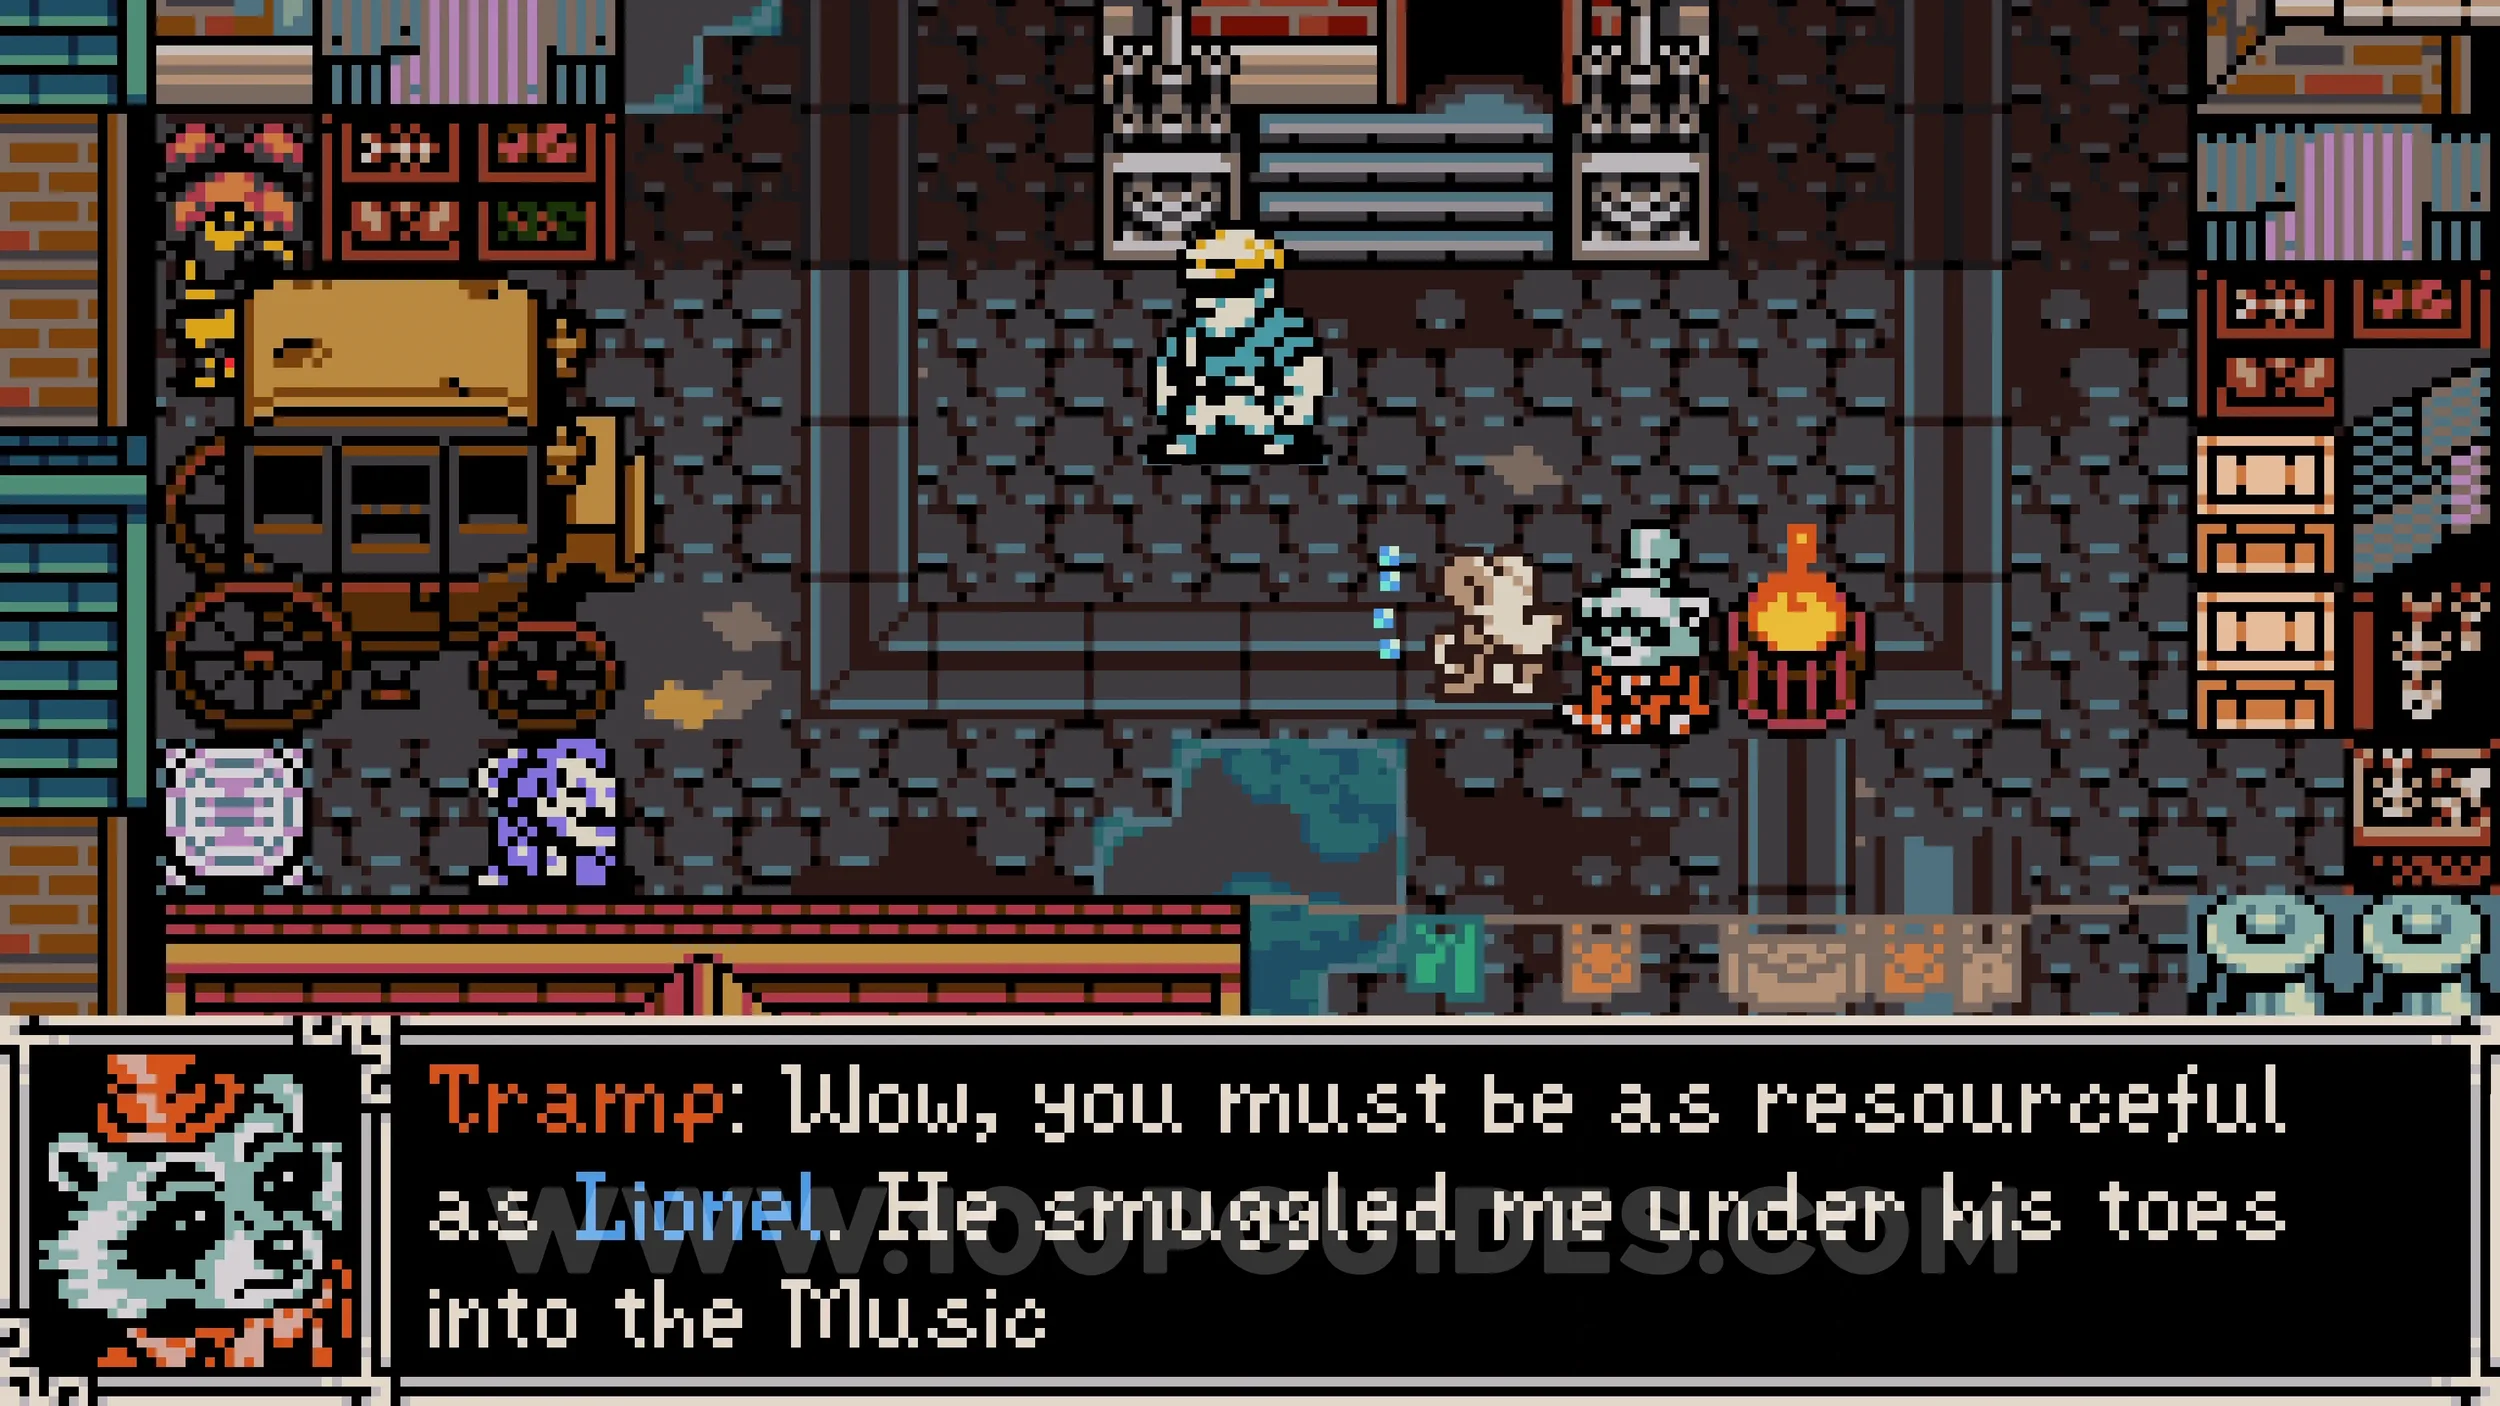
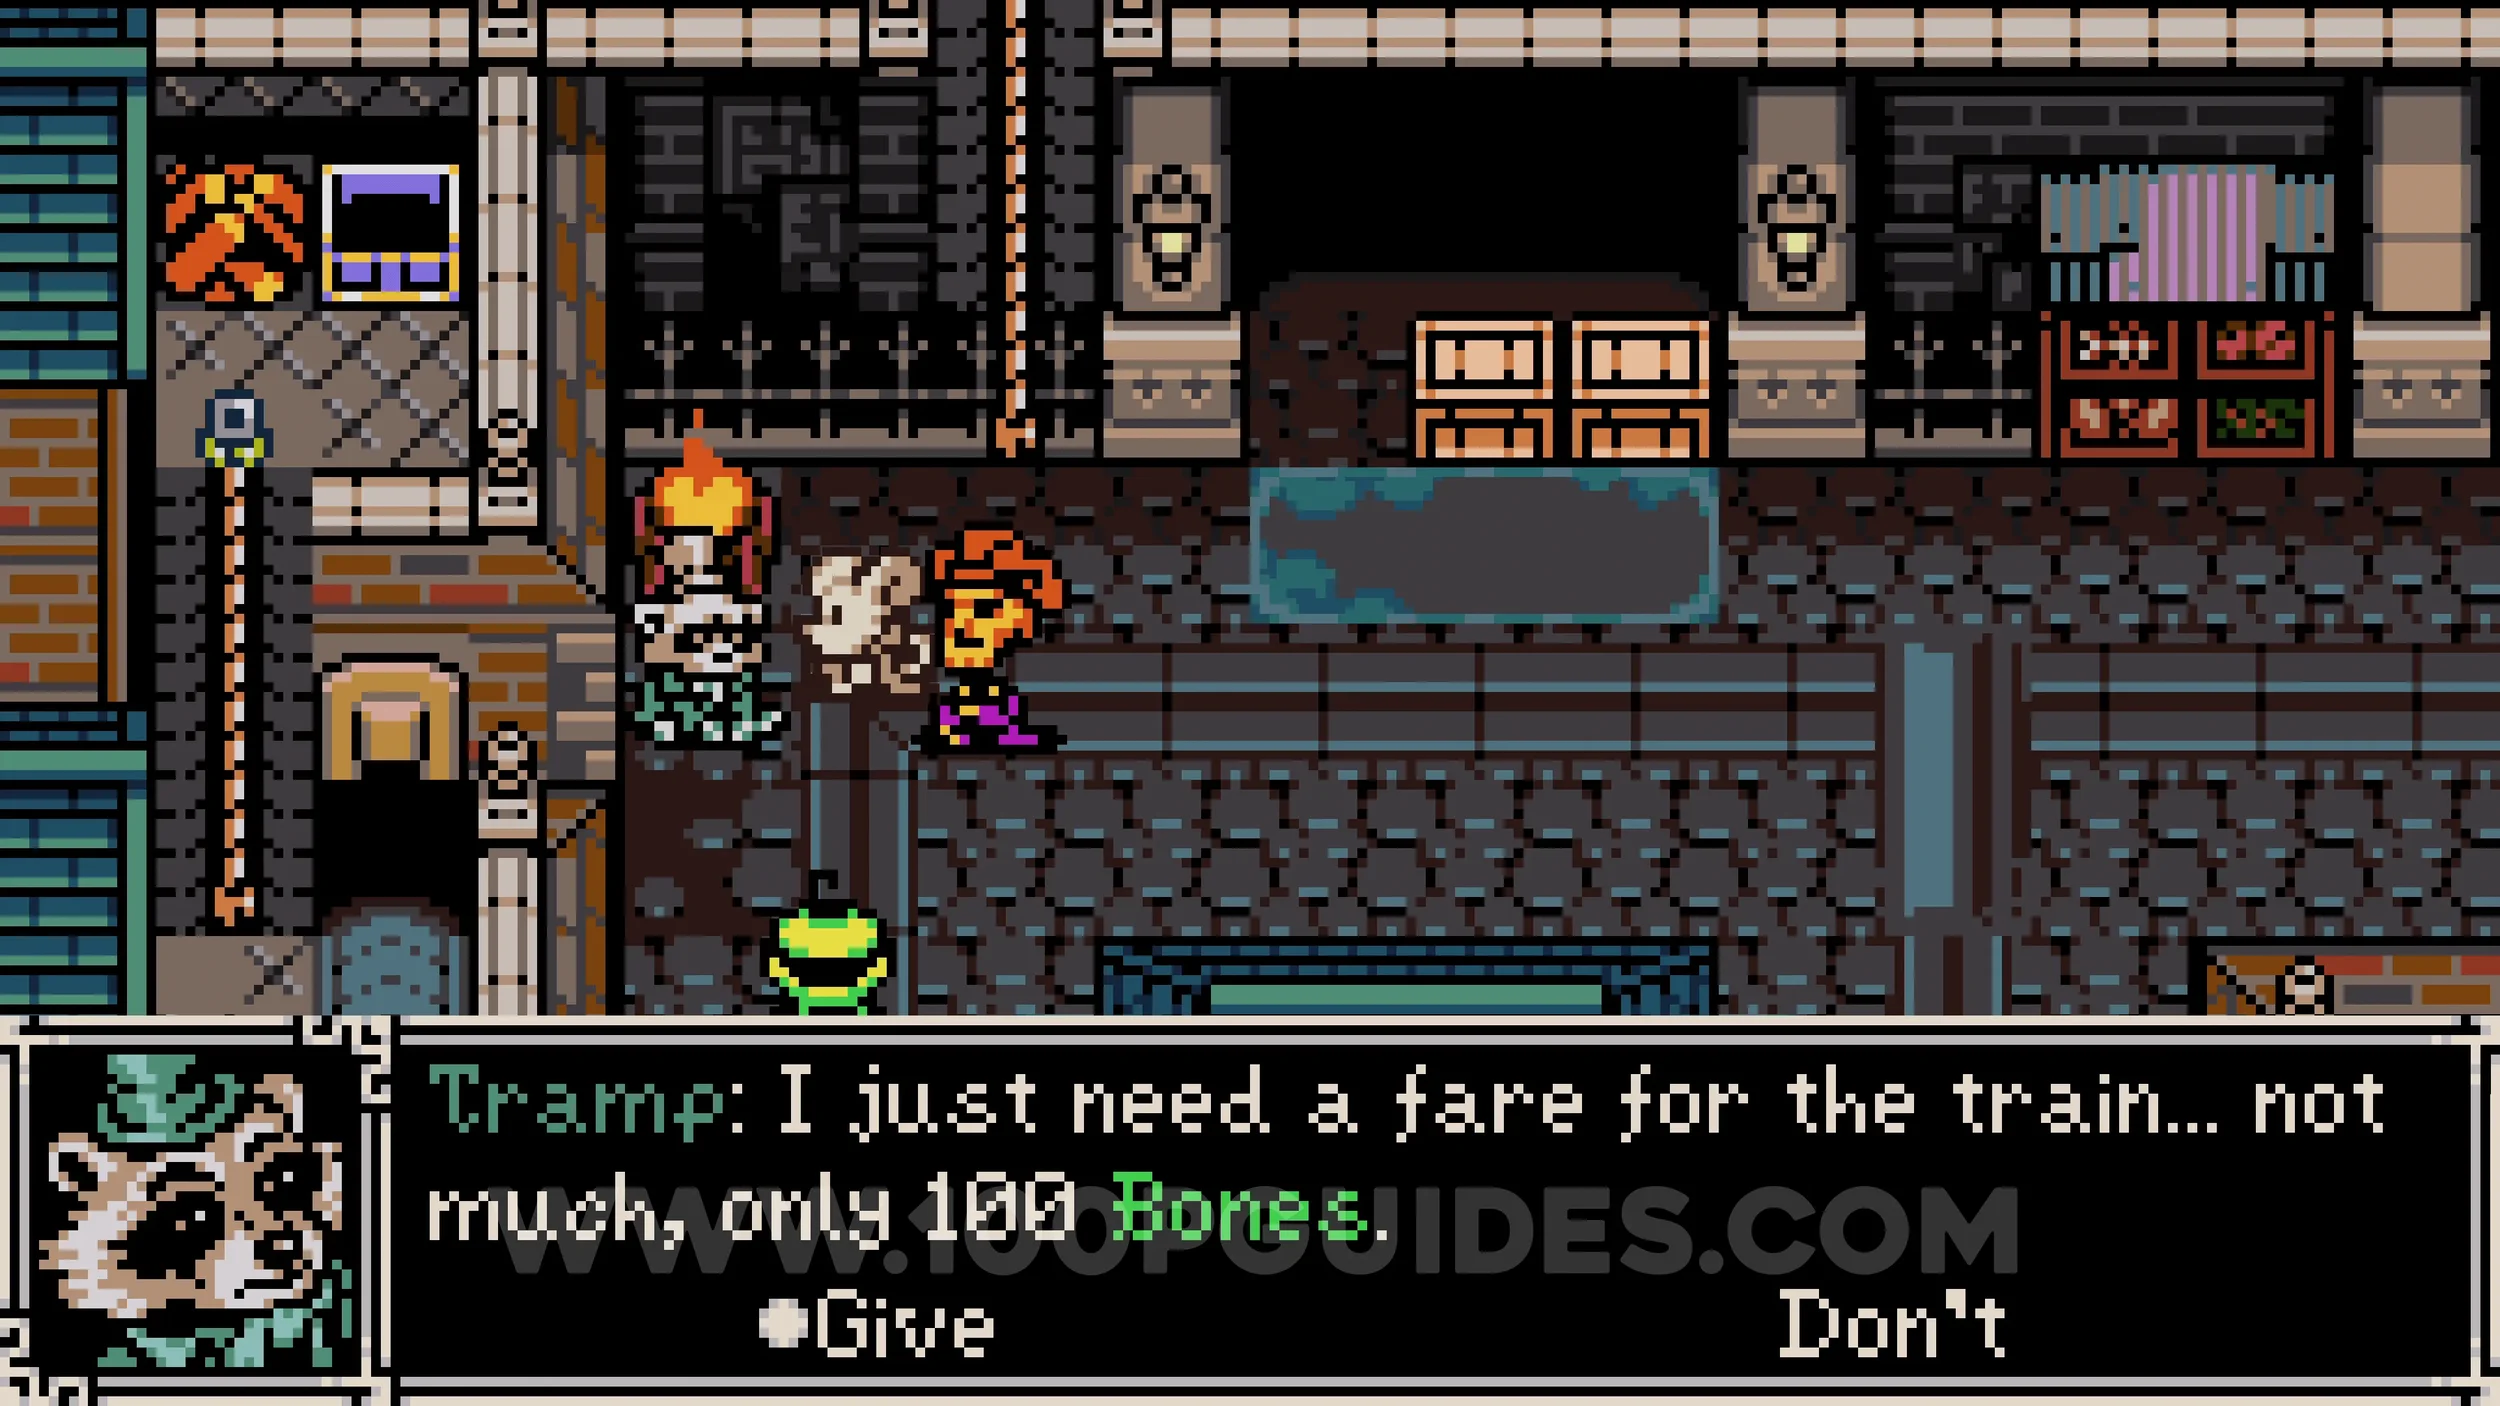
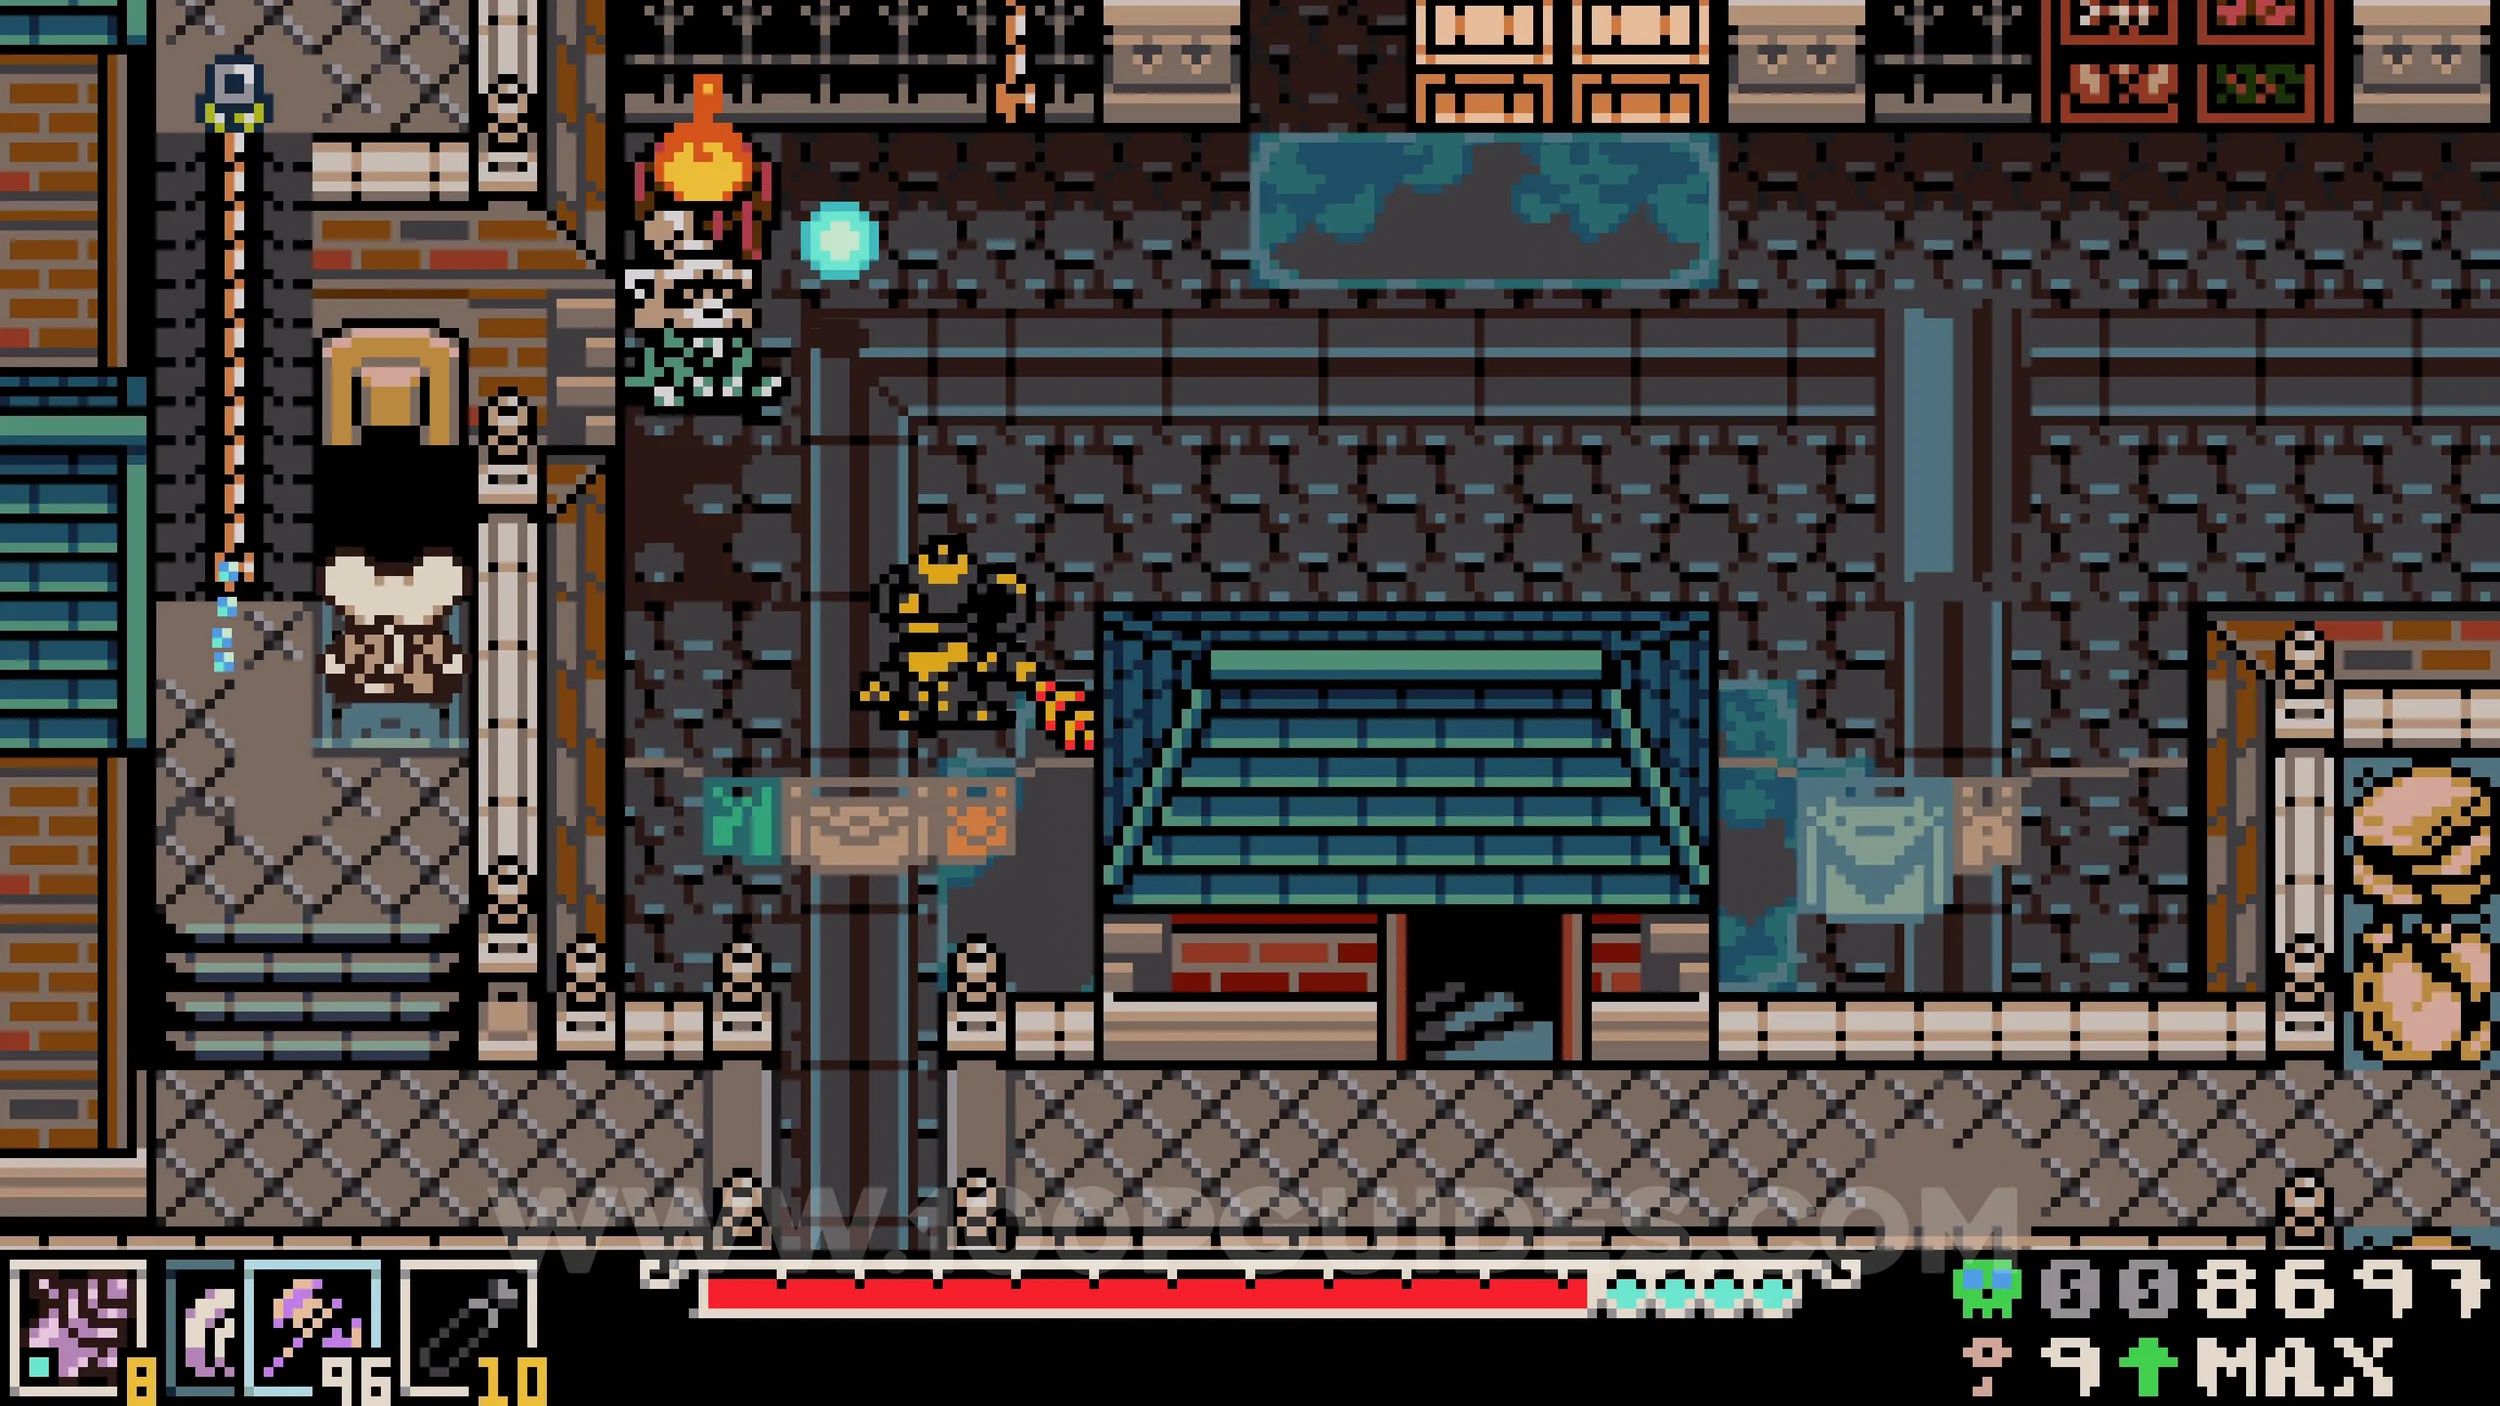
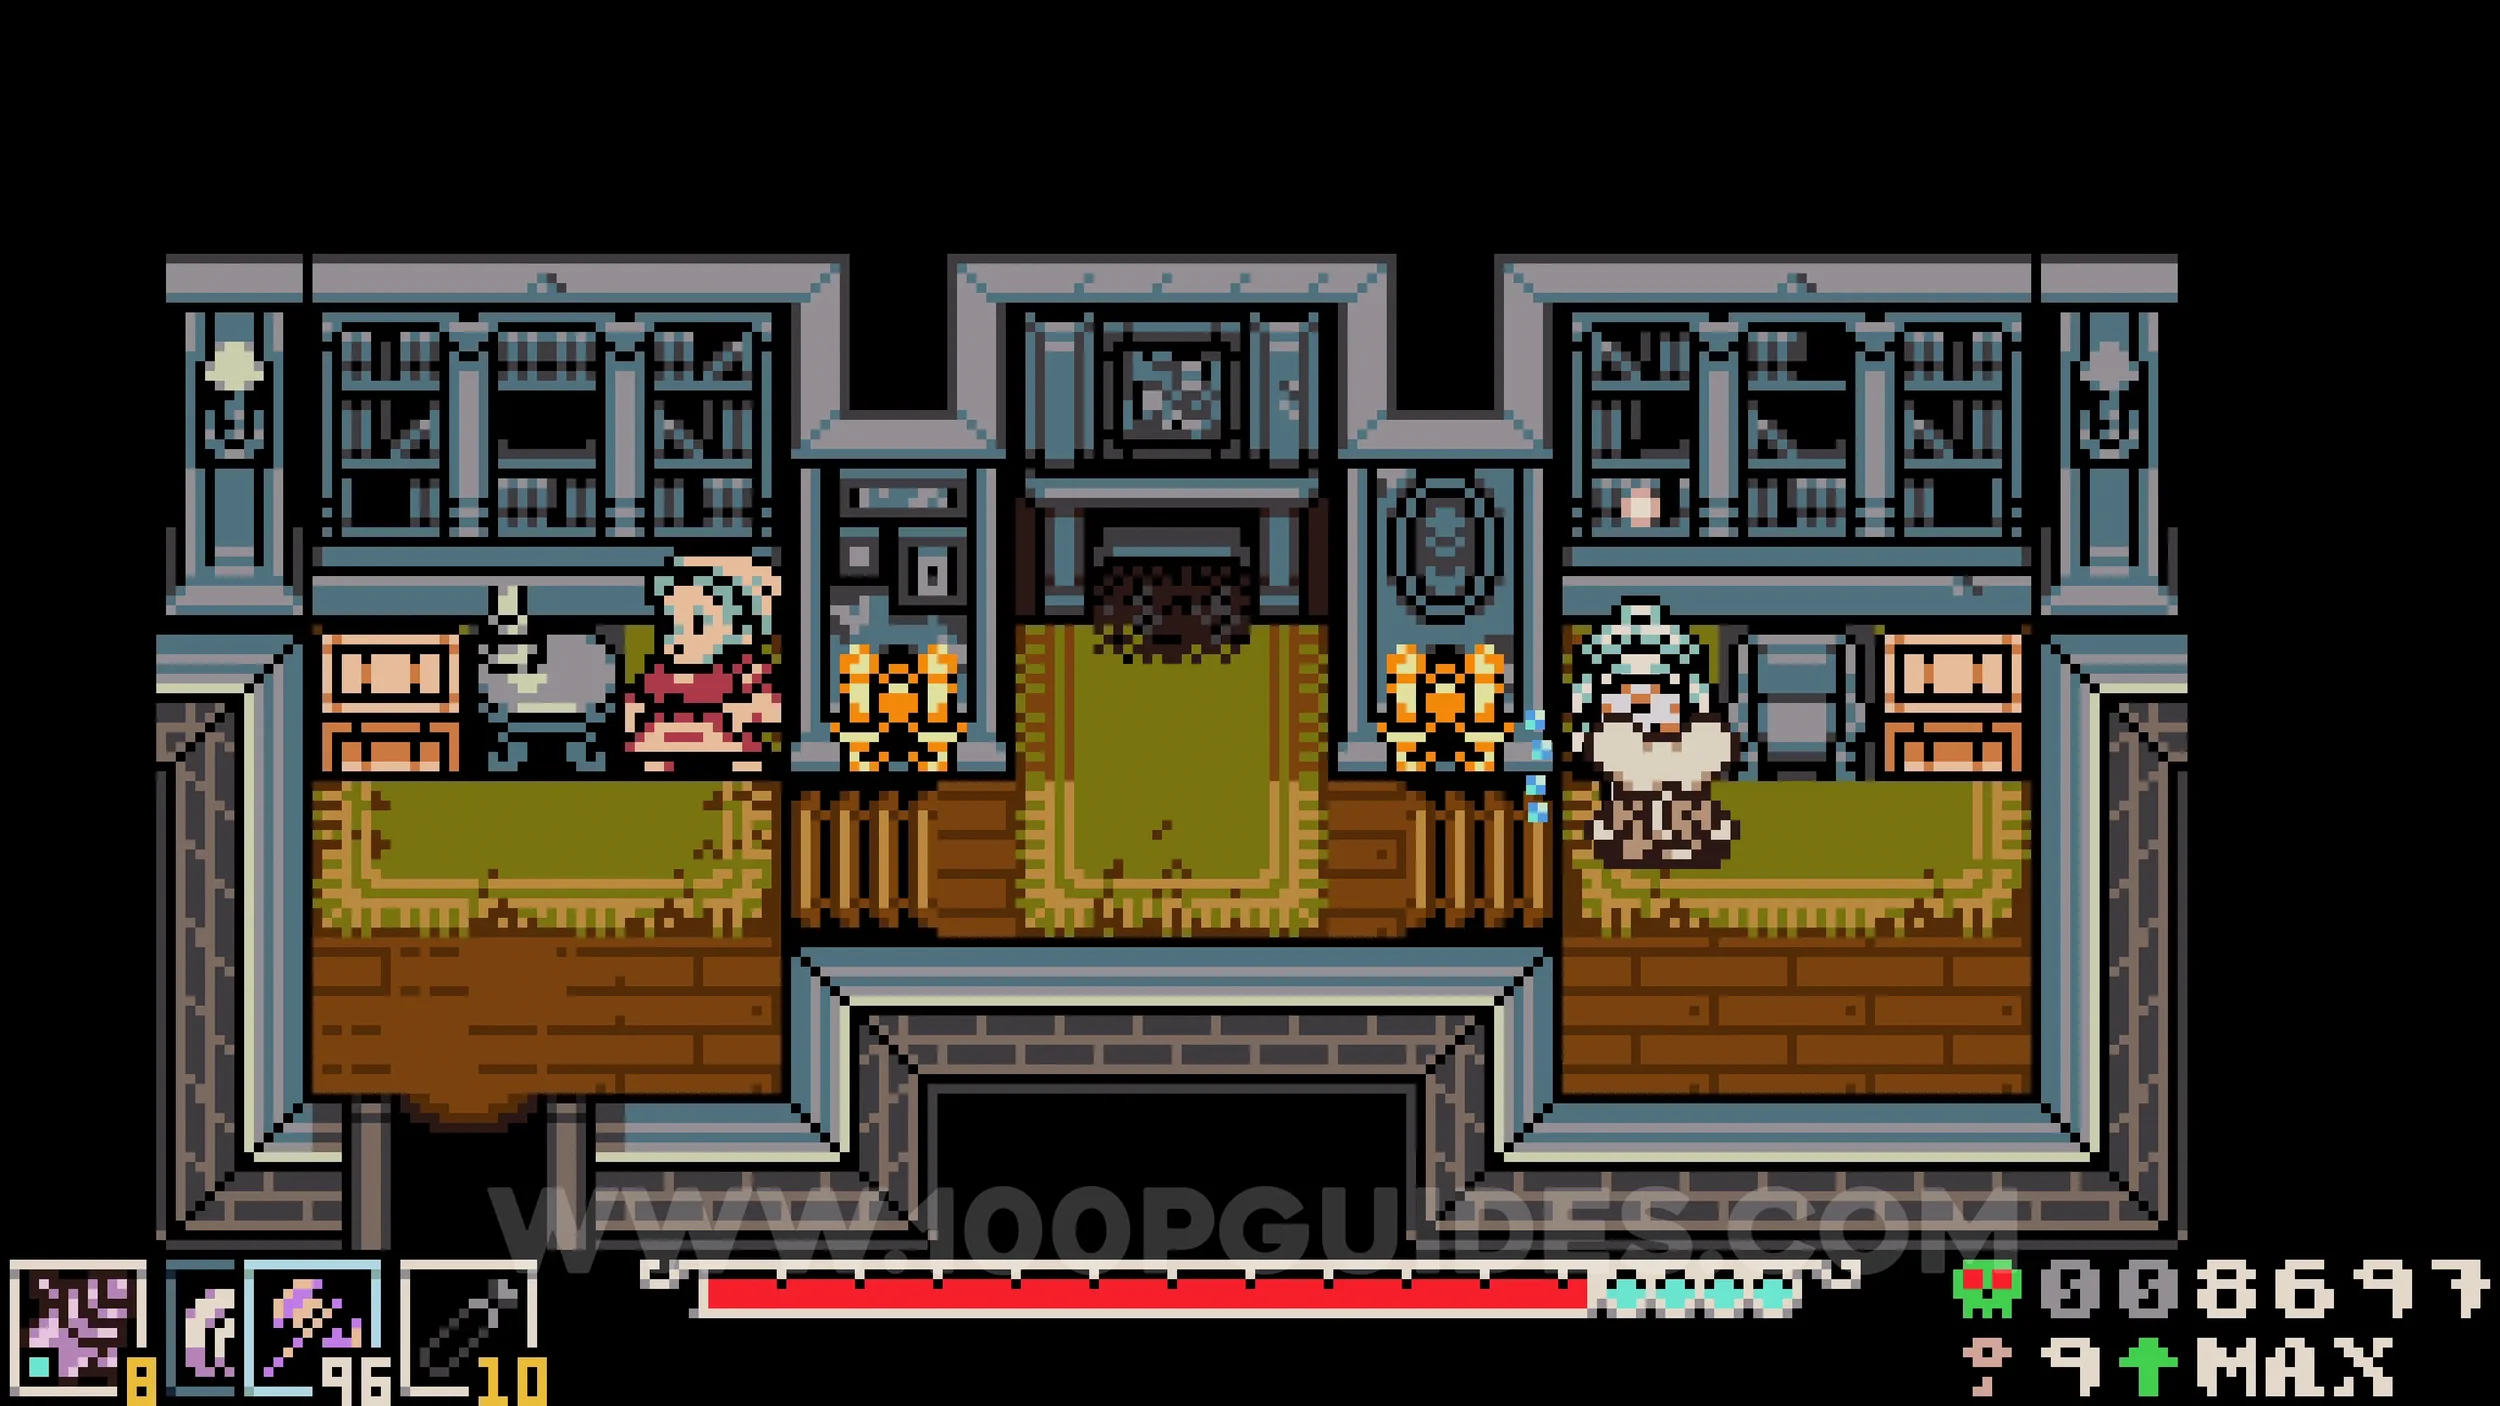
Bonestone #13. Once you have opened all 40 locks and collected all 50 Kears, you will have 10 left over. Return to the Kear shop and give them to the NPC on the left, then exit the shop to find the final bonestone.