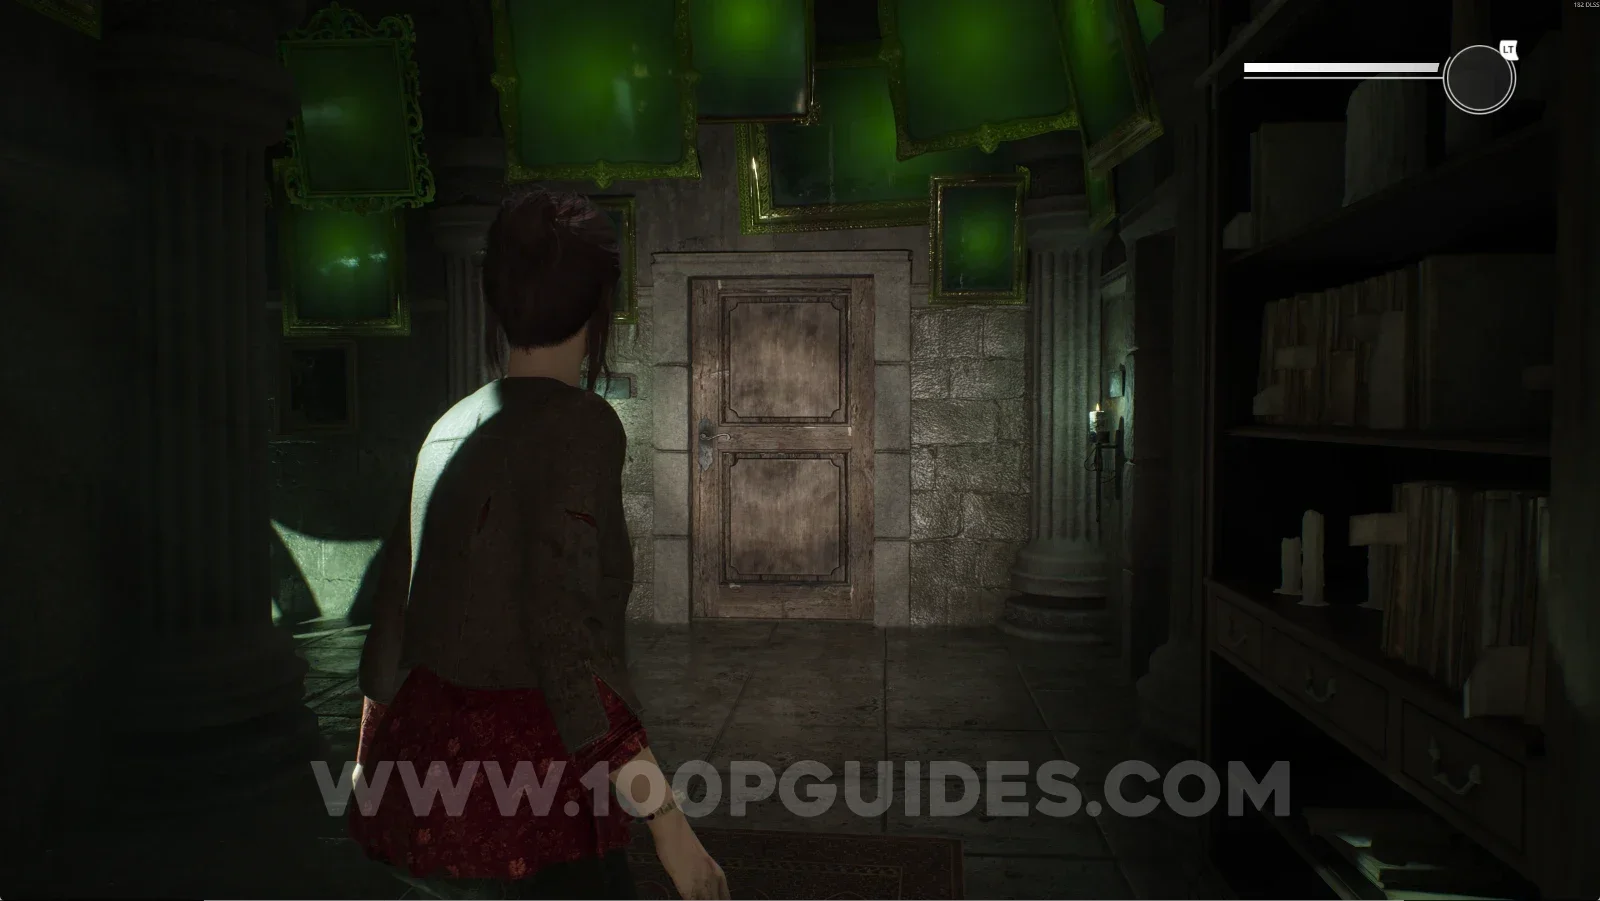
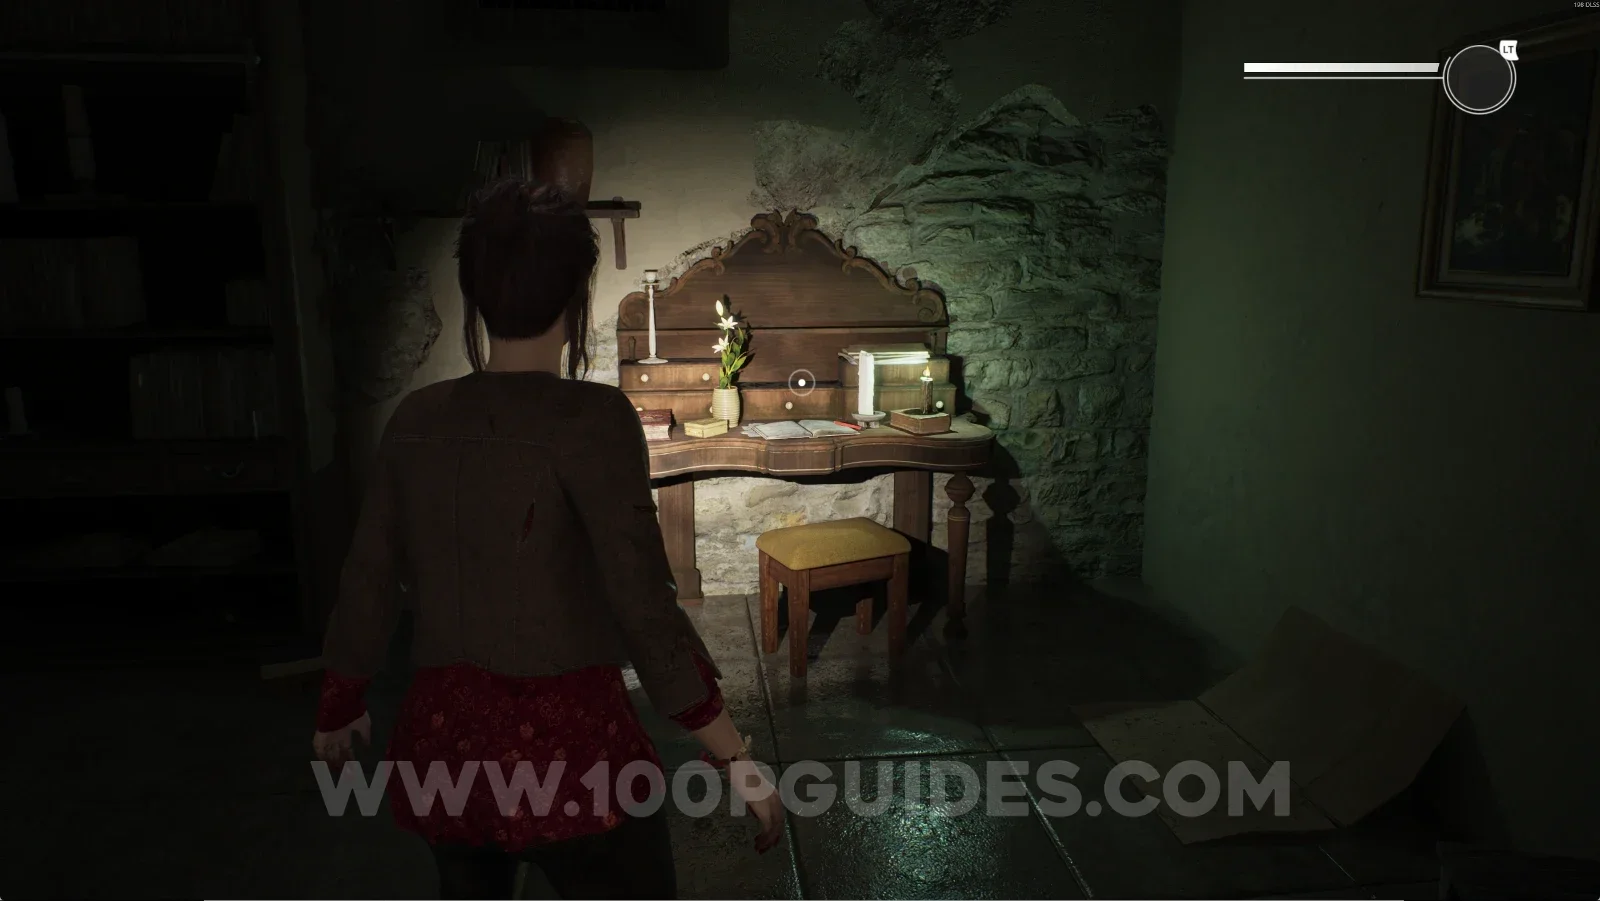
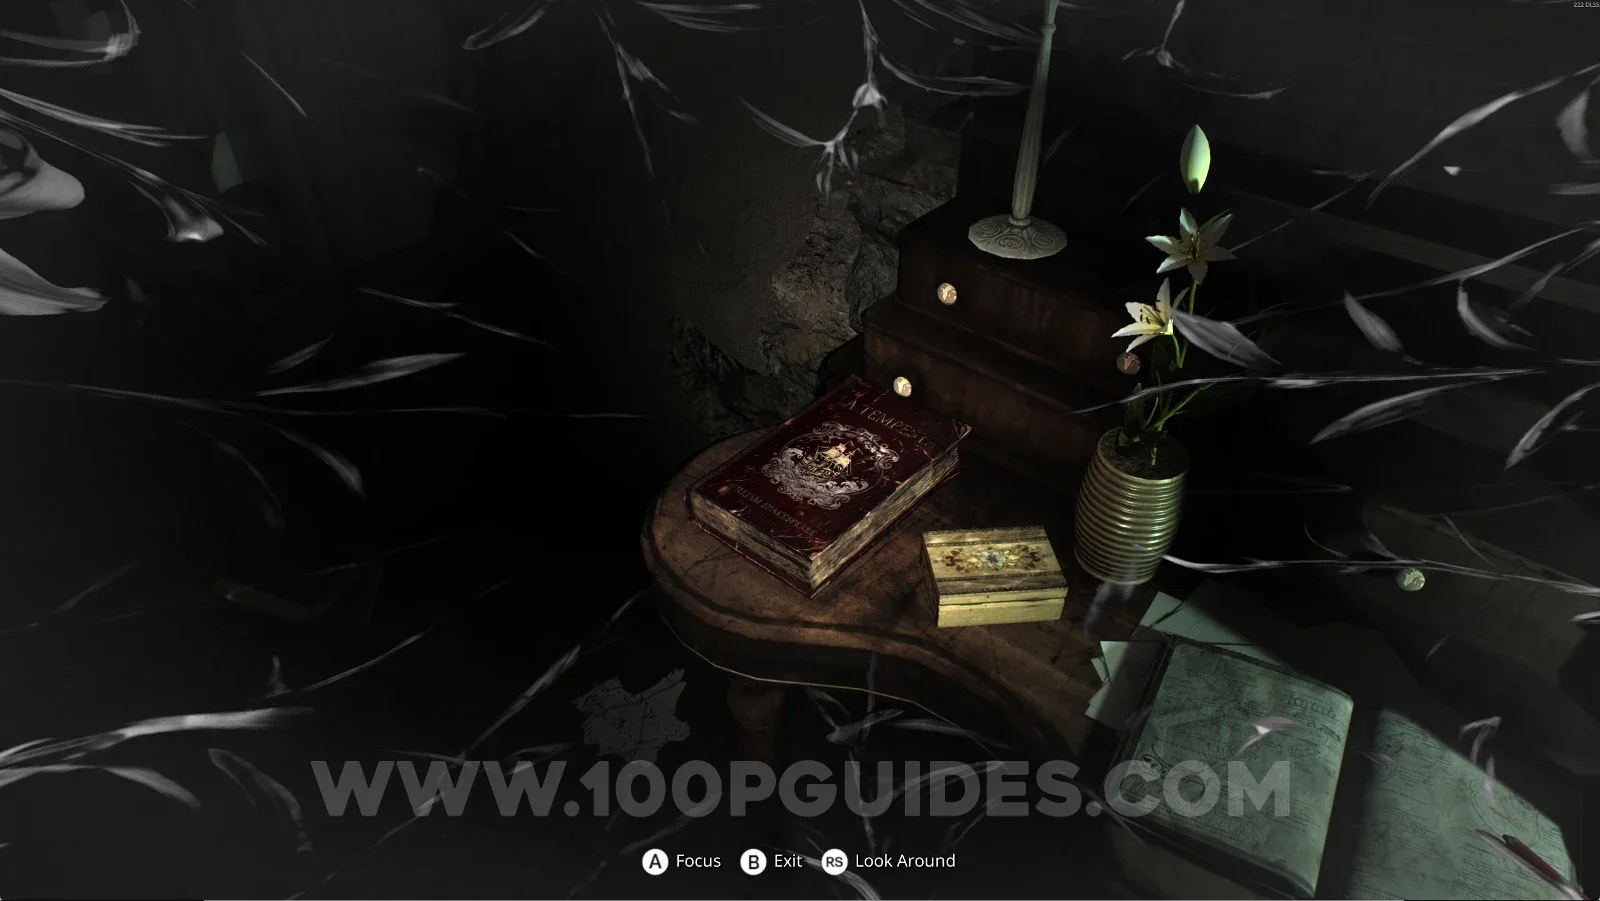
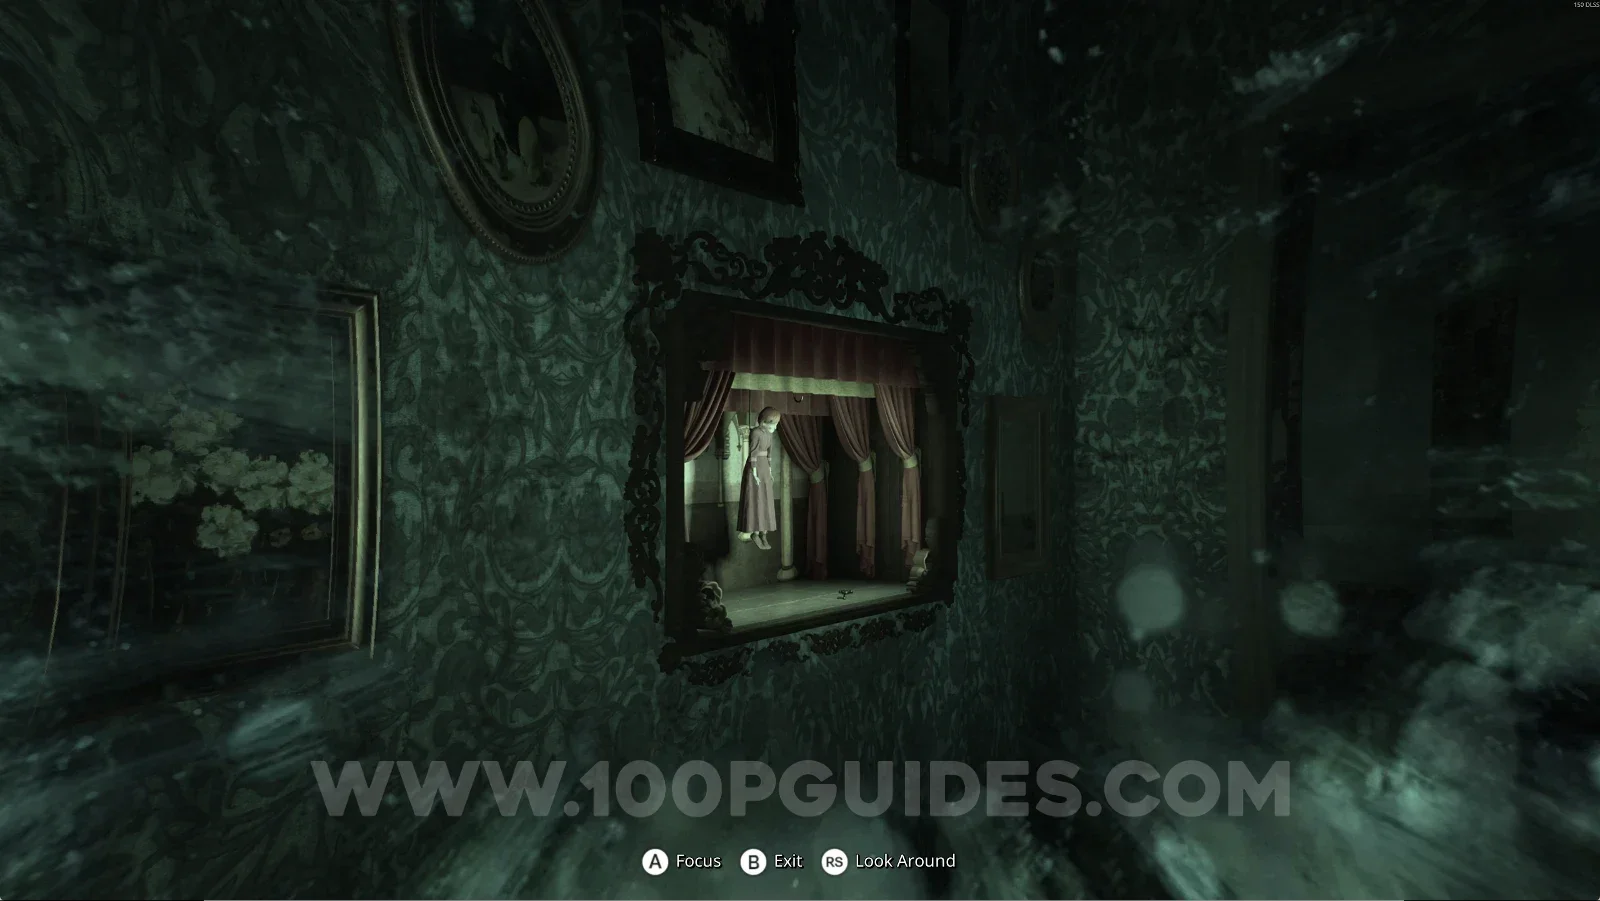
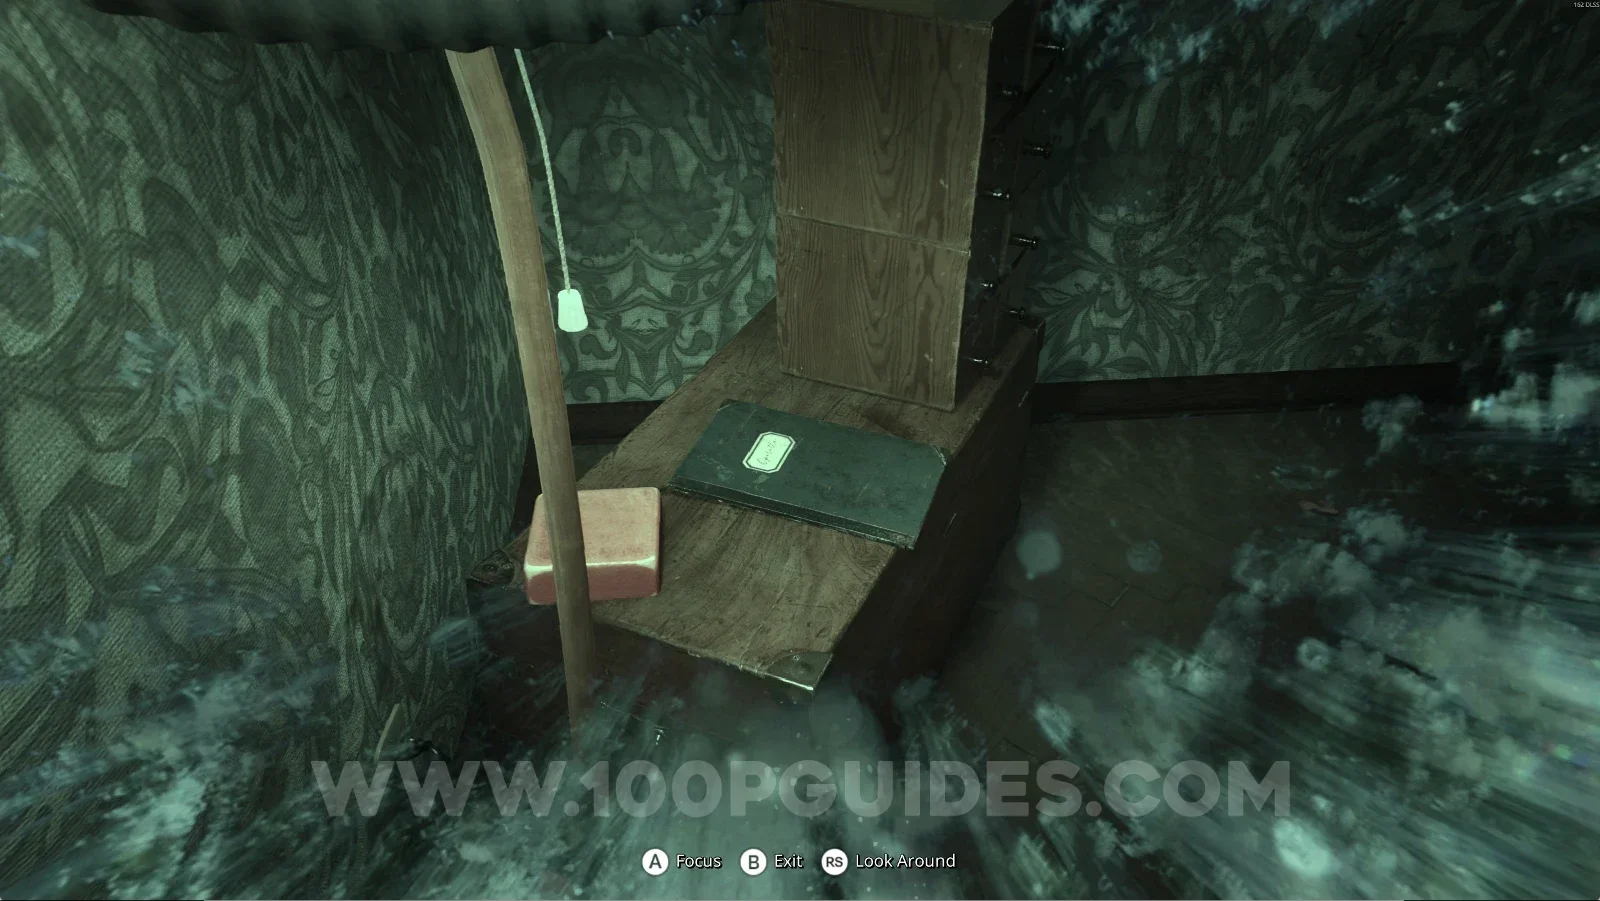
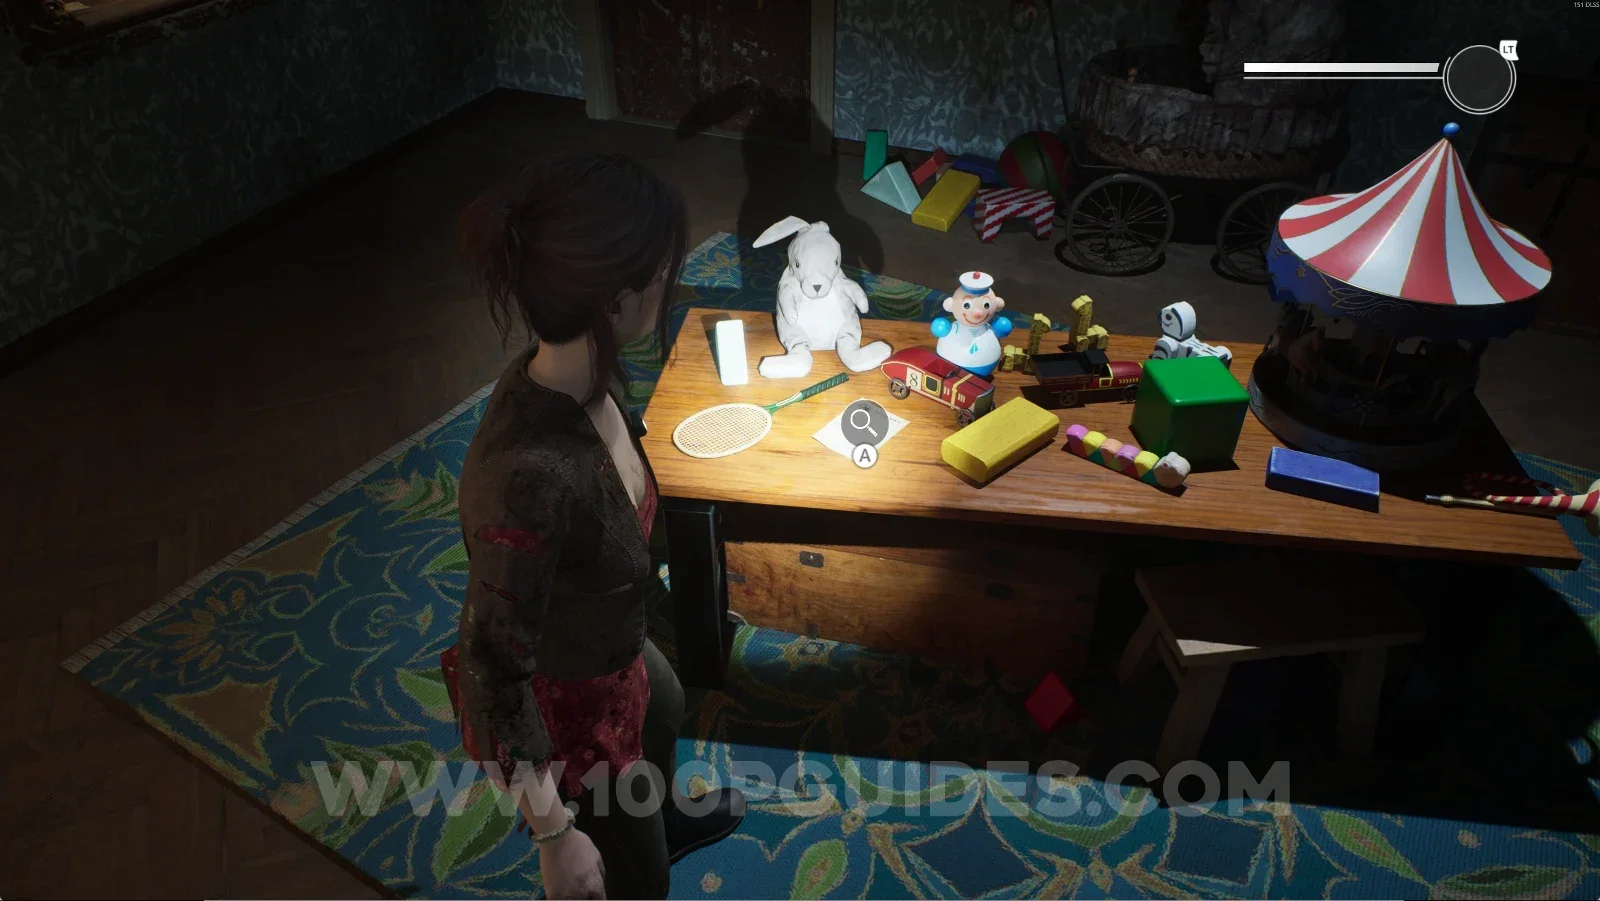
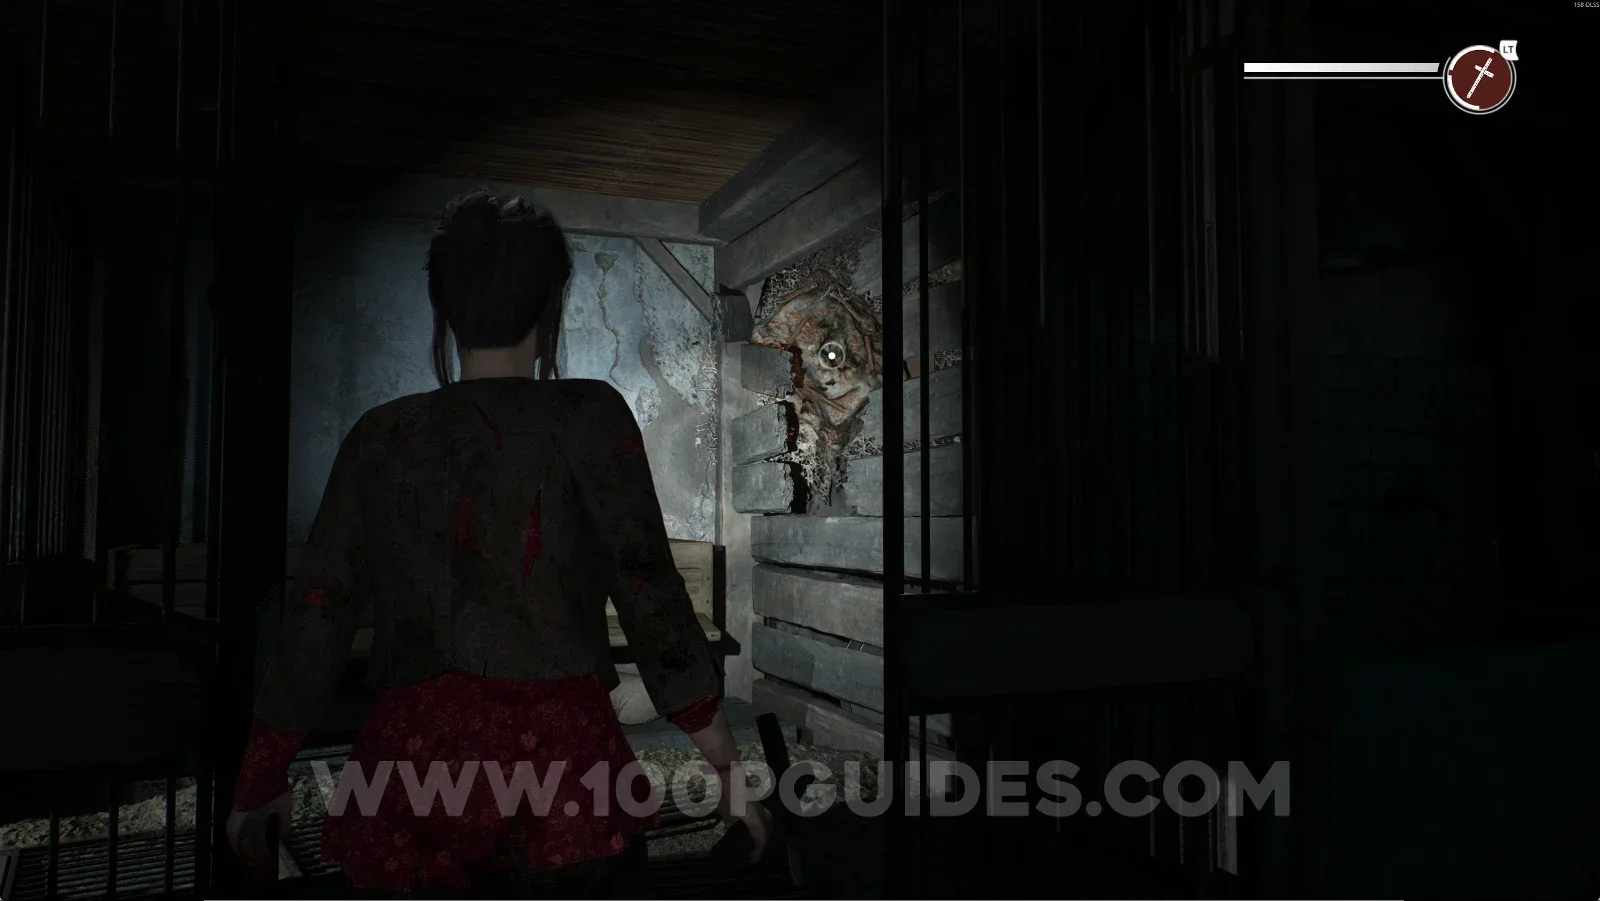
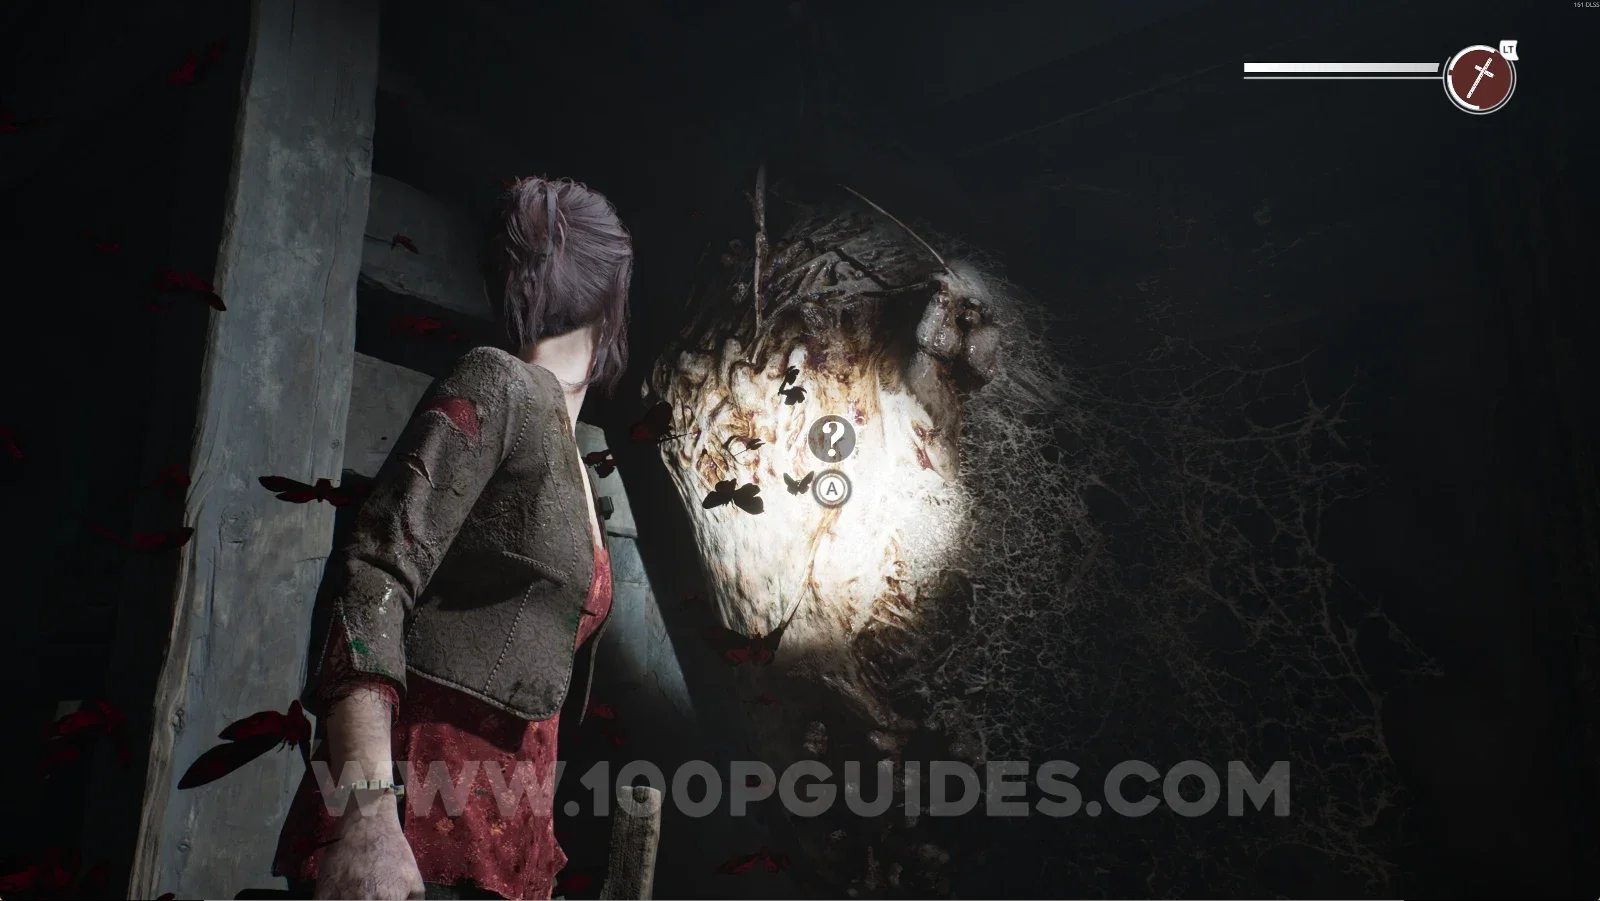
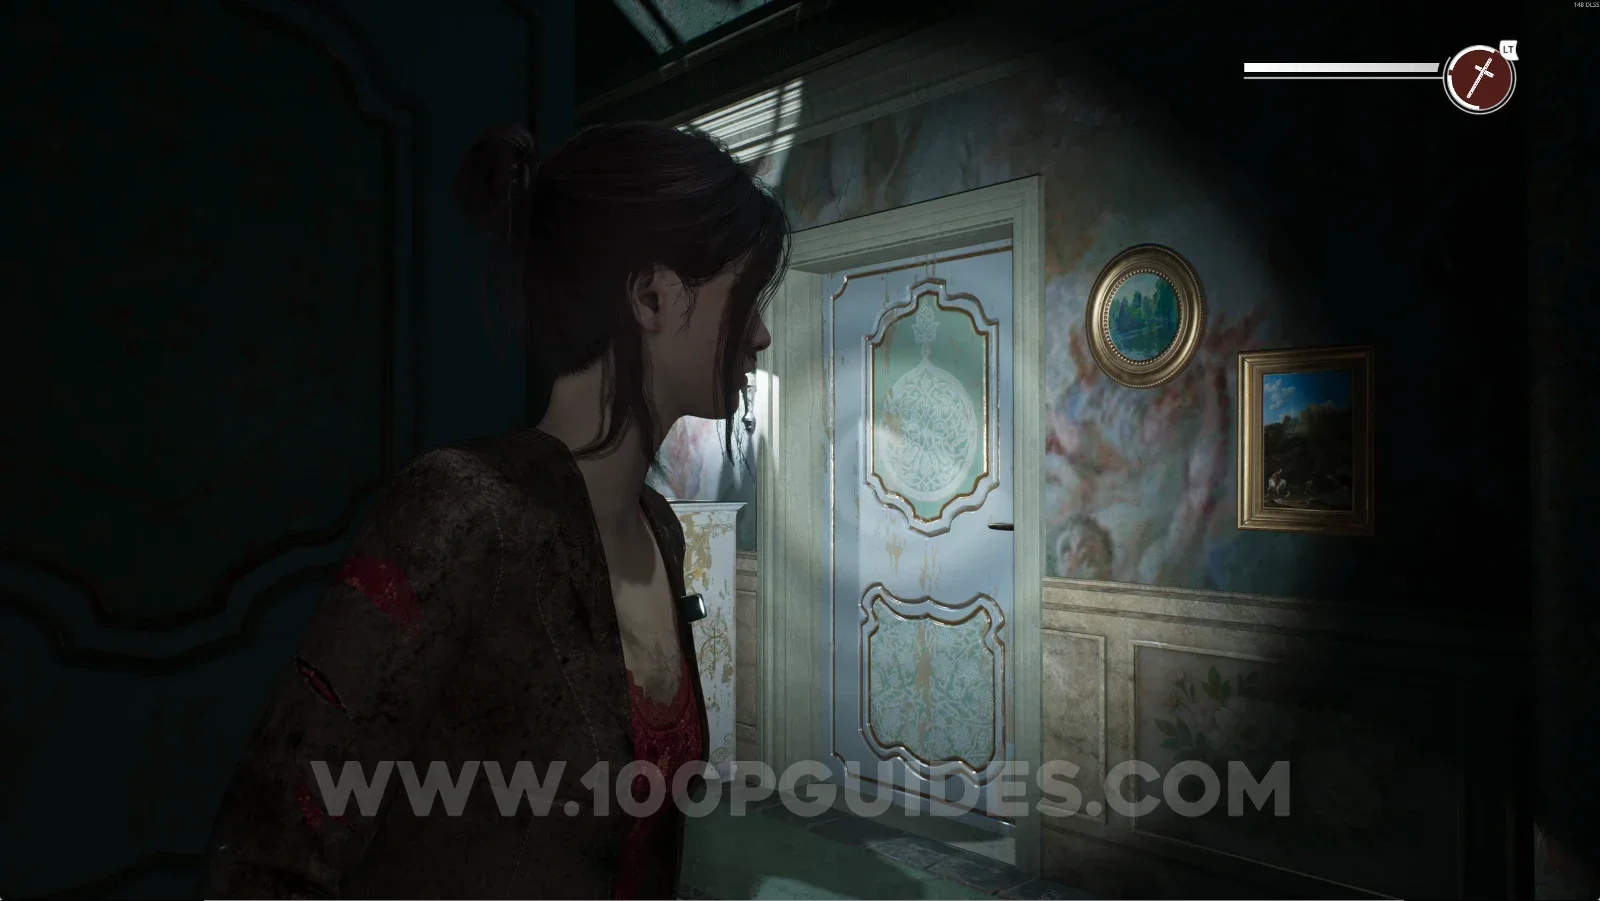
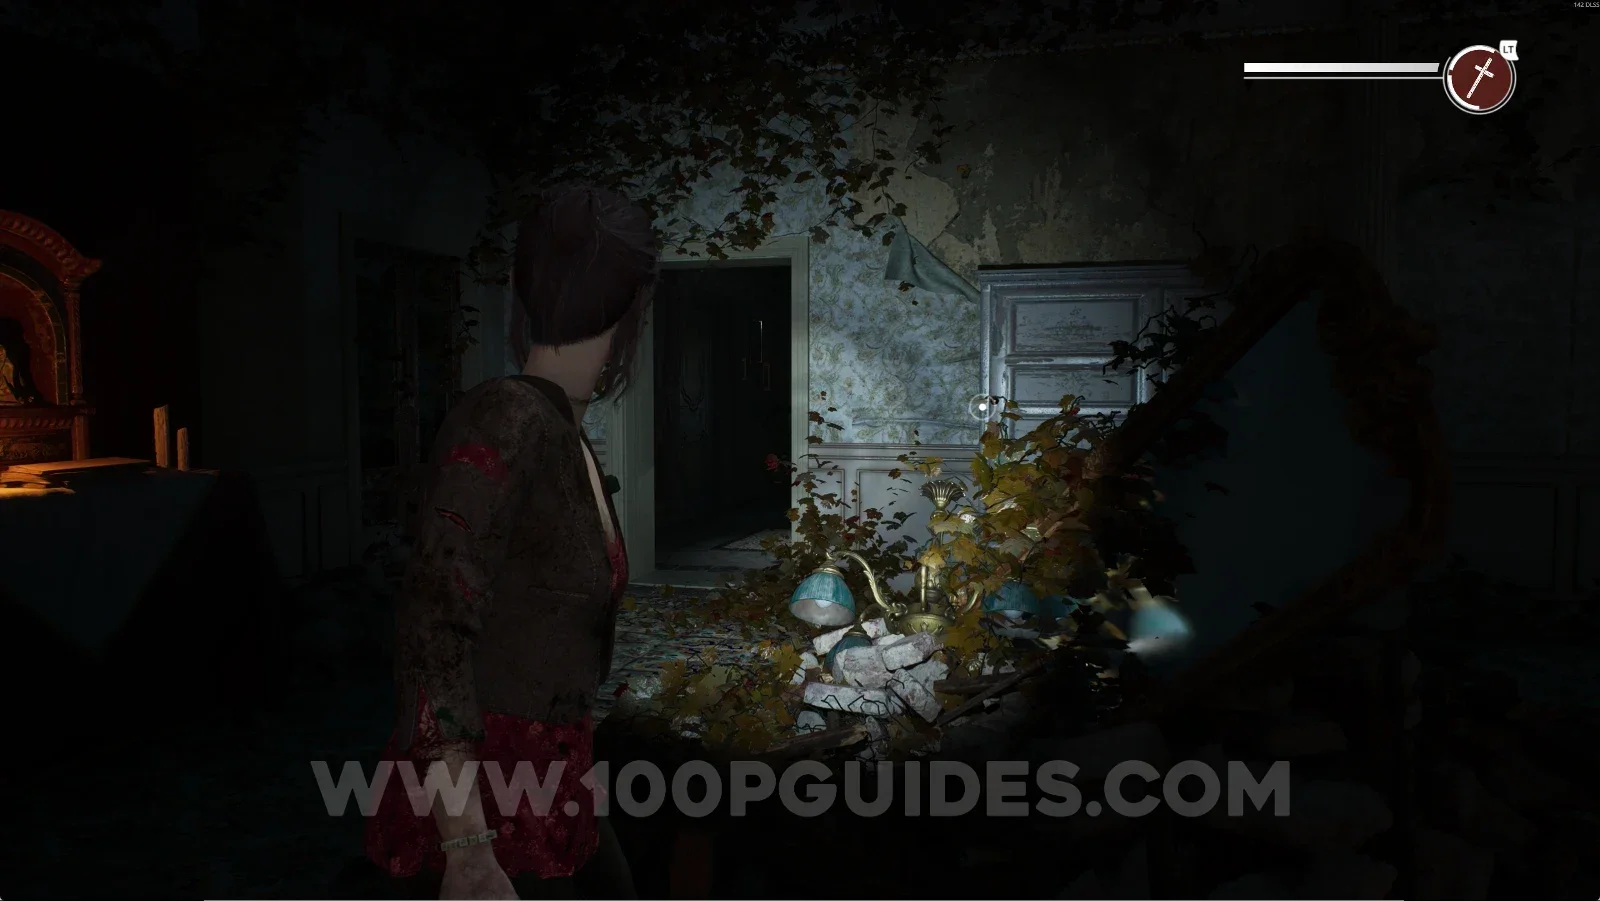
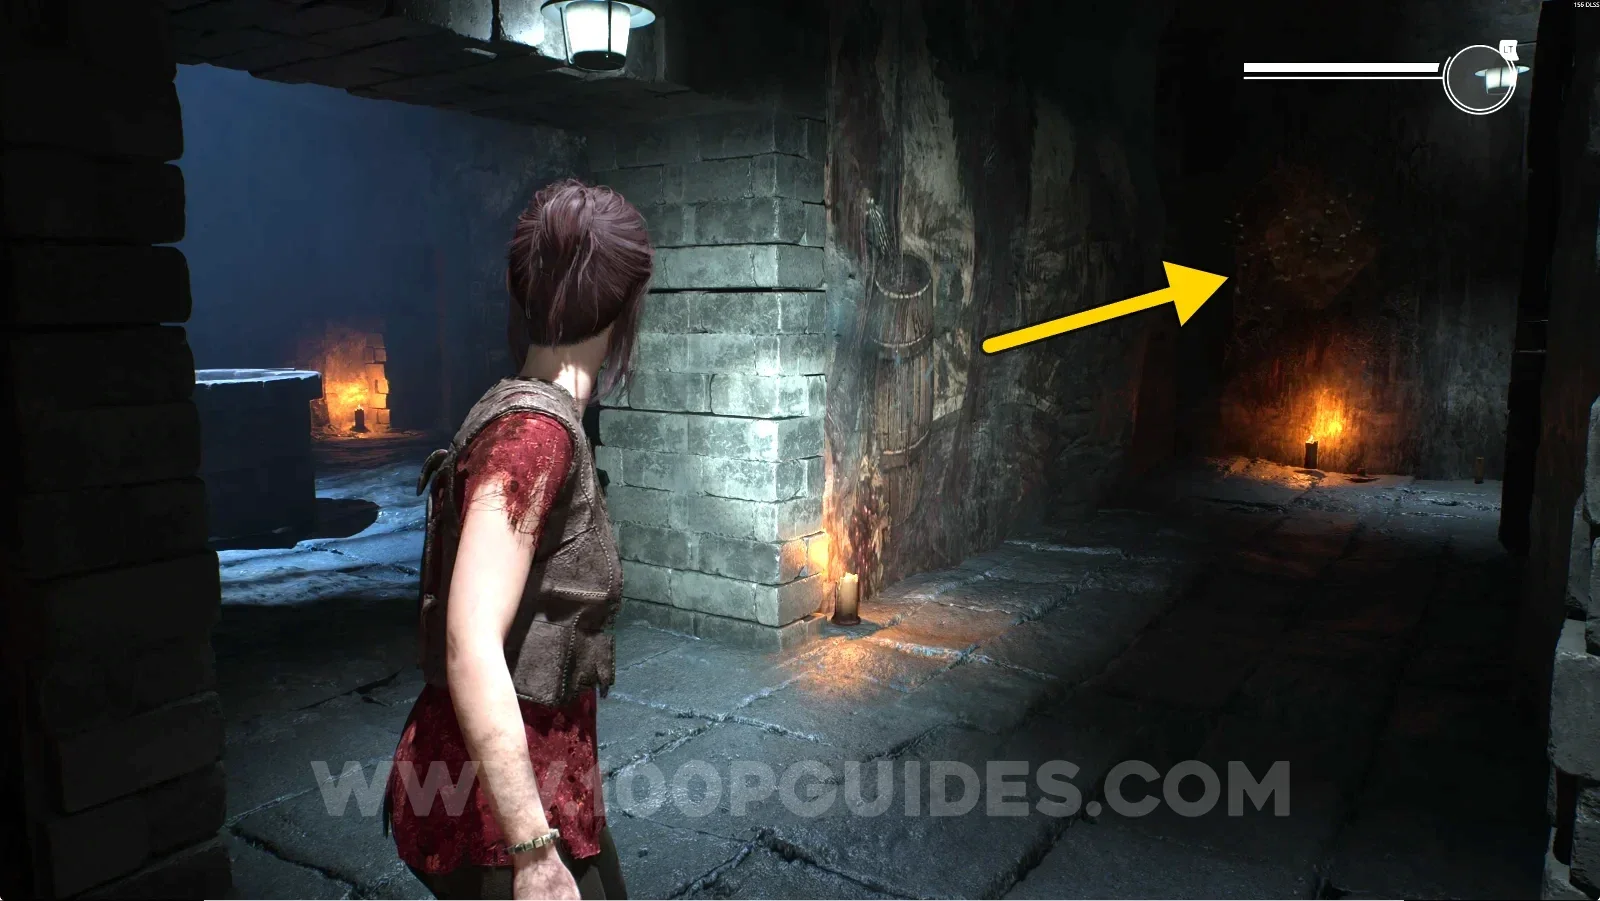
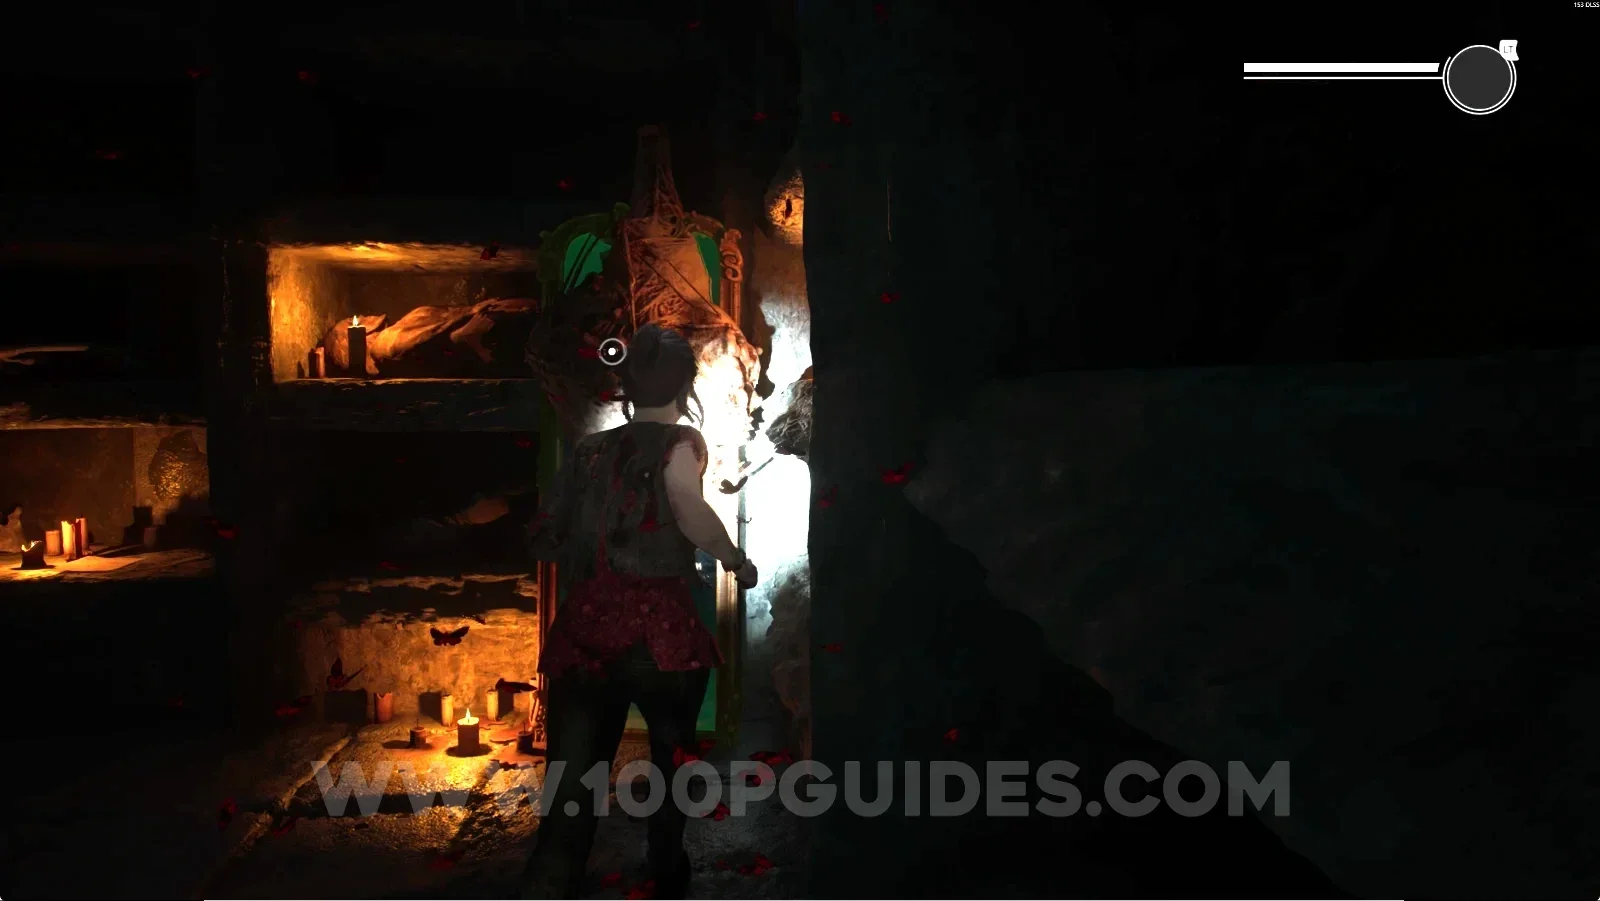
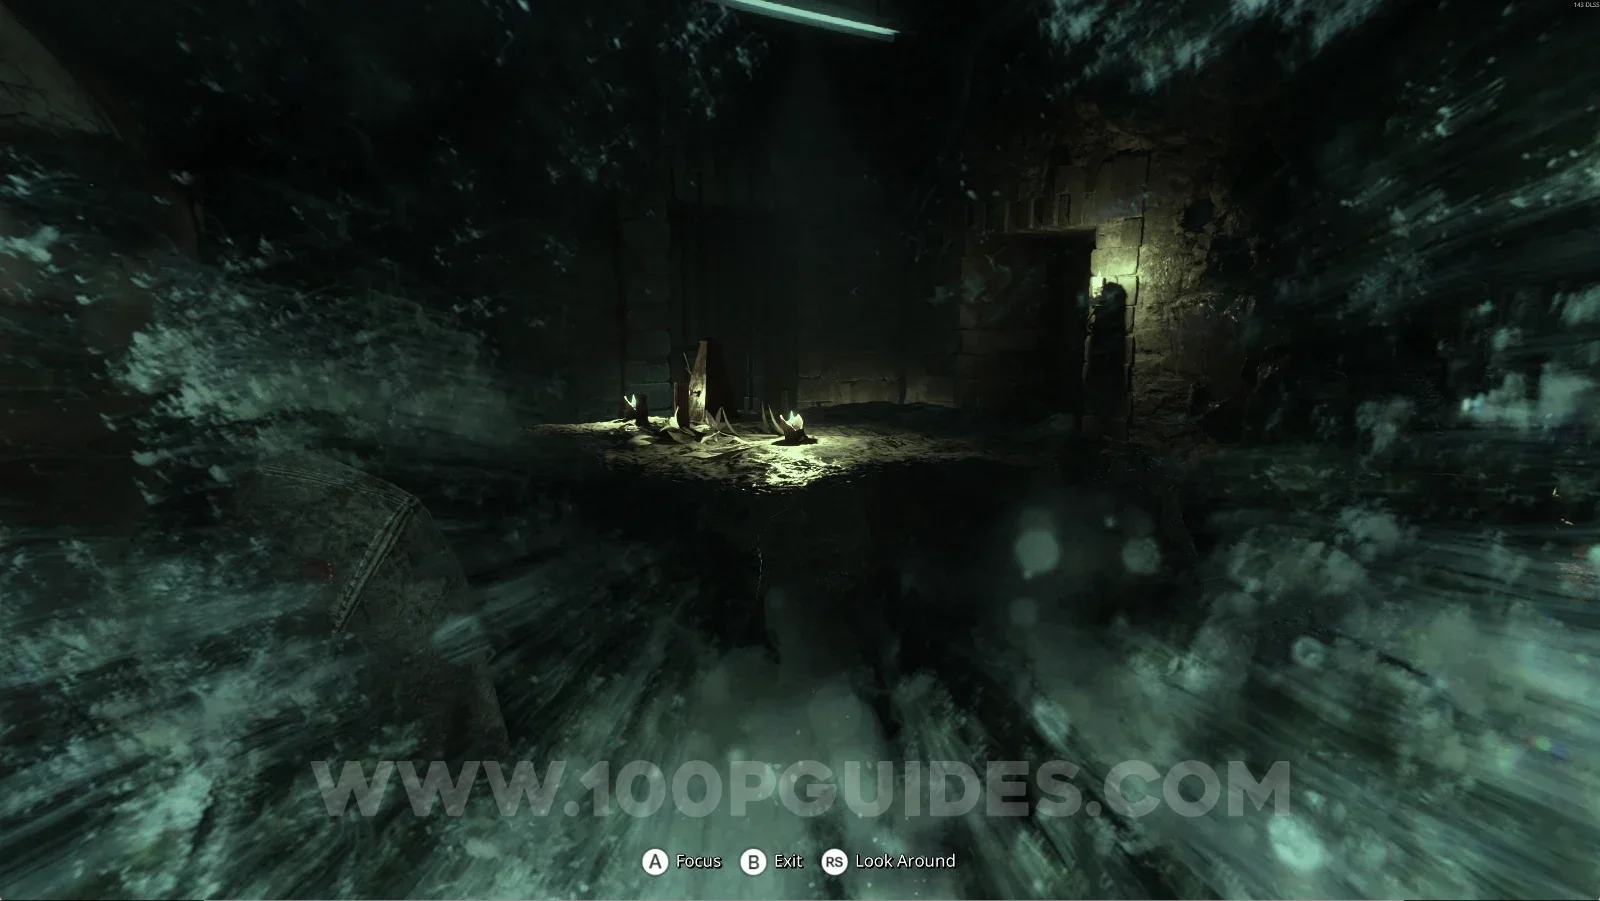
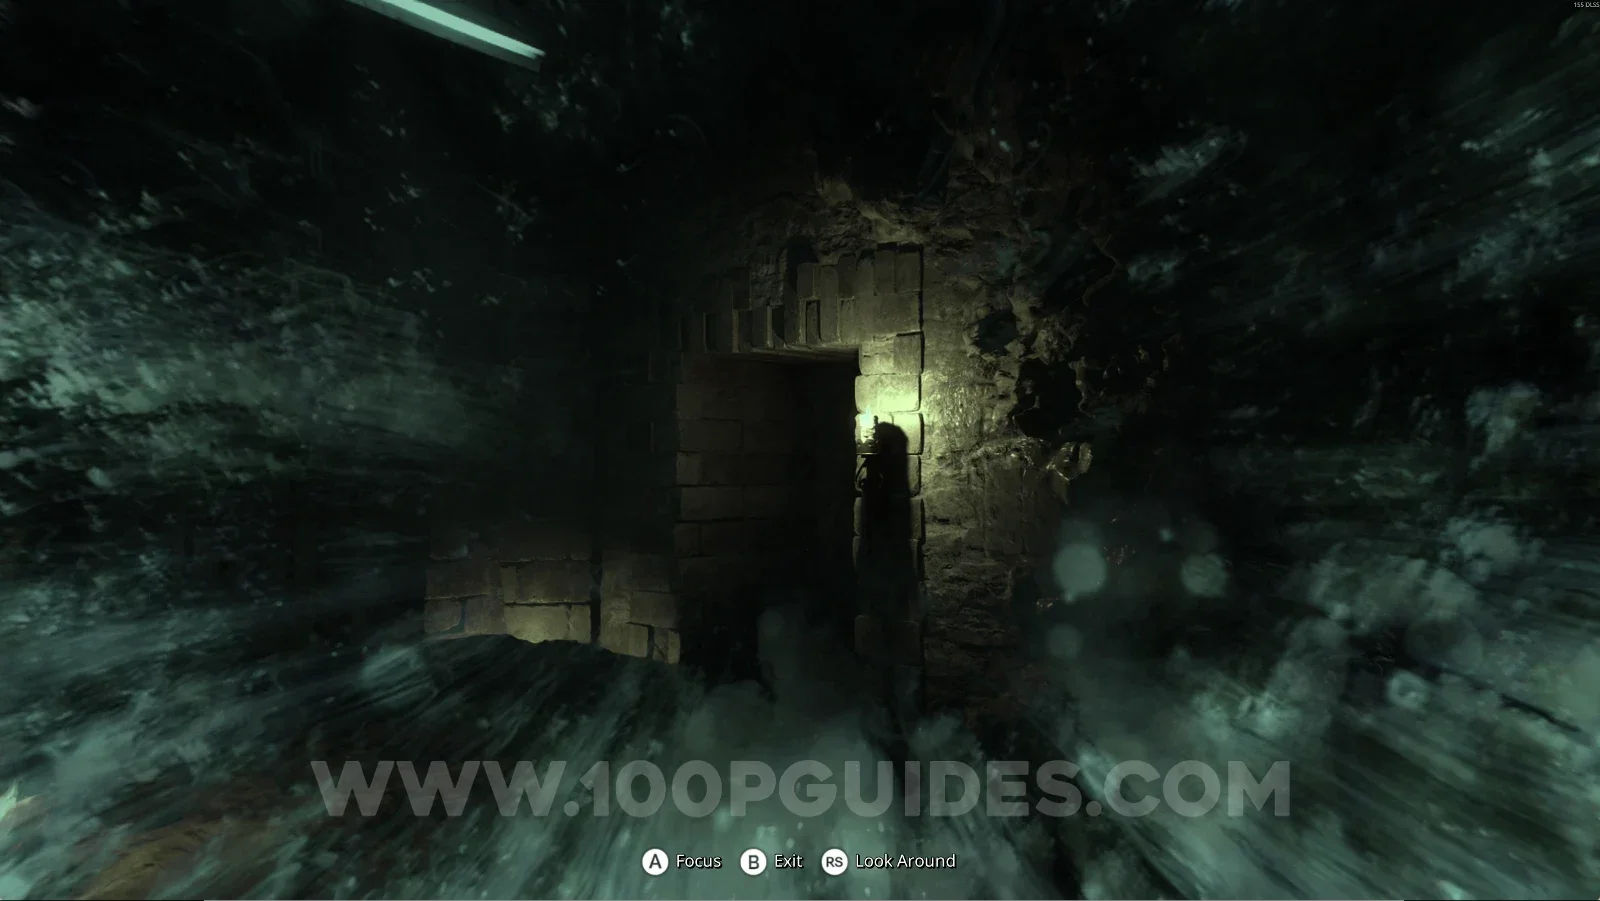
Remothered Red Nun’s Legacy All Collectible Locations

Welcome to our complete 100% walkthrough for Remothered: Red Nun’s Legacy. This guide will show you the location of all collectibles, puzzles, and key items in the game.

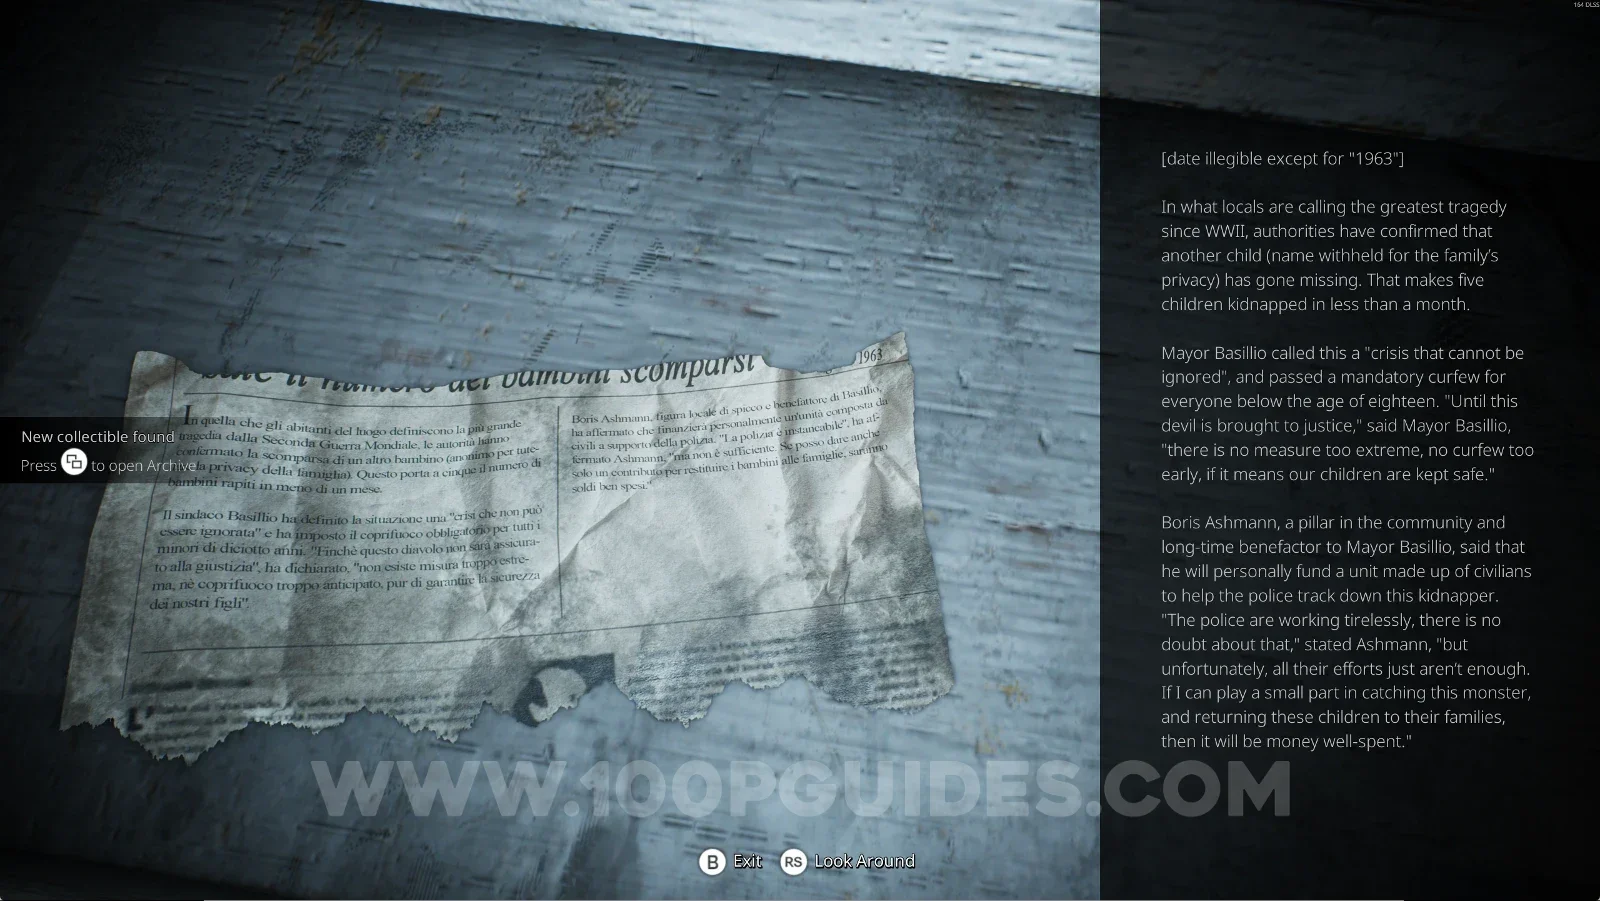
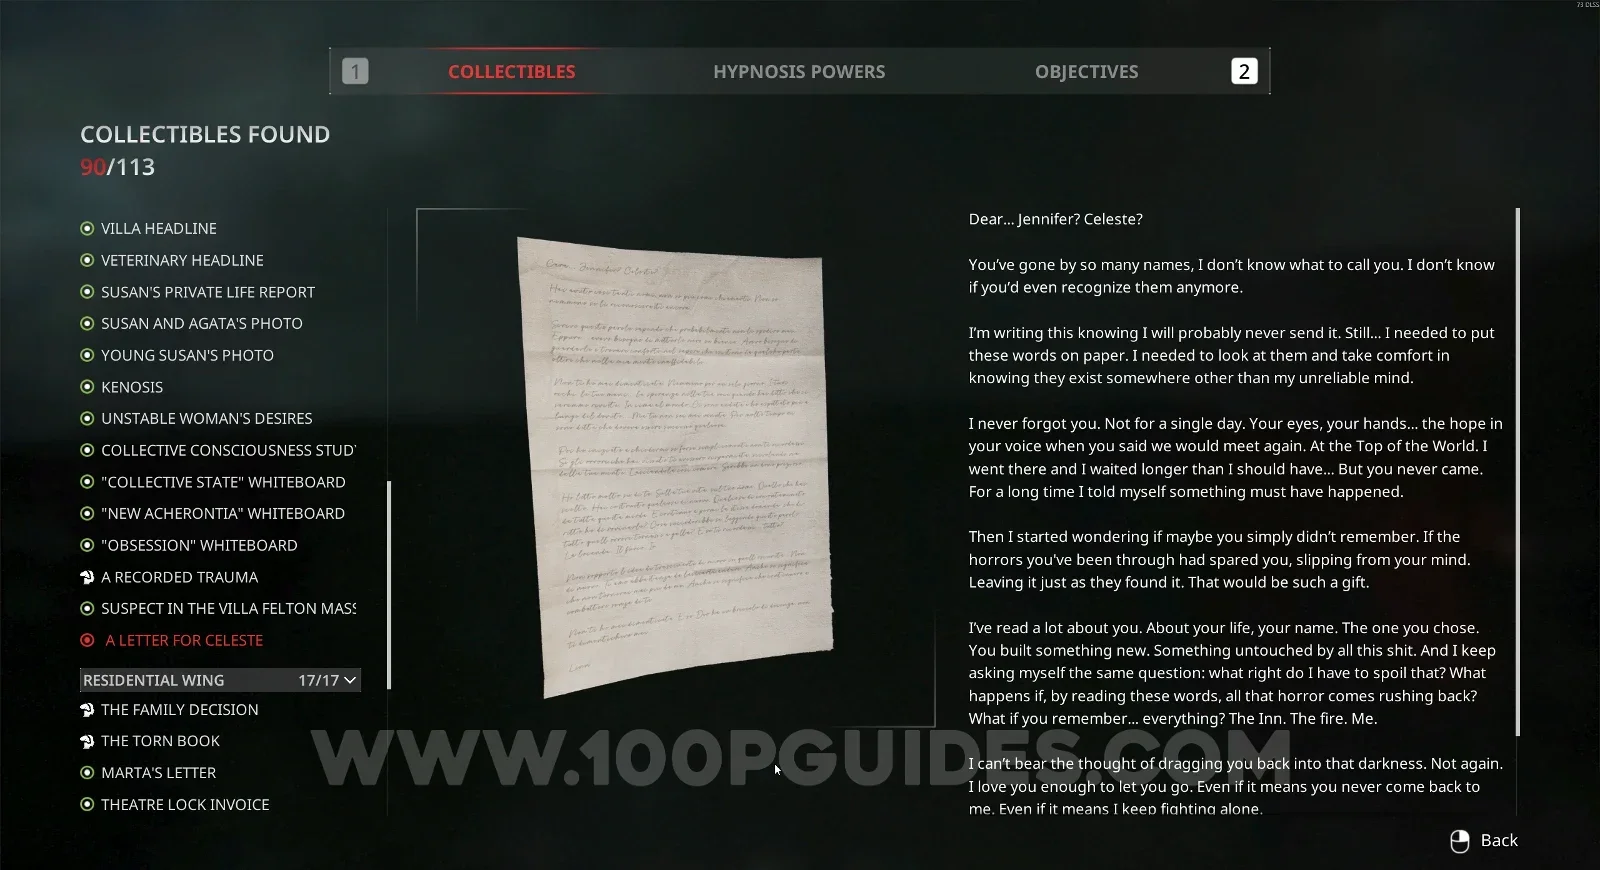
There are 113 collectibles to find across Villa Ashmann and the convent of Cristo Morente, organized into the same 6 categories the game uses in its Collectibles menu. They come in four types:

  • Documents: letters, notes, newspaper clippings, and files
  • Items and Pictures: photos, portraits, and personal objects
  • Maps
  • Retrocognitions: memories you can only uncover by using Susan’s Retrocognition power on specific objects

Each collectible is listed in the order you’ll come across it, along with its exact location.

Important: Remothered: Red Nun’s Legacy has no chapter select, so you’ll need to get everything in a single playthrough.

Collecting every item isn’t required for any achievement, but three achievements are directly tied to collectibles:

Silver Trophy Blast from the Past: Discover 30 different retrocognitions.

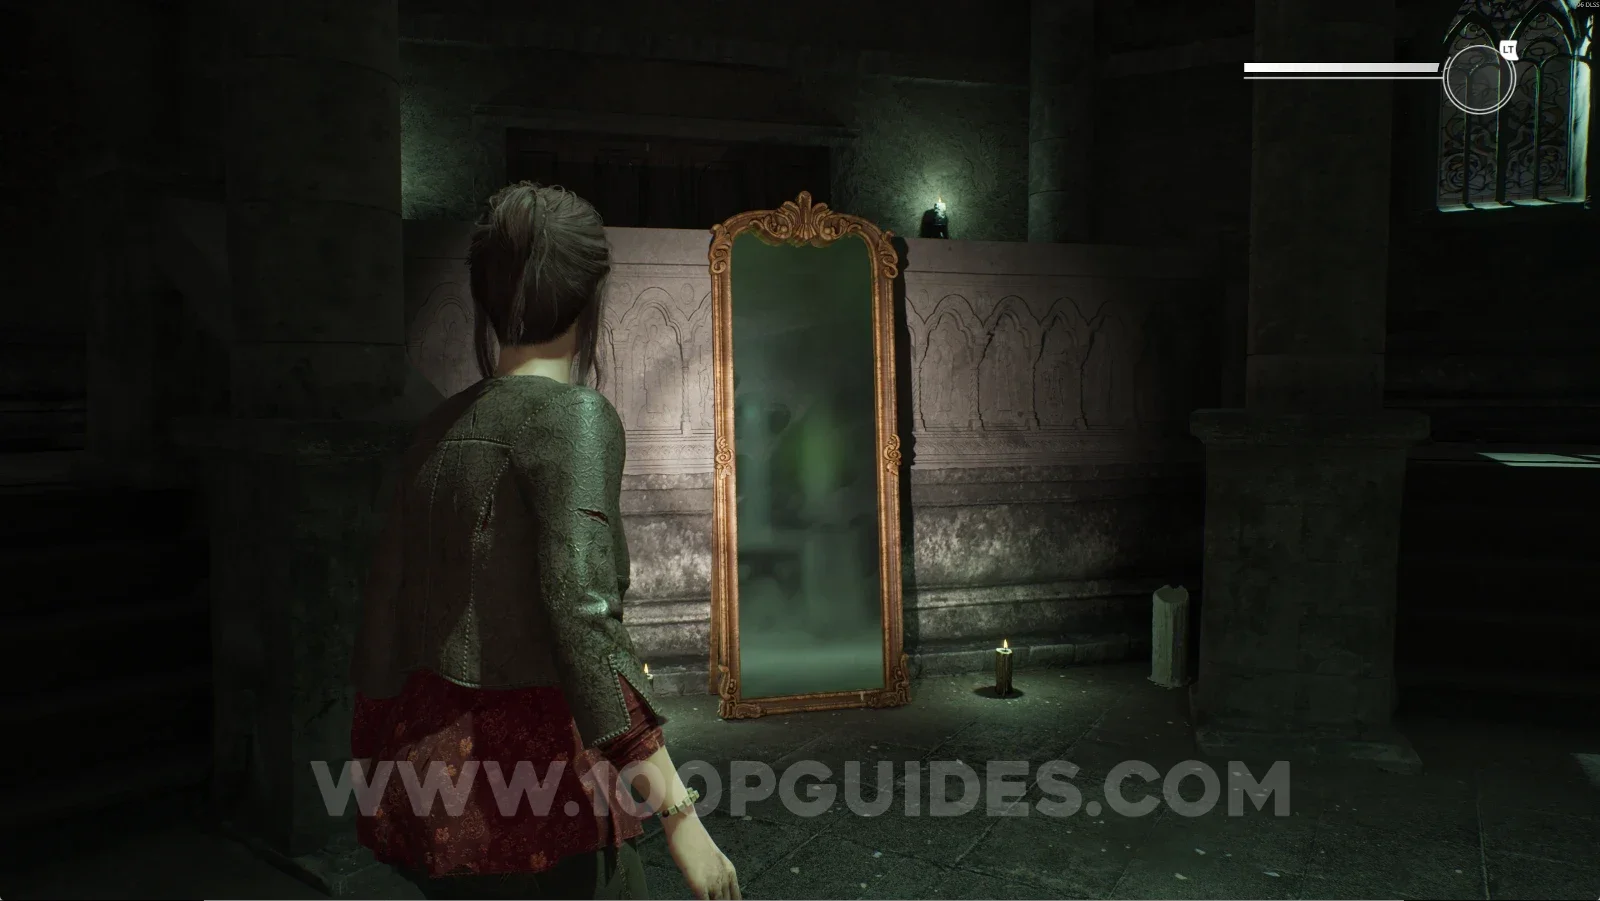
Silver Trophy Through the Looking-Glass: Discover 20 different secrets in mirrors.

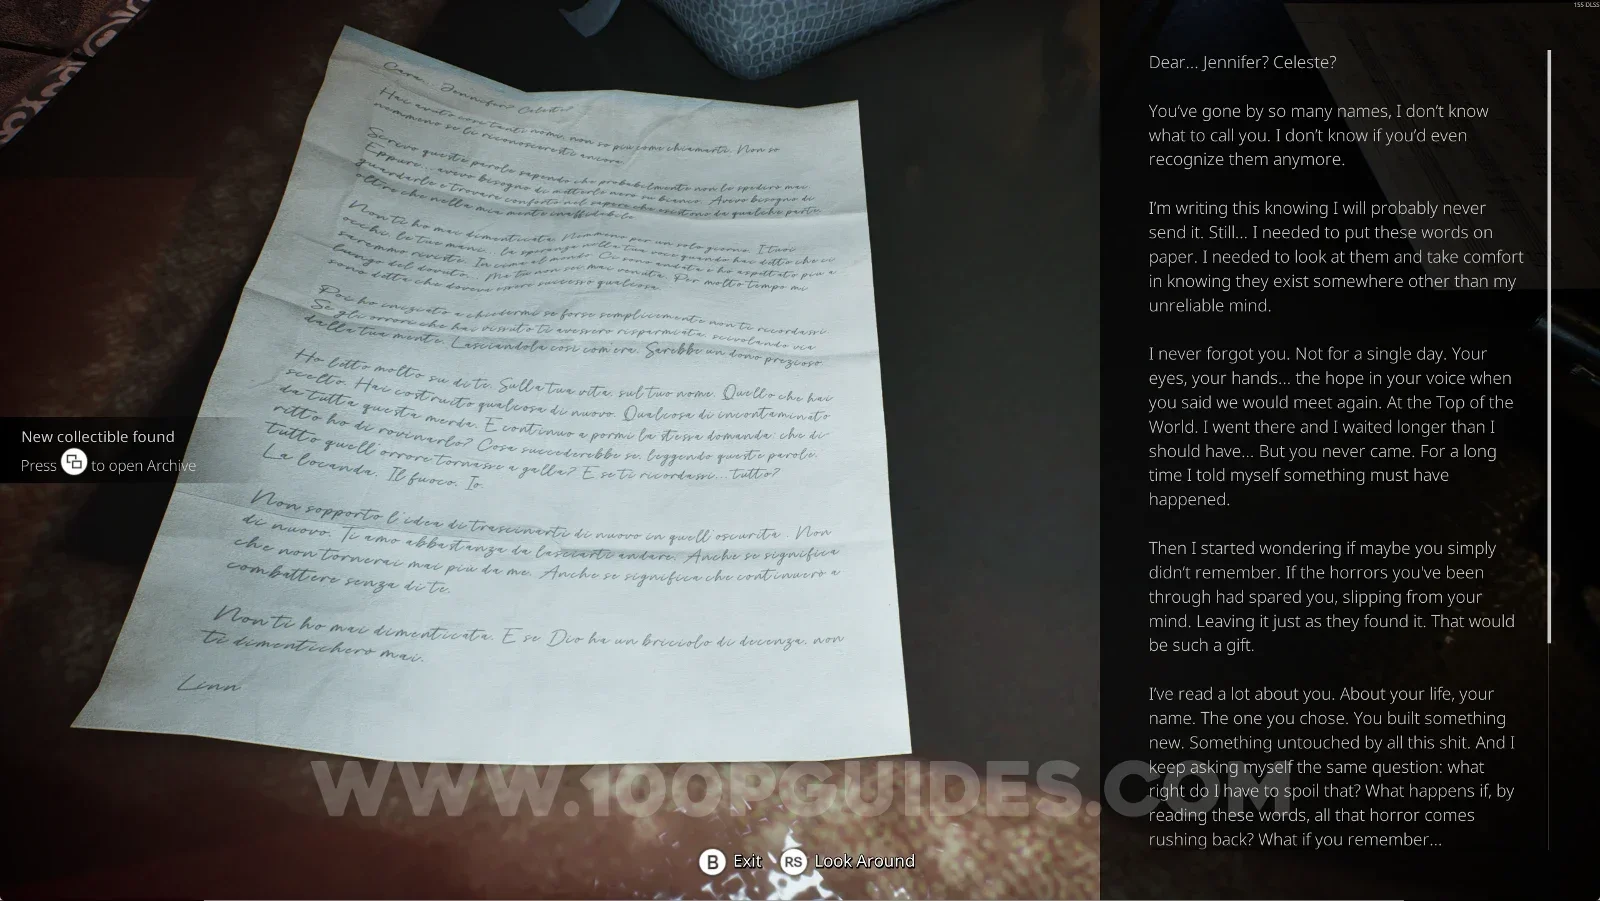
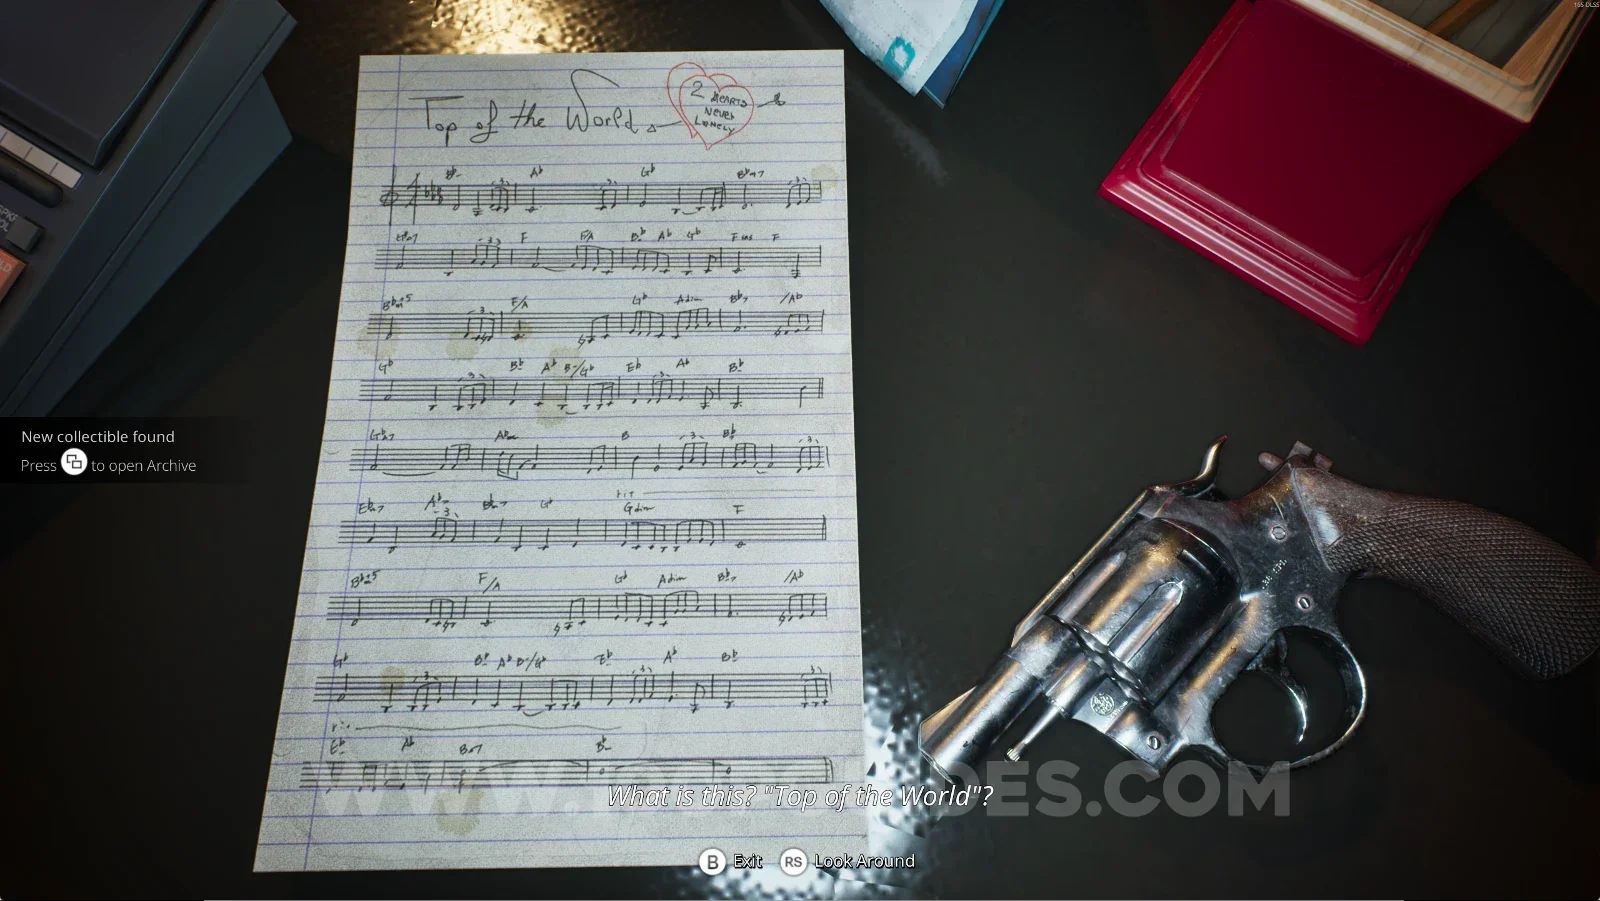
Silver Trophy Top of the World: Discover the connection between Rosemary and Madame Svenska. This one unlocks by reading specific documents, so make sure you pick up Top of the World and A Letter for Celeste.

Whenever one of these collectibles comes up in the guide, make sure not to skip it.

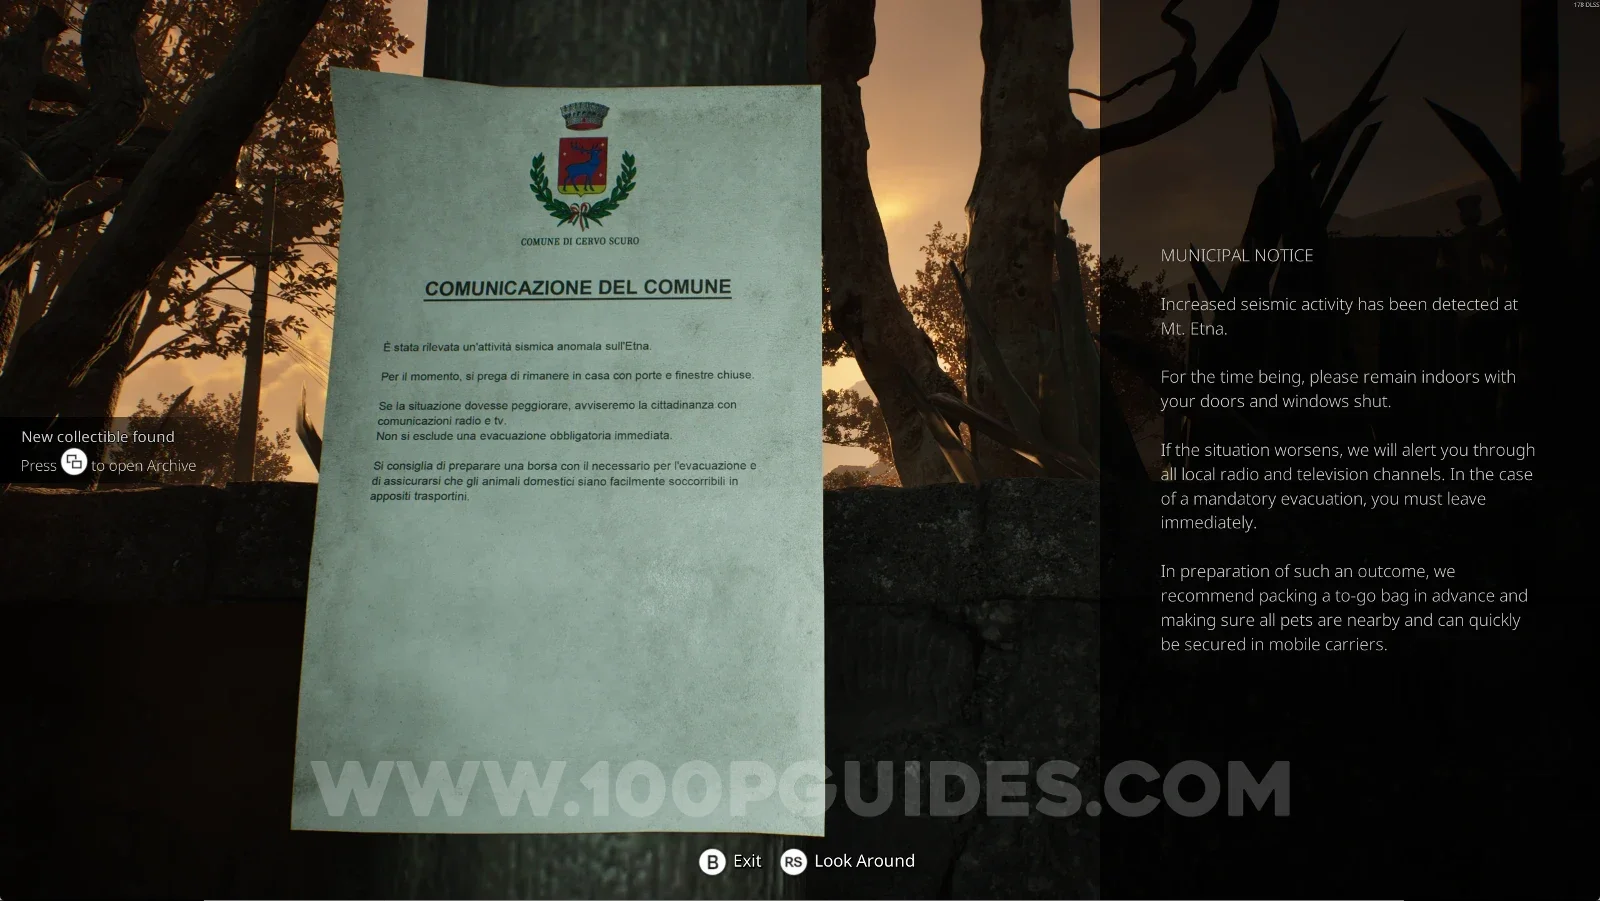
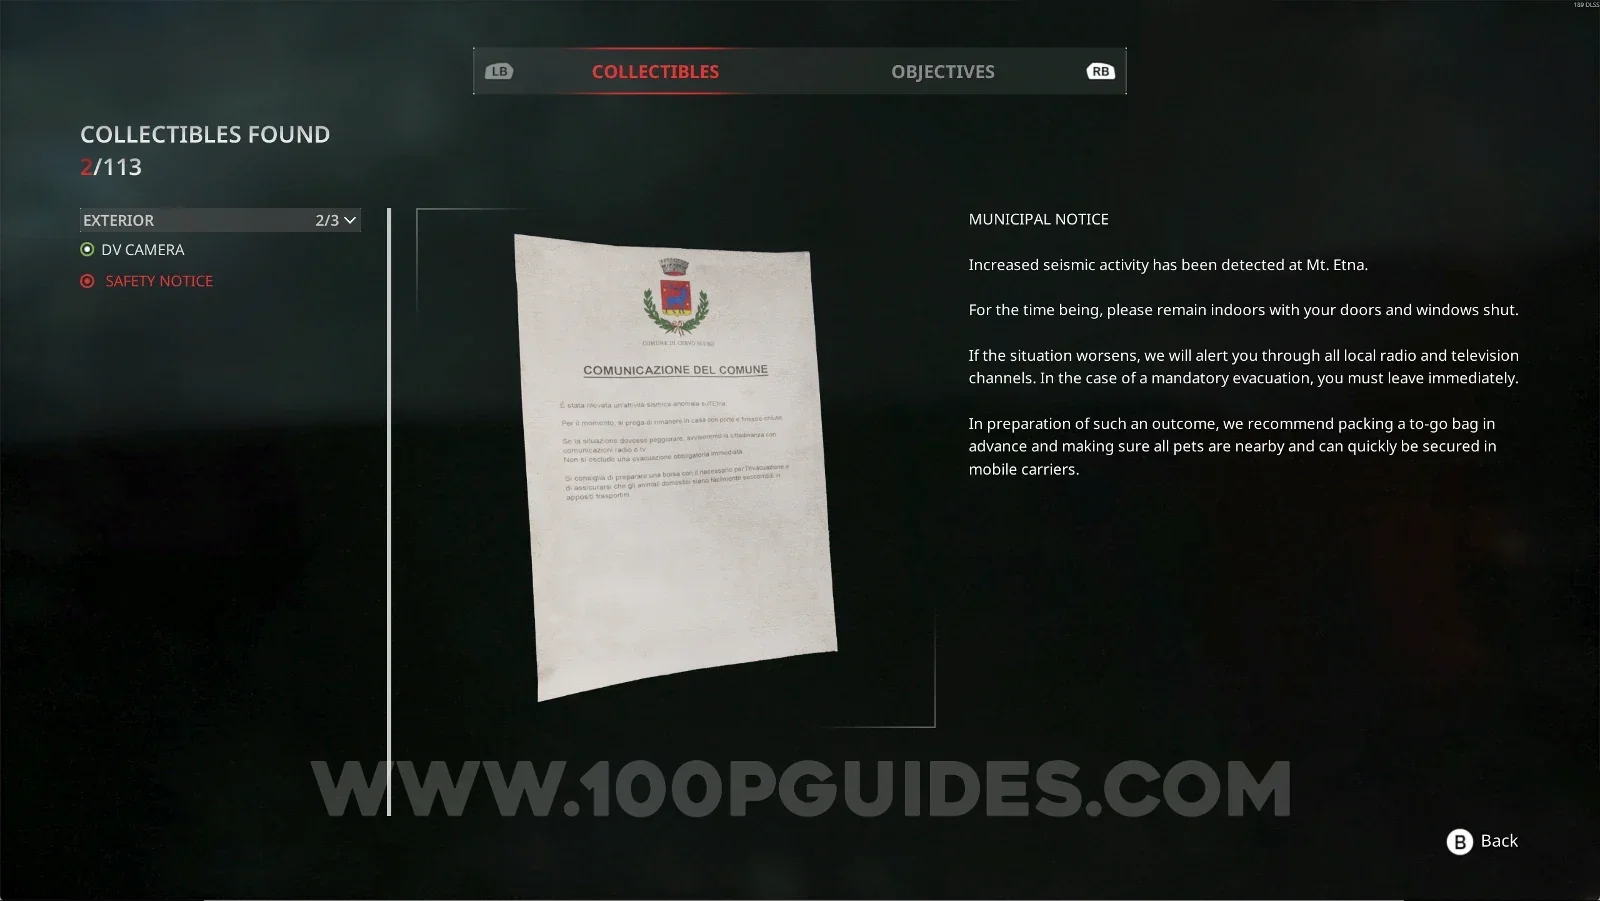
Exterior #1: Safety Notice

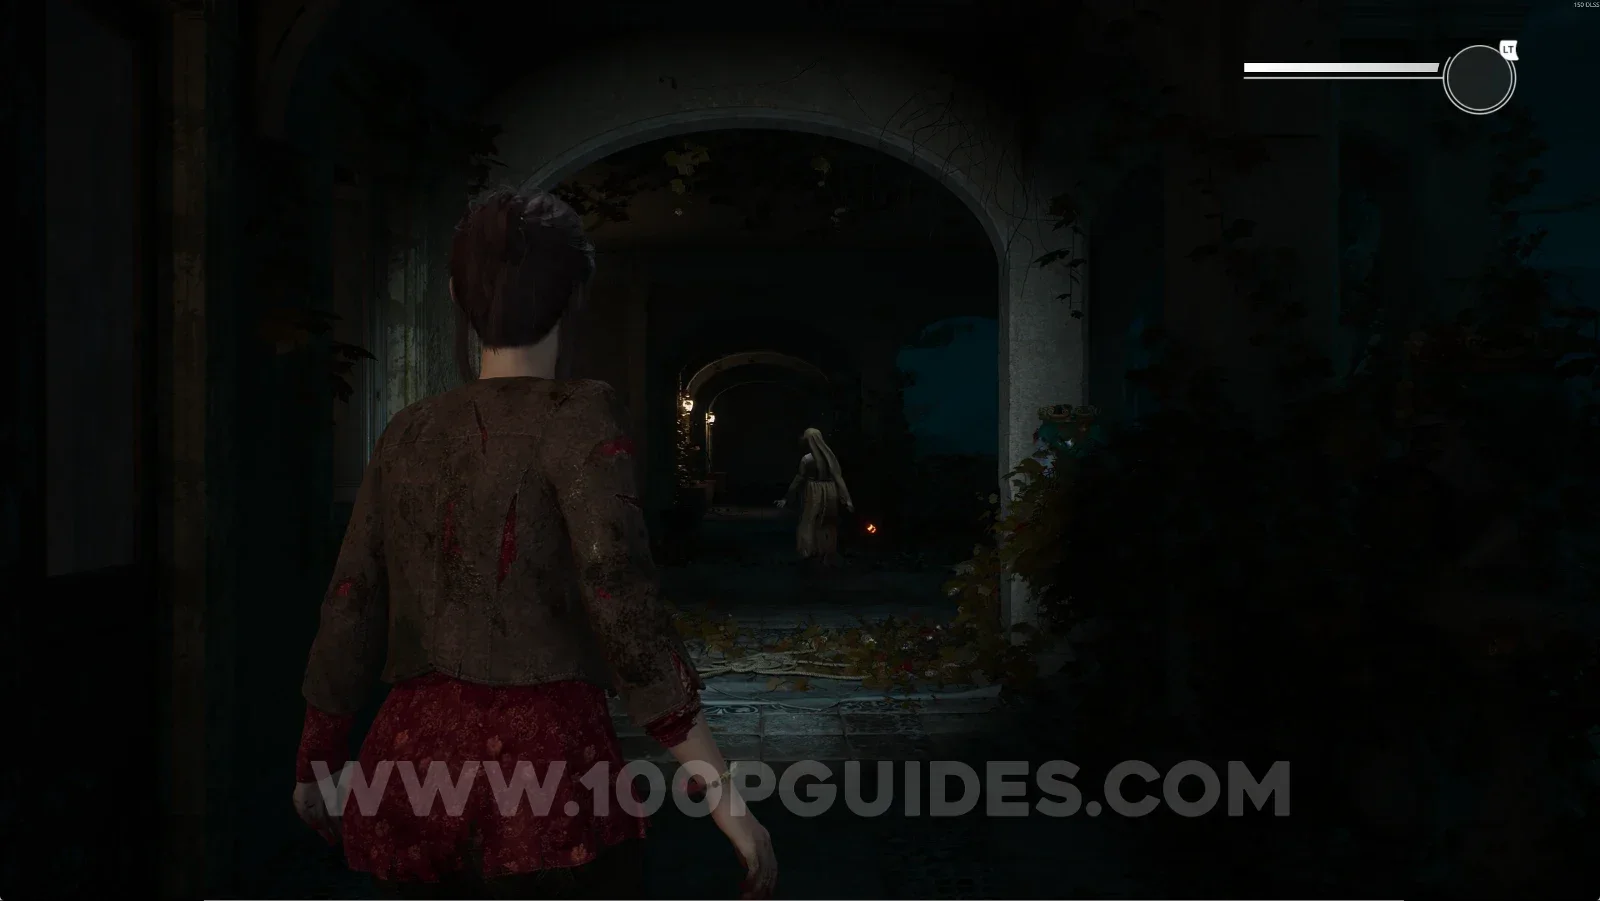
As soon as you start the game, it will be on your left, on a tree.
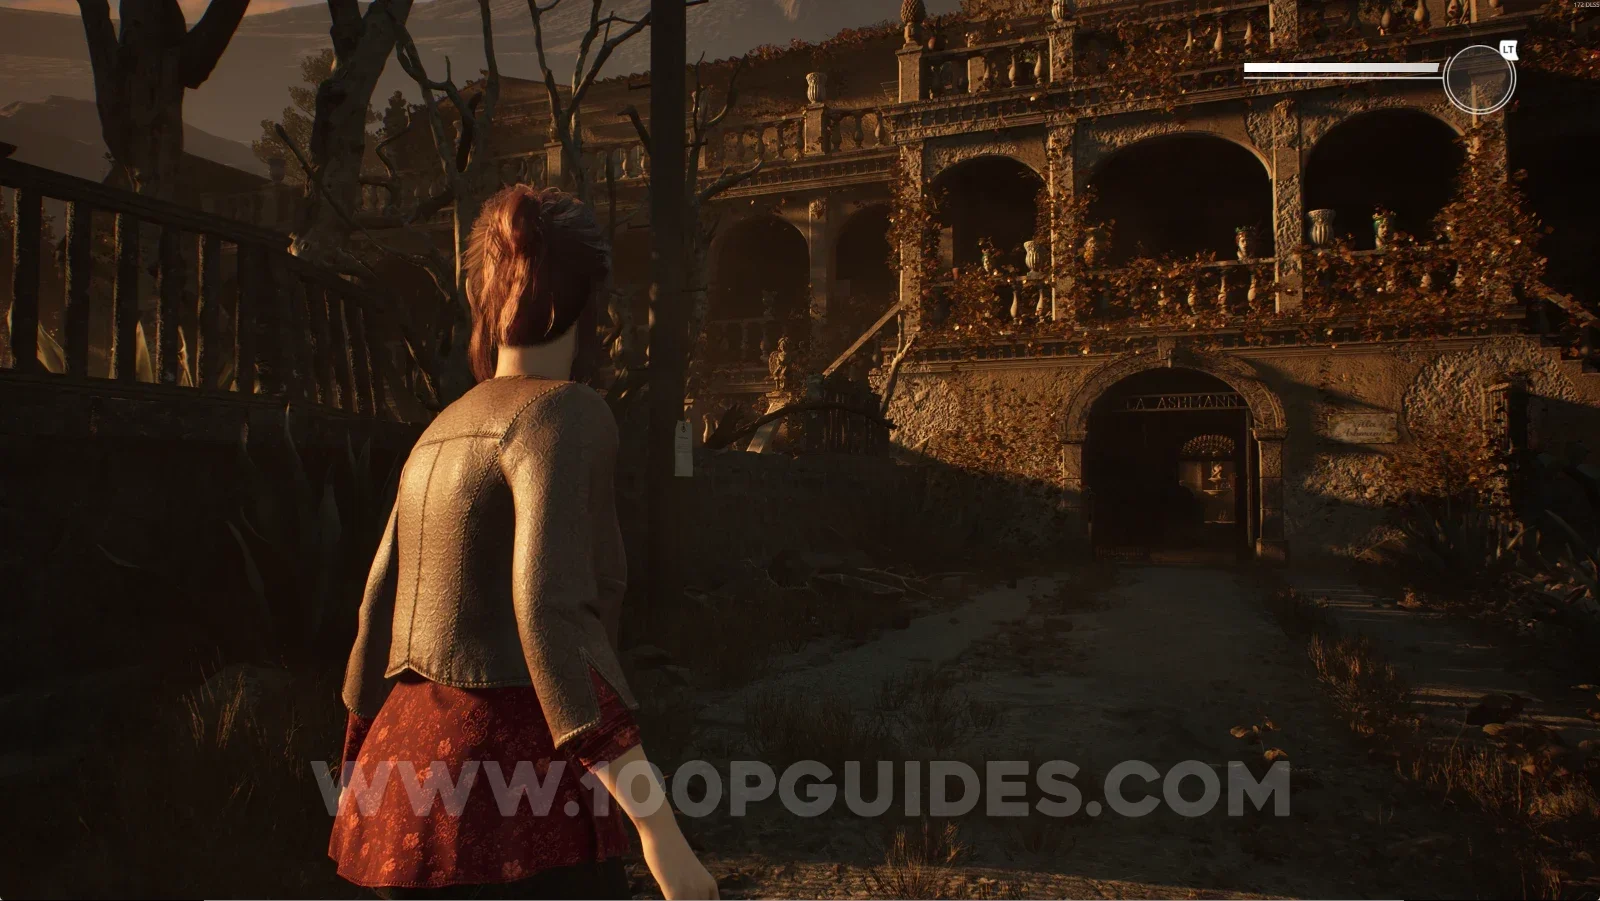
Remothered: Red Nuns Legacy Exterior #1: the tree on the left at the very start of the game Remothered: Red Nuns Legacy Exterior #1: the Safety Notice pinned on the tree on the left Remothered: Red Nuns Legacy Exterior #1: picking up the Safety Notice collectible

Key Item: Hidden Key

Interact with the vases on top of the table. You'll see the Hidden Key under one of the vases, so grab it and use it on the door next to it.
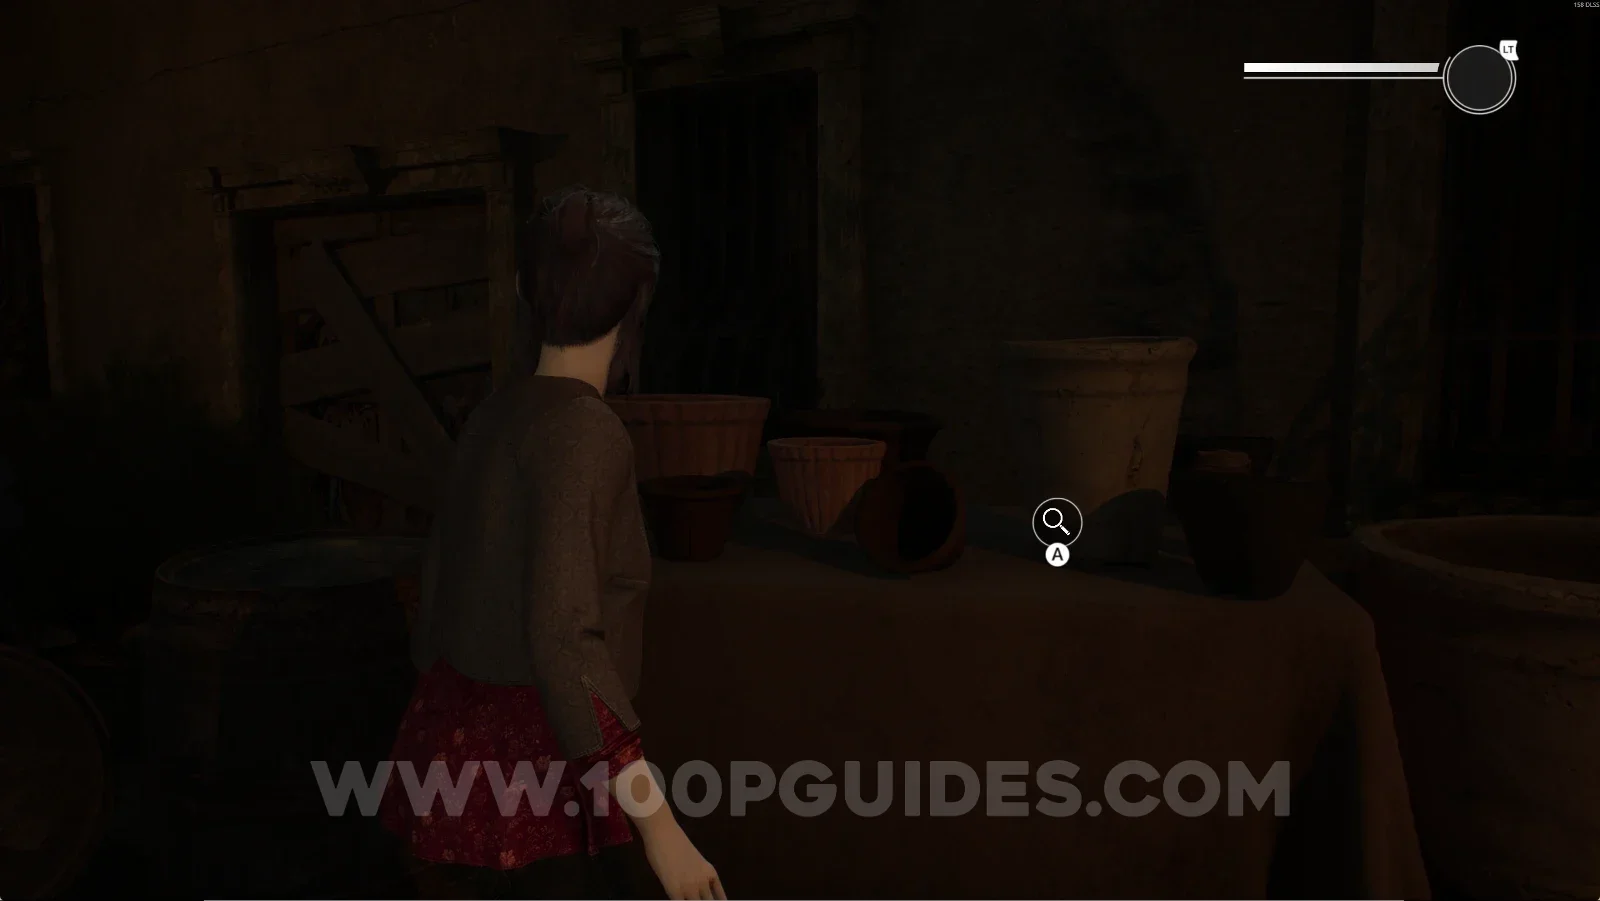
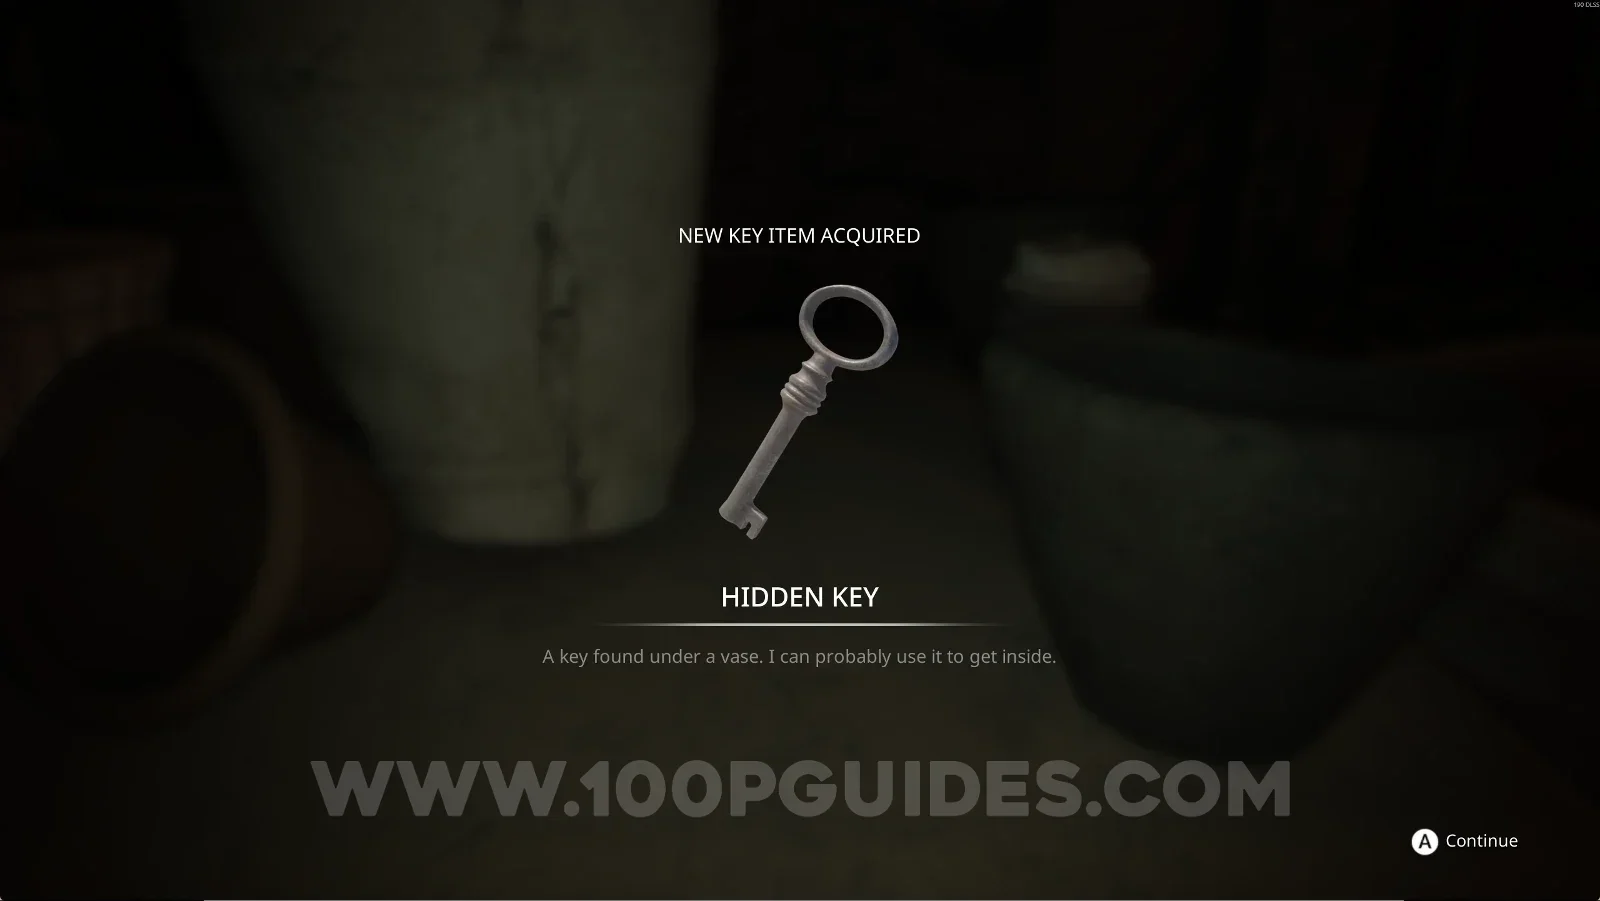
Remothered: Red Nuns Legacy: the vases on top of the table hiding the Hidden Key Remothered: Red Nuns Legacy: using the Hidden Key on the door next to the table

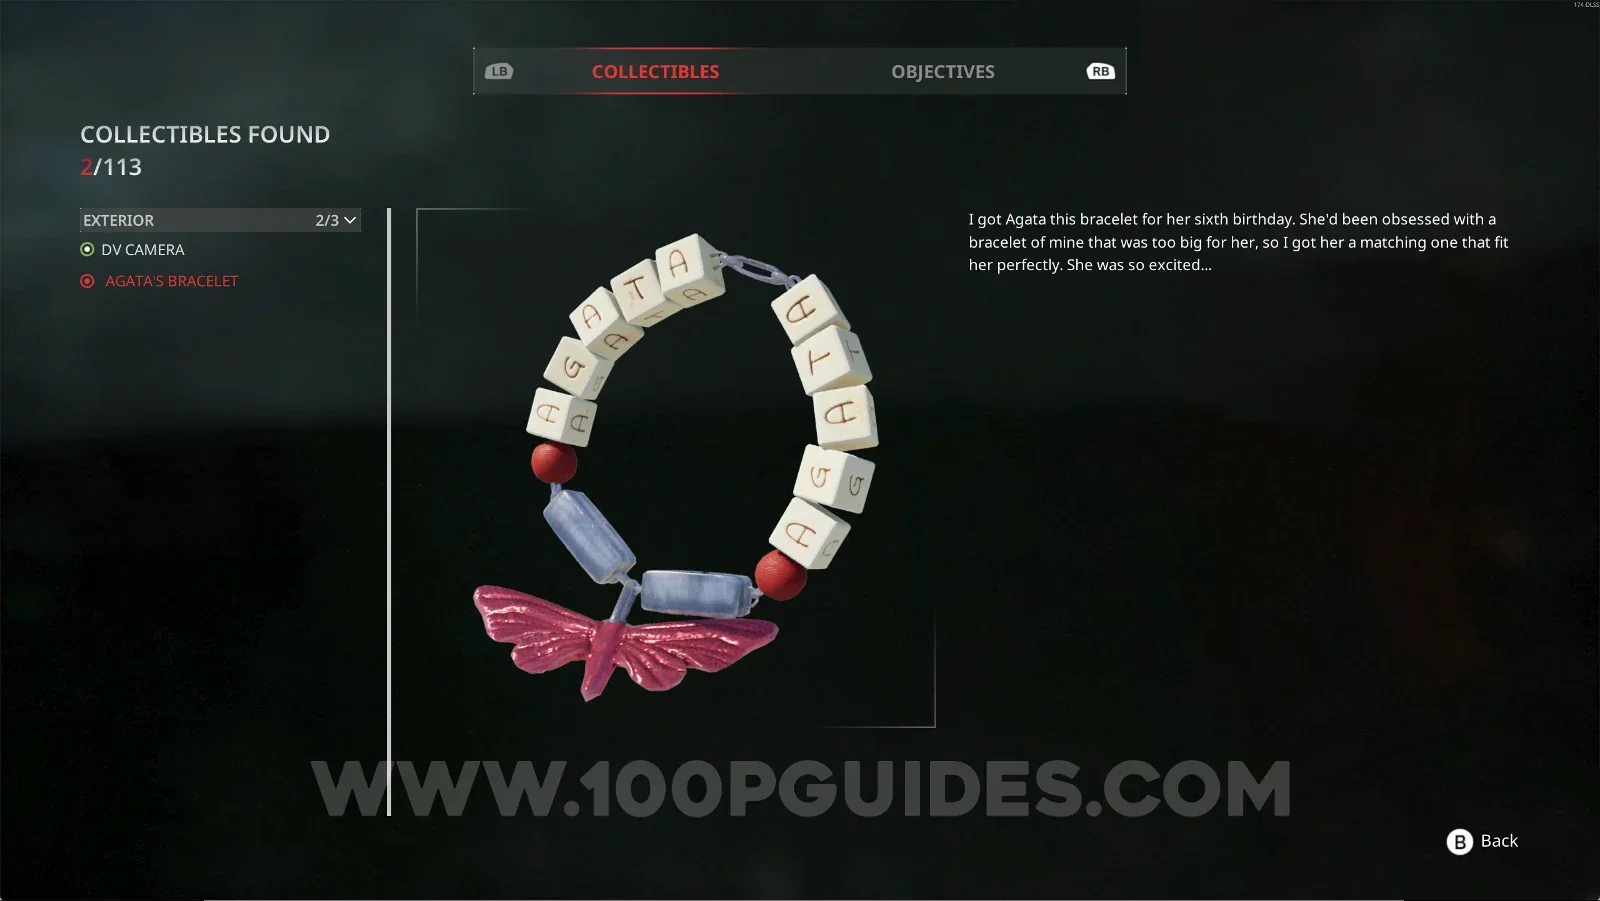
Exterior #2 - #3: DV Camera + Agata's Bracelet

Obtained automatically during the story. They count as two collectibles in the Exterior menu.
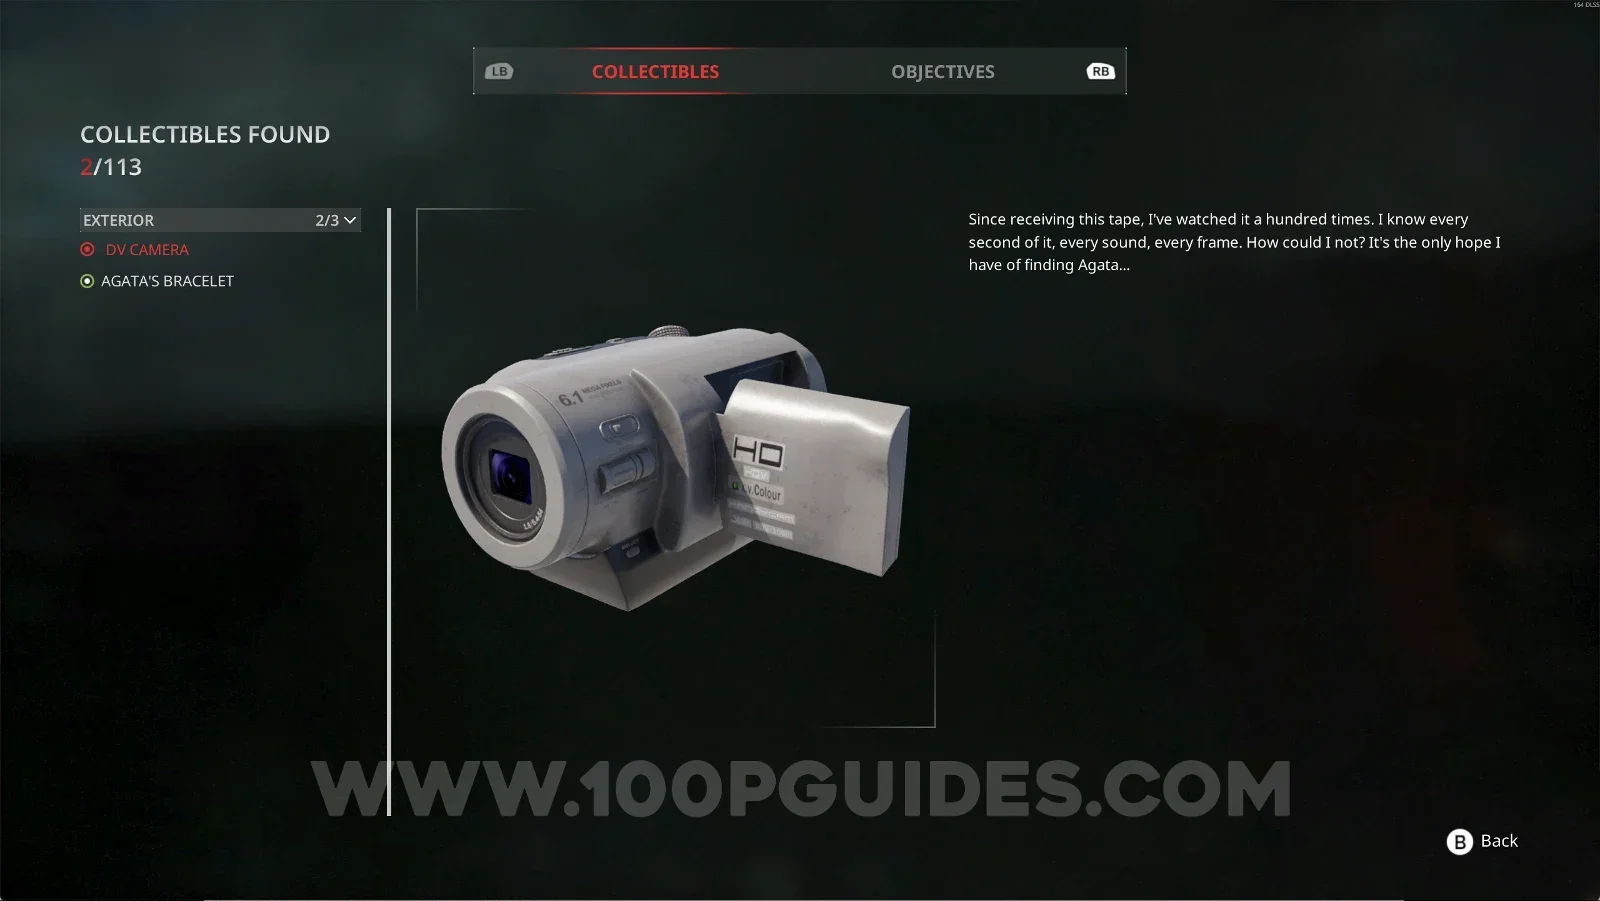
Remothered: Red Nuns Legacy Exterior #2: the DV Camera obtained automatically during the story Remothered: Red Nuns Legacy Exterior #3: Agata's Bracelet obtained automatically during the story

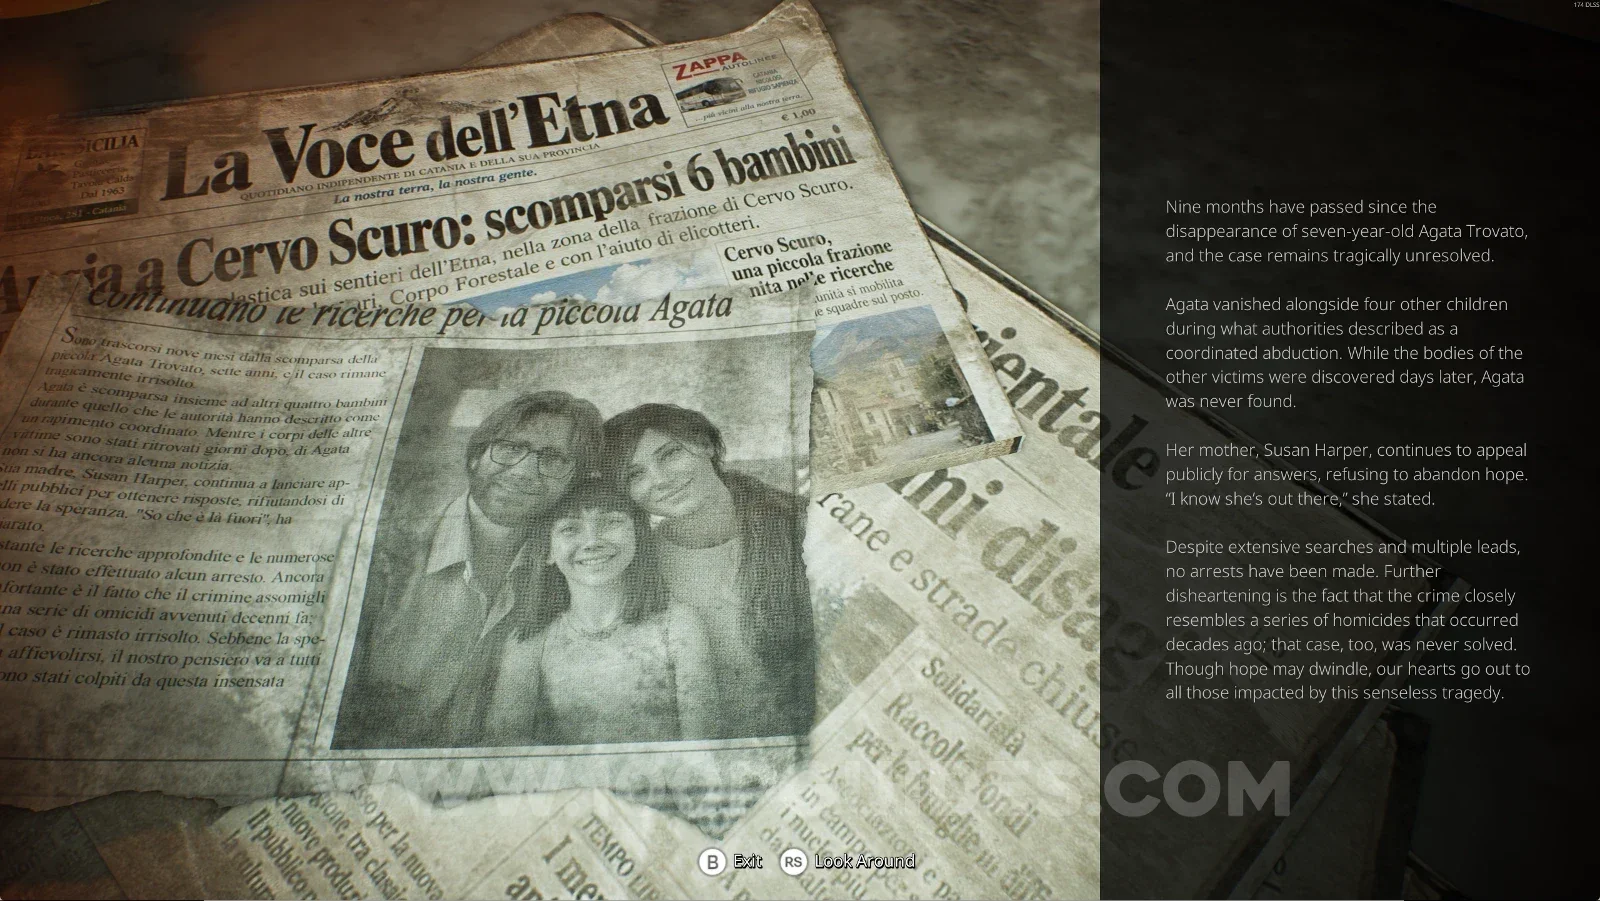
Noble Wing #1: Agata Trovato: Missing

From the previous collectible, you'll go up some stairs and reach a new room. You'll find this on top of the table.
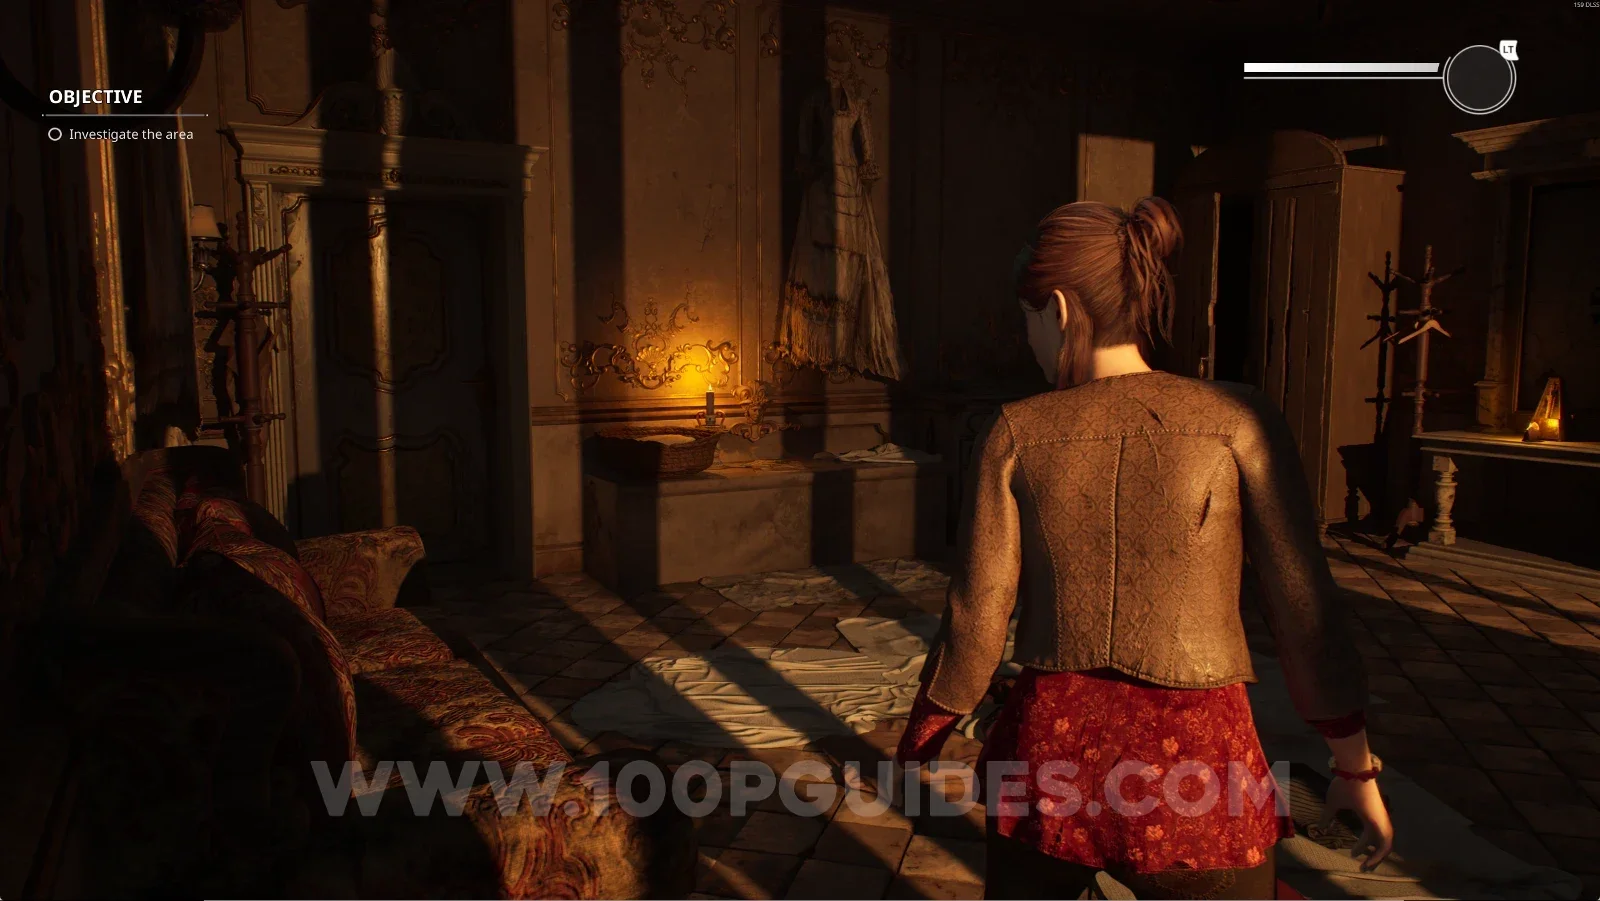
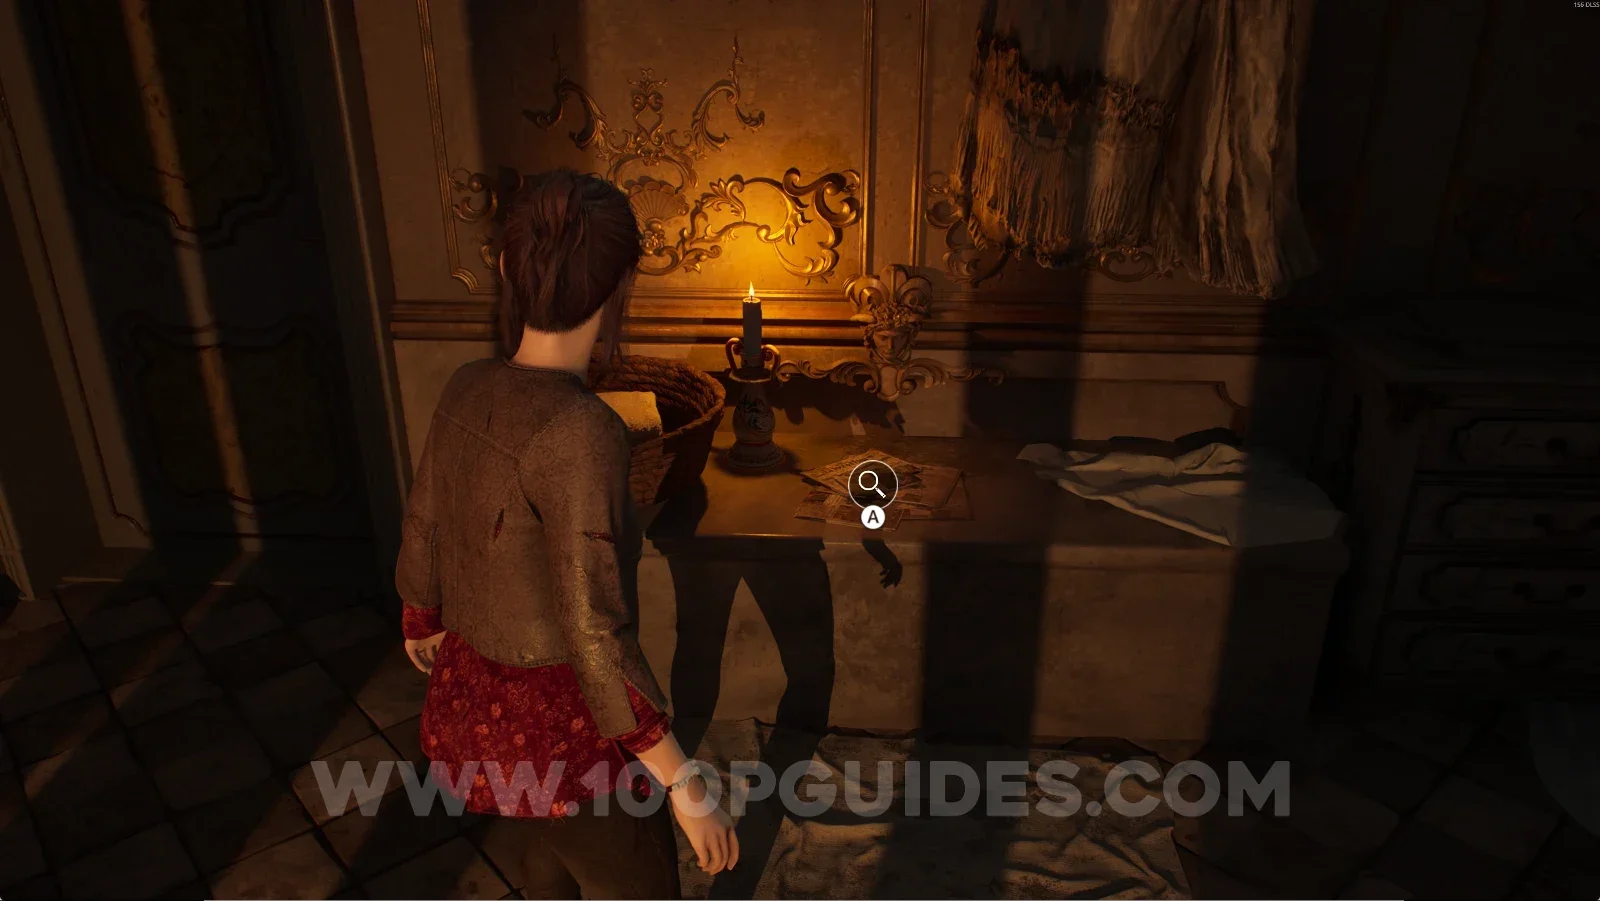
Remothered: Red Nuns Legacy Noble Wing: the stairs leading up to the new room after the previous collectible Remothered: Red Nuns Legacy Noble Wing #1: the table in the new room holding Agata Trovato: Missing Remothered: Red Nuns Legacy Noble Wing #1: the Agata Trovato: Missing collectible

Key Item: Rusty Key

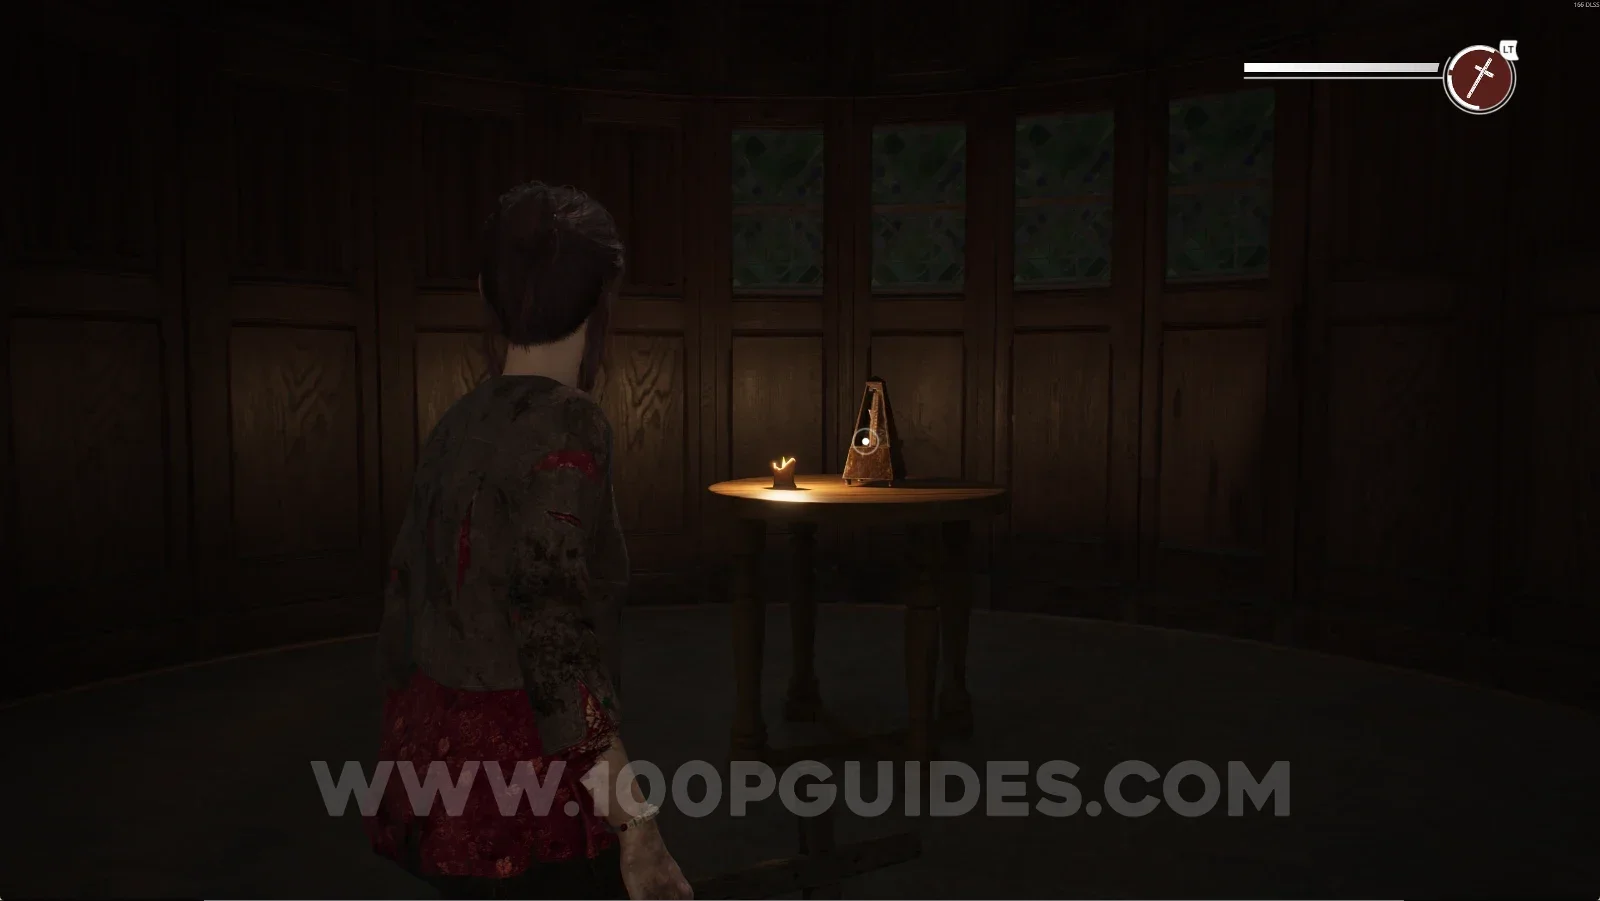
After interacting with the Metronome for the first time, you'll reach a new area. The key will be next to the bed.
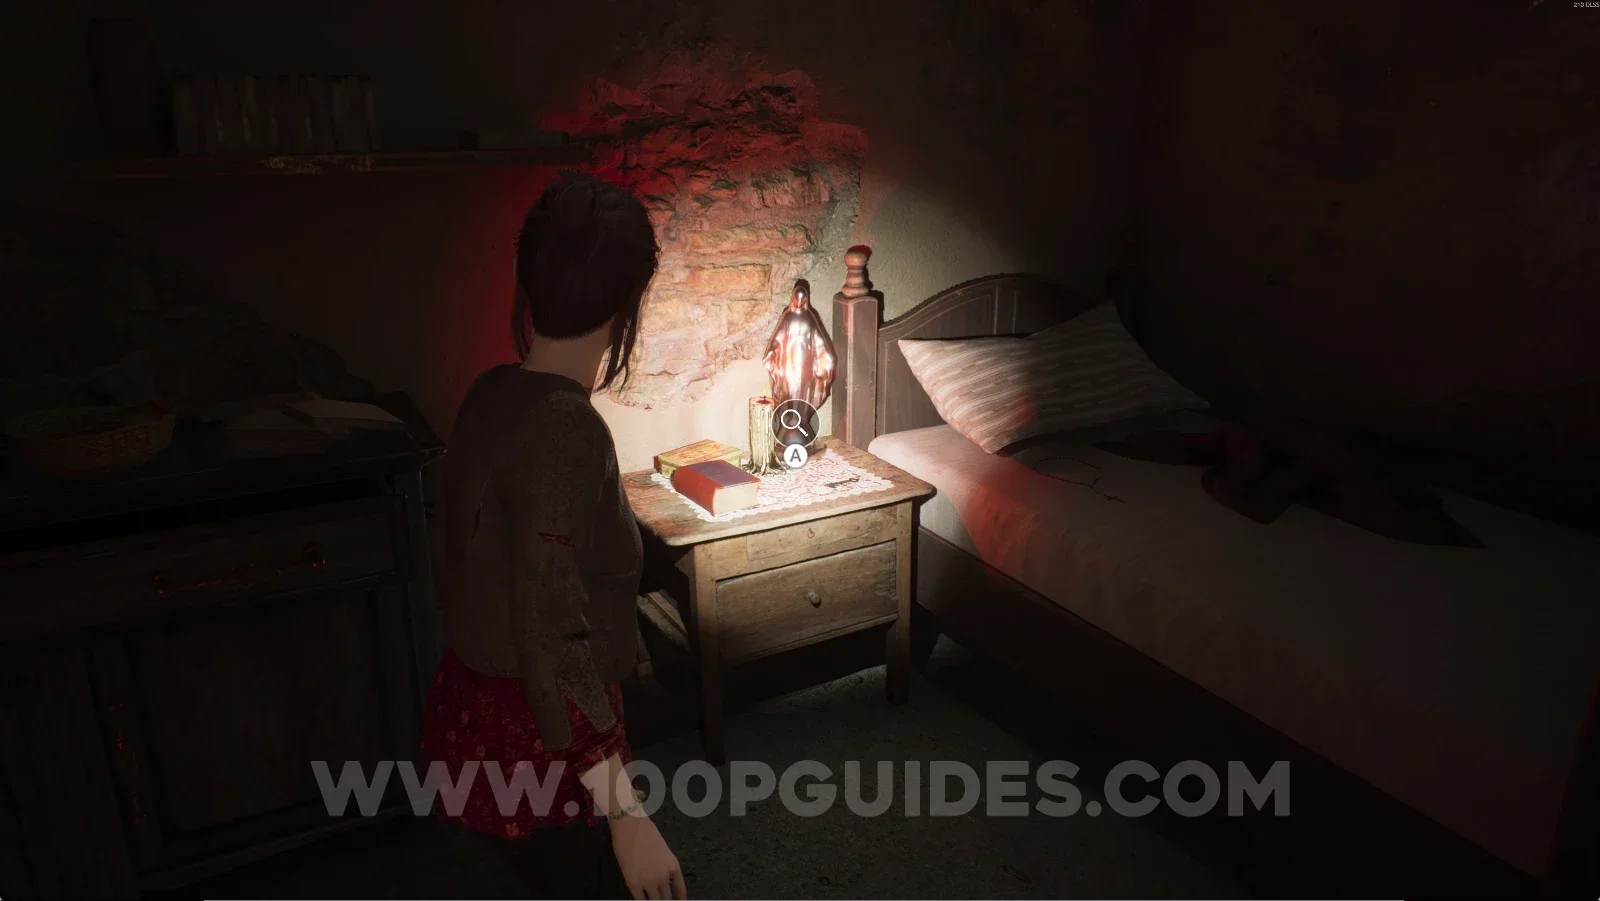
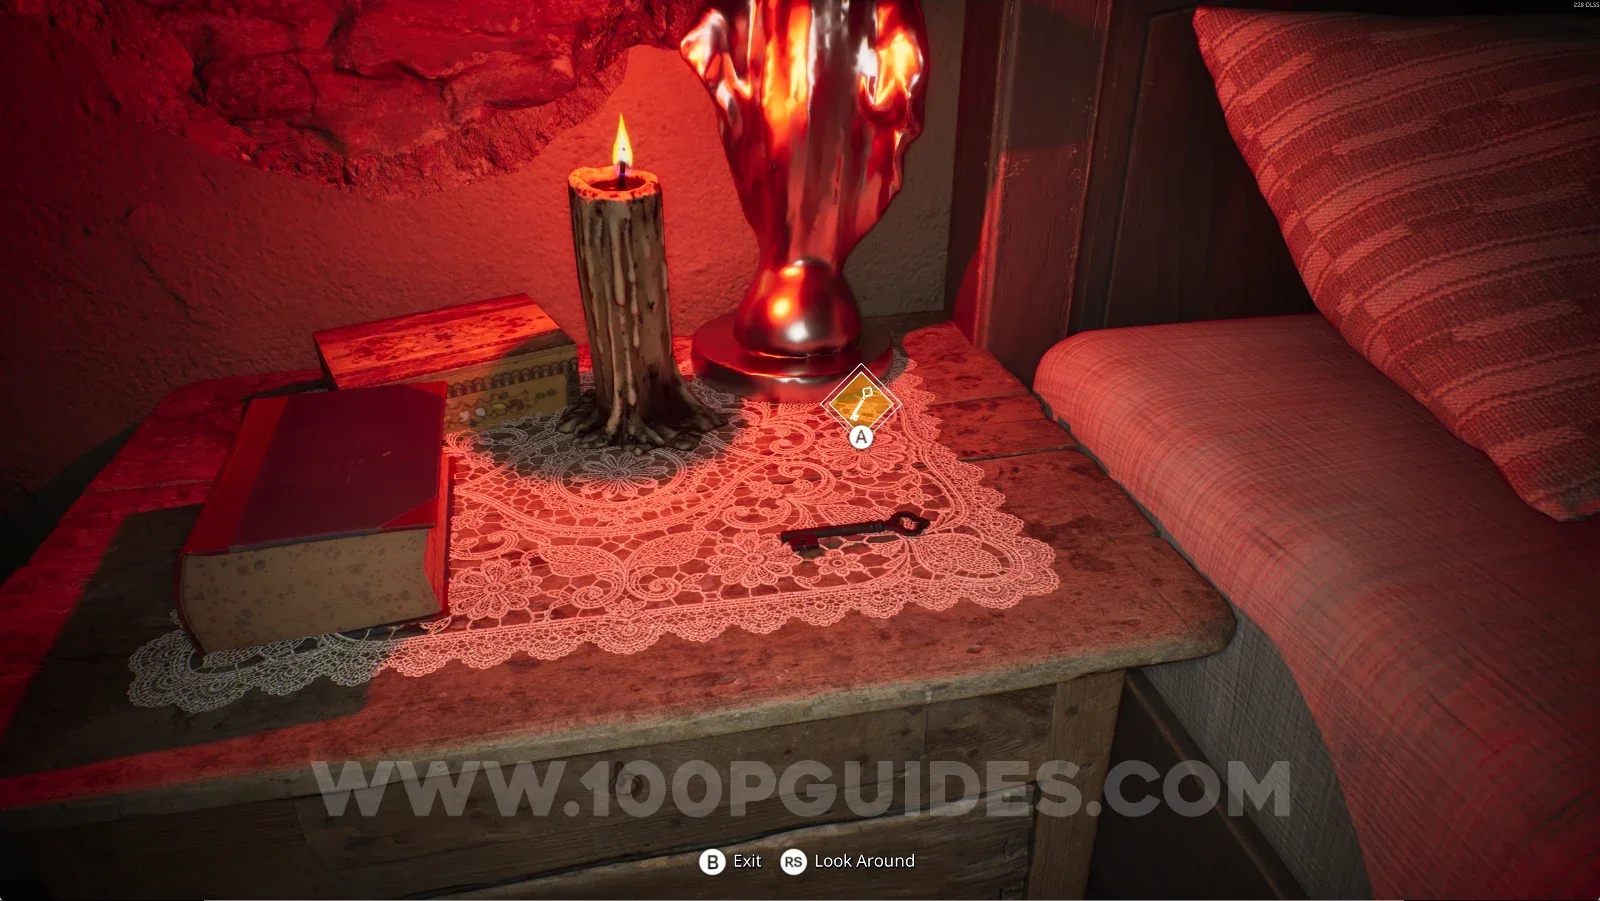
Remothered: Red Nuns Legacy: the new area with the bed reached after first using the Metronome Remothered: Red Nuns Legacy: the Rusty Key lying next to the bed in the new area

Map #1: Noble Wing Map - Ground Floor

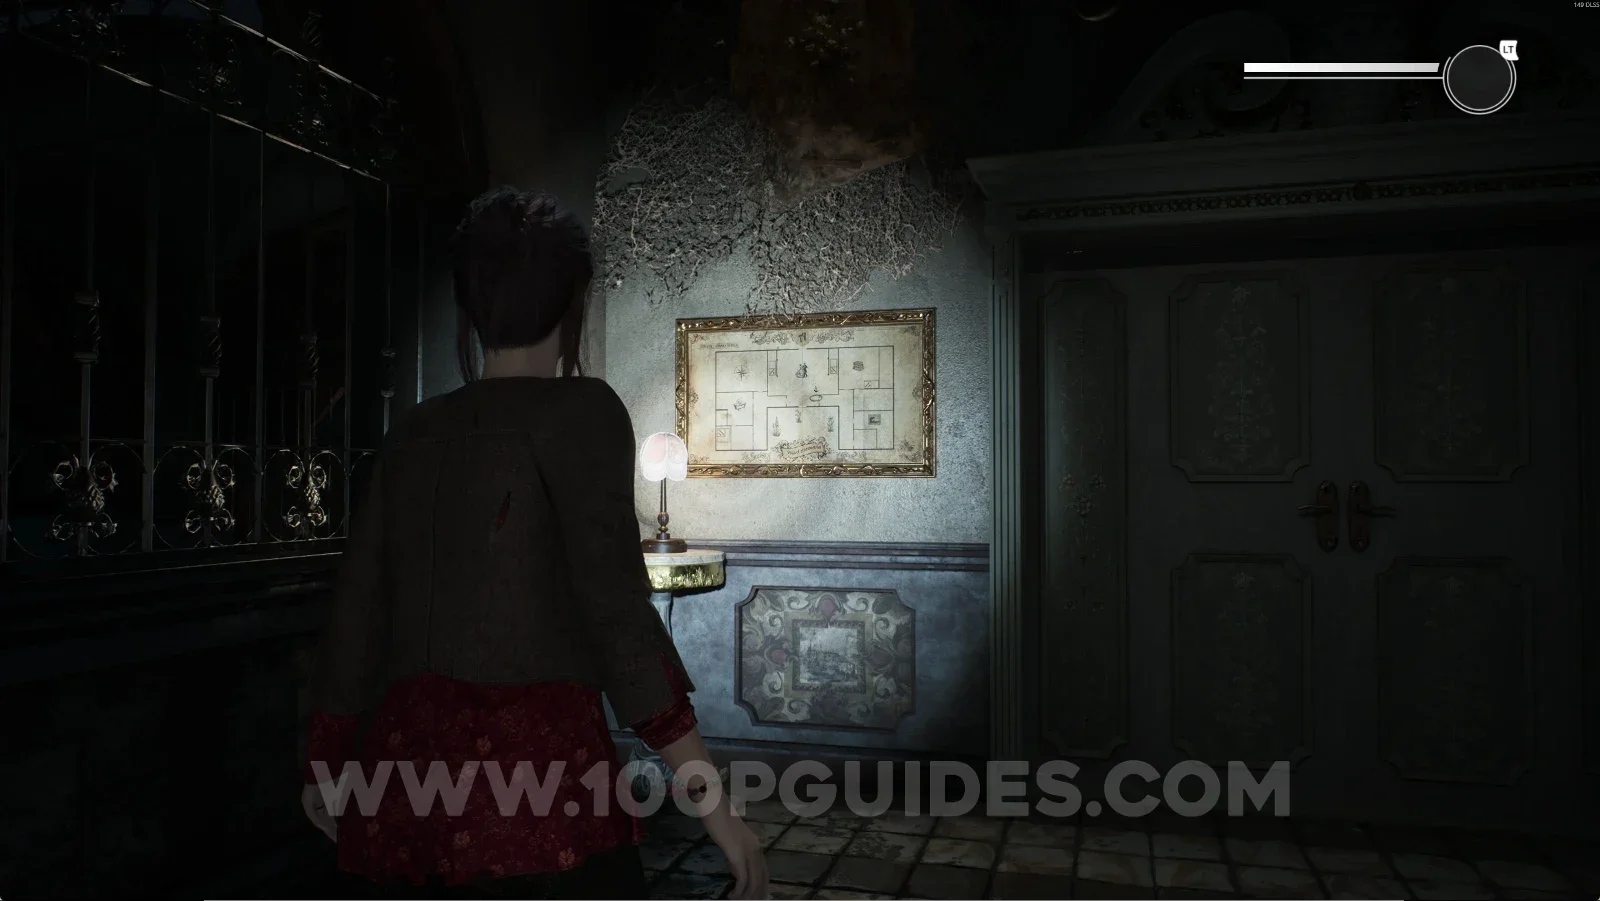
Can be found in the Reception Hall.
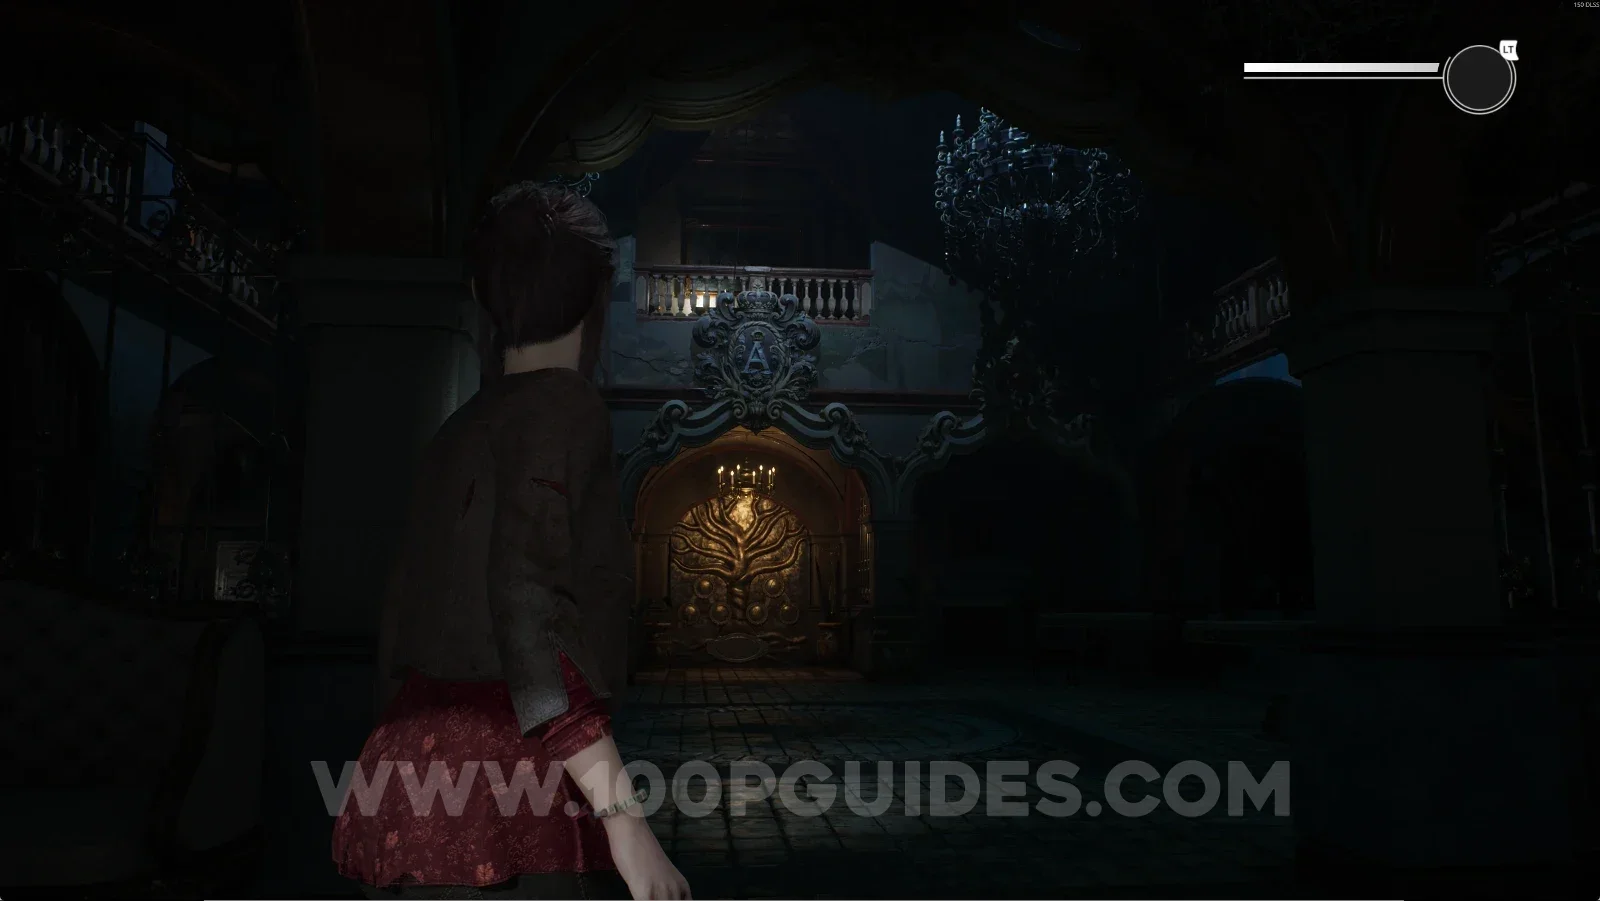
Remothered: Red Nuns Legacy Reception Hall: location of the Noble Wing Map for the Ground Floor Remothered: Red Nuns Legacy Map #1: the Noble Wing Map Ground Floor picked up in the Reception Hall

Noble Wing #2: The Missing Children

Can be found in the Art Gallery, inside a drawer.
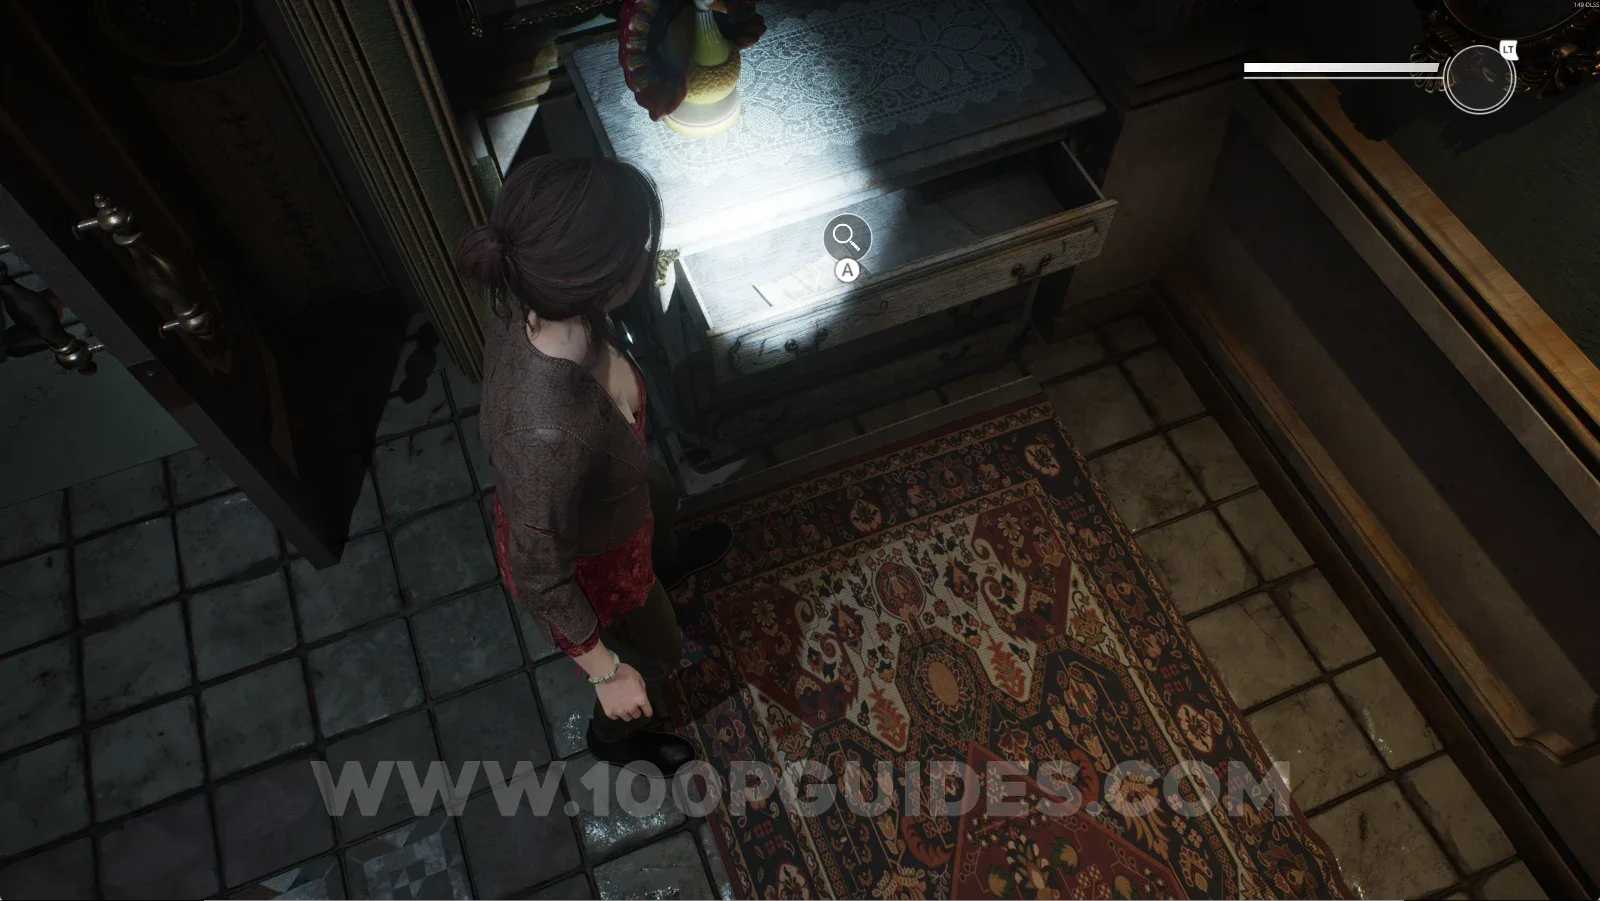
Remothered: Red Nuns Legacy Art Gallery: the drawer holding The Missing Children Remothered: Red Nuns Legacy Noble Wing #2: The Missing Children collectible from the Art Gallery drawer

Noble Wing #3: Portrait Of Marta Ashmann

Can be found in the Art Gallery, on the wall.
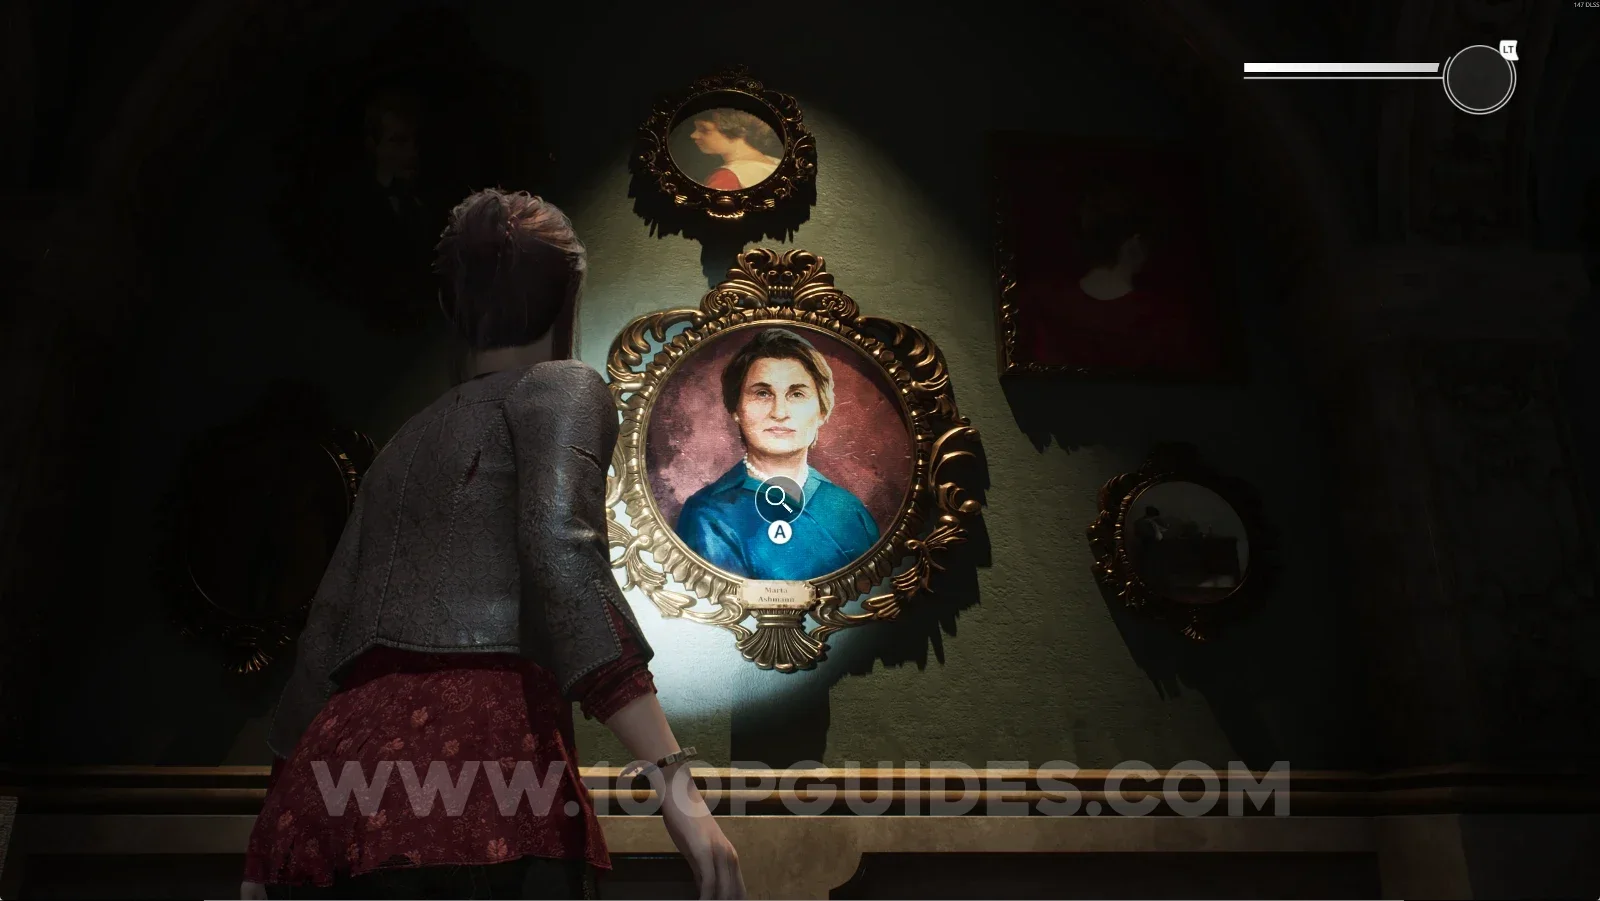
Remothered: Red Nuns Legacy Art Gallery: the Portrait Of Marta Ashmann on the wall Remothered: Red Nuns Legacy Noble Wing #3: Portrait Of Marta Ashmann collectible

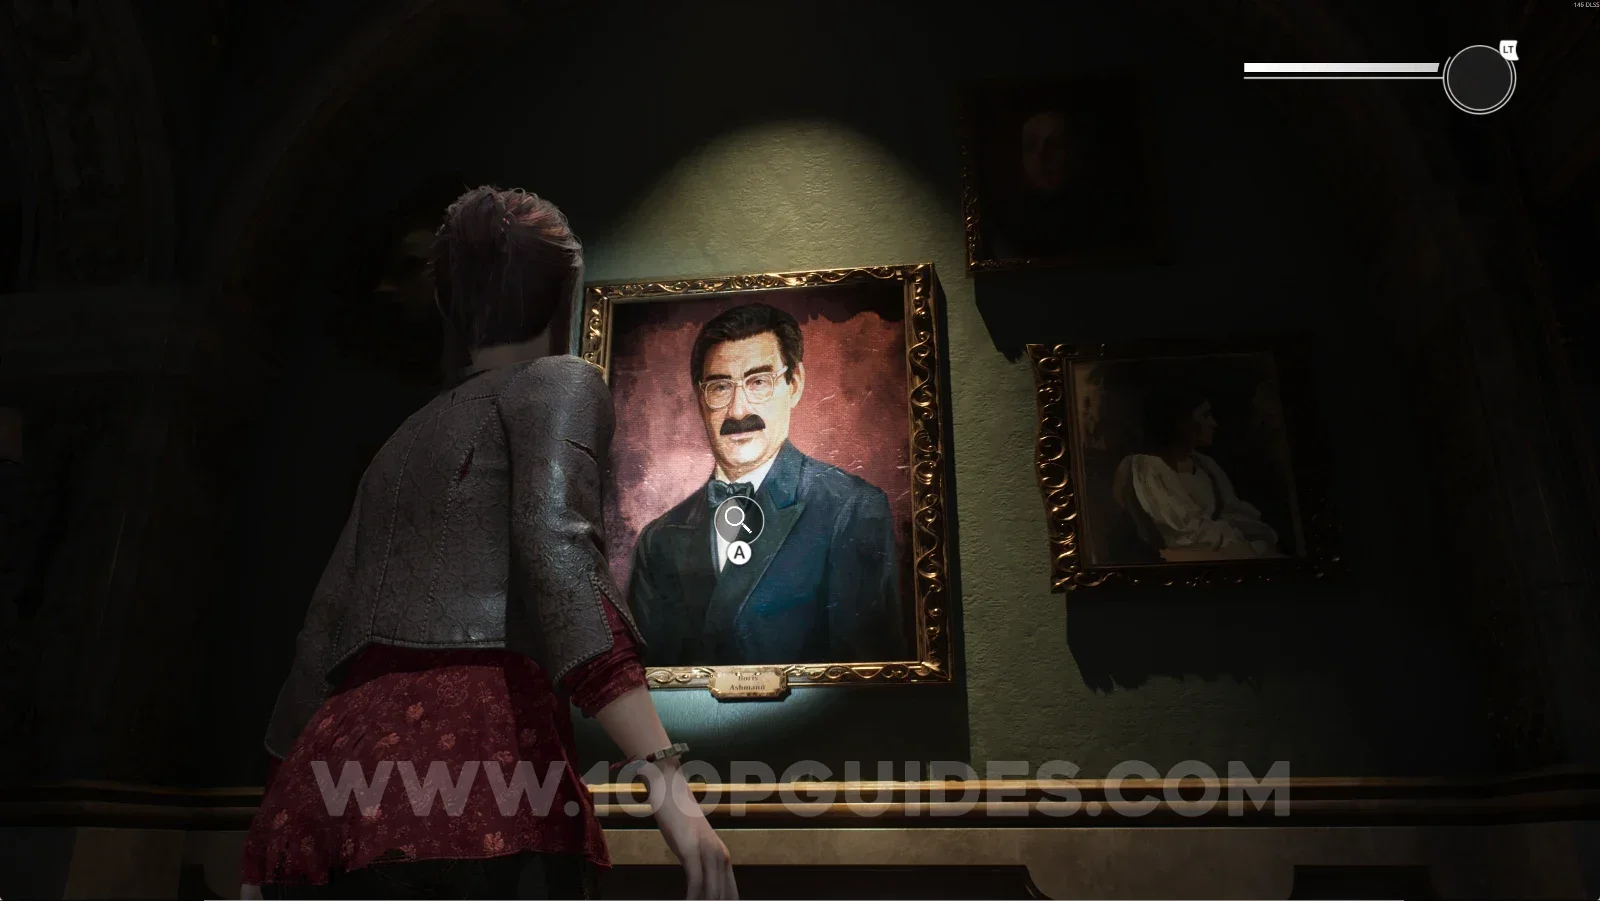
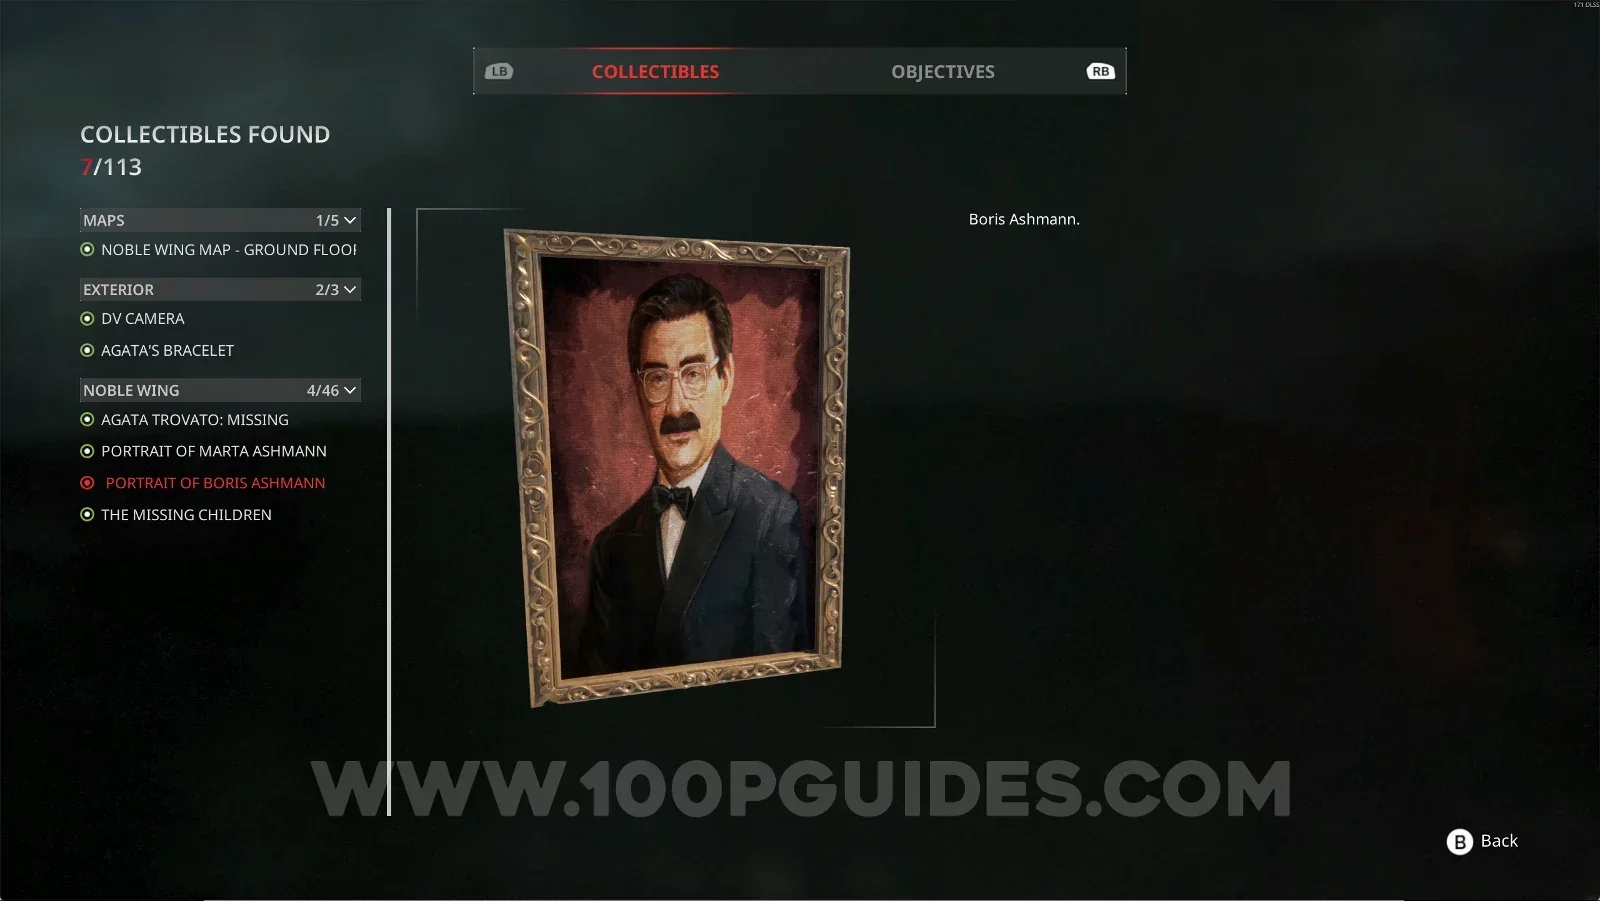
Noble Wing #4: Portrait Of Boris Ashmann

Can be found in the Art Gallery, on the wall.
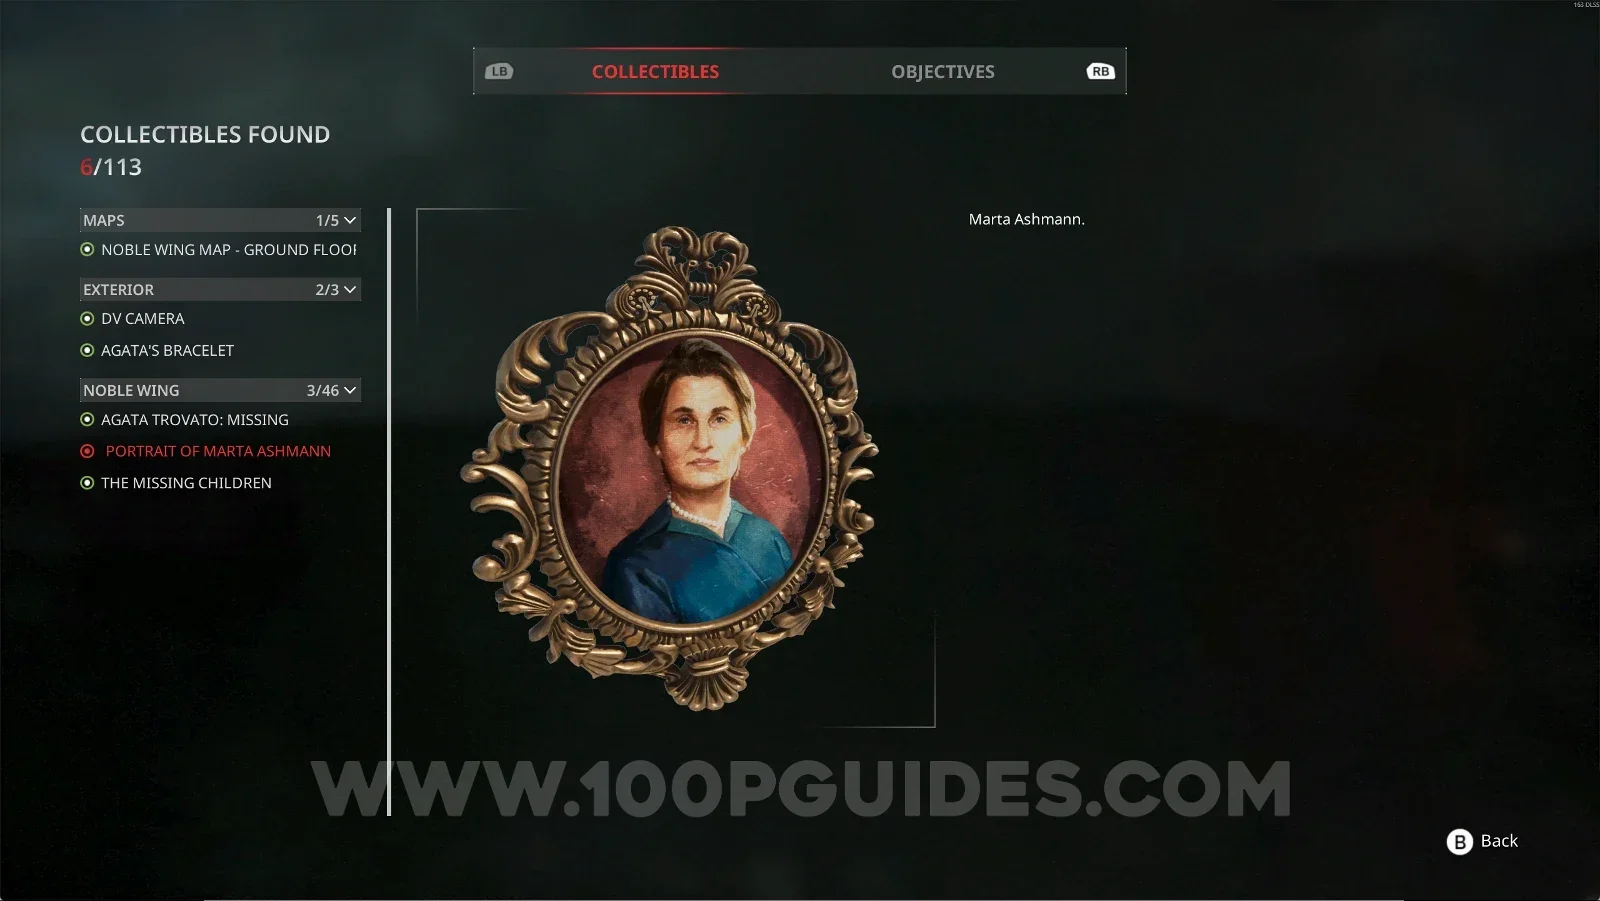
Remothered: Red Nuns Legacy Art Gallery: the Portrait Of Boris Ashmann on the wall Remothered: Red Nuns Legacy Noble Wing #4: Portrait Of Boris Ashmann collectible

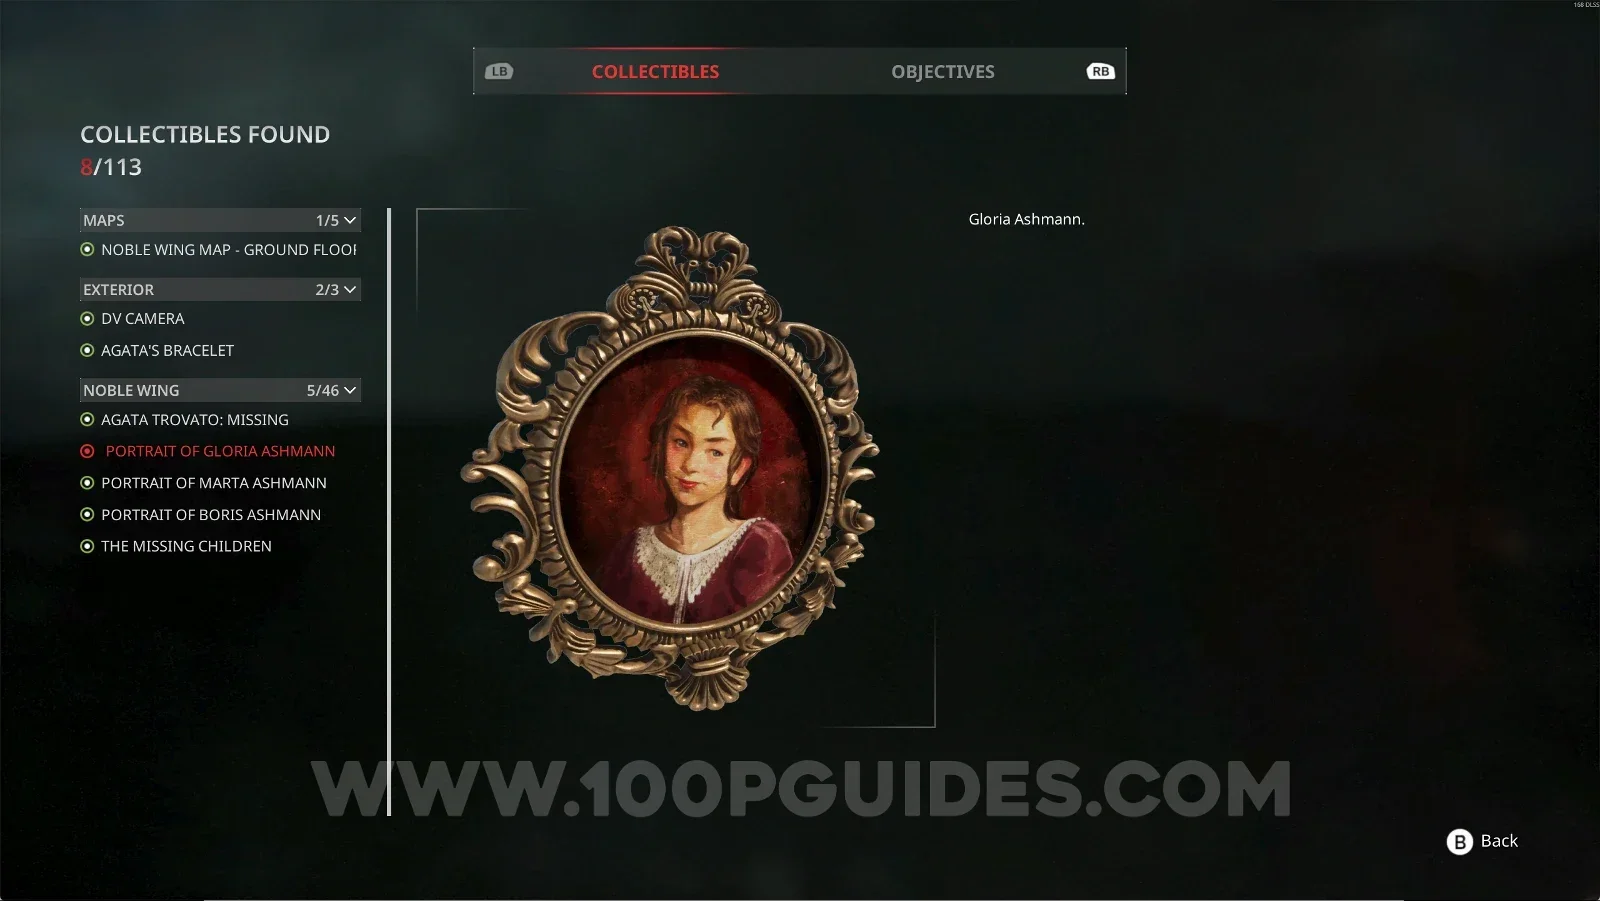
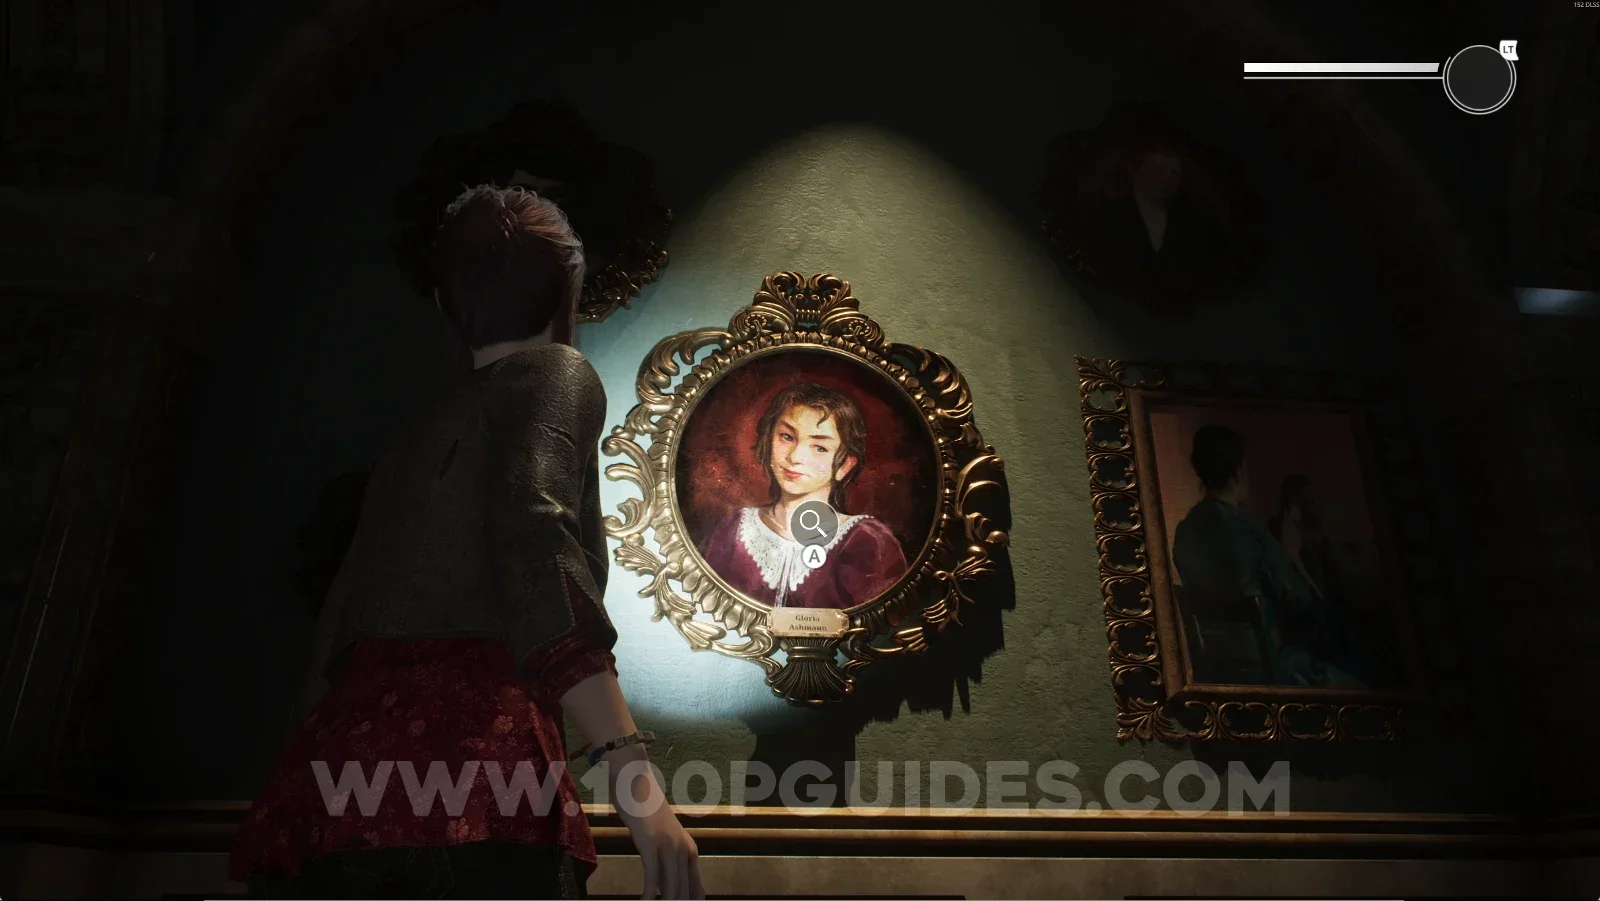
Noble Wing #5: Portrait Of Gloria Ashmann

Can be found in the Art Gallery, on the wall.
Remothered: Red Nuns Legacy Art Gallery: the Portrait Of Gloria Ashmann on the wall Remothered: Red Nuns Legacy Noble Wing #5: Portrait Of Gloria Ashmann collectible

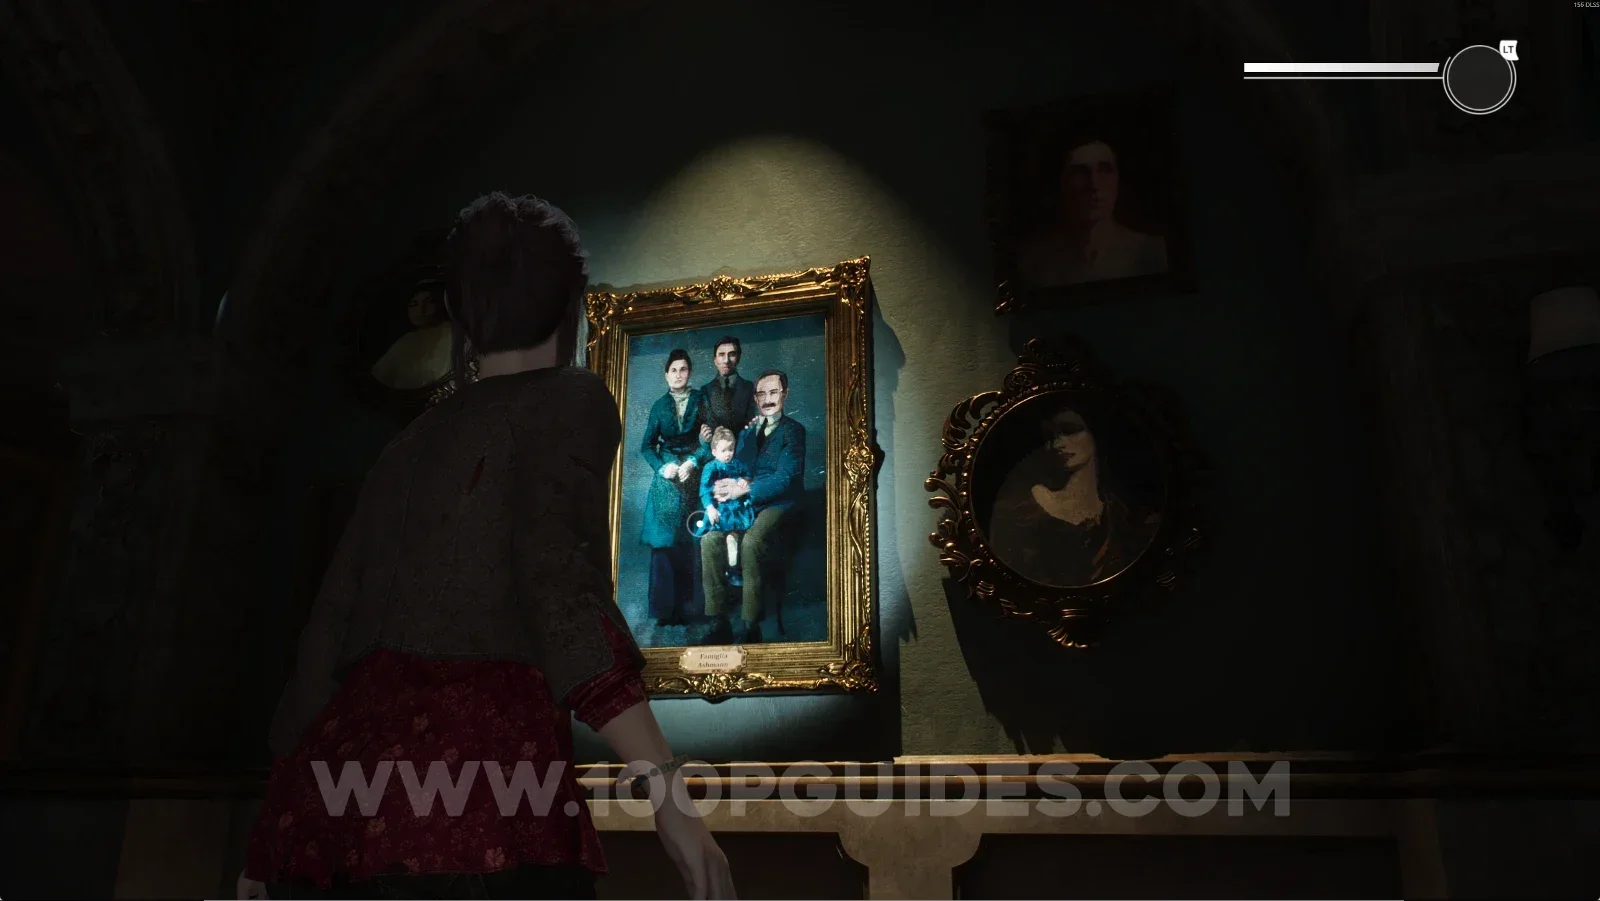
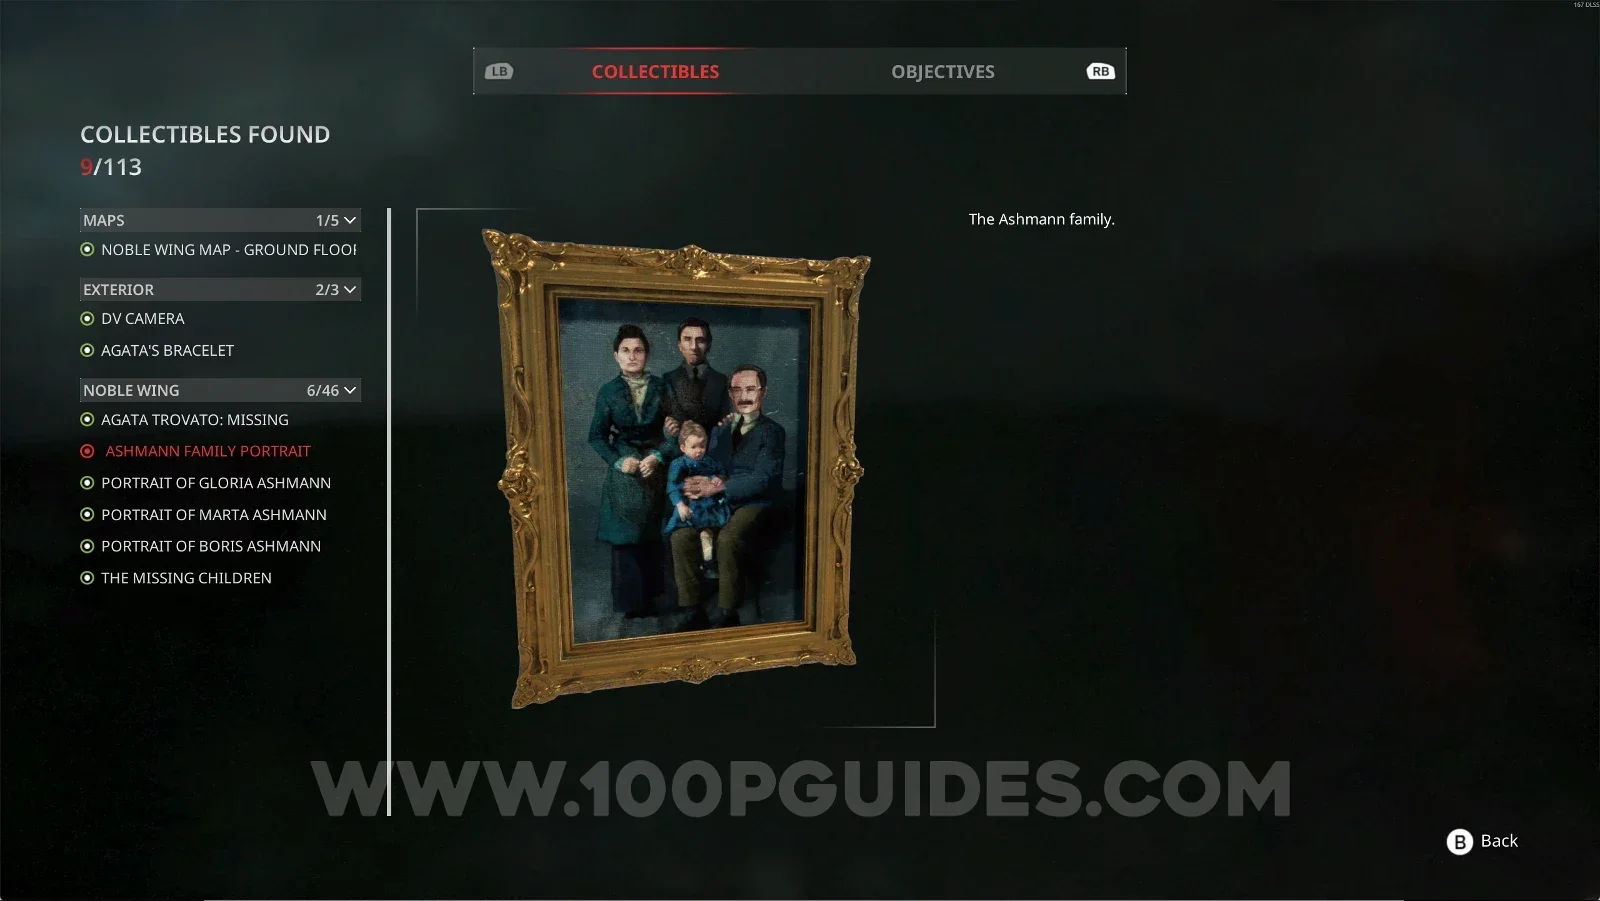
Noble Wing #6: Ashmann Family Portrait

Can be found in the Art Gallery, on the wall.
Remothered: Red Nuns Legacy Art Gallery: the Ashmann Family Portrait on the wall Remothered: Red Nuns Legacy Noble Wing #6: Ashmann Family Portrait collectible

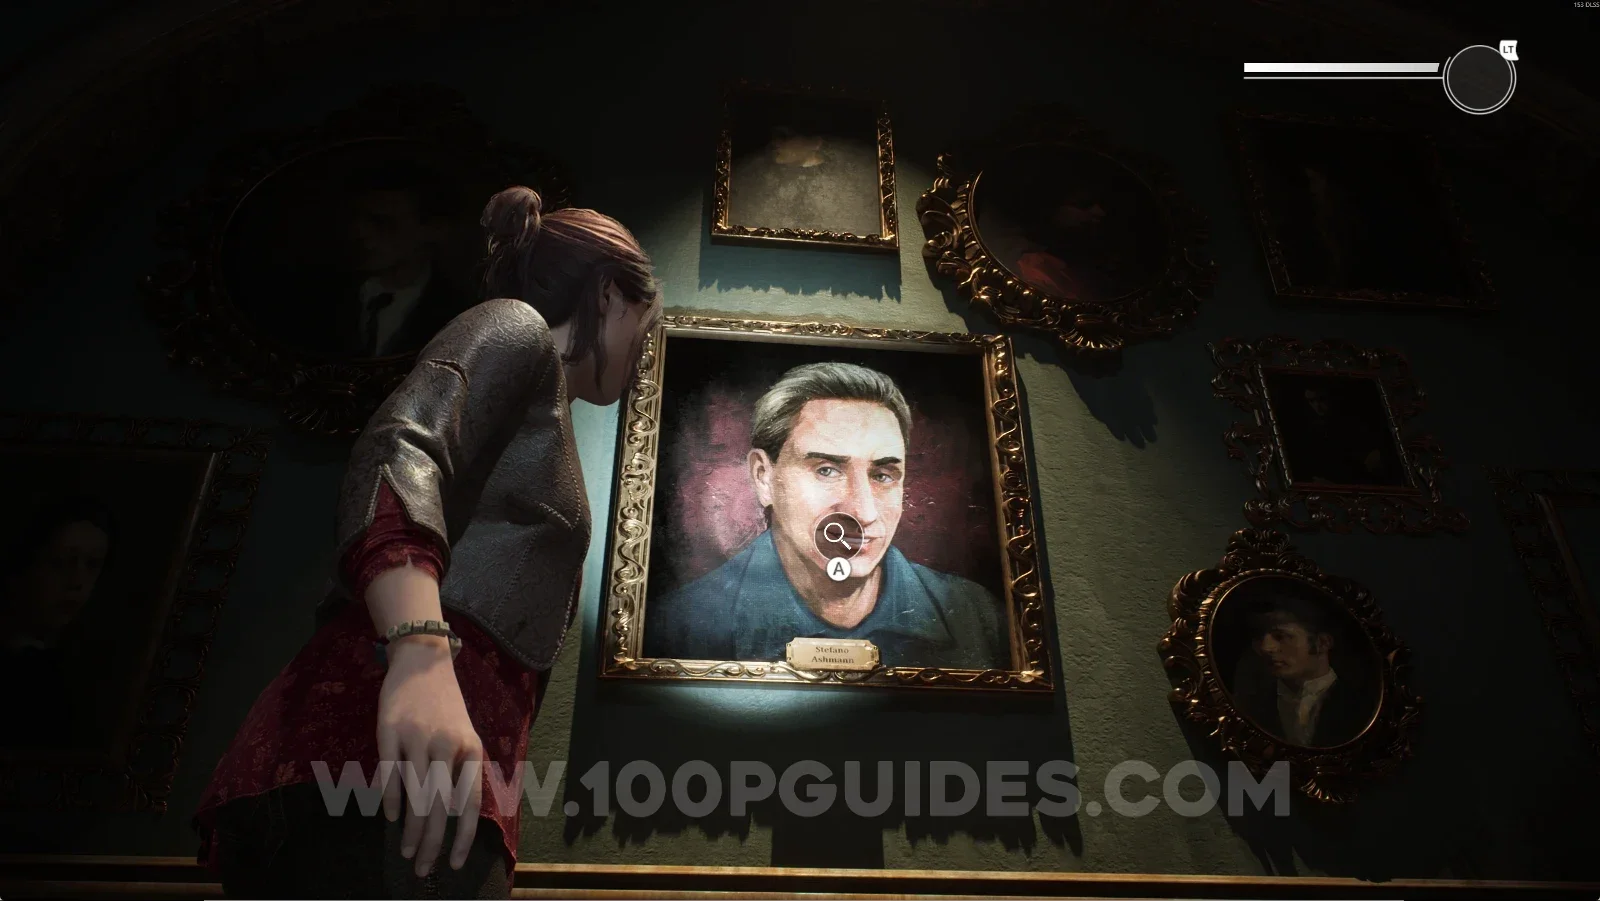
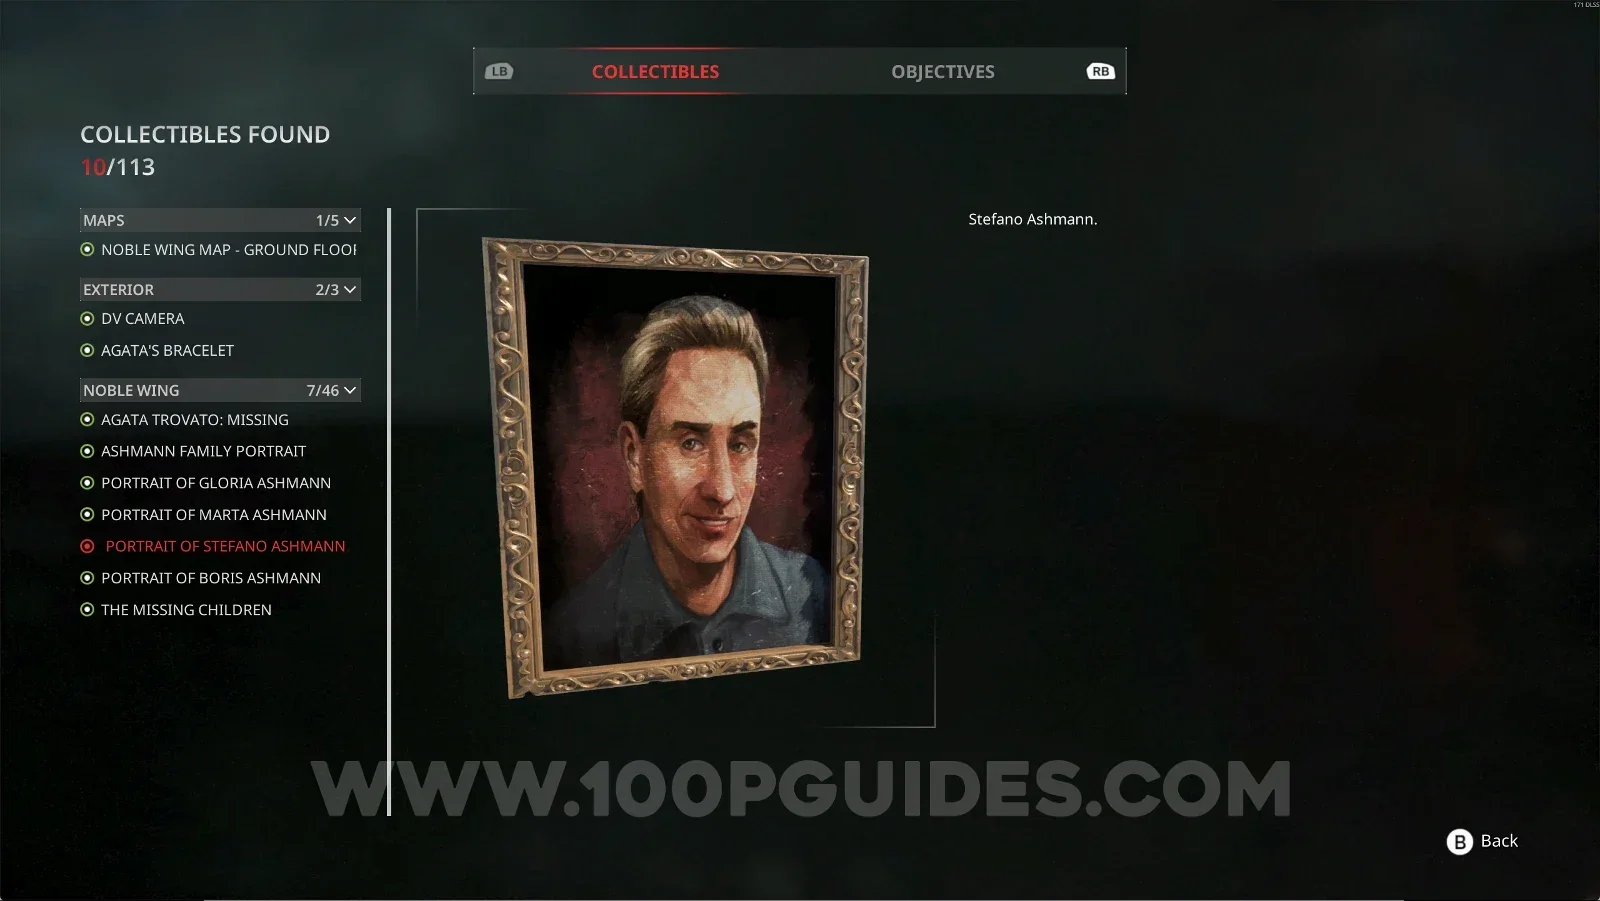
Noble Wing #7: Portrait Of Stefano Ashmann

Can be found in the Art Gallery, on the wall.
Remothered: Red Nuns Legacy Art Gallery: the Portrait Of Stefano Ashmann on the wall Remothered: Red Nuns Legacy Noble Wing #7: Portrait Of Stefano Ashmann collectible

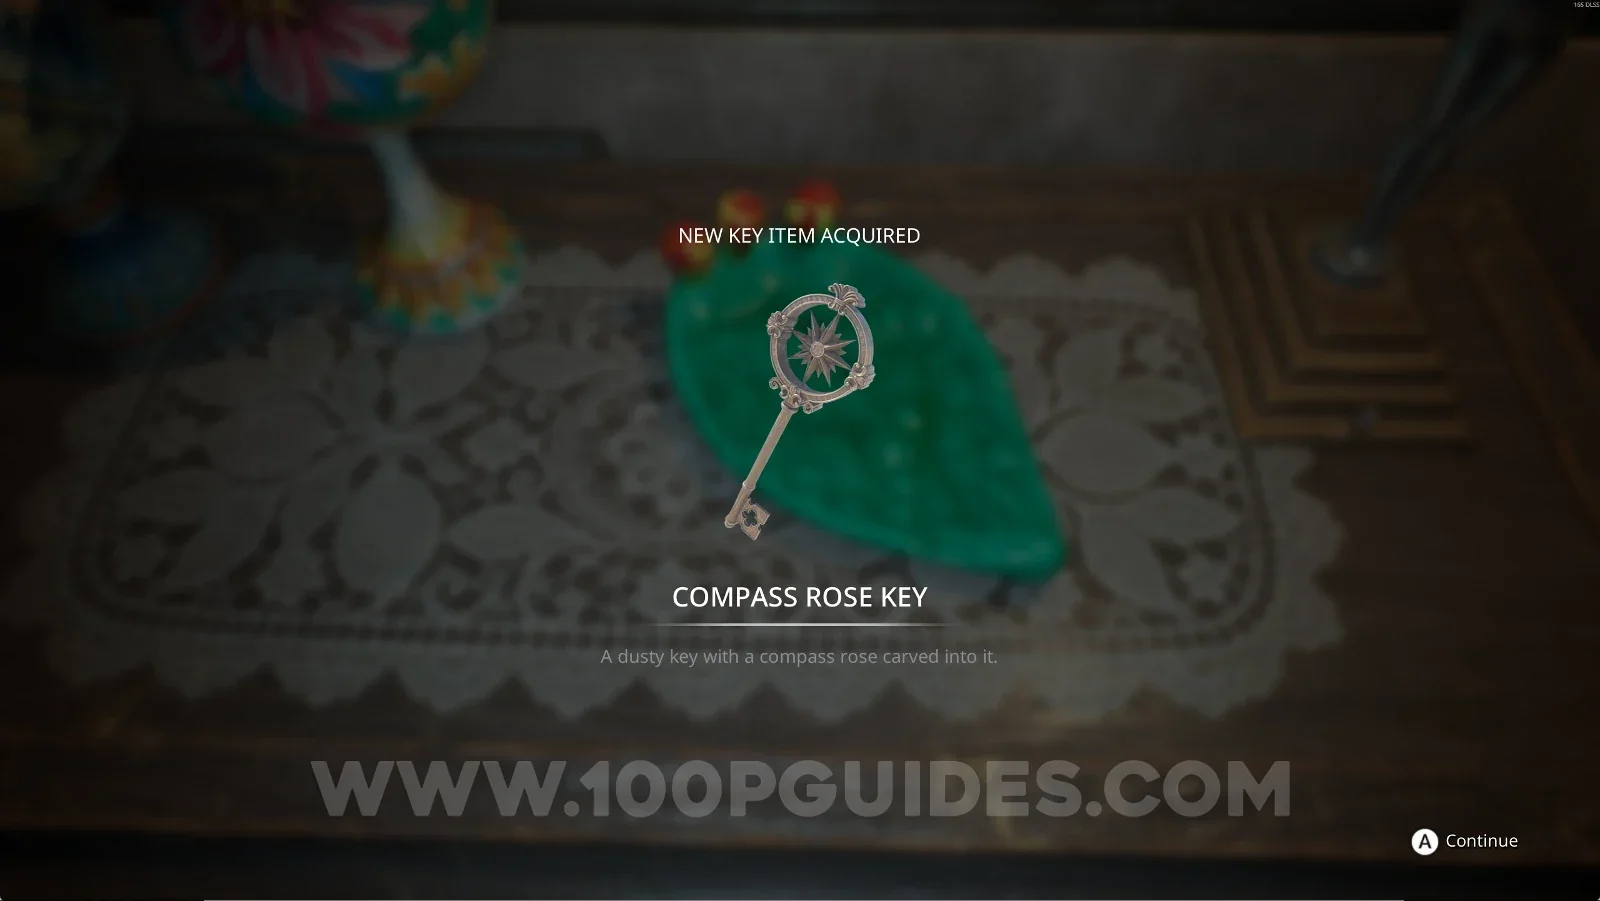
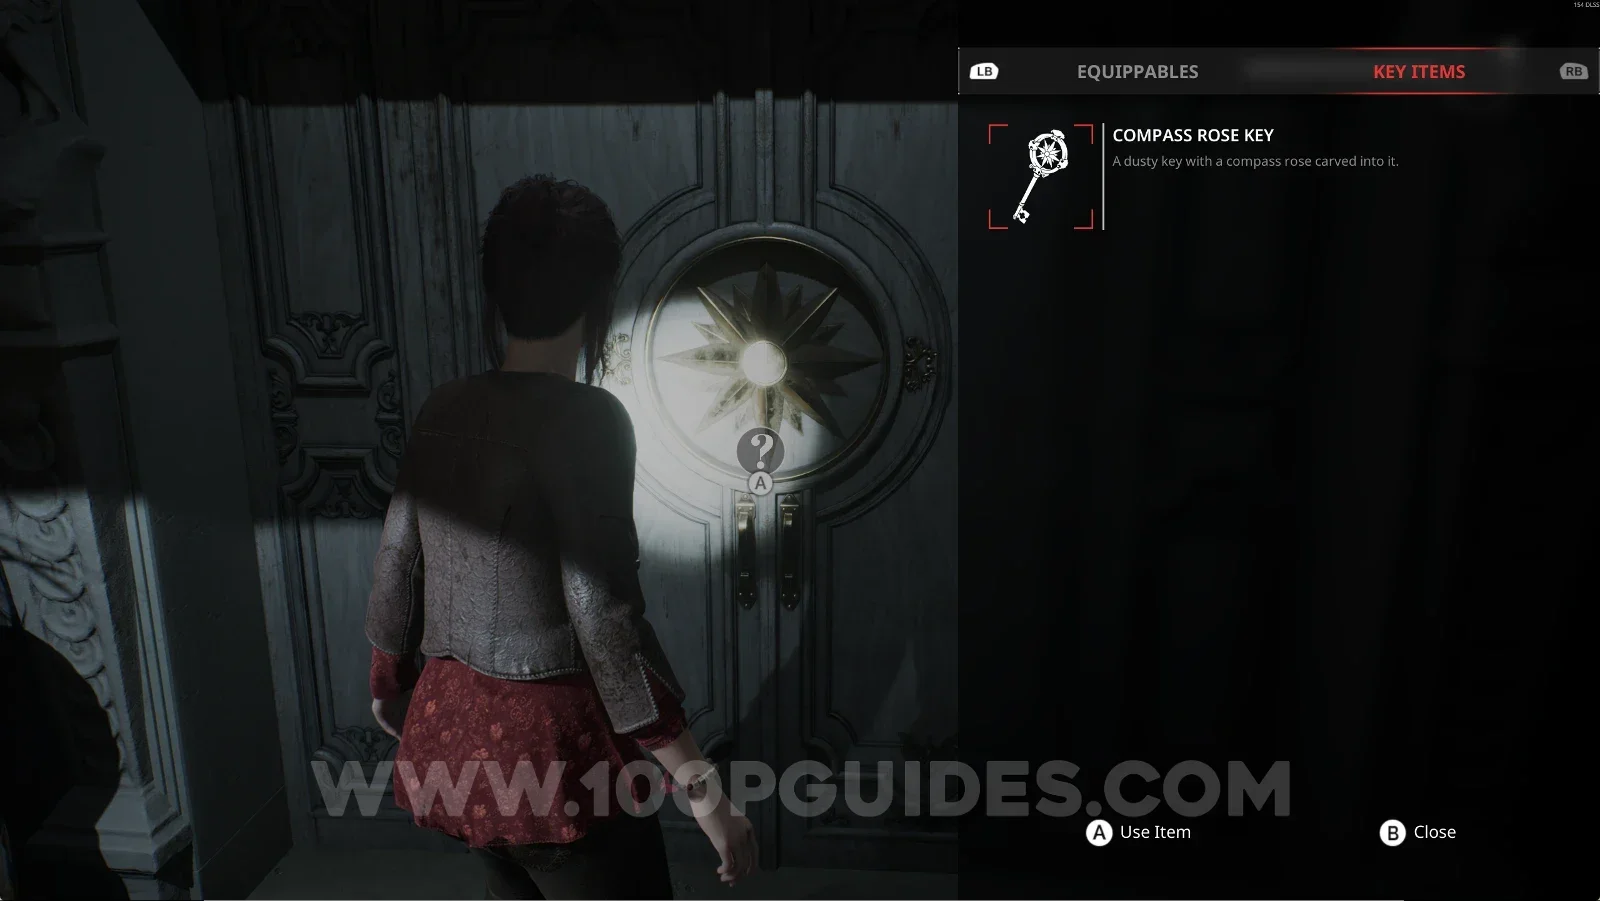
Key Item: Compass Rose Key

Can be found in the Art Gallery, on top of a cabinet next to the fireplace.
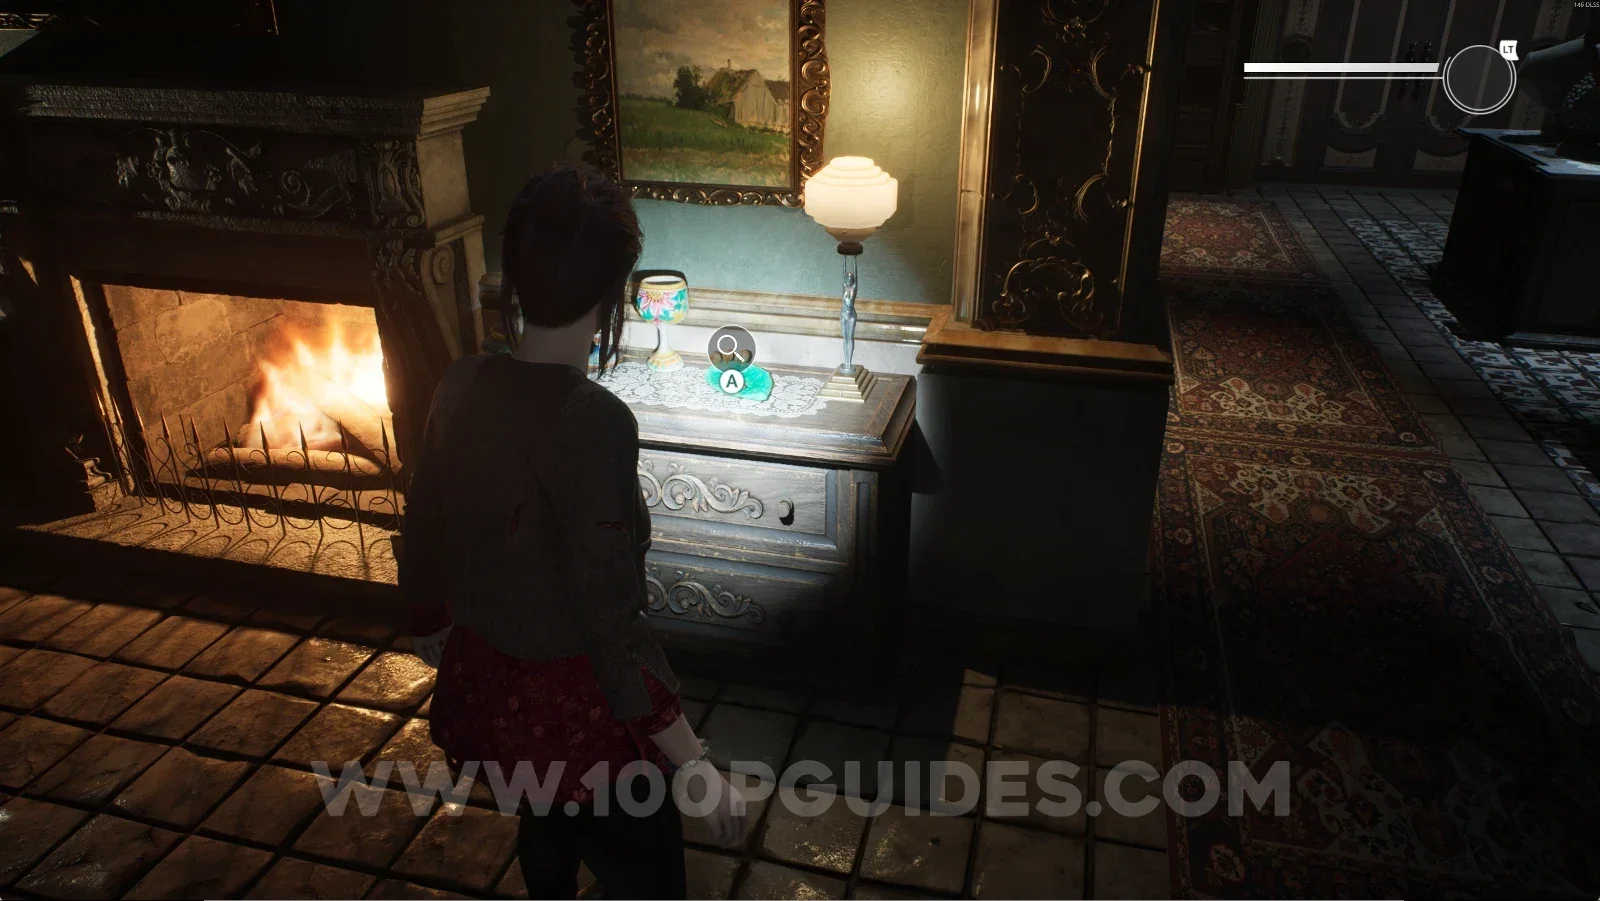
Remothered: Red Nuns Legacy Art Gallery: the cabinet next to the fireplace holding the Compass Rose Key Remothered: Red Nuns Legacy: the Compass Rose Key on top of the cabinet by the fireplace

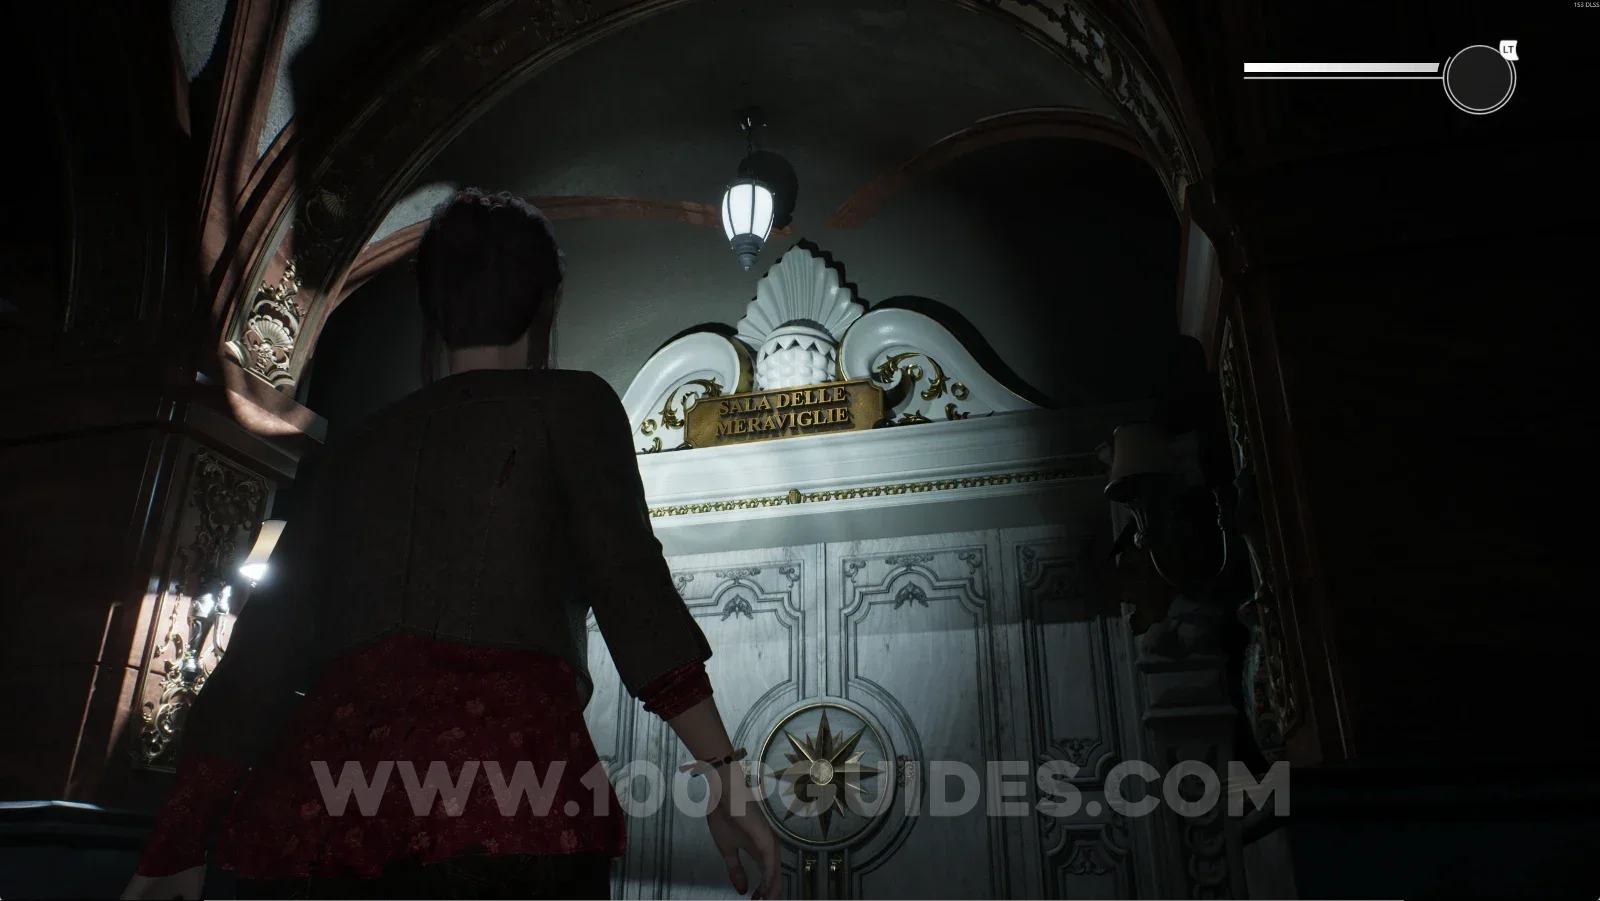
Use it in the Sala delle Meraviglie.
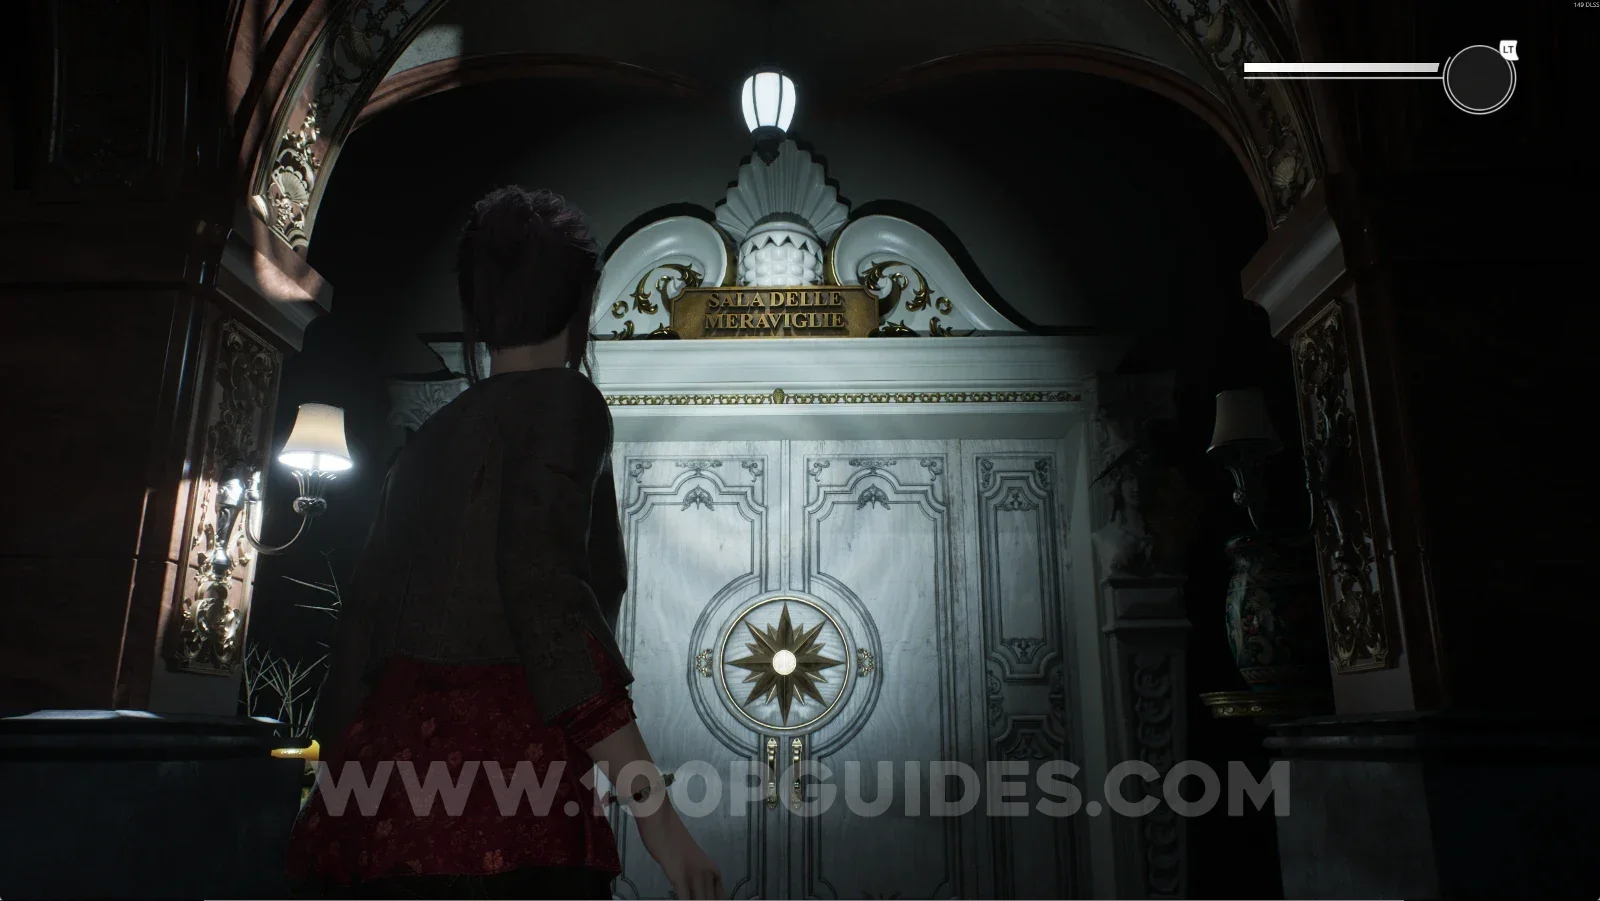
Remothered: Red Nuns Legacy: taking the Compass Rose Key to the Sala delle Meraviglie Remothered: Red Nuns Legacy: using the Compass Rose Key in the Sala delle Meraviglie

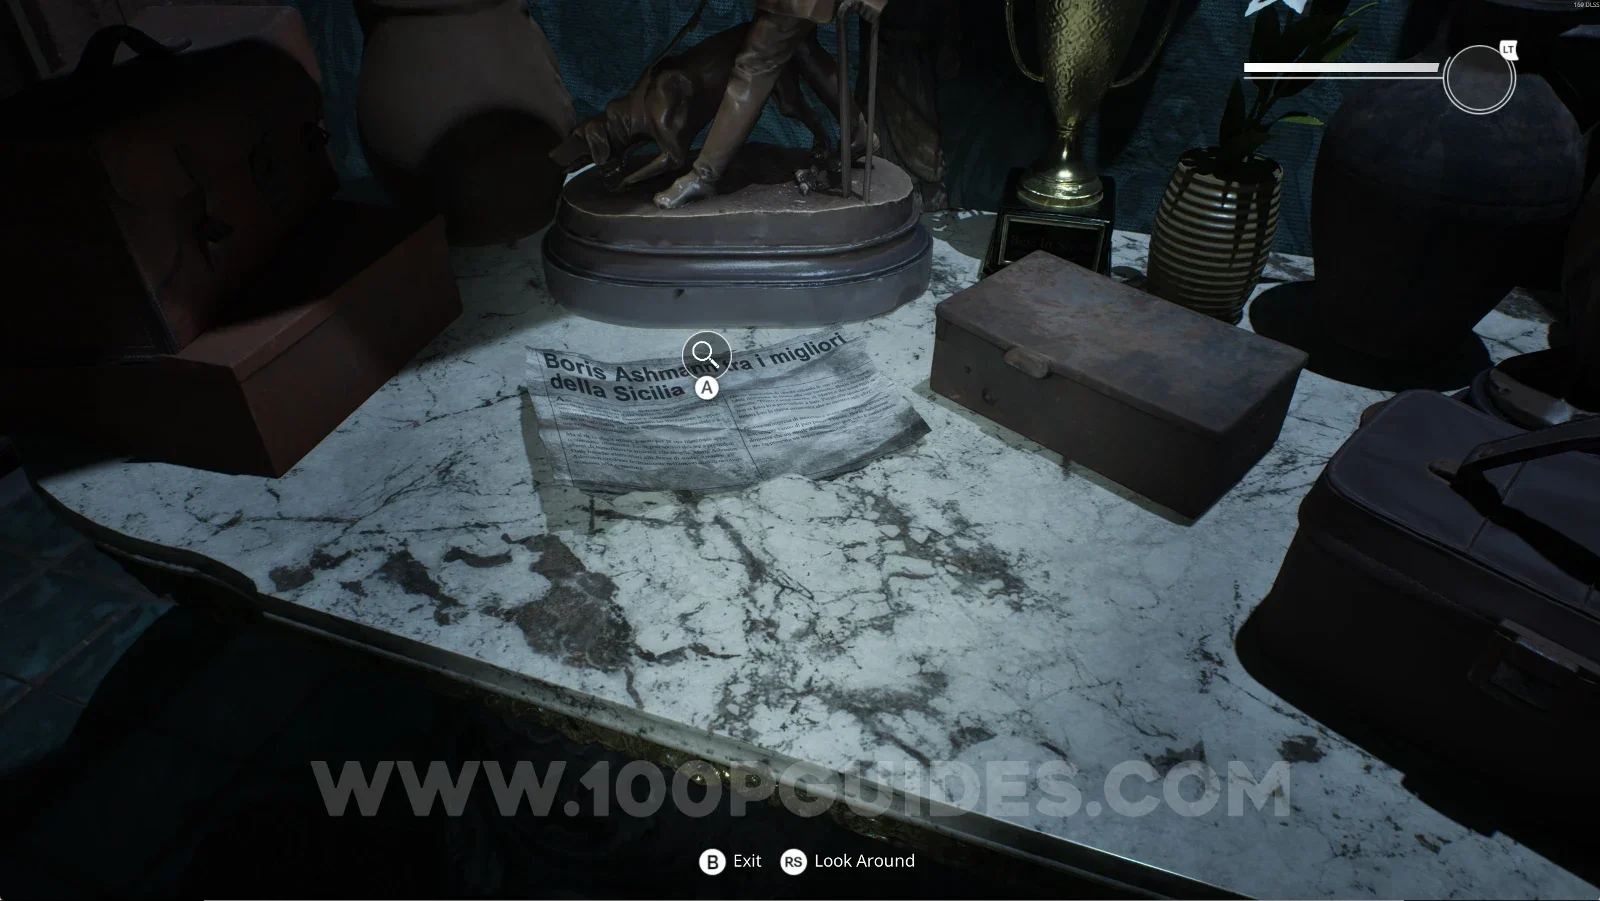
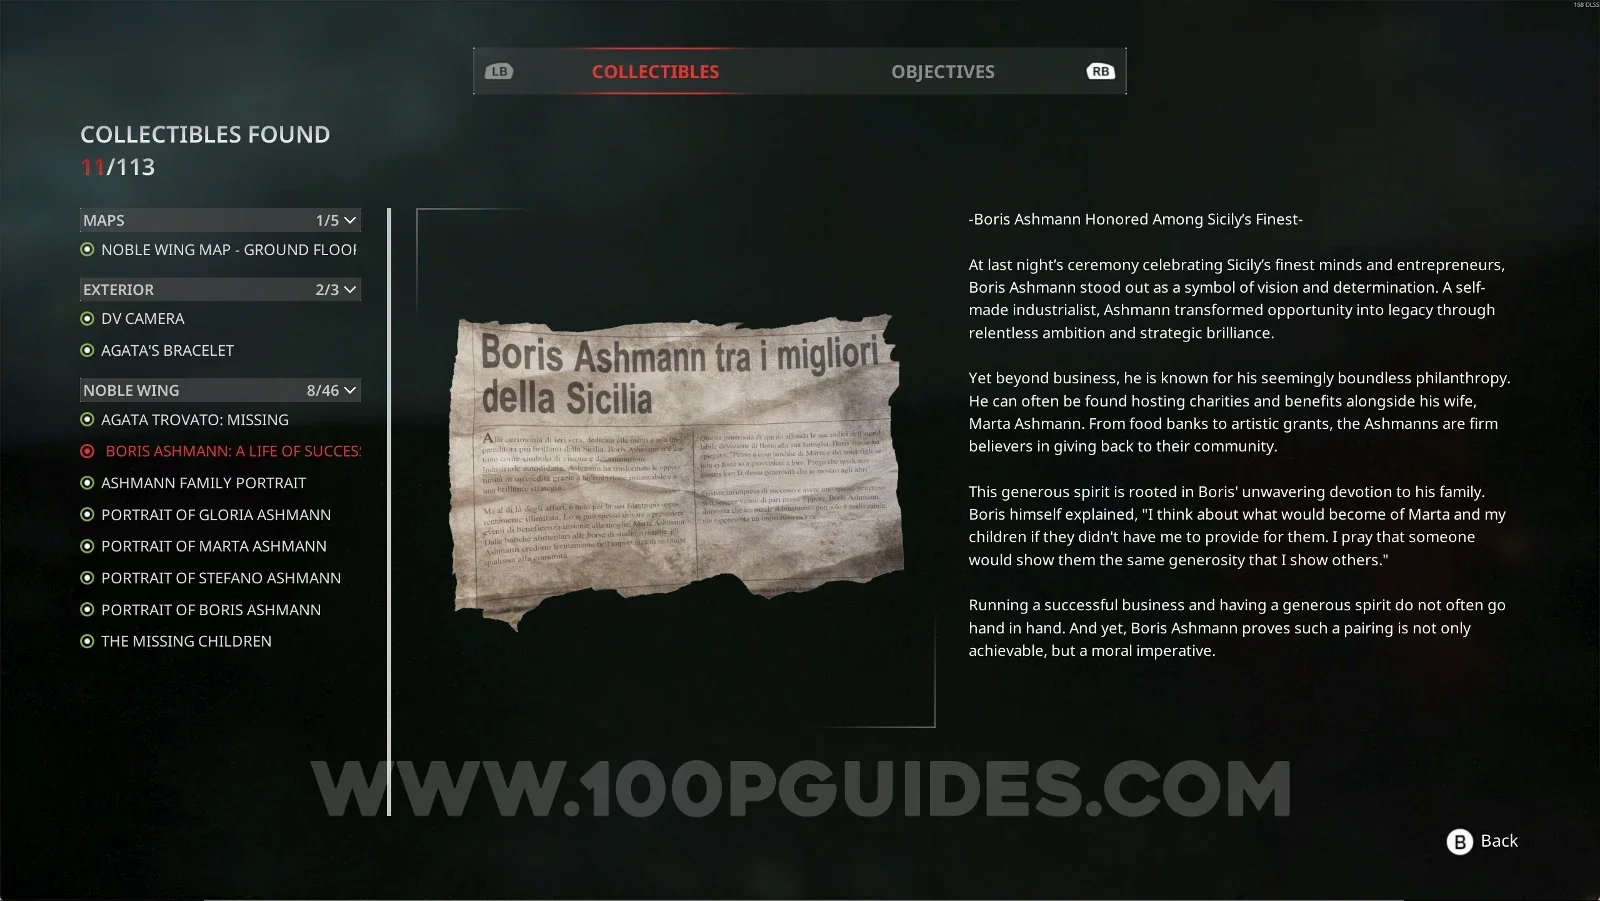
Noble Wing #8: Boris Ashmann: A Life Of Success

Can be found in the Sala delle Meraviglie, below some antlers on the wall.
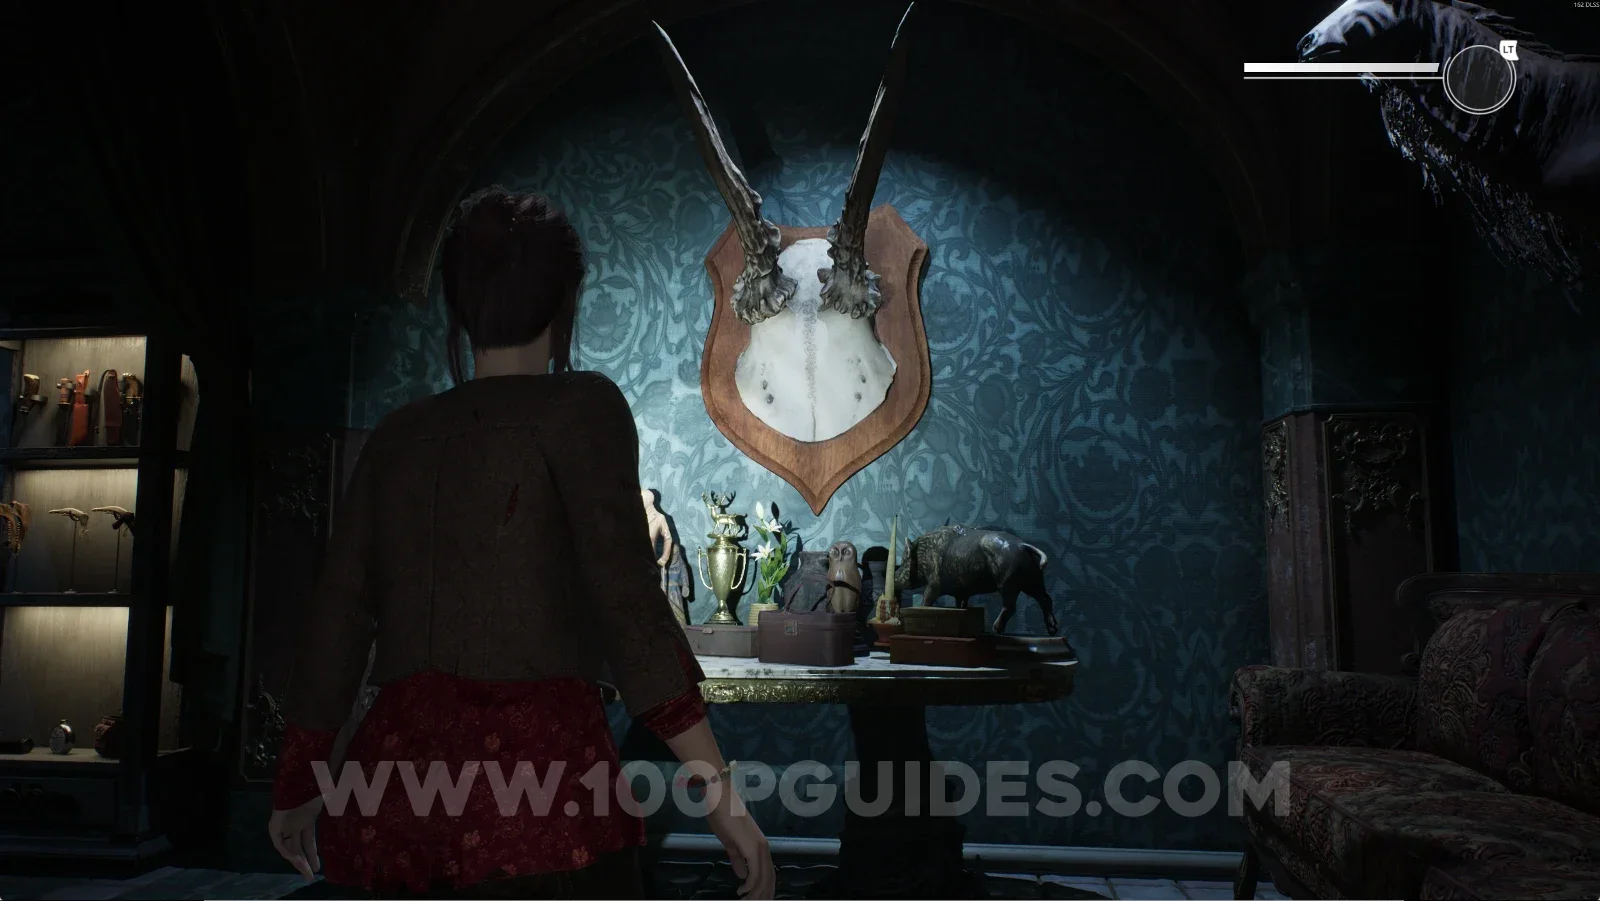
Remothered: Red Nuns Legacy Sala delle Meraviglie: the antlers mounted on the wall Remothered: Red Nuns Legacy Noble Wing #8: Boris Ashmann: A Life Of Success below the antlers Remothered: Red Nuns Legacy Noble Wing #8: Boris Ashmann: A Life Of Success collectible

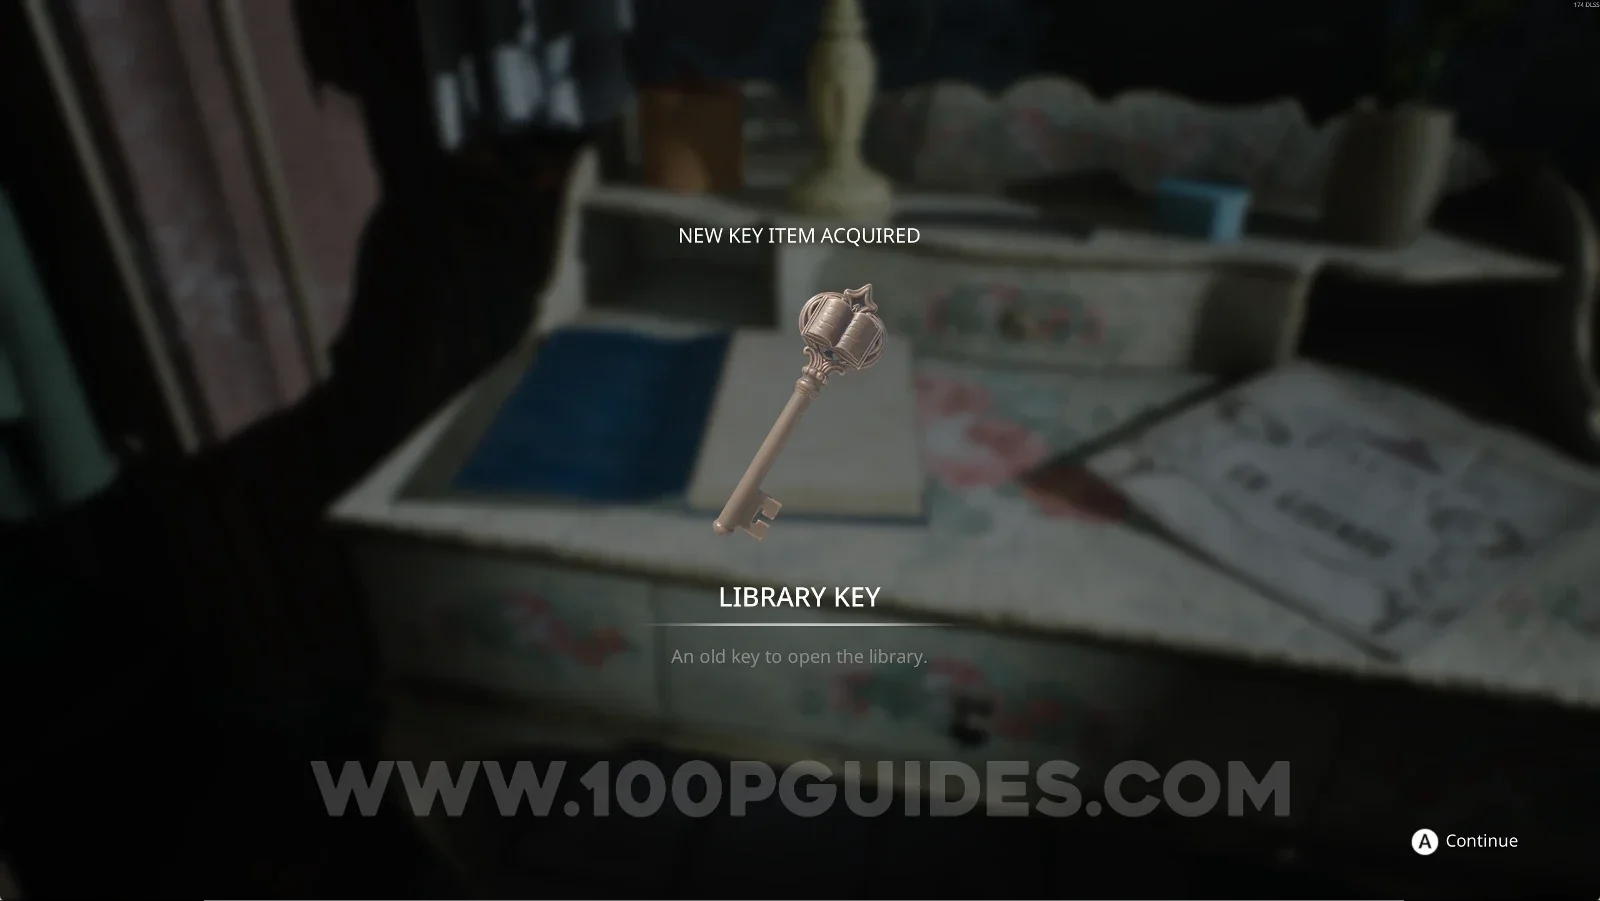
Key Item: Library Key

Can be found in the Sala delle Meraviglie, on the vanity. Interact with the blue book to reveal the key.
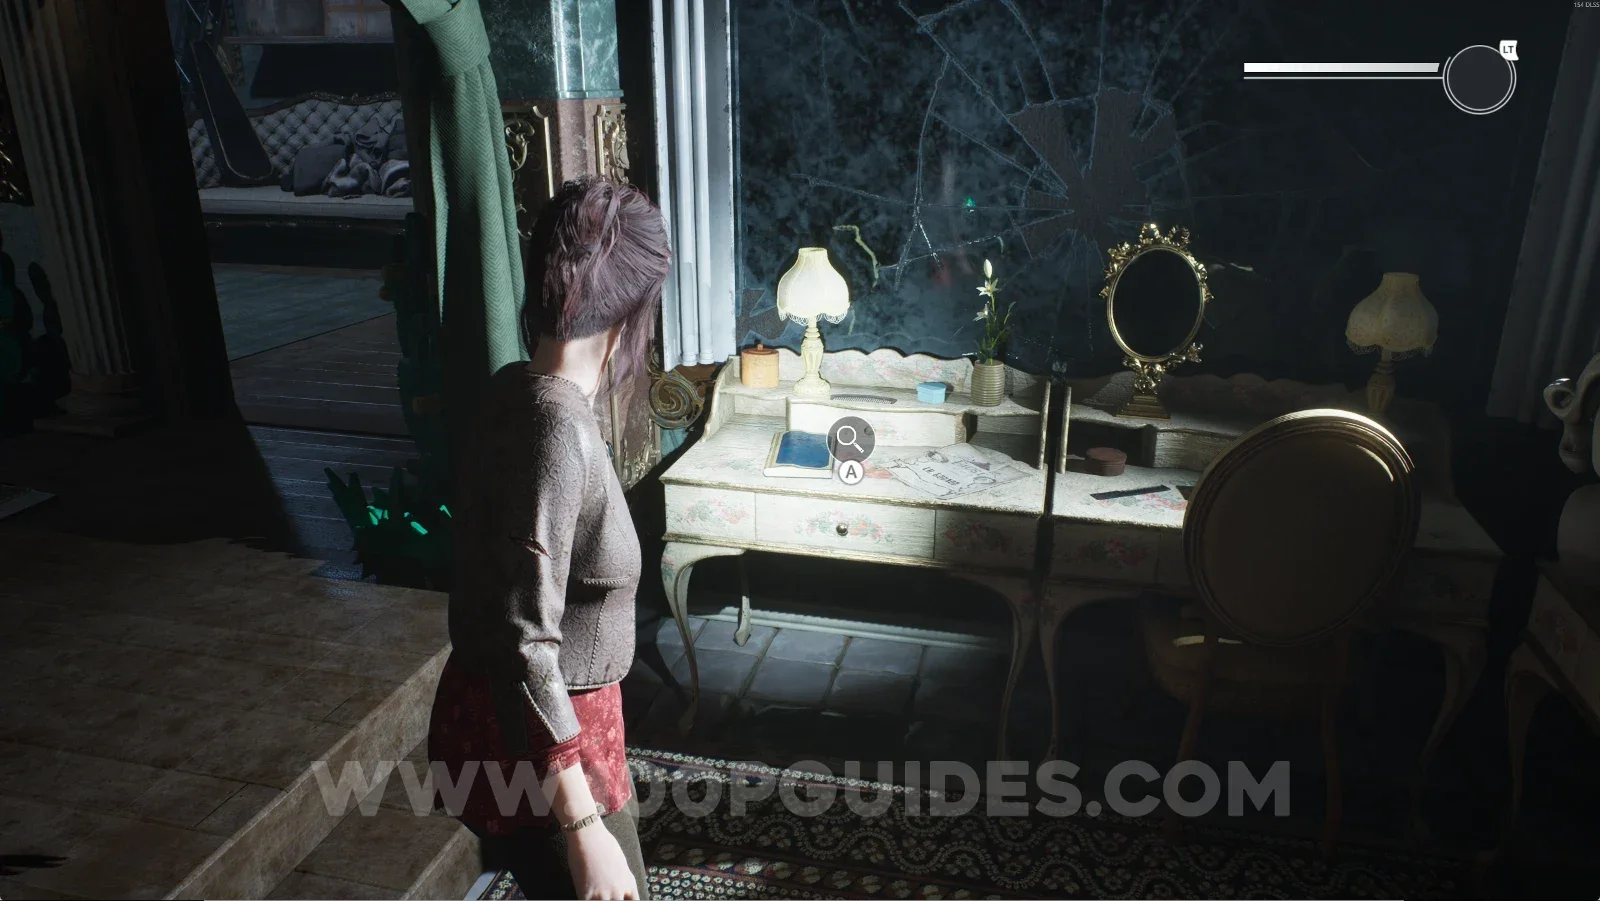
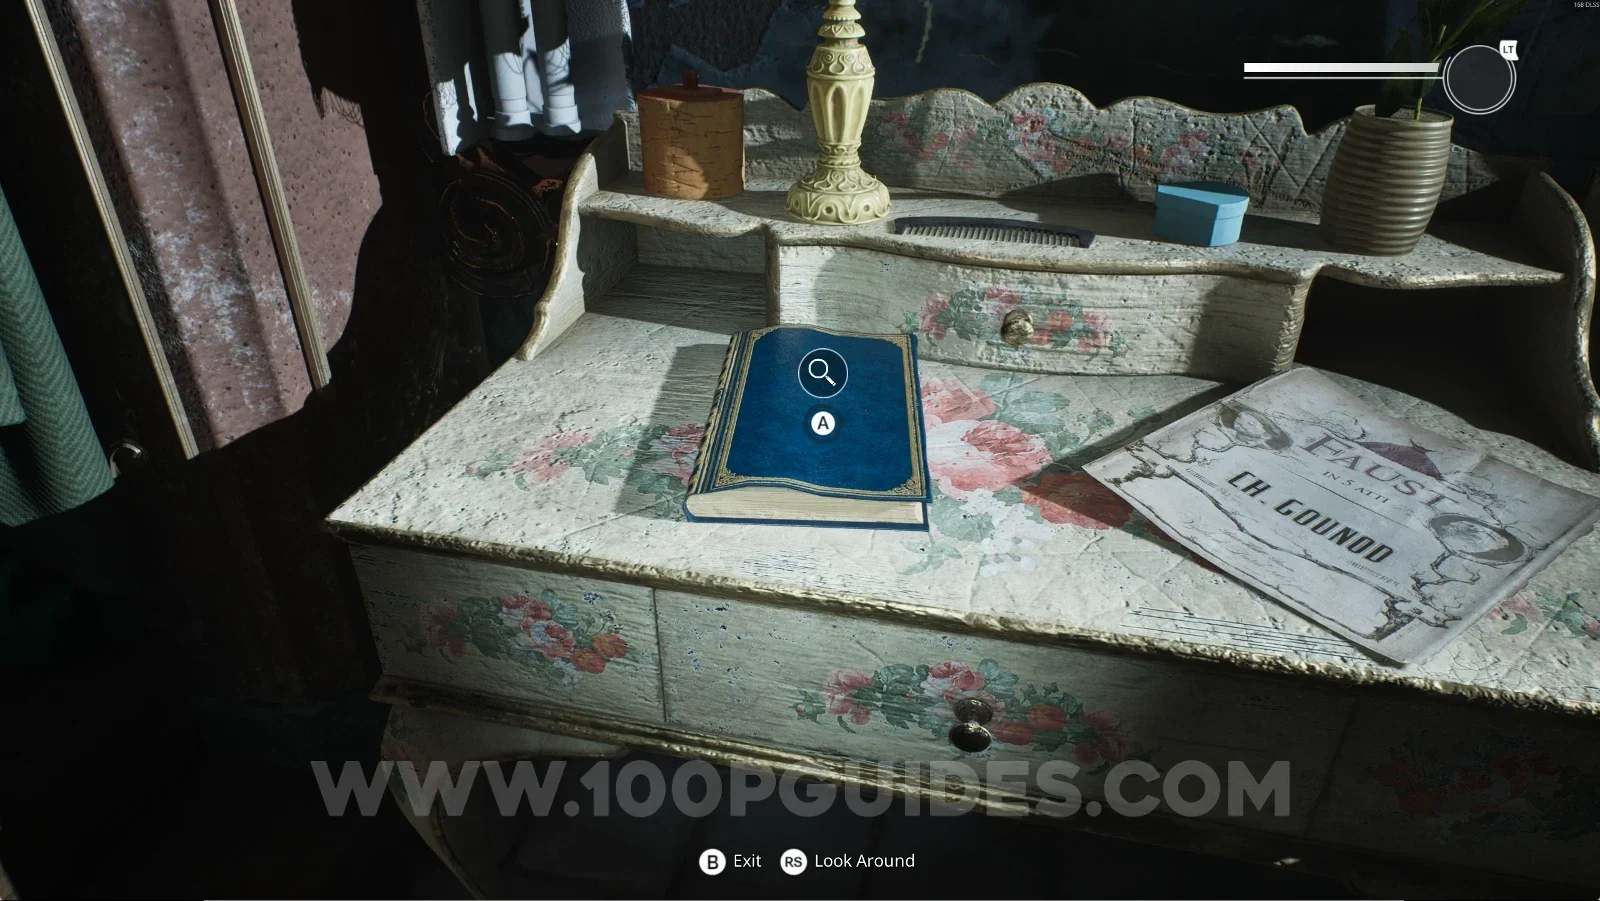
Remothered: Red Nuns Legacy Sala delle Meraviglie: the vanity with the blue book Remothered: Red Nuns Legacy: interacting with the blue book on the vanity to reveal the Library Key Remothered: Red Nuns Legacy: the Library Key revealed on the vanity in the Sala delle Meraviglie

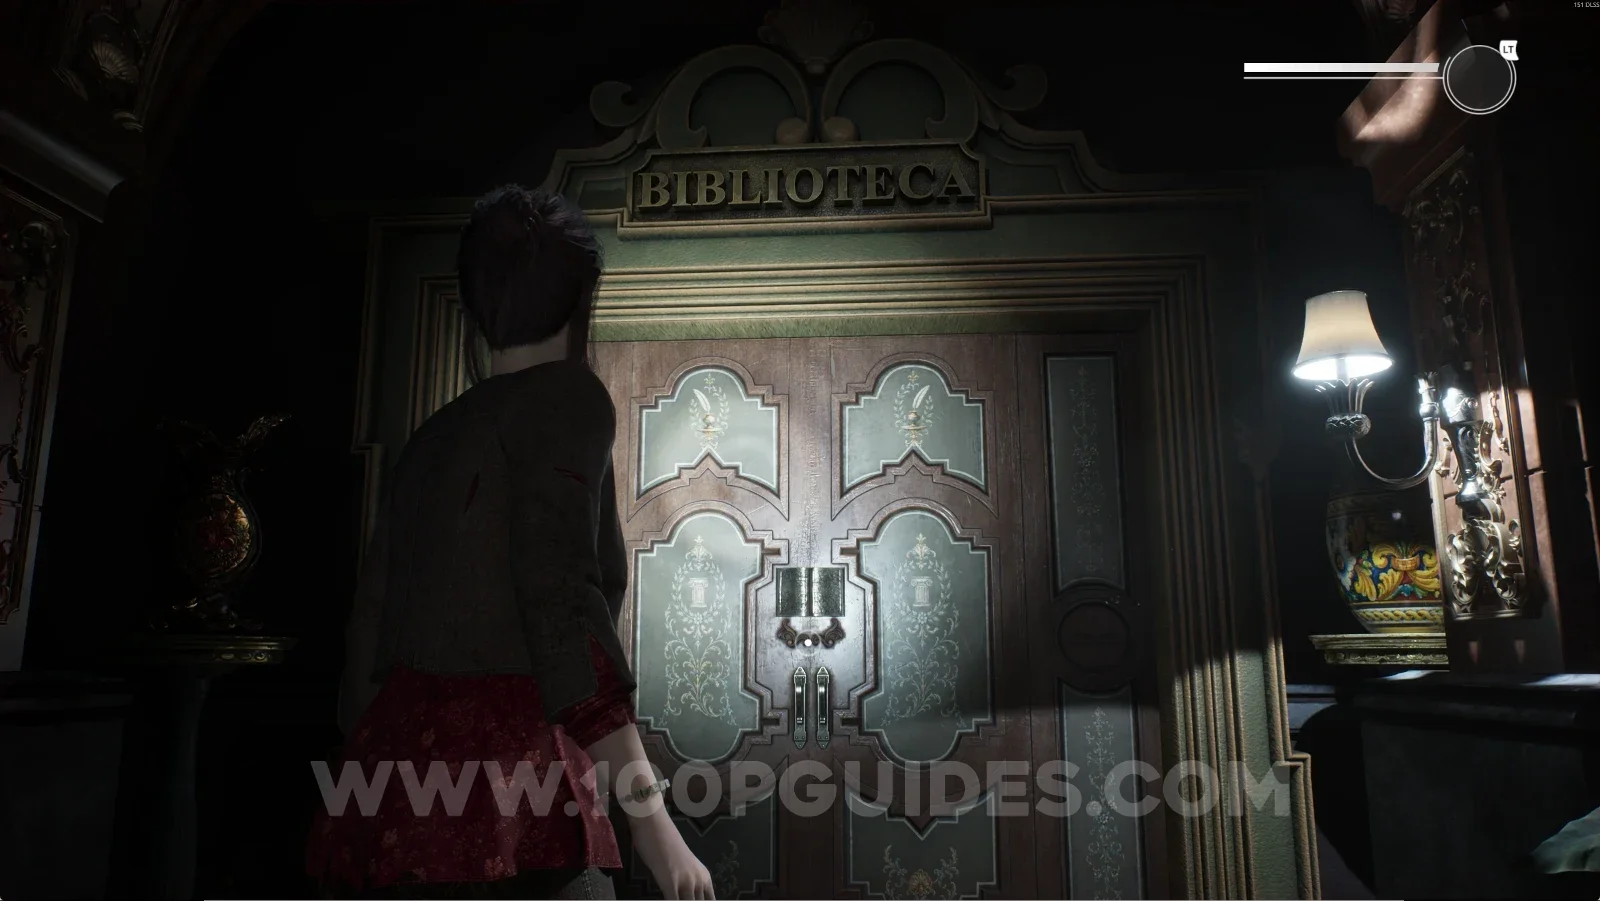
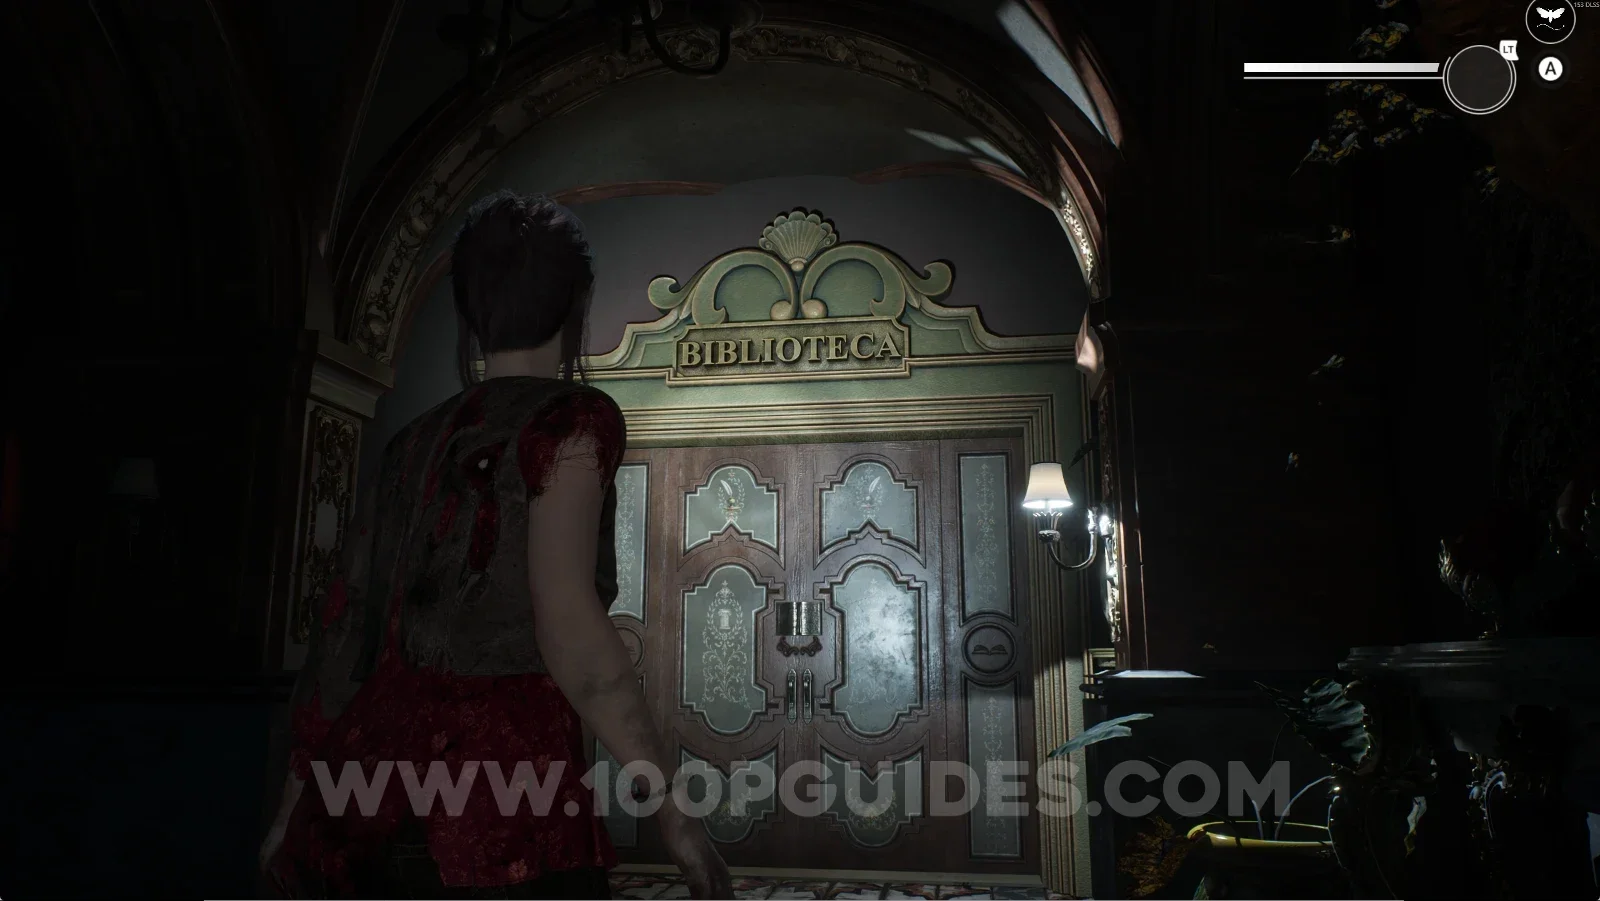
Use it on the Library door.

Remothered: Red Nuns Legacy: using the Library Key on the Library door in the Noble Wing

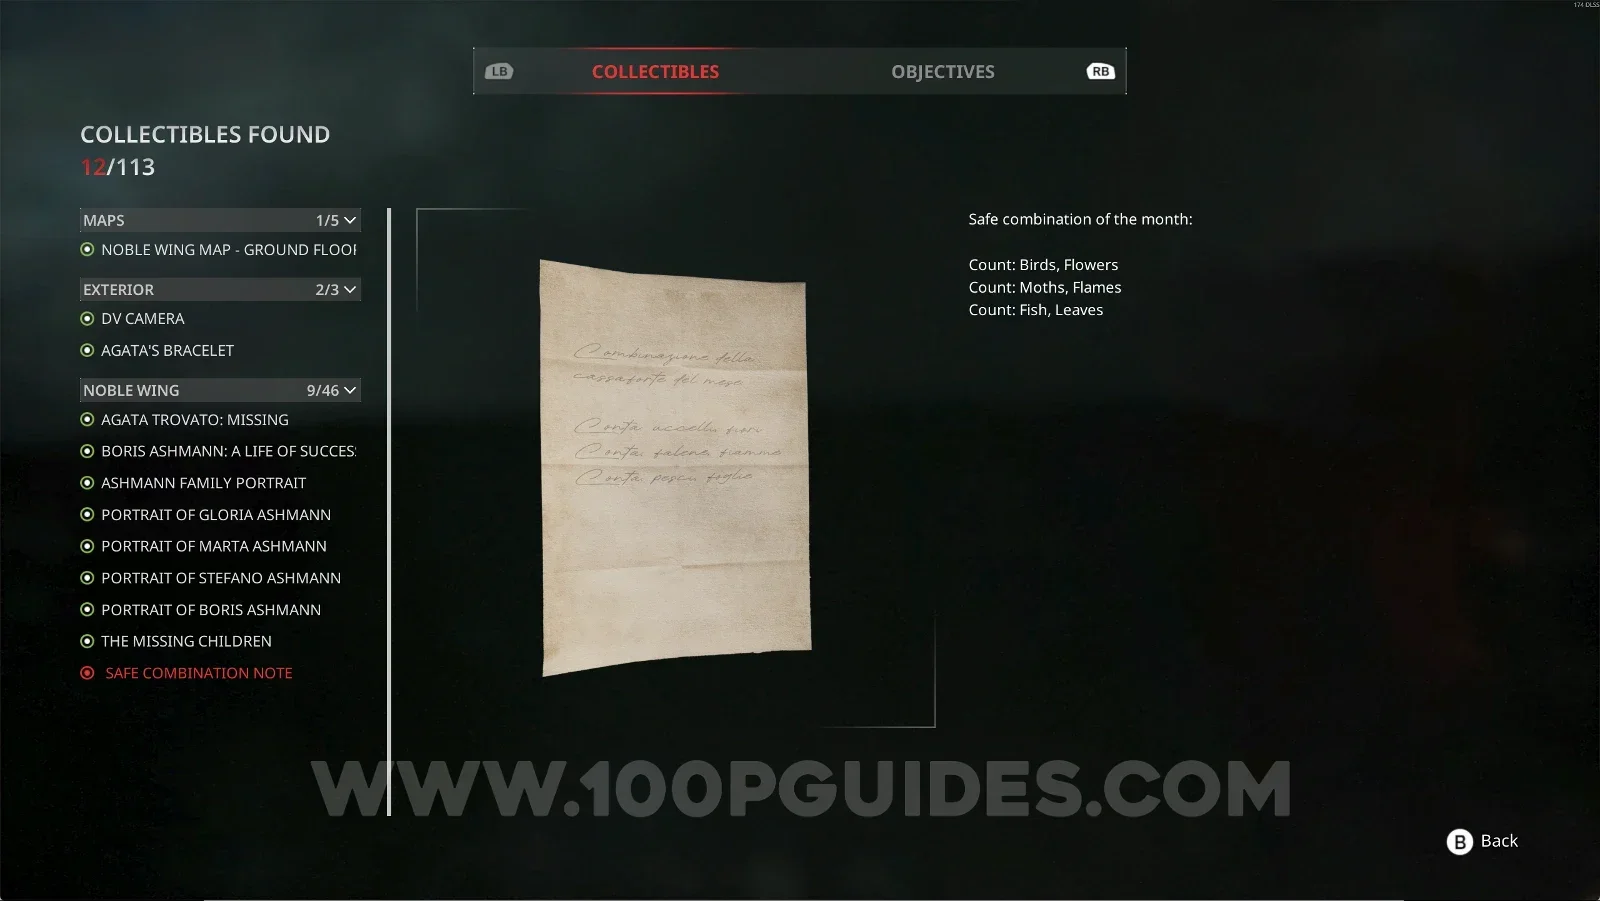
Noble Wing #9: Safe Combination Note

Can be found in the Library.
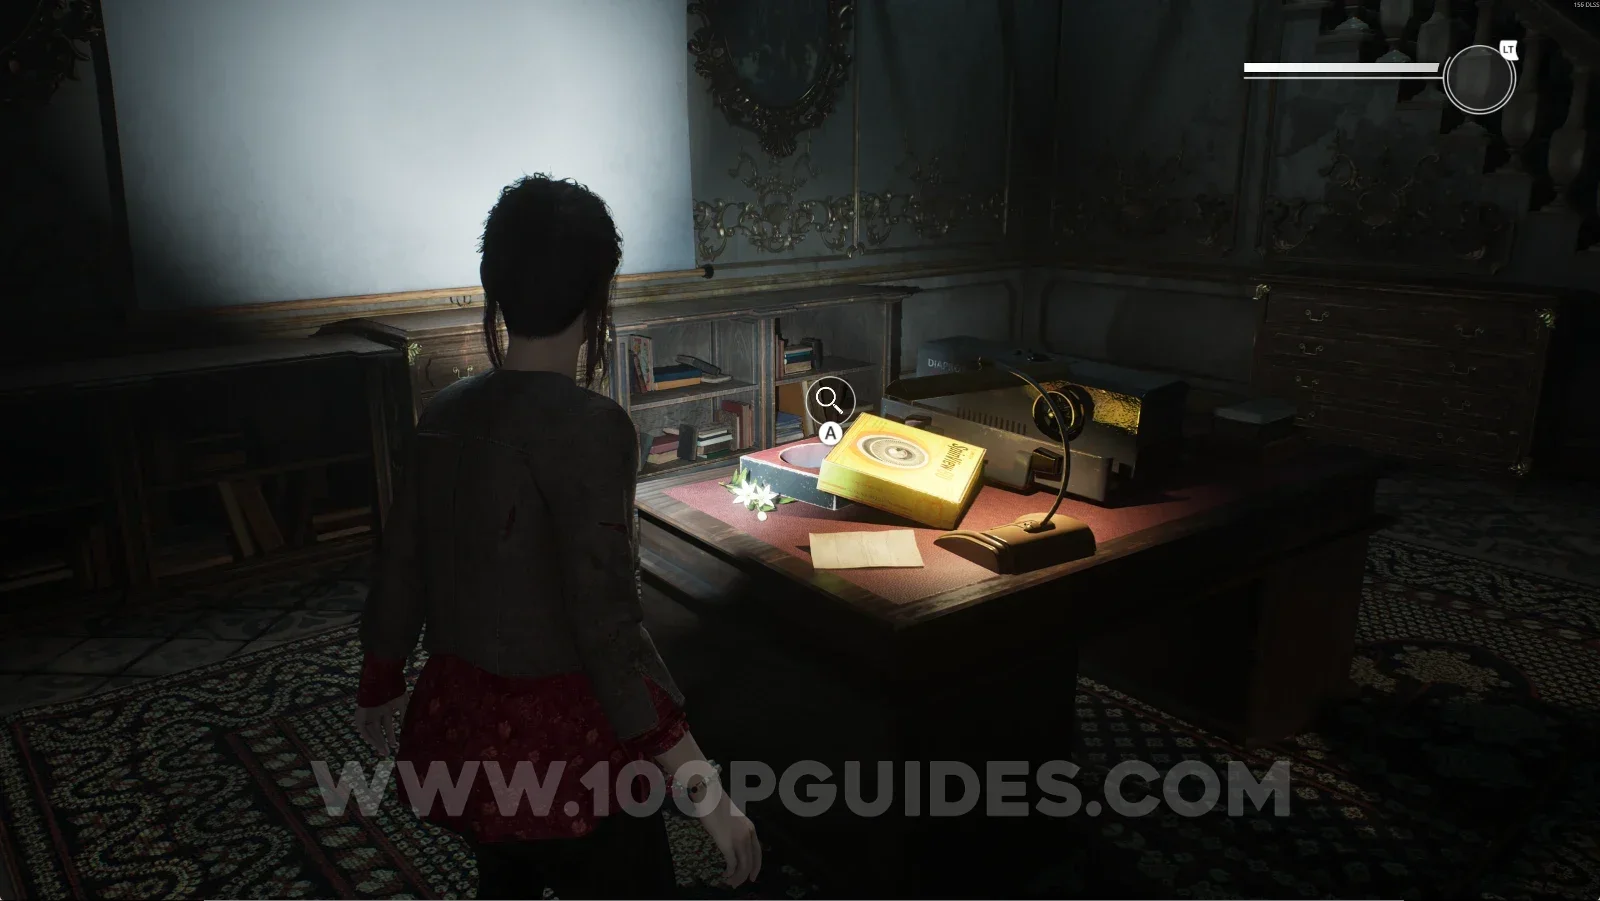
Remothered: Red Nuns Legacy: entering the Library in the Noble Wing Remothered: Red Nuns Legacy Library: location of the Safe Combination Note Remothered: Red Nuns Legacy Noble Wing #9: the Safe Combination Note collectible

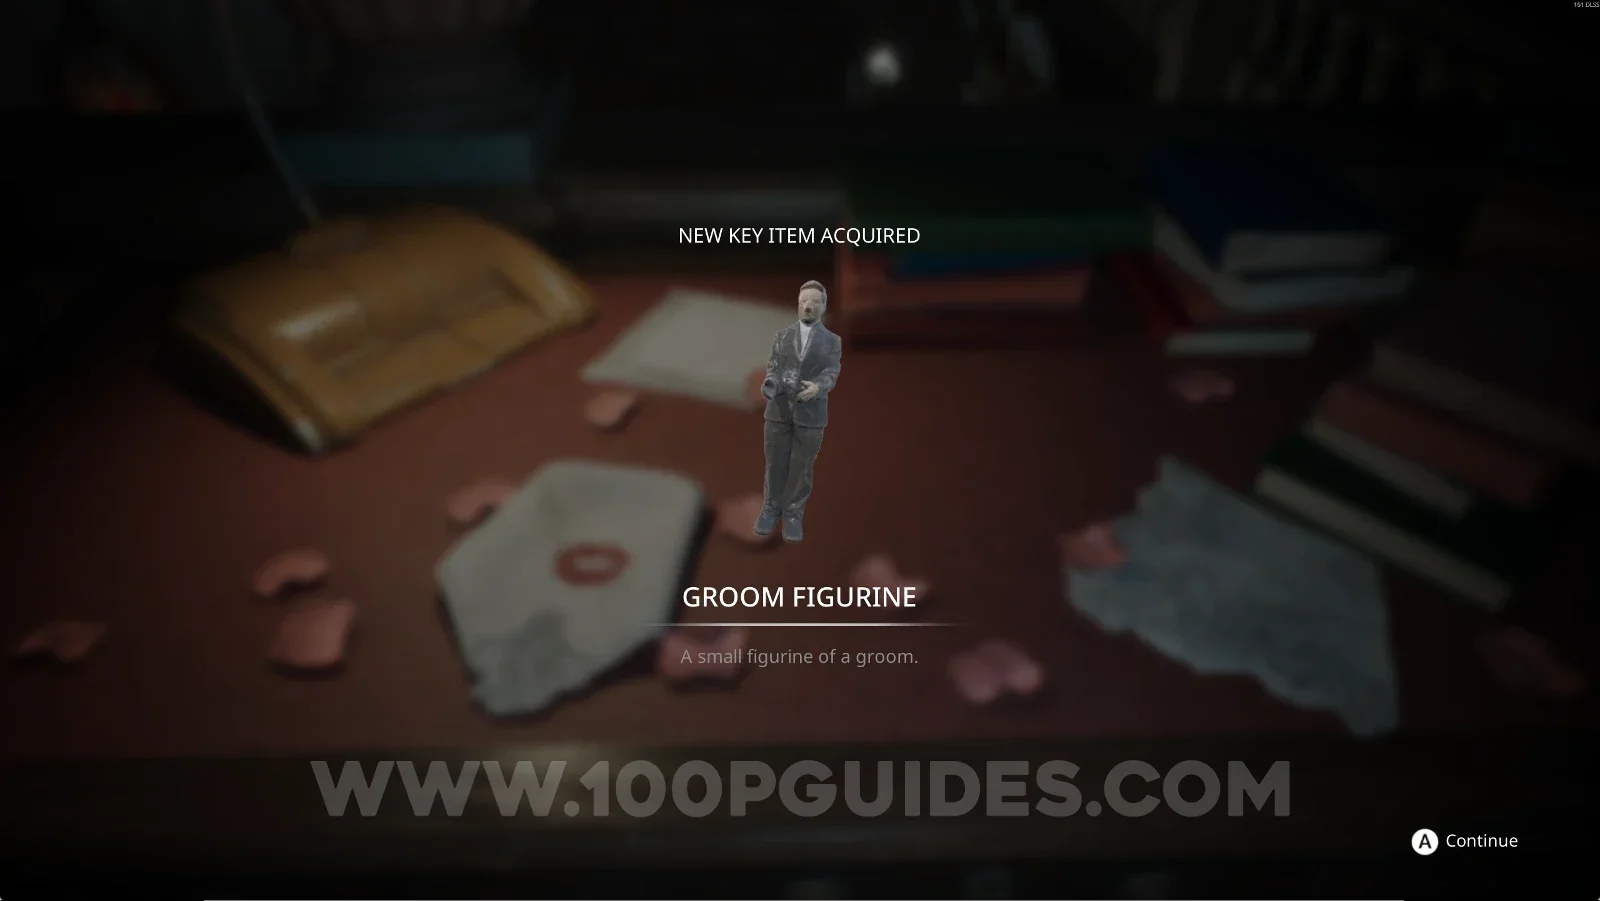
Key Item: Groom Figurine

Go up the stairs and grab the Groom Figurine.
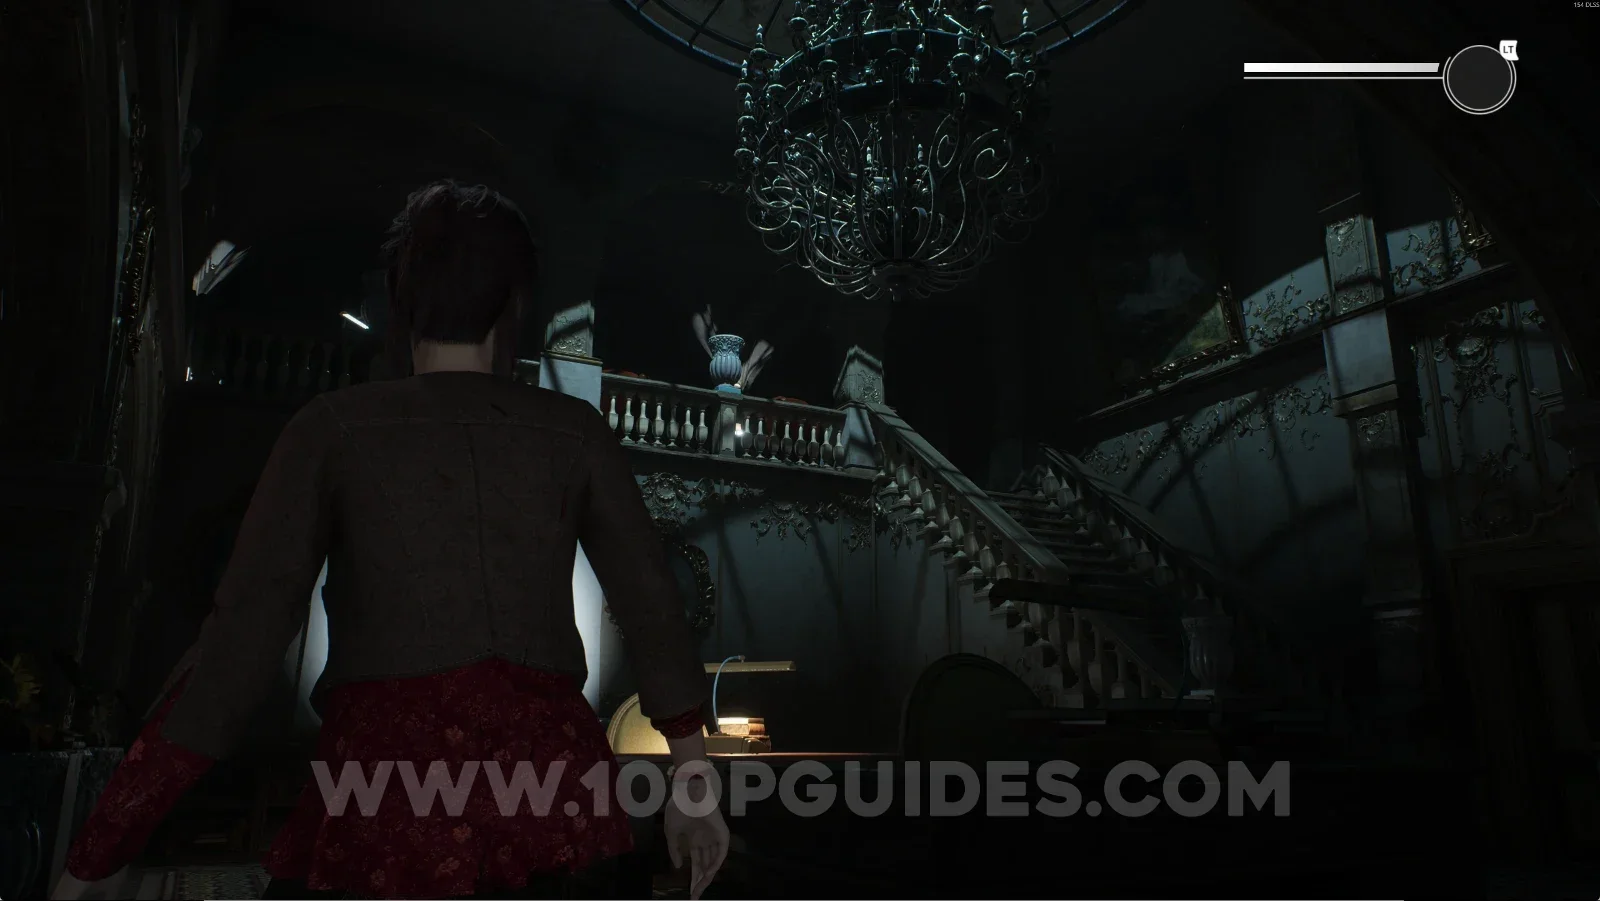
Remothered: Red Nuns Legacy: the stairs leading up to the Groom Figurine Remothered: Red Nuns Legacy: the Groom Figurine at the top of the stairs Remothered: Red Nuns Legacy: picking up the Groom Figurine key item

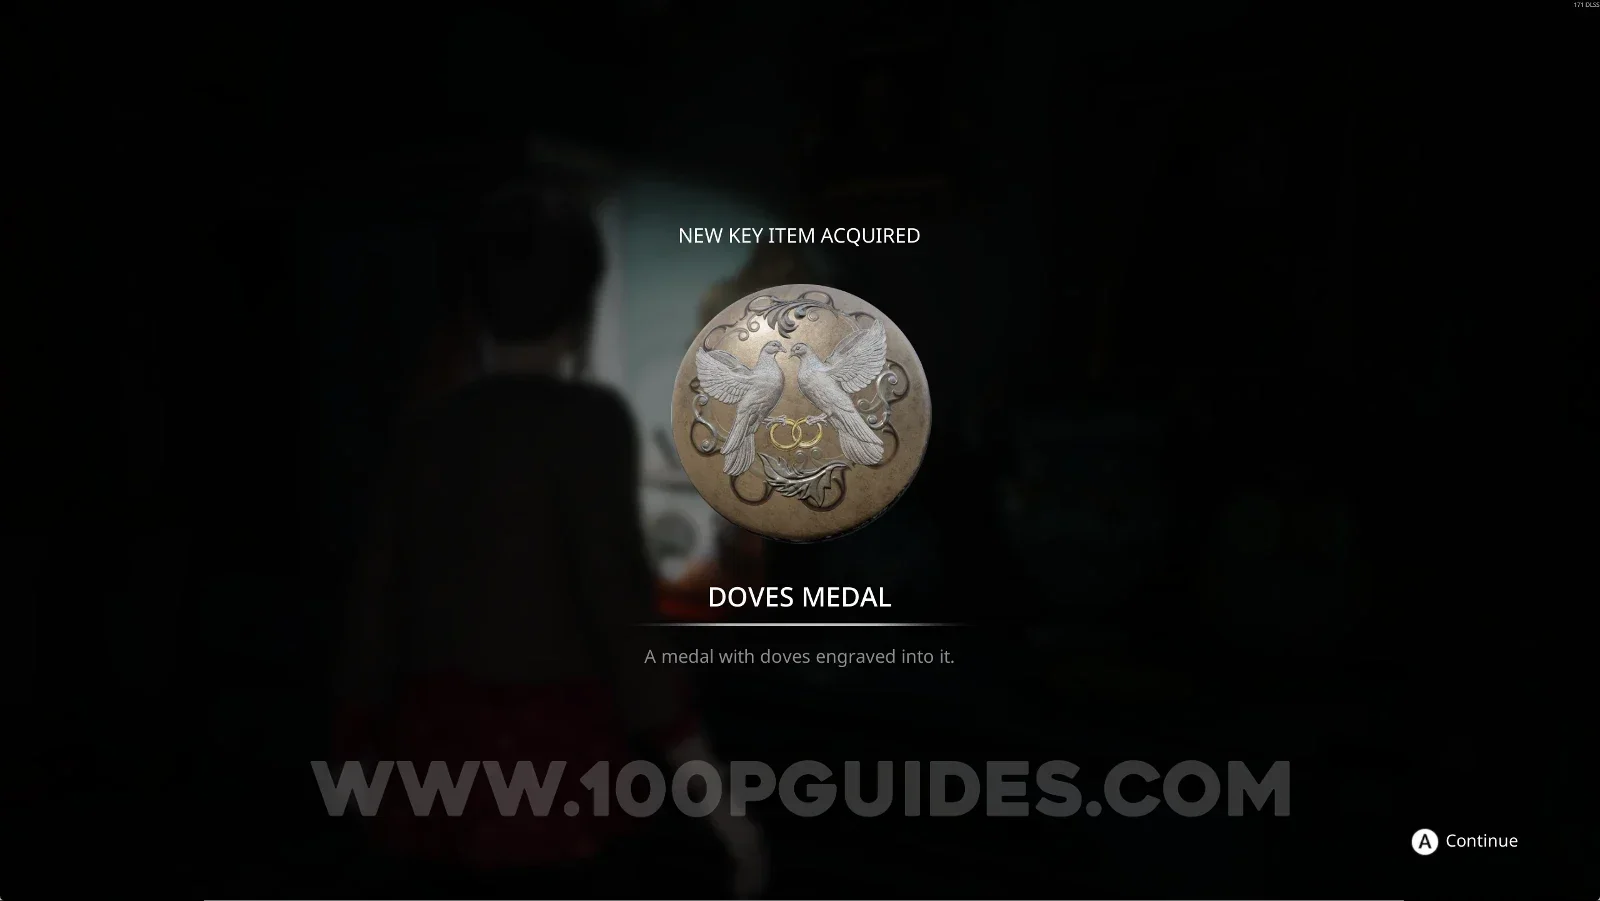
Key Item: Doves Medal

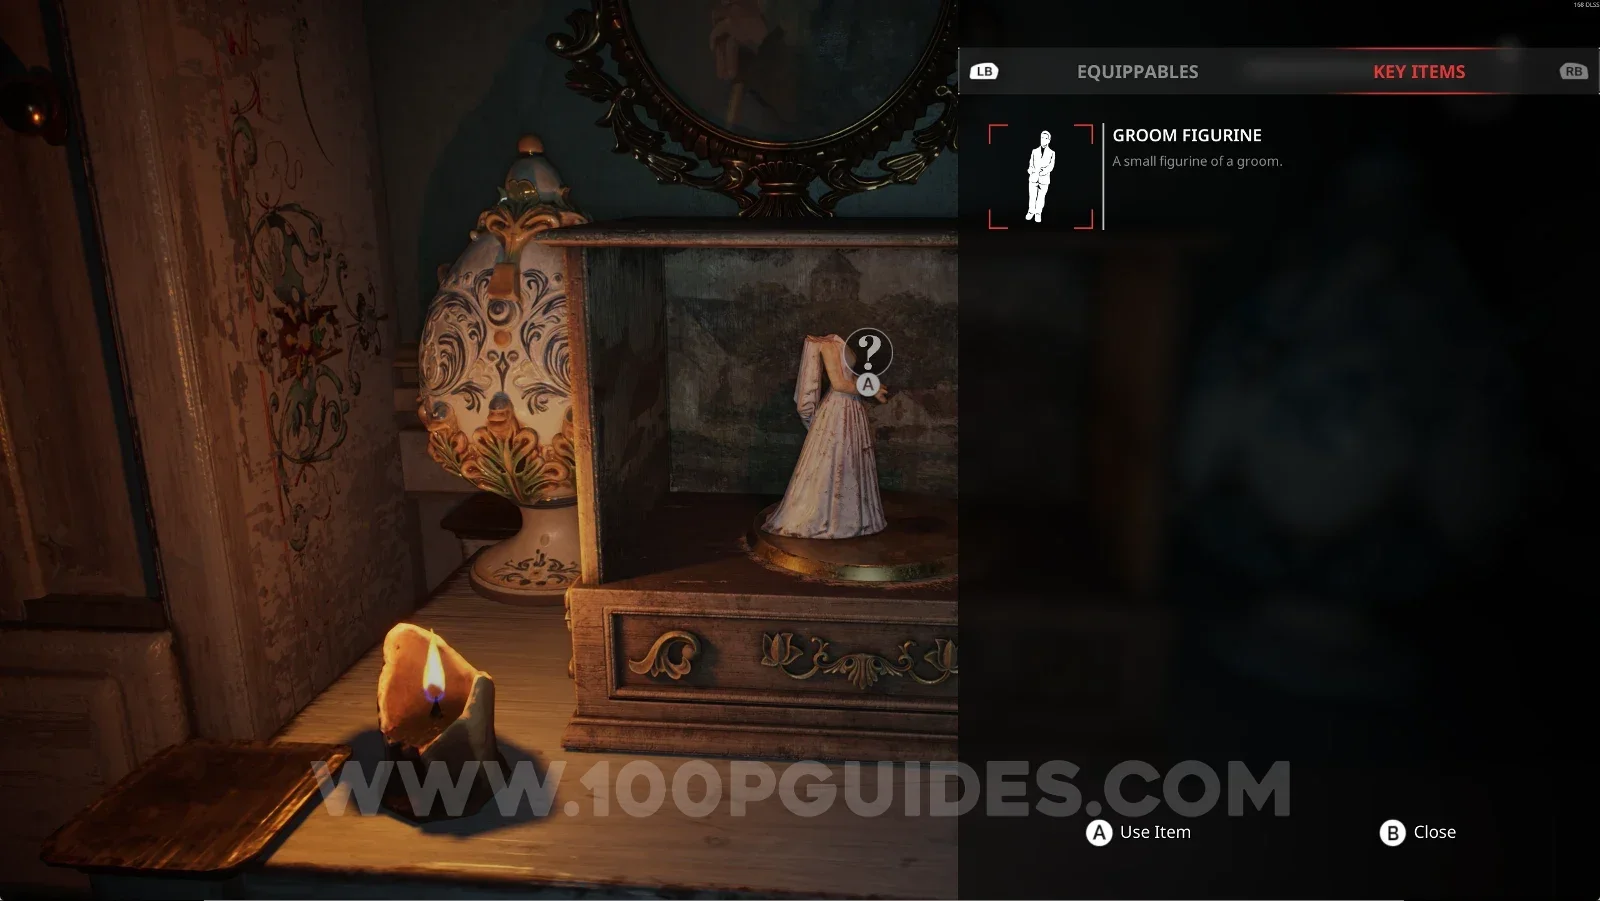
Go back to the Art Gallery and place the Groom Figurine in the Music Box to get the Doves Medal.
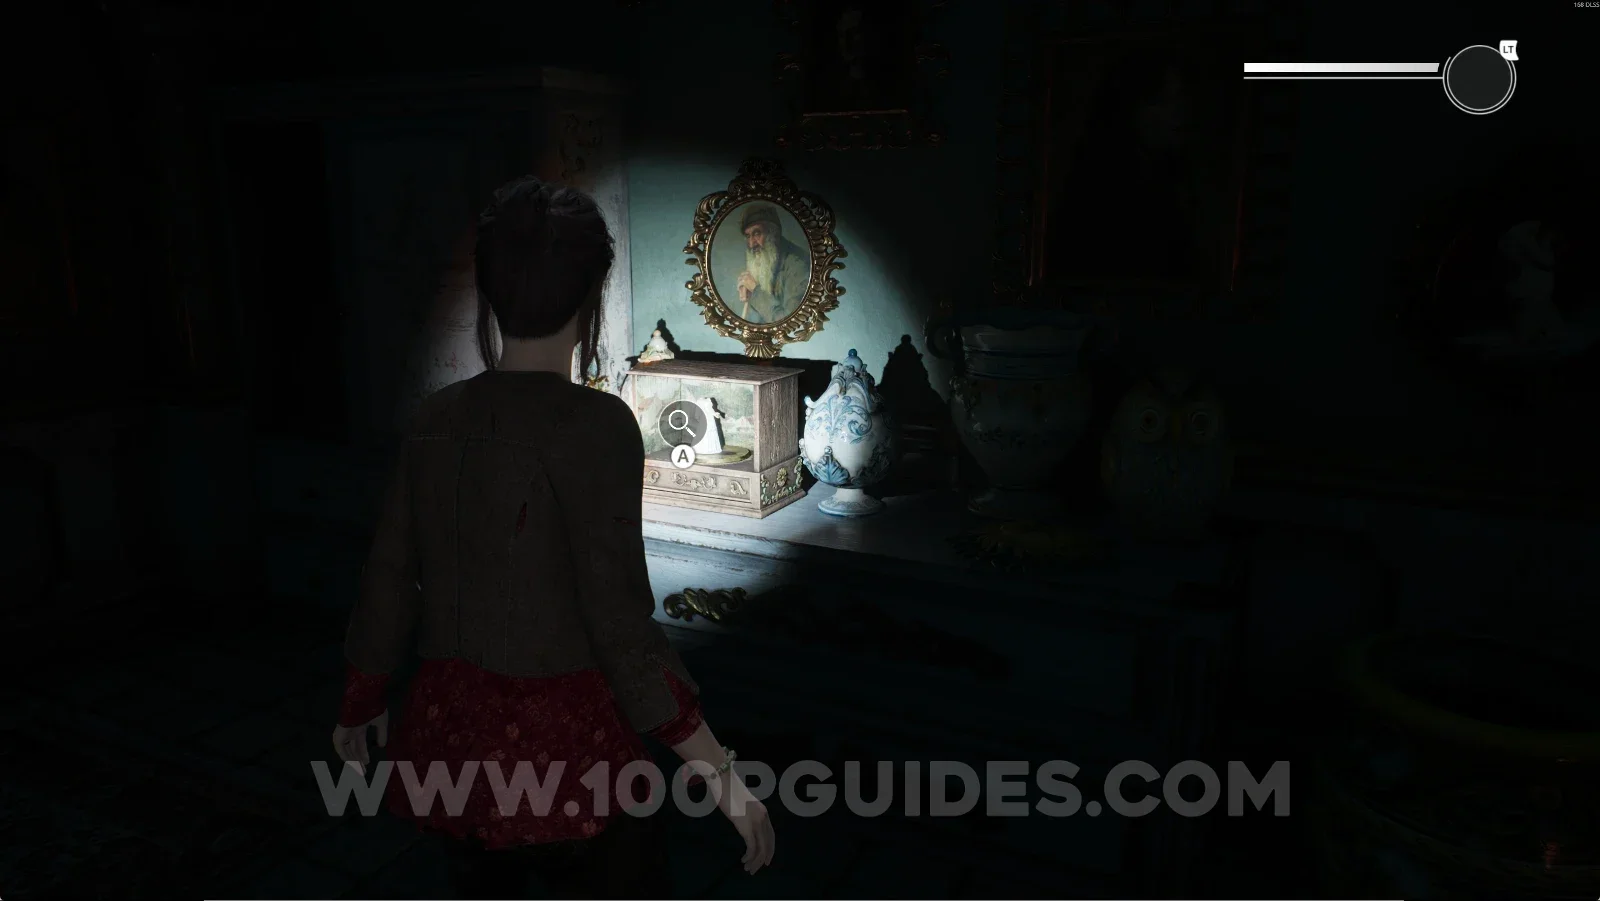
Remothered: Red Nuns Legacy Art Gallery: the Music Box where the Groom Figurine goes Remothered: Red Nuns Legacy: placing the Groom Figurine in the Music Box in the Art Gallery Remothered: Red Nuns Legacy: the Doves Medal obtained from the Music Box

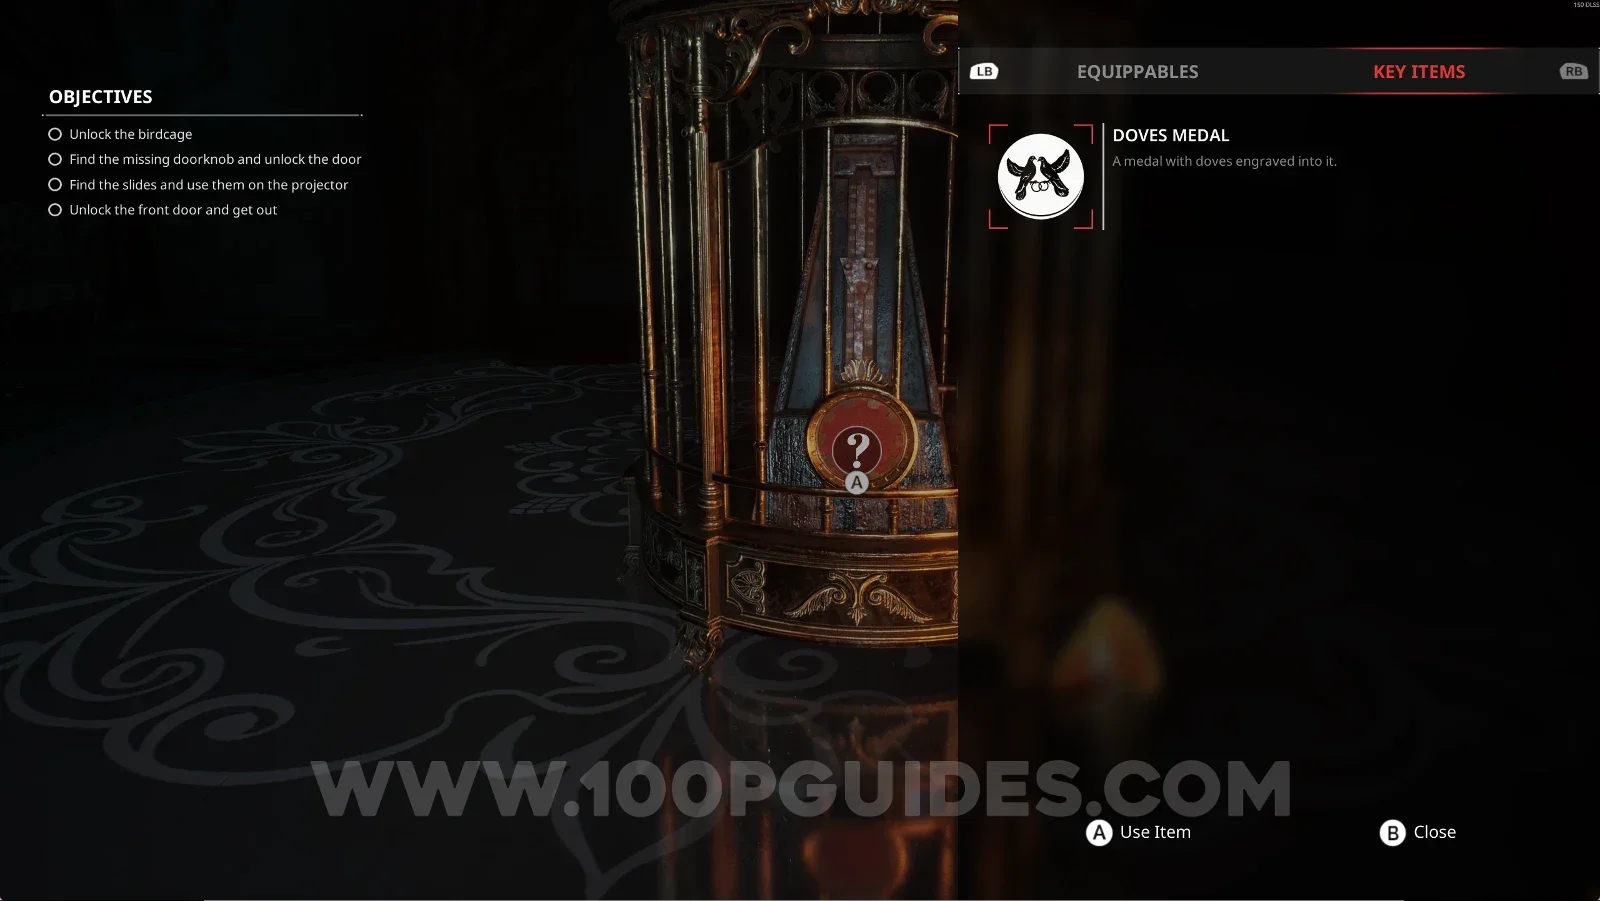
Use it on the Metronome in the Reception Hall.
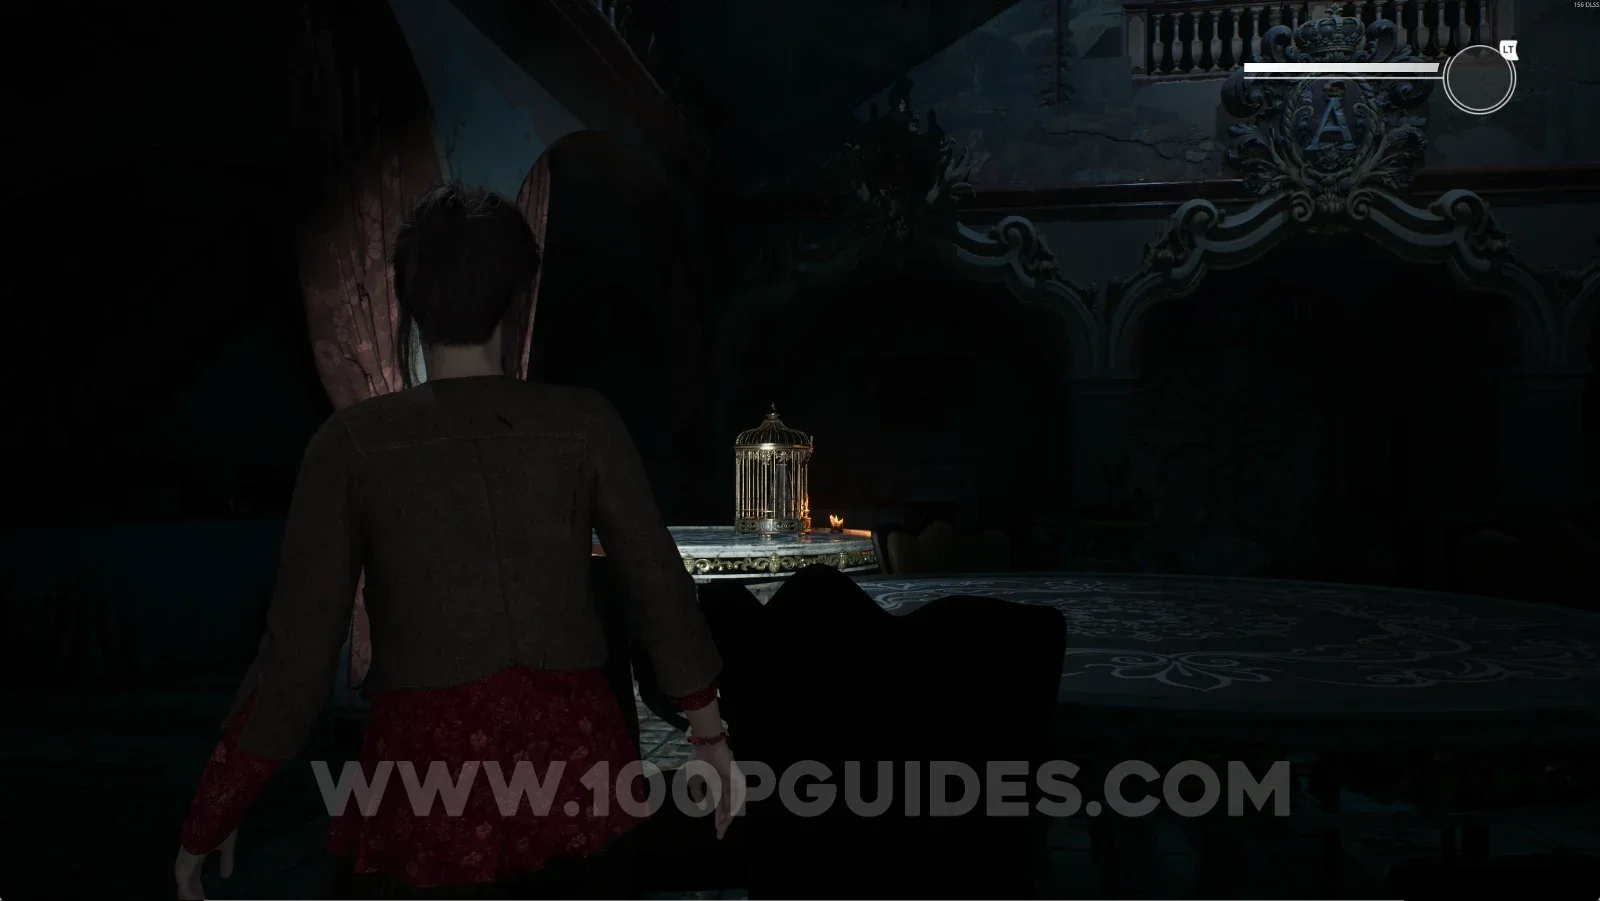
Remothered: Red Nuns Legacy: the metronome standing in the Reception Hall Remothered: Red Nuns Legacy: using the Doves Medal on the metronome in the Reception Hall

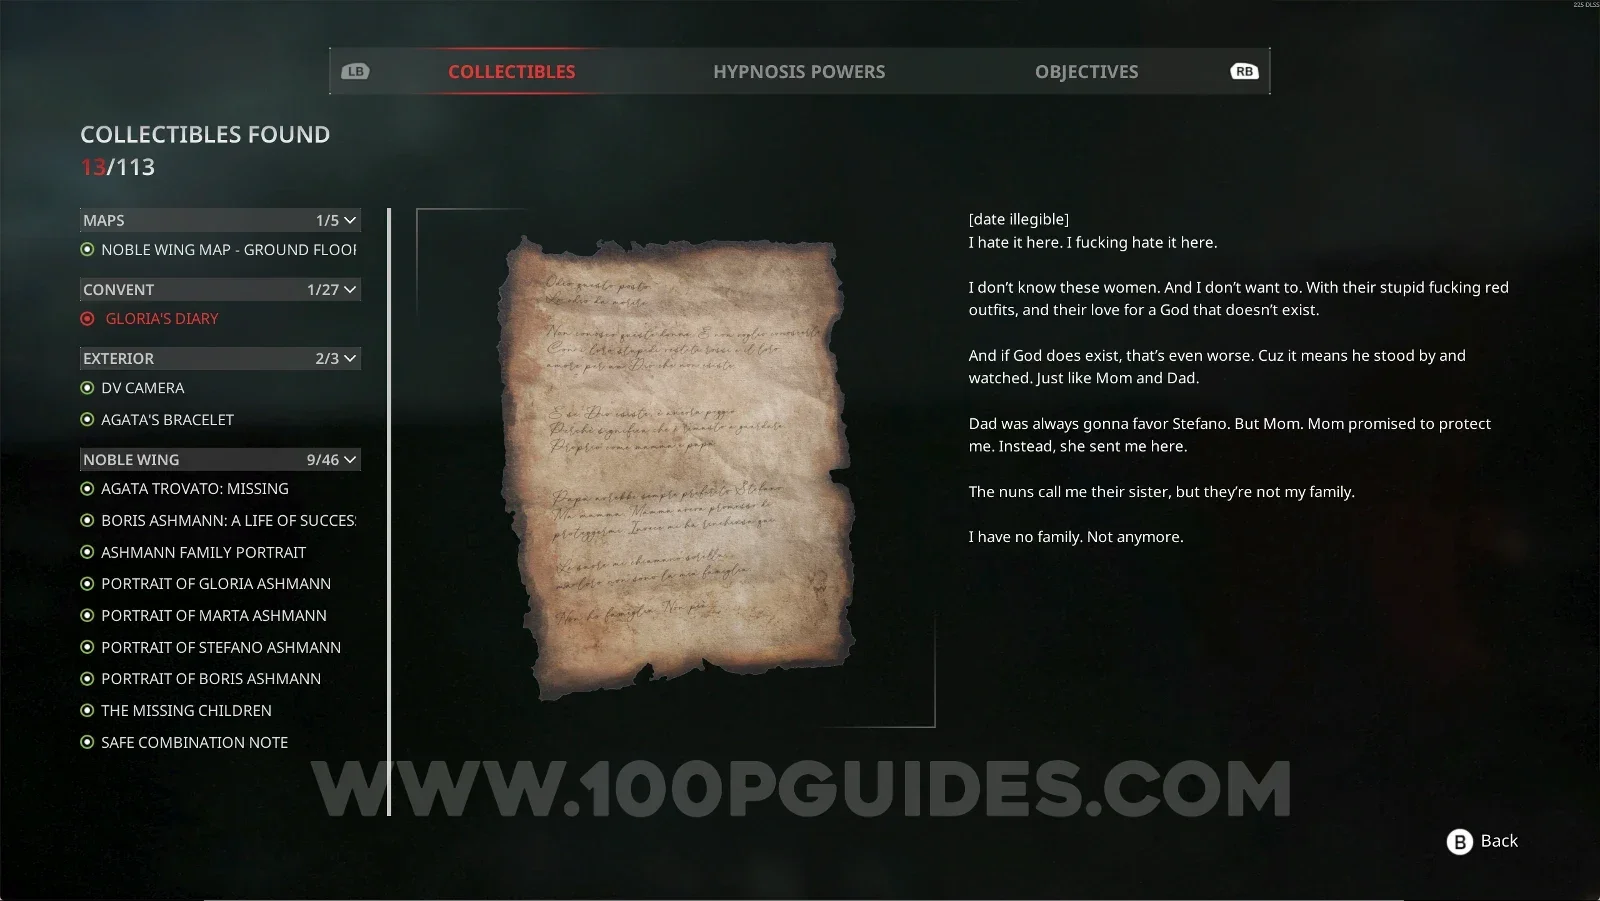
Convent #1: Gloria's Diary

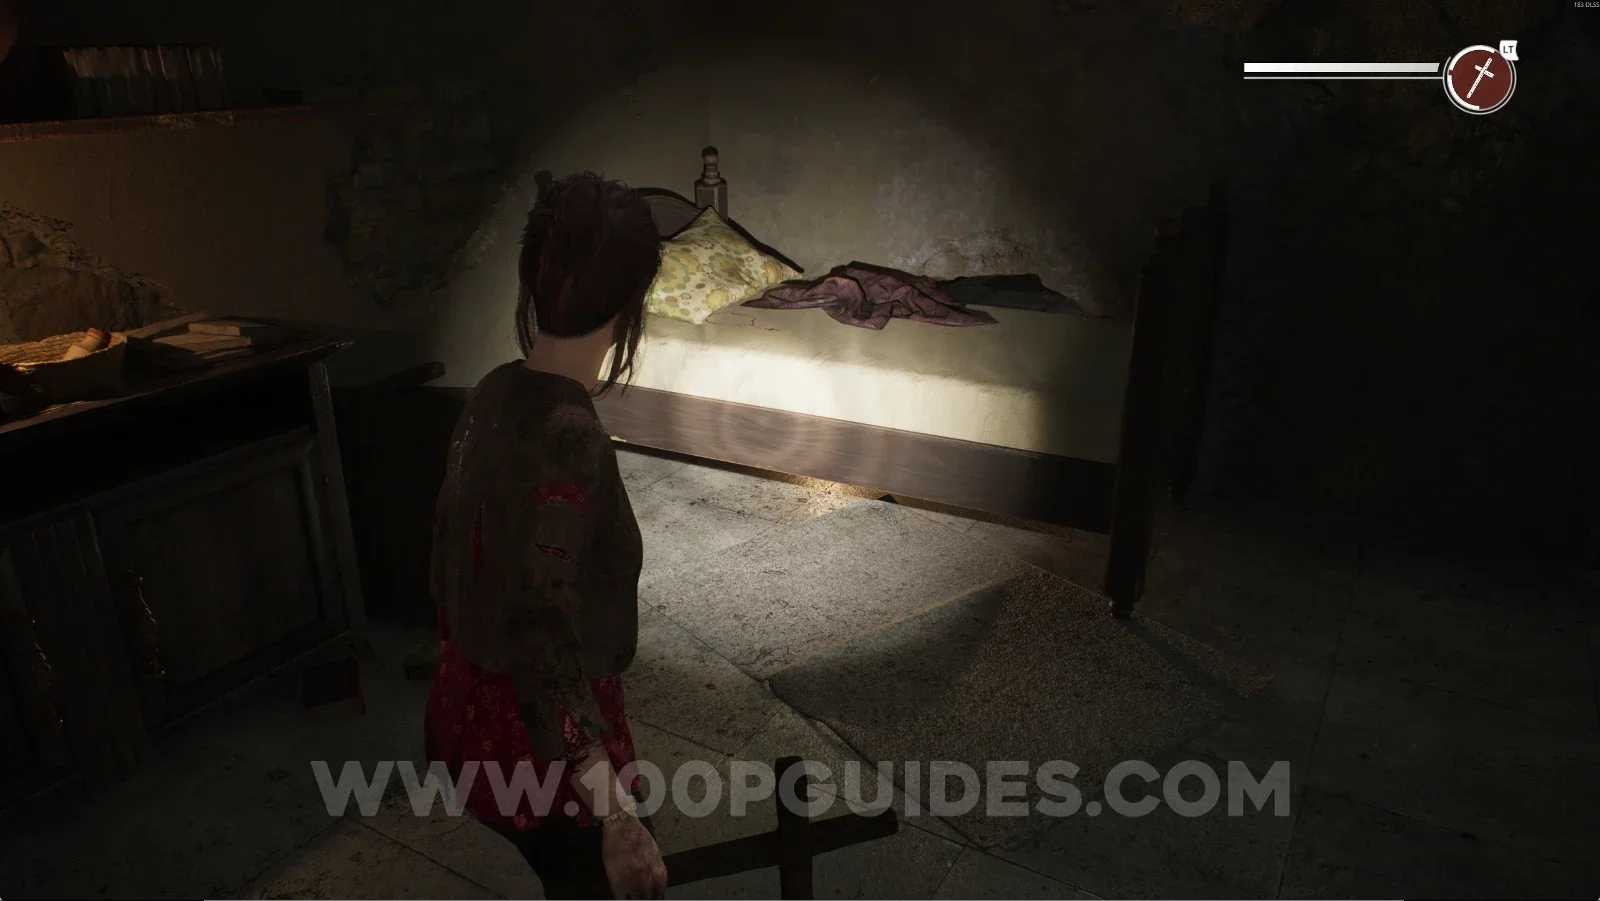
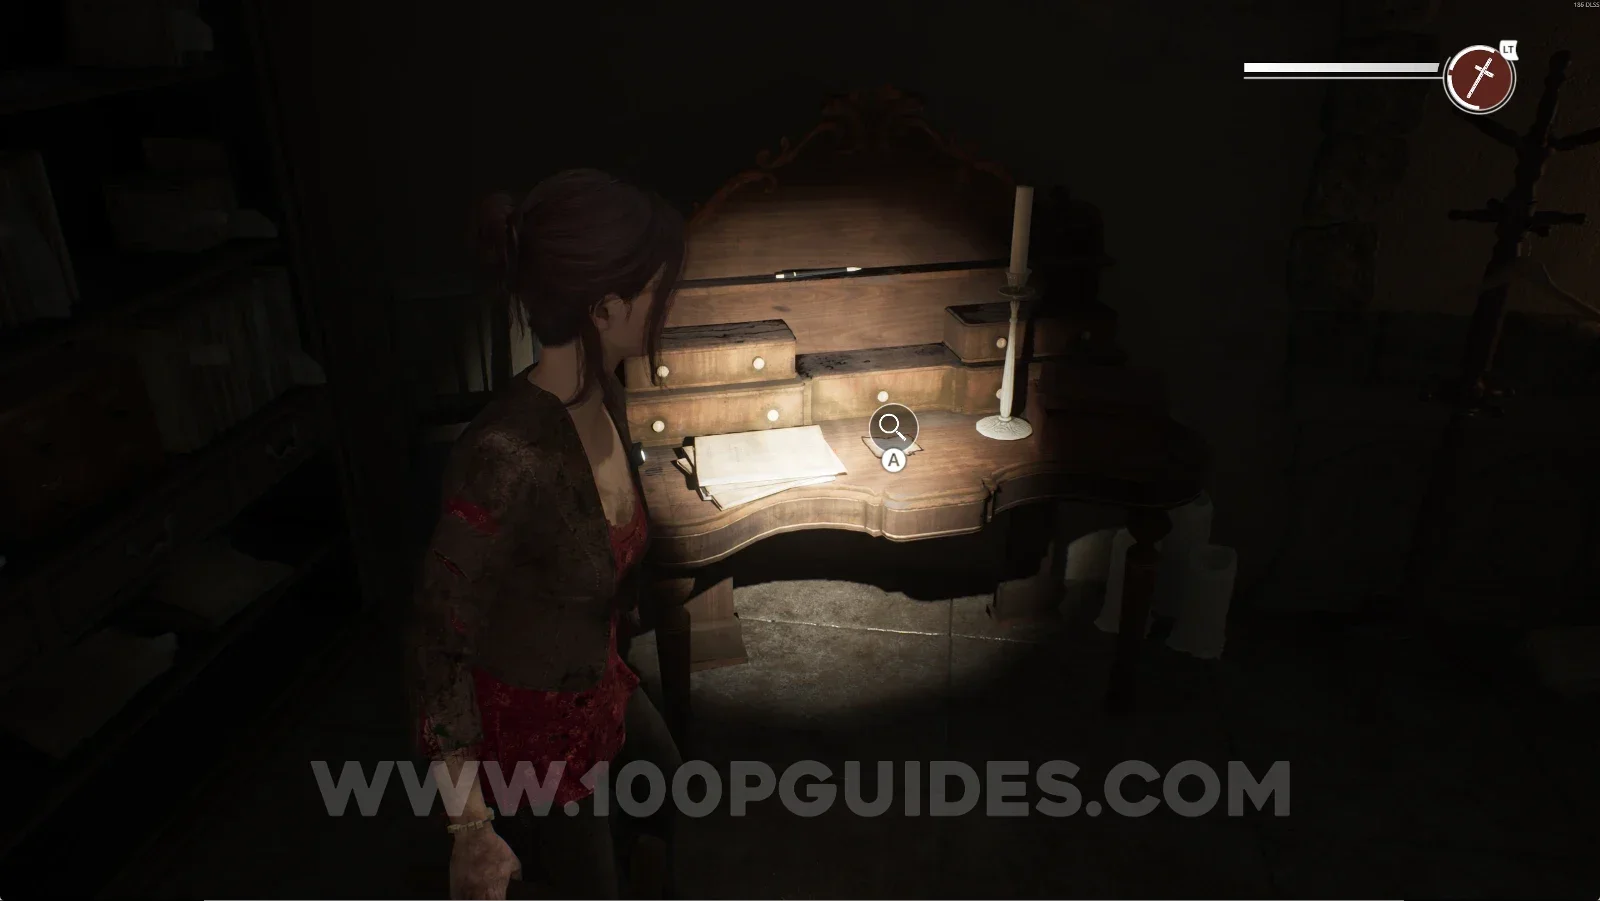
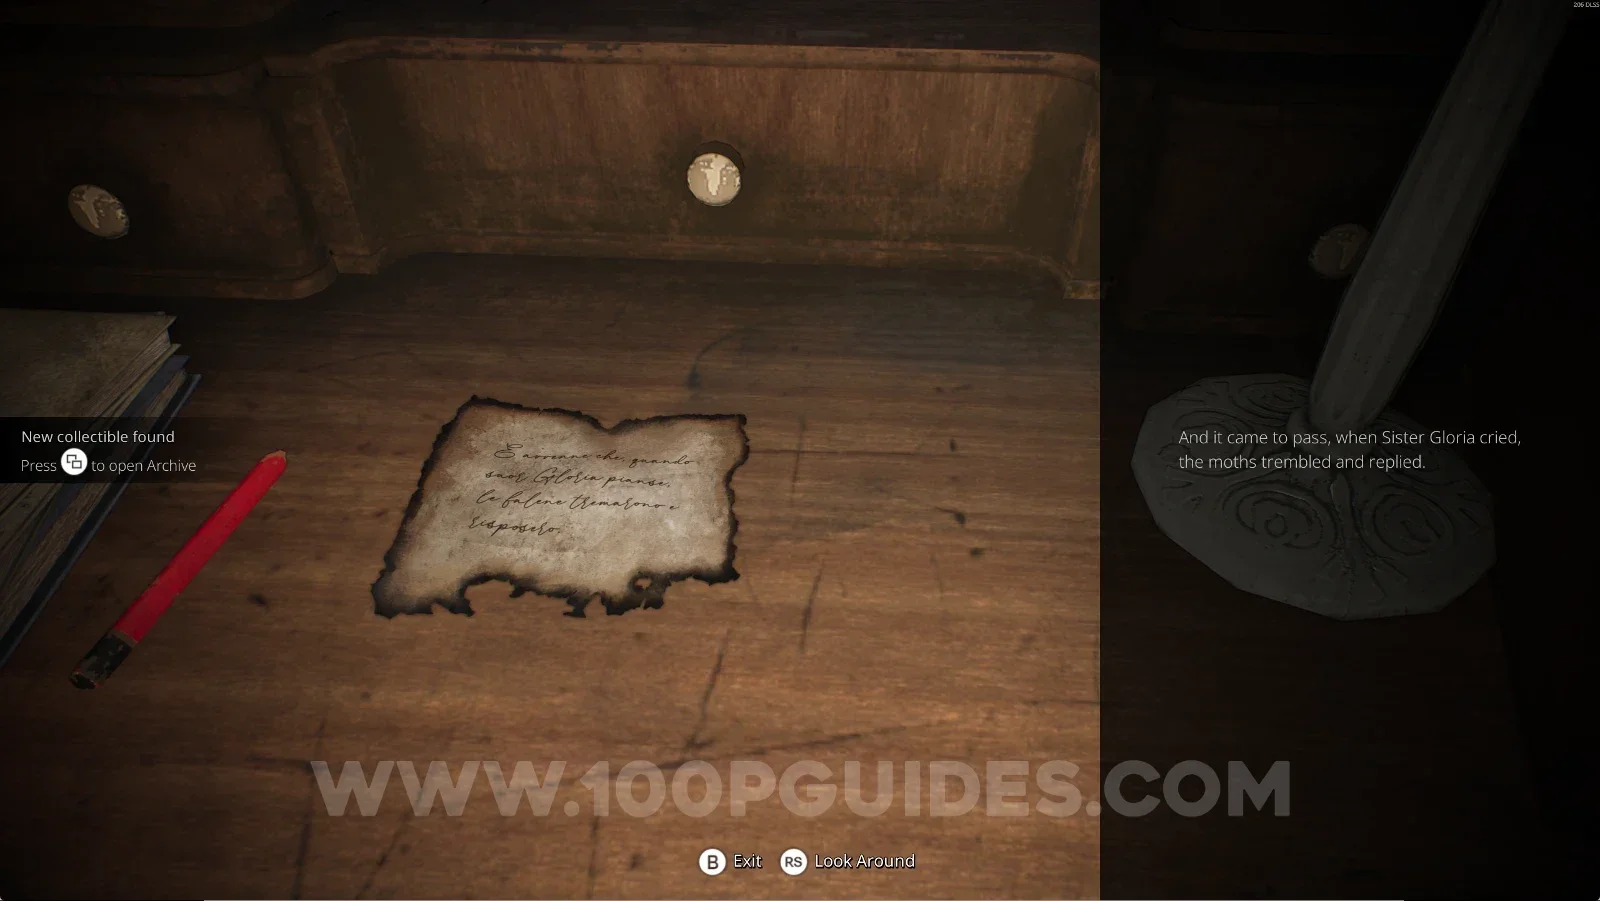
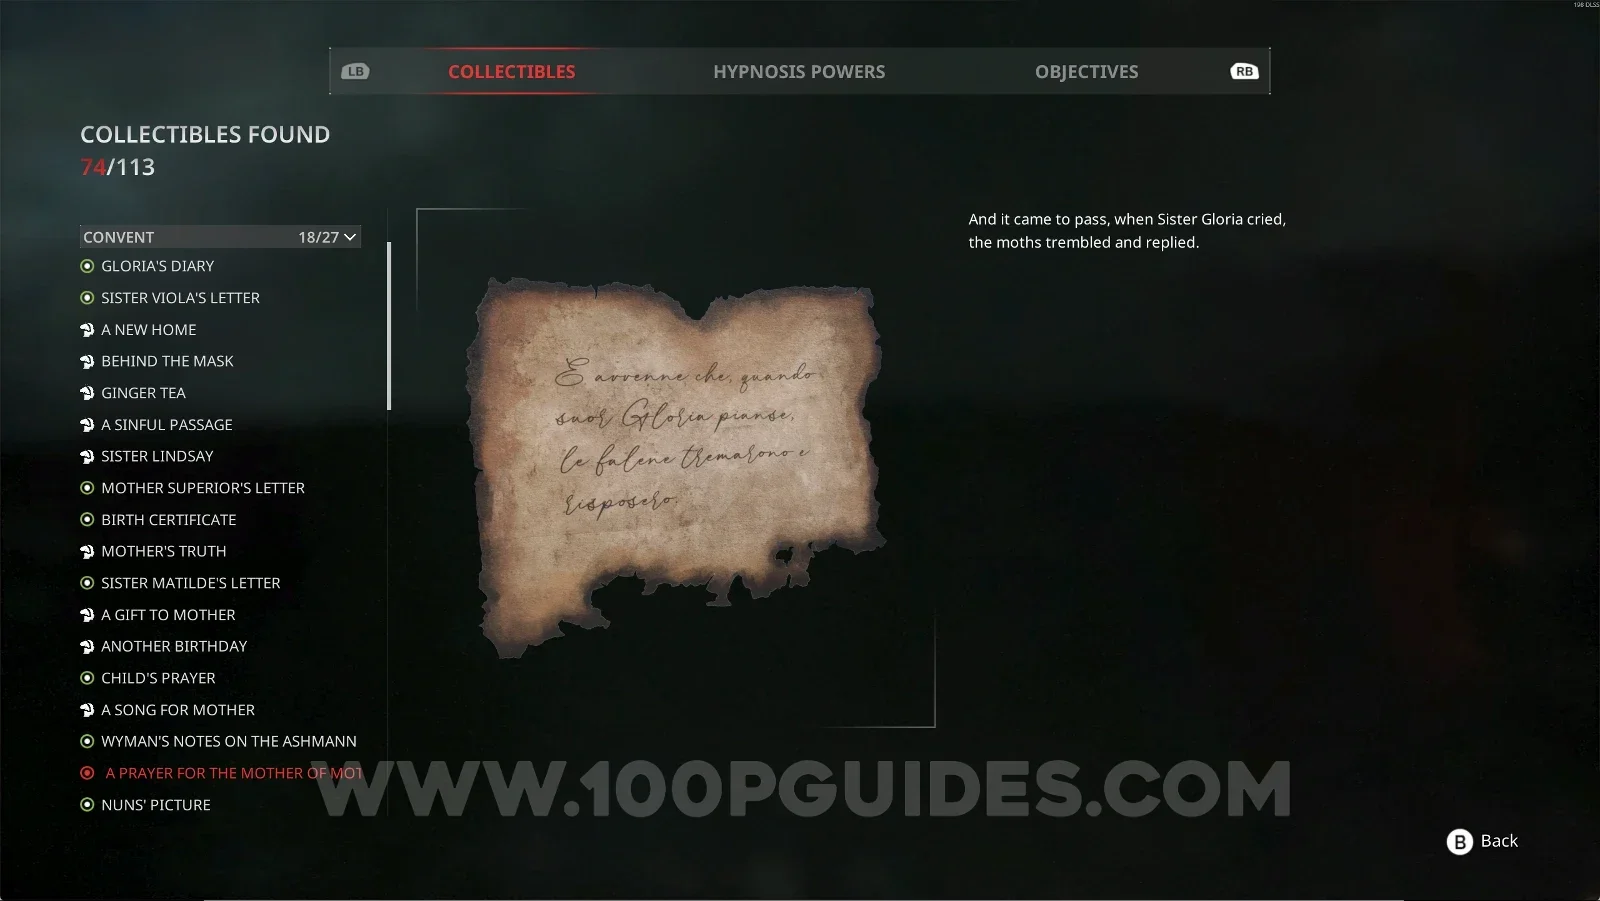
After interacting with the Metronome and placing the Doves Medal in the Reception Hall, it will be next to the bed.
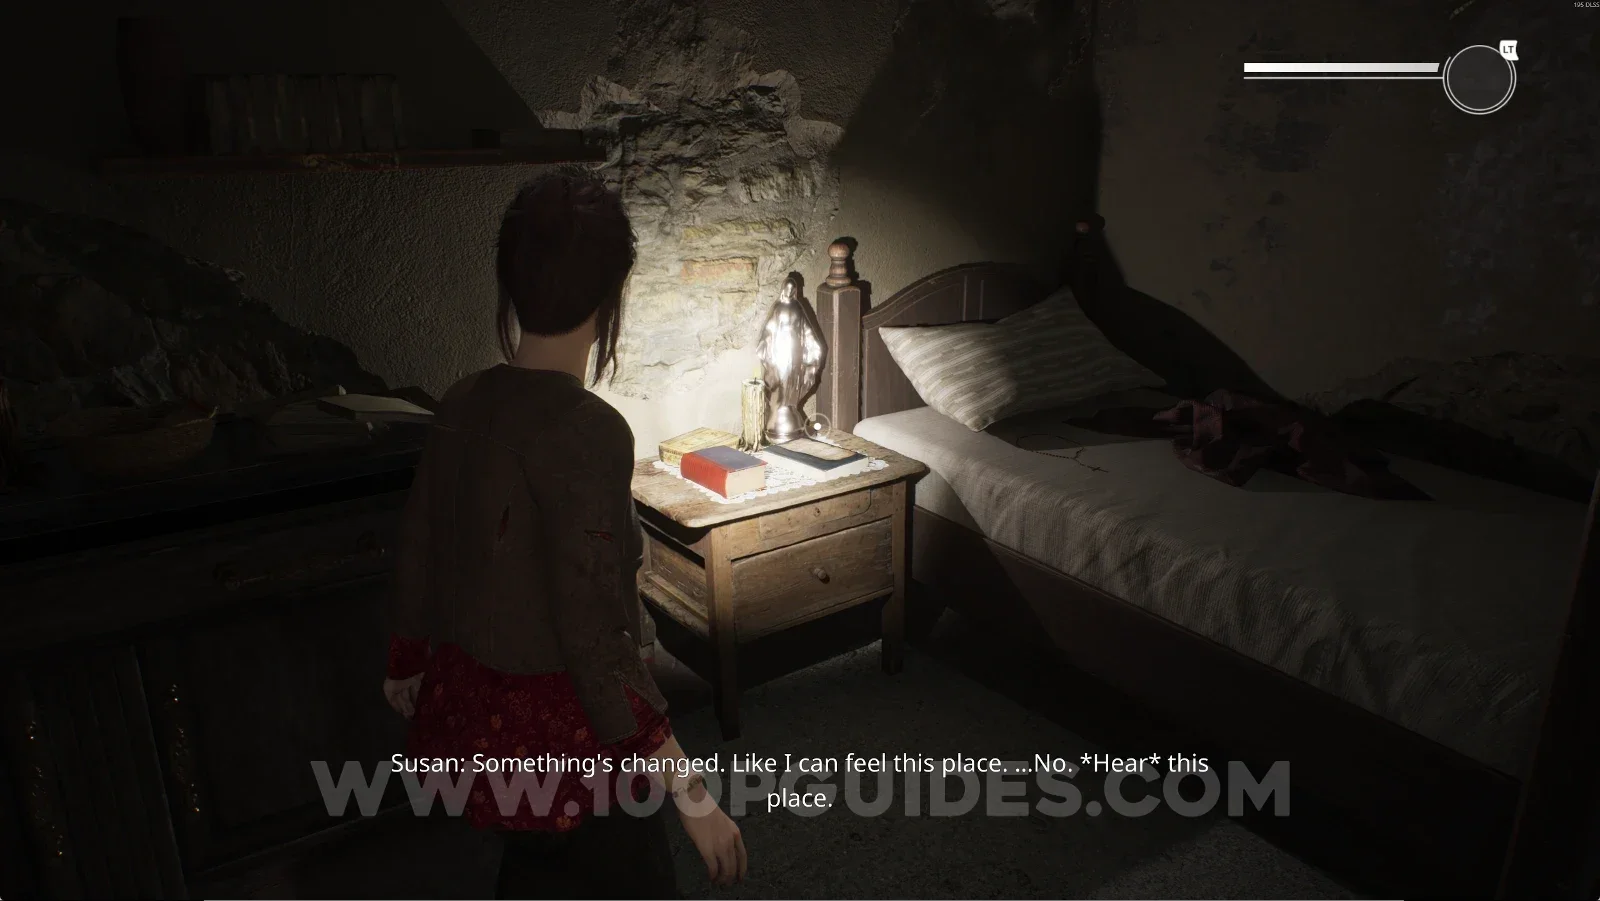
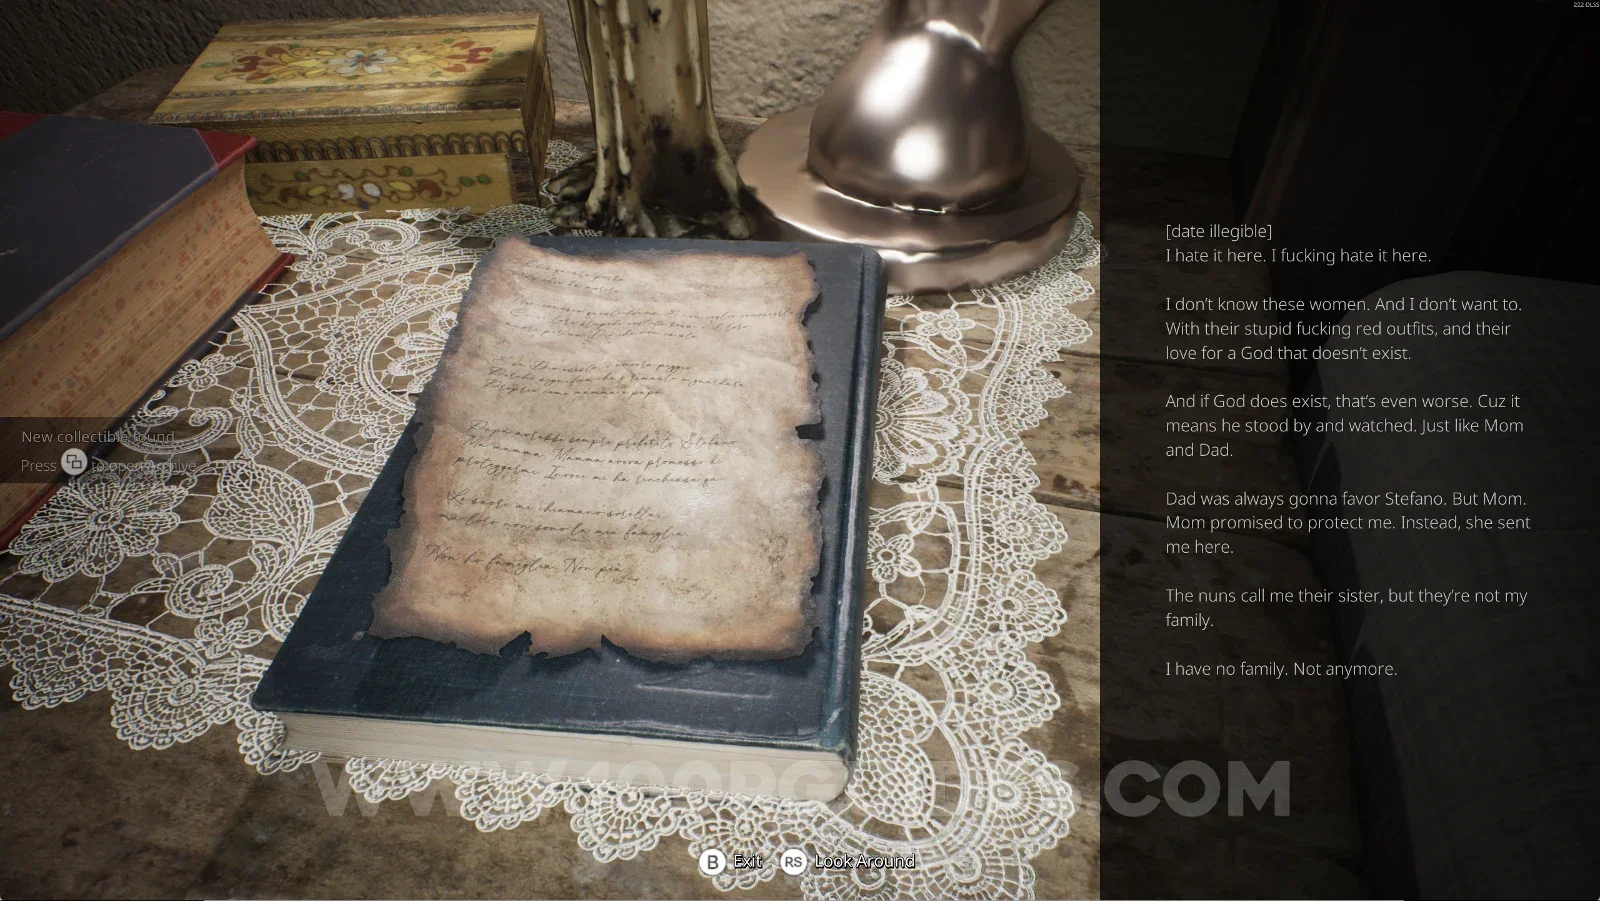
Remothered: Red Nuns Legacy Convent: the room reached after using the metronome with the Doves Medal Remothered: Red Nuns Legacy Convent #1: Gloria's Diary next to the bed Remothered: Red Nuns Legacy Convent #1: Gloria's Diary collectible

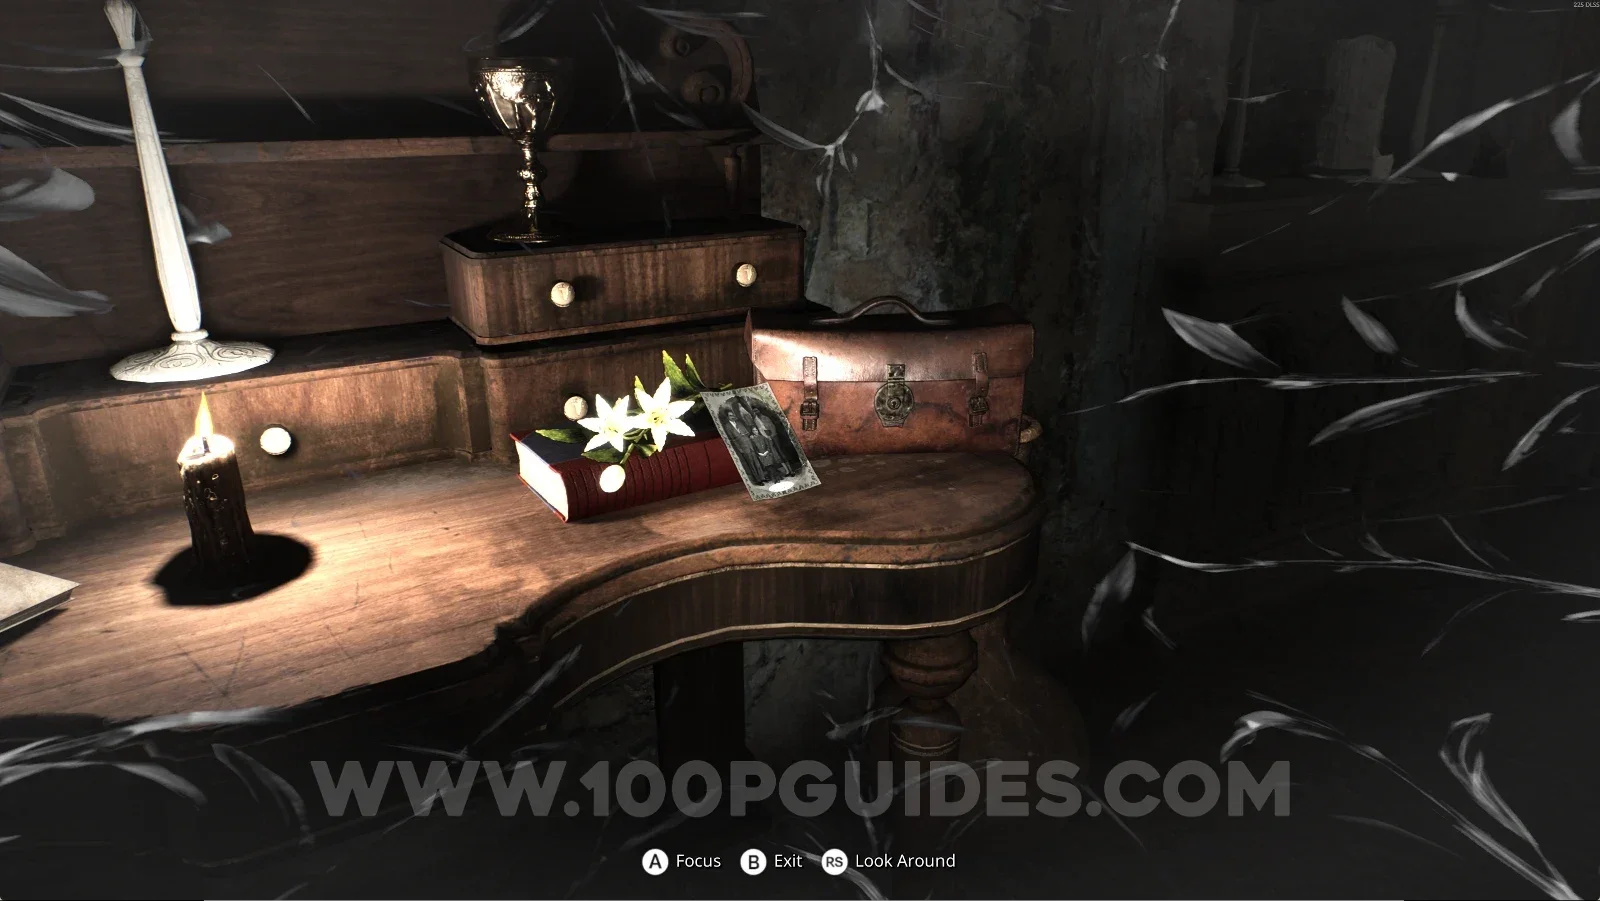
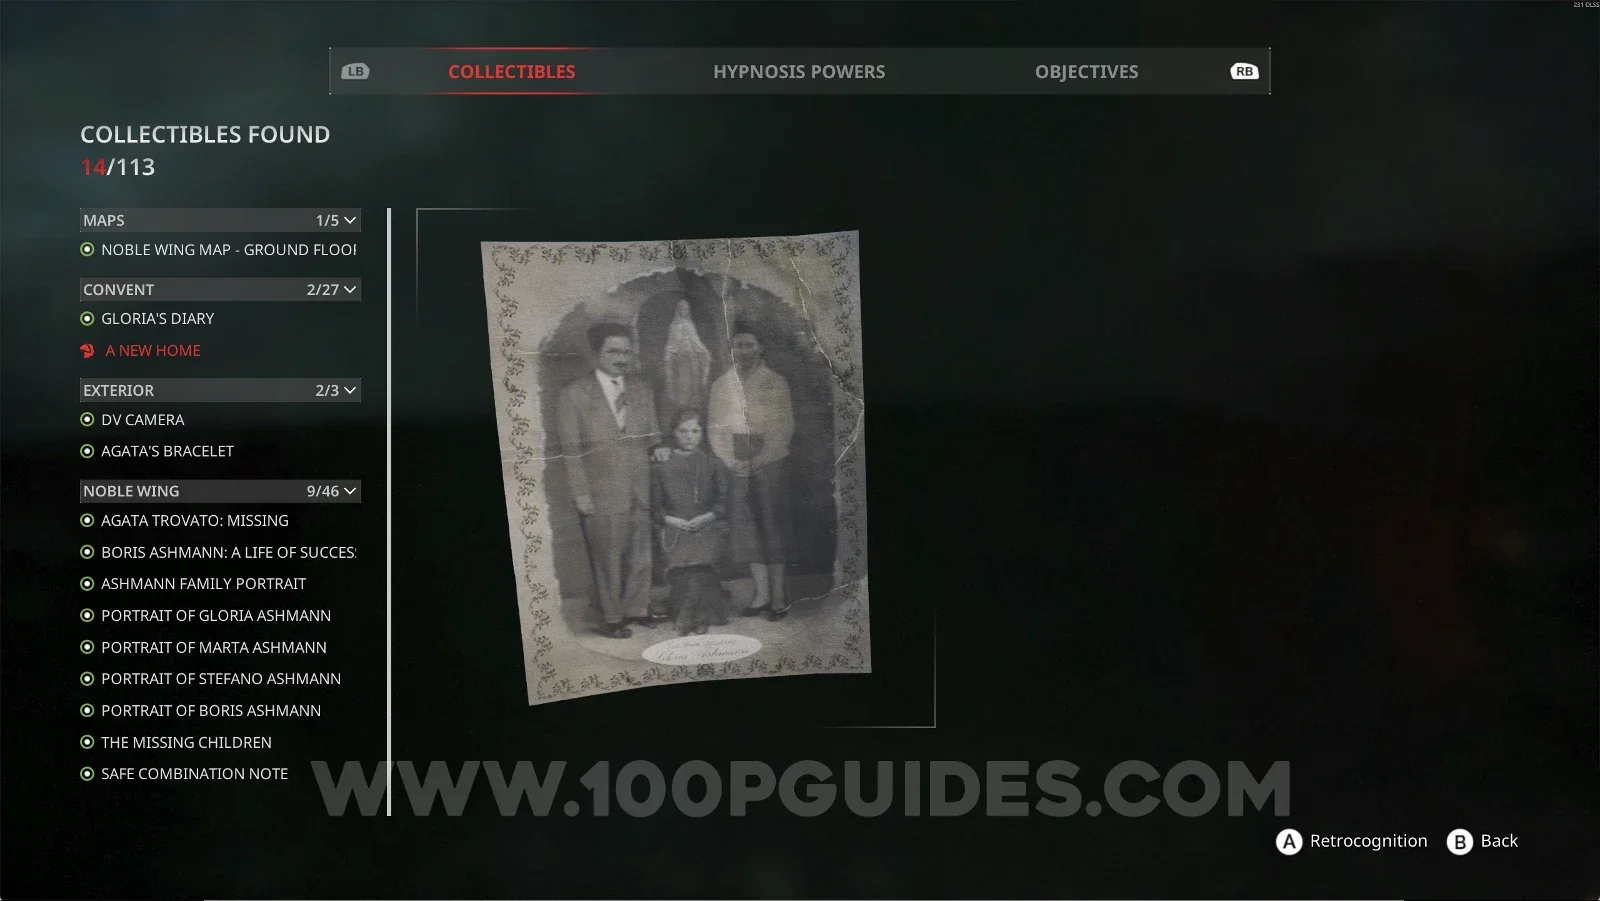
Convent #2: A New Home + Retrocognition #1

Same area as the previous collectible, on top of the table. Use your new power to get this.
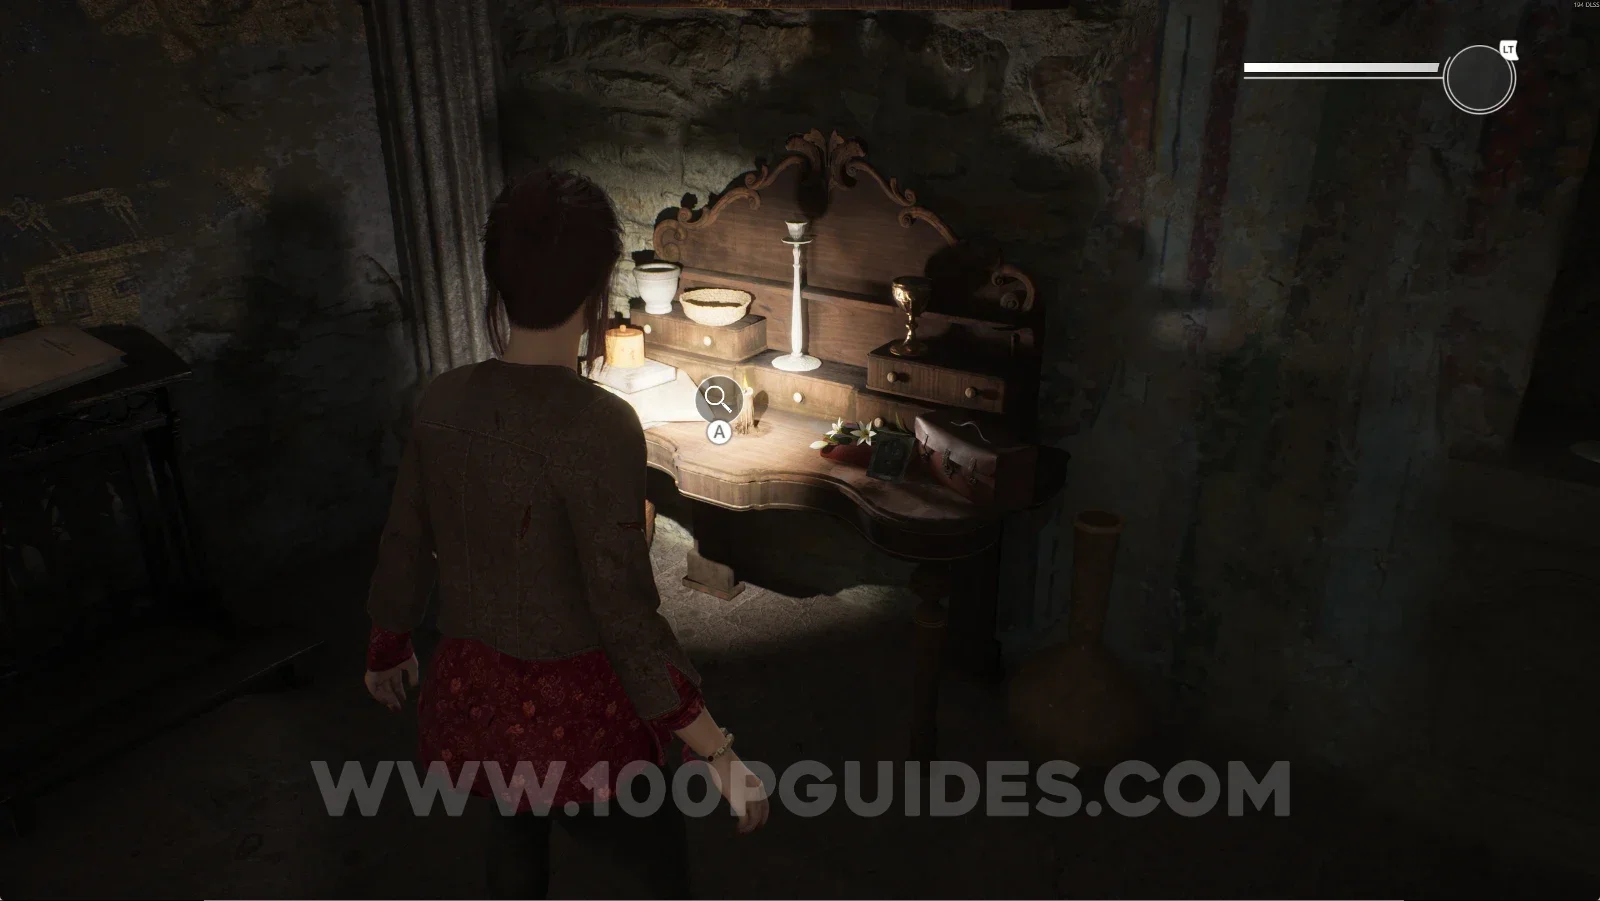
Remothered: Red Nuns Legacy Convent: the table in the same room as Gloria's Diary Remothered: Red Nuns Legacy Convent: using the new power on the table for Retrocognition #1 Remothered: Red Nuns Legacy Convent #2: A New Home collectible obtained with Retrocognition #1

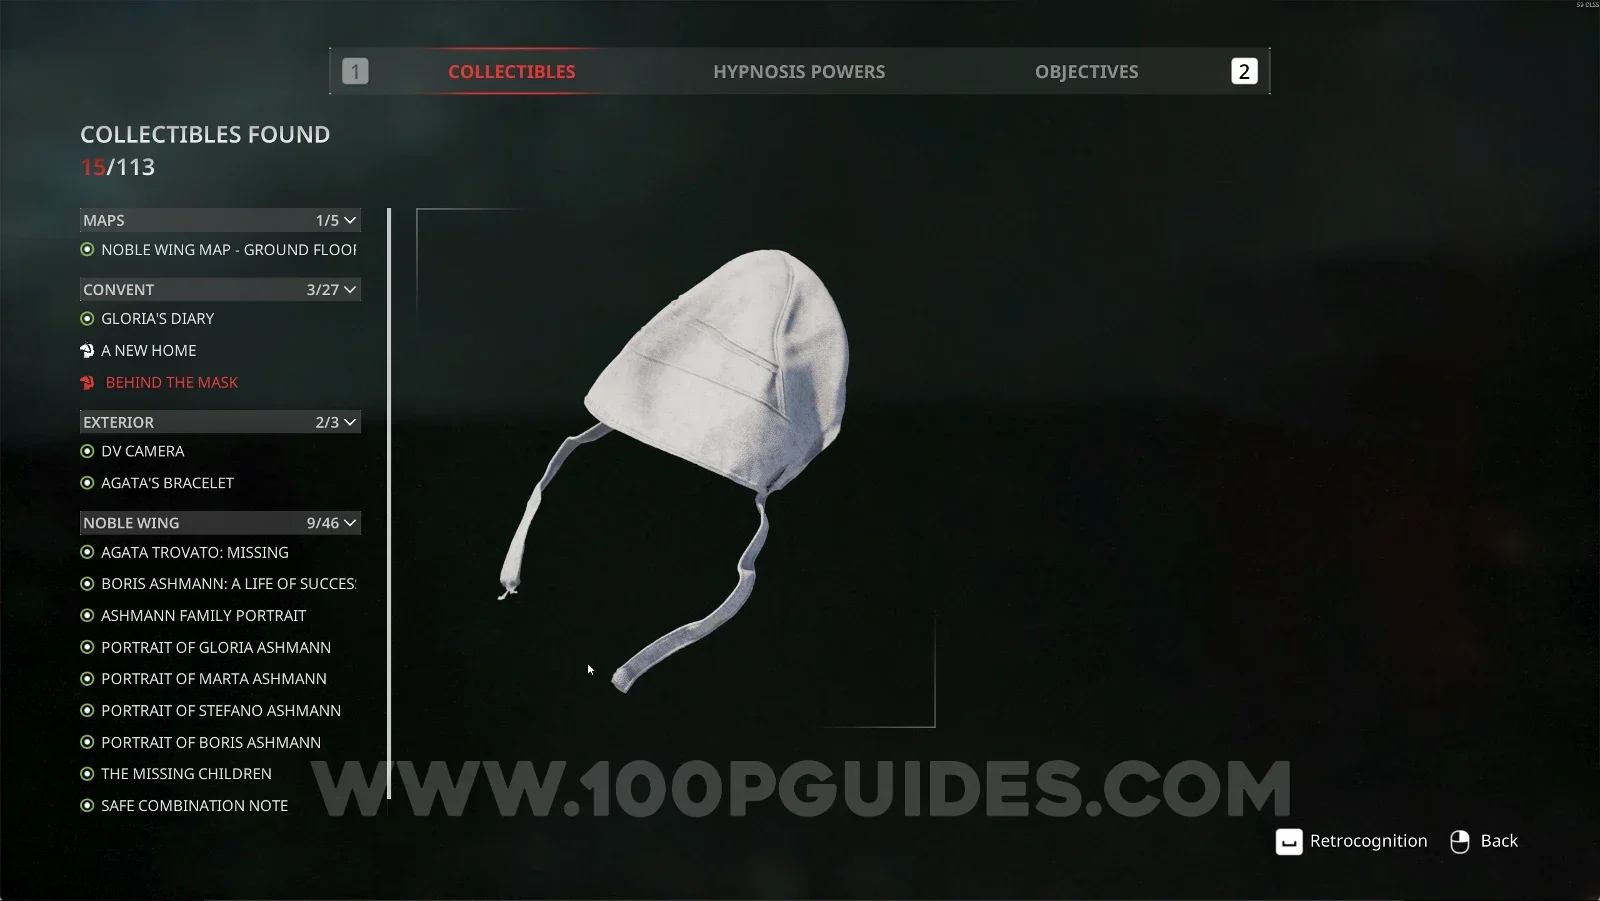
Convent #3: Behind The Mask + Retrocognition #2

Same area as the previous collectible. Follow the single path until you reach a fork, then take the left path. Interact with the table, and you'll see another Retrocognition point.
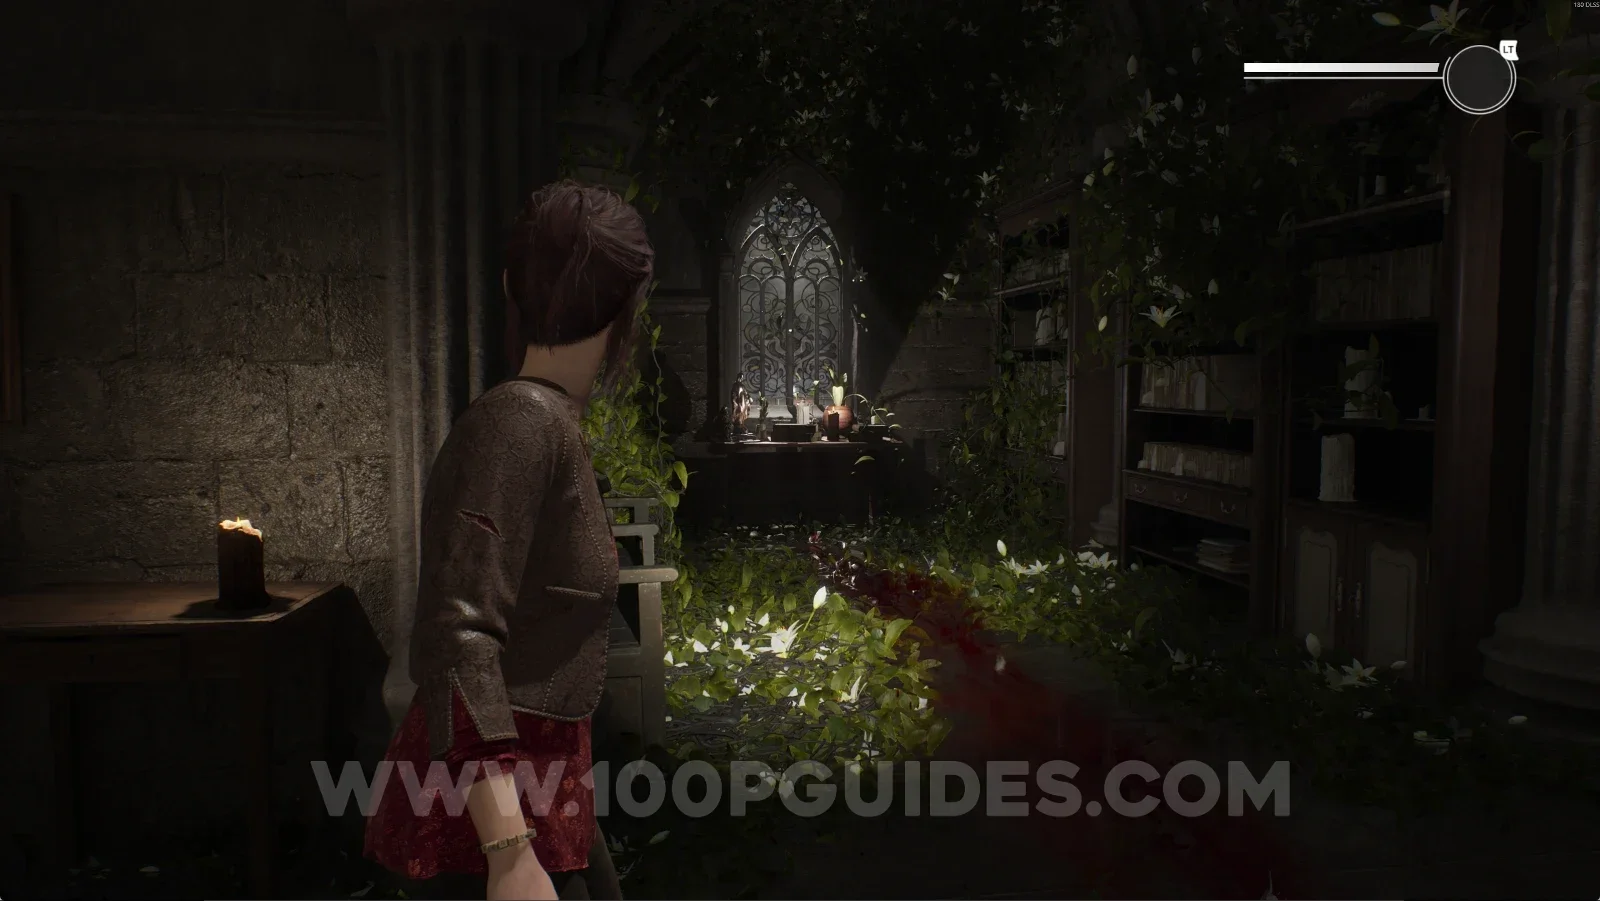
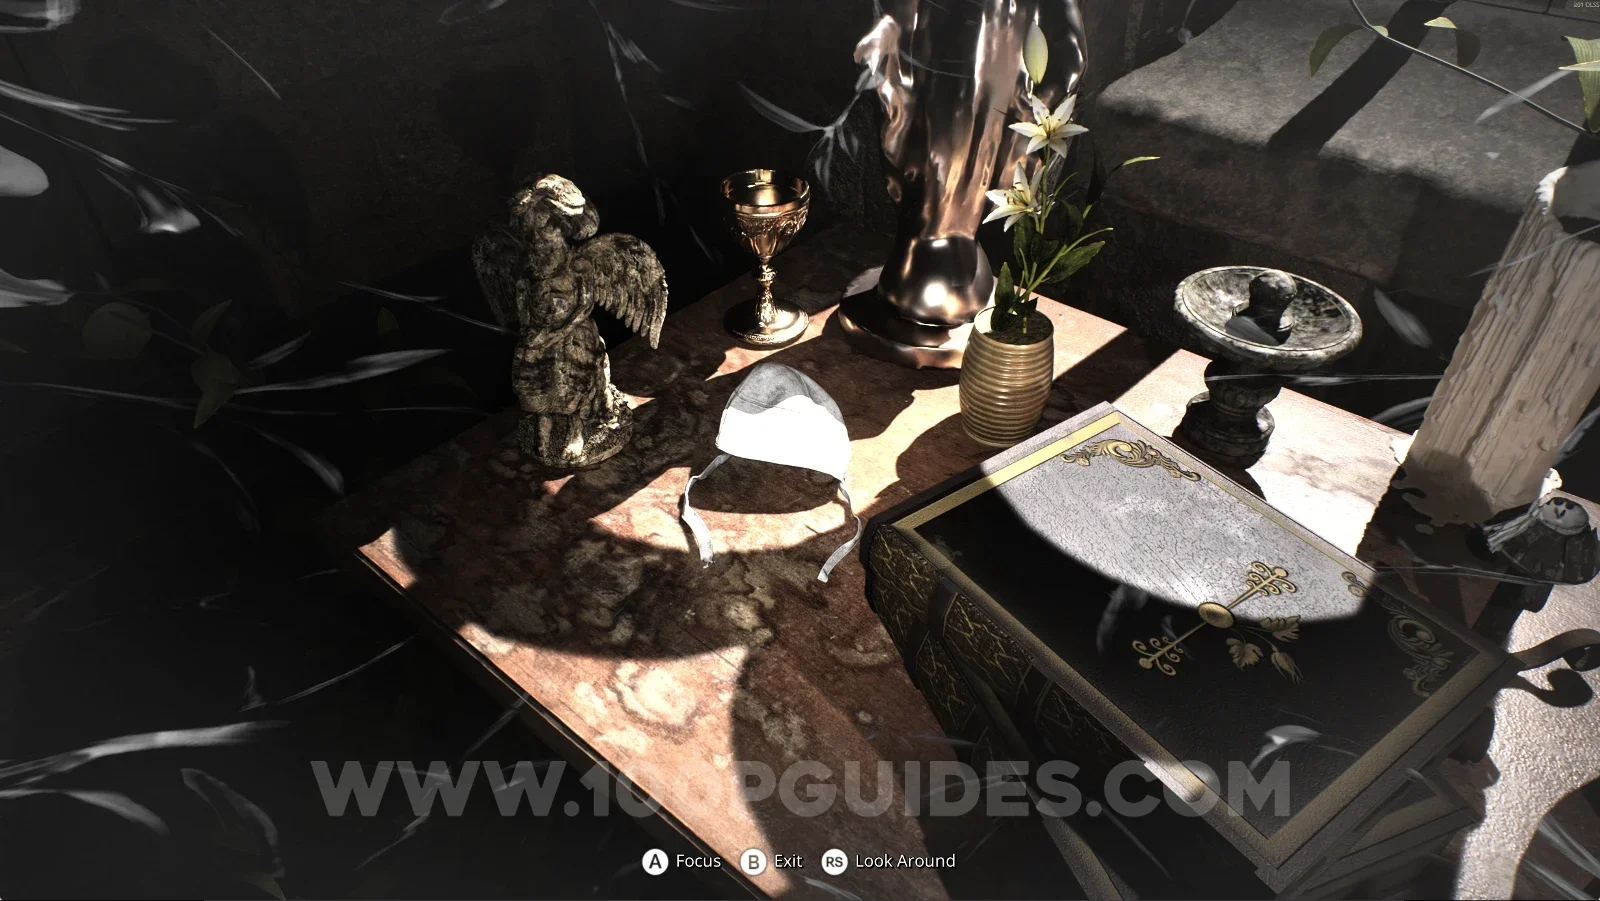
Remothered: Red Nuns Legacy Convent: the left path at the fork along the single path Remothered: Red Nuns Legacy Convent: interacting with the table to find Retrocognition #2 Remothered: Red Nuns Legacy Convent #3: Behind The Mask collectible with Retrocognition #2

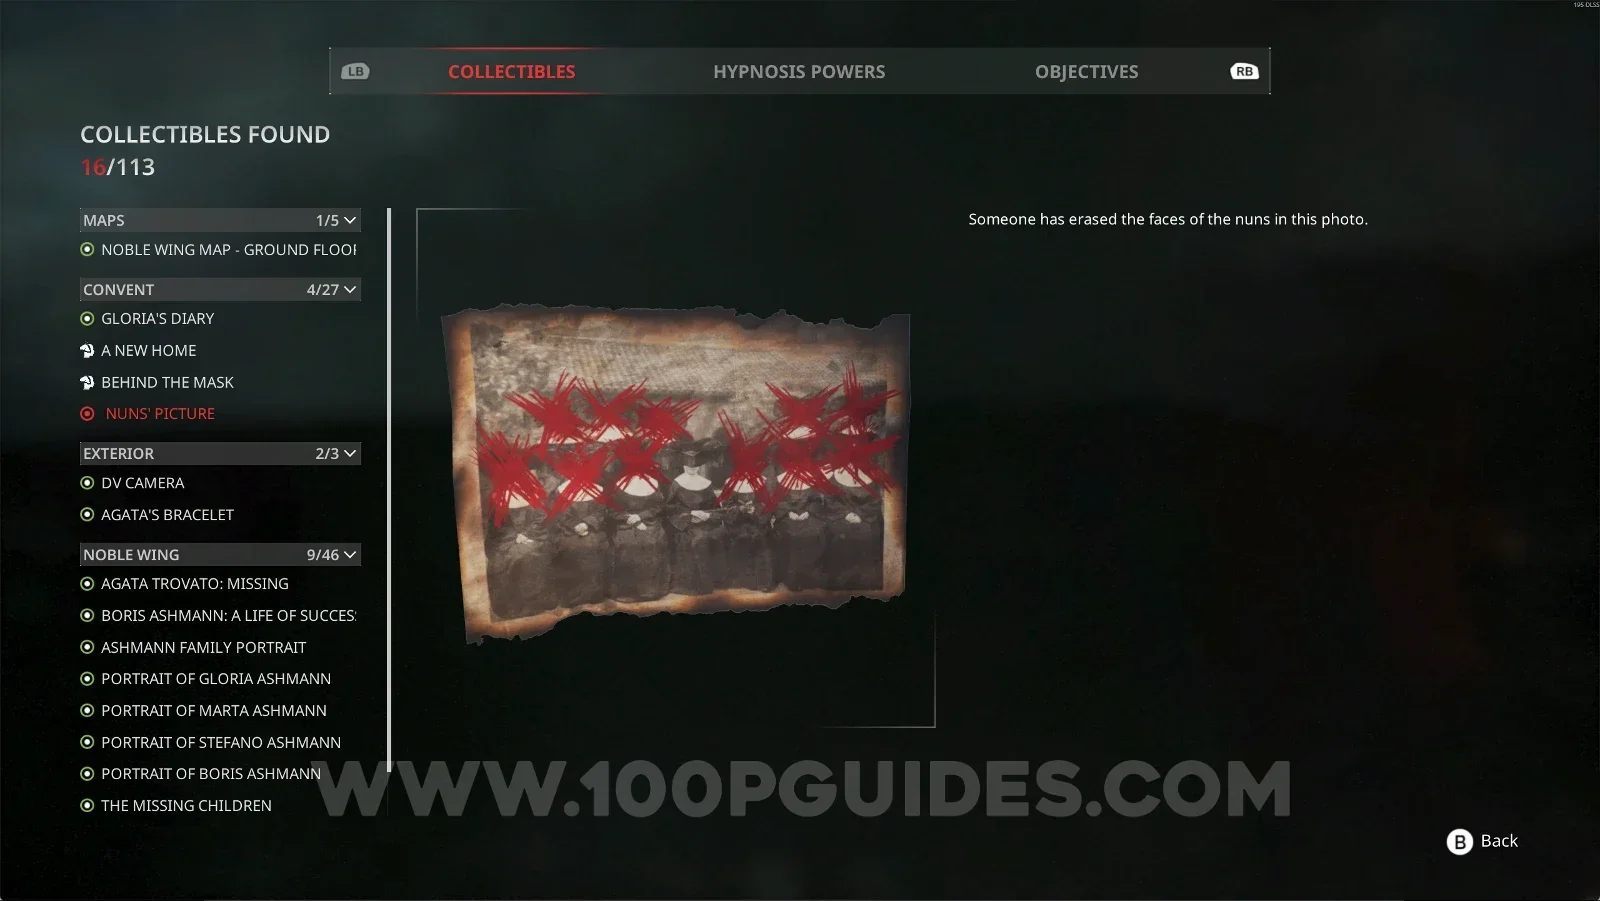
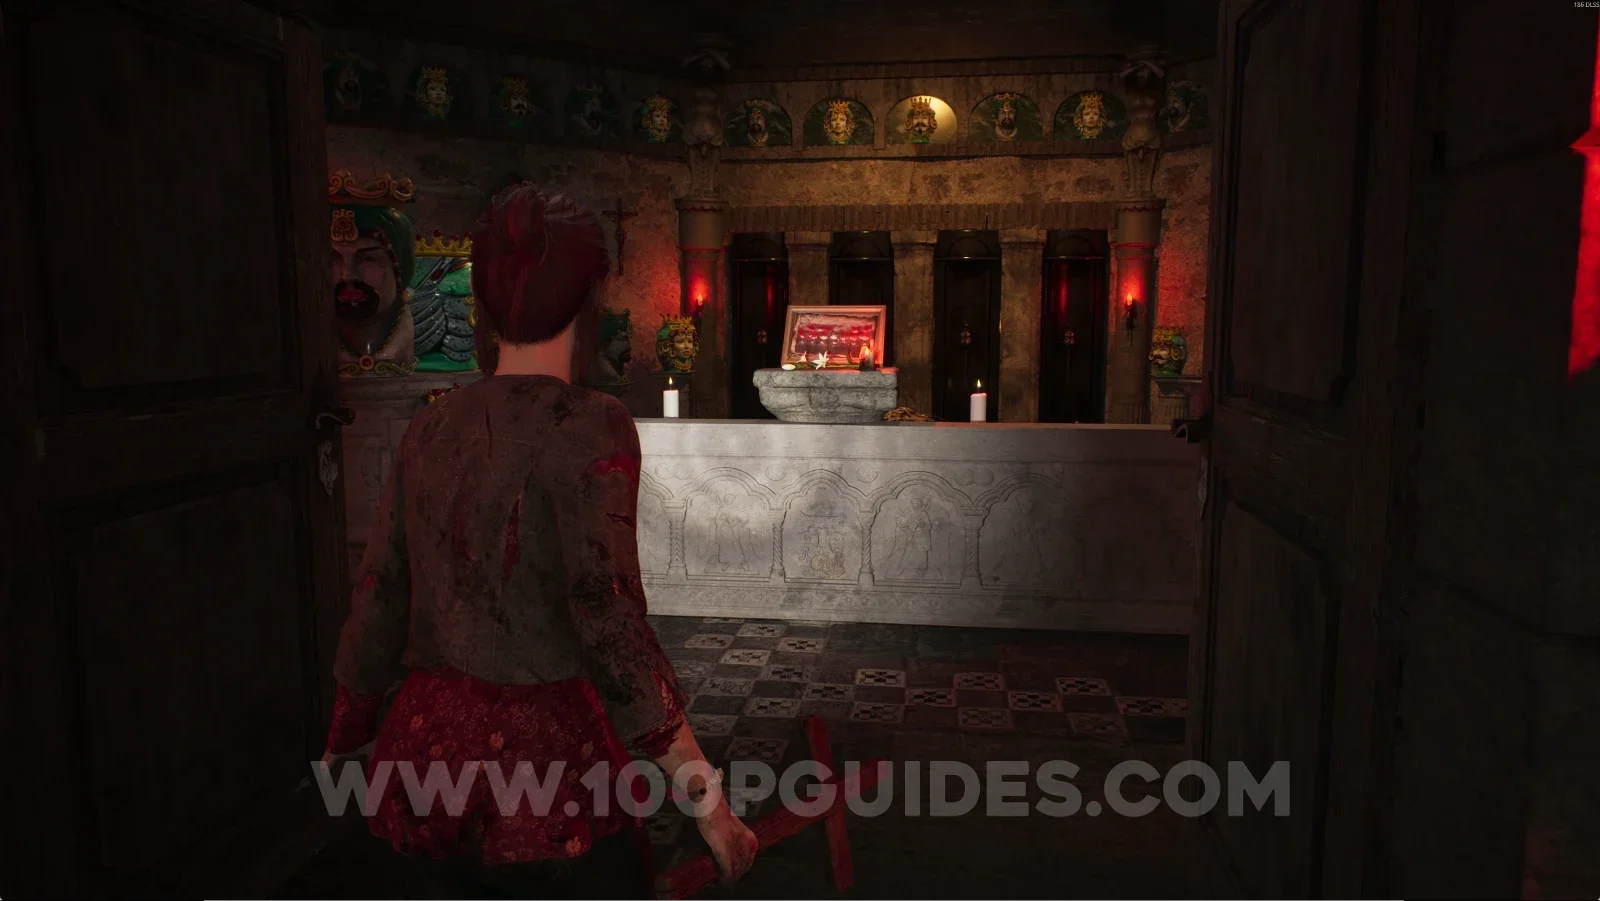
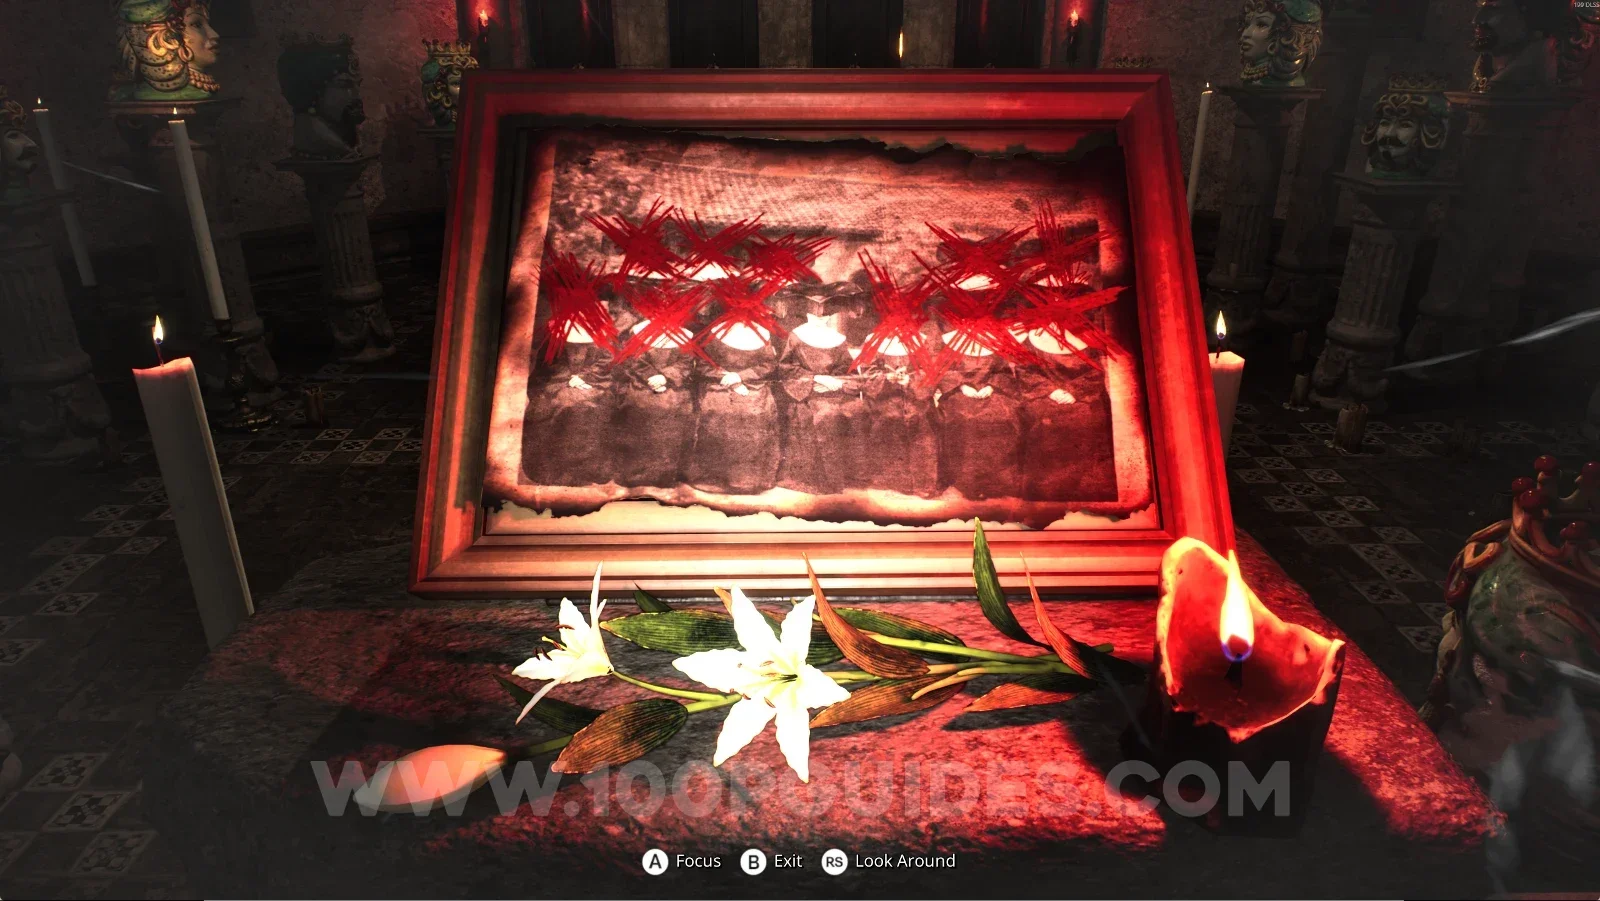
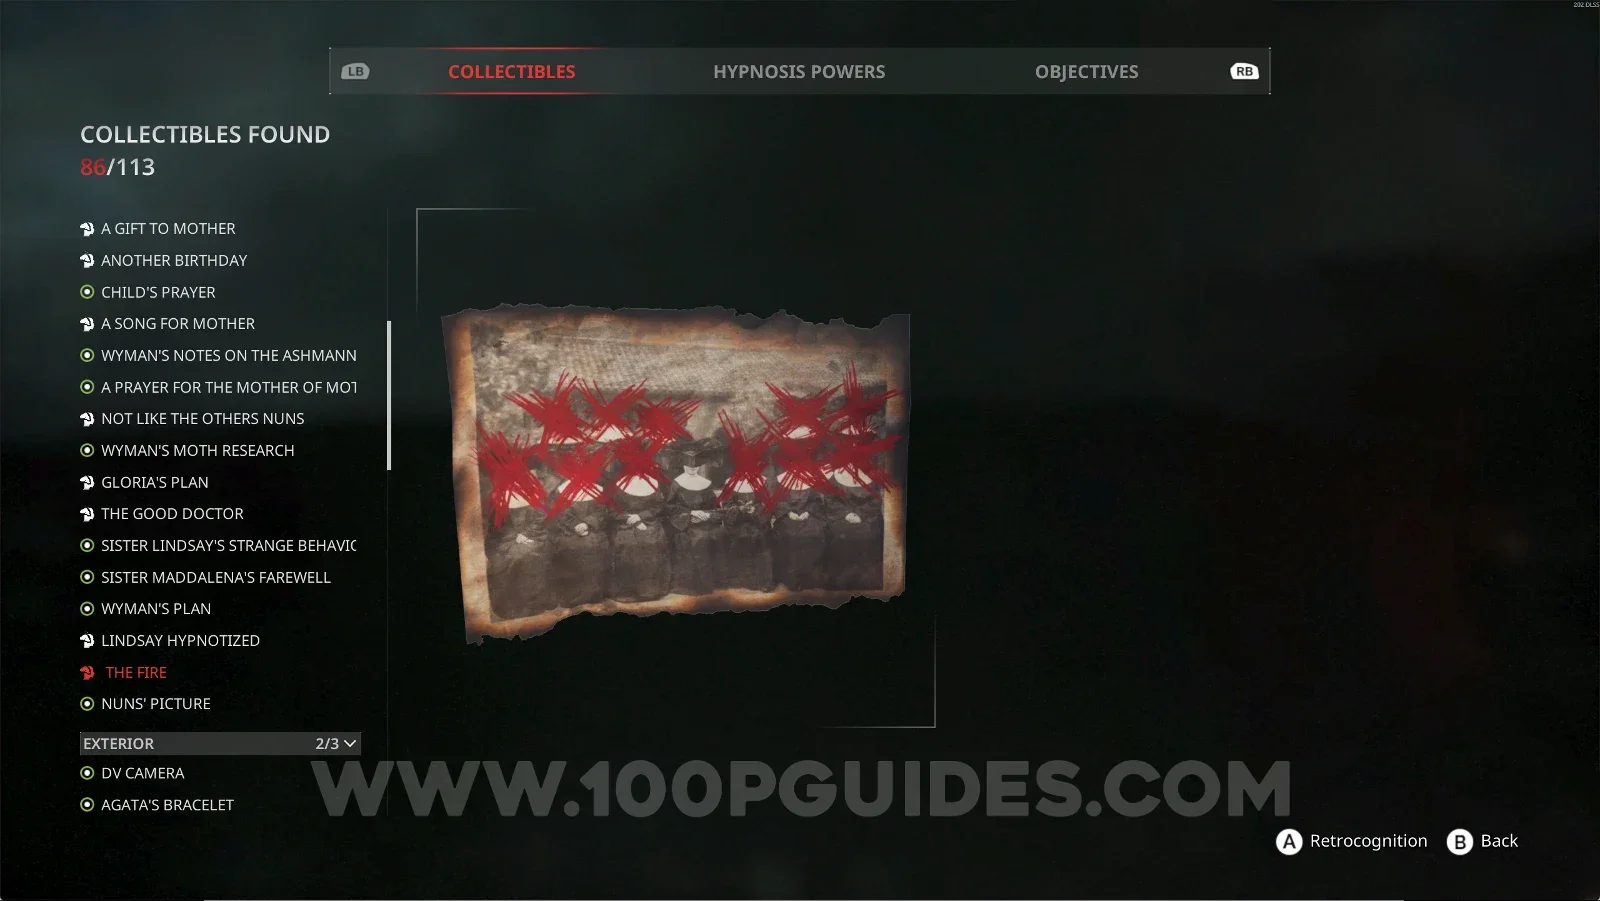
Convent #4: Nuns' Picture

Same area as the previous collectible. Go back and now interact with the painting on the wall.
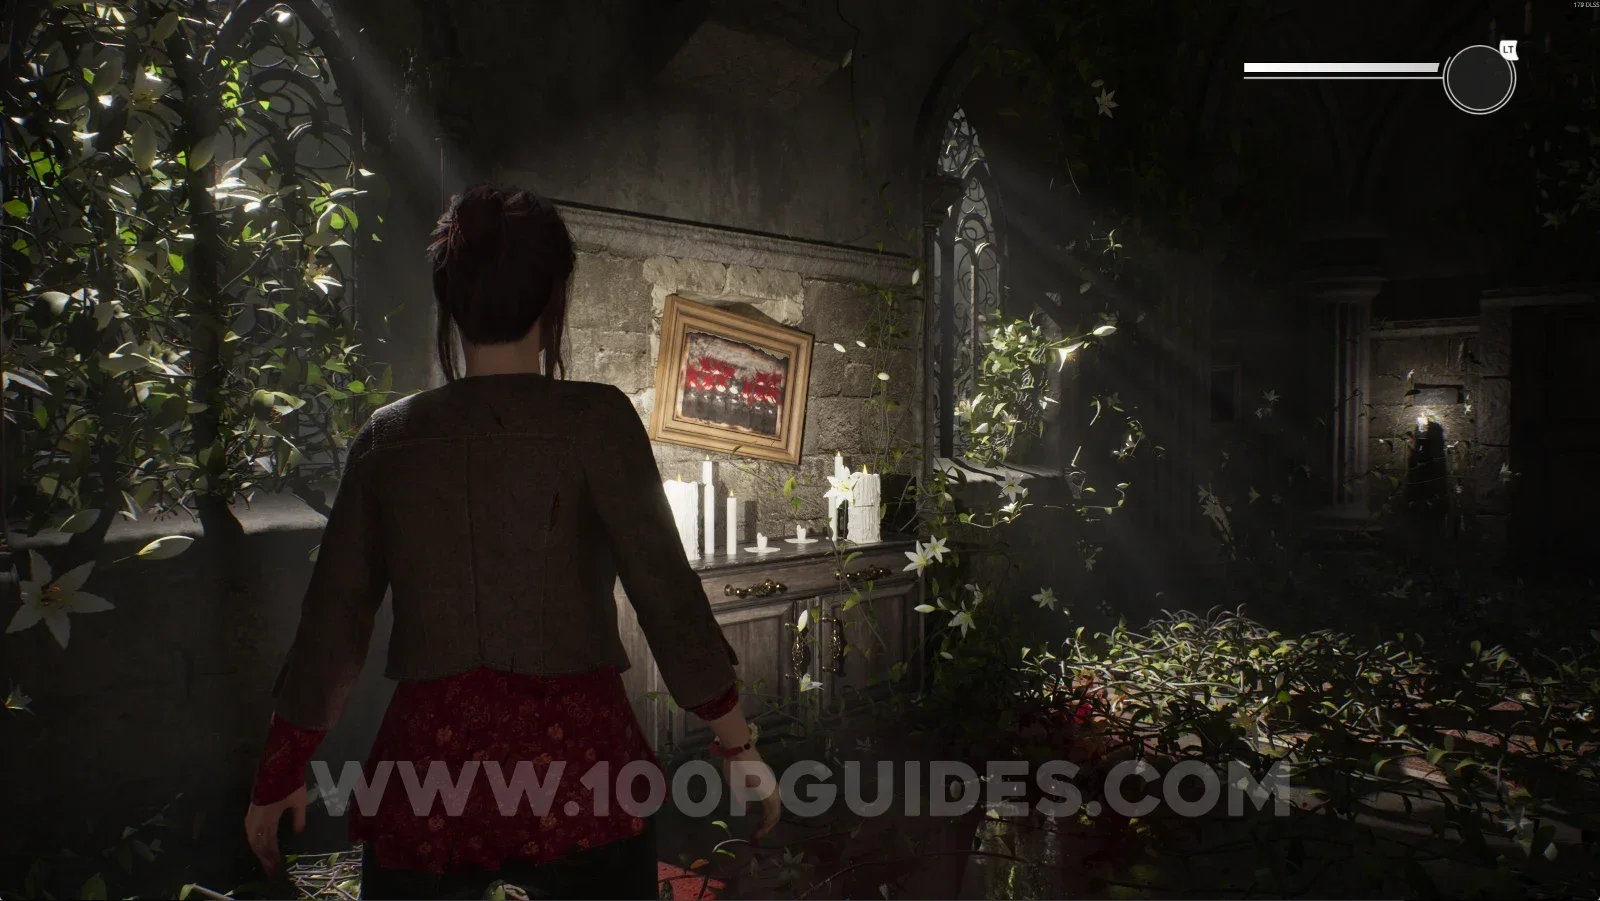
Remothered: Red Nuns Legacy Convent: the painting on the wall near the fork Remothered: Red Nuns Legacy Convent #4: Nuns' Picture collectible from the painting

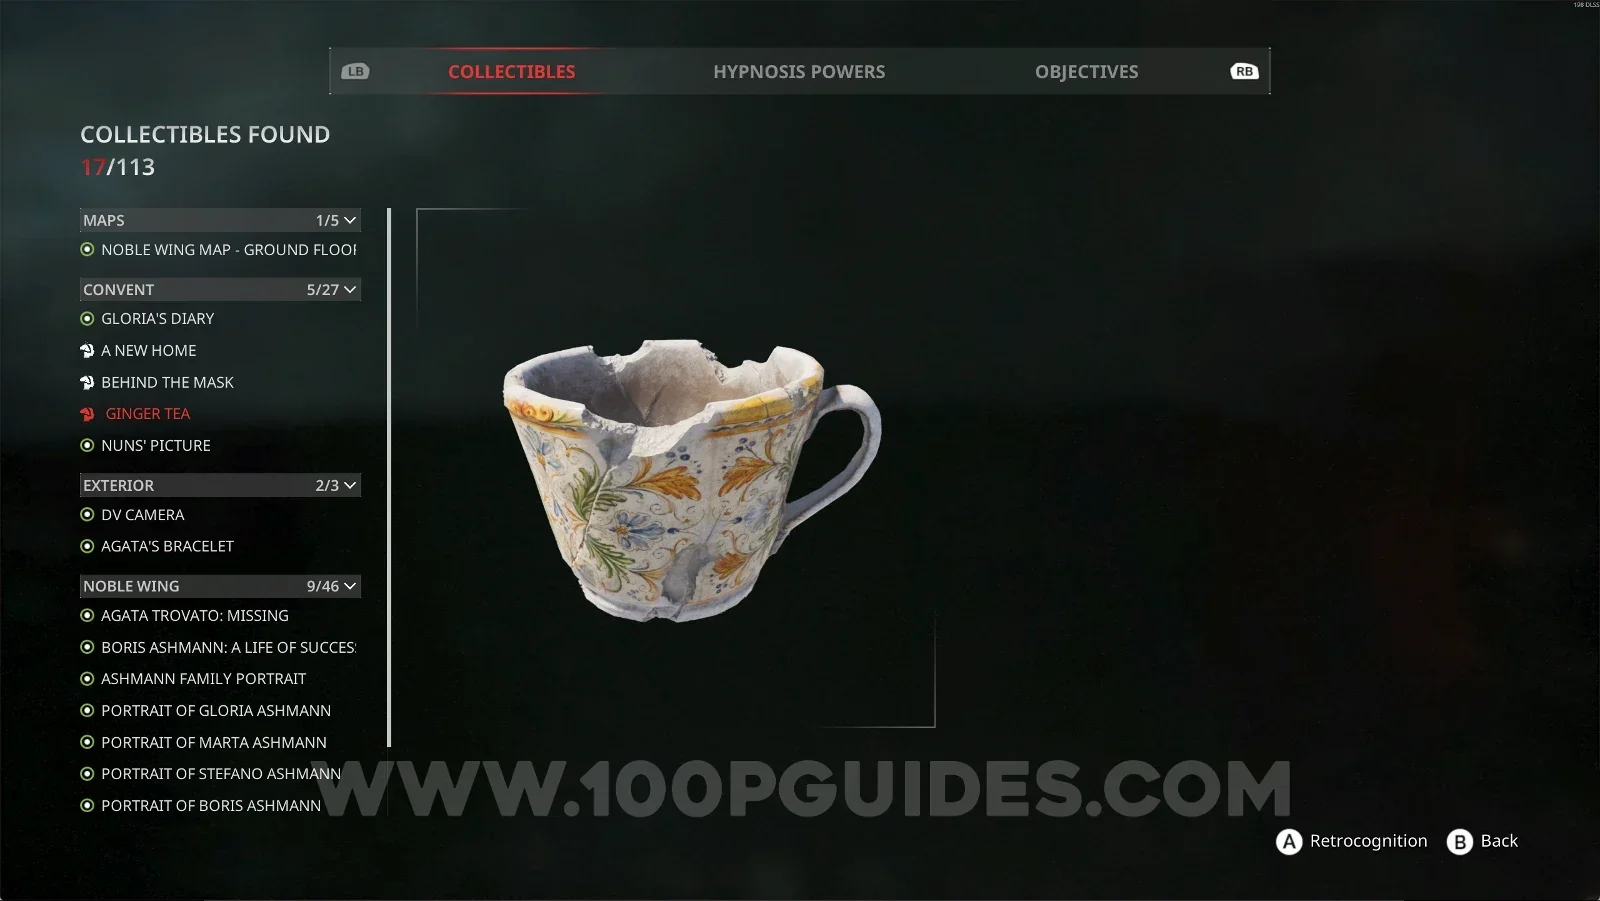
Convent #5: Ginger Tea + Retrocognition #3

Interact with the previous painting to reveal this, then use your power here.
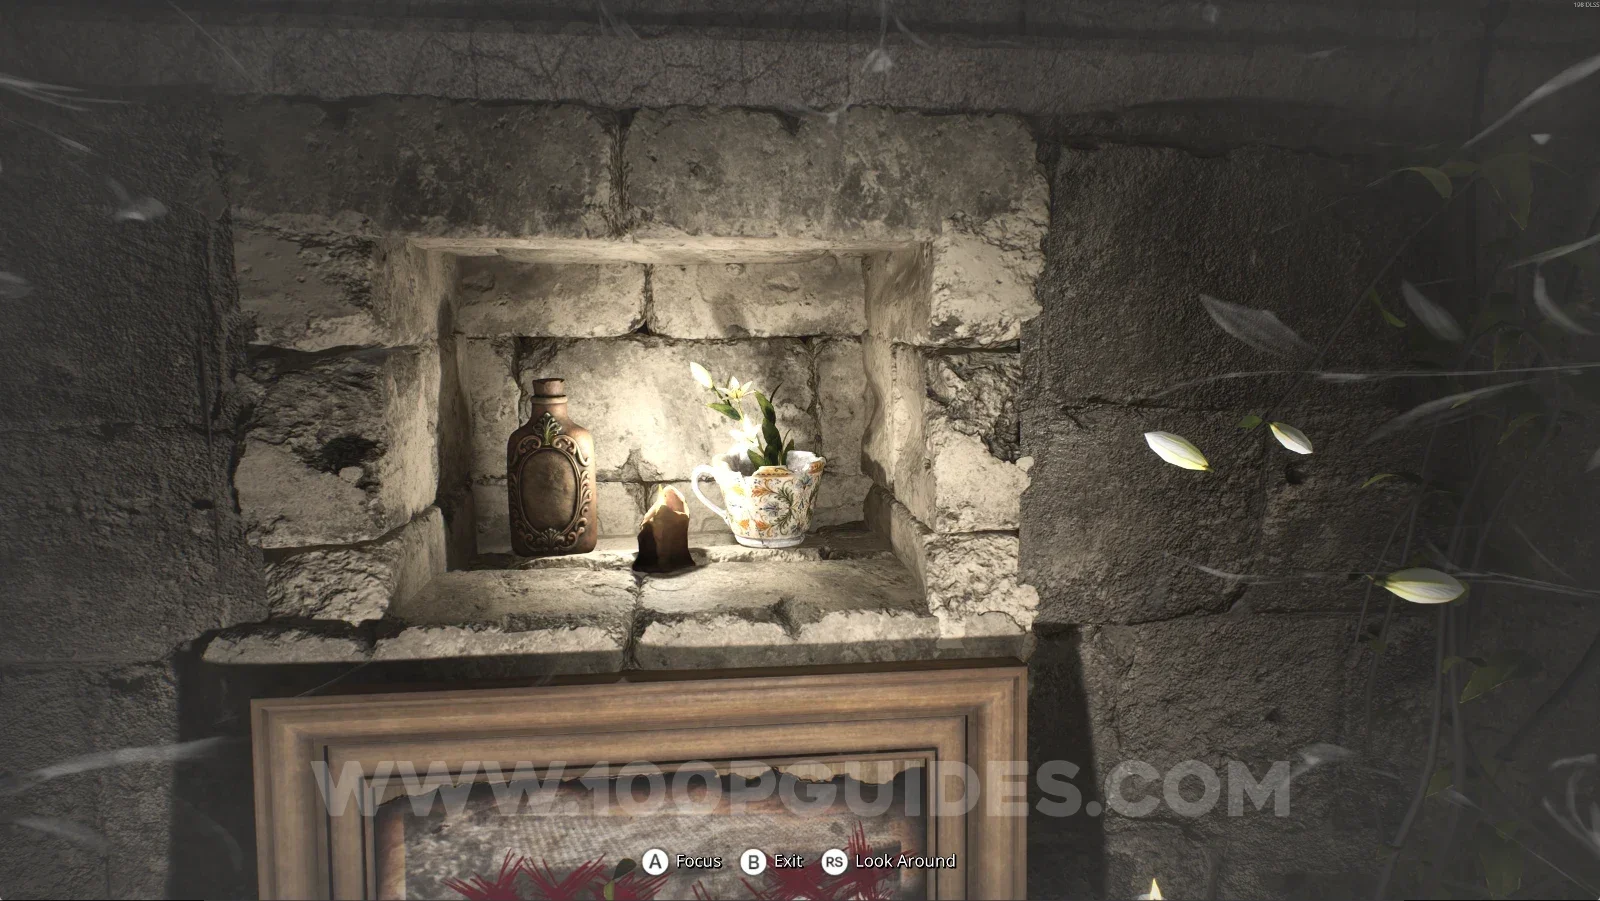
Remothered: Red Nuns Legacy Convent: Ginger Tea revealed behind the painting Remothered: Red Nuns Legacy Convent #5: Ginger Tea collectible obtained with Retrocognition #3

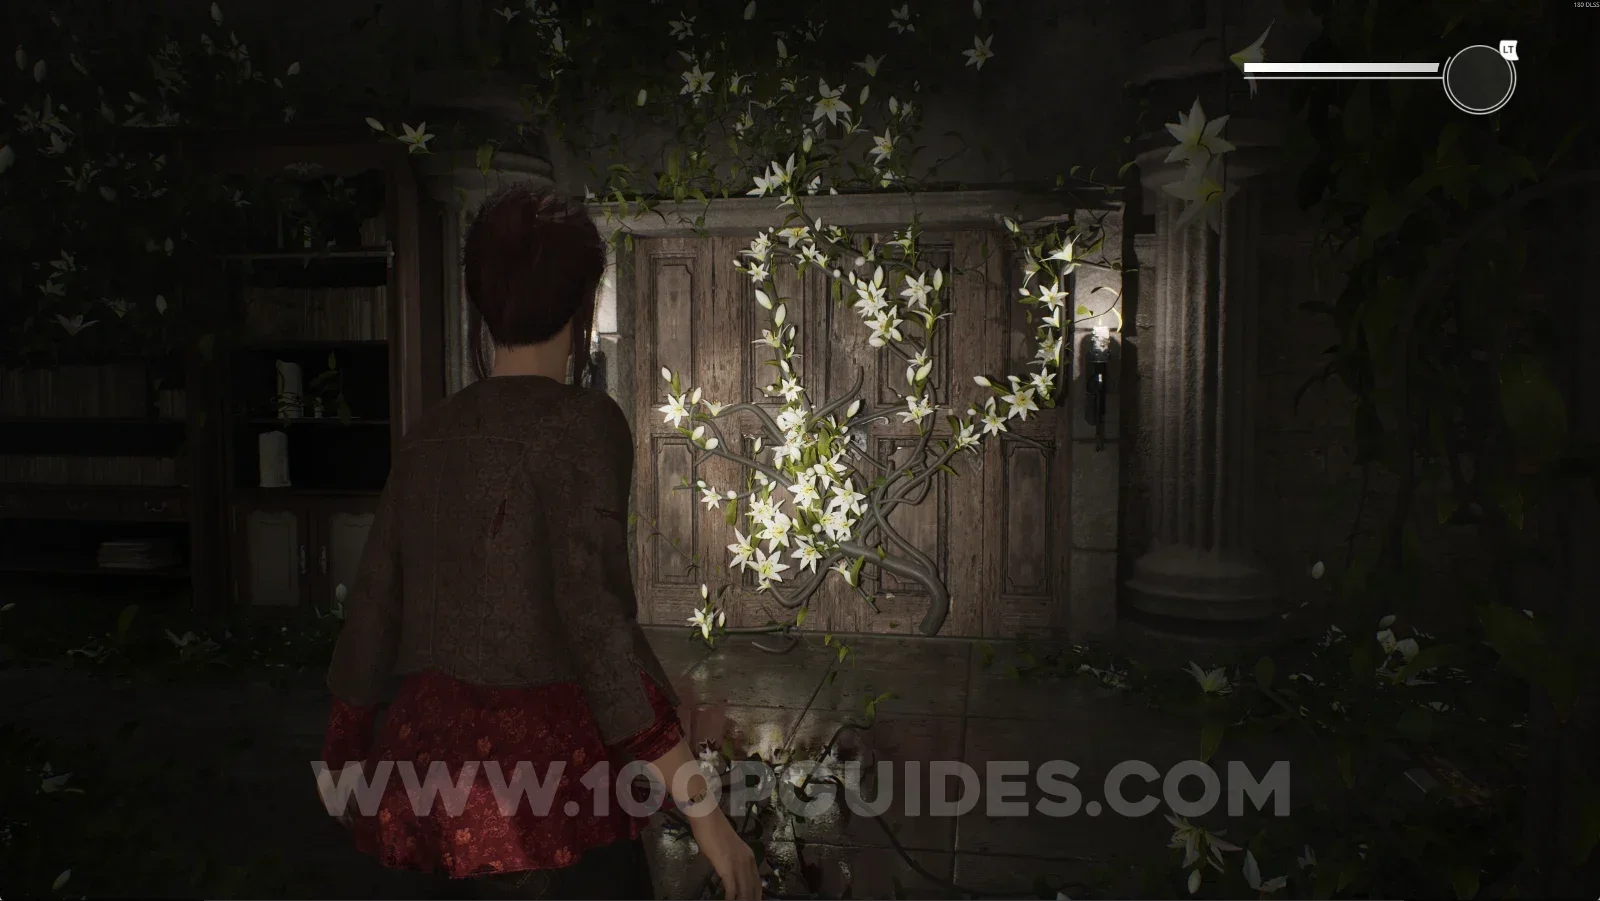
Key Item: Mysterious Fluid

Same area as the previous collectible. Grab it and use it on the door with the lilies.
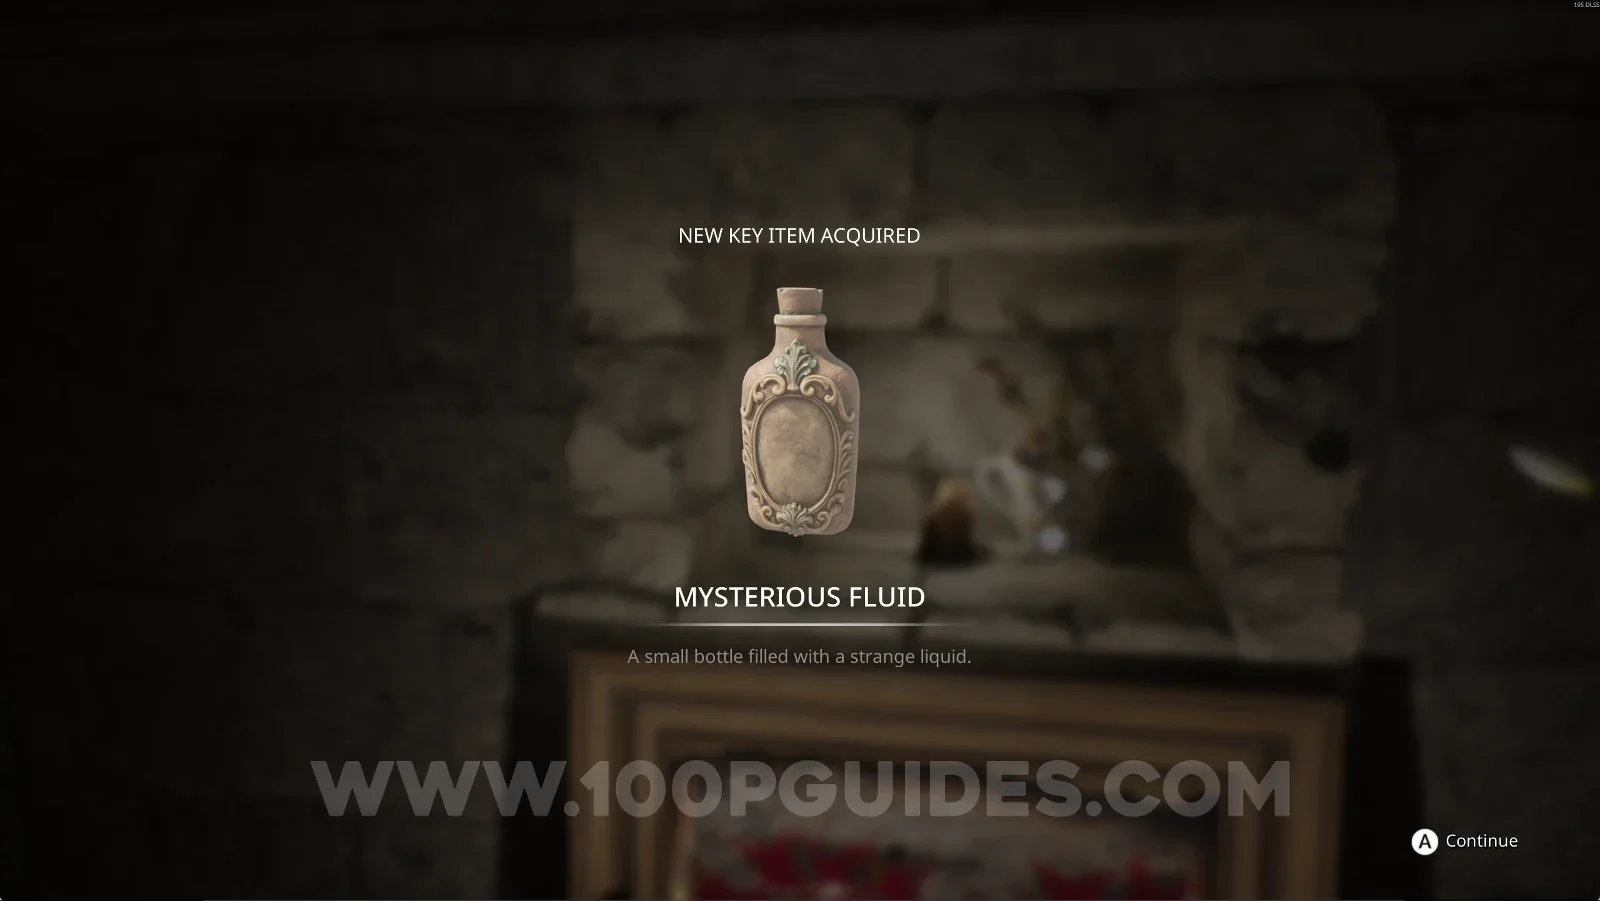
Remothered: Red Nuns Legacy Convent: grabbing the Mysterious Fluid near the painting Remothered: Red Nuns Legacy: using the Mysterious Fluid on the door with the lilies

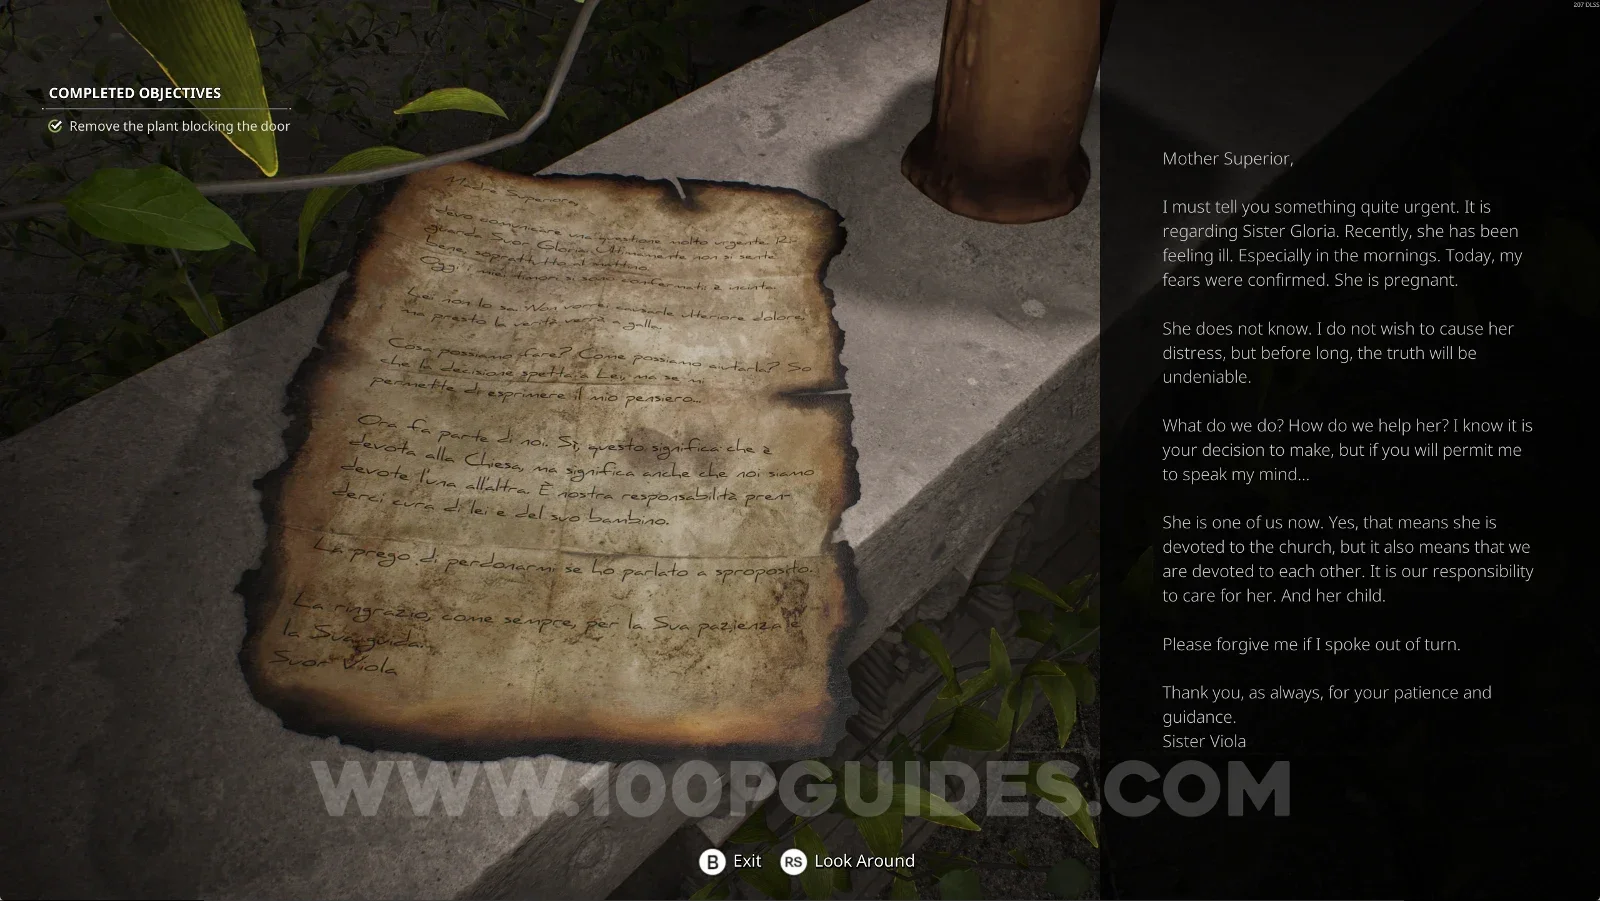
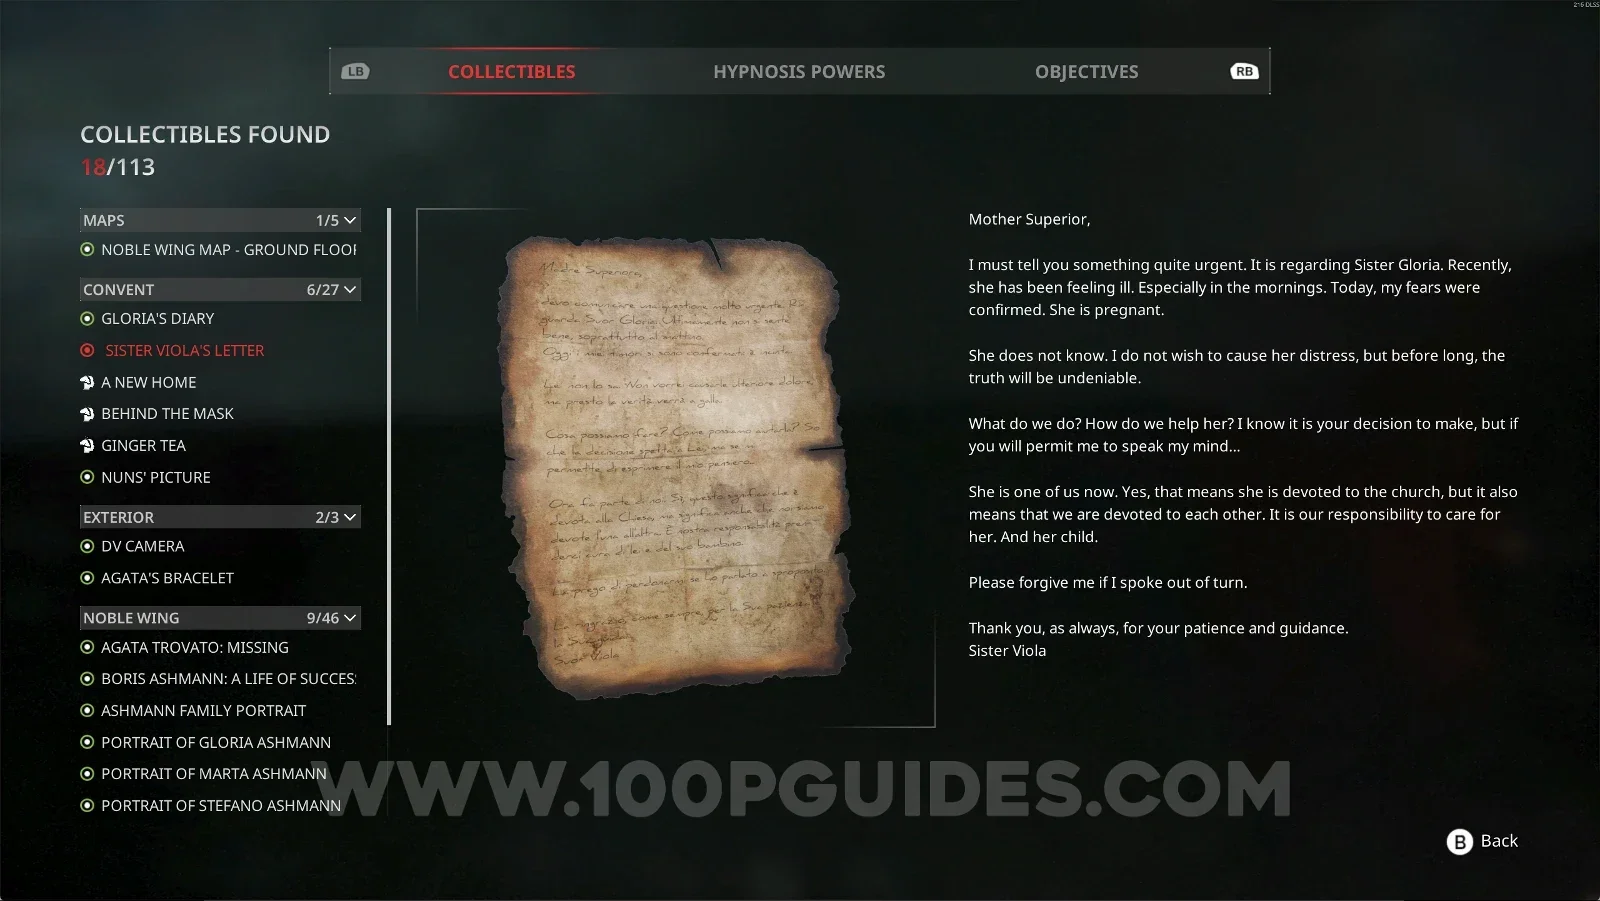
Convent #6: Sister Viola’s Letter

After going through the door with the lilies, it will be directly in front of you.
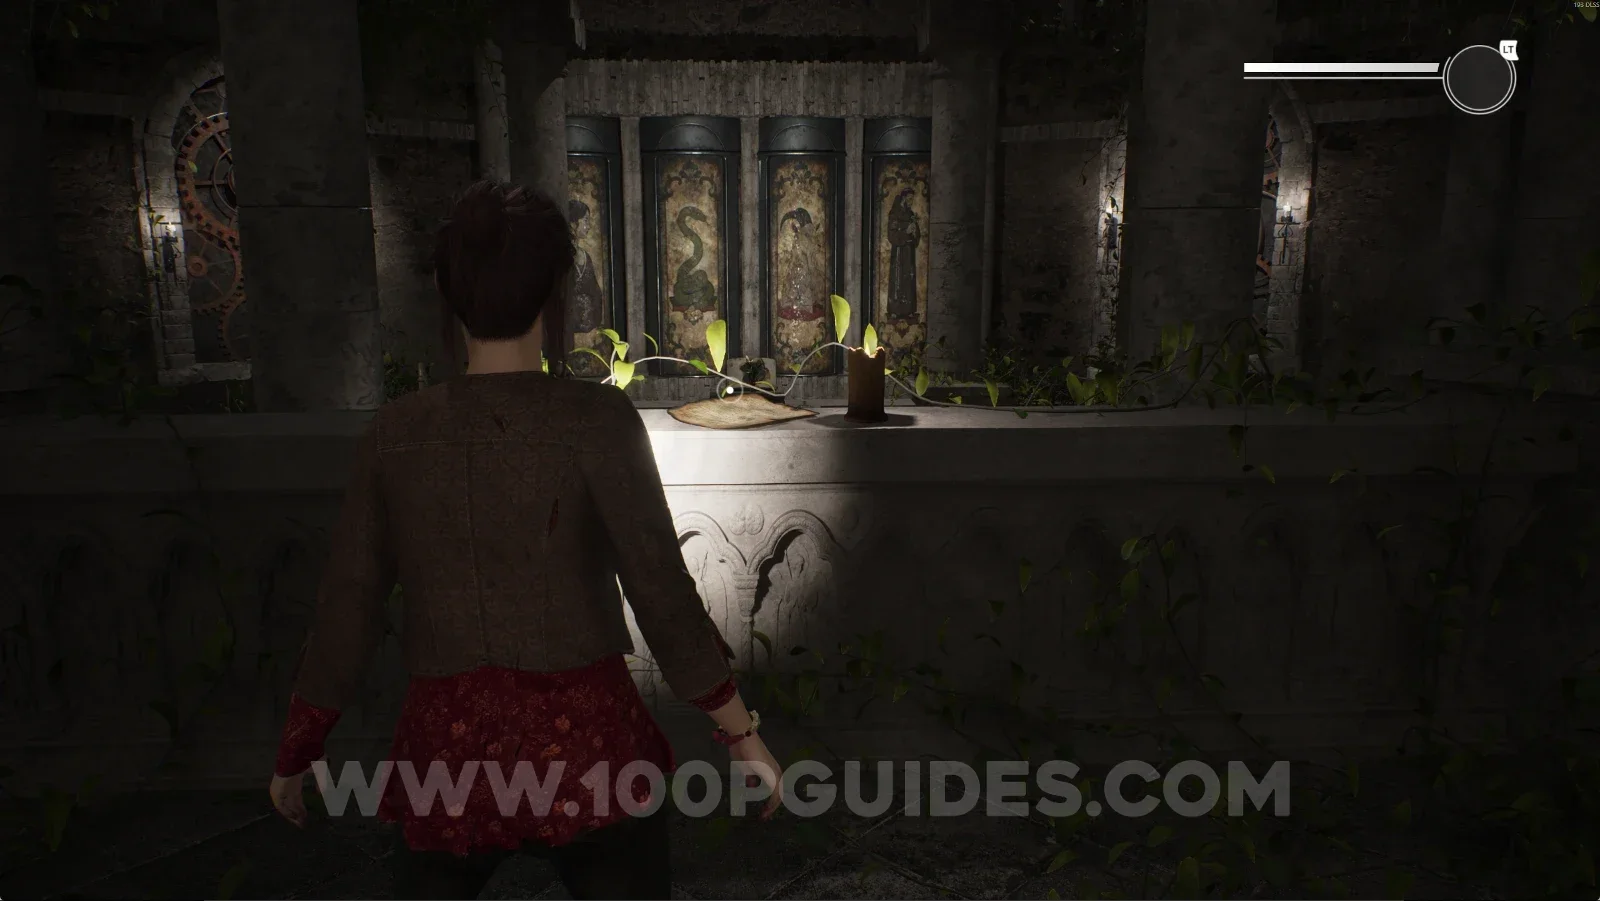
Remothered: Red Nuns Legacy Convent: going through the door with the lilies Remothered: Red Nuns Legacy Convent #6: Sister Viola’s Letter right in front past the lily door Remothered: Red Nuns Legacy Convent #6: Sister Viola’s Letter collectible

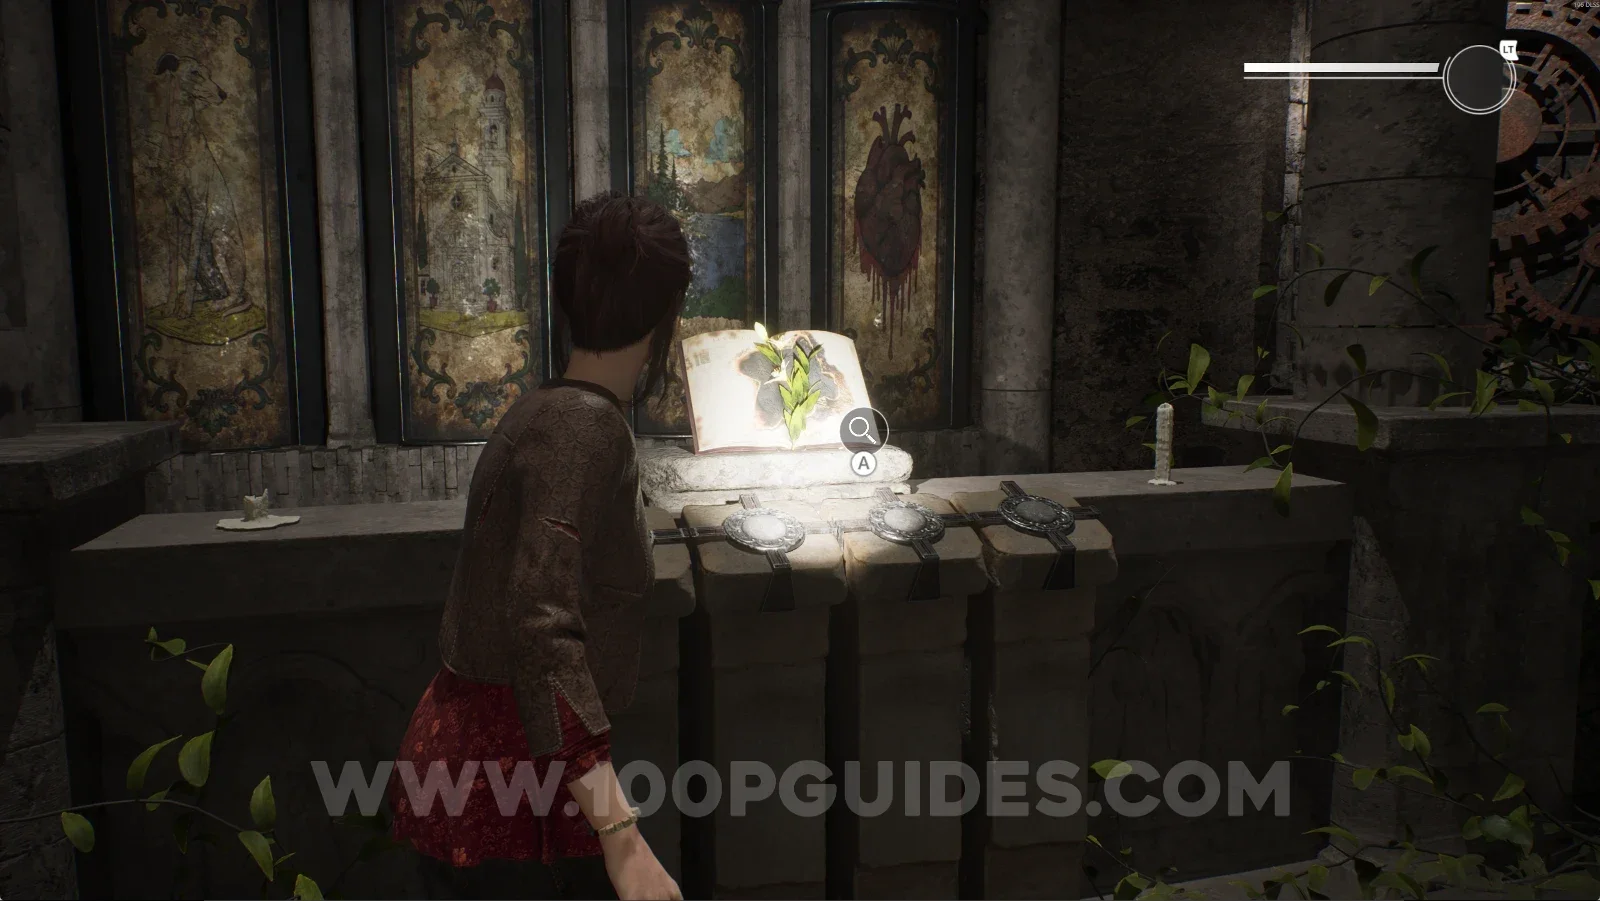
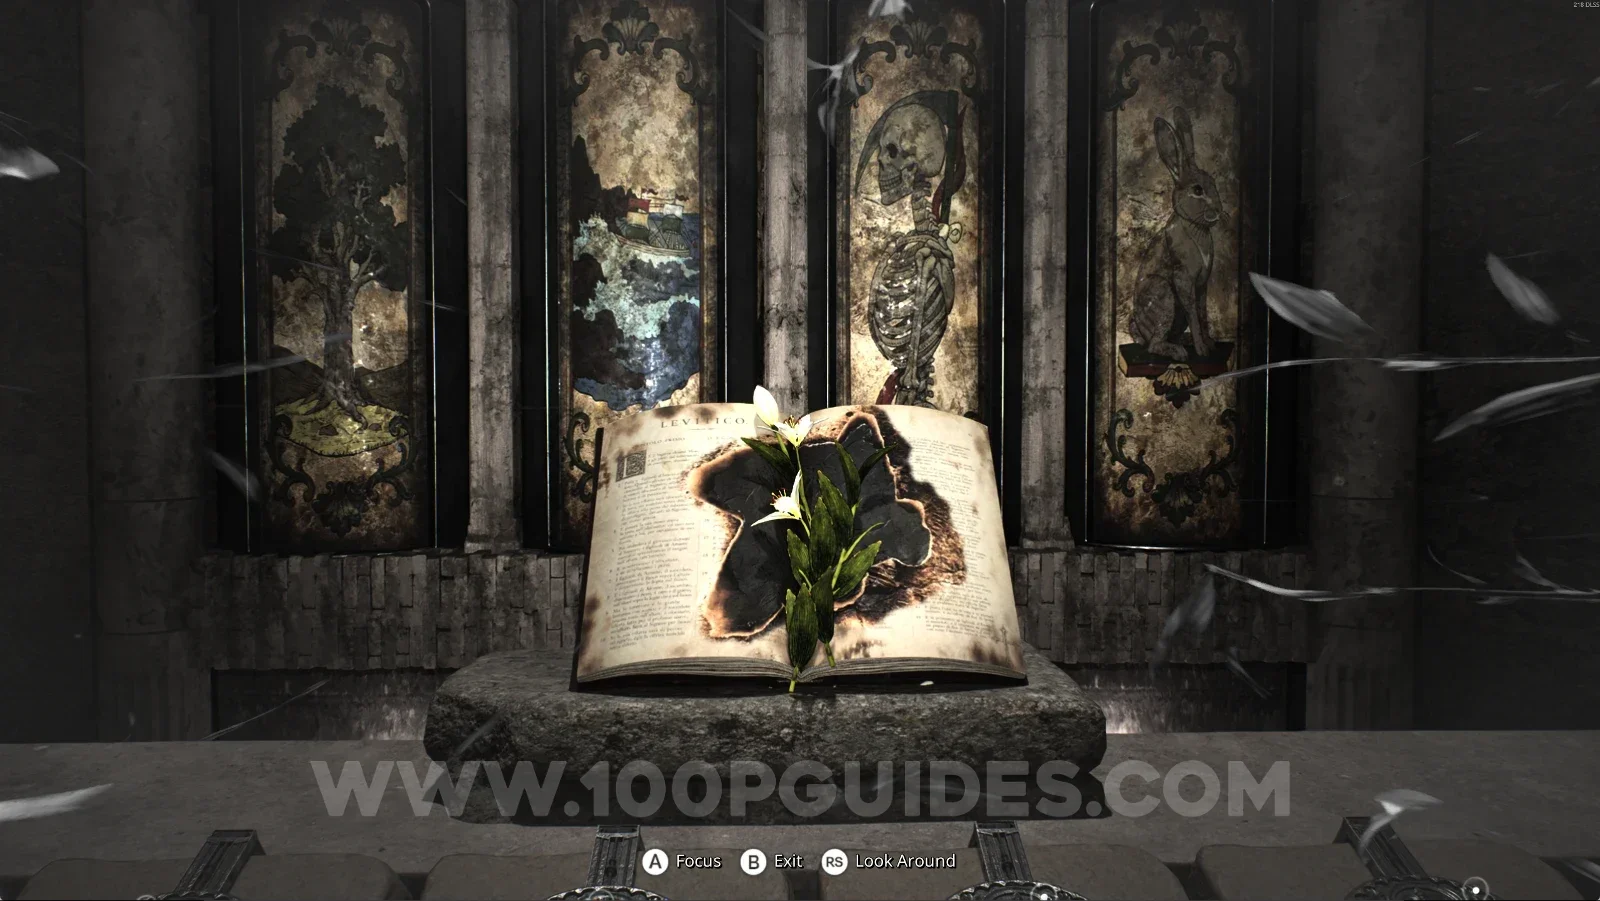
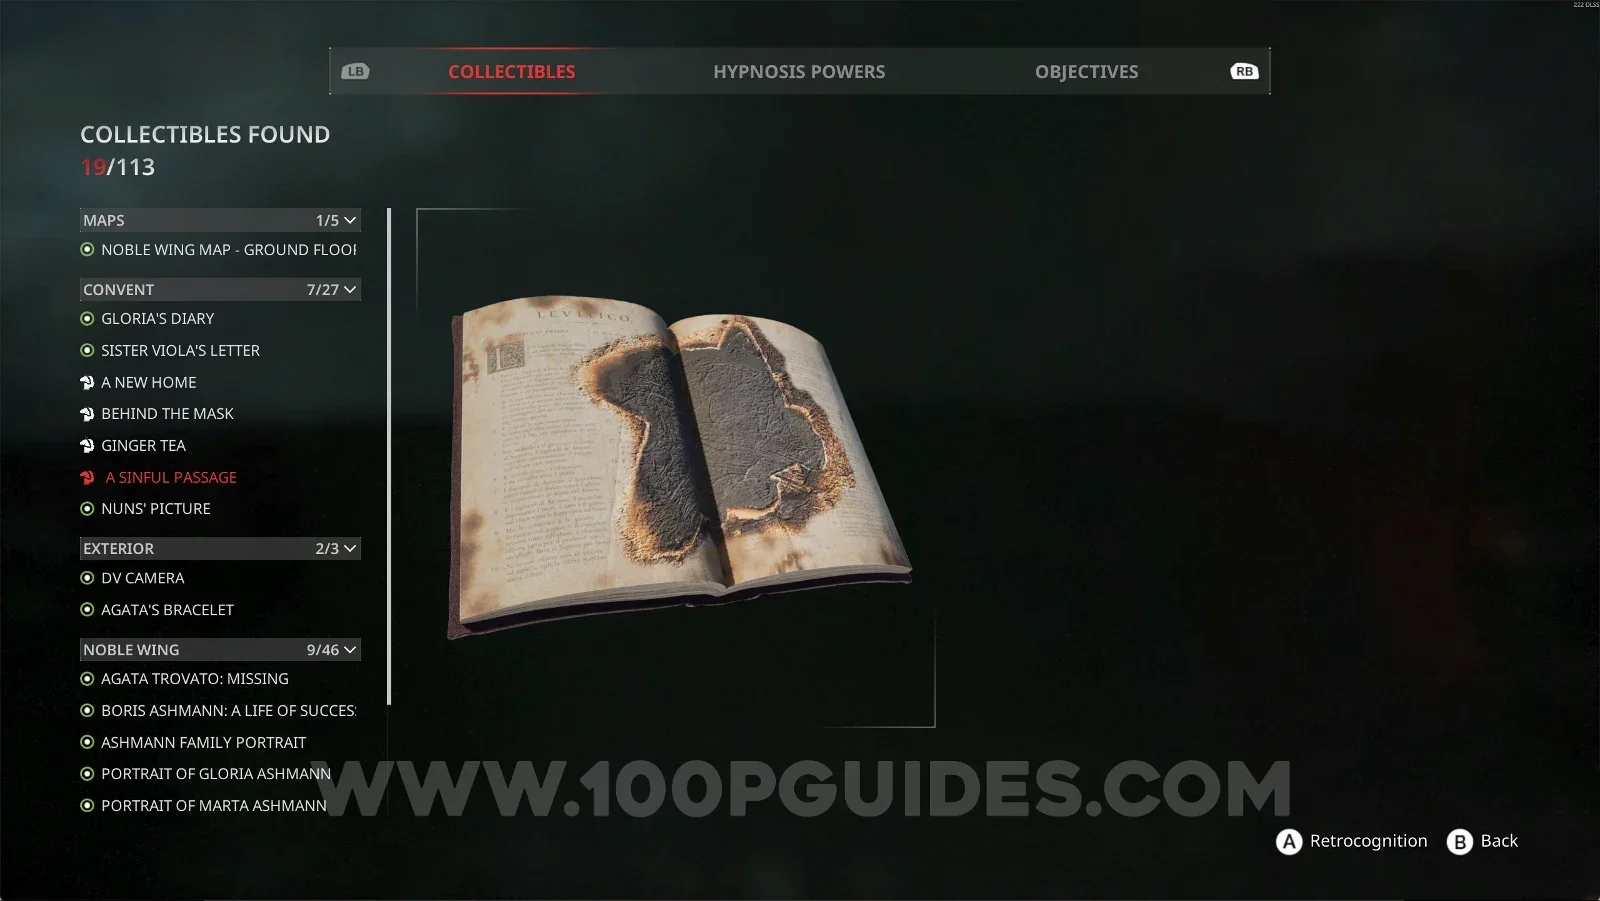
Convent #7: A Sinful Passage + Retrocognition #4

Directly from the previous collectible, go down and interact with the book right in front of you. Use your power to get this collectible.

Remothered: Red Nuns Legacy Convent: going down to the book after Sister Viola’s Letter Remothered: Red Nuns Legacy Convent: using the power on the book for Retrocognition #4 Remothered: Red Nuns Legacy Convent #7: A Sinful Passage collectible

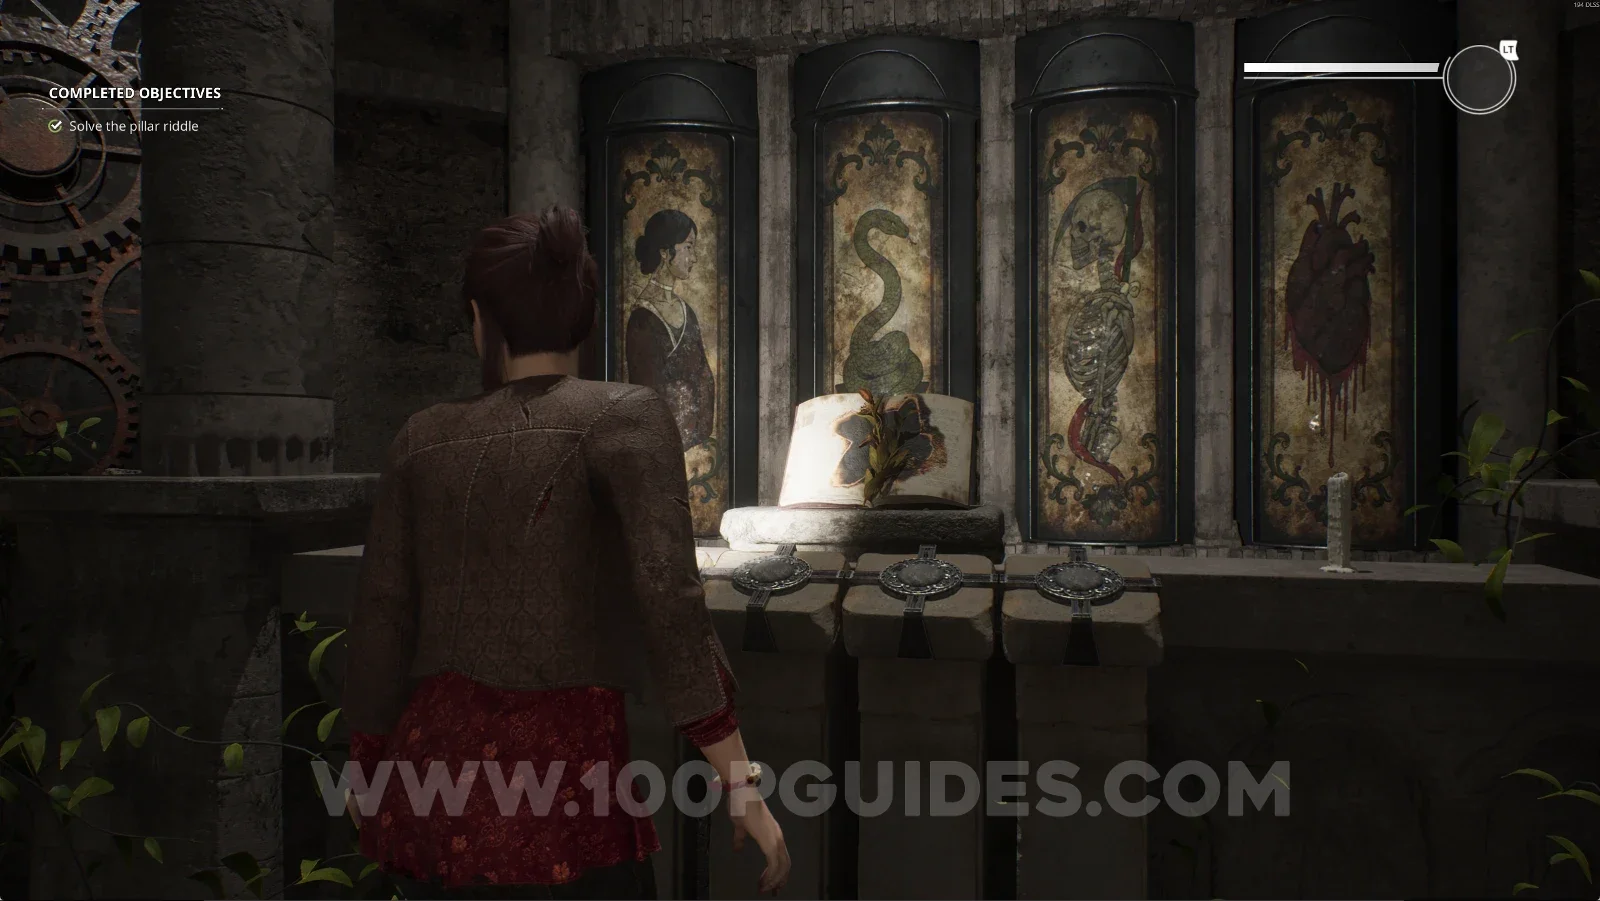
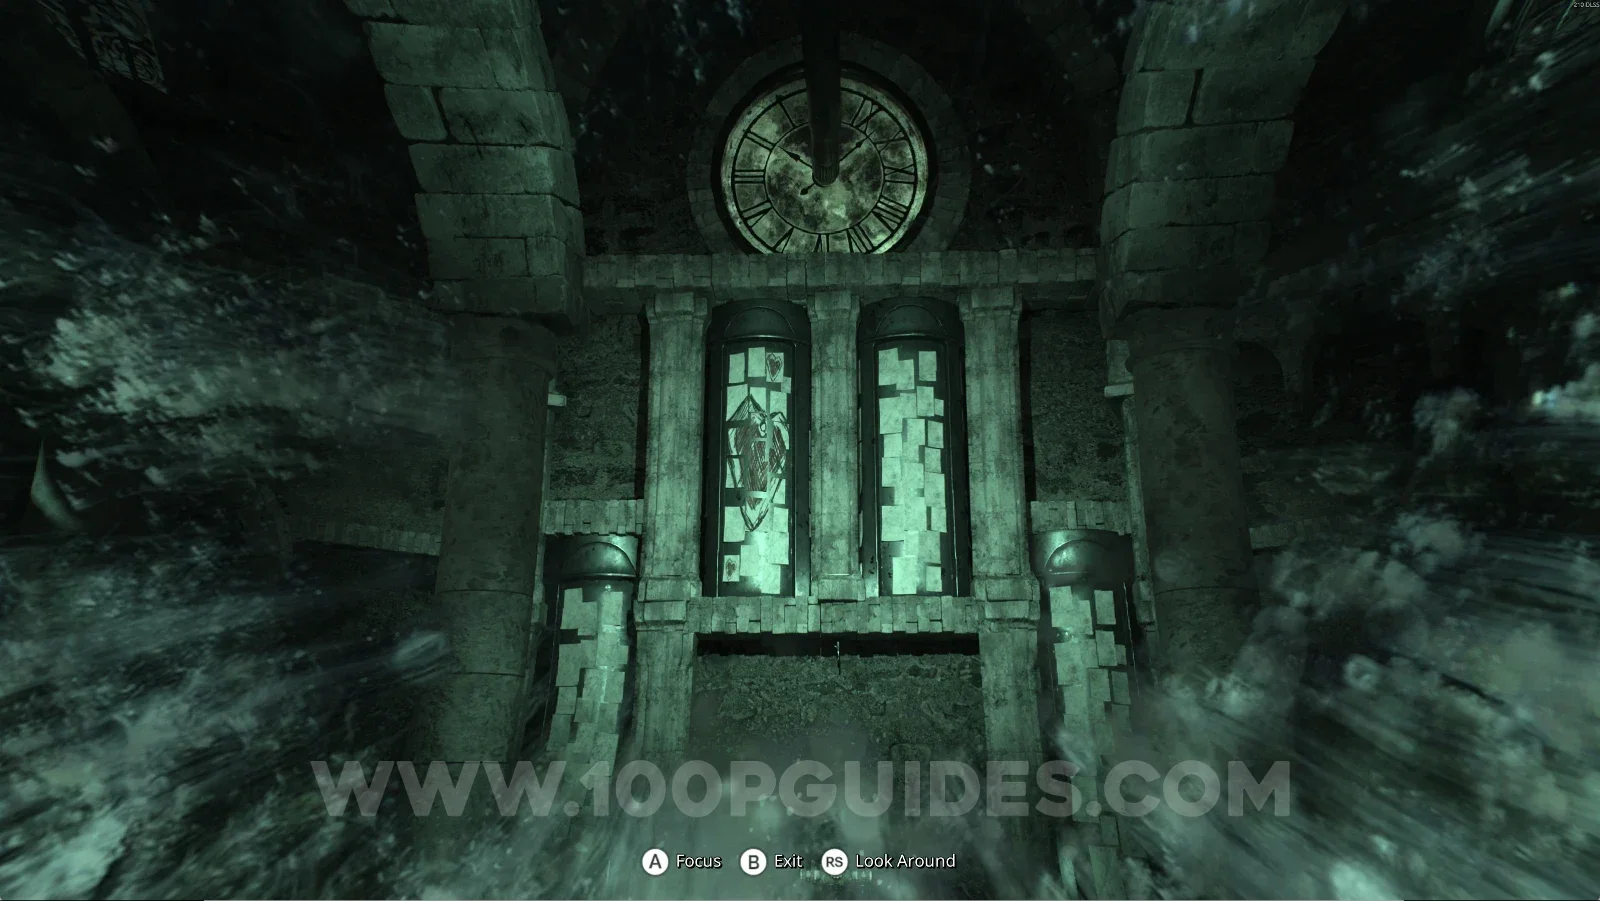
Puzzle: Pillar Riddle

Press the buttons so the pillar stops on the correct figures: Woman > Snake > Death > Heart.

Remothered: Red Nuns Legacy Pillar Riddle solved with Woman, Snake, Death and Heart figures

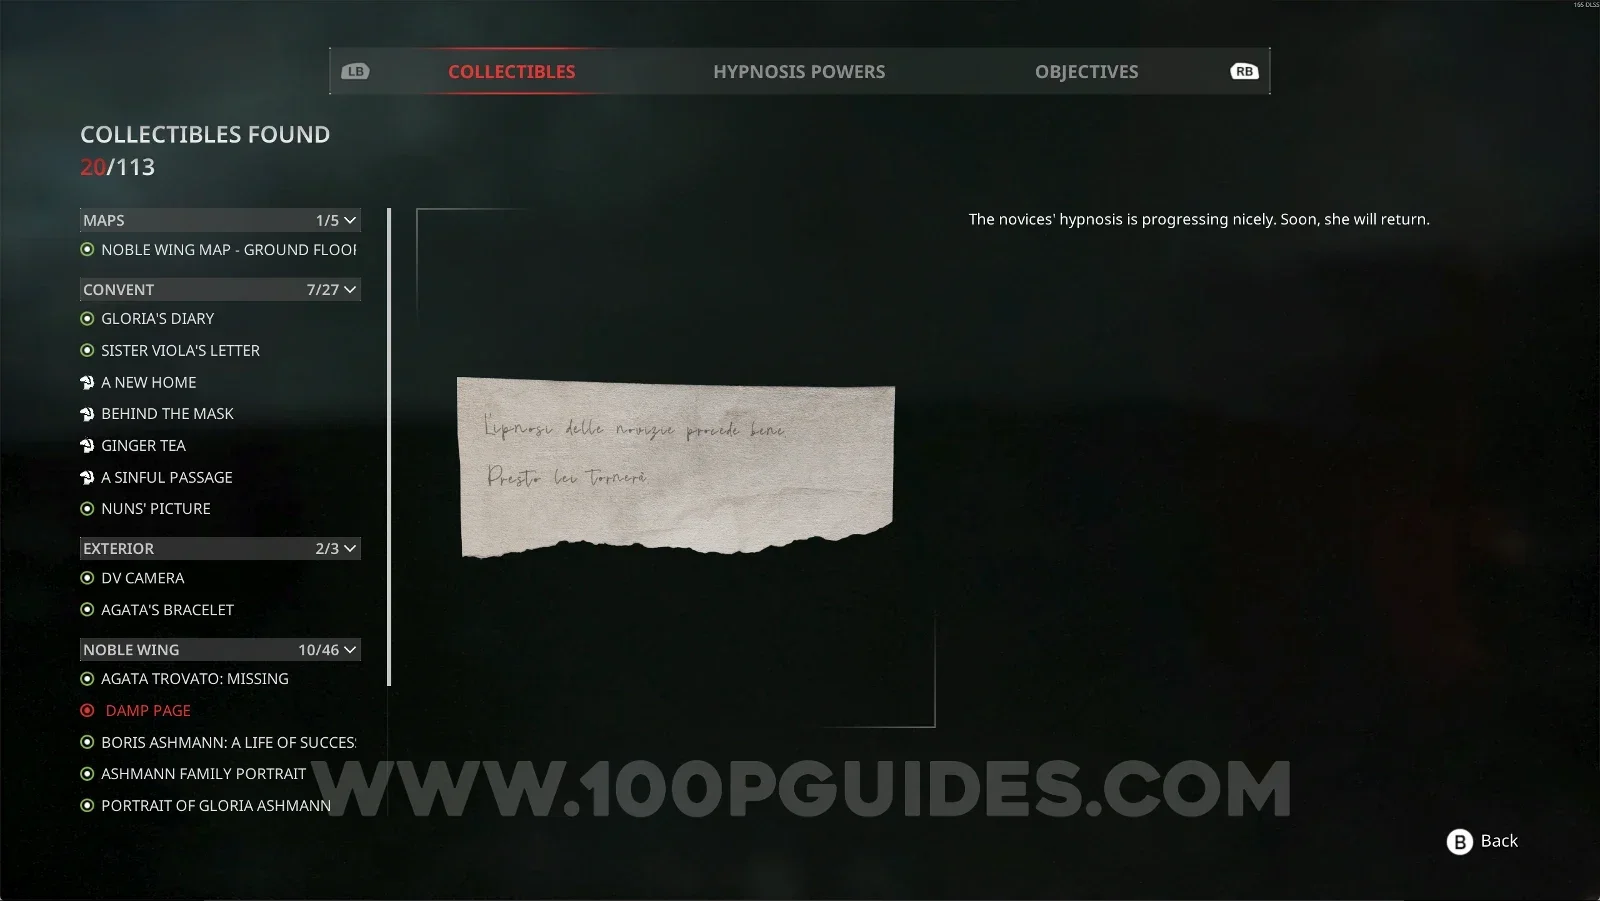
Noble Wing #10: Damp Page

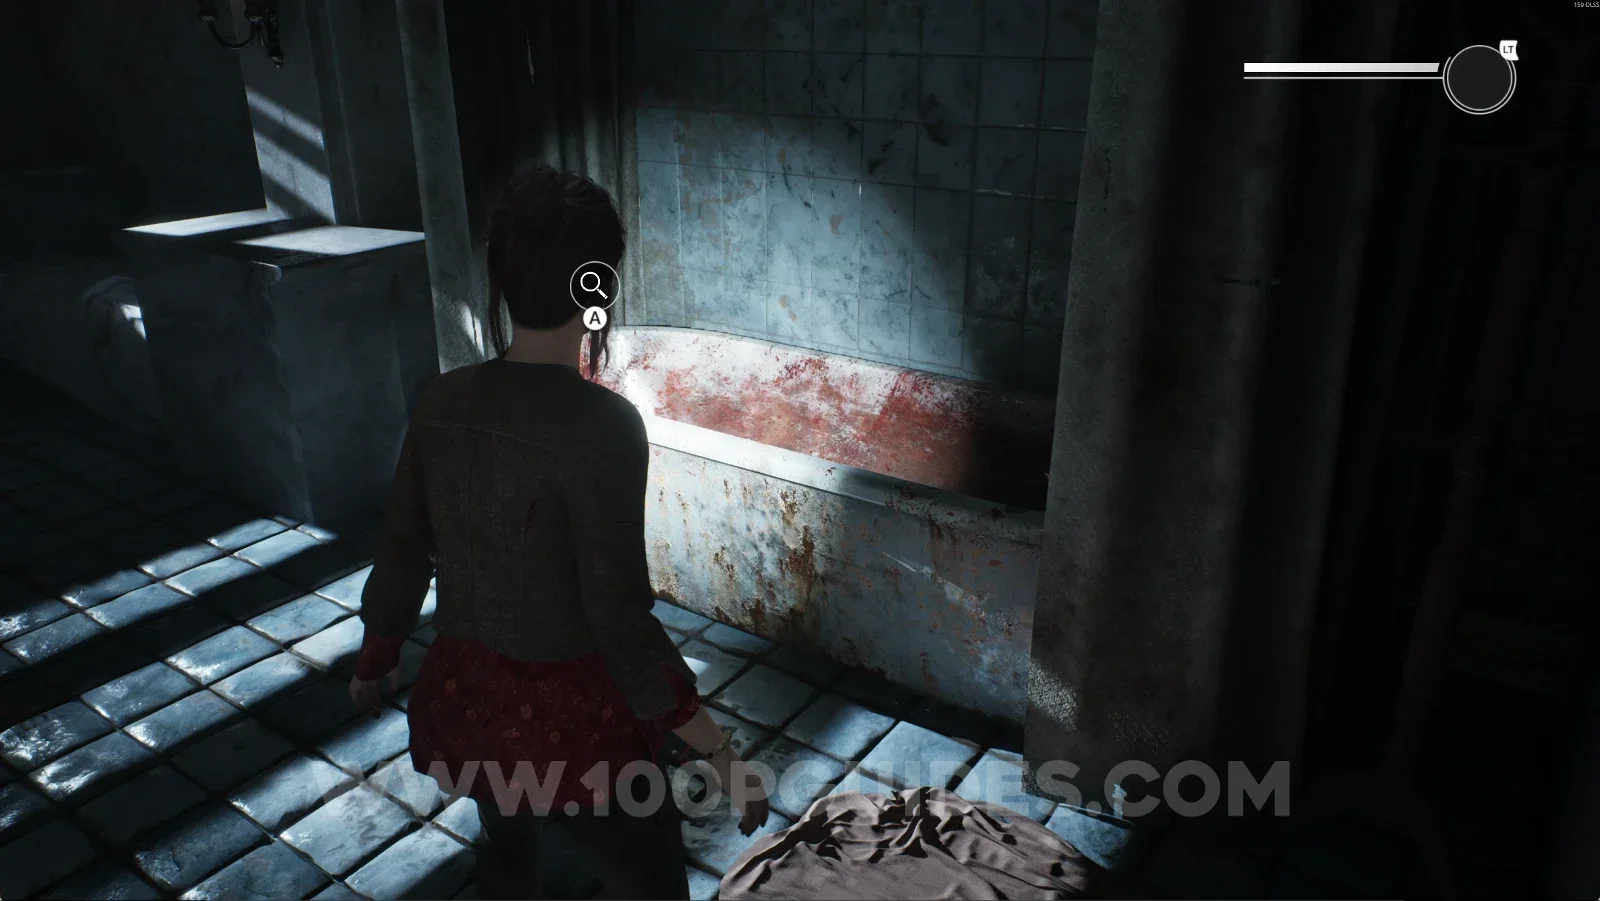
After getting your power, go back to the starting area of the game where you interacted with the bathtub. This room is next to the Sala delle Meraviglie. Interact with the bathtub again to get this.

Remothered: Red Nuns Legacy: the bathtub room from the start, next to the Sala delle Meraviglie Remothered: Red Nuns Legacy: interacting with the bathtub again after getting the power Remothered: Red Nuns Legacy Noble Wing #10: the Damp Page collectible from the bathtub

Noble Wing #11: To Be Someone Else + Retrocognition #5

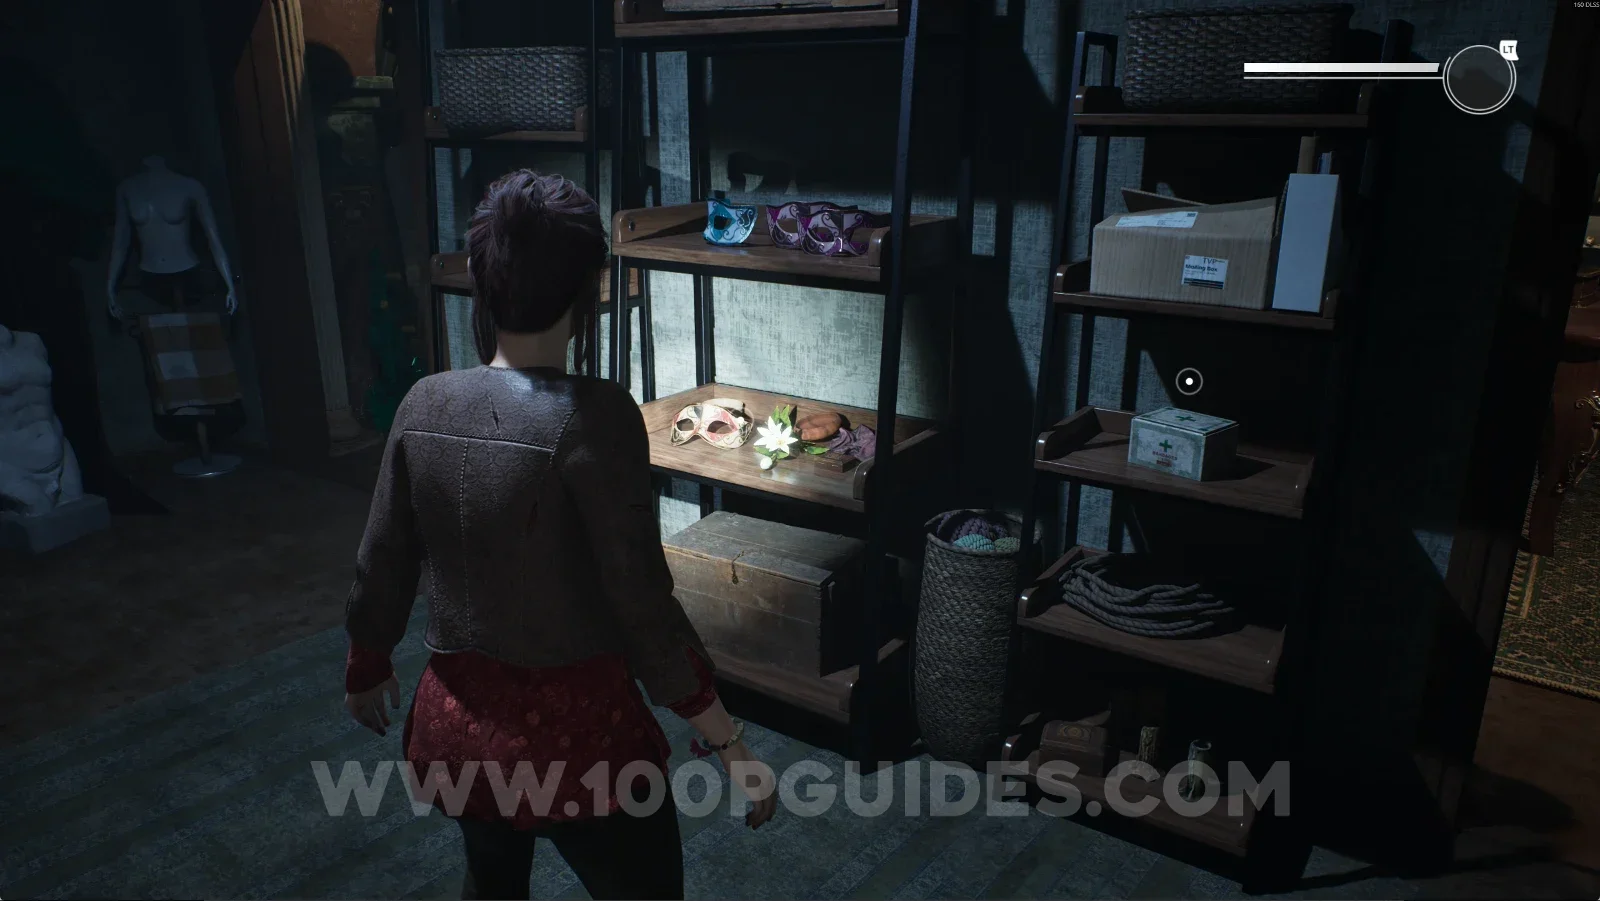
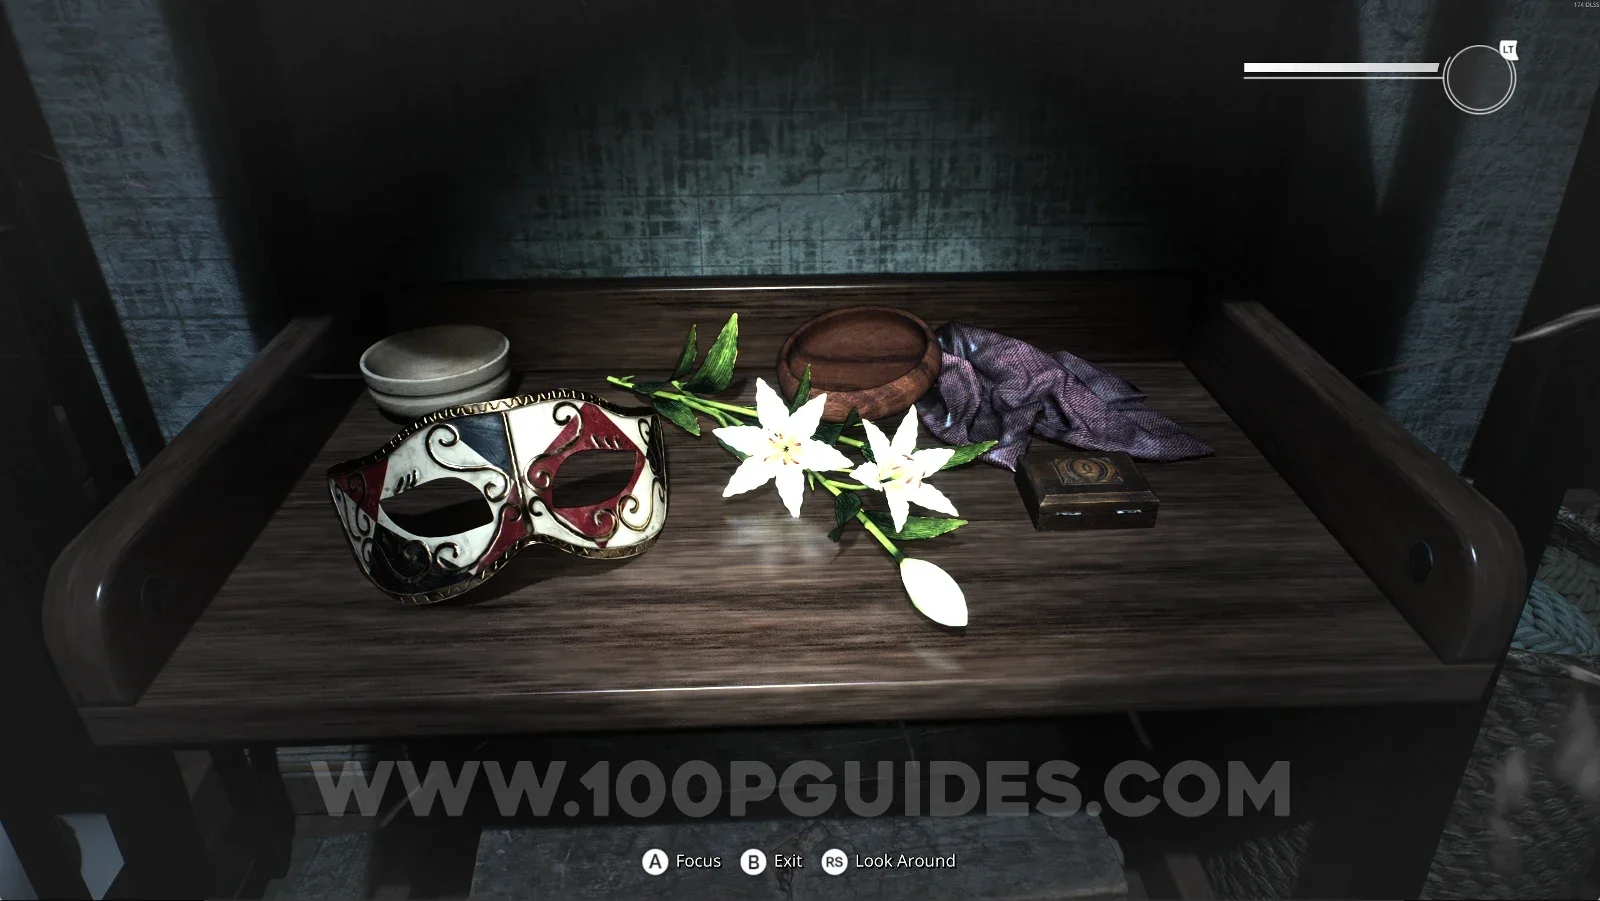
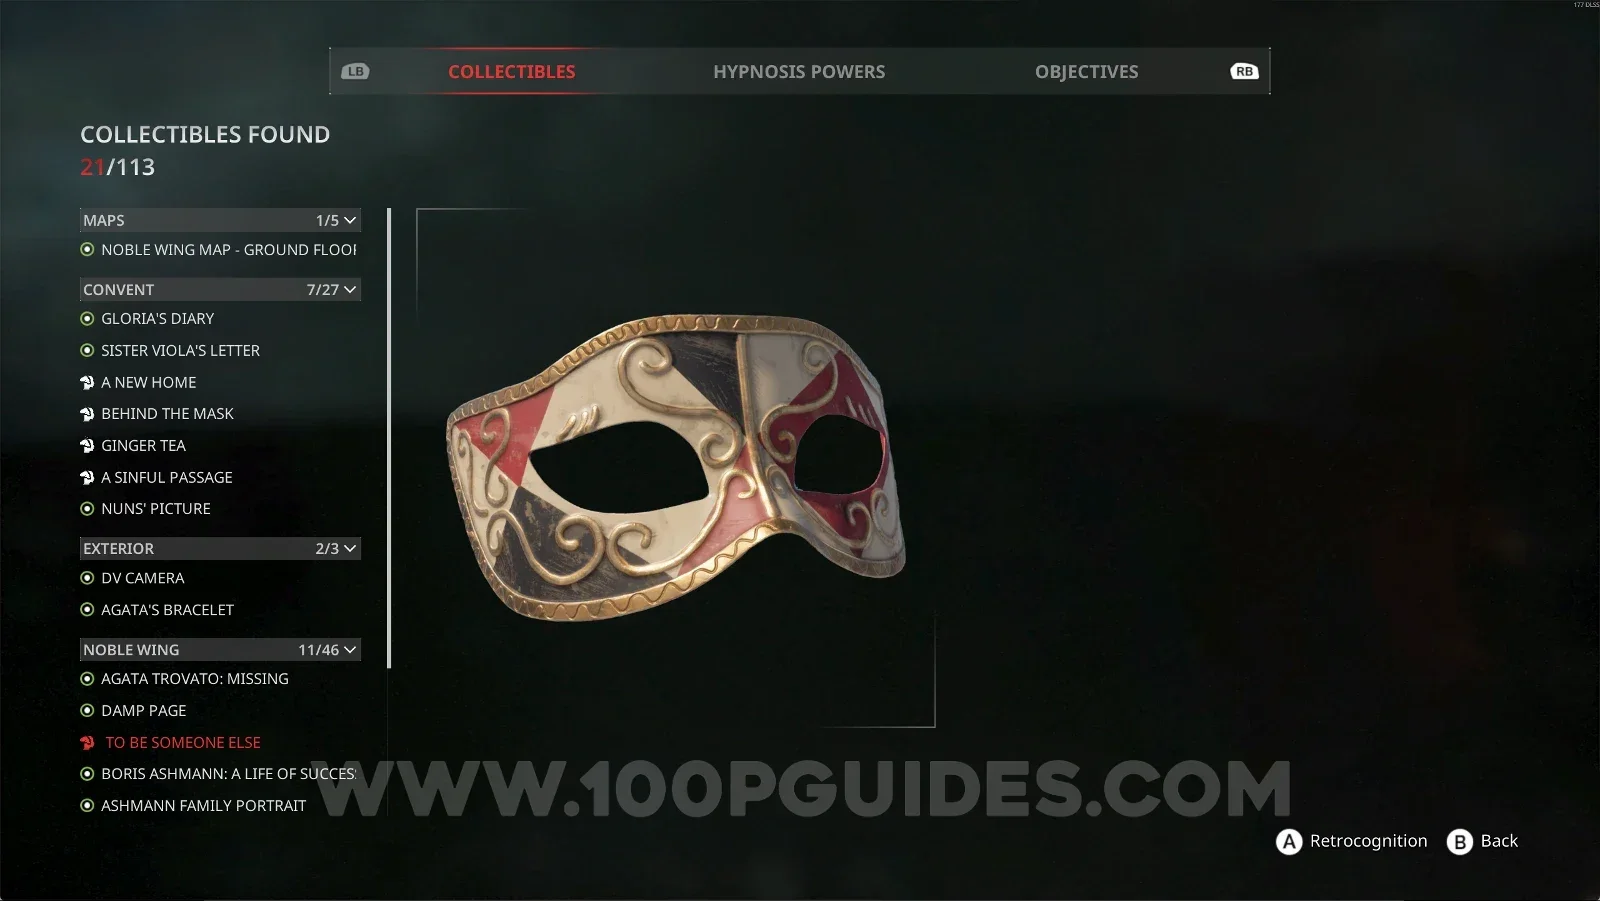
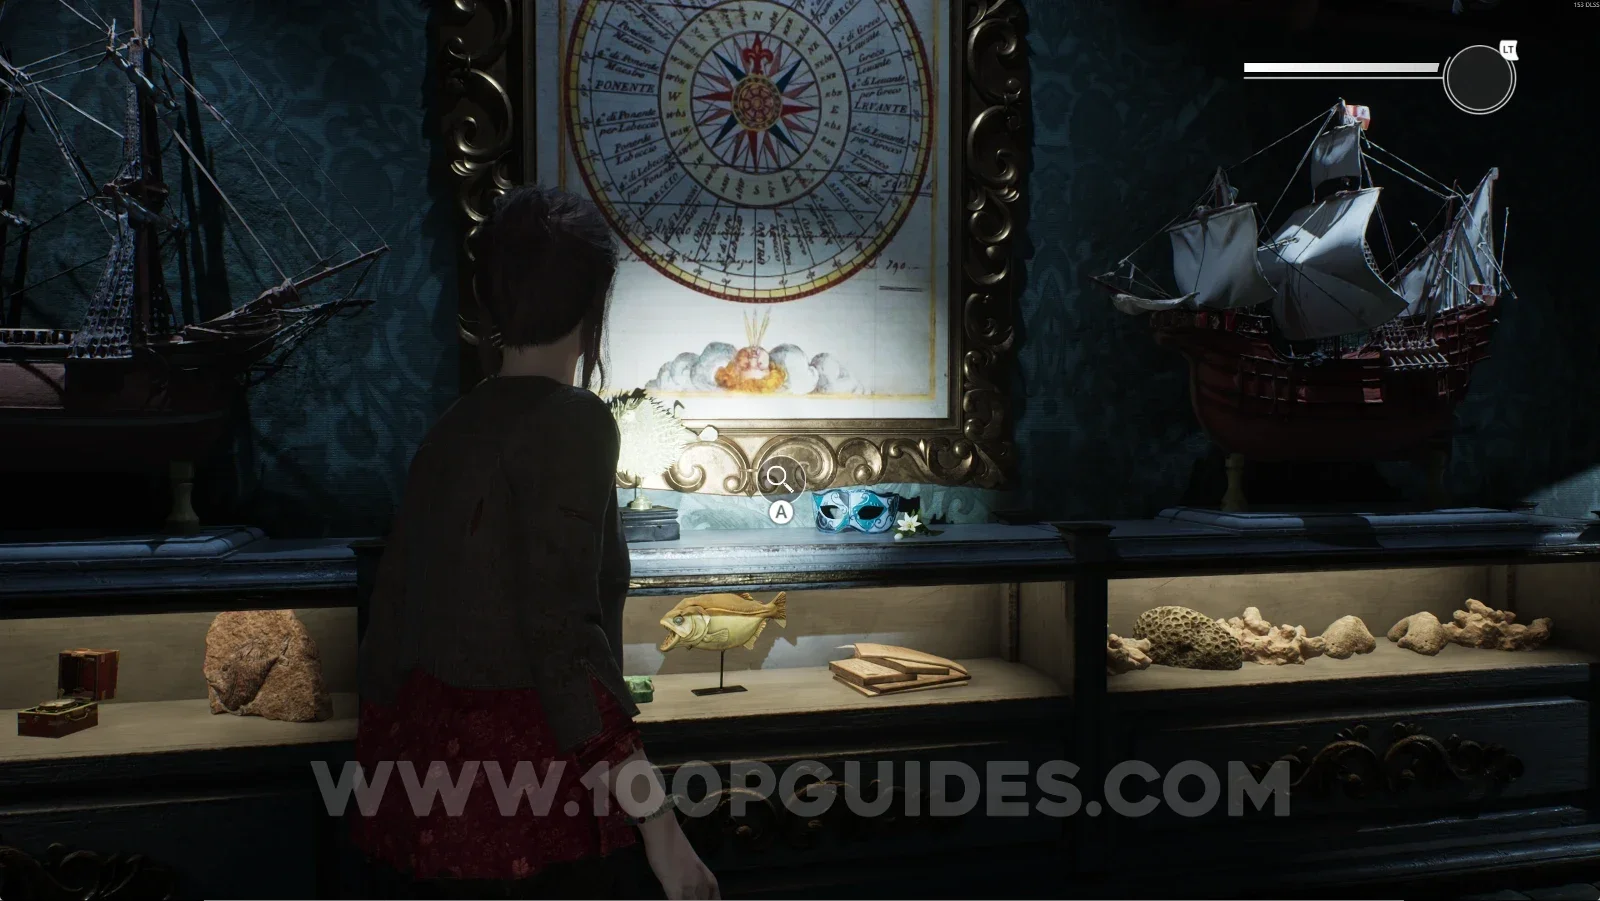
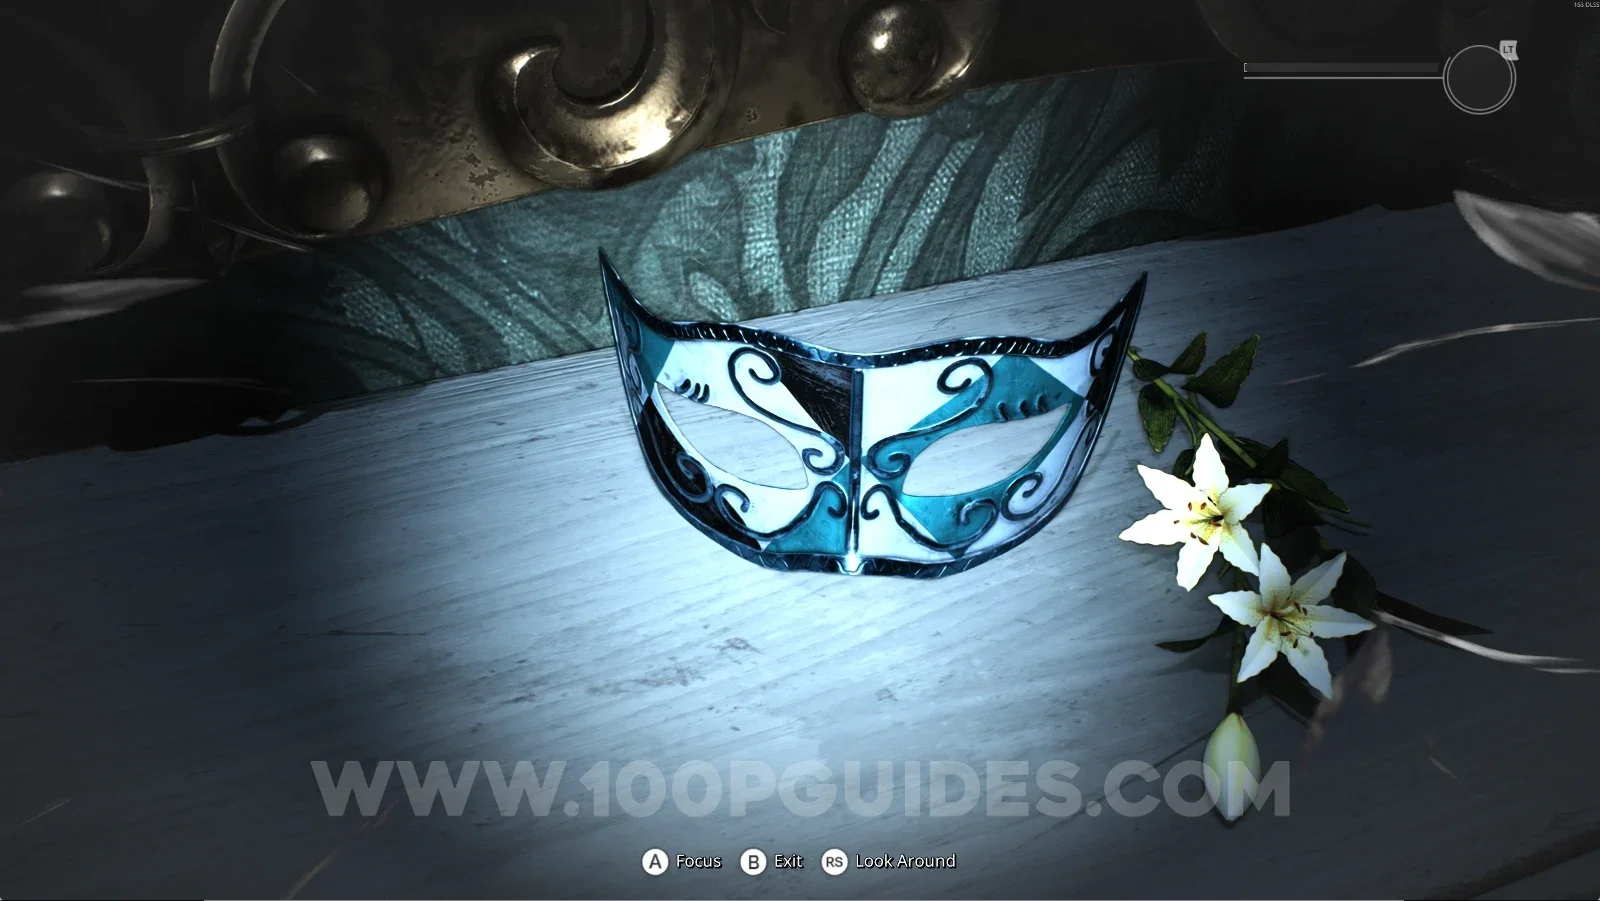
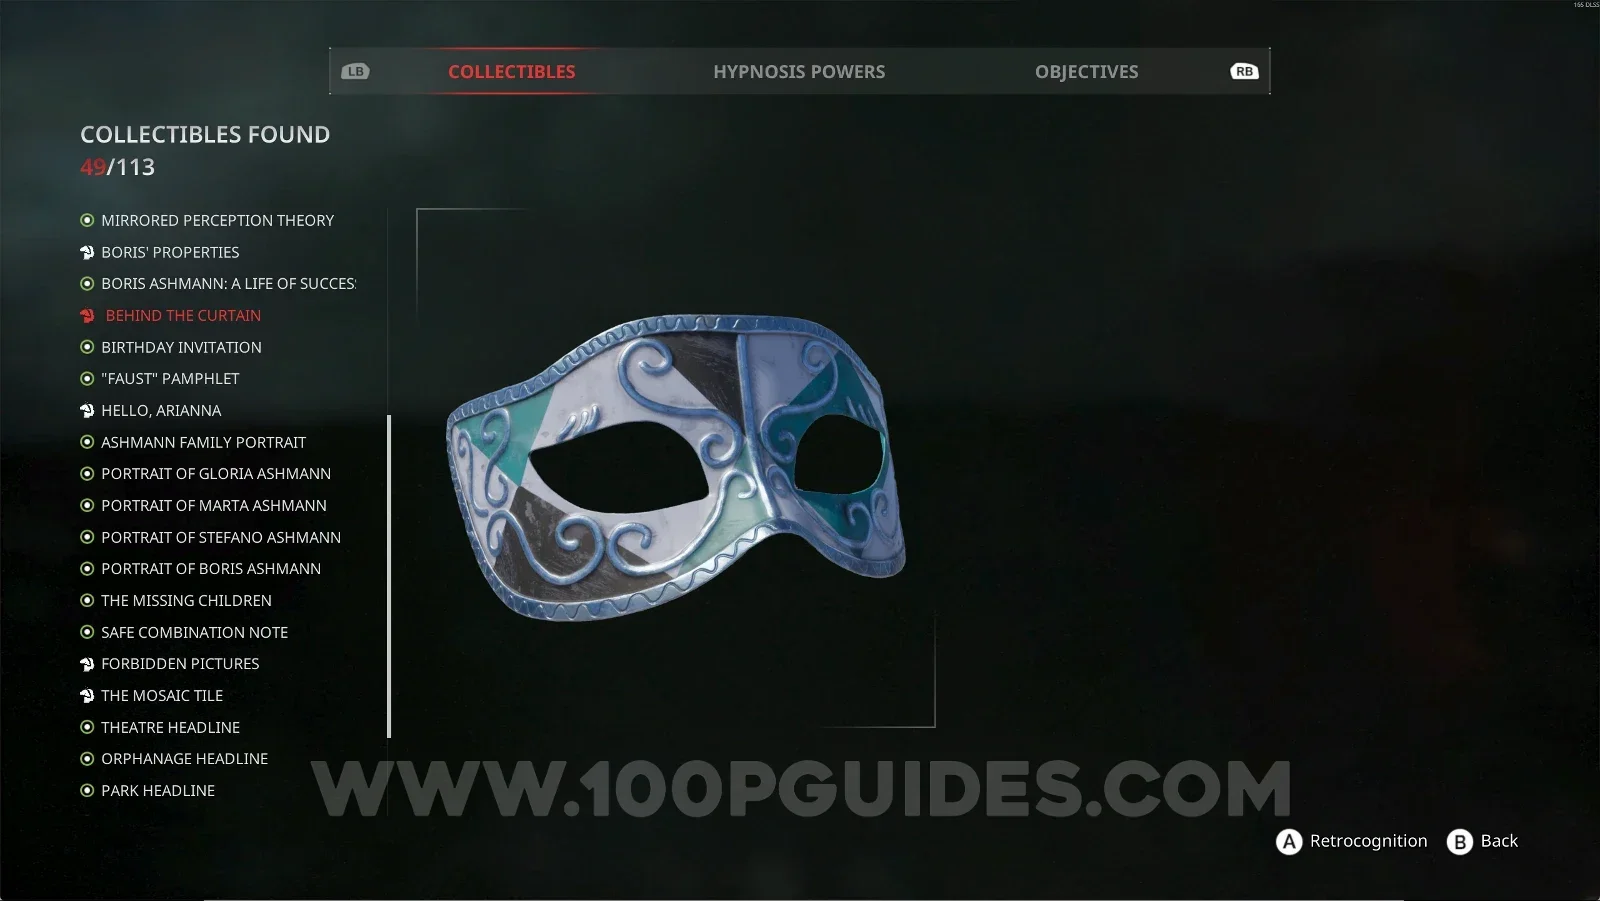
In the back of the Sala delle Meraviglie, on top of a shelf. Use your power on the mask.

Remothered: Red Nuns Legacy Sala delle Meraviglie: the shelf at the back of the room Remothered: Red Nuns Legacy: using the power on the mask on the shelf for Retrocognition #5 Remothered: Red Nuns Legacy Noble Wing #11: To Be Someone Else collectible

Noble Wing #12: Boris' Properties + Retrocognition #6

Same area as before, still inside the Sala delle Meraviglie. Interact with the vanity where you previously interacted with the blue book to get a key. Now you can use your power on the item next to it.

Remothered: Red Nuns Legacy Sala delle Meraviglie: the vanity where the blue book was Remothered: Red Nuns Legacy: using the power on the item next to the vanity for Retrocognition #6 Remothered: Red Nuns Legacy Noble Wing #12: Boris' Properties collectible

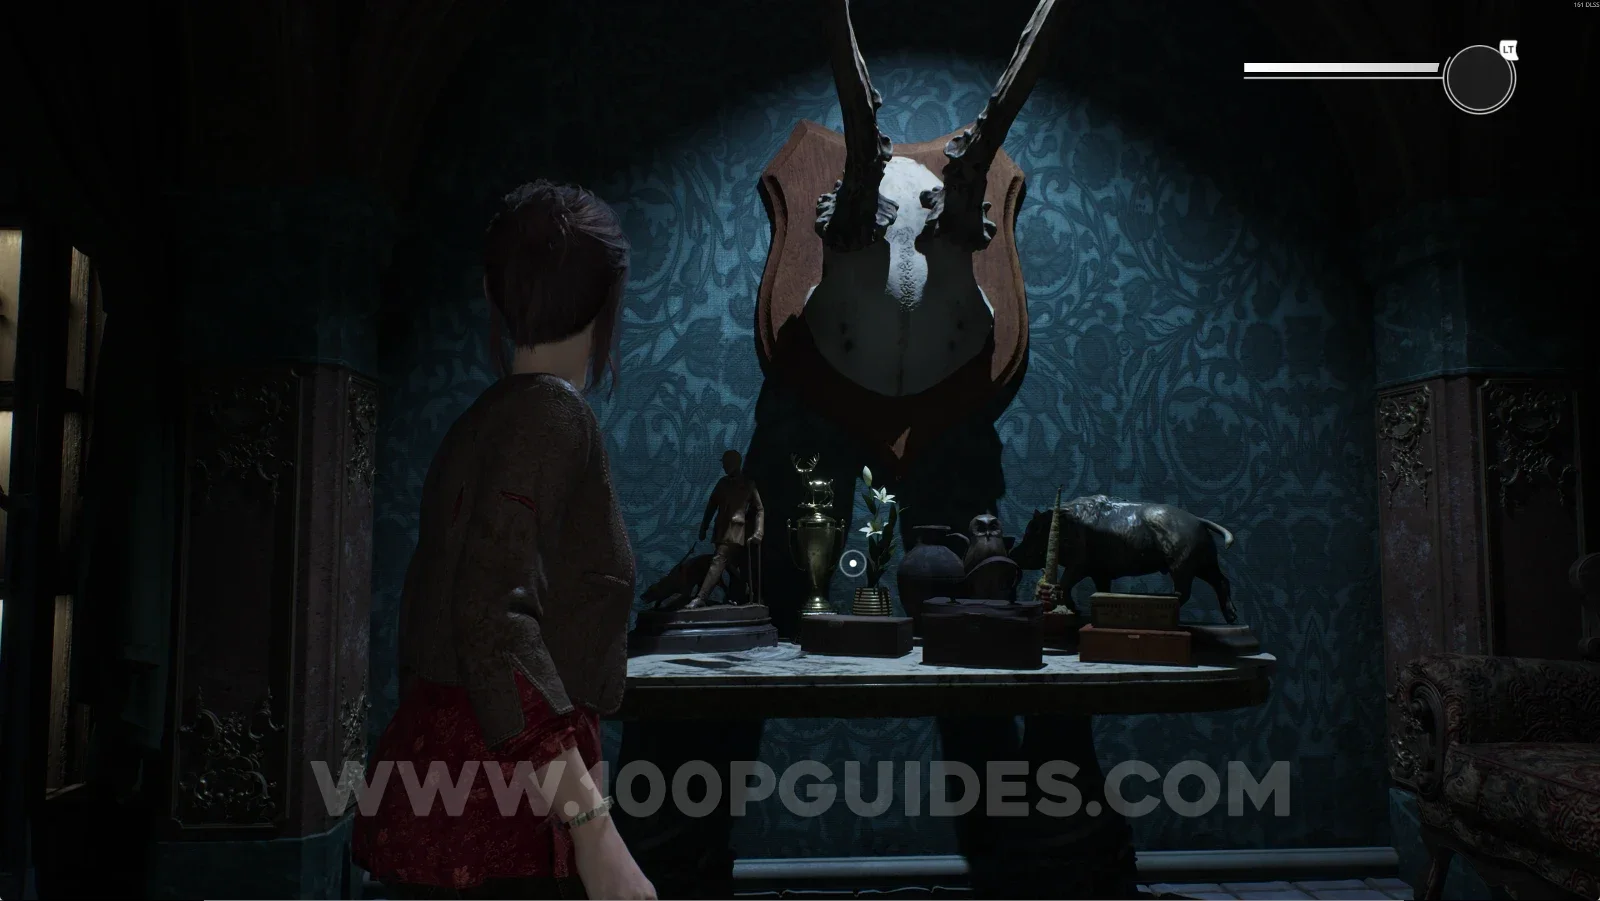
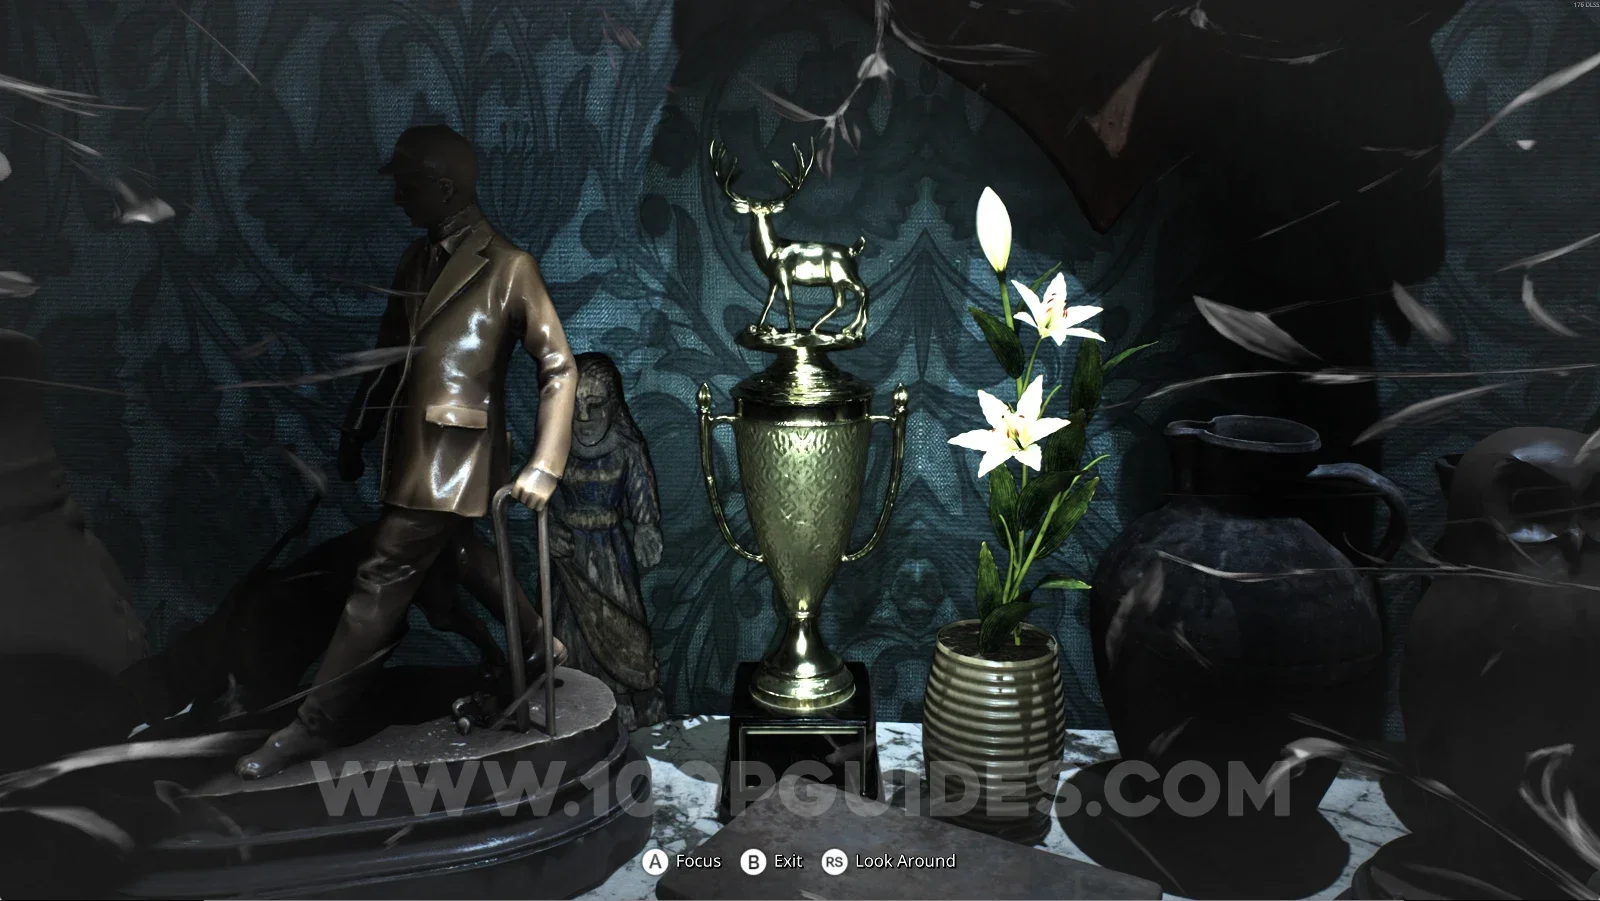
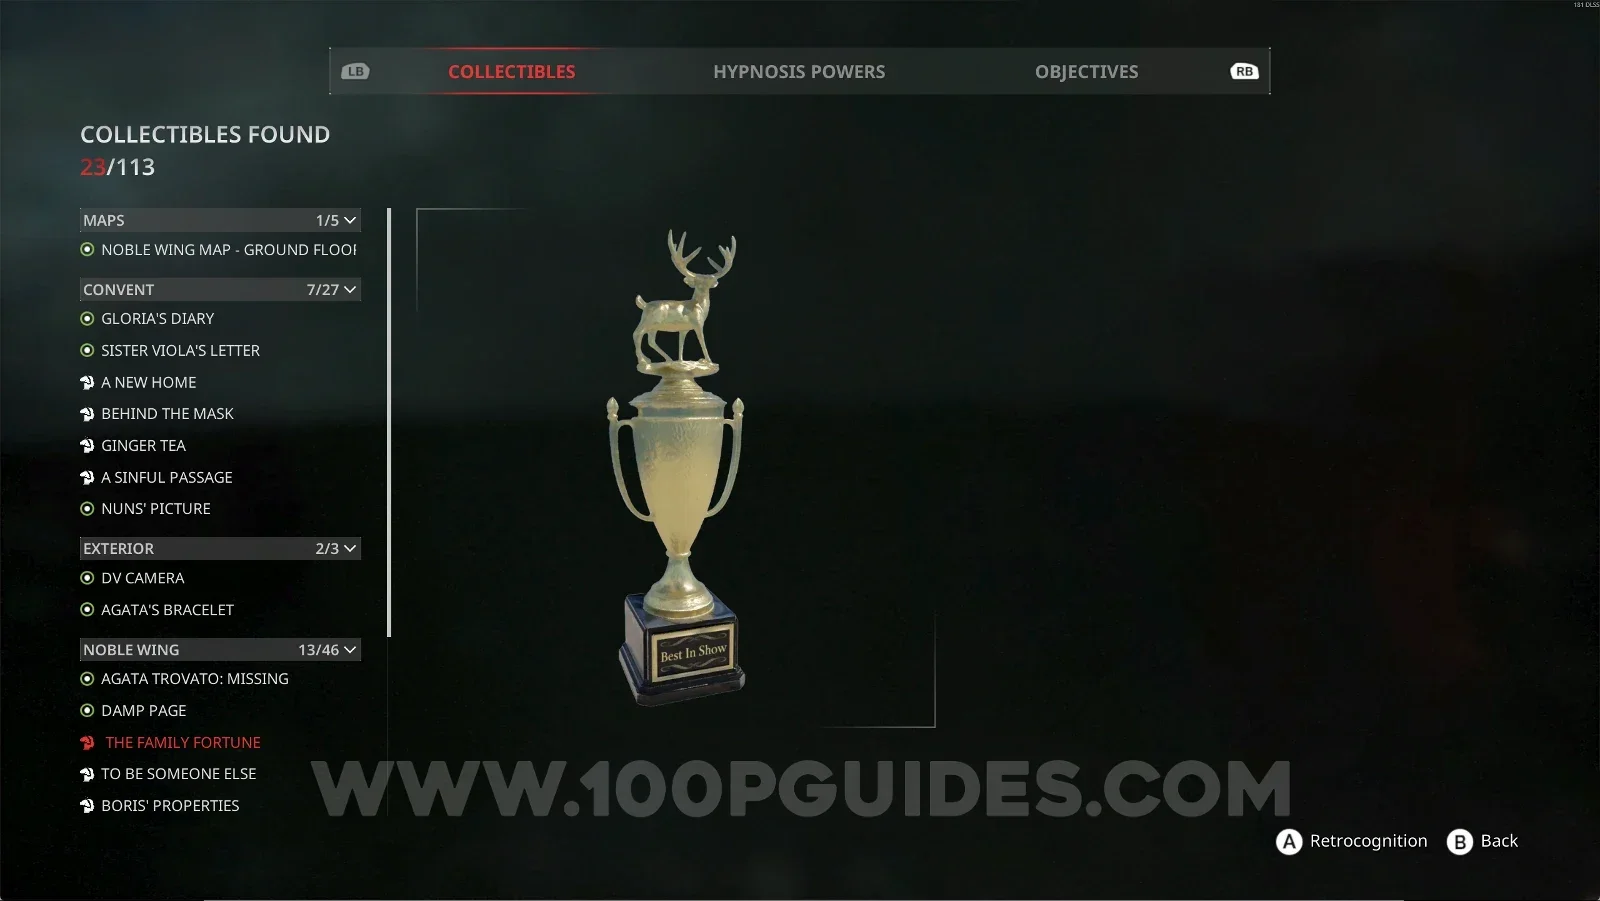
Noble Wing #13: The Family Fortune + Retrocognition #7

Same area as before, below some antlers on the wall.

Remothered: Red Nuns Legacy Sala delle Meraviglie: the spot below the antlers on the wall Remothered: Red Nuns Legacy: using the power below the antlers for Retrocognition #7 Remothered: Red Nuns Legacy Noble Wing #13: The Family Fortune collectible

Noble Wing #14: Hello, Arianna + Retrocognition #8

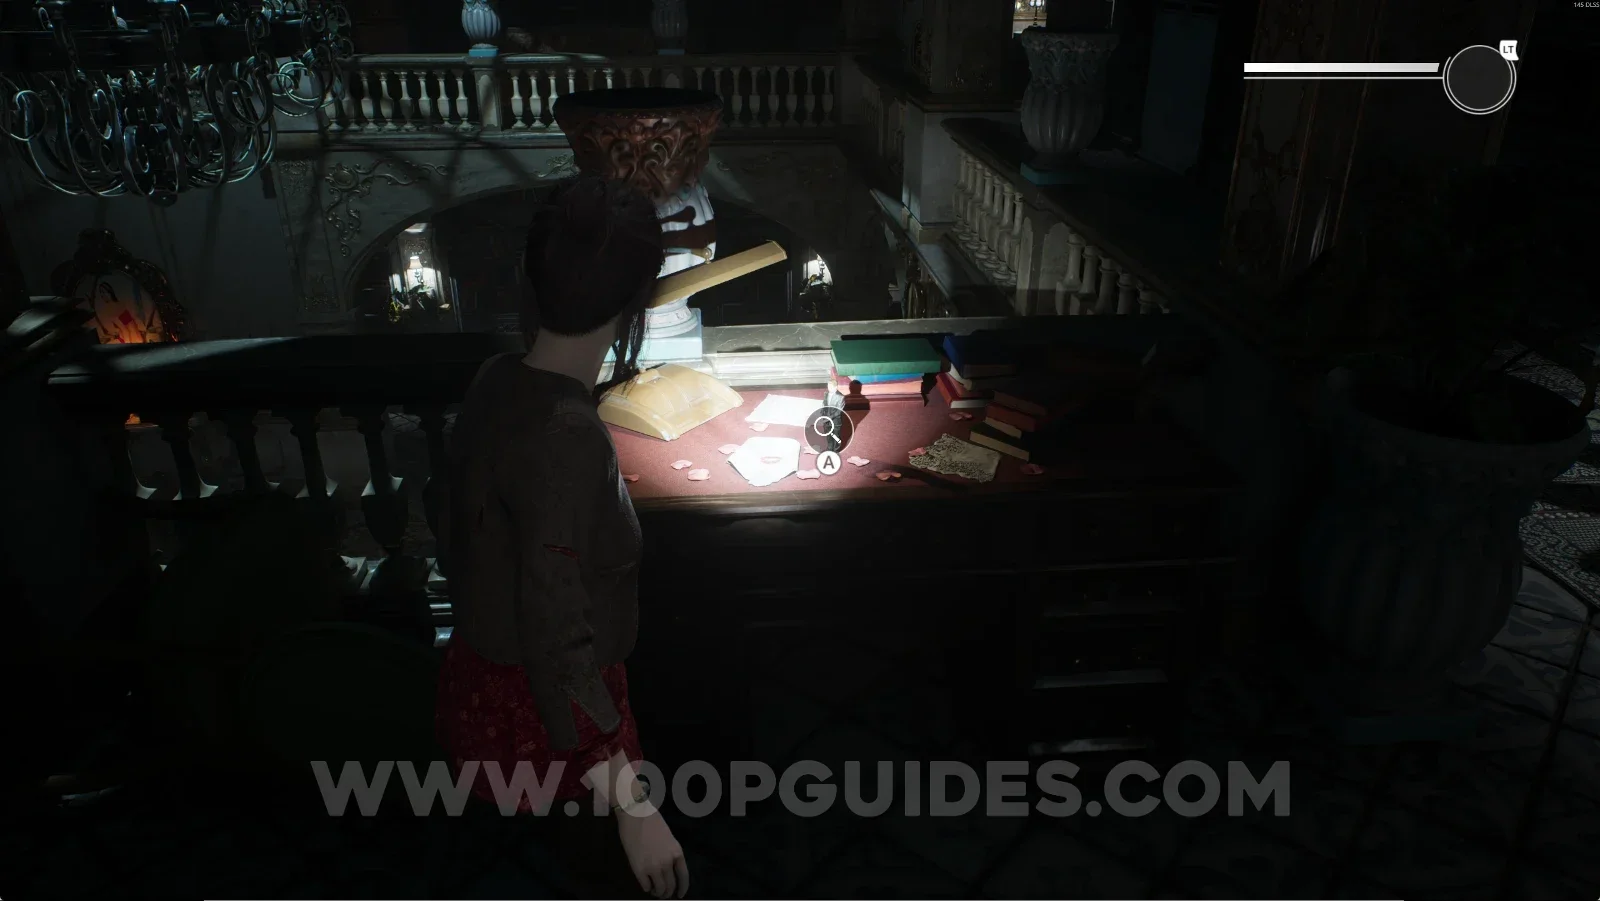
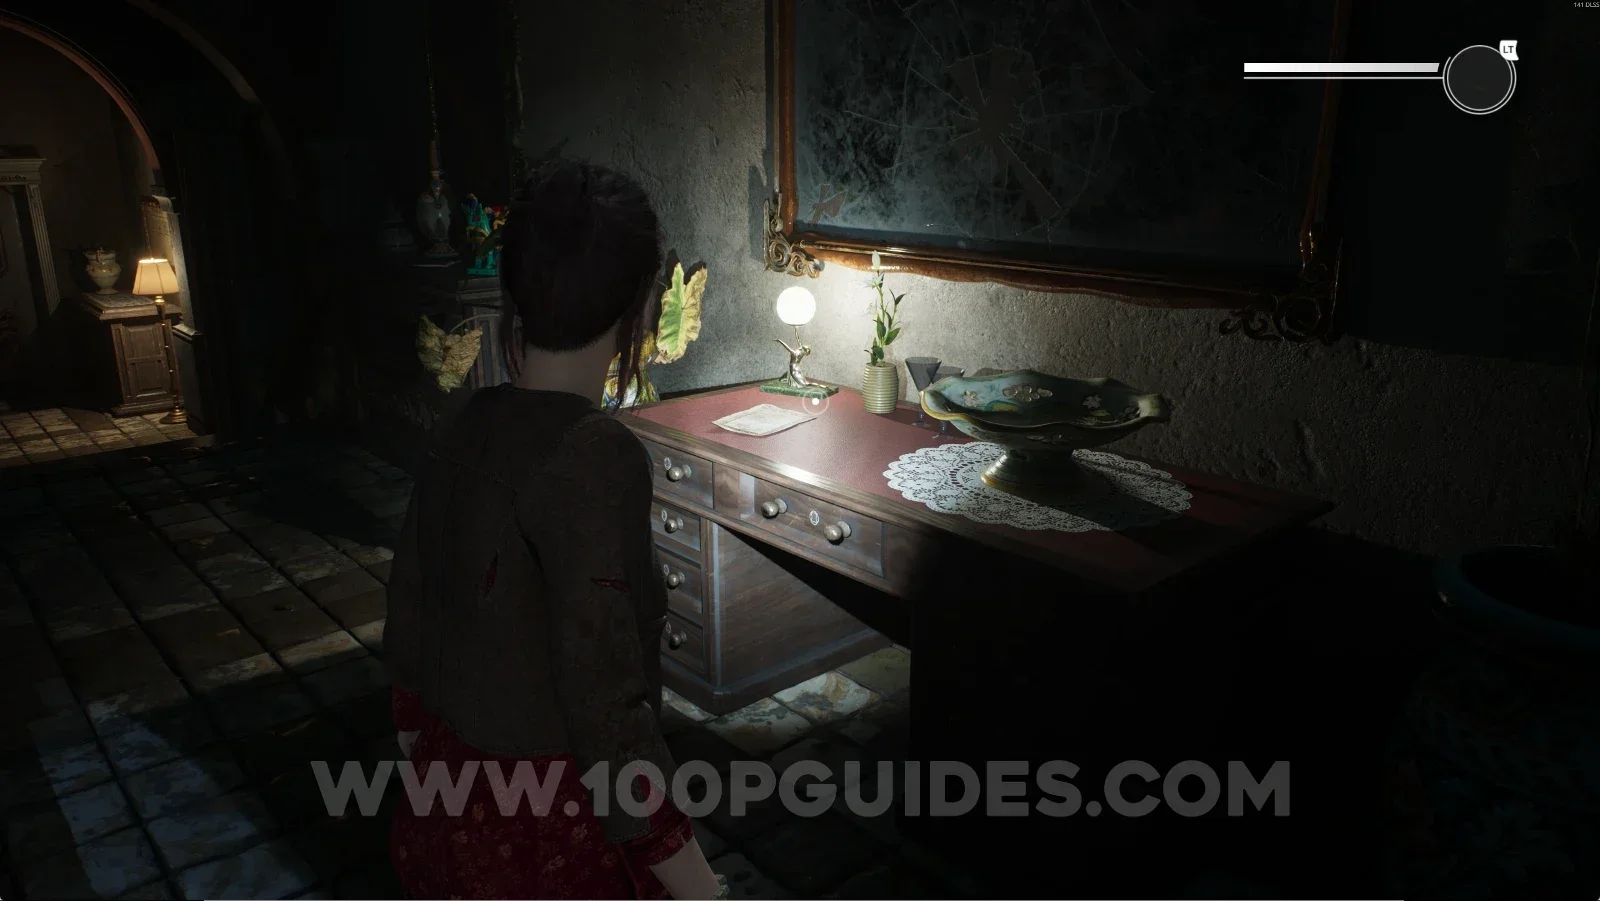
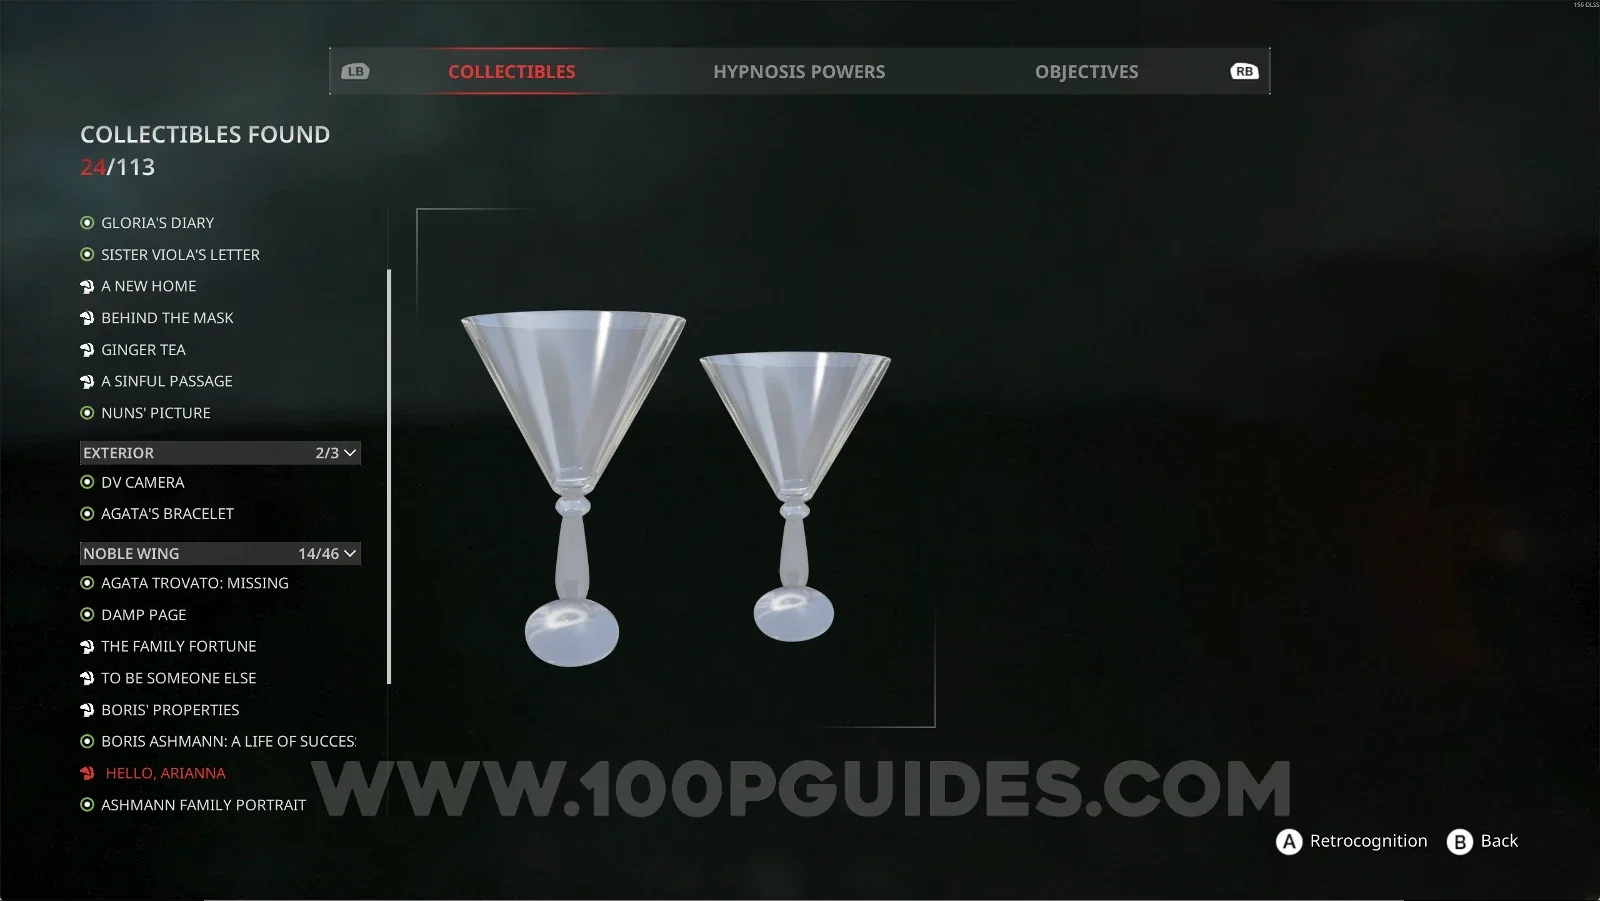
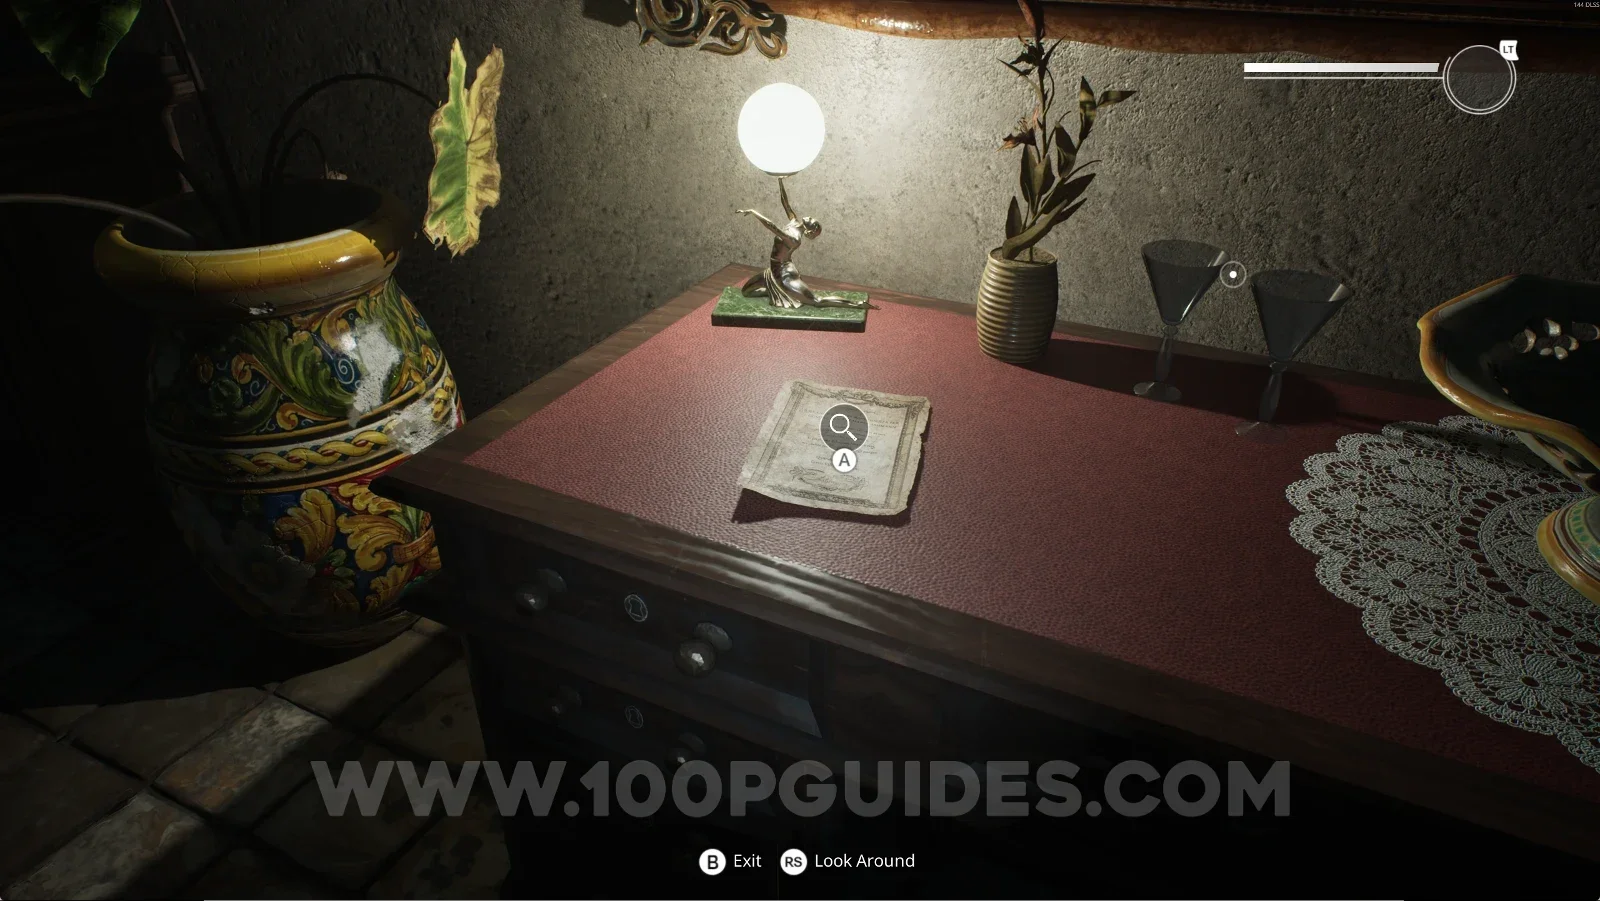
From the Reception Hall, go up to the second floor of the area. You'll see a table with a broken glass. Interact with it, and you can use your power to get this.

Remothered: Red Nuns Legacy Reception Hall: going up to the second floor of the area Remothered: Red Nuns Legacy: the table with a broken glass on the second floor, Retrocognition #8 Remothered: Red Nuns Legacy Noble Wing #14: Hello, Arianna collectible

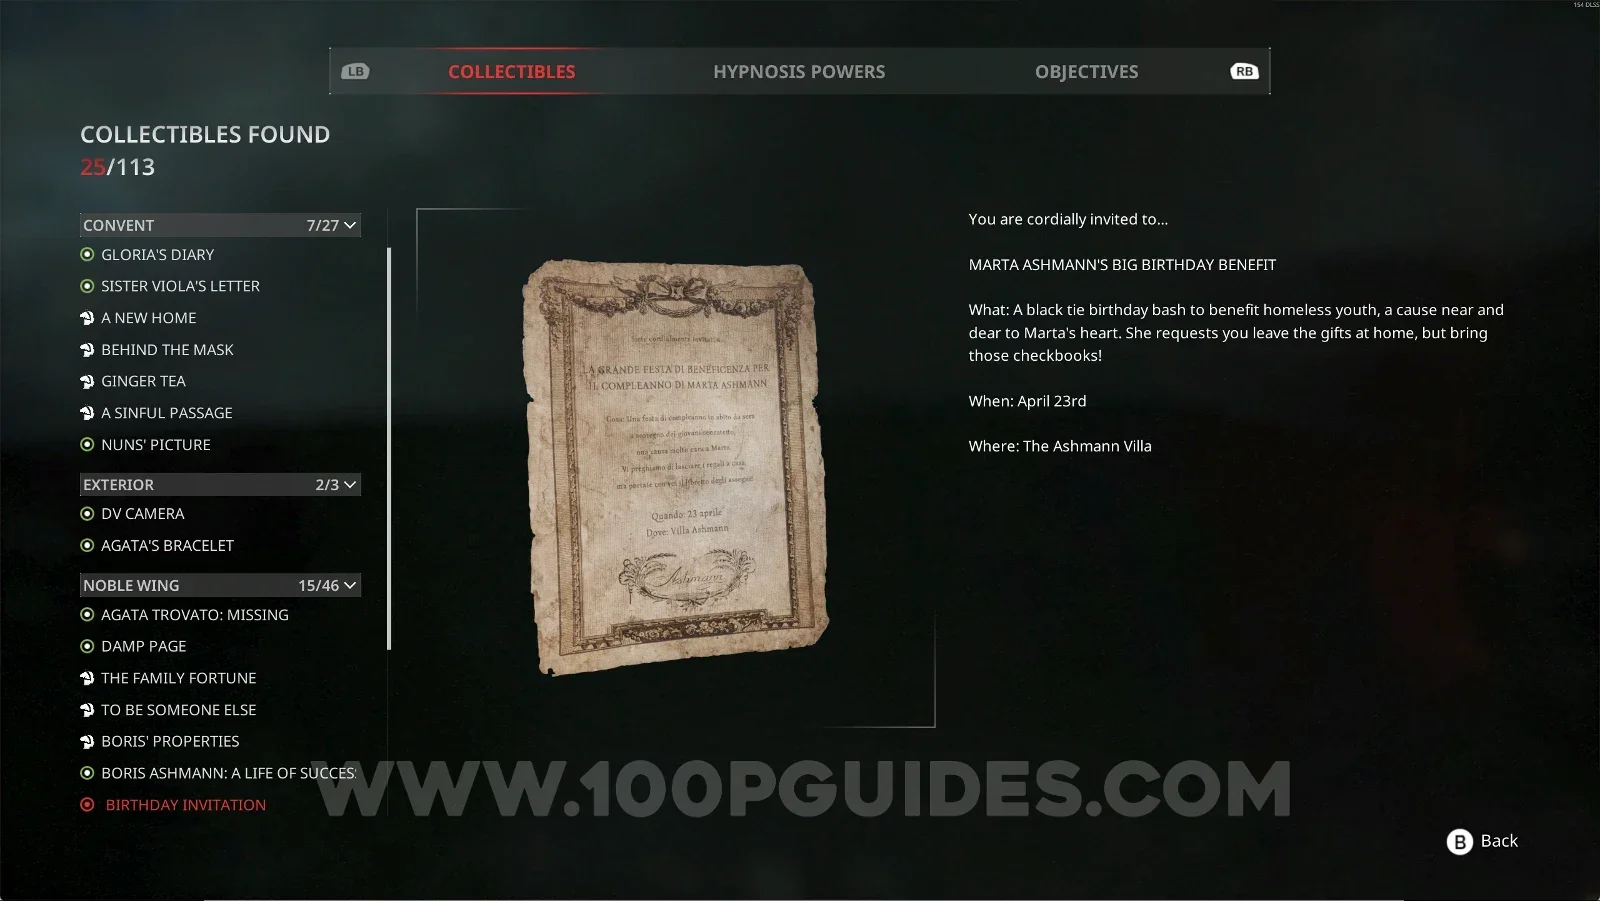
Noble Wing #15: Birthday Invitation

Next to the previous collectible, interact with the letter.

Remothered: Red Nuns Legacy: the letter next to the broken glass table on the second floor Remothered: Red Nuns Legacy Noble Wing #15: Birthday Invitation collectible

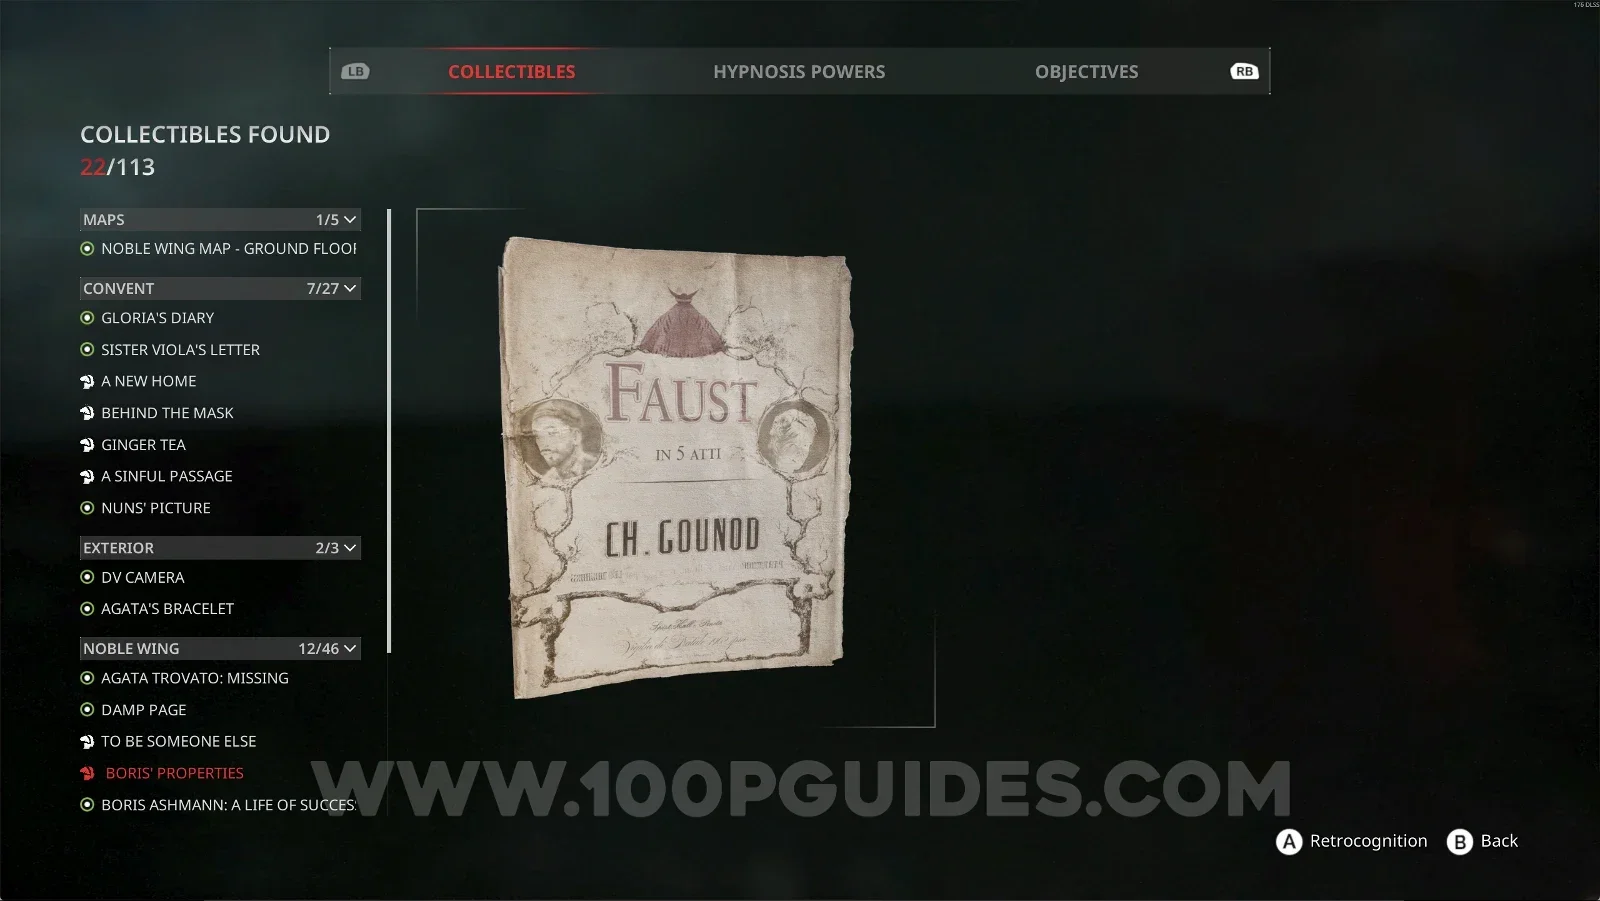
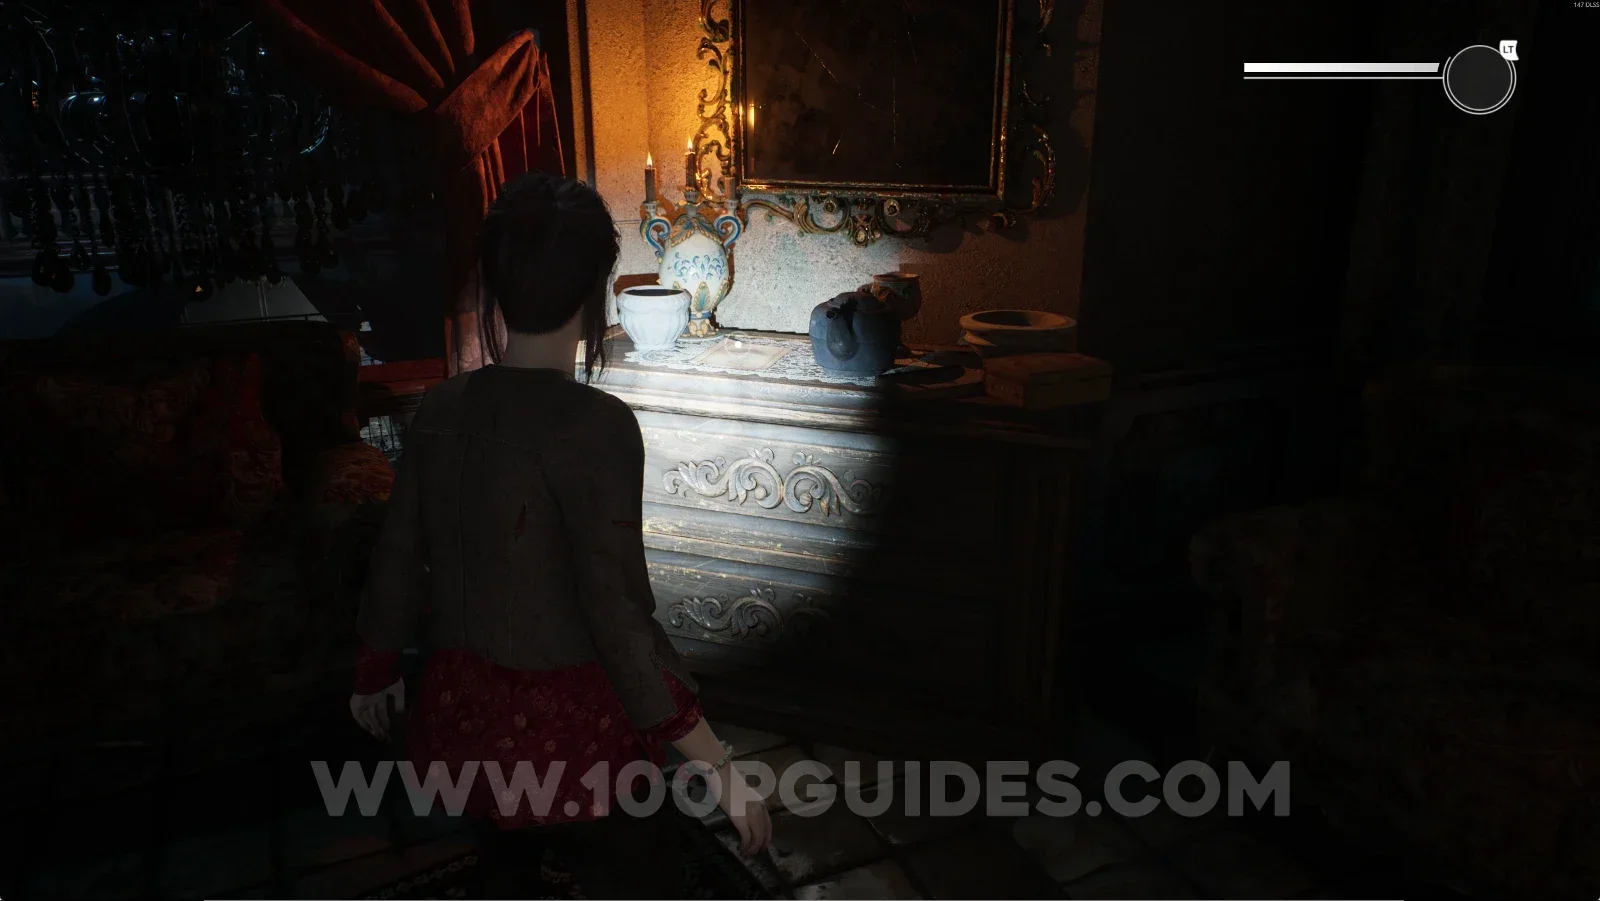
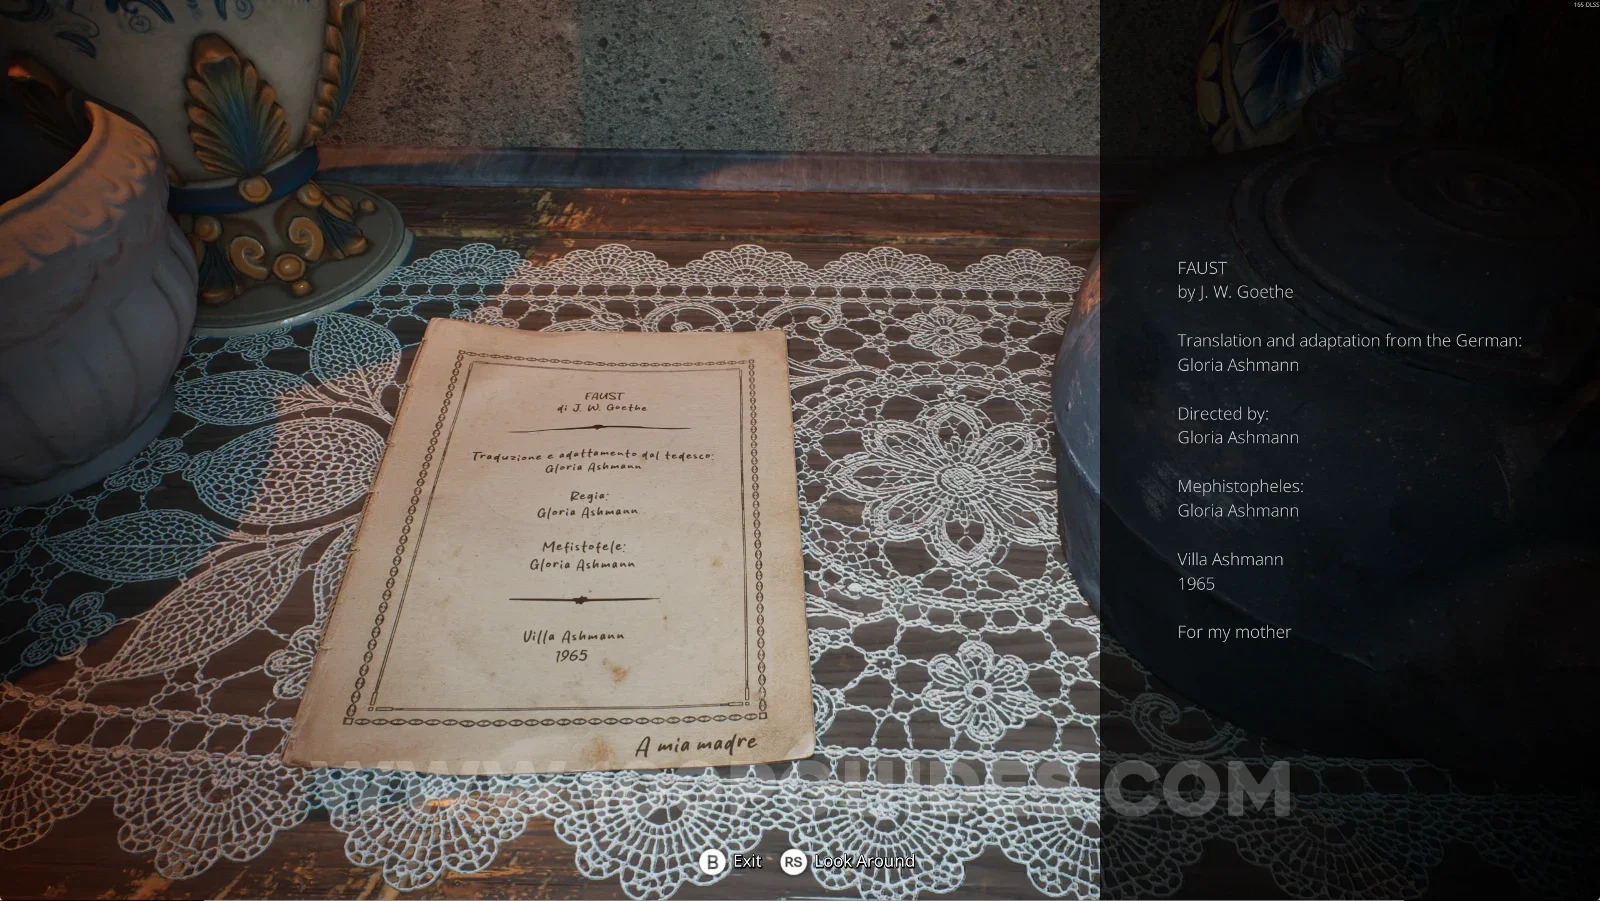
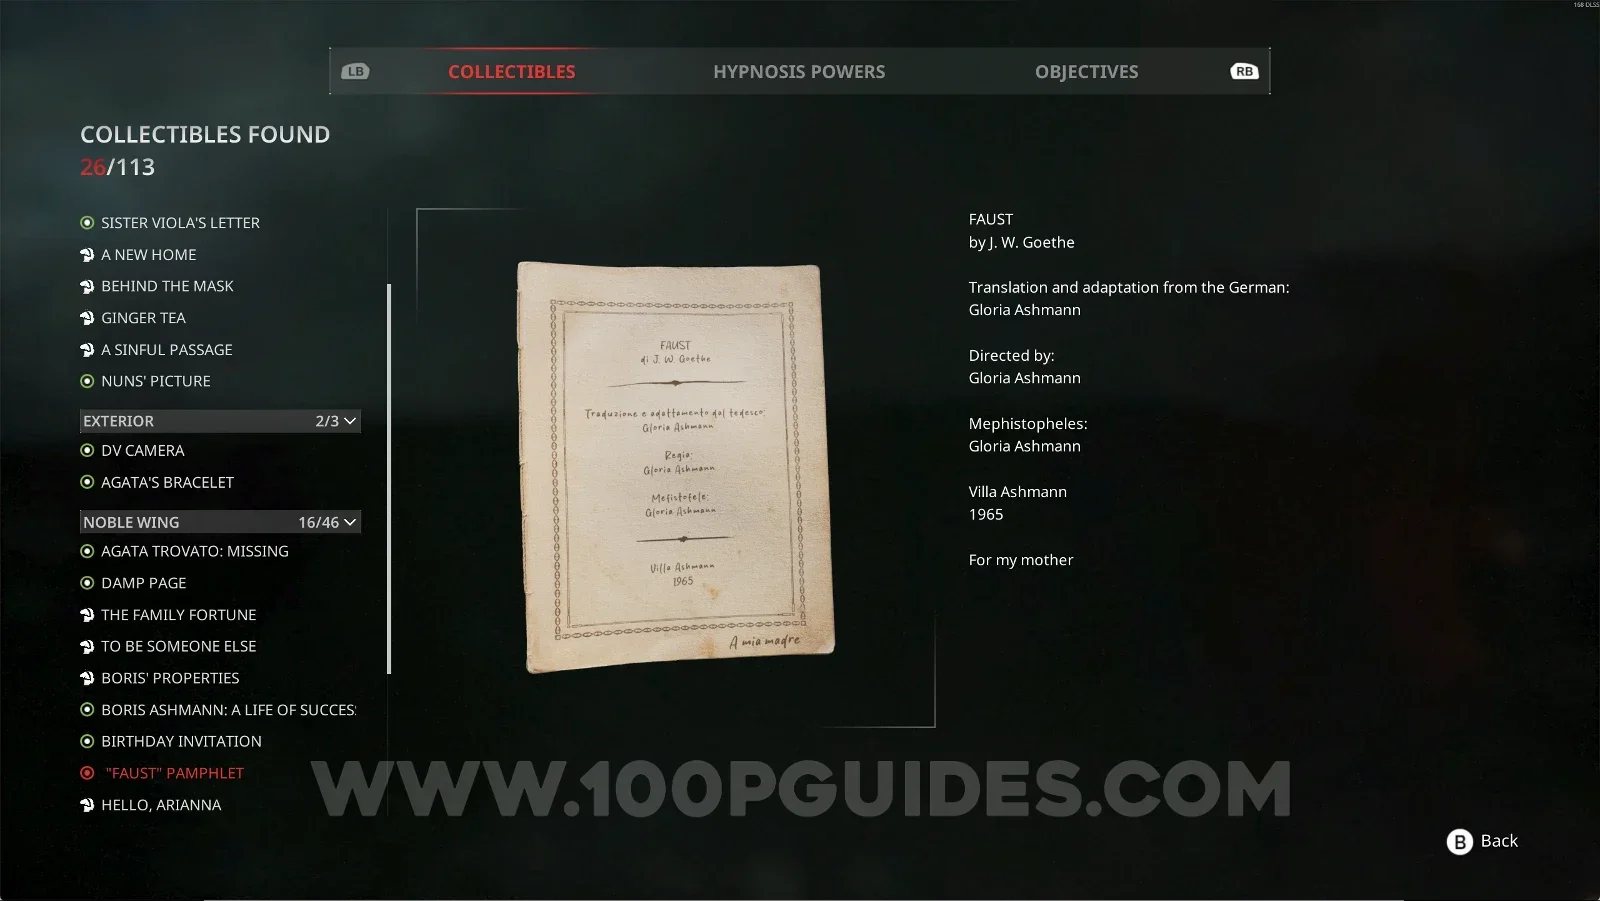
Noble Wing #16: ''Faust'' Pamphlet

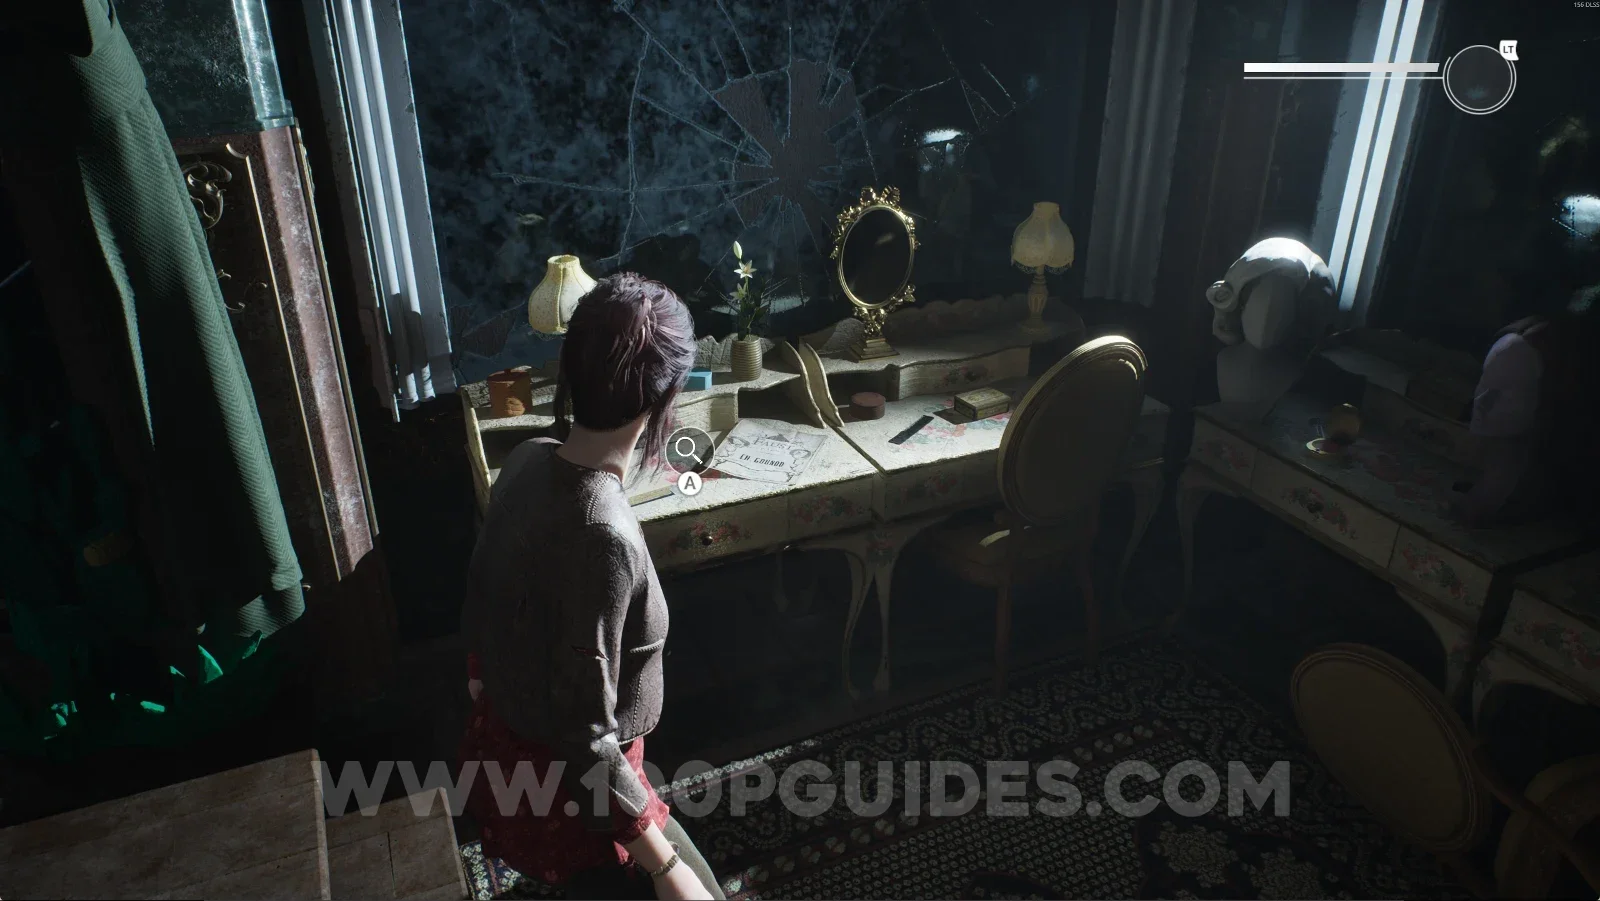
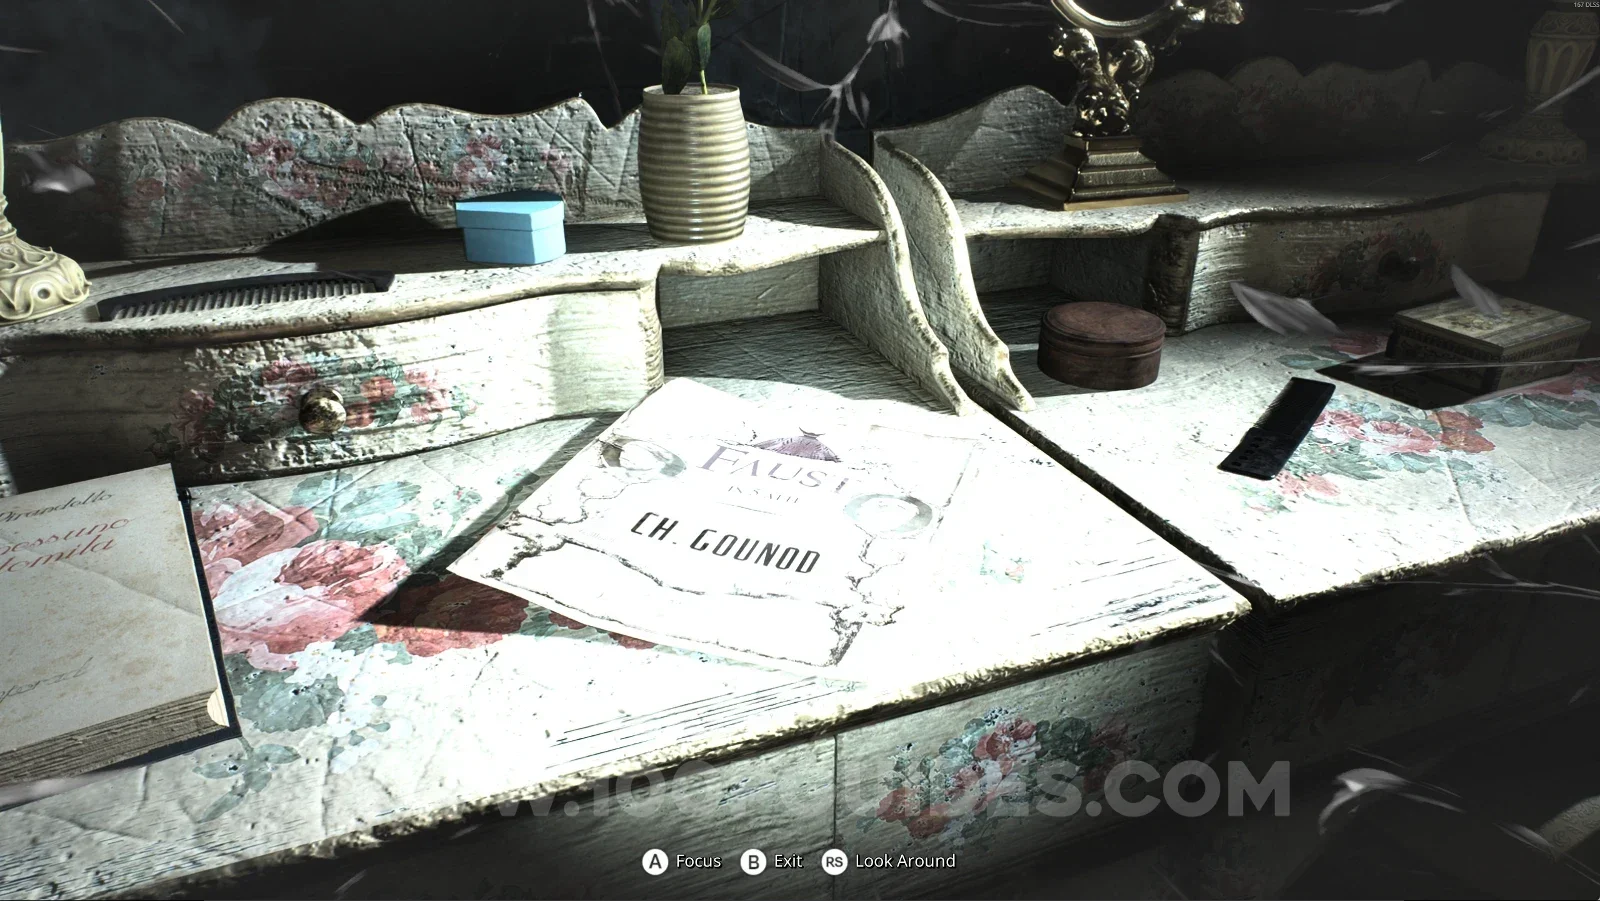
From the previous collectible, follow the second floor corridor to the end. You'll see this letter on a dresser with some benches and sofas around it.

Remothered: Red Nuns Legacy: following the second floor corridor to the end Remothered: Red Nuns Legacy: the dresser surrounded by benches and sofas holding the Faust Pamphlet Remothered: Red Nuns Legacy Noble Wing #16: Faust Pamphlet collectible

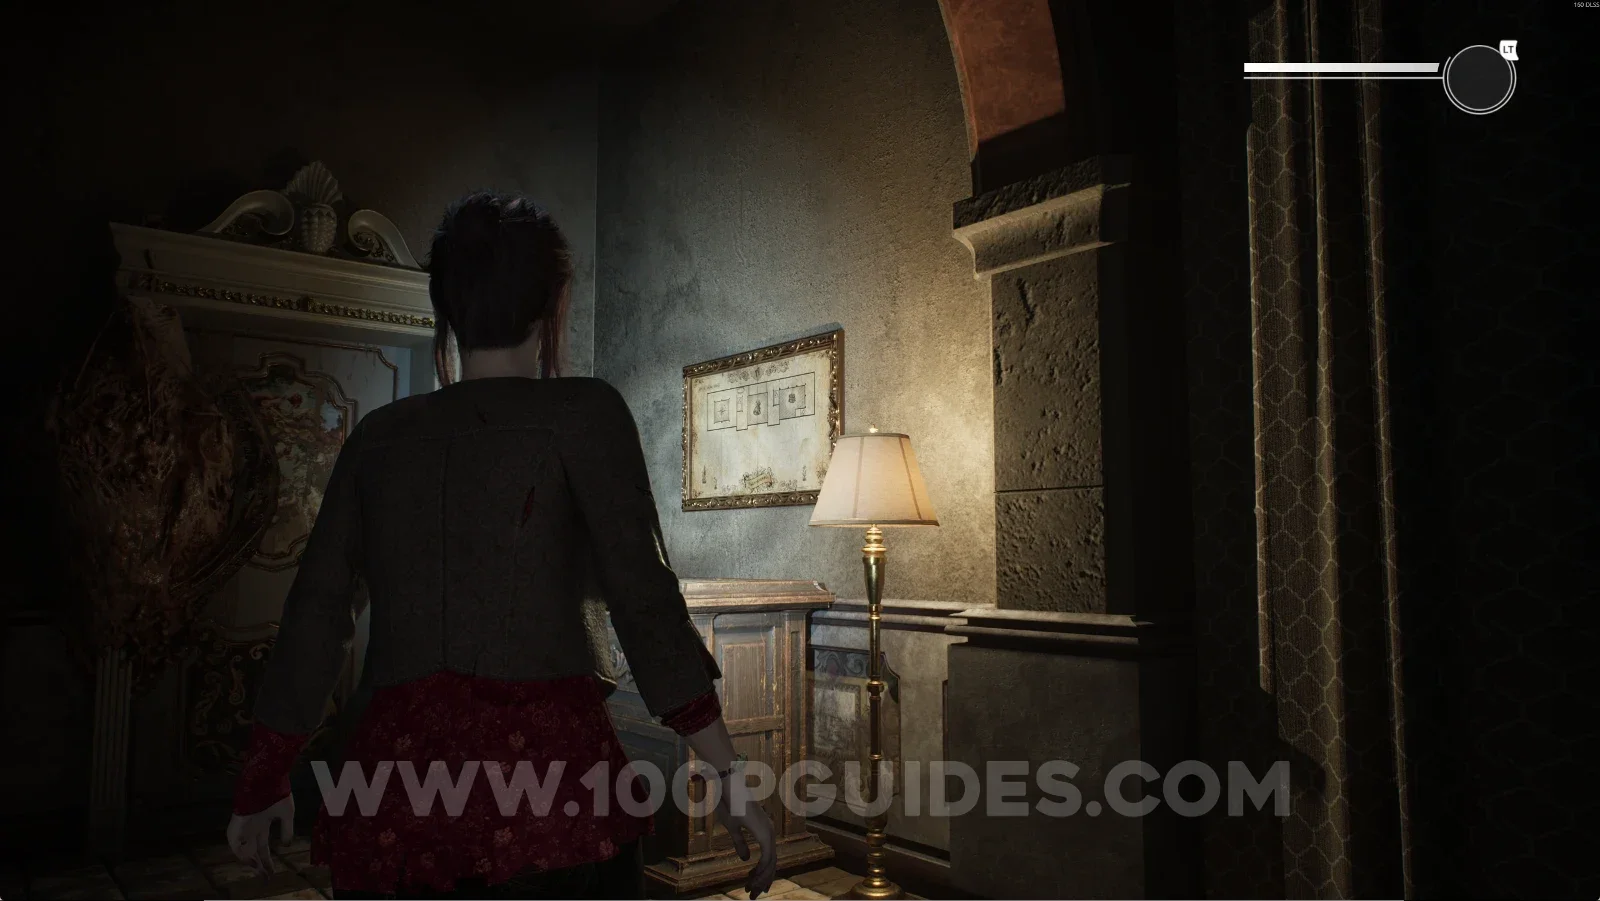
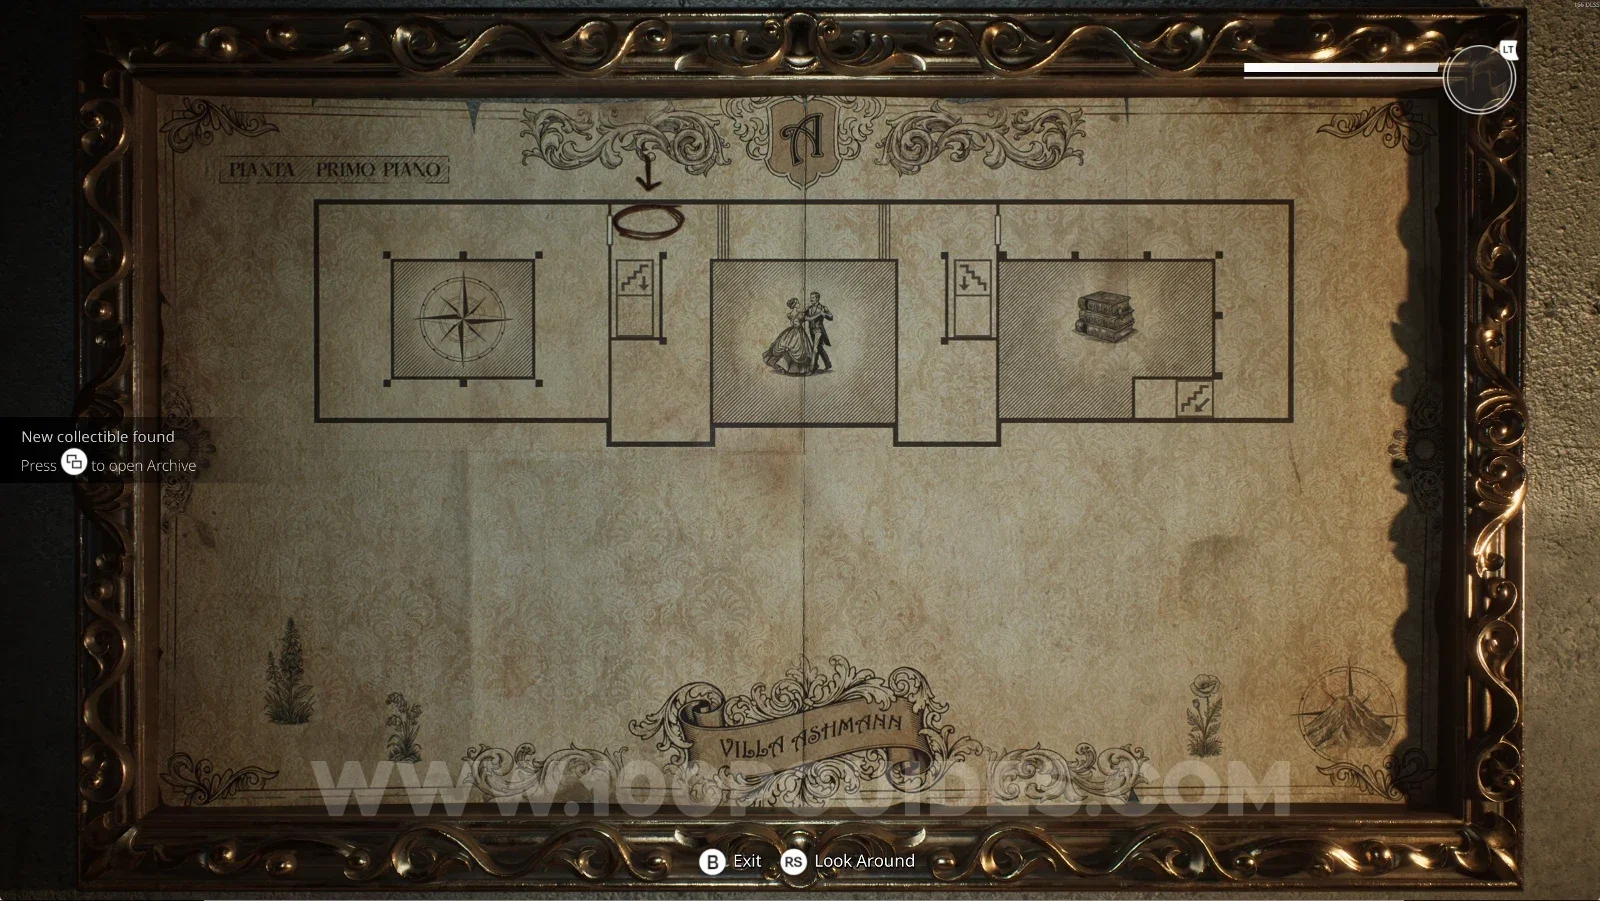
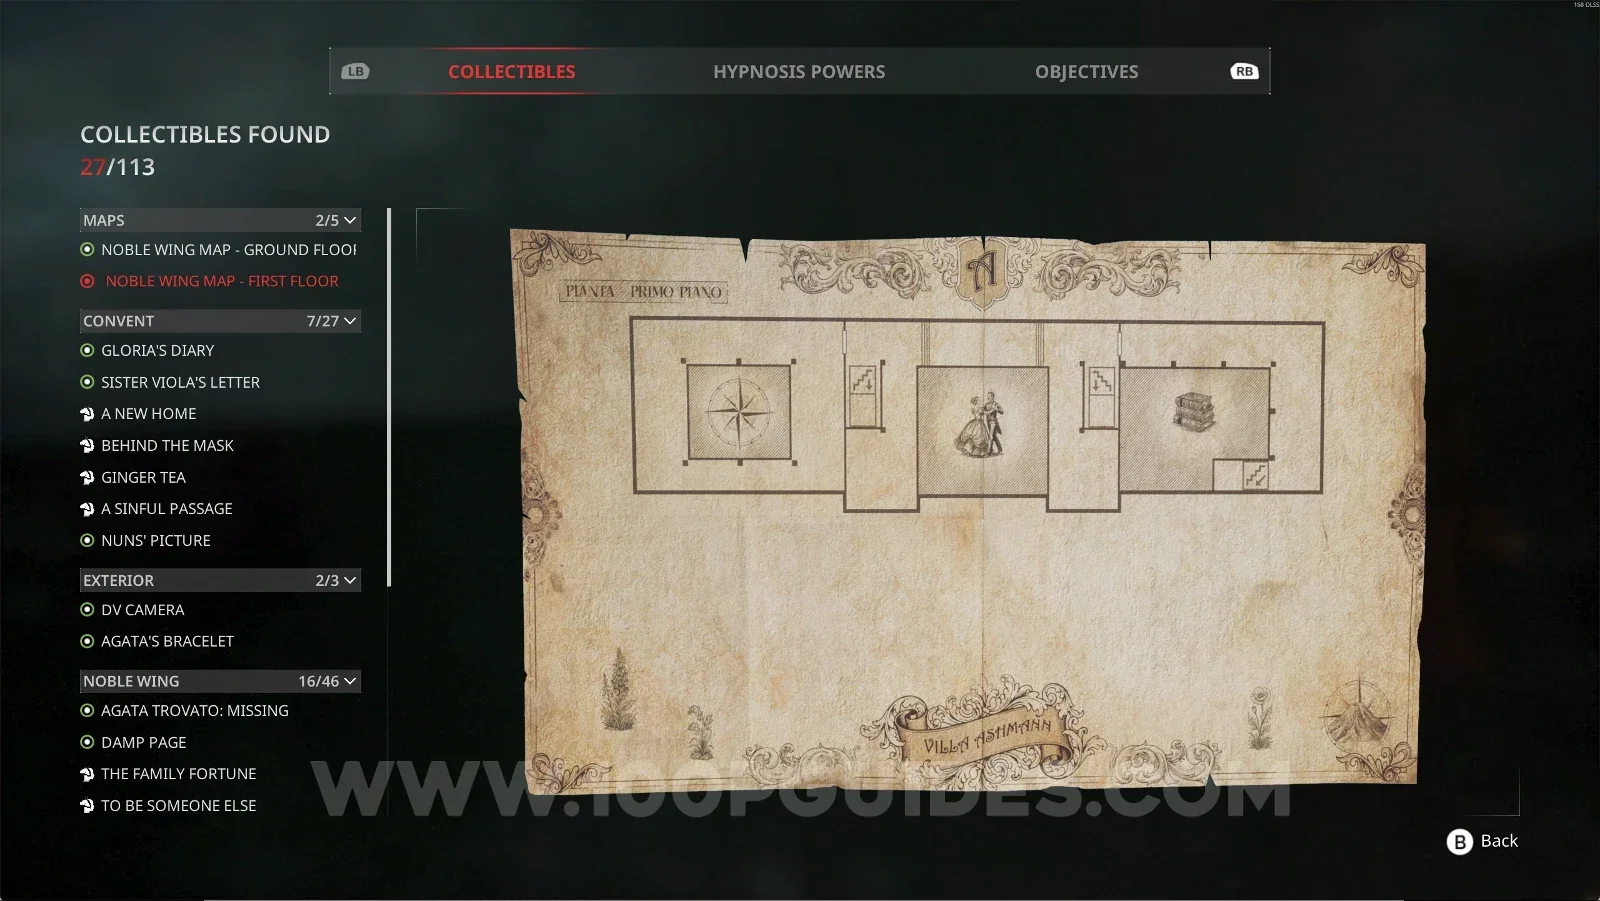
Map #2: Noble Wing Map - First Floor

Same spot as the previous collectible, next to the stairs.

Remothered: Red Nuns Legacy: the stairs next to the Faust Pamphlet dresser Remothered: Red Nuns Legacy: the Noble Wing Map for the First Floor next to the stairs Remothered: Red Nuns Legacy Map #2: Noble Wing Map First Floor collectible

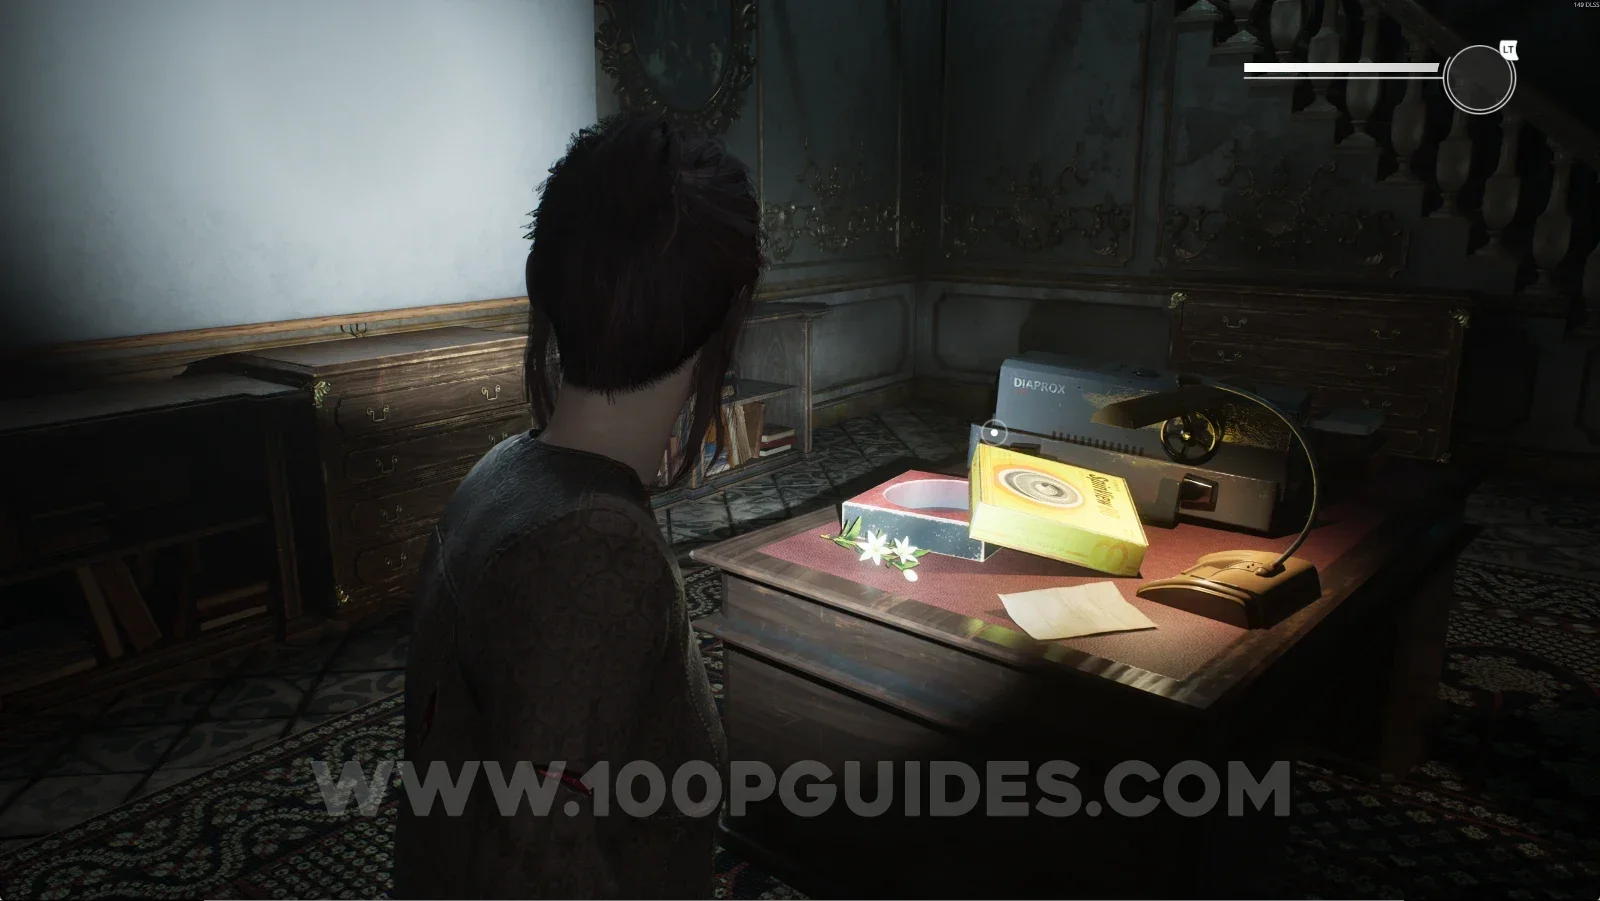
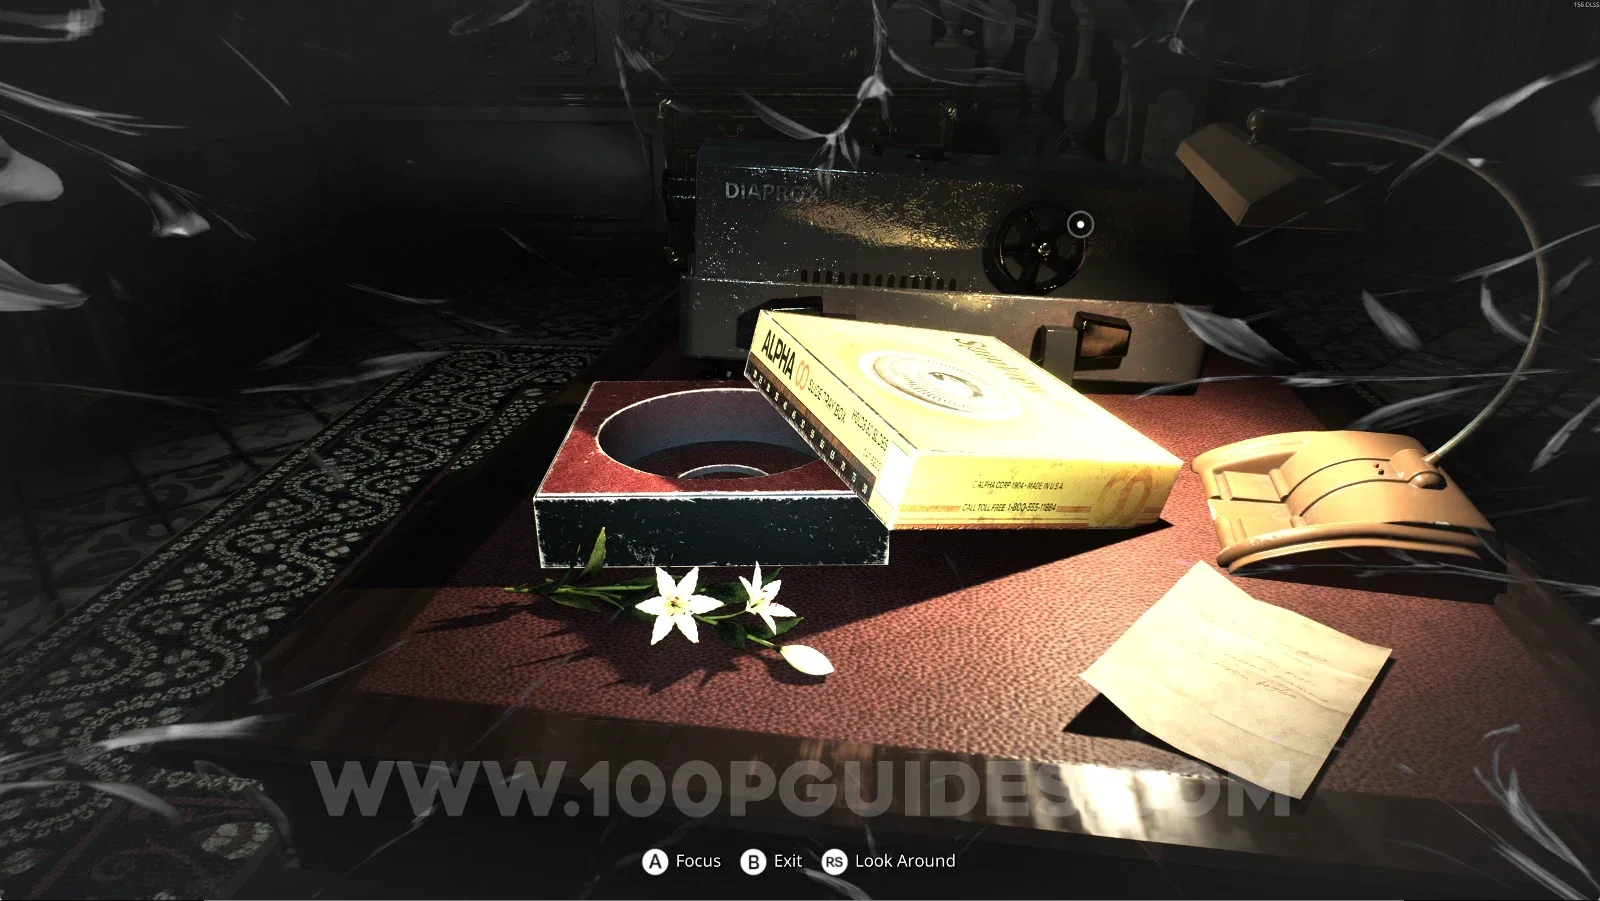
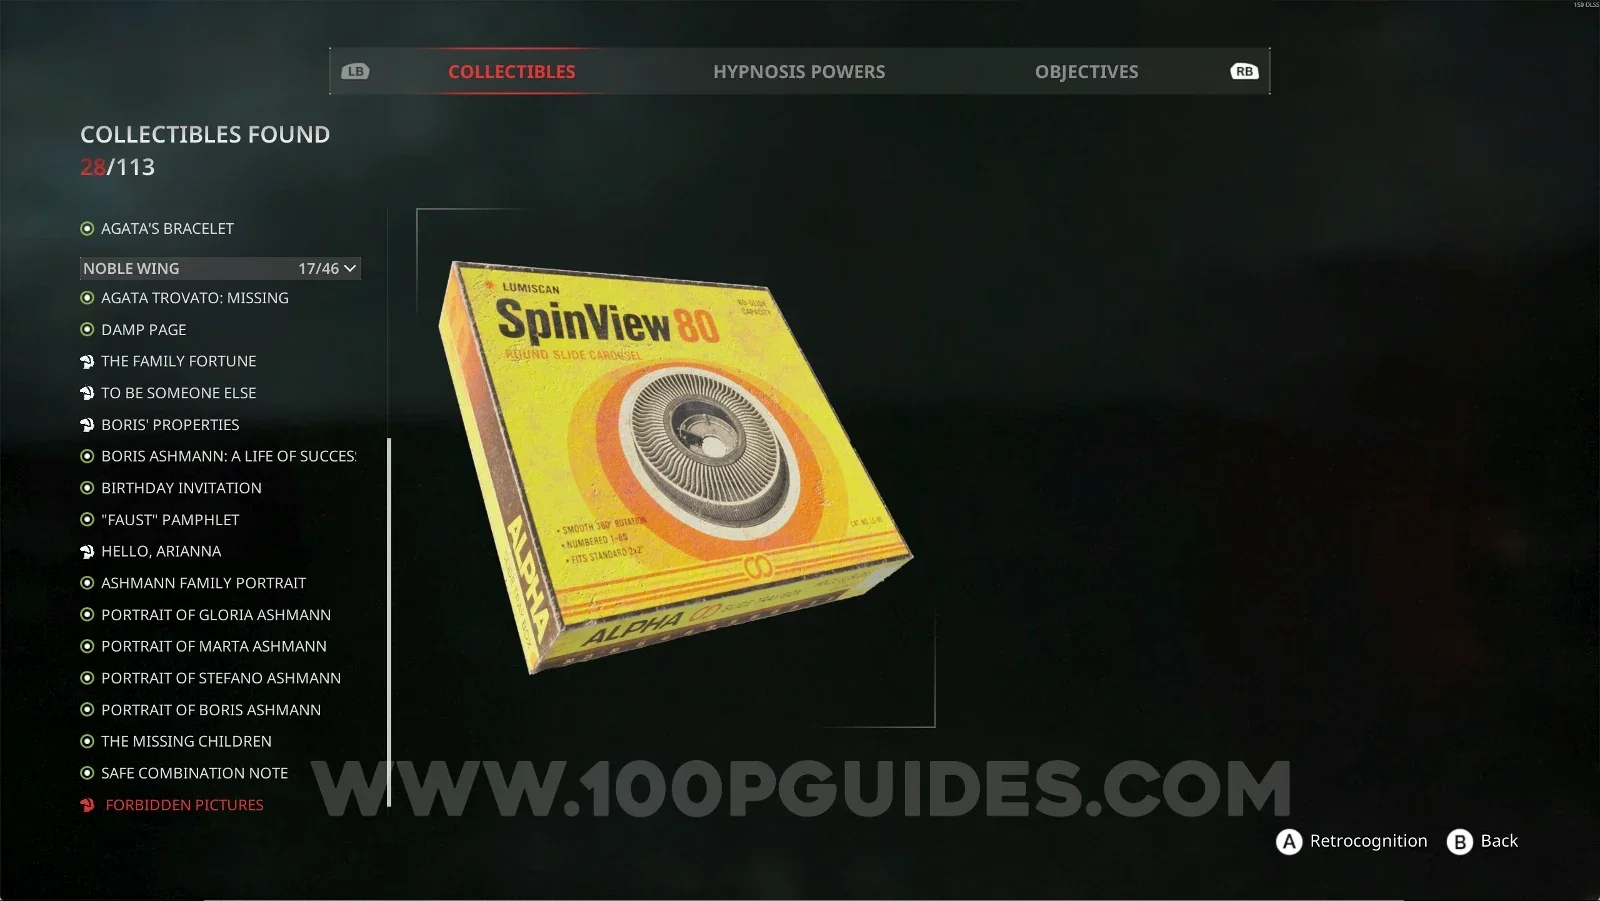
Noble Wing #17: Forbidden Pictures + Retrocognition #9

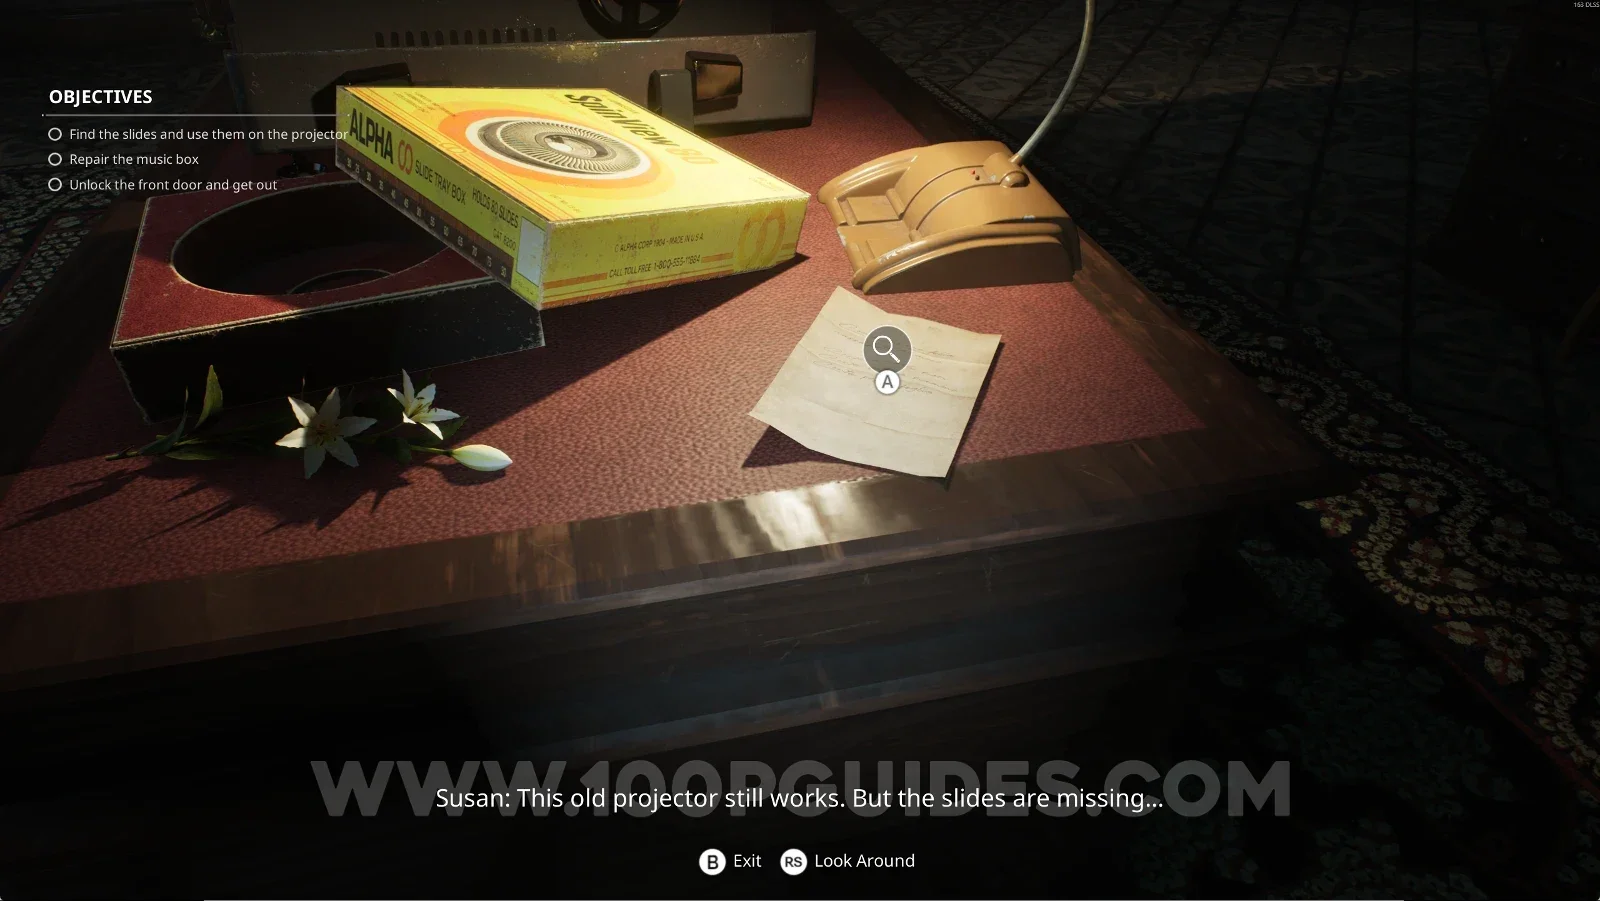
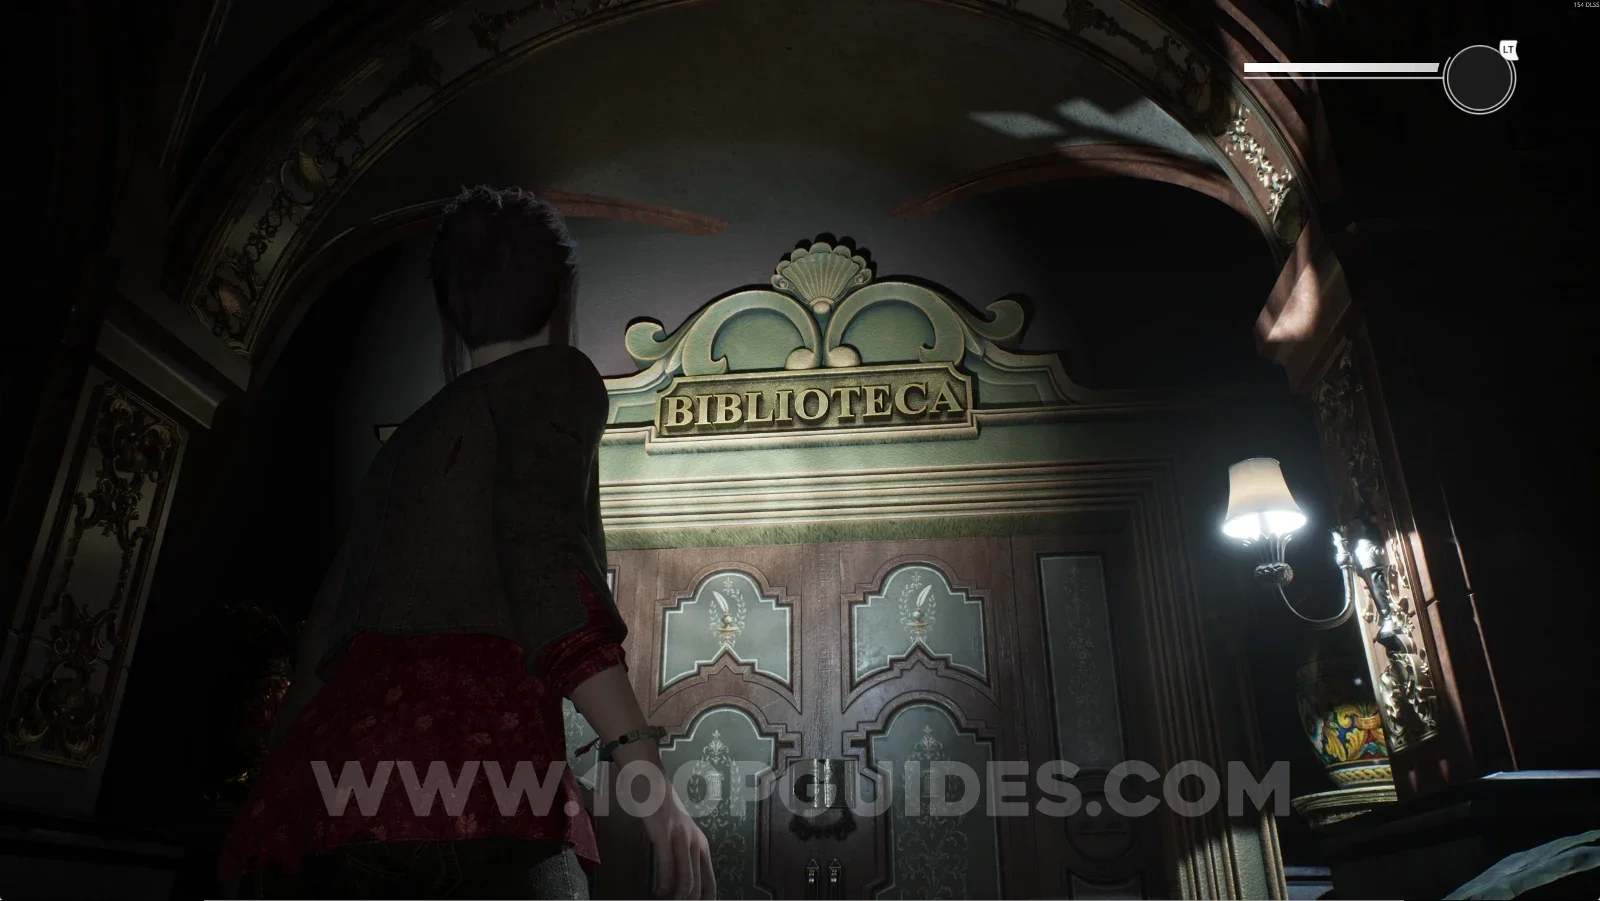
From the Reception Hall, head right to the Library. Go in and interact with the projector, then use your power to get this collectible.

Remothered: Red Nuns Legacy Reception Hall: heading right toward the Library Remothered: Red Nuns Legacy Library: the projector inside the room Remothered: Red Nuns Legacy: using the power on the Library projector for Retrocognition #9 Remothered: Red Nuns Legacy Noble Wing #17: Forbidden Pictures collectible

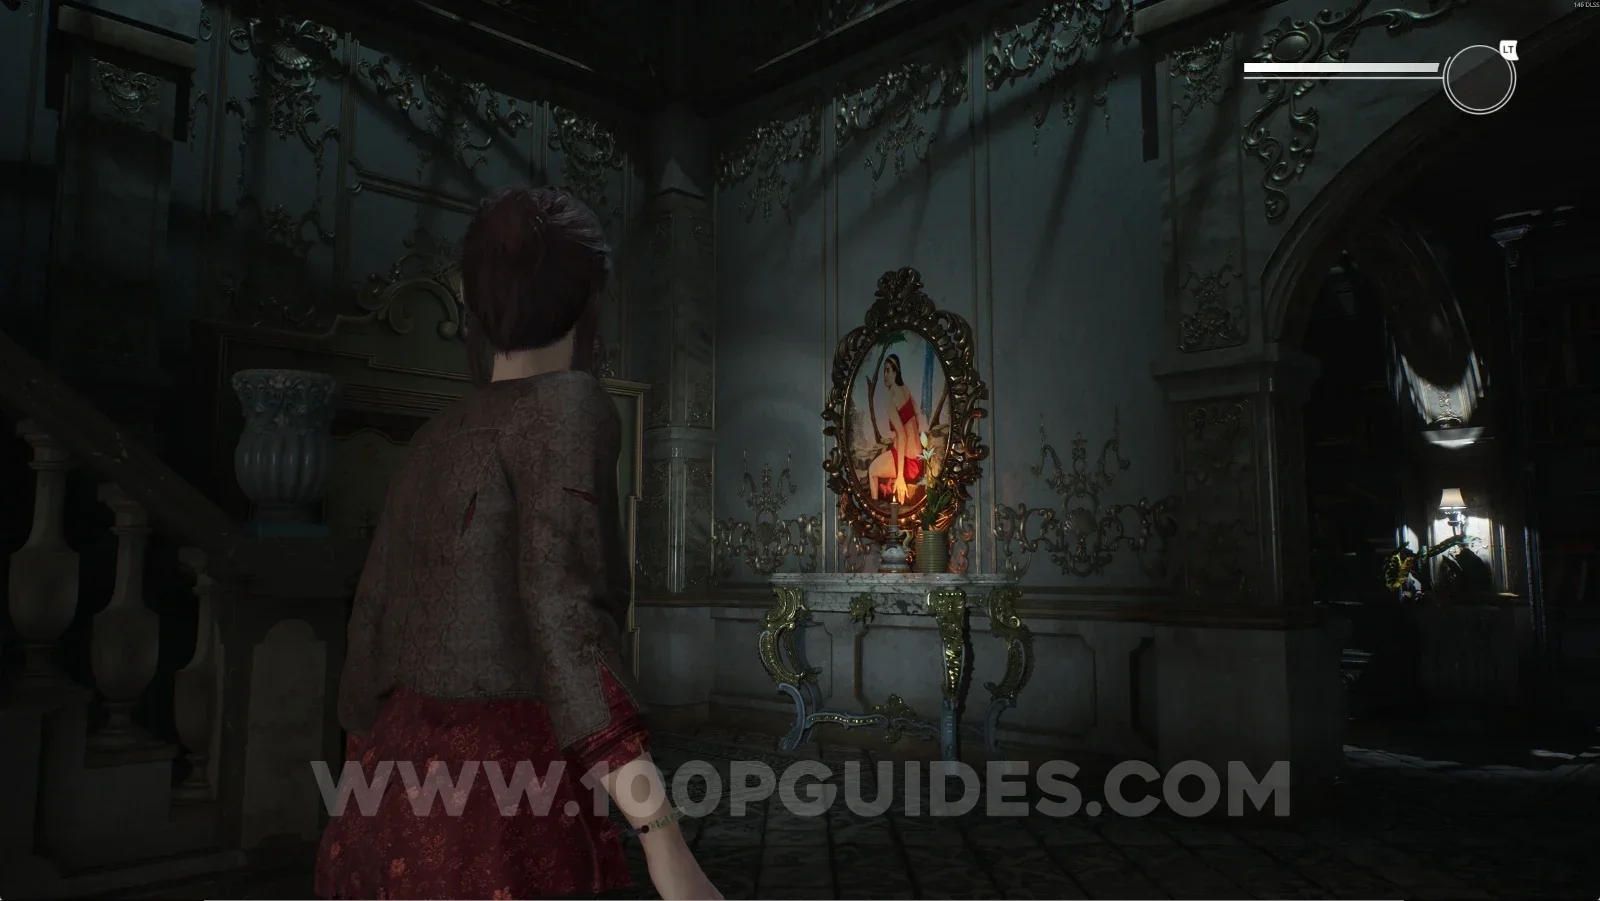
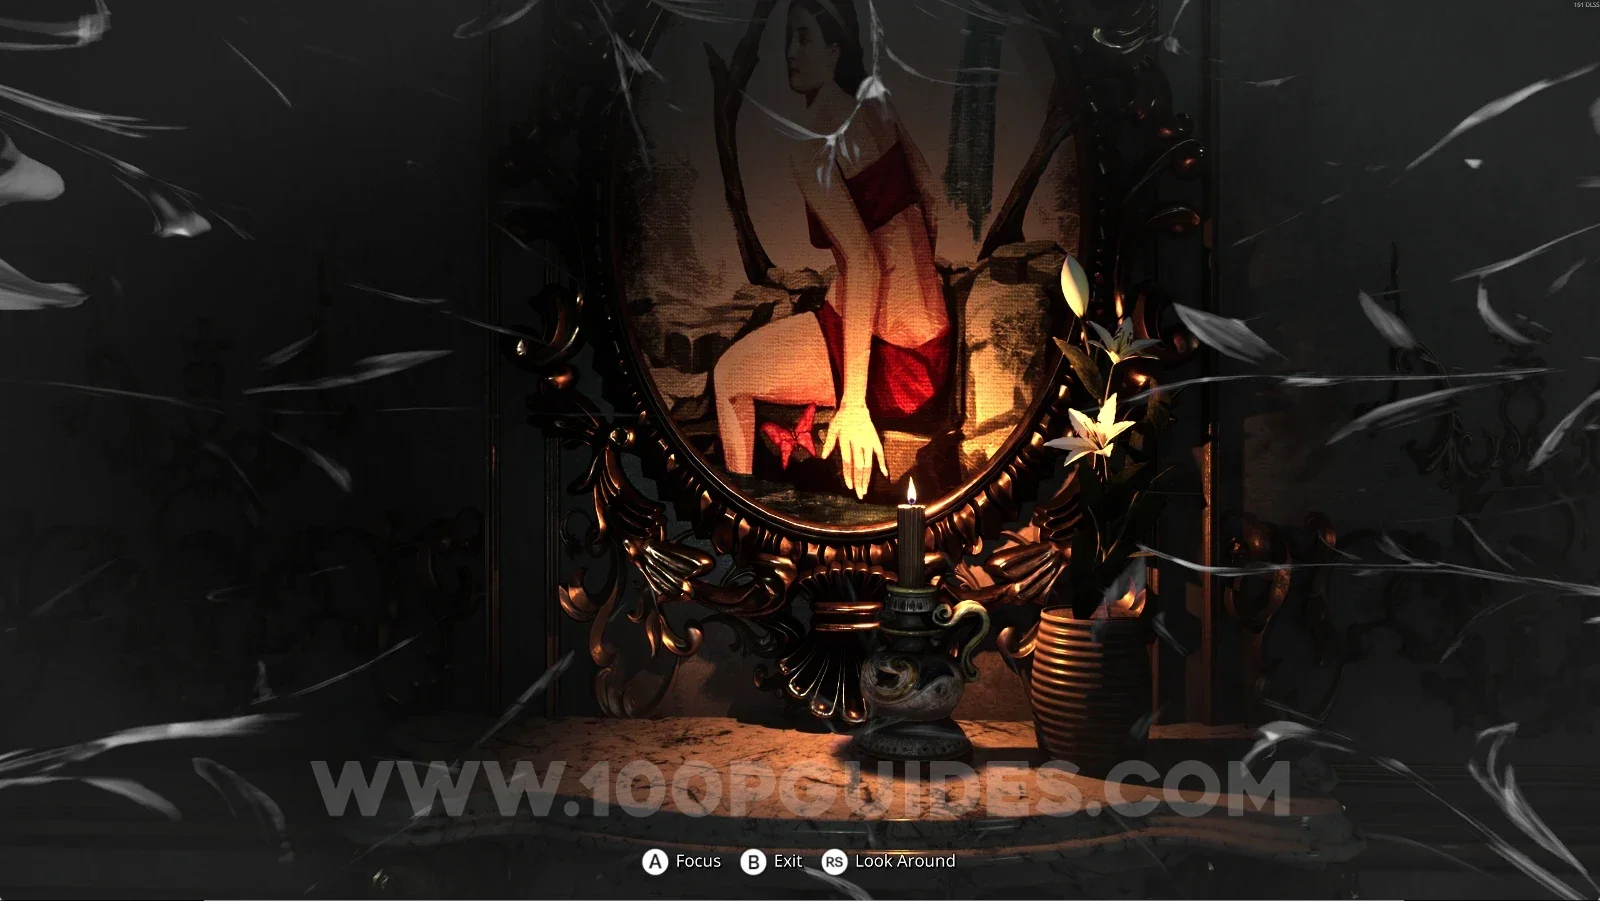
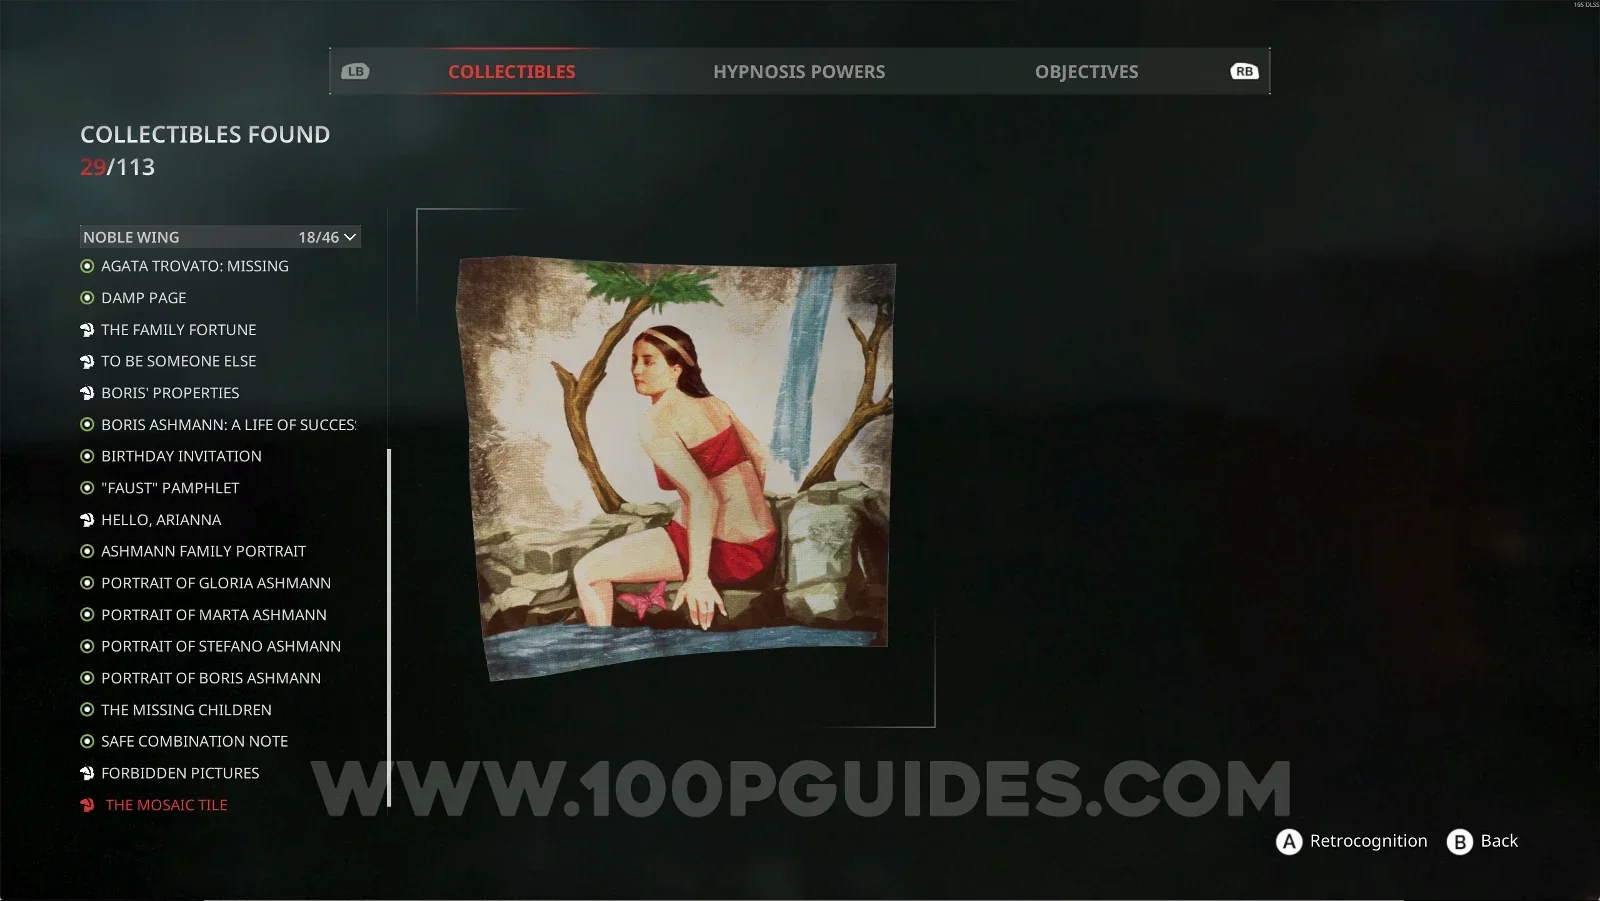
Noble Wing #18: The Mosaic Tile + Retrocognition #10

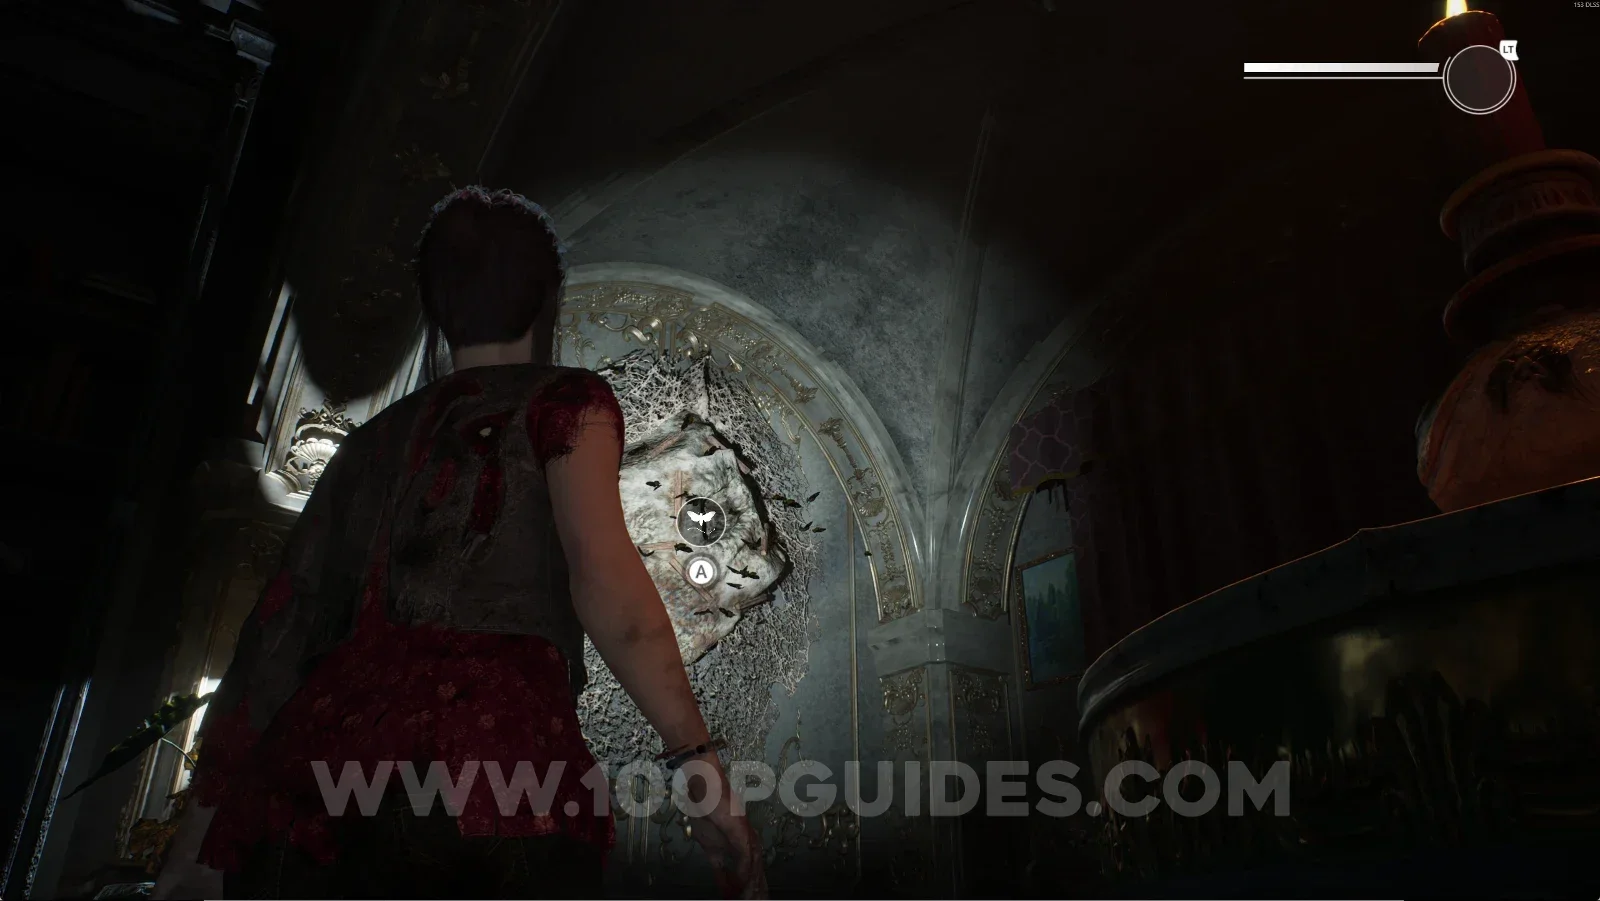
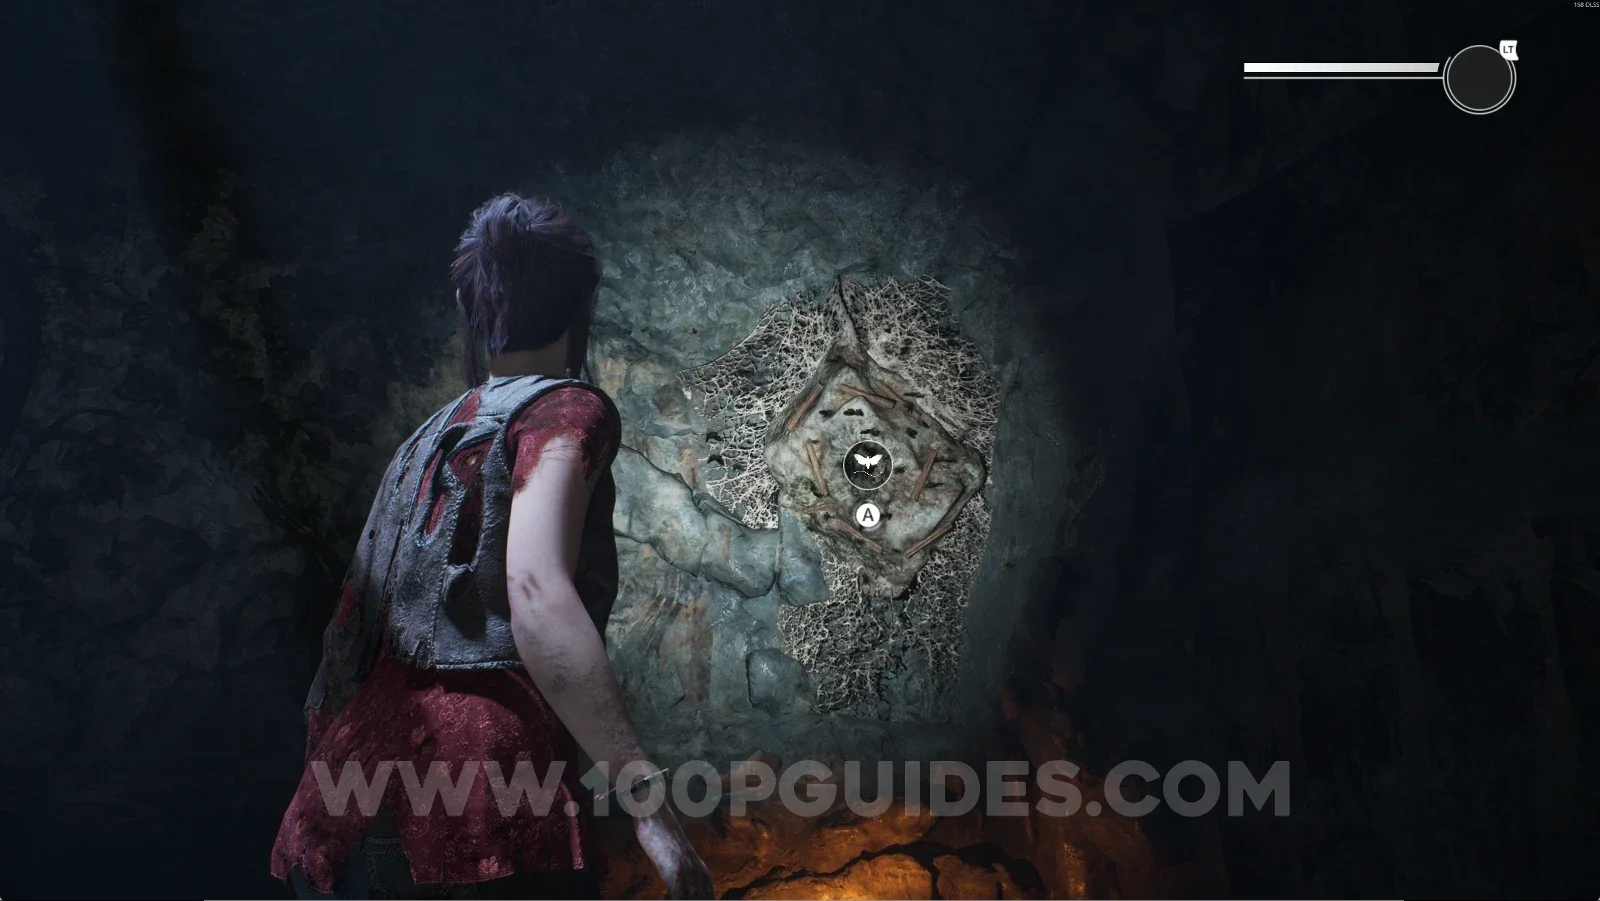
Next to the projector, you can see a painting on the wall. Interact with it and use your power on the butterfly to reveal this secret.

Remothered: Red Nuns Legacy Library: the painting on the wall next to the projector Remothered: Red Nuns Legacy: using the power on the butterfly in the painting, Retrocognition #10 Remothered: Red Nuns Legacy Noble Wing #18: The Mosaic Tile collectible

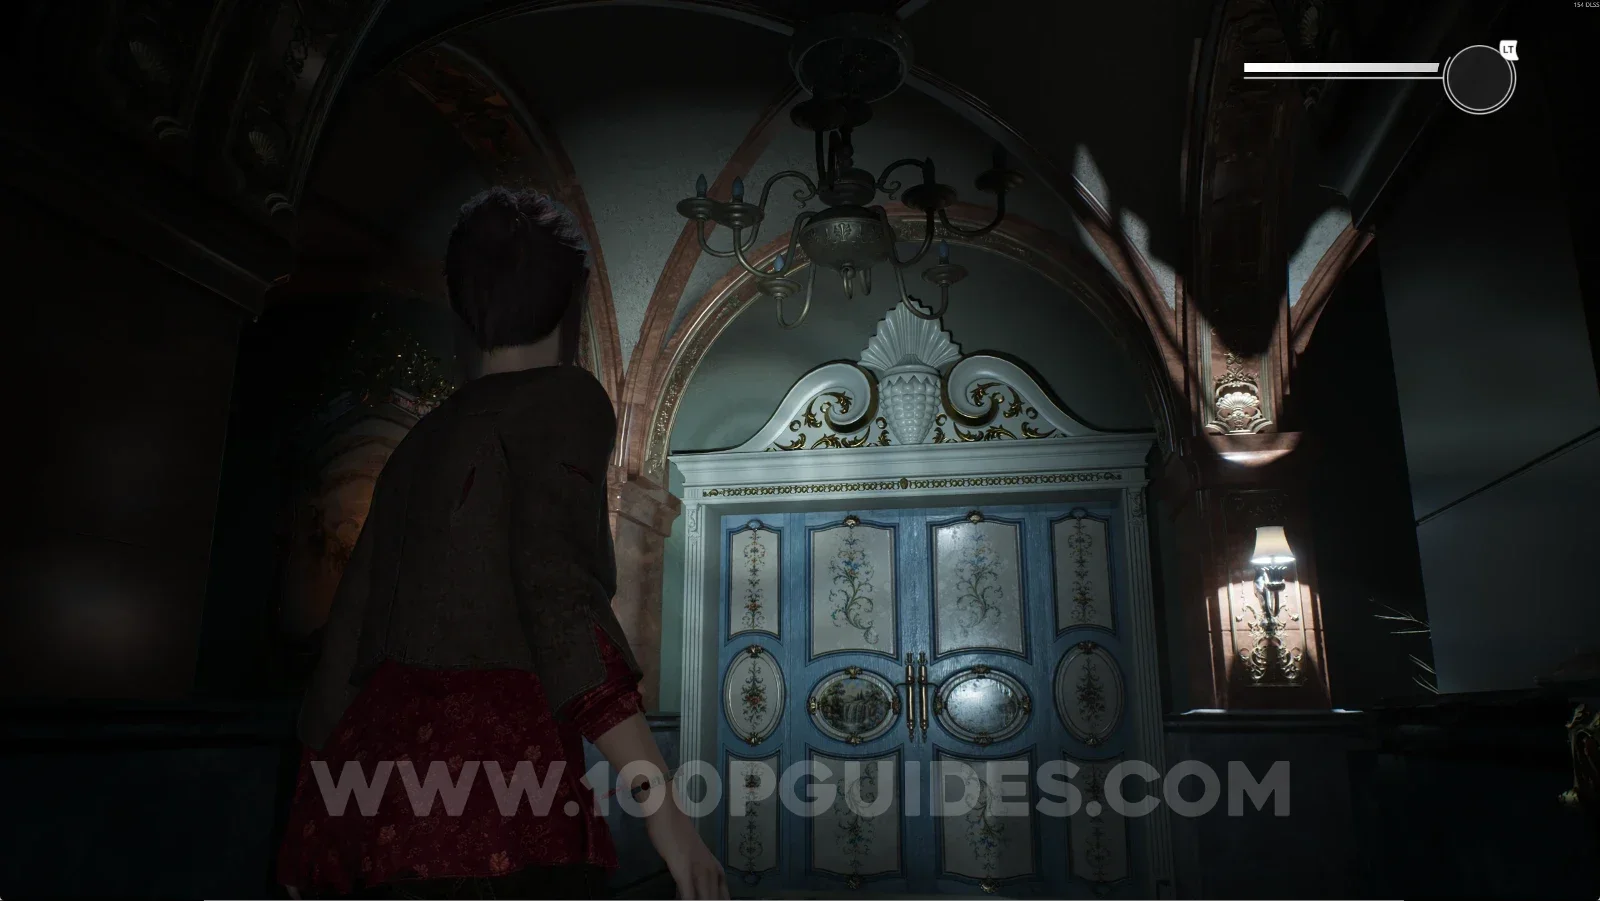
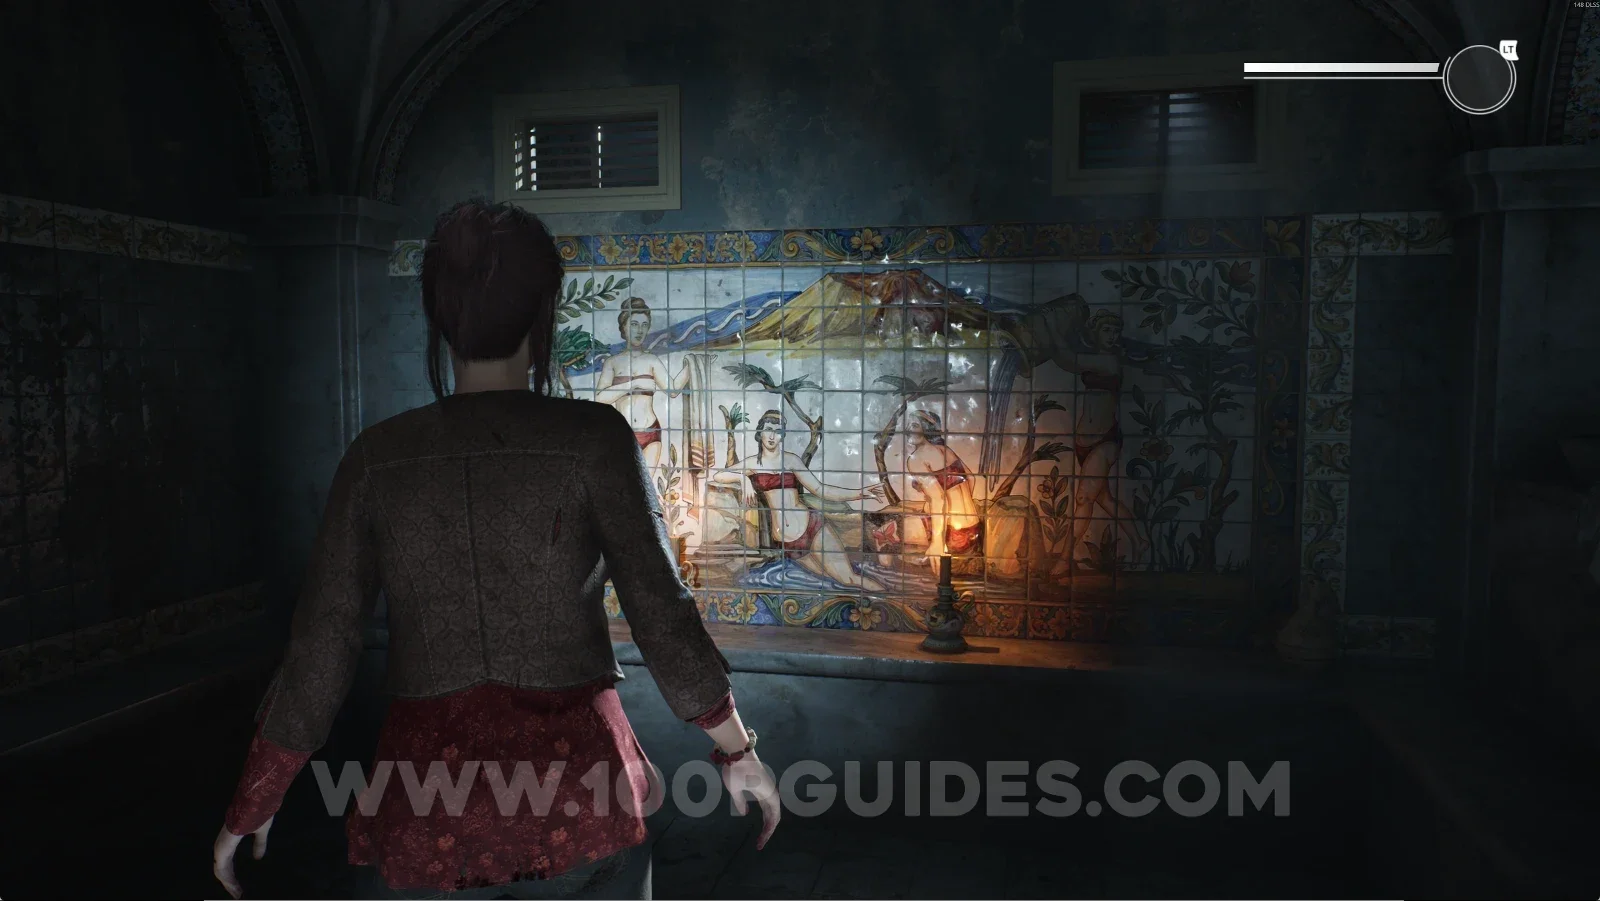
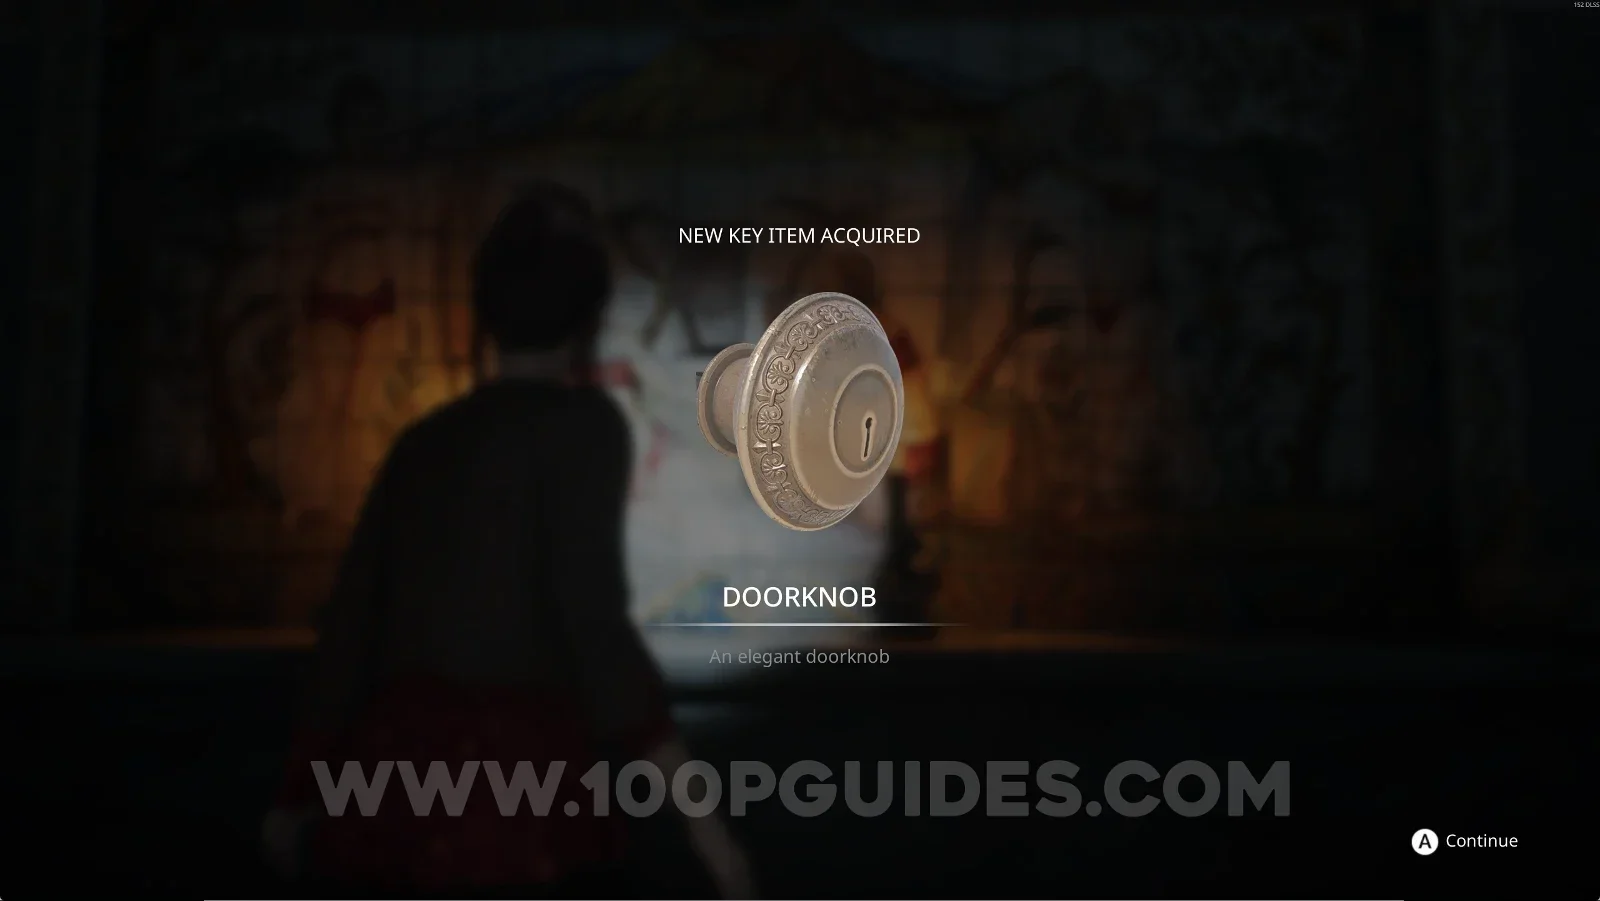
Key Item: Doorknob

After interacting with the butterfly in the previous collectible, you can now go back to the bathroom (on the left side of the Reception Hall). Go in and interact with the tiles on the wall to get the Doorknob.

Remothered: Red Nuns Legacy: the bathroom on the left side of the Reception Hall Remothered: Red Nuns Legacy: interacting with the tiles on the bathroom wall Remothered: Red Nuns Legacy: the Doorknob key item taken from the bathroom tiles

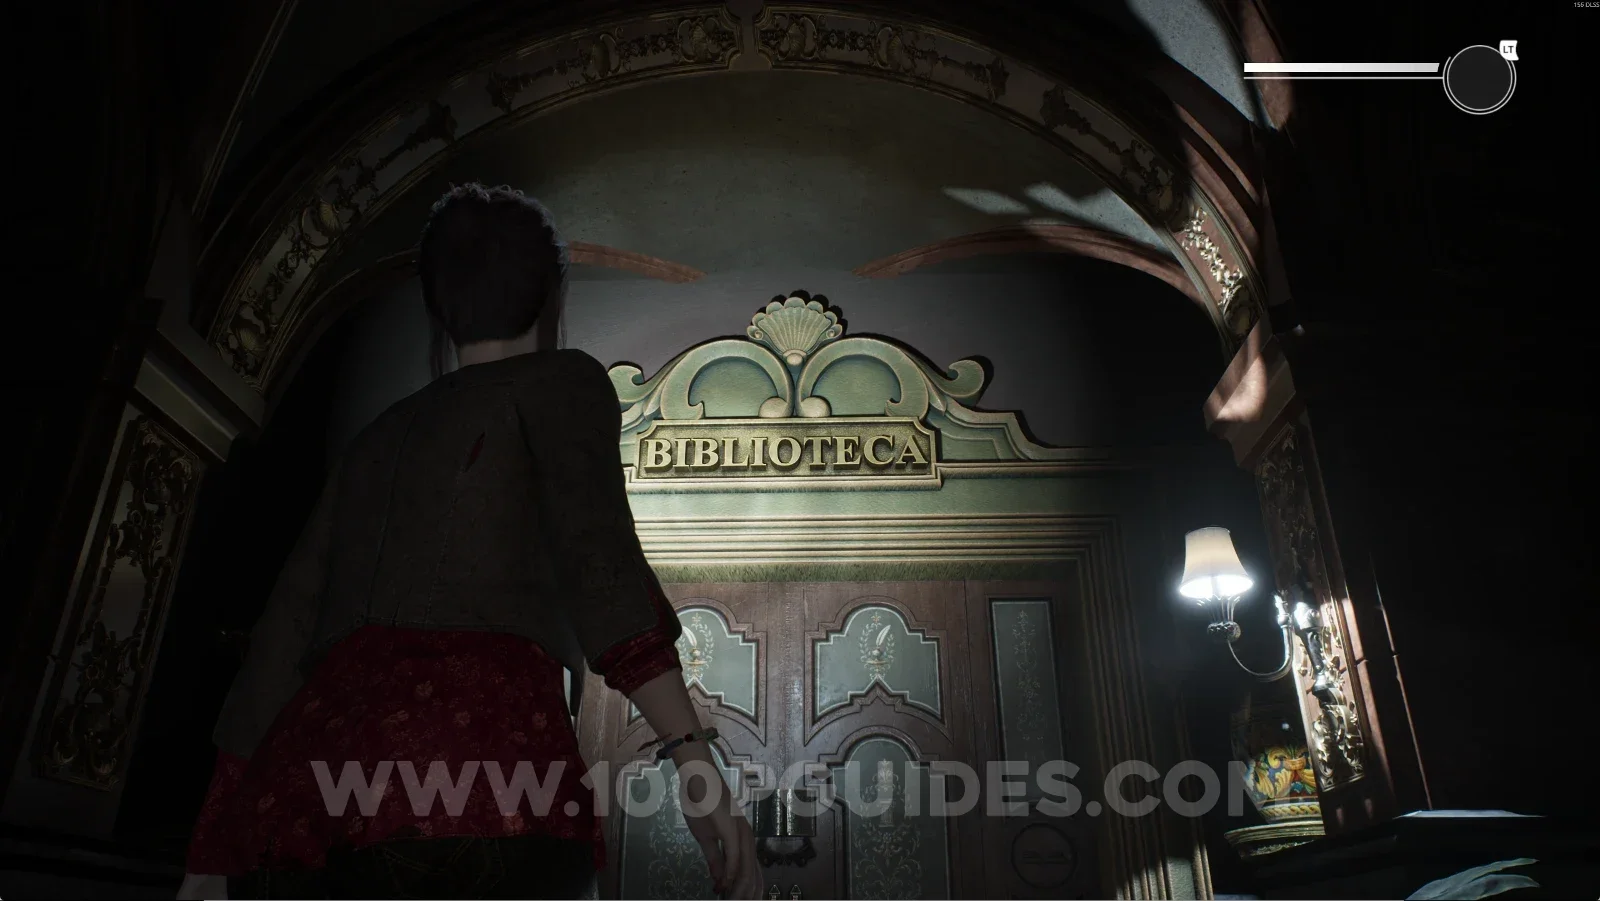
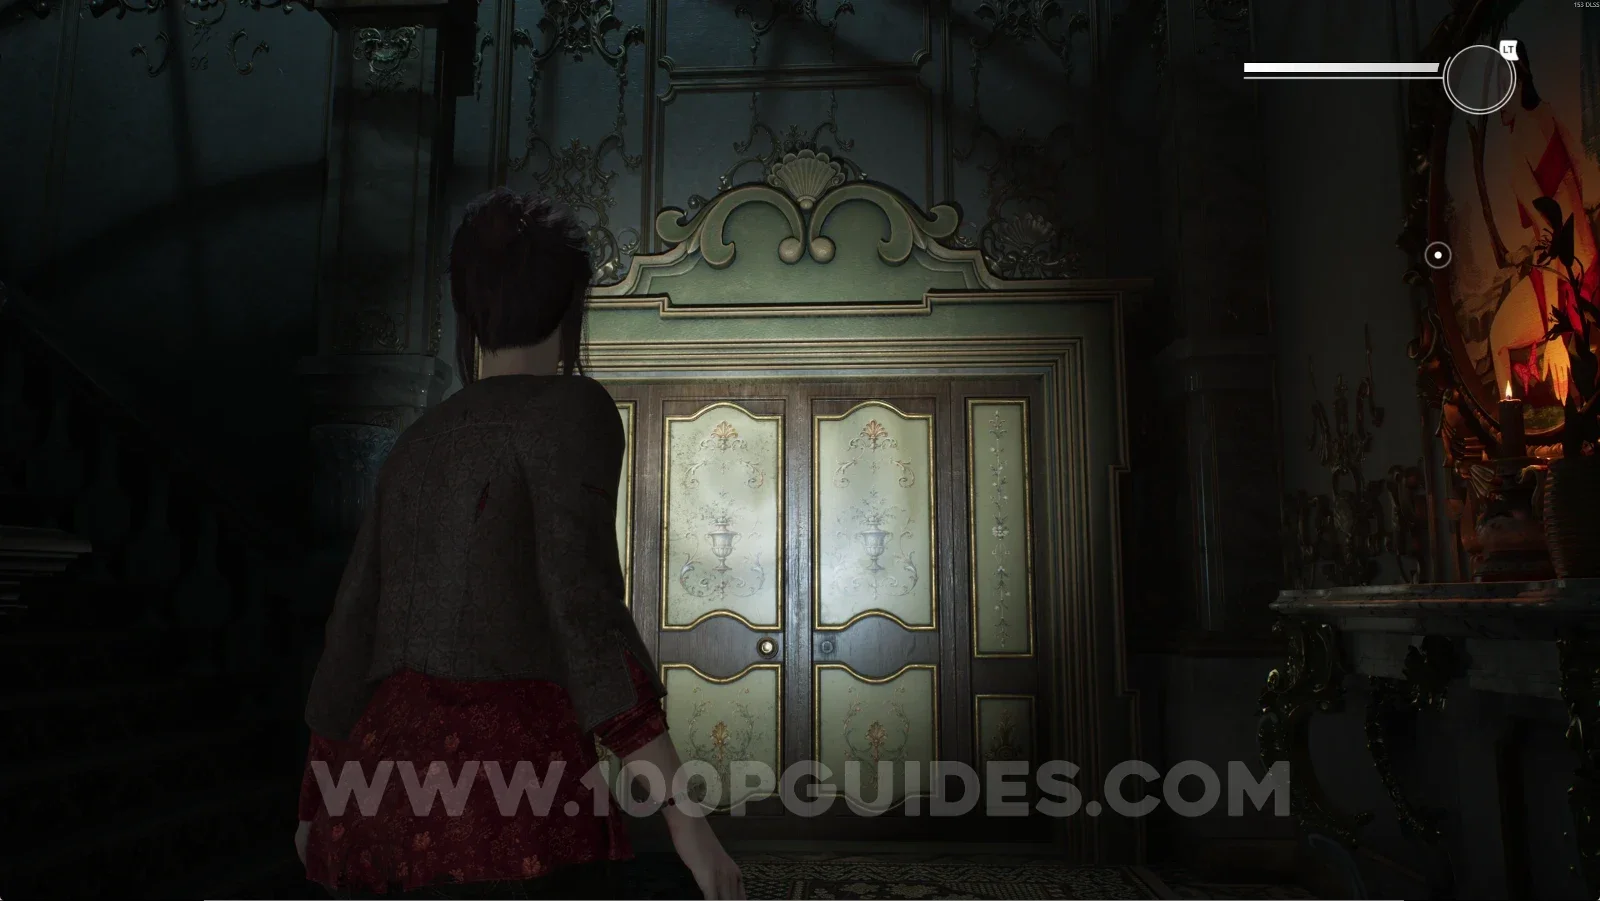
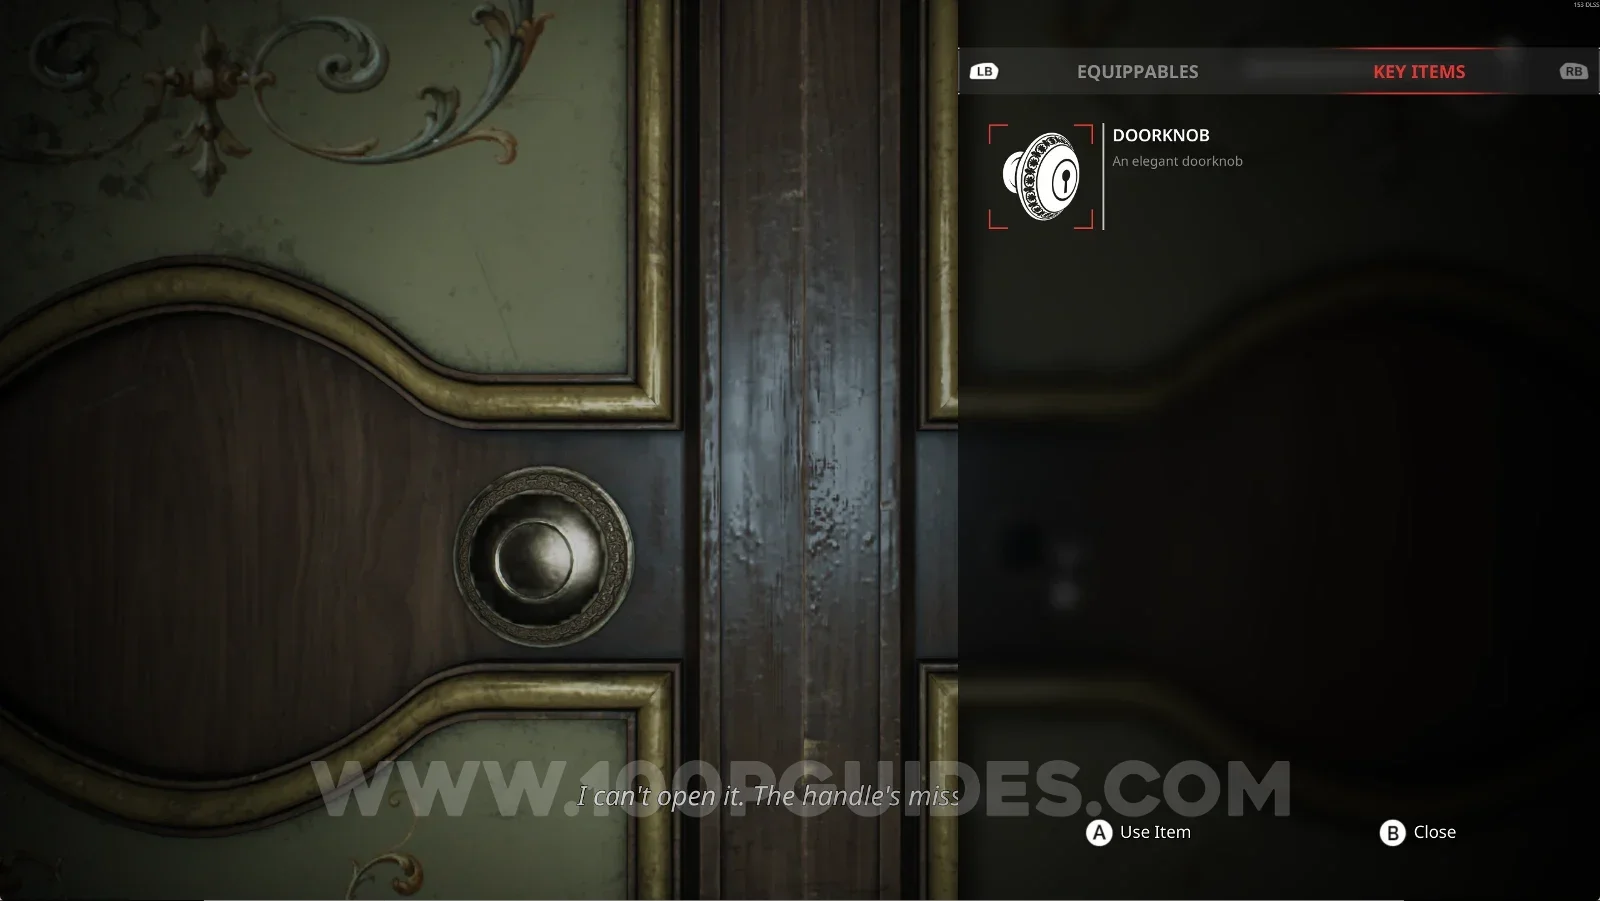
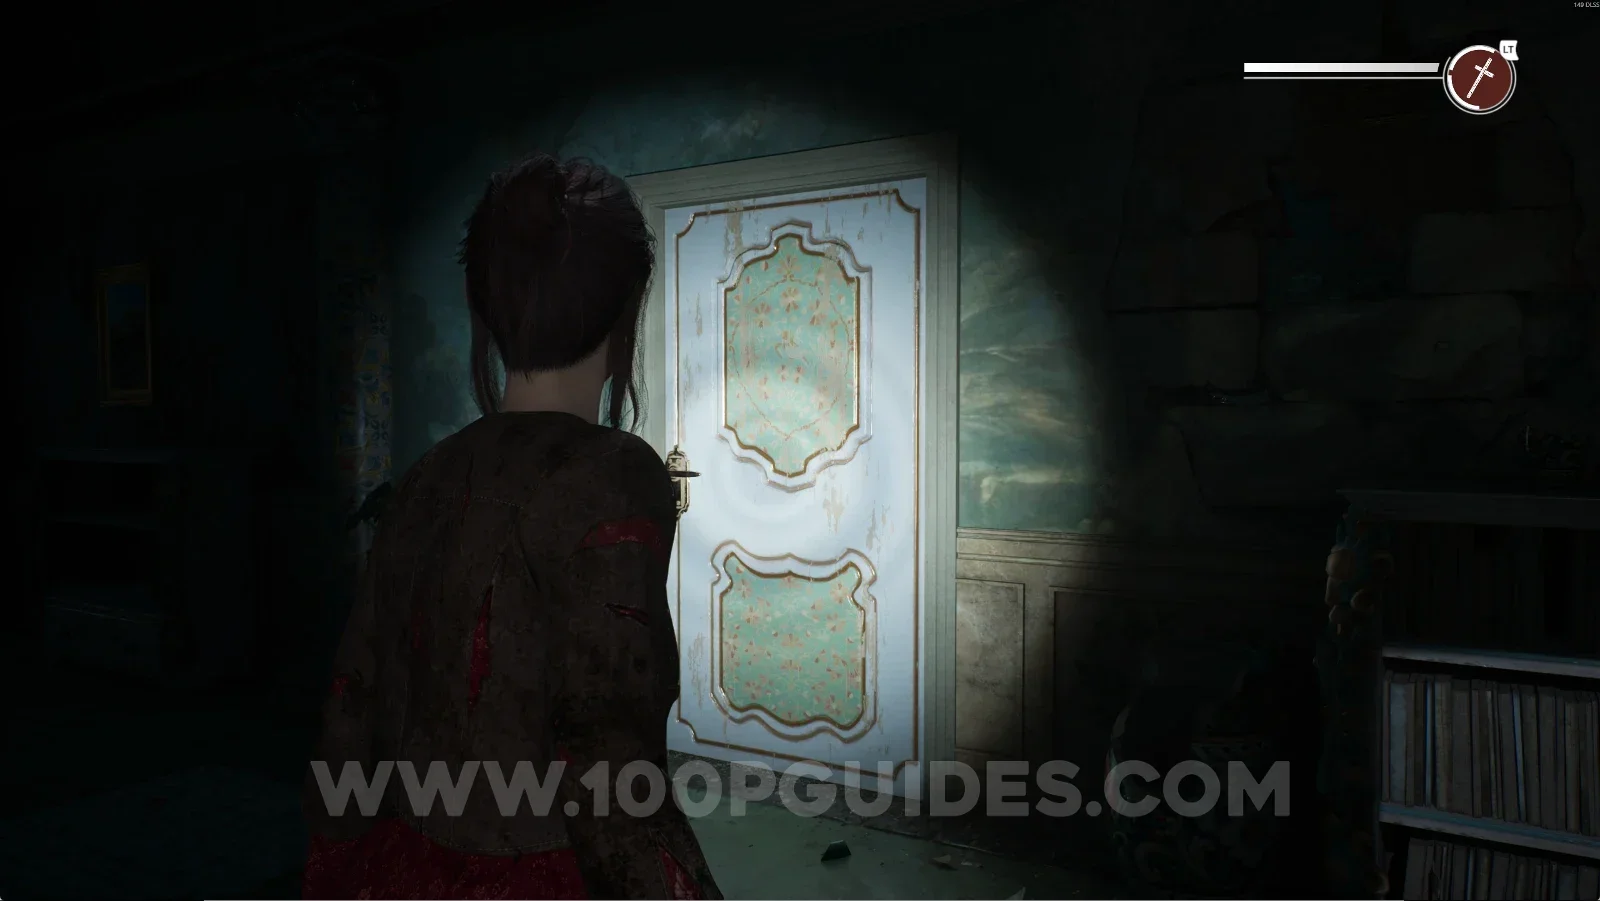
Go back to the Library and use the Doorknob on the door to open it.

Remothered: Red Nuns Legacy: returning to the Library with the door handle Remothered: Red Nuns Legacy: using the handle on the locked door in the Library Remothered: Red Nuns Legacy: the Library door opened with the handle

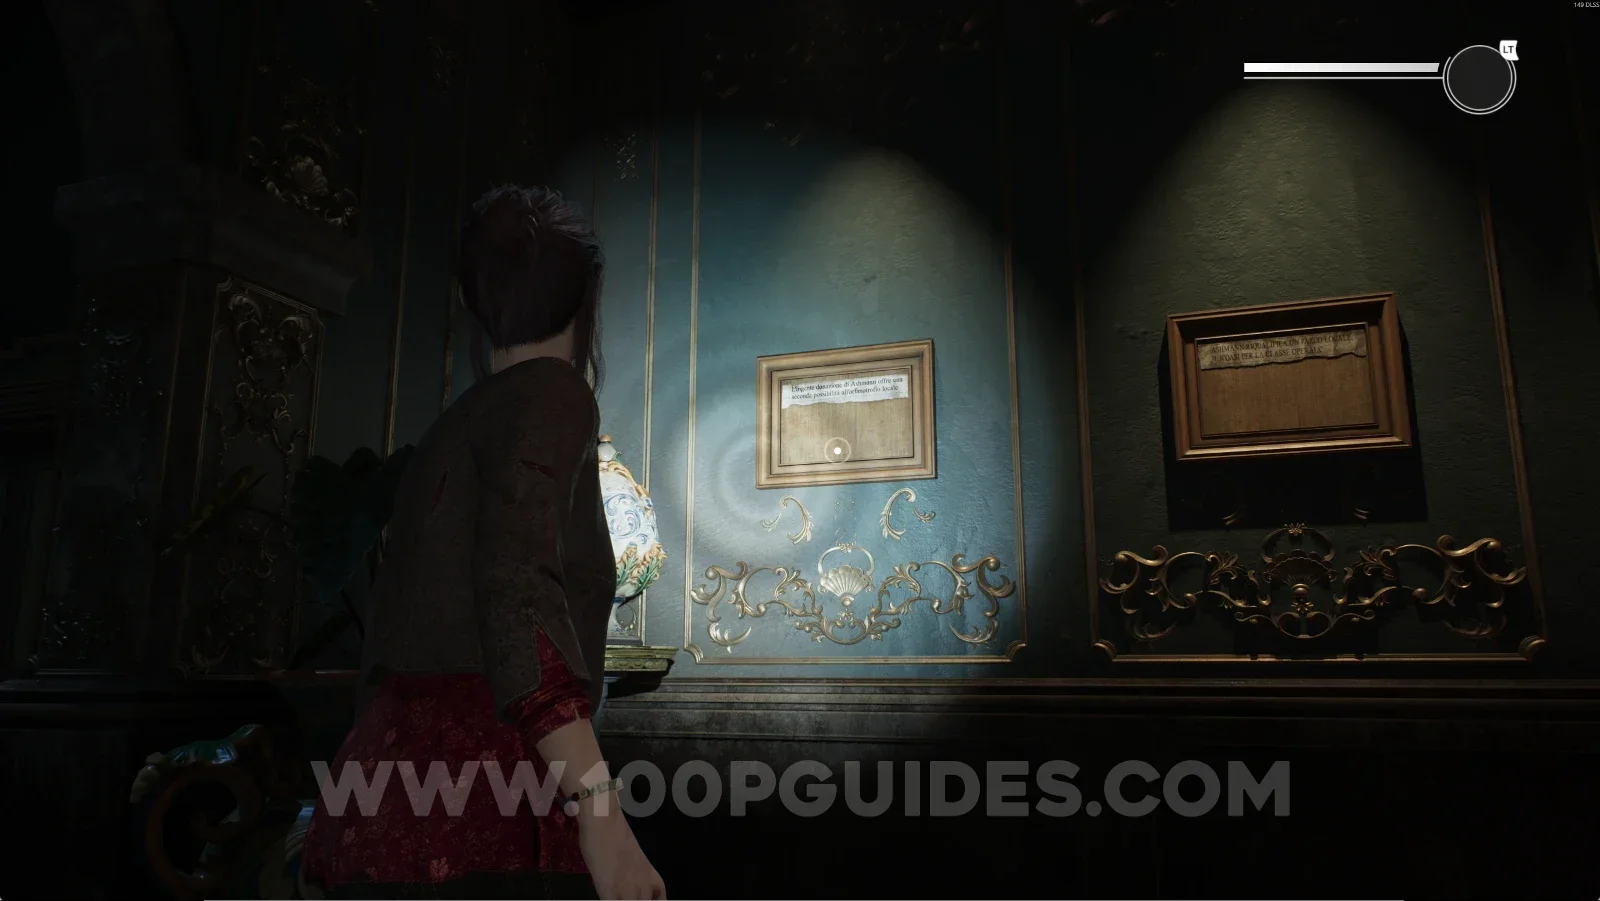
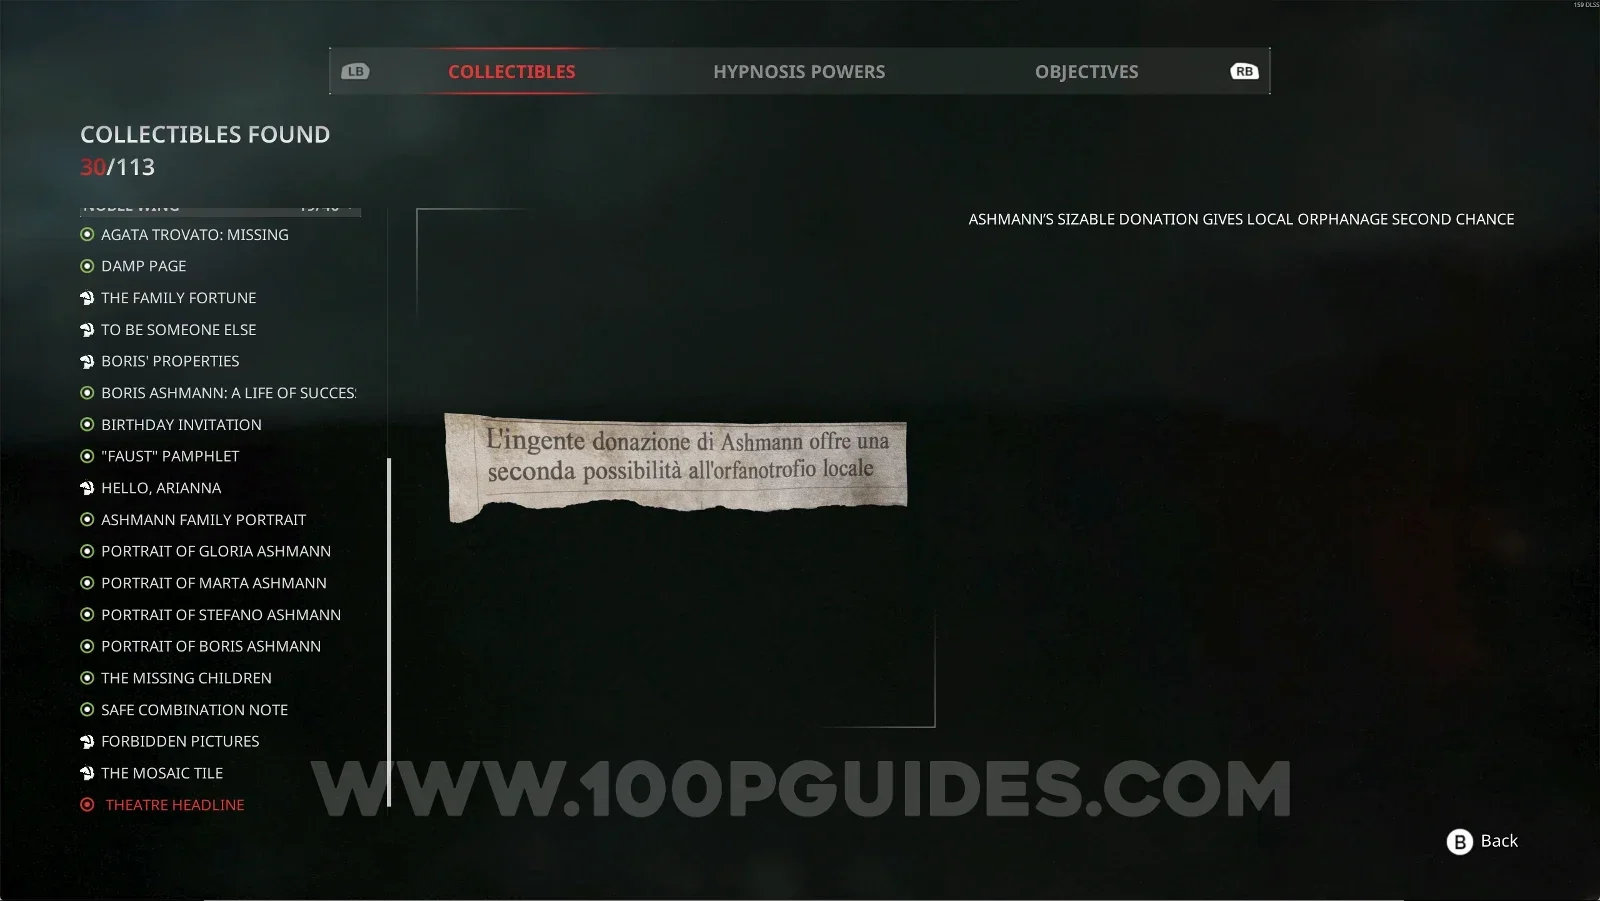
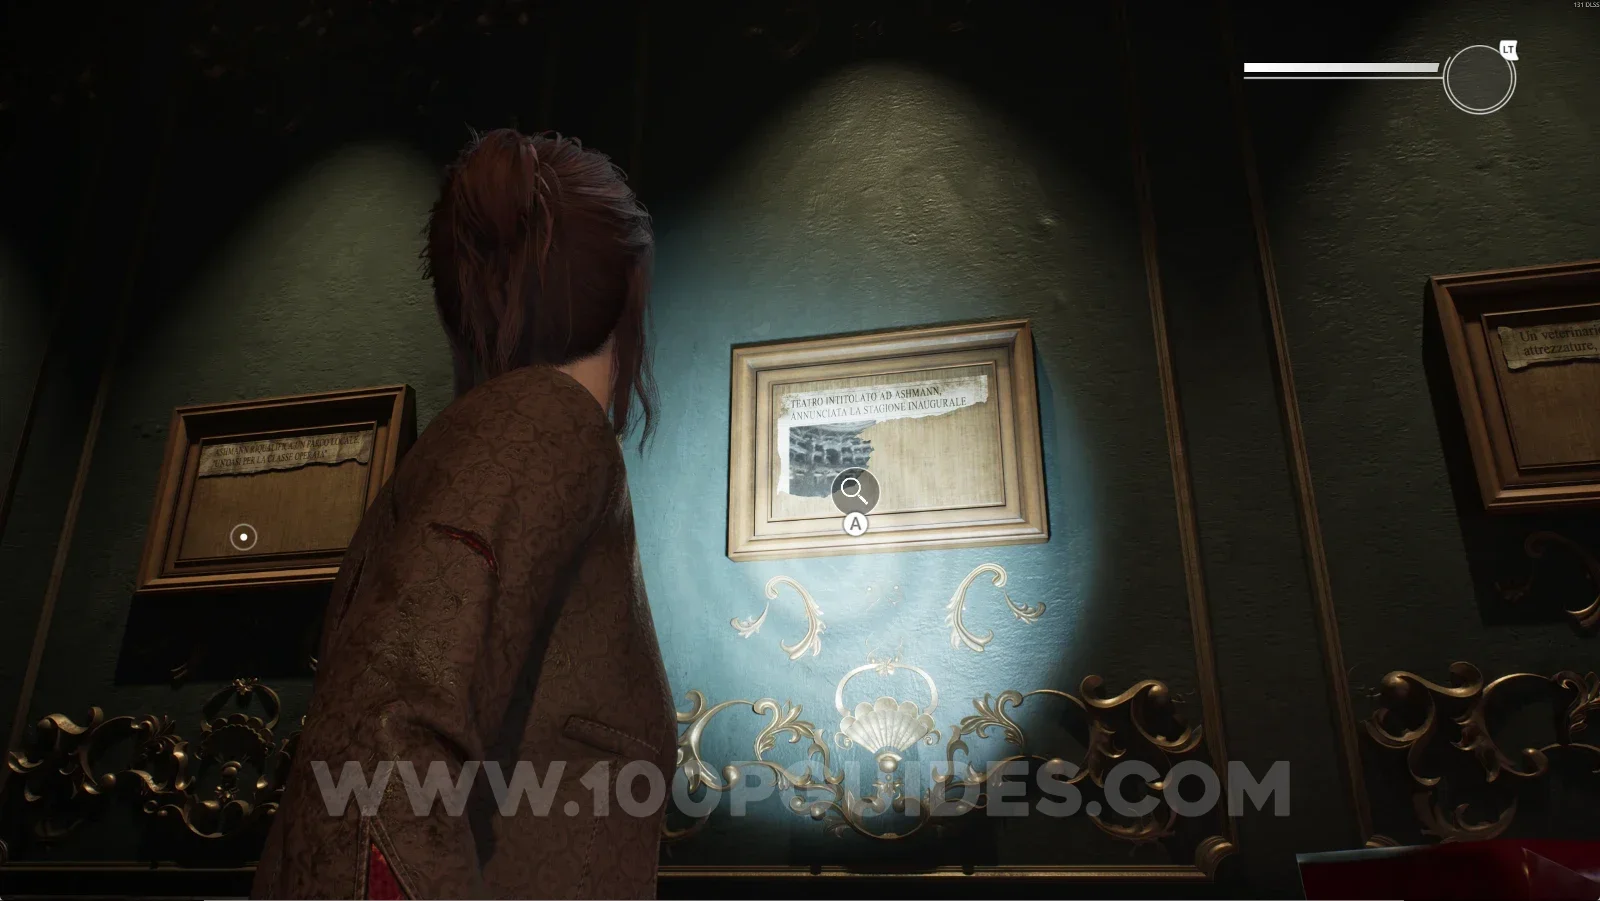
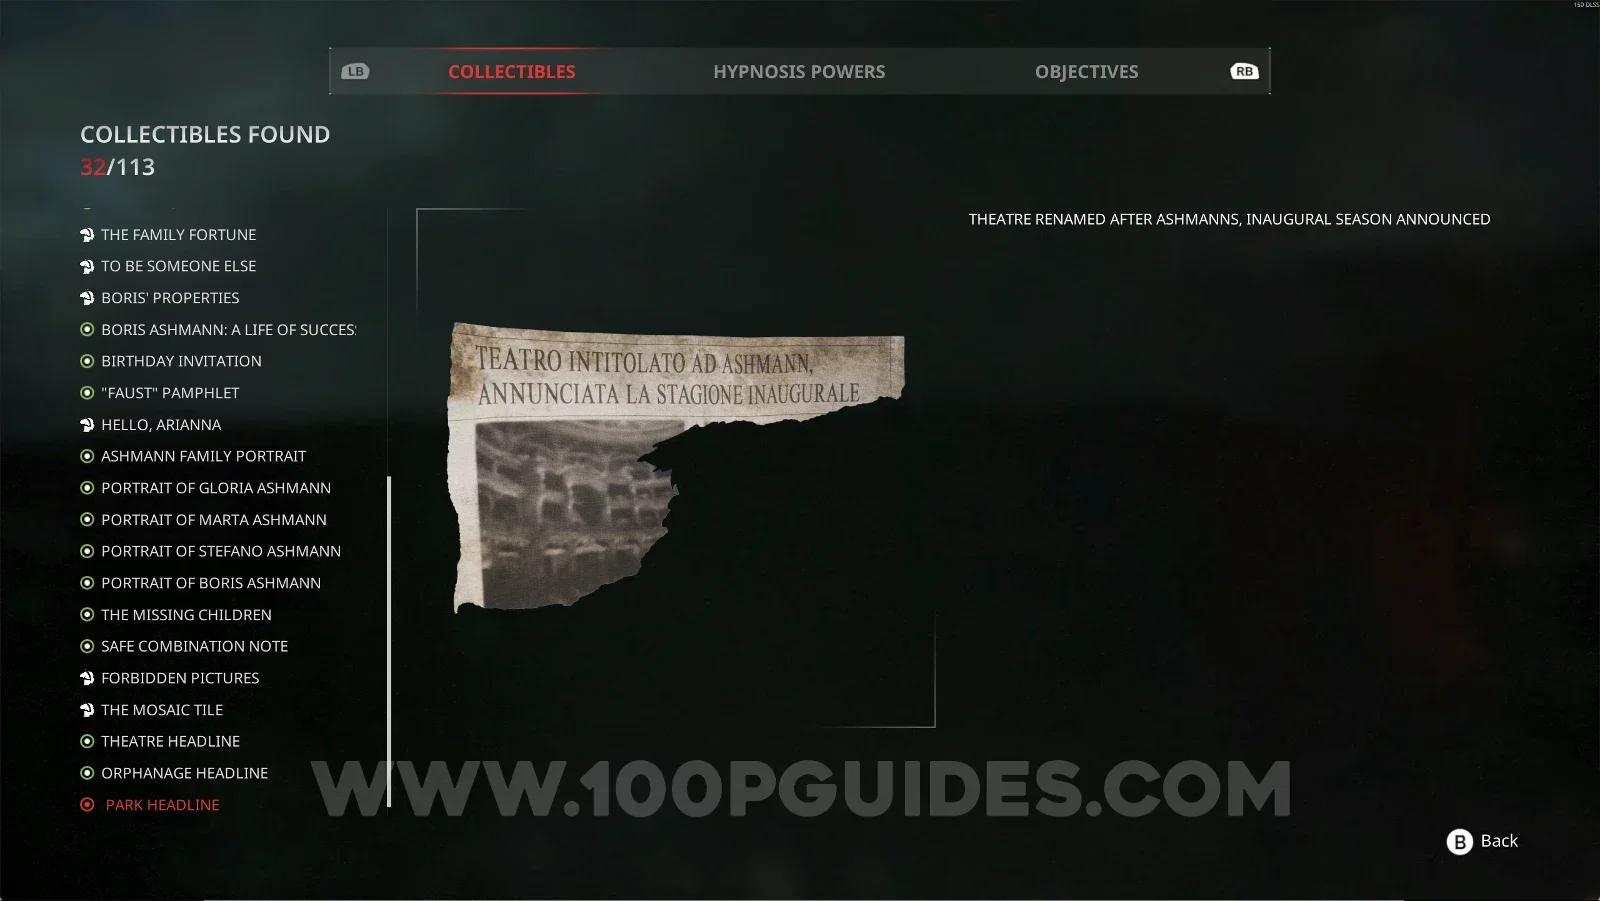
Noble Wing #19: Theatre Headline

After using the Doorknob on the door, go in and interact with the first painting on the wall.

Remothered: Red Nuns Legacy: the first painting on the wall behind the Library door Remothered: Red Nuns Legacy Noble Wing #19: Theatre Headline collectible

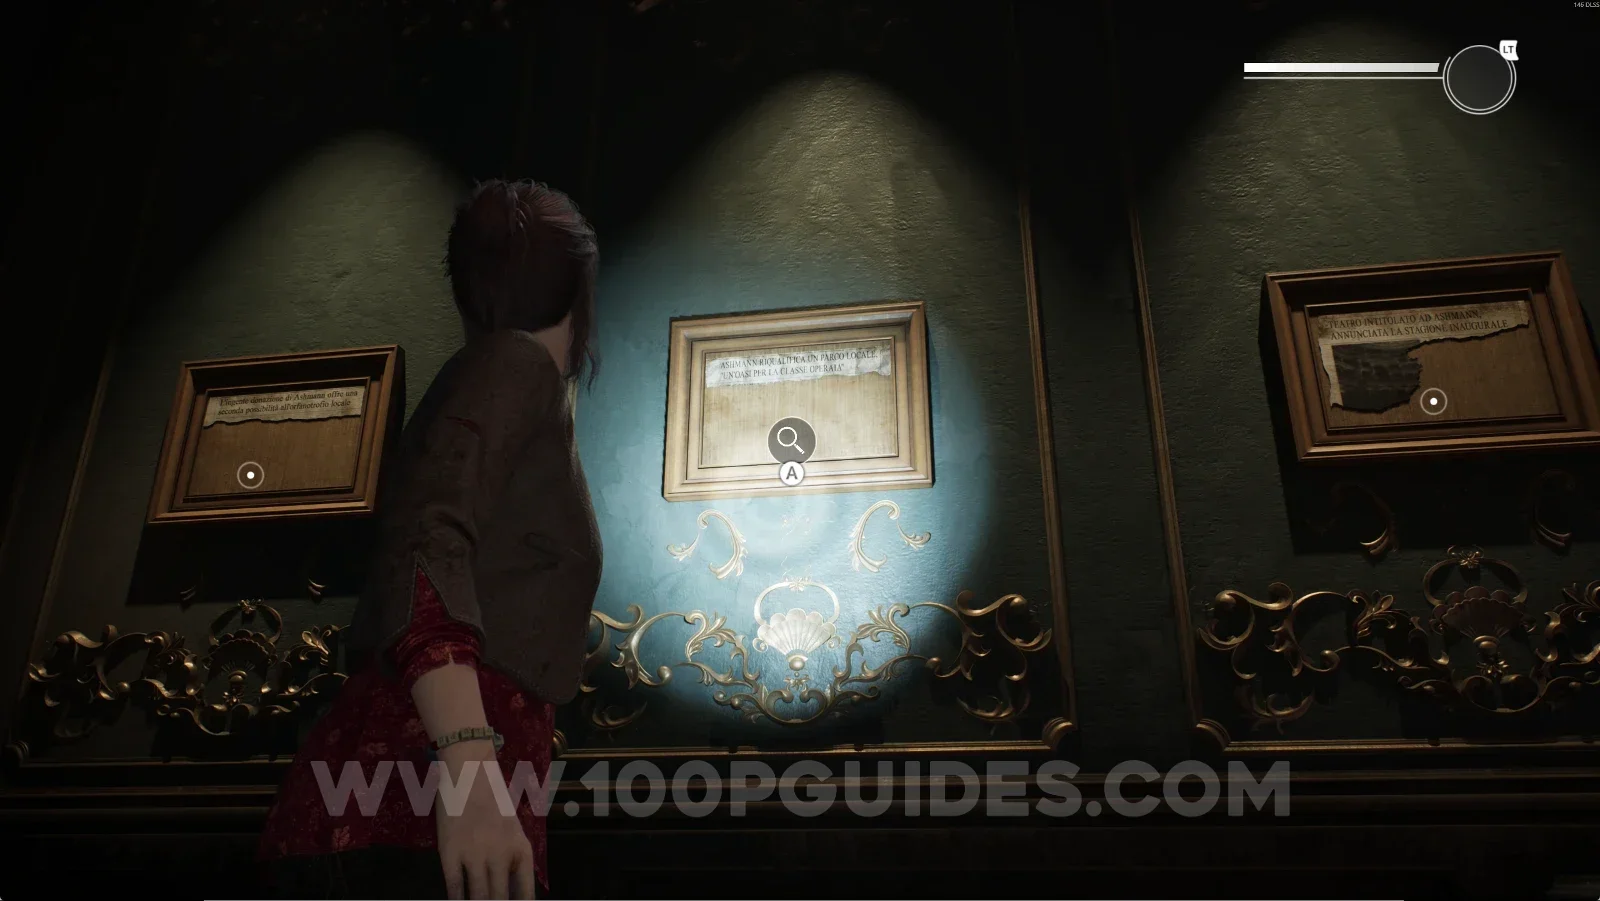
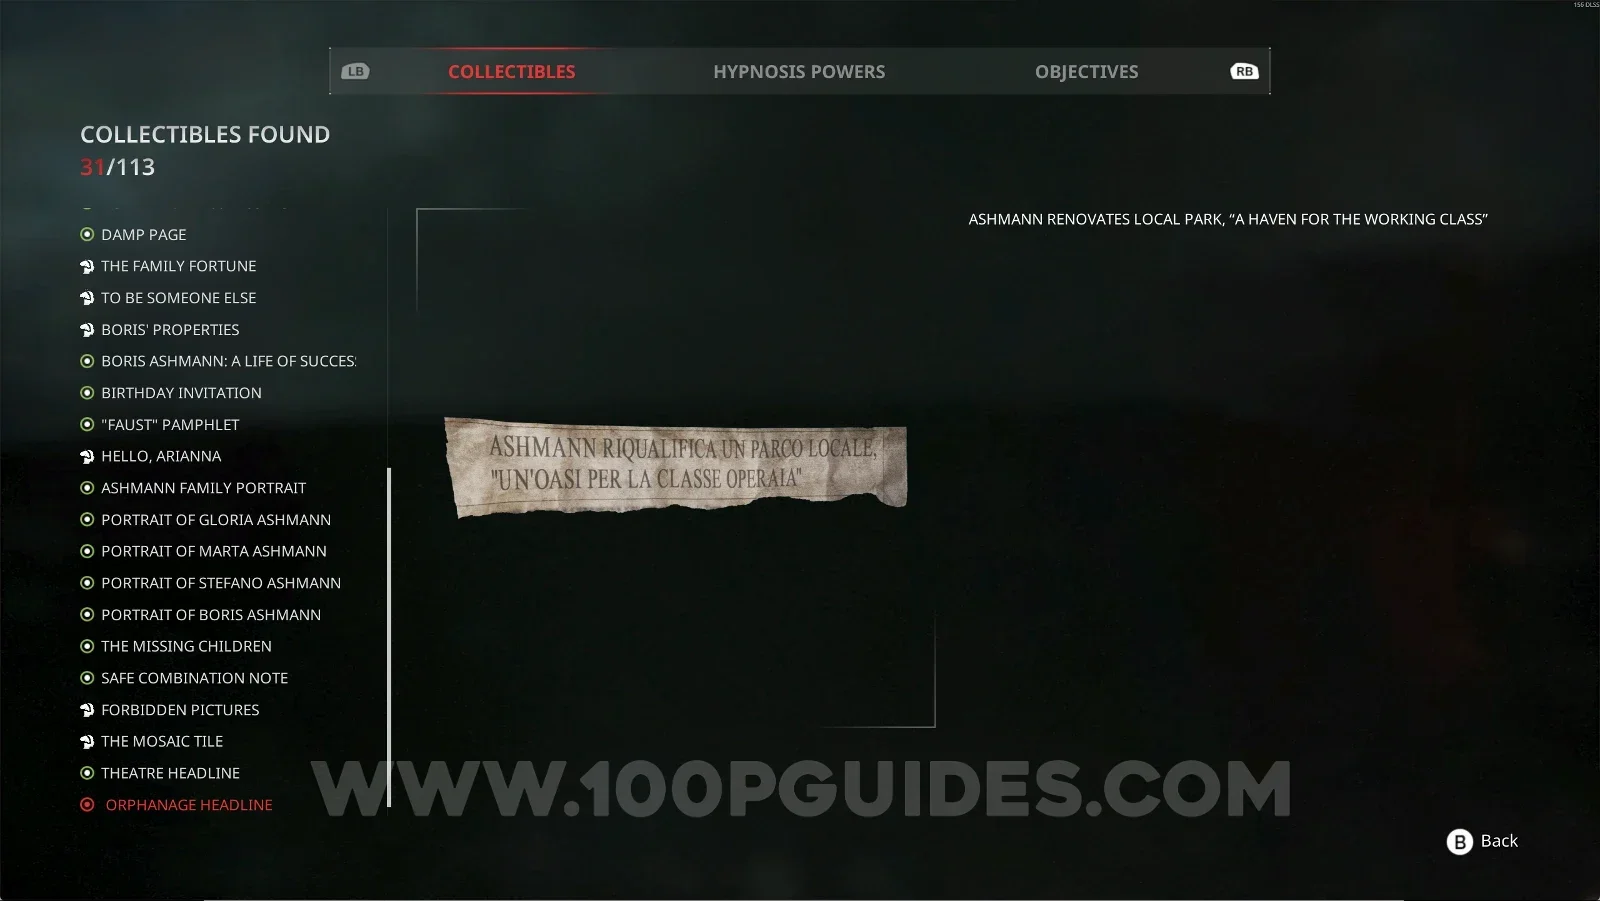
Noble Wing #20: Orphanage Headline

Same area as before. Interact with the second painting.

Remothered: Red Nuns Legacy: the second painting in the room behind the Library door Remothered: Red Nuns Legacy Noble Wing #20: Orphanage Headline collectible

Noble Wing #21: Park Headline

Same area as before. Interact with the third painting.

Remothered: Red Nuns Legacy: the third painting in the room behind the Library door Remothered: Red Nuns Legacy Noble Wing #21: Park Headline collectible

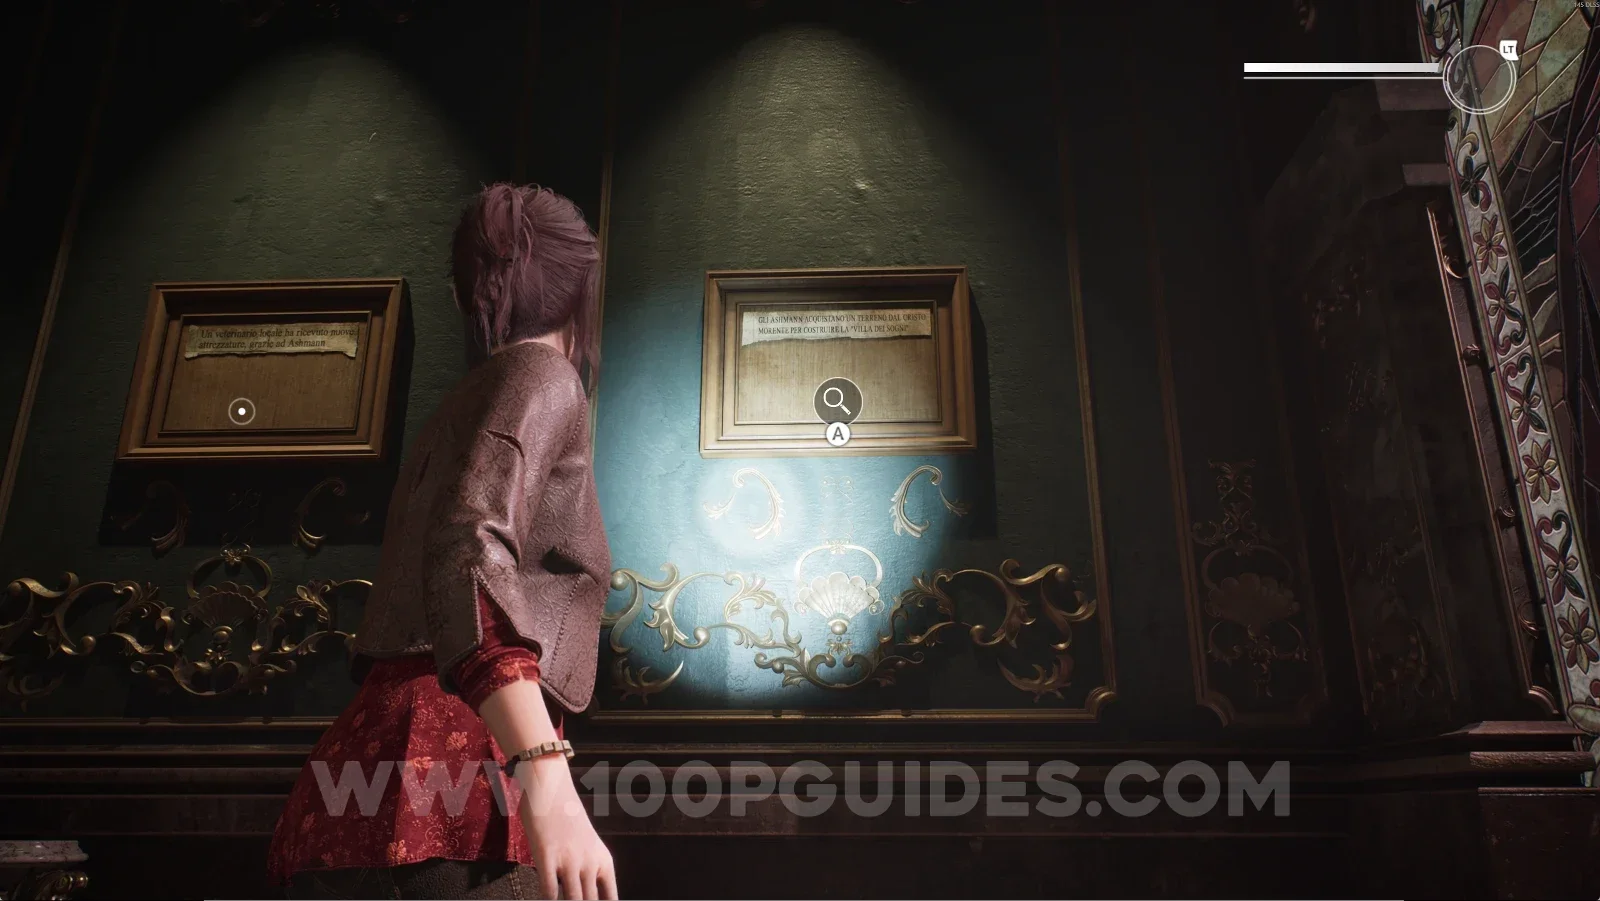
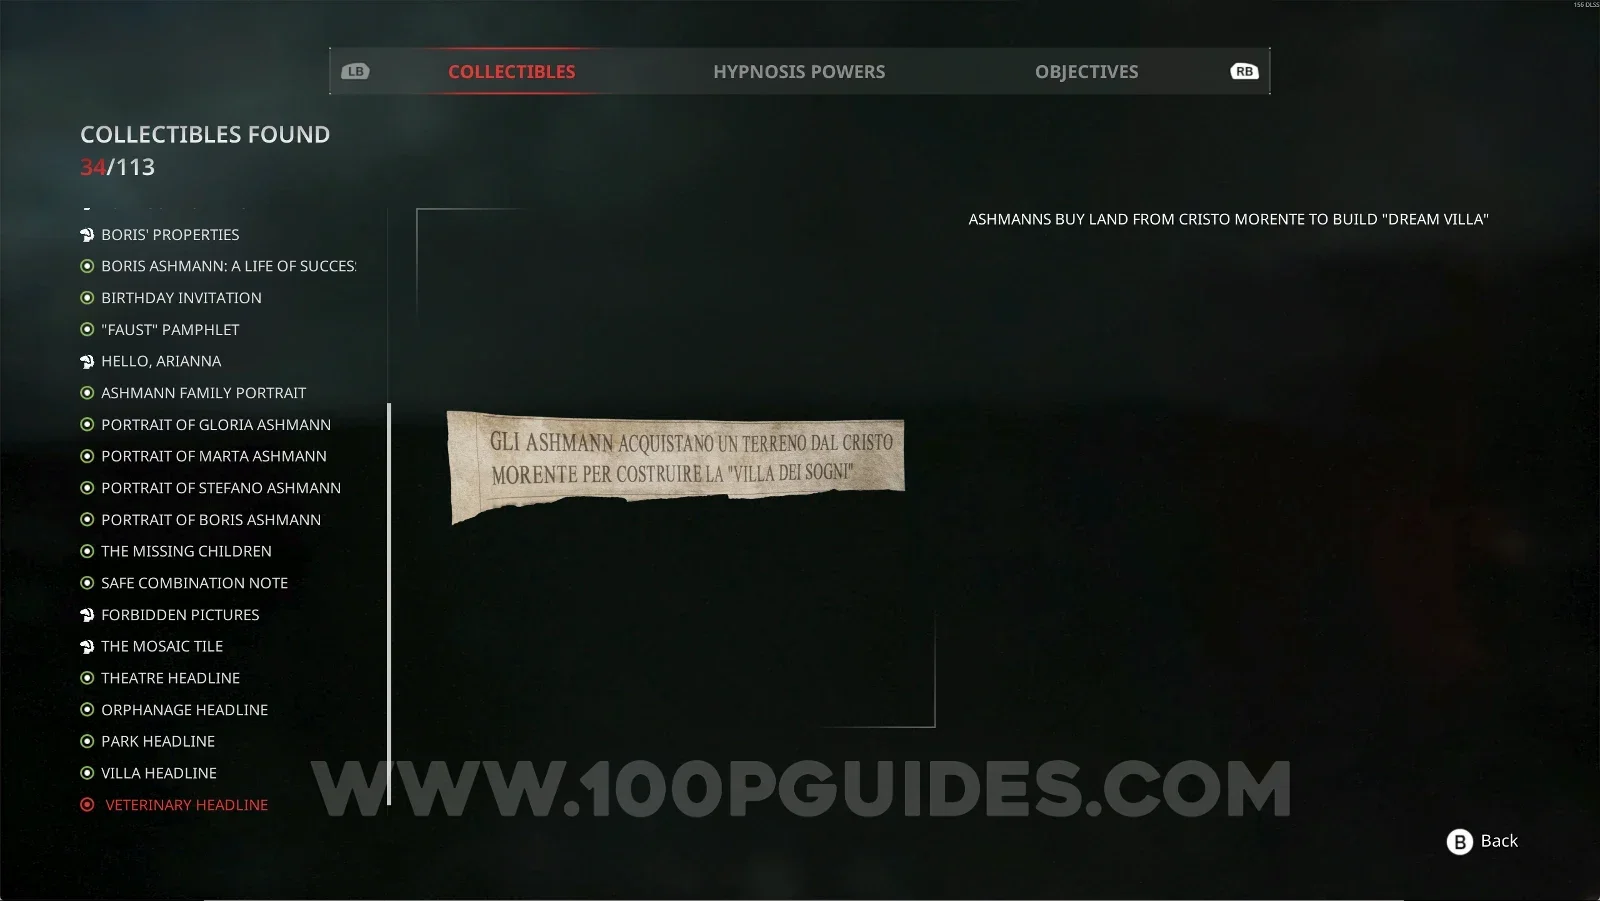
Noble Wing #22: Villa Headline

Same area as before. Interact with the fourth painting.

Remothered: Red Nuns Legacy: the fourth painting in the room behind the Library door Remothered: Red Nuns Legacy Noble Wing #22: Villa Headline collectible

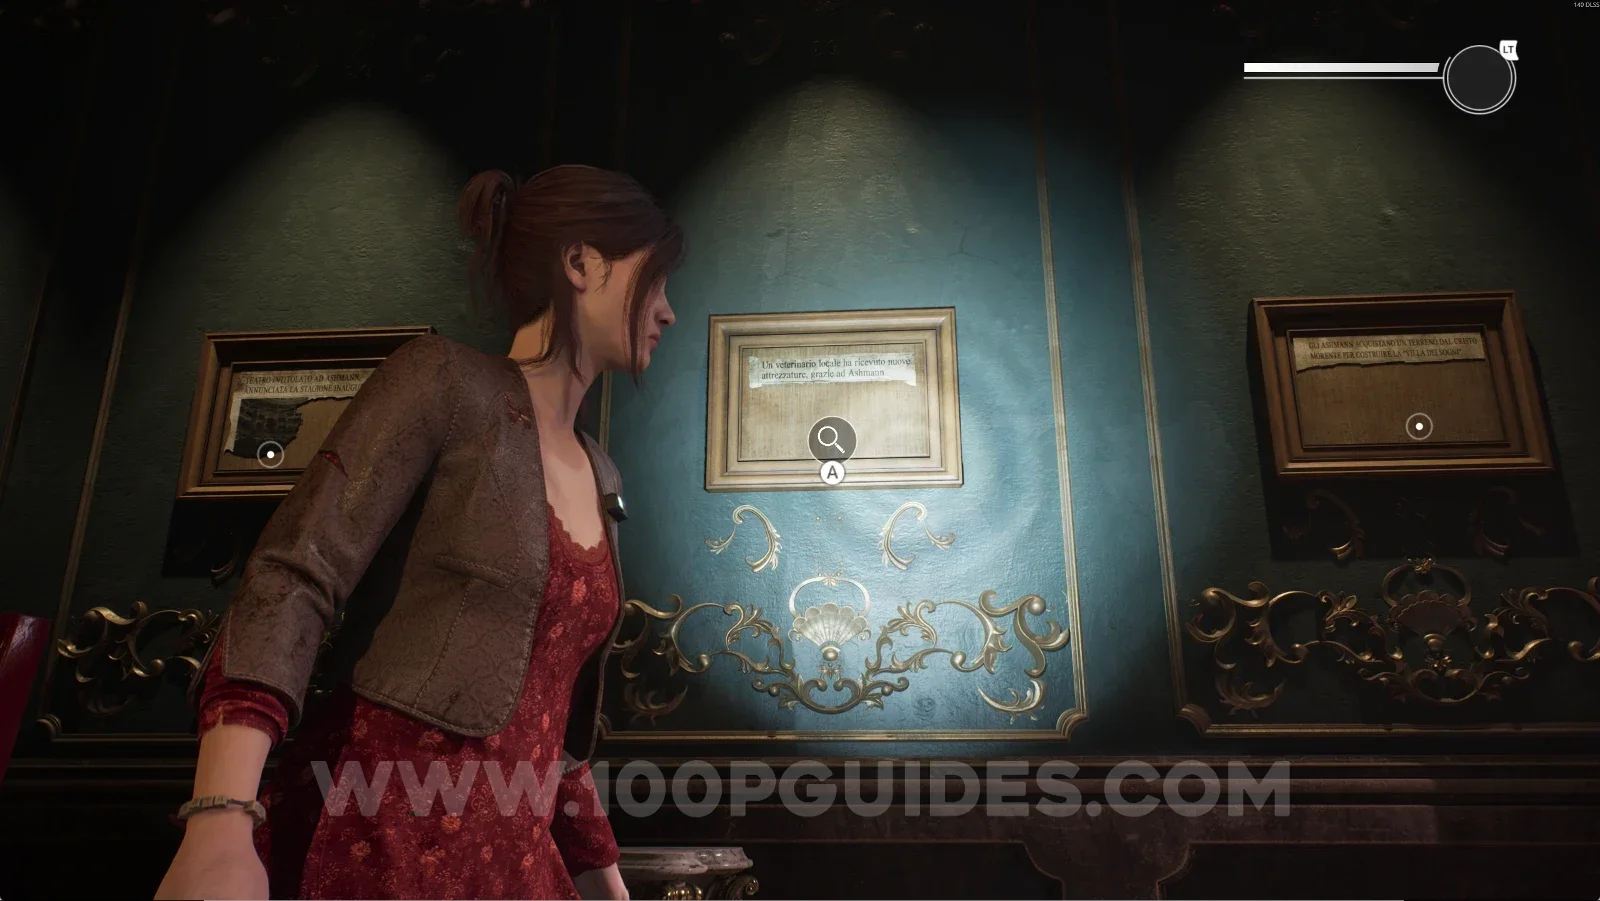
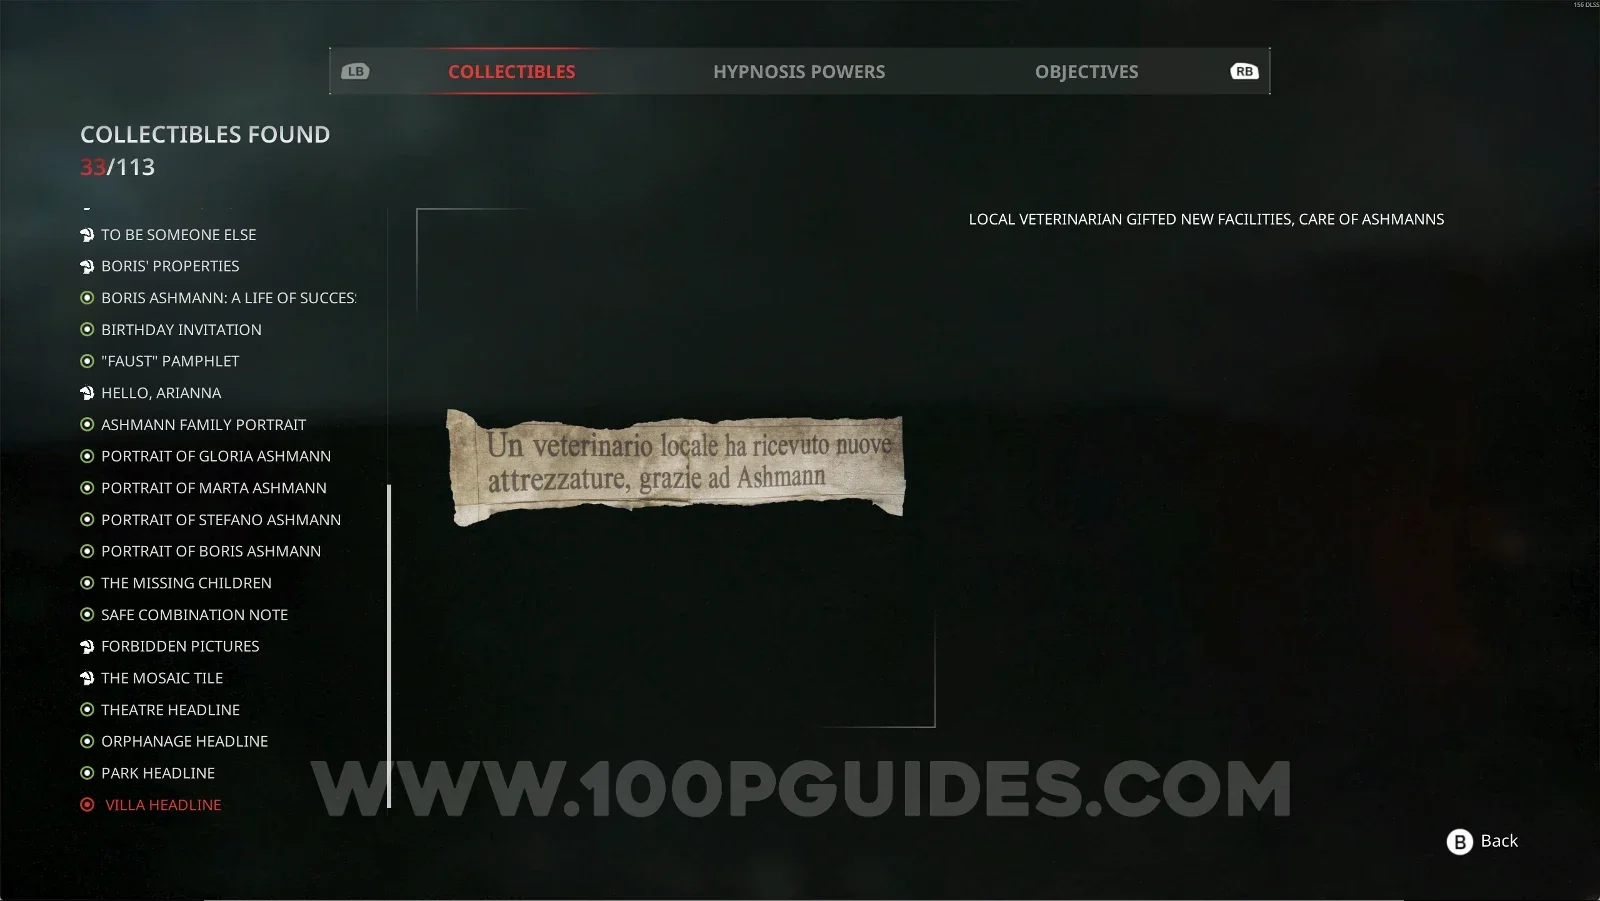
Noble Wing #23: Veterinary Headline

Same area as before. Interact with the fifth painting.

Remothered: Red Nuns Legacy: the fifth painting in the room behind the Library door Remothered: Red Nuns Legacy Noble Wing #23: Veterinary Headline collectible

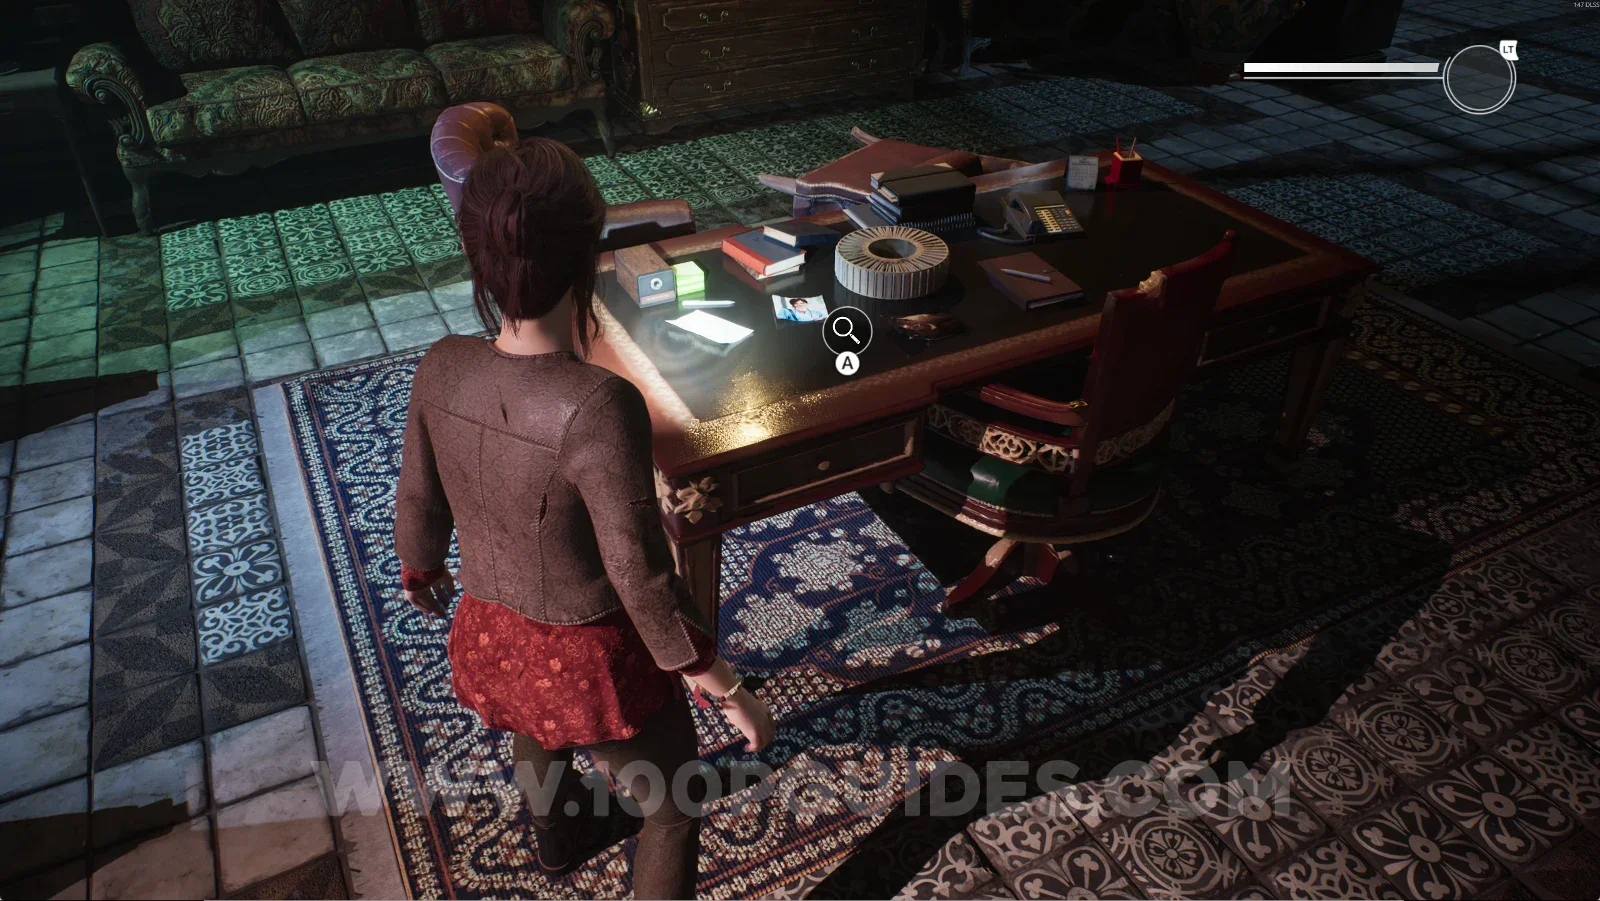
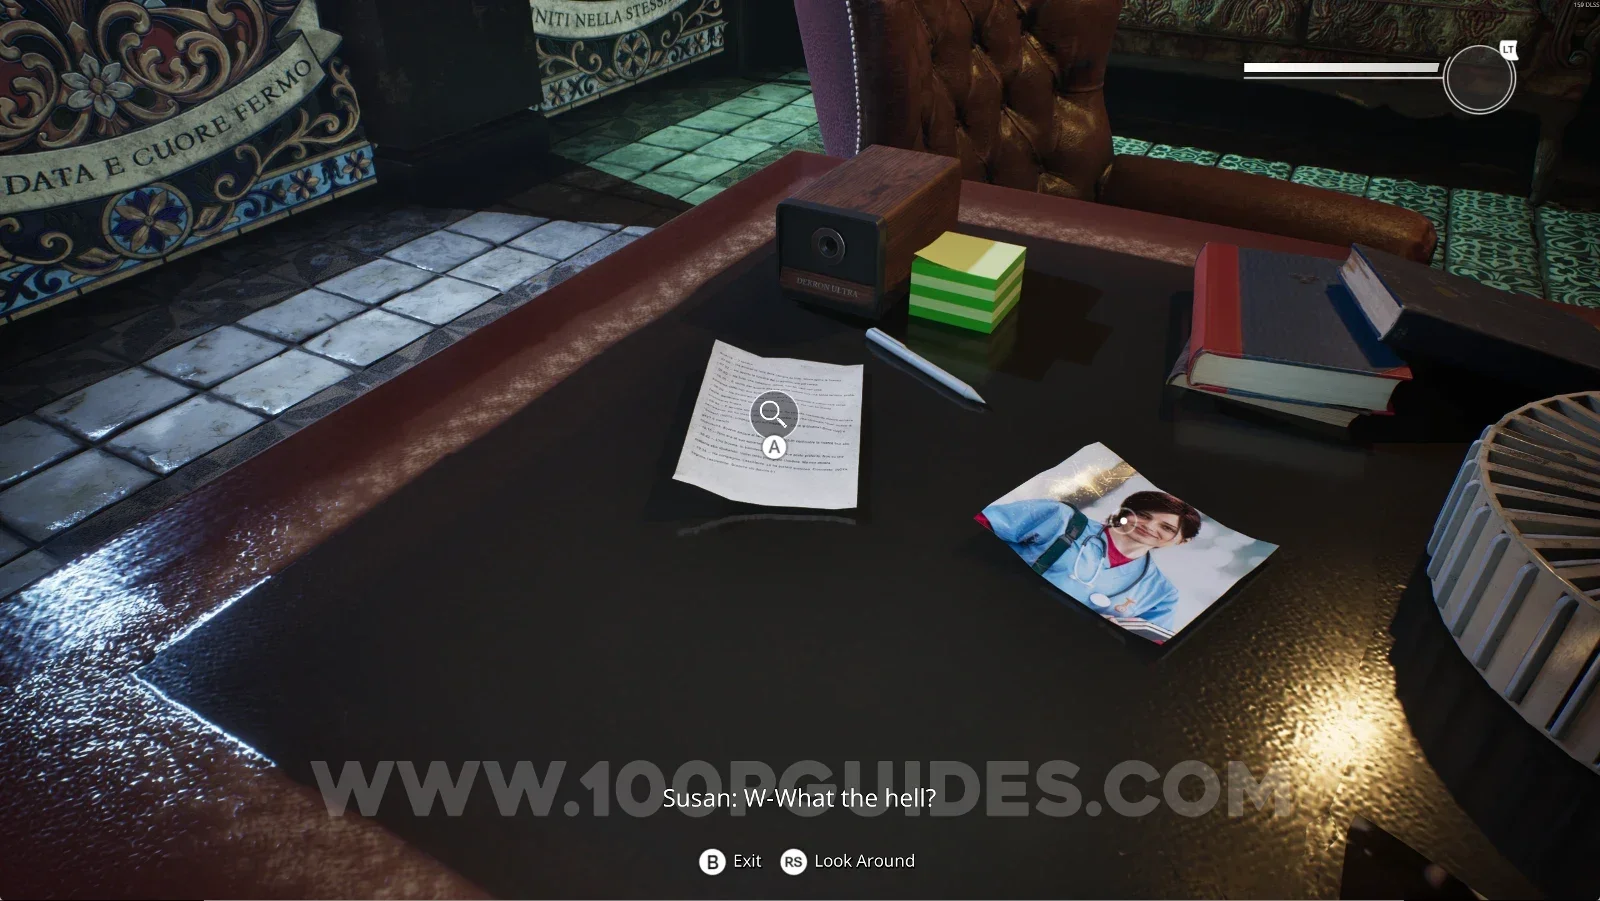
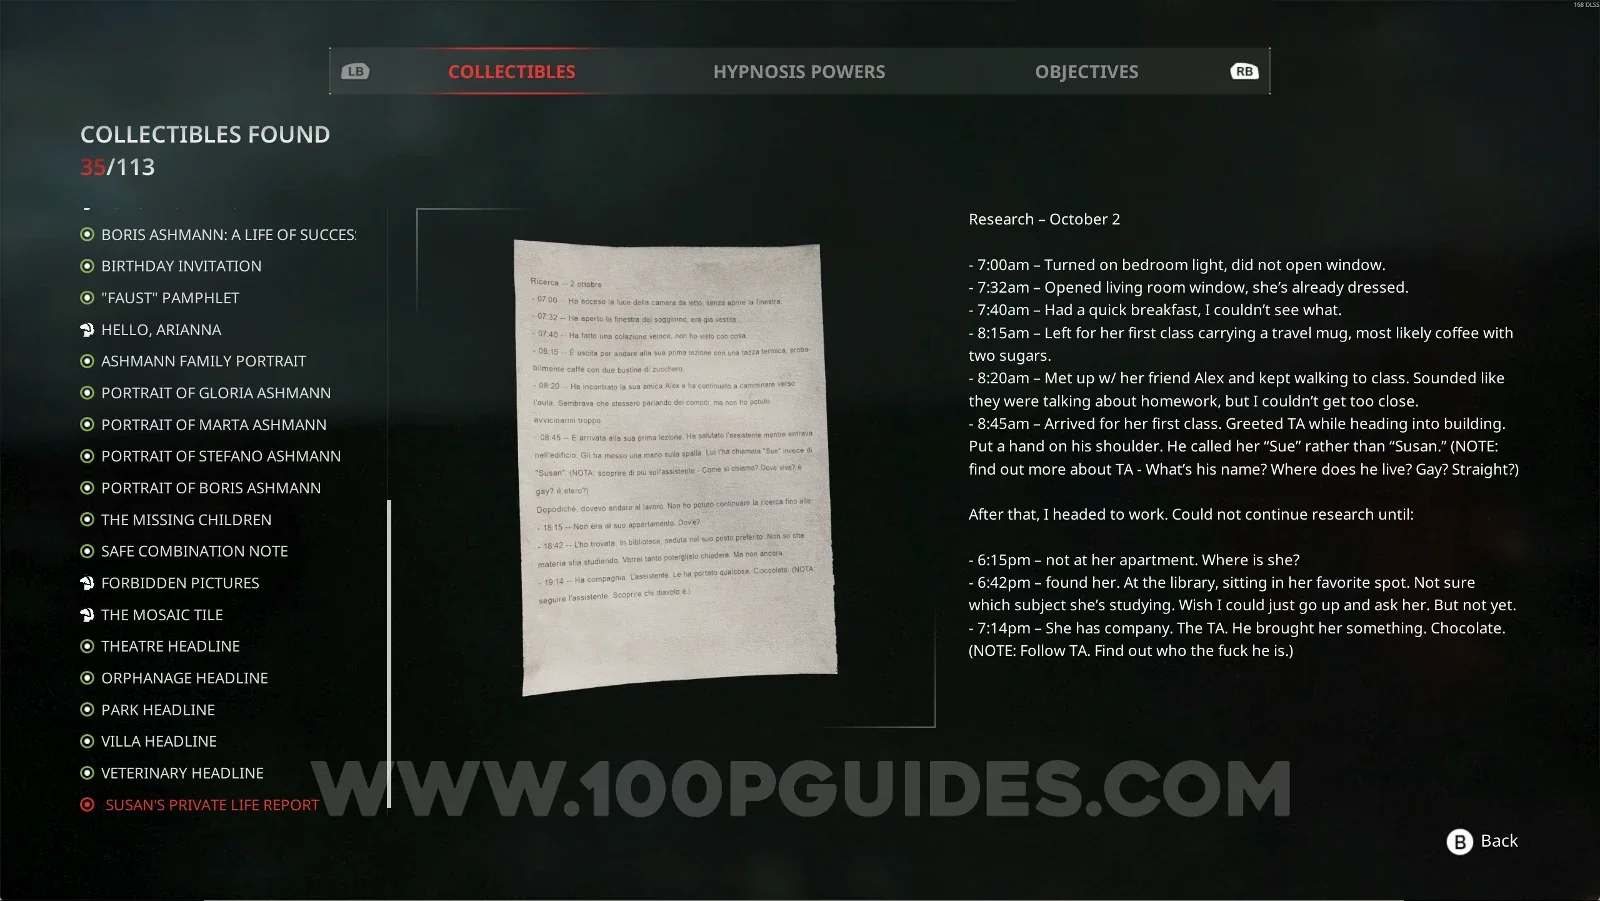
Noble Wing #24: Susan's Private Life Report

Same area as before. On the table, interact with the letter.

Remothered: Red Nuns Legacy: the table in the room behind the Library door Remothered: Red Nuns Legacy: the letter on the table, Susan's Private Life Report Remothered: Red Nuns Legacy Noble Wing #24: Susan's Private Life Report collectible

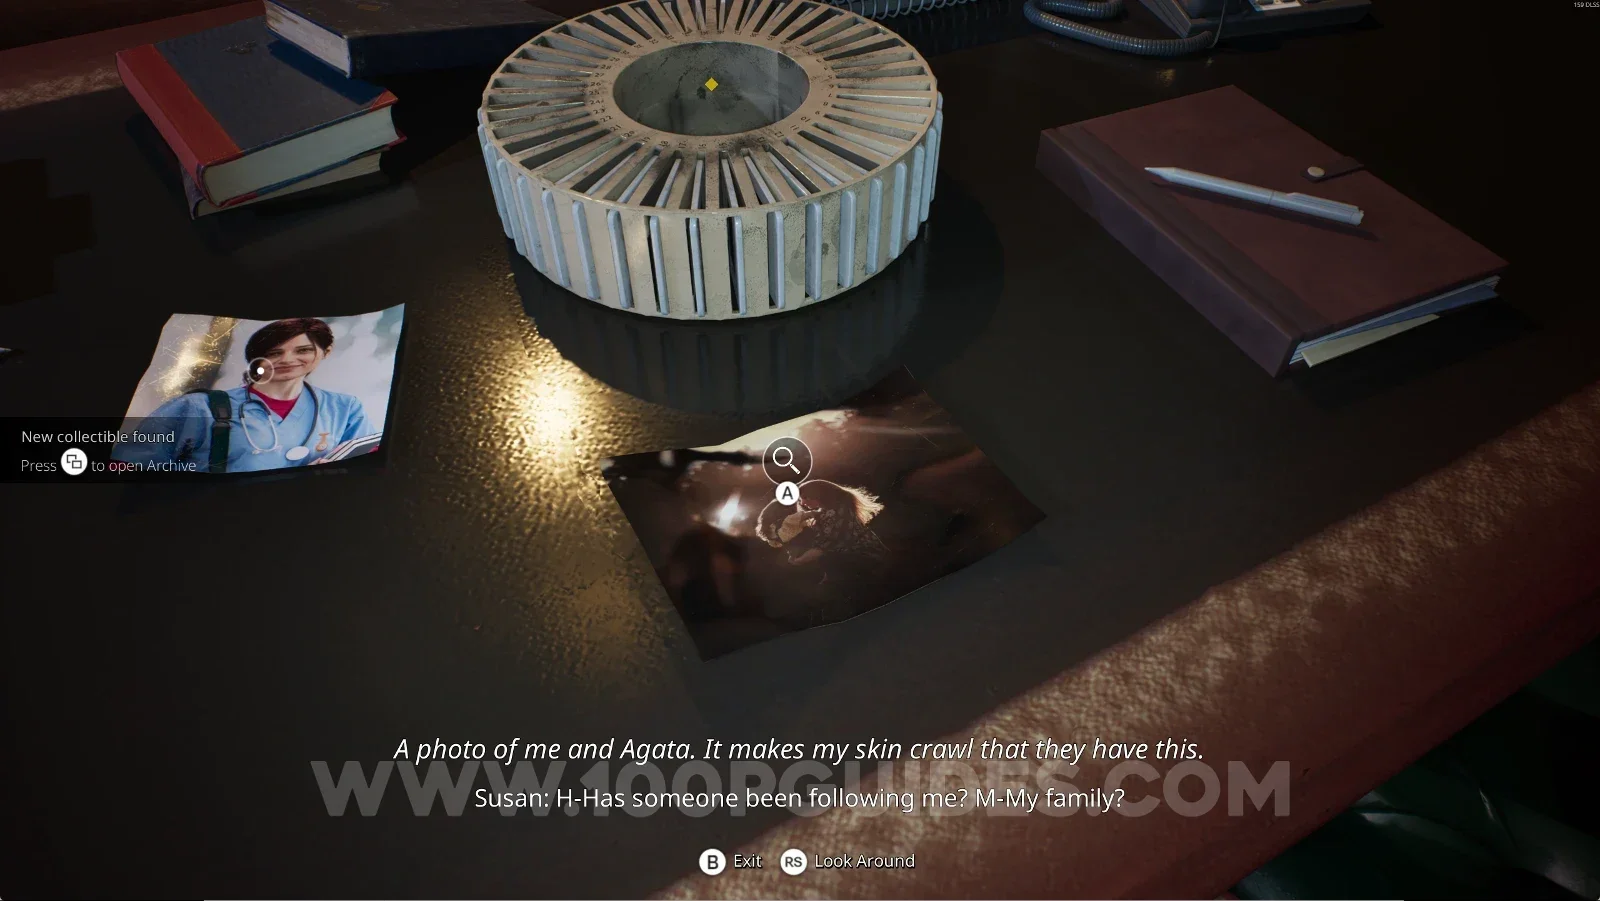
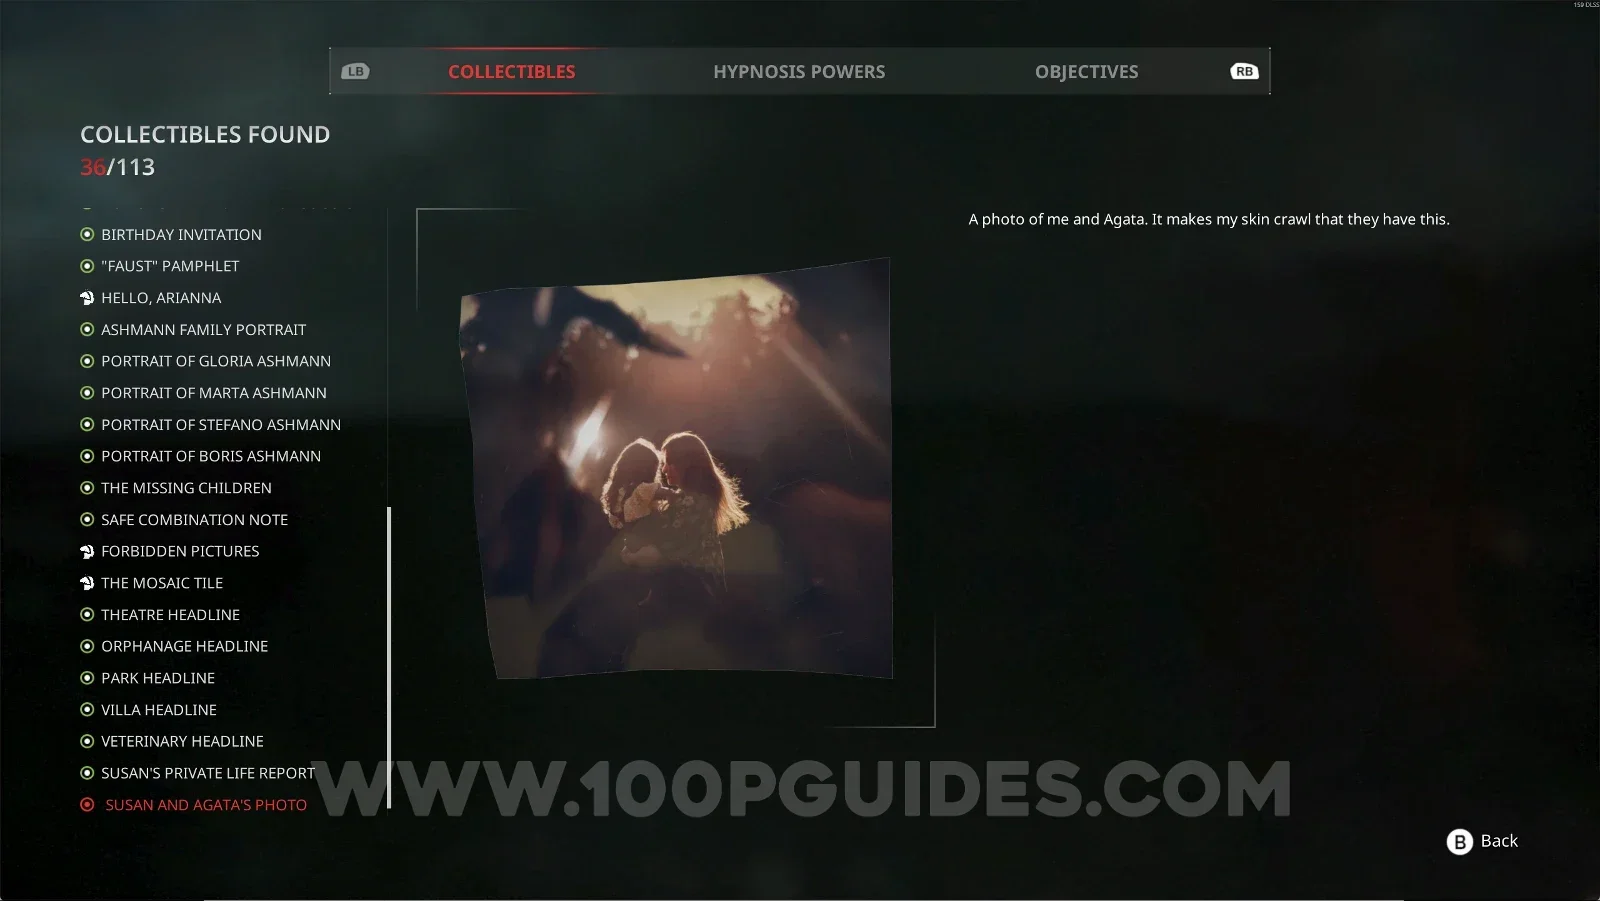
Noble Wing #25: Susan And Agata's Photo

Next to the previous collectible.

Remothered: Red Nuns Legacy: Susan And Agata's Photo next to the Private Life Report Remothered: Red Nuns Legacy Noble Wing #25: Susan And Agata's Photo collectible

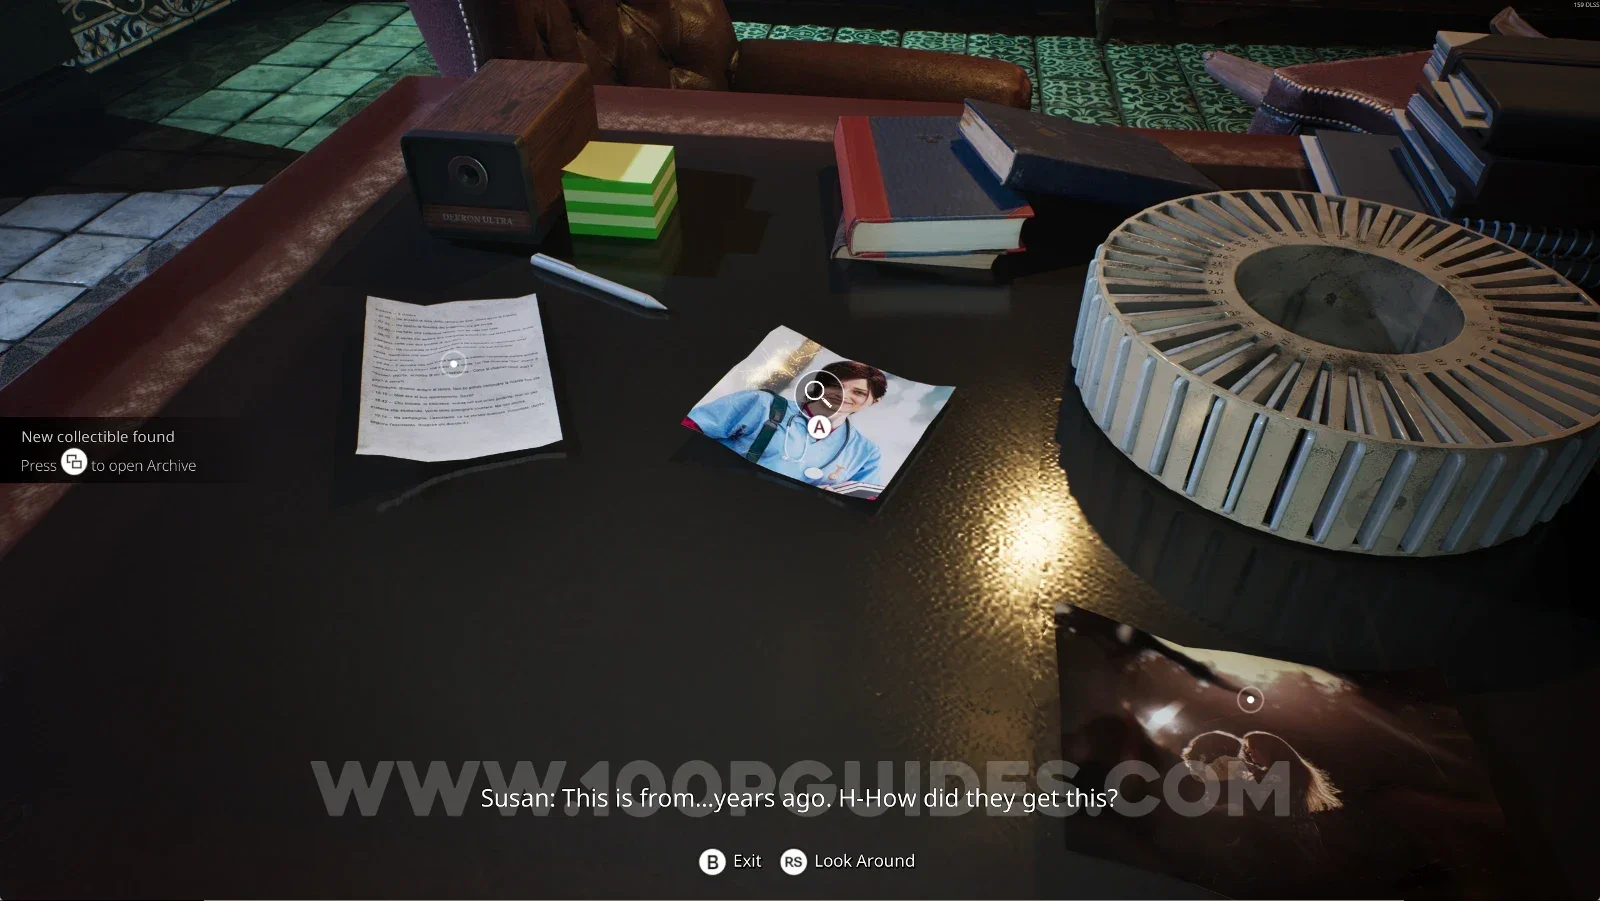
Noble Wing #26: Young Susan's Photo

Next to the previous collectible.

Remothered: Red Nuns Legacy: Young Susan's Photo next to Susan And Agata's Photo Remothered: Red Nuns Legacy Noble Wing #26: Young Susan's Photo collectible

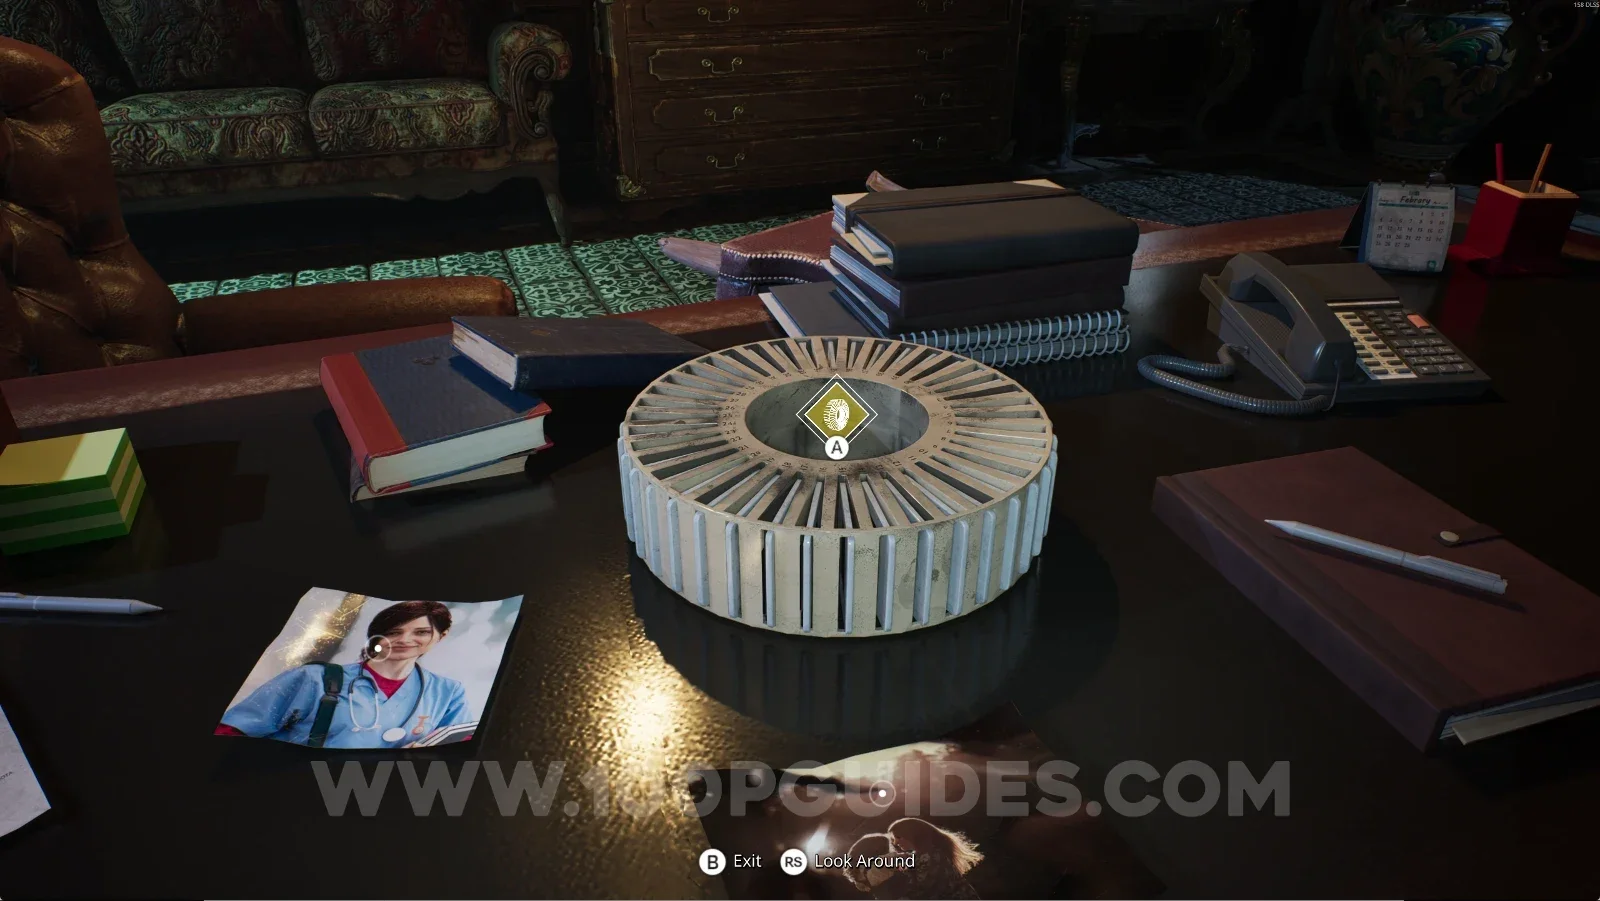
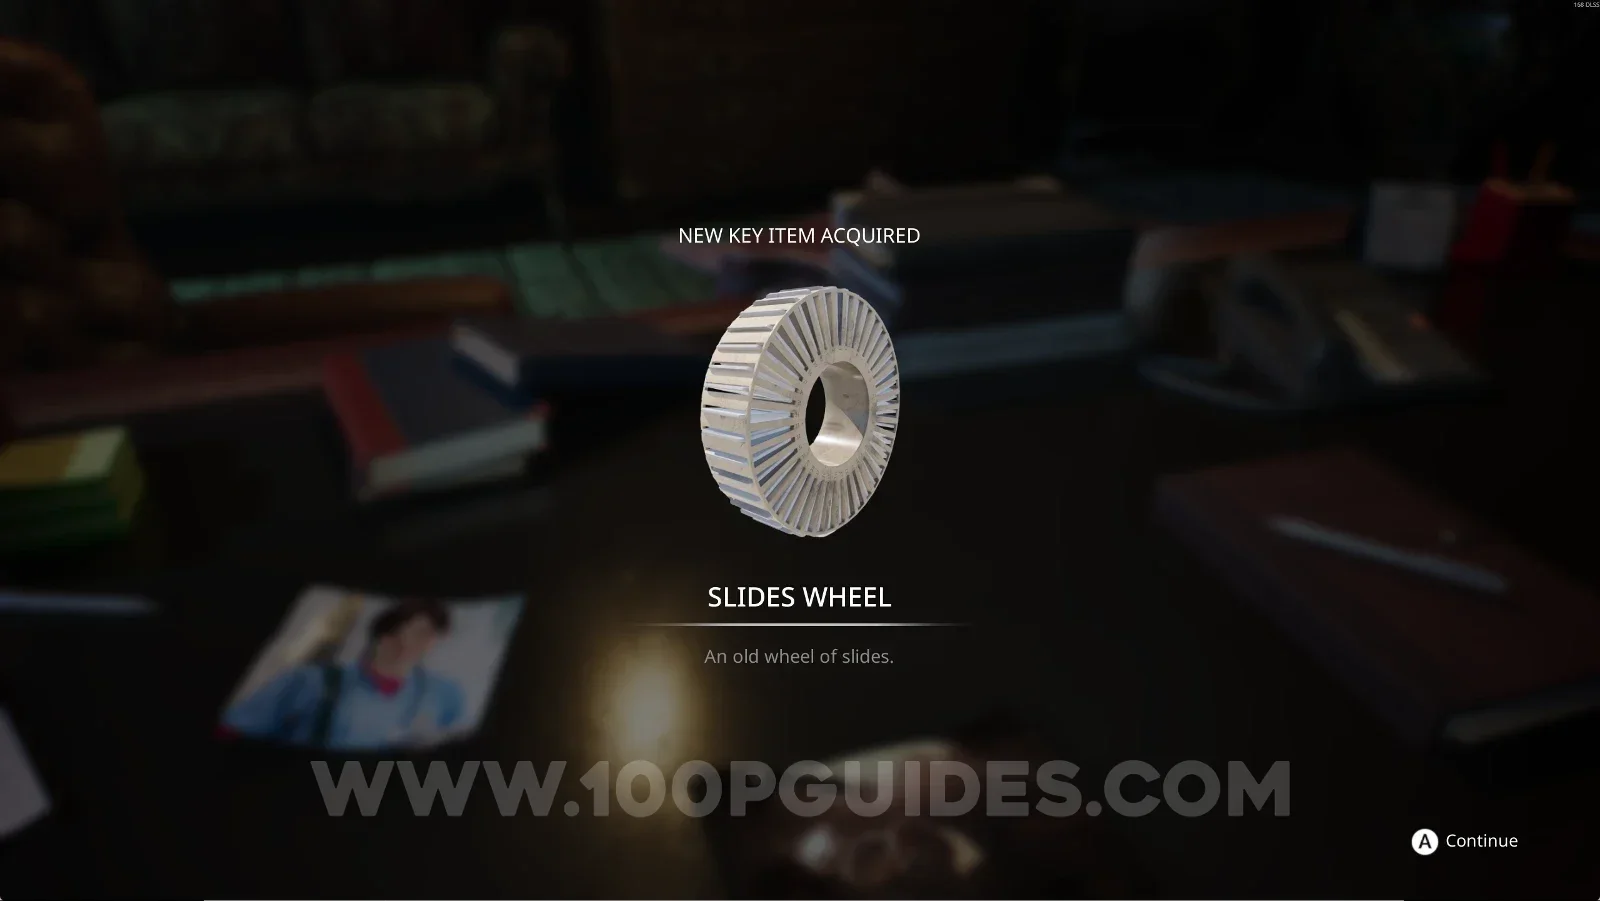
Key Item: Slides Wheel

Next to the previous collectible, grab the Slides Wheel.

Remothered: Red Nuns Legacy: the Slides Wheel next to Young Susan's Photo Remothered: Red Nuns Legacy: picking up the Slides Wheel key item

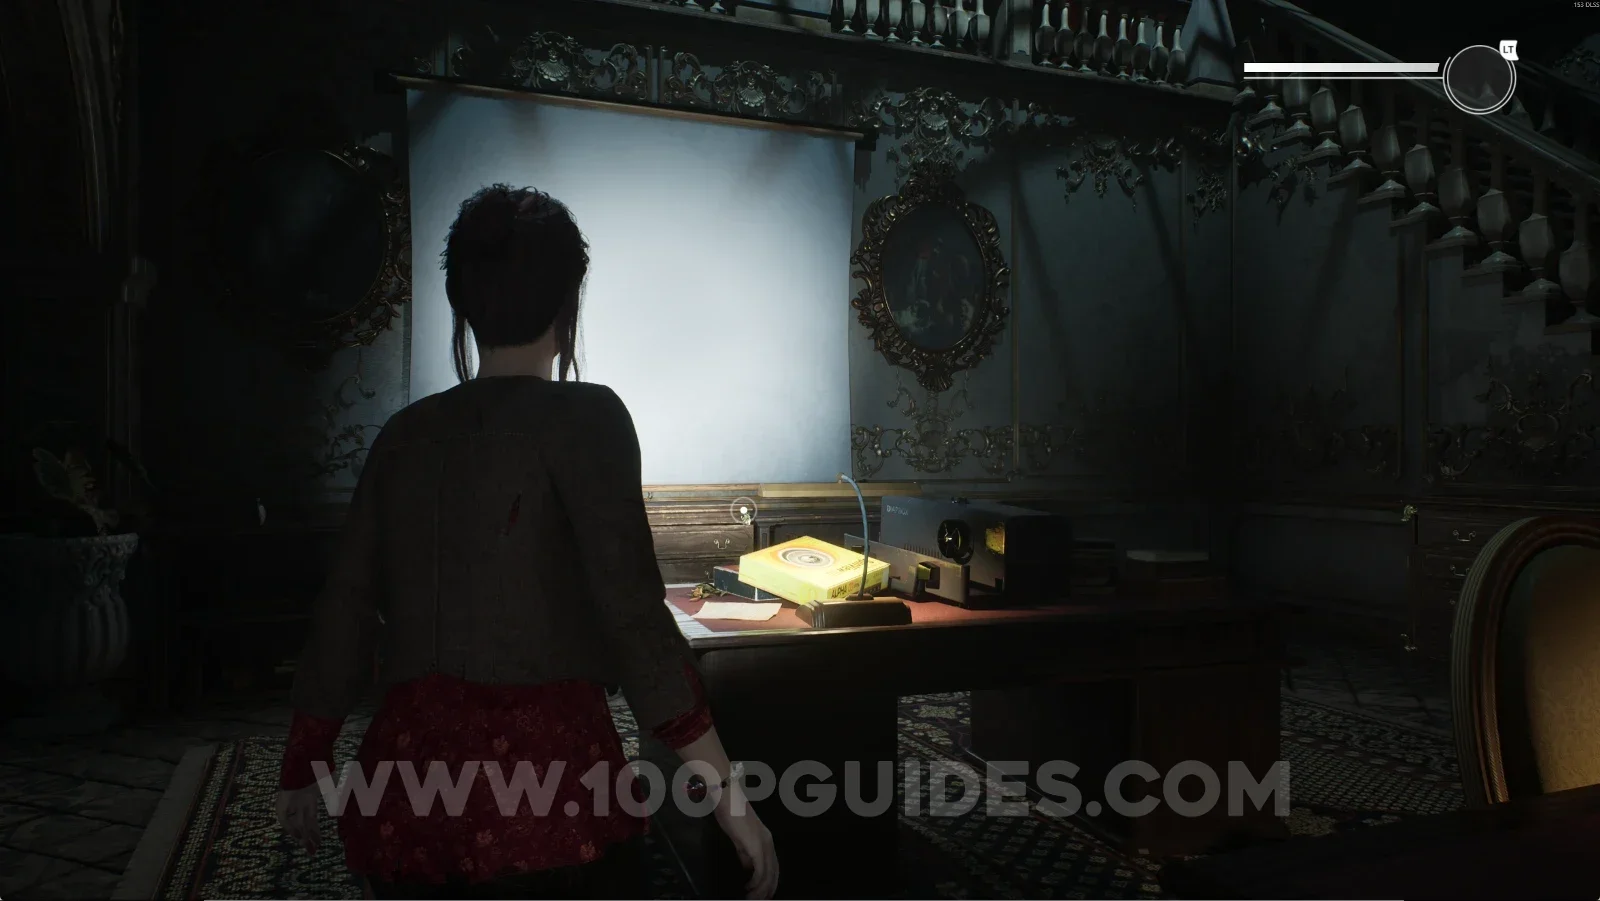
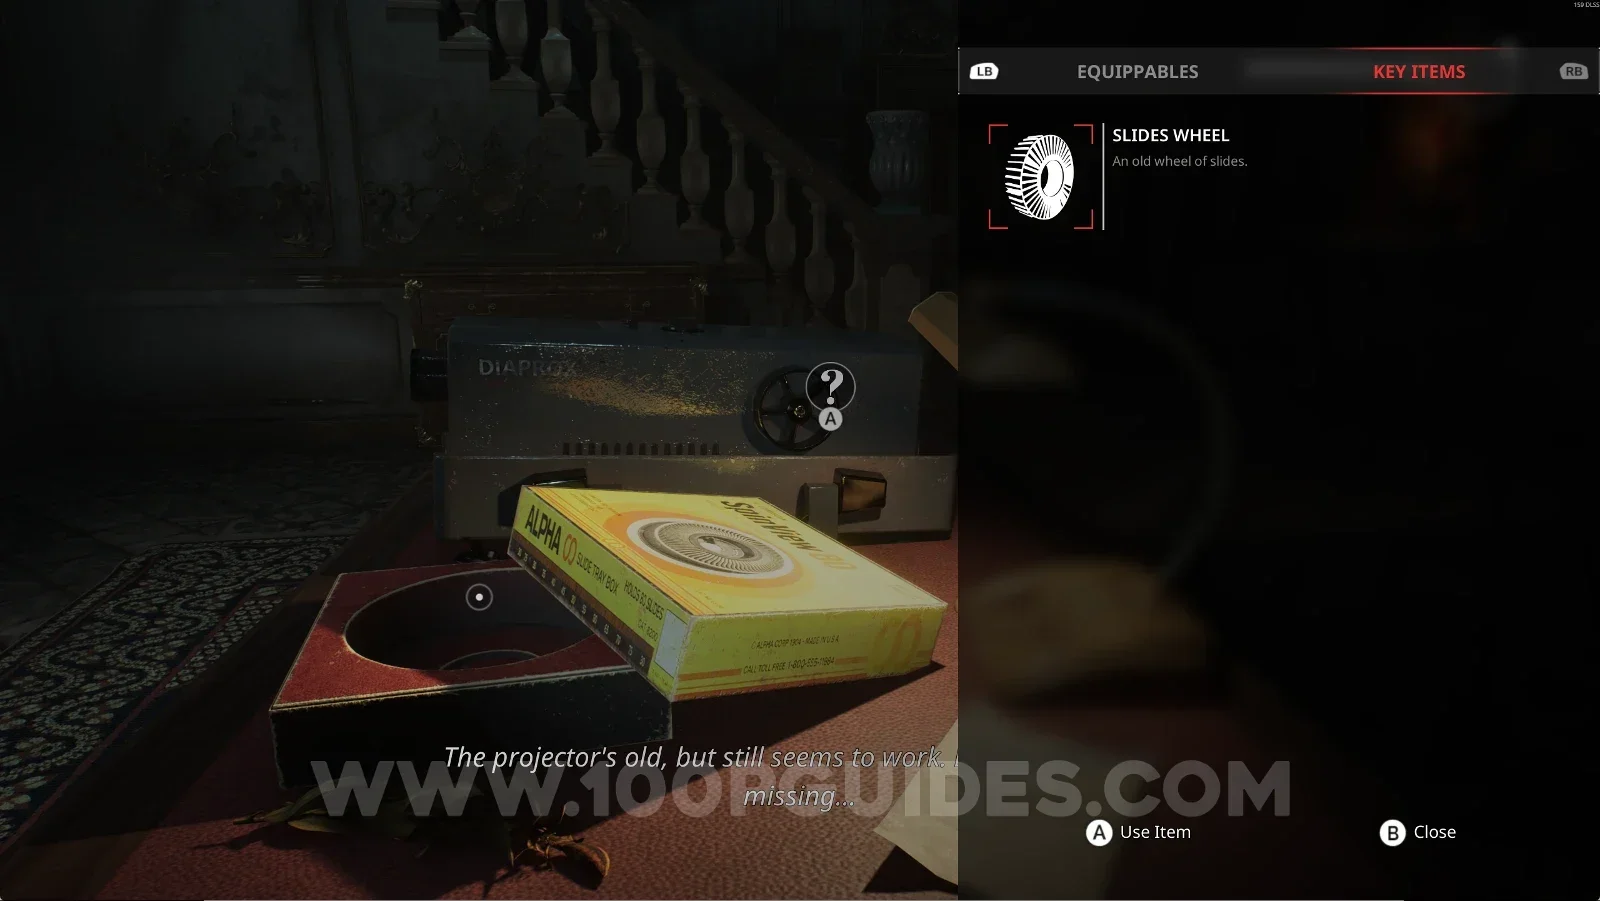
Use the Slides Wheel on the projector outside the room.

Remothered: Red Nuns Legacy: the projector outside the room behind the Library door Remothered: Red Nuns Legacy: placing the Slides Wheel on the projector

Safe Puzzle

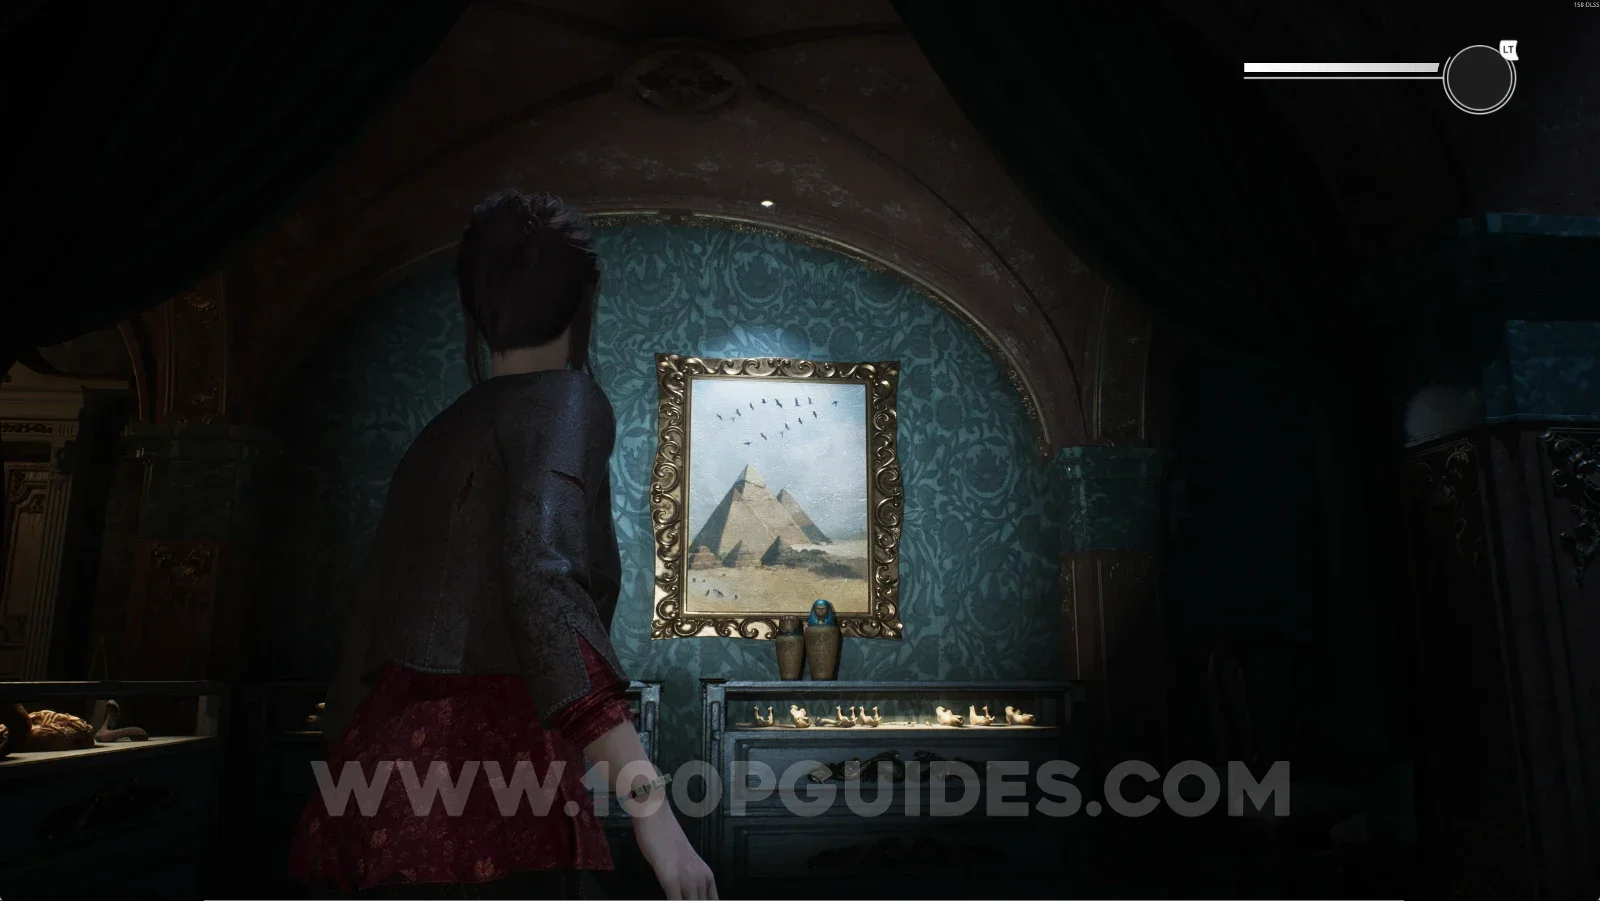
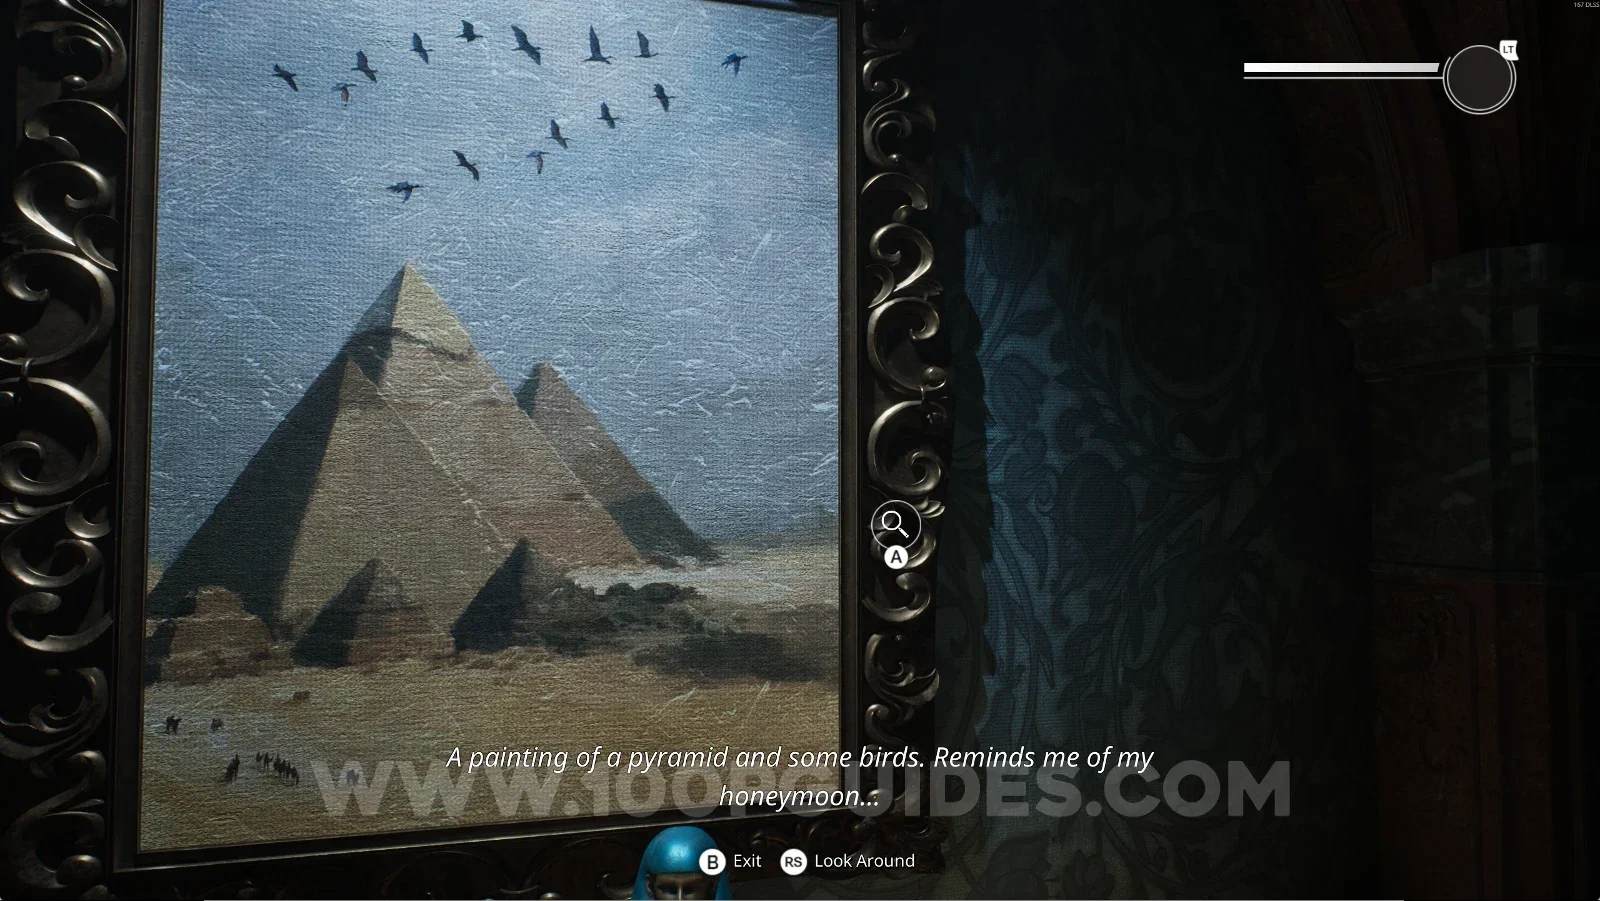
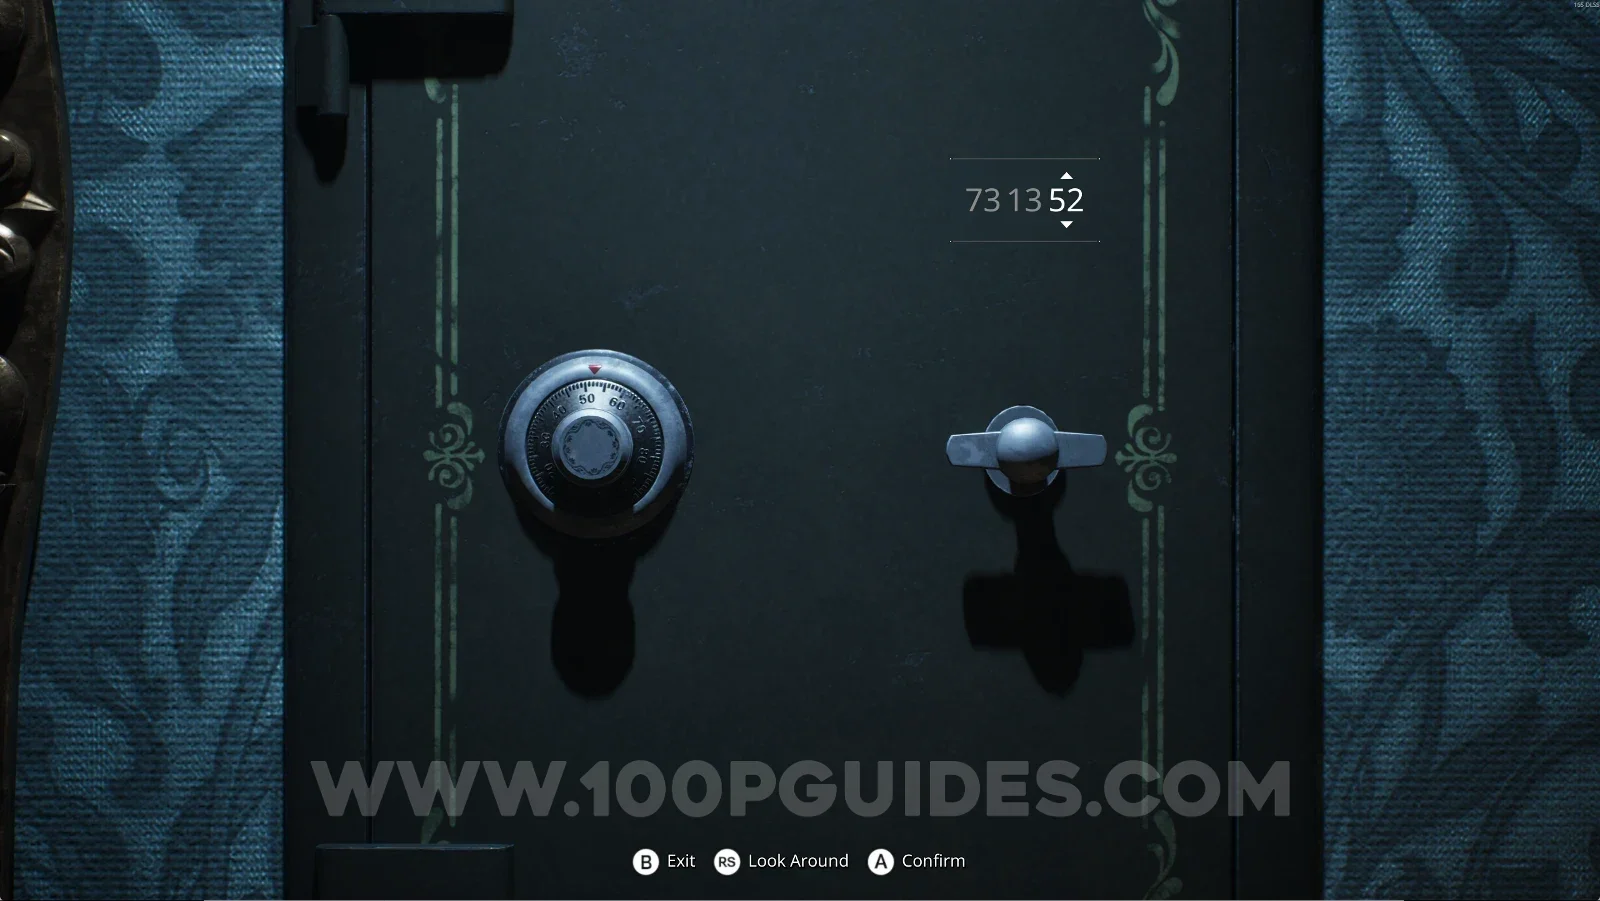
Go back to the Sala delle Meraviglie and interact with the pyramid painting to reveal the safe. The safe code is 733152.

Remothered: Red Nuns Legacy Sala delle Meraviglie: the pyramid painting hiding the safe Remothered: Red Nuns Legacy: interacting with the pyramid painting to reveal the safe Remothered: Red Nuns Legacy: the safe revealed behind the pyramid painting Remothered: Red Nuns Legacy Safe Puzzle: entering the code 733152 on the safe

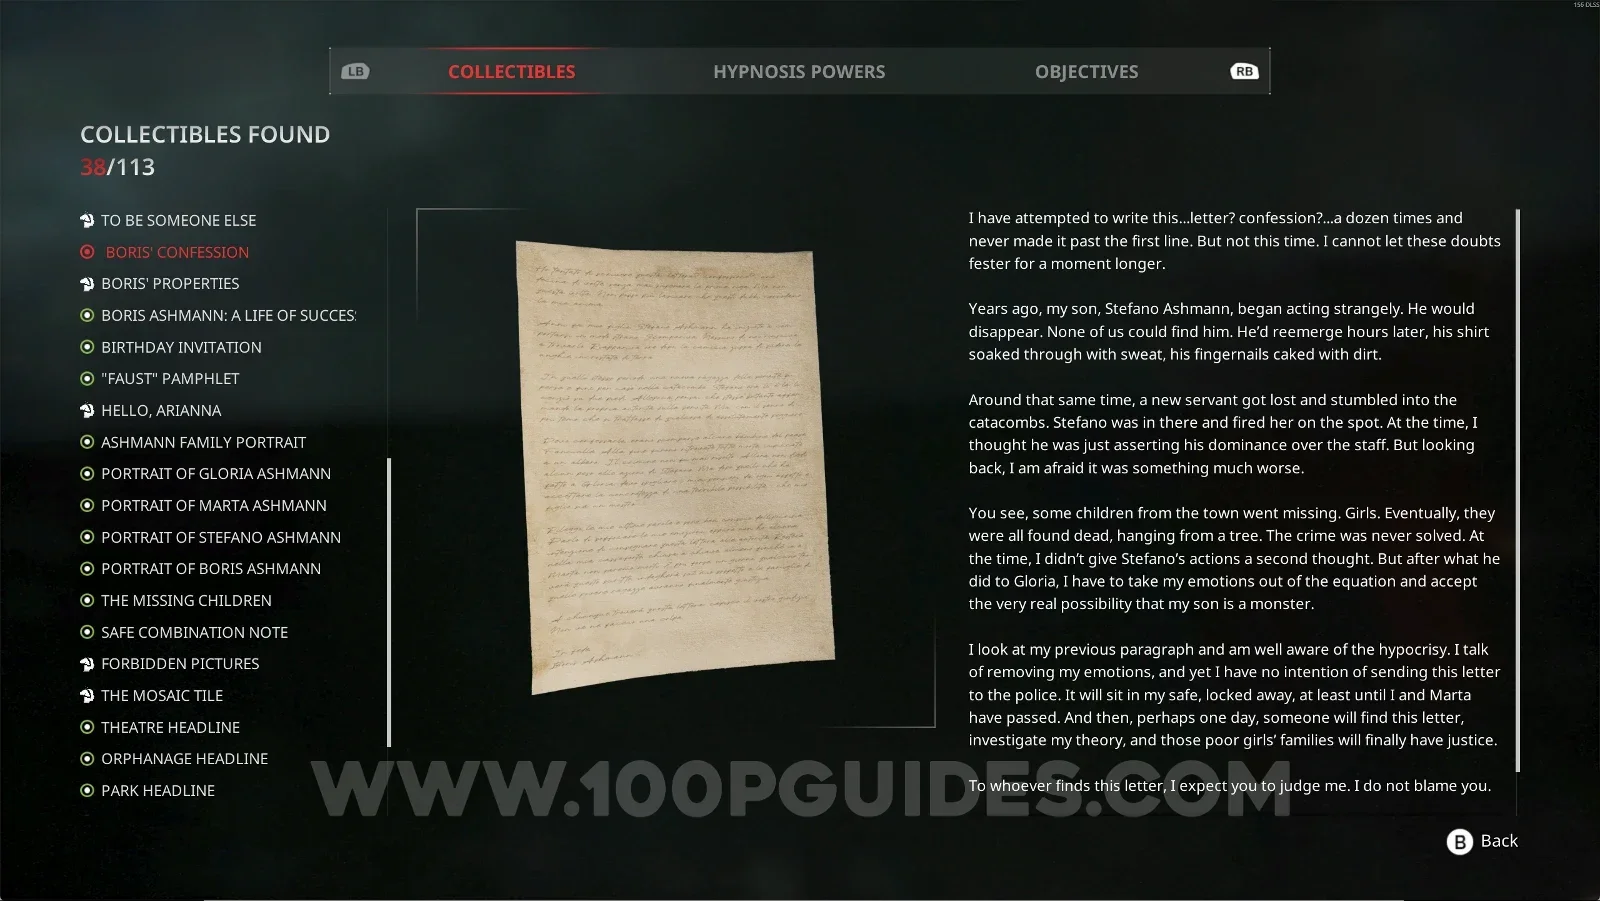
Noble Wing #27: Boris' Confession

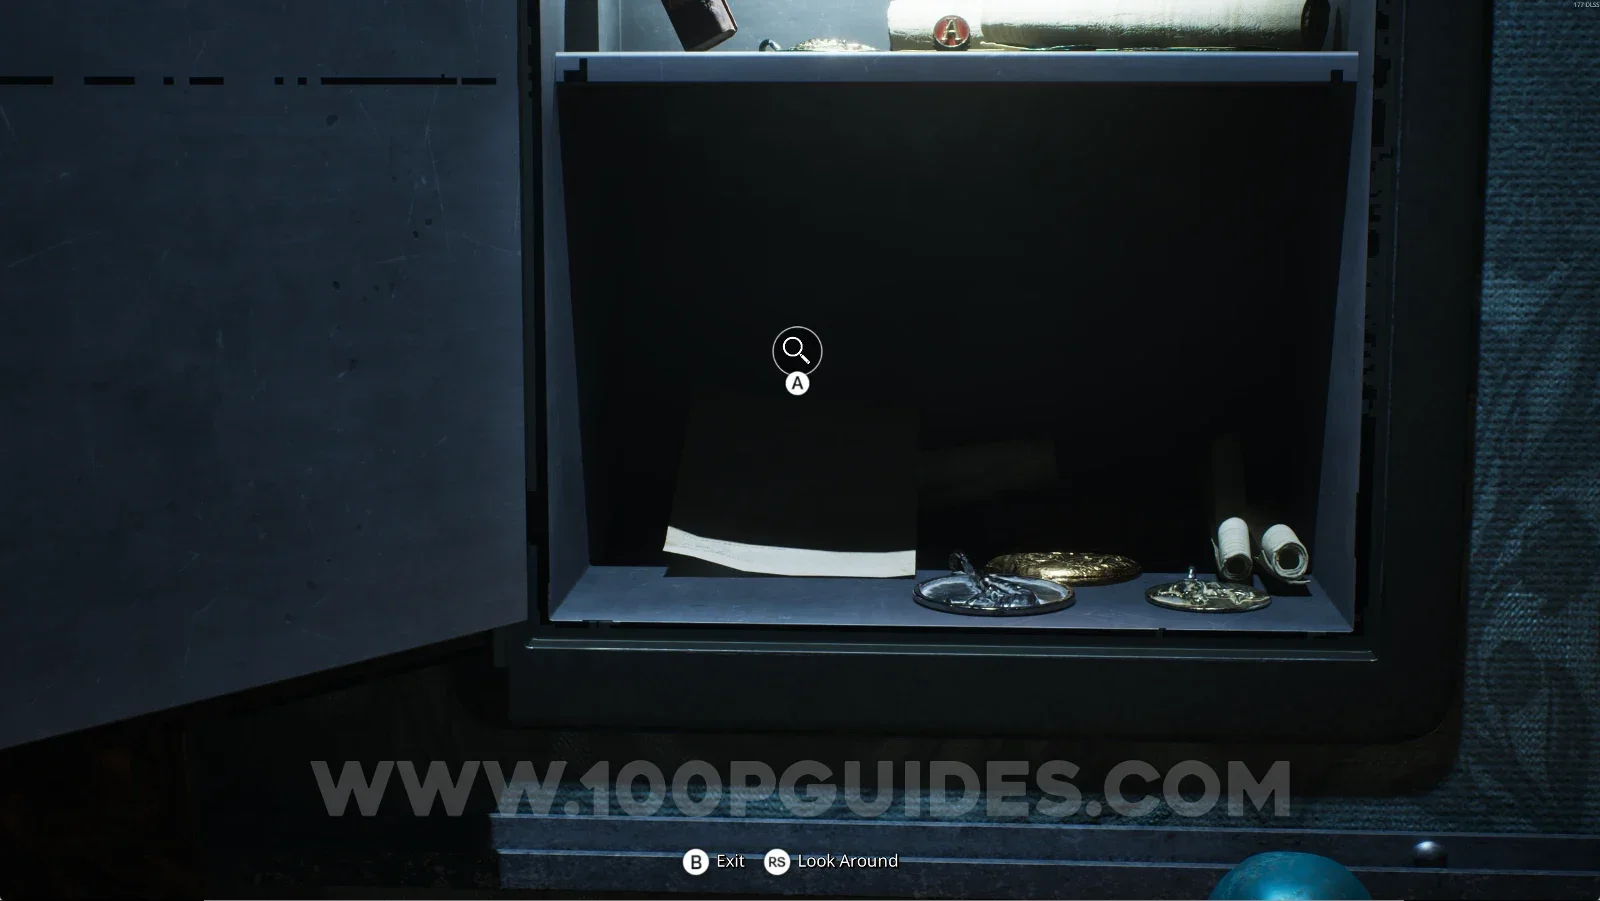
After opening the safe, it will be on the bottom shelf.

Remothered: Red Nuns Legacy: the open safe with Boris' Confession on the bottom shelf Remothered: Red Nuns Legacy Noble Wing #27: Boris' Confession collectible

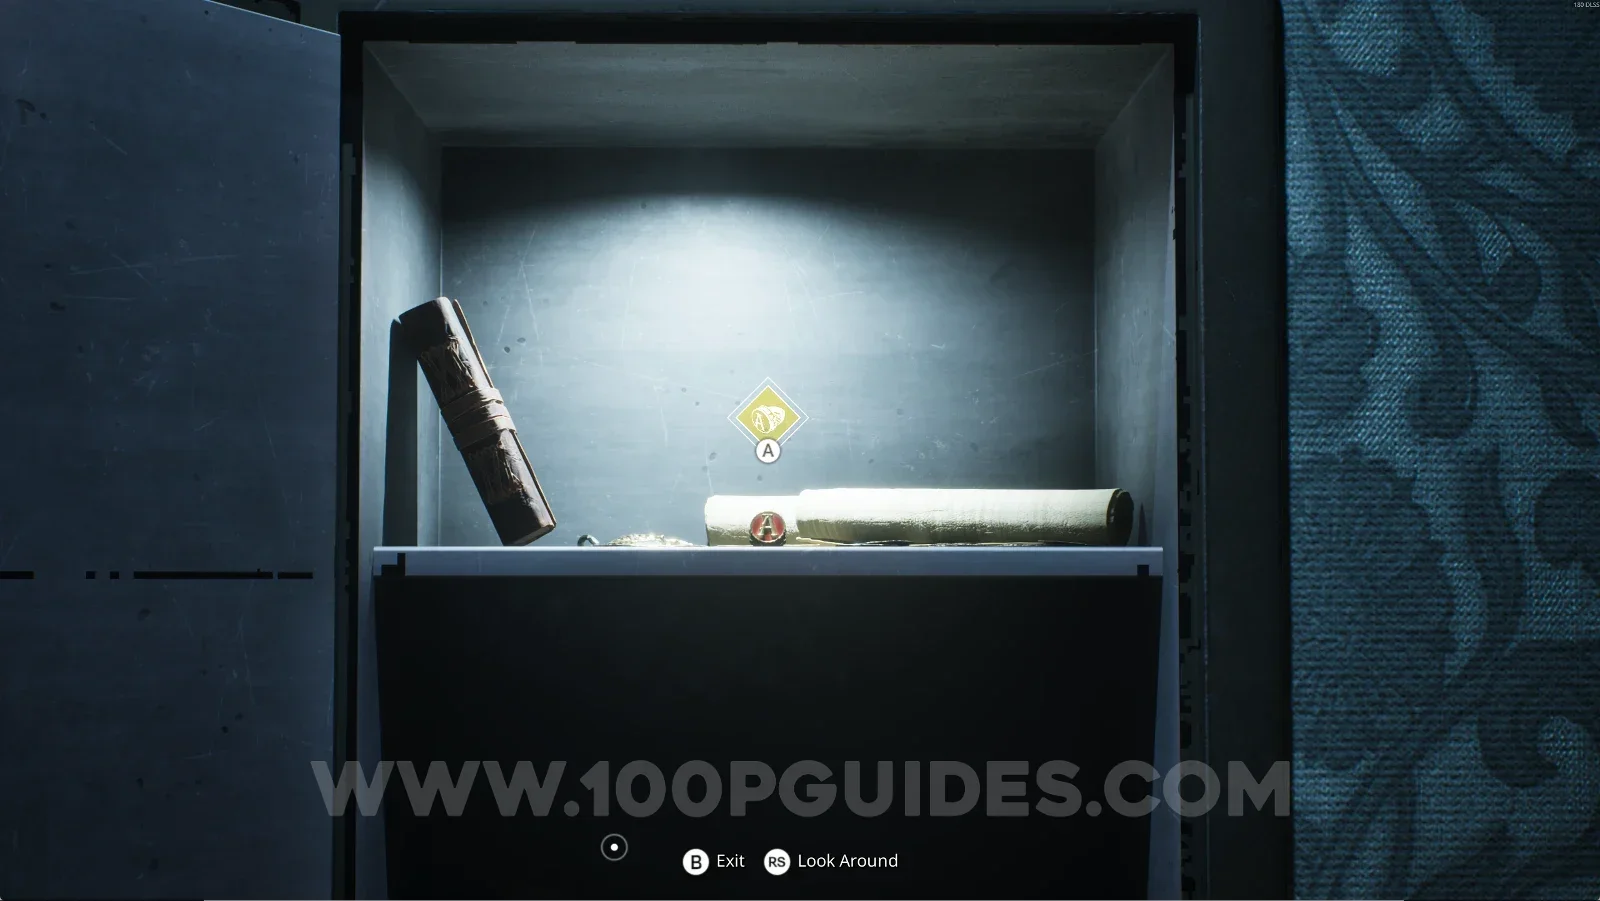
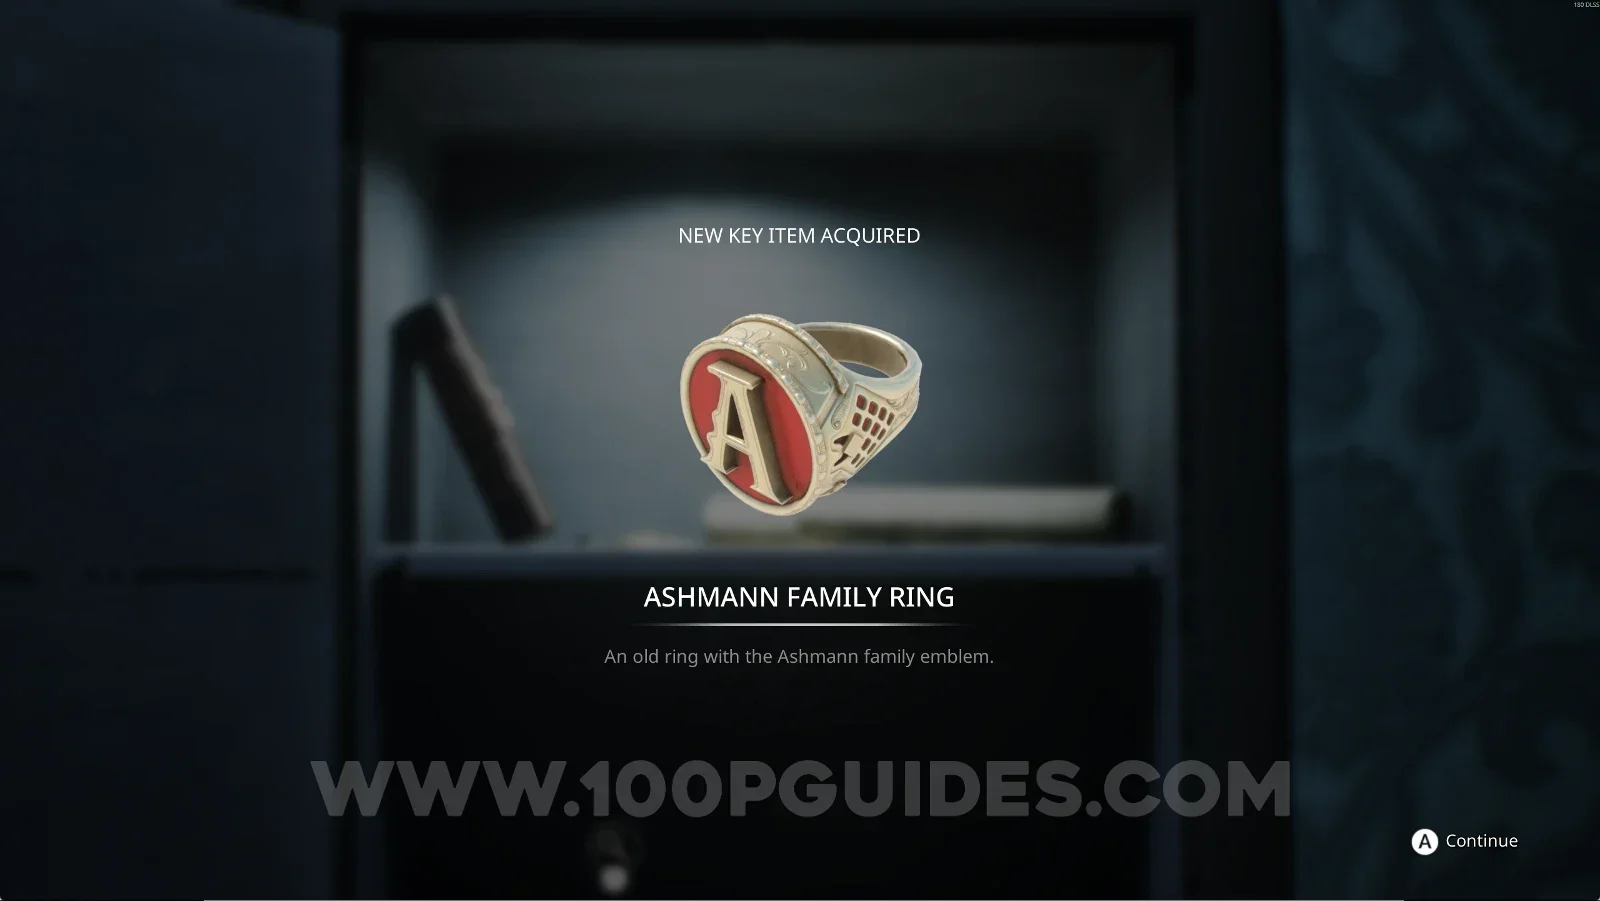
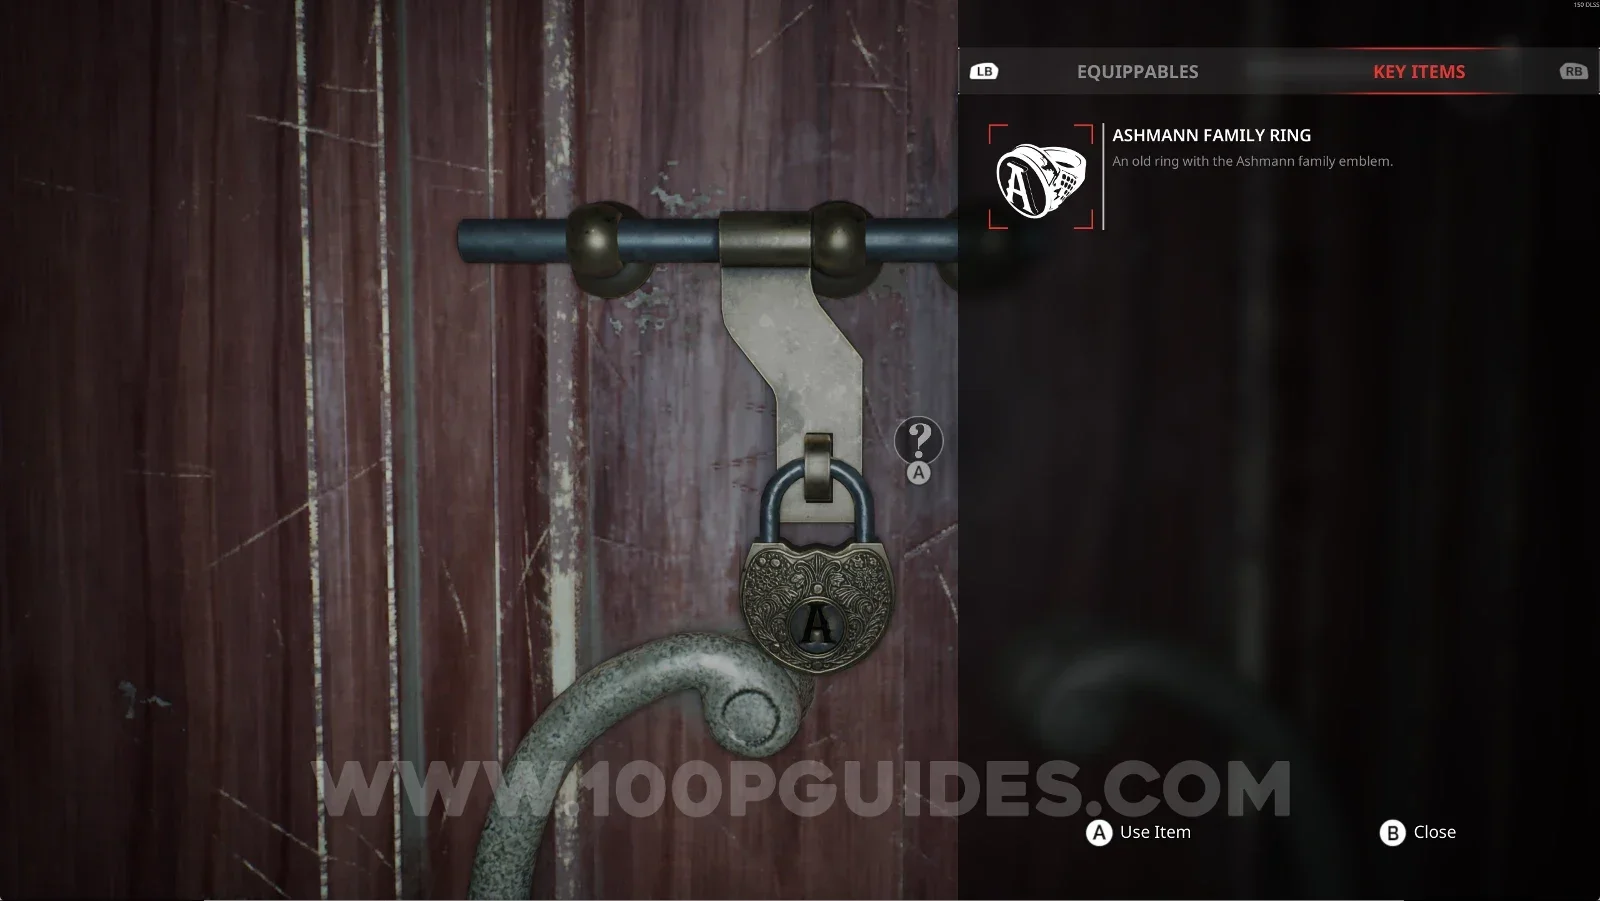
Key Item: Ashmann Family Ring

Inside the safe.

Remothered: Red Nuns Legacy: the Ashmann Family Ring inside the safe Remothered: Red Nuns Legacy: picking up the Ashmann Family Ring key item

Use it on the Reception Hall door.

Remothered: Red Nuns Legacy: the Reception Hall door where the Ashmann Family Ring goes Remothered: Red Nuns Legacy: using the Ashmann Family Ring on the Reception Hall door

For story purposes, you'll interact with your car and then have to escape from a new Novice. After that, interact with the Metronome in the Sala delle Meraviglie to be taken to a new area, where you'll gain another power.

Convent #8: Sister Lindsay + Retrocognition #11

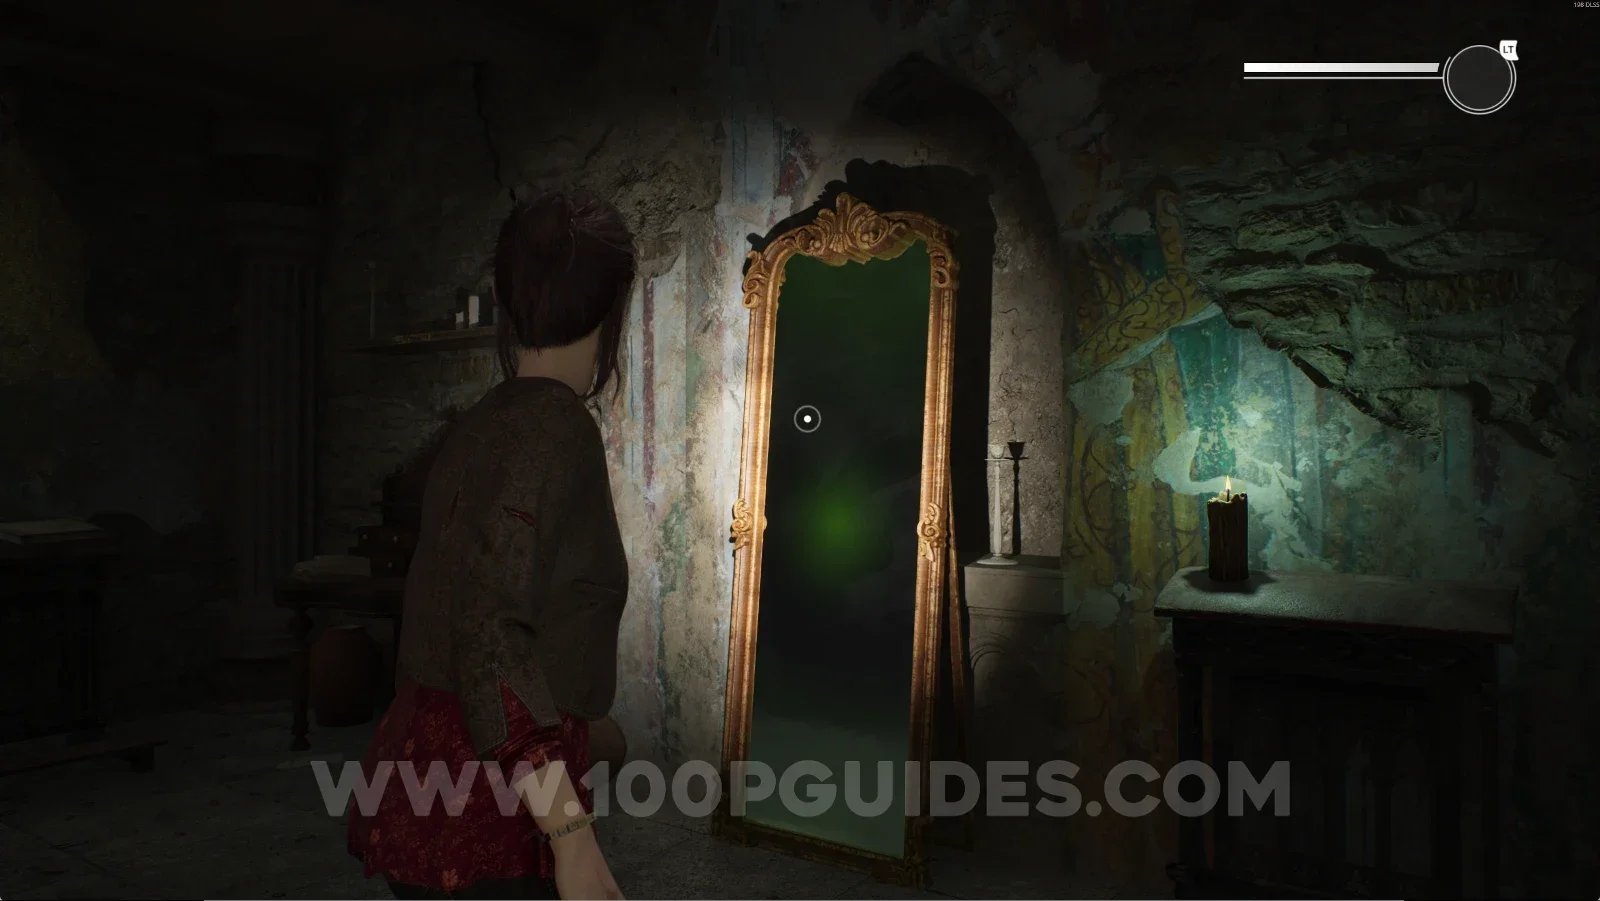
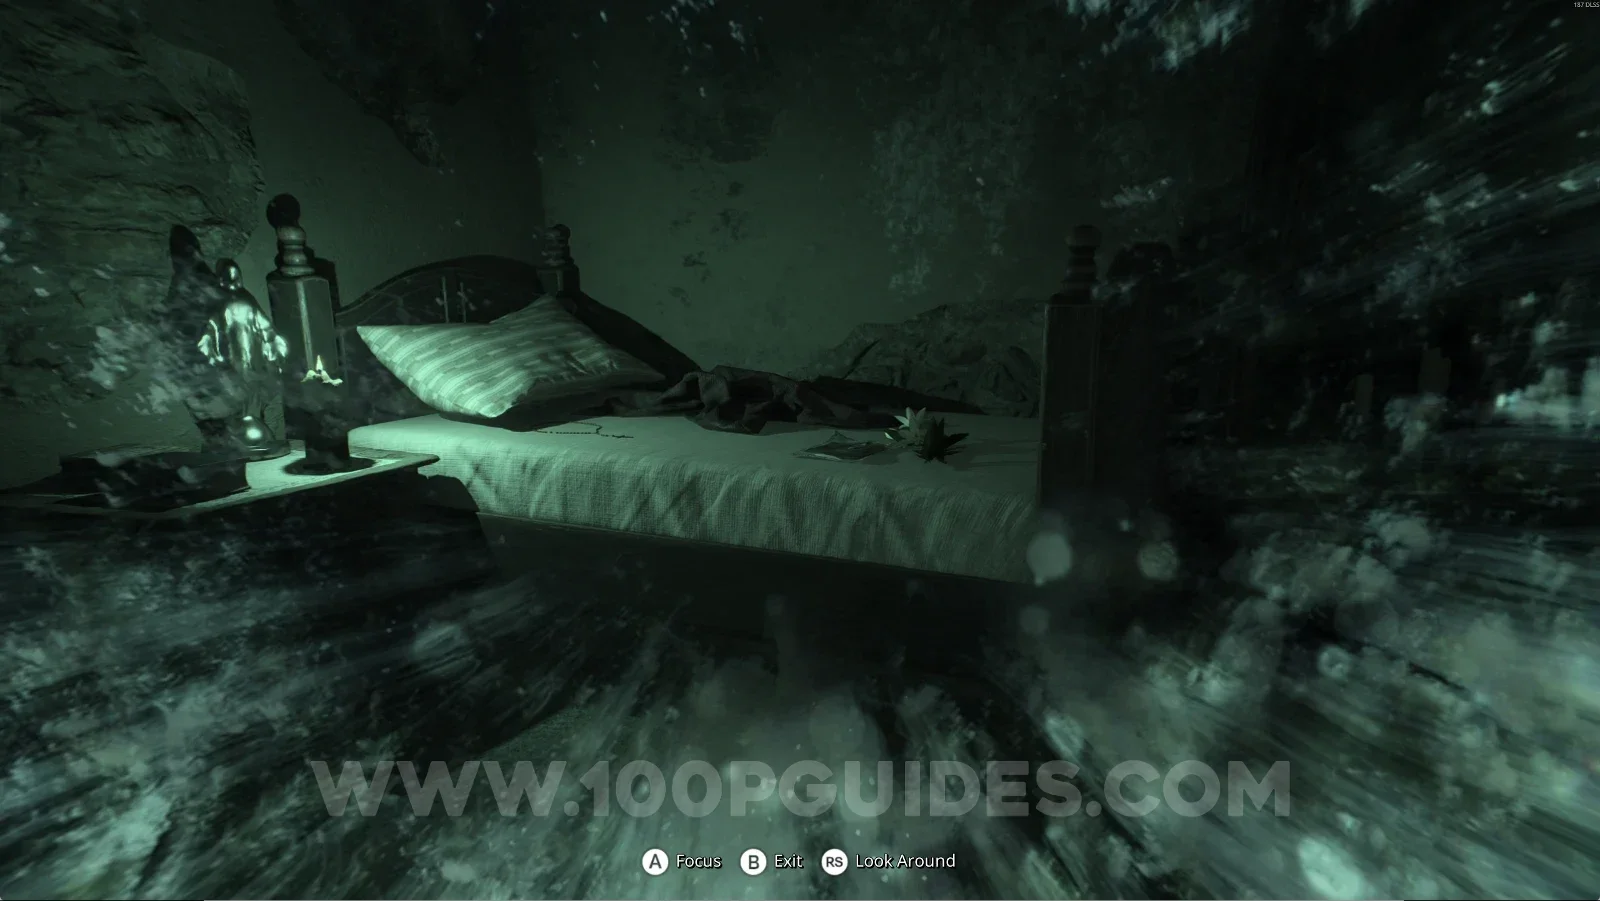
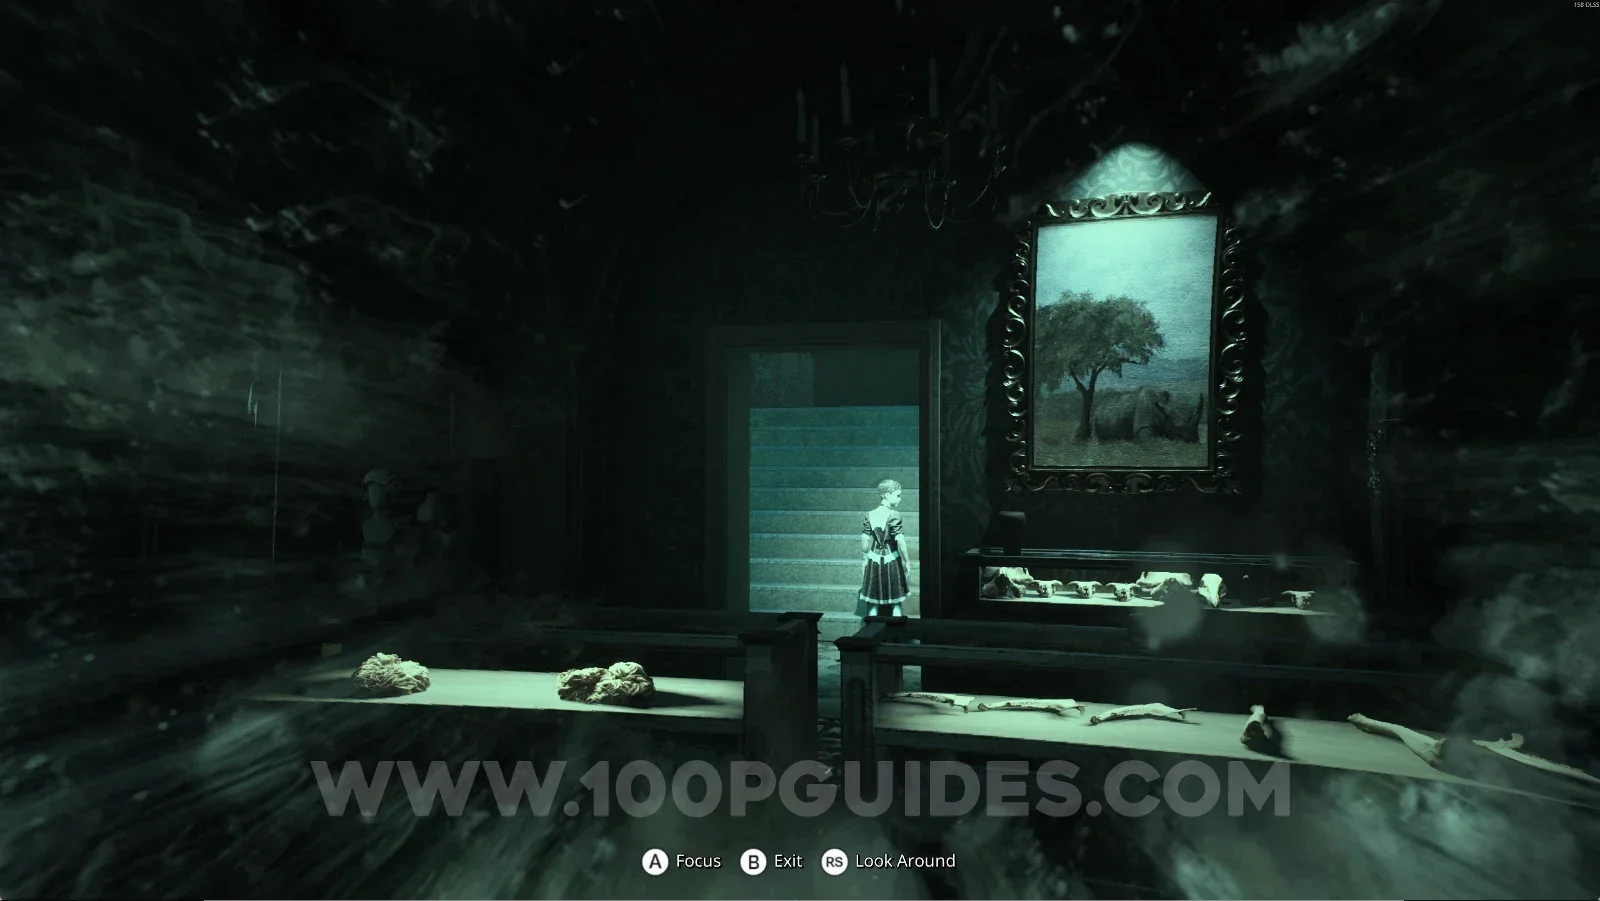
In the new area, interact with the mirror and use your power on the lily on the bed. Then interact with the bed and use your power on the lily.

Remothered: Red Nuns Legacy Convent: interacting with the mirror in the new area Remothered: Red Nuns Legacy Convent: using the power on the lily on the bed, Retrocognition #11 Remothered: Red Nuns Legacy Convent #8: Sister Lindsay collectible

To continue, interact with the mirror and then use your power on the door.

Remothered: Red Nuns Legacy Convent: interacting with the mirror to reveal the door Remothered: Red Nuns Legacy Convent: the door revealed with the power from the mirror

Convent #9: Birth Certificate

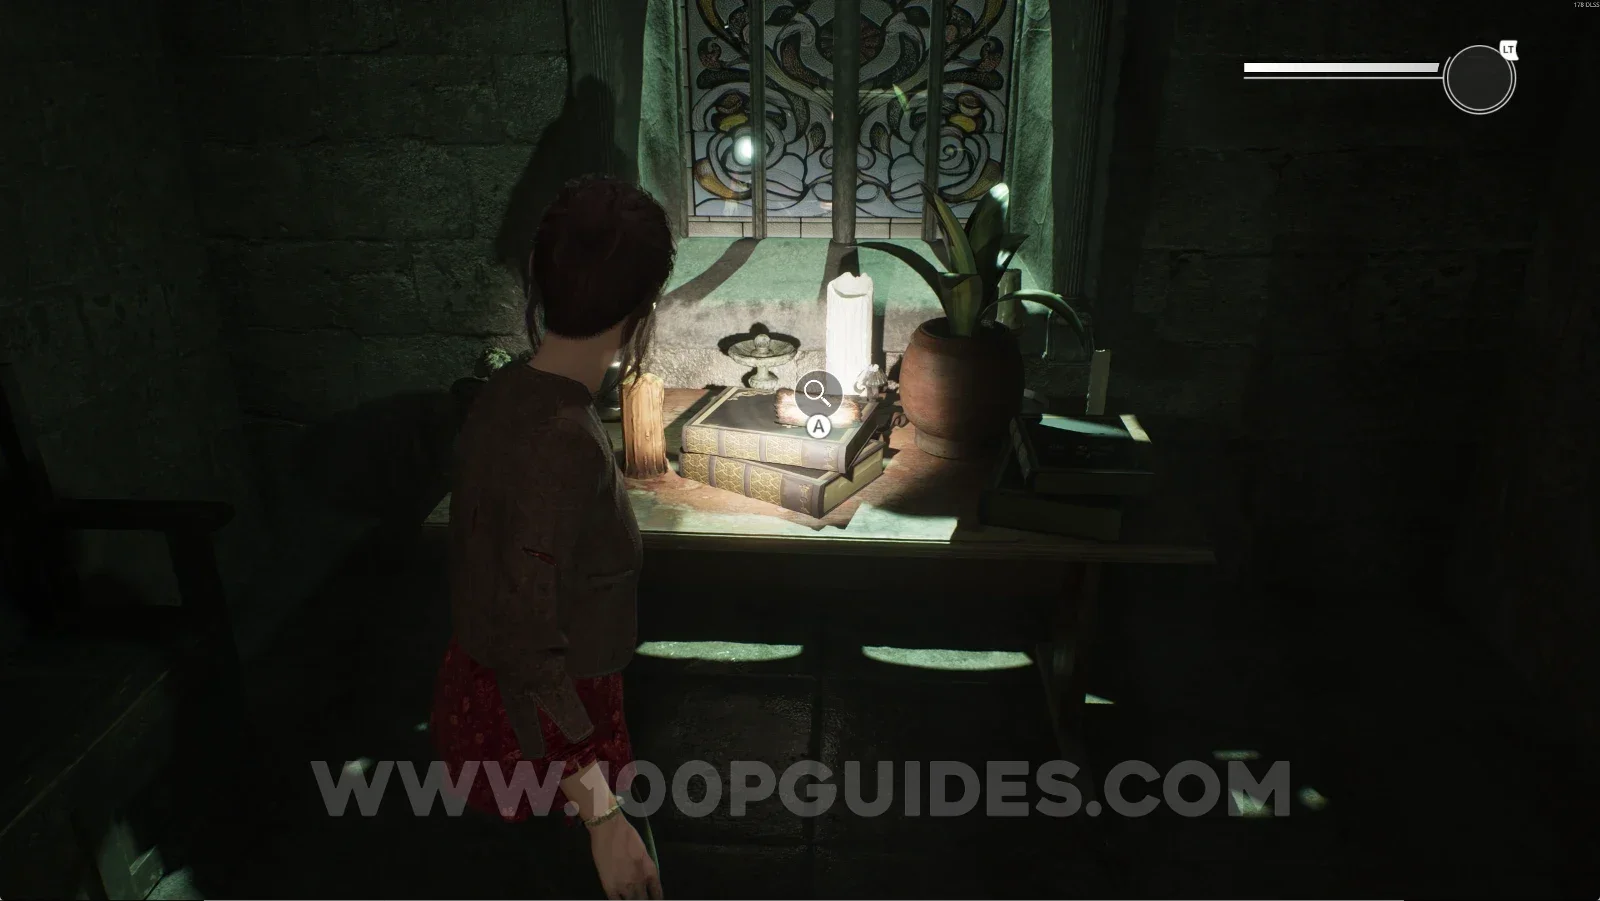
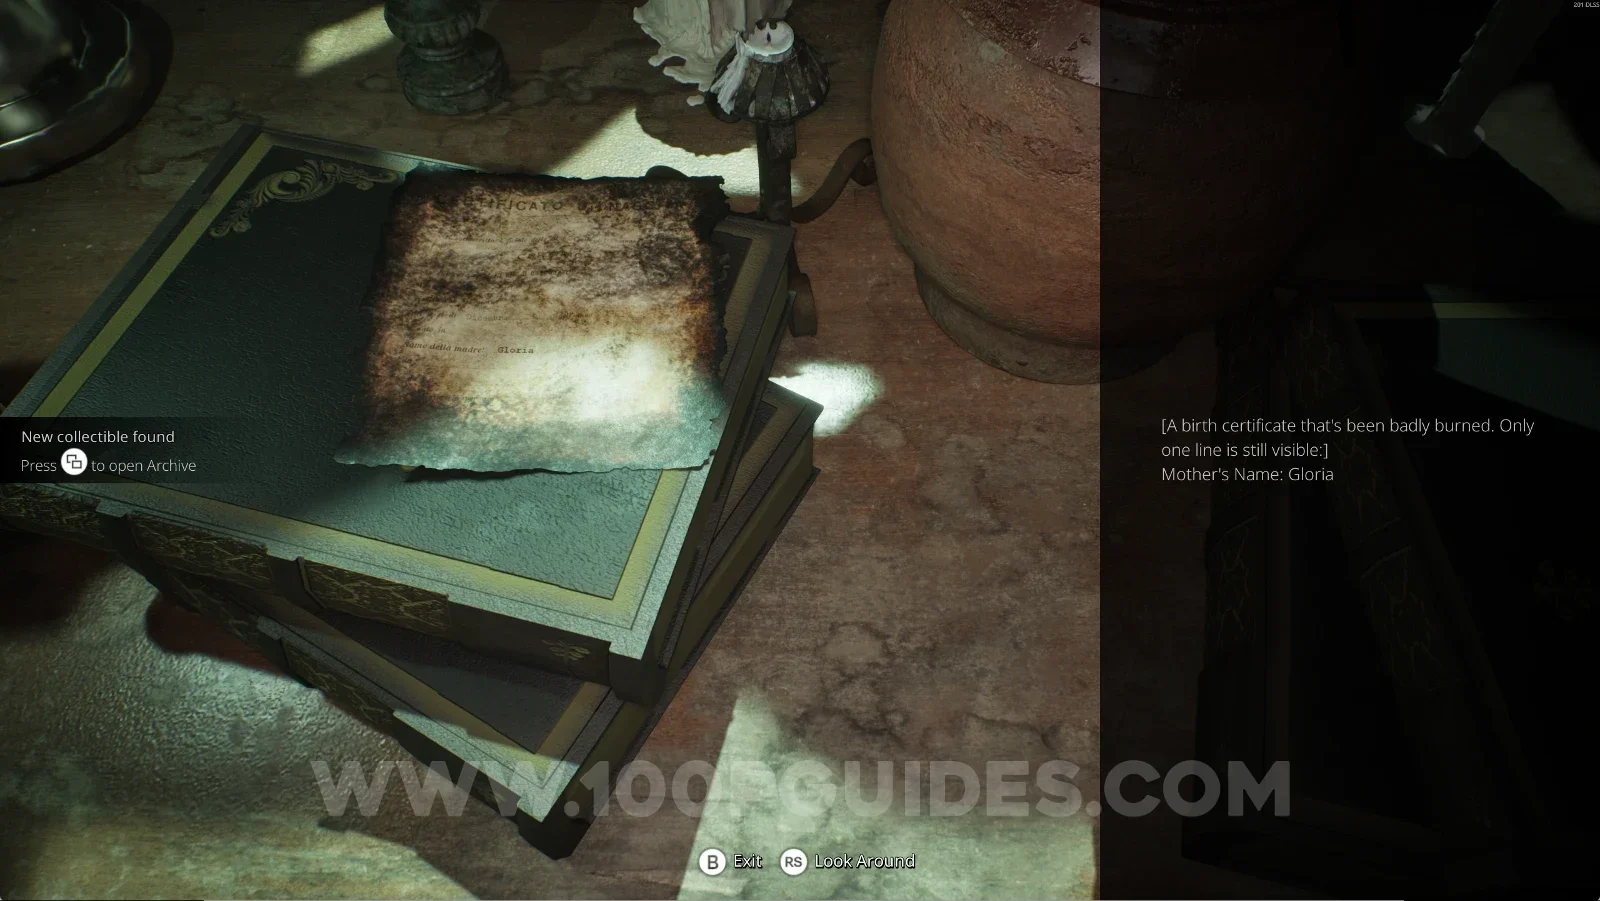
After going through the door, take the left path at the fork and interact with the letter on top of the table.

Remothered: Red Nuns Legacy Convent: the left path at the fork past the revealed door Remothered: Red Nuns Legacy Convent: the letter on top of the table, the Birth Certificate Remothered: Red Nuns Legacy Convent #9: Birth Certificate collectible

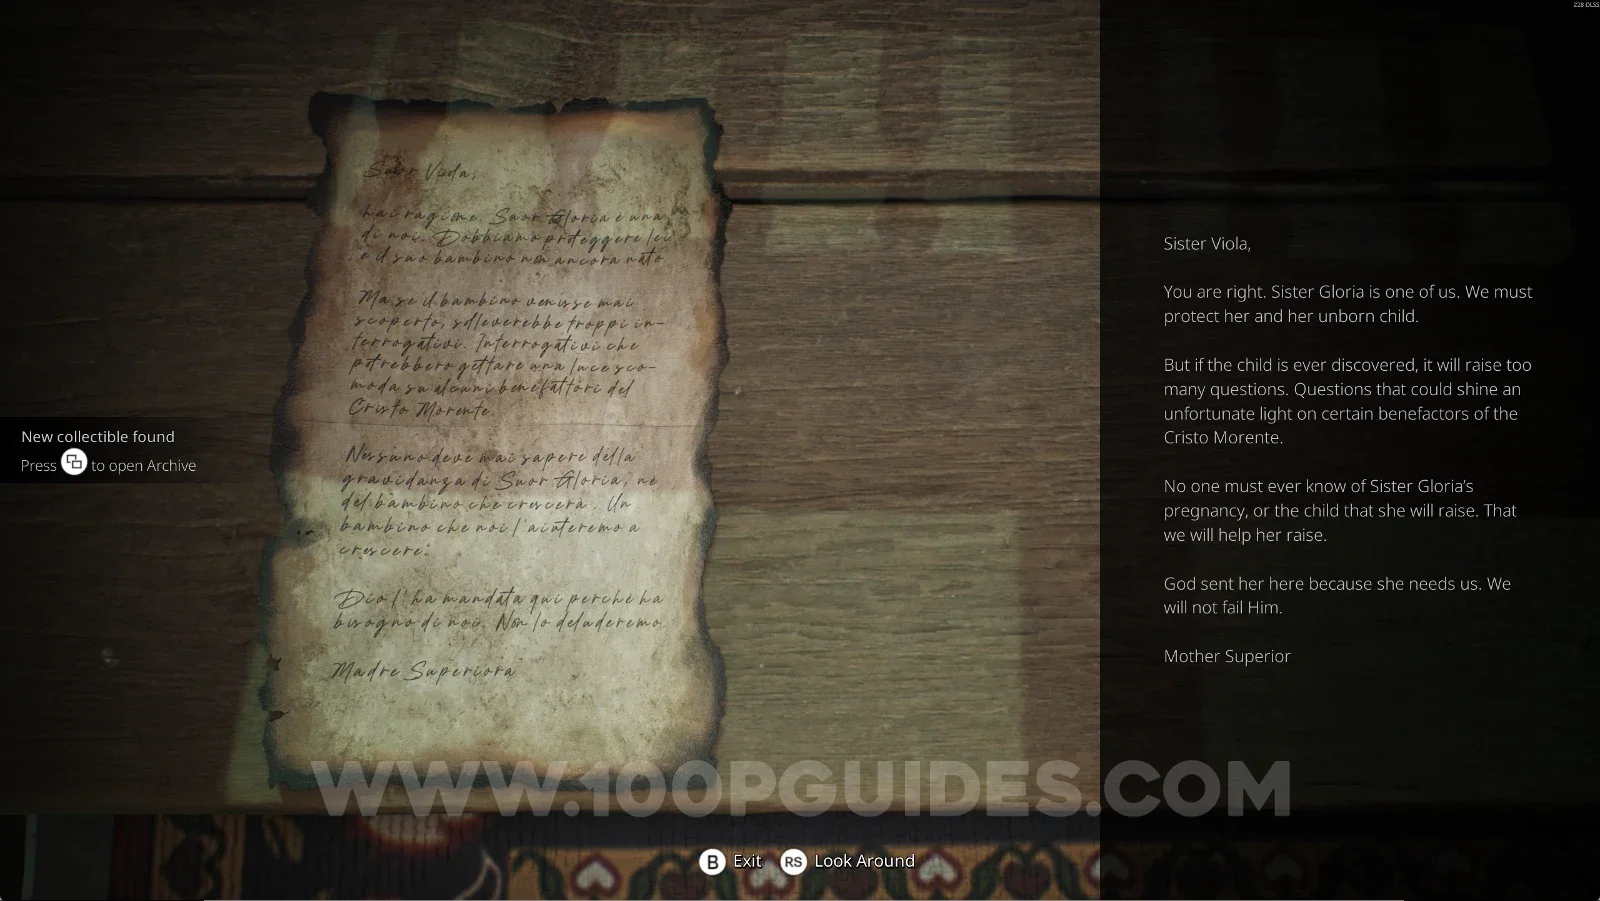
Convent #10: Mother Superior's Letter

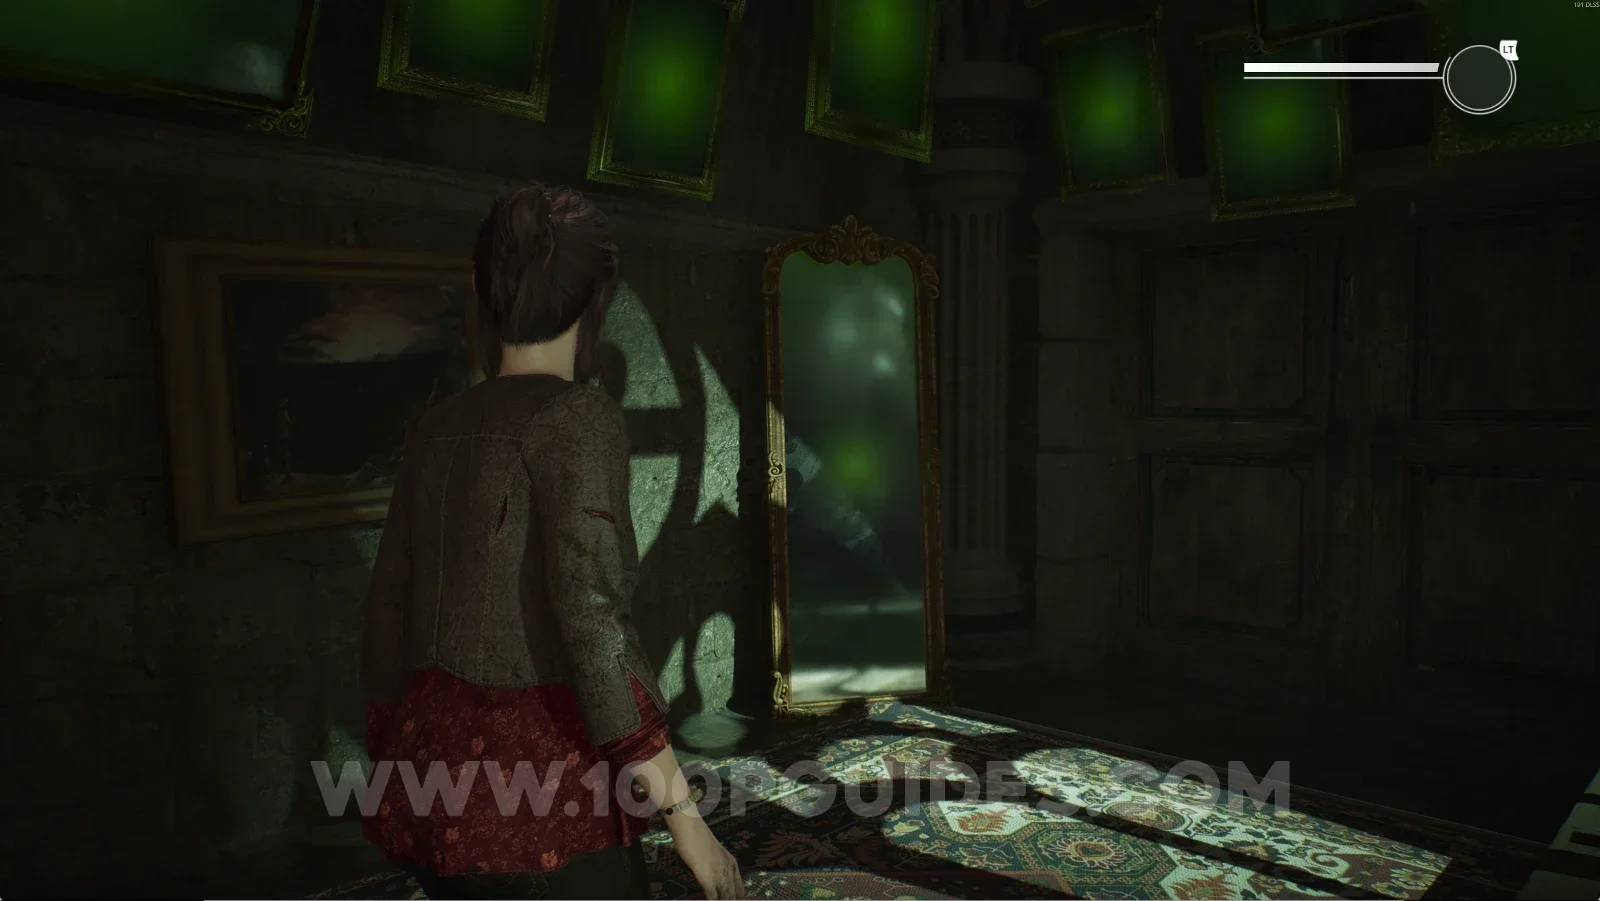
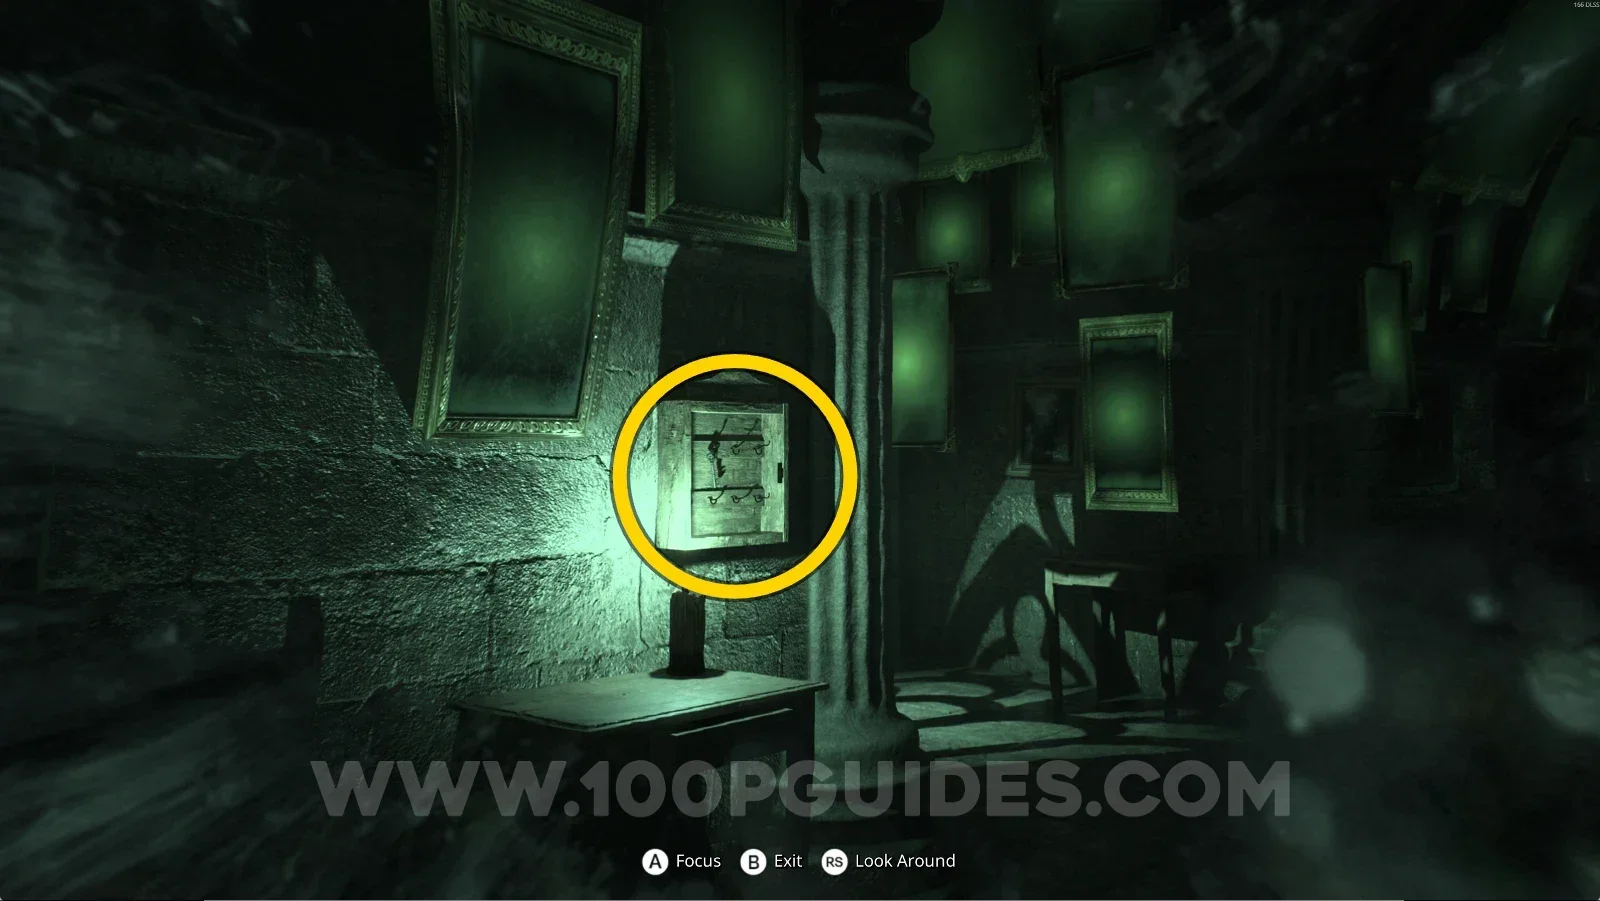
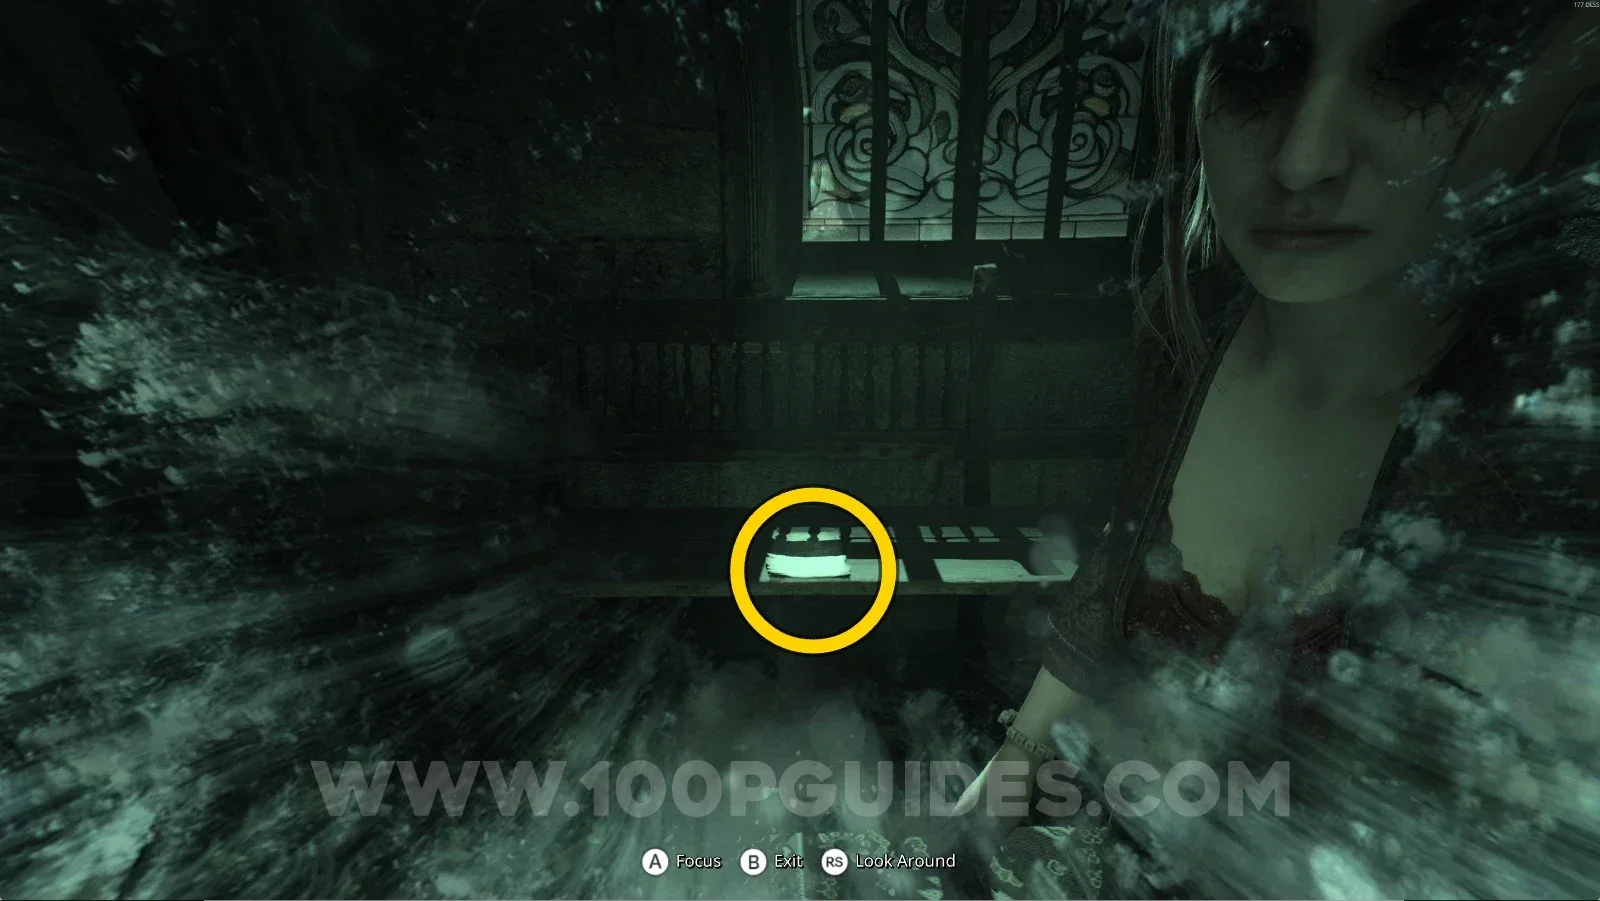
Same area as the previous collectible. Turn around, go to the end of the corridor, and interact with the mirror. Use your power on the key on the right side and on the letter on the bench on the left side, then interact with the letter.

Remothered: Red Nuns Legacy Convent: the mirror at the end of the corridor Remothered: Red Nuns Legacy Convent: revealing the key on the right side with the power Remothered: Red Nuns Legacy Convent: revealing the letter on the bench on the left side Remothered: Red Nuns Legacy Convent #10: Mother Superior's Letter collectible

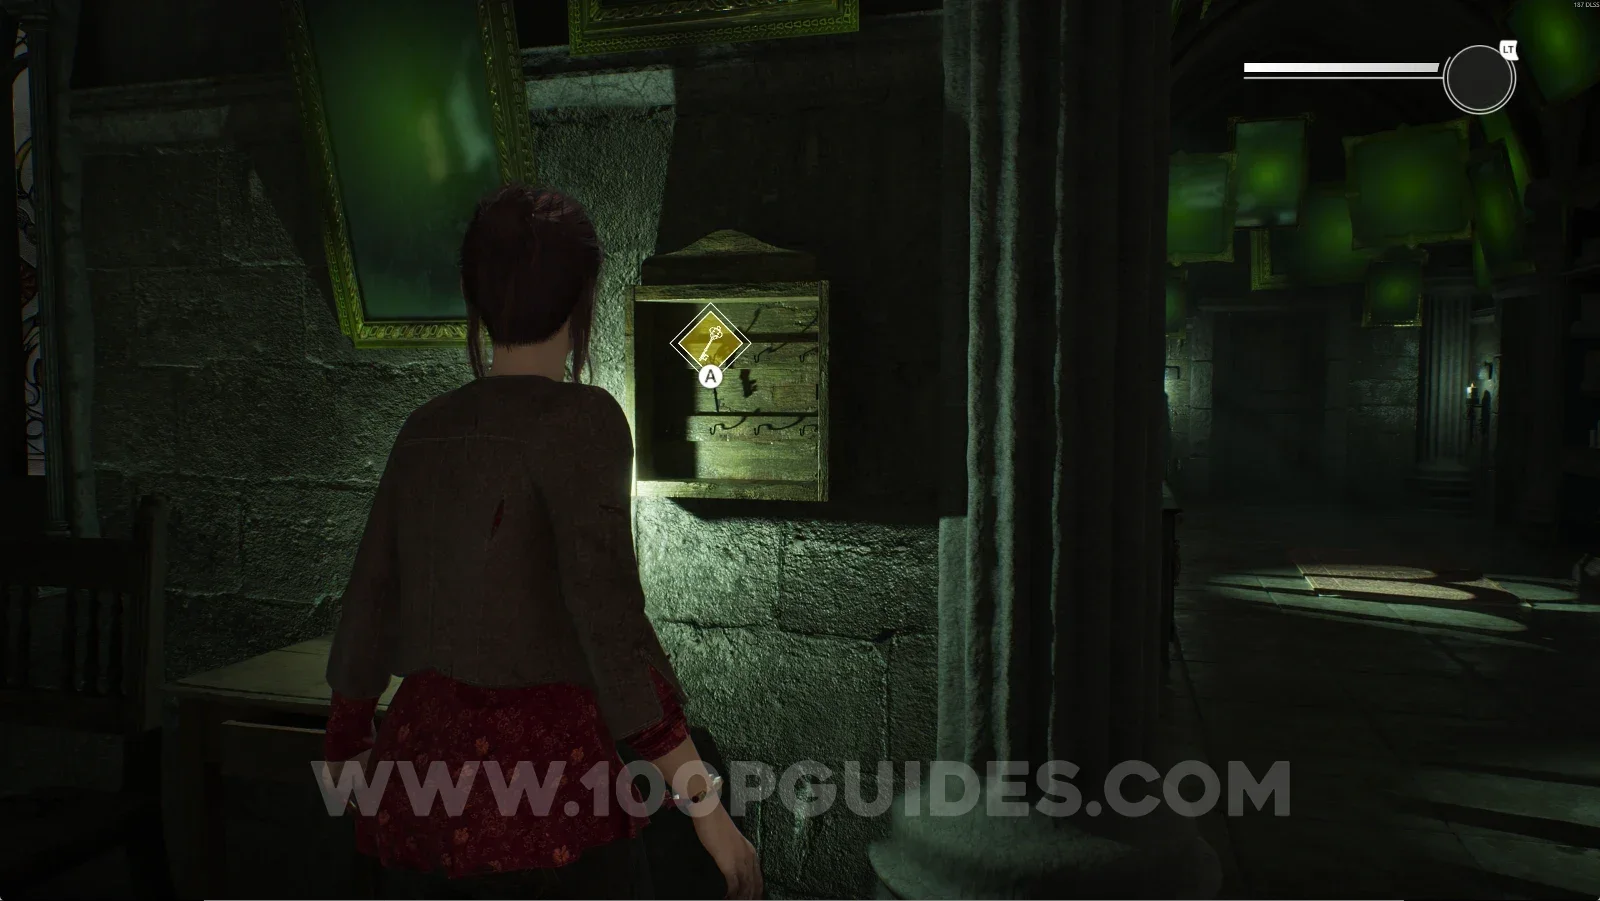
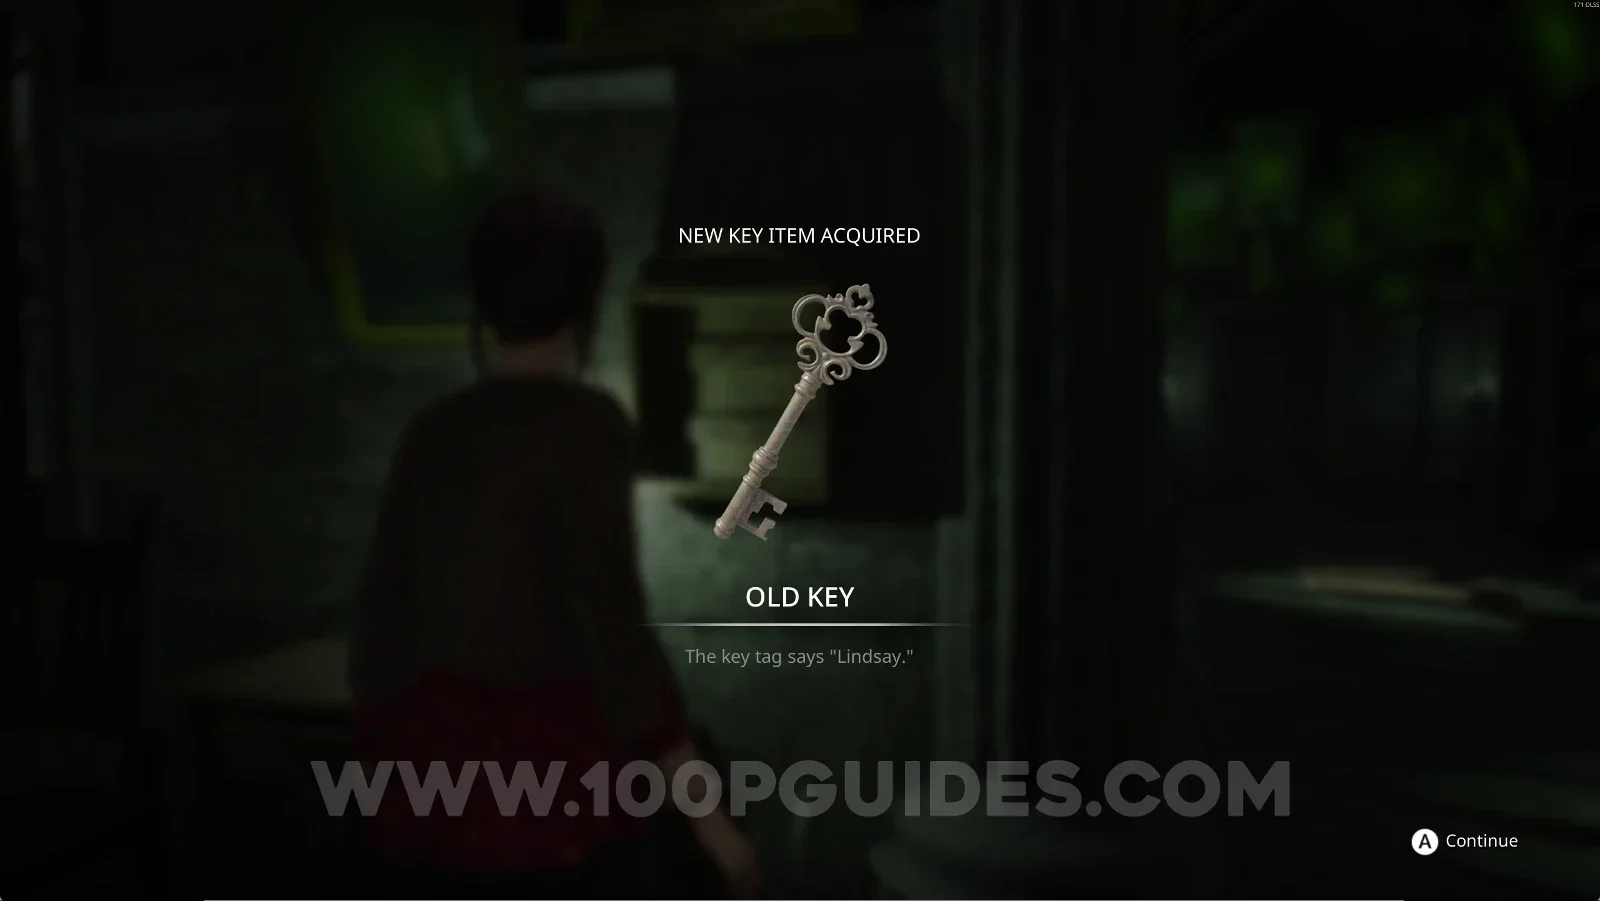
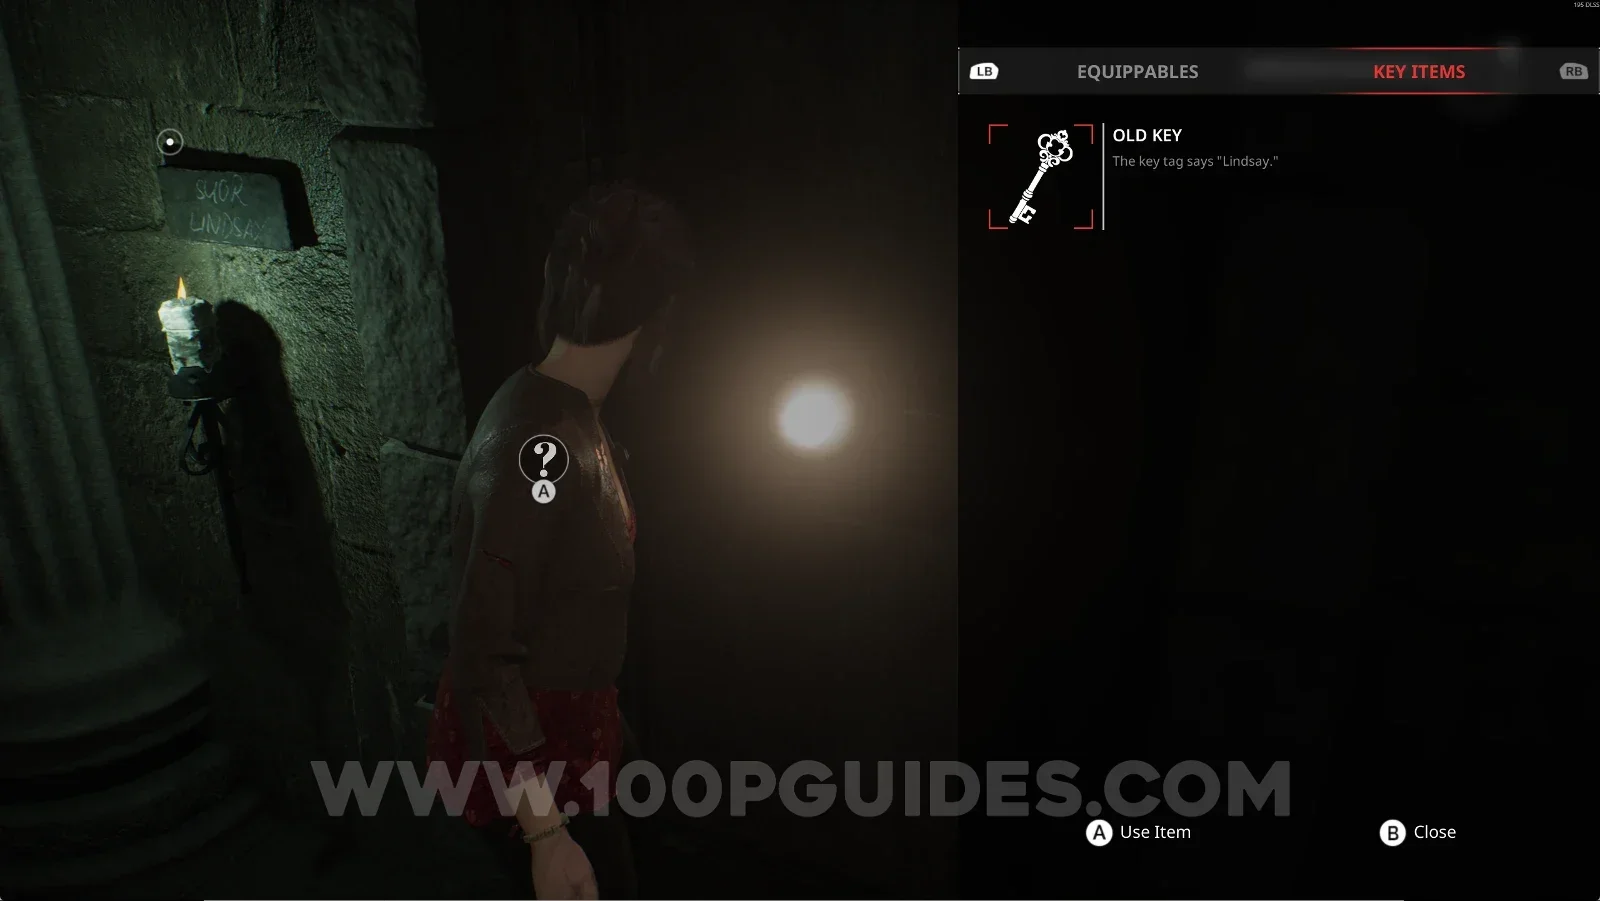
Key Item: Old Key

Same area as the previous collectible. You revealed this item on the right side, so now grab it.

Remothered: Red Nuns Legacy Convent: the Old Key revealed on the right side of the corridor Remothered: Red Nuns Legacy: picking up the Old Key key item in the Convent

You can use it on the door at the end of the corridor.

Remothered: Red Nuns Legacy Convent: the door at the end of the corridor Remothered: Red Nuns Legacy Convent: using the Old Key on the door at the end of the corridor

Convent #11: Mother's Truth + Retrocognition #12

After entering the previous room, use your power on the book on top of the table to get this collectible.

Remothered: Red Nuns Legacy Convent: the book on the table, used with the power for Retrocognition #12 Remothered: Red Nuns Legacy Convent #11: Mother's Truth collectible

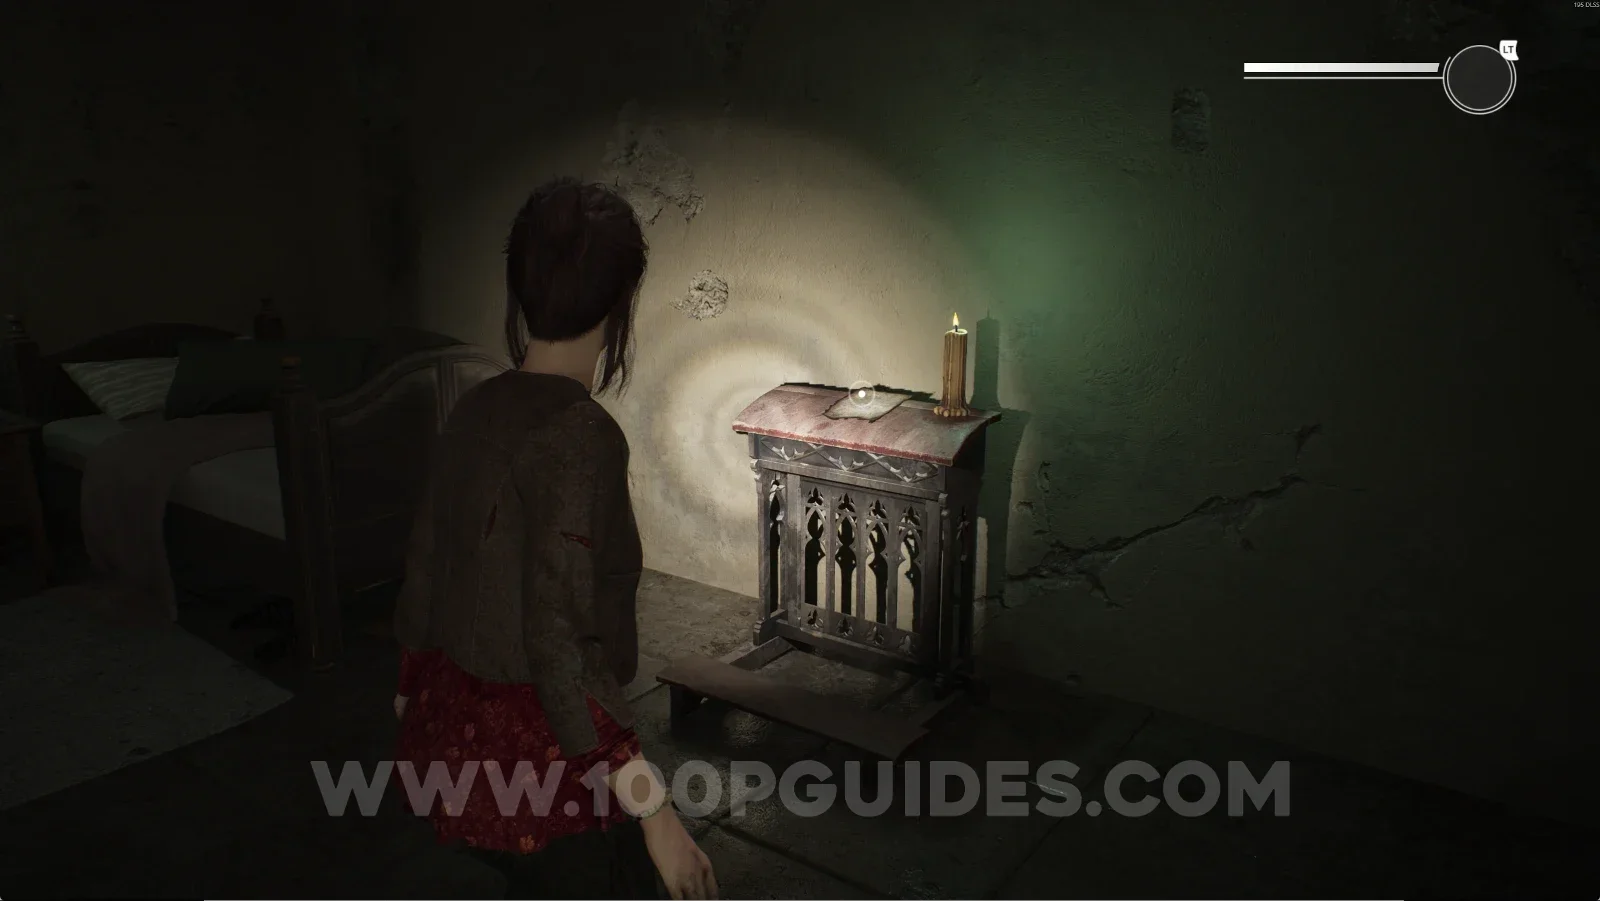
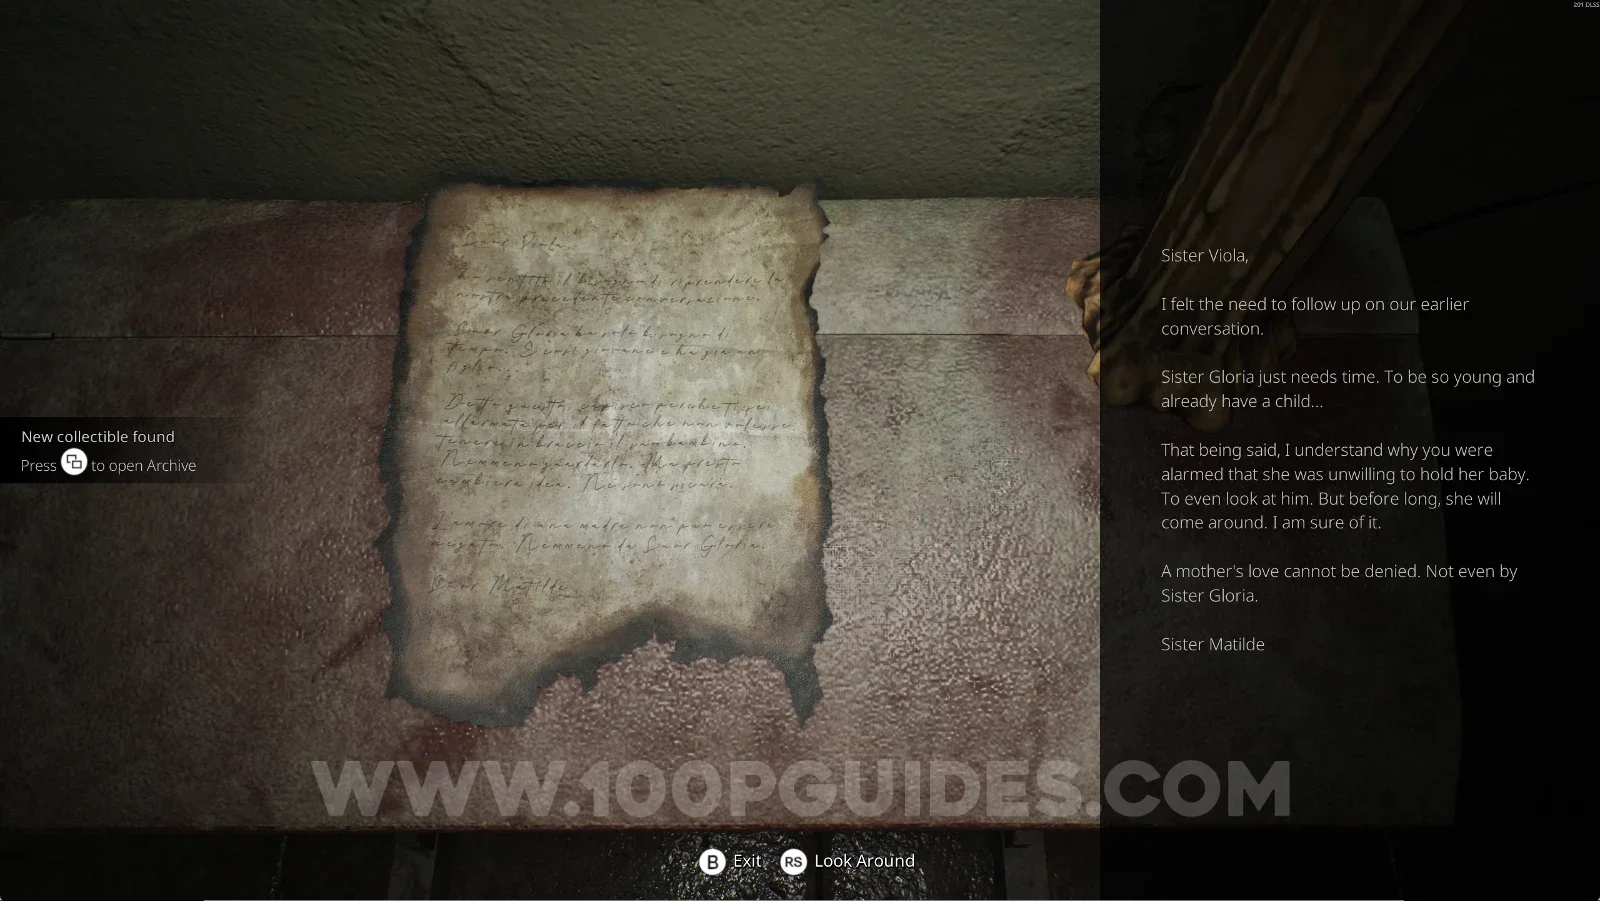
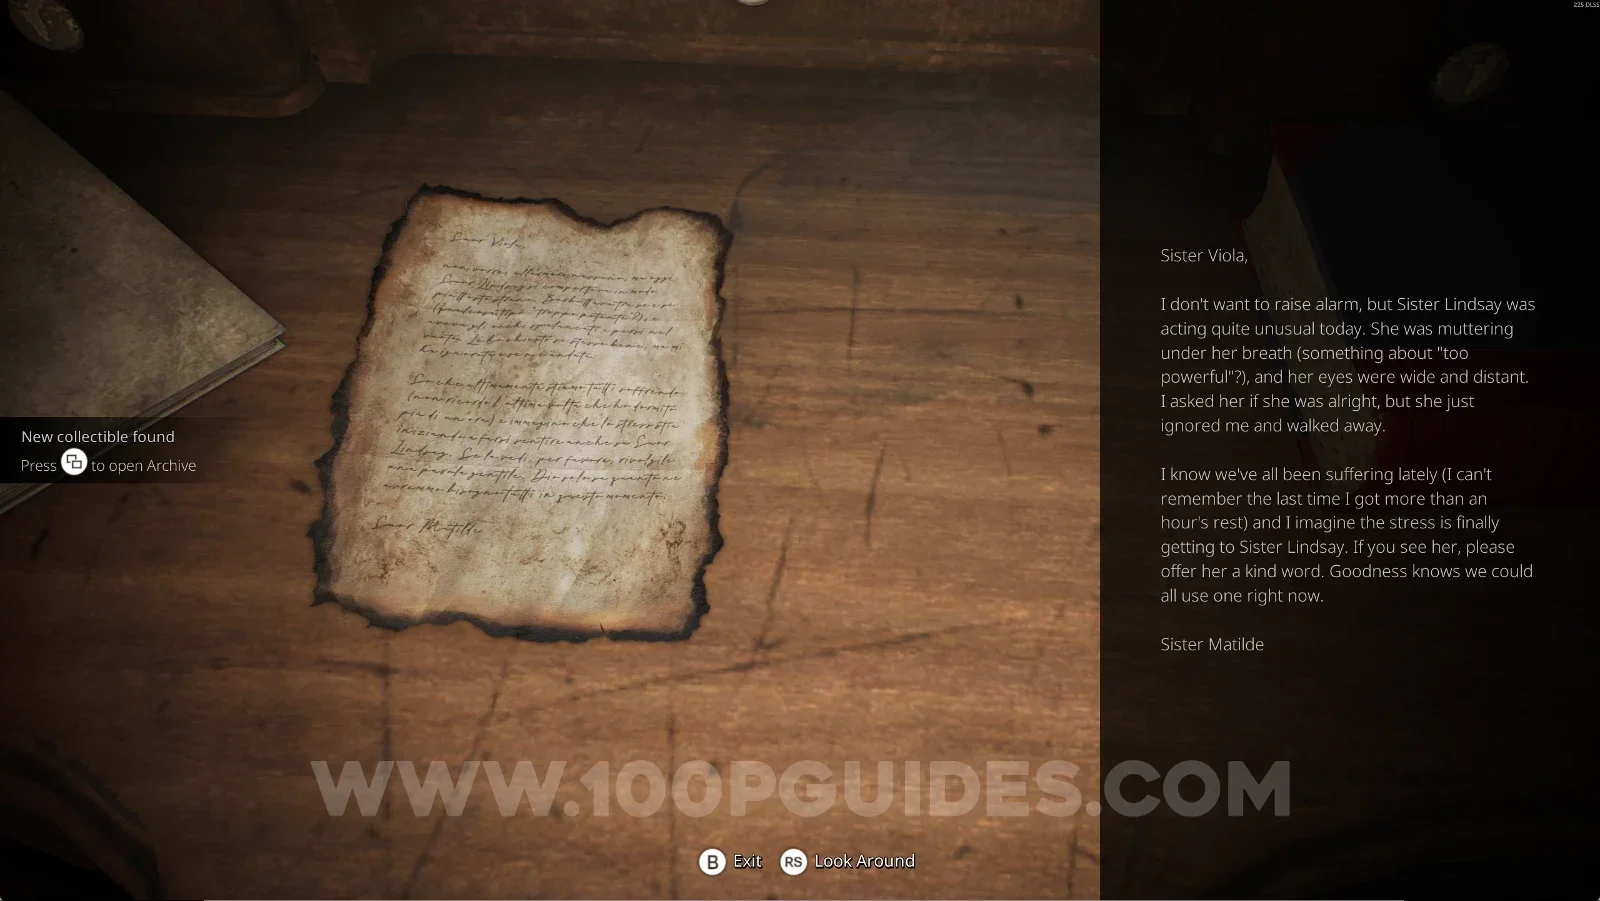
Convent #12: Sister Matilde's Letter

Same area as the previous collectible, on top of the kneeler.

Remothered: Red Nuns Legacy Convent: Sister Matilde's Letter on top of the kneeler Remothered: Red Nuns Legacy Convent #12: Sister Matilde's Letter collectible

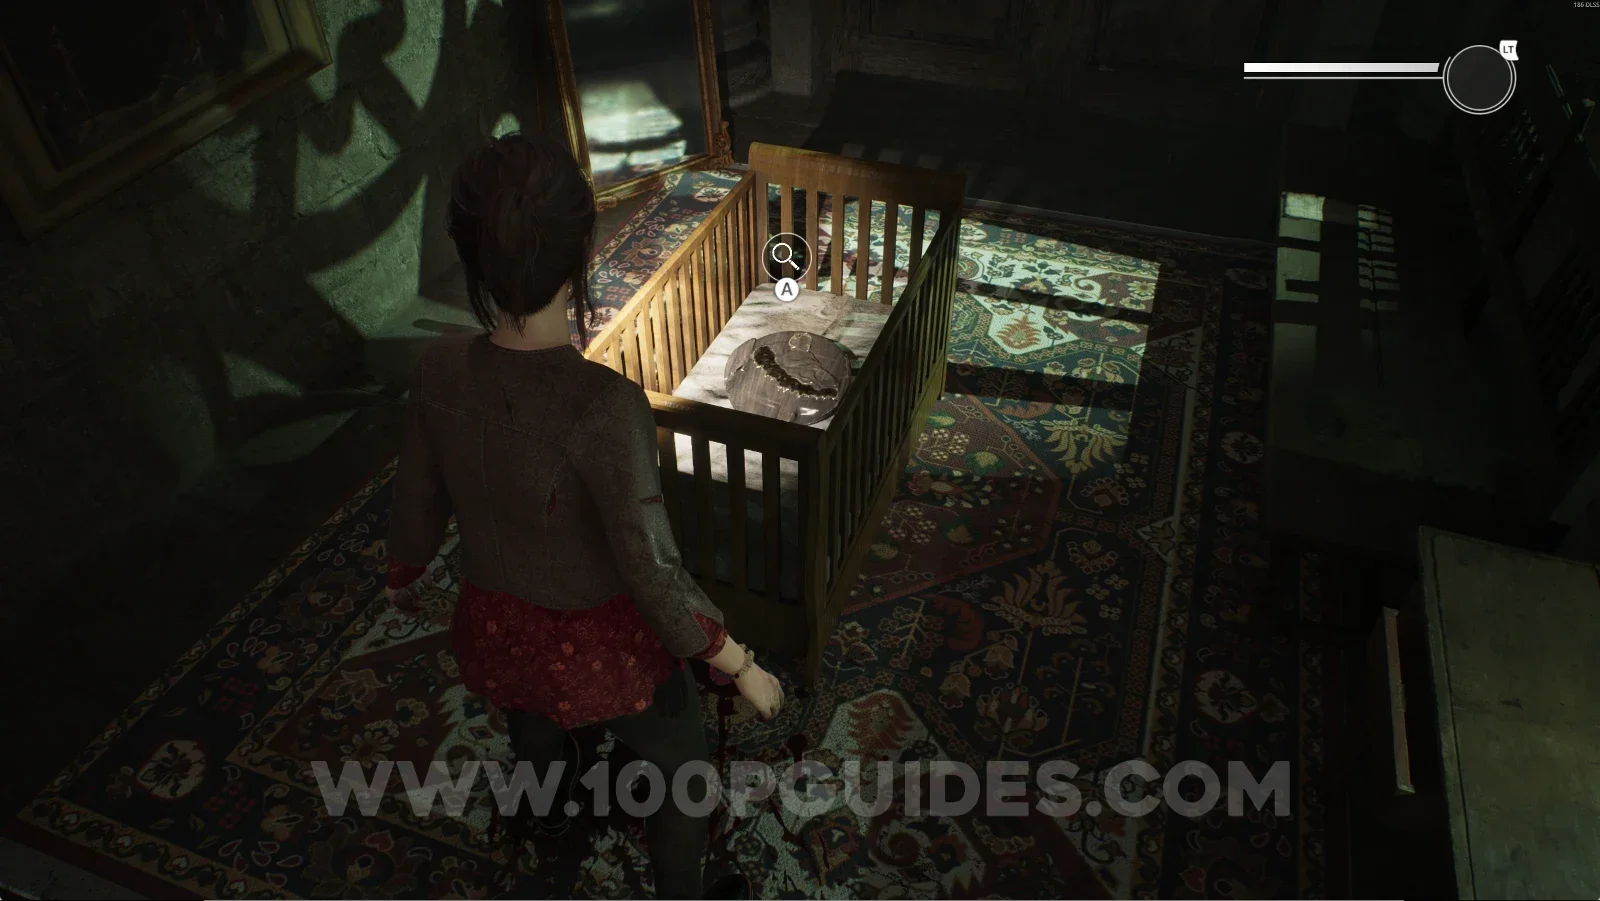
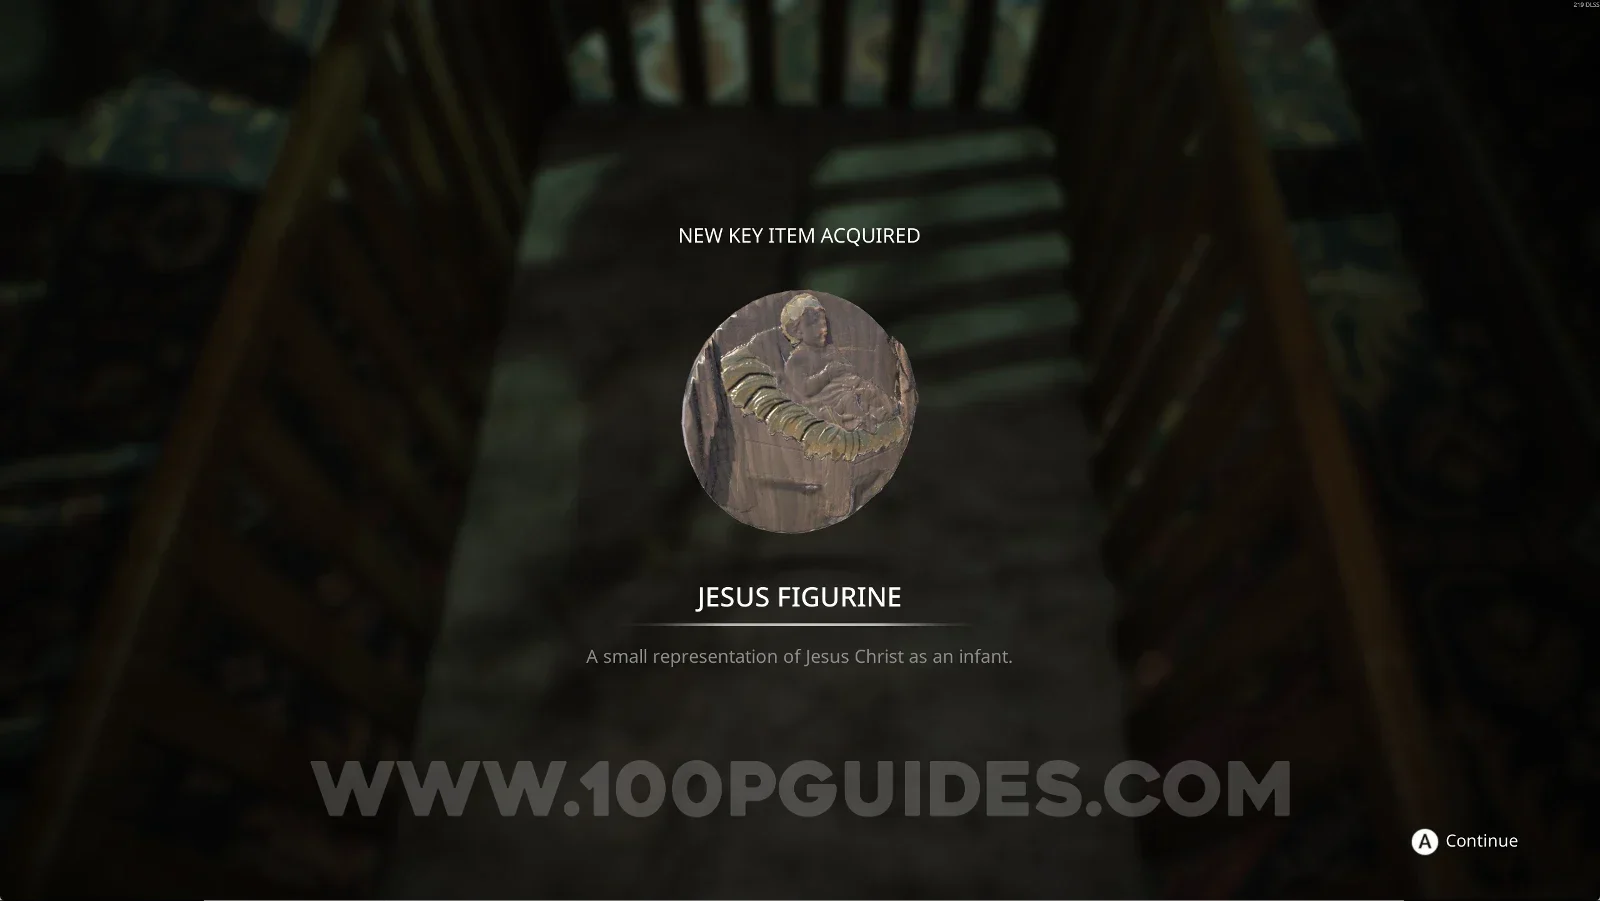
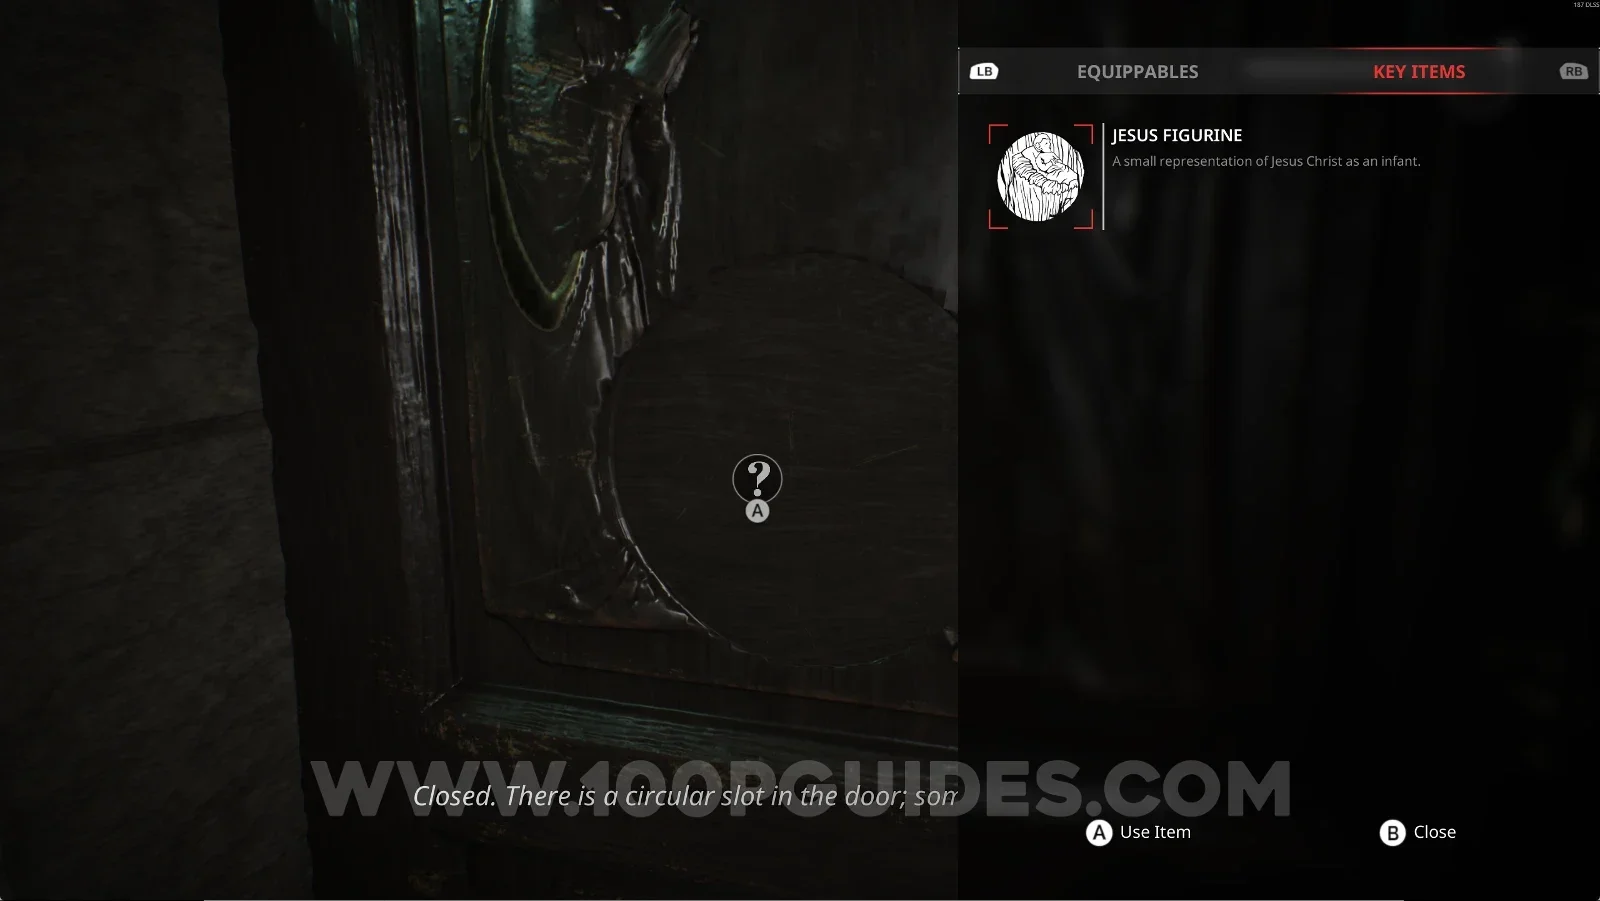
Key Item: Jesus Figurine

After the previous collectible, you'll start hearing a baby crying. Go to the crib next to the large door at the fork and grab this item from inside the crib.

Remothered: Red Nuns Legacy Convent: the crib next to the large door at the fork Remothered: Red Nuns Legacy: the Jesus Figurine taken from inside the crib

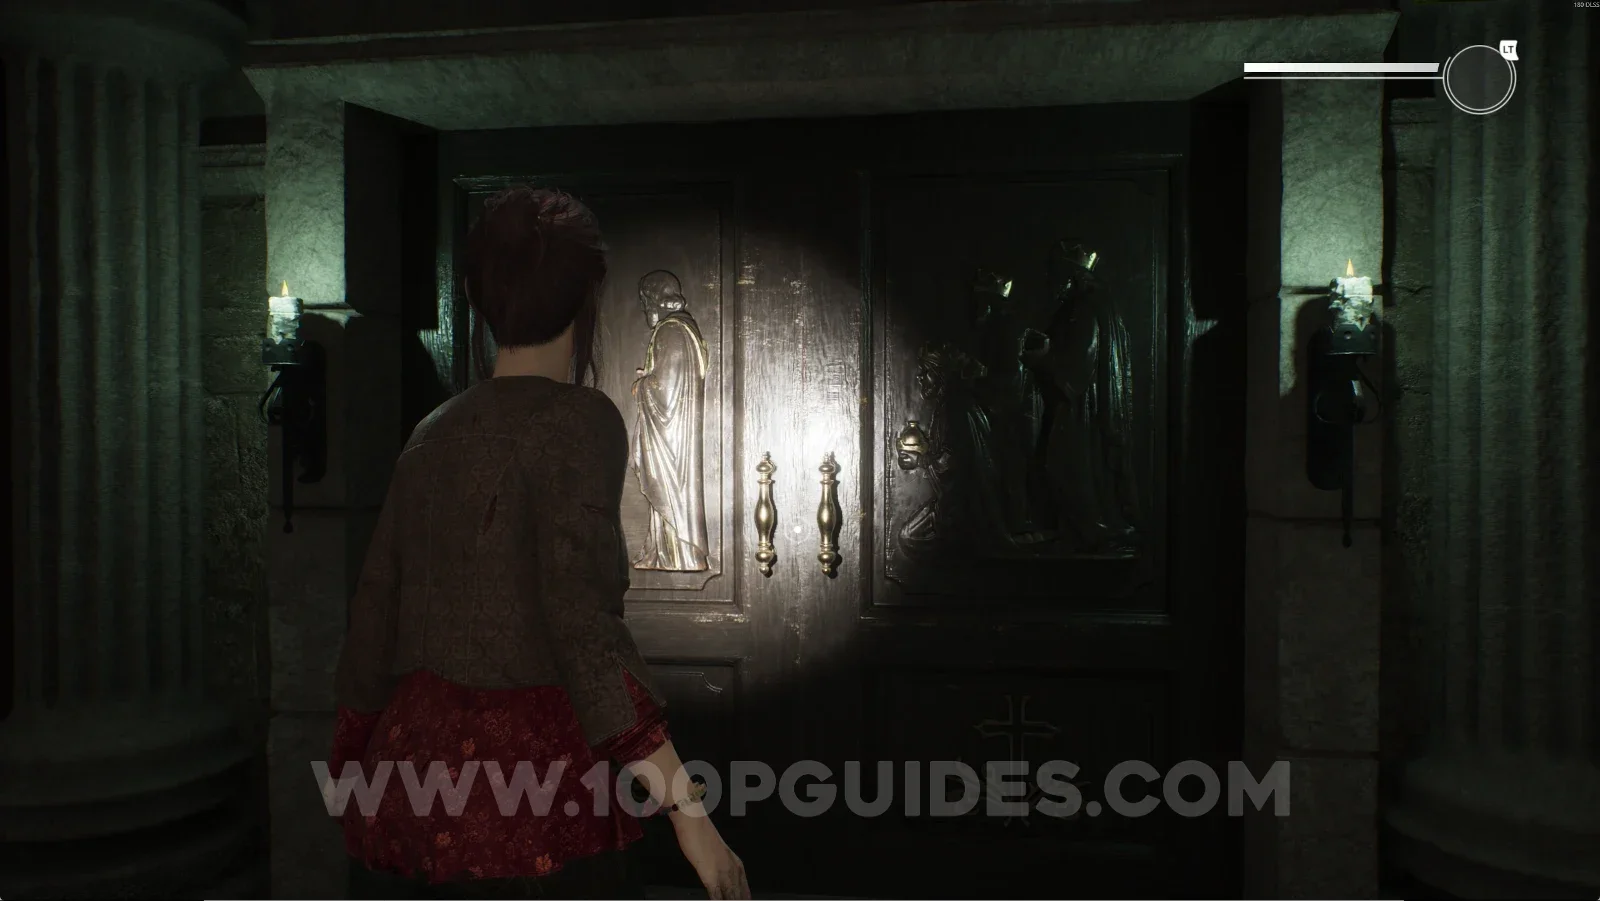
You can use it on the large door right next to the crib.

Remothered: Red Nuns Legacy Convent: the large door right next to the crib Remothered: Red Nuns Legacy Convent: using the Jesus Figurine on the large door

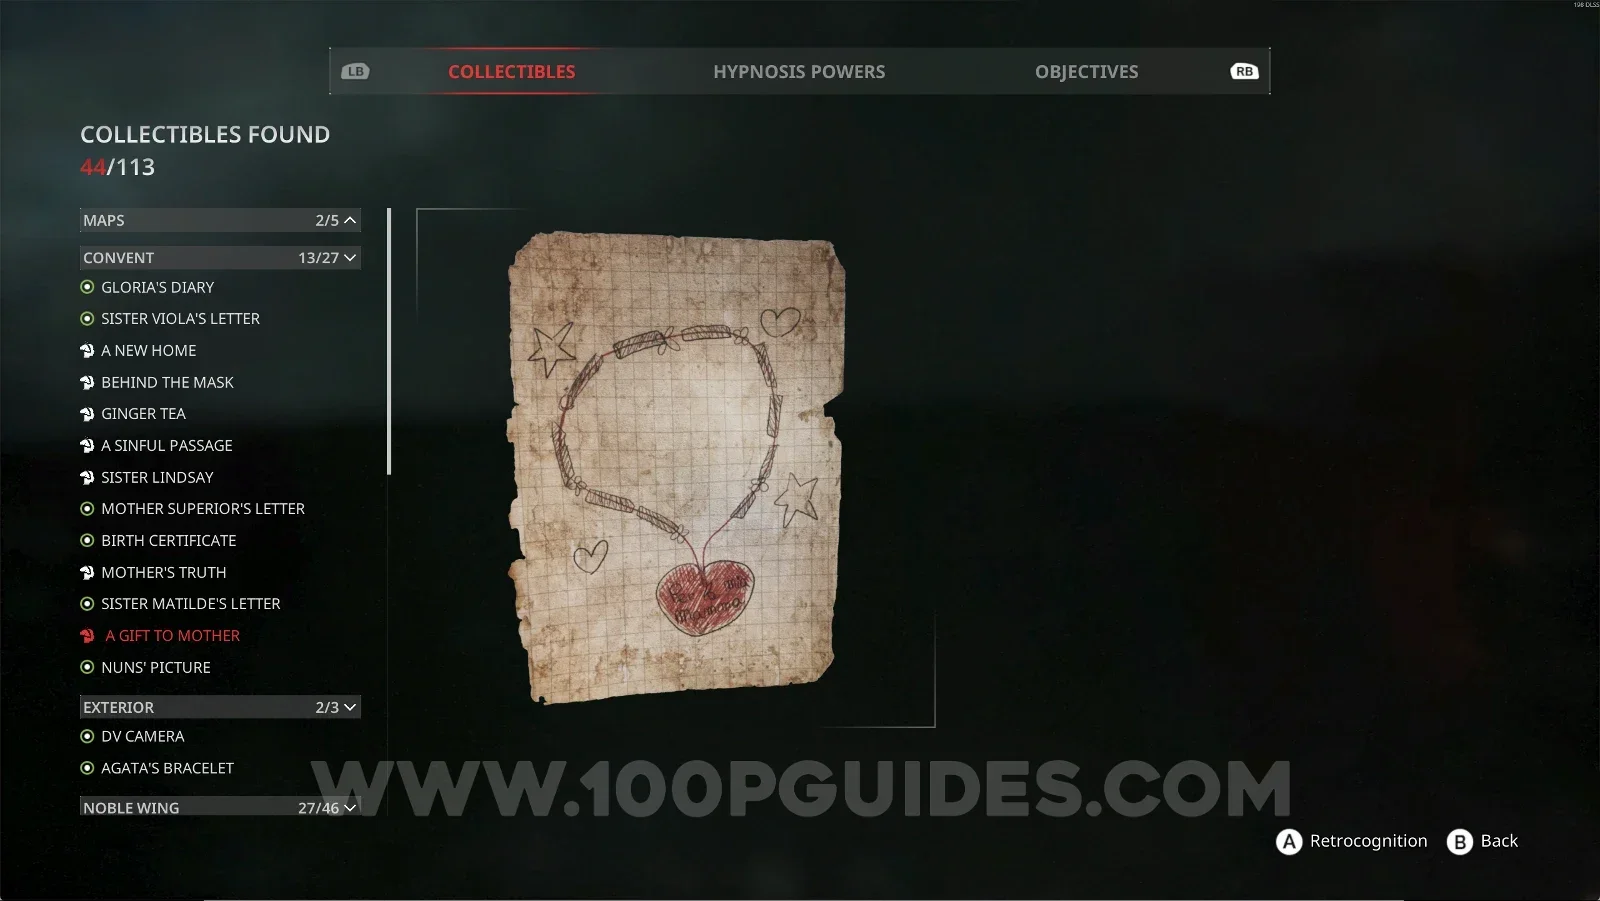
Convent #13: A Gift To Mother + Retrocognition #13

Story-related, so it can't be missed. You interact with this item right after opening the previous door.

Remothered: Red Nuns Legacy Convent: the room behind the large door opened with the Jesus Figurine Remothered: Red Nuns Legacy Convent: using the power on the story item for Retrocognition #13 Remothered: Red Nuns Legacy Convent #13: A Gift To Mother collectible

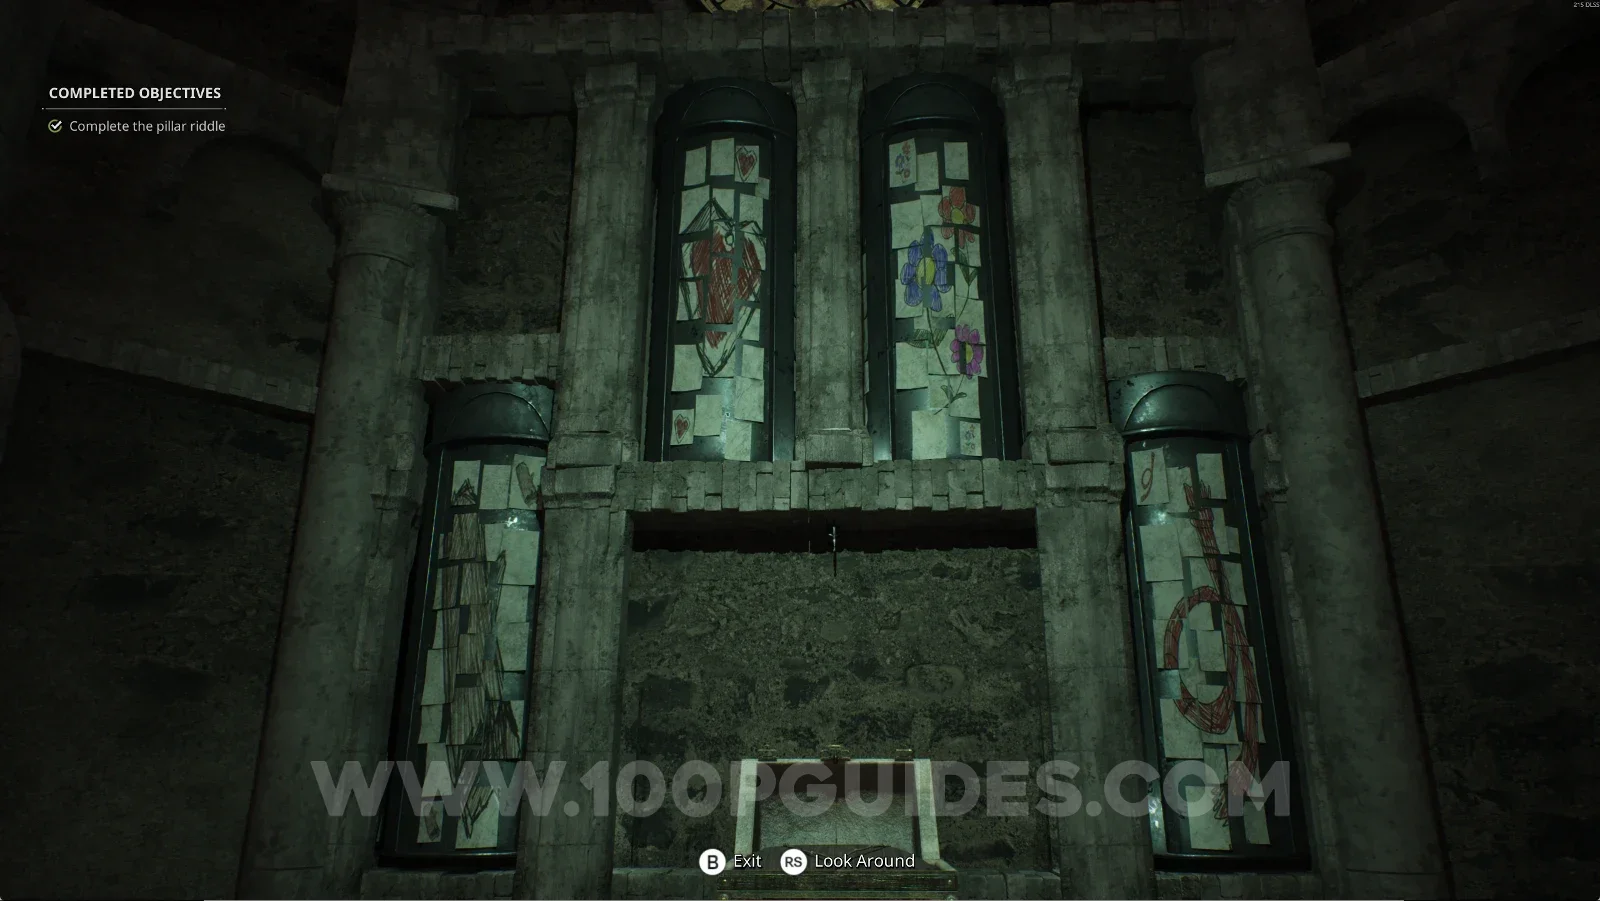
Puzzle: Pillar Riddle

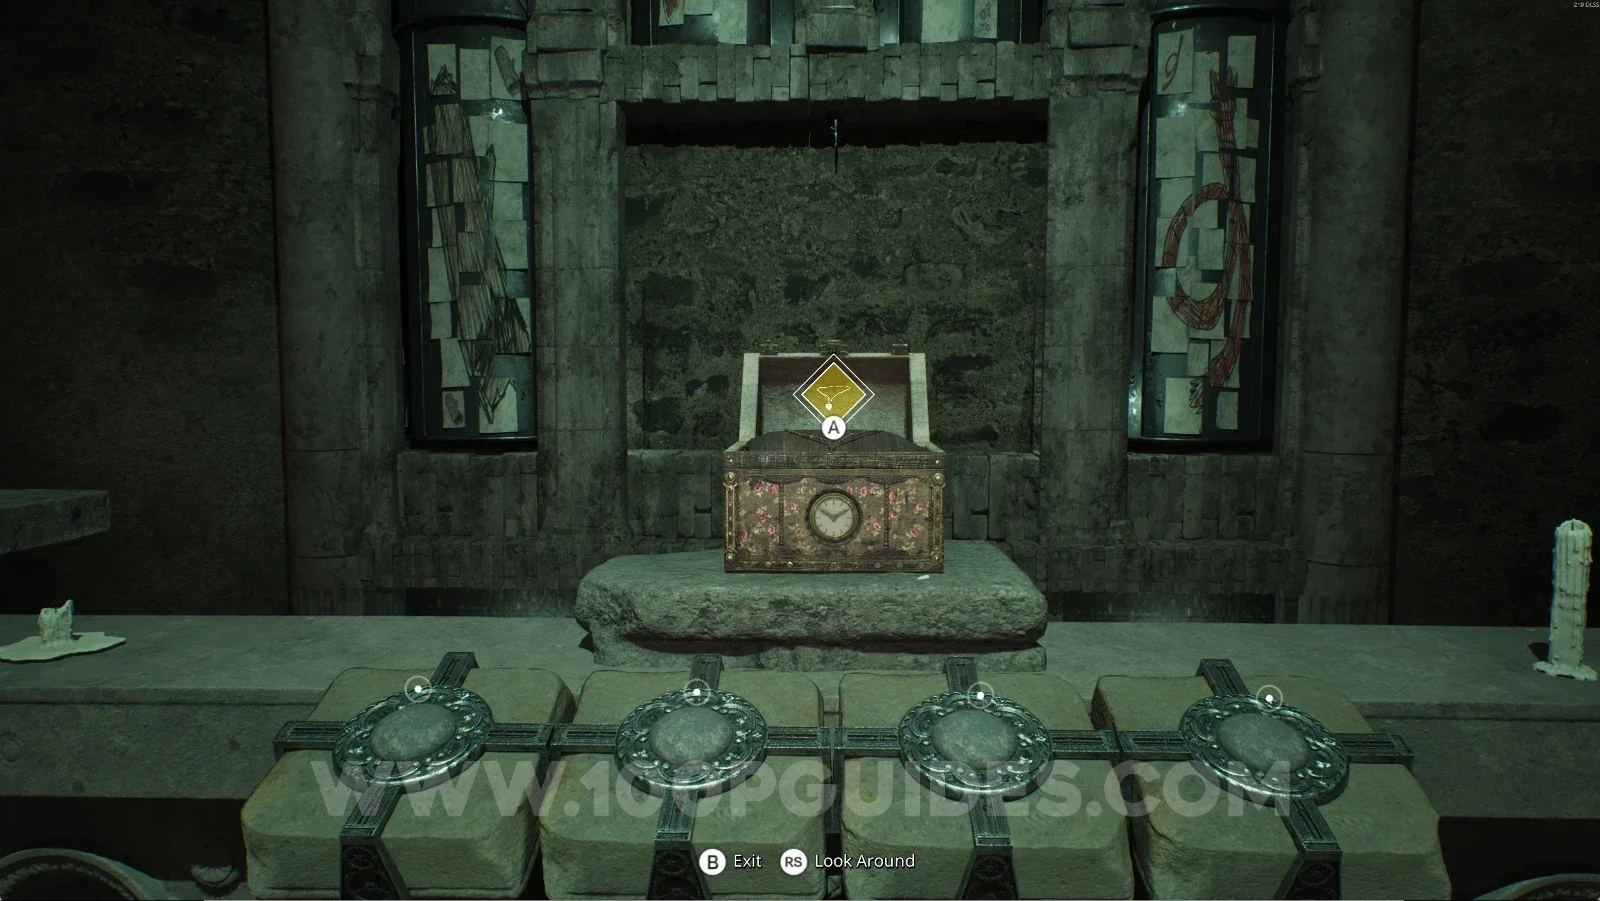
After the previous area, you'll reach another Pillar Riddle. To solve it, you need to use the mirror to reveal all the symbols on the pillars, then use the buttons to stop them in the position shown in the image below.

Remothered: Red Nuns Legacy Convent: the second Pillar Riddle with its mirror Remothered: Red Nuns Legacy Pillar Riddle: using the mirror to reveal the symbols on the pillars Remothered: Red Nuns Legacy Pillar Riddle: the correct position to stop the pillars in

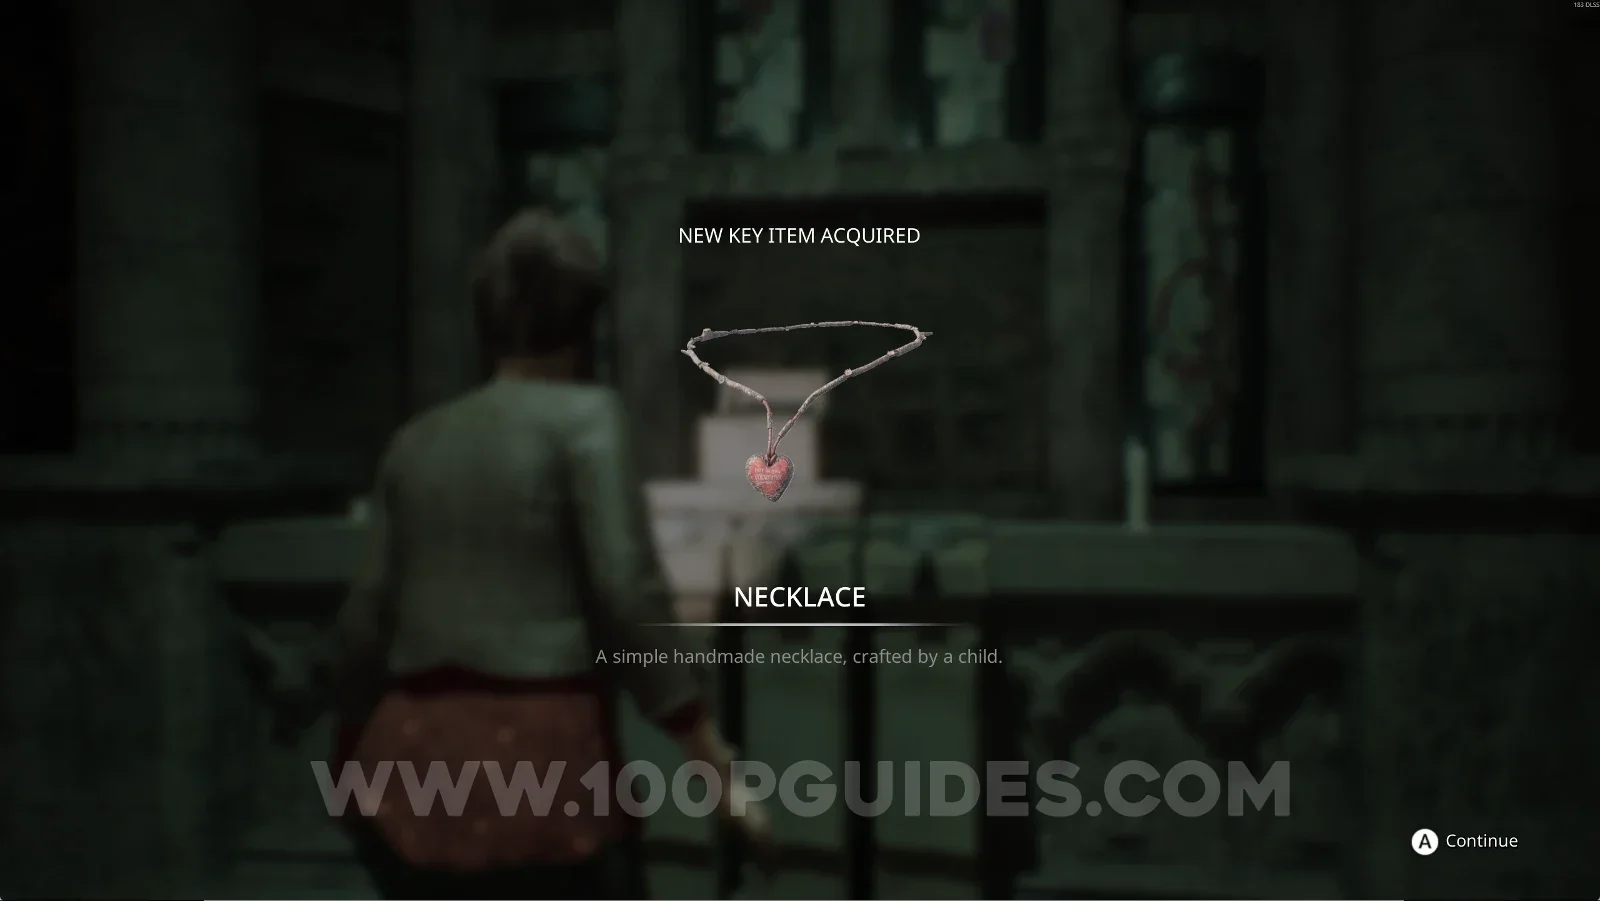
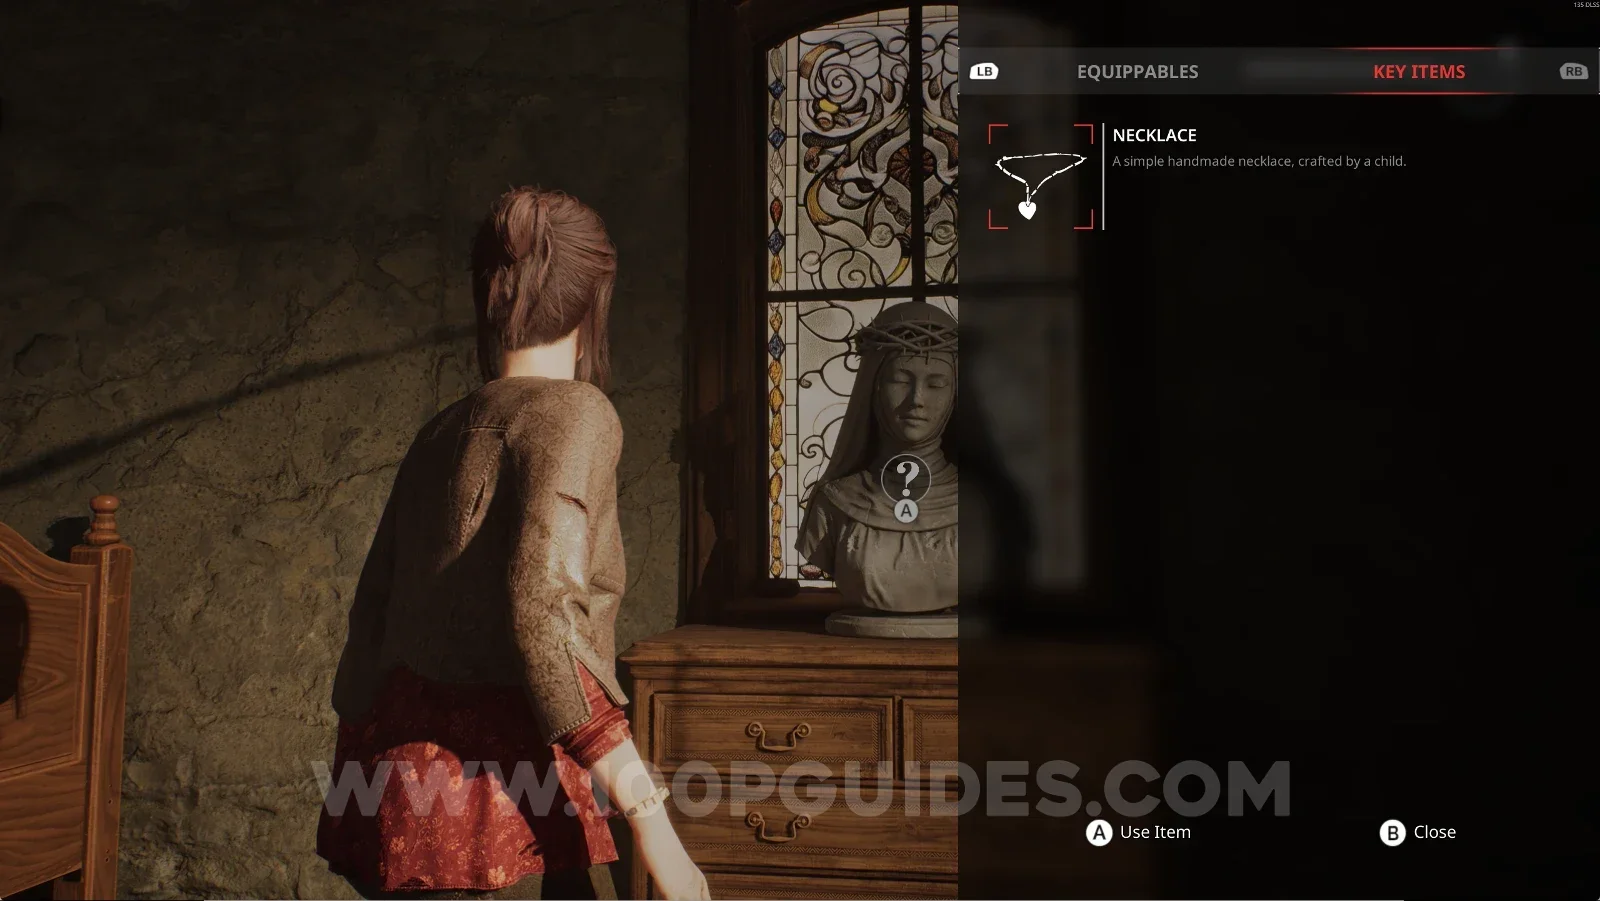
Key Item: Necklace

Obtained after solving the Pillar Riddle.

Remothered: Red Nuns Legacy: the Necklace obtained after solving the Pillar Riddle Remothered: Red Nuns Legacy: the Necklace key item from the Pillar Riddle

Convent #14: Another Birthday + Retrocognition #14

Right after the previous puzzle, go down and you'll see this next to the door. Interact with it and use your power to get the collectible.

Remothered: Red Nuns Legacy Convent: the item next to the door below the Pillar Riddle, Retrocognition #14 Remothered: Red Nuns Legacy Convent #14: Another Birthday collectible

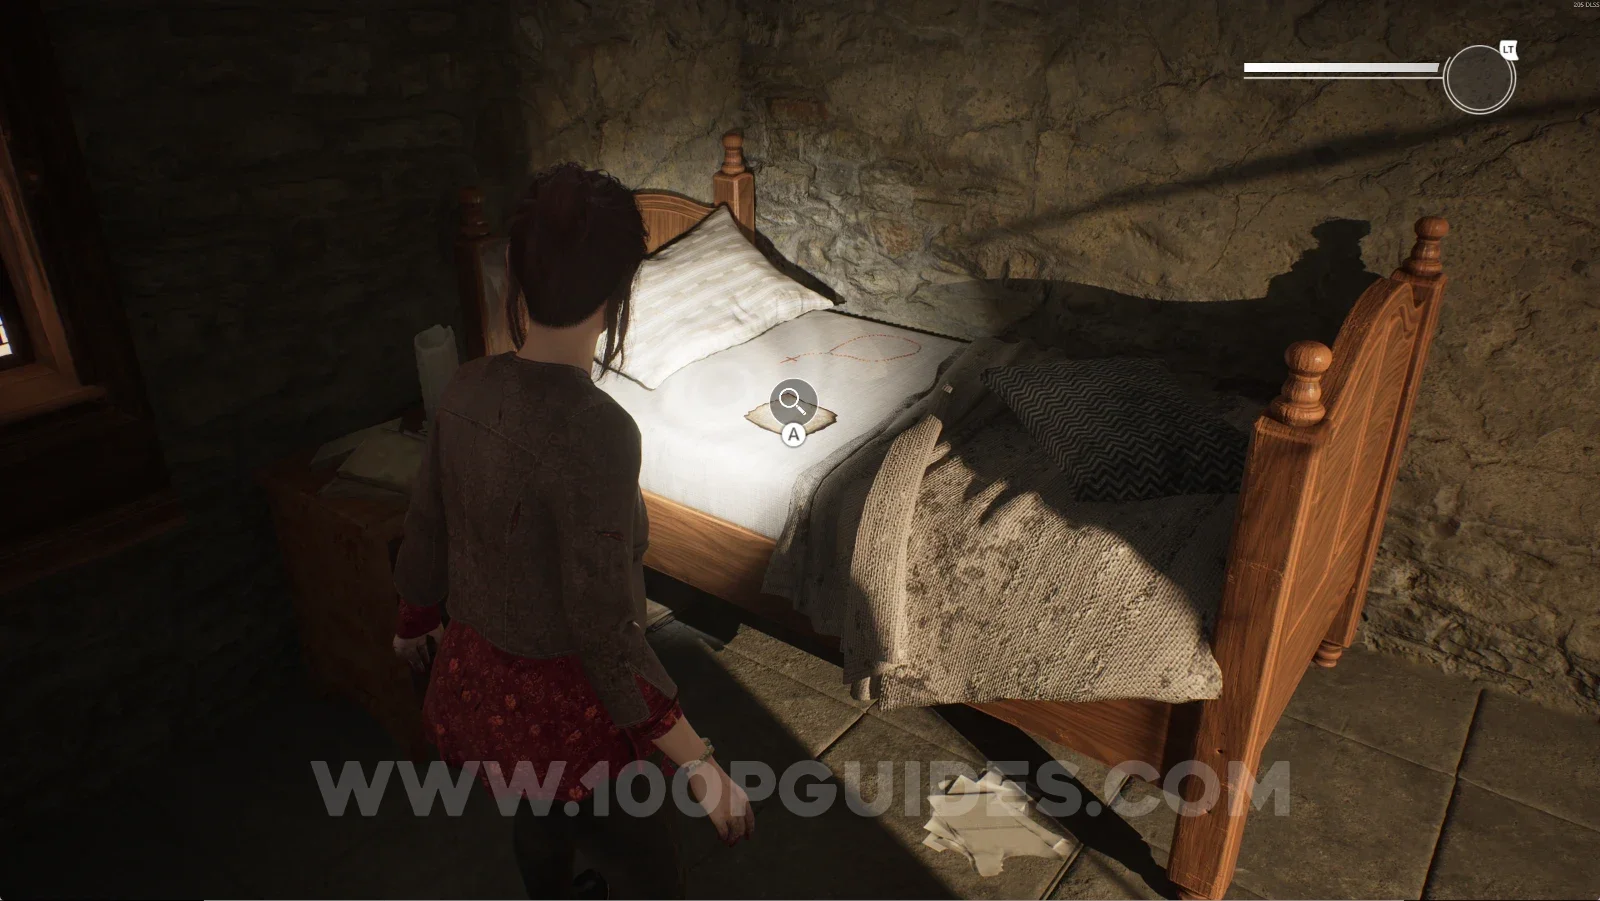
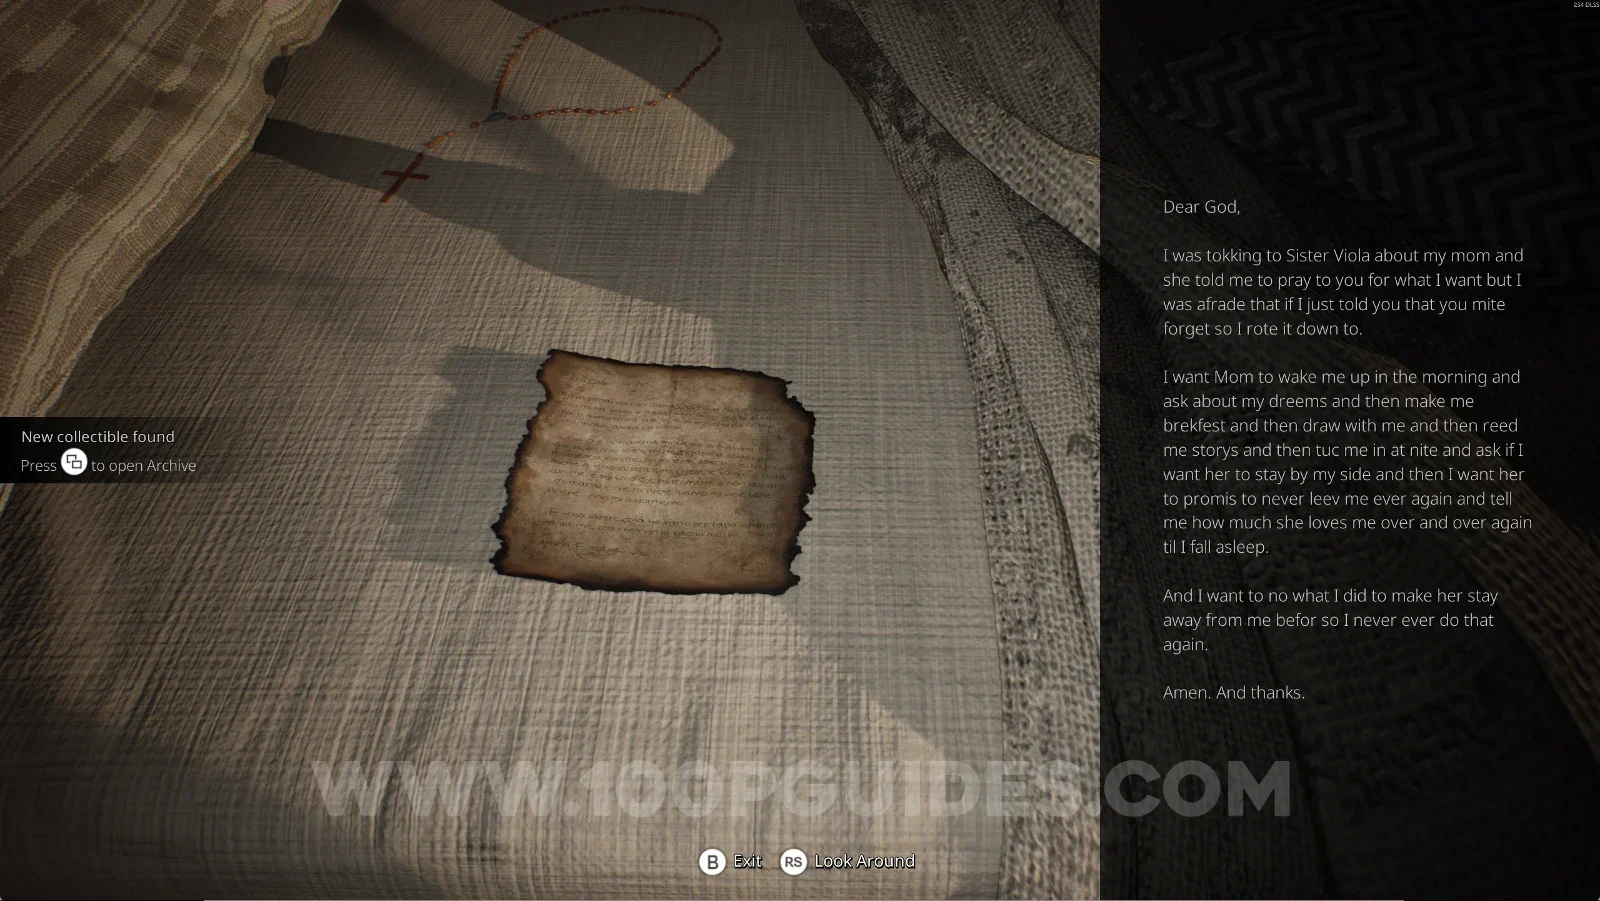
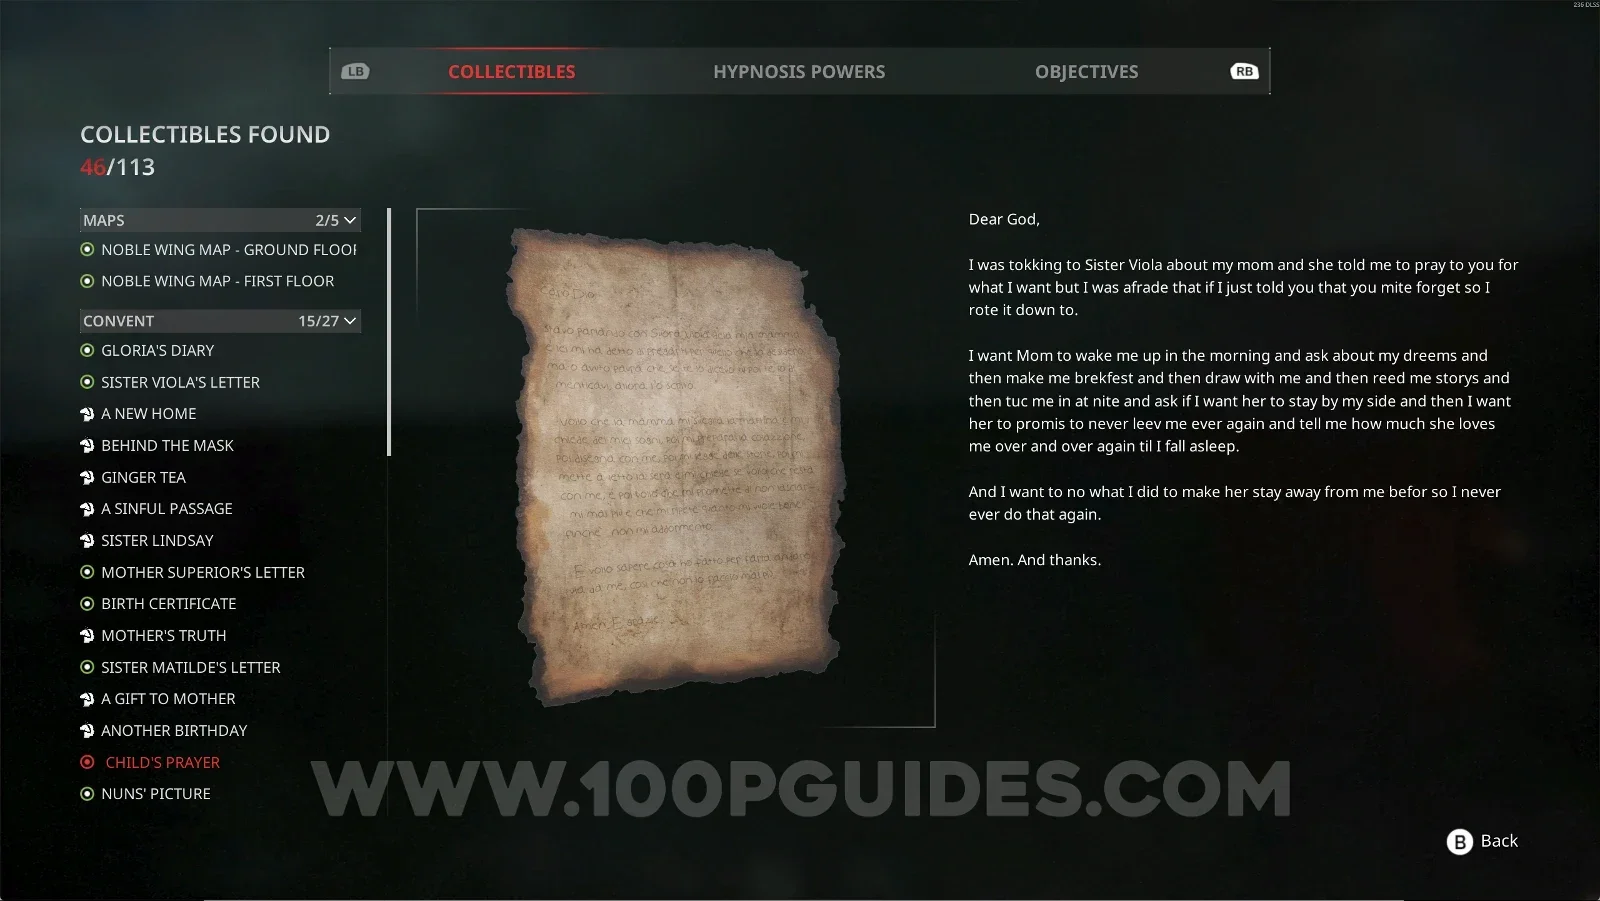
Convent #15: Child's Prayer

Right after the previous collectible, on the bed.

Remothered: Red Nuns Legacy Convent: the room with the bed after Another Birthday Remothered: Red Nuns Legacy Convent: Child's Prayer lying on the bed Remothered: Red Nuns Legacy Convent #15: Child's Prayer collectible

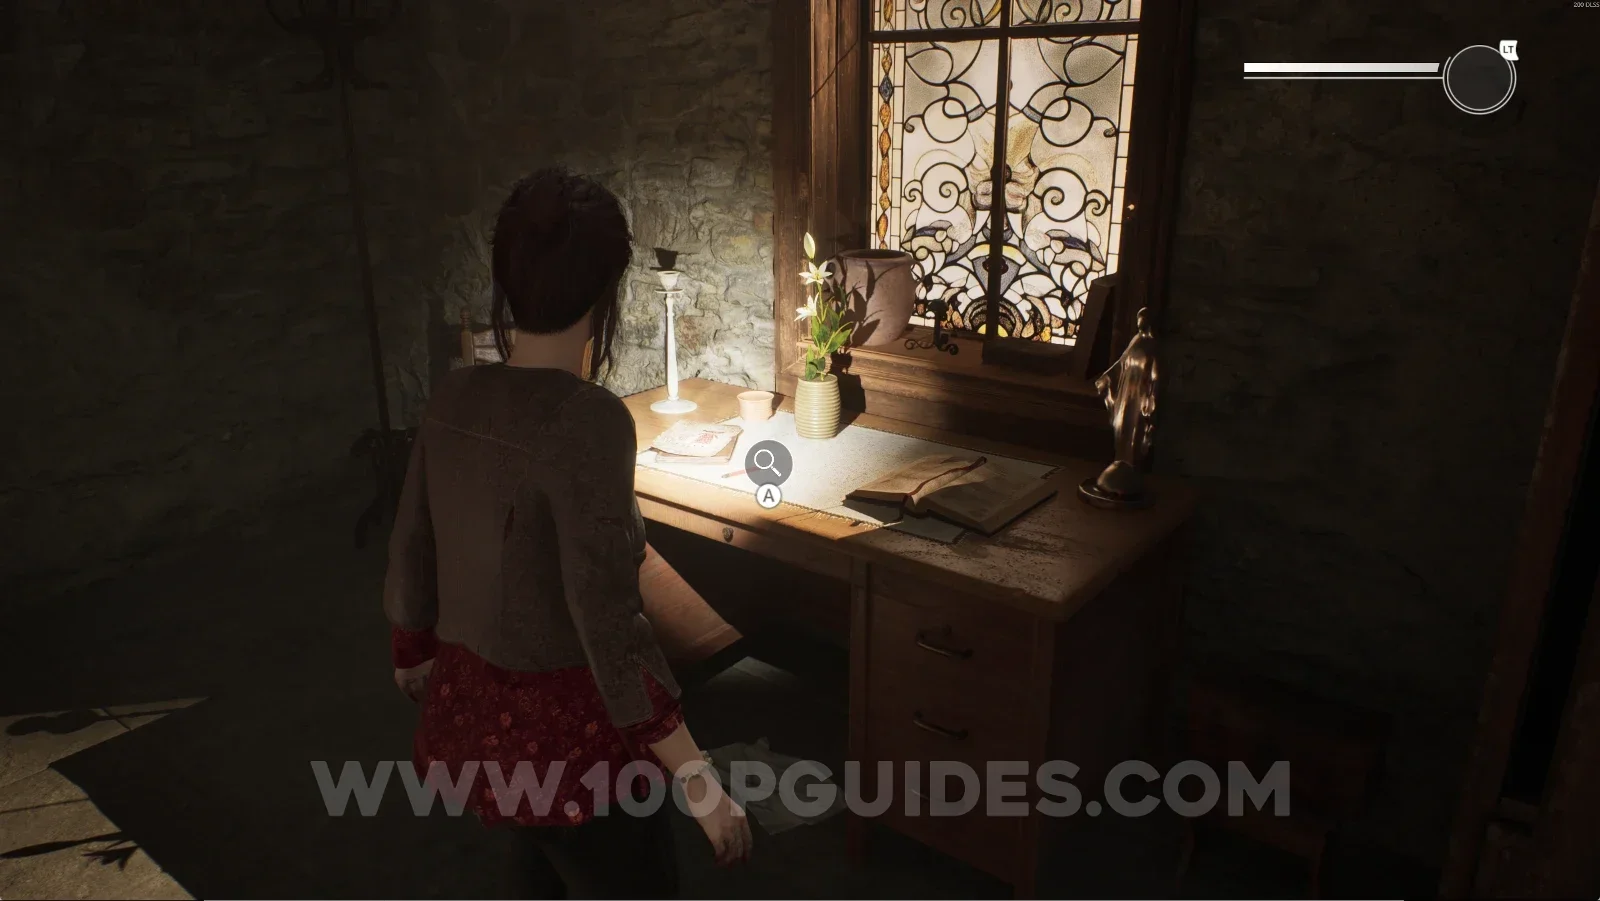
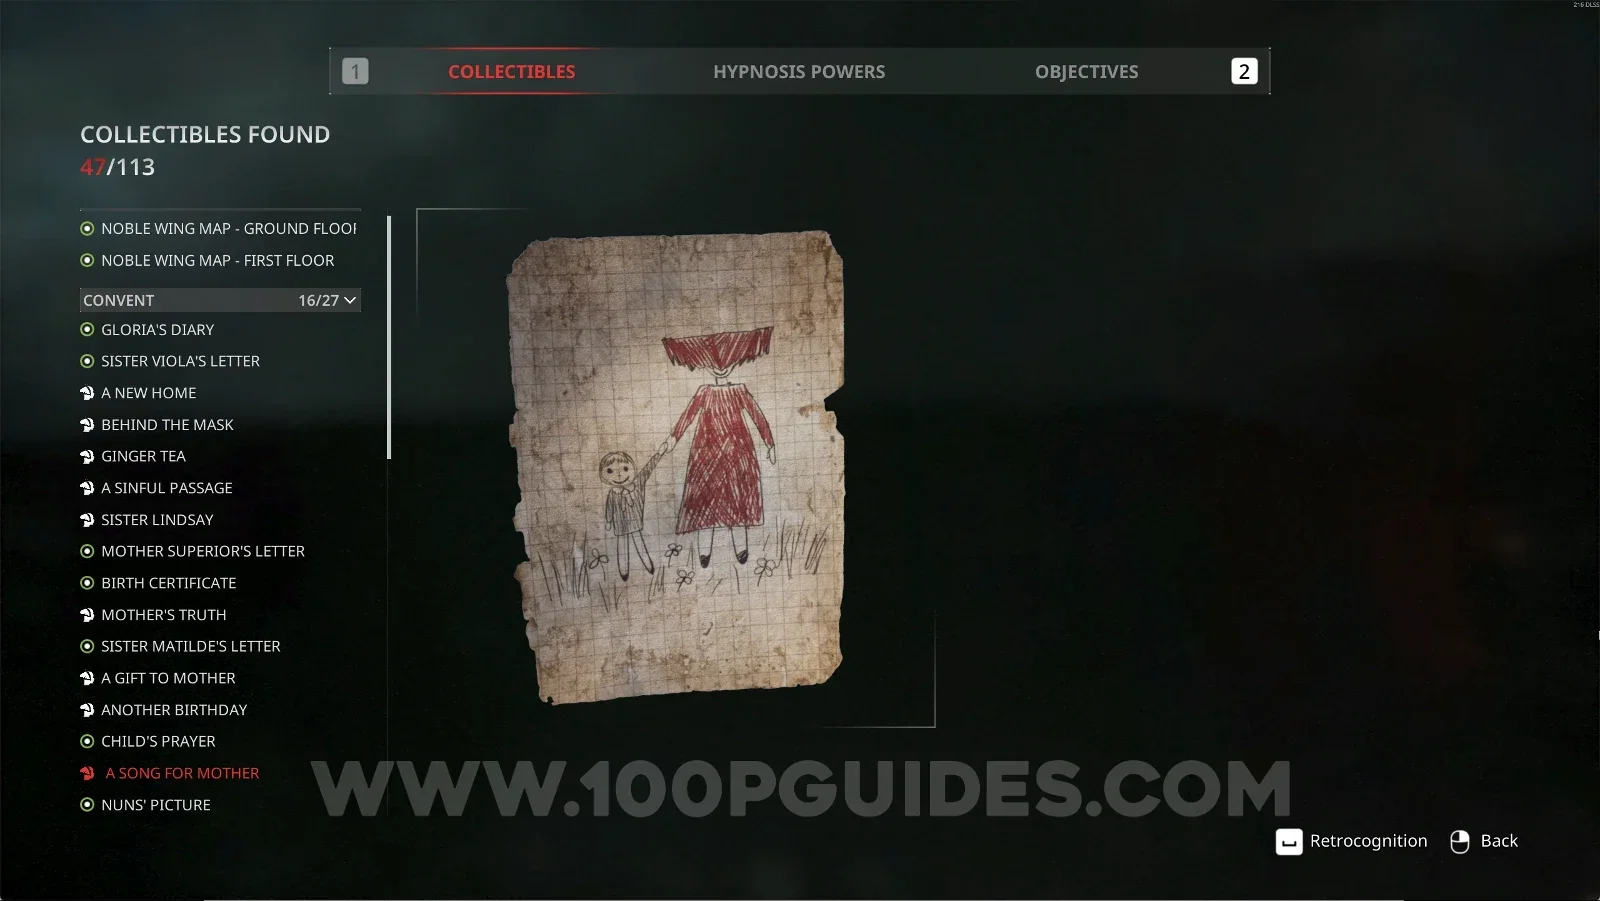
Convent #16: A Song For Mother + Retrocognition #15

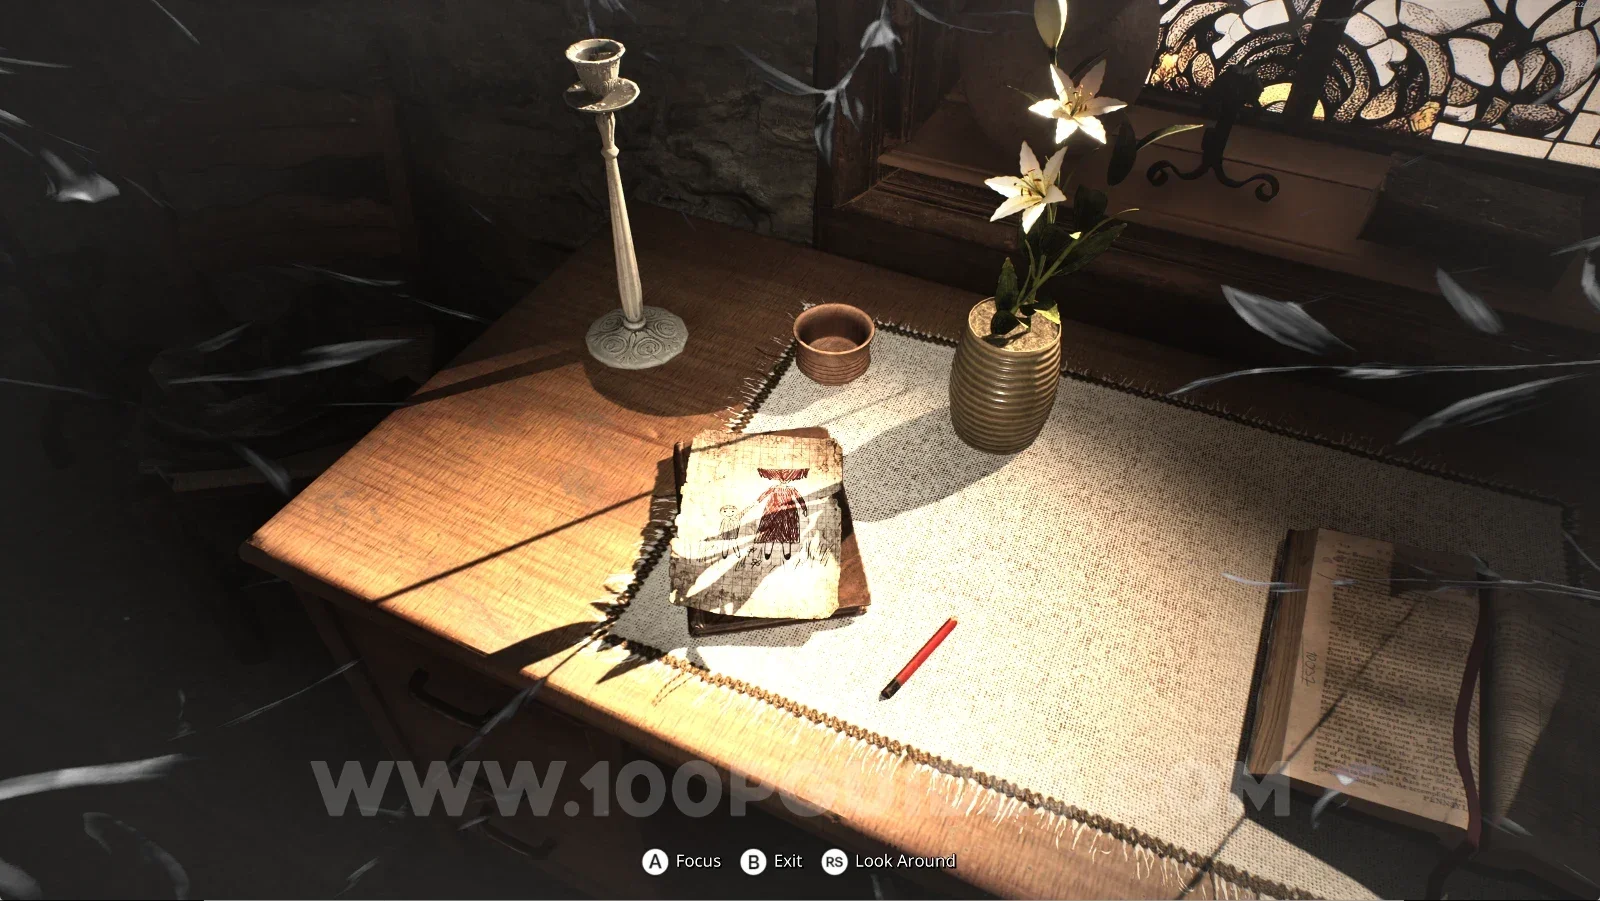
Same room as the previous collectible, on top of the table. Use your power on the sketch to get this.

Remothered: Red Nuns Legacy Convent: the sketch on top of the table in the same room Remothered: Red Nuns Legacy Convent: using the power on the sketch for Retrocognition #15 Remothered: Red Nuns Legacy Convent #16: A Song For Mother collectible

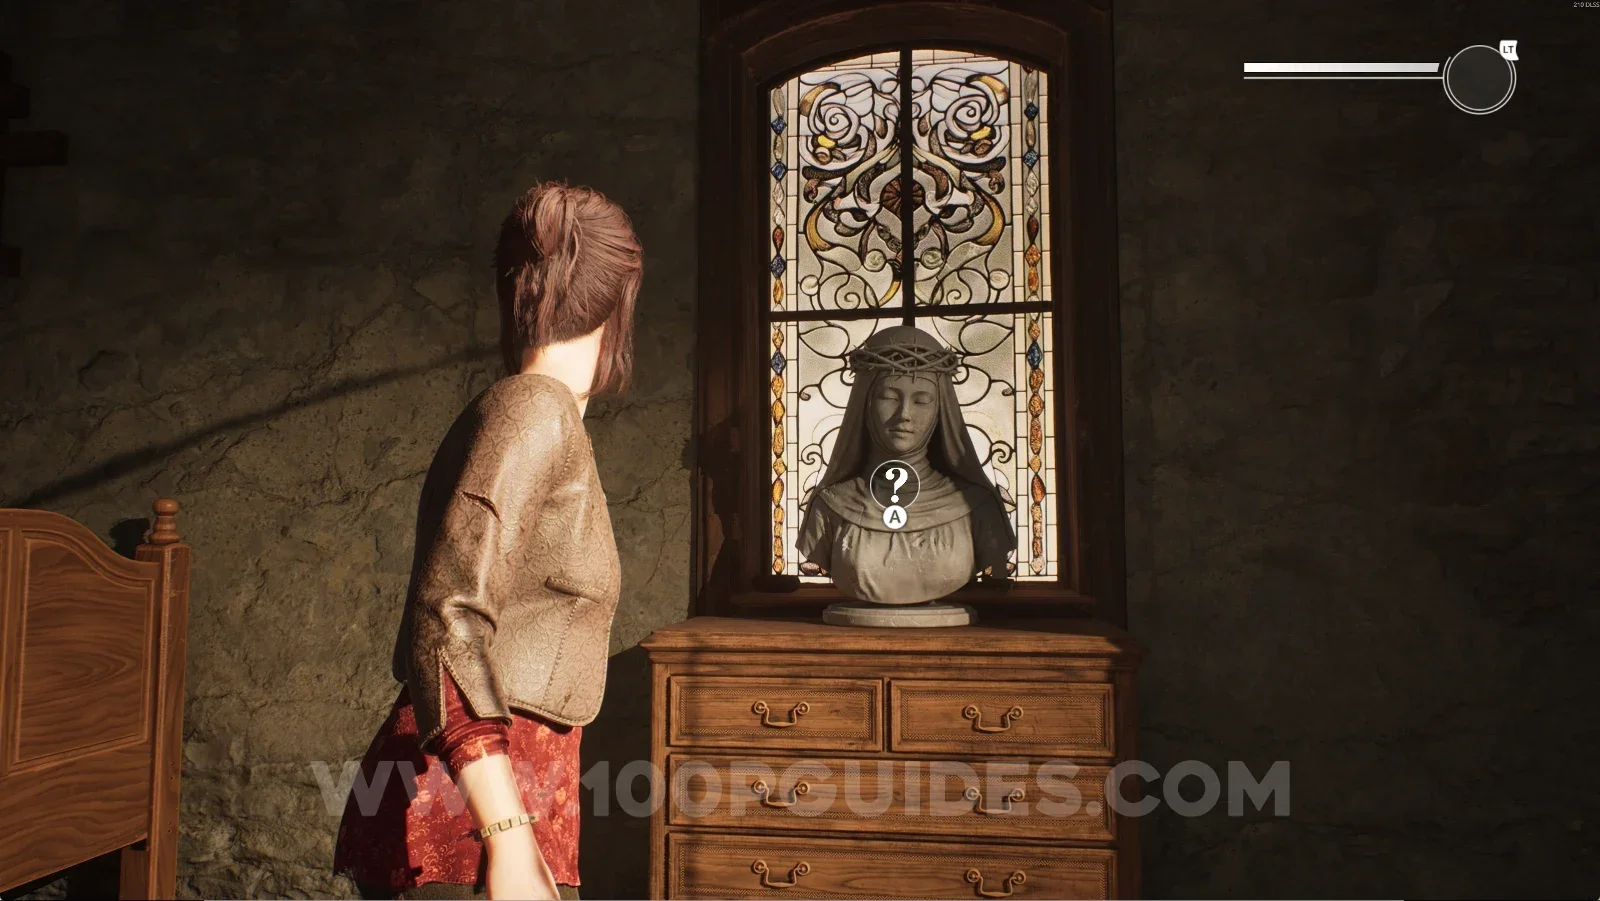
To continue, interact with the statue and place the Necklace on it.

Remothered: Red Nuns Legacy Convent: the statue where the Necklace goes Remothered: Red Nuns Legacy Convent: placing the Necklace on the statue

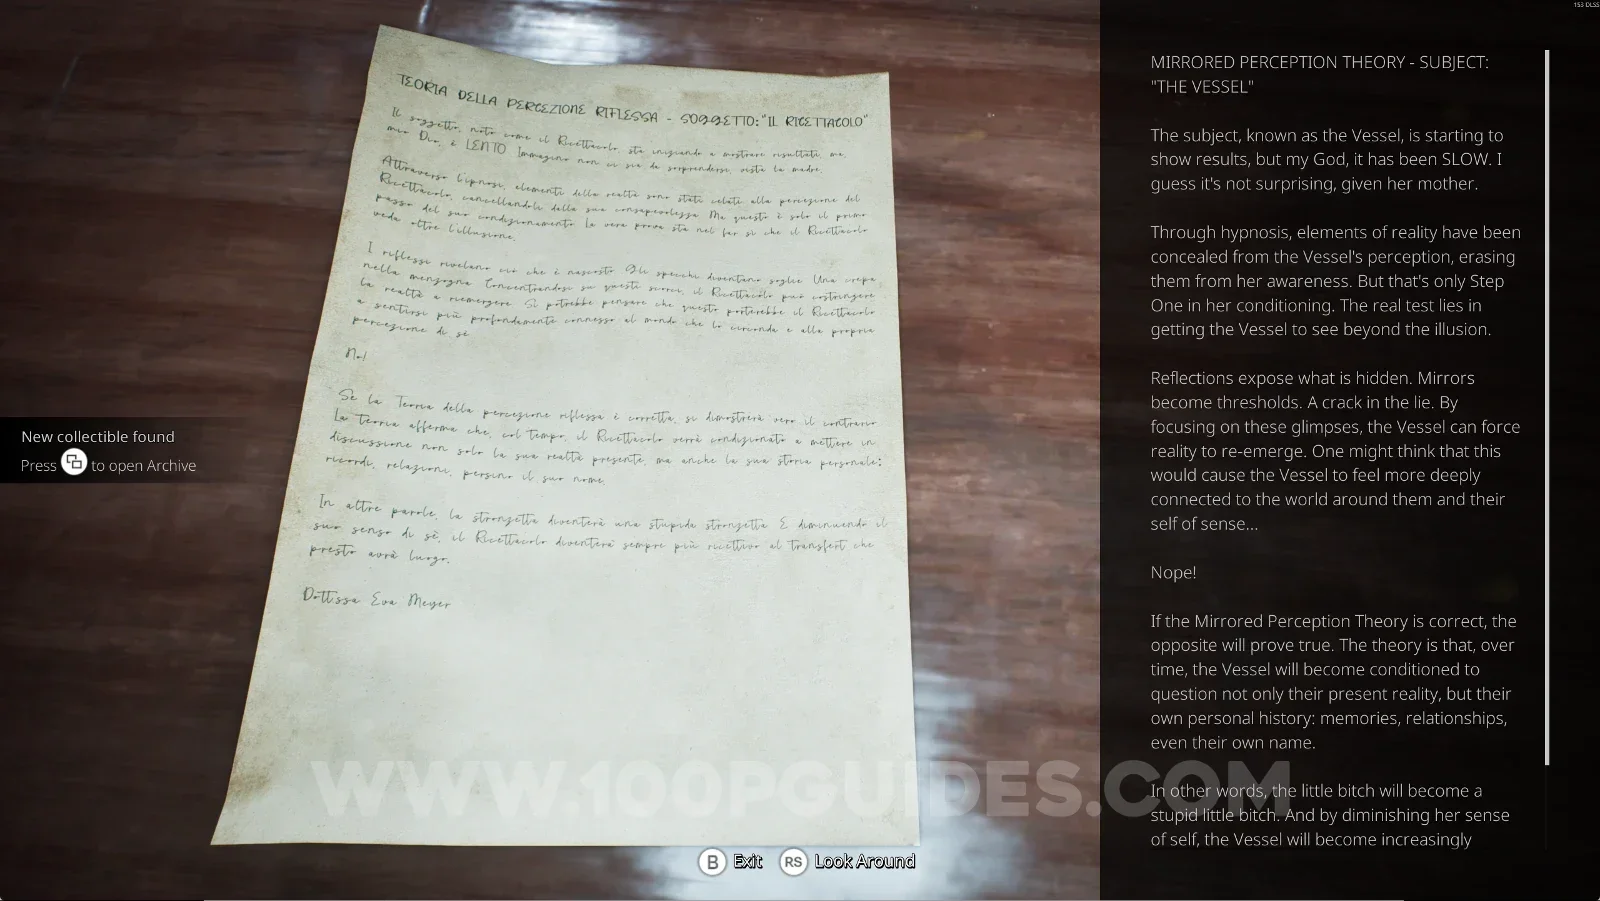
Noble Wing #28: Mirrored Perception Theory

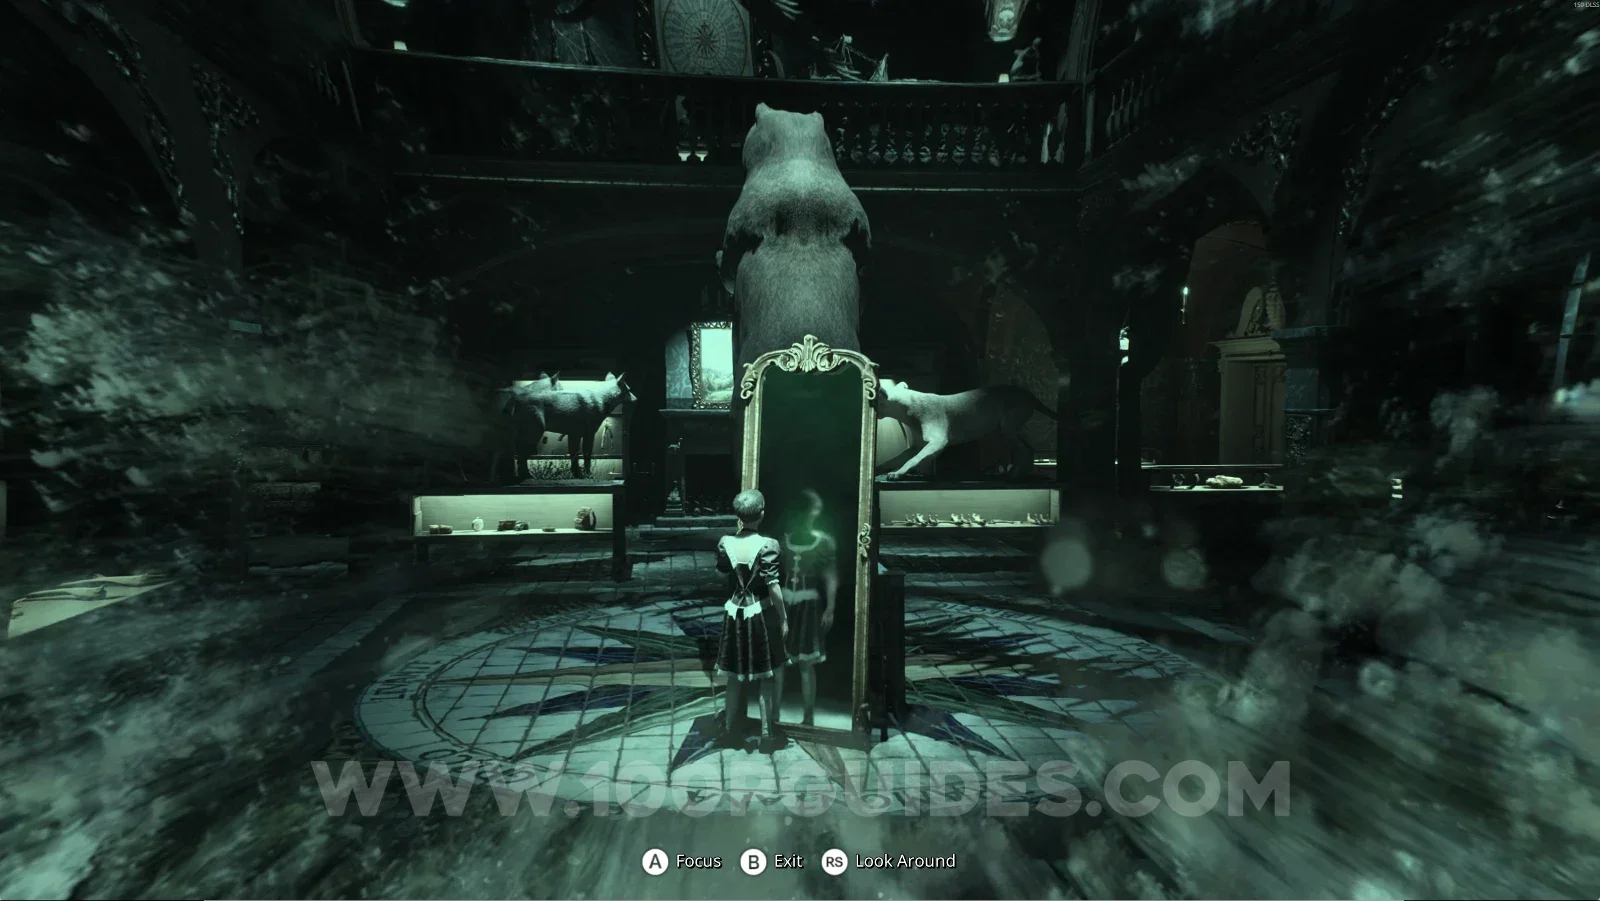
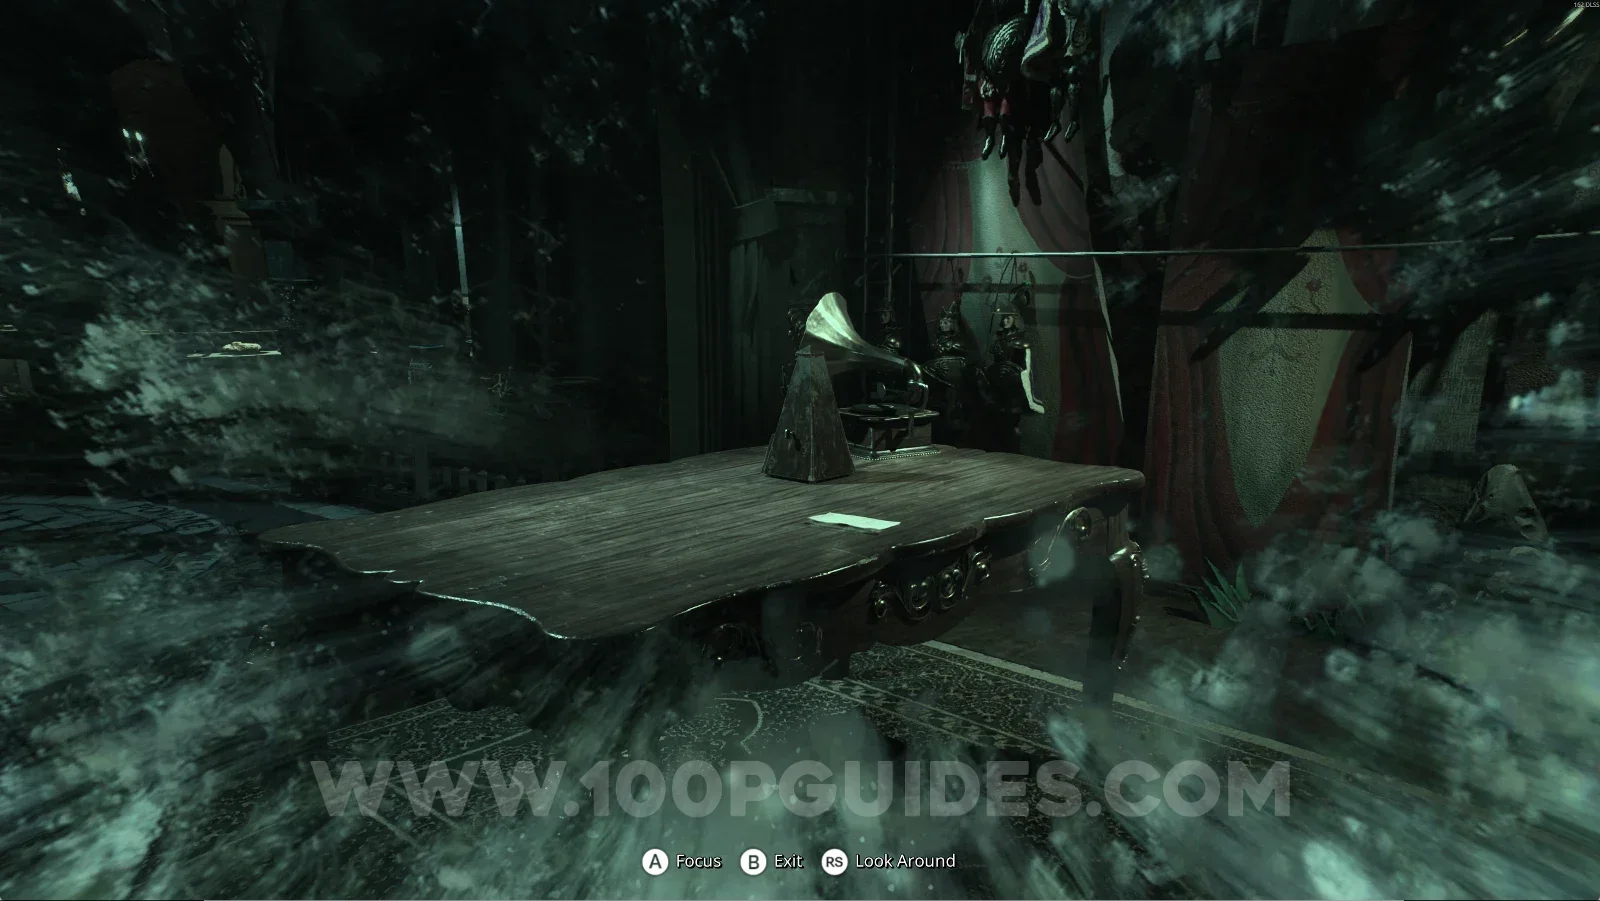
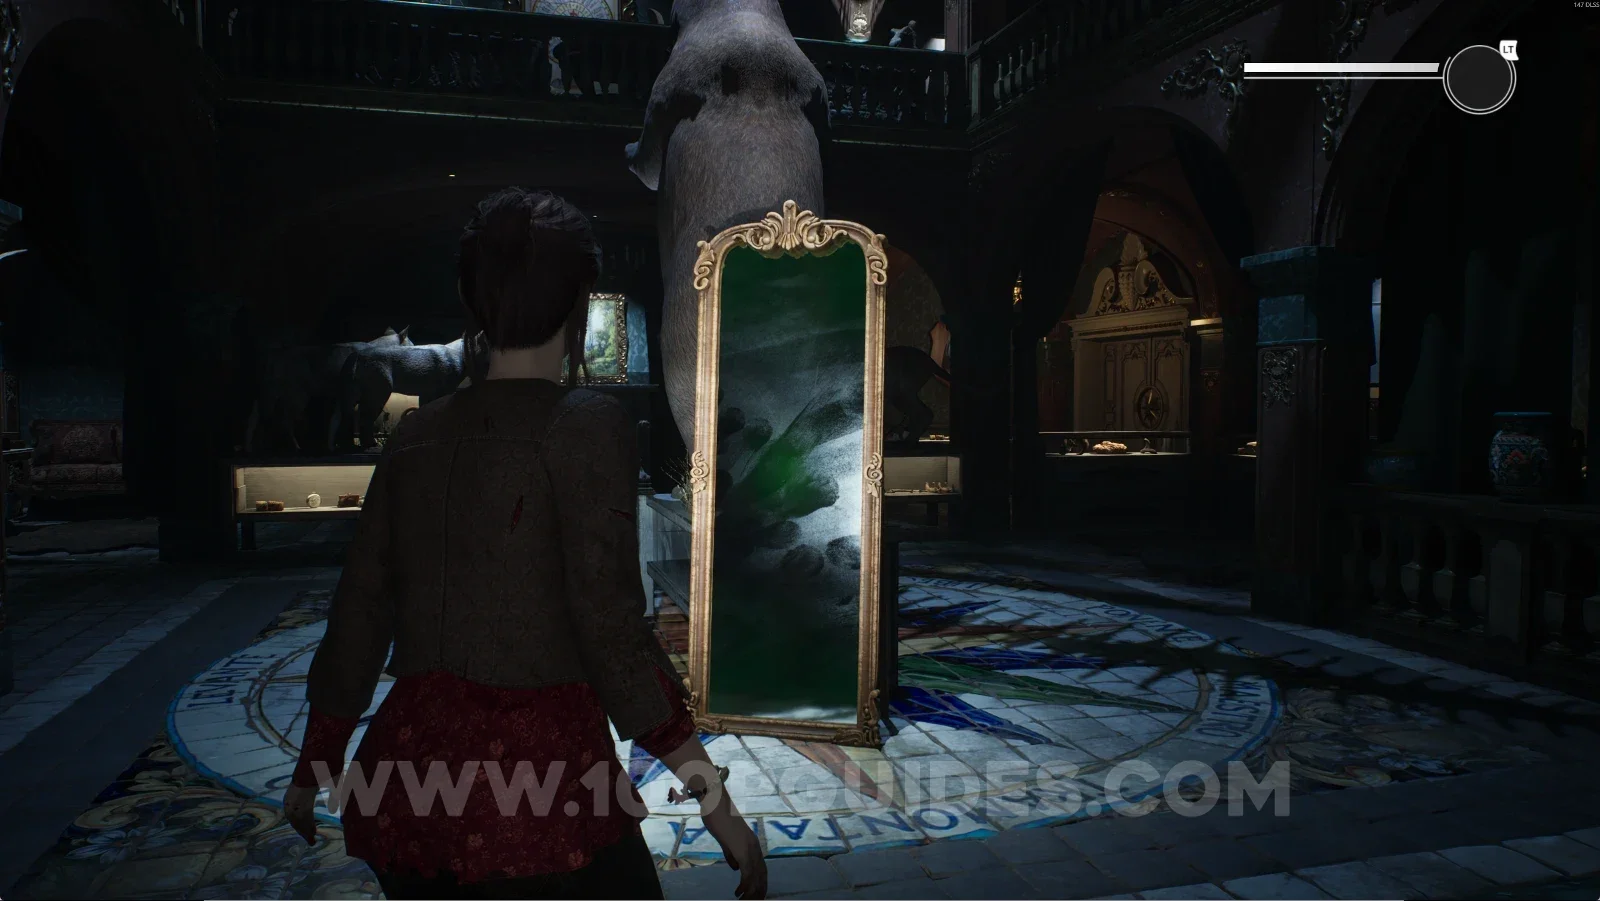
Back in the Sala delle Meraviglie, interact with the mirror next to the Metronome, then use your power on the mirror right in front of you with the child beside it. Next, turn to the right and you'll see a note on top of the table. Use your power on it and then interact with it.

Remothered: Red Nuns Legacy Sala delle Meraviglie: the mirror next to the Metronome Remothered: Red Nuns Legacy: revealing the mirror with the child beside it using the power Remothered: Red Nuns Legacy: the note on the table to the right, revealed with the power Remothered: Red Nuns Legacy Noble Wing #28: Mirrored Perception Theory collectible

To continue, interact with the mirror in the middle of the room that you revealed using your power, then use your power on the Agata near the stairs.

Remothered: Red Nuns Legacy Sala delle Meraviglie: the revealed mirror in the middle of the room Remothered: Red Nuns Legacy: using the power on the agata near the stairs

Noble Wing #29: Behind The Curtain + Retrocognition #16

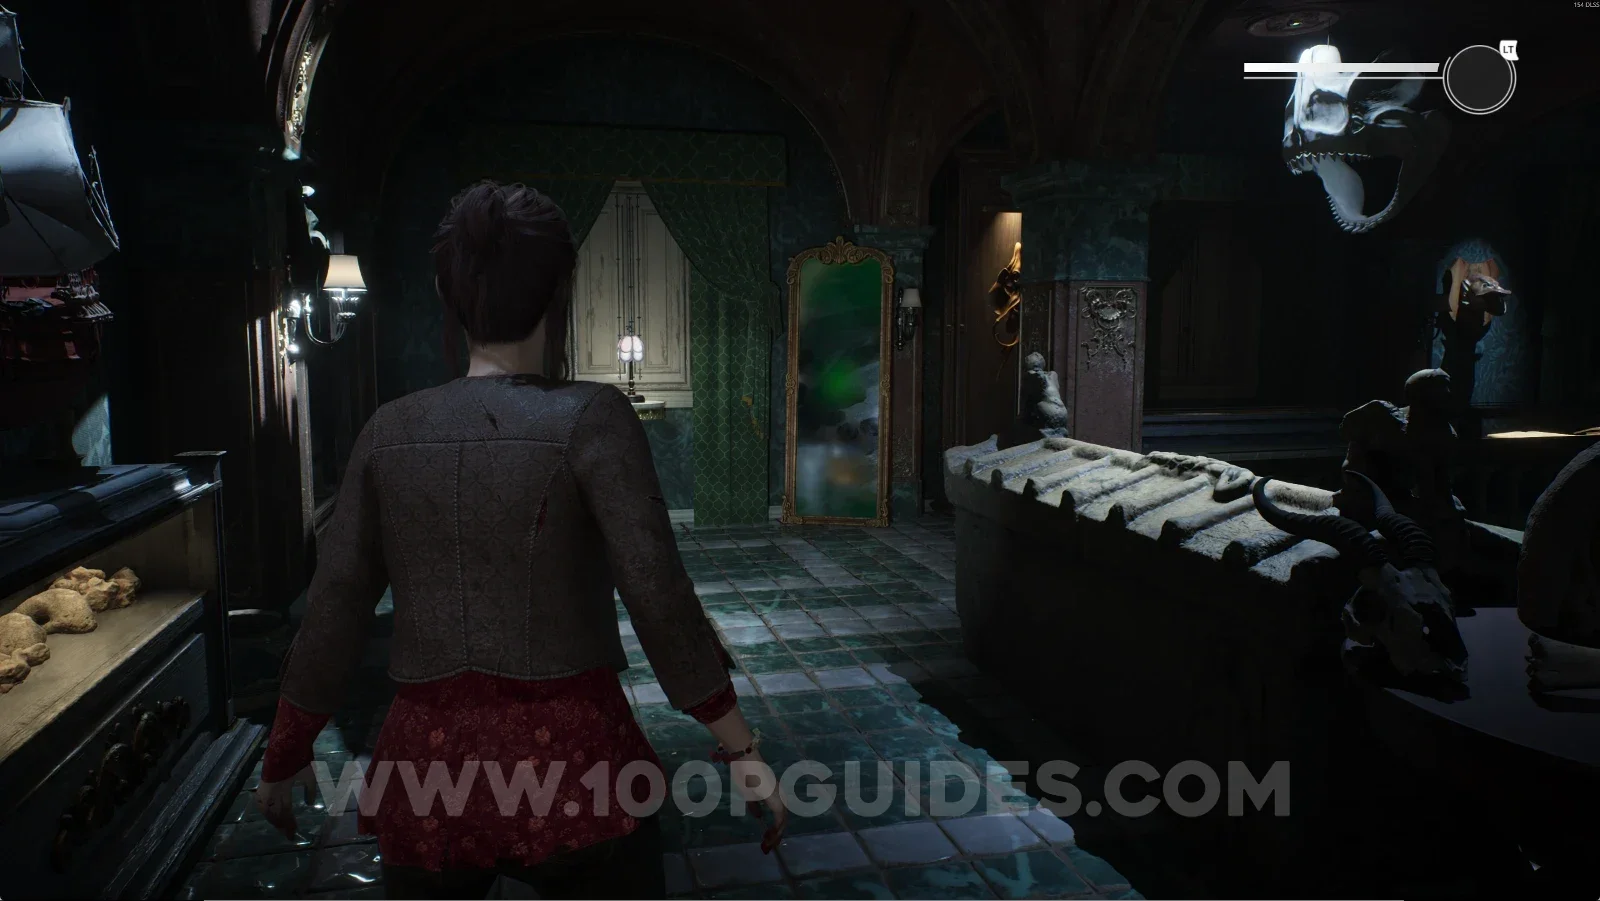
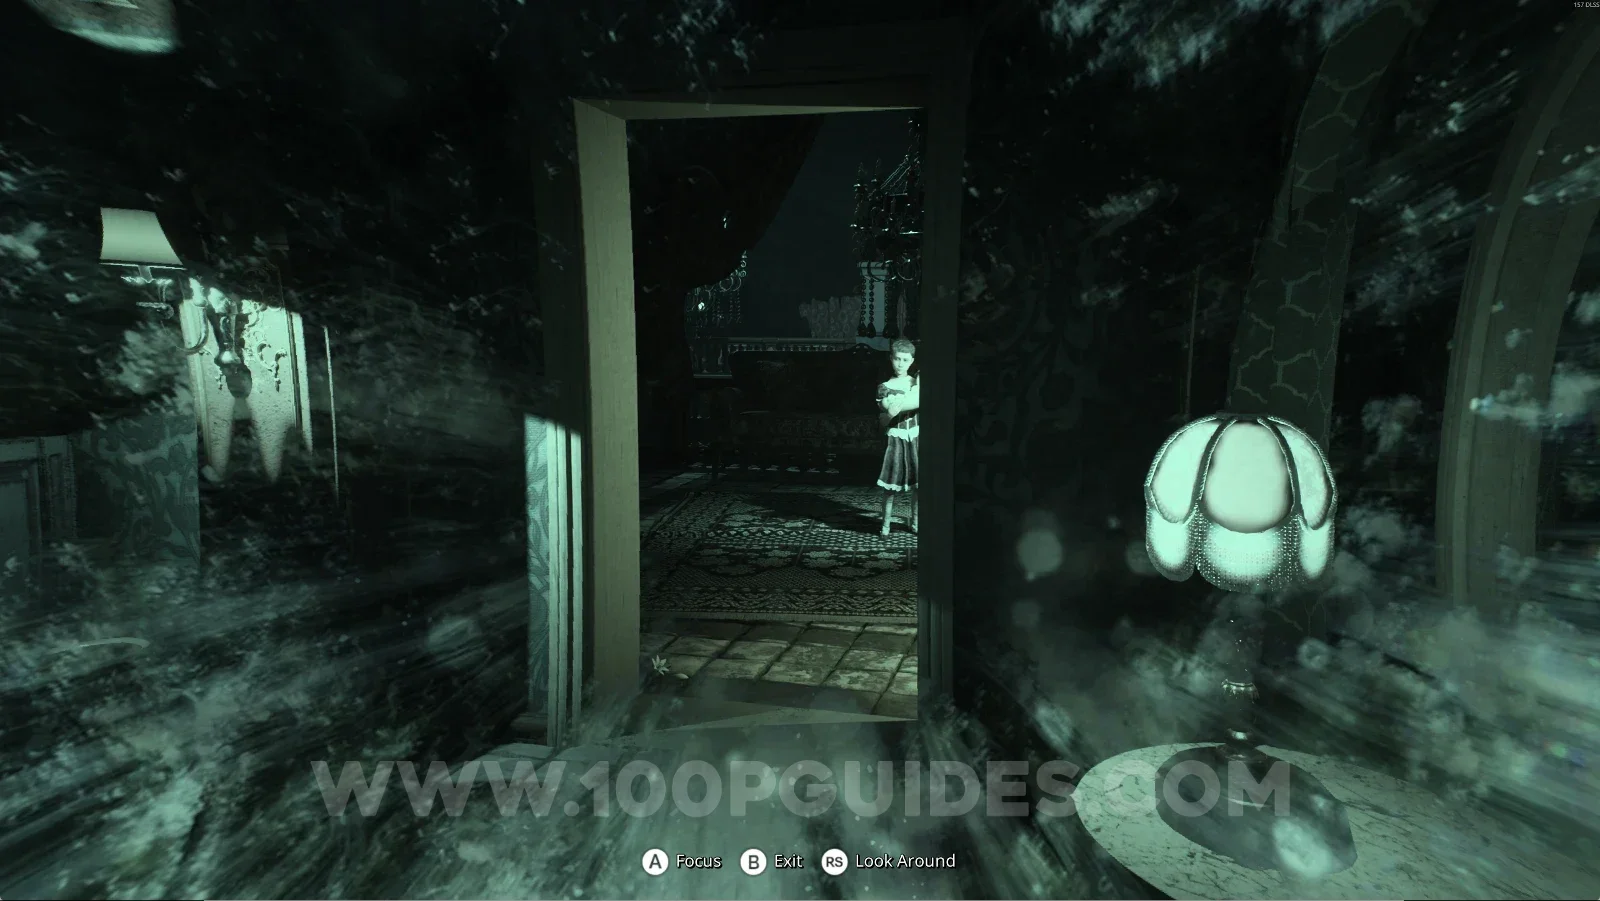
From the previous area, go up the stairs and you'll be on the first floor. Go to the back of the room to find this on top of a display case.

Remothered: Red Nuns Legacy Sala delle Meraviglie: the stairs up to the first floor Remothered: Red Nuns Legacy: the display case at the back of the first floor room Remothered: Red Nuns Legacy: using the power on the display case for Retrocognition #16 Remothered: Red Nuns Legacy Noble Wing #29: Behind The Curtain collectible

To continue, interact with the mirror and then use your power on the door on the right.

Remothered: Red Nuns Legacy first floor: interacting with the mirror to reveal a door Remothered: Red Nuns Legacy: the door on the right revealed with the power

Noble Wing #30: Agata's Arrival + Retrocognition #17

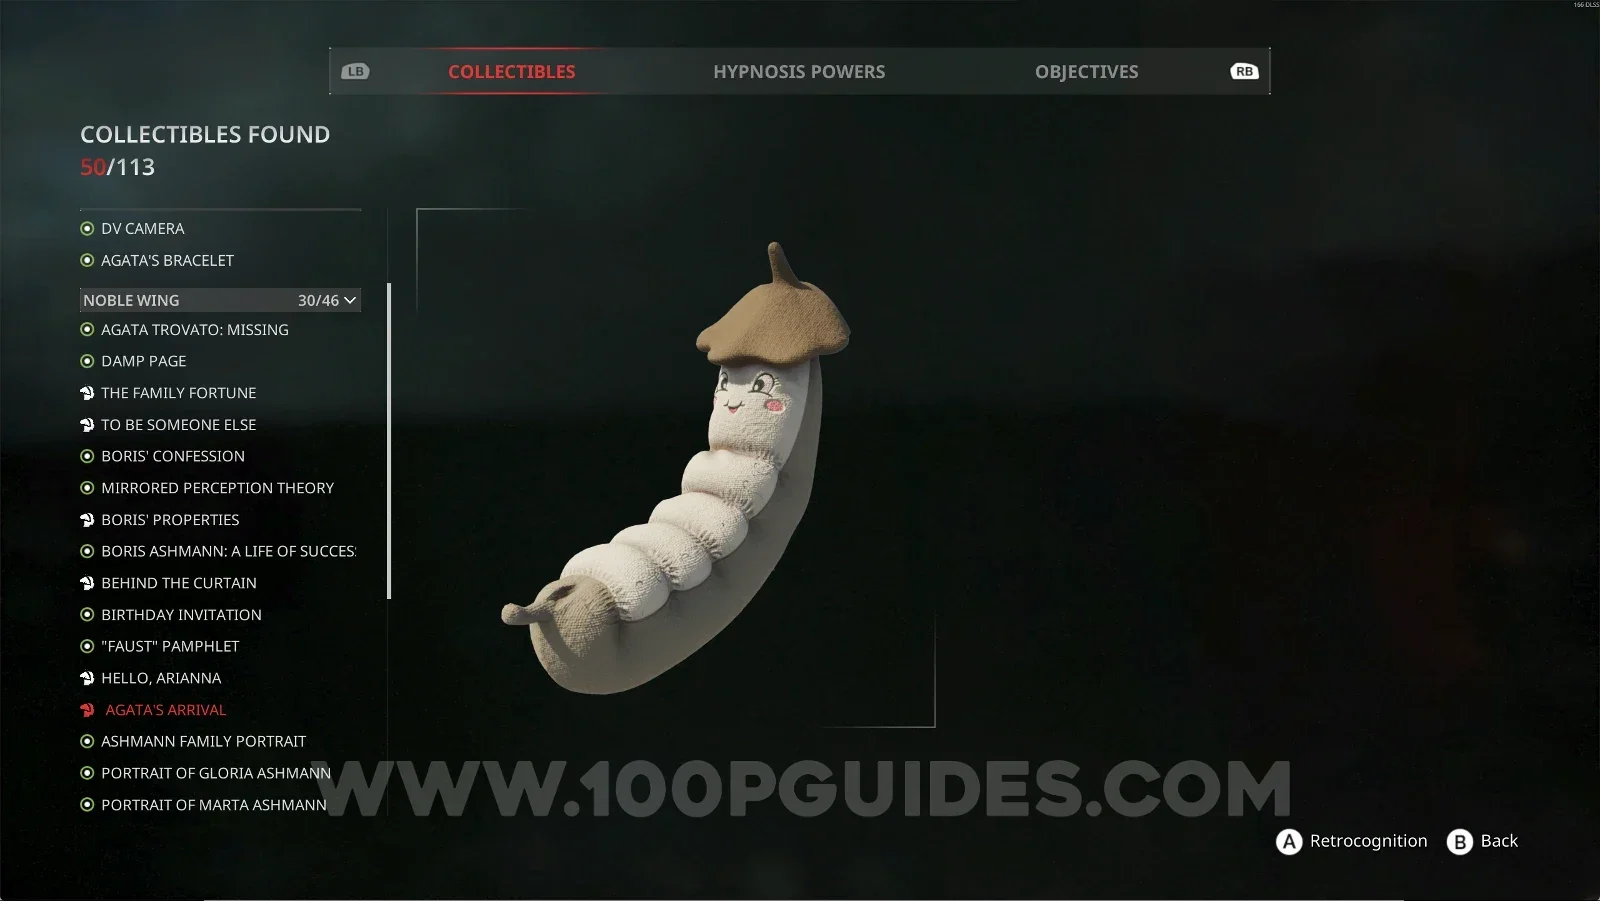
Same area as before. After revealing the door, it will be on the floor. Interact with it and use your power to get the collectible.

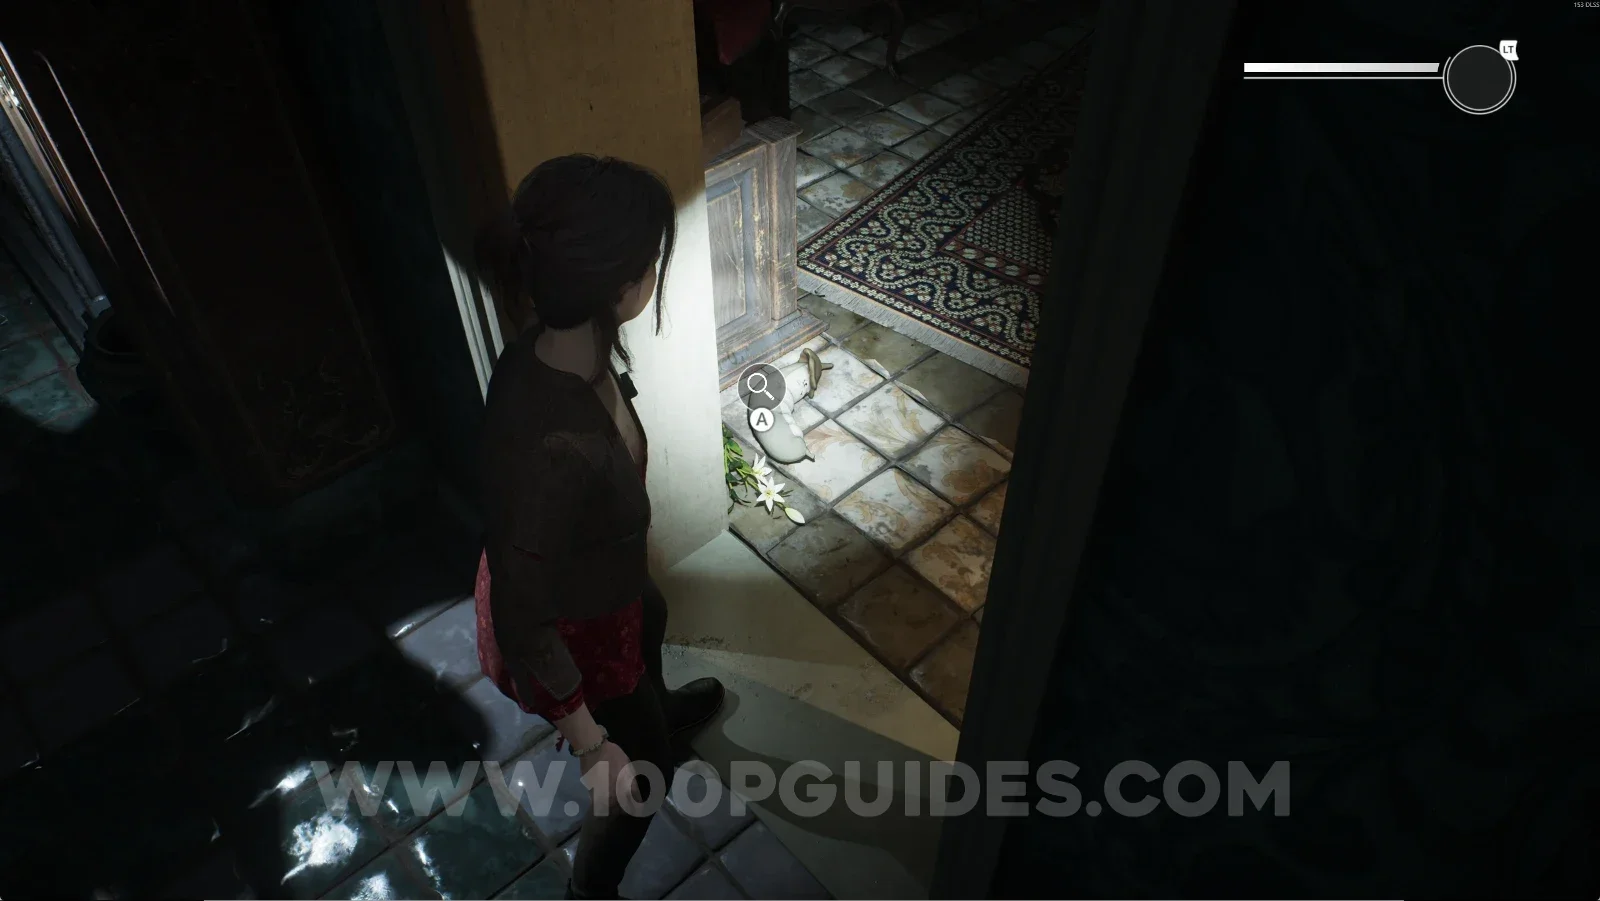
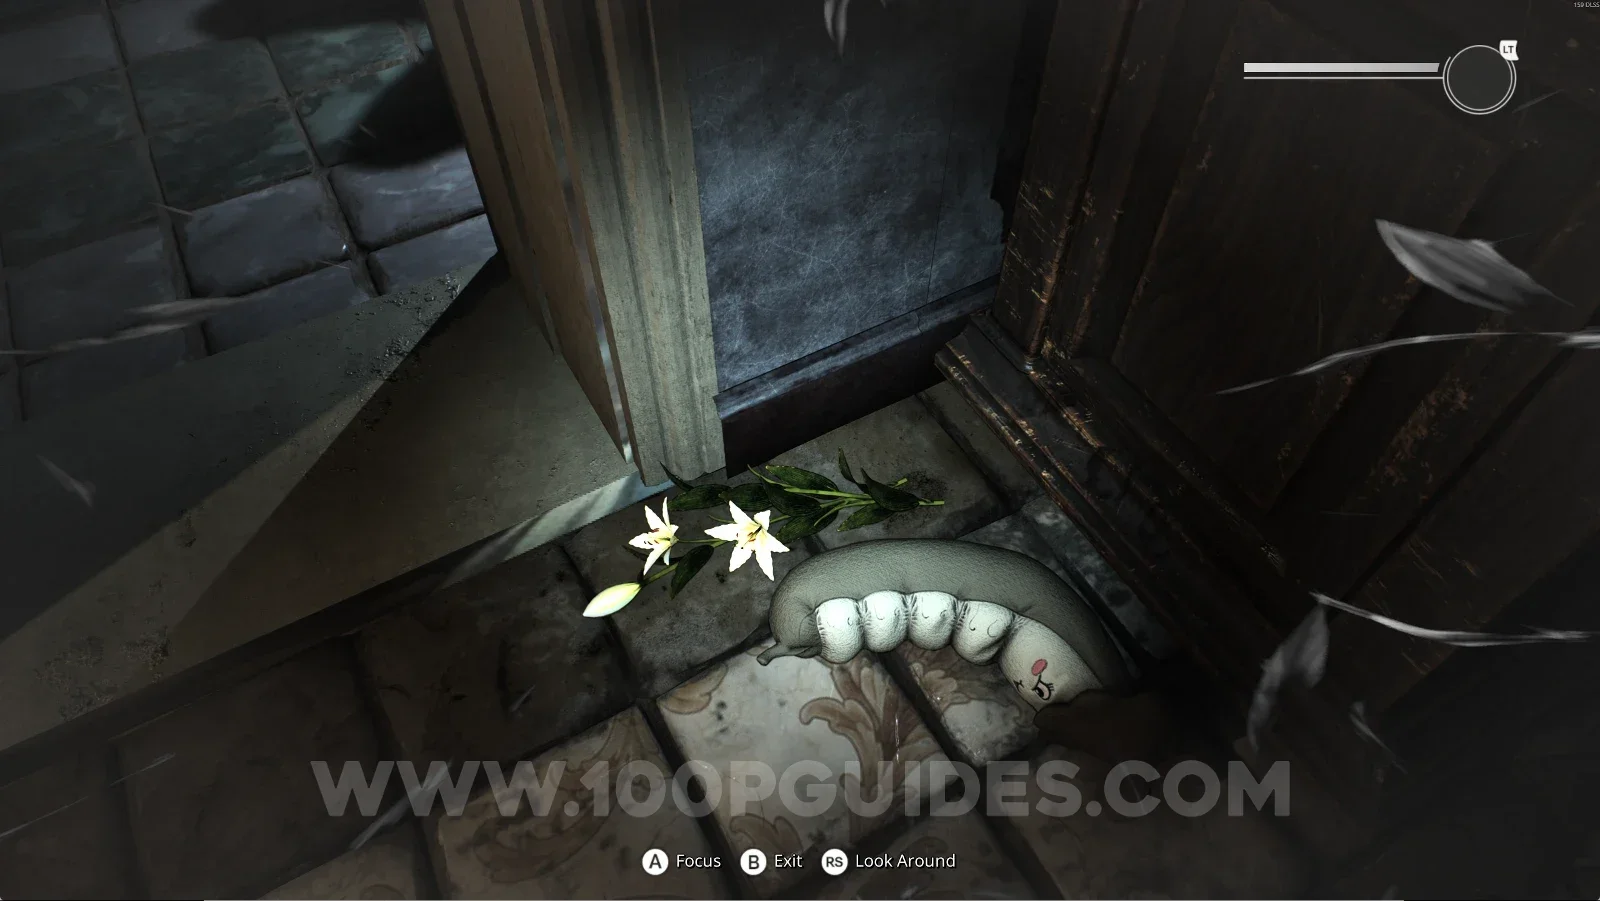
Remothered: Red Nuns Legacy: the item on the floor past the revealed door Remothered: Red Nuns Legacy: using the power on the item on the floor for Retrocognition #17 Remothered: Red Nuns Legacy Noble Wing #30: Agata's Arrival collectible

To continue, go around along the single path on the first floor until you find the next mirror. Interact with it and reveal the door on the right side.

Remothered: Red Nuns Legacy: the next mirror along the single path on the first floor Remothered: Red Nuns Legacy: revealing the door on the right side with the mirror

Now follow the single path until you're back in the Library. Interact with the mirror and reveal the table on the right, then the door on the left.

Remothered: Red Nuns Legacy: the mirror found back in the Library along the single path Remothered: Red Nuns Legacy Library: revealing the table on the right with the mirror Remothered: Red Nuns Legacy Library: revealing the door on the left with the mirror

Noble Wing #31: Kenosis

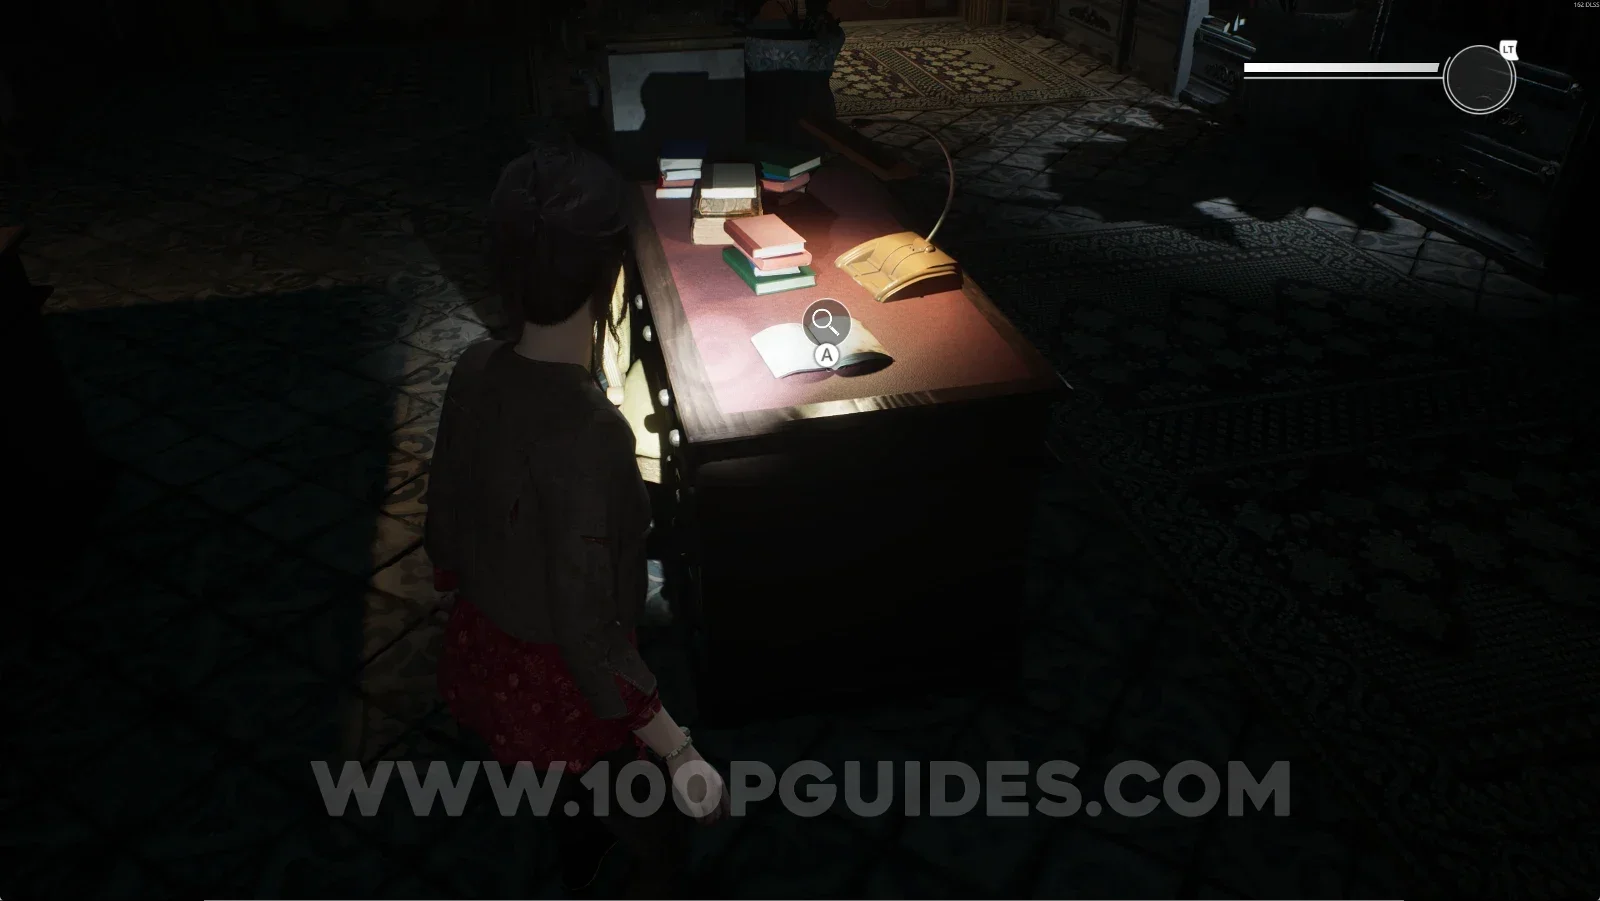
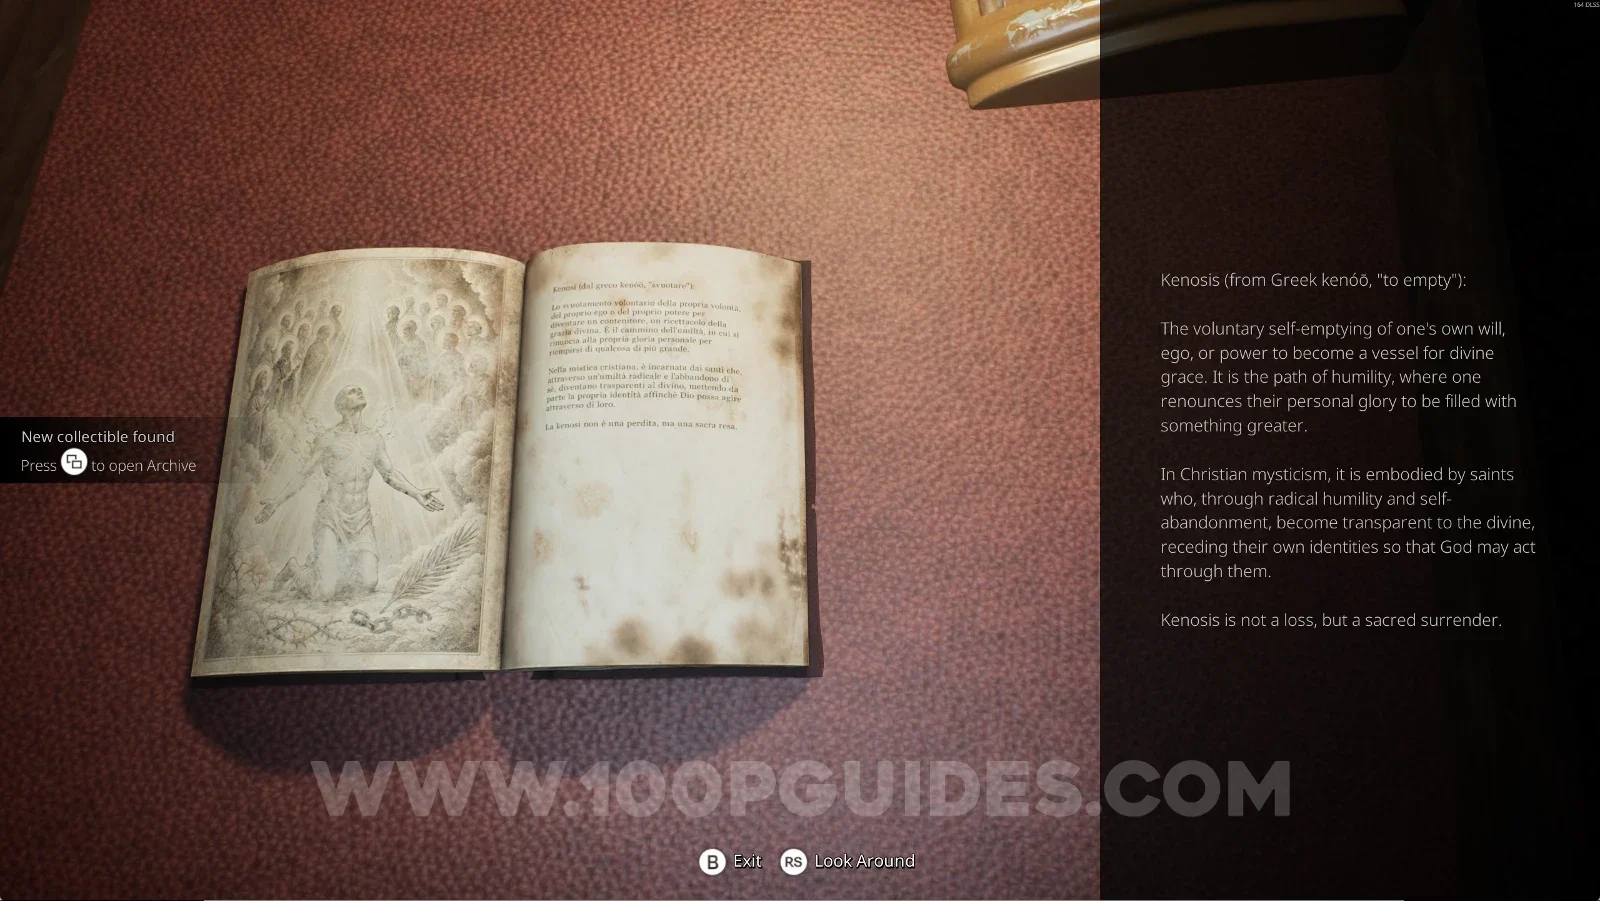
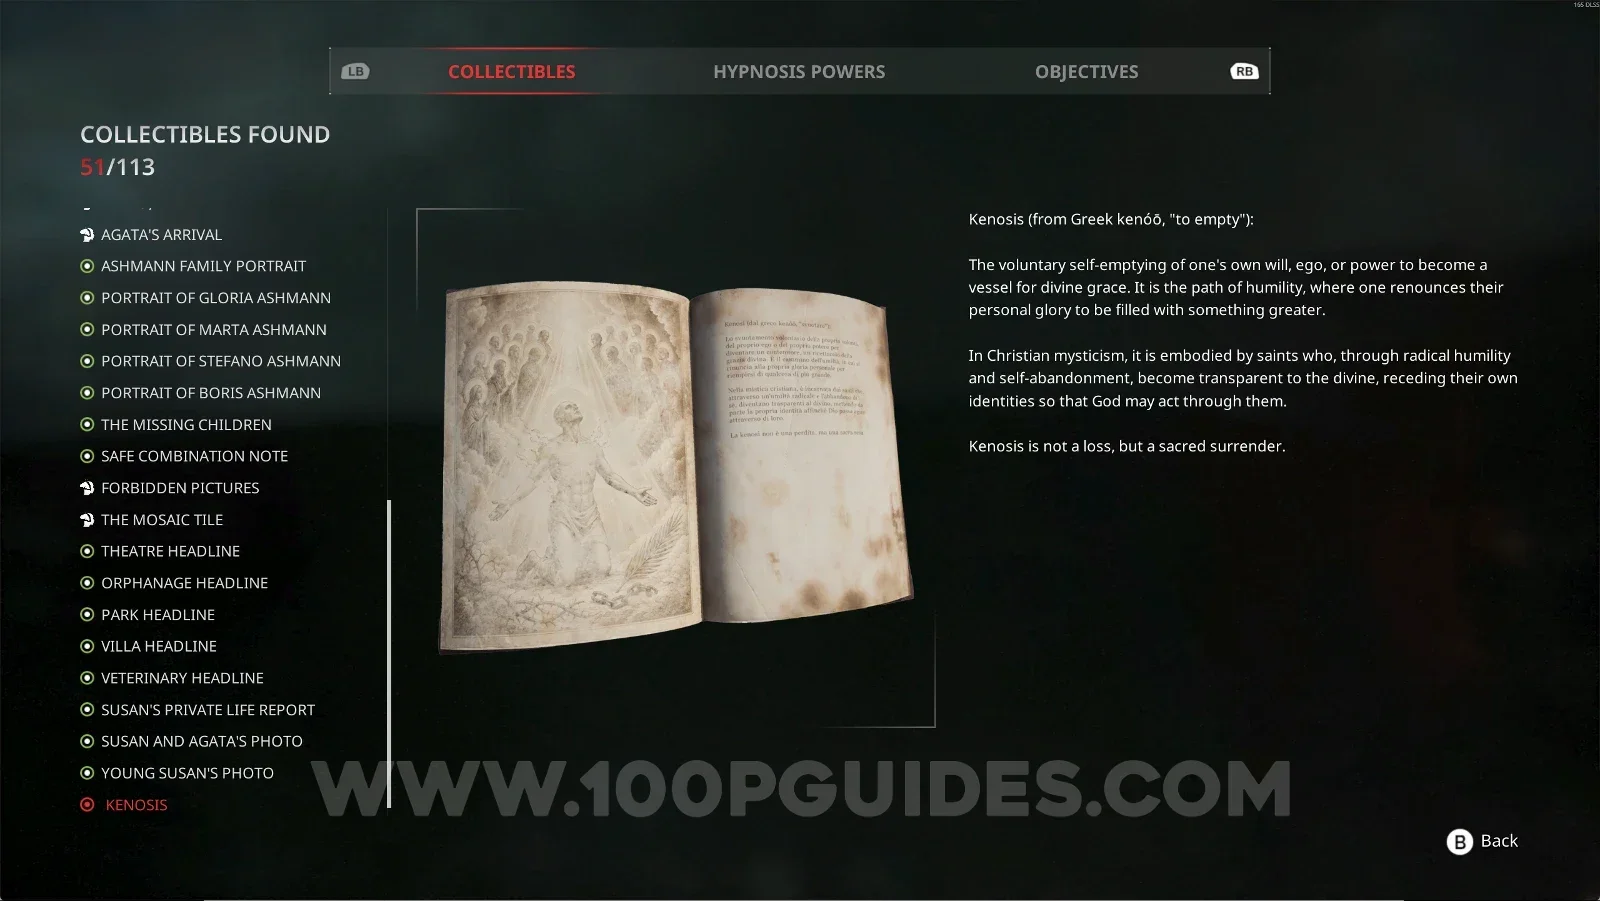
Grab this collectible on top of the table you revealed earlier.

Remothered: Red Nuns Legacy Library: the revealed table holding Kenosis Remothered: Red Nuns Legacy: Kenosis on top of the table revealed in the Library Remothered: Red Nuns Legacy Noble Wing #31: Kenosis collectible

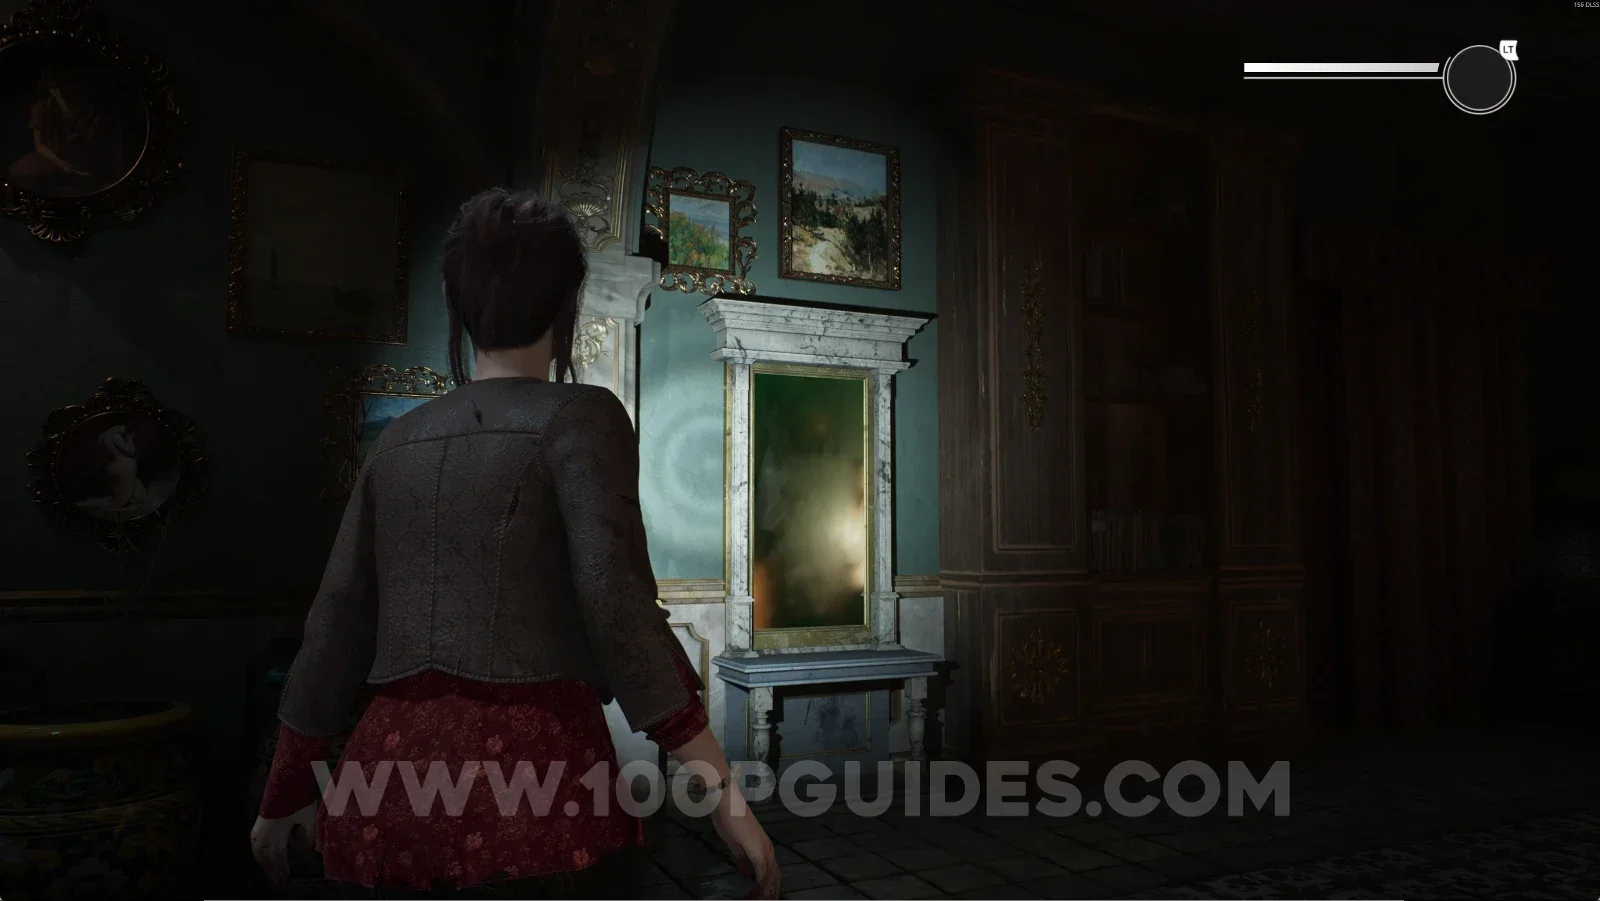
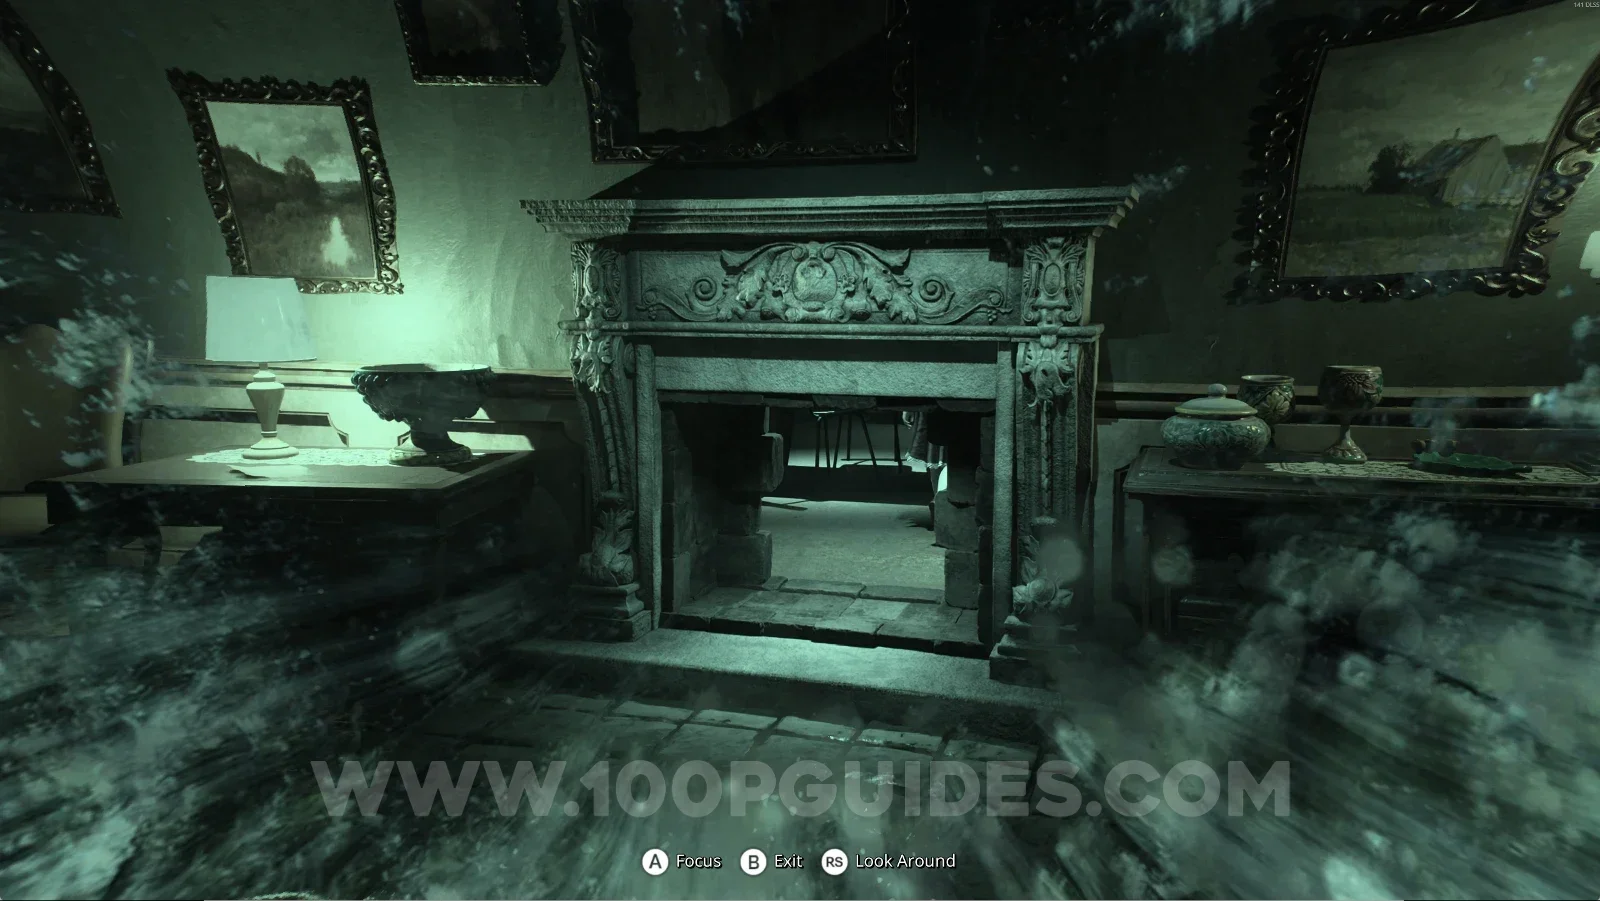
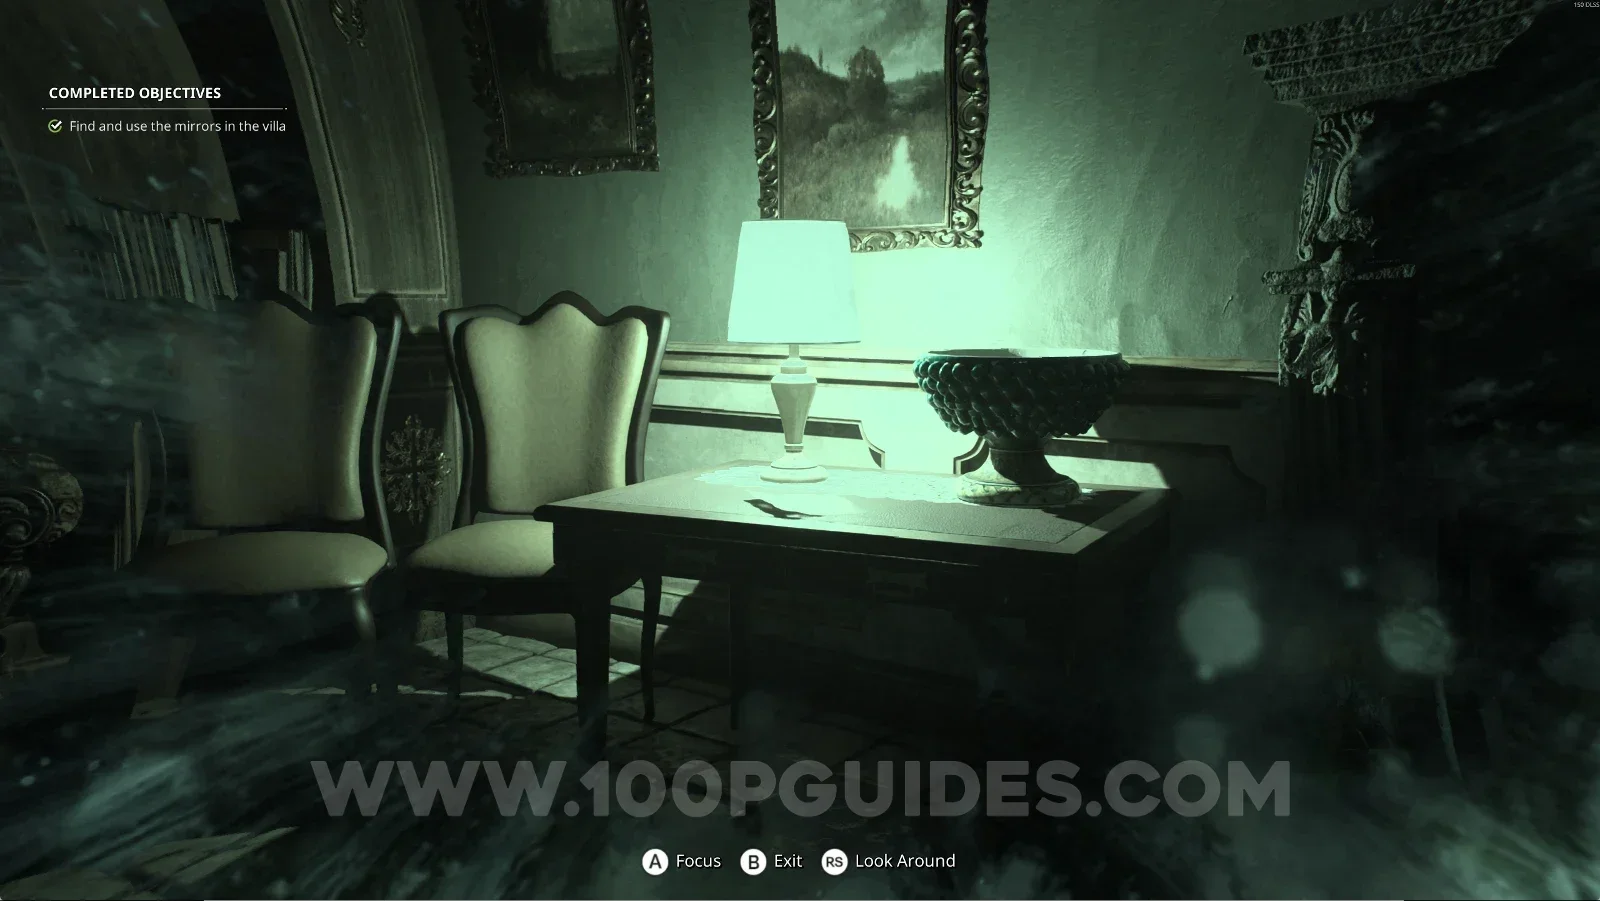
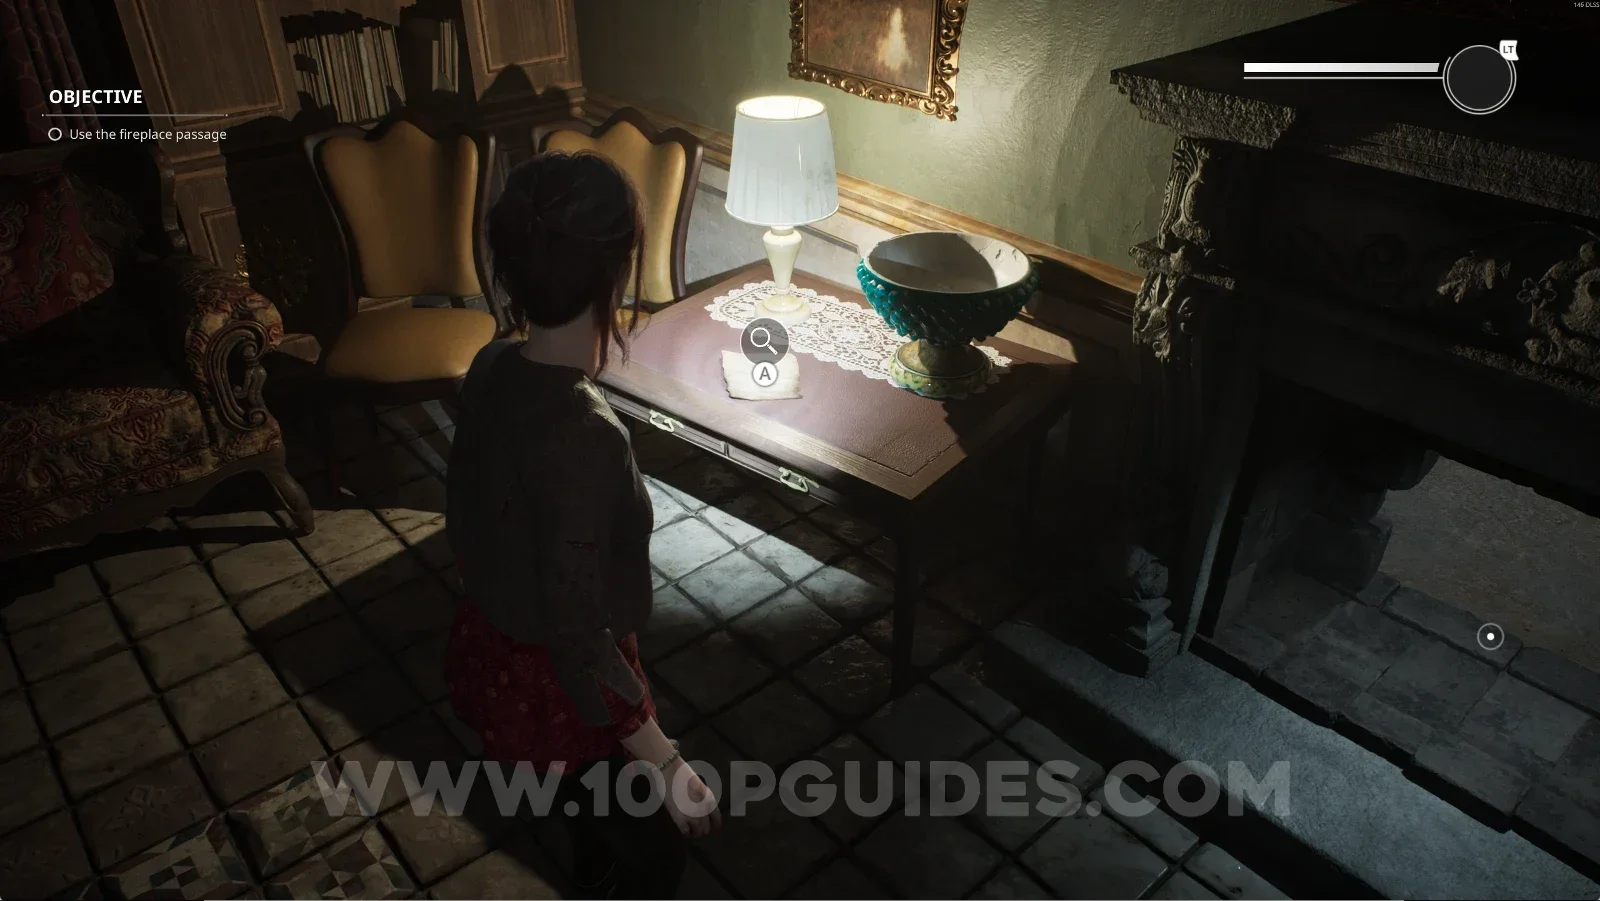
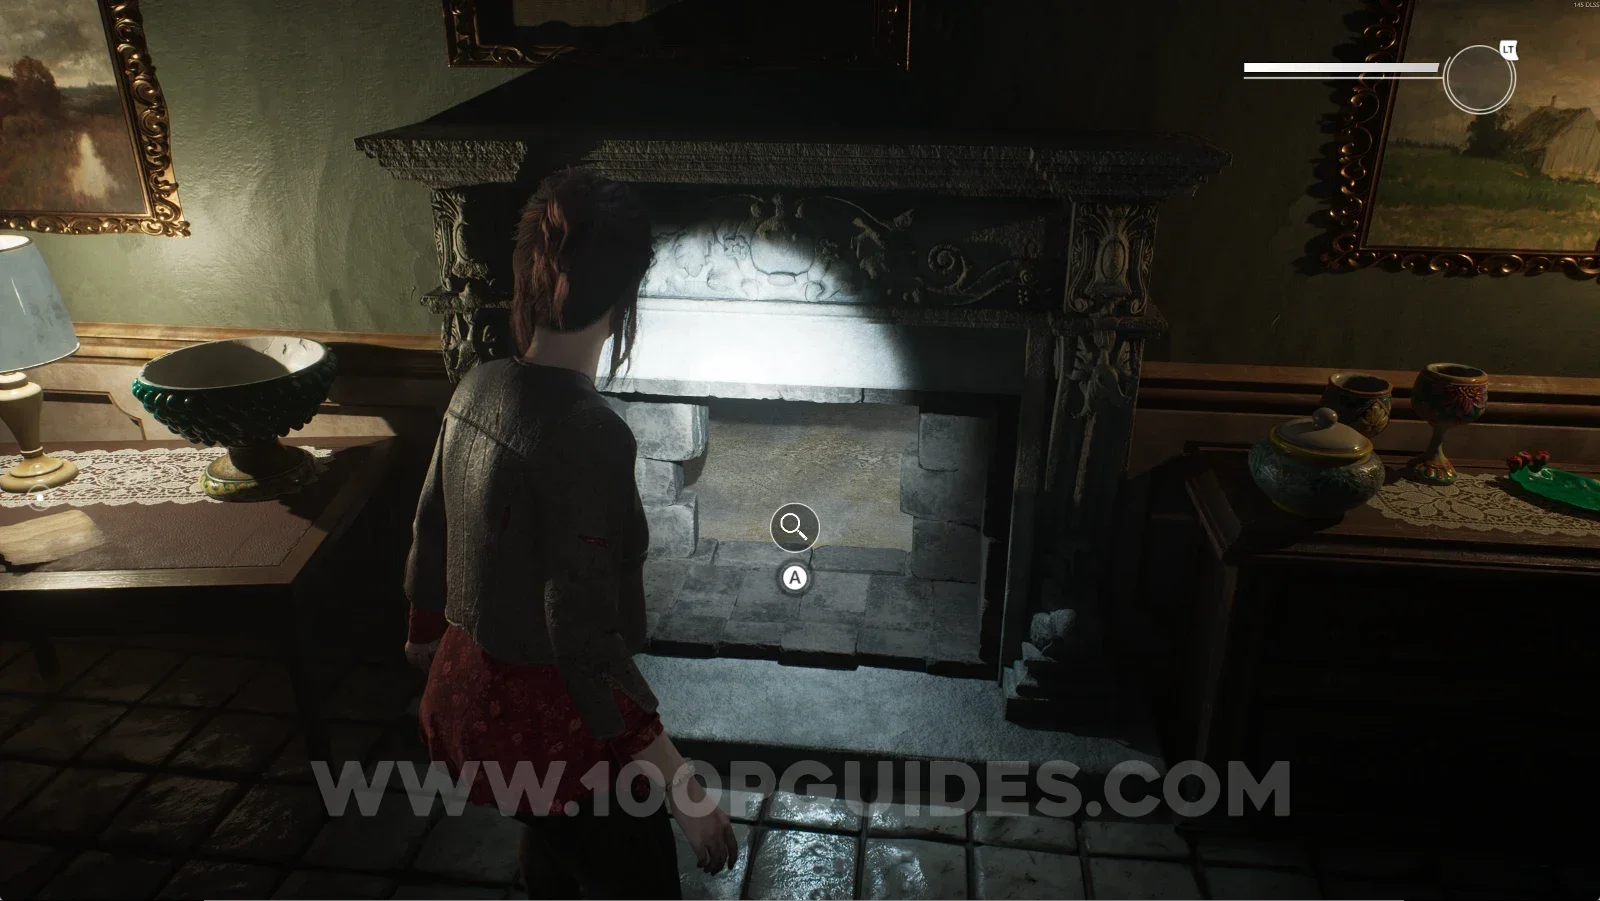
To continue, leave the Library and keep going down the corridor into the Art Gallery. You'll find another mirror. Interact with it and reveal the passage in the fireplace, then the letter on the table next to the fireplace.

Remothered: Red Nuns Legacy: the corridor from the Library into the Art Gallery Remothered: Red Nuns Legacy Art Gallery: the mirror used to reveal hidden objects Remothered: Red Nuns Legacy Art Gallery: the passage revealed in the fireplace Remothered: Red Nuns Legacy Art Gallery: the letter revealed on the table next to the fireplace

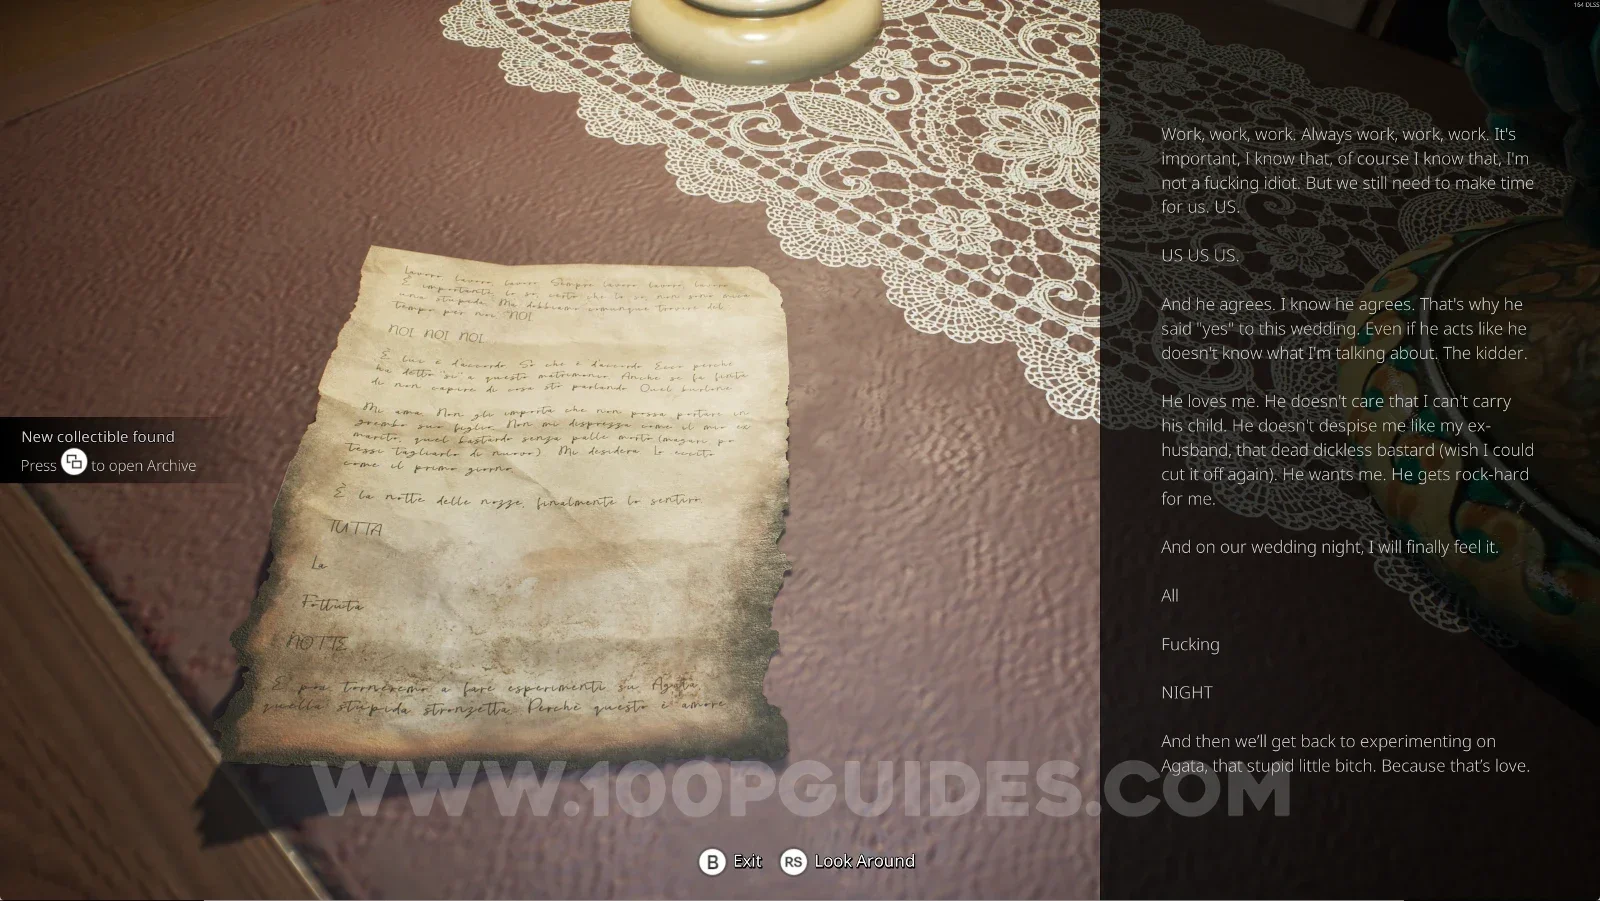
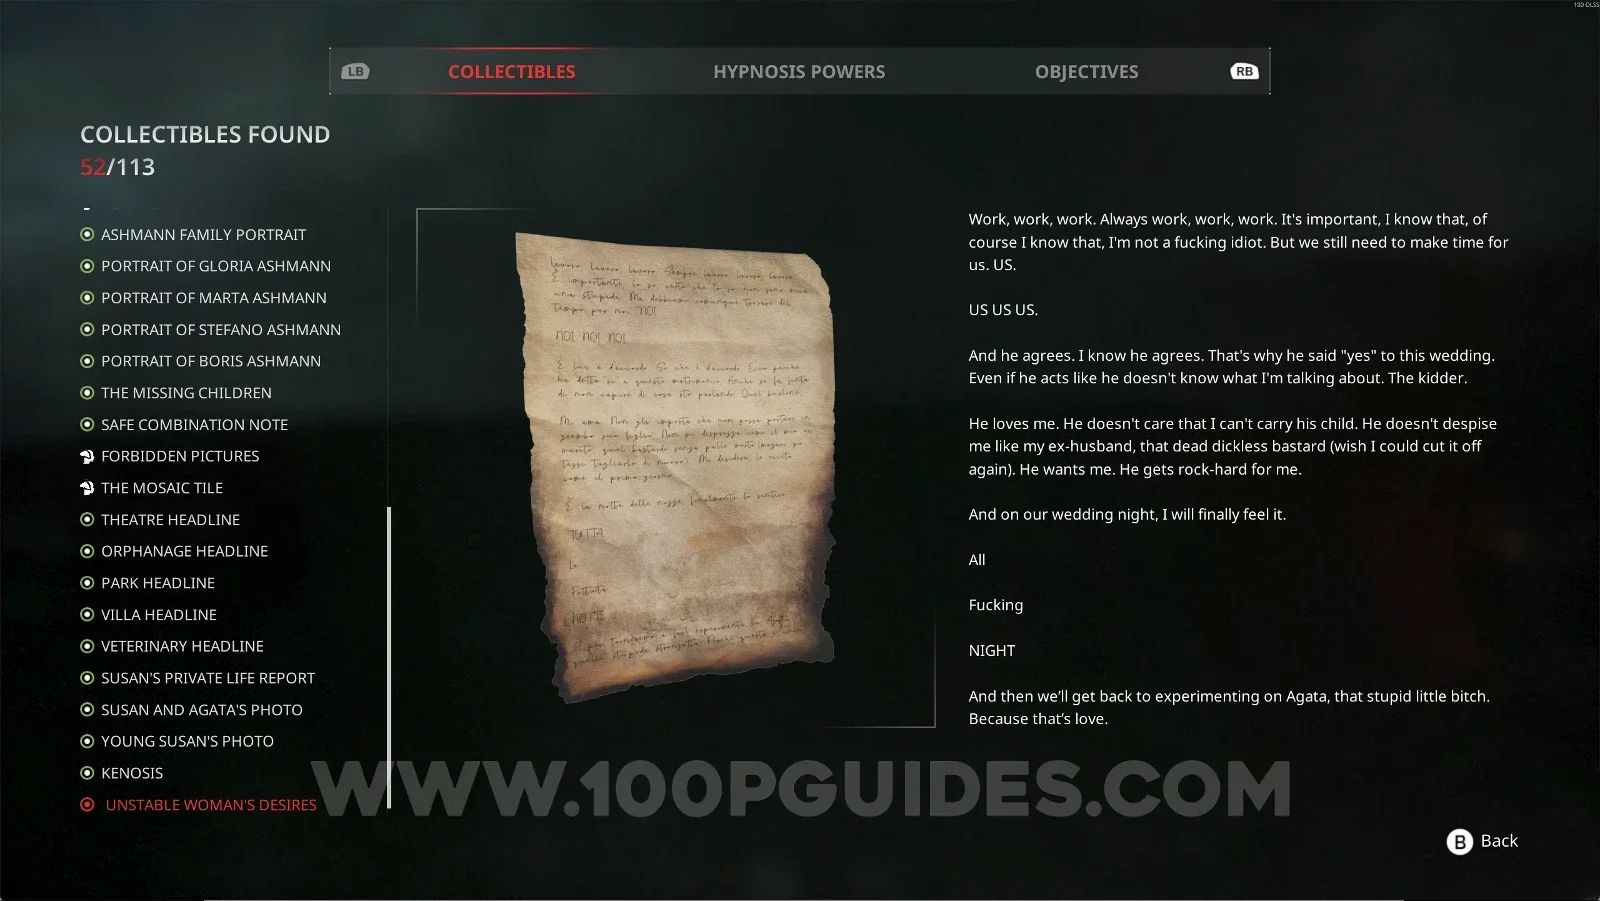
Noble Wing #32: Unstable Woman's Desires

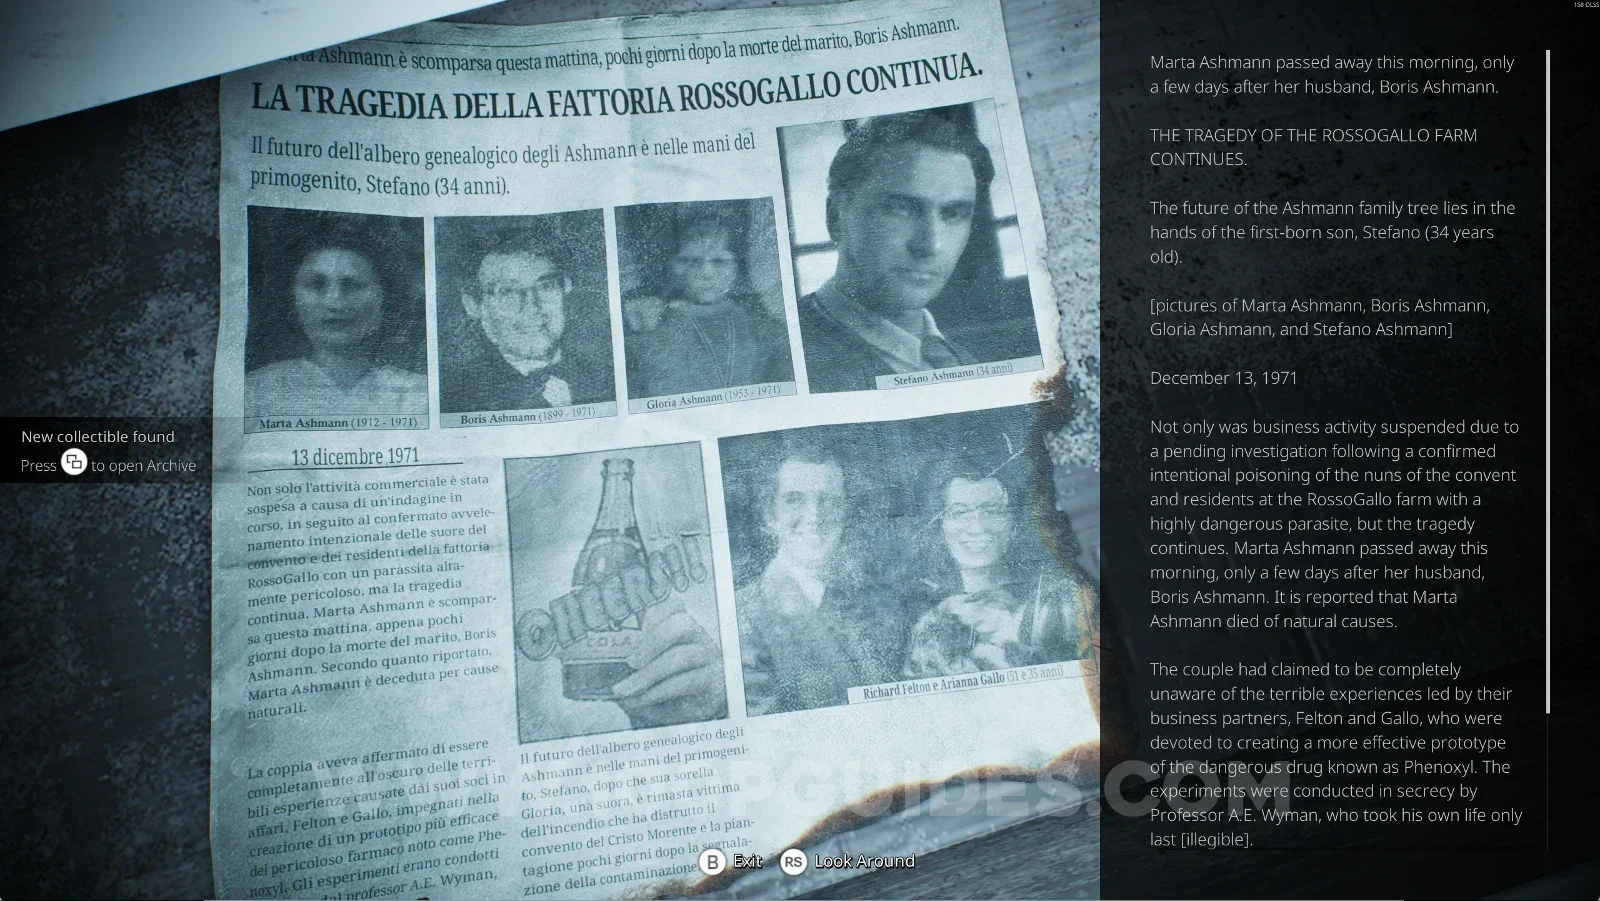
On top of the table you revealed earlier.

Remothered: Red Nuns Legacy Art Gallery: the revealed table next to the fireplace Remothered: Red Nuns Legacy: Unstable Woman's Desires on top of the revealed table Remothered: Red Nuns Legacy Noble Wing #32: Unstable Woman's Desires collectible

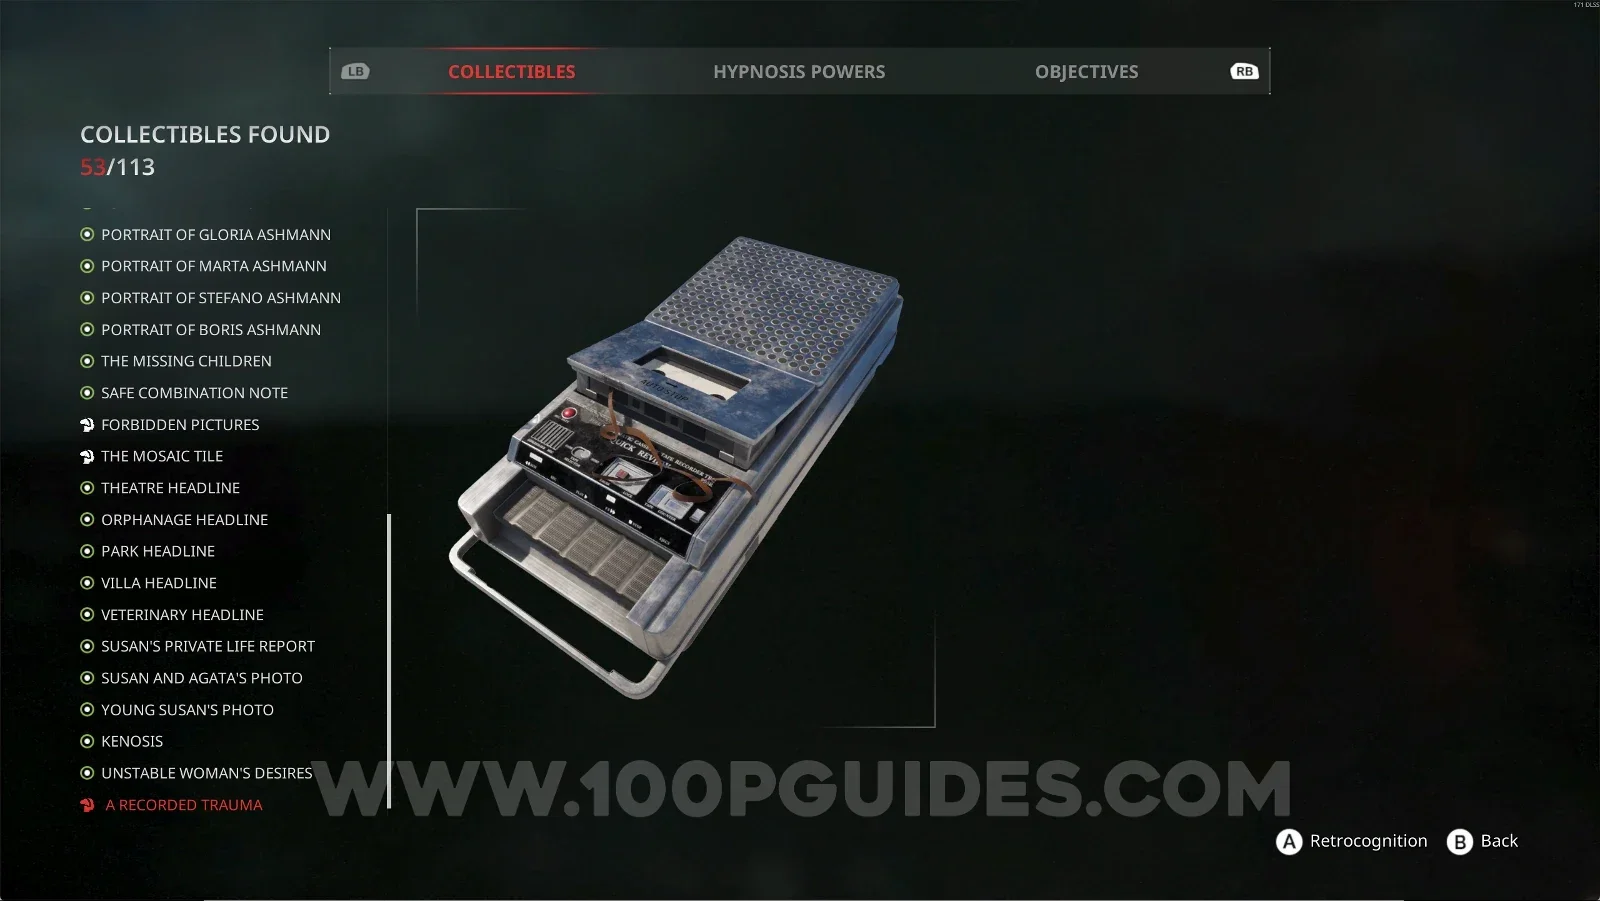
Noble Wing #33: A Recorded Trauma + Retrocognition #18

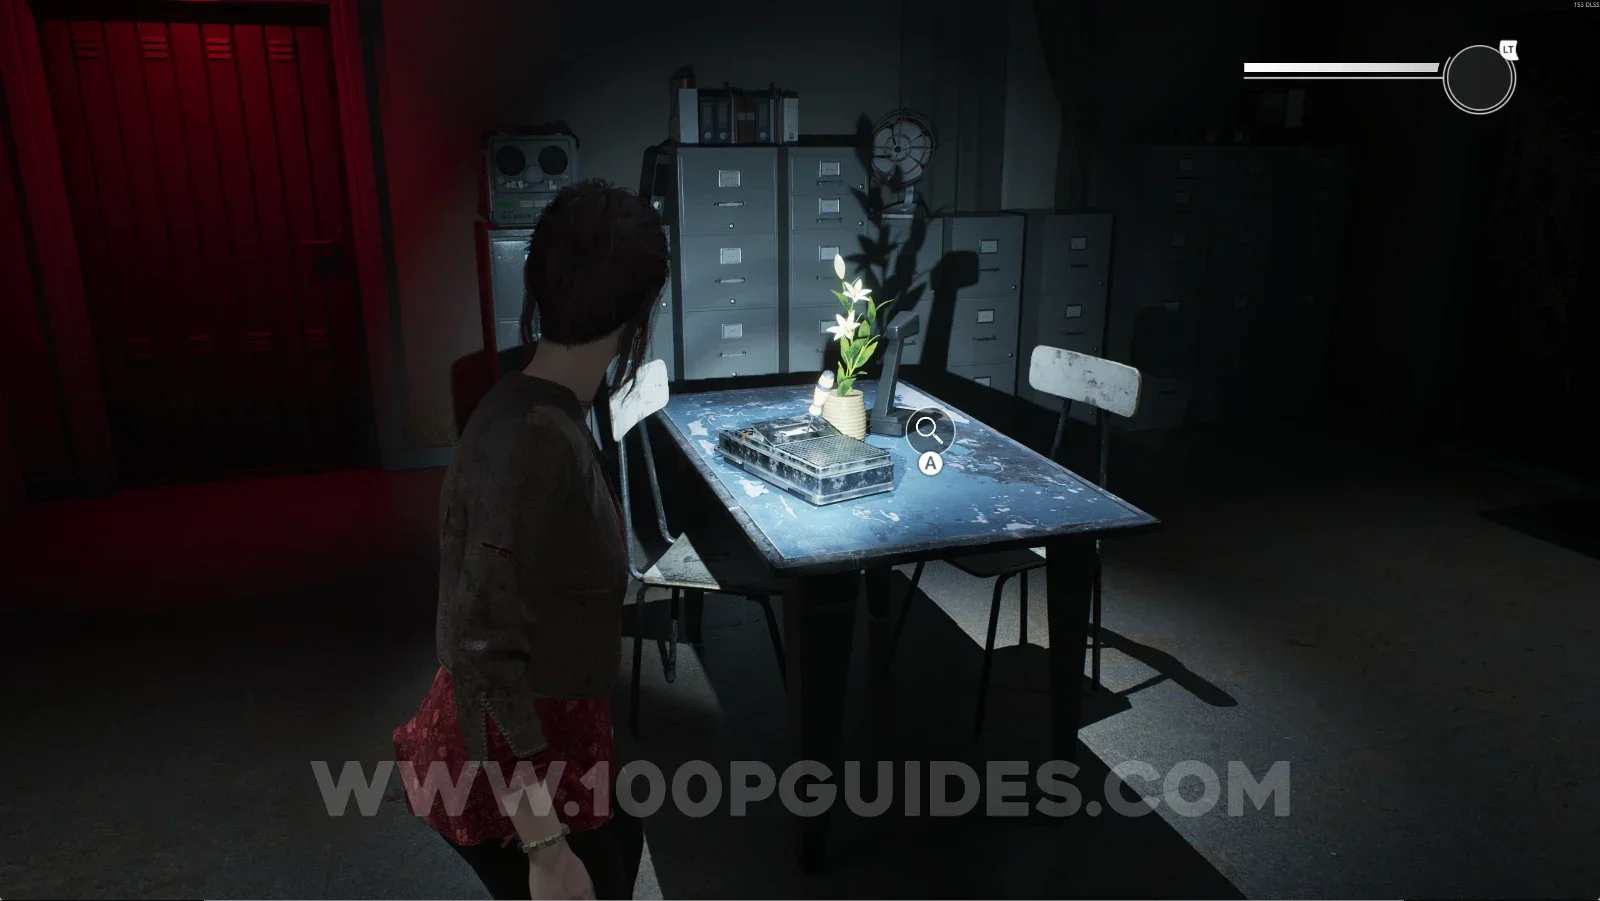
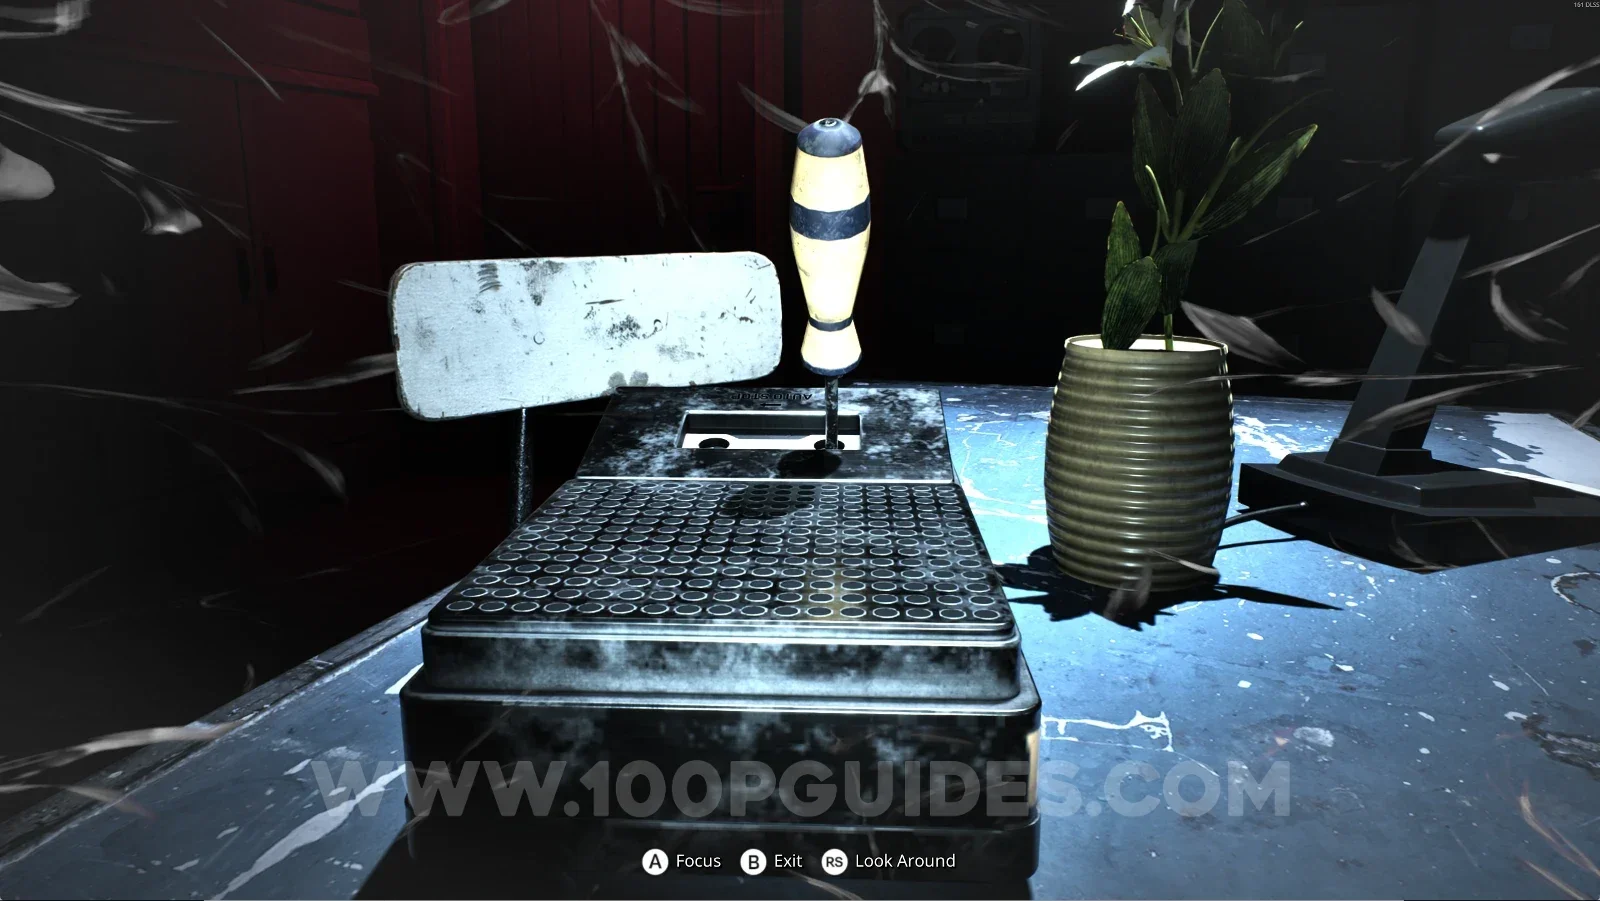
Continue through the fireplace. On the other side, interact with the recorder on the table and use your power.

Remothered: Red Nuns Legacy Art Gallery: going through the passage in the fireplace Remothered: Red Nuns Legacy: the recorder on the table on the other side of the fireplace Remothered: Red Nuns Legacy: using the power on the recorder for Retrocognition #18 Remothered: Red Nuns Legacy Noble Wing #33: A Recorded Trauma collectible

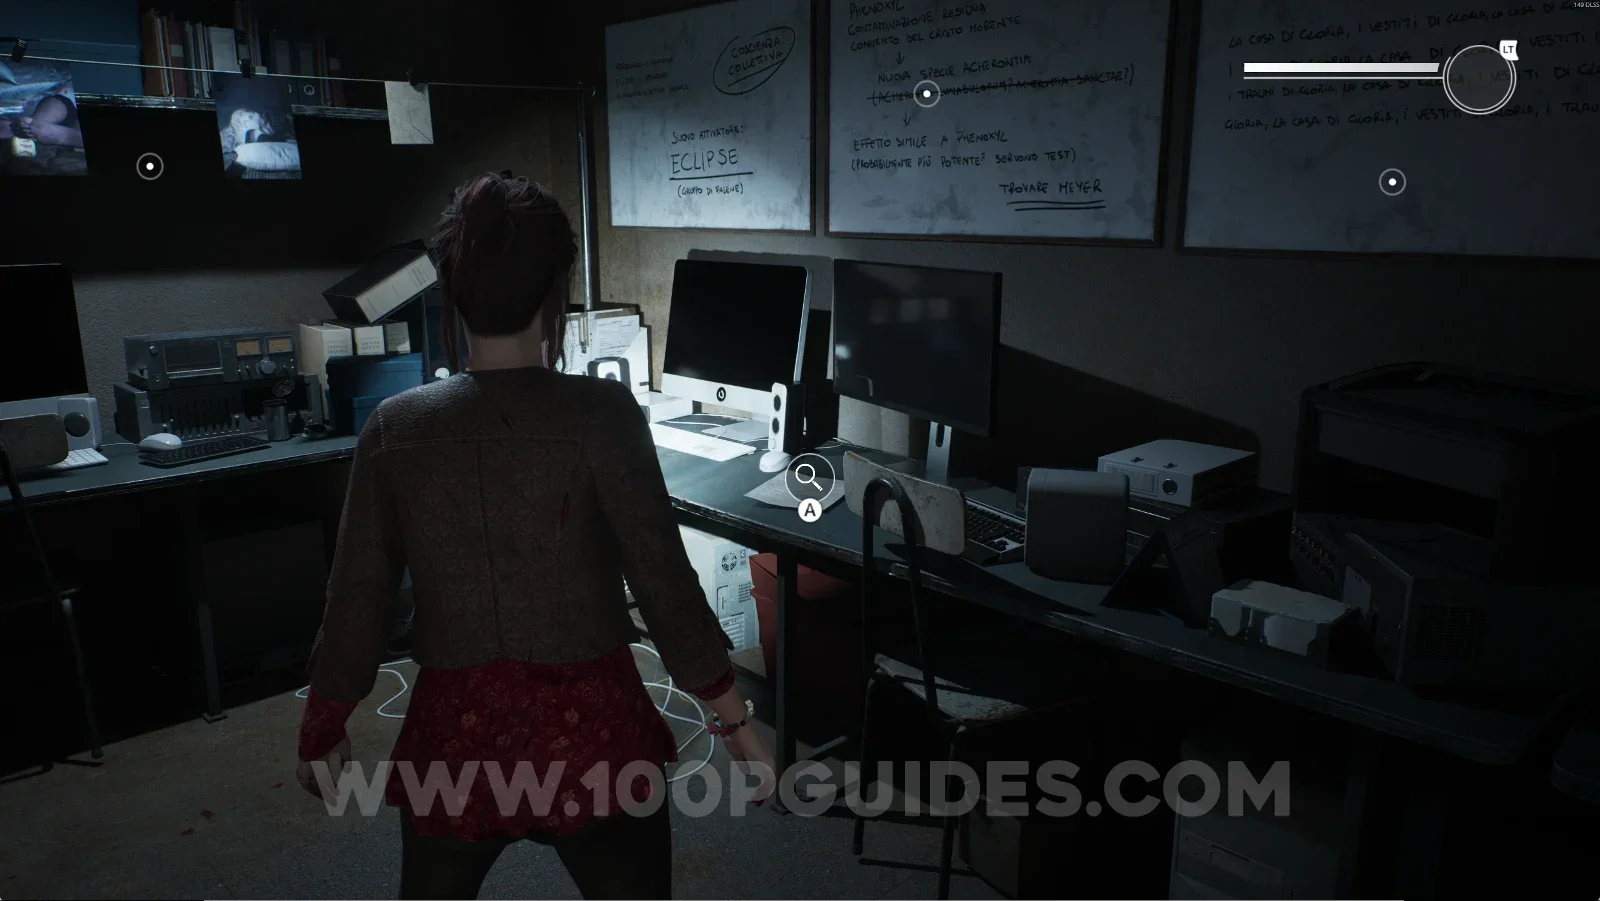
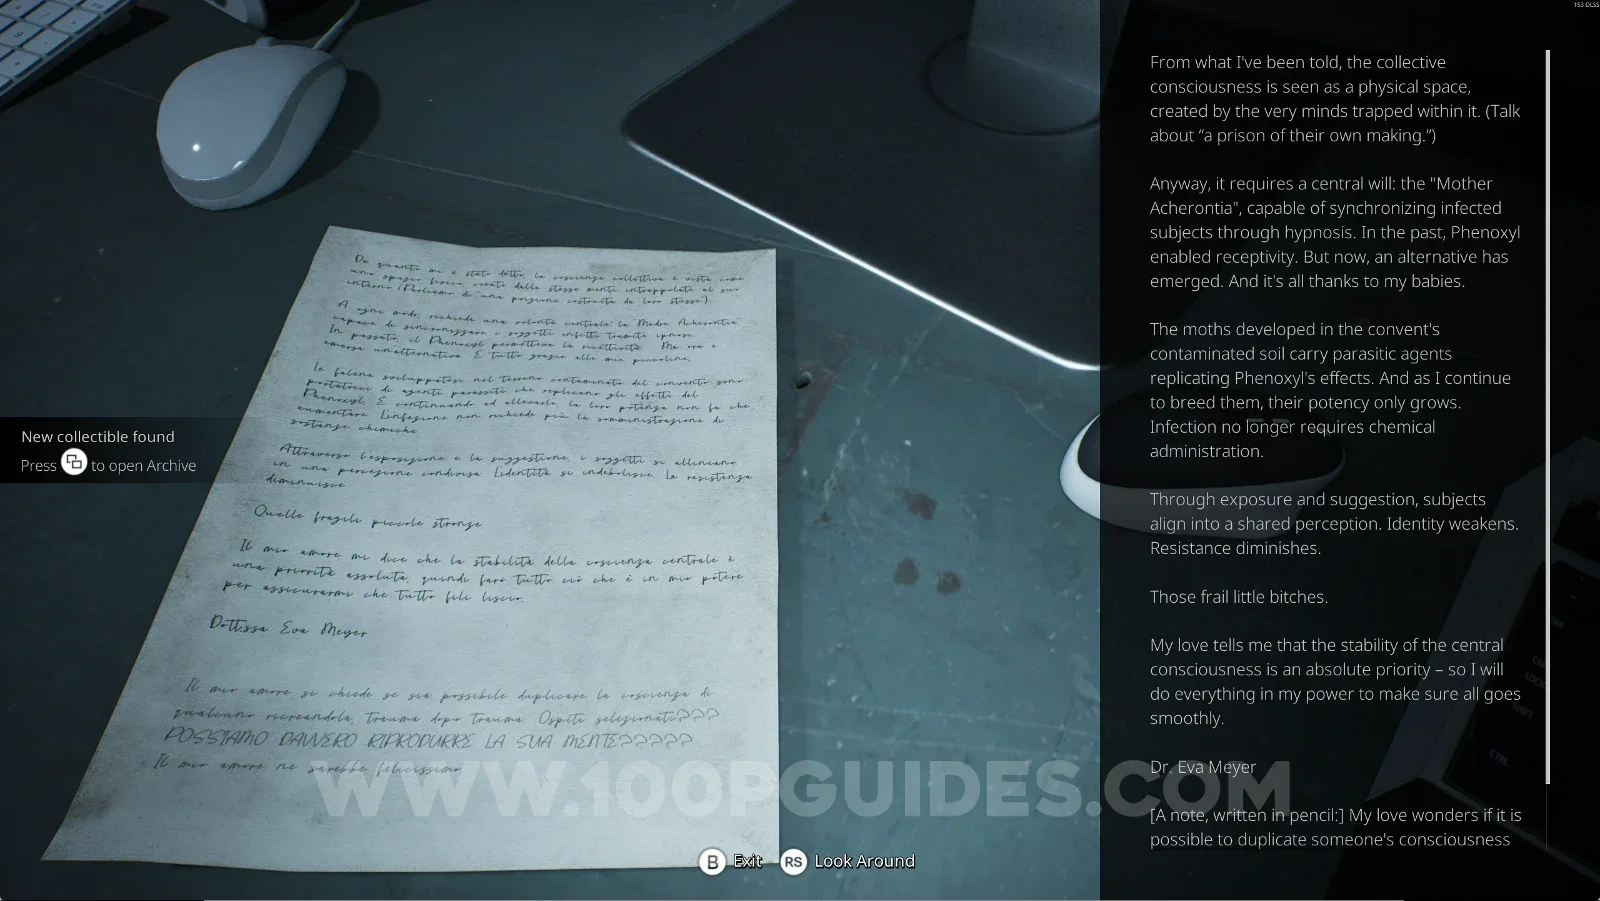
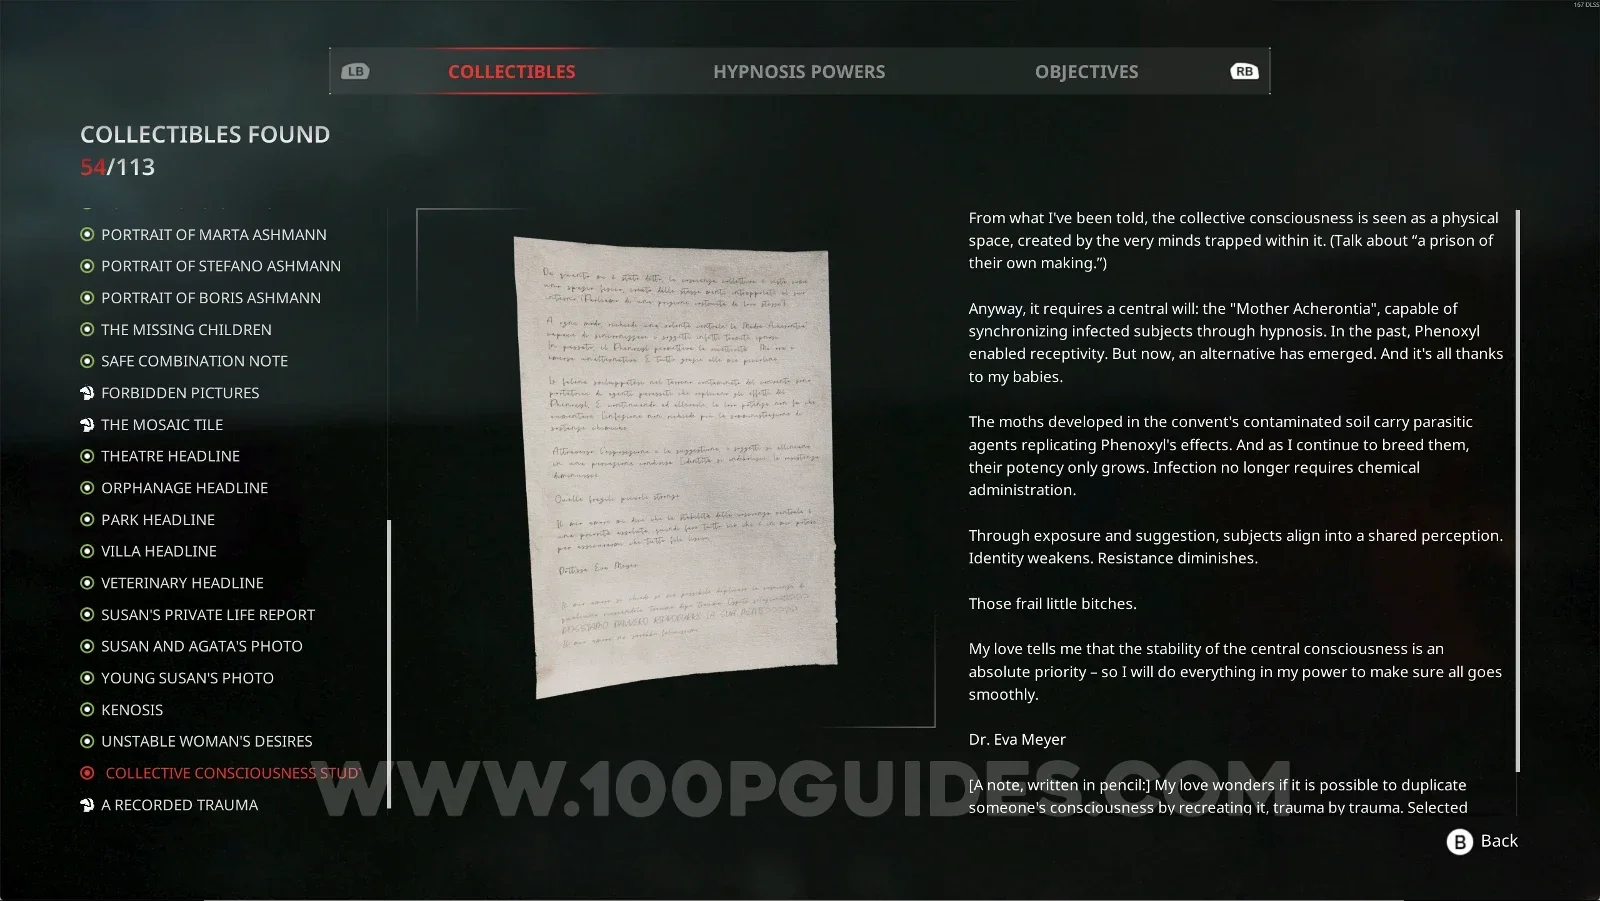
Noble Wing #34: Collective Consciousness Study

Same room as before, on top of the table next to some computers.

Remothered: Red Nuns Legacy: the table next to some computers behind the fireplace Remothered: Red Nuns Legacy: the Collective Consciousness Study on the table by the computers Remothered: Red Nuns Legacy Noble Wing #34: Collective Consciousness Study collectible

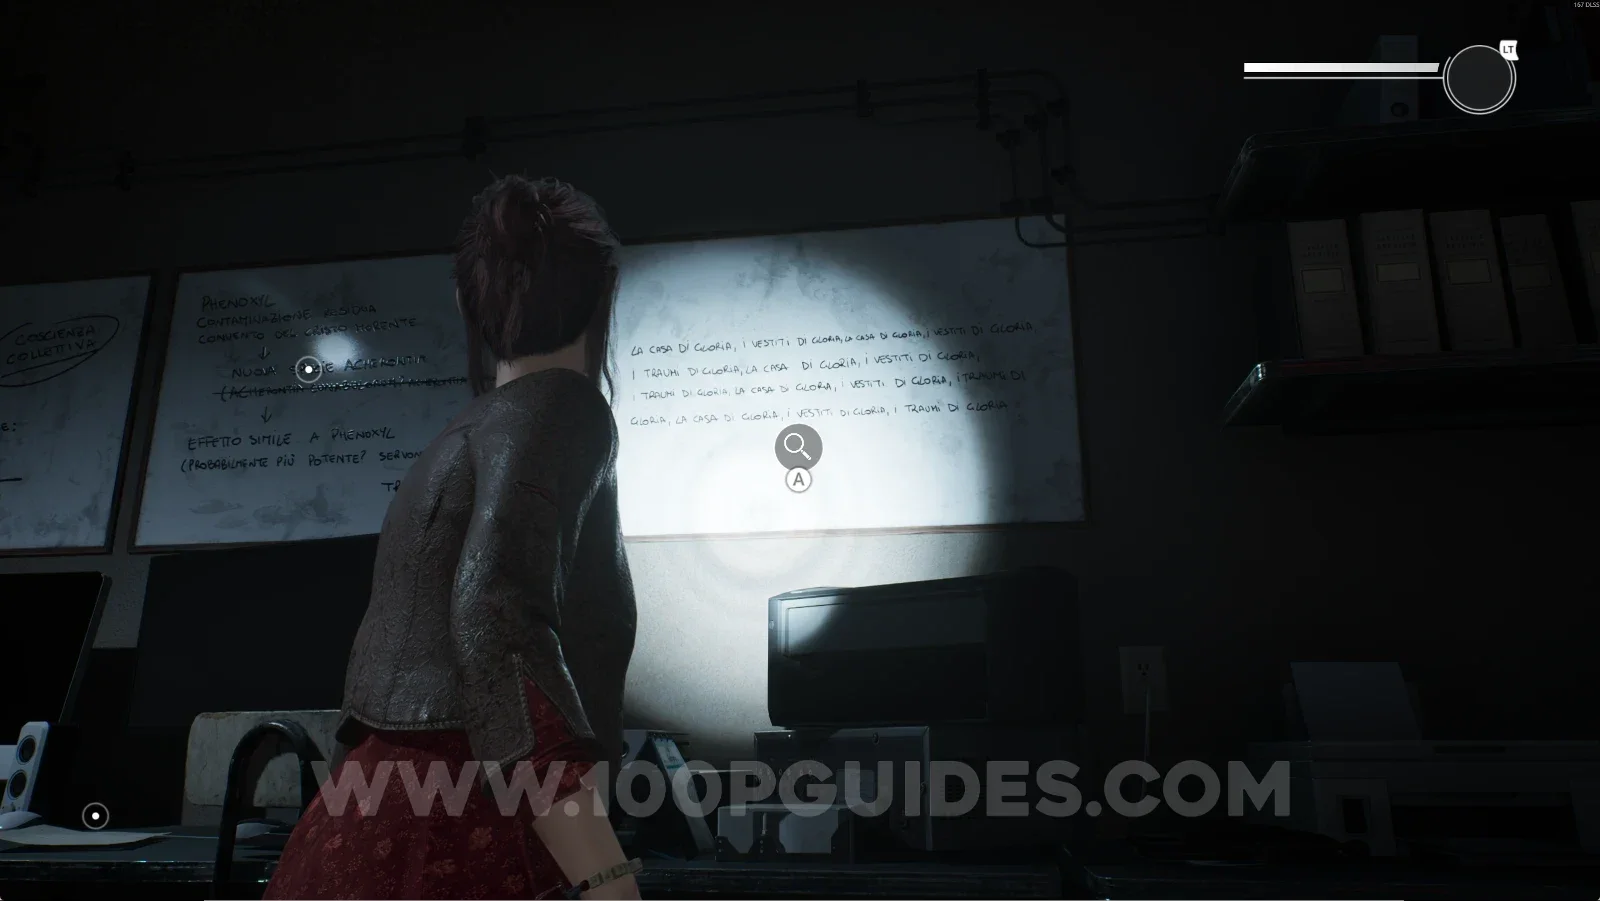
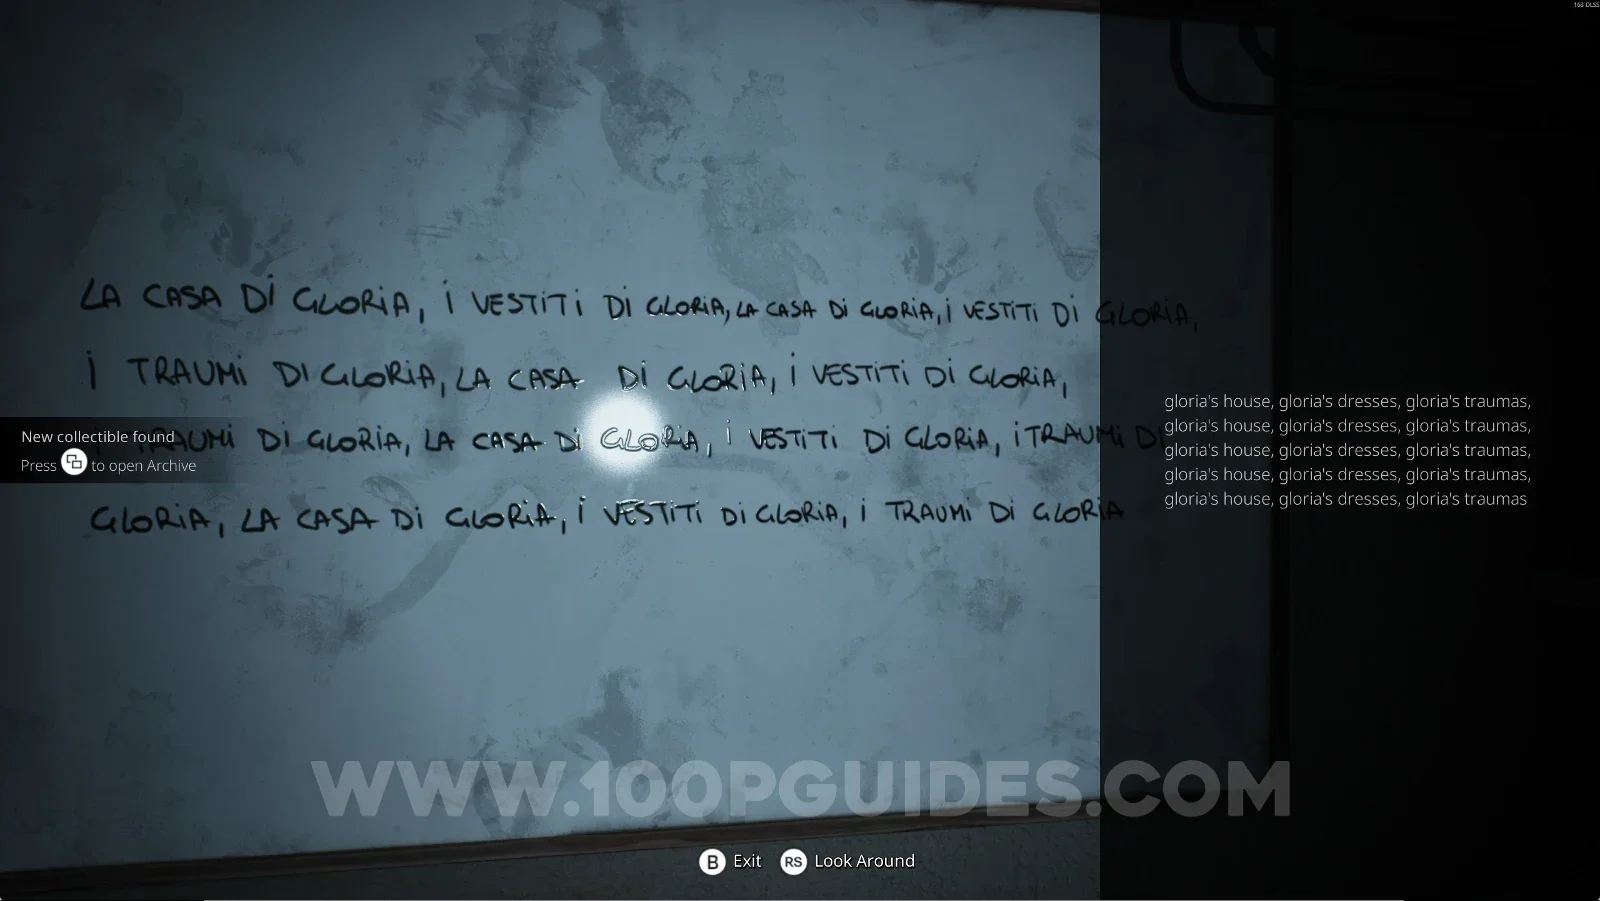
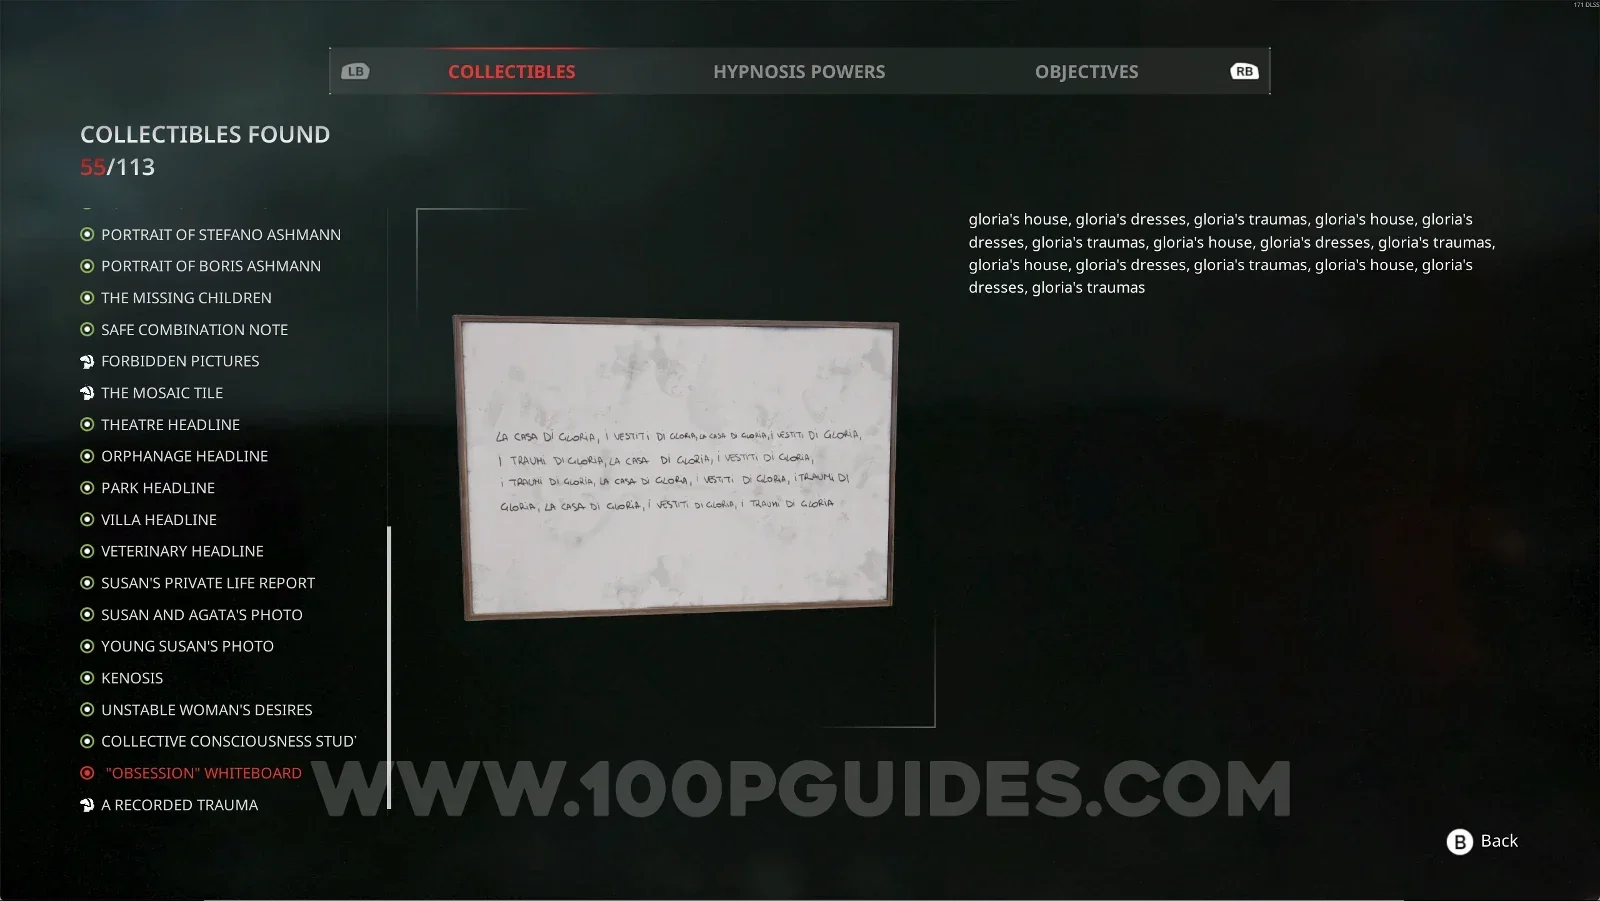
Noble Wing #35: ''Obsession'' Whiteboard

Same room as before, on the whiteboard on the right.

Remothered: Red Nuns Legacy: the whiteboards in the room behind the fireplace Remothered: Red Nuns Legacy: the Obsession Whiteboard on the right side of the room Remothered: Red Nuns Legacy Noble Wing #35: Obsession Whiteboard collectible

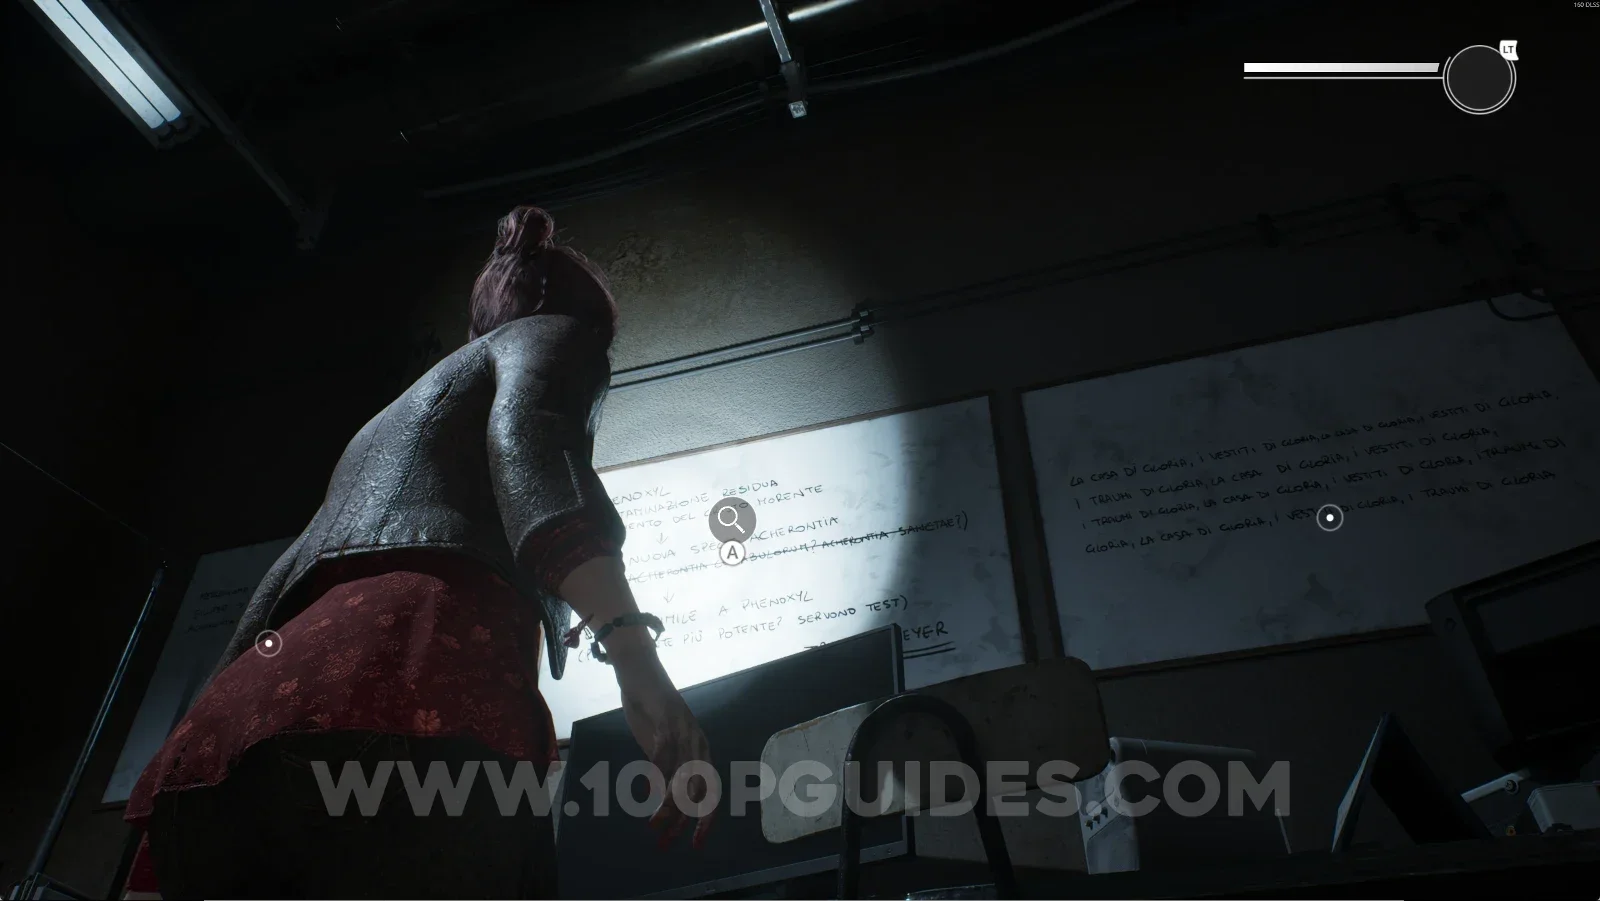
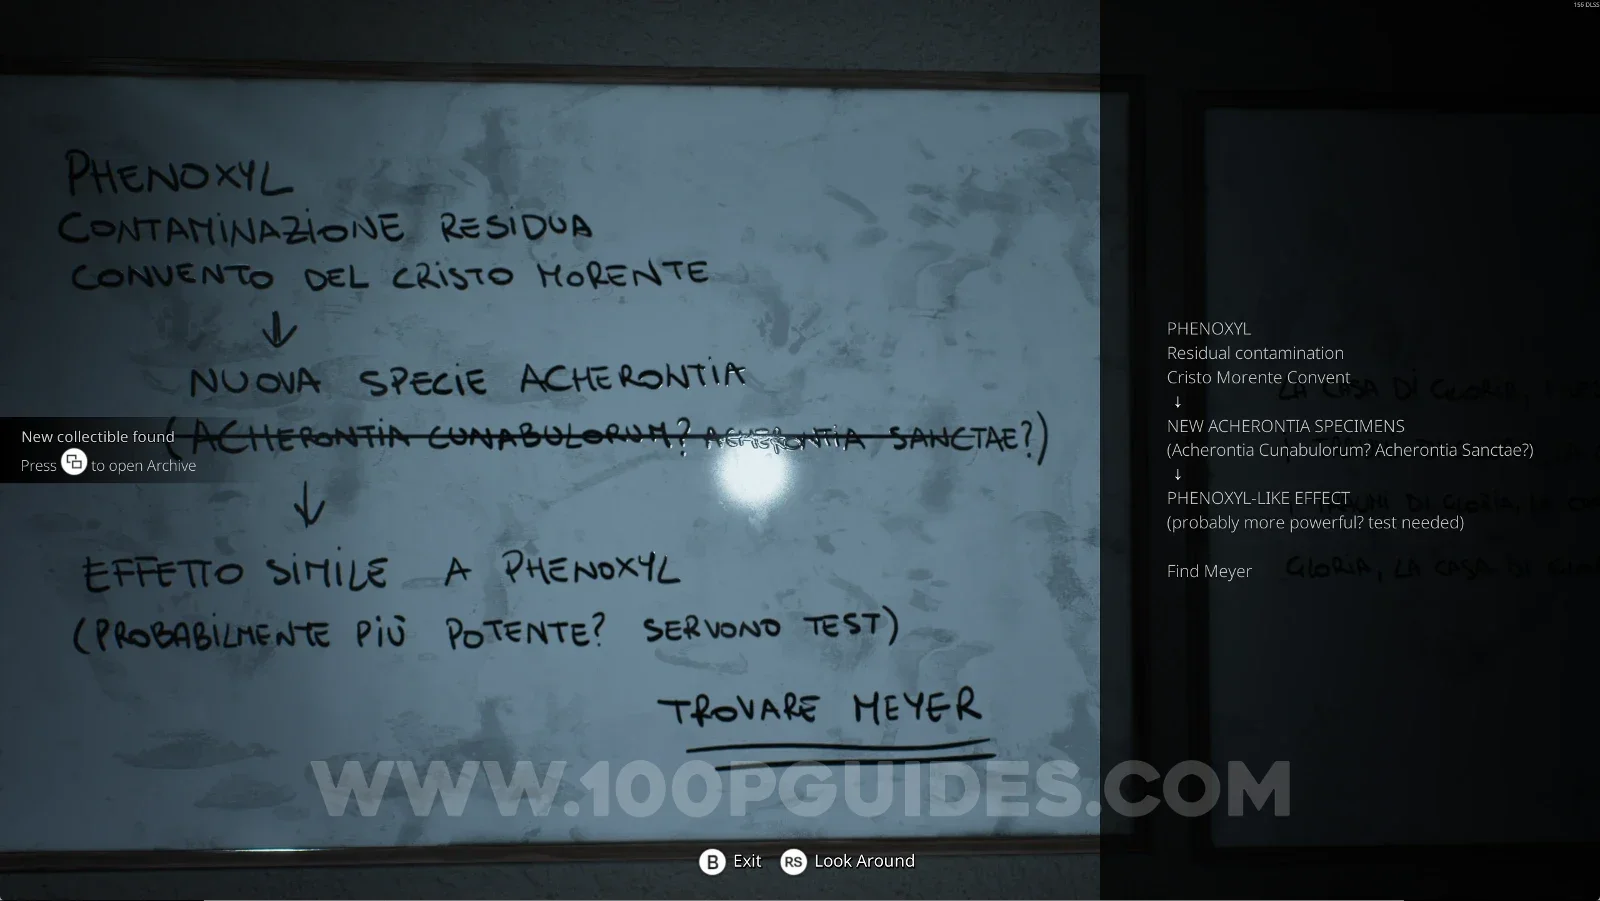
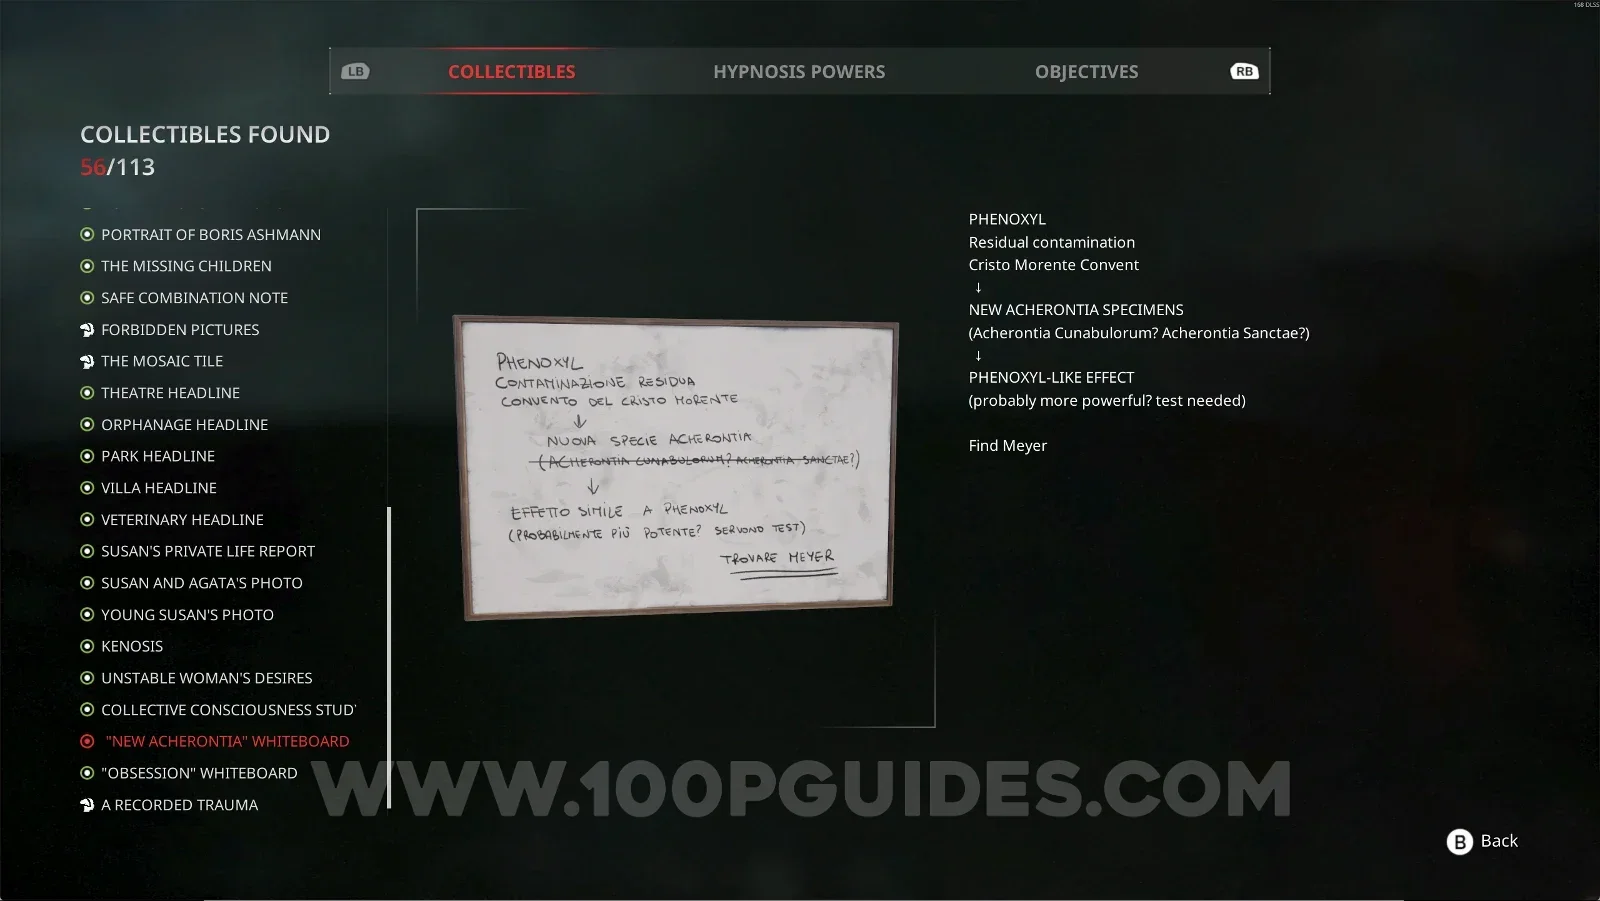
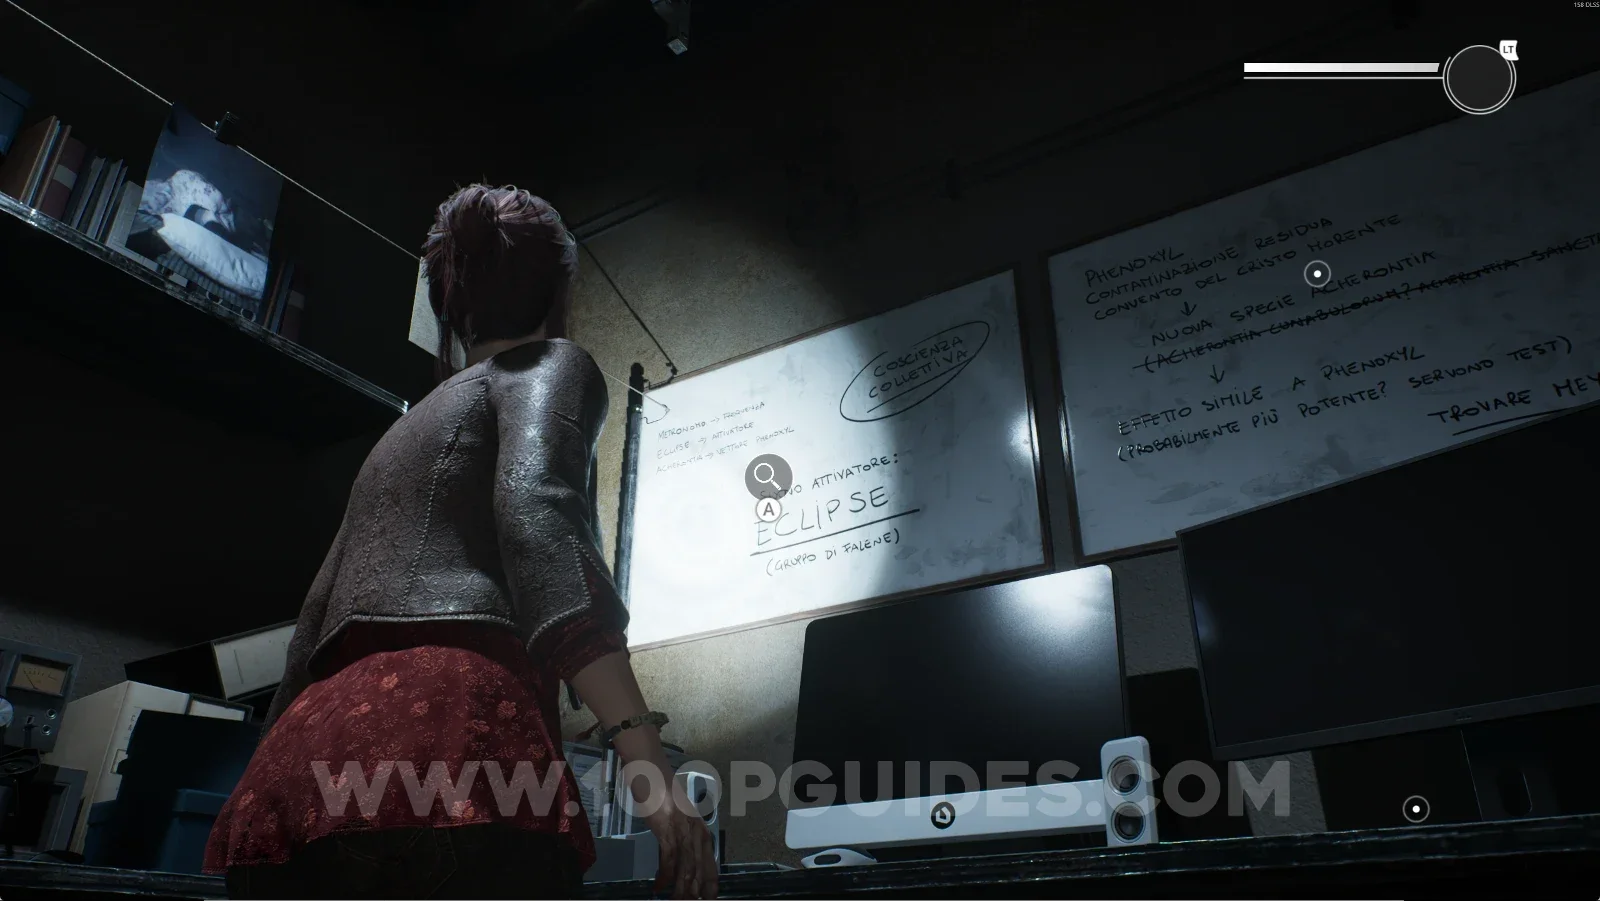
Noble Wing #36: ''New Acherontia'' Whiteboard

Same room as before, on the middle whiteboard.

Remothered: Red Nuns Legacy: the row of whiteboards with the middle one highlighted Remothered: Red Nuns Legacy: the New Acherontia Whiteboard in the middle Remothered: Red Nuns Legacy Noble Wing #36: New Acherontia Whiteboard collectible

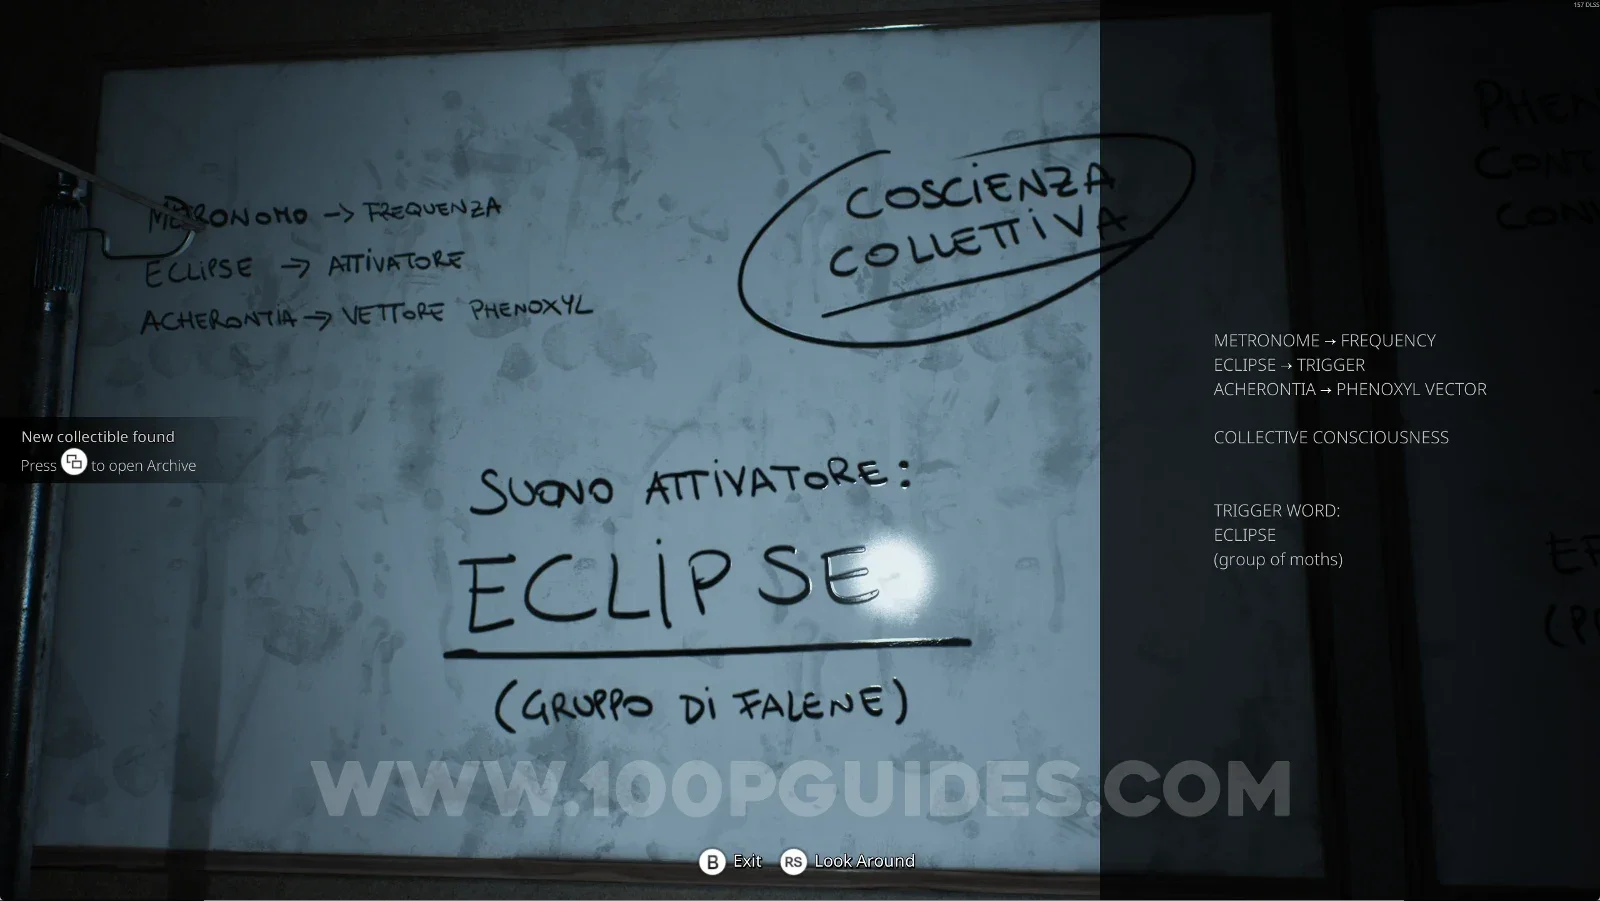
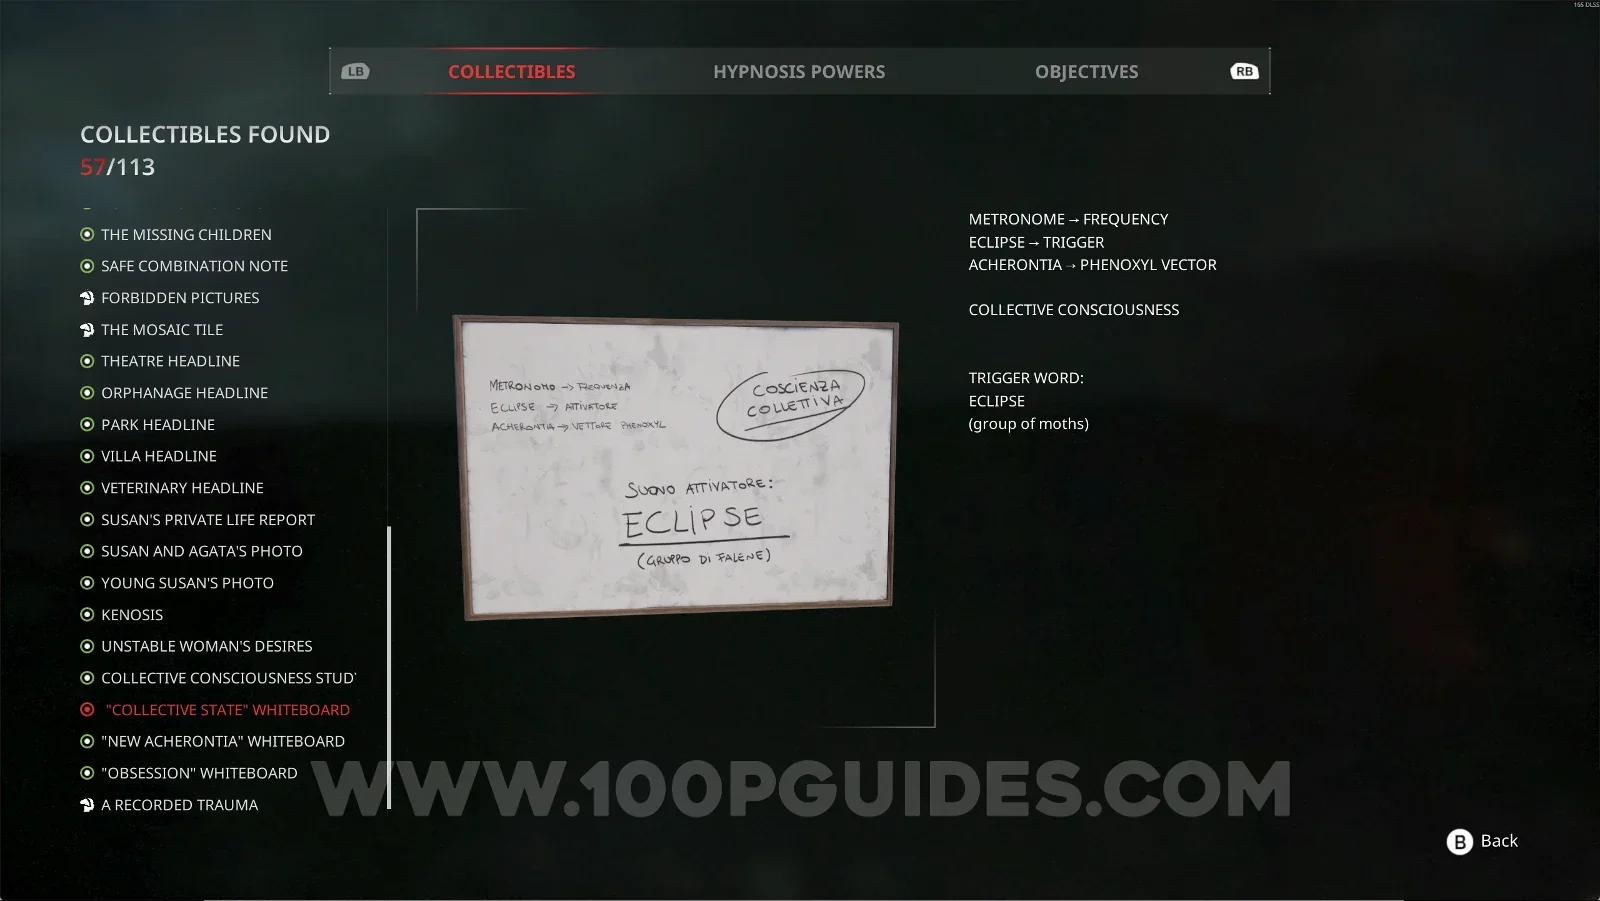
Noble Wing #37: ''Collective State'' Whiteboard

Same room as before, on the whiteboard on the left.

Remothered: Red Nuns Legacy: the whiteboard on the left side of the room Remothered: Red Nuns Legacy: the Collective State Whiteboard on the left Remothered: Red Nuns Legacy Noble Wing #37: Collective State Whiteboard collectible

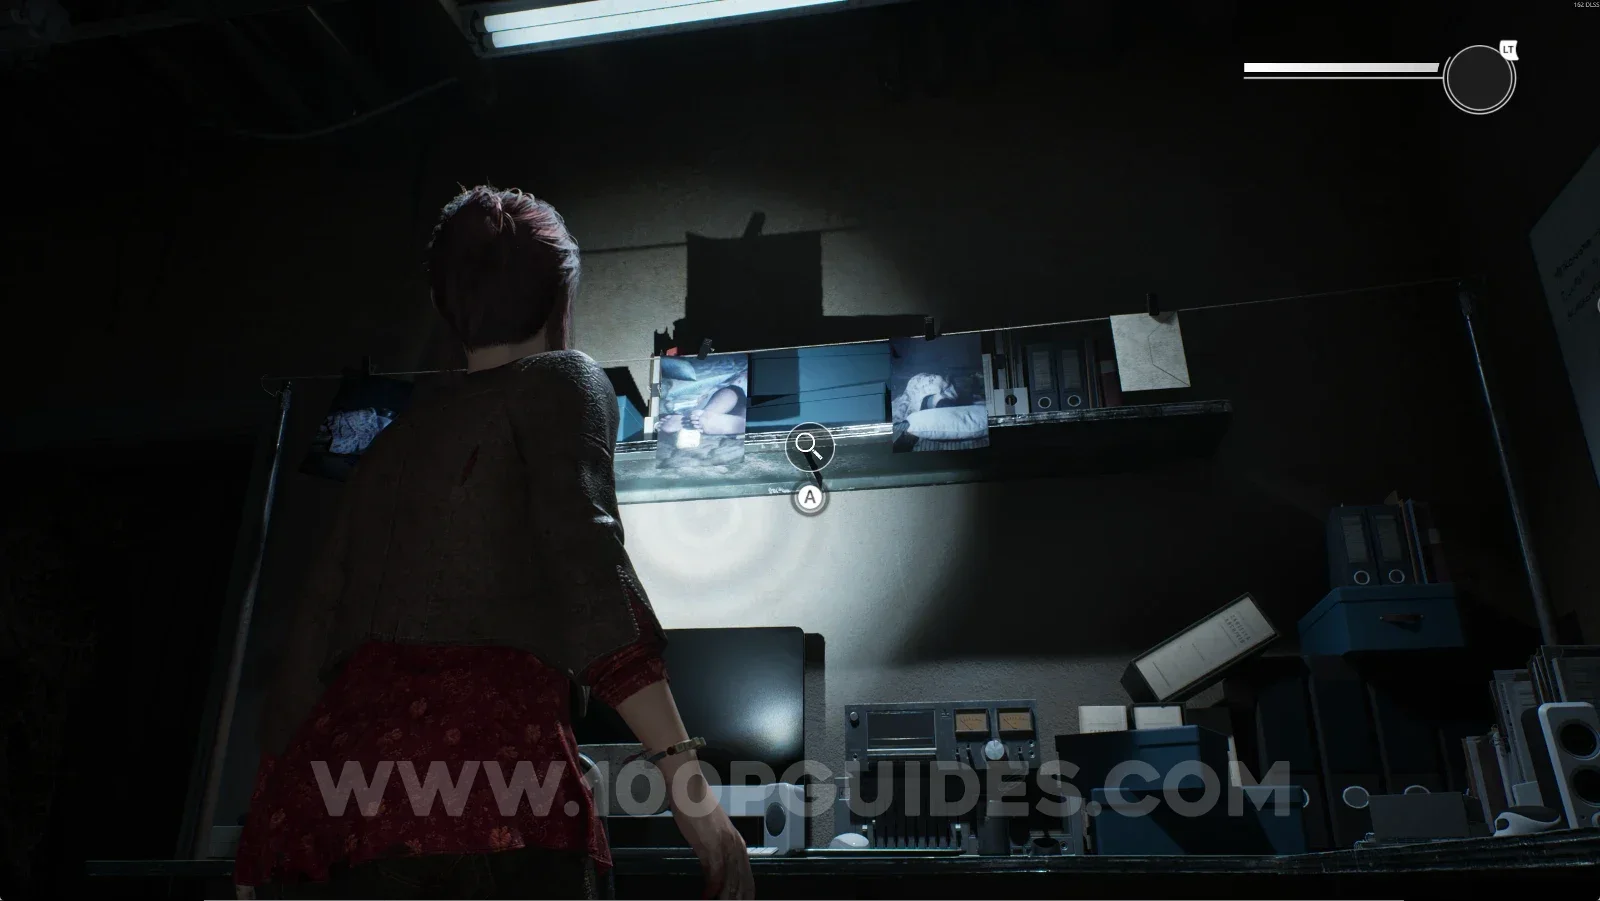
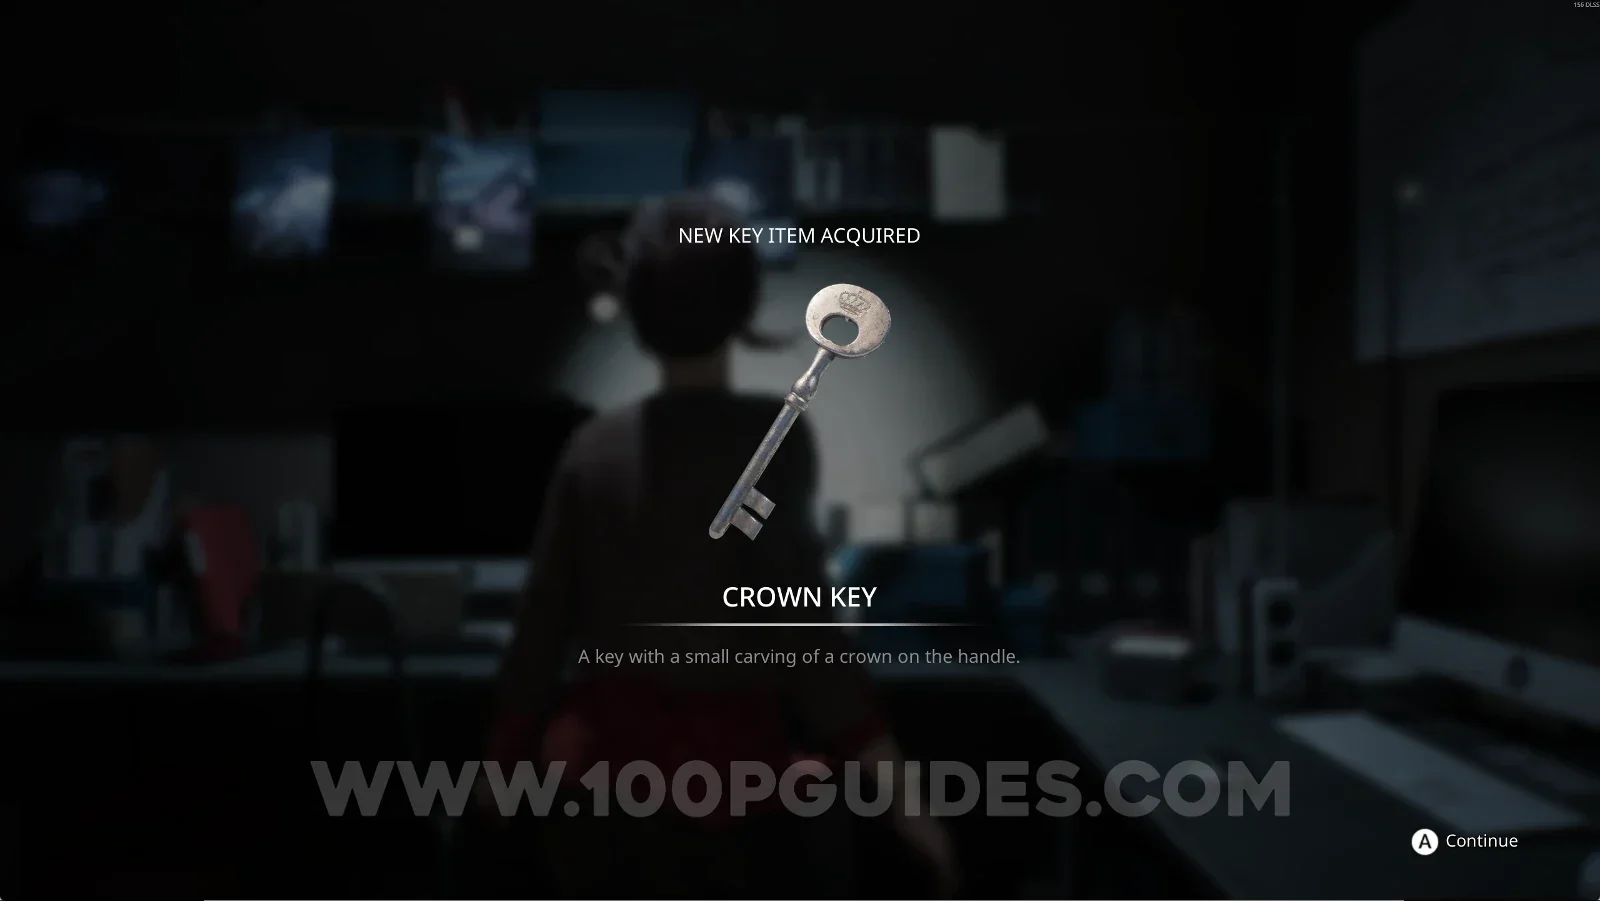
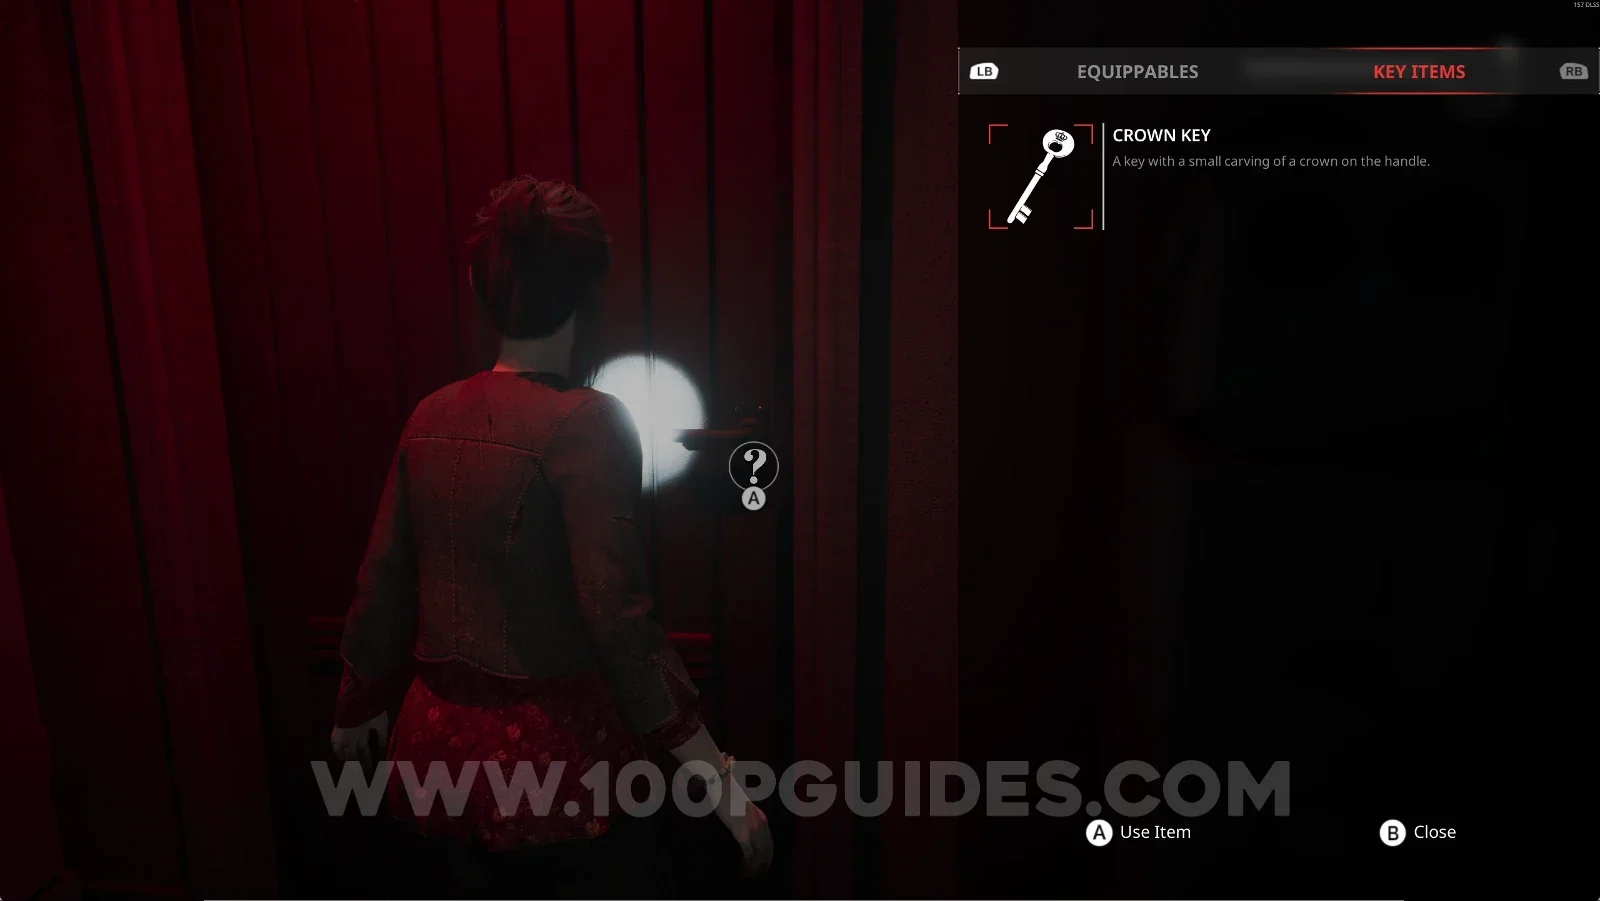
Key Item: Crown Key

Interact with the photos on the clothesline to get this key.

Remothered: Red Nuns Legacy: the photos on the clothesline hiding the Crown Key Remothered: Red Nuns Legacy: the Crown Key obtained from the clothesline photos

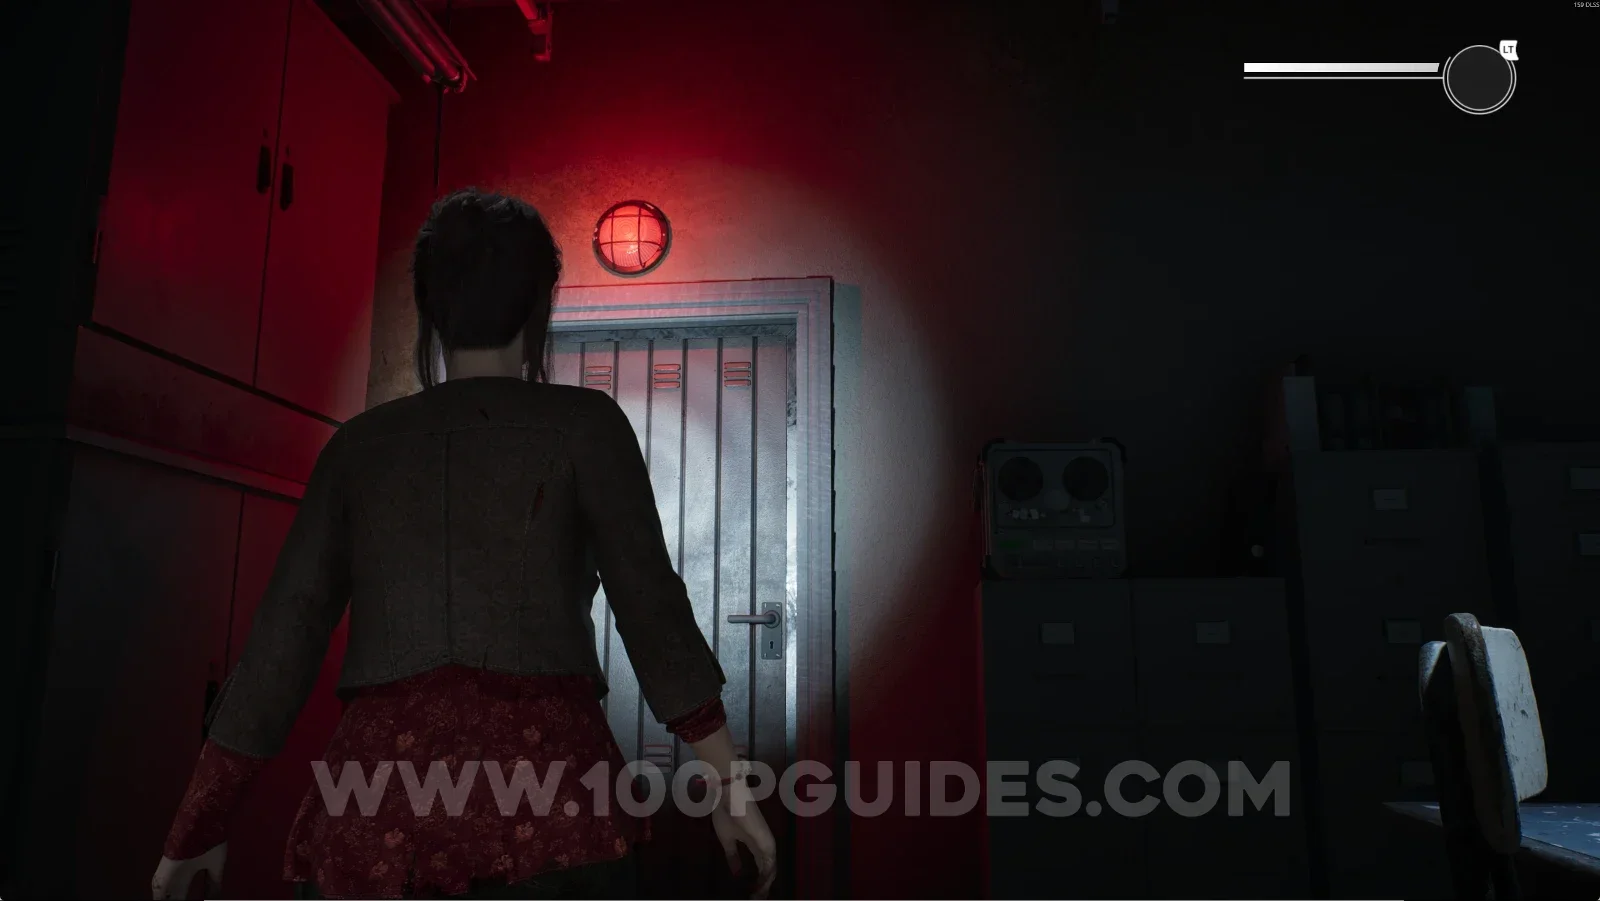
To continue, use the key on the door with the red light above it.

Remothered: Red Nuns Legacy: the door with the red light above it Remothered: Red Nuns Legacy: using the Crown Key on the door with the red light

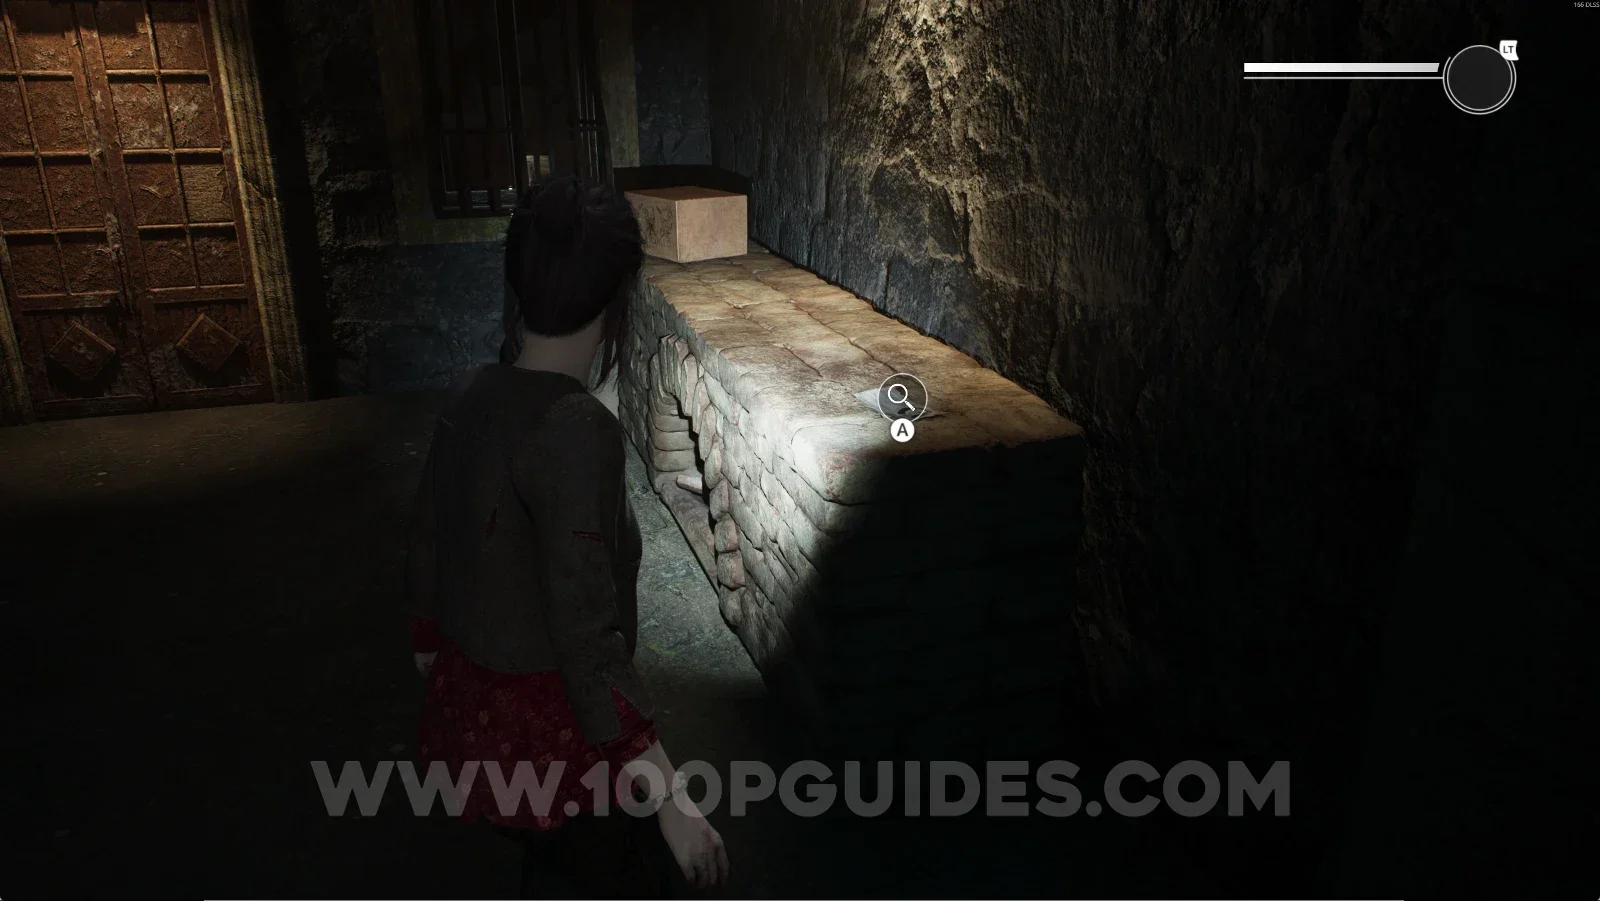
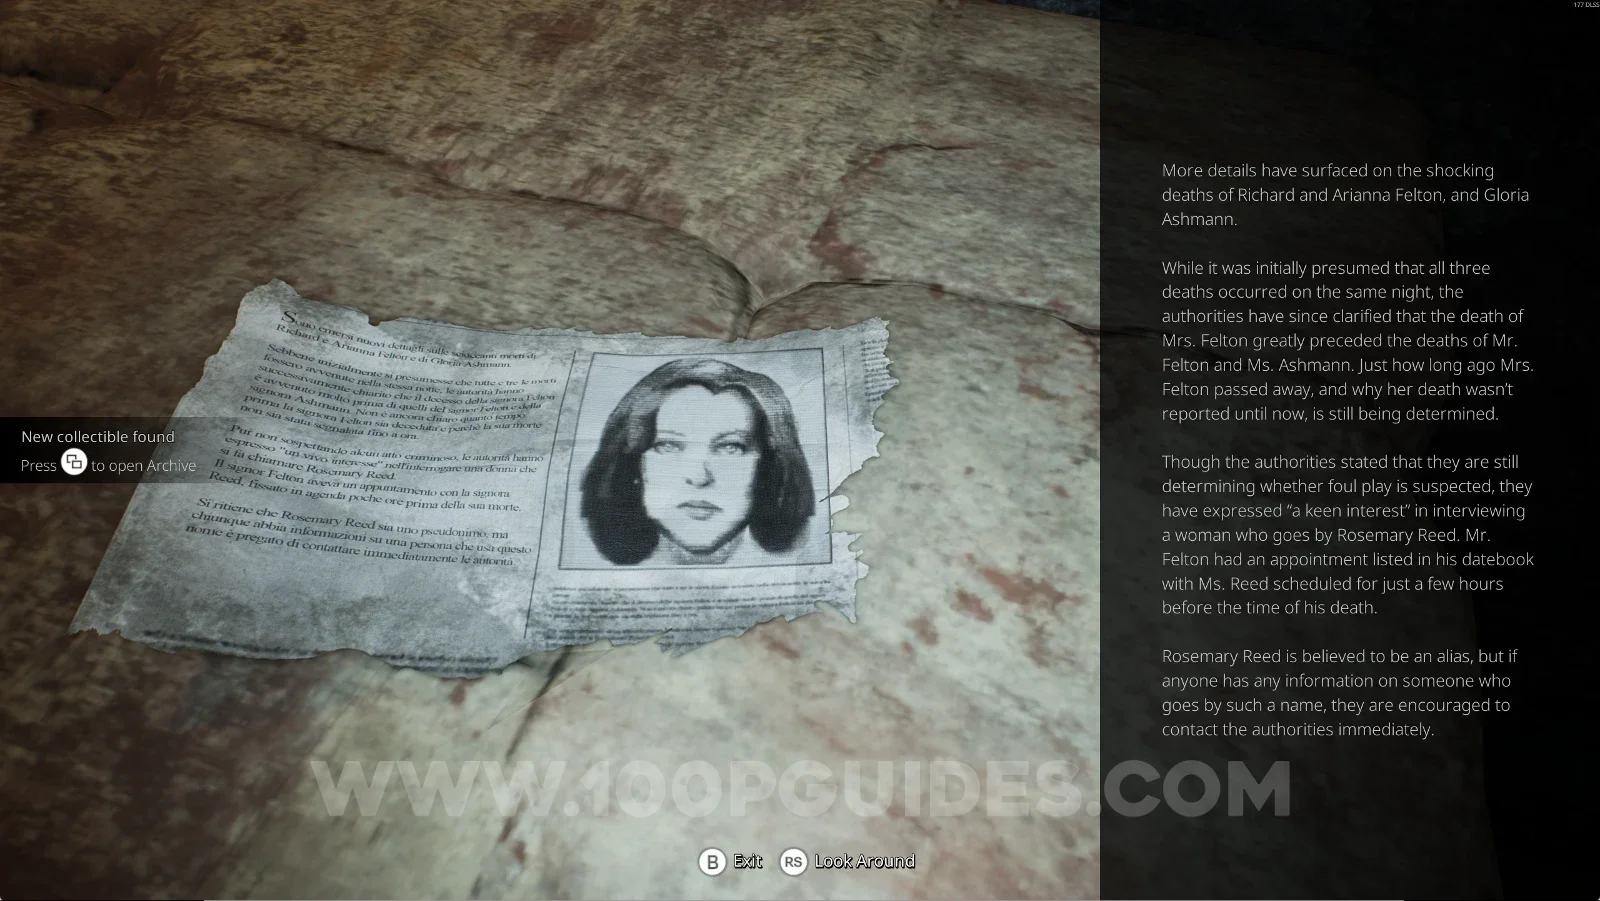
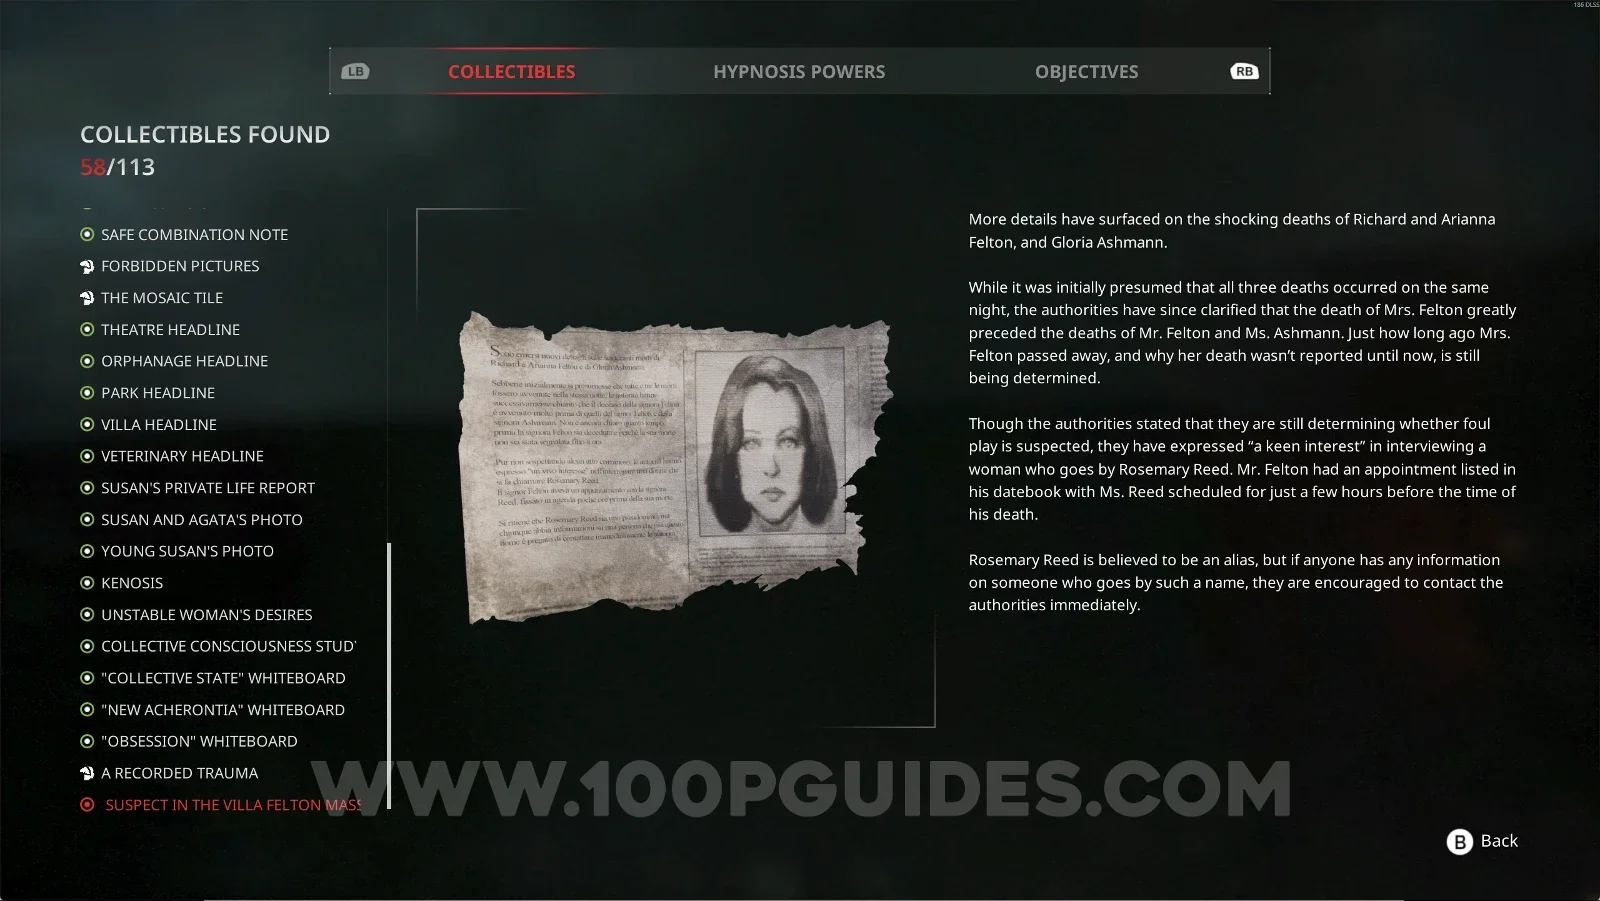
Noble Wing #38: Suspect In The Villa Felton Massacre

Right after going through the previous door, this will be in front of you near a large rusty gate.

Remothered: Red Nuns Legacy: the large rusty gate past the red light door Remothered: Red Nuns Legacy: the Suspect In The Villa Felton Massacre note near the rusty gate Remothered: Red Nuns Legacy Noble Wing #38: Suspect In The Villa Felton Massacre collectible

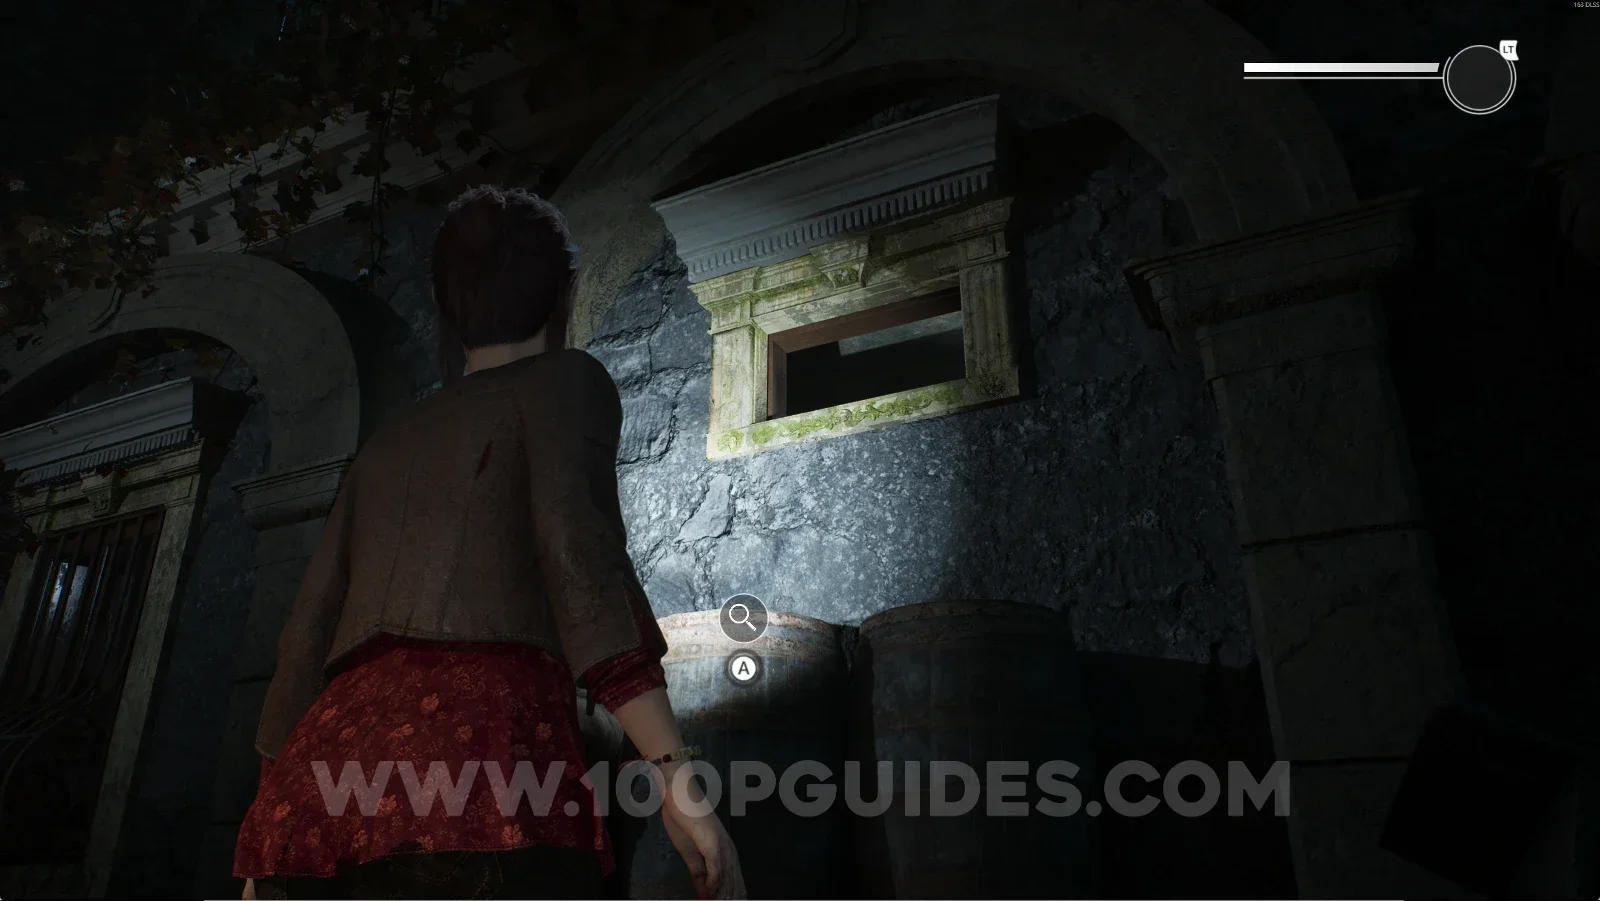
To continue to the next area, inspect the barrels and a cutscene will start. After the cutscene, you'll be in the new area that we'll need to explore.

Remothered: Red Nuns Legacy: inspecting the barrels to start the cutscene Remothered: Red Nuns Legacy: the new area reached after the barrels cutscene

Residential Wing #1: The Family Decision + Retrocognition #19

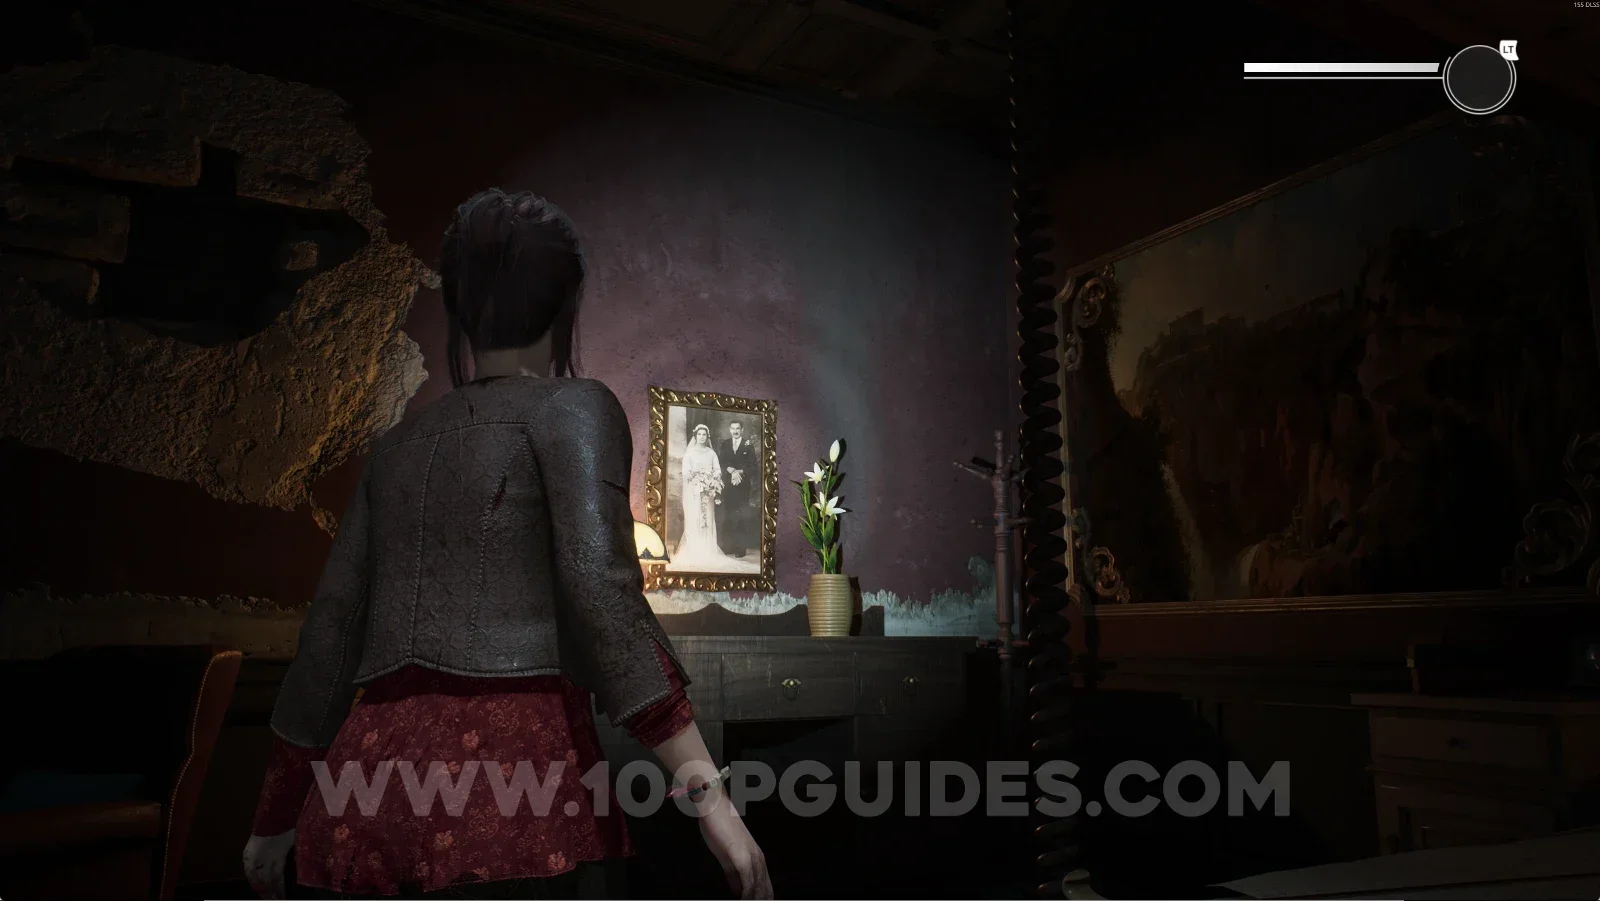
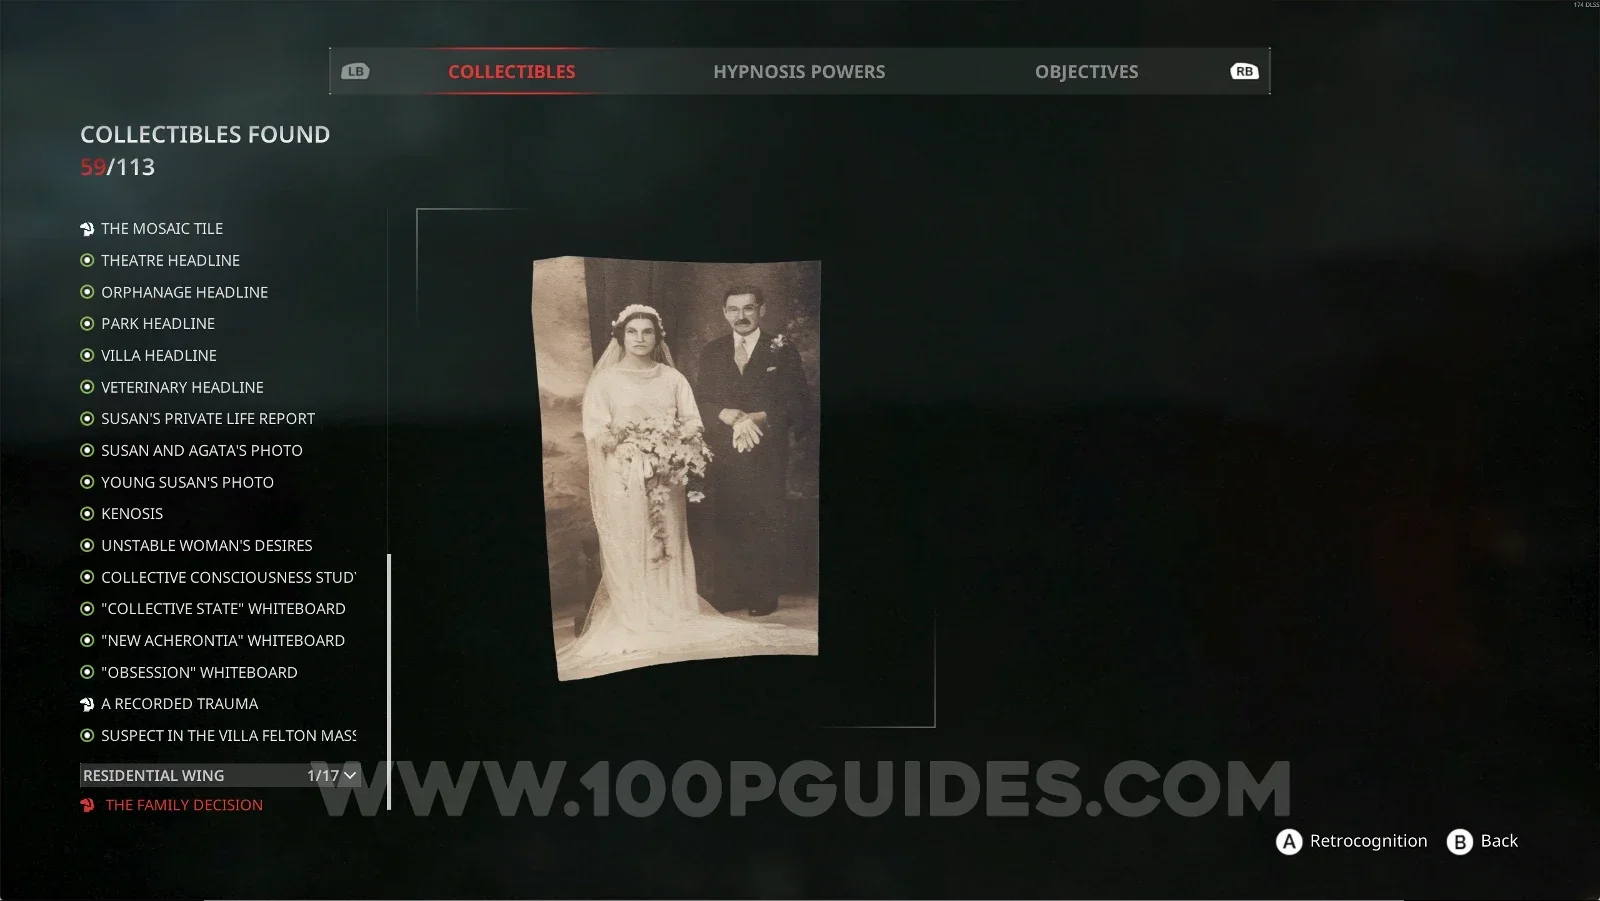
Go straight down the corridor and up the stairs on the left. In the next corridor, enter the room on the left and interact with the painting on the wall, then use your power to get this collectible.

Remothered: Red Nuns Legacy Residential Wing: the corridor and the stairs on the left Remothered: Red Nuns Legacy Residential Wing: the painting in the room on the left, Retrocognition #19 Remothered: Red Nuns Legacy Residential Wing #1: The Family Decision collectible

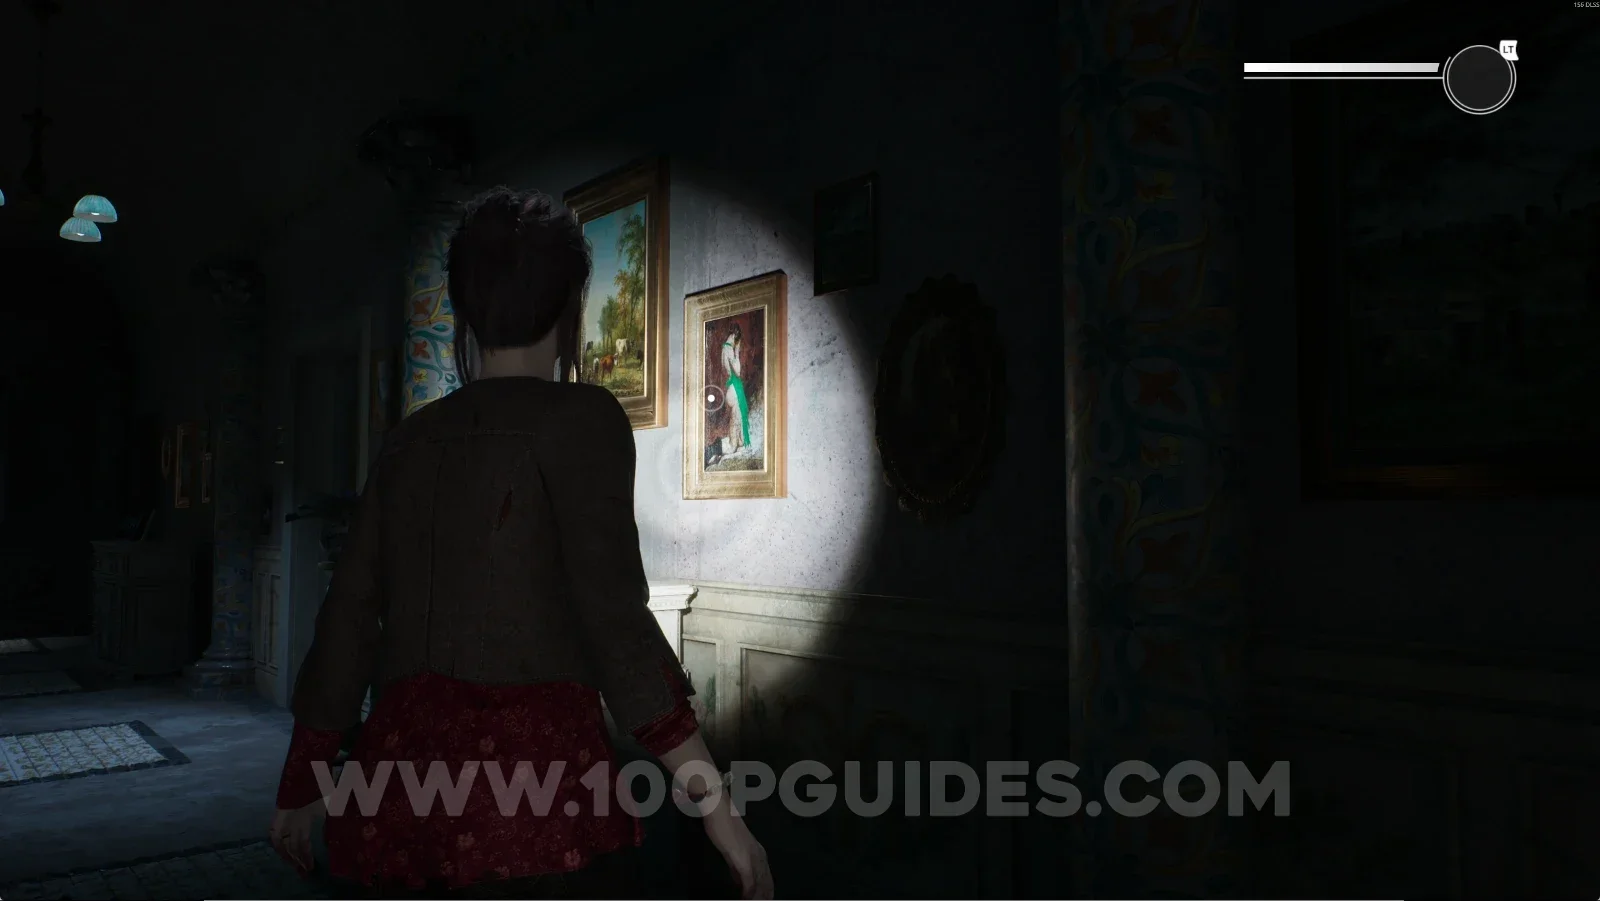
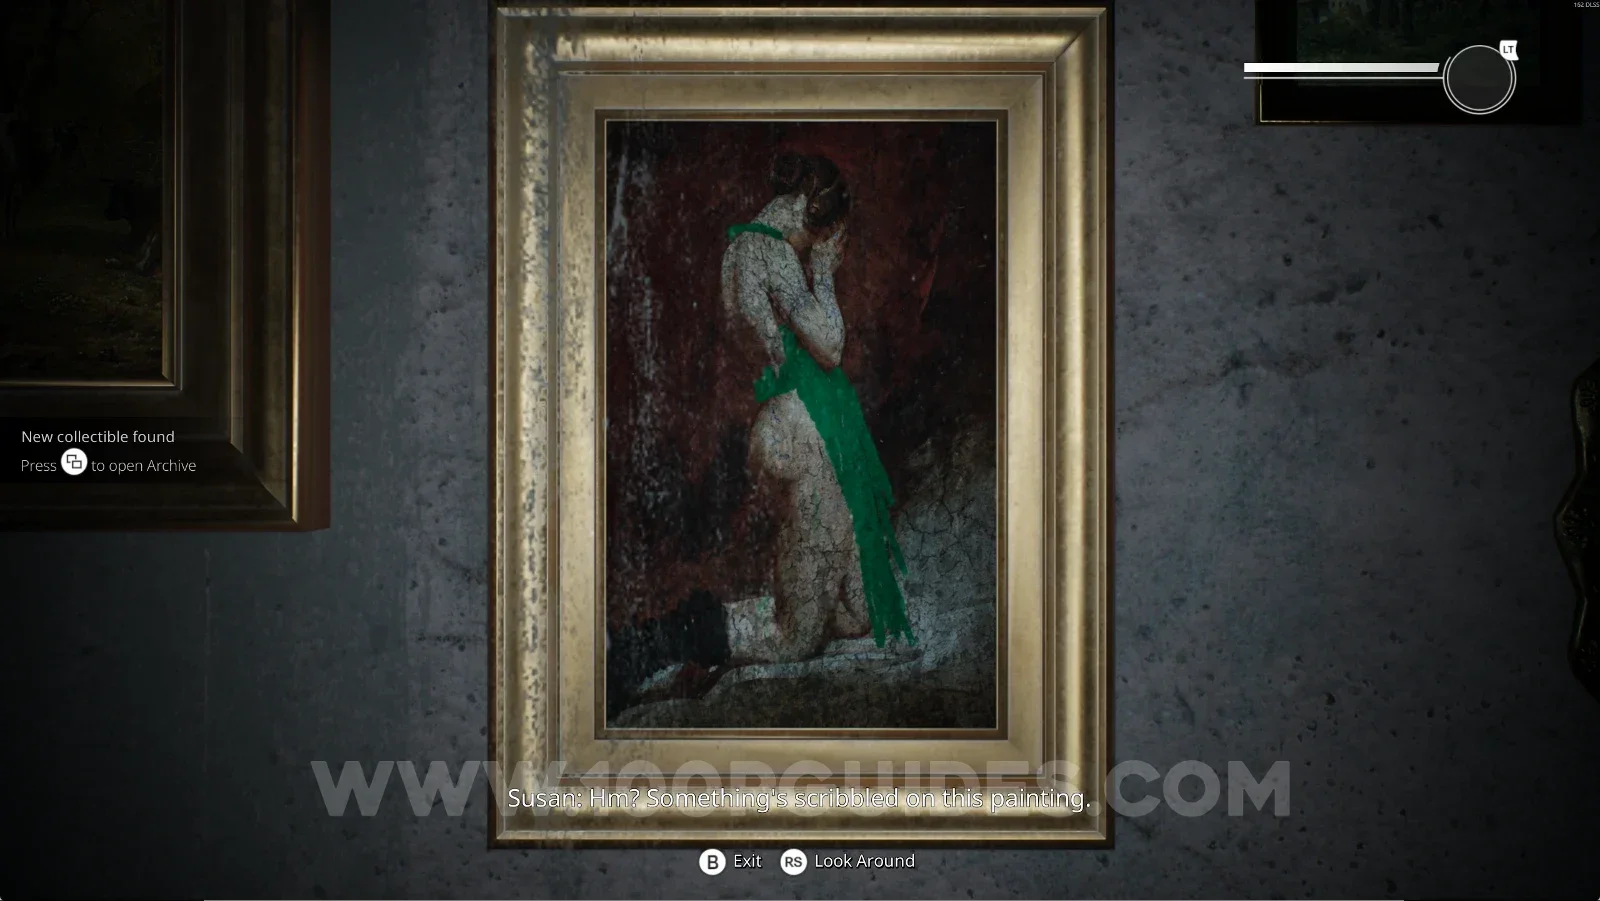
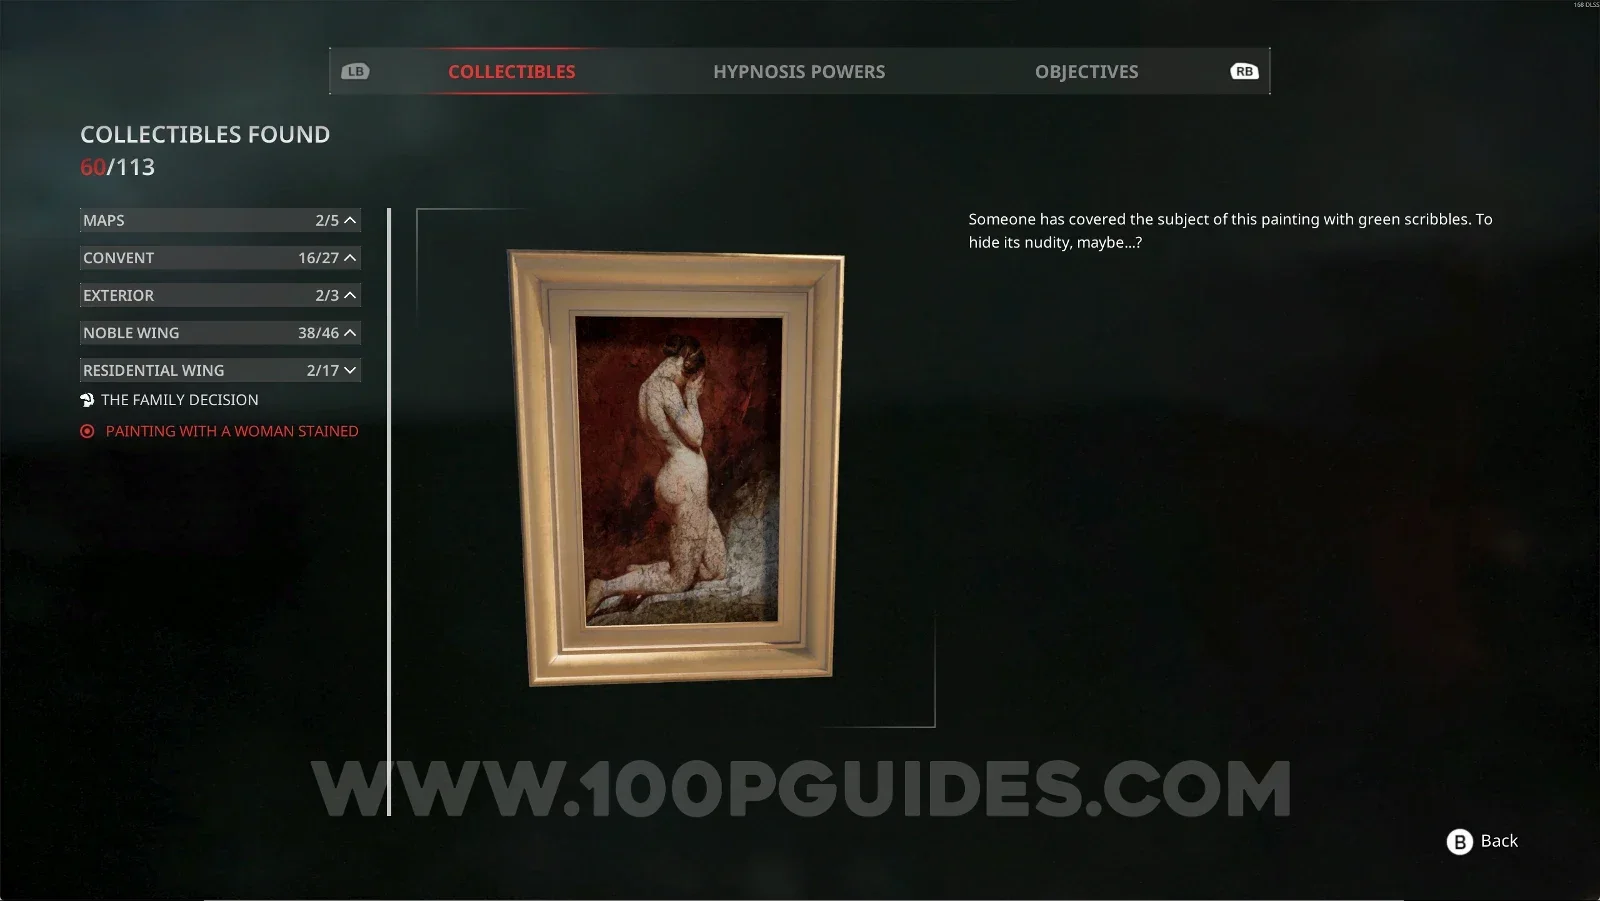
Residential Wing #2: Painting With A Woman Stained In Green

When you leave the room, interact with the painting on the wall on the right side.

Remothered: Red Nuns Legacy Residential Wing: leaving the room toward the painting on the right Remothered: Red Nuns Legacy: the Painting With A Woman Stained In Green on the right wall Remothered: Red Nuns Legacy Residential Wing #2: Painting With A Woman Stained In Green

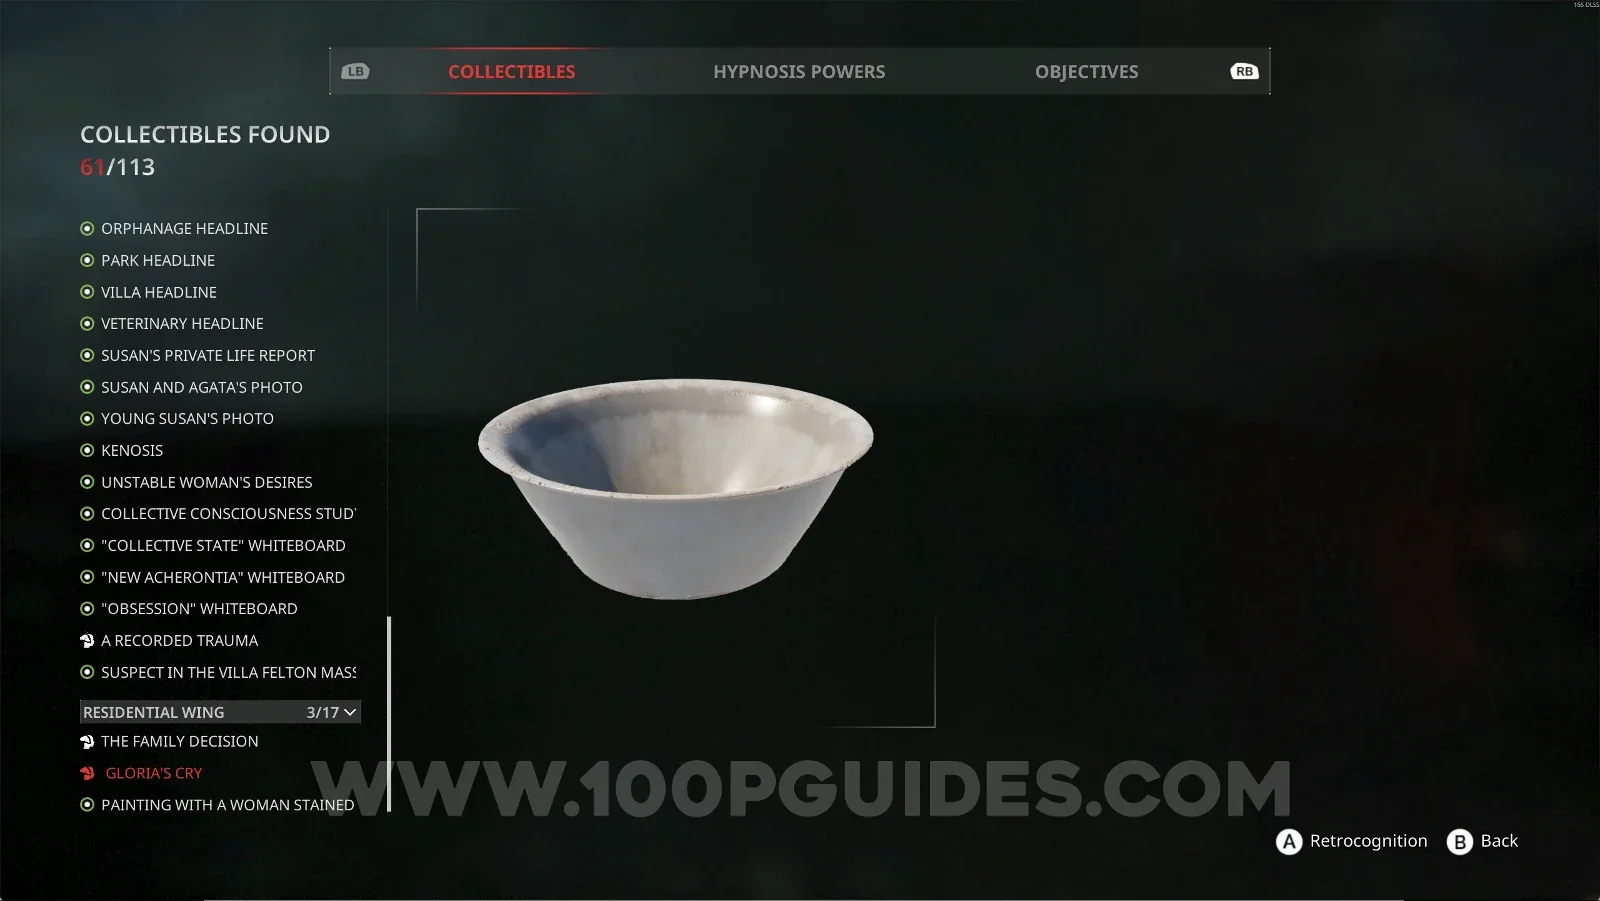
Residential Wing #3: Gloria's Cry + Retrocognition #20
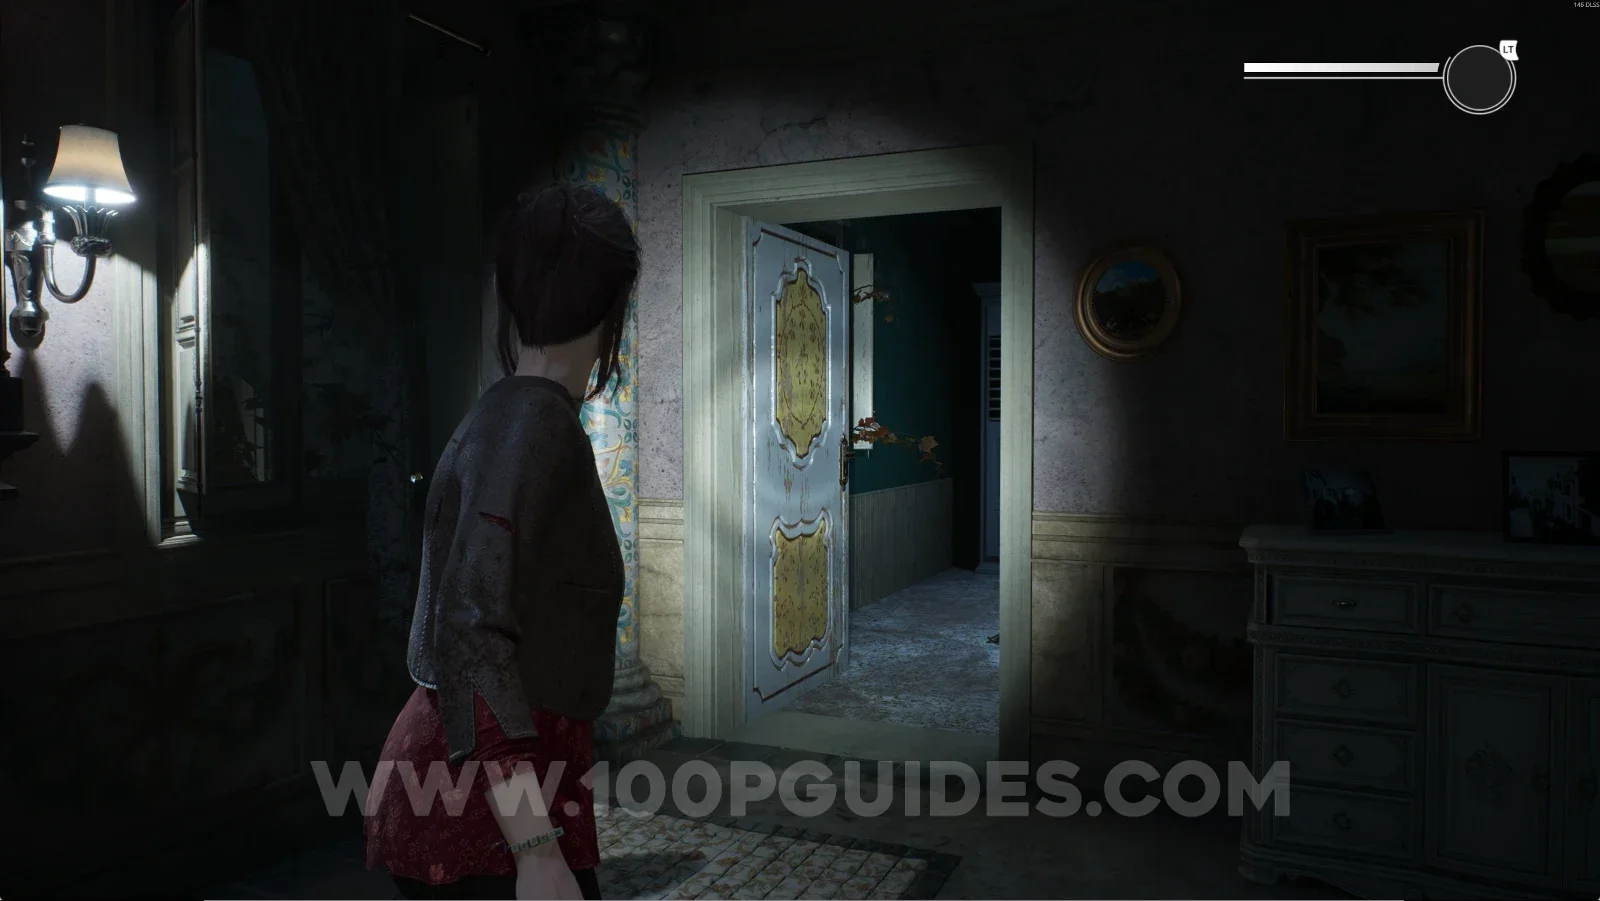
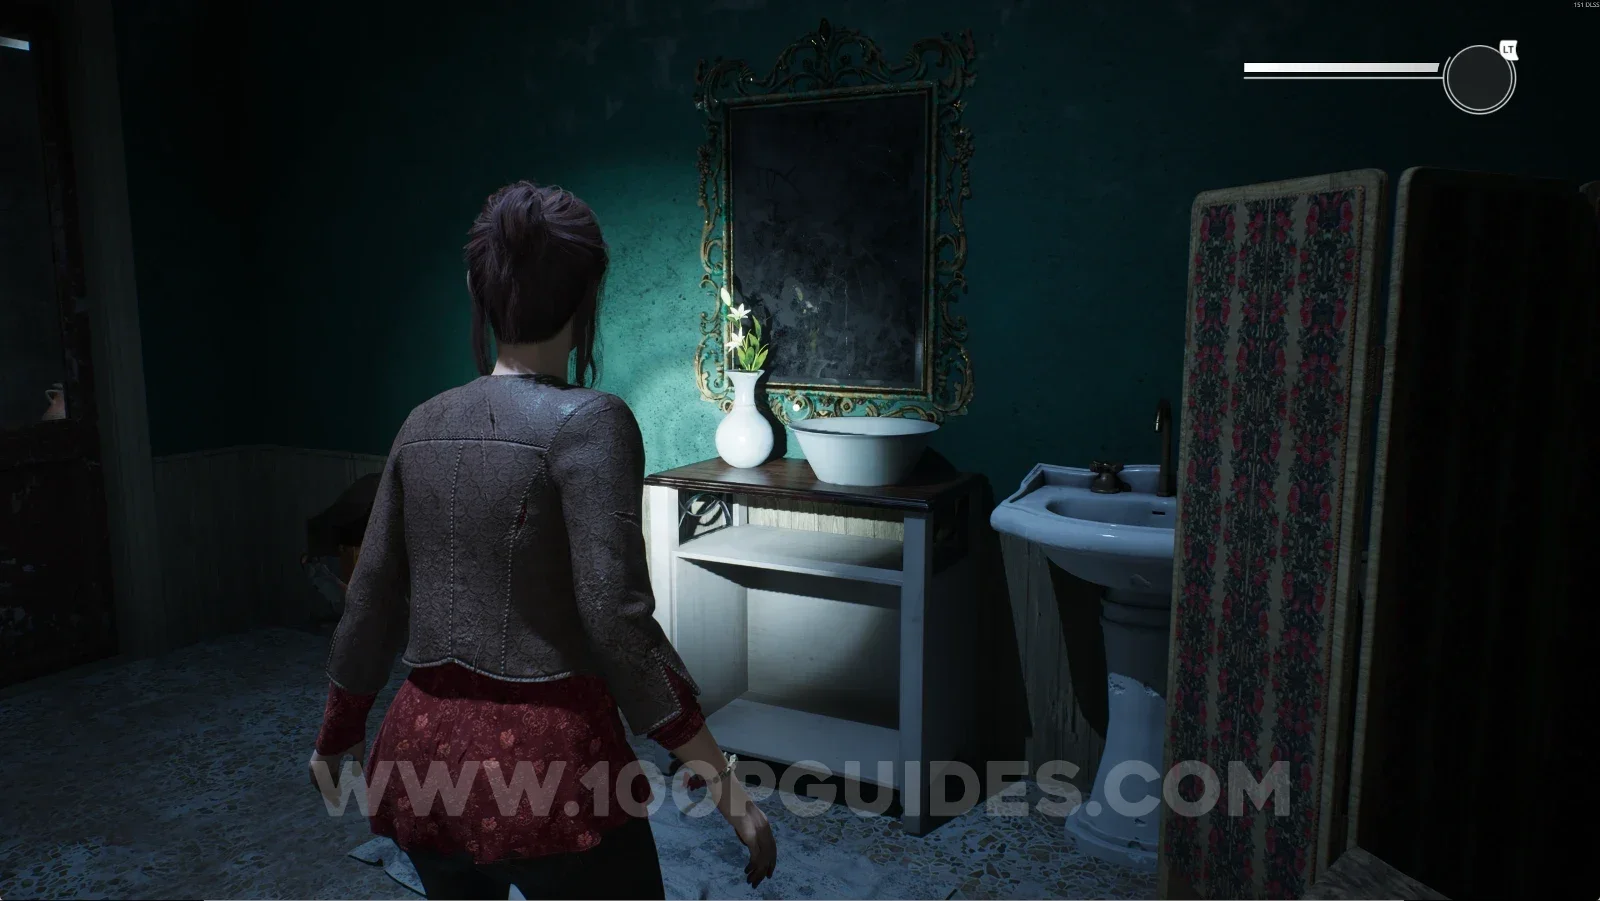
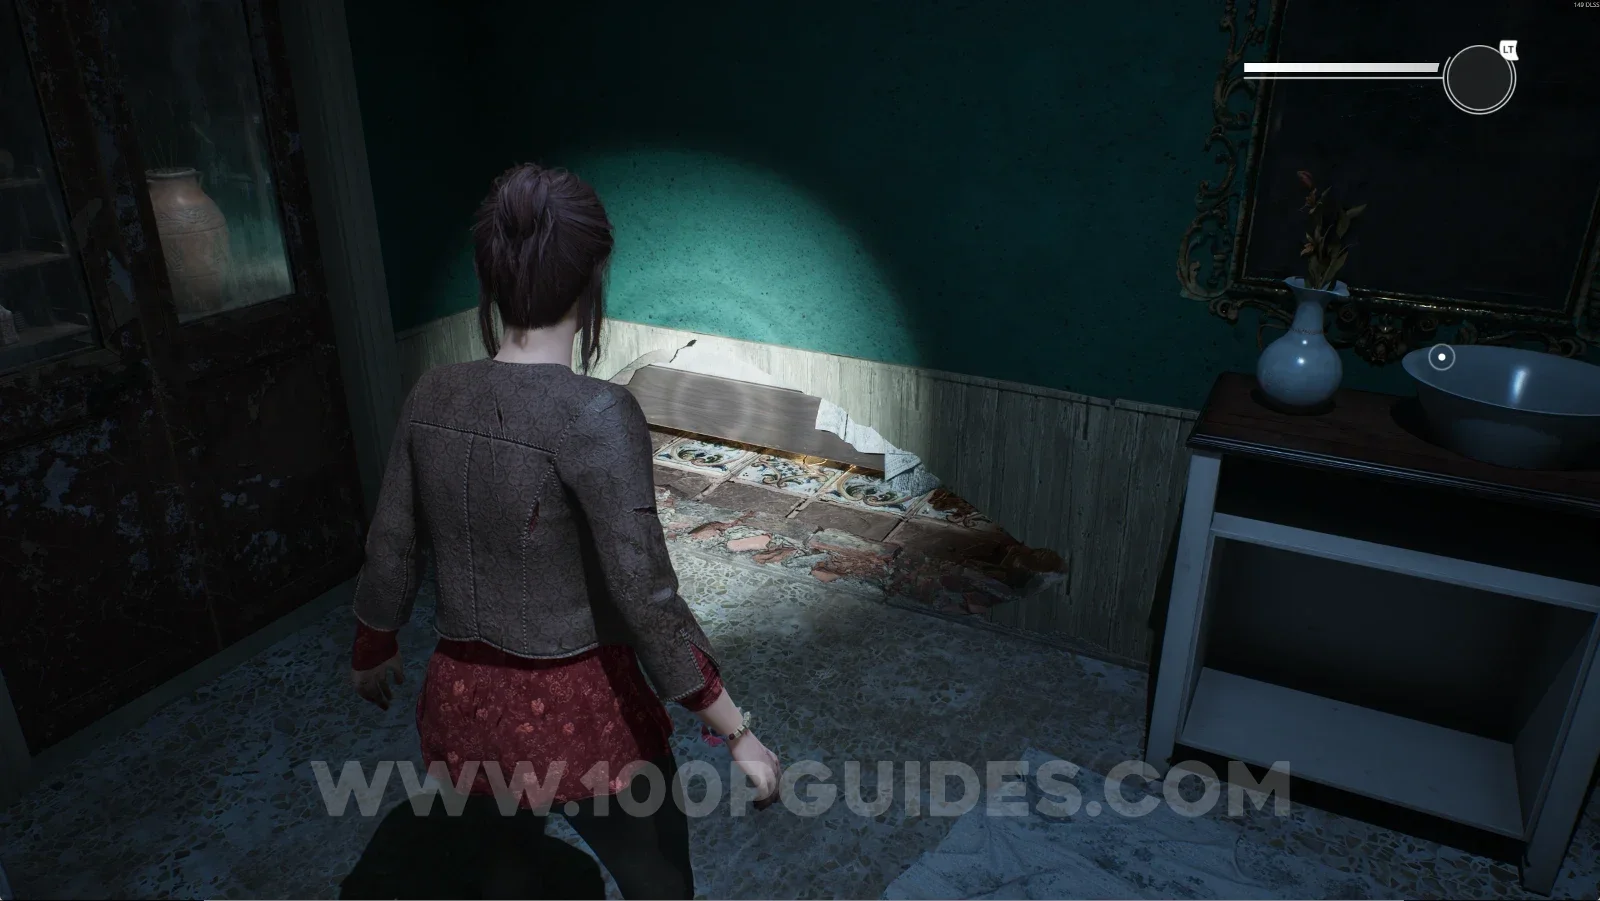
At the end of the corridor, go into the bathroom and this will be right in front of you.

Remothered: Red Nuns Legacy Residential Wing: the bathroom at the end of the corridor Remothered: Red Nuns Legacy: the item right in front in the bathroom, Retrocognition #20 Remothered: Red Nuns Legacy Residential Wing #3: Gloria's Cry collectible

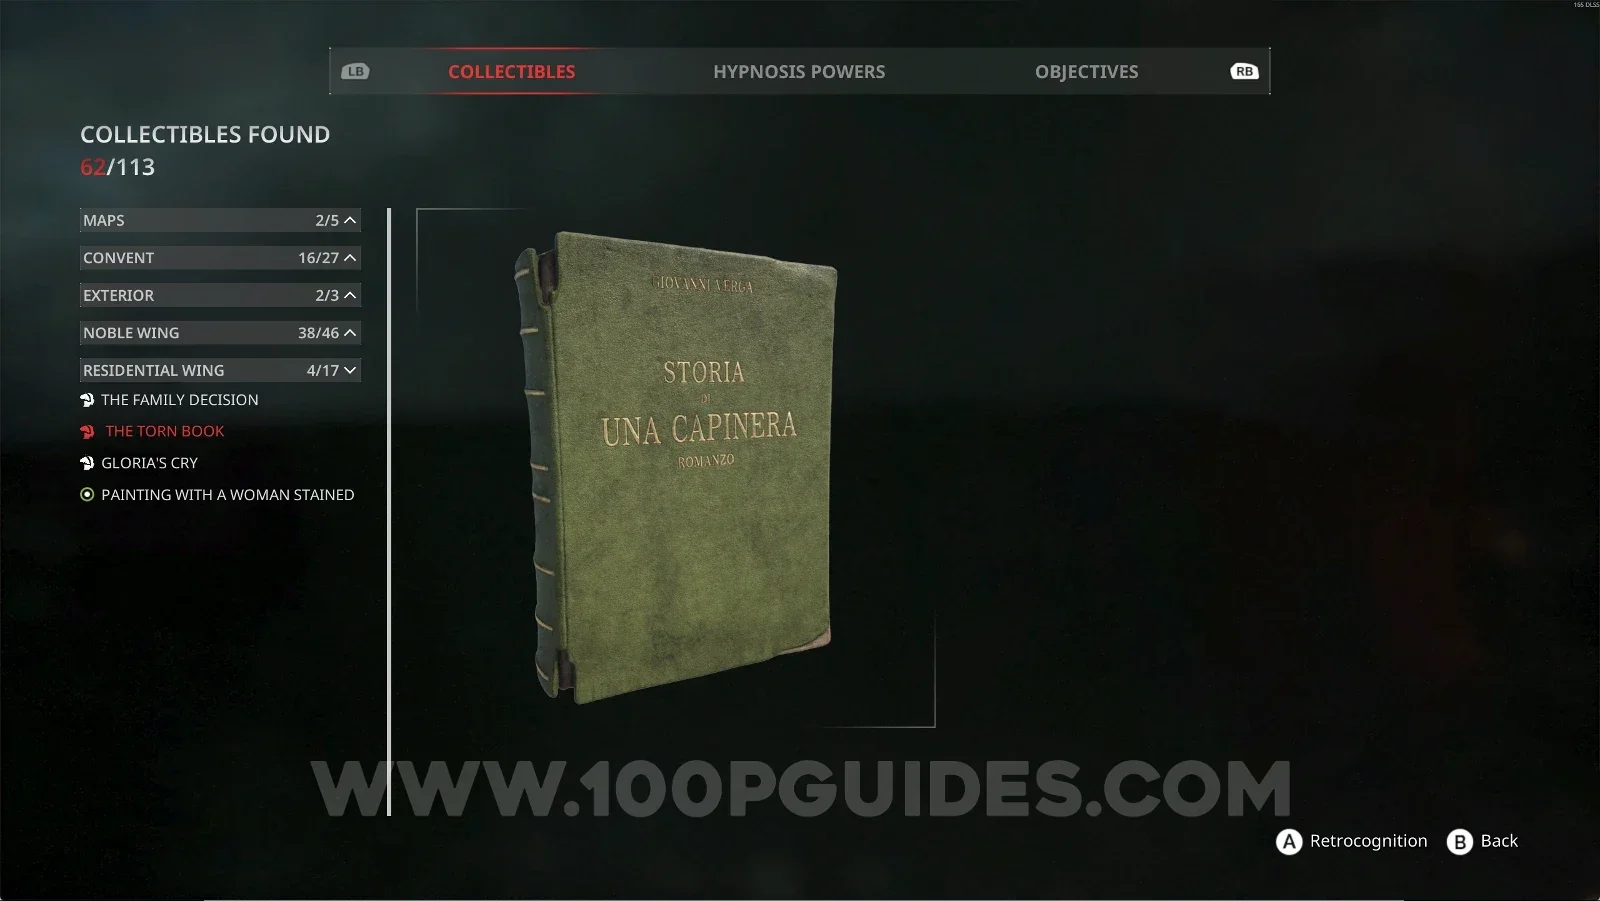
Residential Wing #4: The Thorn Book + Retrocognition #21

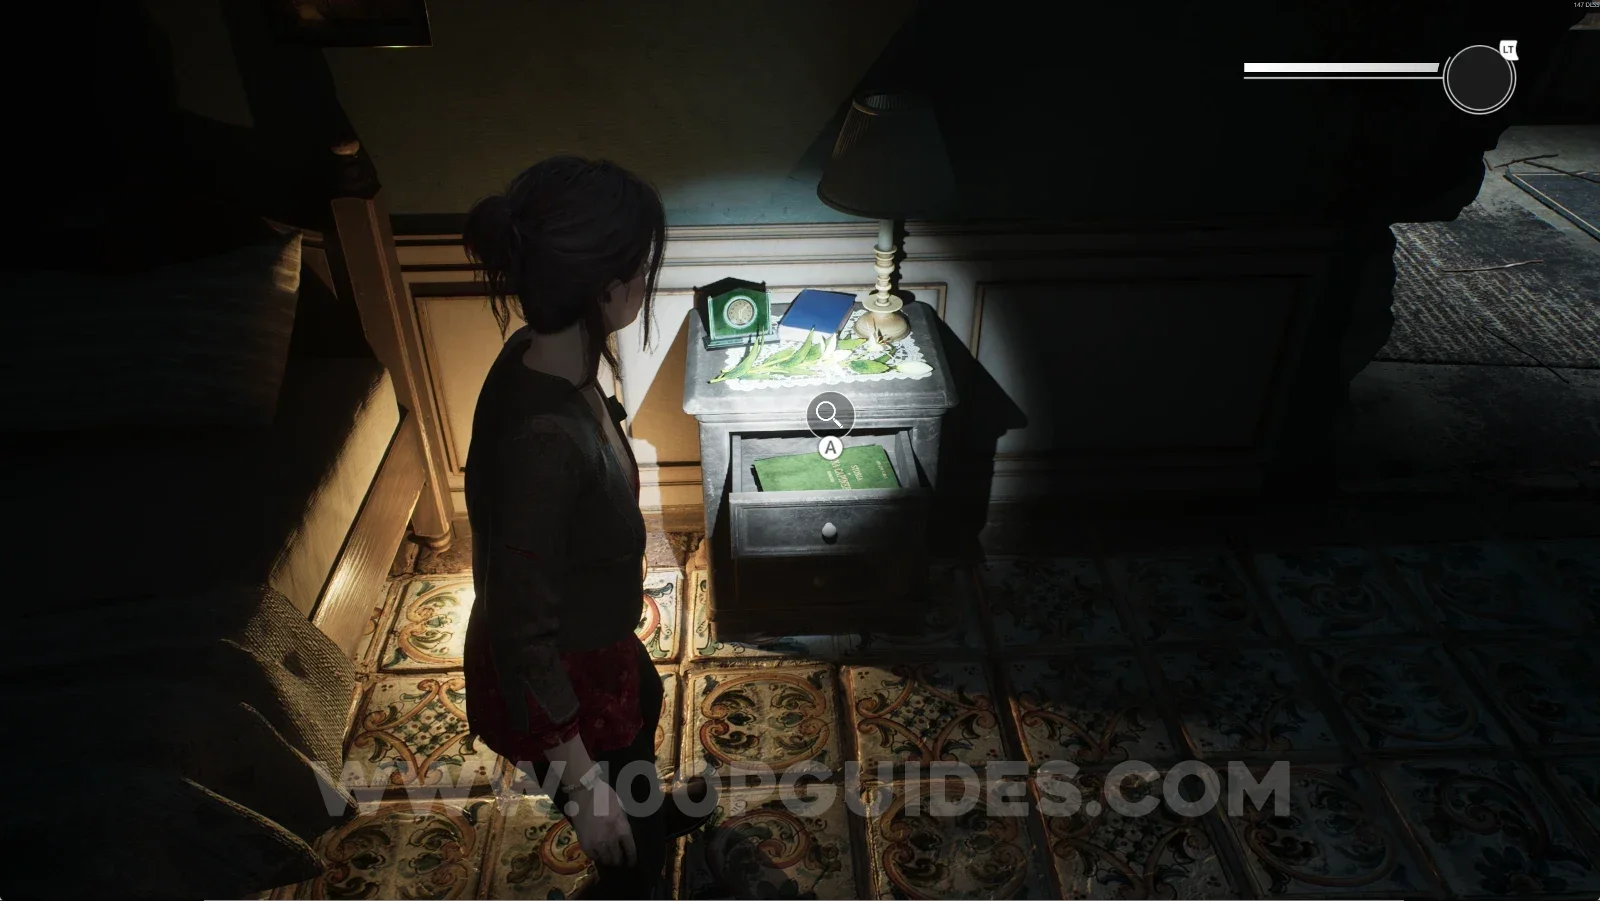
Same room as the previous collectible. Now go into the hole in the wall, turn around, and come out on the other side. When you come out, interact with the green book and use your power to get this collectible.

Remothered: Red Nuns Legacy Residential Wing: the hole in the bathroom wall Remothered: Red Nuns Legacy: the green book on the other side of the hole, Retrocognition #21 Remothered: Red Nuns Legacy Residential Wing #4: The Thorn Book collectible

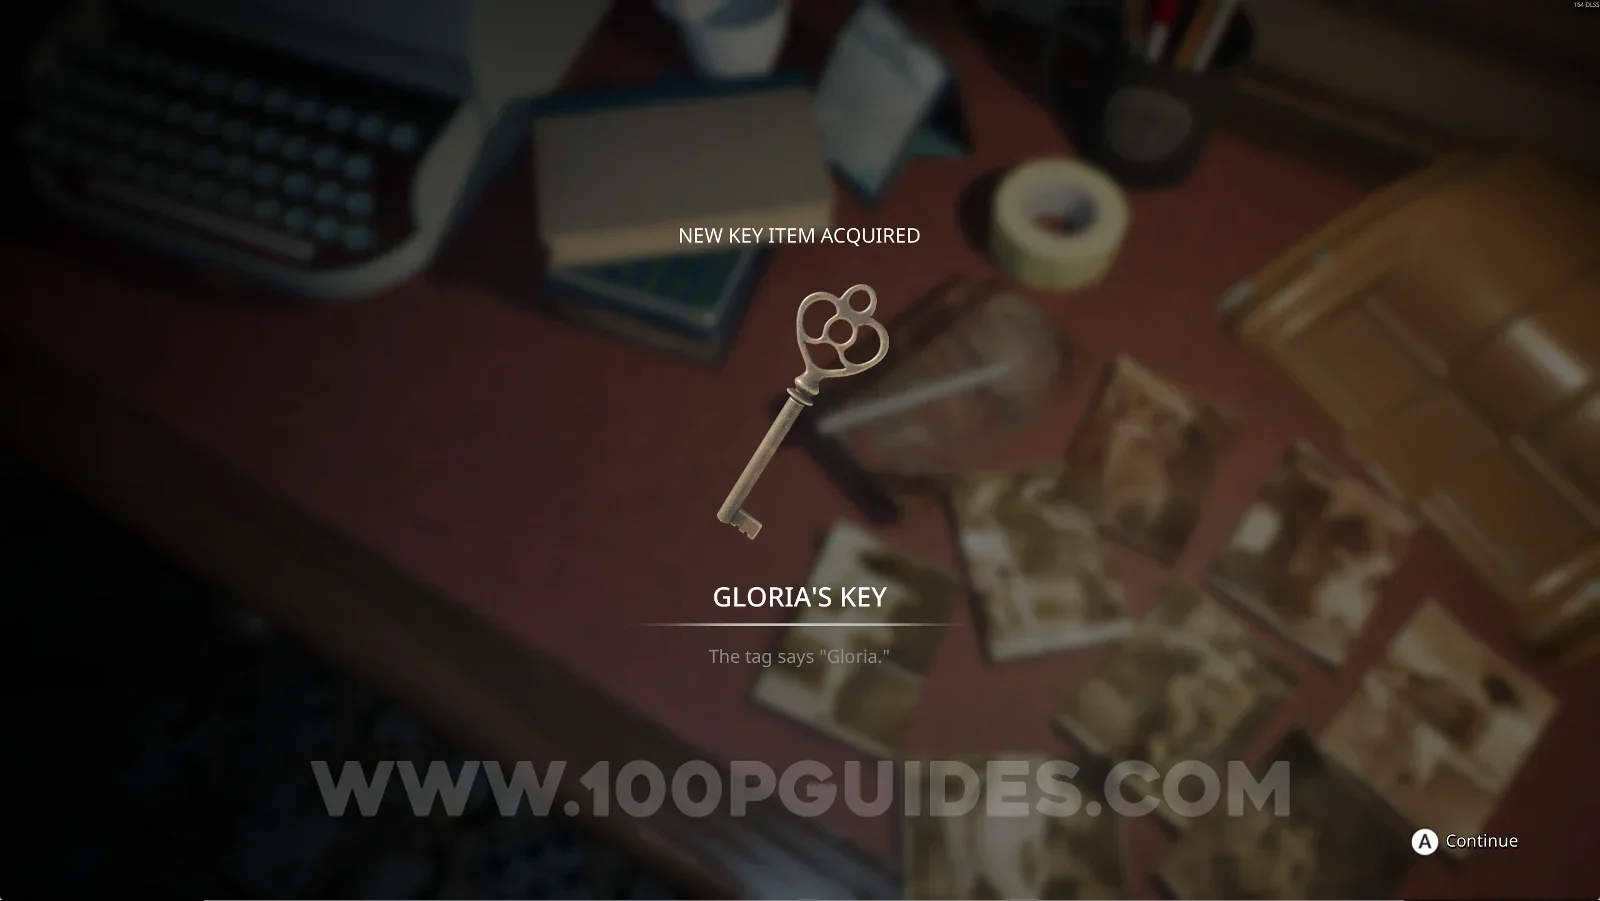
Key Item: Gloria's Key

In the back room, you'll find Gloria's Key.

Remothered: Red Nuns Legacy Residential Wing: the back room holding Gloria's Key Remothered: Red Nuns Legacy: picking up Gloria's Key in the back room

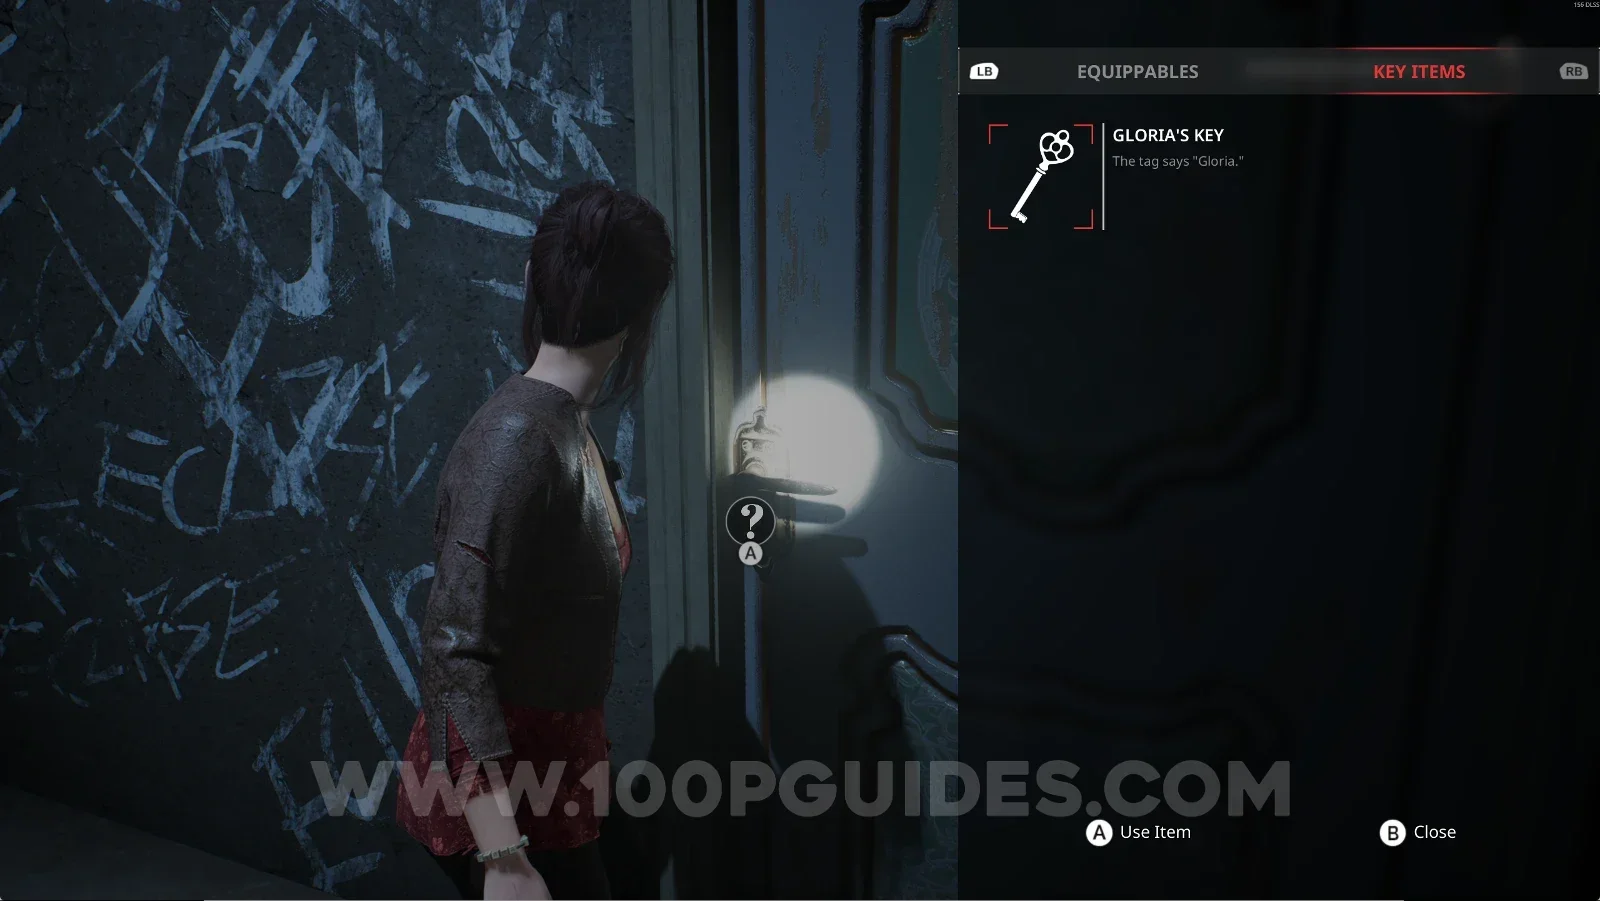
To use it, go up the stairs and interact with the door.

Remothered: Red Nuns Legacy Residential Wing: going up the stairs to the locked door Remothered: Red Nuns Legacy: using Gloria's Key on the door at the top of the stairs

For story purposes, after you use the key on the door, a cutscene will start. After the cutscene, you'll be in a new area. Keep going forward along the single path in this new area, go up the stairs, and you'll come out into the corridor.

Residential Wing #5: Marta's Letter

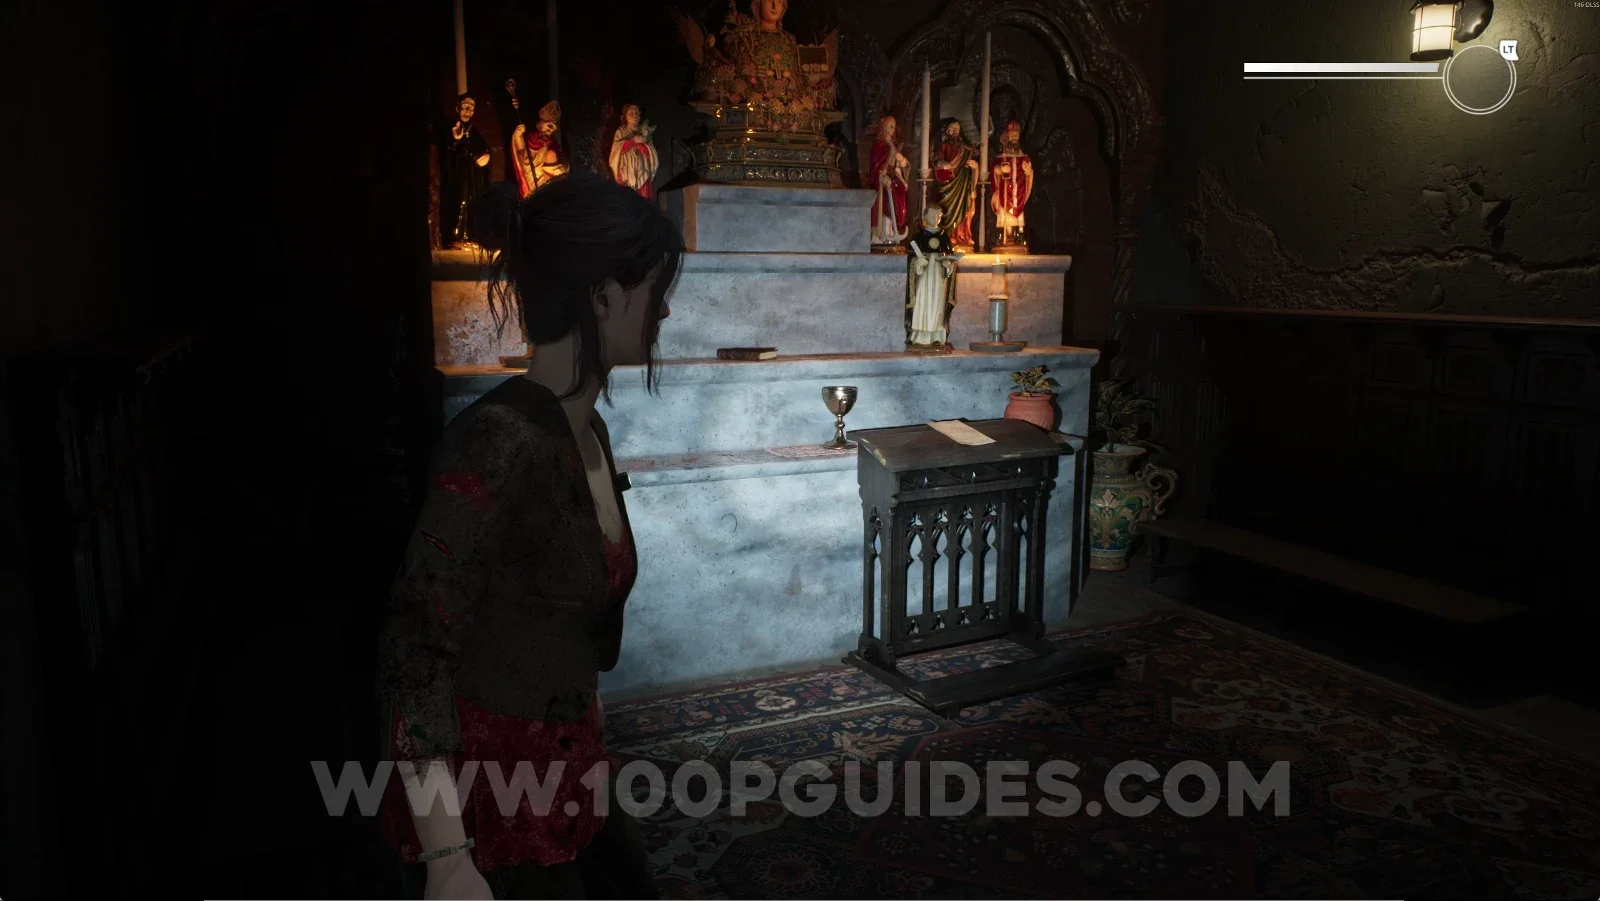
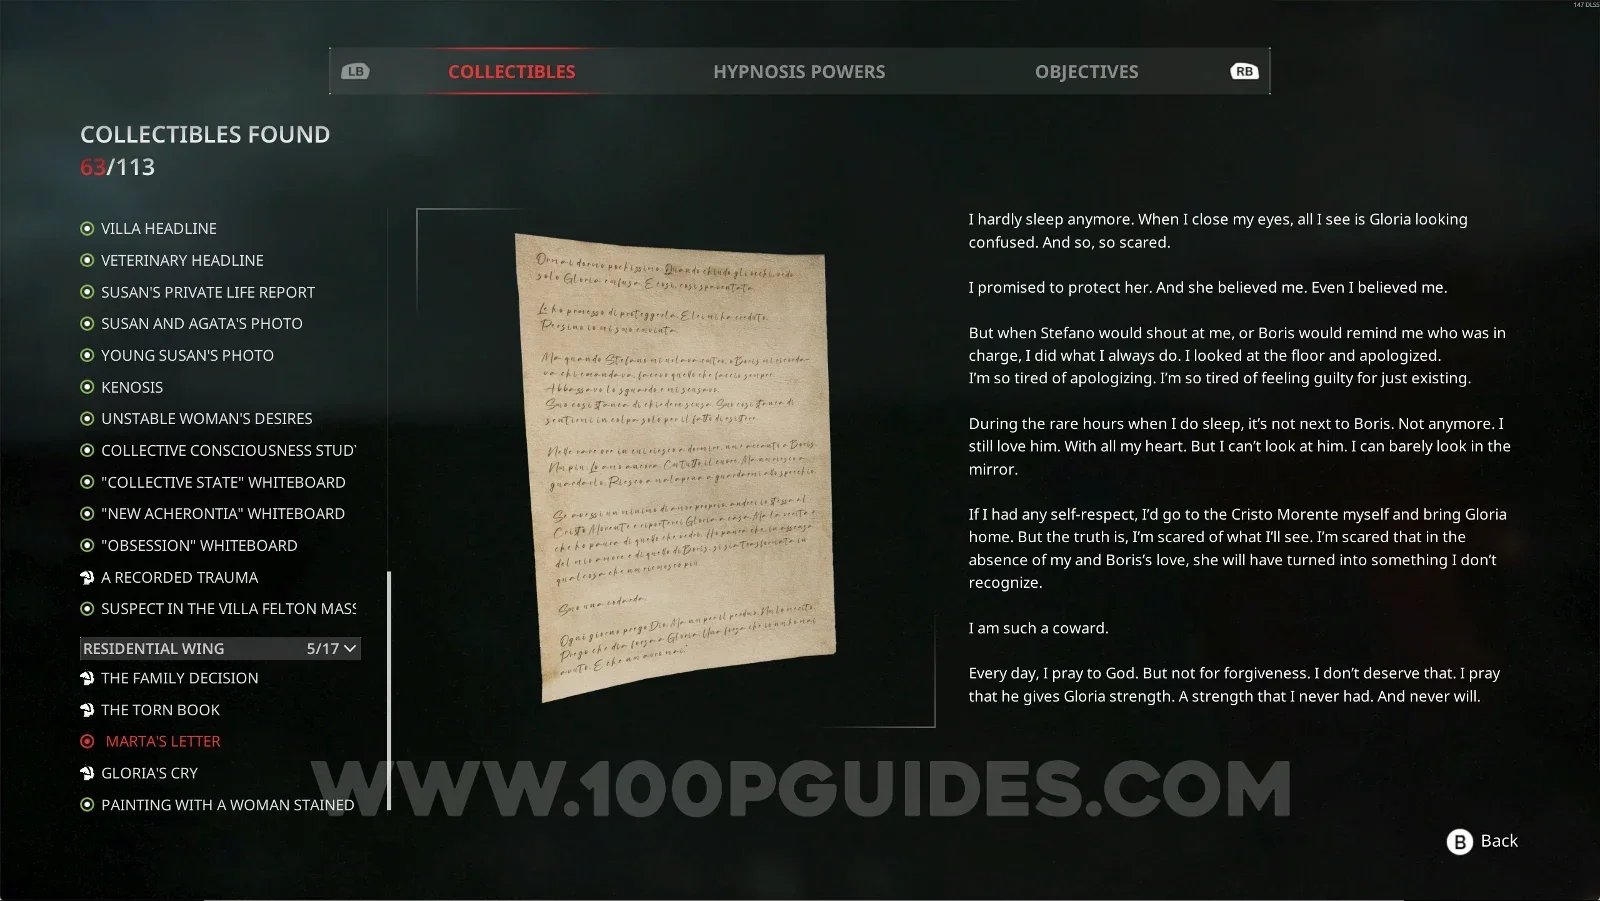
From the corridor, turn left and then left again, and you'll see this on top of the kneeler.

Remothered: Red Nuns Legacy Residential Wing: turning left twice from the corridor Remothered: Red Nuns Legacy: Marta's Letter on top of the kneeler Remothered: Red Nuns Legacy Residential Wing #5: Marta's Letter collectible

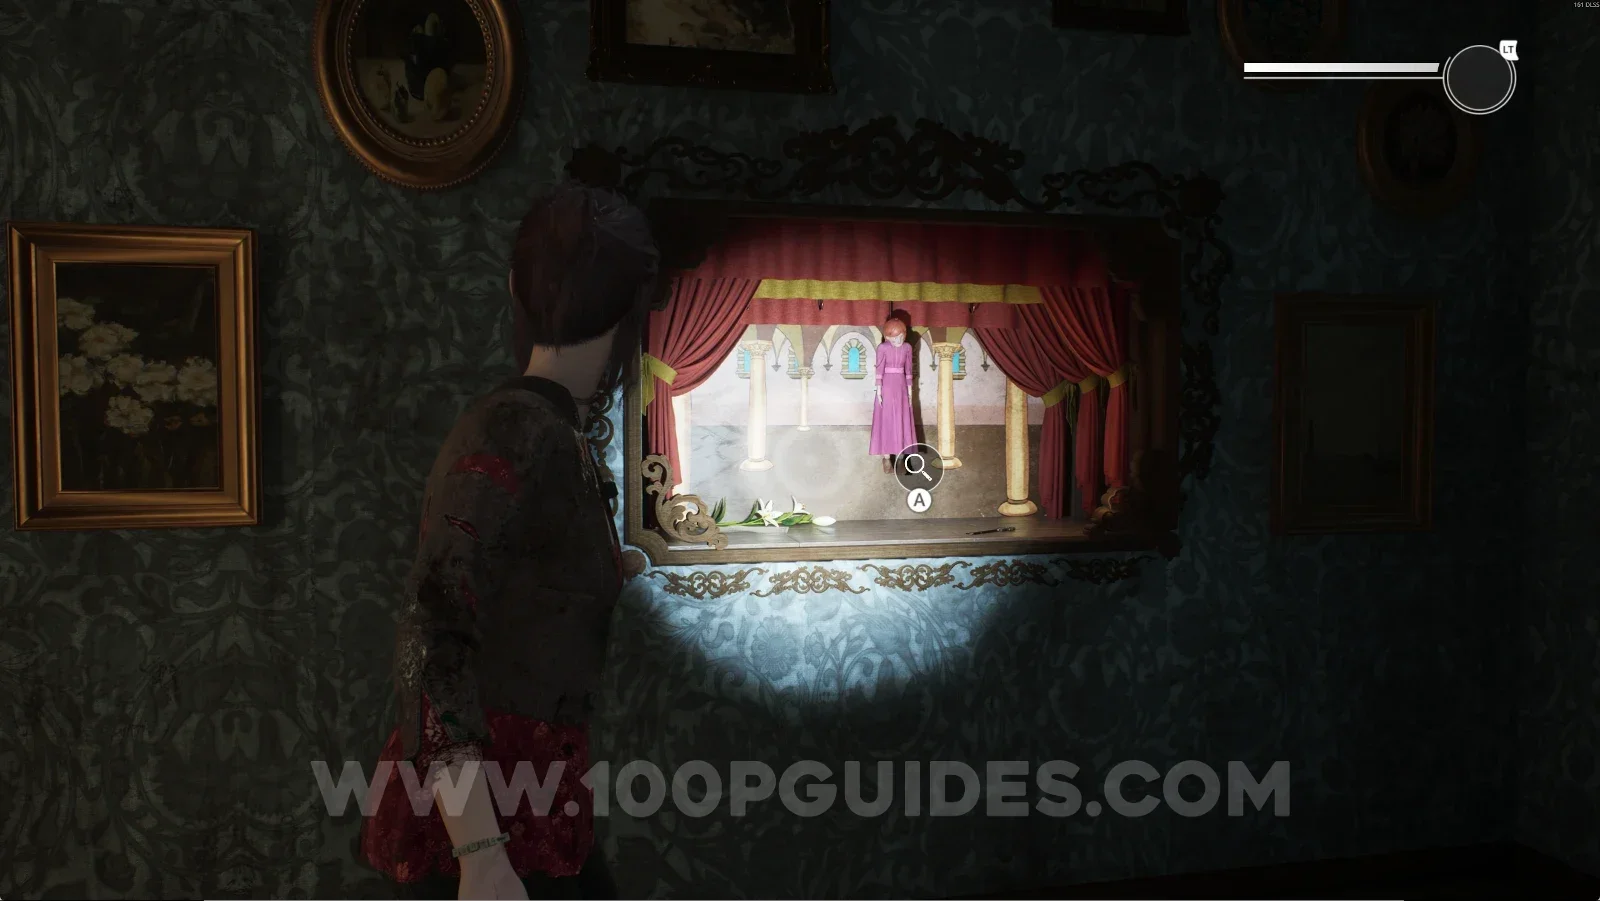
After grabbing the previous letter and returning to the corridor, a brief cutscene will start. After the cutscene, you'll be in a new room. Interact with the painting and reveal the letter on the right side, and the doll and the folder on the left side.

Remothered: Red Nuns Legacy Residential Wing: the painting in the new room after the cutscene Remothered: Red Nuns Legacy: revealing the letter on the right side with the painting Remothered: Red Nuns Legacy: revealing the doll on the left side with the painting Remothered: Red Nuns Legacy: revealing the folder on the left side with the painting

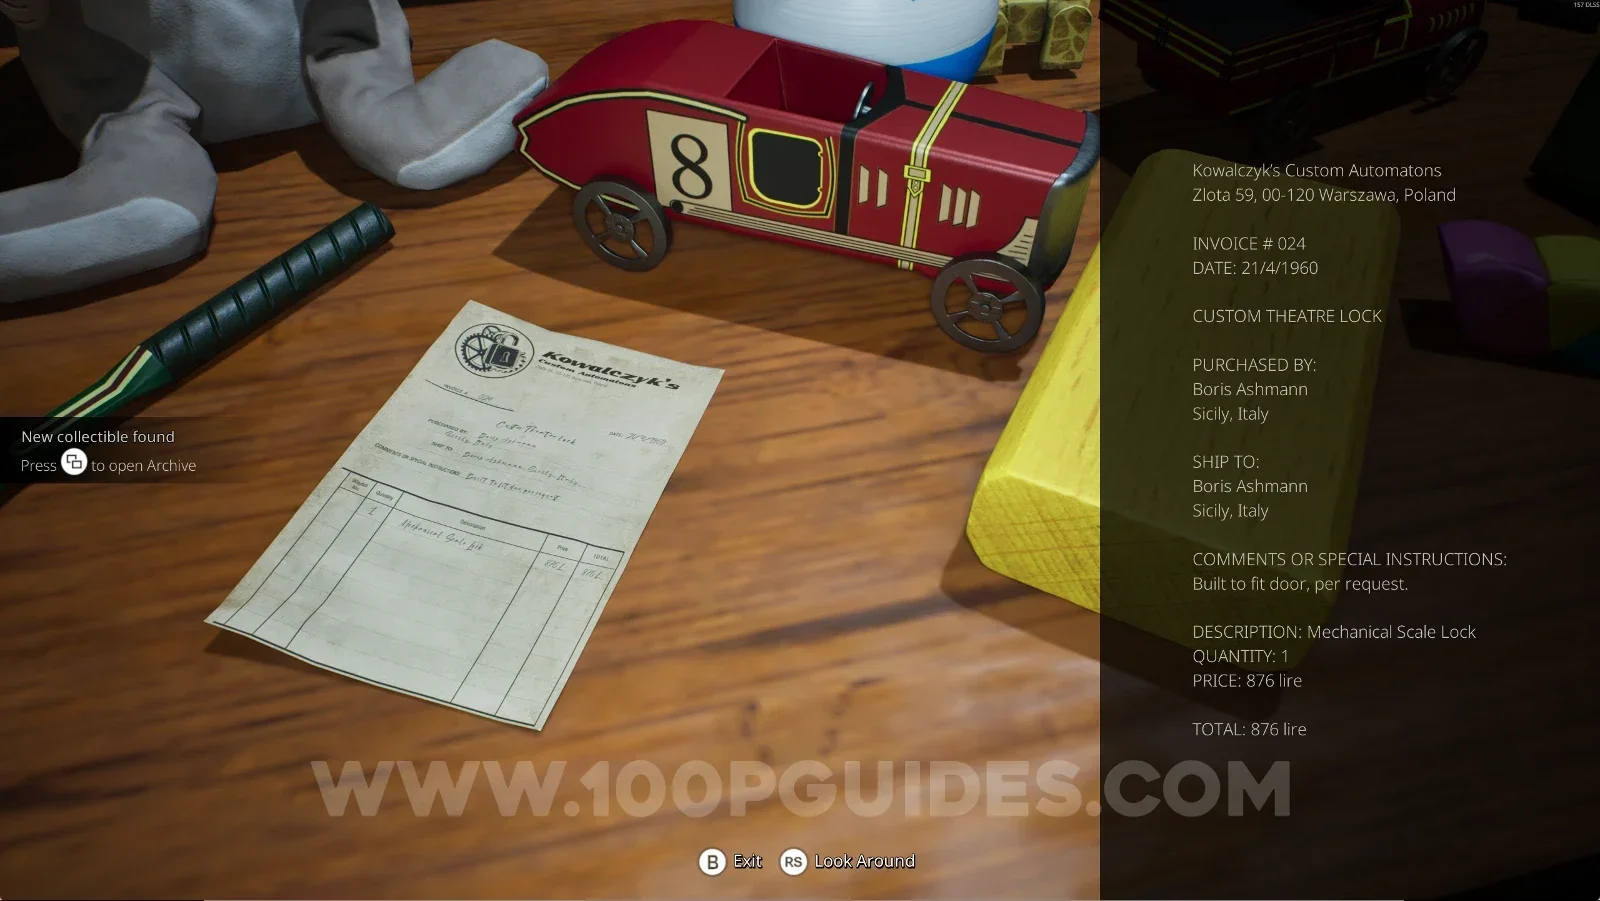
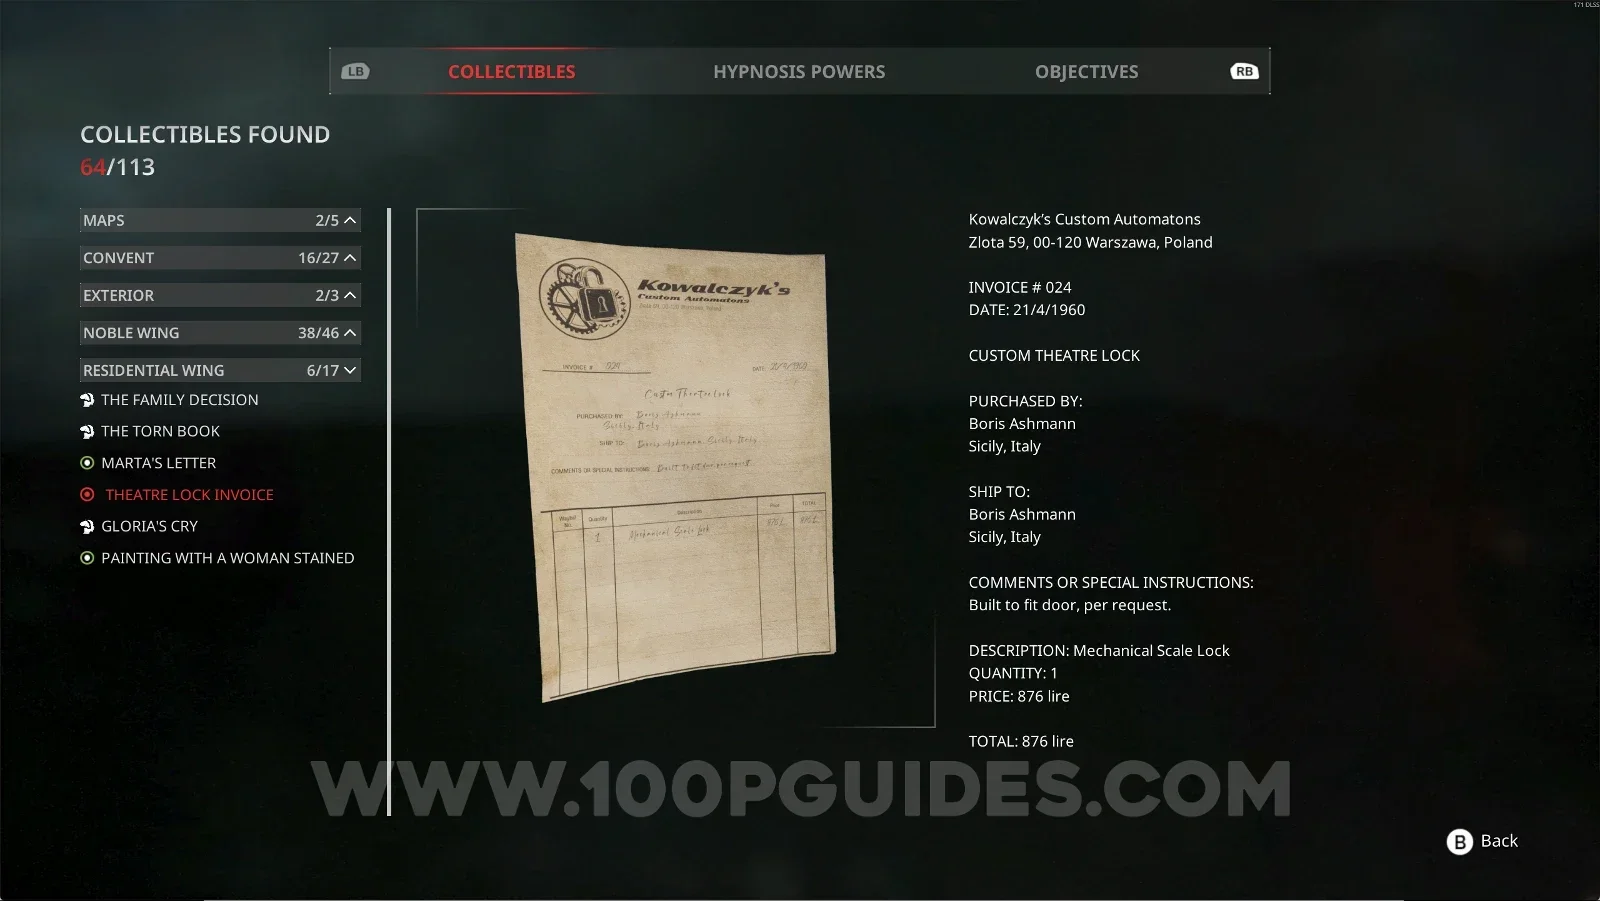
Residential Wing #6: Theatre Lock Invoice

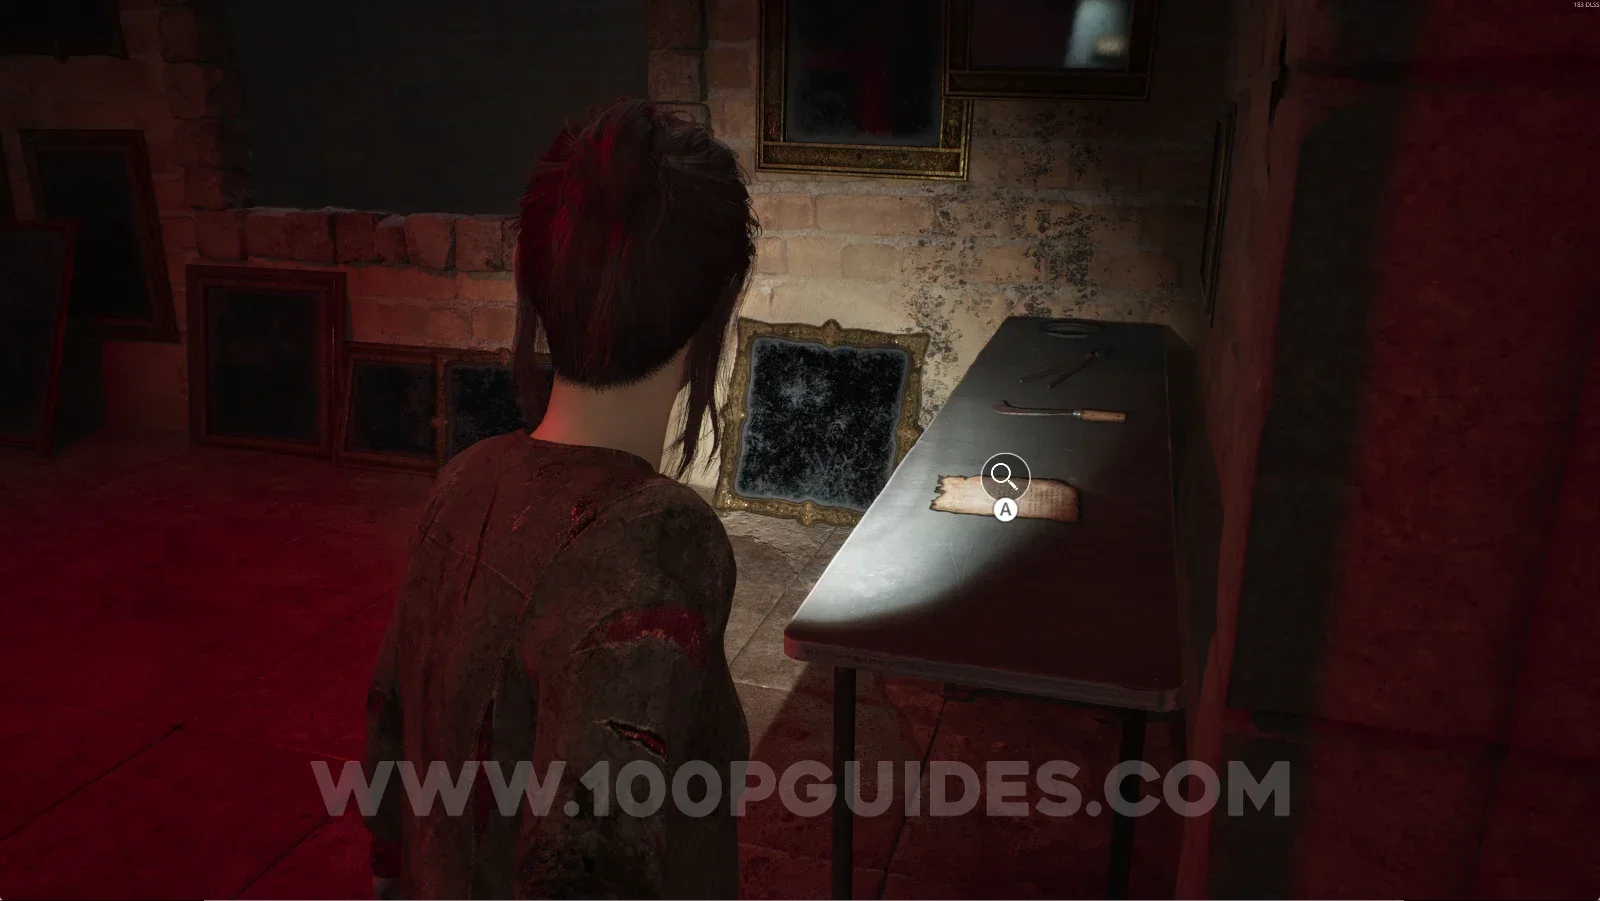
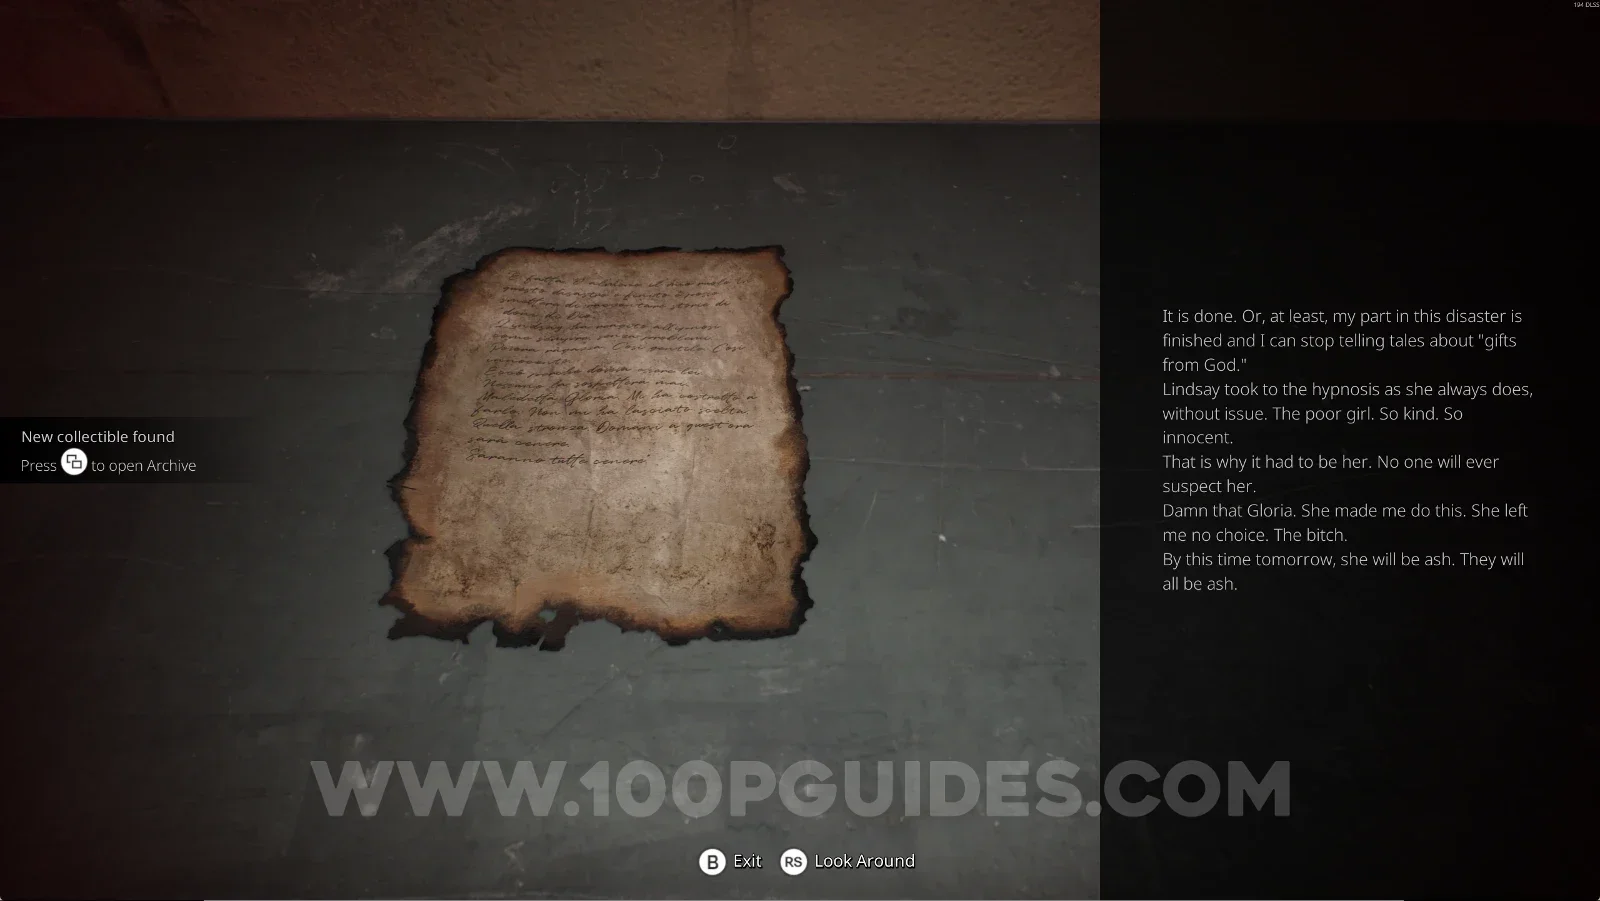
On the table on the right side, after you've revealed it.

Remothered: Red Nuns Legacy Residential Wing: the revealed table on the right side Remothered: Red Nuns Legacy: the Theatre Lock Invoice on the revealed table Remothered: Red Nuns Legacy Residential Wing #6: Theatre Lock Invoice collectible

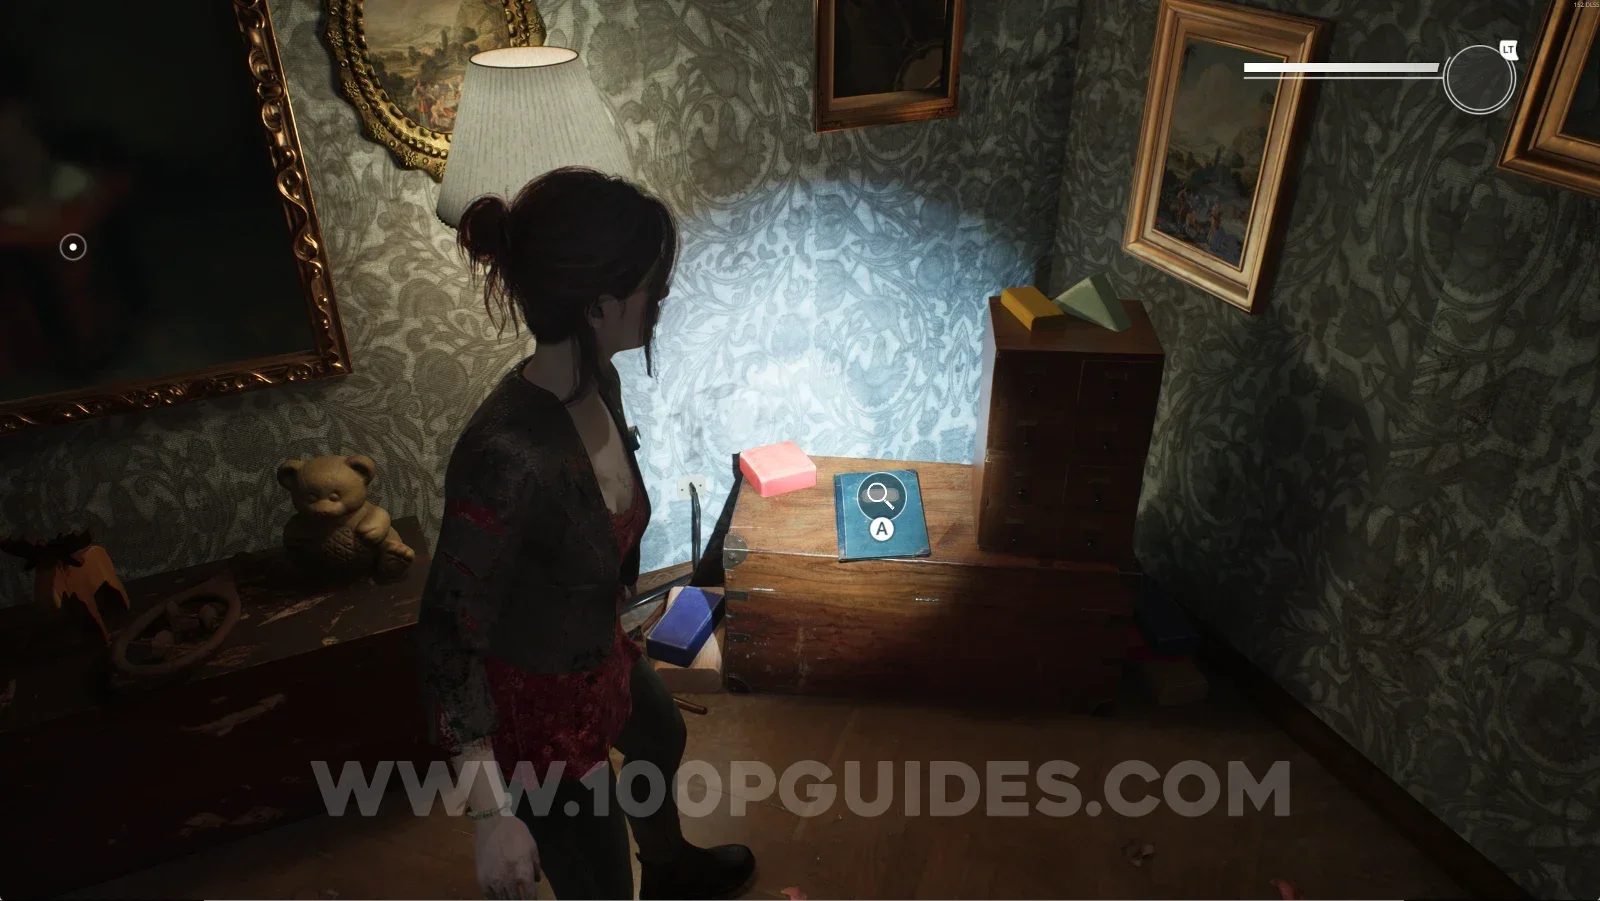
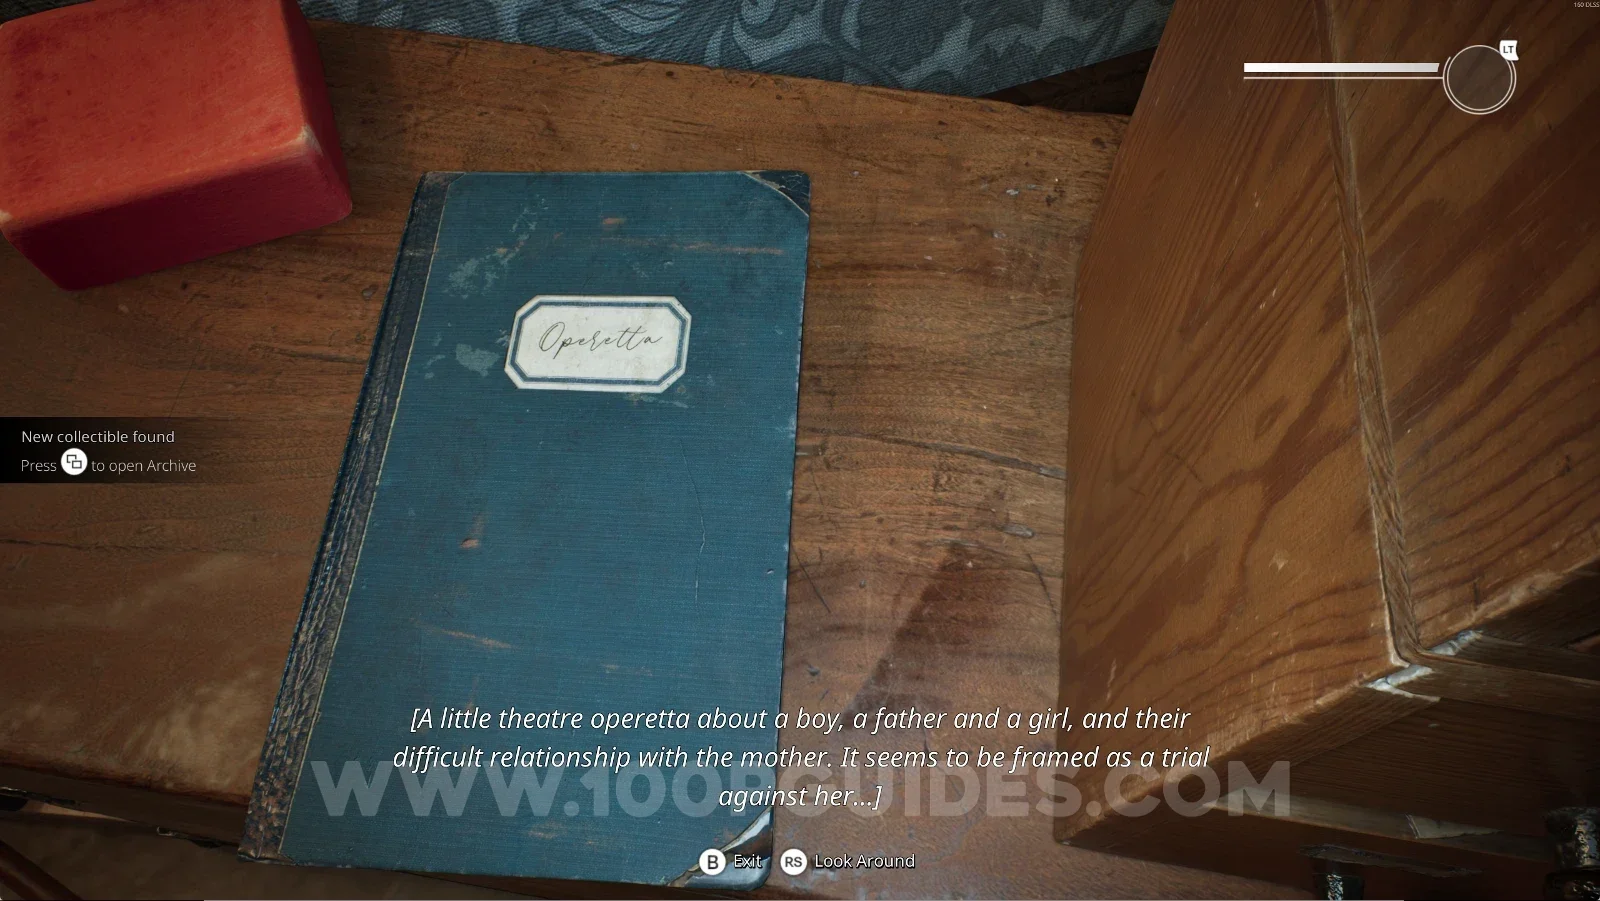
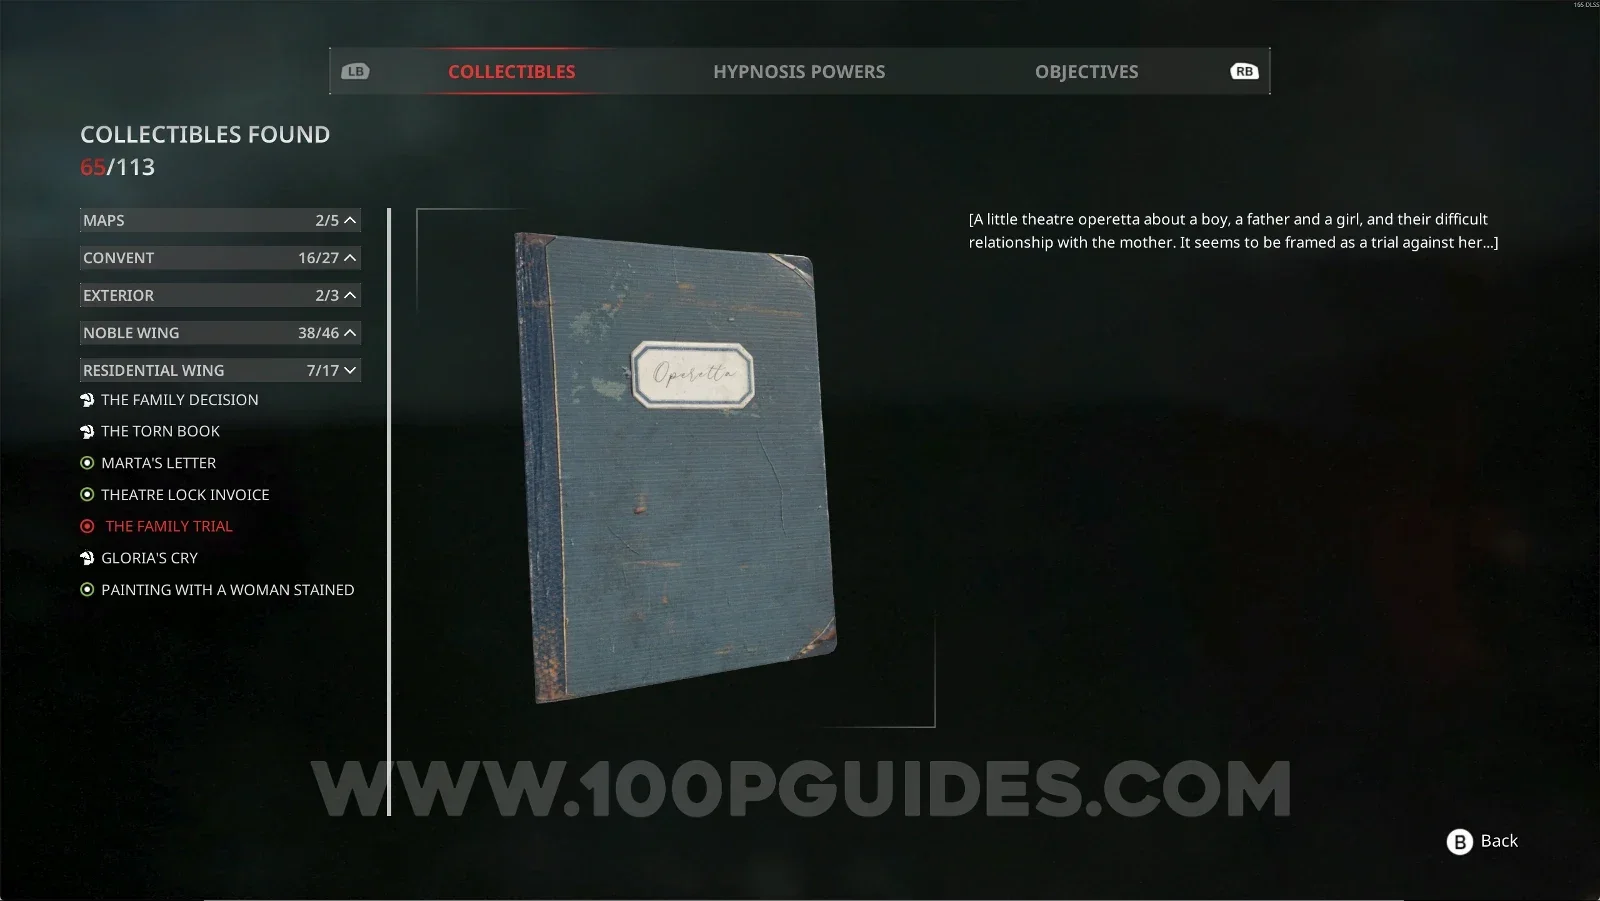
Residential Wing #7: The Family Trial

In the box on the left side, after you've revealed it.

Remothered: Red Nuns Legacy Residential Wing: the revealed box on the left side Remothered: Red Nuns Legacy: The Family Trial inside the revealed box Remothered: Red Nuns Legacy Residential Wing #7: The Family Trial collectible

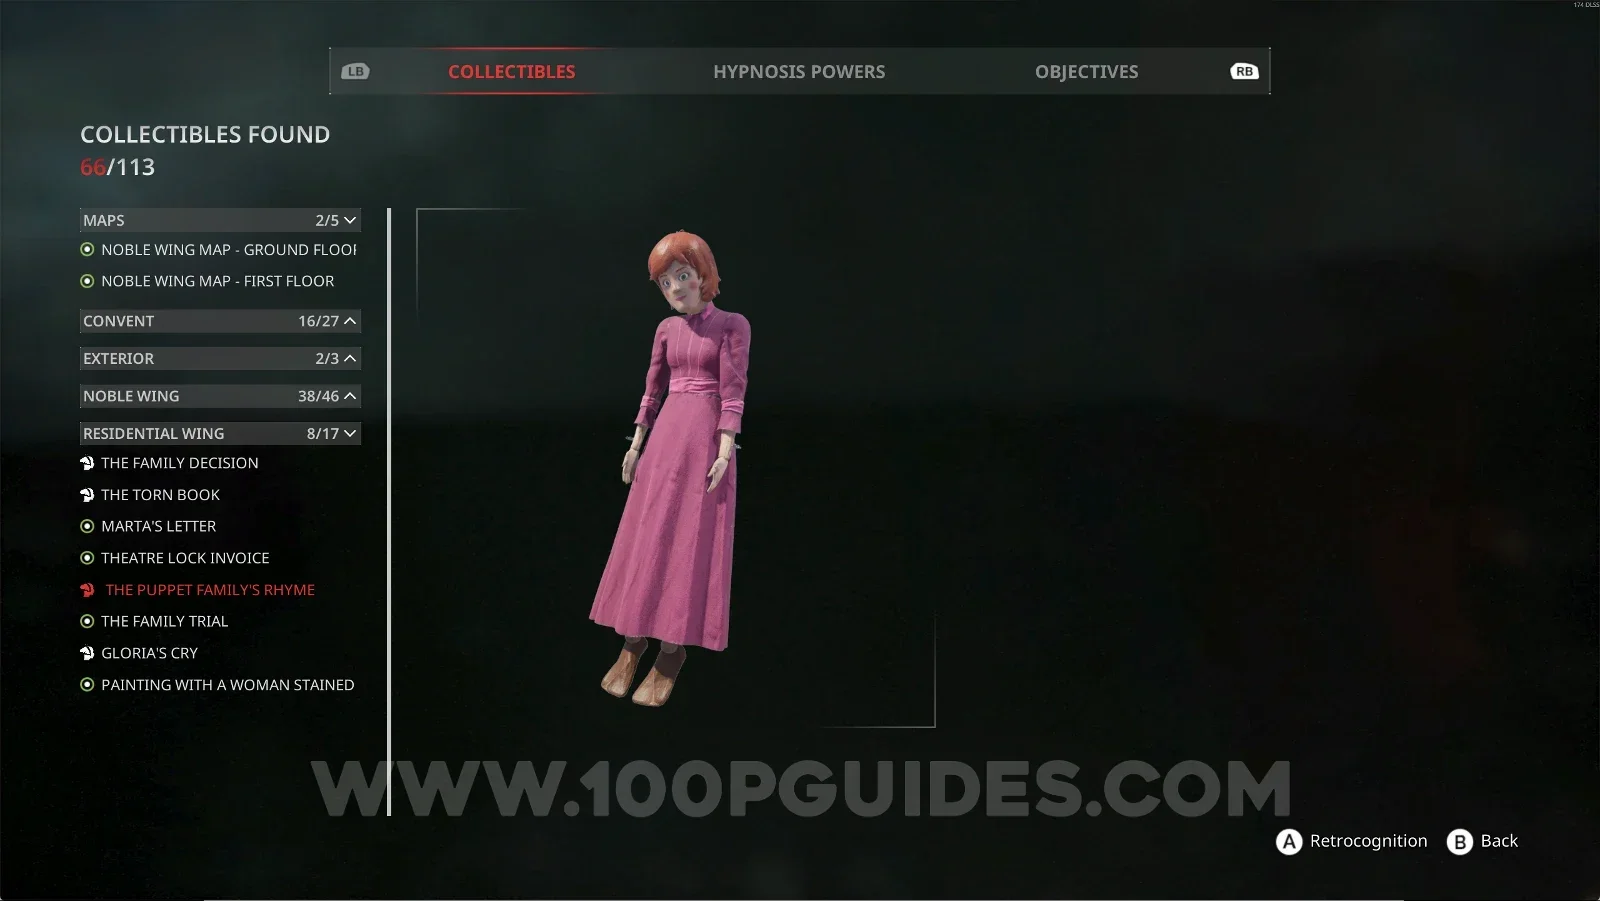
Residential Wing #8: The Puppet Family's Rhyme

Next to the doll you revealed.

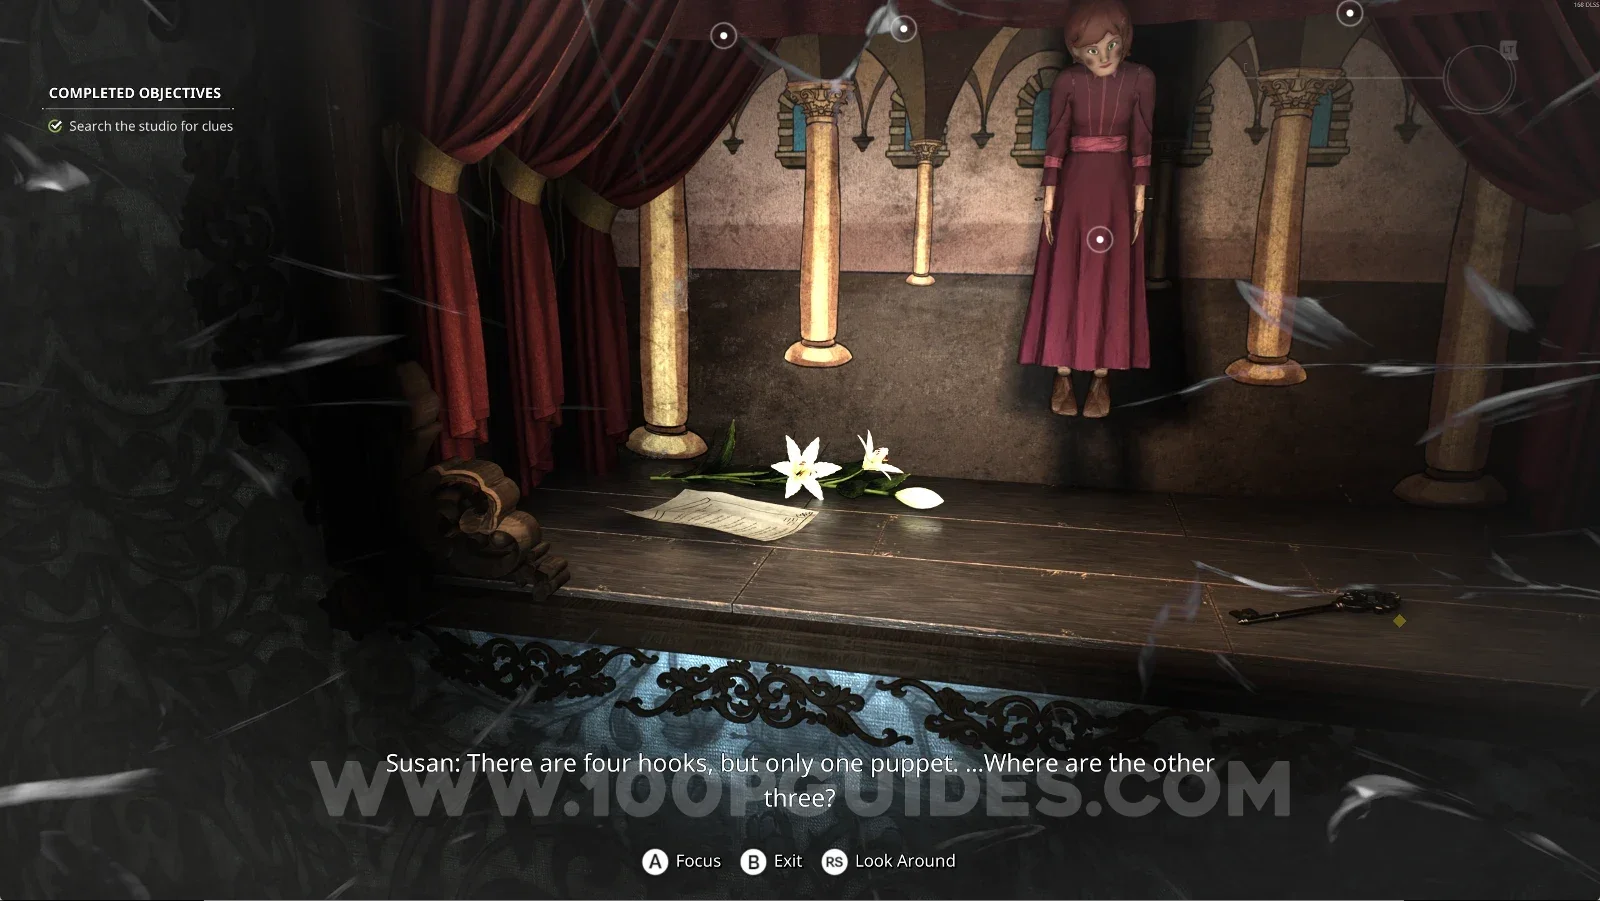
Remothered: Red Nuns Legacy Residential Wing: the doll revealed with the painting Remothered: Red Nuns Legacy: The Puppet Family's Rhyme next to the revealed doll Remothered: Red Nuns Legacy Residential Wing #8: The Puppet Family's Rhyme collectible

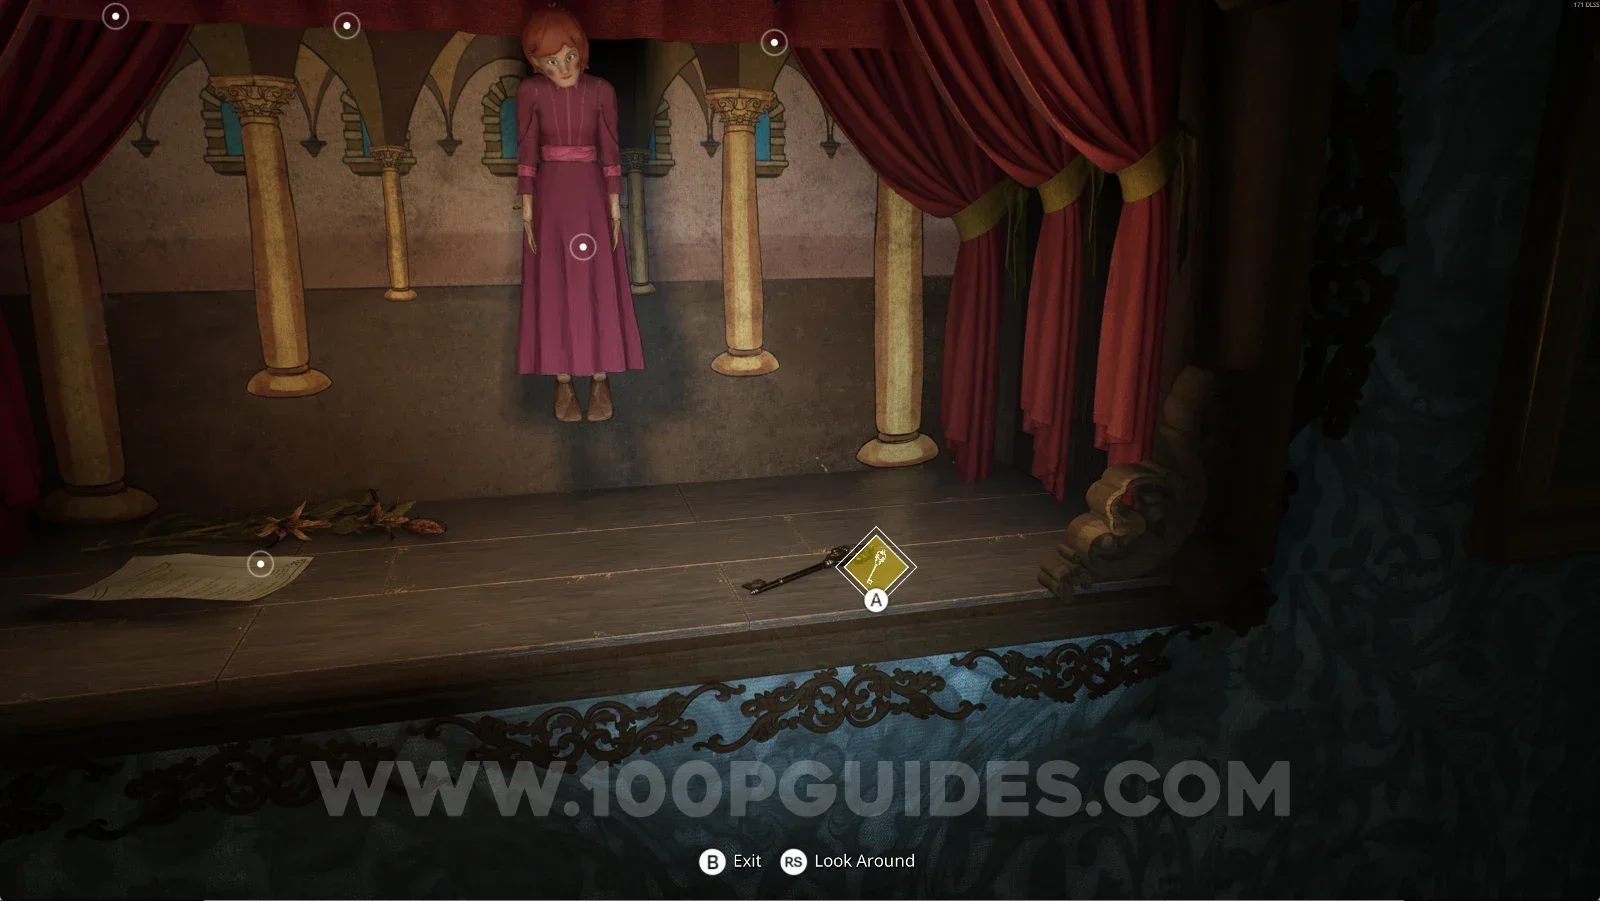
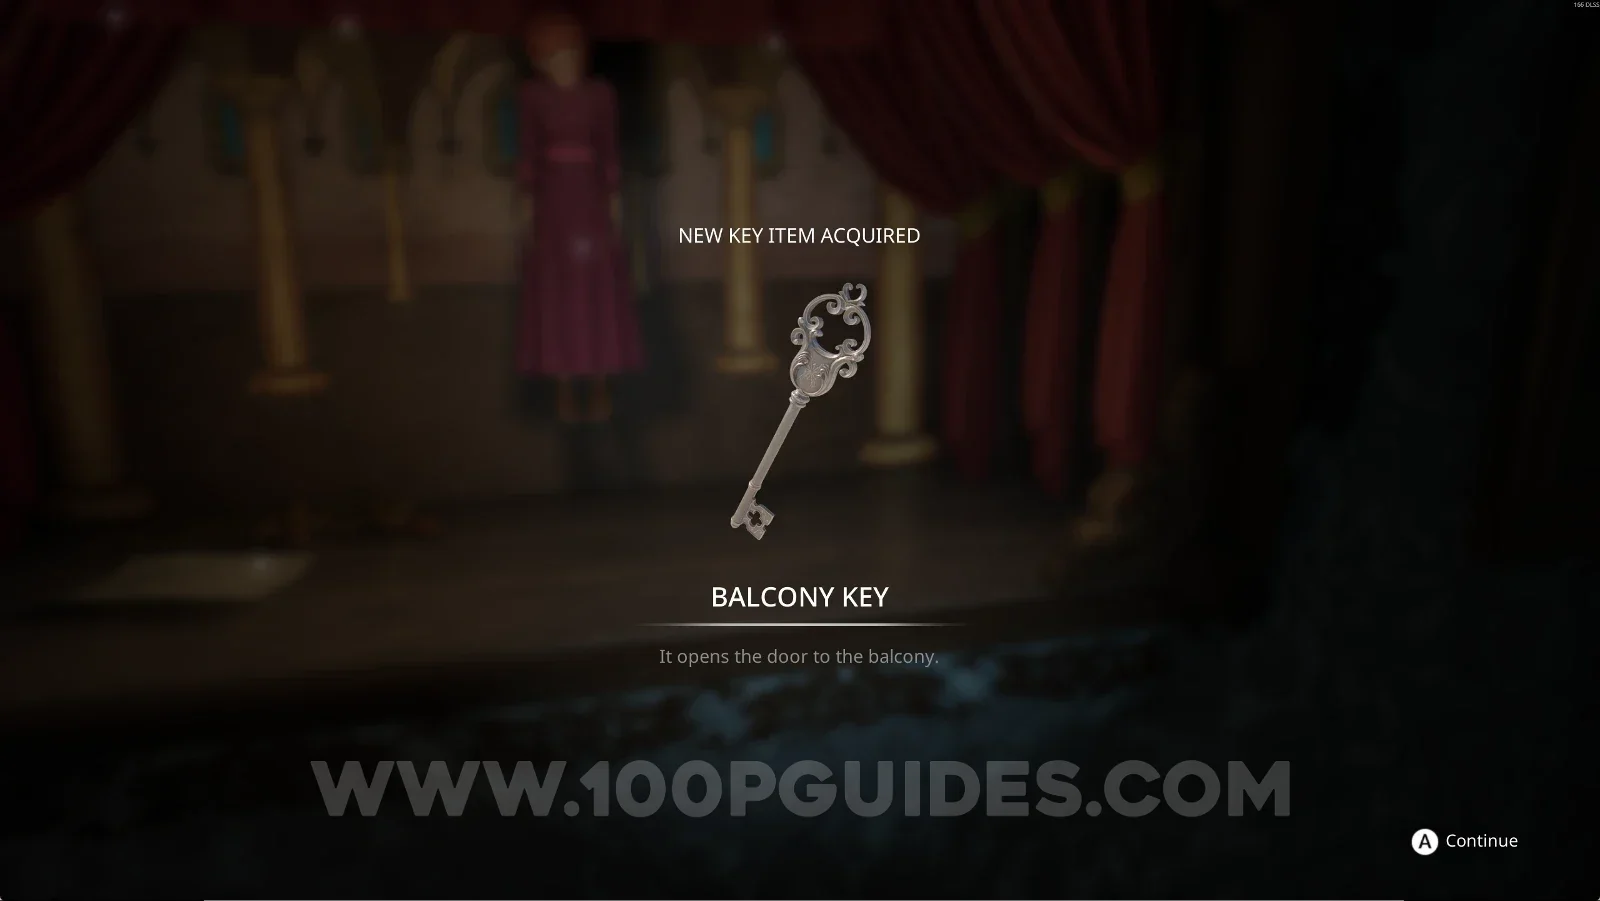
Key Item: Balcony Key

Next to the doll you revealed.

Remothered: Red Nuns Legacy: the Balcony Key next to the revealed doll Remothered: Red Nuns Legacy: picking up the Balcony Key key item

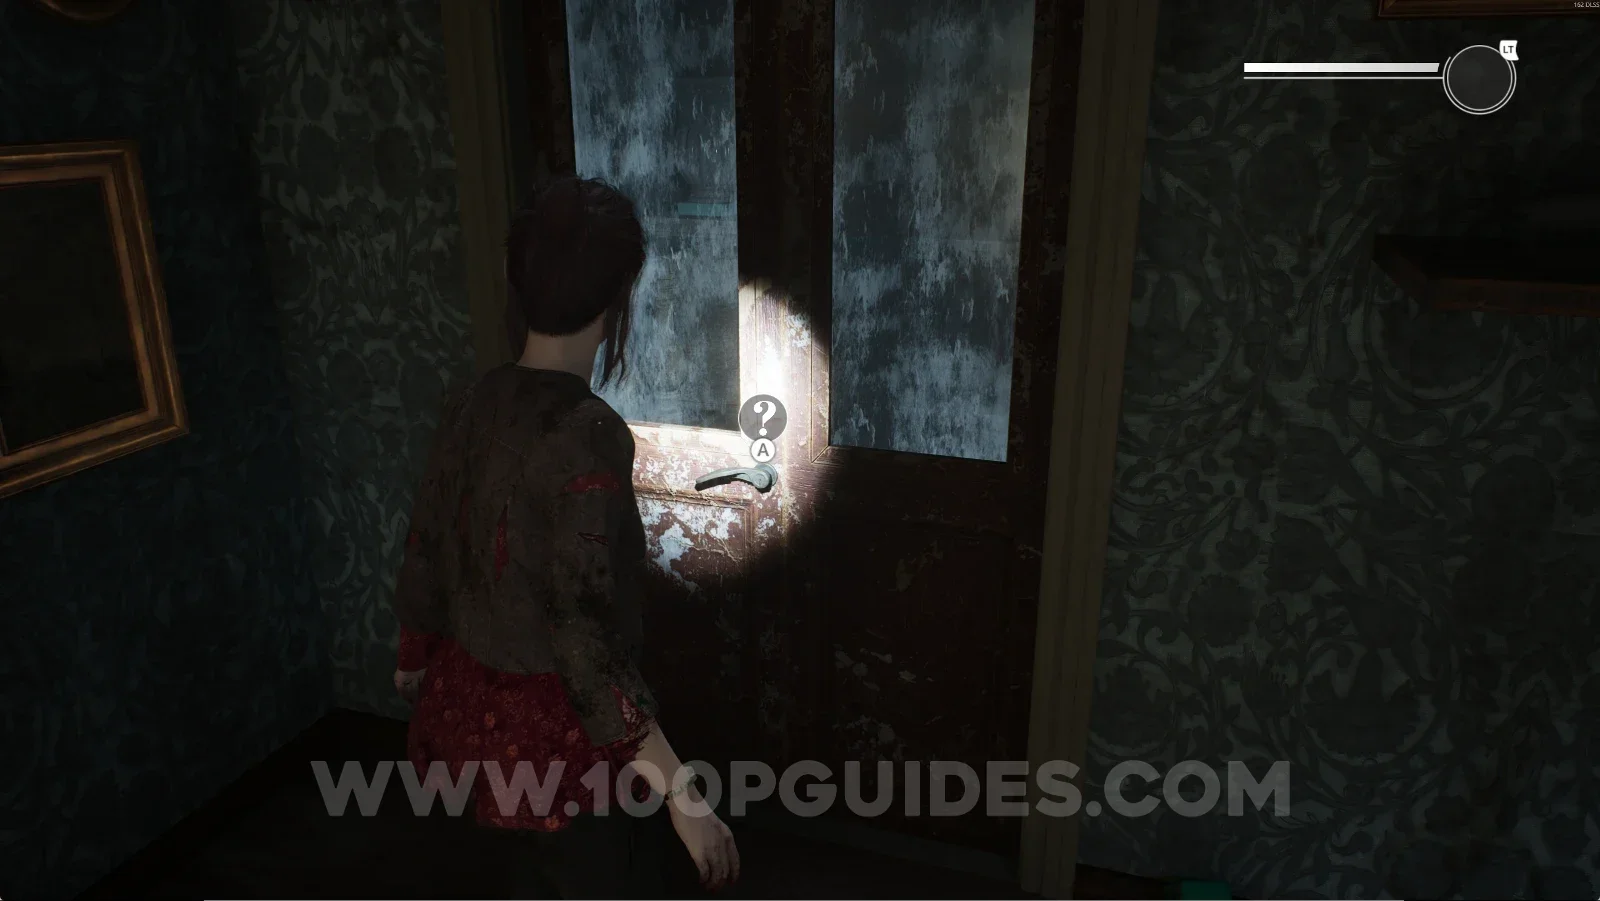
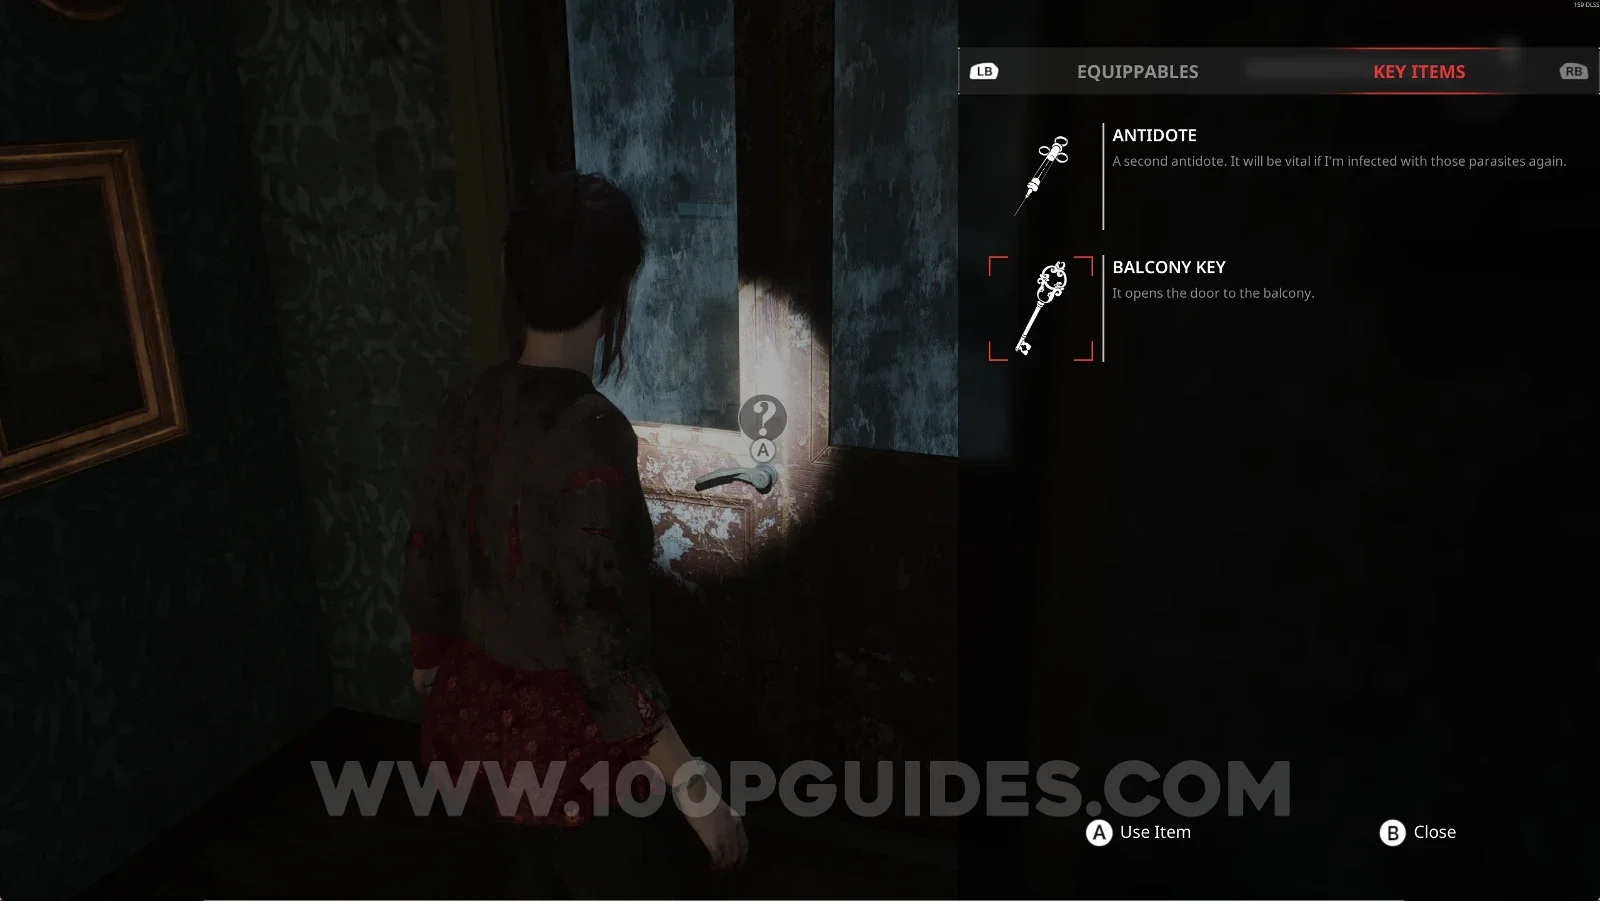
You can use the key on the door next to it.

Remothered: Red Nuns Legacy Residential Wing: the door next to the Balcony Key Remothered: Red Nuns Legacy: using the Balcony Key on the door next to it

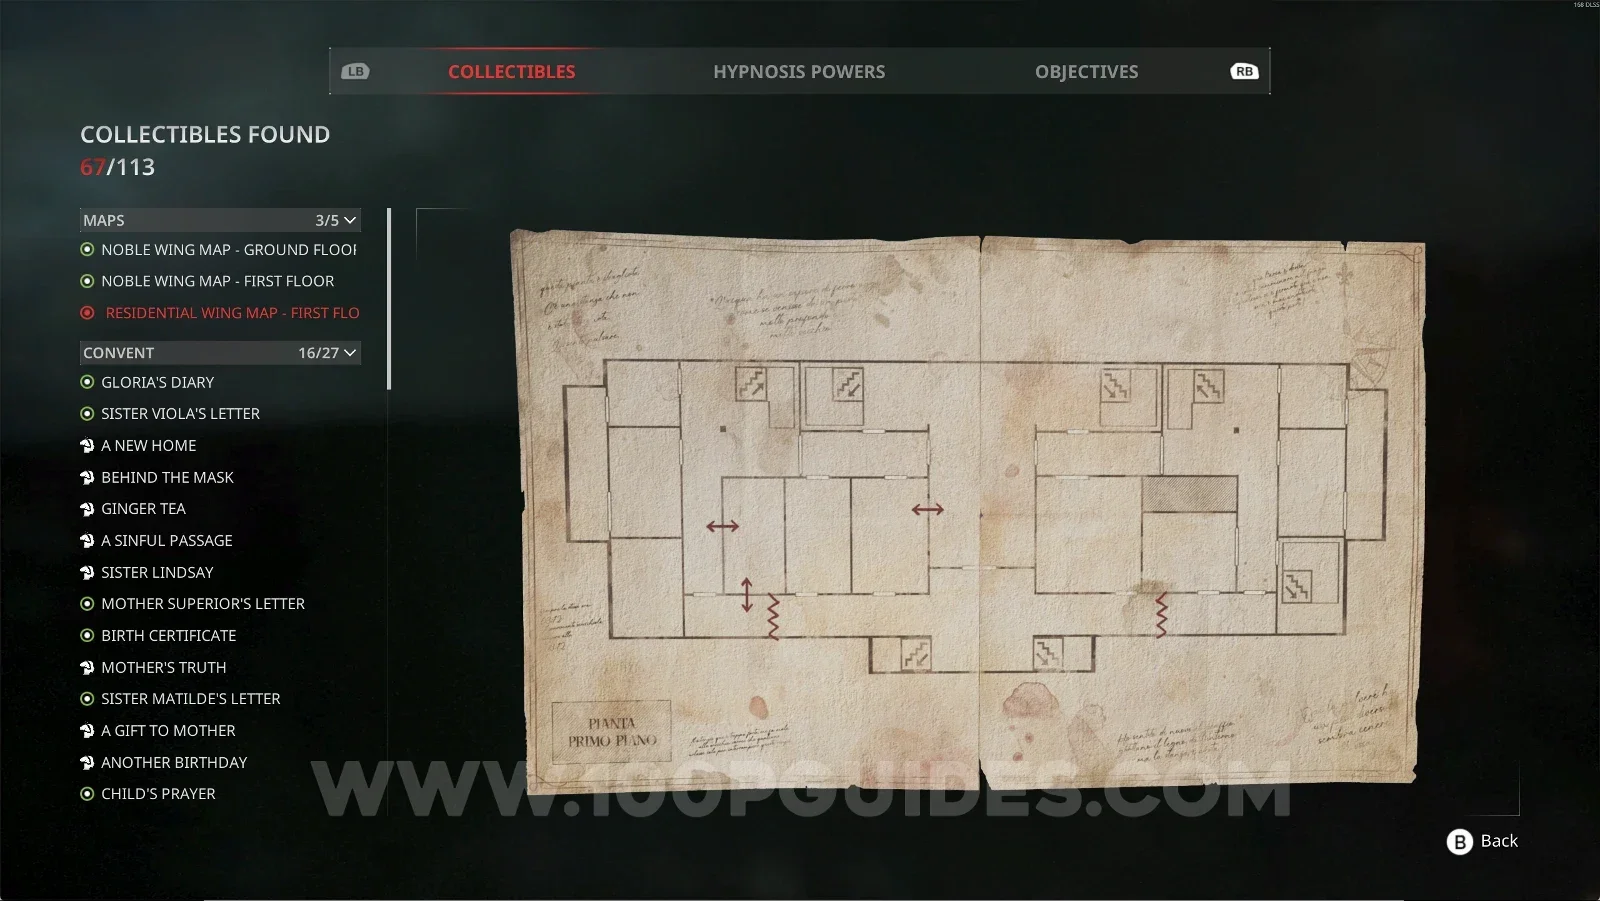
Map #3: Residential Wing Map - First Floor

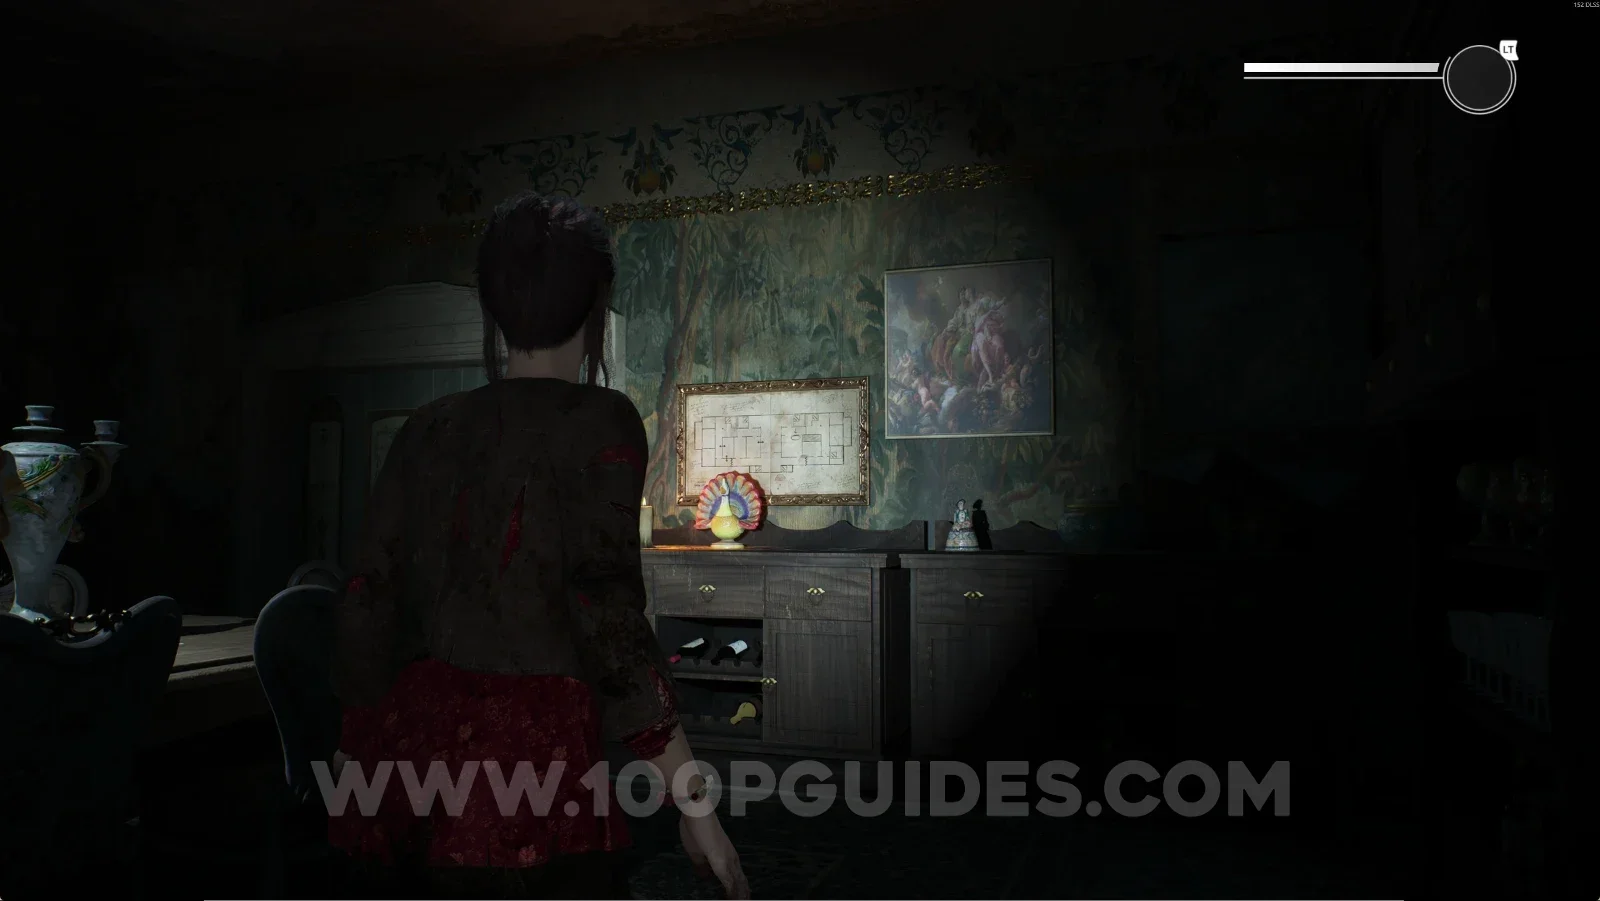
After going through the previous door, you'll see a short scene with the volcano. Then go back to the starting area next to the Metronome. You'll see a door on the right side that you can now access. Go through it and follow it to the end to reach the balcony. From the balcony, go straight ahead and enter the only open door on the left side (near the end of the area). You'll reach the dining room, which has this map.

Remothered: Red Nuns Legacy: the door on the right next to the Metronome, now open Remothered: Red Nuns Legacy Residential Wing: the balcony at the end of the path Remothered: Red Nuns Legacy: the only open door on the left side of the balcony Remothered: Red Nuns Legacy Map #3: Residential Wing Map First Floor collectible

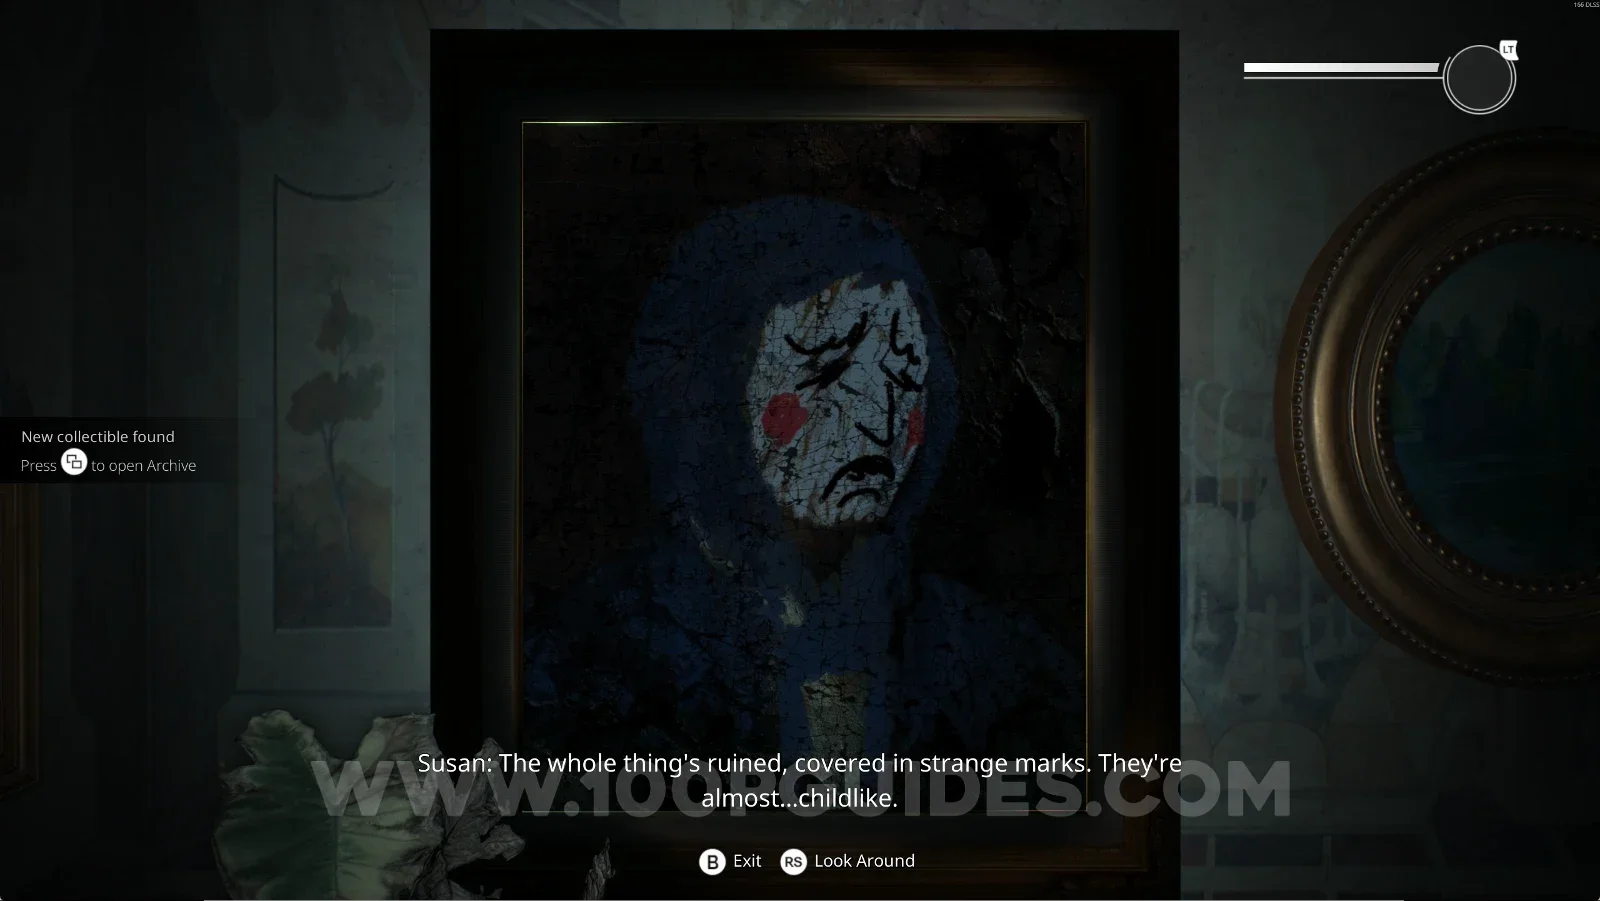
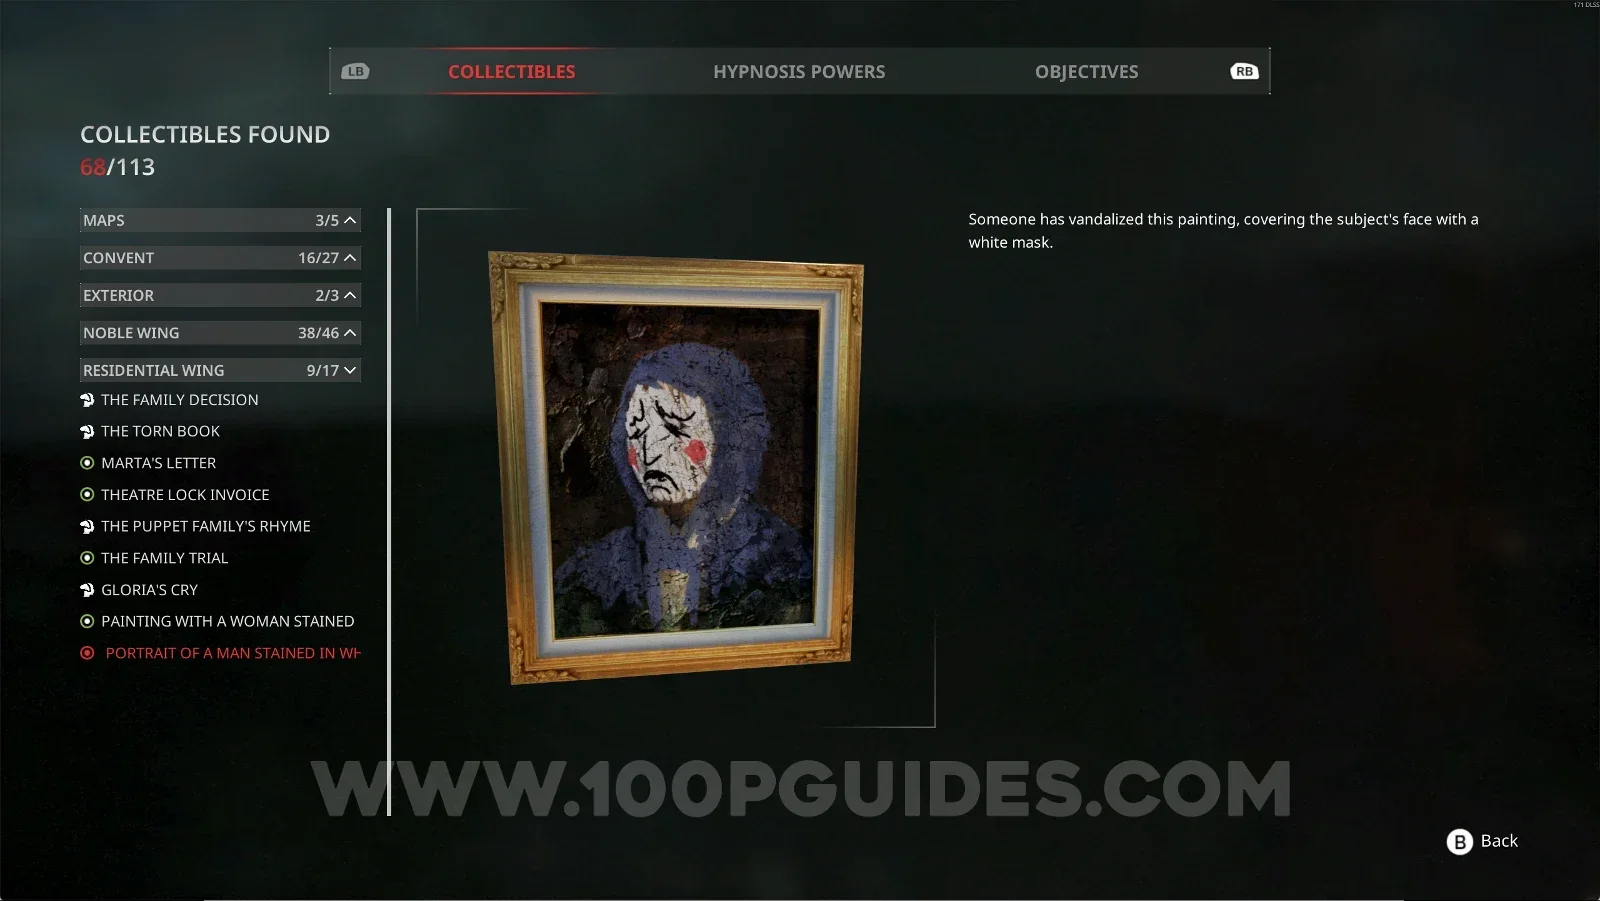
Residential Wing #9: Portrait Of A Man Stained In White

After leaving the dining room, you'll see this painting right in front of you. Interact with it to get this collectible.

Remothered: Red Nuns Legacy Residential Wing: leaving the dining room Remothered: Red Nuns Legacy: the Portrait Of A Man Stained In White outside the dining room Remothered: Red Nuns Legacy Residential Wing #9: Portrait Of A Man Stained In White

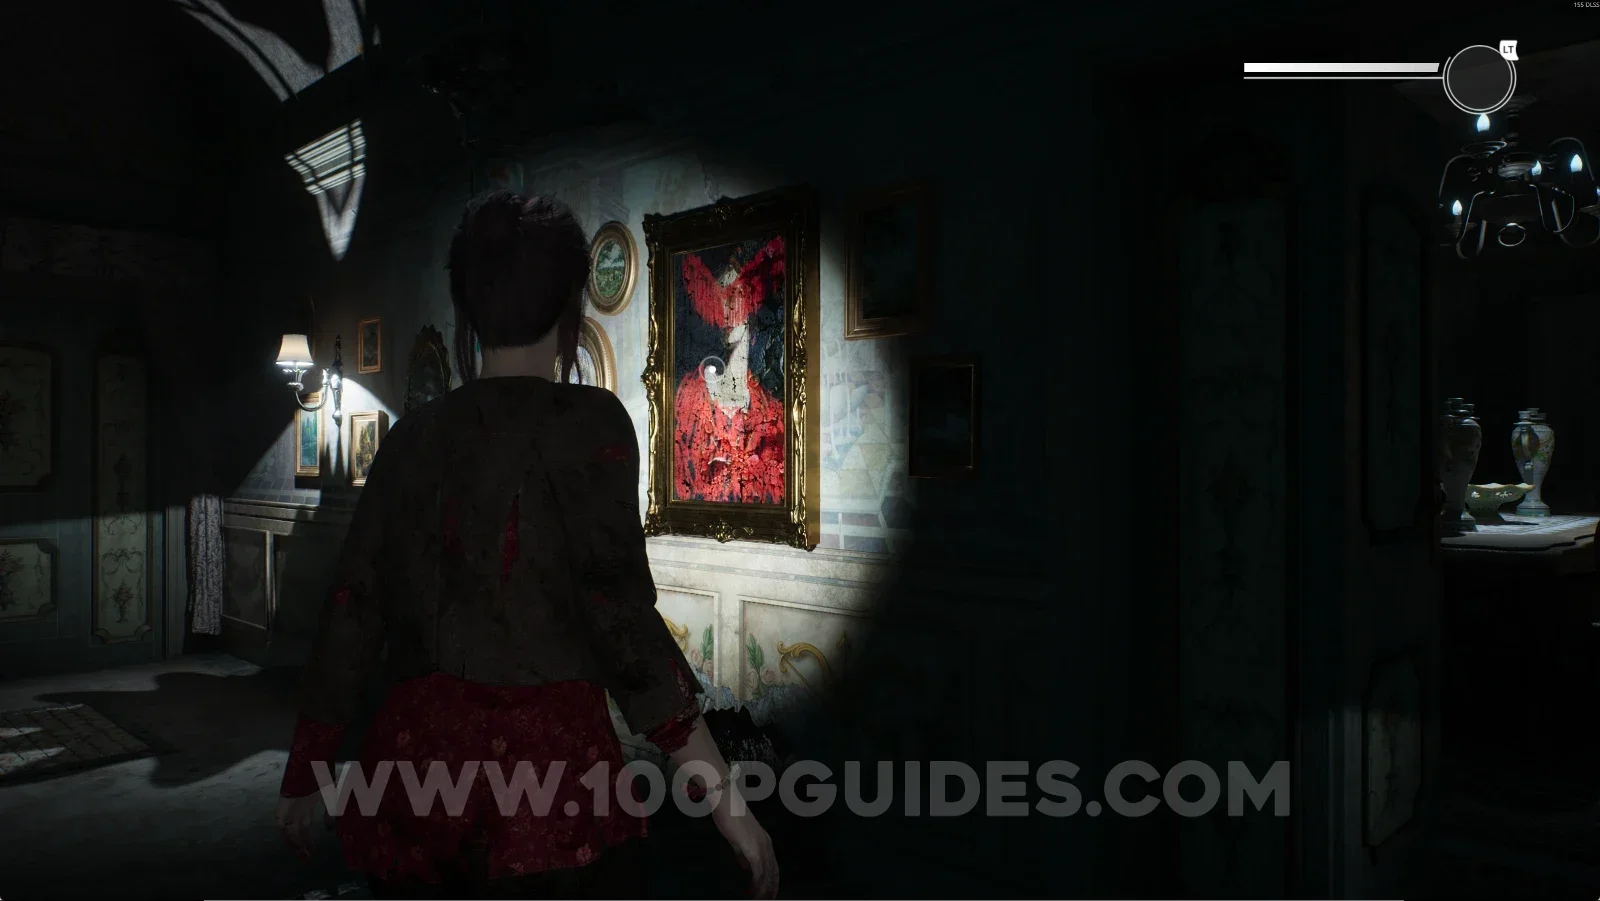
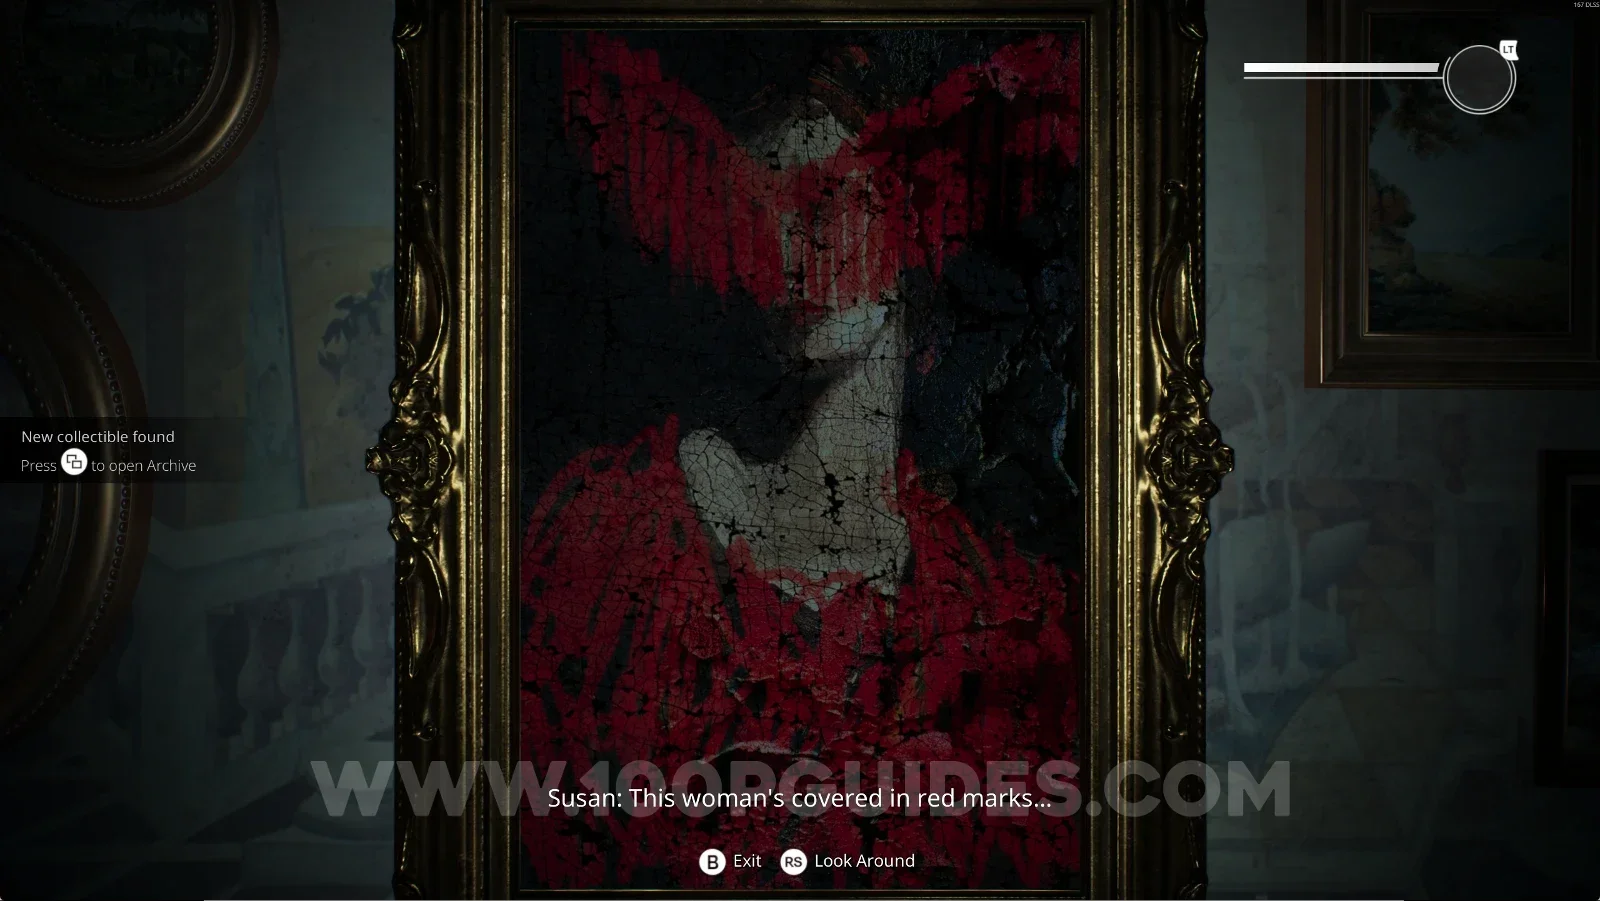
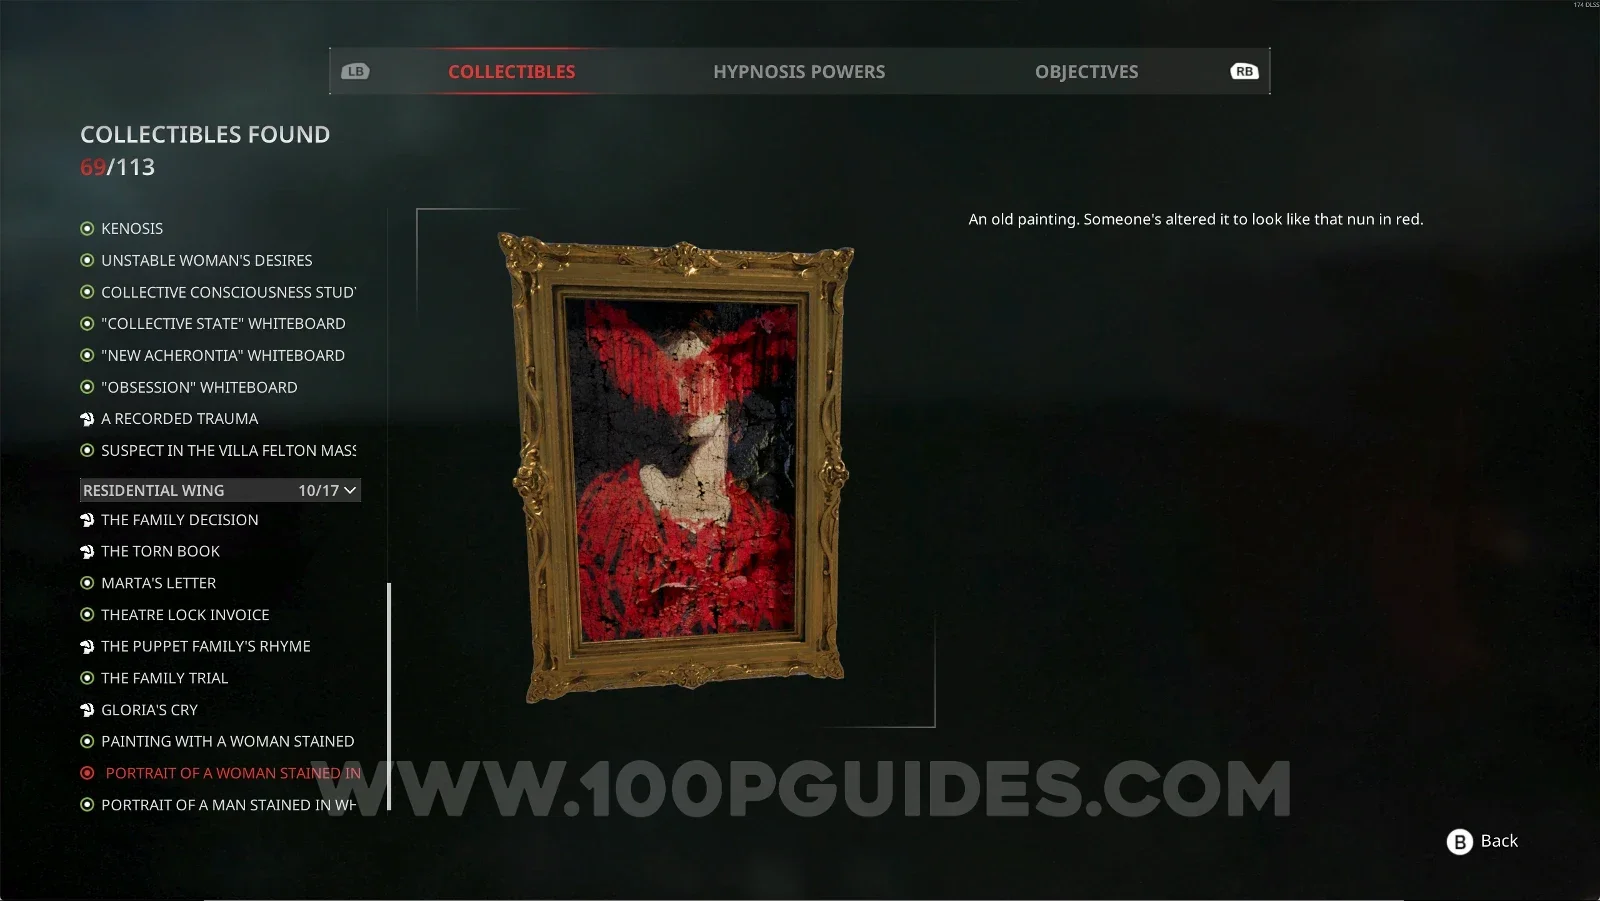
Residential Wing #10: Portrait Of A Woman Stained In Red

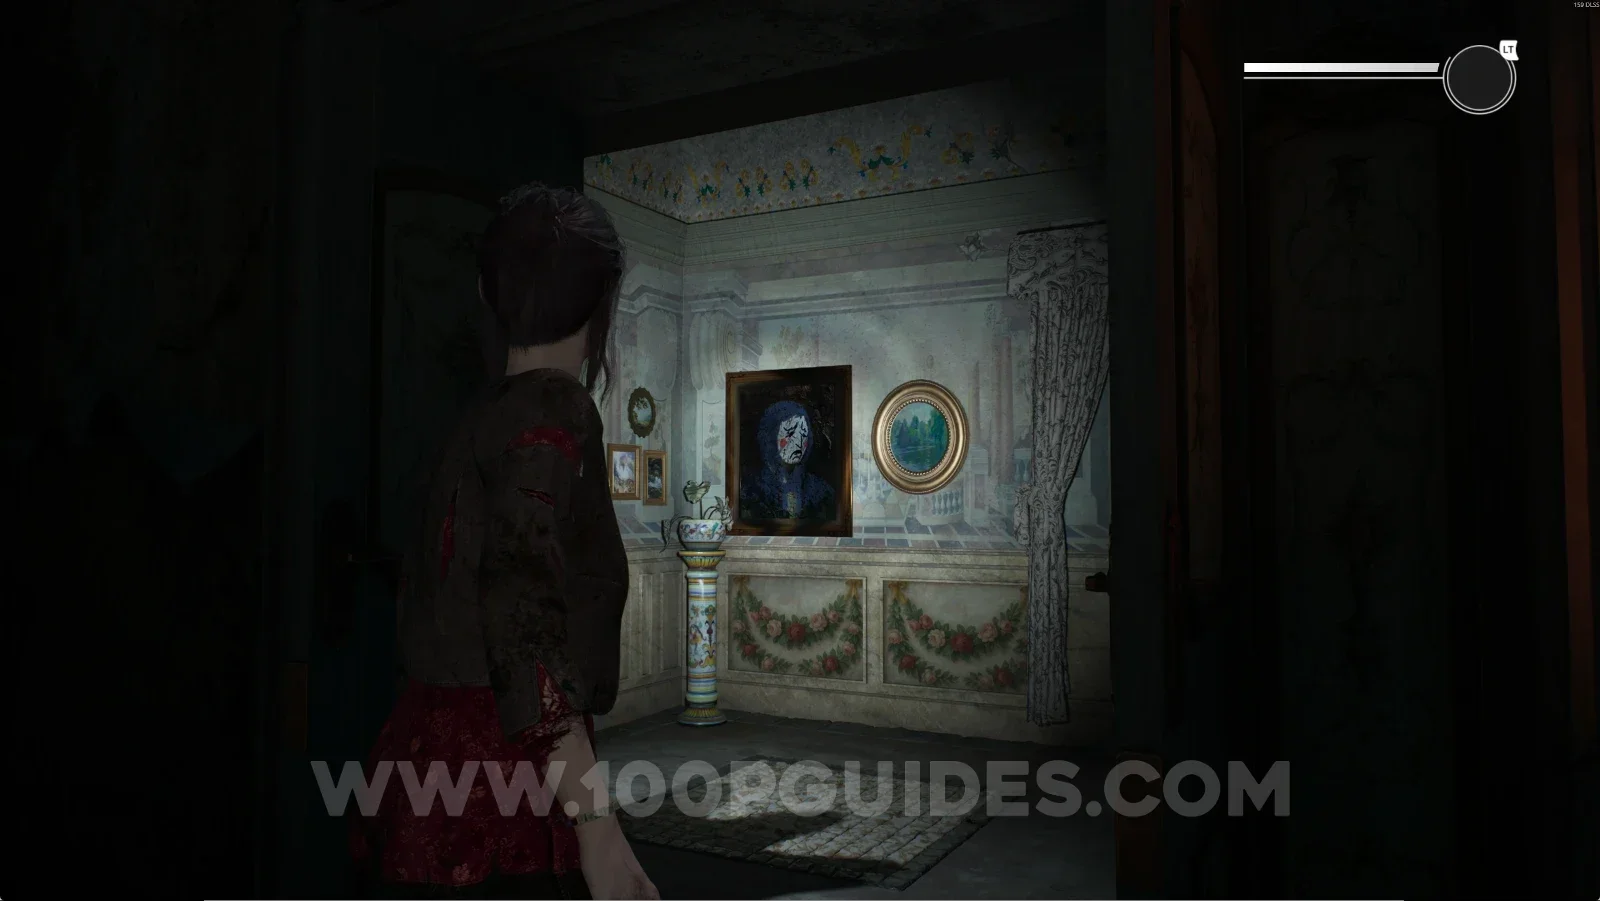
Turn around and you'll see another painting that also counts as a collectible. Interact with it to get it.

Remothered: Red Nuns Legacy Residential Wing: turning around from the first portrait Remothered: Red Nuns Legacy: the Portrait Of A Woman Stained In Red on the wall Remothered: Red Nuns Legacy Residential Wing #10: Portrait Of A Woman Stained In Red

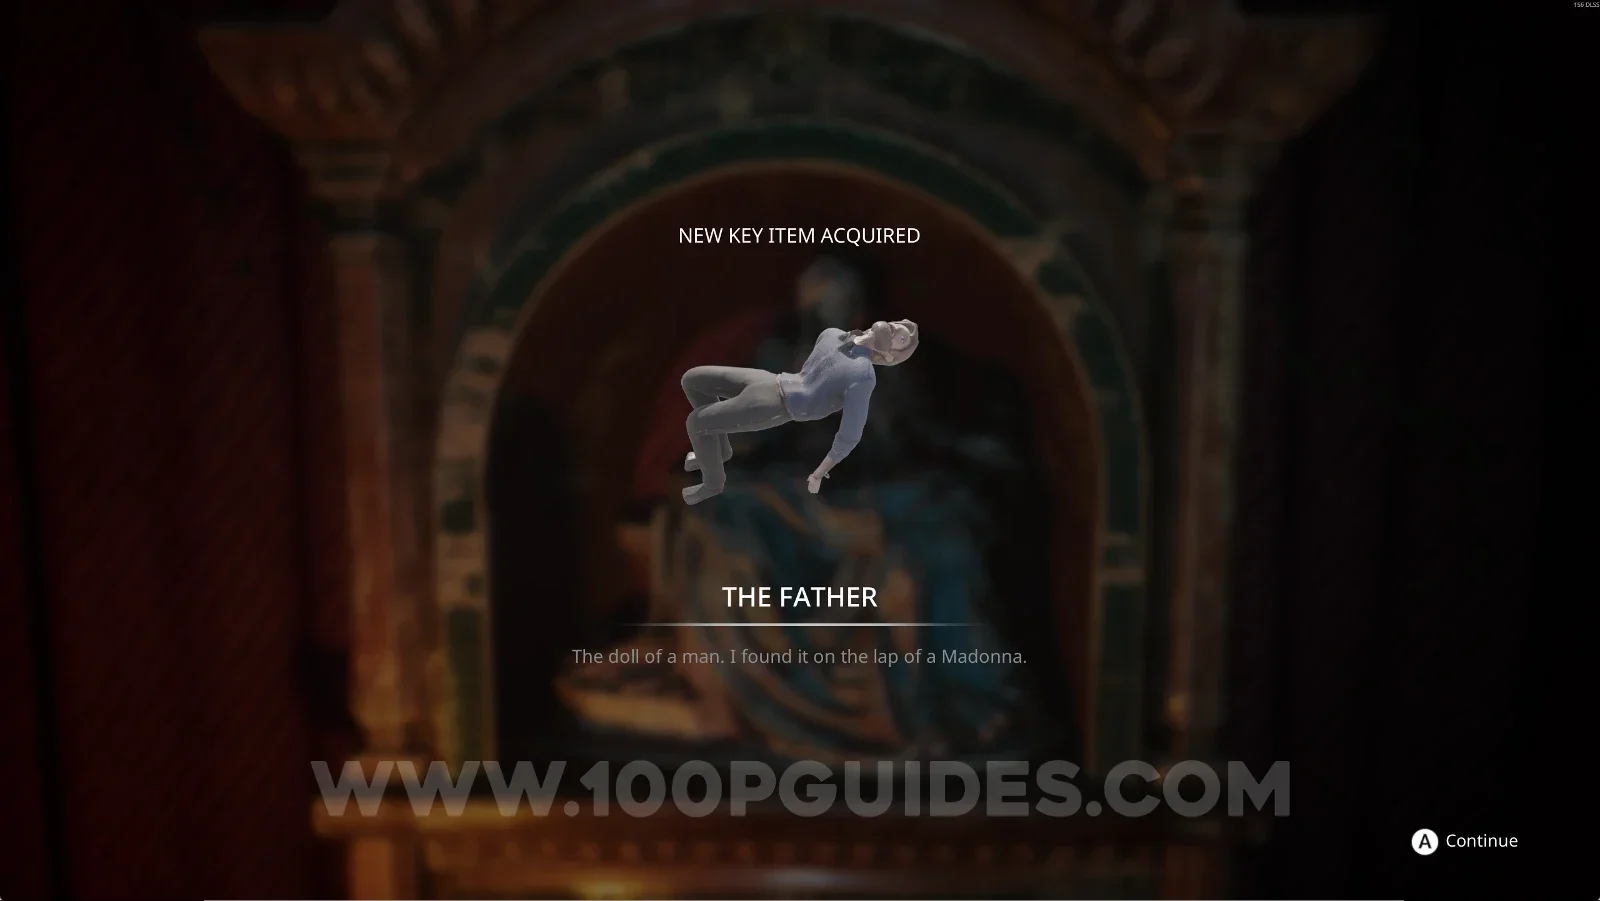
Key Item: The Father

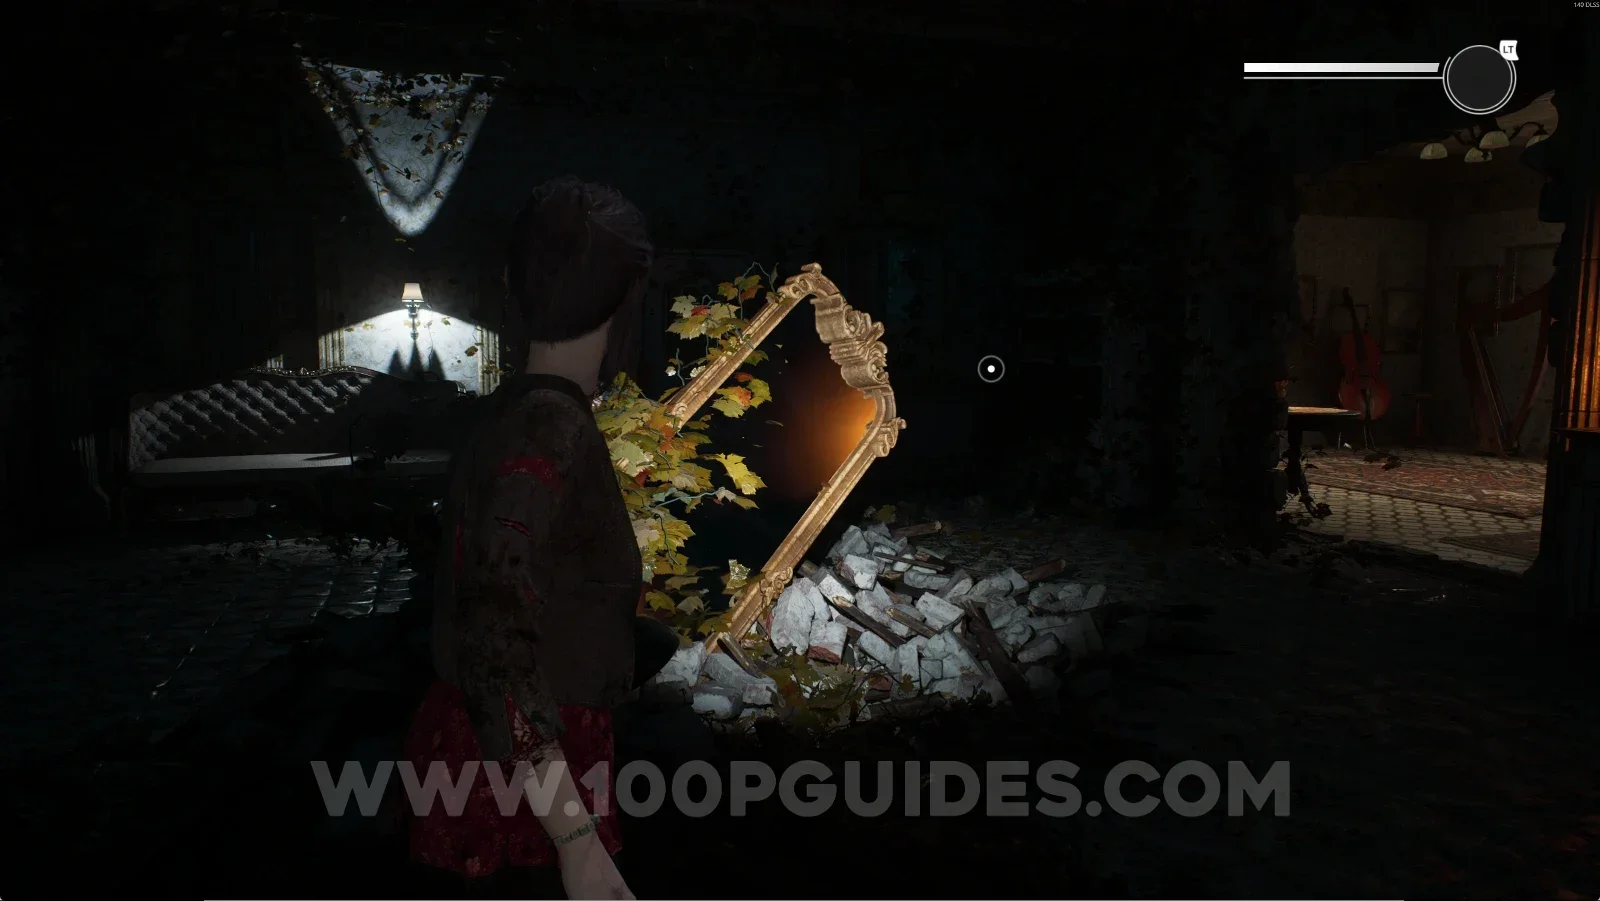
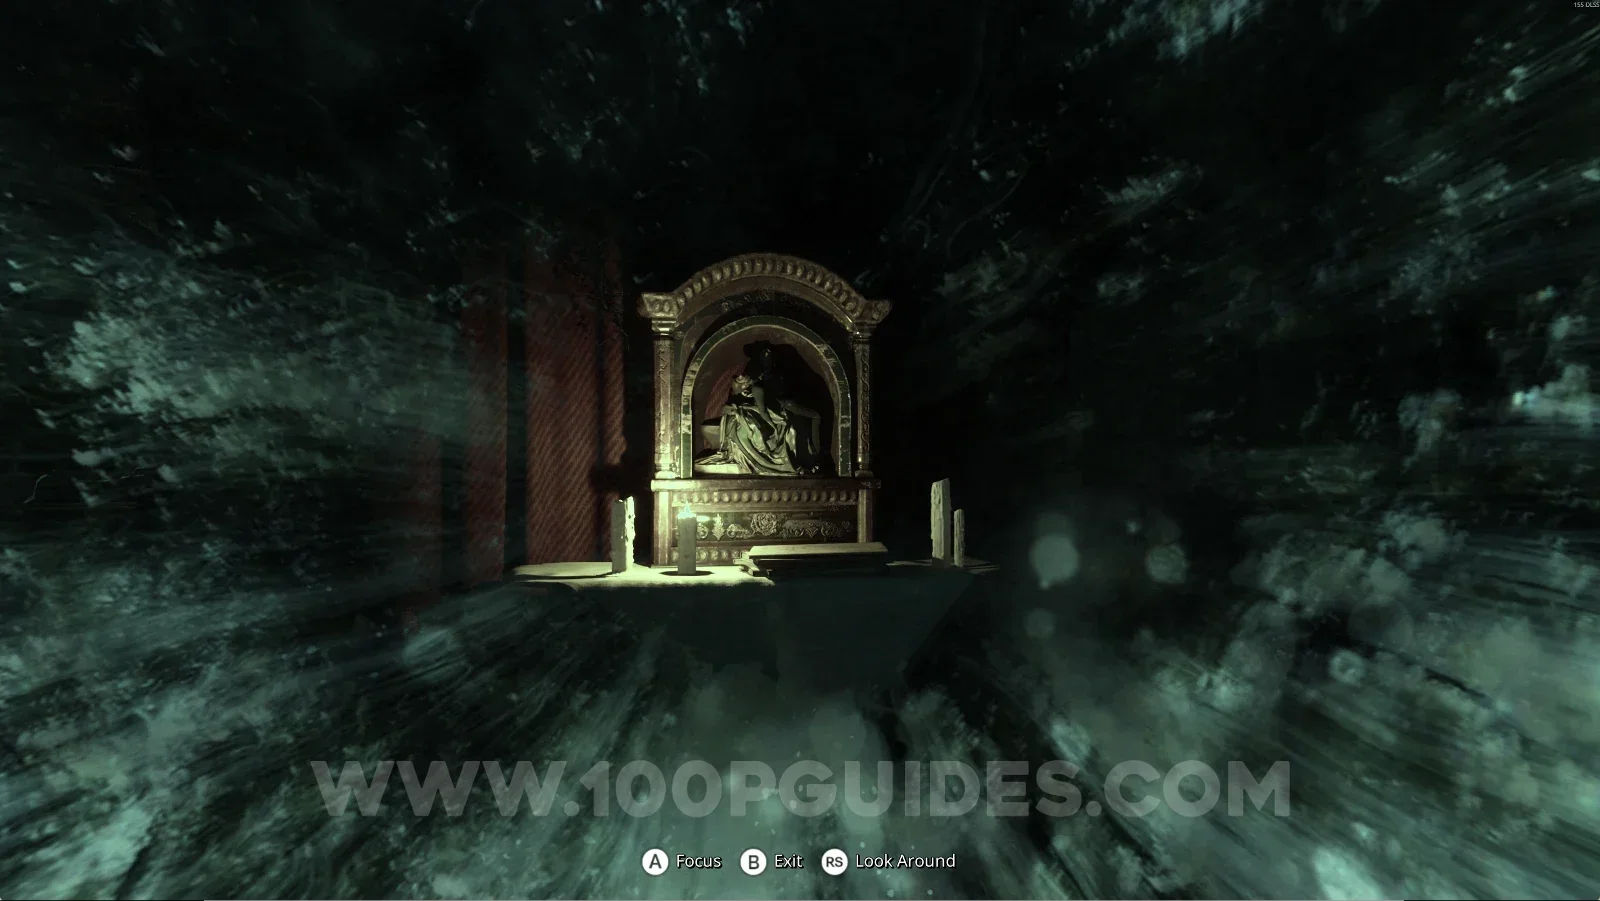
In the next room, next to the painting, you'll see a mirror lying in the middle of the room. Interact with it and then use your power on the right and left sides. After using your power, you can grab The Father doll right ahead, and a new weapon on the left side, though the weapon doesn't count as a collectible.

Remothered: Red Nuns Legacy Residential Wing: the mirror lying in the middle of the next room Remothered: Red Nuns Legacy: using the power on the right and left sides from the mirror Remothered: Red Nuns Legacy: The Father doll key item right ahead of the mirror

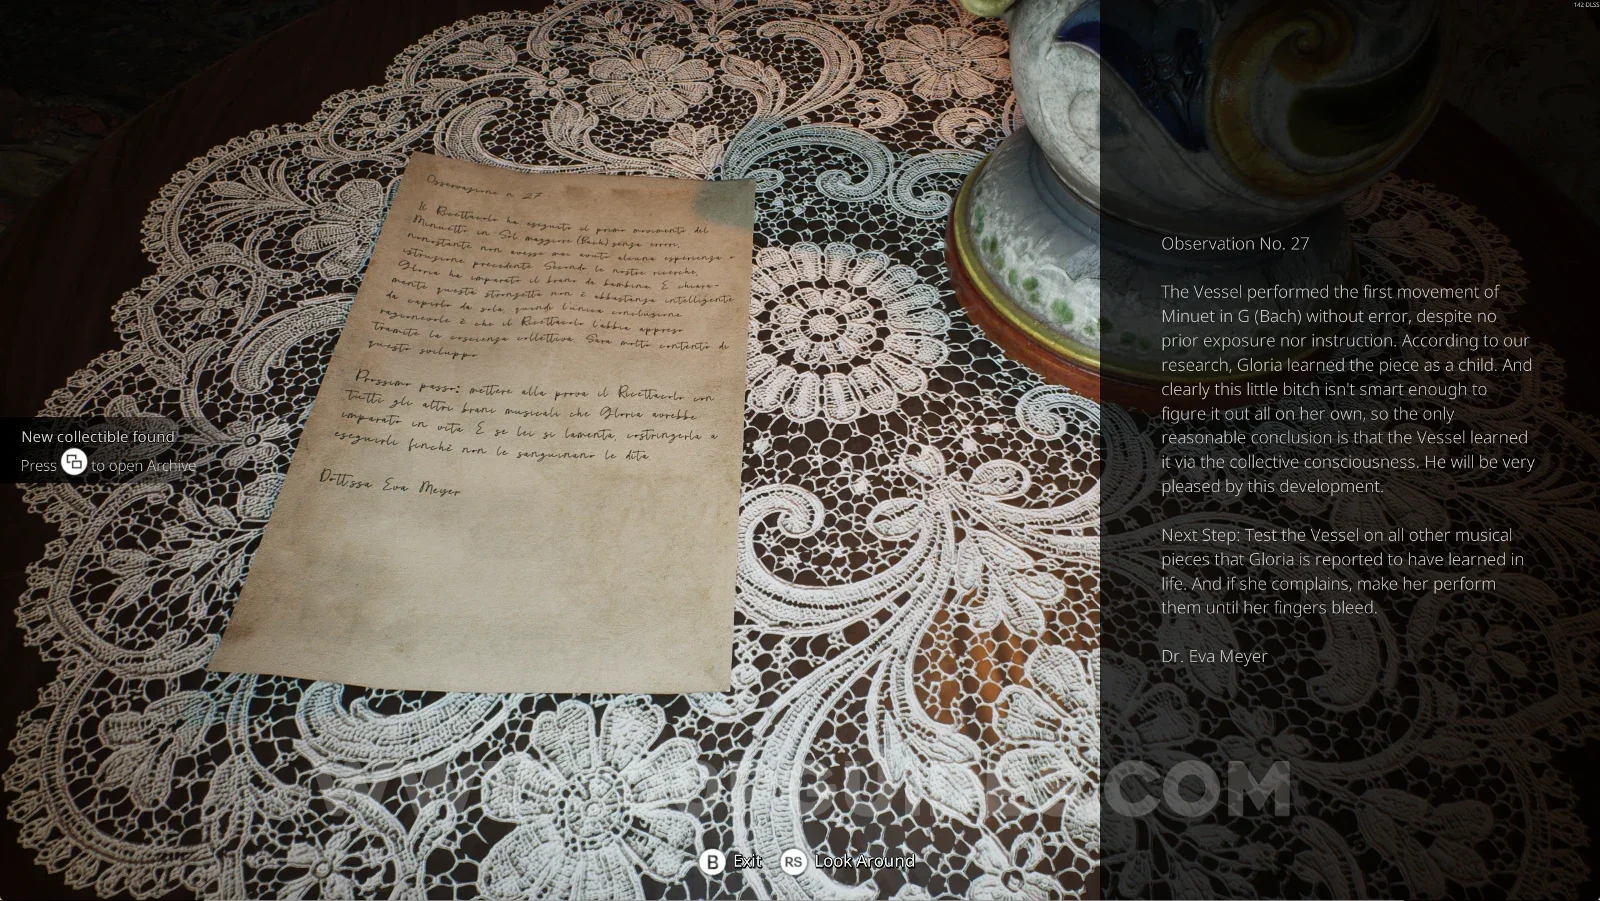
Residential Wing #11: Observation No. 27

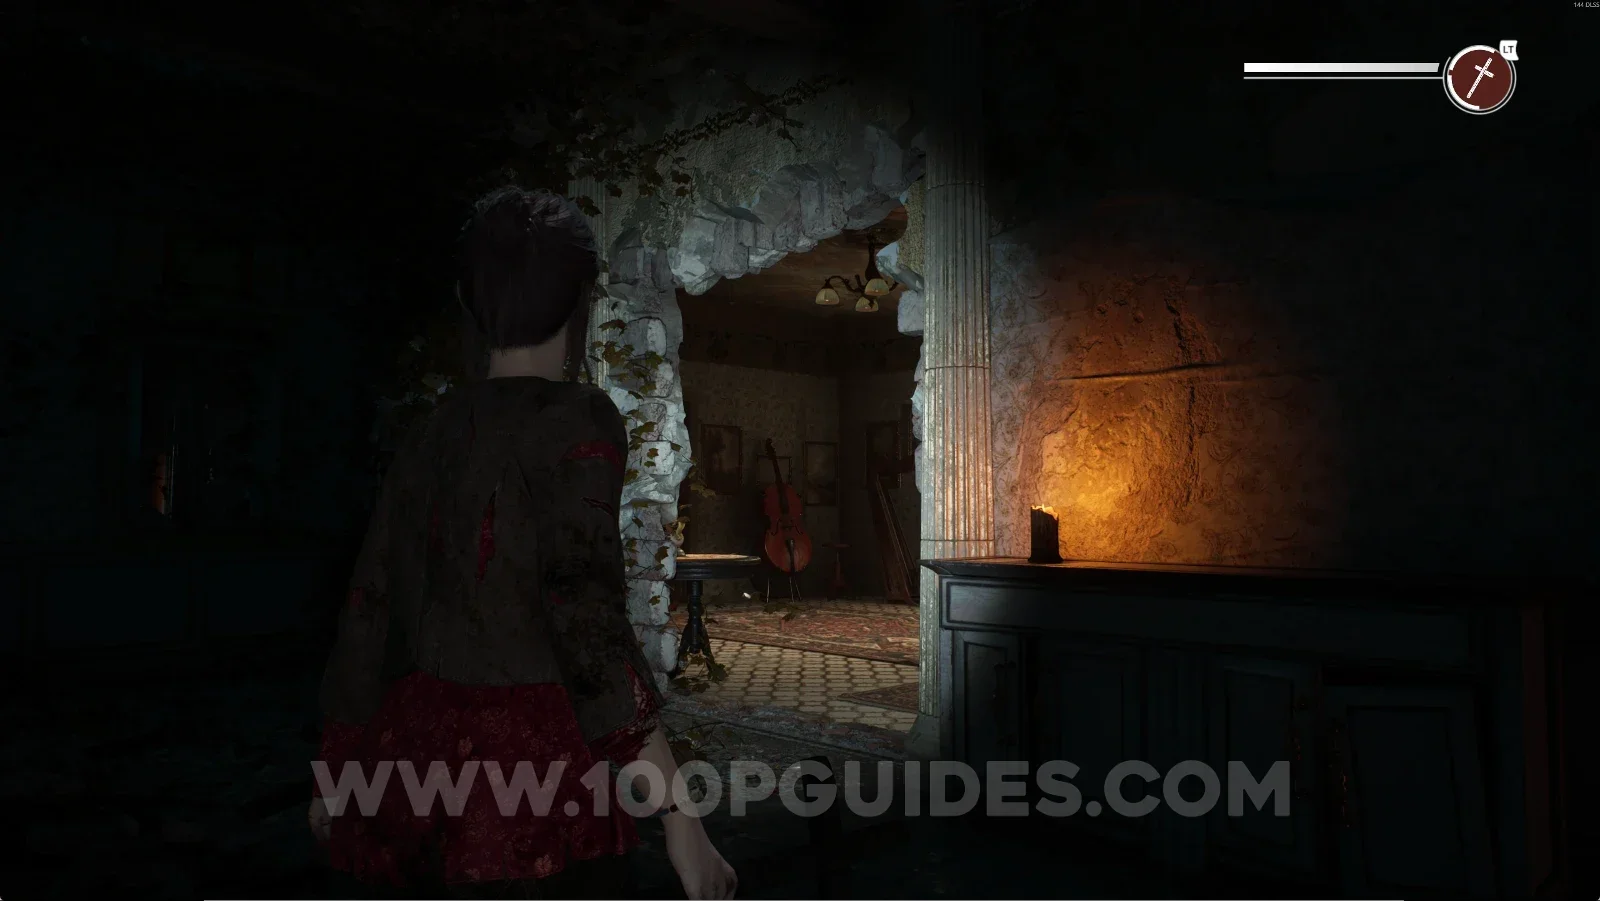
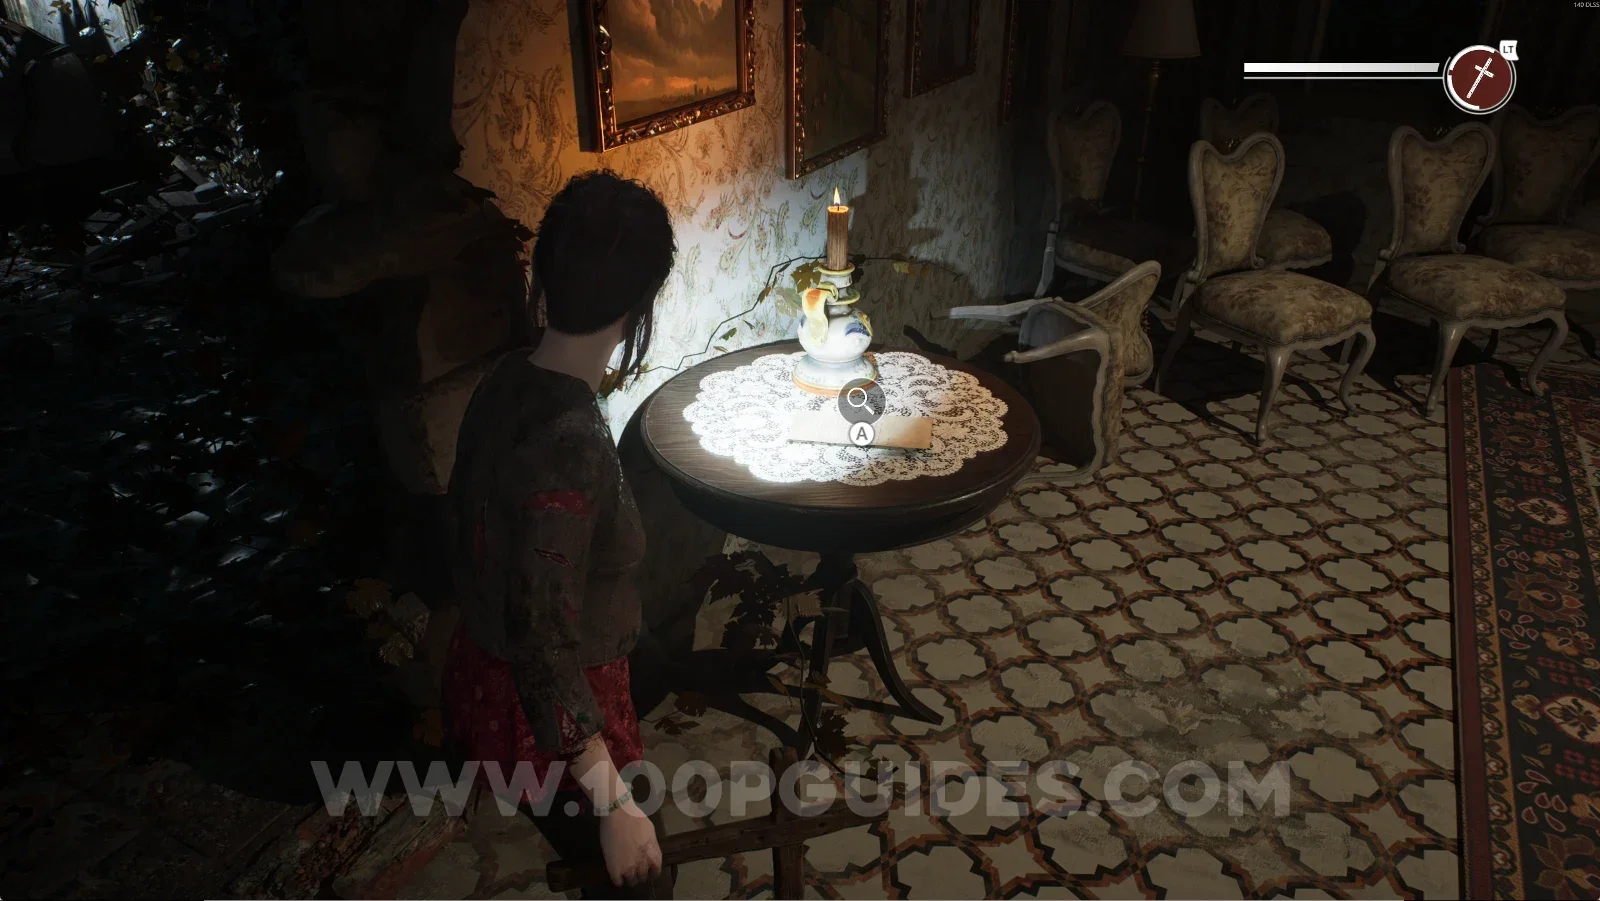
From the previous area, go through the big hole in the wall. On the left side, you'll find this letter on a table.

Remothered: Red Nuns Legacy Residential Wing: the big hole in the wall Remothered: Red Nuns Legacy: the letter on a table on the left past the hole, Observation No. 27 Remothered: Red Nuns Legacy Residential Wing #11: Observation No. 27 collectible

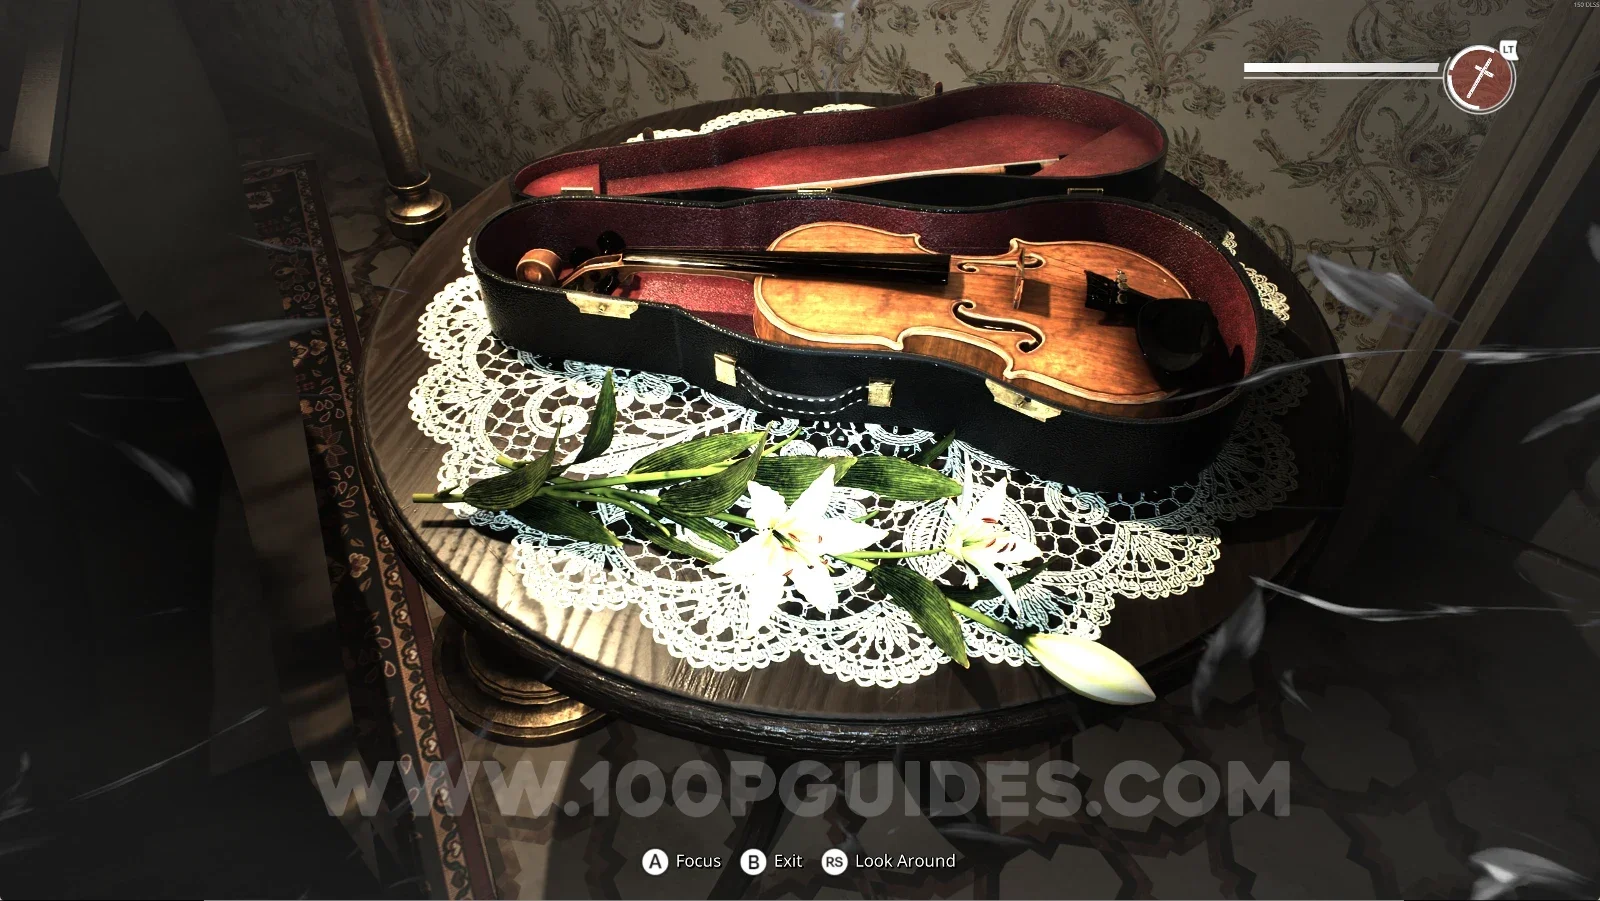
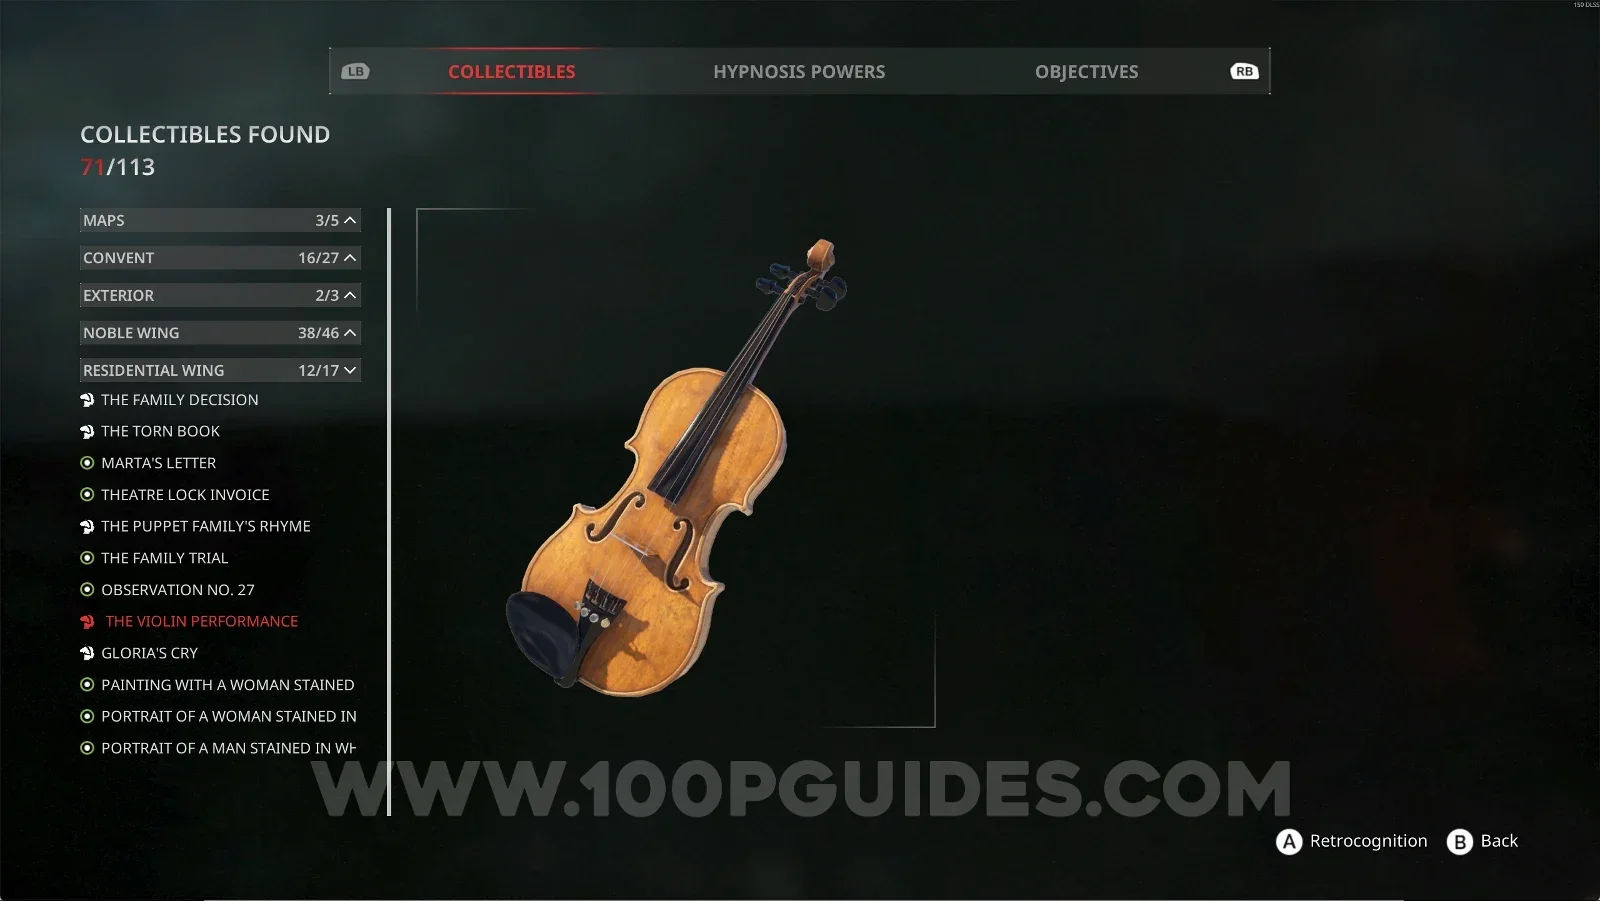
Residential Wing #12: The Violin Performance + Retrocognition #22

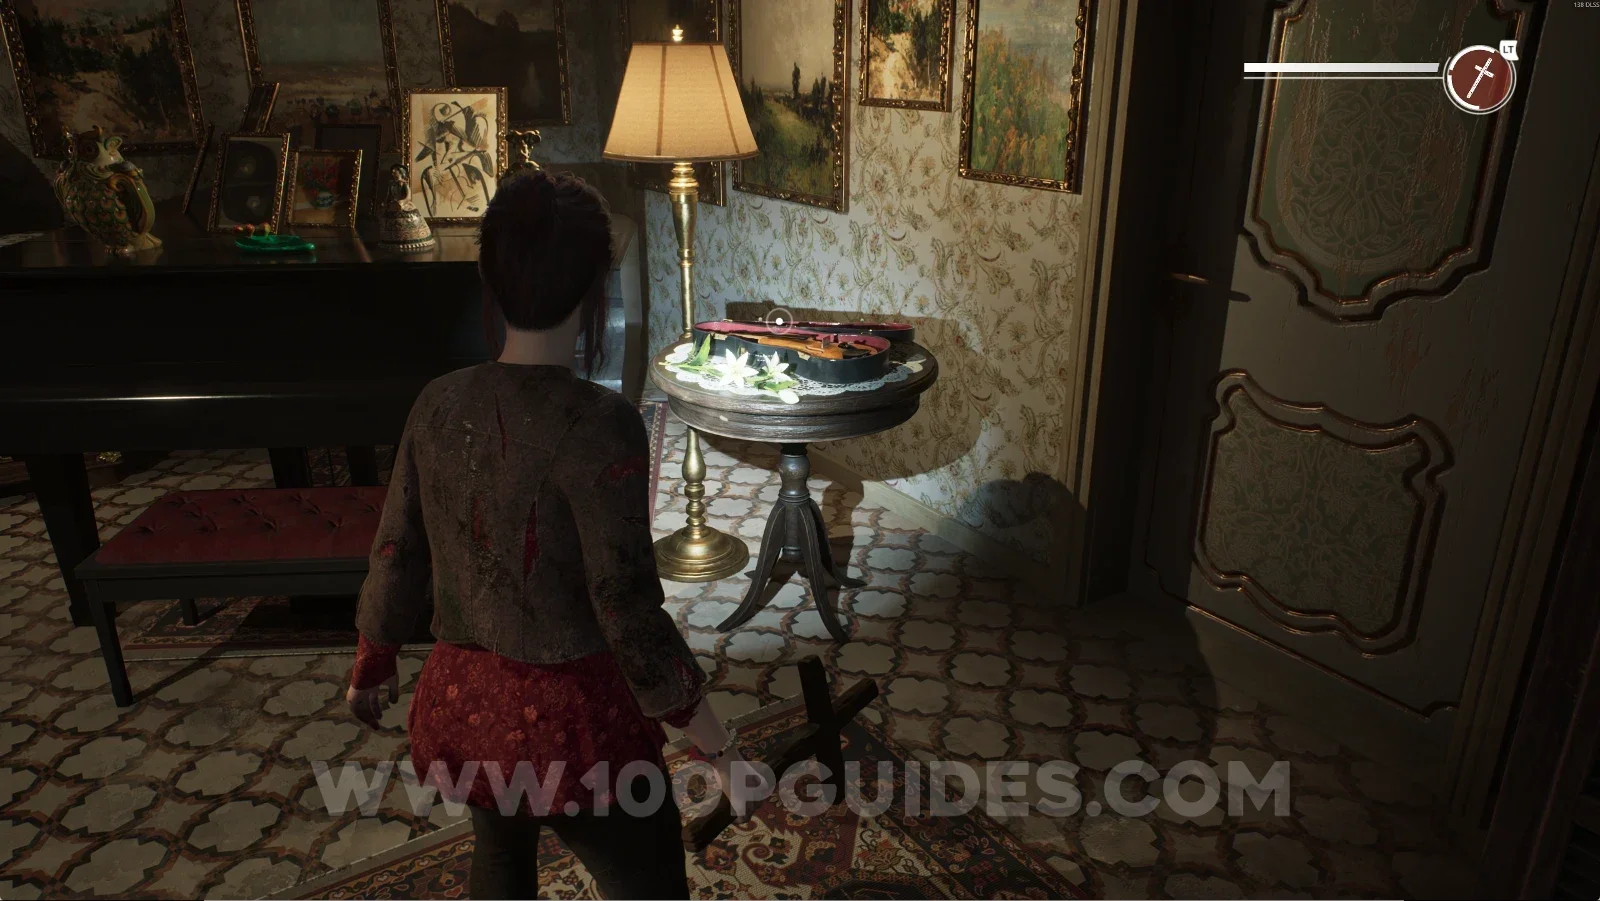
Same area as the previous collectible. Turn around and you'll see another lily. Interact with it and use your power on the violin to get this collectible.

Remothered: Red Nuns Legacy Residential Wing: the lily behind you after Observation No. 27 Remothered: Red Nuns Legacy: using the power on the violin for Retrocognition #22 Remothered: Red Nuns Legacy Residential Wing #12: The Violin Performance collectible

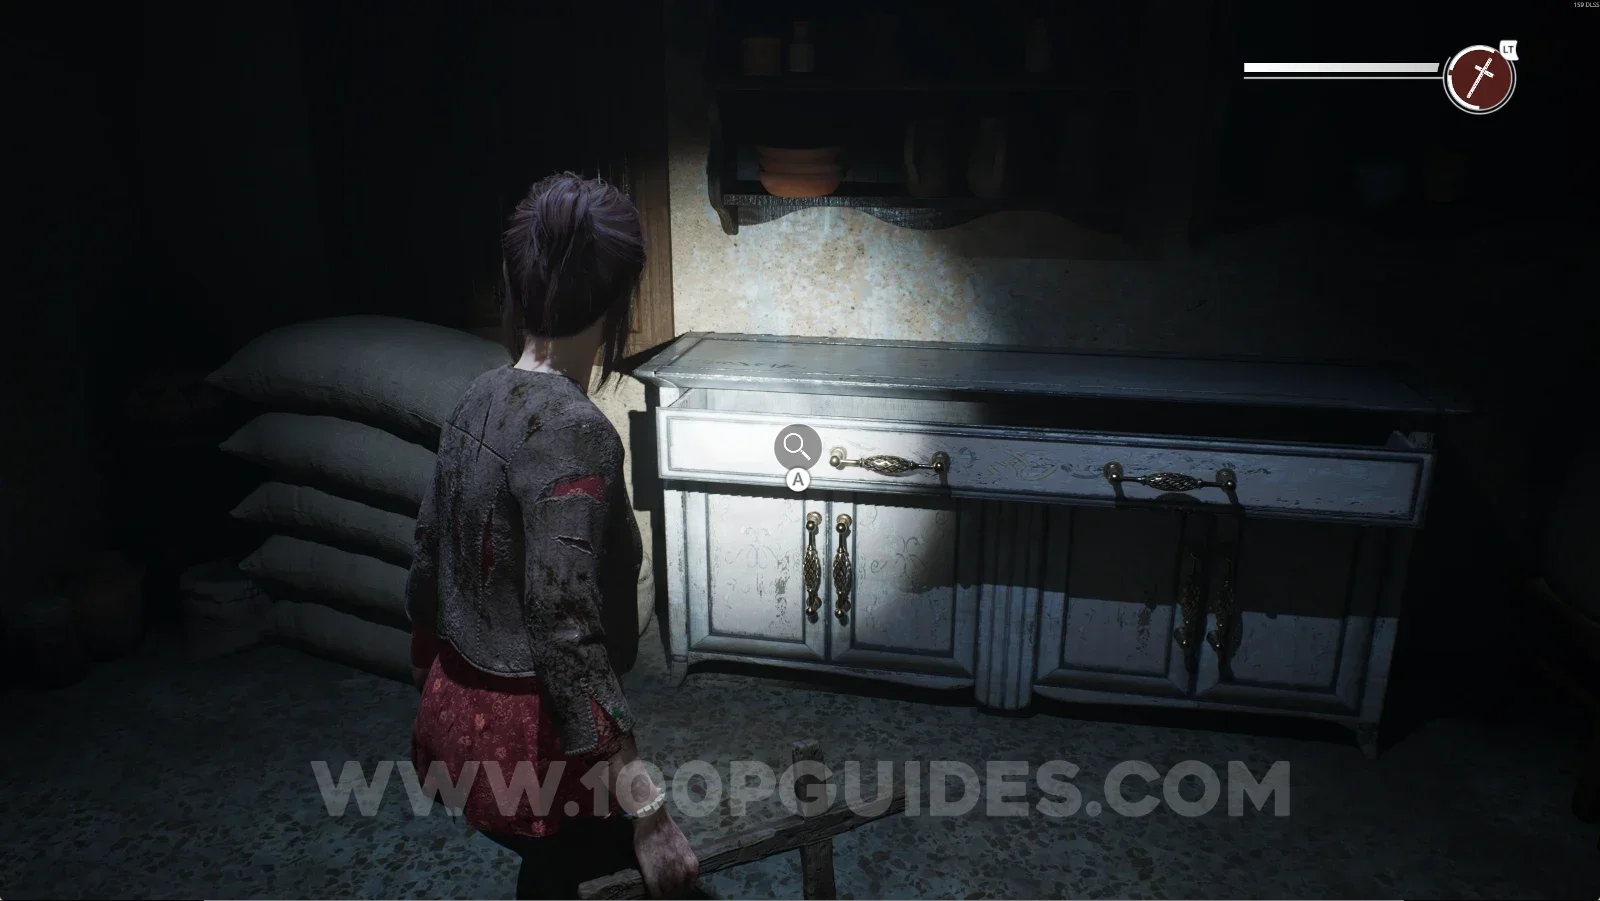
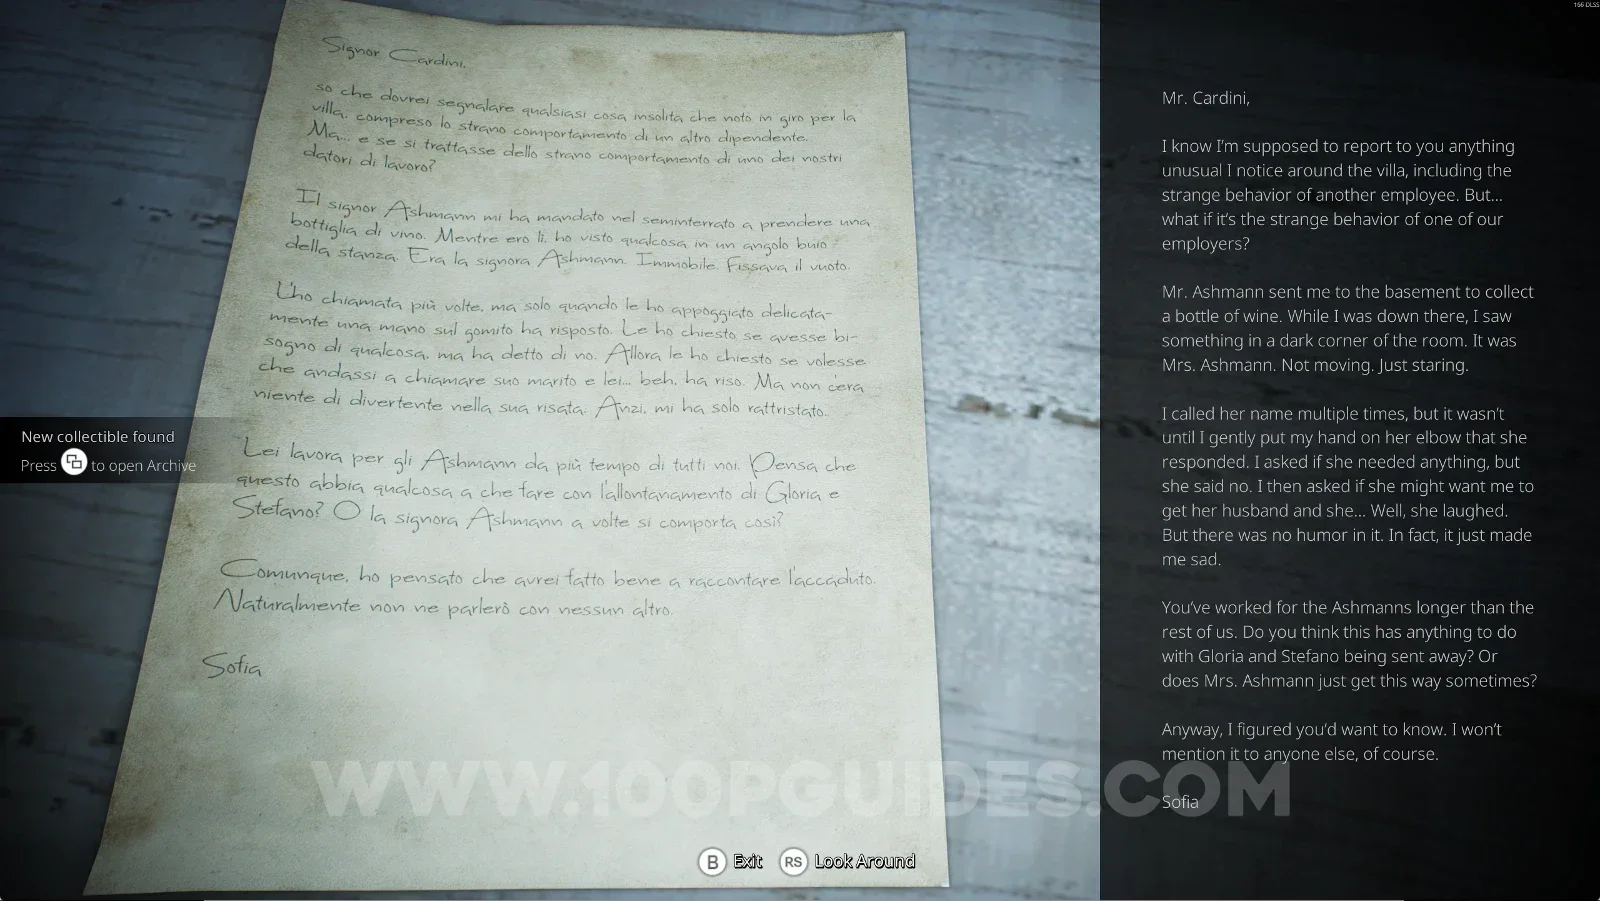
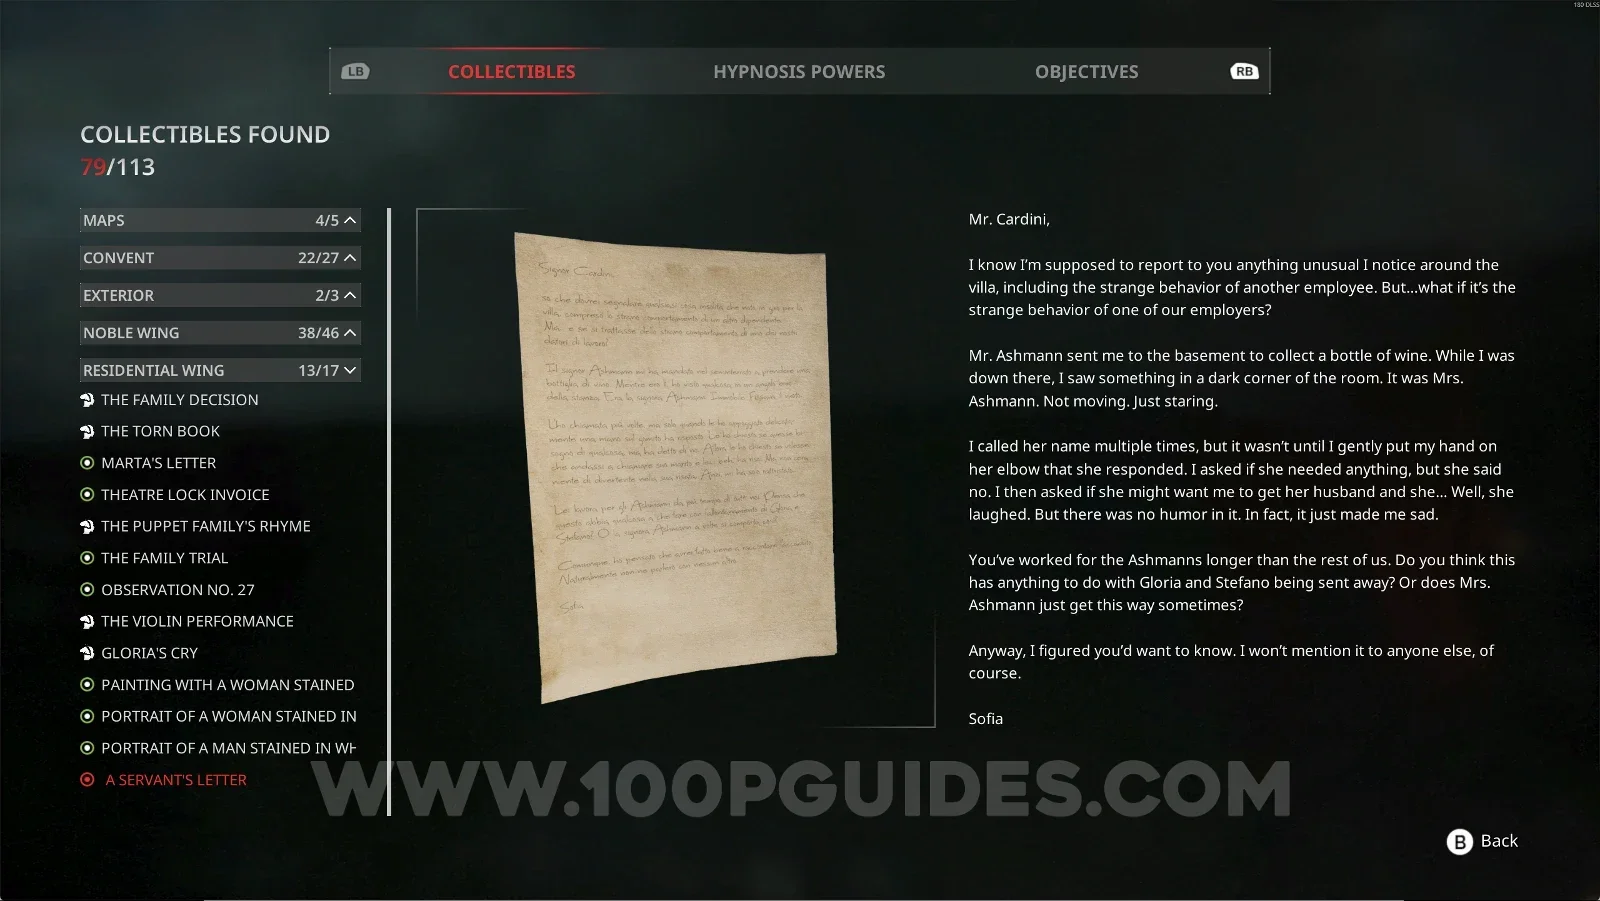
Residential Wing #13: A Servant's Letter

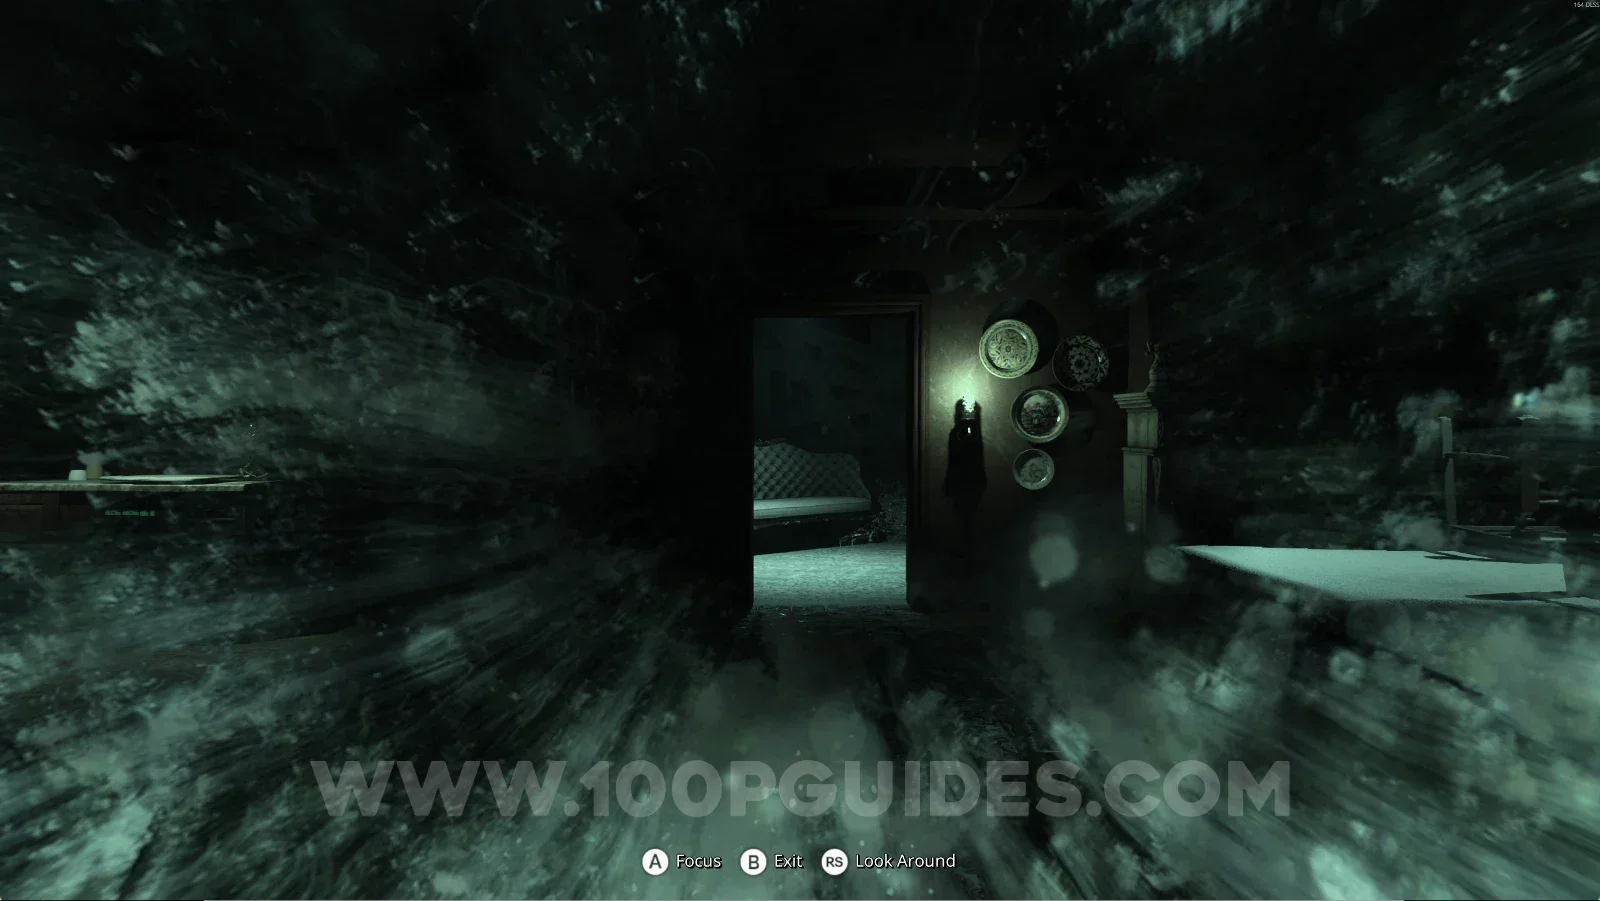
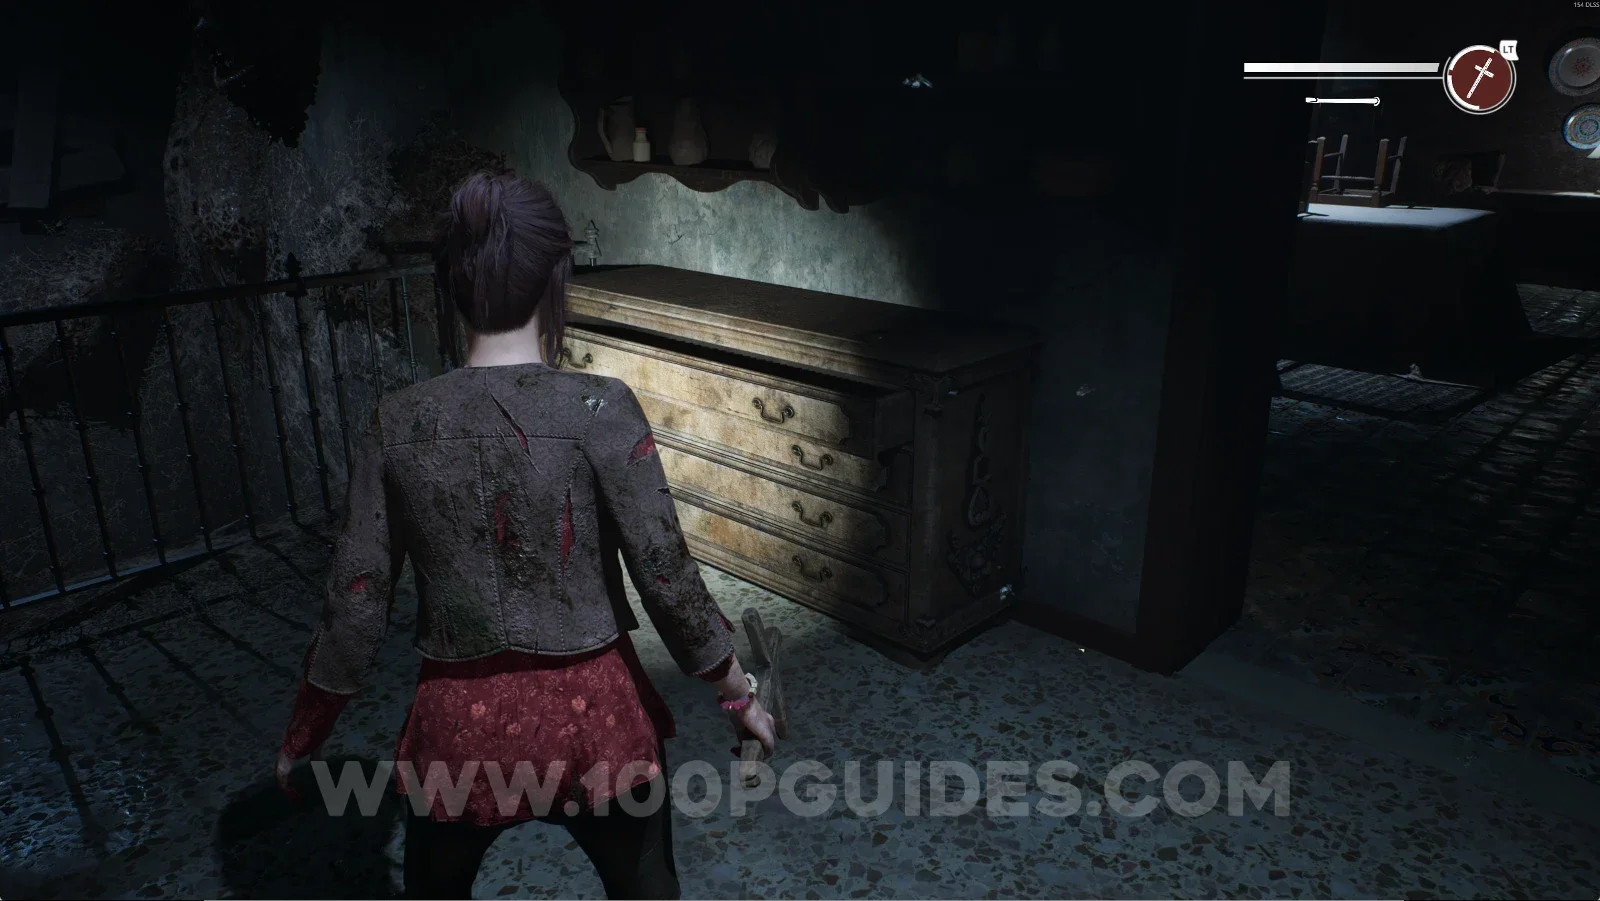
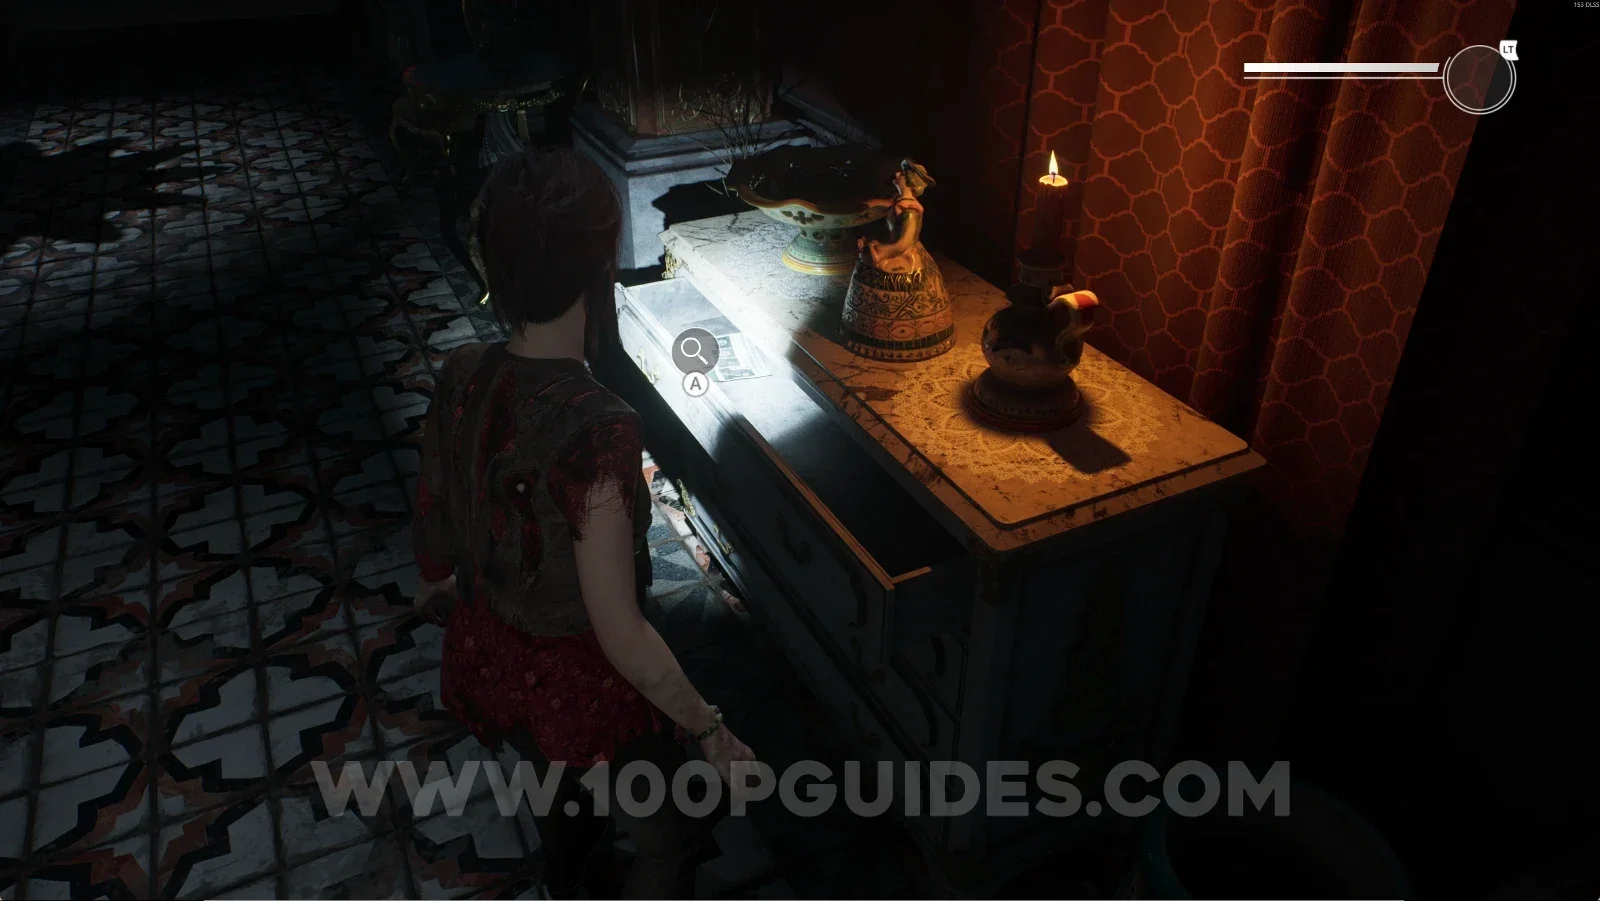
To continue, go through the door to the left of where you picked up the Key Item: The Father. Keep going along the single path, go down the stairs, and open the drawer at the bottom of the stairs to find this collectible.

Remothered: Red Nuns Legacy: the door to the left of where The Father was picked up Remothered: Red Nuns Legacy Residential Wing: the drawer at the bottom of the stairs Remothered: Red Nuns Legacy Residential Wing #13: A Servant's Letter collectible

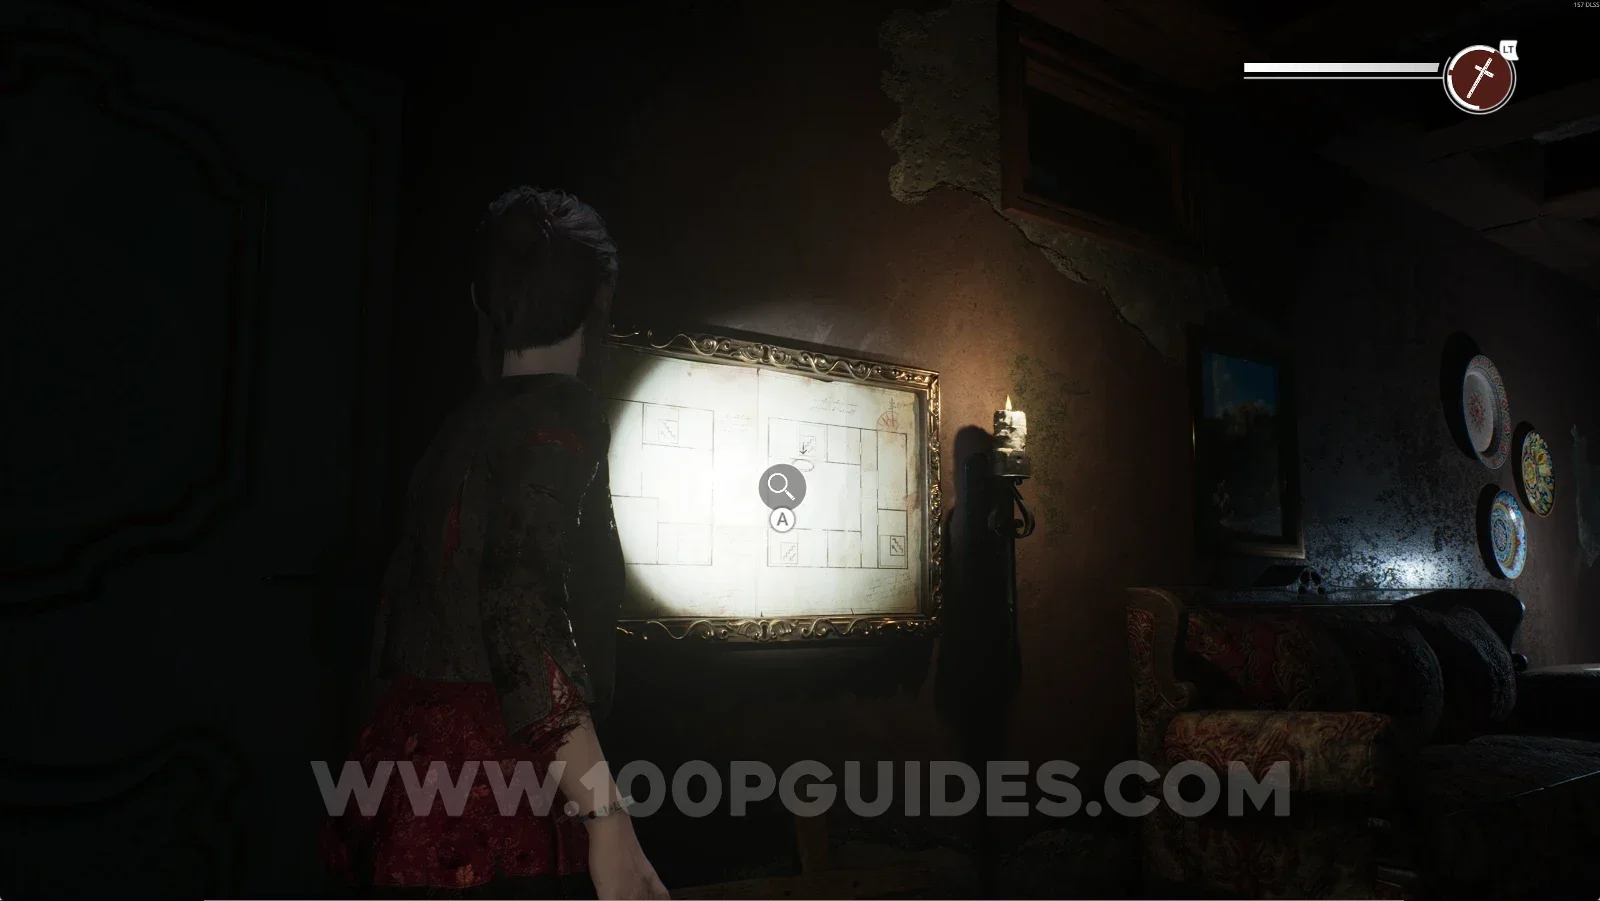
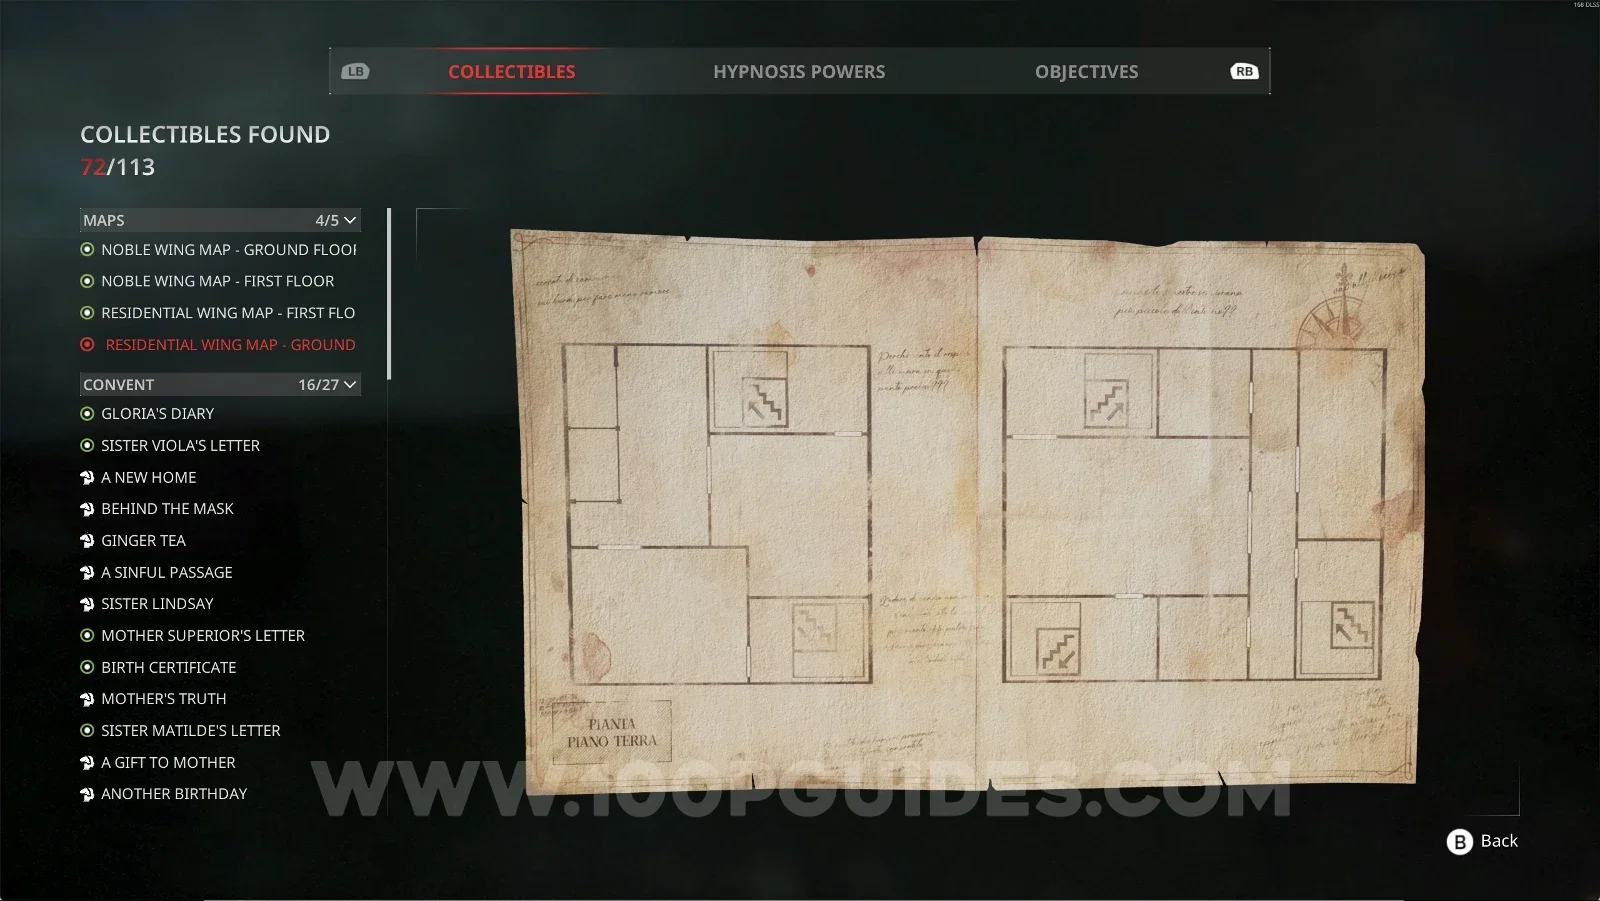
Map #4: Residential Wing Map - Ground Floor

Then go through the door on your left and grab the map.

Remothered: Red Nuns Legacy: the door on the left at the bottom of the stairs leading to the map Remothered: Red Nuns Legacy Map #4: Residential Wing Map Ground Floor collectible

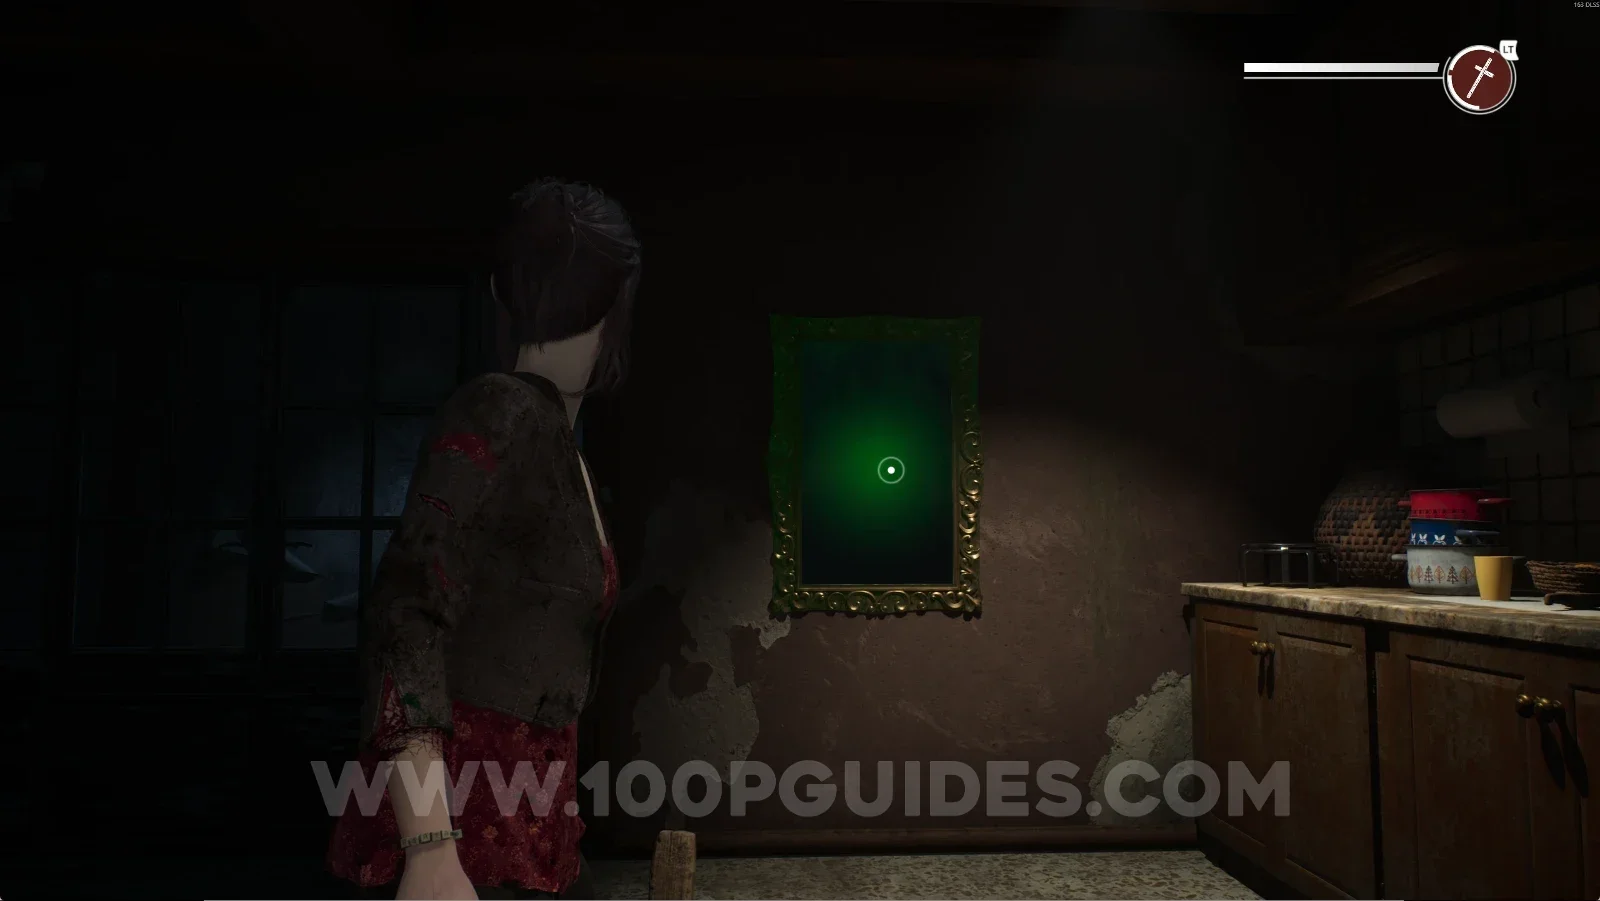
To continue, while still in the kitchen, interact with the mirror and reveal the other mirror on the left side.

Remothered: Red Nuns Legacy Residential Wing kitchen: interacting with the first mirror Remothered: Red Nuns Legacy kitchen: revealing the other mirror on the left side

Interact with the mirror you just revealed and reveal the next one.

Remothered: Red Nuns Legacy kitchen: interacting with the mirror just revealed Remothered: Red Nuns Legacy kitchen: revealing the next mirror in the chain

Interact with the next mirror and now reveal the secret room.

Remothered: Red Nuns Legacy kitchen: interacting with the last mirror in the chain Remothered: Red Nuns Legacy kitchen: the secret room door revealed with the mirror

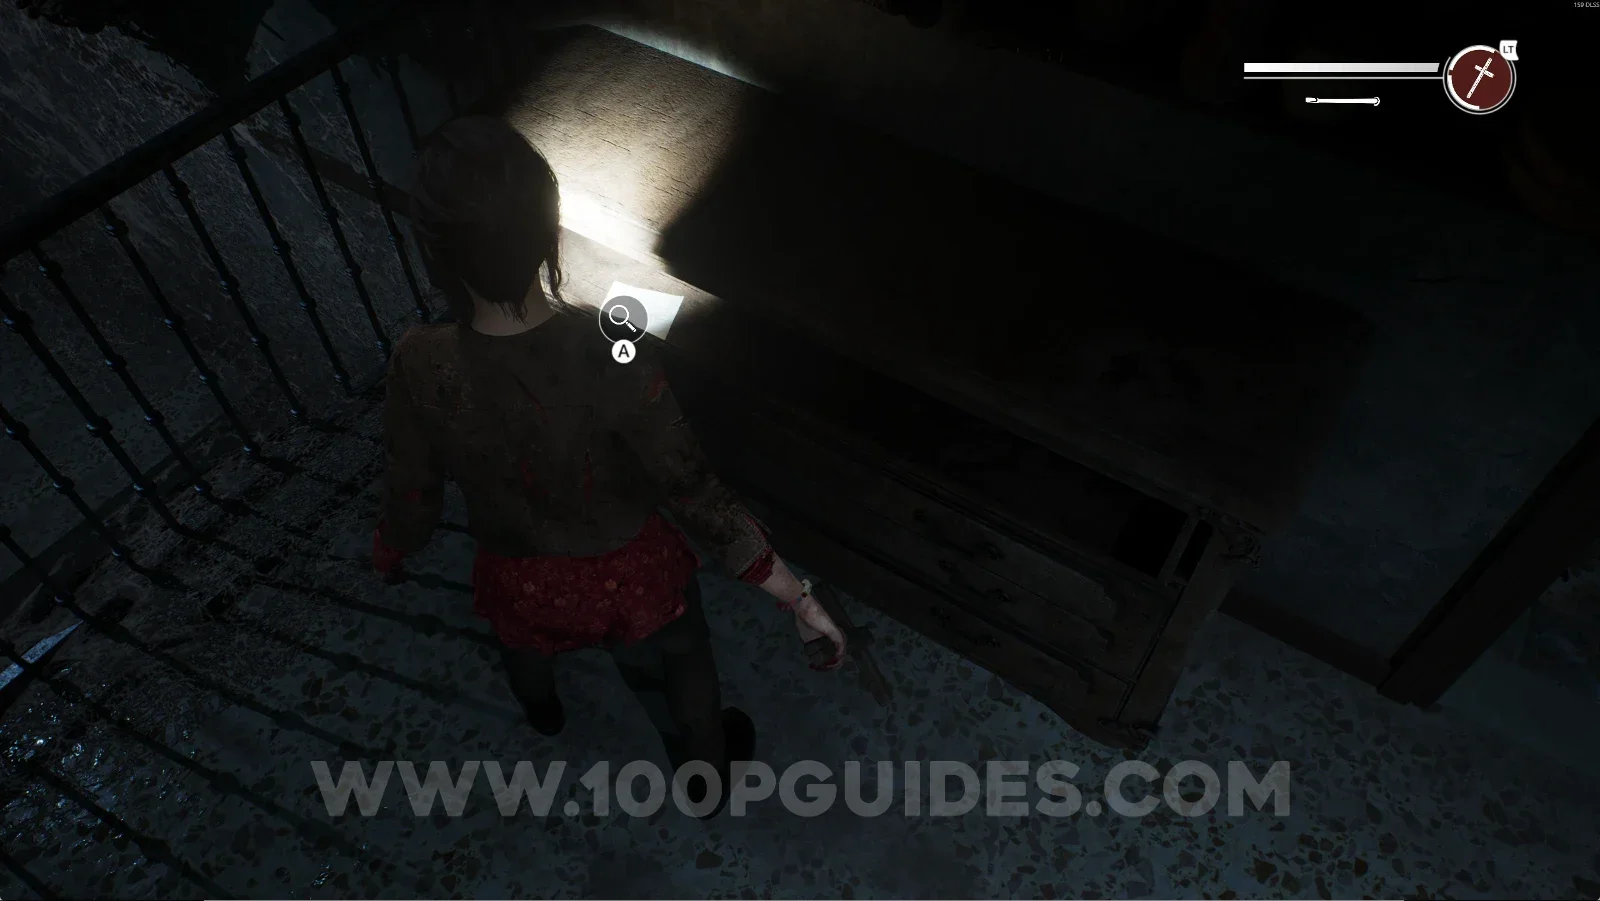
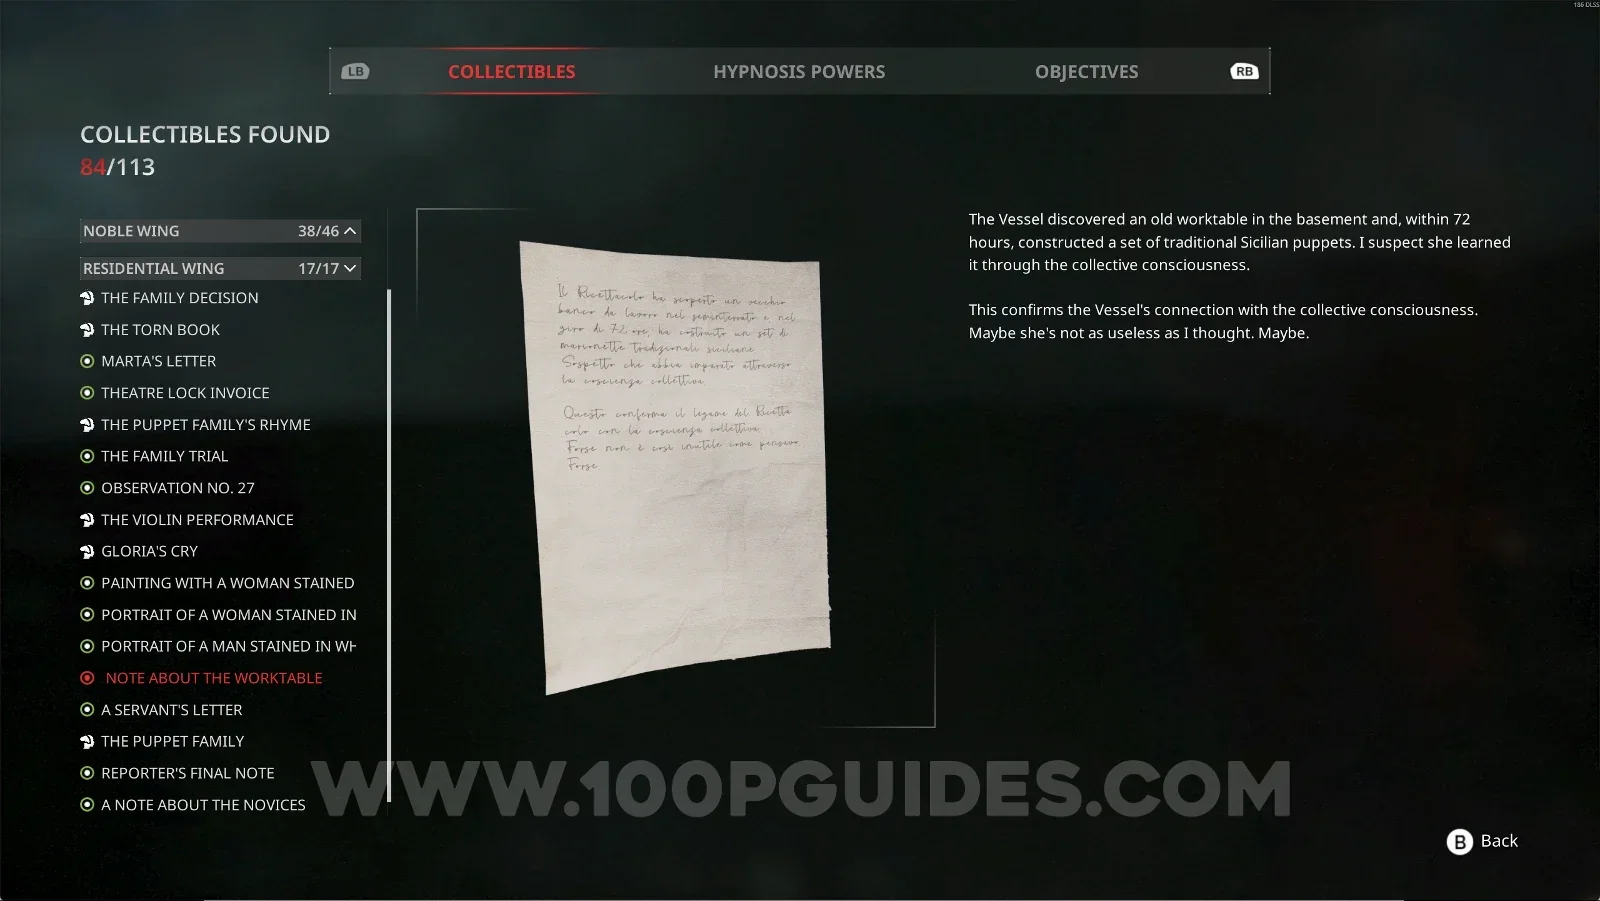
Residential Wing #14: Note About The Worktable

Go through the door you just revealed and open the drawer on the right to find this collectible.

Remothered: Red Nuns Legacy: going through the revealed secret room door Remothered: Red Nuns Legacy Residential Wing: the drawer on the right in the secret room Remothered: Red Nuns Legacy Residential Wing #14: Note About The Worktable collectible

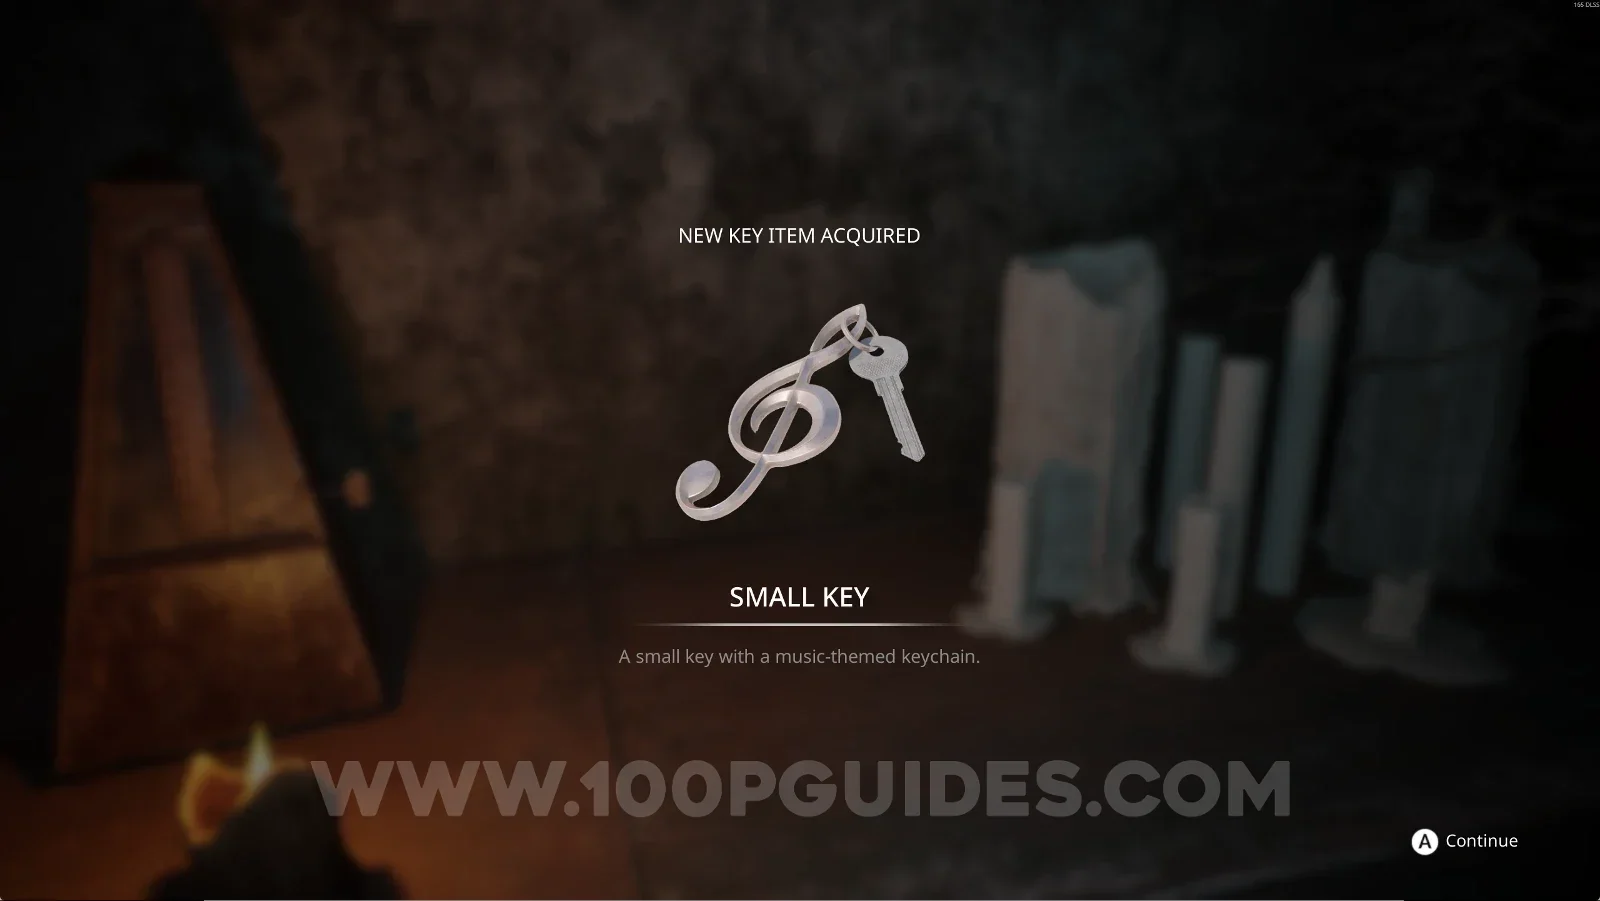
Key Item: Small Key

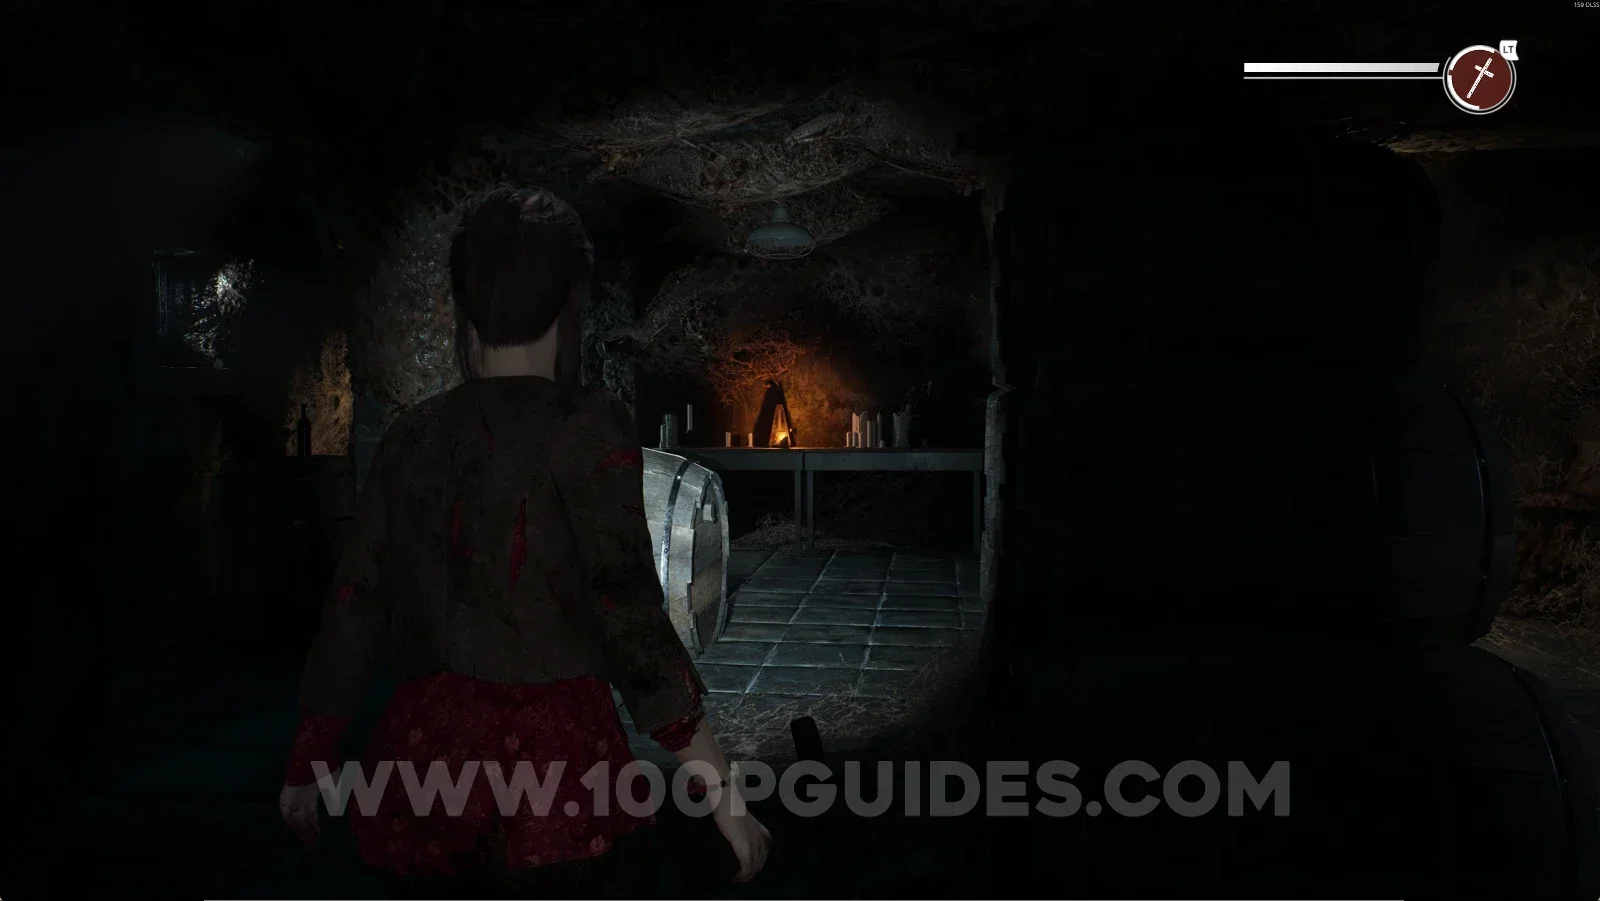
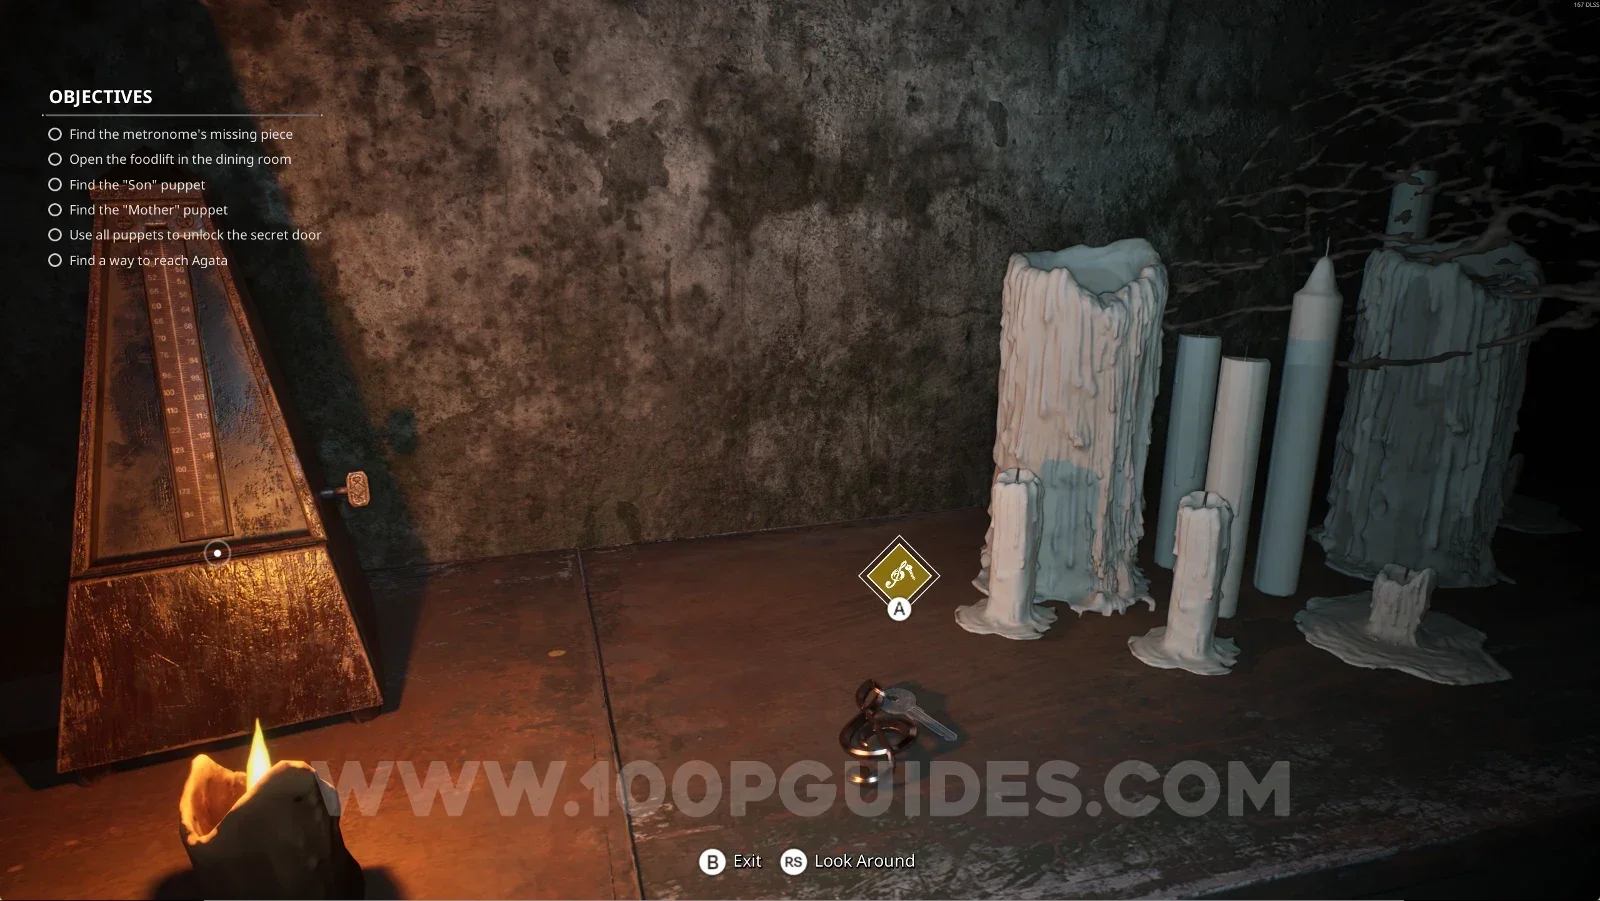
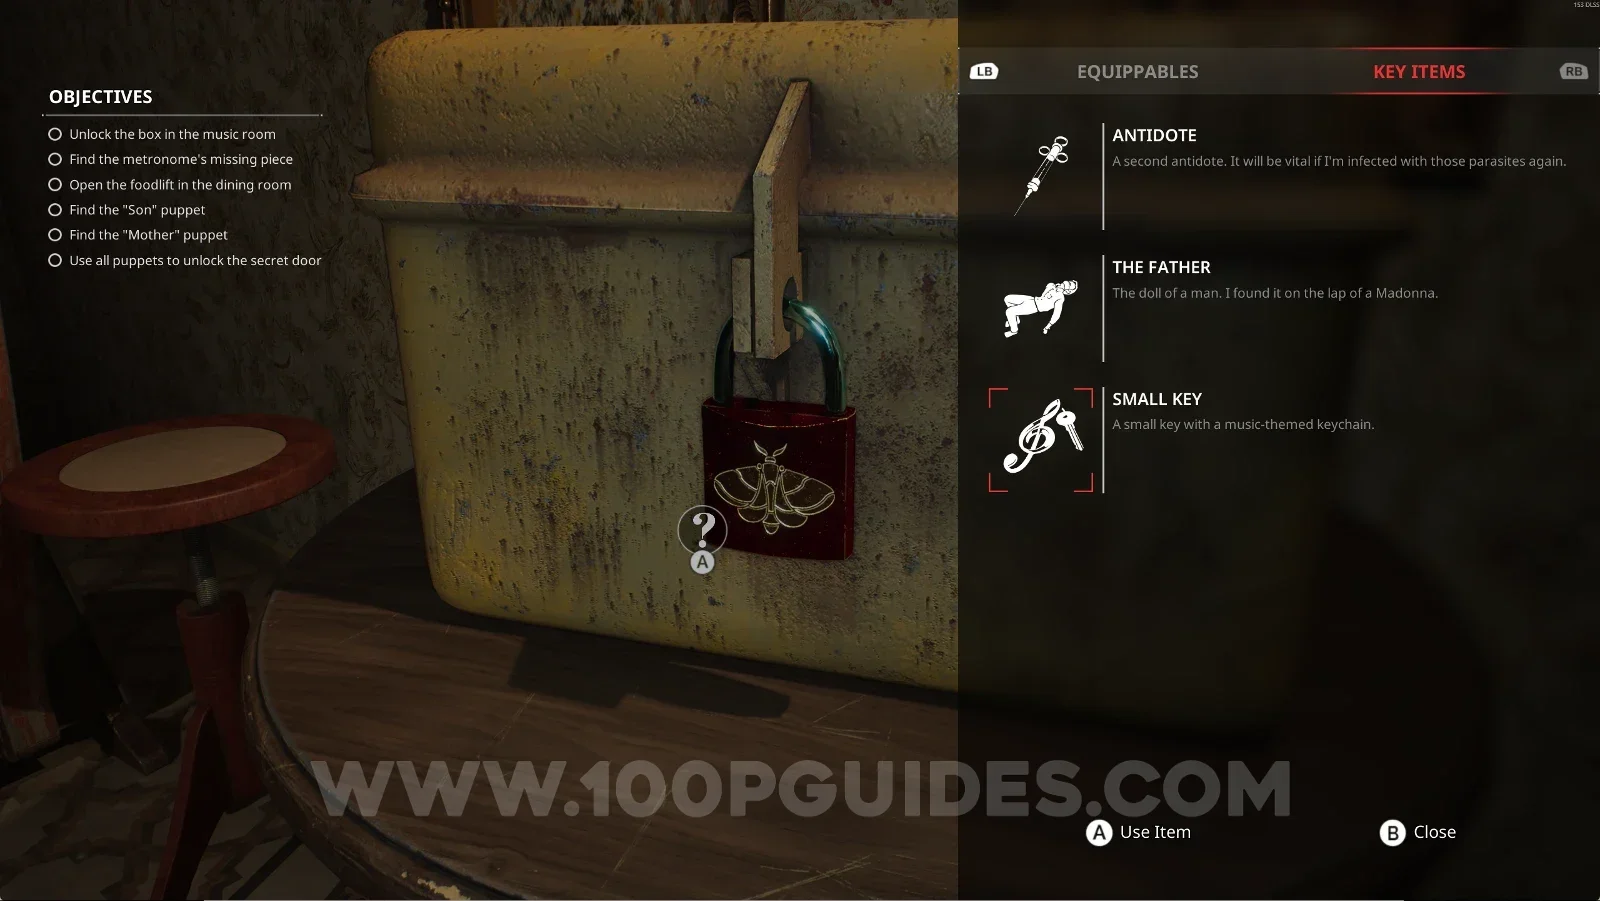
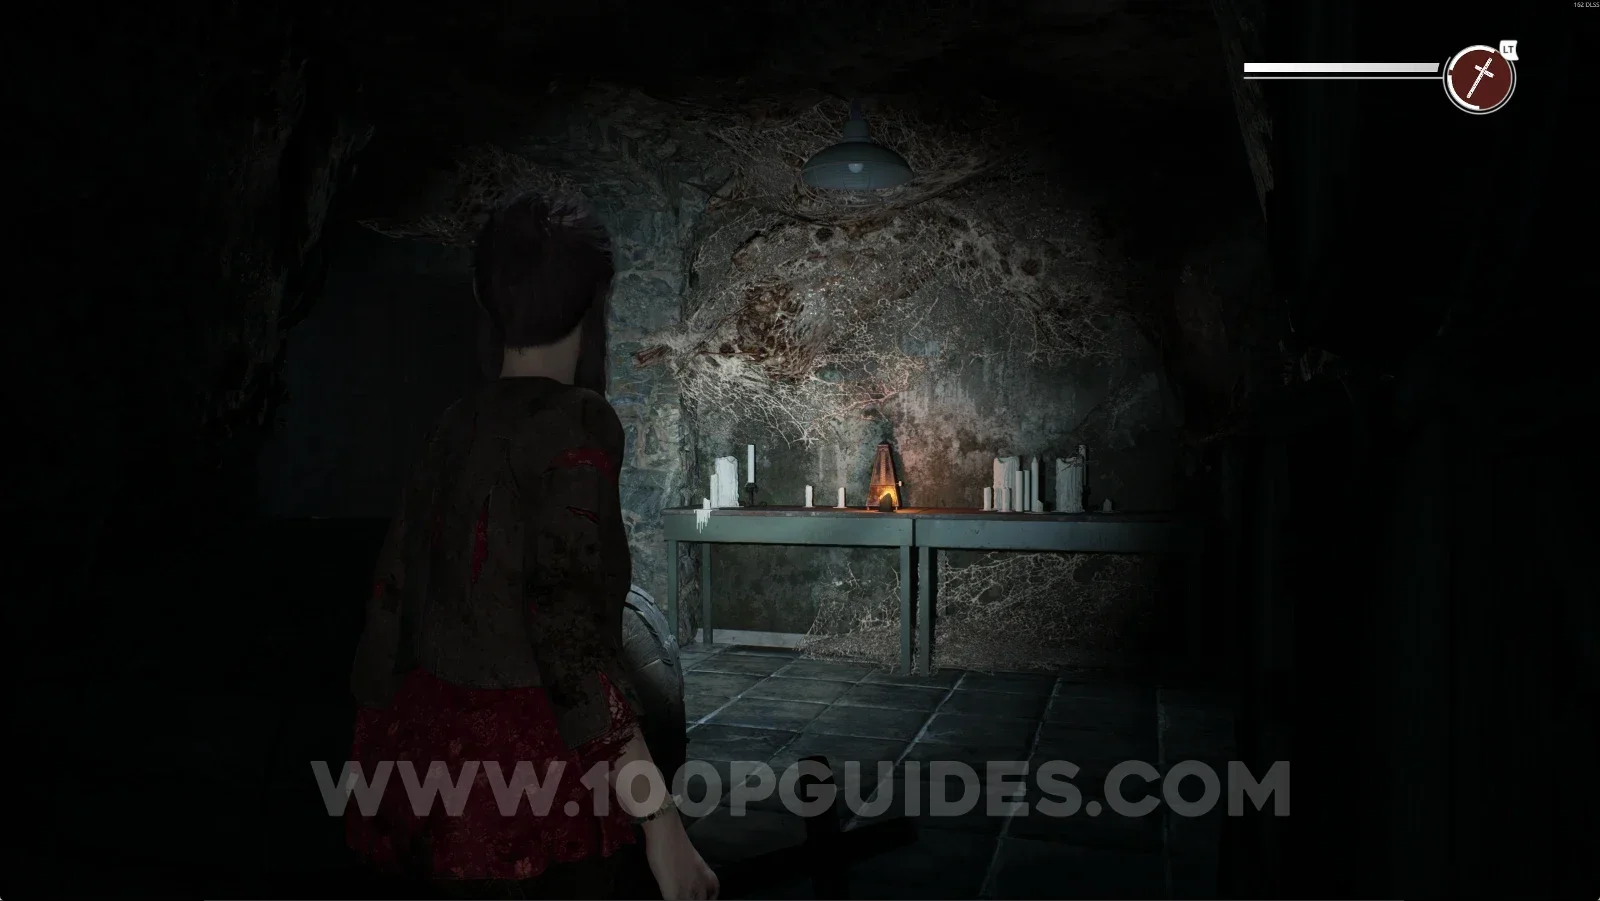
Now go down the stairs, interact with the Metronome, and grab this key next to it.

Remothered: Red Nuns Legacy: going down the stairs from the secret room Remothered: Red Nuns Legacy: the Metronome at the bottom of the stairs Remothered: Red Nuns Legacy: interacting with the Metronome before taking the Small Key Remothered: Red Nuns Legacy: the Small Key lying next to the Metronome

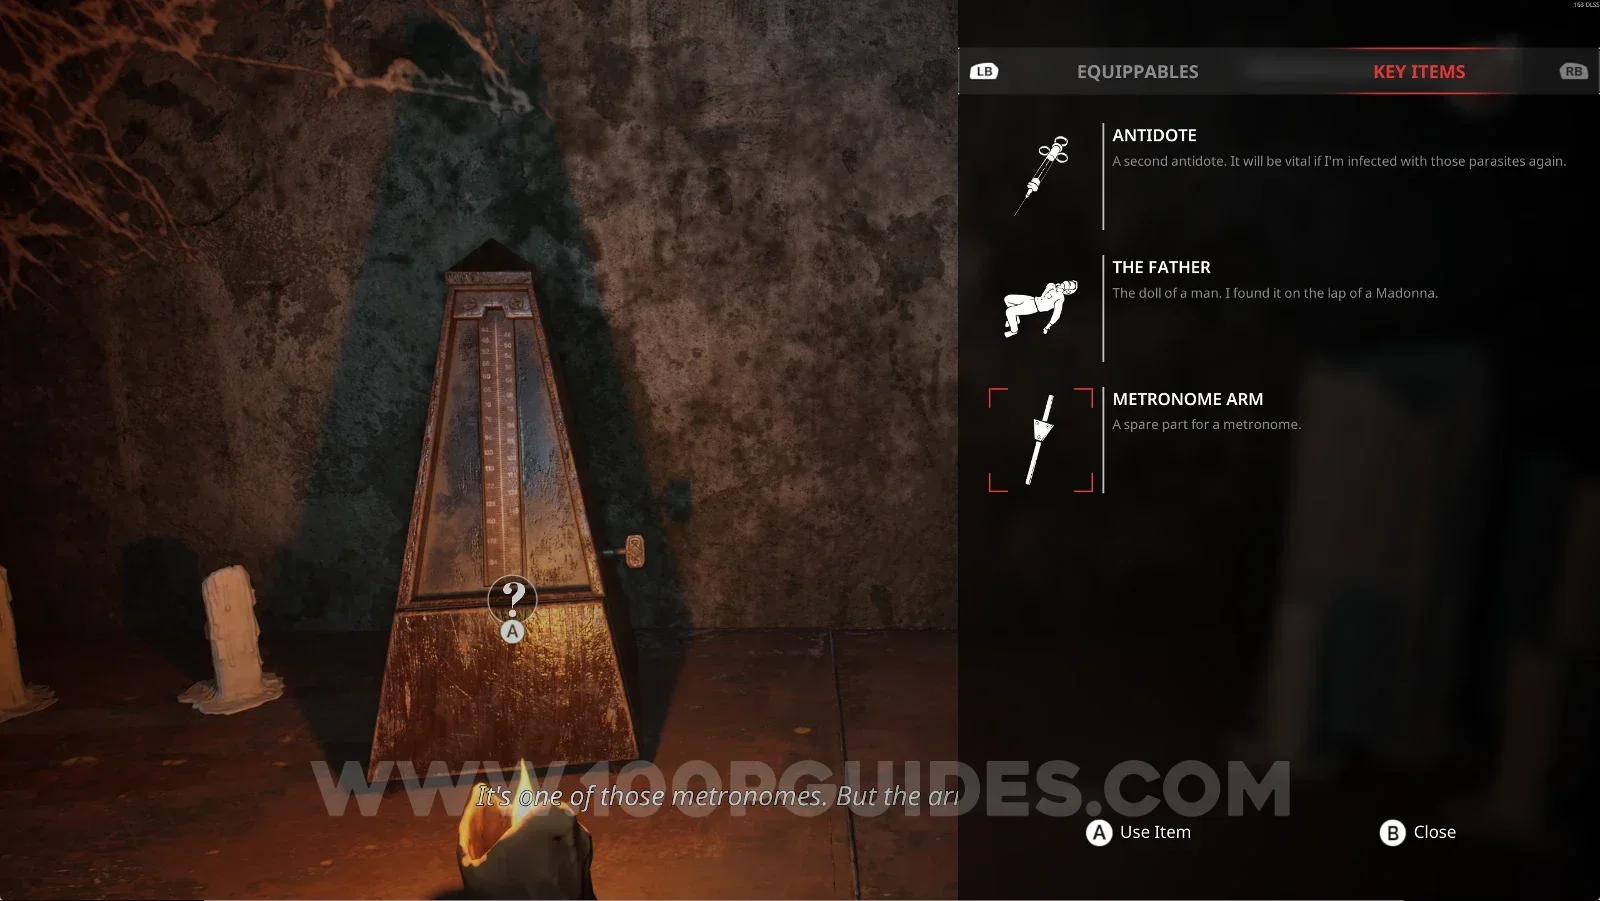
Key Item: Metronome Arm

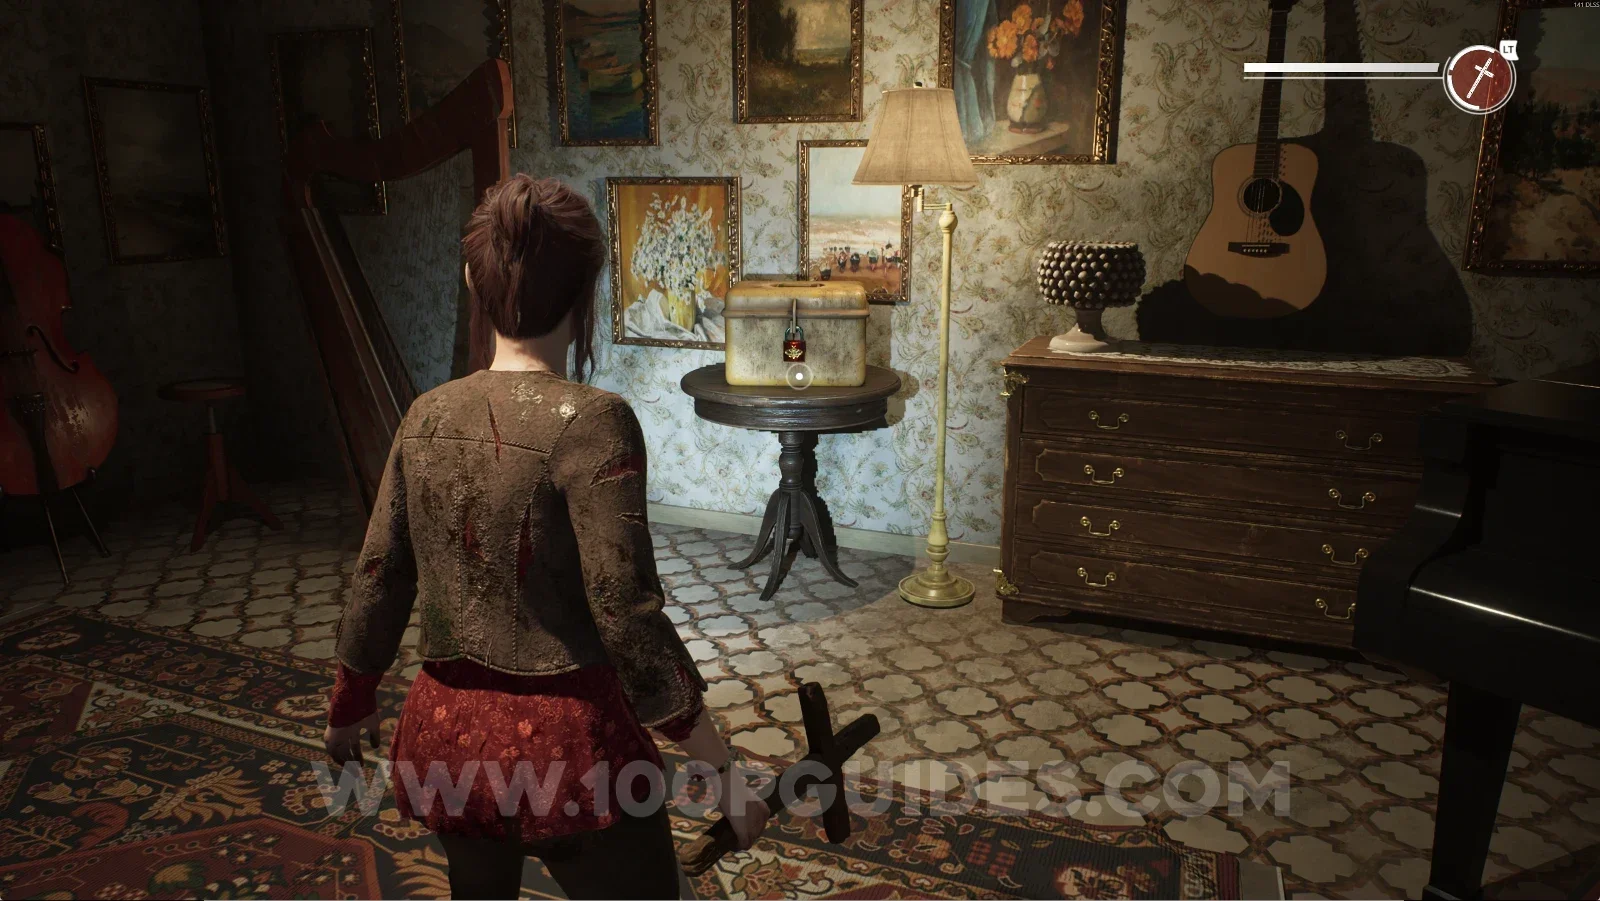
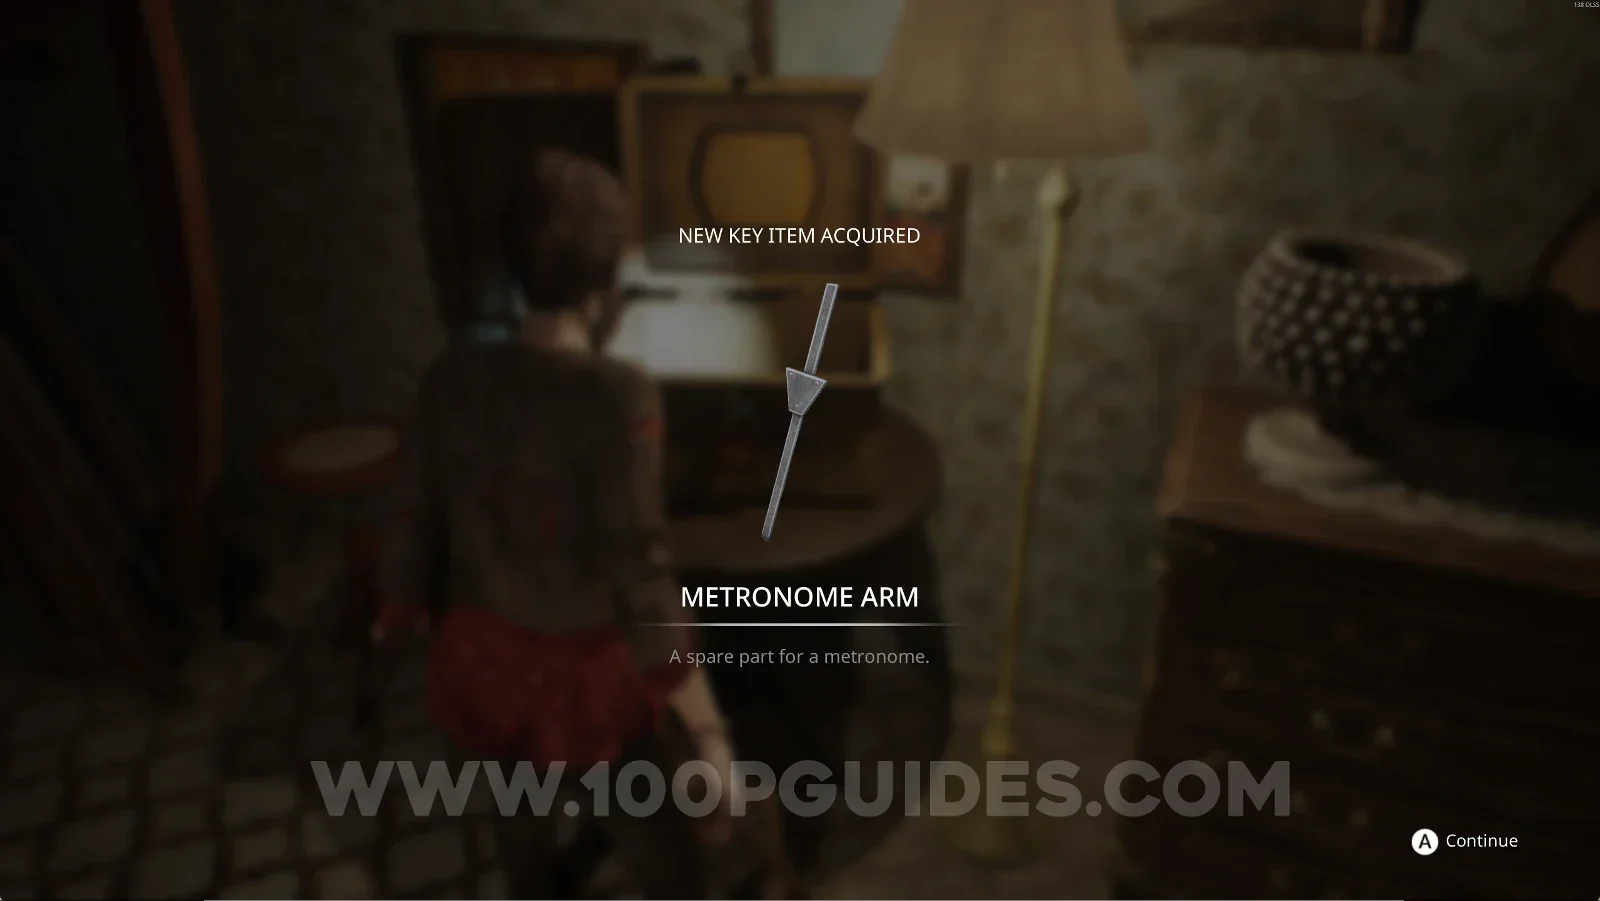
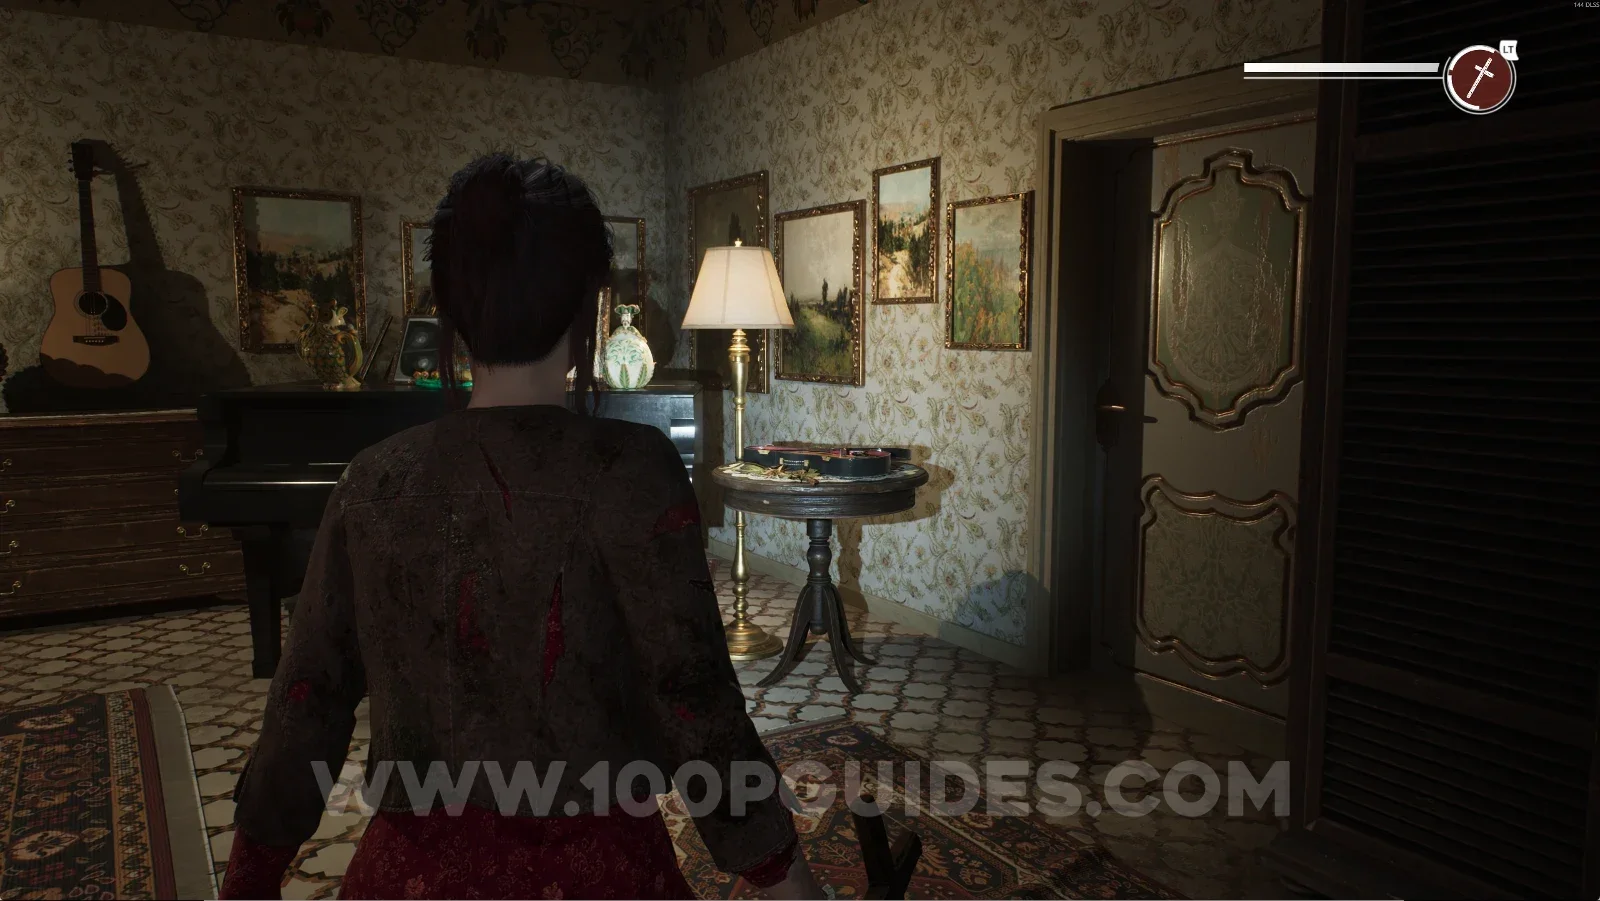
After getting the Small Key, a short cutscene will start and the Bride will be after you. Your goal is to escape from her and get back to the piano room (the one where you interacted with the violin). There, use the Small Key on the padlock to get the Key Item: Metronome Arm.

Remothered: Red Nuns Legacy: escaping the Bride after taking the Small Key Remothered: Red Nuns Legacy: the padlock in the piano room where the violin was Remothered: Red Nuns Legacy: the Metronome Arm key item from the piano room padlock

To continue, go back to the Metronome and use the Metronome Arm, then interact with the Metronome to go to another area.

Remothered: Red Nuns Legacy: using the Metronome Arm on the Metronome Remothered: Red Nuns Legacy: interacting with the Metronome to travel to another area

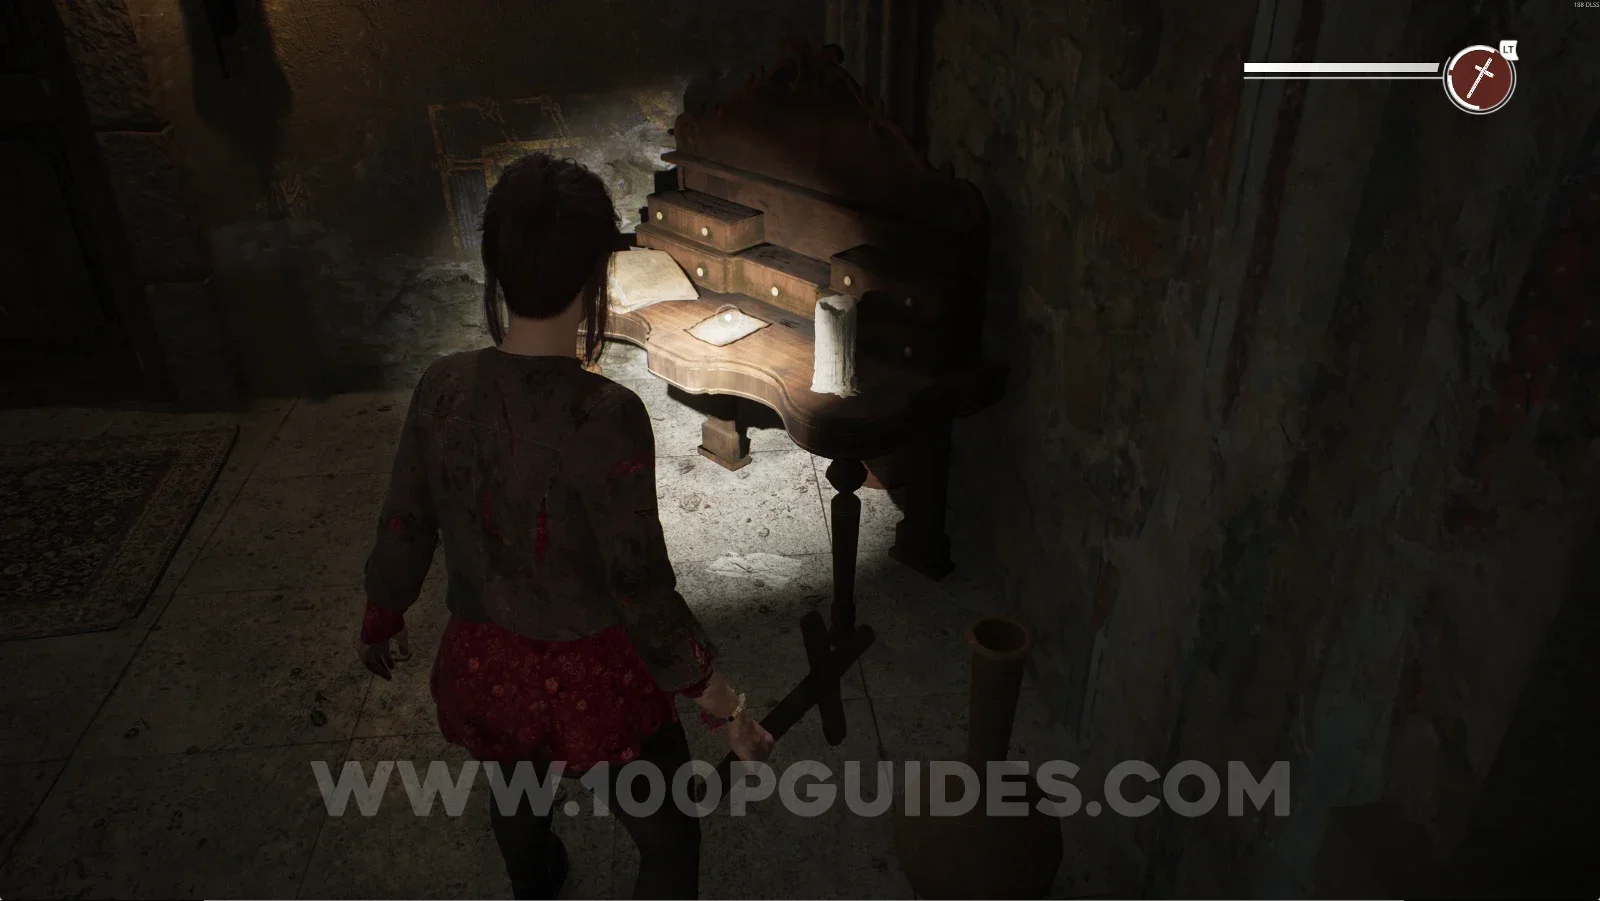
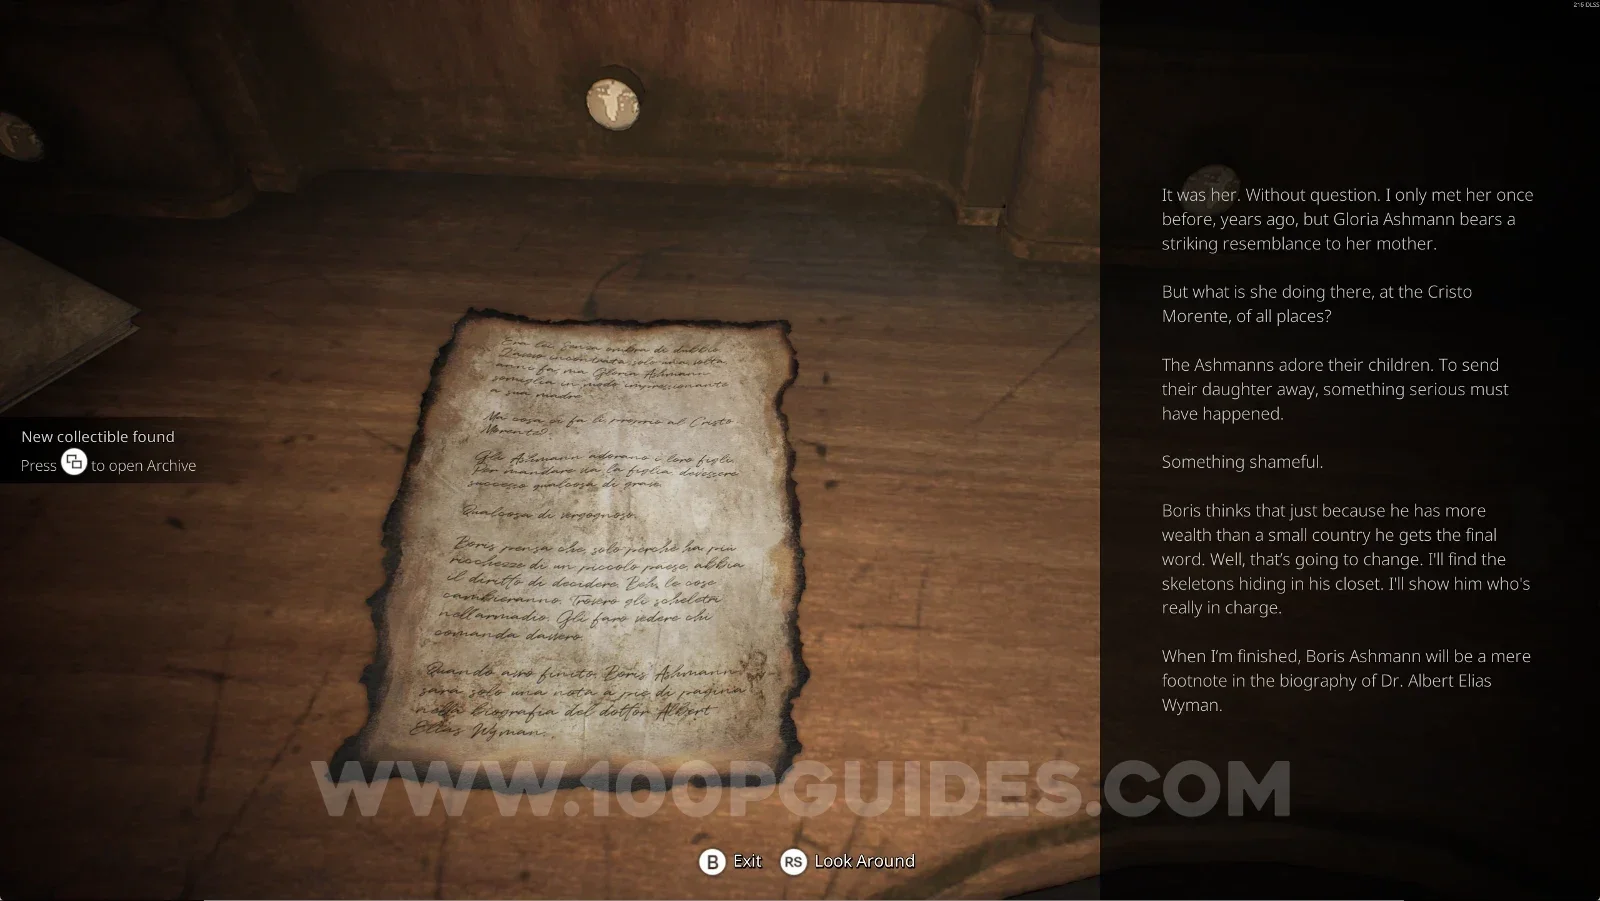
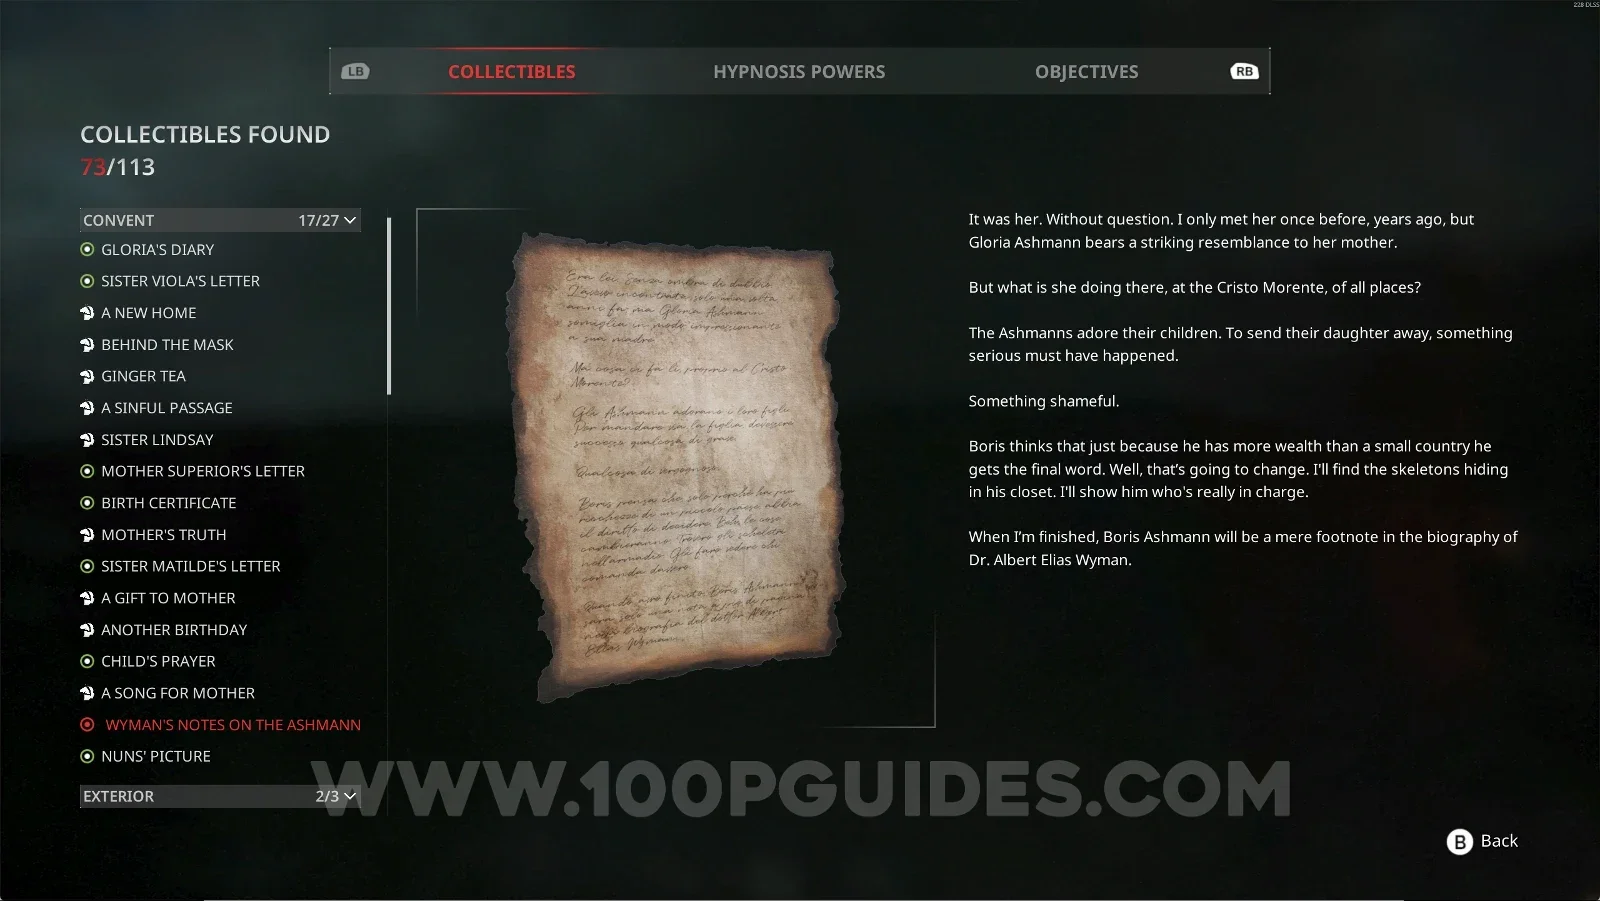
Convent #17: Wyman's Notes On The Ashmanns

In the new area, interact with the letter on top of the table.

Remothered: Red Nuns Legacy Convent: the new area reached through the Metronome Remothered: Red Nuns Legacy Convent: the letter on top of the table, Wyman's Notes On The Ashmanns Remothered: Red Nuns Legacy Convent #17: Wyman's Notes On The Ashmanns collectible

Convent #18: A Prayer For The Mother Of Moths
To continue, crawl under the bed and come out on the other side, then grab the note on top of the table on the left side.

Remothered: Red Nuns Legacy Convent: the bed to crawl under in the new area Remothered: Red Nuns Legacy Convent: crawling under the bed to the other side Remothered: Red Nuns Legacy Convent: the note on the table on the left side past the bed Remothered: Red Nuns Legacy Convent #18: A Prayer For The Mother Of Moths collectible

Interact with the mirror, then reveal the letter and the cocoon at the top.

Remothered: Red Nuns Legacy Convent: interacting with the mirror past the bed Remothered: Red Nuns Legacy Convent: revealing the letter with the mirror Remothered: Red Nuns Legacy Convent: revealing the cocoon at the top with the mirror

Convent #19: Not Like The Other Nuns + Retrocognition #23

Same area as before. Interact with the letter you revealed and use your power.

Remothered: Red Nuns Legacy Convent: the letter revealed with the mirror, ready for the power Remothered: Red Nuns Legacy Convent: using the power on the revealed letter for Retrocognition #23 Remothered: Red Nuns Legacy Convent #19: Not Like The Other Nuns collectible

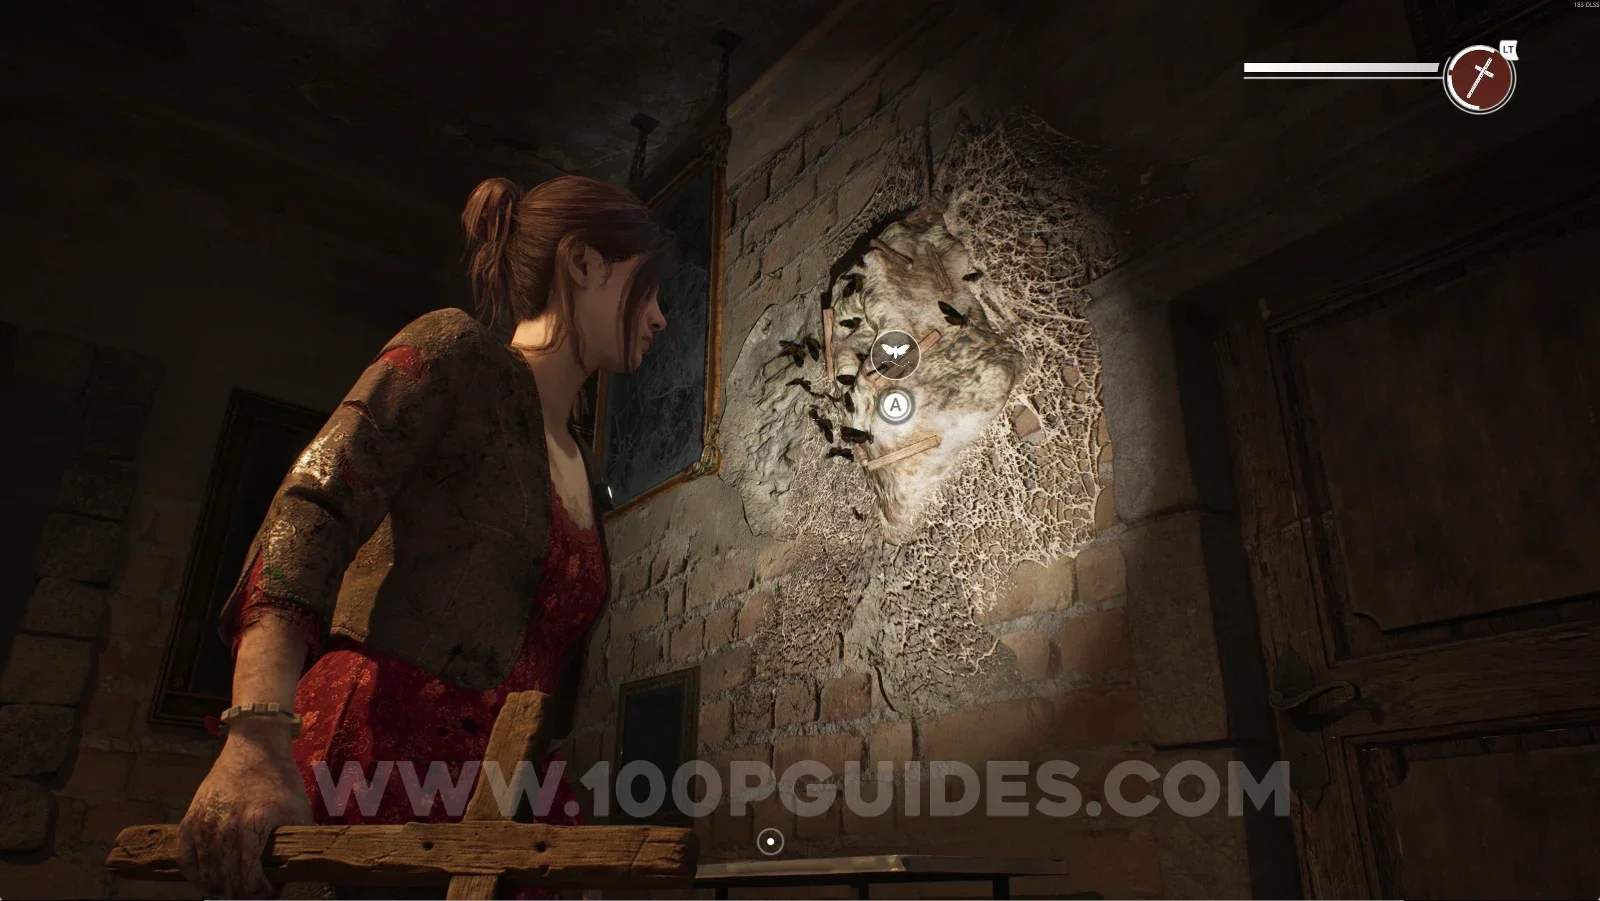
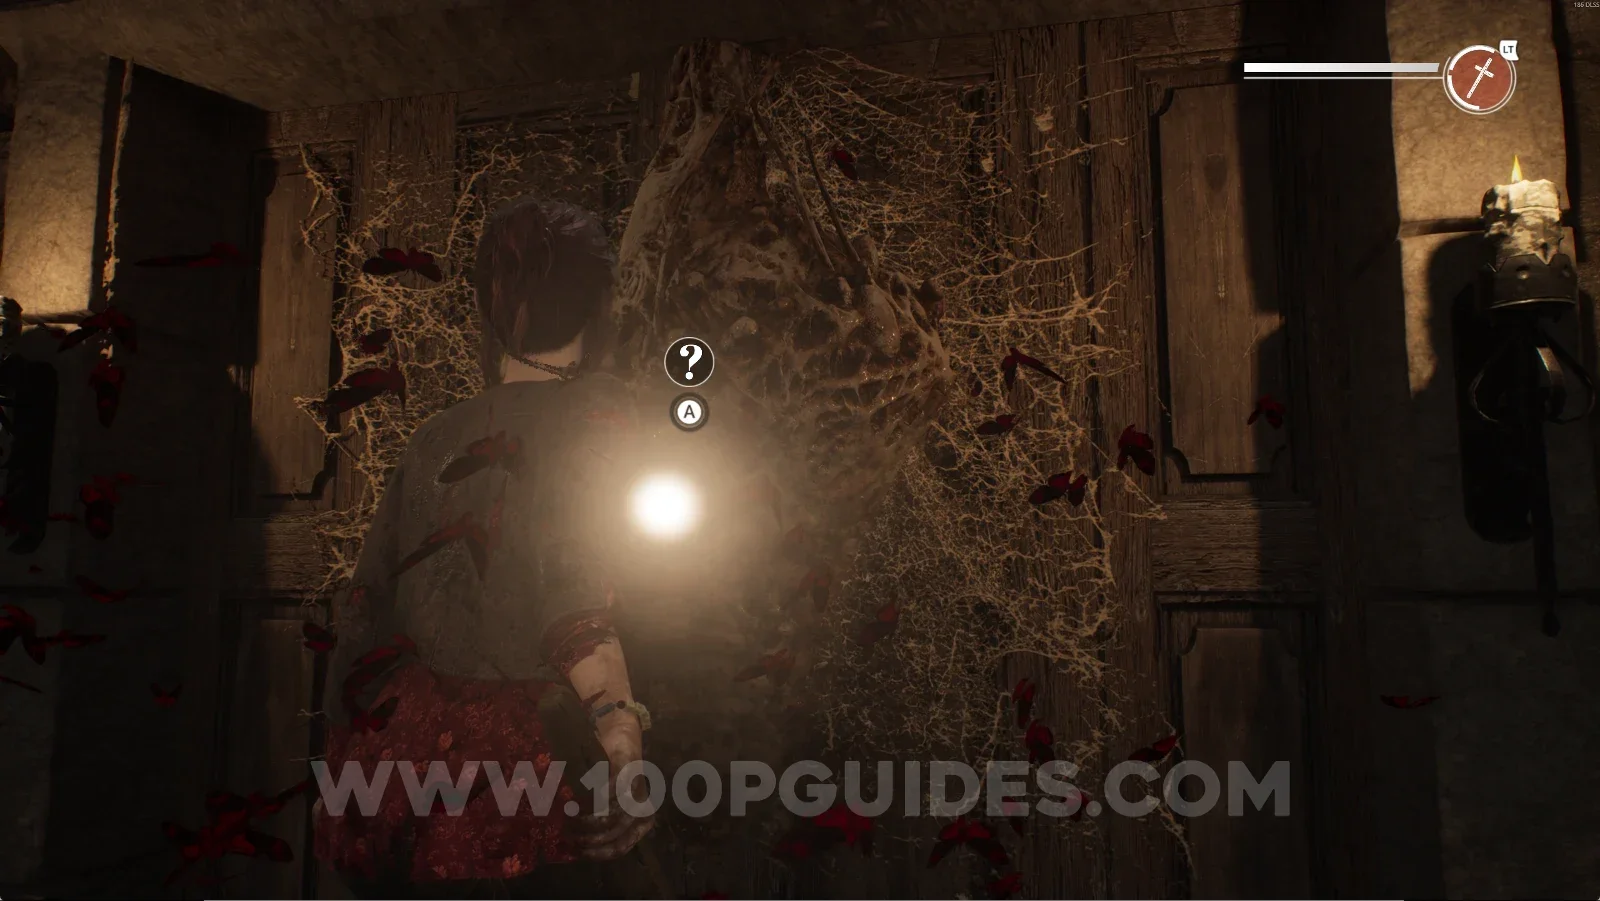
To continue, interact with the cocoon with the moths and take them to the cocoon on the door to remove it.

Remothered: Red Nuns Legacy Convent: interacting with the cocoon full of moths Remothered: Red Nuns Legacy Convent: taking the moths to the cocoon on the door to remove it

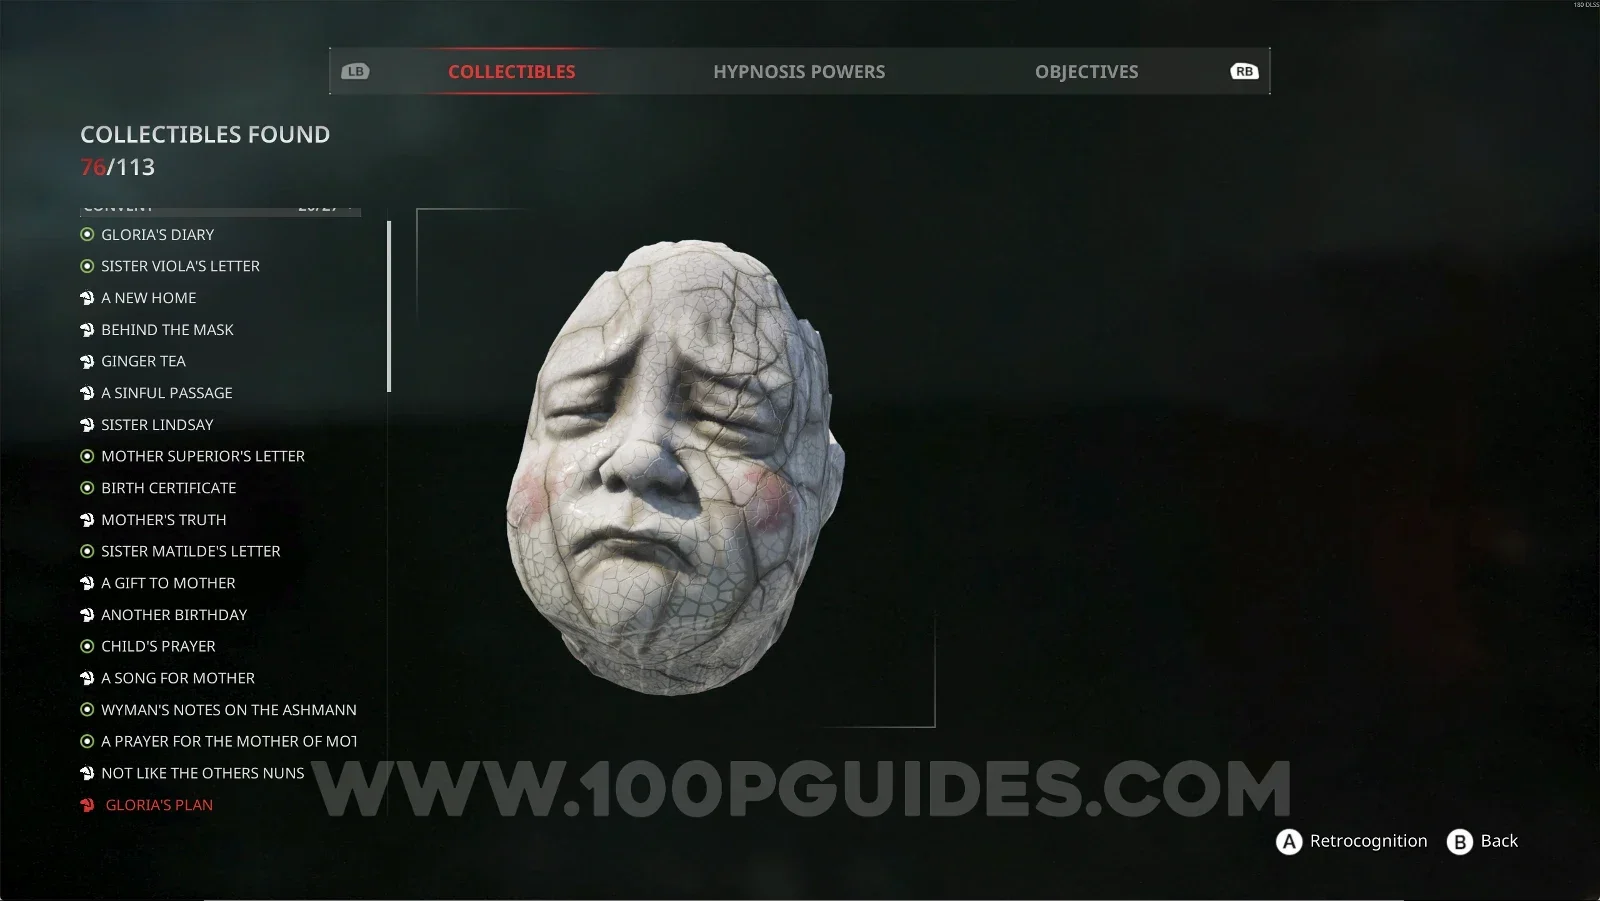
Convent #20: Gloria's Plan

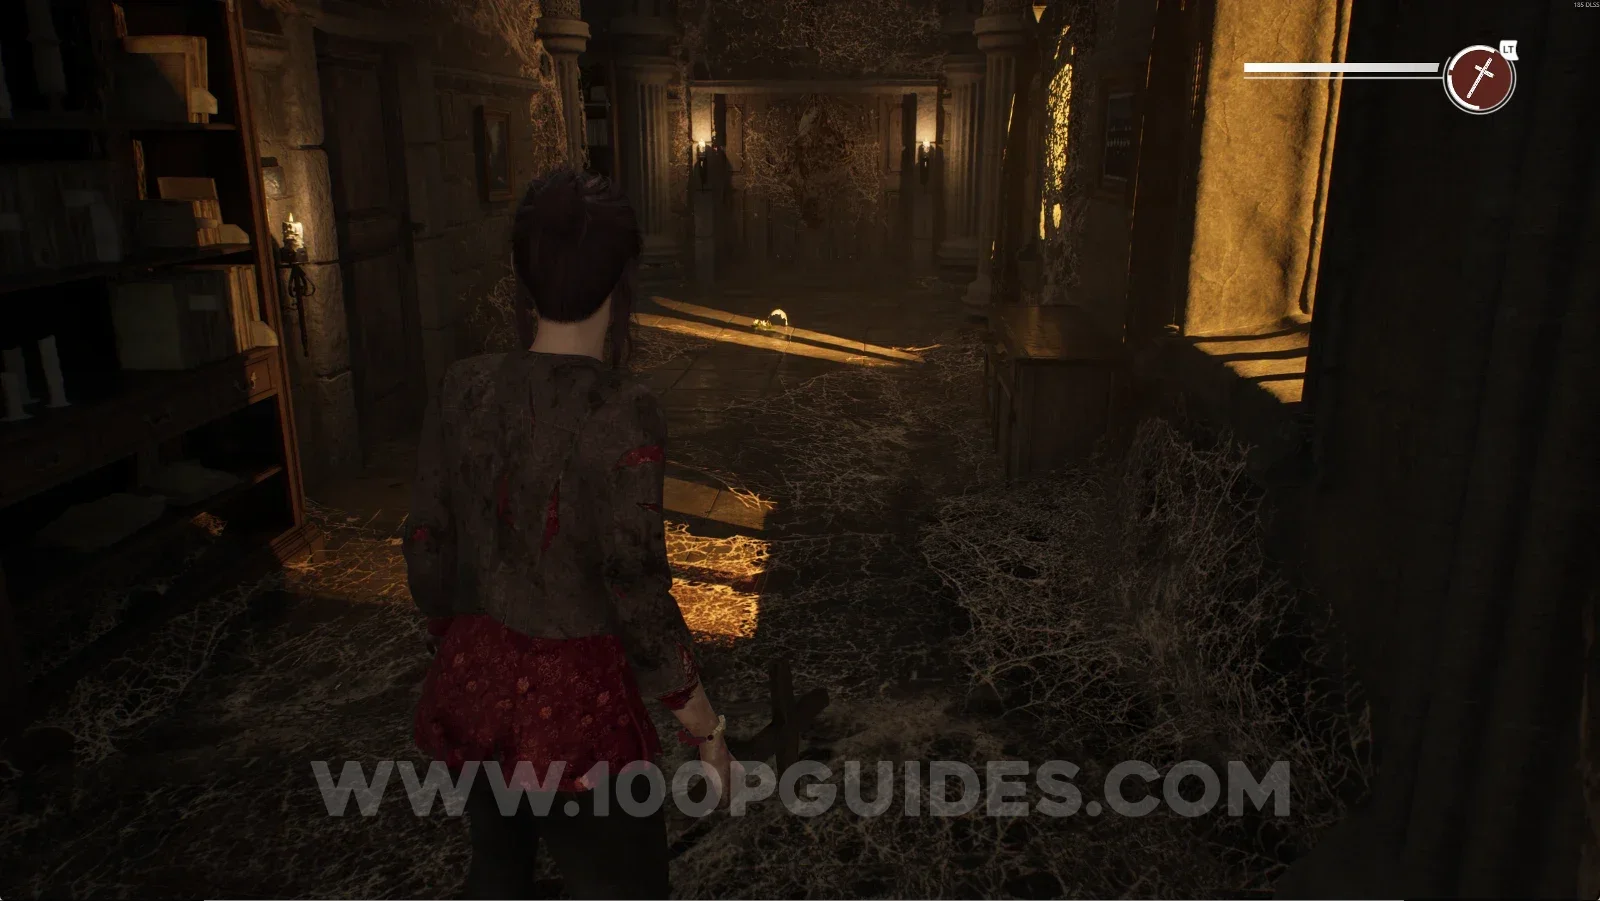
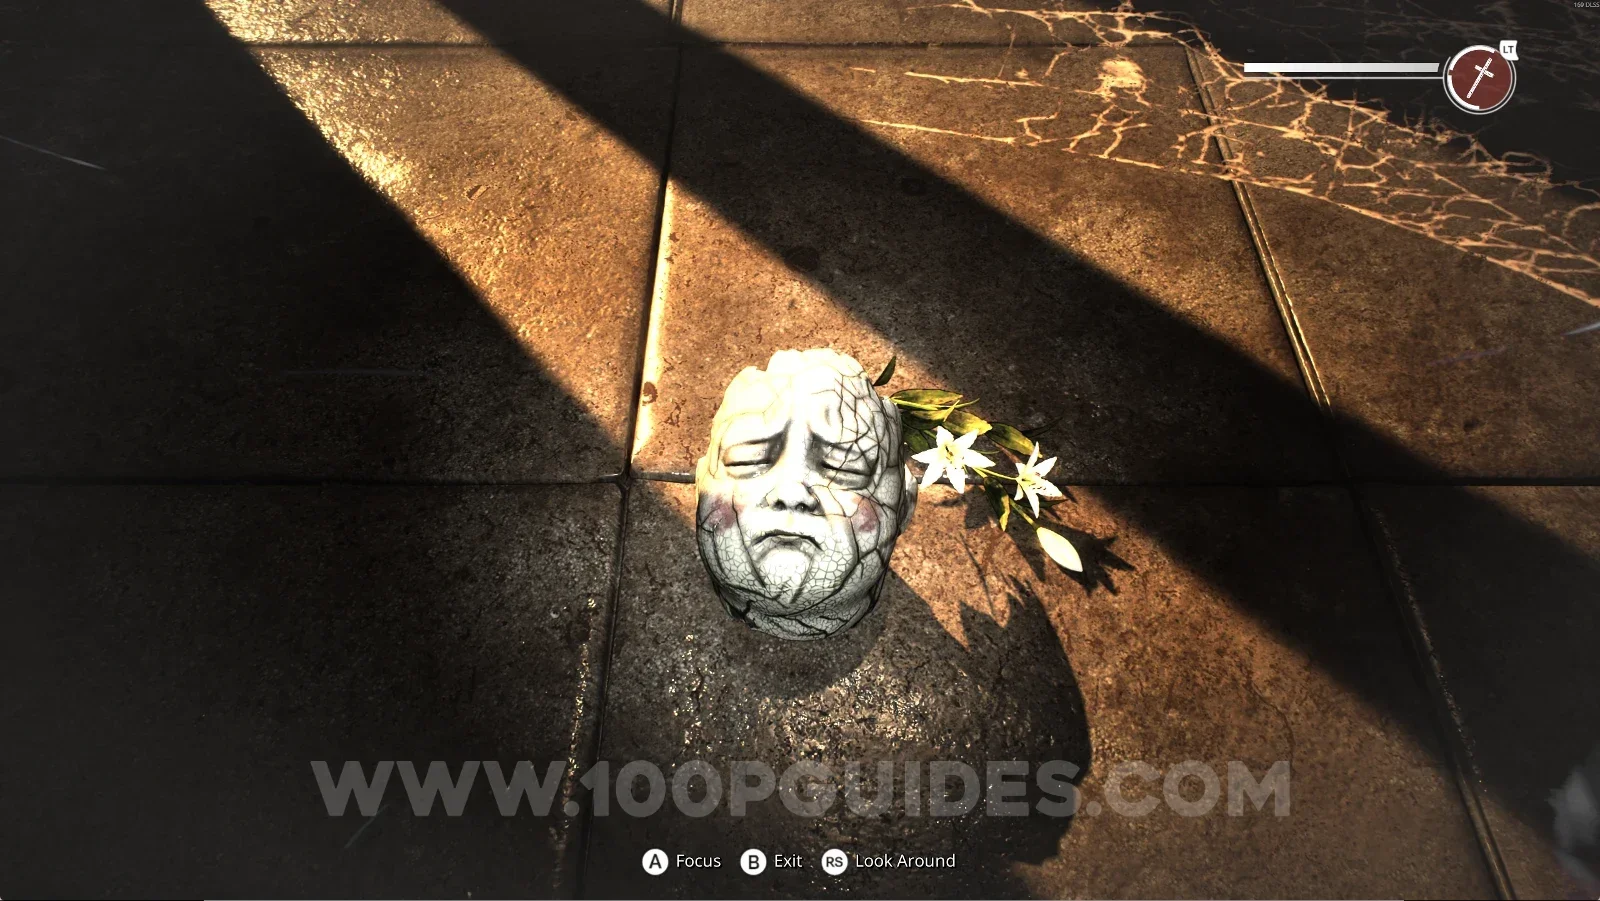
From the previous area, keep going forward, and in the corridor you'll see a mask on the floor. Interact with it and use your power.

Remothered: Red Nuns Legacy Convent: the mask on the floor in the corridor Remothered: Red Nuns Legacy Convent: using the power on the mask on the floor Remothered: Red Nuns Legacy Convent #20: Gloria's Plan collectible

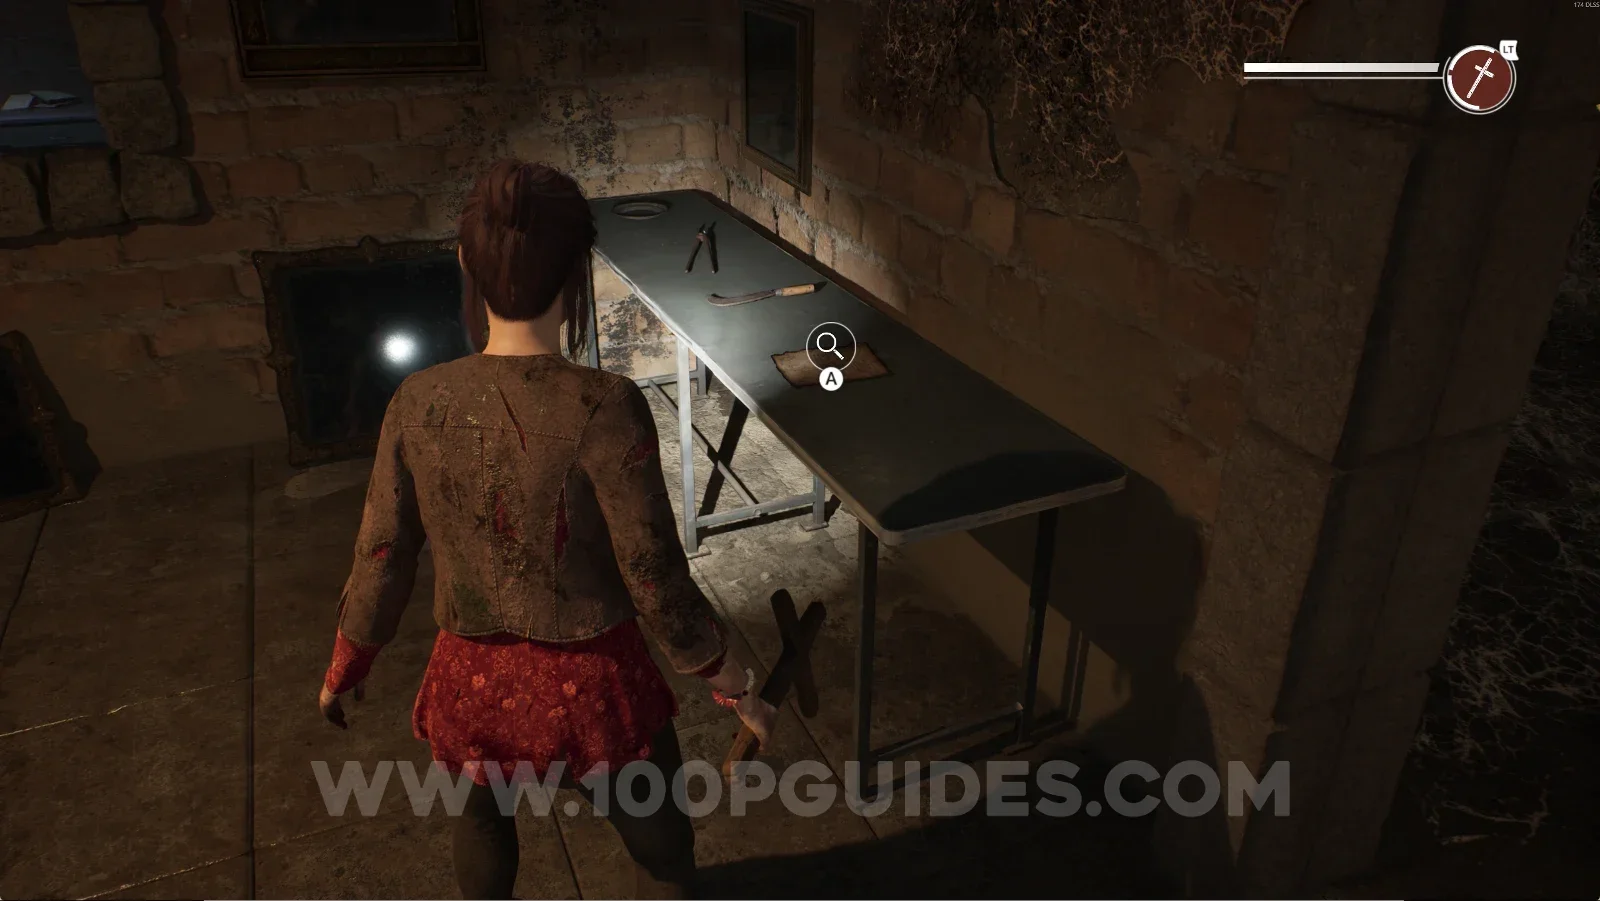
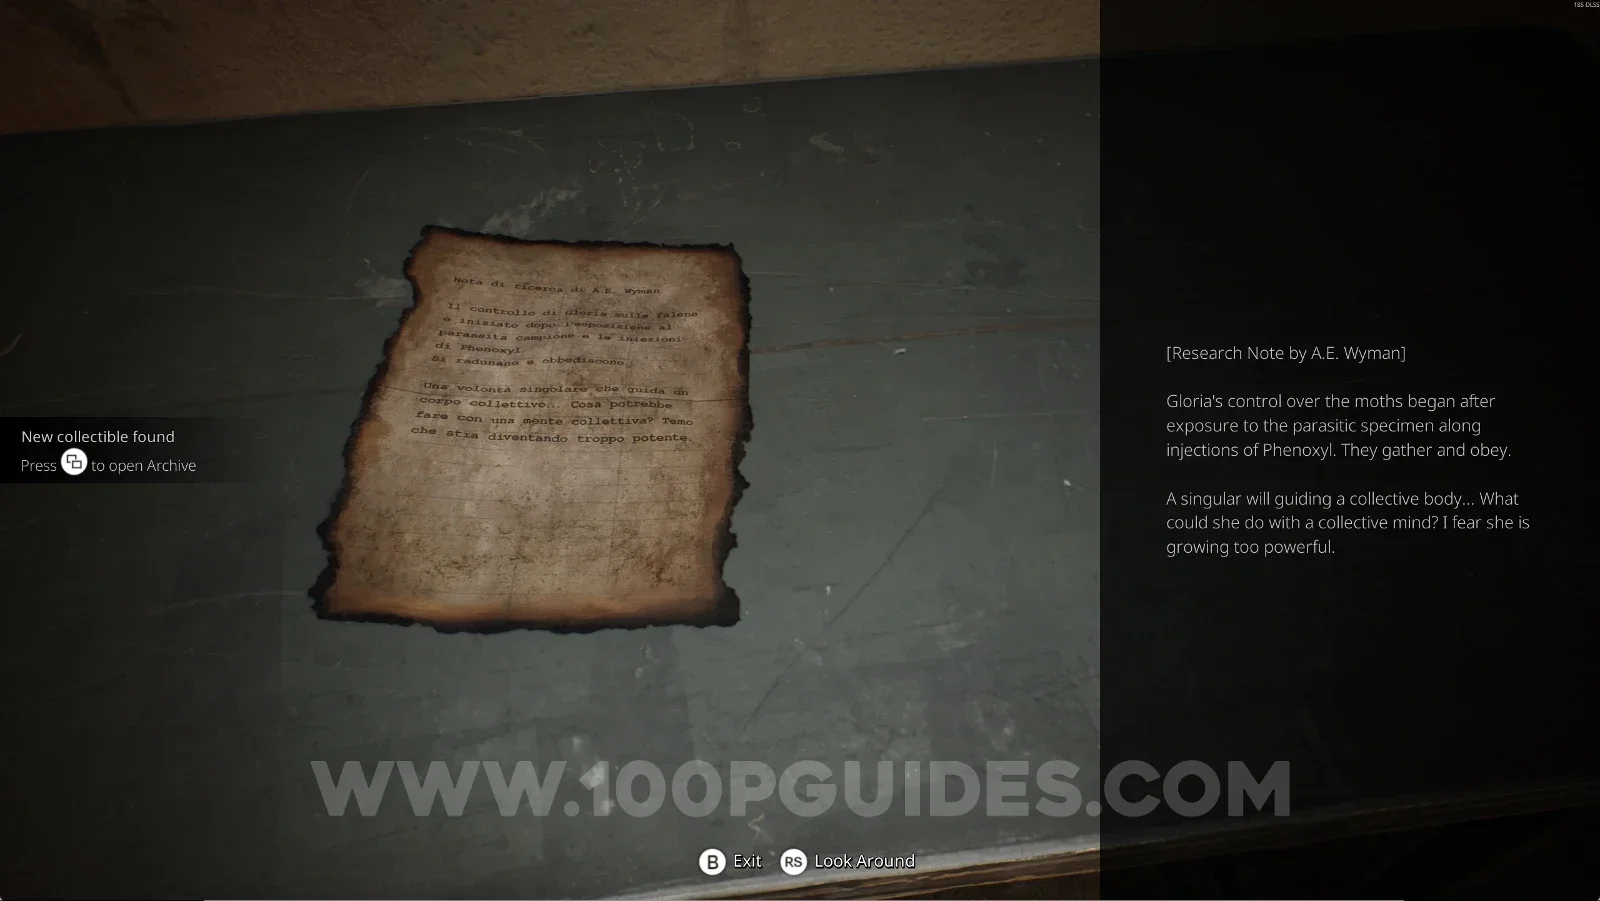
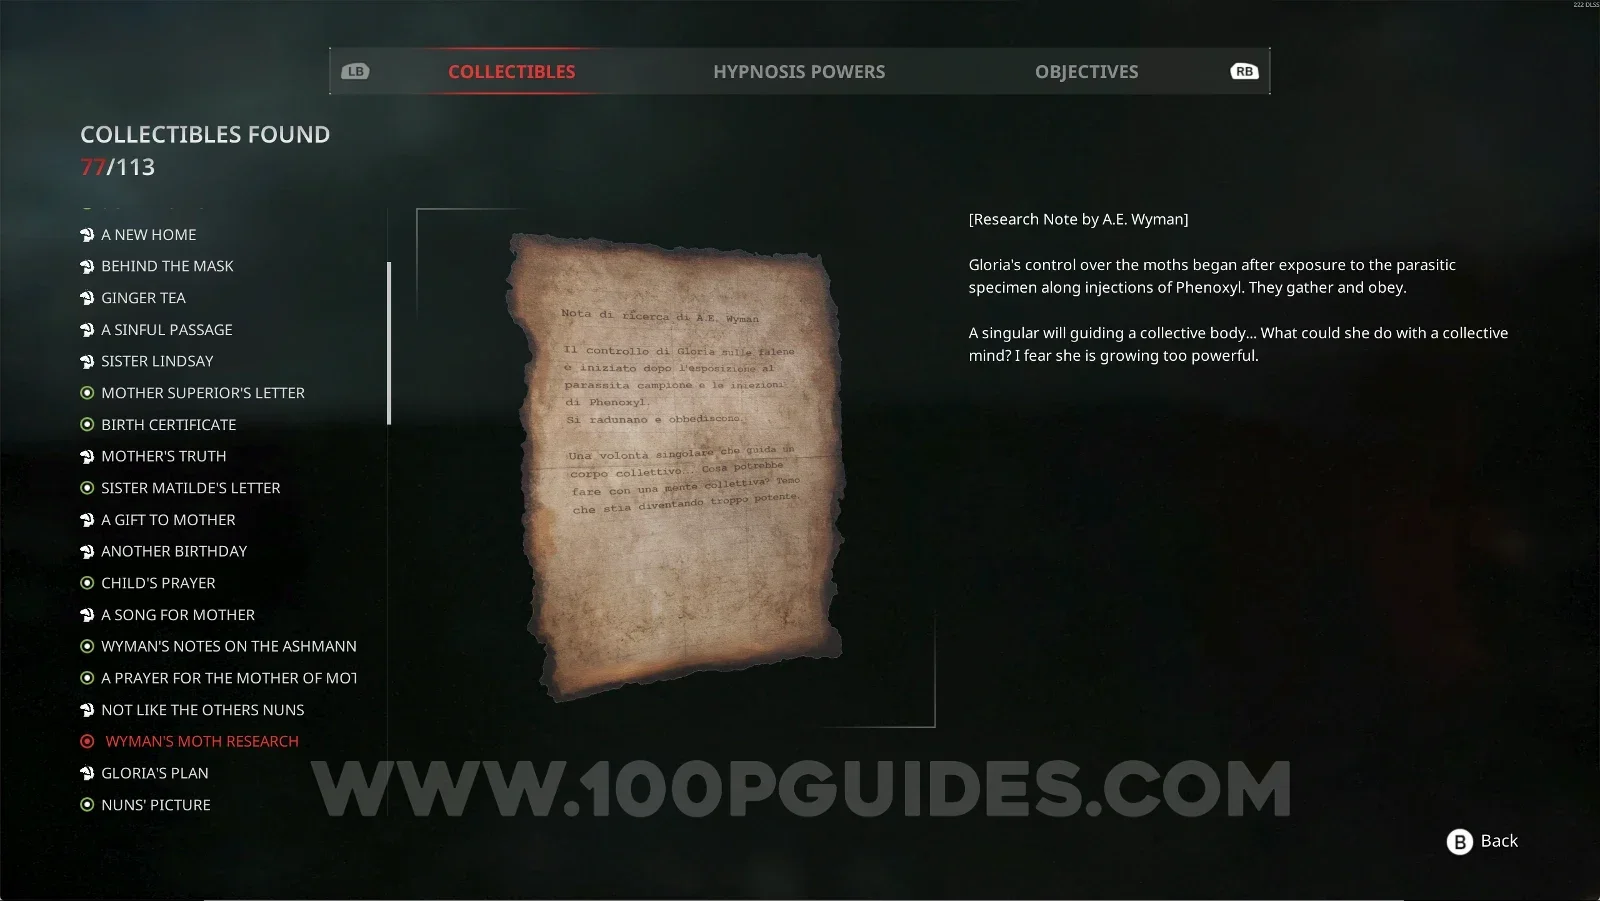
Convent #21: Wyman's Moth Research

After interacting with the mask, you'll see a man going into a room. Follow him into the room, and on the right side you'll see this letter on top of the table.

Remothered: Red Nuns Legacy Convent: the man going into a room after the mask Remothered: Red Nuns Legacy Convent: following the man into the room Remothered: Red Nuns Legacy Convent: the letter on the table on the right side of the room Remothered: Red Nuns Legacy Convent #21: Wyman's Moth Research collectible

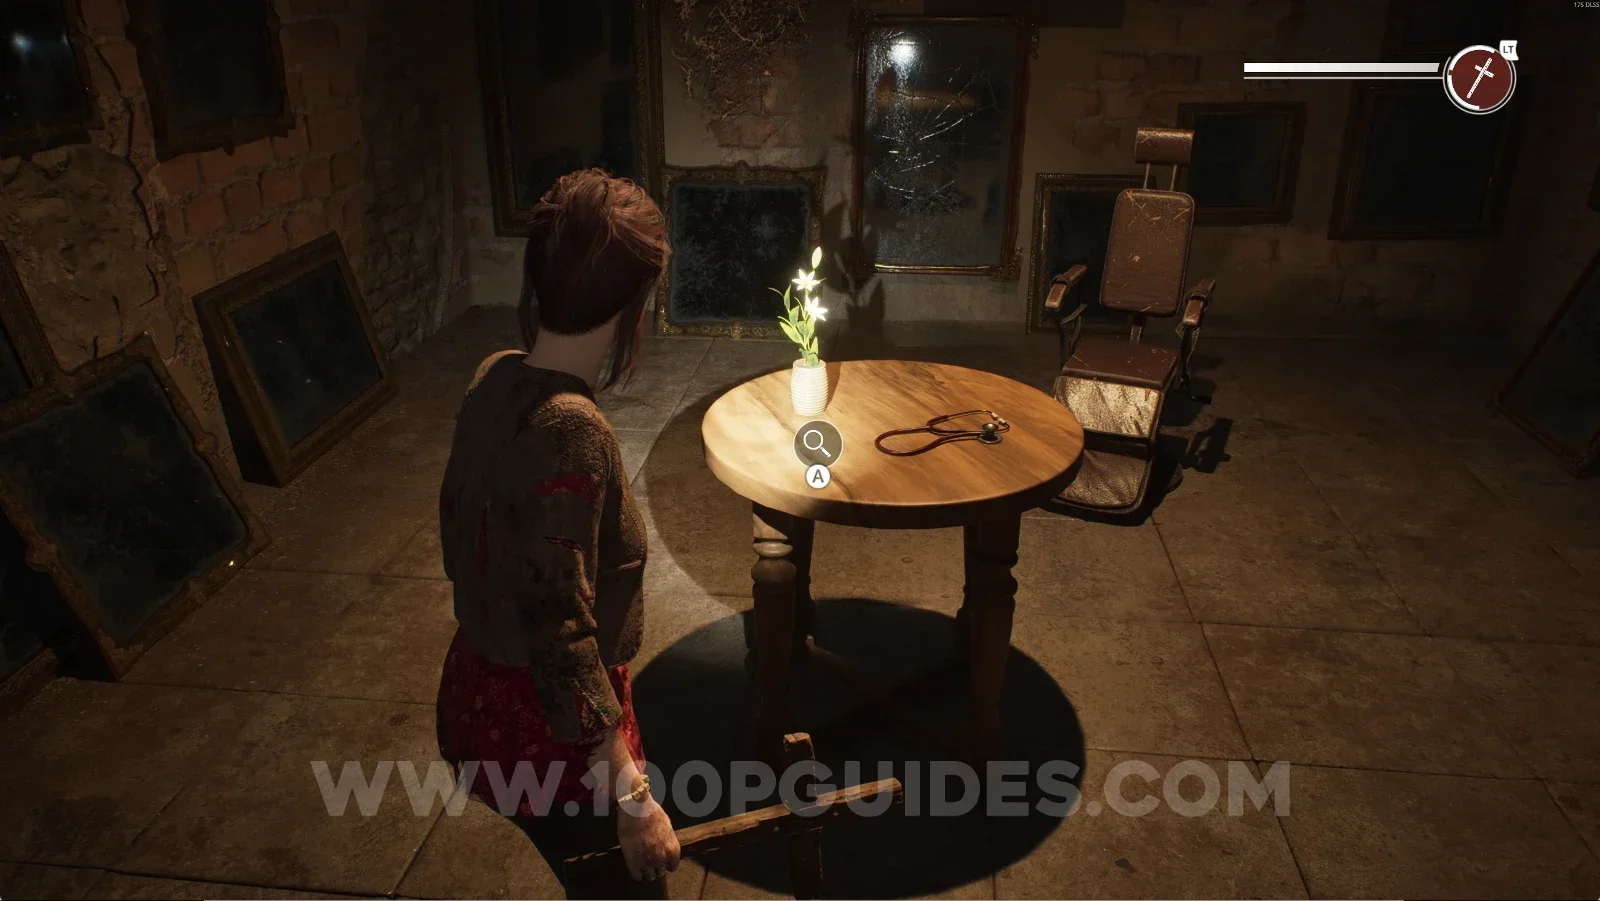
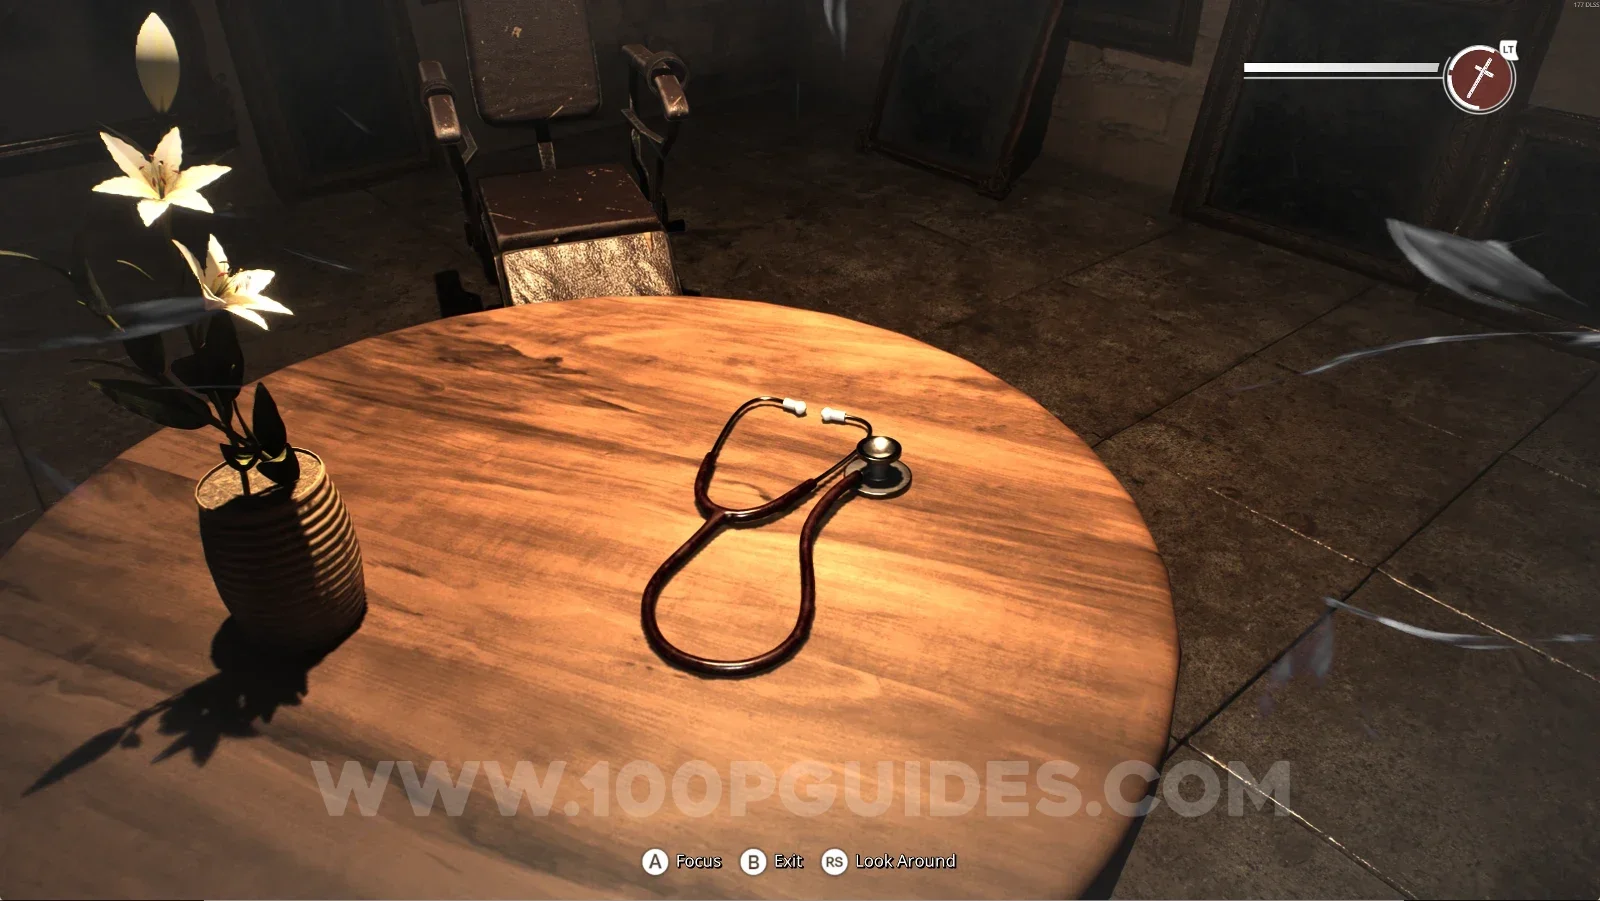
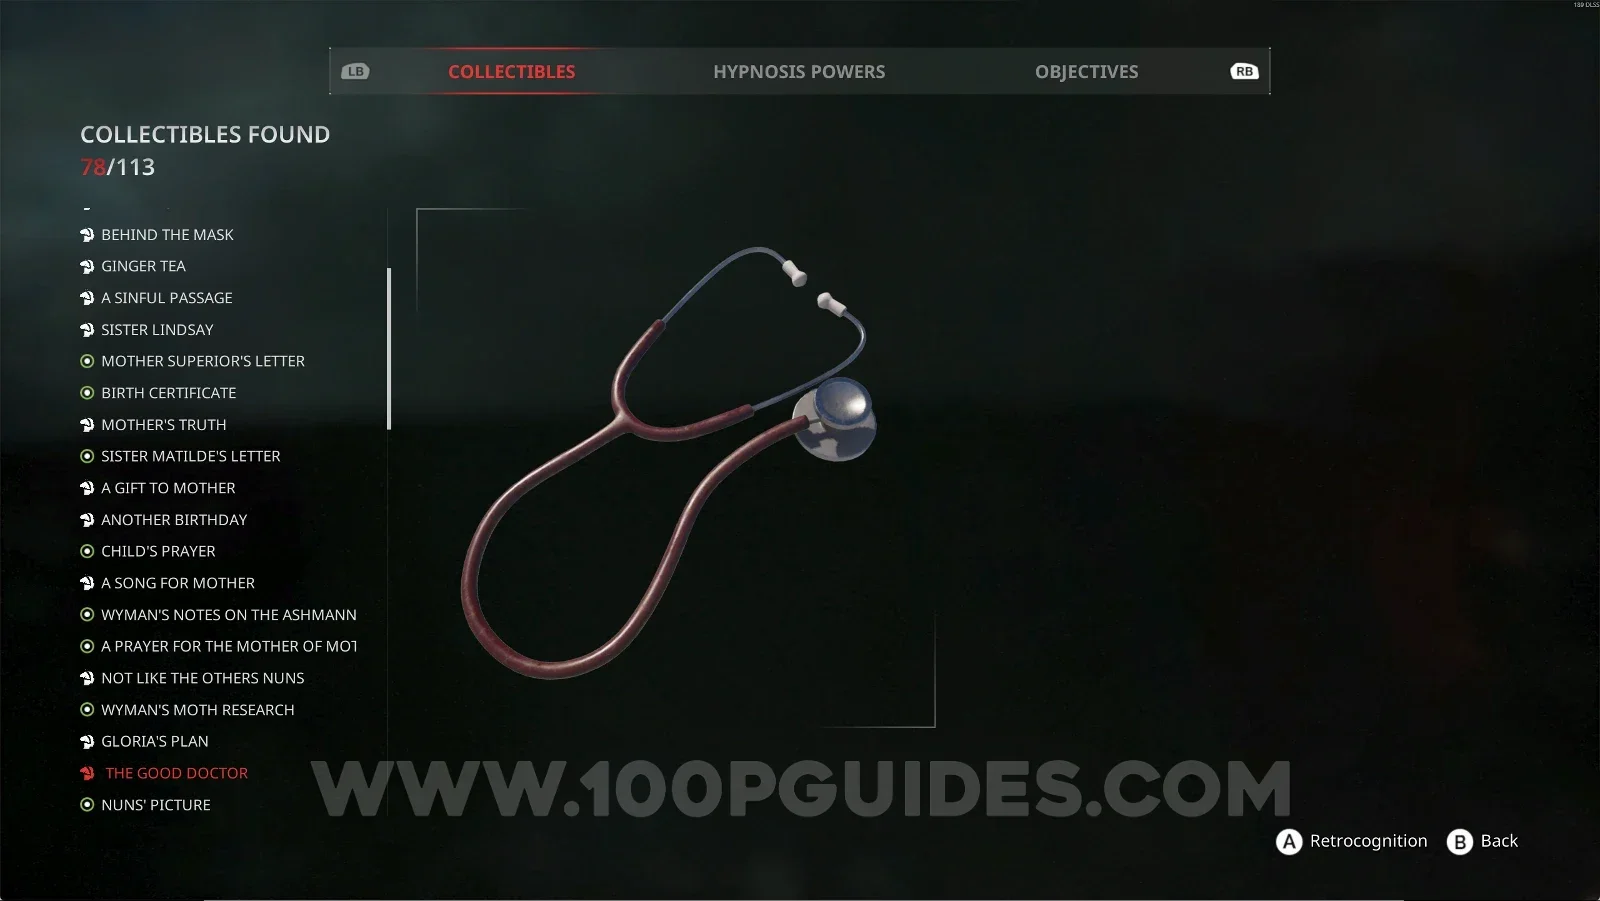
Convent #22: The Good Doctor + Retrocognition #24

Same room as before. Interact with the stethoscope and use your power.

Remothered: Red Nuns Legacy Convent: the stethoscope in the same room as Wyman's Moth Research Remothered: Red Nuns Legacy Convent: using the power on the stethoscope for Retrocognition #24 Remothered: Red Nuns Legacy Convent #22: The Good Doctor collectible

To continue, interact with the cocoon and take the moths to the cocoon on the large door at the end of the corridor. Then interact with the Metronome.

Remothered: Red Nuns Legacy Convent: grabbing the moths from the cocoon Remothered: Red Nuns Legacy Convent: the cocoon on the large door at the end of the corridor Remothered: Red Nuns Legacy Convent: interacting with the Metronome past the large door

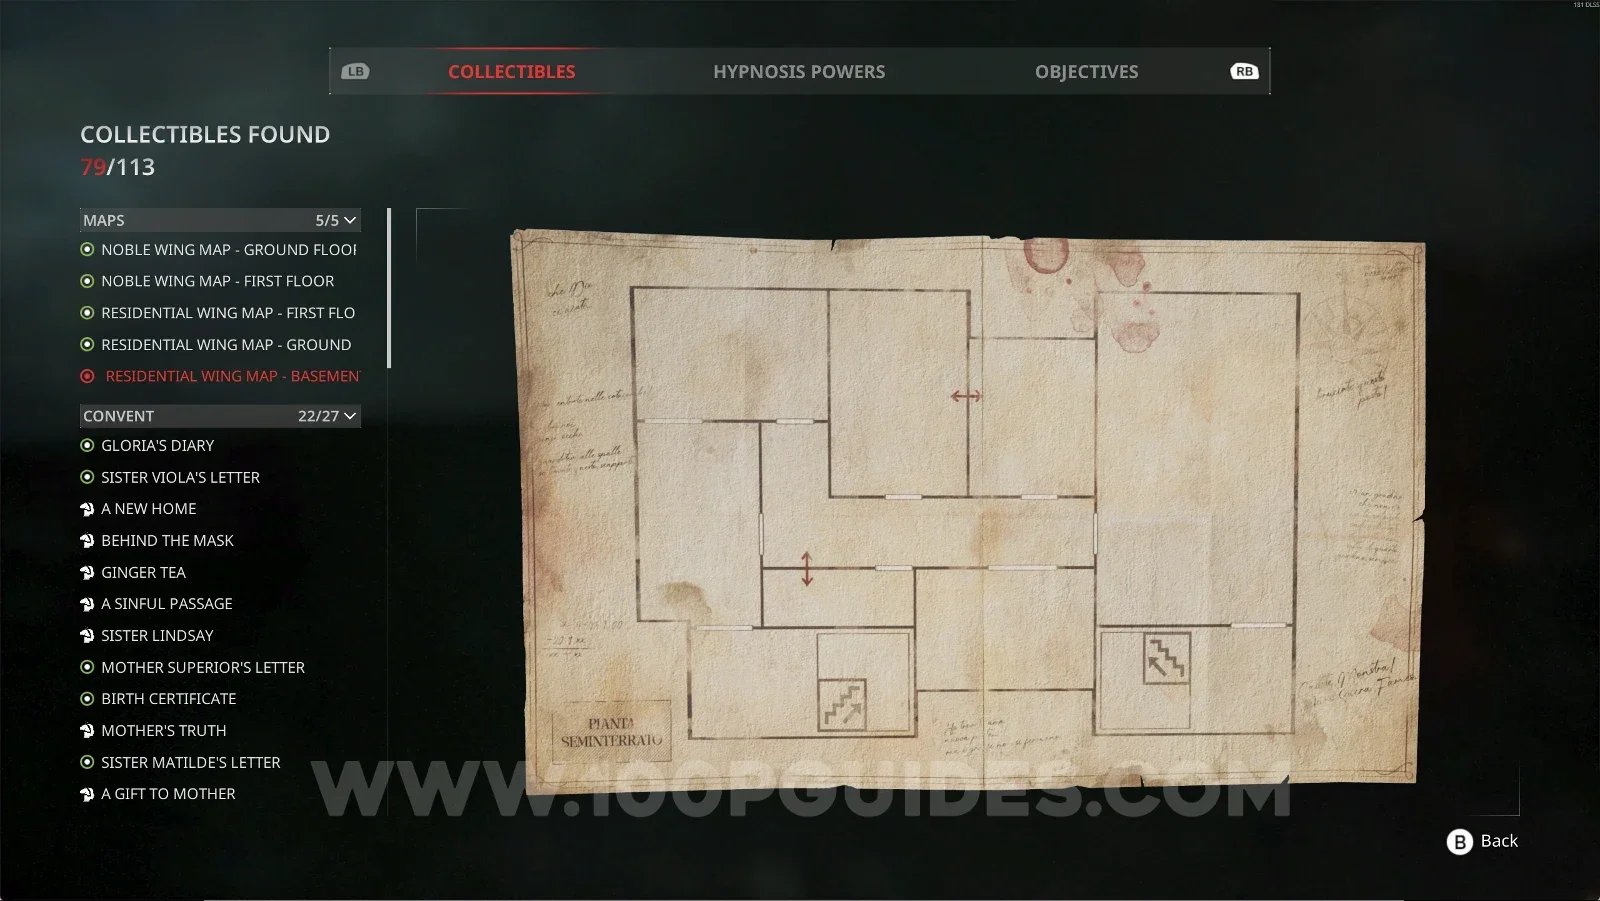
Map #5: Residential Wing Map - Basement

After interacting with the Metronome, you'll be back in the previous area. Now go through the door on the right side of the area and turn left, and you'll see this map right in front of you.

Remothered: Red Nuns Legacy: the door on the right side of the area after the Metronome Remothered: Red Nuns Legacy: turning left to find the Residential Wing basement map Remothered: Red Nuns Legacy Map #5: Residential Wing Map Basement collectible

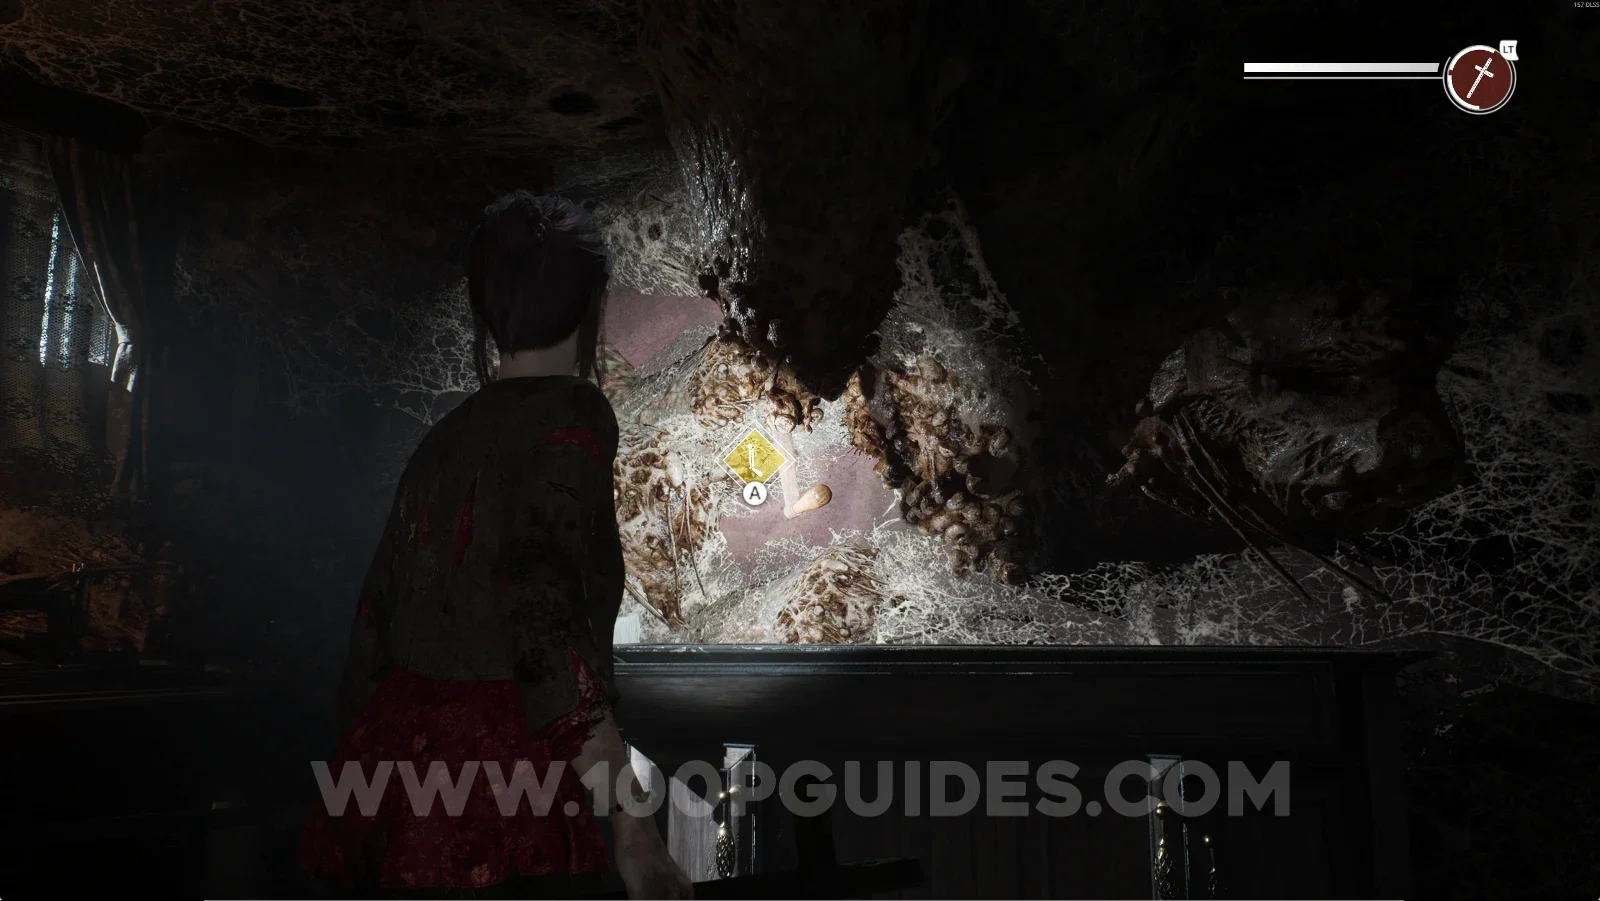
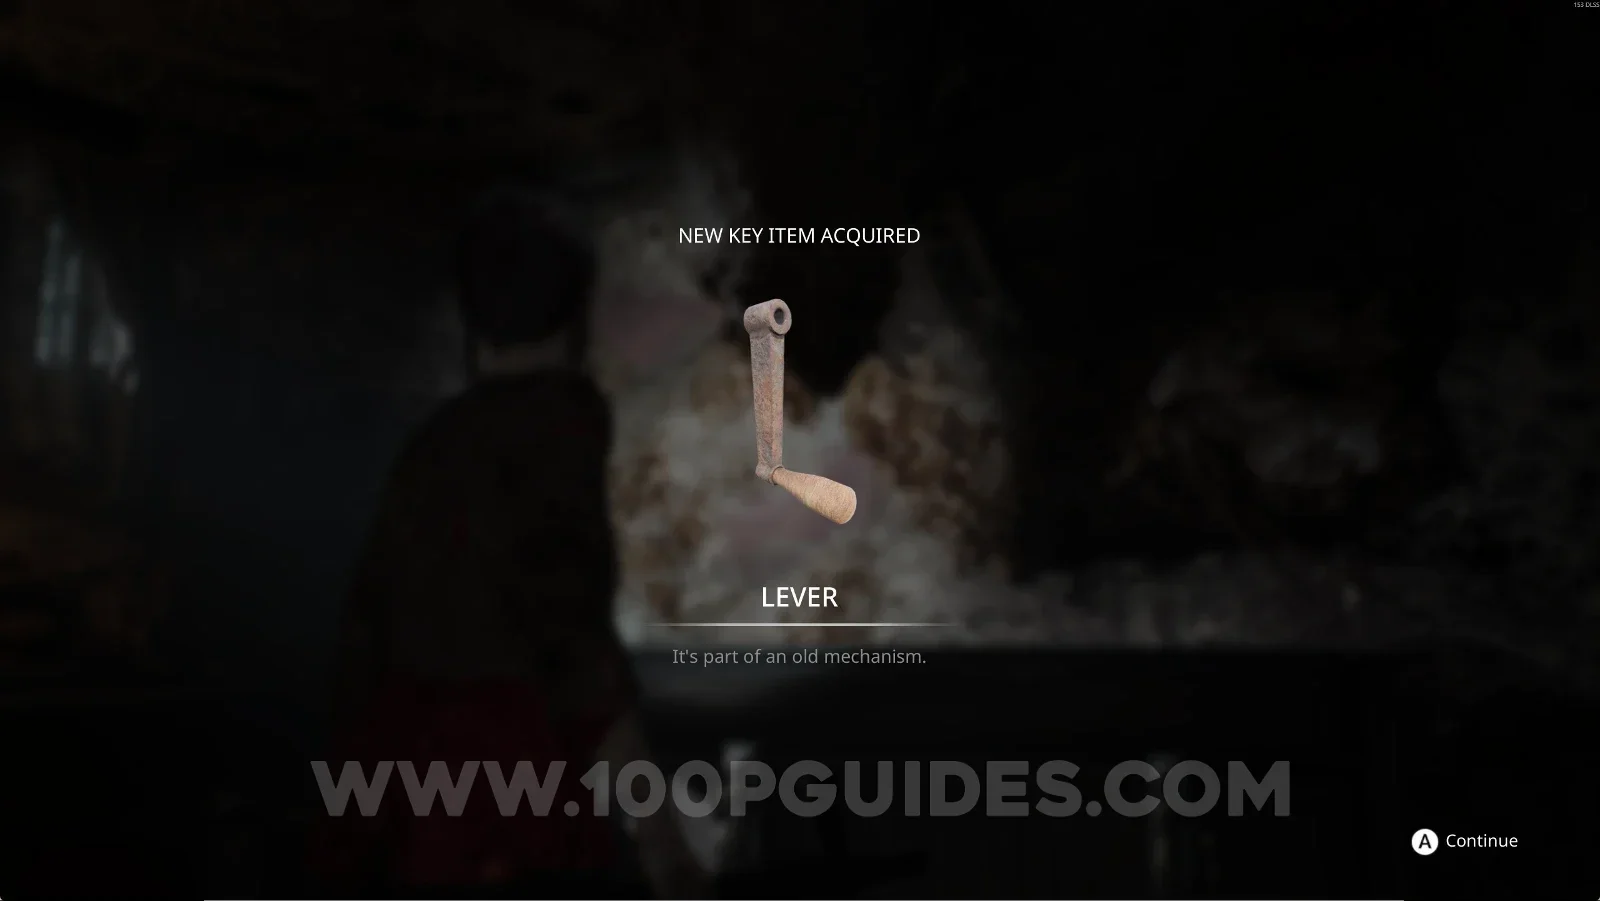
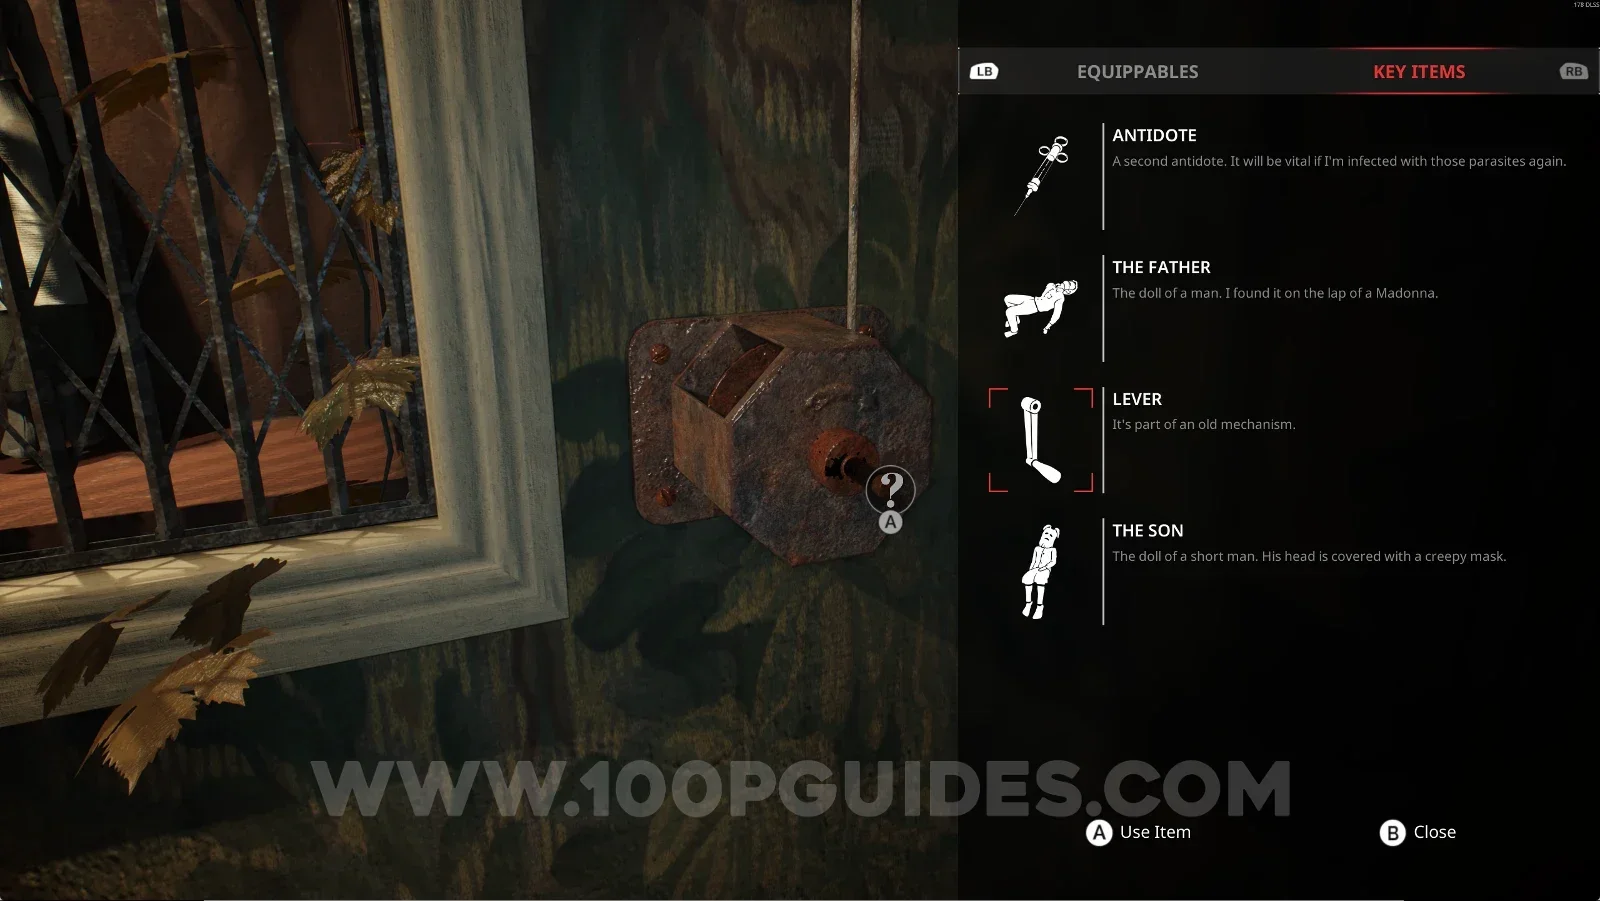
Key Item: Lever

In the same room as before, near the map.

Remothered: Red Nuns Legacy: the Lever in the same room as the basement map Remothered: Red Nuns Legacy: picking up the Lever key item near the map

To continue, grab the moths from the rooms to the right of where you were and take them to the cocoon at the end of the corridor to unblock the door.

Remothered: Red Nuns Legacy: grabbing the moths from the rooms on the right Remothered: Red Nuns Legacy: the cocoon blocking the door at the end of the corridor

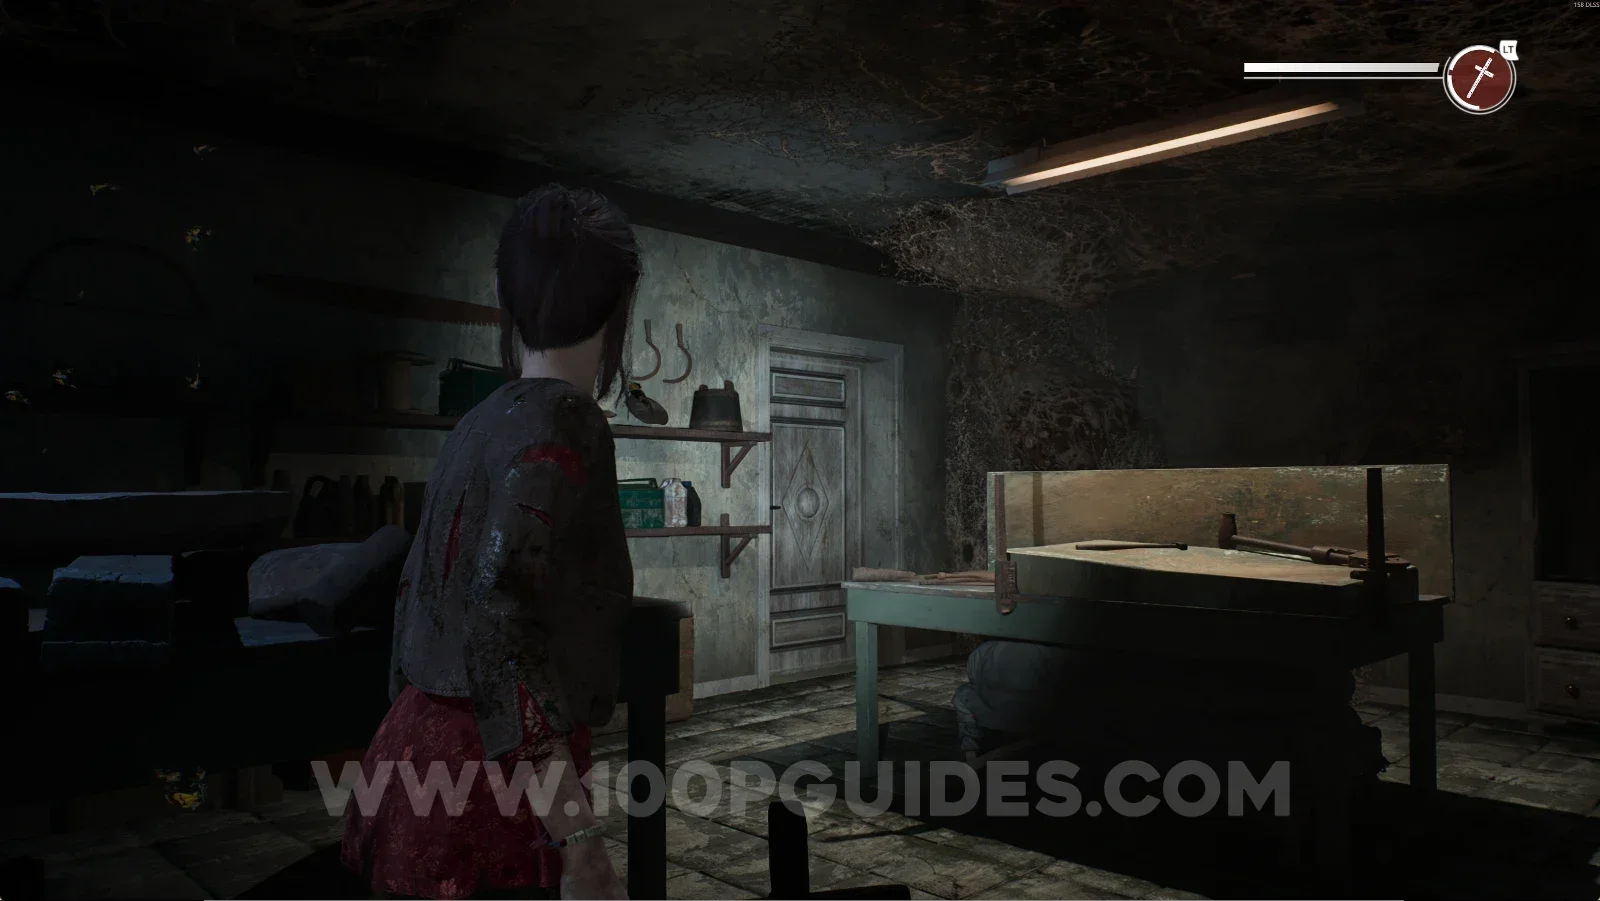
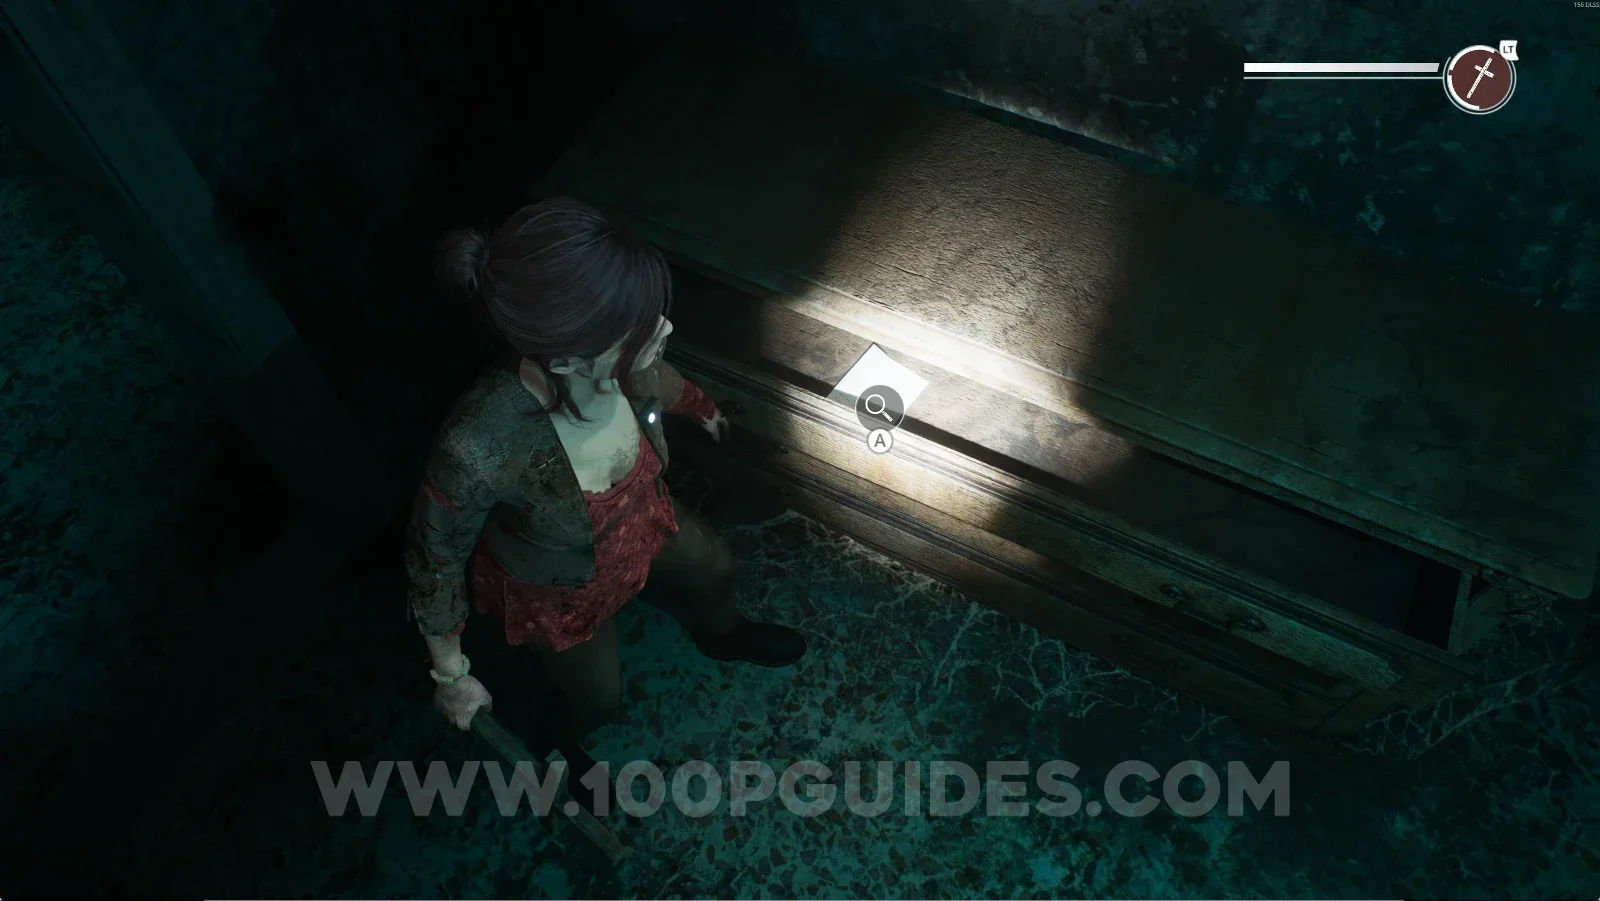
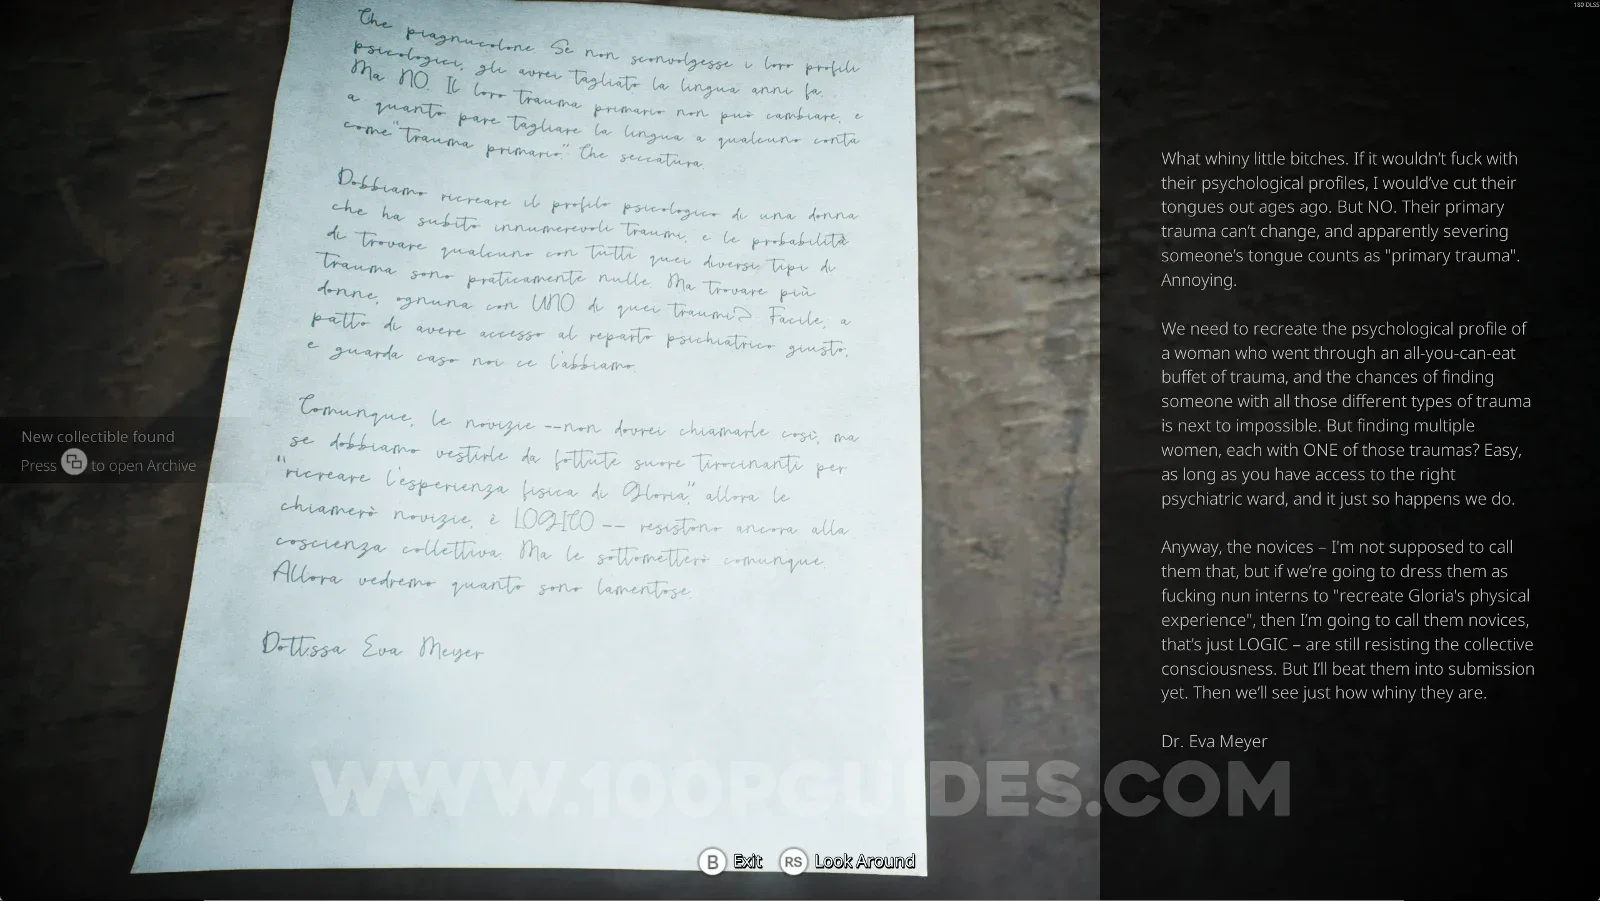
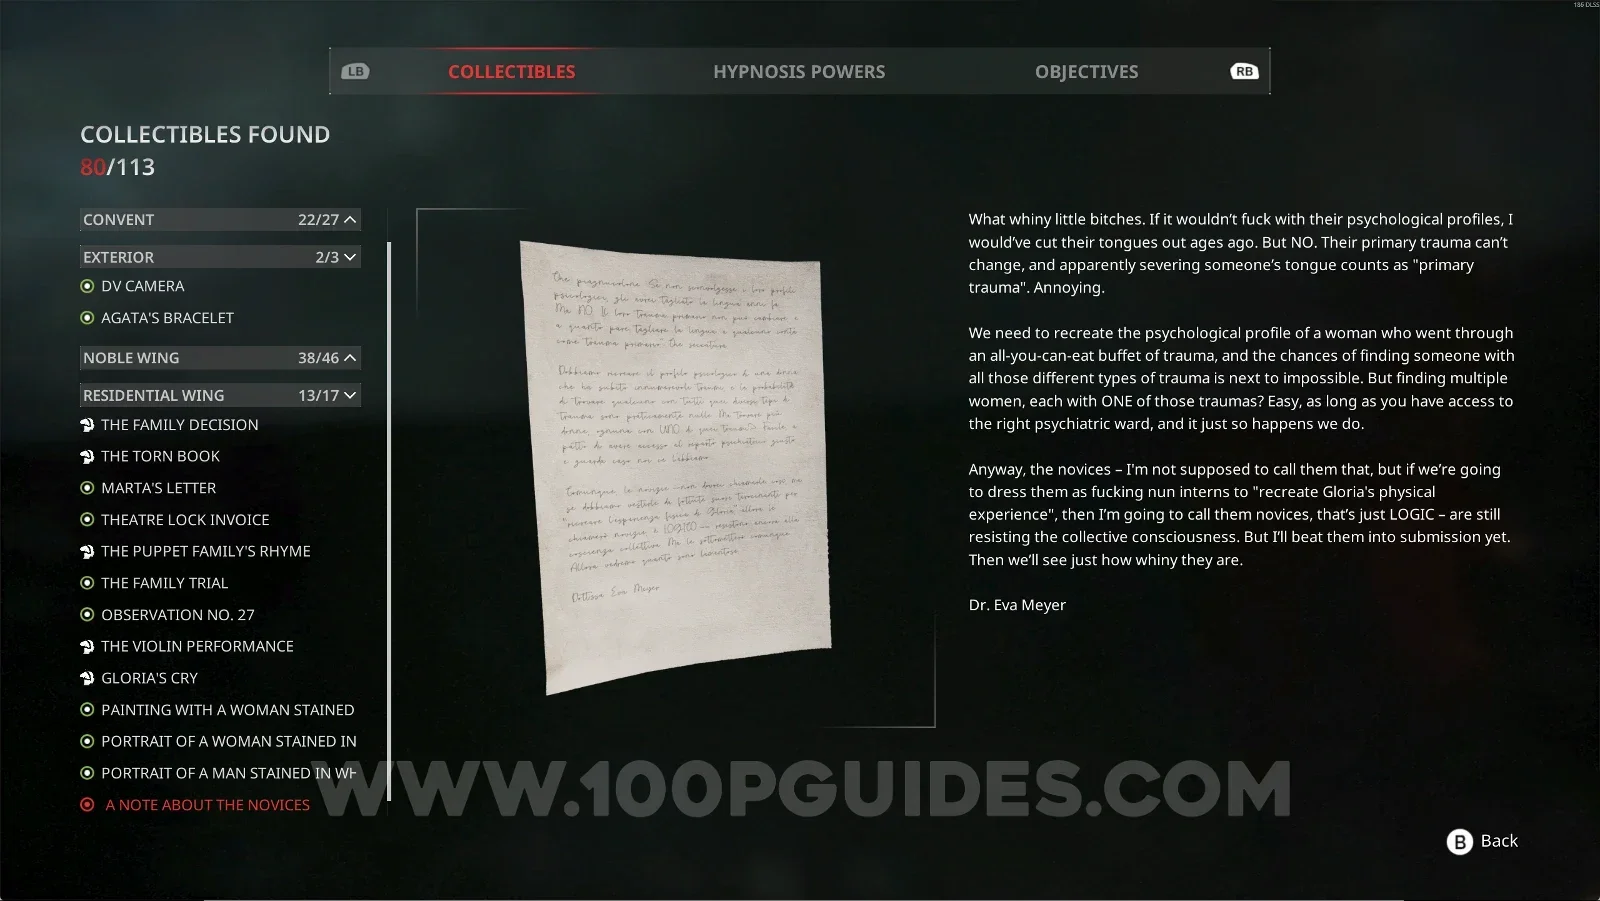
Residential Wing #15: A Note About The Novices

After going through the door, go through the next one at the back. Follow the corridor and open the drawer on the left side to find this note.

Remothered: Red Nuns Legacy Residential Wing: going through the unblocked door Remothered: Red Nuns Legacy Residential Wing: the next door at the back of the room Remothered: Red Nuns Legacy Residential Wing: the drawer on the left side of the corridor Remothered: Red Nuns Legacy Residential Wing #15: A Note About The Novices collectible

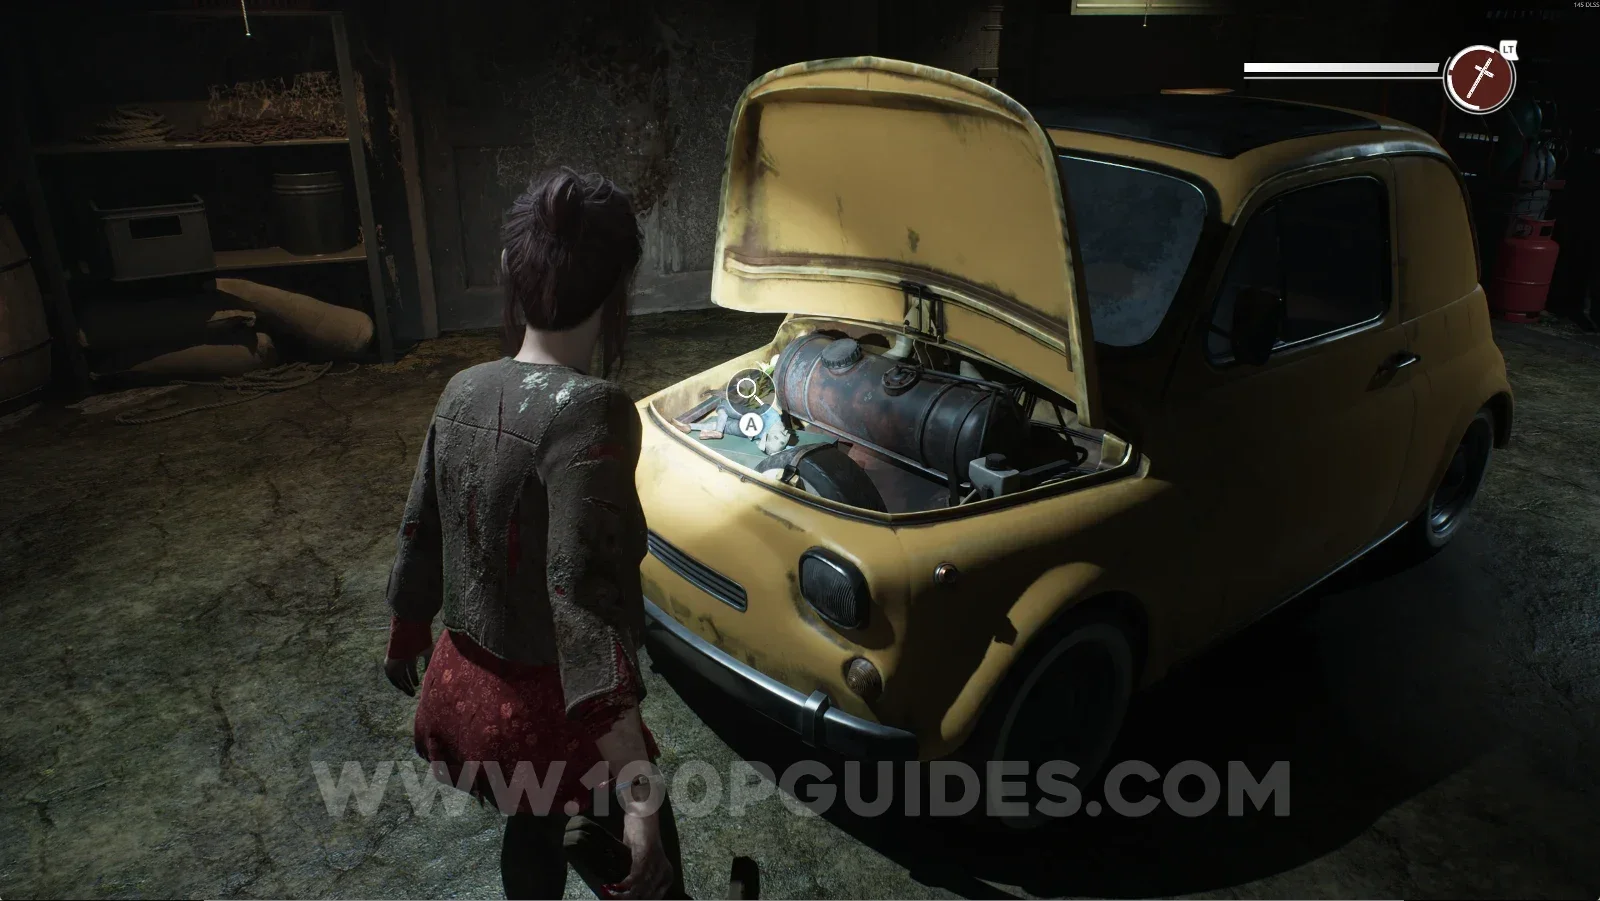
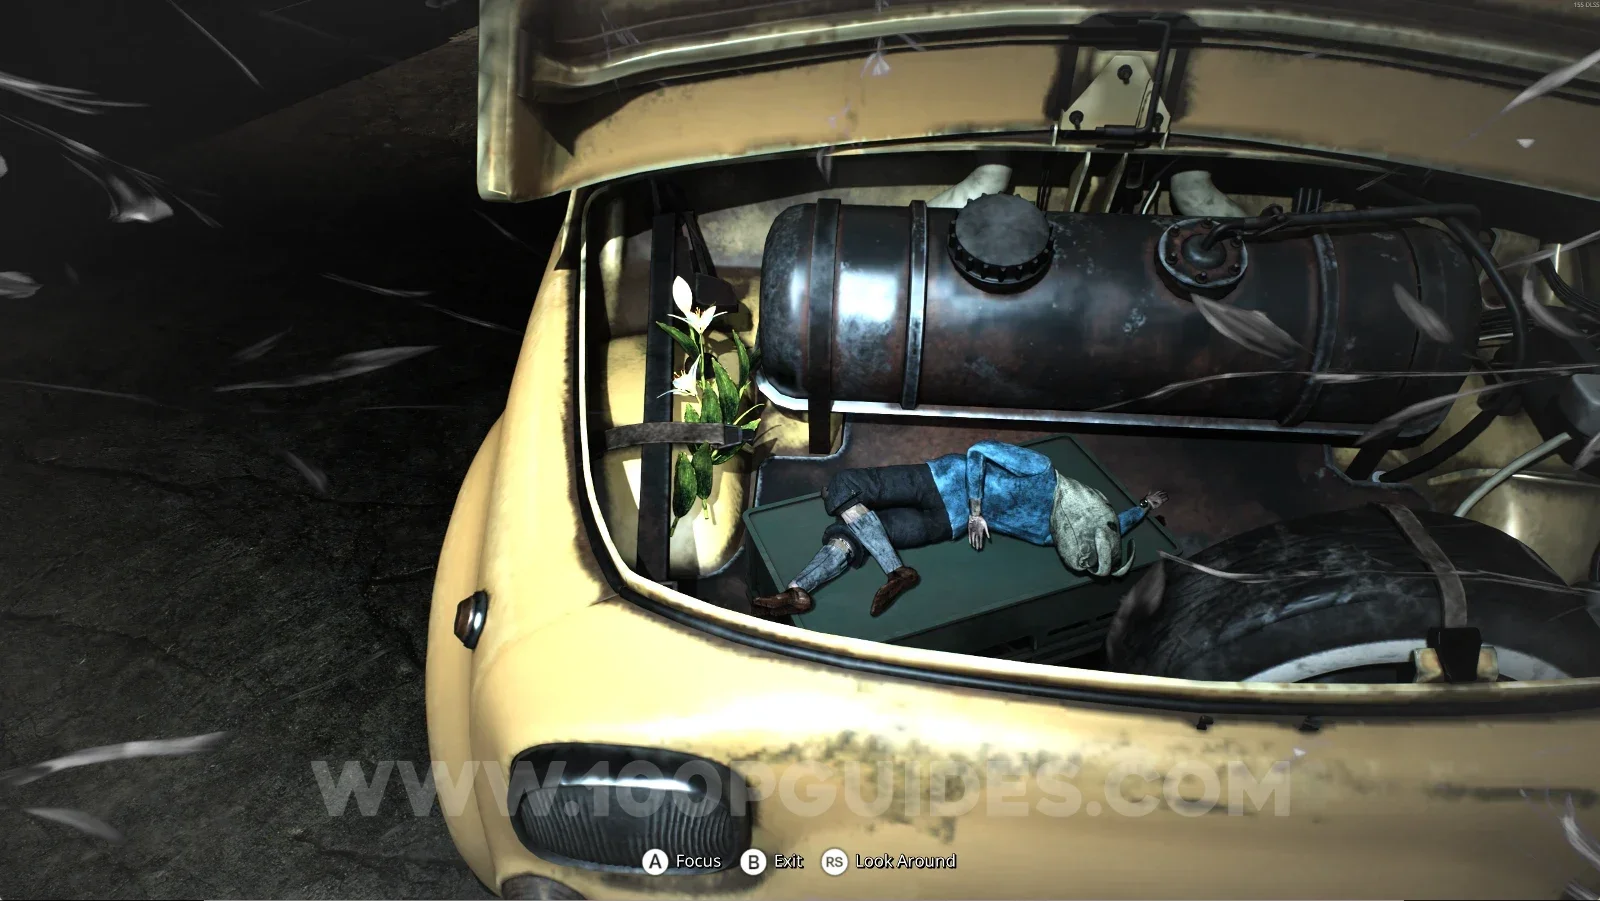
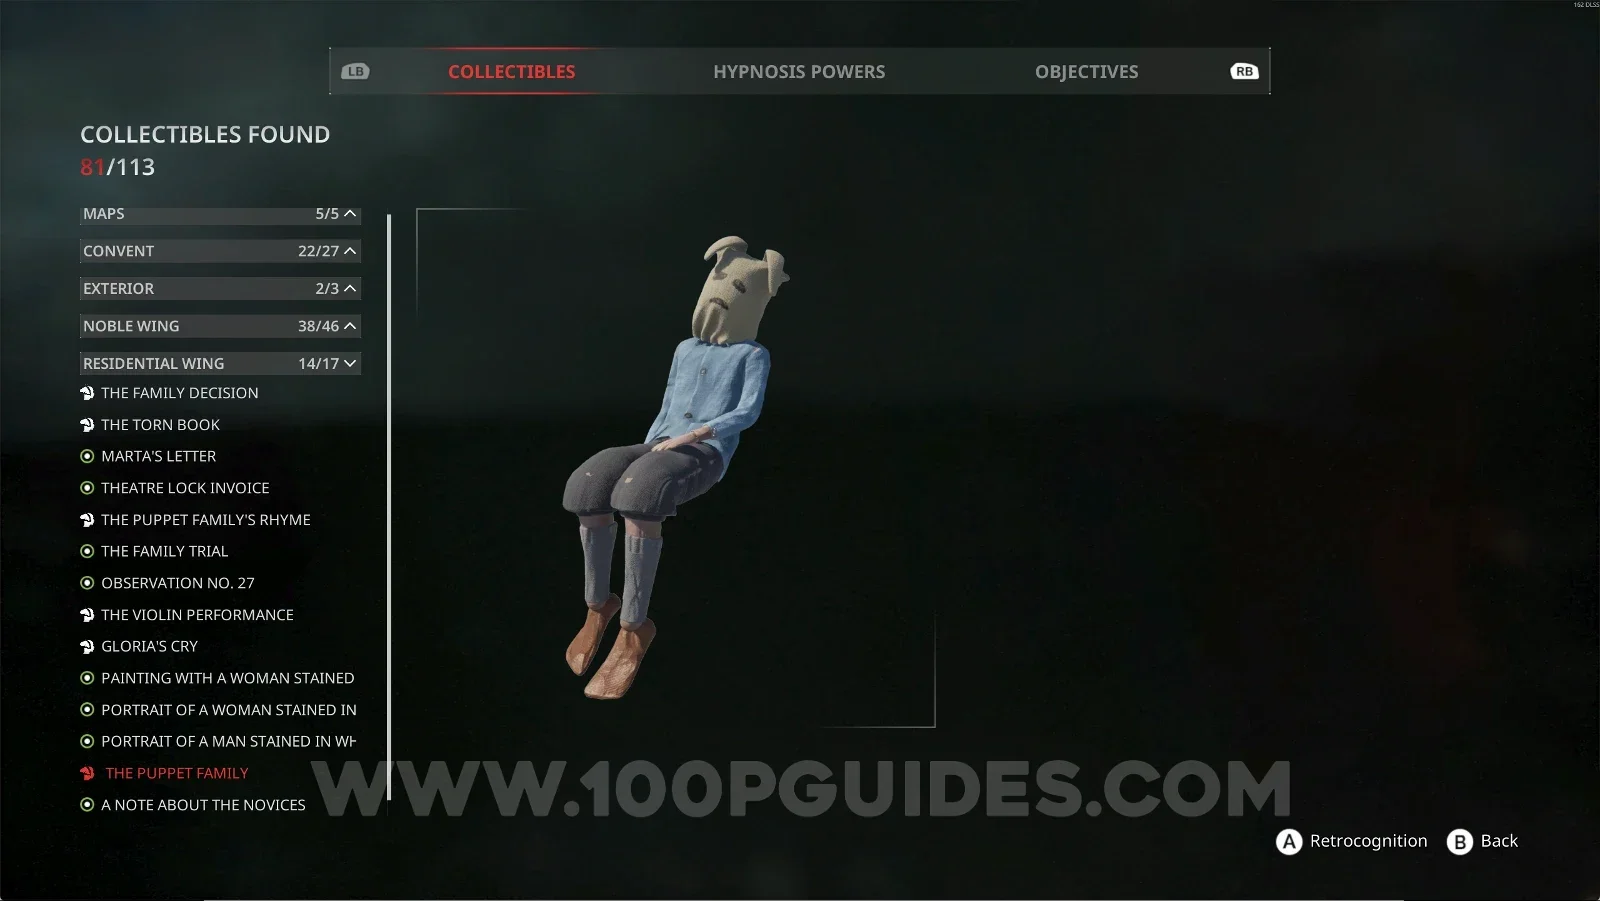
Residential Wing #16: The Puppet Family + Retrocognition #25

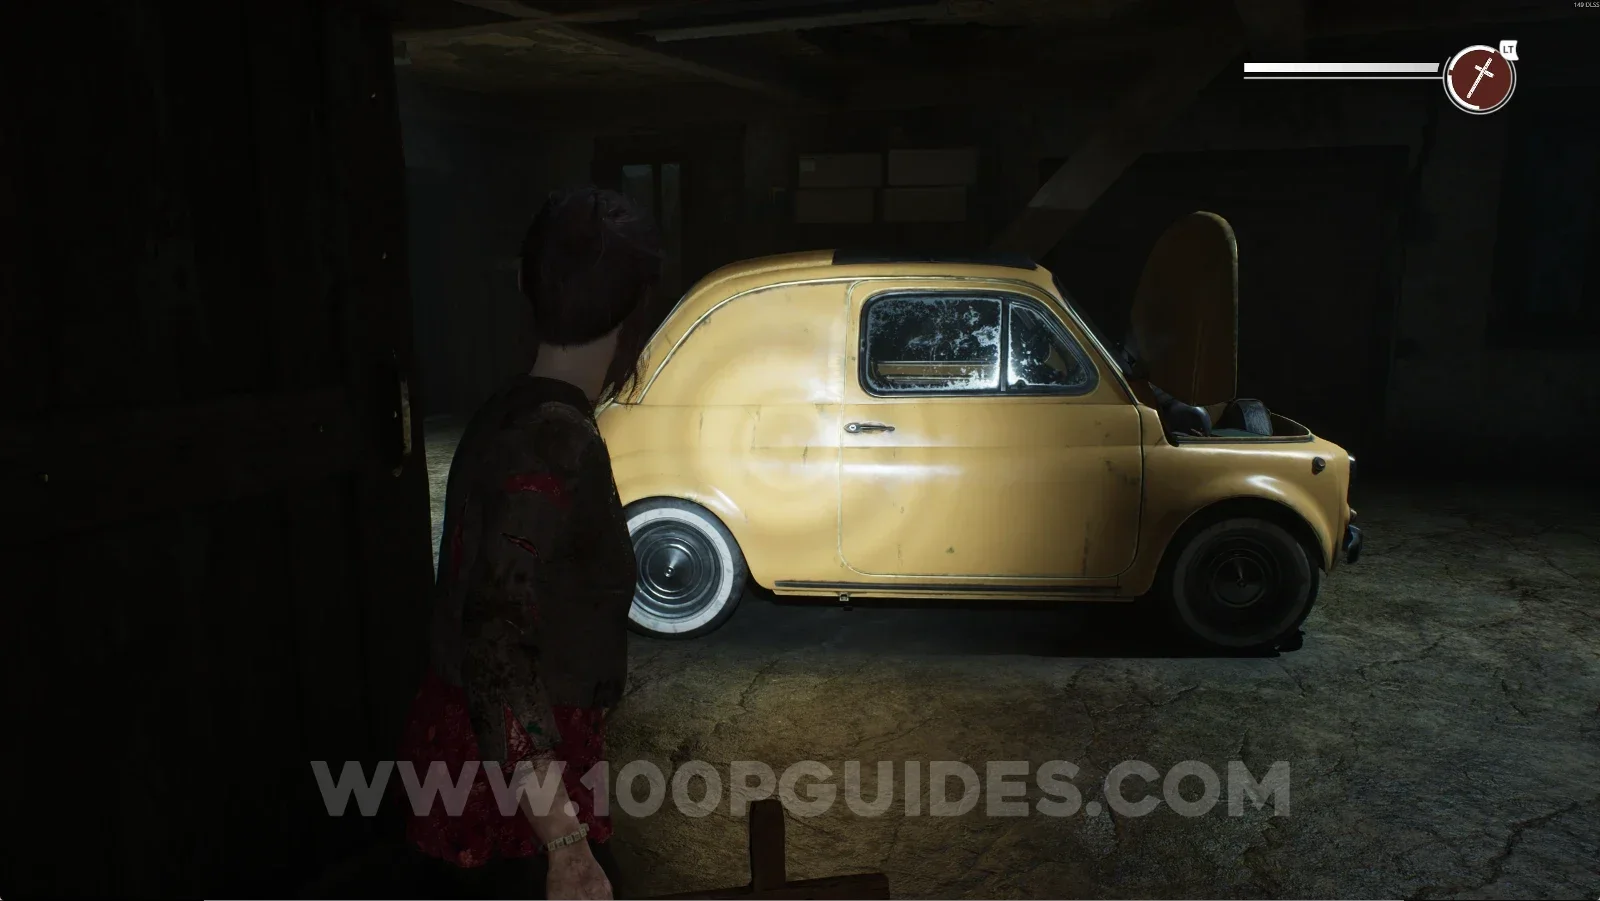
From the previous collectible, go up the stairs and you'll see a yellow car. Interact with its engine and then use your power to get the collectible.

Remothered: Red Nuns Legacy Residential Wing: the yellow car at the top of the stairs Remothered: Red Nuns Legacy: using the power on the yellow car engine for Retrocognition #25 Remothered: Red Nuns Legacy Residential Wing #16: The Puppet Family collectible

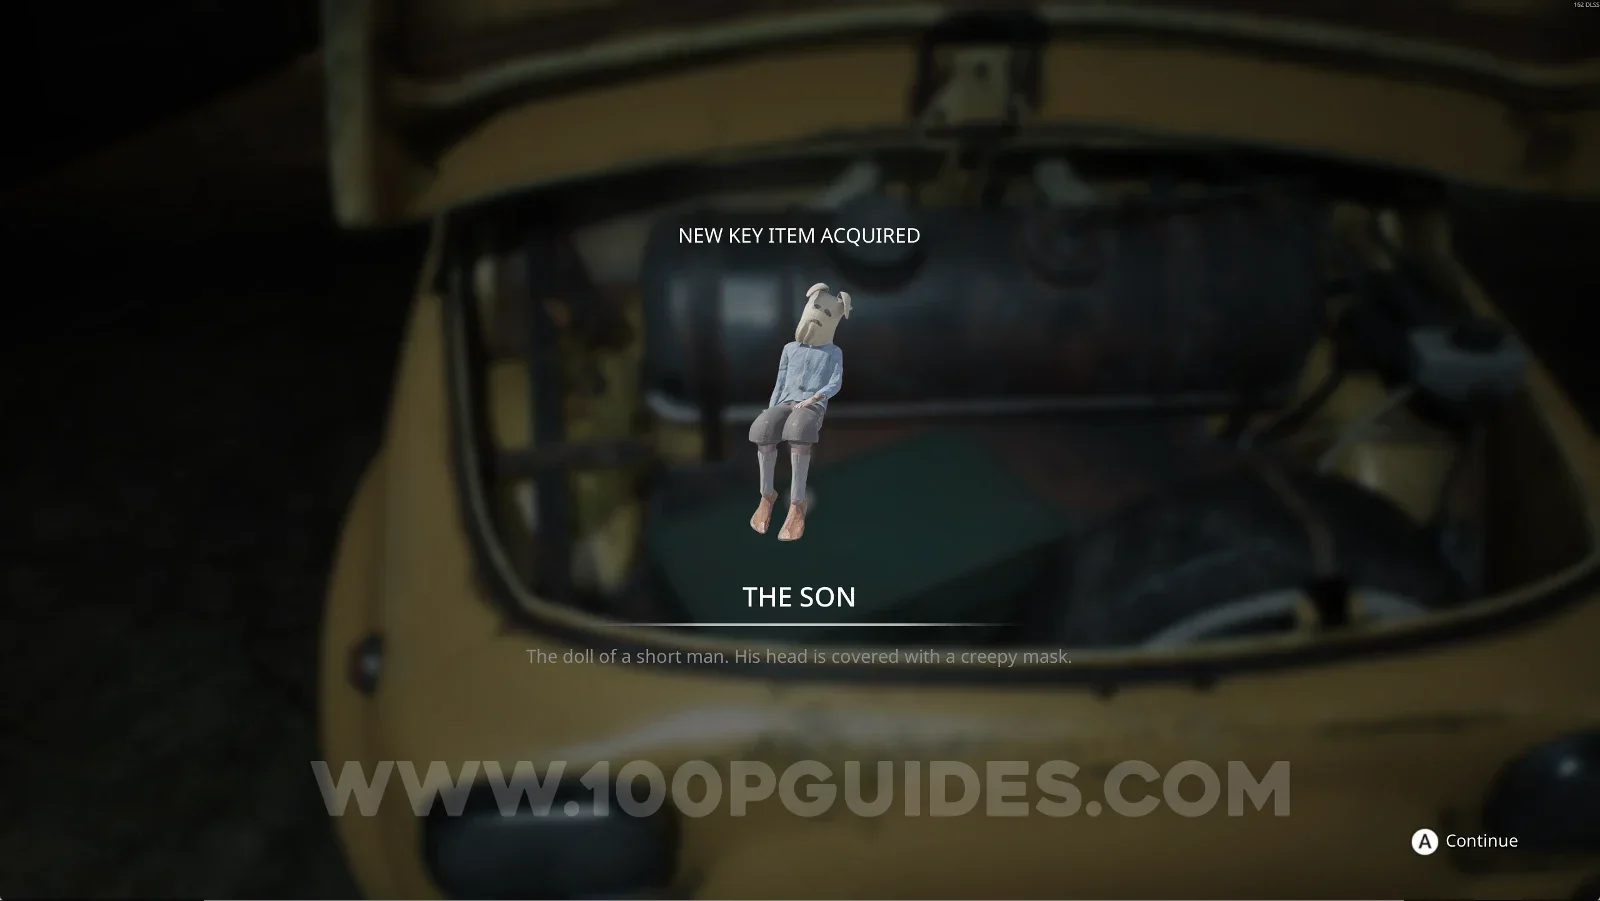
Key Item: The Son

Right after interacting with the previous collectible.

Remothered: Red Nuns Legacy: The Son key item obtained after The Puppet Family collectible

Residential Wing #17: Reporter’s Final Note

After the previous collectible, grab the moths and use them on the door. Head out and enter the room on the left, then crawl under the bench and come out on the other side to find this note.

Remothered: Red Nuns Legacy Residential Wing: using the moths on the door after The Puppet Family Remothered: Red Nuns Legacy Residential Wing: the room on the left with the bench Remothered: Red Nuns Legacy Residential Wing: crawling under the bench to the other side Remothered: Red Nuns Legacy Residential Wing #17: Reporter’s Final Note collectible

To continue, take the moths from the ceiling to the cocoon on the door.

Remothered: Red Nuns Legacy Residential Wing: grabbing the moths from the ceiling Remothered: Red Nuns Legacy Residential Wing: taking the moths to the cocoon on the door

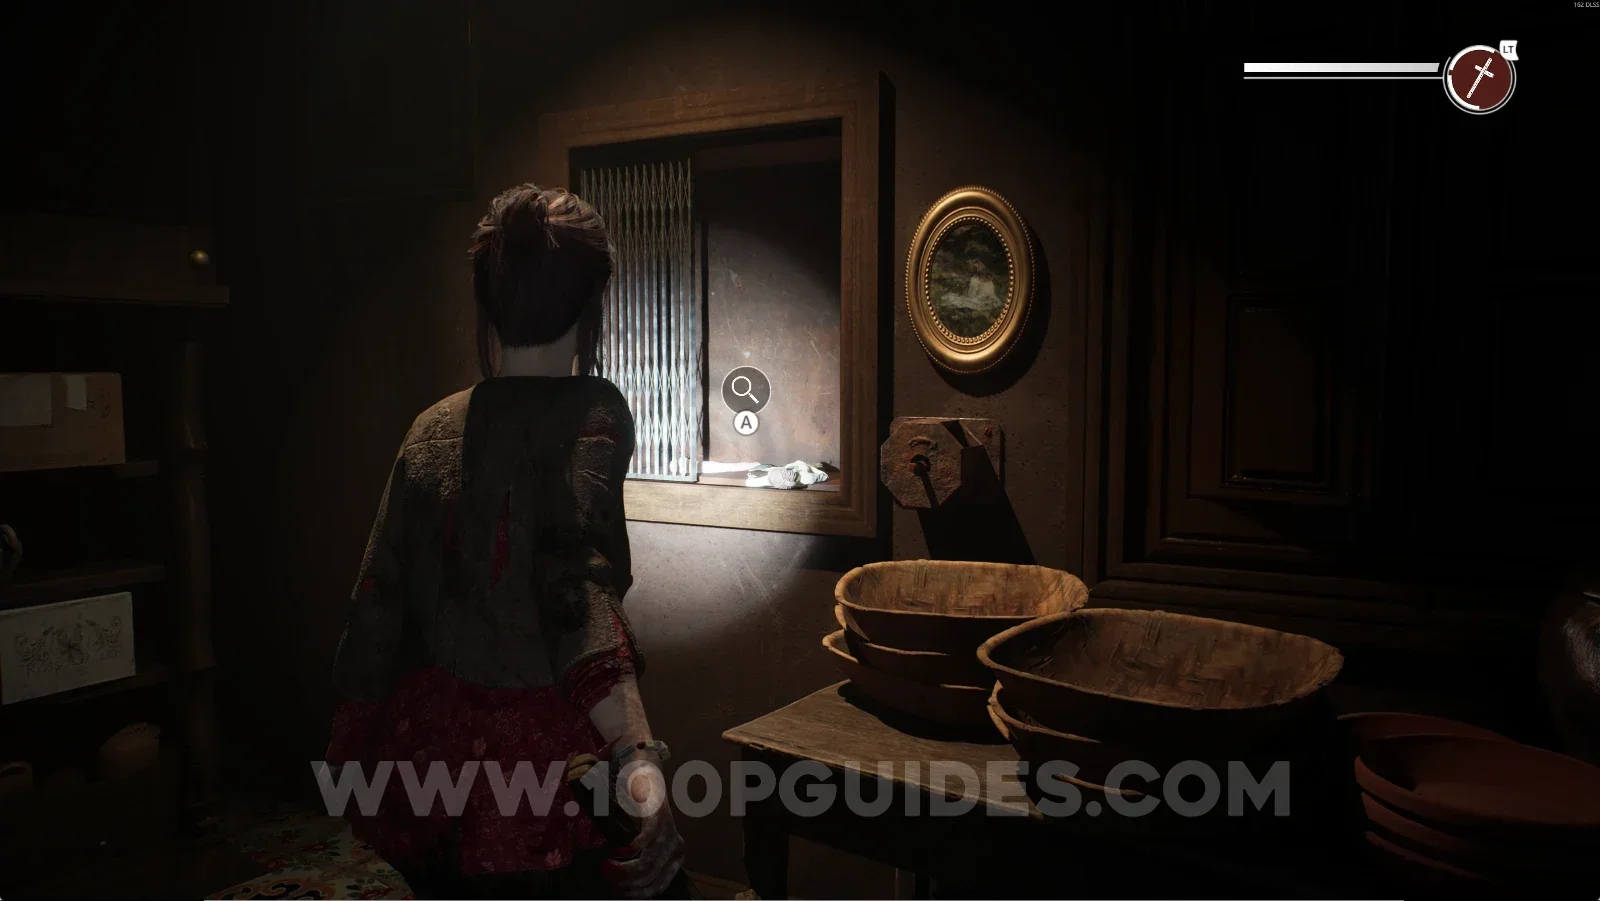
After destroying the cocoons in the previous area, keep going forward and up the stairs, and you'll be back on the first floor. Go through the door right in front of you to return to the piano room. Next to that room, you can see the mirror on the floor. Go past the mirror and through the door next to it, then turn right to enter the dining room. Use the lever on the dumbwaiter so the doll drops down to the kitchen below.

Remothered: Red Nuns Legacy: the stairs back up to the first floor after the cocoons Remothered: Red Nuns Legacy: the mirror on the floor next to the piano room Remothered: Red Nuns Legacy Residential Wing: entering the dining room with the dumbwaiter Remothered: Red Nuns Legacy: using the lever on the dumbwaiter in the dining room

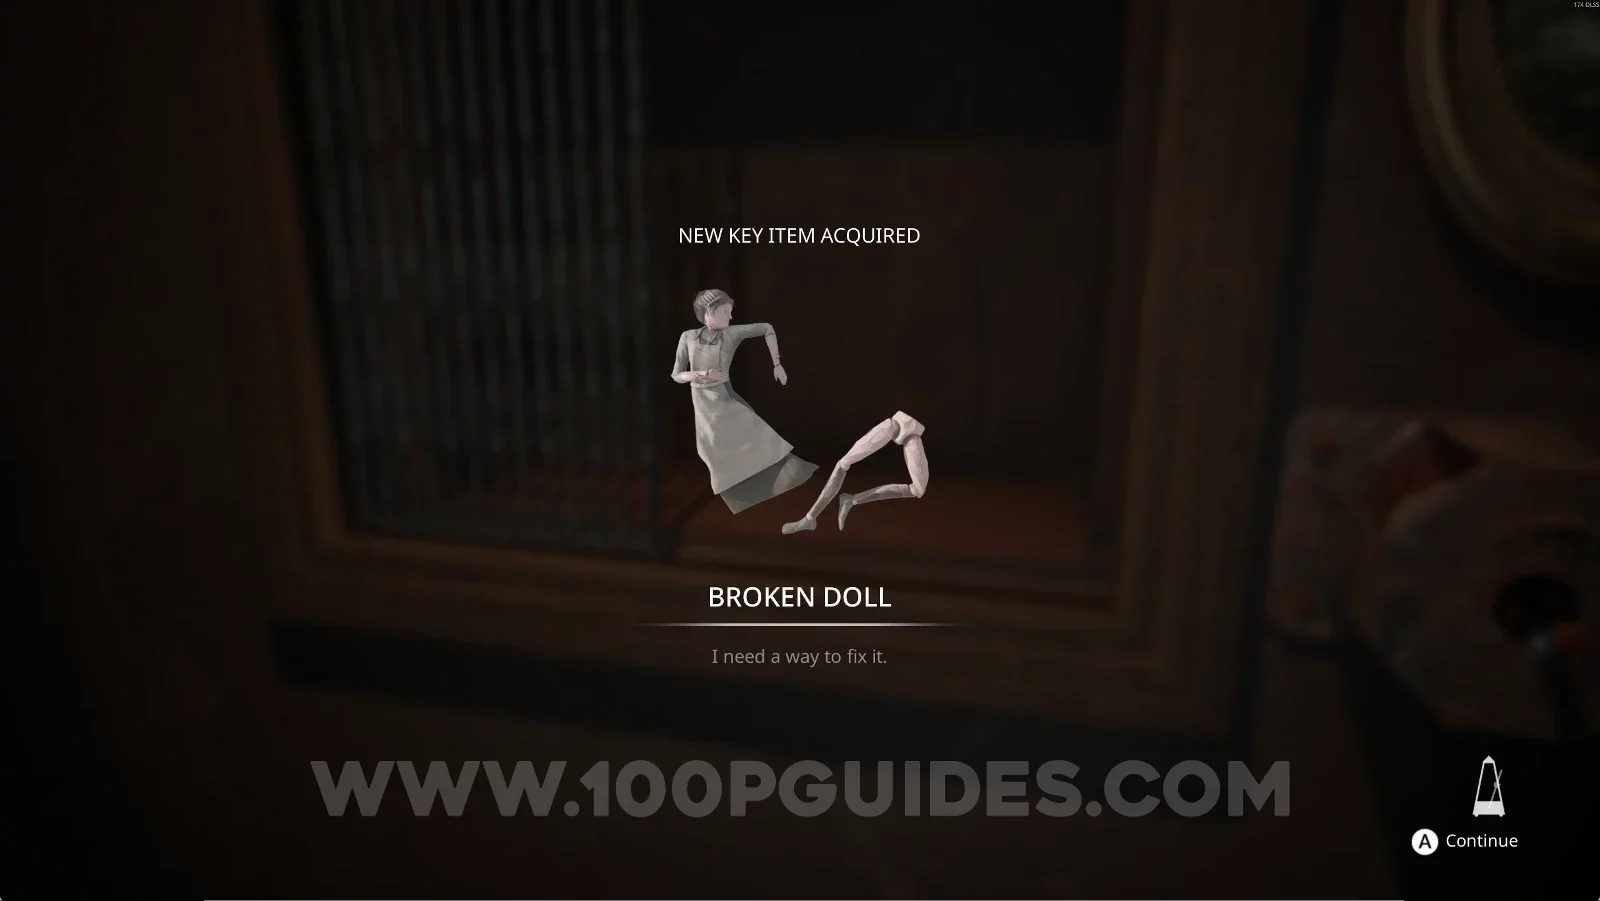
Key Item: Broken Doll

Now go down to the kitchen and grab the Broken Doll from the dumbwaiter.

Remothered: Red Nuns Legacy: going down to the kitchen from the dining room Remothered: Red Nuns Legacy kitchen: the dumbwaiter holding the dropped doll Remothered: Red Nuns Legacy kitchen: interacting with the dumbwaiter to take the doll Remothered: Red Nuns Legacy: the Broken Doll key item from the kitchen dumbwaiter

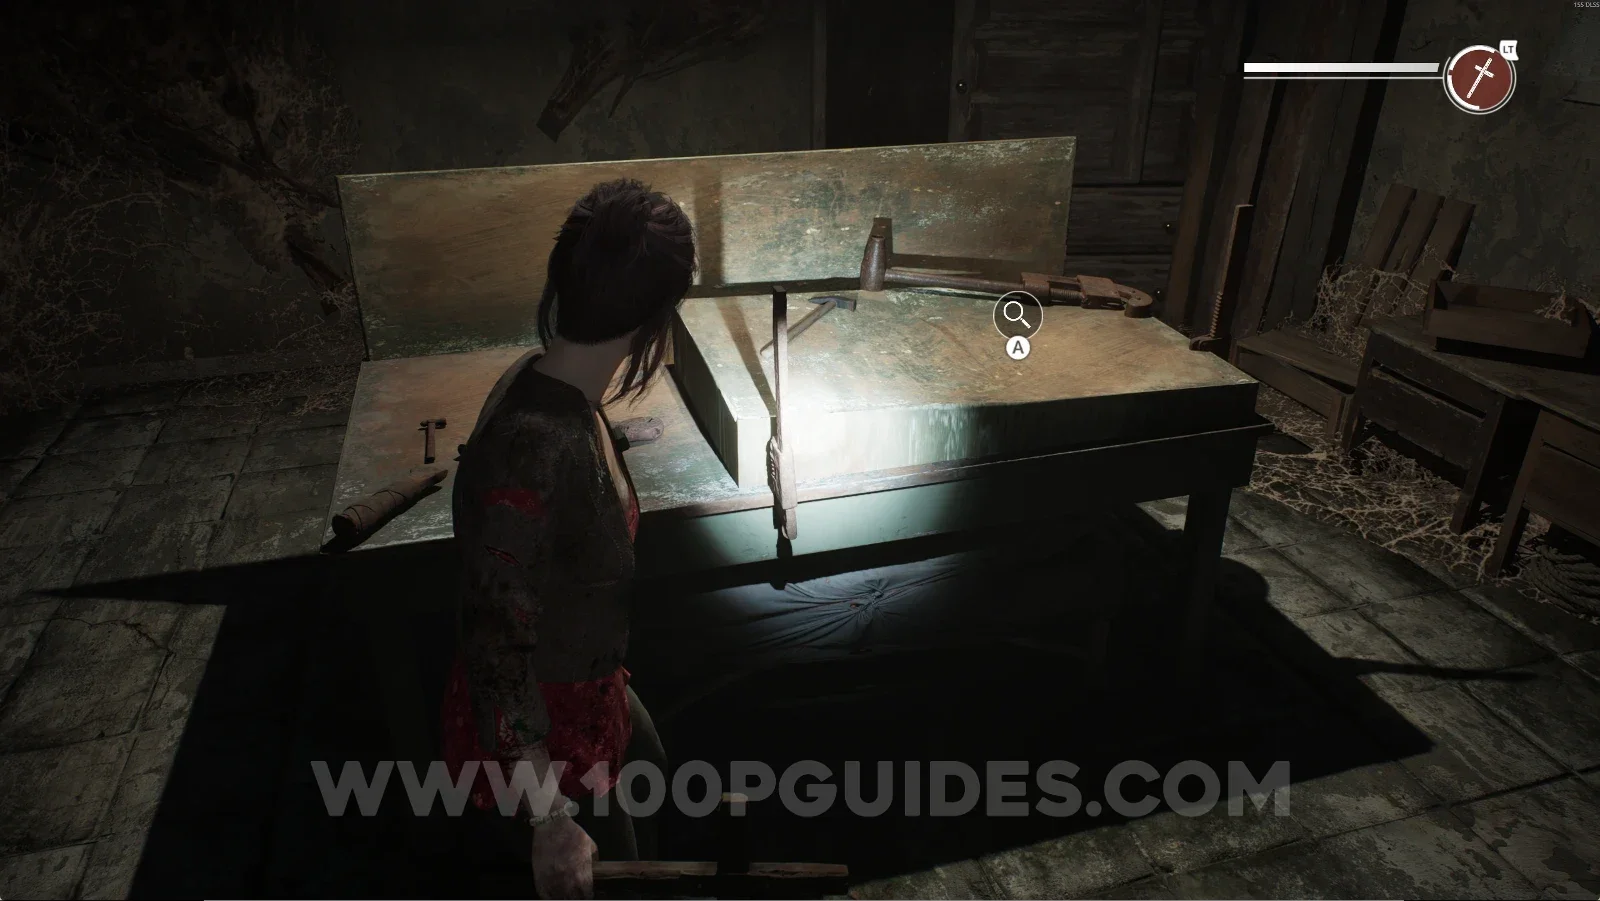
To continue, you'll have to repair the doll you just picked up. To do that, we'll need to go back to the room with the workbench. Go up the stairs you just came down and head to the piano room. Go through the door to the right of the piano and then through the door right in front of you. Go down the stairs and follow the single path until you reach the yellow car again. Now go through the door behind the yellow car and go down the stairs, following the single path. Eventually, you'll be back in the room with the workbench, where you can repair the doll.

Remothered: Red Nuns Legacy: heading from the kitchen back to the piano room Remothered: Red Nuns Legacy: the door to the right of the piano in the piano room Remothered: Red Nuns Legacy: following the single path back to the yellow car Remothered: Red Nuns Legacy: the room with the workbench for repairing the Broken Doll

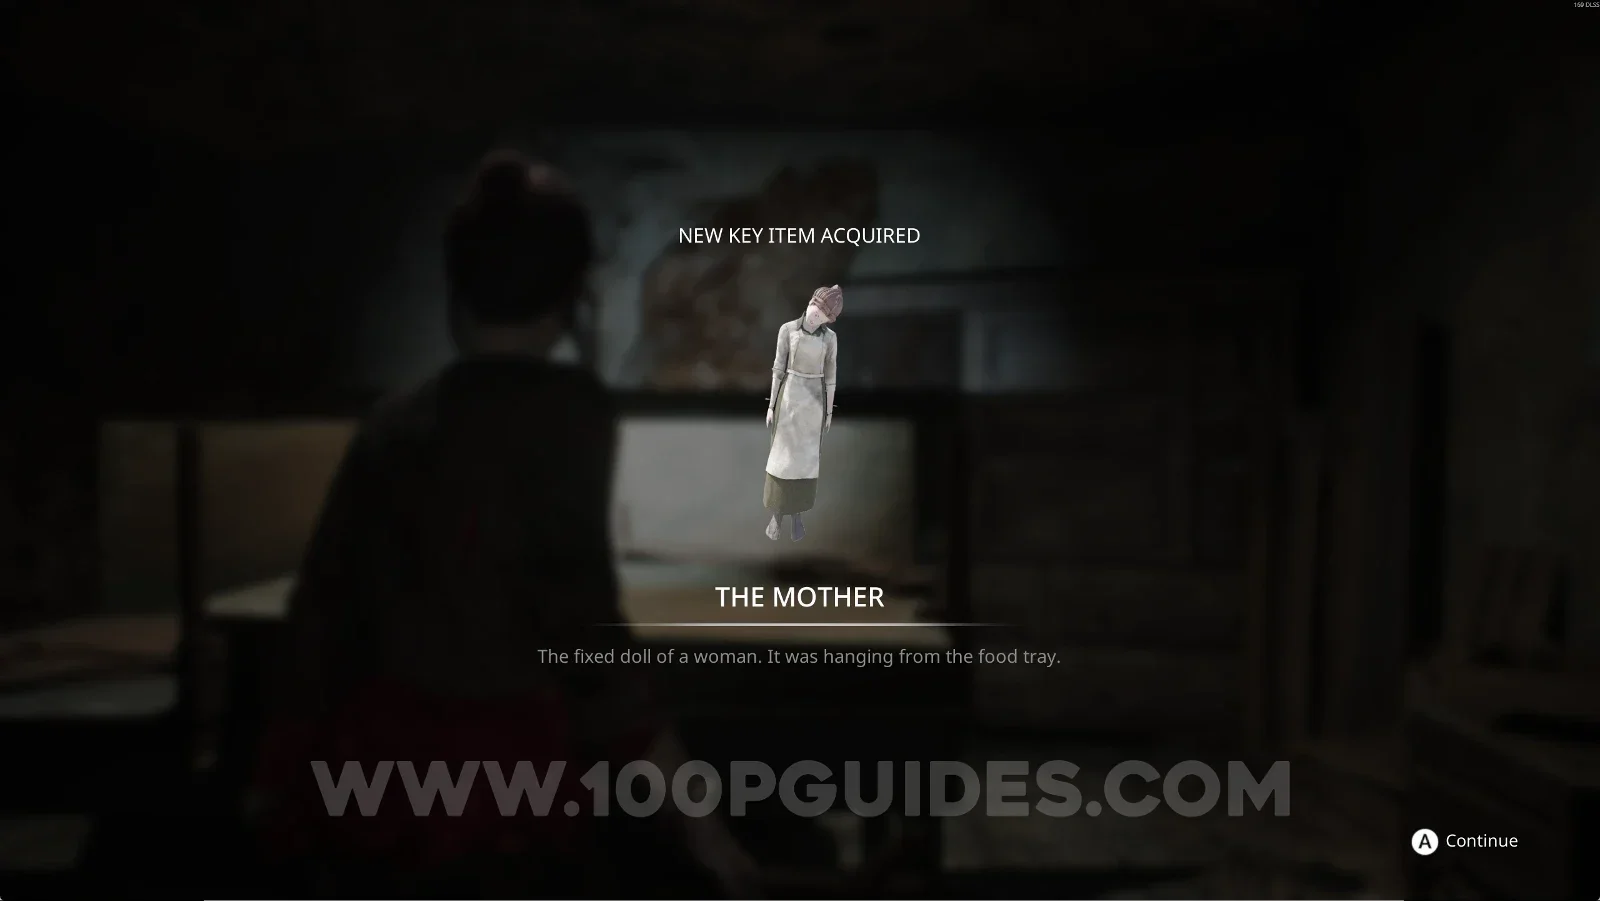
Key Item: The Mother

Obtained after repairing the Broken Doll.

Remothered: Red Nuns Legacy: The Mother key item obtained after repairing the Broken Doll

Puppet Puzzle

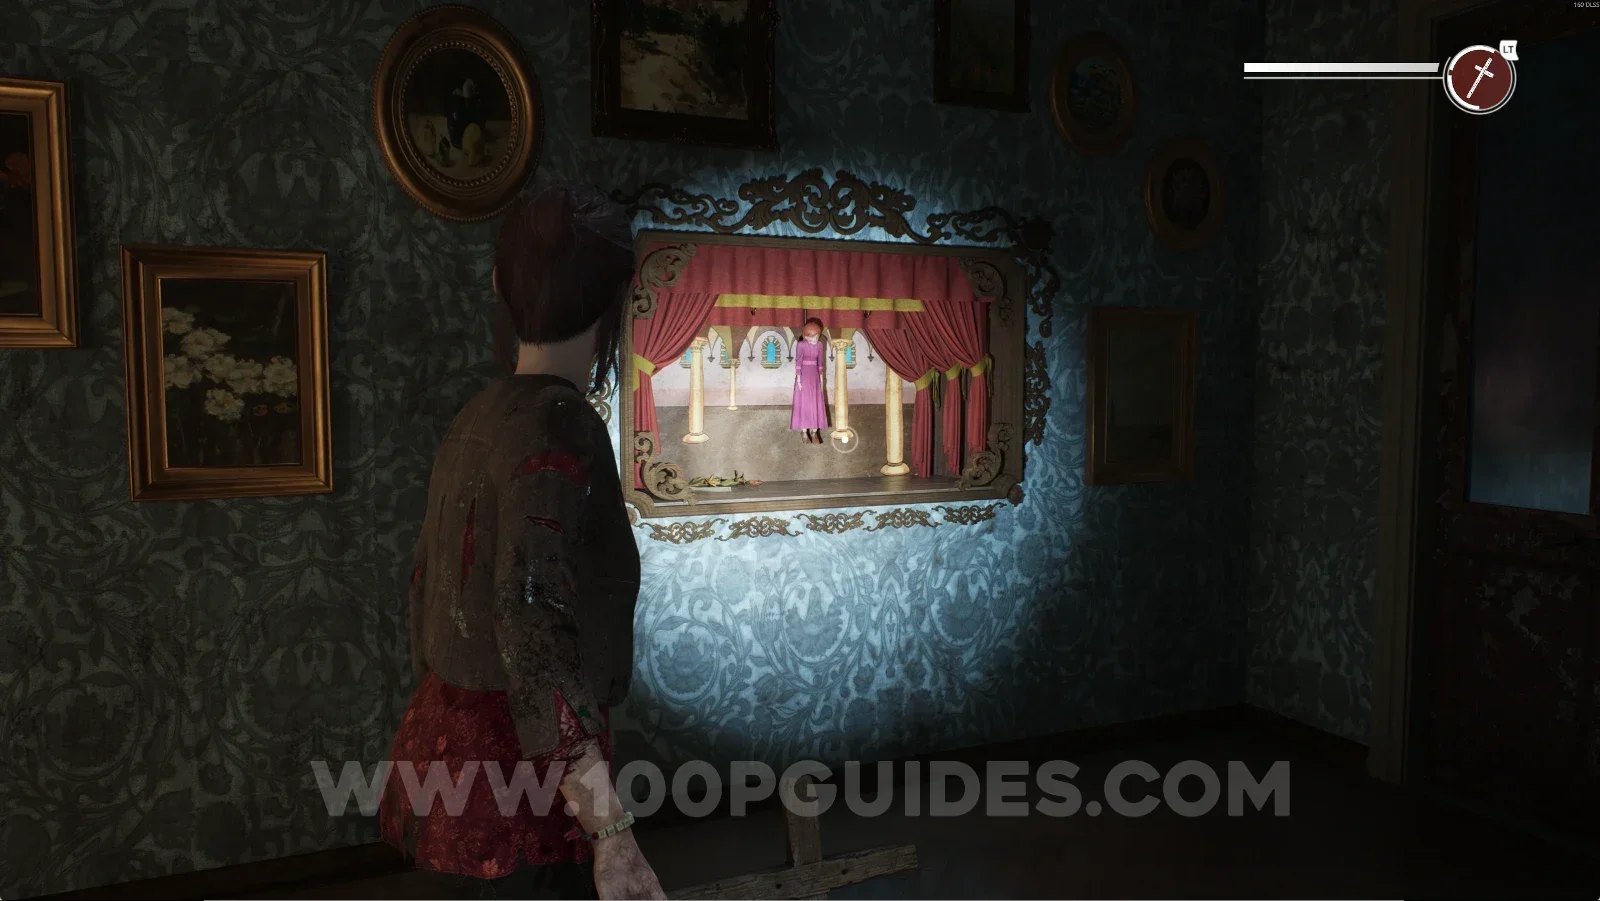
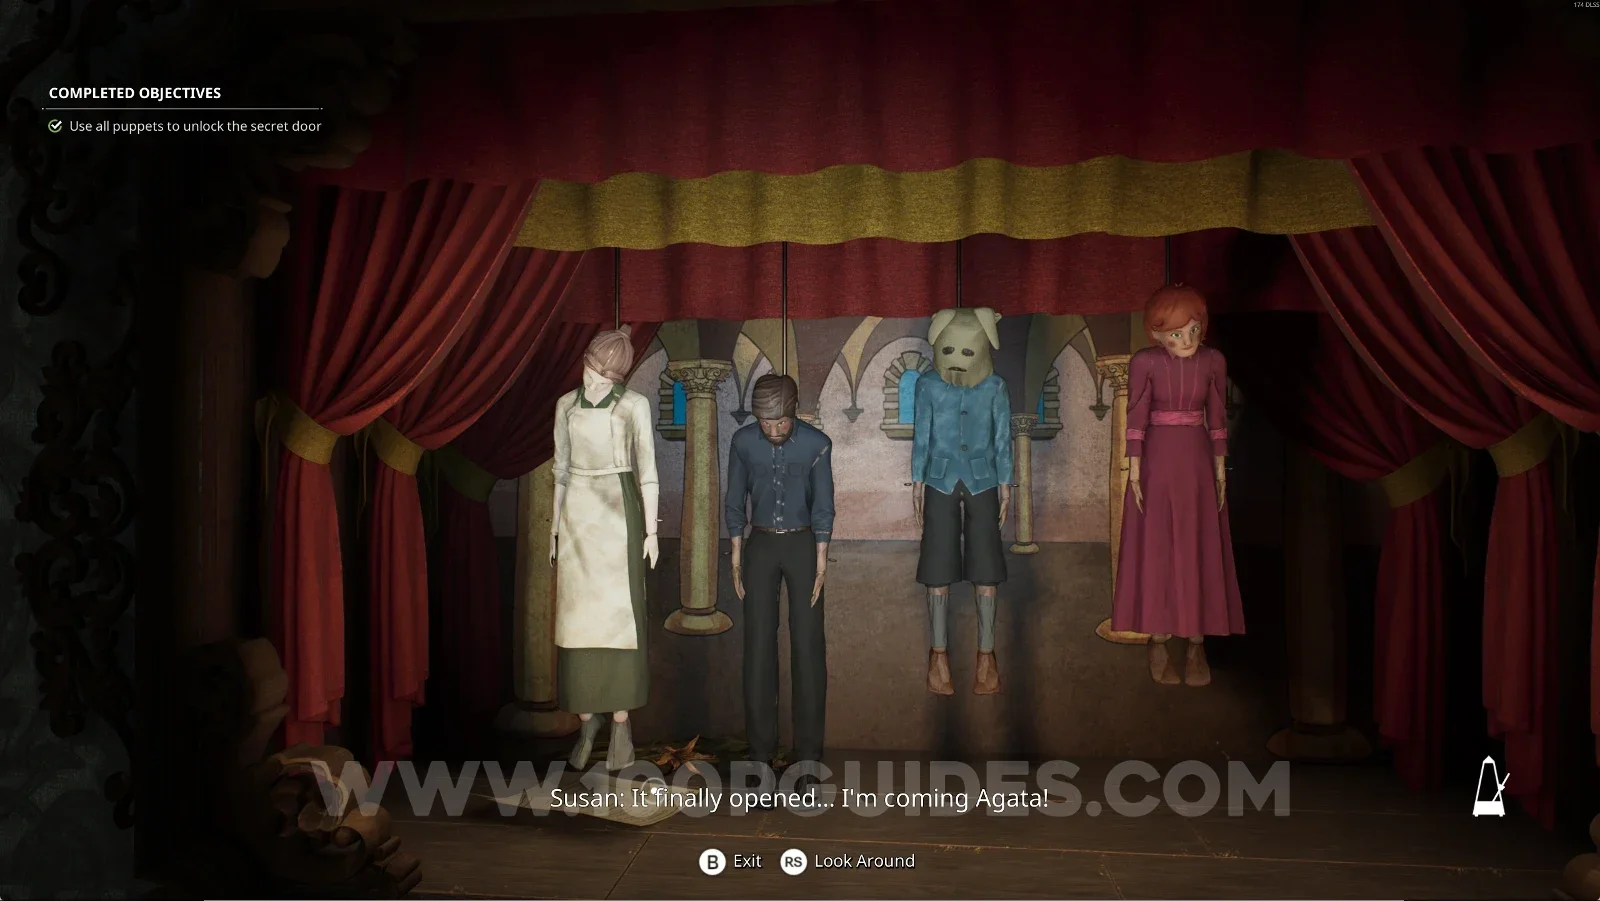
After grabbing the last puppet, backtrack all the way to the corridor. From there, enter the room next to the destroyed staircase to return to the area with the puppet puzzle. To solve the puzzle, place the puppets in the following order: Mother > Father > Son > Daughter.

Remothered: Red Nuns Legacy: backtracking to the corridor after grabbing the last puppet Remothered: Red Nuns Legacy: the room next to the destroyed staircase with the puppet puzzle Remothered: Red Nuns Legacy Puppet Puzzle: placing the puppets Mother, Father, Son, Daughter Remothered: Red Nuns Legacy Puppet Puzzle solved with all four puppets in order

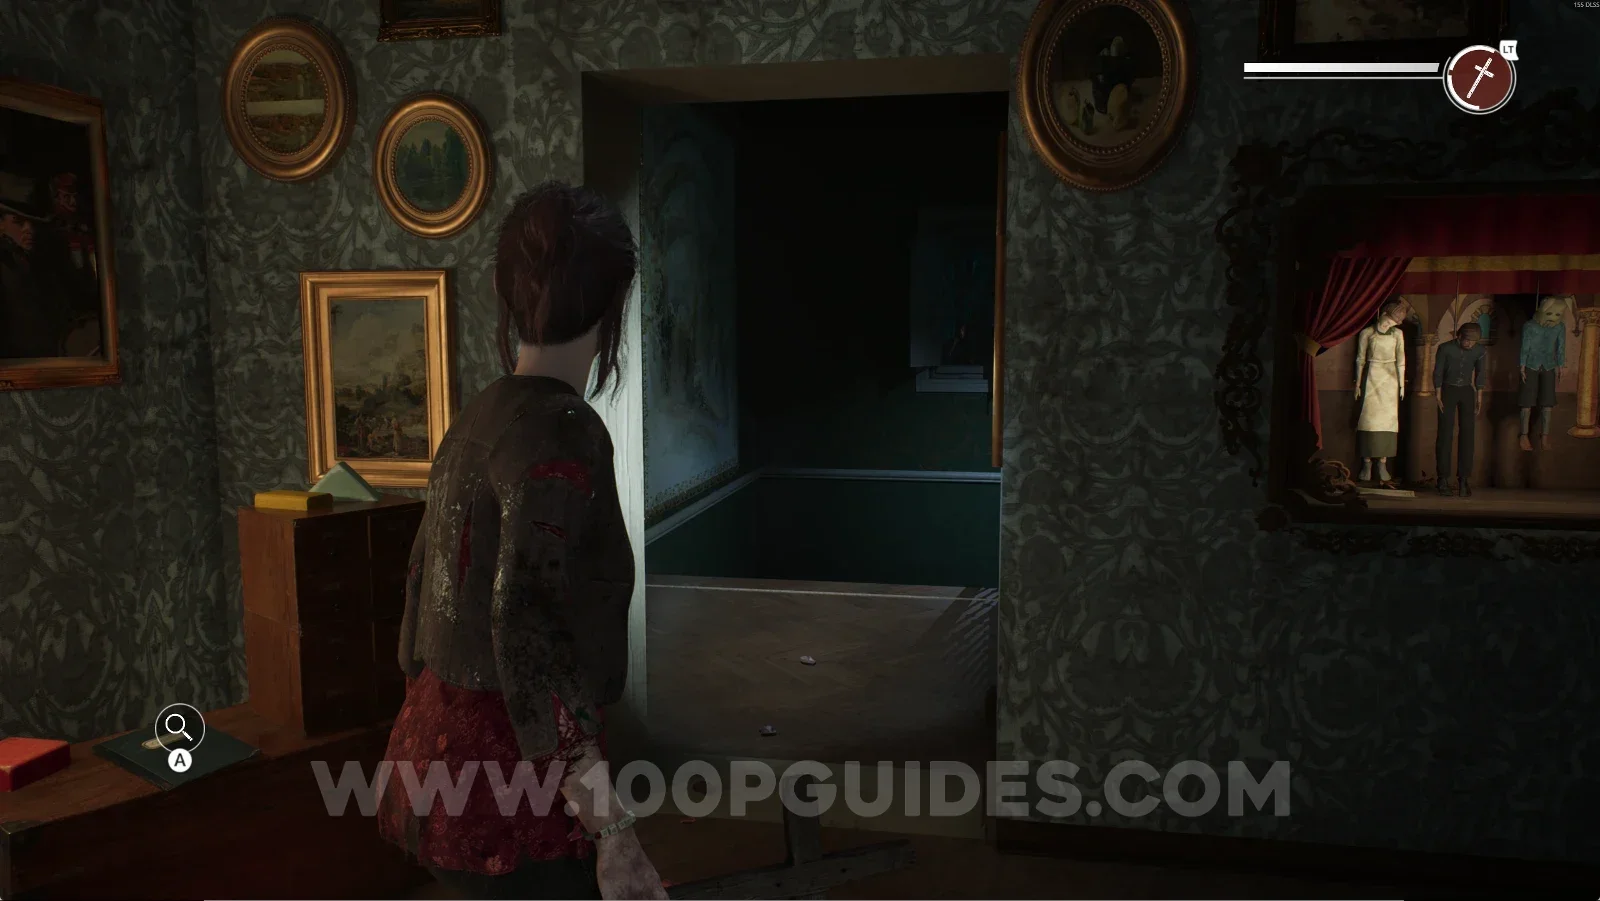
To continue, go down the stairs through the secret door right next to it, then enter the small room in front of you and a cutscene will begin.

Remothered: Red Nuns Legacy: the secret door and stairs next to the puppet puzzle Remothered: Red Nuns Legacy: the small room at the bottom of the stairs that starts a cutscene

Convent #23: Sister Lindsay's Strange Behavior

After the previous cutscene, you’ll find yourself in a new area. Pick up the note on the right side of the room.

Remothered: Red Nuns Legacy Convent: the note on the right side of the new room after the cutscene Remothered: Red Nuns Legacy Convent #23: Sister Lindsay's Strange Behavior collectible

Convent #24: Wyman's Plan

After going through the door, enter the room at the end of the corridor. You’ll find this note on the right side.

Remothered: Red Nuns Legacy Convent: the room at the end of the corridor past the door Remothered: Red Nuns Legacy Convent: the note on the right side of the room, Wyman's Plan Remothered: Red Nuns Legacy Convent #24: Wyman's Plan collectible

Convent #25: Lindsay Hypnotized + Retrocognition #26
On the table next to it, you’ll find another lily. Use your Retrocognition power to obtain this collectible.

Remothered: Red Nuns Legacy Convent: the lily on the table next to Wyman's Plan Remothered: Red Nuns Legacy Convent: using the power on the lily for Retrocognition #26 Remothered: Red Nuns Legacy Convent #25: Lindsay Hypnotized collectible

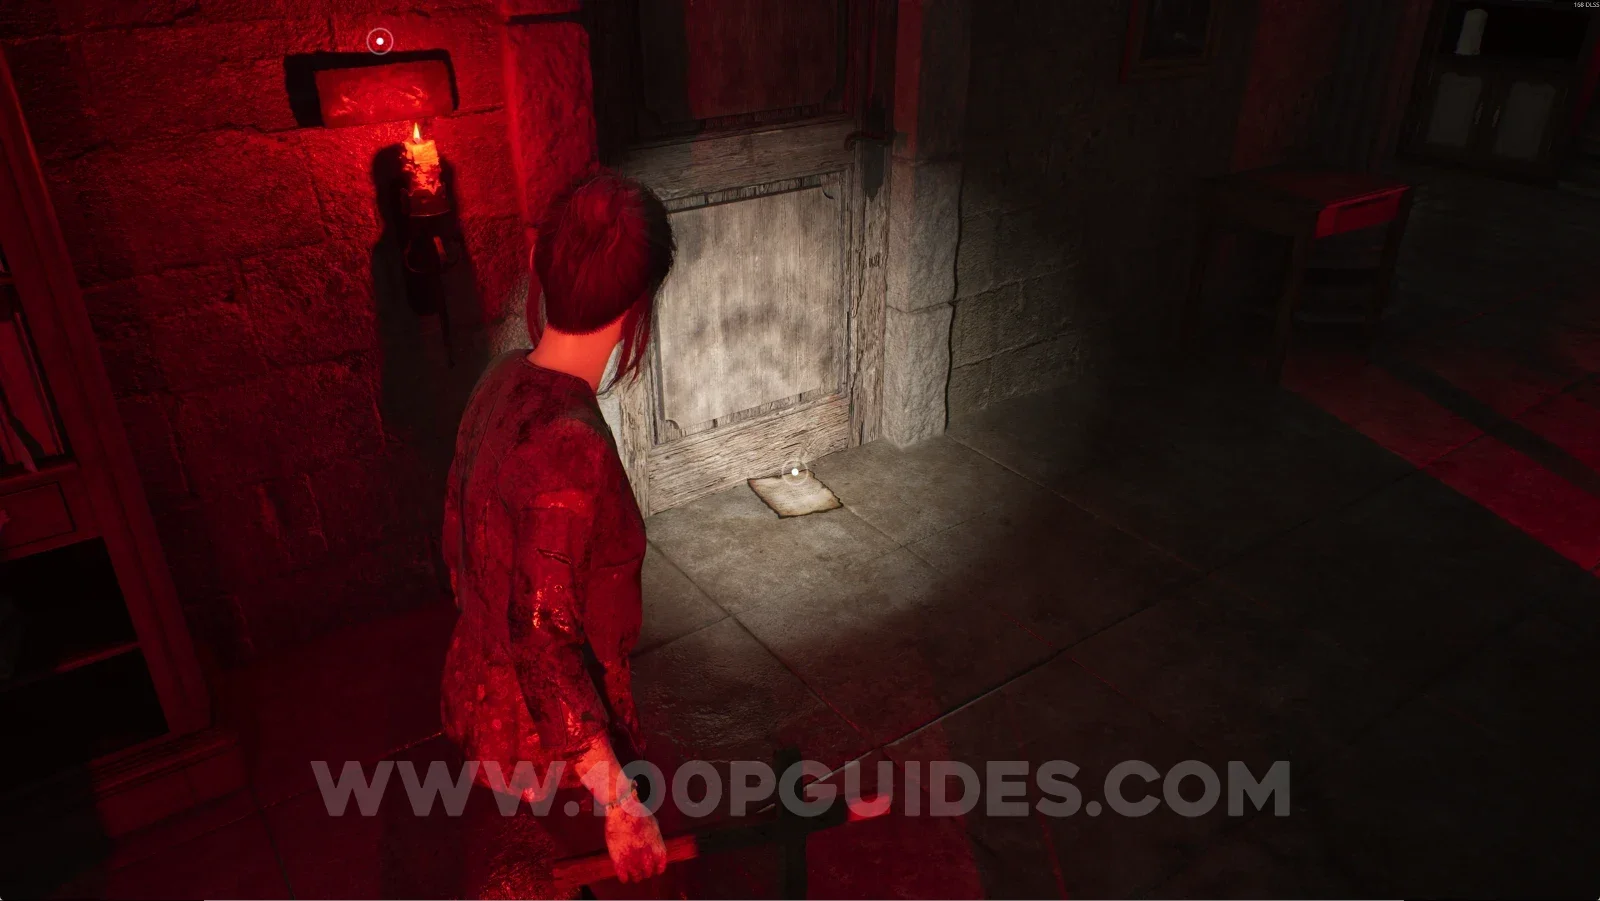
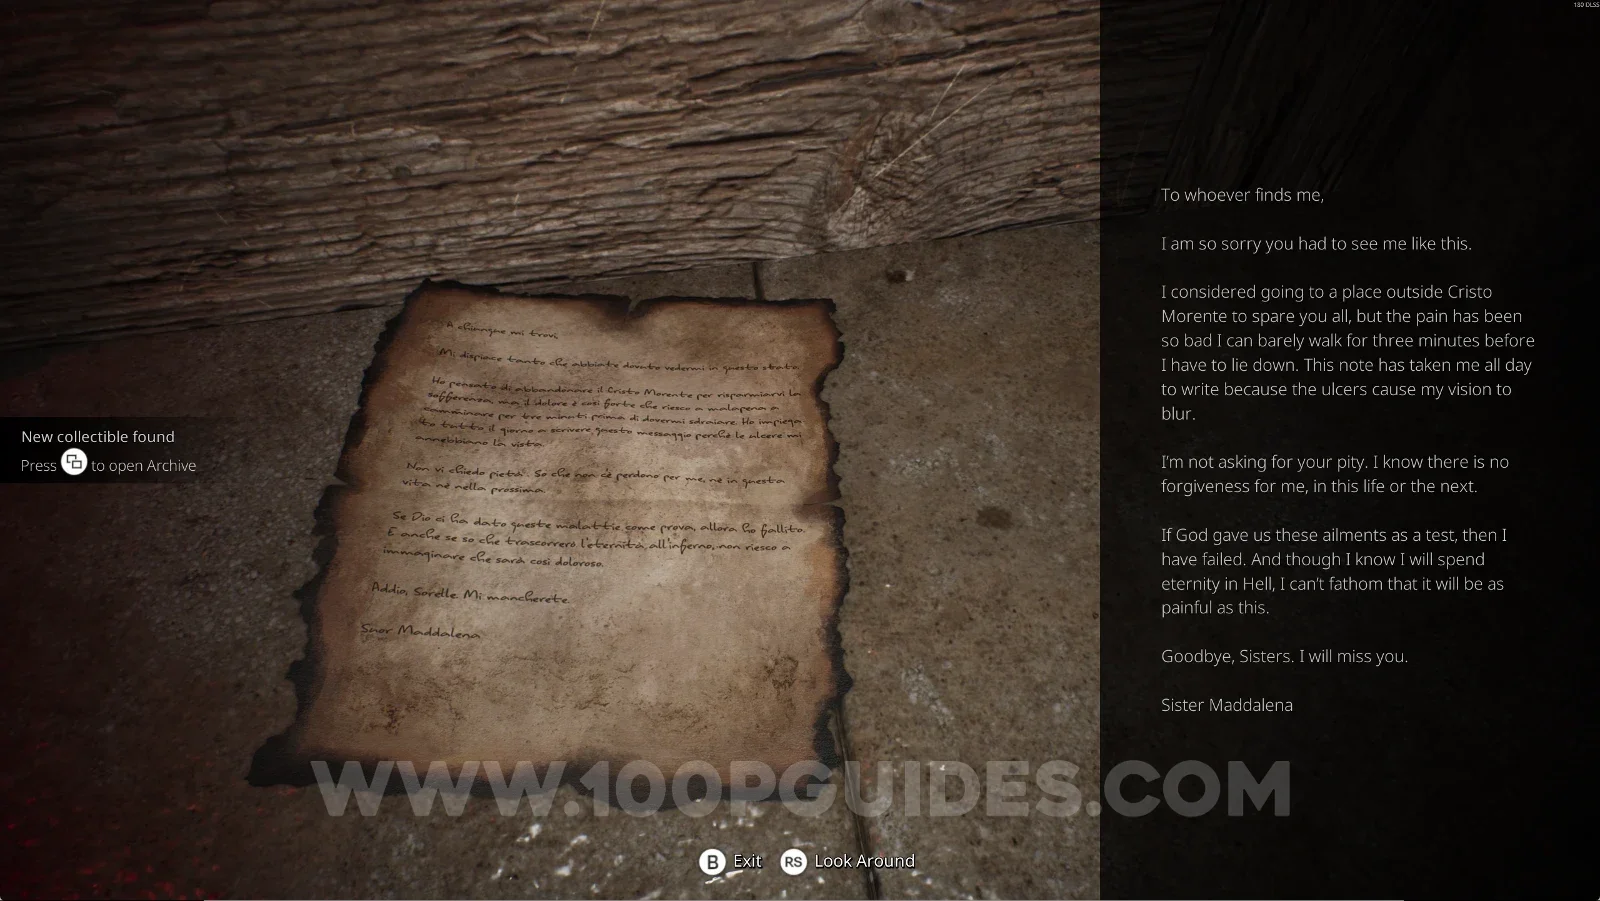
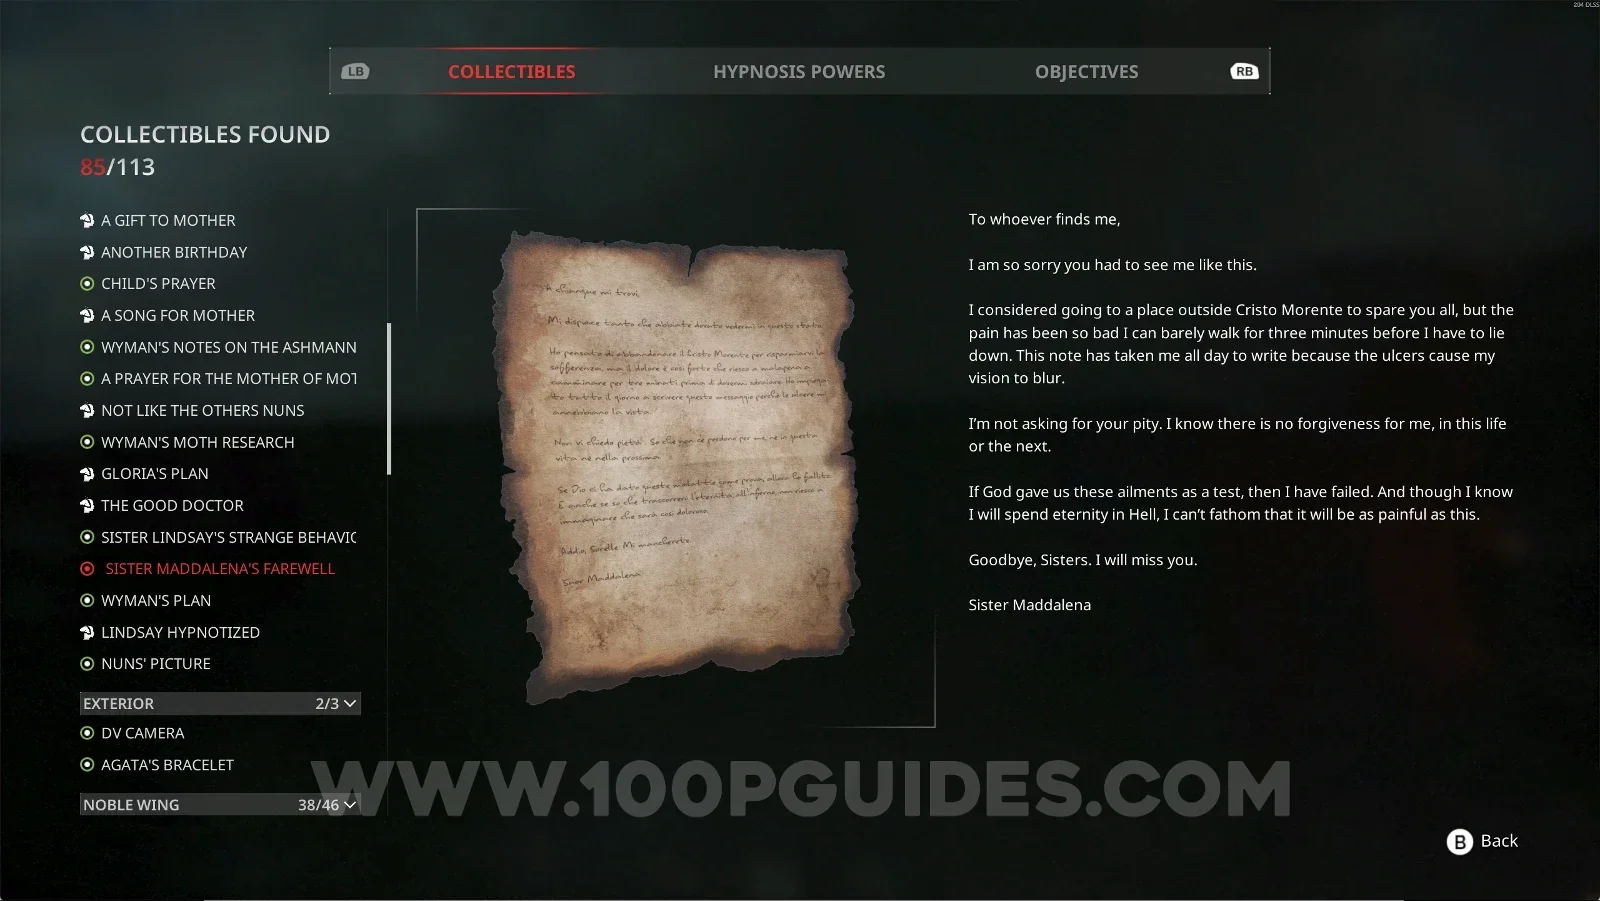
Convent #26: Sister Maddalena's Farewell

Head back to the corridor and into the room next to it. You’ll find a note on the floor, in front of the door.

Remothered: Red Nuns Legacy Convent: the room next to the corridor past Wyman's Plan Remothered: Red Nuns Legacy Convent: the note on the floor in front of the door Remothered: Red Nuns Legacy Convent #26: Sister Maddalena's Farewell collectible

Convent #27: The Fire + Retrocognition #27

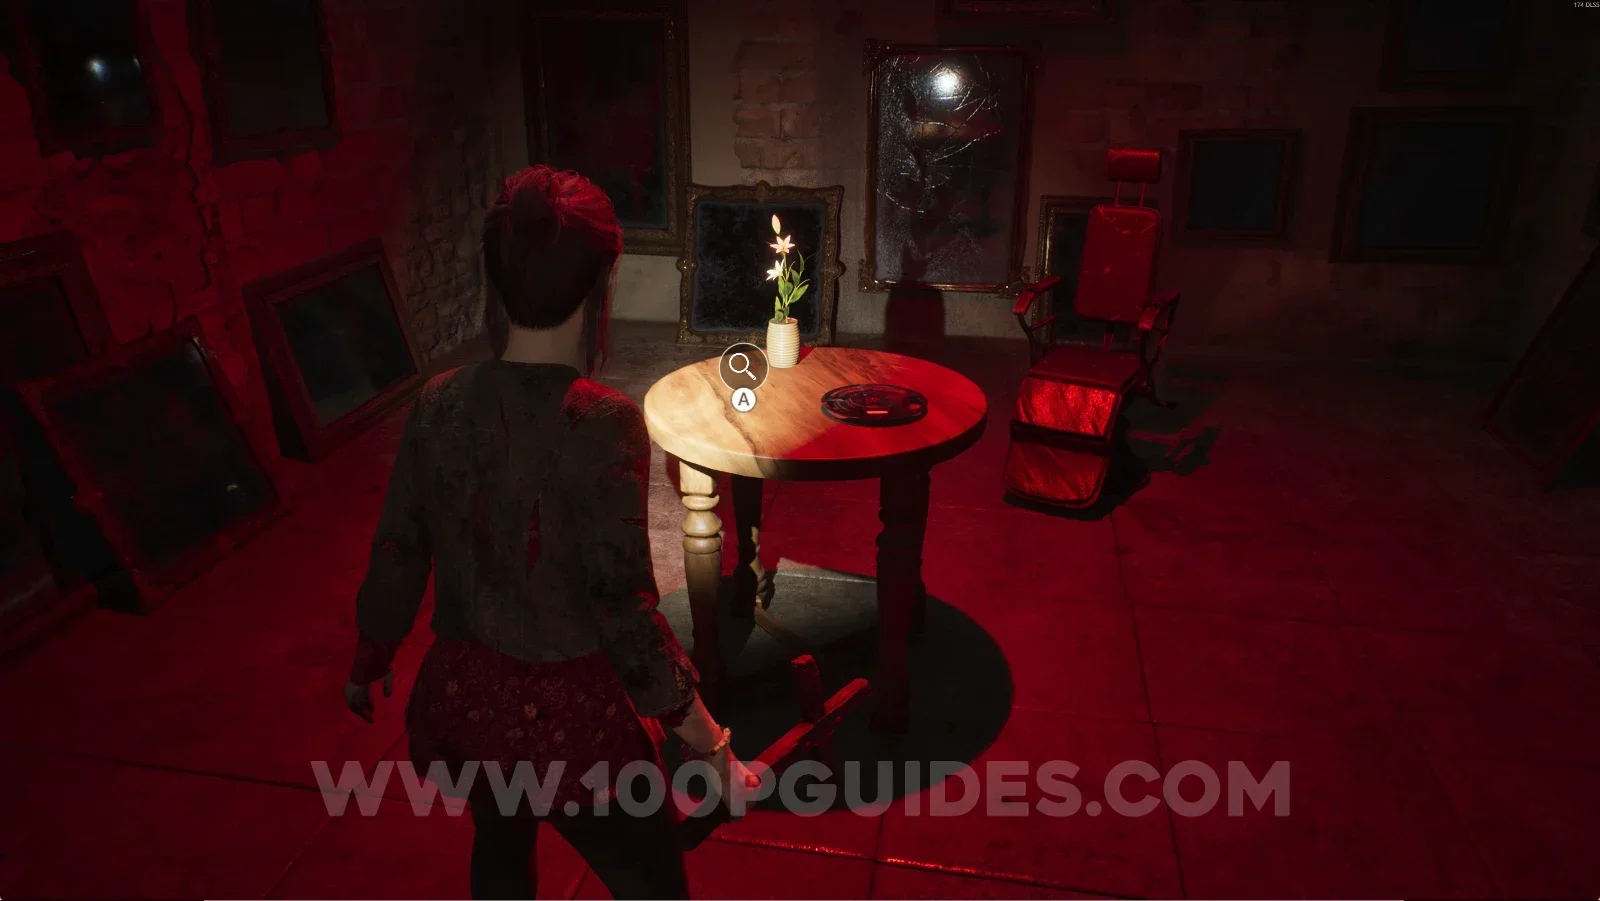
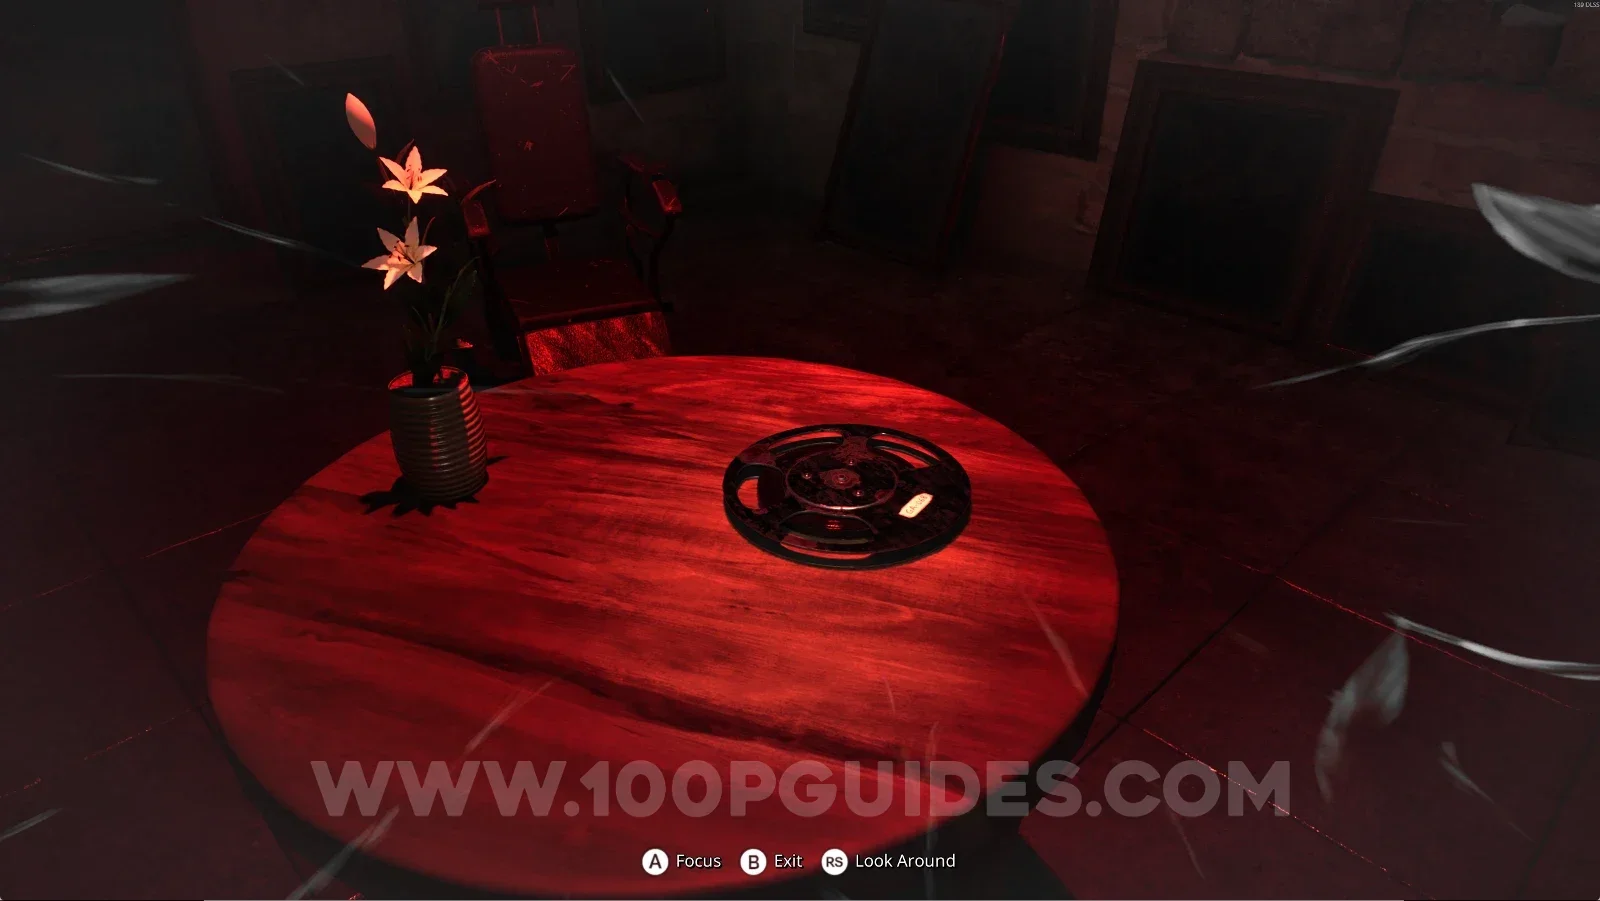
From the previous collectible, go through the large door in front of you and interact with the lily using your Retrocognition power to obtain this.

Remothered: Red Nuns Legacy Convent: the large door in front of Sister Maddalena's Farewell Remothered: Red Nuns Legacy Convent: using Retrocognition on the lily past the large door Remothered: Red Nuns Legacy Convent #27: The Fire collectible with Retrocognition #27

Puzzle: Pillar Riddle

To solve the puzzle, wait for the pillars to rotate until a cocoon with moths appears. Gather the moths and lead them to the buttons, then stop every pillar showing the flame.

Remothered: Red Nuns Legacy Pillar Riddle: leading the moths from the cocoon to the buttons Remothered: Red Nuns Legacy Pillar Riddle: every pillar stopped showing the flame

Noble Wing #39: A Letter For Celeste

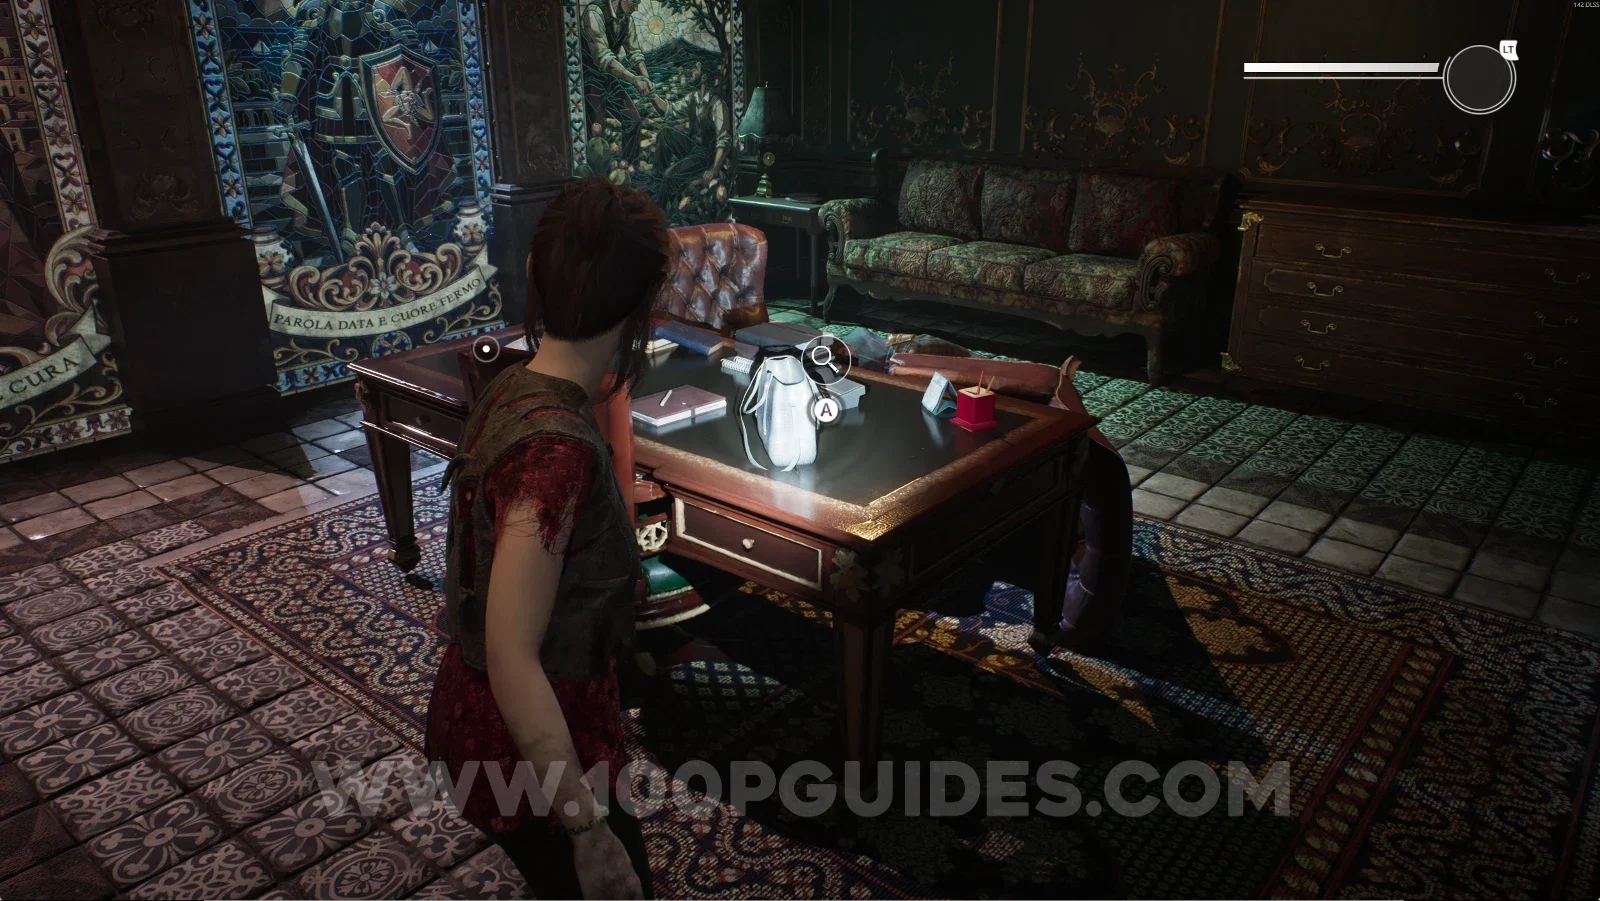
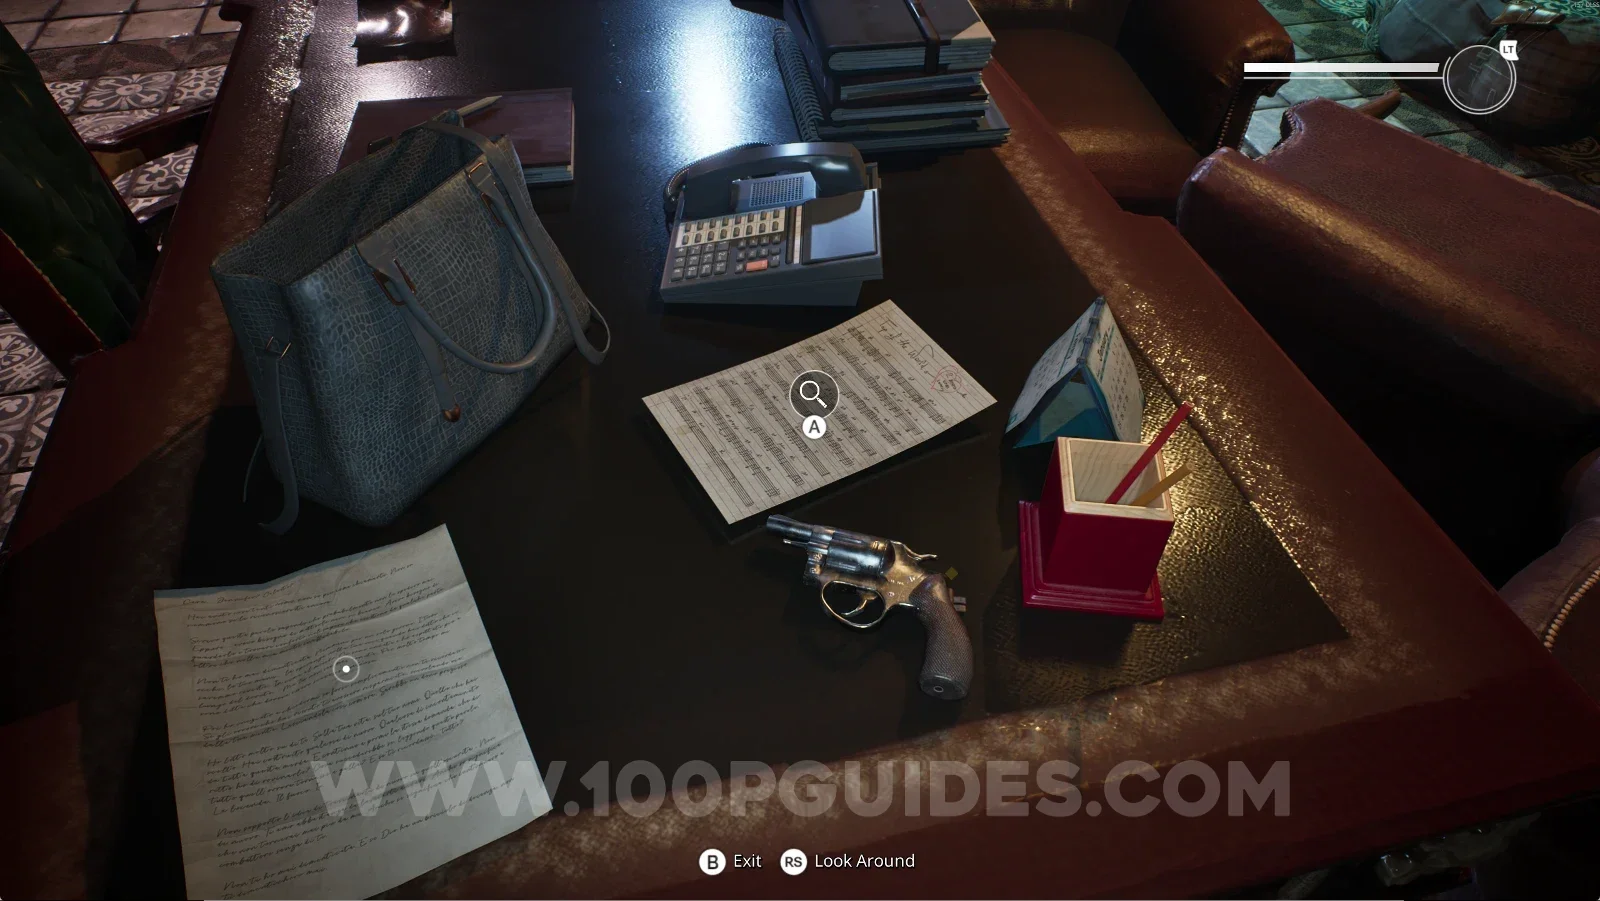
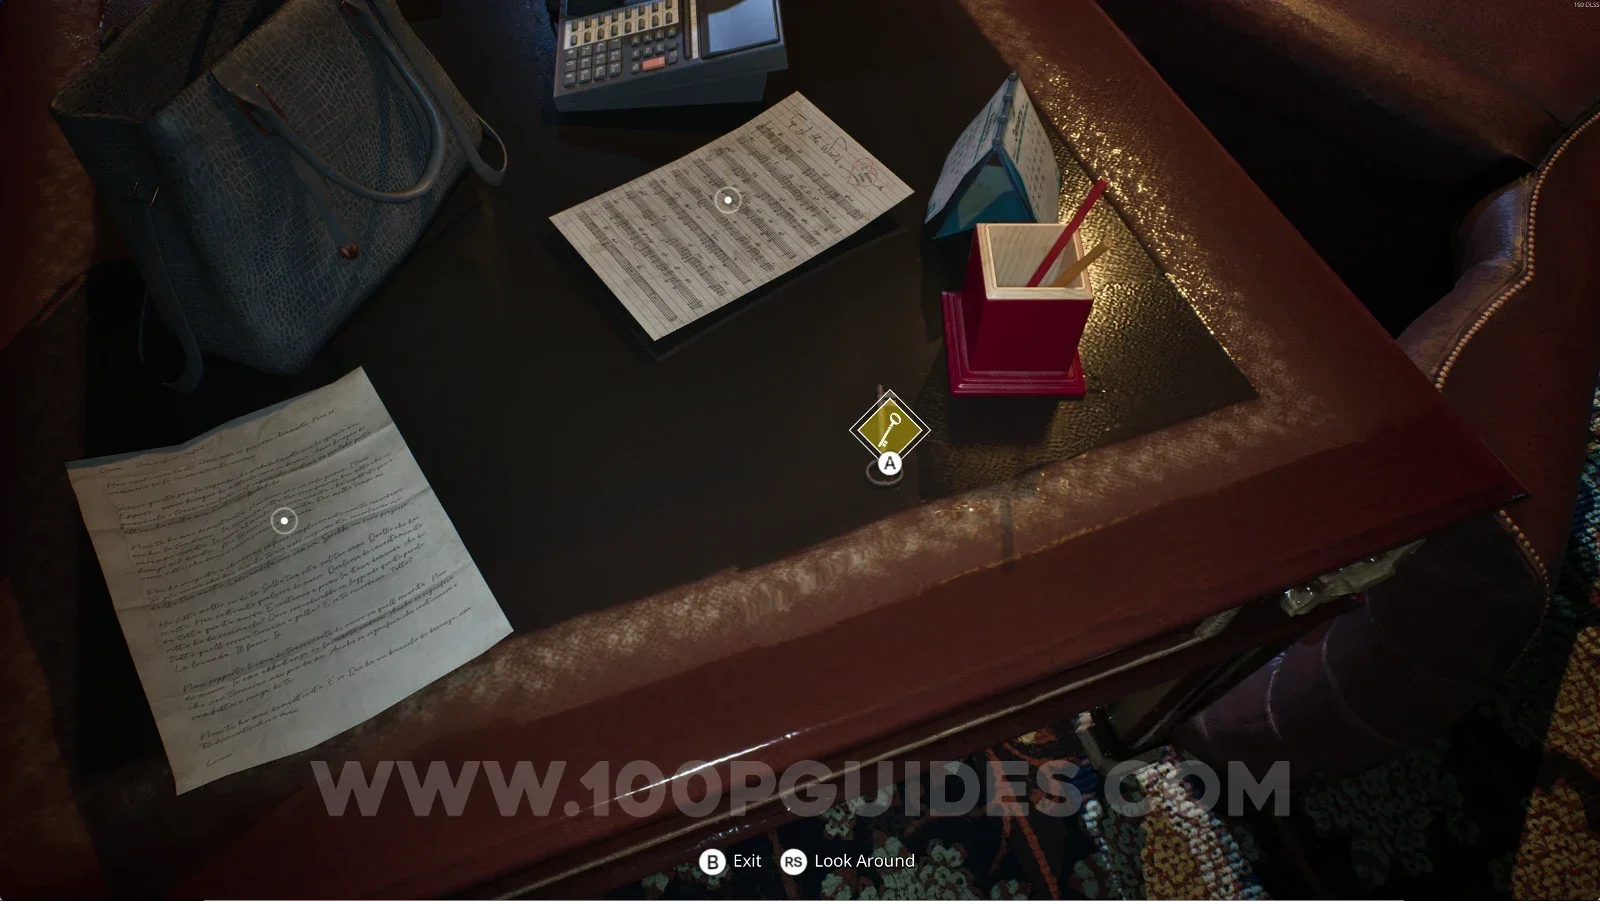
After the Pillar Riddle, a cutscene will start and you'll be back in the Noble Wing. Here, interact with the bag and then with the file on the left.

Remothered: Red Nuns Legacy Noble Wing: the bag after the Pillar Riddle cutscene Remothered: Red Nuns Legacy Noble Wing: the file on the left of the bag Remothered: Red Nuns Legacy Noble Wing #39: A Letter For Celeste collectible

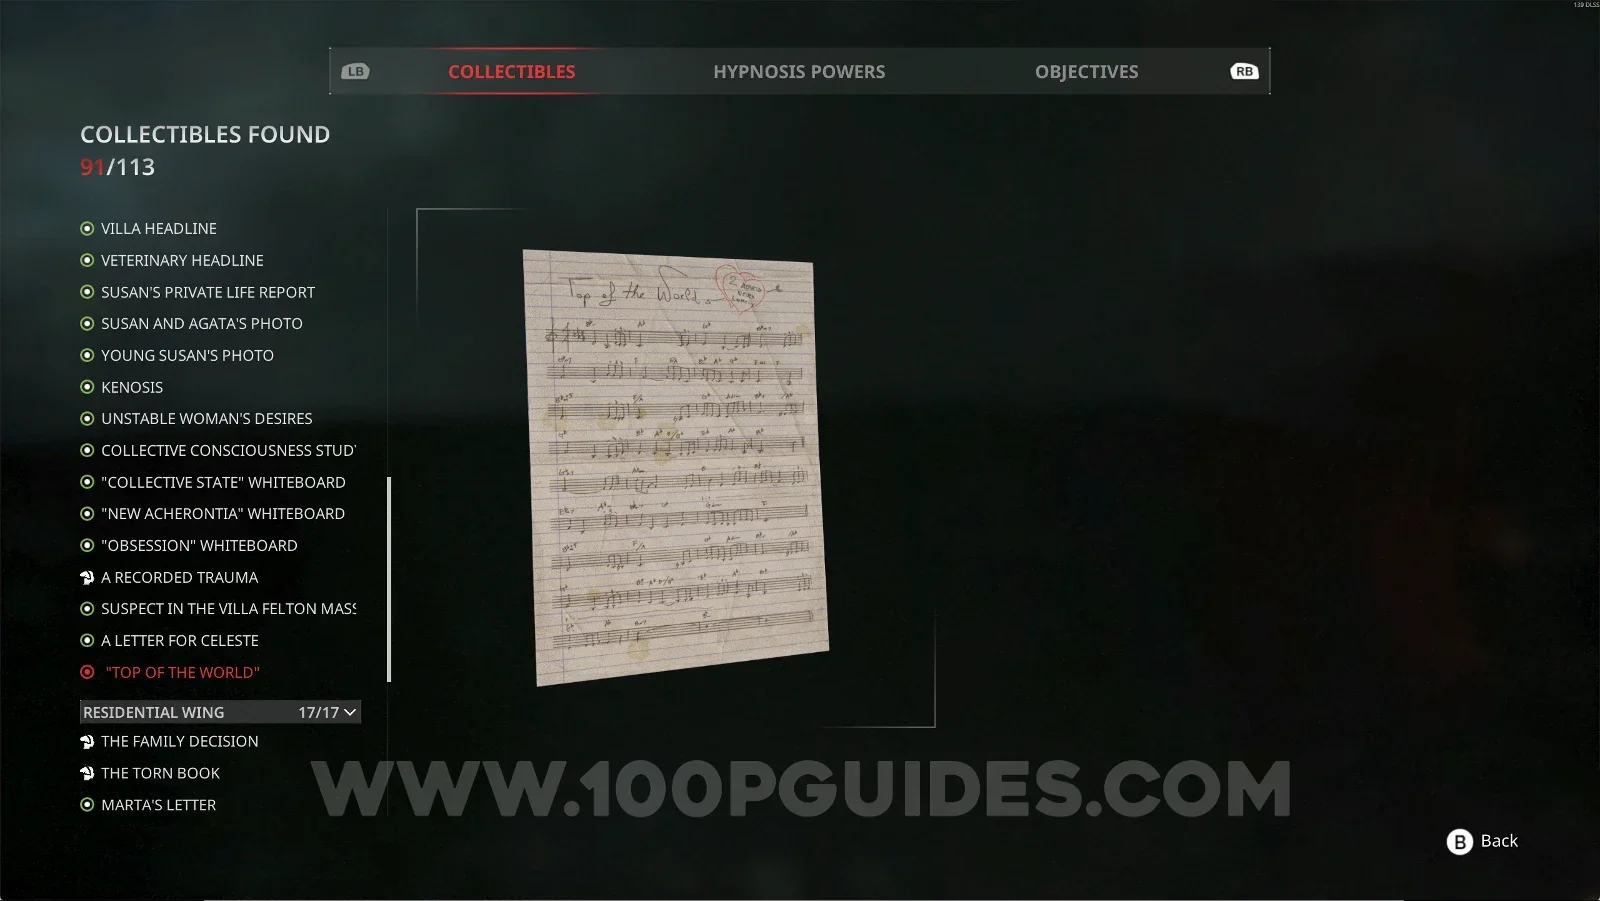
Noble Wing #40: ''Top Of The World''

Same area as before. Interact with the note on the right side.

Remothered: Red Nuns Legacy Noble Wing: the note on the right side near the bag Remothered: Red Nuns Legacy Noble Wing: interacting with the Top Of The World note Remothered: Red Nuns Legacy Noble Wing #40: Top Of The World collectible

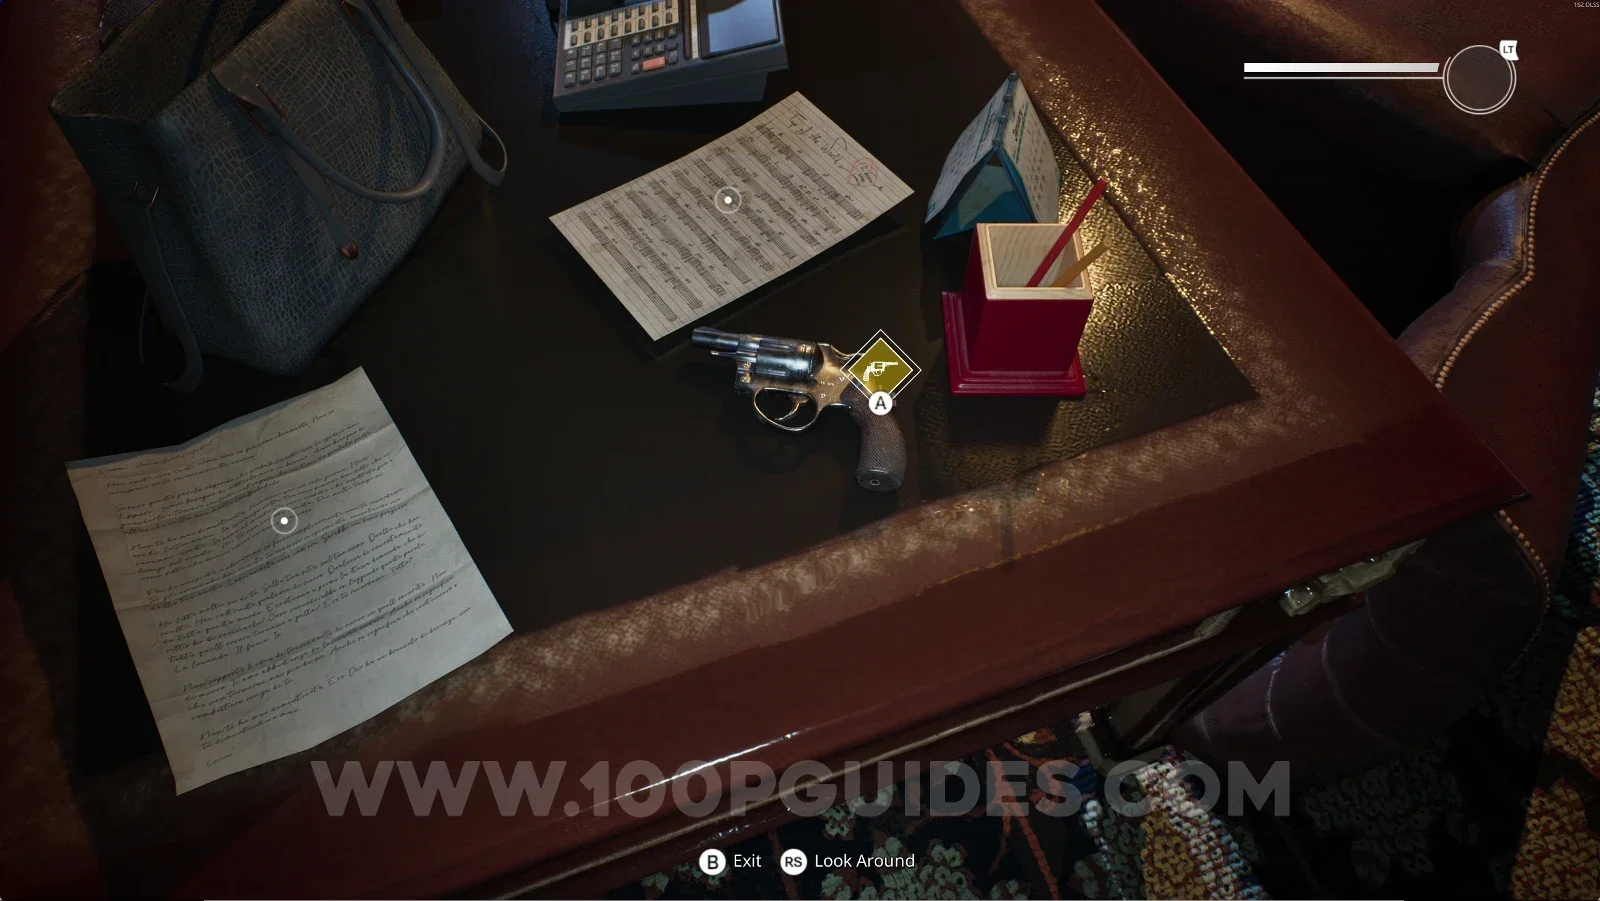
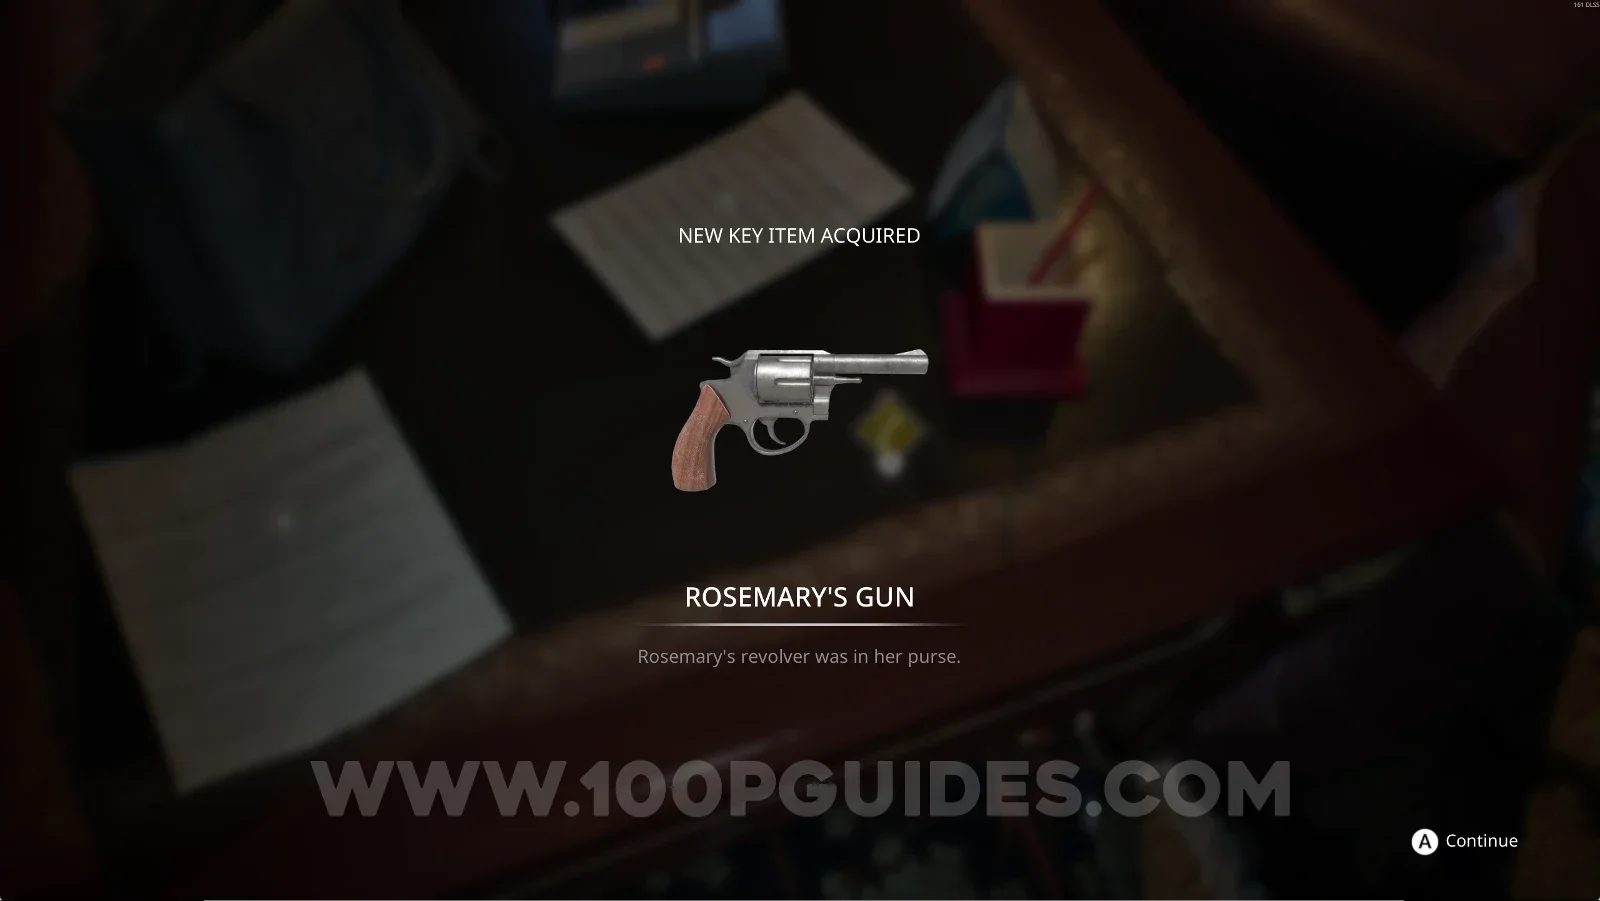
Key Item: Rosemary's Gun

Same area as before, on top of the table next to the two notes.

Remothered: Red Nuns Legacy: Rosemary's Gun on the table next to the two notes Remothered: Red Nuns Legacy: picking up the Rosemary's Gun key item

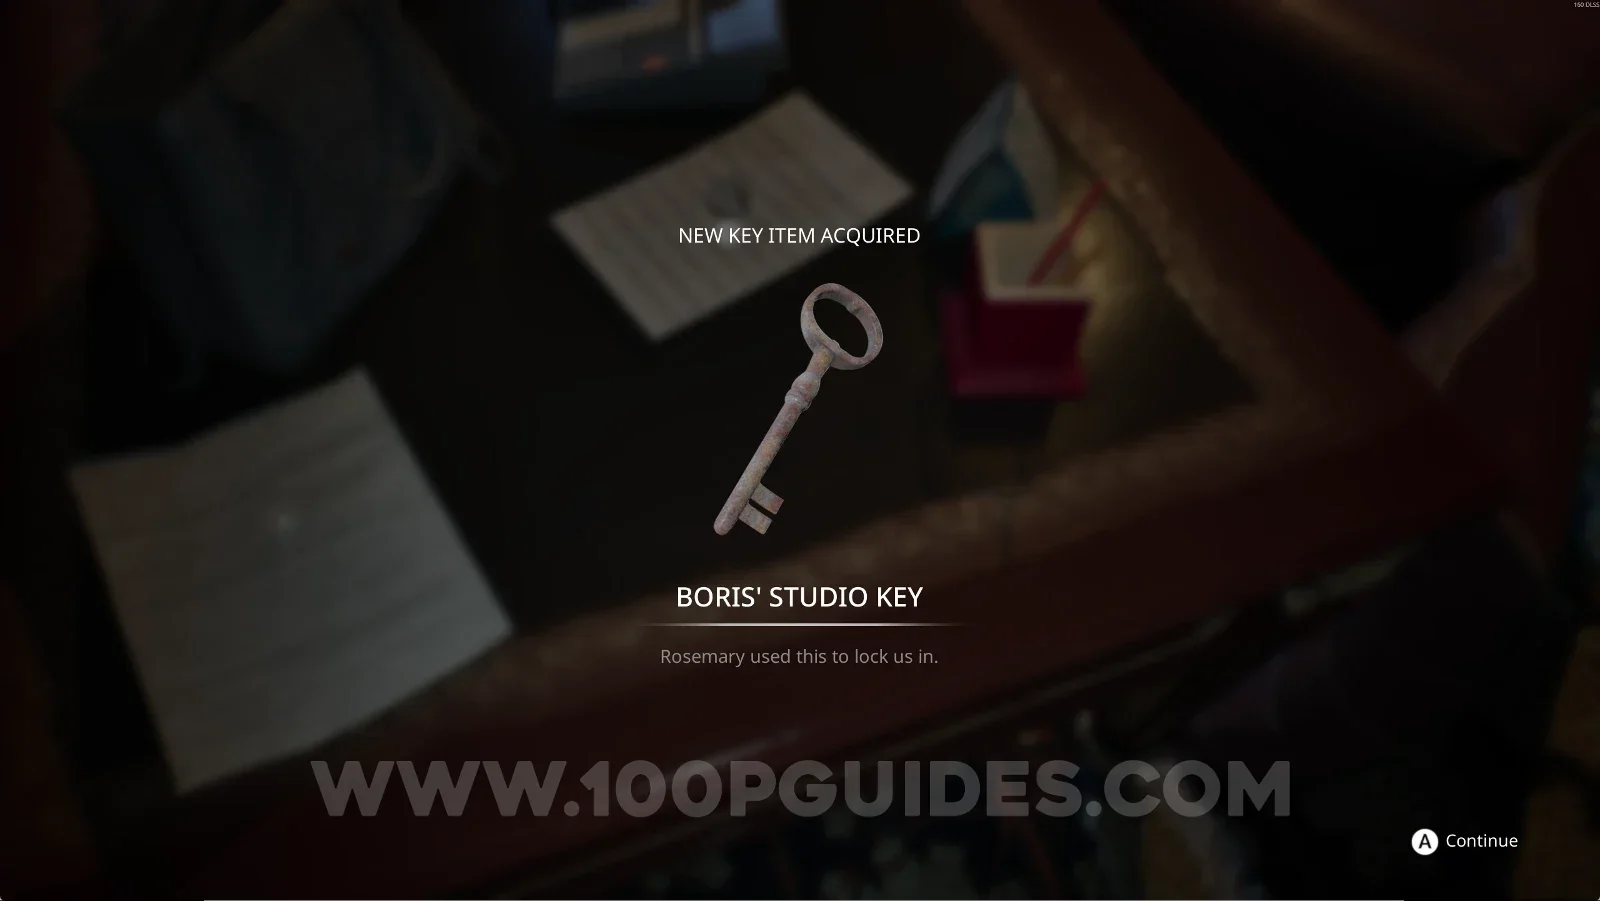
Key Item: Boris' Studio Key

Same area as before, after grabbing Rosemary's Gun.

Remothered: Red Nuns Legacy: Boris' Studio Key in the same area after taking Rosemary's Gun Remothered: Red Nuns Legacy: picking up the Boris' Studio Key key item

To continue, approach the door and a cutscene will start. After the cutscene, you'll be back in the Library.

Noble Wing #41: The Family's Chapel + Retrocognition #28

Directly in front of you after the previous cutscene. Interact with the lily and use your power to get this collectible.

Remothered: Red Nuns Legacy Noble Wing: the lily right in front after the cutscene Remothered: Red Nuns Legacy: using the power on the lily for Retrocognition #28 Remothered: Red Nuns Legacy Noble Wing #41: The Family's Chapel collectible

Noble Wing #42: The Cristo Morente Fire

After the previous collectible, leave through the Library door and go straight down the corridor. On the right side, you'll find a bookcase. Open its drawer to find this.

Remothered: Red Nuns Legacy: the corridor straight ahead from the Library door Remothered: Red Nuns Legacy: the bookcase with a drawer on the right side of the corridor Remothered: Red Nuns Legacy Noble Wing #42: The Cristo Morente Fire collectible

From the previous collectible, go back inside the Library, grab the moths on the left side, and take them to the cocoon on the right side.

Remothered: Red Nuns Legacy Library: grabbing the moths on the left side Remothered: Red Nuns Legacy Library: taking the moths to the cocoon on the right side

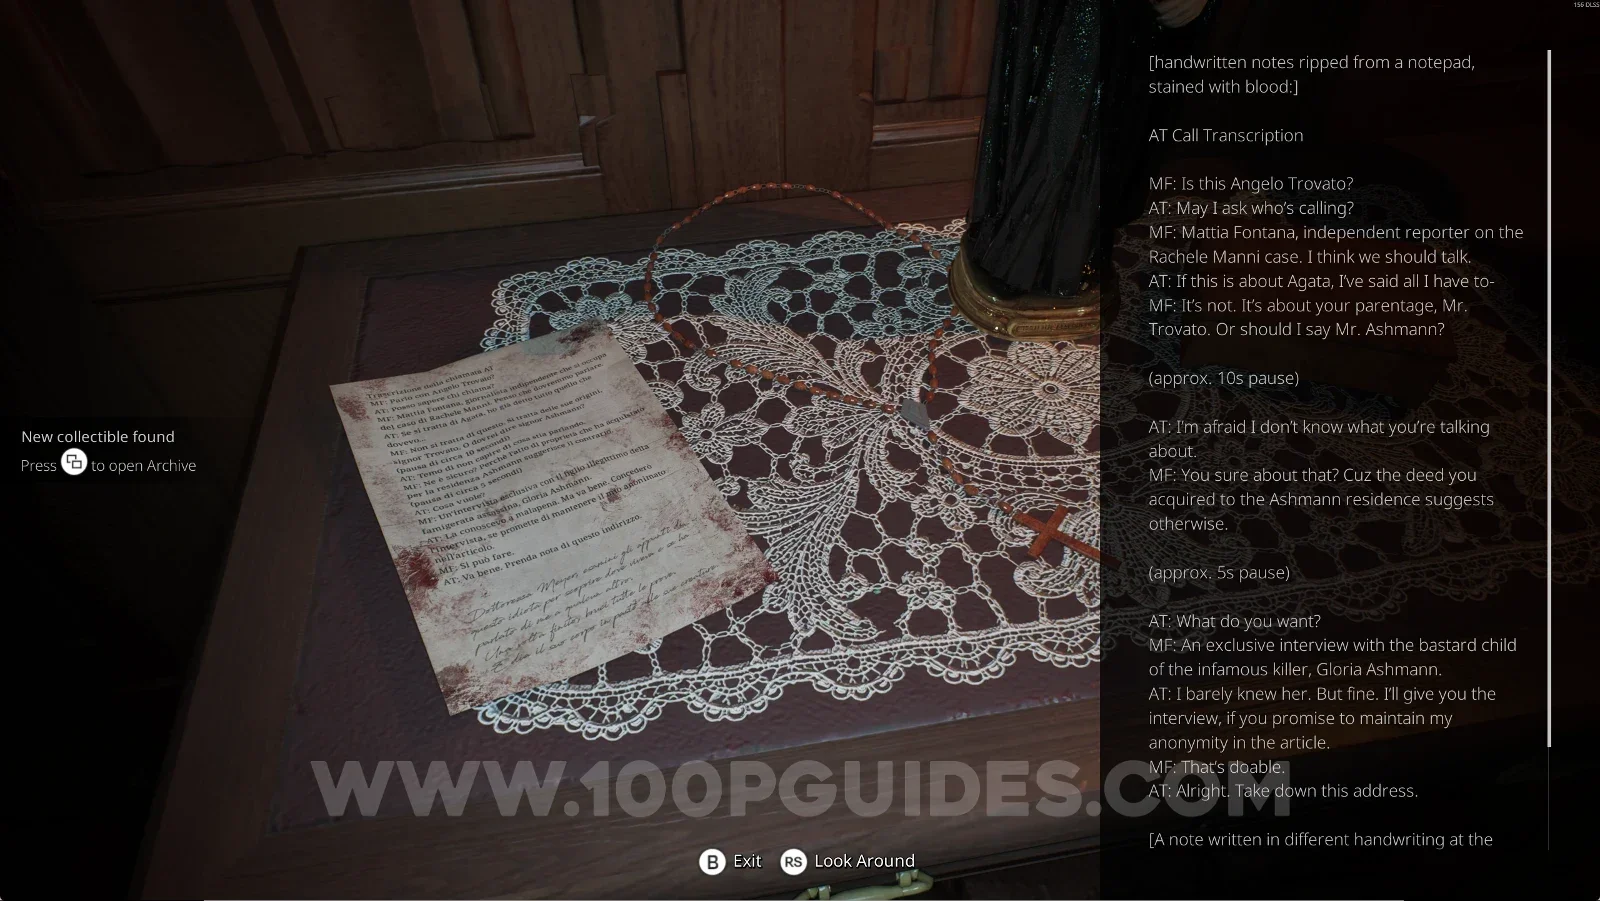
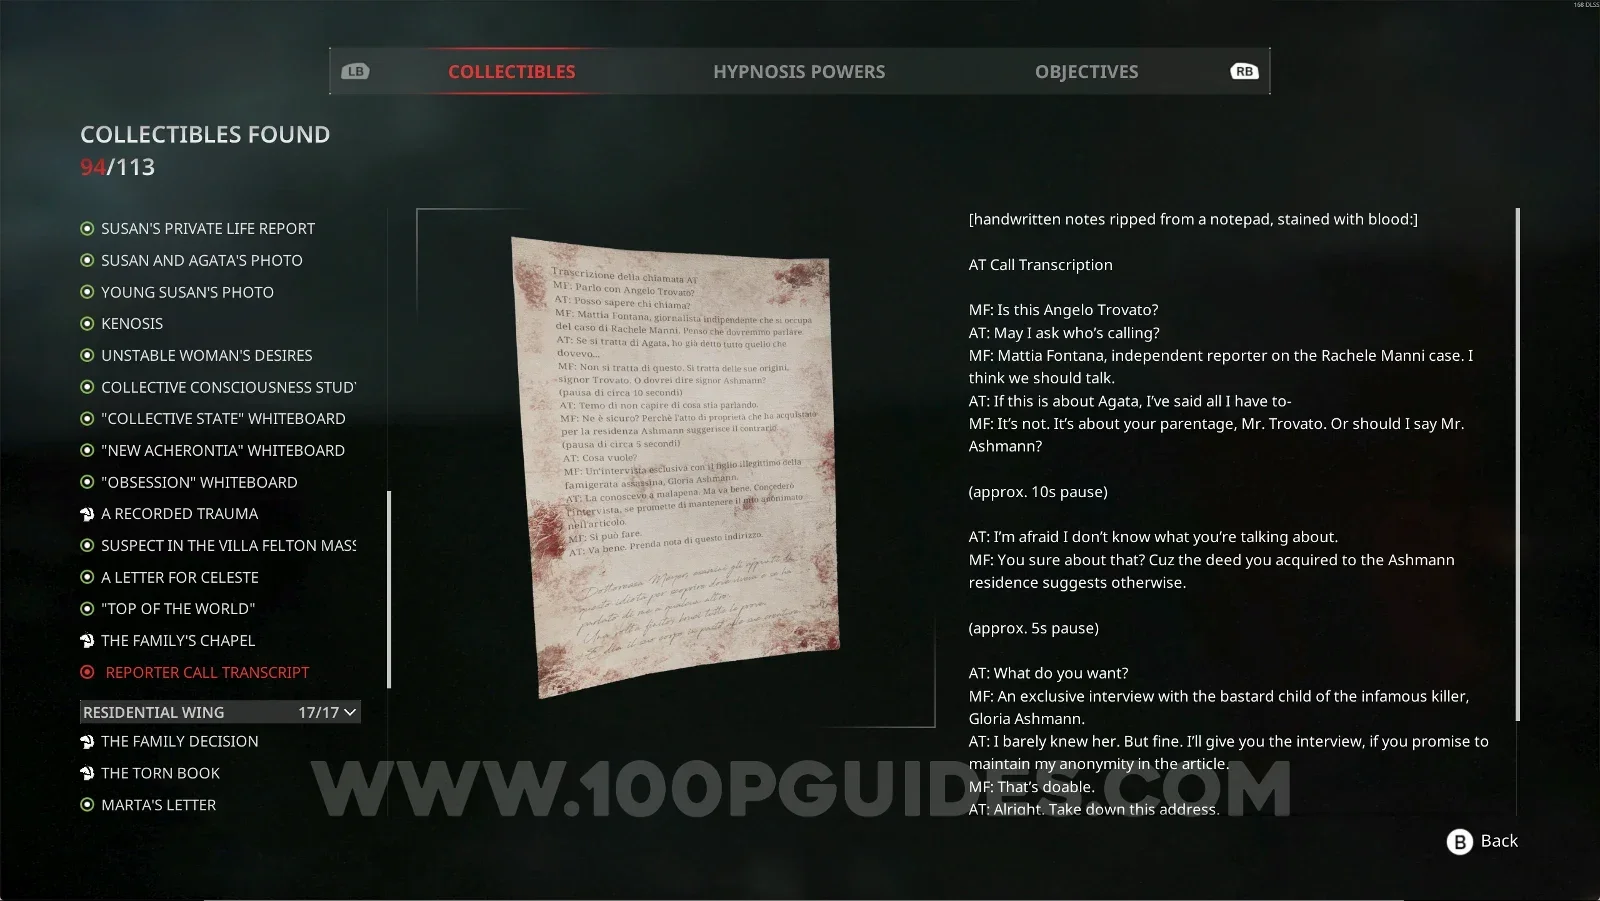
Noble Wing #43: Reporter Call Transcript

After going through the previous door, it will be on your left.

Remothered: Red Nuns Legacy: the room past the cocoon door in the Library Remothered: Red Nuns Legacy: the Reporter Call Transcript on the left past the door Remothered: Red Nuns Legacy Noble Wing #43: Reporter Call Transcript collectible

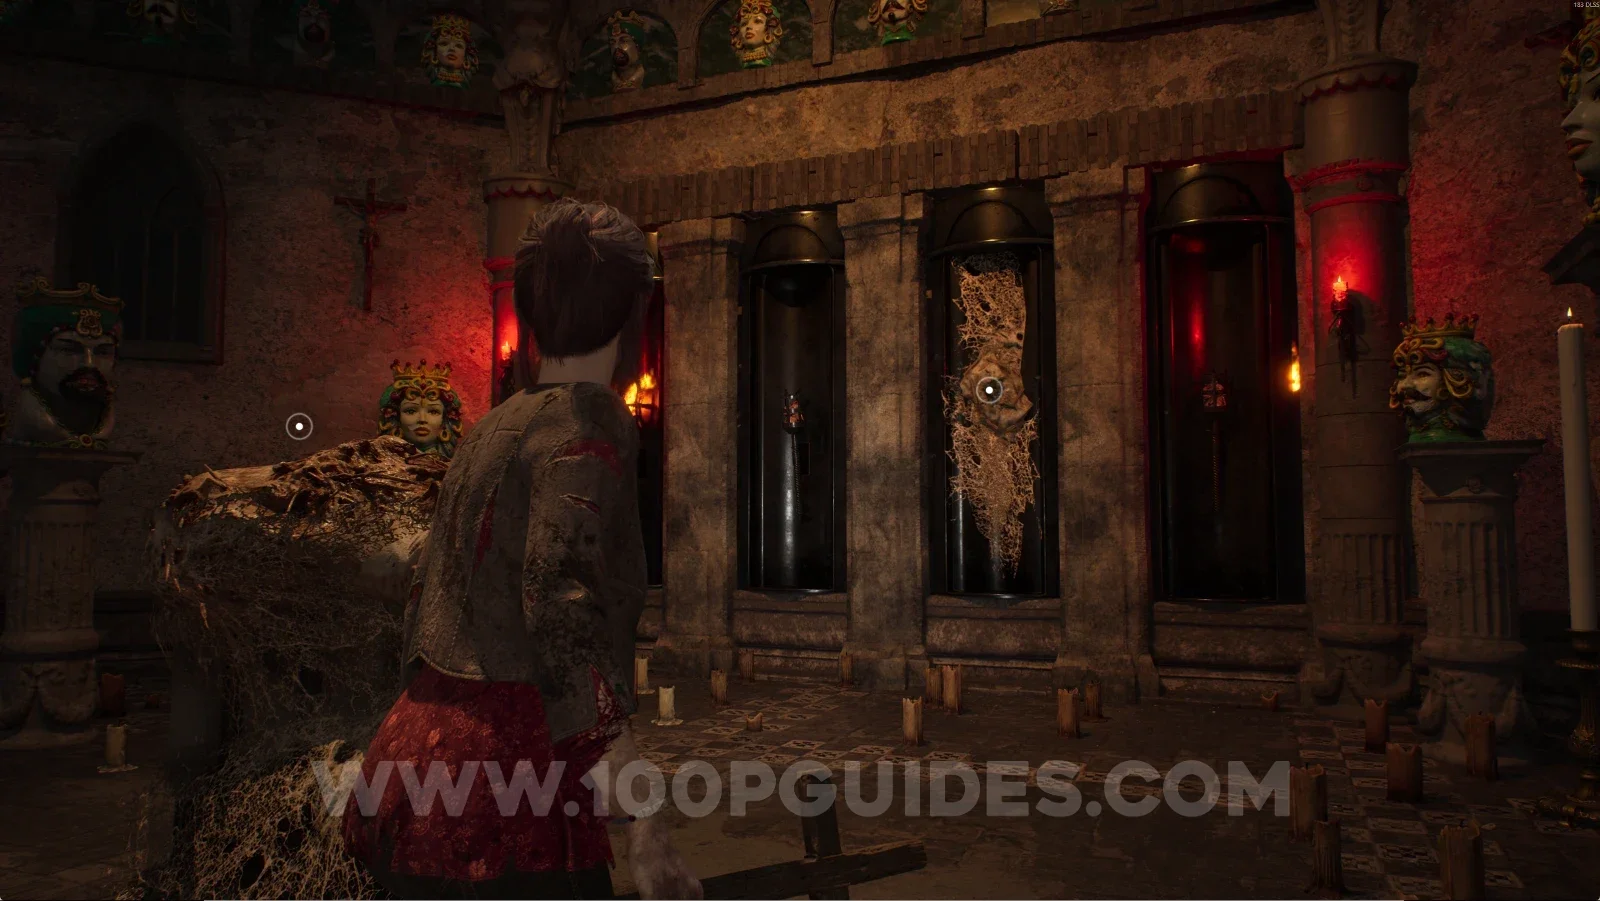
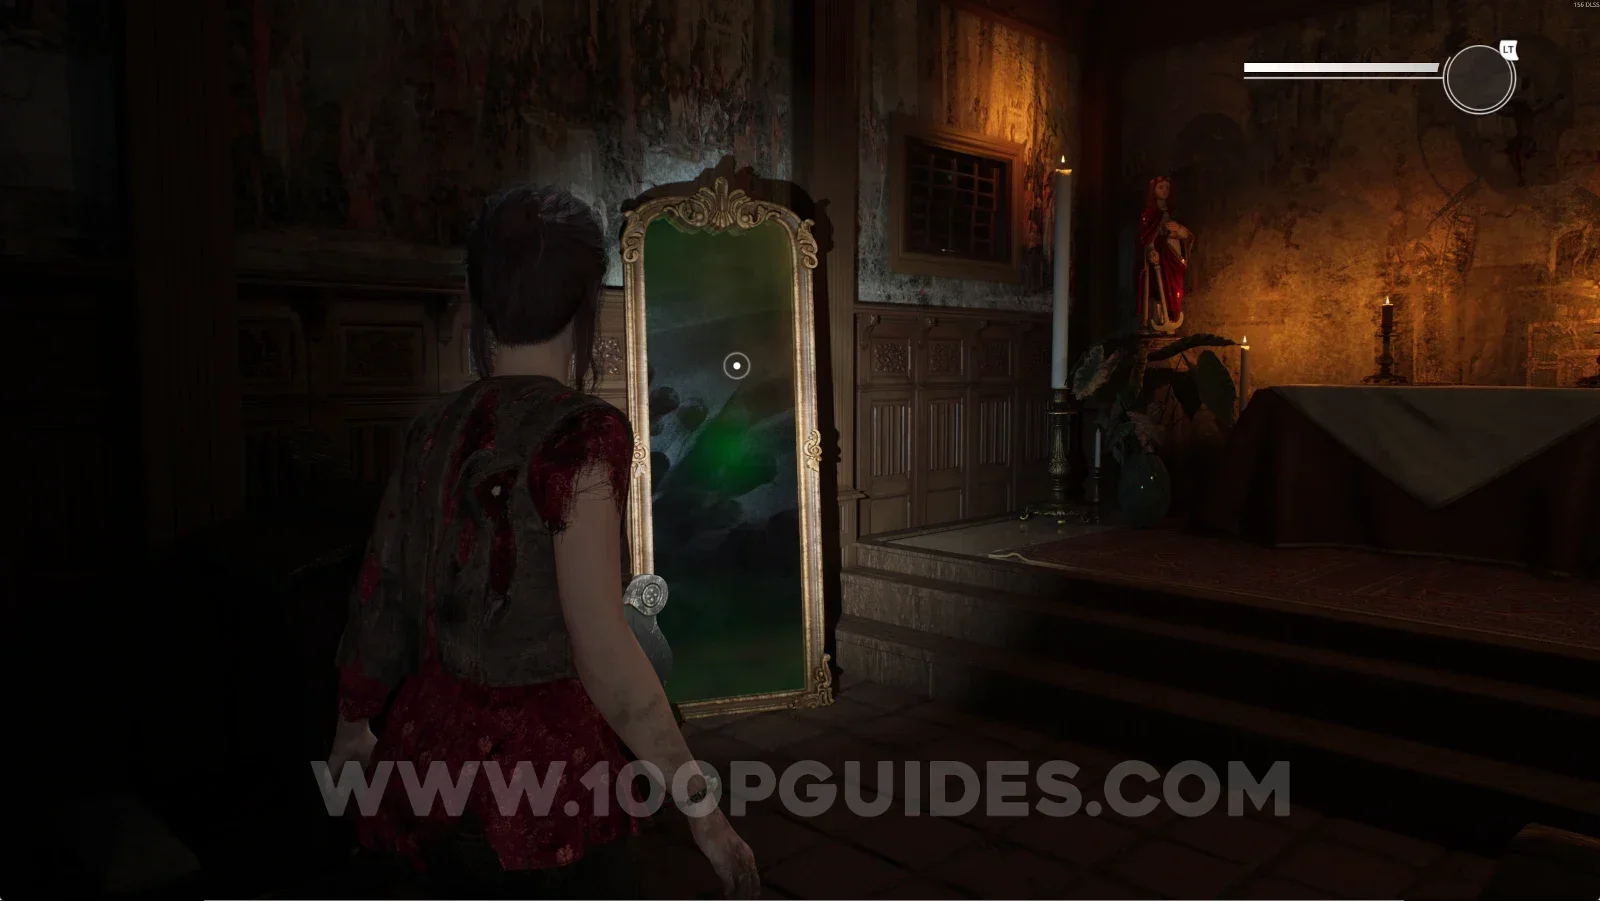
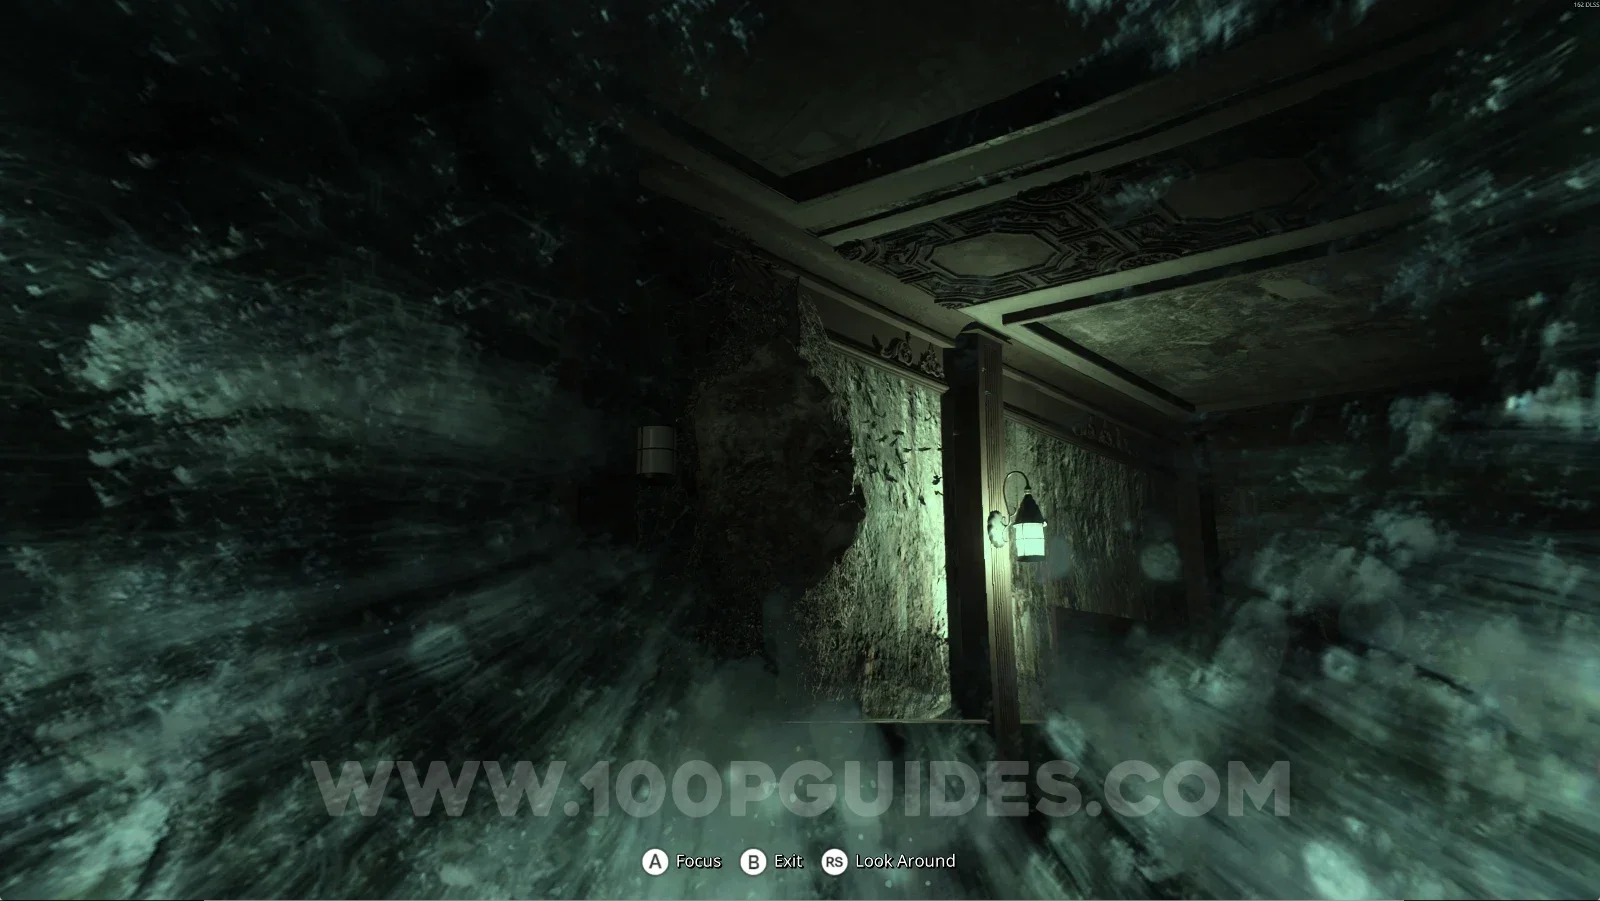
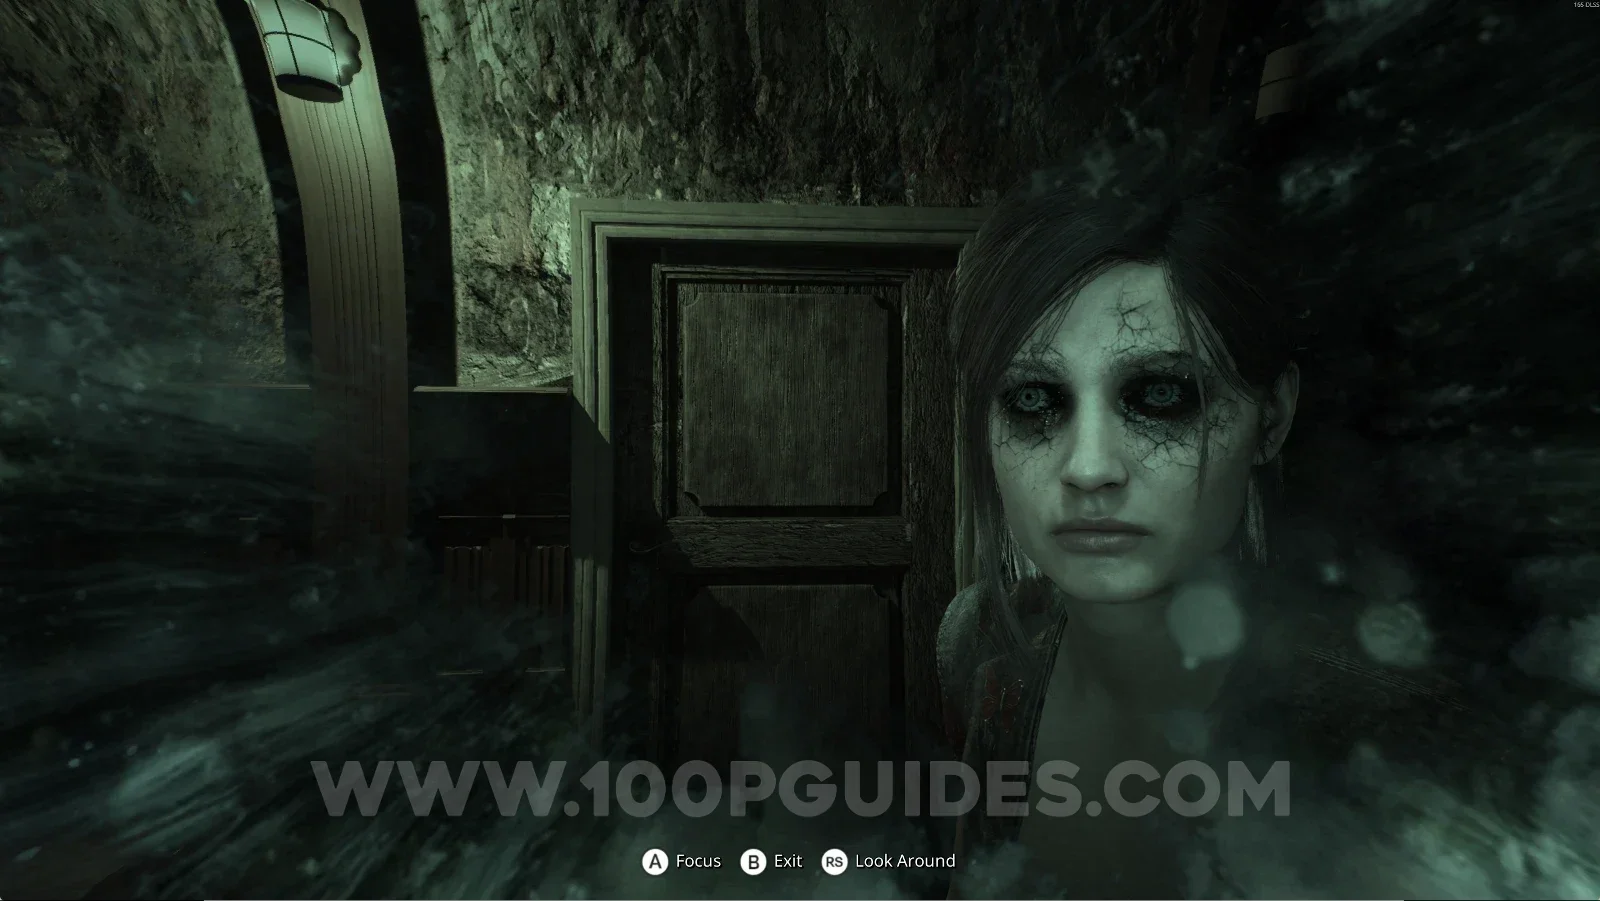
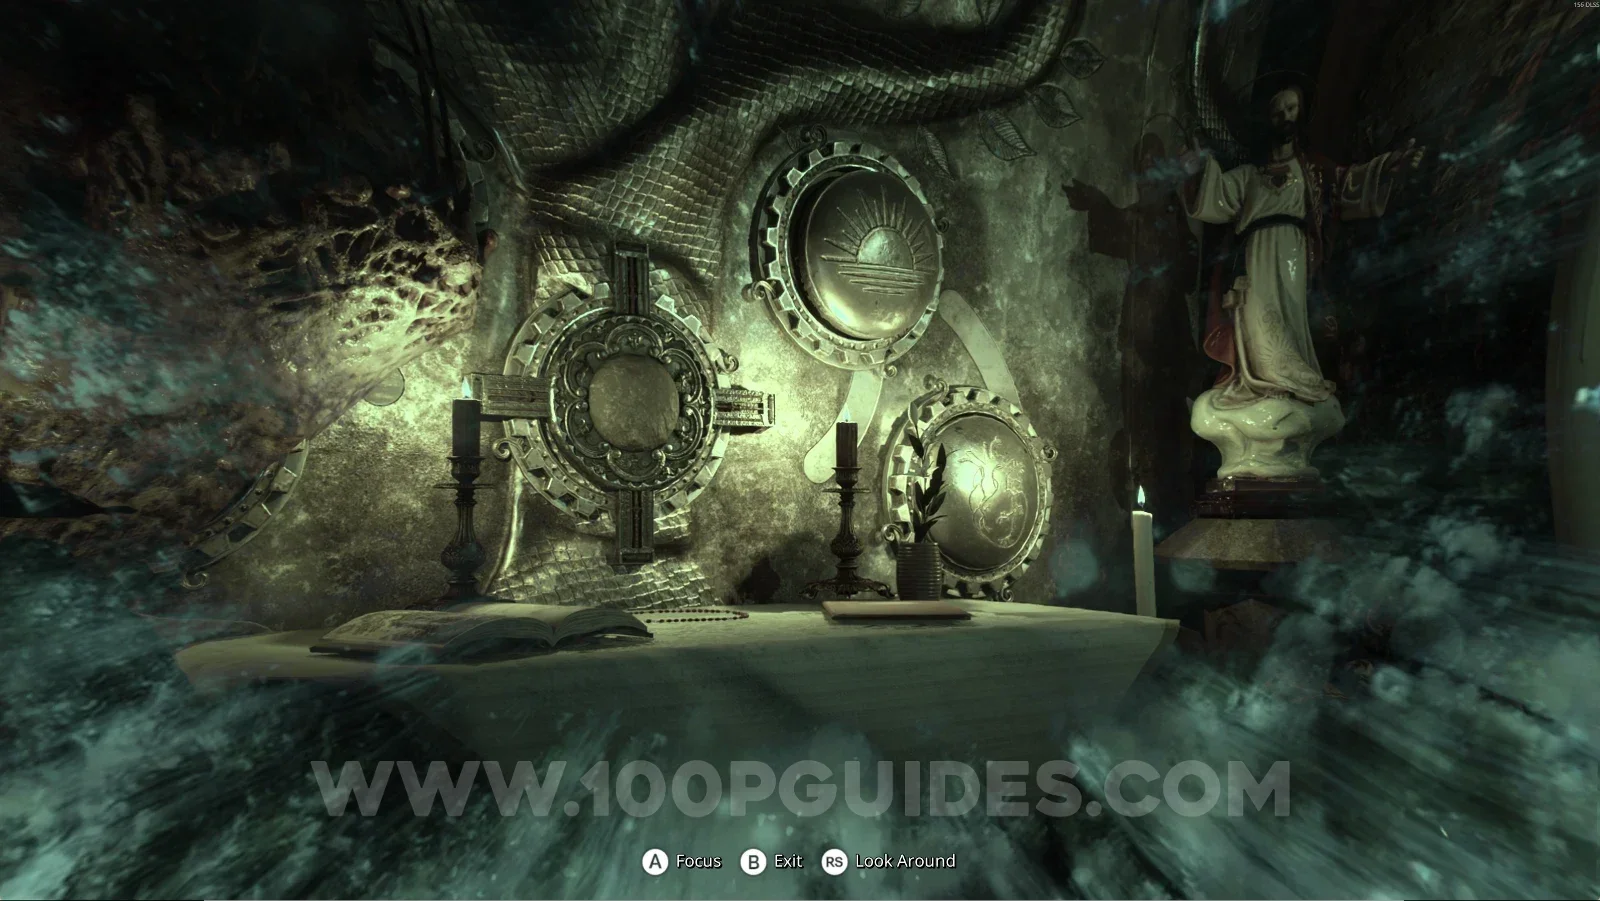
Same room as the previous collectible. Interact with the painting and reveal the cocoon, the door, and the altar.

Remothered: Red Nuns Legacy Noble Wing: the painting in the Reporter Call Transcript room Remothered: Red Nuns Legacy: revealing the cocoon with the painting in the Noble Wing Remothered: Red Nuns Legacy: revealing the door with the painting in the Noble Wing Remothered: Red Nuns Legacy: revealing the altar with the painting in the Noble Wing

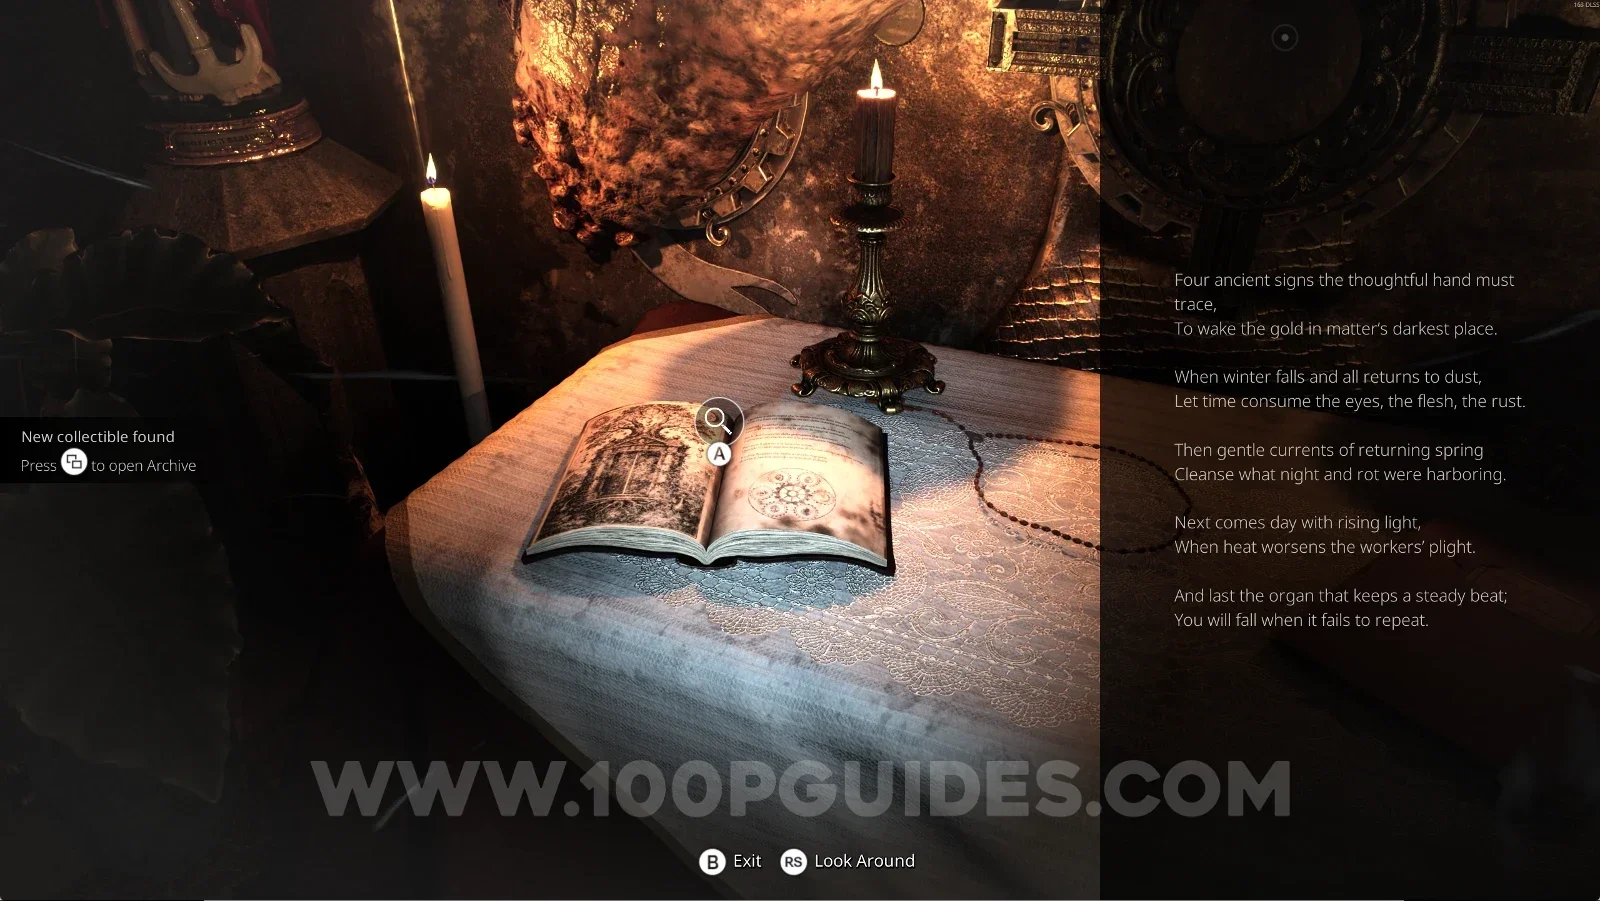
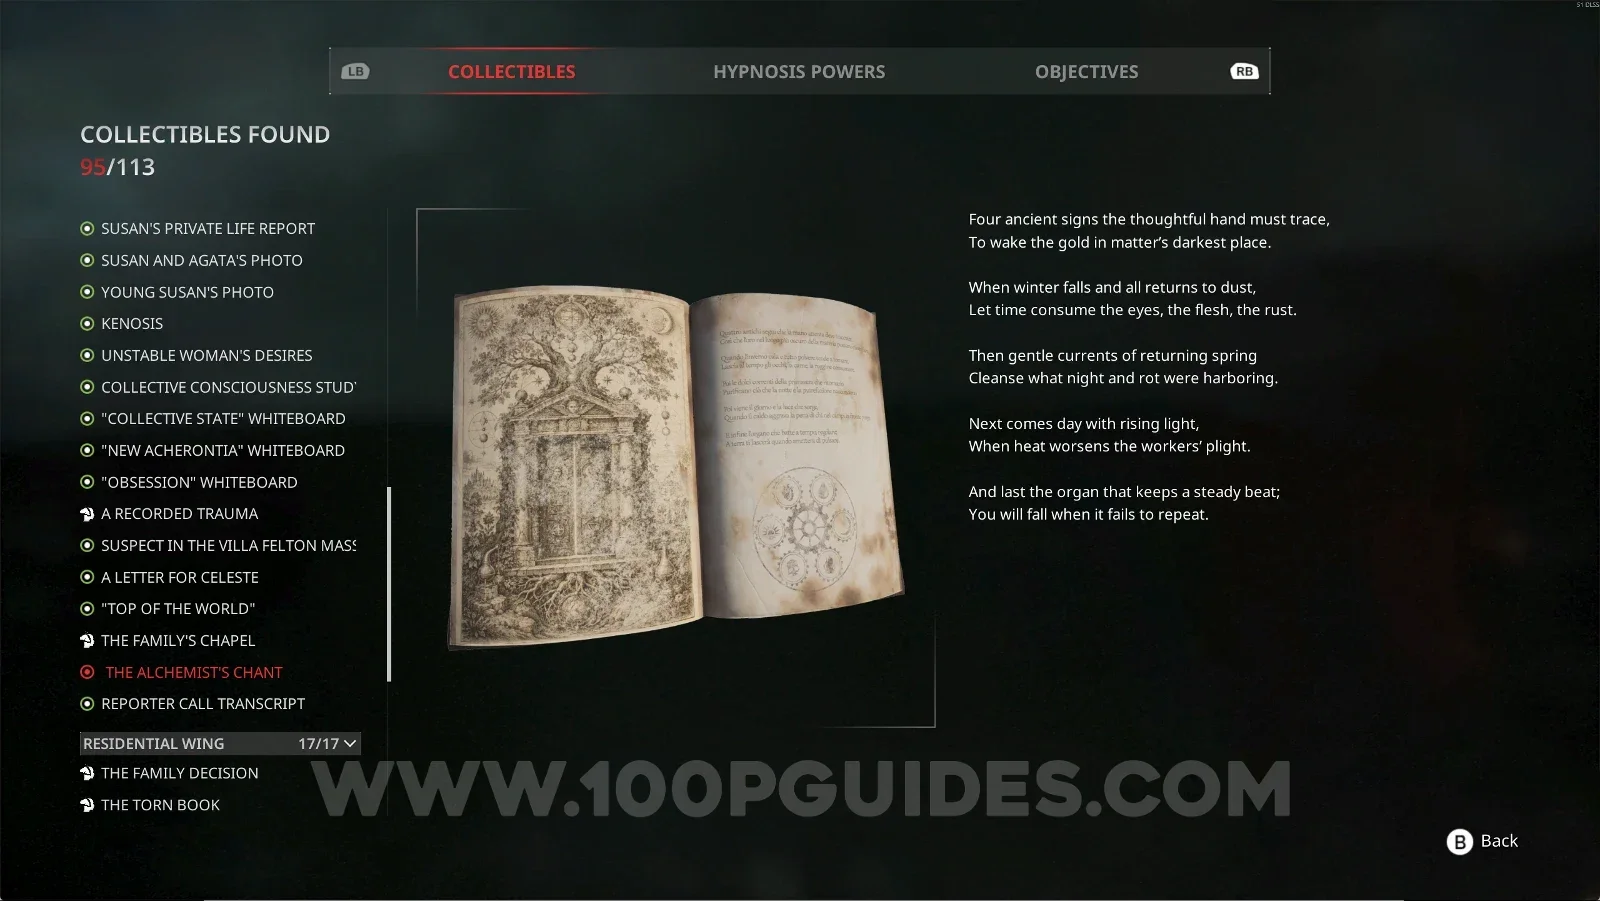
Noble Wing #44: The Alchemist's Chant

On the table in front of you, after revealing it.

Remothered: Red Nuns Legacy: The Alchemist's Chant on the revealed table in front Remothered: Red Nuns Legacy Noble Wing #44: The Alchemist's Chant collectible

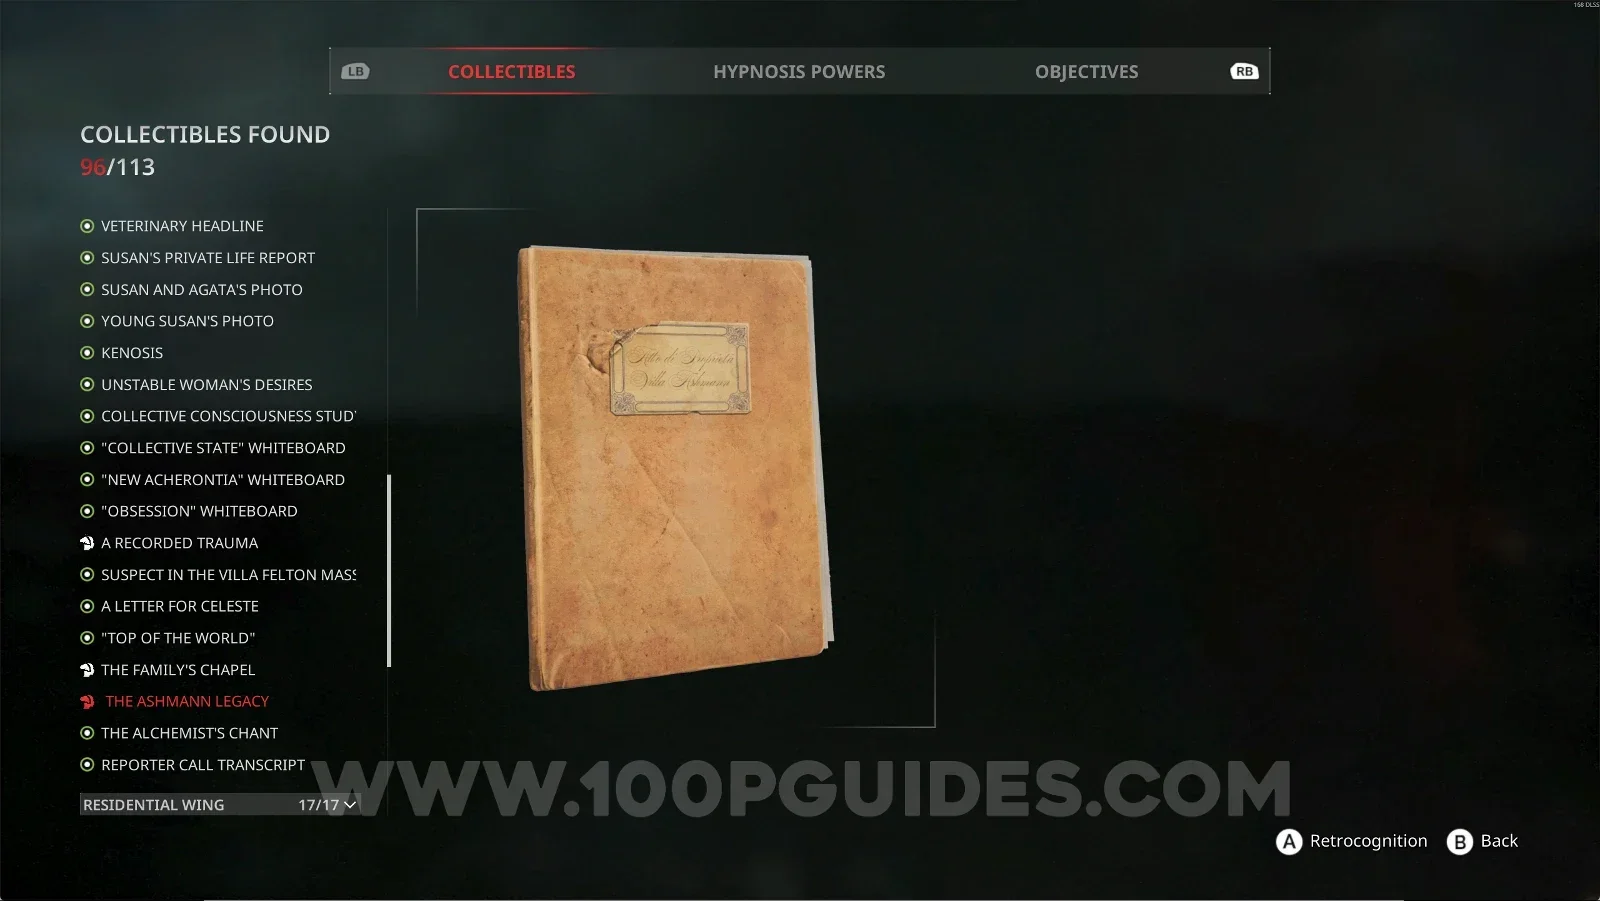
Noble Wing #45: The Ashmann Legacy

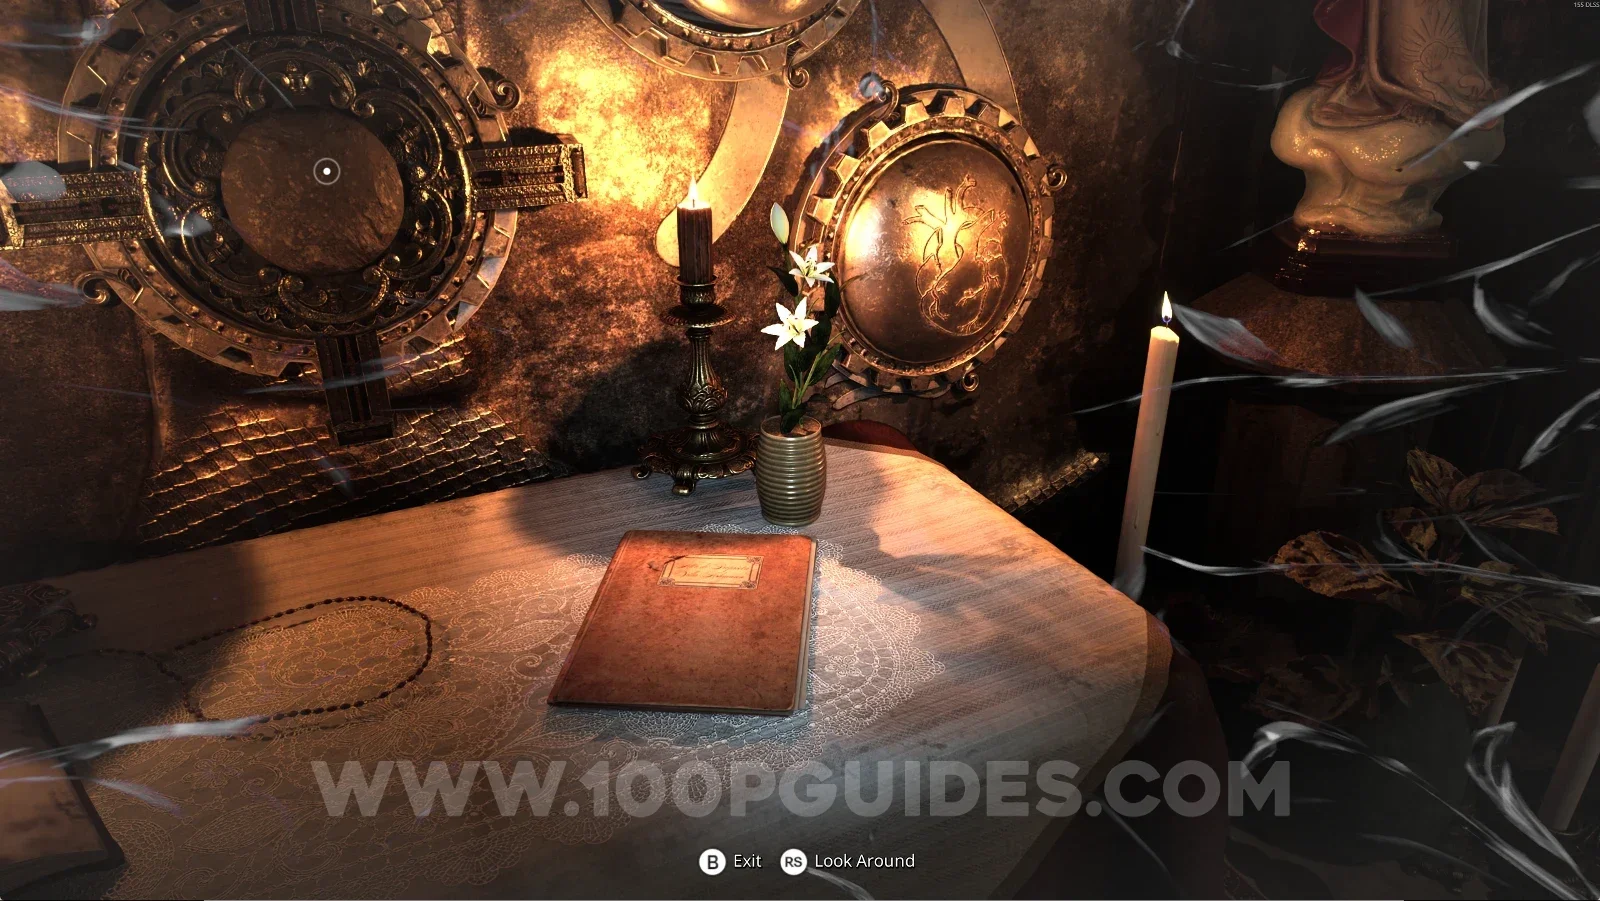
On the right side, use your power on the lily.

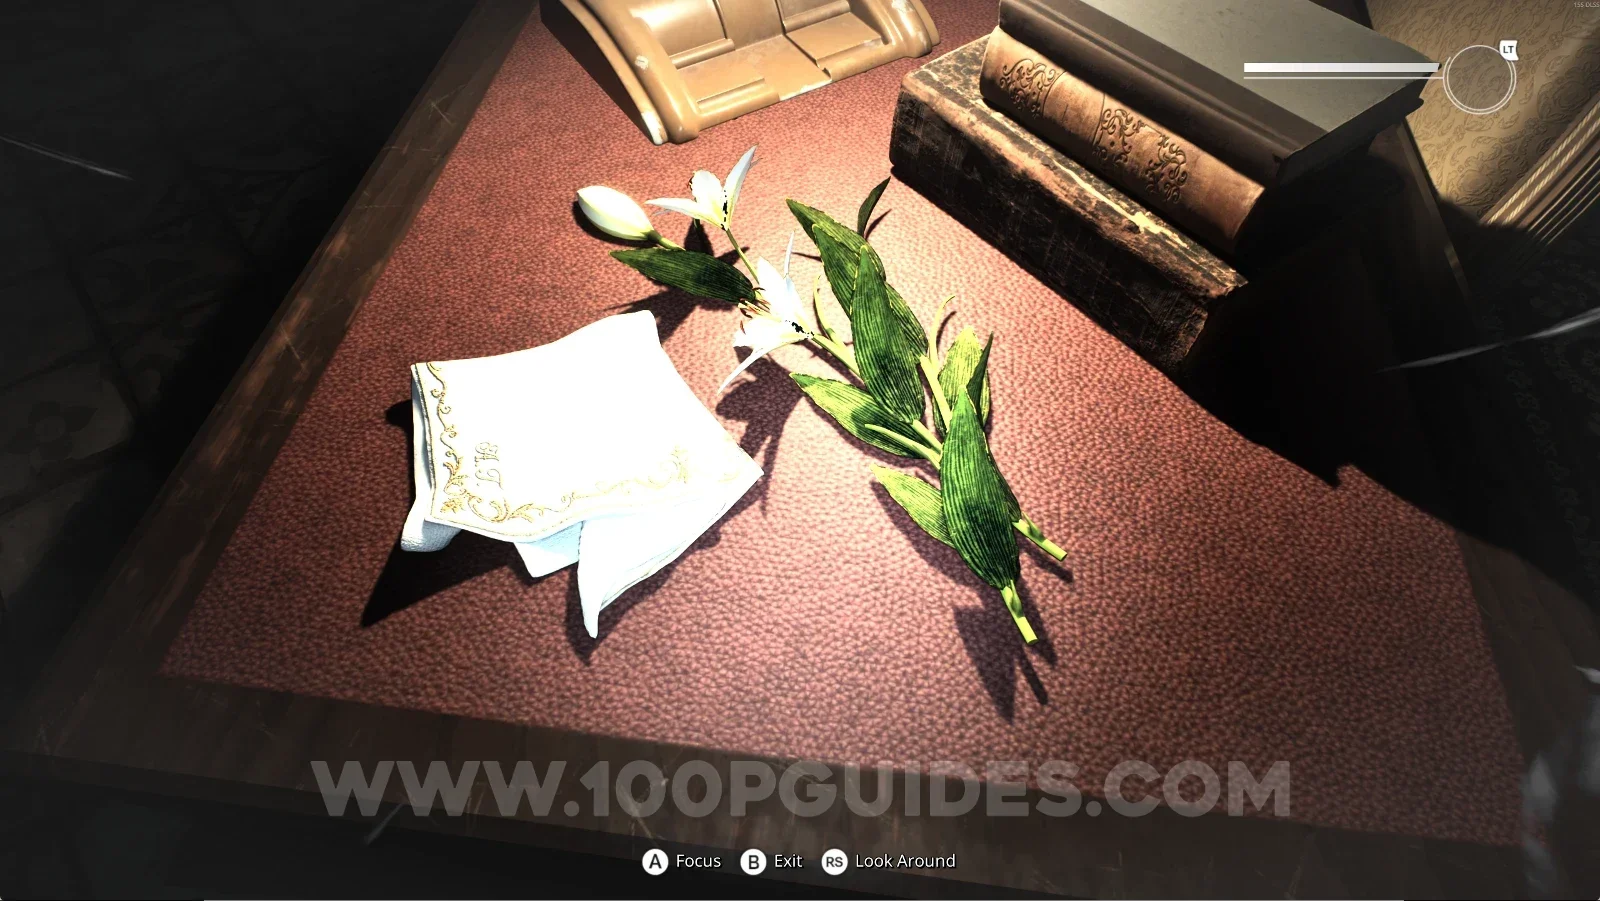
Remothered: Red Nuns Legacy: the lily on the right side, used with the power Remothered: Red Nuns Legacy Noble Wing #45: The Ashmann Legacy collectible

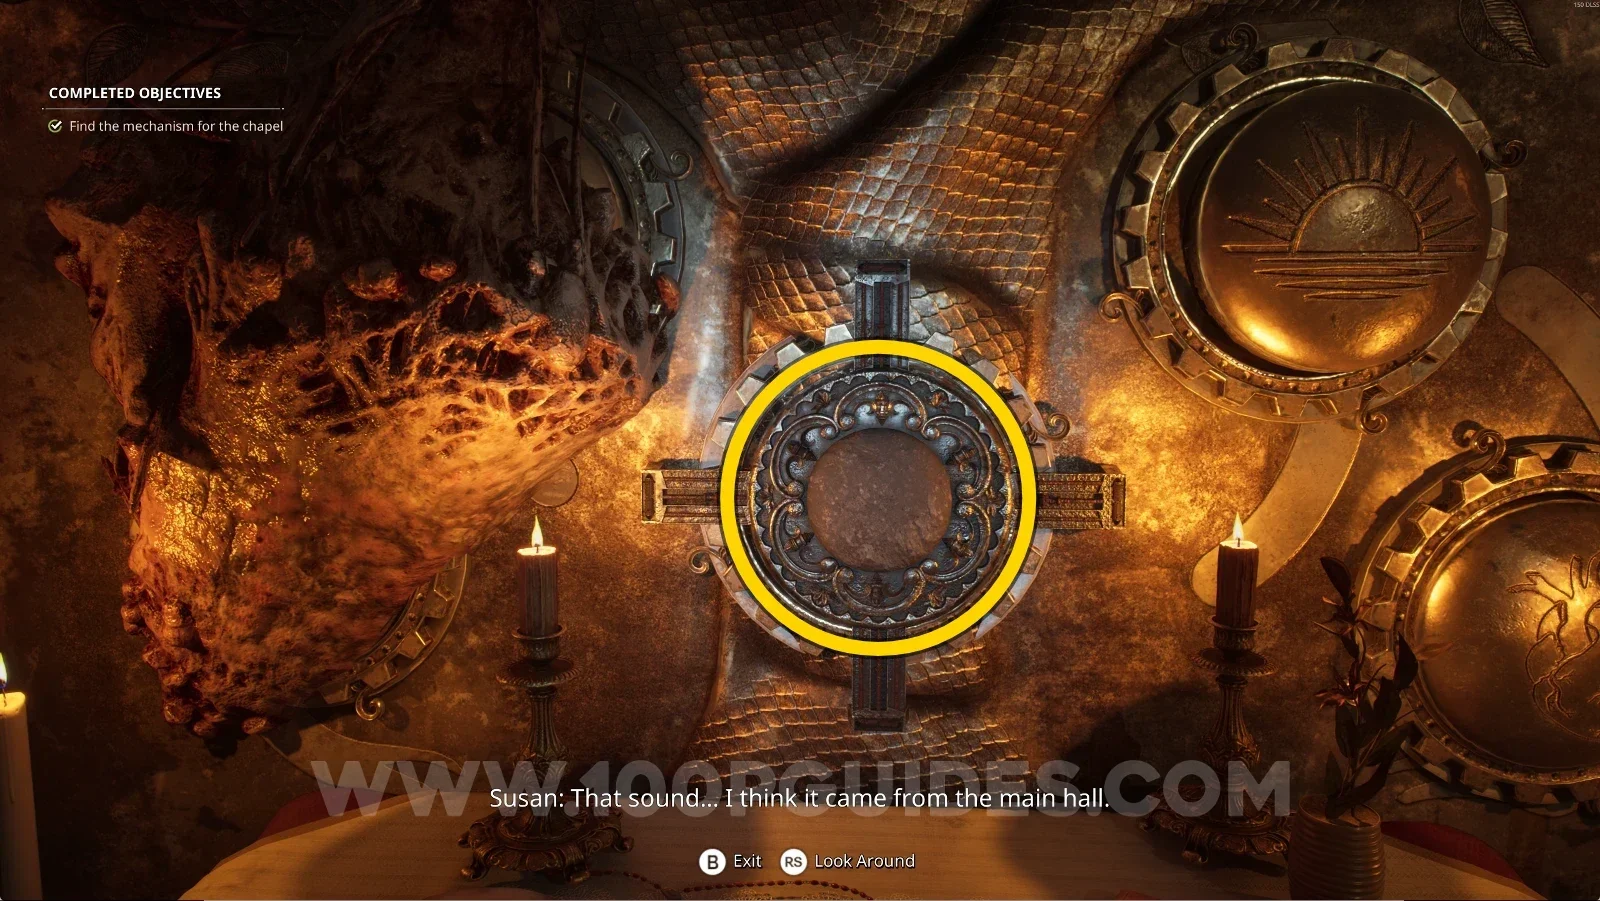
To continue, interact with the stone in the center.

Remothered: Red Nuns Legacy Noble Wing: interacting with the stone in the center of the room

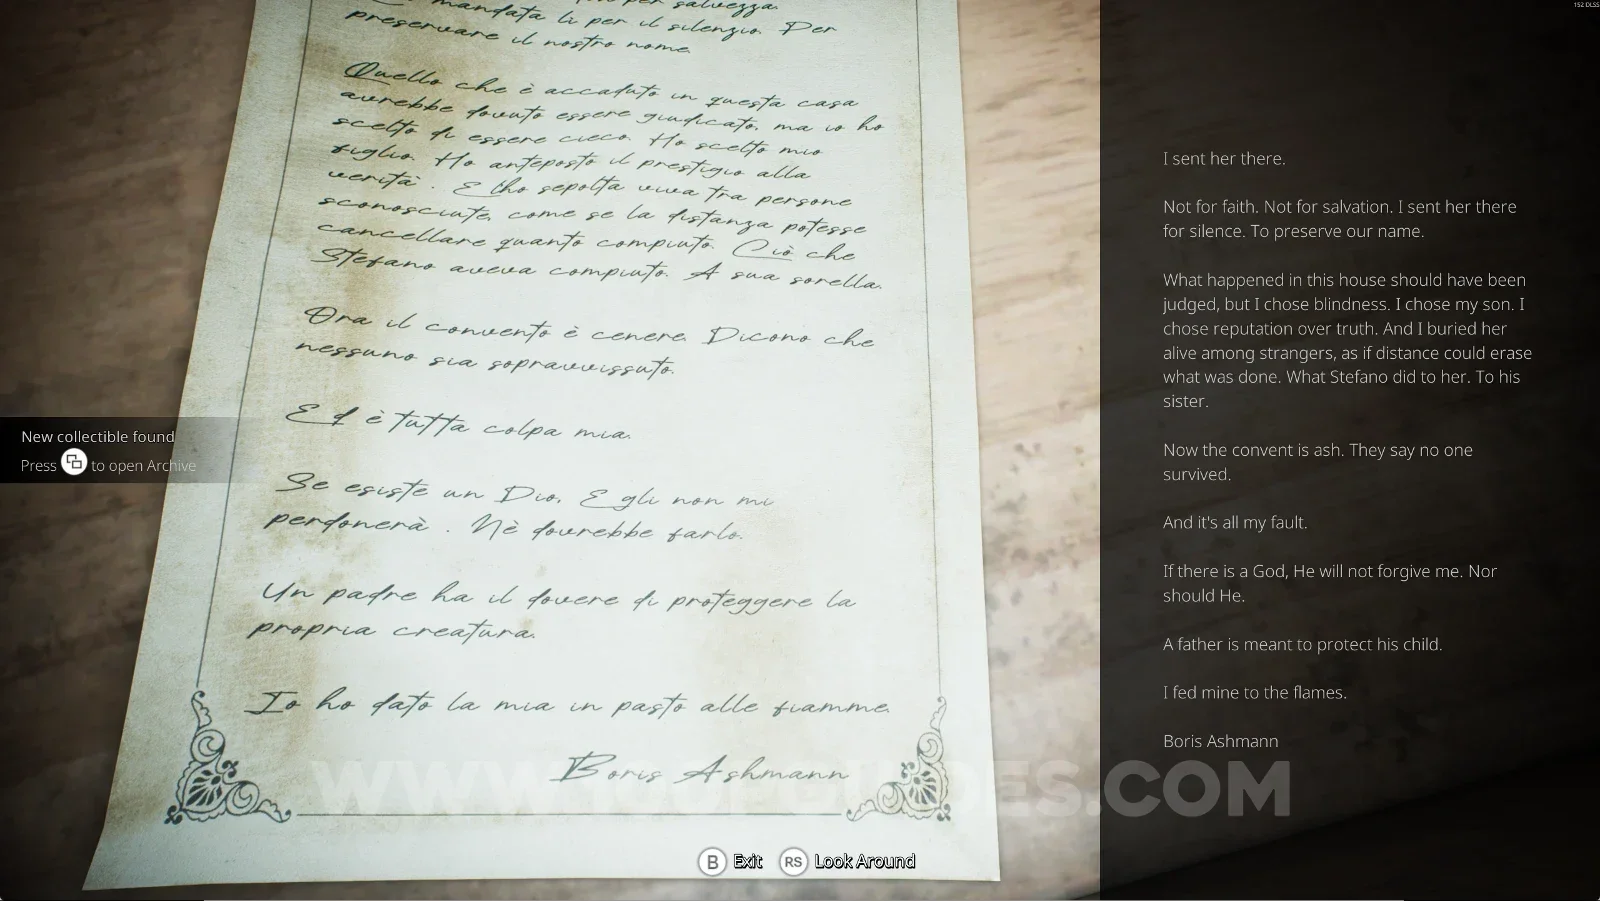
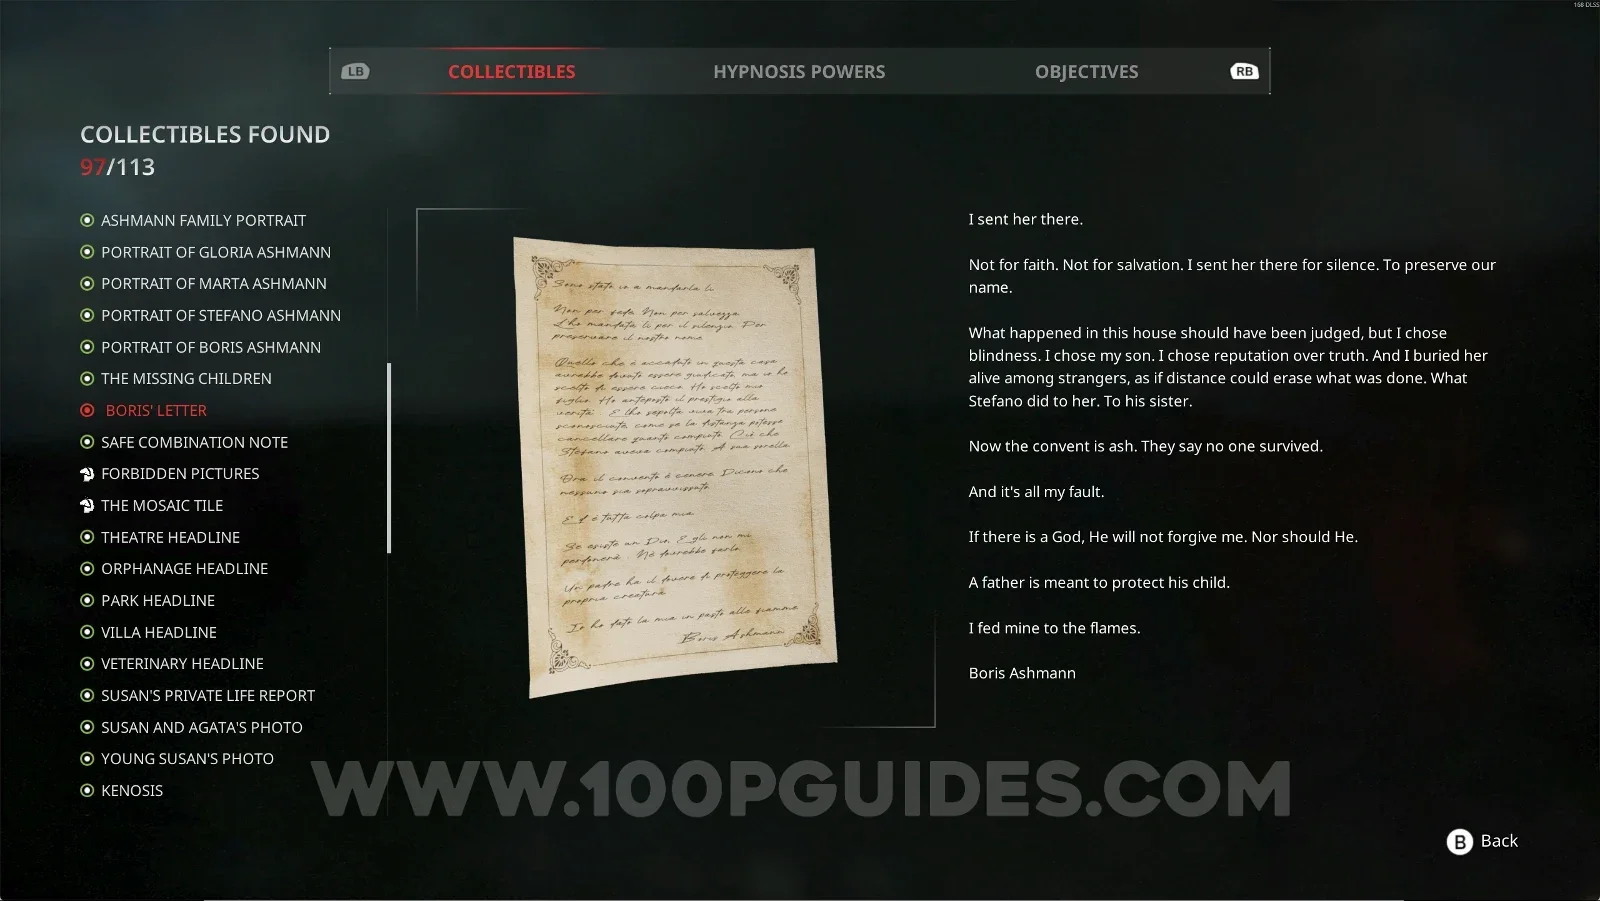
Noble Wing #46: Boris' Letter

From the previous room, open the door and step outside. Right in front of you, you'll see a cabinet with drawers. Open the drawer to find this collectible.

Remothered: Red Nuns Legacy: stepping outside the door of the room with the stone Remothered: Red Nuns Legacy: the cabinet with drawers right in front outside the door Remothered: Red Nuns Legacy Noble Wing #46: Boris' Letter collectible from the drawer

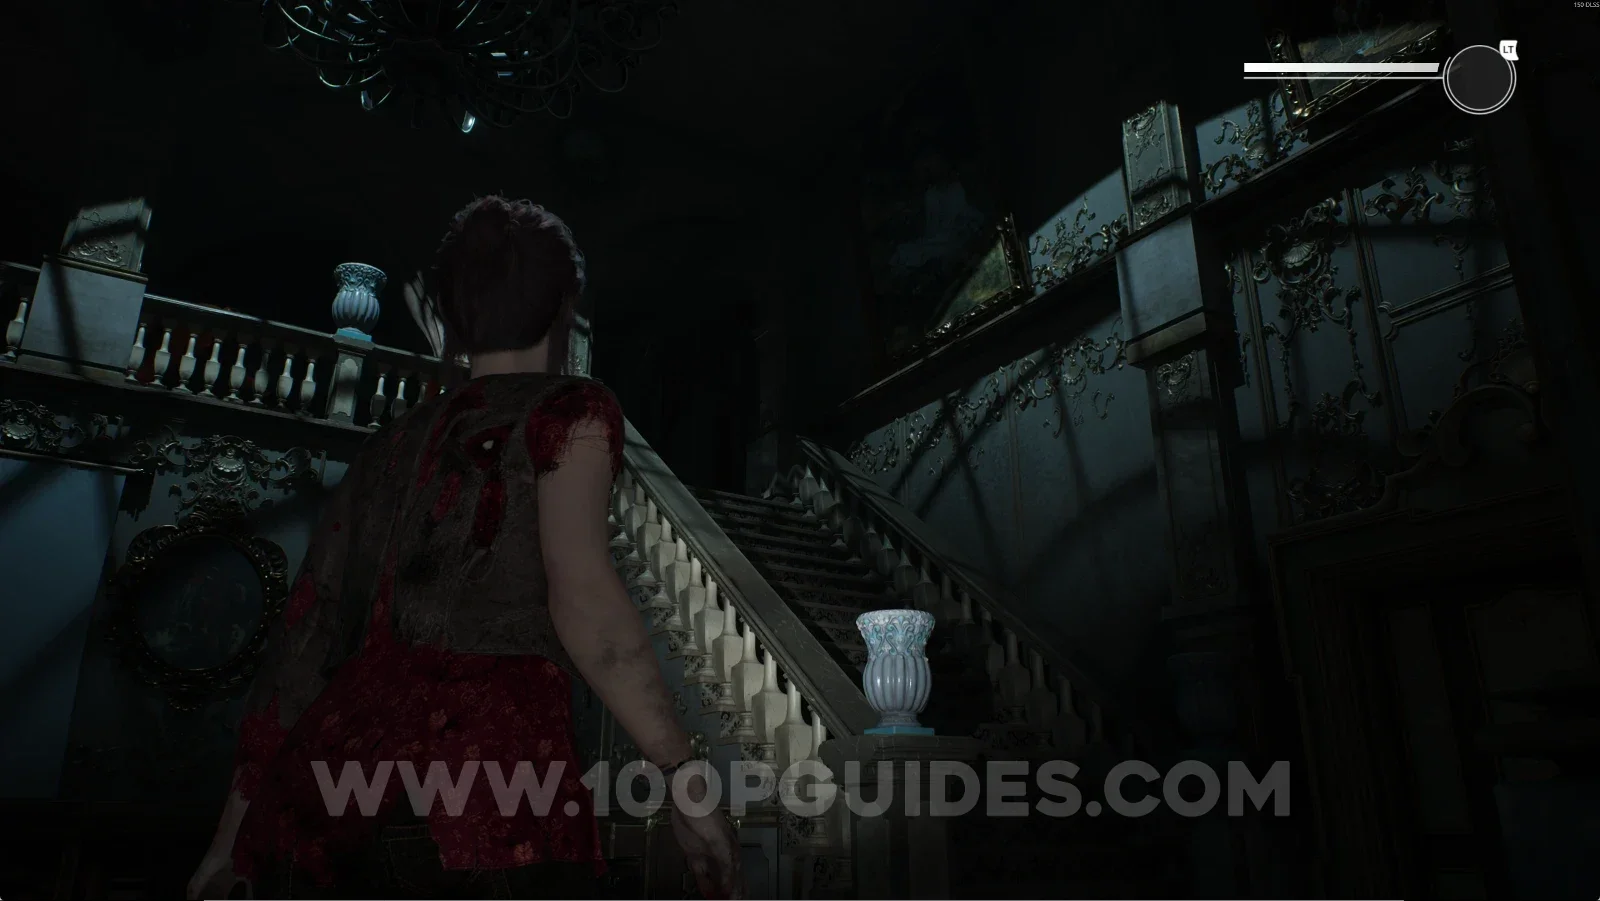
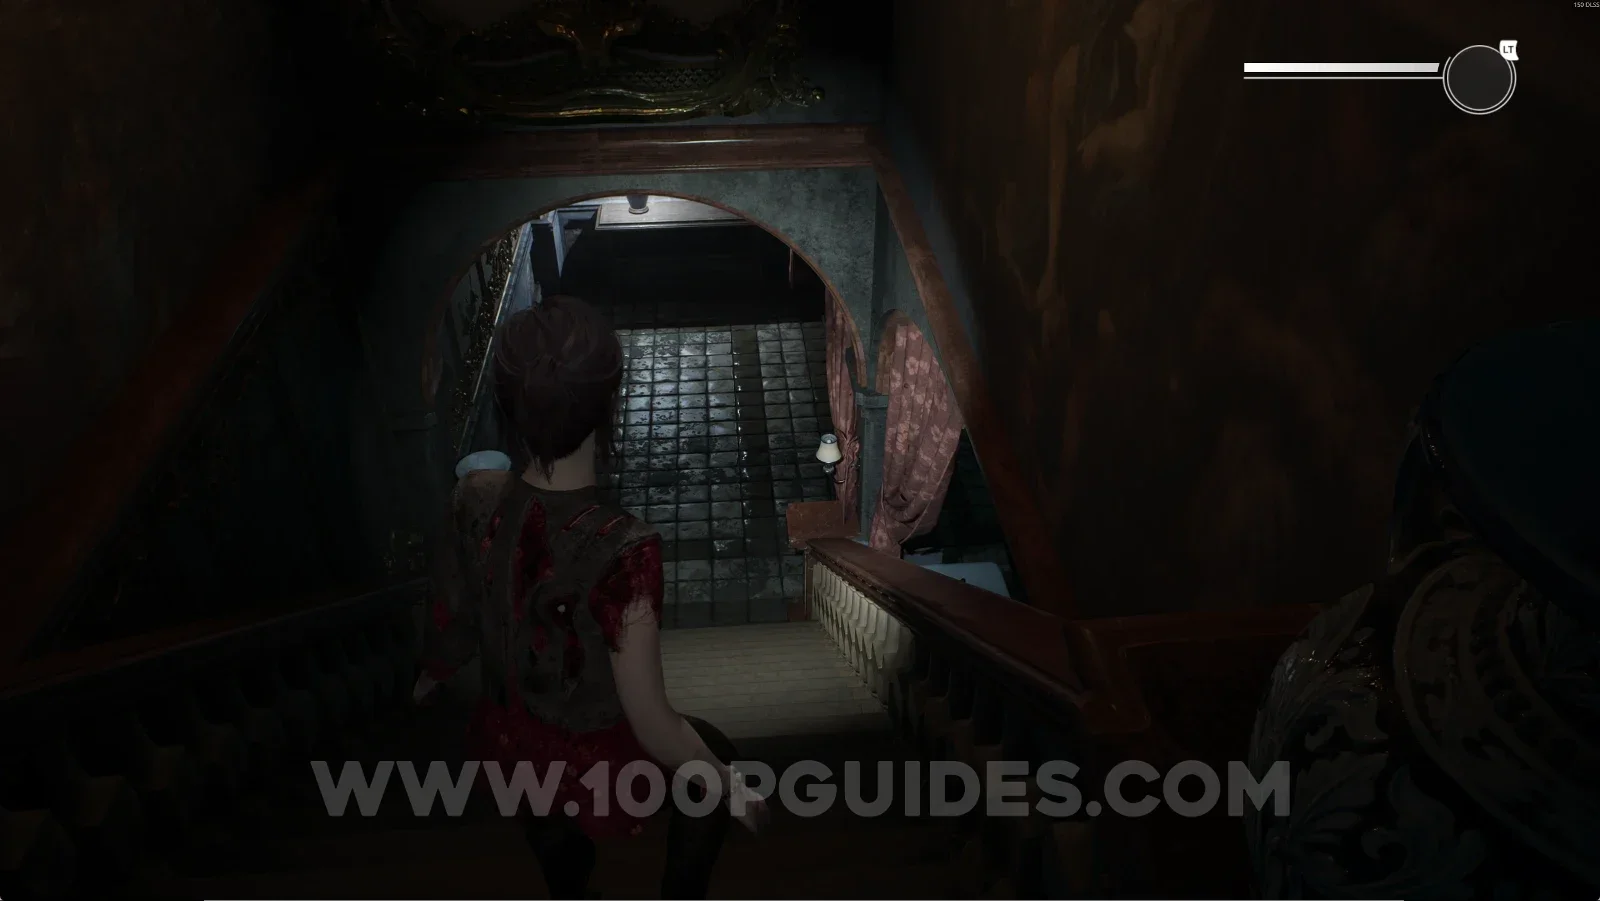
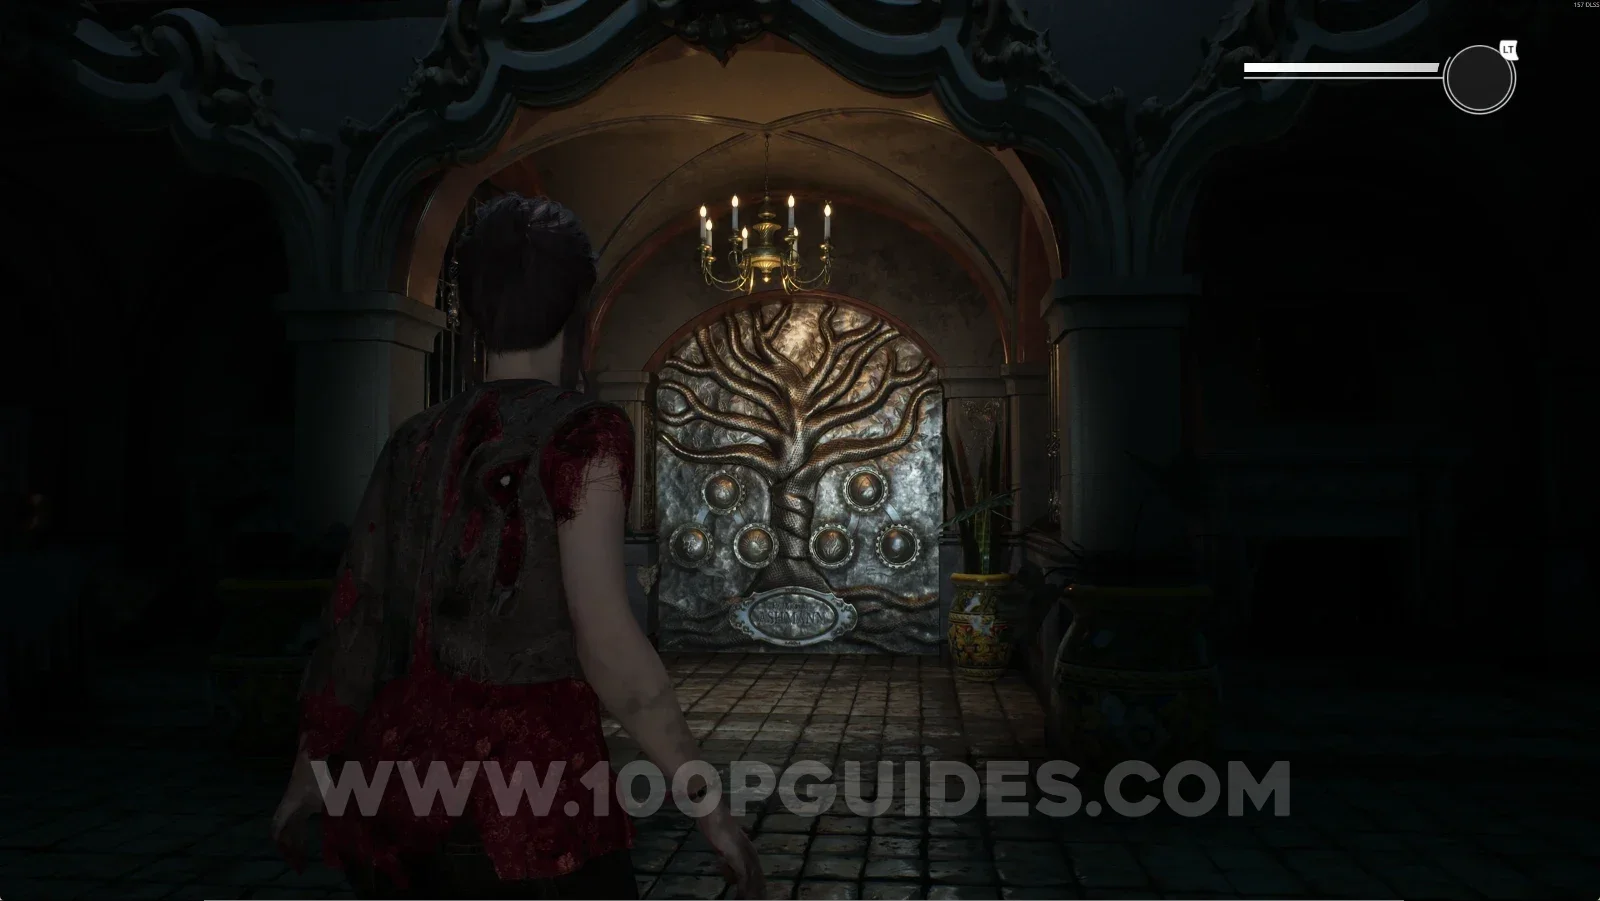
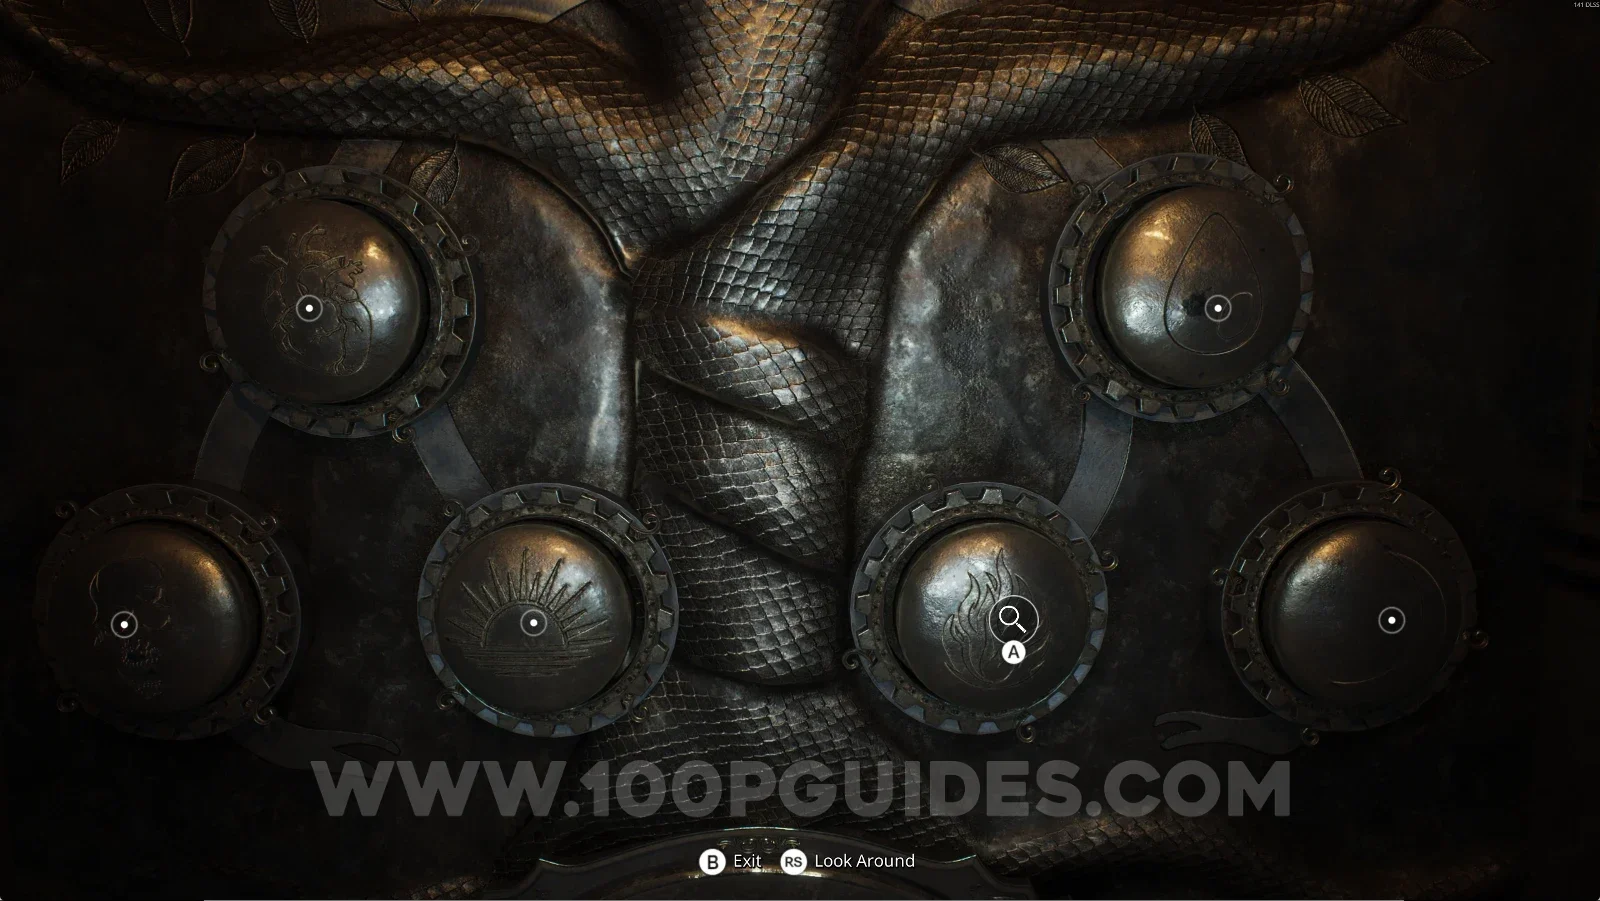
To continue, go up the stairs in the Library and follow the upper path around the area until you reach the Reception Hall. There, interact with the Alchemy Door, then with the orbs in the following order:

Skull (bottom left)

Water drop (top right)

Rising sun (bottom, second from the left)

Heart (top left)

Remothered: Red Nuns Legacy Library: the stairs up to the upper path Remothered: Red Nuns Legacy: the upper path leading around to the Reception Hall Remothered: Red Nuns Legacy Reception Hall: the Alchemy Door with its orbs Remothered: Red Nuns Legacy Alchemy Door: orbs pressed Skull, Water drop, Rising sun, Heart

Catacombs #1: Dr. Eva Meyer's Letter

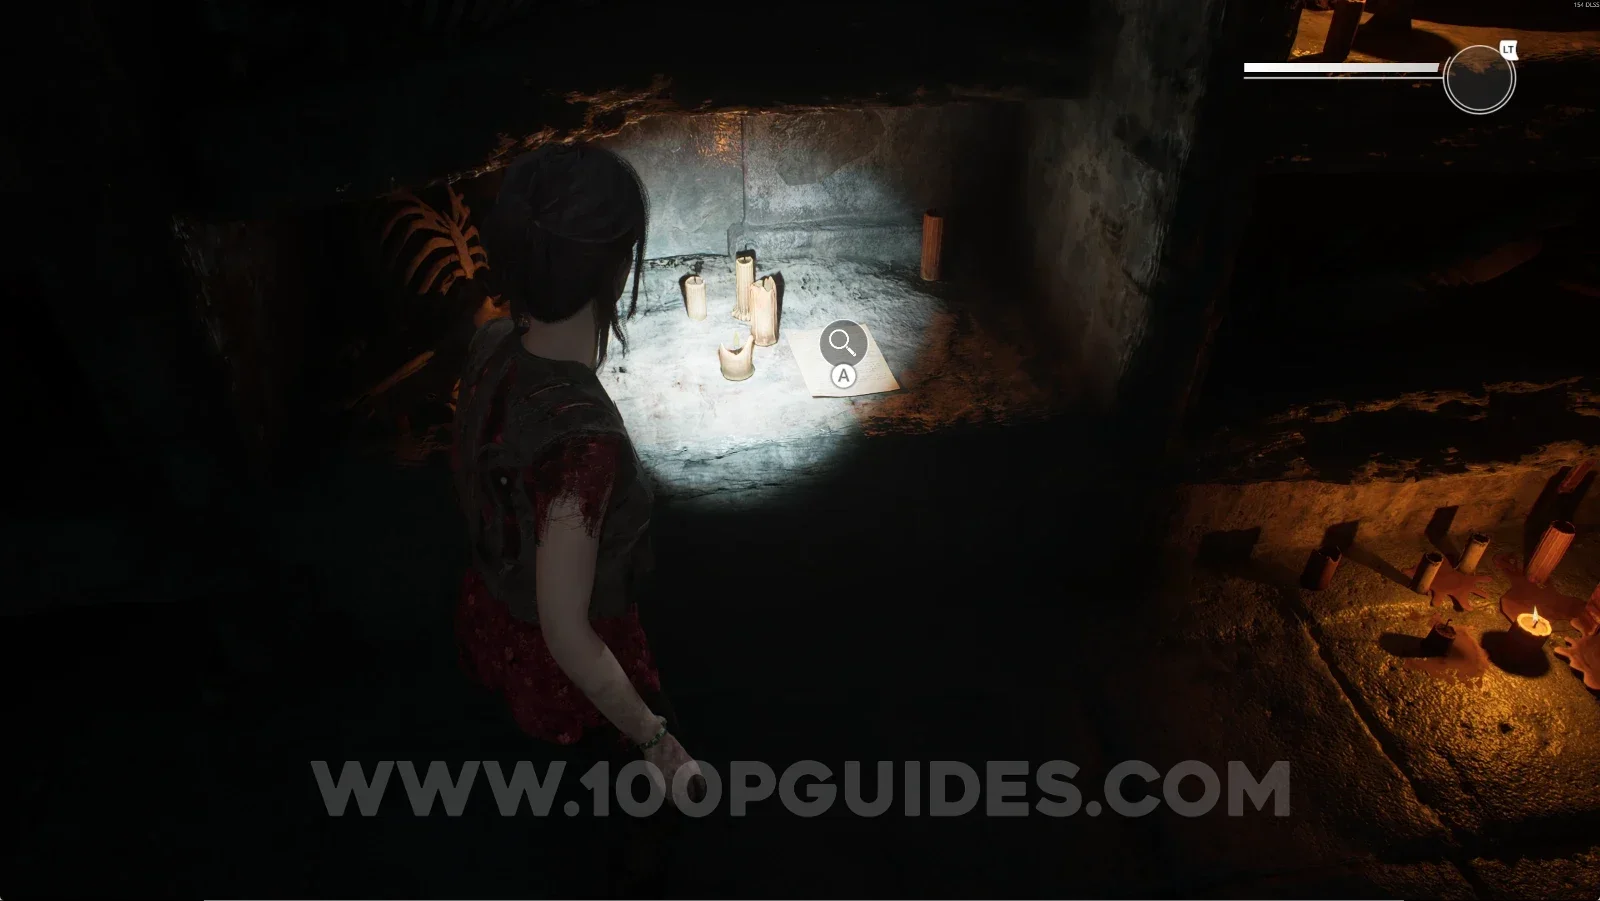
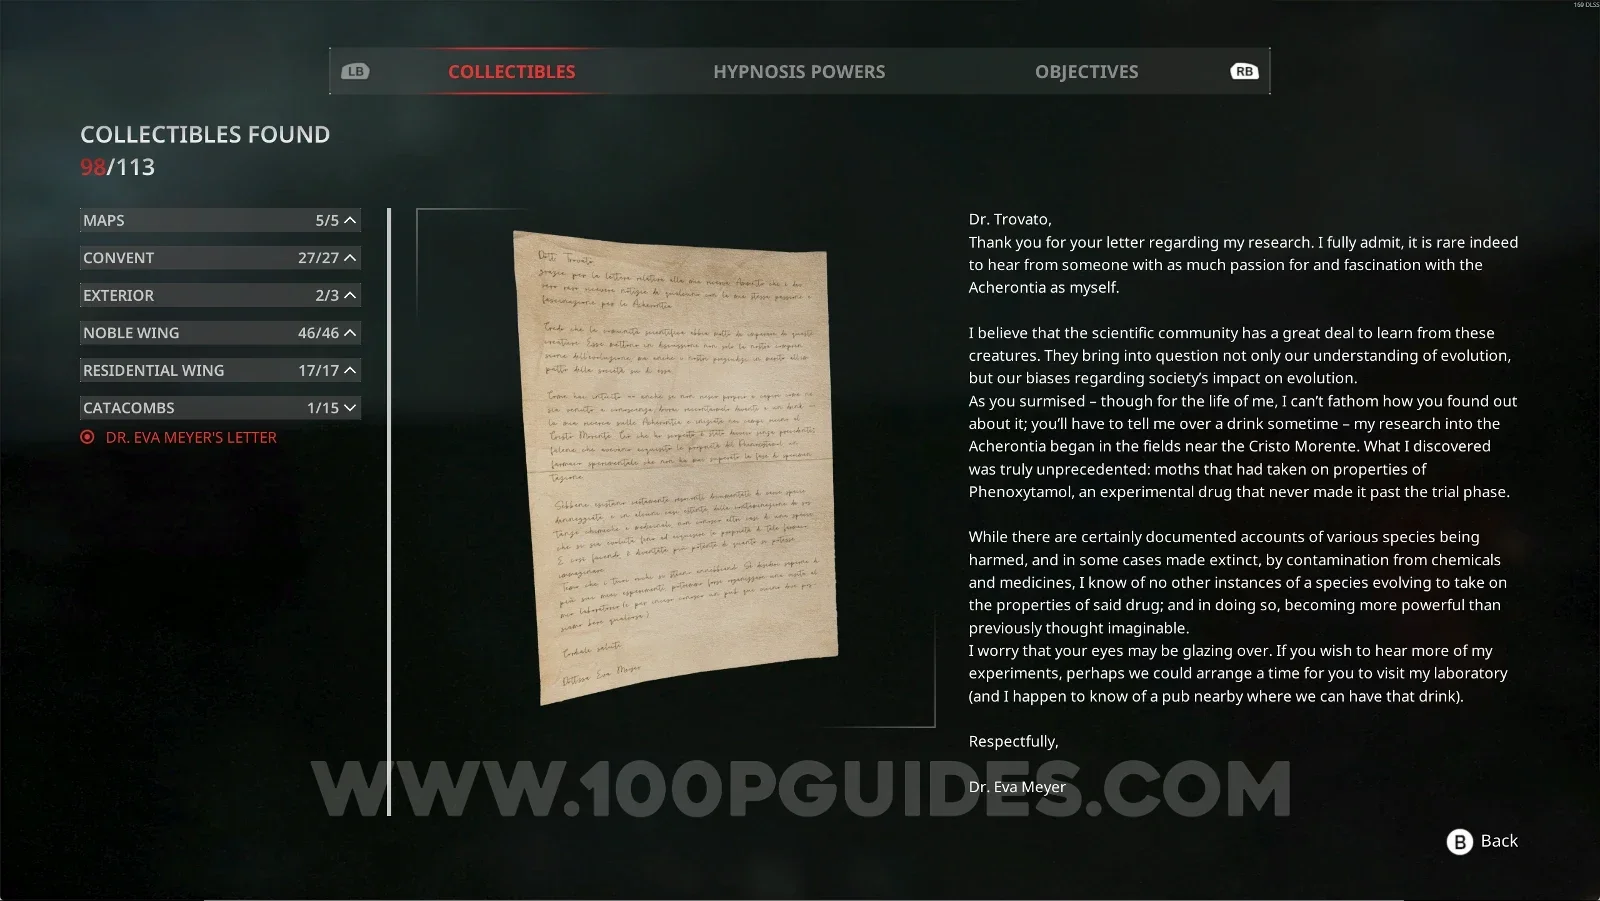
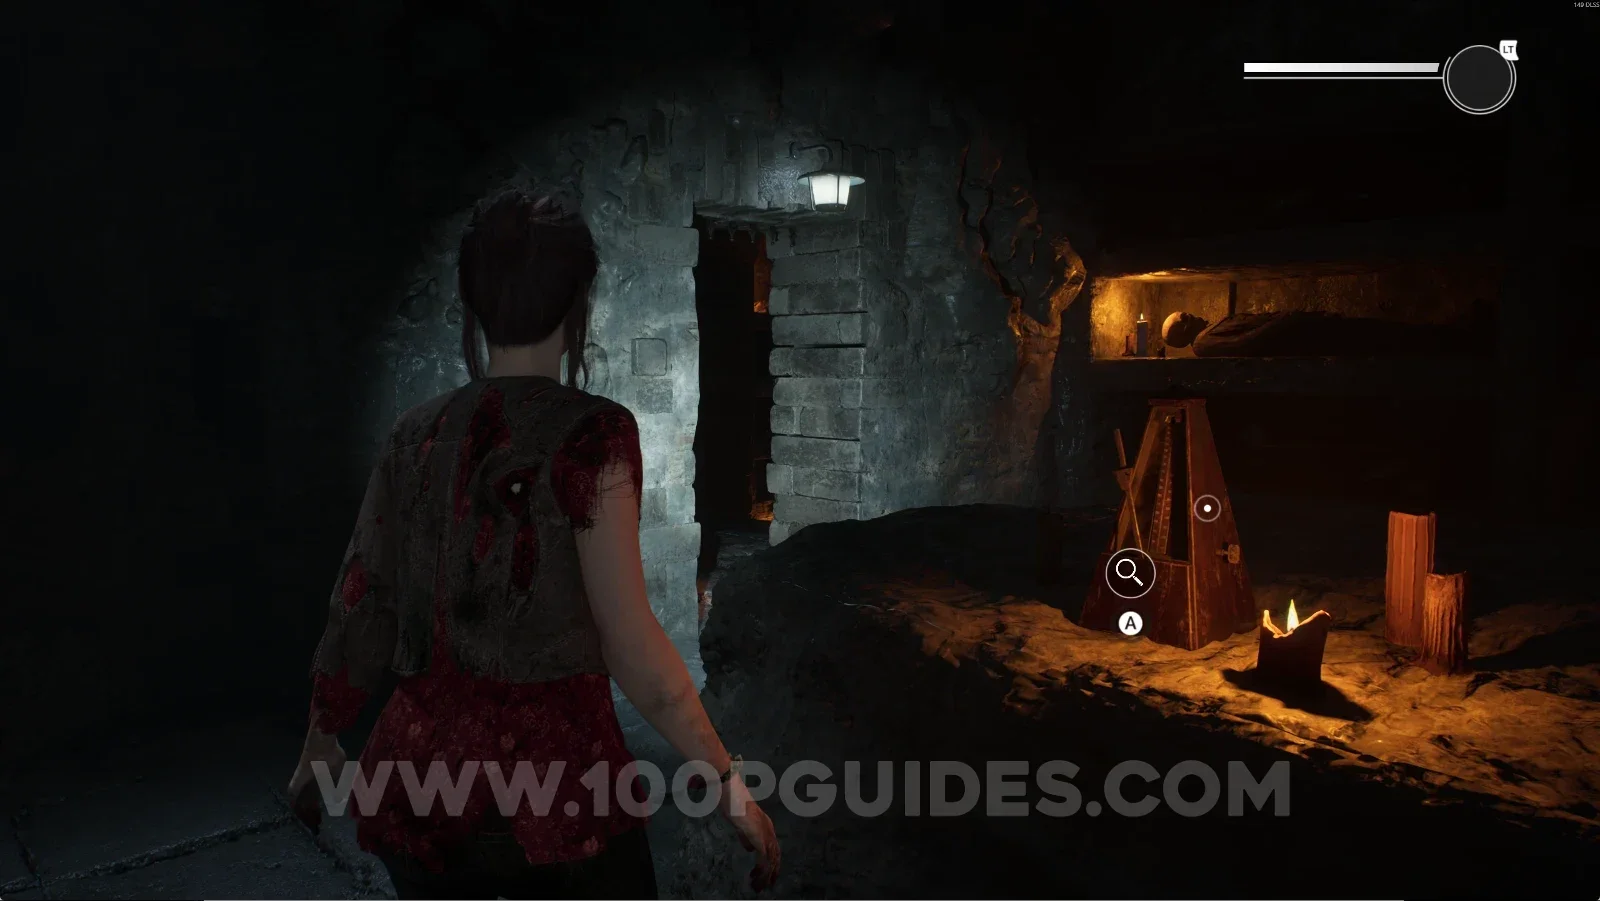
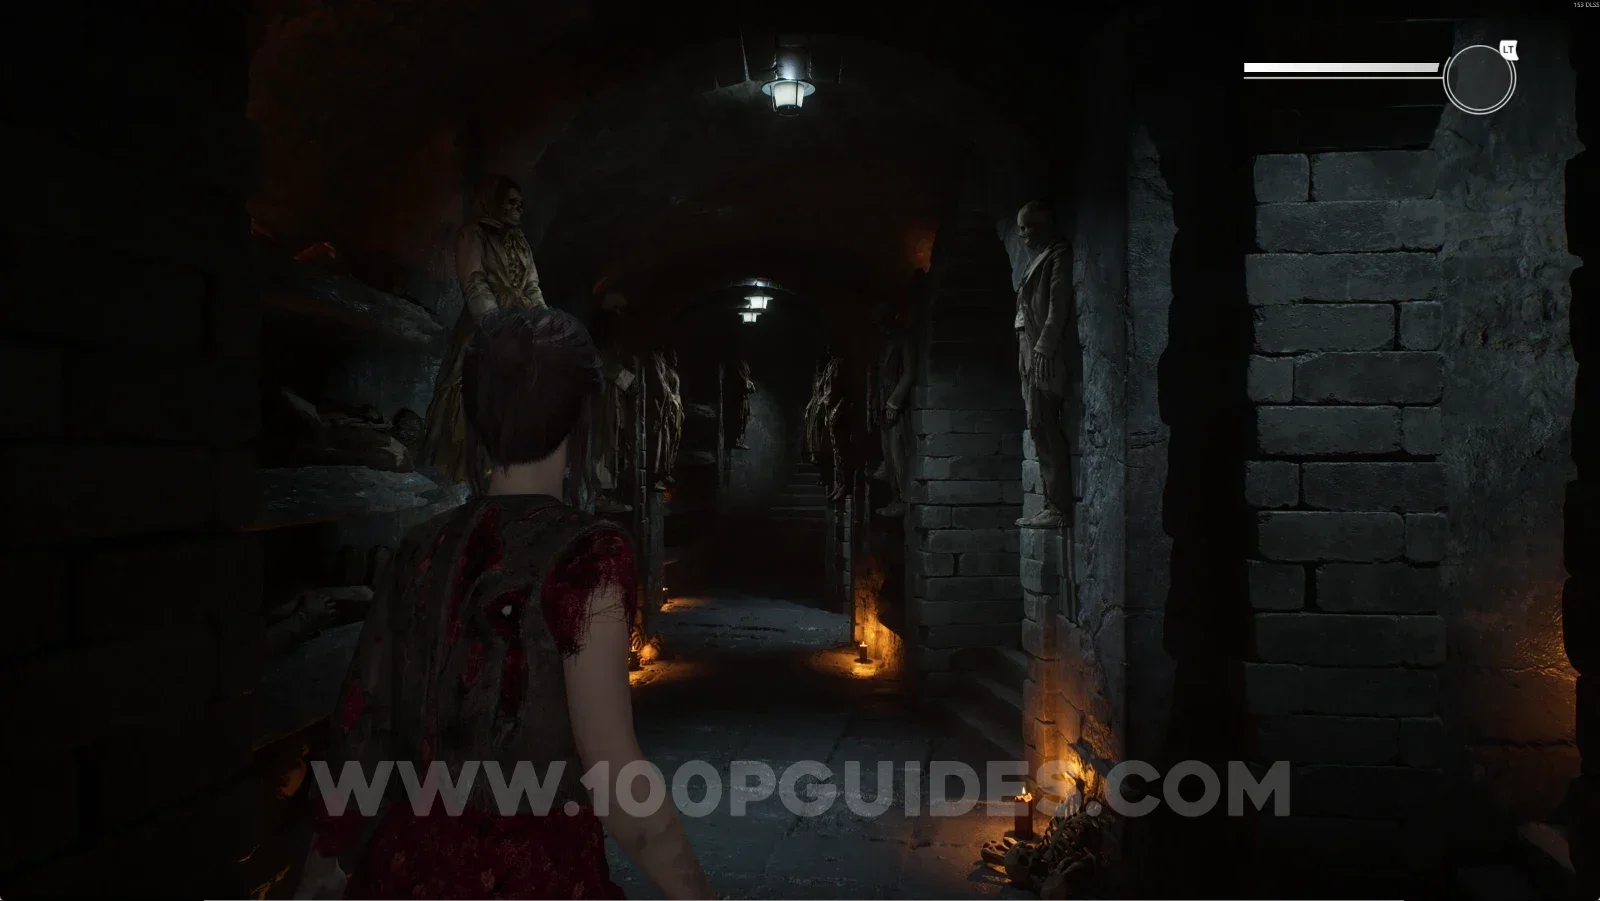
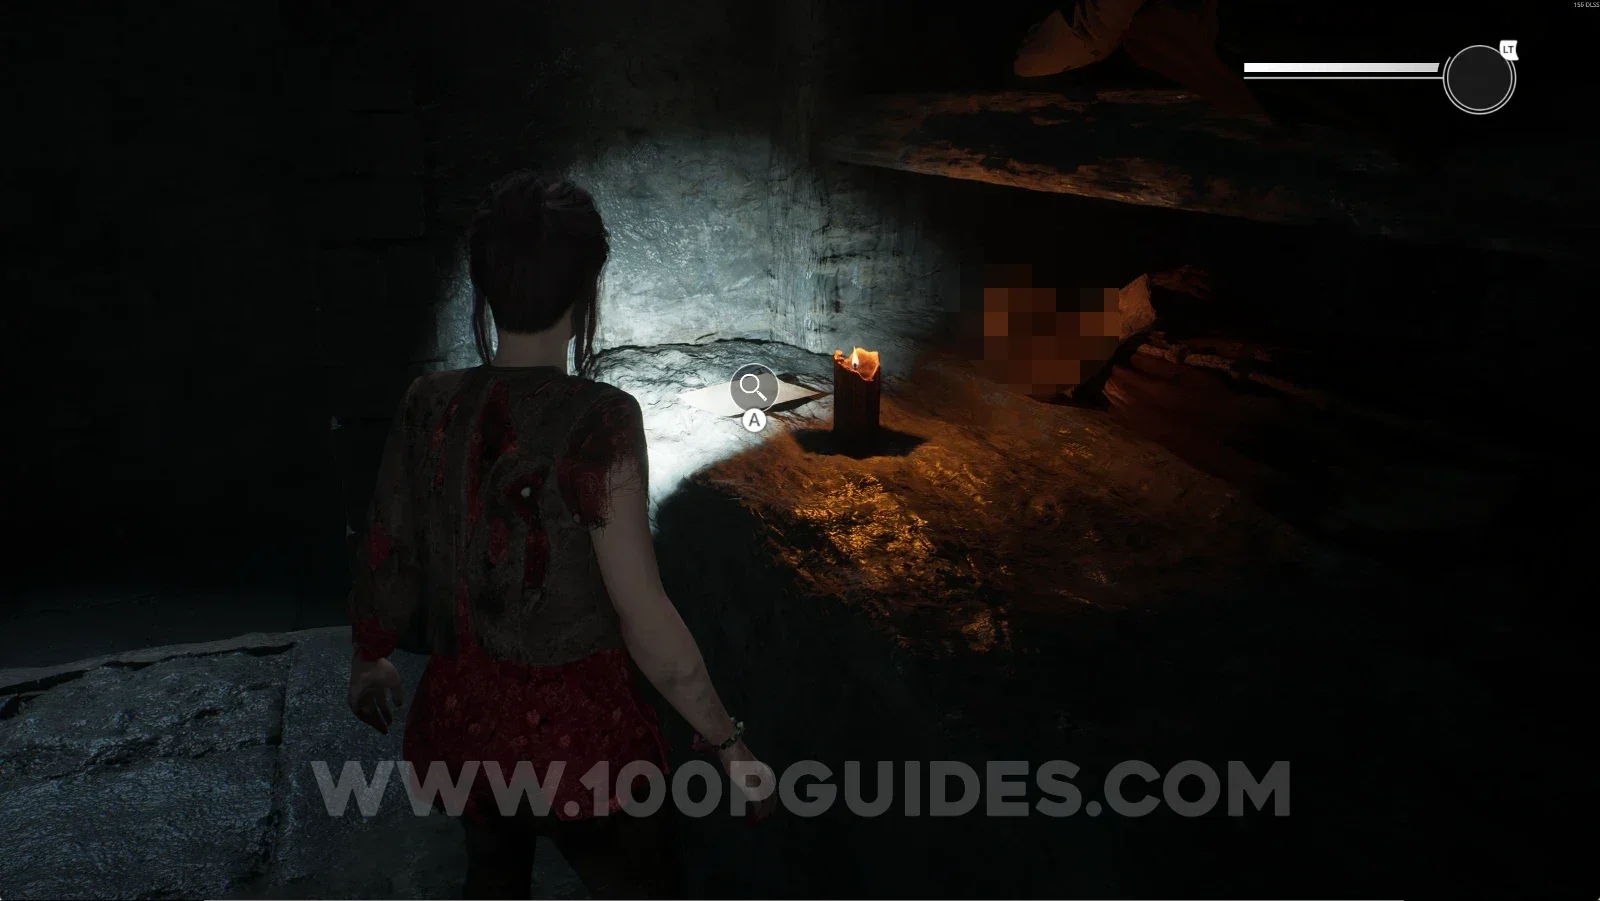
After the cutscene, you'll be in the catacombs corridor. Follow the single path here and you'll see a door on the right. Go through it, save your game, and then grab the note at the back of the area.

Remothered: Red Nuns Legacy Catacombs: the corridor after the cutscene Remothered: Red Nuns Legacy Catacombs: the door on the right along the single path Remothered: Red Nuns Legacy Catacombs: the save point past the door on the right Remothered: Red Nuns Legacy Catacombs #1: Dr. Eva Meyer's Letter at the back of the area

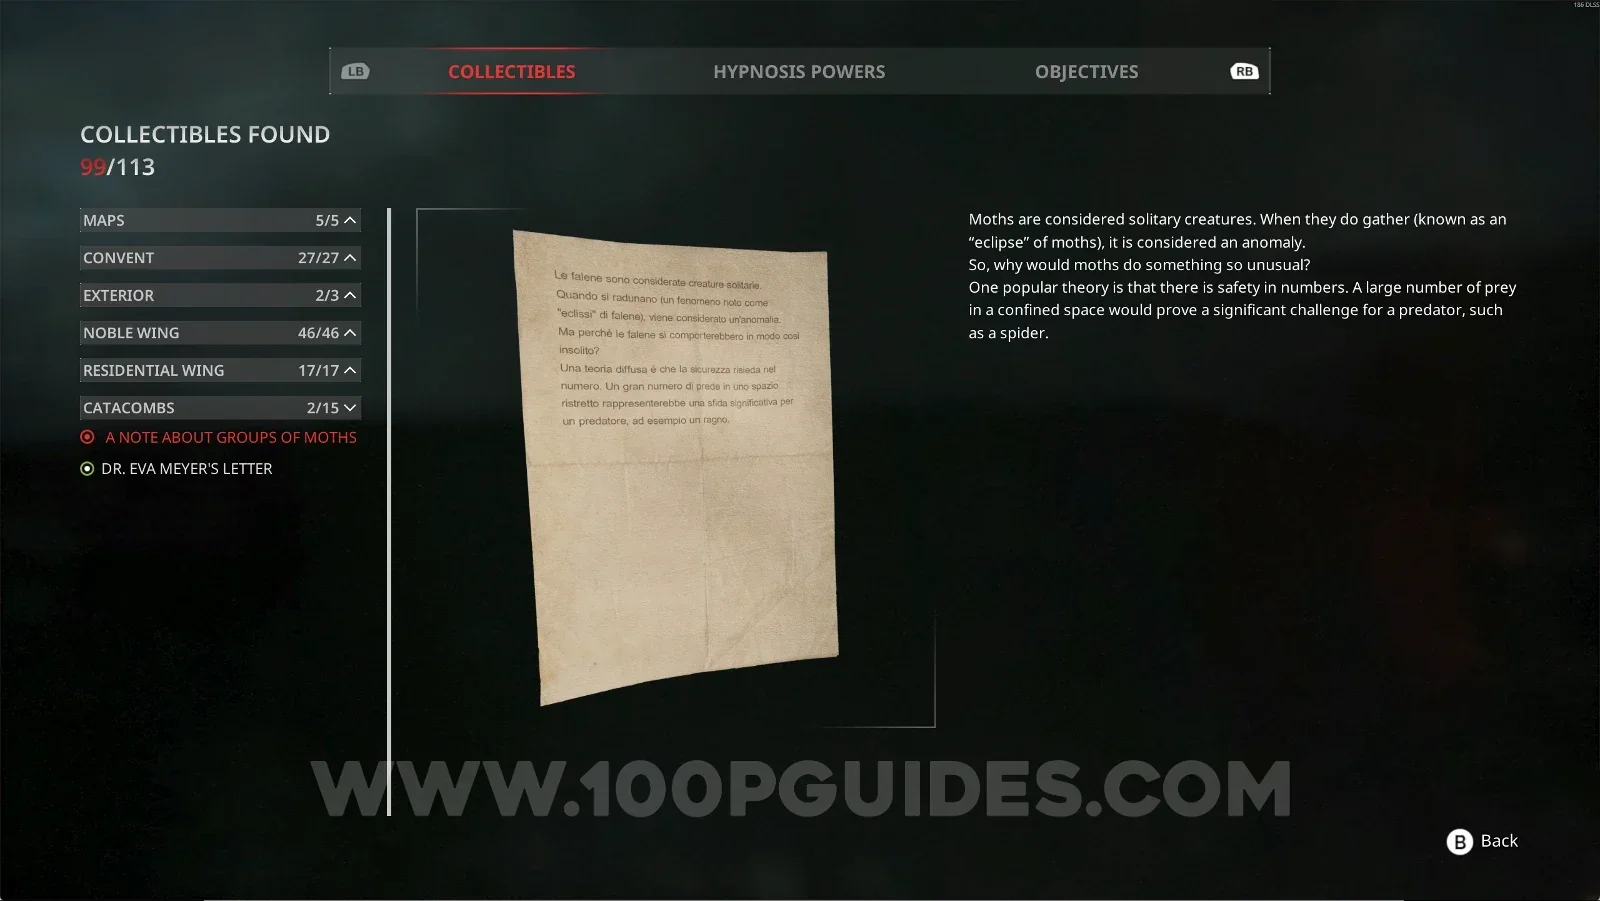
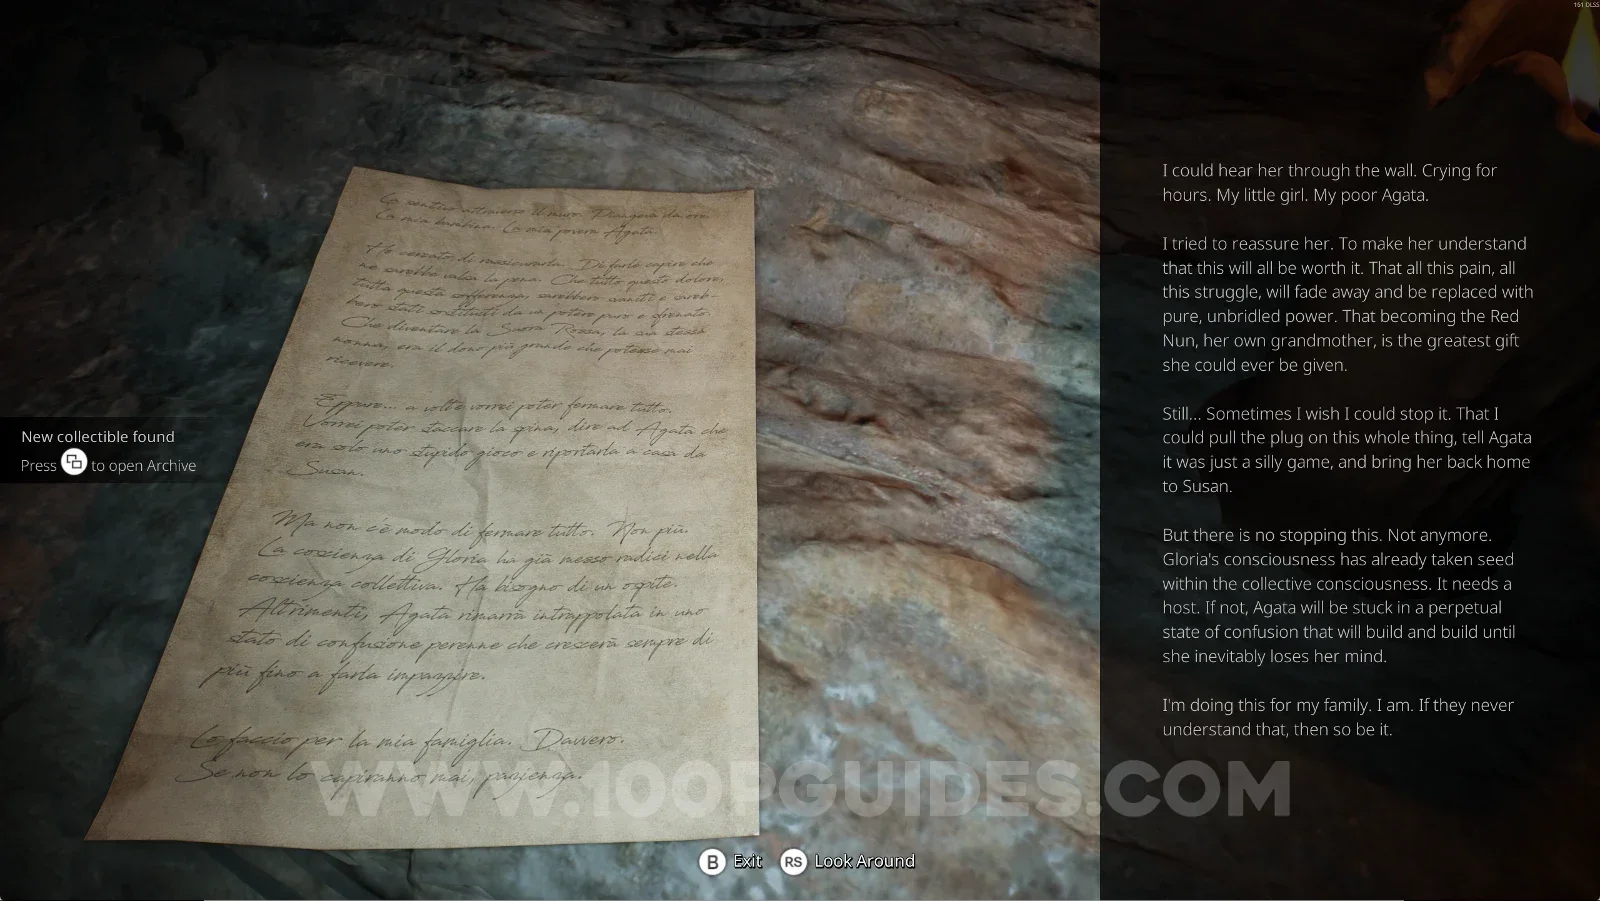
Catacombs #2: A Note About Groups Of Moths

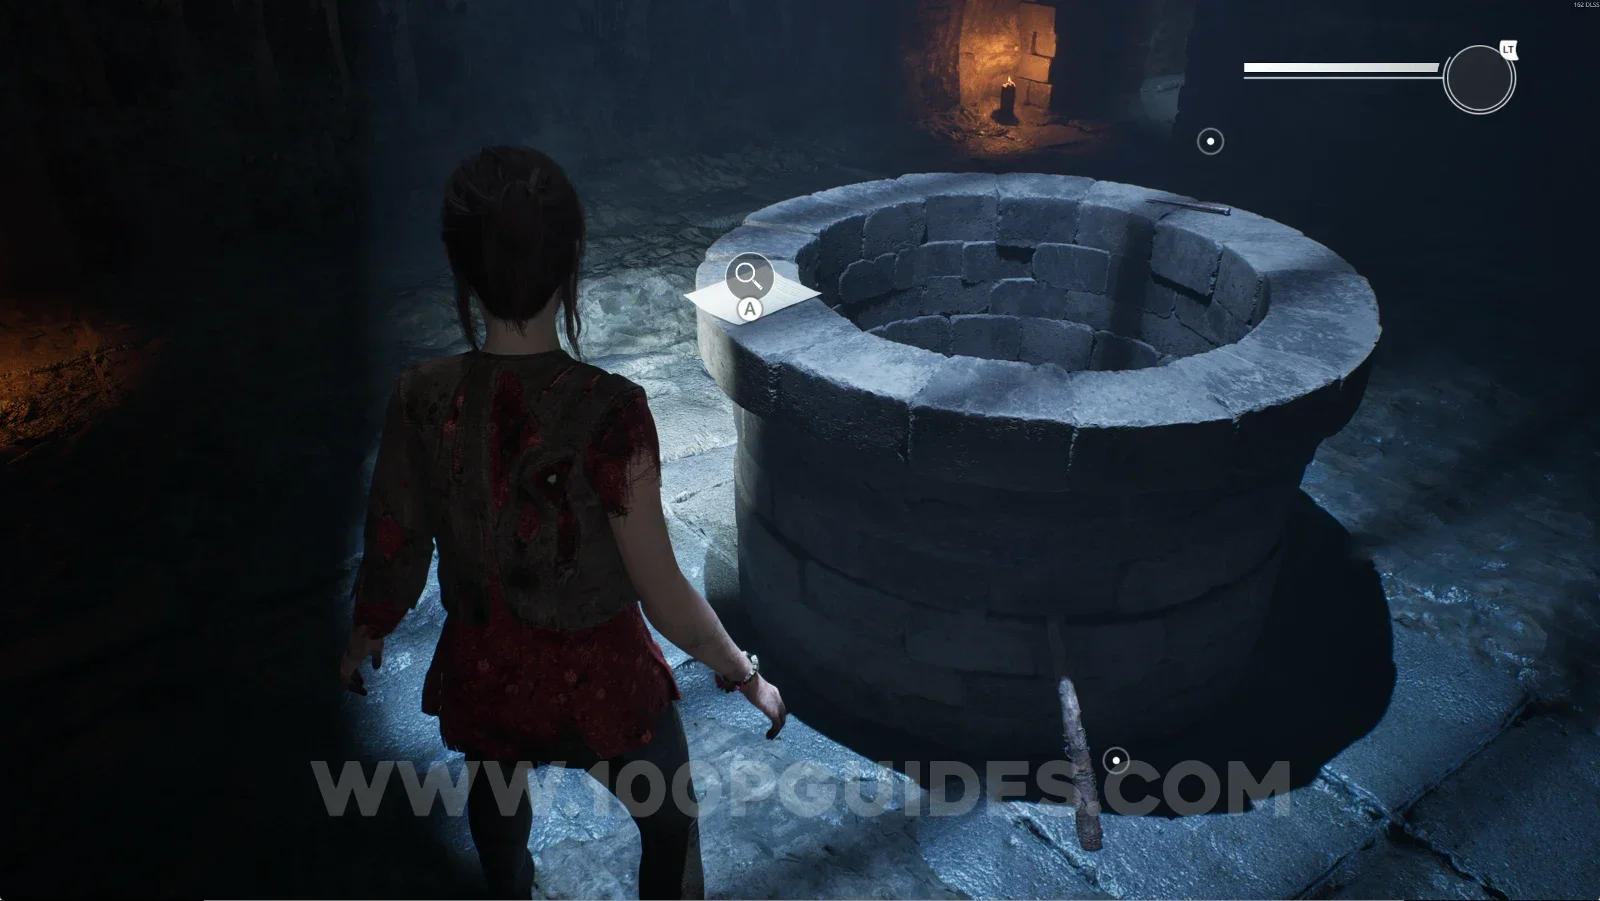
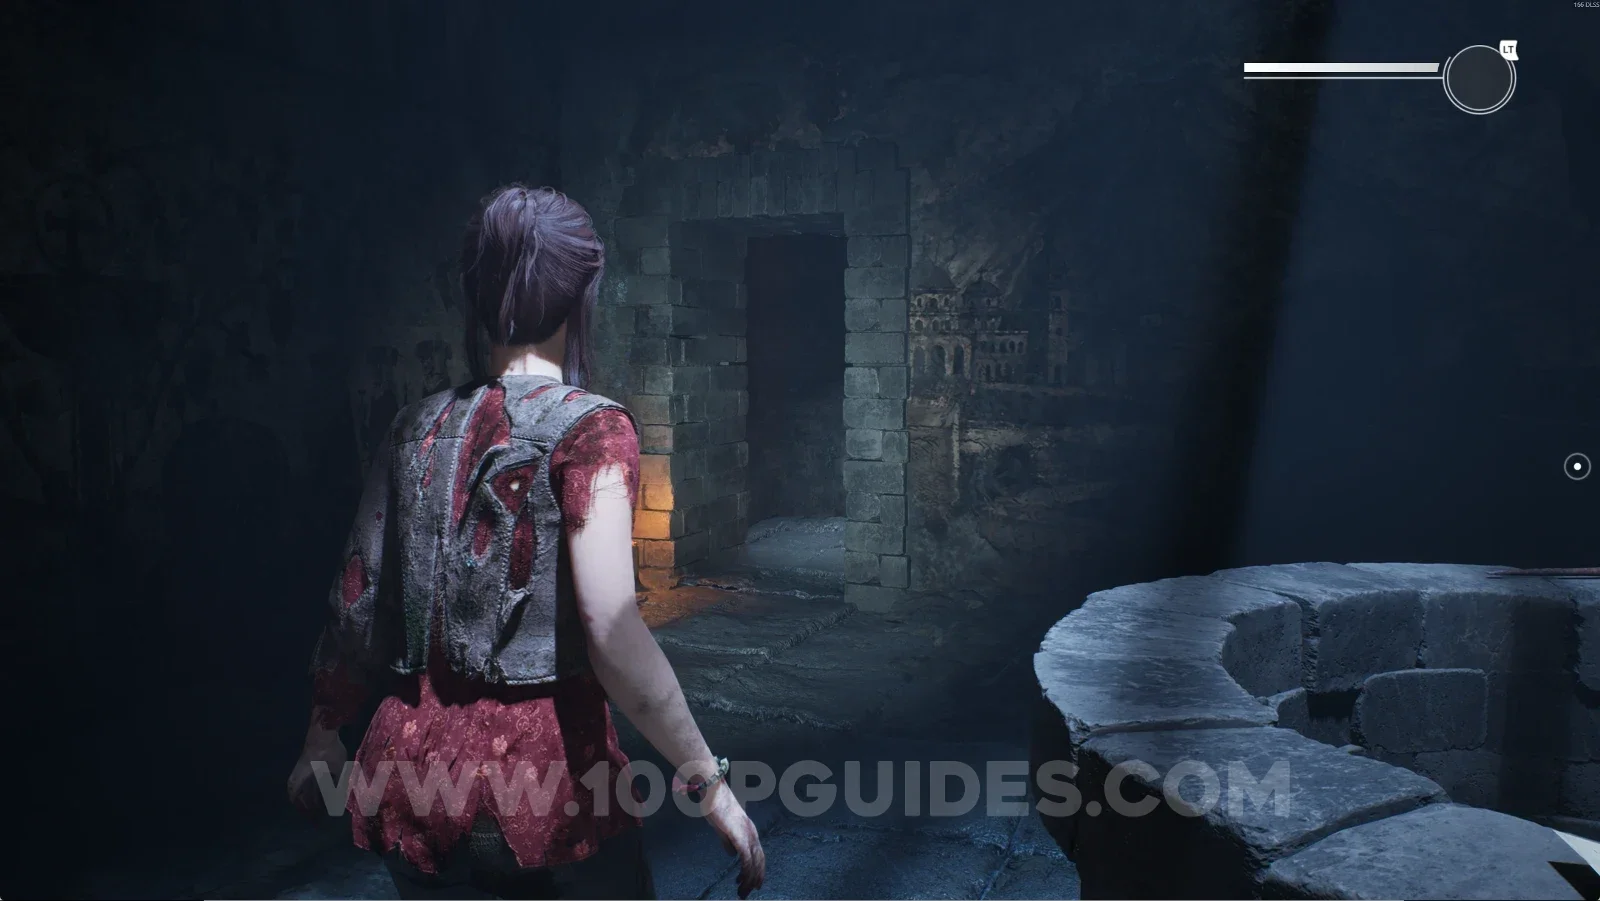
From this point on, the catacombs become a maze, so we'll guide you from the save point. Enter the room on the left and go straight to the end. You'll see a well with a note on top of it.

Remothered: Red Nuns Legacy Catacombs: the save point where the maze begins Remothered: Red Nuns Legacy Catacombs: the room on the left of the save point Remothered: Red Nuns Legacy Catacombs: the well at the end of the room with a note on top Remothered: Red Nuns Legacy Catacombs #2: A Note About Groups Of Moths collectible

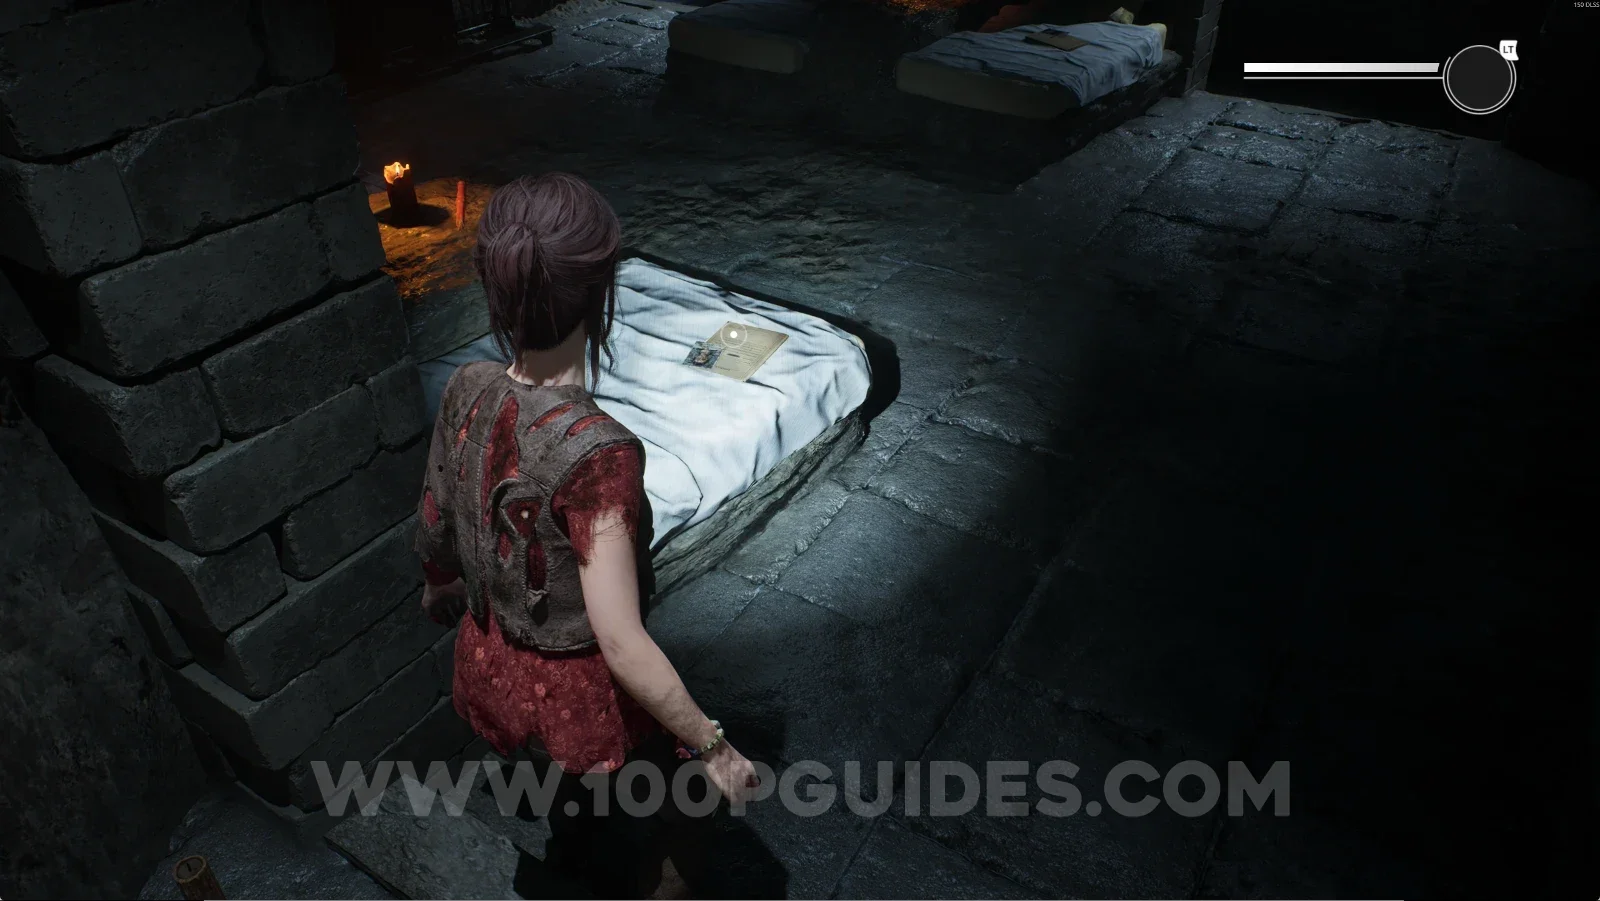
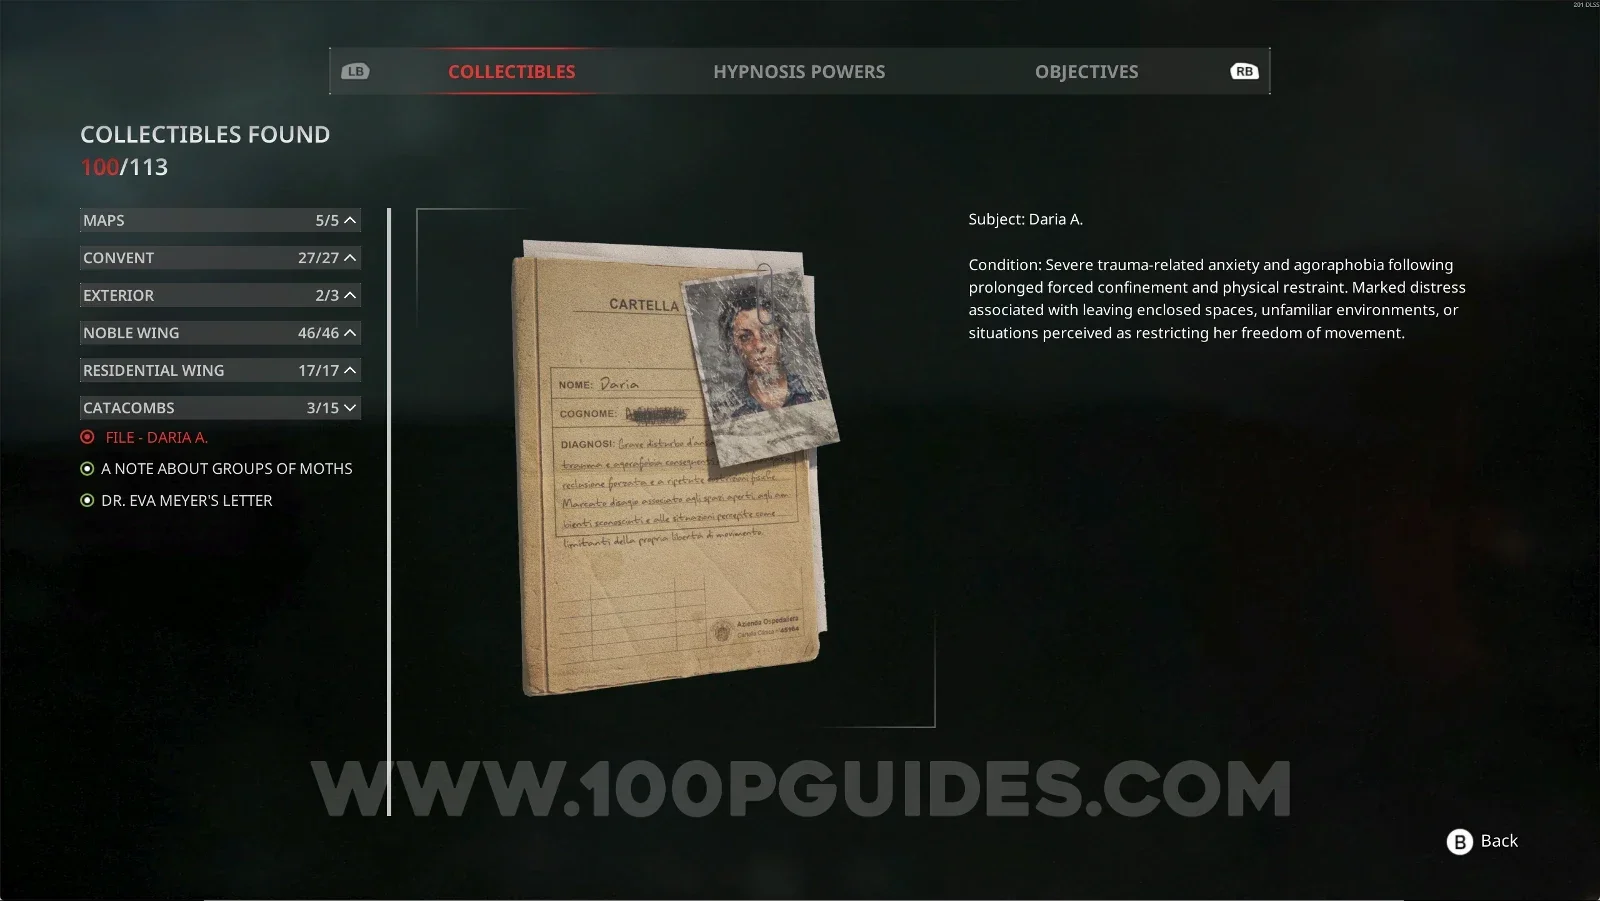
Catacombs #3: File - Daria A.

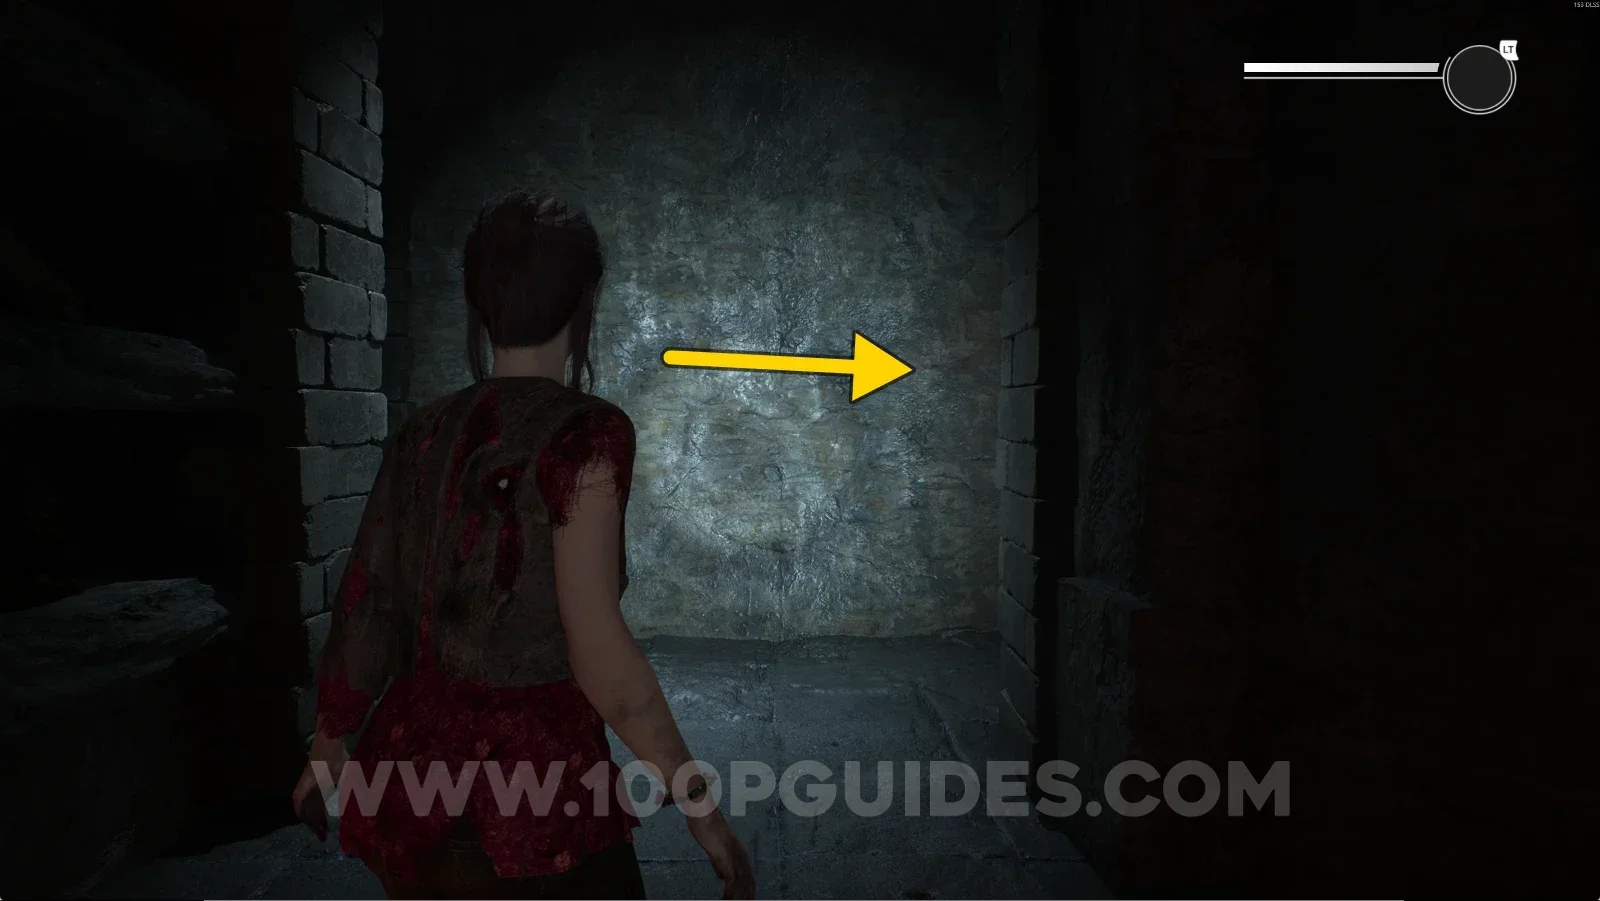
From the well, go through the door at the back and follow the single path. At the fork, take the right path, then look to the left and you'll see this collectible right in front of you.

Remothered: Red Nuns Legacy Catacombs: the door at the back of the well room Remothered: Red Nuns Legacy Catacombs: the right path at the fork past the well Remothered: Red Nuns Legacy Catacombs: looking left past the fork toward the file Remothered: Red Nuns Legacy Catacombs #3: File Daria A. collectible

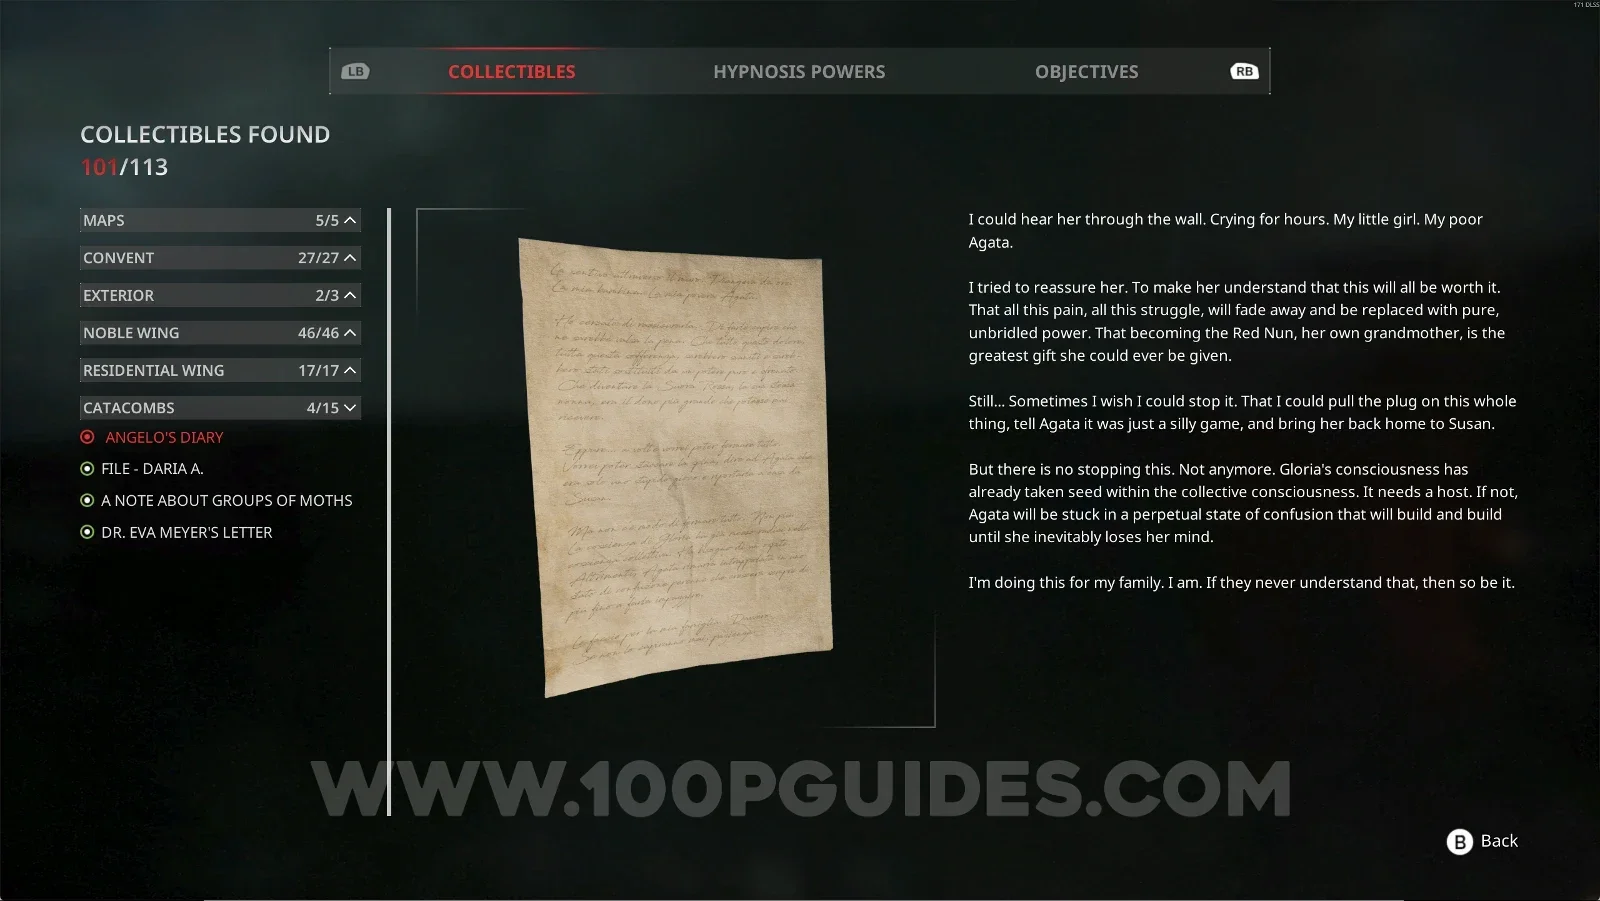
Catacombs #4: Angelo's Diary

Same room as before, on the right side.

Remothered: Red Nuns Legacy Catacombs: the right side of the room with the Daria A. file Remothered: Red Nuns Legacy Catacombs: Angelo's Diary on the right side of the room Remothered: Red Nuns Legacy Catacombs #4: Angelo's Diary collectible

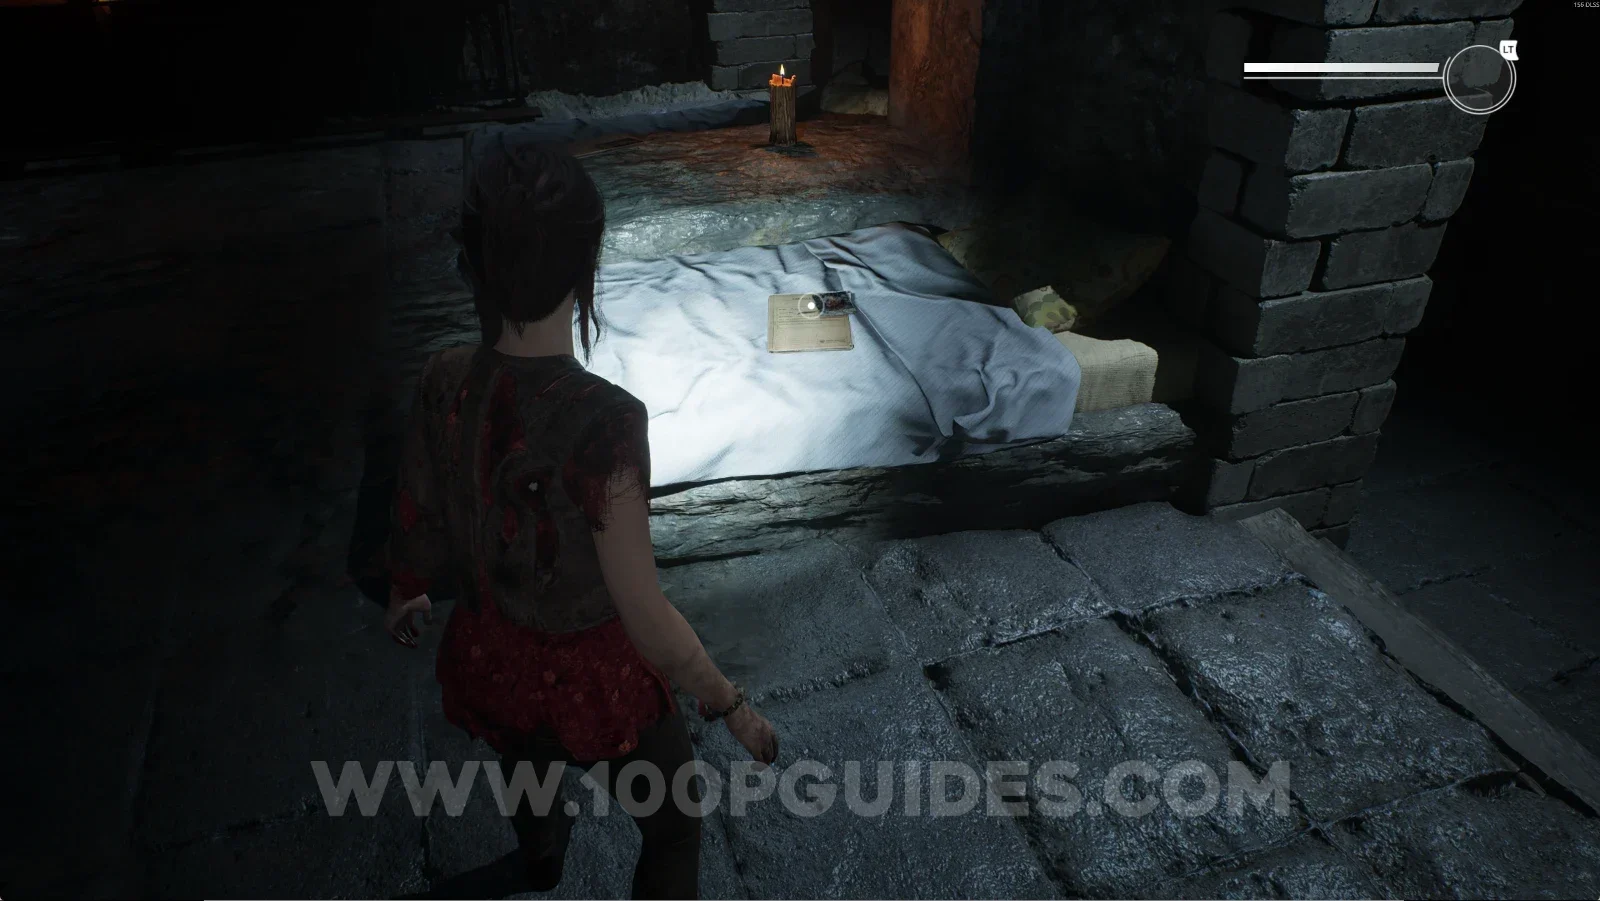
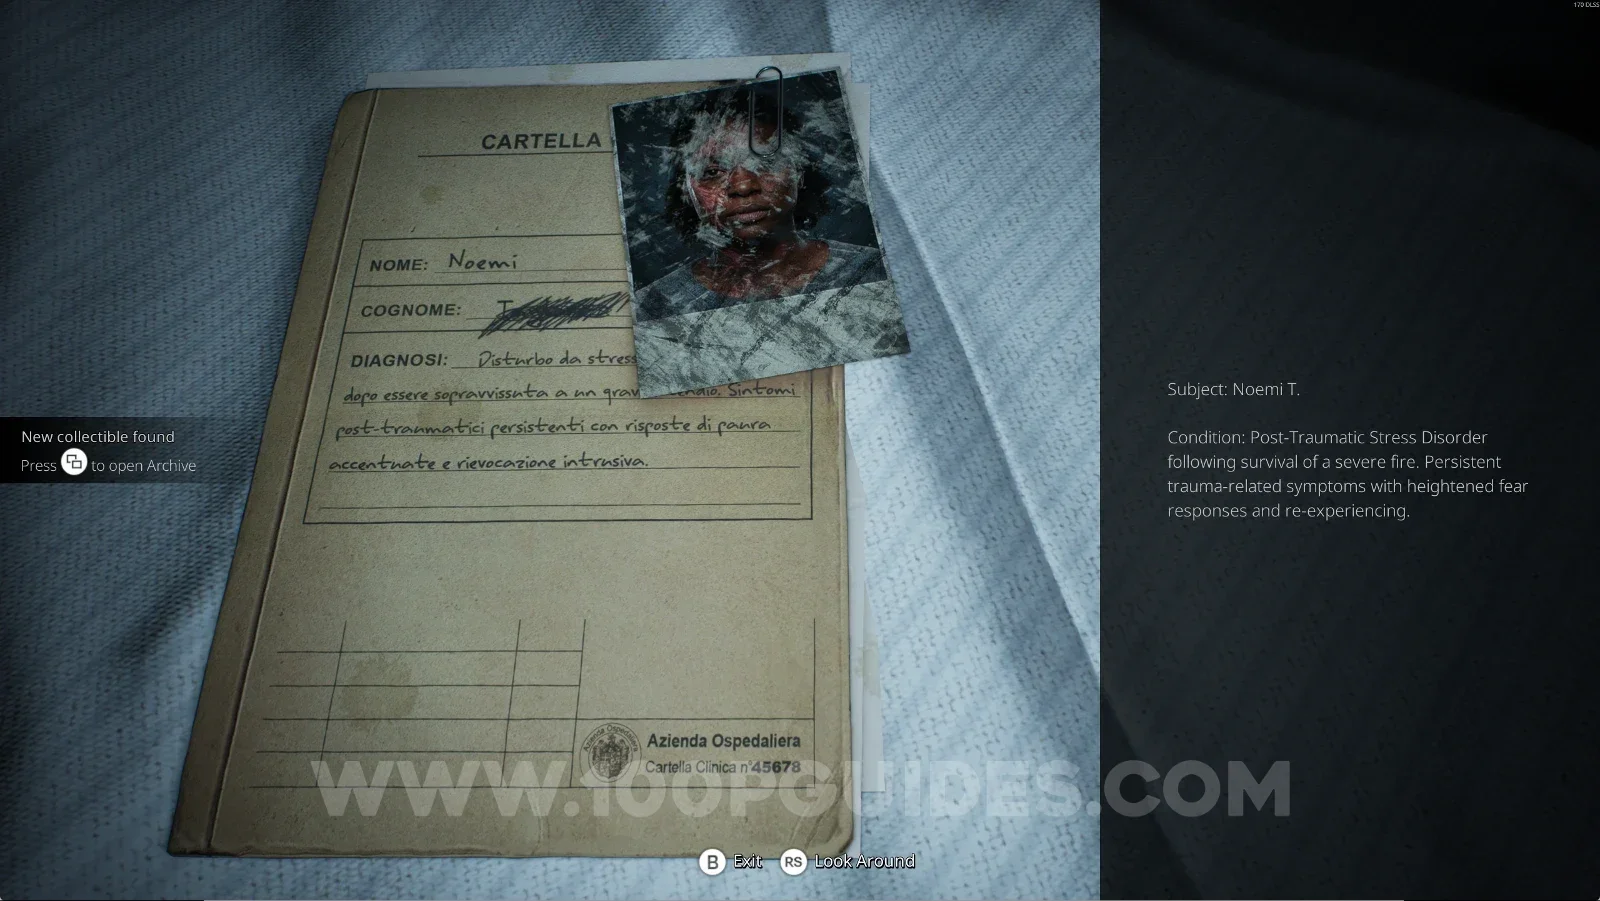
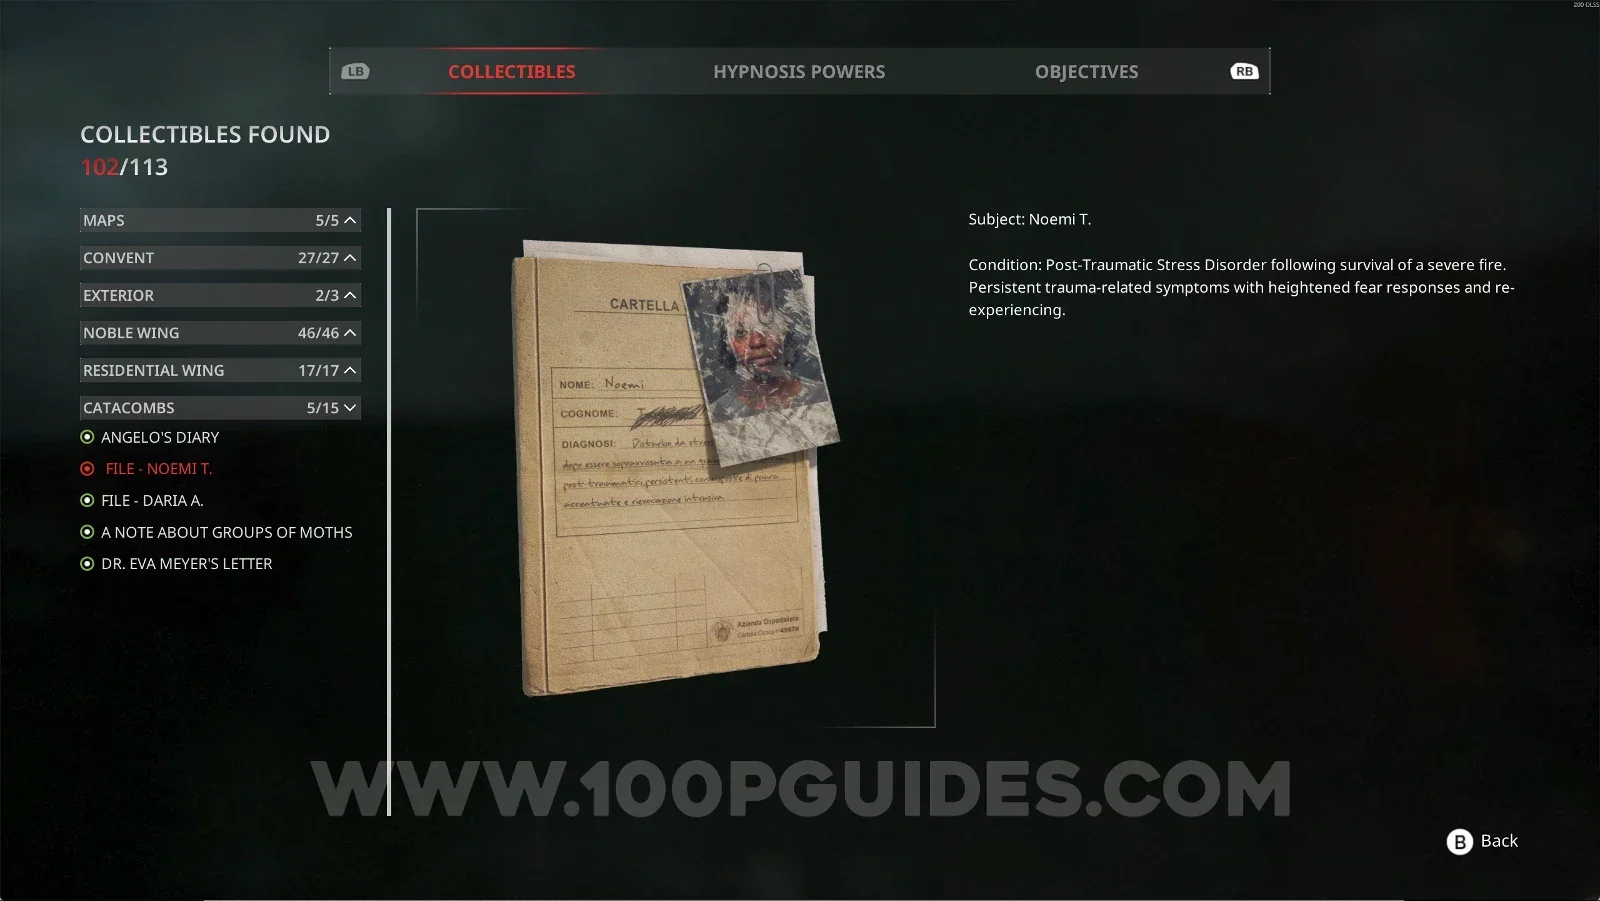
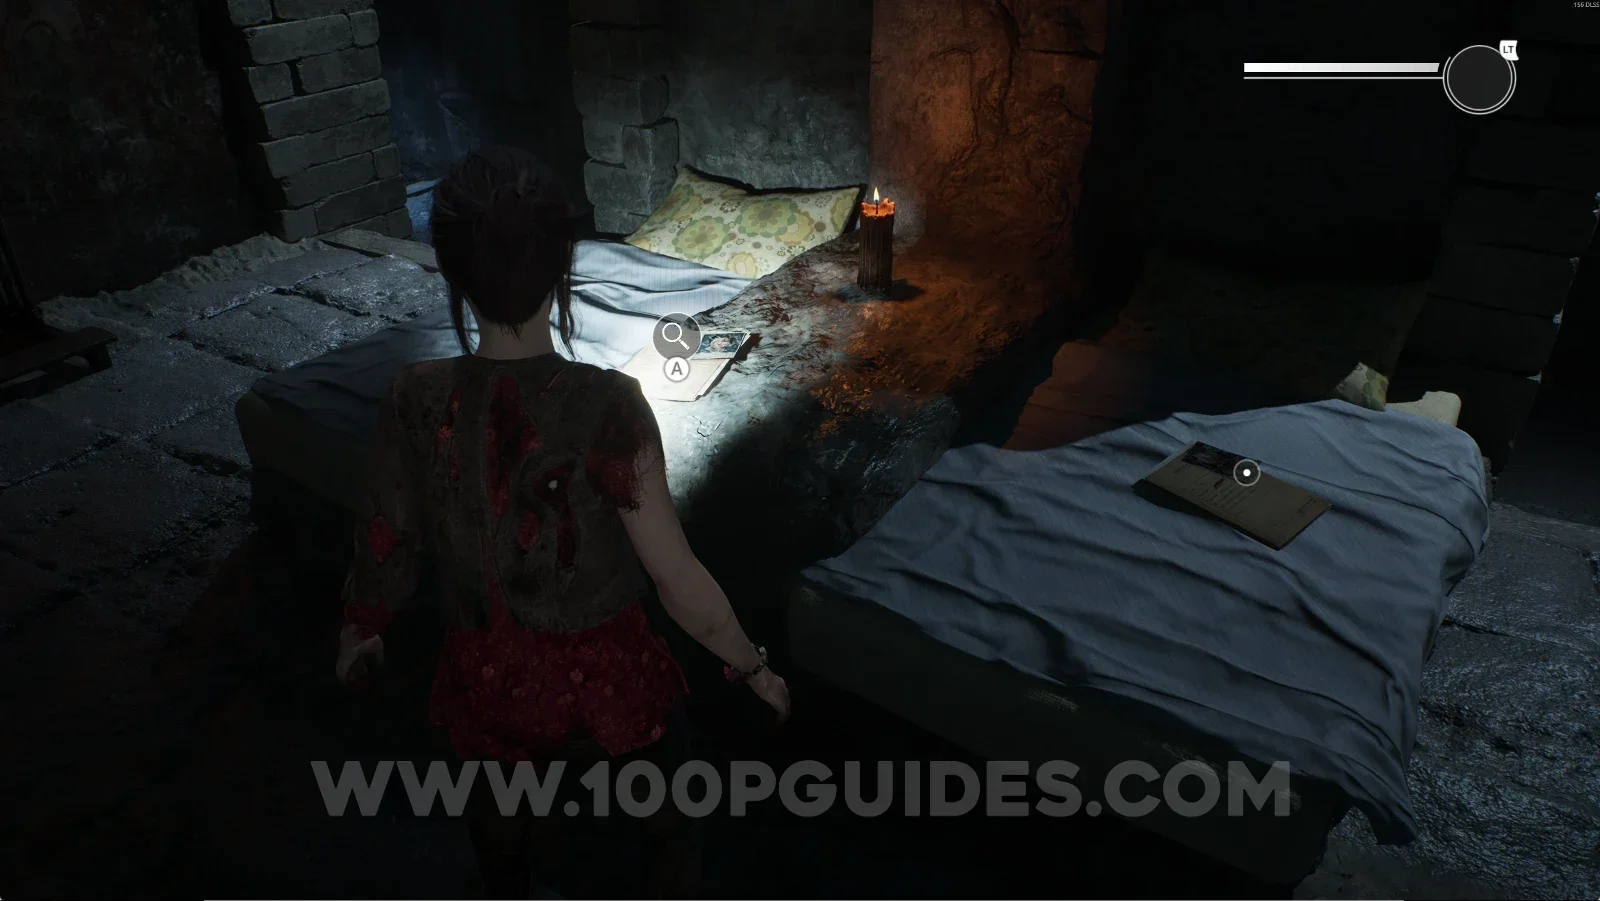
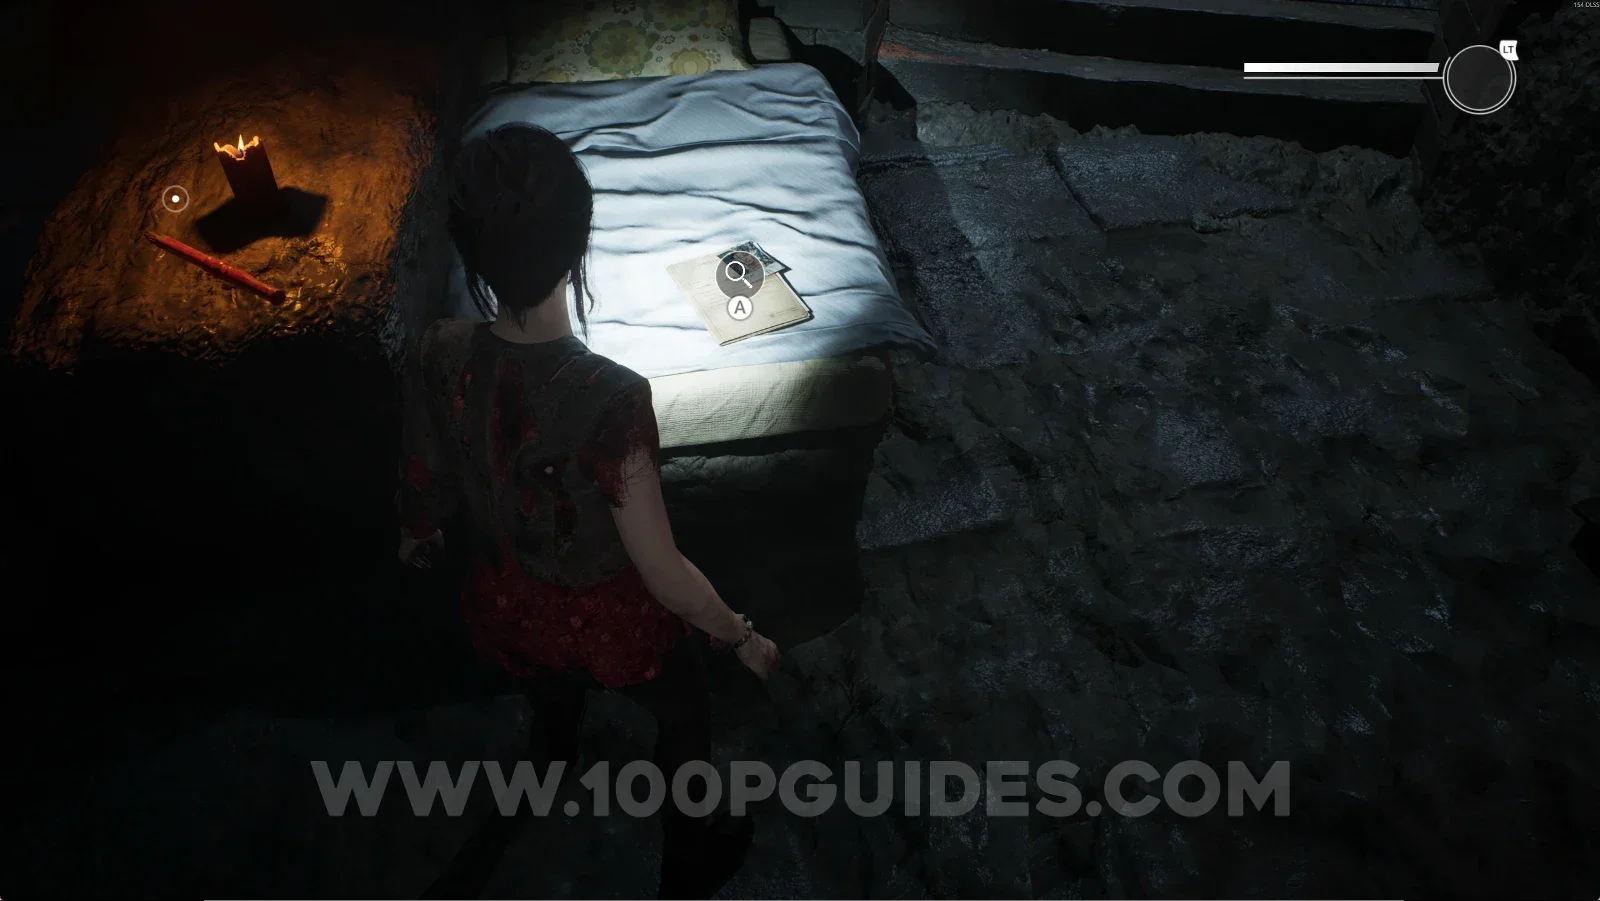
Catacombs #5: File - Noemi T.

Same room as before, now on your left side, on a bed.

Remothered: Red Nuns Legacy Catacombs: the bed on the left side of the room Remothered: Red Nuns Legacy Catacombs: the File Noemi T. lying on the bed Remothered: Red Nuns Legacy Catacombs #5: File Noemi T. collectible

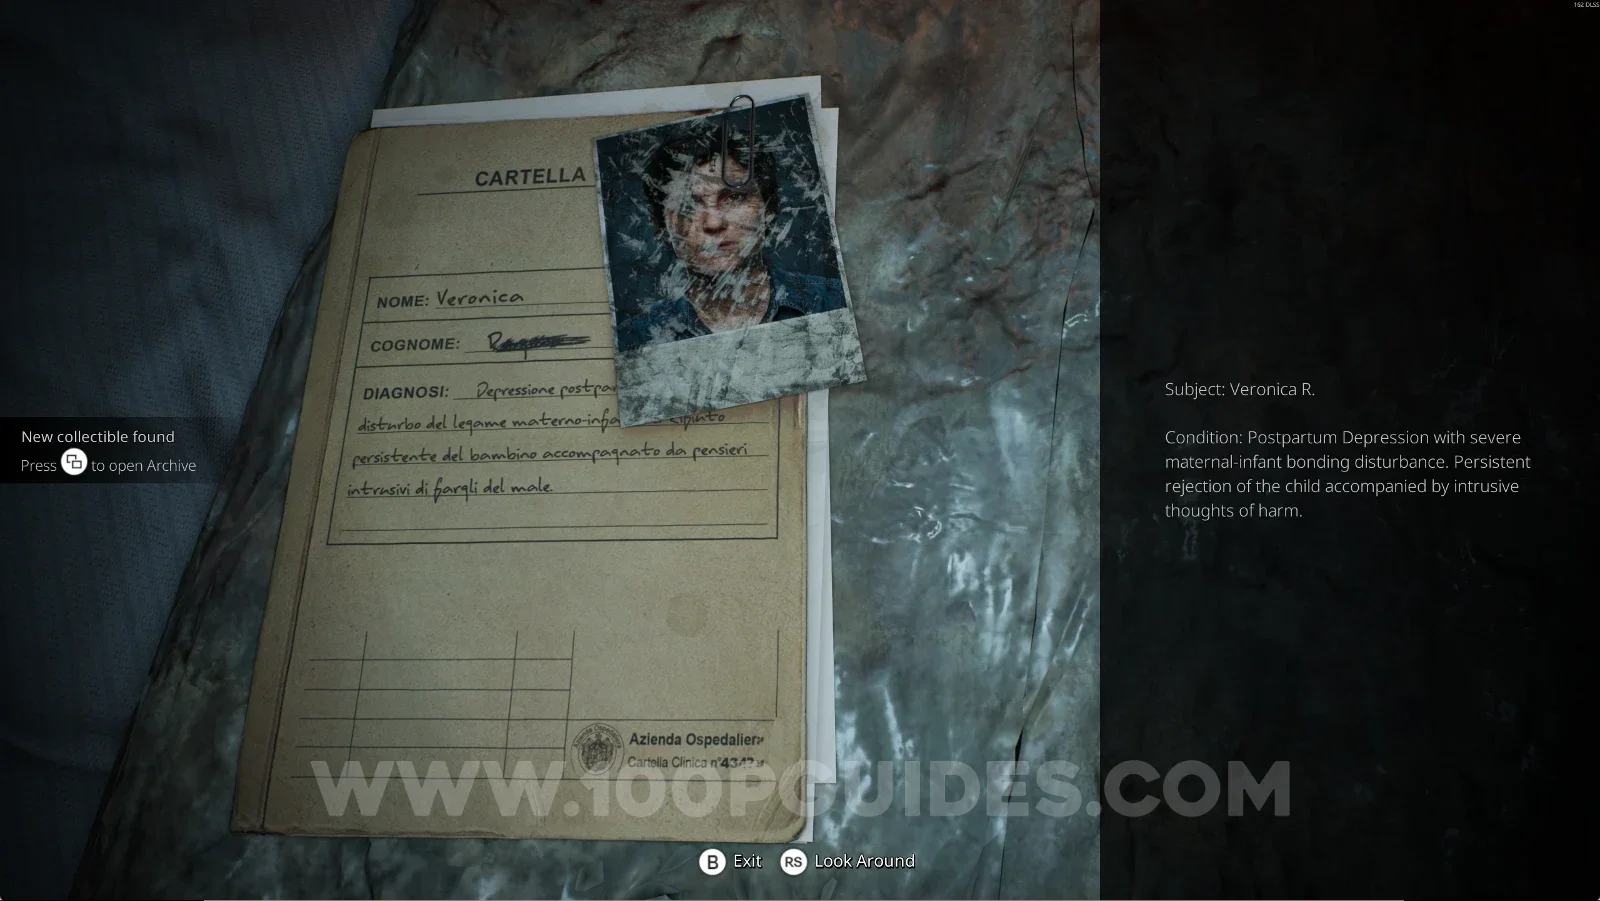
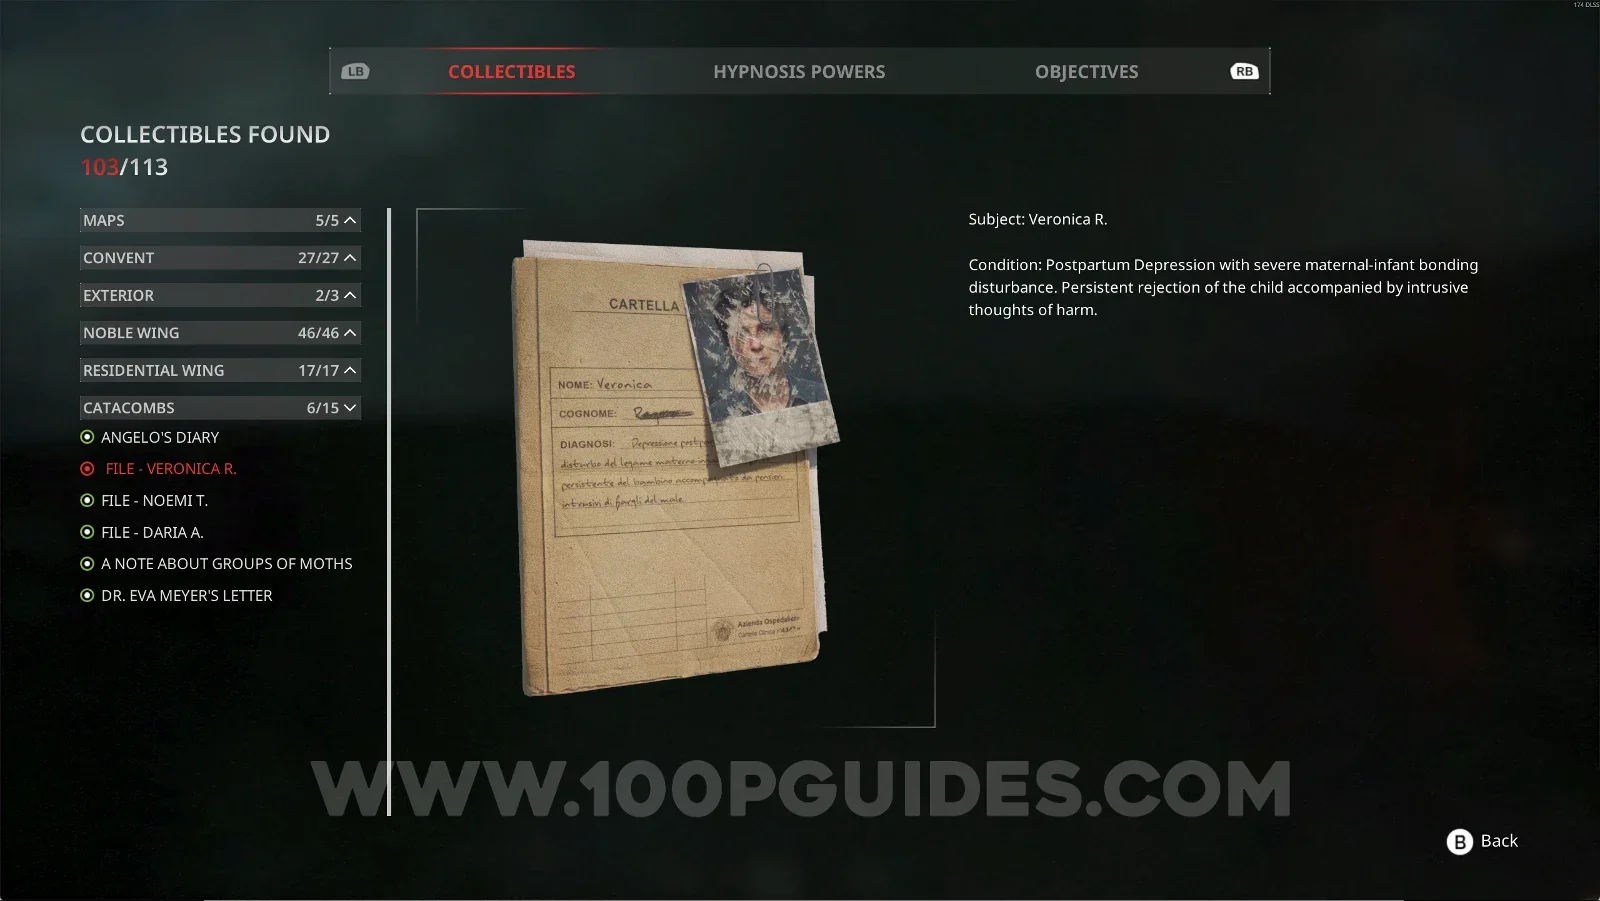
Catacombs #6: File - Veronica R.

Next to the previous collectible.

Remothered: Red Nuns Legacy Catacombs: the spot next to the File Noemi T Remothered: Red Nuns Legacy Catacombs: the File Veronica R. next to the previous file Remothered: Red Nuns Legacy Catacombs #6: File Veronica R. collectible

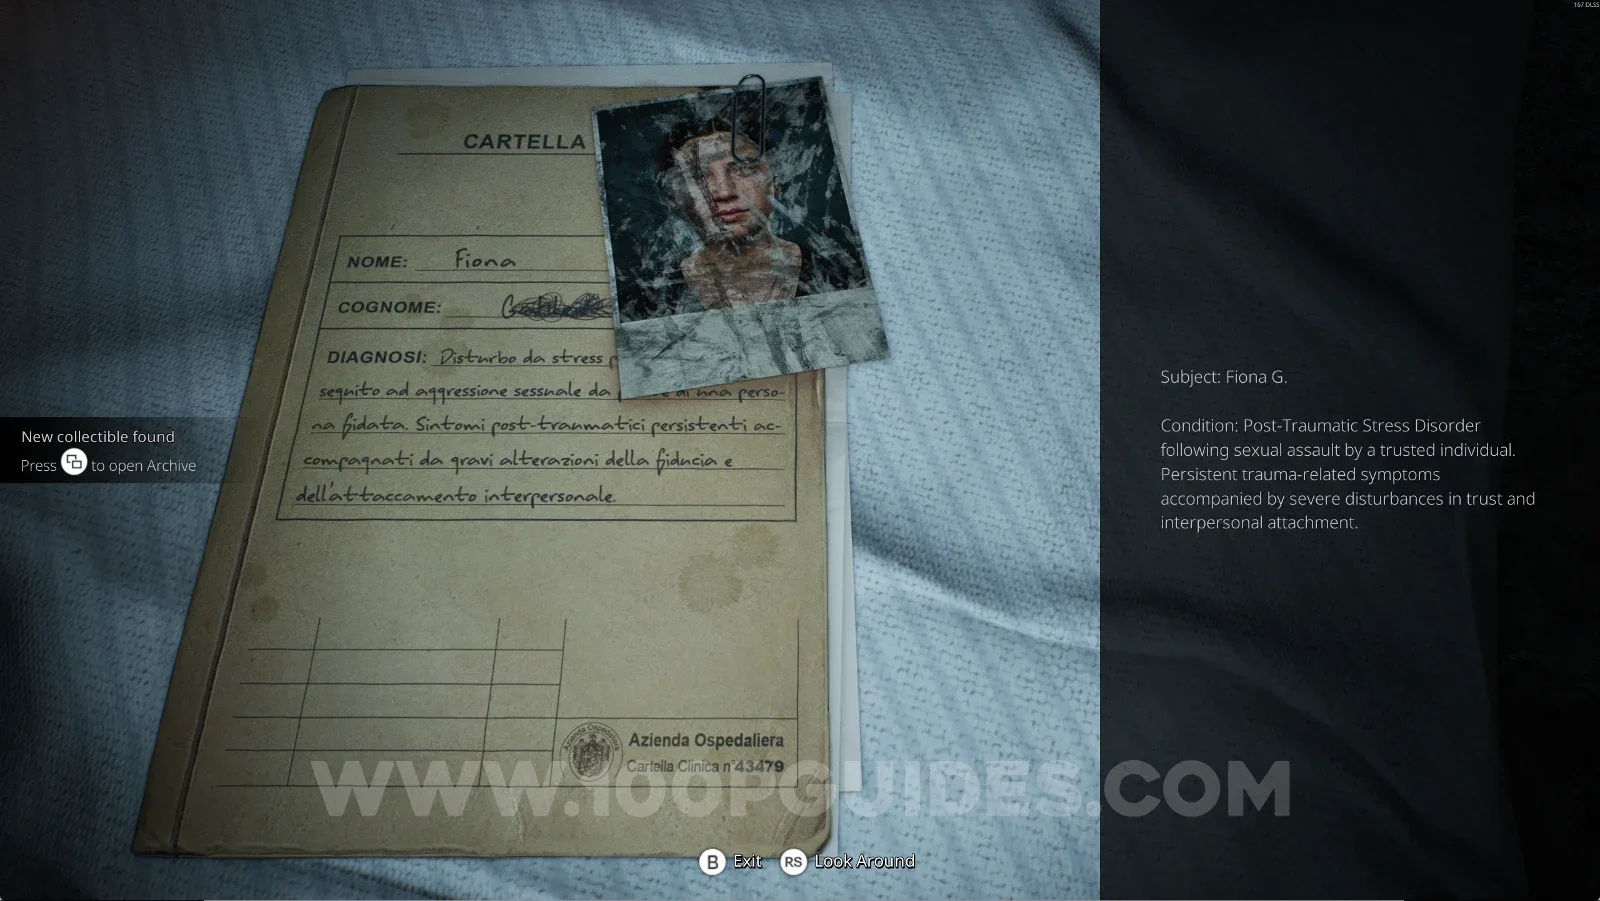
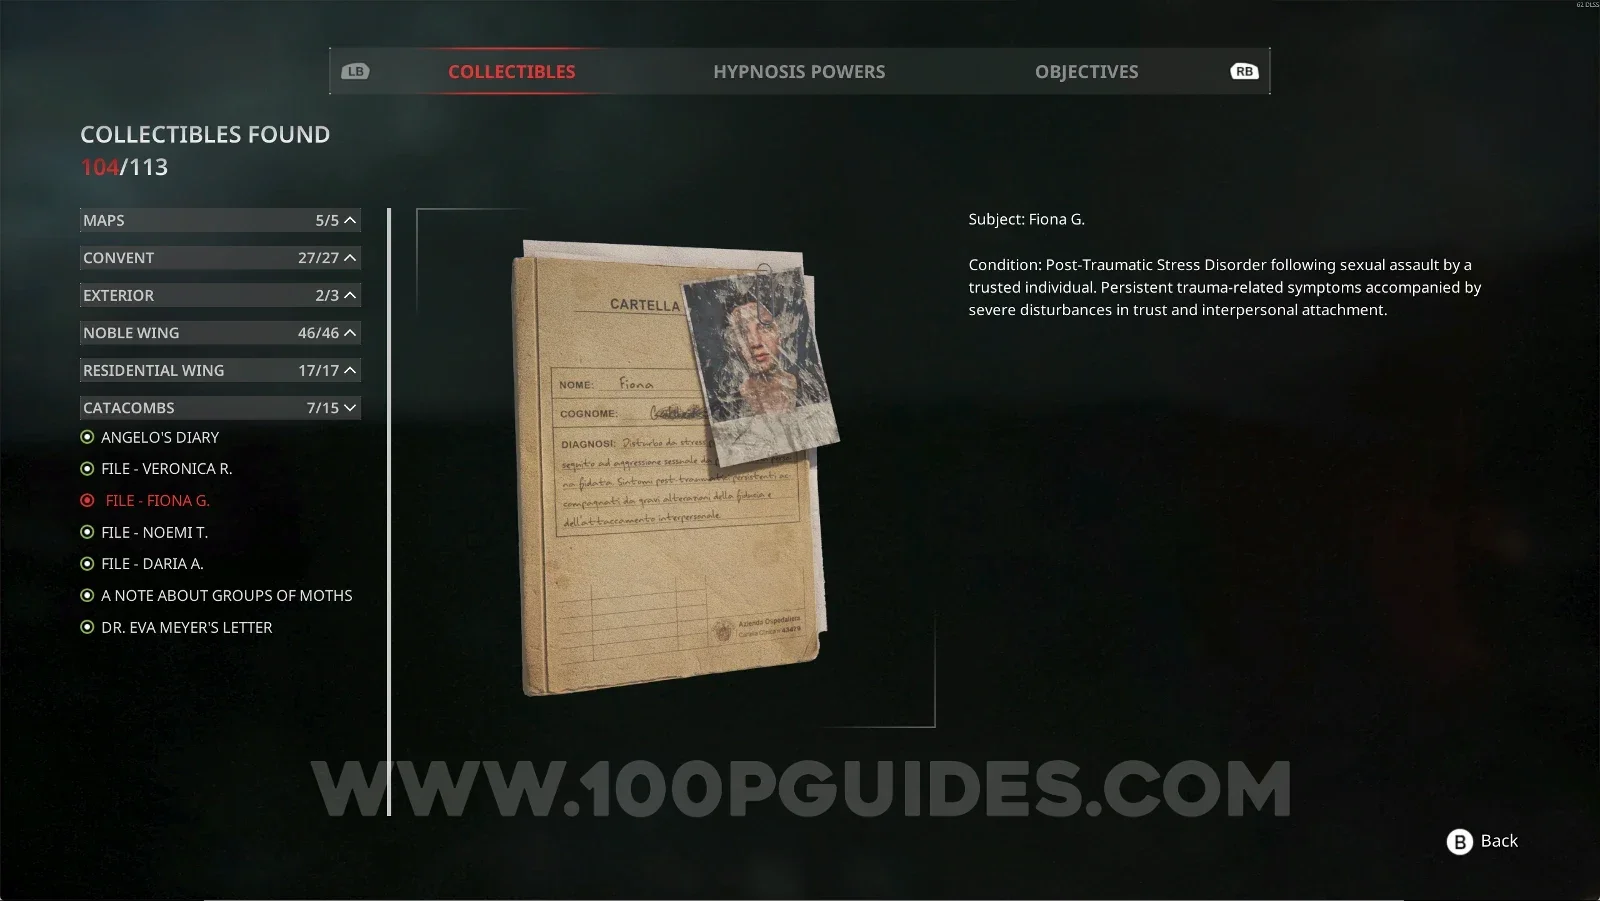
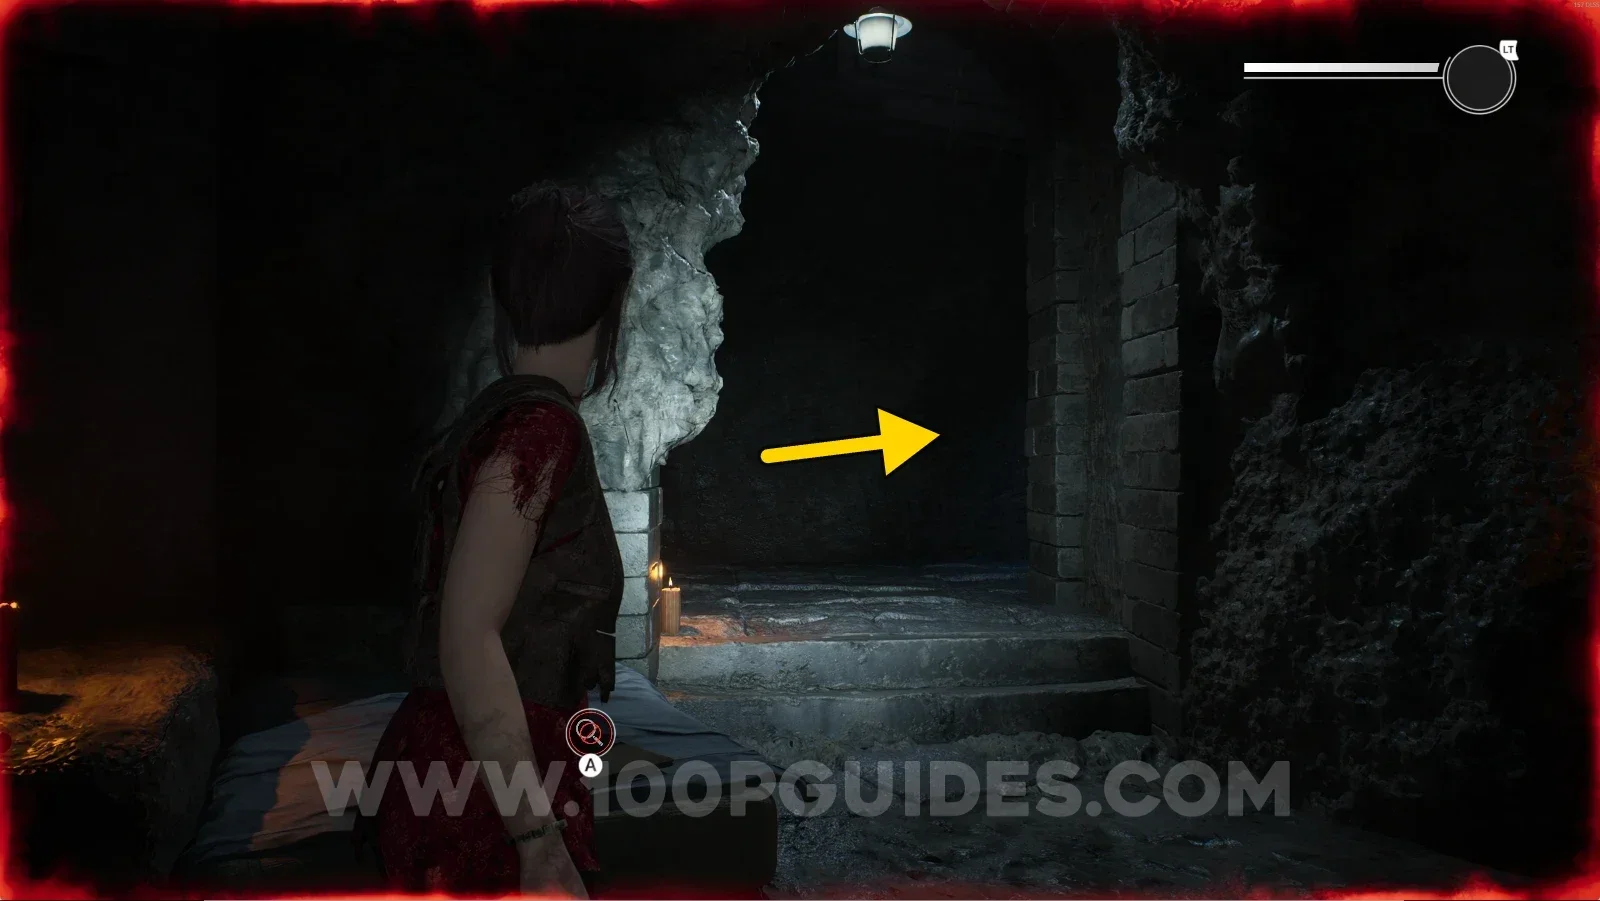
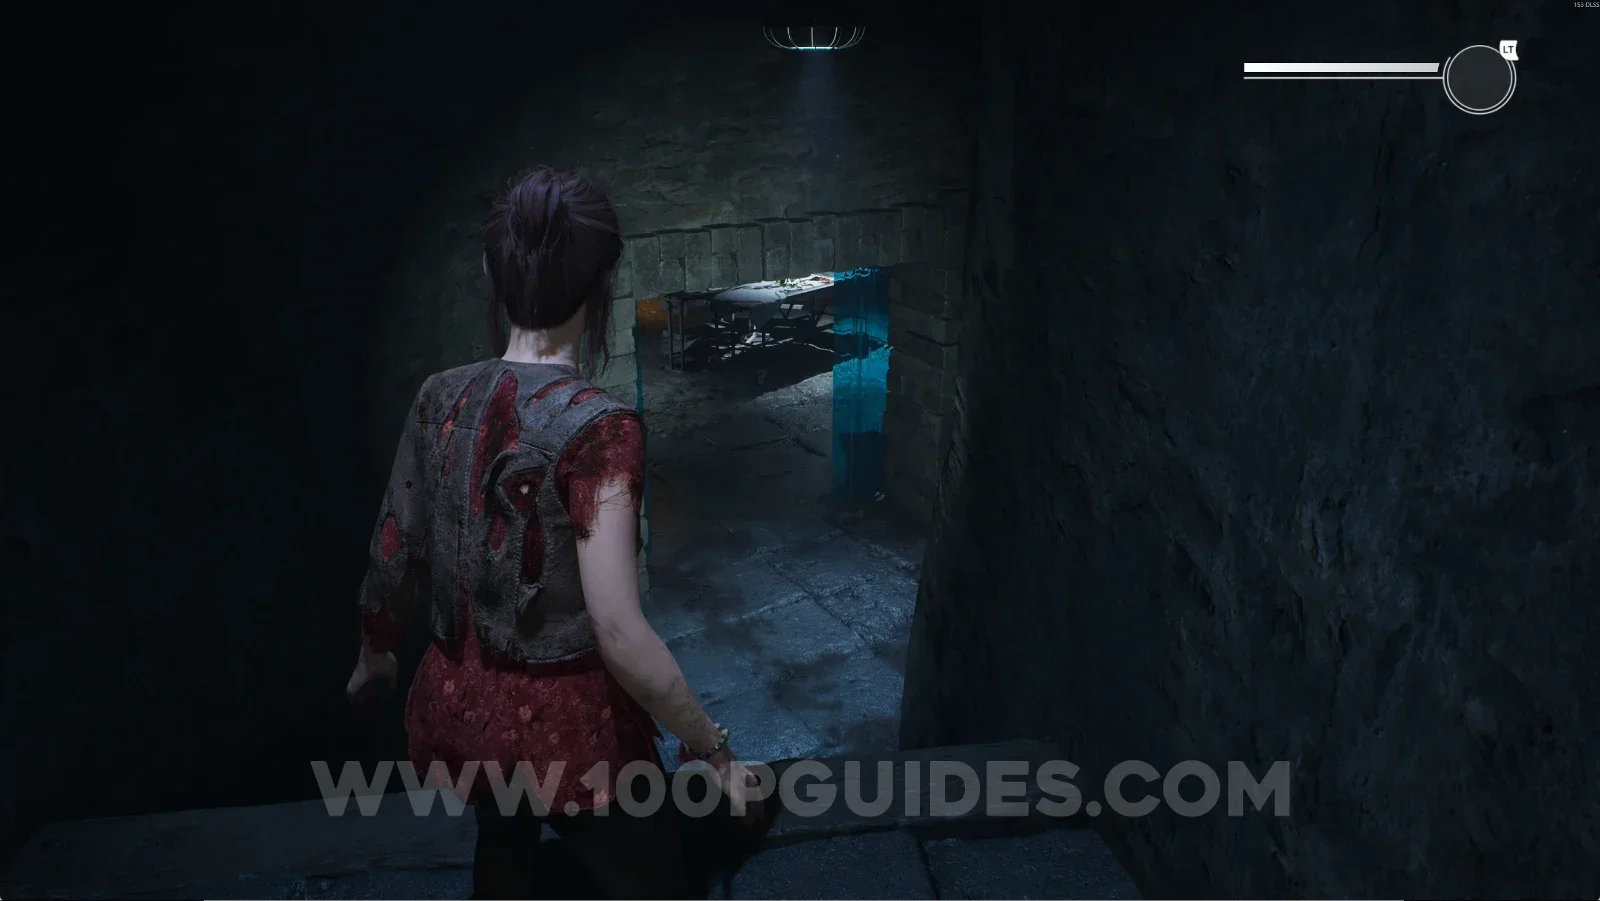
Catacombs #7: File - Fiona G.

Turn around and it will be right in front of you.

Remothered: Red Nuns Legacy Catacombs: turning around from the Veronica R. file Remothered: Red Nuns Legacy Catacombs: the File Fiona G. right in front after turning around Remothered: Red Nuns Legacy Catacombs #7: File Fiona G. collectible

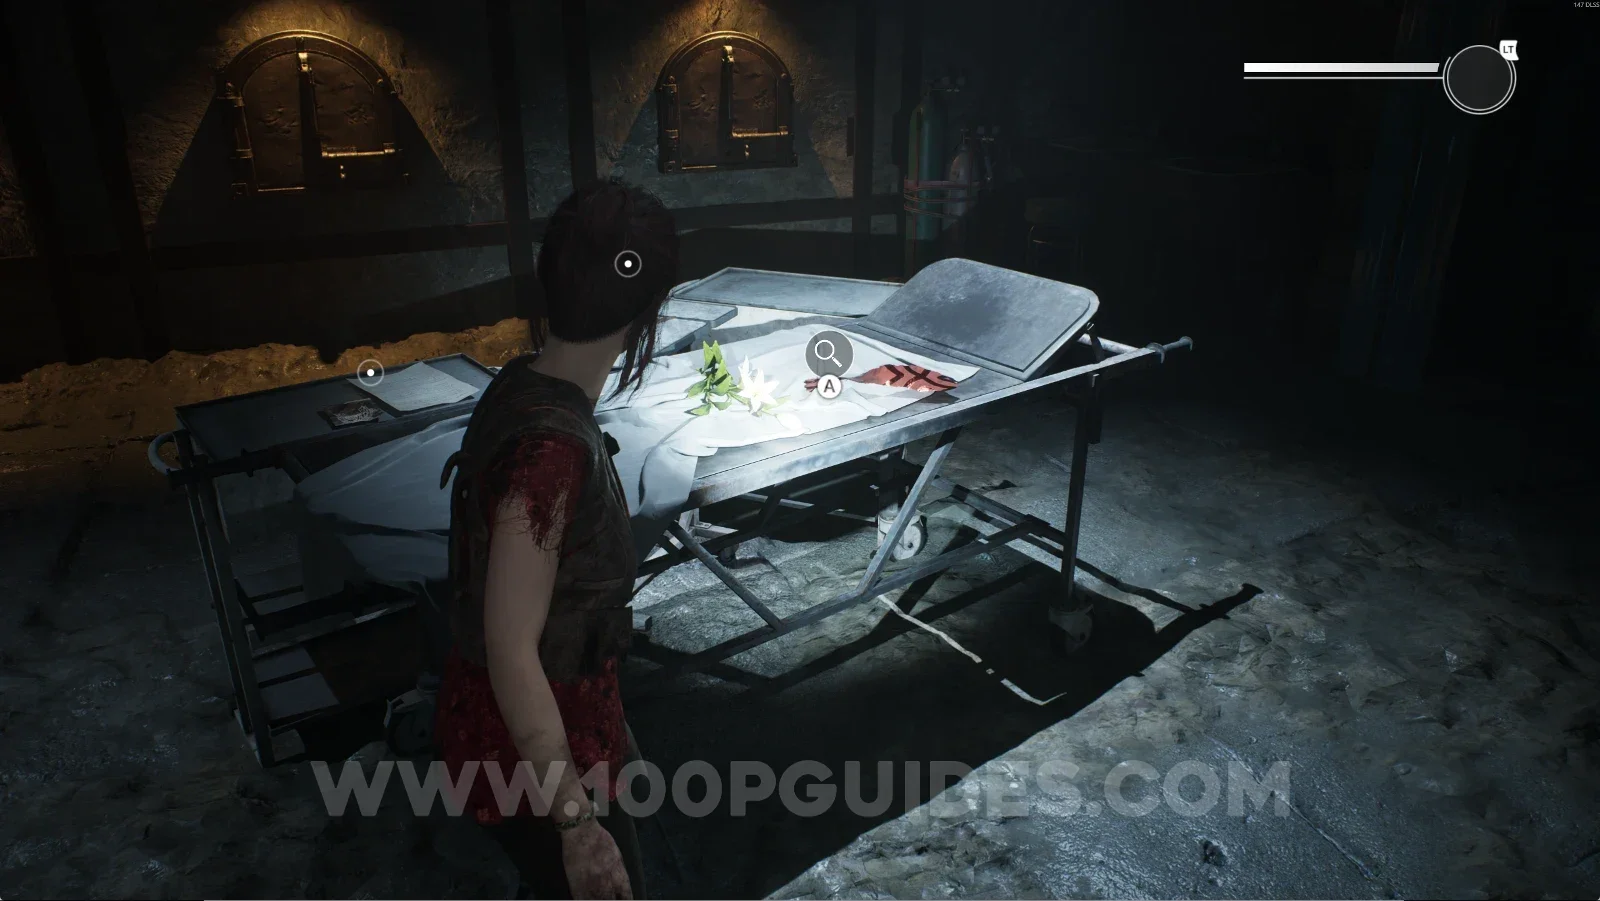
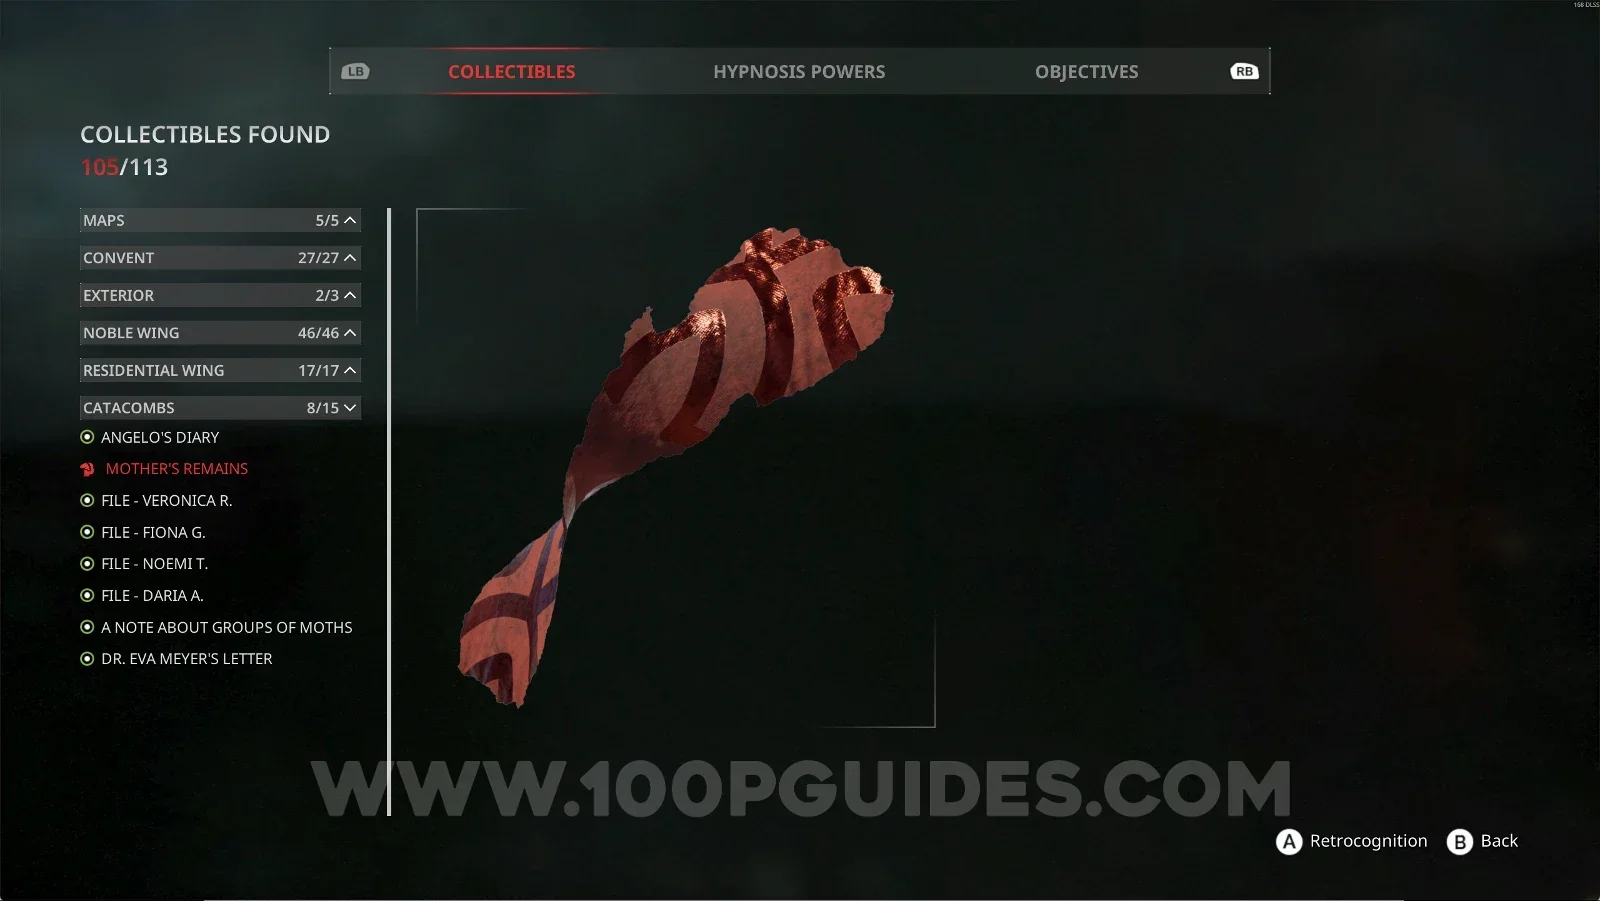
Catacombs #8: Mother's Remains + Retrocognition #29

From the previous collectible, now leave through the door and go down the stairs on the right. Enter the room and interact with the lily, then use your power to get this collectible.

Remothered: Red Nuns Legacy Catacombs: leaving through the door of the file room Remothered: Red Nuns Legacy Catacombs: the stairs on the right going down Remothered: Red Nuns Legacy Catacombs: the lily in the room, used with the power, Retrocognition #29 Remothered: Red Nuns Legacy Catacombs #8: Mother's Remains collectible

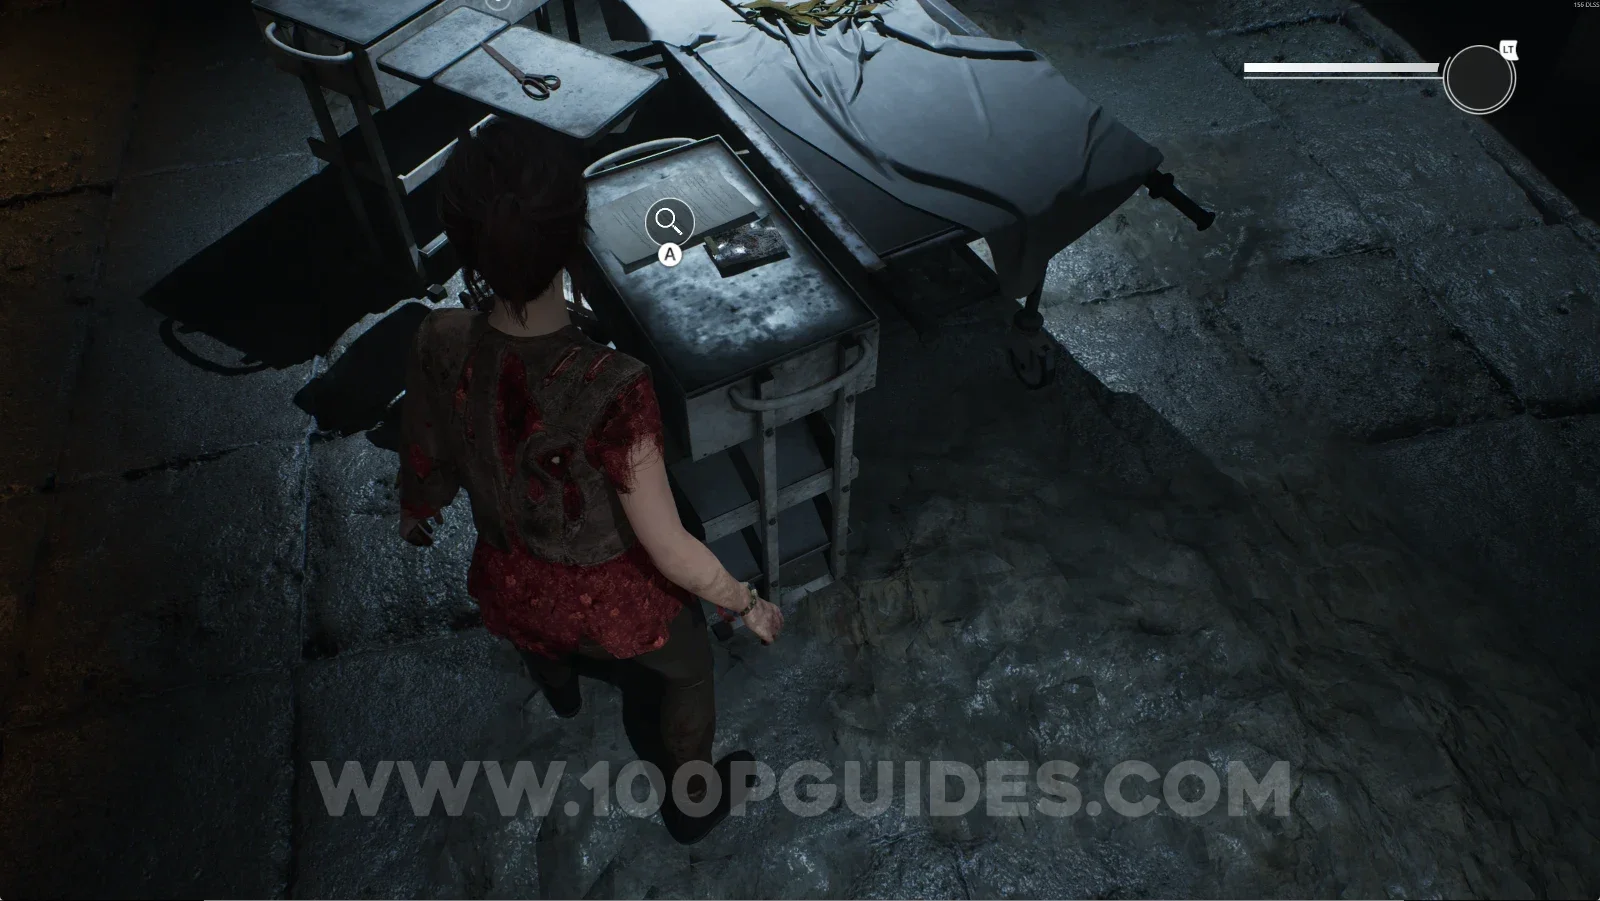
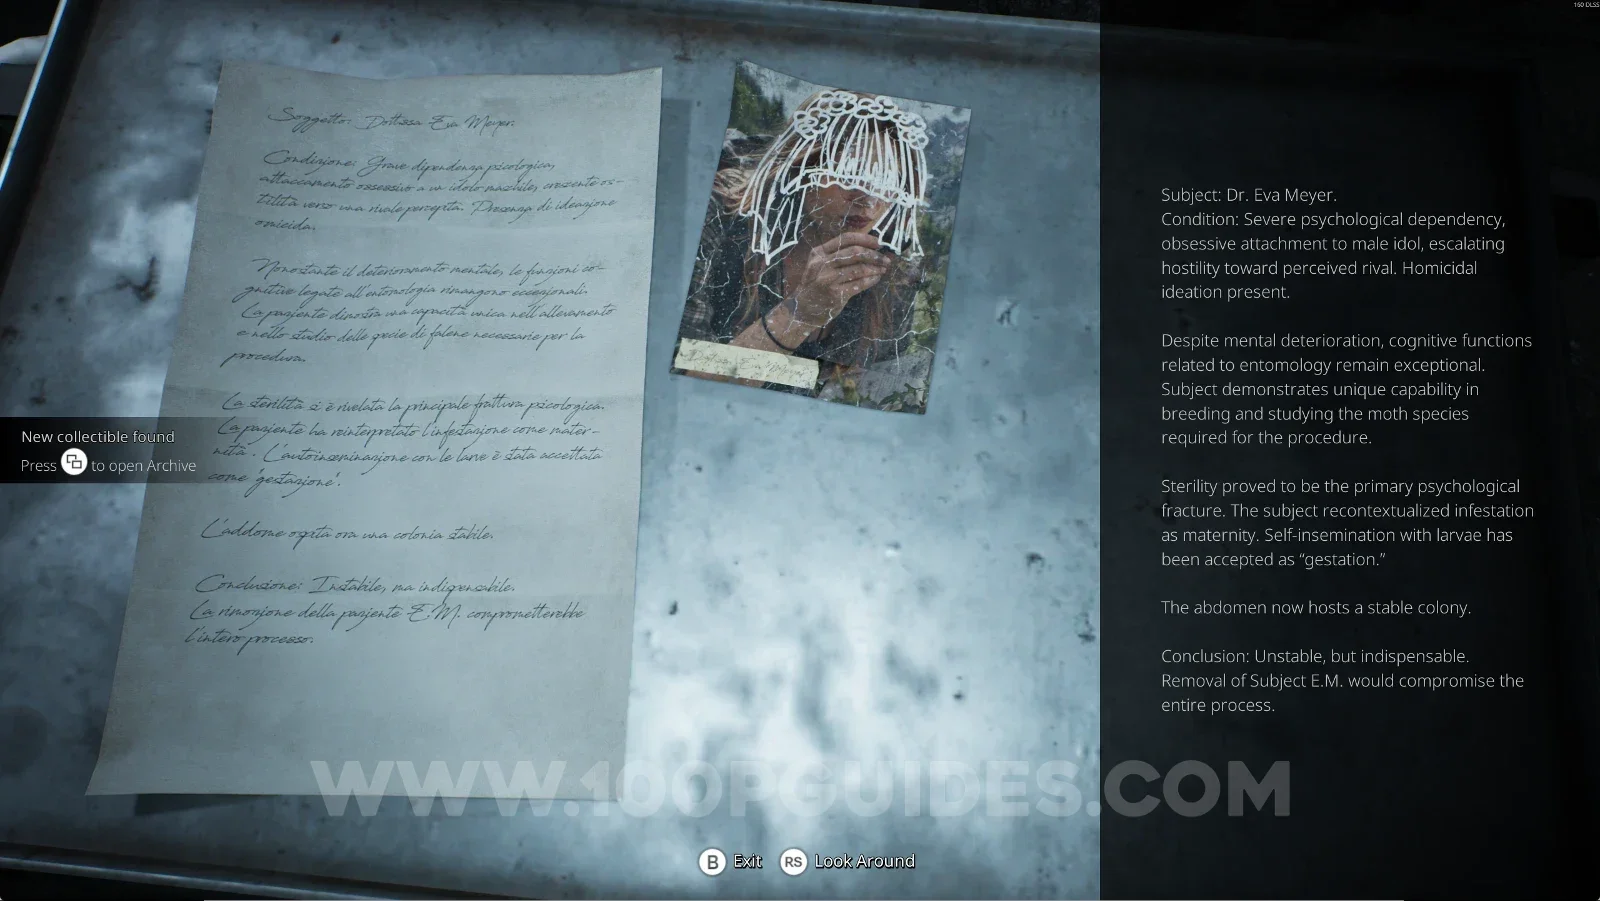
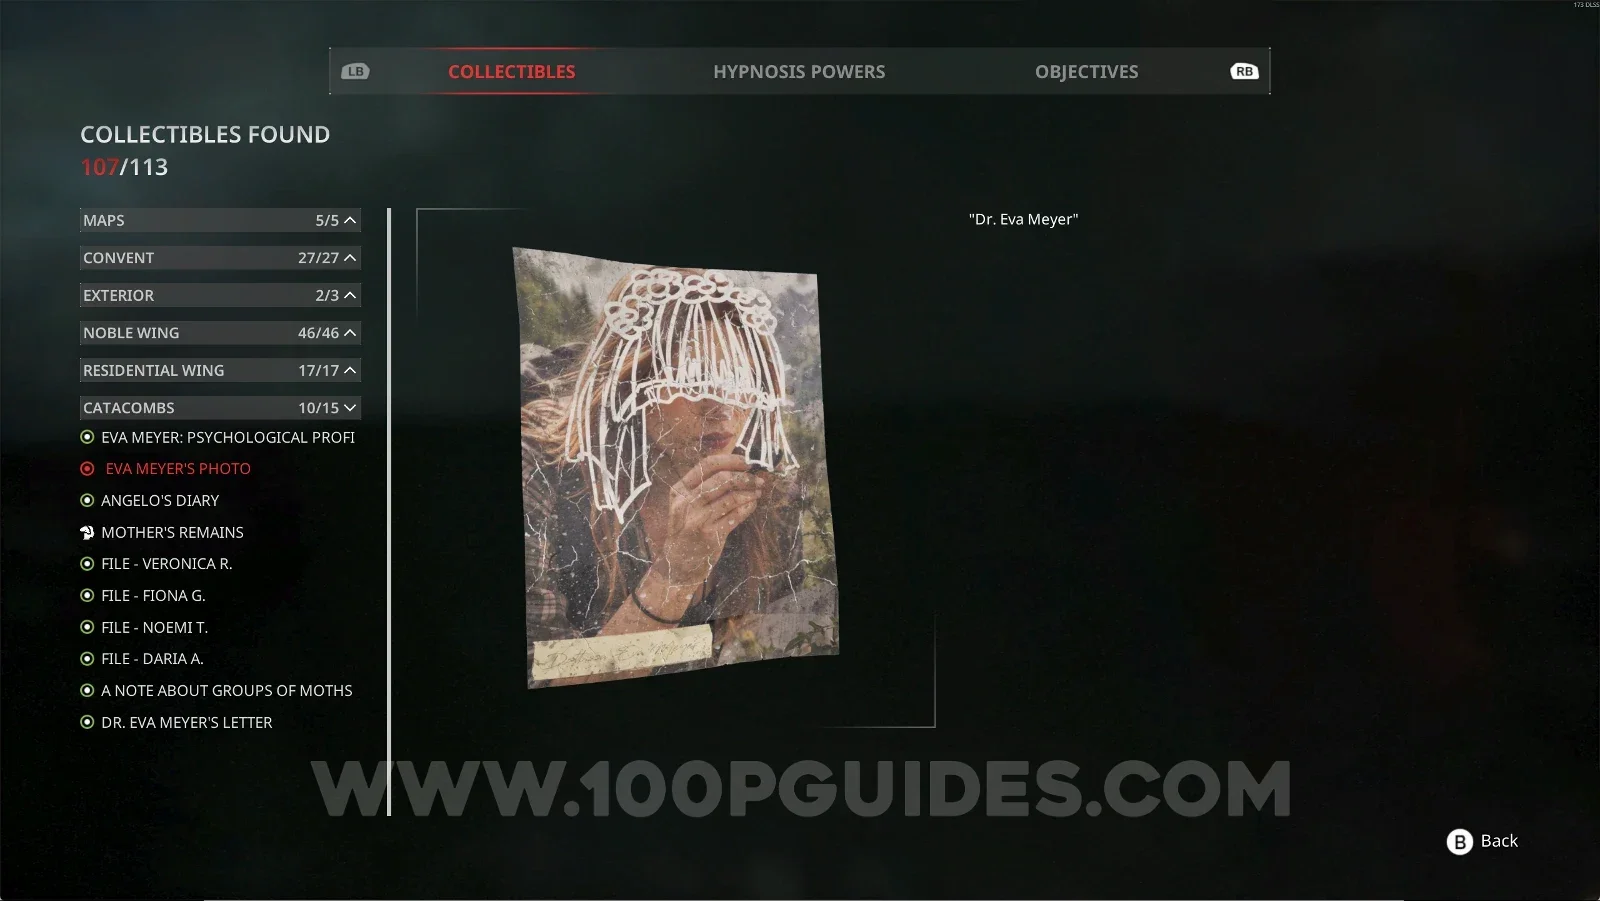
Catacombs #9: Eva Meyer's Photo + Catacombs #10: Eva Meyer: Psychological Profile

Next to the previous collectible.

Remothered: Red Nuns Legacy Catacombs: the spot next to Mother's Remains with two collectibles Remothered: Red Nuns Legacy Catacombs #9: Eva Meyer's Photo collectible Remothered: Red Nuns Legacy Catacombs #10: Eva Meyer: Psychological Profile collectible

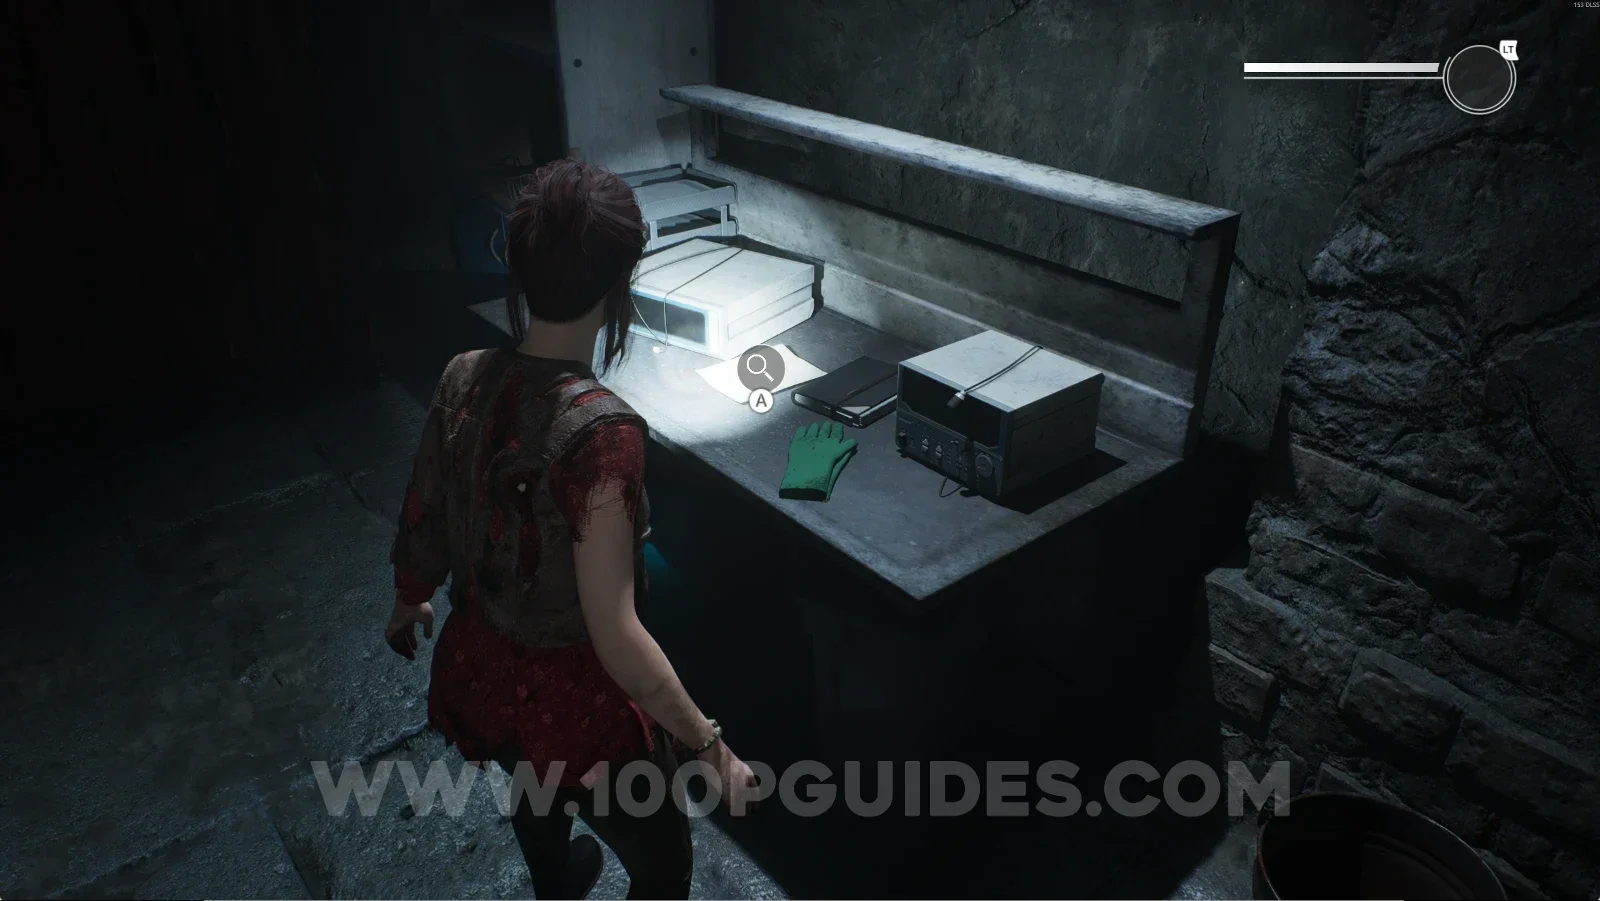
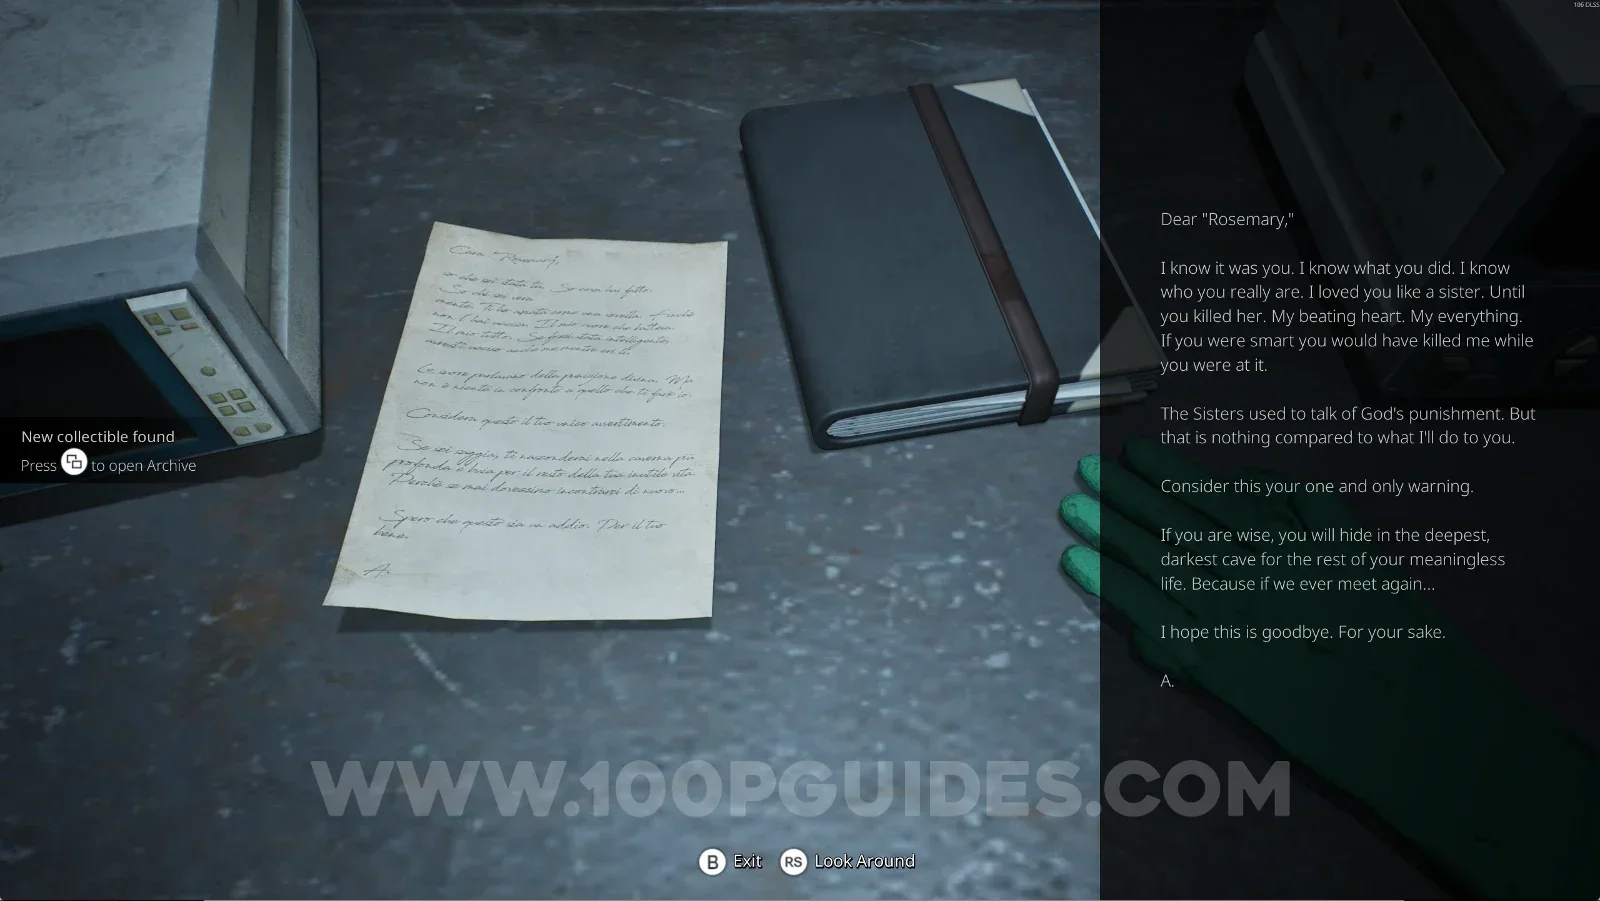
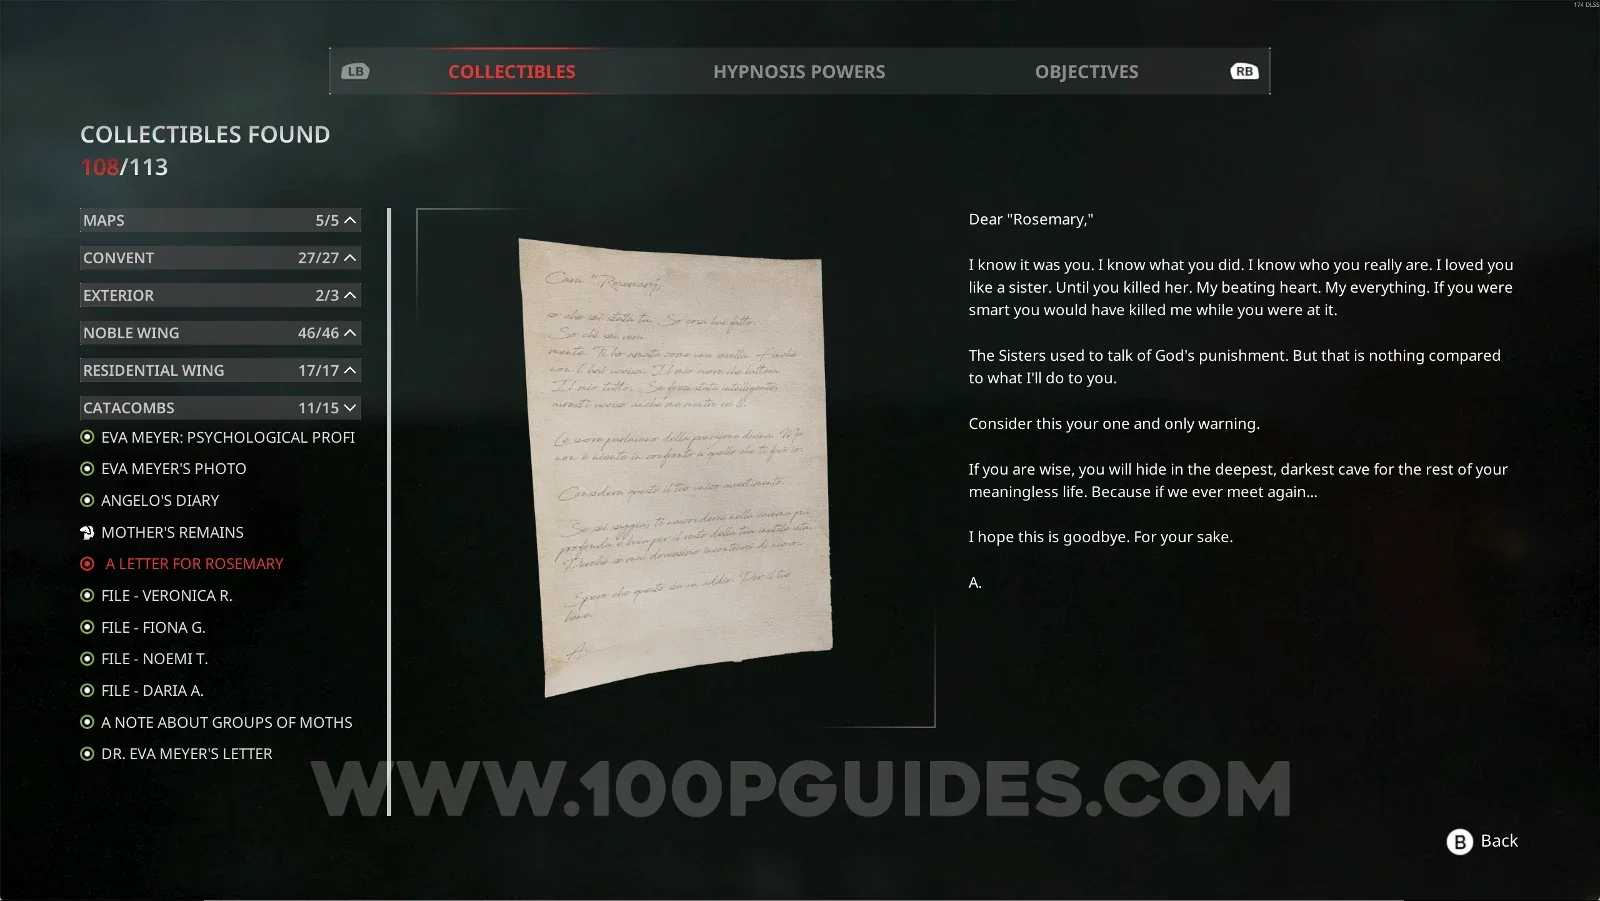
Catacombs #11: A Letter For Rosemary

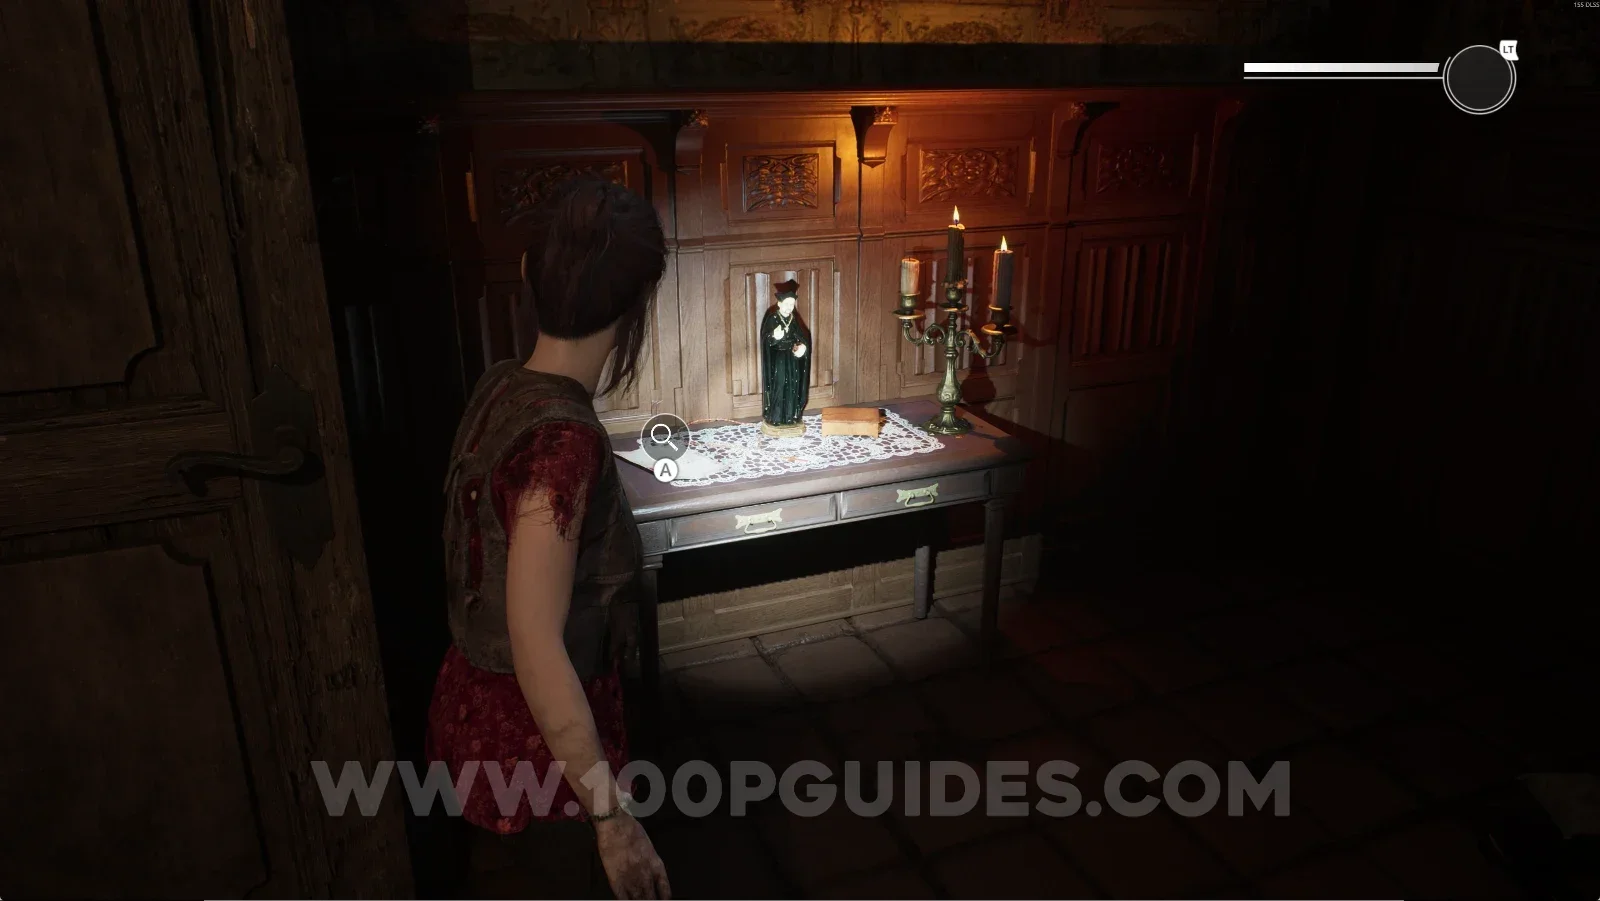
Same room as before, on top of the table next to a glove.

Remothered: Red Nuns Legacy Catacombs: the table with a glove in the same room Remothered: Red Nuns Legacy Catacombs: A Letter For Rosemary next to the glove on the table Remothered: Red Nuns Legacy Catacombs #11: A Letter For Rosemary collectible

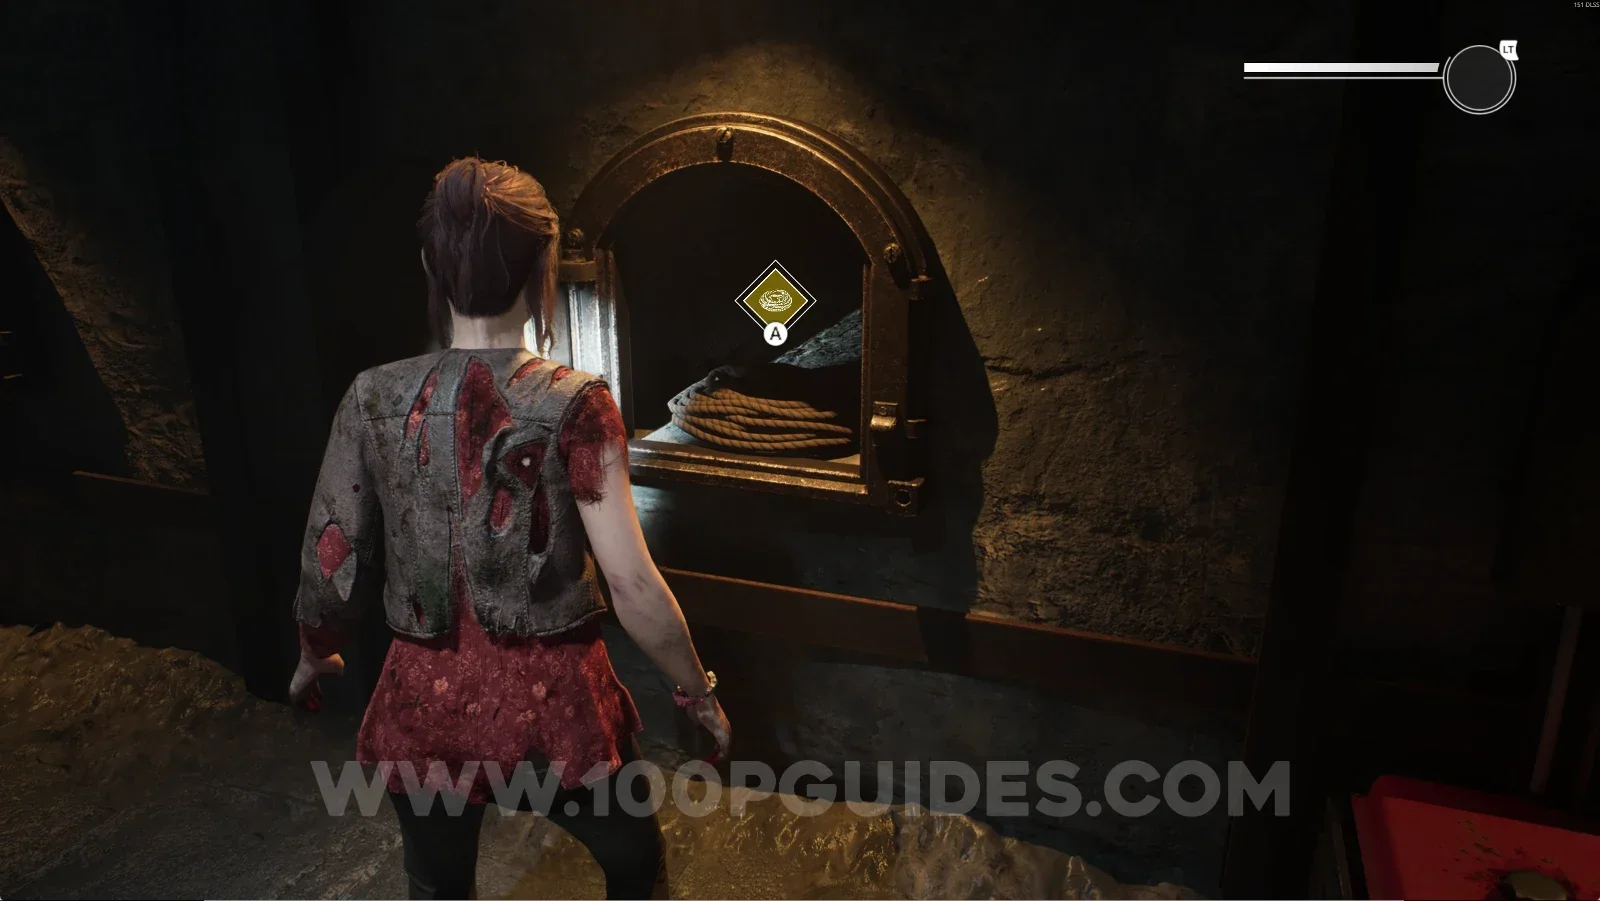
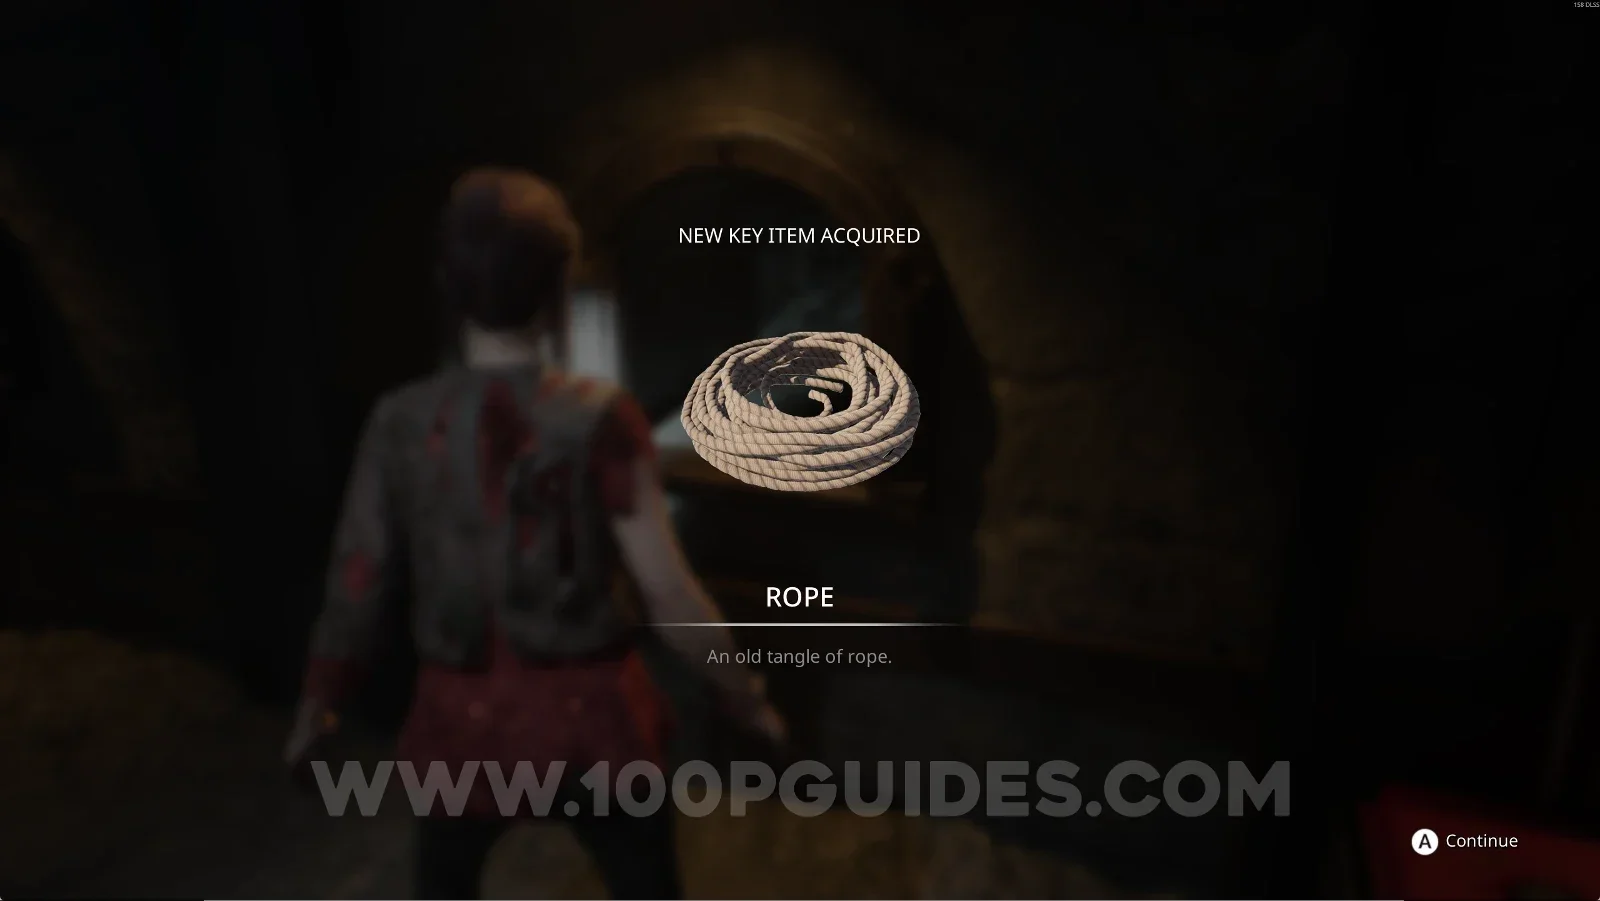
Key Item: Rope

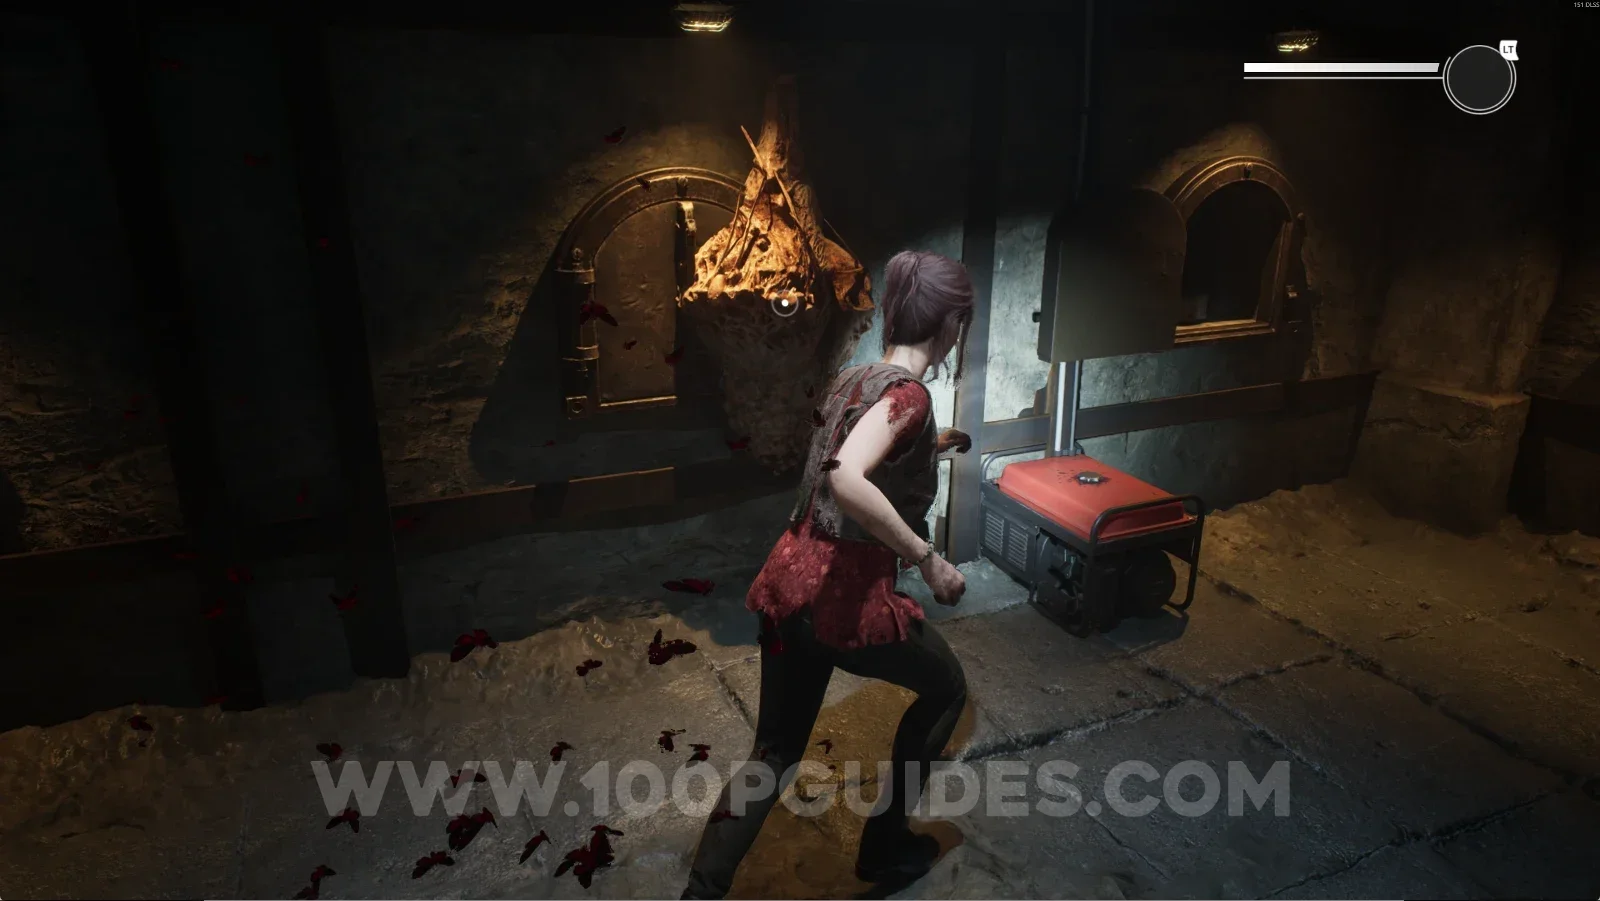
Go back to the well area and grab the moths. Take them to where you picked up the last collectibles and interact with the cocoon, then open the door and grab the Rope.

Remothered: Red Nuns Legacy Catacombs: grabbing the moths in the well area Remothered: Red Nuns Legacy Catacombs: taking the moths to the cocoon near the last collectibles Remothered: Red Nuns Legacy Catacombs: opening the door after removing the cocoon Remothered: Red Nuns Legacy Catacombs: the Rope key item behind the door

Next to the well, you'll find another spot with moths. You'll have to grab them and take them to the start of the area where the save point is. There's a mirror with a cocoon on it, so use the moths to remove it. Then interact with the mirror and reveal the lily next to the save point and the door at the back.

Remothered: Red Nuns Legacy Catacombs: the spot with moths next to the well Remothered: Red Nuns Legacy Catacombs: the mirror covered by a cocoon near the save point Remothered: Red Nuns Legacy Catacombs: revealing the lily next to the save point with the mirror Remothered: Red Nuns Legacy Catacombs: revealing the door at the back with the mirror

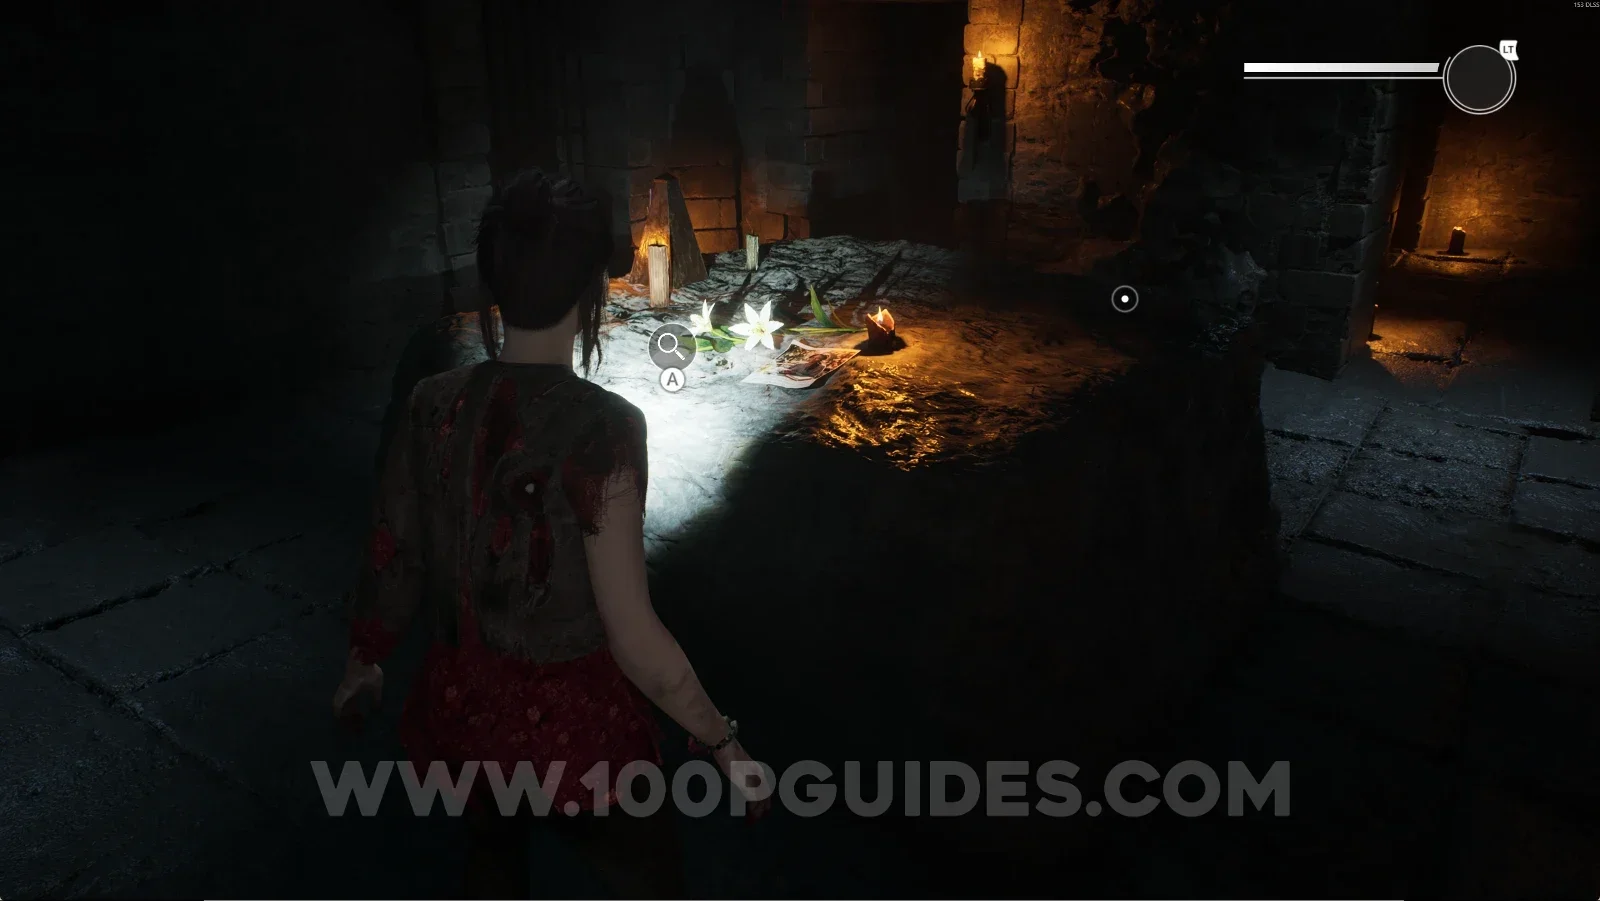
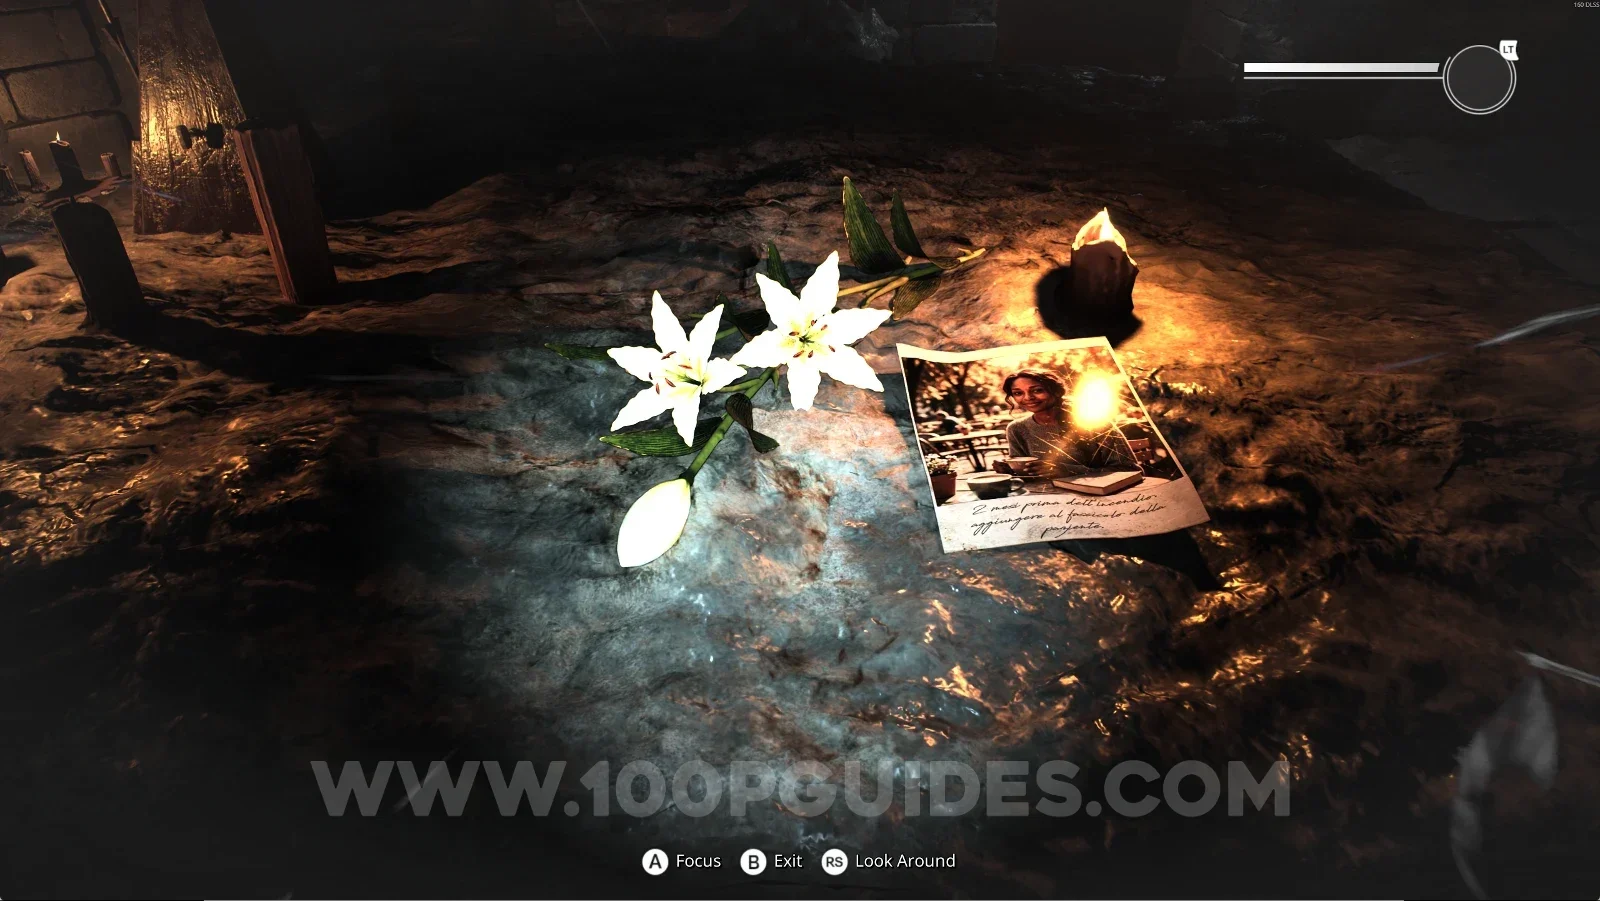
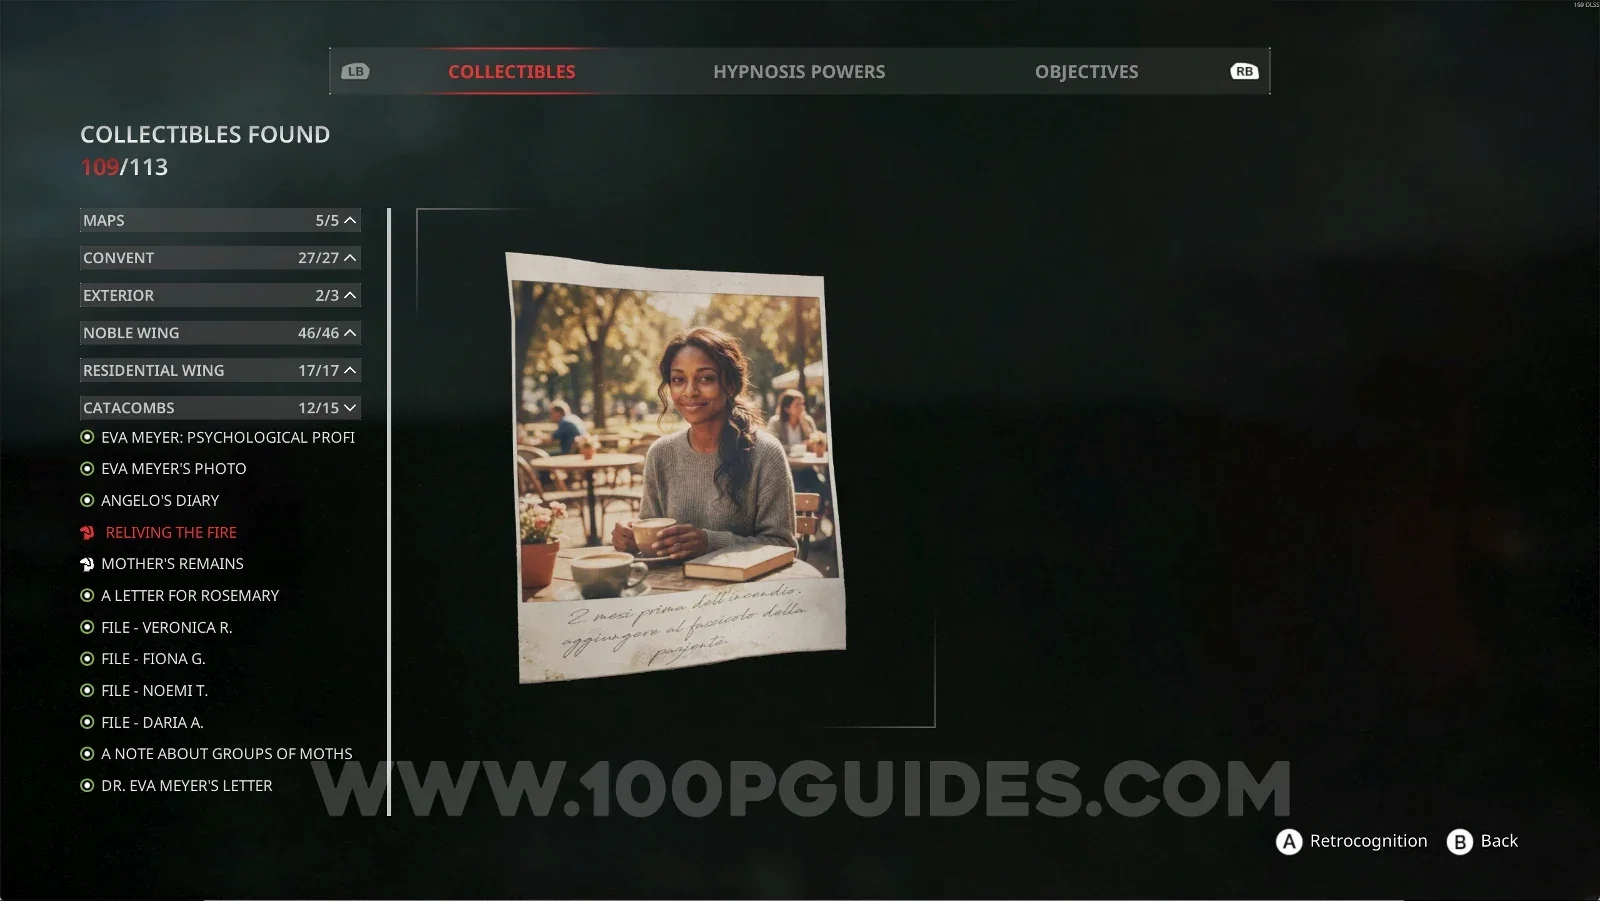
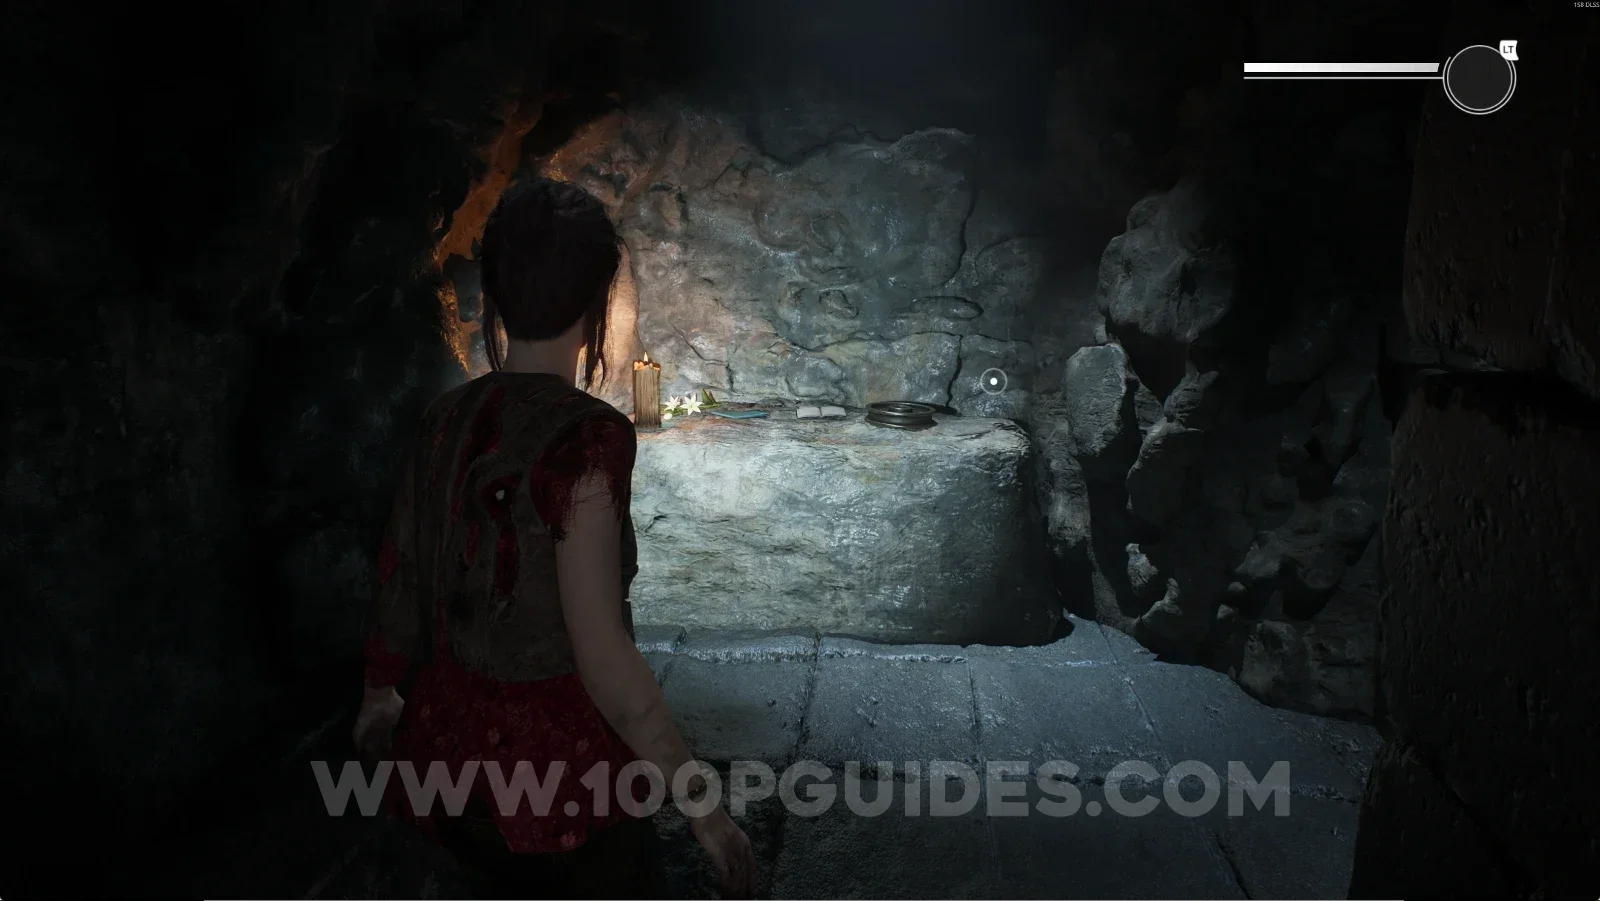
Catacombs #12: Reliving The Fire + Retrocognition #30

Same area as the previous mirror. Now interact with the lily you revealed, then use your power to get this collectible.

Remothered: Red Nuns Legacy Catacombs: the revealed lily next to the save point Remothered: Red Nuns Legacy Catacombs: using the power on the lily for Retrocognition #30 Remothered: Red Nuns Legacy Catacombs #12: Reliving The Fire collectible

Catacombs #13: The Job Offer + Retrocognition #31

From the previous collectible, enter the room you revealed. You'll see a lily, so use your power on it to get this collectible.

Remothered: Red Nuns Legacy Catacombs: entering the room revealed with the mirror Remothered: Red Nuns Legacy Catacombs: using the power on the lily for Retrocognition #31 Remothered: Red Nuns Legacy Catacombs #13: The Job Offer collectible

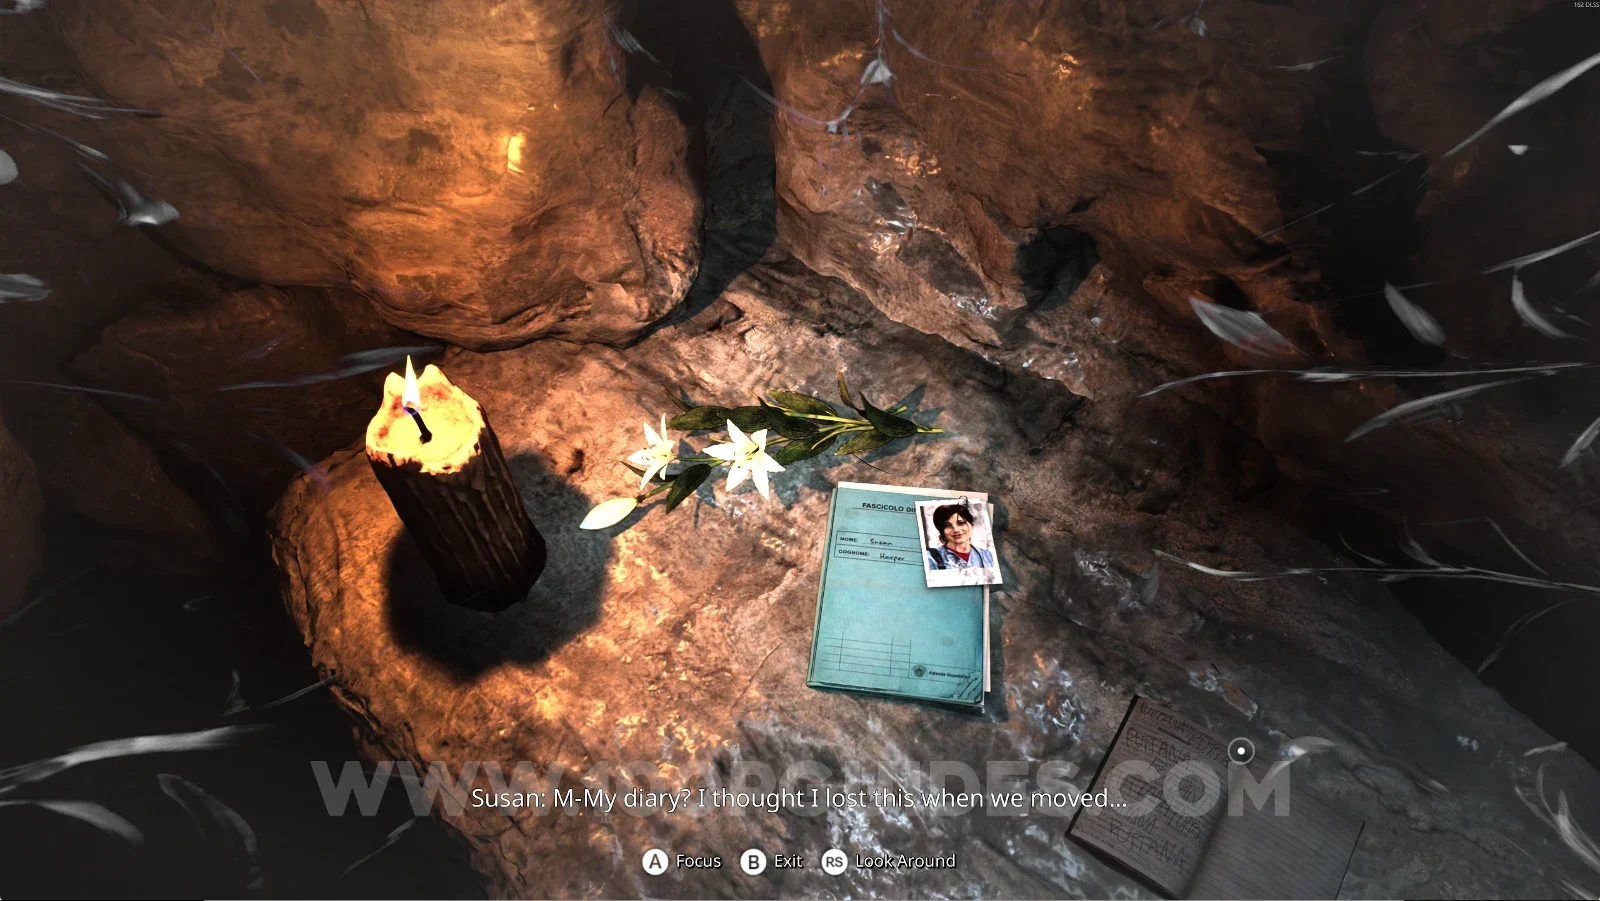
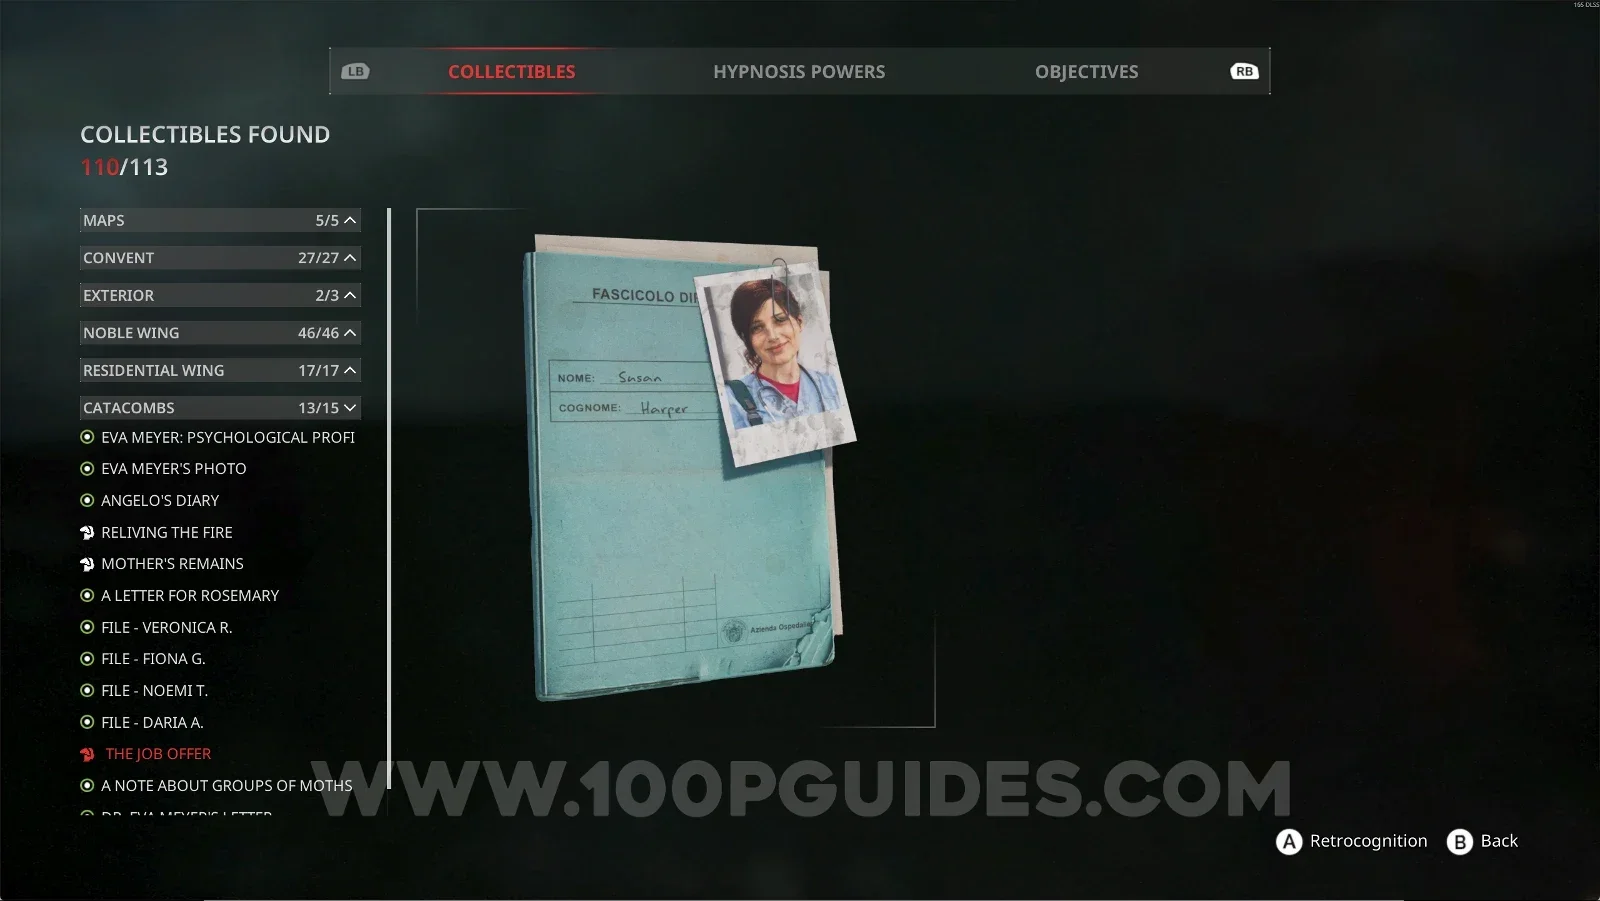
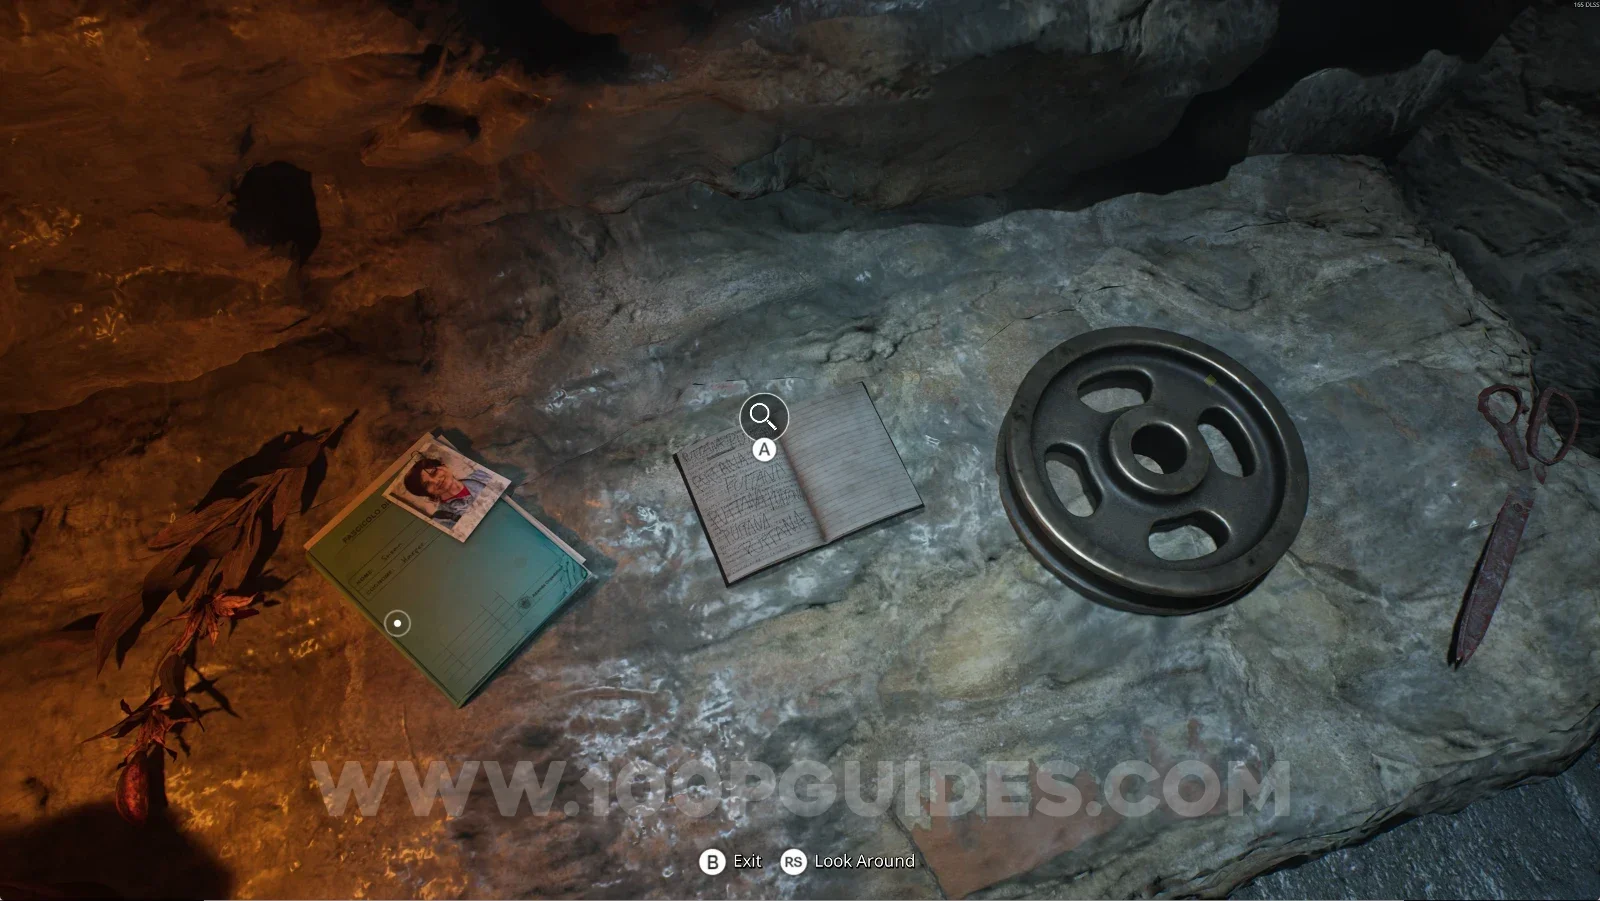
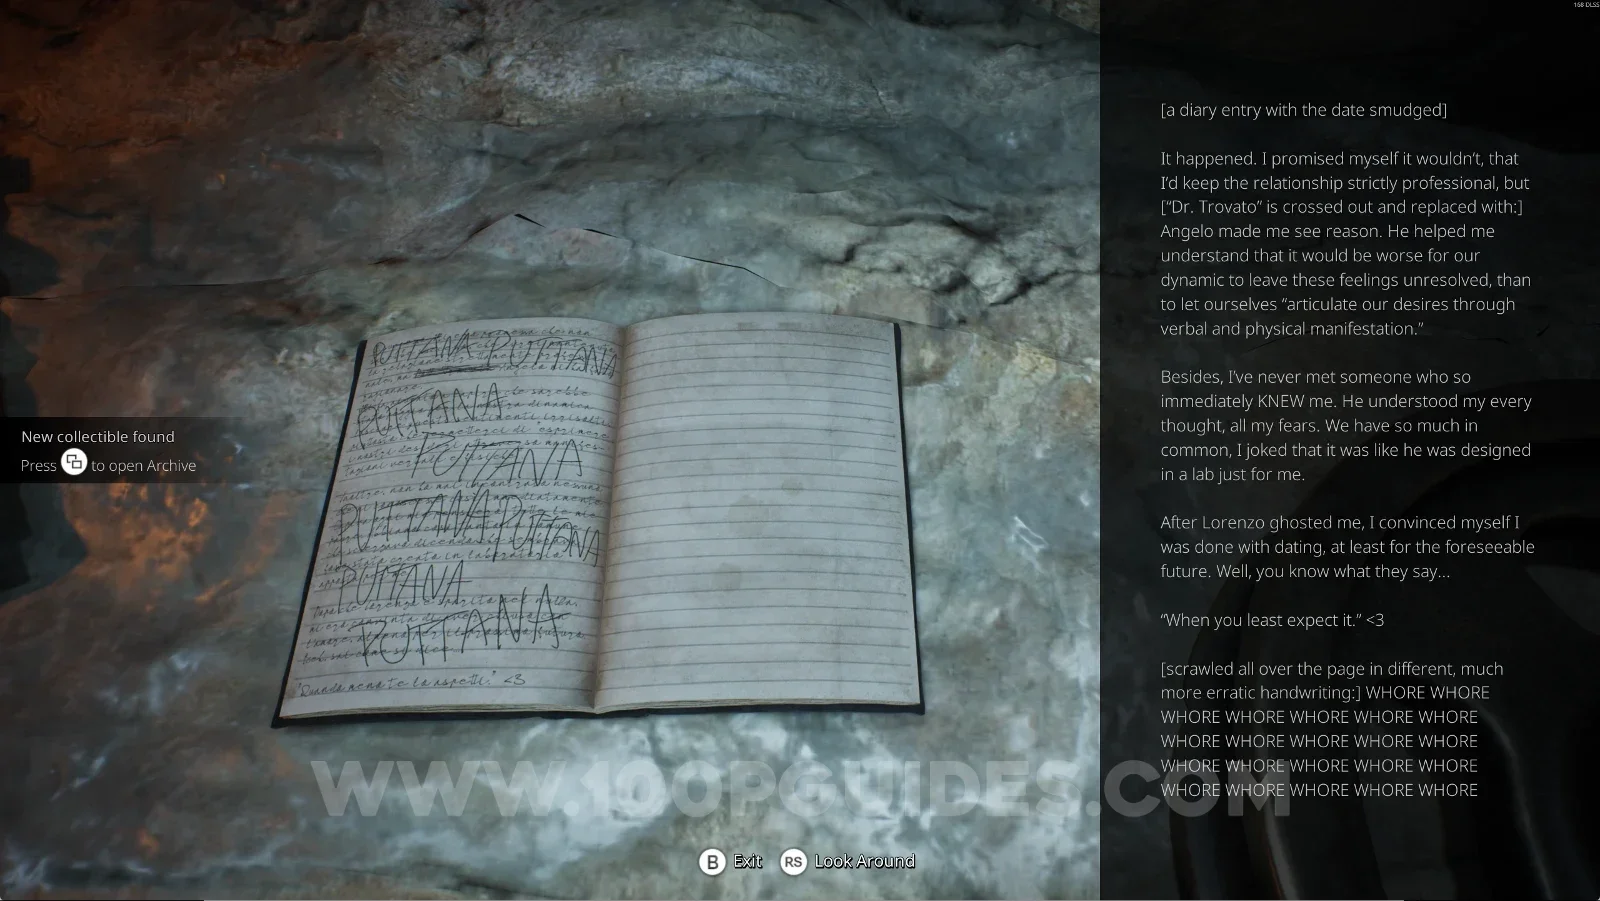
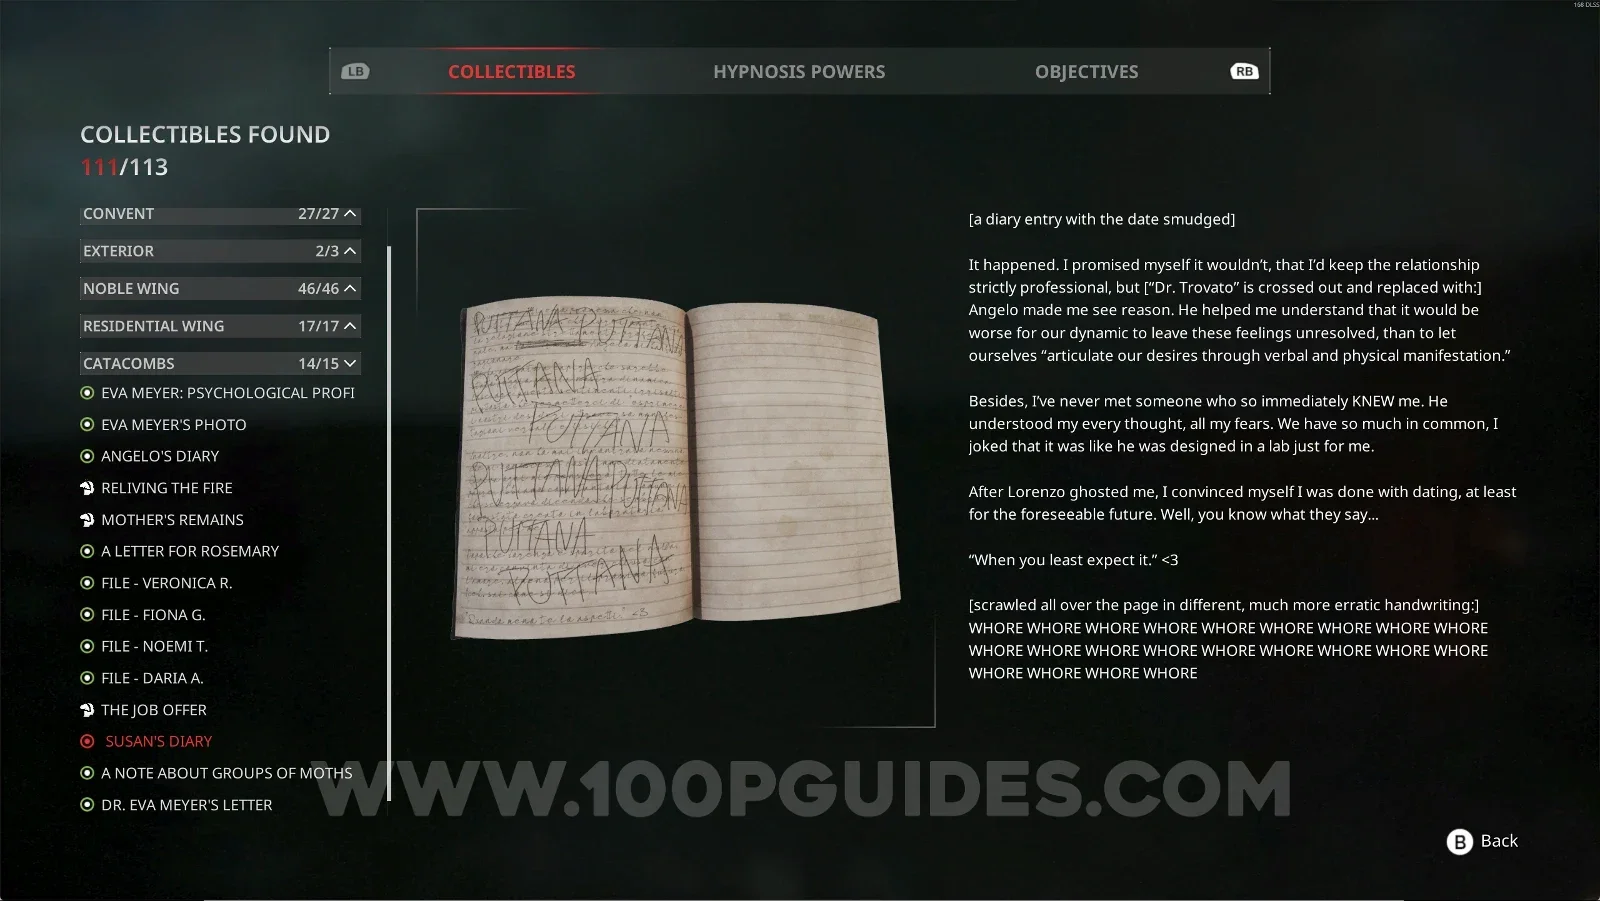
Catacombs #14: Susan's Diary

Same spot as the previous collectible.

Remothered: Red Nuns Legacy Catacombs: the spot of The Job Offer in the revealed room Remothered: Red Nuns Legacy Catacombs: Susan's Diary in the same spot as The Job Offer Remothered: Red Nuns Legacy Catacombs #14: Susan's Diary collectible

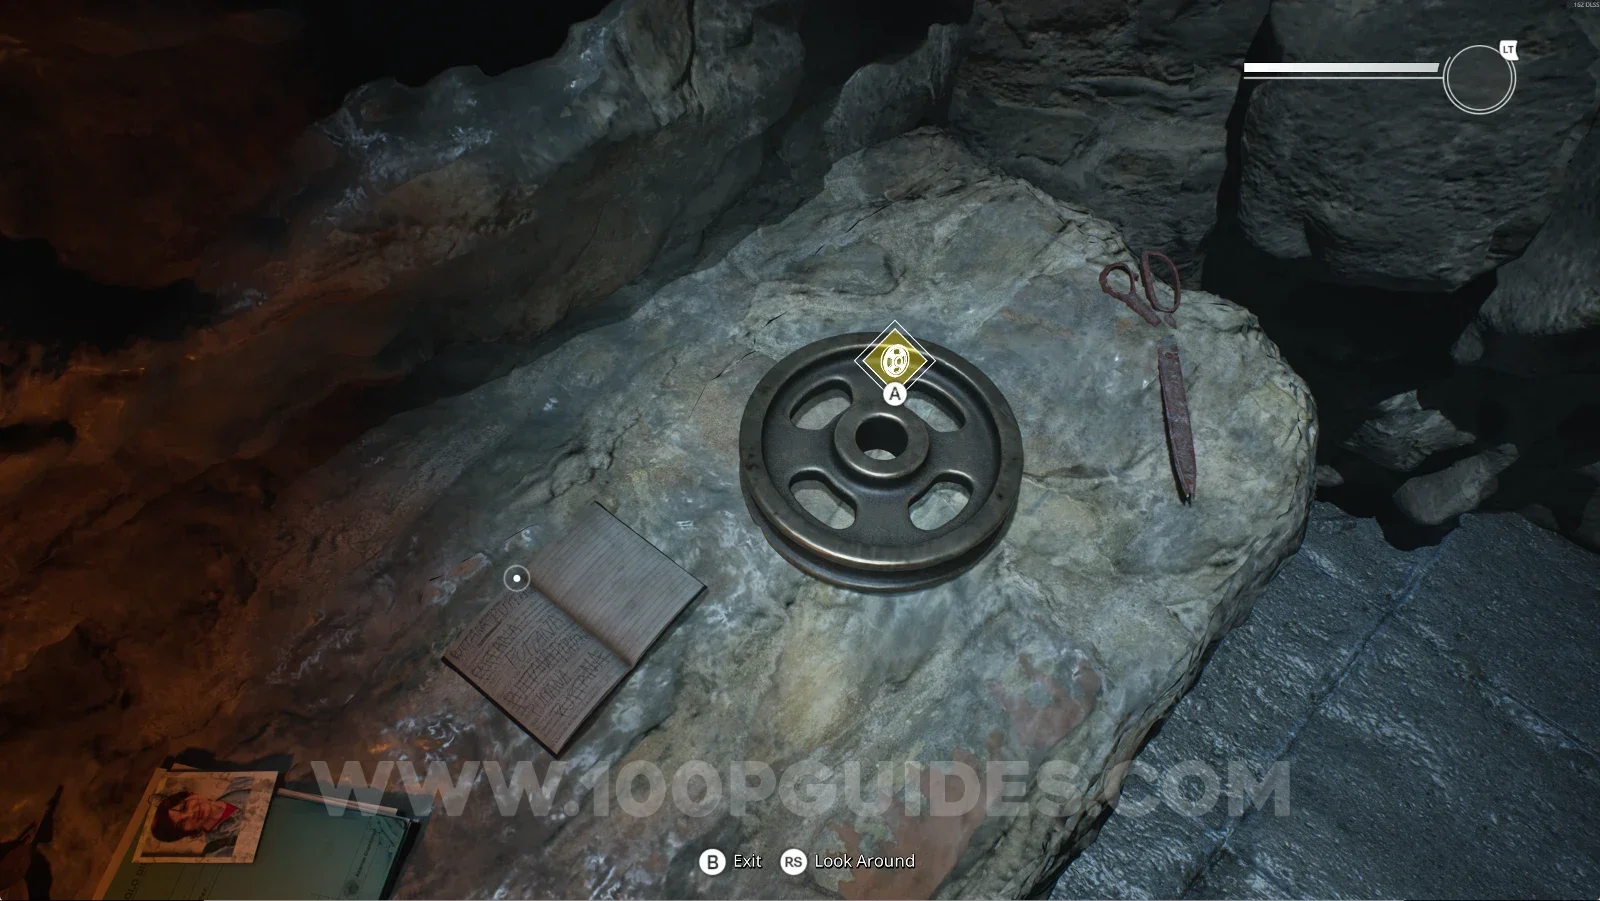
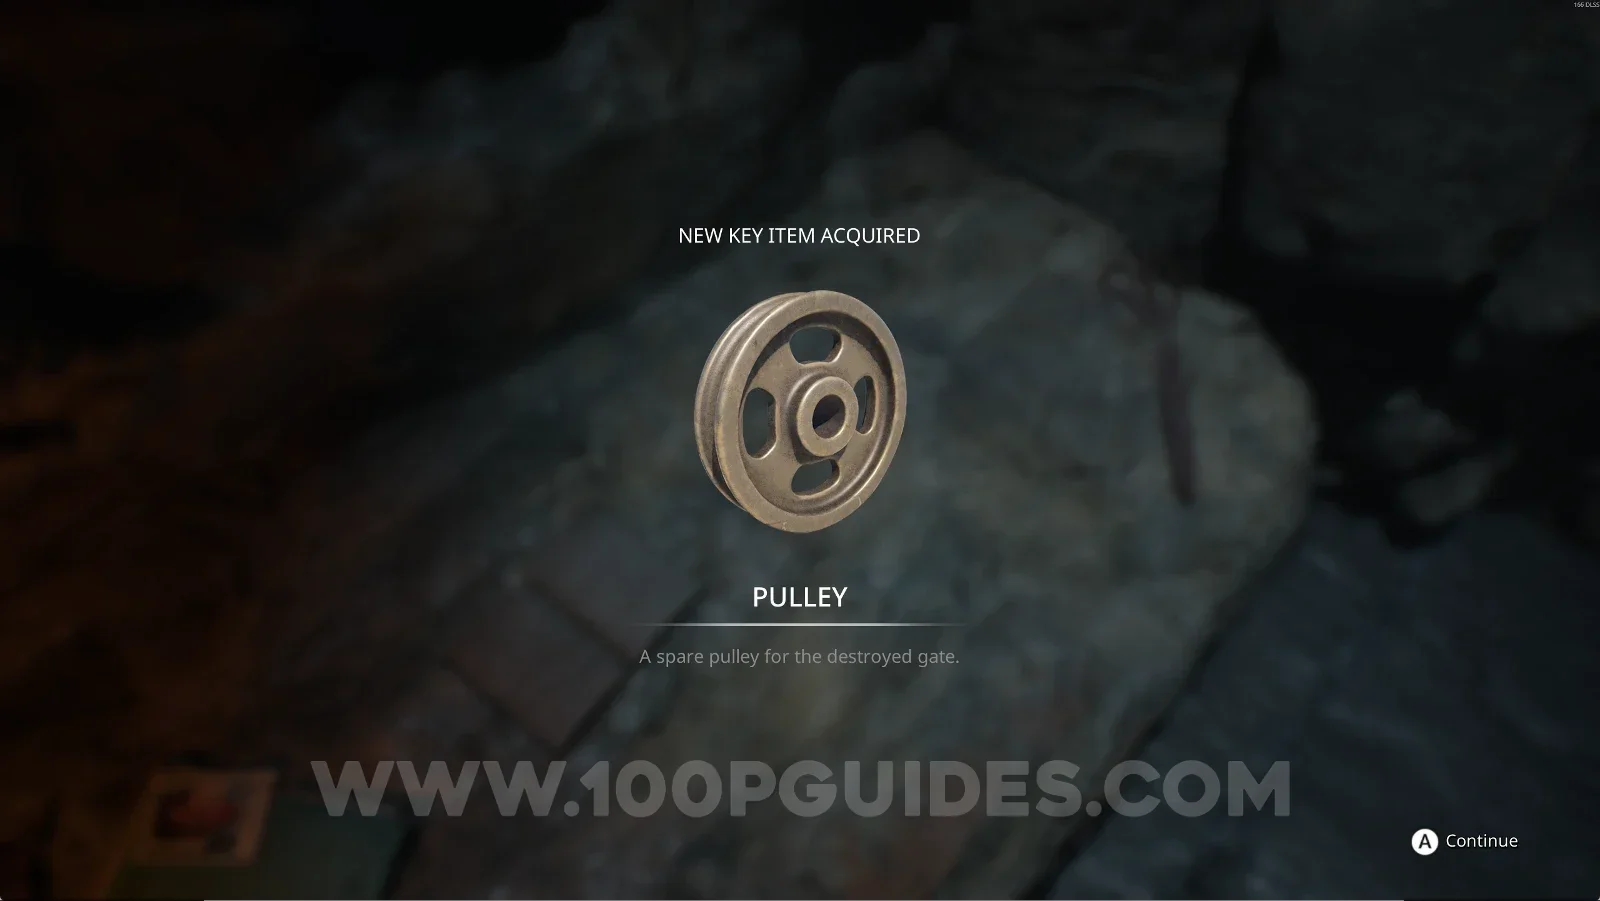
Key Item: Pulley

Same spot as the previous collectible.

Remothered: Red Nuns Legacy Catacombs: the Pulley in the same spot as Susan's Diary Remothered: Red Nuns Legacy Catacombs: picking up the Pulley key item

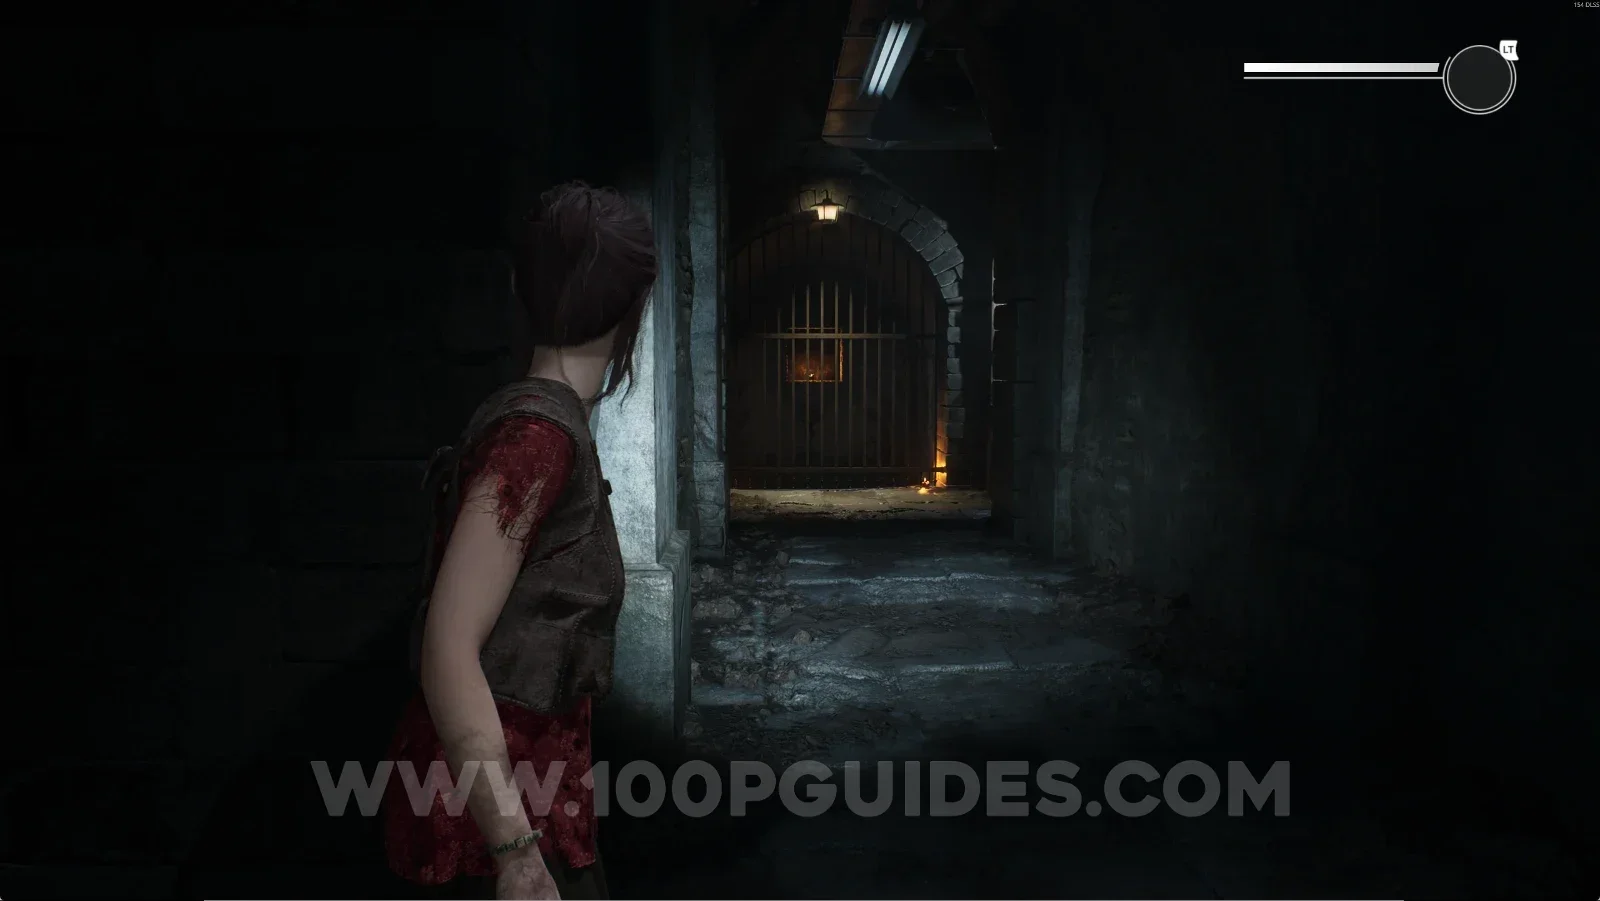
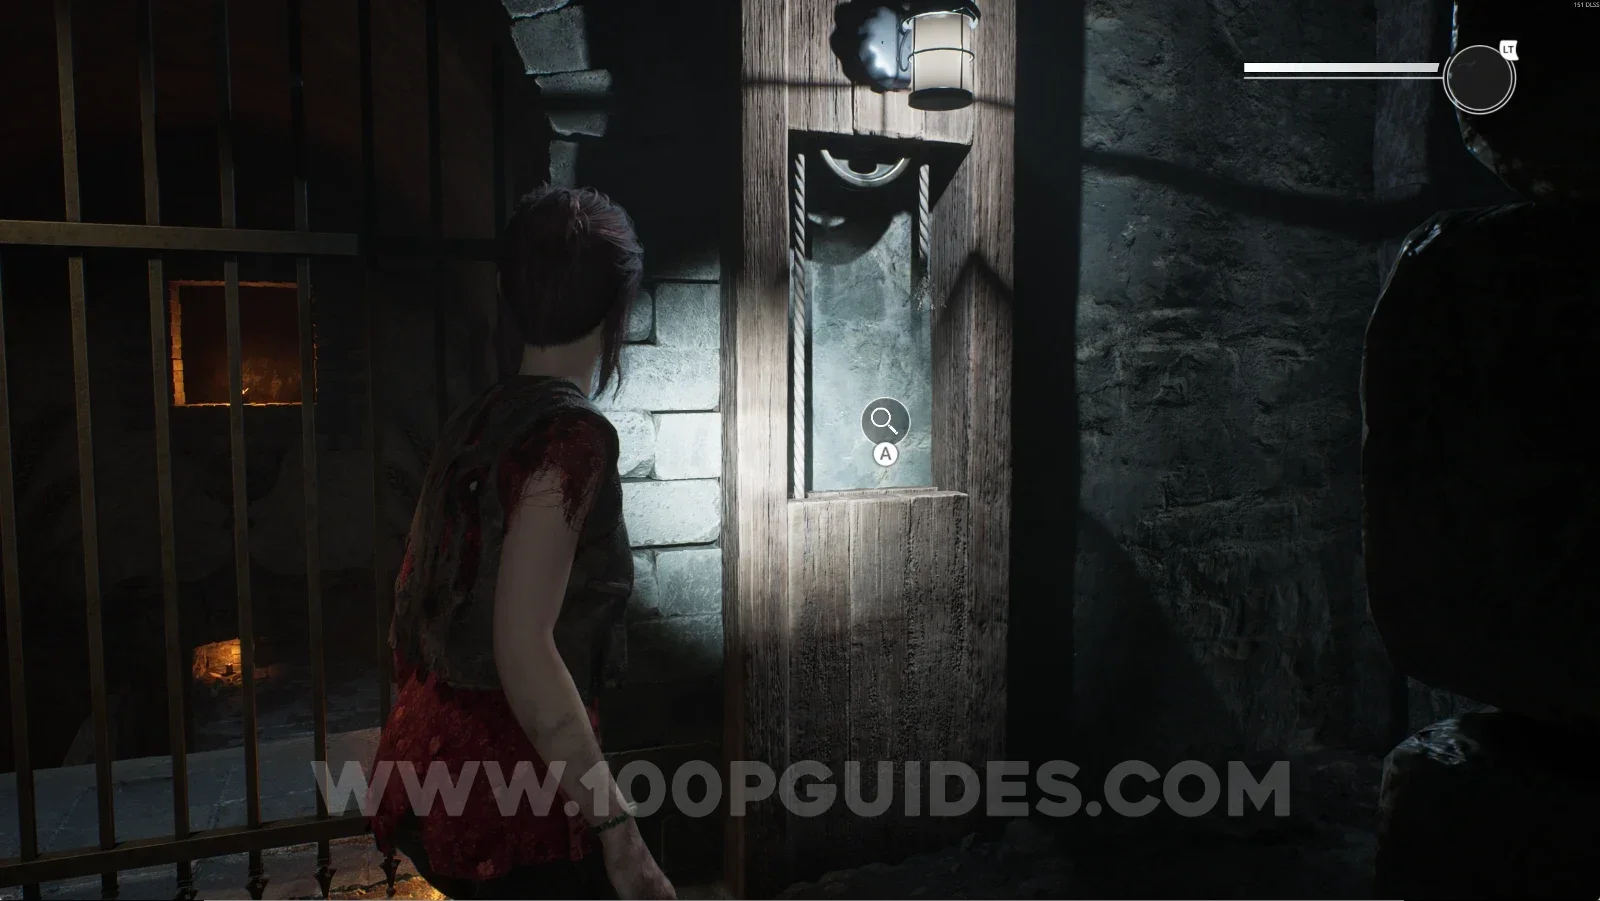
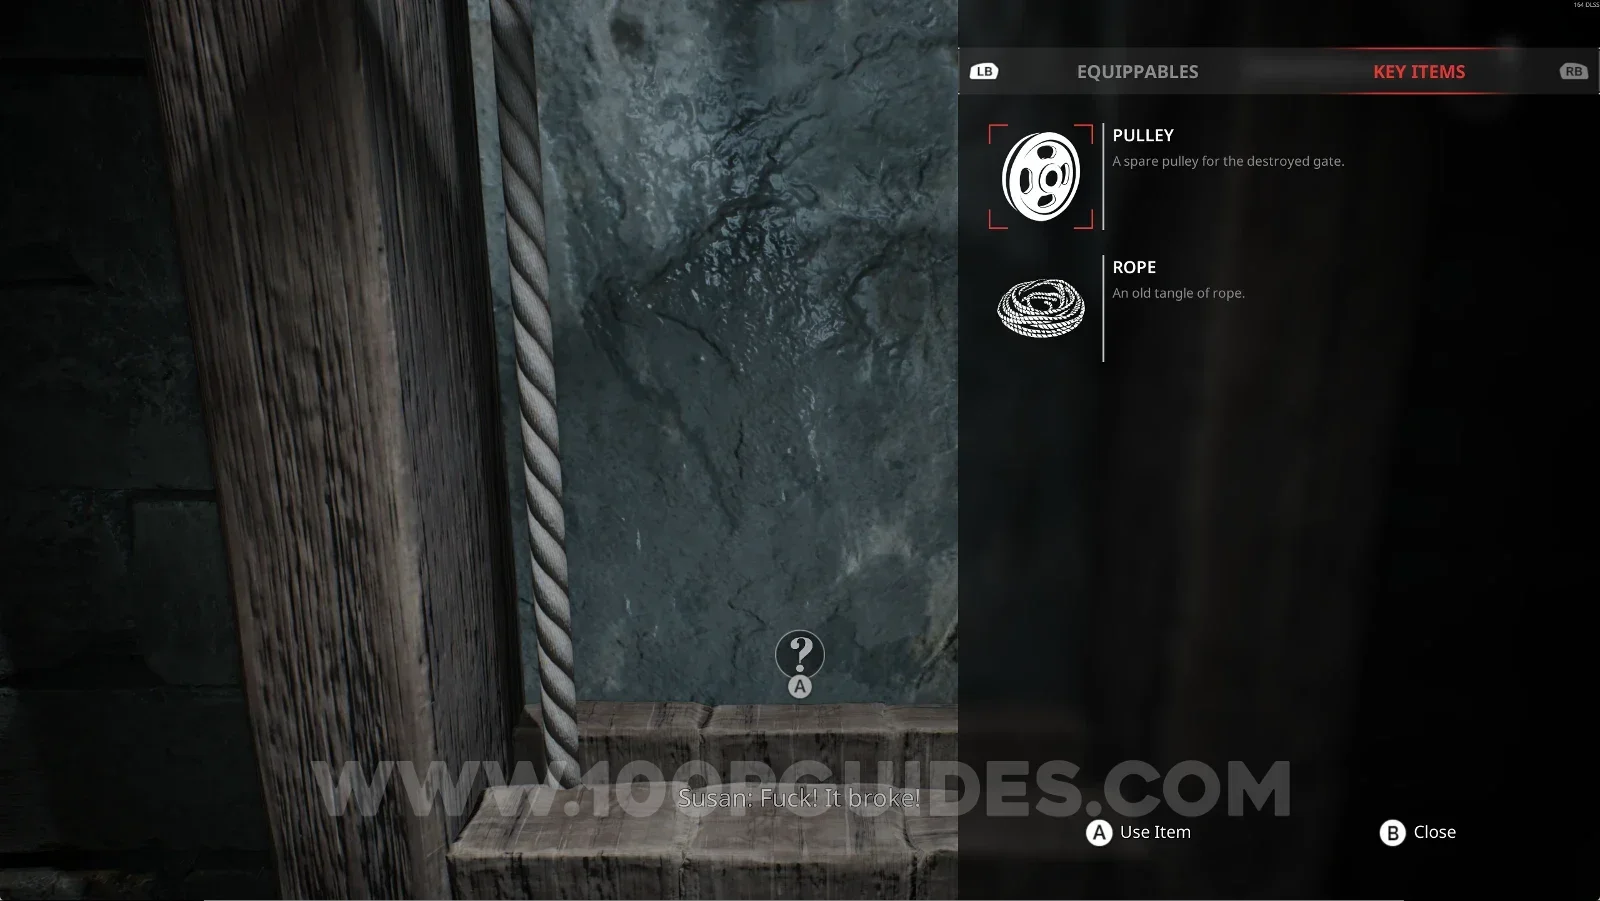
Next to the save point, head right and you'll see a gate. Use the two key items you picked up earlier.

Remothered: Red Nuns Legacy Catacombs: heading right from the save point toward the gate Remothered: Red Nuns Legacy Catacombs: the gate next to the save point Remothered: Red Nuns Legacy Catacombs: using the two key items on the gate to open it

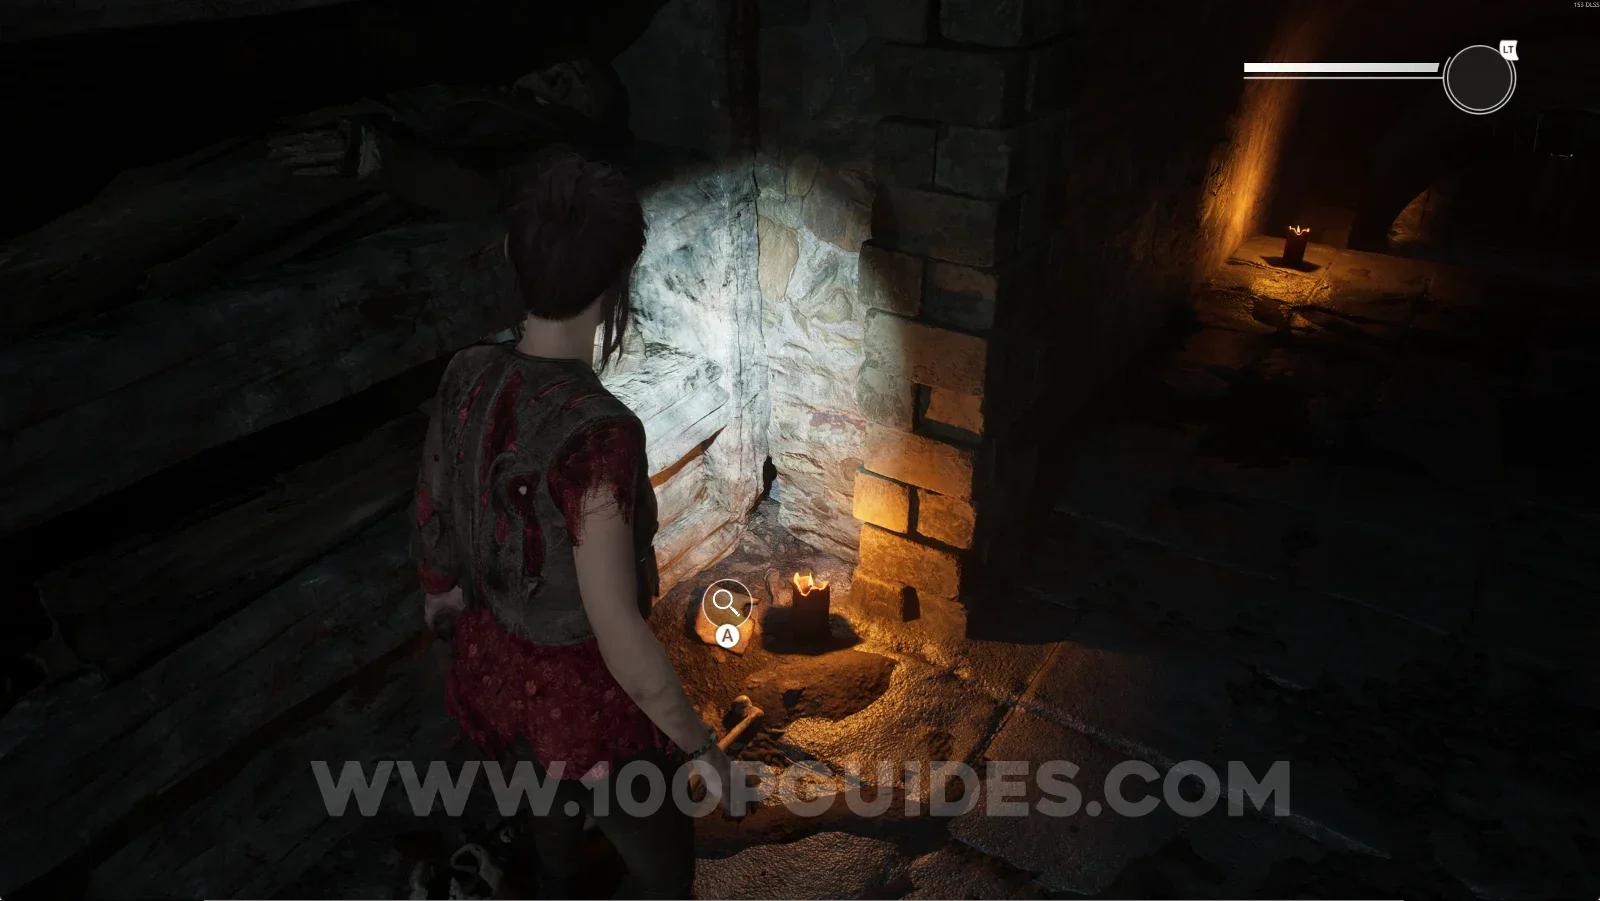
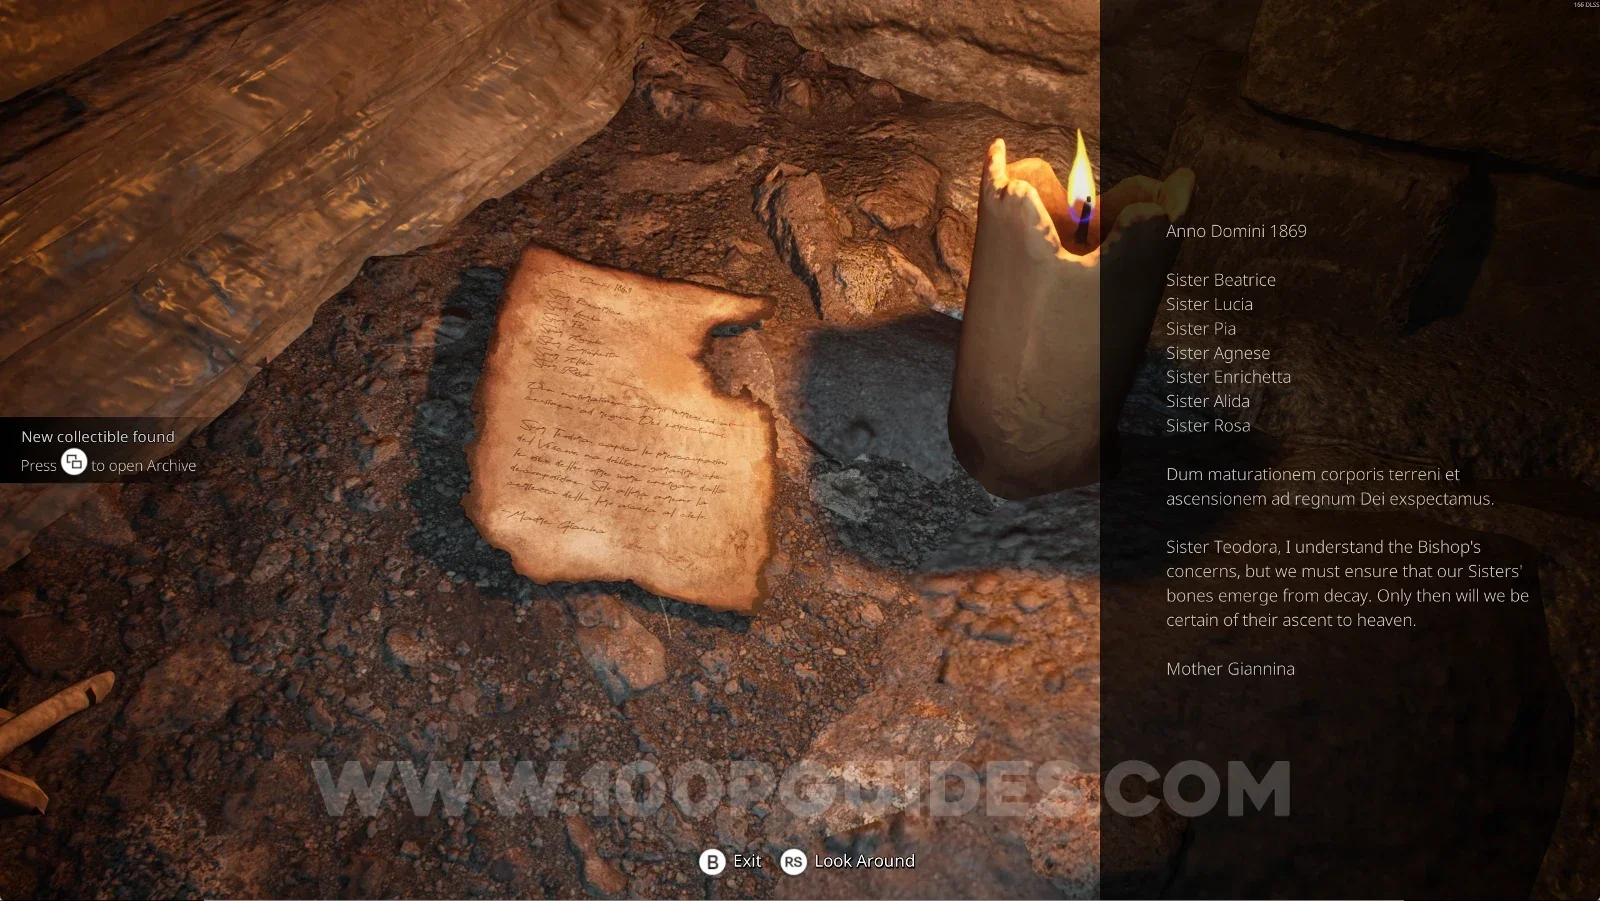
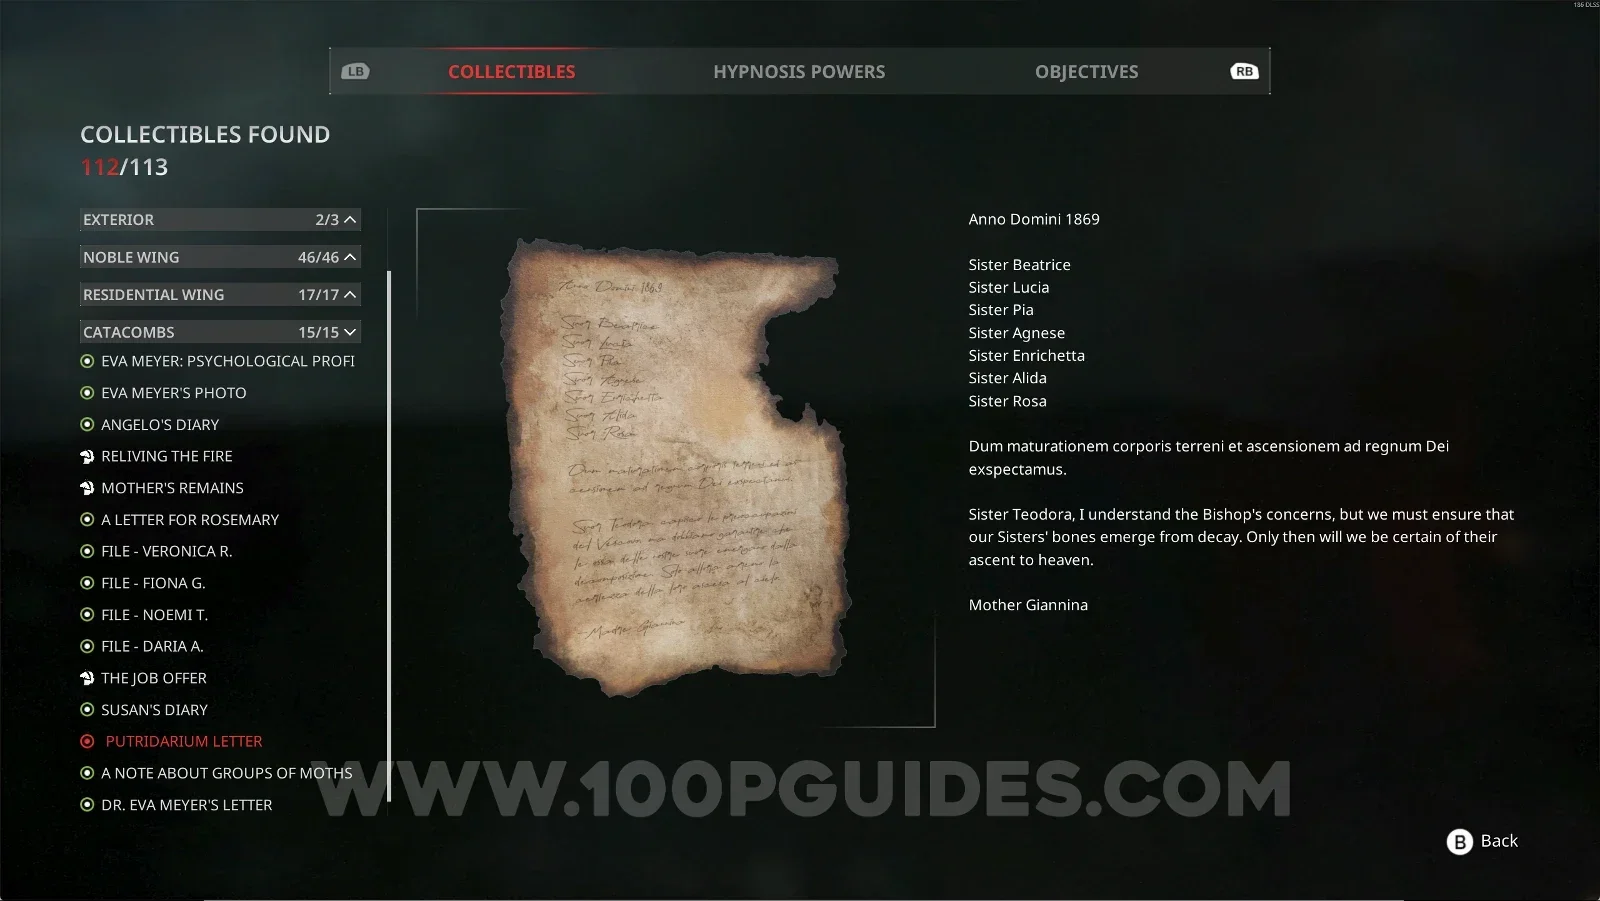
Catacombs #15: Putridarium Letter

Right after opening the previous gate and going down a flight of stairs, it will be on the left side, on the floor.

Remothered: Red Nuns Legacy Catacombs: the flight of stairs past the opened gate Remothered: Red Nuns Legacy Catacombs: the Putridarium Letter on the floor to the left Remothered: Red Nuns Legacy Catacombs #15: Putridarium Letter collectible

This was the last collectible in Remothered: Red Nun's Legacy. From this point on, we'll just guide you to the end of the game.

From the previous collectible, go down the stairs and interact with the door. After the cutscene, you'll be in a new area.

Remothered: Red Nuns Legacy Catacombs: going down the stairs to the door Remothered: Red Nuns Legacy Catacombs: interacting with the door to start the cutscene

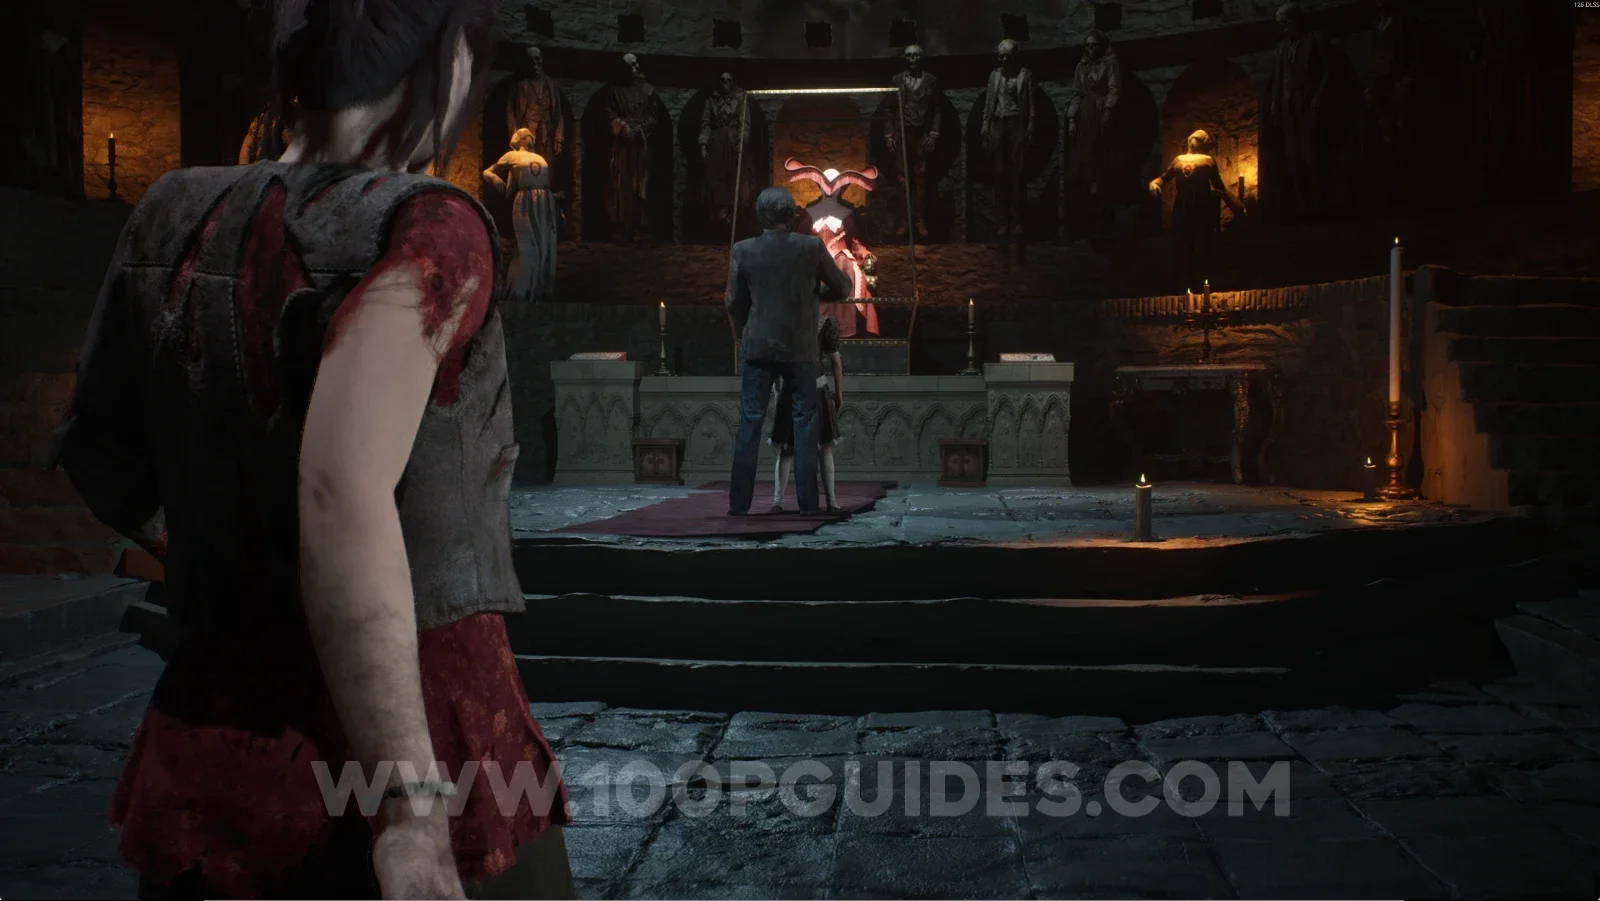
Leave through the door and go to Agata. After that, you'll turn into a Novice.

Remothered: Red Nuns Legacy: leaving through the door to go to Agata Remothered: Red Nuns Legacy: turning into a Novice after reaching Agata

Keep going forward and defeat all the enemies to continue.

Remothered: Red Nuns Legacy: moving forward as a Novice to defeat all the enemies

Some enemies will hide from you. The first one will be through the door on the right, inside the wardrobe.

Remothered: Red Nuns Legacy: the door on the right leading to the first hidden enemy Remothered: Red Nuns Legacy: the first hidden enemy inside the wardrobe

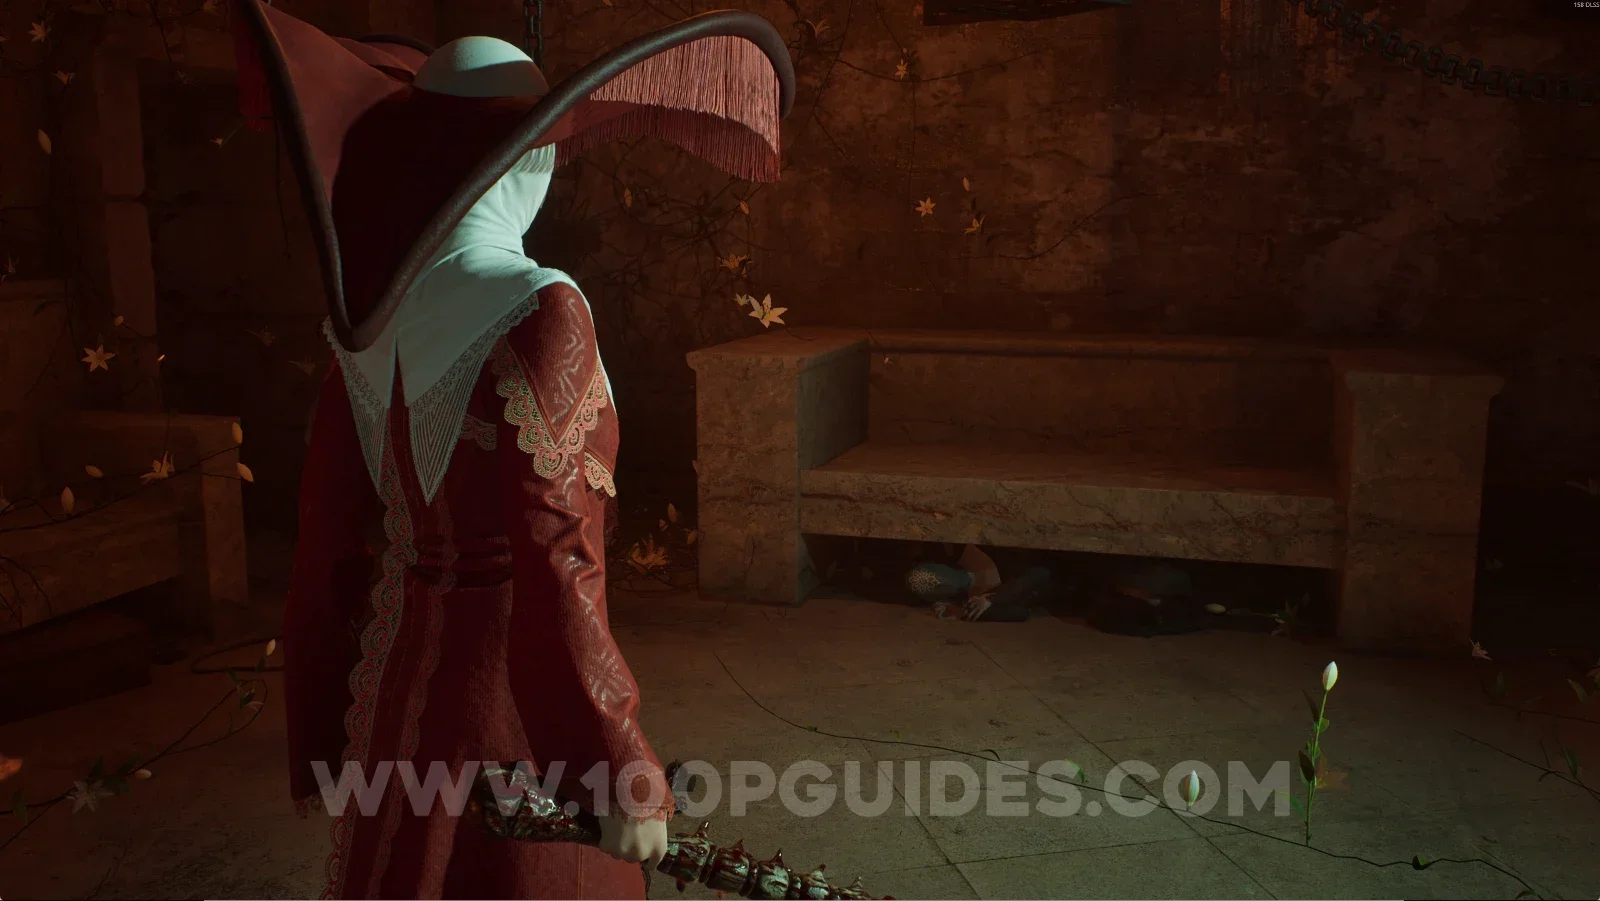
Enter the back room on the right. It will be under a bench.

Remothered: Red Nuns Legacy: the back room on the right with the bench Remothered: Red Nuns Legacy: the hidden enemy under the bench in the back room

Go up the stairs and it will be directly in front of you.
Remothered: Red Nuns Legacy: going up the stairs to find the next hidden enemy Remothered: Red Nuns Legacy: the hidden enemy directly in front at the top of the stairs

After defeating the enemies, a door will open. Go through it, and after the cutscene, keep going forward and interact with Angelo.
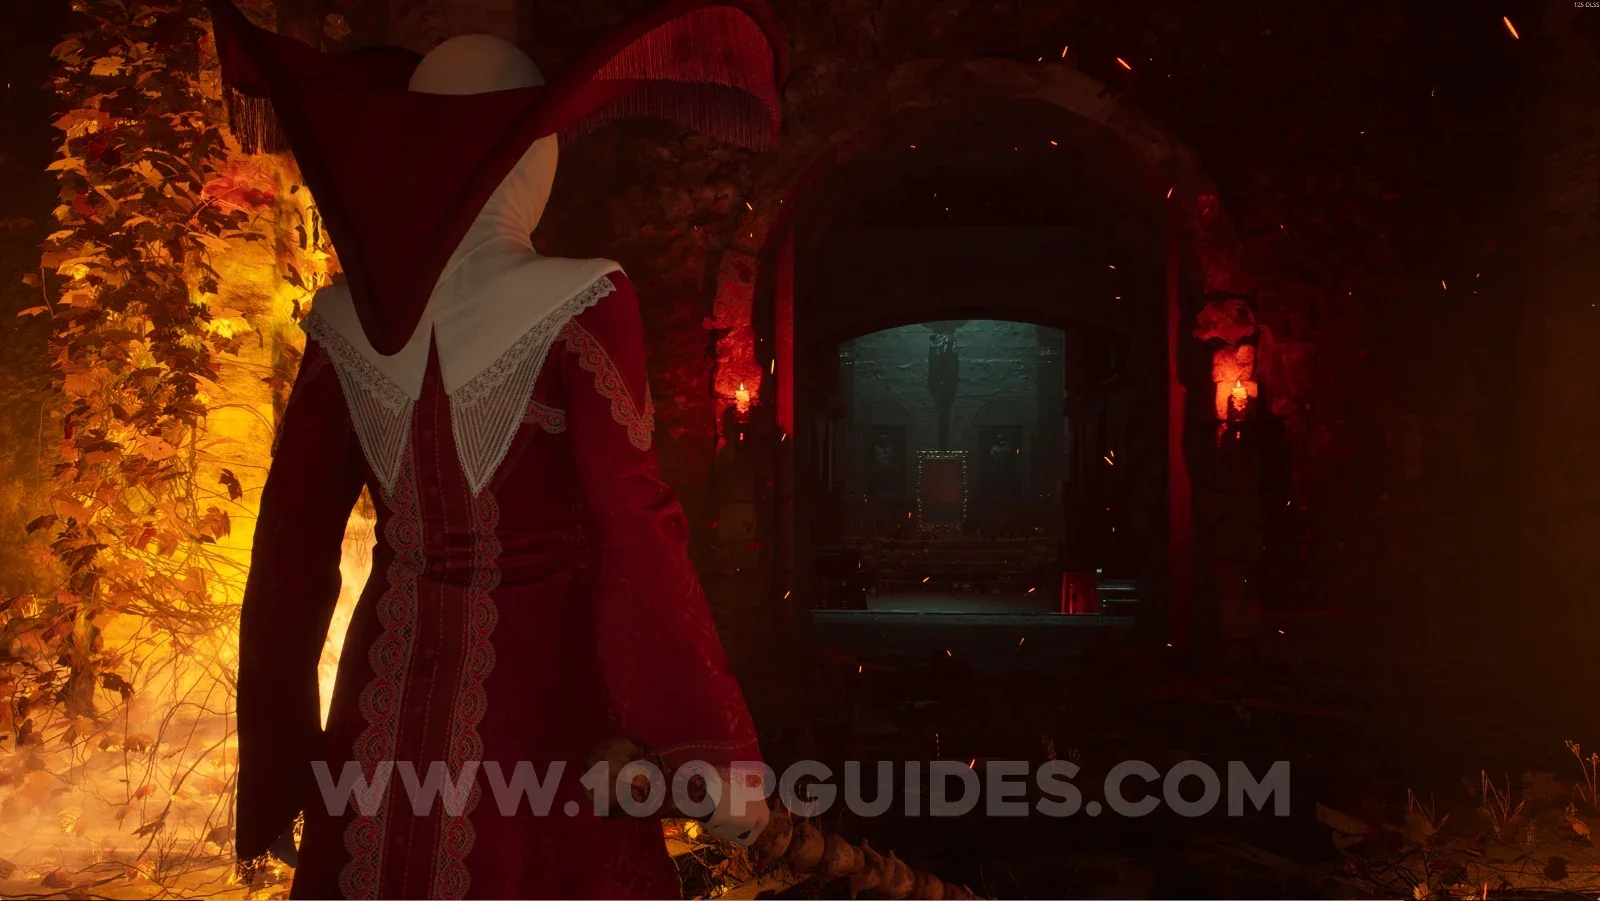
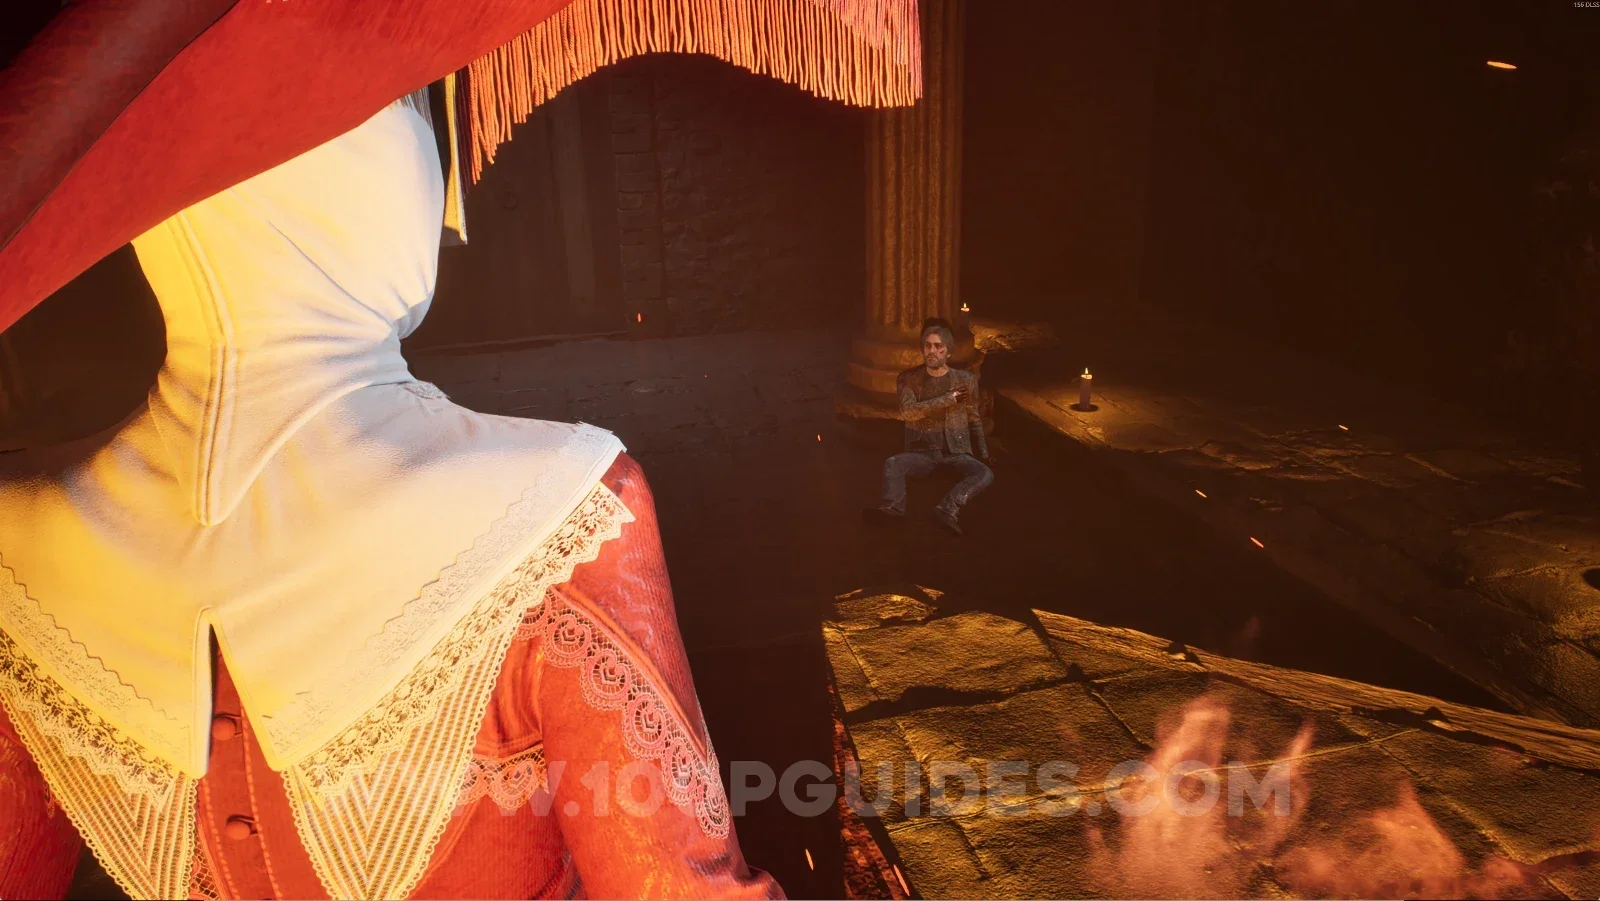
Remothered: Red Nuns Legacy: the door that opens after defeating all the enemies Remothered: Red Nuns Legacy: interacting with Angelo after the cutscene

Congratulations! You've finished the story of Remothered: Red Nun's Legacy.

Next
Next

Castlevania: Belmont’s Curse All Buff Locations (Blue and Red Books)