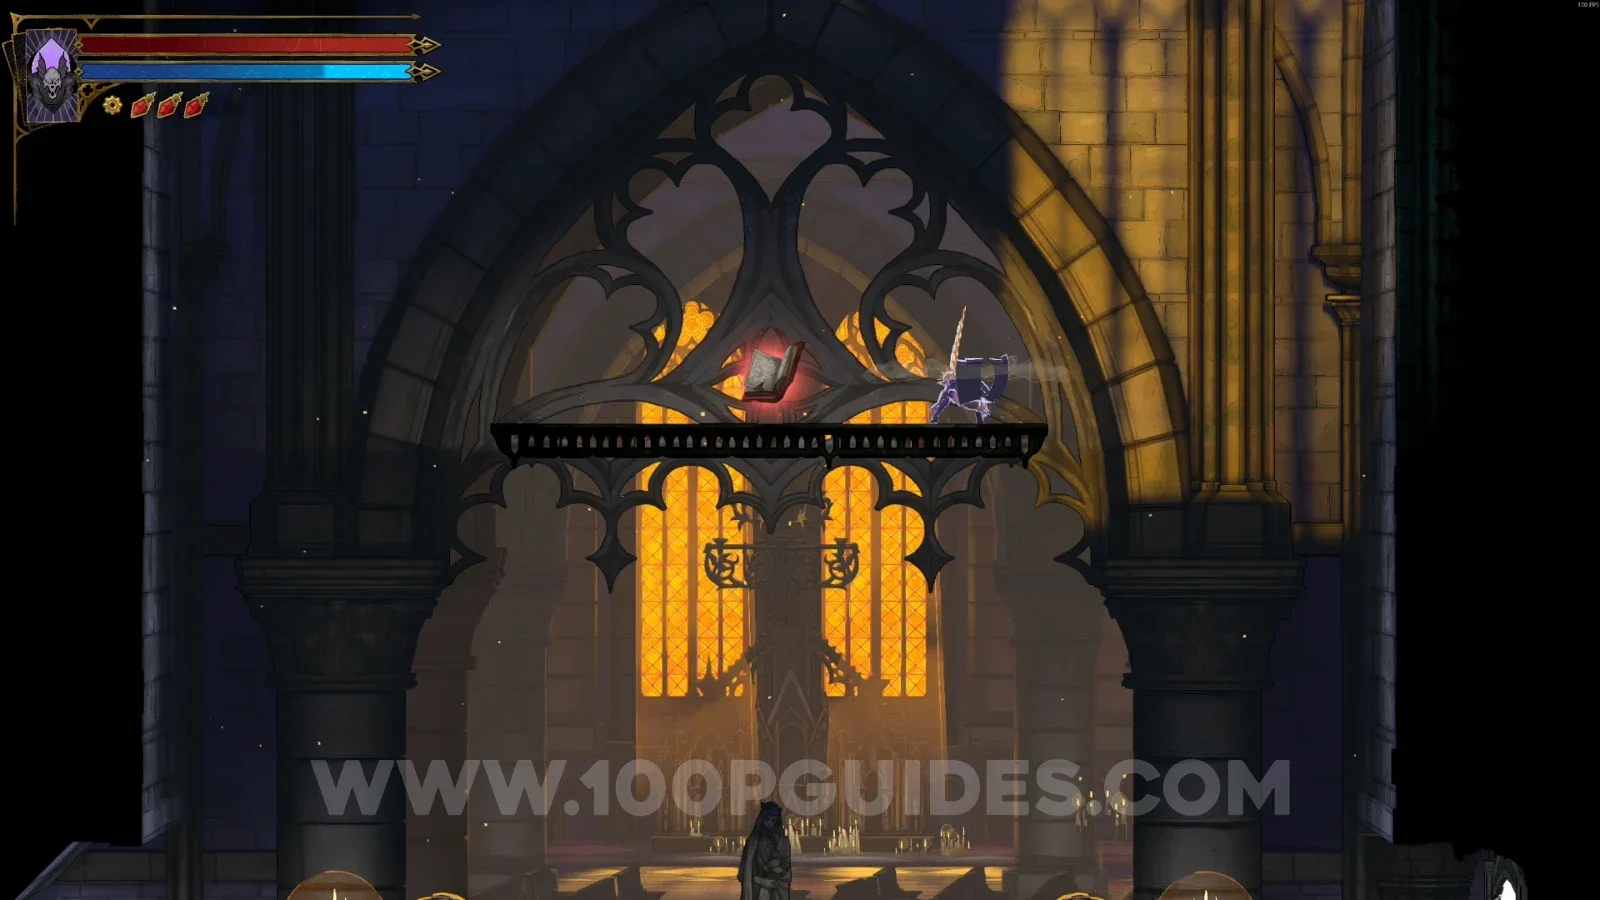
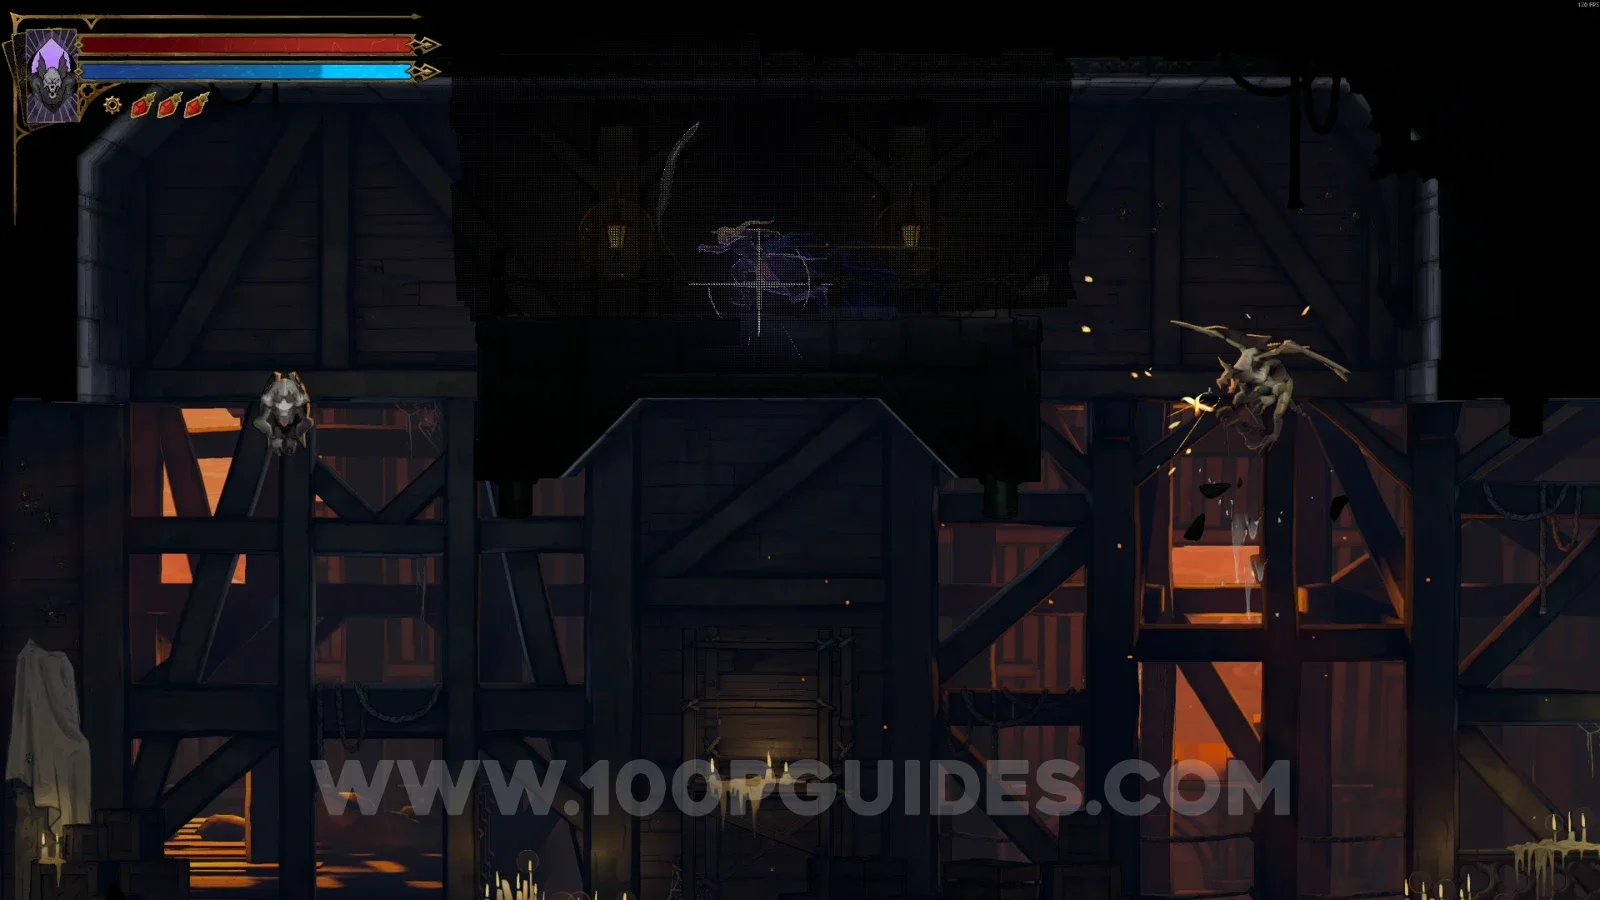
Castlevania: Belmont’s Curse All Buff Locations (Blue and Red Books)

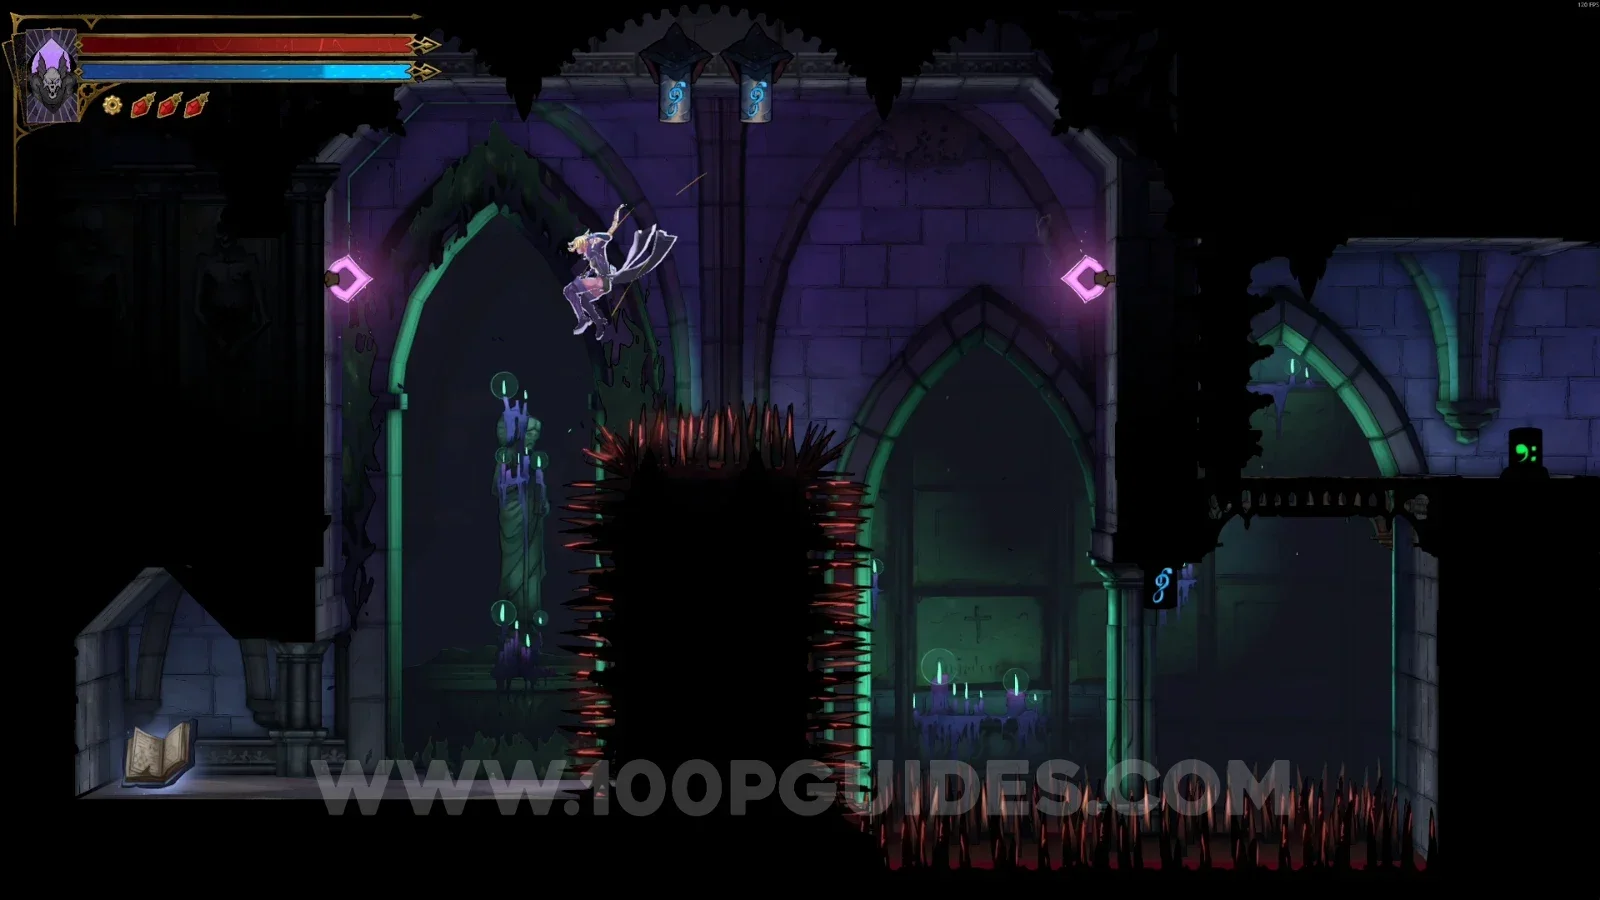
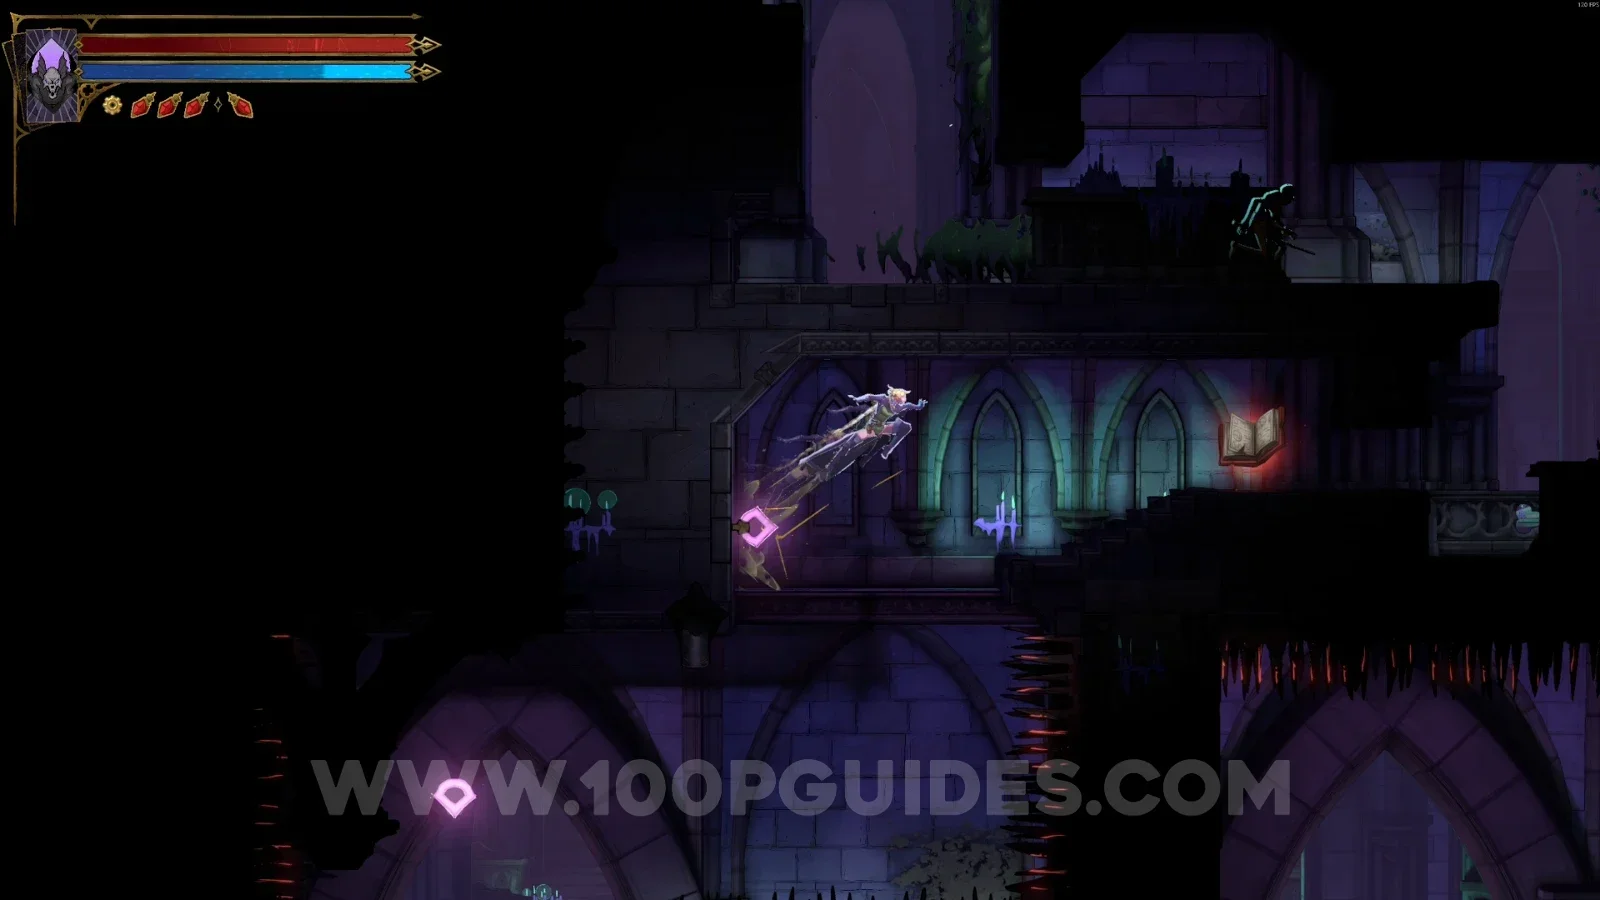
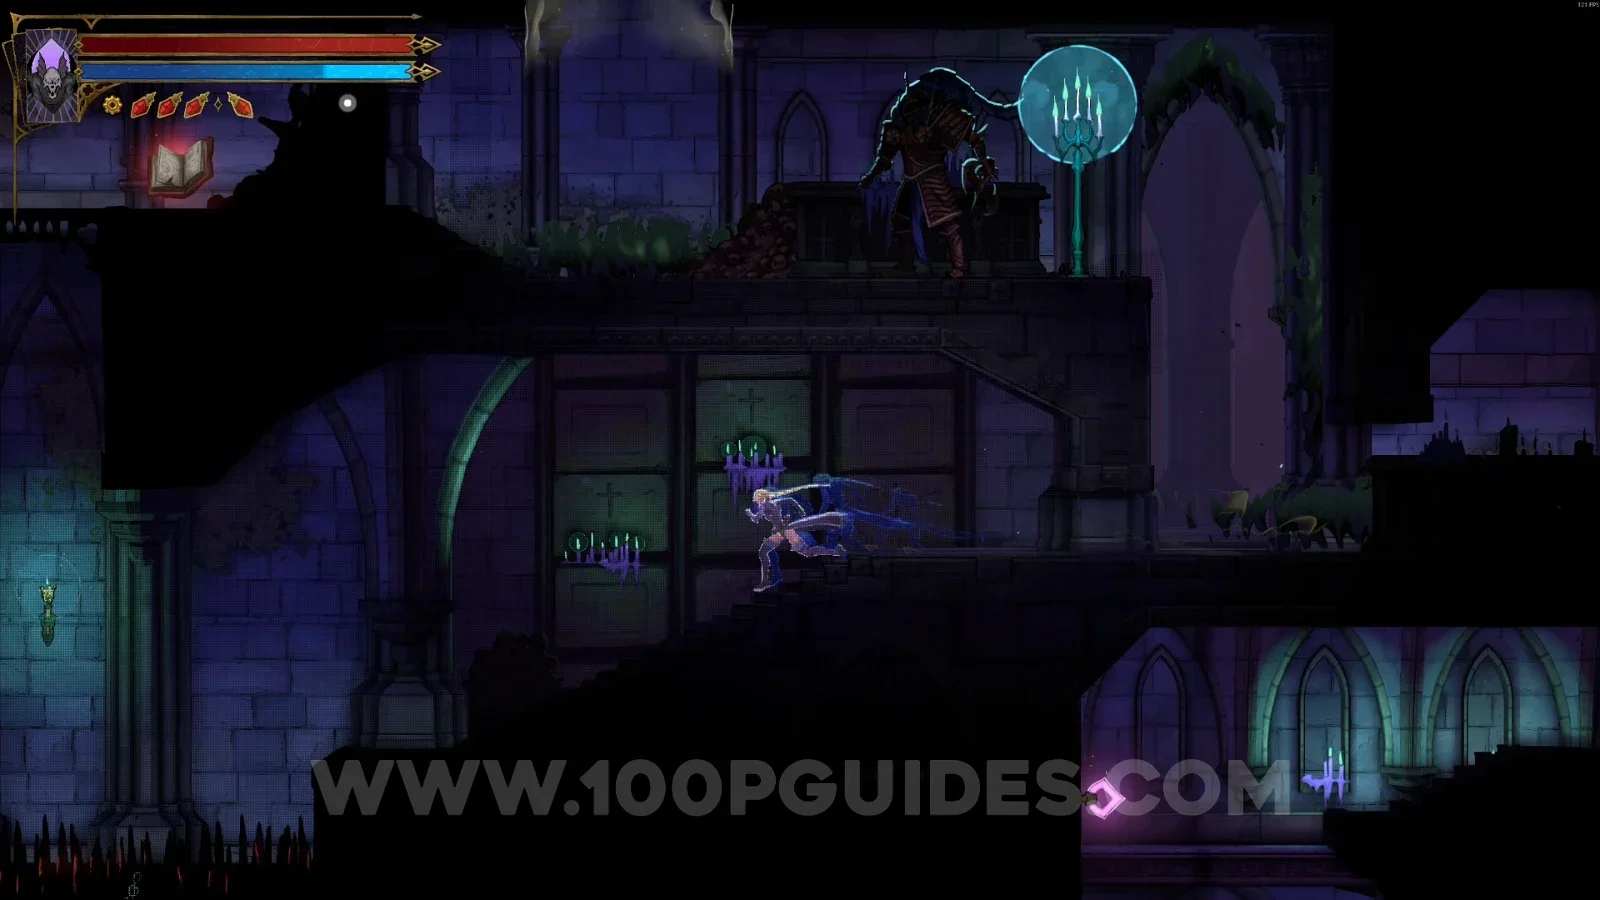
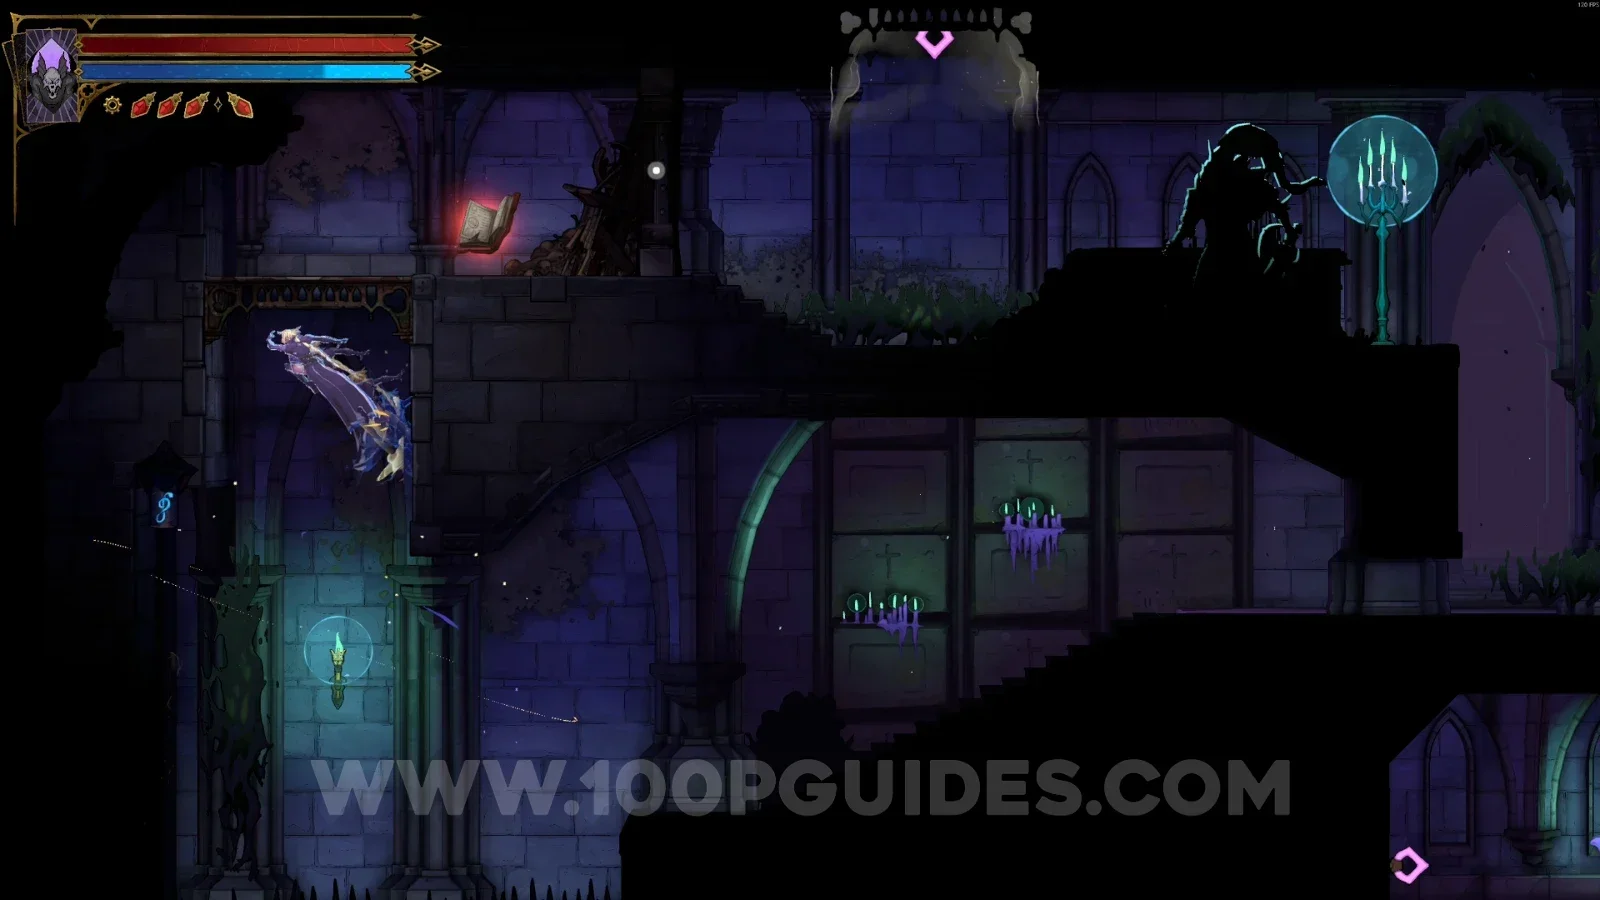
This guide will show you the location of all Buffs in Castlevania: Belmont's Curse.

Collecting all the Red Books and Blue Books is required for 100% completion of the game.

Paris Streets

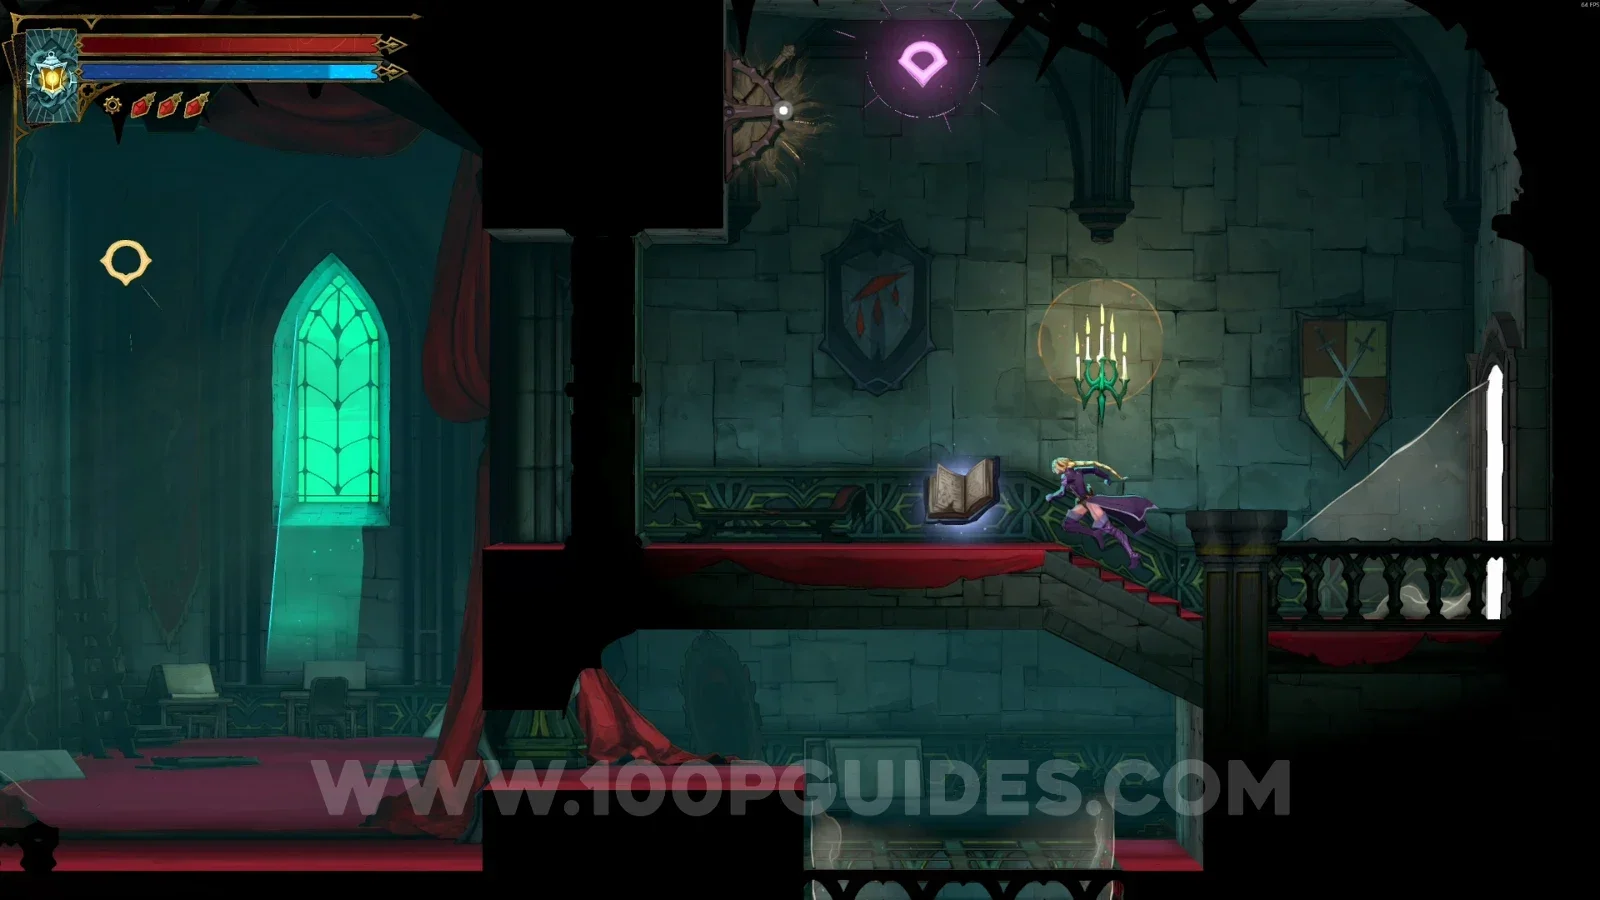
Ruined Market

Blue Book #1

In the area marked on the map.
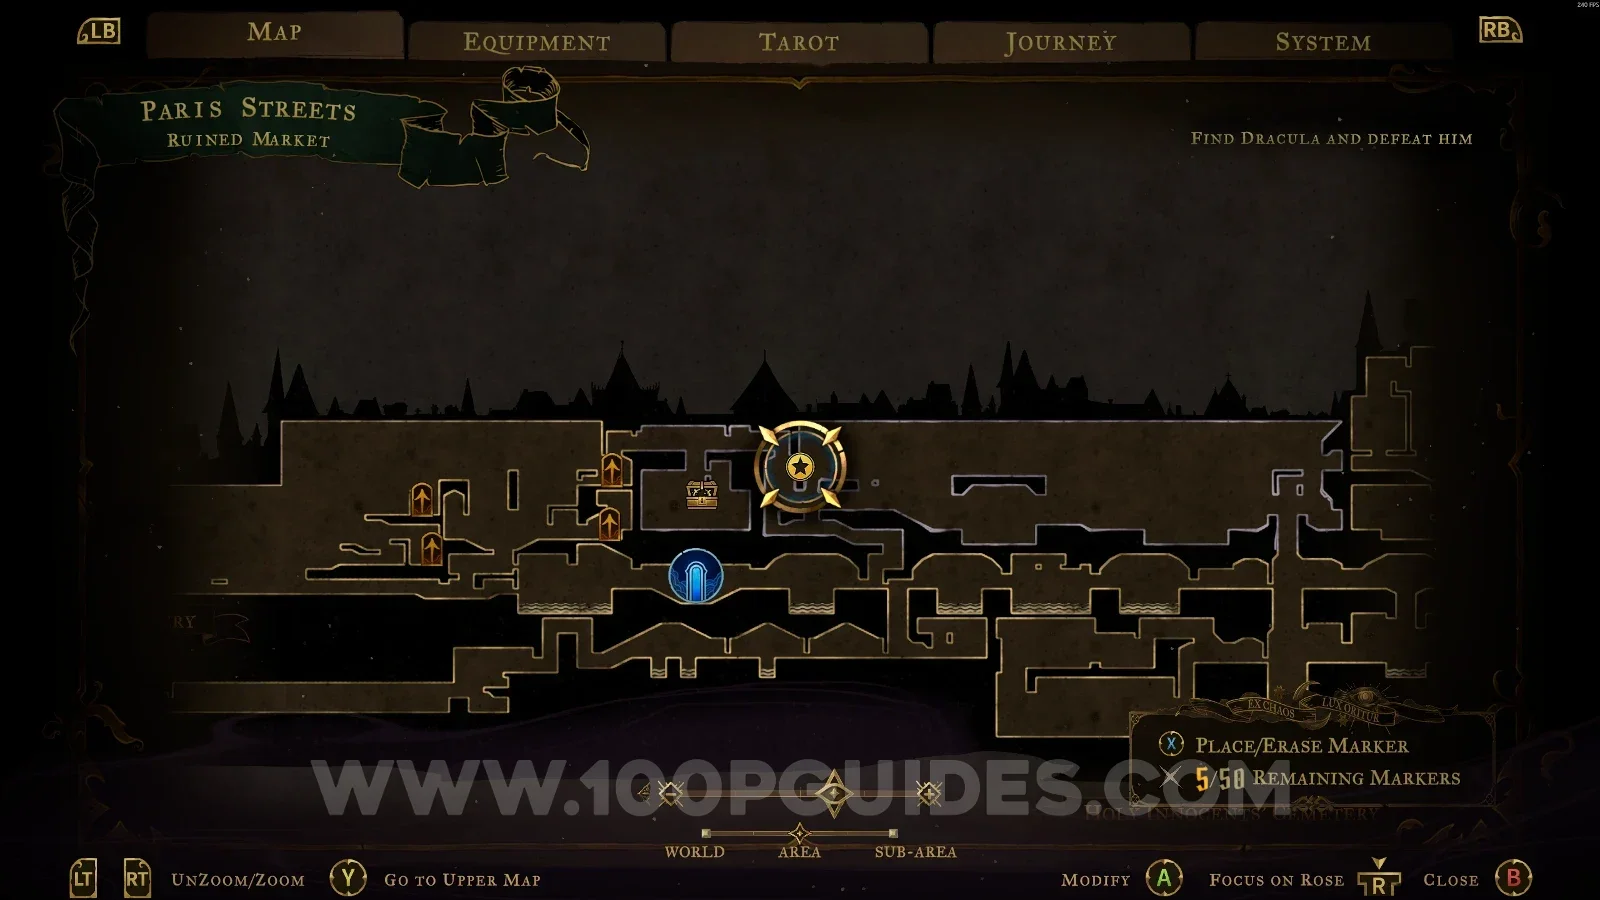
Castlevania Belmonts Curse Ruined Market: map marking the area of Blue Book #1 Castlevania Belmonts Curse Ruined Market: Blue Book #1 buff in the marked area

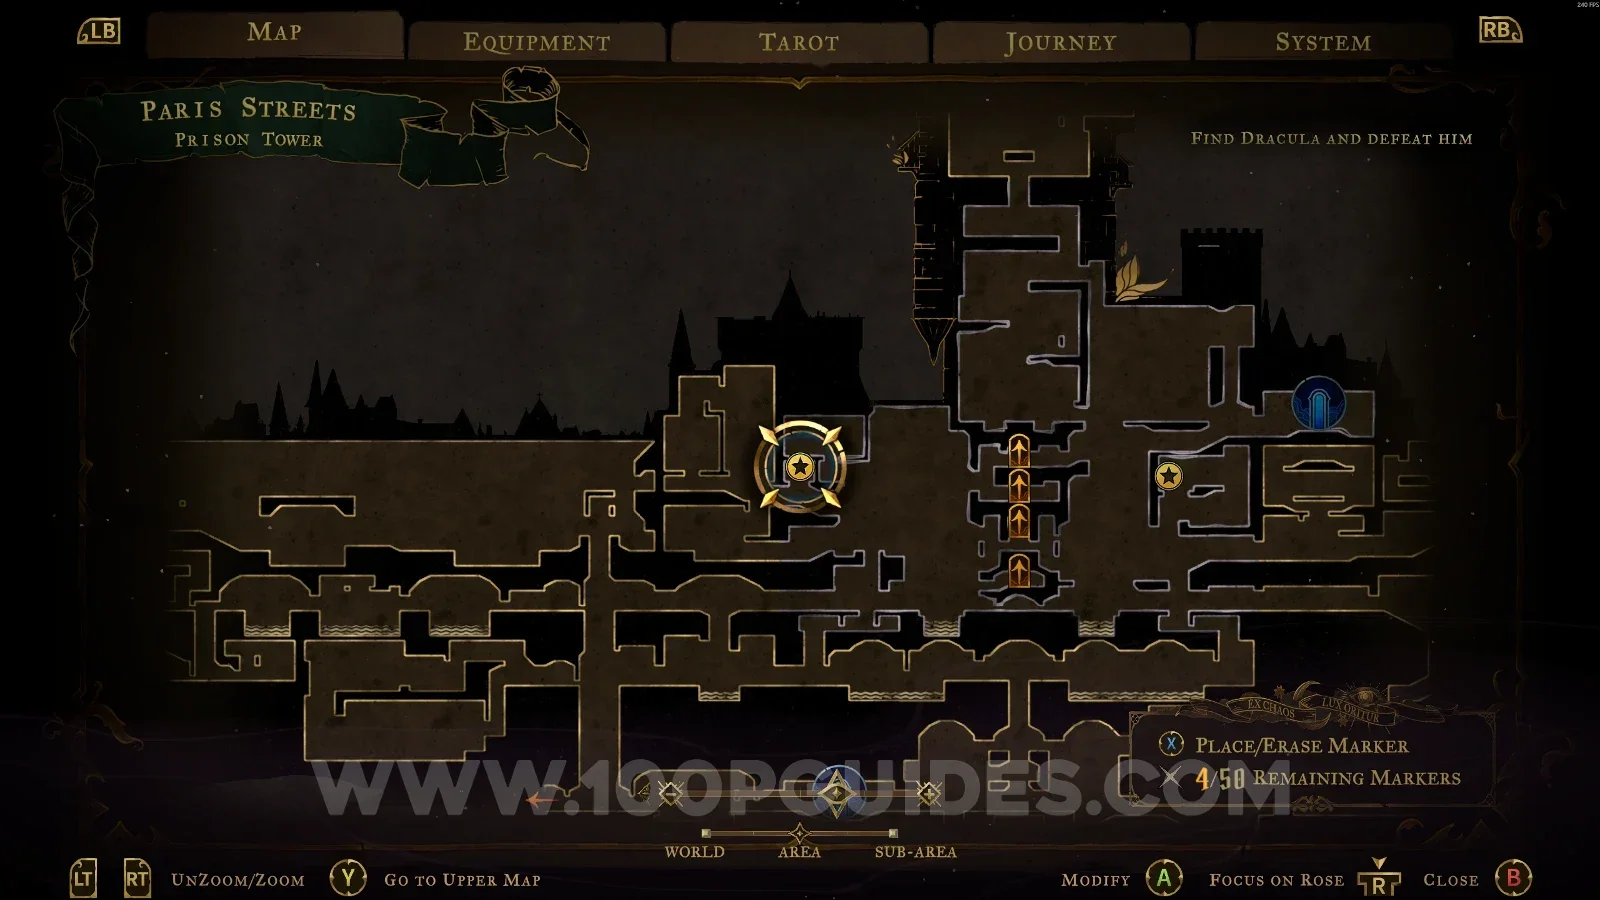
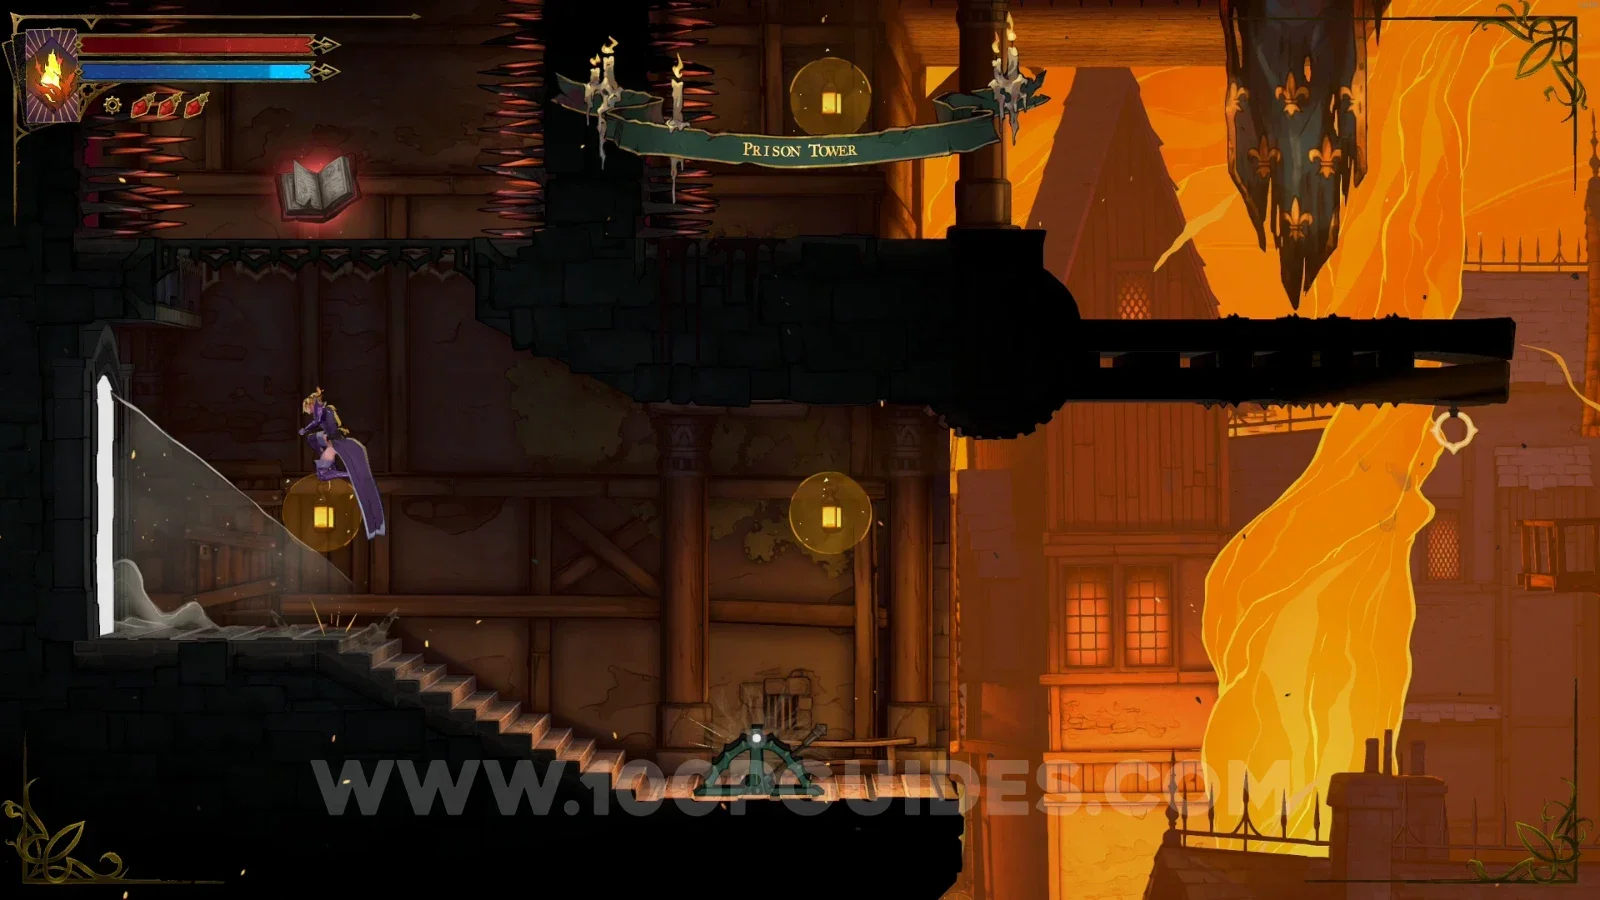
Prison Tower

Red Book #1

In the area marked on the map.
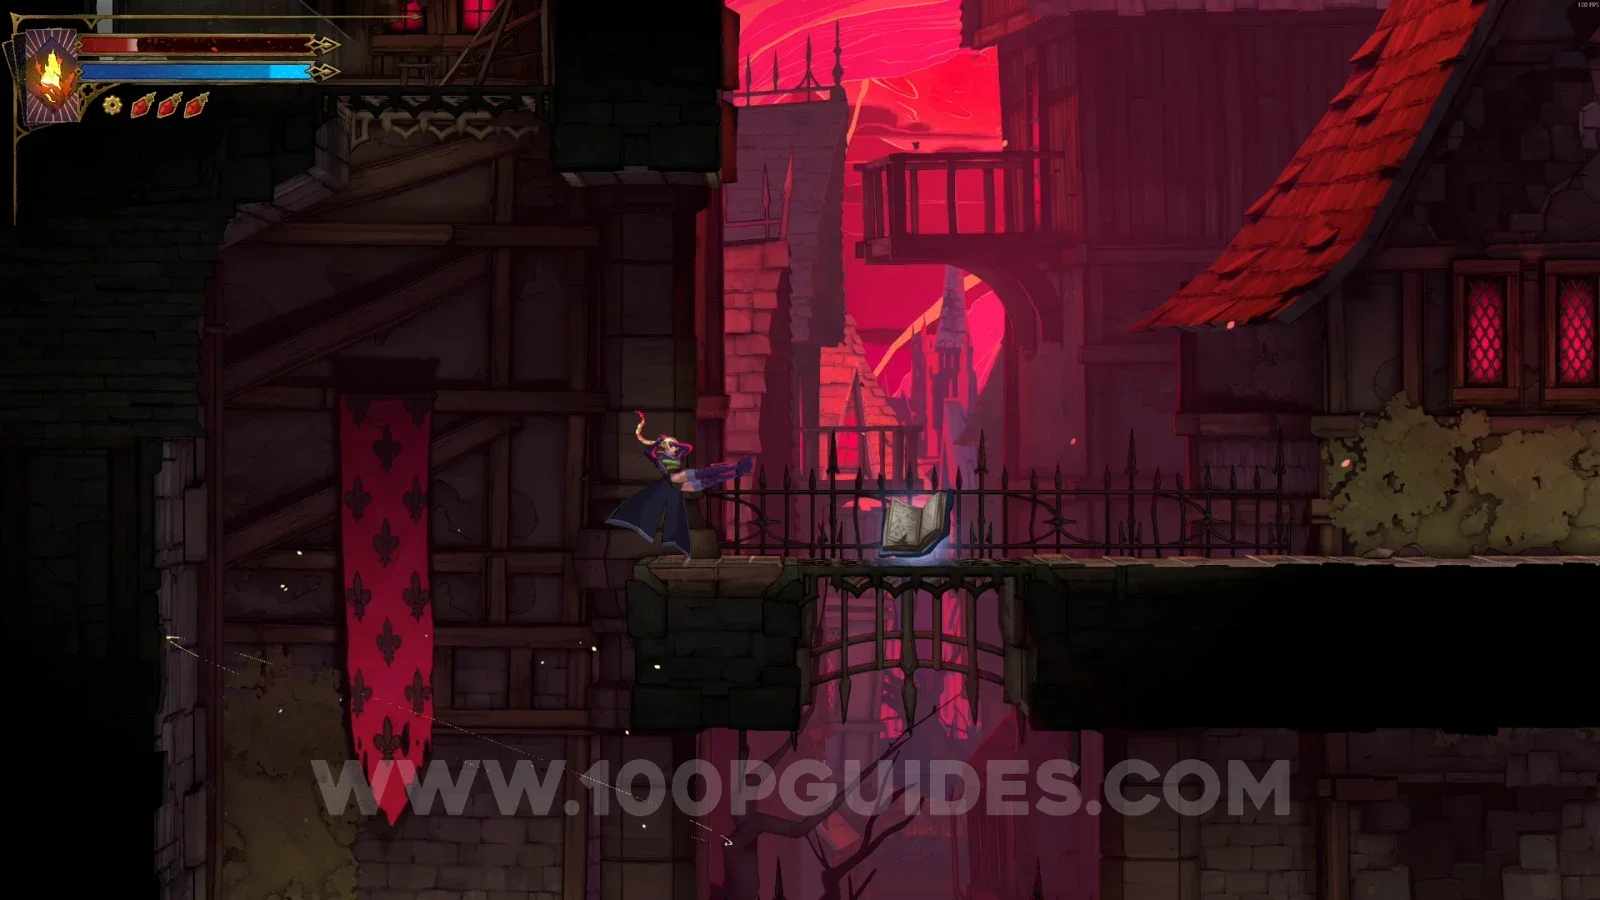
Castlevania Belmonts Curse Prison Tower: map marking the area of Red Book #1 Castlevania Belmonts Curse Prison Tower: Red Book #1 buff in the marked area

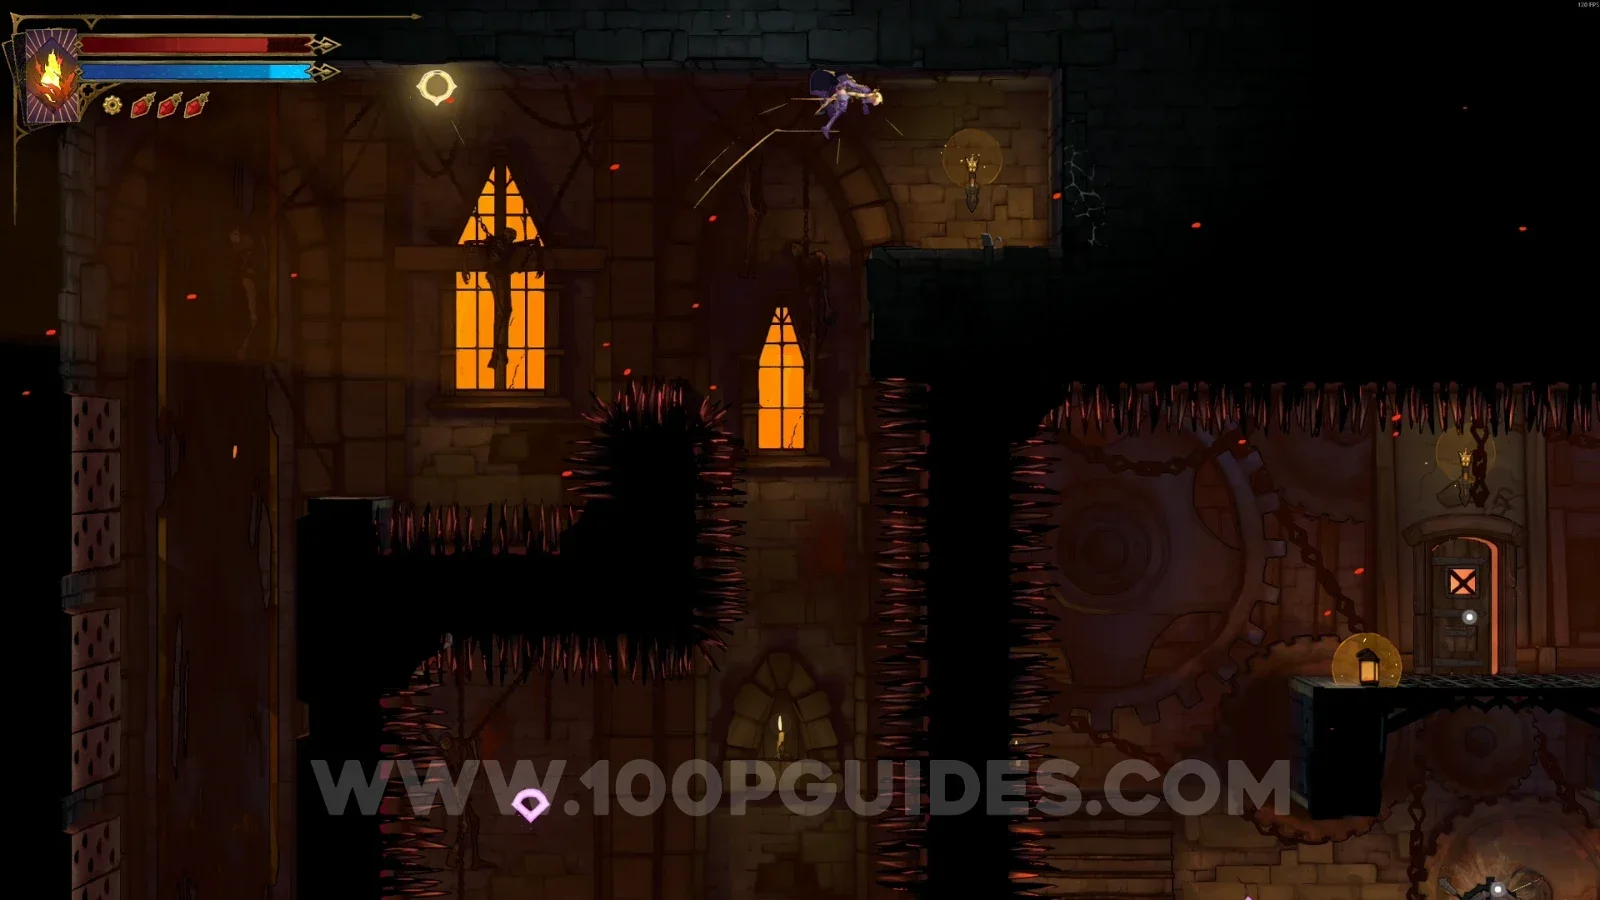
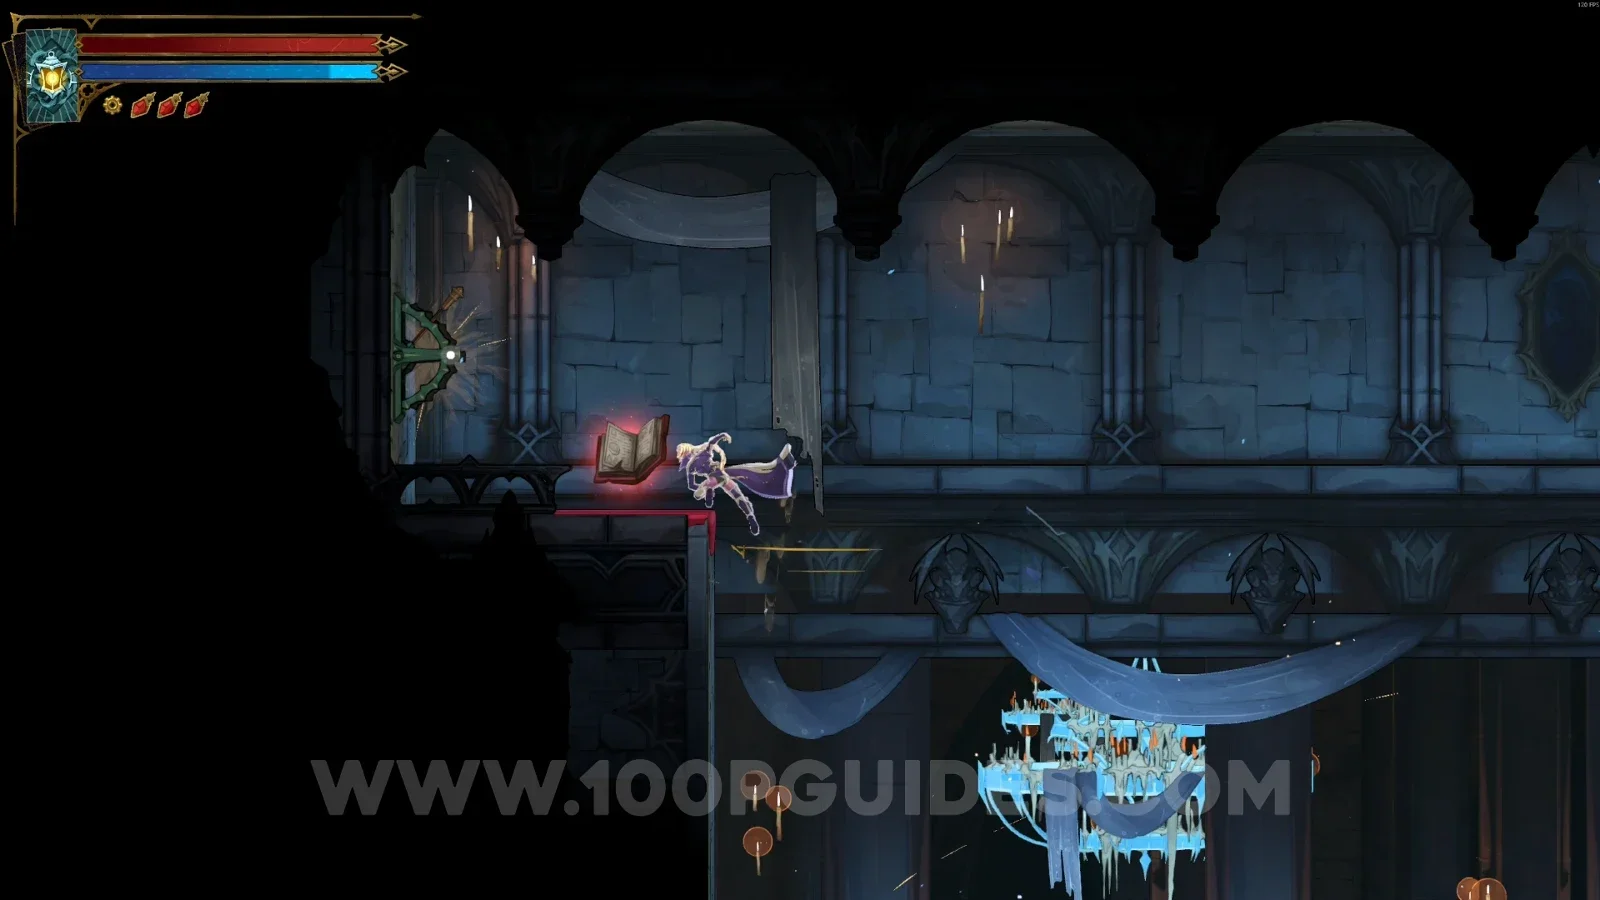
Upper Tower

Blue Book #2

In the marked area, you need to break the wall on the right side at the top of the area.
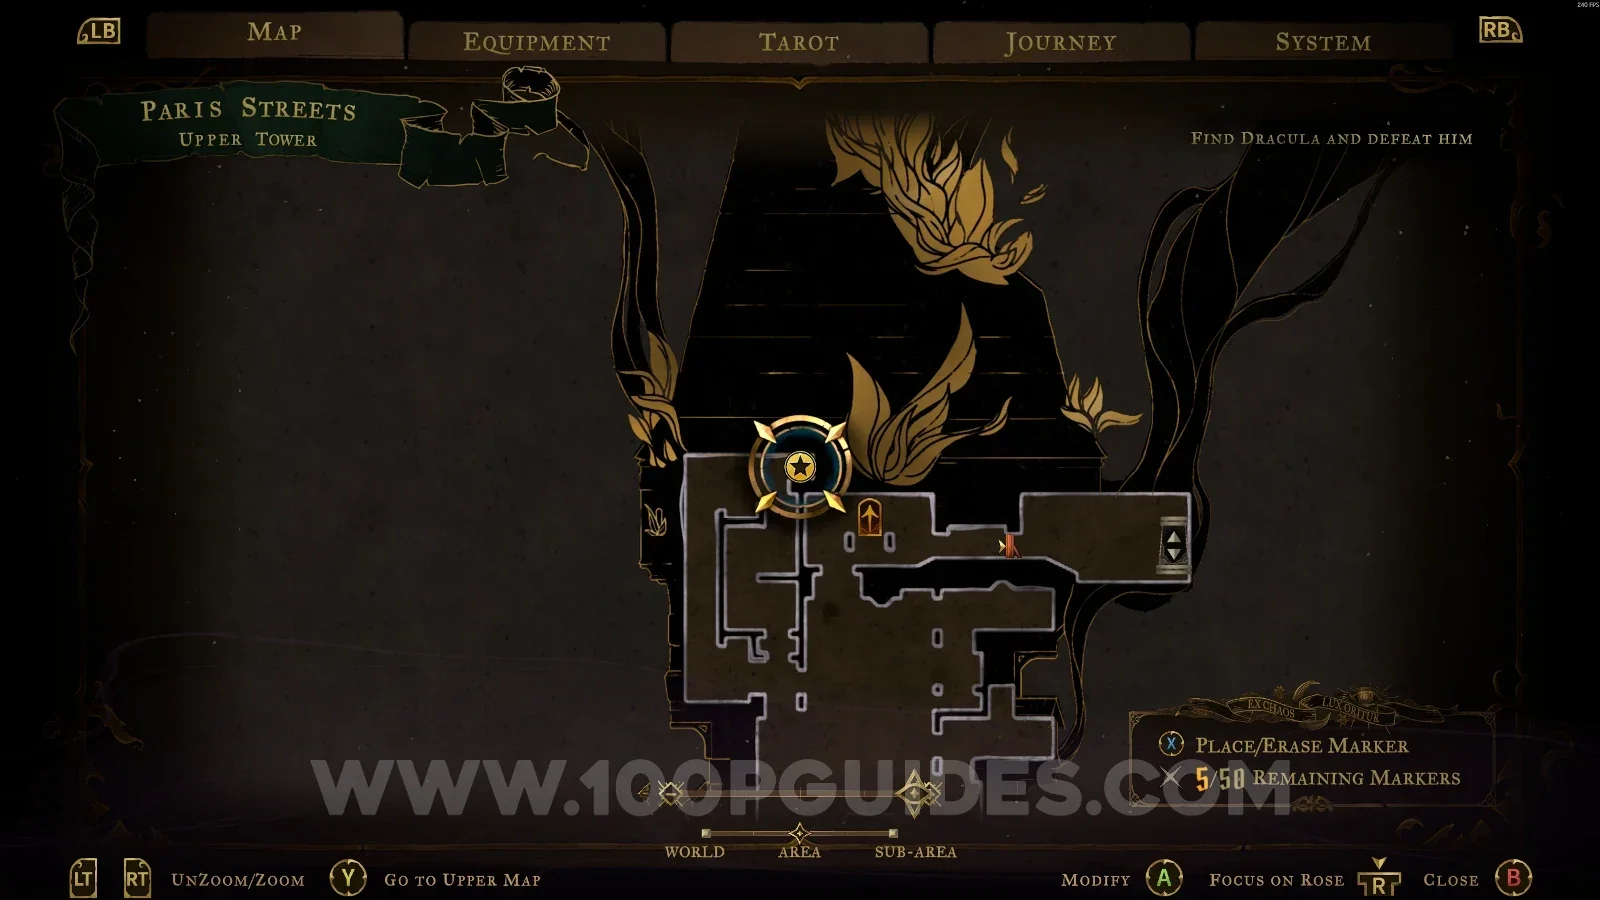
Castlevania Belmonts Curse Upper Tower: map marking the area of Blue Book #2 Castlevania Belmonts Curse Upper Tower: Blue Book #2 behind the breakable wall on the right side at the top

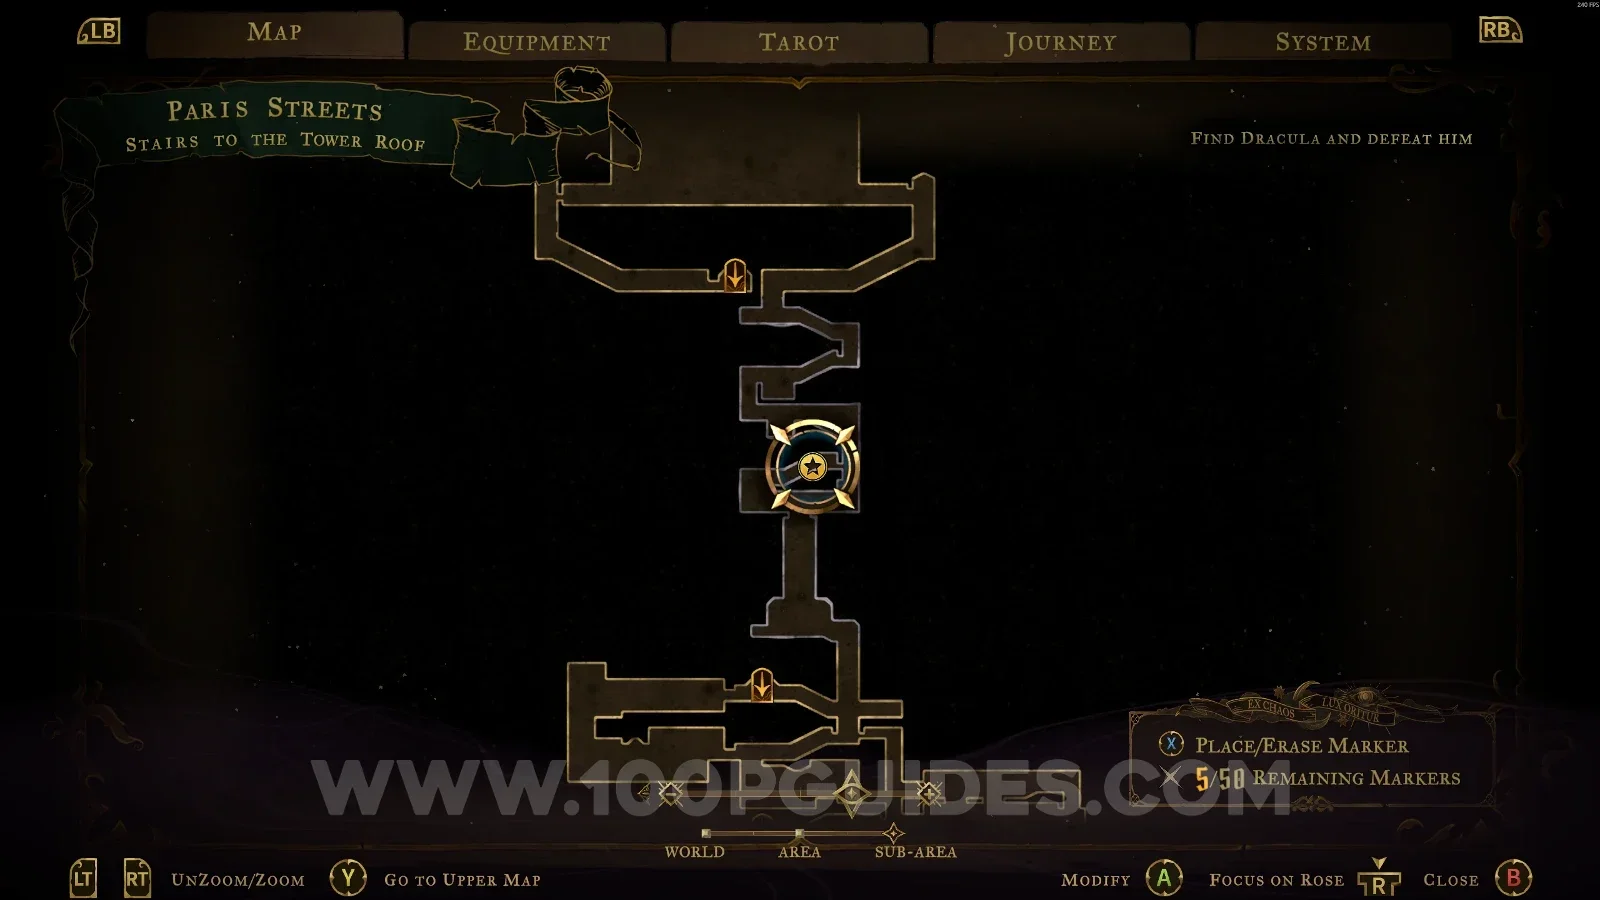
Roof Of Tower

Red Book #2

After defeating Joan, use the slide on the left side of the area marked on the map.
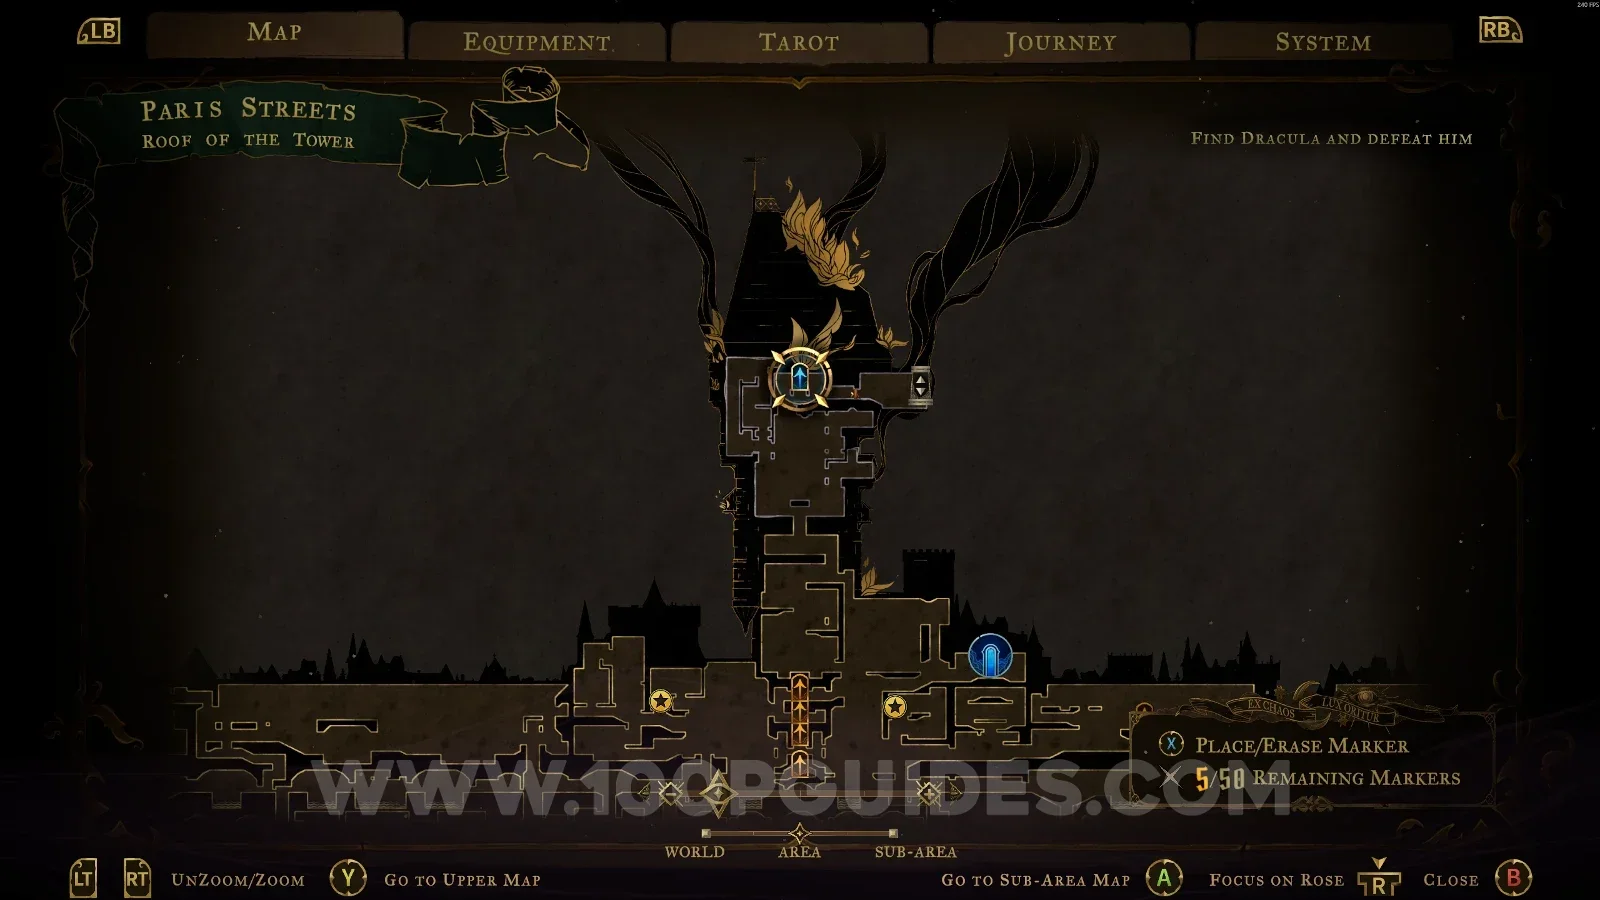
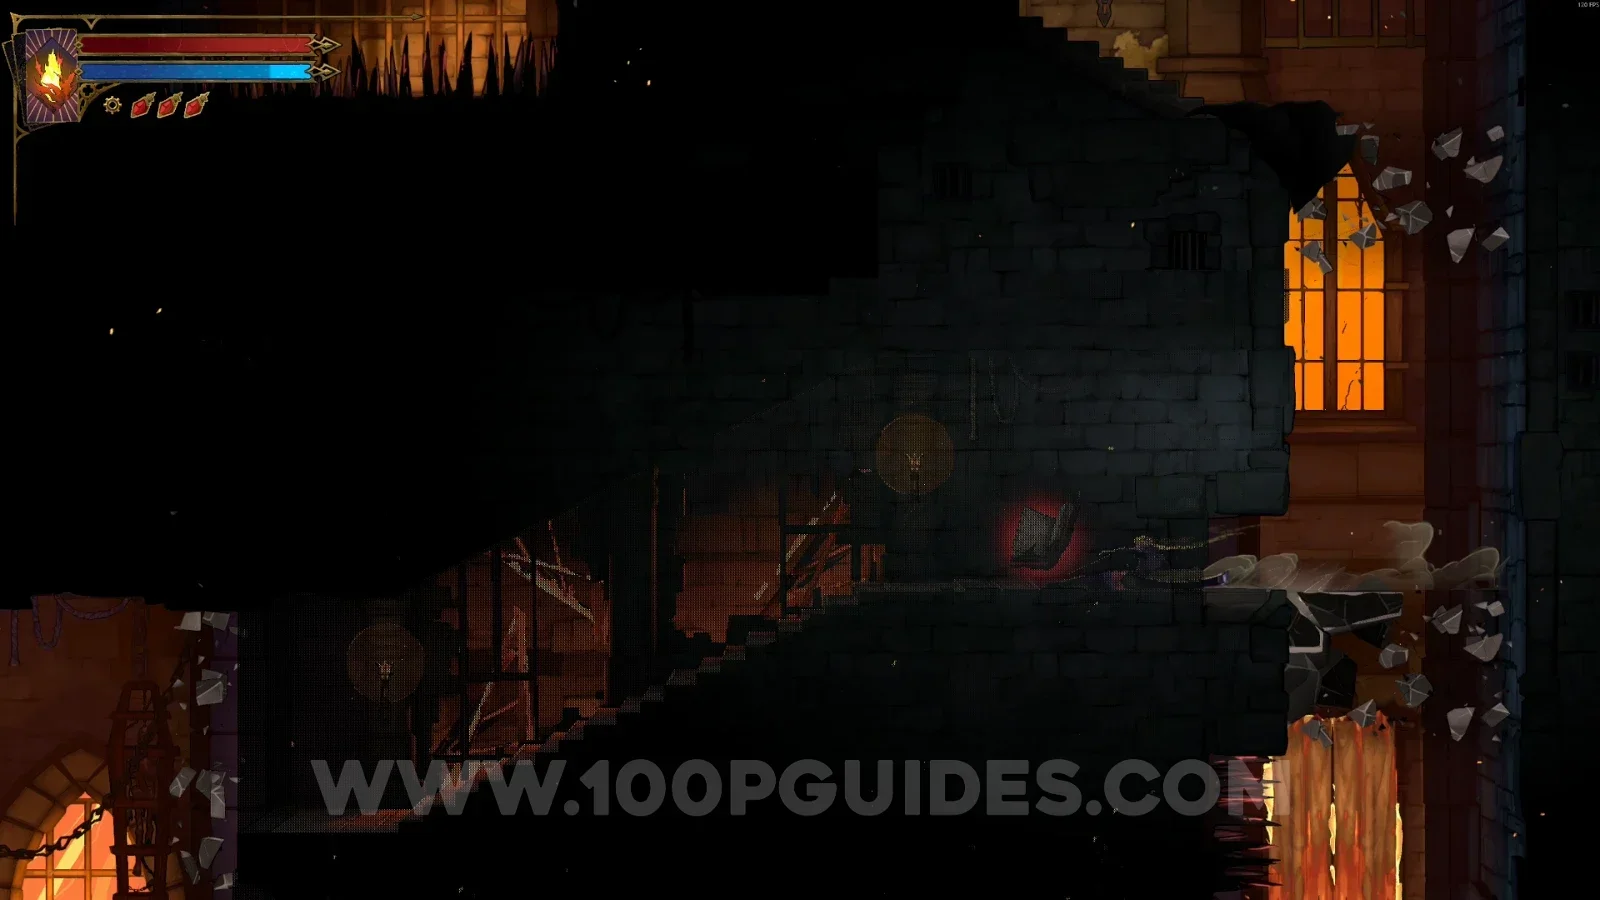
Castlevania Belmonts Curse Roof Of Tower: map marking the area of Red Book #2 Castlevania Belmonts Curse Roof Of Tower: using the slide on the left side after defeating Joan Castlevania Belmonts Curse Roof Of Tower: Red Book #2 reached through the slide on the left side

Sewer Reservoir

Red Book #3

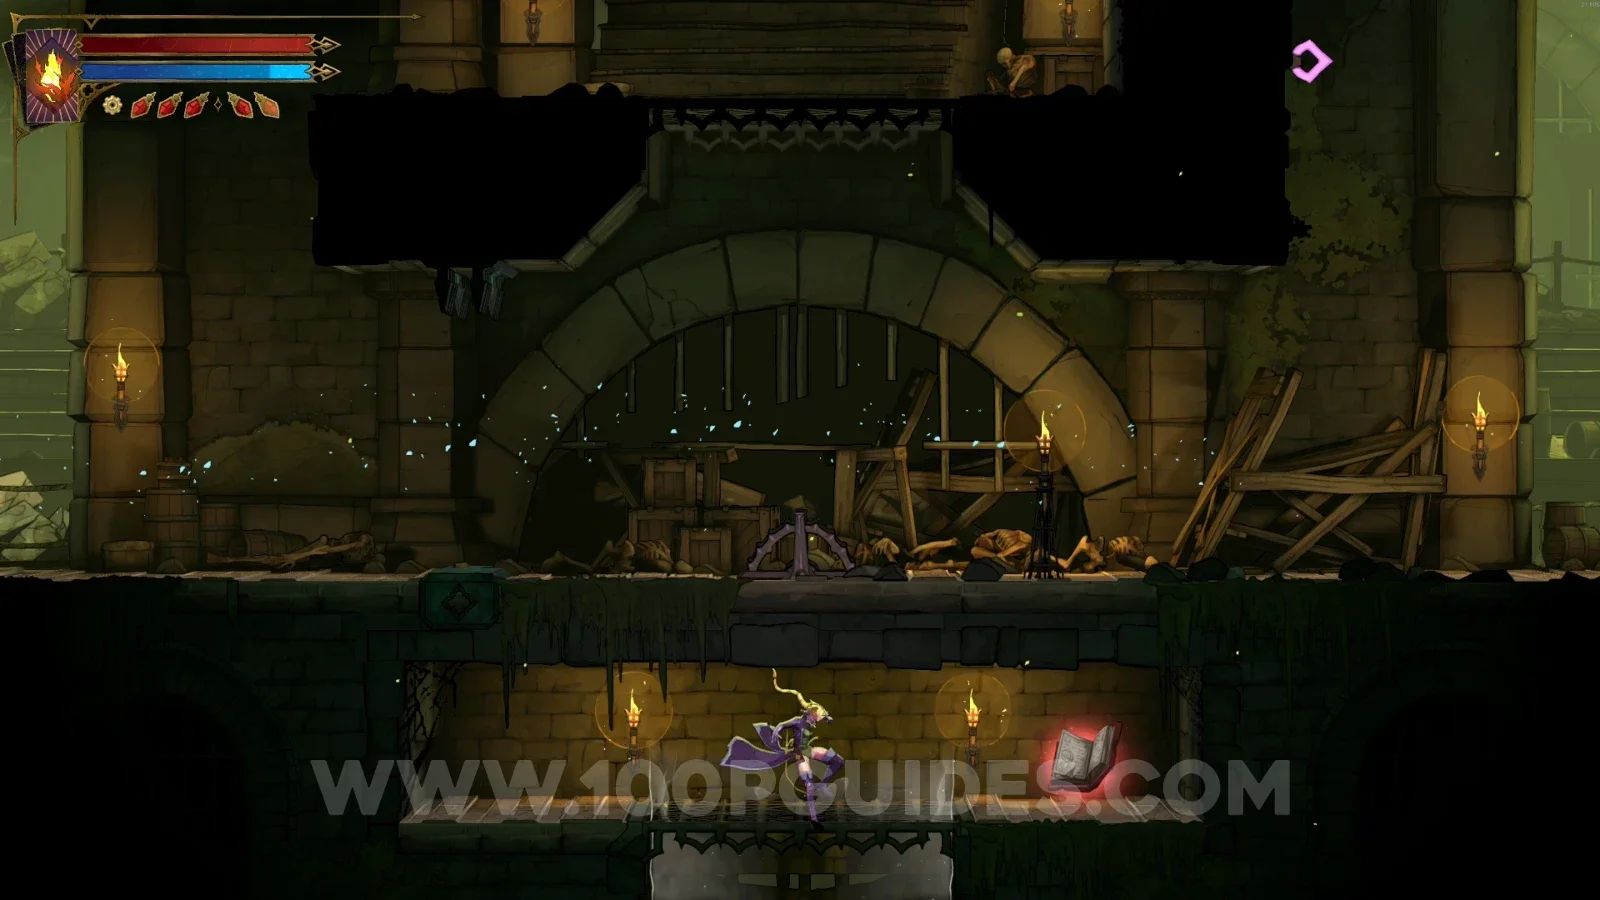
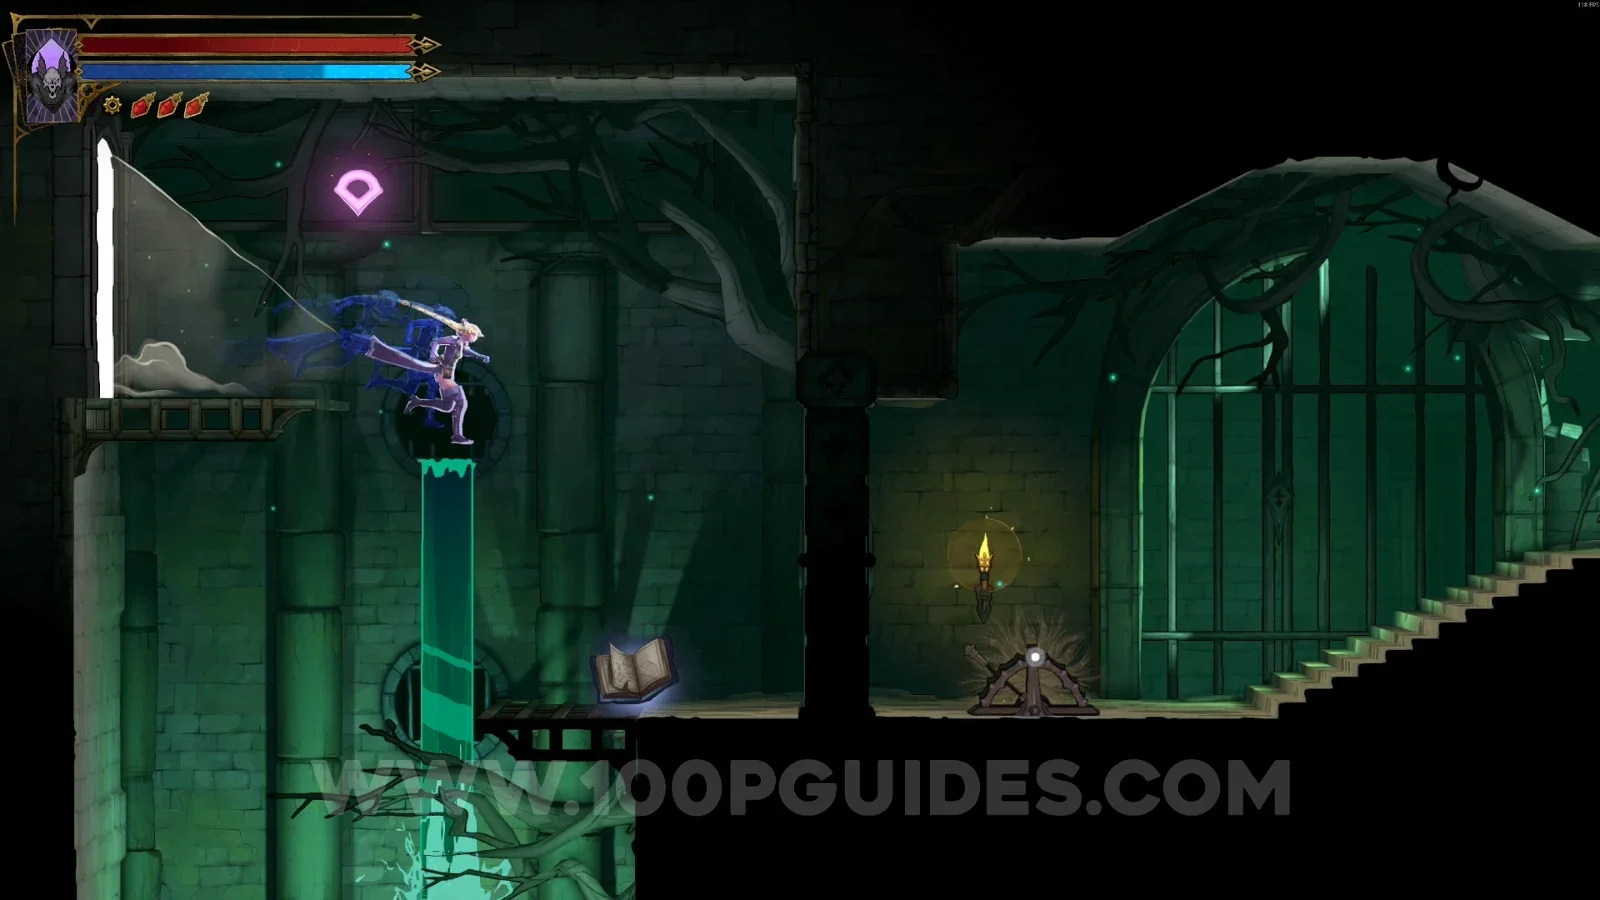
In the area marked on the map. You reach the upper part with the Red Book from the area below.
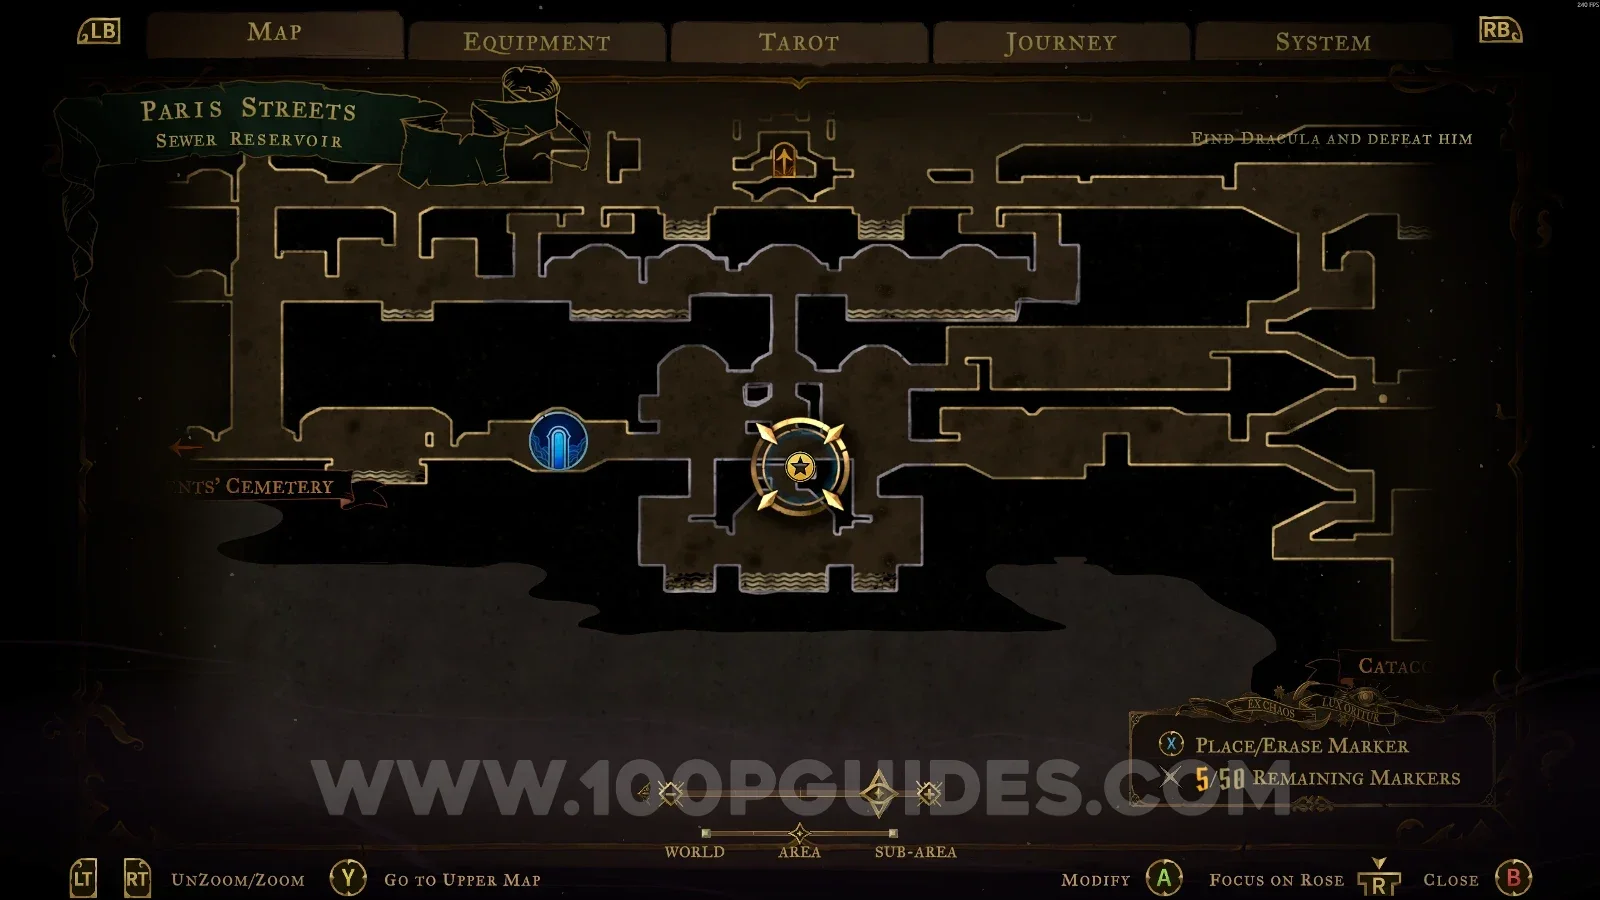
Castlevania Belmonts Curse Sewer Reservoir: map marking the area of Red Book #3 Castlevania Belmonts Curse Sewer Reservoir: Red Book #3 in the upper part, reached from the area below

Abandoned Sewers

Blue Book #3

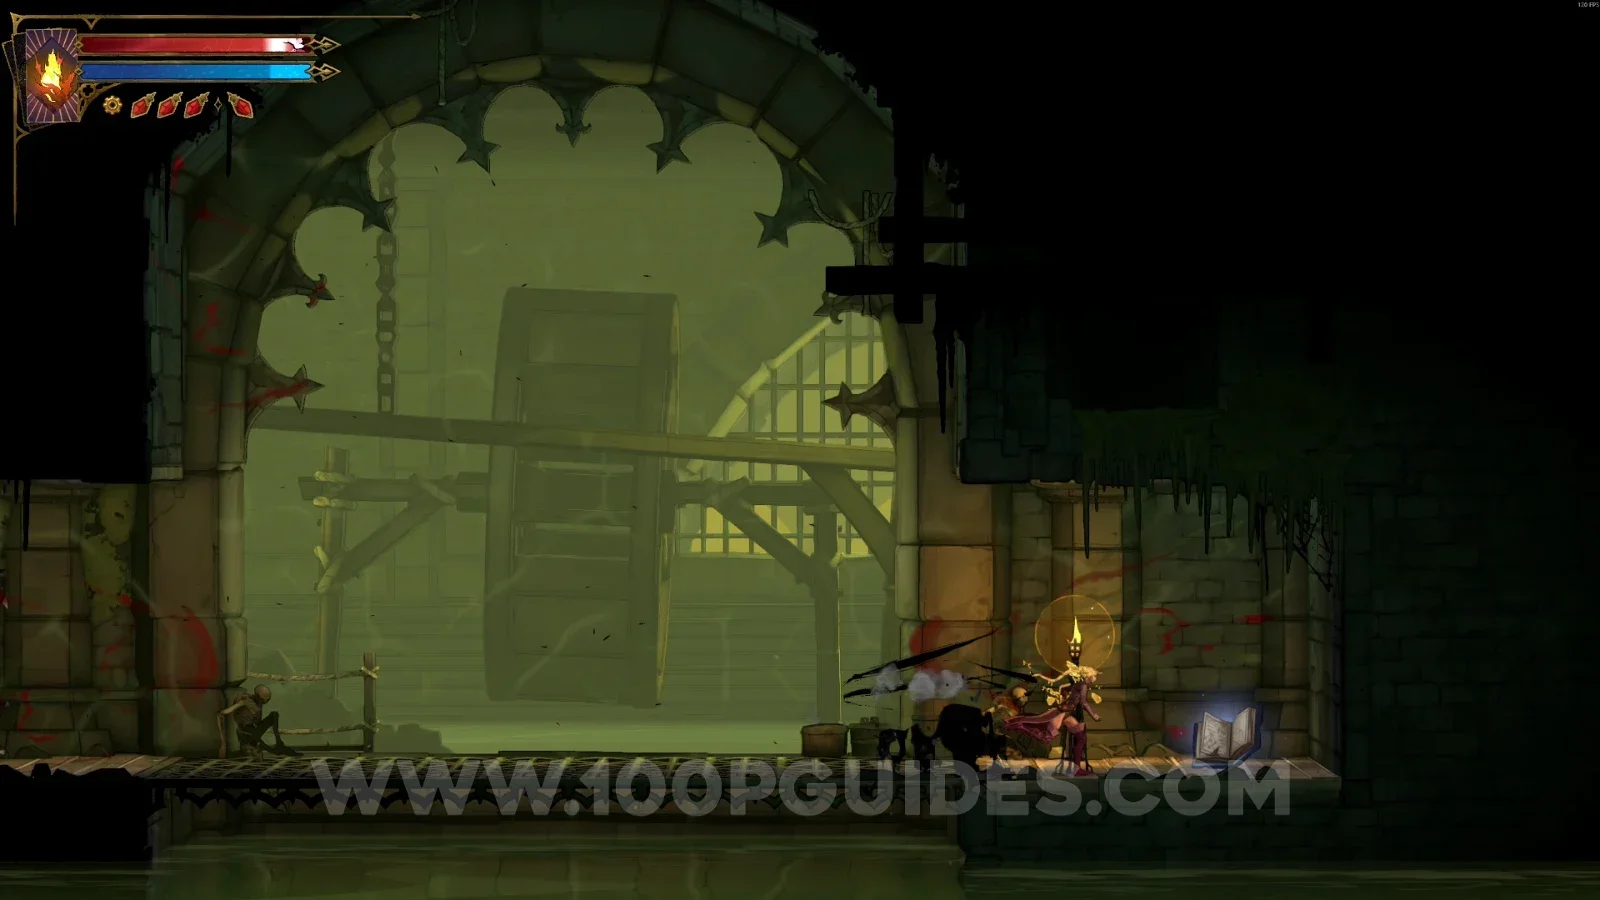
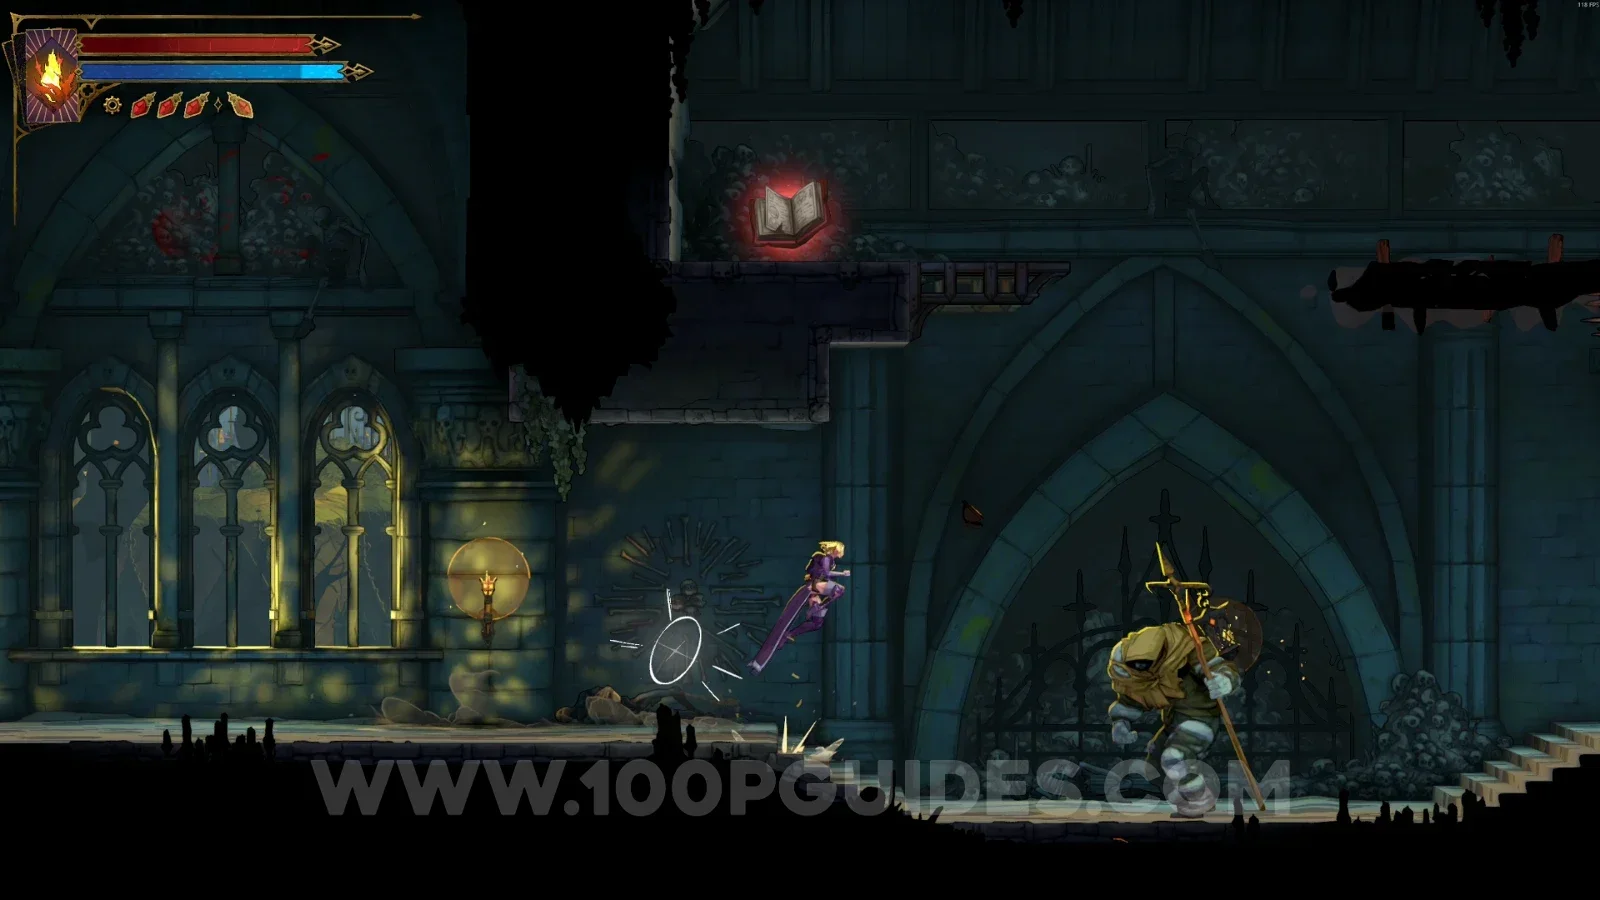
In the area marked on the map, after defeating some enemies.
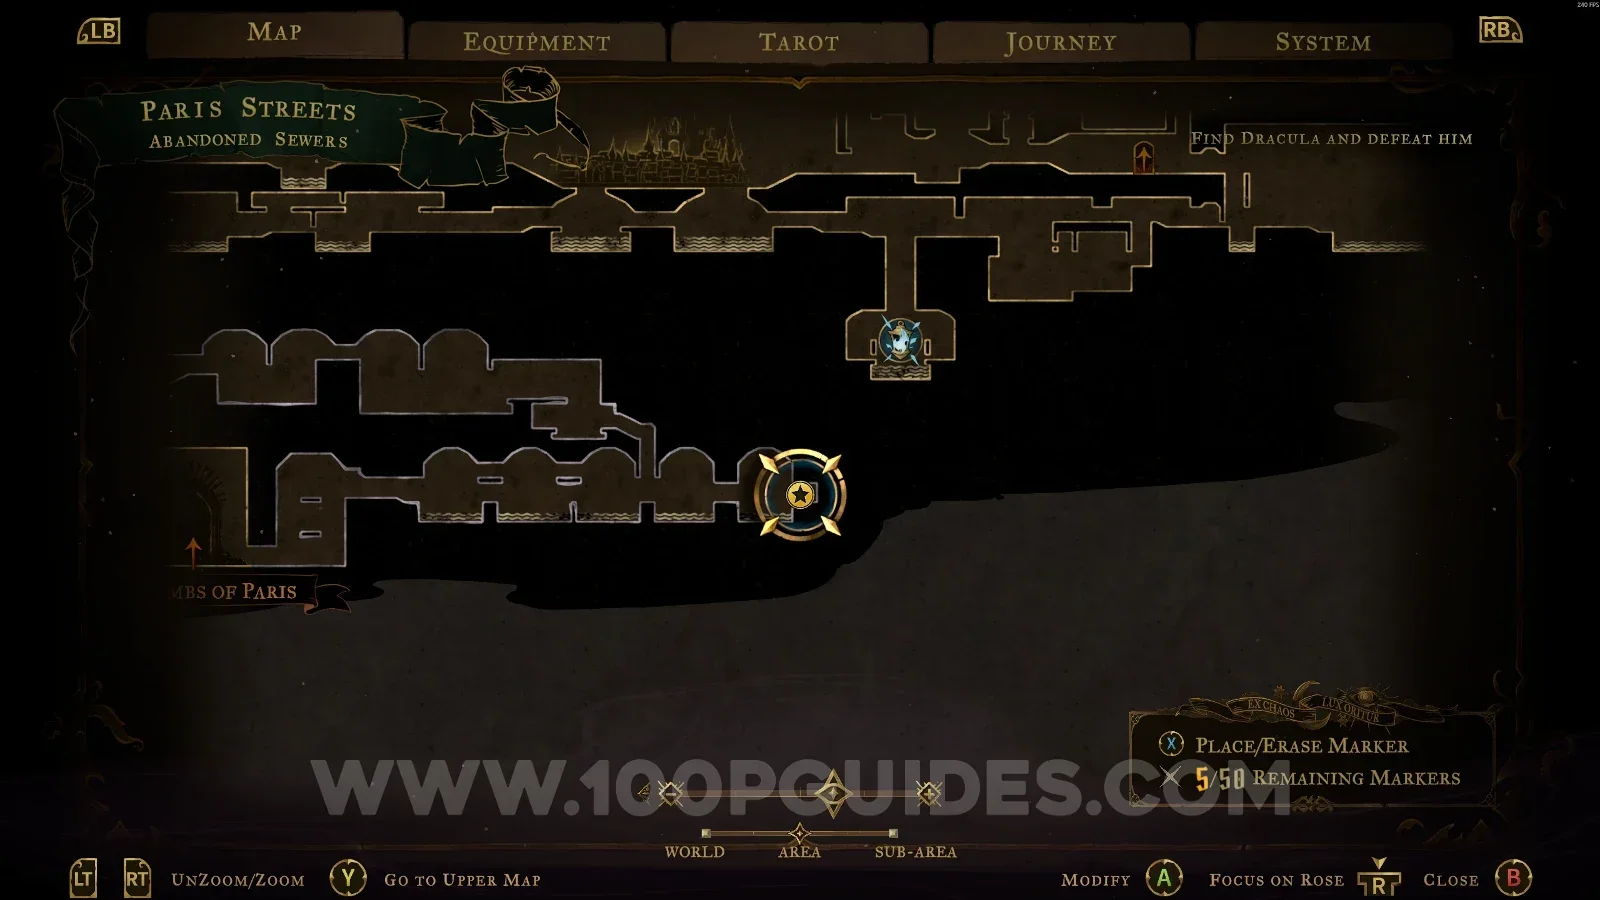
Castlevania Belmonts Curse Abandoned Sewers: map marking the area of Blue Book #3 Castlevania Belmonts Curse Abandoned Sewers: Blue Book #3 found after defeating some enemies

Holy Innocents' Cemetery

Flooded Crypt

Blue Book #4

At the top of the area, after defeating some enemies.
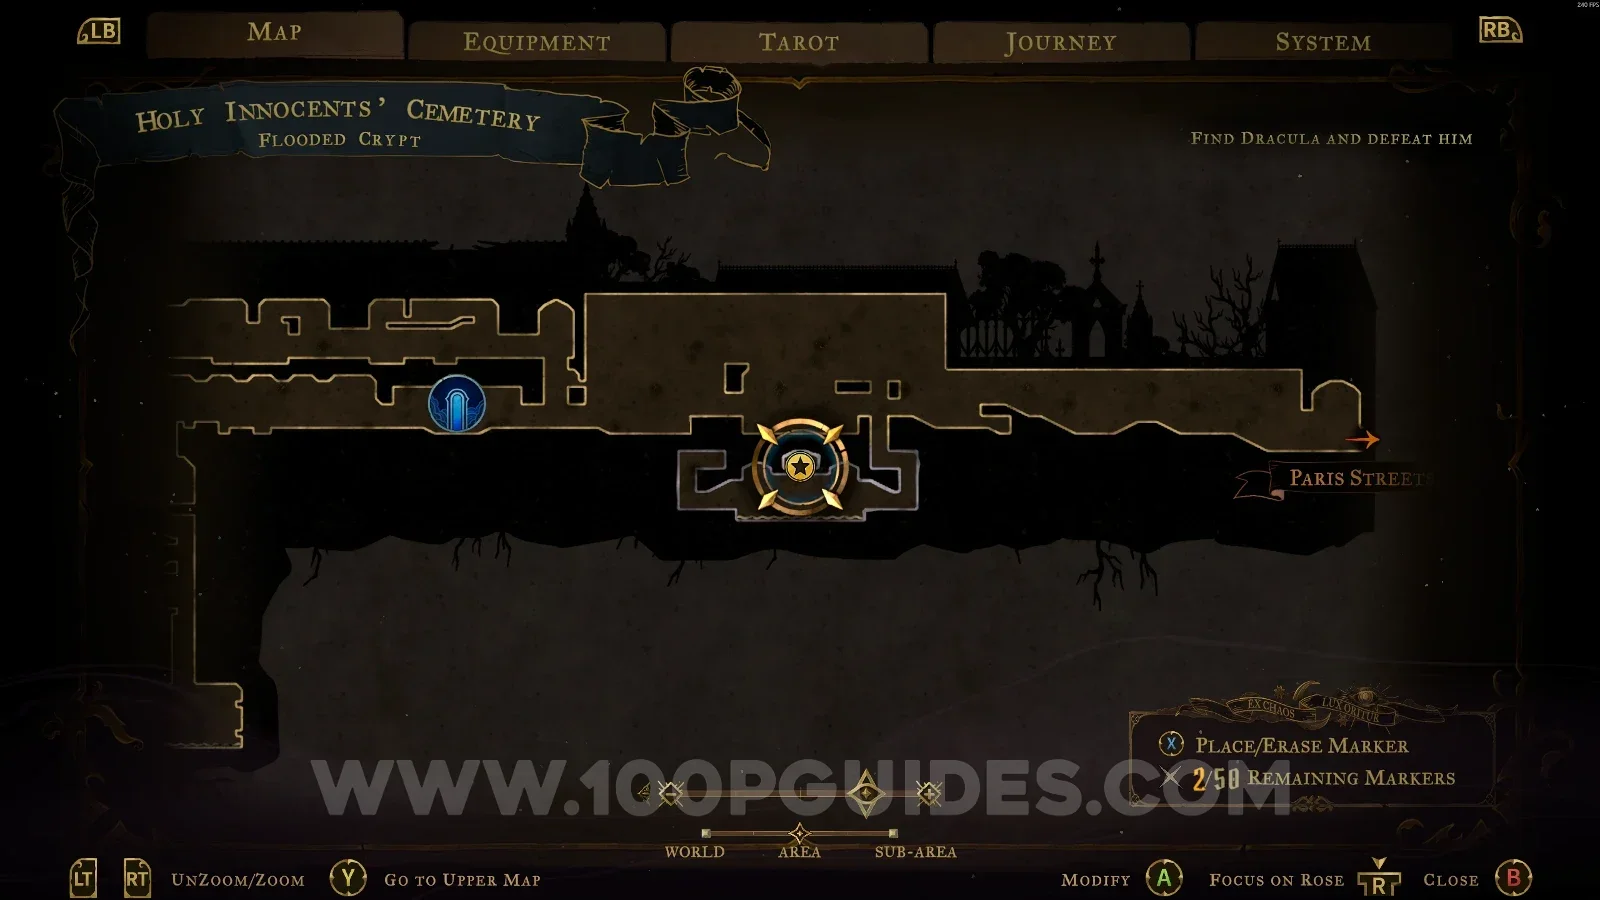
Castlevania Belmonts Curse Flooded Crypt: location of Blue Book #4 at the top of the area Castlevania Belmonts Curse Flooded Crypt: Blue Book #4 at the top of the area after defeating some enemies

Ancient Sewers

Blue Book #5

In the area marked on the map.
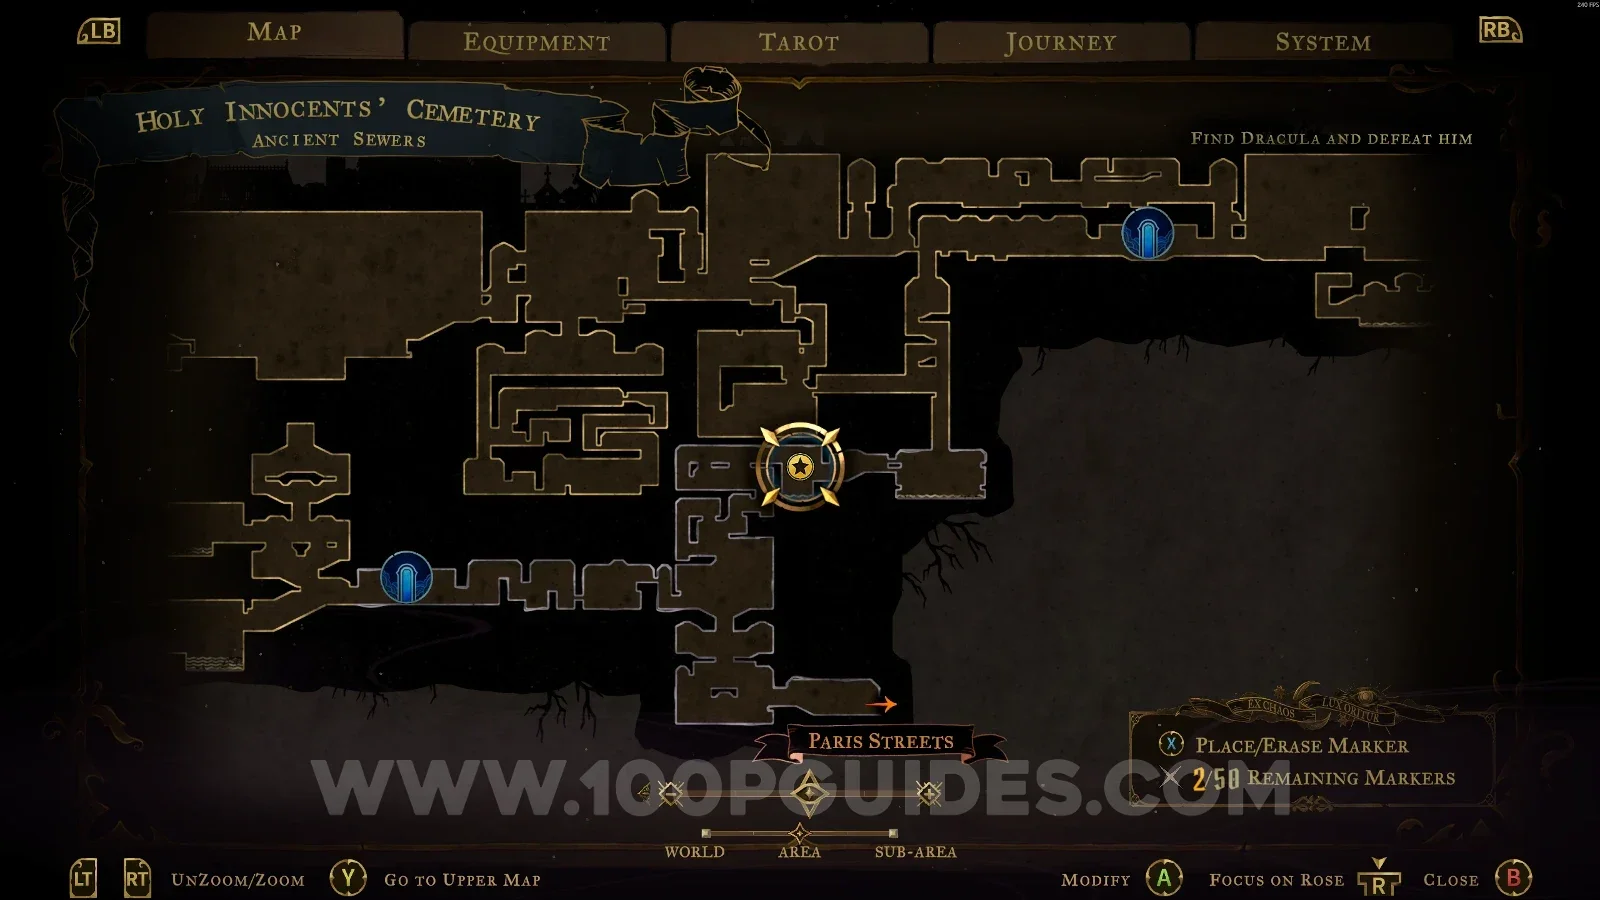
Castlevania Belmonts Curse Ancient Sewers: map marking the area of Blue Book #5 Castlevania Belmonts Curse Ancient Sewers: Blue Book #5 buff in the marked area

Ossuary of the Innocents

Red Book #4

In the area marked on the map.
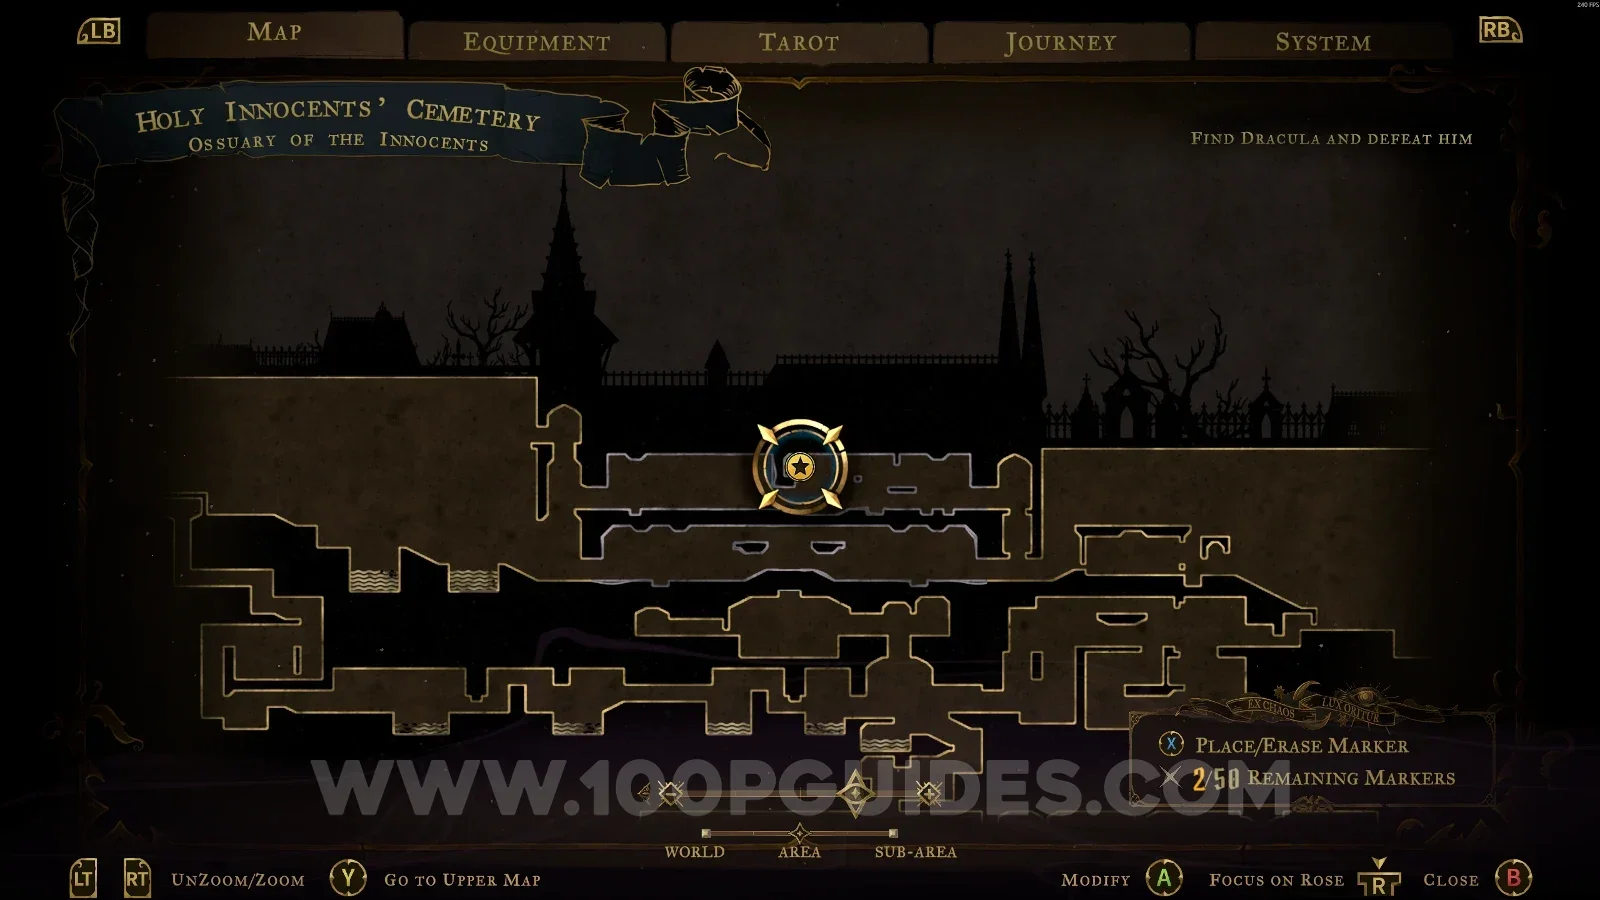
Castlevania Belmonts Curse Ossuary of the Innocents: map marking the area of Red Book #4 Castlevania Belmonts Curse Ossuary of the Innocents: Red Book #4 buff in the marked area

Overgrown Crypt

Red Book #5

In the area marked on the map, you have to use the portals to reach the Red Book.
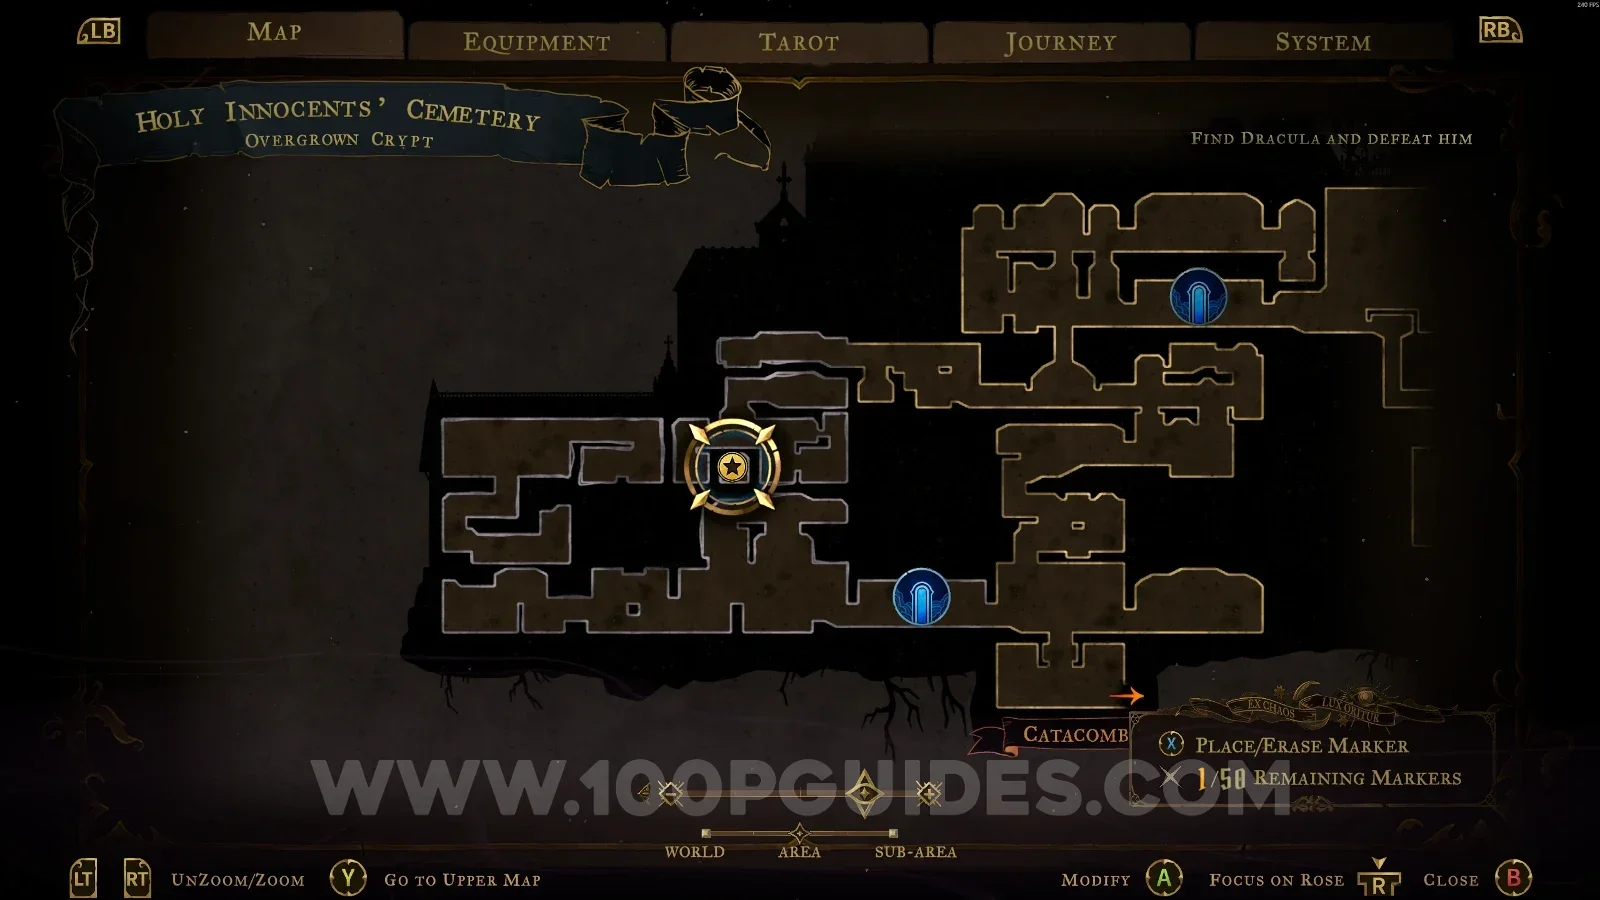
Castlevania Belmonts Curse Overgrown Crypt: map marking the area of Red Book #5 Castlevania Belmonts Curse Overgrown Crypt: Red Book #5 reached by using the portals

Main Hall

Old Gallery

Red Book #6

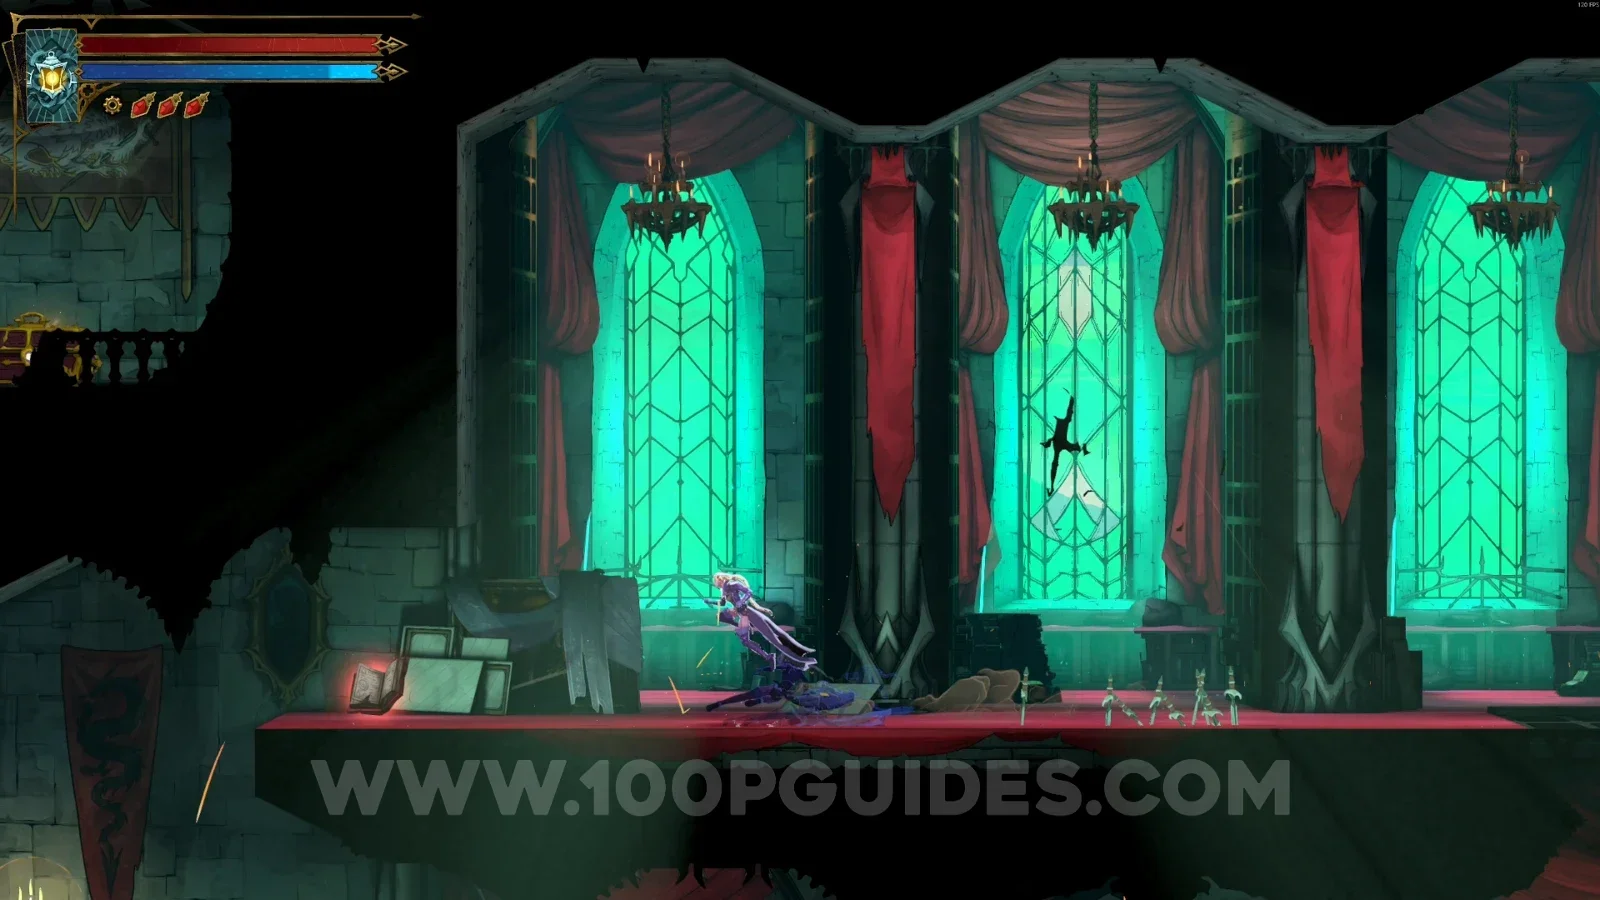
In the area marked on the map, you have to use the frame to climb to the upper part of the area.
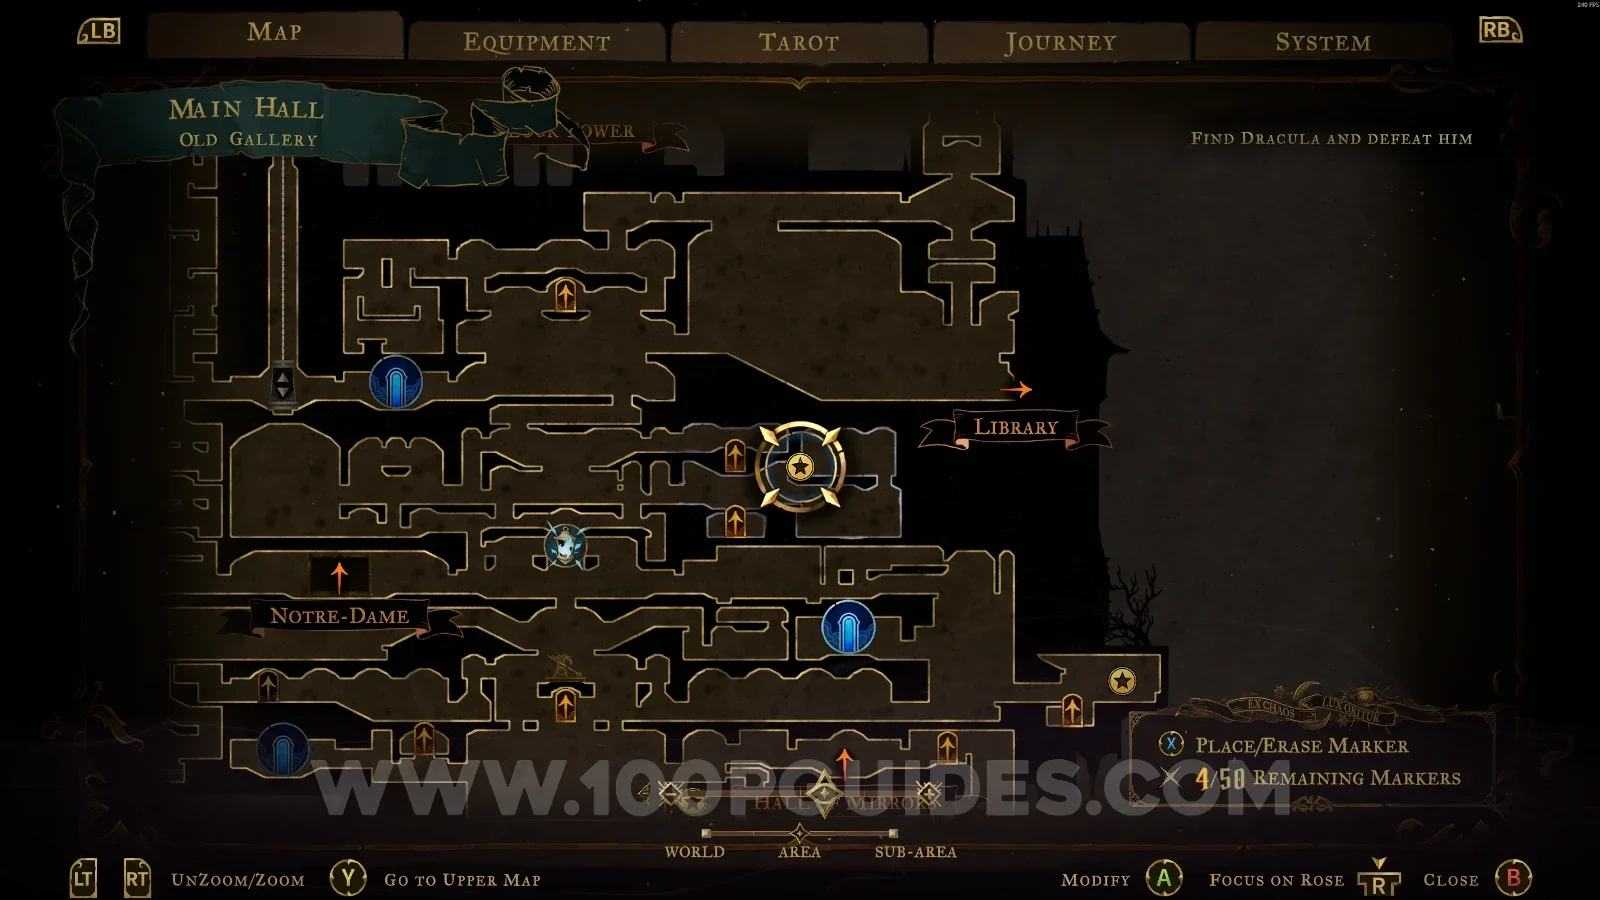
Castlevania Belmonts Curse Old Gallery: map marking the area of Red Book #6 Castlevania Belmonts Curse Old Gallery: Red Book #6 in the upper part, reached by climbing the frame

Mirror Rooms

Blue Book #6

In the area marked on the map. You reach this area through the Torture Chambers room.
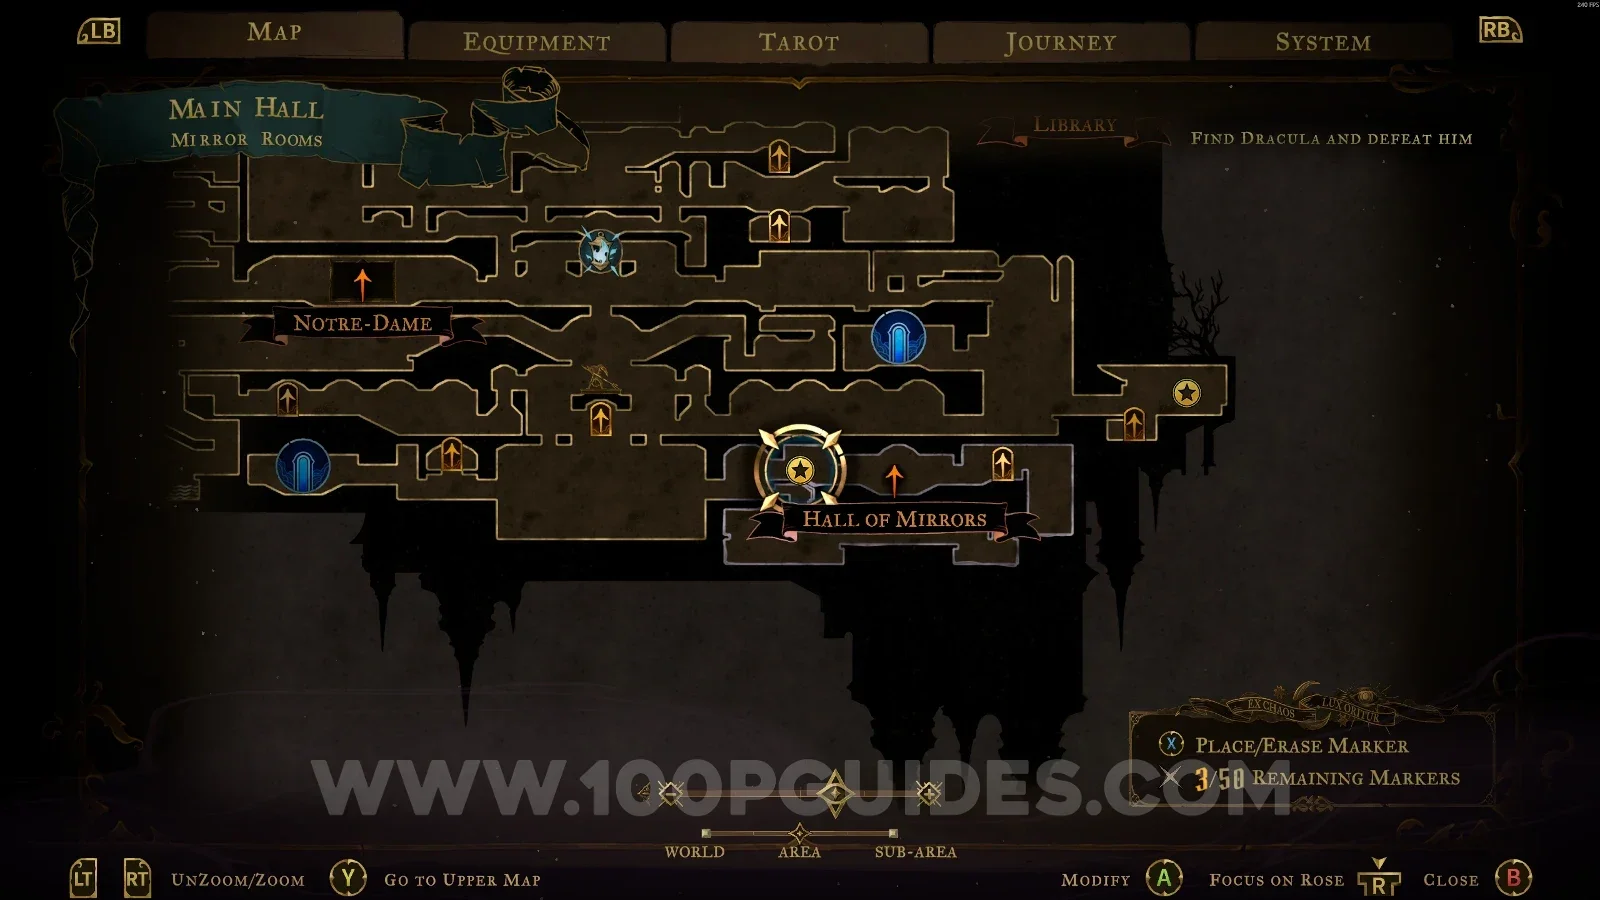
Castlevania Belmonts Curse Mirror Rooms: map marking Blue Book #6, reached through the Torture Chambers room Castlevania Belmonts Curse Mirror Rooms: Blue Book #6 buff in the marked area

Wine Cellar

Red Book #7

In the area marked on the map, use the frame to climb to the upper part of the area, on the left side.
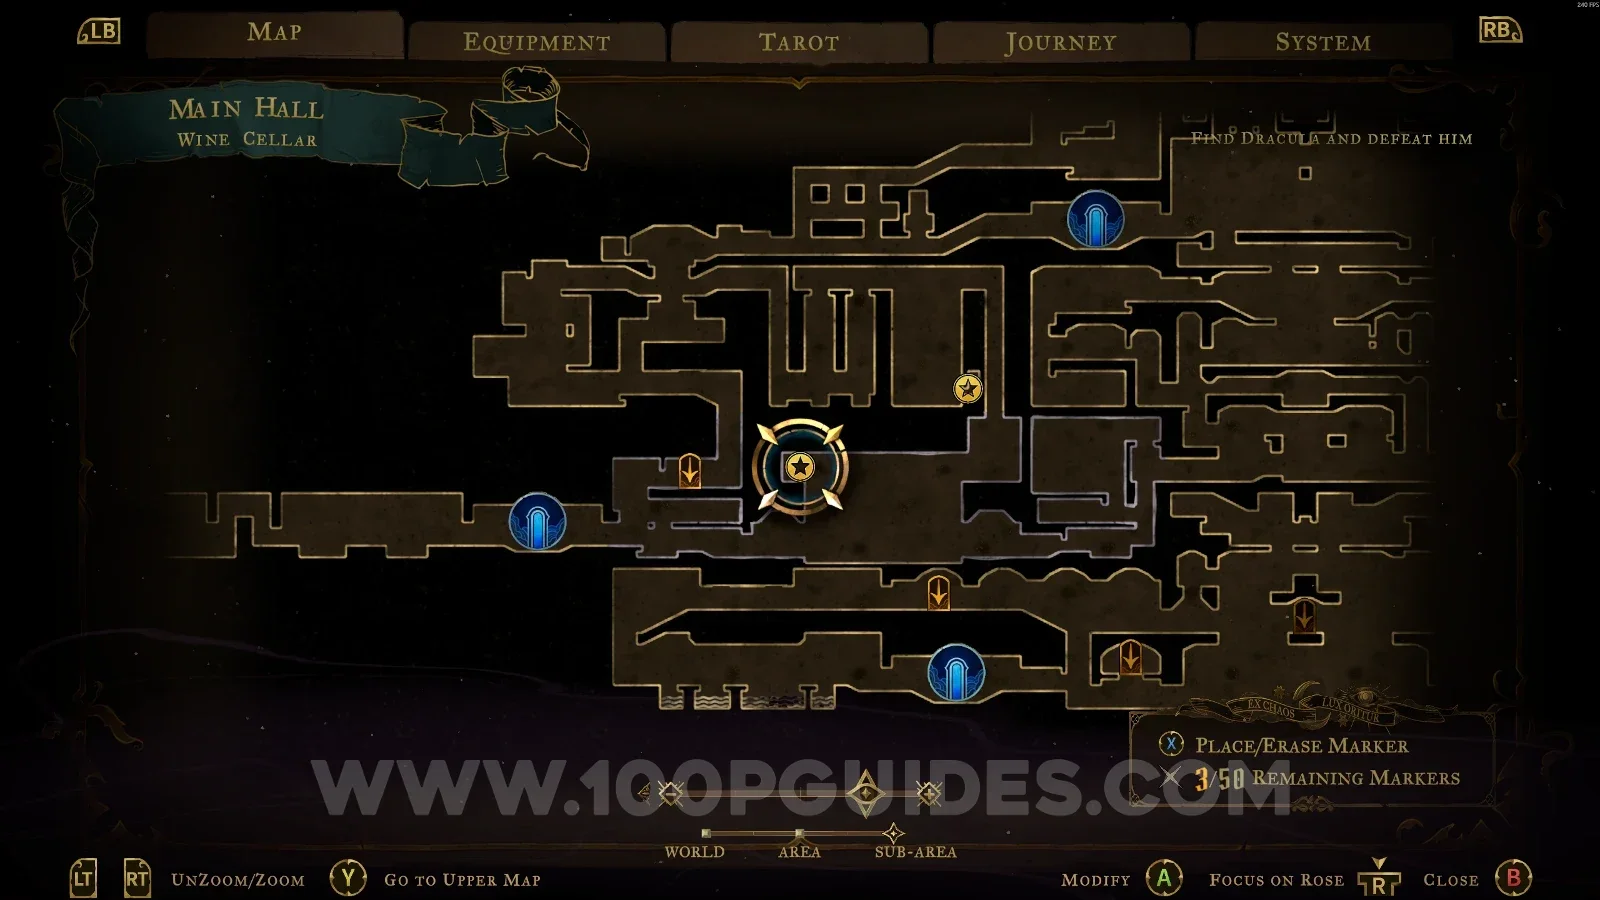
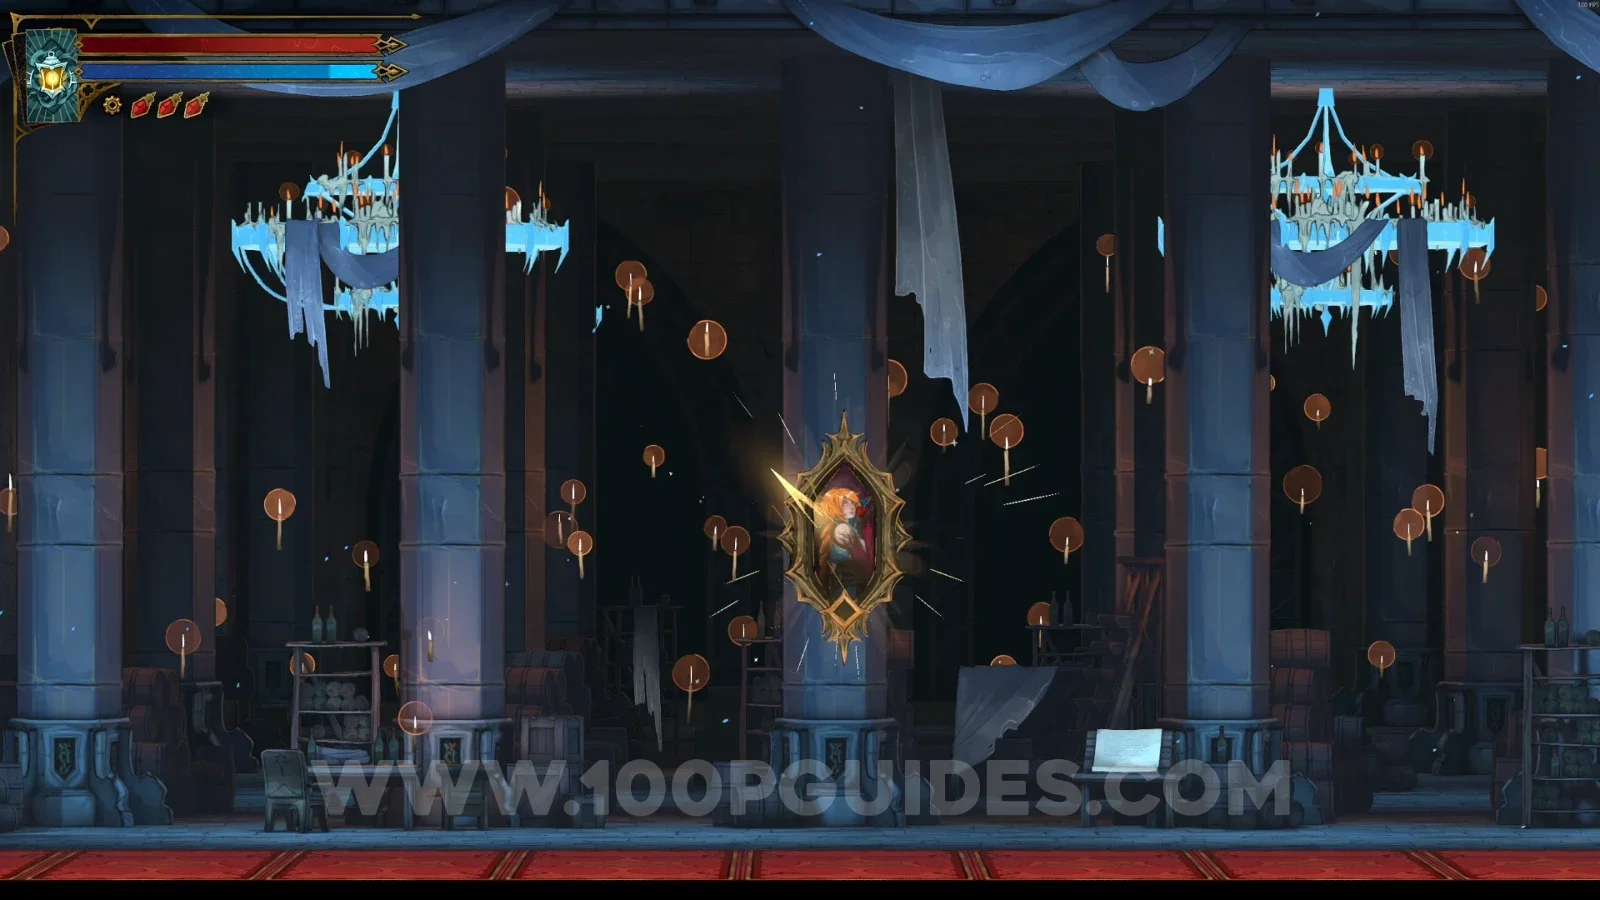
Castlevania Belmonts Curse Wine Cellar: map marking the area of Red Book #7 Castlevania Belmonts Curse Wine Cellar: using the frame to climb to the upper part on the left side Castlevania Belmonts Curse Wine Cellar: Red Book #7 in the upper left part of the area

Servants' Quarters

Blue Book #7

In the area marked on the map, interact with the lever, then go around the area and climb onto the rising pillar on the right side. At the top, you'll find this book.
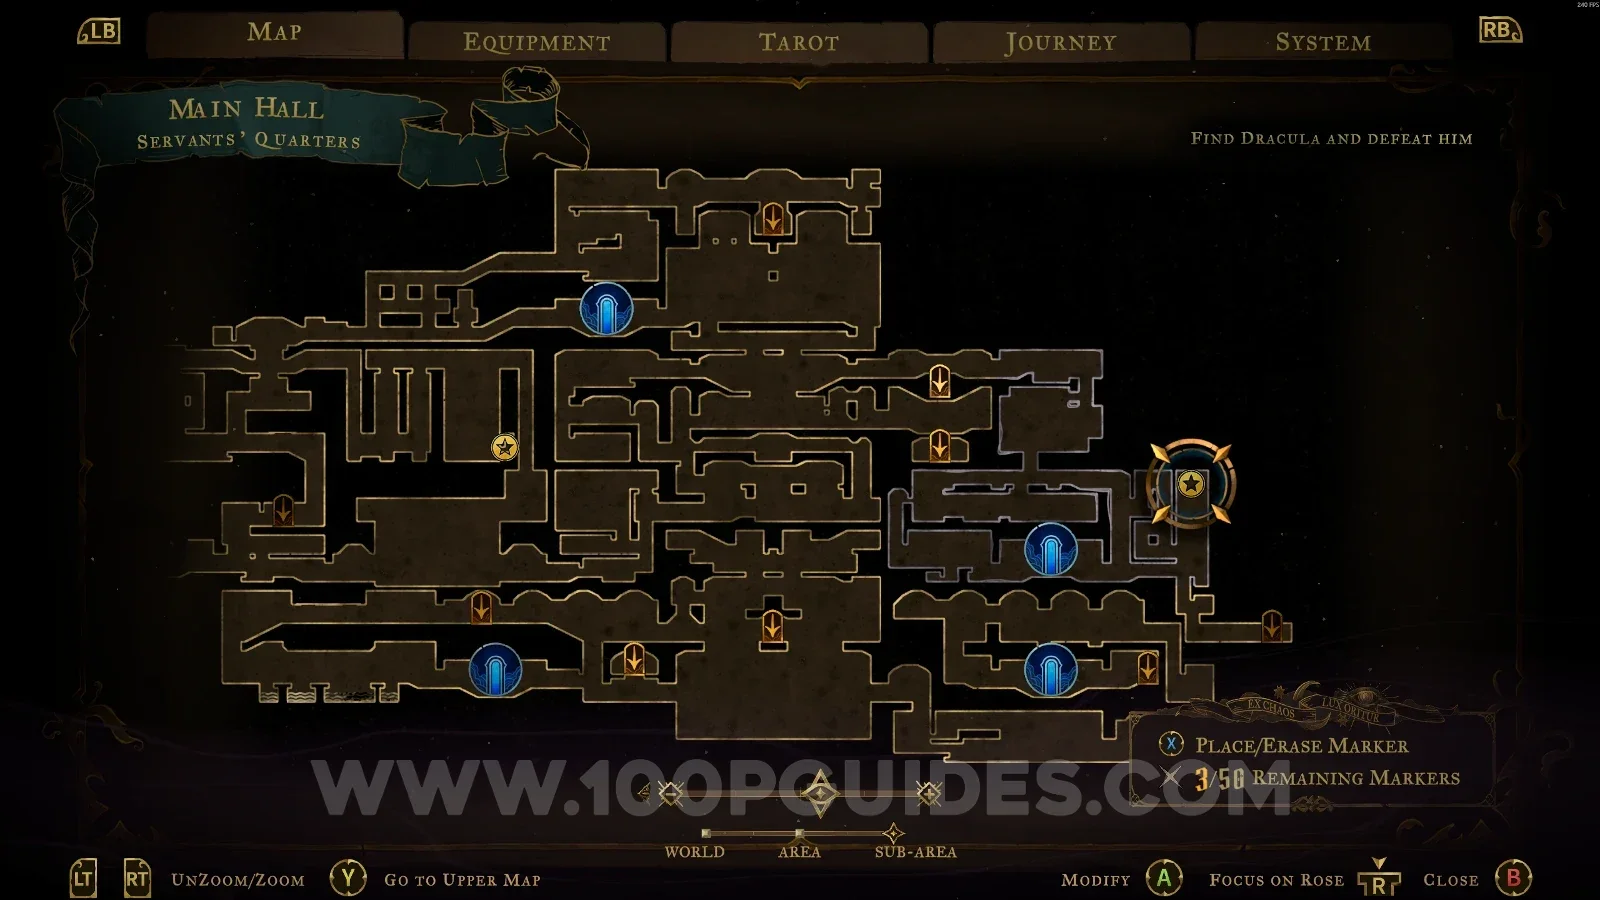
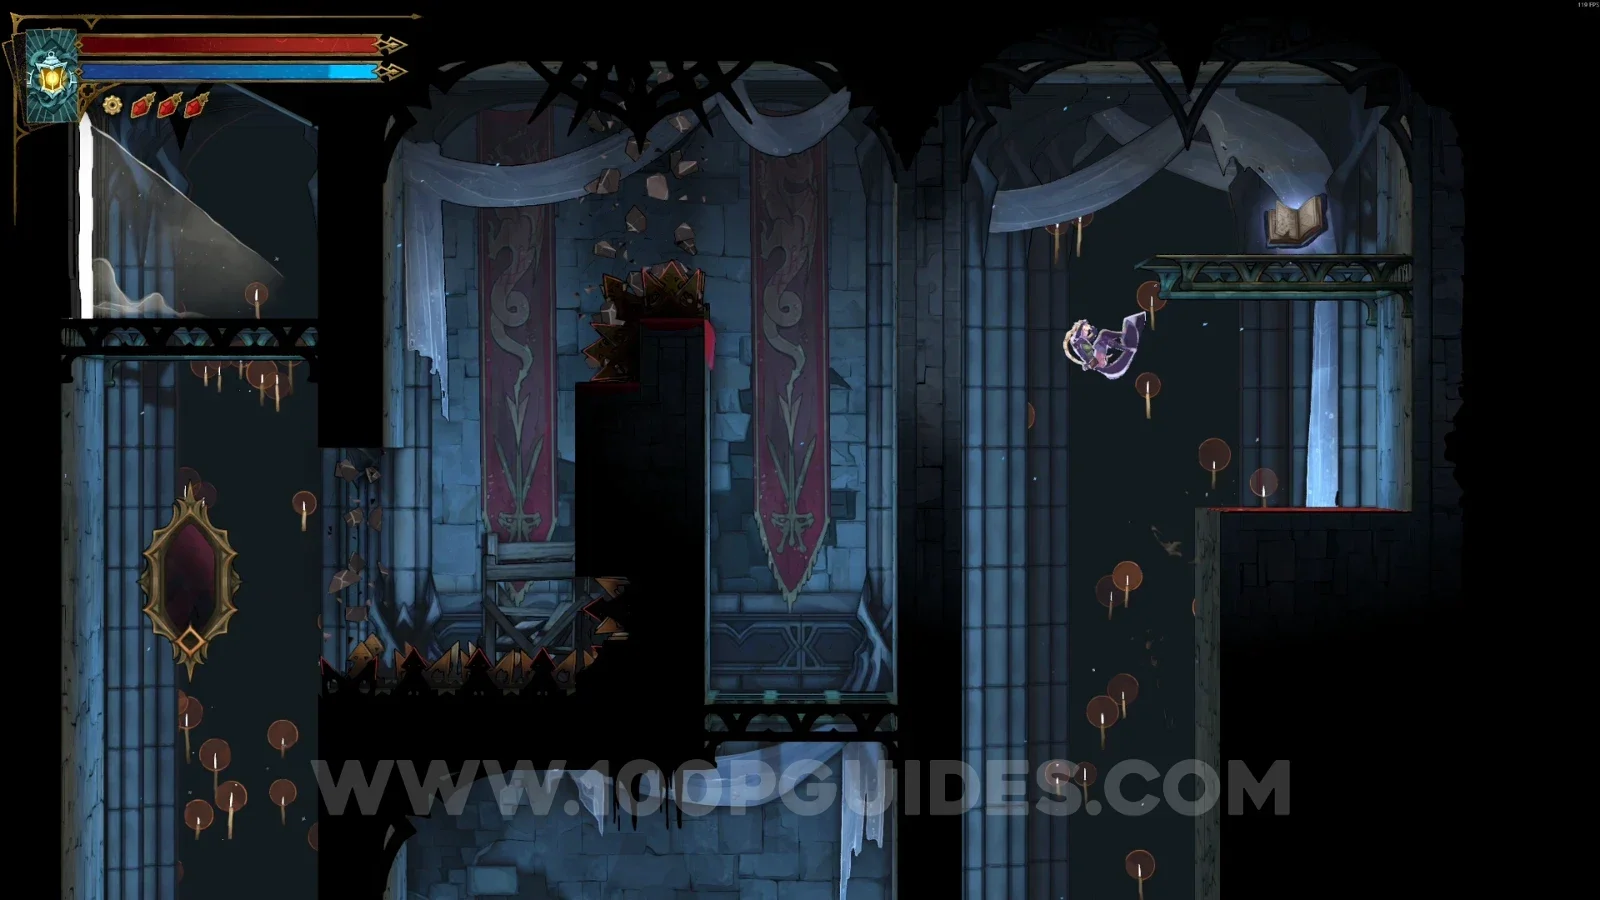
Castlevania Belmonts Curse Servants' Quarters: map marking the lever area for Blue Book #7 Castlevania Belmonts Curse Servants' Quarters: Blue Book #7 at the top of the rising pillar on the right side

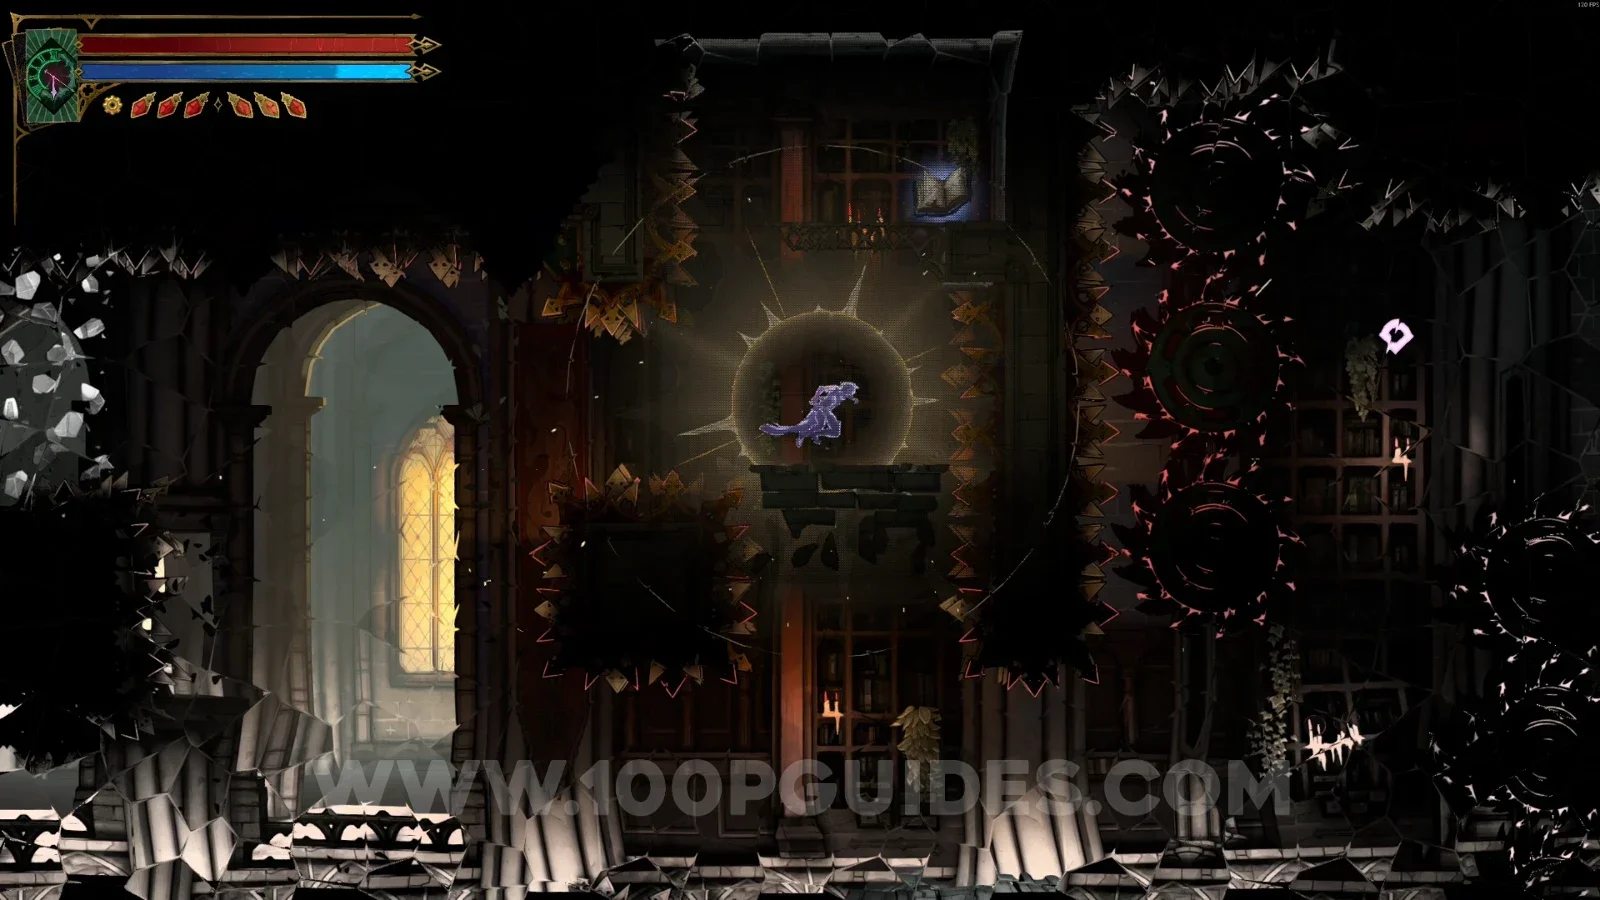
Hall Of Mirrors

Looping Hallways

Red Book #8

In the area marked on the map, climb to the upper part to reveal a secret room with the Red Book on the right side.
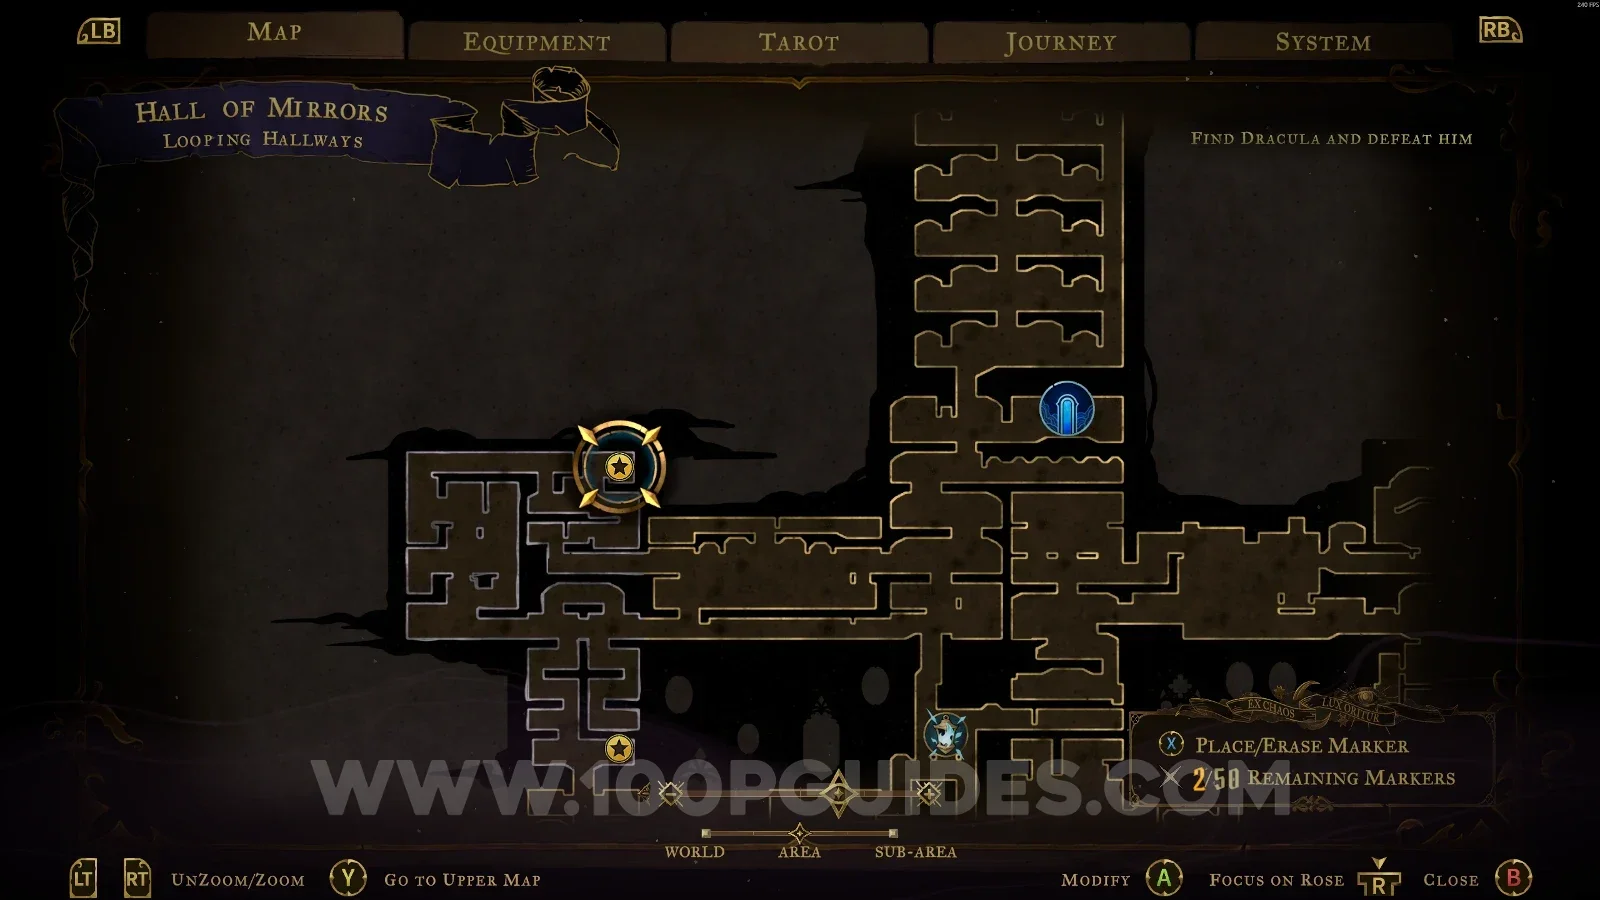
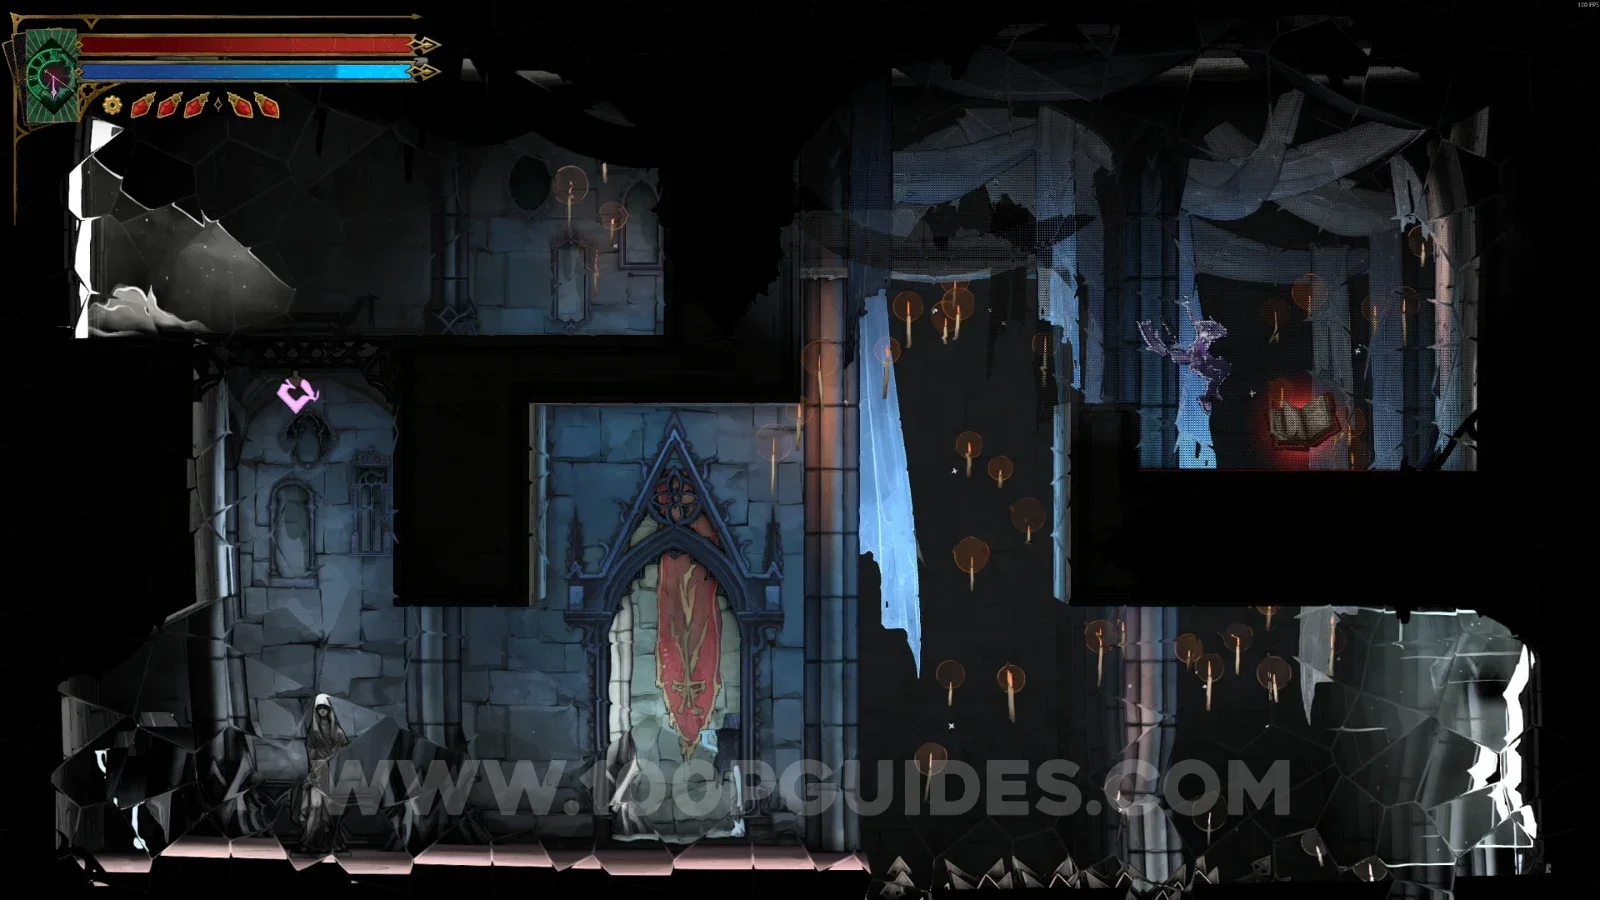
Castlevania Belmonts Curse Looping Hallways: map marking the area of Red Book #8 Castlevania Belmonts Curse Looping Hallways: Red Book #8 in the secret room on the right side at the top

Ballroom Of Terror

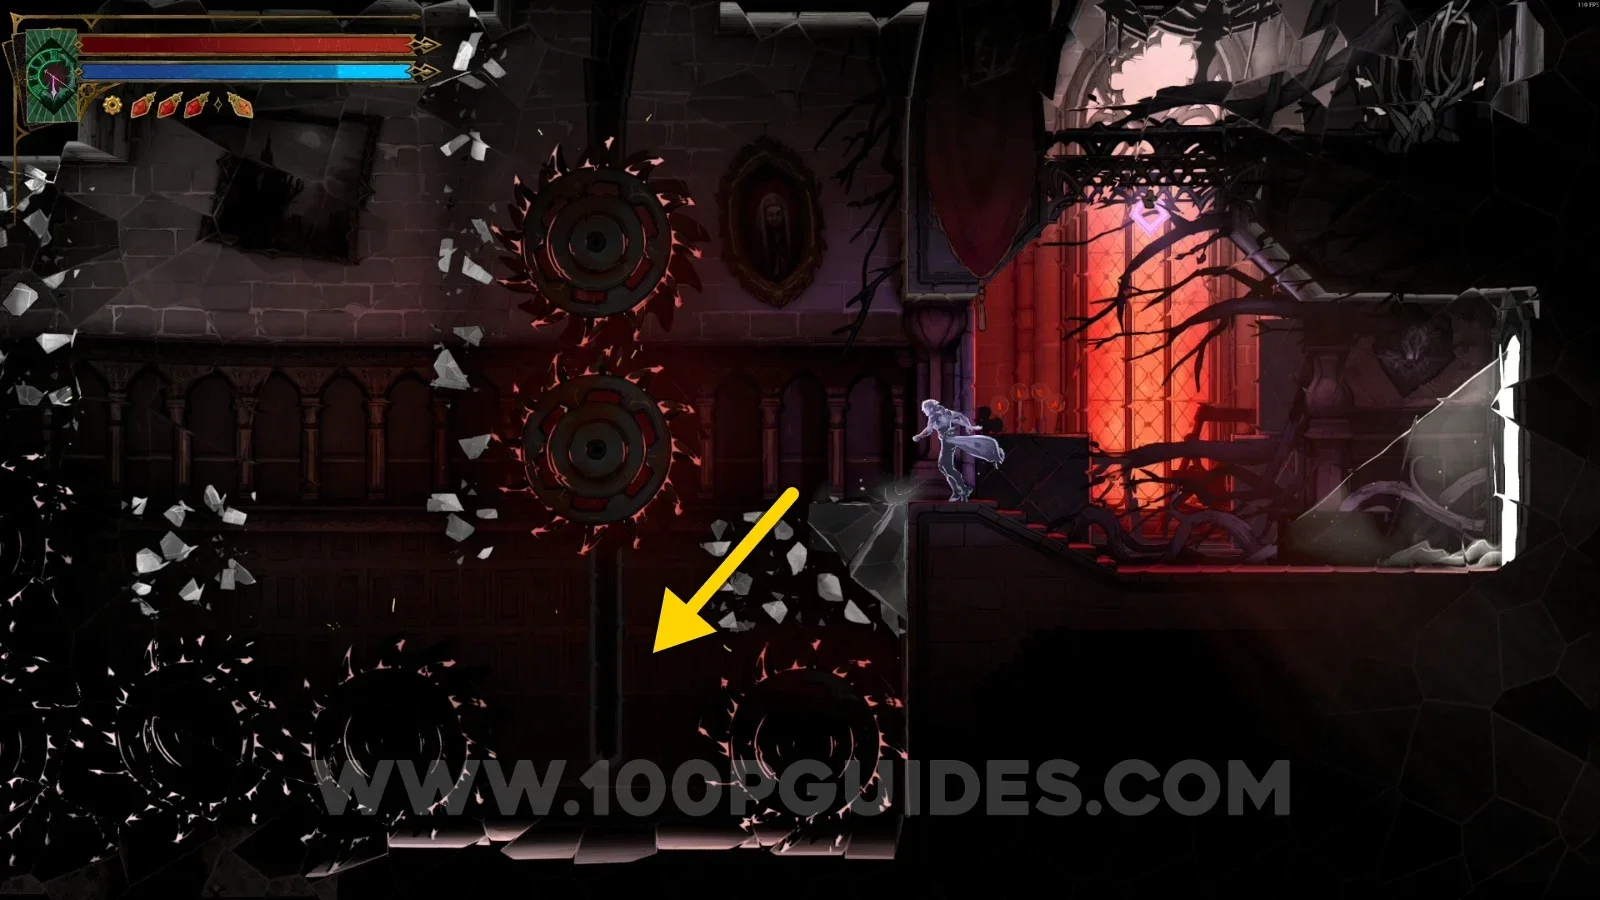
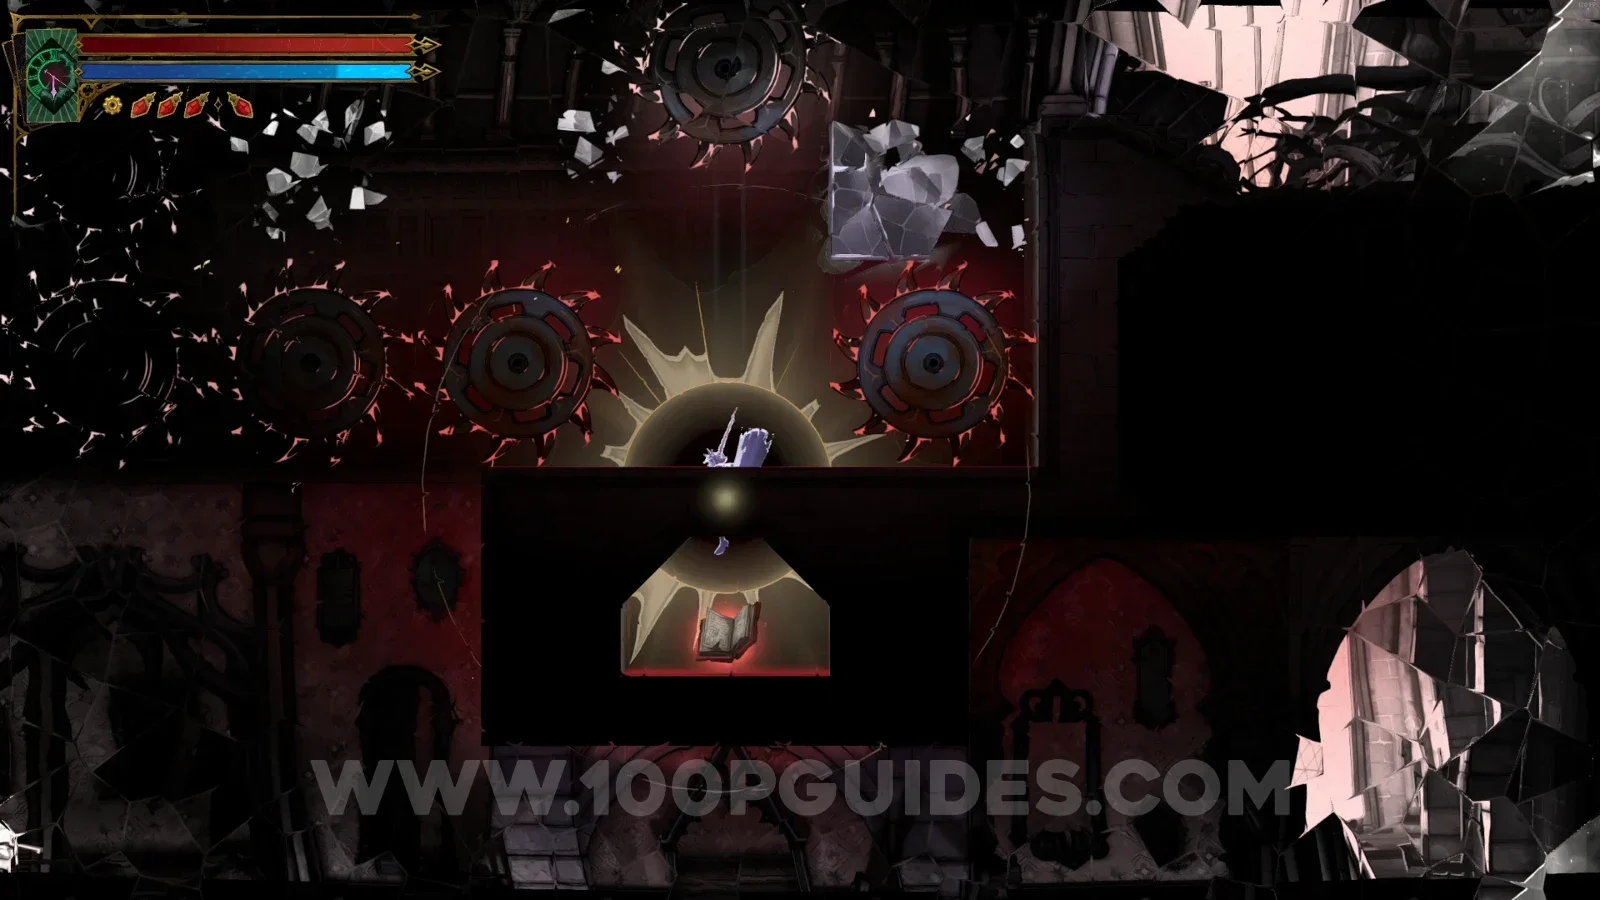
Red Book #9

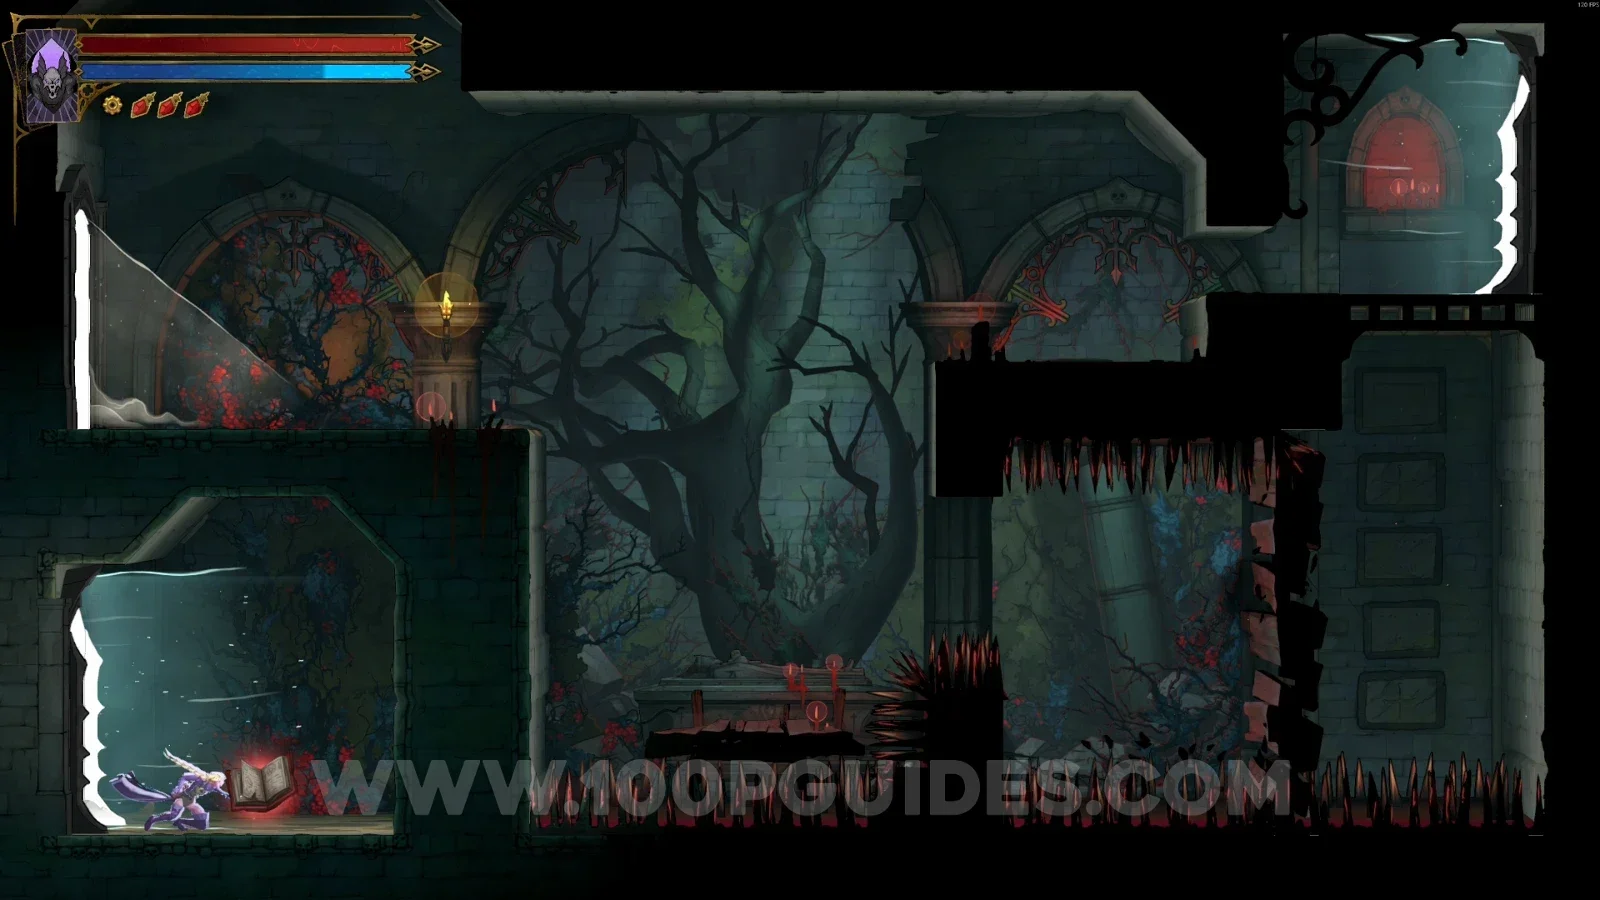
In the area marked on the map, go down past the saws to reach a secret room.
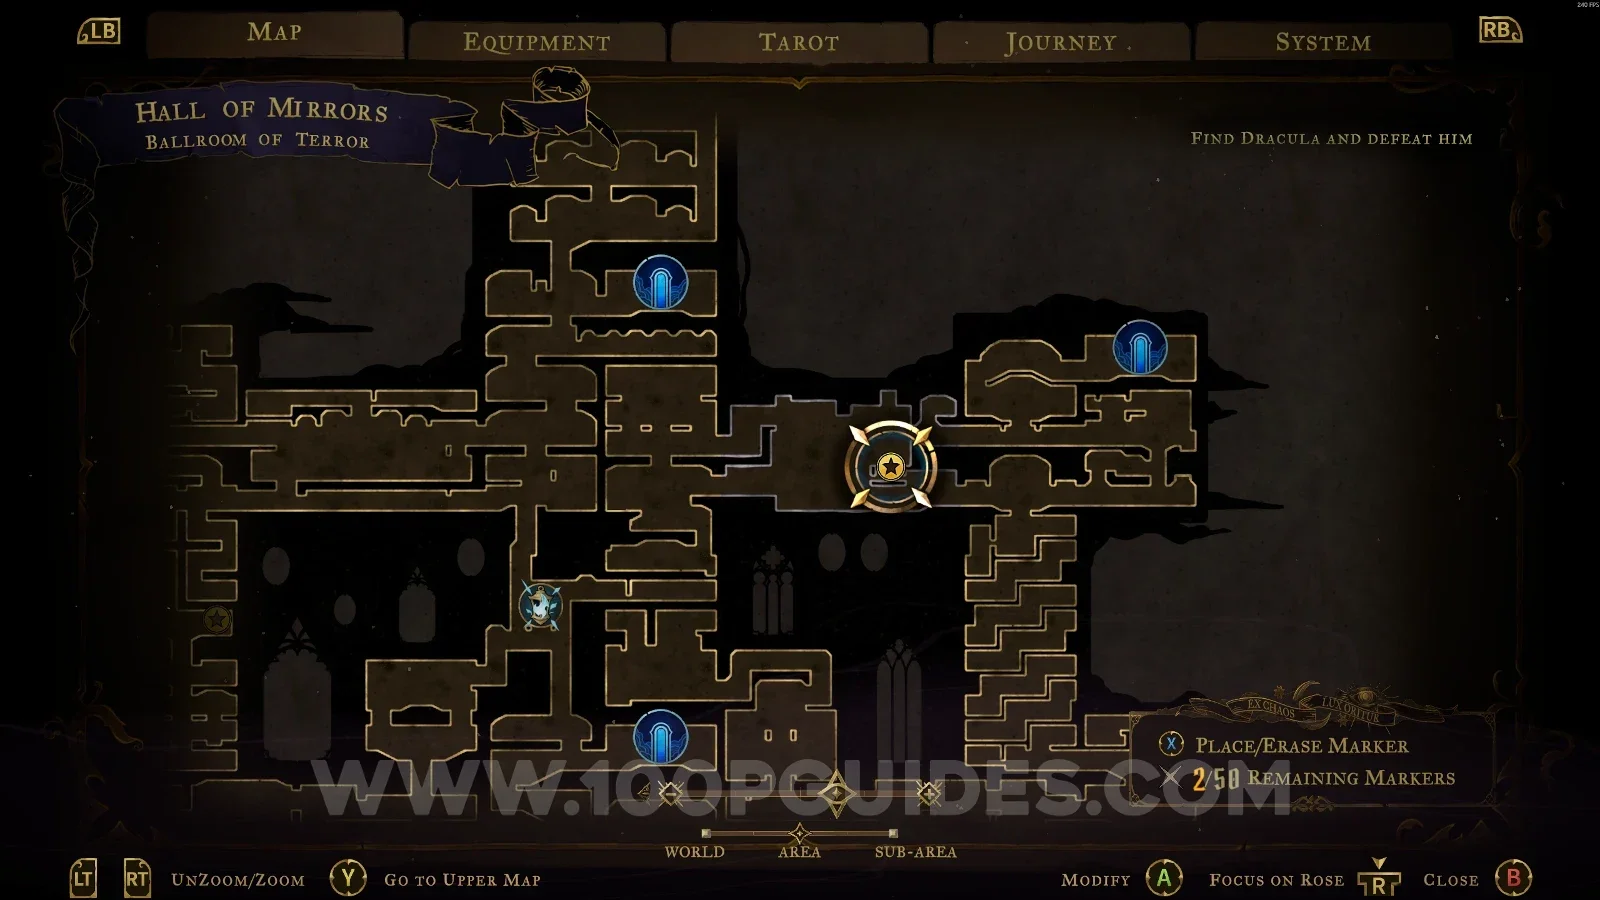
Castlevania Belmonts Curse Ballroom Of Terror: map marking the area of Red Book #9 Castlevania Belmonts Curse Ballroom Of Terror: going down past the saws toward the secret room Castlevania Belmonts Curse Ballroom Of Terror: Red Book #9 inside the secret room below the saws

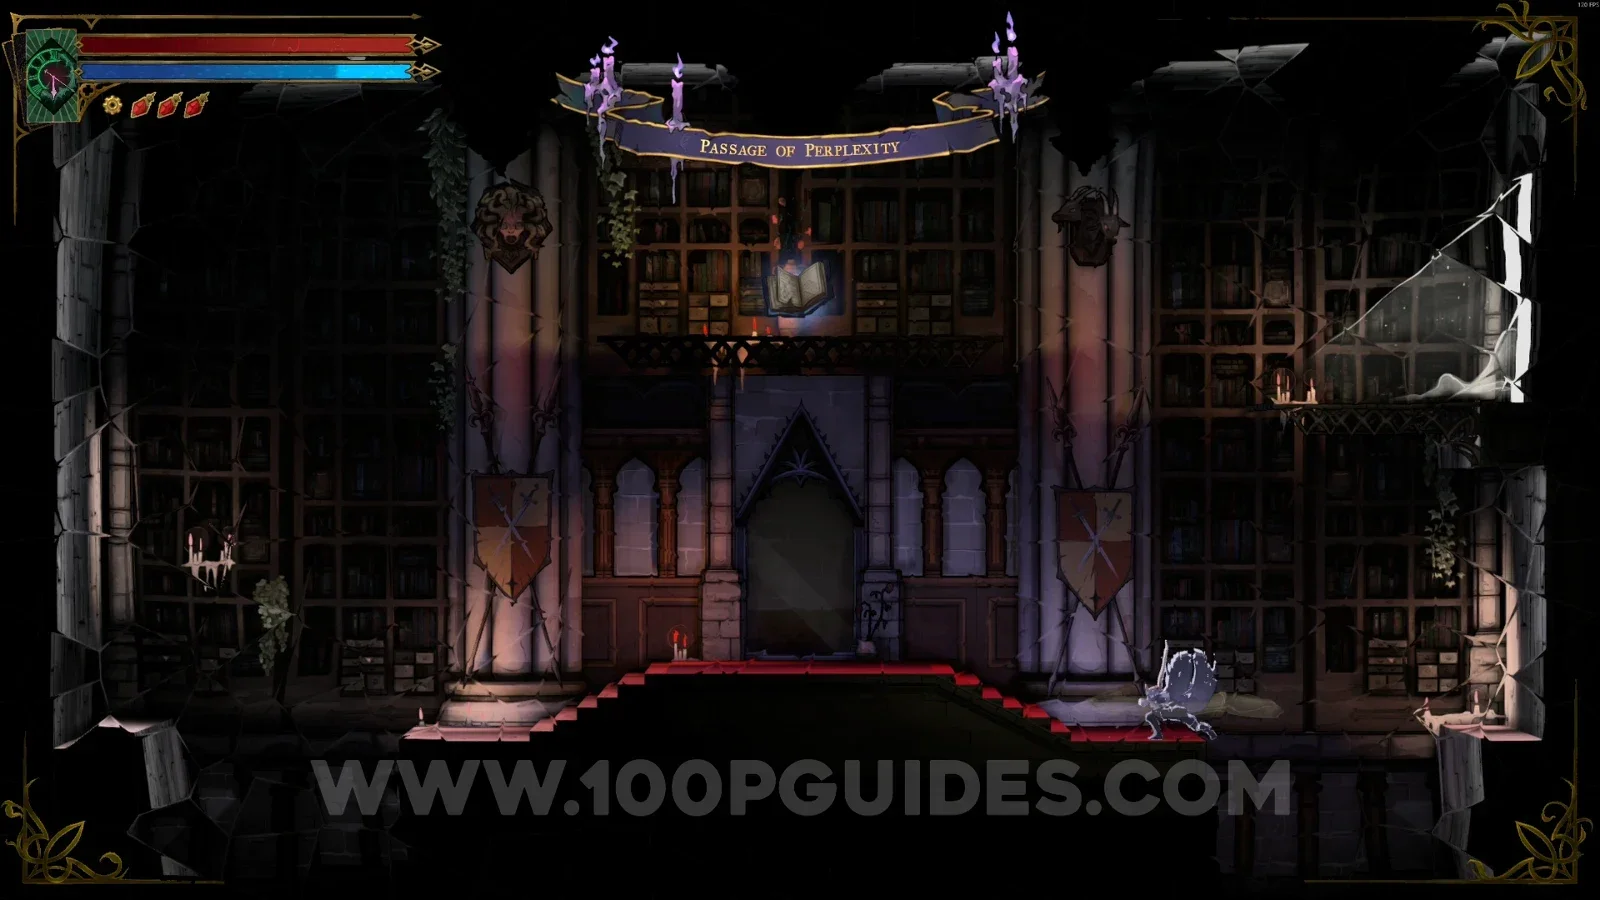
Passage Of Perplexity

Blue Book #8

In the area marked on the map, at the top of the area.
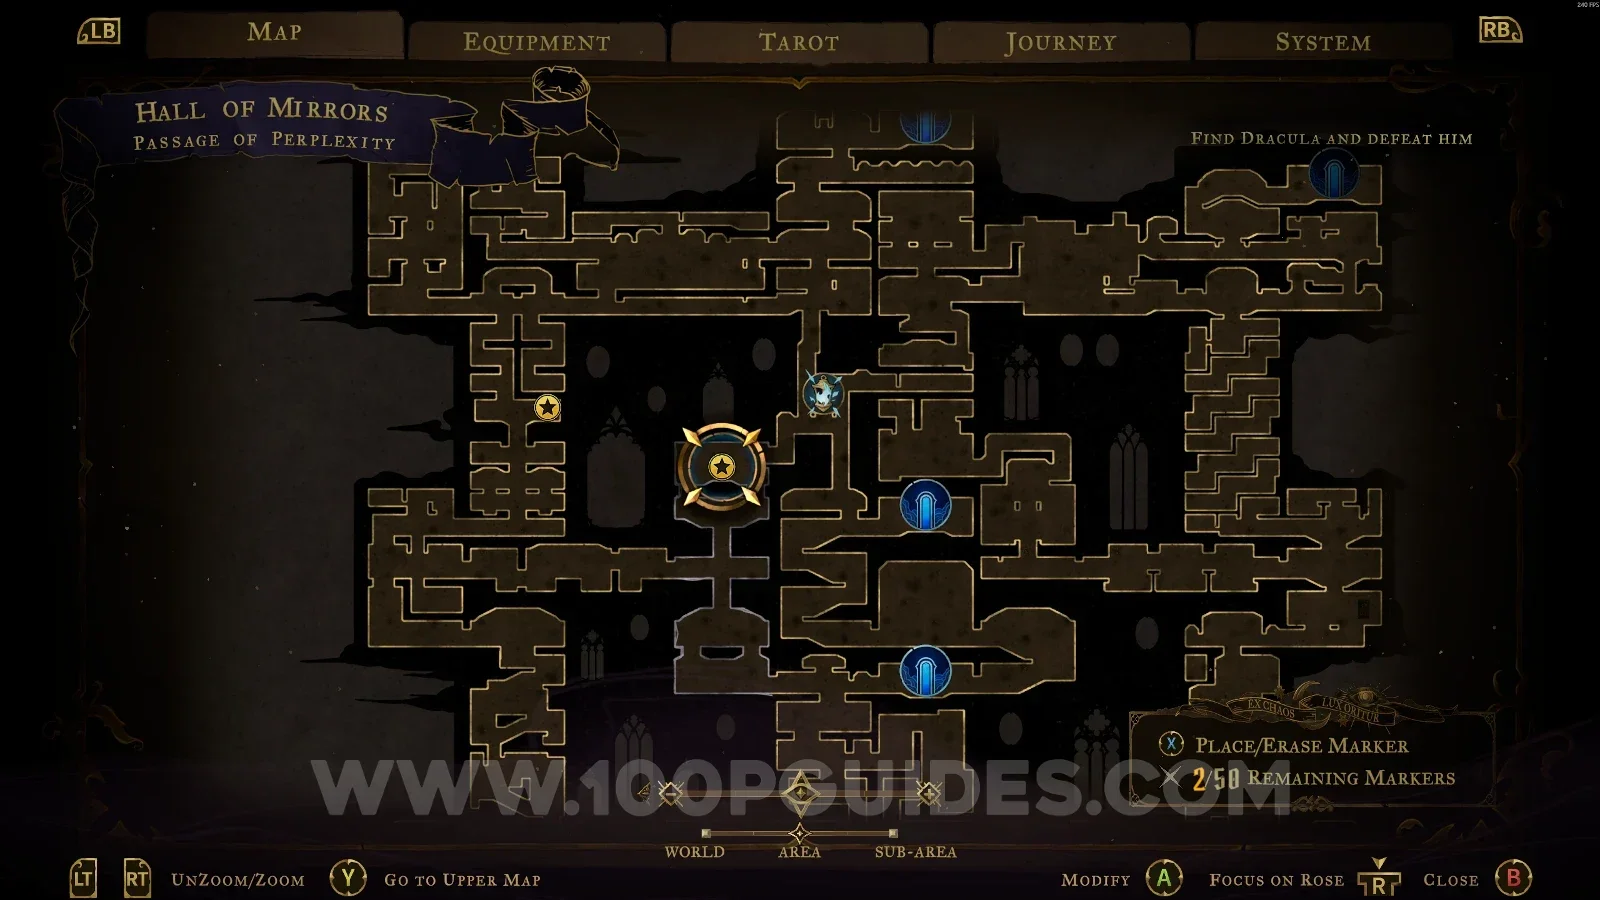
Castlevania Belmonts Curse Passage Of Perplexity: map marking the area of Blue Book #8 Castlevania Belmonts Curse Passage Of Perplexity: Blue Book #8 at the top of the area

Corridor Of Deja Vu

Blue Book #9

In the area marked on the map, in a small secret room.
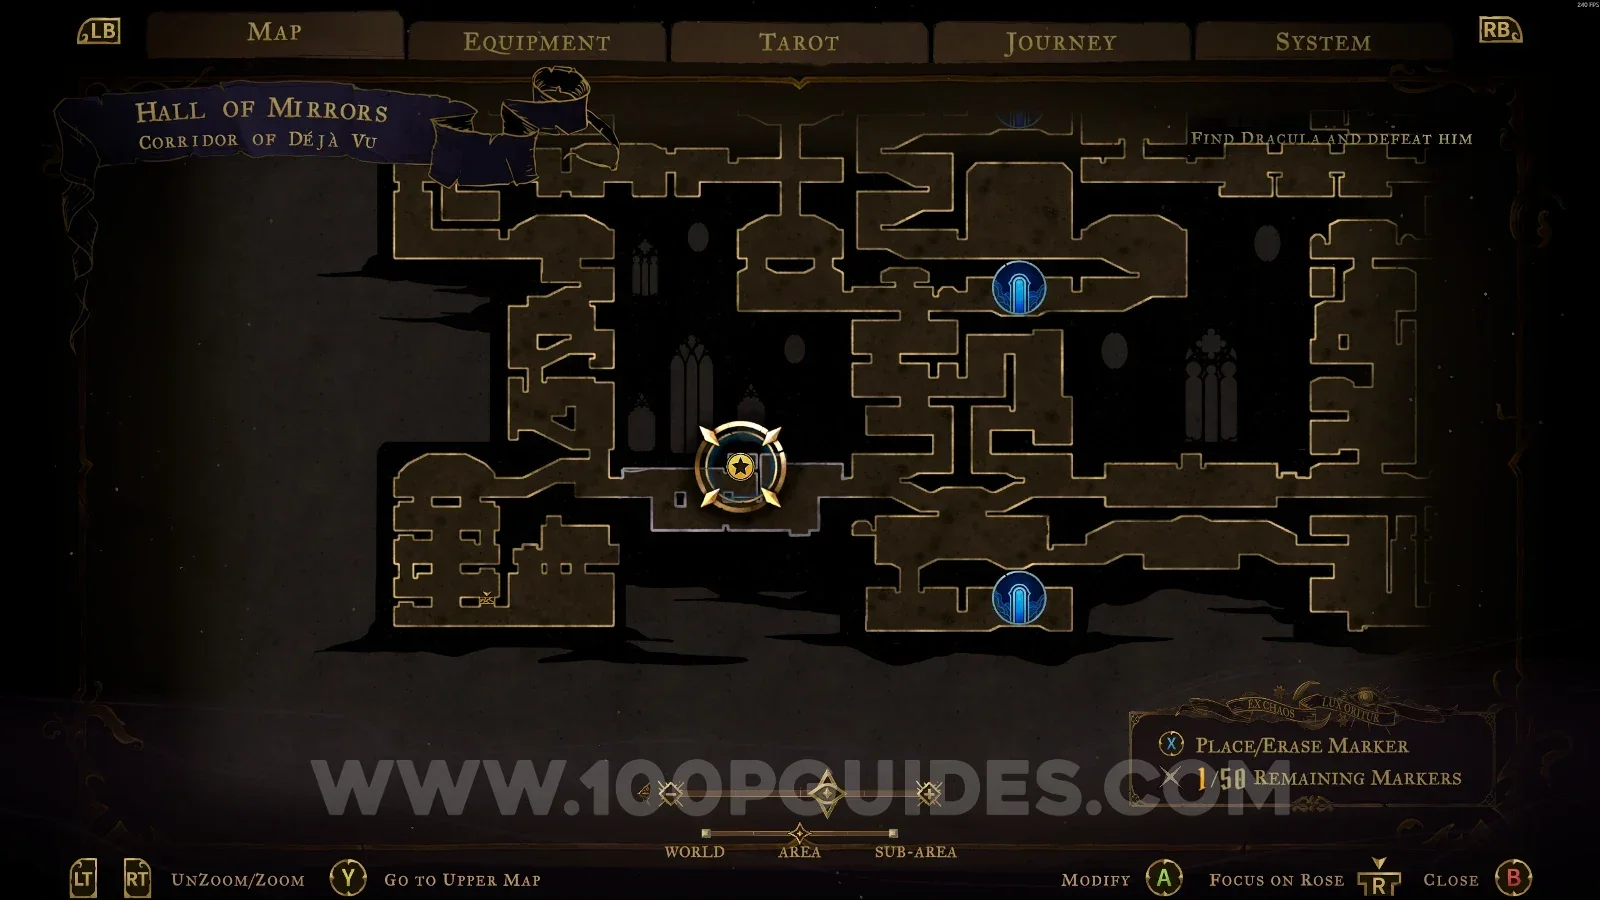
Castlevania Belmonts Curse Corridor Of Deja Vu: map marking the area of Blue Book #9 Castlevania Belmonts Curse Corridor Of Deja Vu: Blue Book #9 inside a small secret room

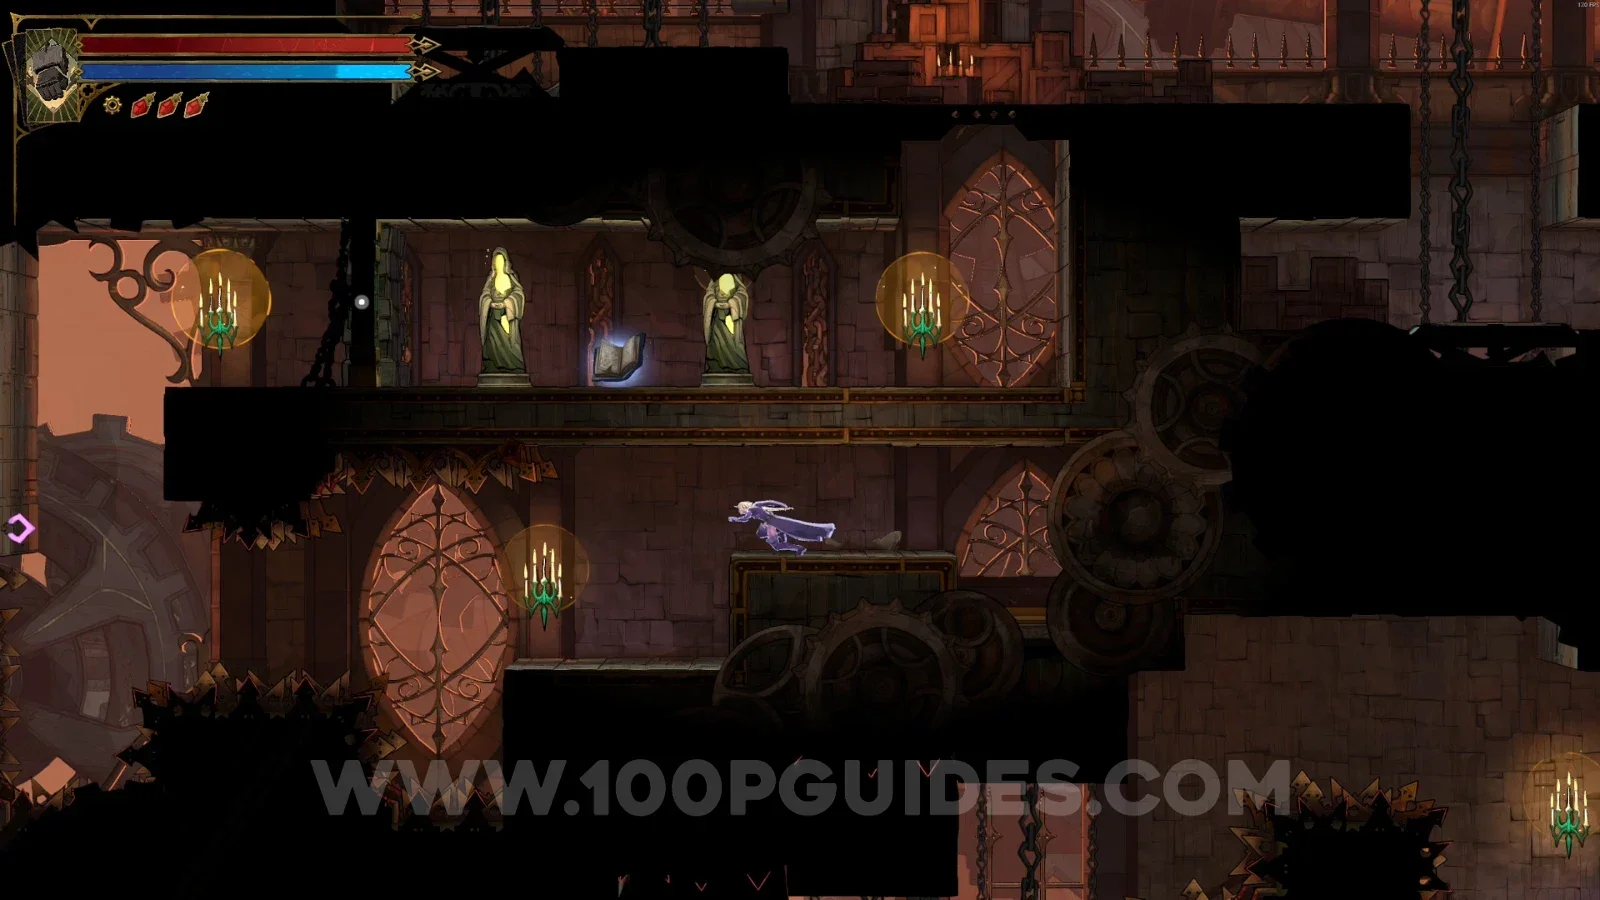
Clock Tower

Counterweight Chamber

Red Book #10

In the area marked on the map, you have to interact with the lever on the left side, then grab the book on the right side.
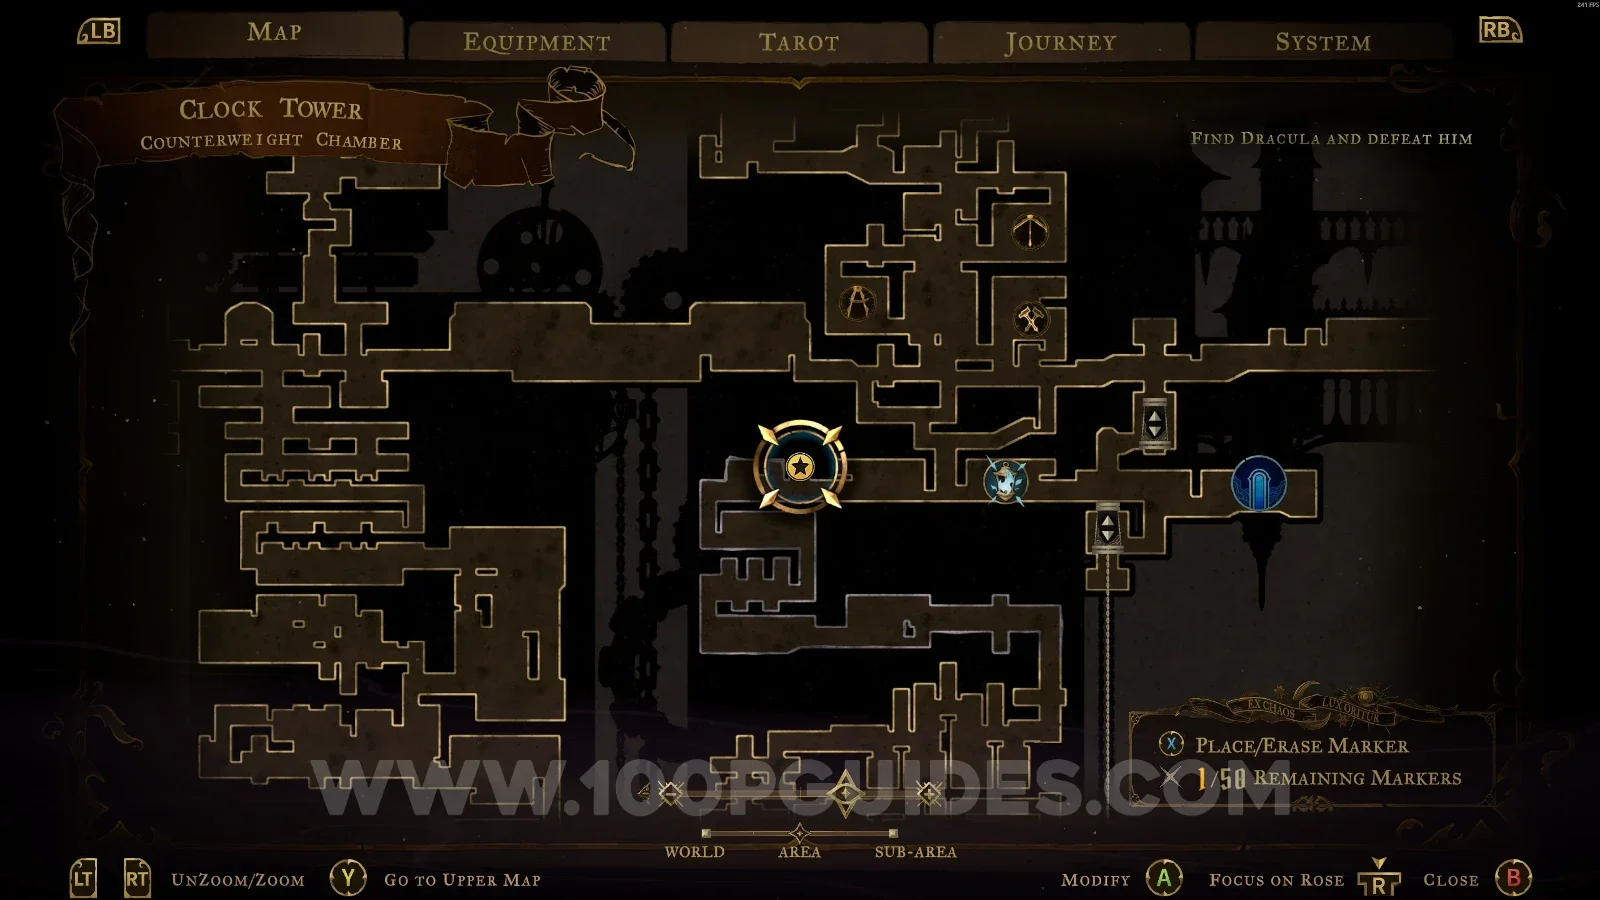
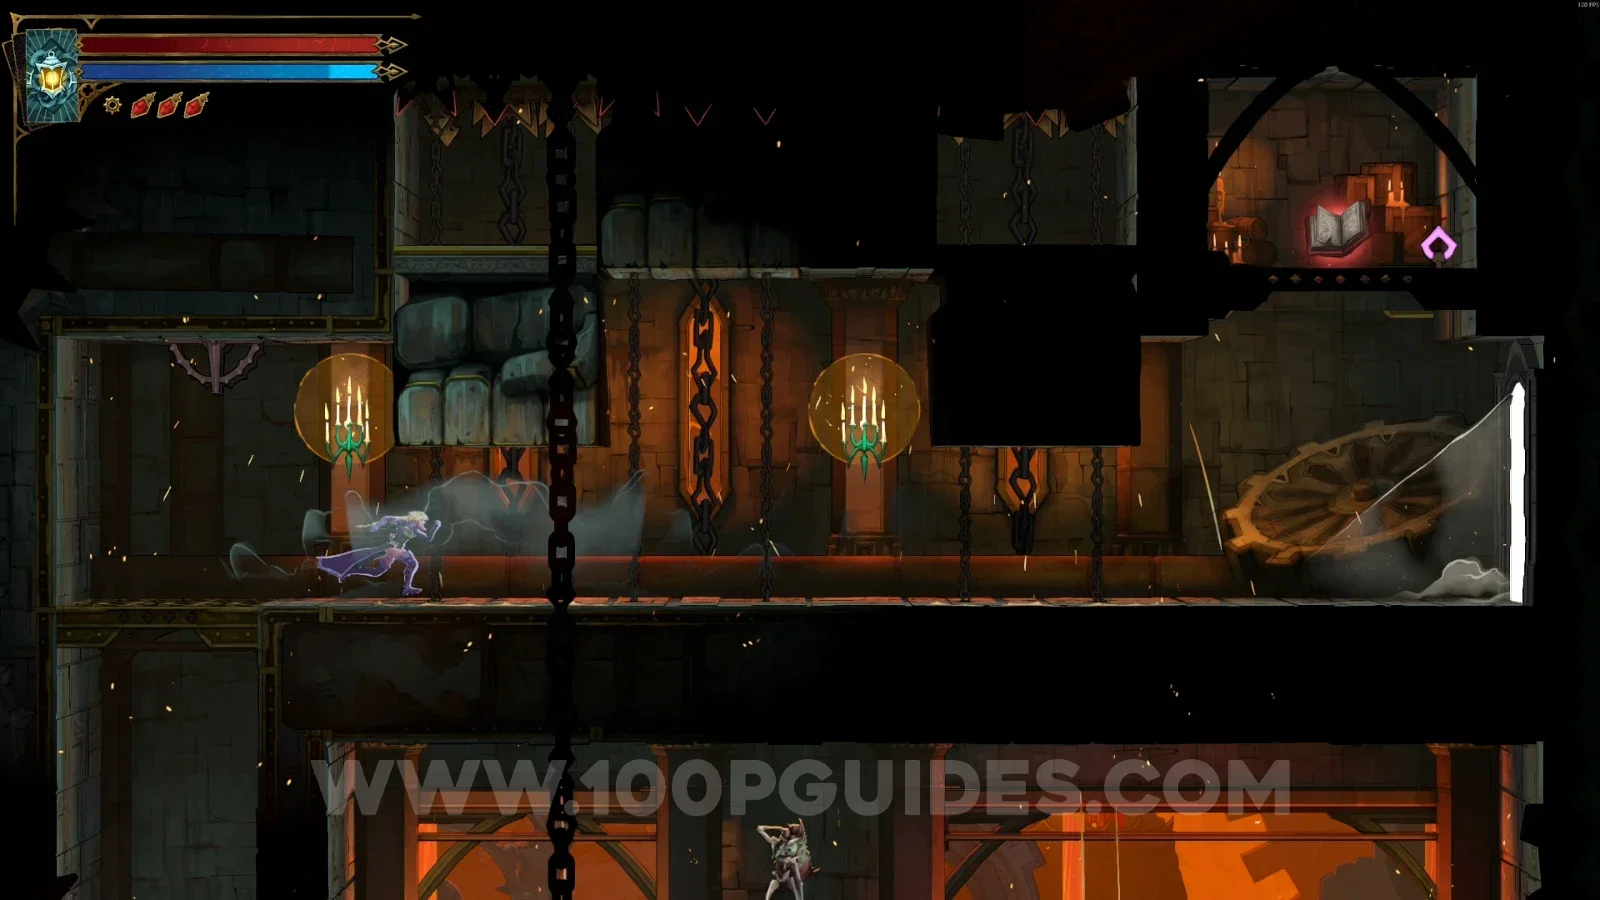
Castlevania Belmonts Curse Counterweight Chamber: map marking the area of Red Book #10 Castlevania Belmonts Curse Counterweight Chamber: Red Book #10 on the right side after using the left lever

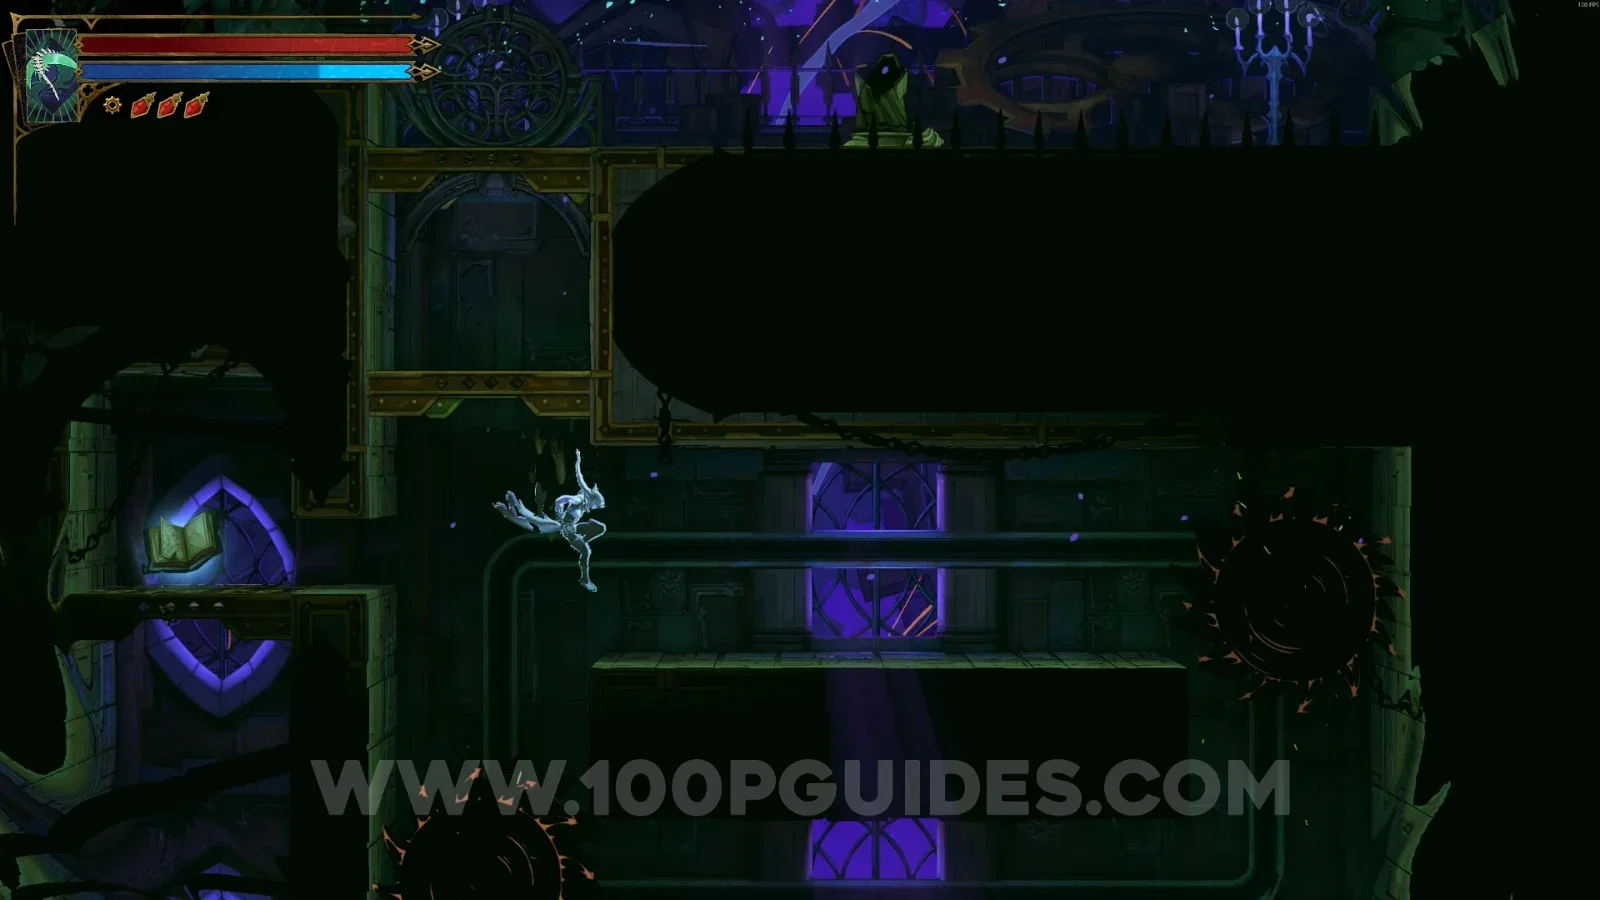
Daedalus Crossing

Blue Book #10

In the area marked on the map, wait for the first block to drop and then climb on top of it. This will reveal the secret area with the Blue Book.
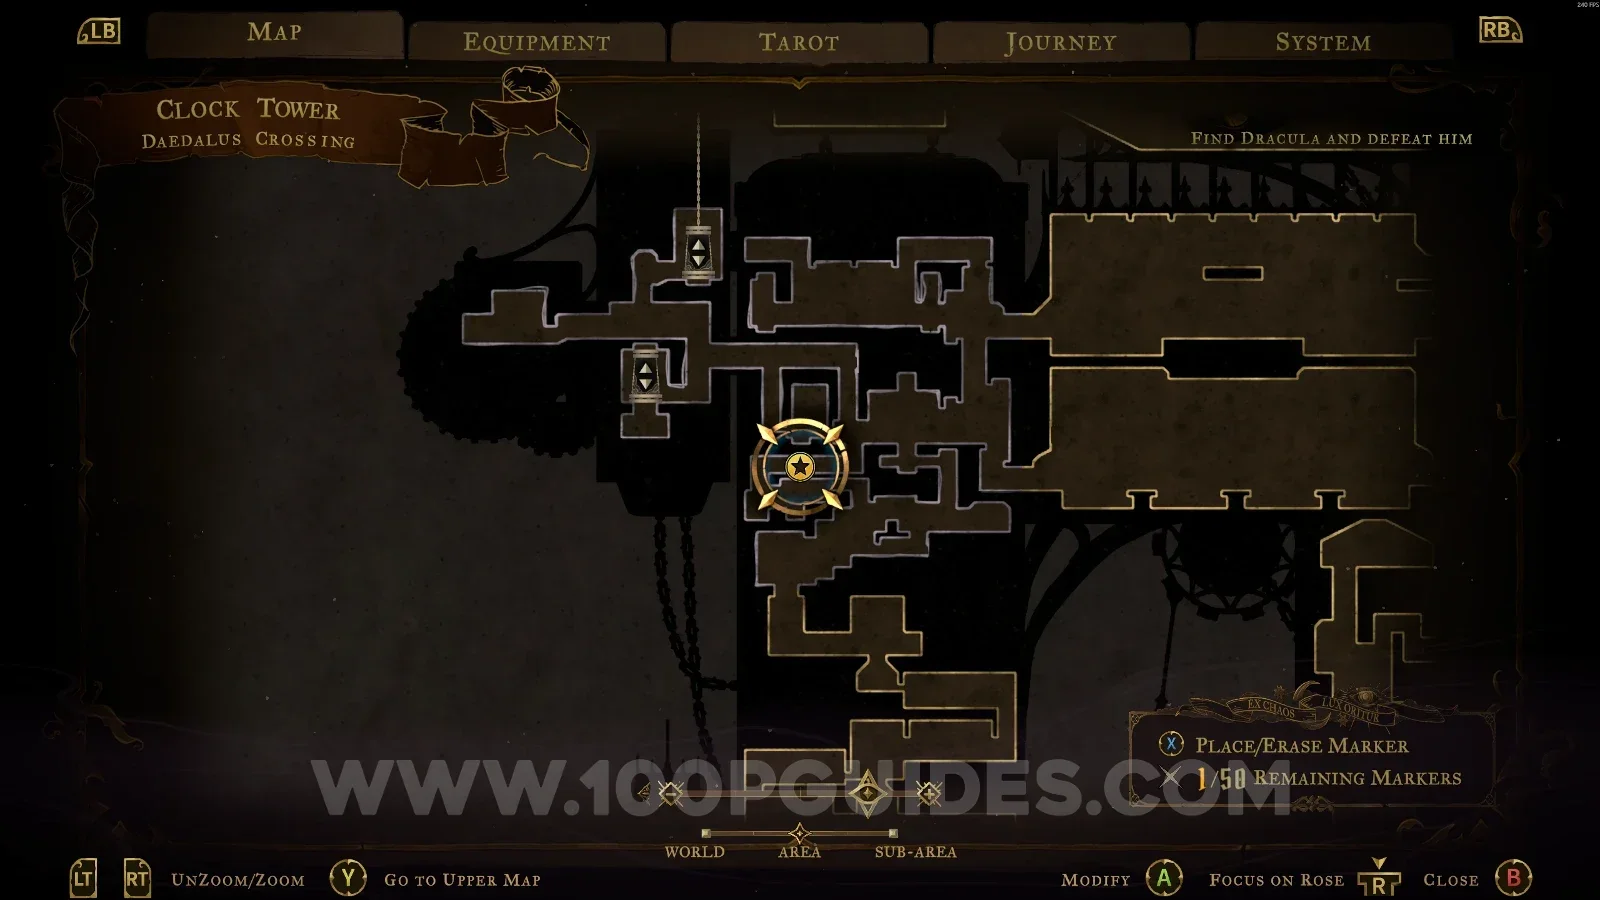
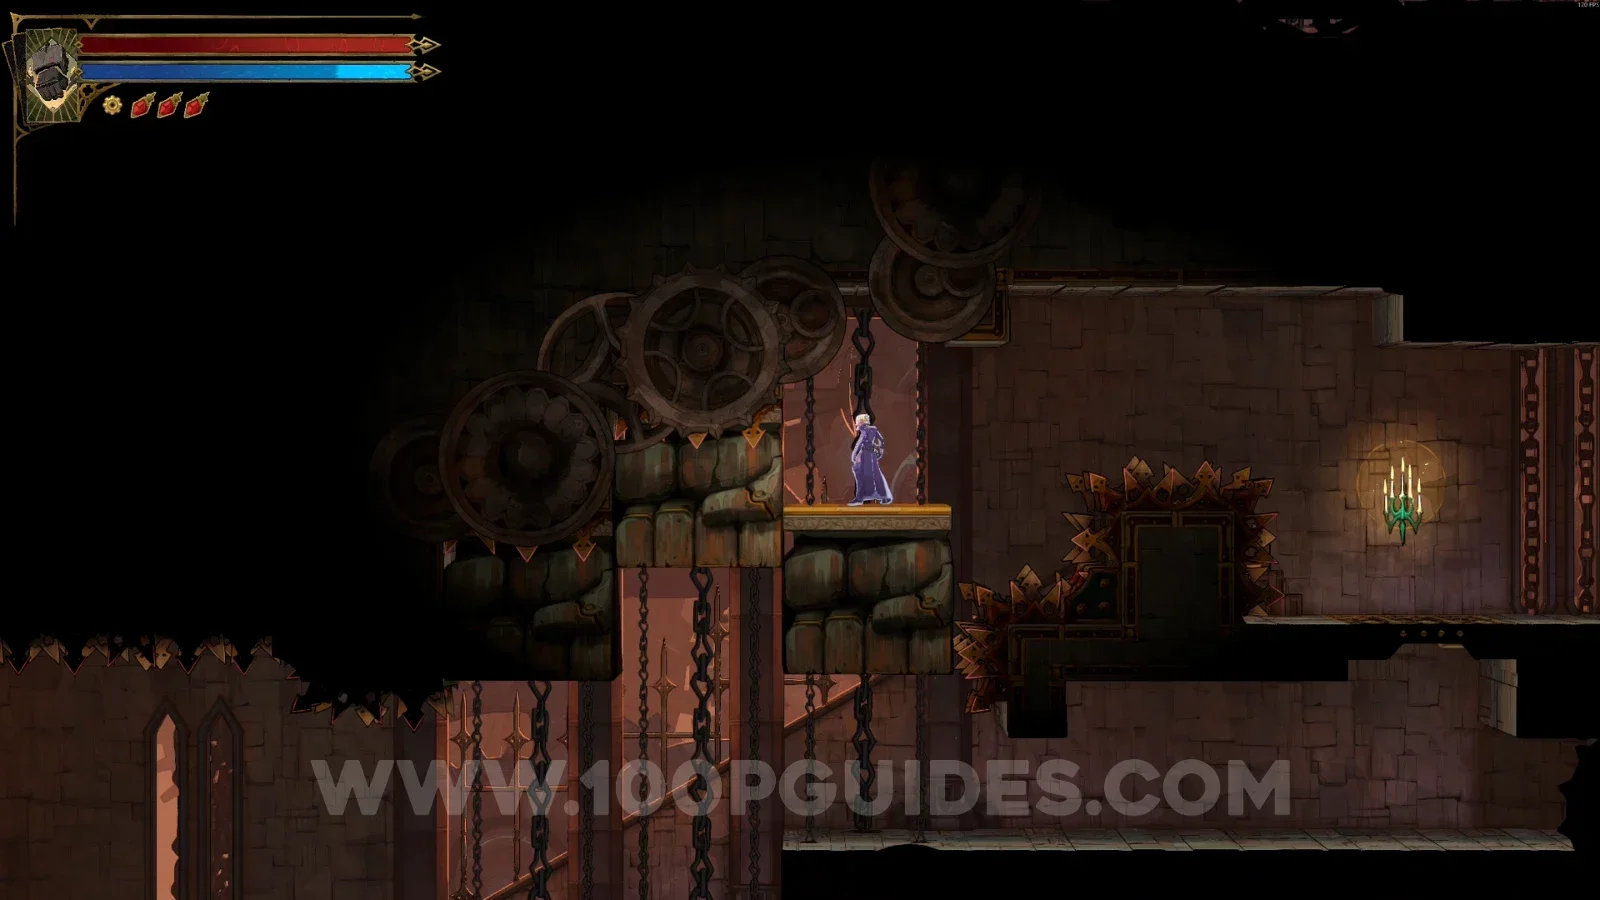
Castlevania Belmonts Curse Daedalus Crossing: map marking the area of Blue Book #10 Castlevania Belmonts Curse Daedalus Crossing: climbing on top of the first block after it drops Castlevania Belmonts Curse Daedalus Crossing: Blue Book #10 in the revealed secret area

Eastern Summit

Blue Book #11

Interact with the clock in the previous room, then go down and around the area to grab the Blue Book.
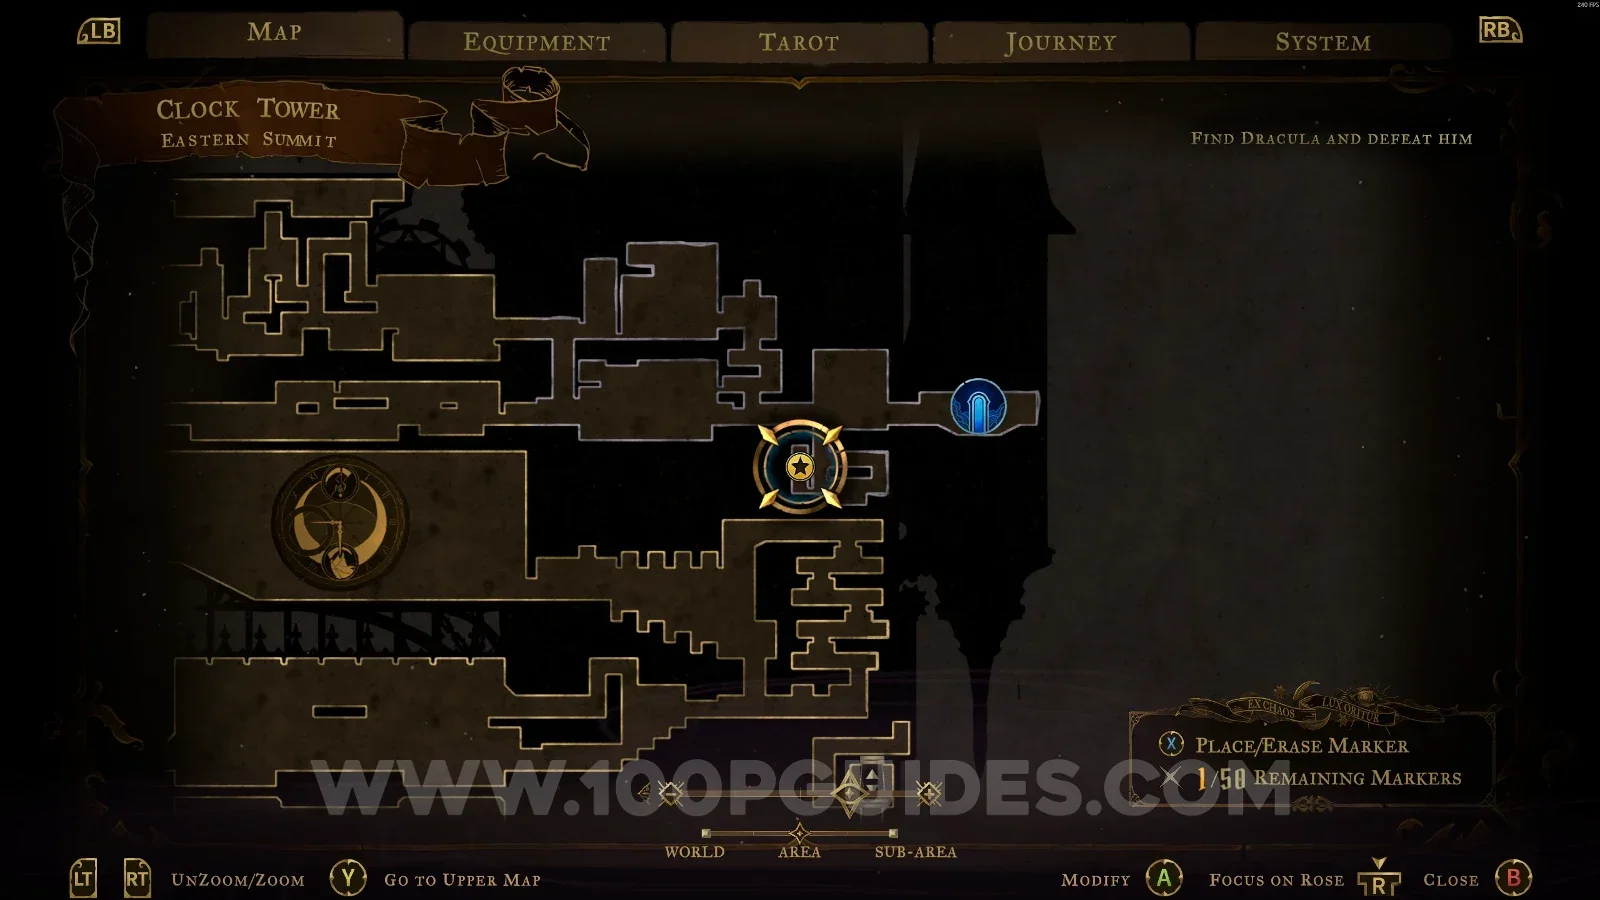
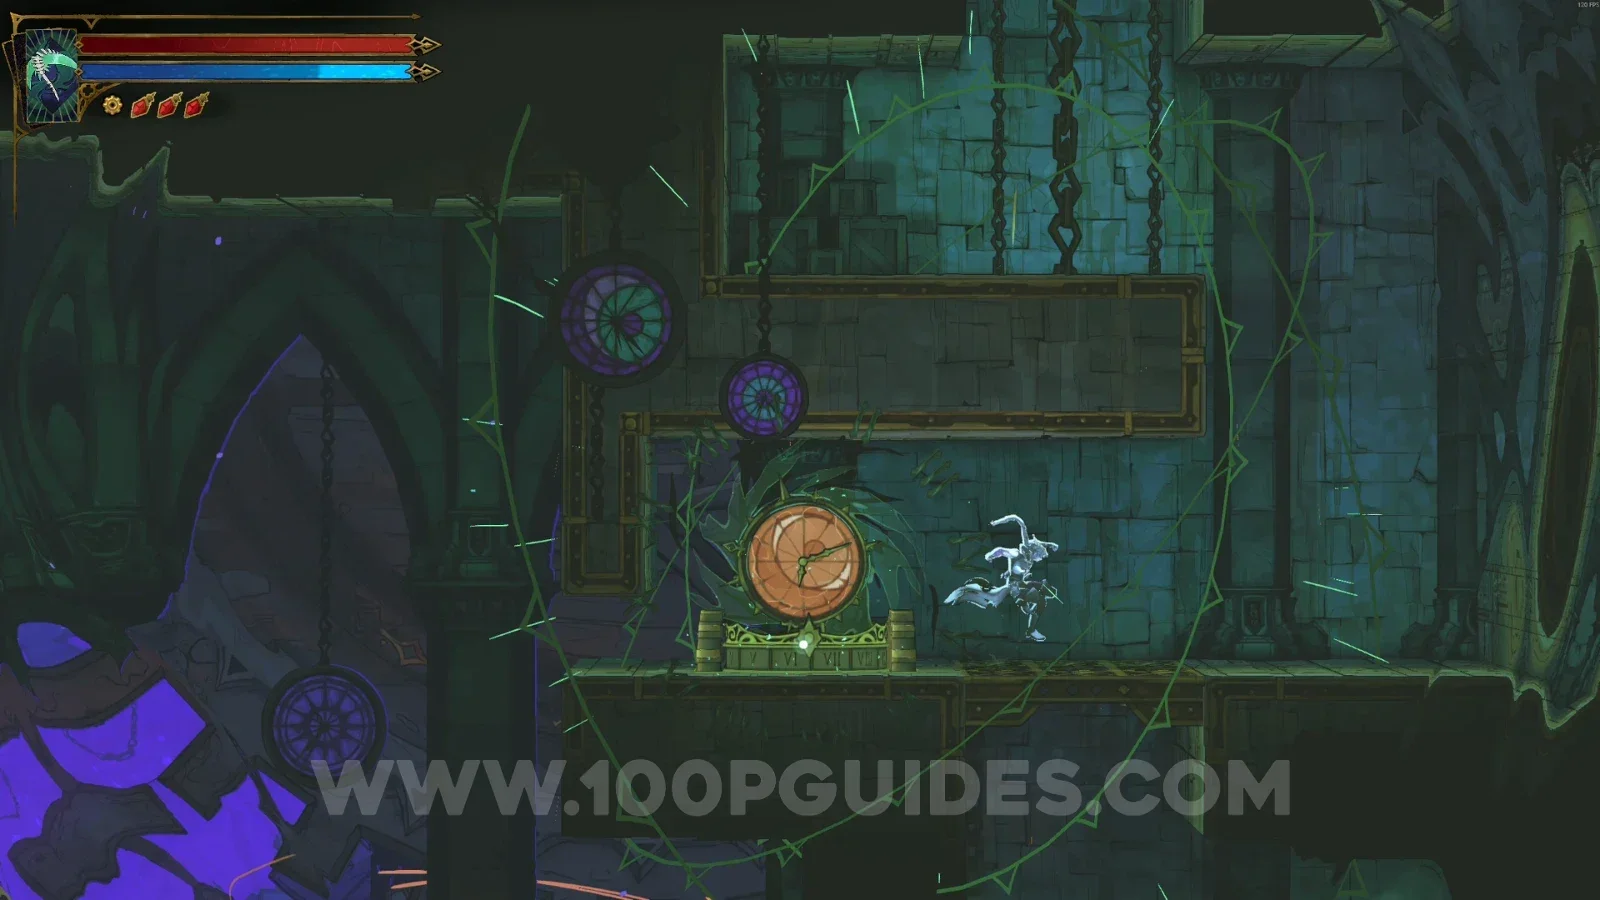
Castlevania Belmonts Curse Eastern Summit: interacting with the clock in the previous room Castlevania Belmonts Curse Eastern Summit: going down and around the area toward the Blue Book Castlevania Belmonts Curse Eastern Summit: the Blue Book buff reached after using the clock

Notre-Dame

Great Organ Room

Blue Book #12

In the area marked on the map.
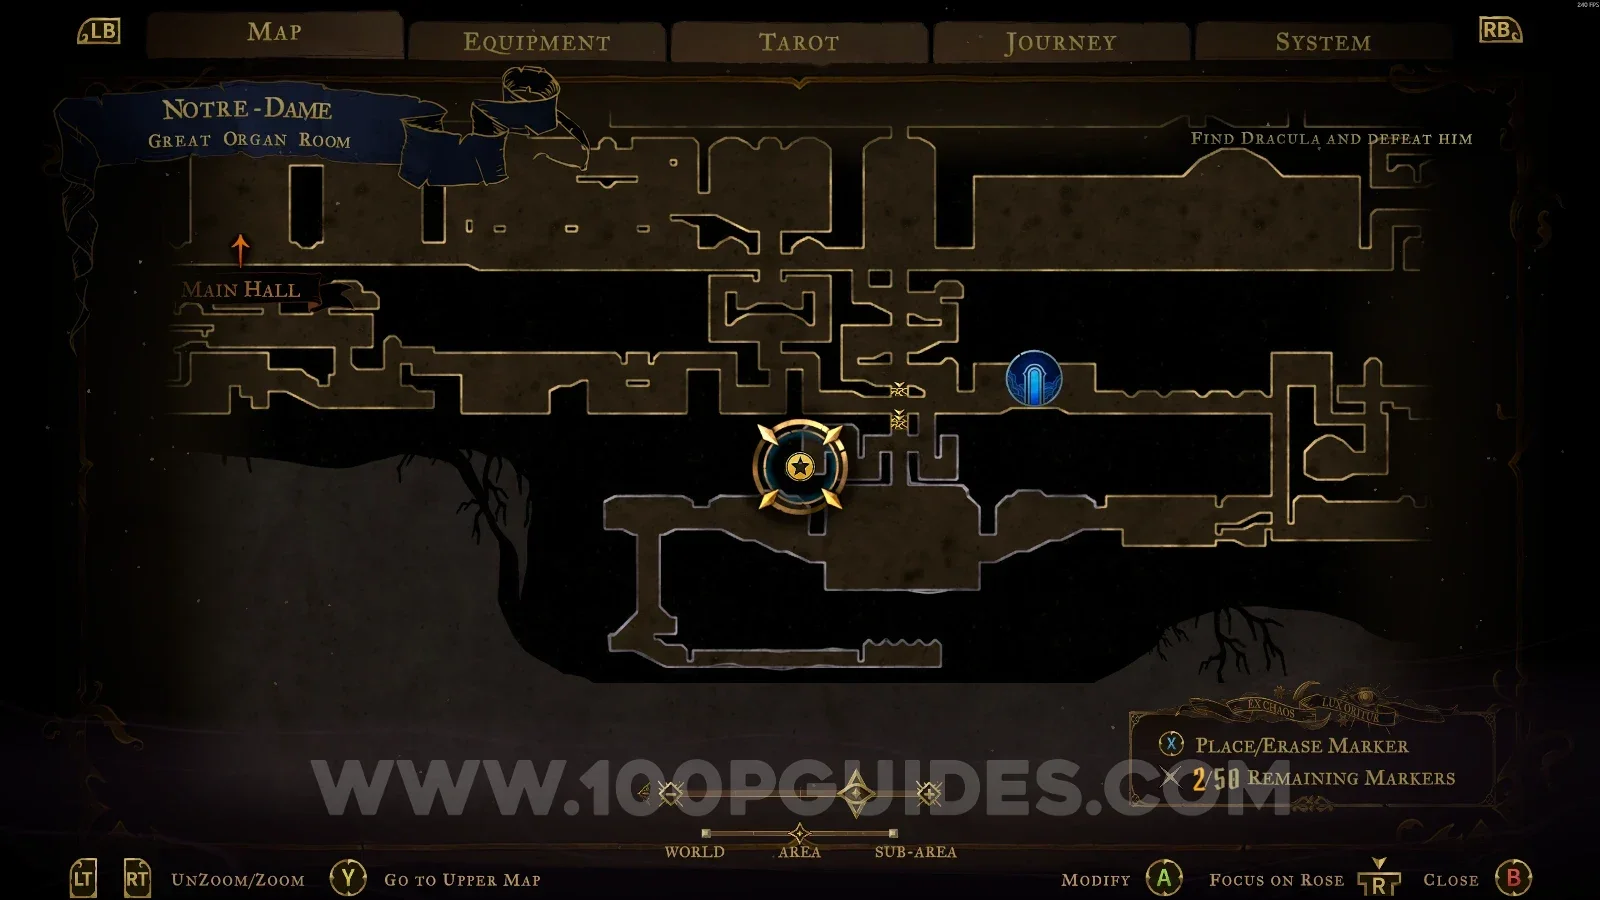
Castlevania Belmonts Curse Great Organ Room: map marking the area of Blue Book #12 Castlevania Belmonts Curse Great Organ Room: Blue Book #12 buff in the marked area

Tomb Of The Chevaliers

Red Book #11

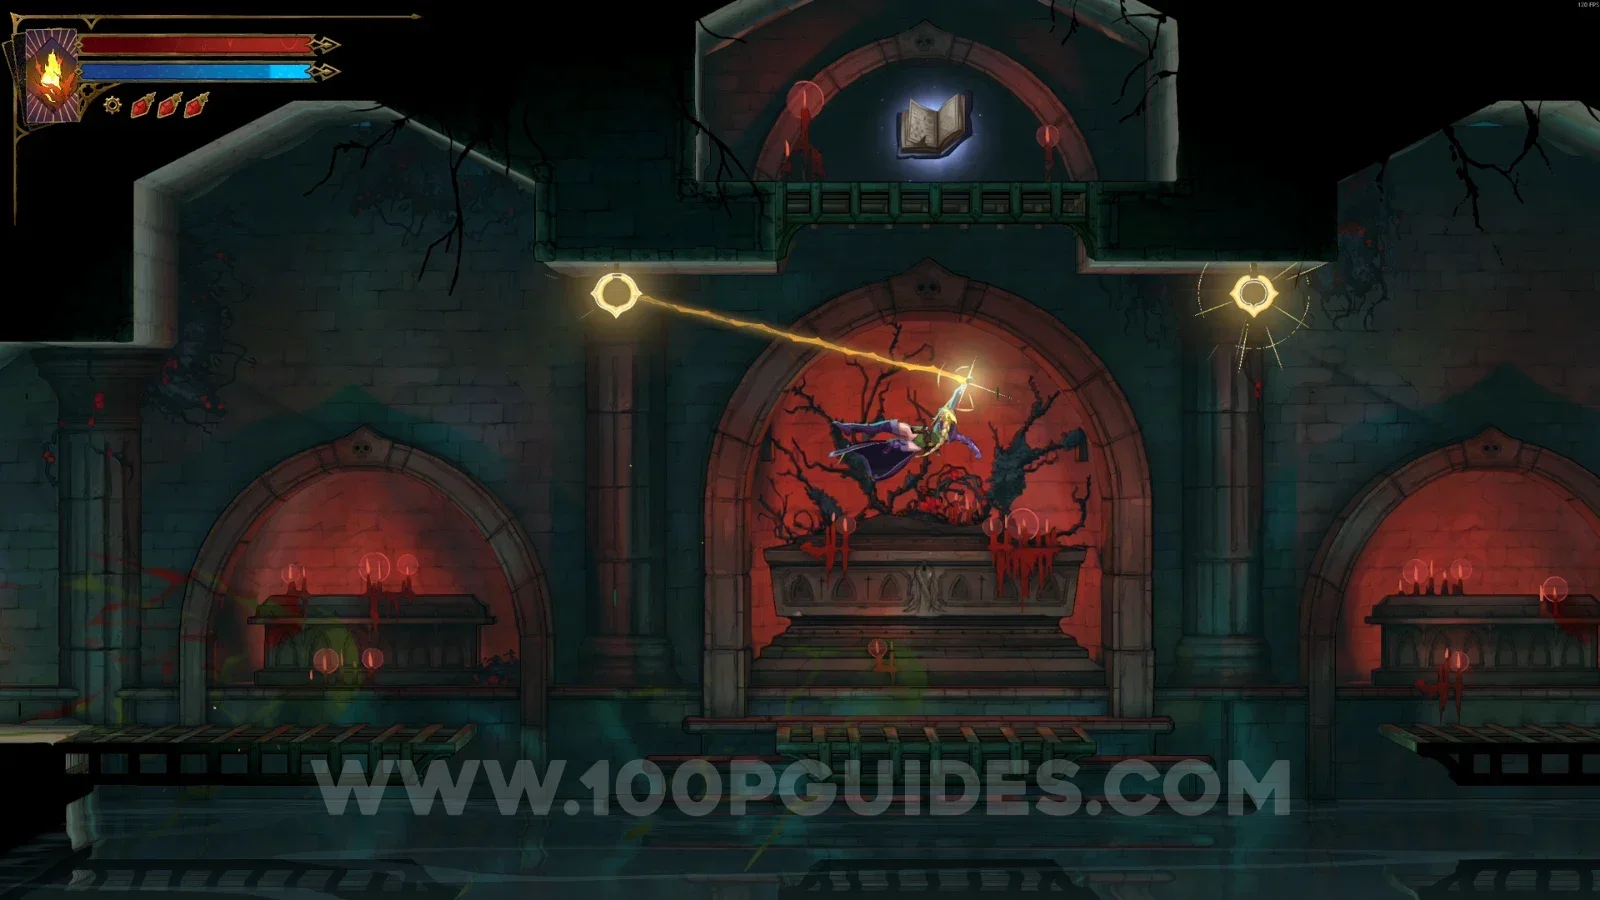
In the area marked on the map, hang from the ring you use the Arcane Whip on until it reveals a secret area with the Red Book.
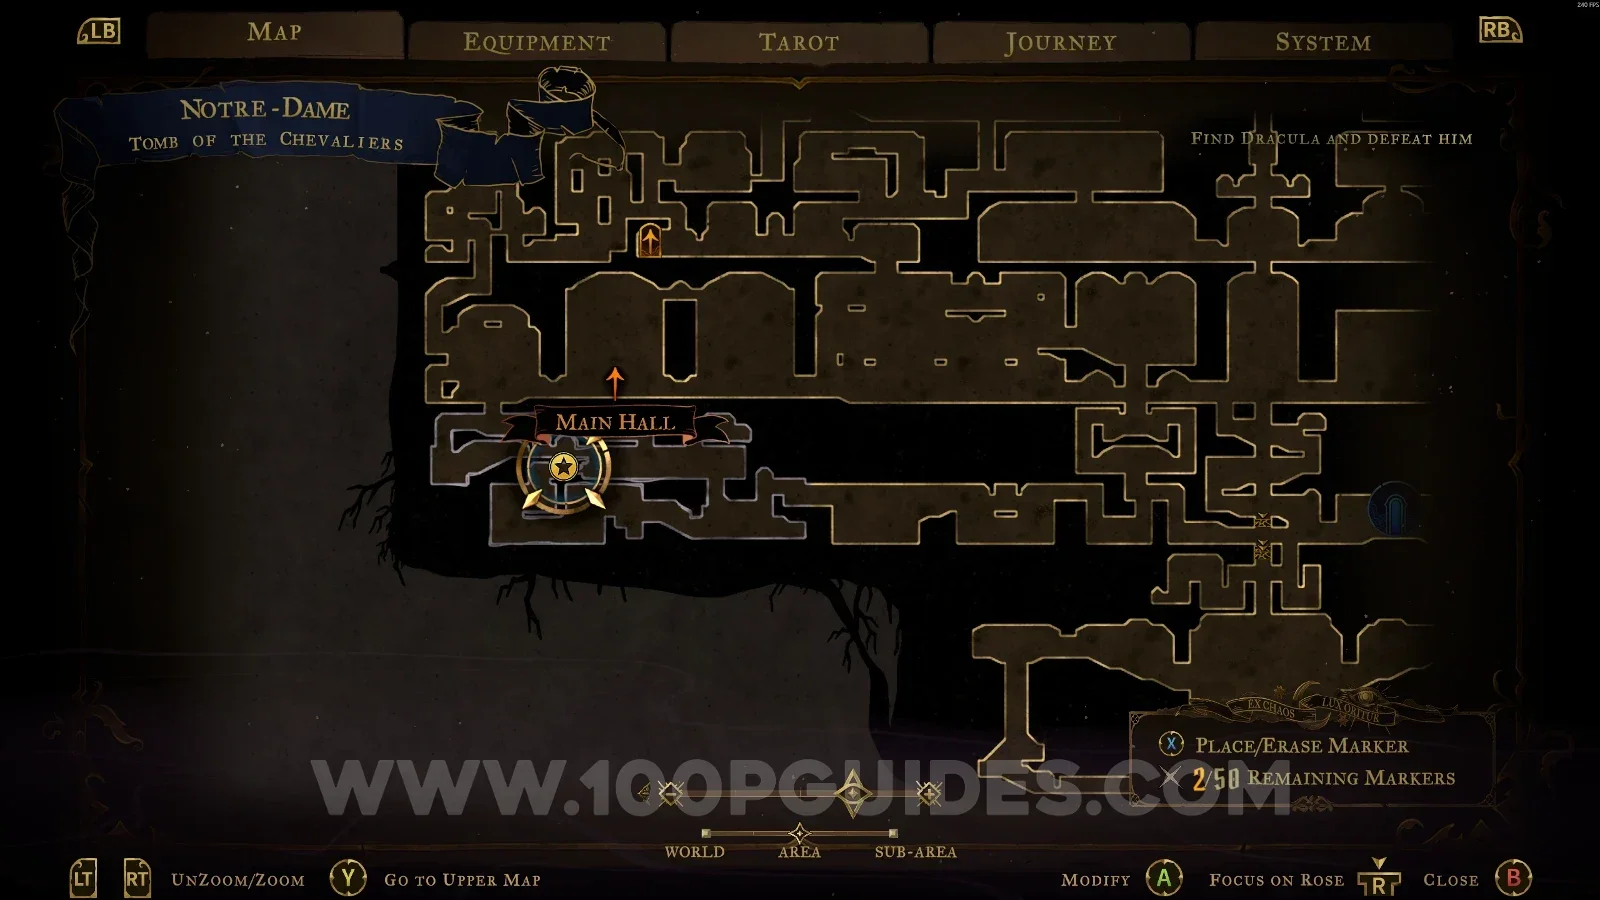
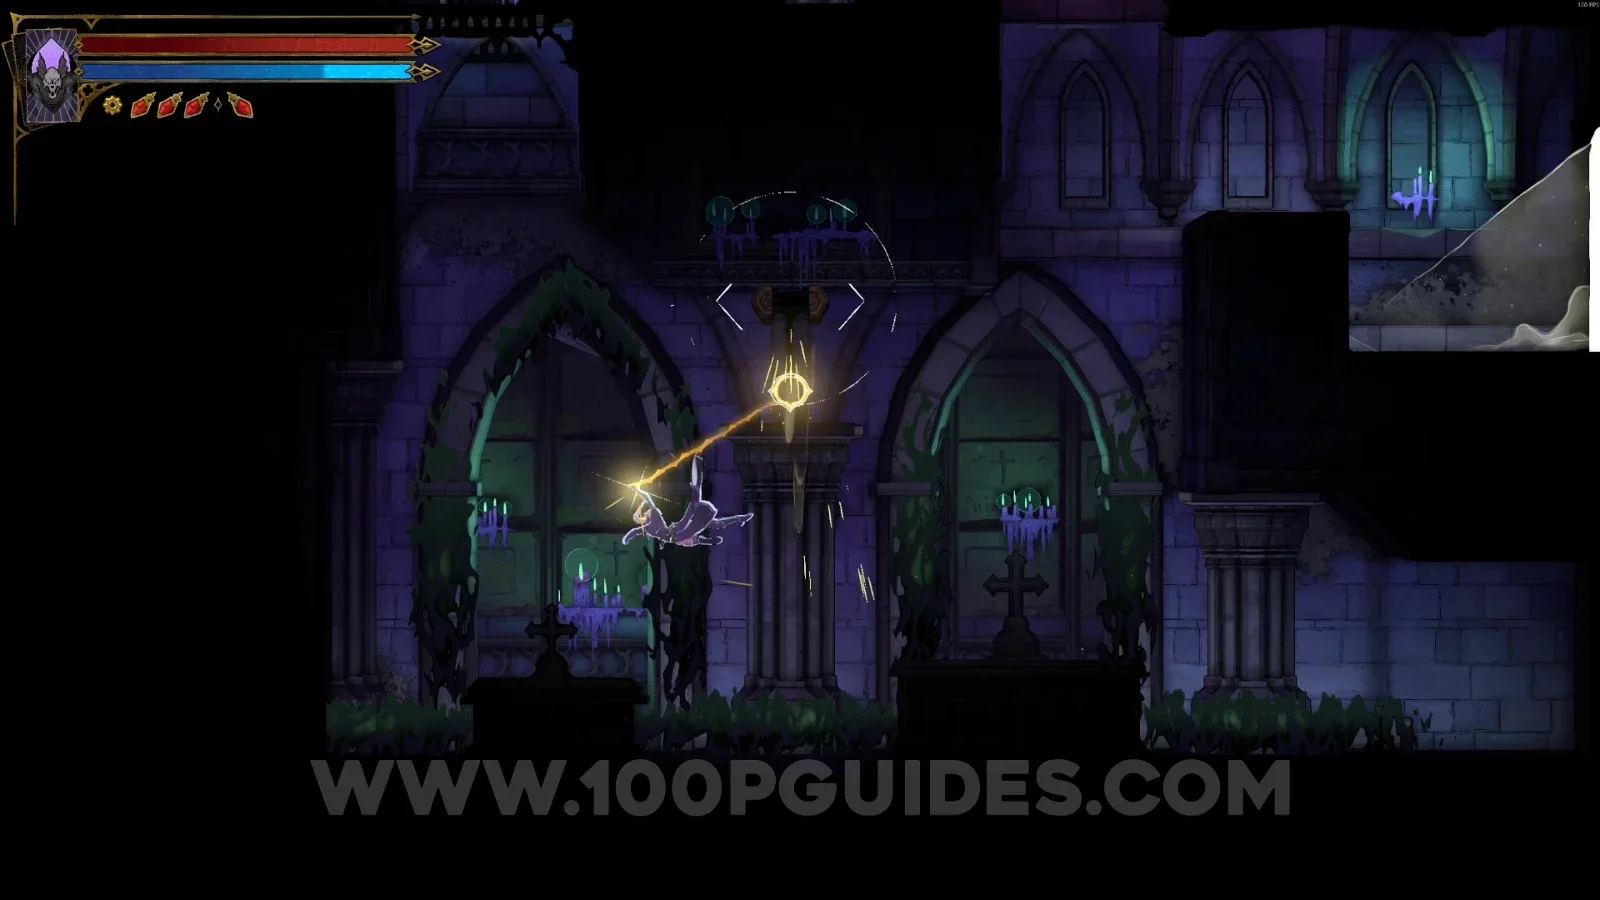
Castlevania Belmonts Curse Tomb Of The Chevaliers: map marking the area of Red Book #11 Castlevania Belmonts Curse Tomb Of The Chevaliers: hanging from the Arcane Whip ring to reveal a secret area Castlevania Belmonts Curse Tomb Of The Chevaliers: Red Book #11 in the revealed secret area

Red Book #12

Use the slide on the left side of the area to reveal the secret room with the Red Book.
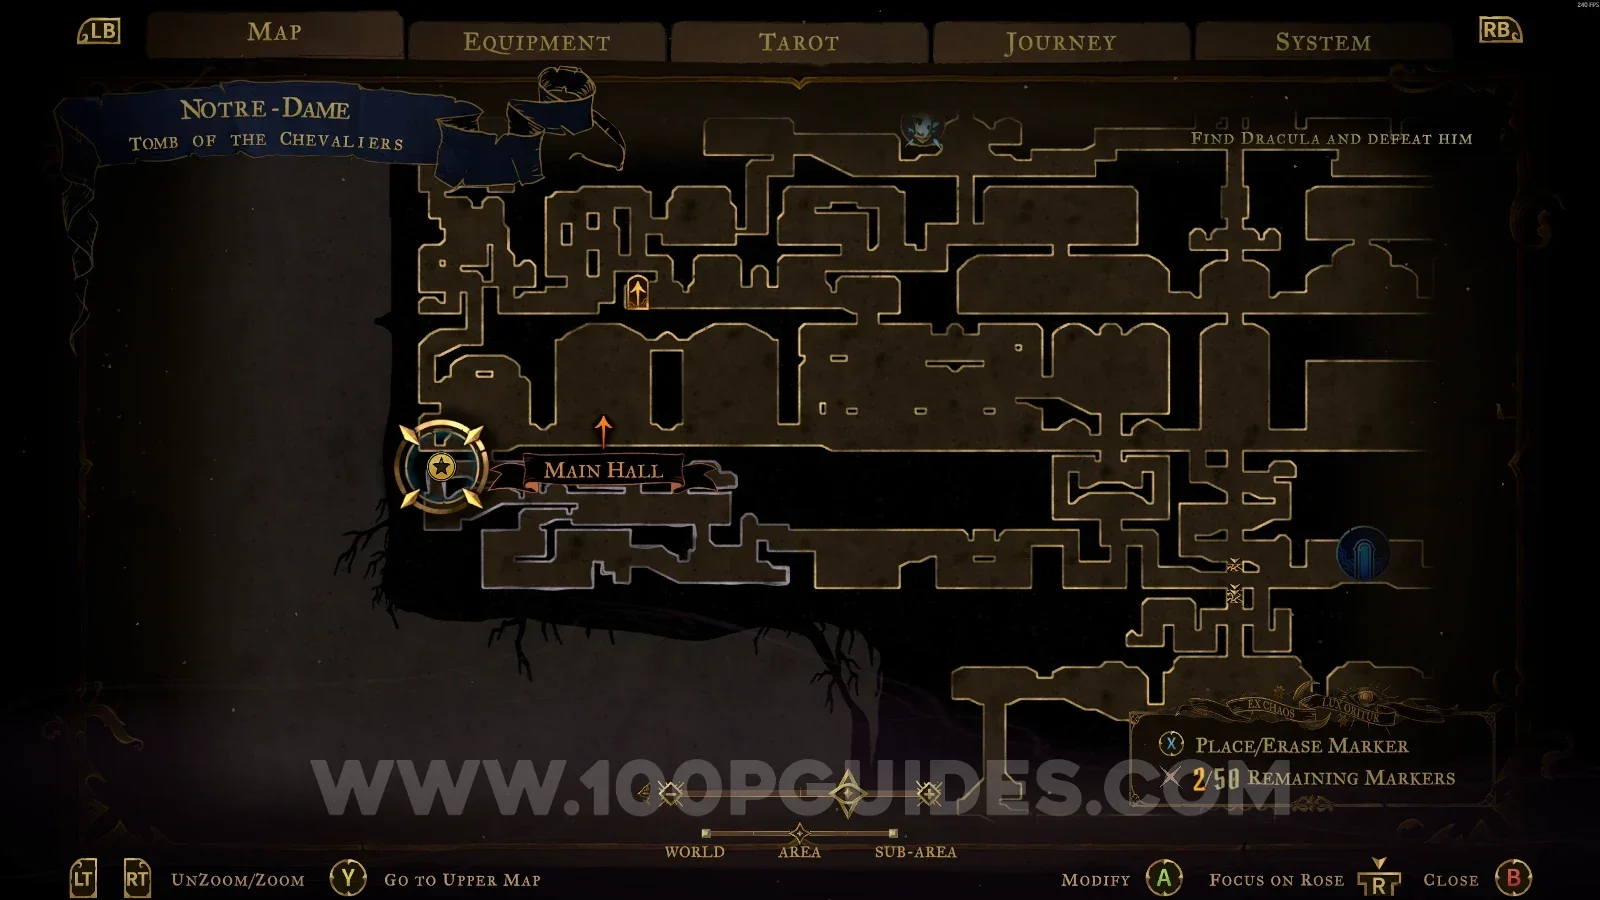
Castlevania Belmonts Curse Tomb Of The Chevaliers: the slide on the left side leading to Red Book #12 Castlevania Belmonts Curse Tomb Of The Chevaliers: using the slide to reveal the secret room Castlevania Belmonts Curse Tomb Of The Chevaliers: Red Book #12 inside the secret room

Narthex

Red Book #13

In the area marked on the map, climb up and break the wall on the right side at the top. Drop into the middle of the platform on the other side to find this Red Book.
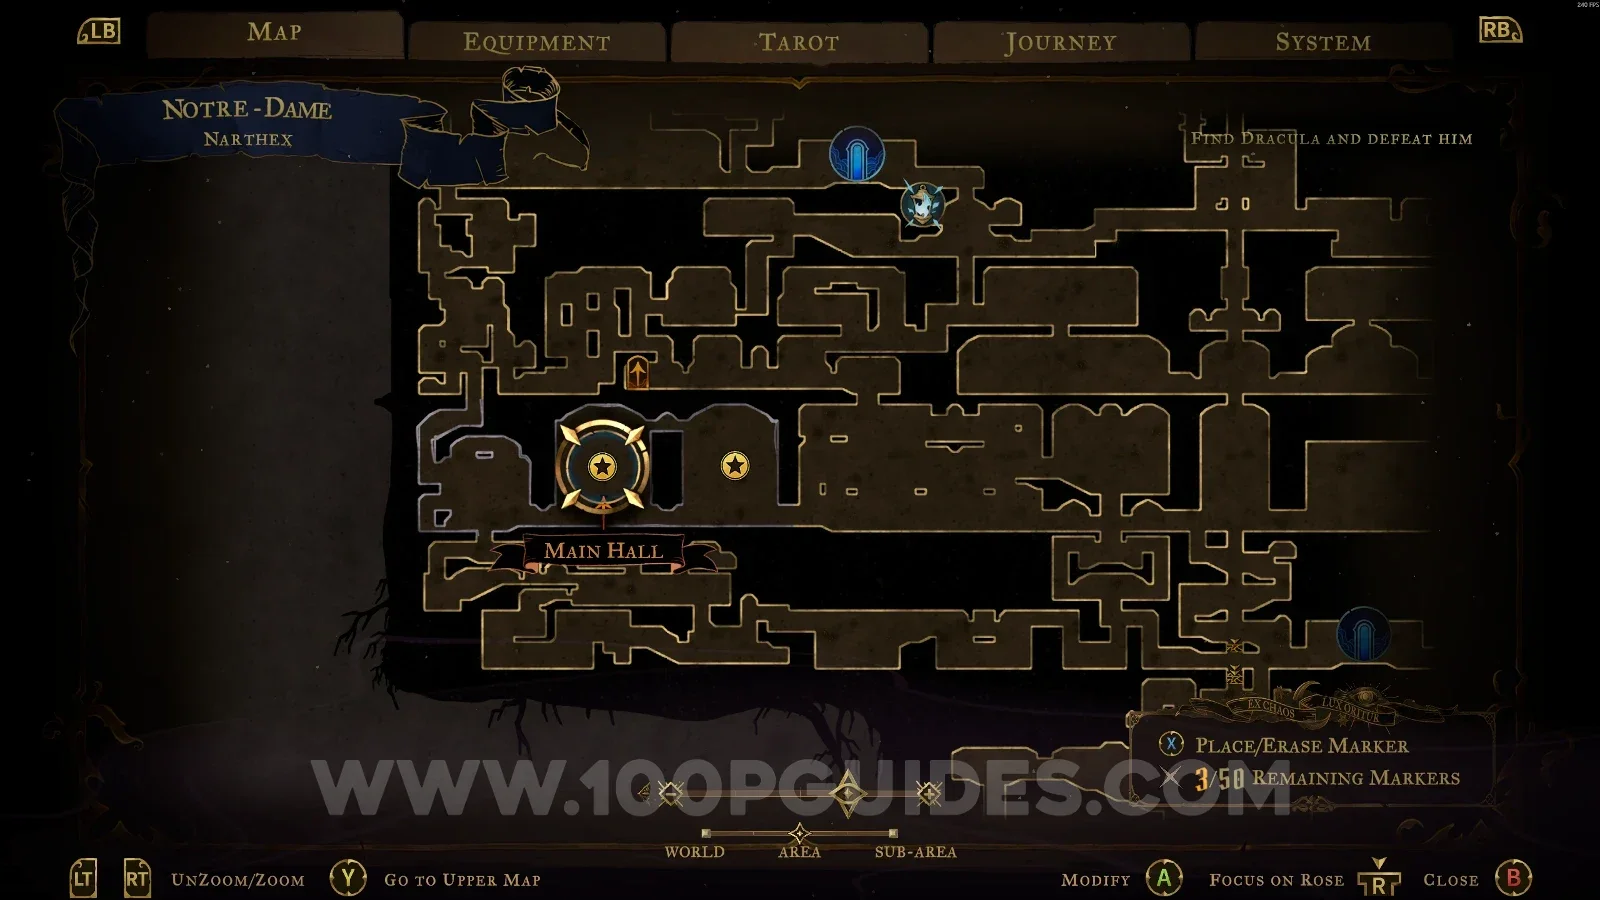
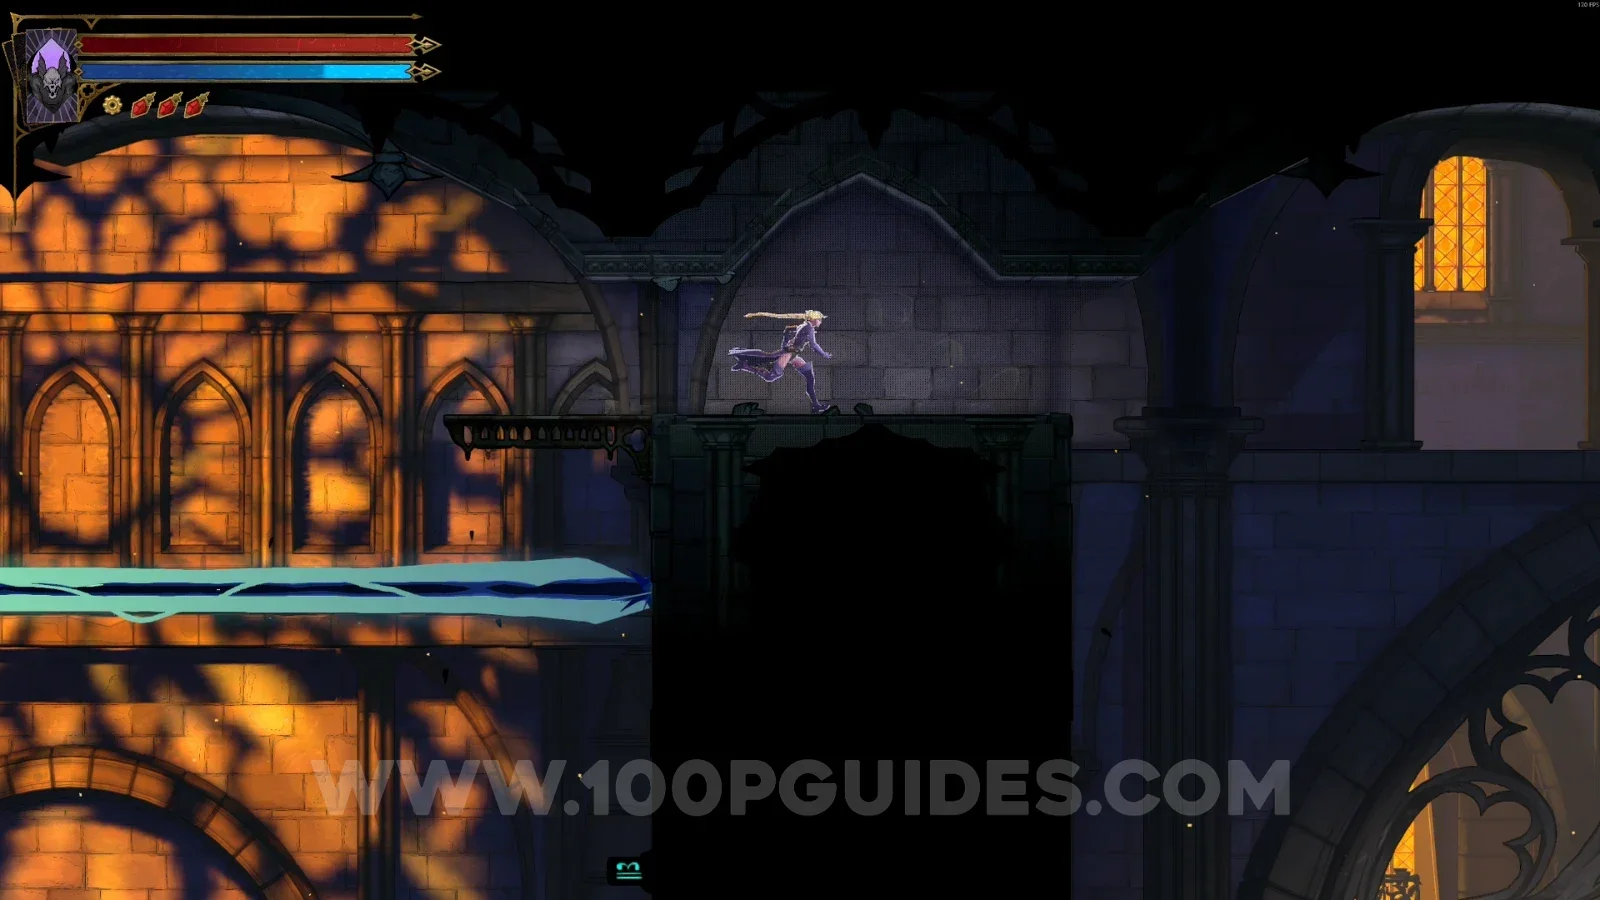
Castlevania Belmonts Curse Narthex: map marking the area of Red Book #13 Castlevania Belmonts Curse Narthex: breaking the wall on the right side at the top of the area Castlevania Belmonts Curse Narthex: Red Book #13 in the middle of the platform past the broken wall

East Triforium

Blue Book #13

In the area marked on the map, in a small secret room at the top.
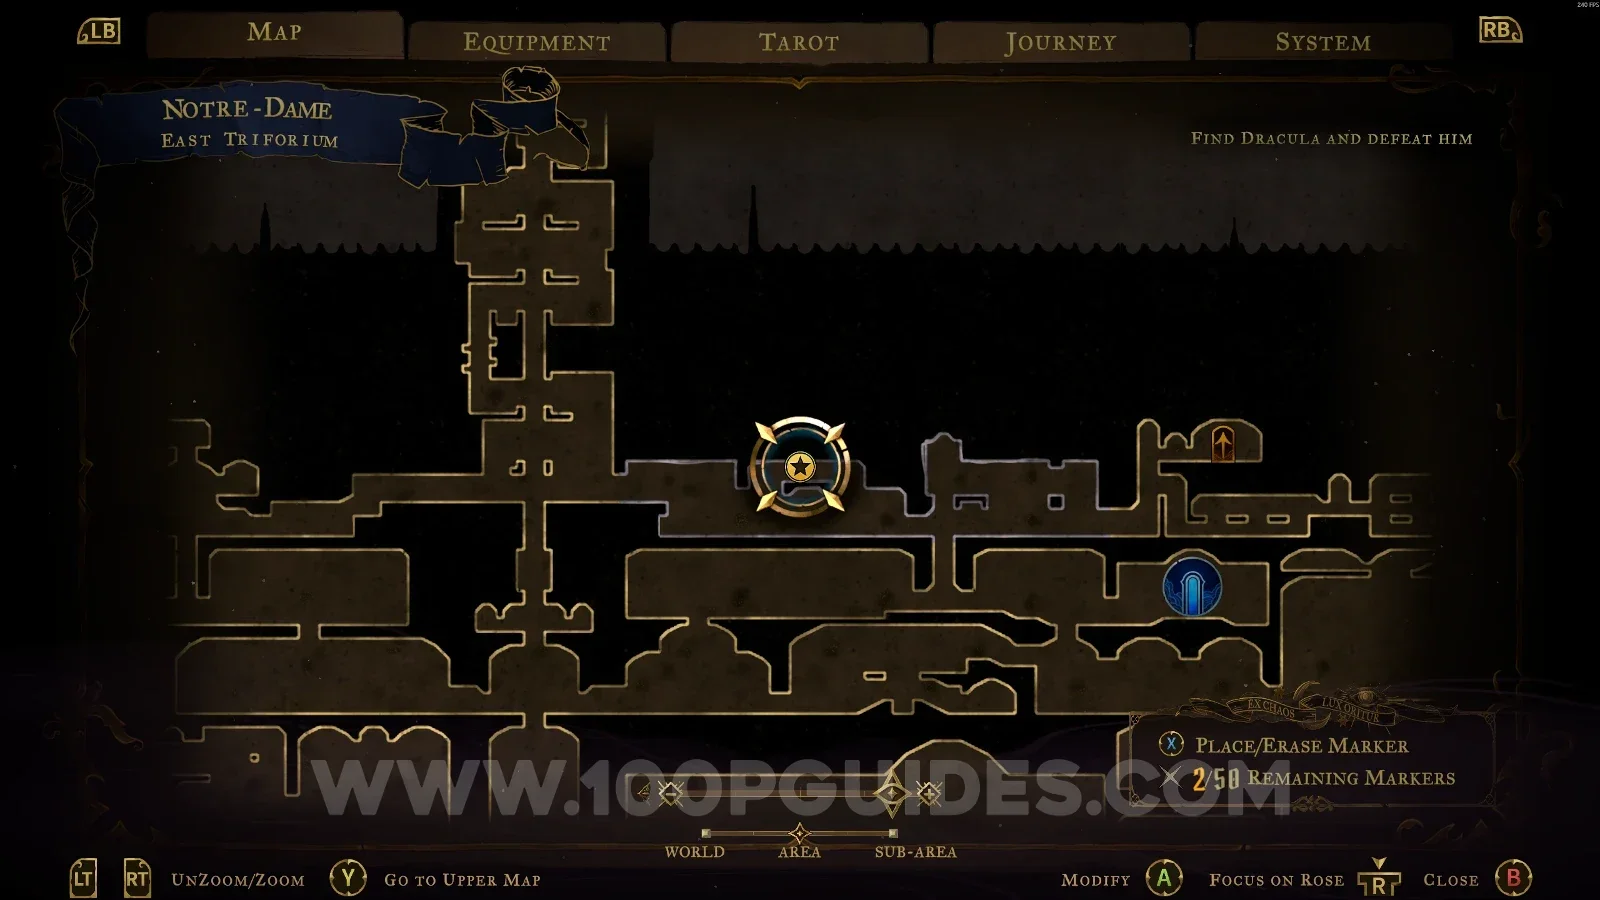
Castlevania Belmonts Curse East Triforium: map marking the area of Blue Book #13 Castlevania Belmonts Curse East Triforium: Blue Book #13 in a small secret room at the top

Tree Of Saints

Blue Book #14 + Red Book #14

Climb the Great Tower on the left side to reach the Tree Of Saints and get the Blue Book. Then climb the Small Tower on the right side to reach the Tree Of Saints and get the Red Book.
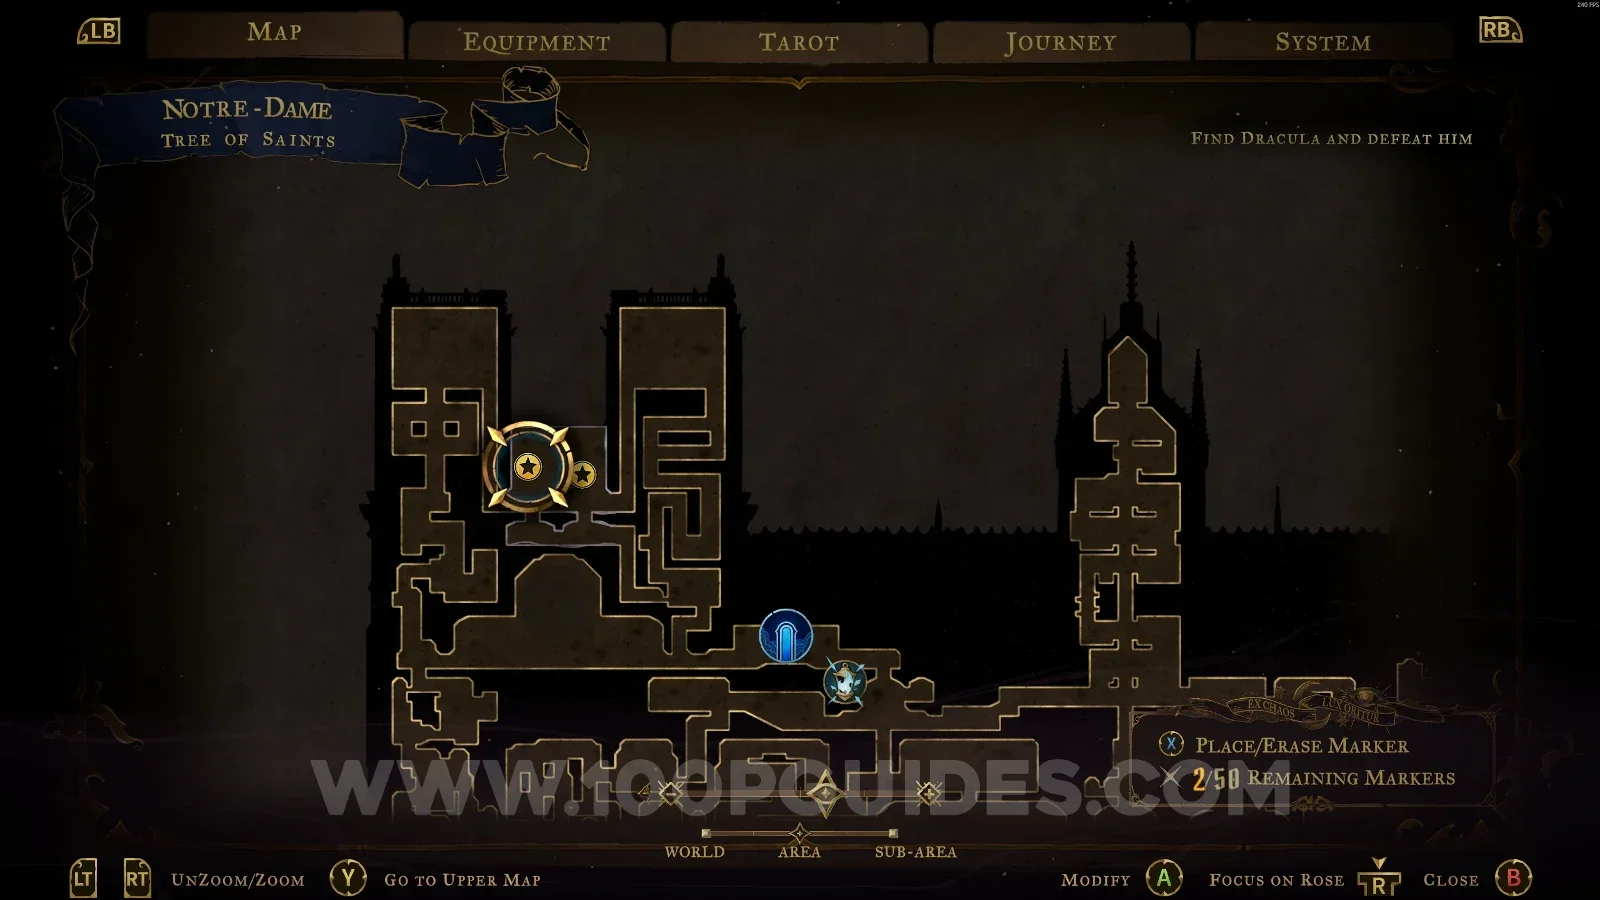
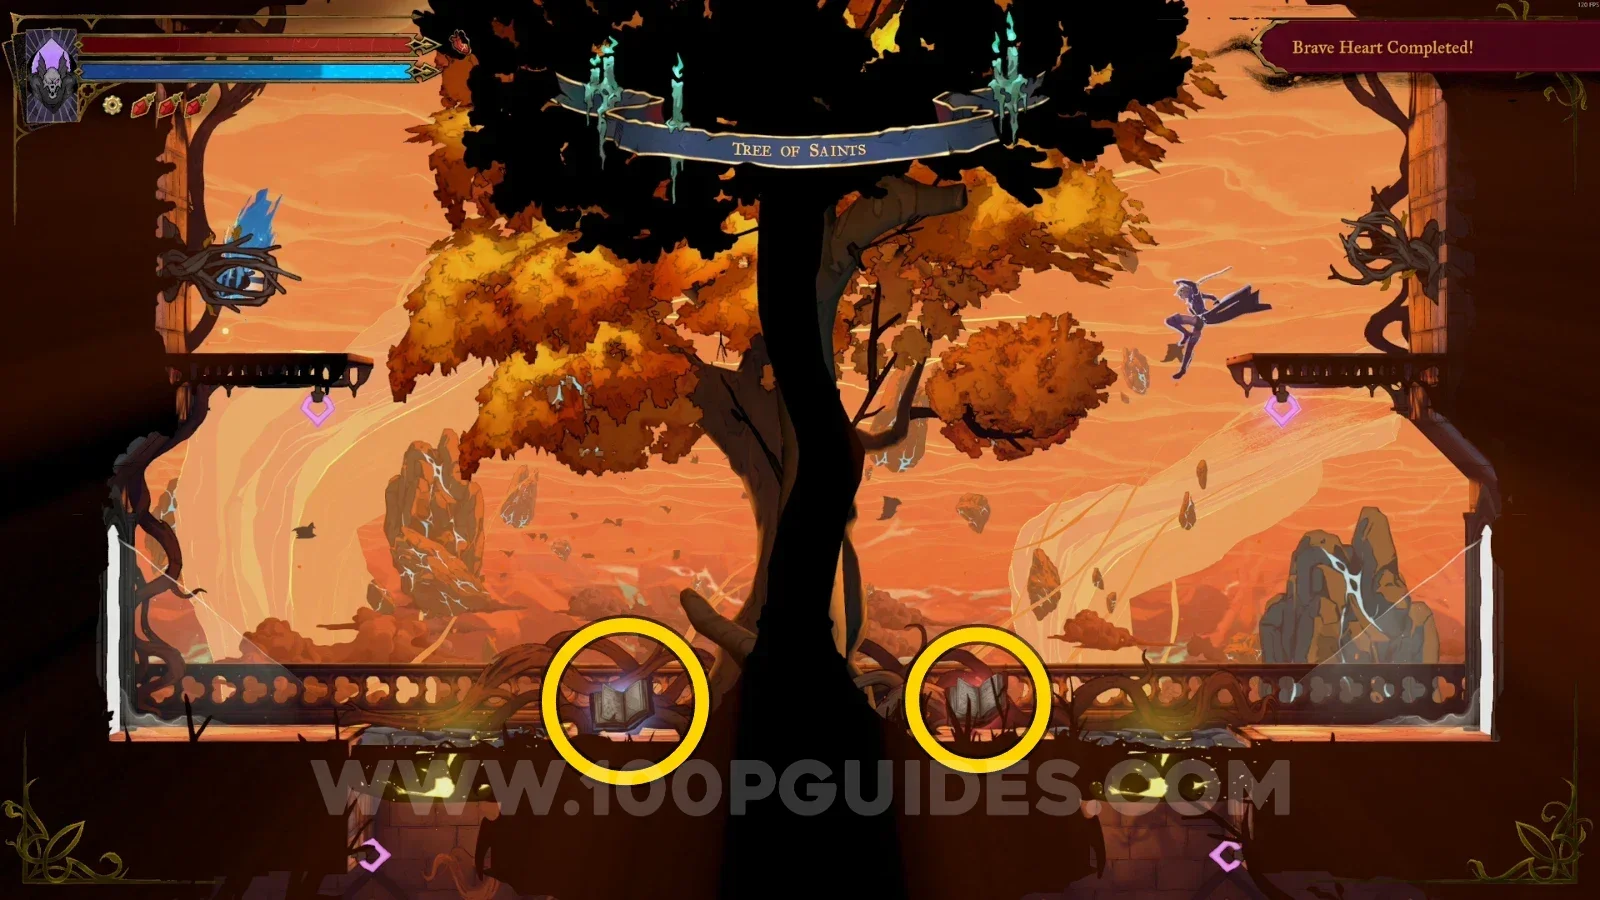
Castlevania Belmonts Curse Tree Of Saints: Blue Book #14 reached by climbing the Great Tower on the left side Castlevania Belmonts Curse Tree Of Saints: Red Book #14 reached by climbing the Small Tower on the right side

These are all the Red Books and Blue Books that can be found in Castlevania: Belmont's Curse.

Next
Next

Castlevania: Belmont’s Curse All HP Upgrades