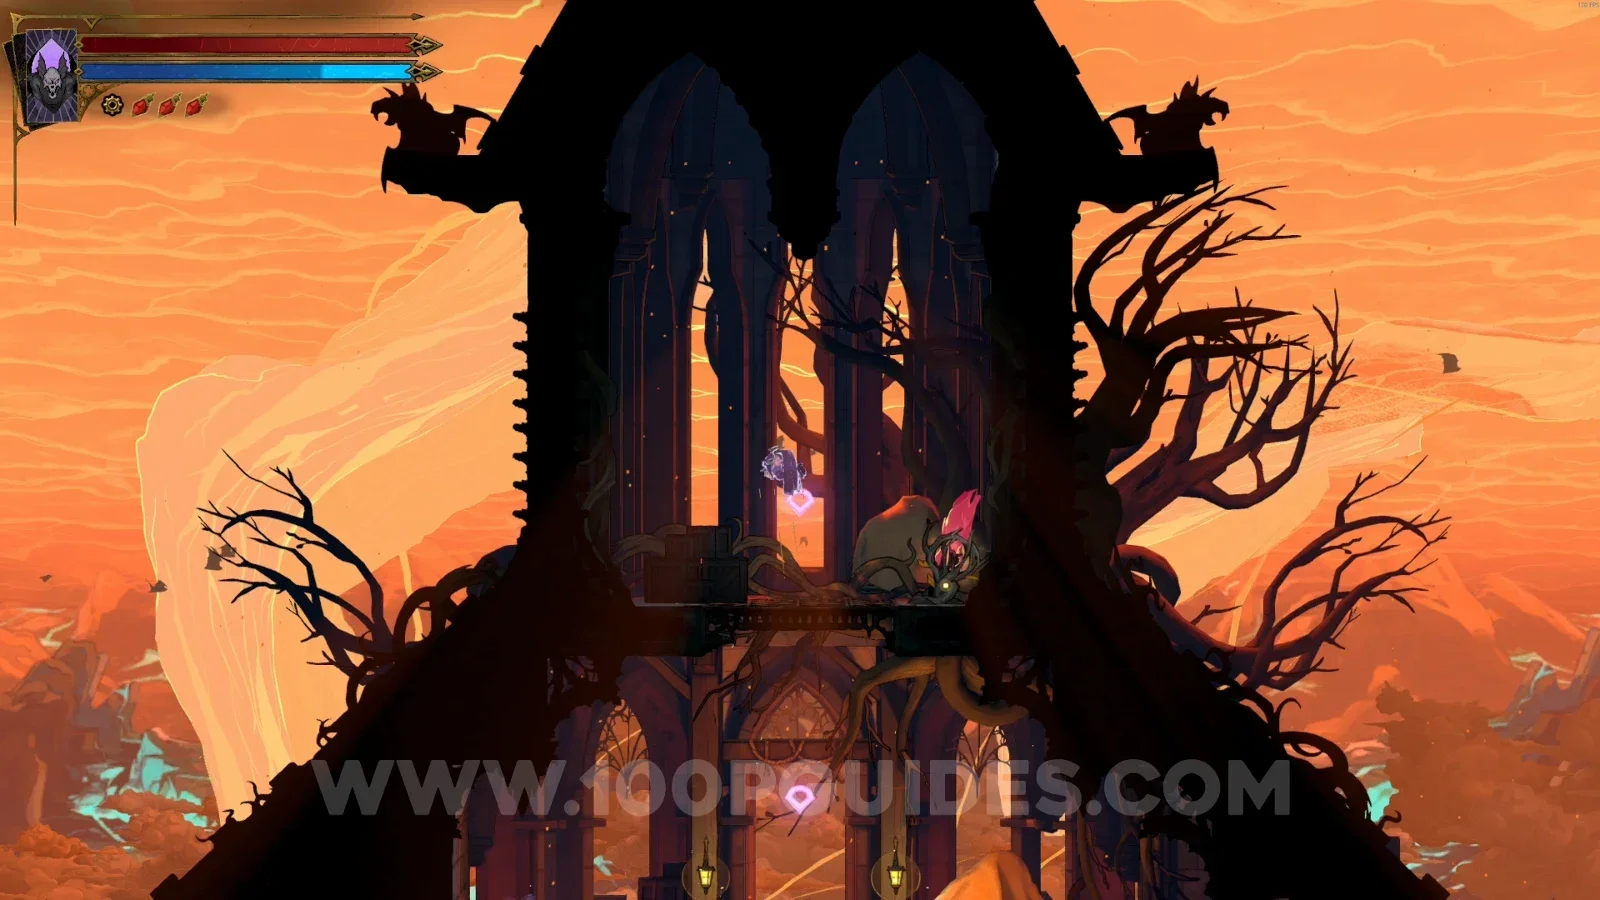
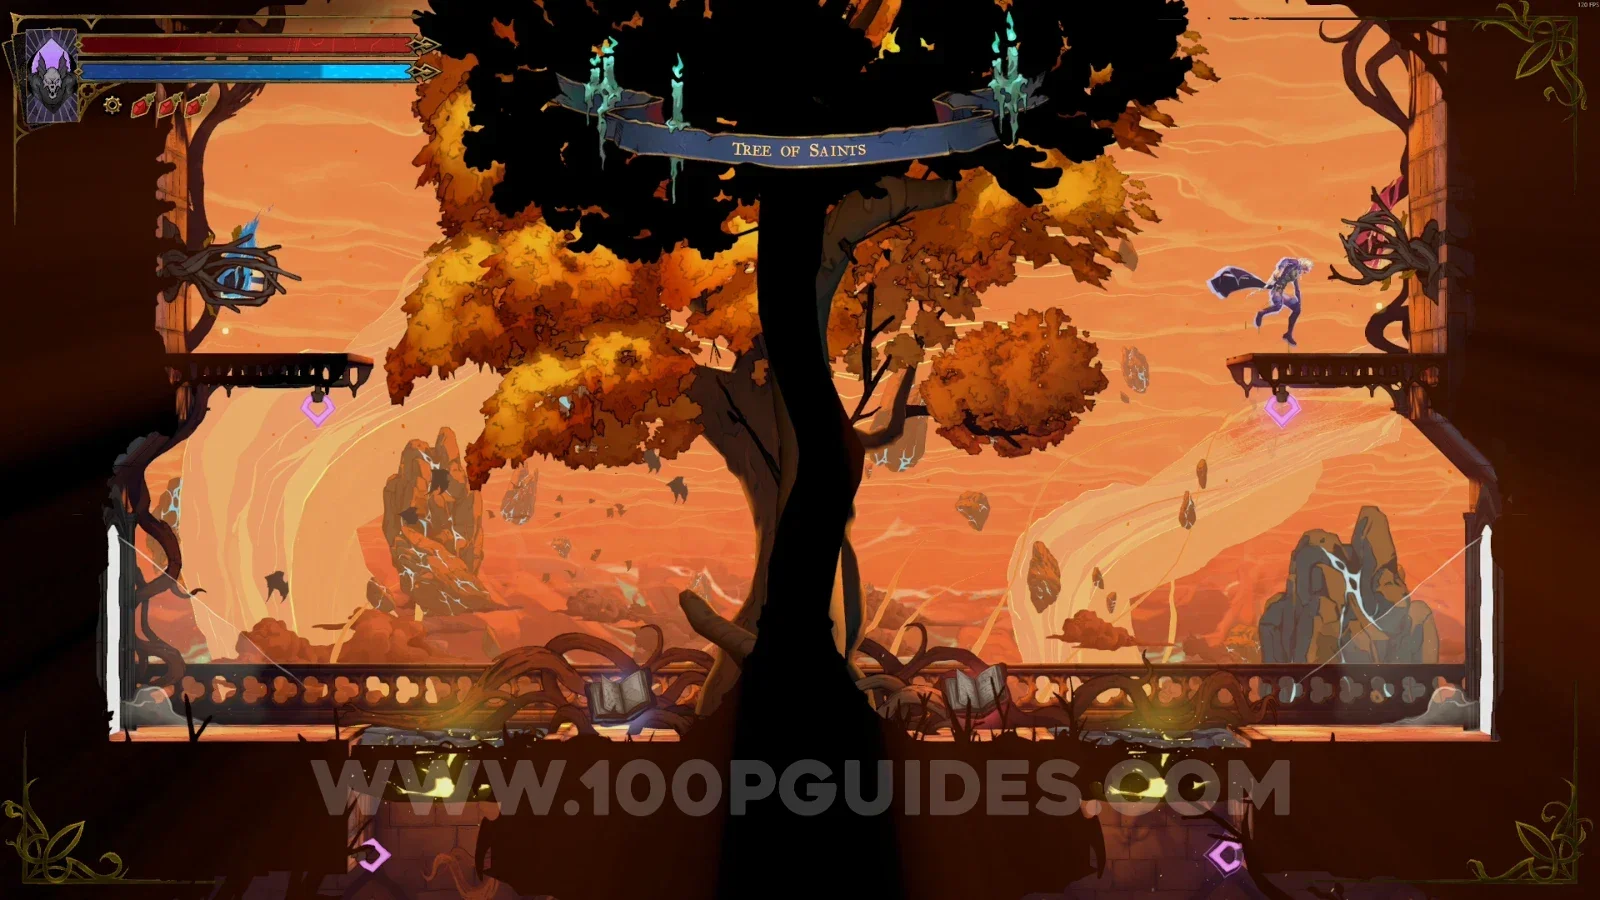
Castlevania: Belmont’s Curse All HP Upgrades

This guide will show you the location of all Brave Heart Fragments (HP Upgrades) in Castlevania: Belmont's Curse.

Collecting all the Brave Heart Fragments is required to increase your maximum Health and to get the Collector Trophy / Achievement for finding every Health and Mana upgrade.

Paris Streets

Undercity

Brave Heart Fragment #1

In the area marked on the map, after defeating some enemies.
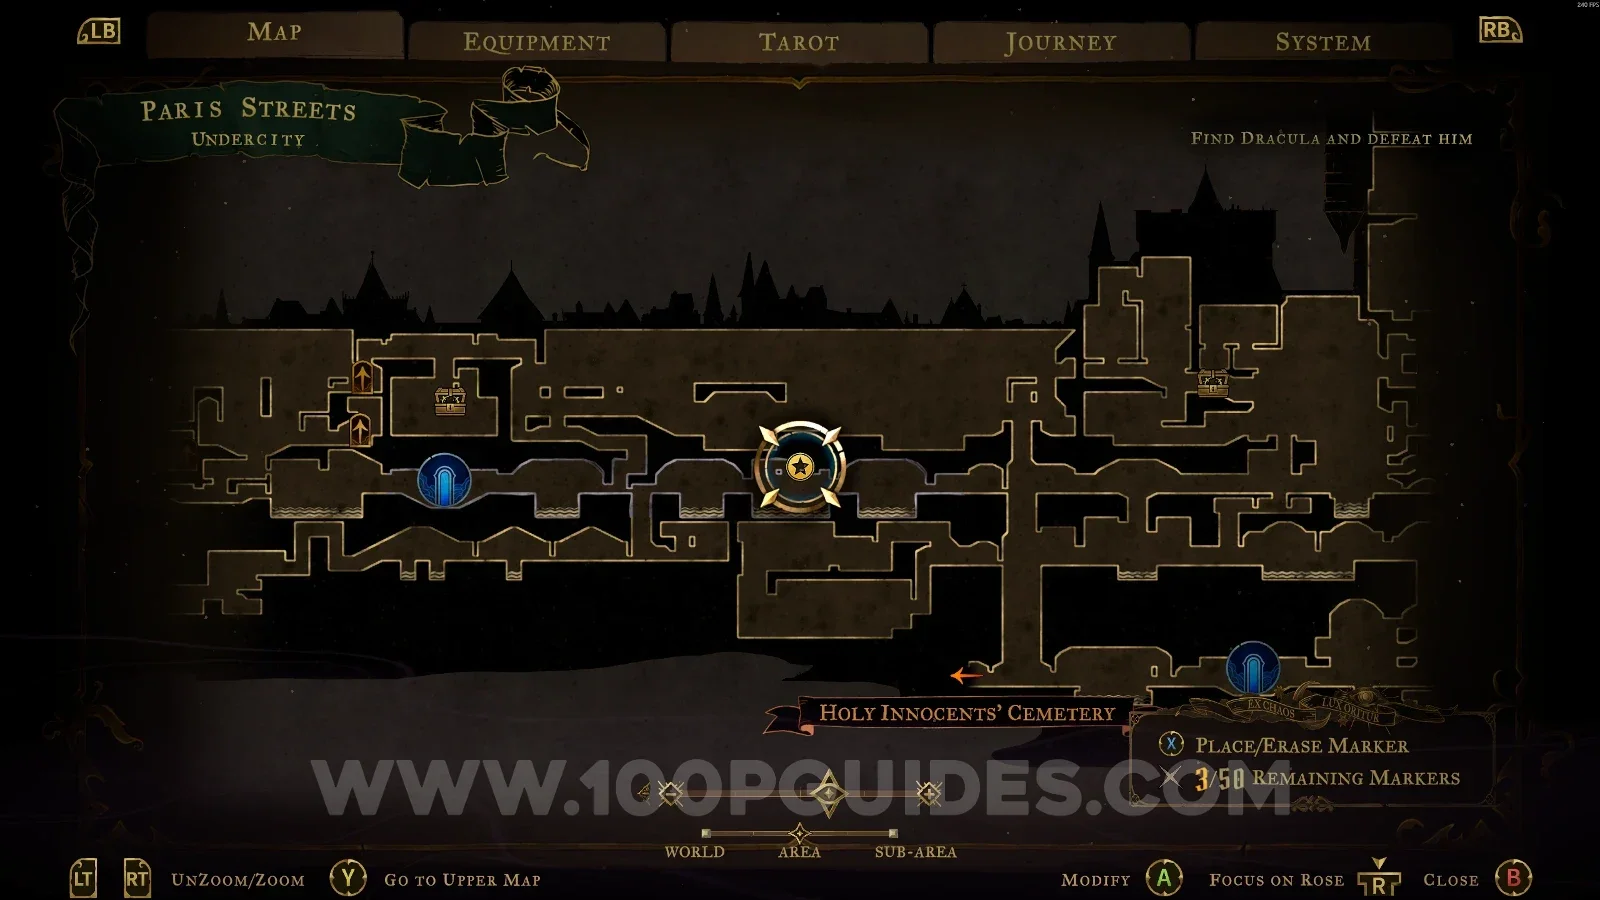
Castlevania Belmonts Curse Undercity: map with the area of Brave Heart Fragment #1 marked Castlevania Belmonts Curse Undercity: Brave Heart Fragment #1 found after defeating some enemies

Prison Tower

Brave Heart Fragment #2

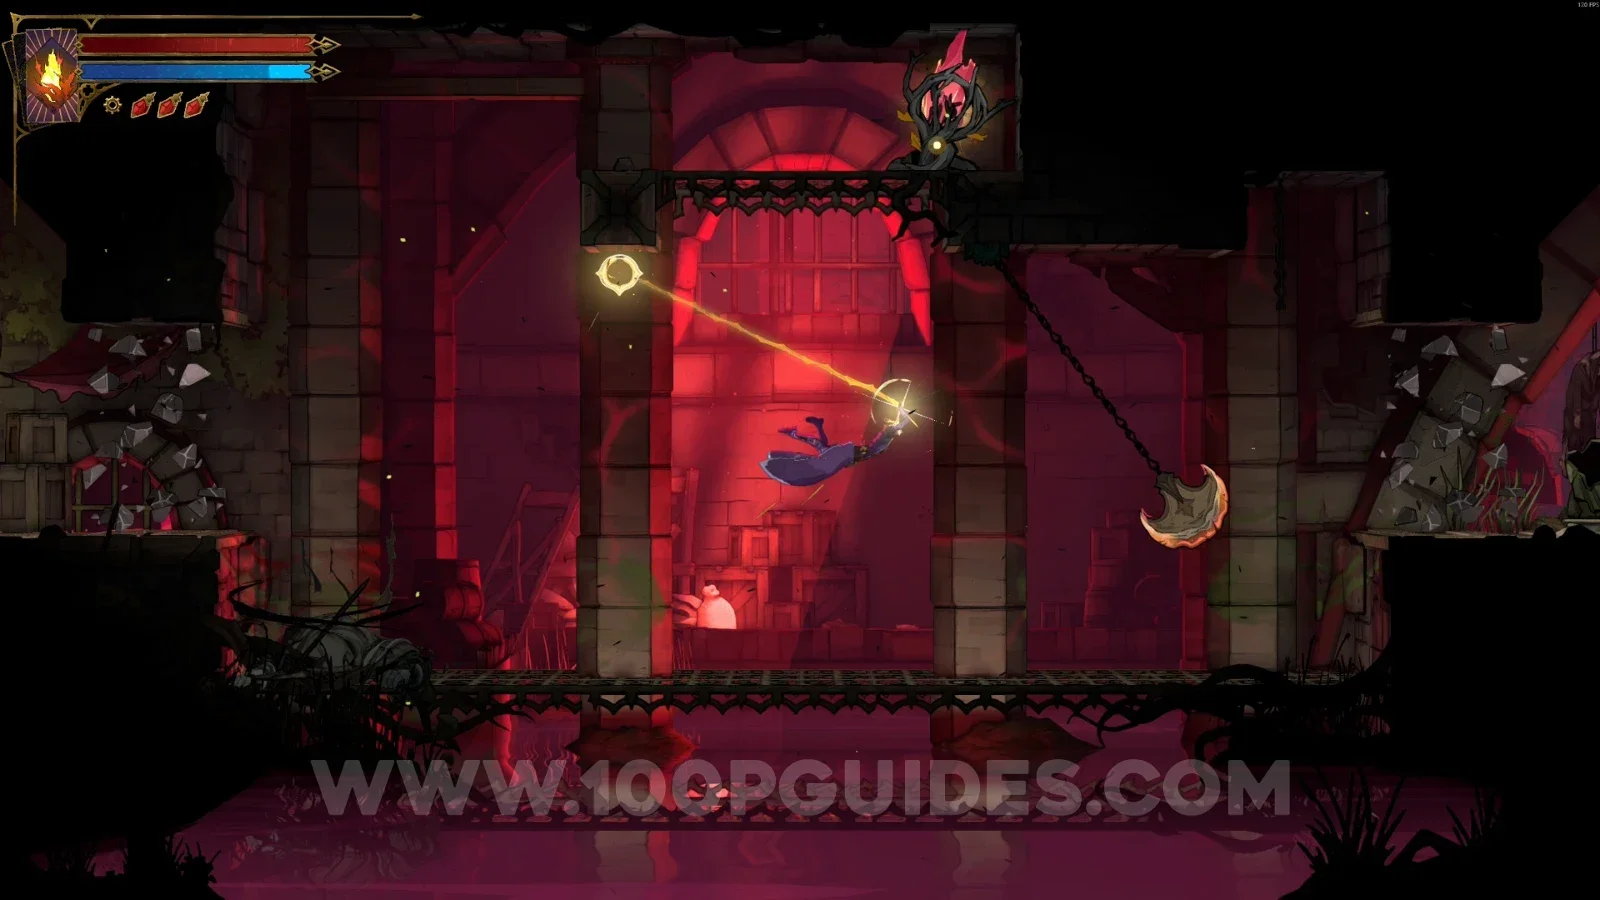
In the area marked on the map, you need to use your Arcane Whip to reach the Brave Heart.
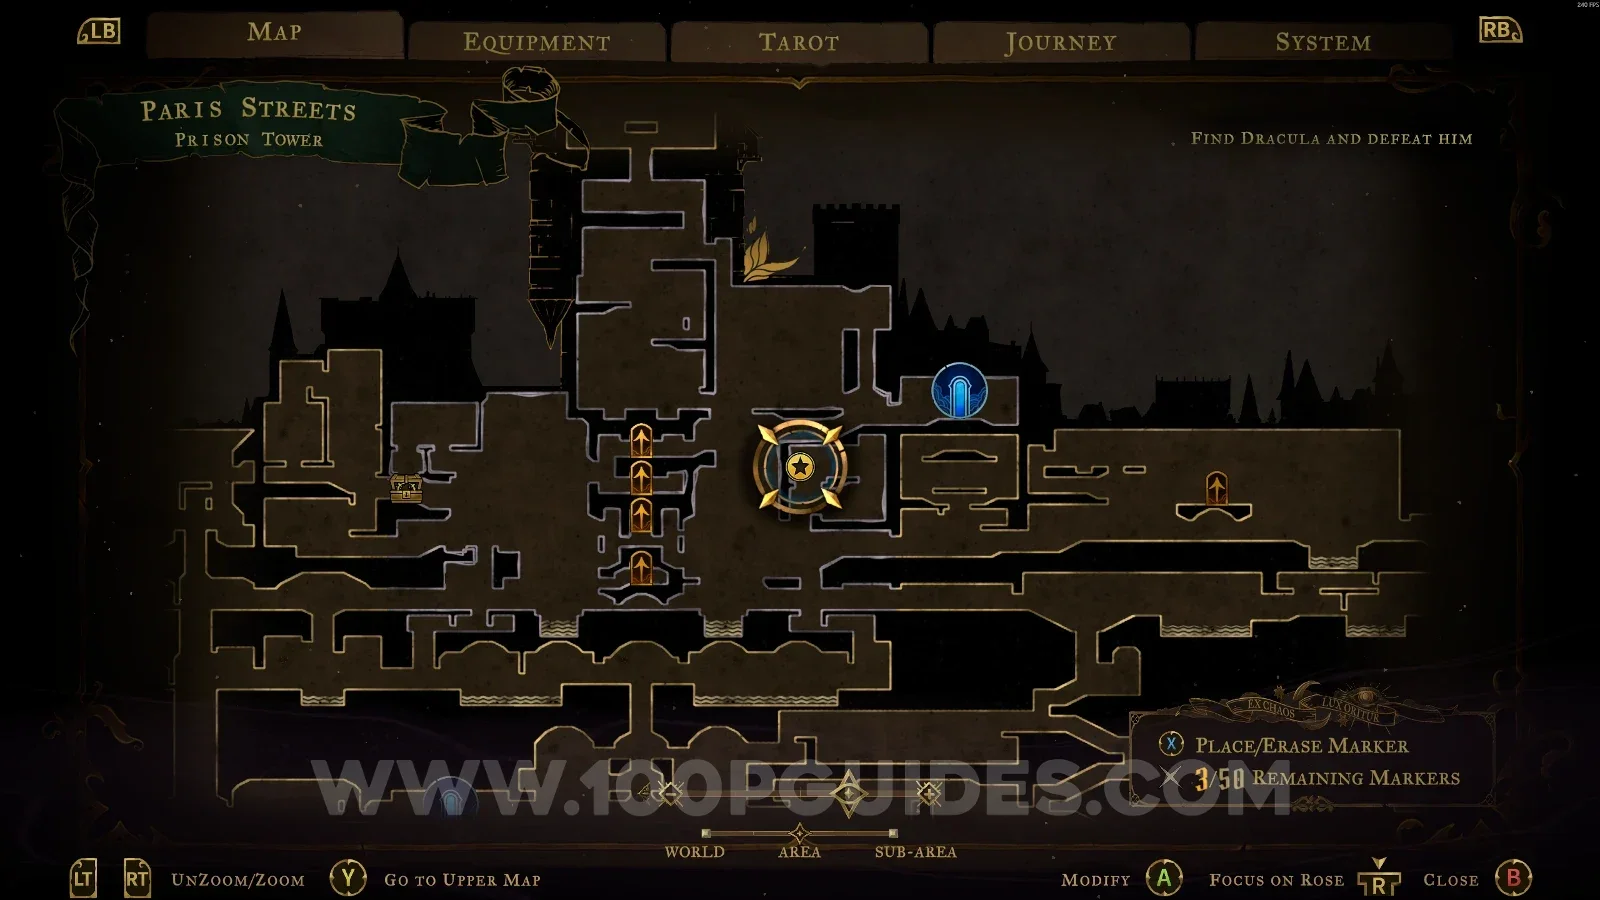
Castlevania Belmonts Curse Prison Tower: map marking the area of Brave Heart Fragment #2 Castlevania Belmonts Curse Prison Tower: reaching Brave Heart Fragment #2 with the Arcane Whip

Court Of Justice

Brave Heart Fragment #3

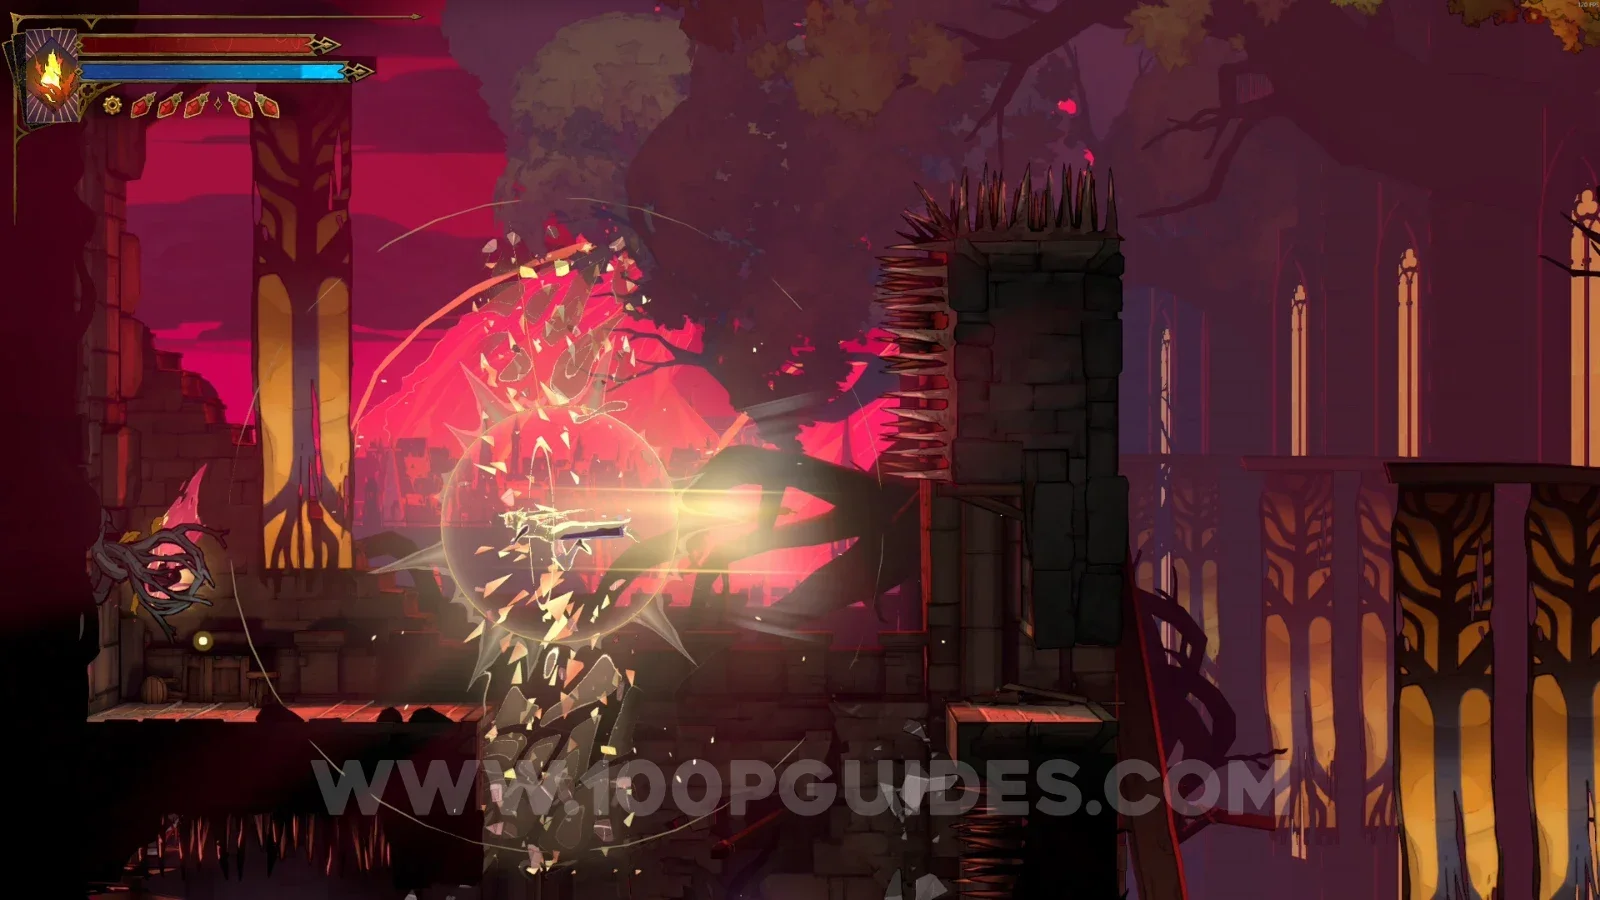
In the area marked on the map, you'll need to use the Arcane Whip and Holy Light to reach this Brave Heart.
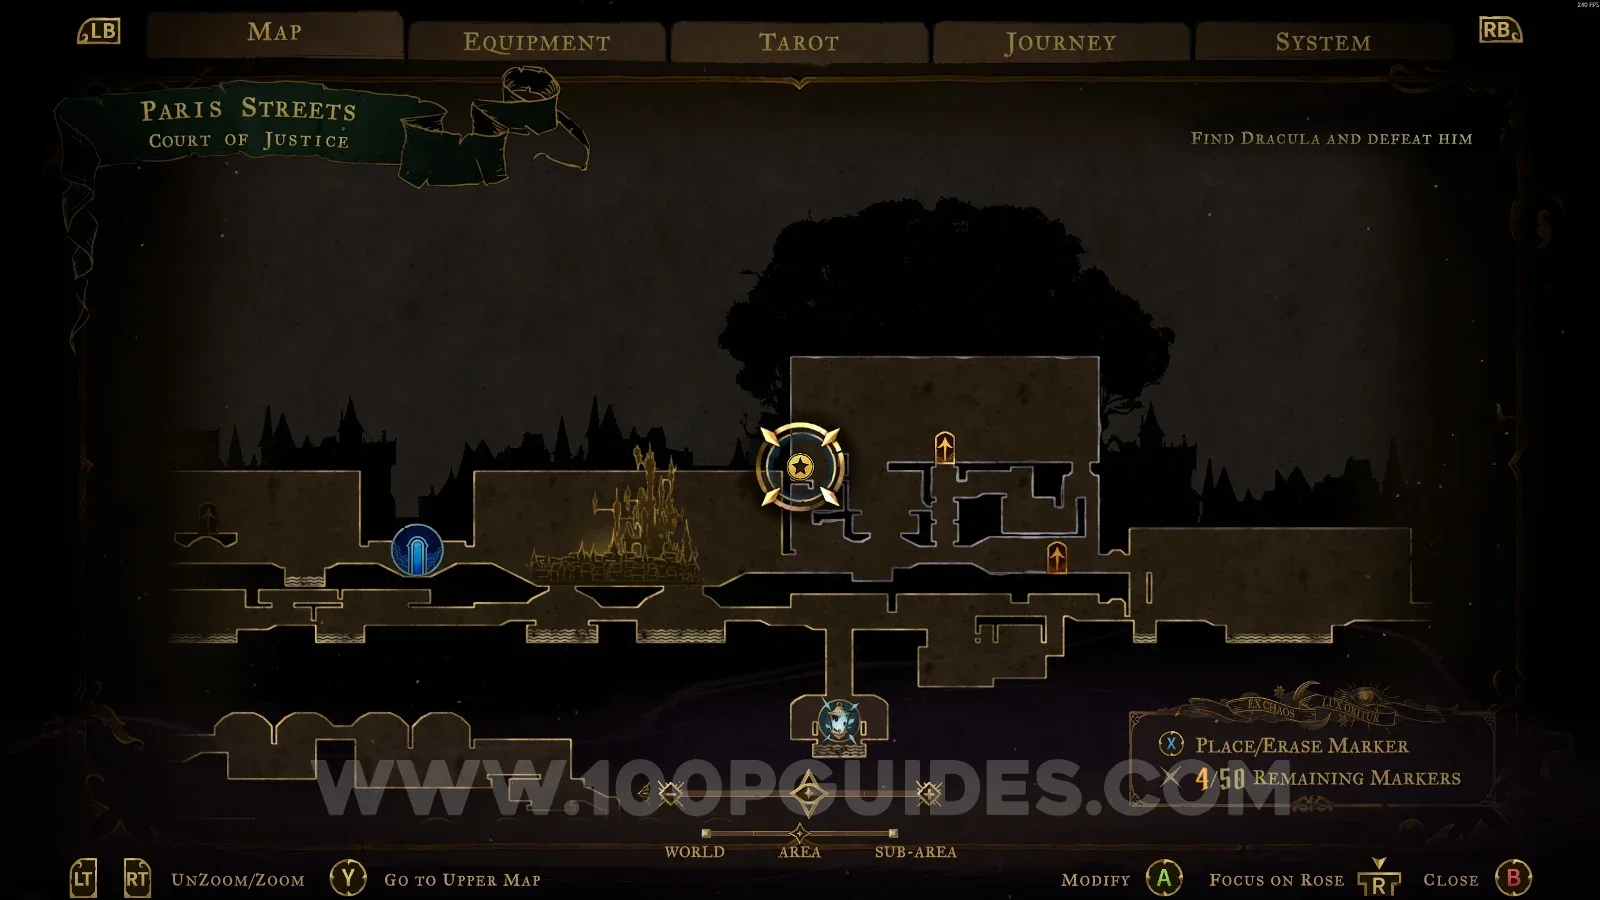
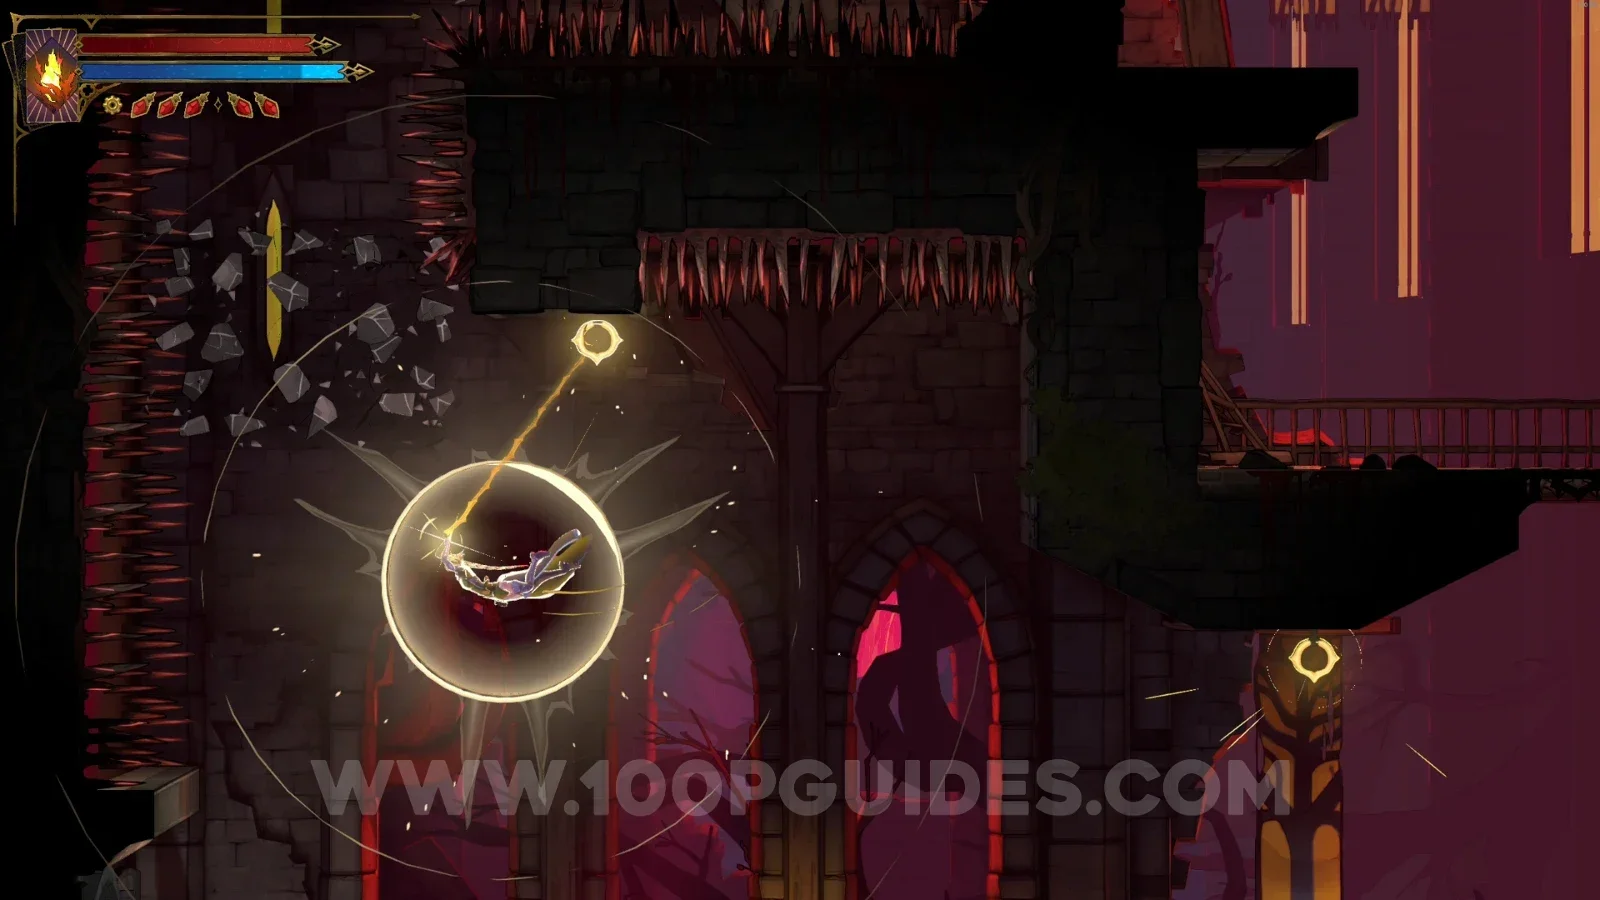
Castlevania Belmonts Curse Court Of Justice: map marking the area of Brave Heart Fragment #3 Castlevania Belmonts Curse Court Of Justice: using the Arcane Whip and Holy Light toward Brave Heart Fragment #3 Castlevania Belmonts Curse Court Of Justice: Brave Heart Fragment #3 reached

Holy Innocents' Cemetery

Ancient Sewers

Brave Heart Fragment #4

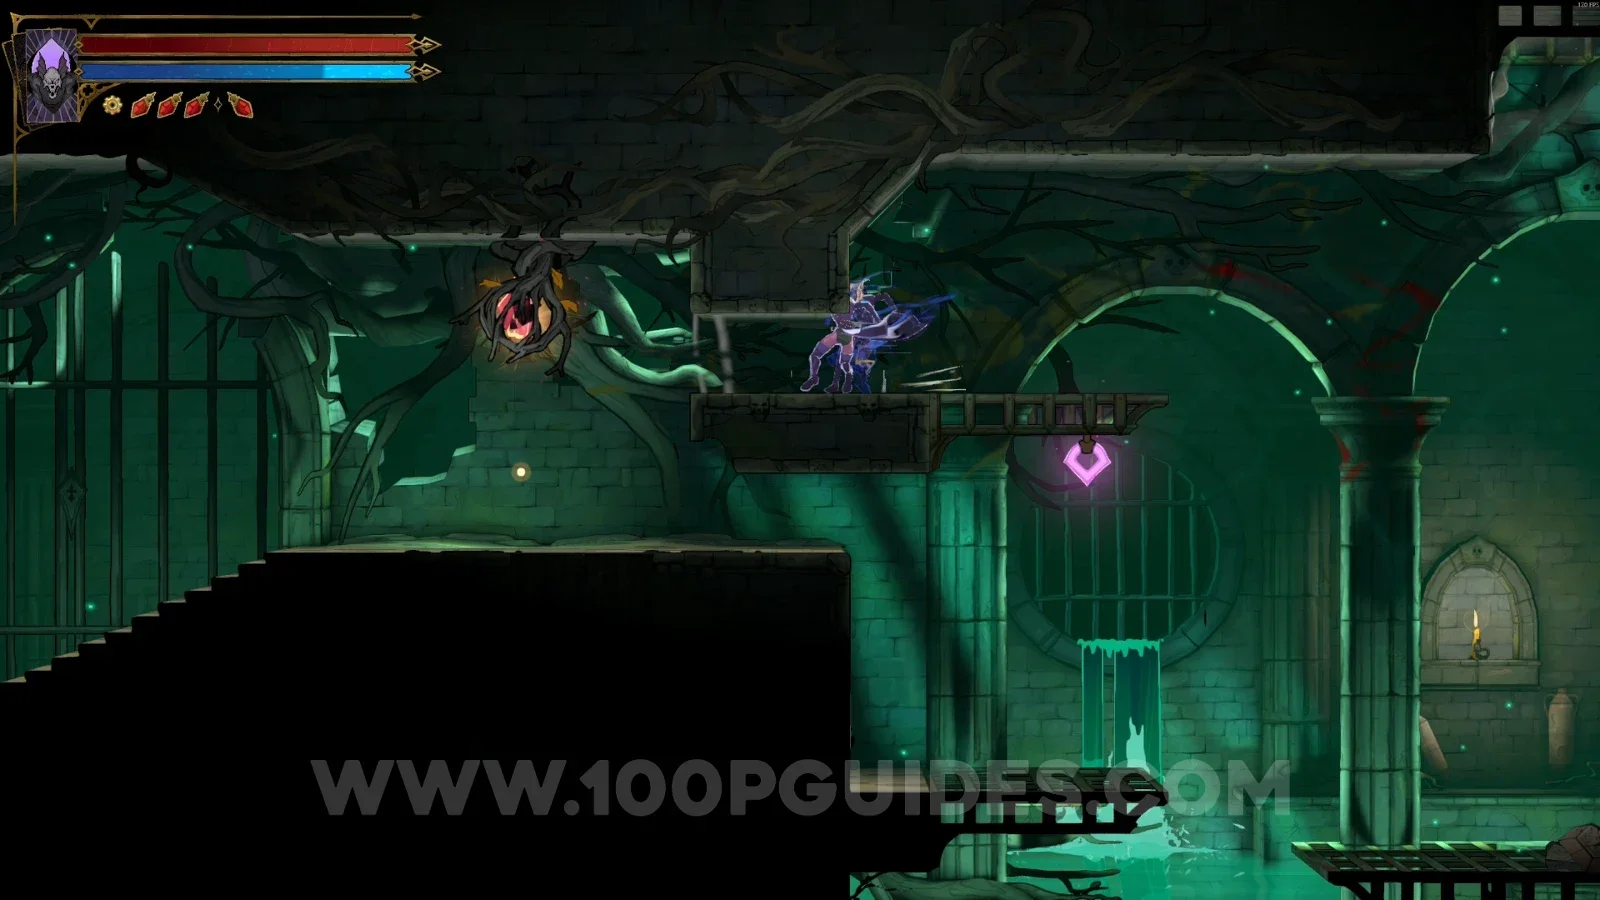
In the area marked on the map. To reach this spot, you'll need to use Smash to break the floor. Then break the Haunted Coffin and head left to see it at the top.
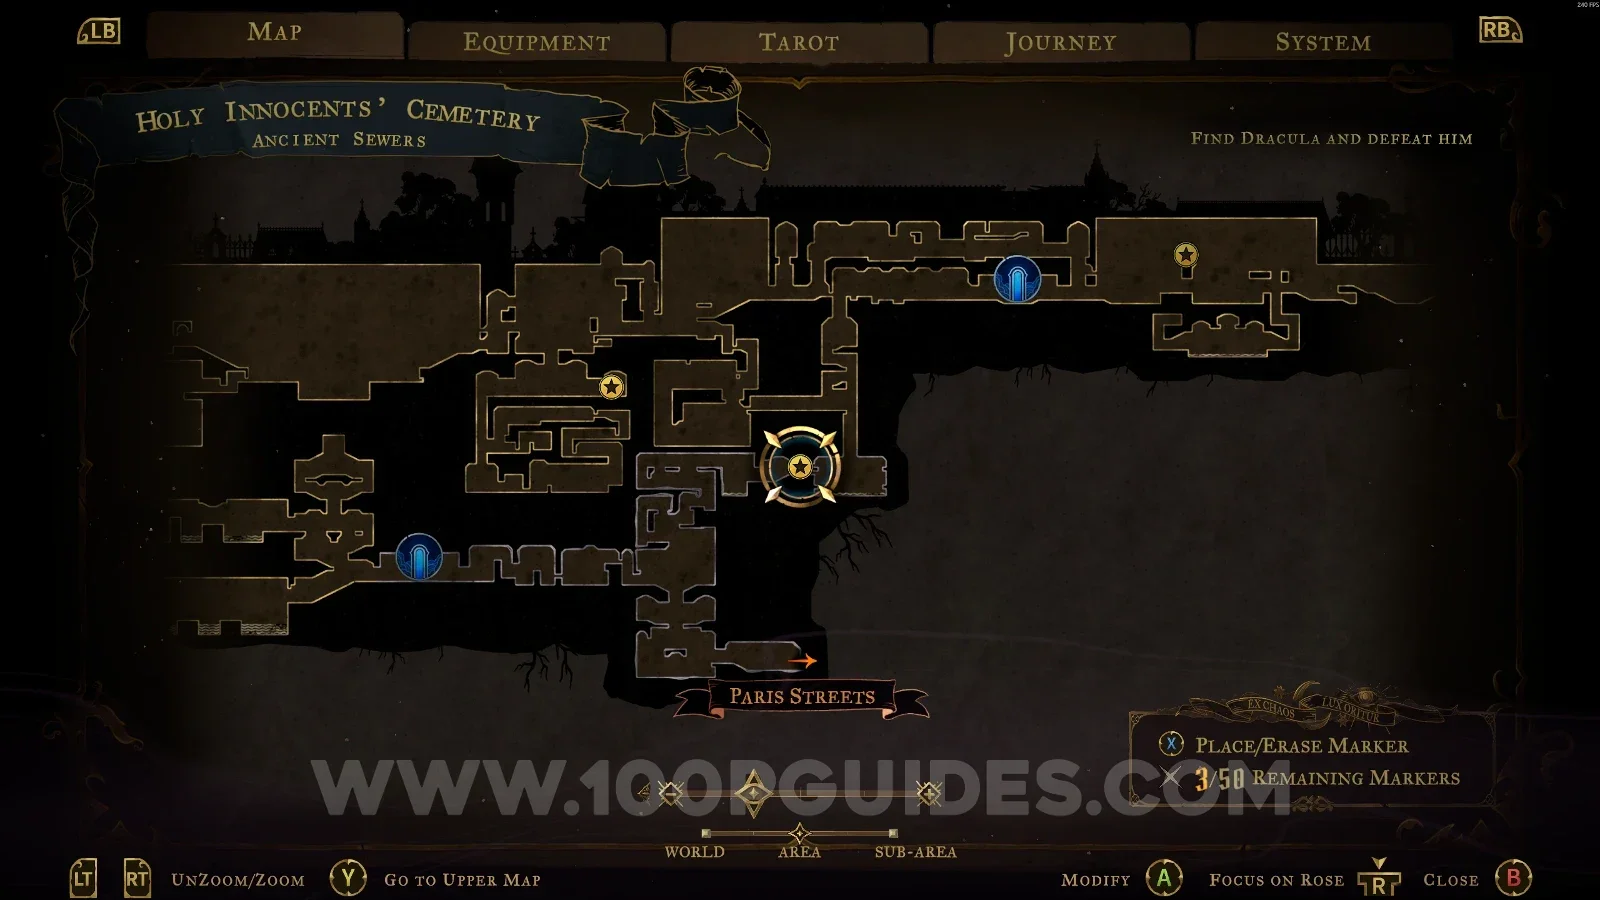
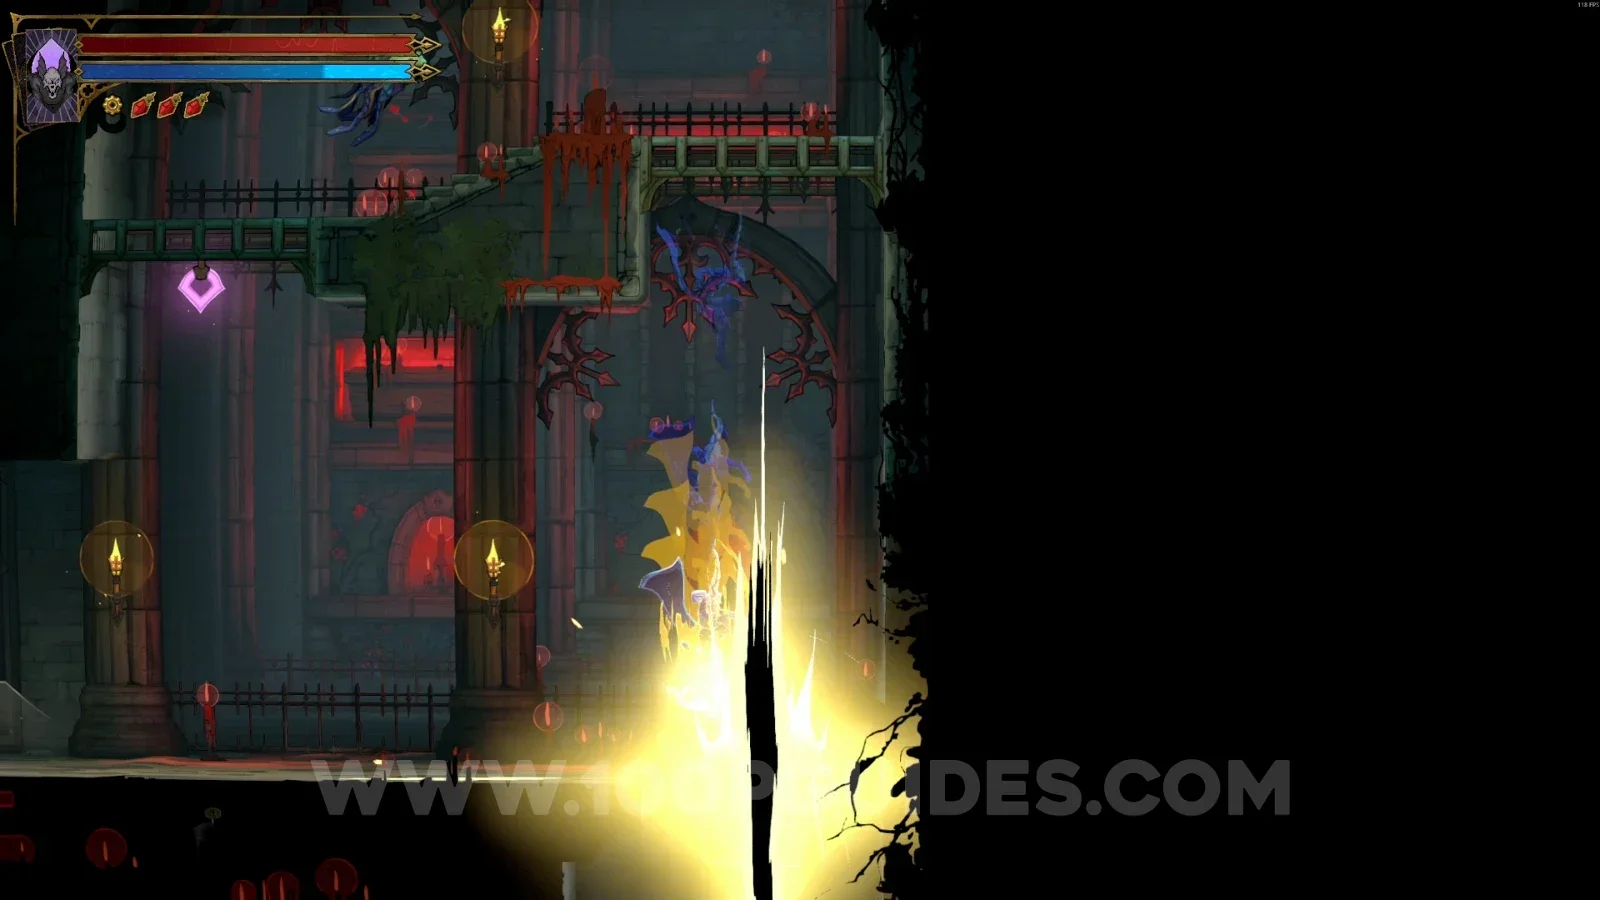
Castlevania Belmonts Curse Ancient Sewers: map marking the area of Brave Heart Fragment #4 Castlevania Belmonts Curse Ancient Sewers: breaking the floor with Smash on the way to Brave Heart Fragment #4 Castlevania Belmonts Curse Ancient Sewers: Brave Heart Fragment #4 at the top, left of the Haunted Coffin

Ossuary Of The Innocents

Brave Heart Fragment #5

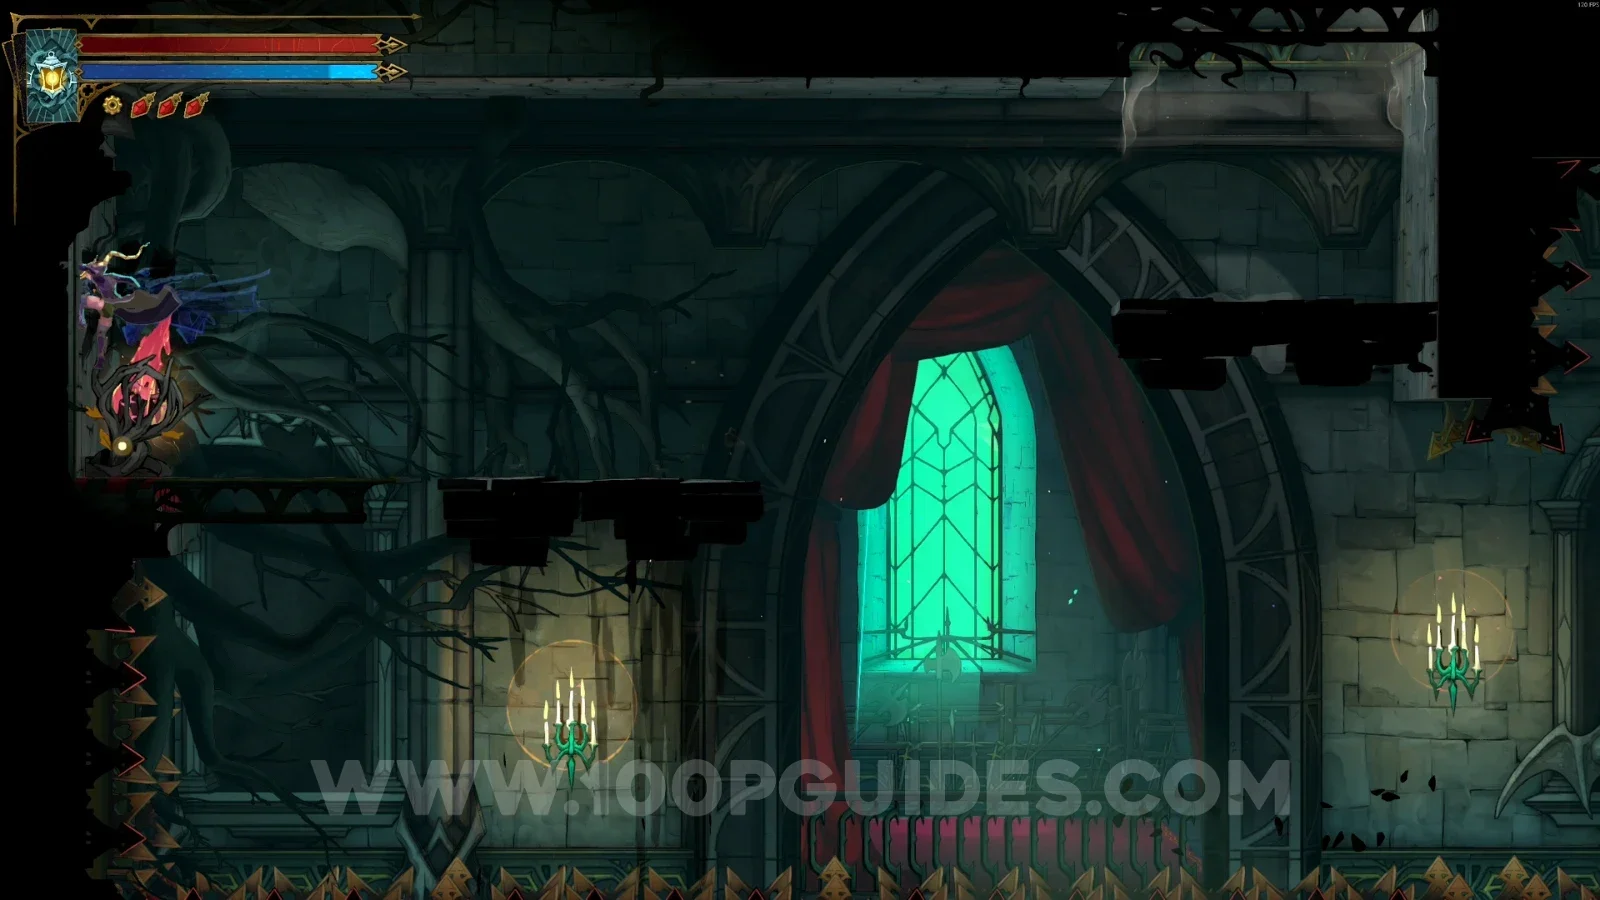
In the area marked on the map, you need to walk across the collapsing platforms to reach the Brave Heart.
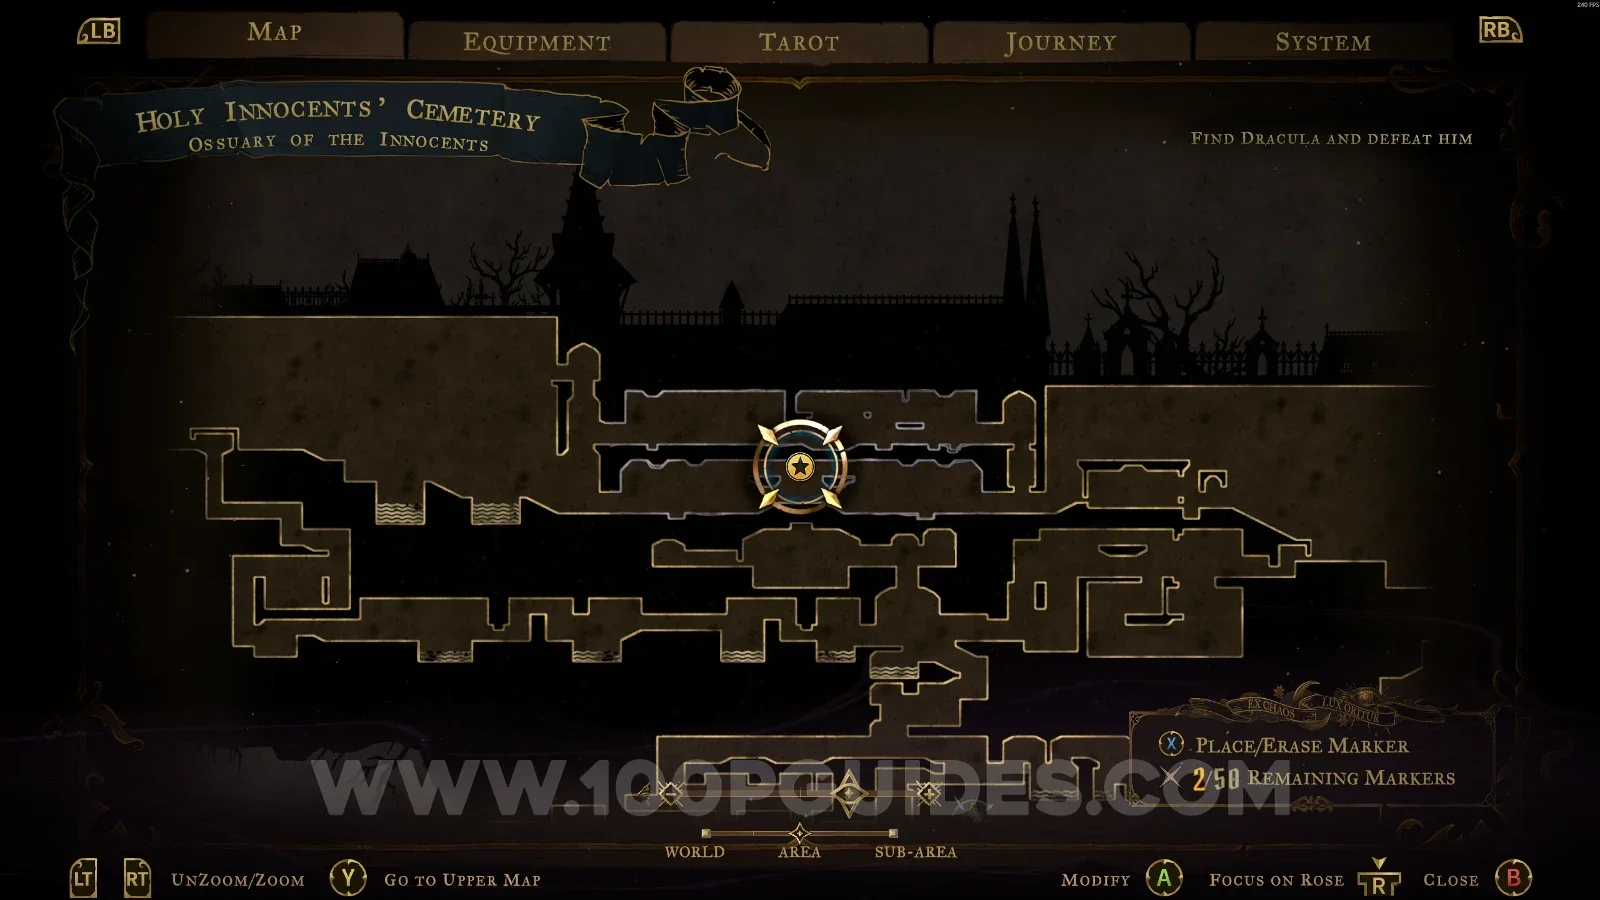
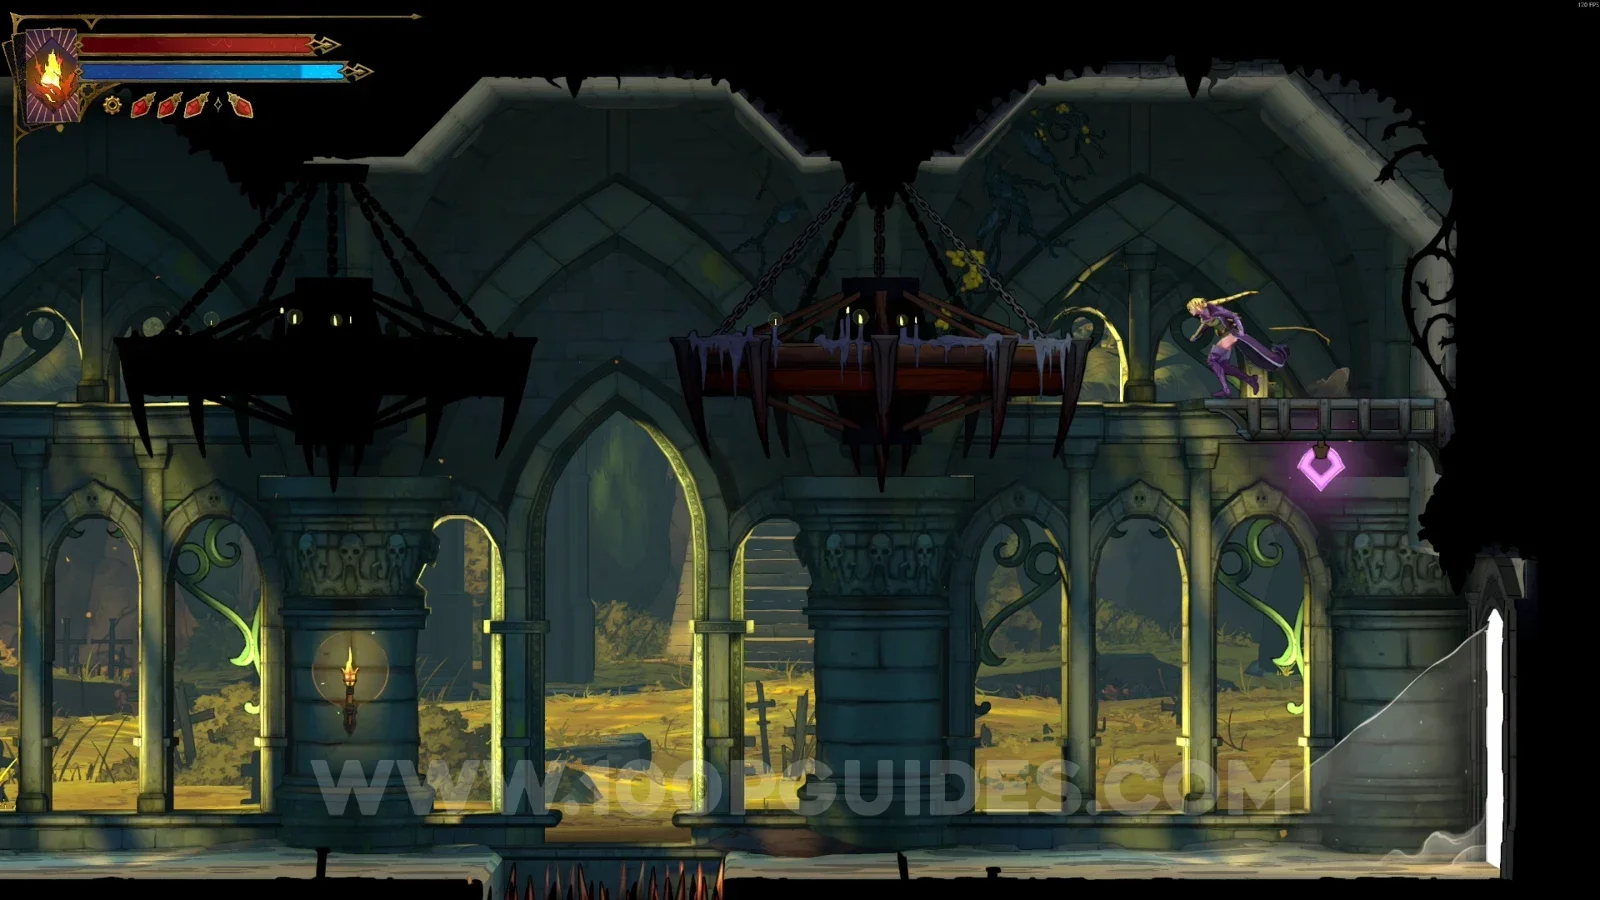
Castlevania Belmonts Curse Ossuary Of The Innocents: map marking the area of Brave Heart Fragment #5 Castlevania Belmonts Curse Ossuary Of The Innocents: crossing the collapsing platforms to Brave Heart Fragment #5 Castlevania Belmonts Curse Ossuary Of The Innocents: Brave Heart Fragment #5 past the collapsing platforms

Mausoleum Of The Kings

Brave Heart Fragment #6

In the area marked on the map, you need to interact with the lever in the top right, then quickly head to the Brave Heart.
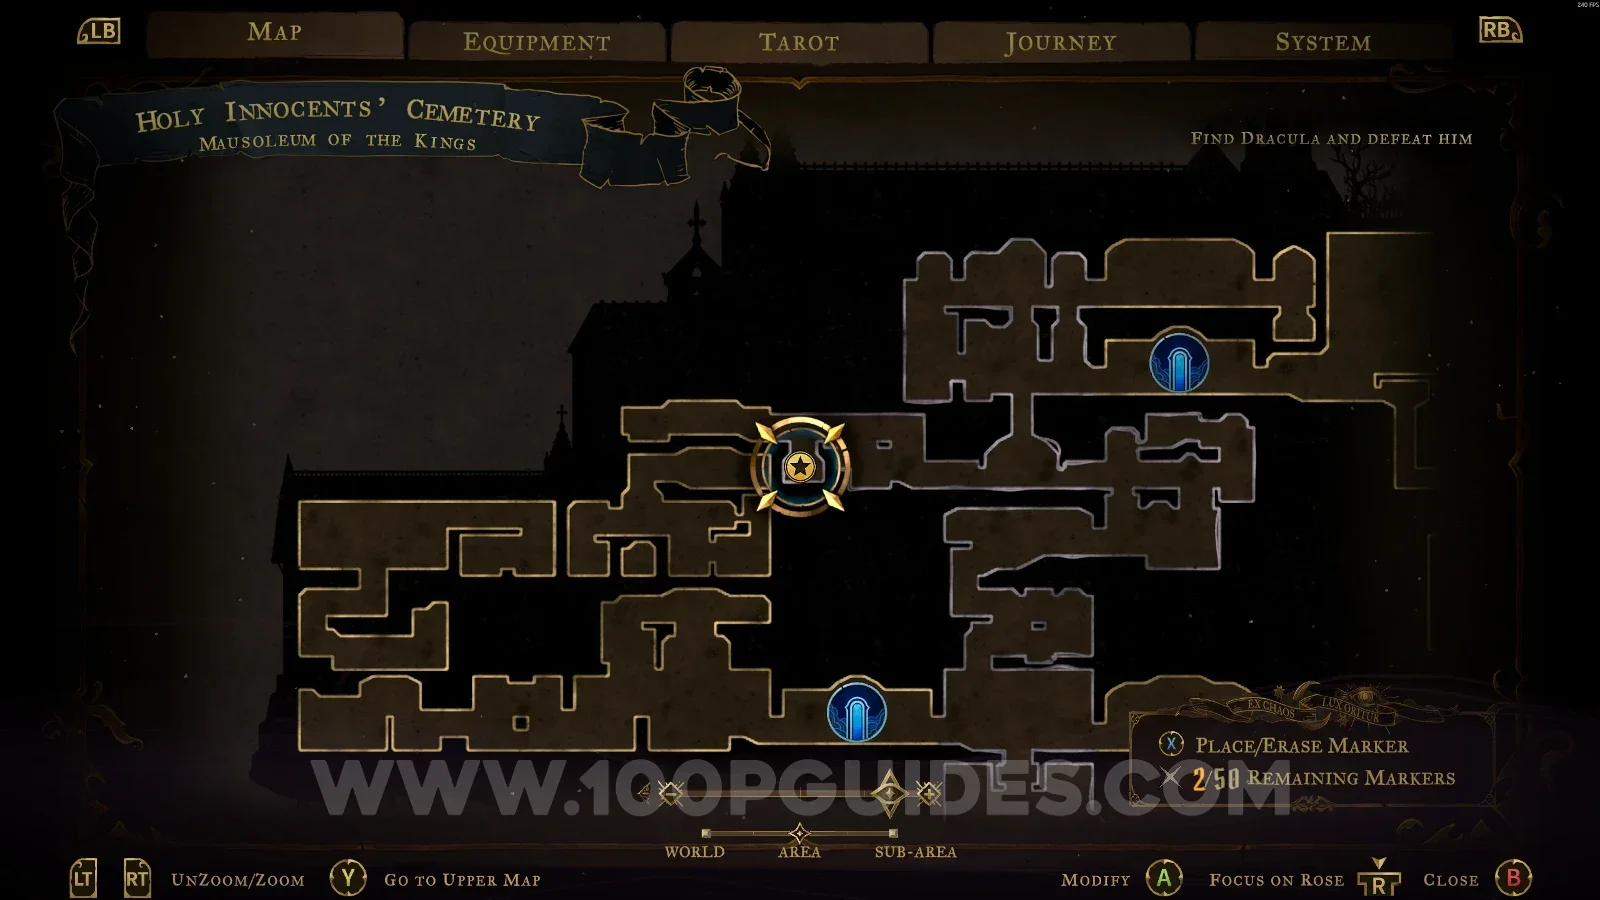
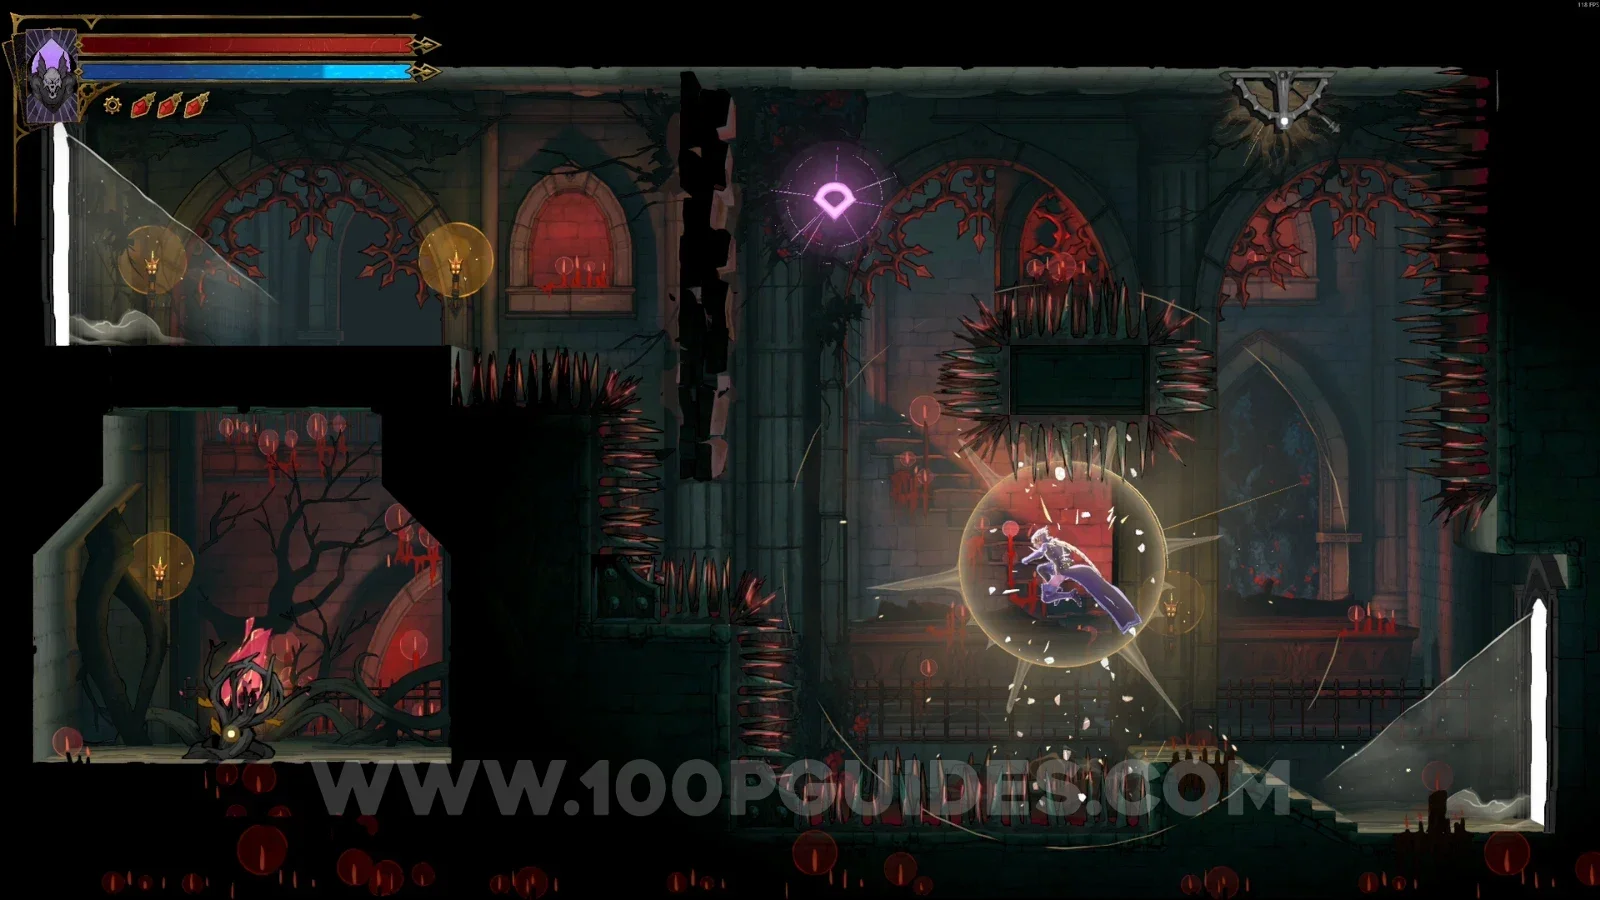
Castlevania Belmonts Curse Mausoleum Of The Kings: area of Brave Heart Fragment #6 and the lever in the top right Castlevania Belmonts Curse Mausoleum Of The Kings: rushing to Brave Heart Fragment #6 after pulling the lever

Catacombs Of Paris

Catacomb Entrance

Brave Heart Fragment #7

Climb to the upper part of the area and go around on the right, then head left until you reach the Brave Heart.
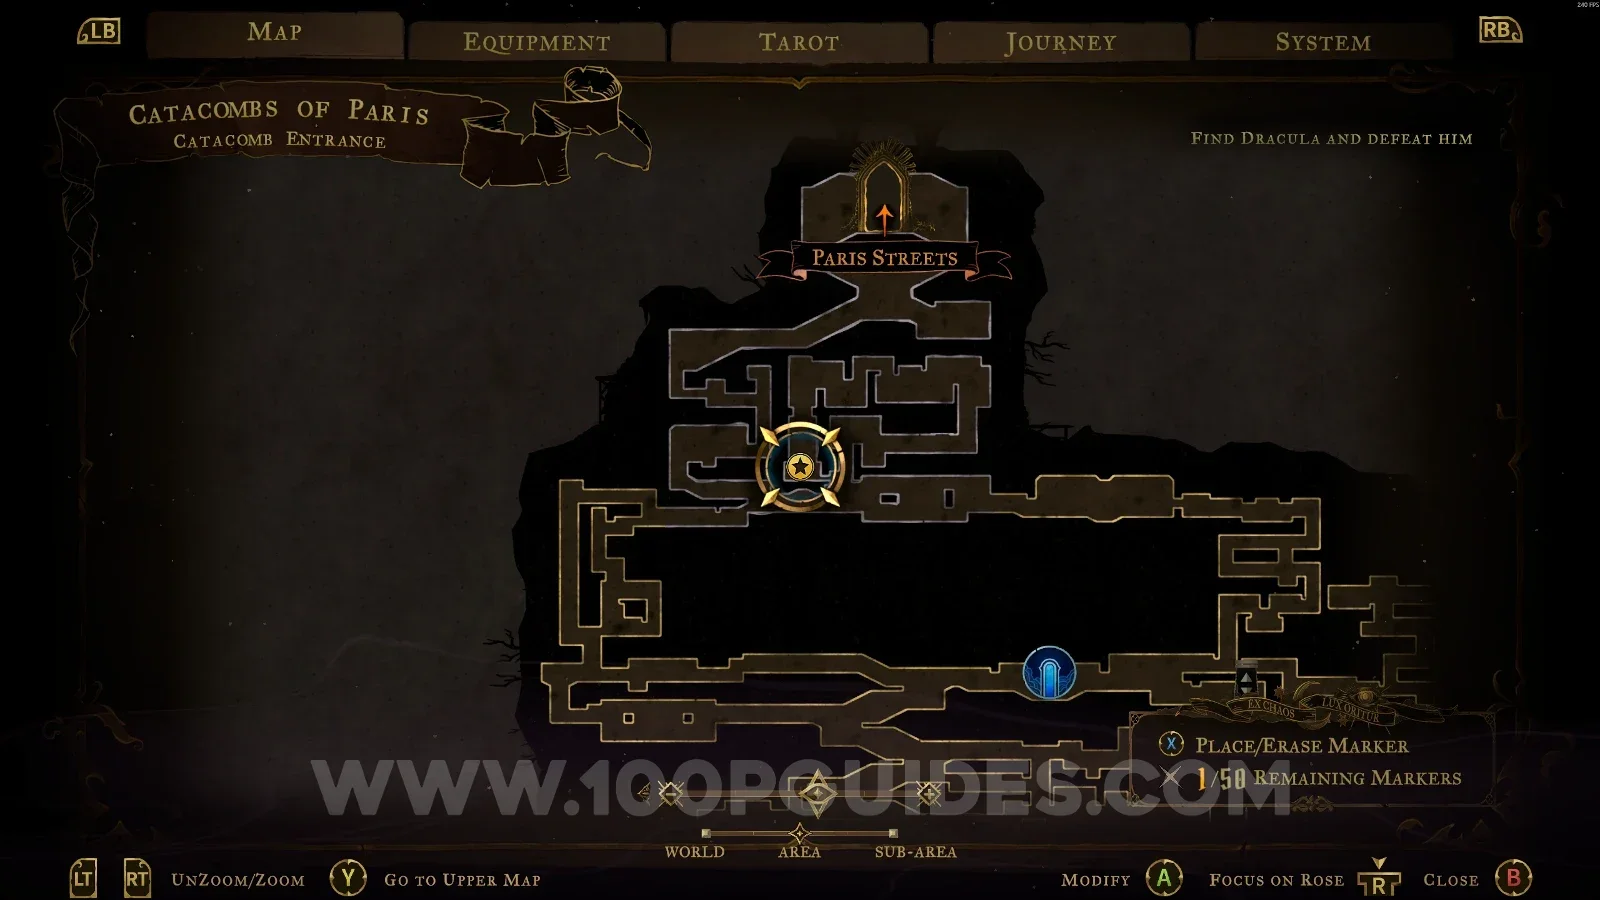
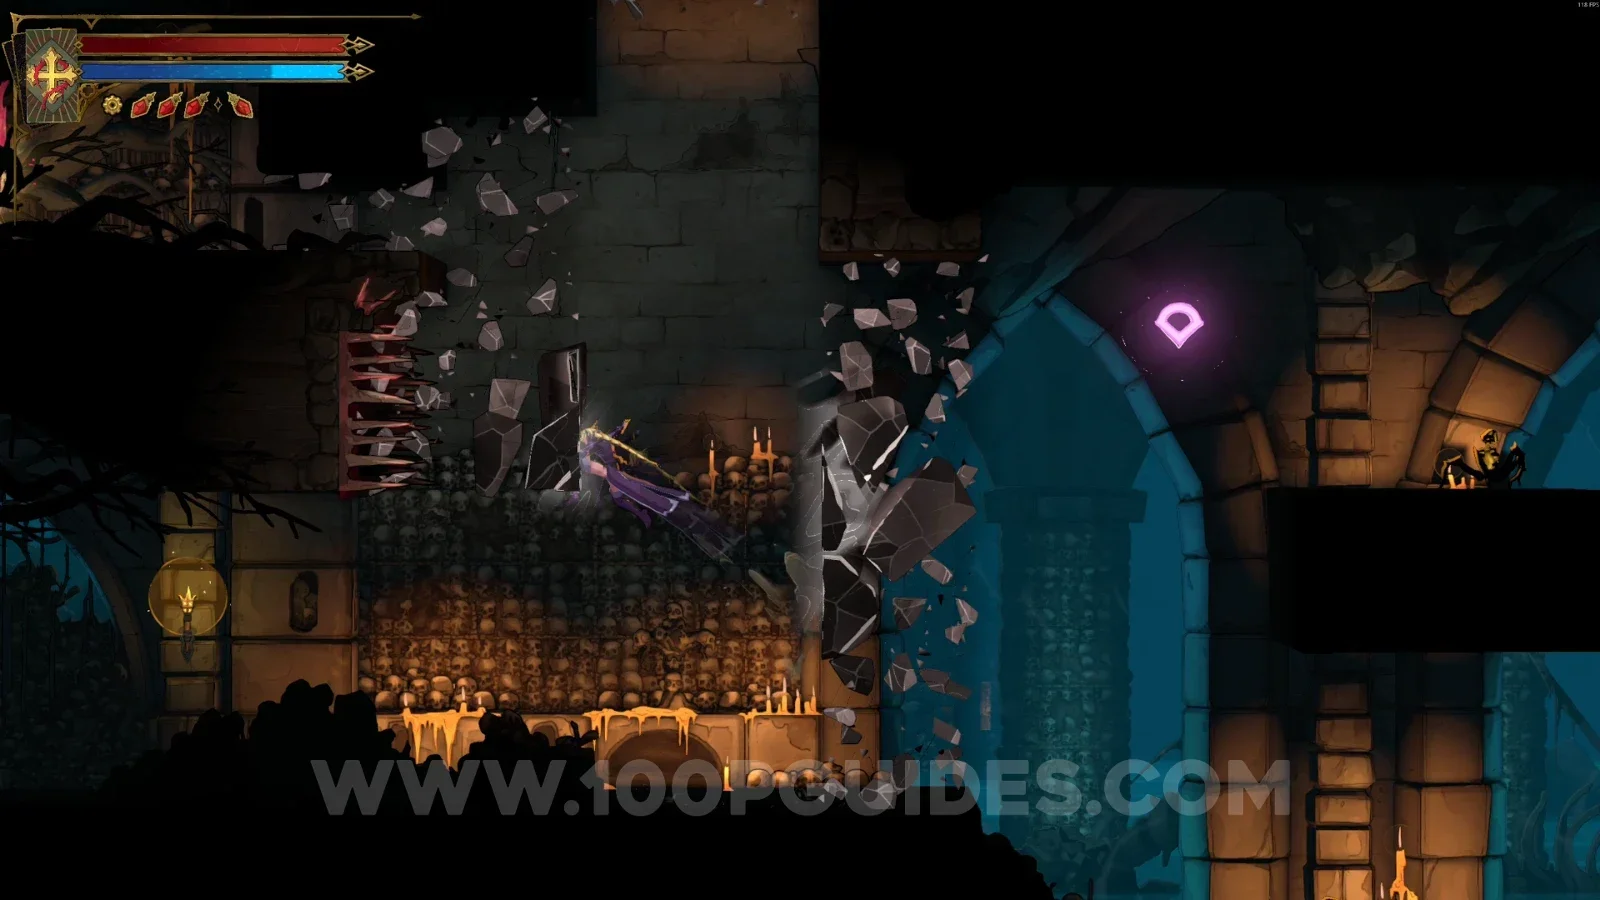
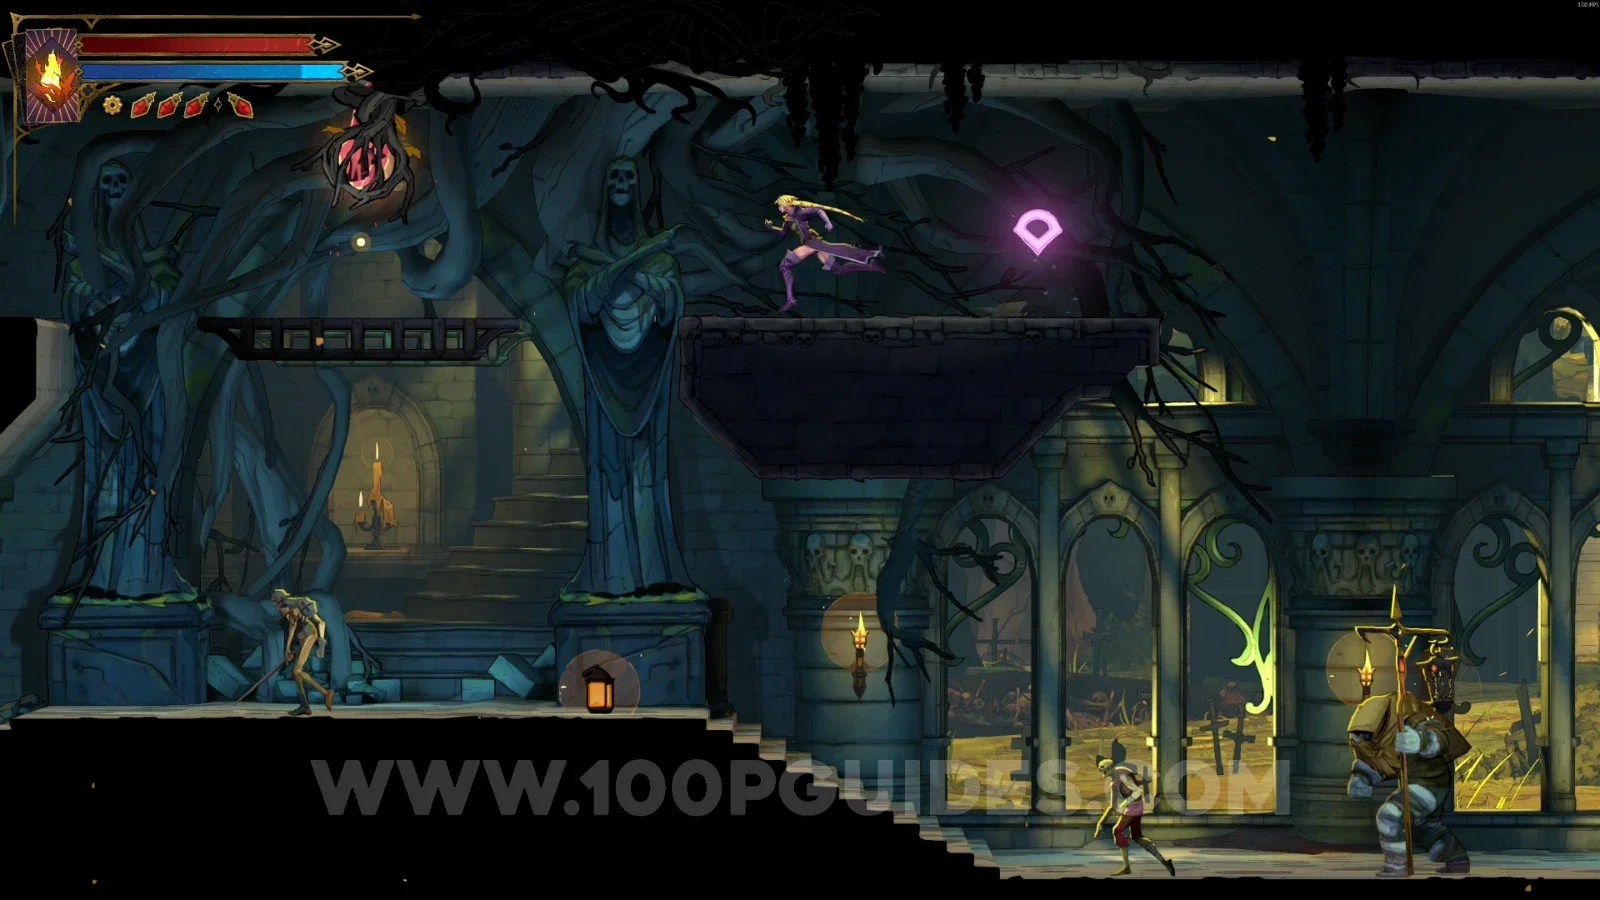
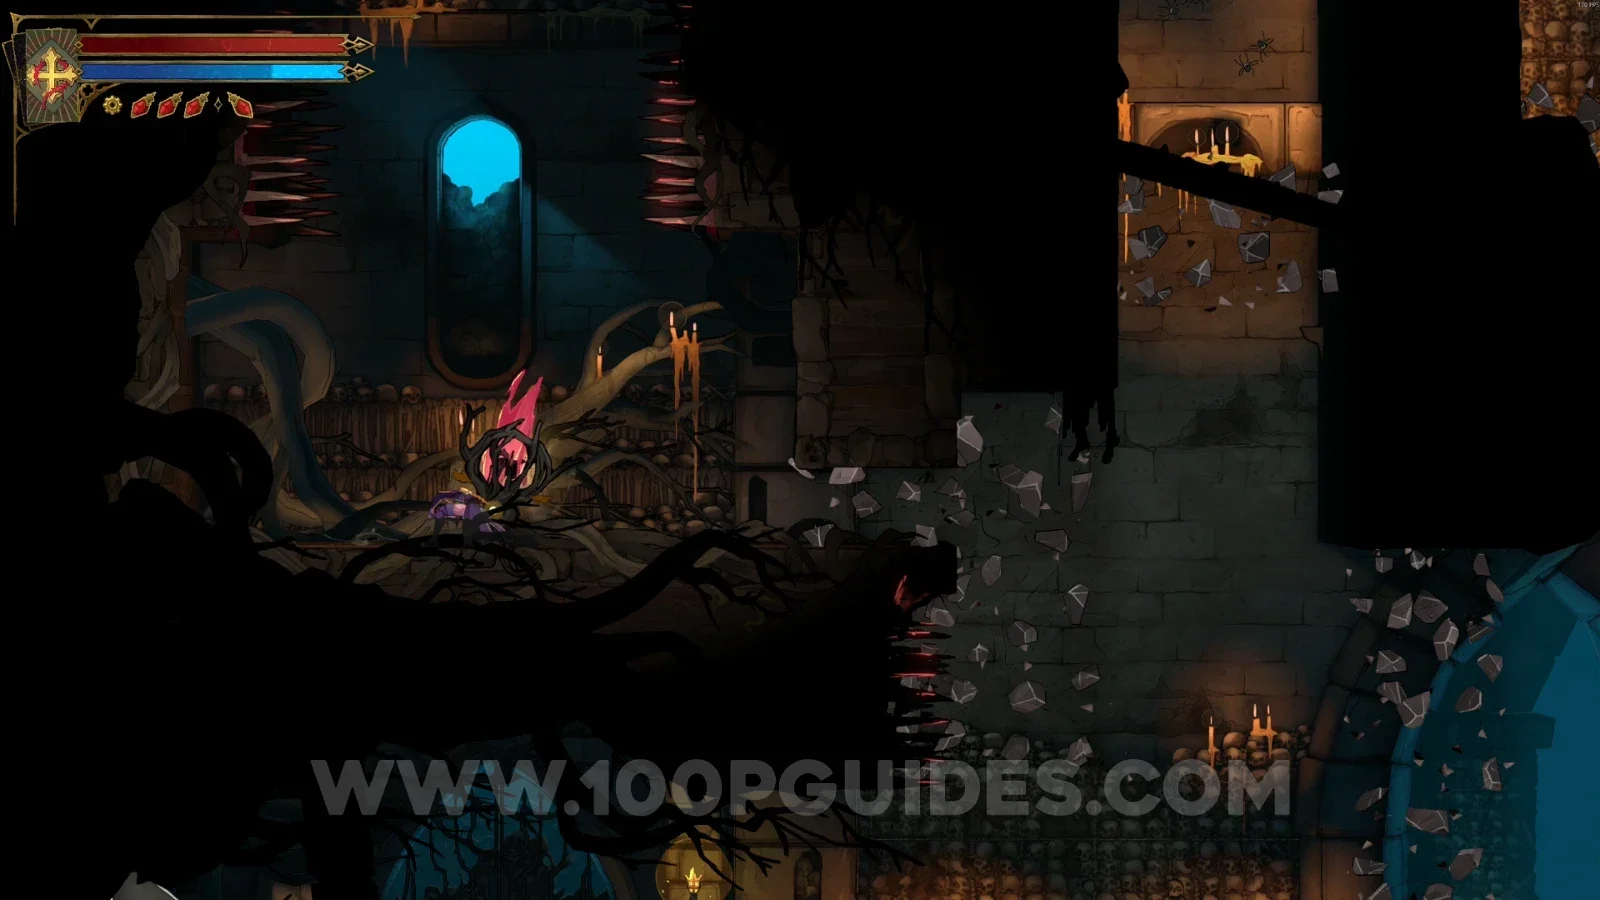
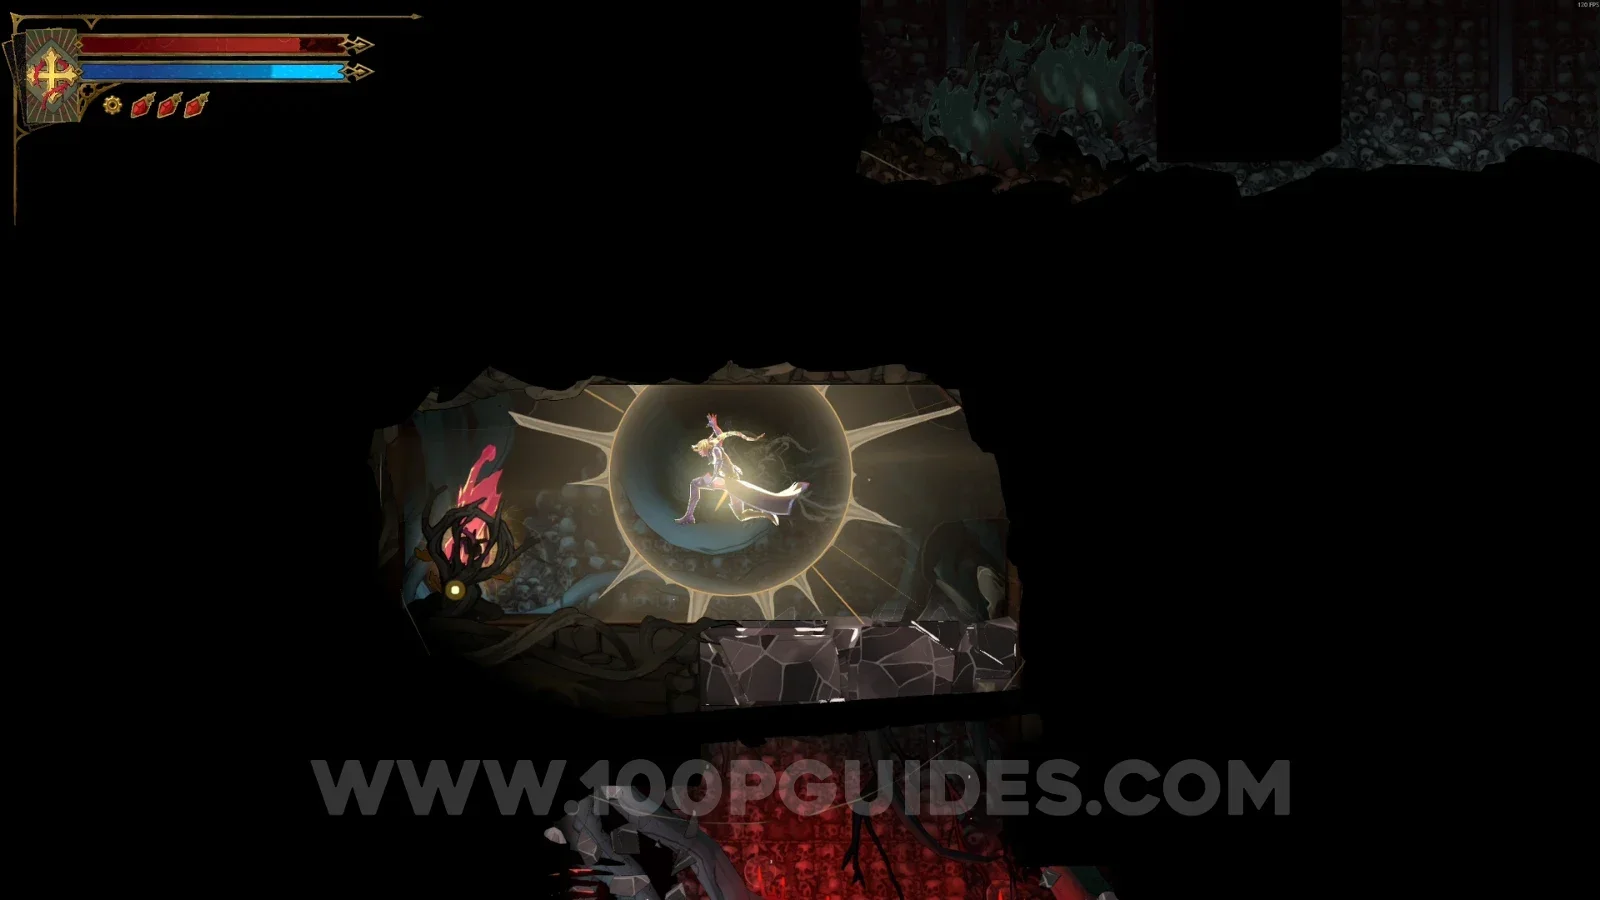
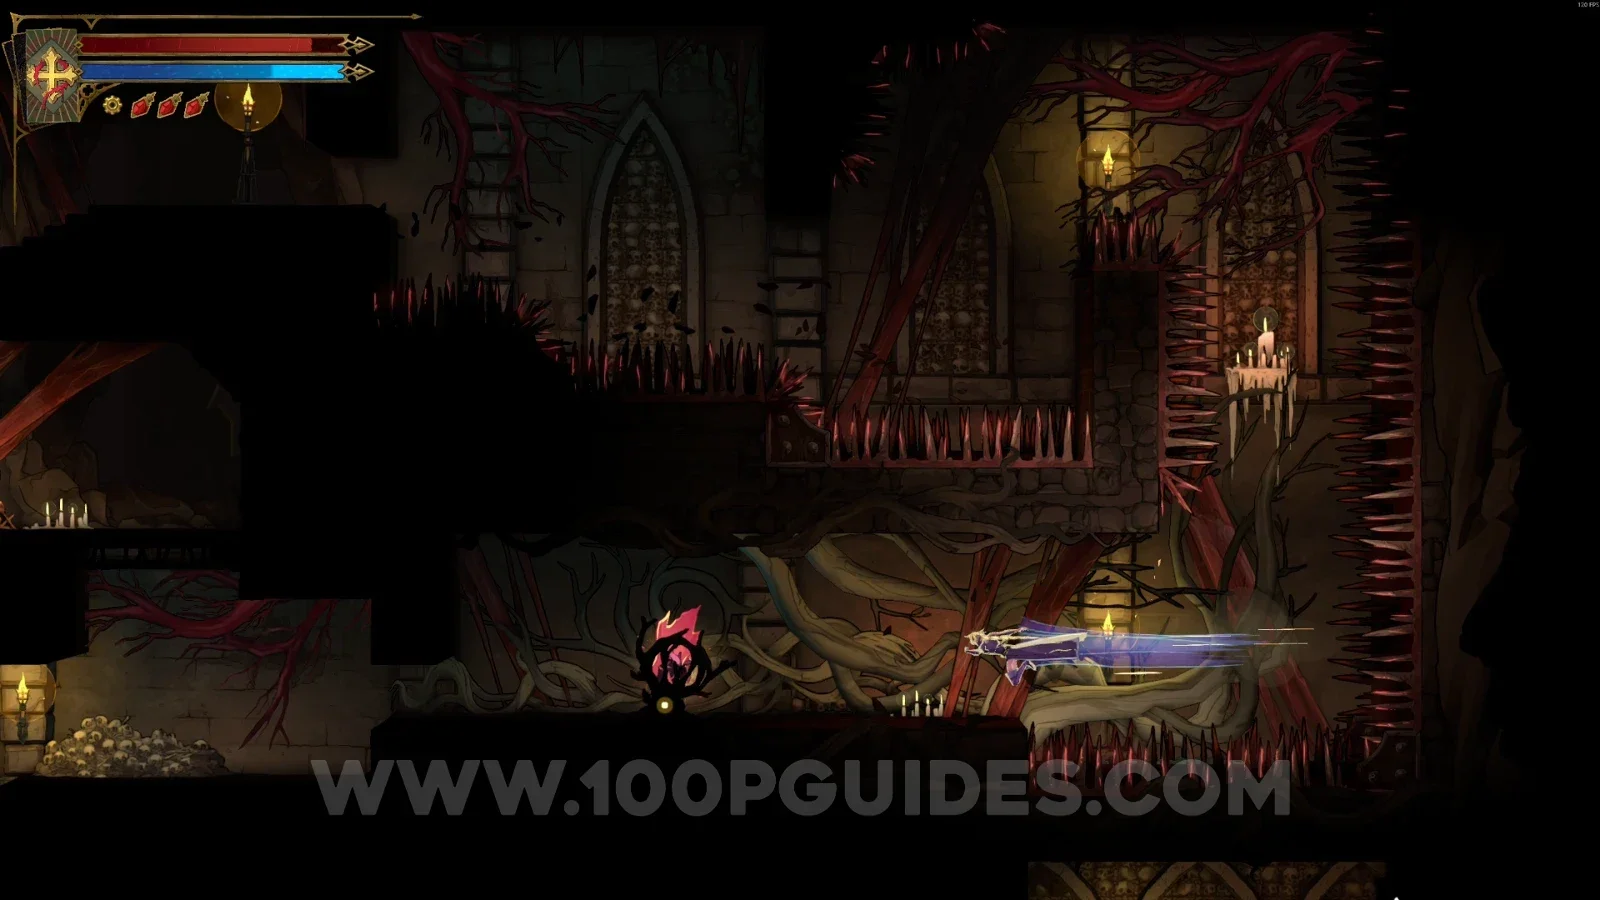
Castlevania Belmonts Curse Catacomb Entrance: climbing to the upper part of the area toward Brave Heart Fragment #7 Castlevania Belmonts Curse Catacomb Entrance: going around on the right, then heading left to Brave Heart Fragment #7 Castlevania Belmonts Curse Catacomb Entrance: Brave Heart Fragment #7 reached at the end of the upper path

Blood Pits

Brave Heart Fragment #8

In the area marked on the map.
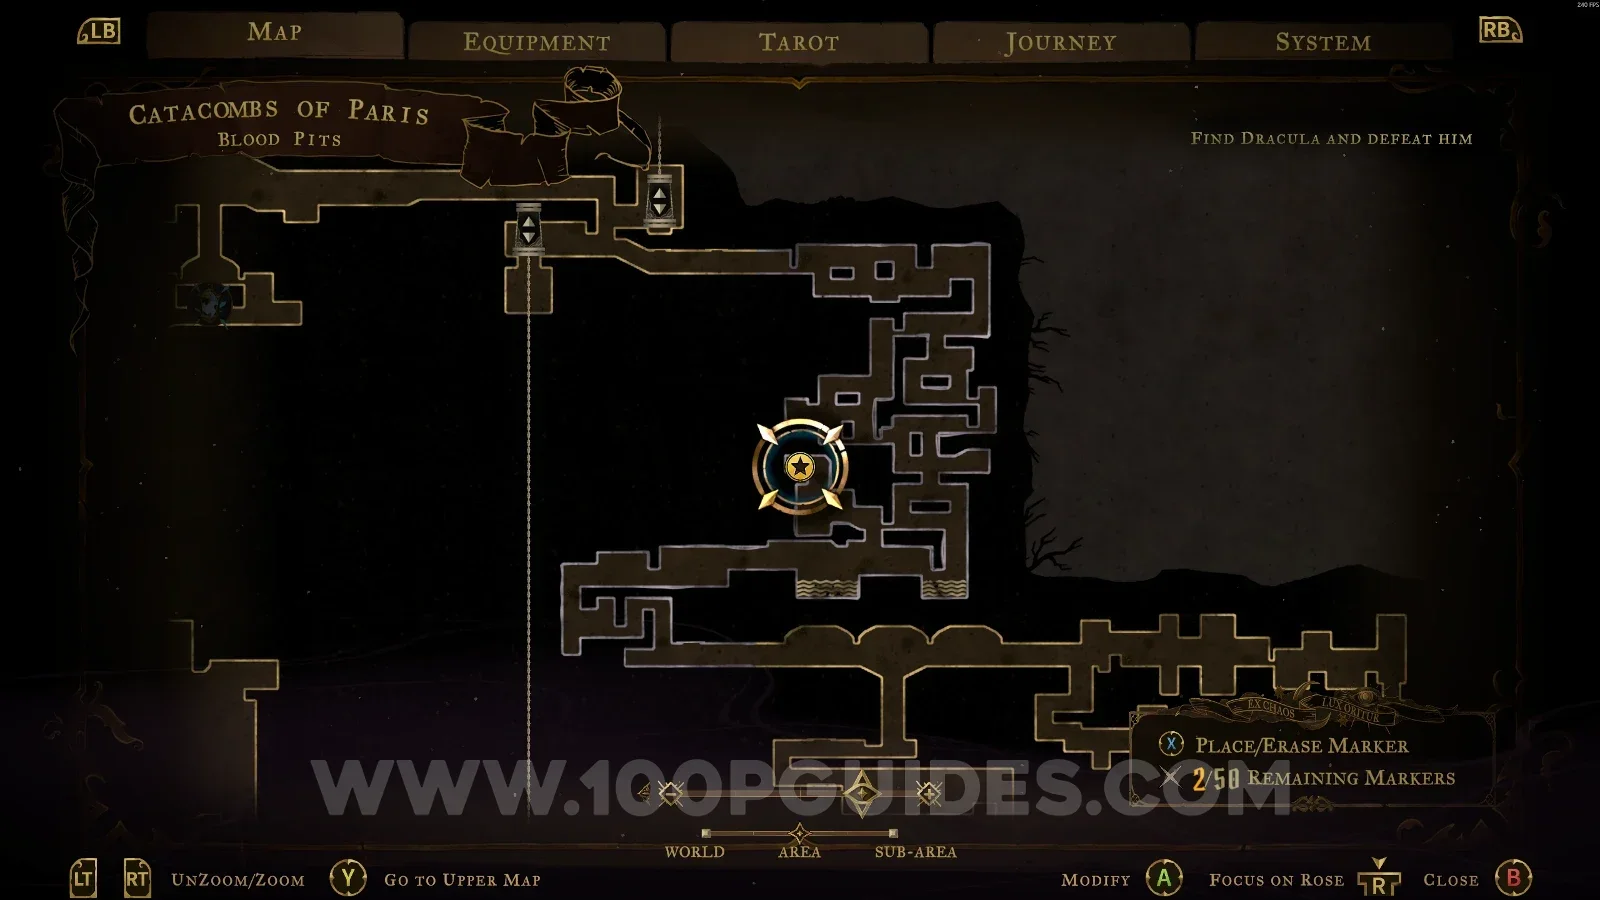
Castlevania Belmonts Curse Blood Pits: map marking the area of Brave Heart Fragment #8 Castlevania Belmonts Curse Blood Pits: Brave Heart Fragment #8 in the marked area

Circle Of Greed

Brave Heart Fragment #9

In the area marked on the map, you have to go around the area on the right side.
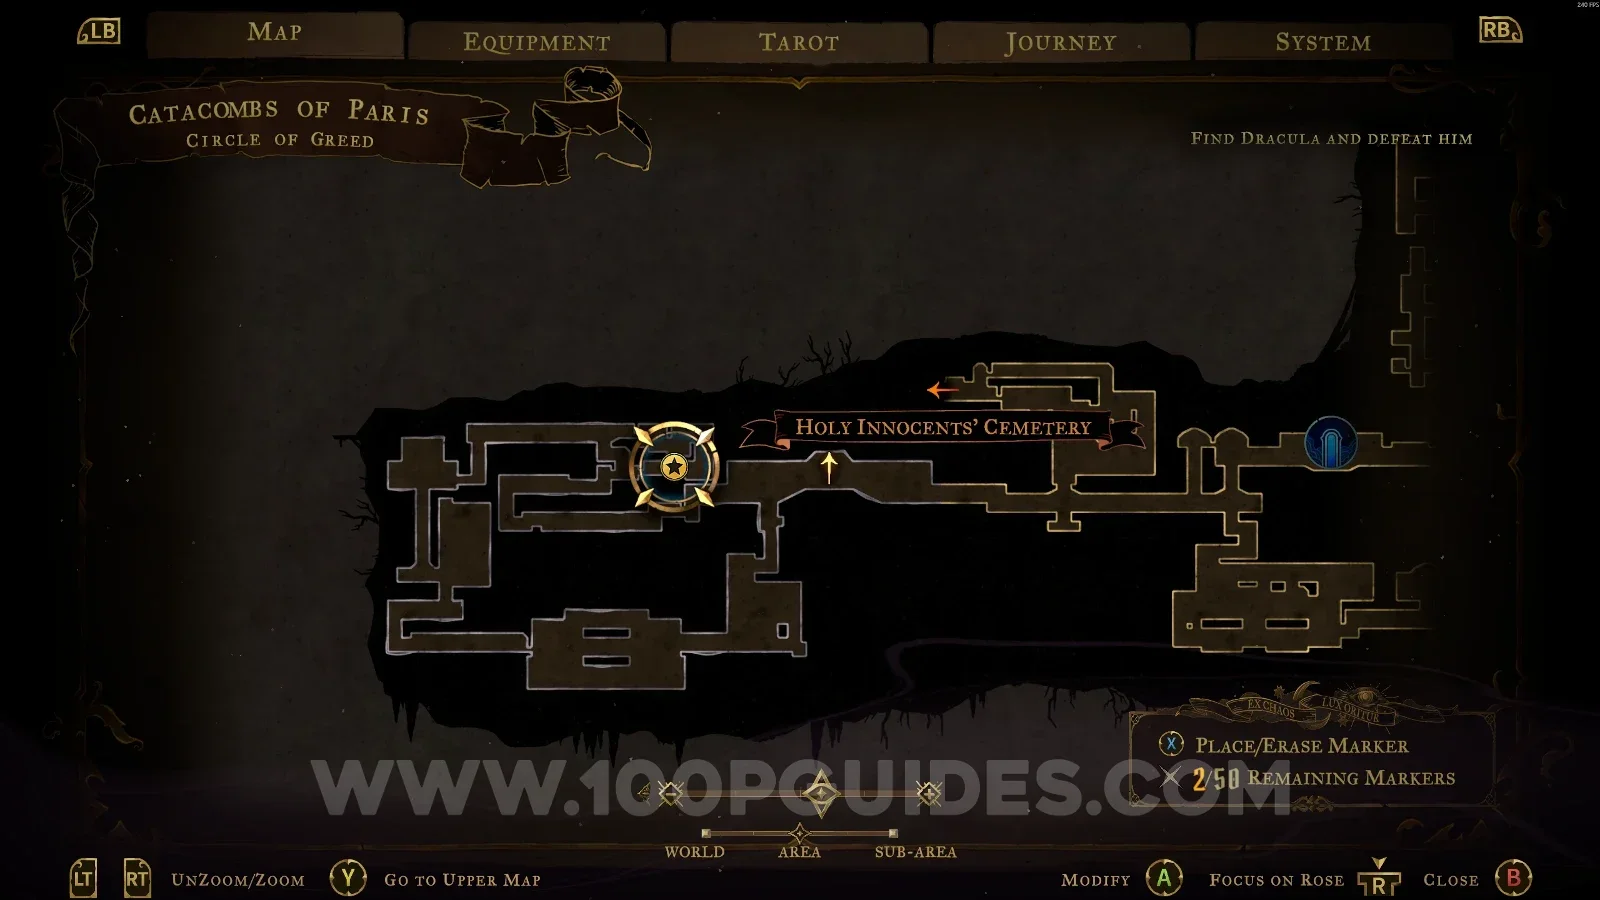
Castlevania Belmonts Curse Circle Of Greed: map marking the area of Brave Heart Fragment #9 Castlevania Belmonts Curse Circle Of Greed: Brave Heart Fragment #9 reached by going around the right side

Hall Of Mirrors

Steps of Misdirection

Brave Heart Fragment #10

In the area marked on the map, after getting past several saws and portals on the way to the top.
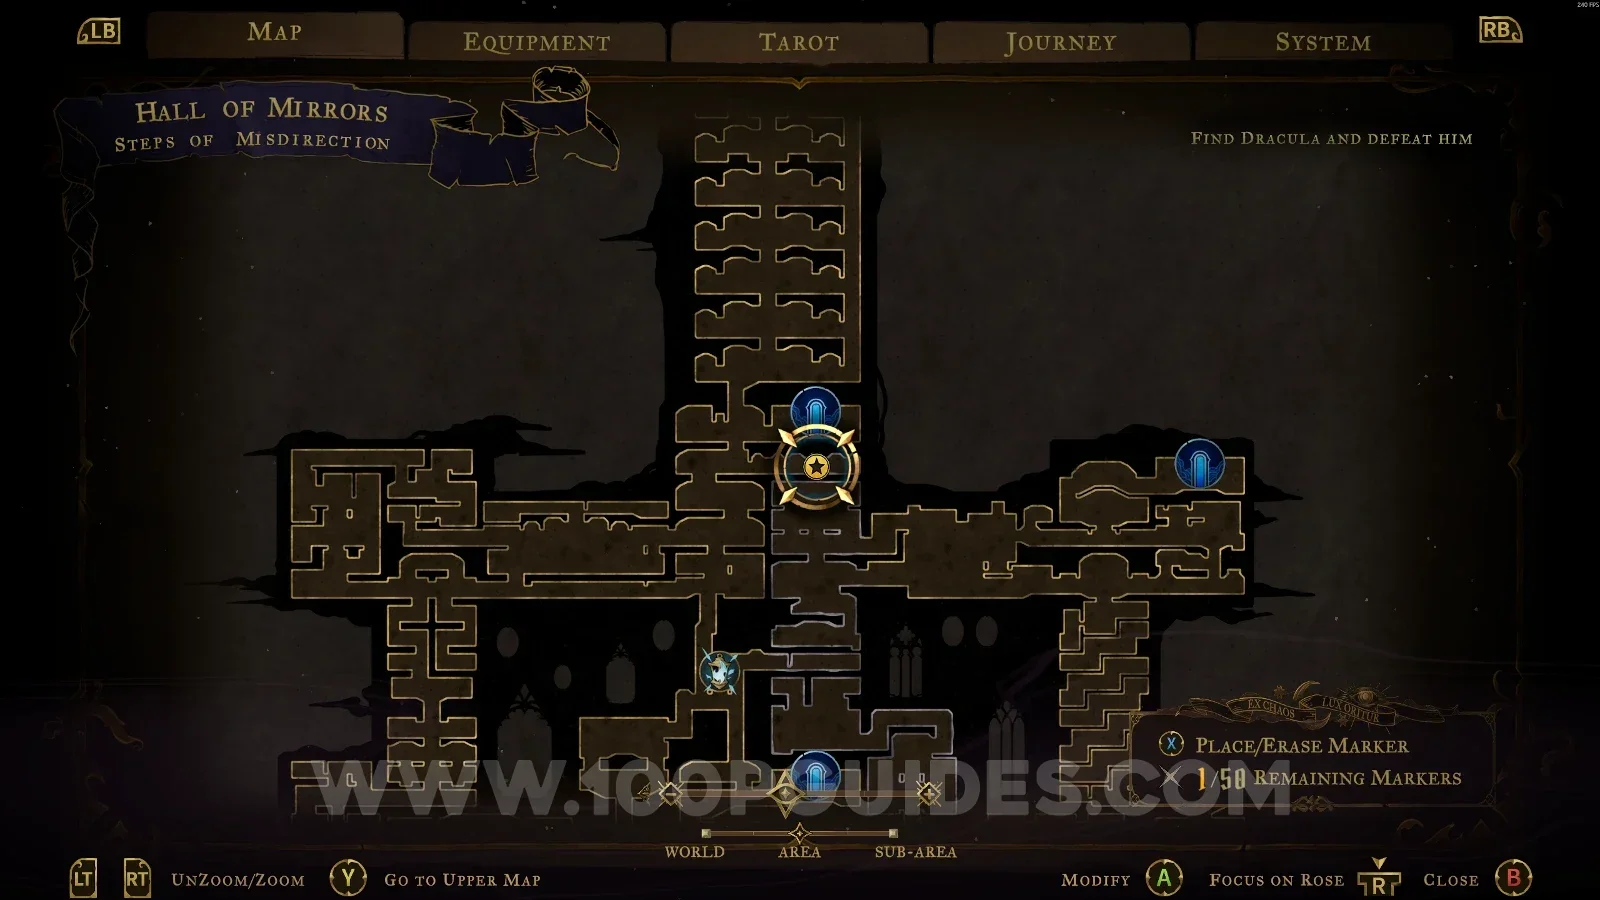
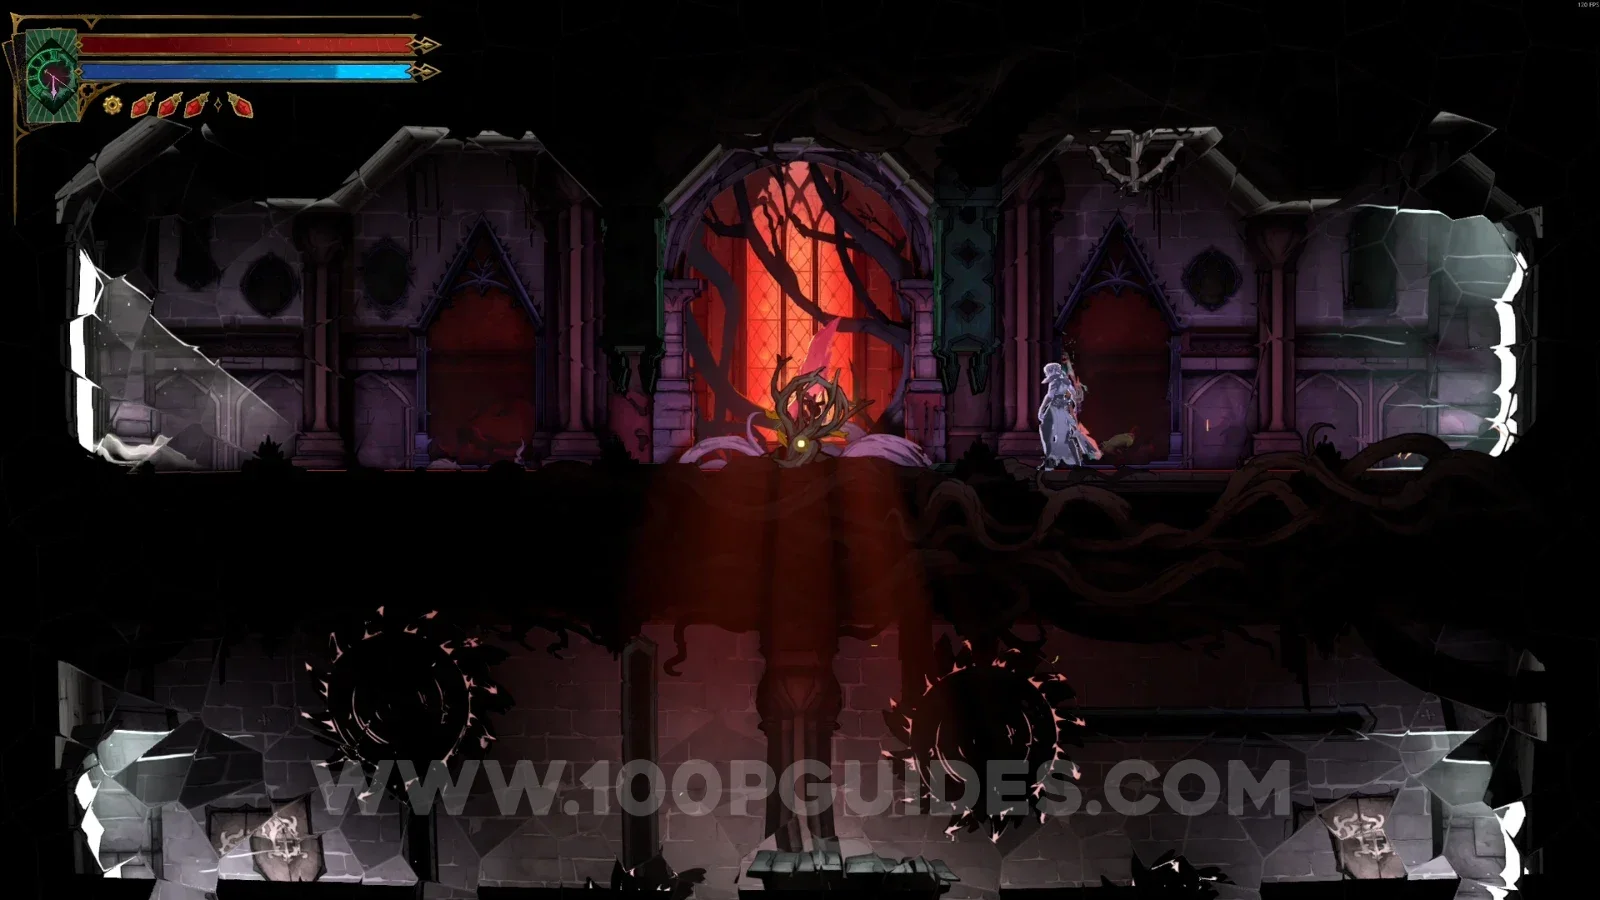
Castlevania Belmonts Curse Steps of Misdirection: map marking the area of Brave Heart Fragment #10 Castlevania Belmonts Curse Steps of Misdirection: Brave Heart Fragment #10 at the top past saws and portals

Nightmare Atrium

Brave Heart Fragment #11

In the area marked on the map, jump to the upper part to reveal a secret area containing the Brave Heart.
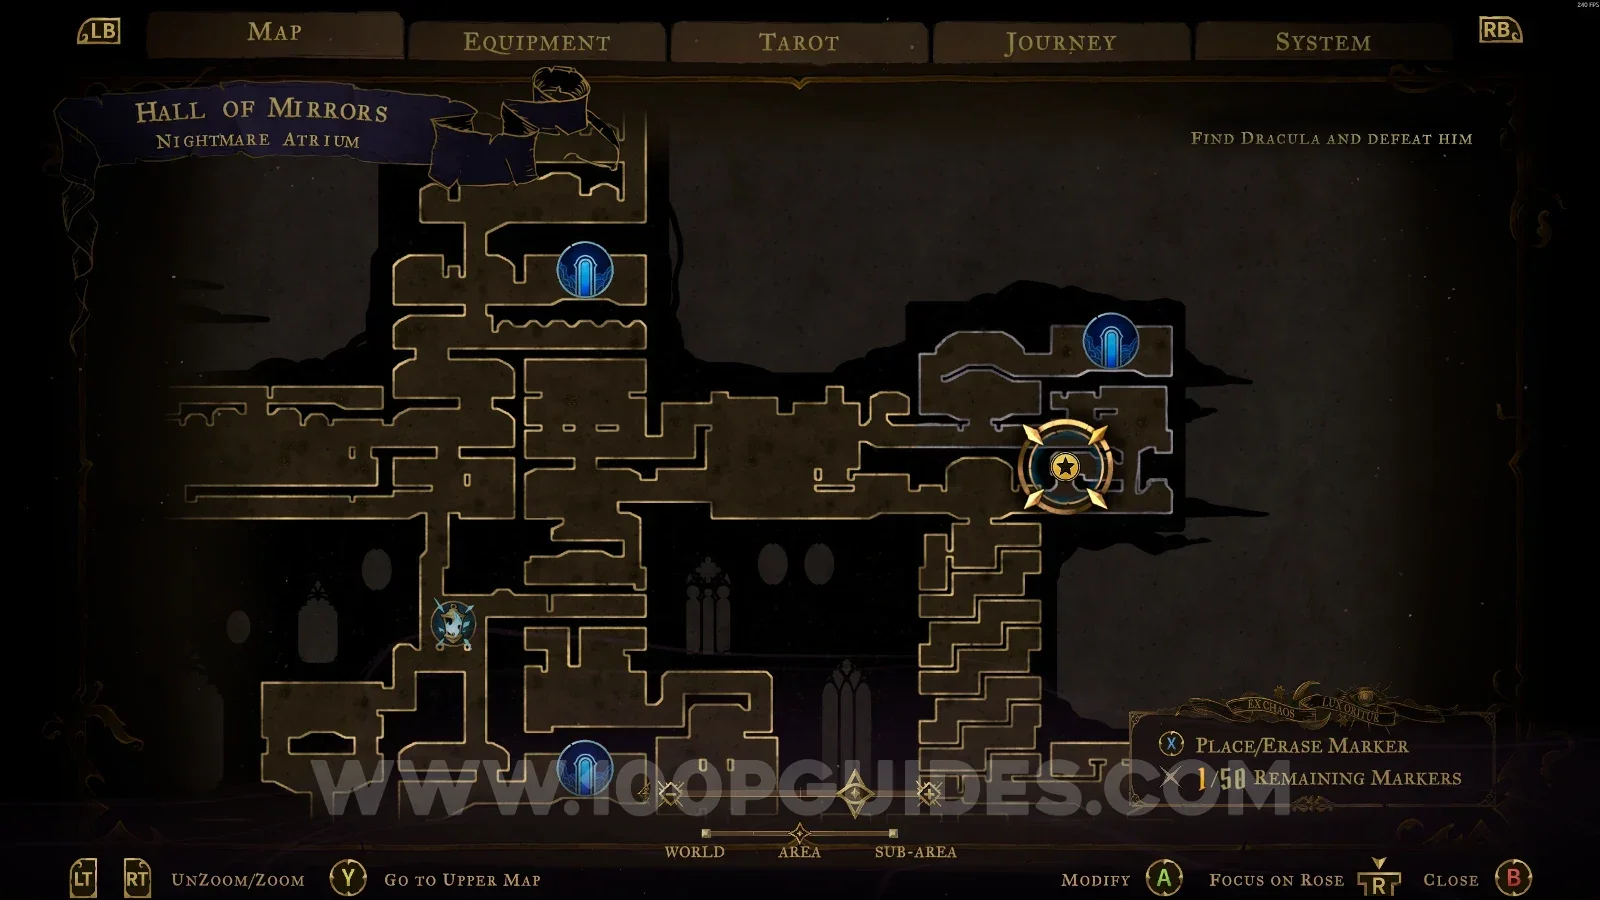
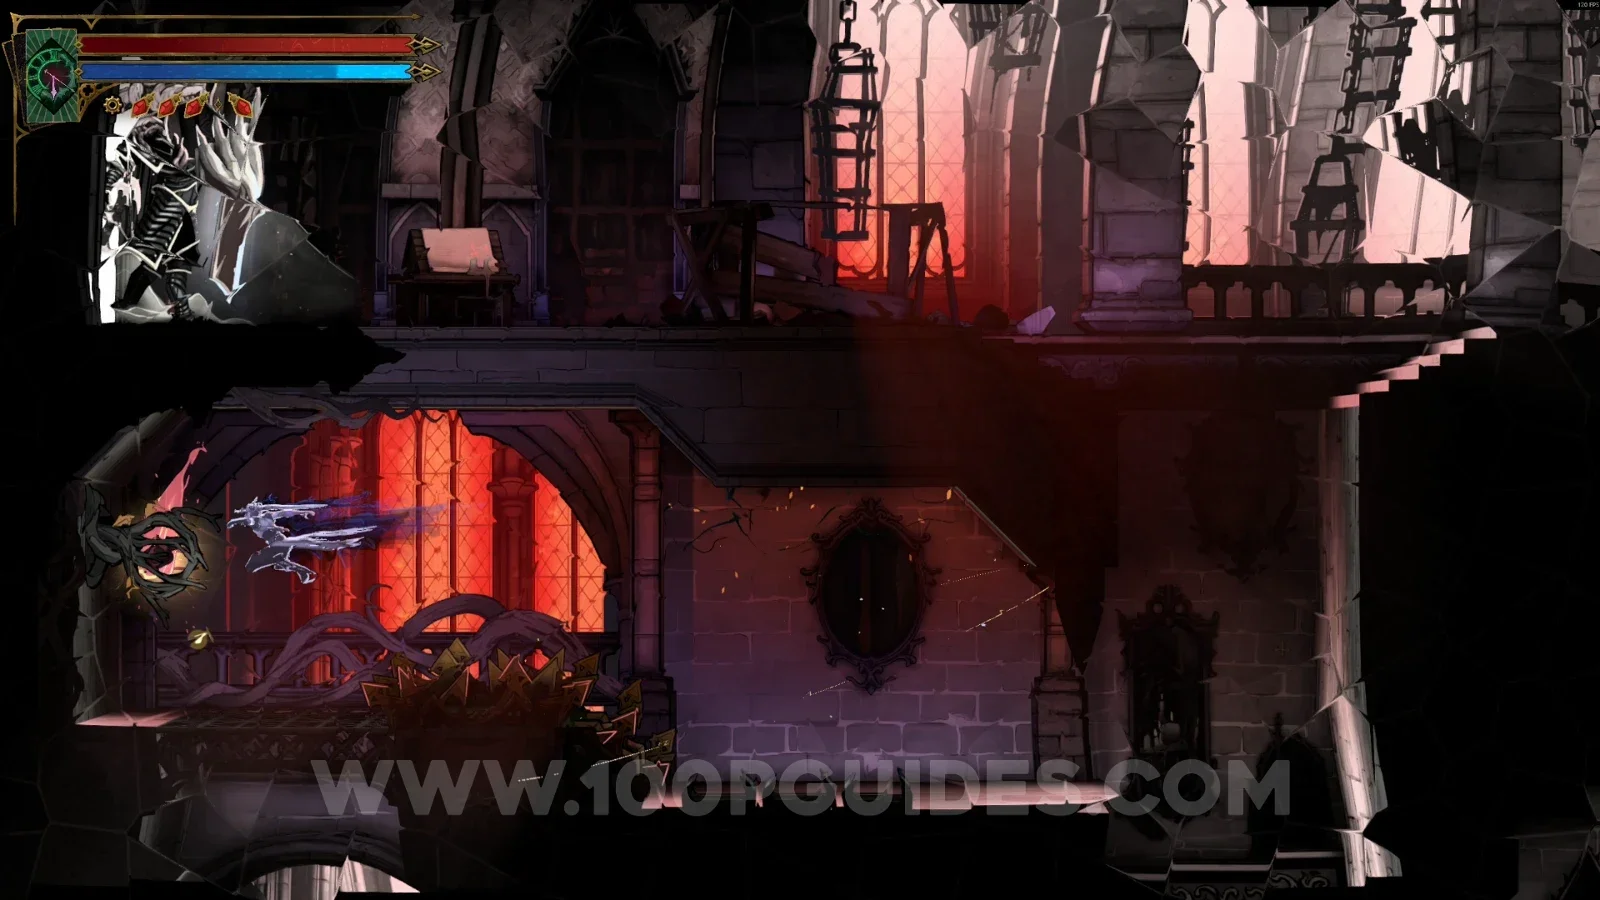
Castlevania Belmonts Curse Nightmare Atrium: map marking the area of Brave Heart Fragment #11 Castlevania Belmonts Curse Nightmare Atrium: secret area in the upper part holding Brave Heart Fragment #11

Looping Hallways

Brave Heart Fragment #12

In the area marked on the map, on the right side.
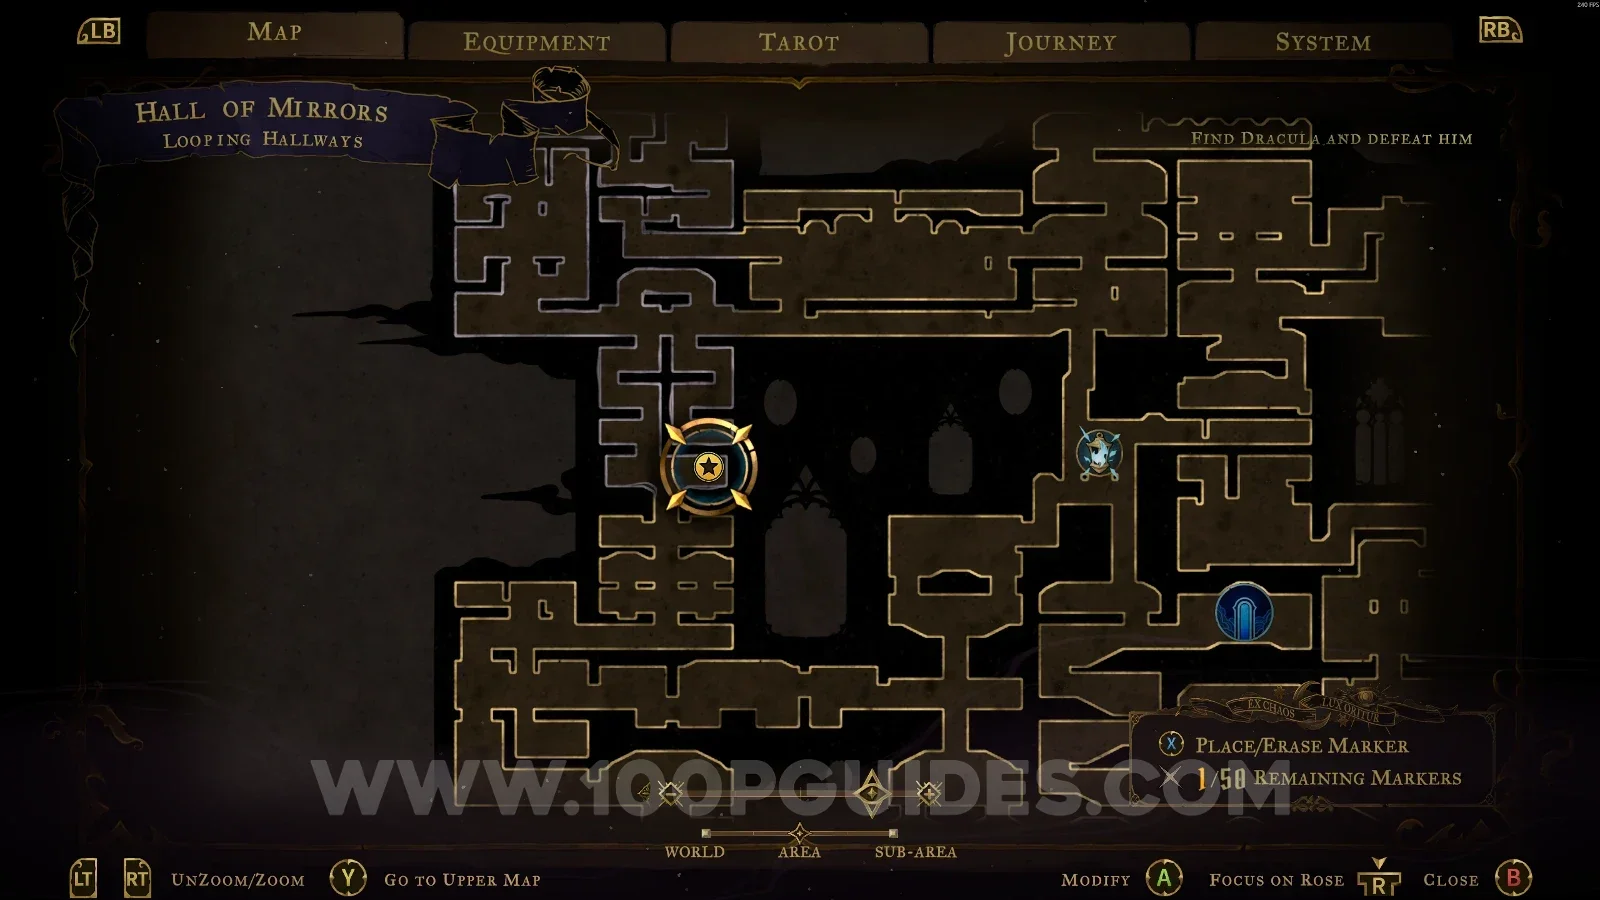
Castlevania Belmonts Curse Looping Hallways: Brave Heart Fragment #12 on the right side of the marked area

Main Hall

Mirror Rooms

Brave Heart Fragment #13

In the area marked on the map. You reach this area from the Torture Chamber room.
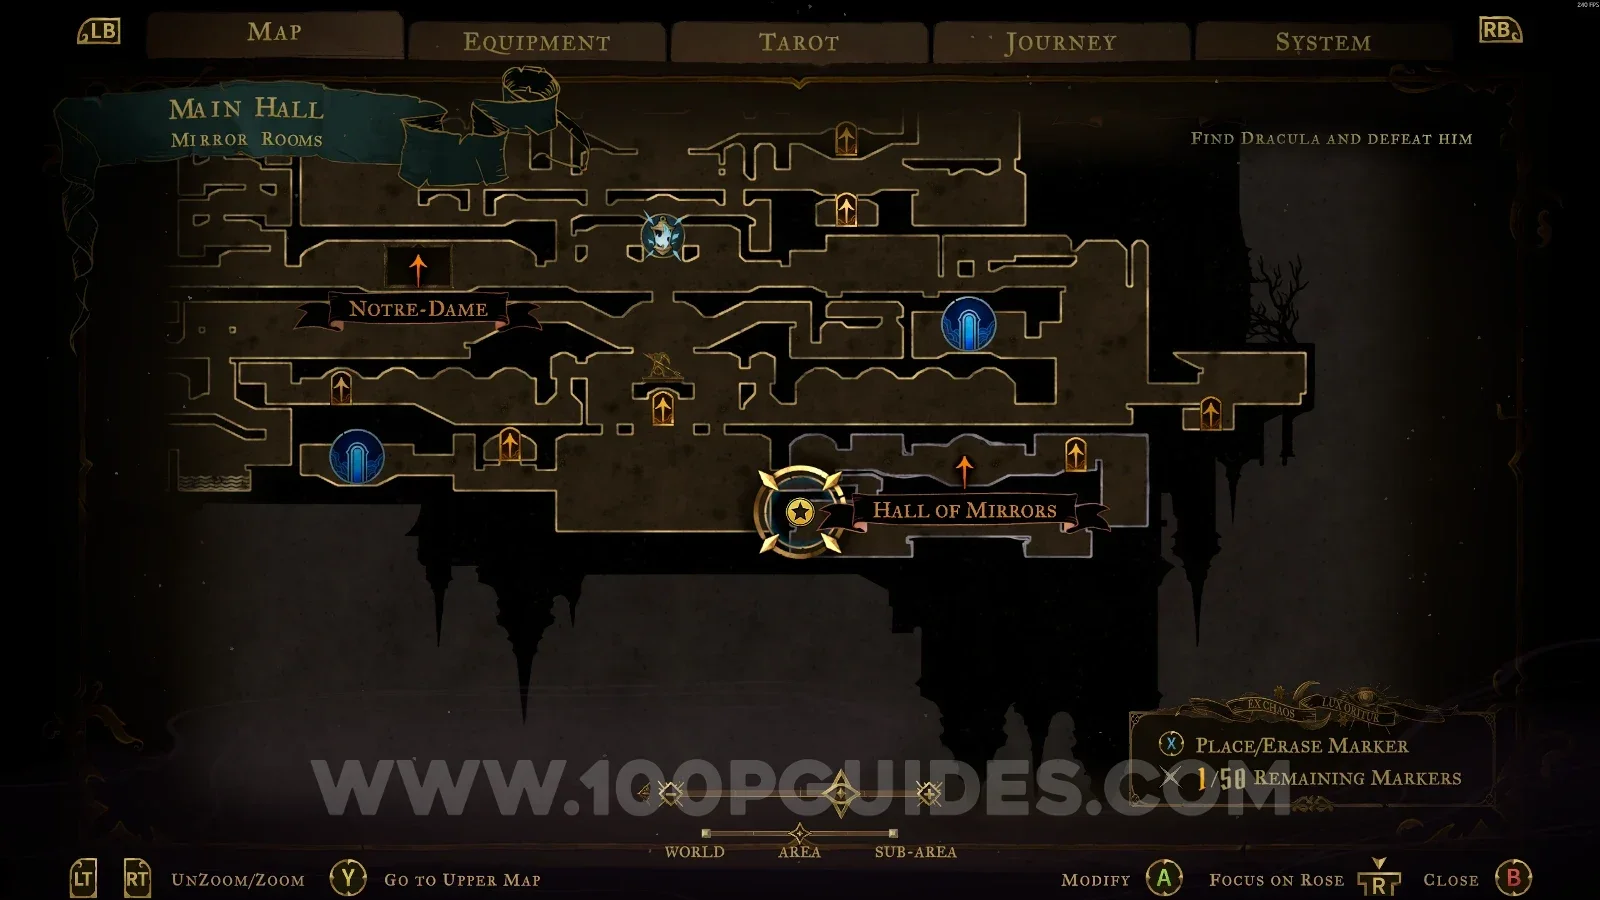
Castlevania Belmonts Curse Mirror Rooms: map marking Brave Heart Fragment #13, reached from the Torture Chamber room Castlevania Belmonts Curse Mirror Rooms: Brave Heart Fragment #13 in the marked area

Balcony

Brave Heart Fragment #14

In the area marked on the map. You reach this area from the Servants' Hall room.
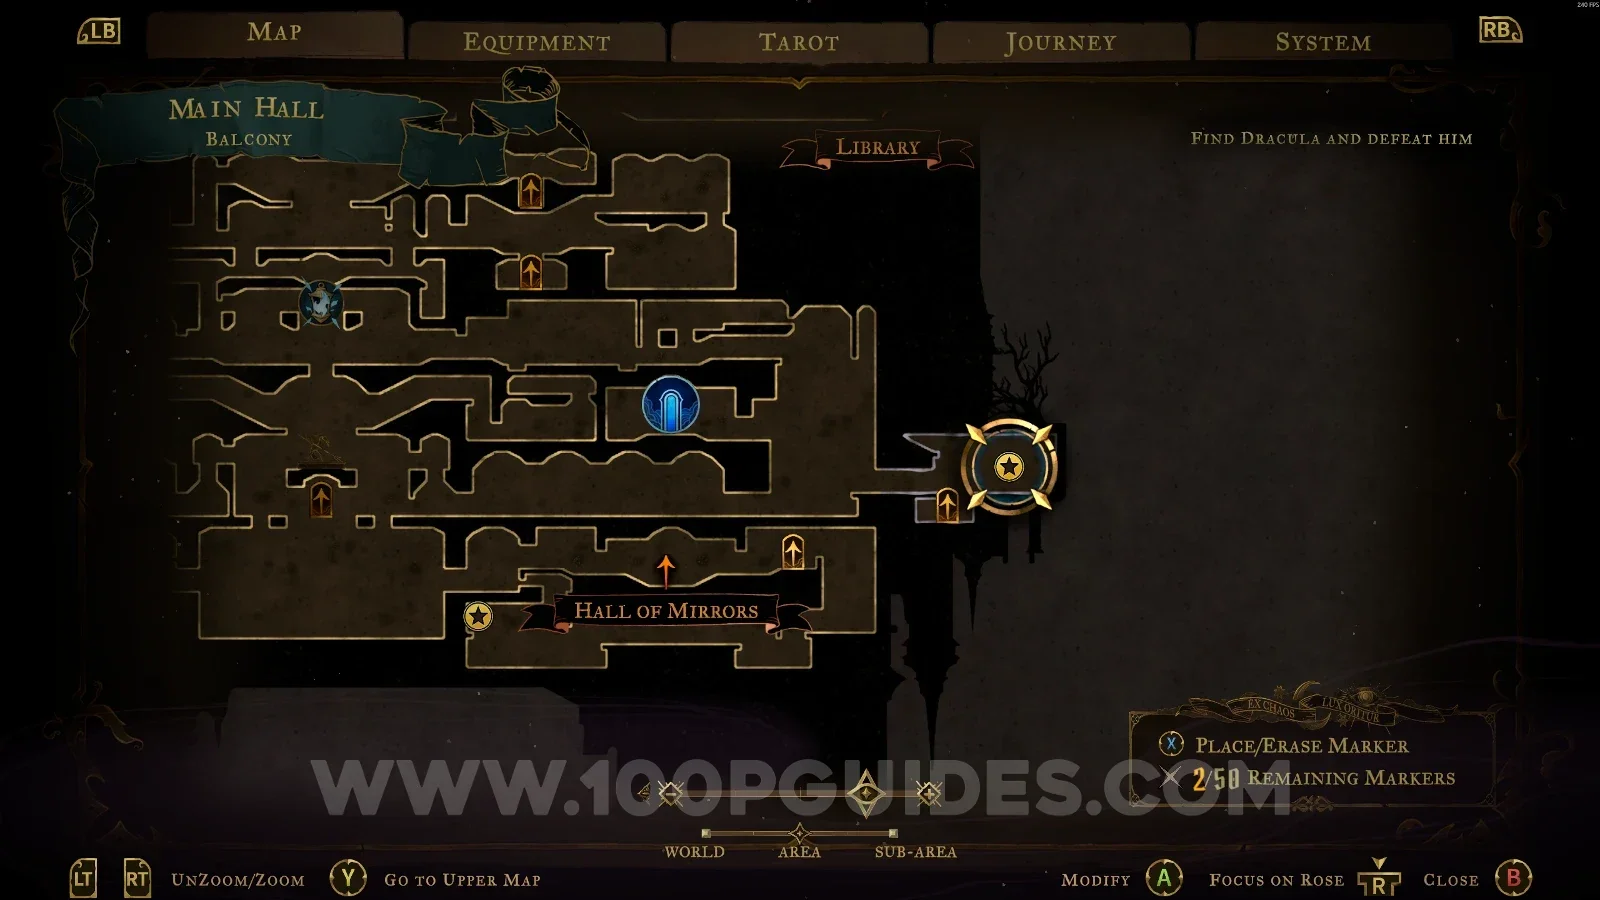
Castlevania Belmonts Curse Balcony: map marking Brave Heart Fragment #14, reached from the Servants' Hall room Castlevania Belmonts Curse Balcony: Brave Heart Fragment #14 in the marked area

Armoury

Brave Heart Fragment #15

In the area marked on the map. You reach this area from the Wine Cellar door in the Entrance Corridor.
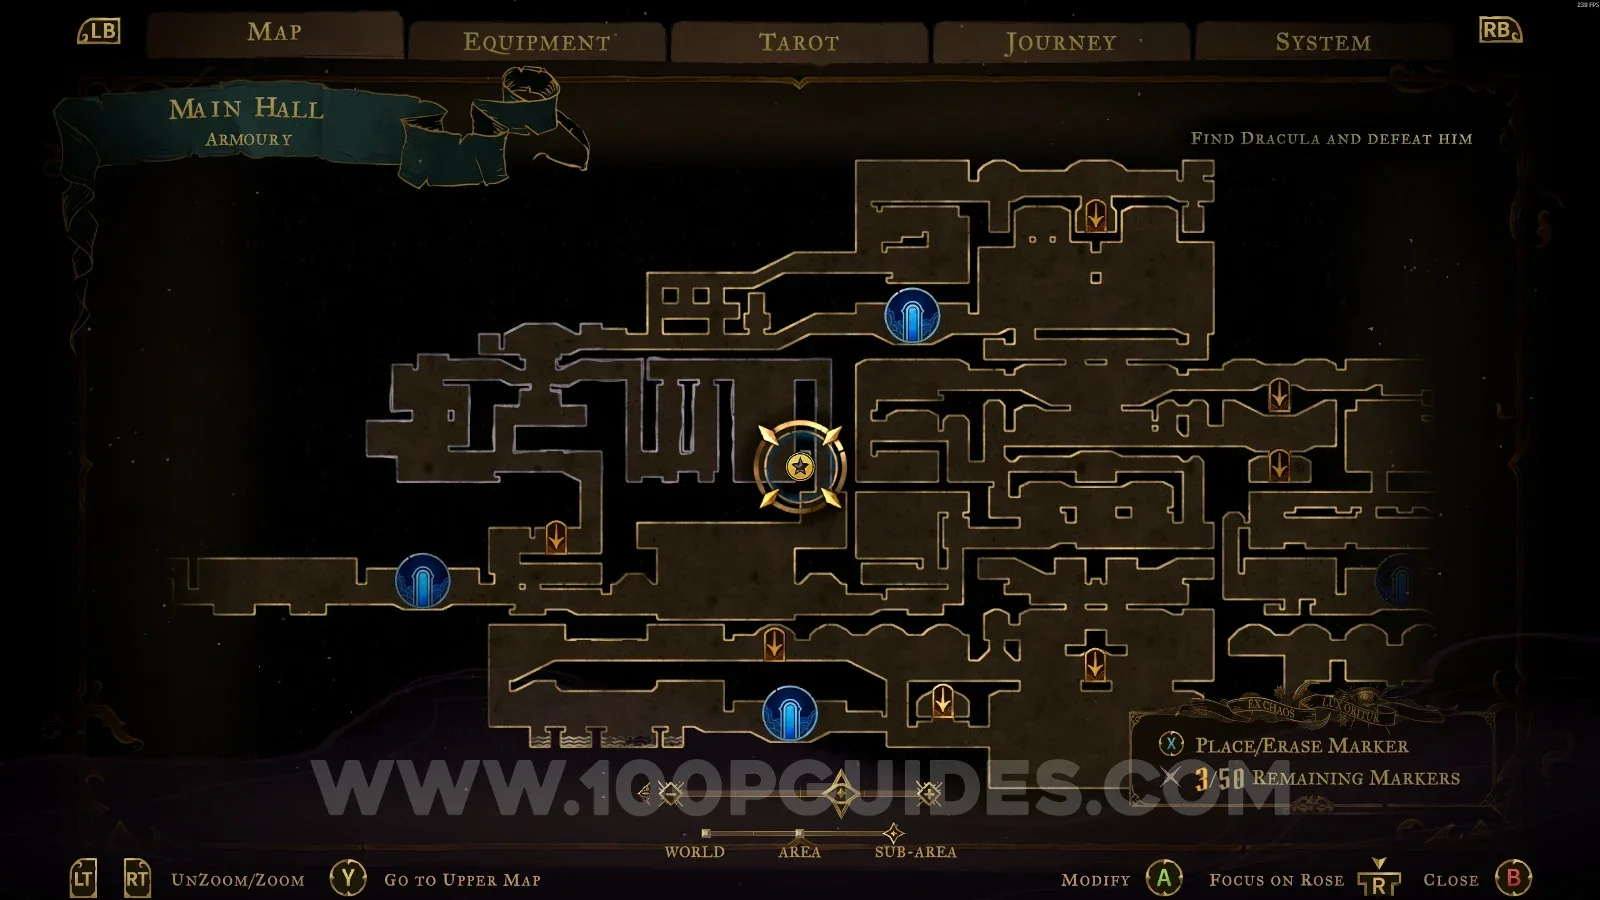
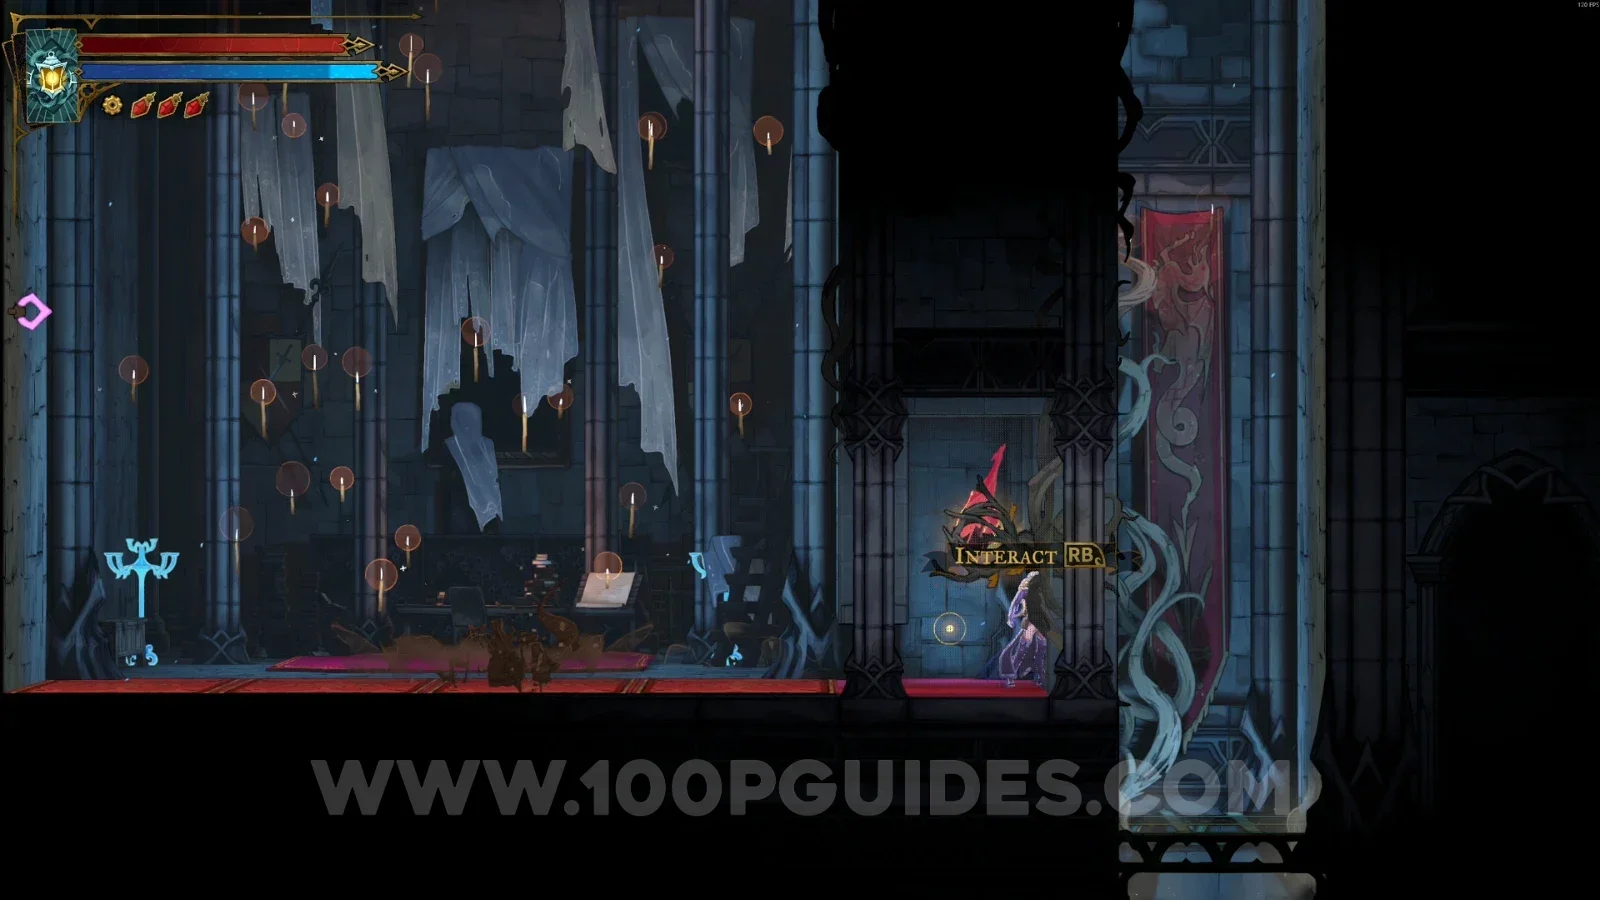
Castlevania Belmonts Curse Armoury: map marking Brave Heart Fragment #15 via the Wine Cellar door in the Entrance Corridor Castlevania Belmonts Curse Armoury: Brave Heart Fragment #15 in the marked area

Library

Library Foyer

Brave Heart Fragment #16

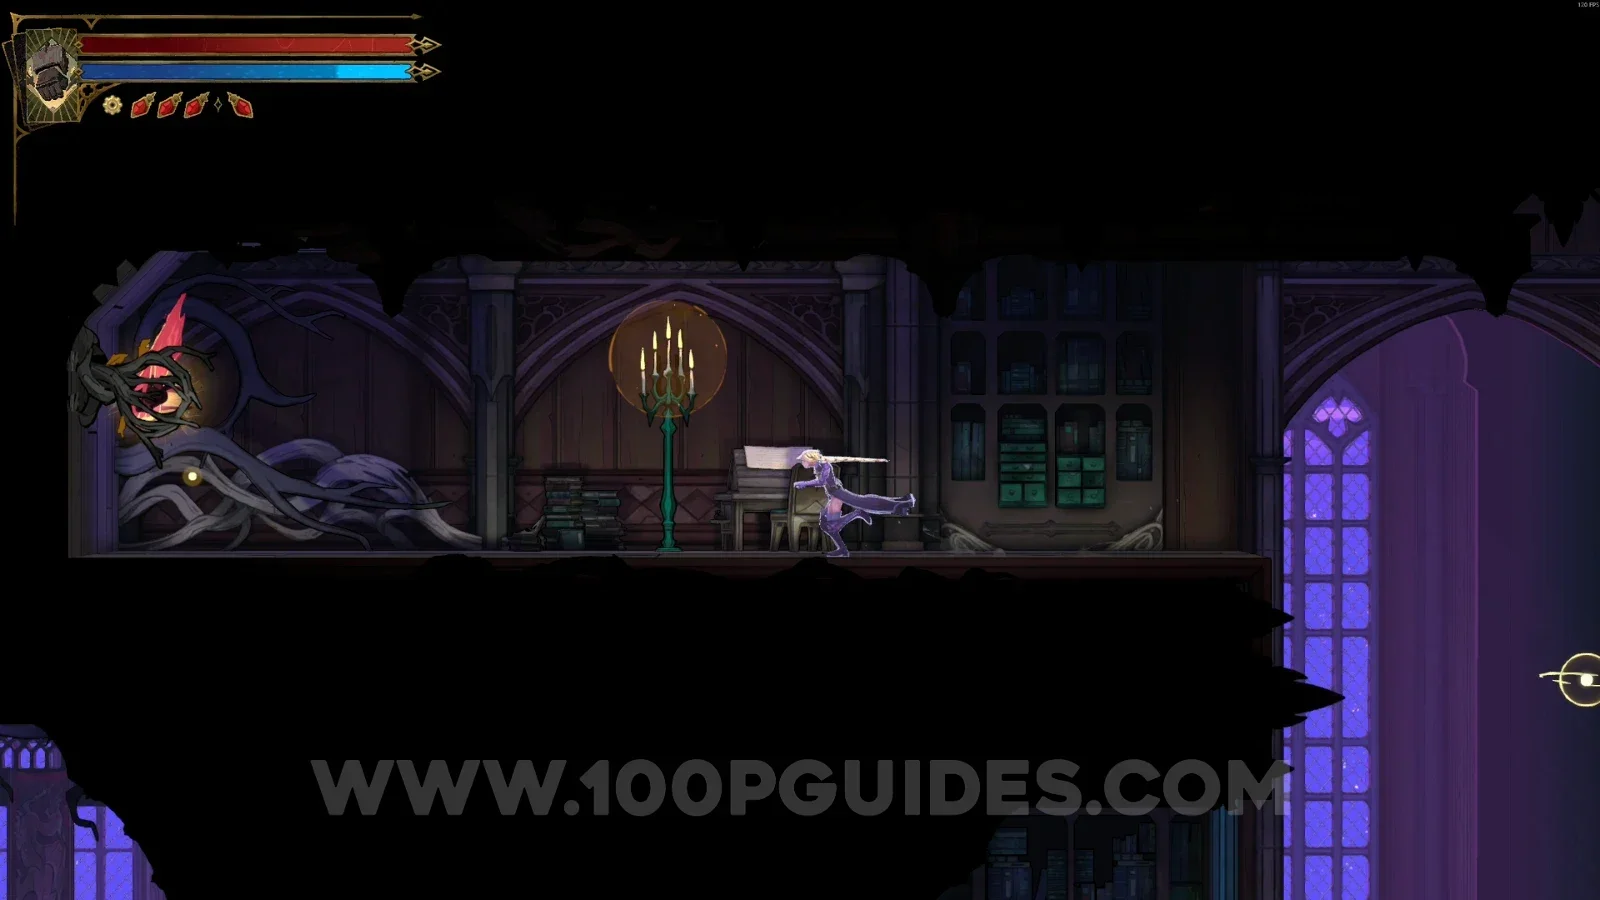
In the area marked on the map, on the left side, in a secret room at the top.
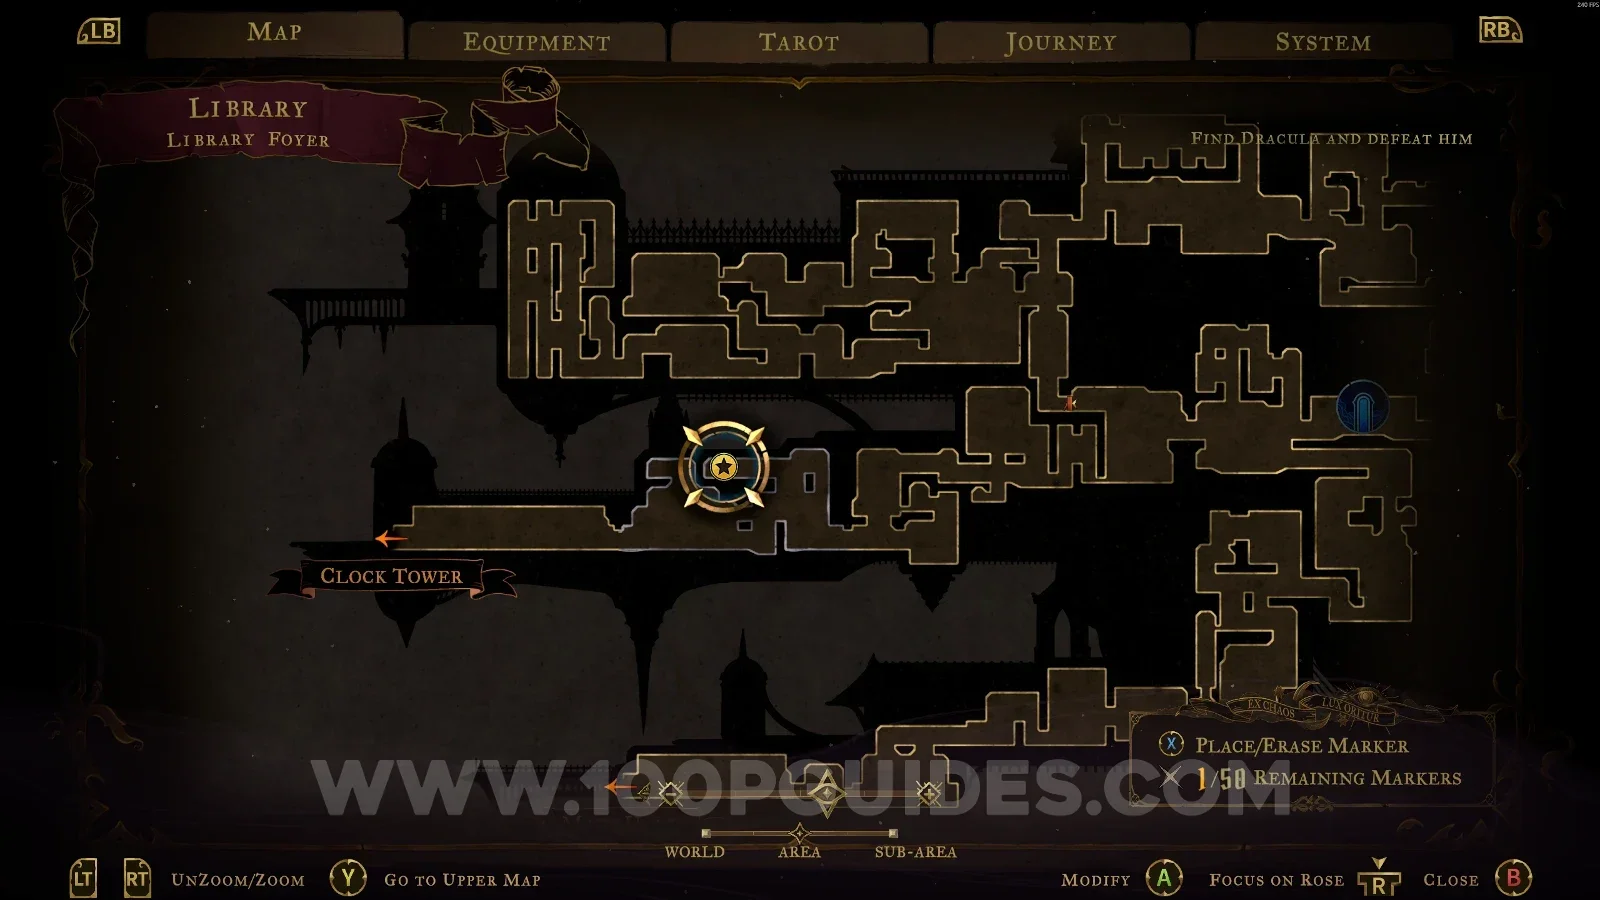
Castlevania Belmonts Curse Library Foyer: map marking the area of Brave Heart Fragment #16 on the left side Castlevania Belmonts Curse Library Foyer: Brave Heart Fragment #16 in a secret room at the top left

Poetry Shelves

Brave Heart Fragment #17

In the area marked on the map, you need to climb up on the upper right side and use the orbs to reach the Brave Heart.
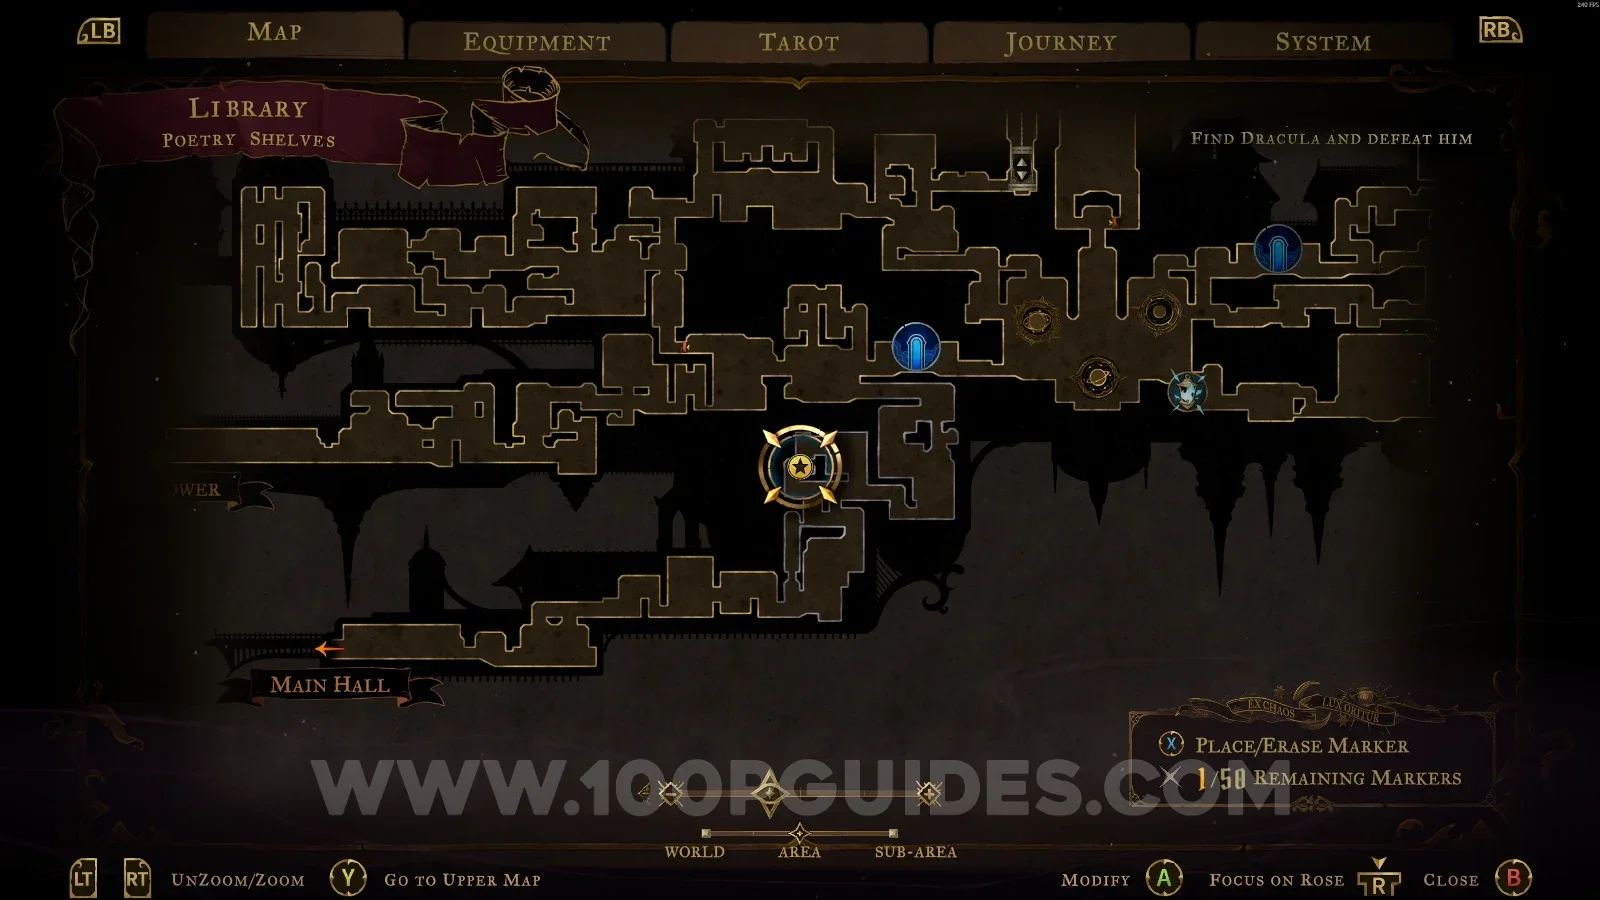
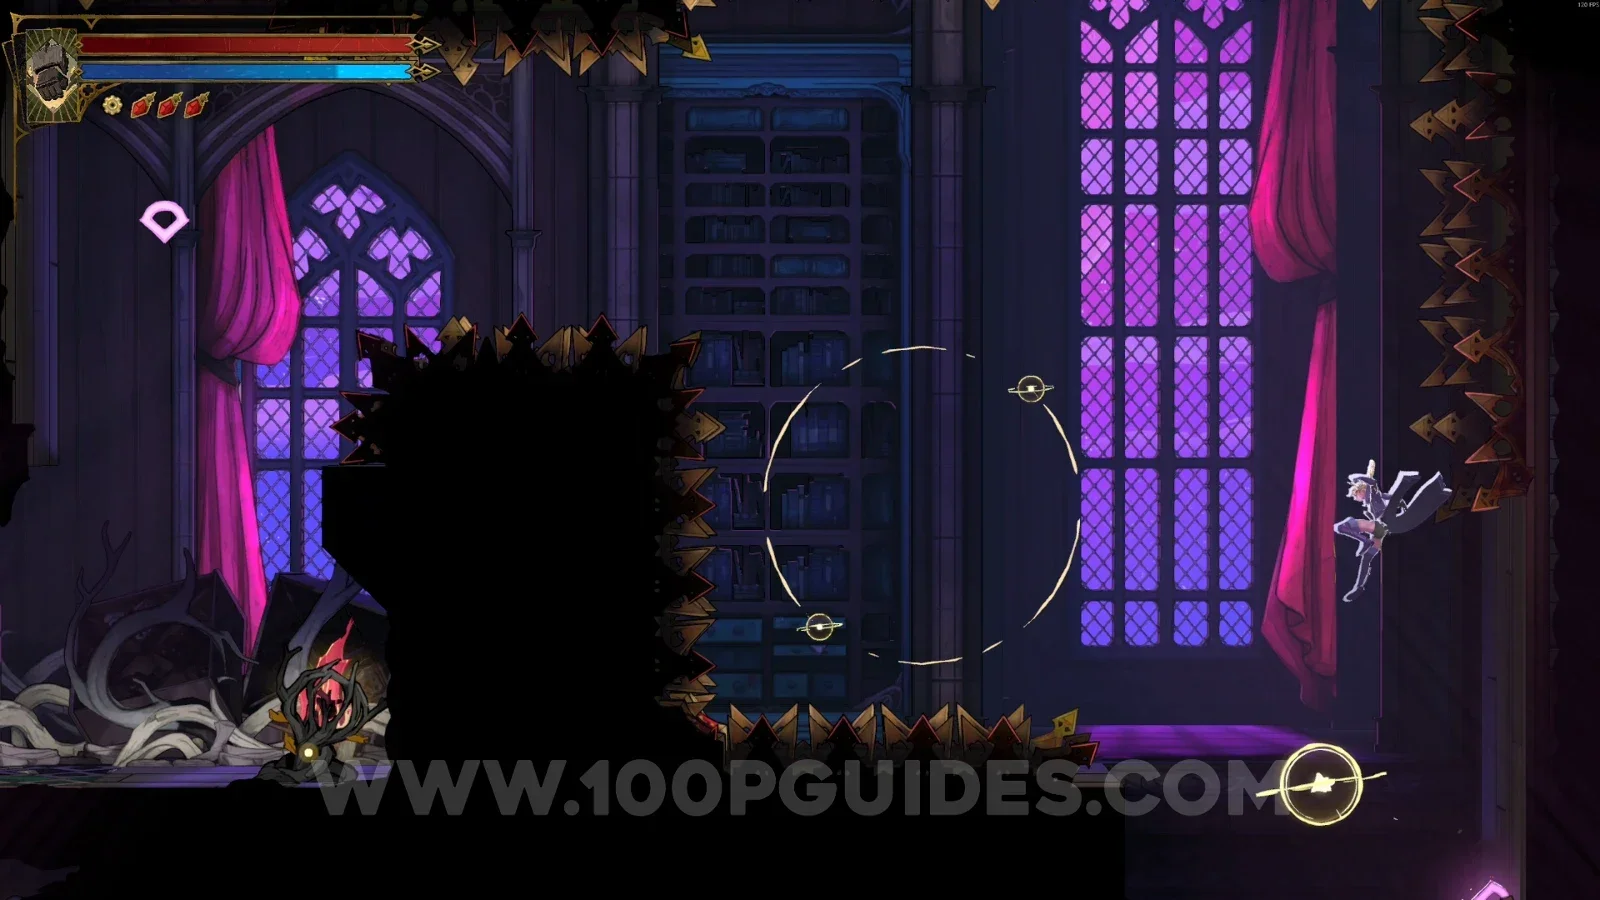
Castlevania Belmonts Curse Poetry Shelves: climbing the upper right side toward Brave Heart Fragment #17 Castlevania Belmonts Curse Poetry Shelves: using the orbs to reach Brave Heart Fragment #17

Planetarium

Brave Heart Fragment #18

On the left side of the area, you have to use the orbs to launch yourself to the upper part where the Brave Heart is.
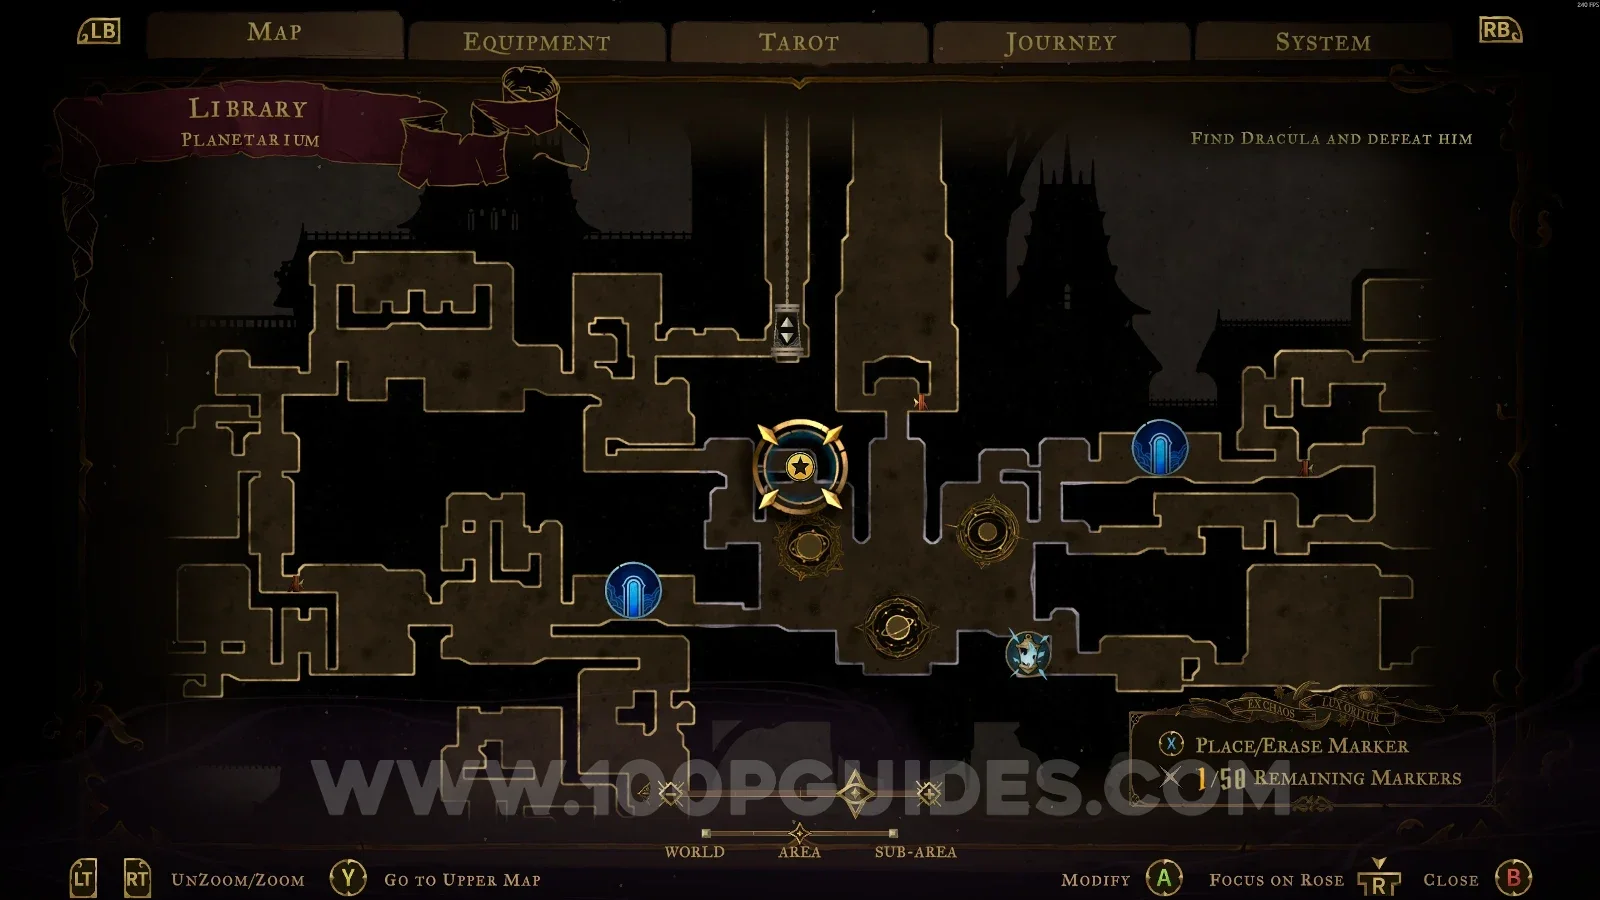
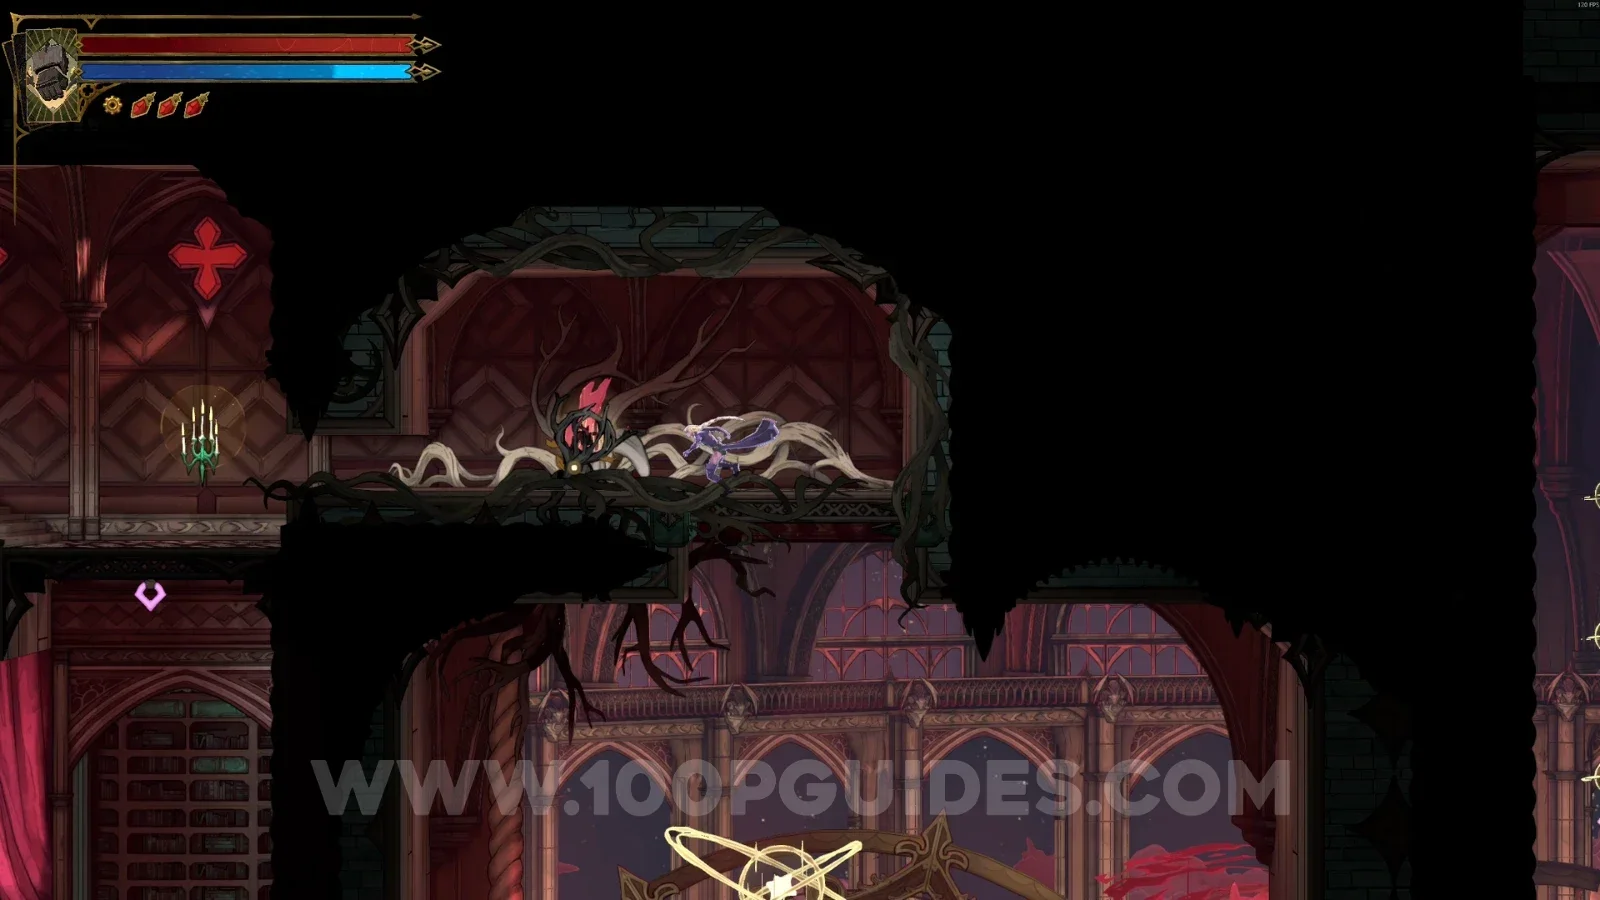
Castlevania Belmonts Curse Planetarium: orbs on the left side of the area used to launch toward Brave Heart Fragment #18 Castlevania Belmonts Curse Planetarium: Brave Heart Fragment #18 in the upper part of the area

Clock Tower

Serpent Pinion

Brave Heart Fragment #19

In the area marked on the map, you have to interact with the gear at the entrance to reach the Brave Heart.
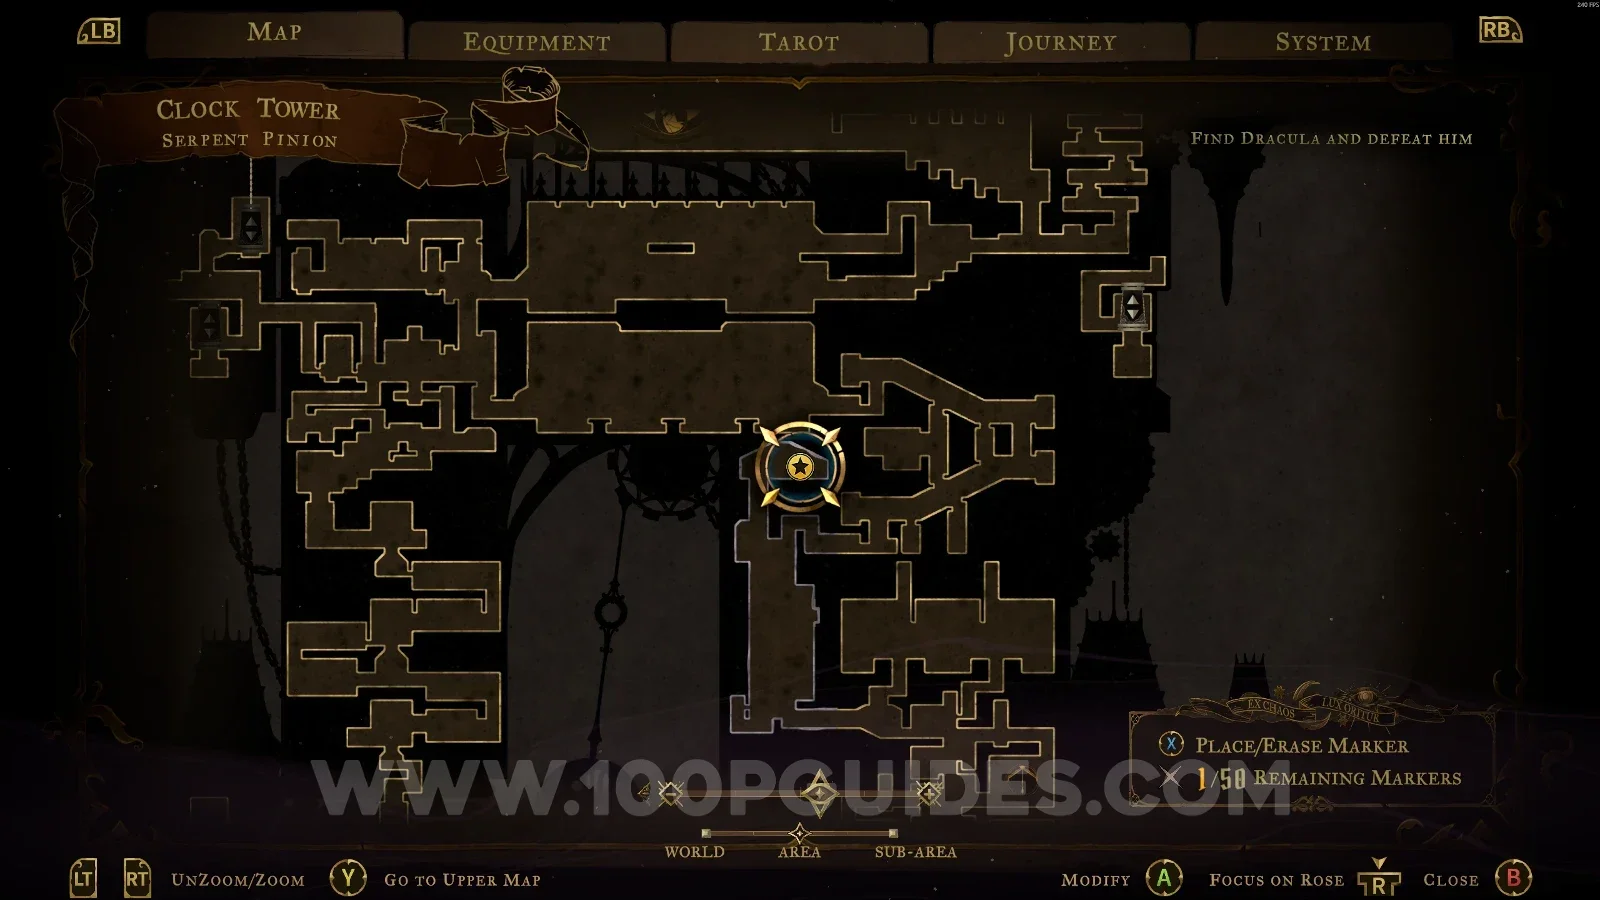
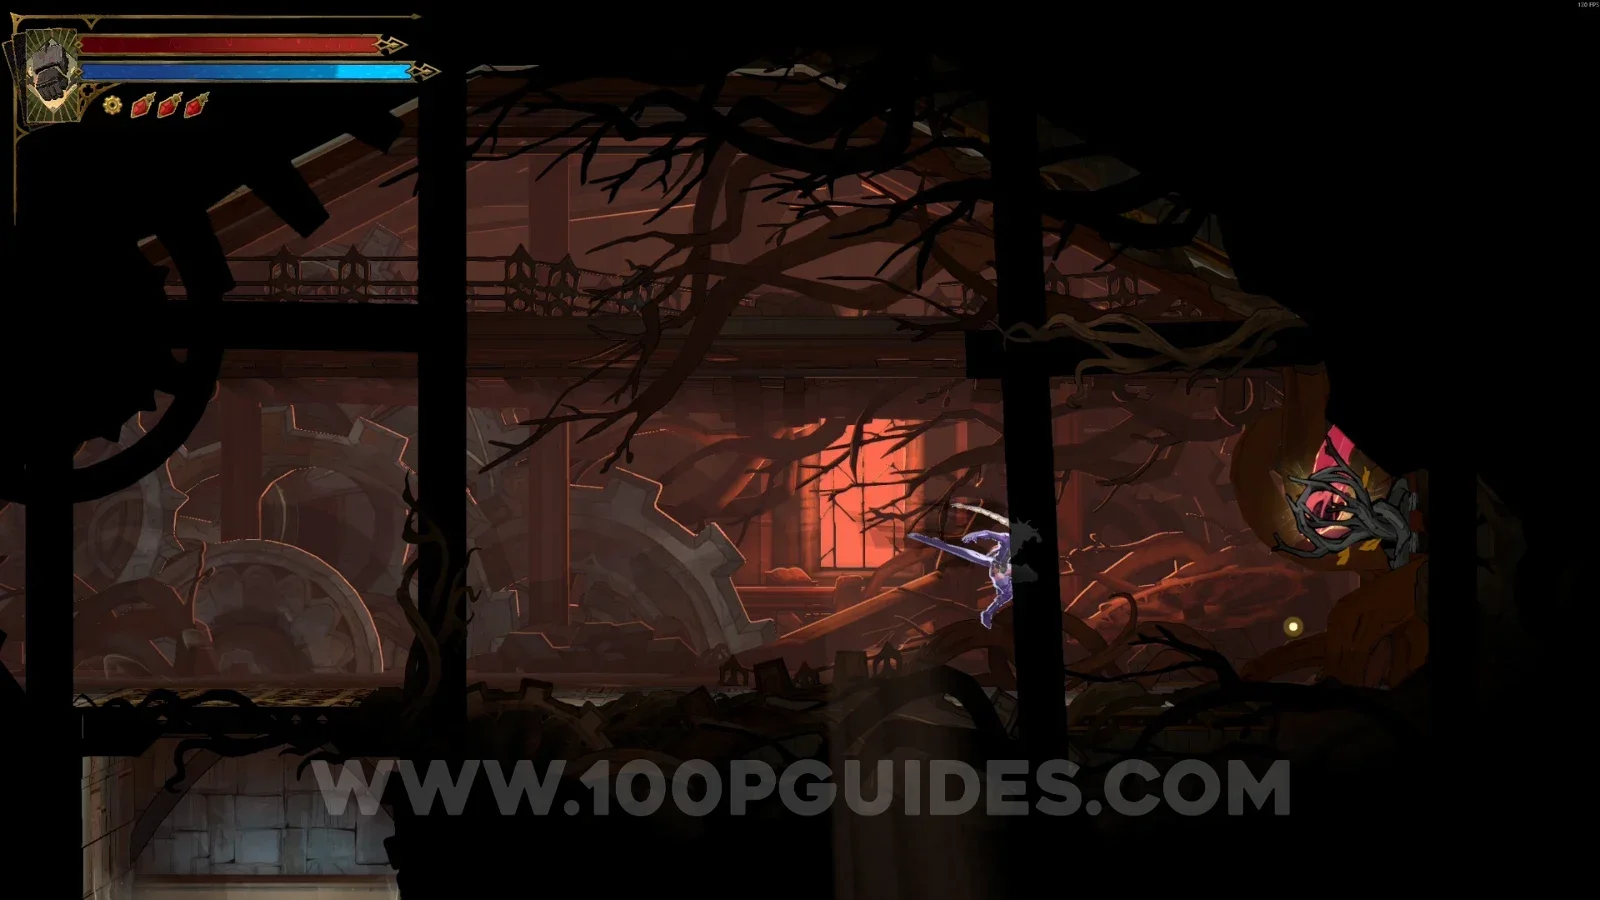
Castlevania Belmonts Curse Serpent Pinion: interacting with the gear at the entrance for Brave Heart Fragment #19 Castlevania Belmonts Curse Serpent Pinion: Brave Heart Fragment #19 reached after turning the gear

Eastern Steps

Brave Heart Fragment #20

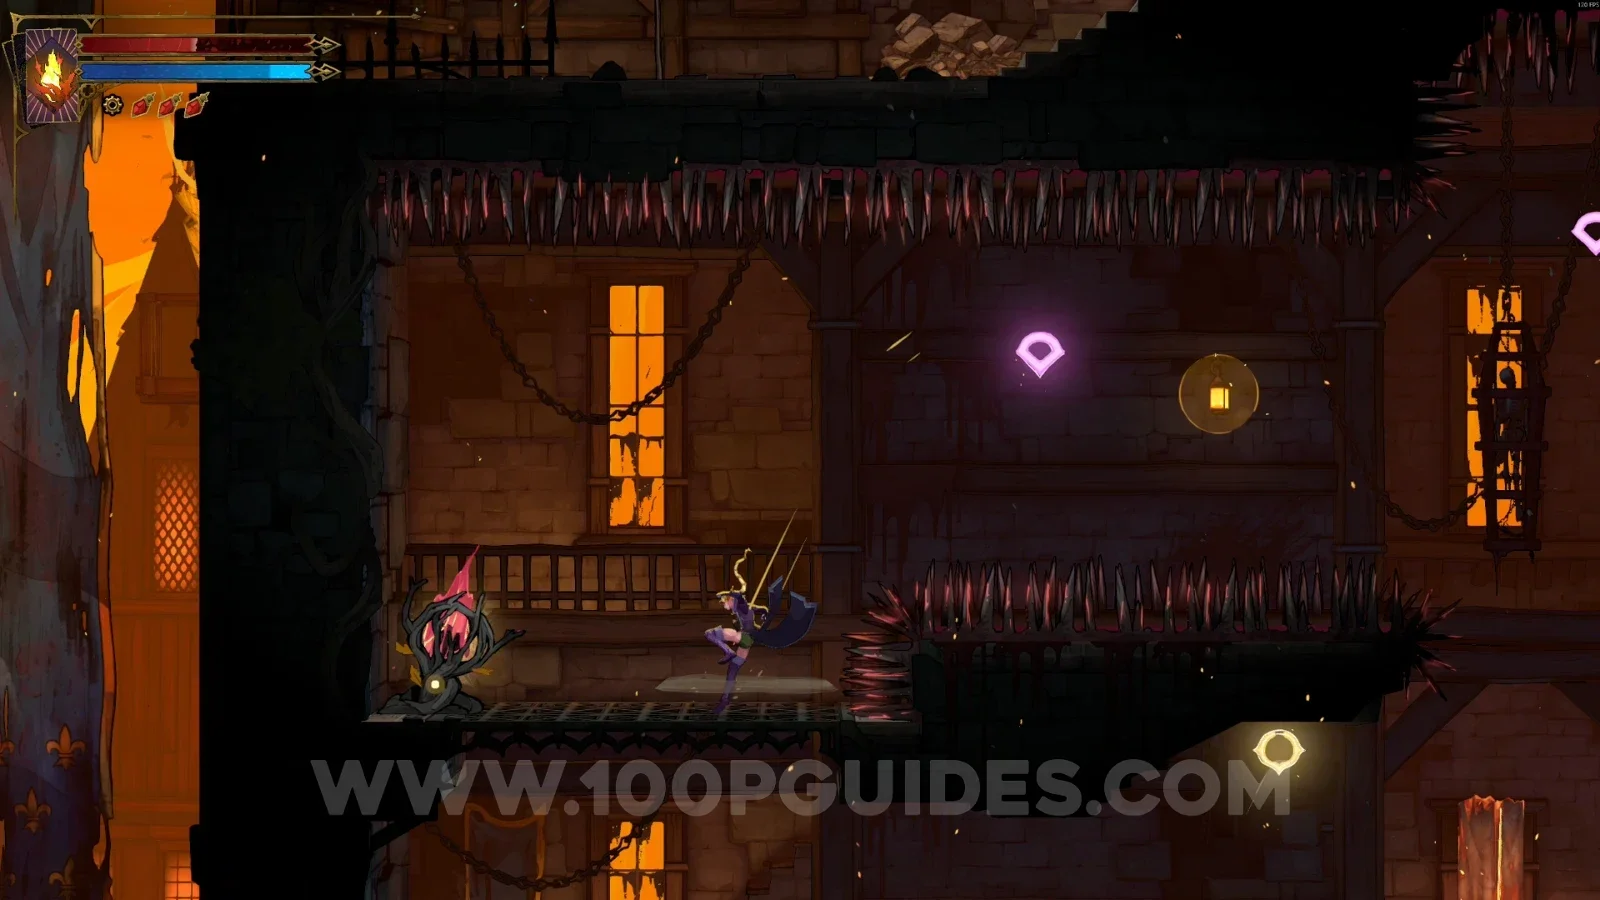
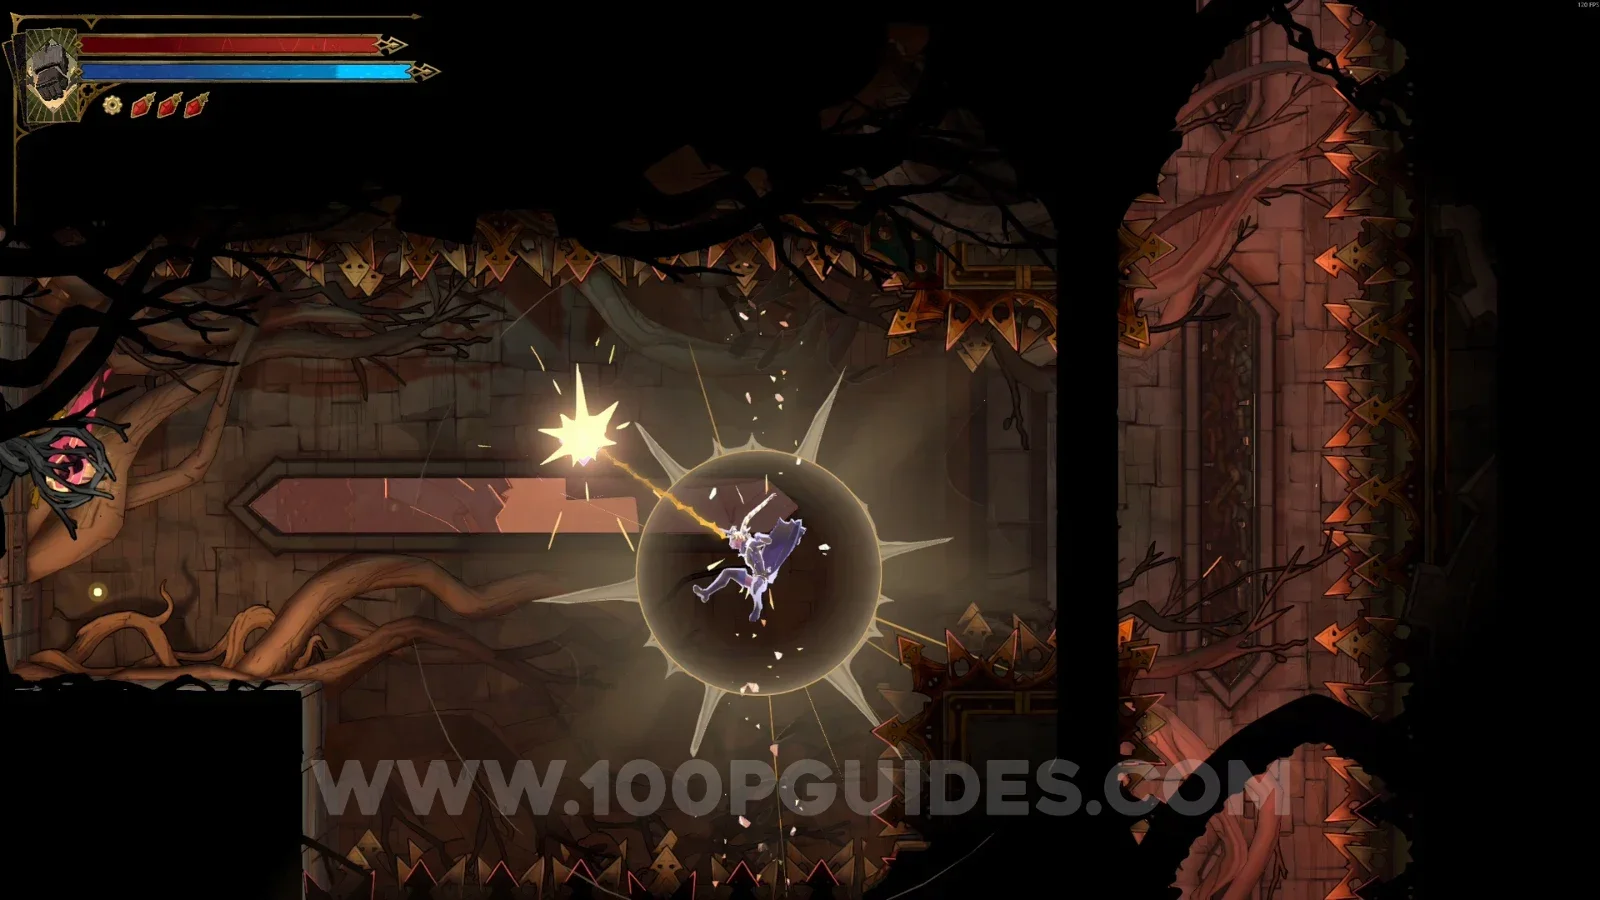
In the area marked on the map, jump between the spikes and dash left to reveal the secret room with the Brave Heart.
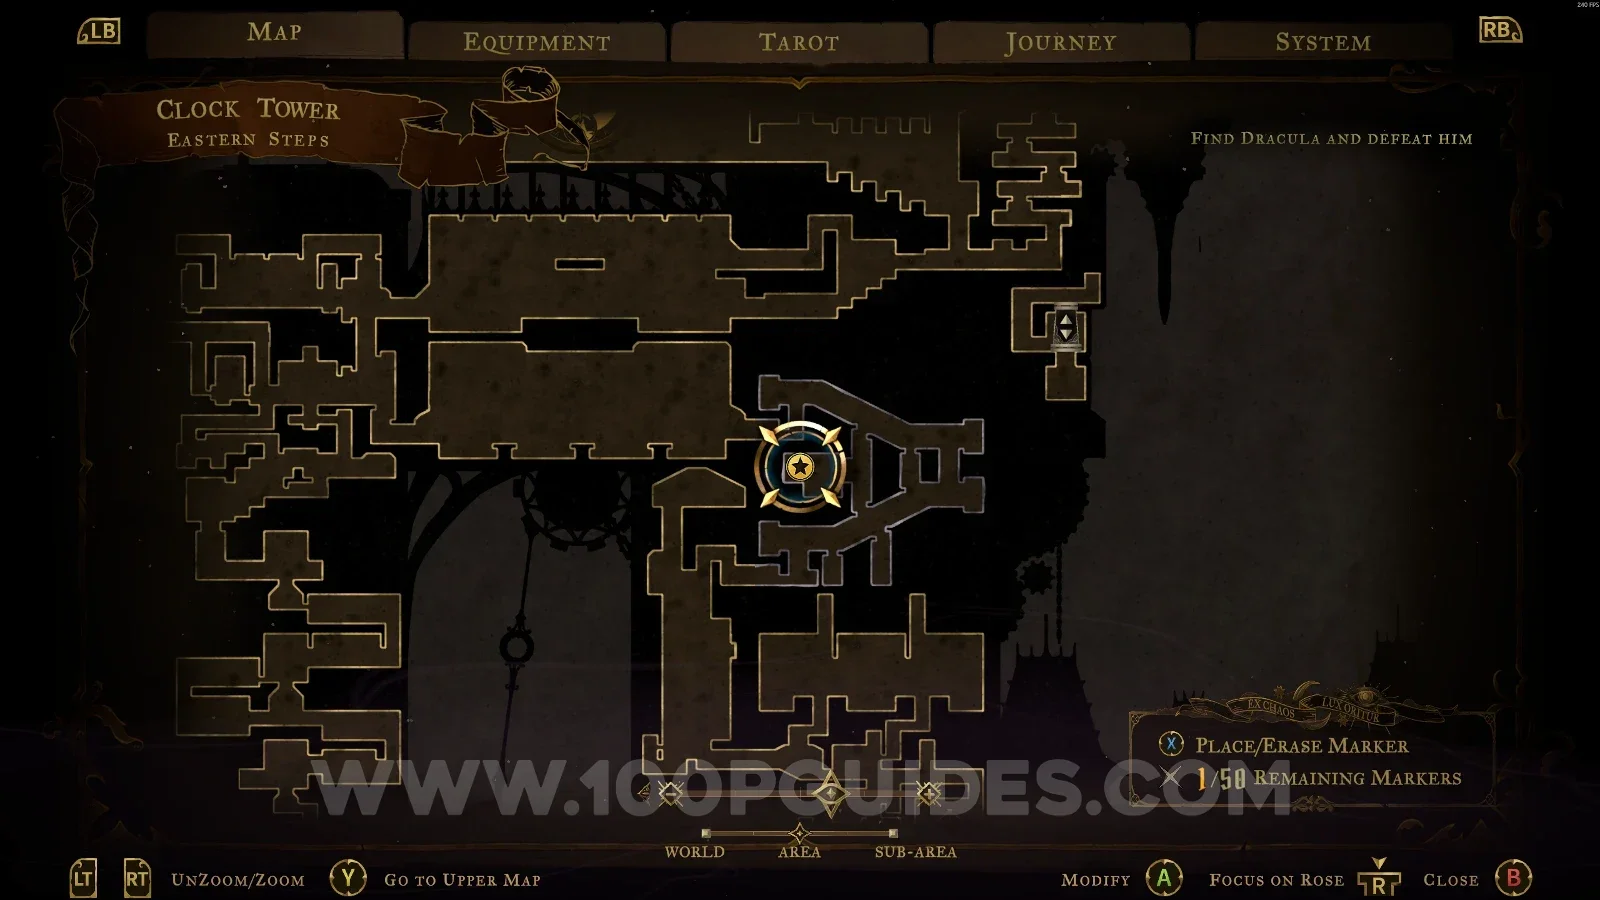
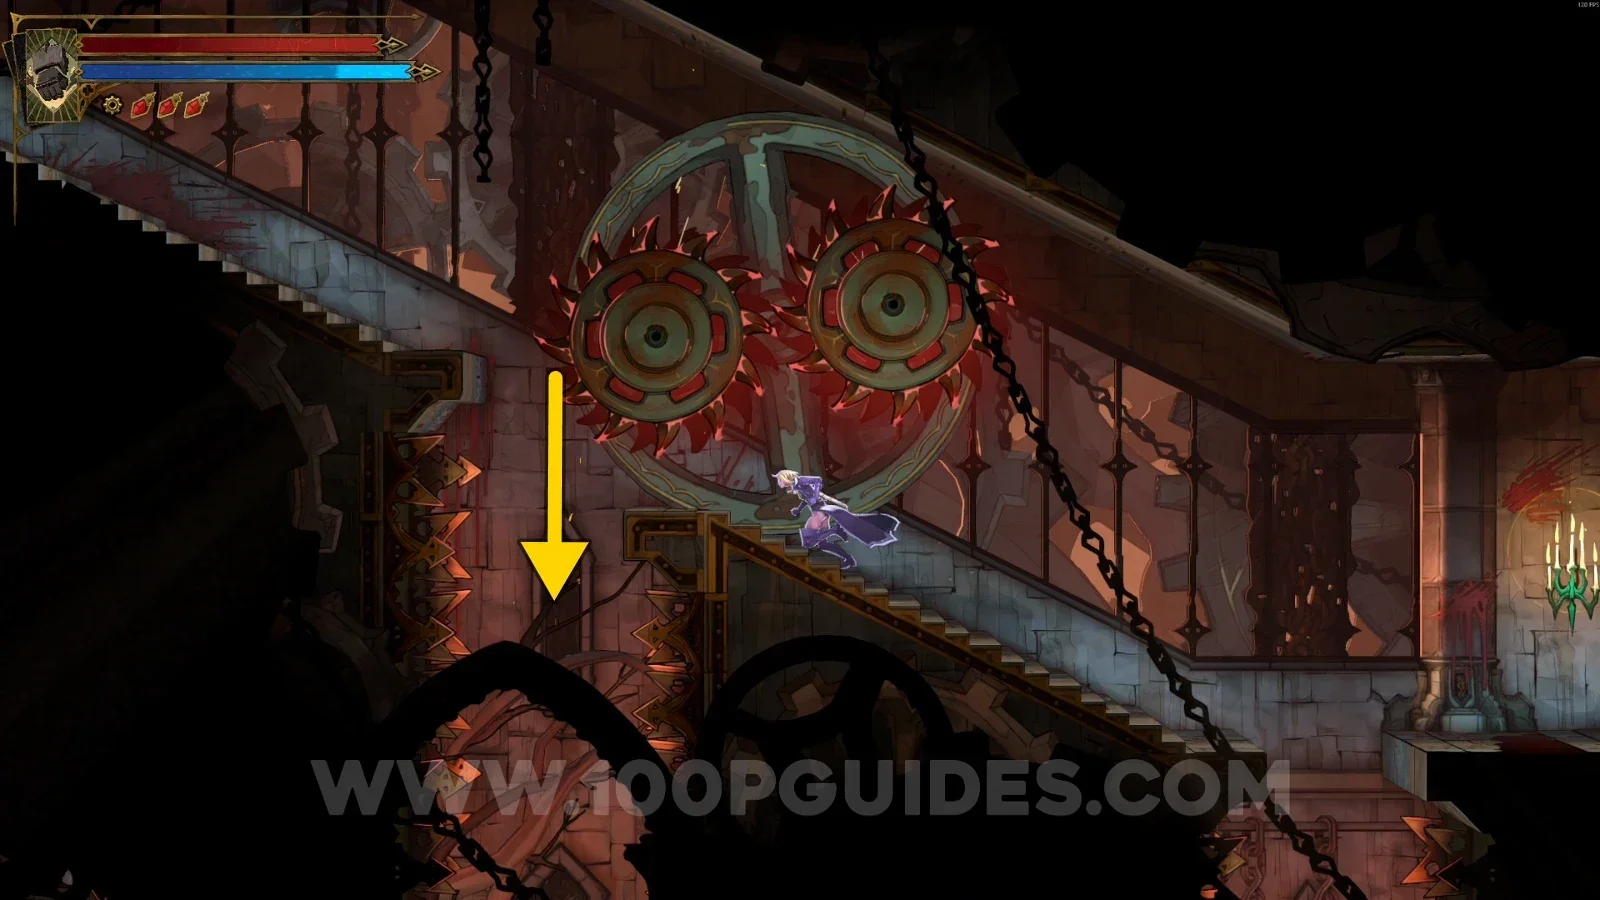
Castlevania Belmonts Curse Eastern Steps: map marking the area of Brave Heart Fragment #20 Castlevania Belmonts Curse Eastern Steps: jumping between the spikes and dashing left toward Brave Heart Fragment #20 Castlevania Belmonts Curse Eastern Steps: secret room with Brave Heart Fragment #20

The Gauntlet

Brave Heart Fragment #21

In the area marked on the map, interact with the clock, then head right all the way to the end to find the Brave Heart.
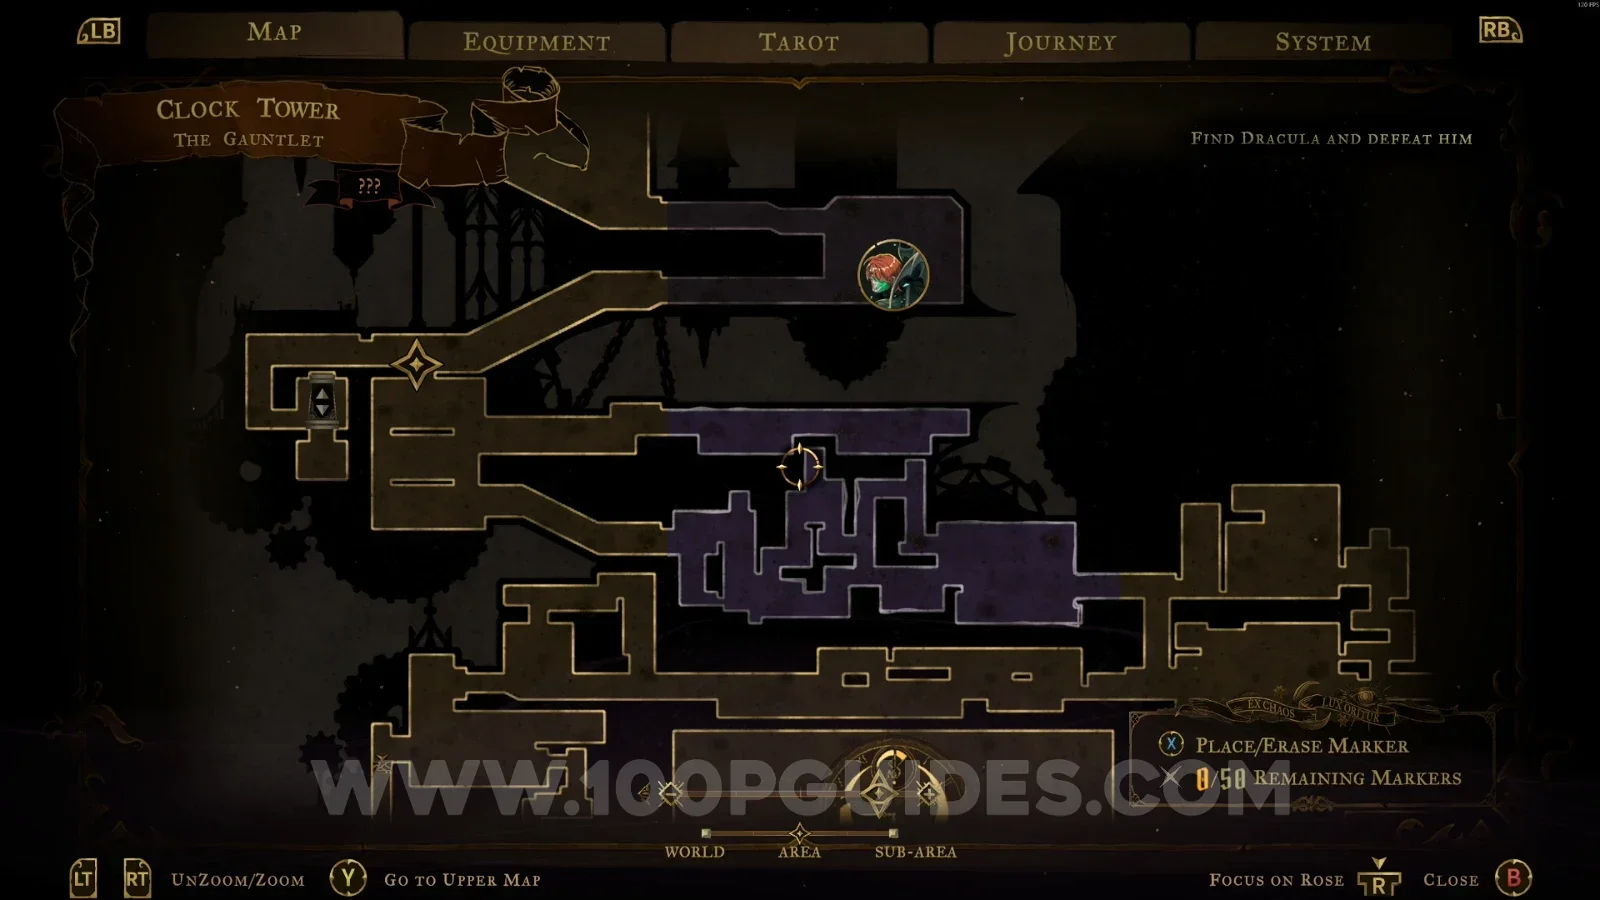
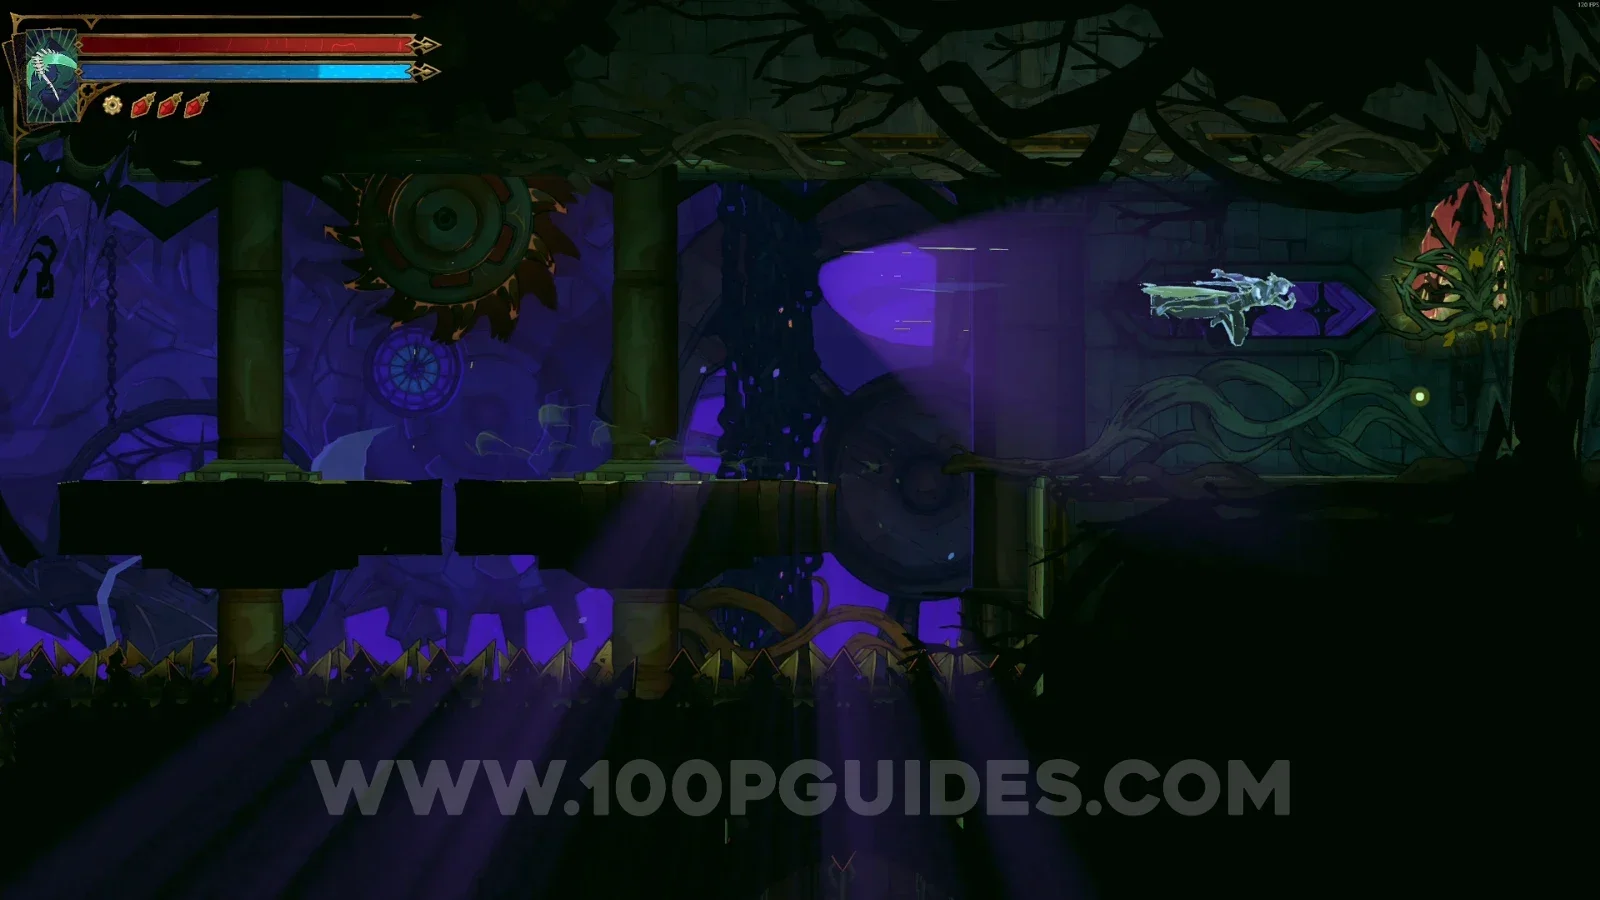
Castlevania Belmonts Curse The Gauntlet: interacting with the clock to start the run to Brave Heart Fragment #21 Castlevania Belmonts Curse The Gauntlet: Brave Heart Fragment #21 at the far right end of the area

Notre-Dame

The Forest

Brave Heart Fragment #22

Go through The Forest door and head all the way to the end to come out on the other side where the Brave Heart is.
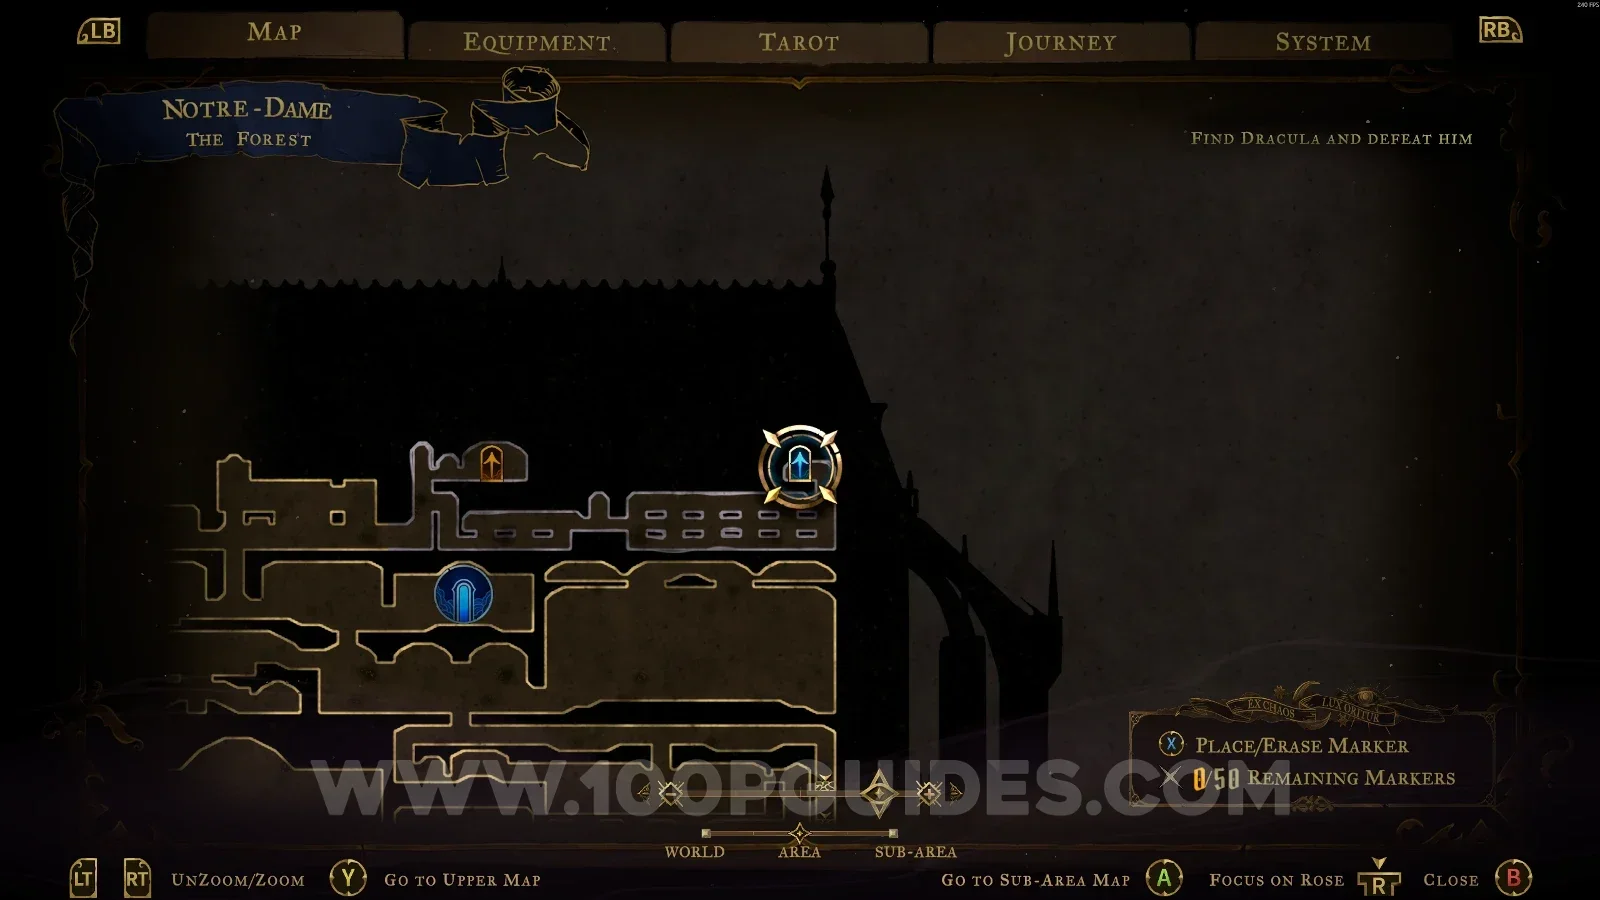
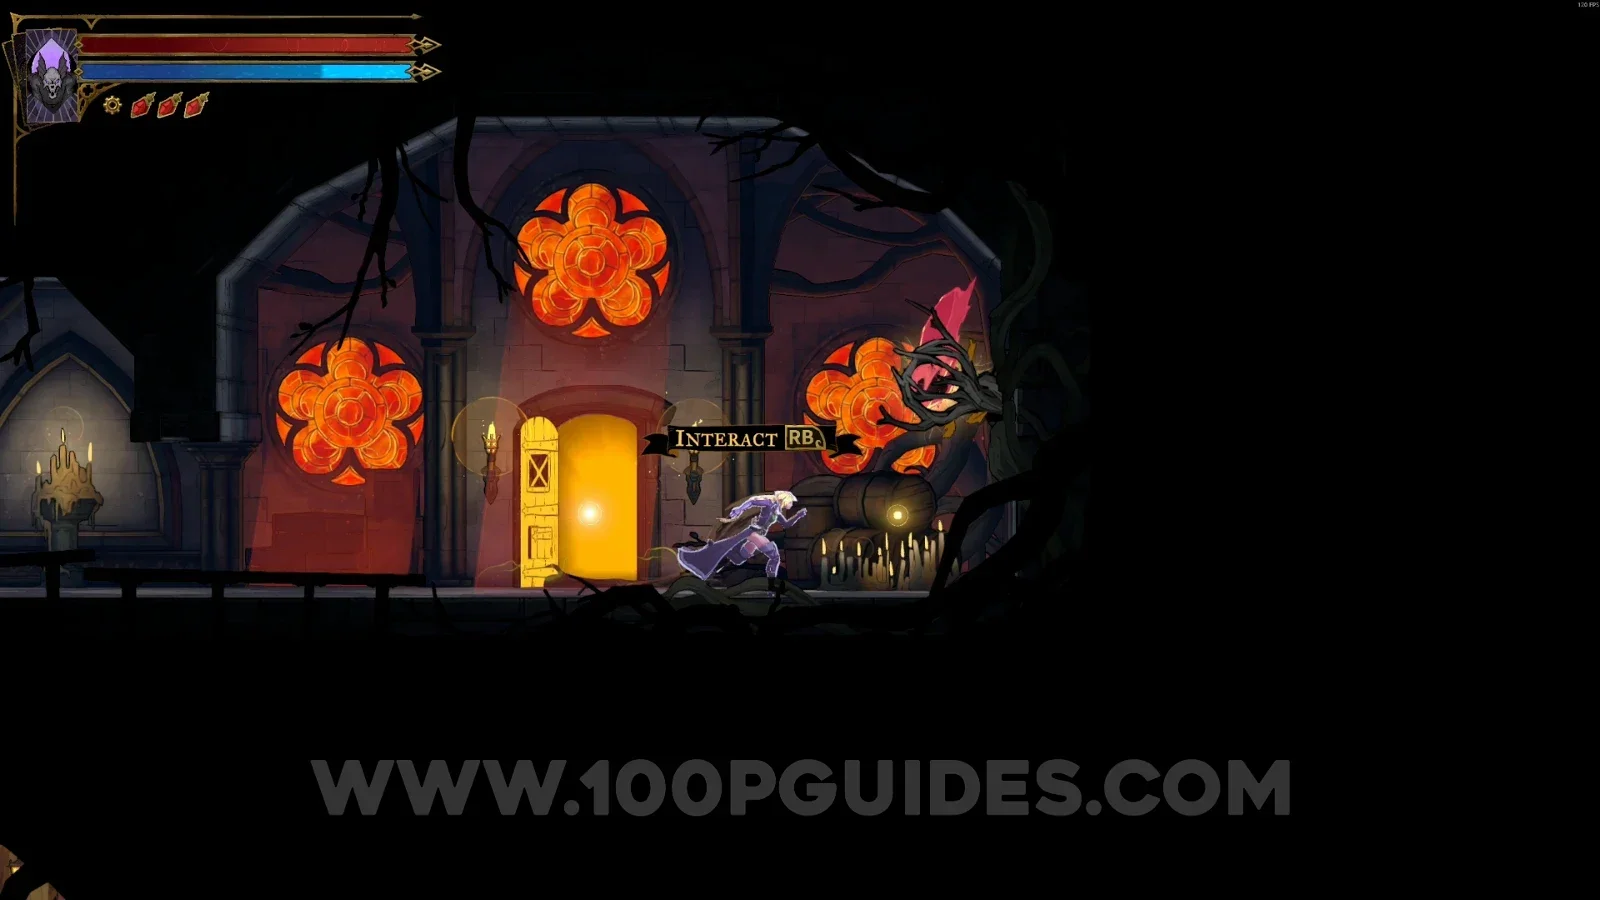
Castlevania Belmonts Curse The Forest: going through The Forest door toward Brave Heart Fragment #22 Castlevania Belmonts Curse The Forest: Brave Heart Fragment #22 on the other side at the end of the path

La Fleche

Brave Heart Fragment #23

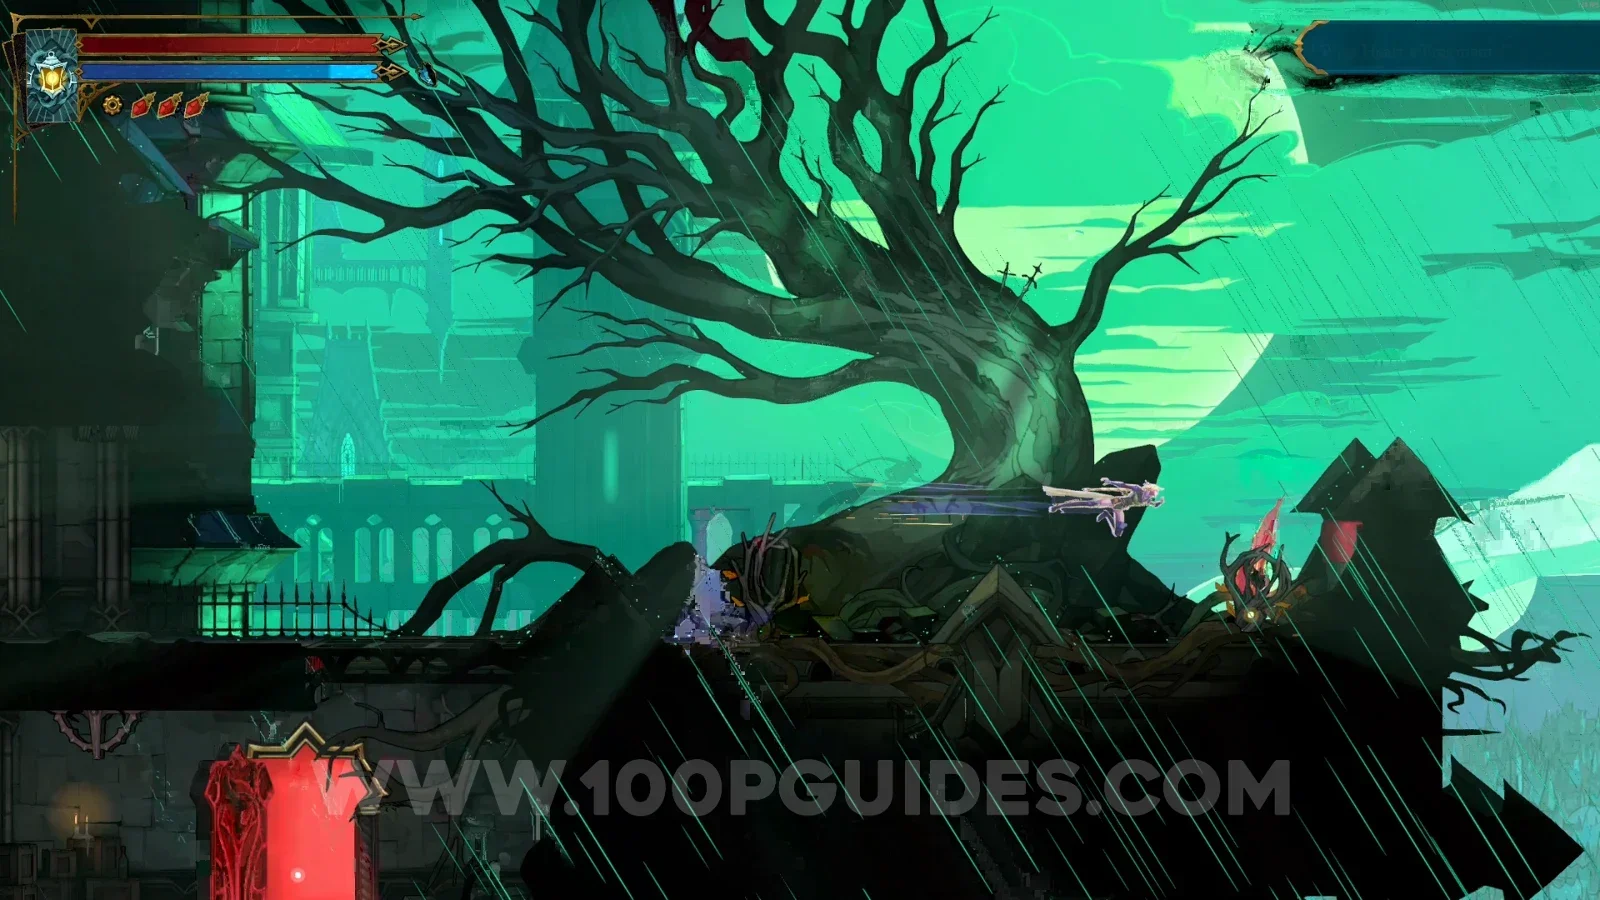
Interact with the lever at the base of the tower, then climb to the top to find this Brave Heart.
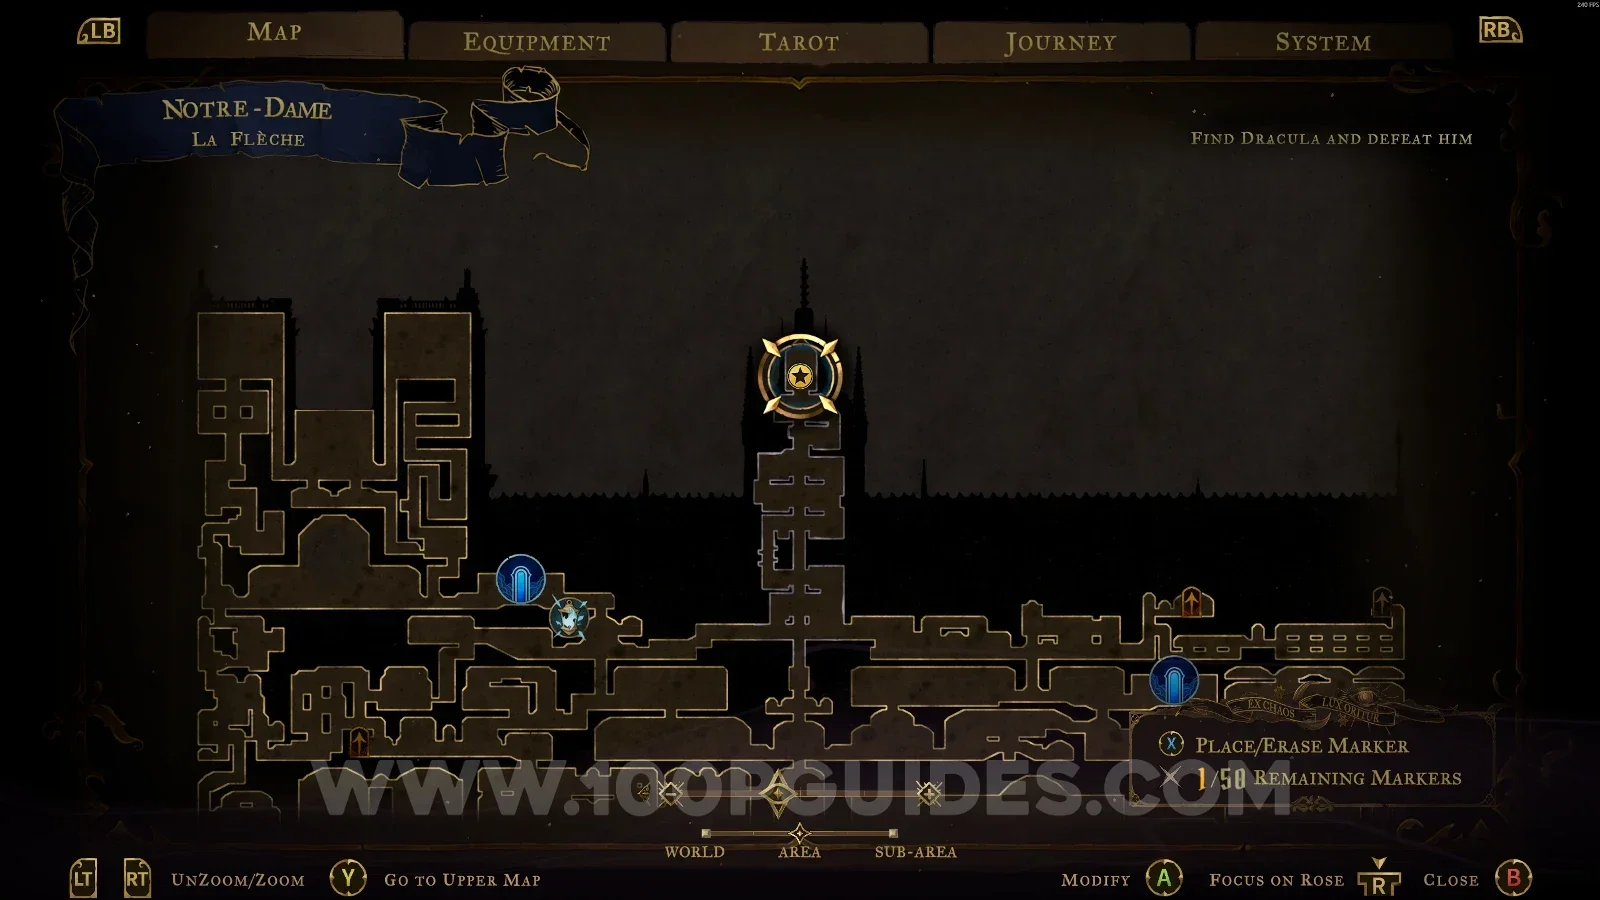
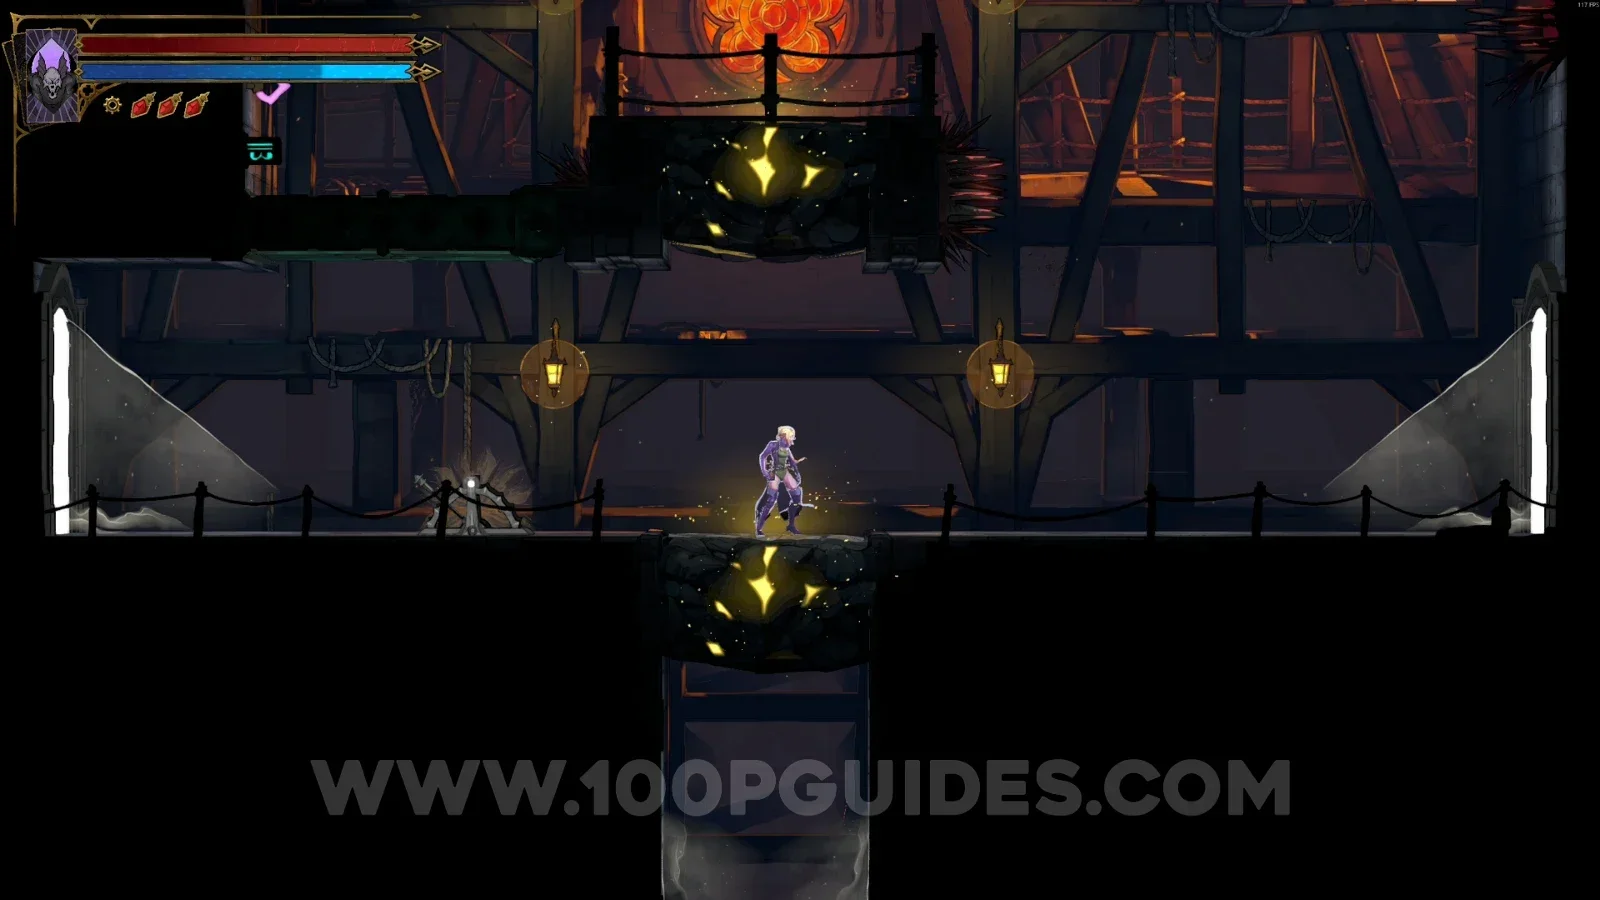
Castlevania Belmonts Curse La Fleche: lever at the base of the tower leading to Brave Heart Fragment #23 Castlevania Belmonts Curse La Fleche: climbing the tower toward Brave Heart Fragment #23 Castlevania Belmonts Curse La Fleche: Brave Heart Fragment #23 at the top of the tower

Tree Of Saints

Brave Heart Fragment #24

In the marked area, climb the Small Tower to reach the Brave Heart.
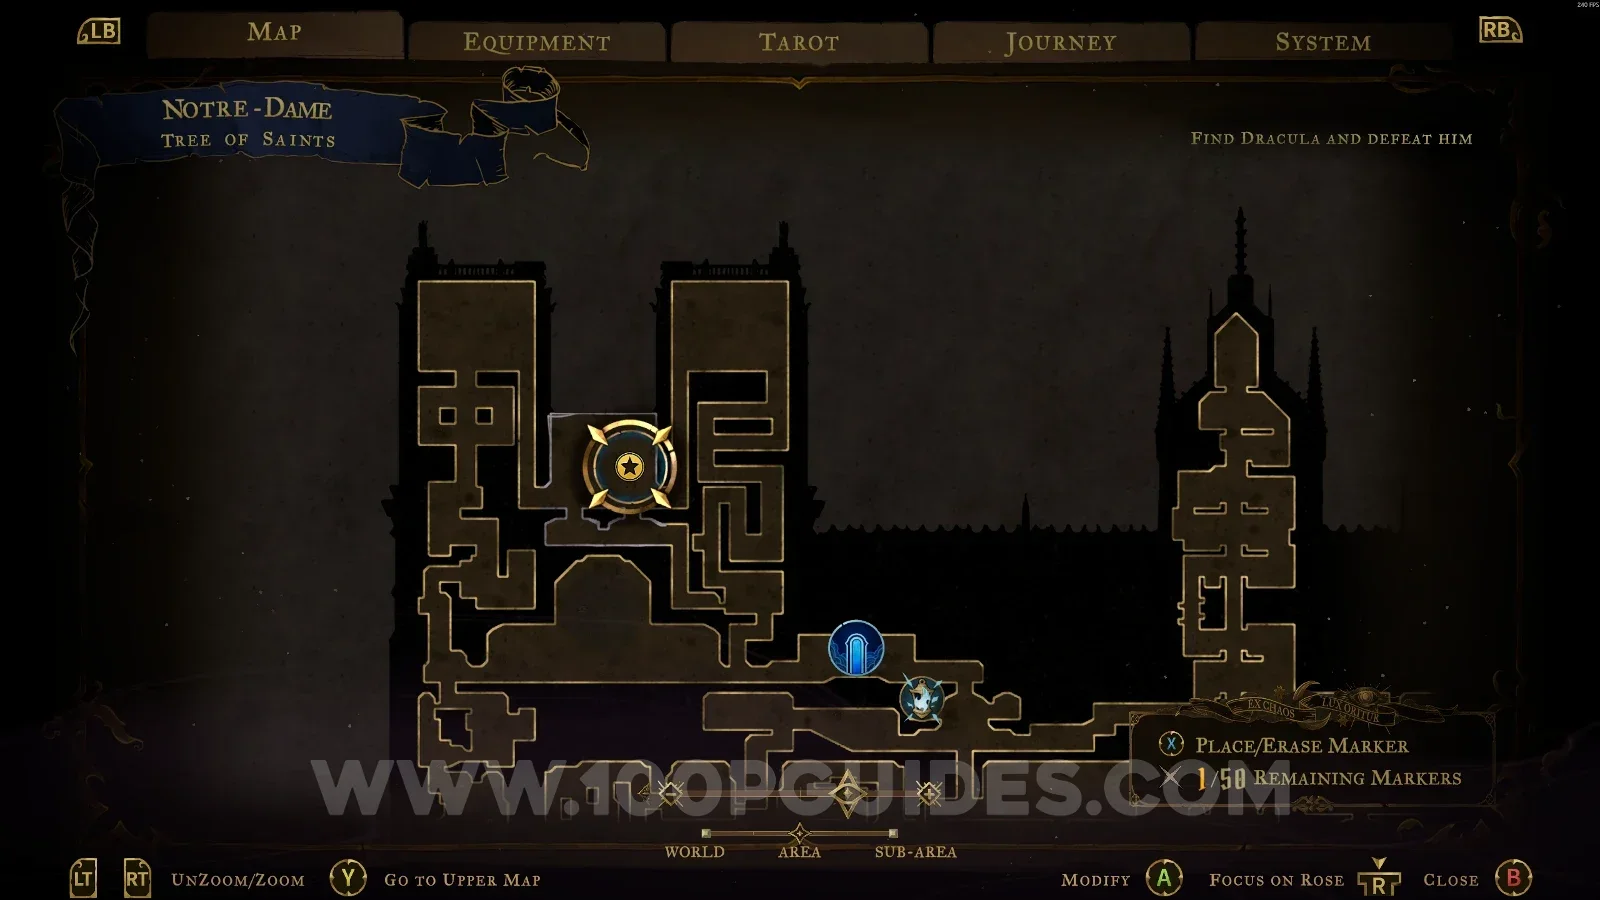
Castlevania Belmonts Curse Tree Of Saints: map marking the area of Brave Heart Fragment #24 Castlevania Belmonts Curse Tree Of Saints: Brave Heart Fragment #24 reached by climbing the Small Tower

These are all the Brave Heart Fragments you can find in Castlevania: Belmont's Curse.

Video Guide

Previous
Previous

Castlevania: Belmont’s Curse All Buff Locations (Blue and Red Books)

Next
Next

Castlevania: Belmont’s Curse All Mana Upgrade Locations