

Resonance: A Plague Tale Legacy All Collectible Locations
This guide will show you where to find every collectible in Resonance: A Plague Tale Legacy. These are:
All 37 Relics (Artefacts). required for the "Hoarder" trophy.
All 8 Blades. required for the "Plunderer" trophy.
All 30 Charms. required for the "Superstitious" and the “In the name of my kin” trophies.
189 Resonance Points. Only 165 are required to unlock all 6 Mastery Branches (the full skill tree) for the "Like a warrior" trophy.
The Relics, Blades and Charms are not missable, and you can go back and collect any you missed through chapter select: just load the chapter, collect it, and back out to the main menu. The Resonance Points (skill points) are a different story though. These must be collected in the same run. If you go back and collect them via chapter select and then continue on a later chapter, you'll always start that chapter with the amount you had when you originally began it, so you need to collect at least 165 Resonance Points and unlock the full skill tree within a single run.
Chapter 1
Blade: Rusty Sword
Chapter 1: Sub-Chapter 3.
Obtained automatically at the start of the section.
Artefact: Handled Cross
Chapter 1: Sub-Chapter 3.
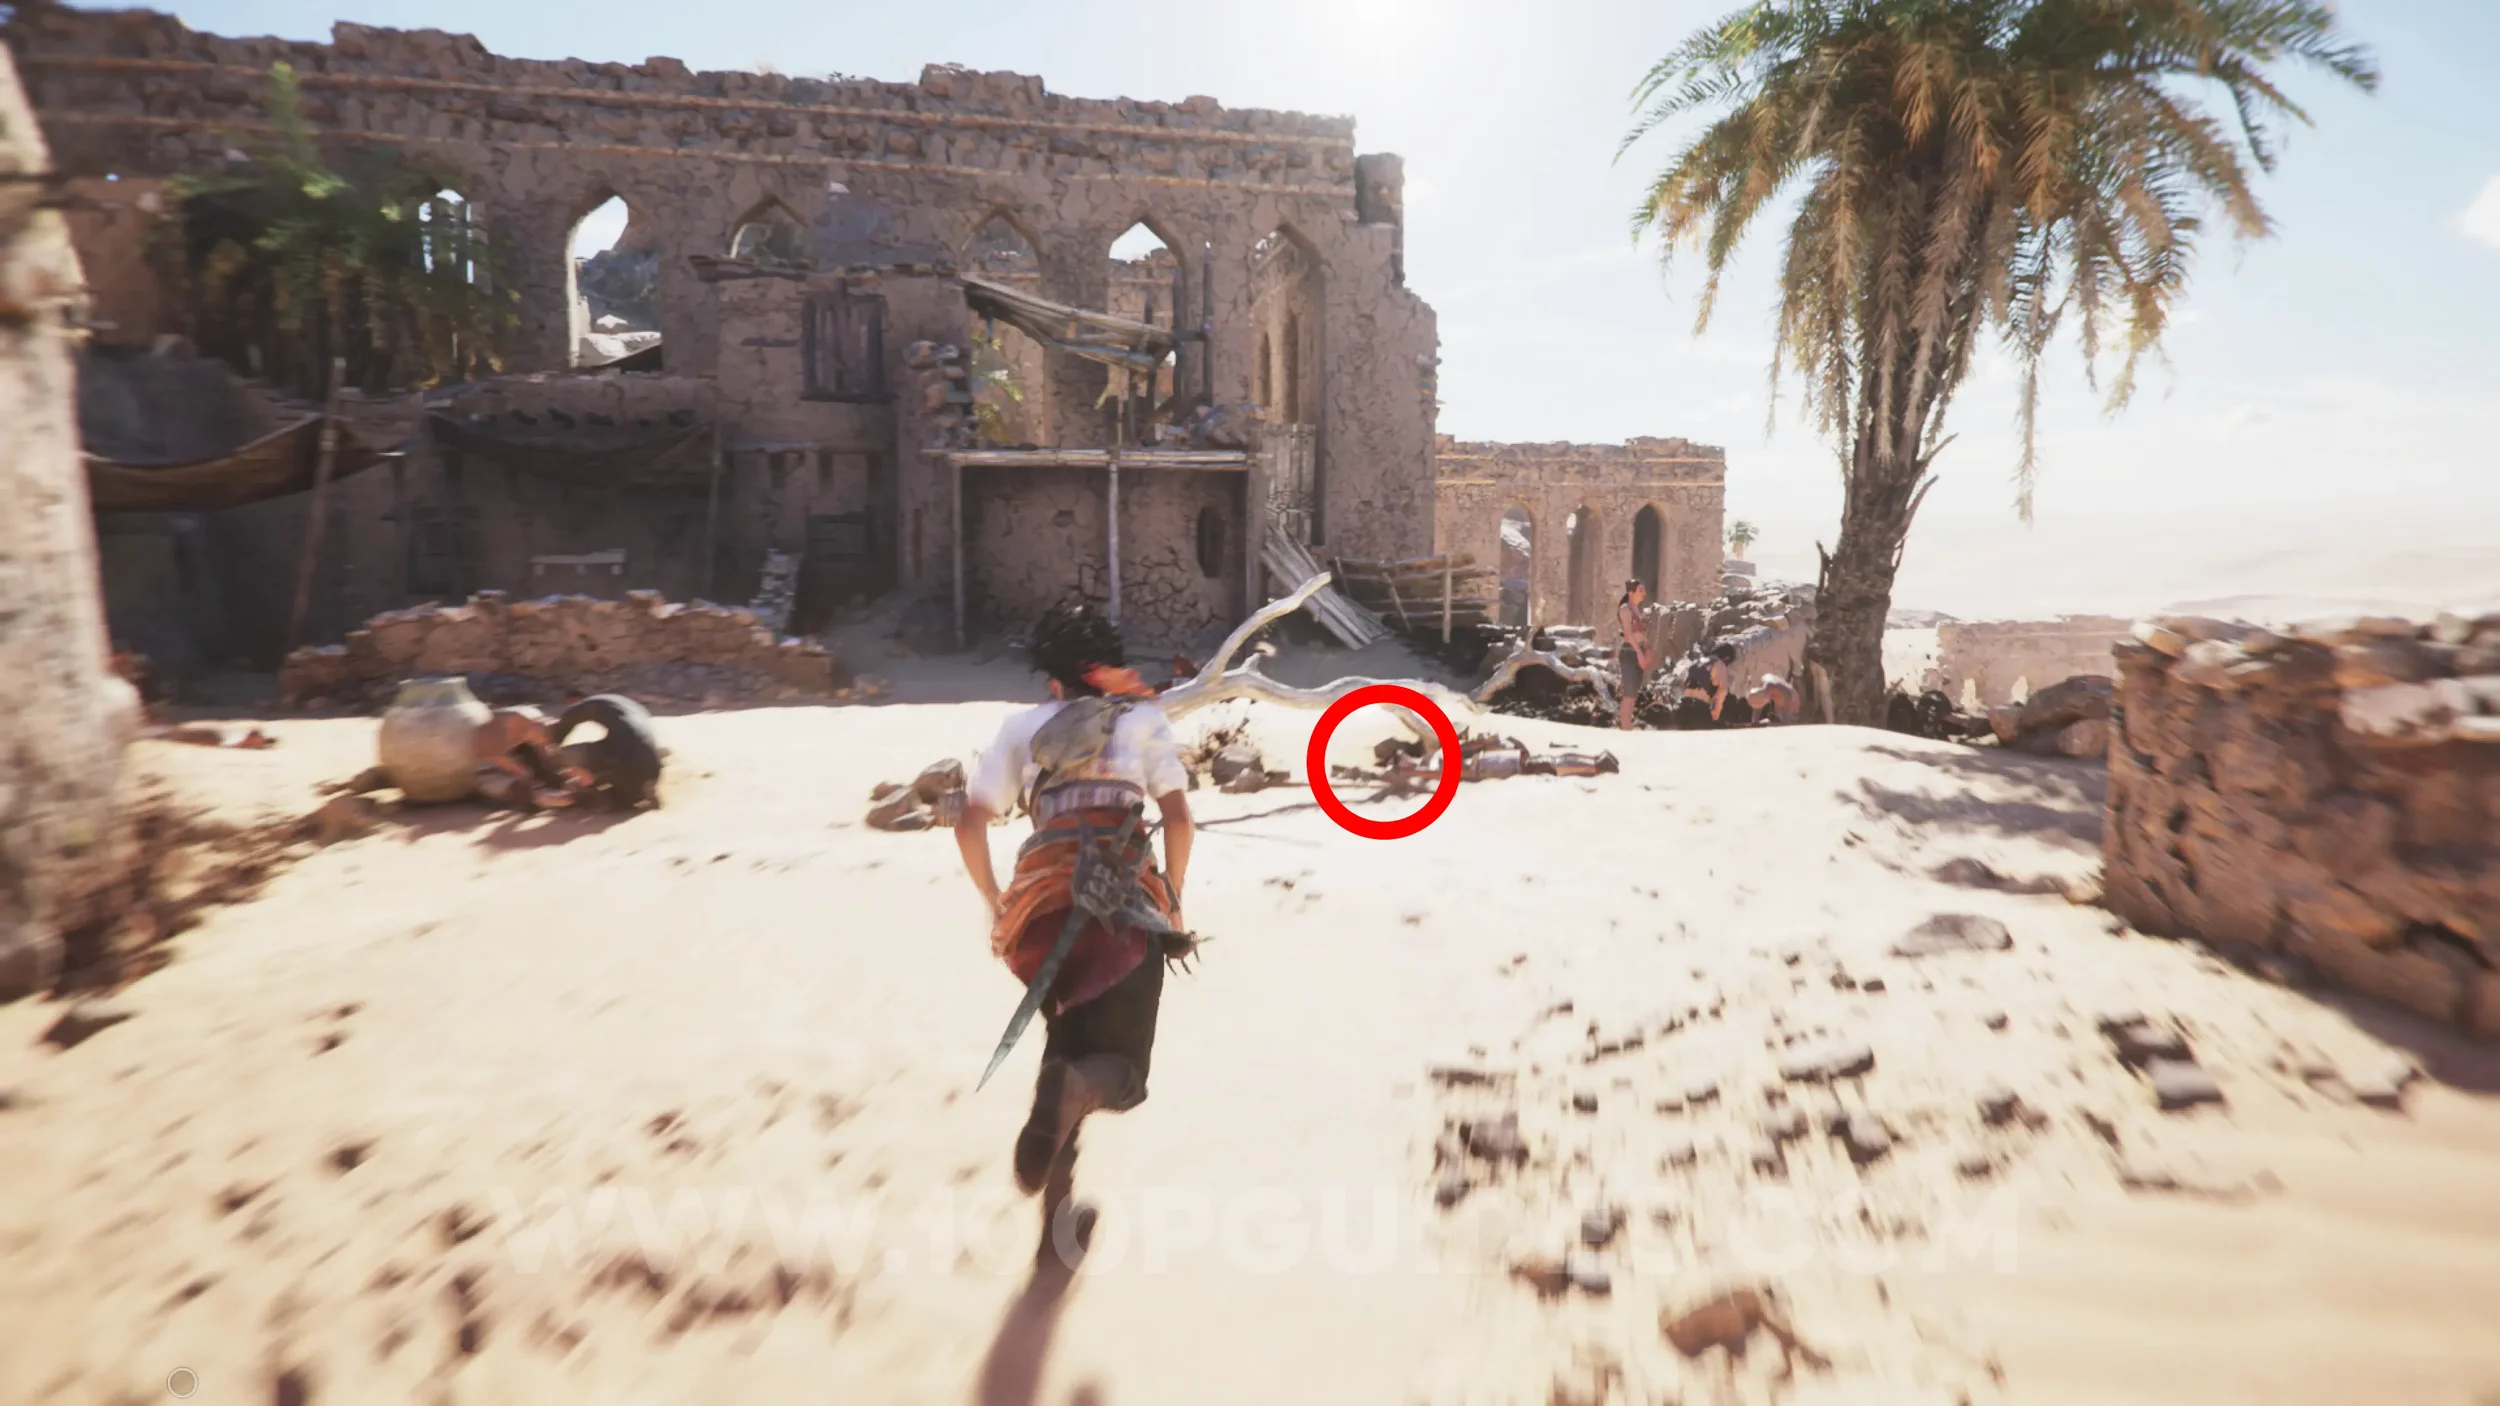
You'll find this in the area where you have to search the corpses in the desert. Look under the white branch near the corpse in the center of the area.
Chapter 2
Artefact: Serenissima Banner
Chapter 2: Sub-Chapter 2.
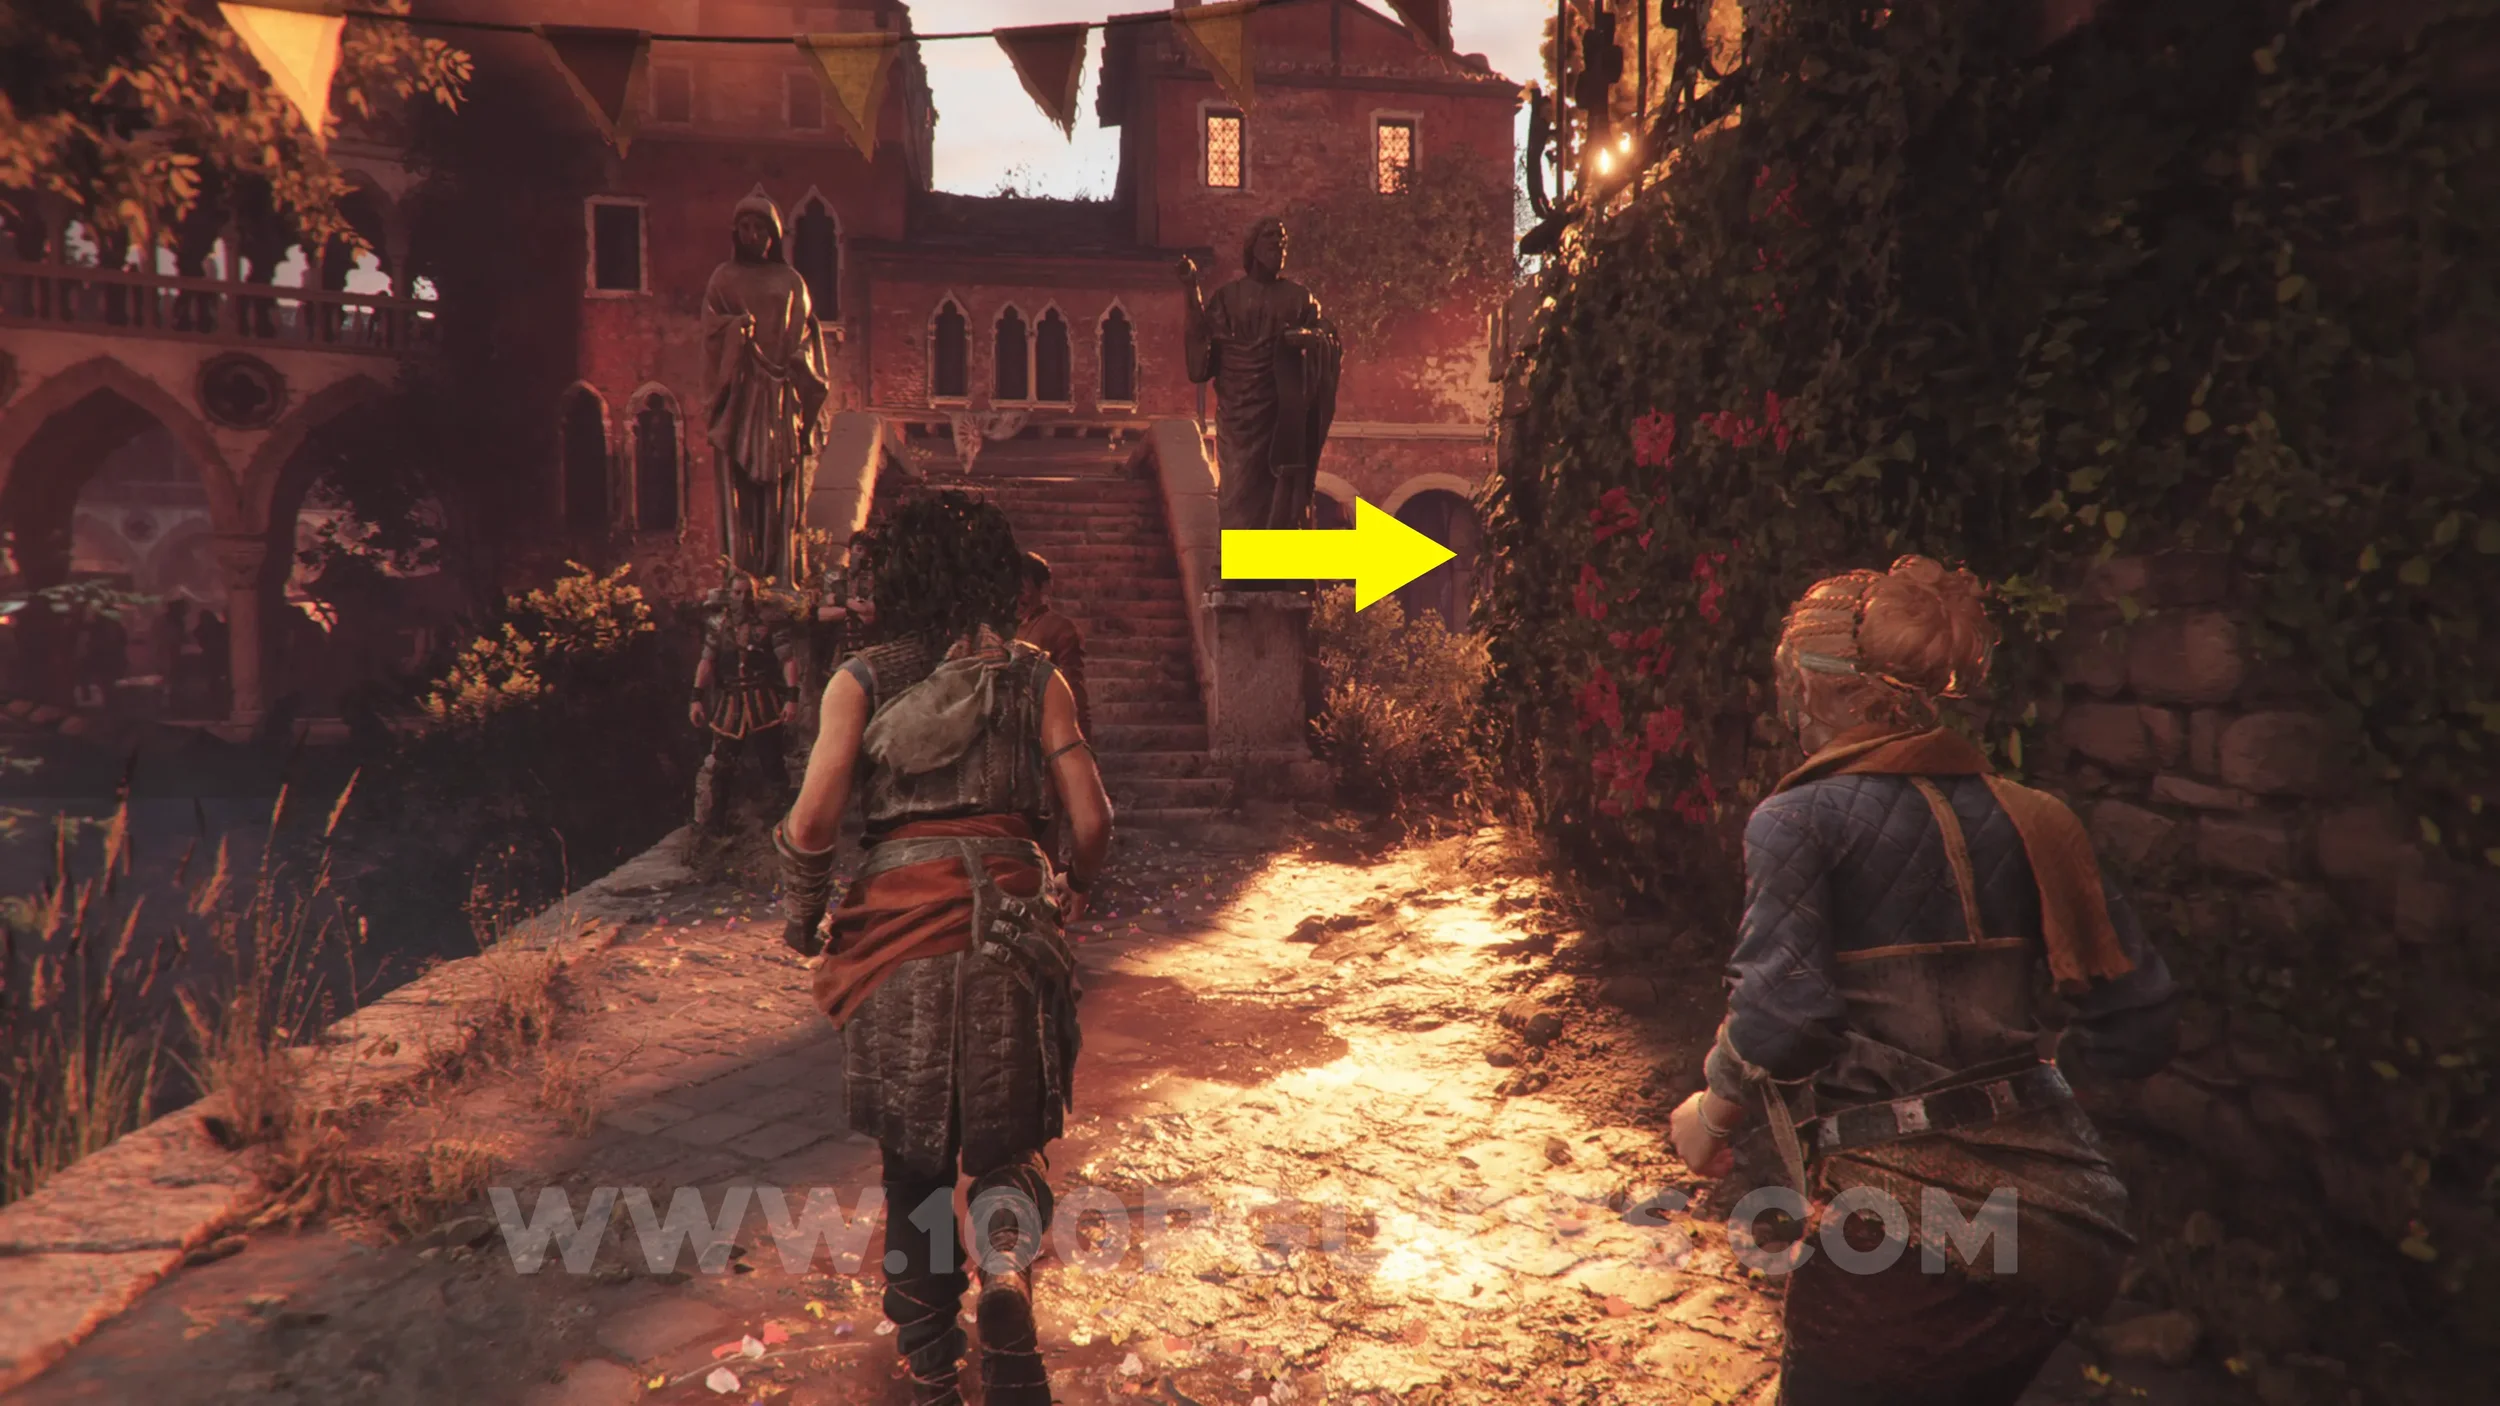
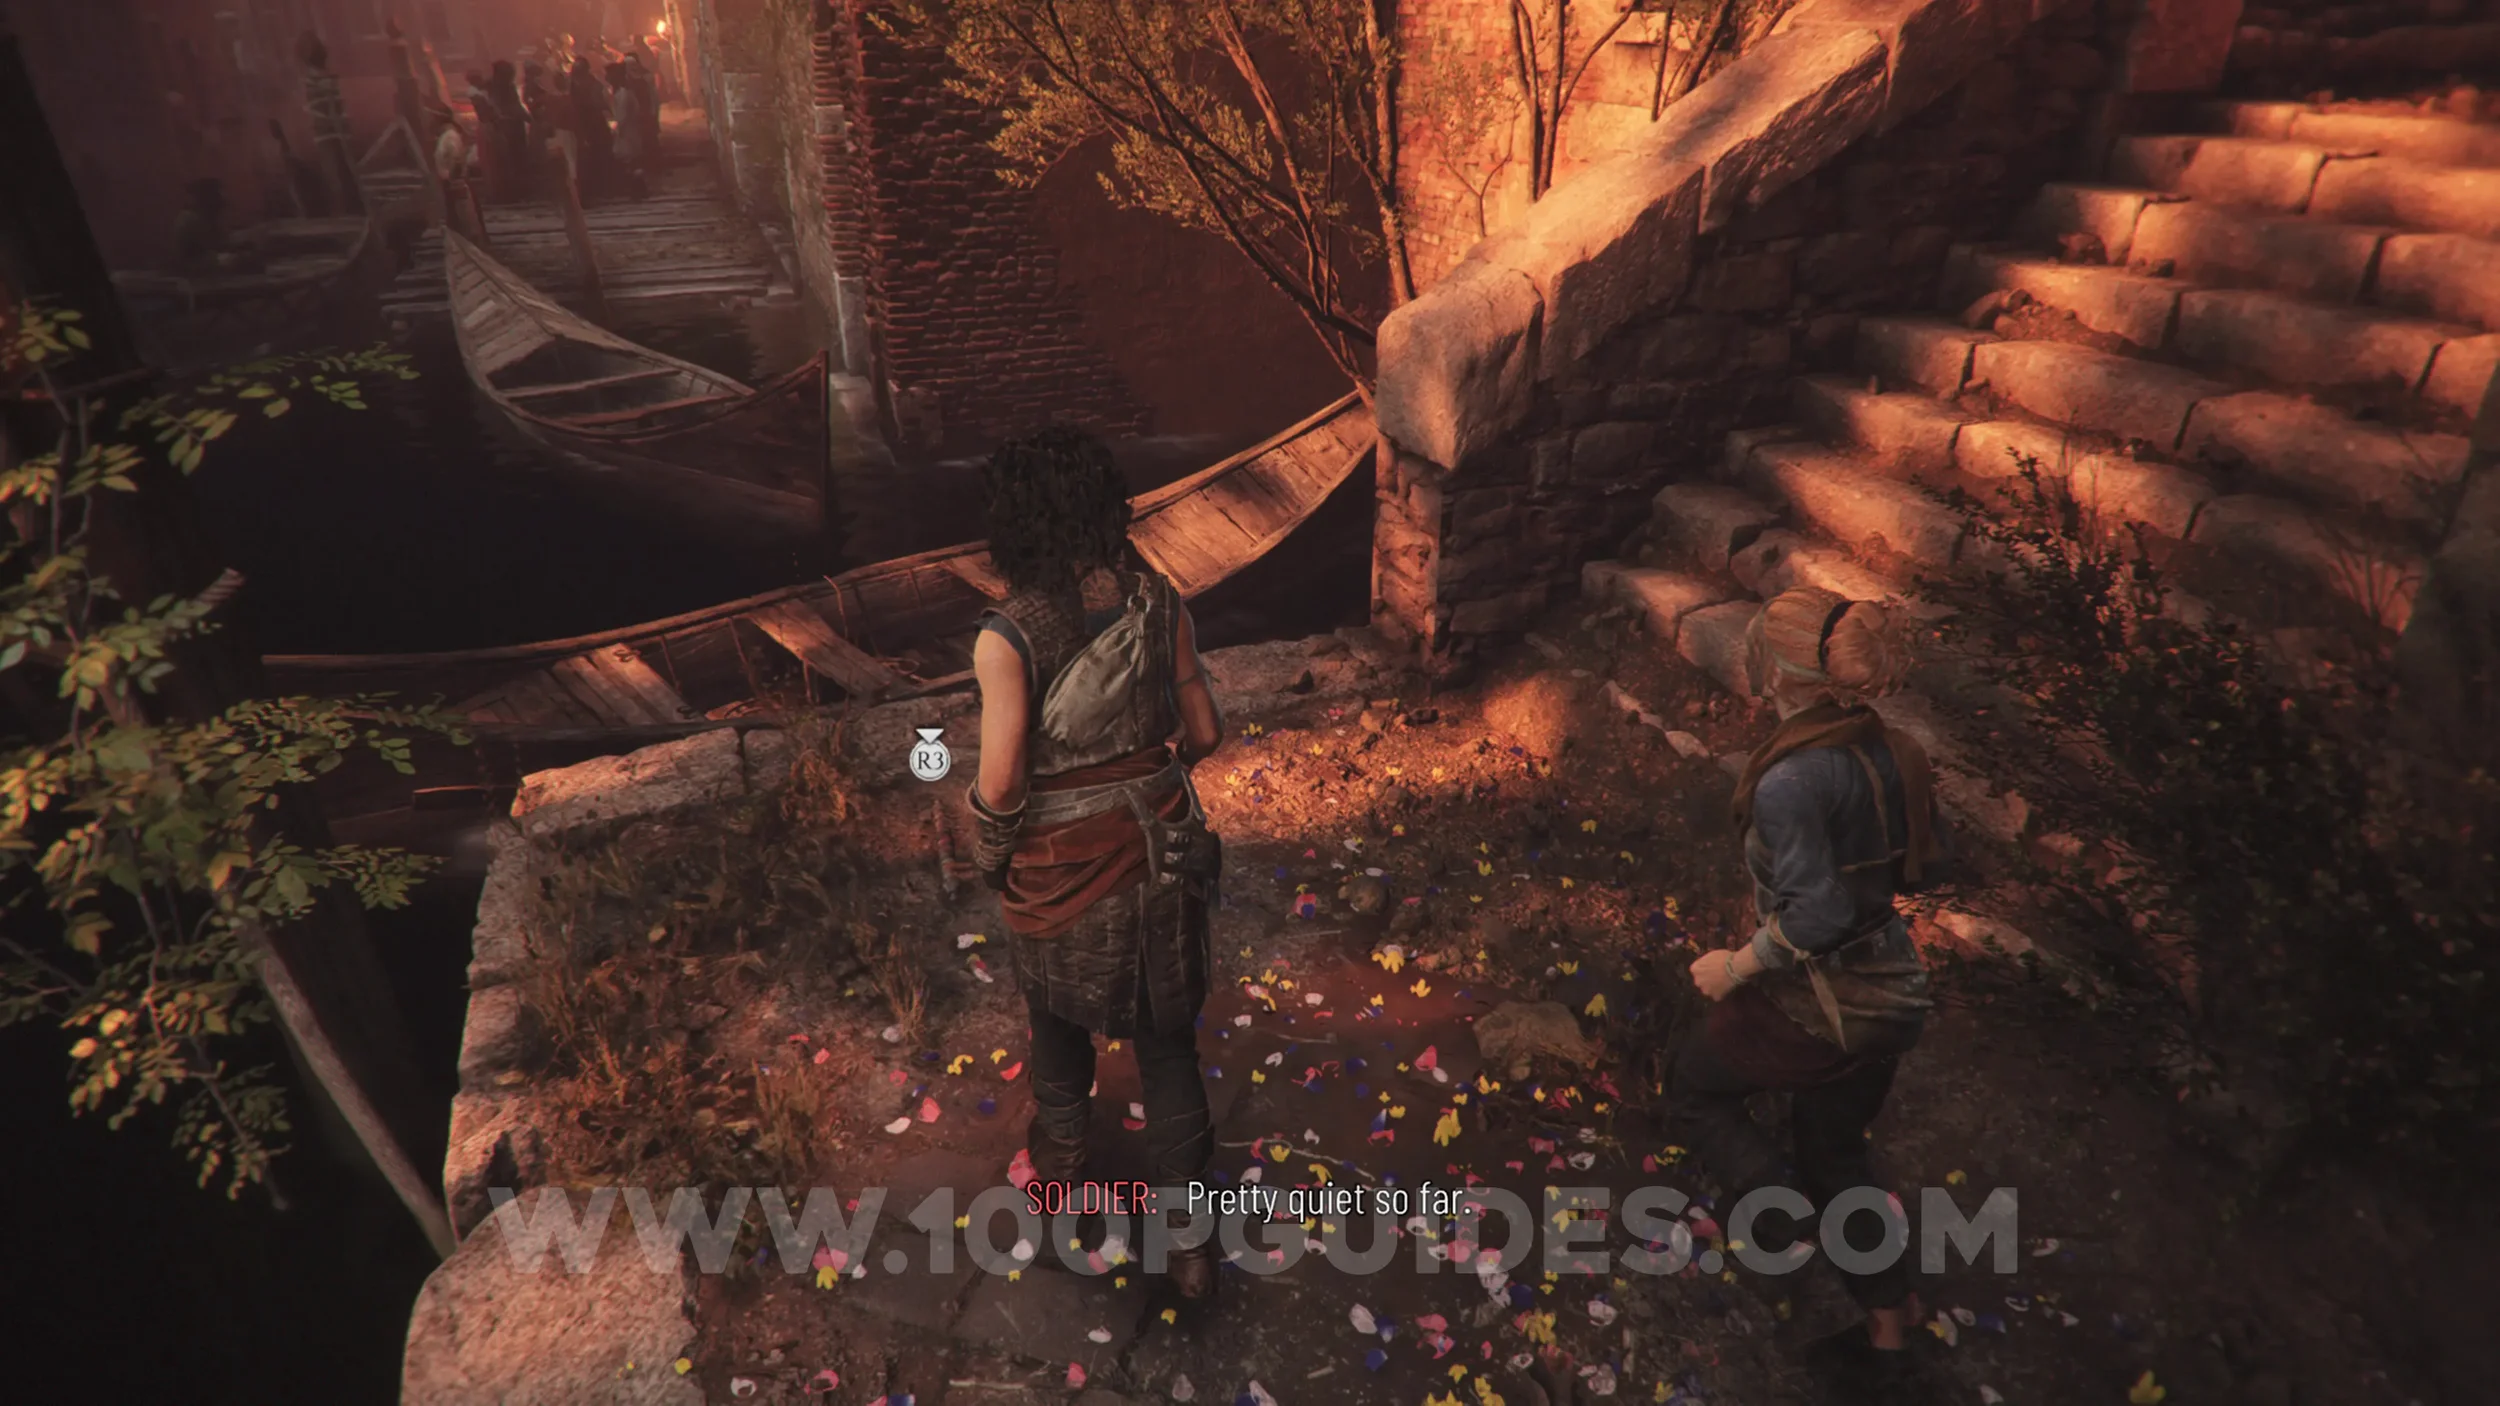
After getting patted down, you'll pass through a town square and then have to cross a small bridge with statues on either side. Before crossing it, head right to find the artefact on the ground.
Charm: Bead #1
Chapter 2: Sub-Chapter 2.
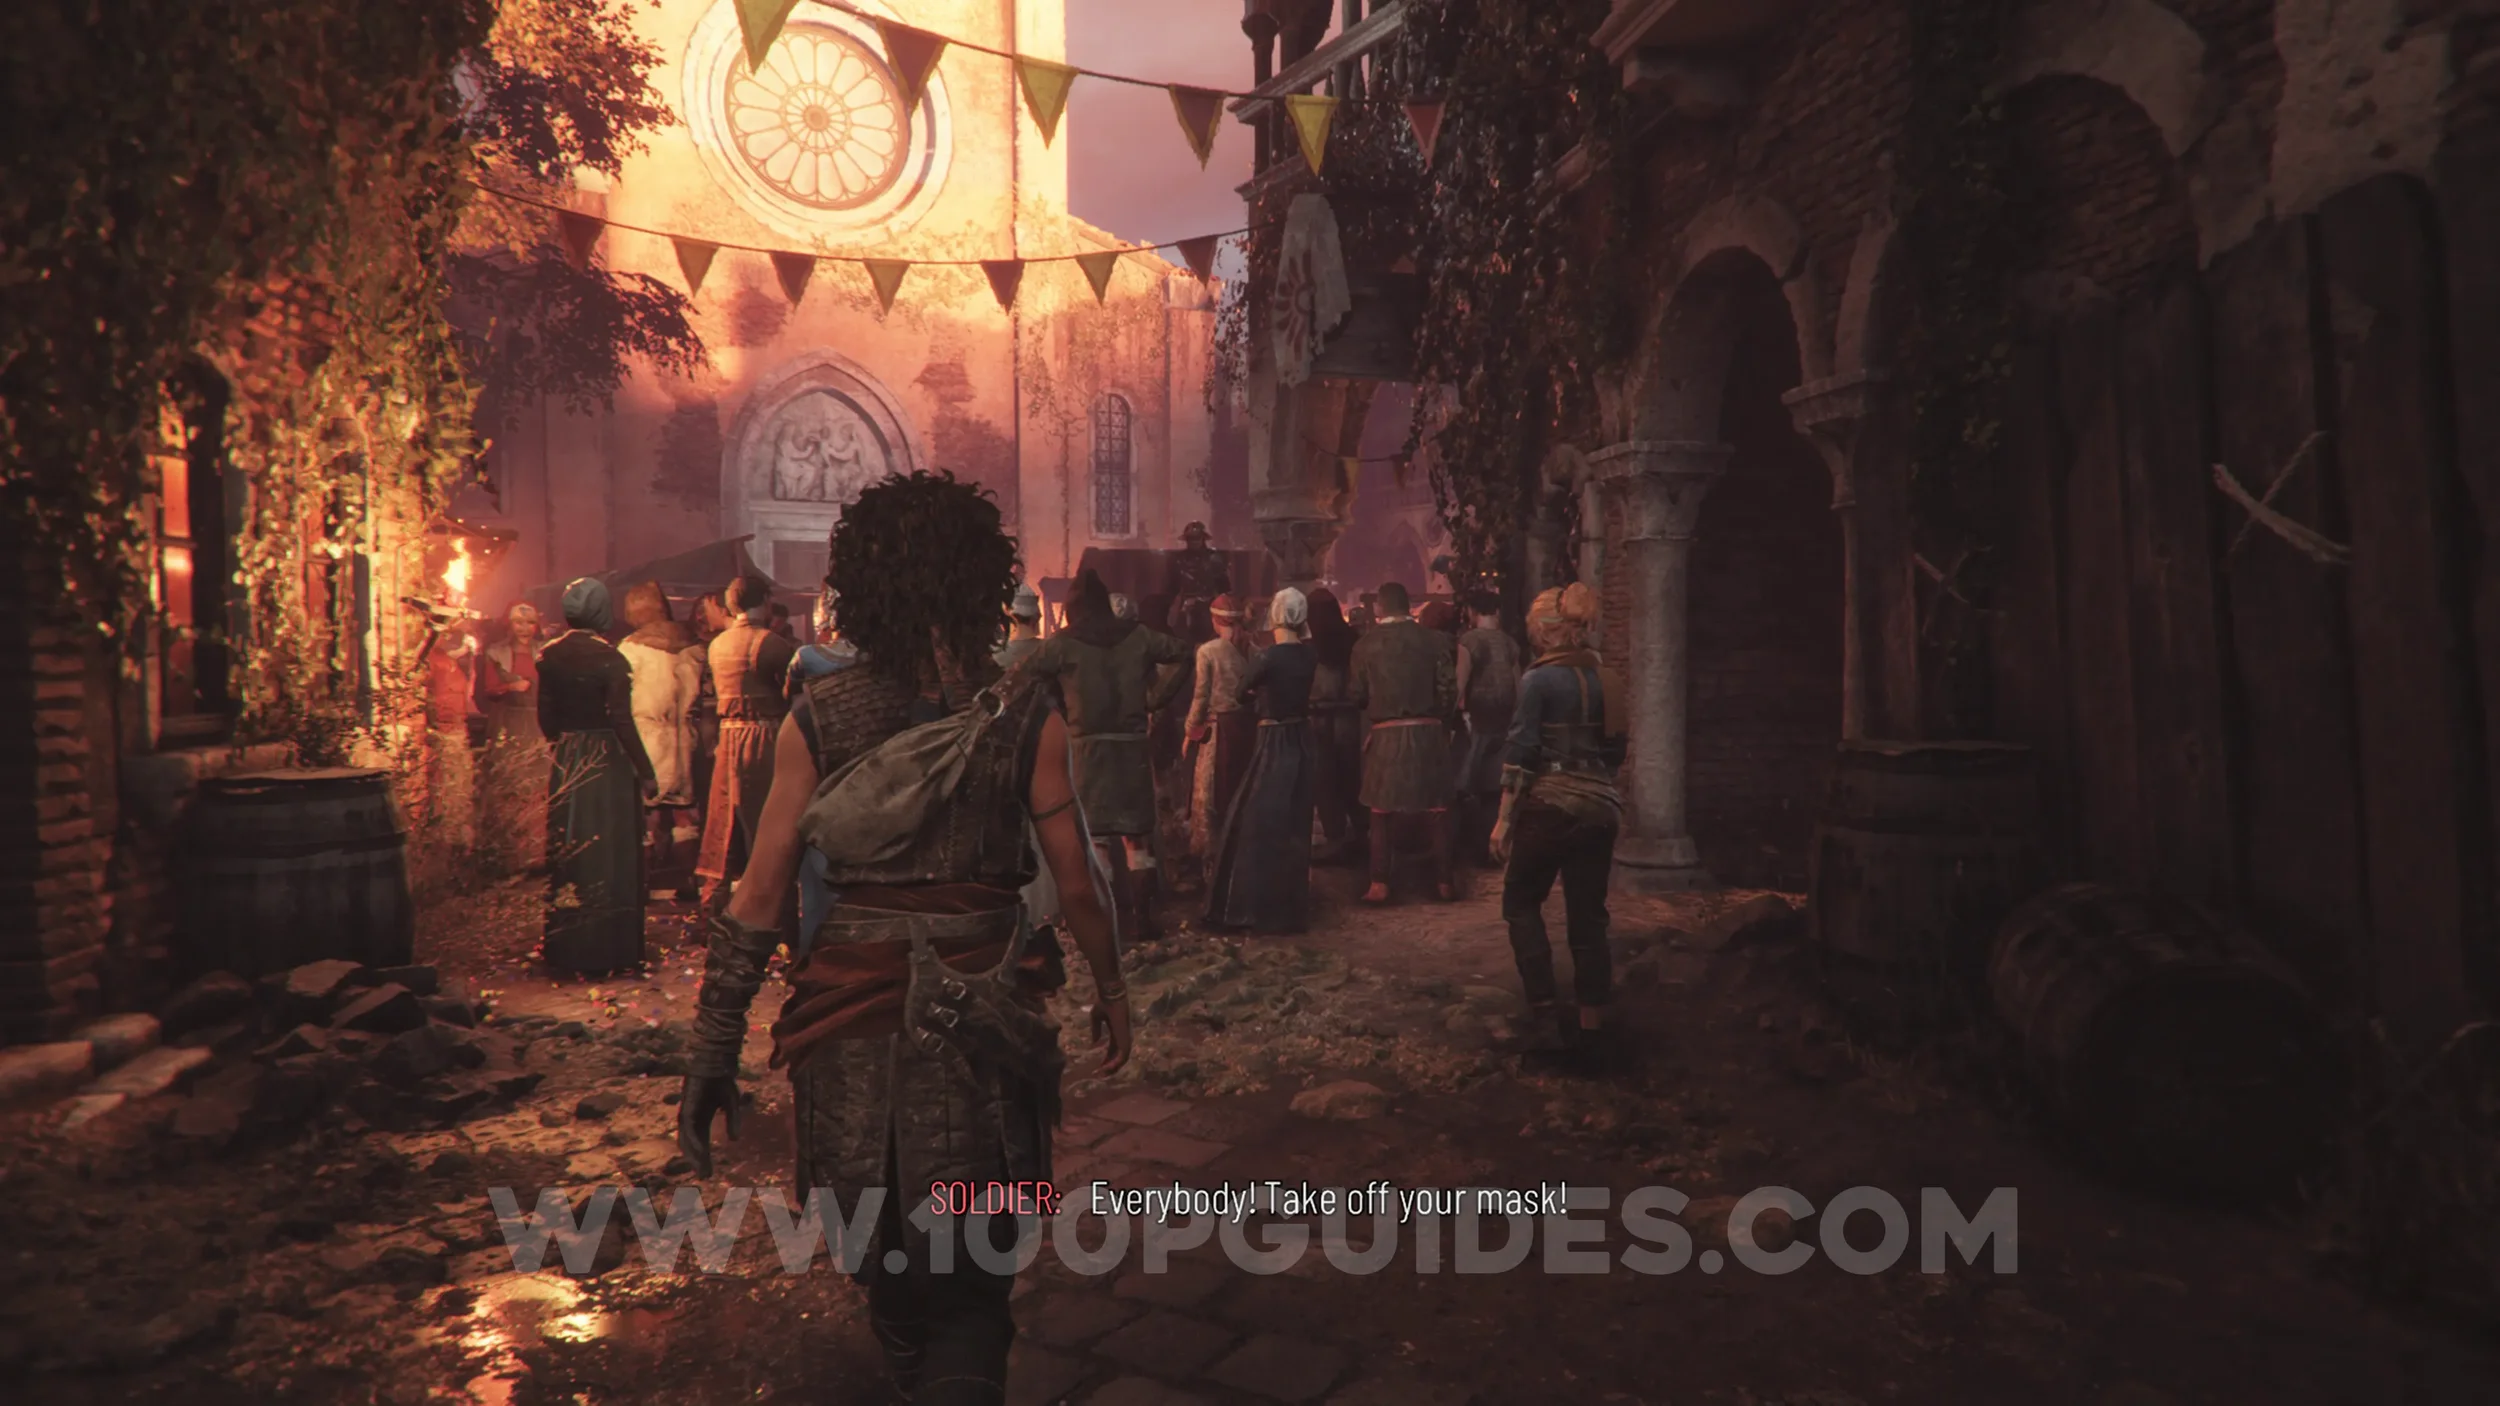
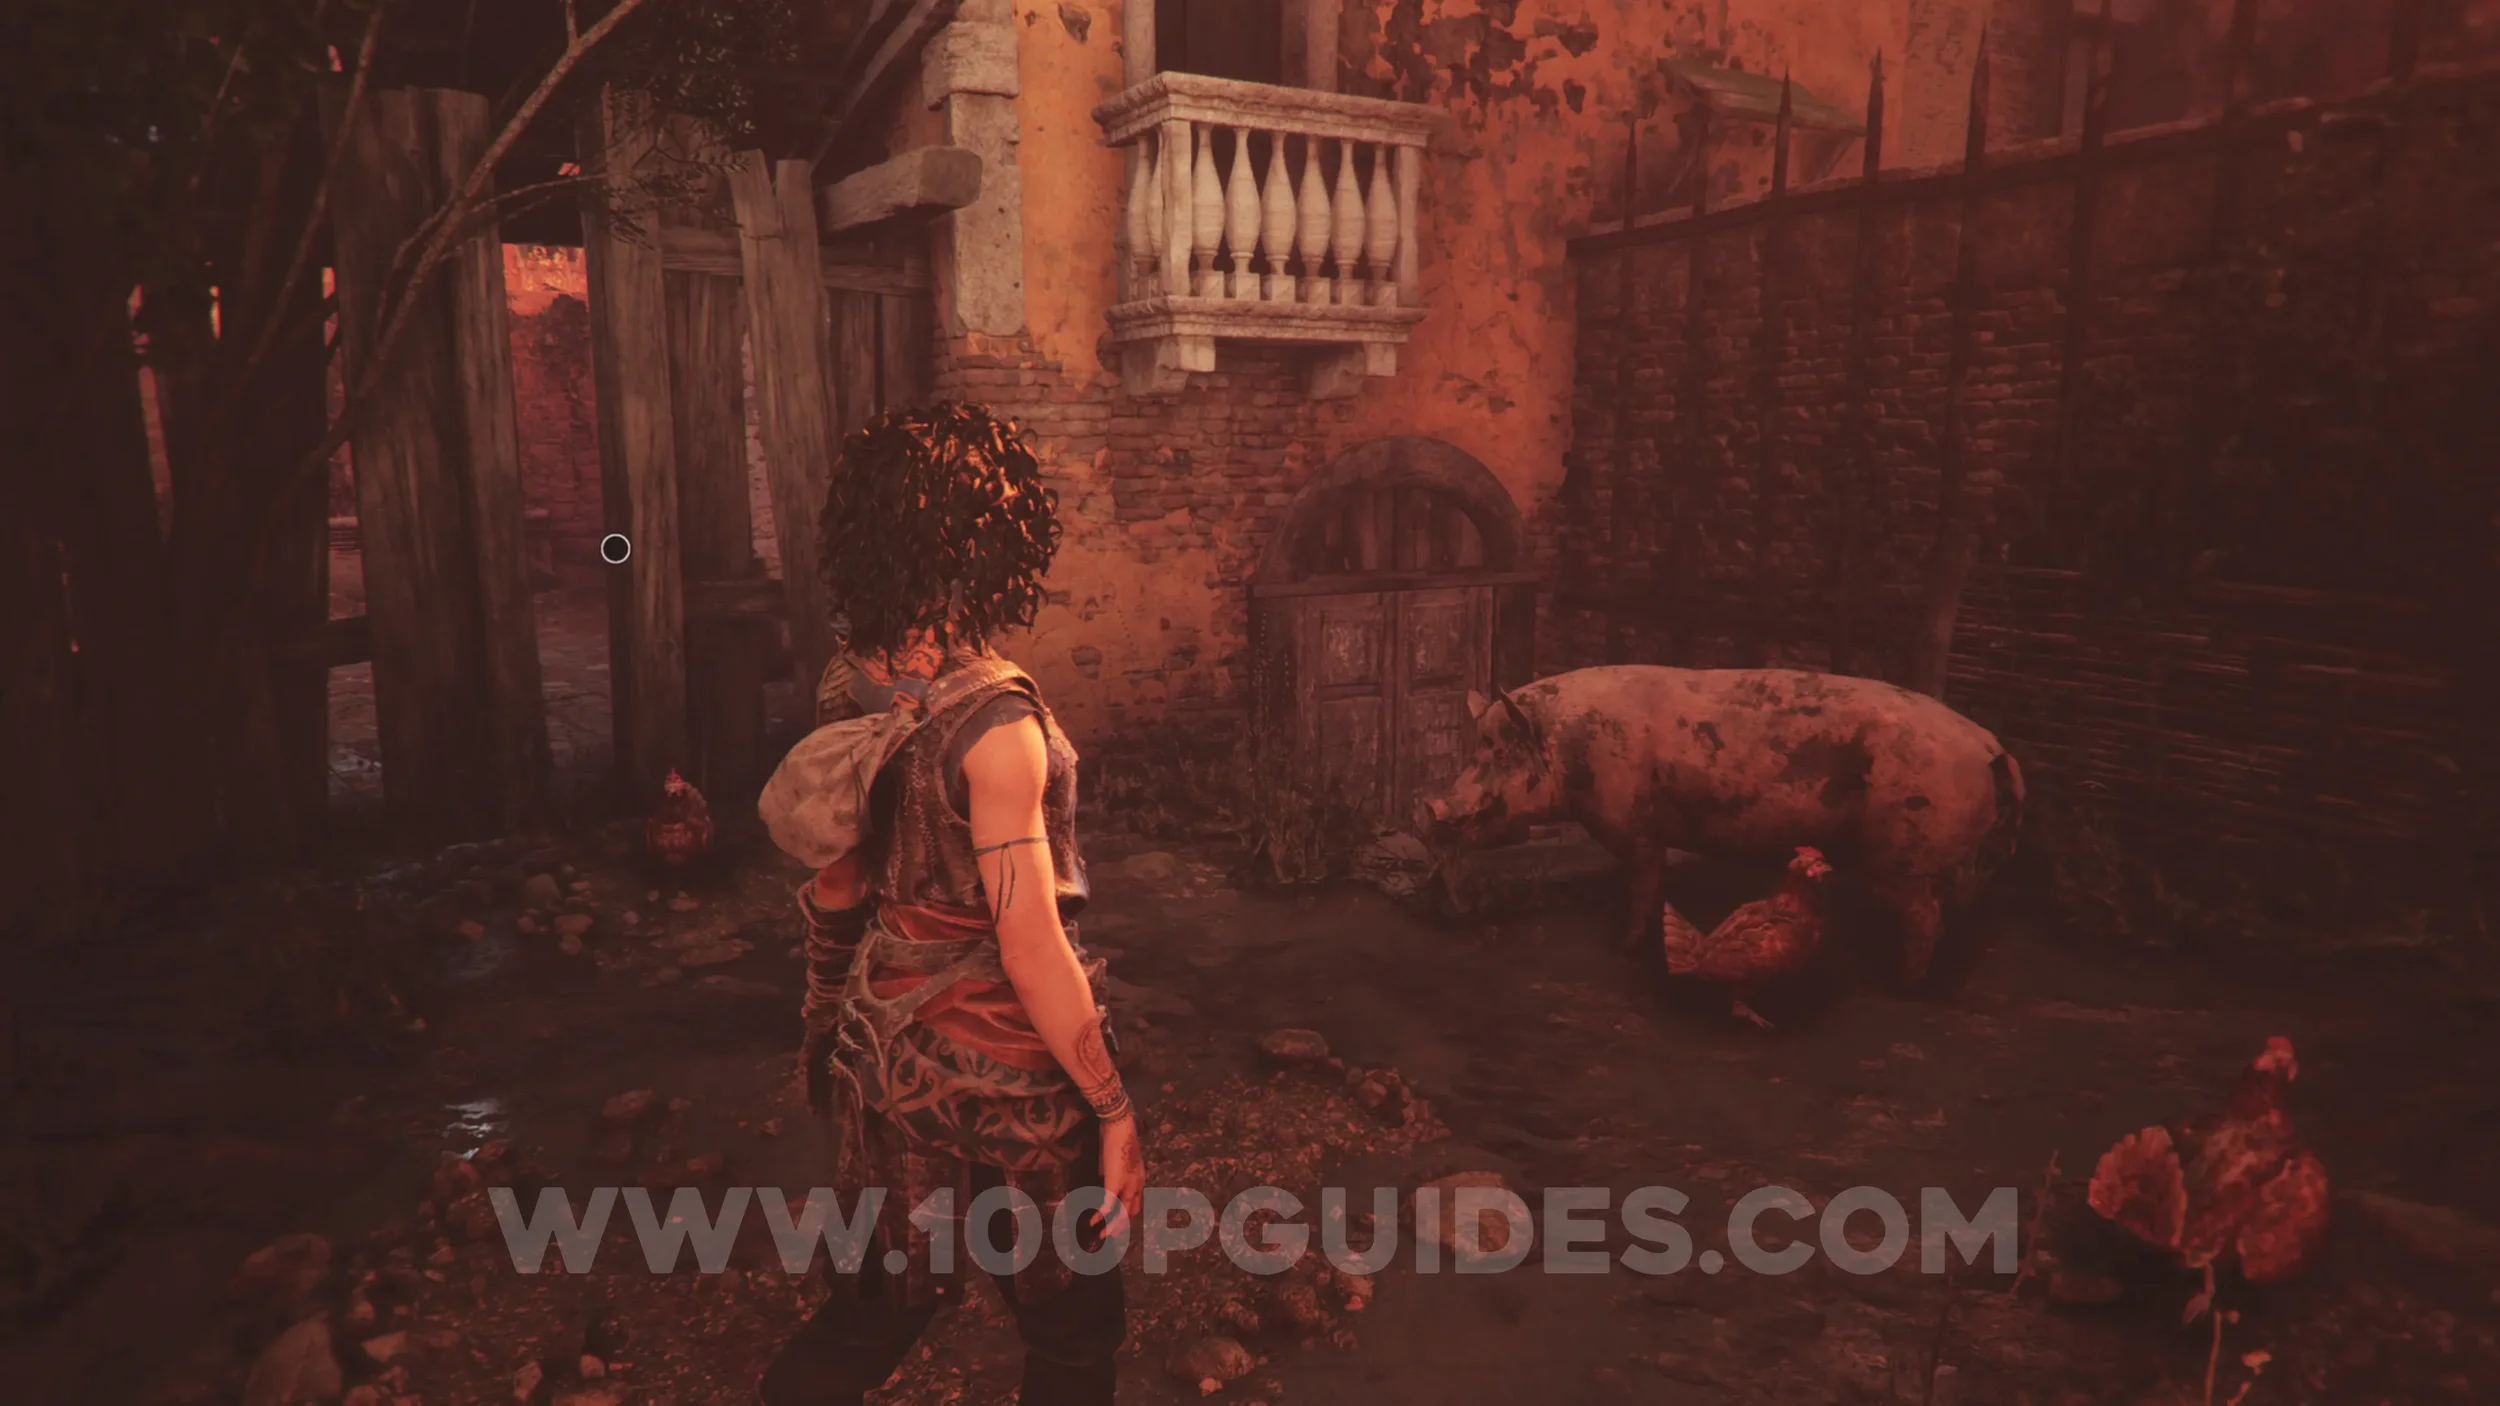
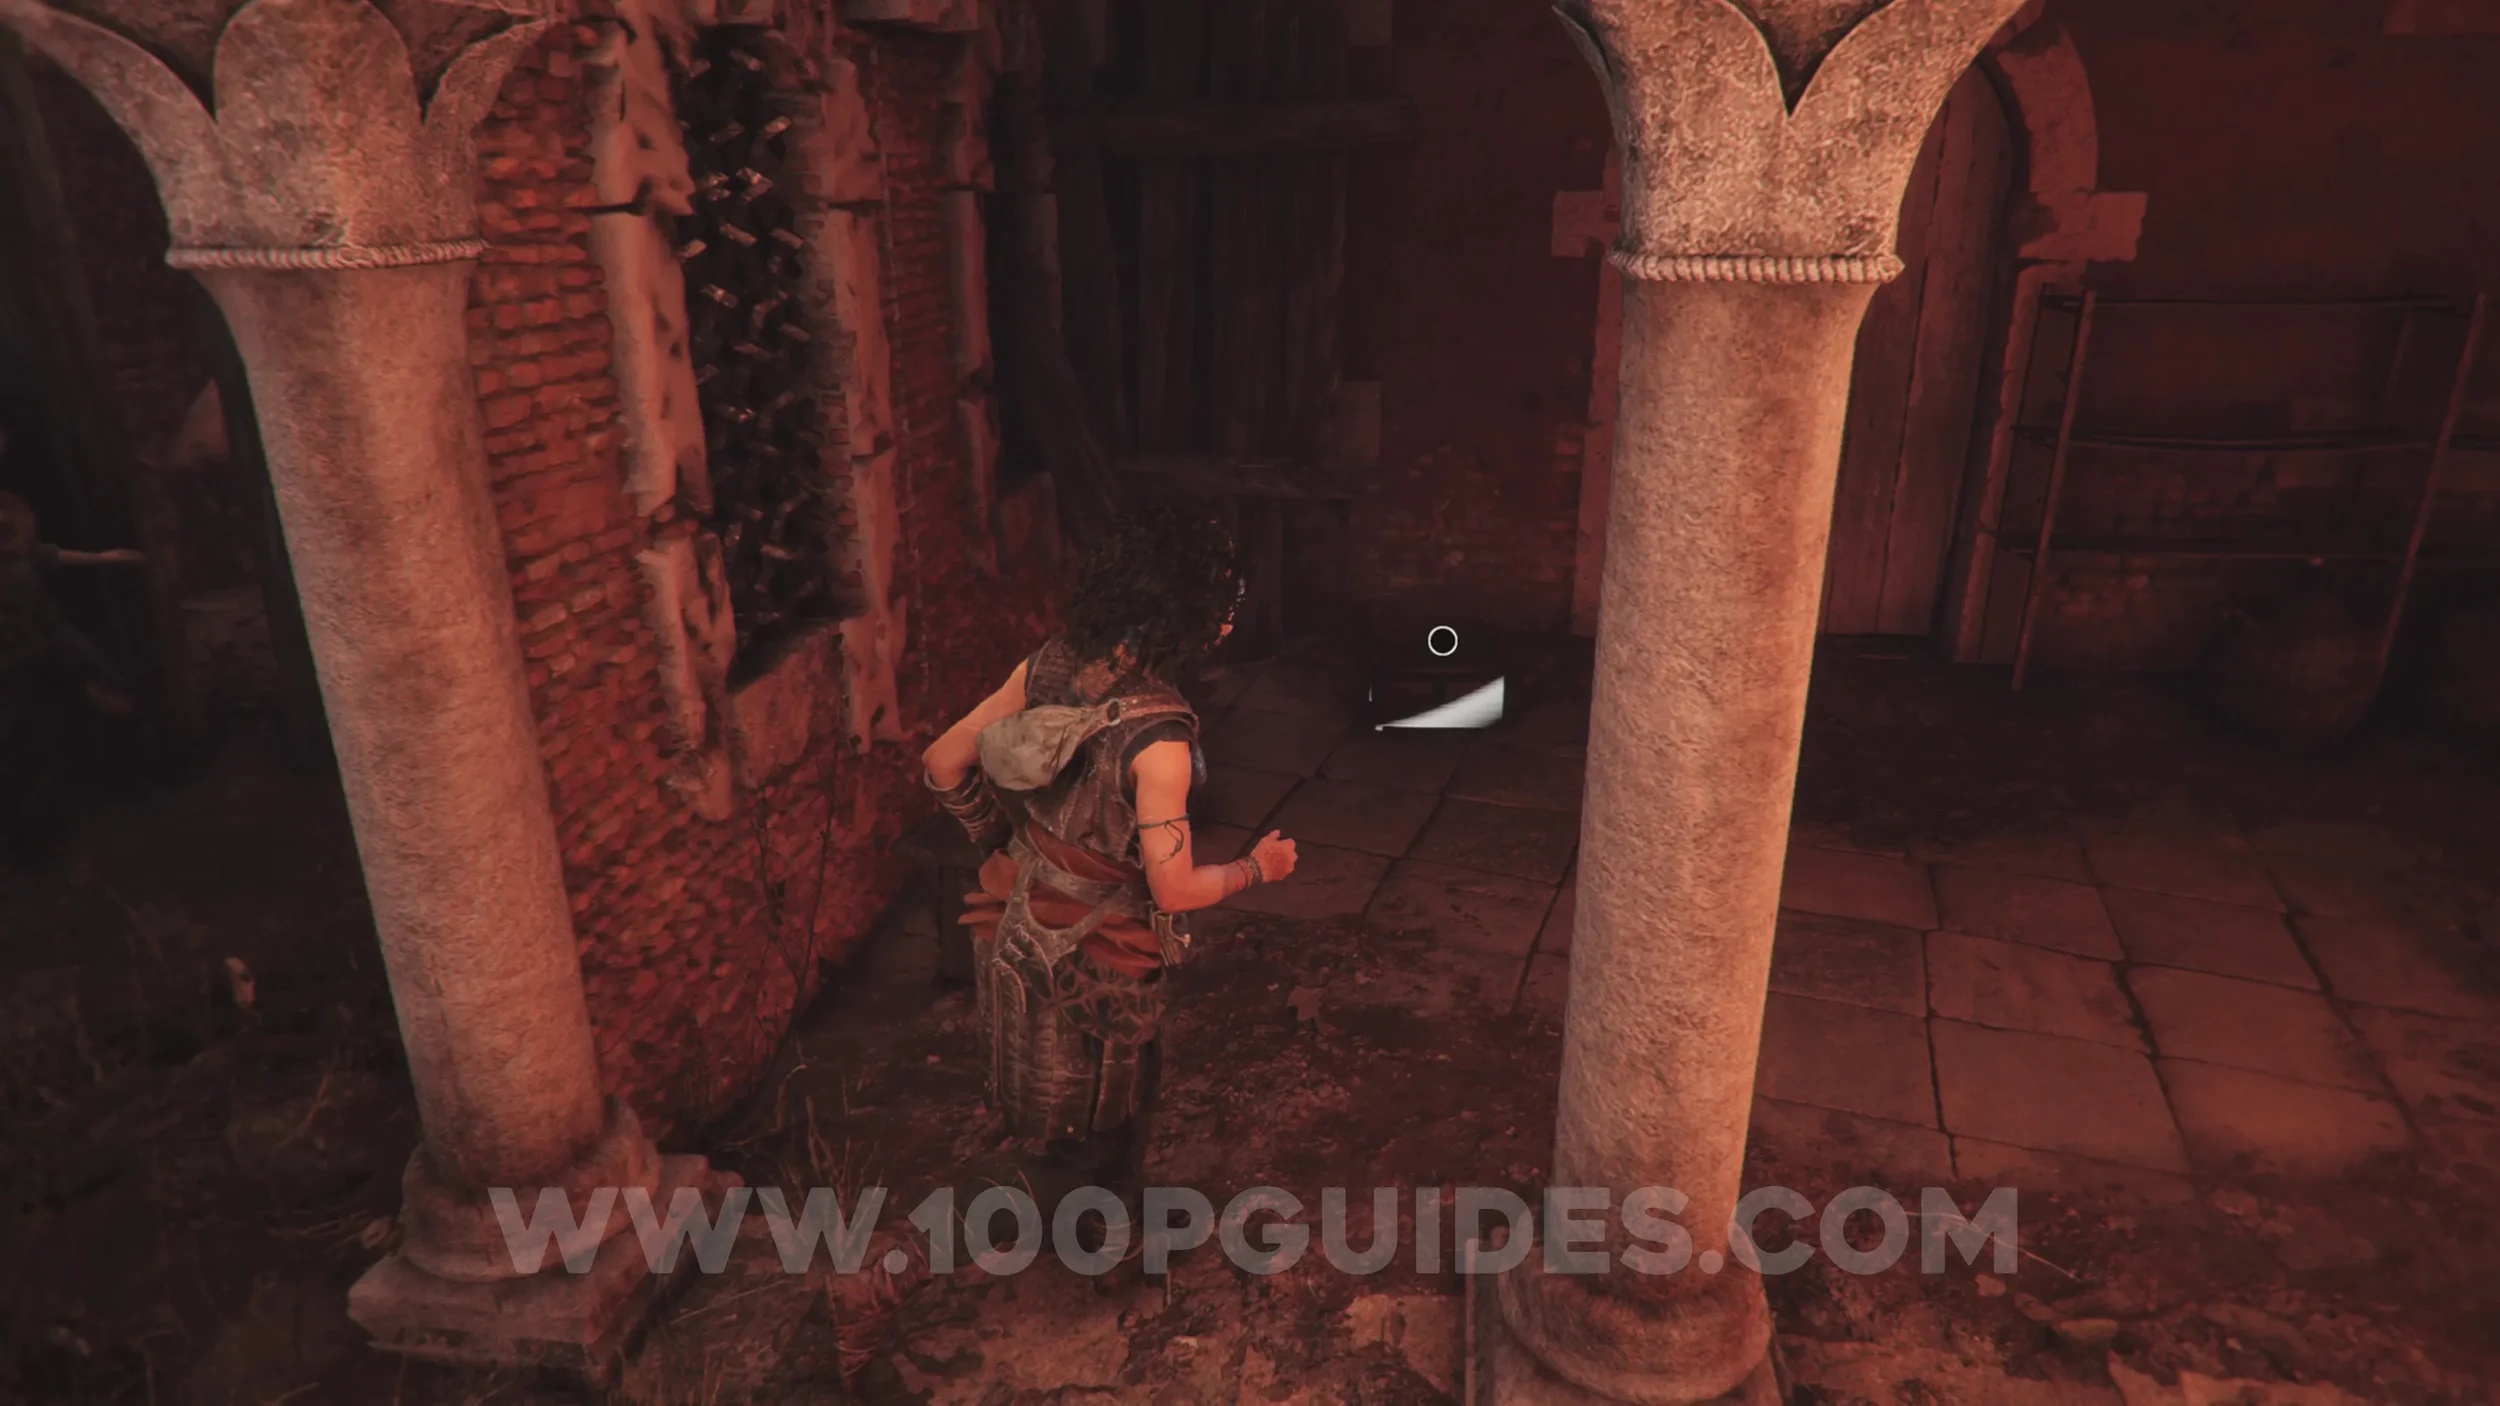
Soon after the previous collectible, you'll come to a crowd blocking the path. Take the detour here, which eventually leads through a pen with pigs and chickens. Squeeze through the gap between two pieces of wood, then look left right away to find the pendant in a box outside the building.
Artefact: Bombasin Mask
Chapter 2: Sub-Chapter 2.
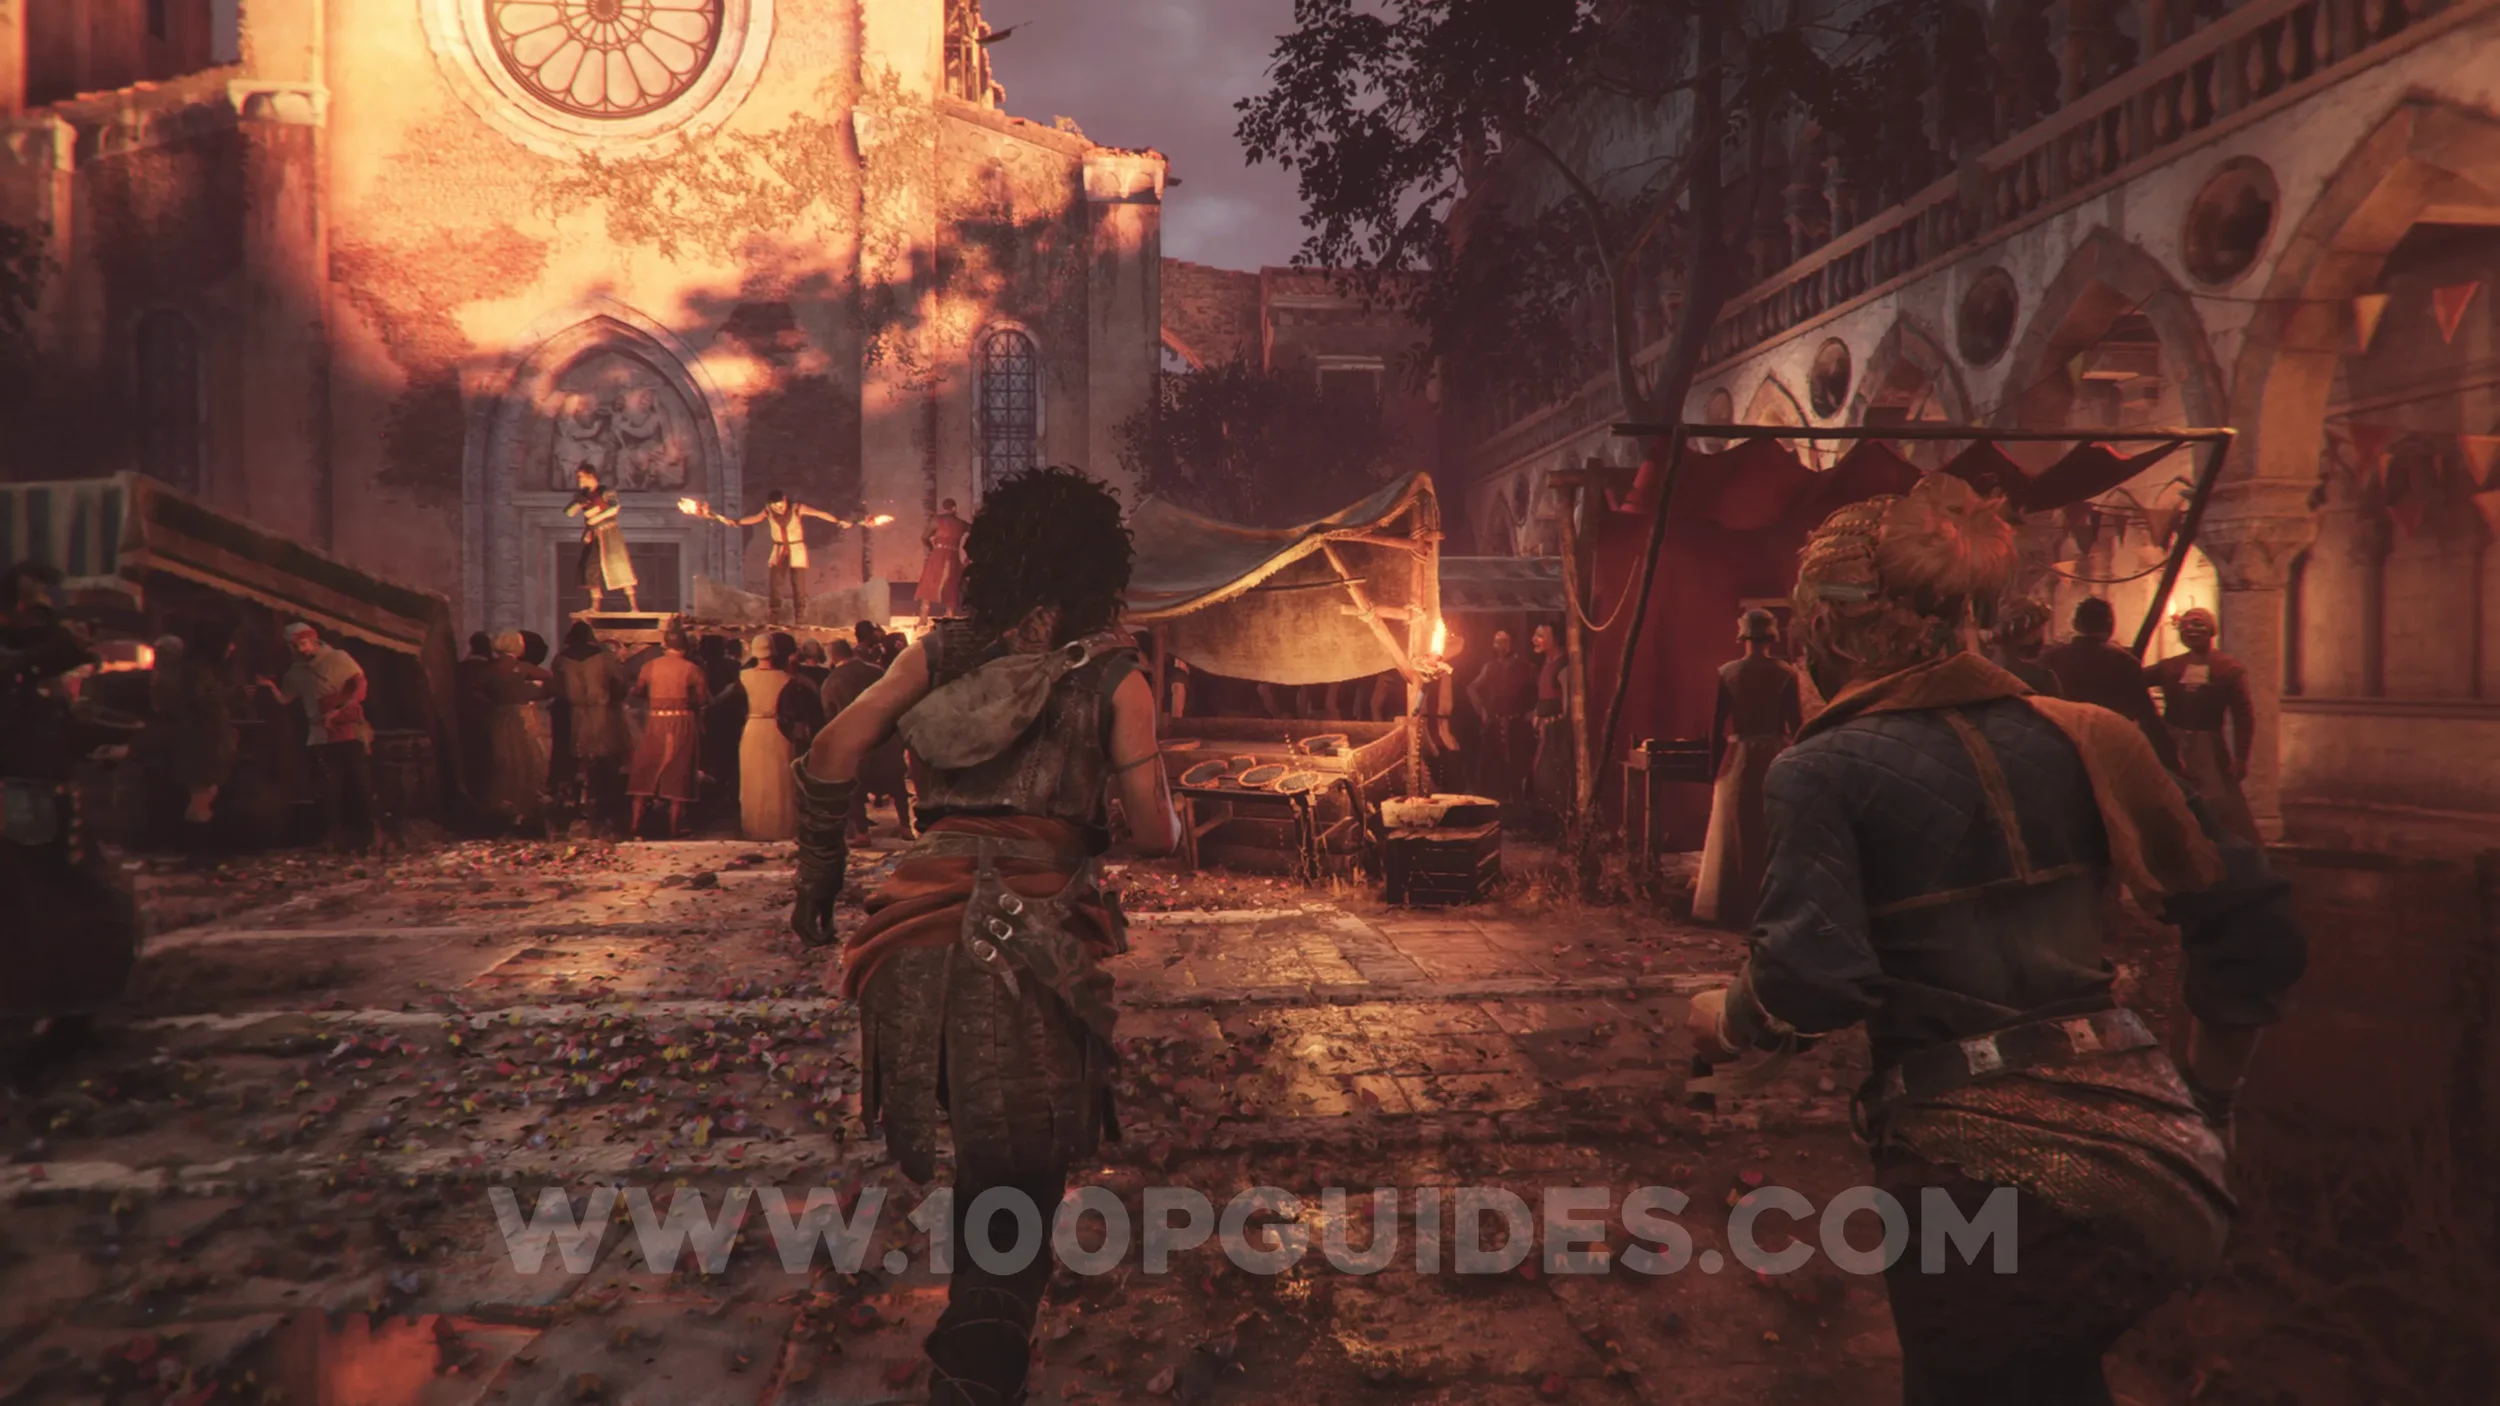
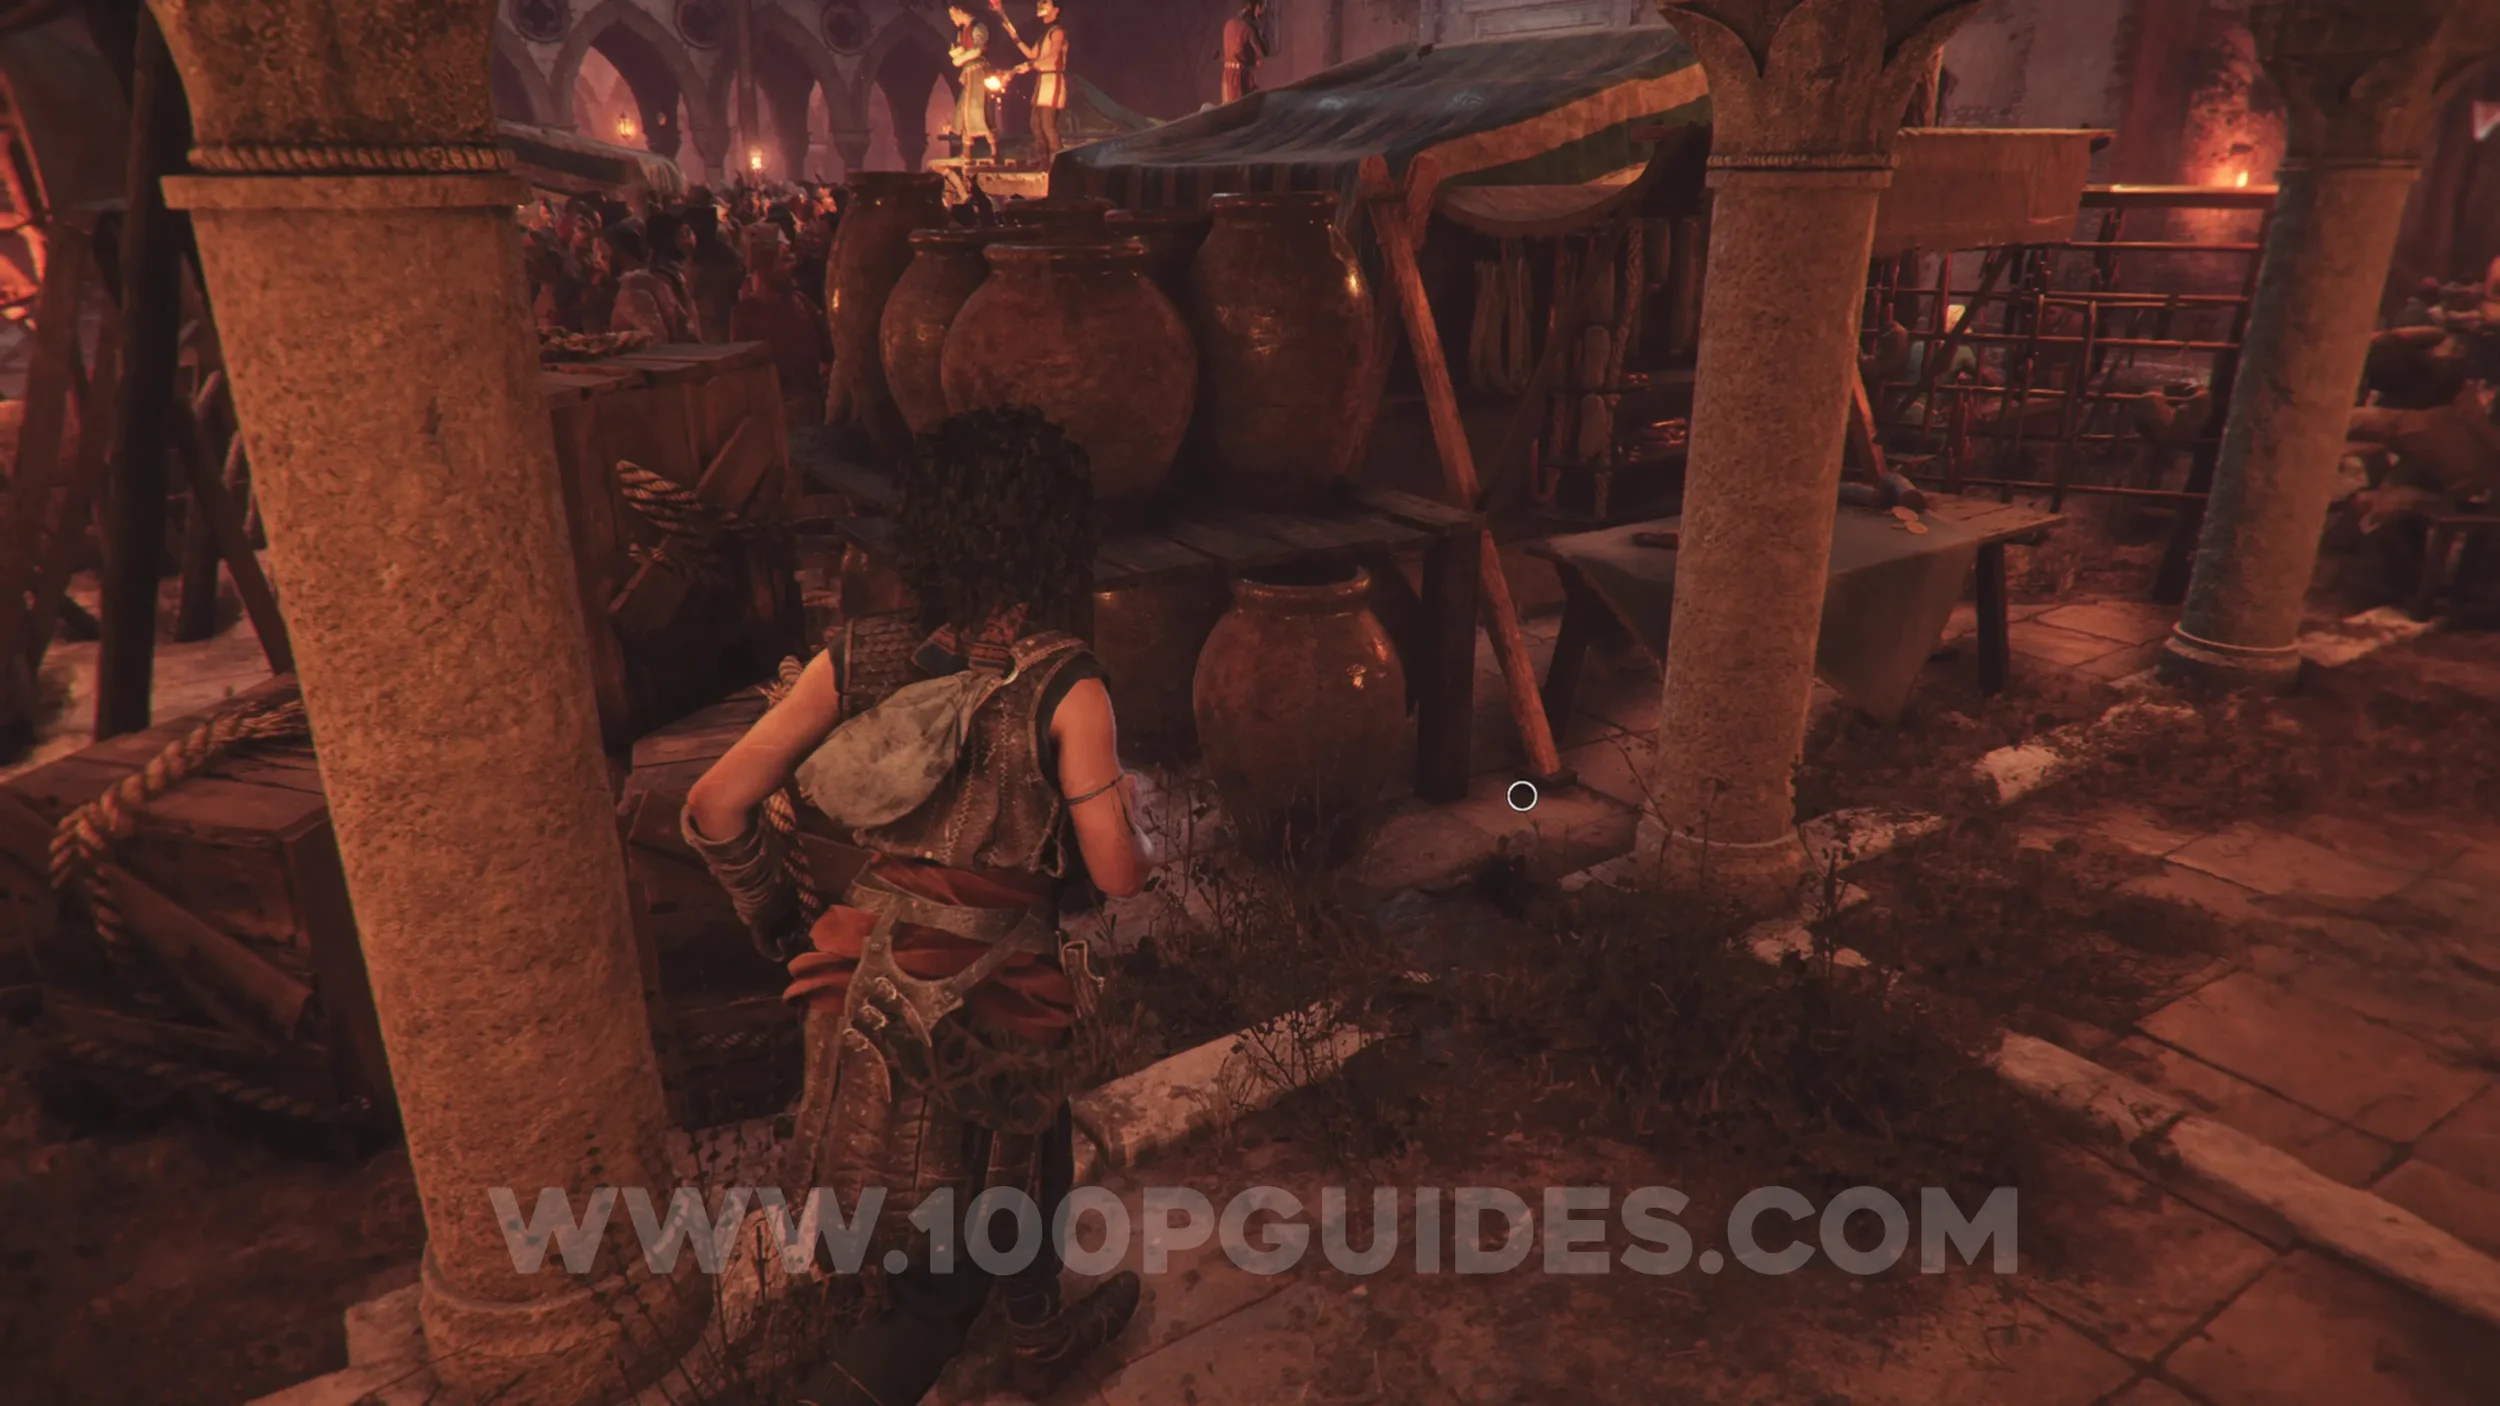
After the previous collectible, you'll reach a large plaza full of people. Head around to the right side of the plaza to find the artefact on the floor.
Blade: Falchion
Chapter 2: Sub-Chapter 2.
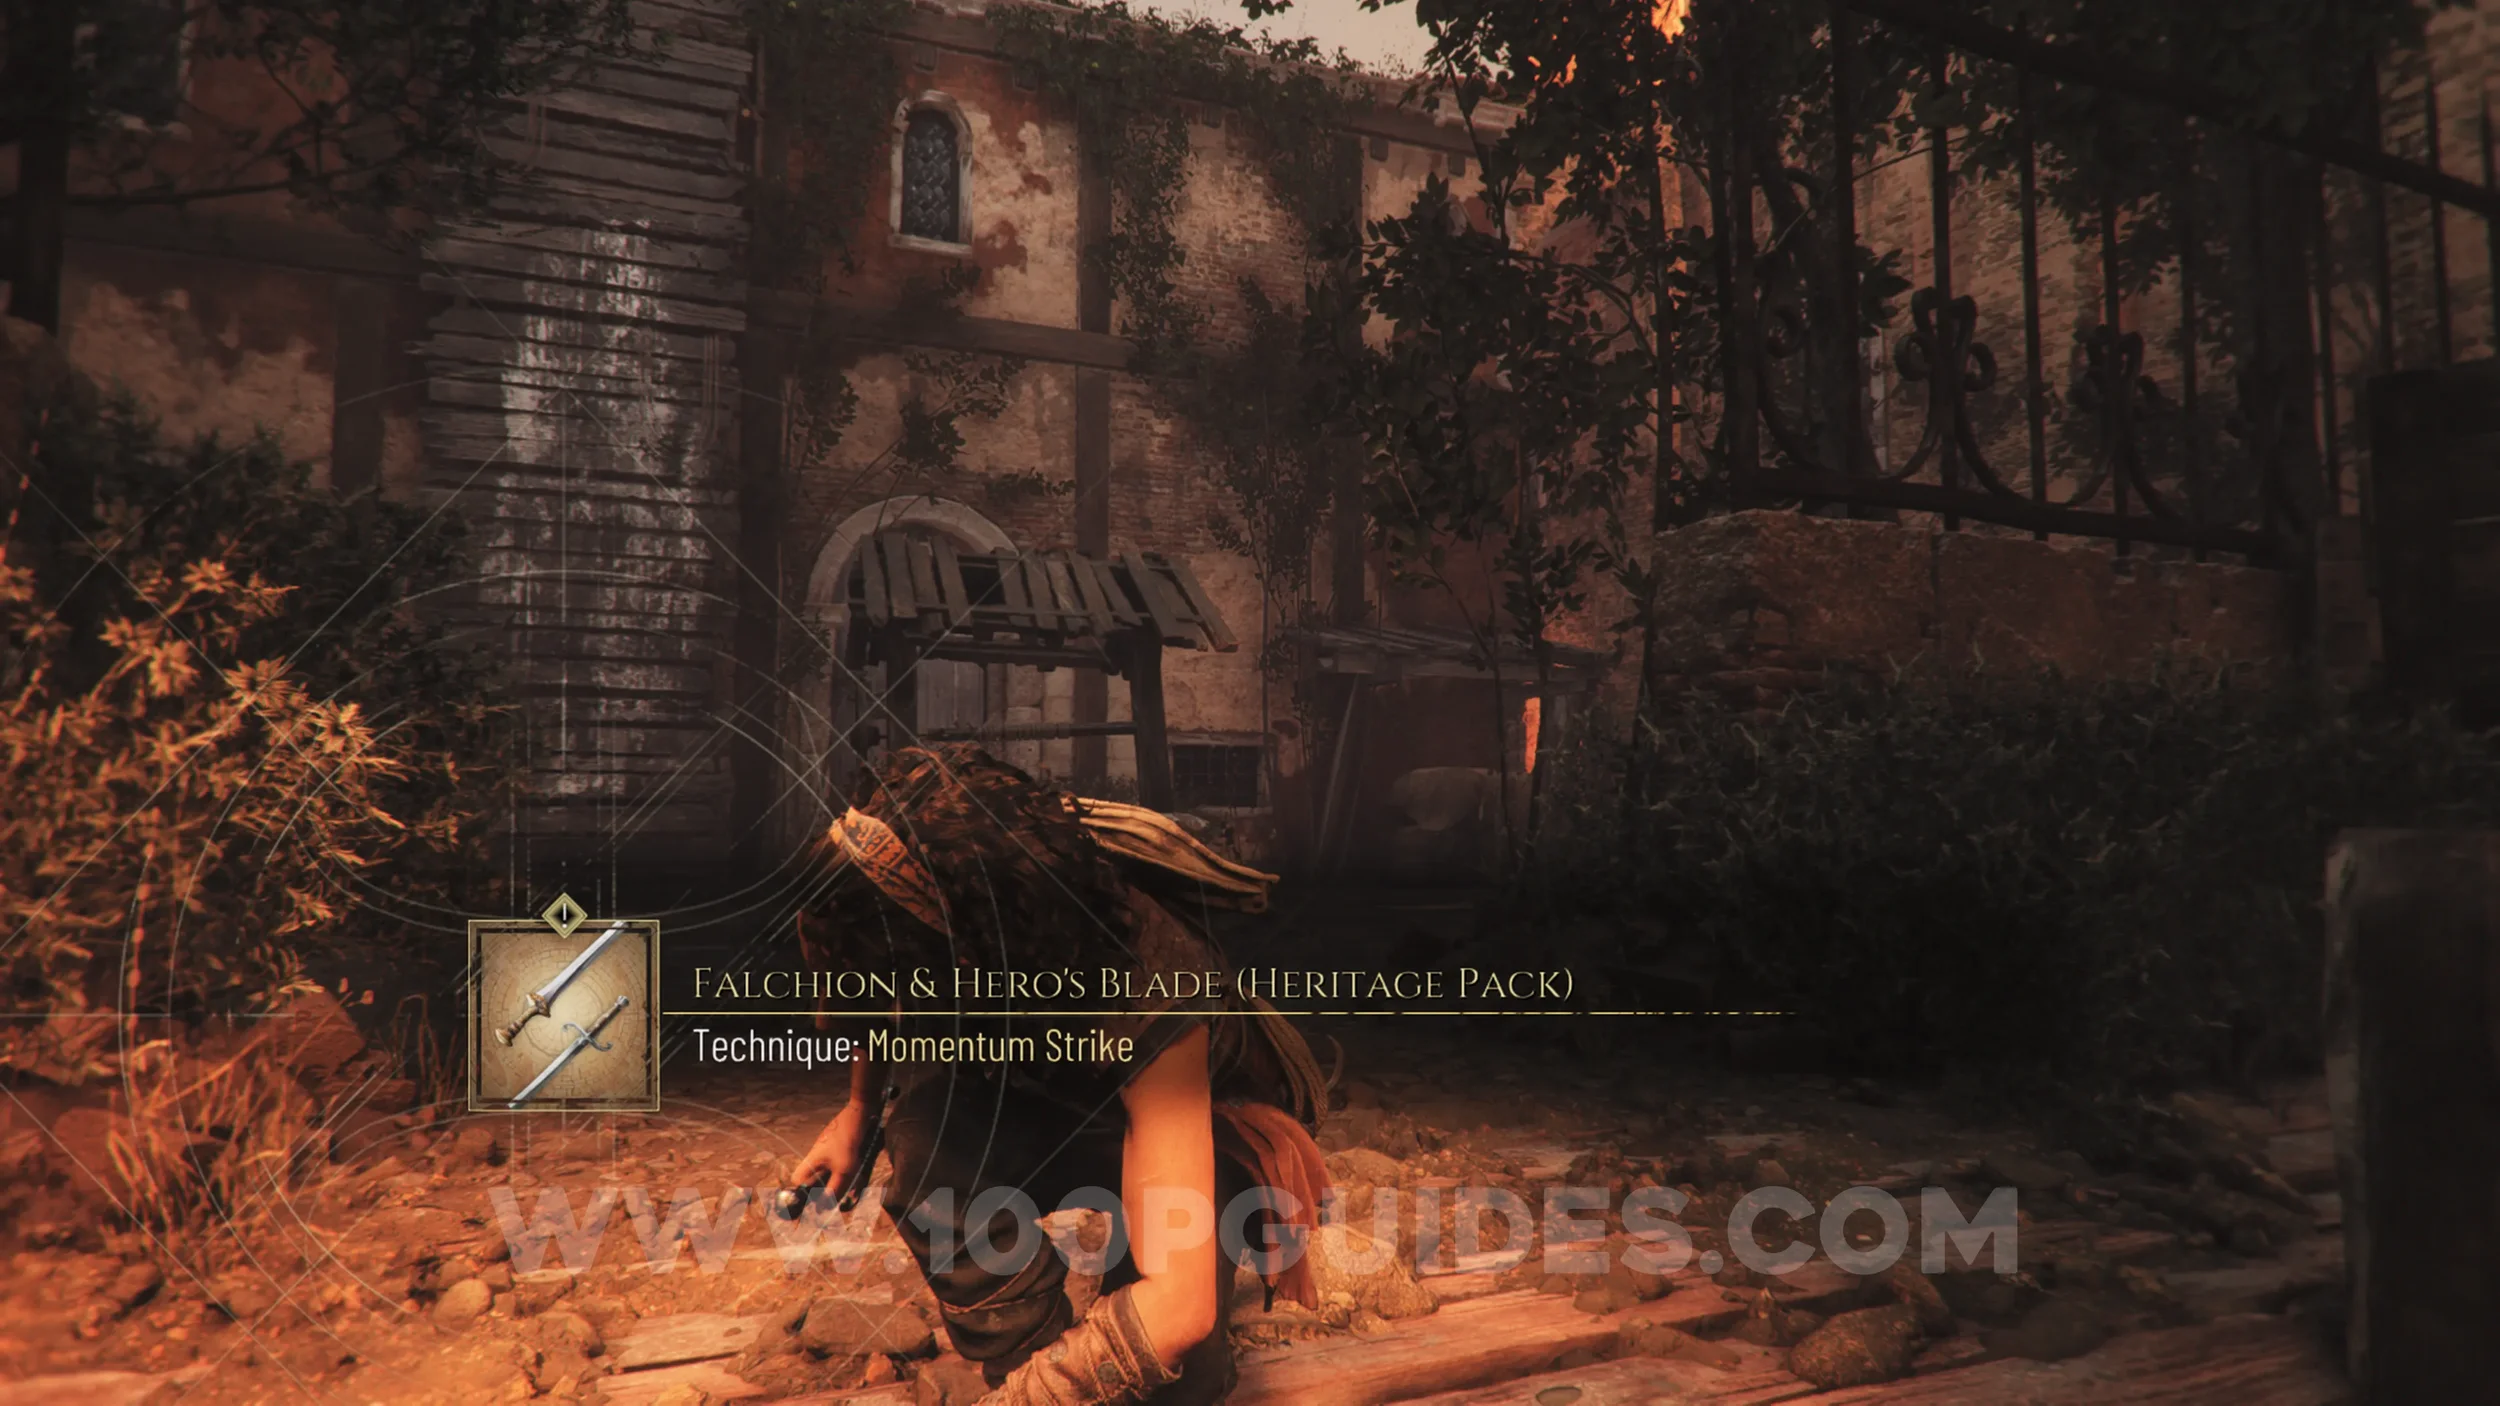
Obtained automatically once you separate from Leni just after leaving the church plaza.
Note: You'll also obtain the Hero's Blade here if you have the Heritage Pack DLC.
Charm: Bracelet #1
Chapter 2: Sub-Chapter 3.
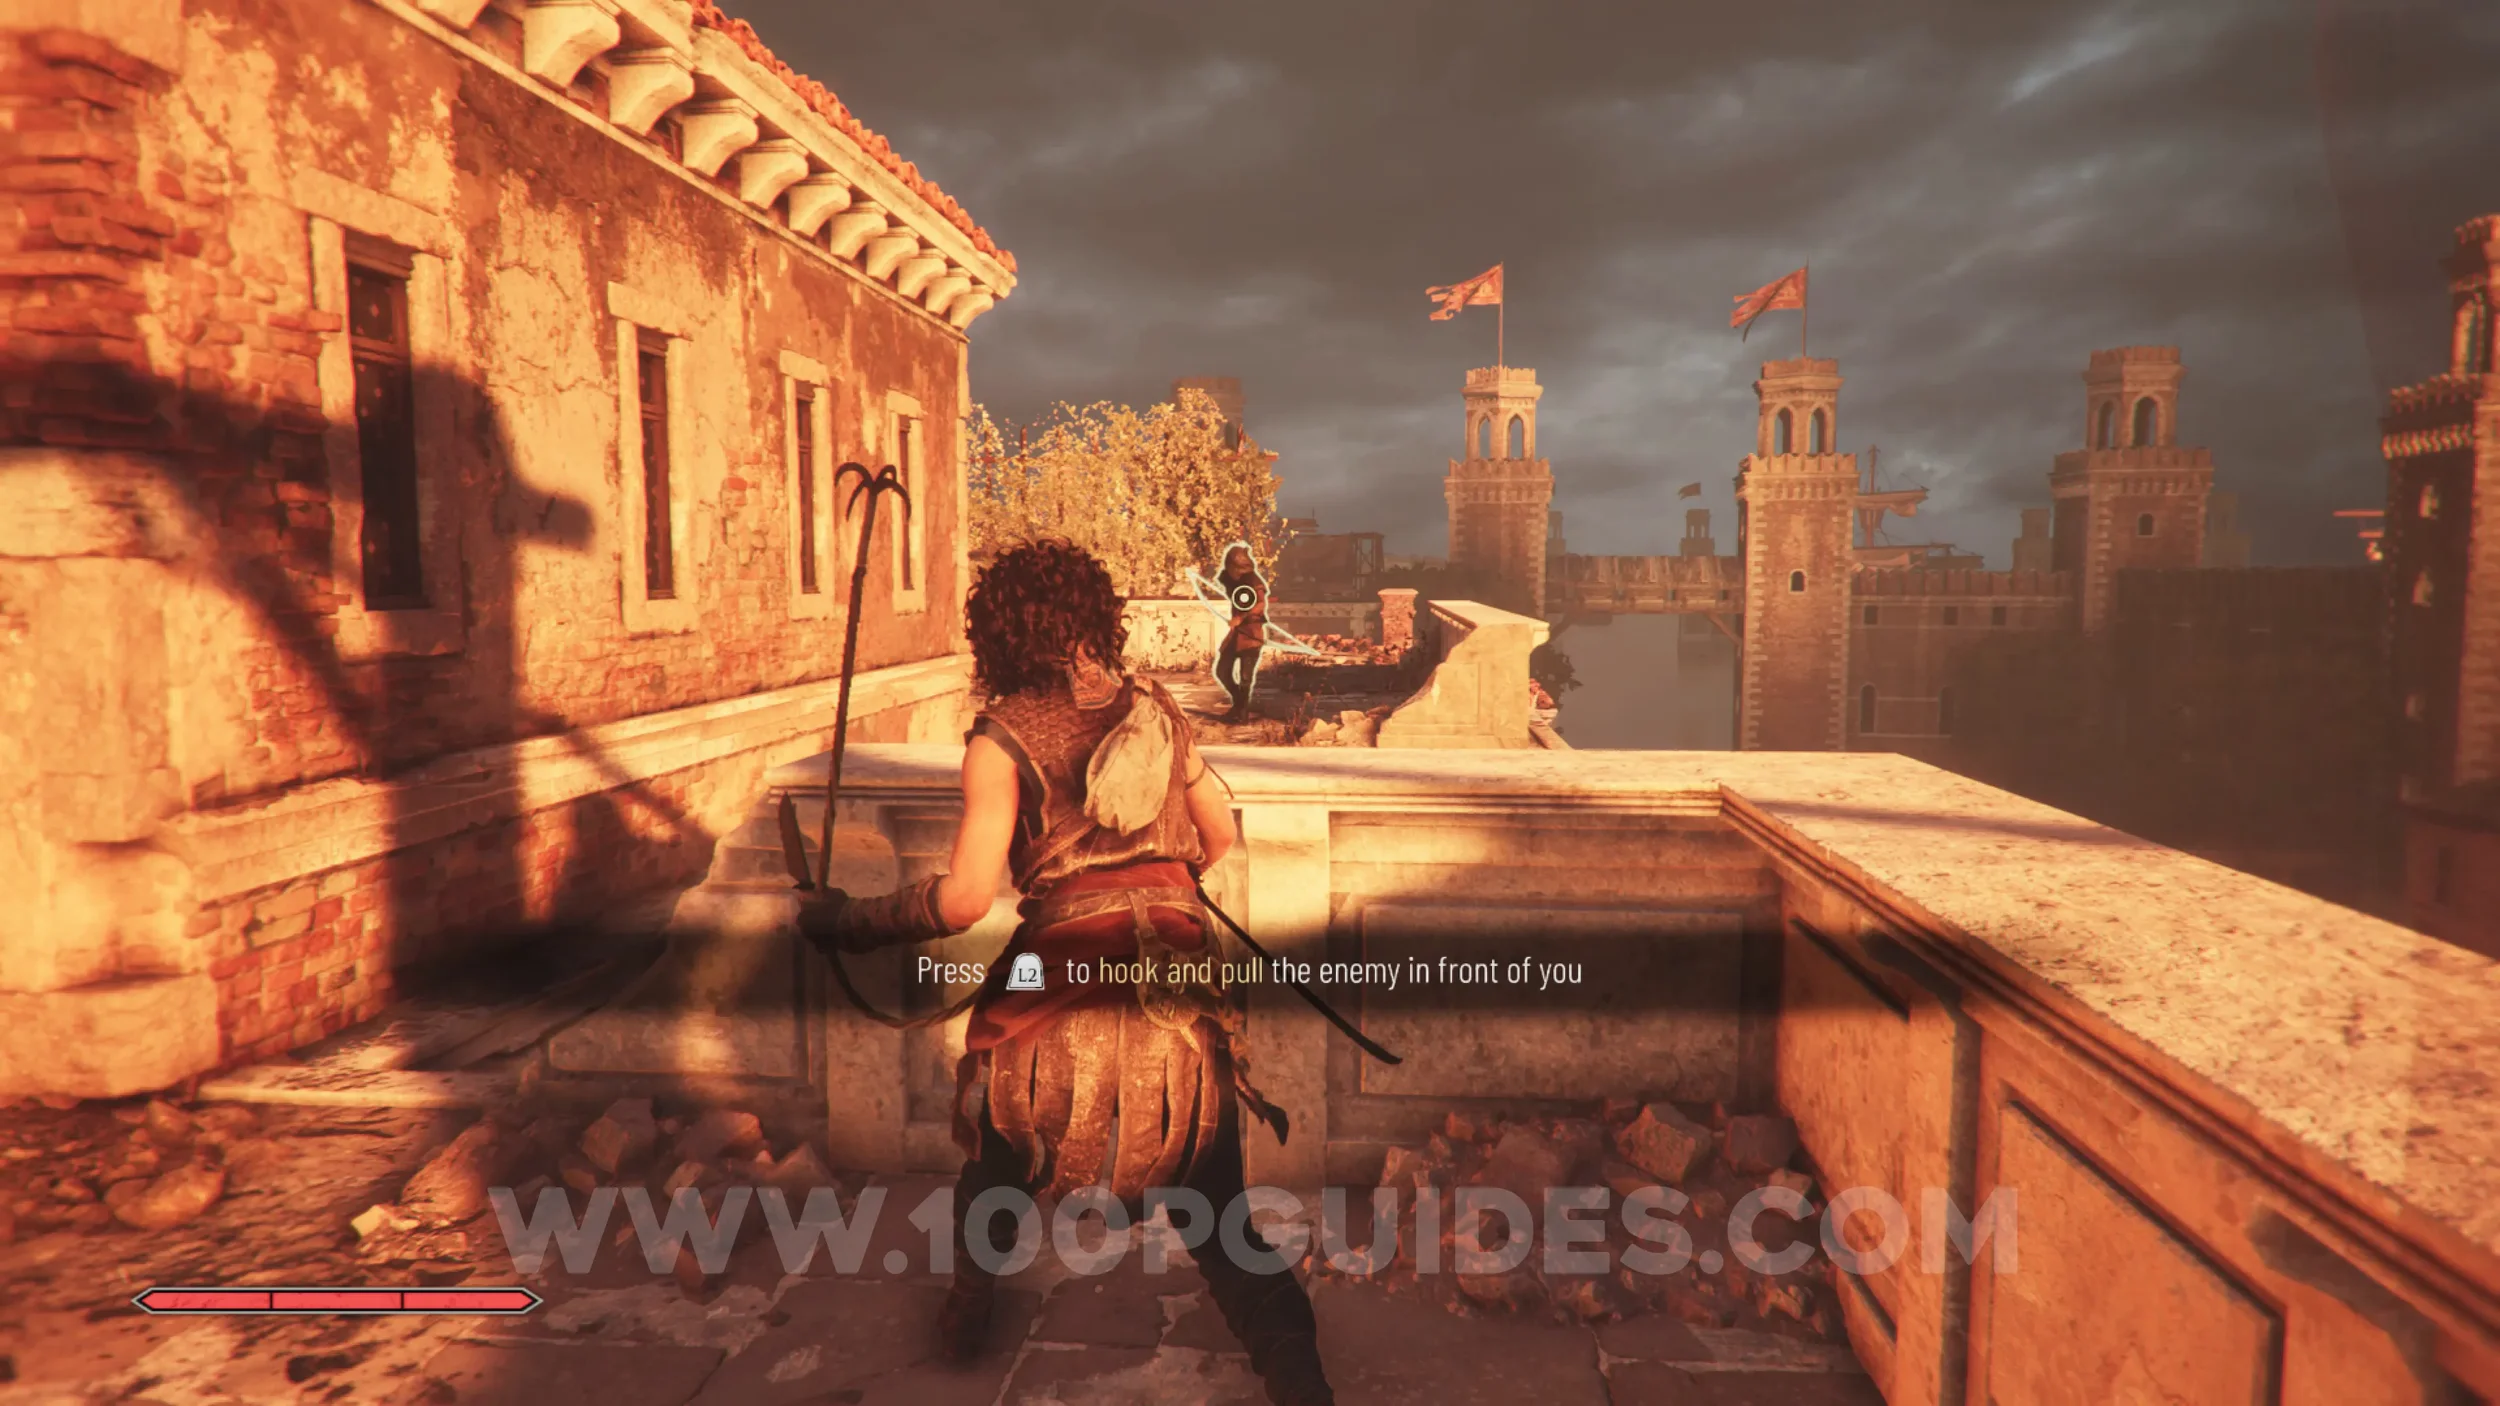
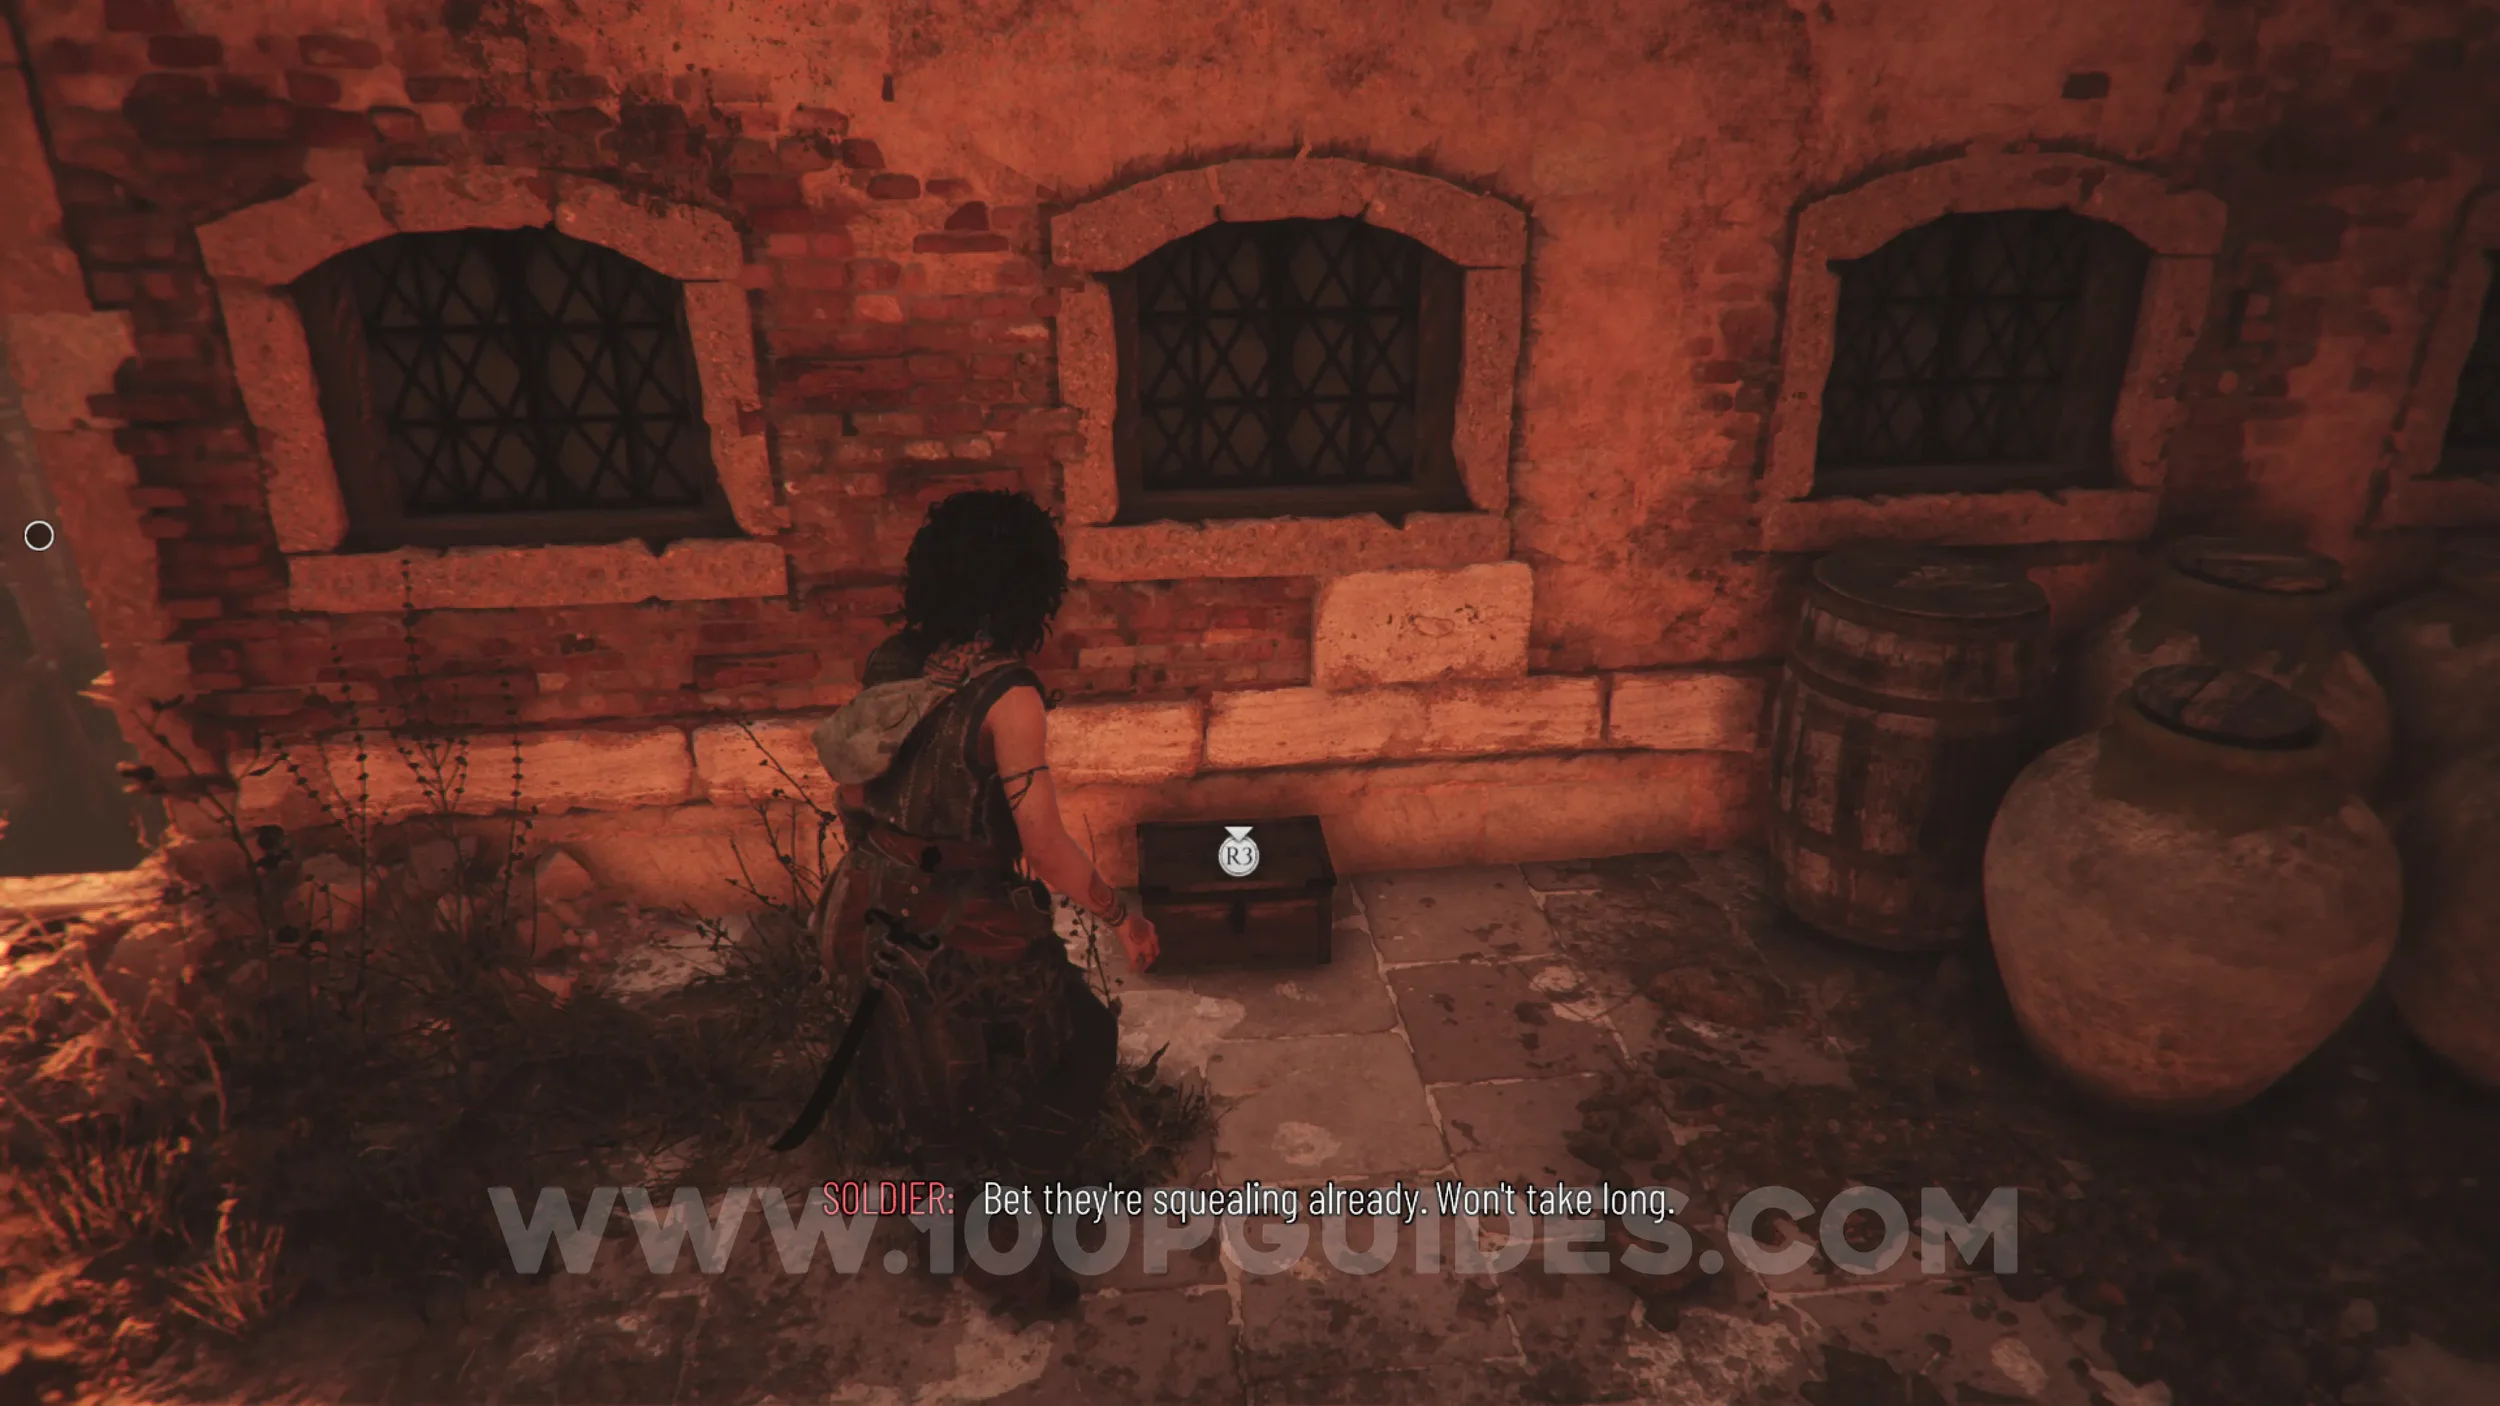
After finishing your objective on the church roof, you'll have to escape by using your grapple to swing across the rooftops. Soon you'll encounter your first enemy and get the tutorial on pulling enemies with the grappling hook. After pulling him off the roof, shimmy across to the roof where the enemy was. Look left here to see the box containing the charm.
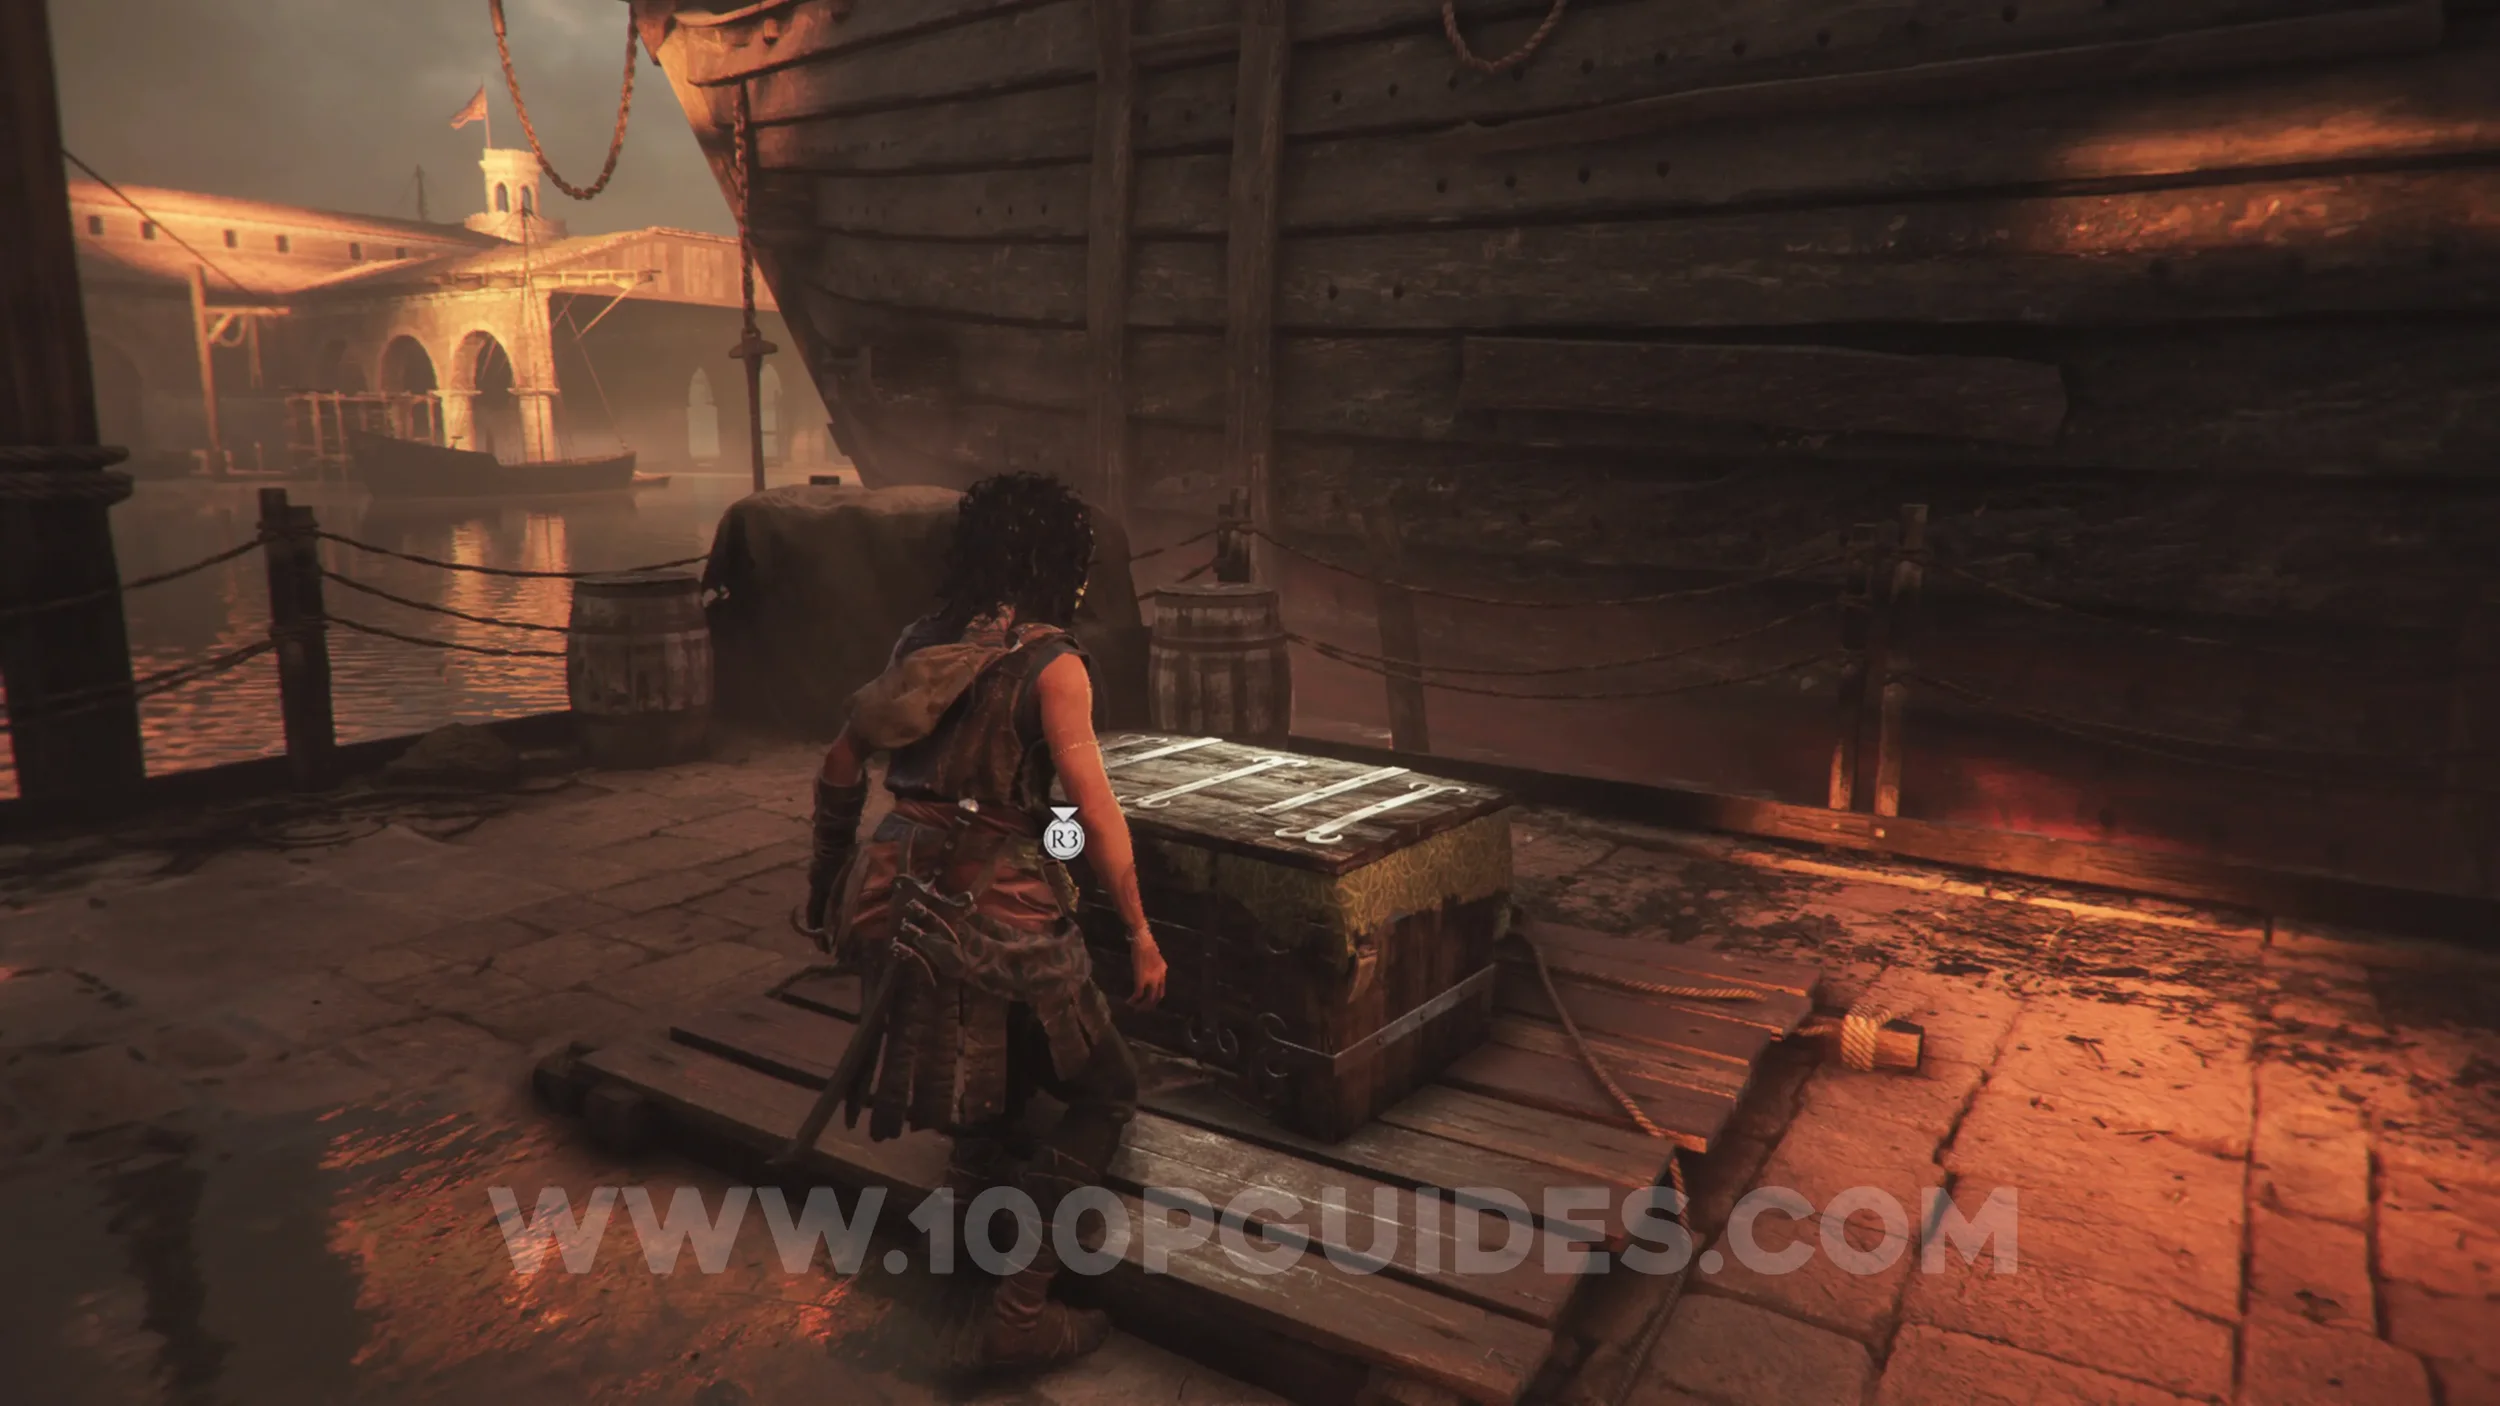
Resonance Point x5
Chapter 2: Sub-Chapter 4.
Obtained automatically when opening the chest (story objective).
Chapter 3
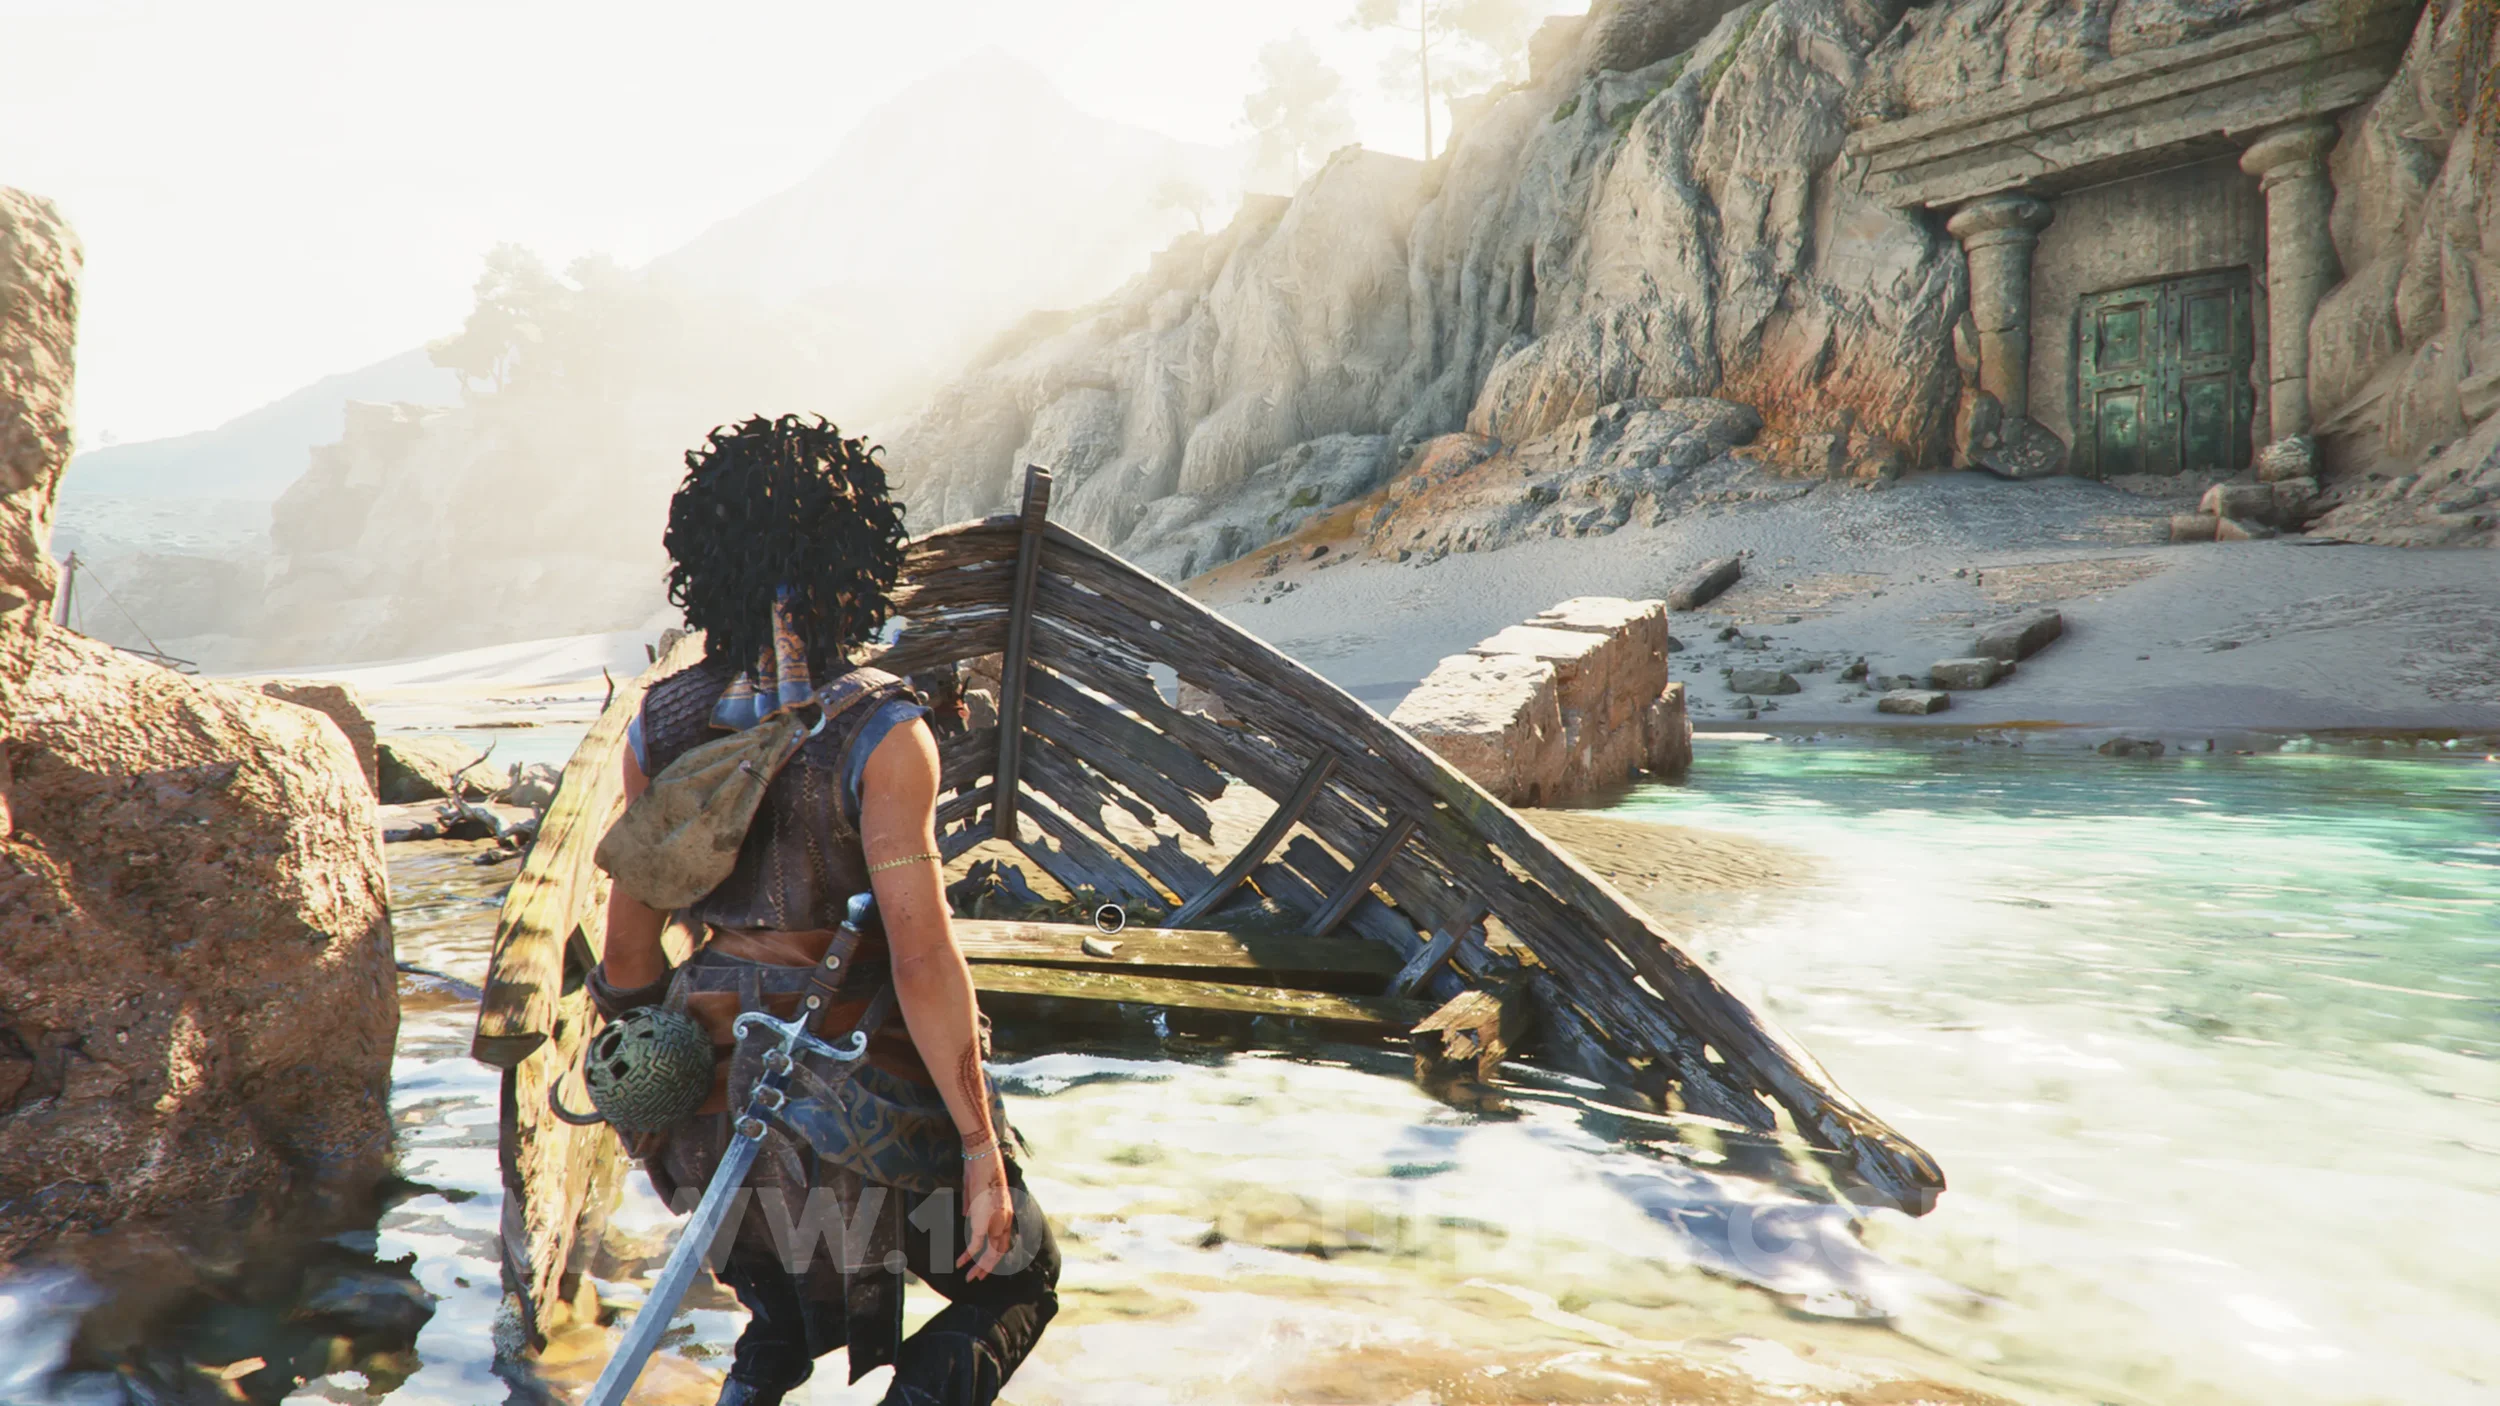
Resonance Point
Chapter 3: Sub-Chapter 1.
On the wrecked boat next to the ruins in the water, in front of the large door.
Artefact: Conch Shell
Chapter 3: Sub-Chapter 1.
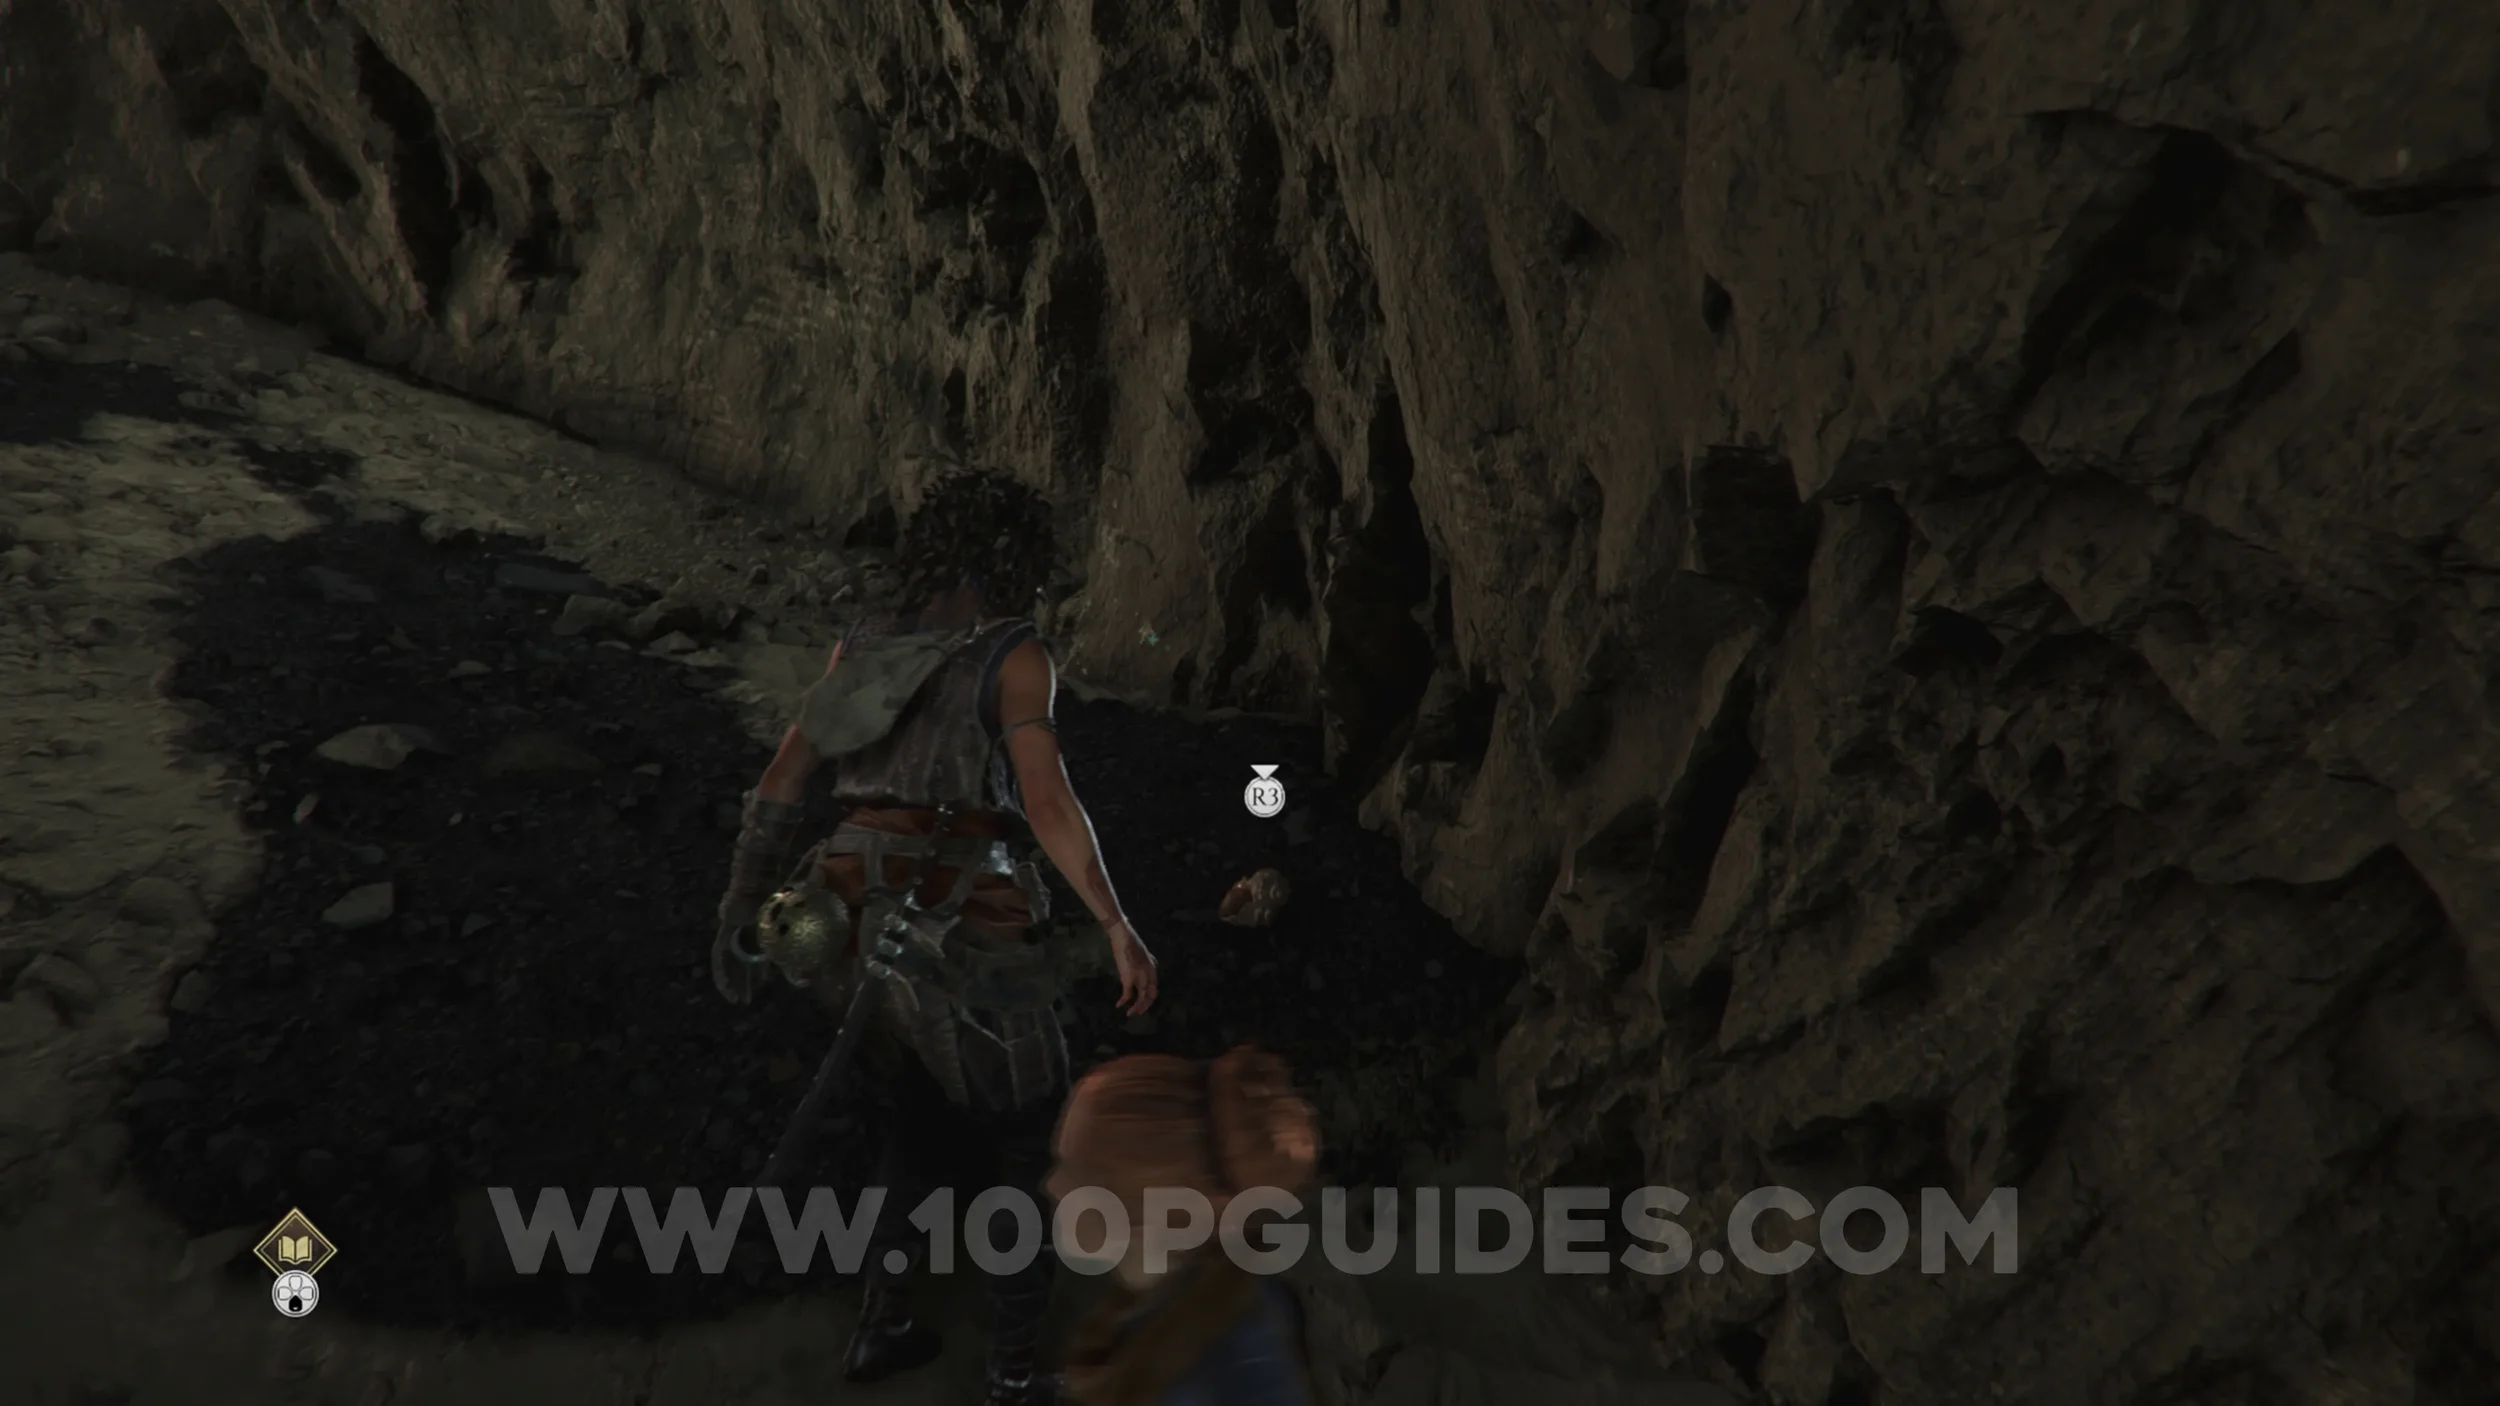
Found in the cave to the right of the giant door at the start of the chapter.
Artefact: Play Onyx
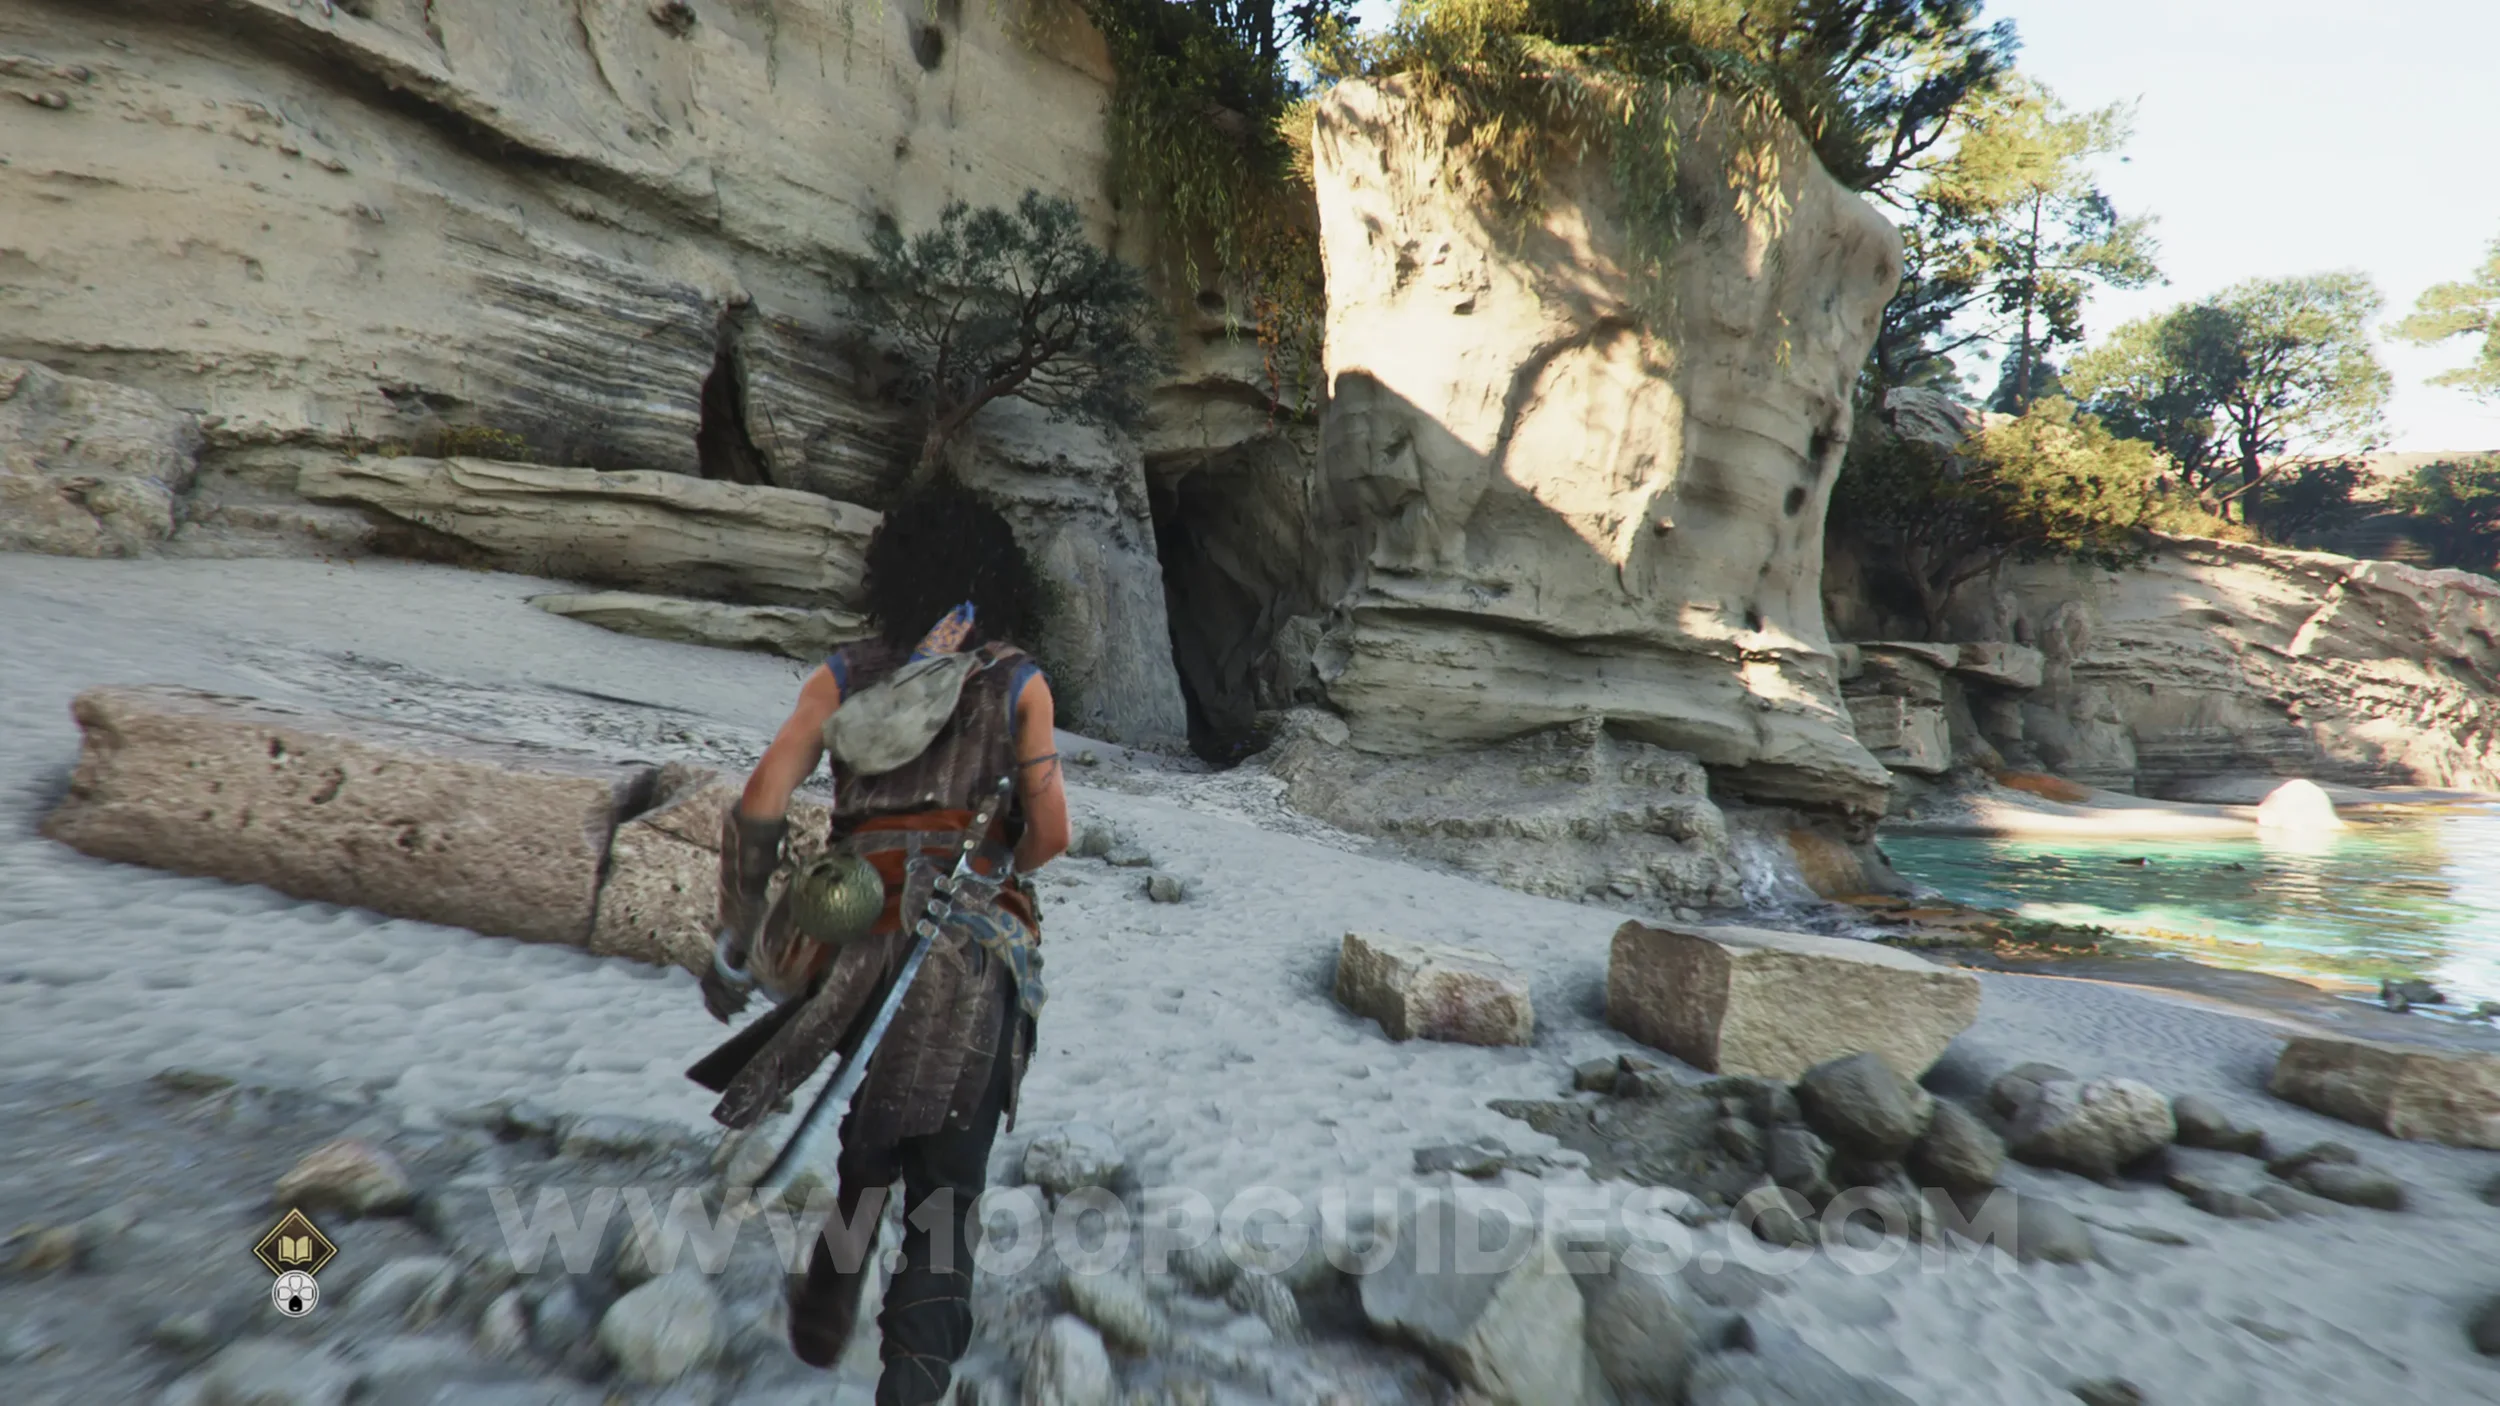
Chapter 3: Sub-Chapter 1.
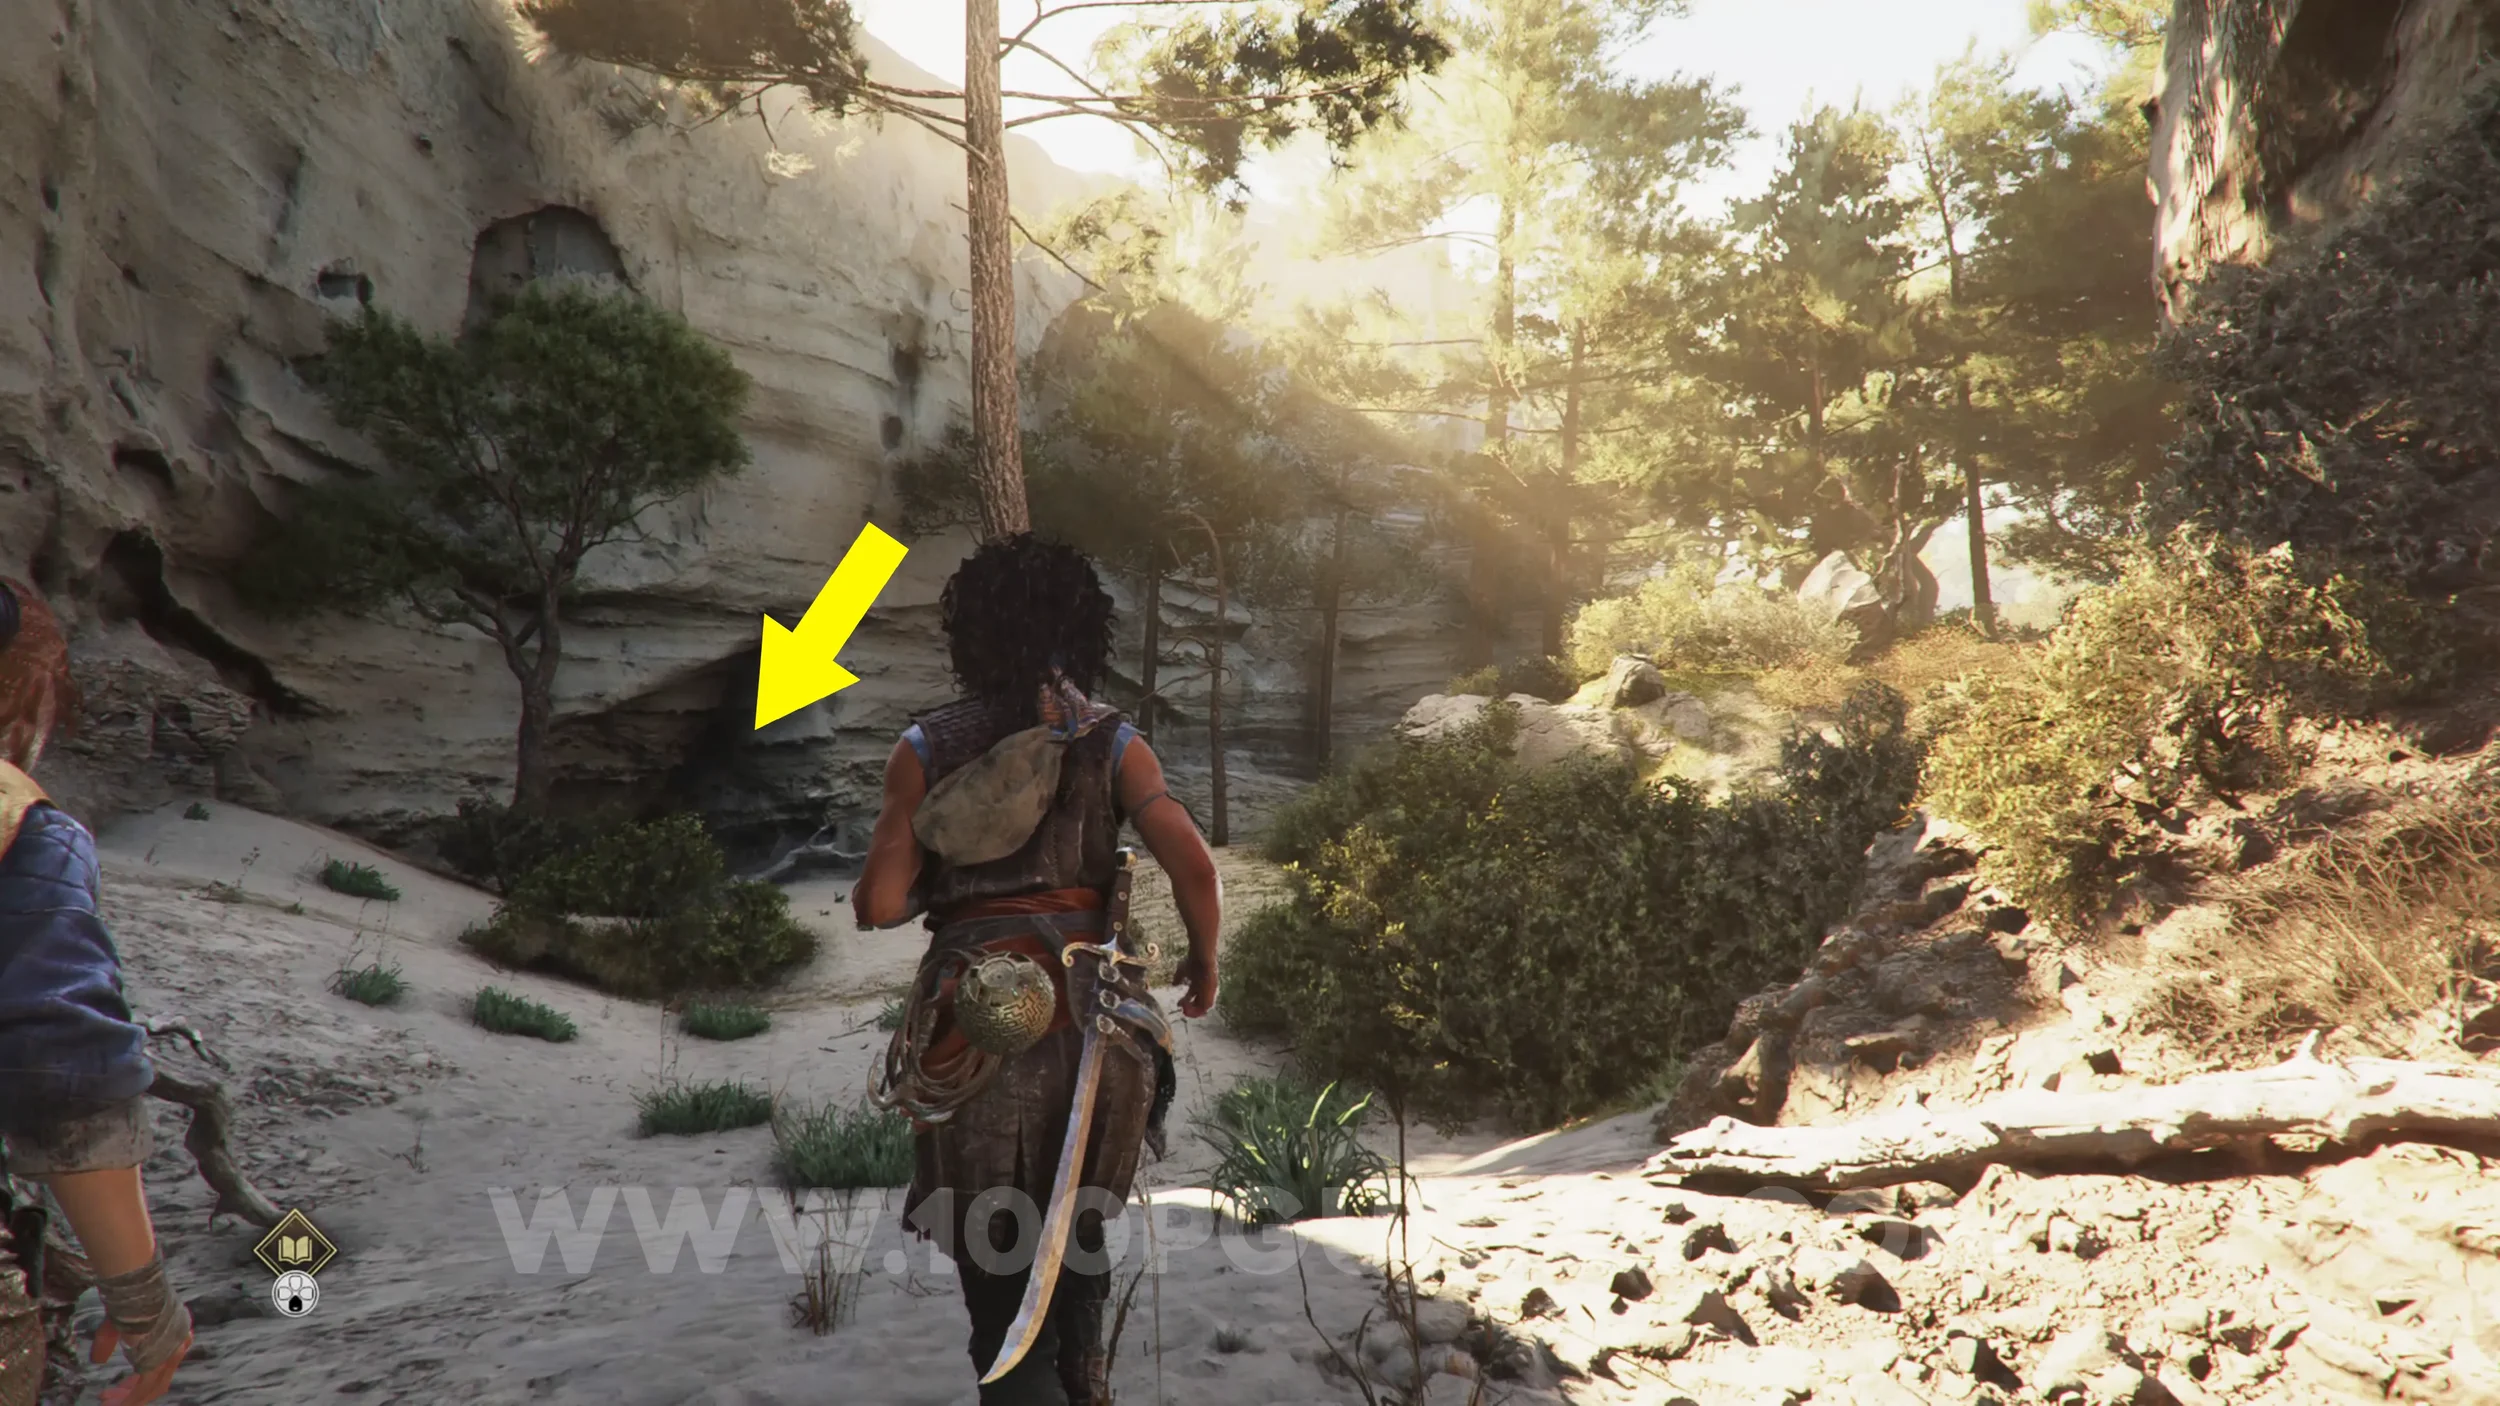
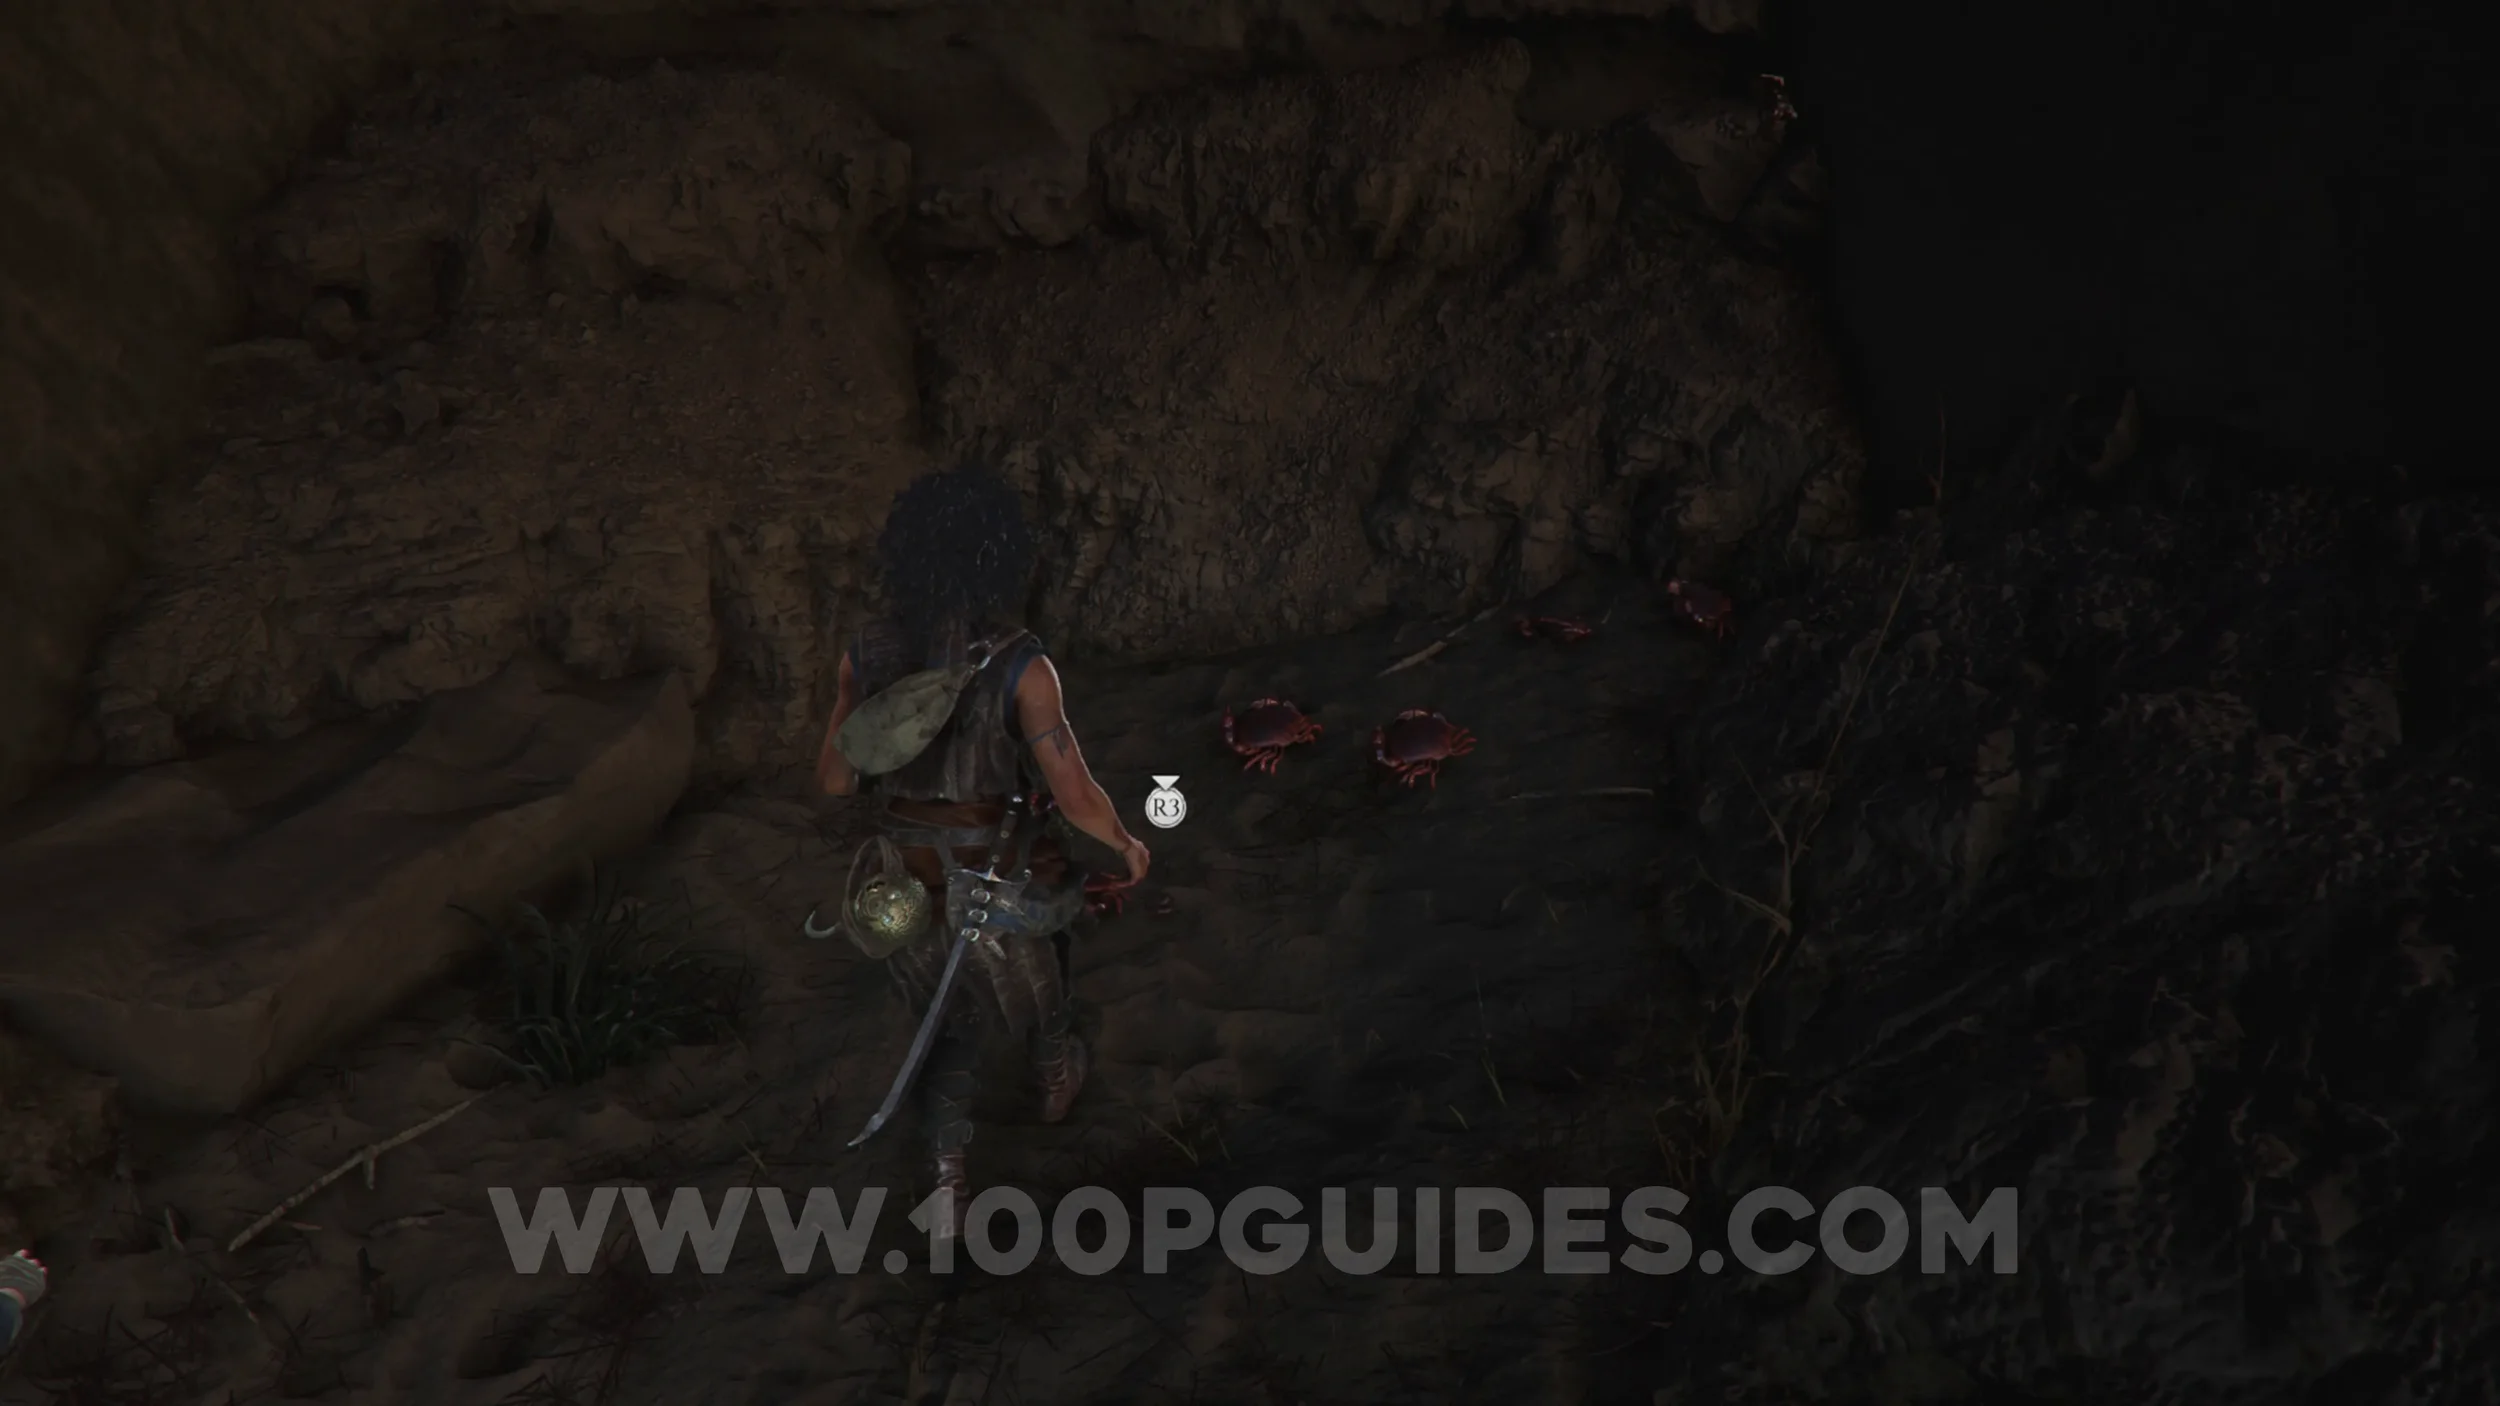
After going through a small cave on the beach, you'll emerge into an area with trees. Look for a small cave on your left here to find the artefact inside.
Resonance Point
Chapter 3: Sub-Chapter 1.
After leaving the area with trees via the grappling point on the cliff, you'll go through a small cave with a seagull in it. Coming out the other side, you'll slide down a small slope. You'll see the resonance point shining at the bottom.
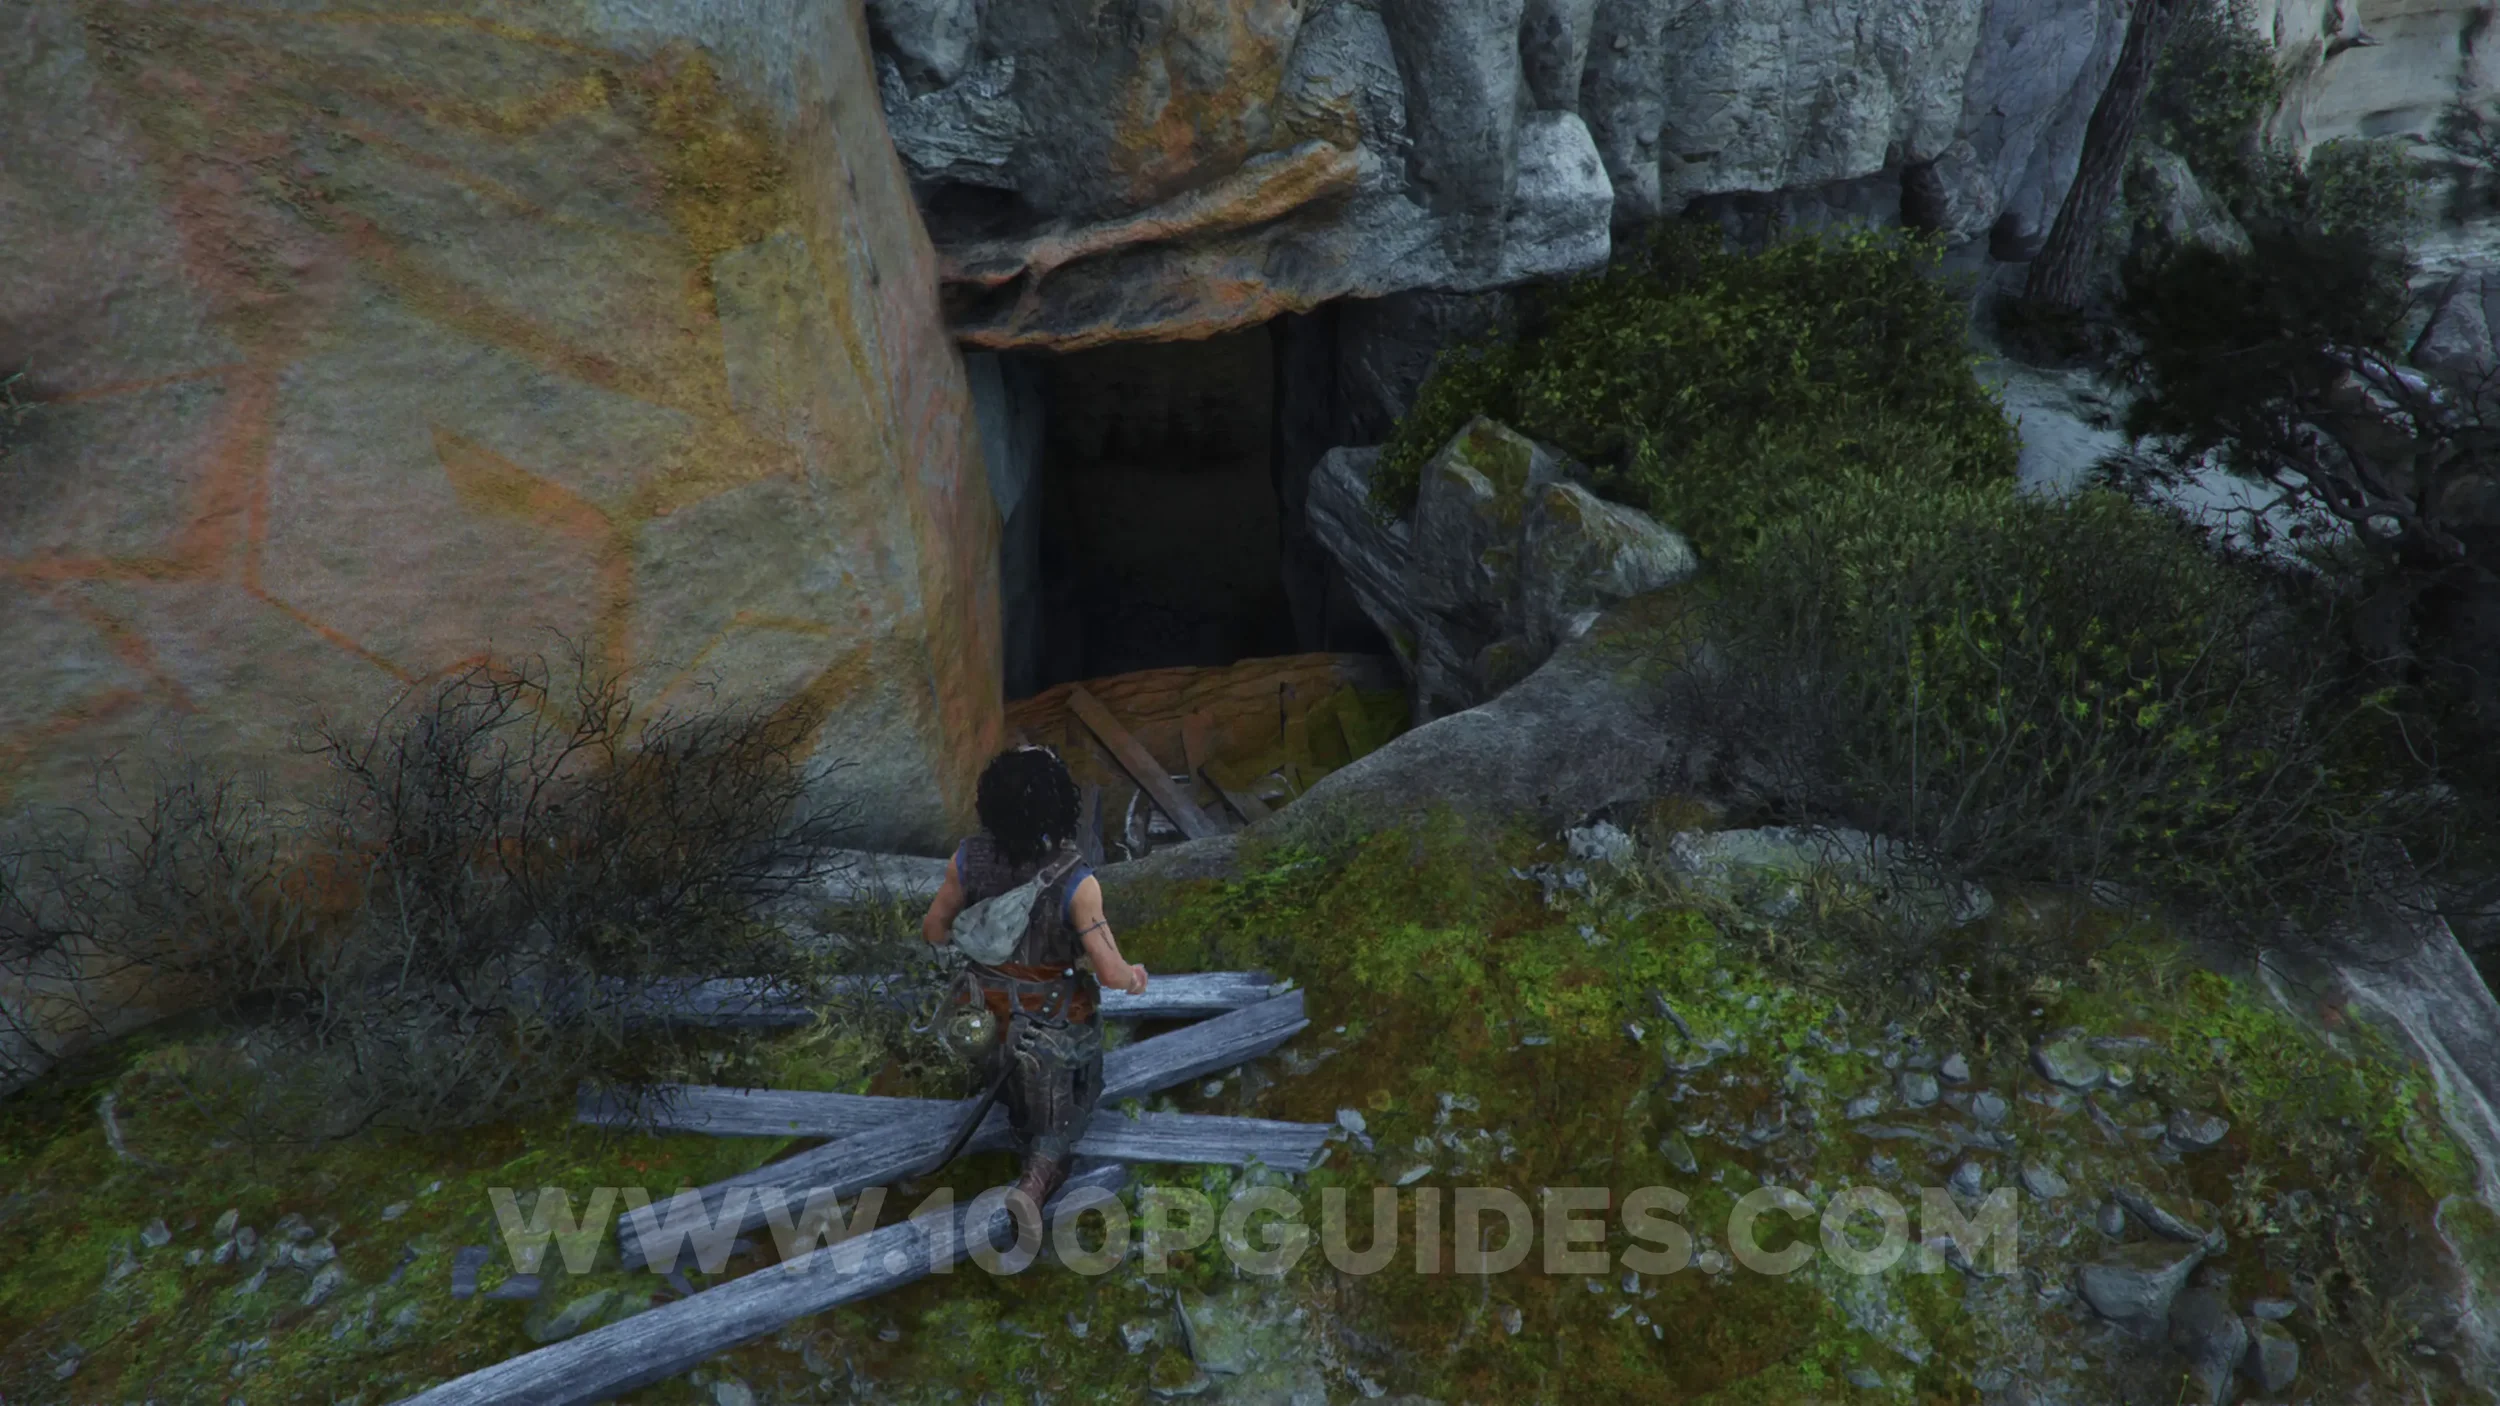
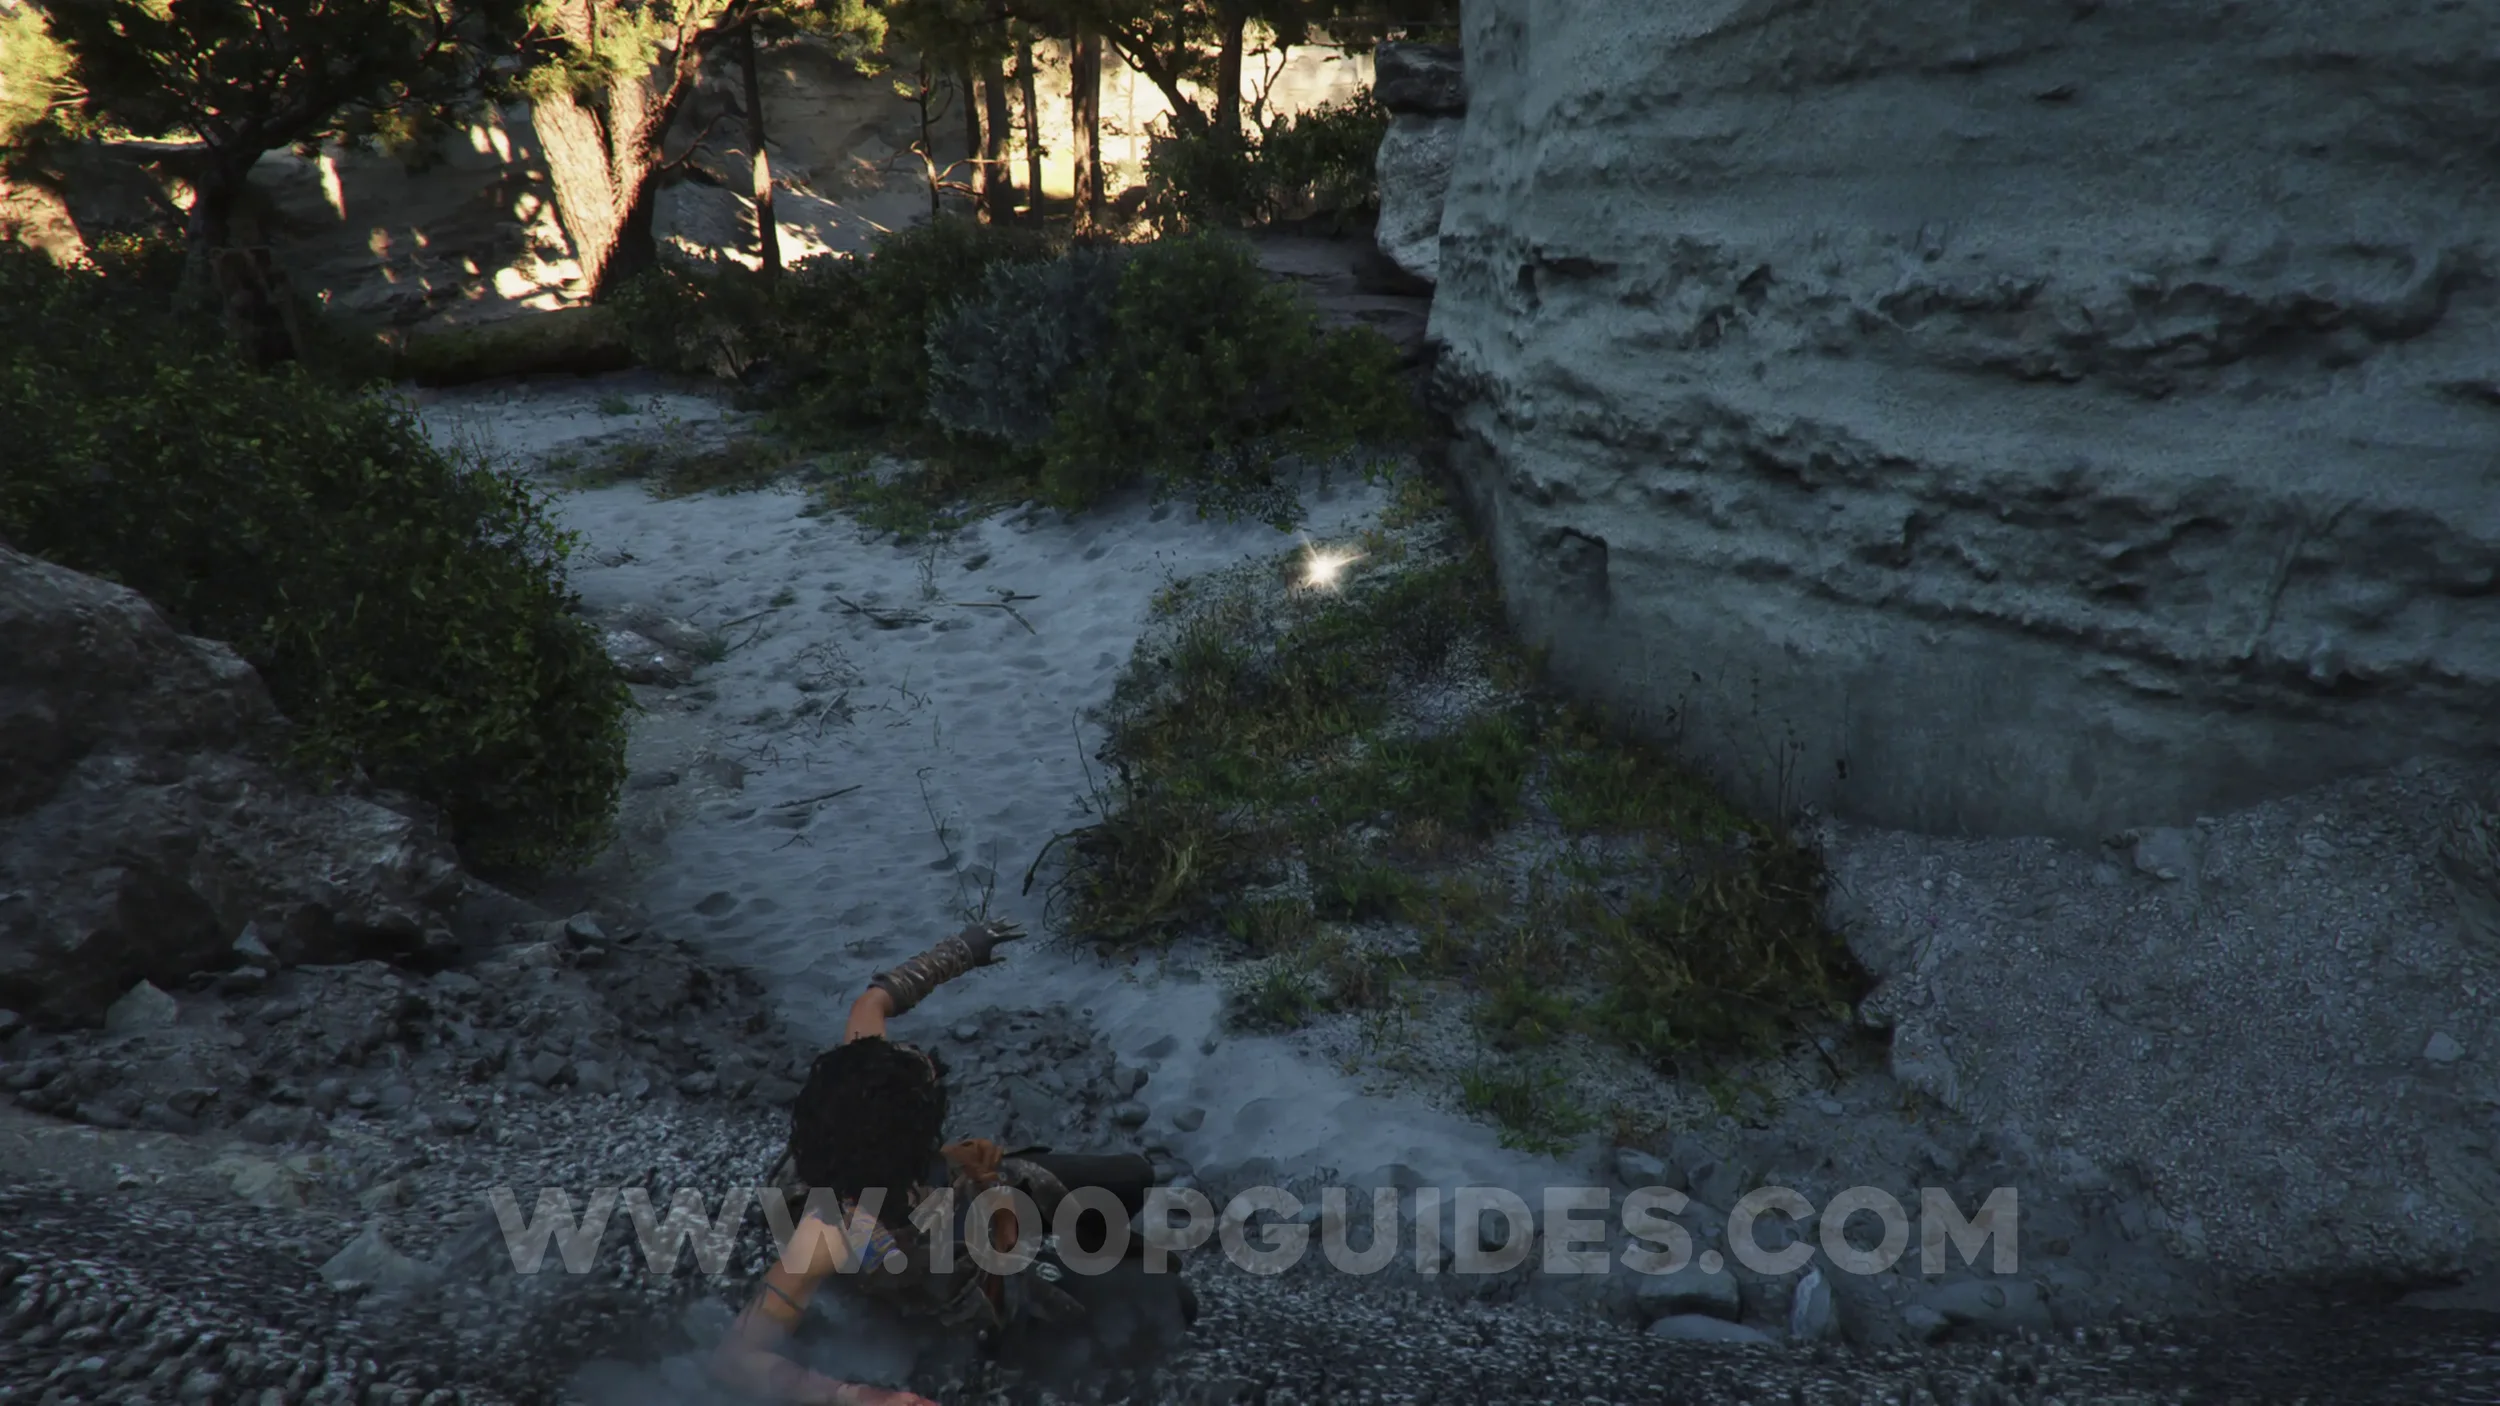
Artefact: Golden Cup
Chapter 3: Sub-Chapter 1.
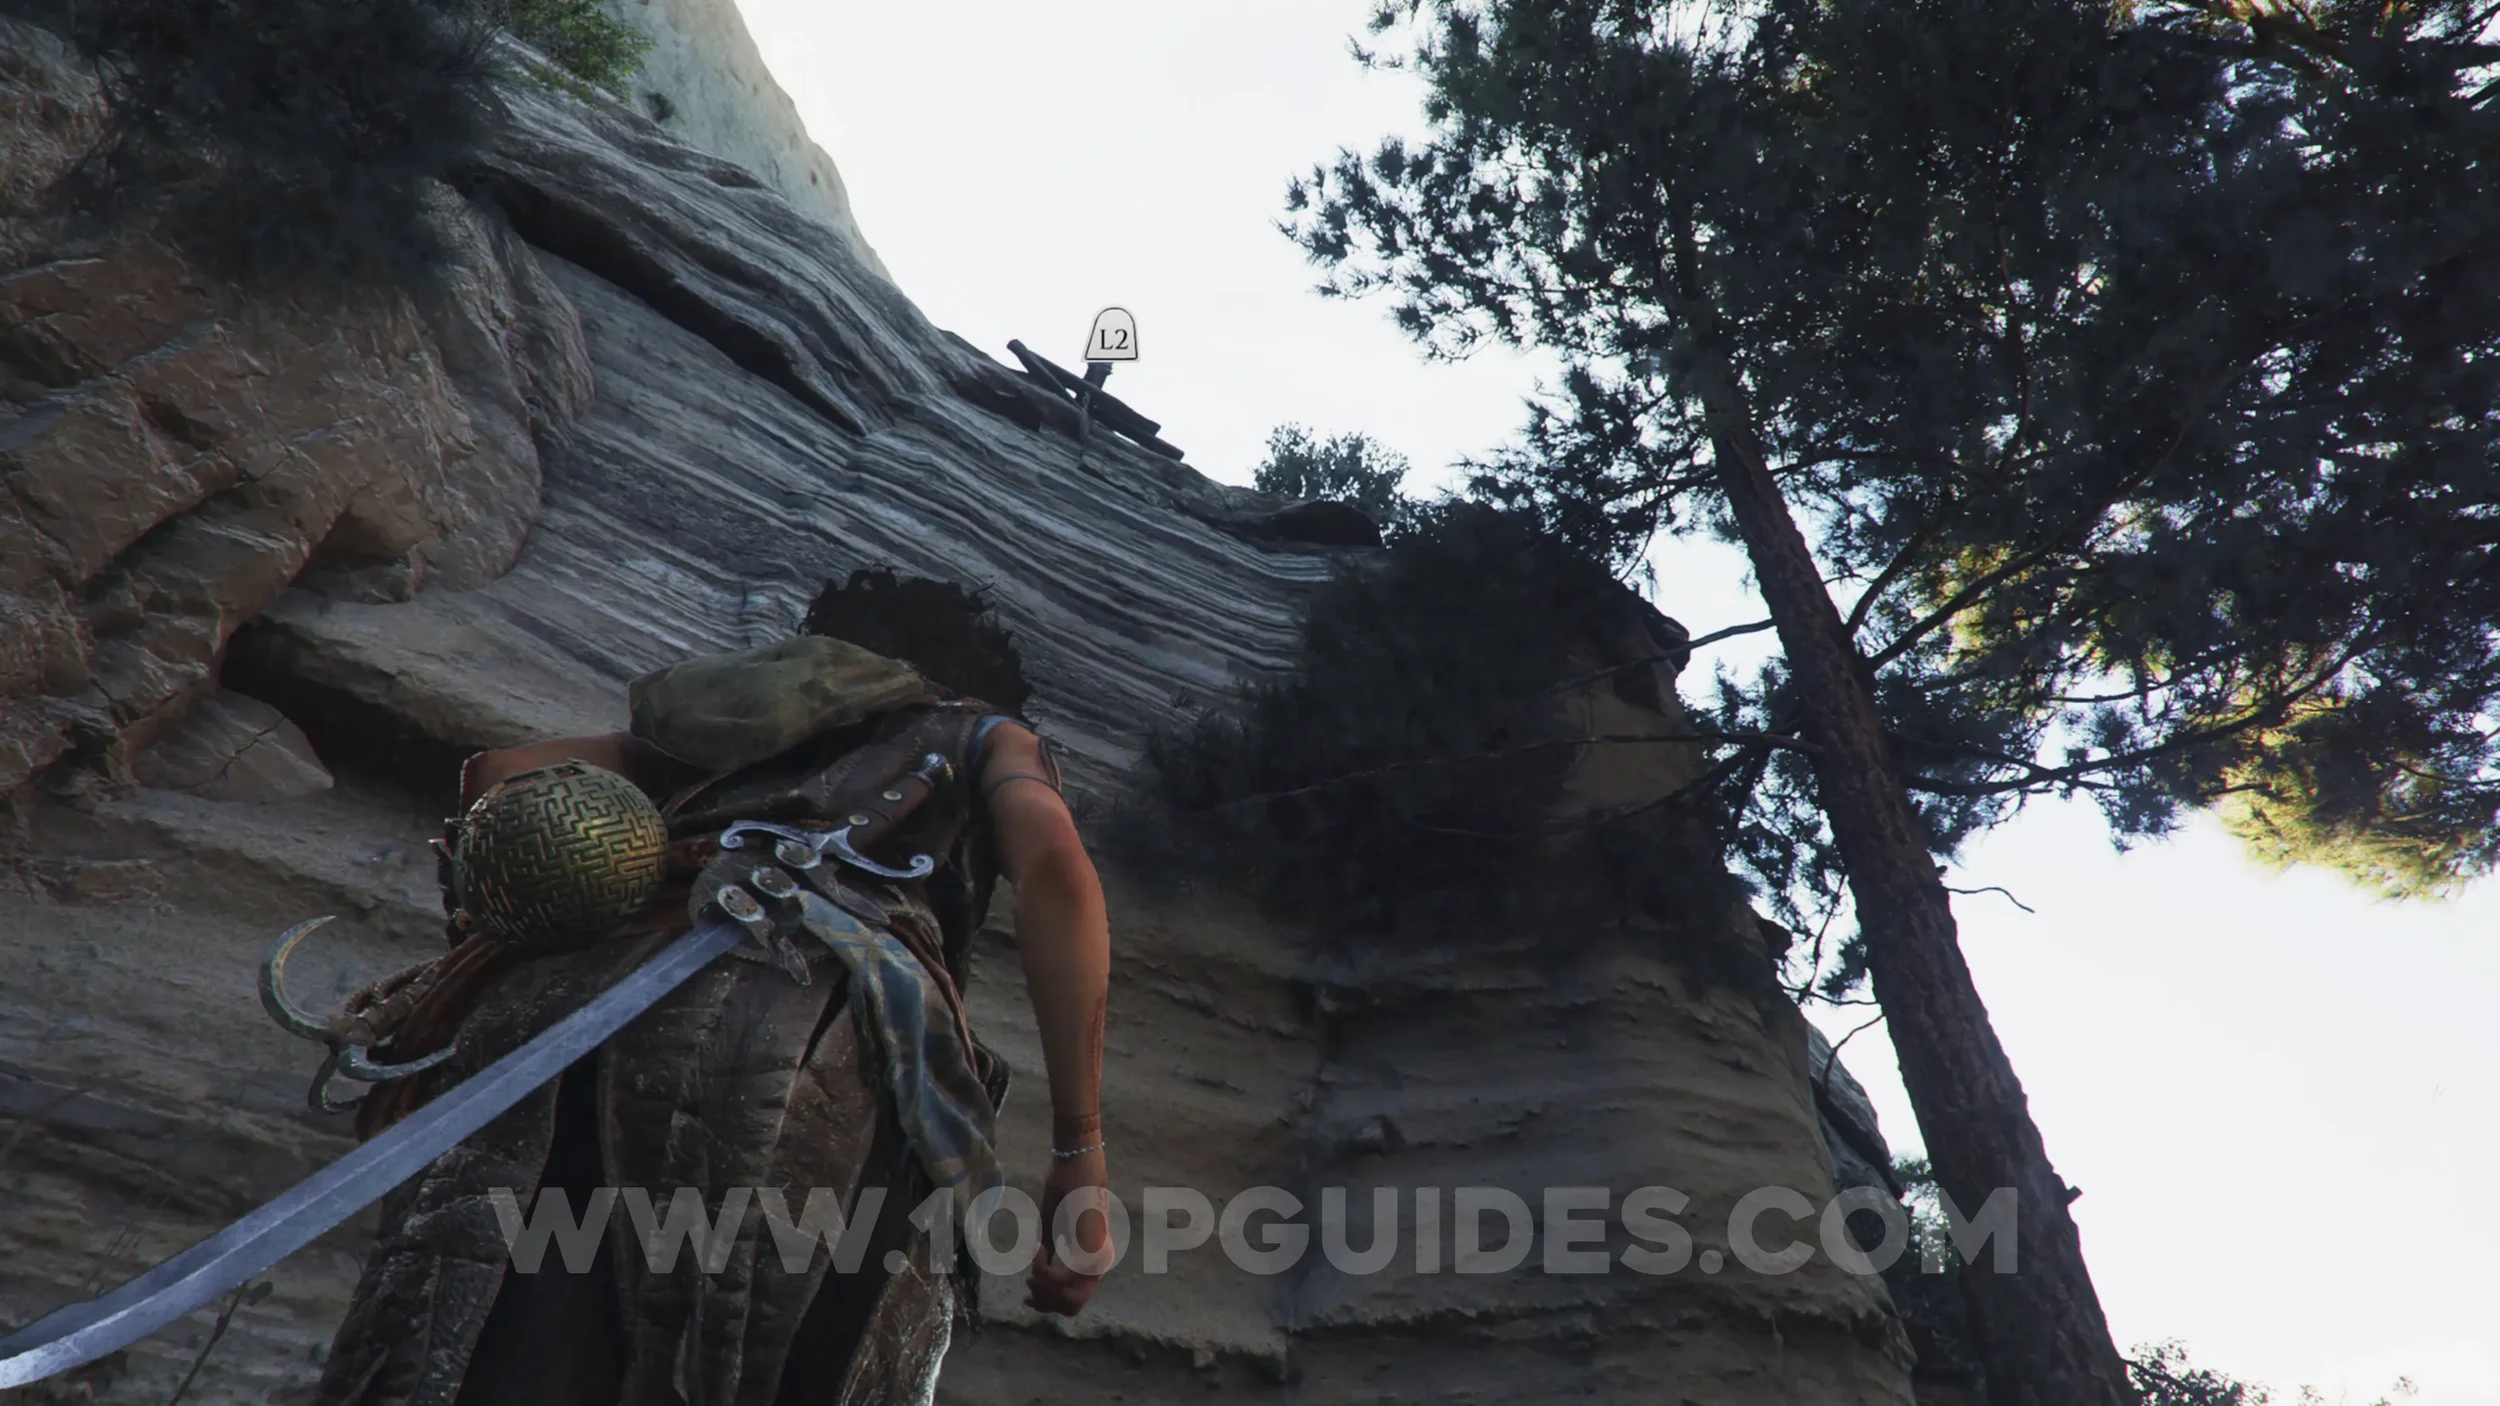
After leaving the area with water and the circular structure on the ground, you'll see a fox. Continue up the hill and climb the platforms on your right to reach the area above. Here, follow the path down to the left to find the collectible at the end of a small valley at the bottom.
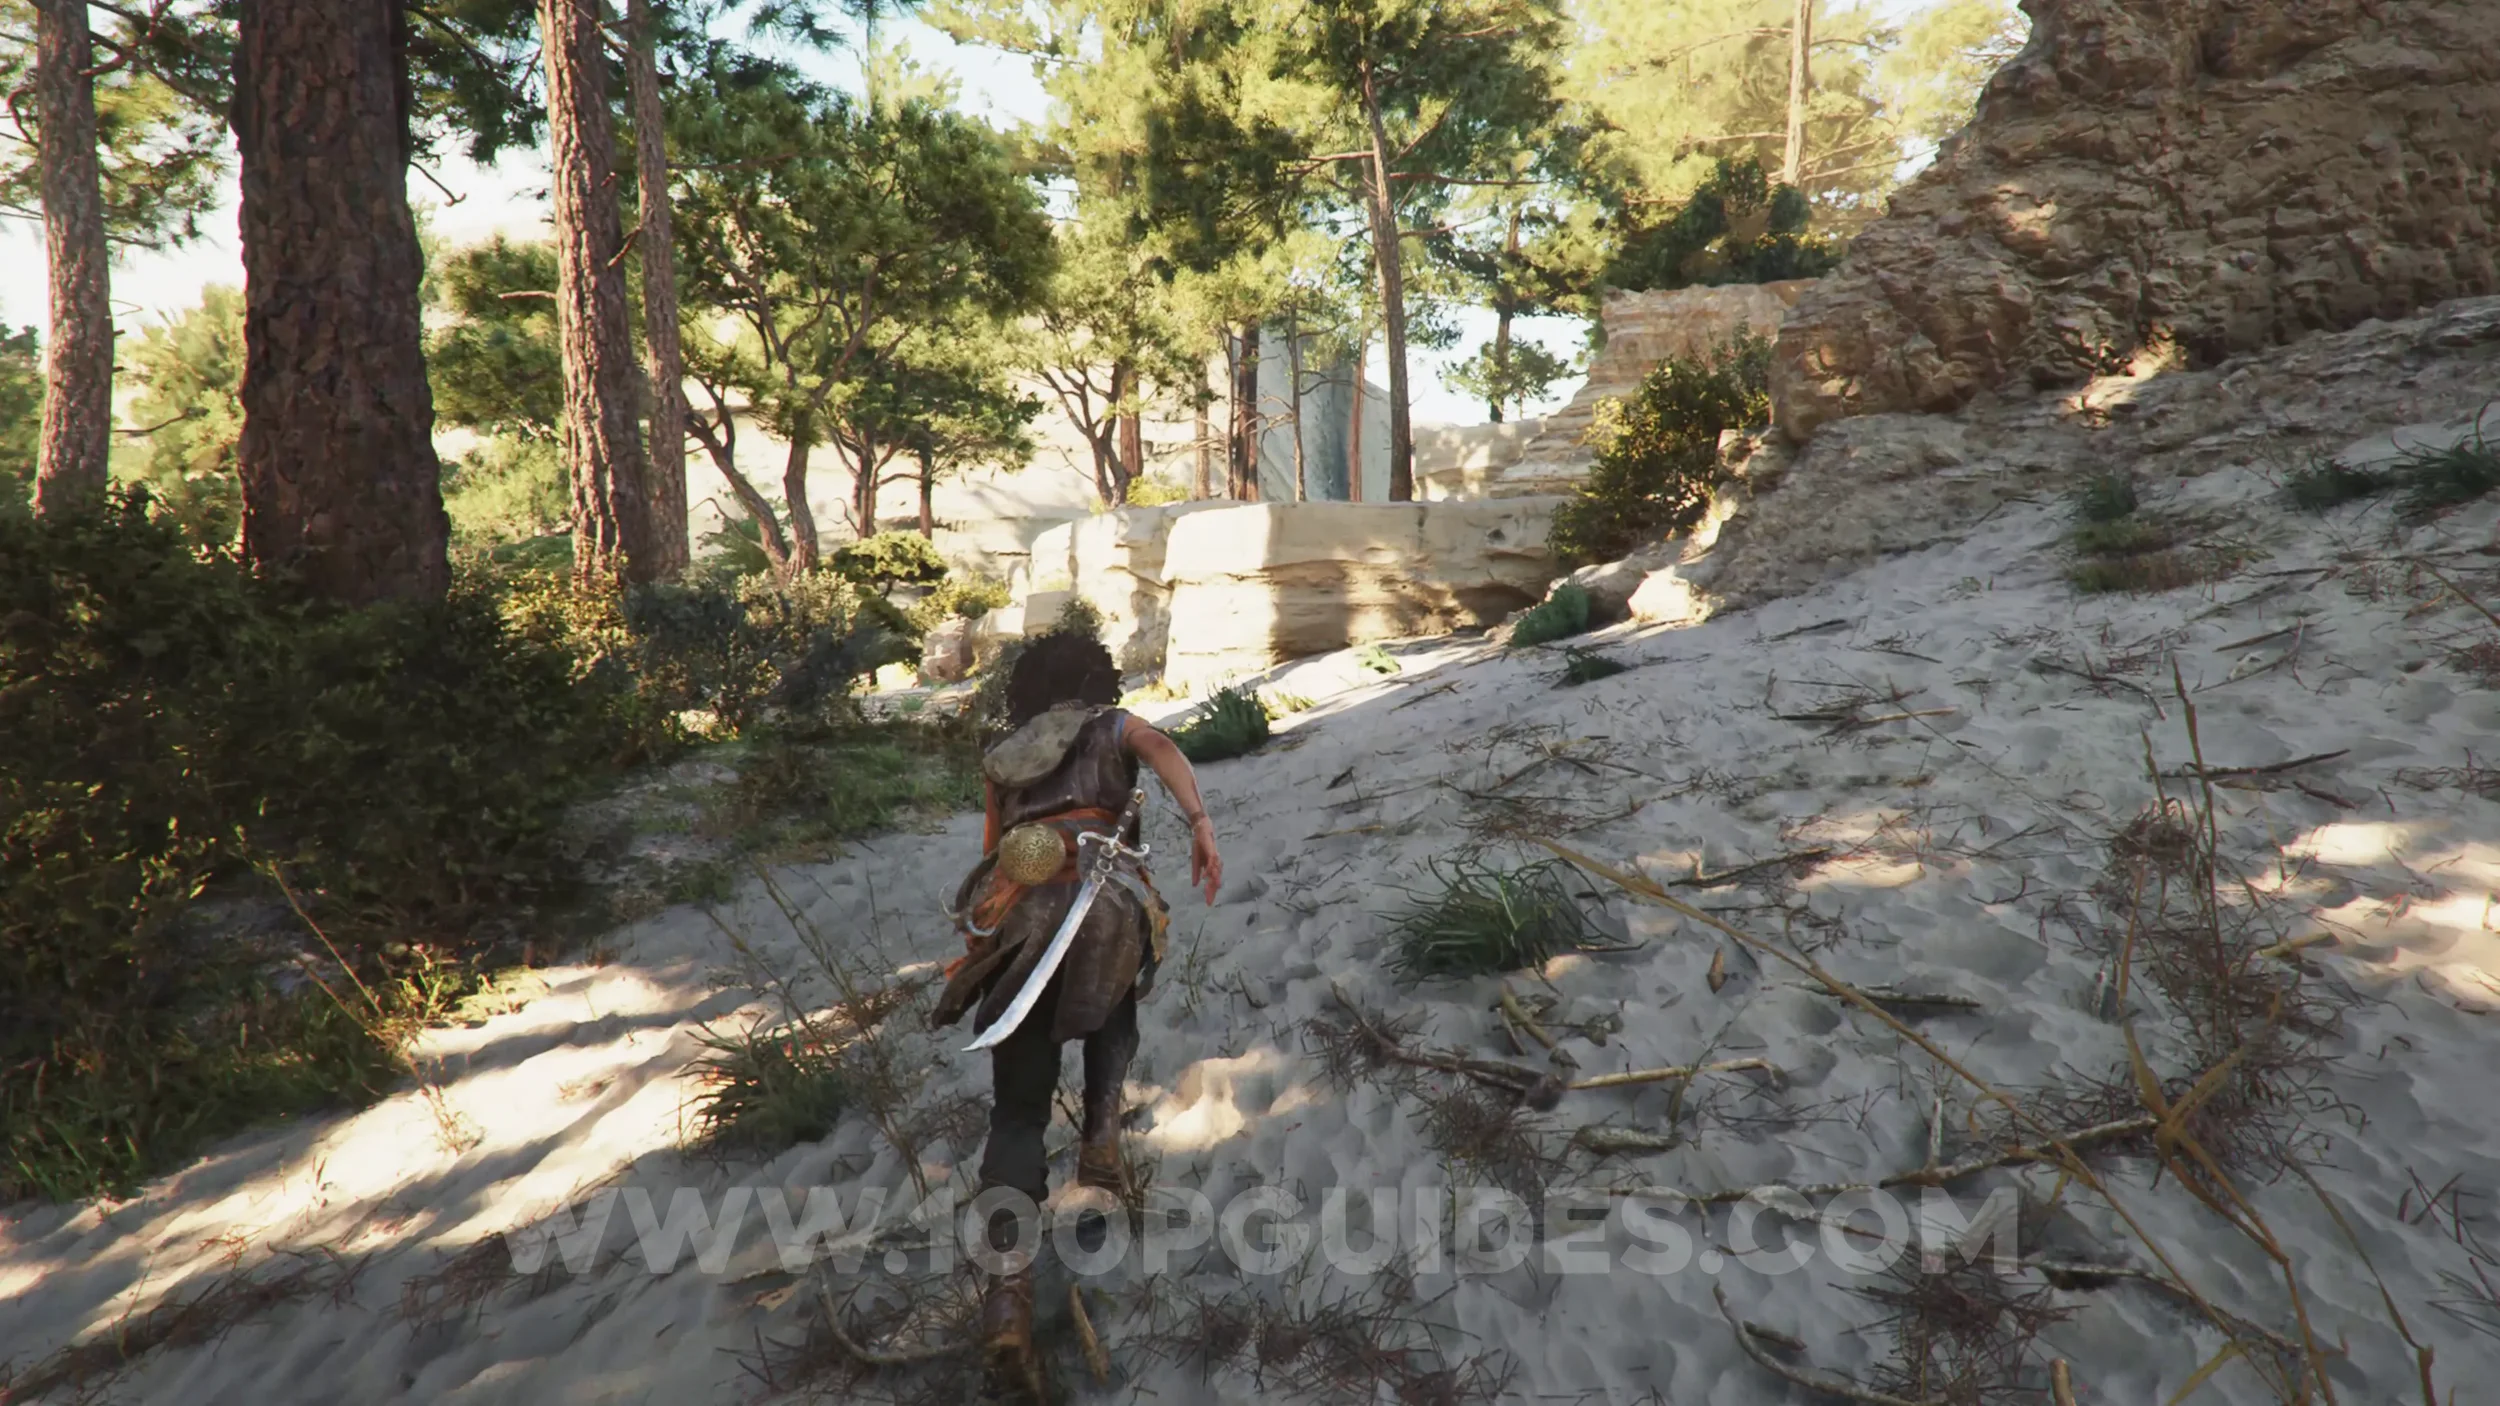
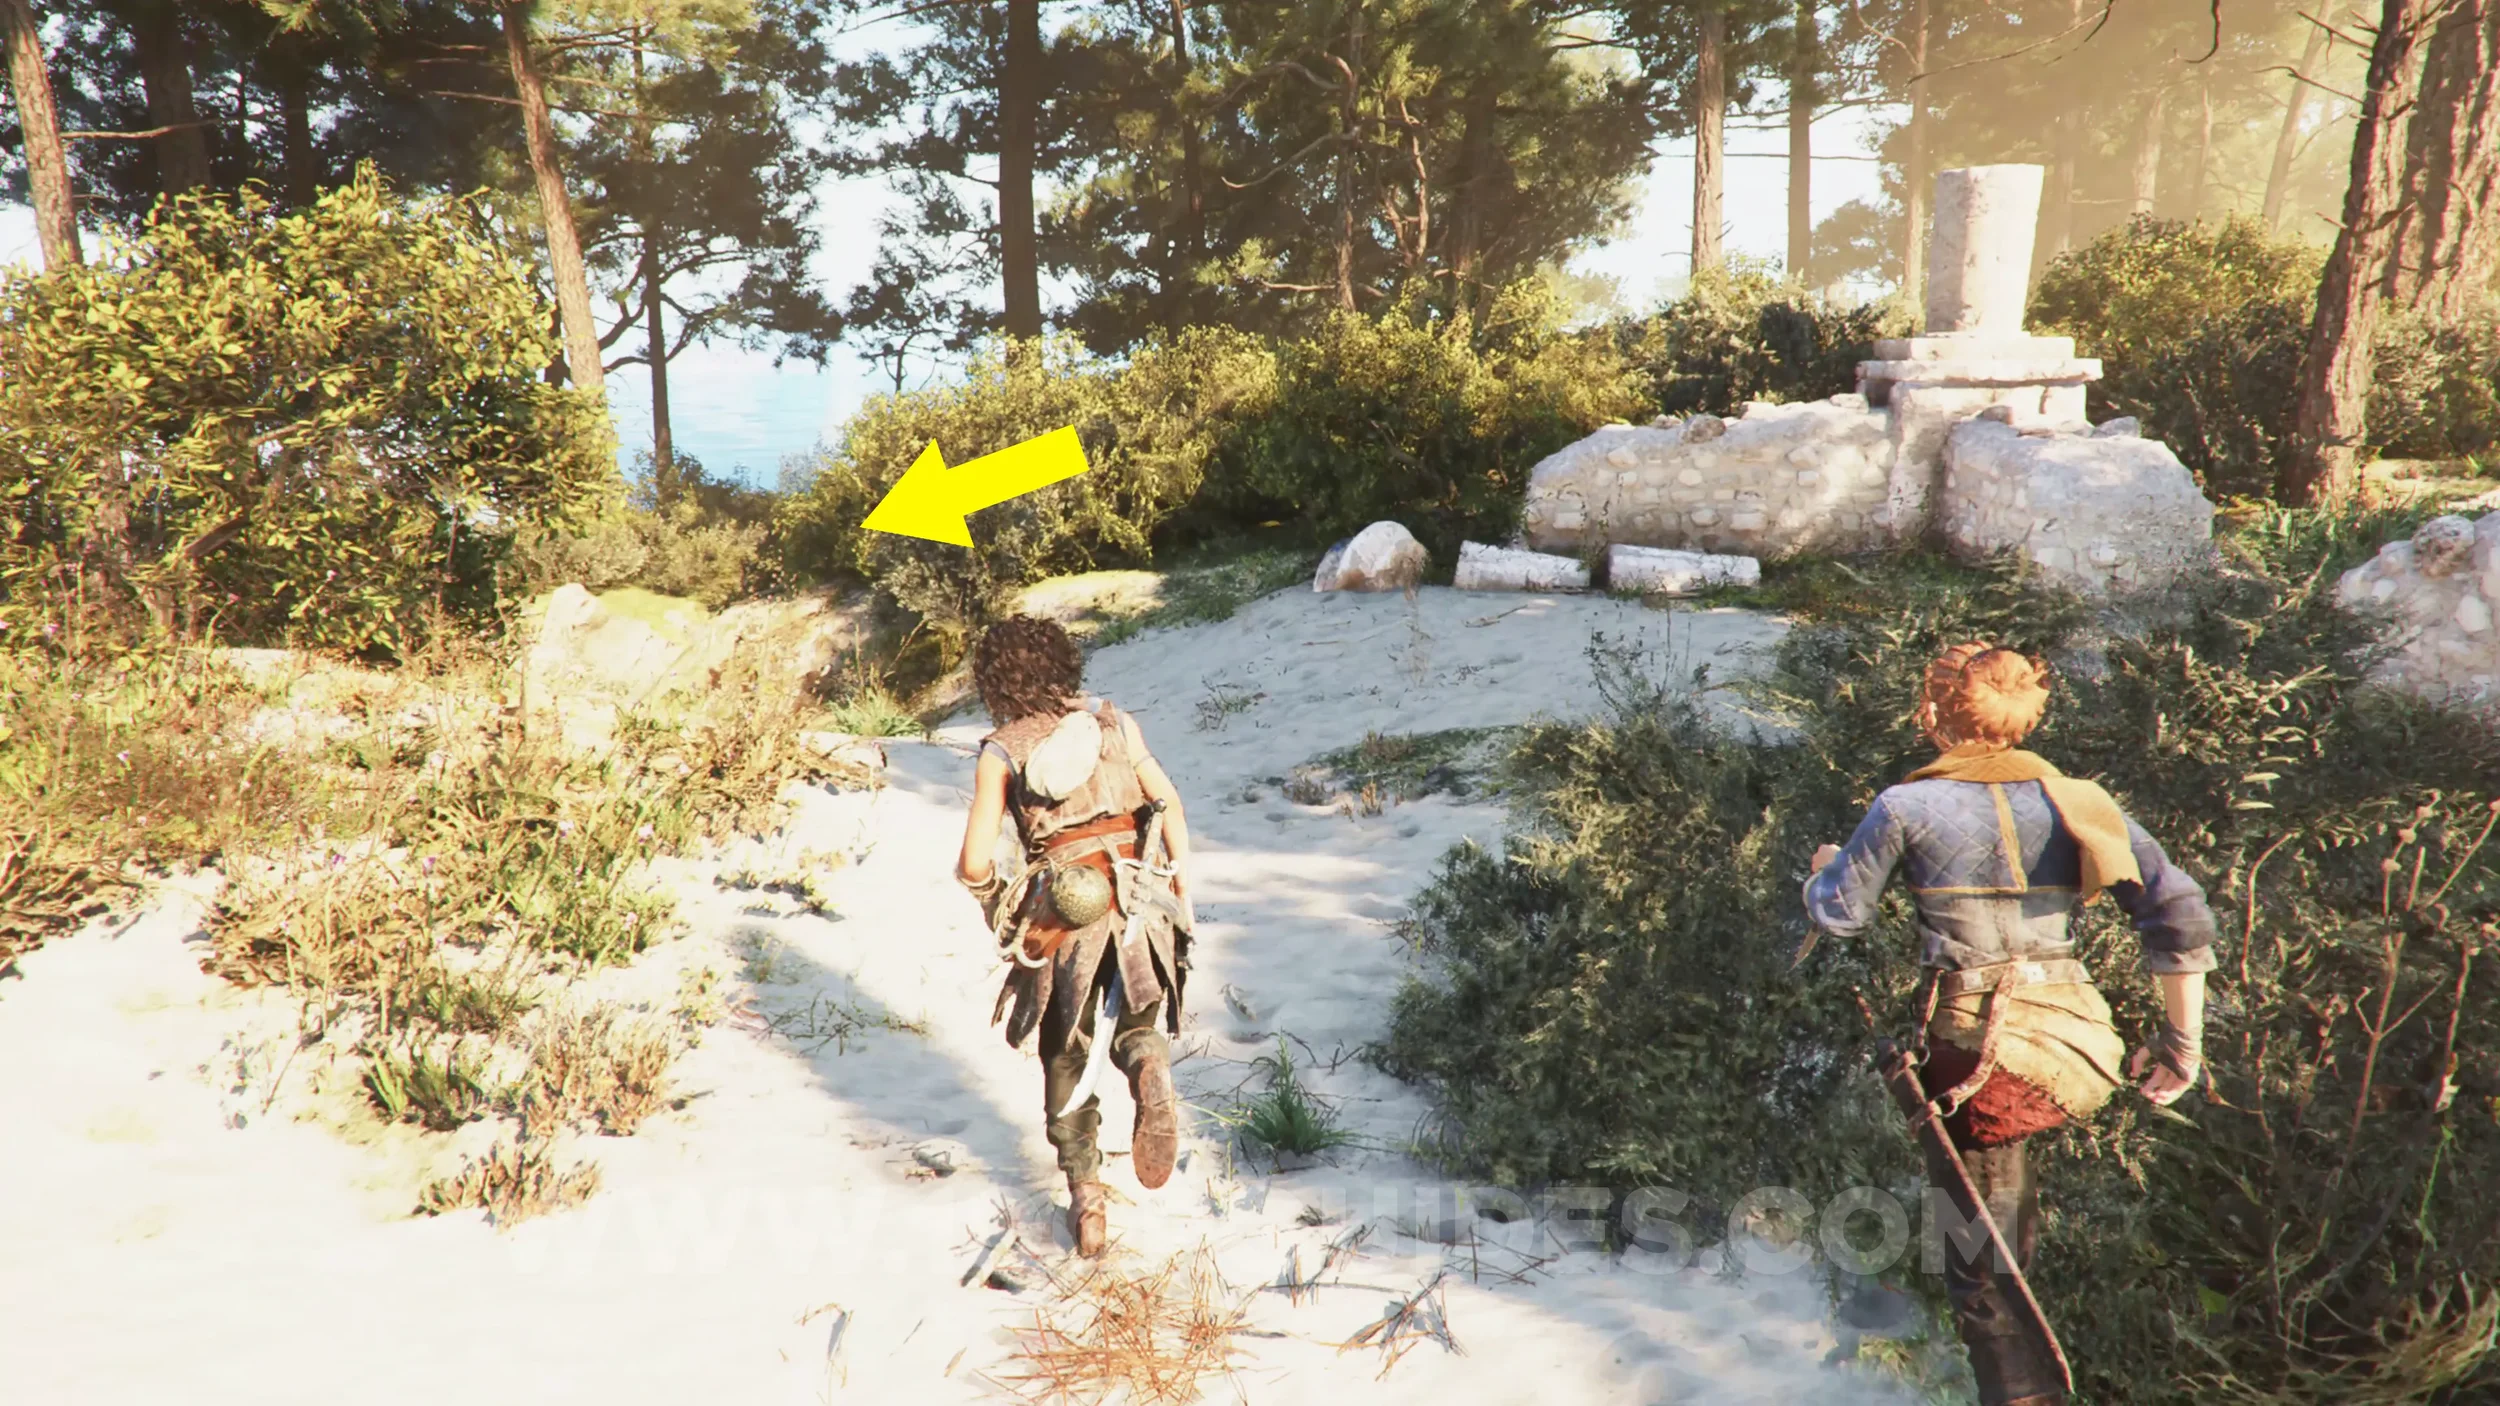
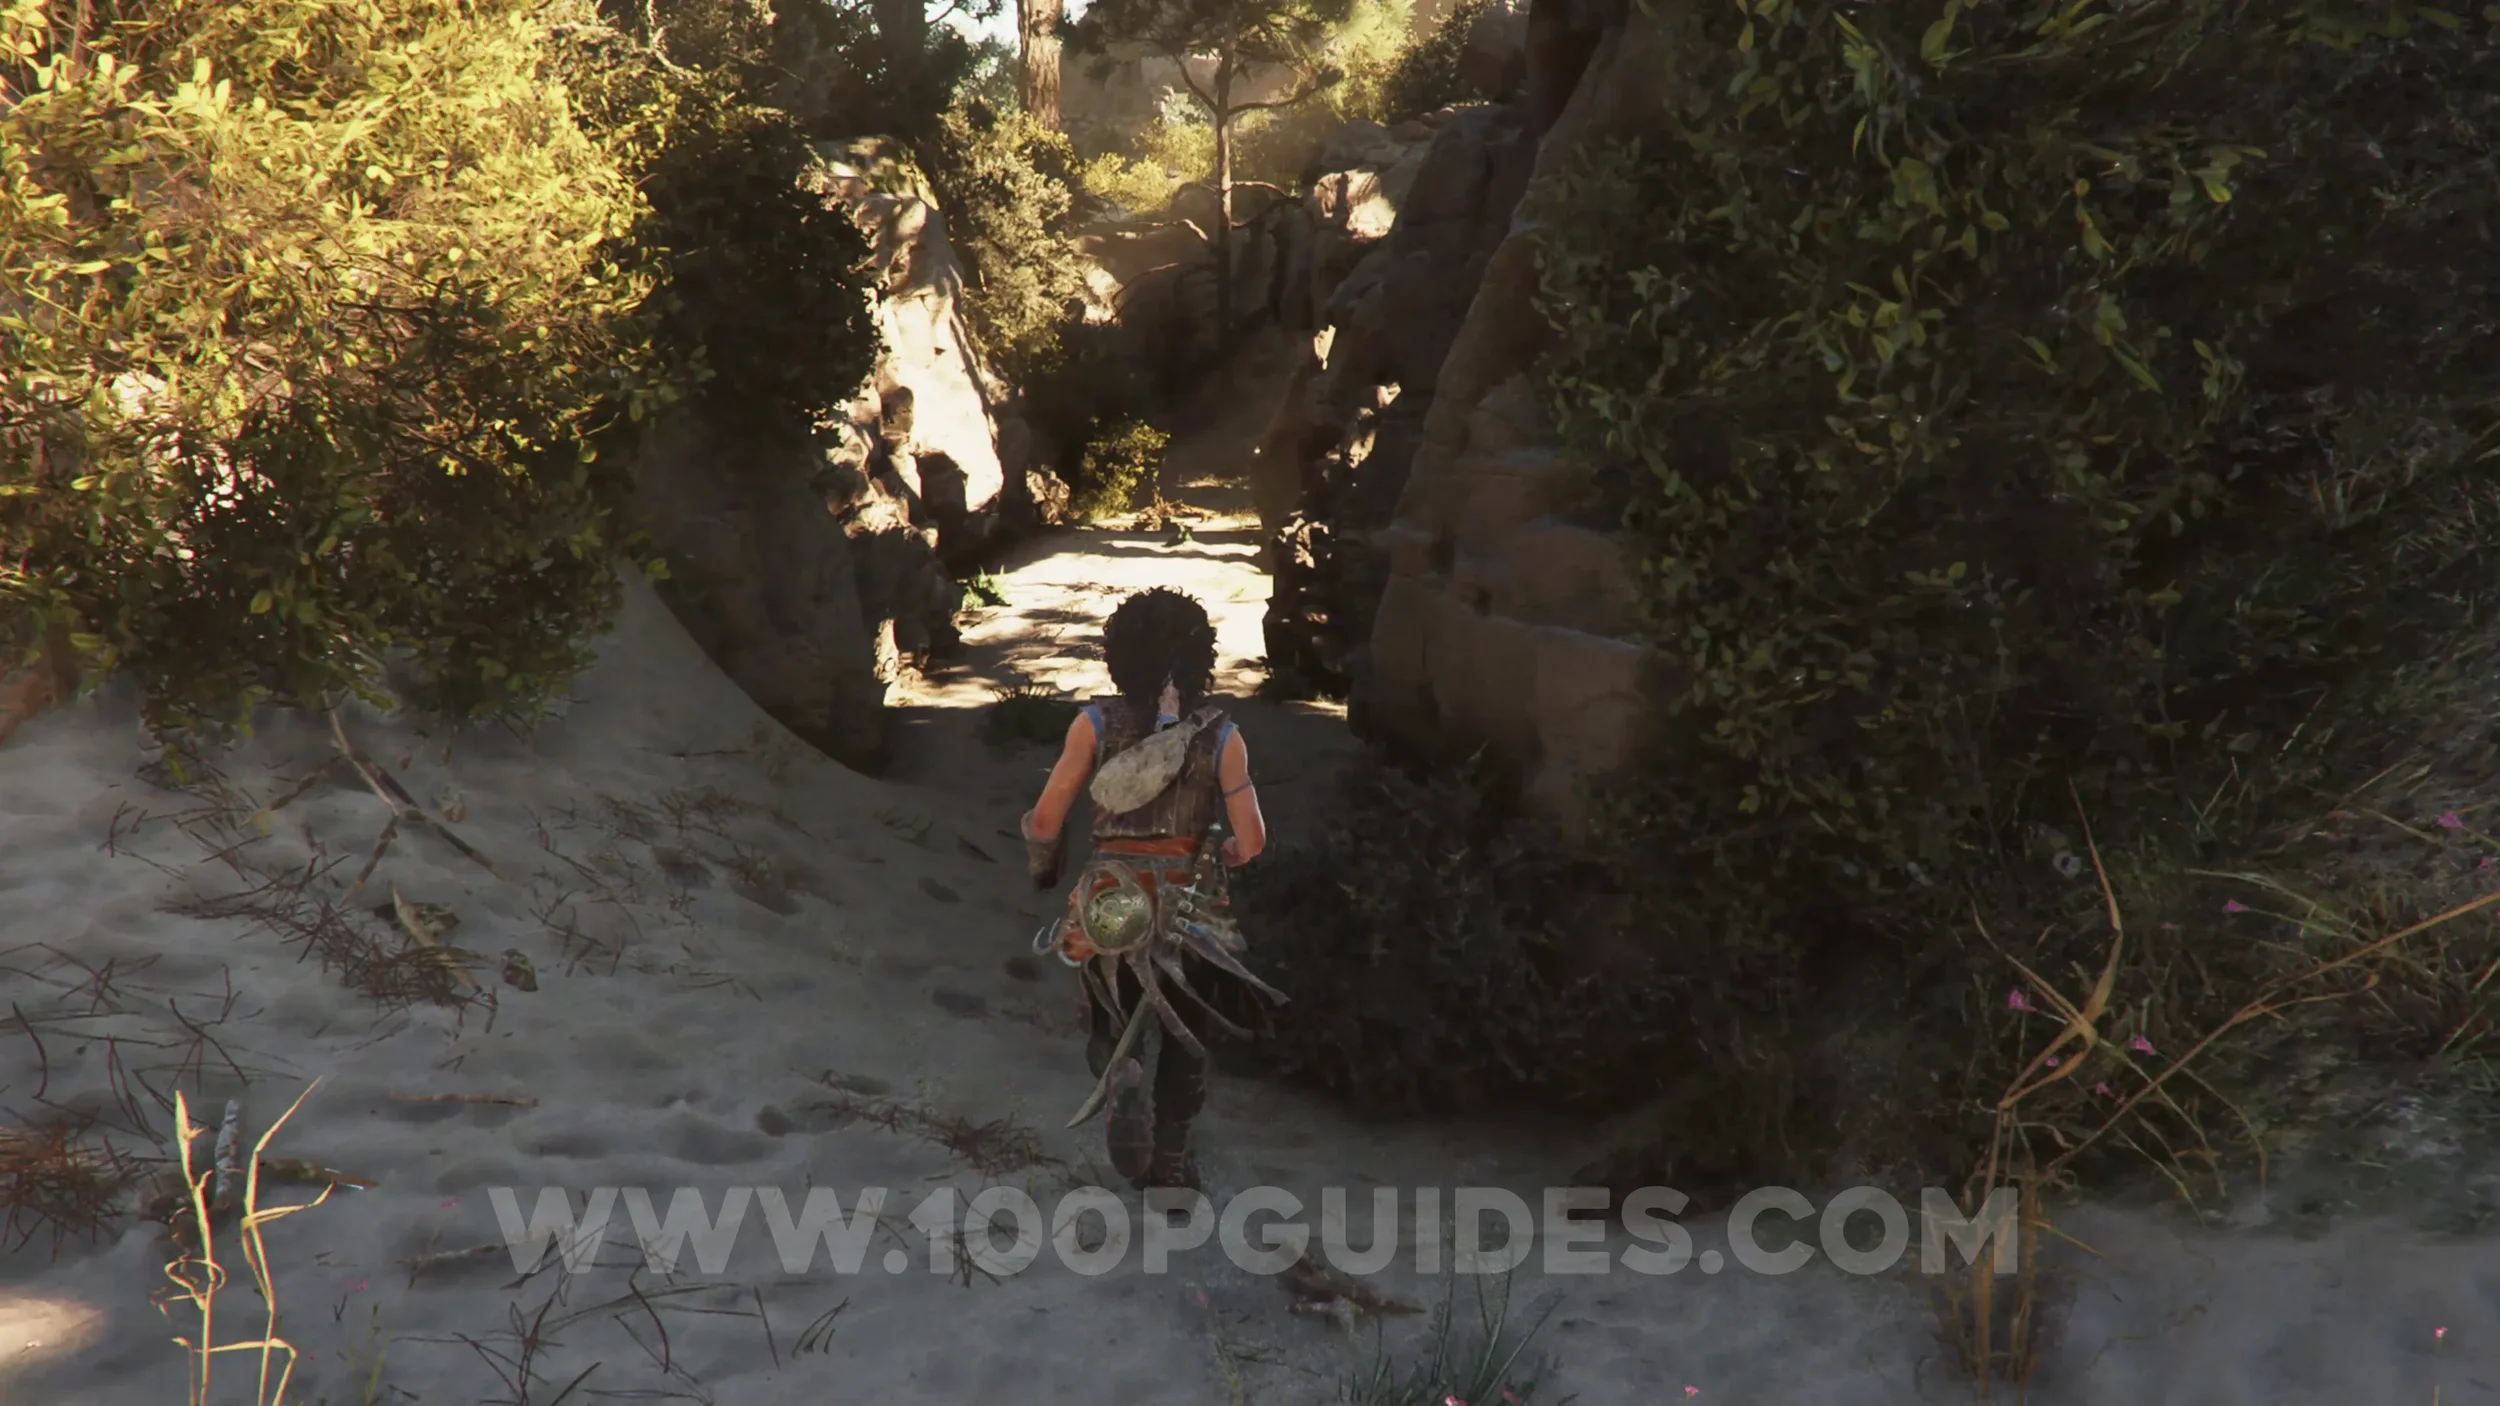
Artefact: Heroic Plaque
Chapter 3: Sub-Chapter 1.
From the previous collectible, head back up the hill and continue on the main path by jumping over the gap with the slope below it. You'll then arrive at an area with lots of ruins. Head through the middle of them towards the ocean, and you should see a small pile of large stone bricks forming a corner on a square platform. The collectible is behind them.
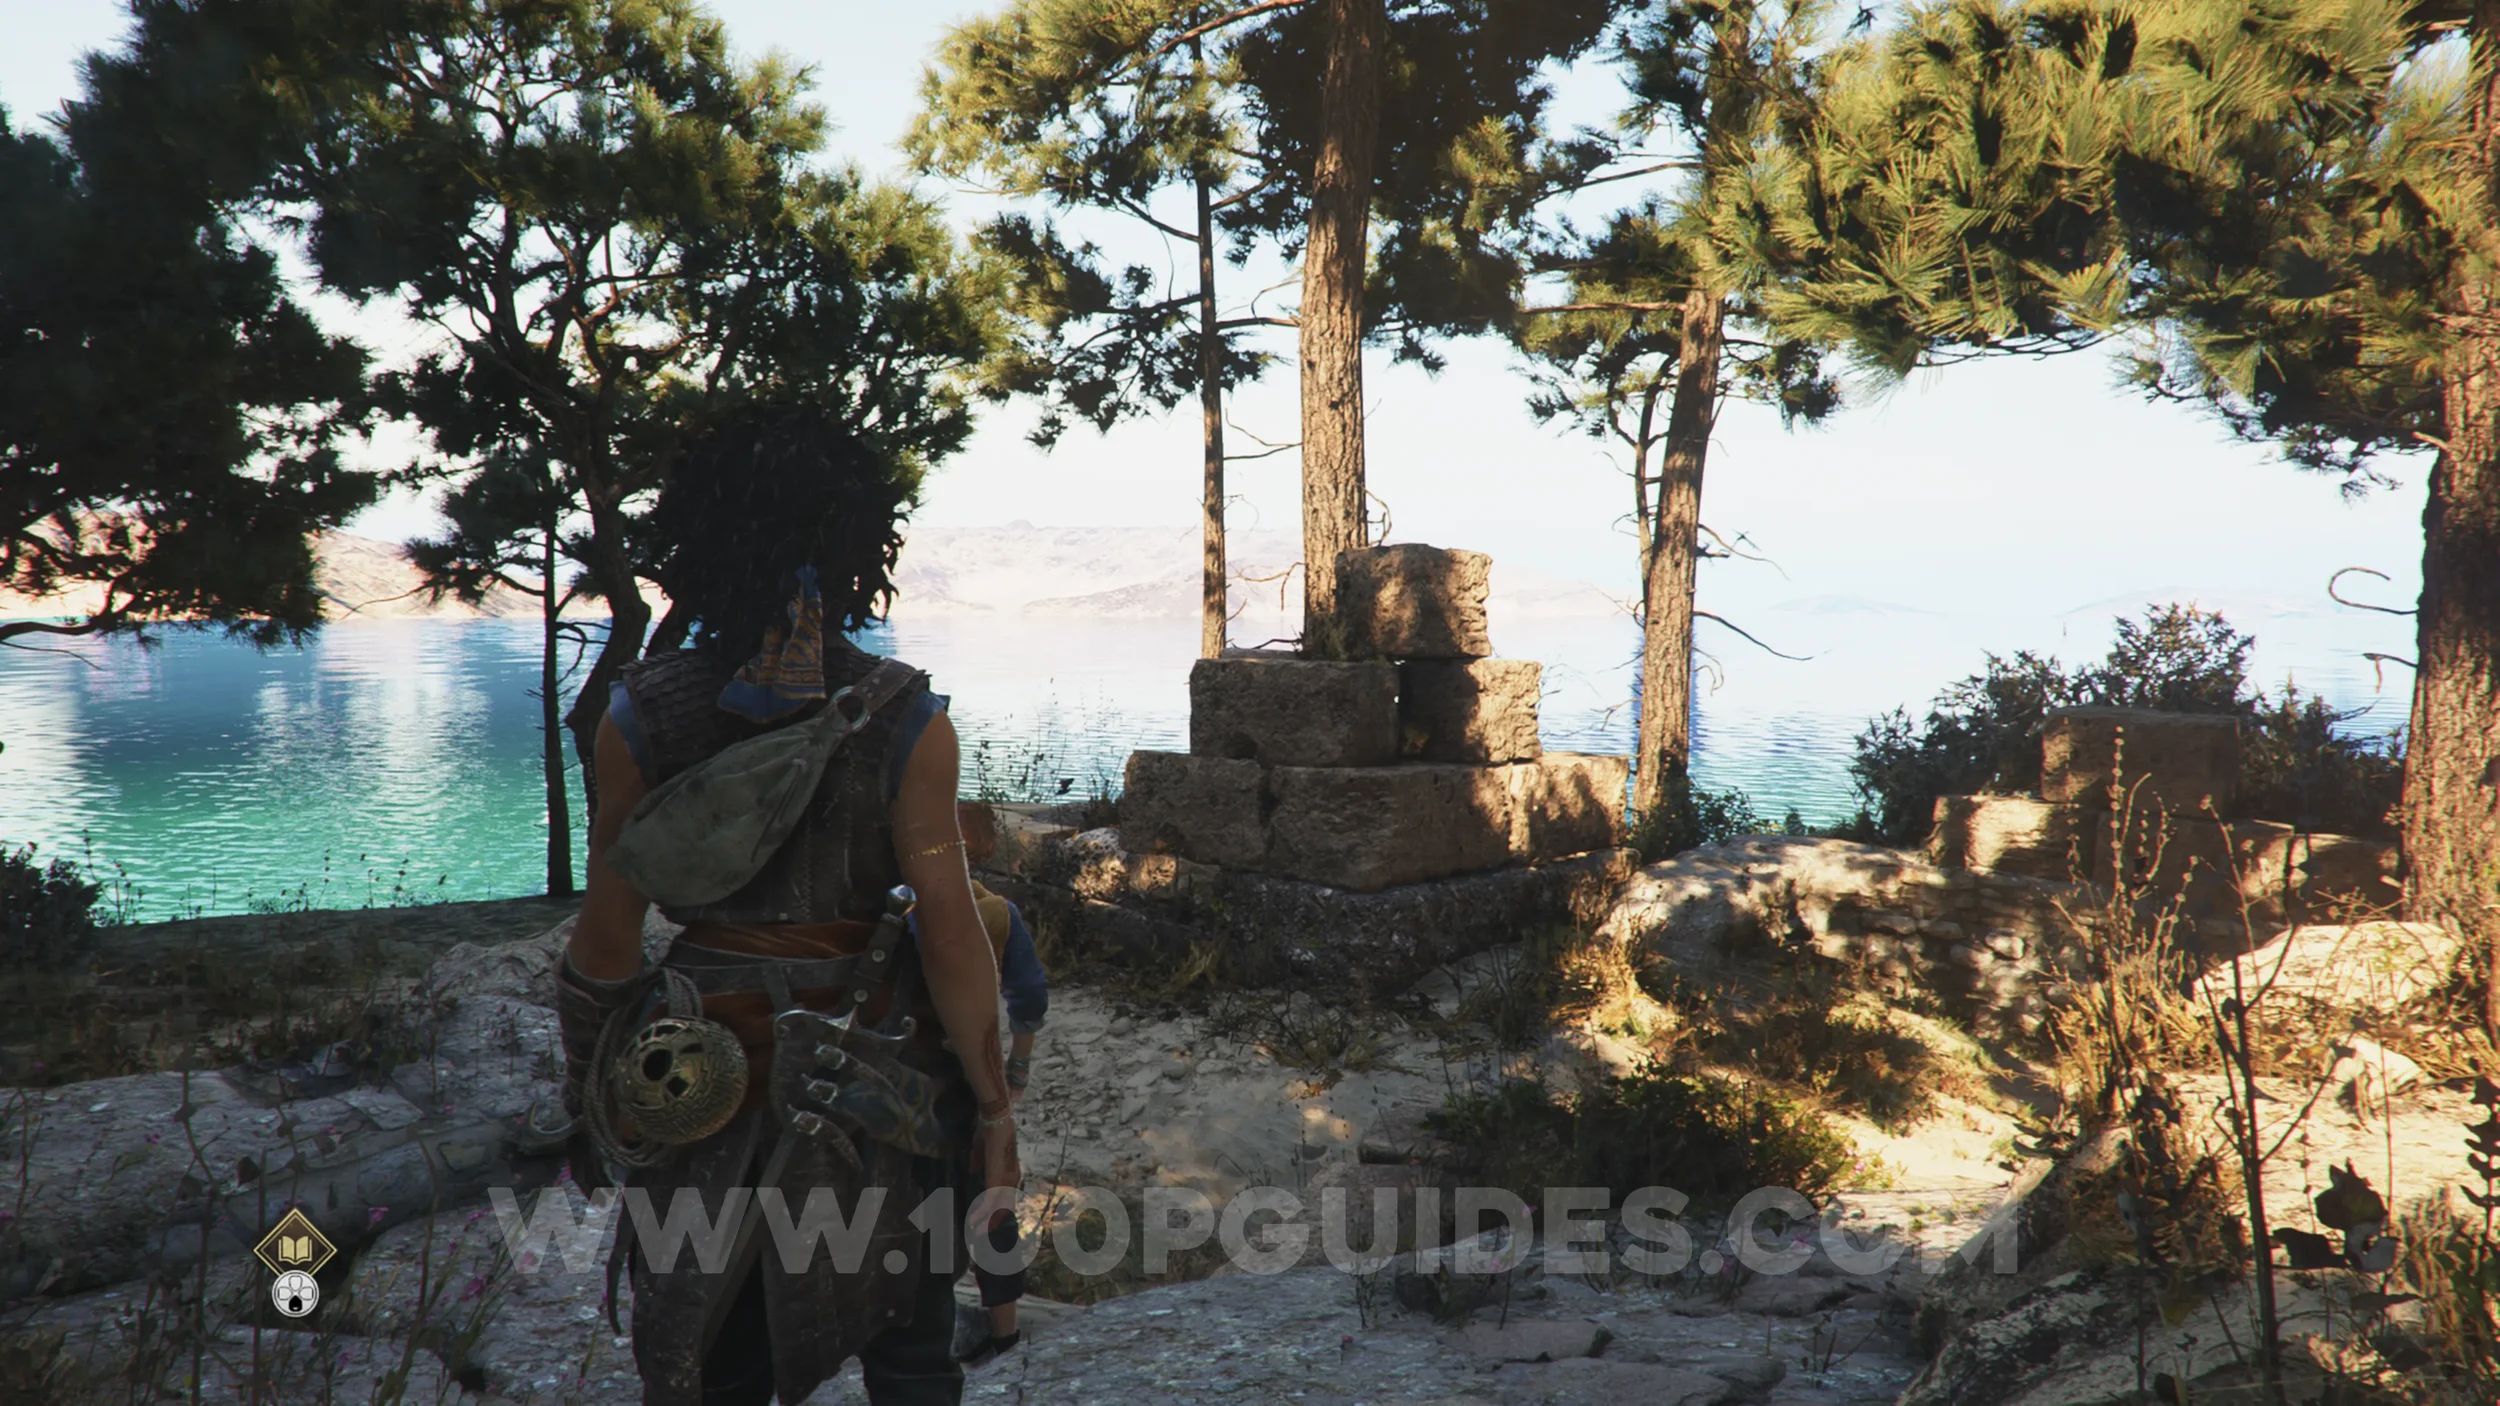
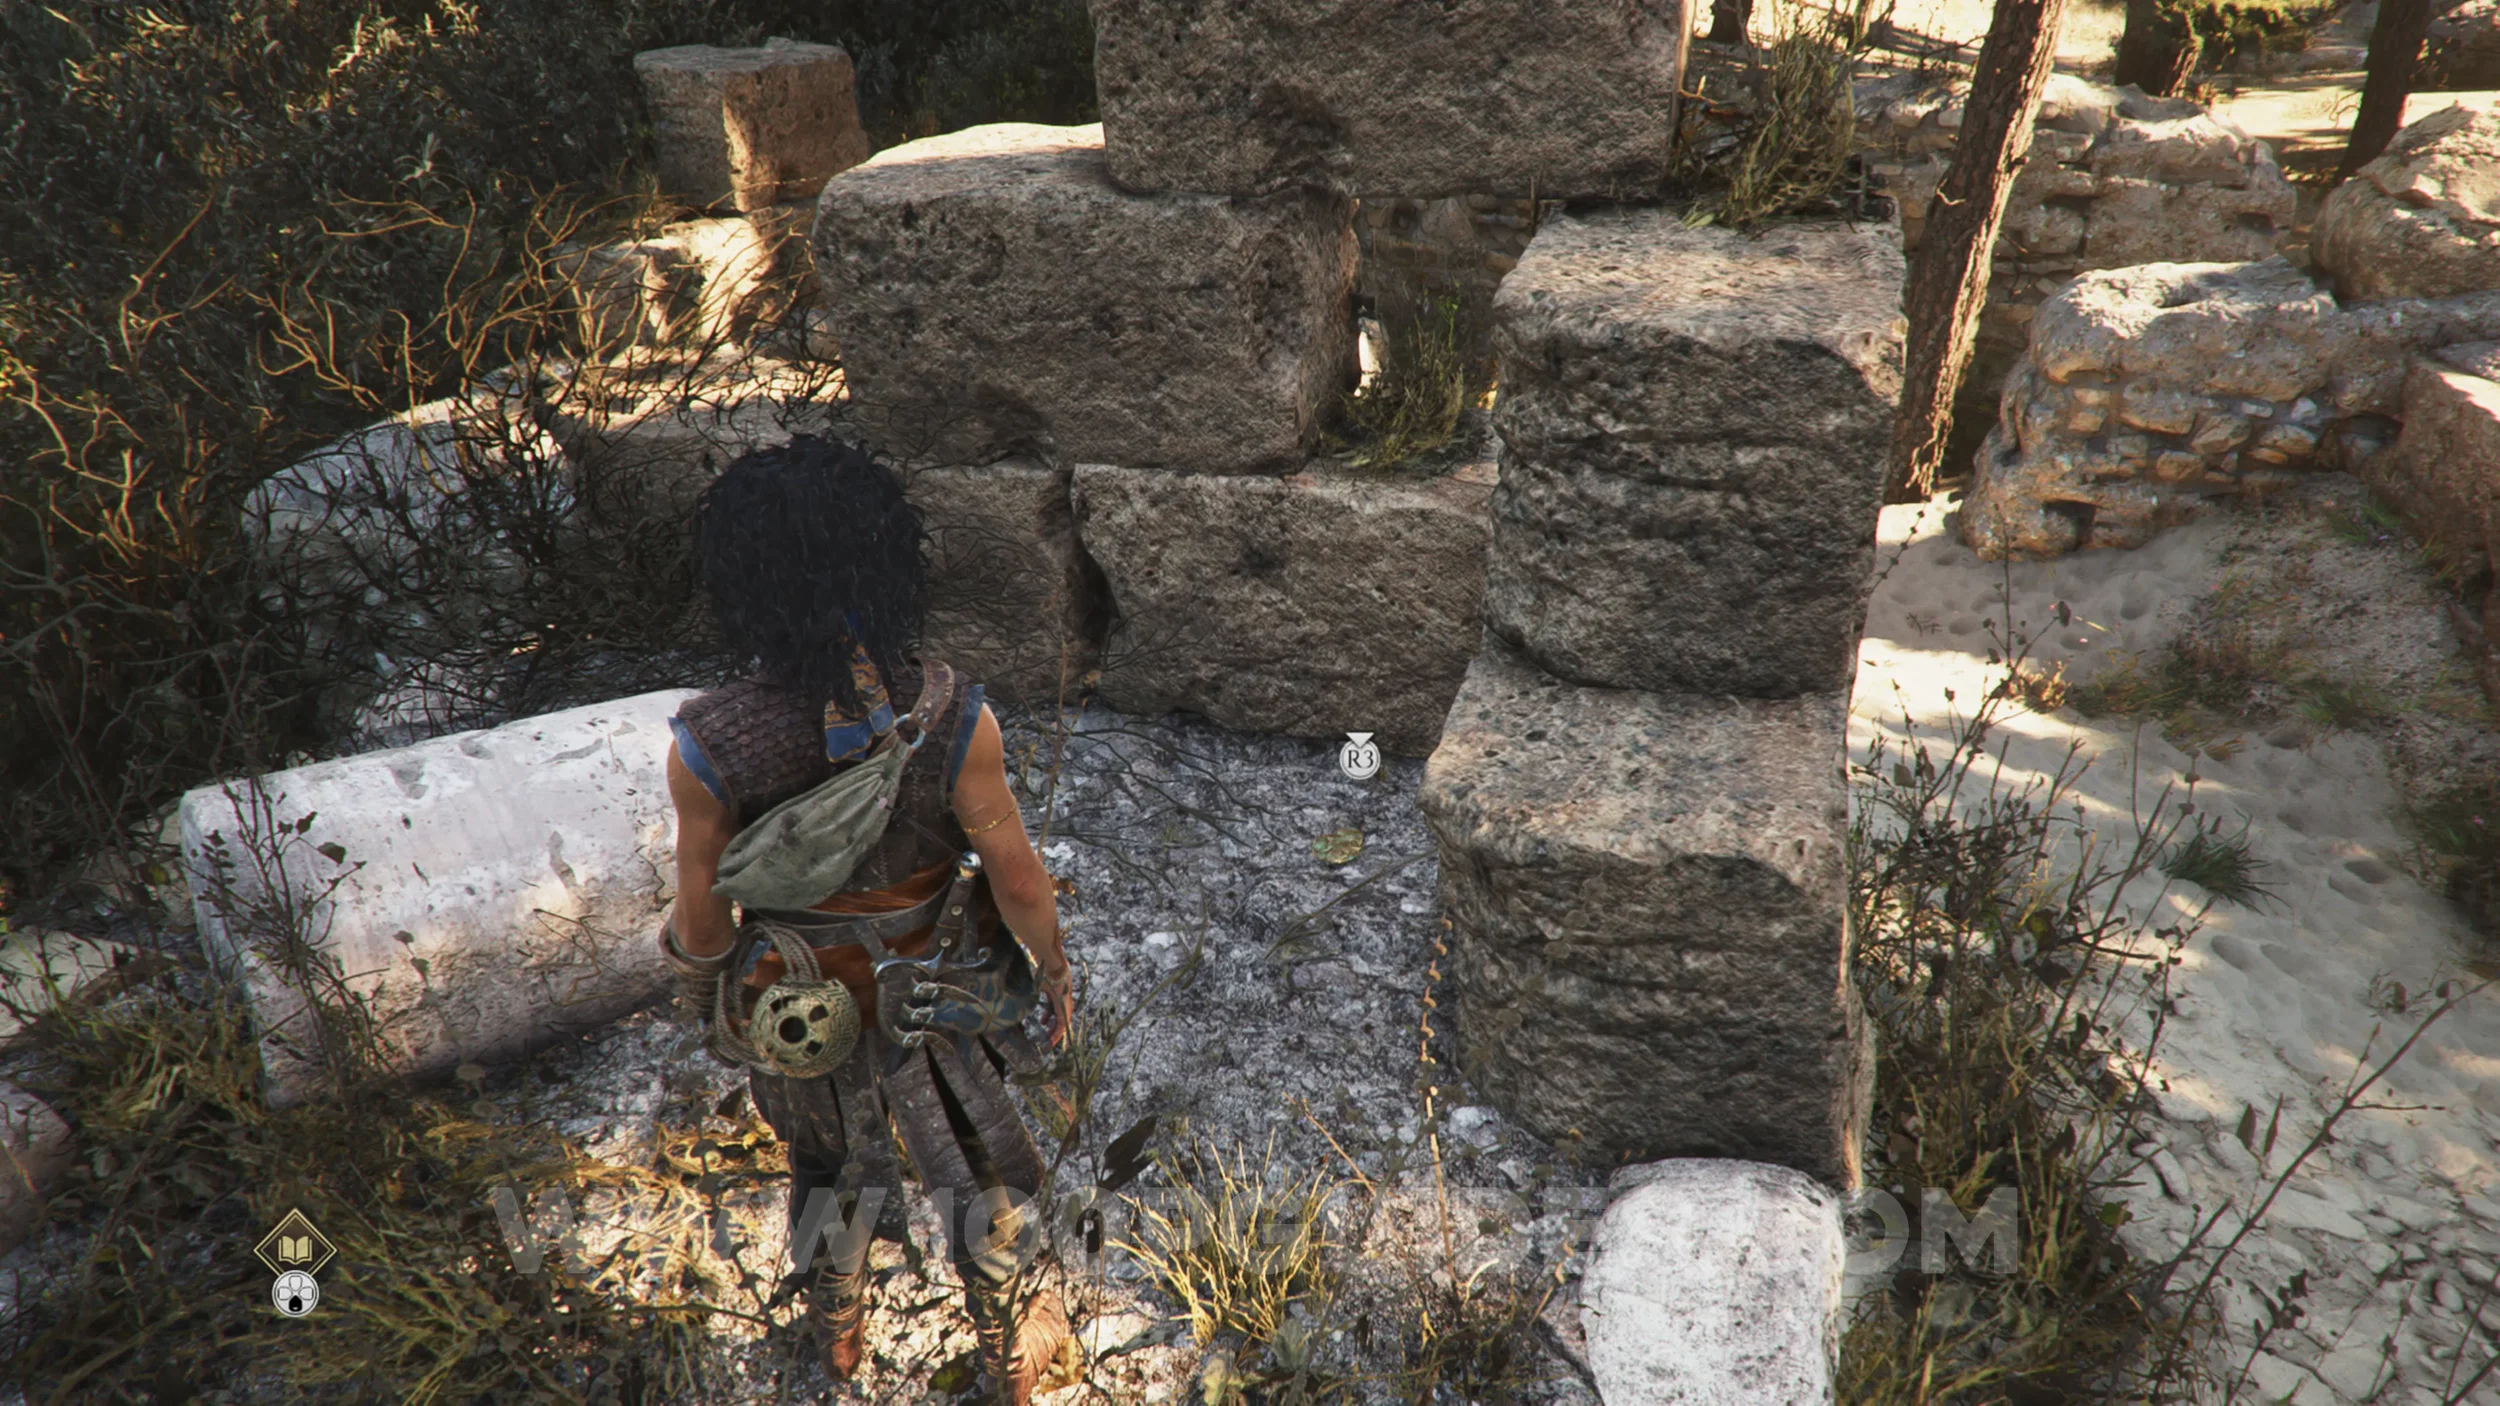
Resonance Point
Chapter 3: Sub-Chapter 1.
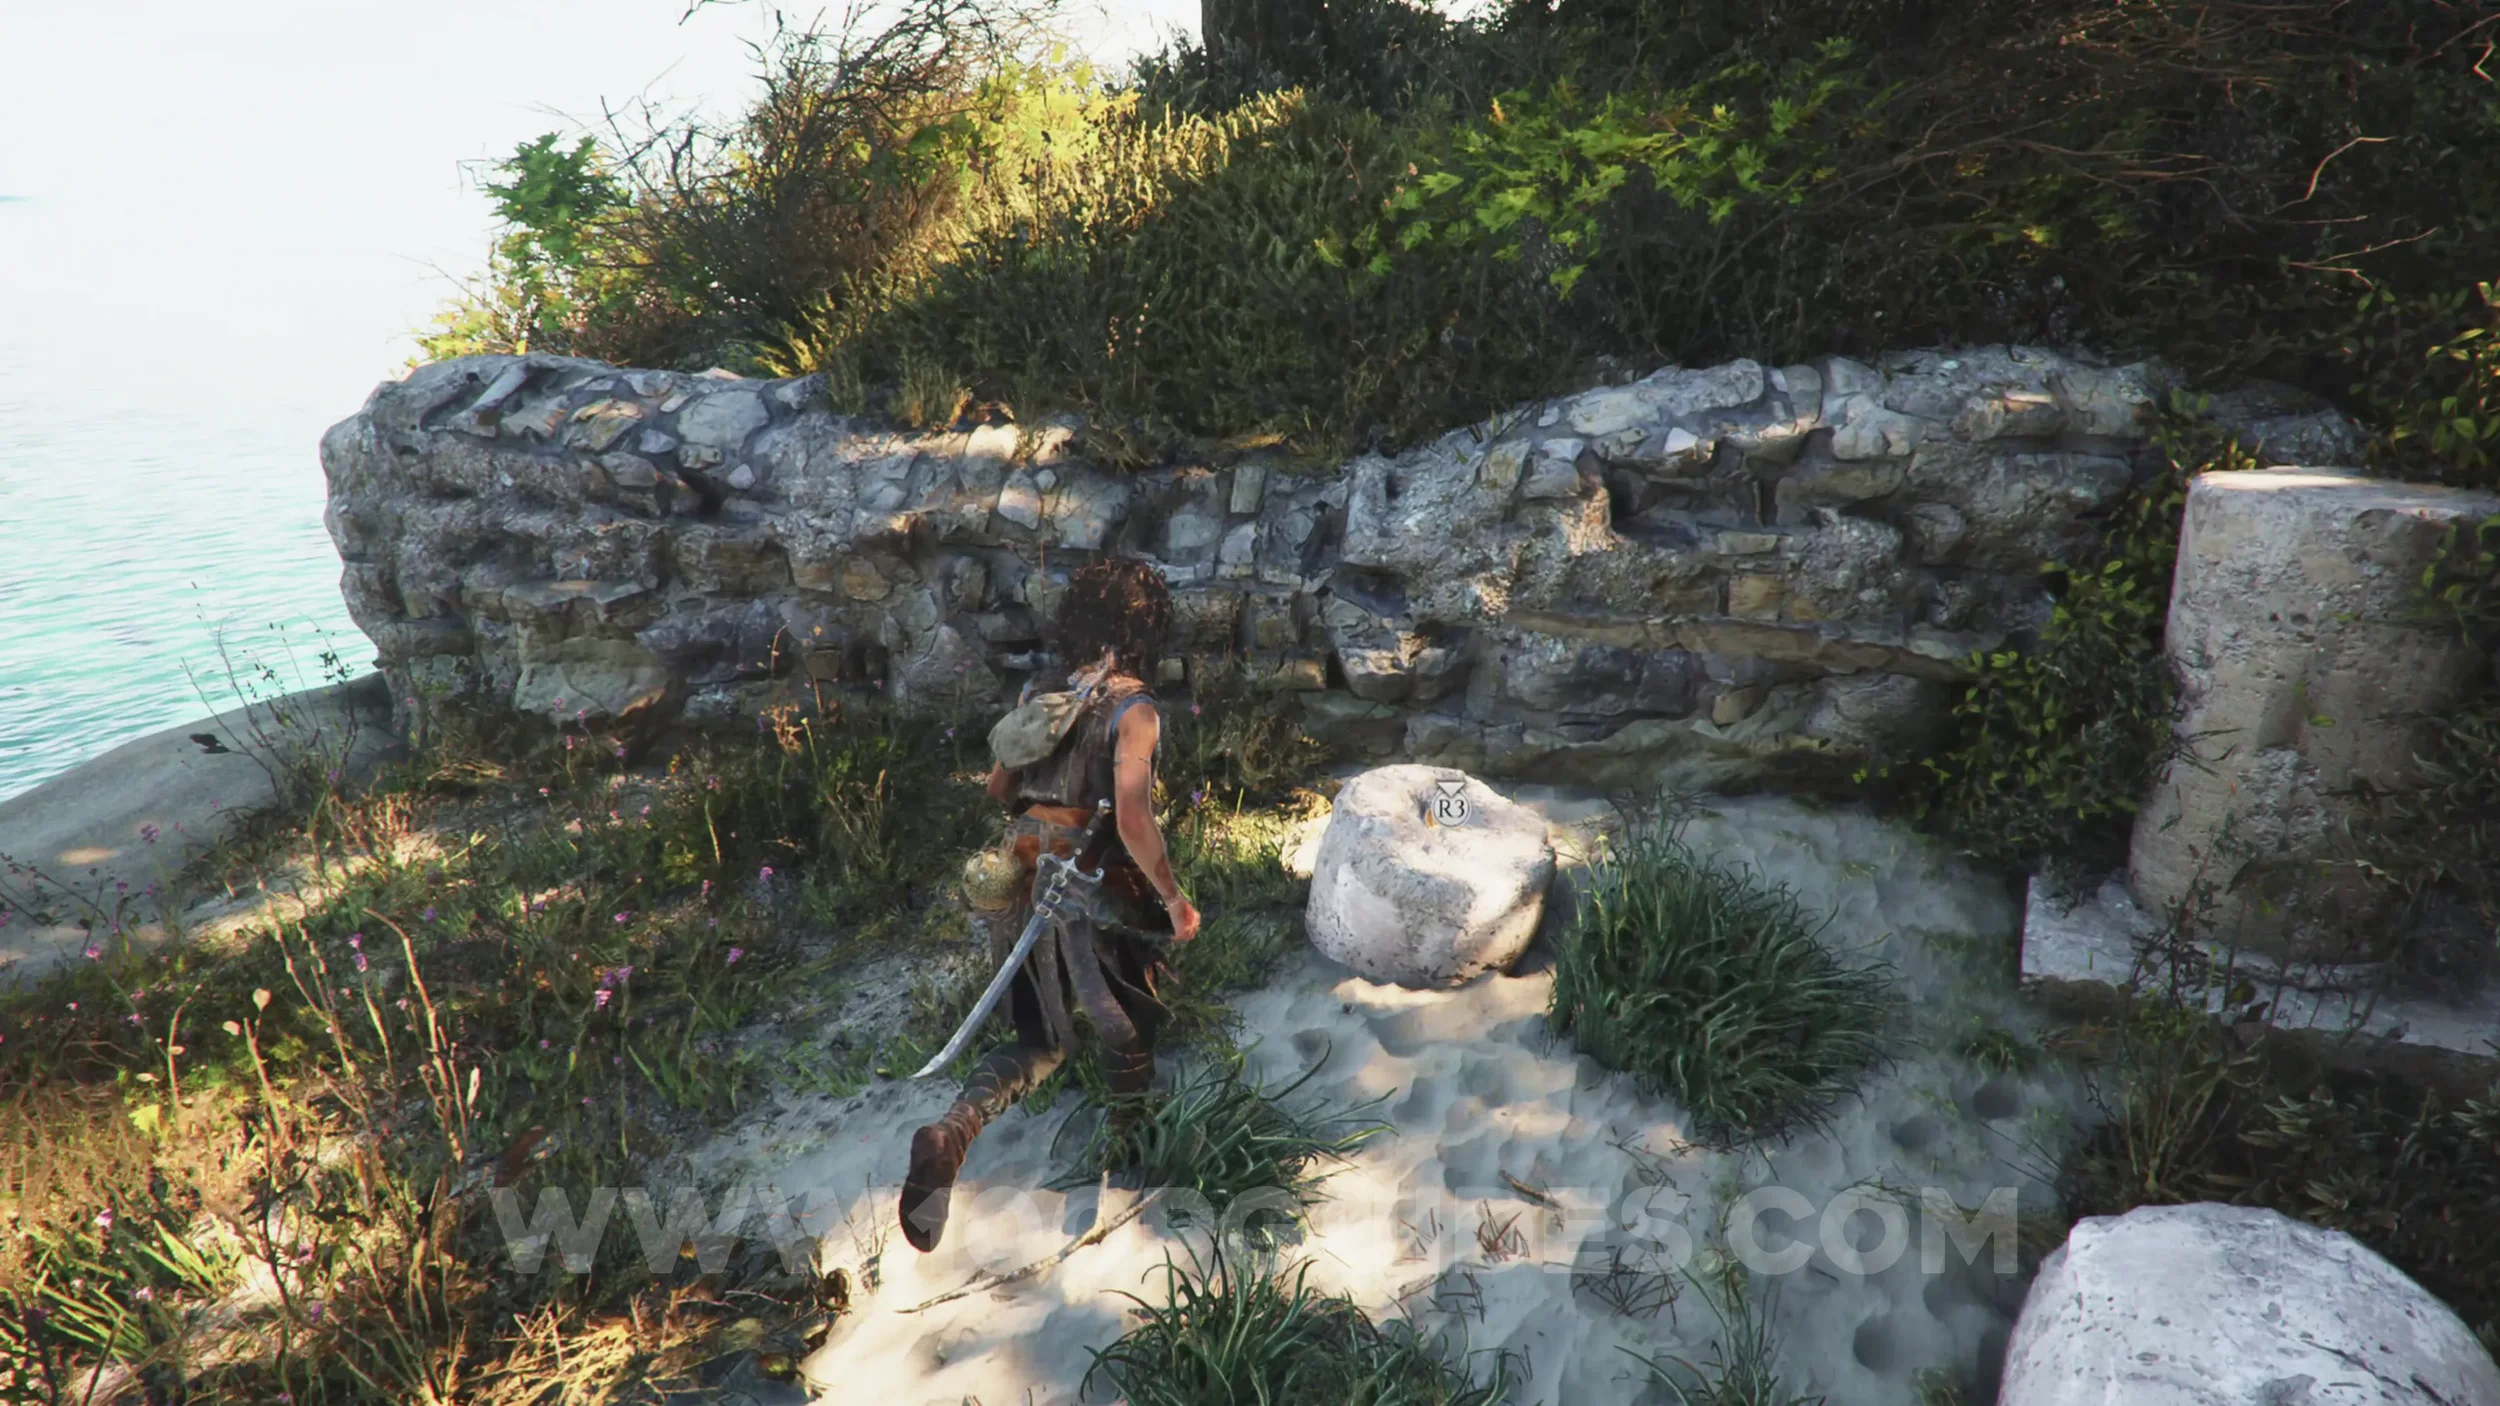
From the previous collectible, head towards the sea and then go right to find the resonance point on a rock.
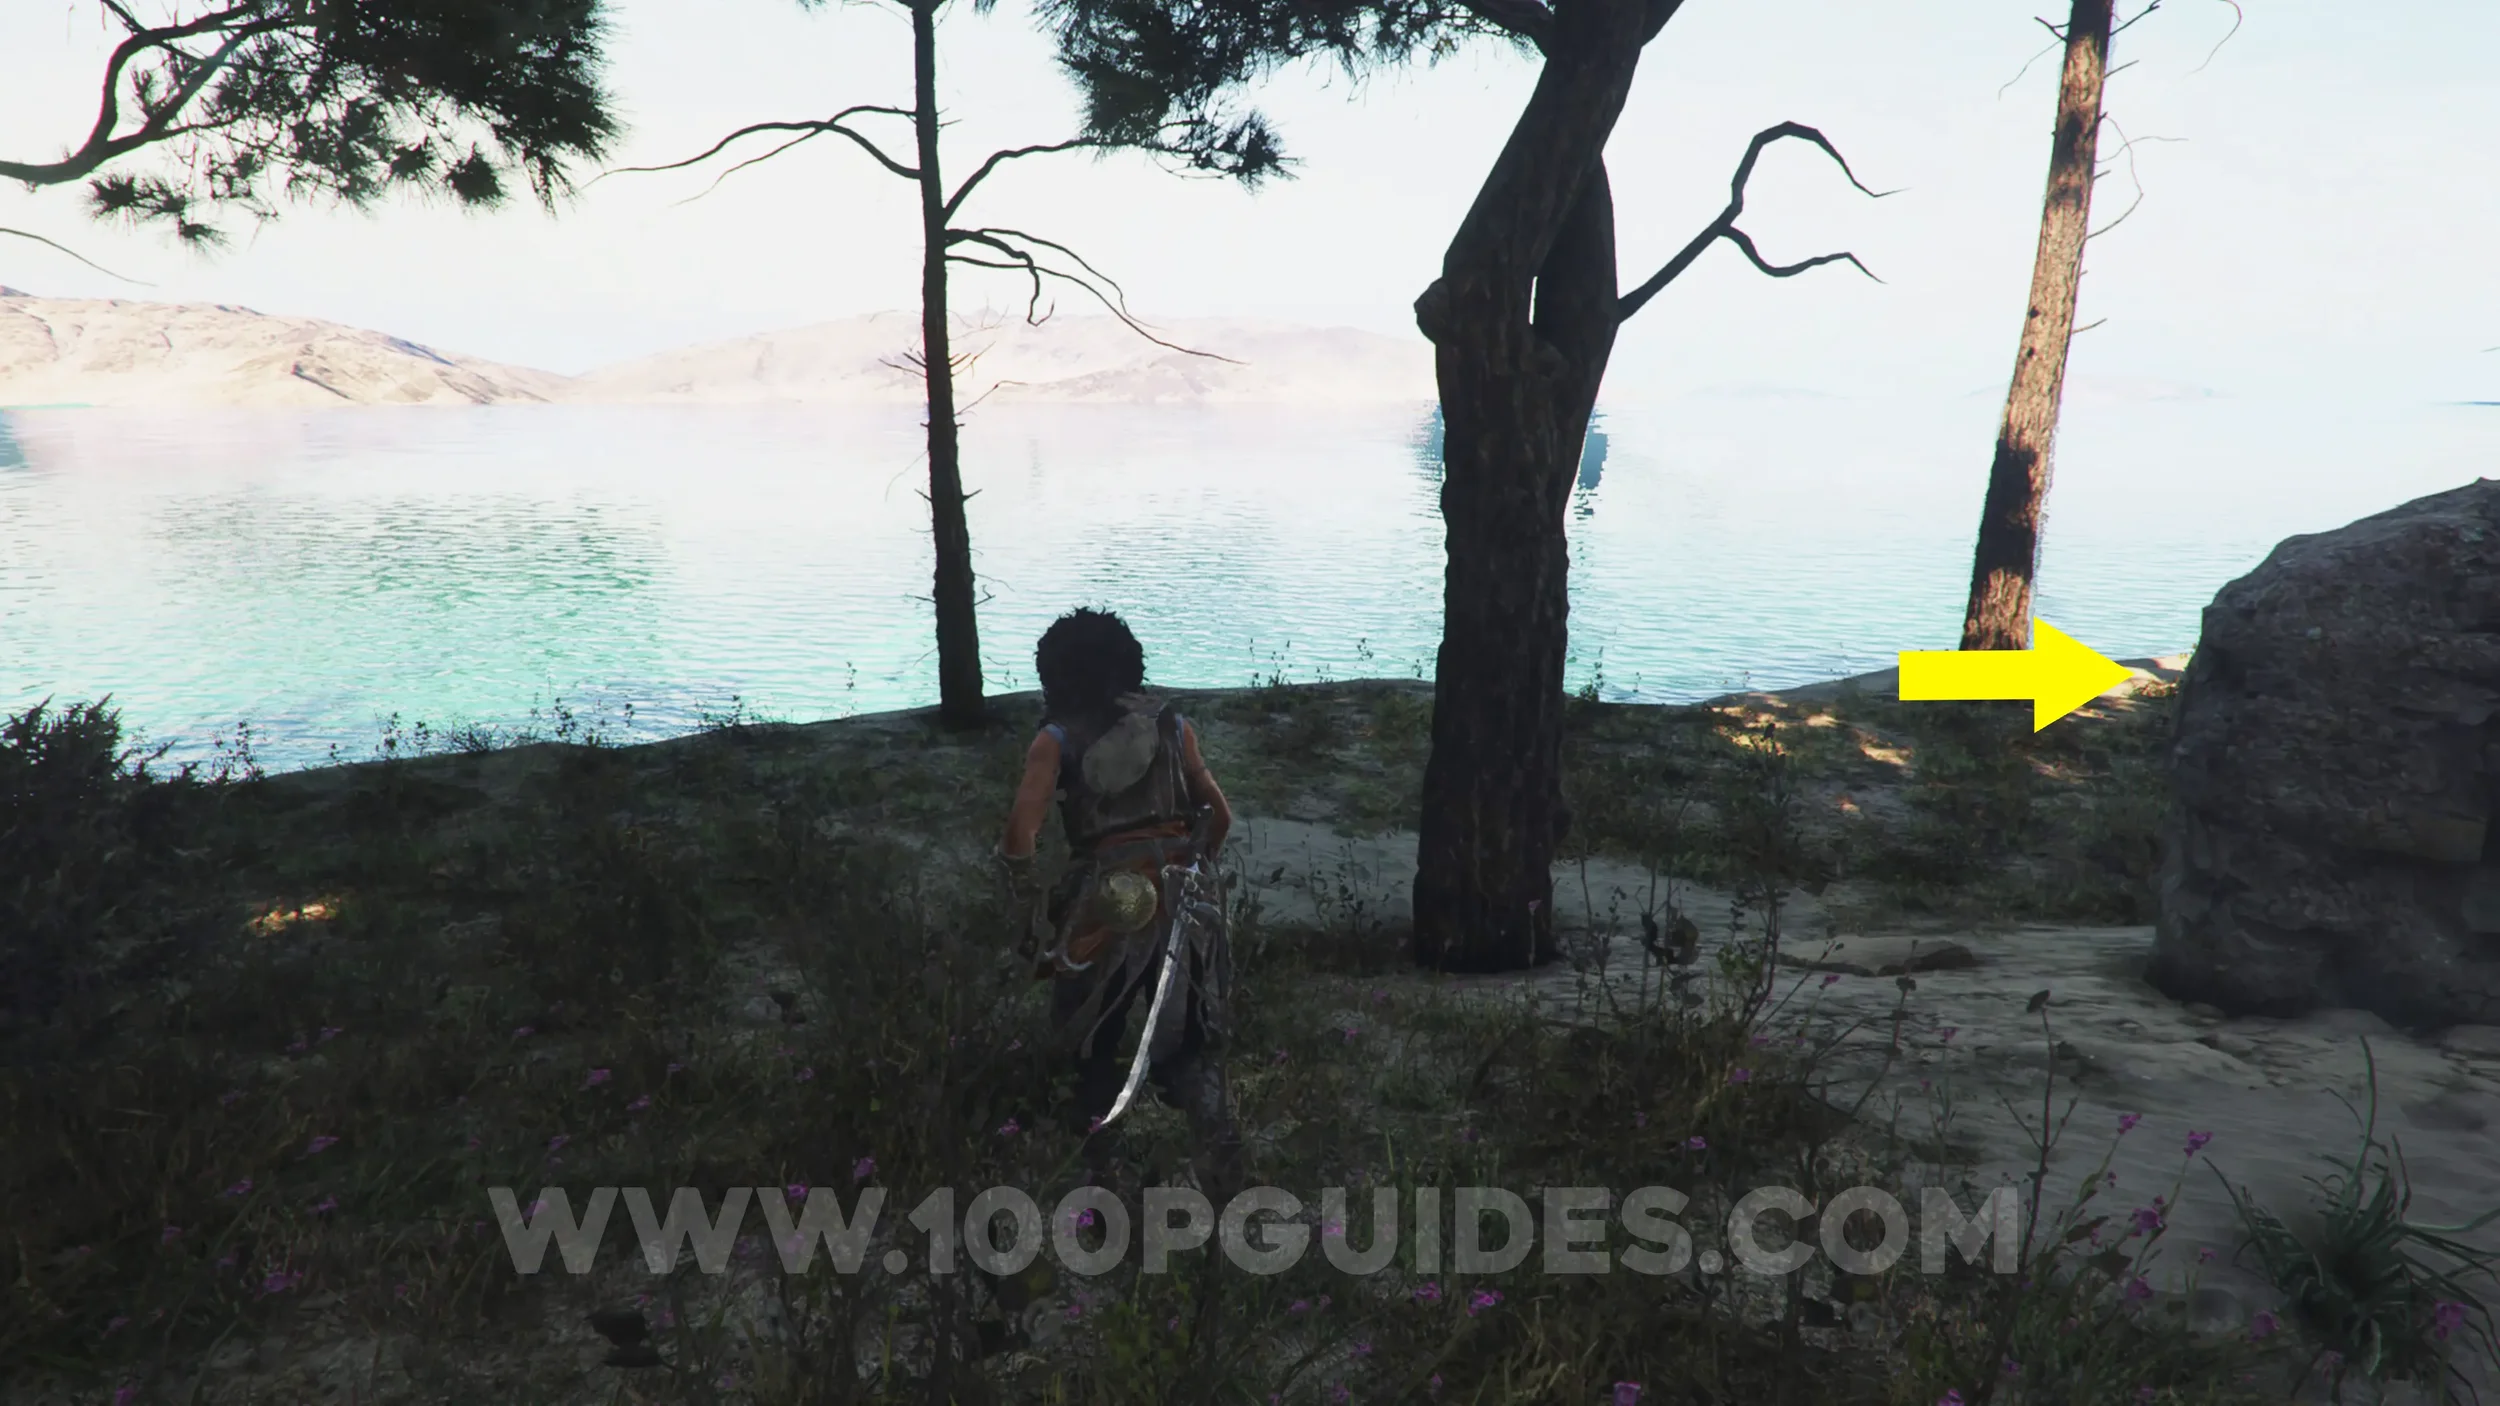
Resonance Point
Chapter 3: Sub-Chapter 1.
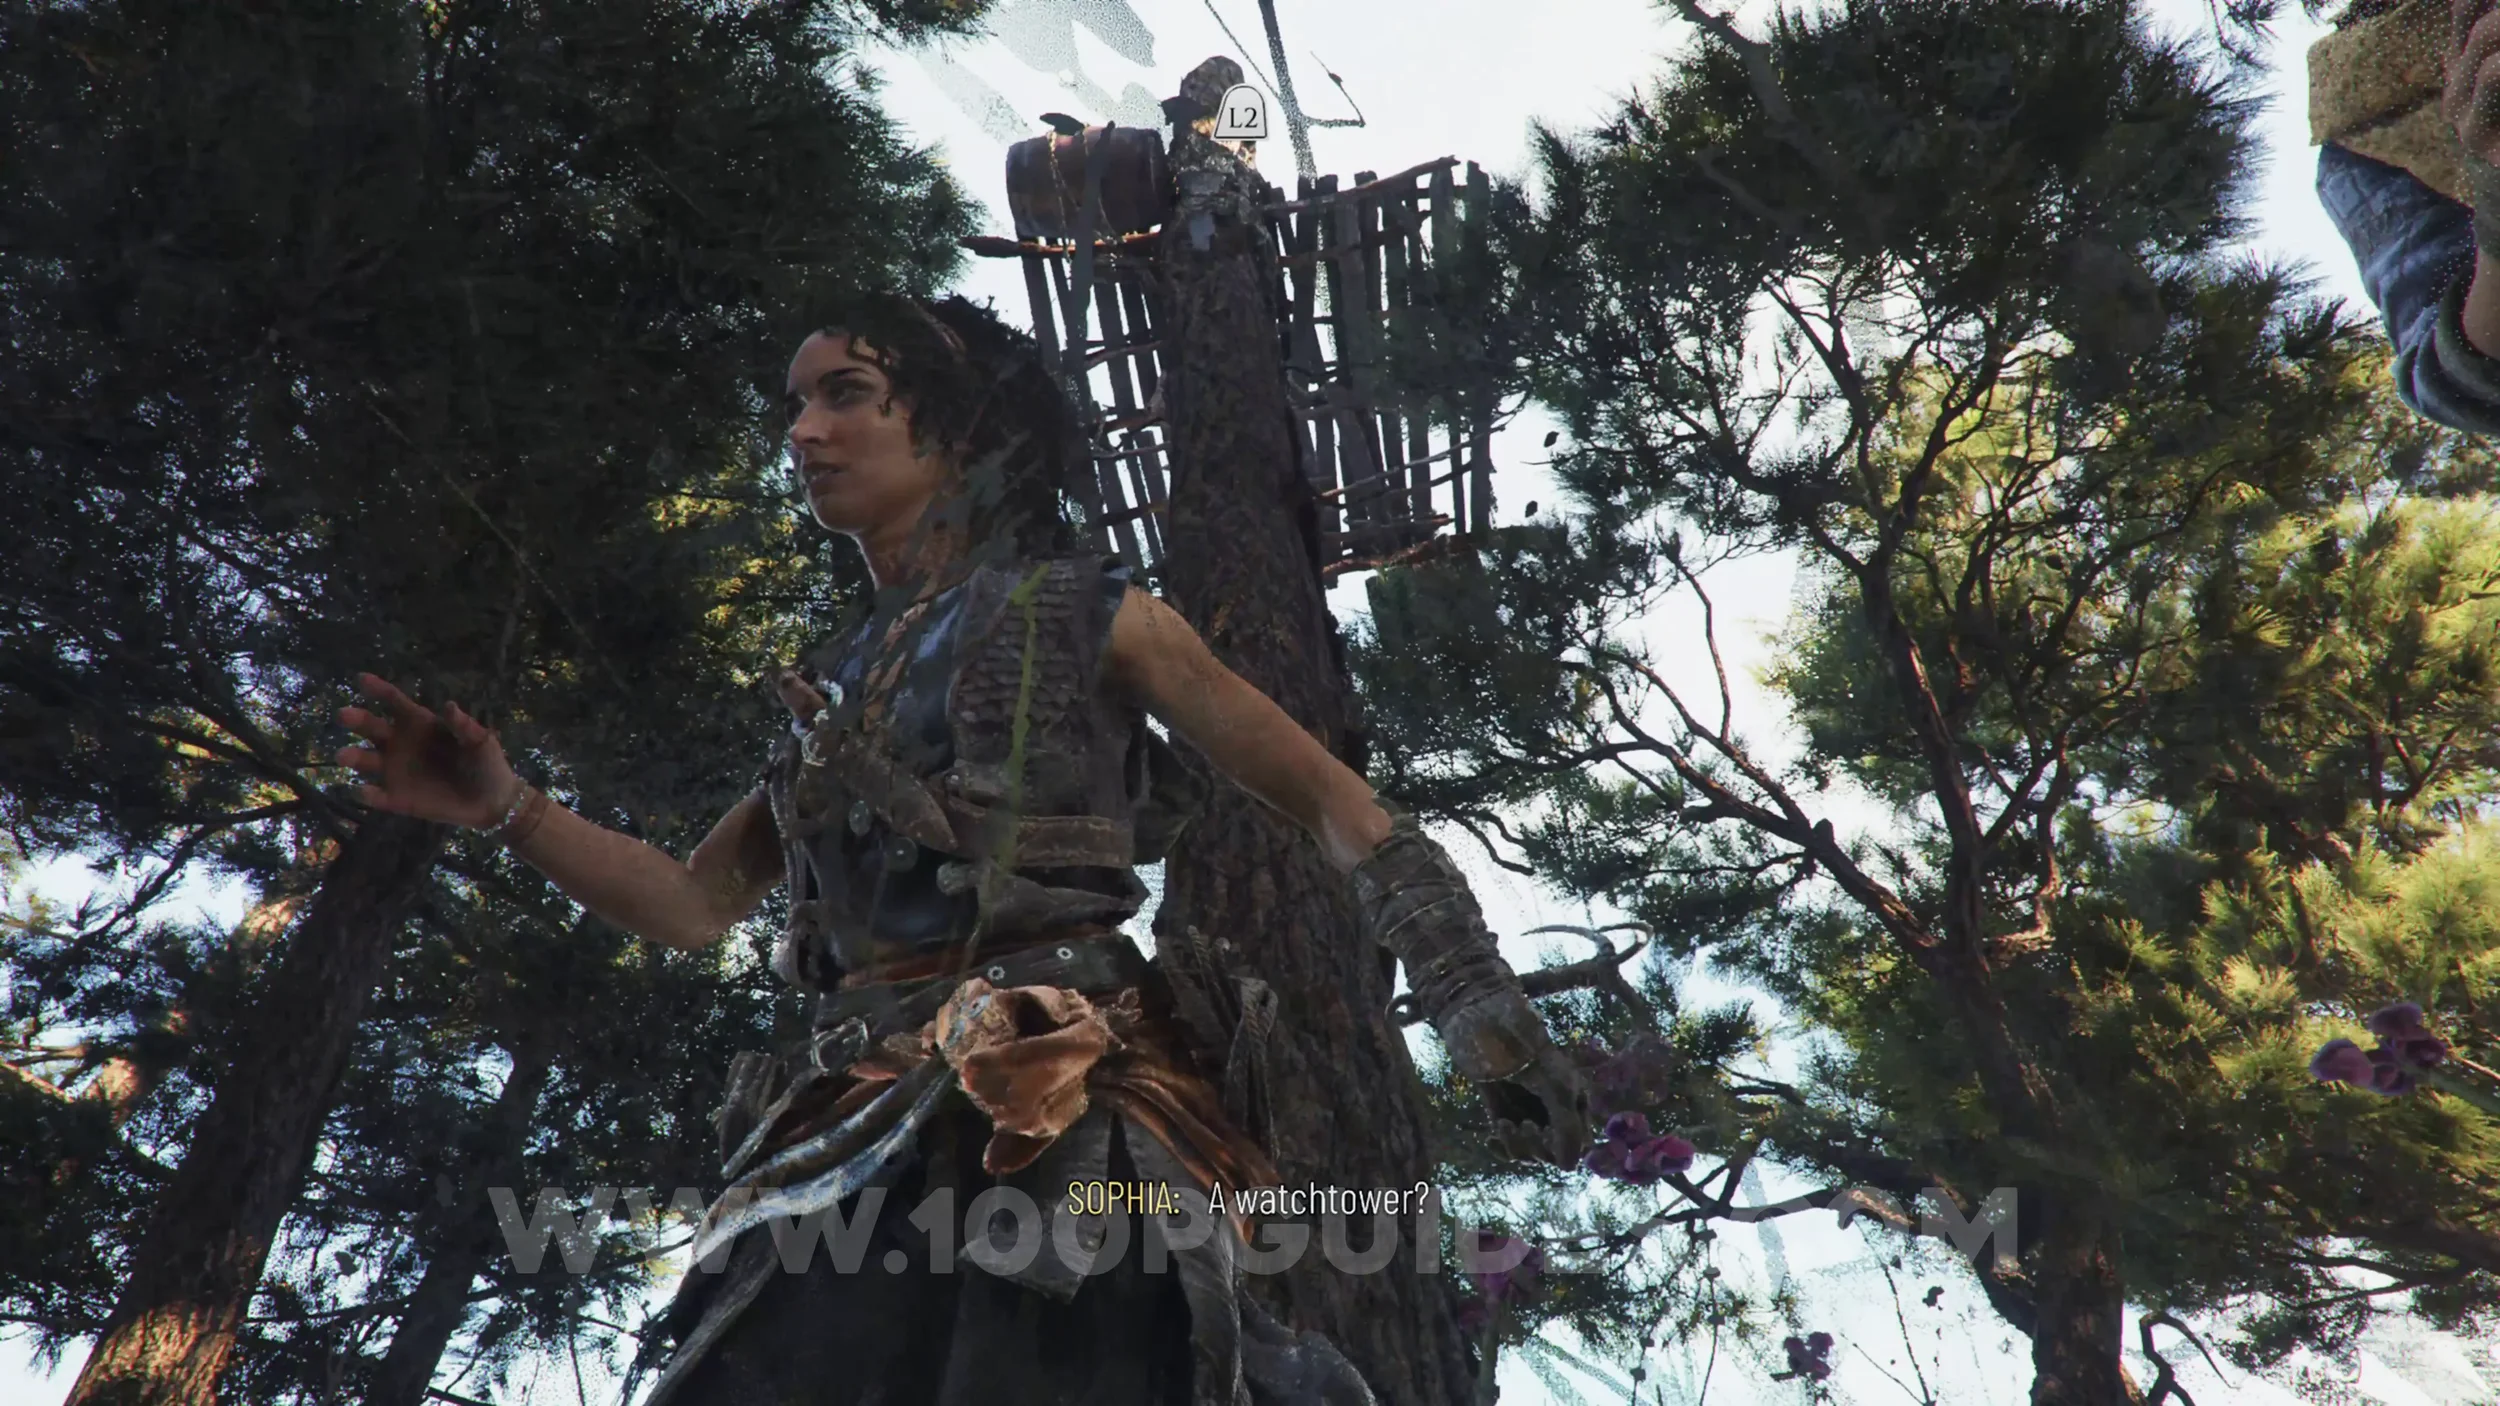
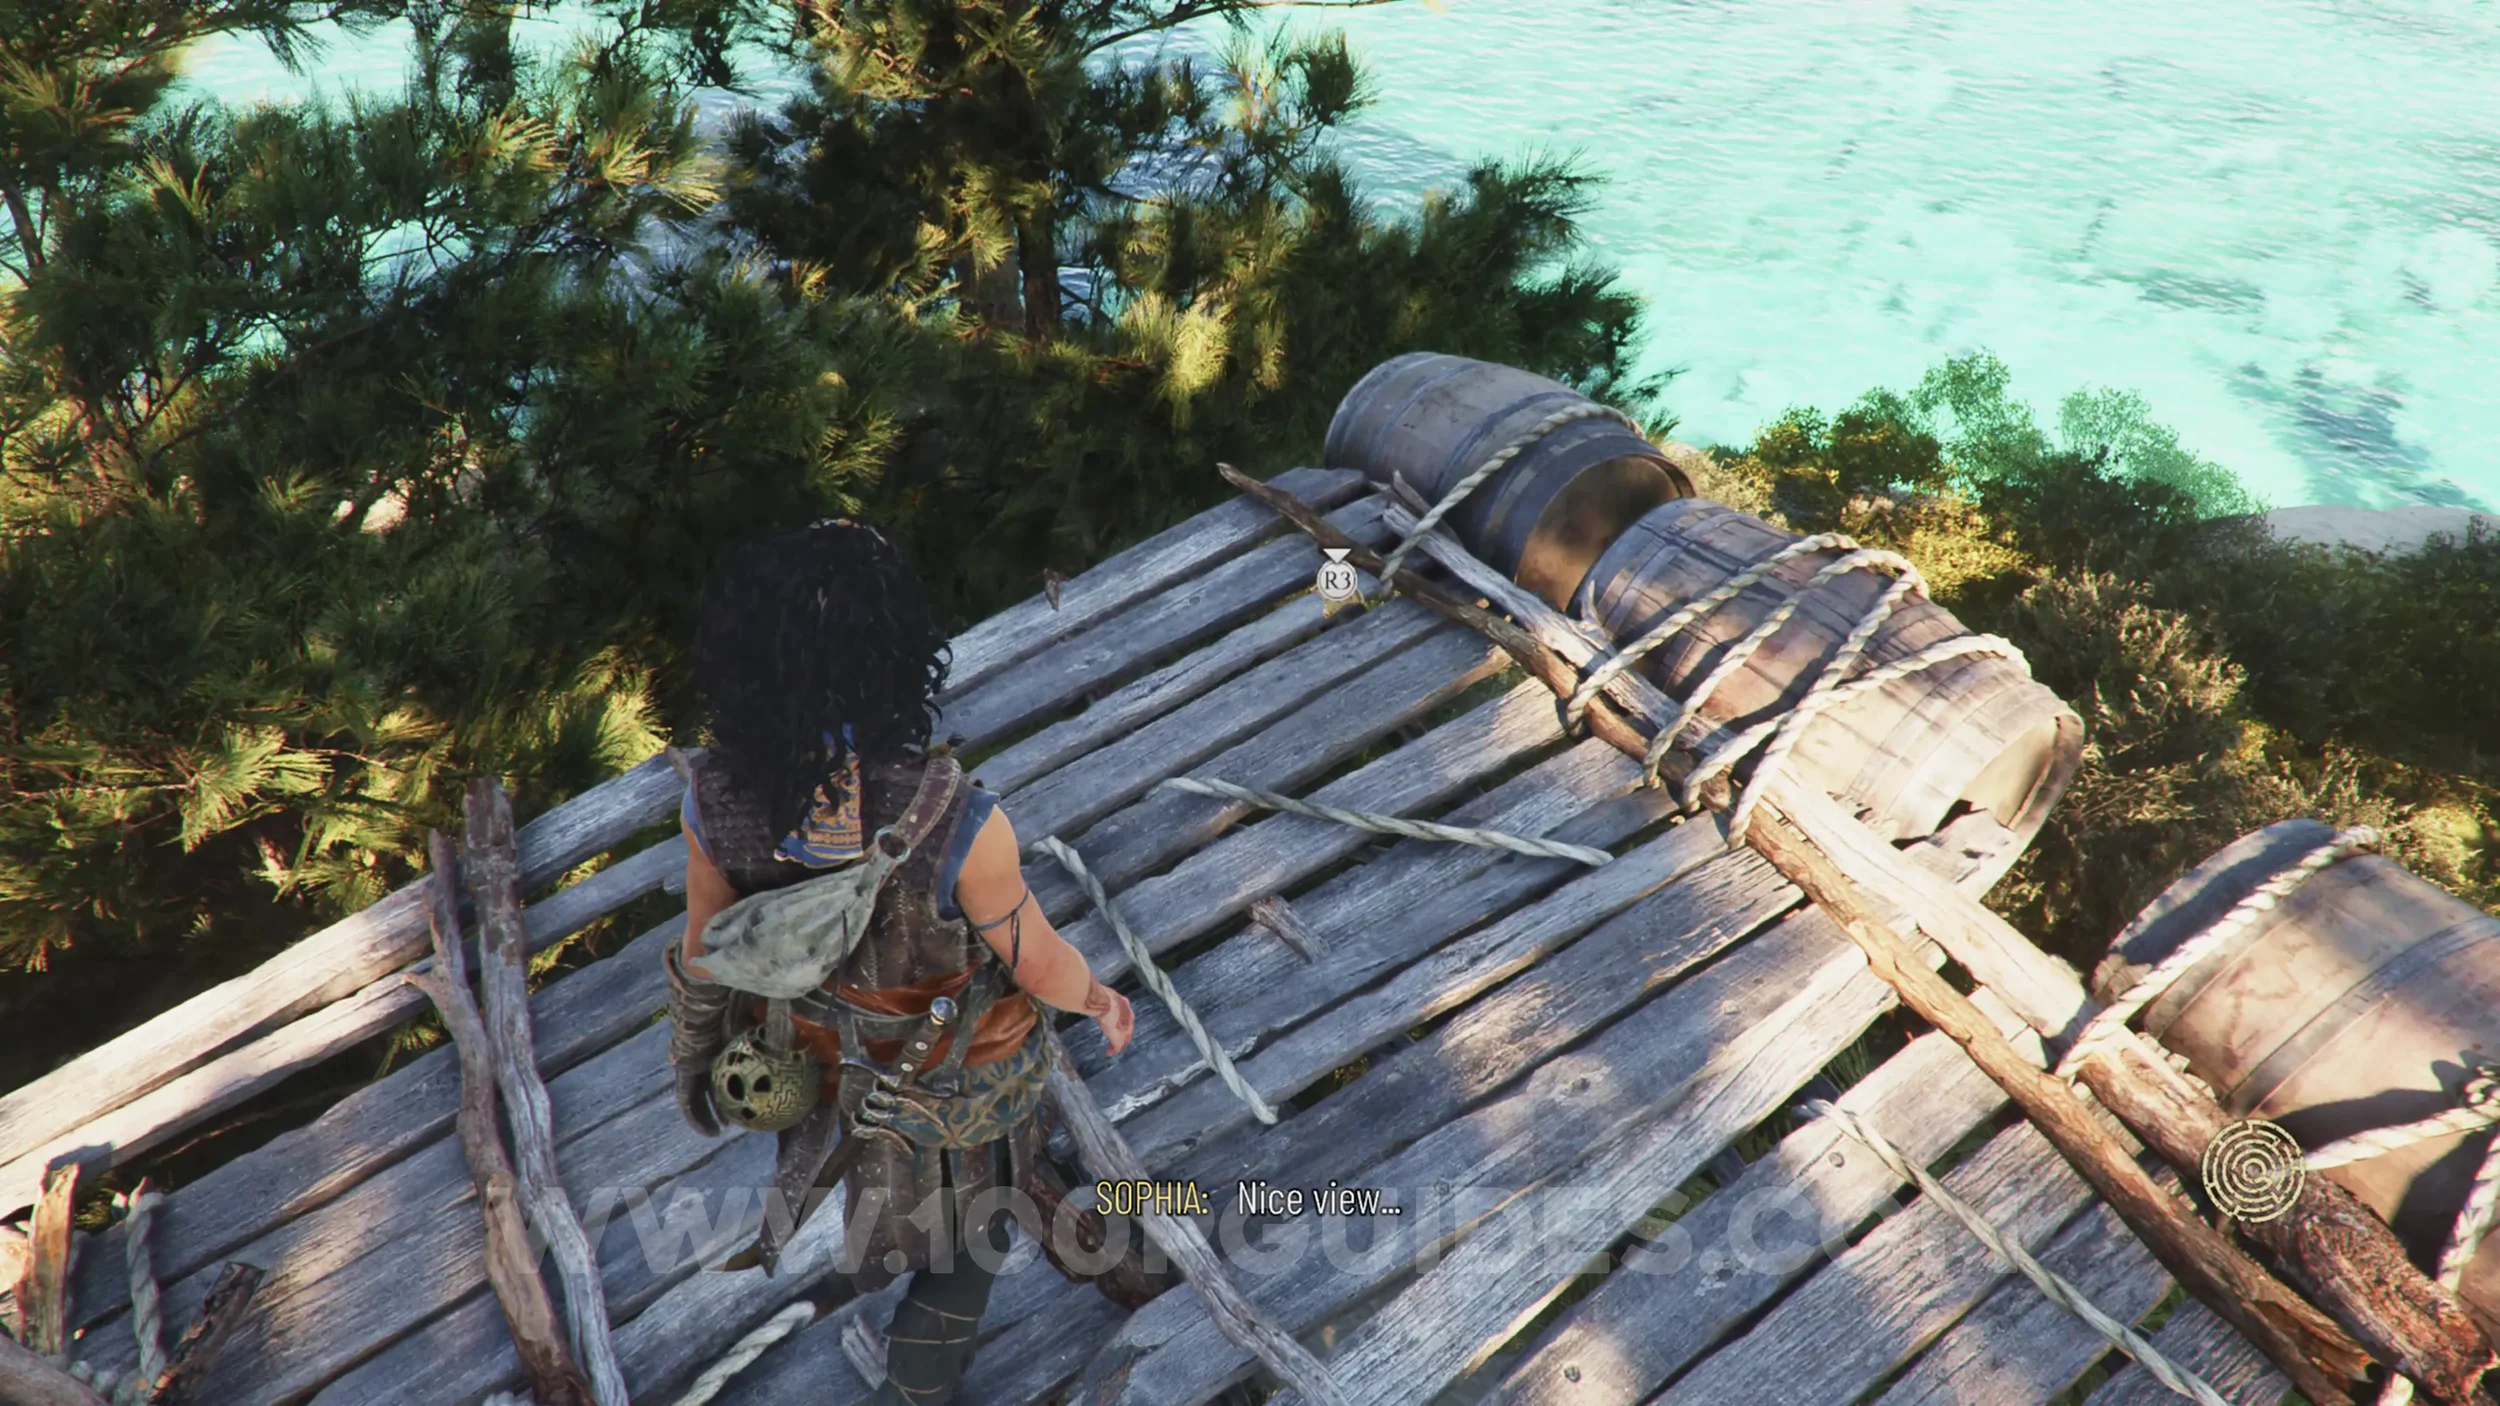
On top of the watchtower in the same ruins area as the previous collectible.
Resonance Point
Chapter 3: Sub-Chapter 1.
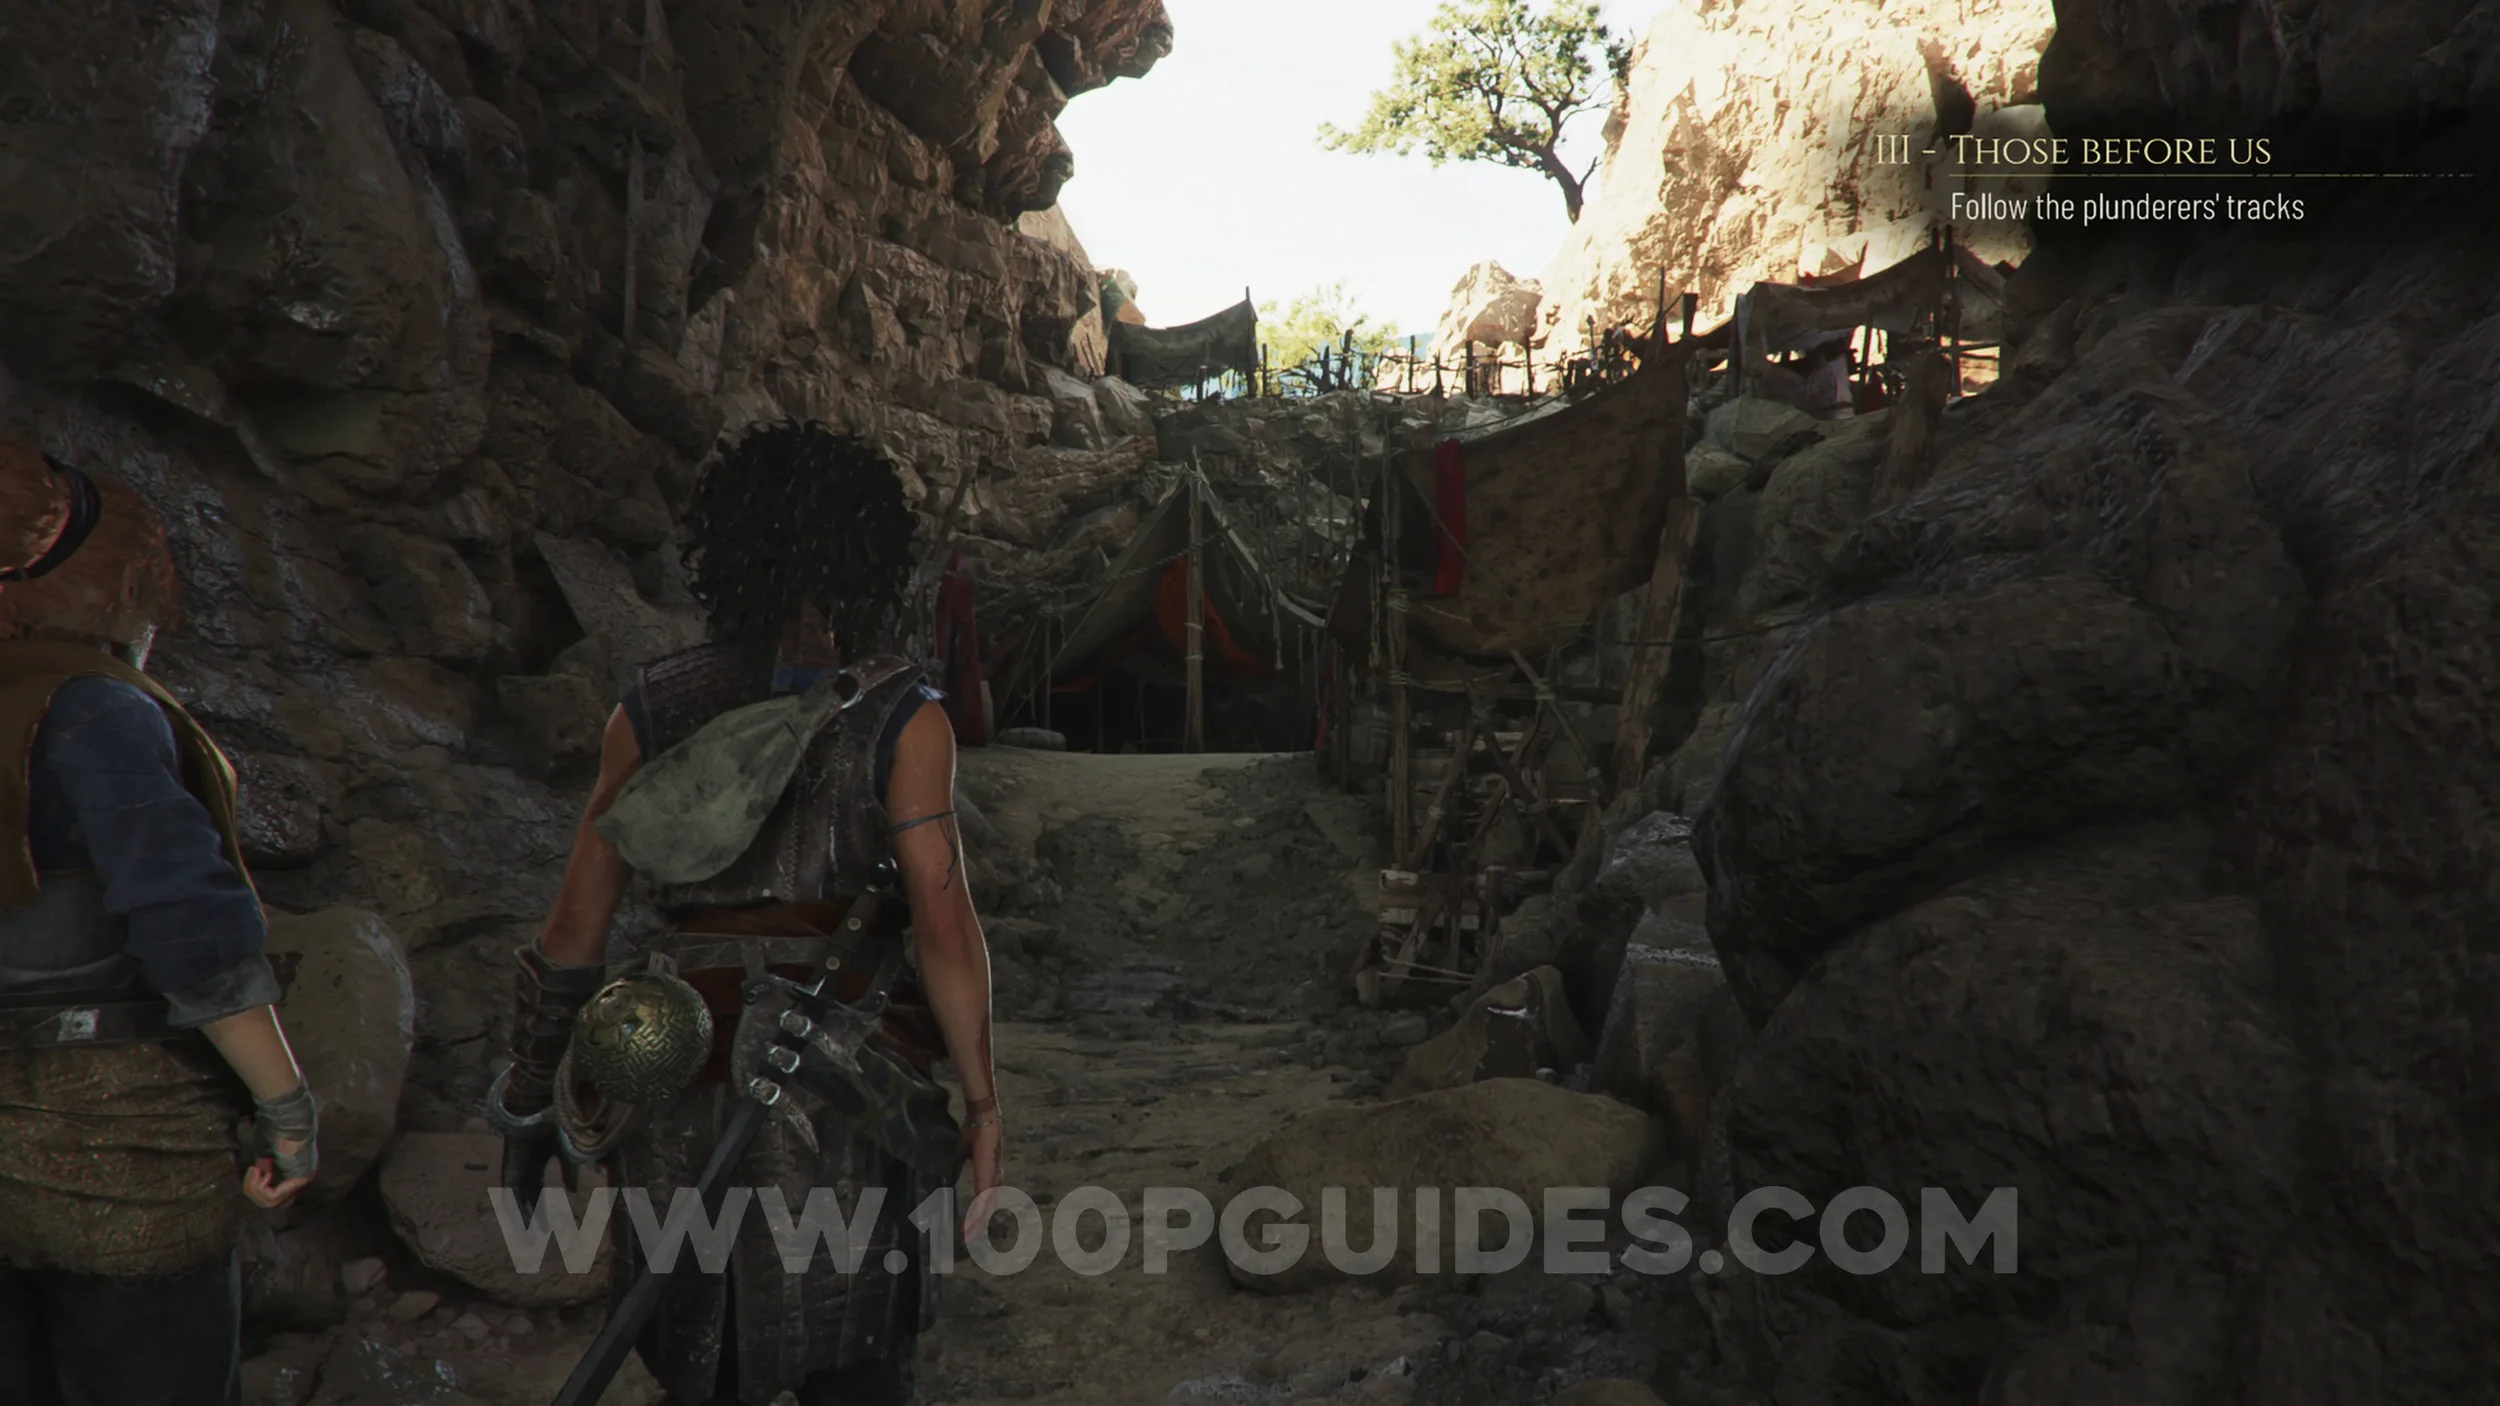
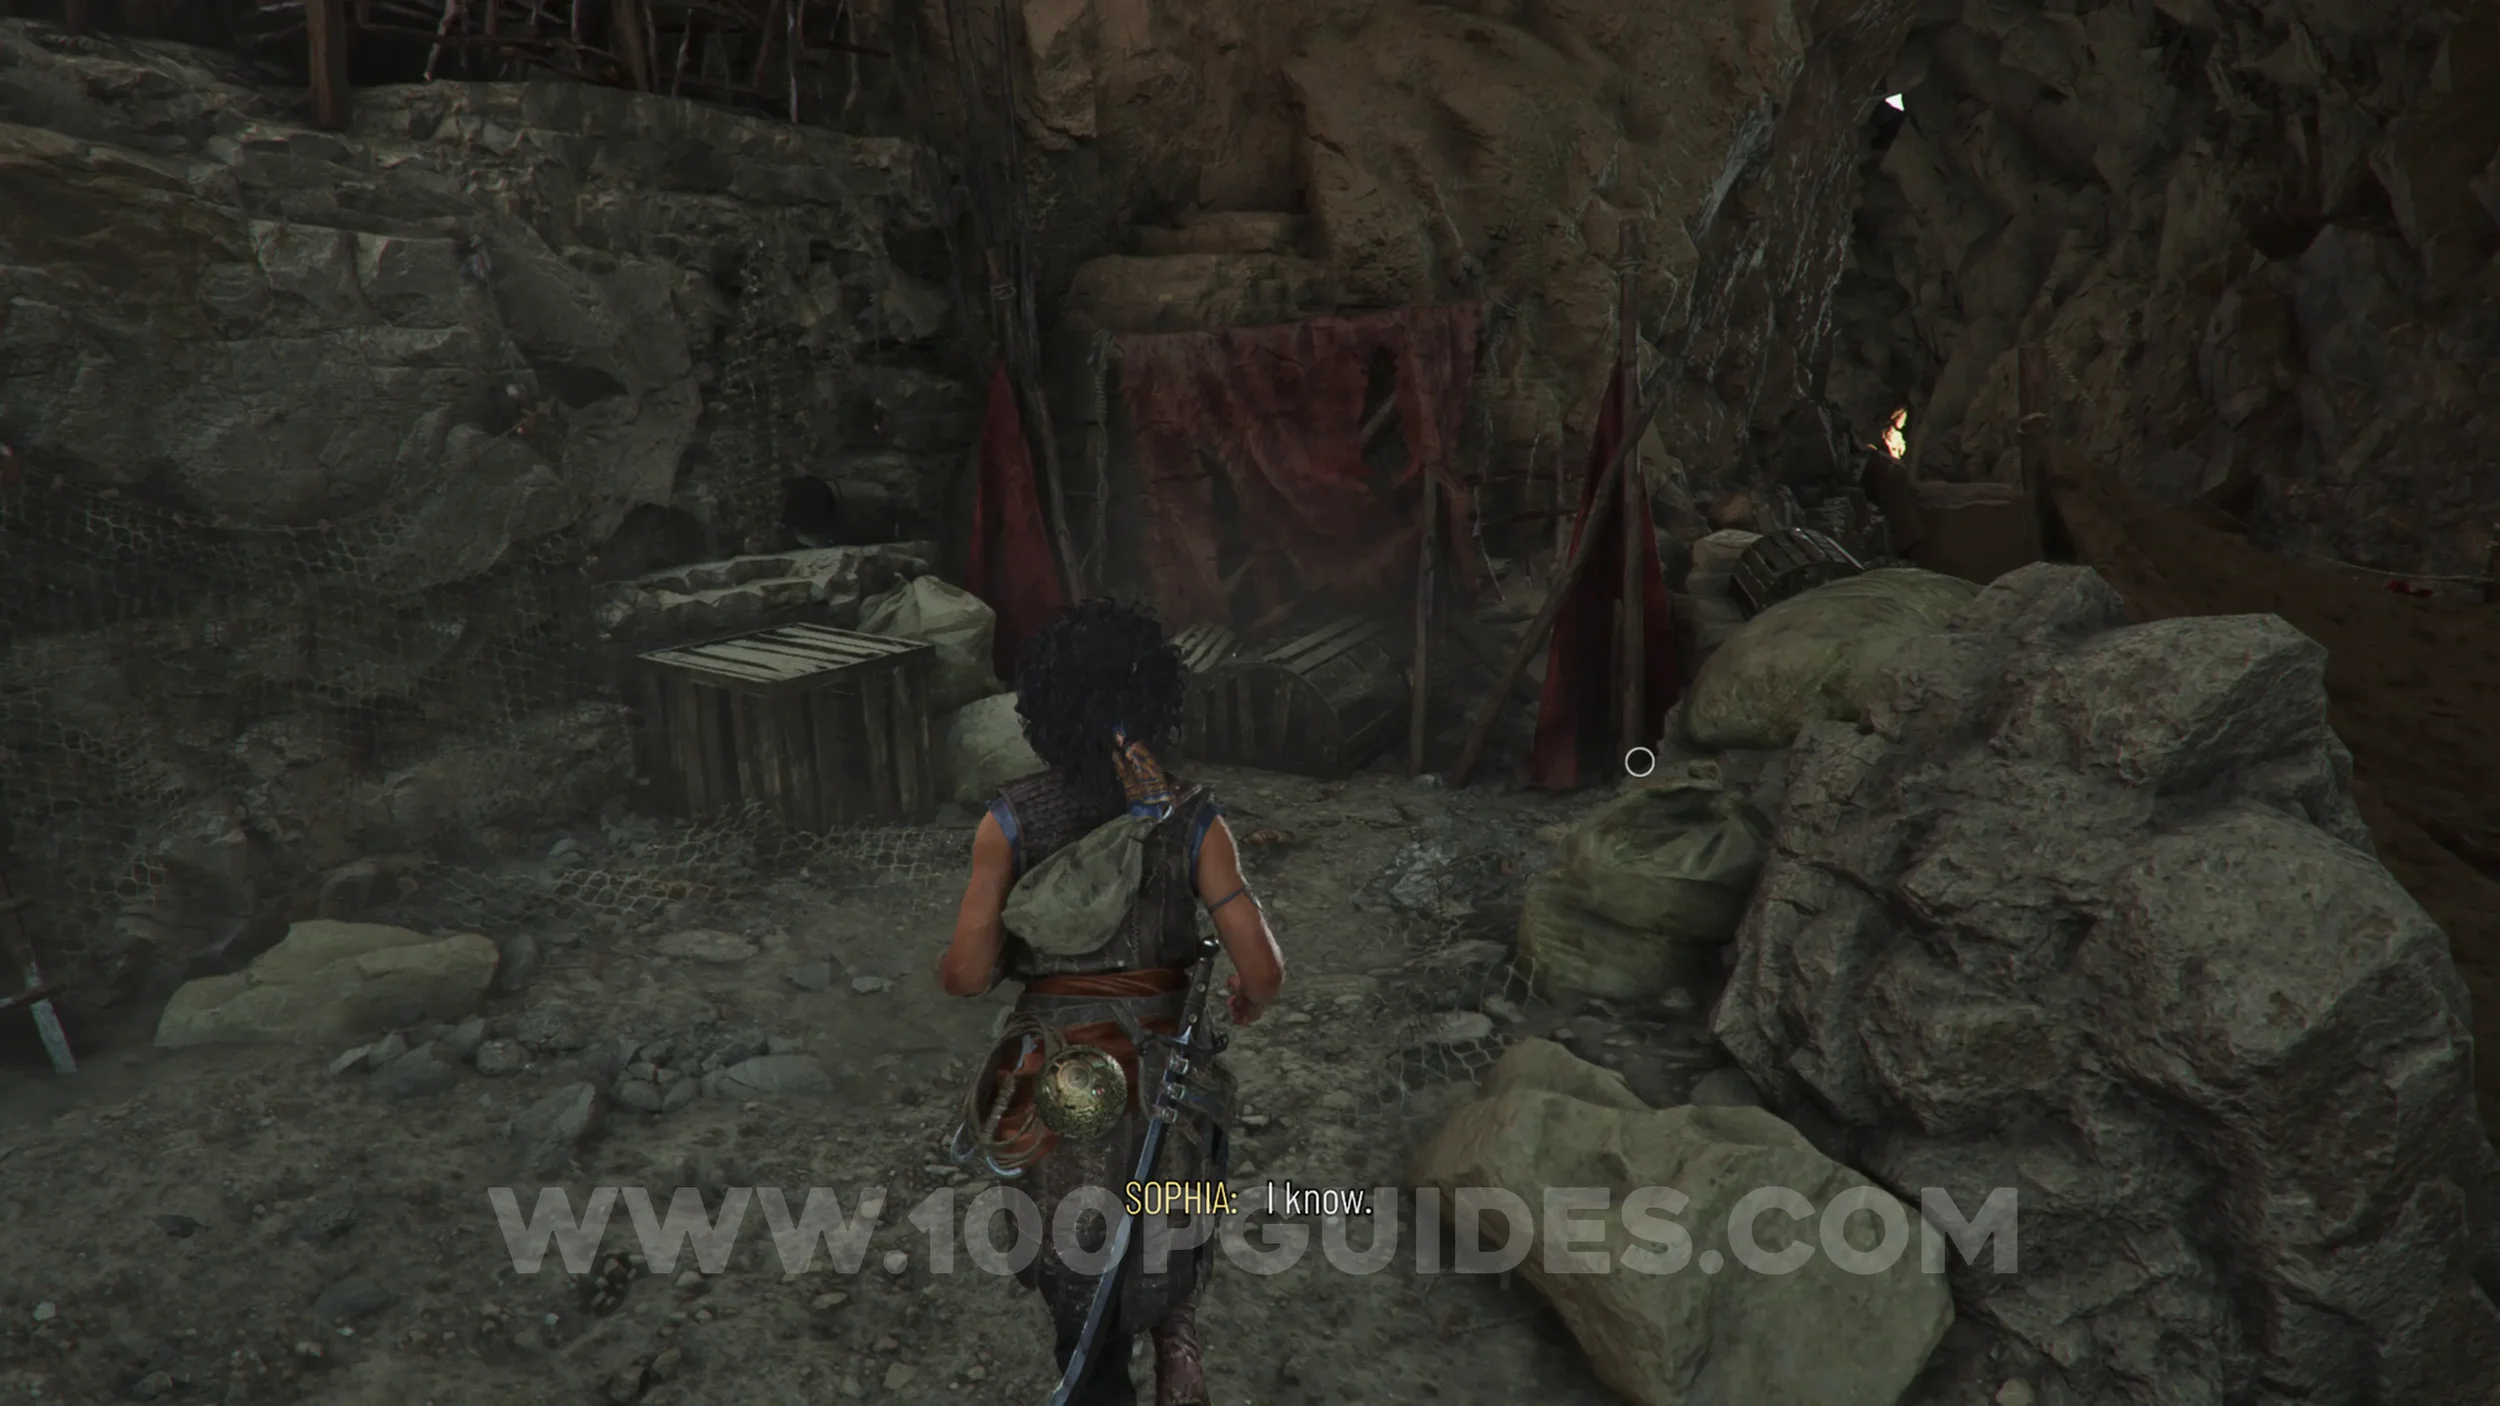
After the cutscene with the ships approaching the island, you'll enter a cave with tents. Look to the right here before you climb the ladder to find the collectible.
Resonance Point
Chapter 3: Sub-Chapter 2.
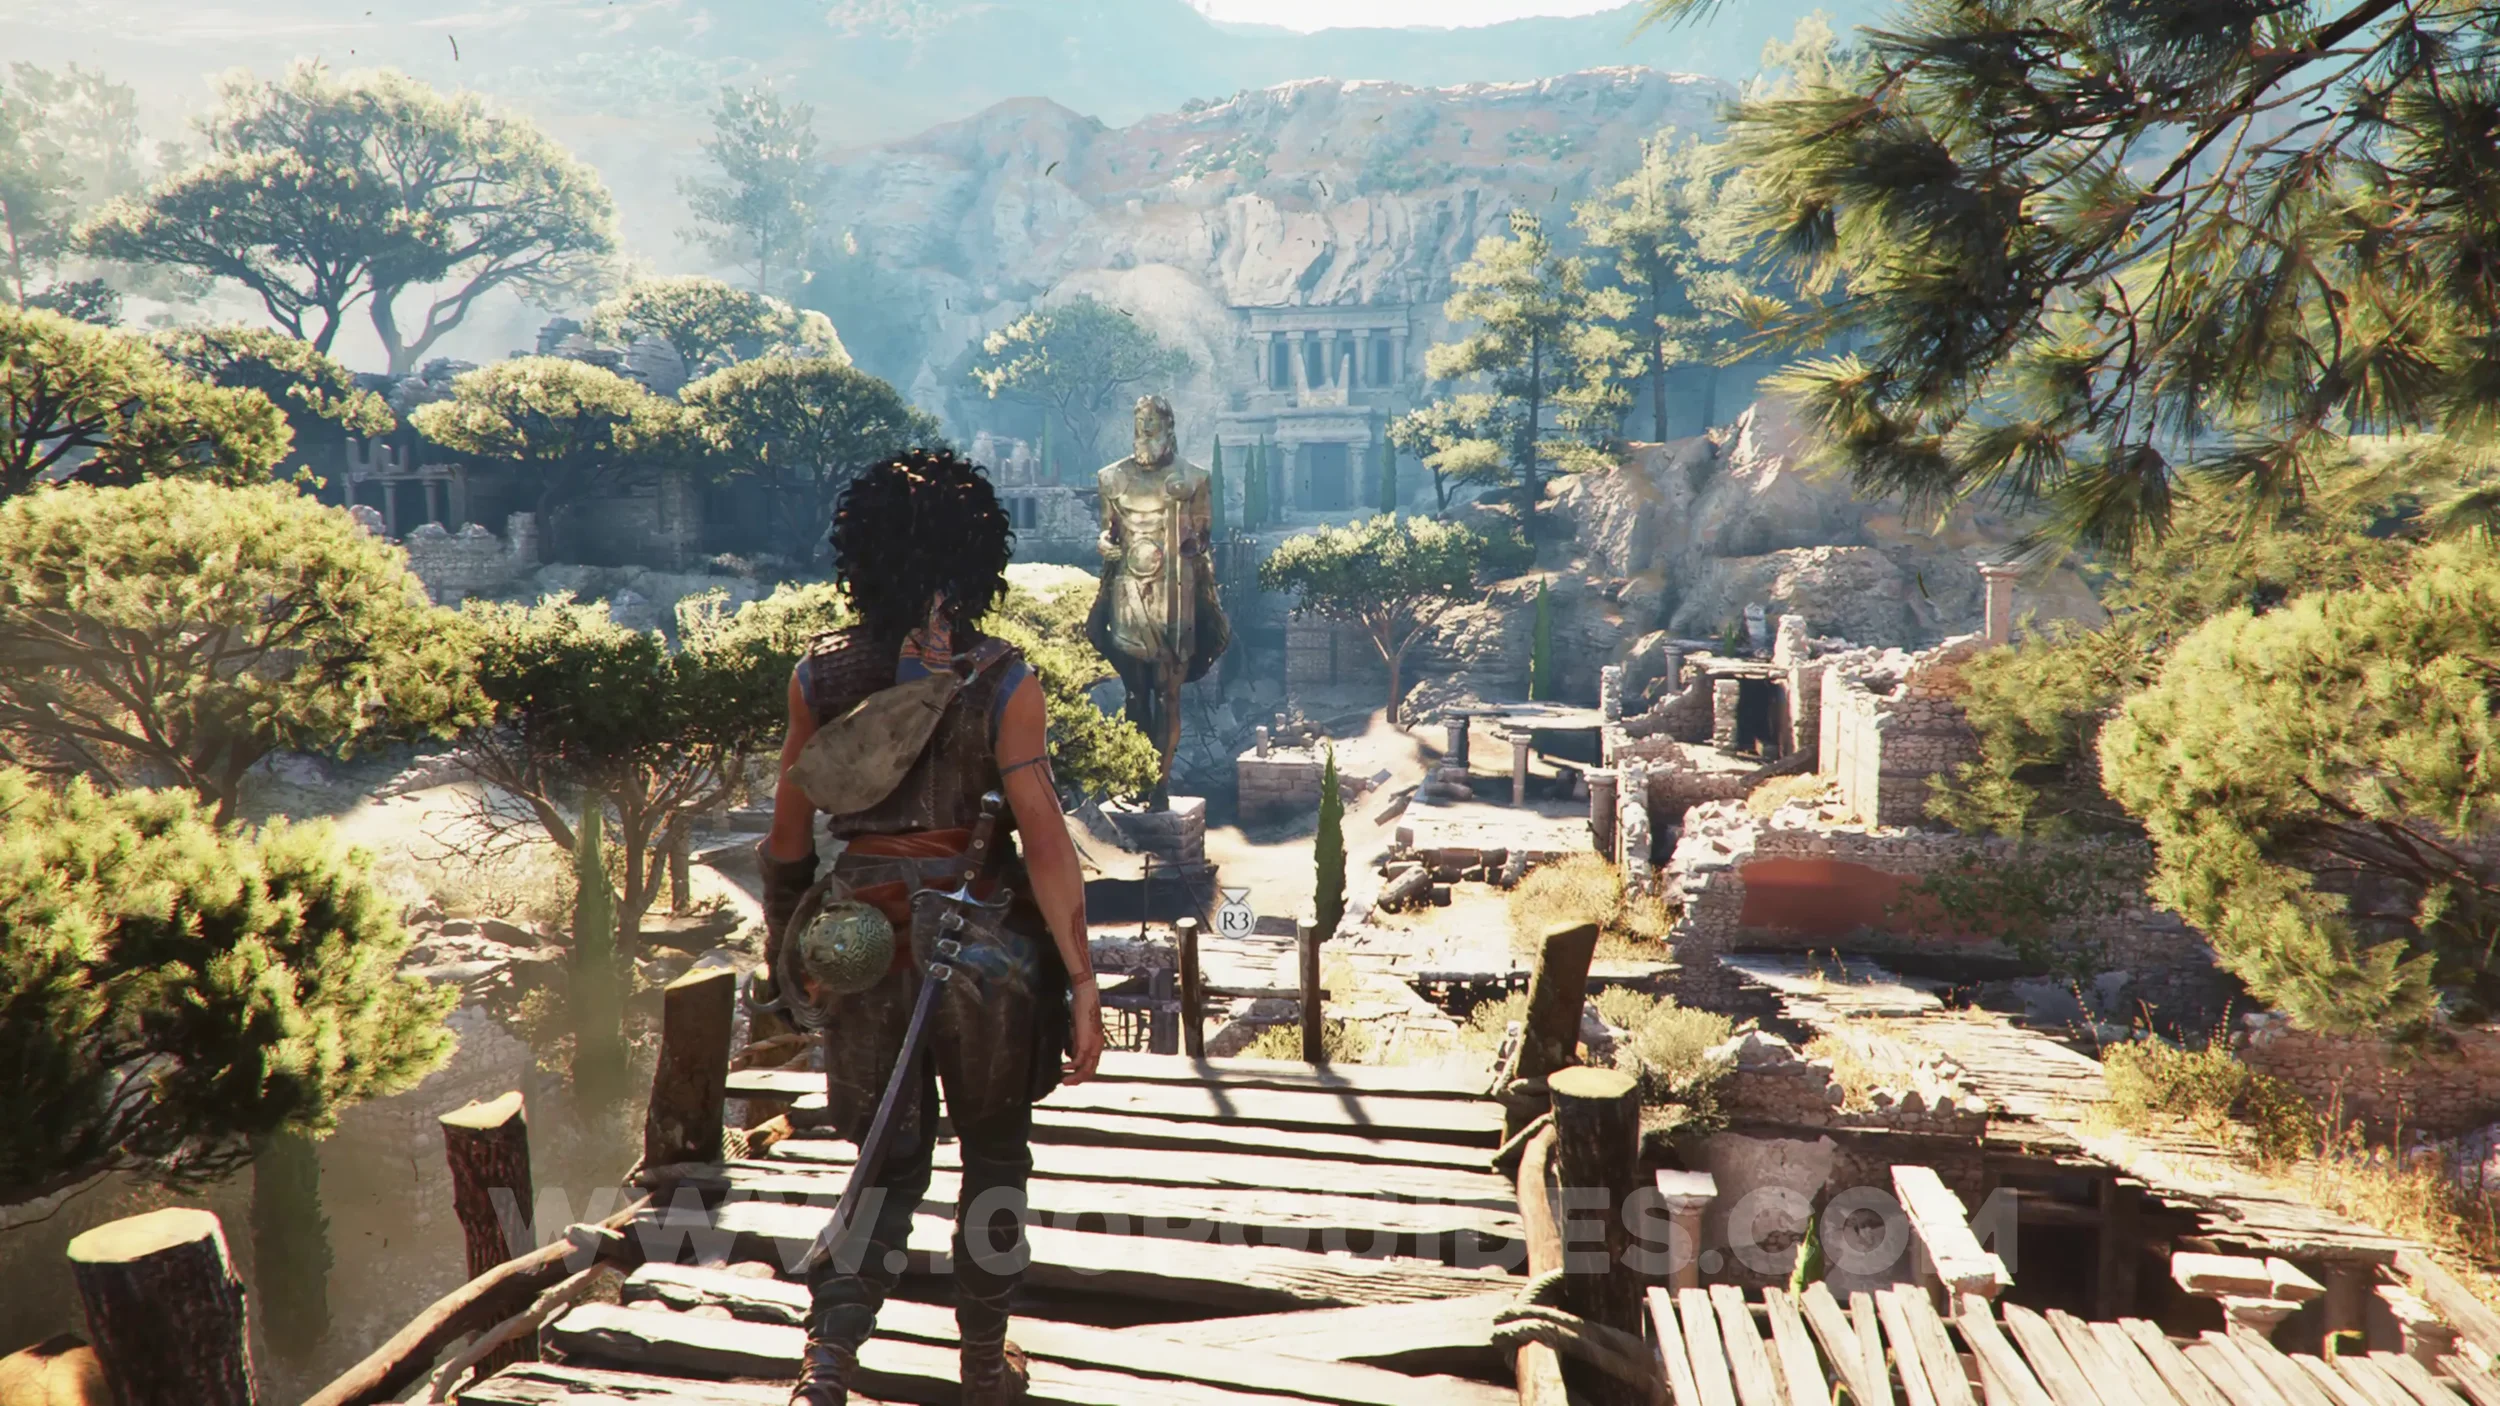
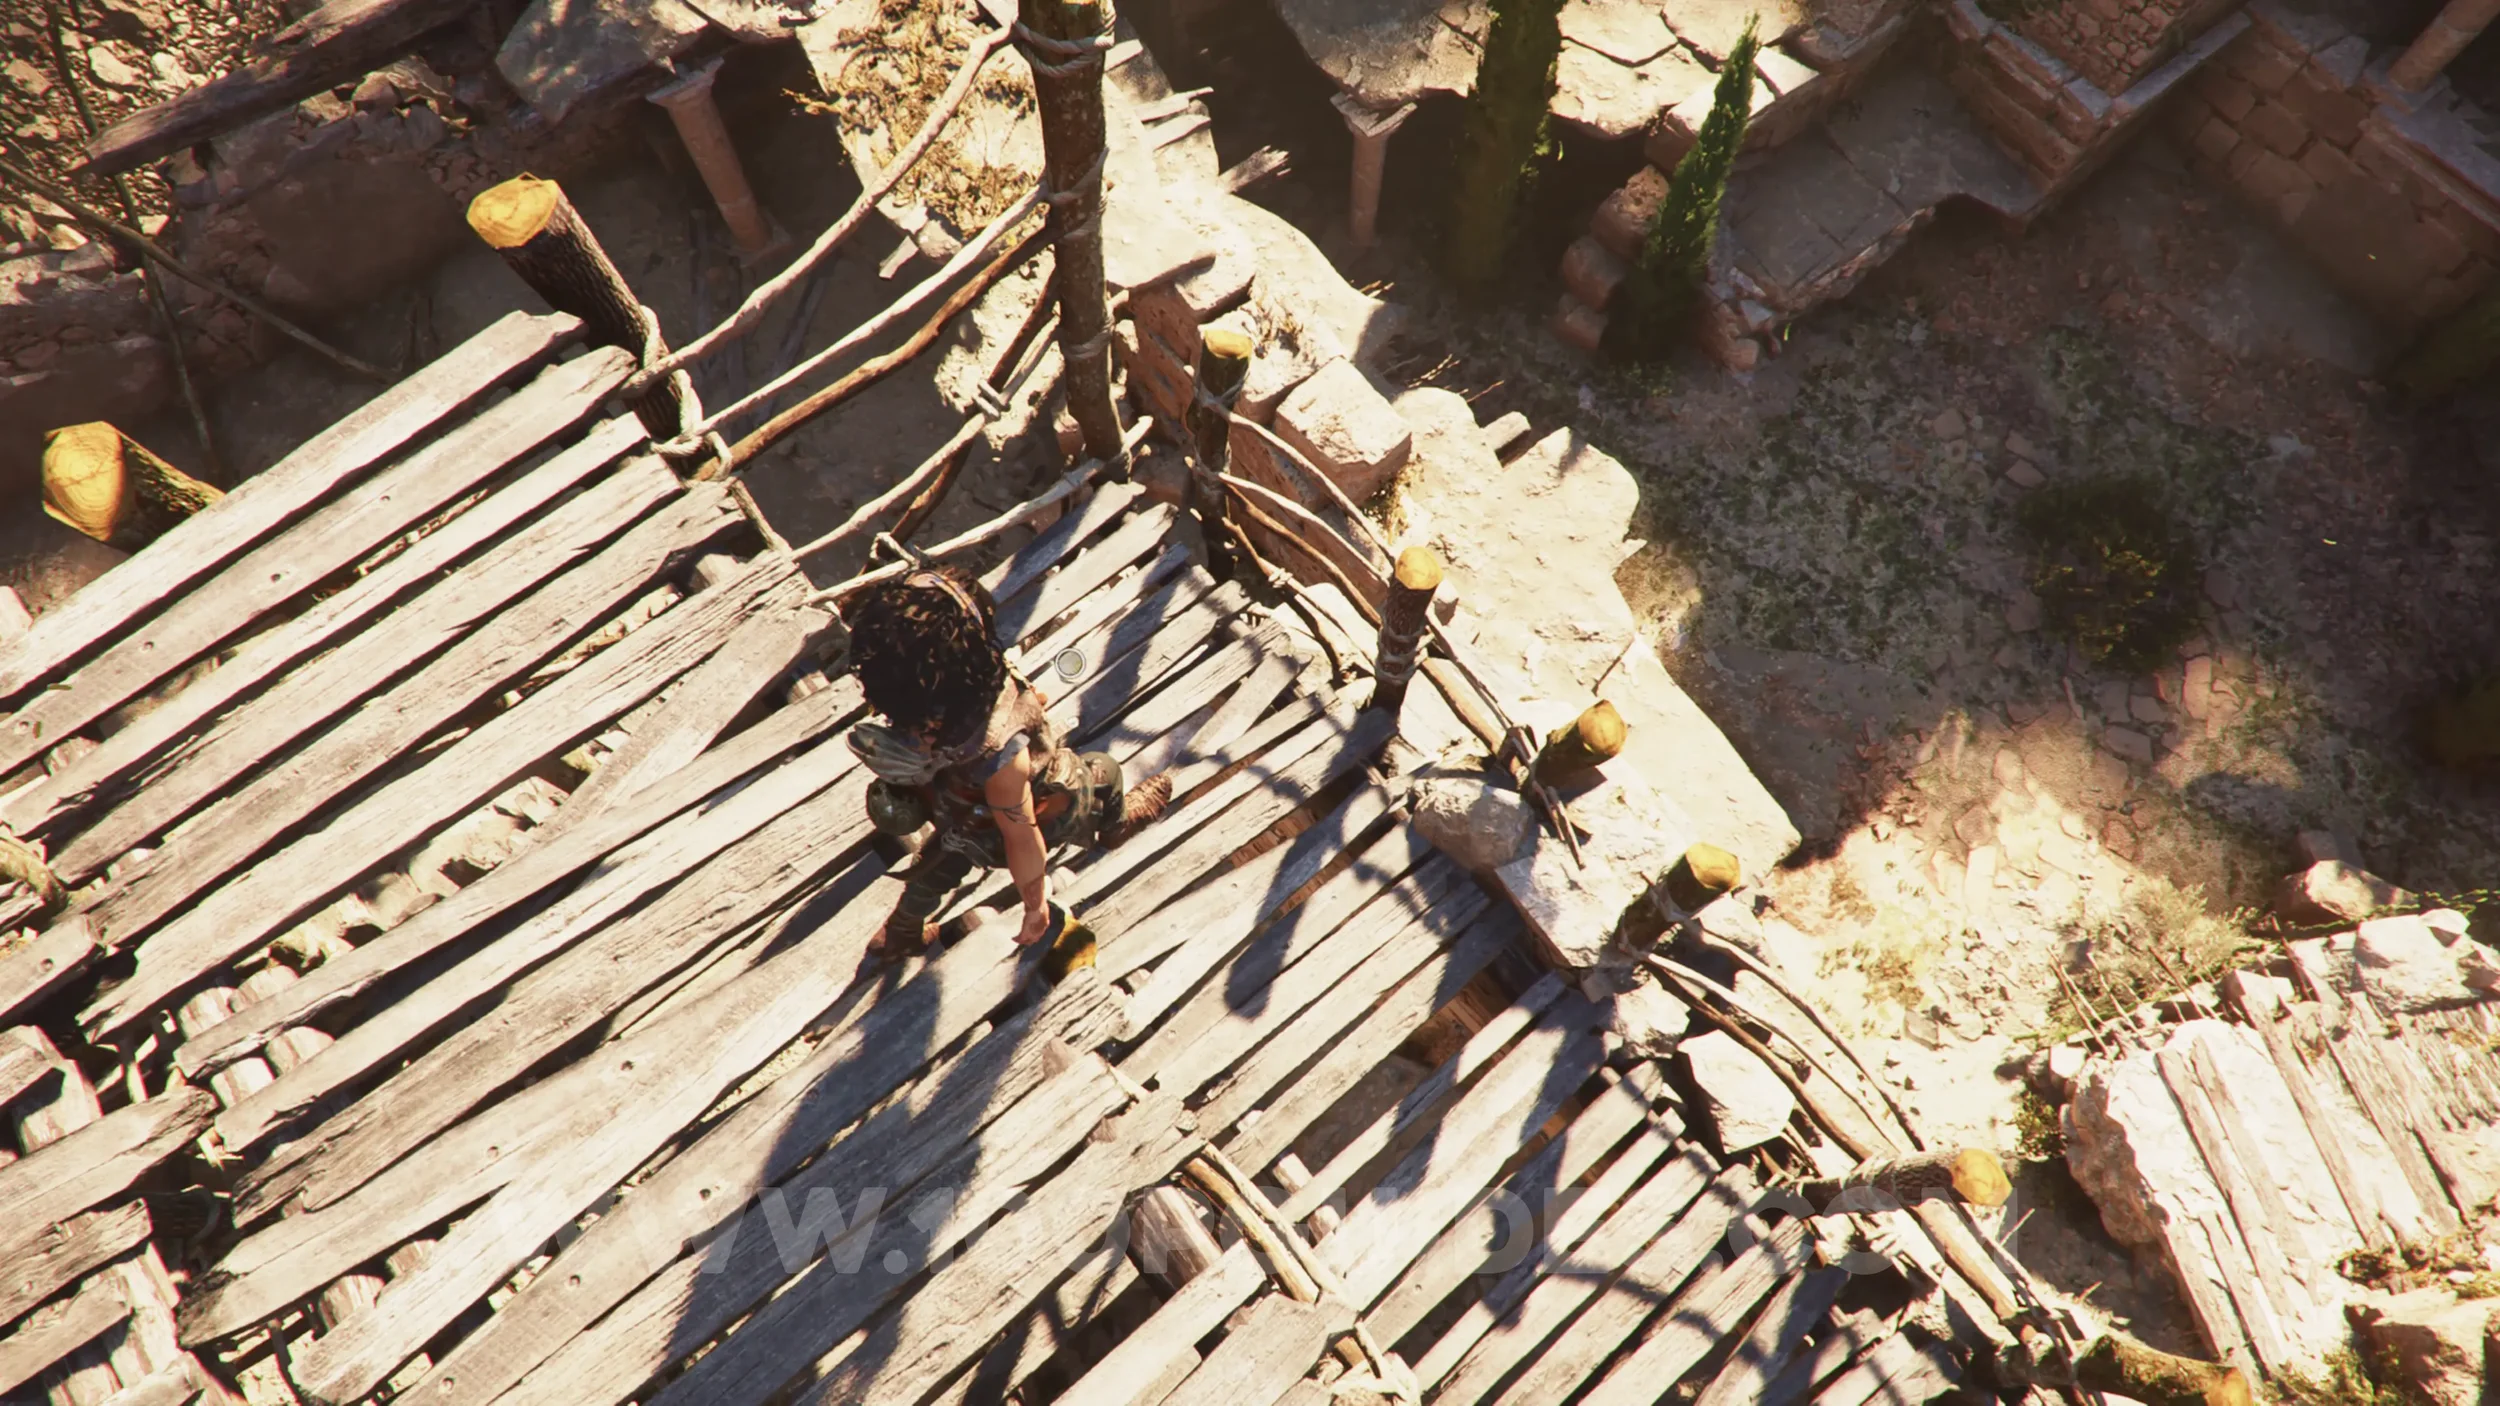
After the area with the tents, you'll reach an area with ruins and a massive statue. The collectible can be found on the wooden platforms below you. Just drop down twice to find it.
Resonance Point
Chapter 3: Sub-Chapter 2.
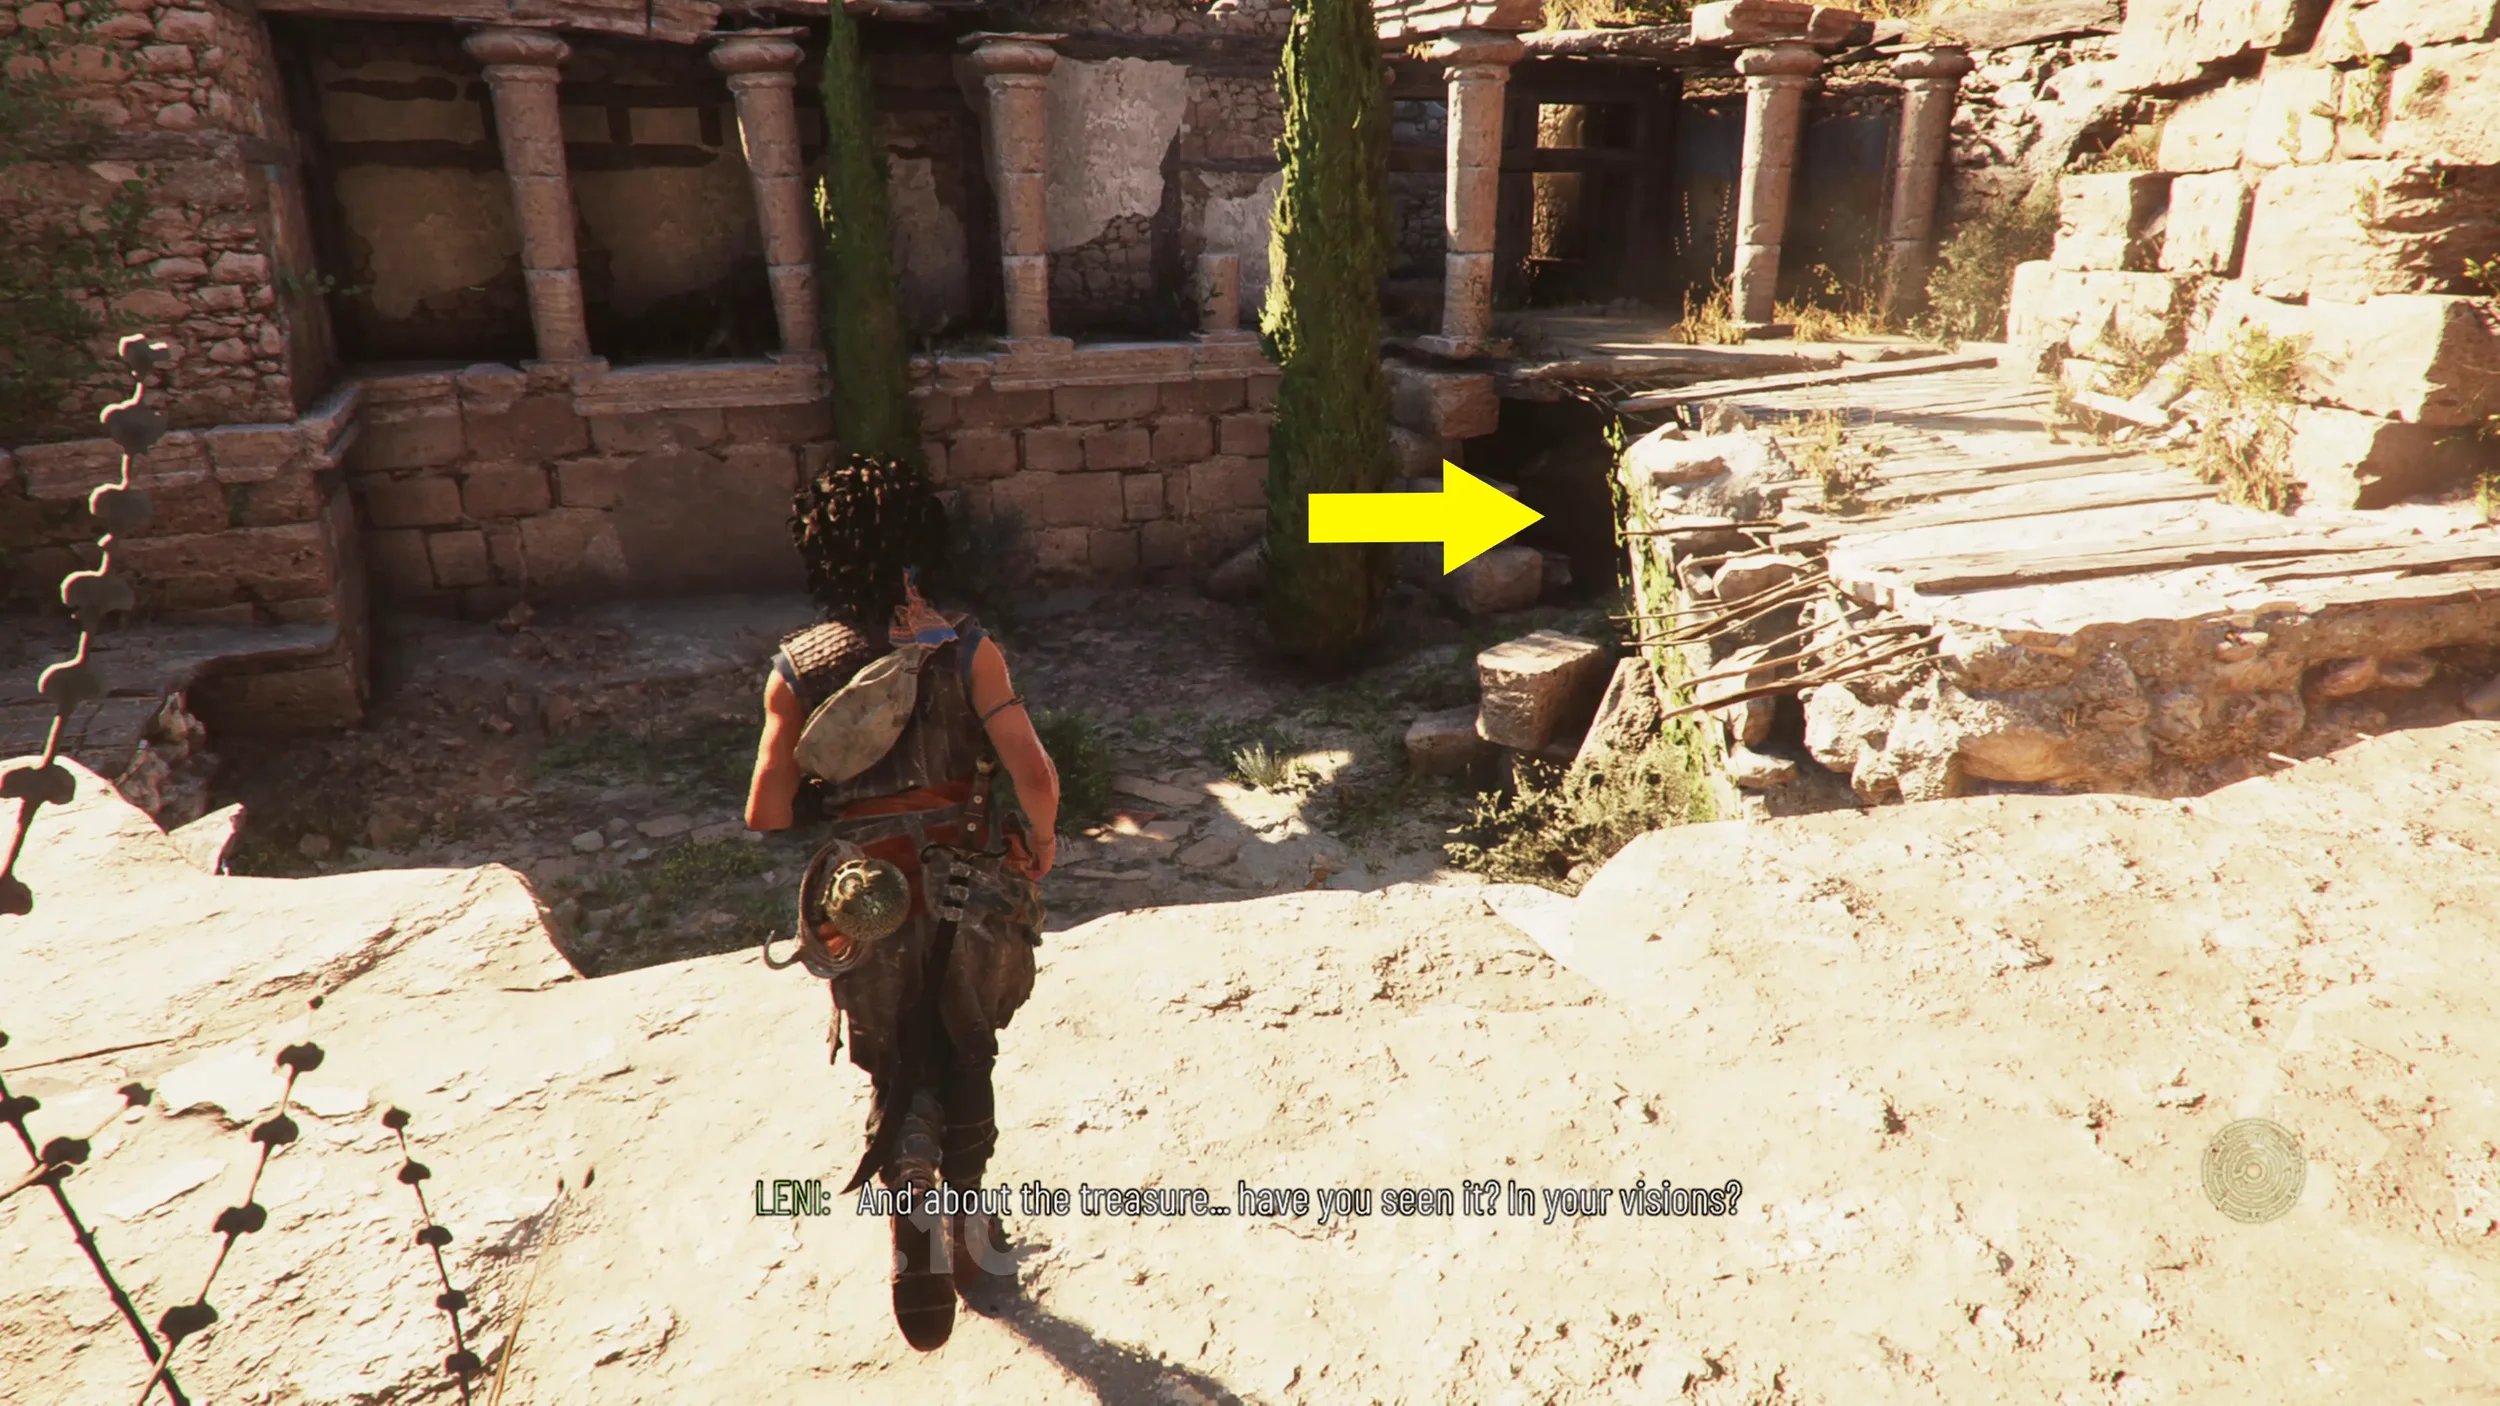
From the previous collectible, continue down to the ruins area below. Look for a hole in the lower right area here. Go through it to find the resonance point inside.
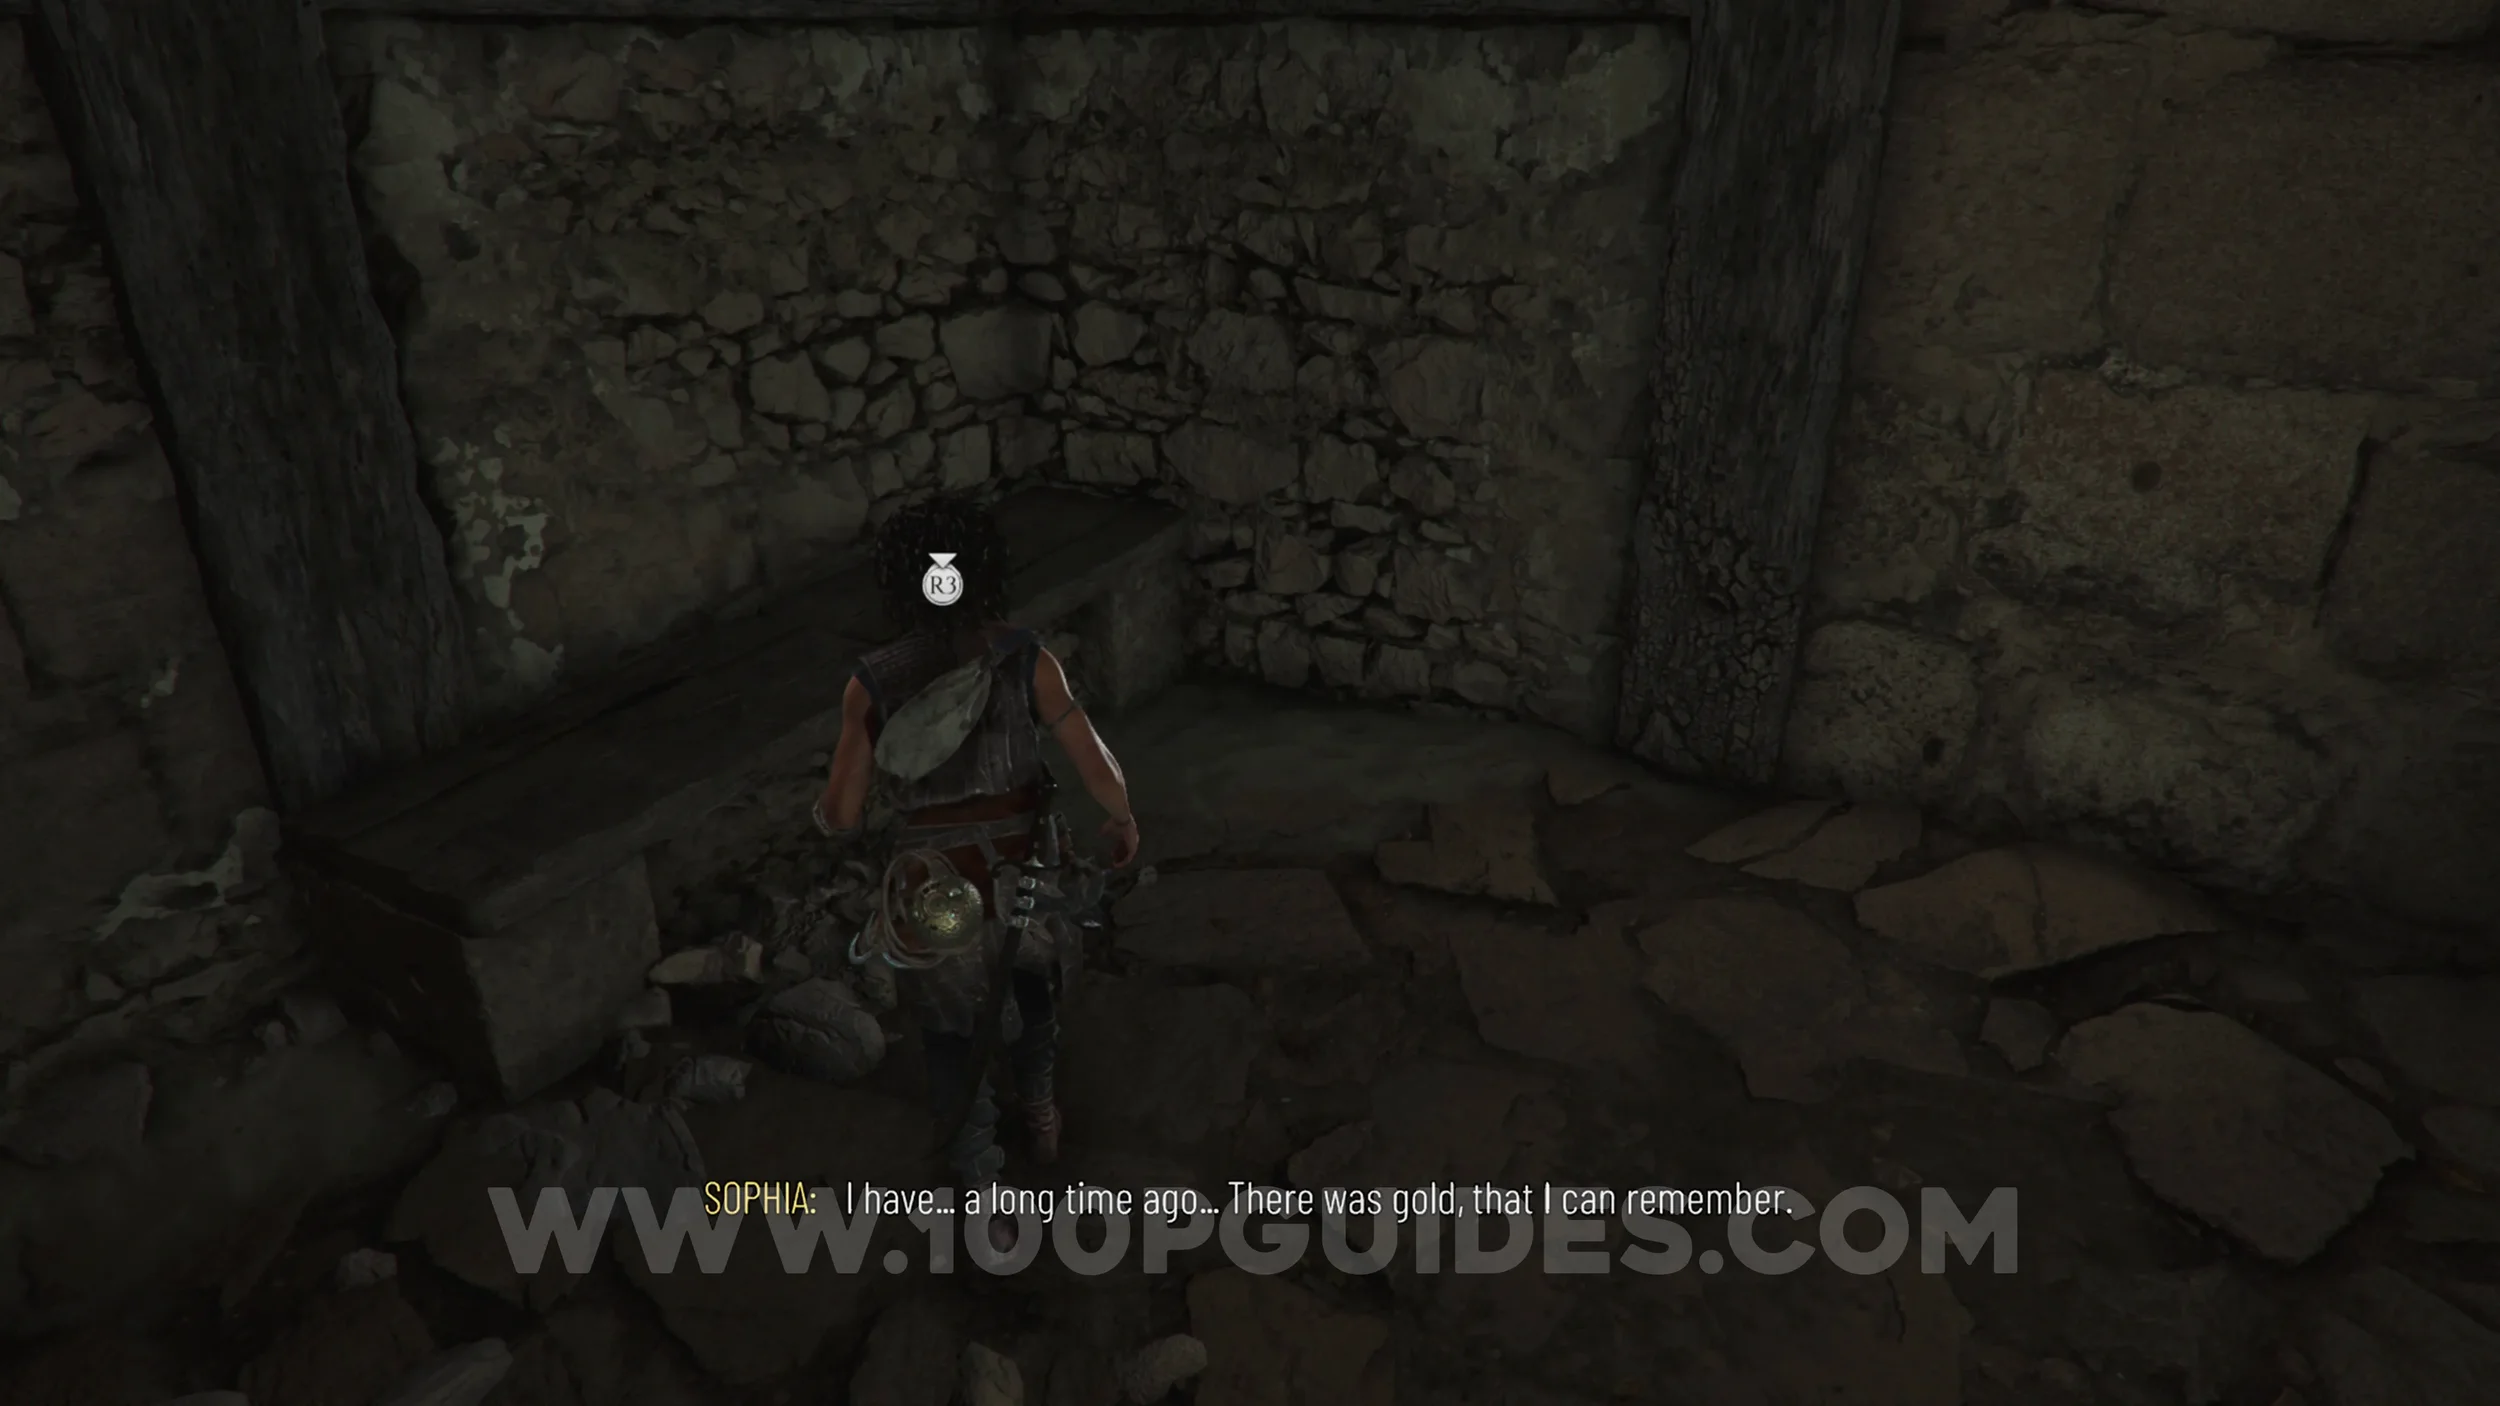
Charm: Bead #2
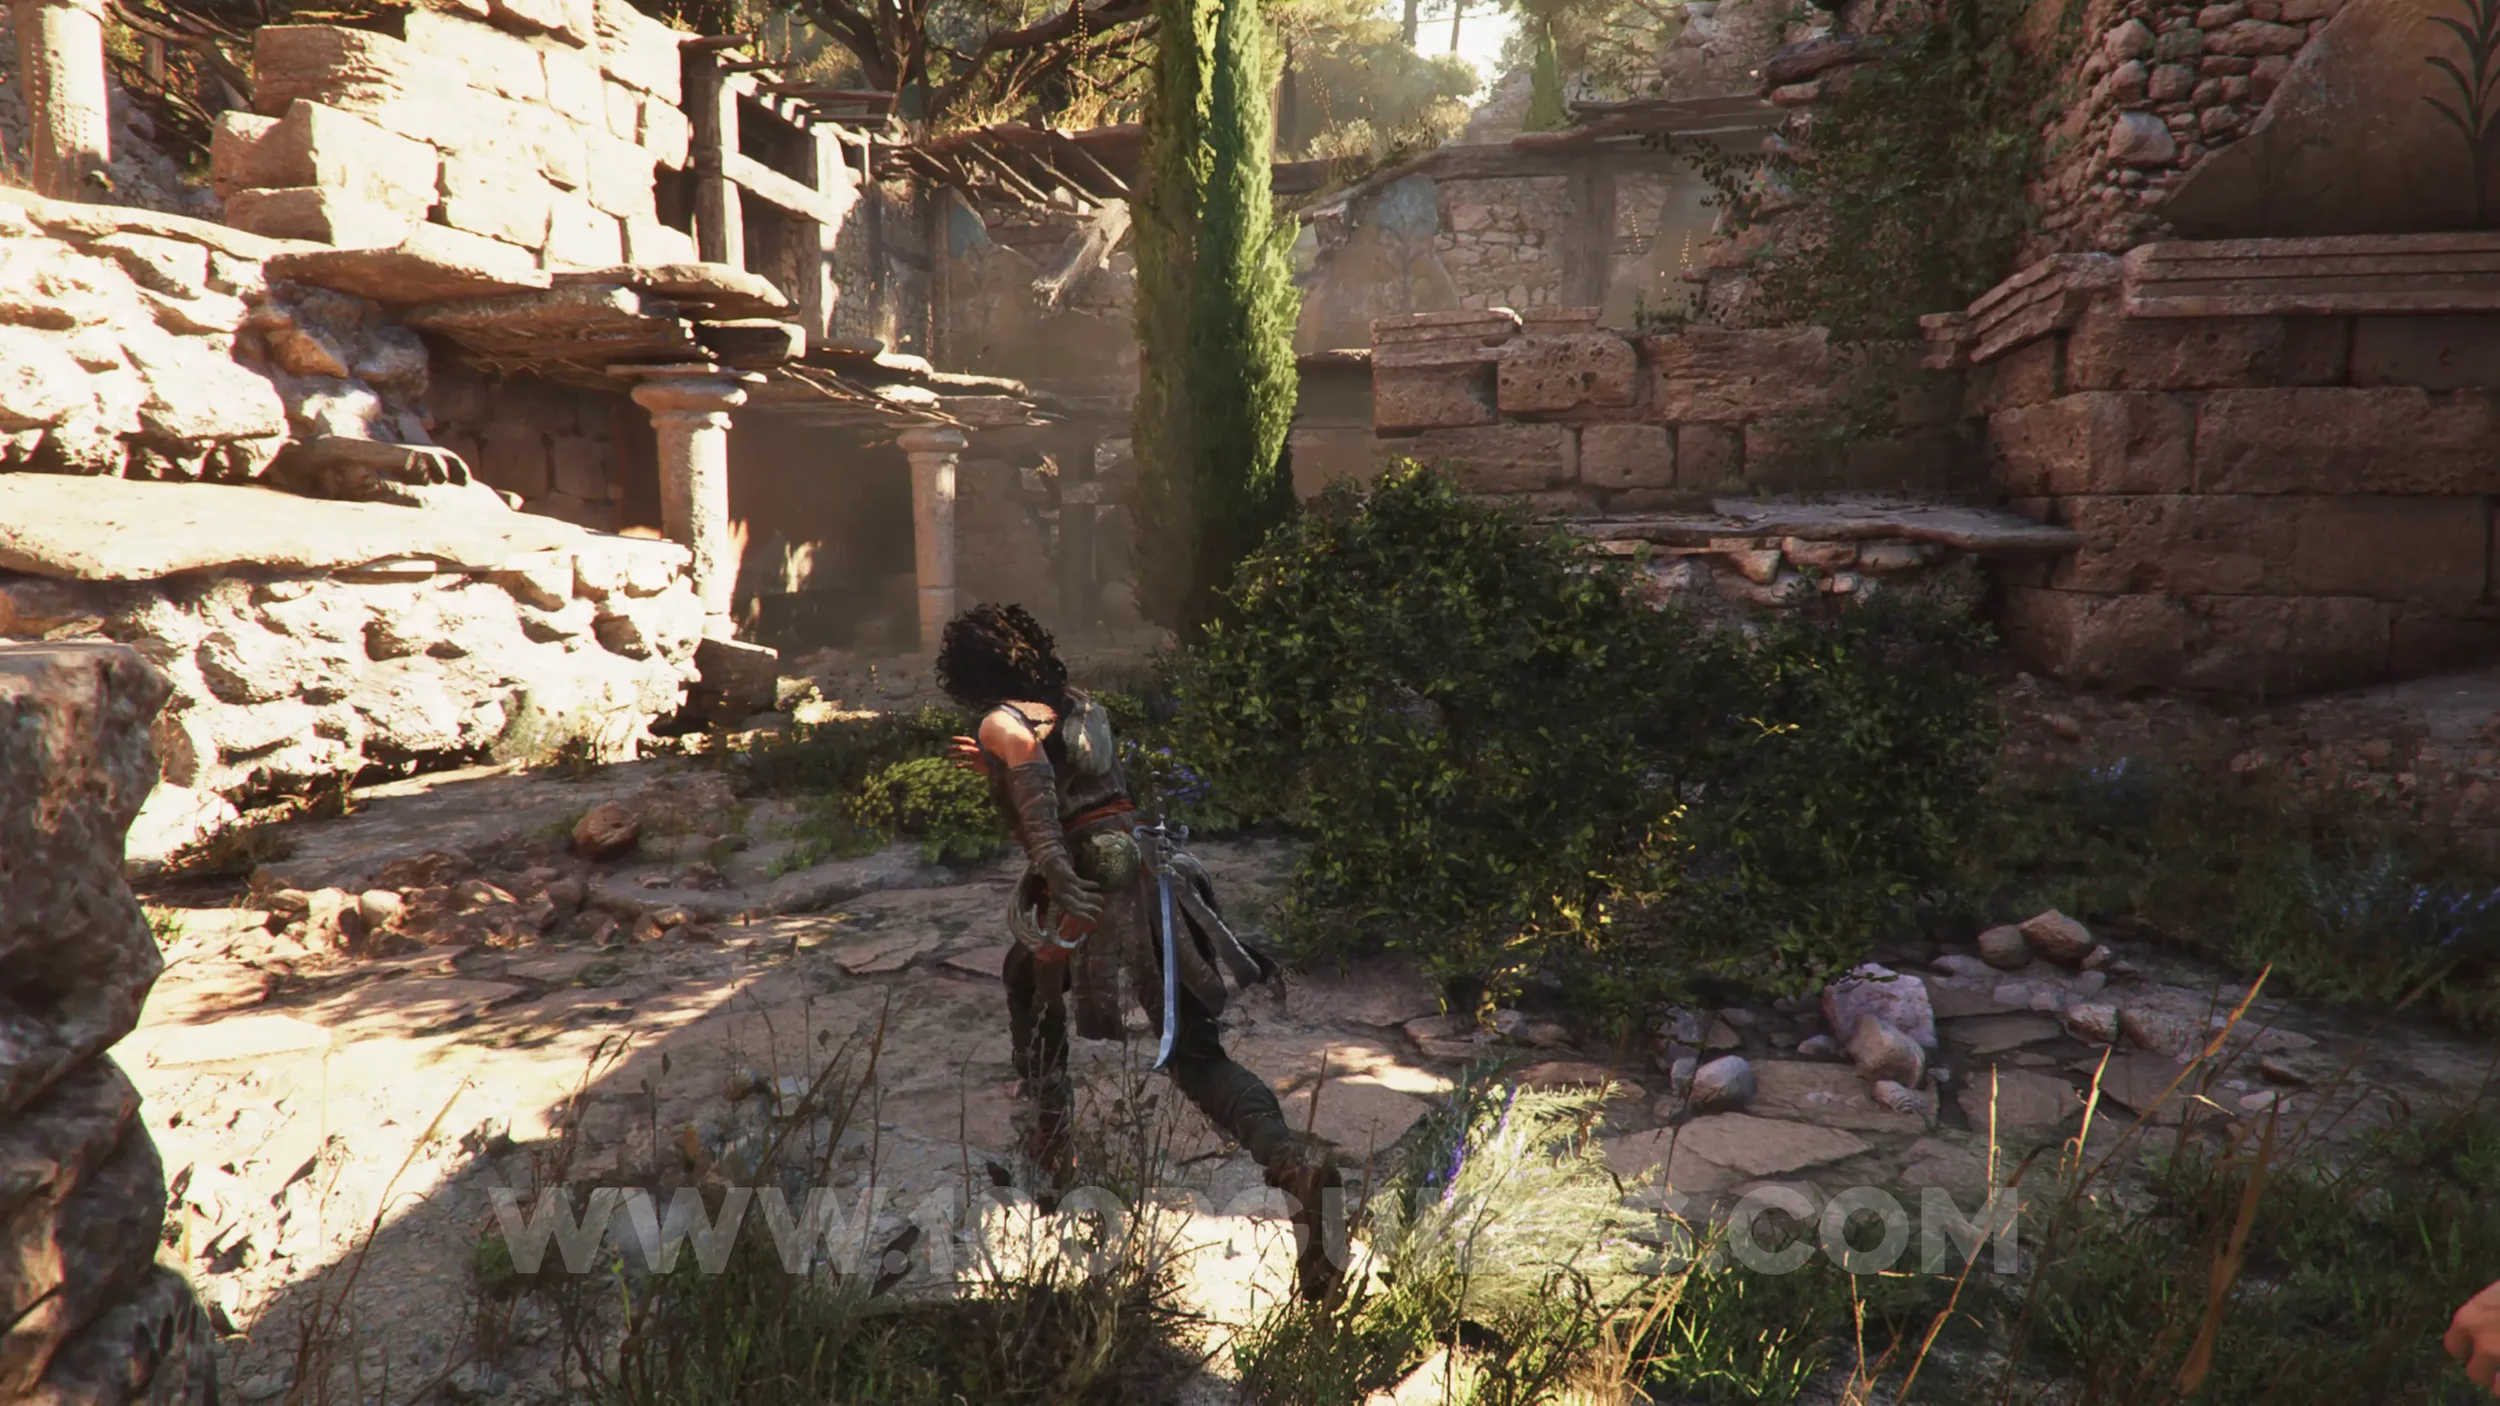
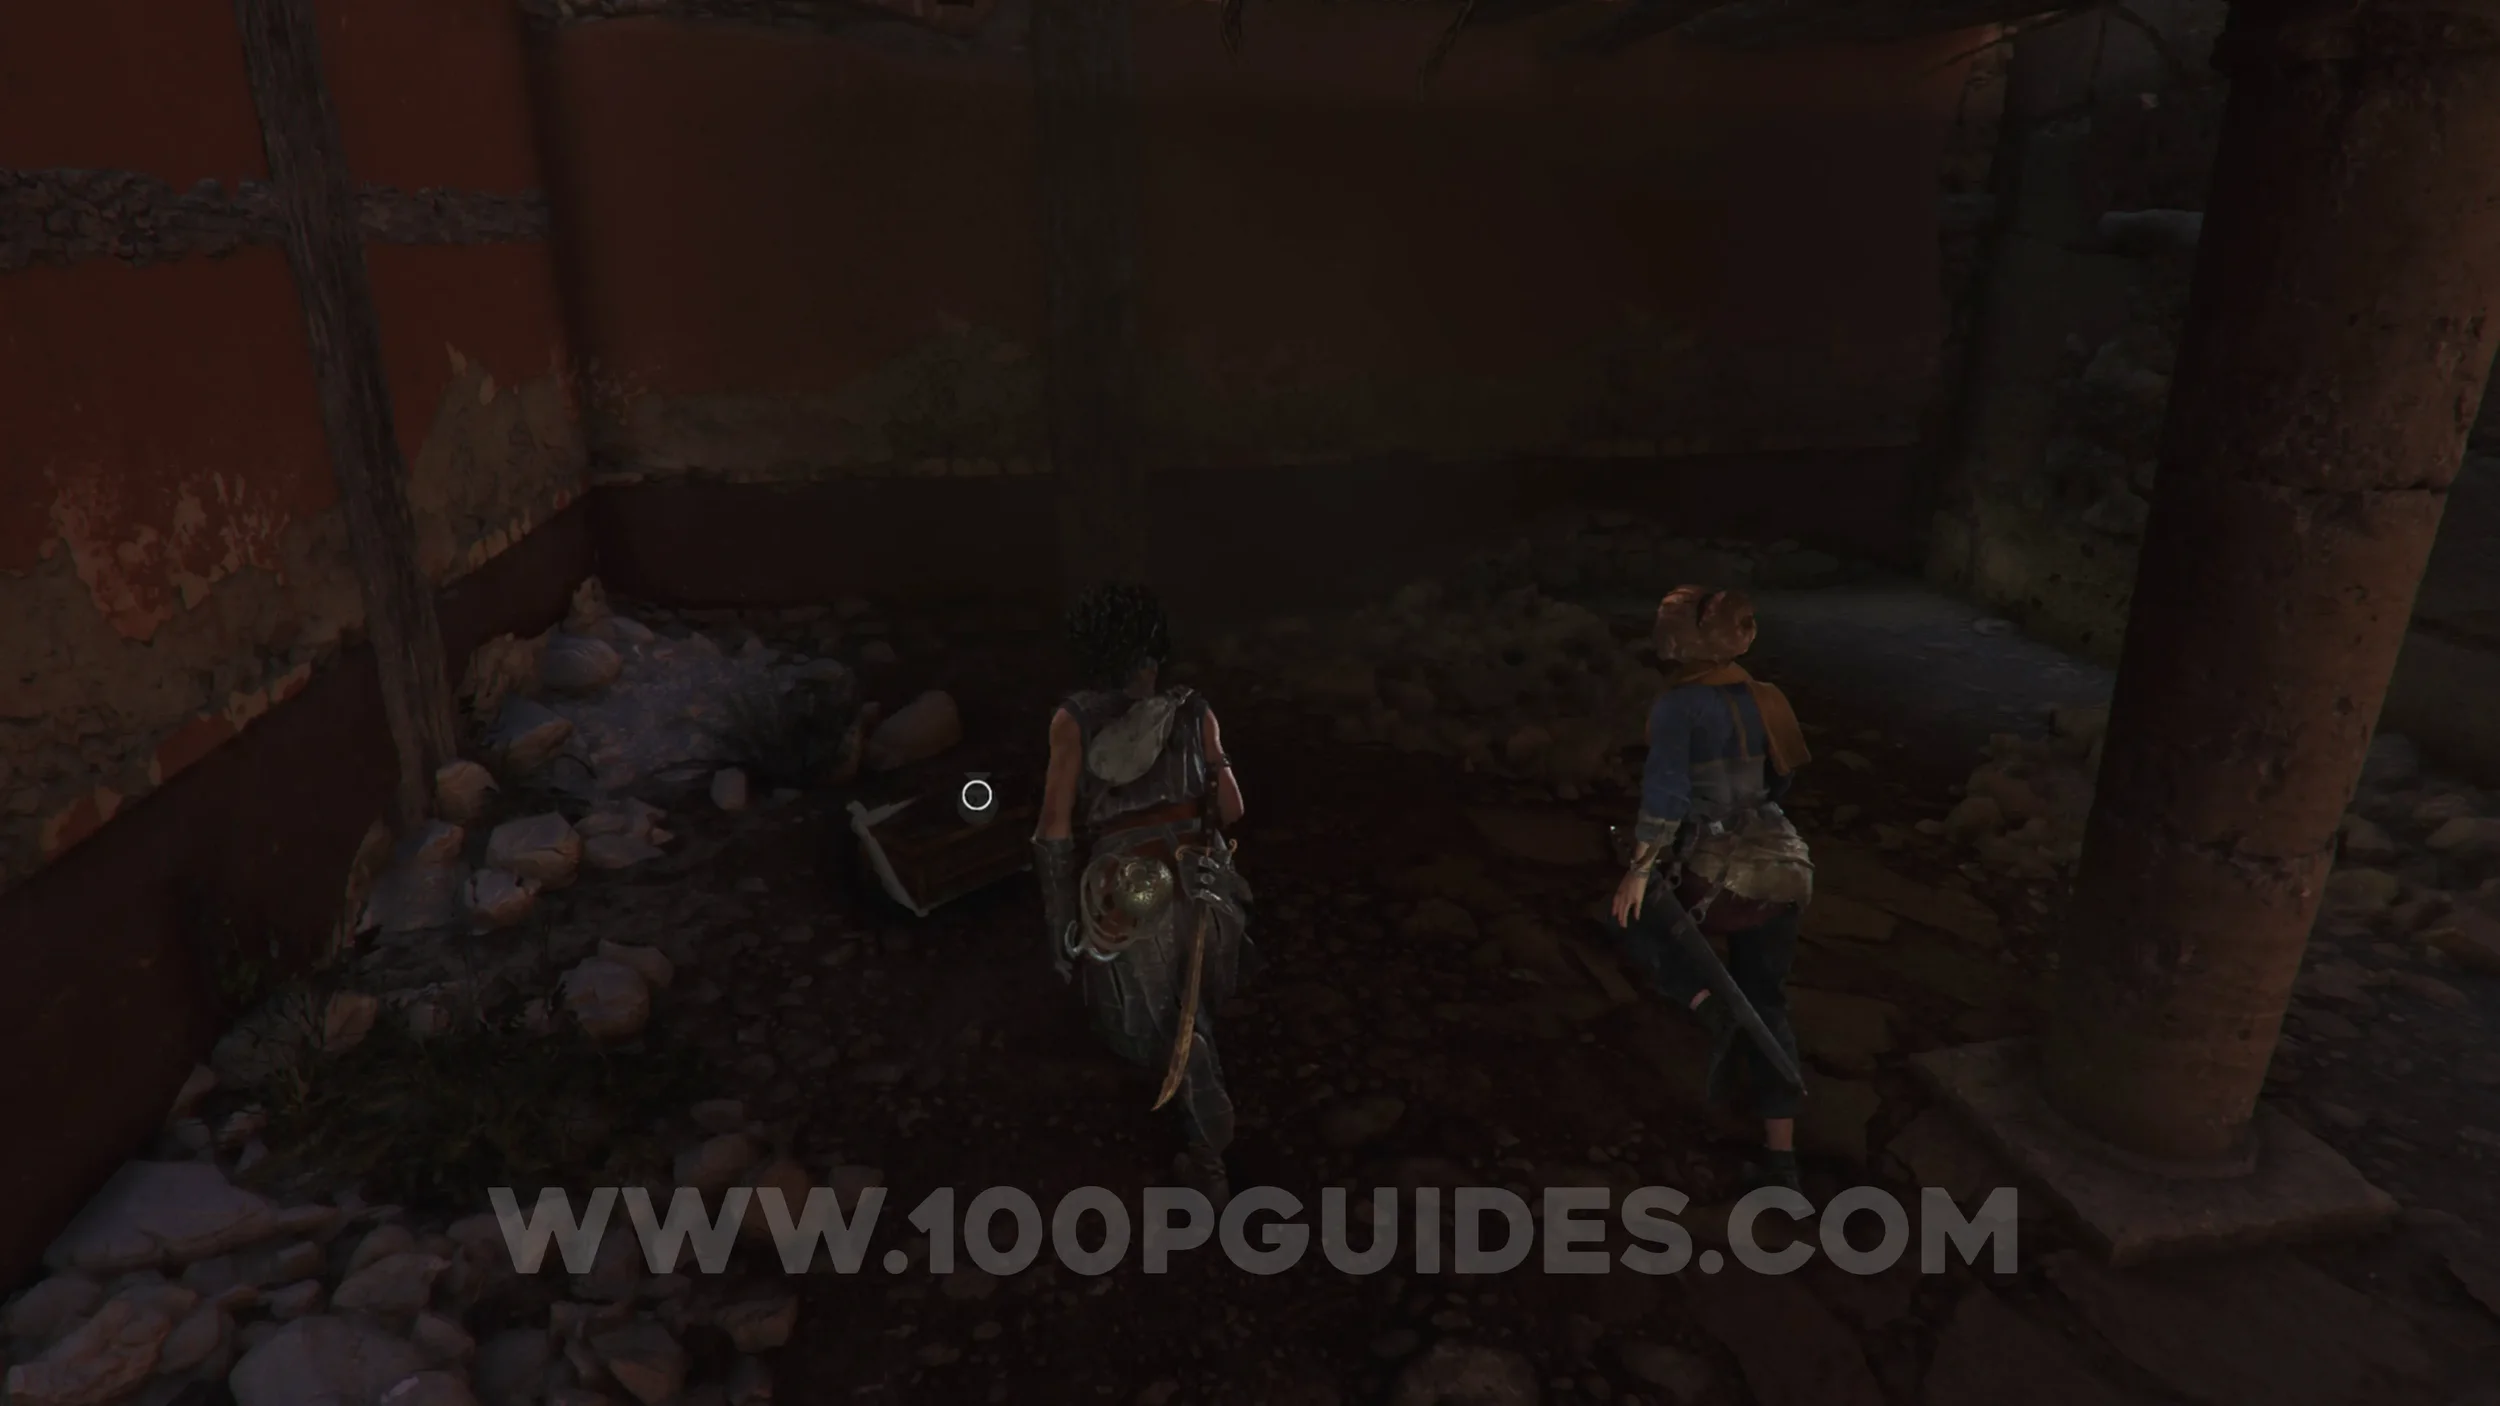
Chapter 3: Sub-Chapter 2.
From the previous collectible, head back out through the hole and head to the opposite side of the area where the two cypress trees are. You'll find a box with the charm inside in the ruins on the right, just past the trees.
Artefact: Strategy Game
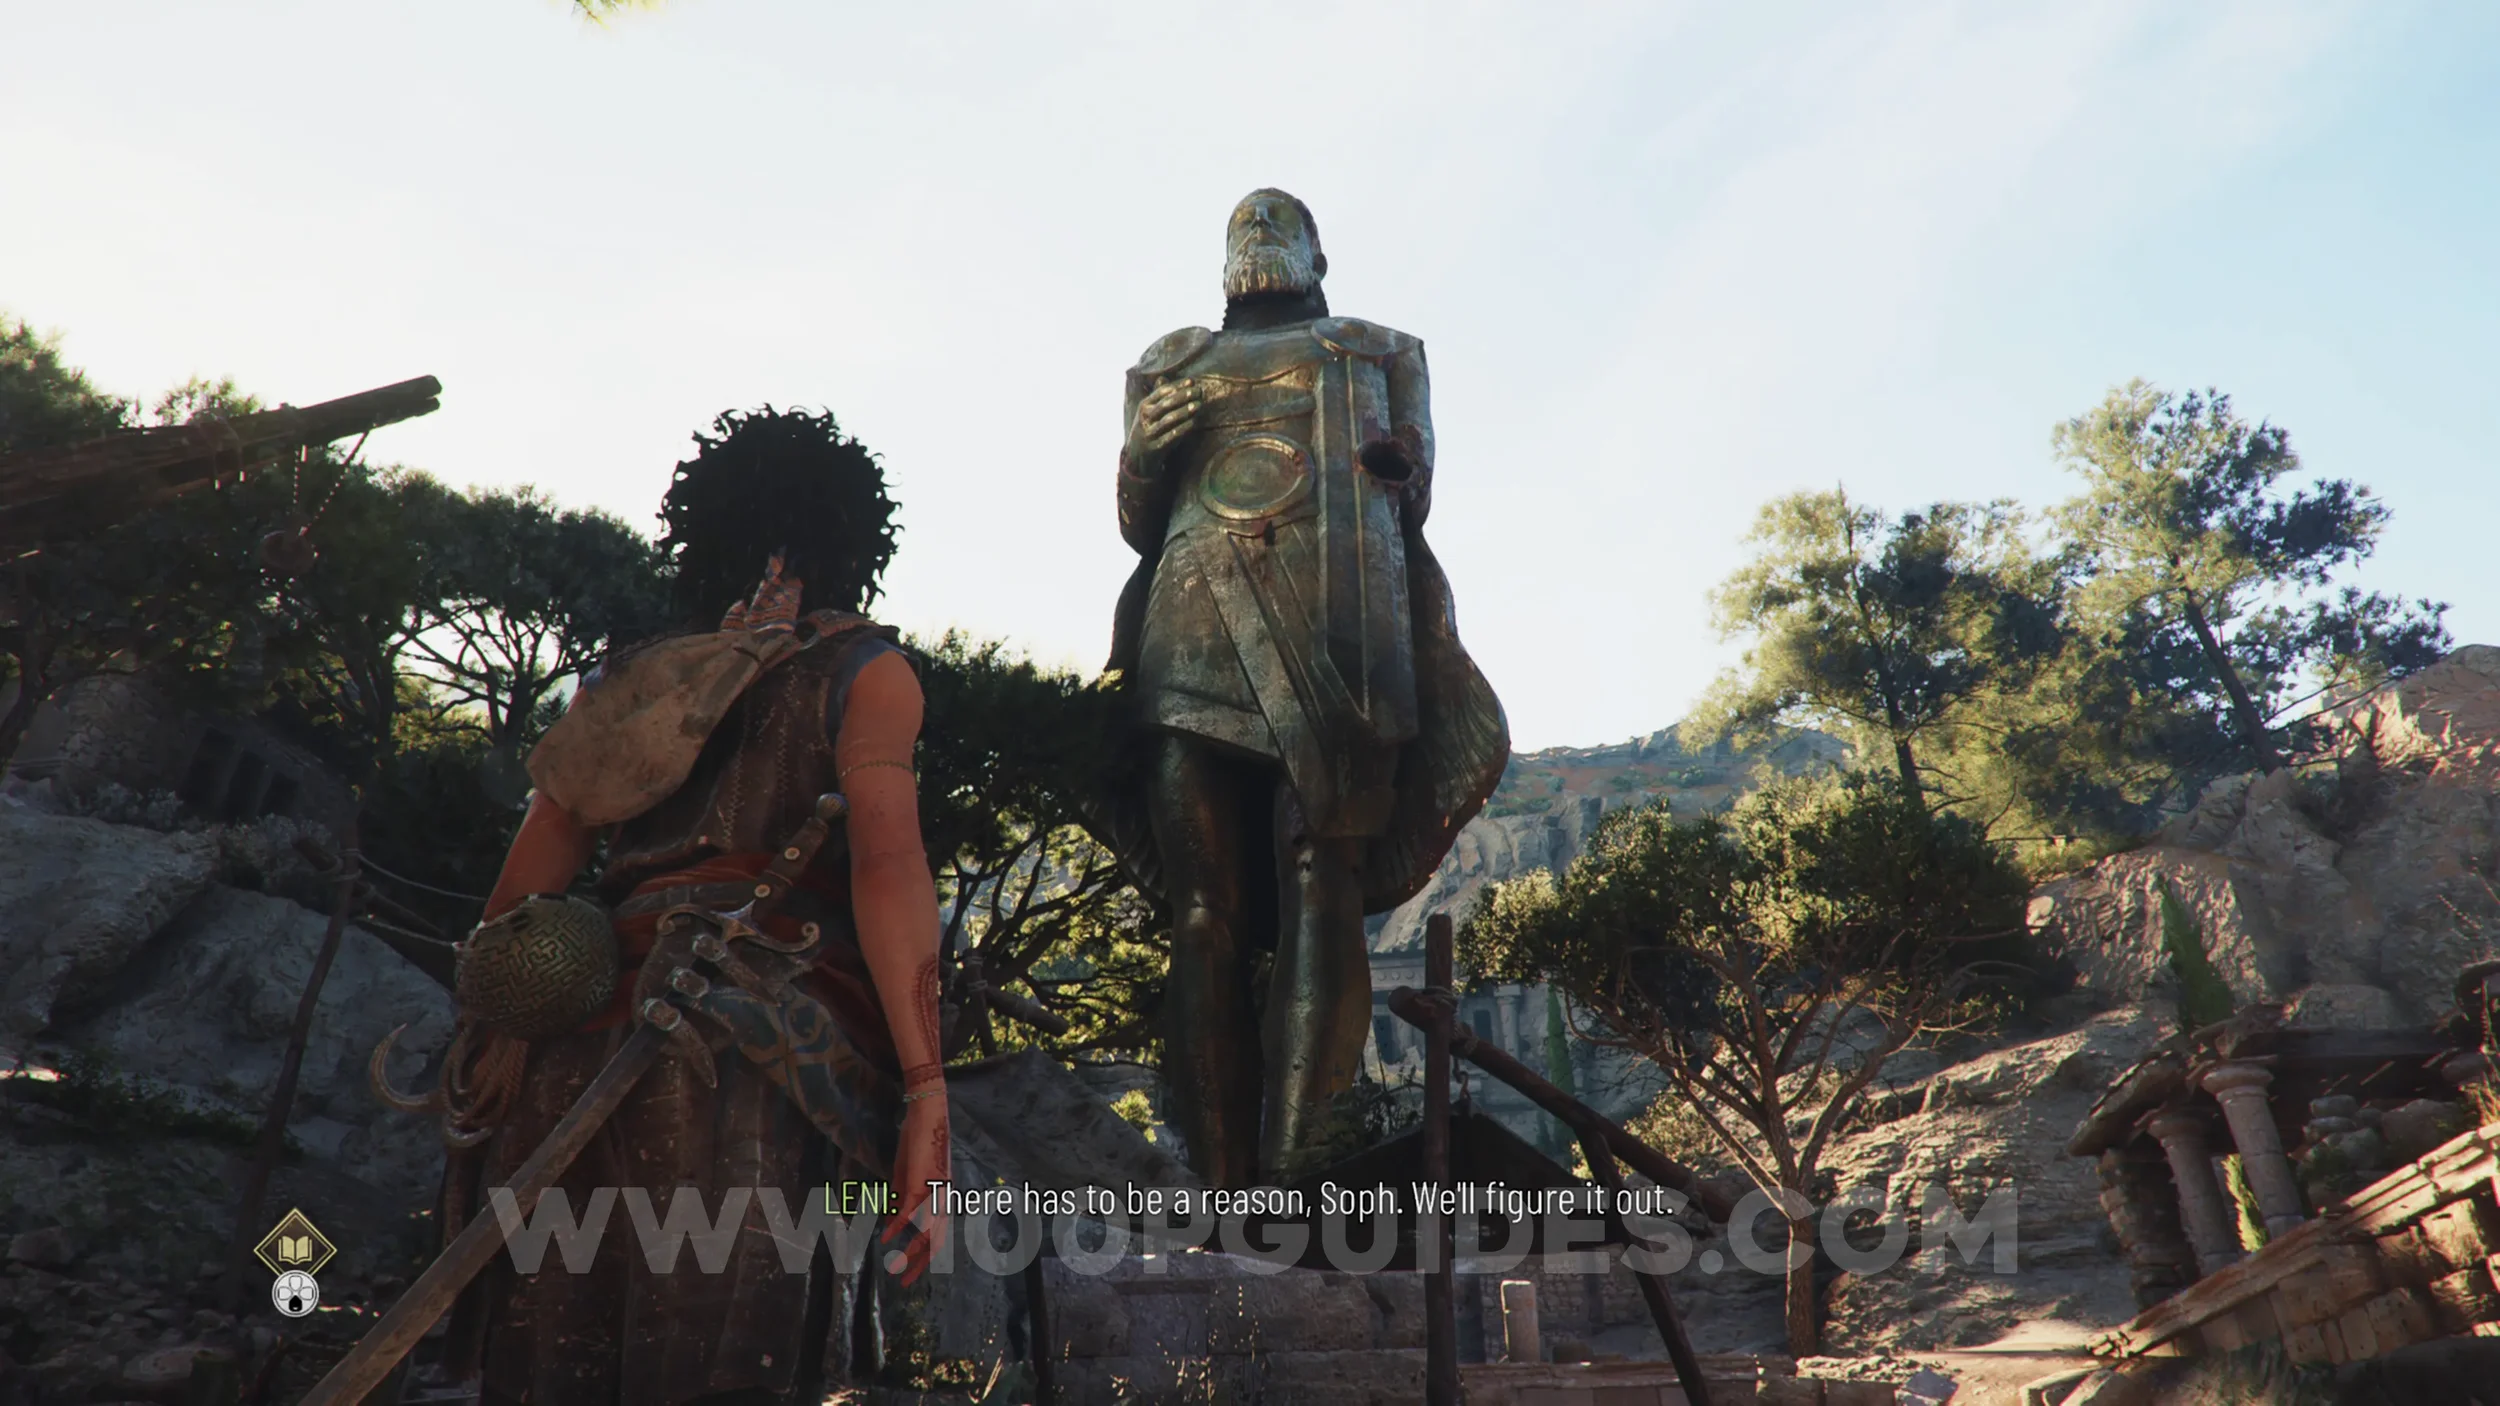
Chapter 3: Sub-Chapter 2.
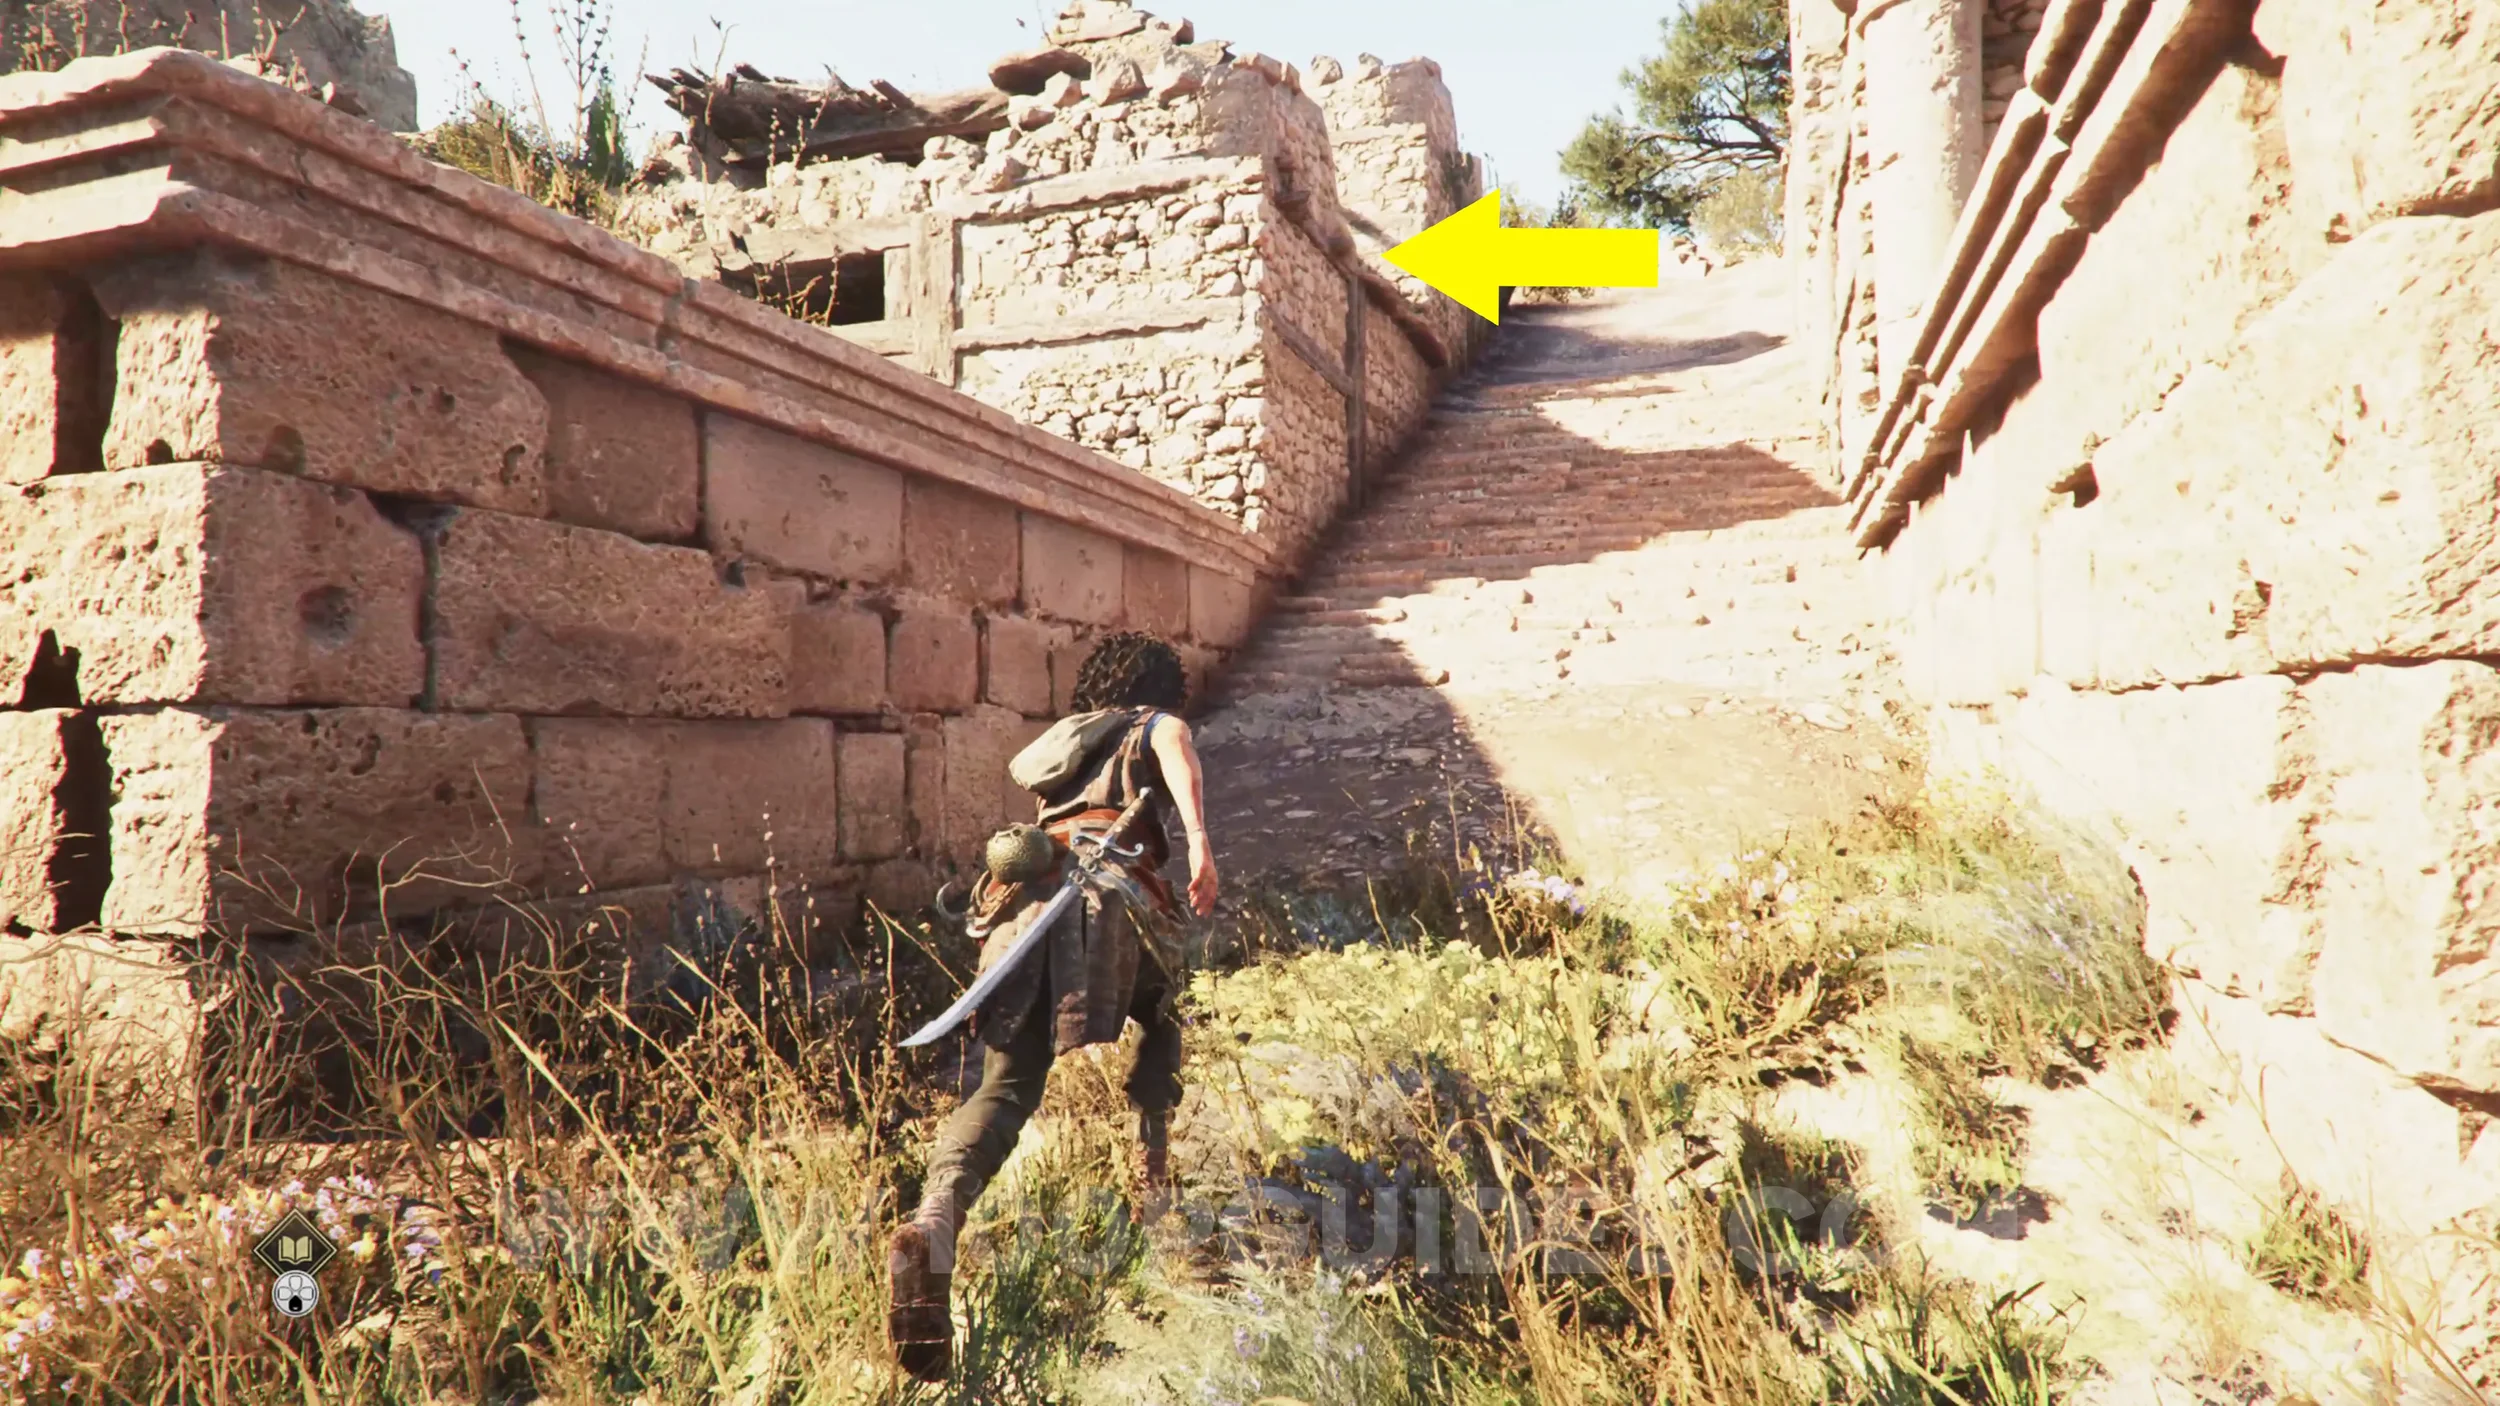
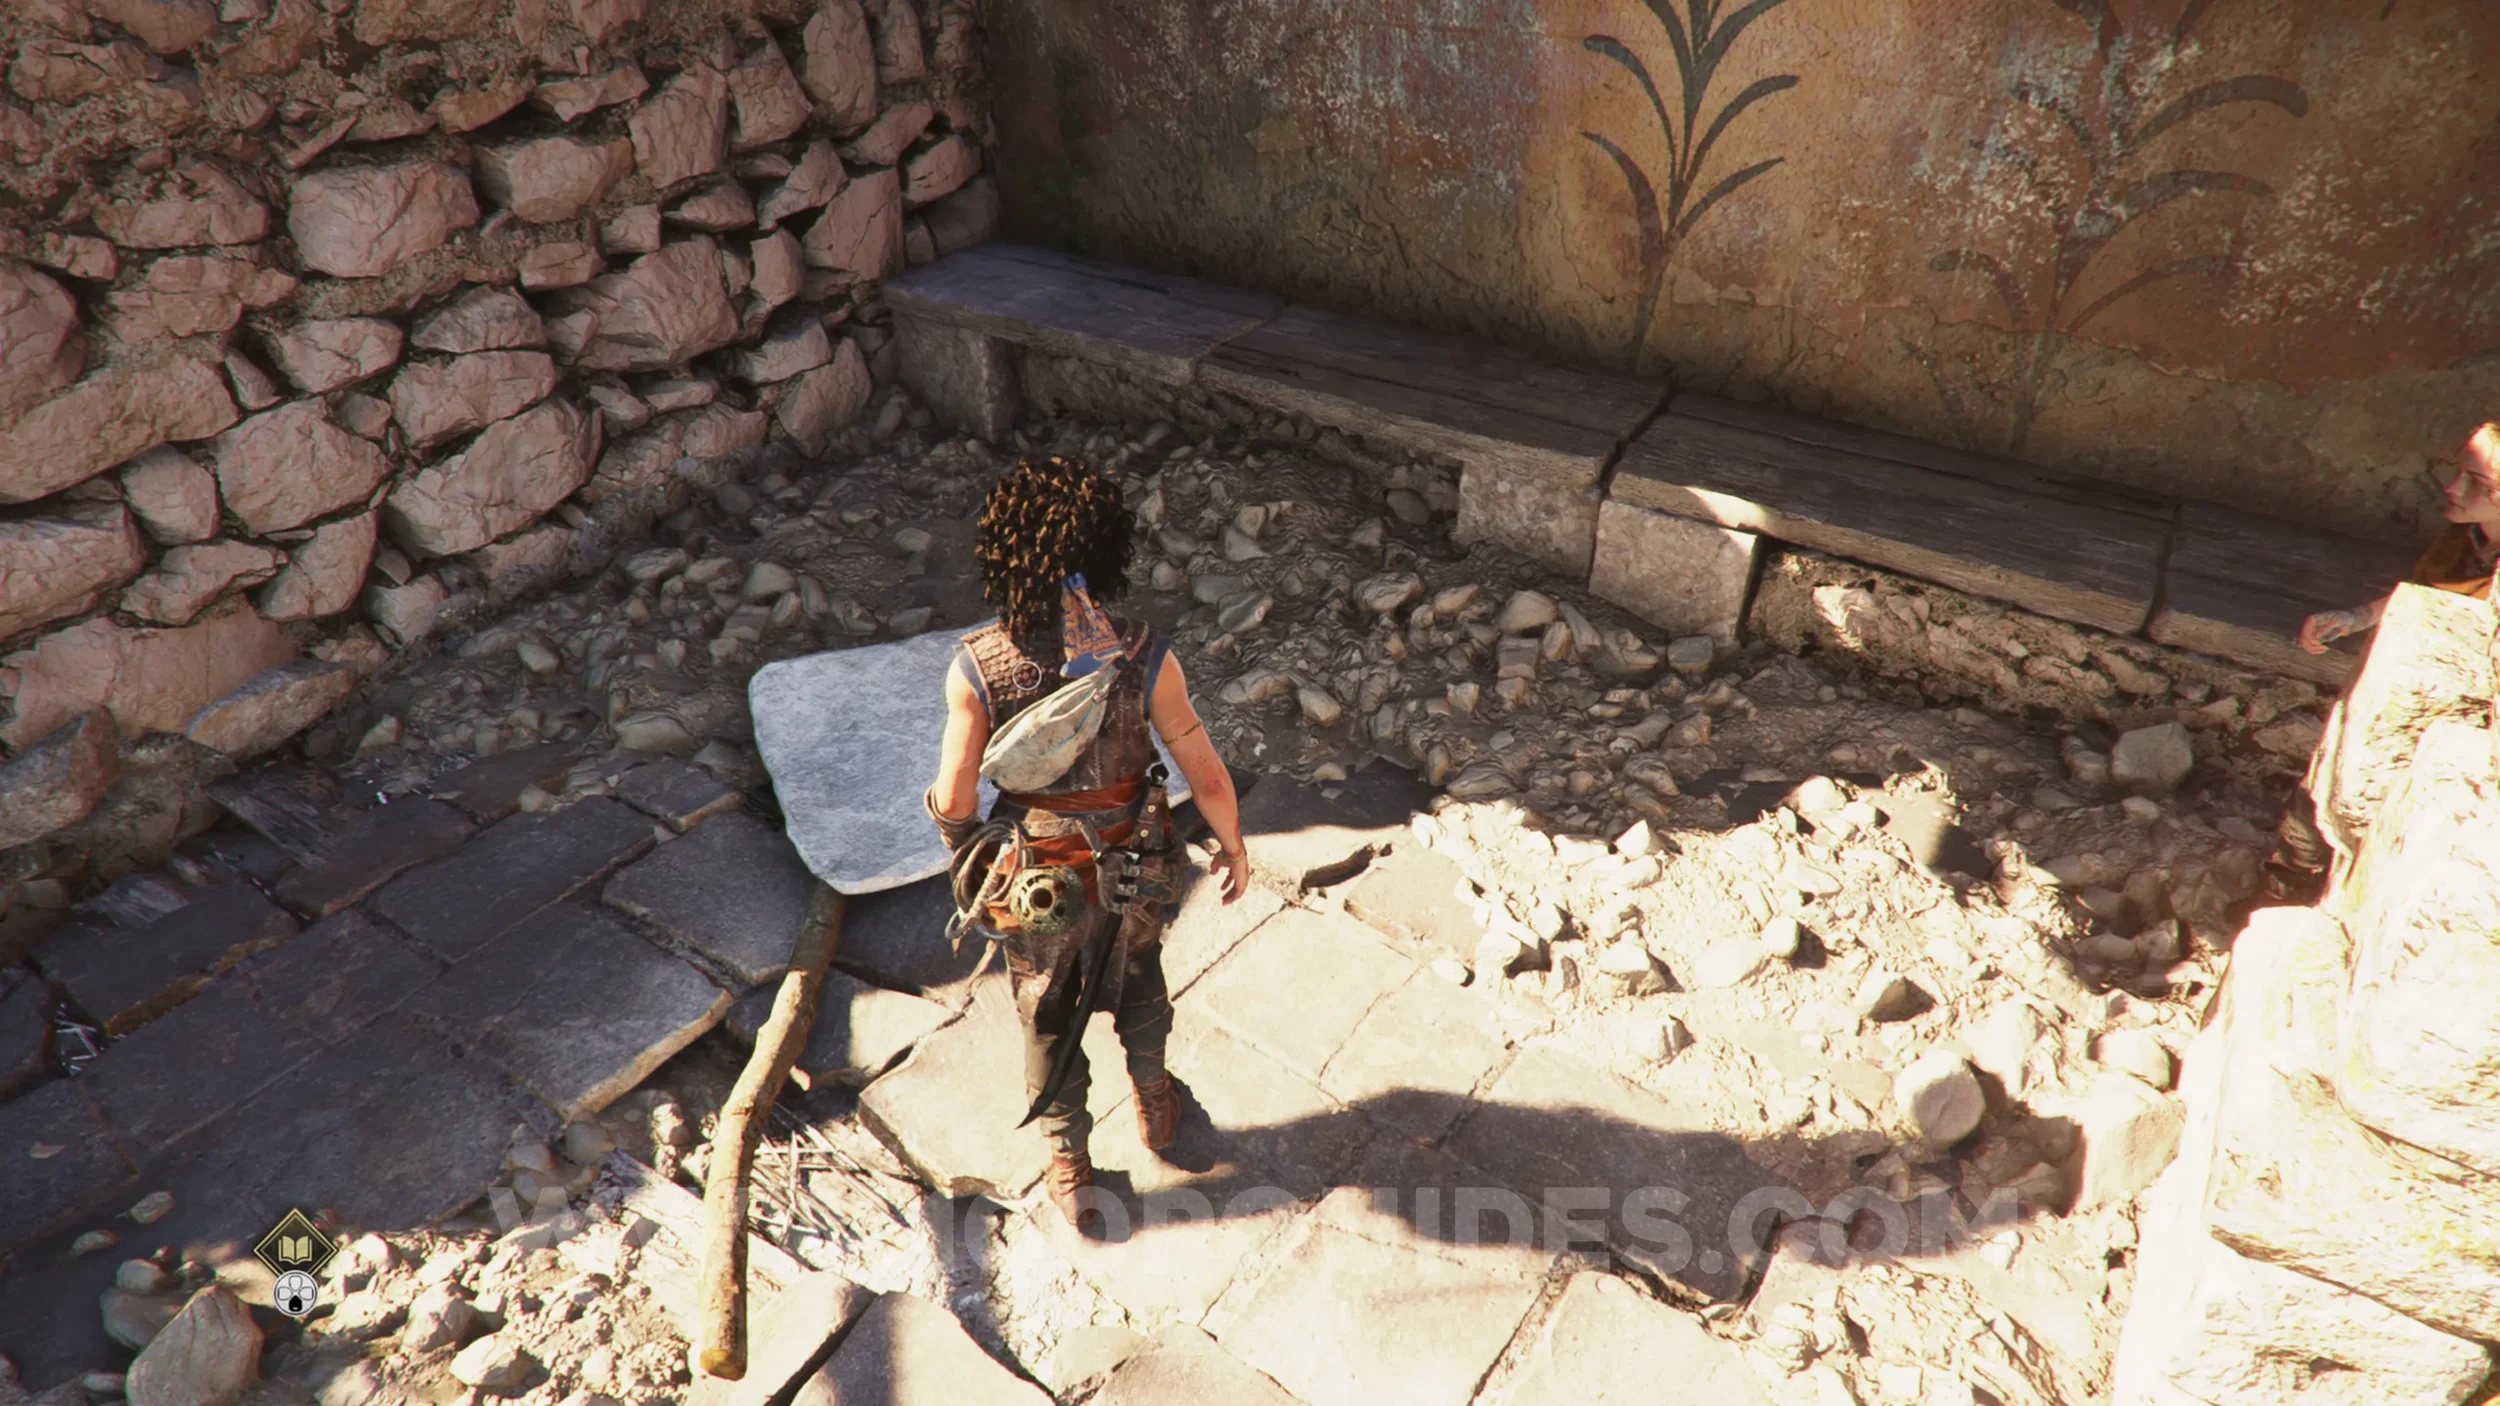
Once you reach the massive statue, look for some stairs on your right. Head to the upper rooftop on the left of them and interact with the slab on the ground to reveal the artefact.
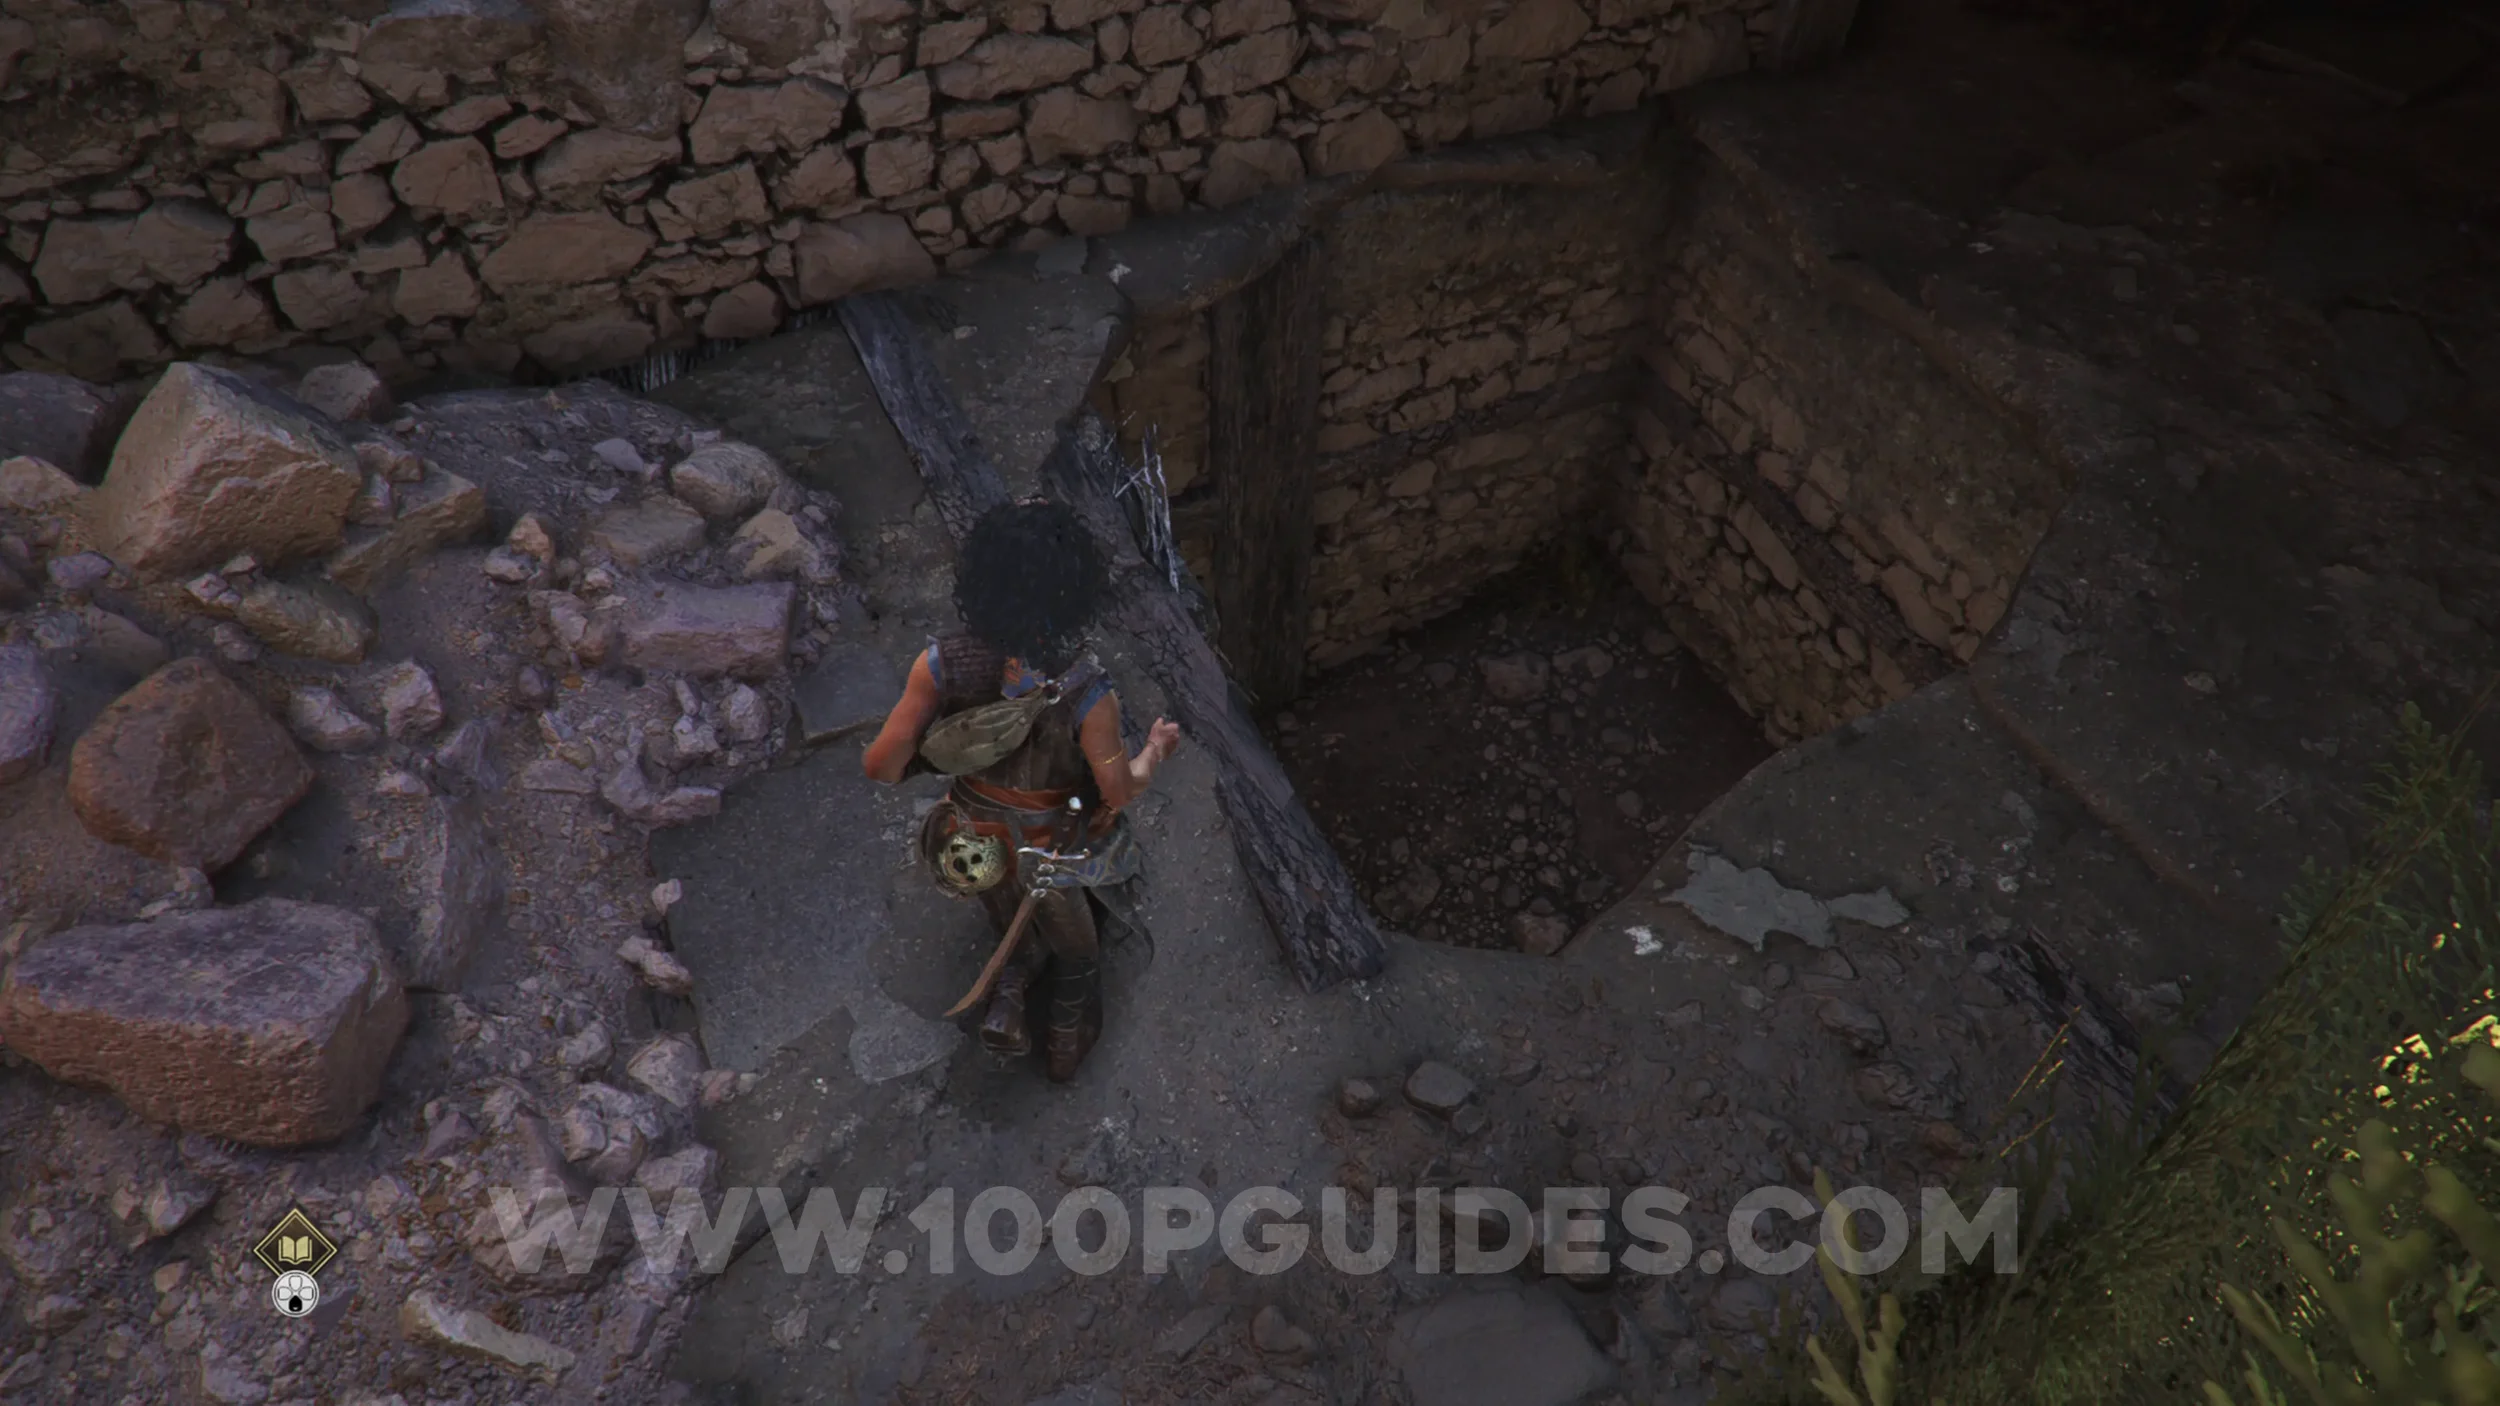
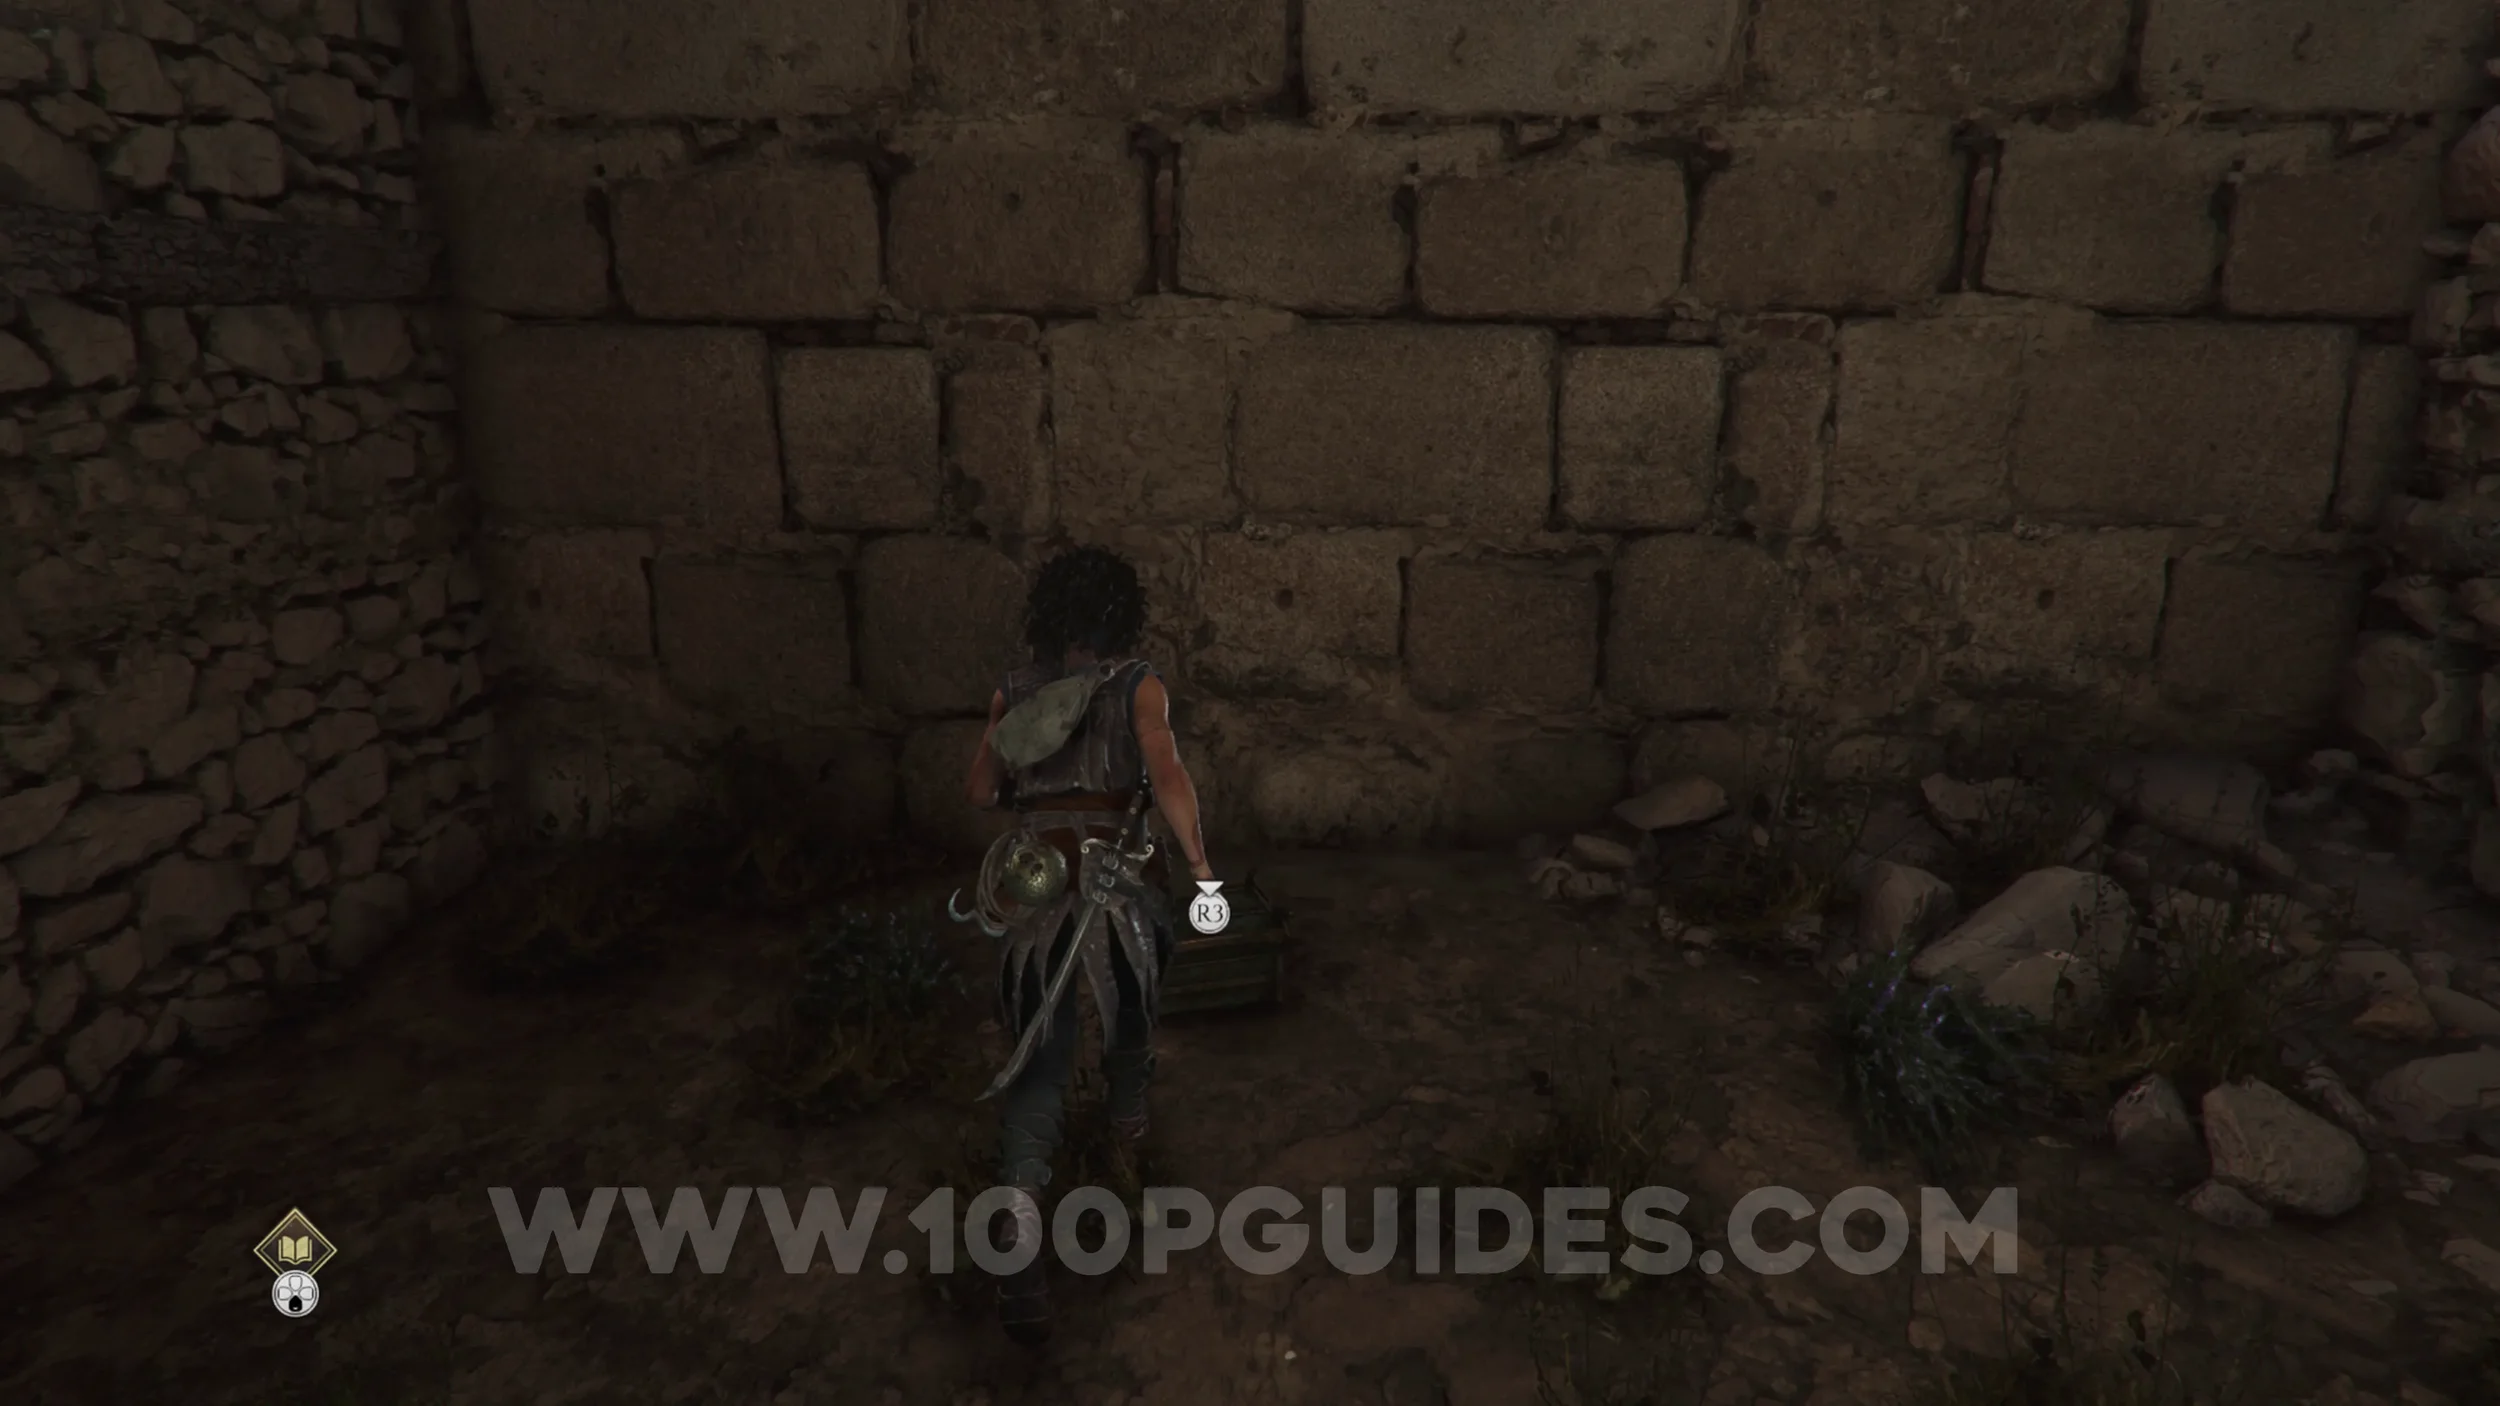
Charm: Arm Band #1
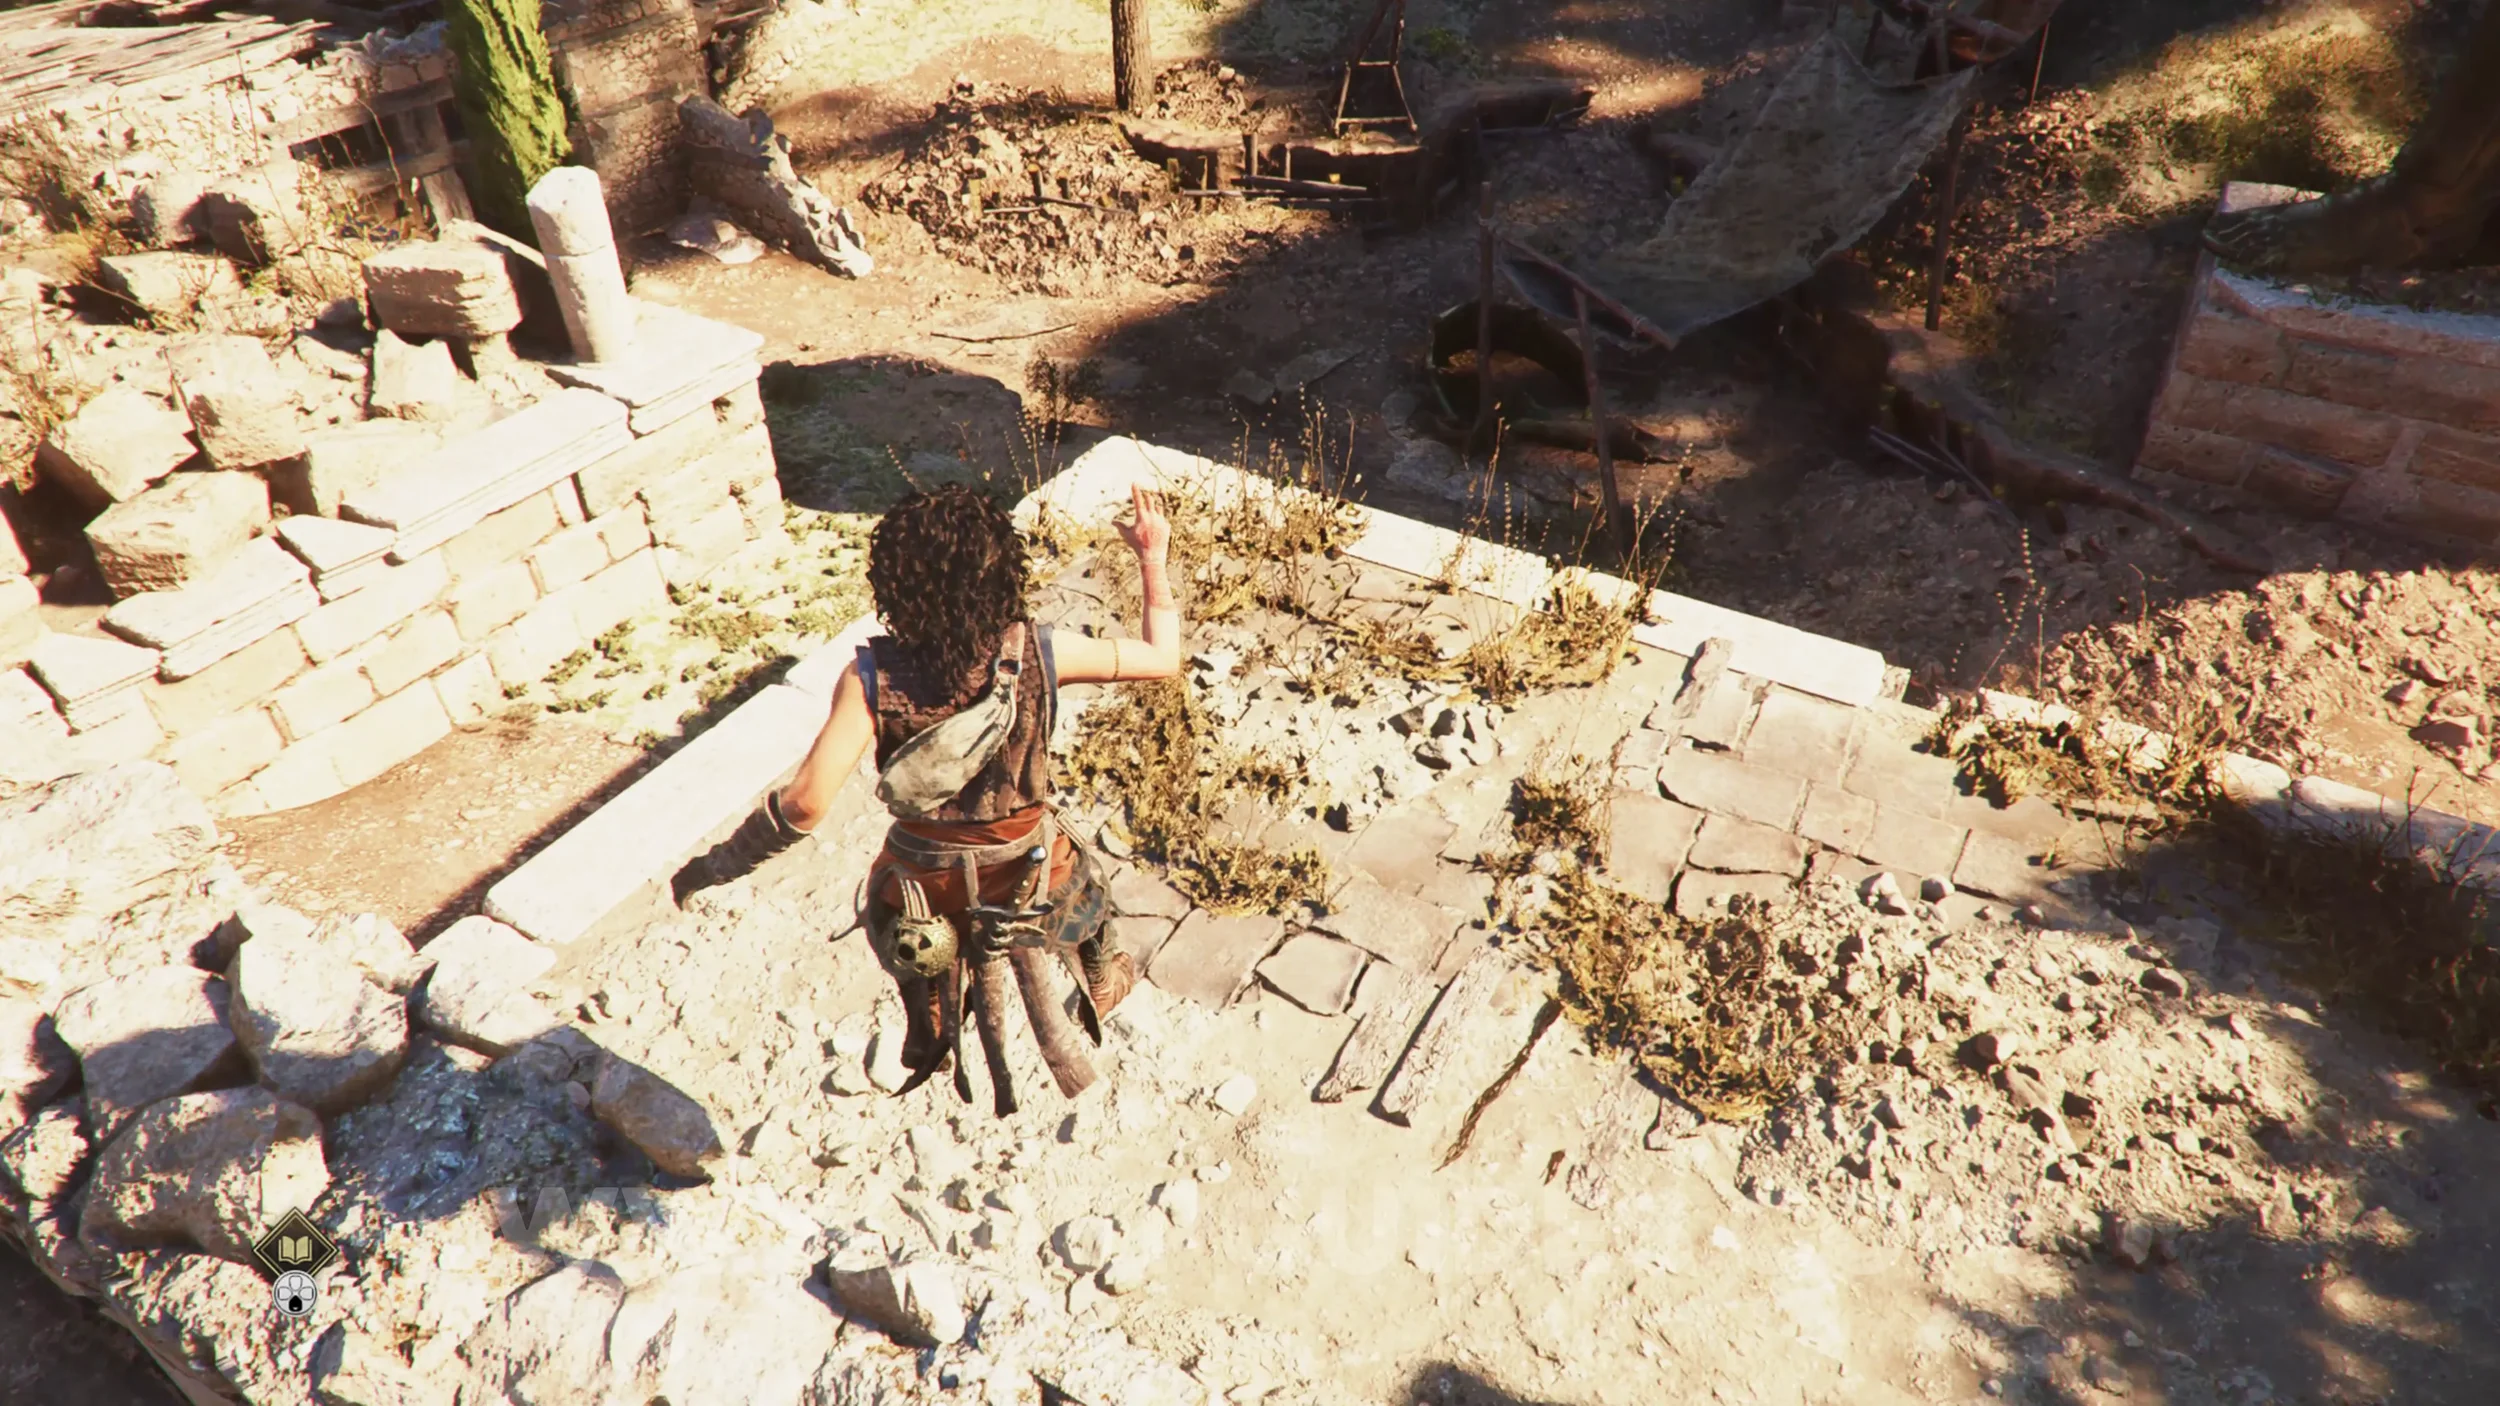
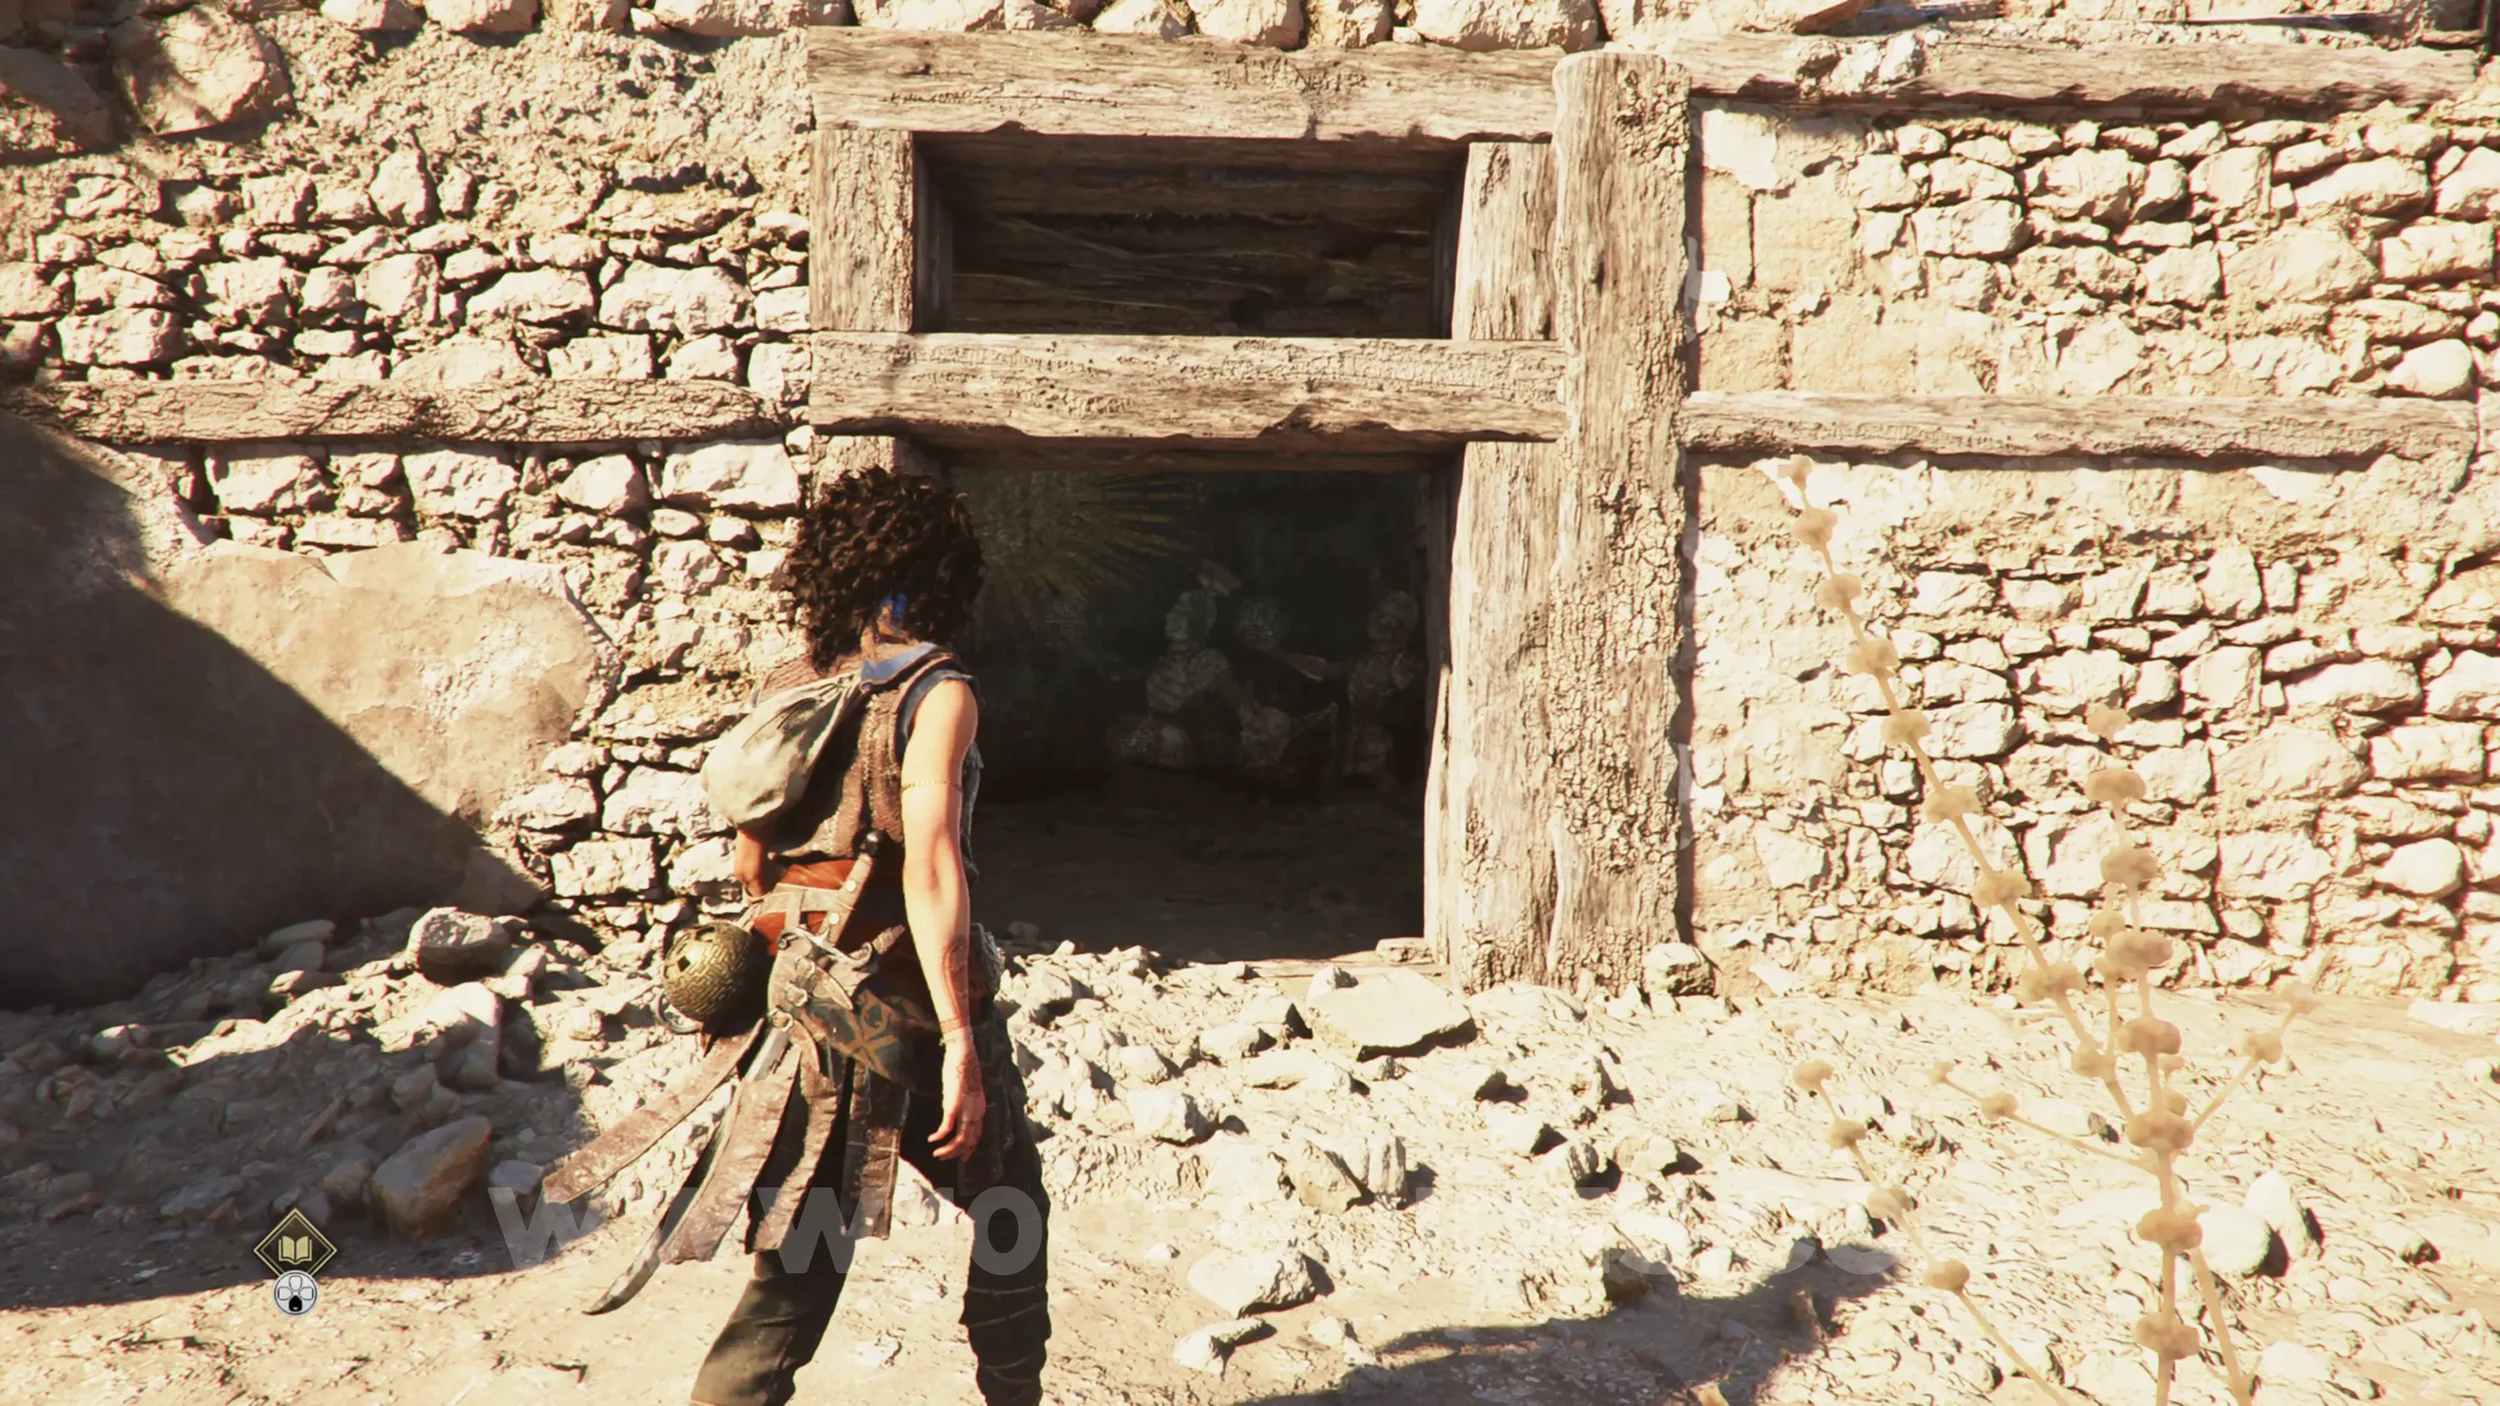
Chapter 3: Sub-Chapter 2.
From the previous collectible, jump down to the roof below you and head through the door into the building. Inside, look for a hole in the floor and drop down to find the charm in the next room.
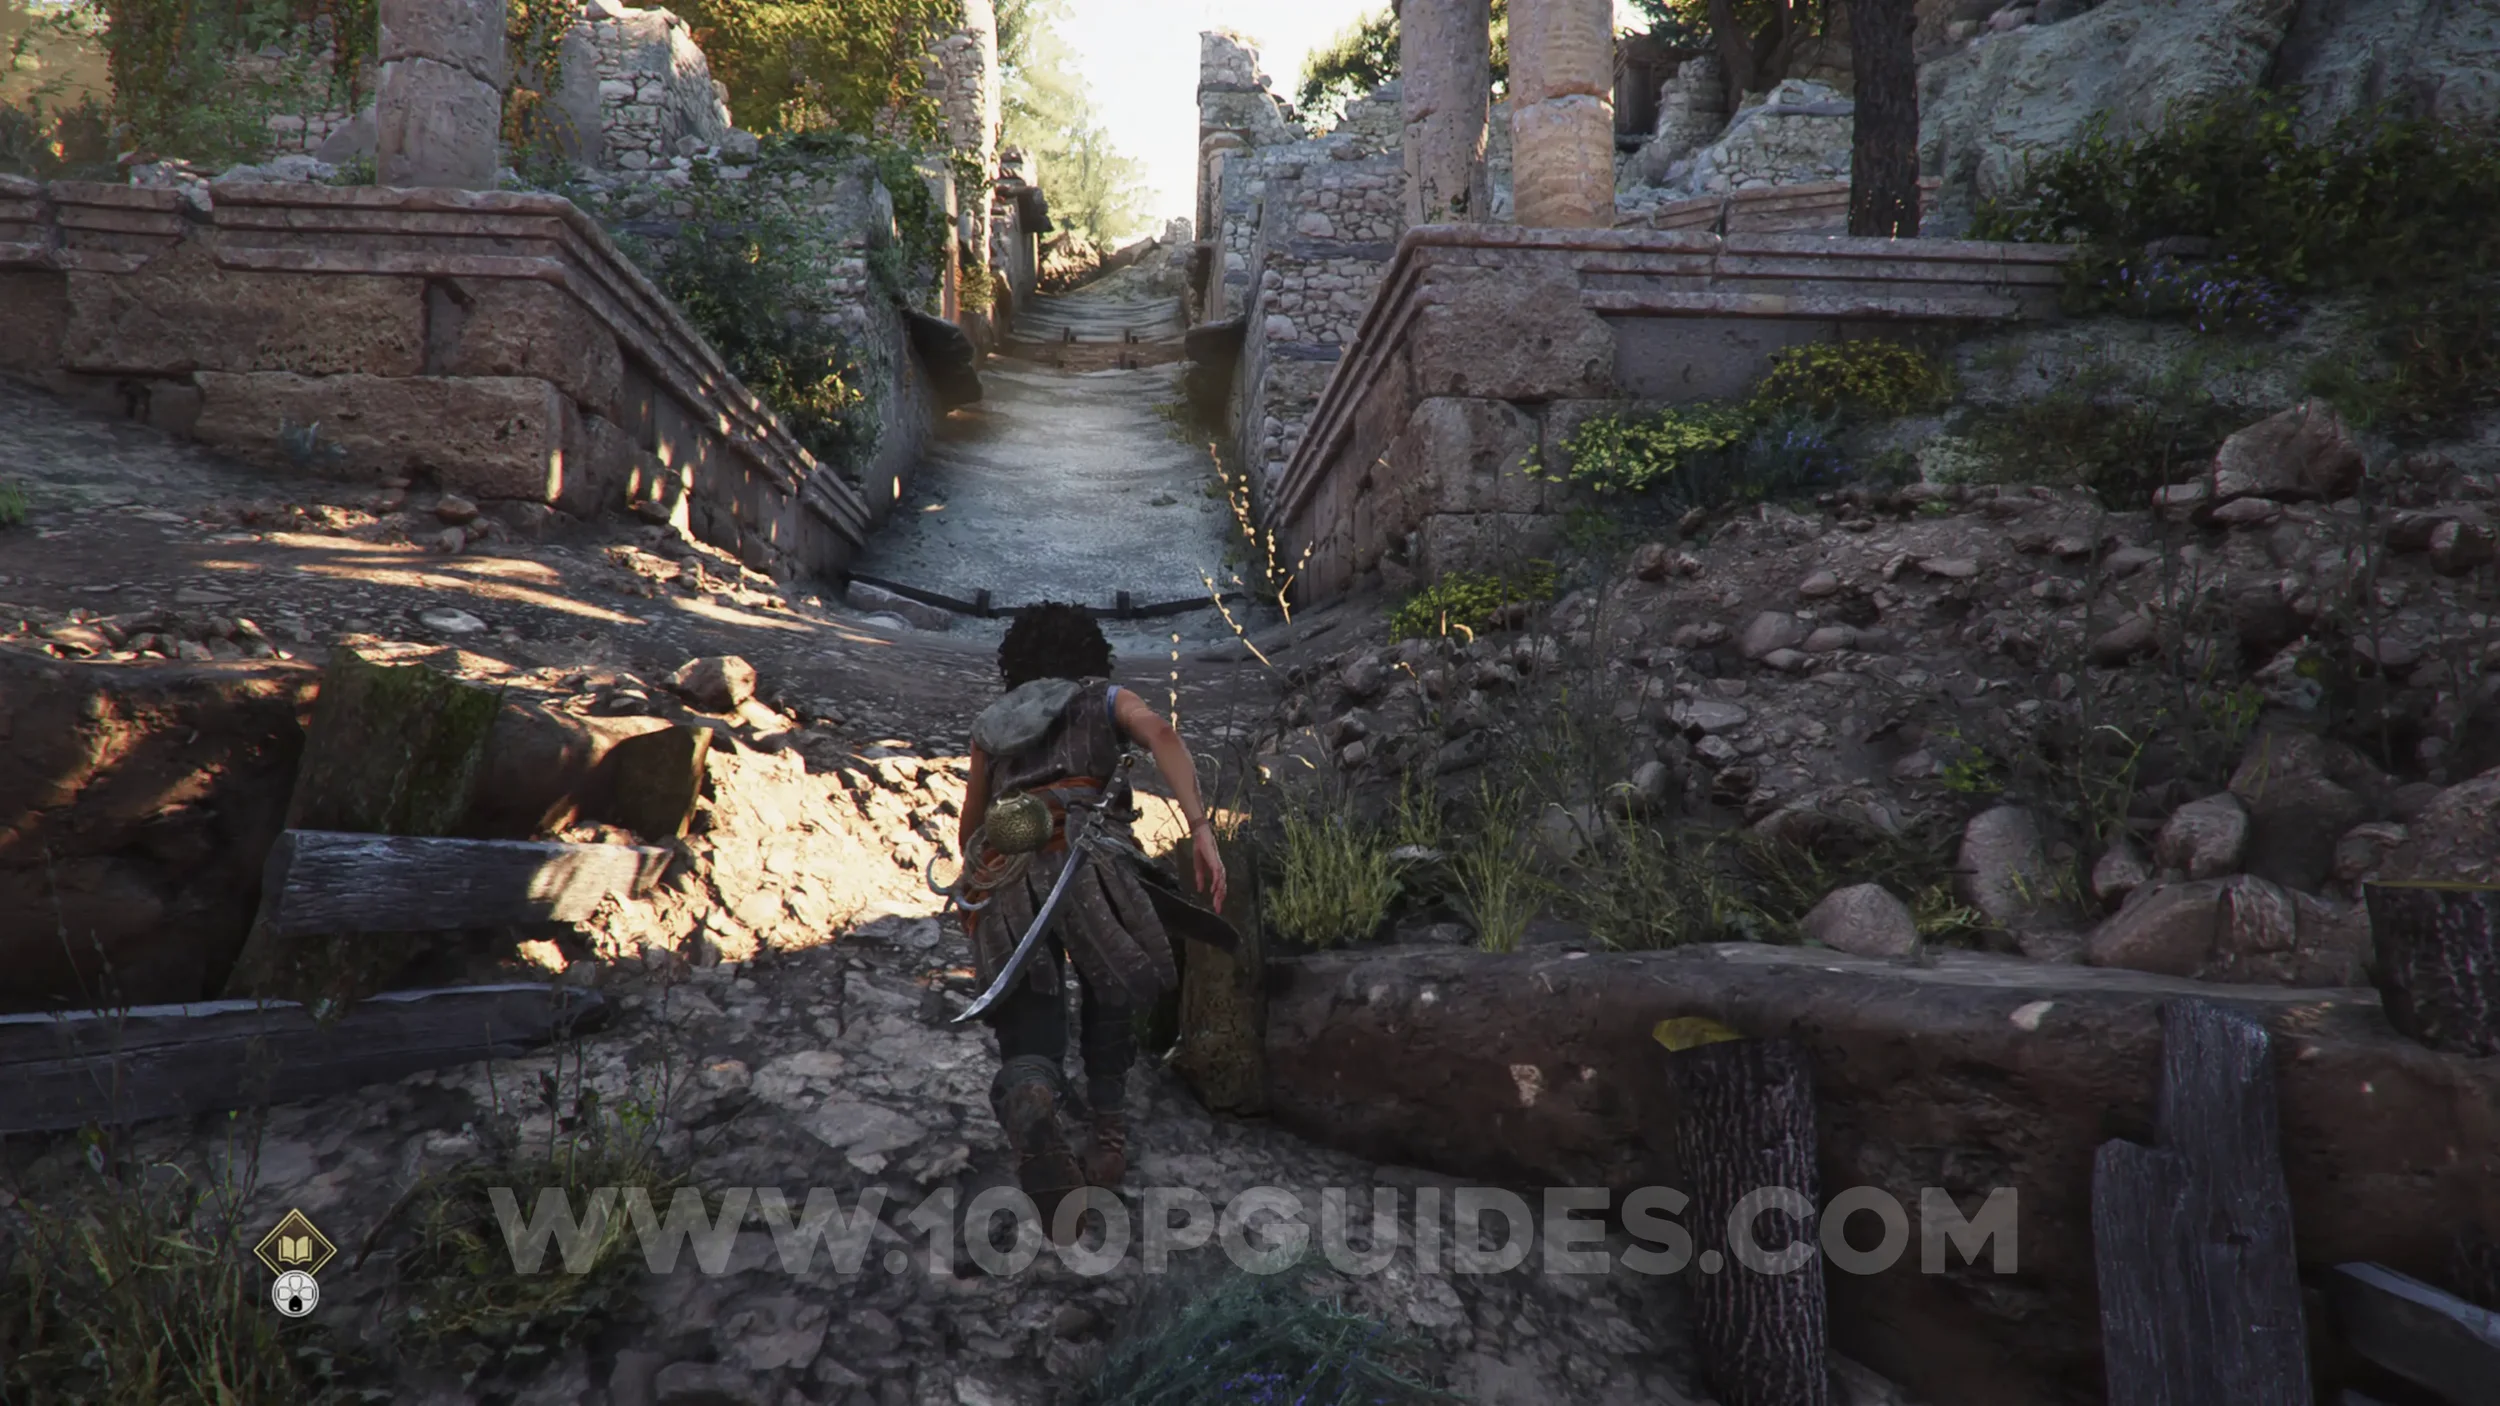
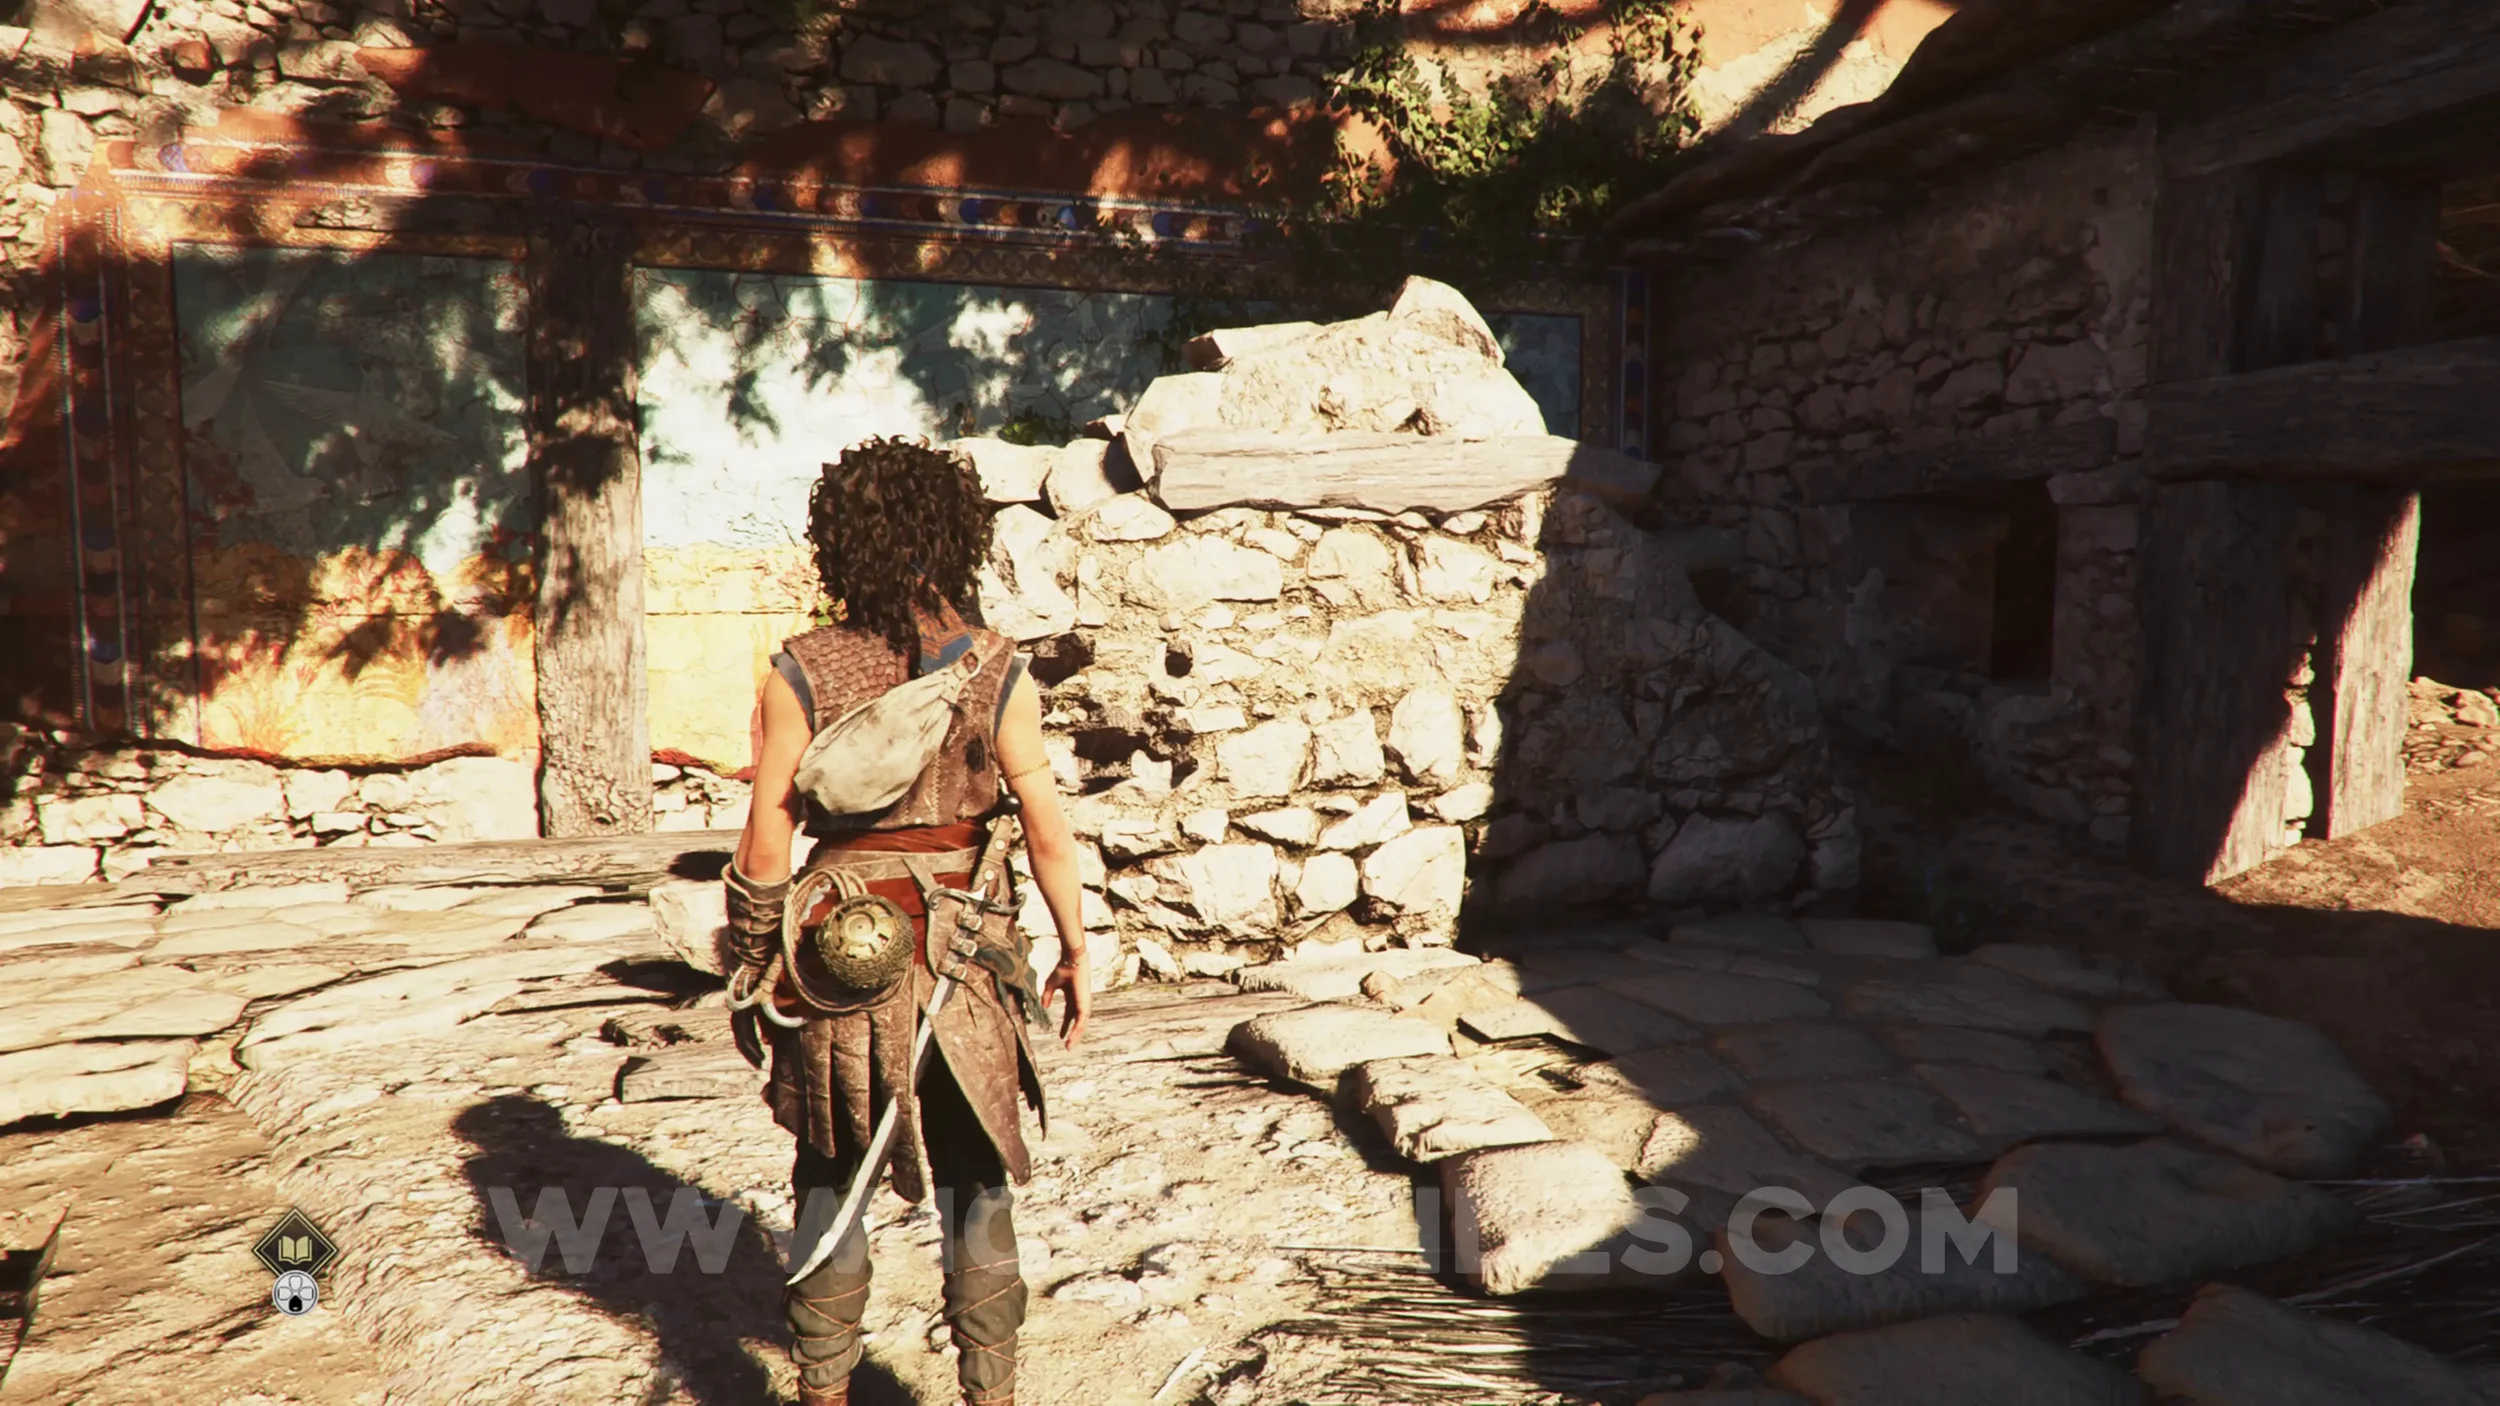
Resonance Point
Chapter 3: Sub-Chapter 2.
To continue on the story path, you'll have to go through the ruins on the left of the statue to reach the top of the slope. In one of these ruins, you'll see a blue fresco on the wall. The collectible will be in a basket in the upper part of the next room, in plain sight.
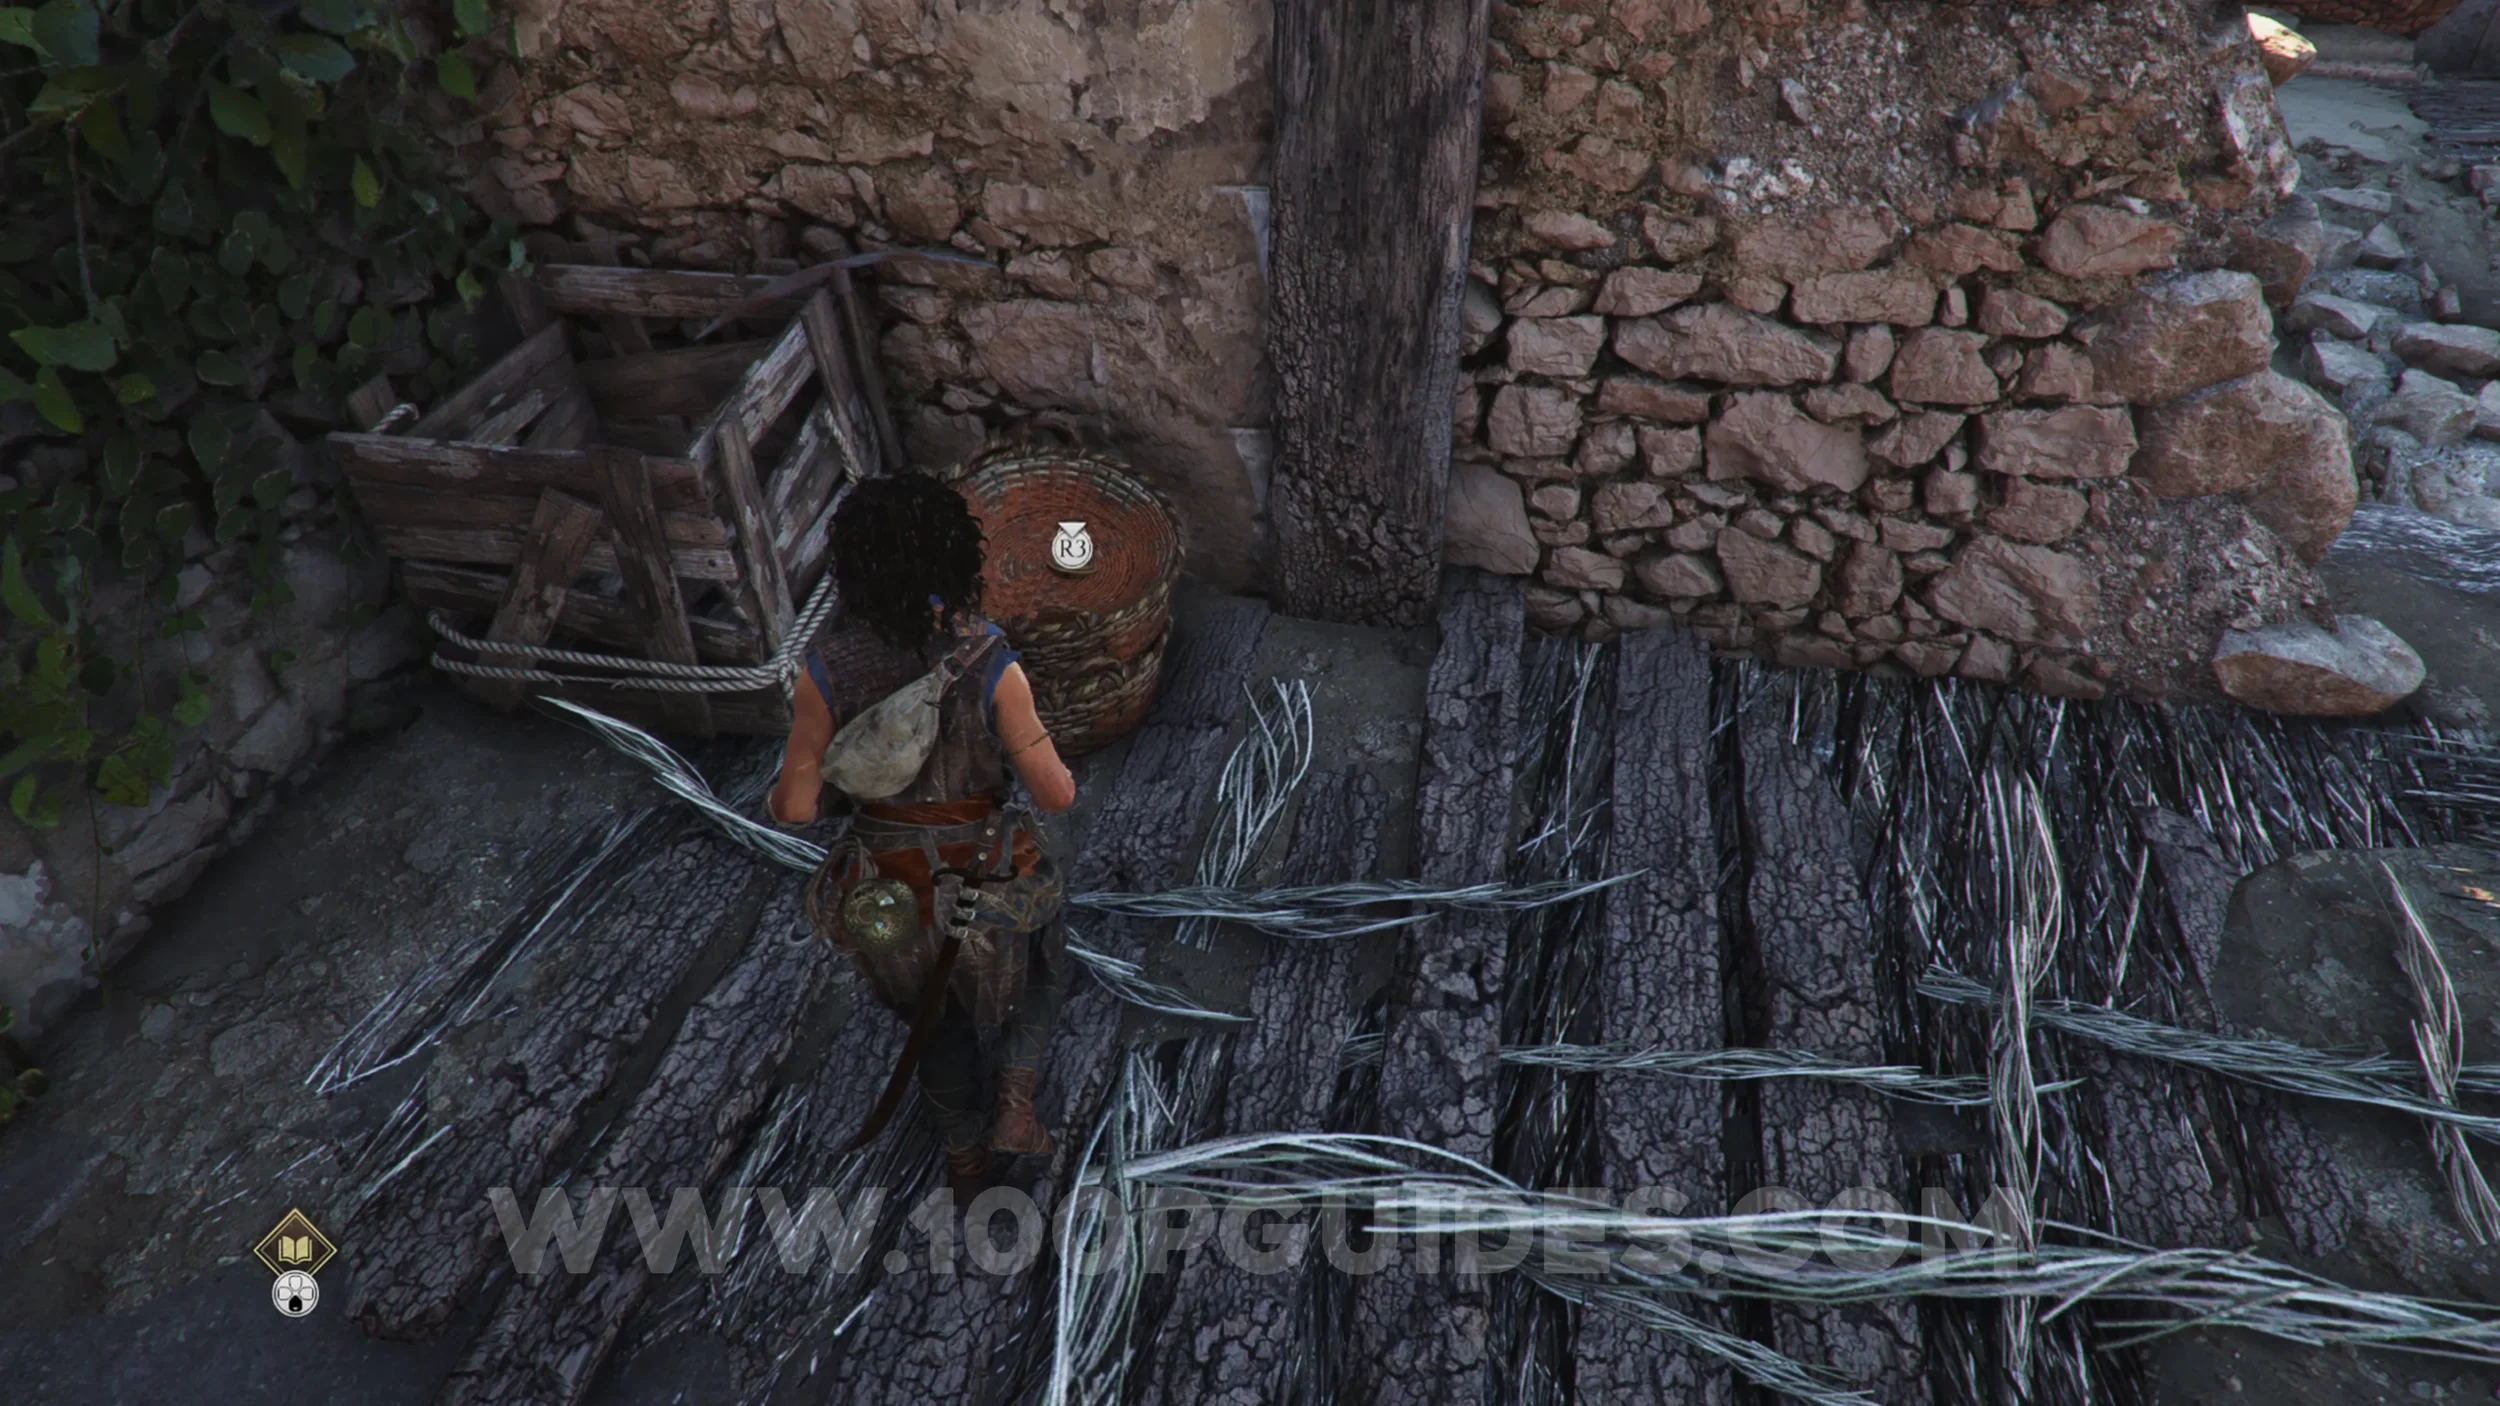
Charm: Bracelet #2
Chapter 3: Sub-Chapter 3.
Immediately after the previous collectible, you'll jump across to another building on the other side of the slope. Inside, before helping Leni with the door, look for a room on your left. The charm will be inside a box in this room.
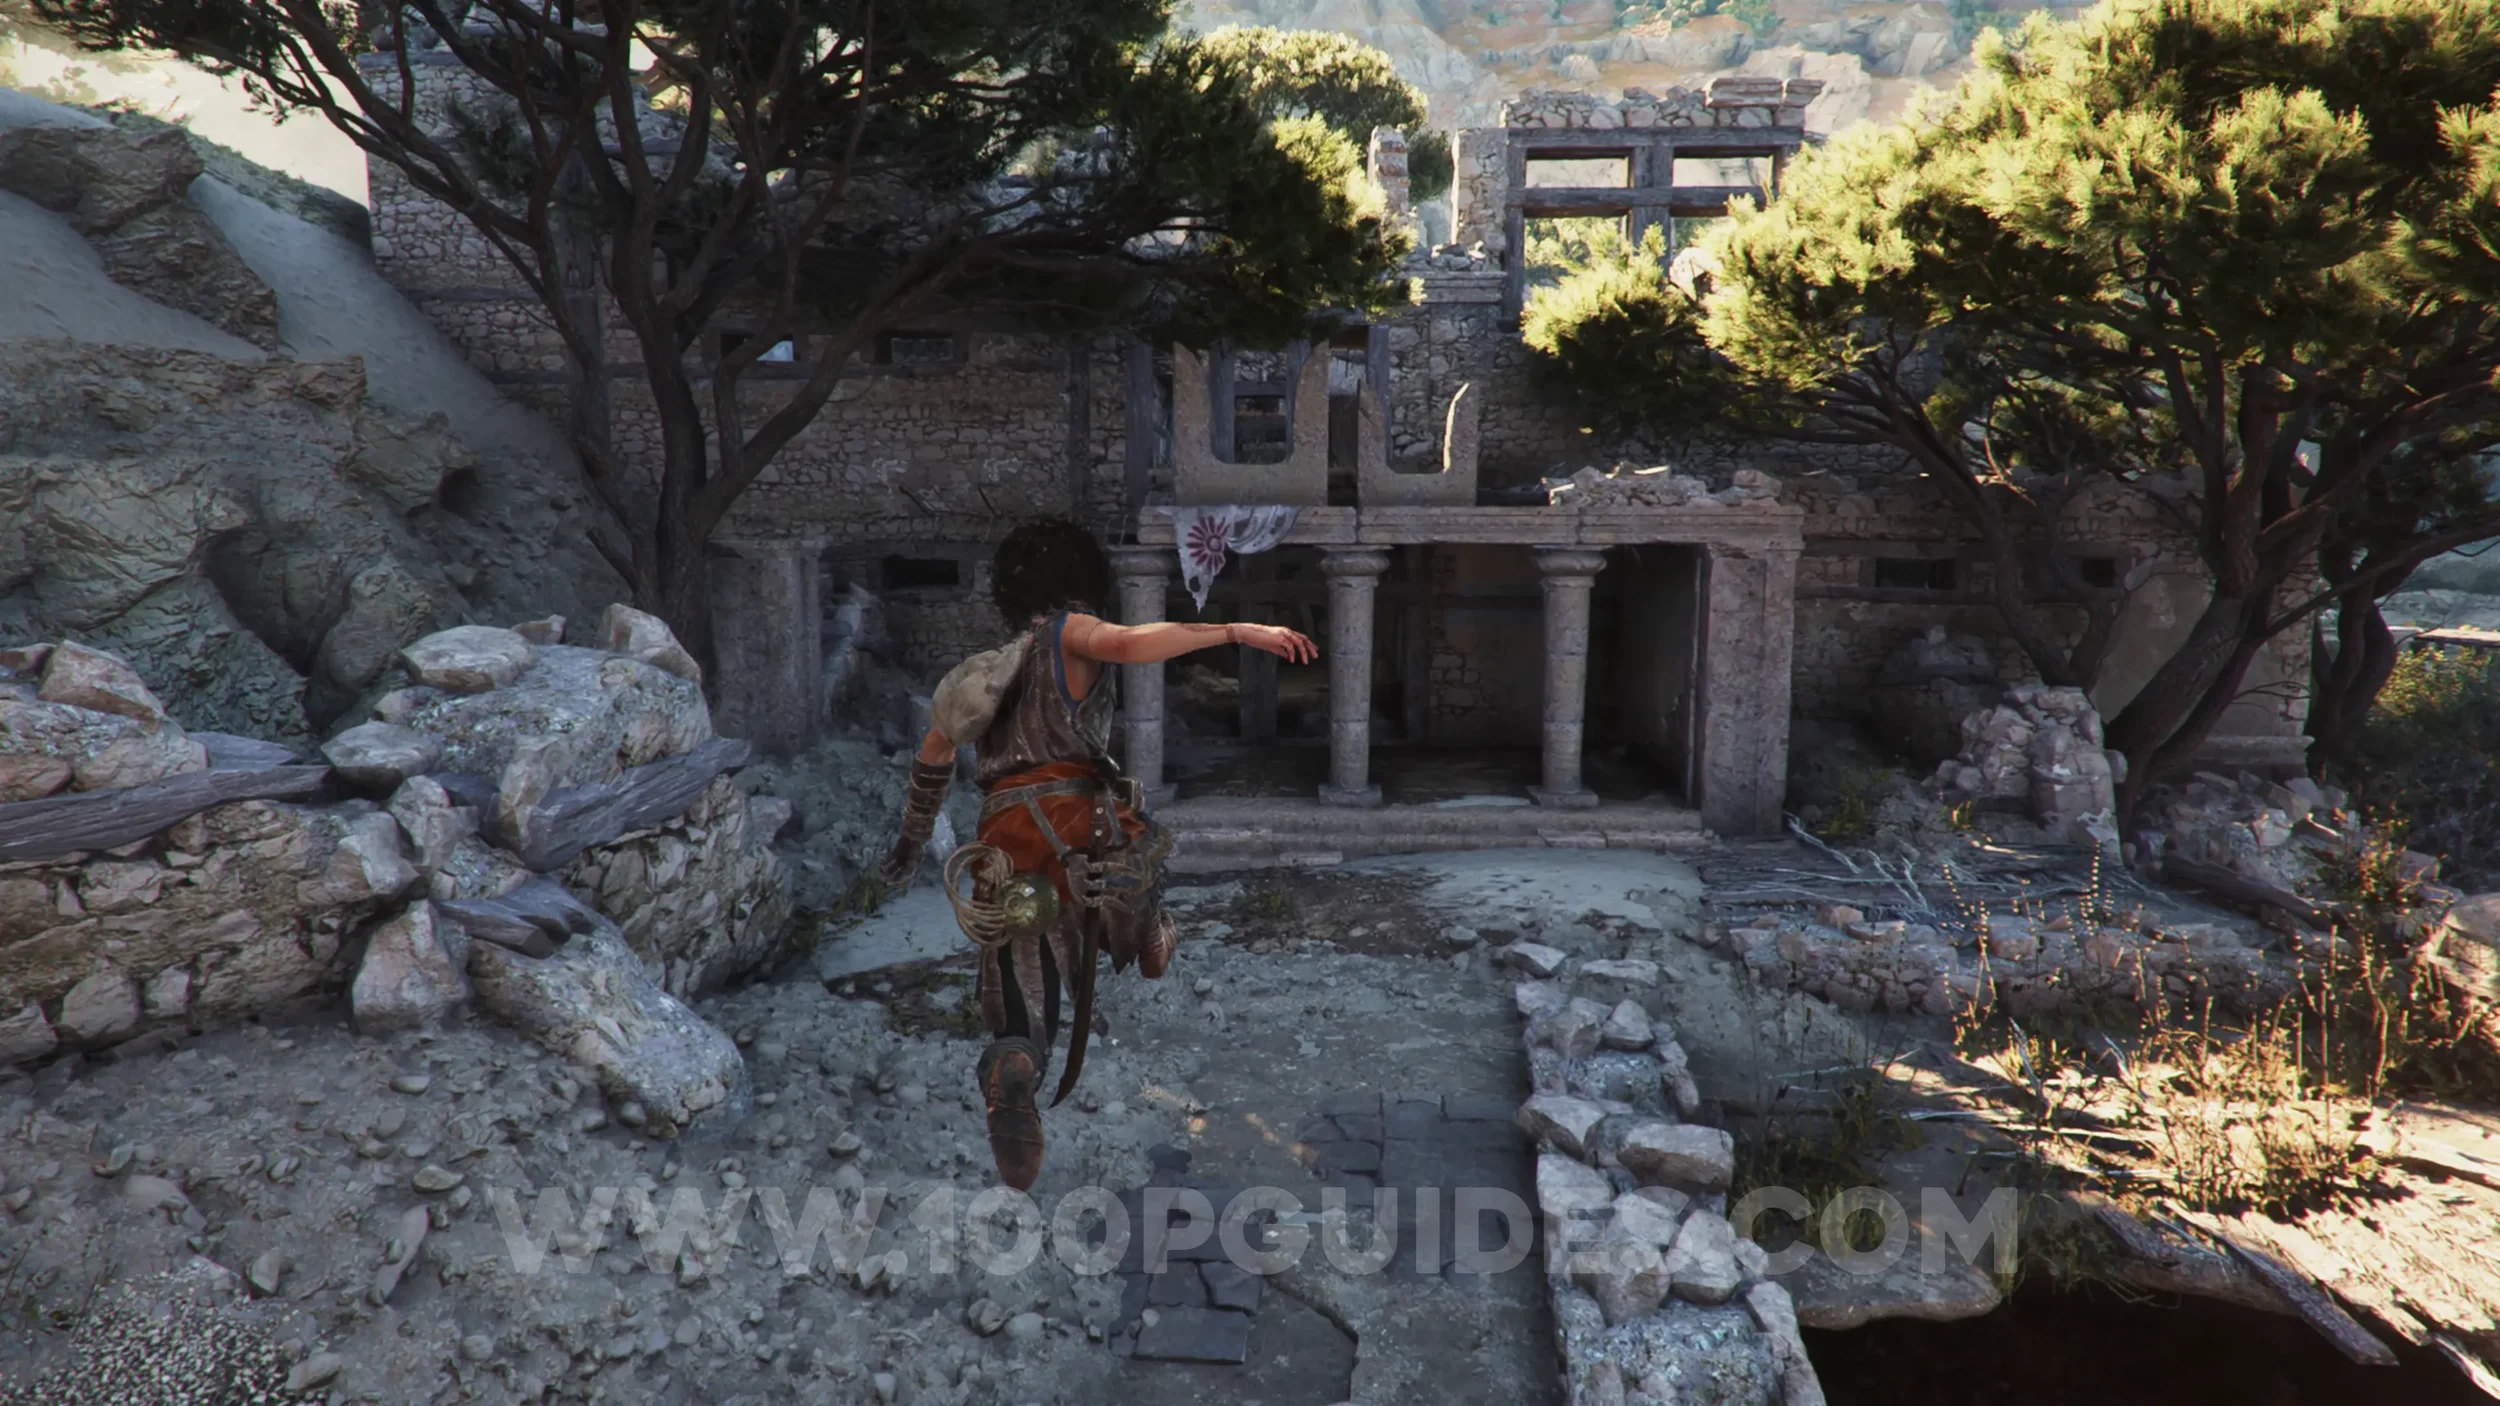
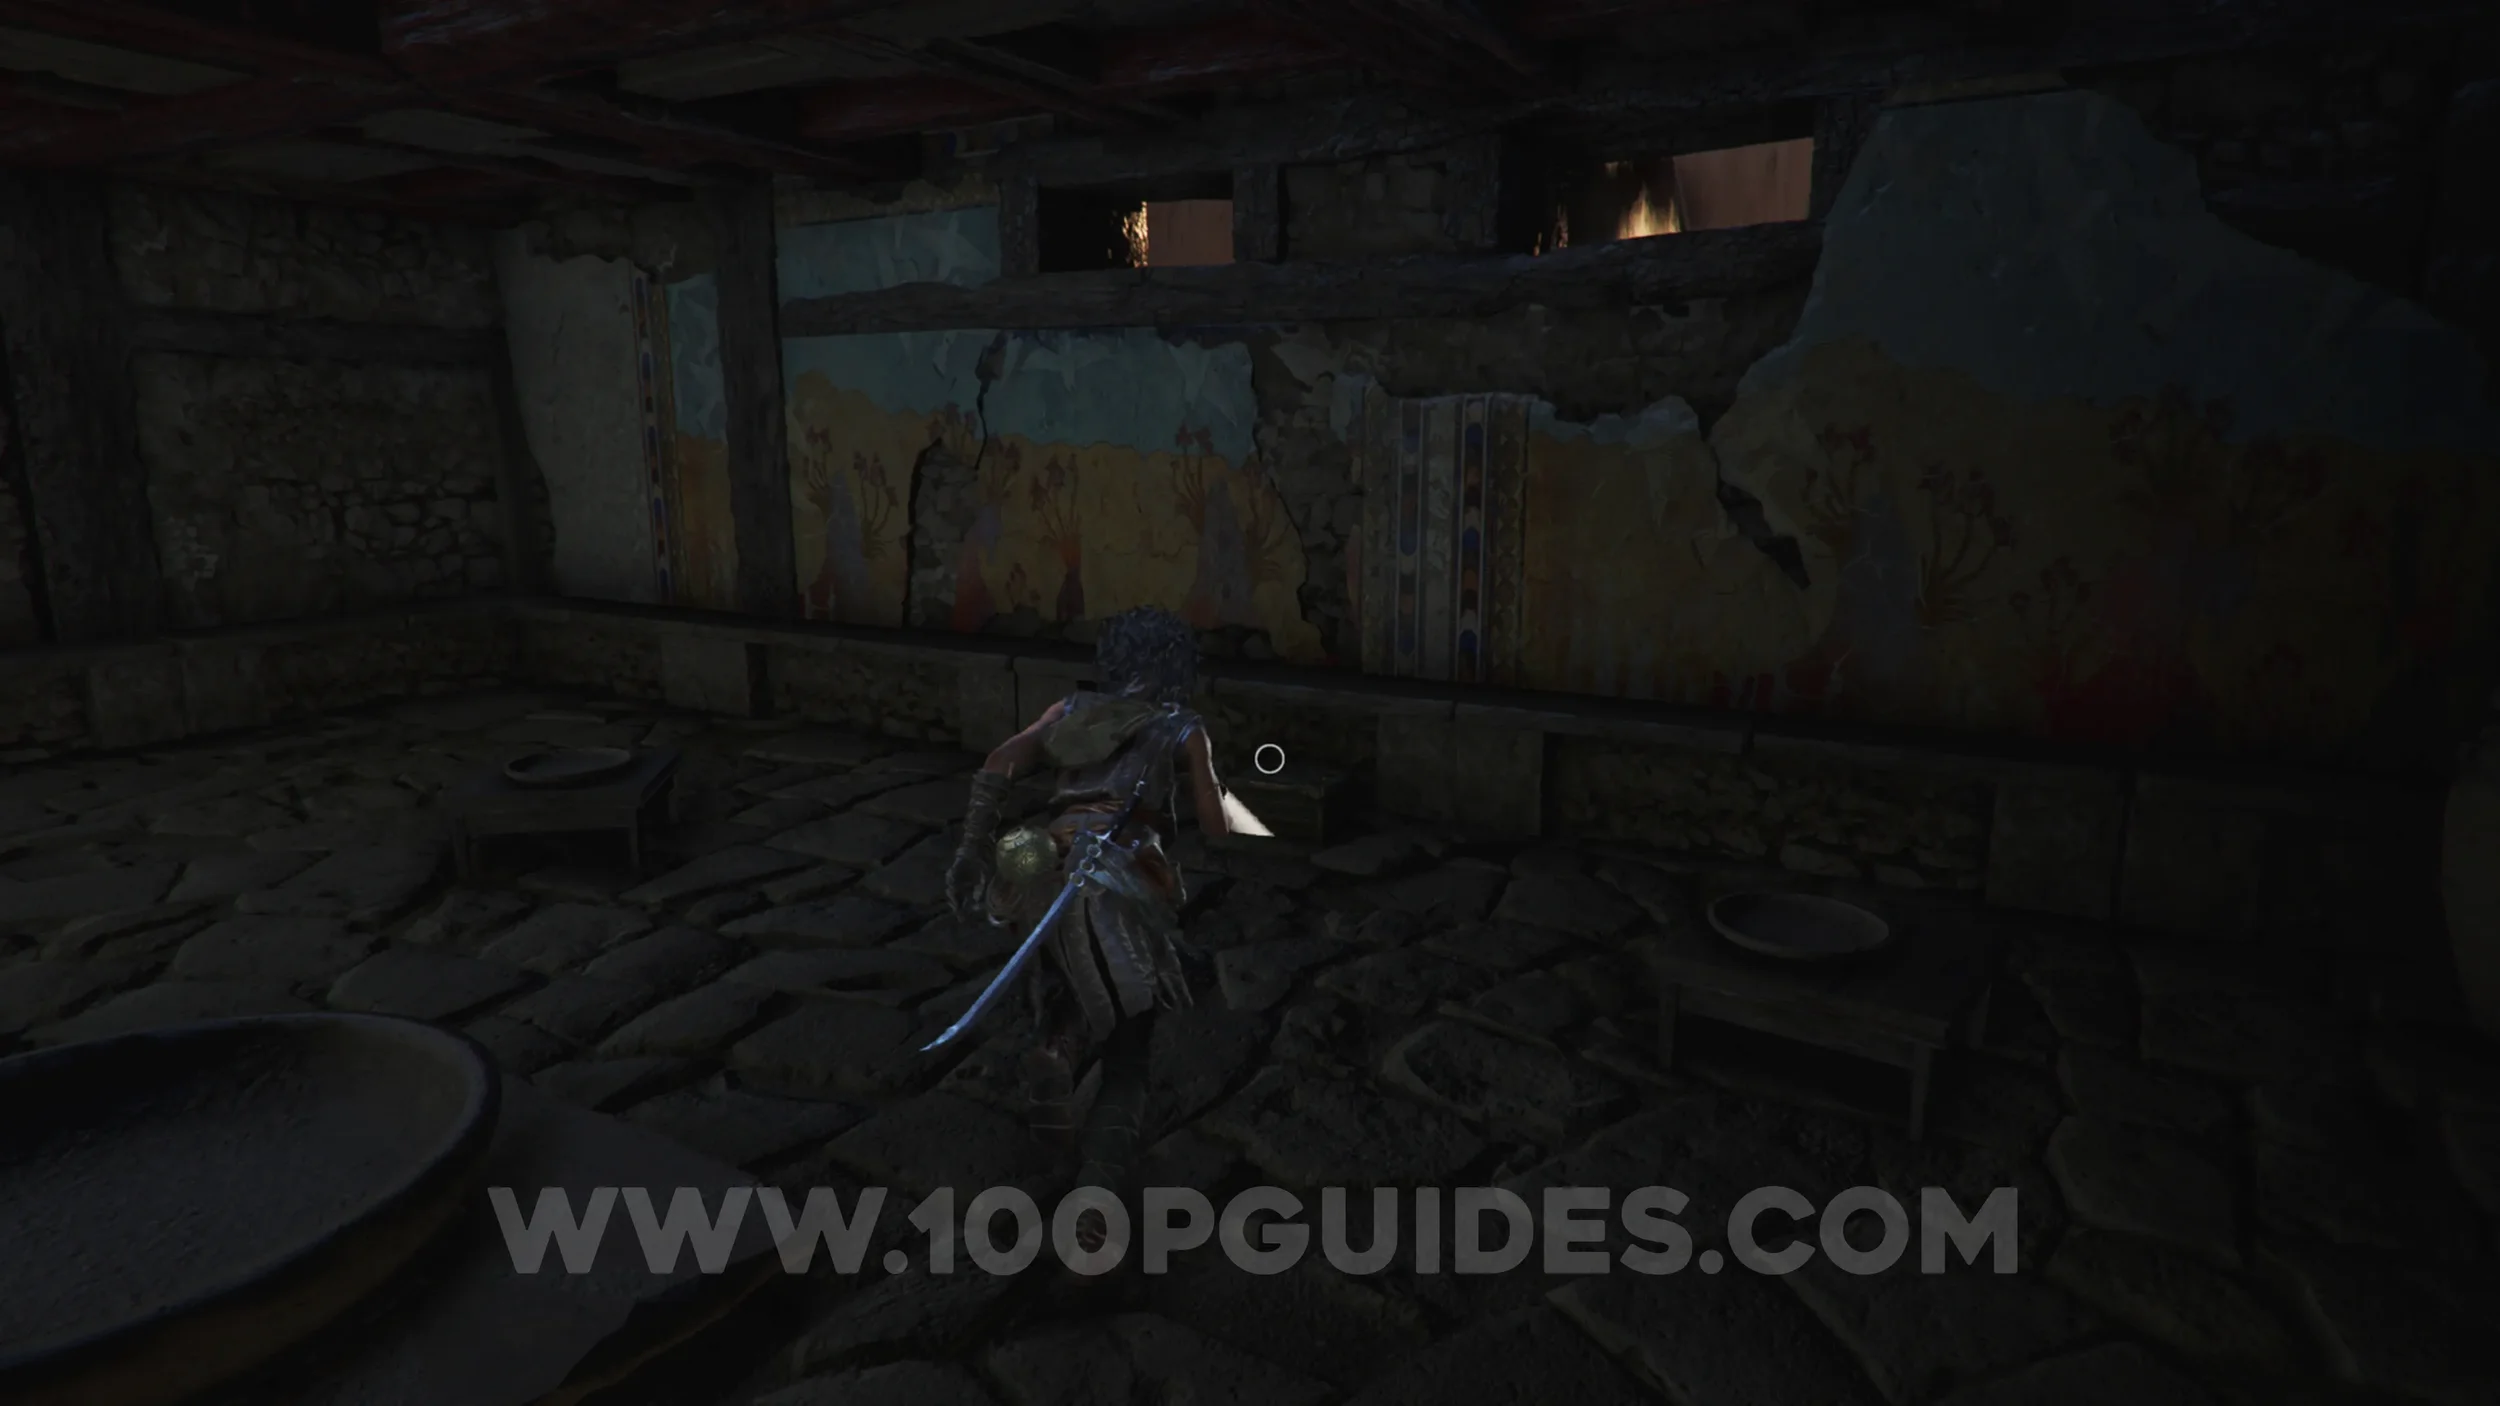
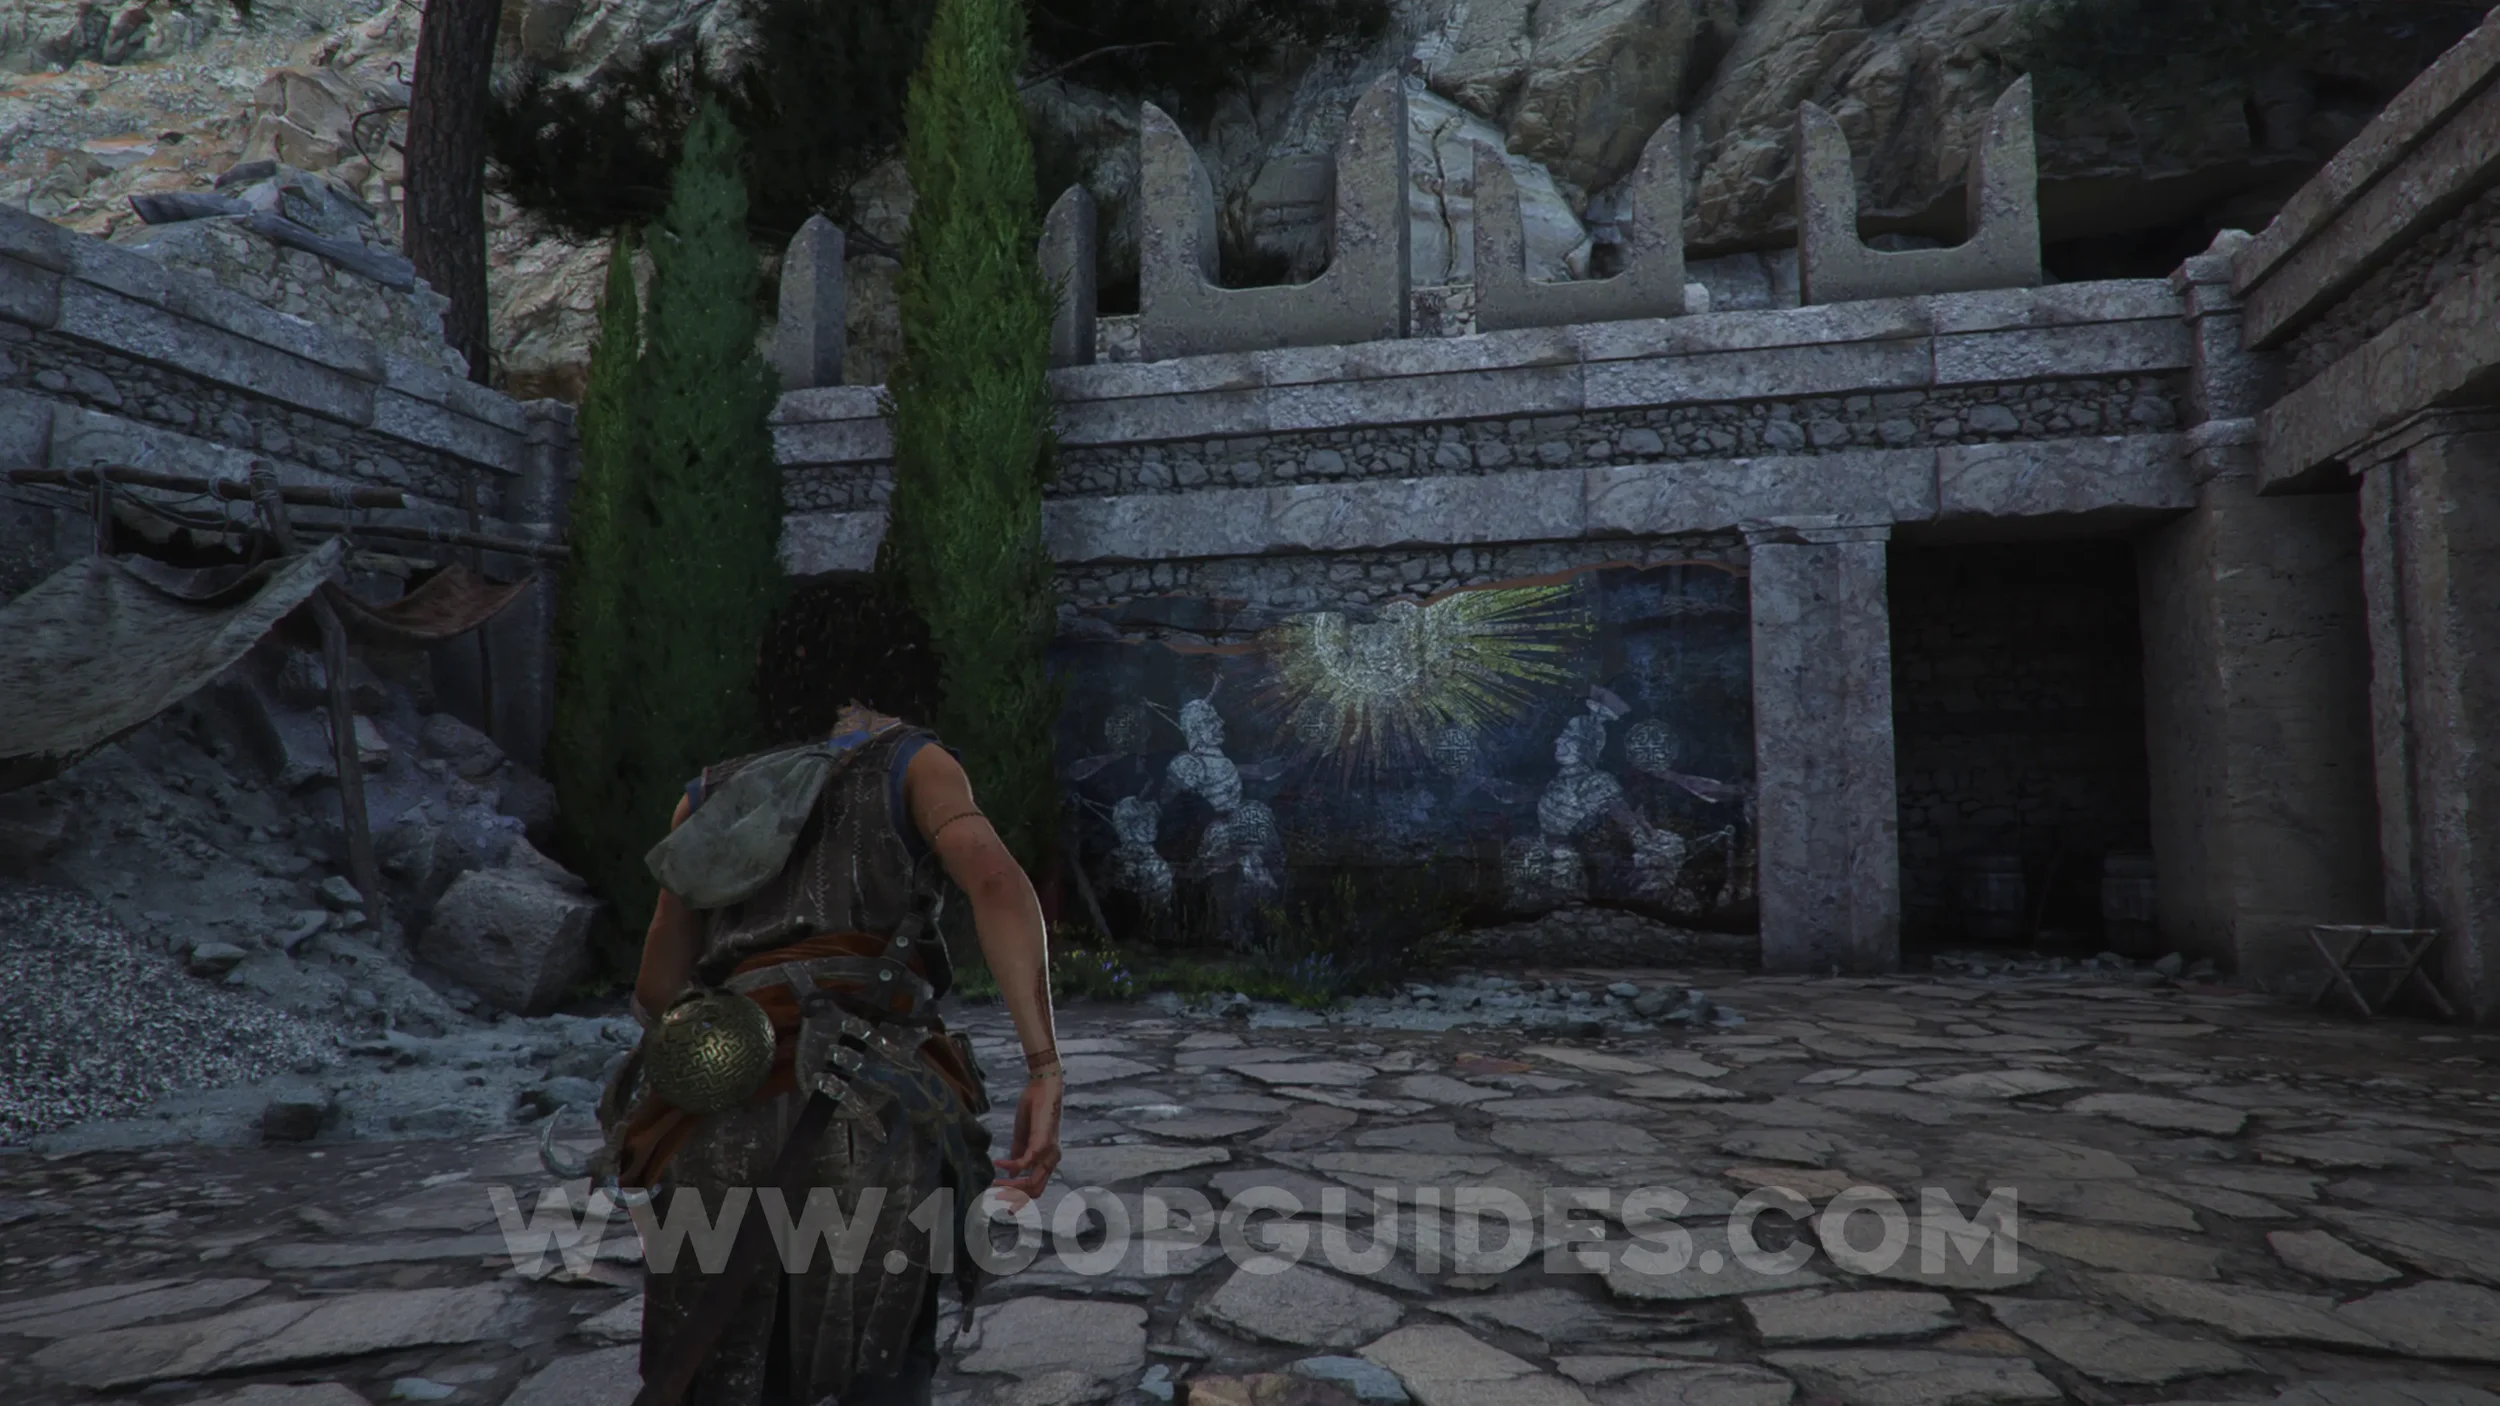
Artefact: Minoan King
Chapter 3: Sub-Chapter 3.
After getting separated from Leni, you'll go through some ruins, and she'll then sit on a wooden beam to let you through a hole. After this, you'll reach an outdoor courtyard with another fresco on the wall in front of you. The artefact can be found behind it.
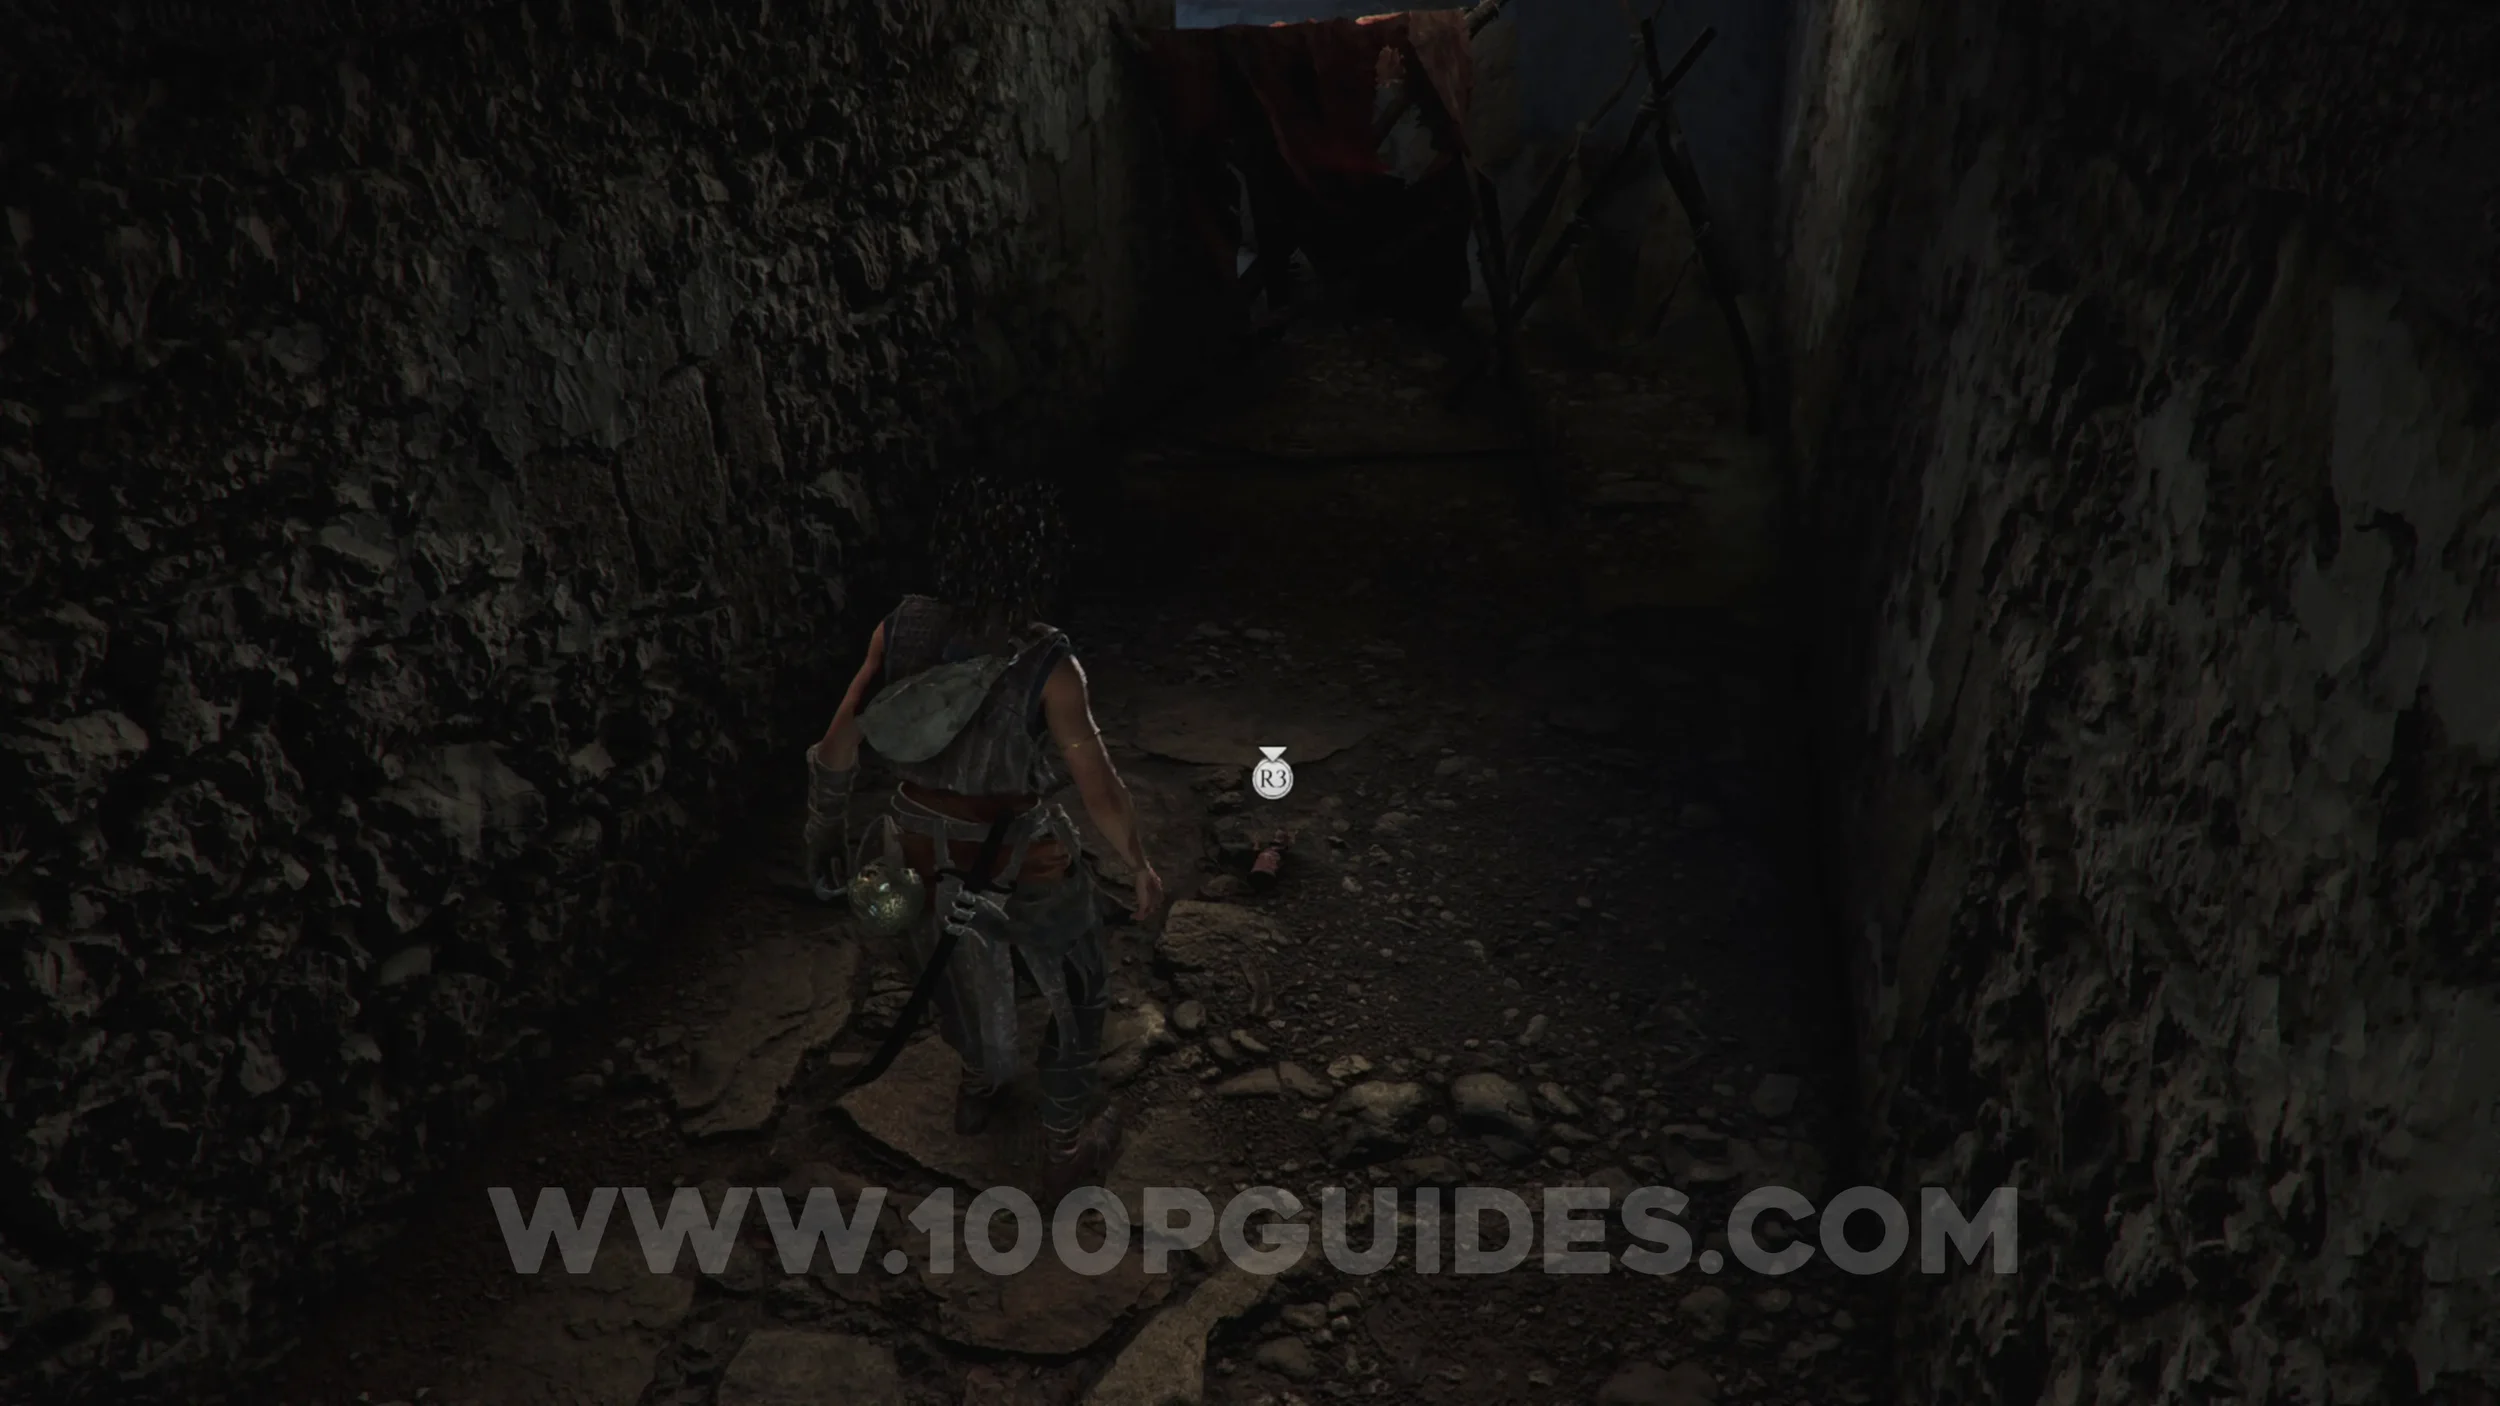
Charm: Seal #1
Chapter 3: Sub-Chapter 4.
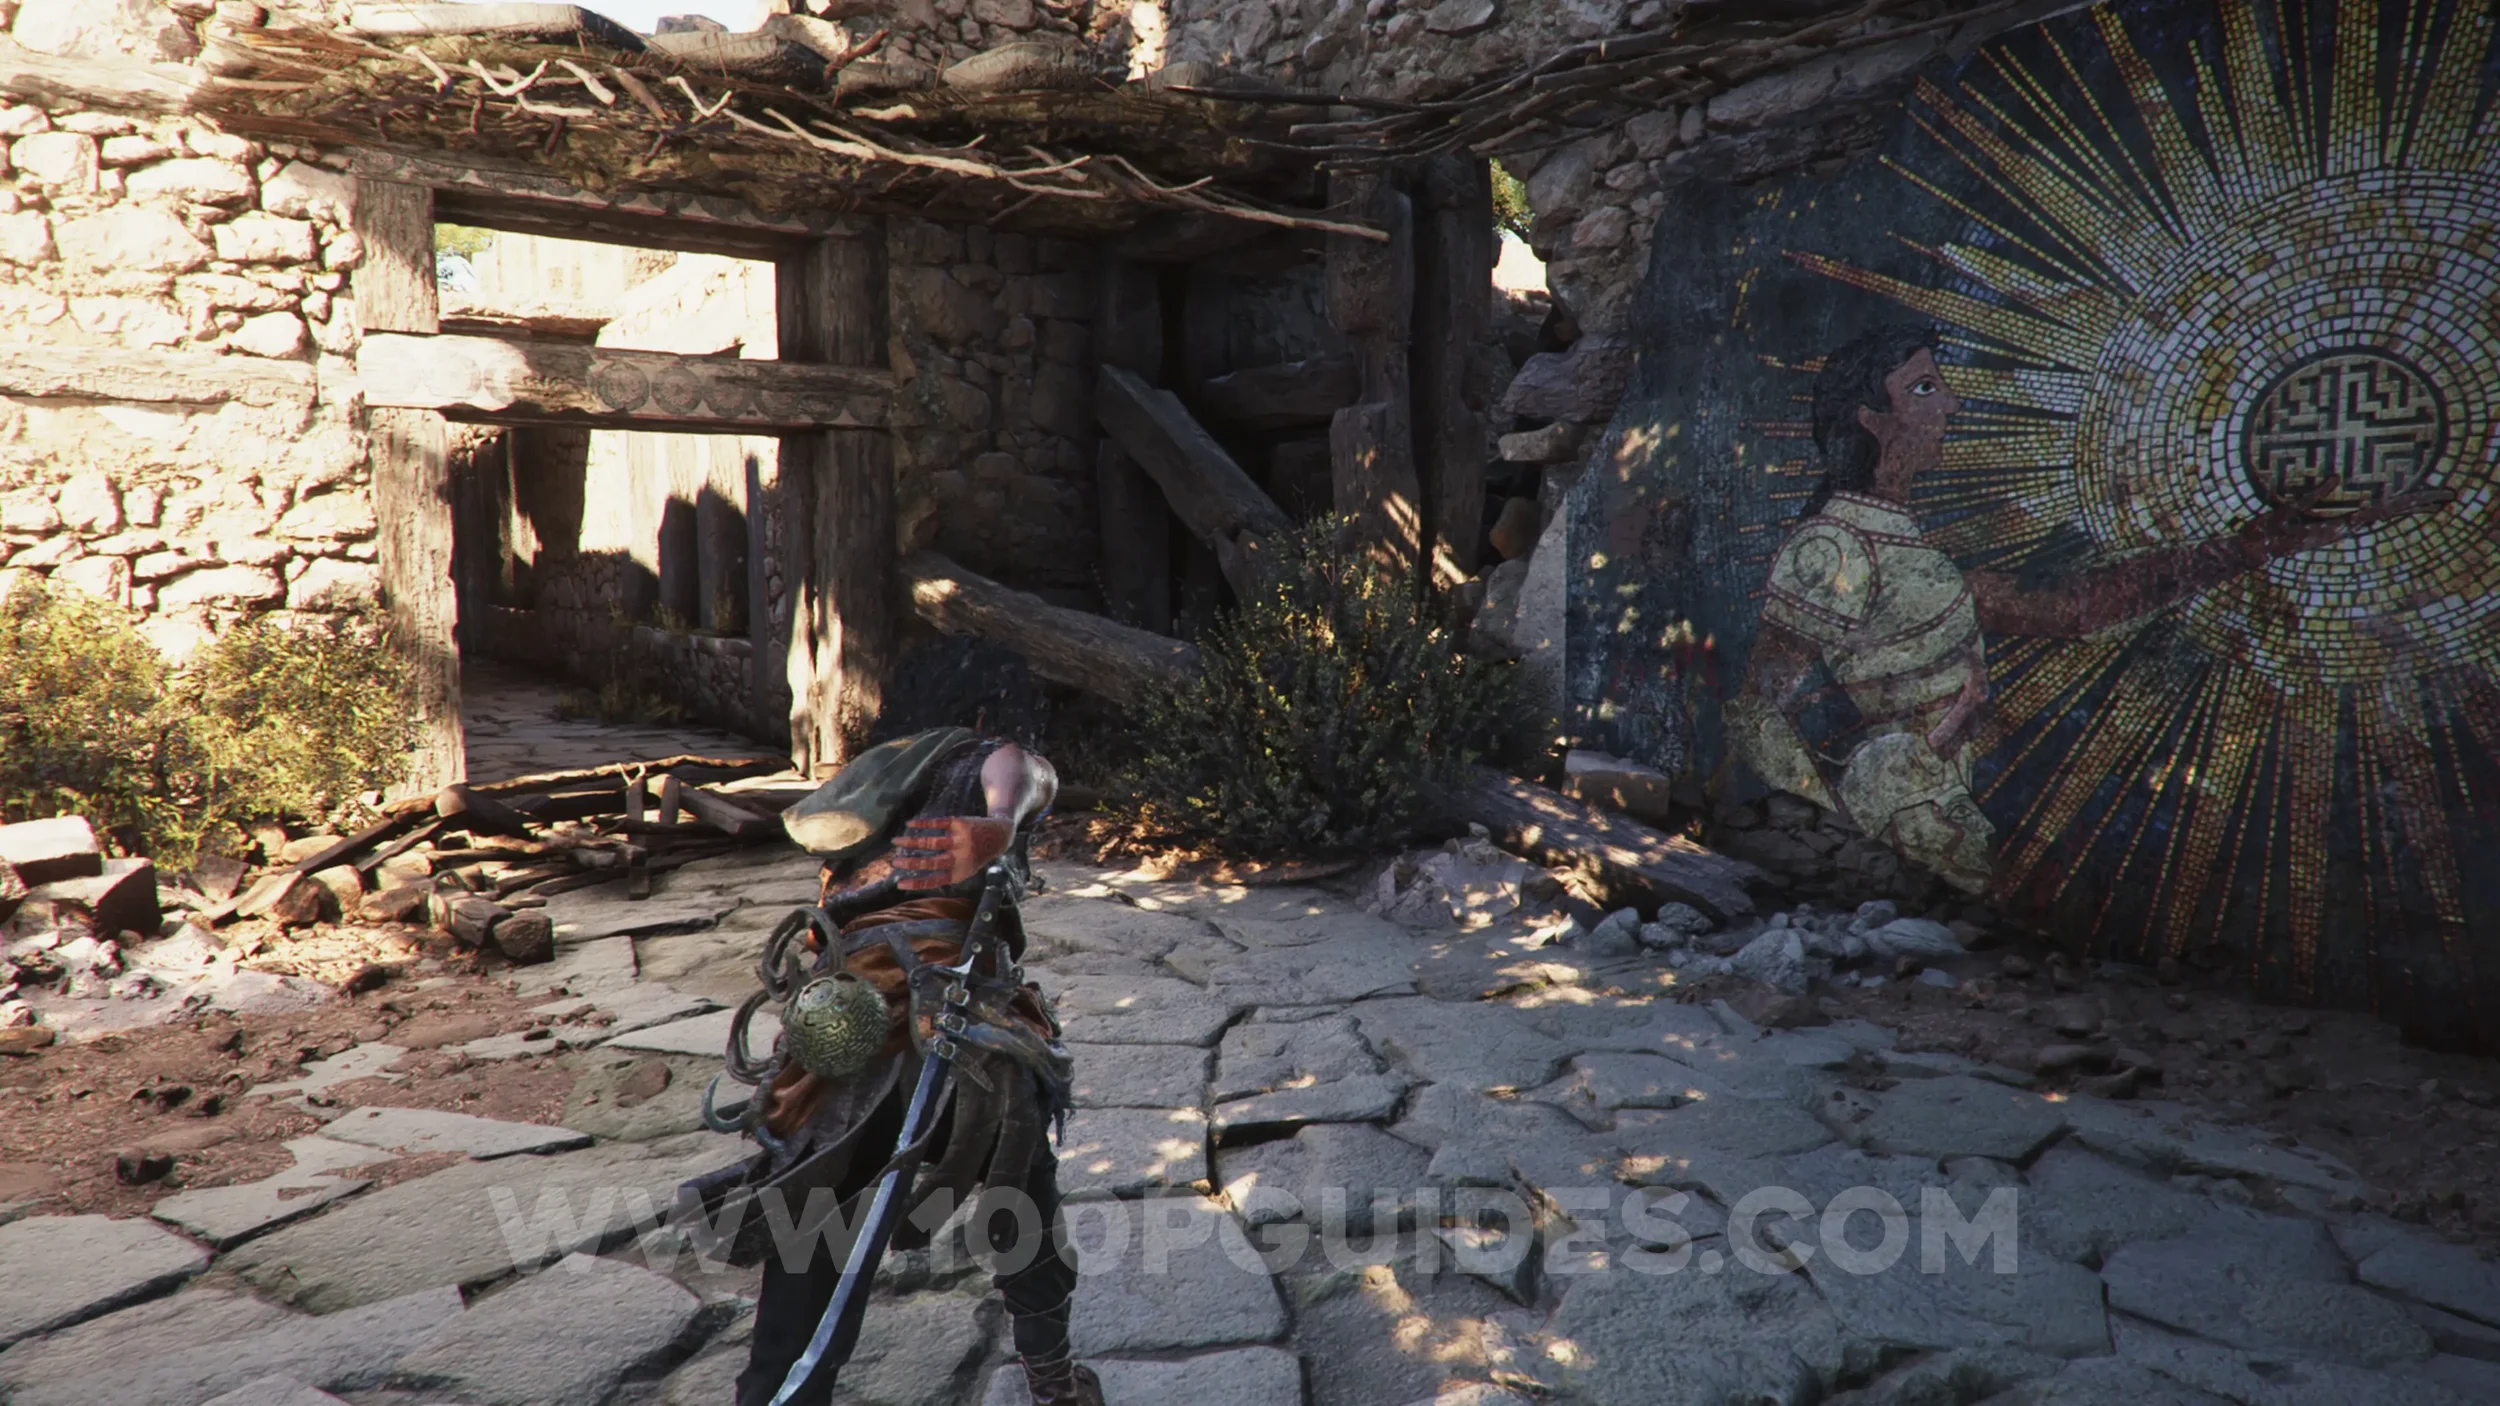
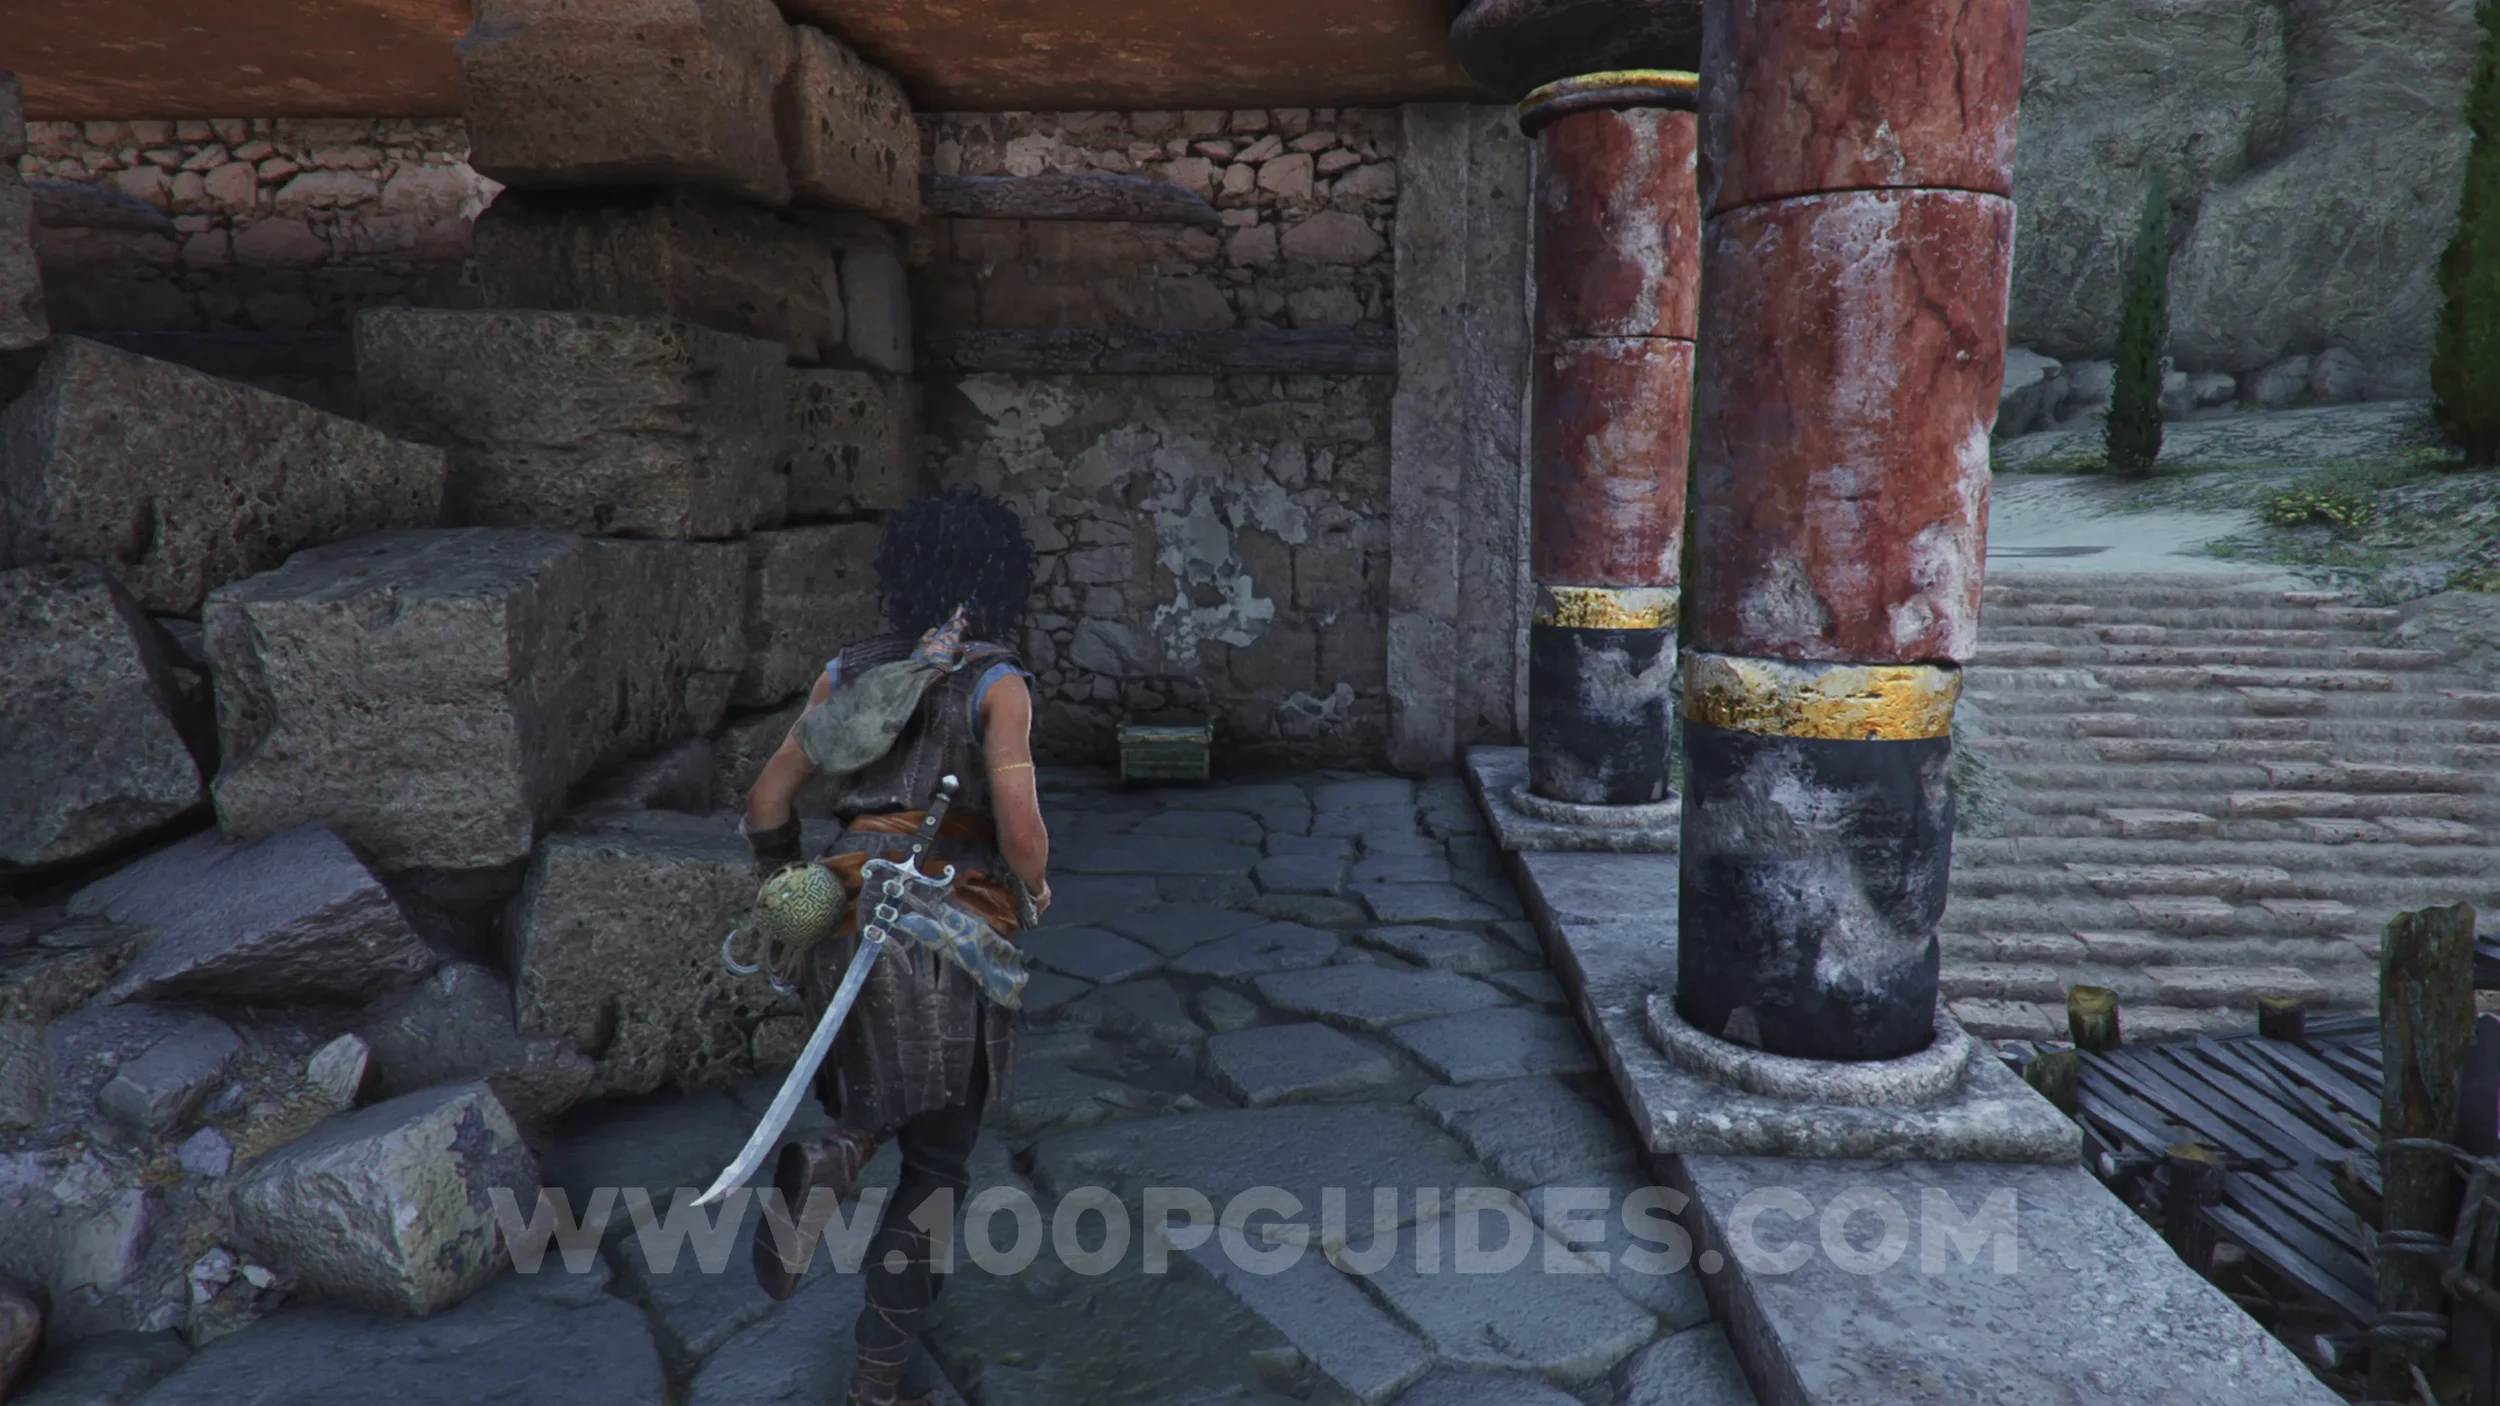
After the previous collectible, you'll slide down a slope and reunite with Leni. You'll then see another fresco on the wall. Go through the corridor to the left of the fresco and, at the end, look left to find the charm in a box.
Resonance Point
Chapter 3: Sub-Chapter 5.
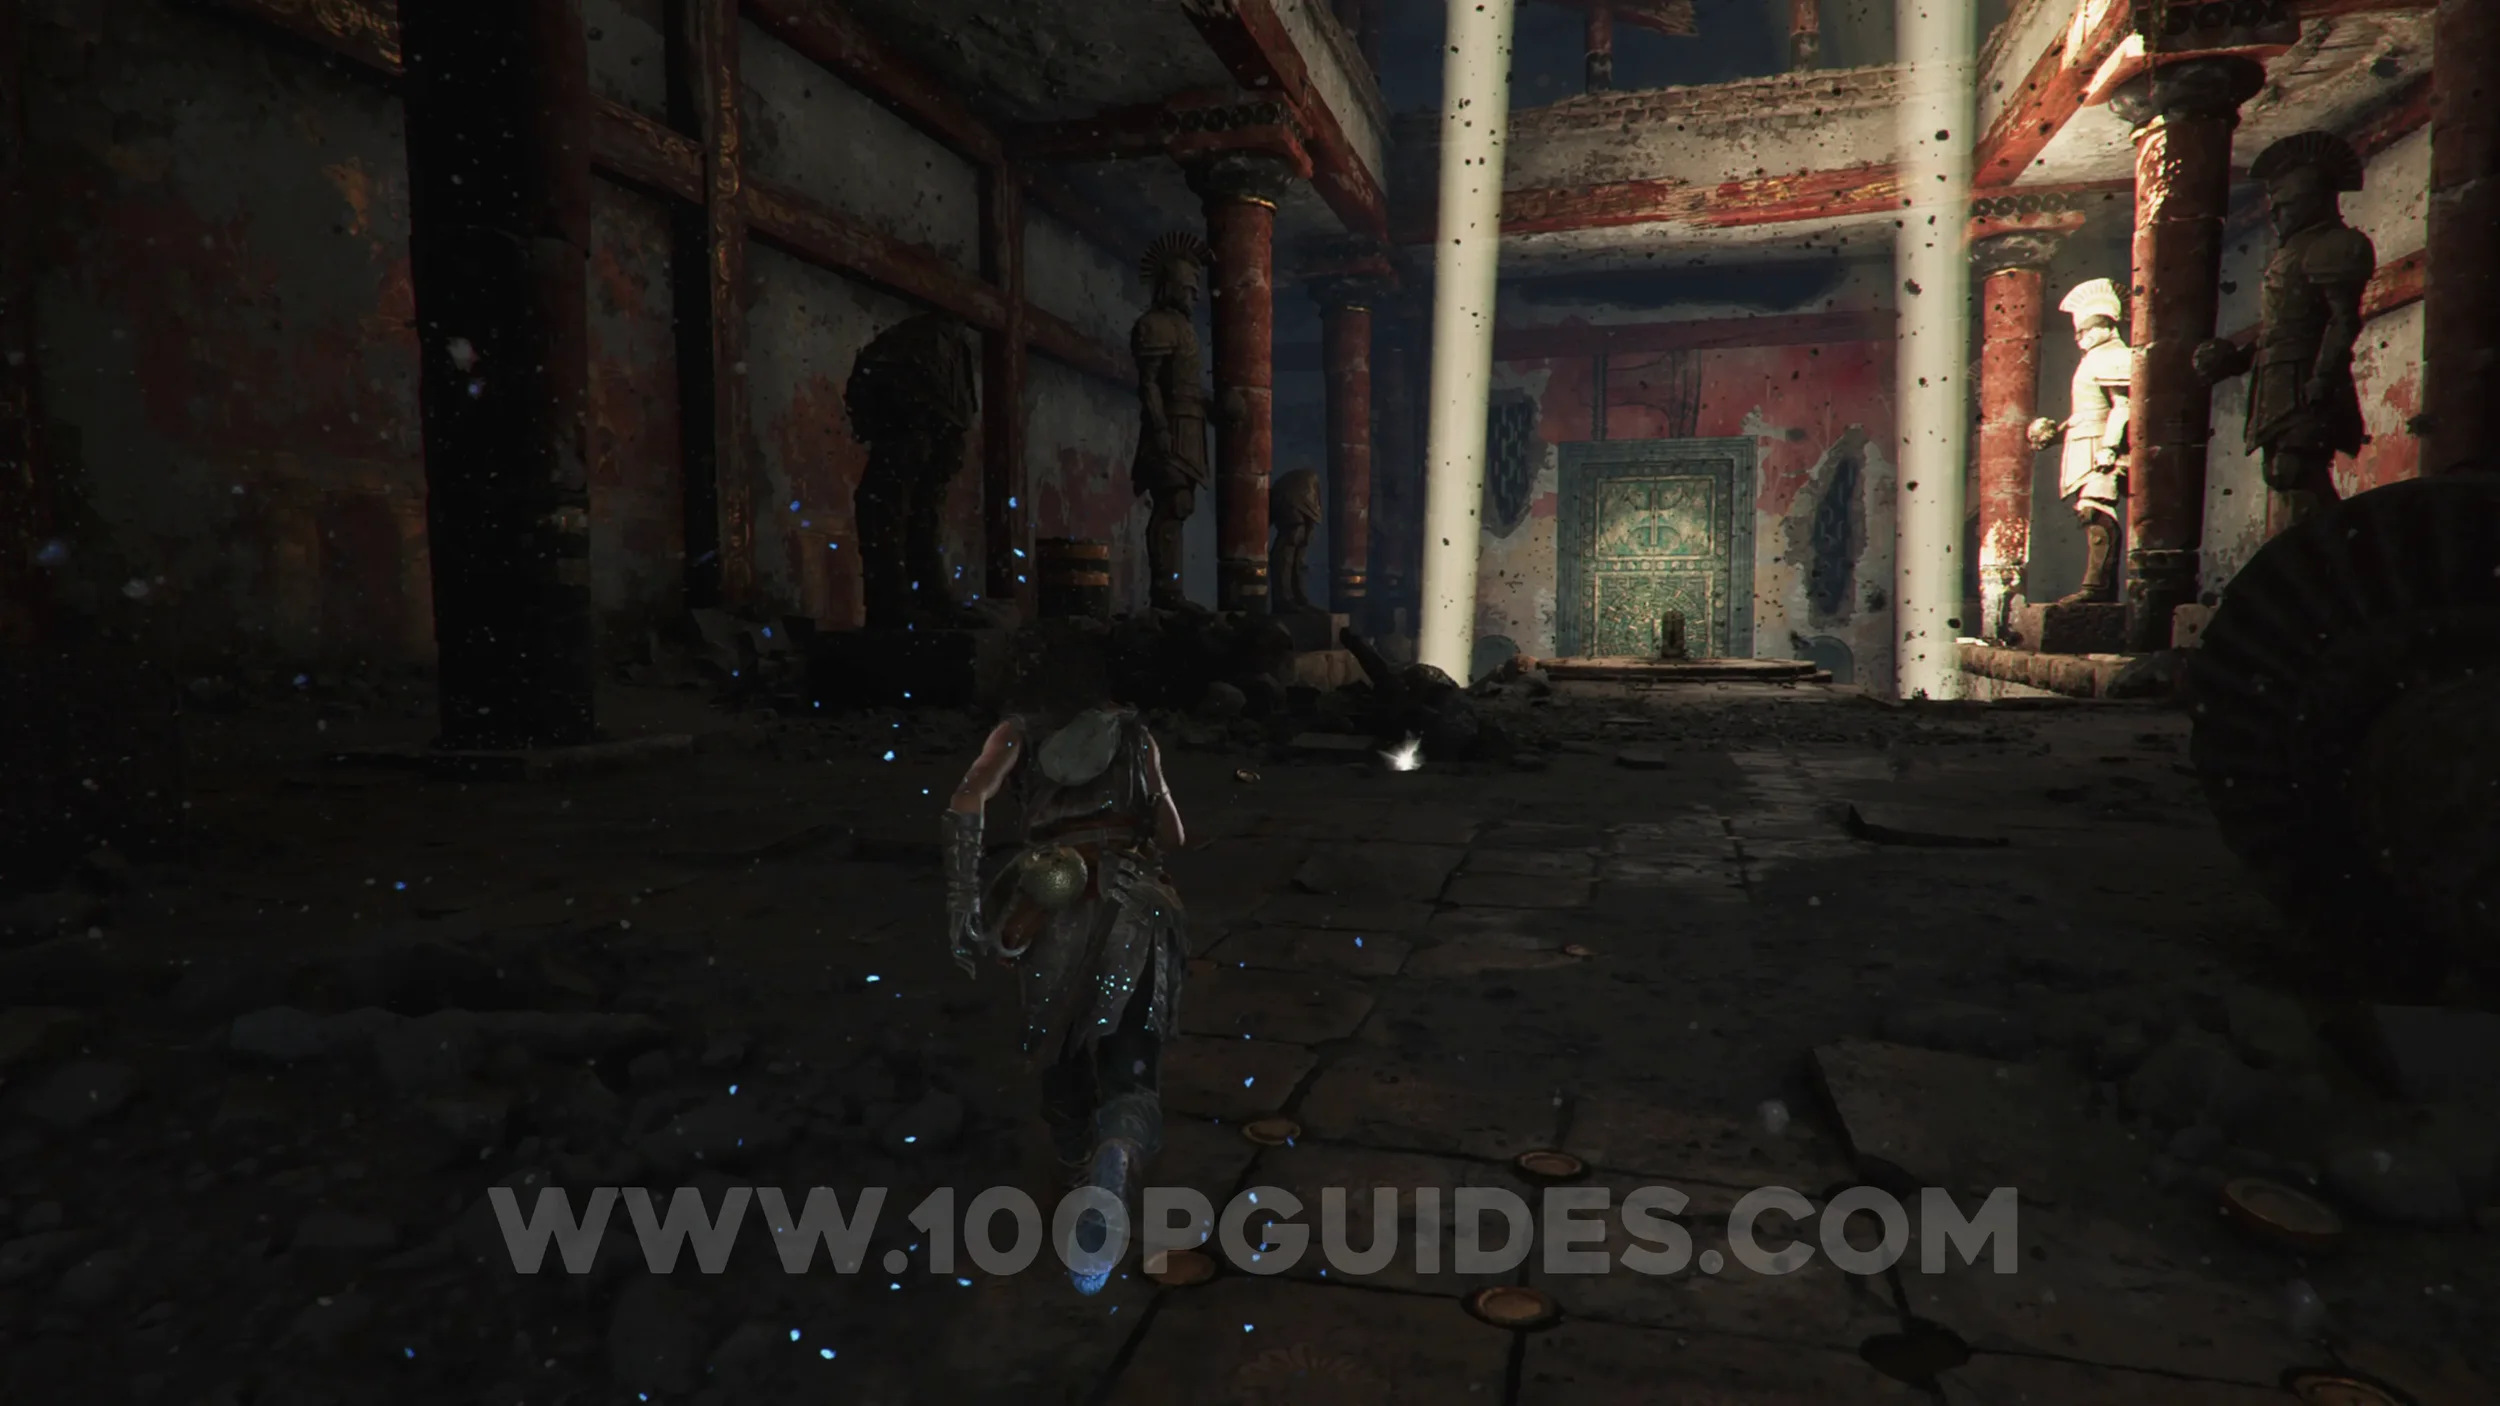
On the ground in the large temple that you enter after riding the raft across the water.
Chapter 4
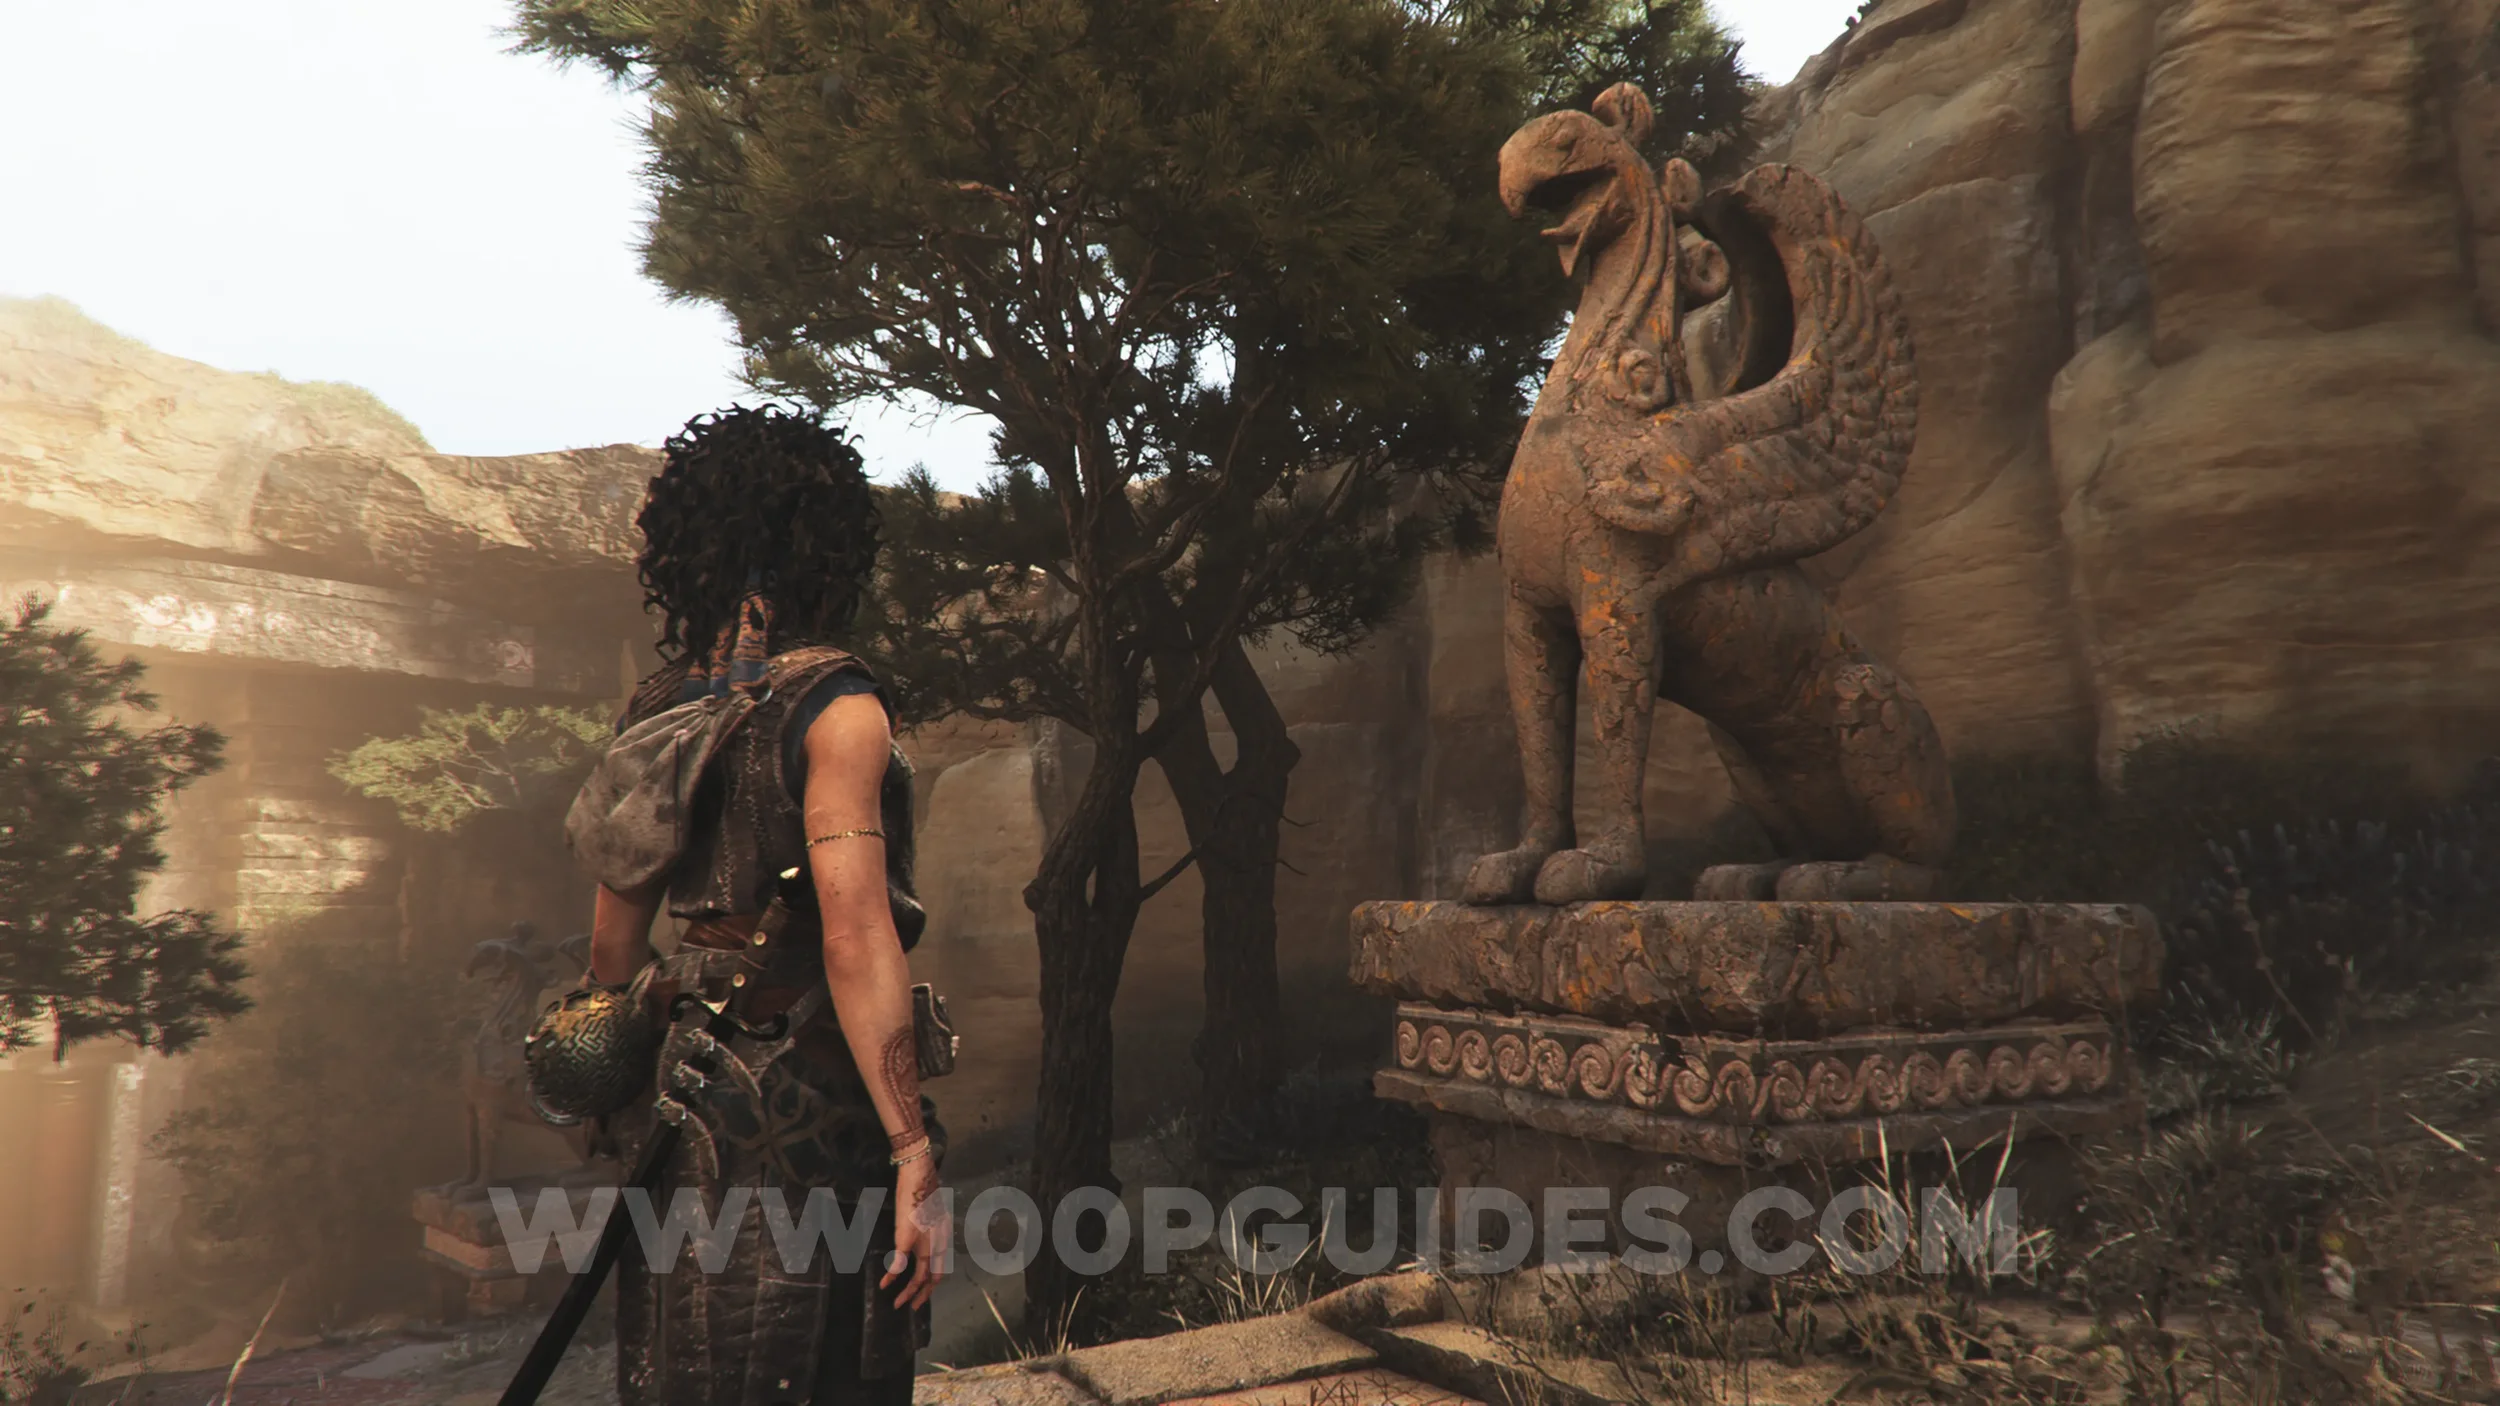
Resonance Point
Chapter 4 - Sub-Chapter 1.
At the start of the chapter, turn around and you will see it behind the statue on your right.
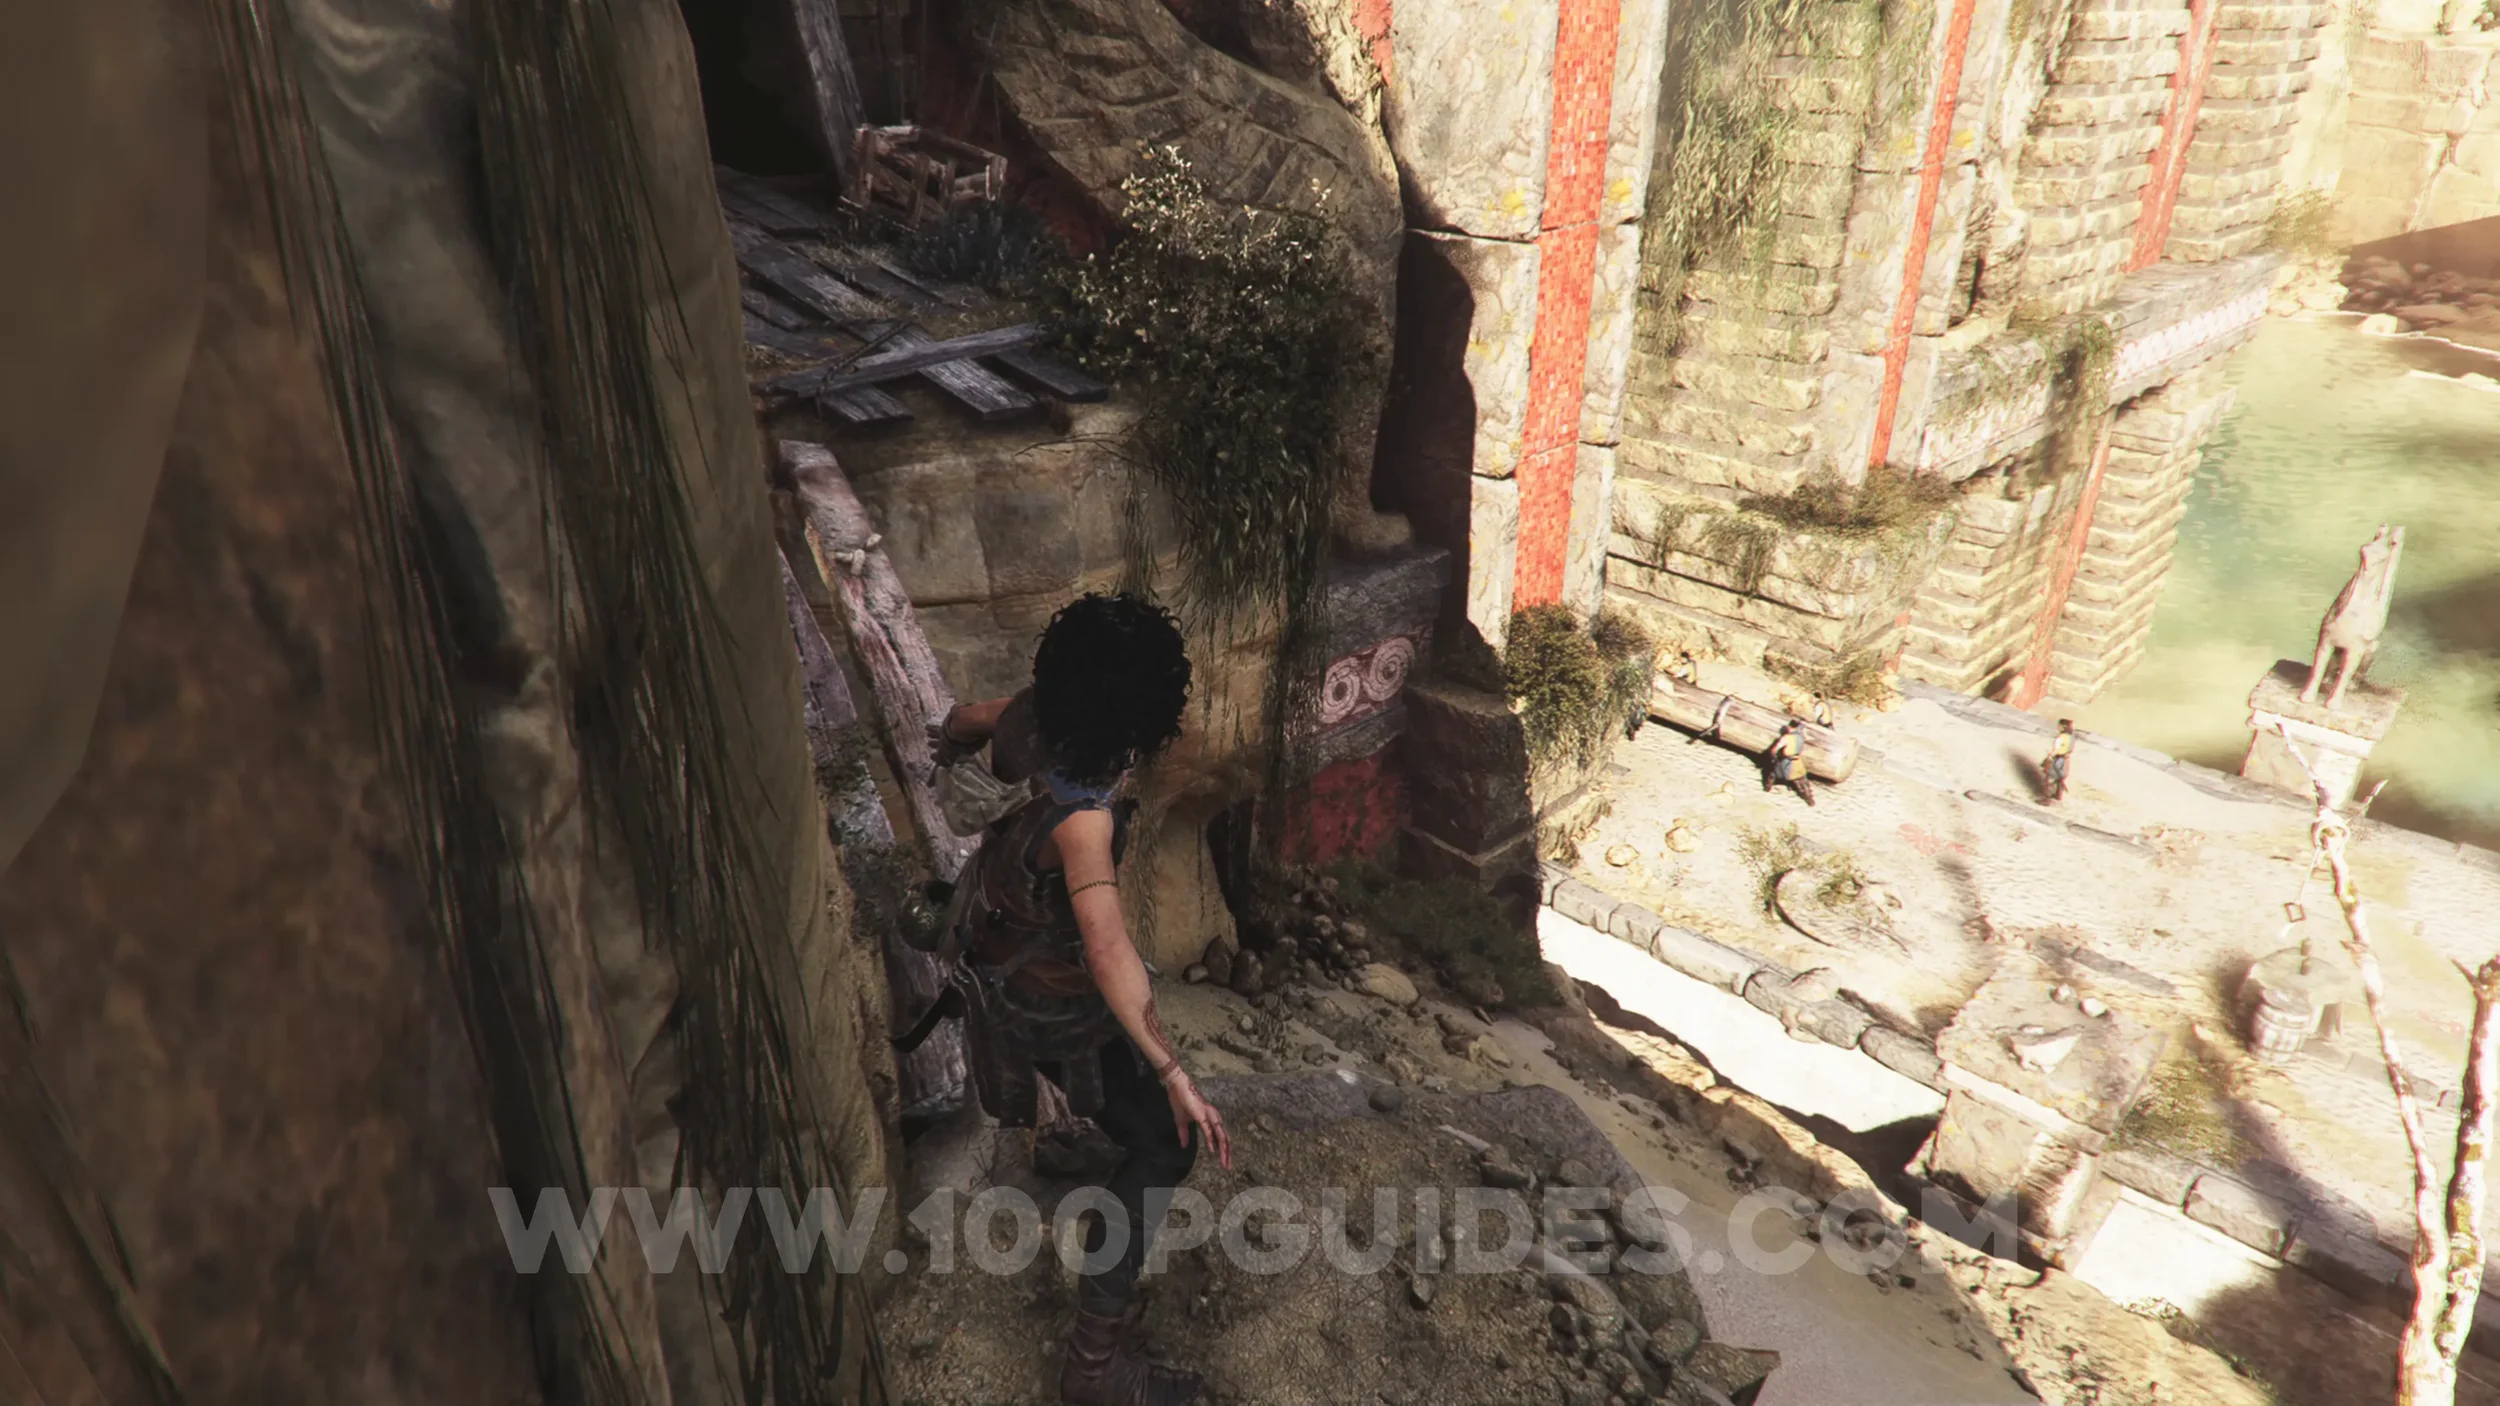
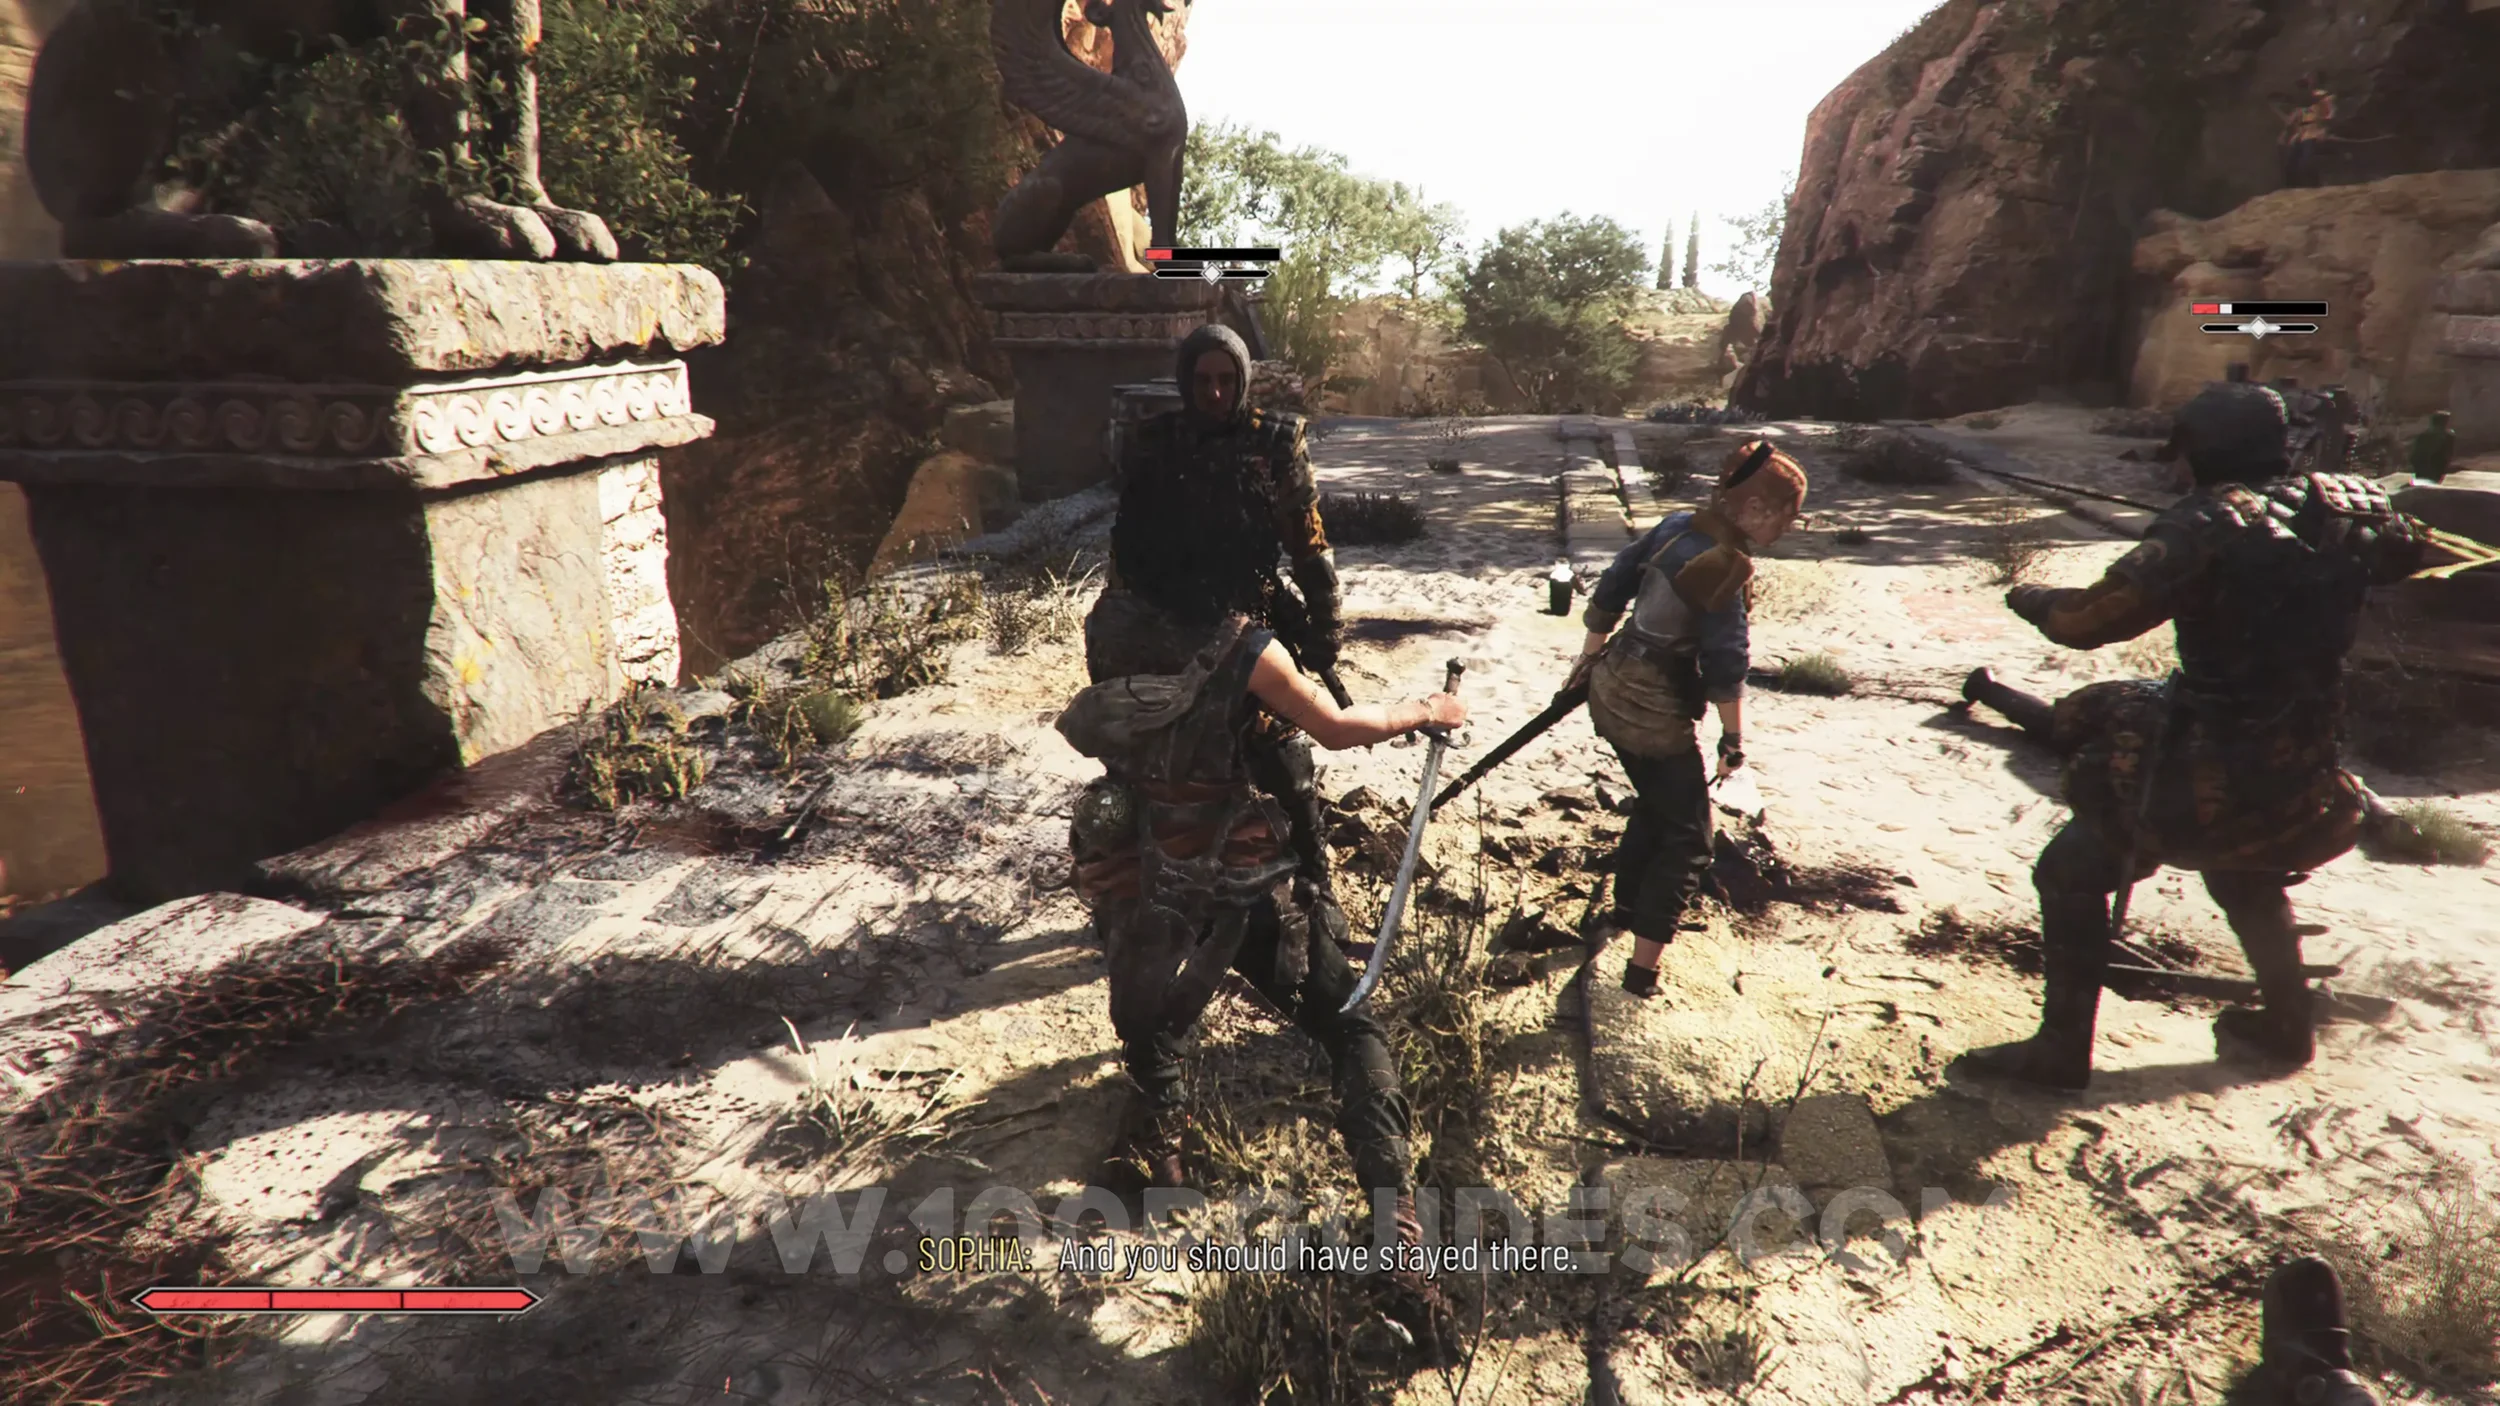
Resonance Point x2
Chapter 4: Sub-Chapter 1.
Obtained automatically after defeating the group of enemies trying to smash in the door.
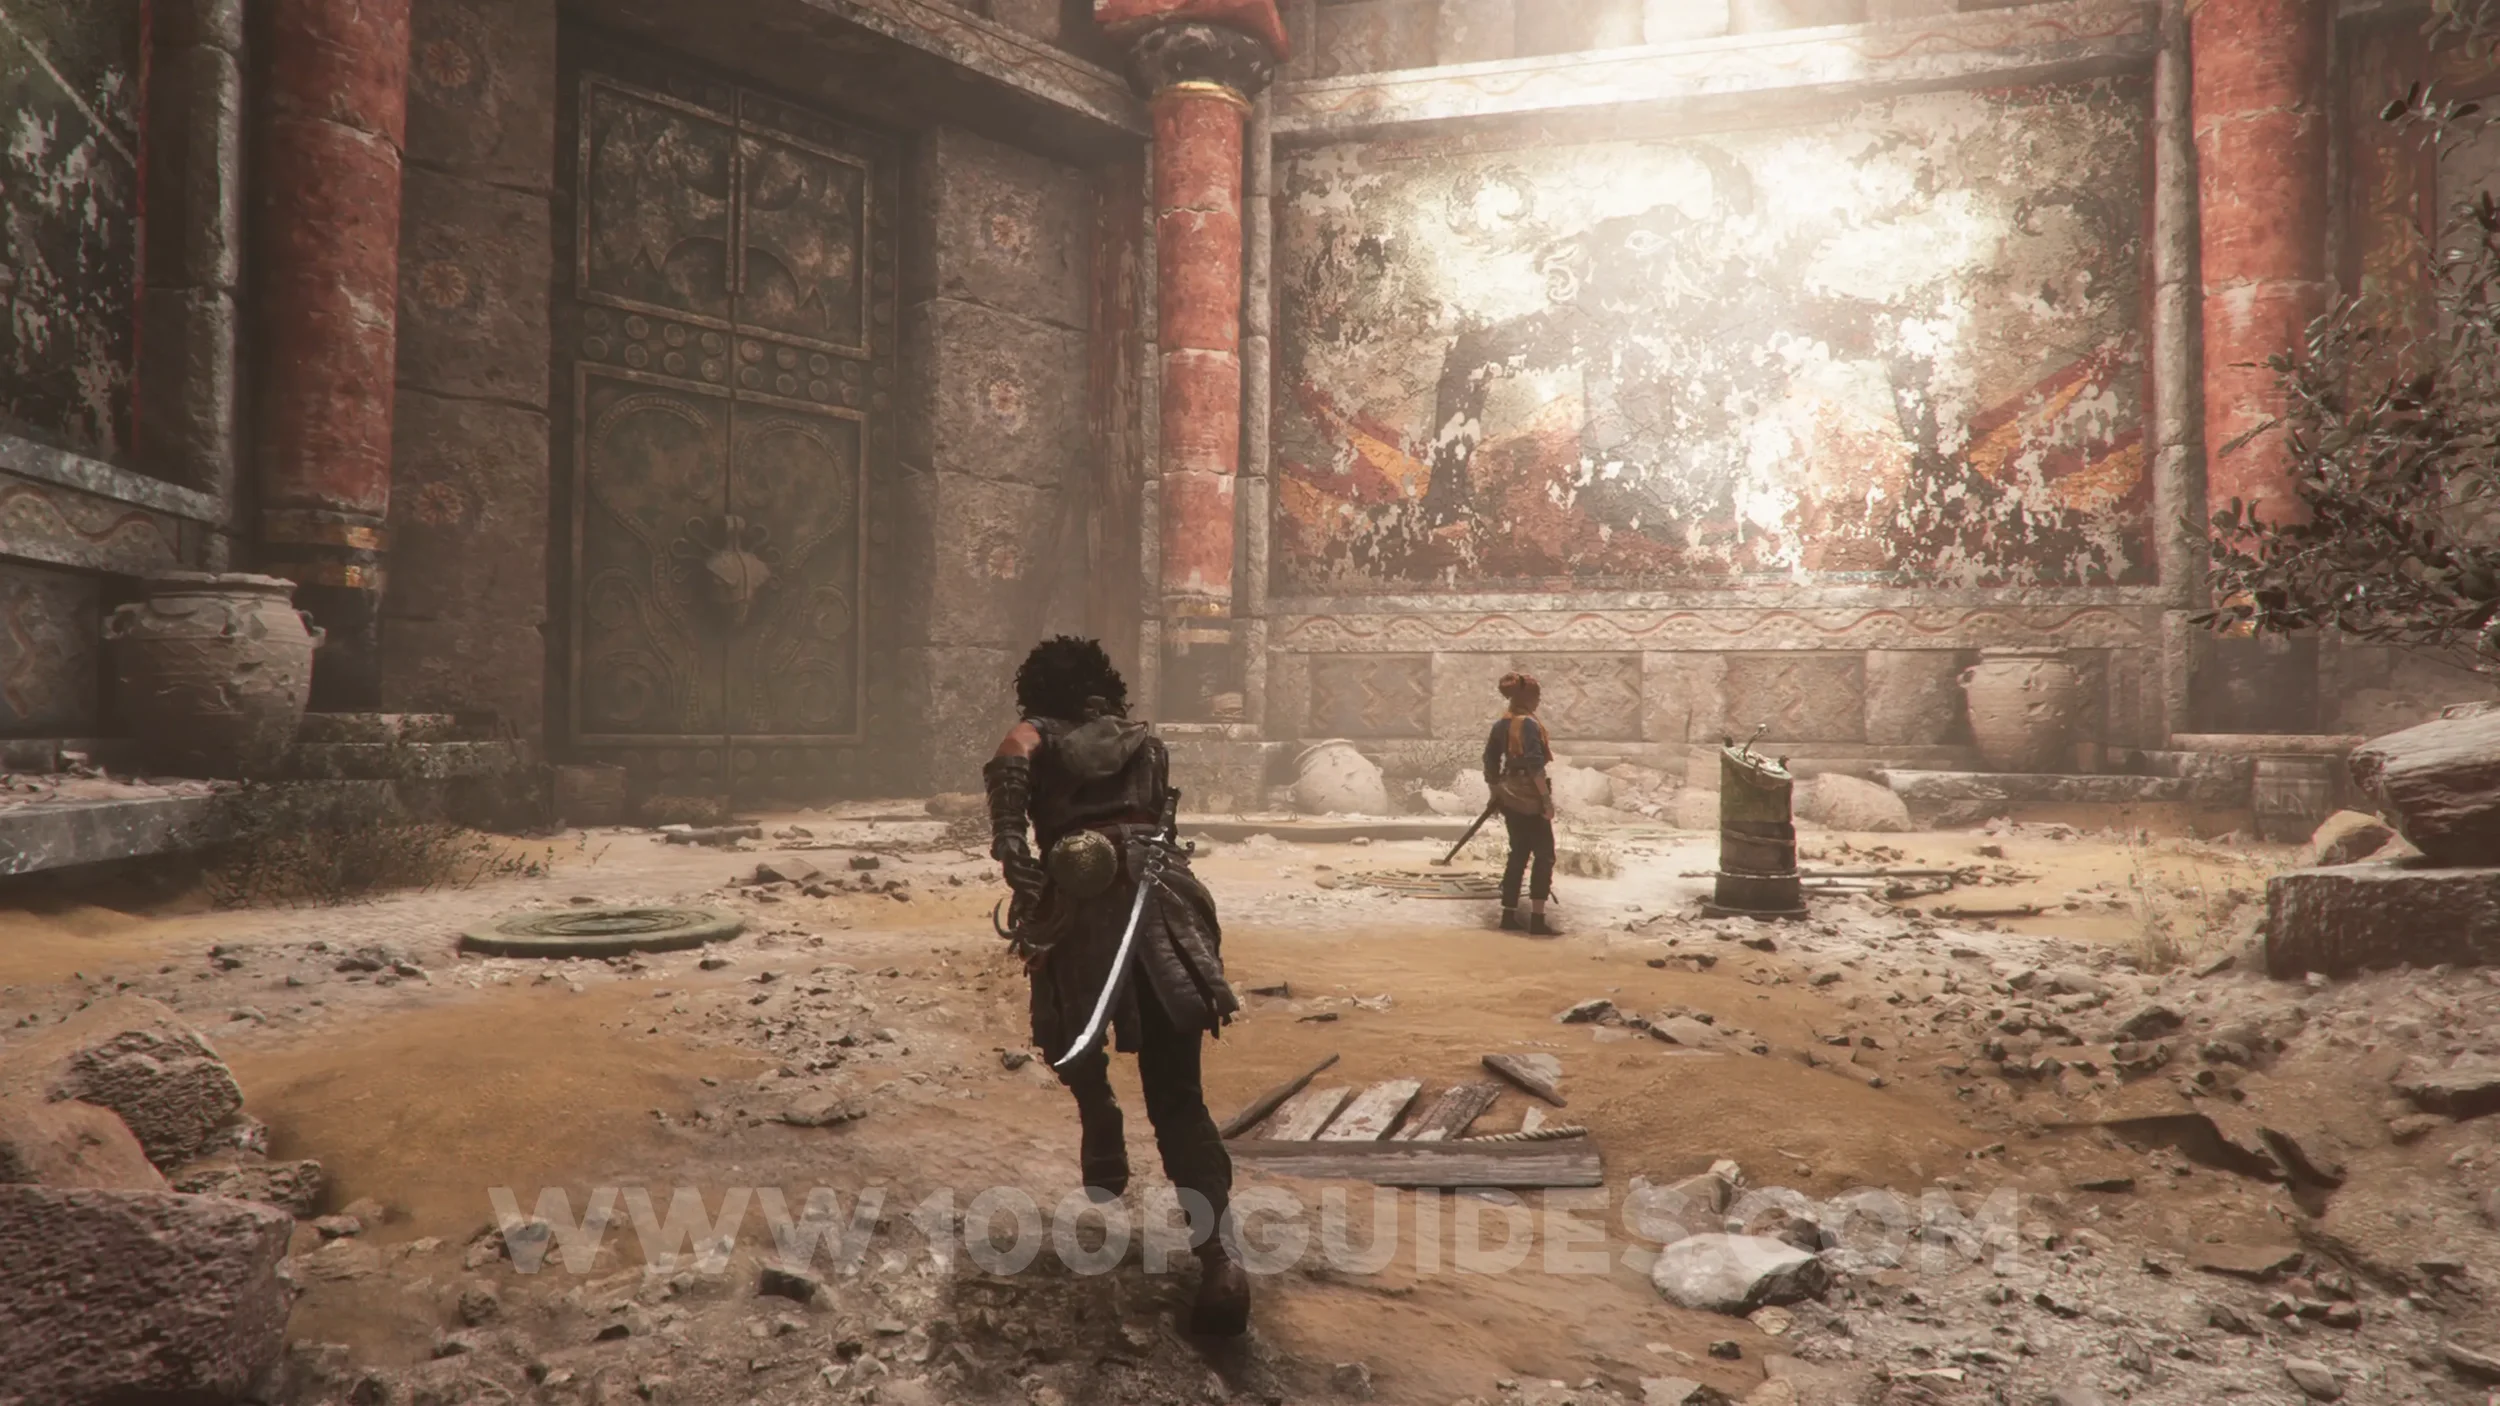
Resonance Point
Chapter 4: Sub-Chapter 1.
After going through the large door the previous enemies were trying to smash open, look for the resonance point on the right side of this room, close to the fresco on the right.
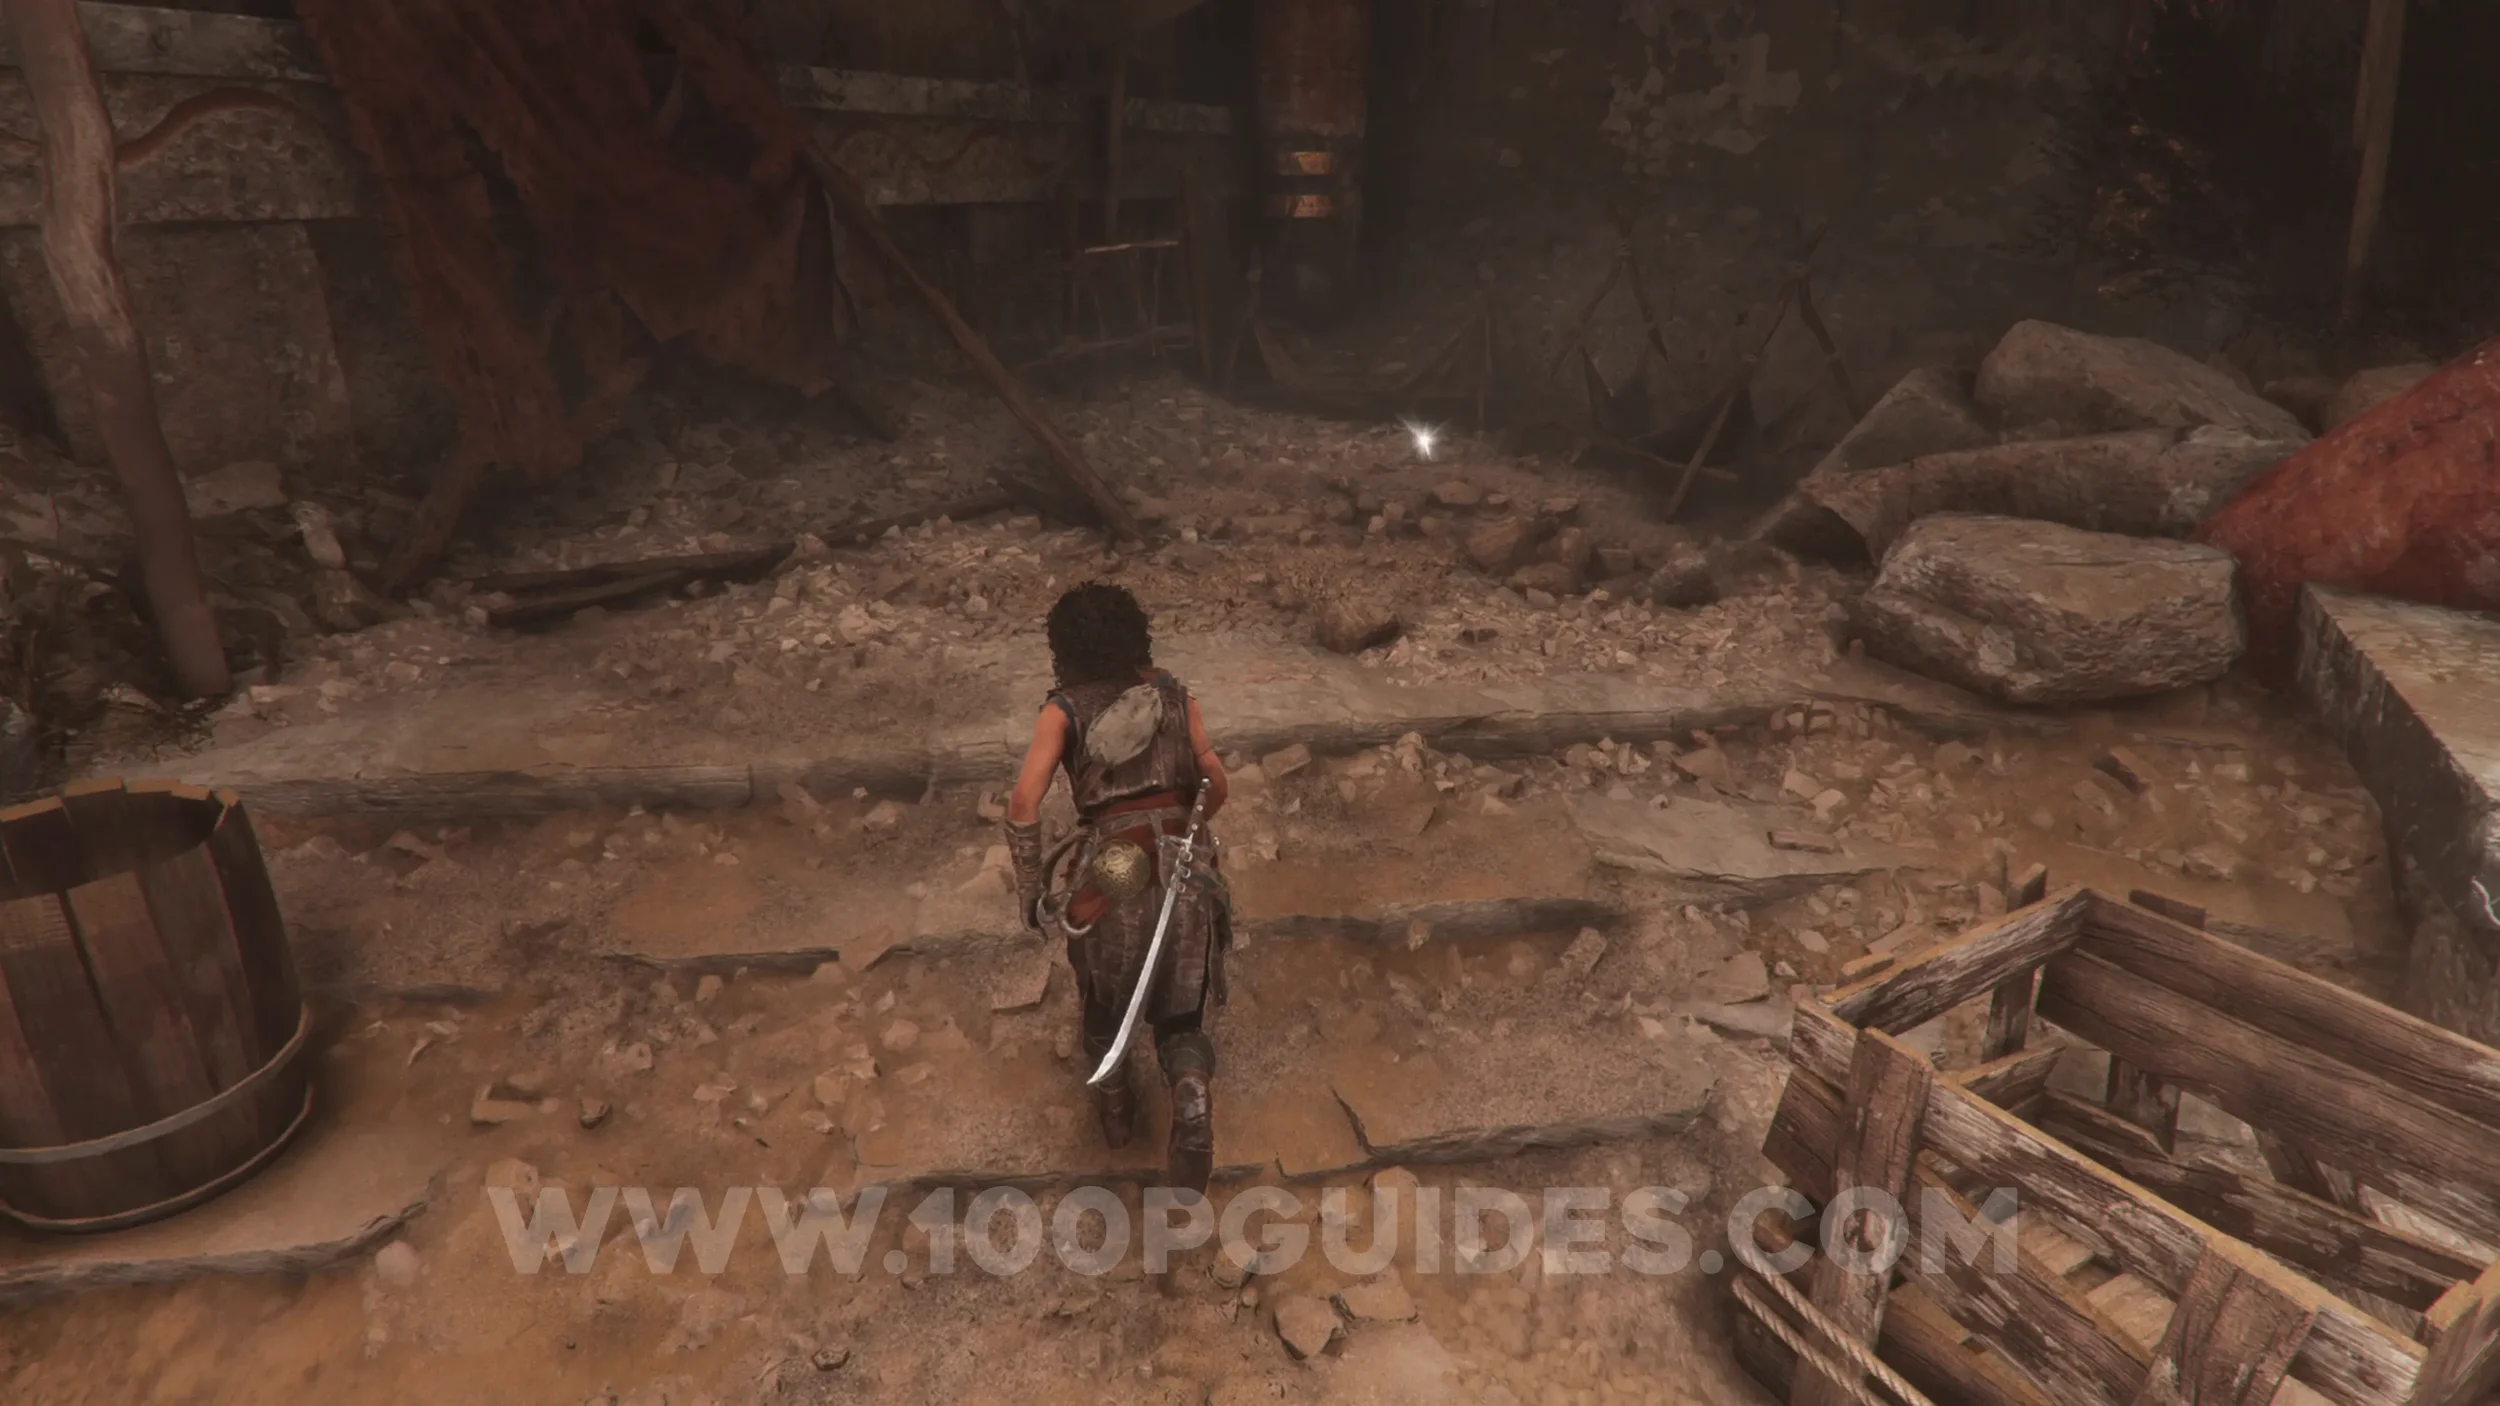
Charm: Arm Band #2
Chapter 4: Sub-Chapter 2.
Once you reach the massive statue, head right down the wooden walkway and almost immediately look for an upper area you can climb up to on your right. The charm will be in a small box in this camp.
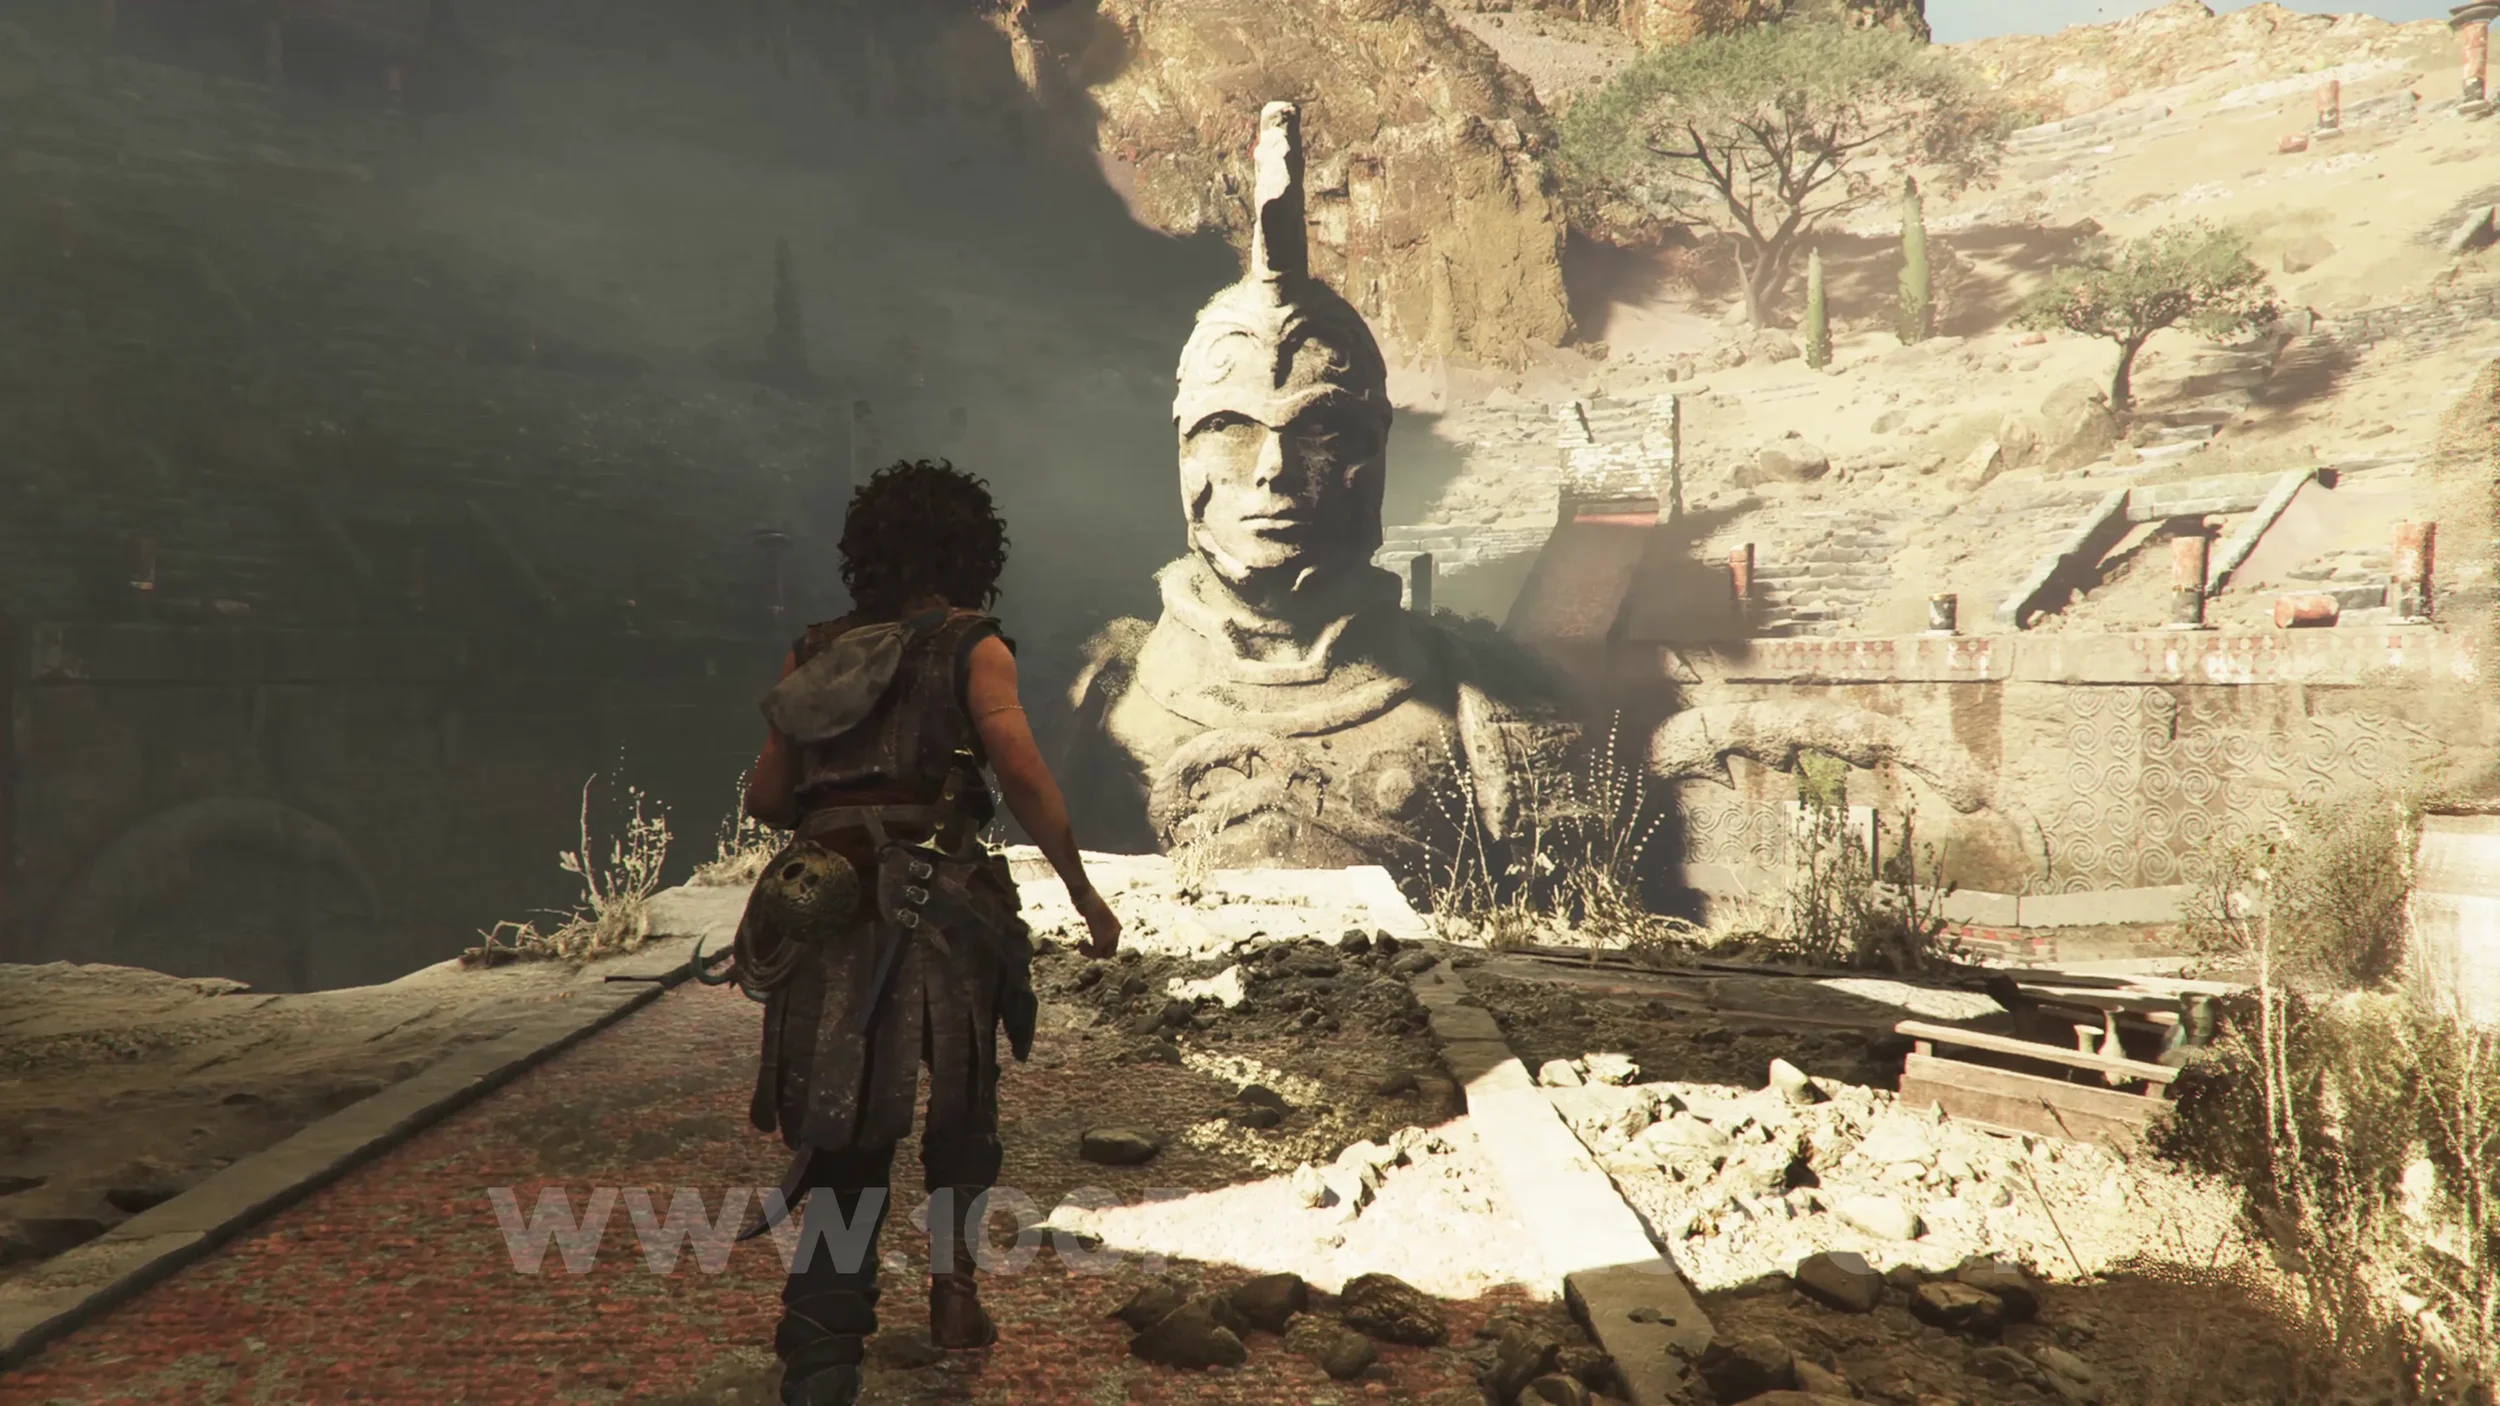
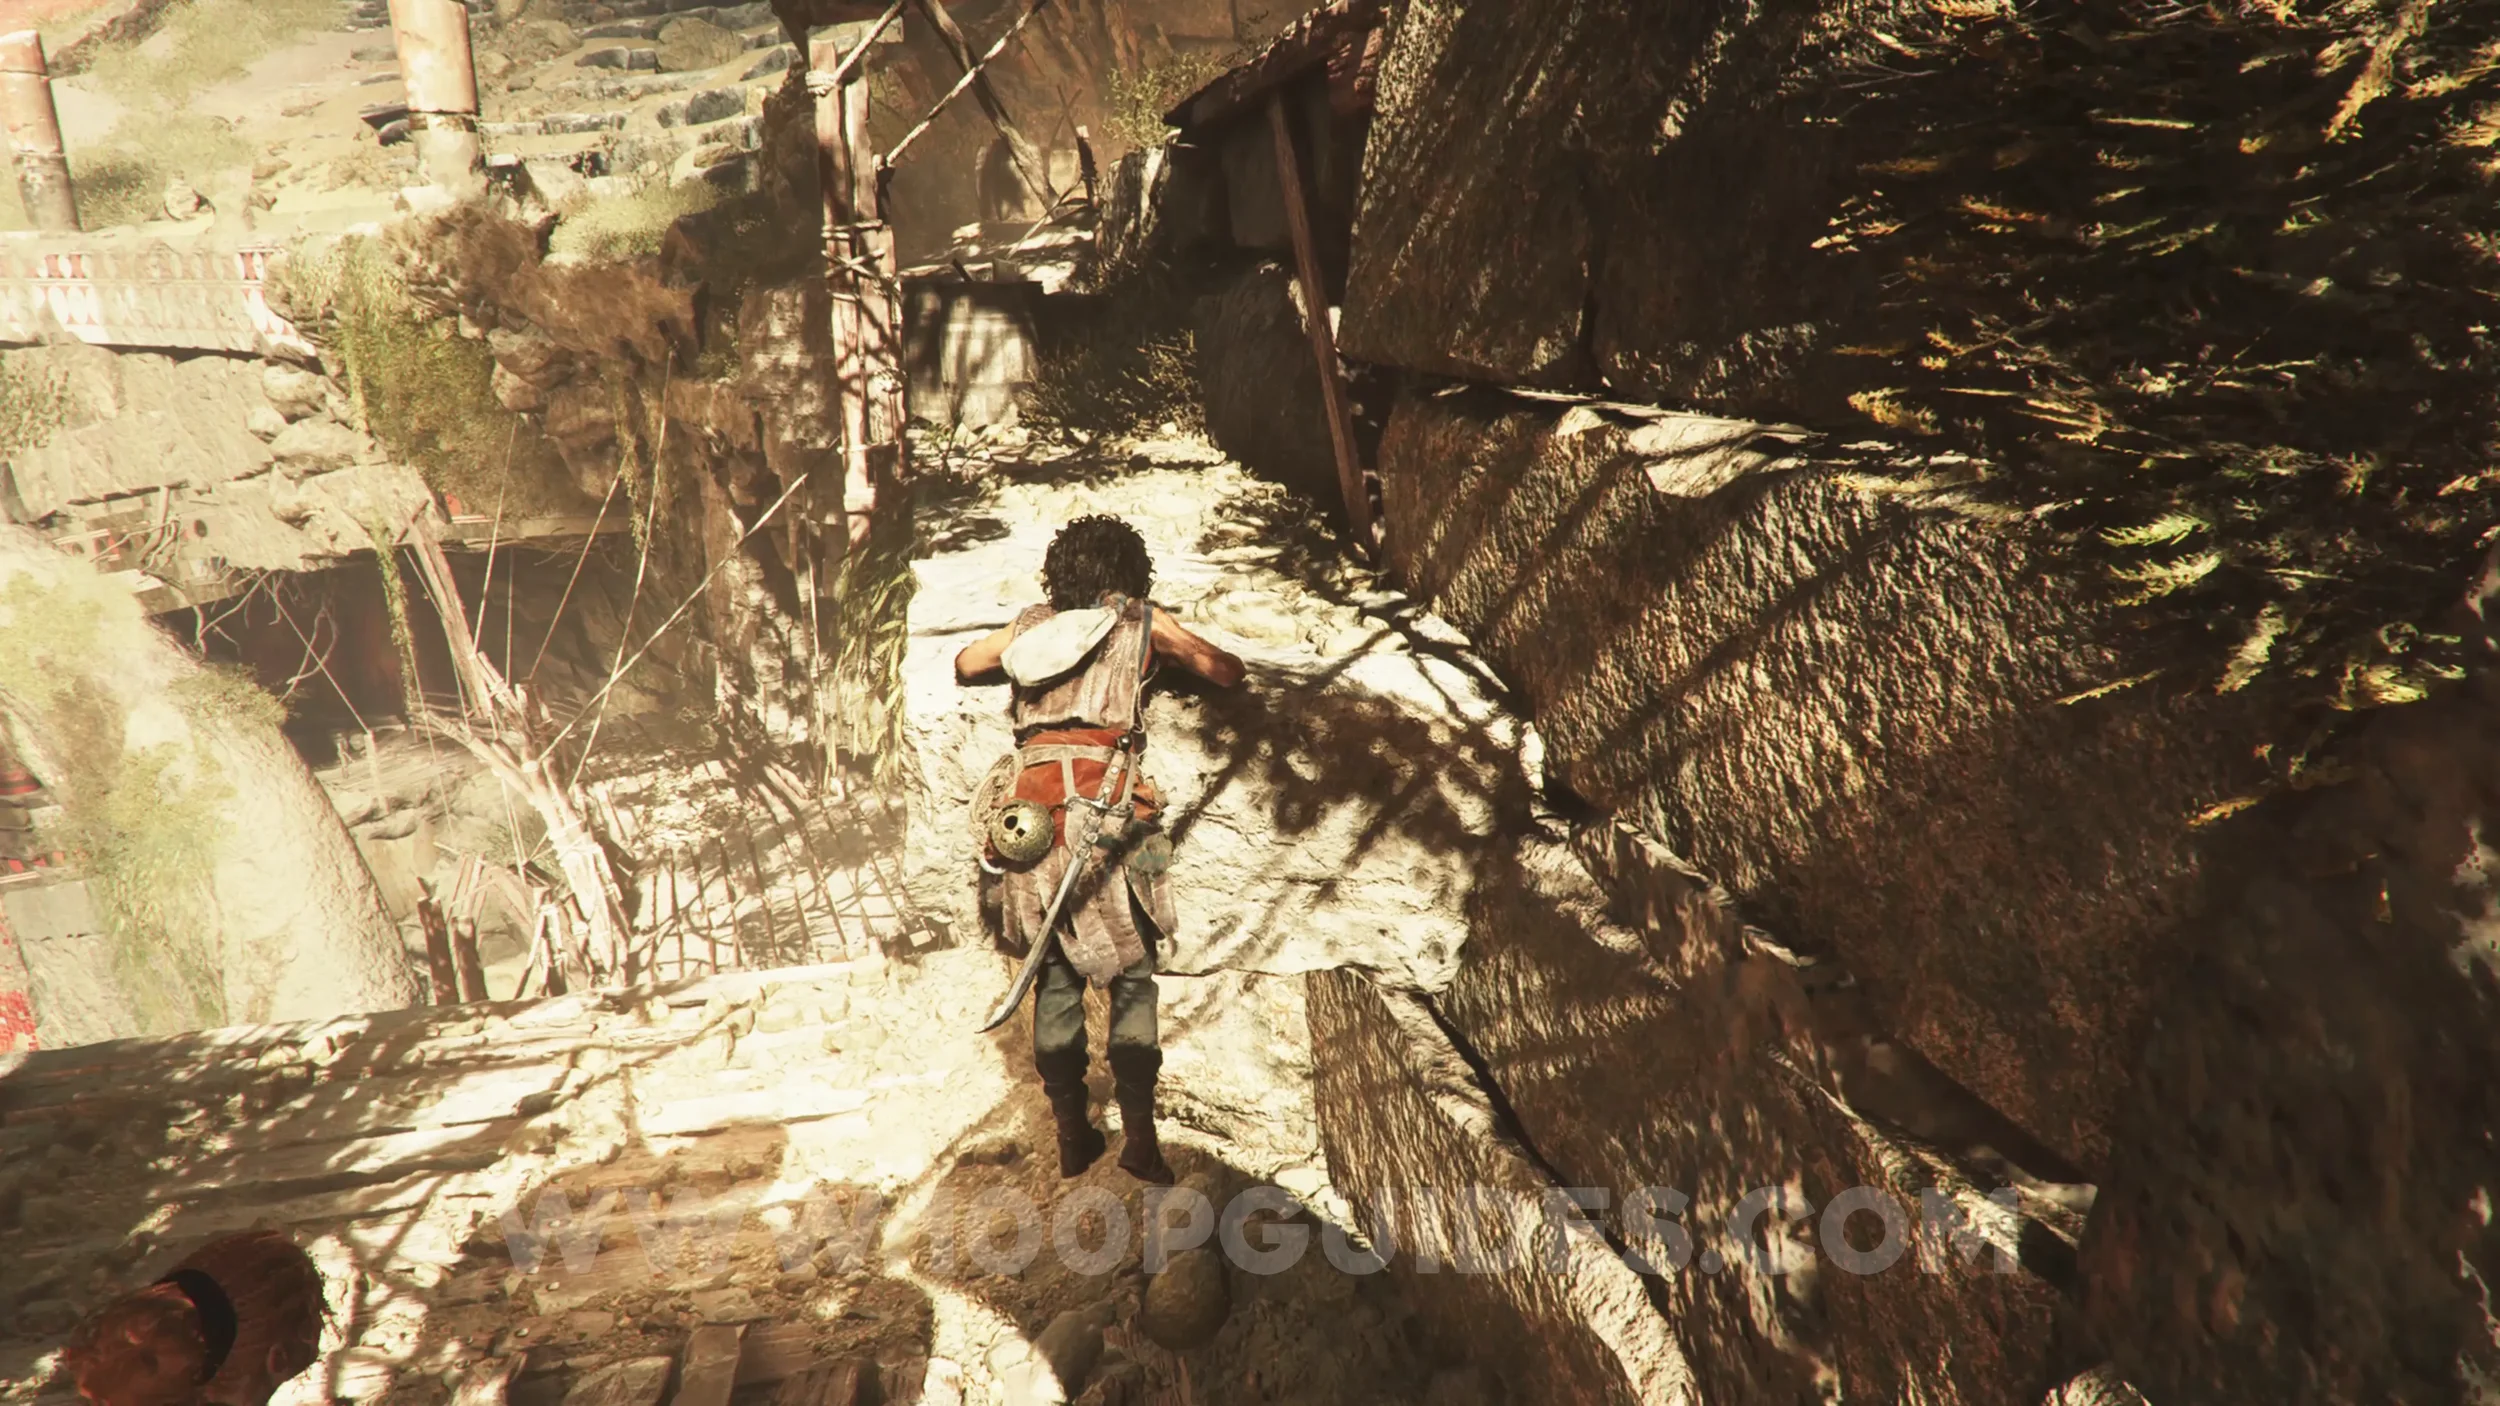
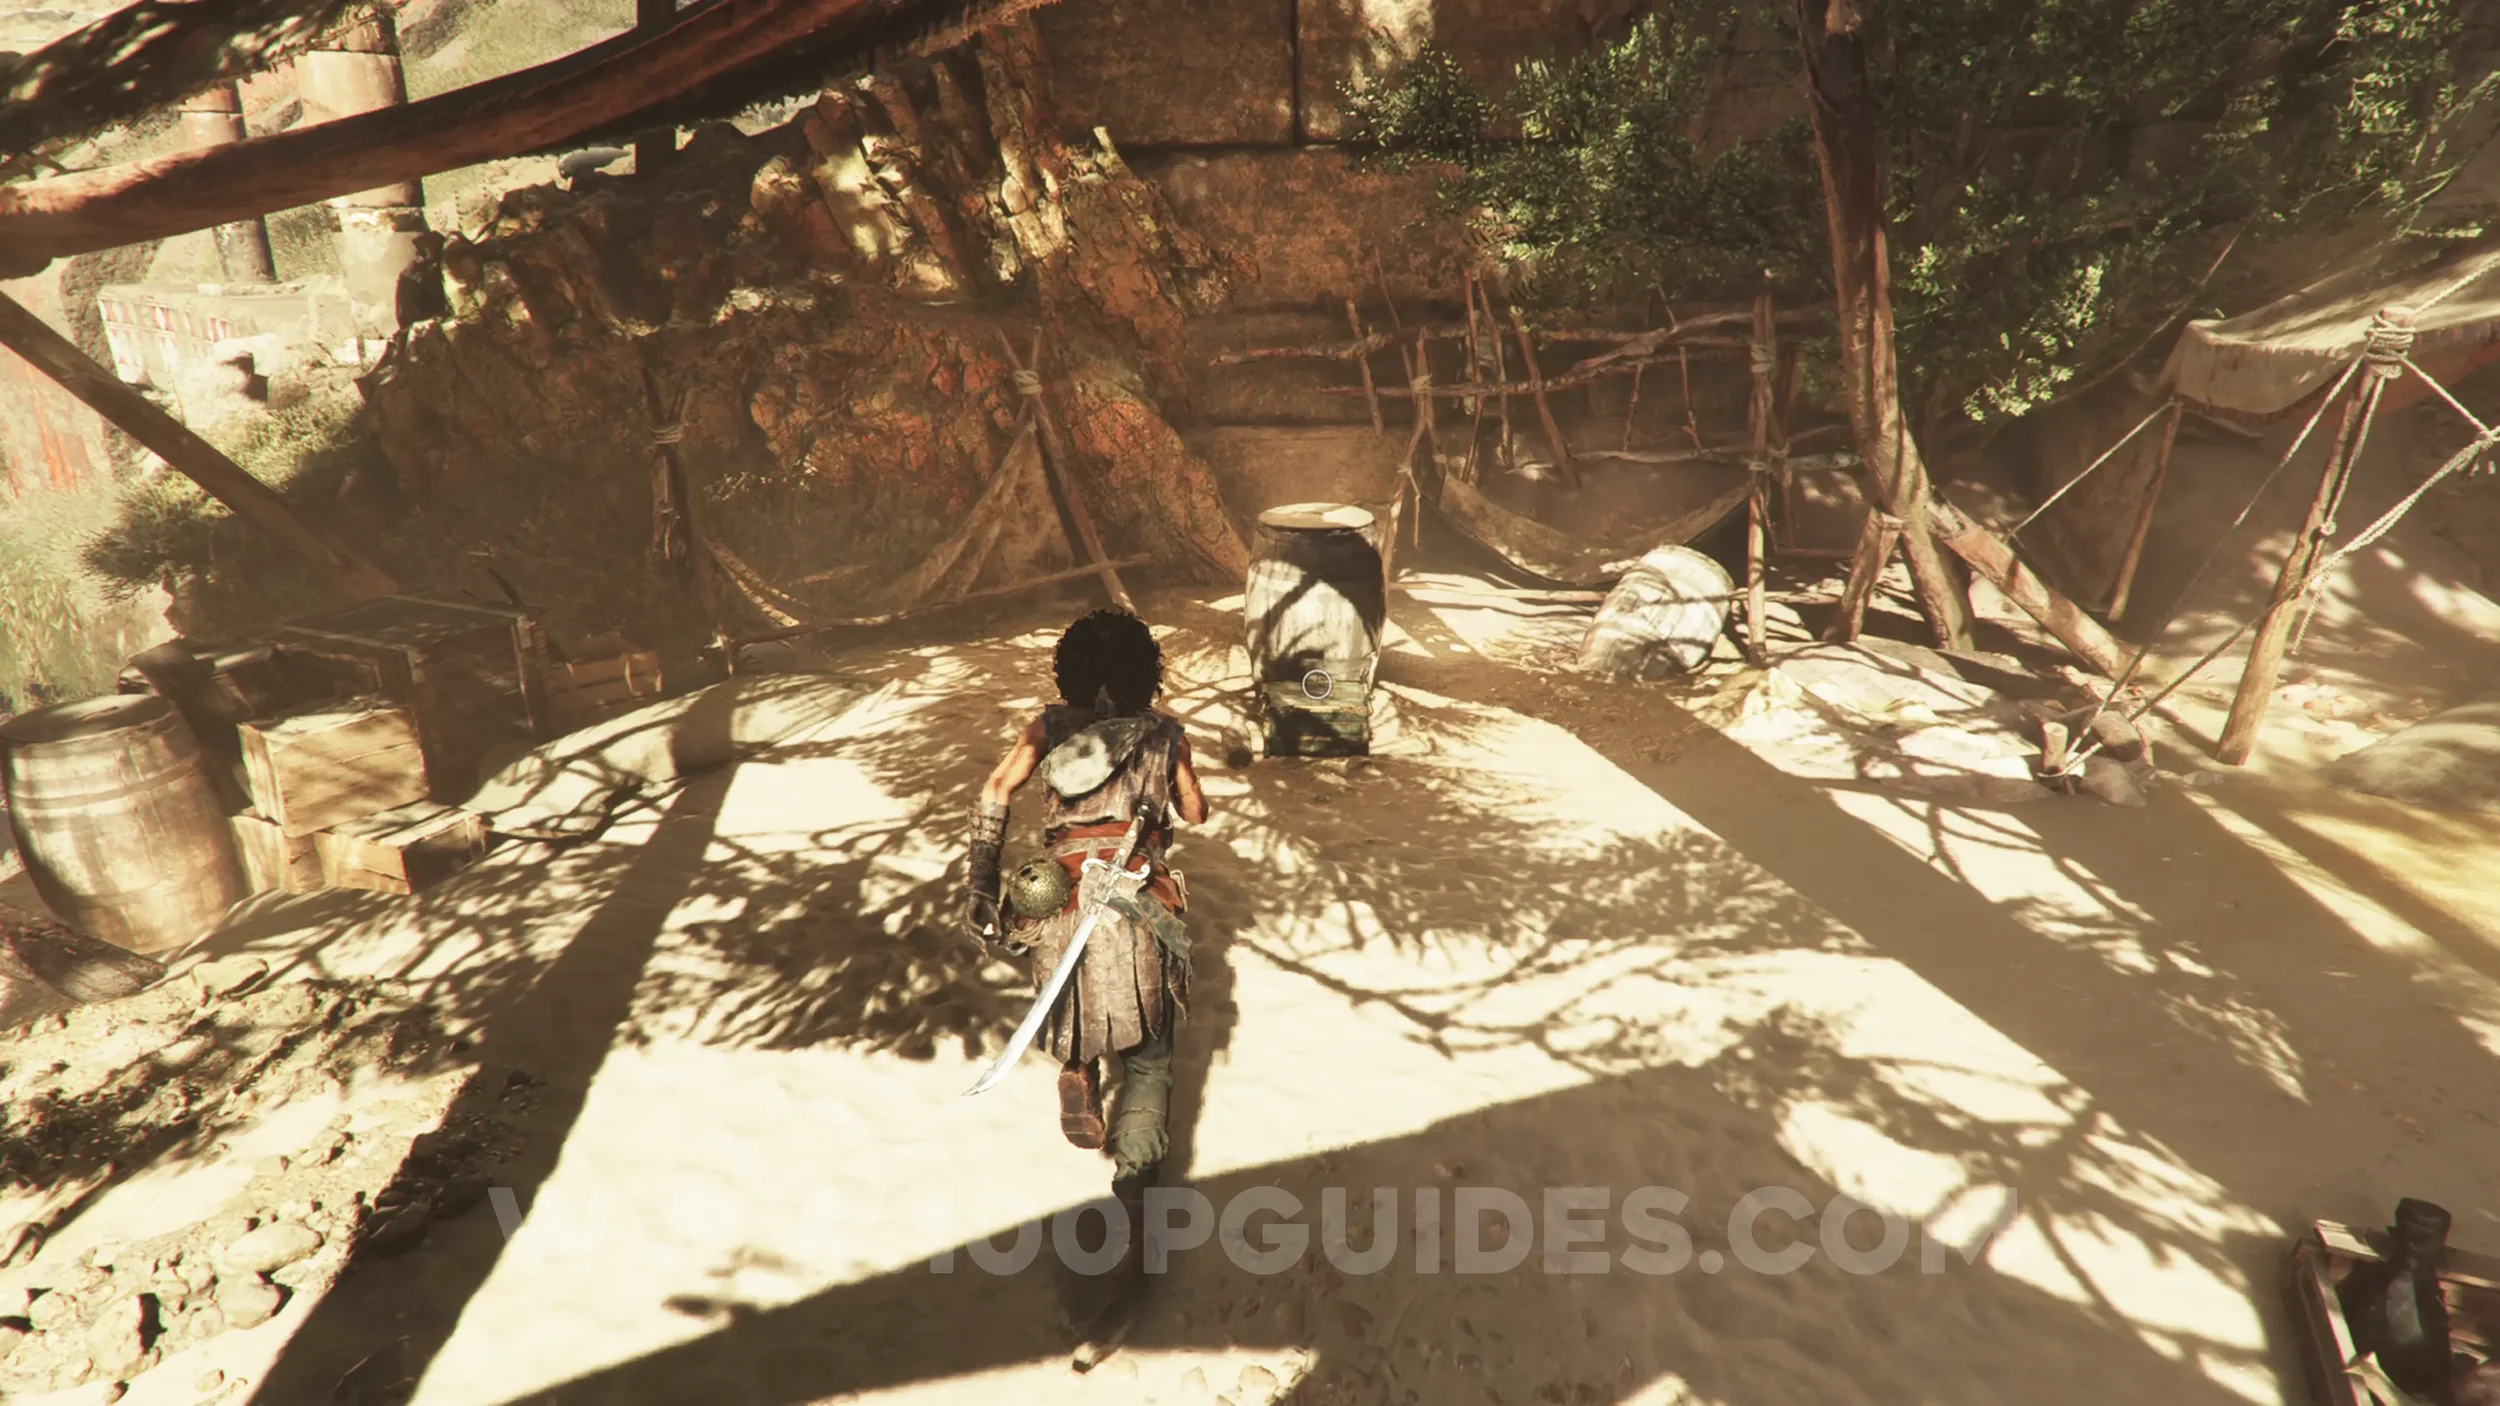
Resonance Point
Chapter 4: Sub-Chapter 2.
On the ground in the same camp as the previous charm.
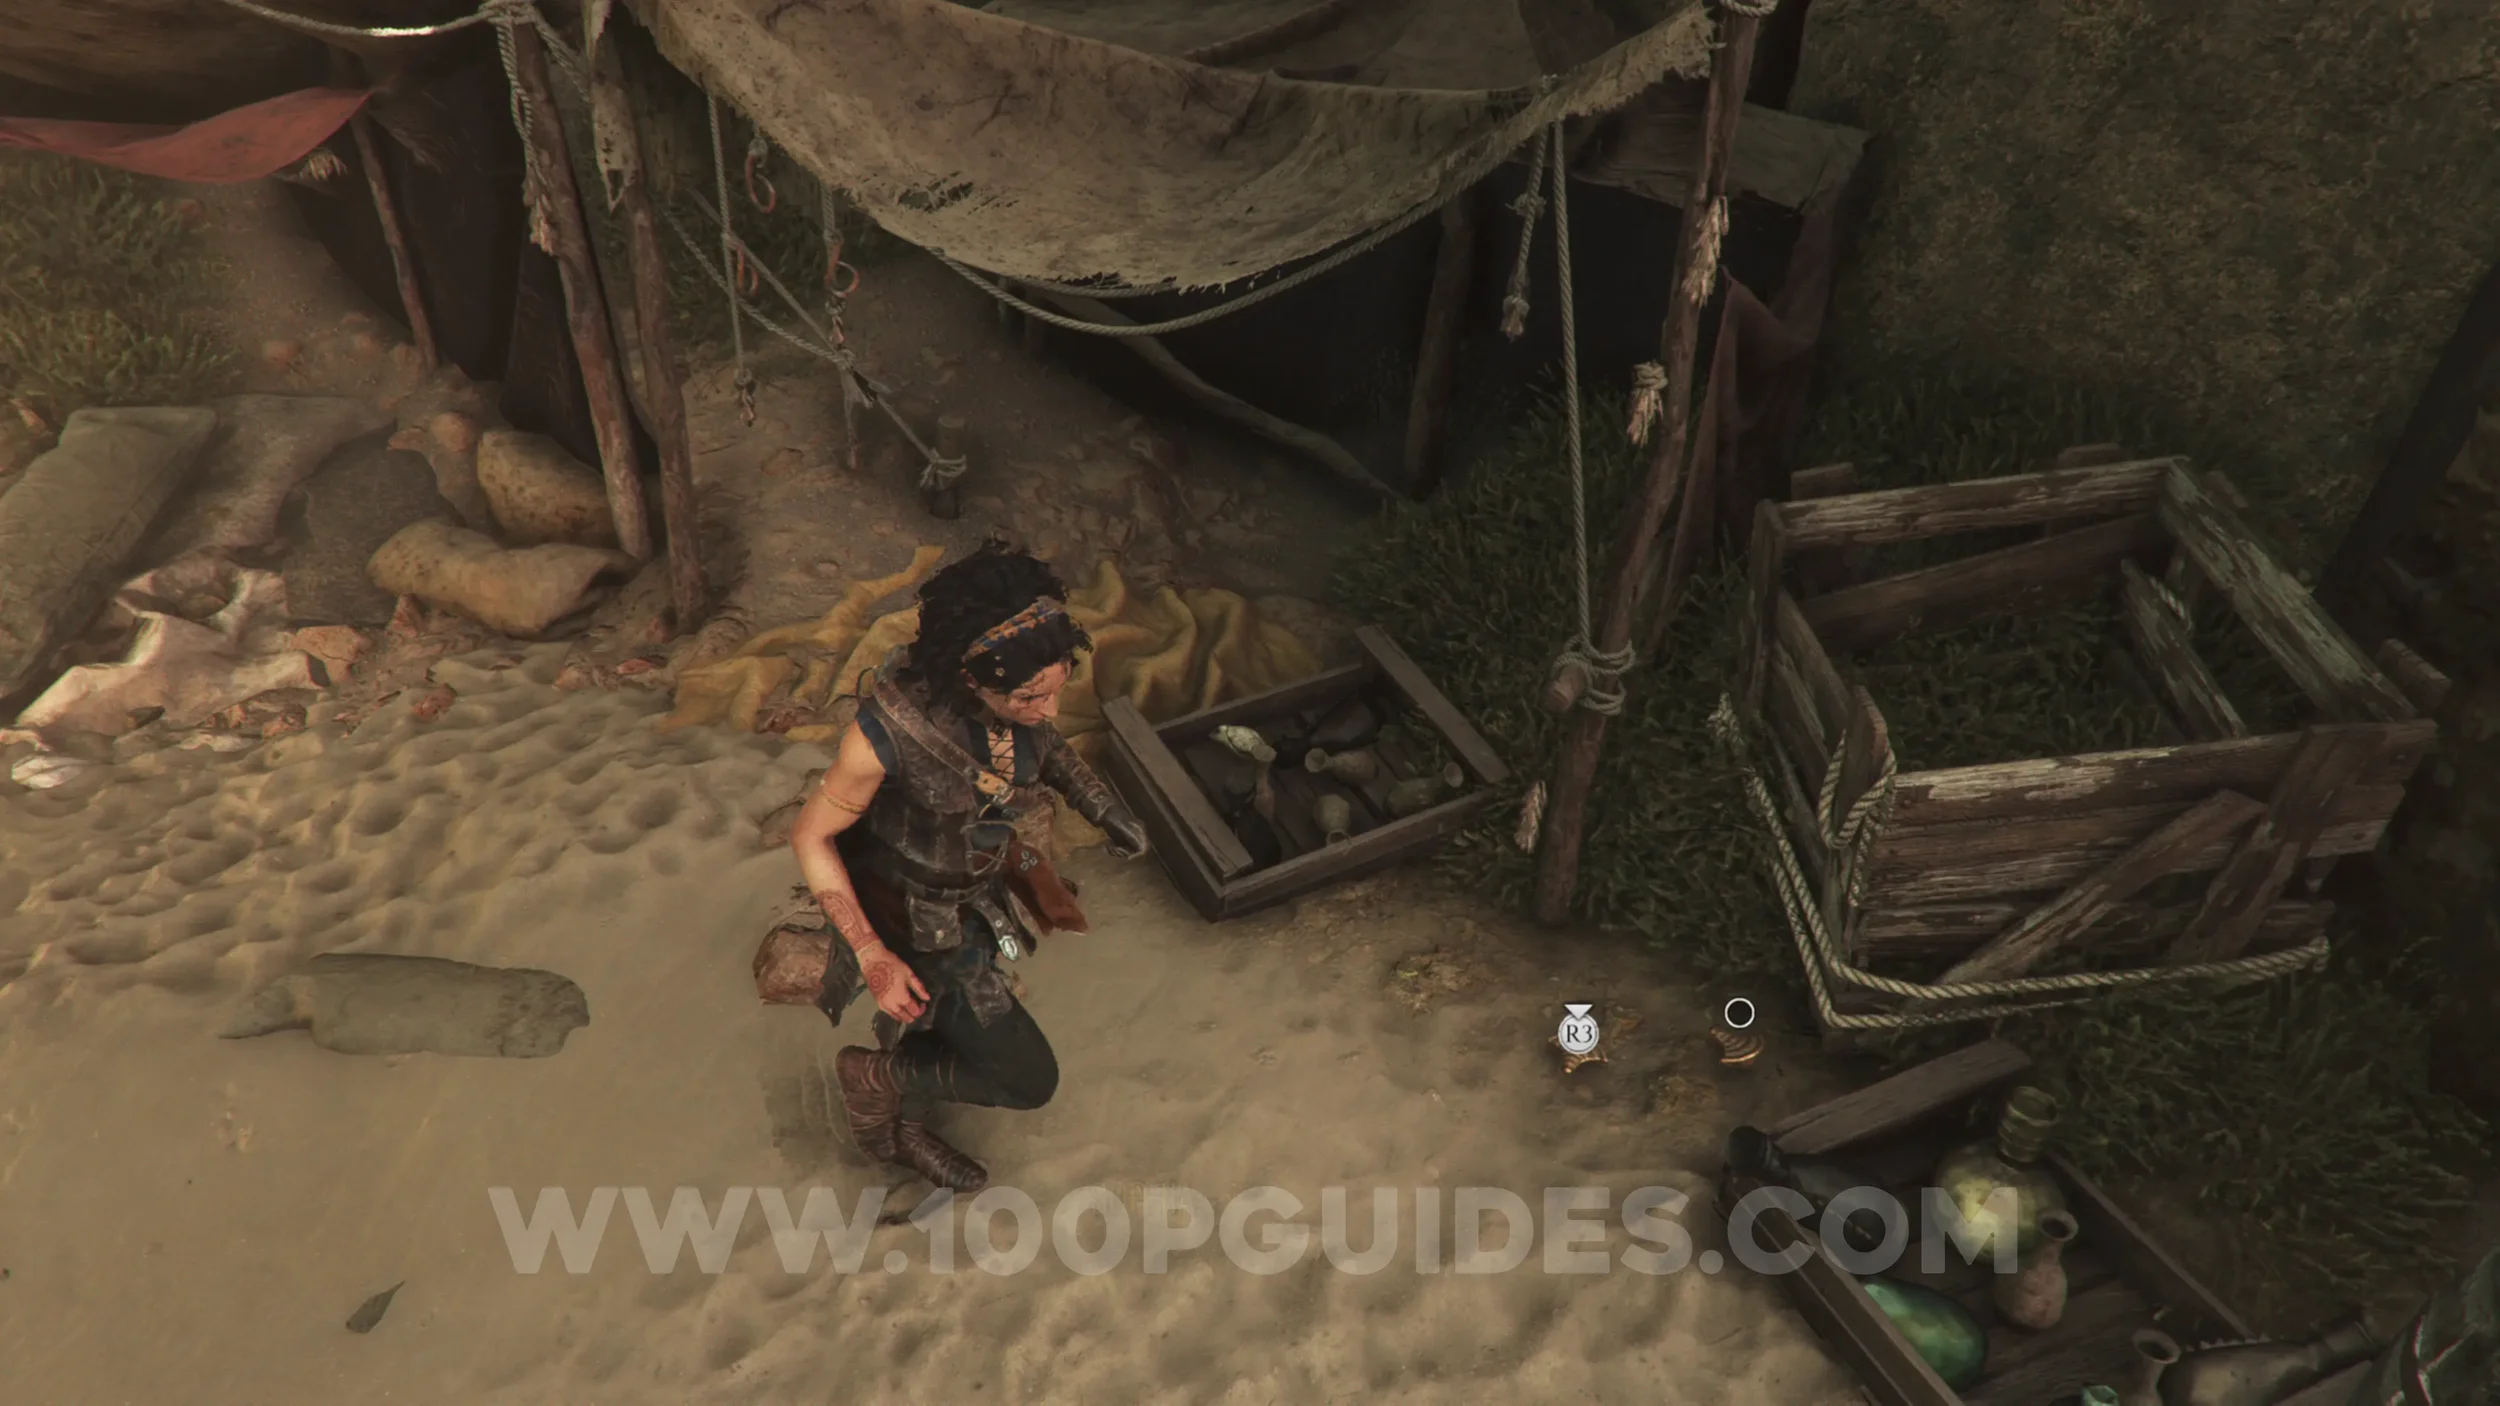
Artefact: Polished Cornicello
Chapter 4: Sub-Chapter 2.
Return to the wooden walkway, drop down once, then turn around and climb down to the platform below. You'll find the artefact waiting there.
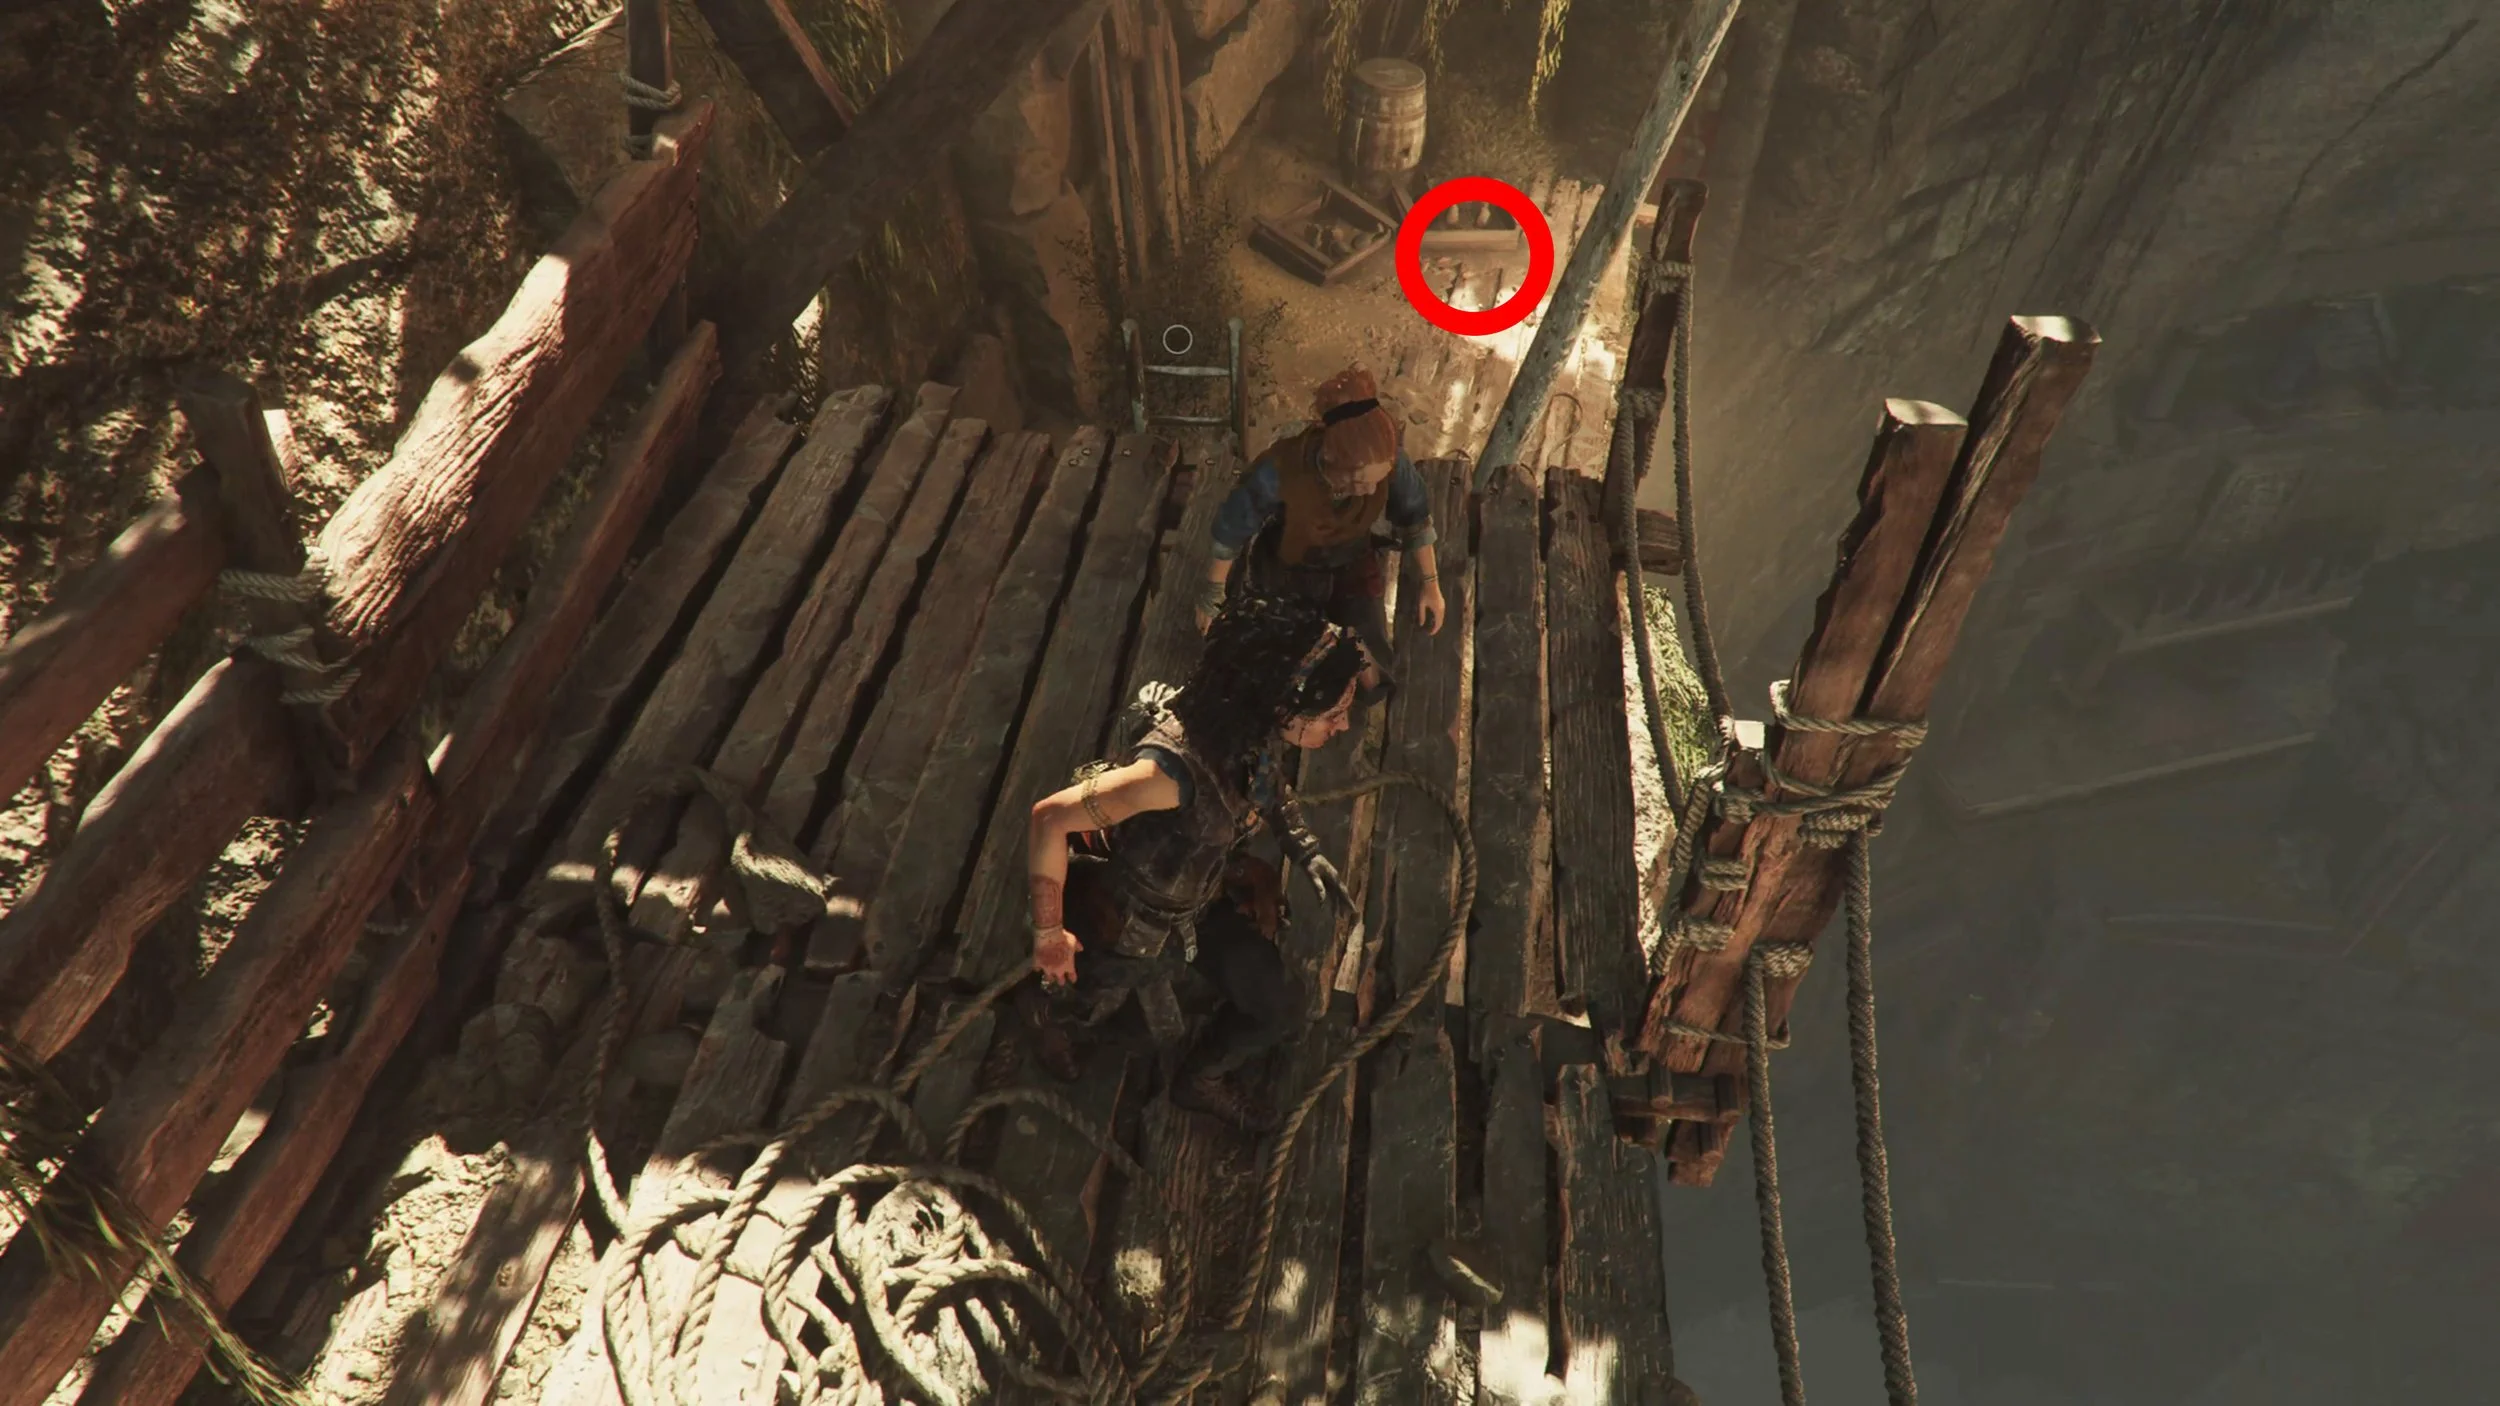
Resonance Point
Chapter 4. Sub-Chapter 2.
Found in the room where the next puzzle is. Climb up to the upper area on the left side and go to the end to find it.
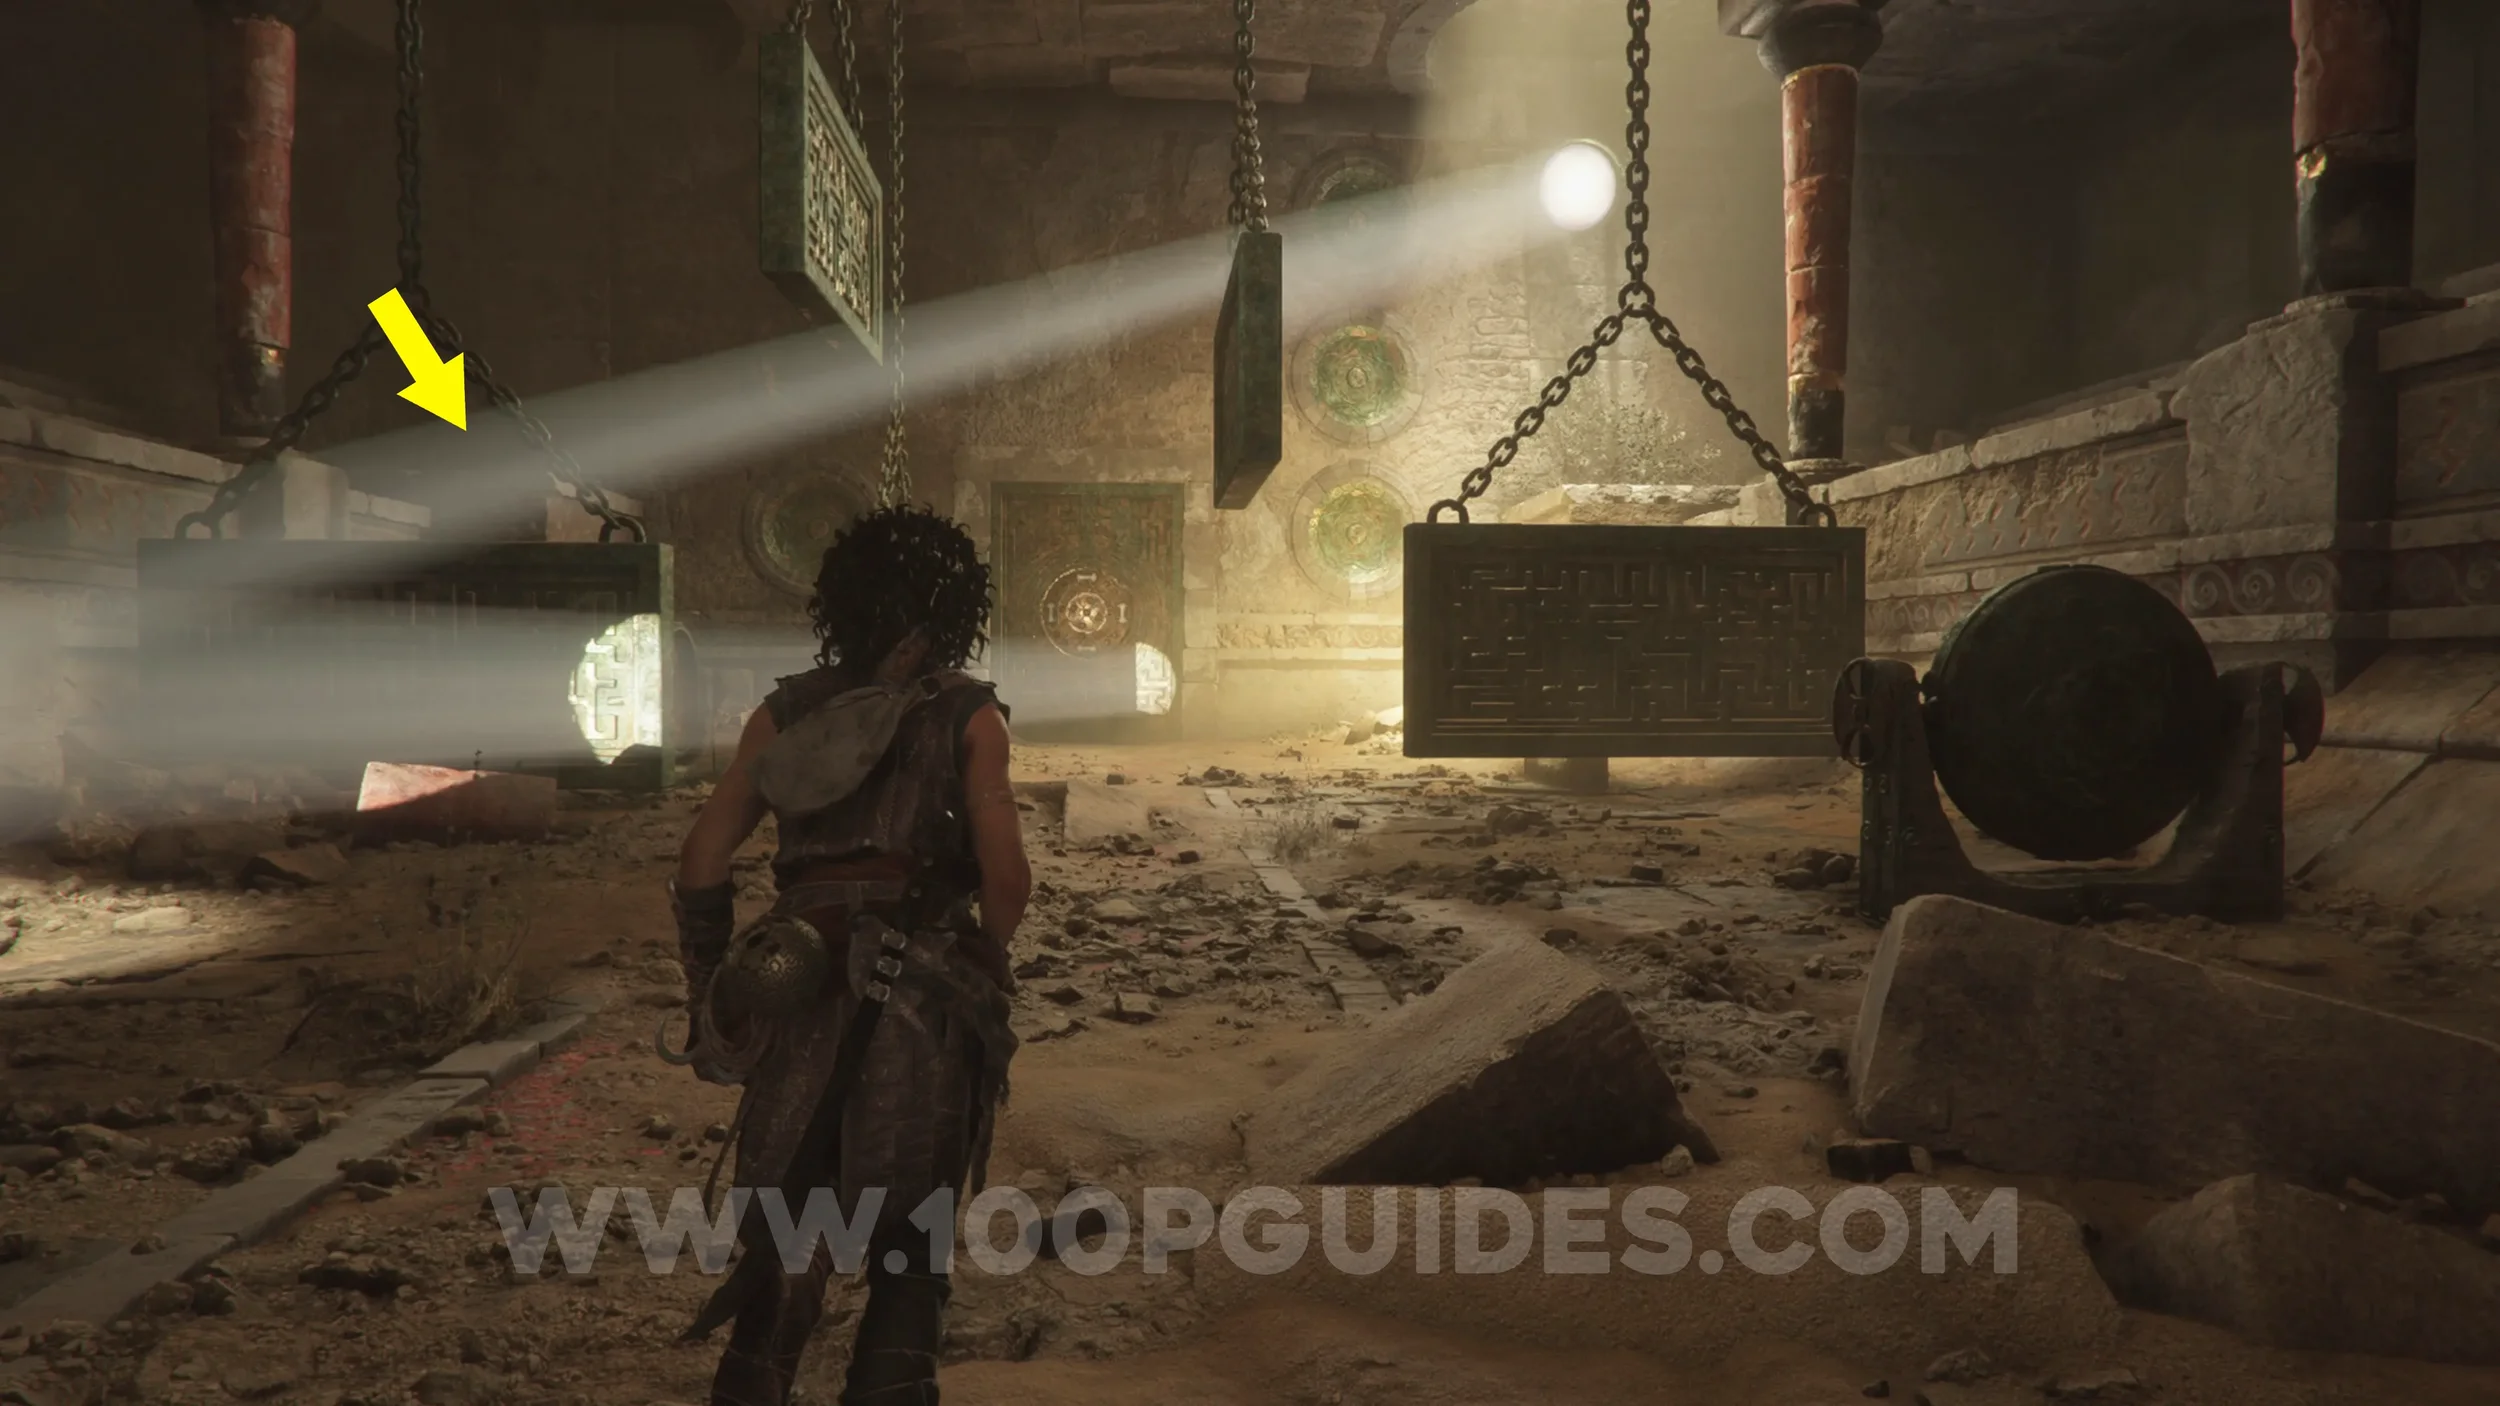
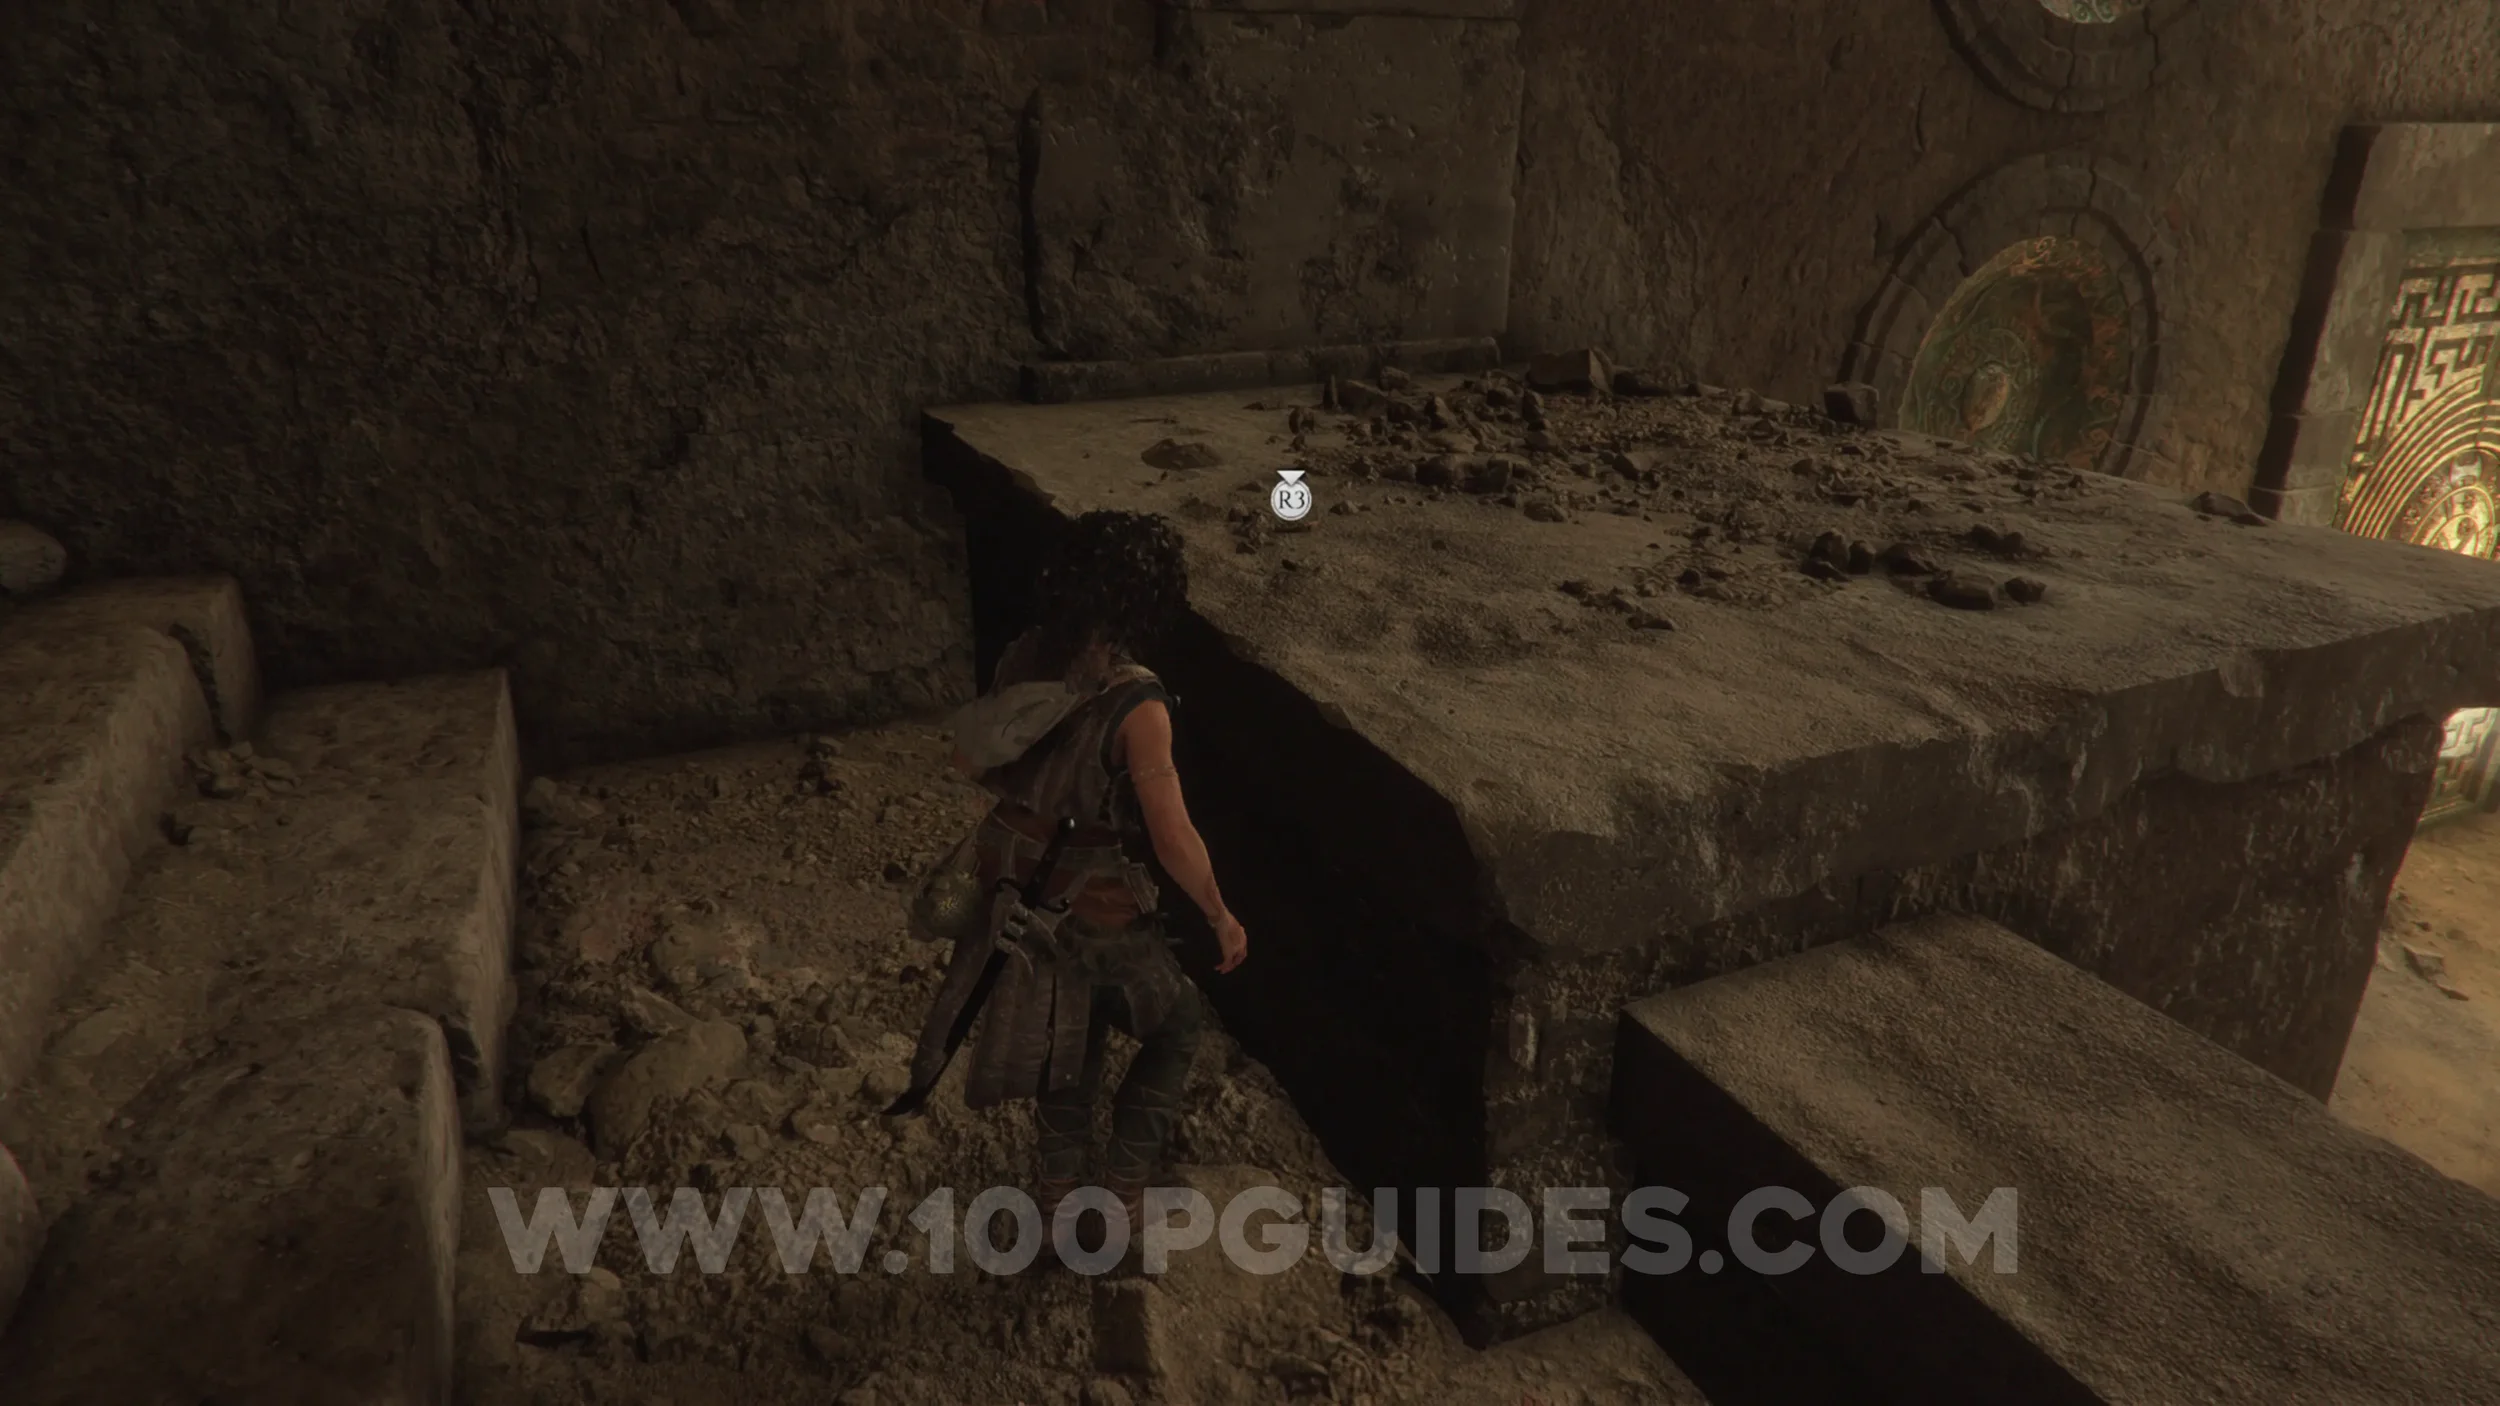
Resonance Point x2
Chapter 4: Sub-Chapter 2.
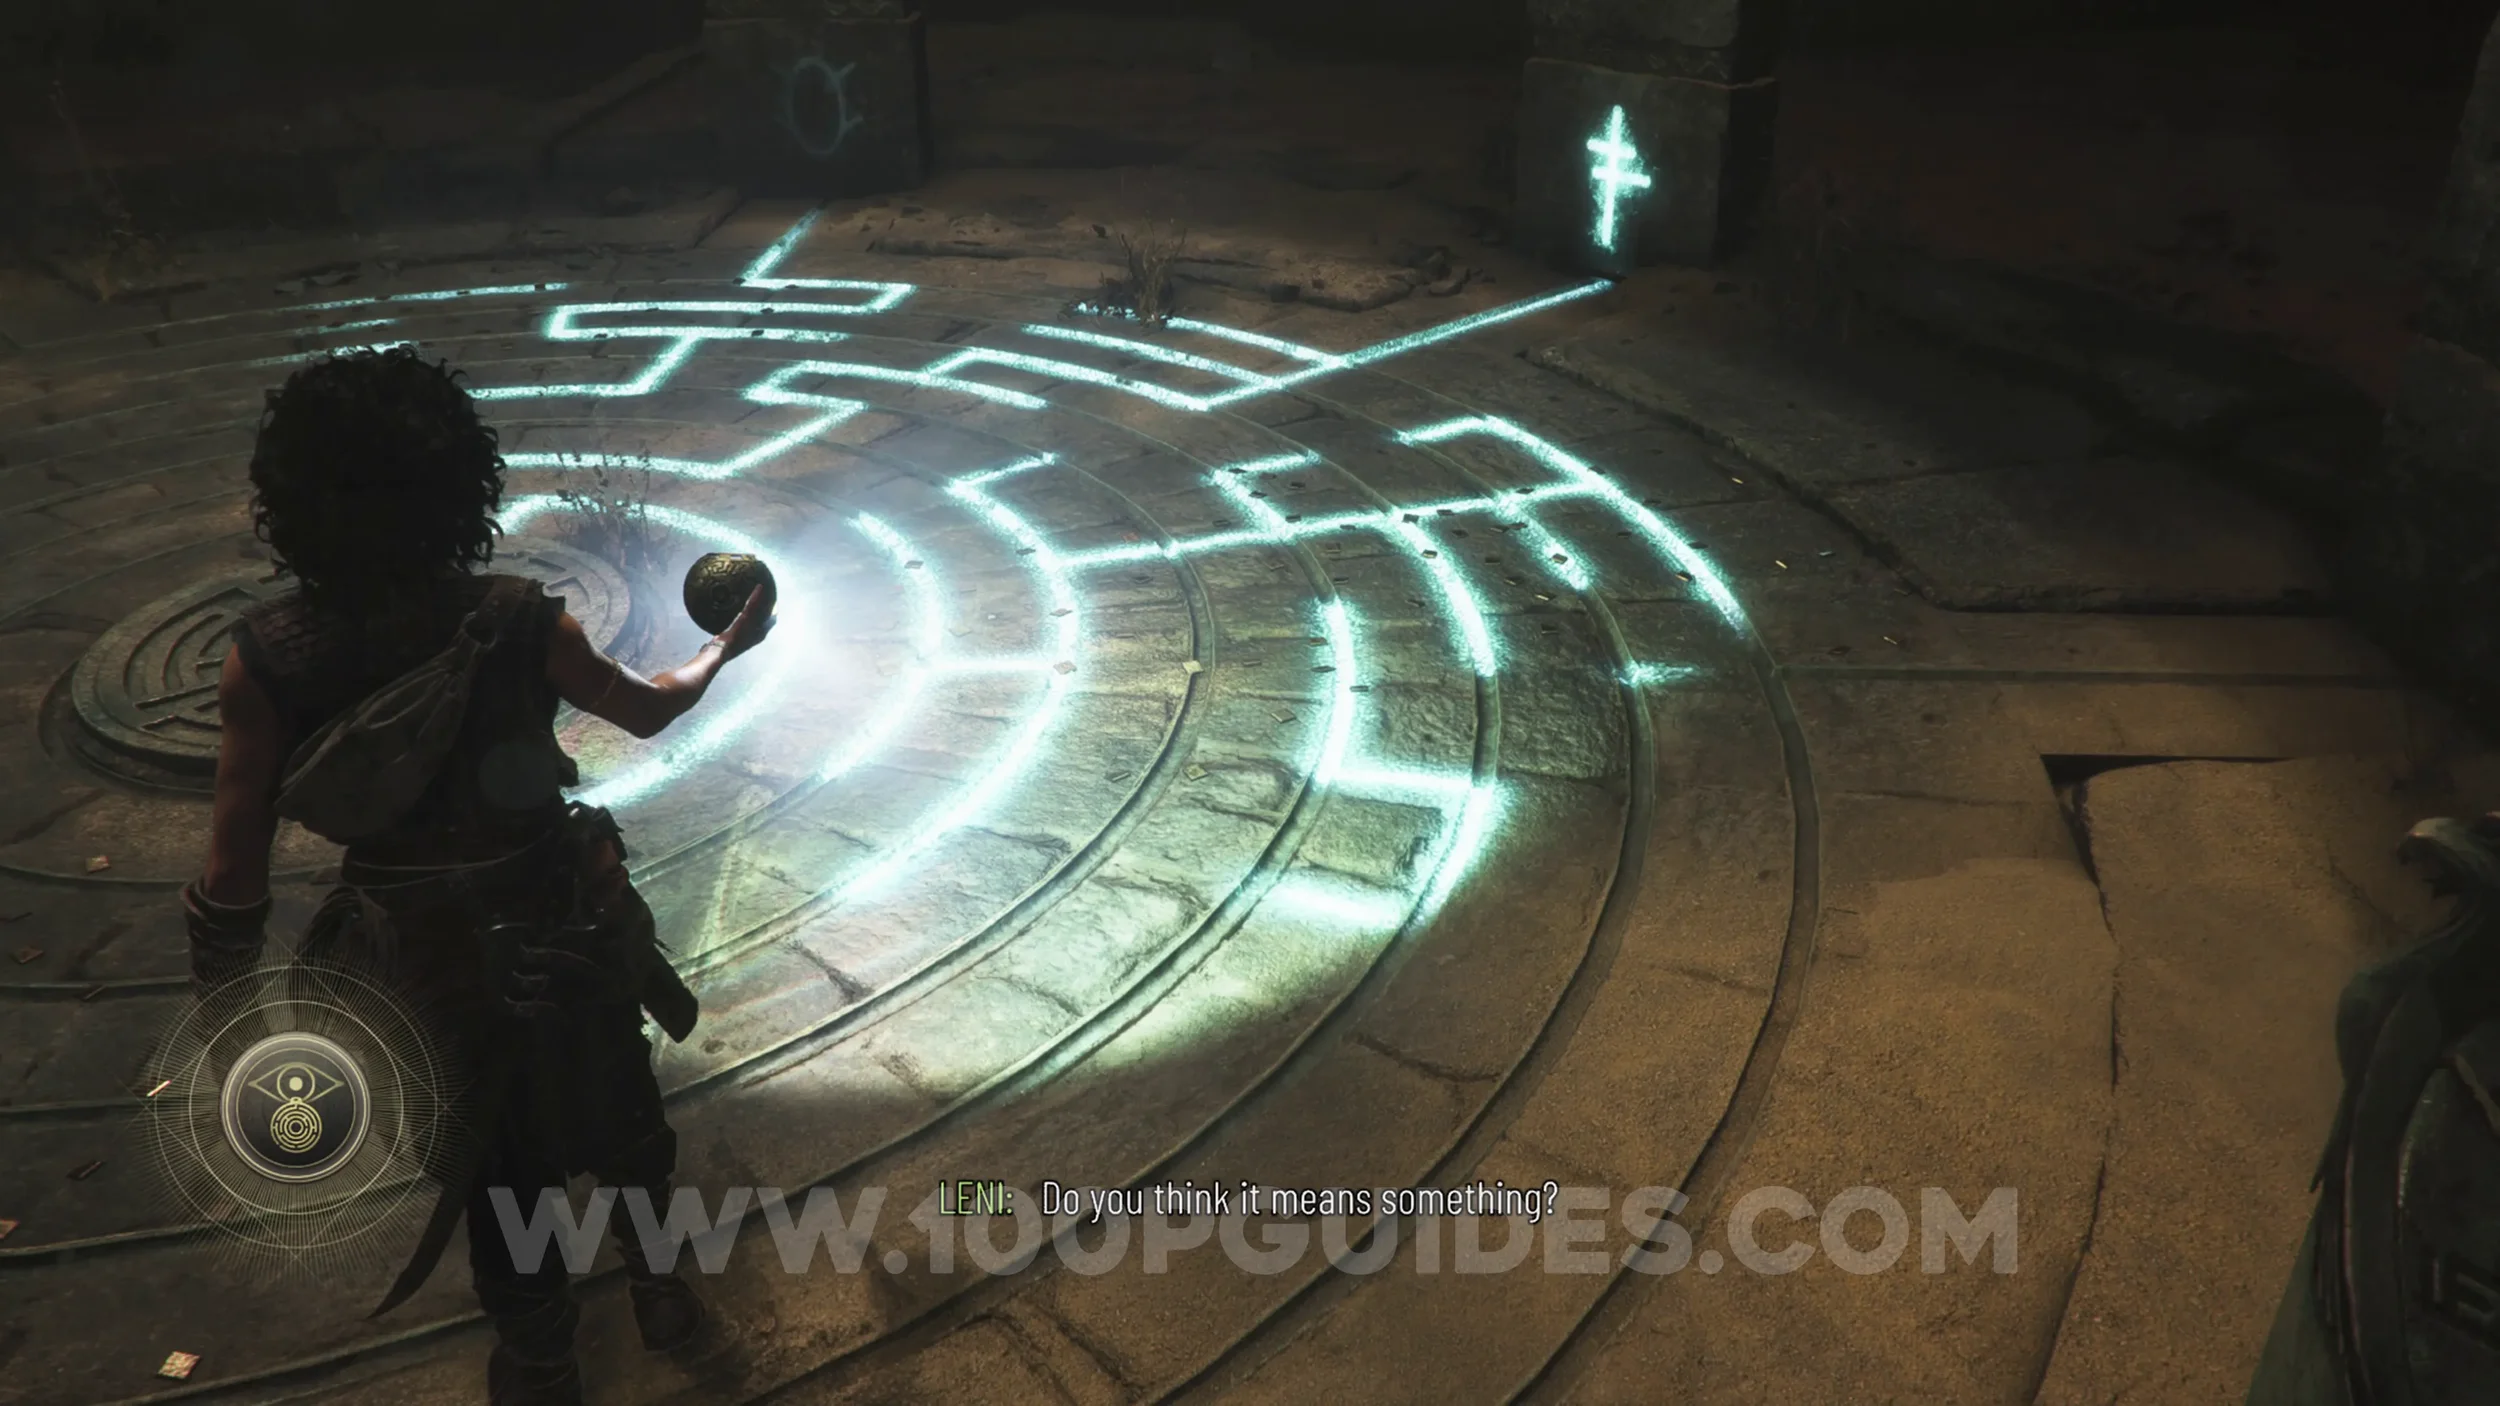
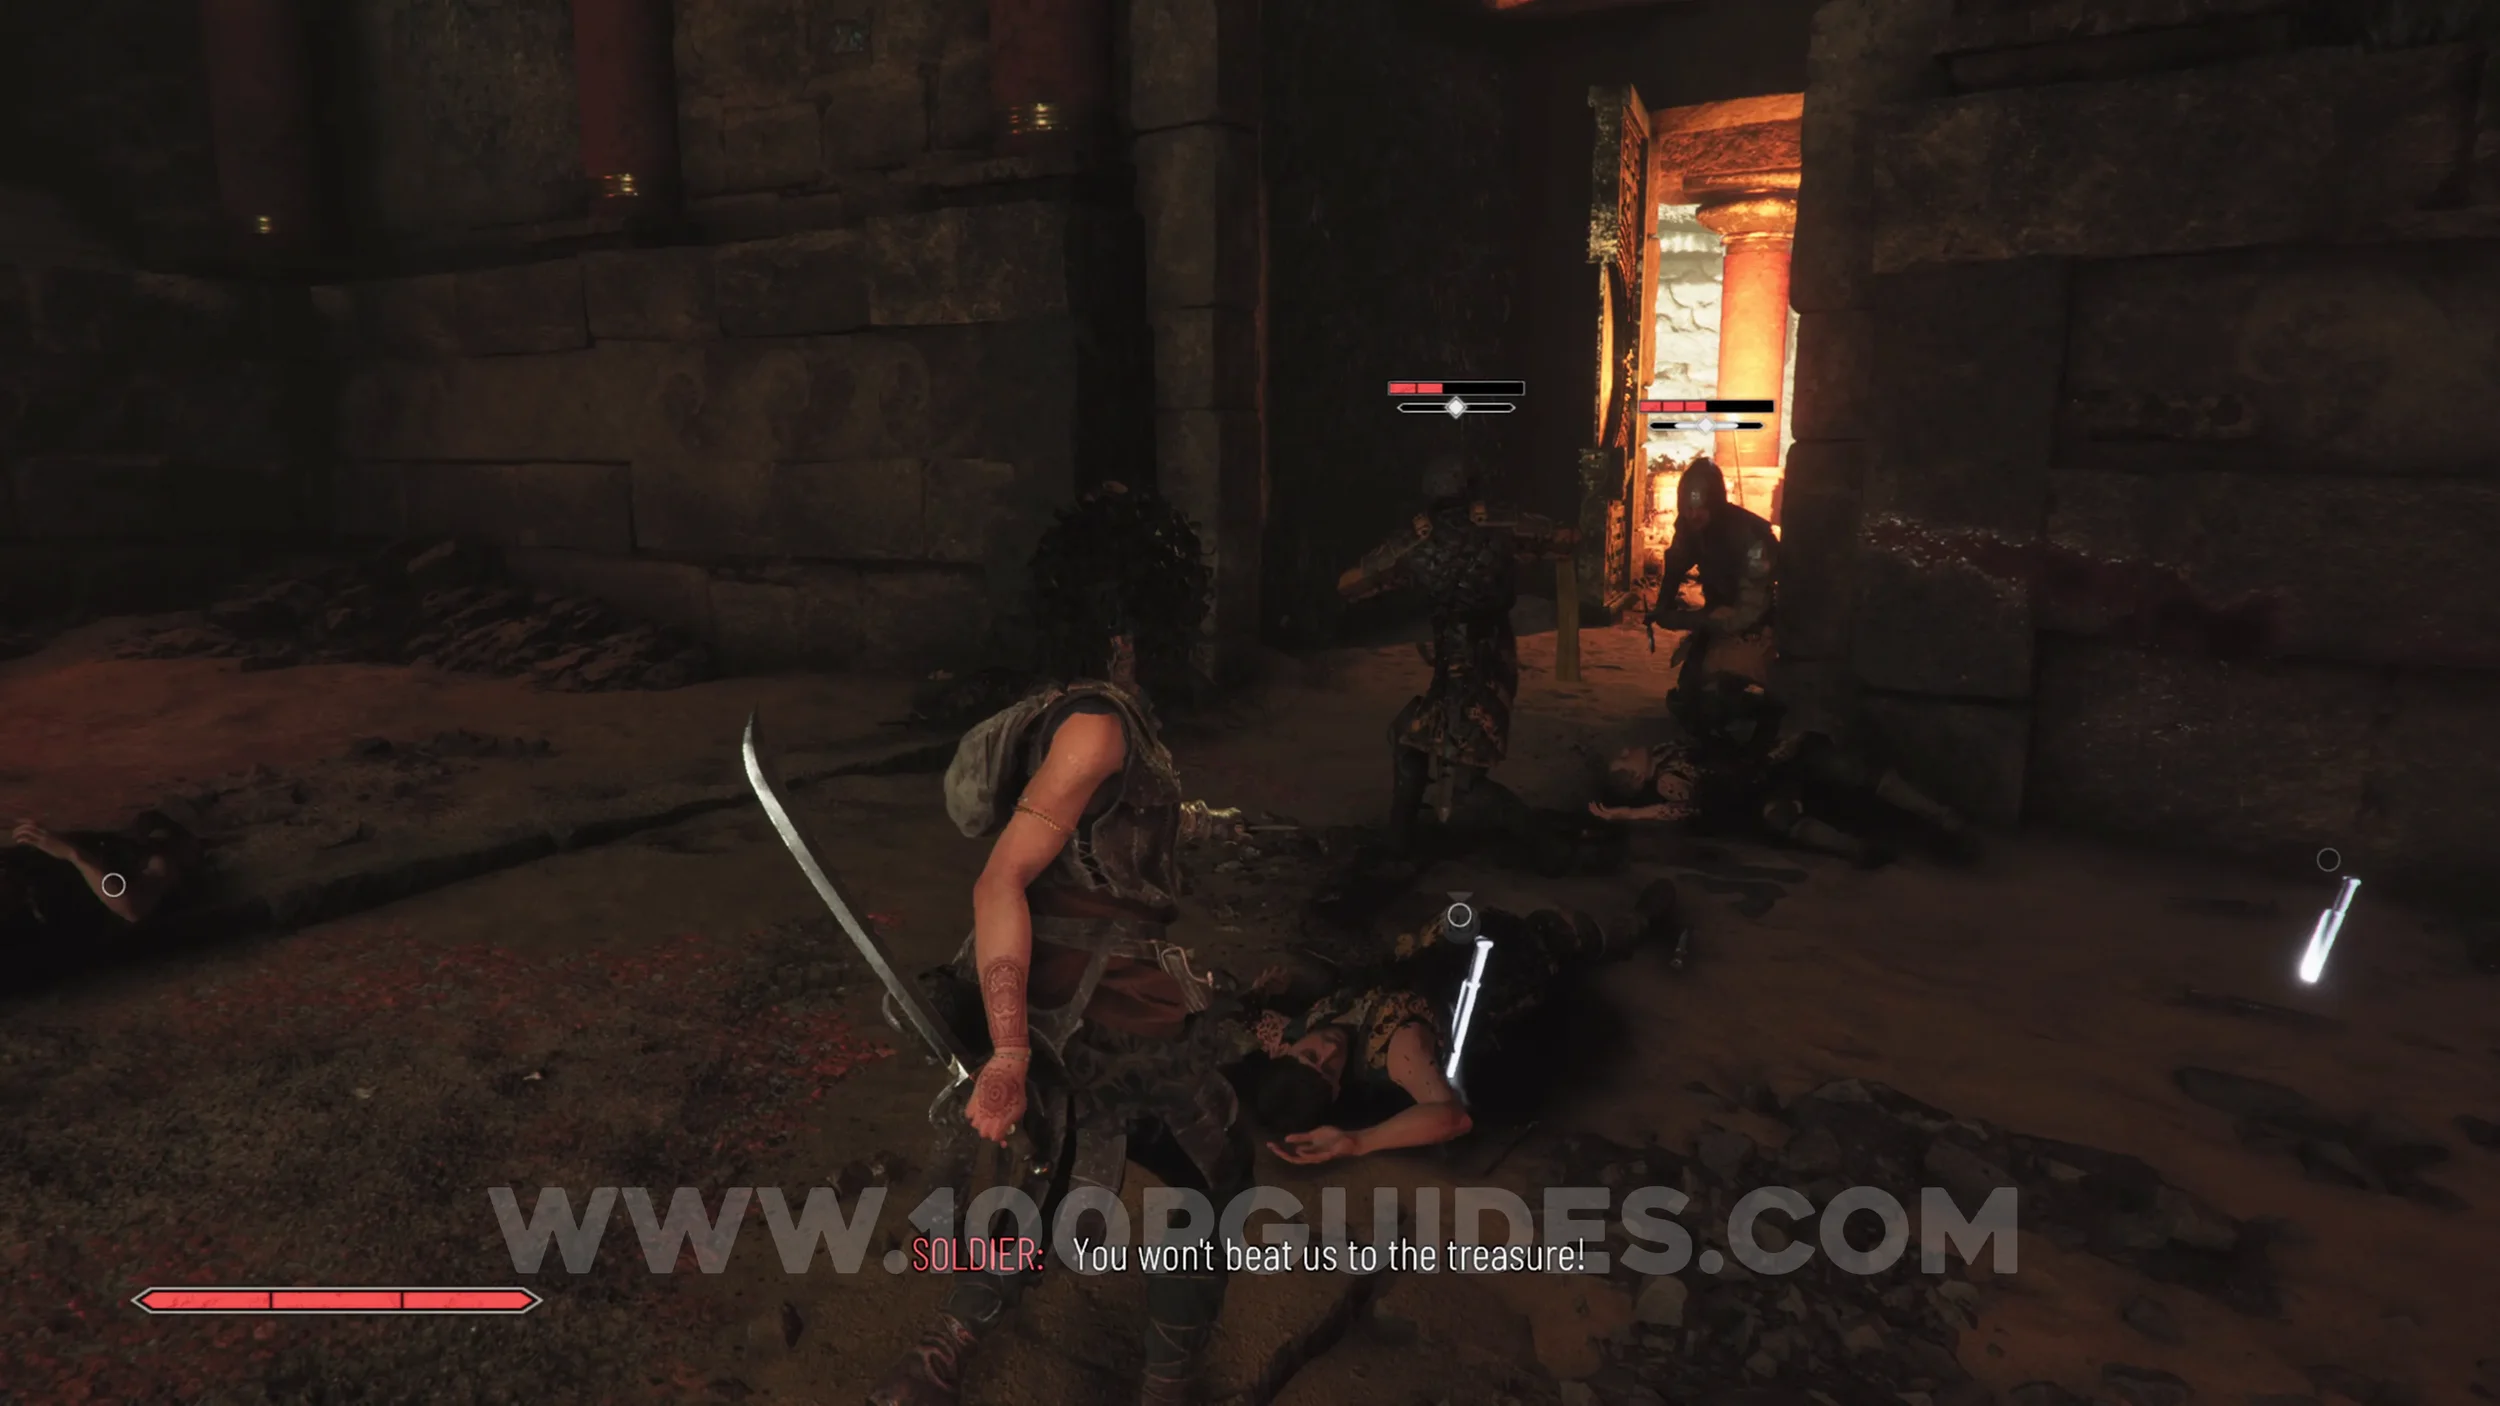
After the mirrors puzzle, continue through the level. You'll then have to solve a puzzle where you use R1 and follow the glowing light through a maze. After solving it, you'll get attacked by a group of enemies. Defeat them, and you'll get the resonance points automatically.
Resonance Point
Chapter 4: Sub-Chapter 2.
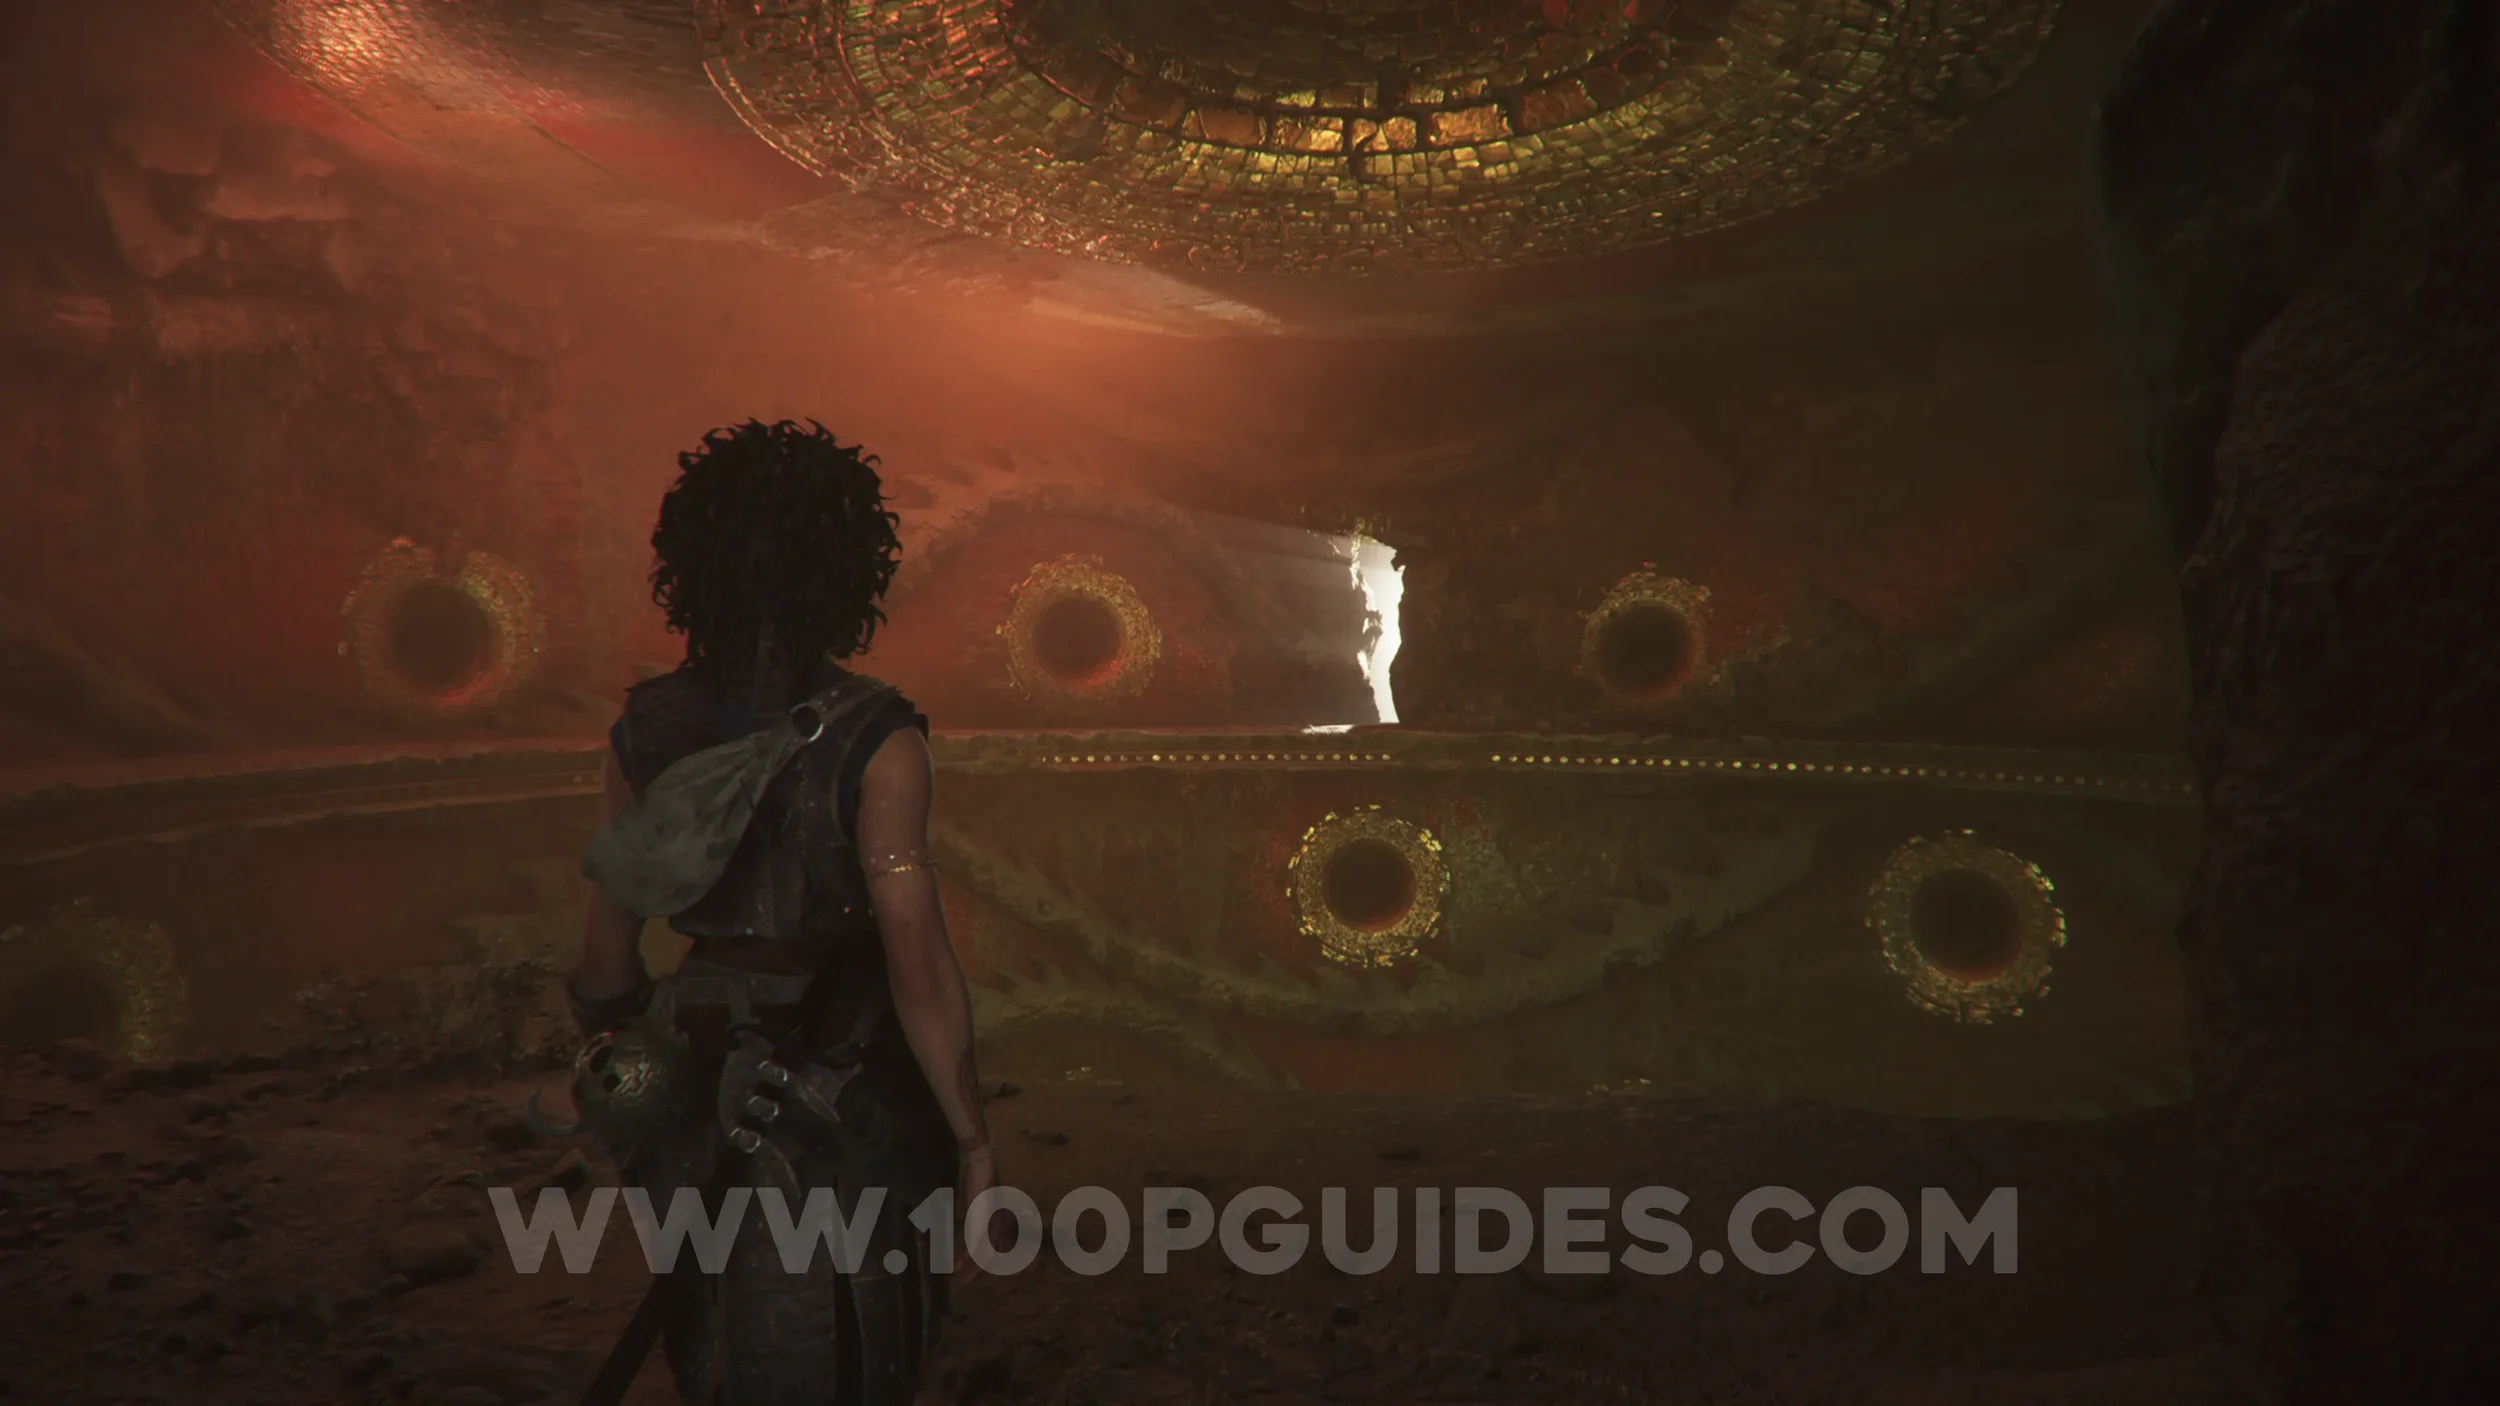
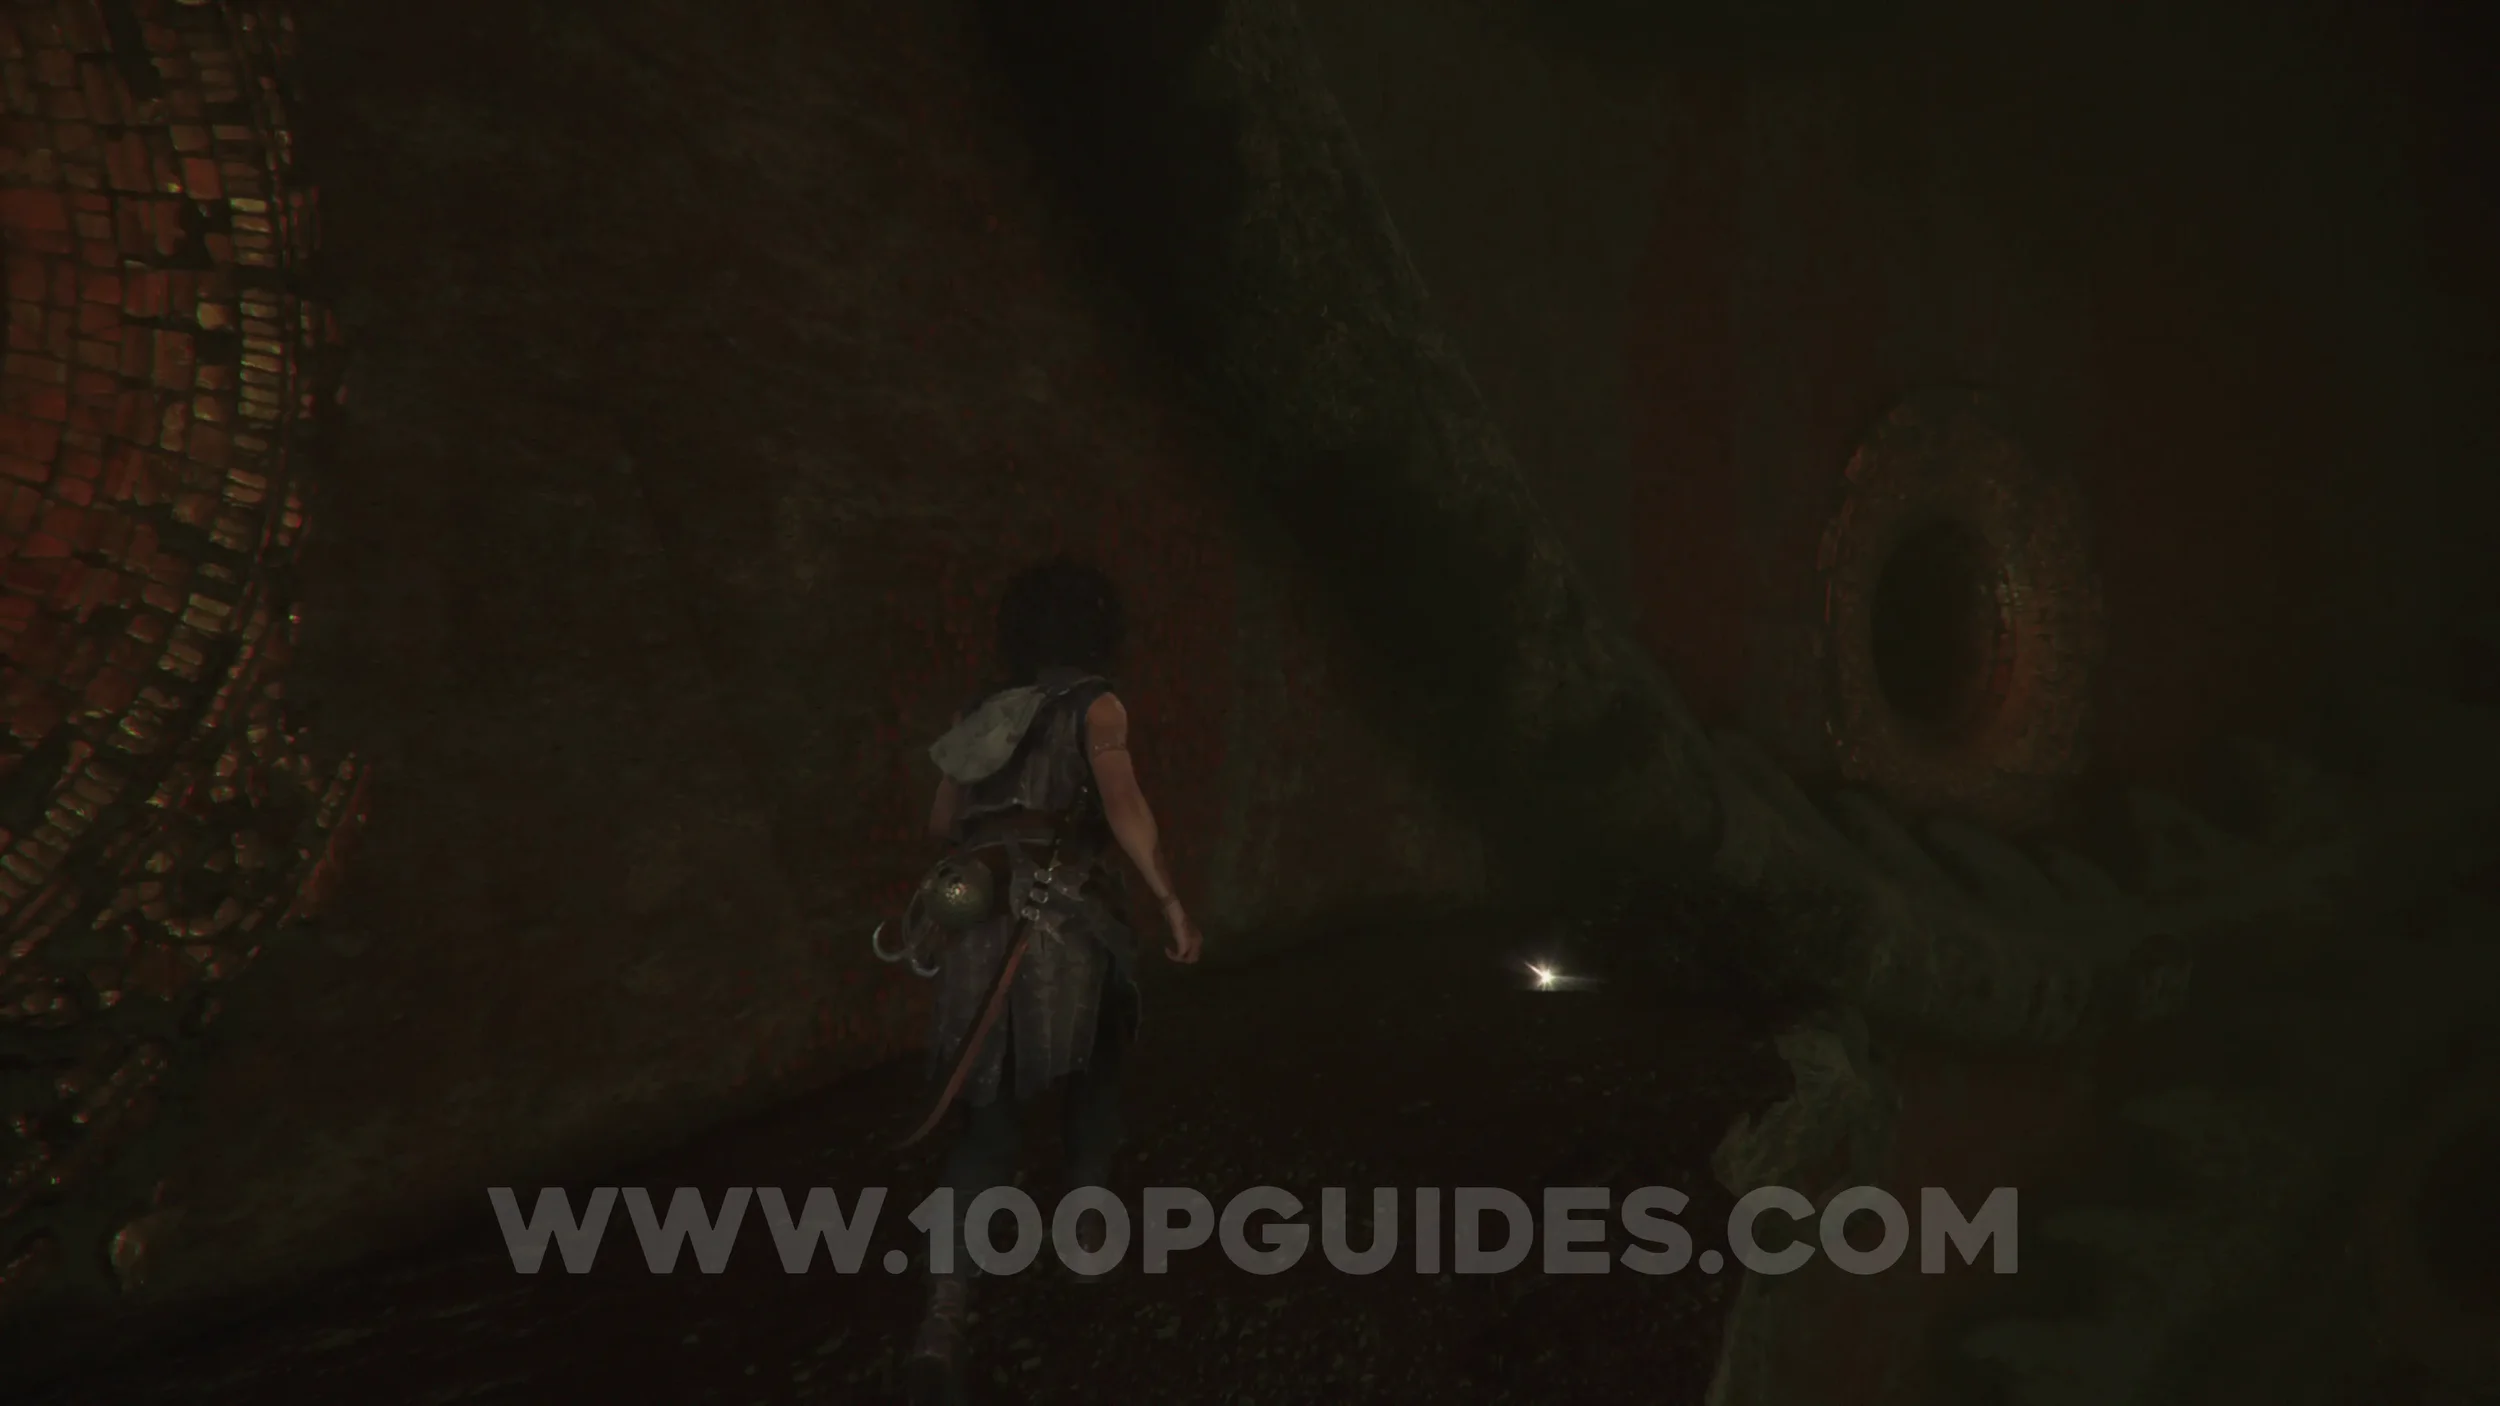
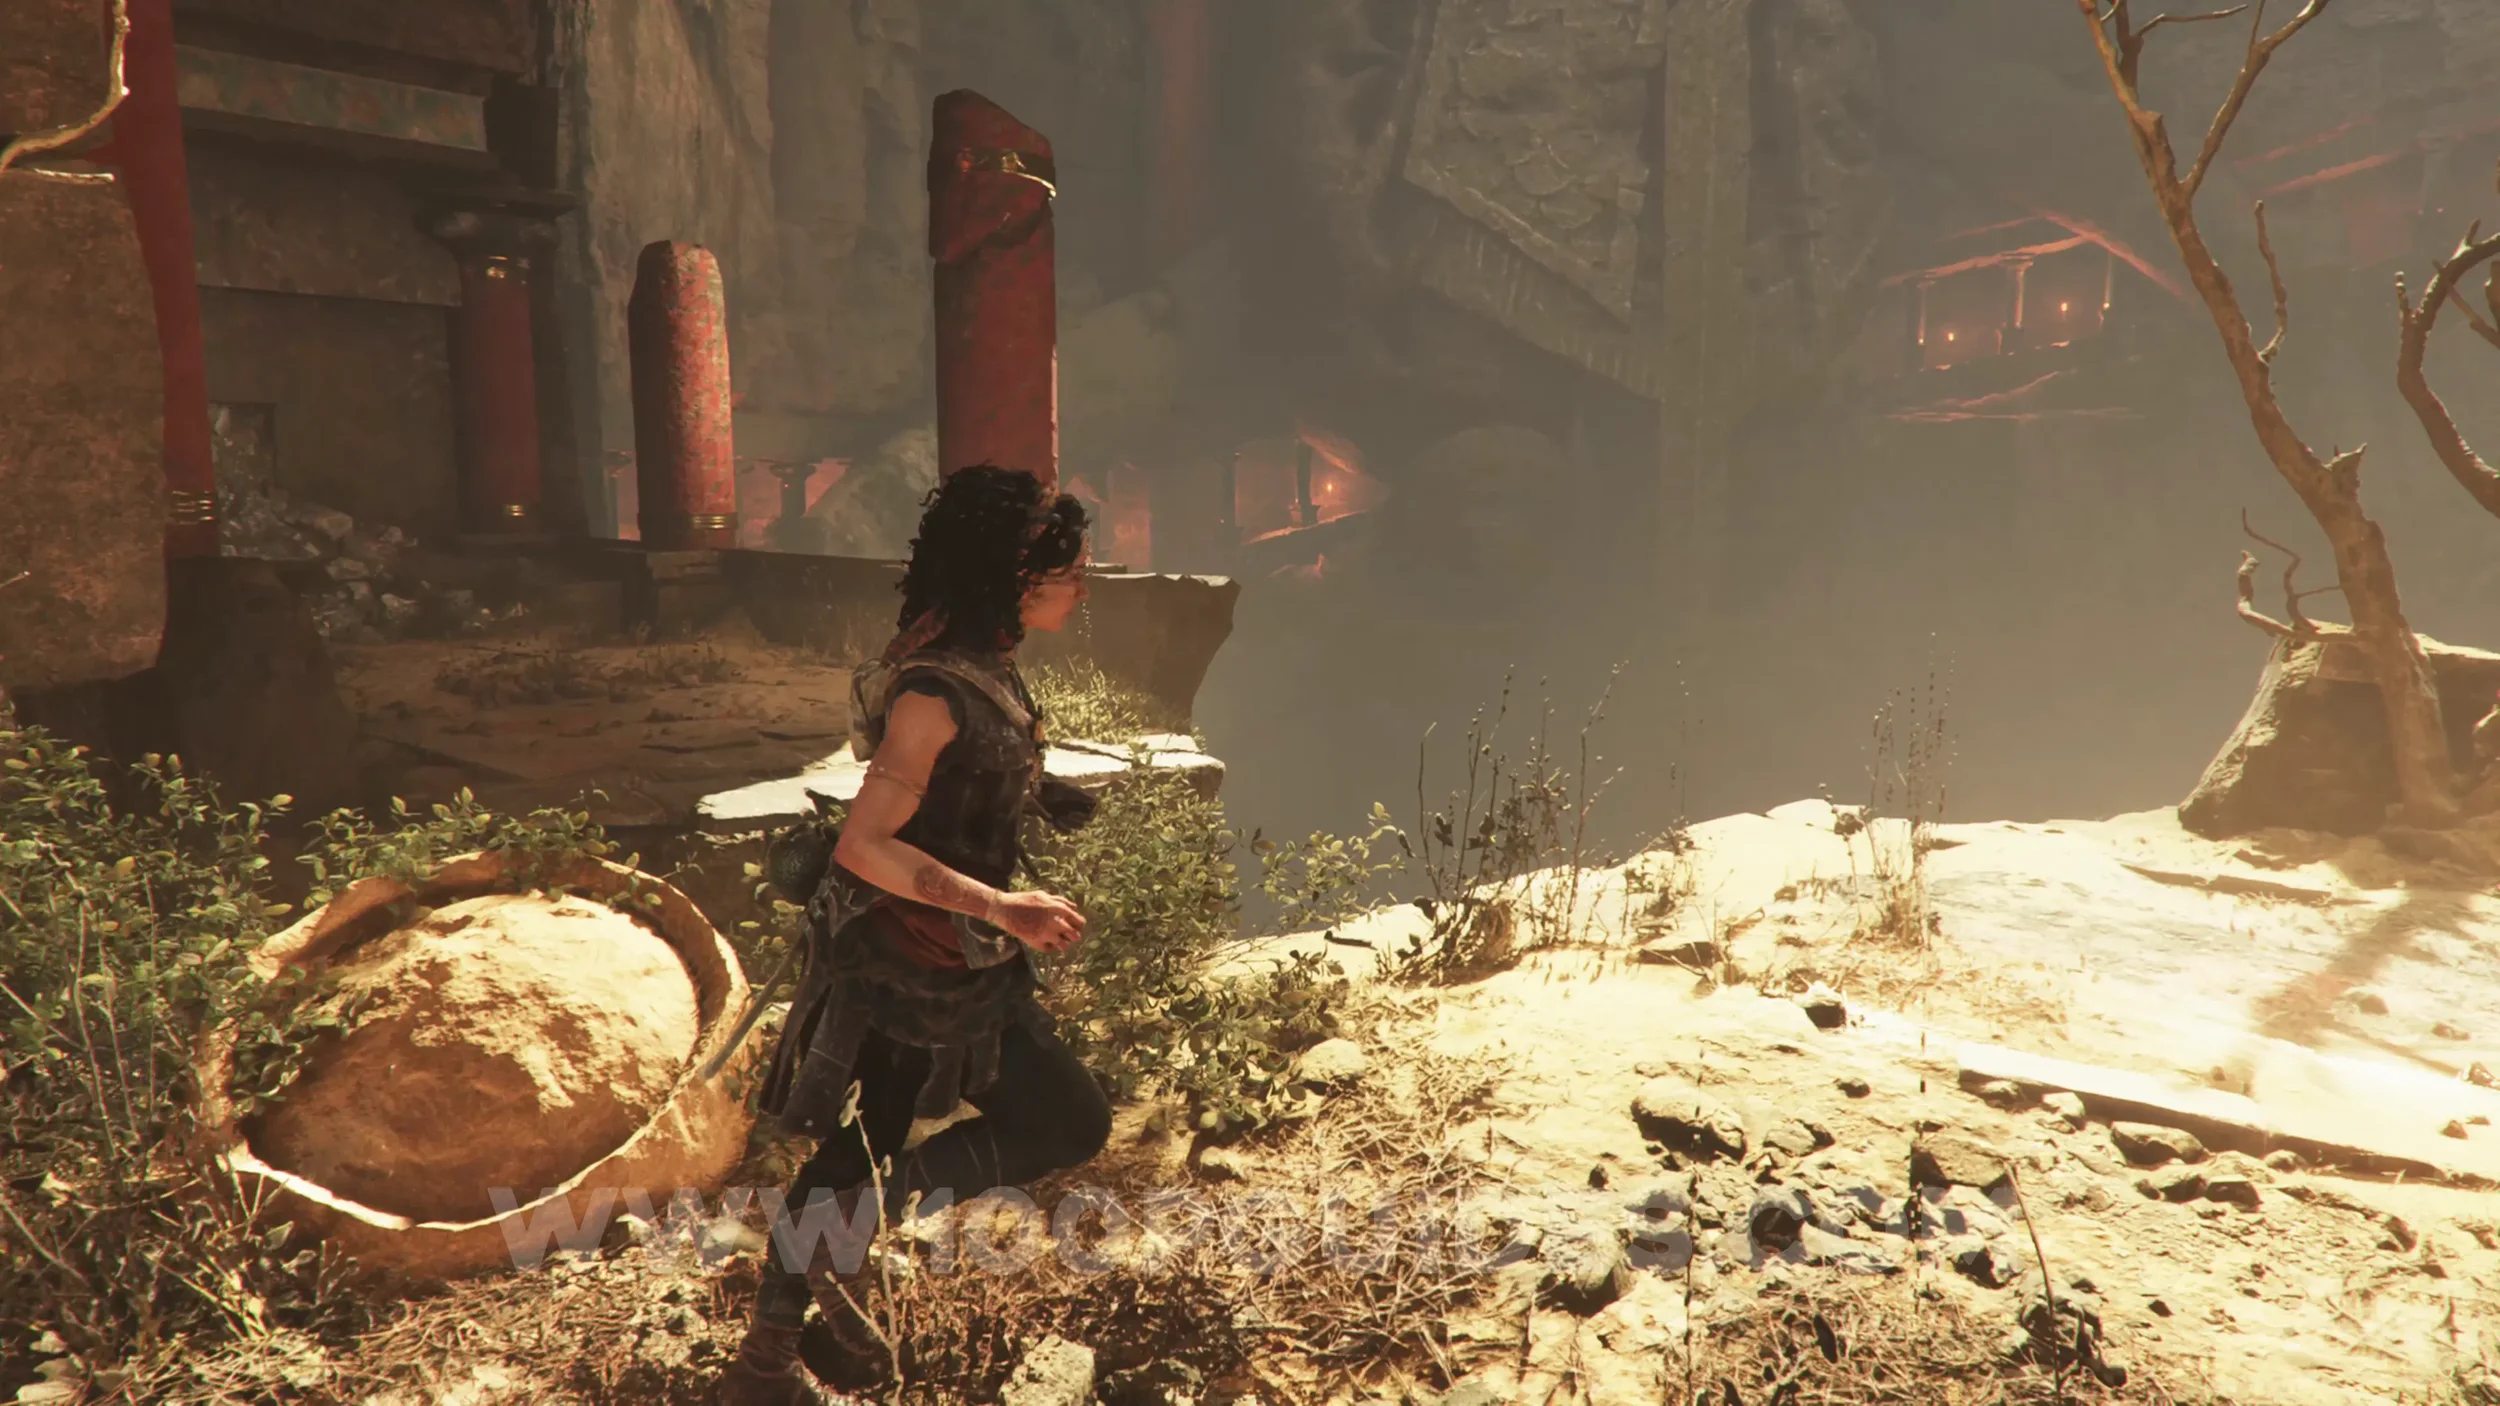
In the room with the golden holes, before heading through the crack in the wall to exit, head past it to the end to find the collectible.
Resonance Point
Chapter 4: Sub-Chapter 2.
As soon as you leave the room with the golden holes, jump across the gap on your left to find it on the other side.
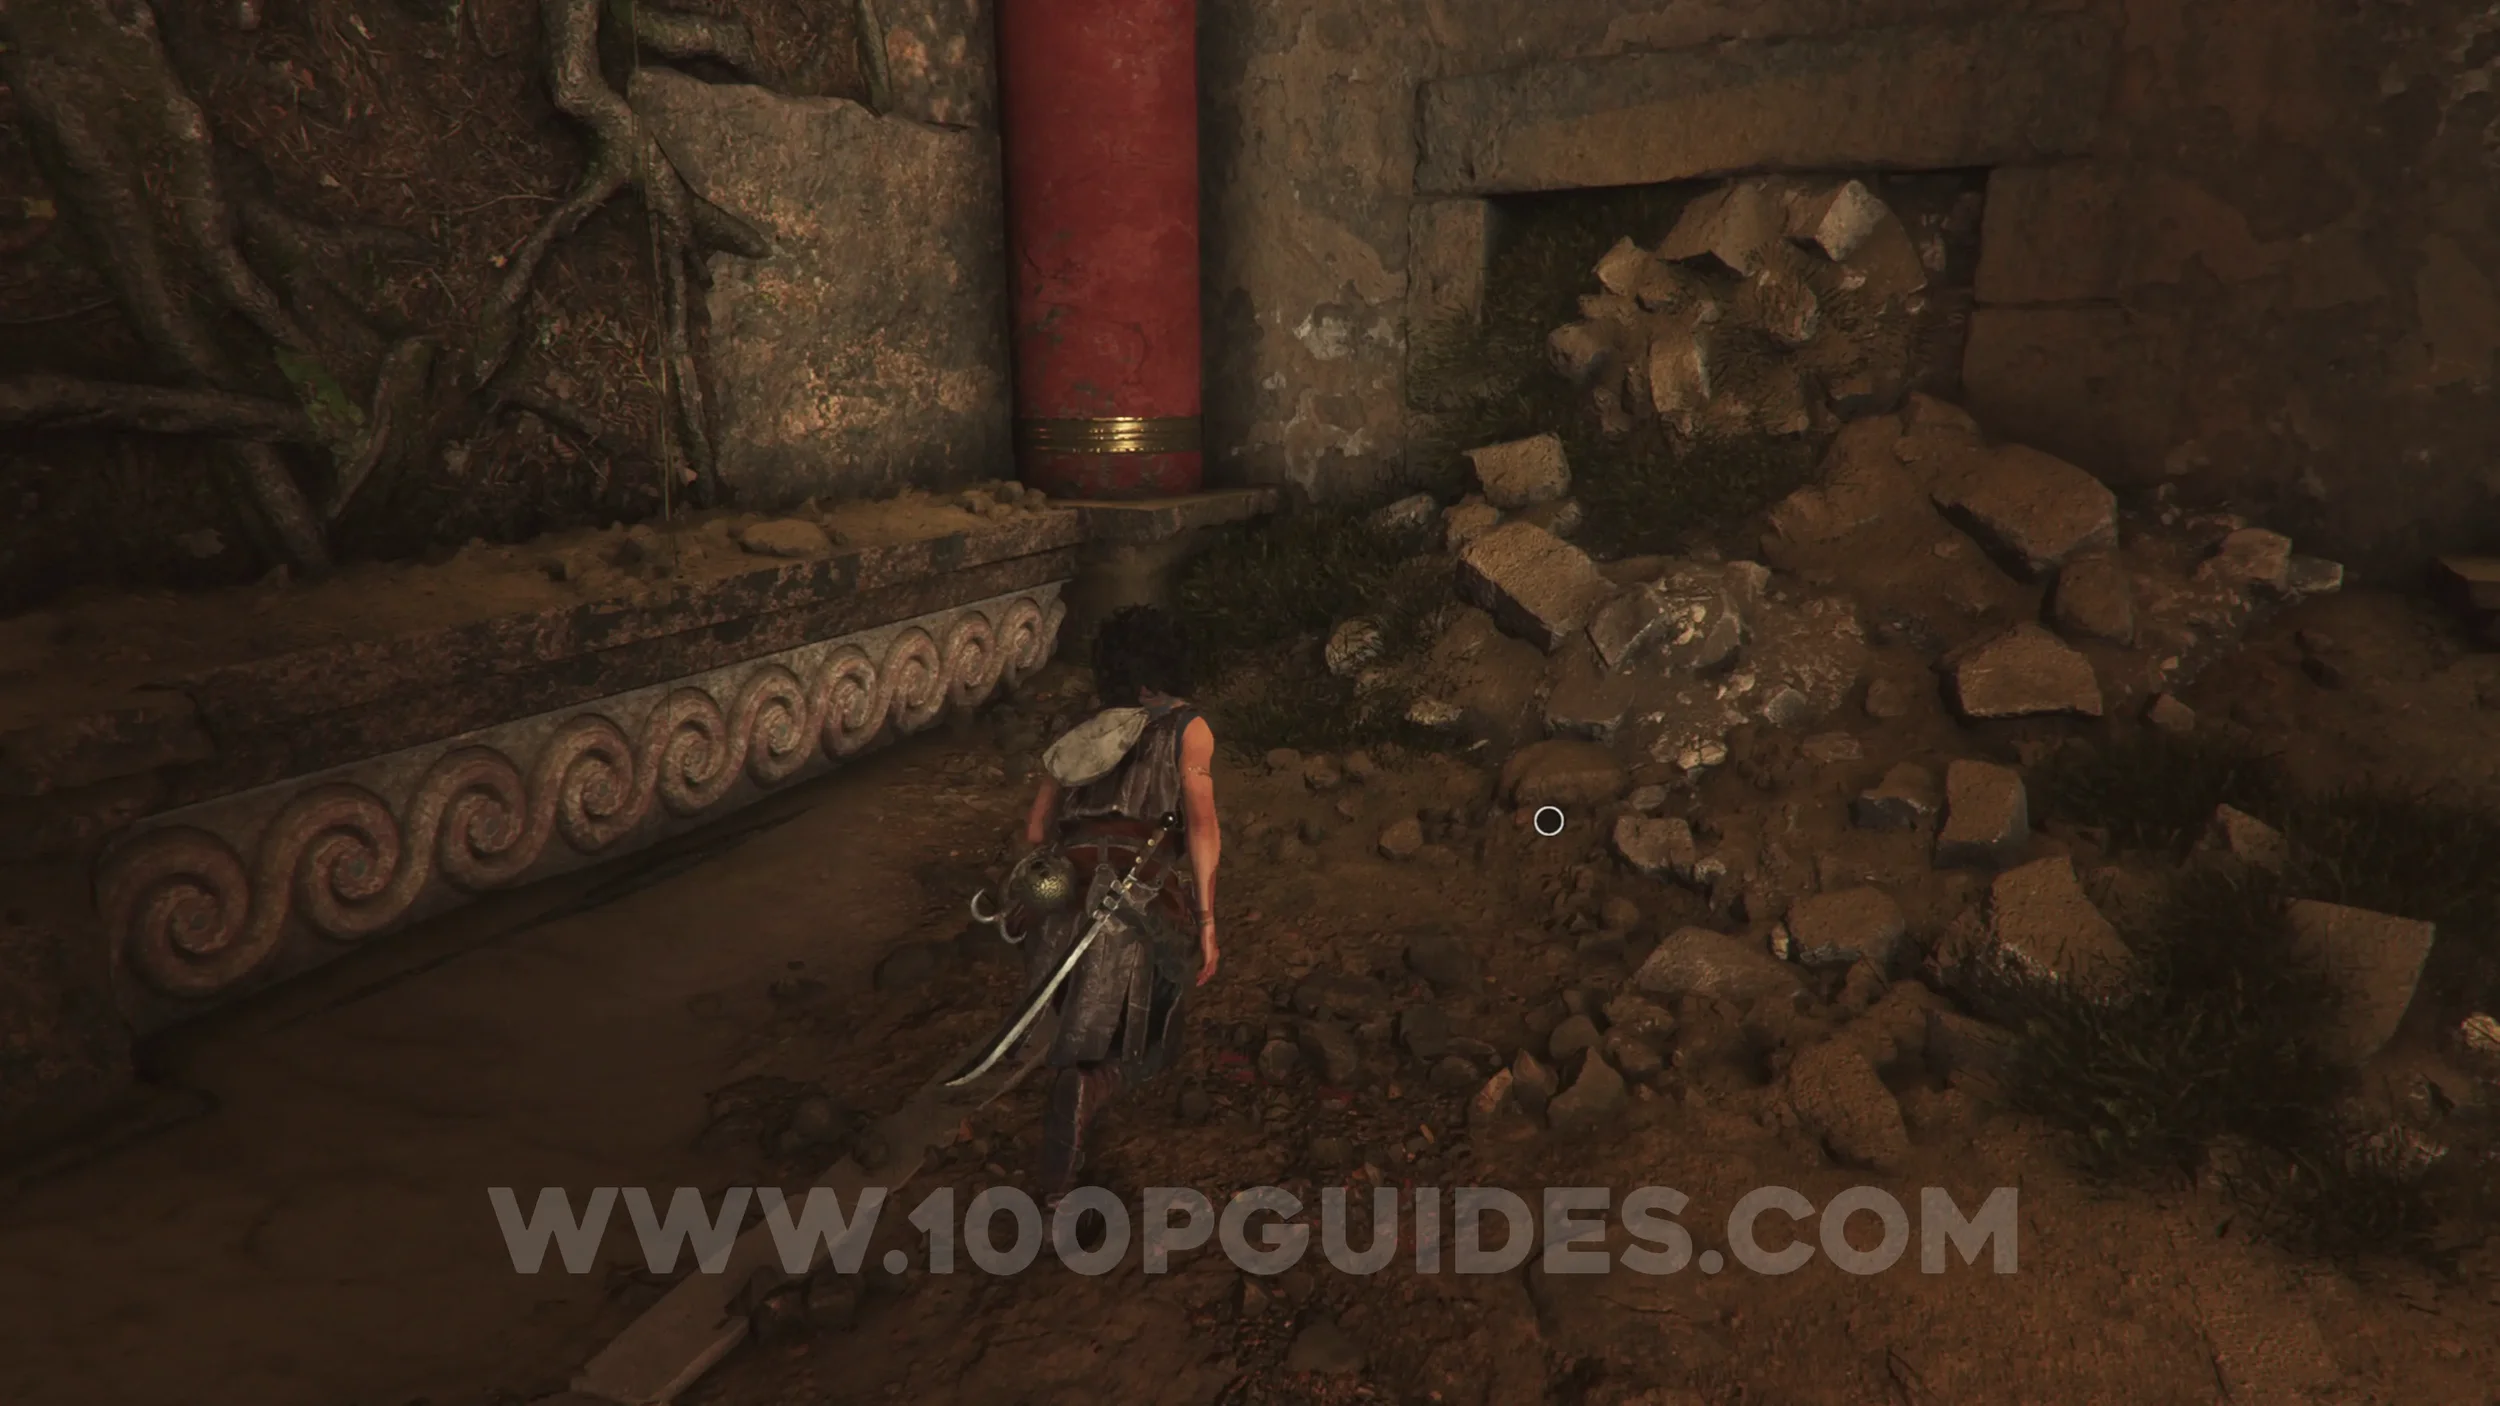
Resonance Point
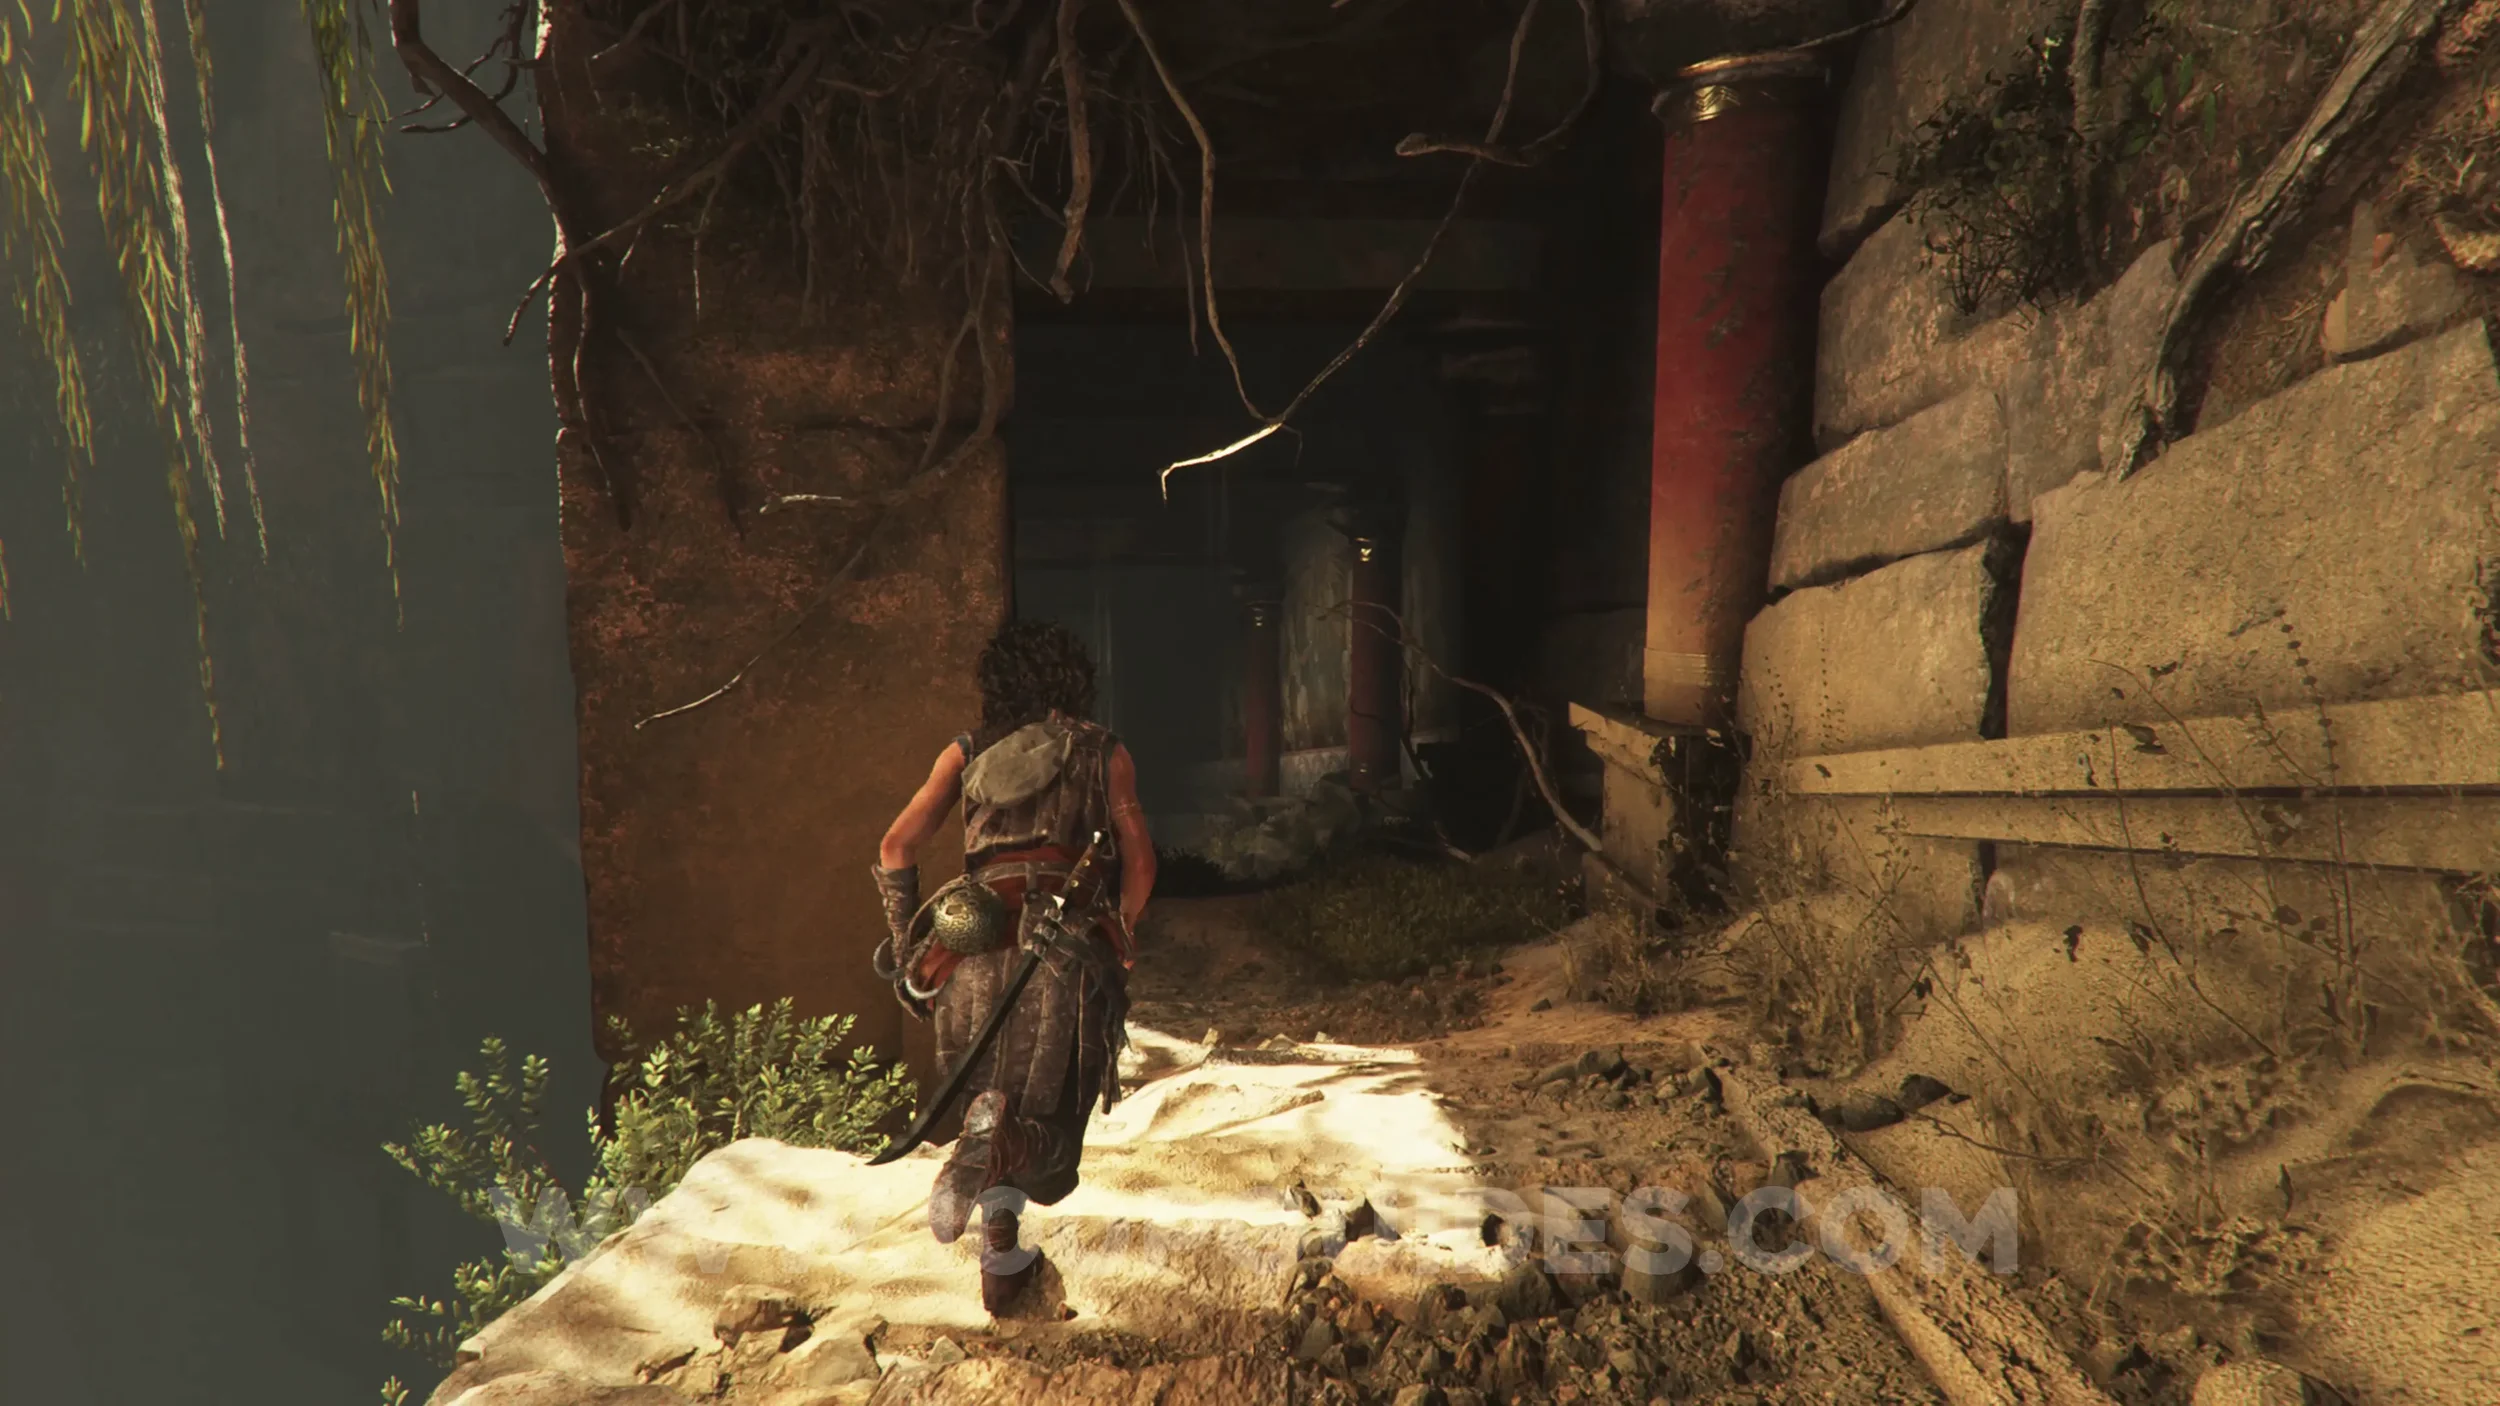
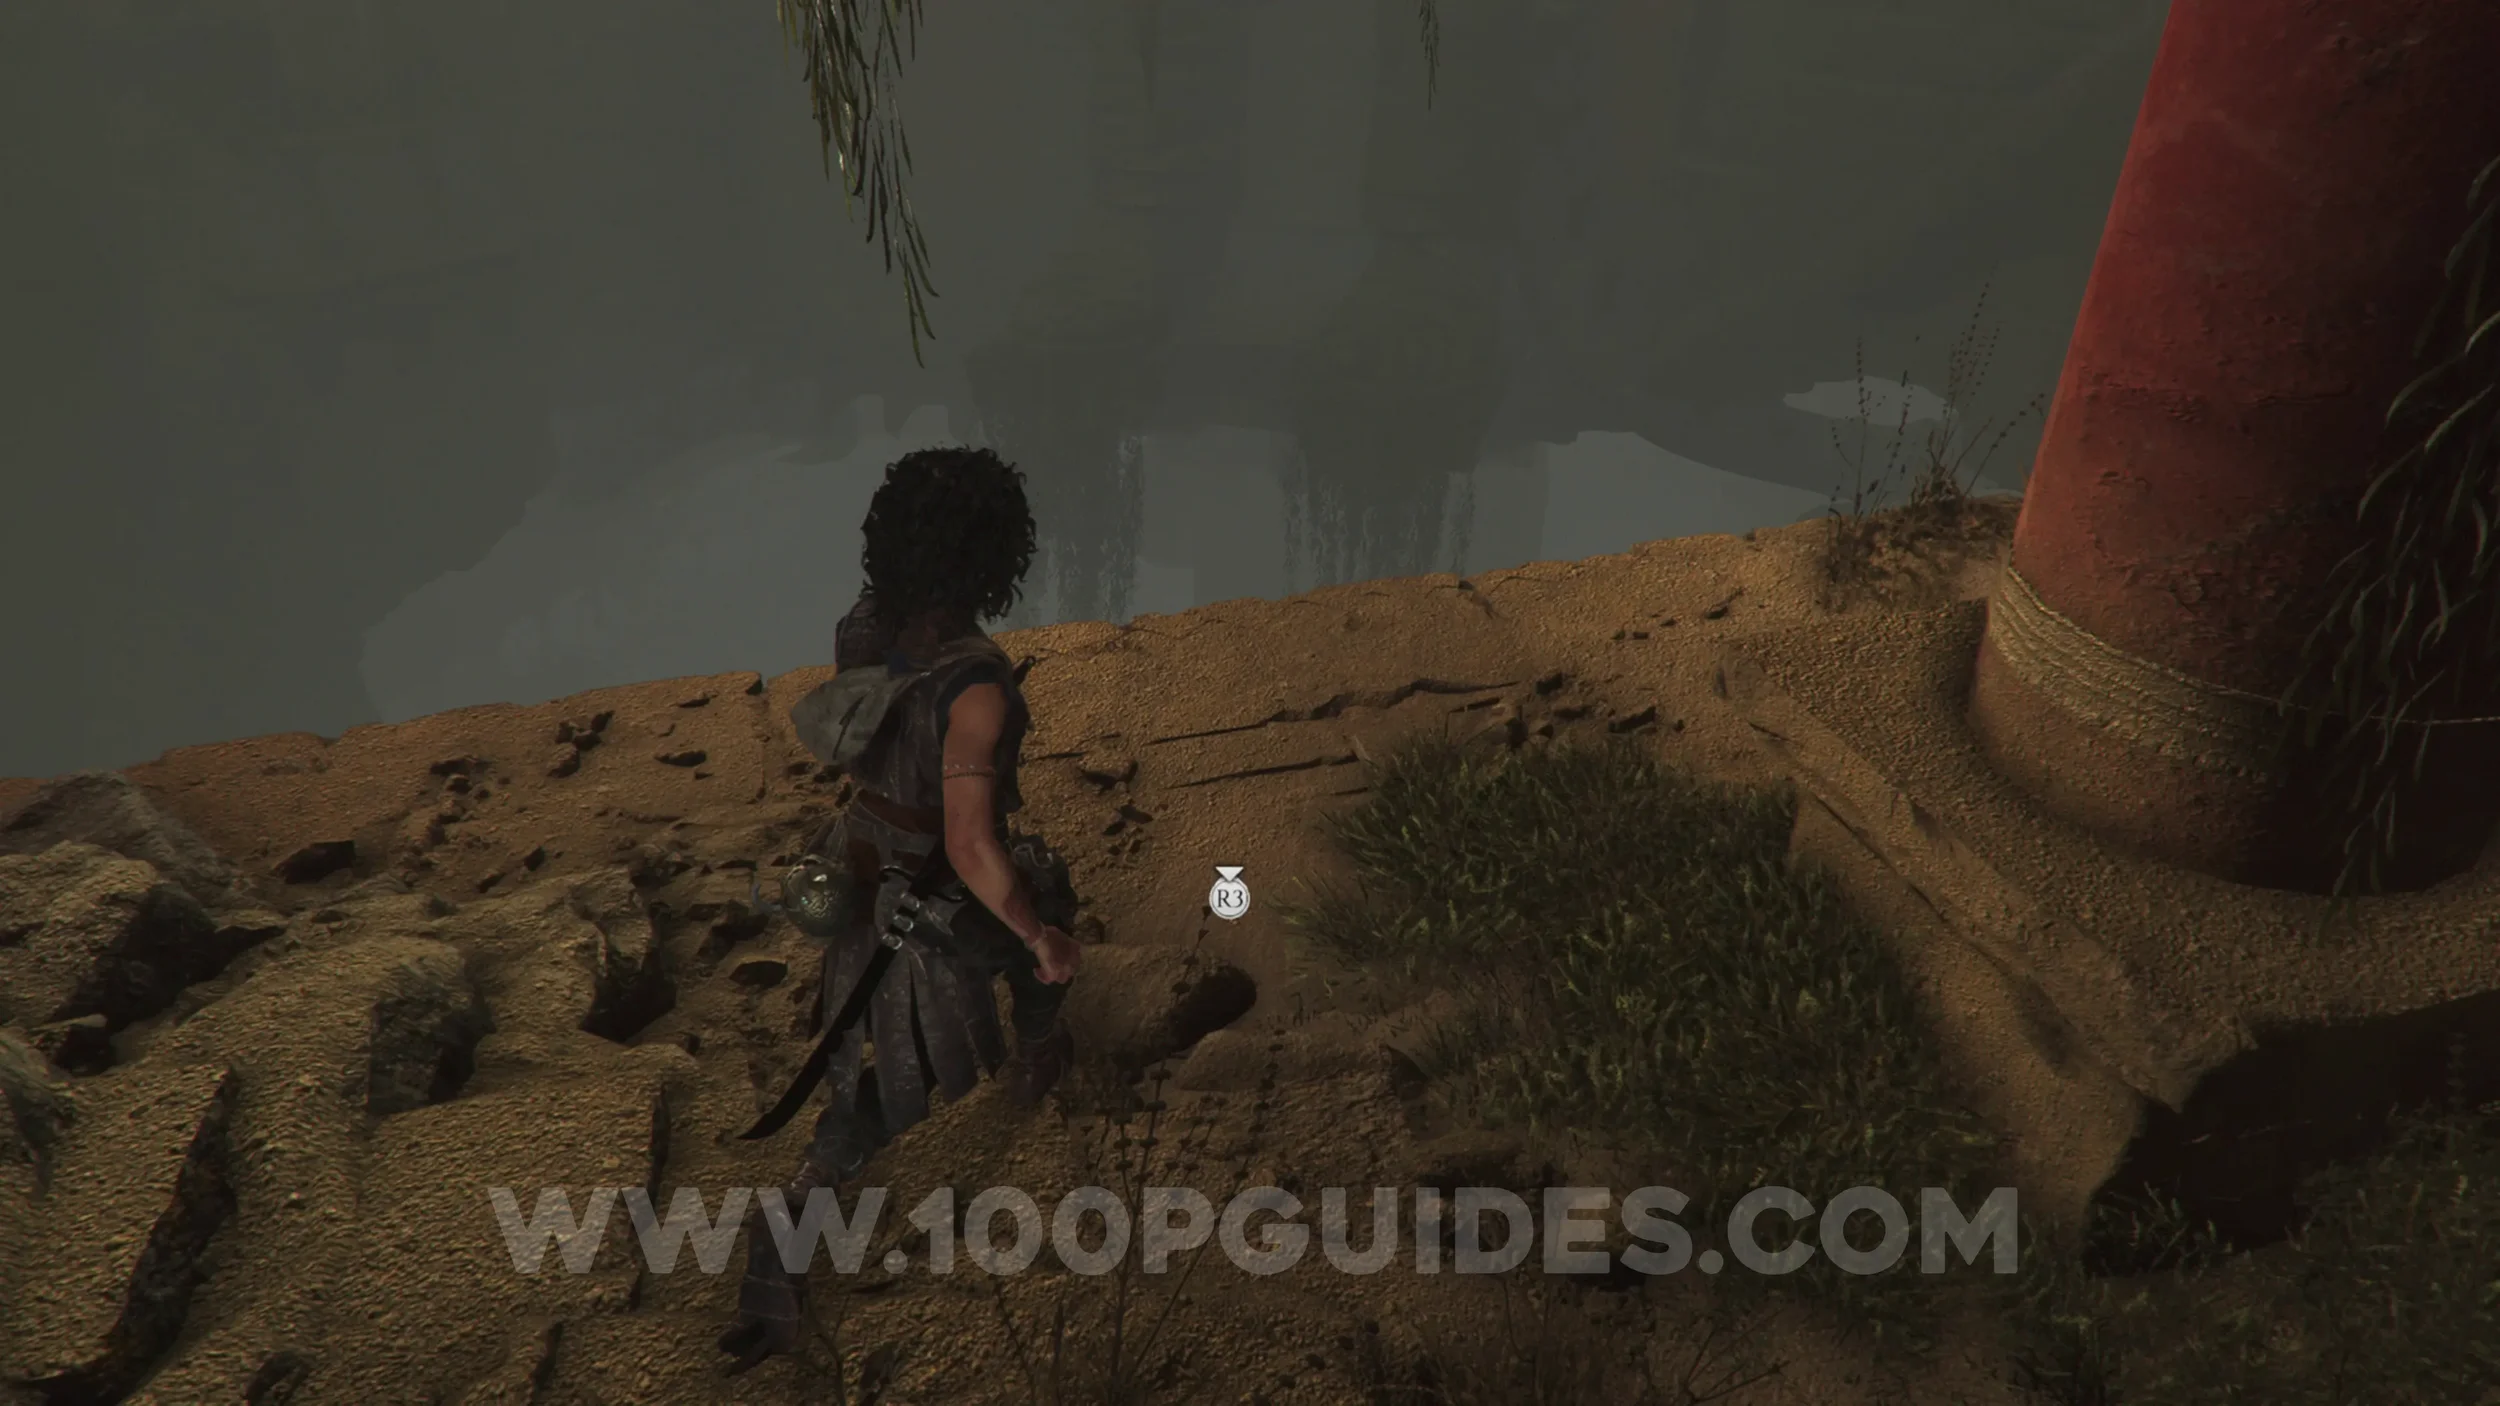
Chapter 4: Sub-Chapter 2.
After the previous collectible, continue down the path around the massive hole. You'll find this resonance point on your left at the bottom, before opening the next door.
Artefact: Horned Rhyton
Chapter 4: Sub-Chapter 3.
After going through the corridors where you have to stand on the correct tiles to avoid the spike traps, you'll reach a large room with another puzzle. As soon as you enter, head left to find the artefact.
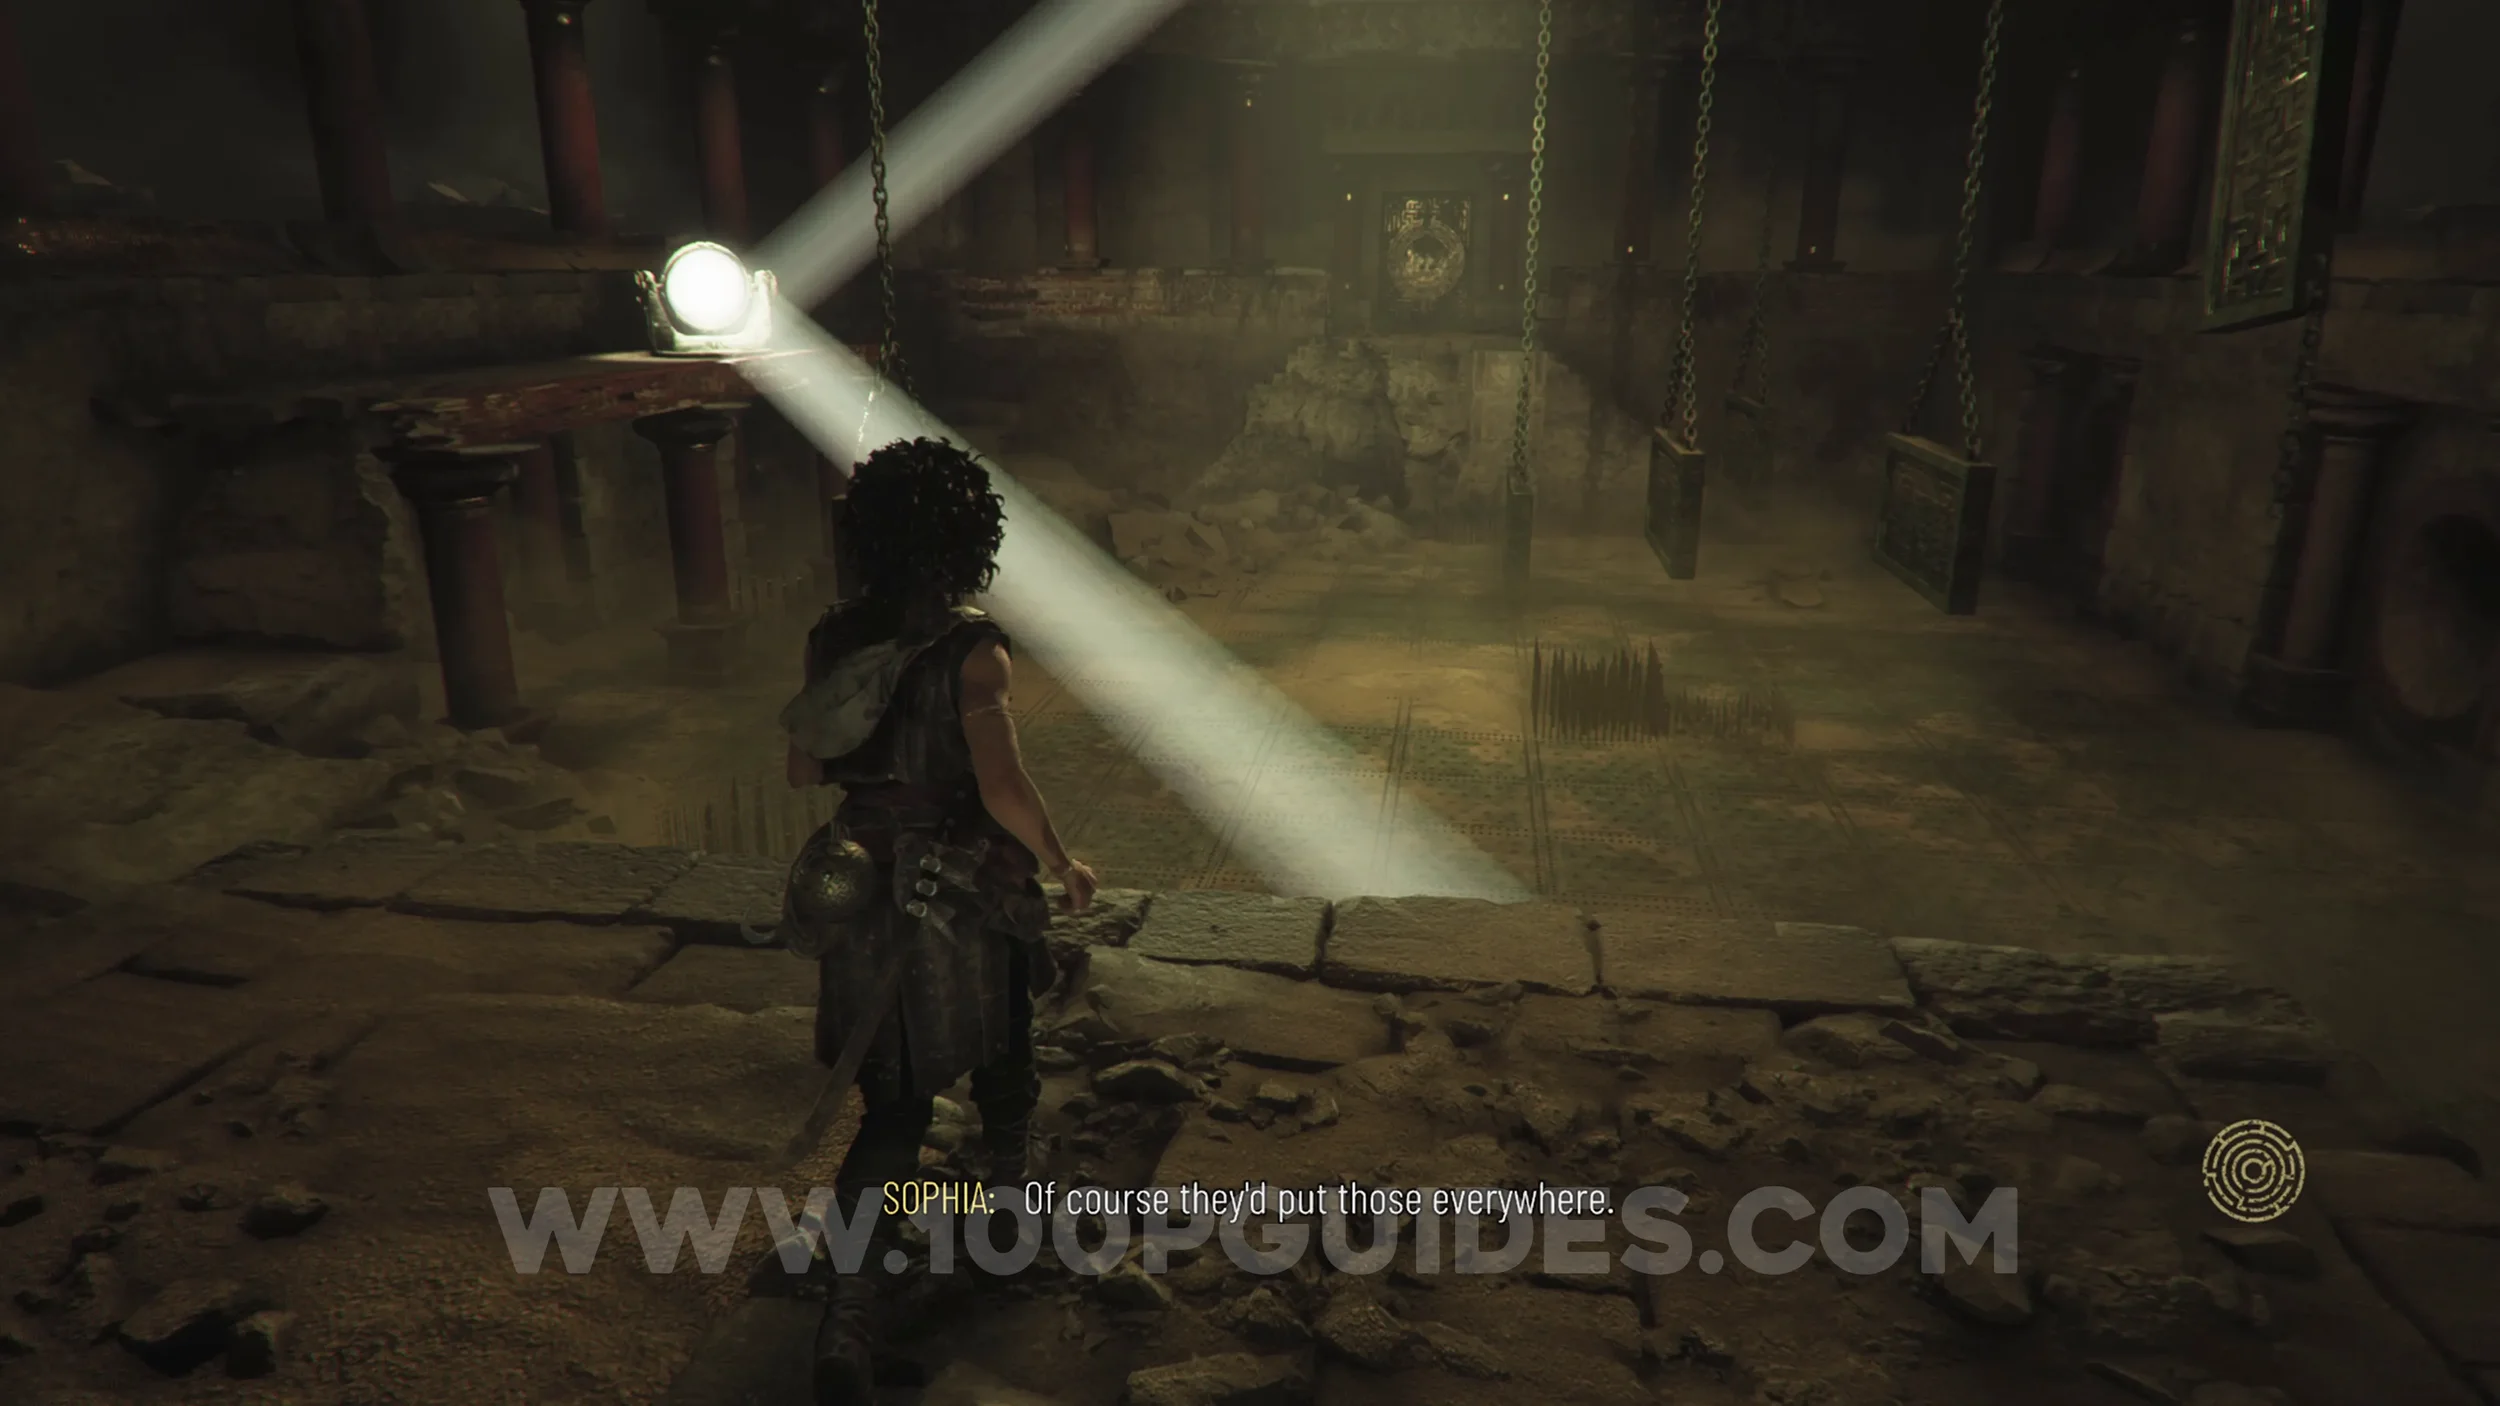
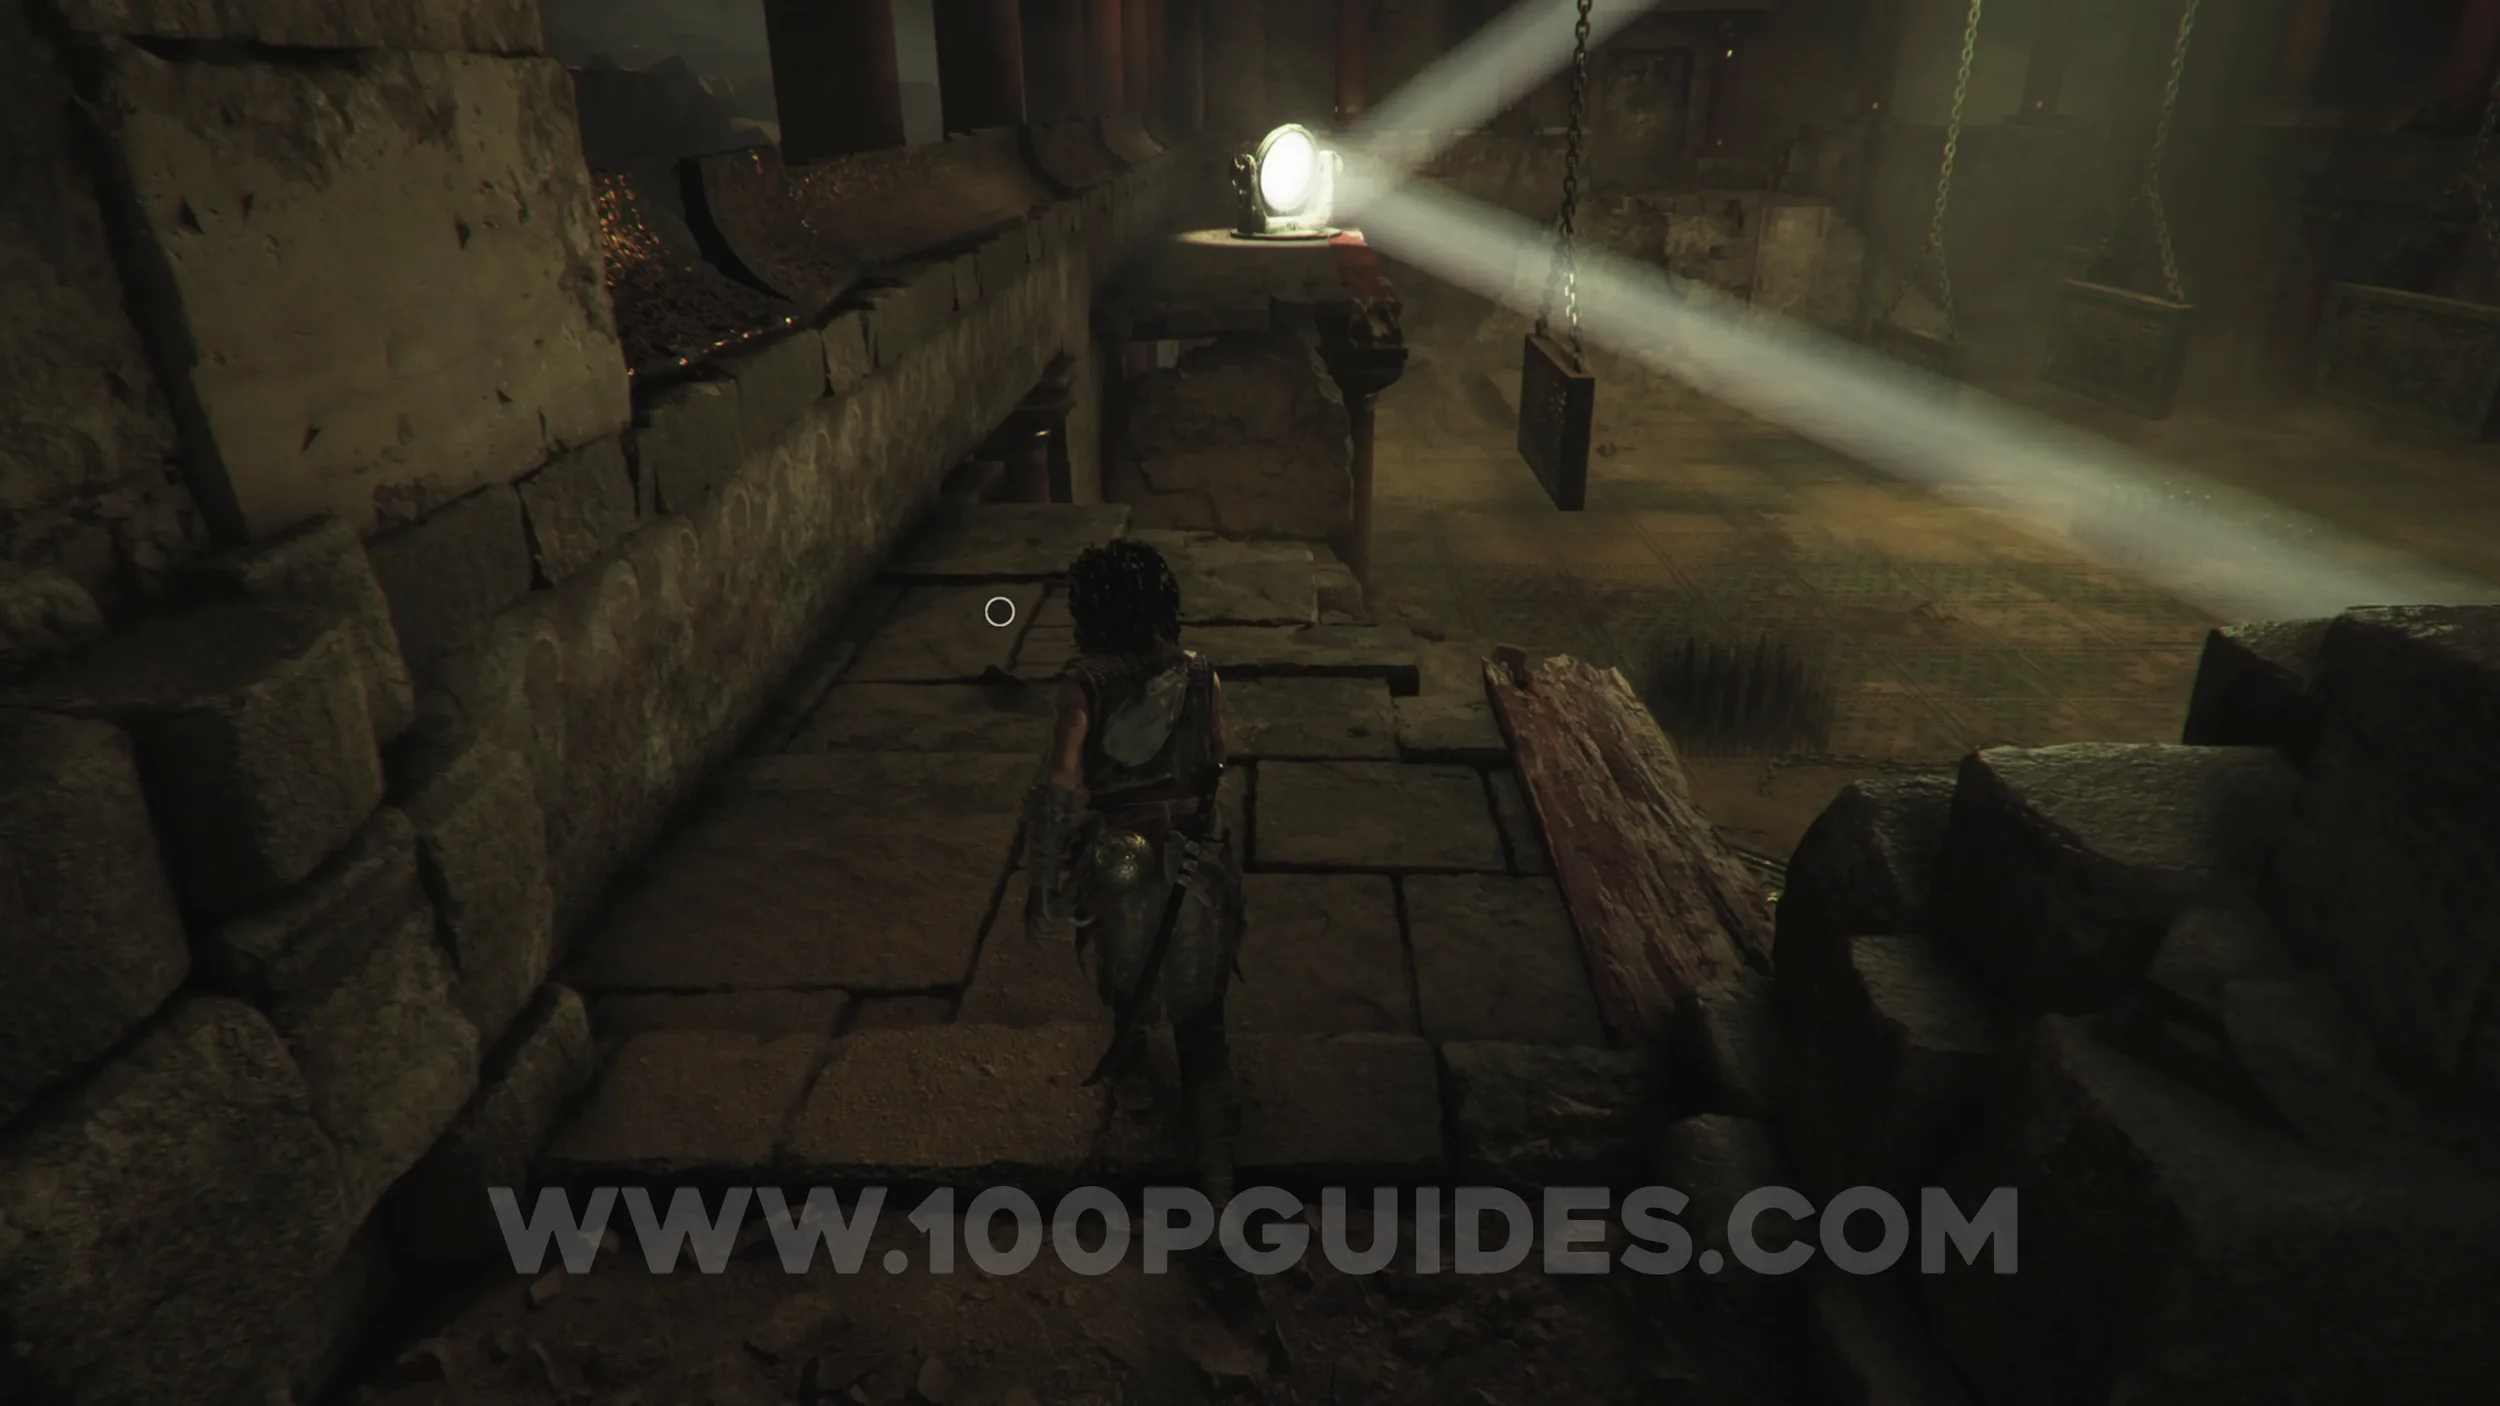
Resonance Point
Chapter 4: Sub-Chapter 3.
Once you cross over to the other side of the large room filled with spikes, you'll have to help Leni up. In this same area, head to the far right side to find the collectible before opening the door.
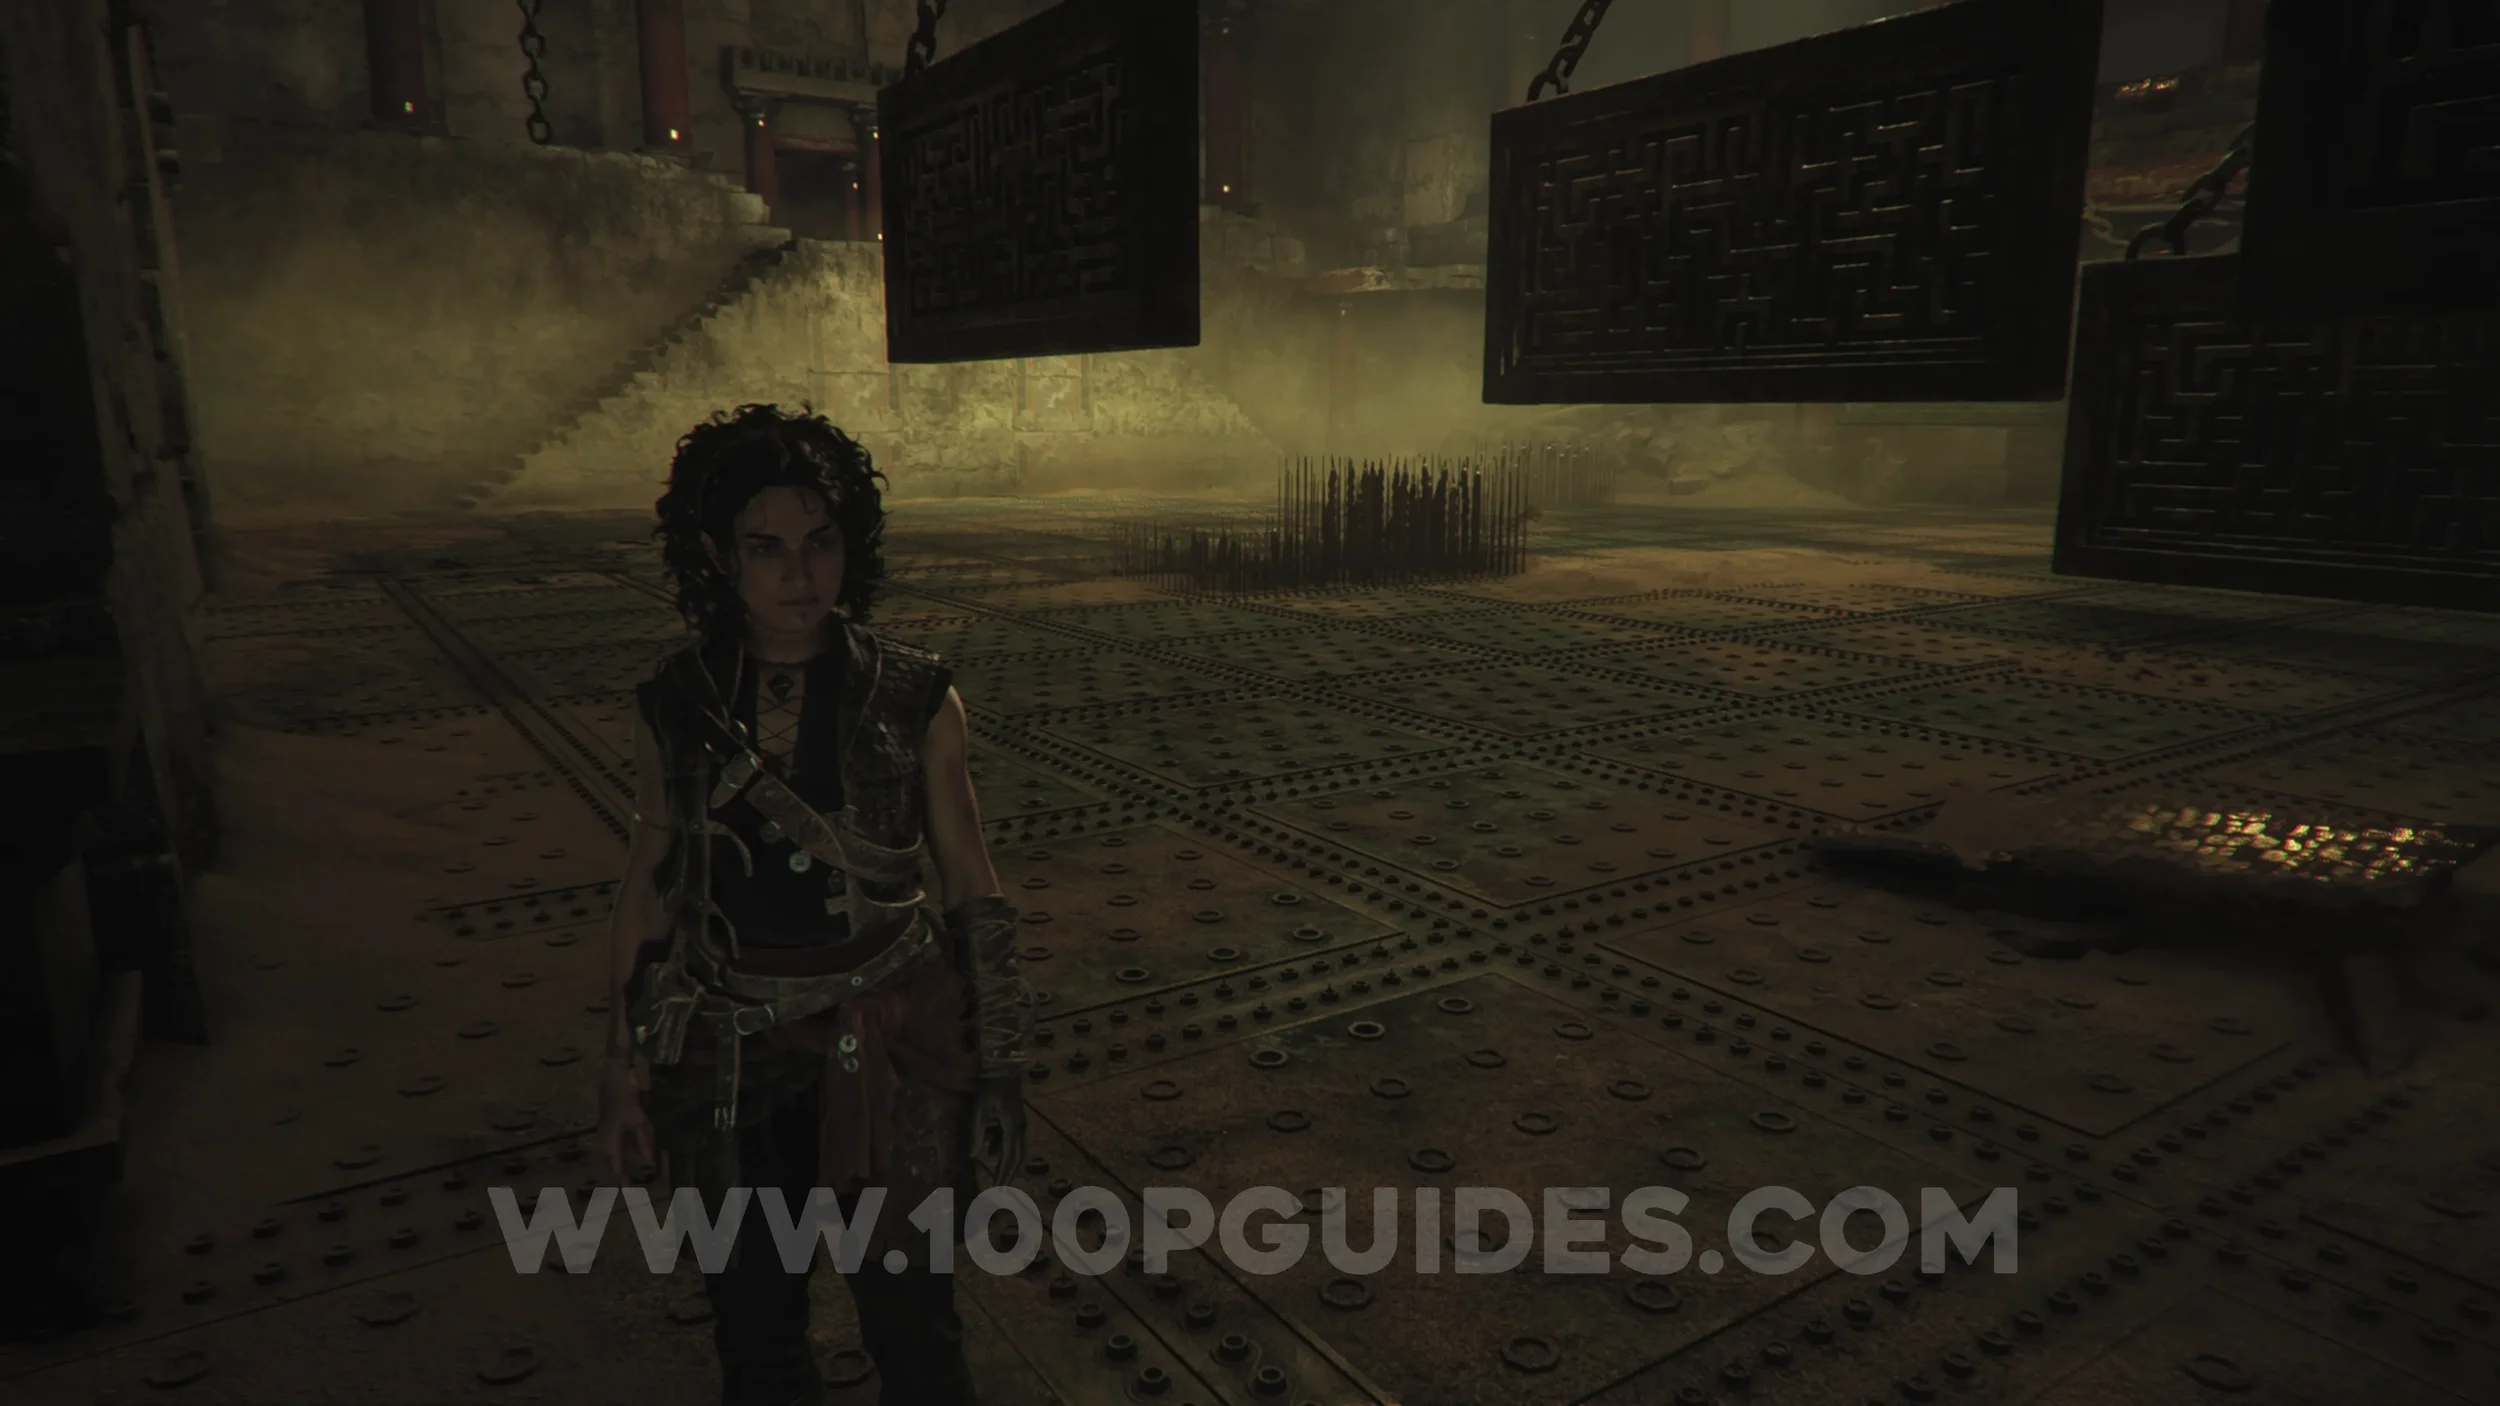
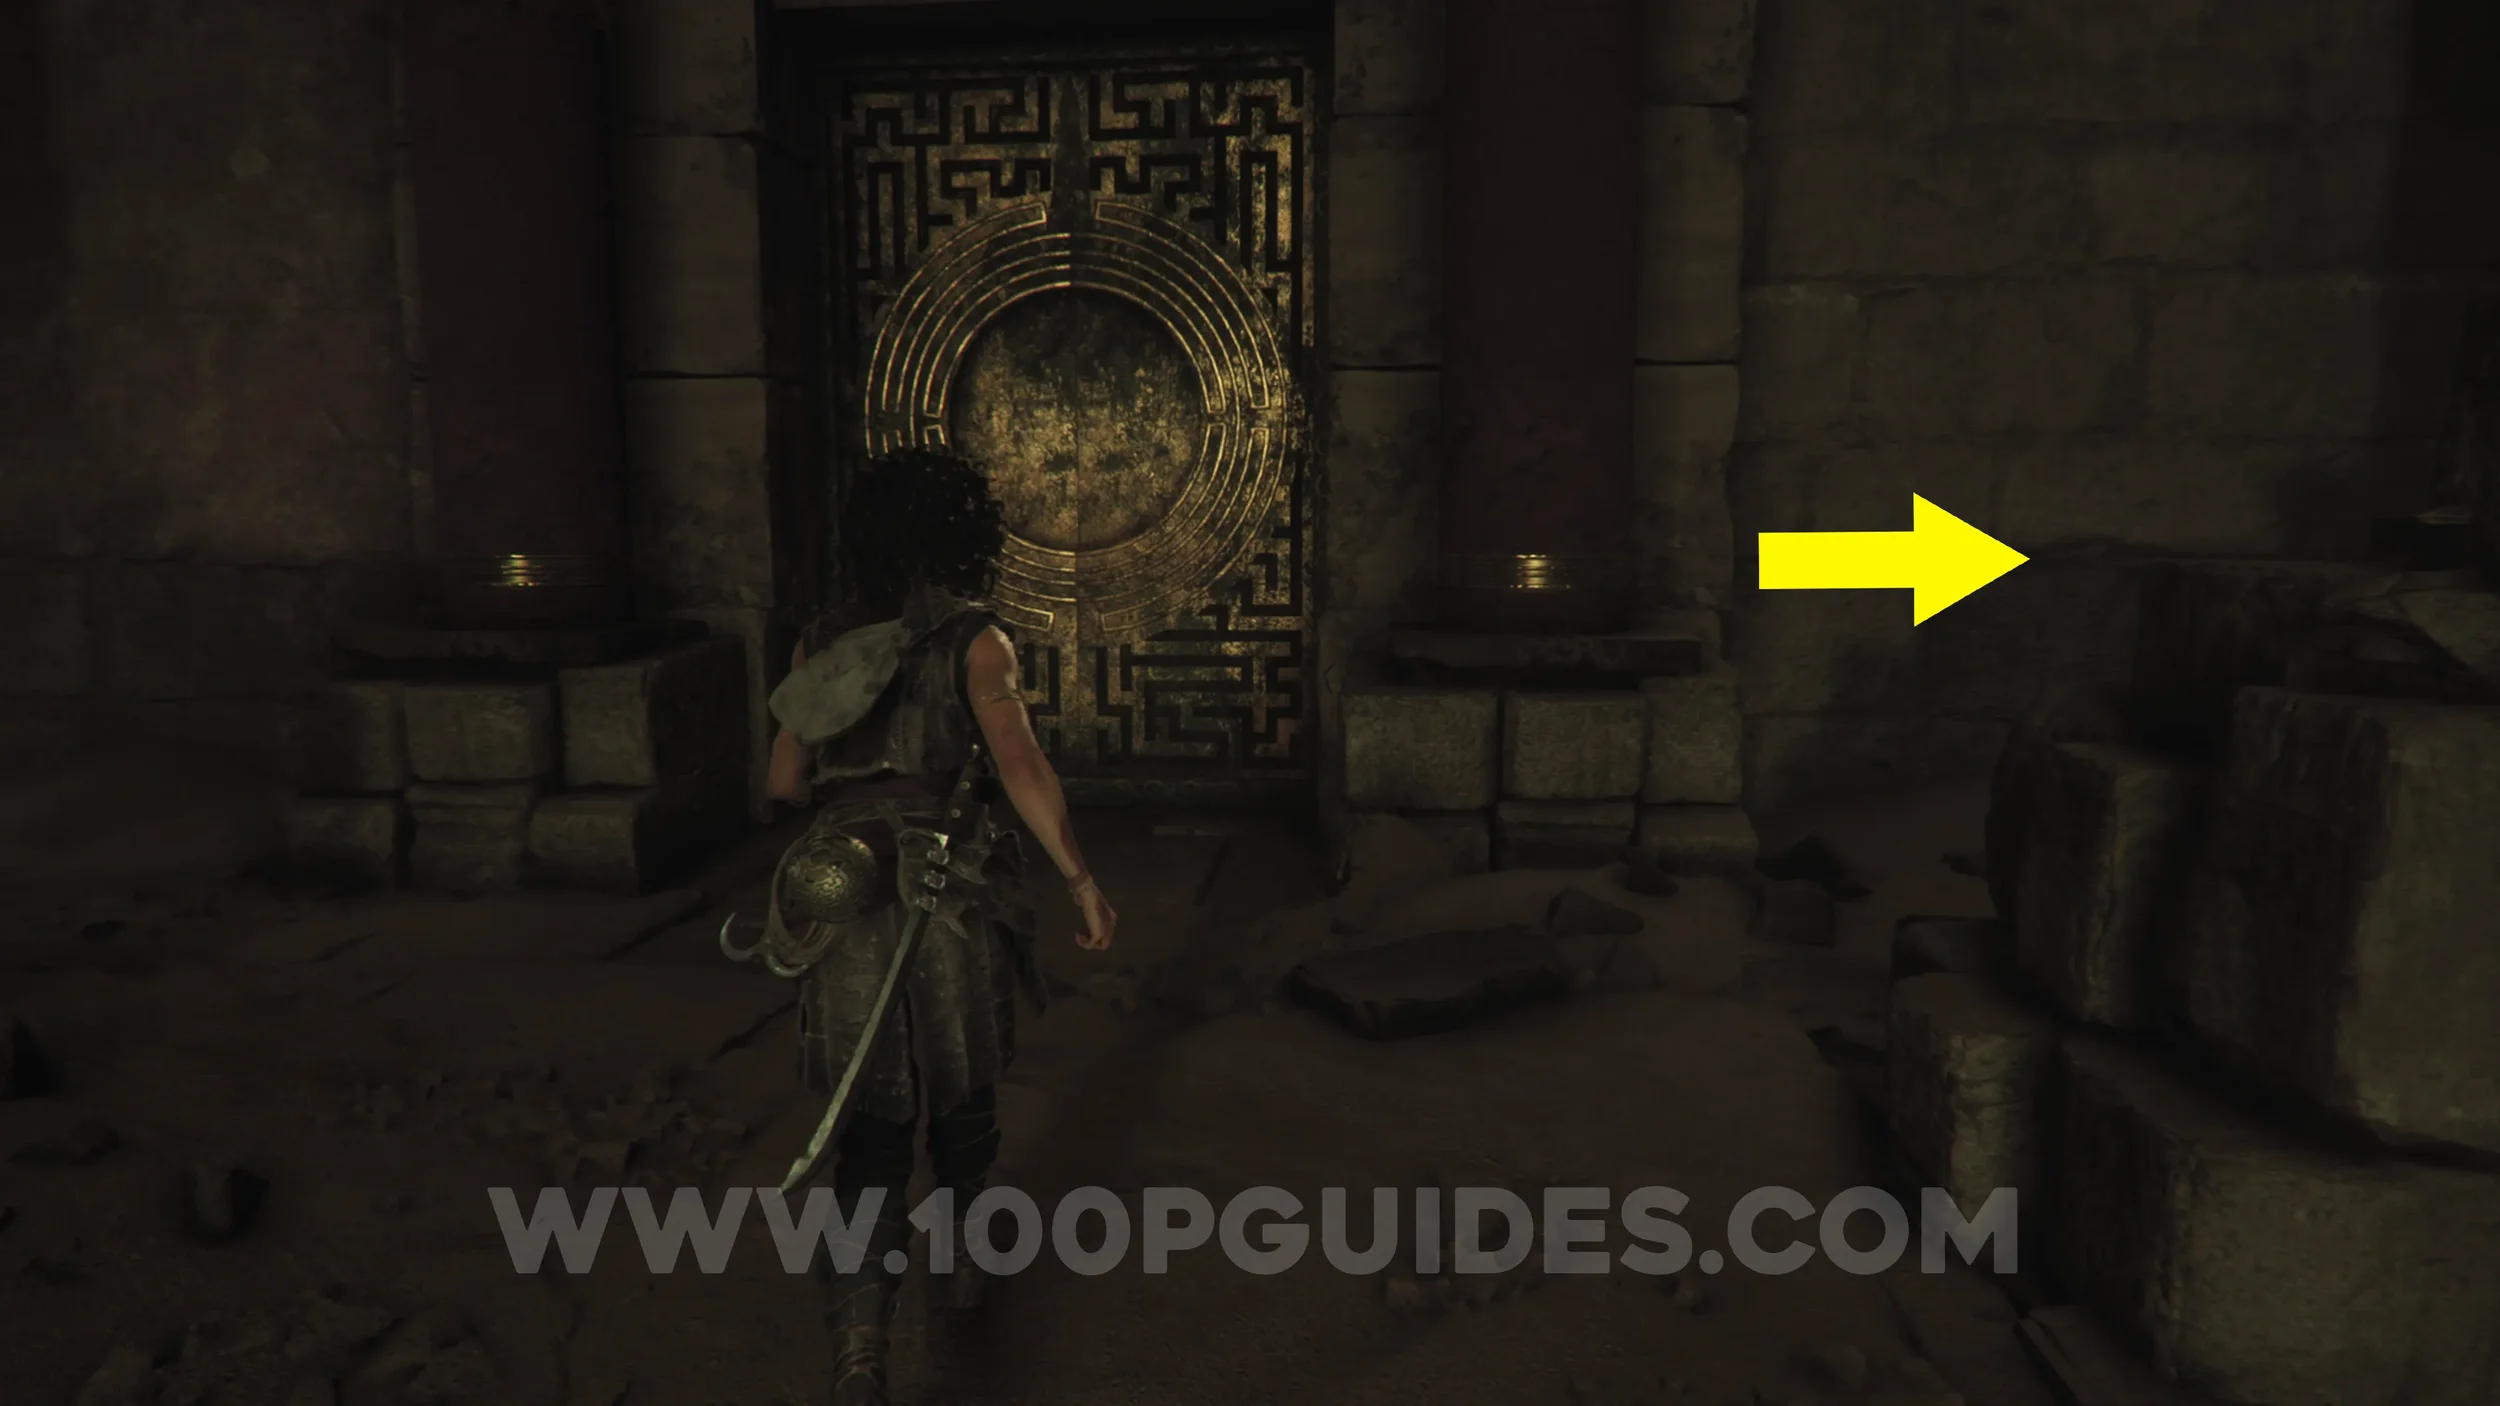
Blade: Kopis
Chapter 4: Sub-Chapter 3.
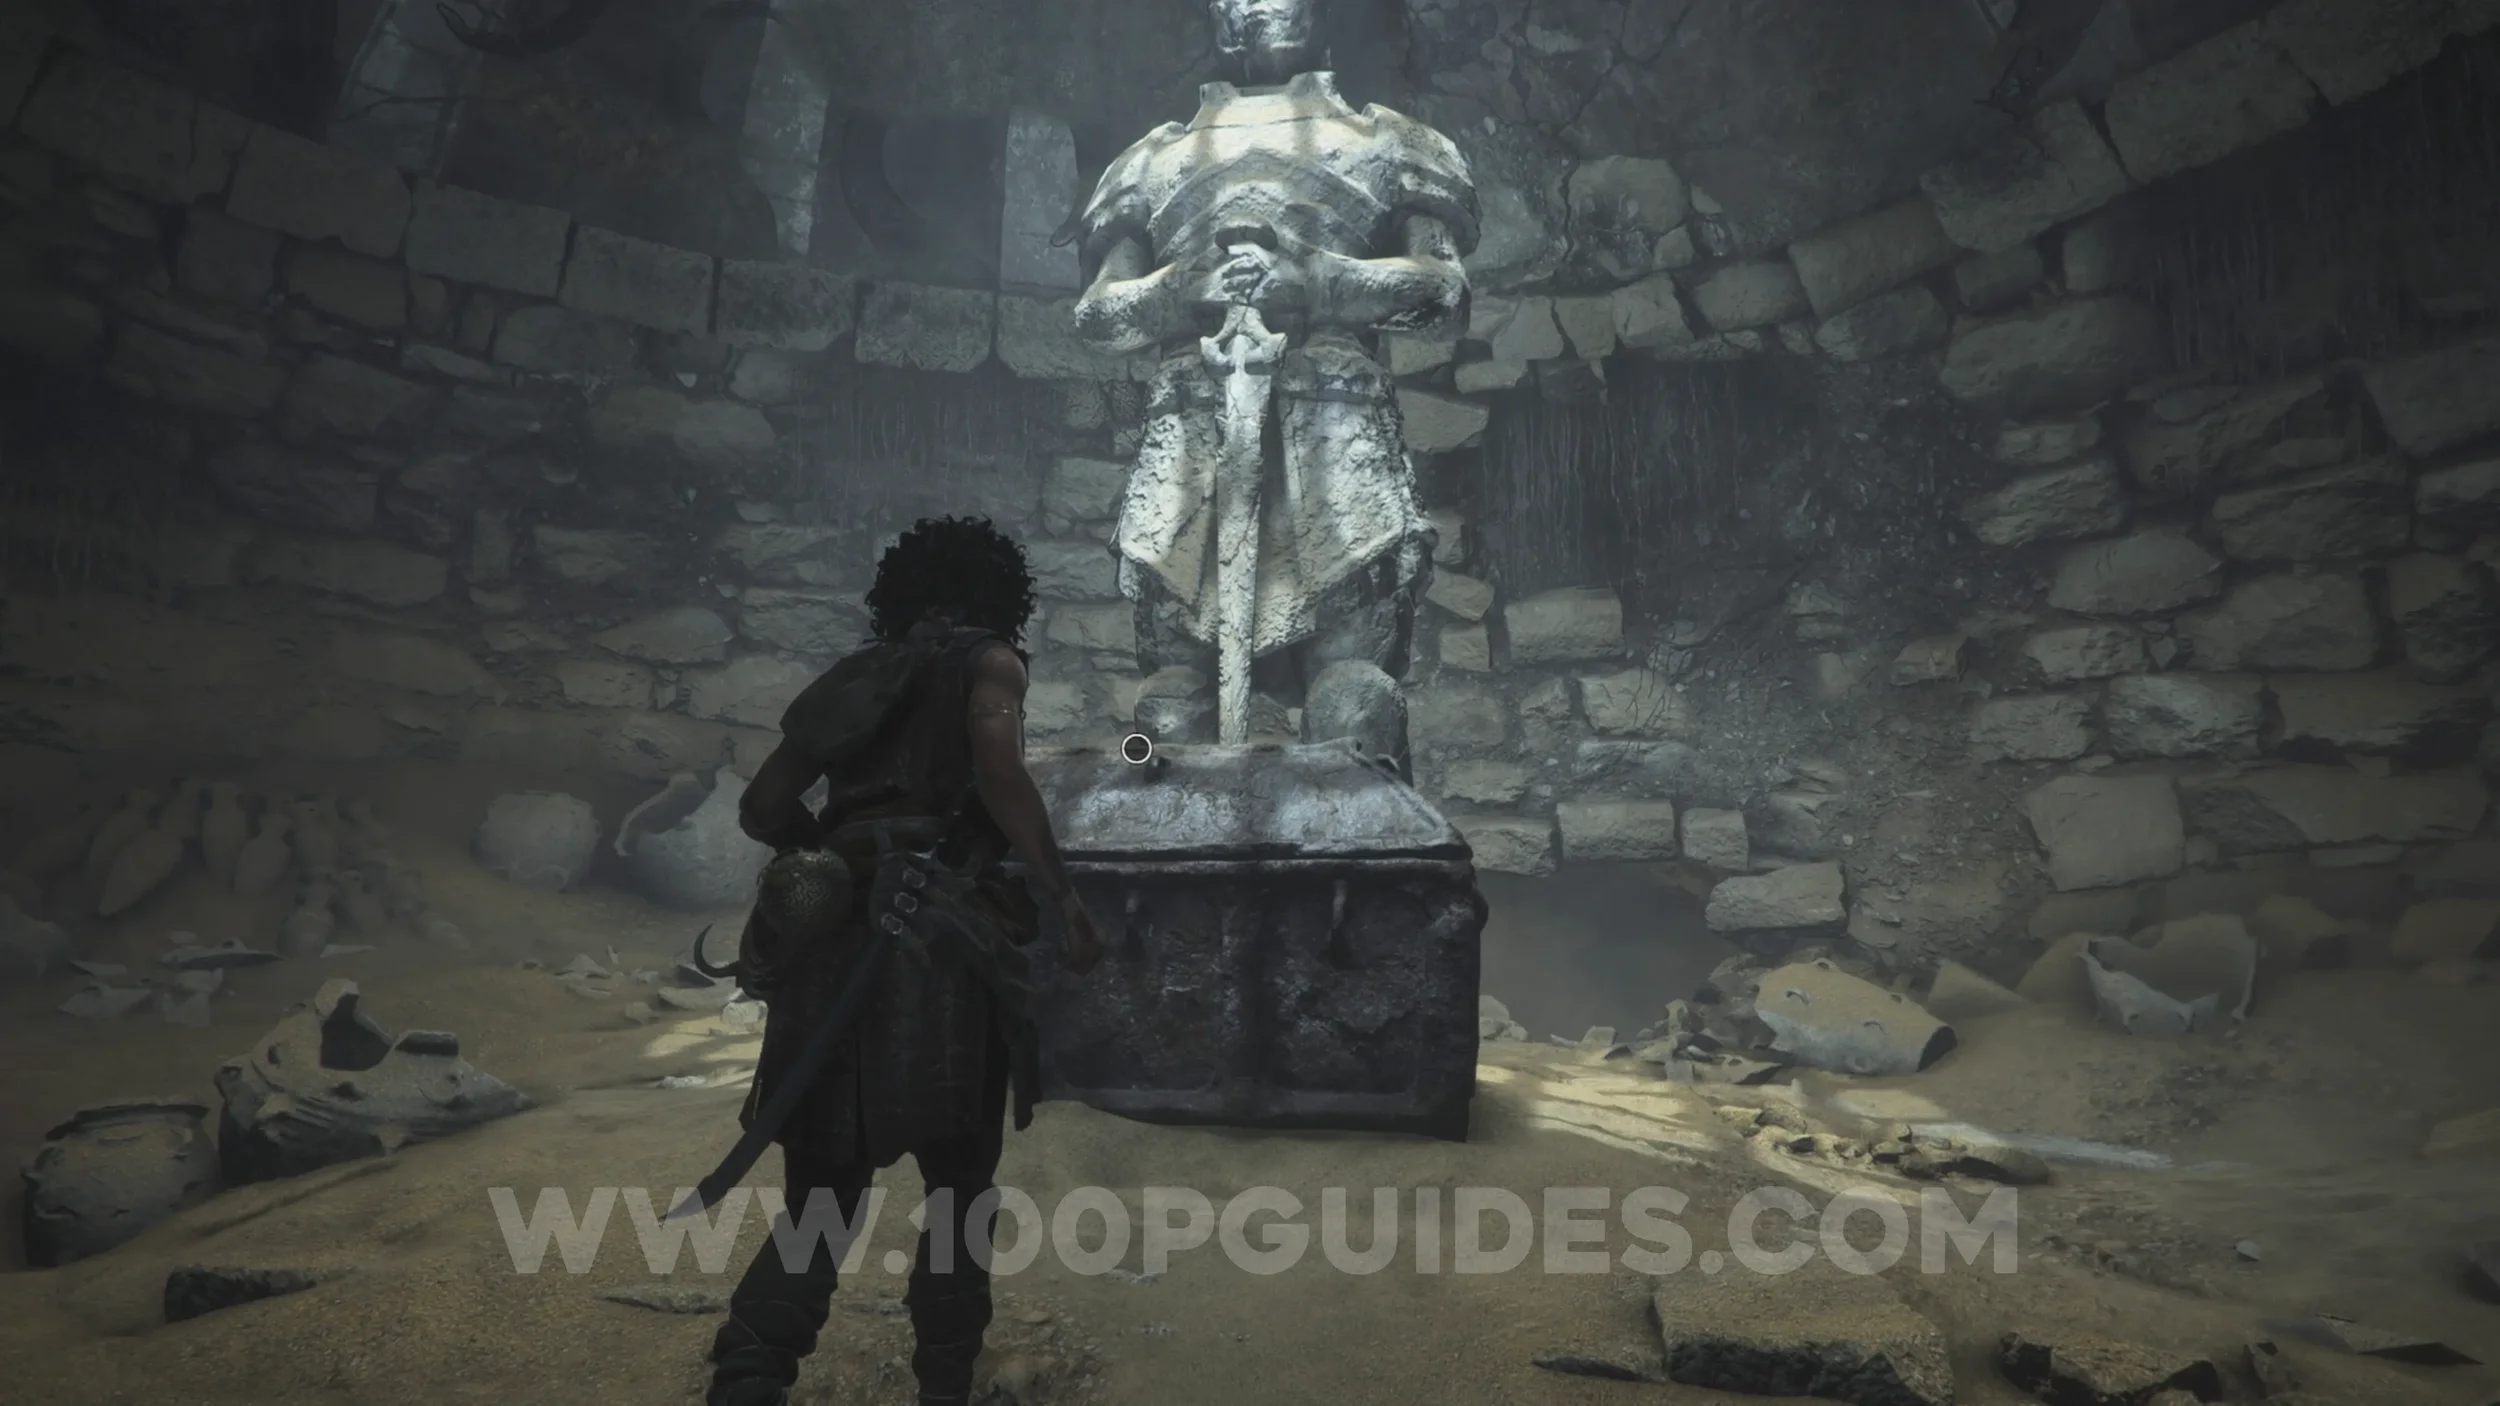
In the chest in the room under the skull statue.
Artefact: Grand Mosaic
Chapter 4: Sub-Chapter 4.
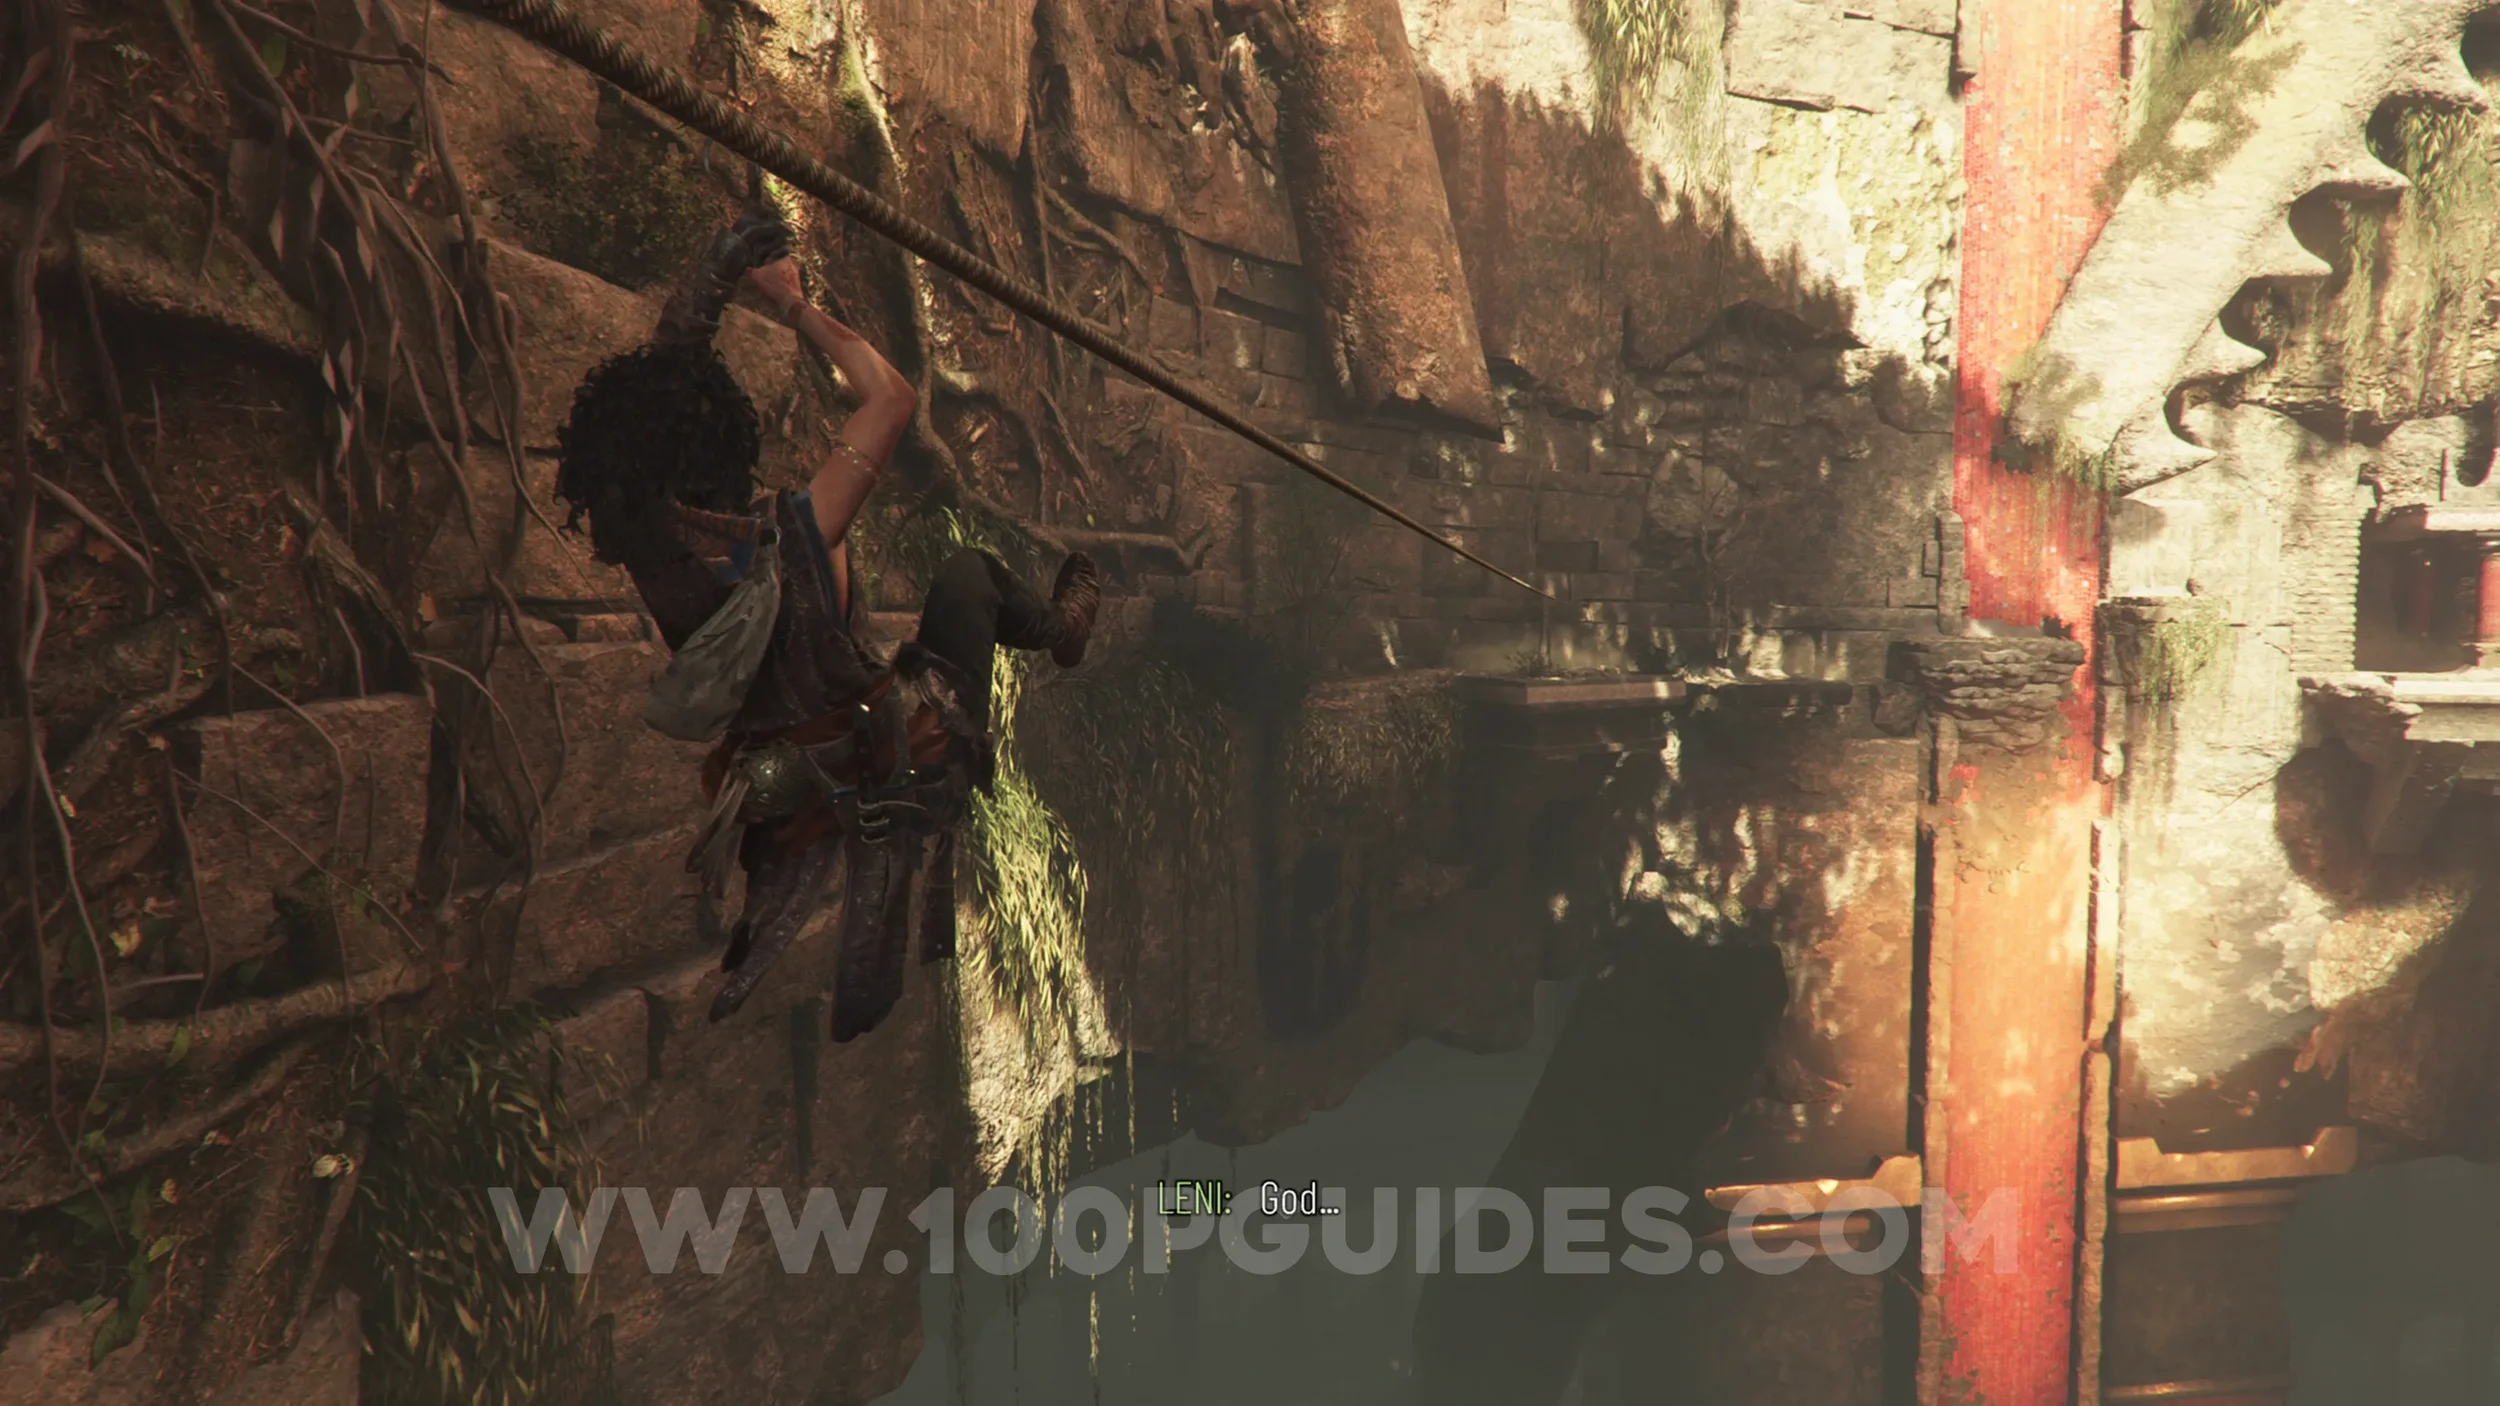
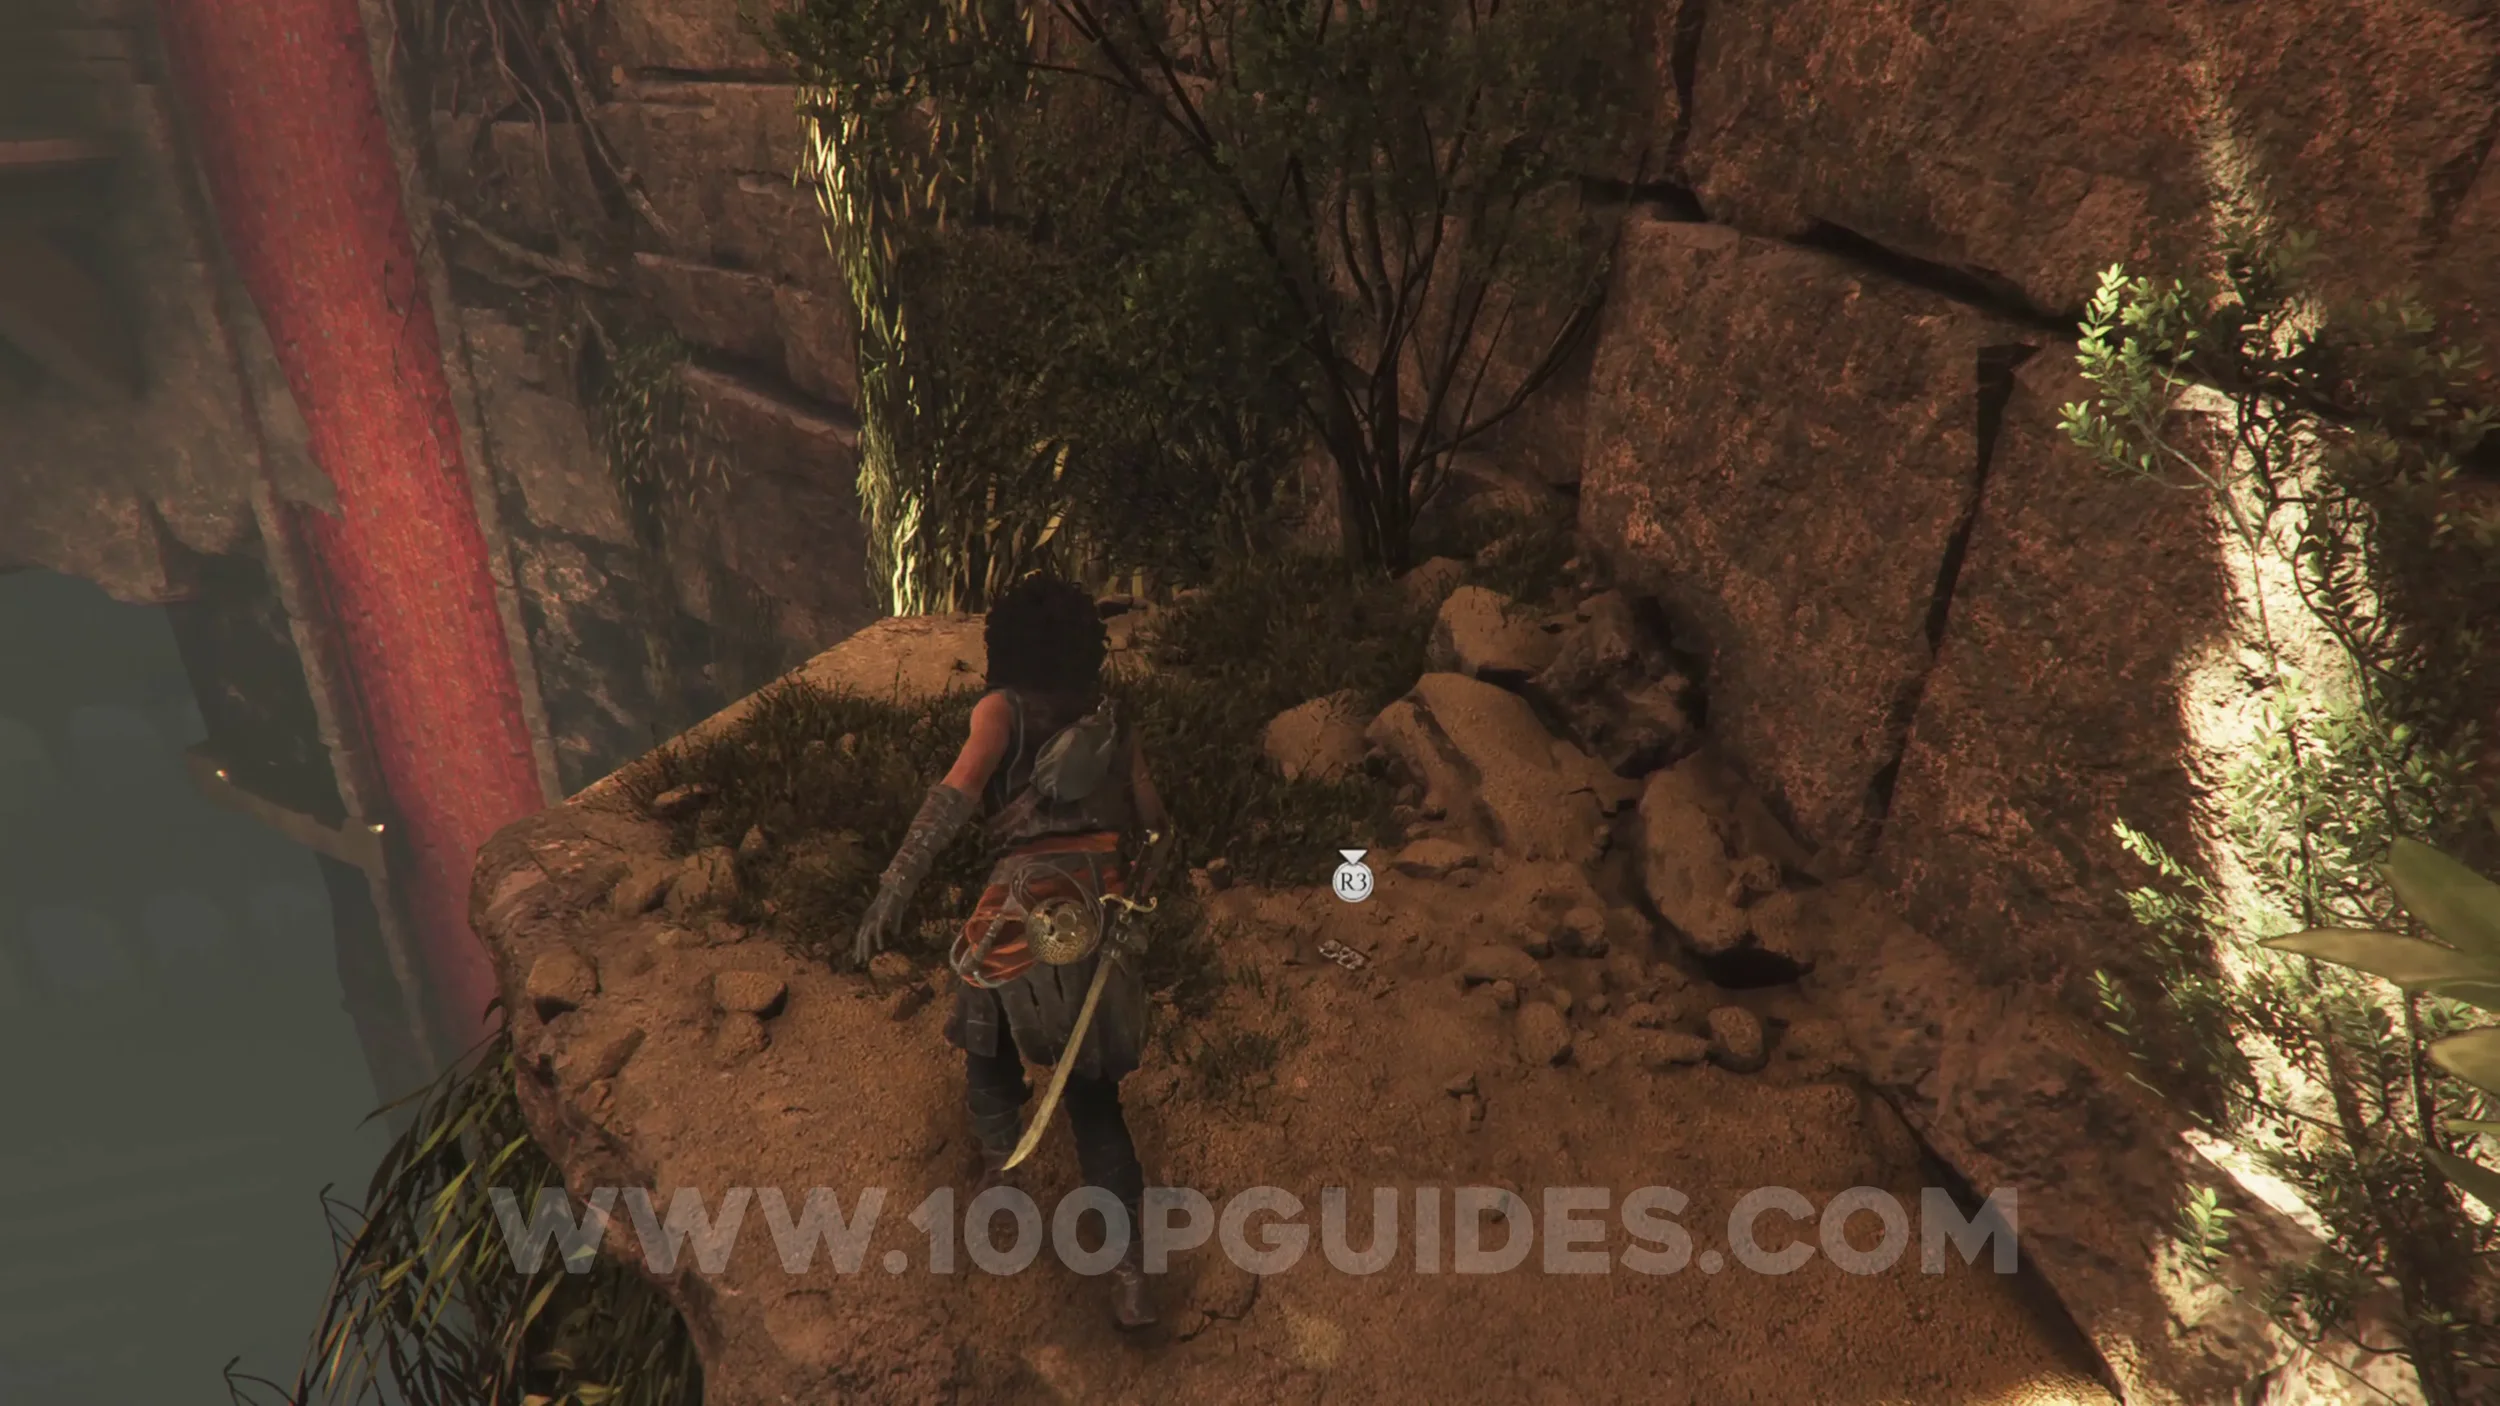
After the previous collectible, you'll have to use a zipline to cross to the other side of the large room with the hole in the middle. As soon as you reach the other end of the zipline, jump across to the small platform on your left to find the collectible.
Resonance Point x2
Chapter 4: Sub-Chapter 4.
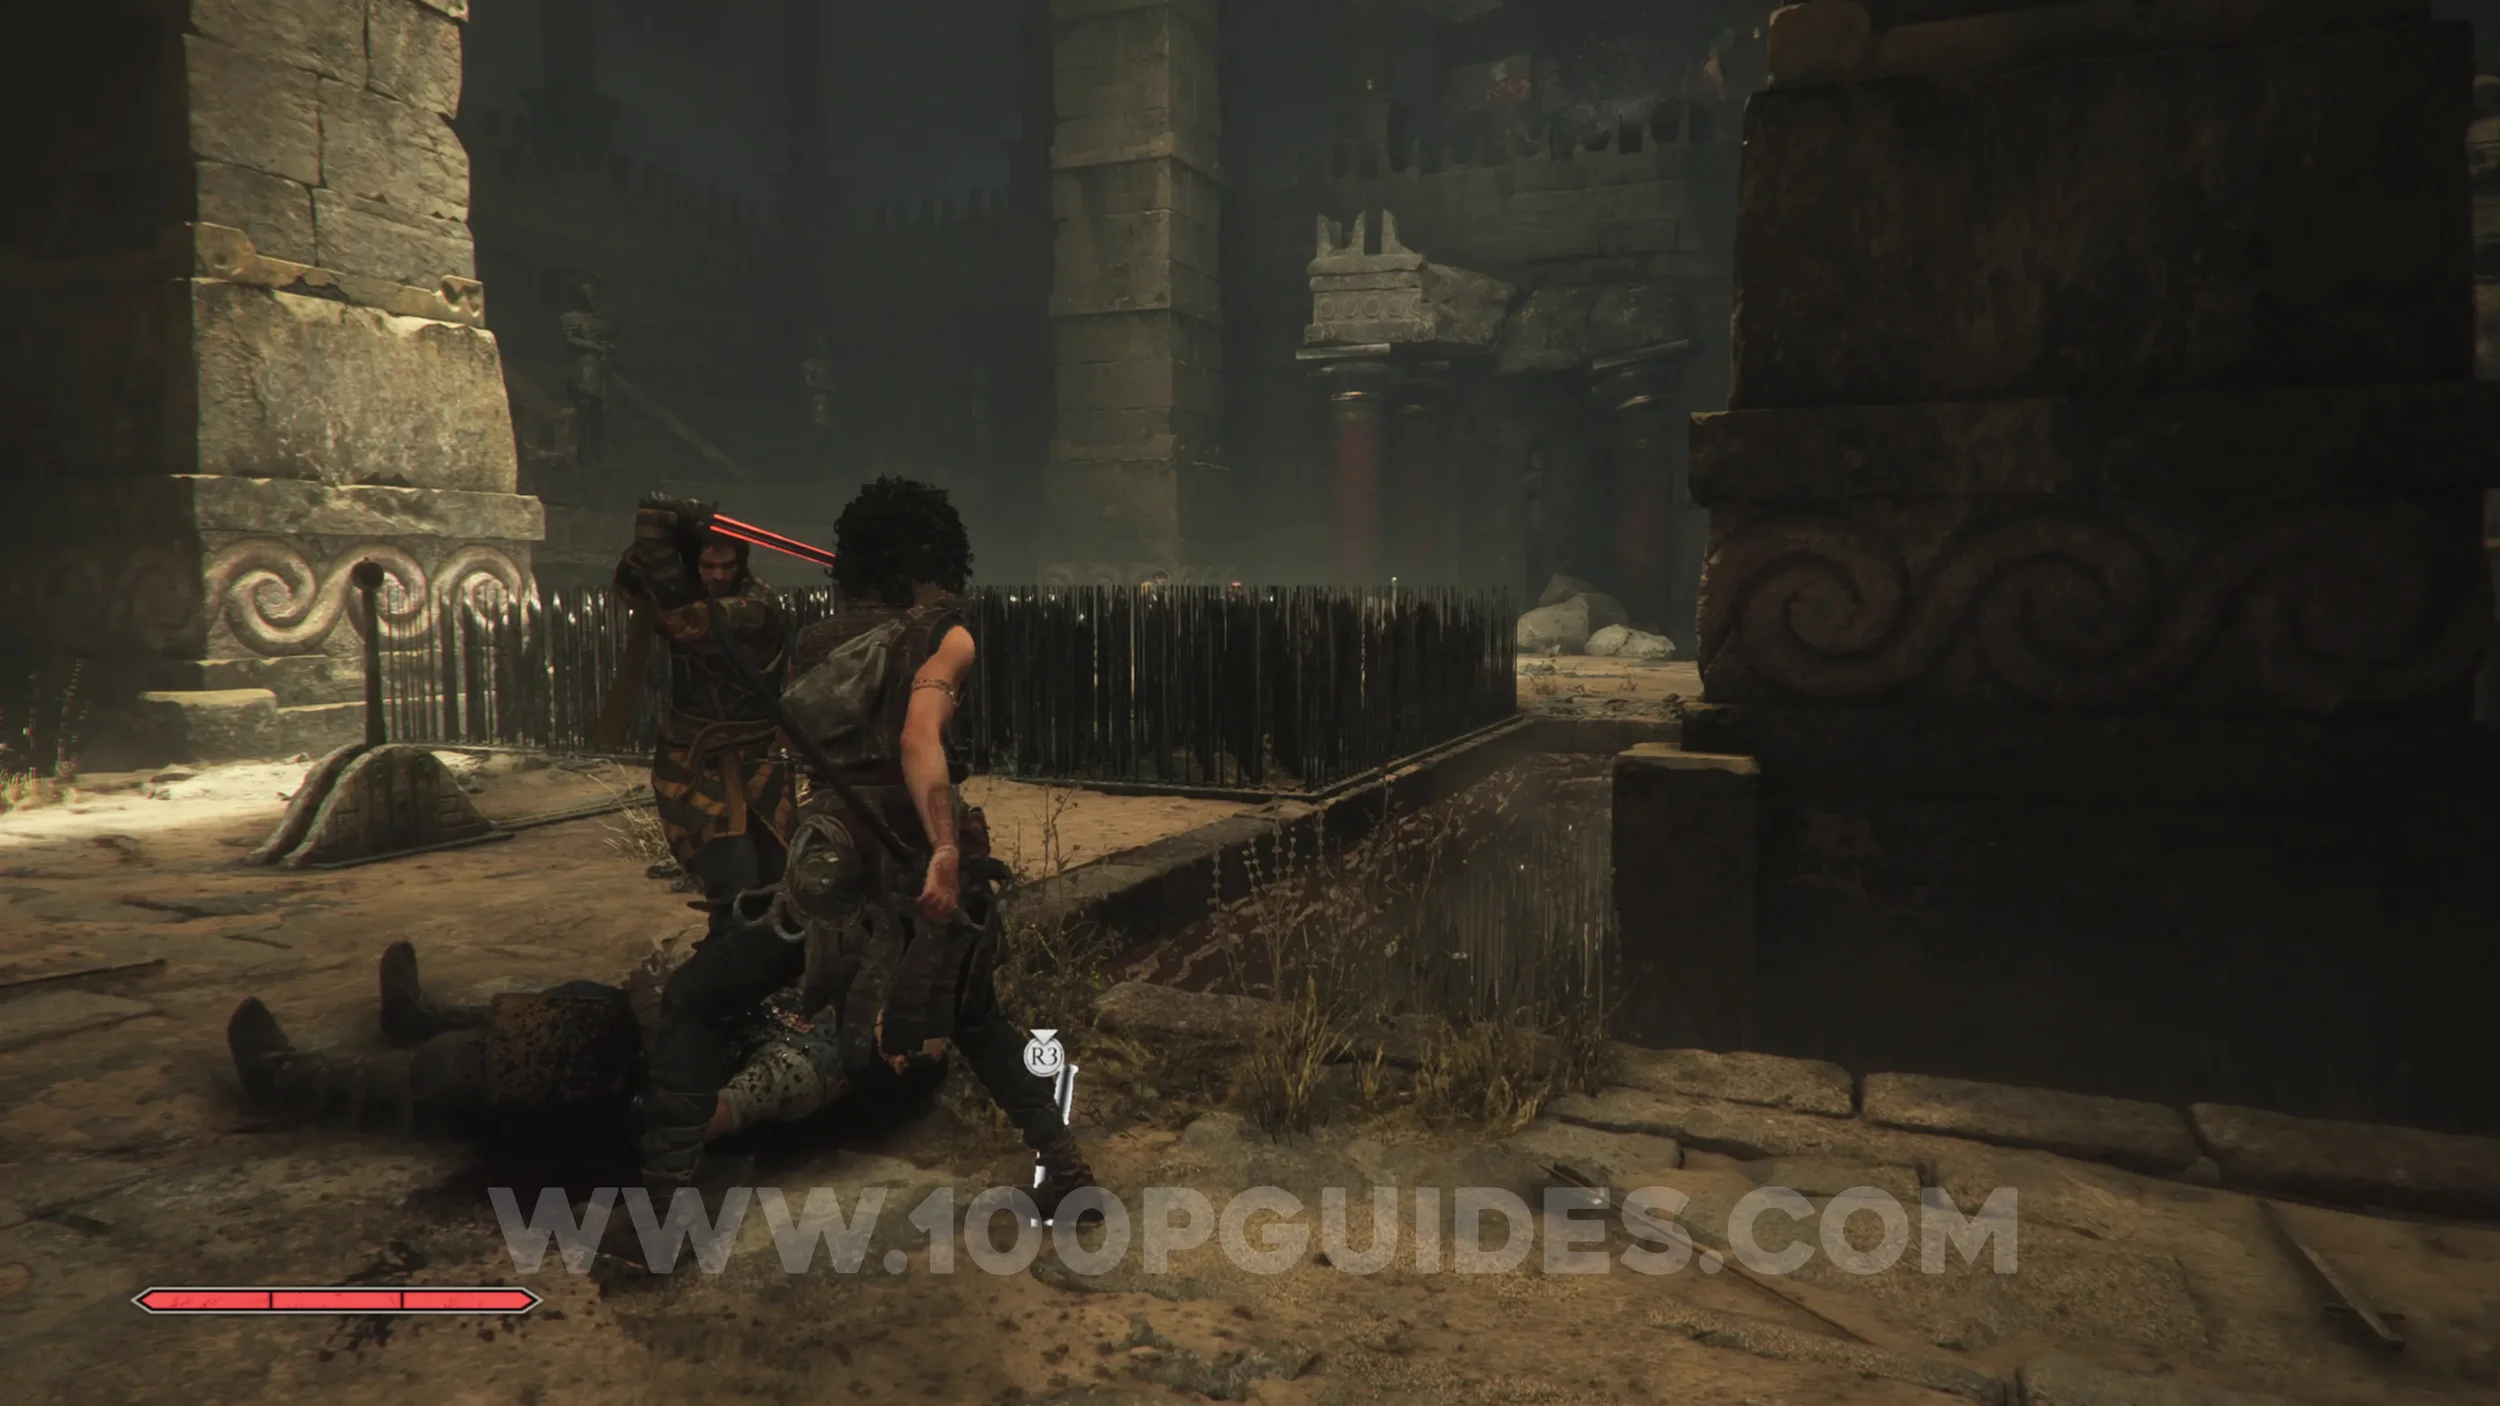
Obtained automatically after defeating the enemies that attack you when you get separated from Leni by the spikes.
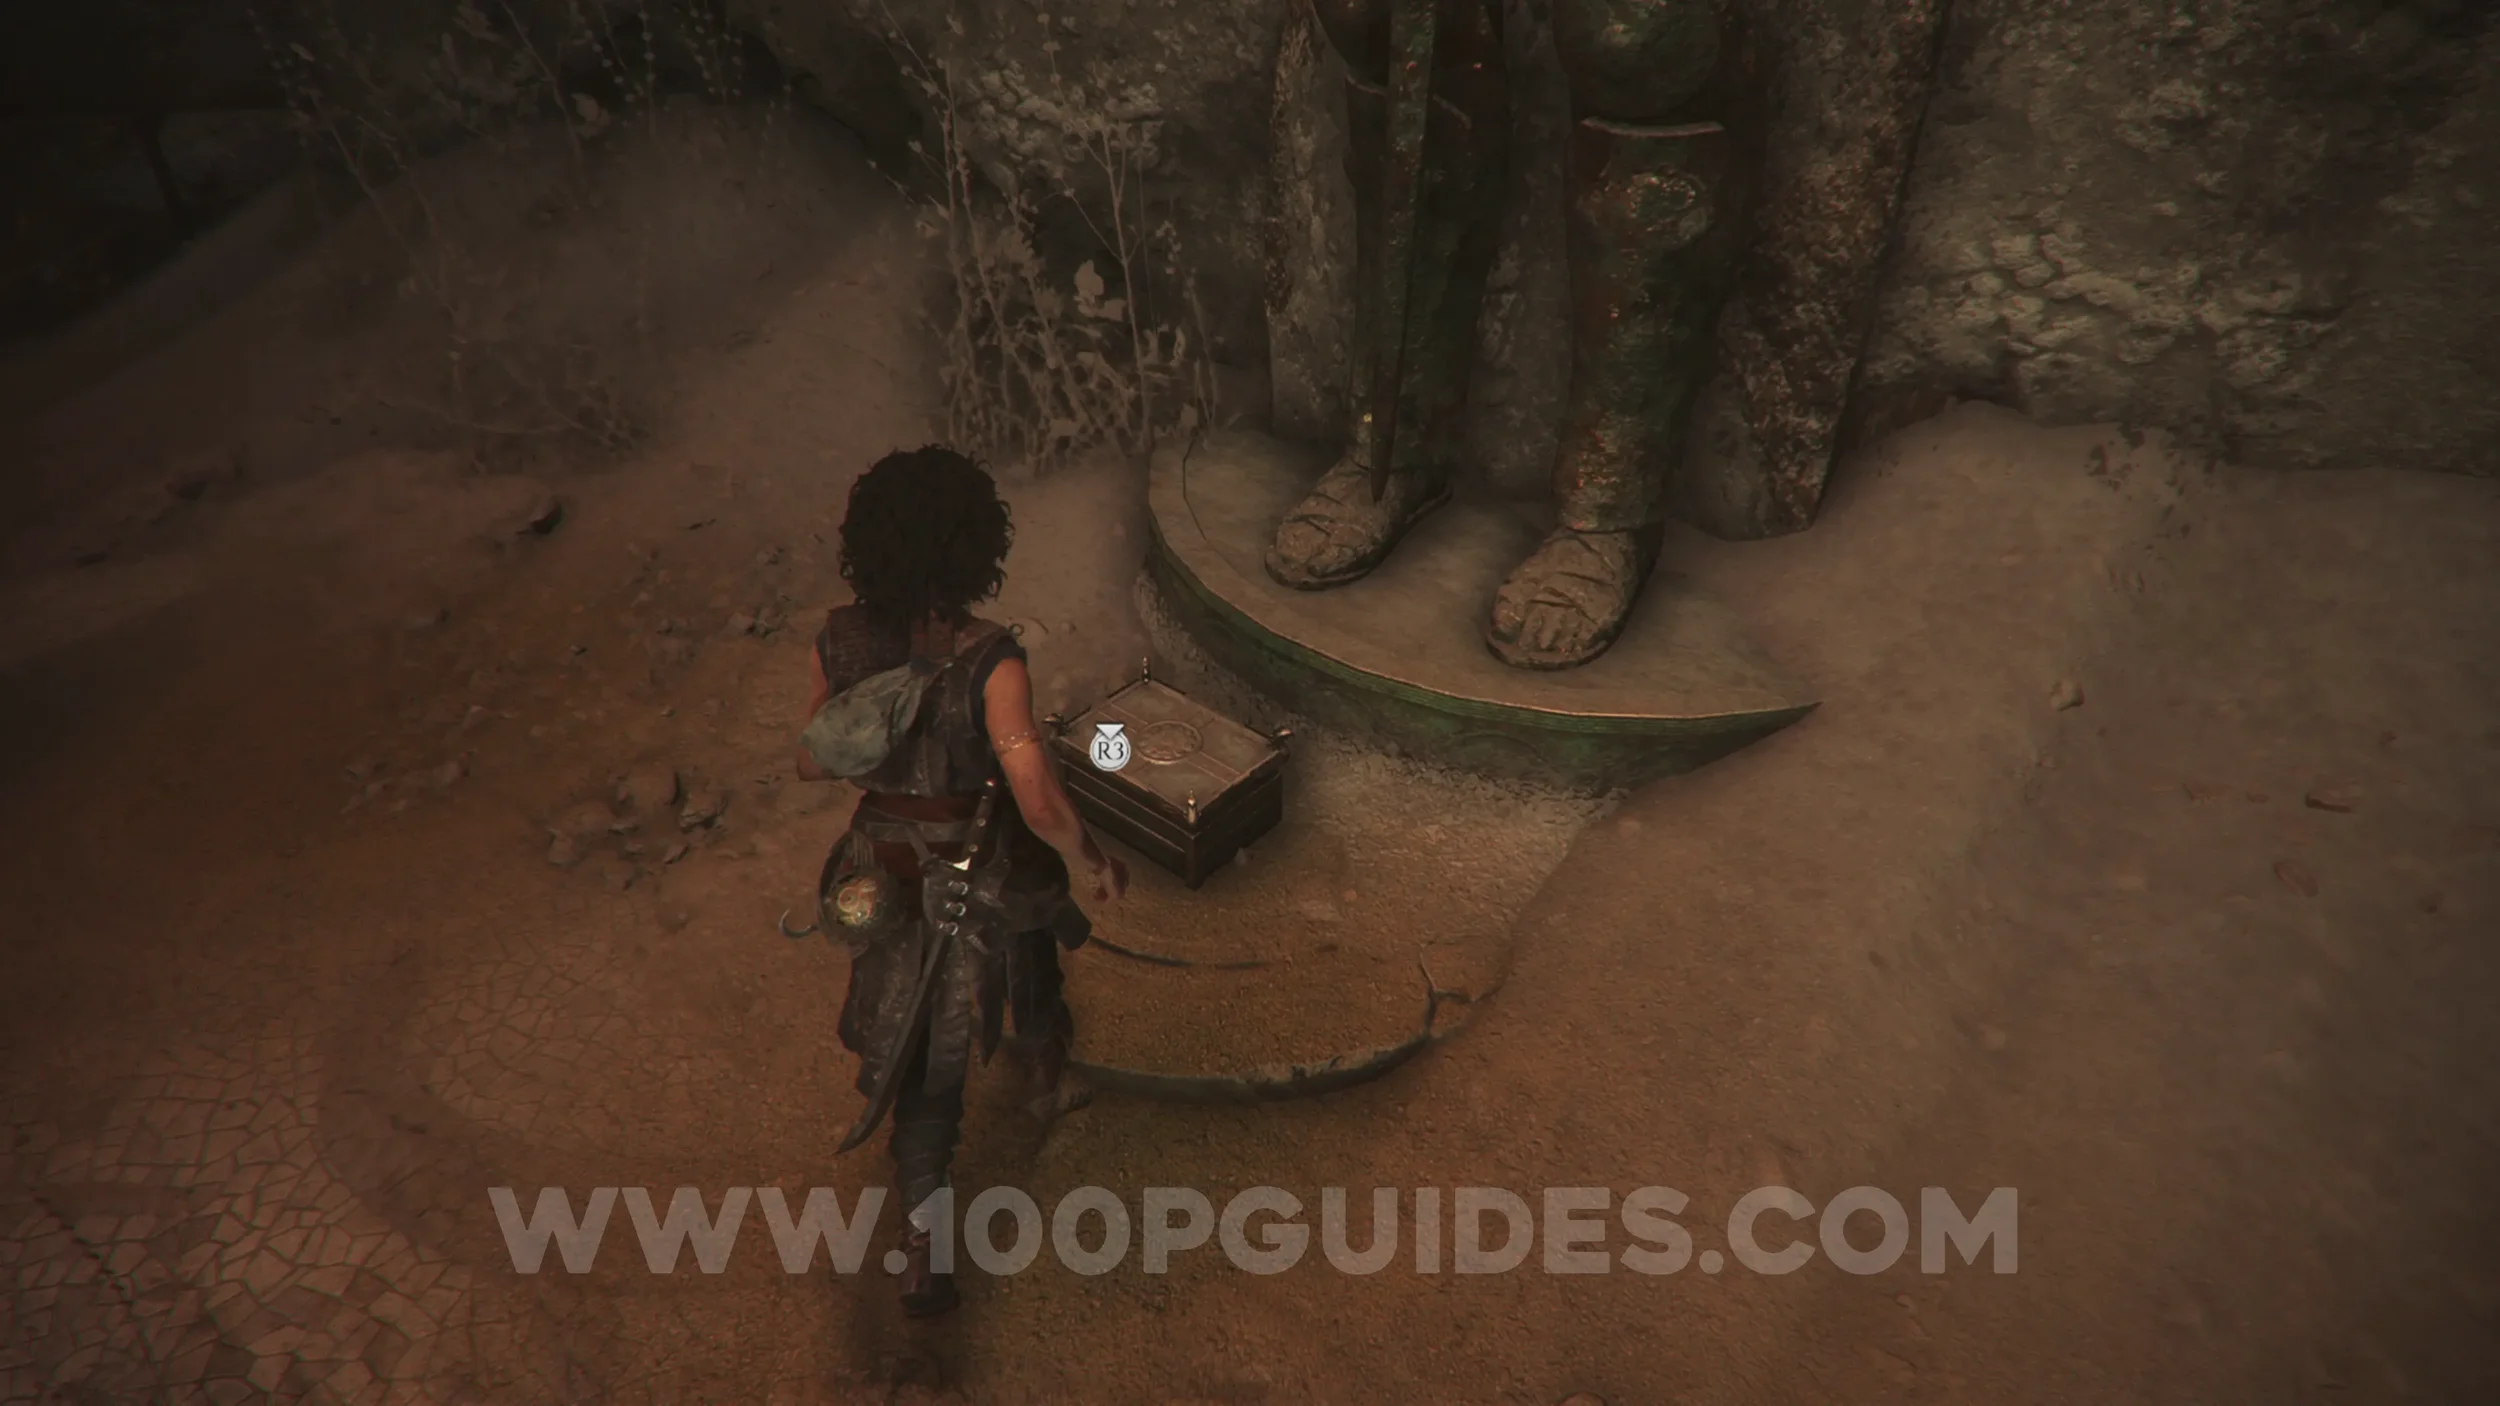
Charm: Trinket #1
Chapter 4: Sub-Chapter 4.
In the circular room with the large golden hole.
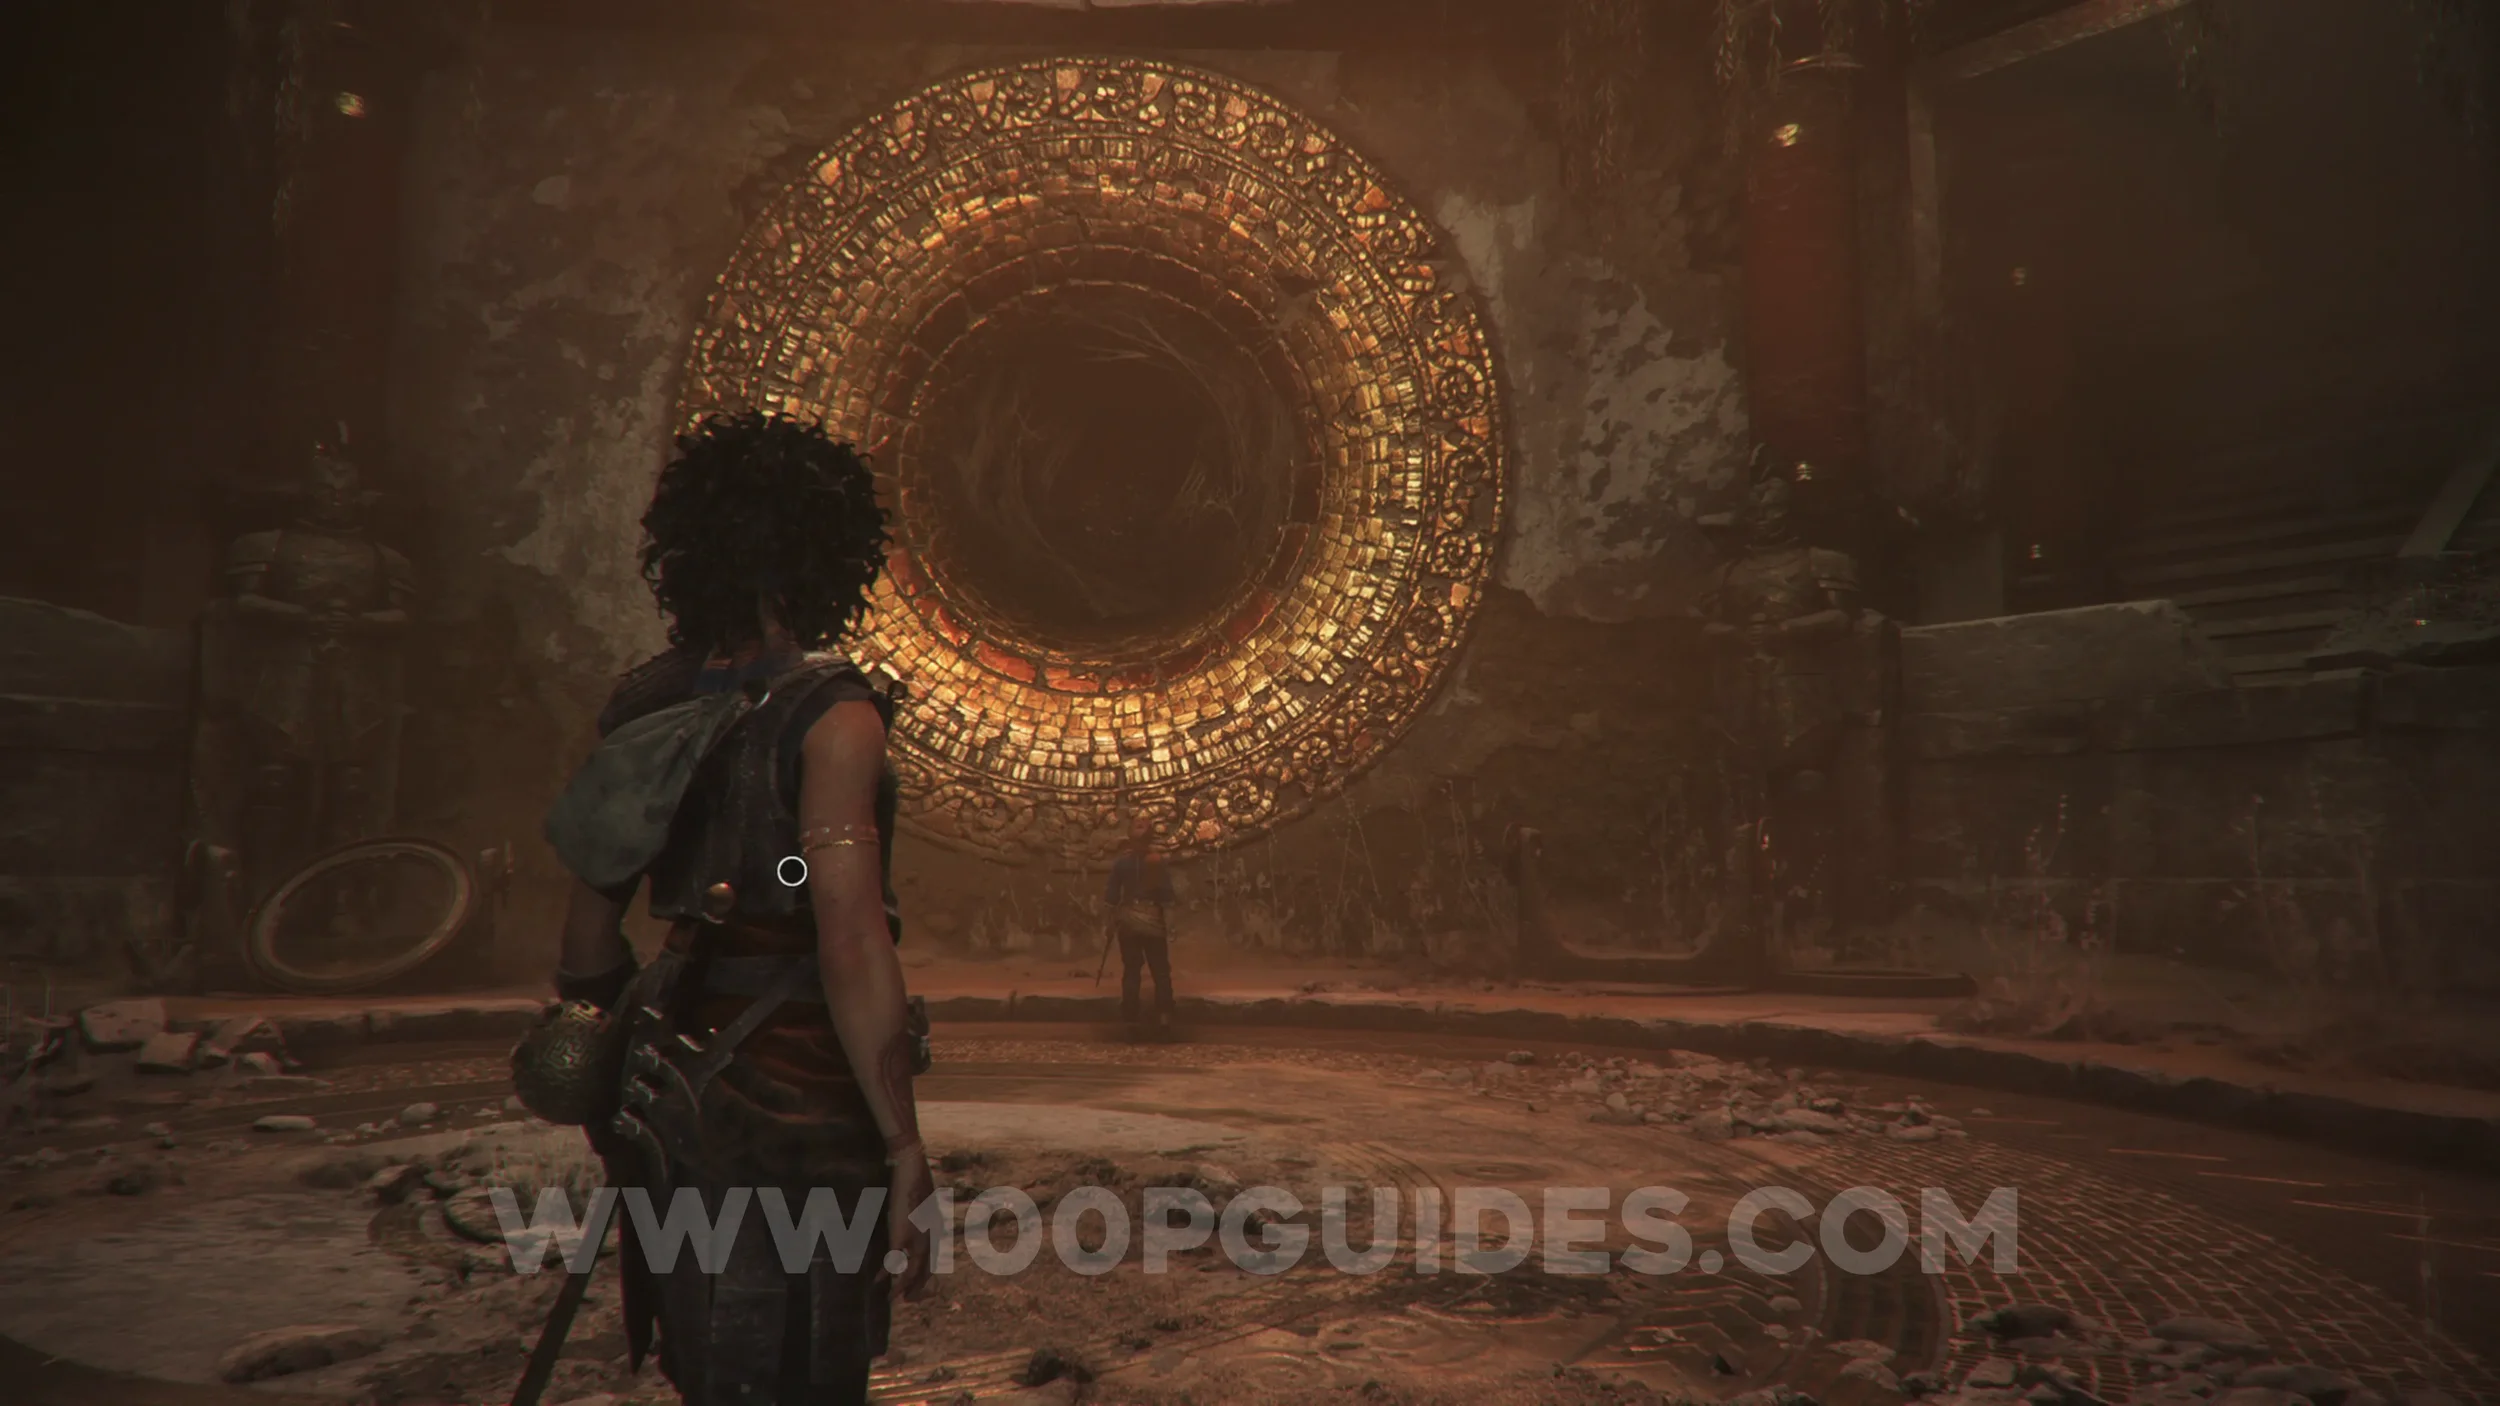
Resonance Point x3
Chapter 4: Sub-Chapter 5.
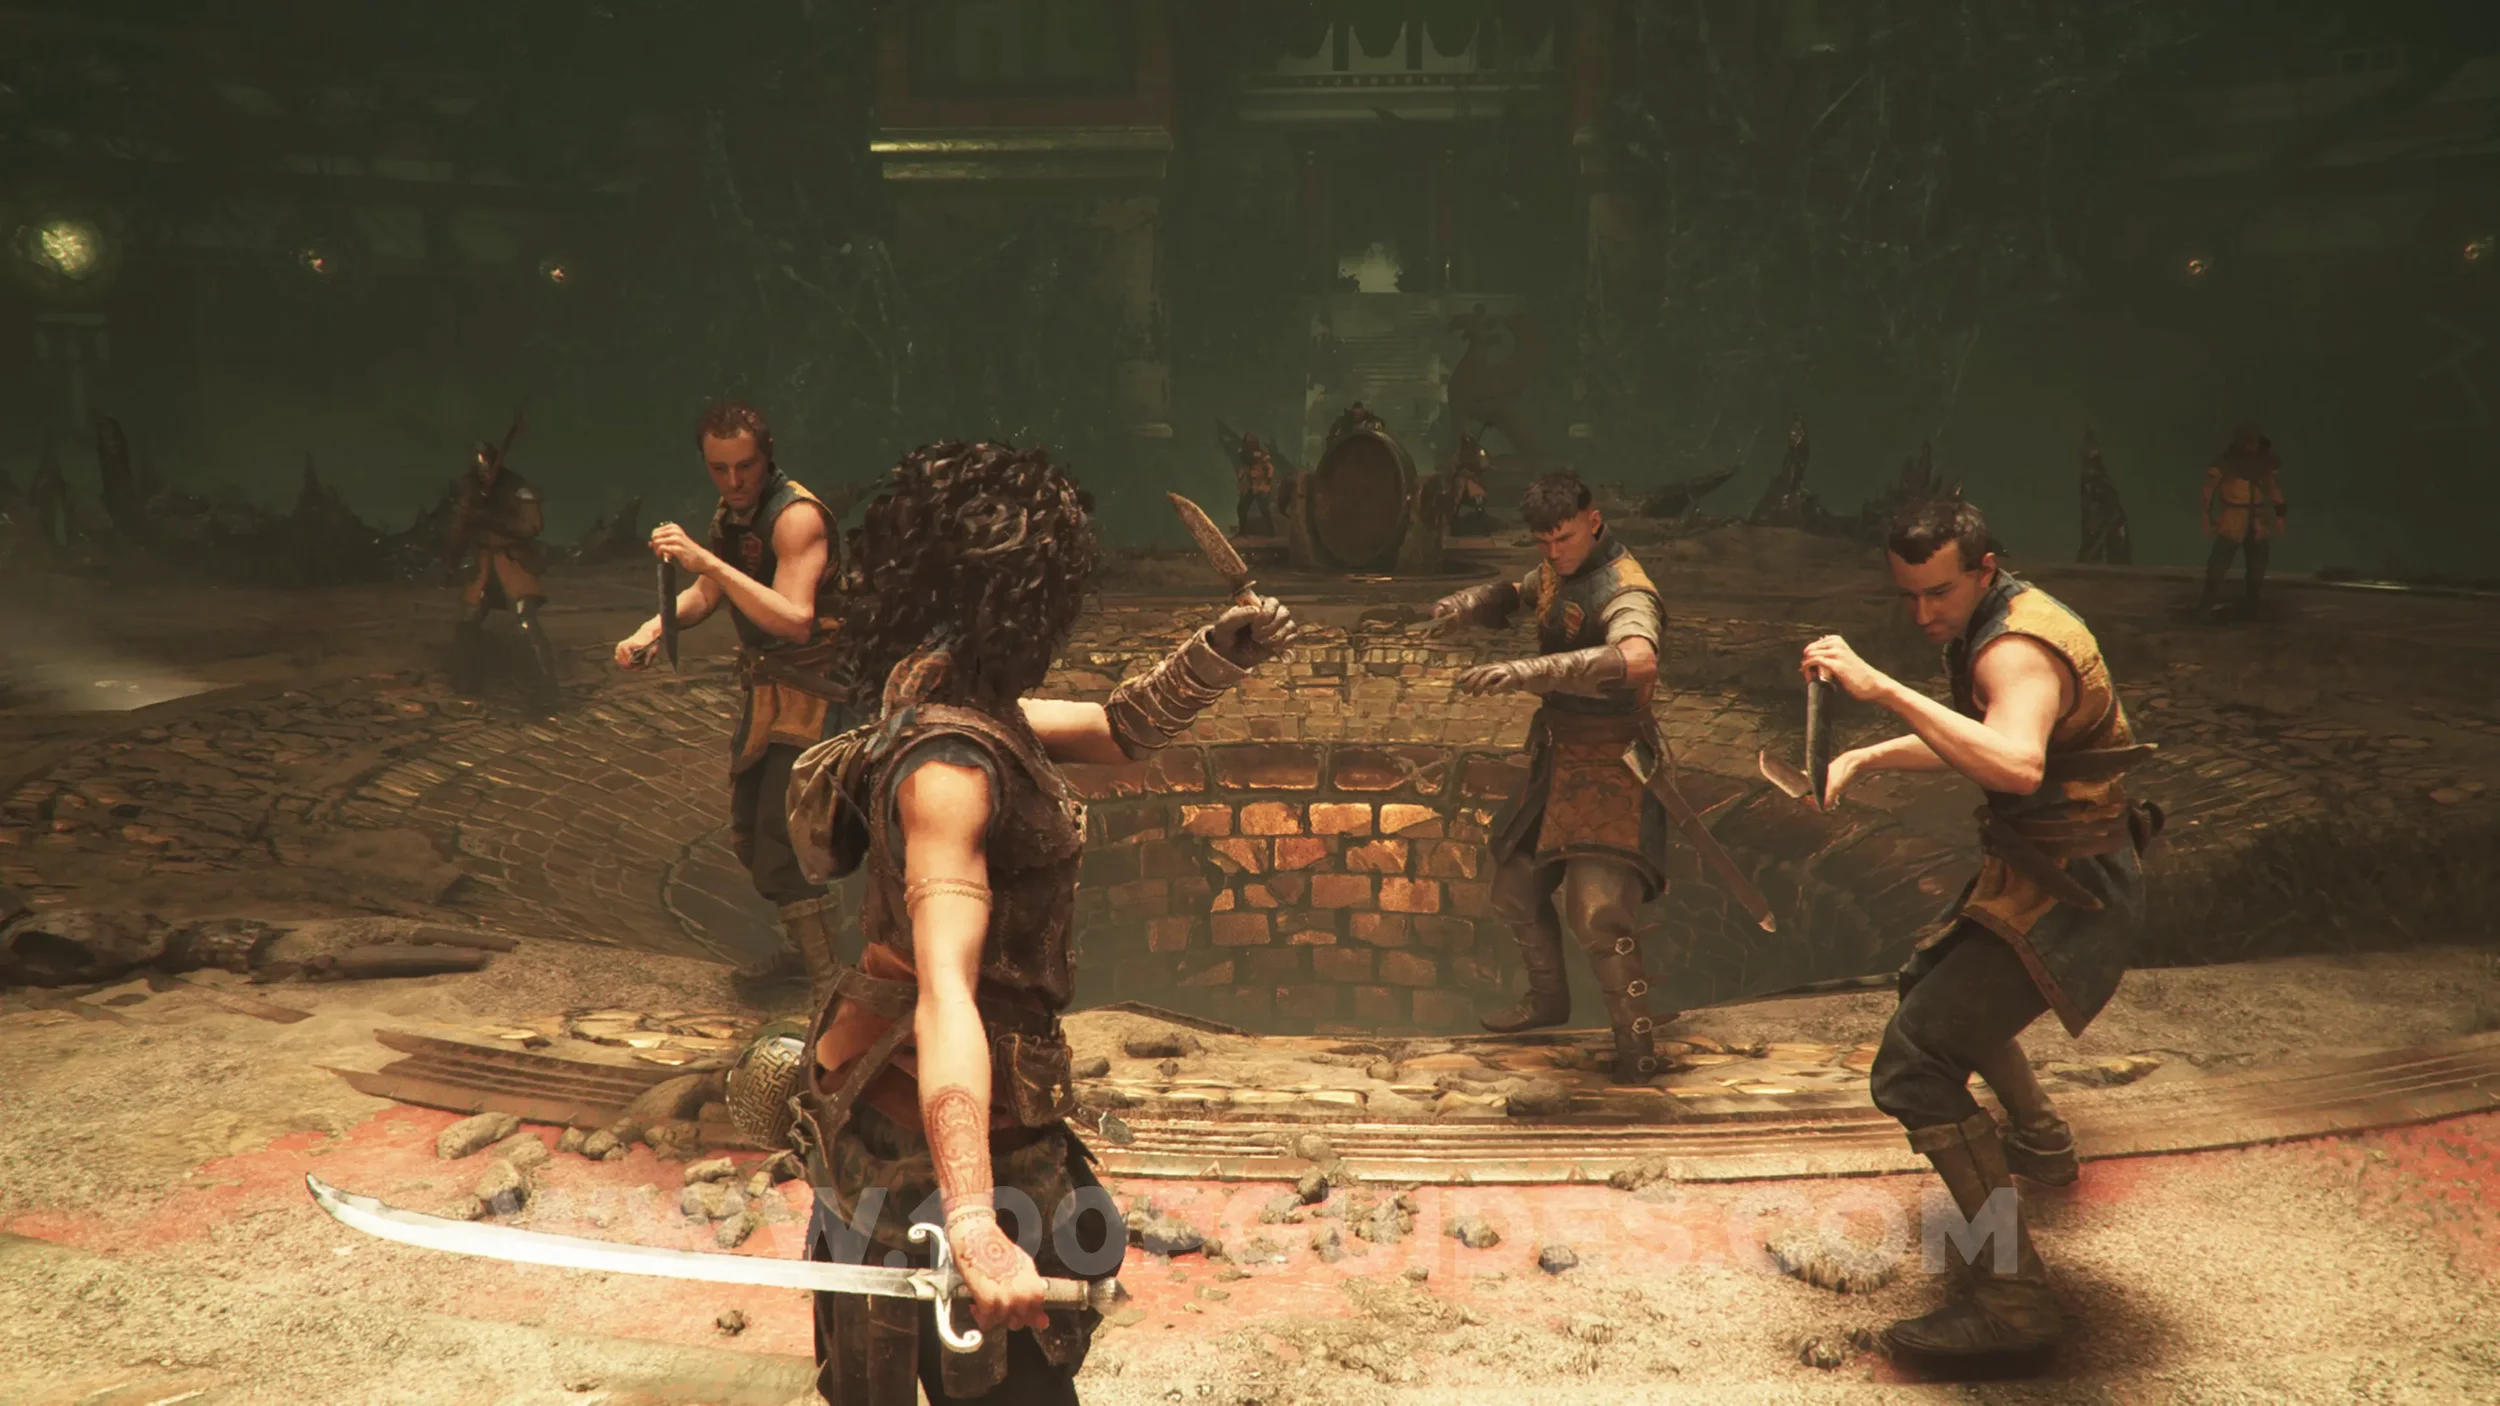
Obtained automatically after defeating the group of enemies that attack you after solving the minotaur puzzle.
Chapter 5
Resonance Point
Chapter 5: Sub-Chapter 1.
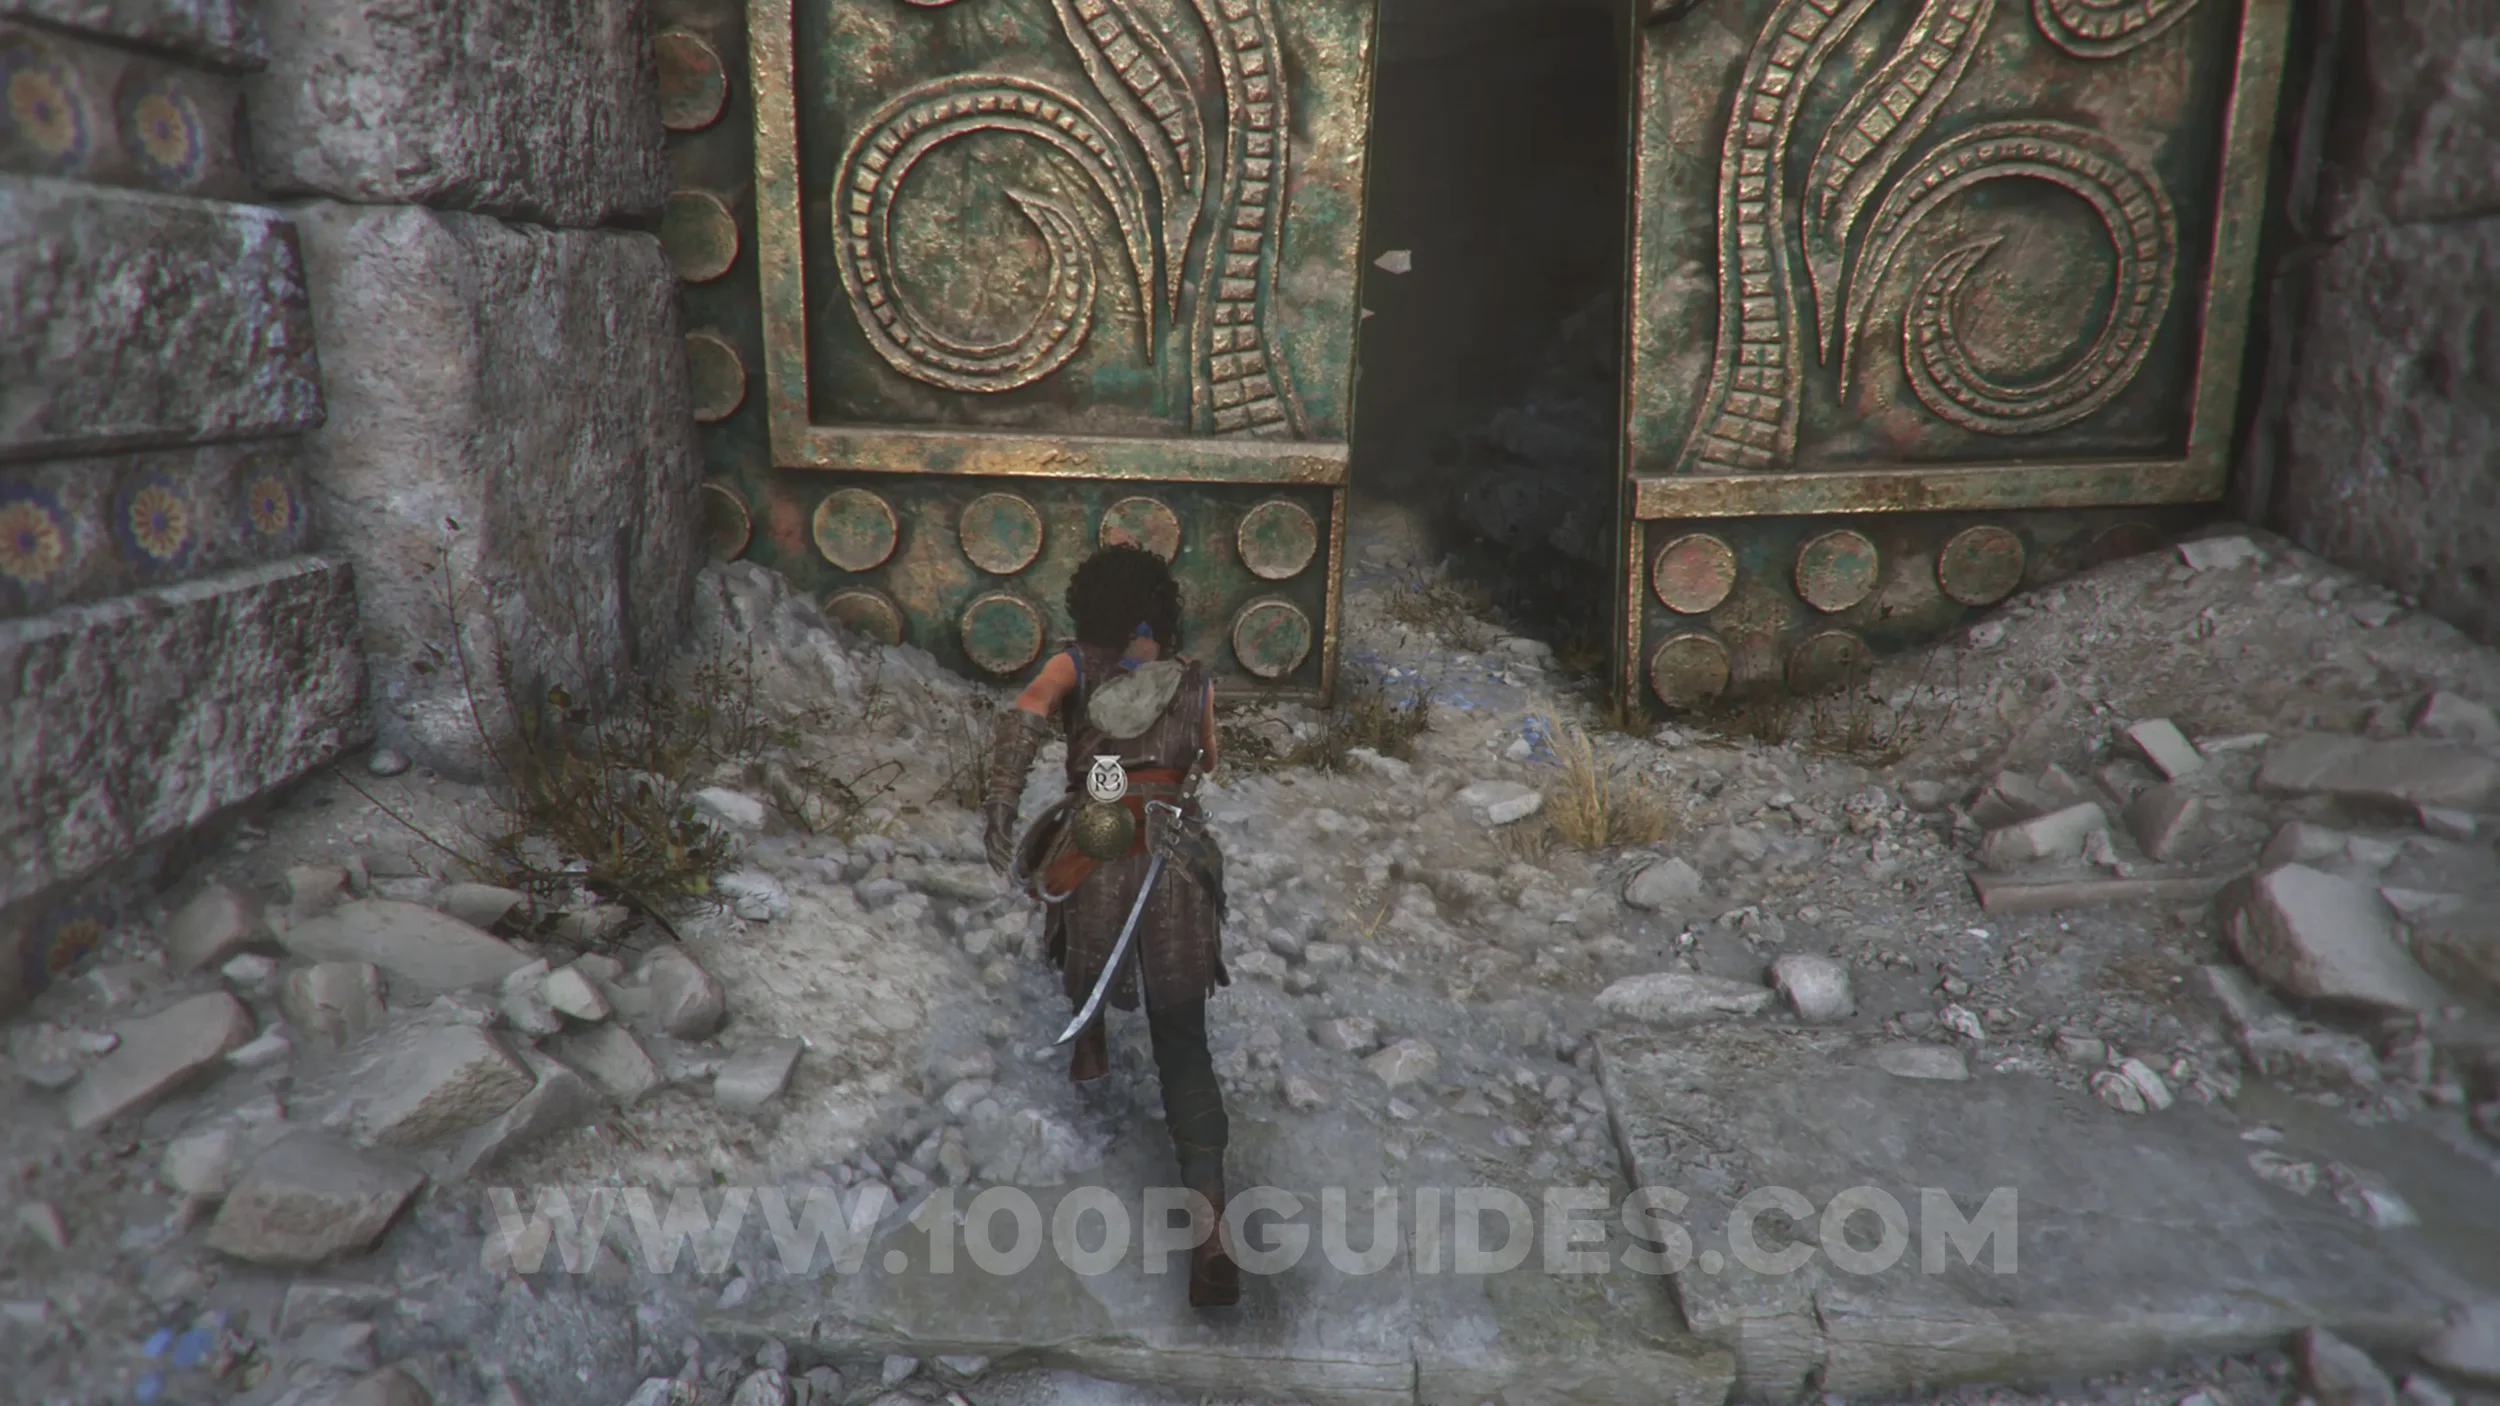
On the ground just before you go through the first door at the start of the chapter.
Resonance Point
Chapter 5: Sub-Chapter 1.
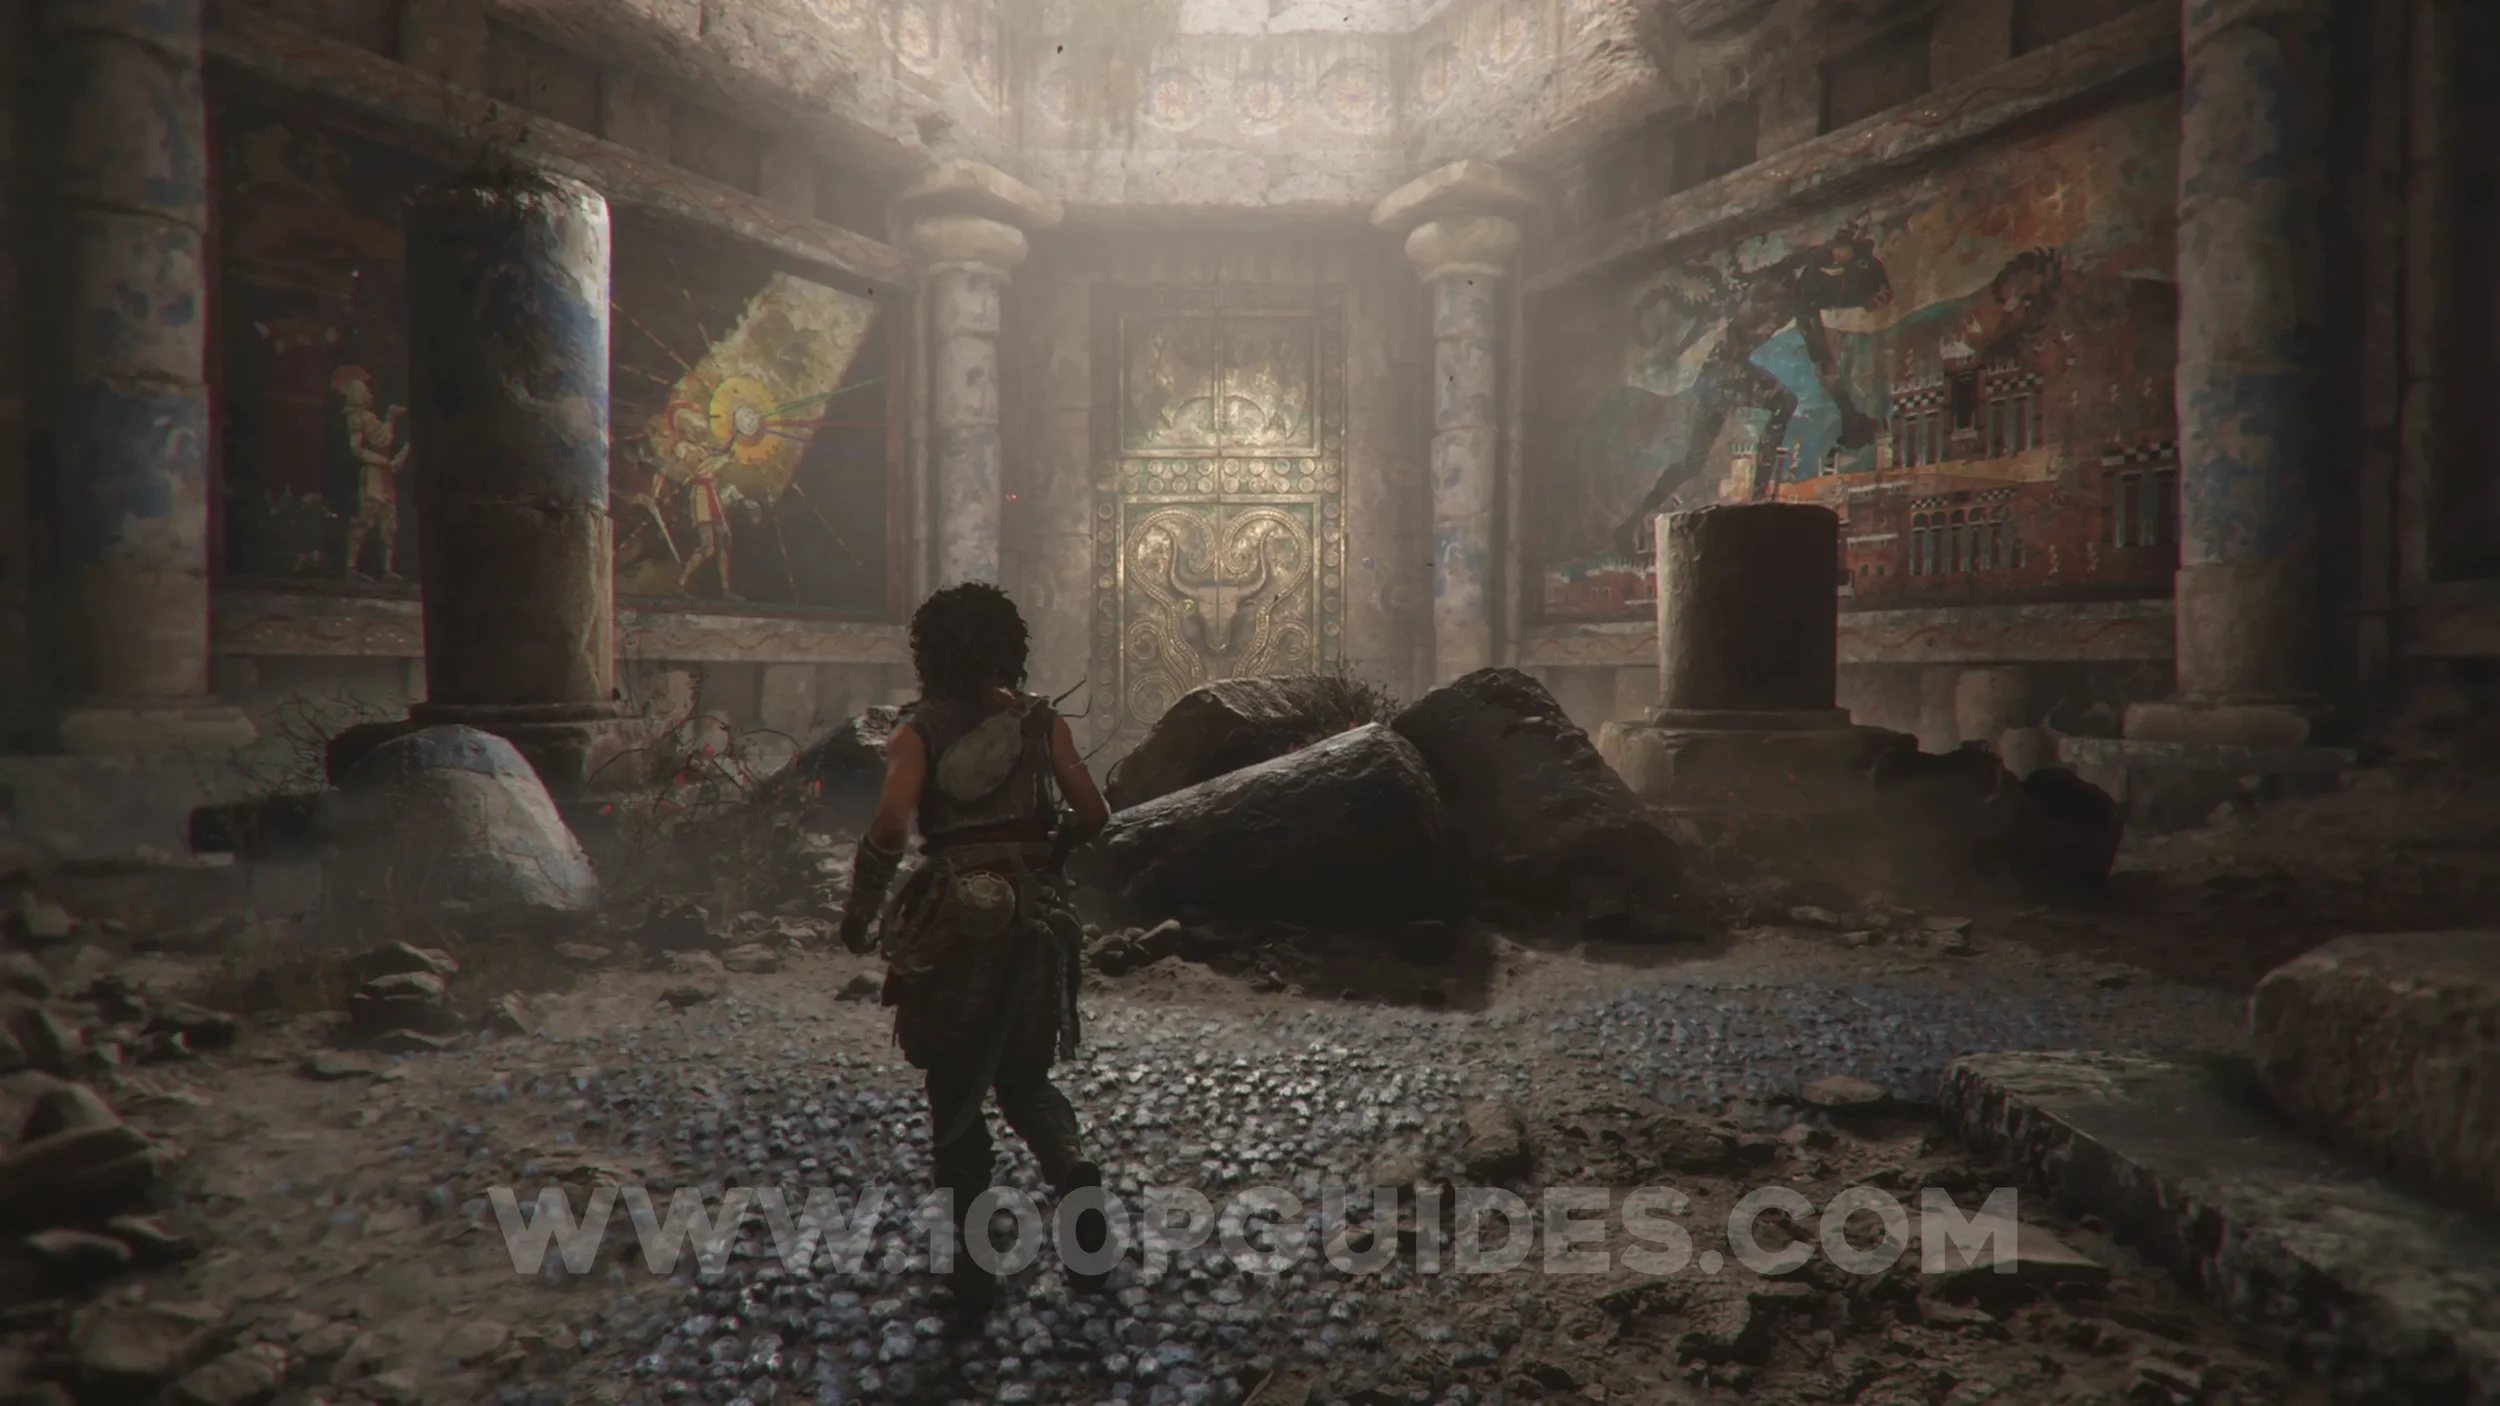
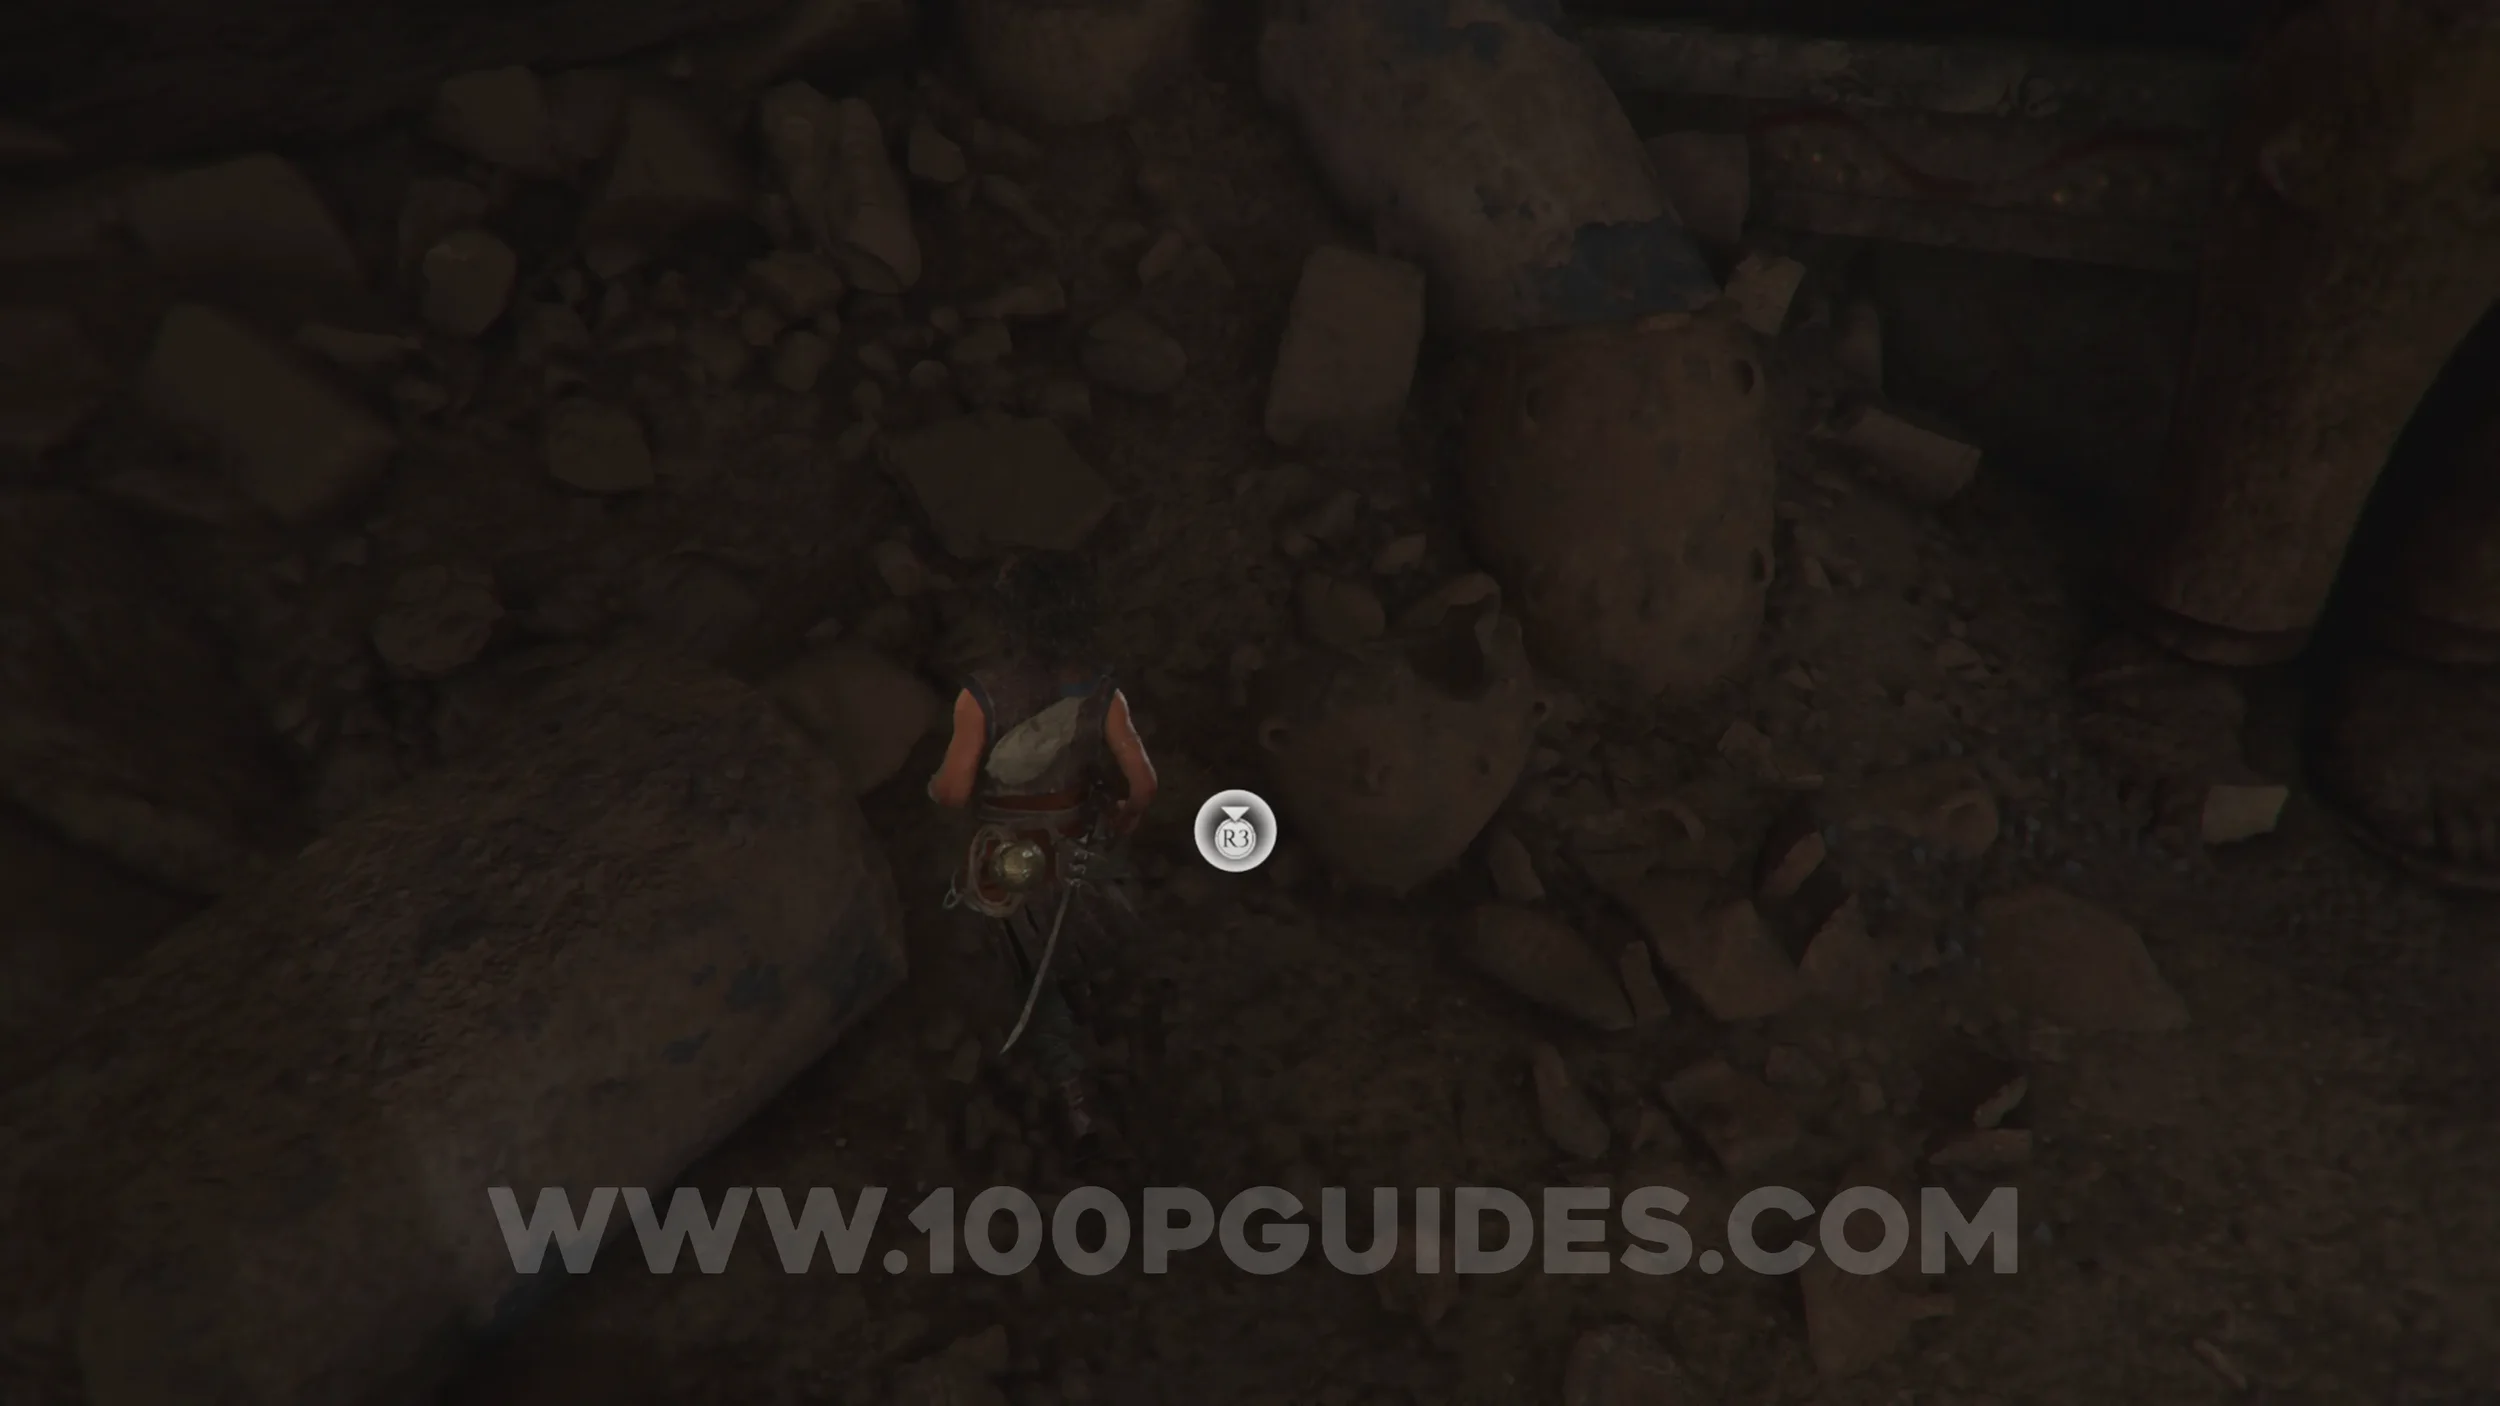
Soon after going through the first door, you'll shimmy through some rocks and emerge into a room with two large frescoes and a door with a bull on it. You'll find the collectible on your left in this room.
Resonance Point
Chapter 5: Sub-Chapter 1.
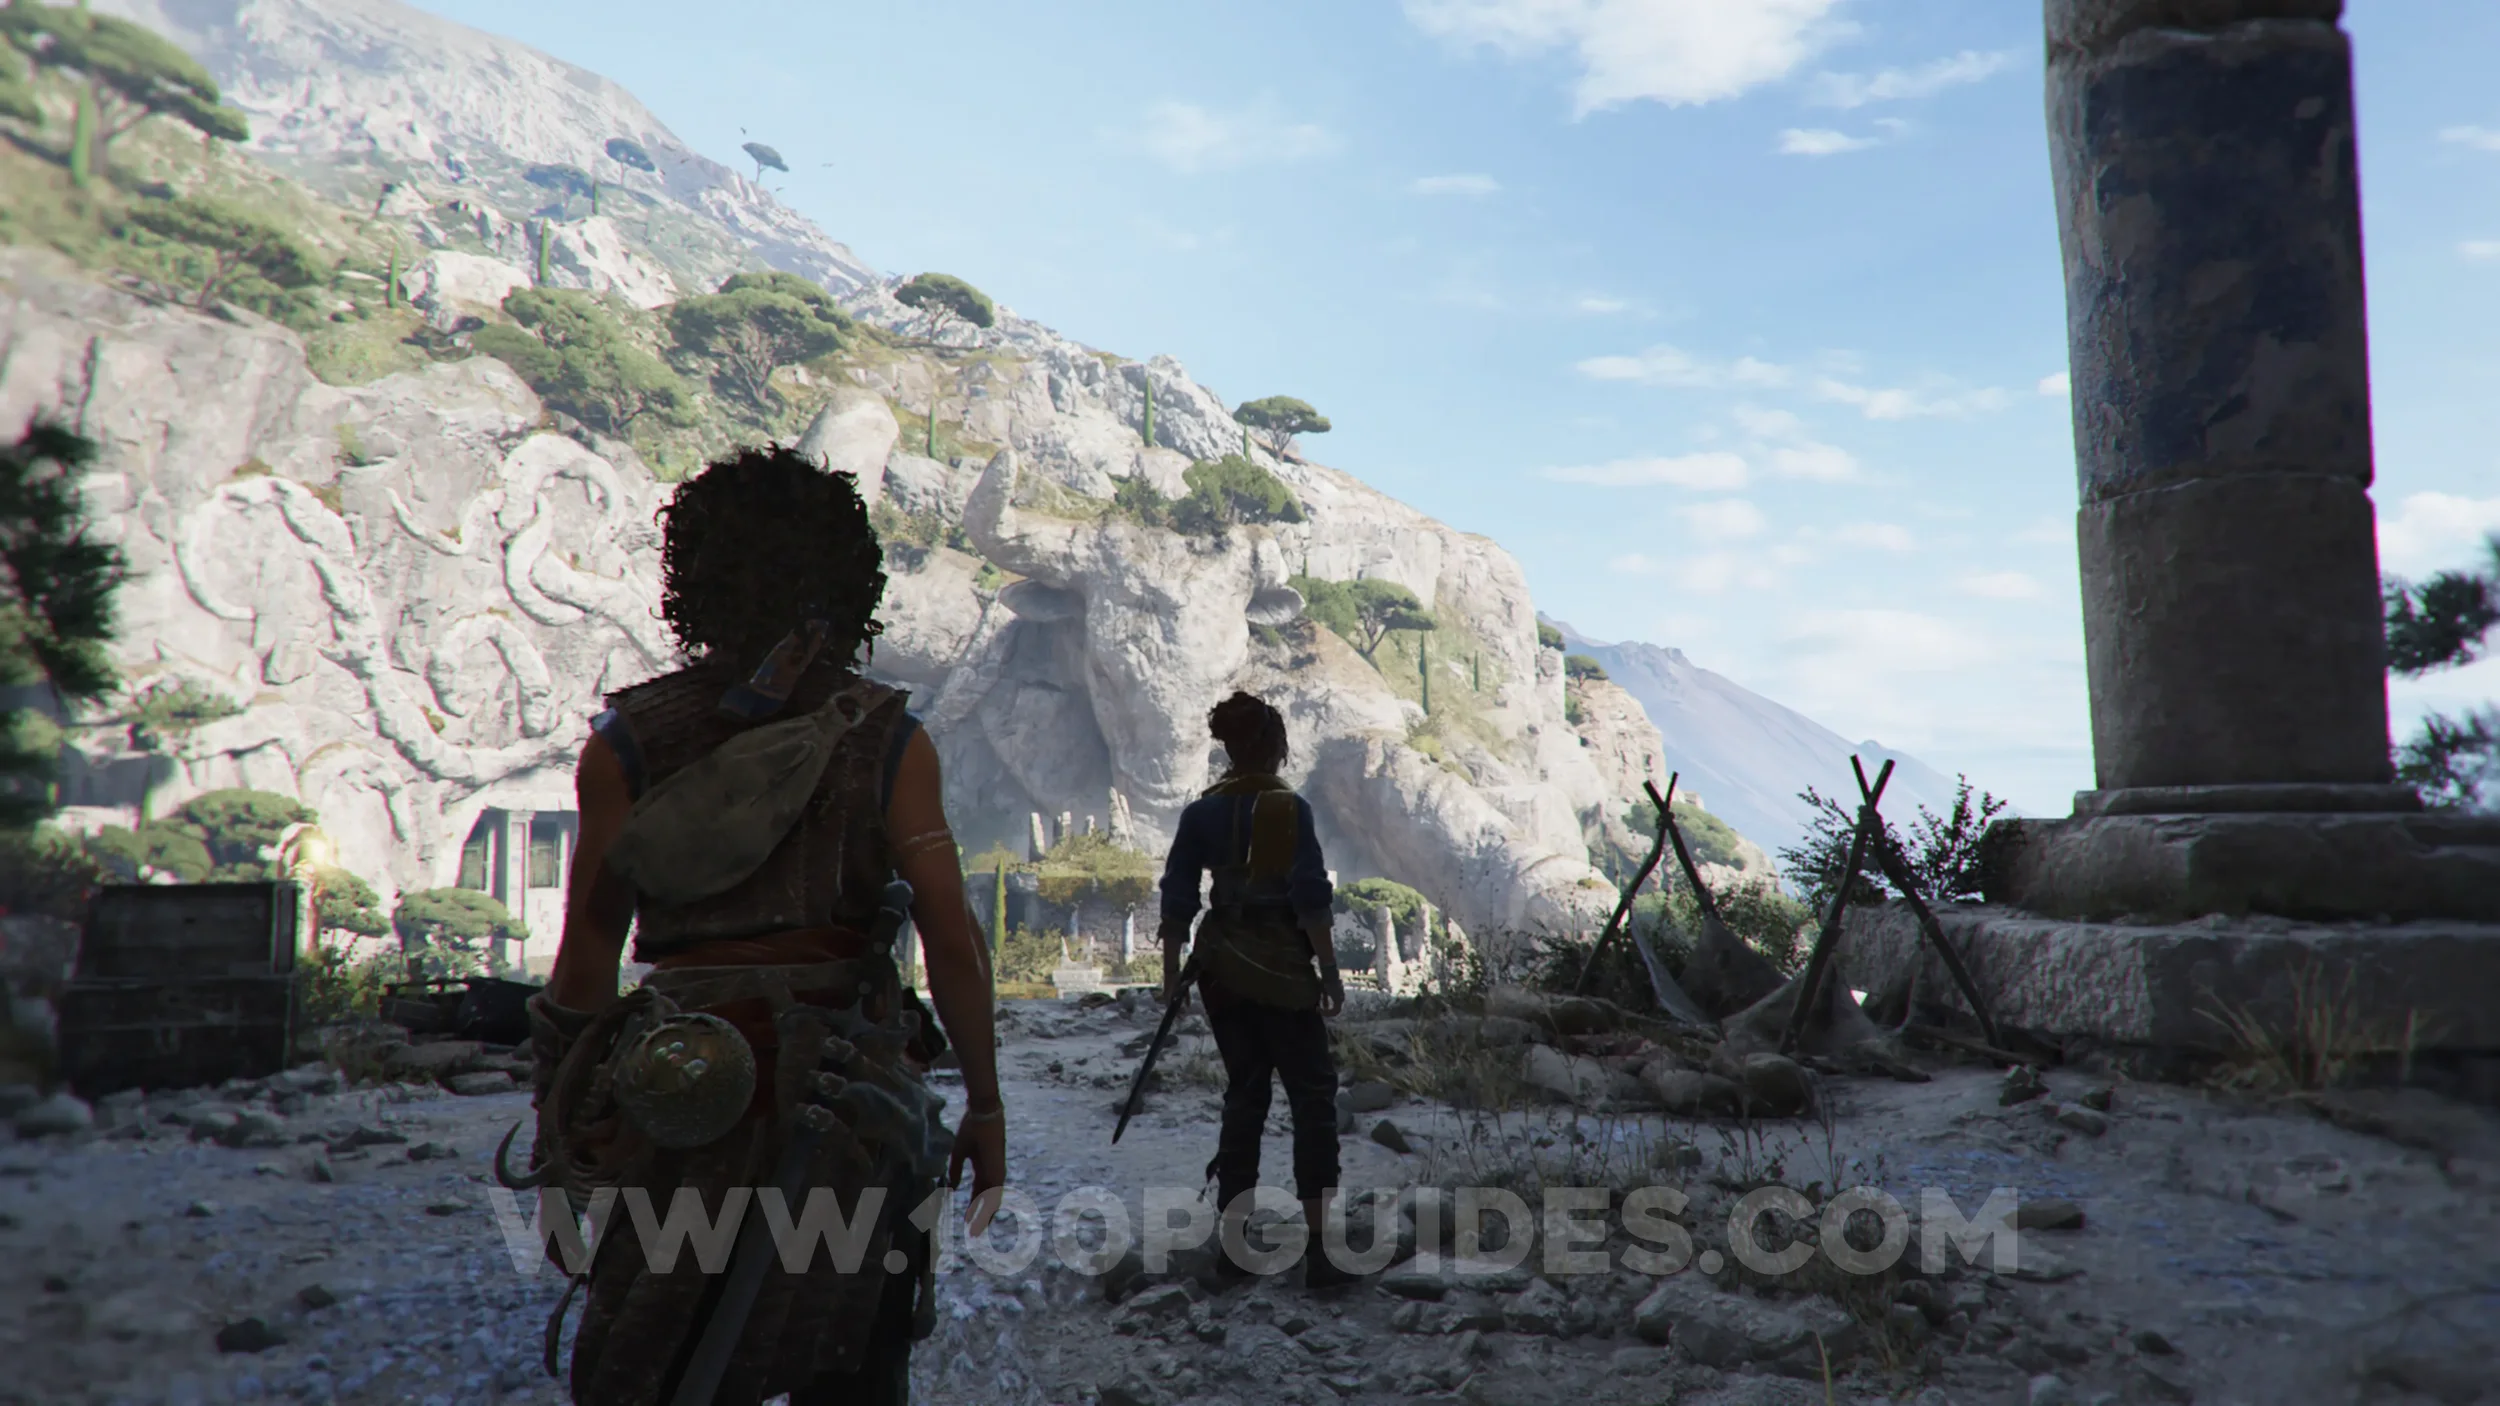
On the ground to your left as soon as you return back outside.
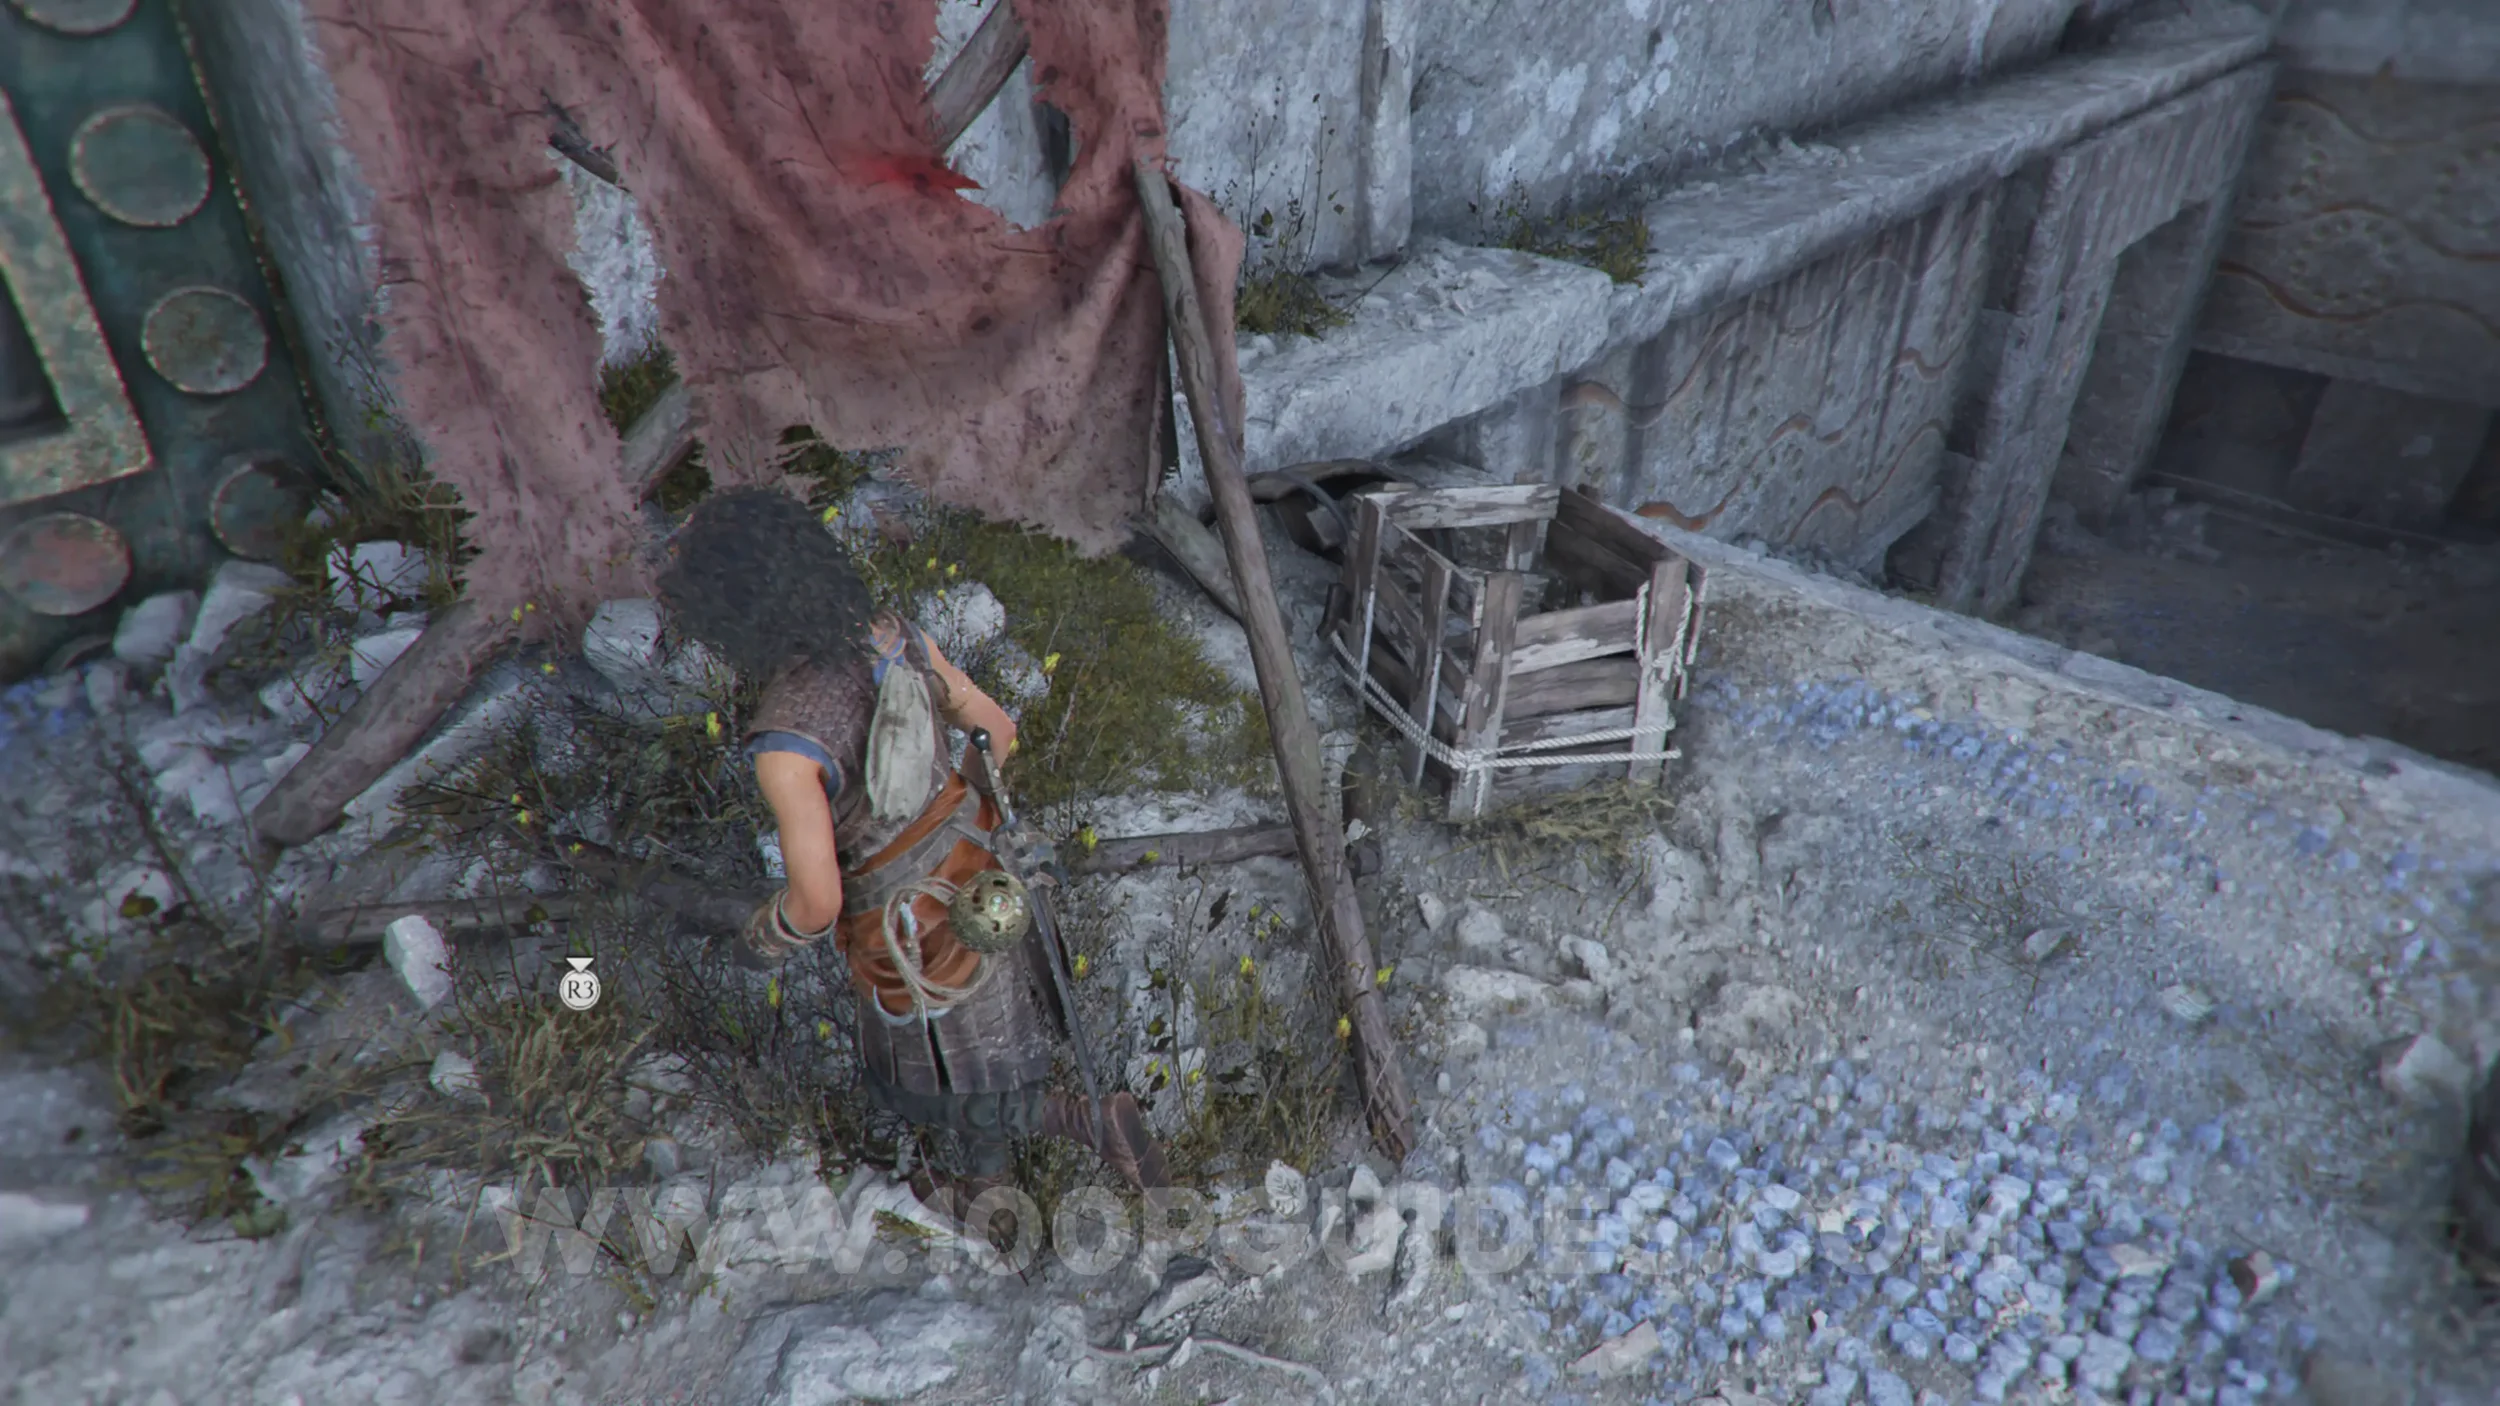
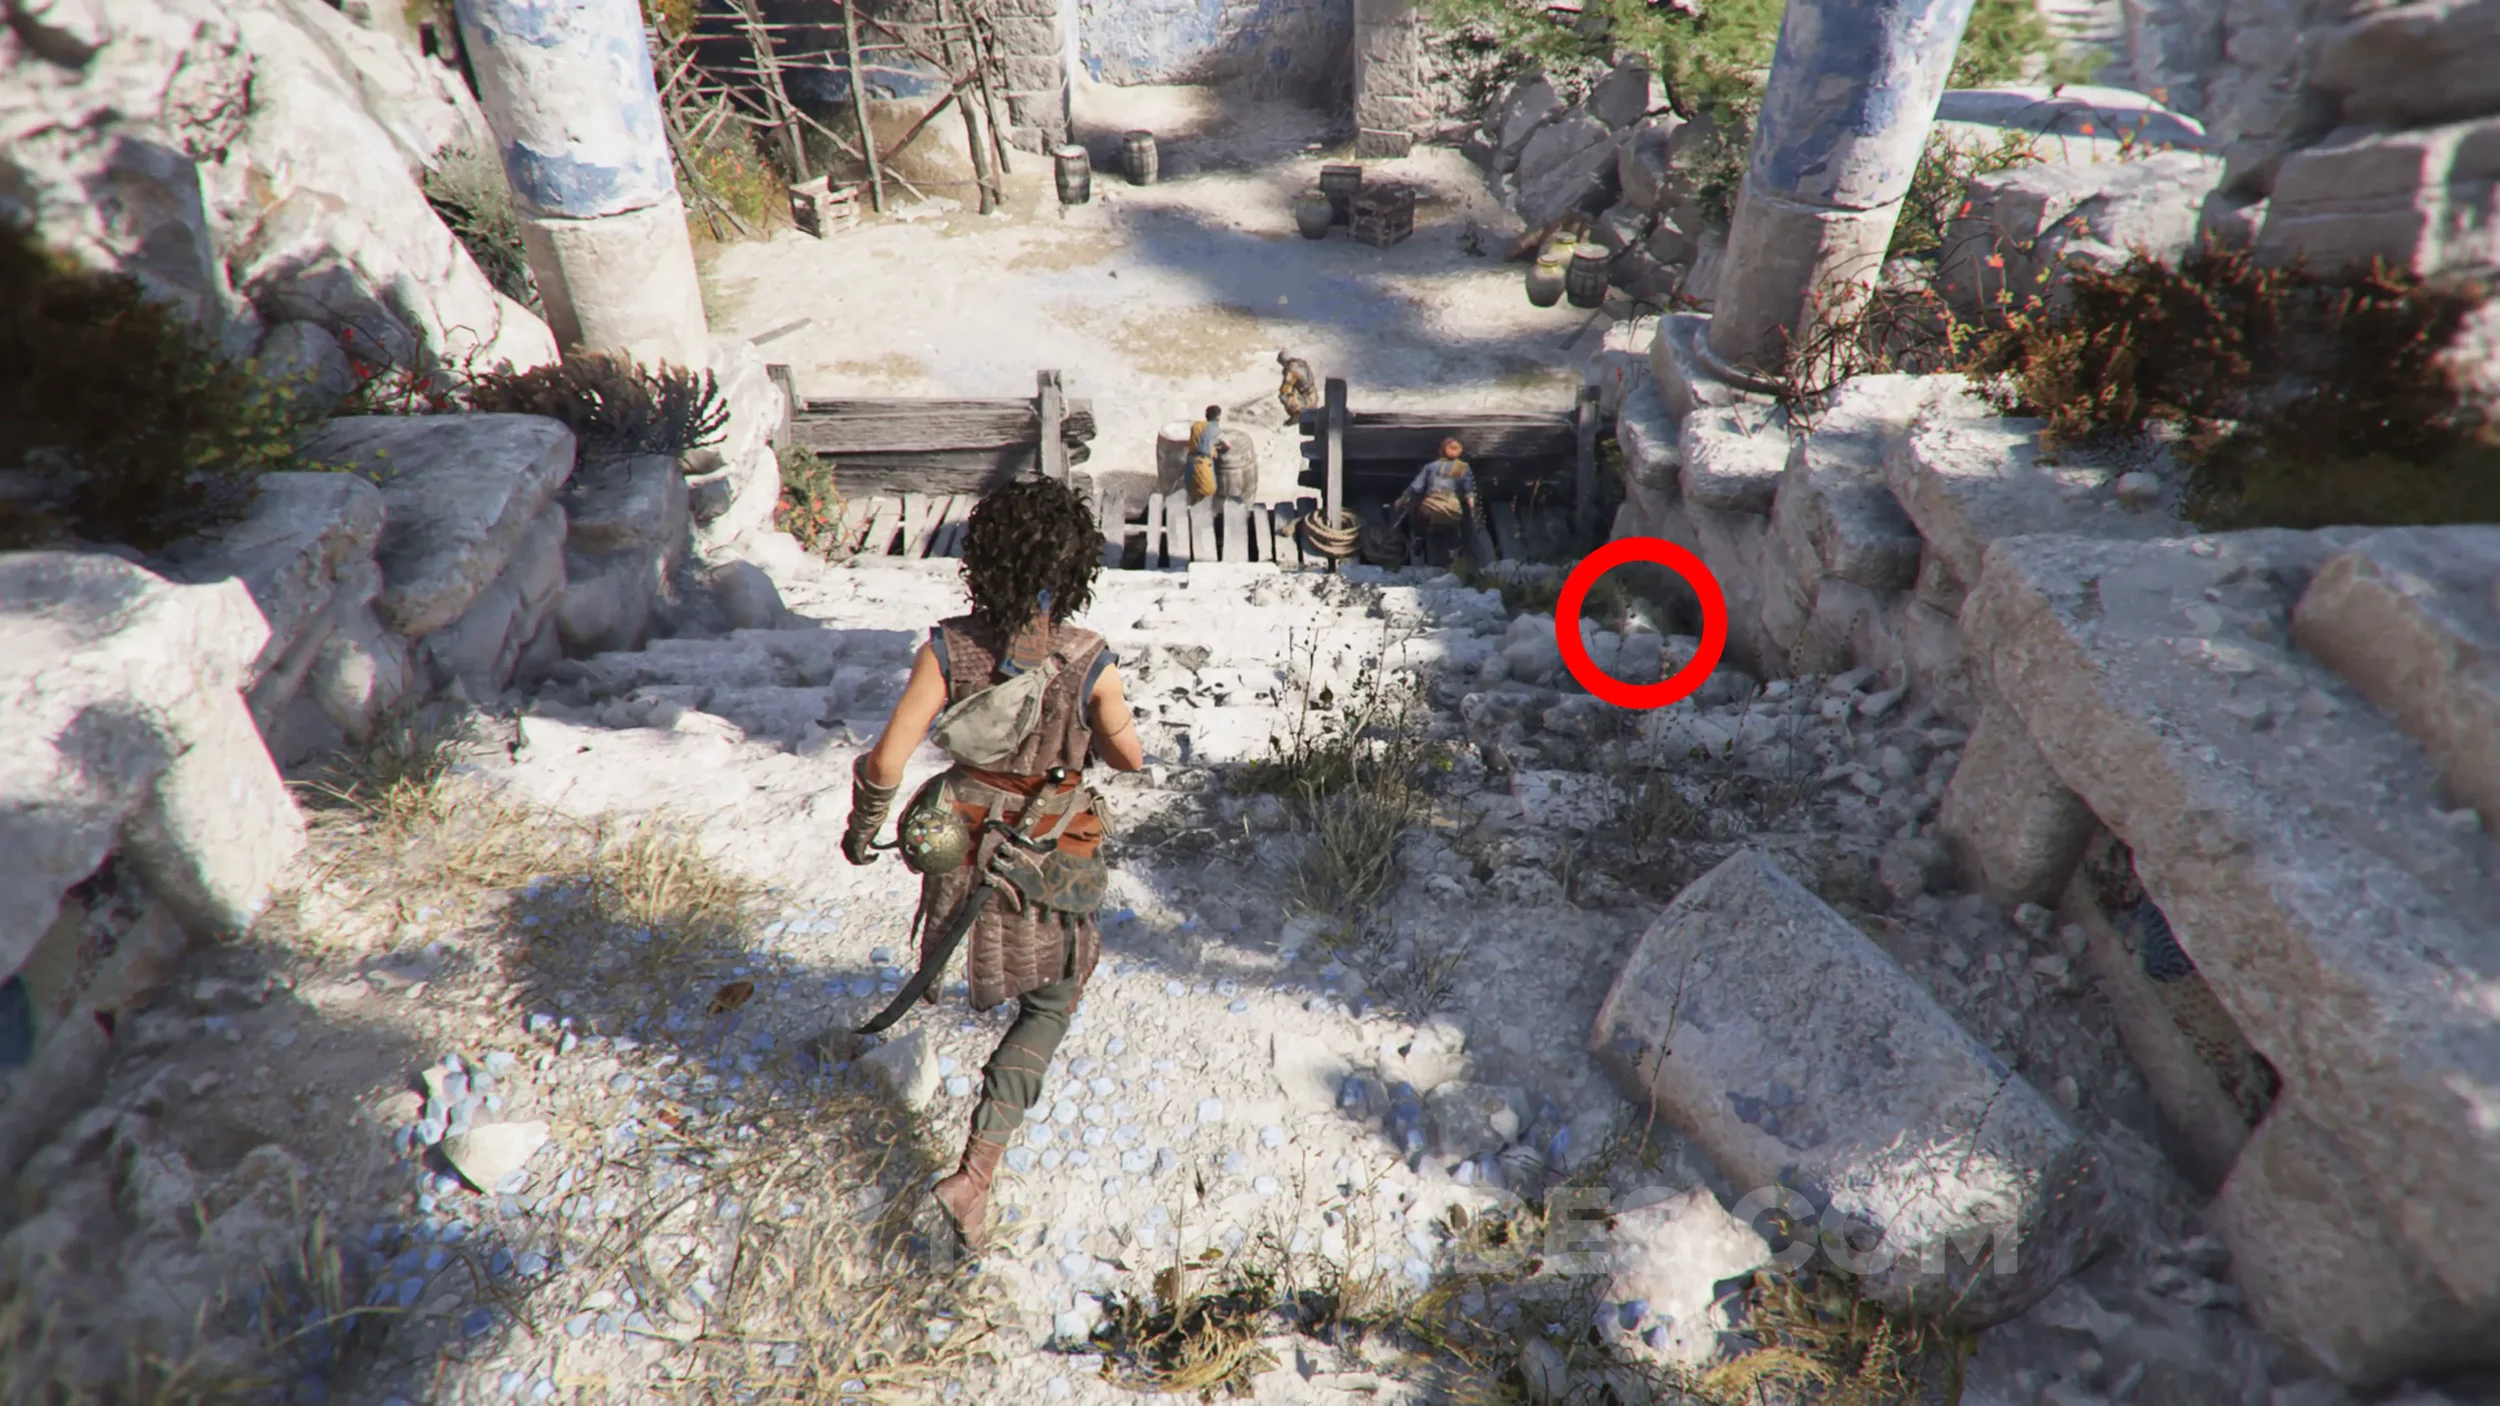
Resonance Point
Chapter 5: Sub-Chapter 2.
On your right as you go down the stairs towards the first enemies of the chapter, just after using a short zipline.
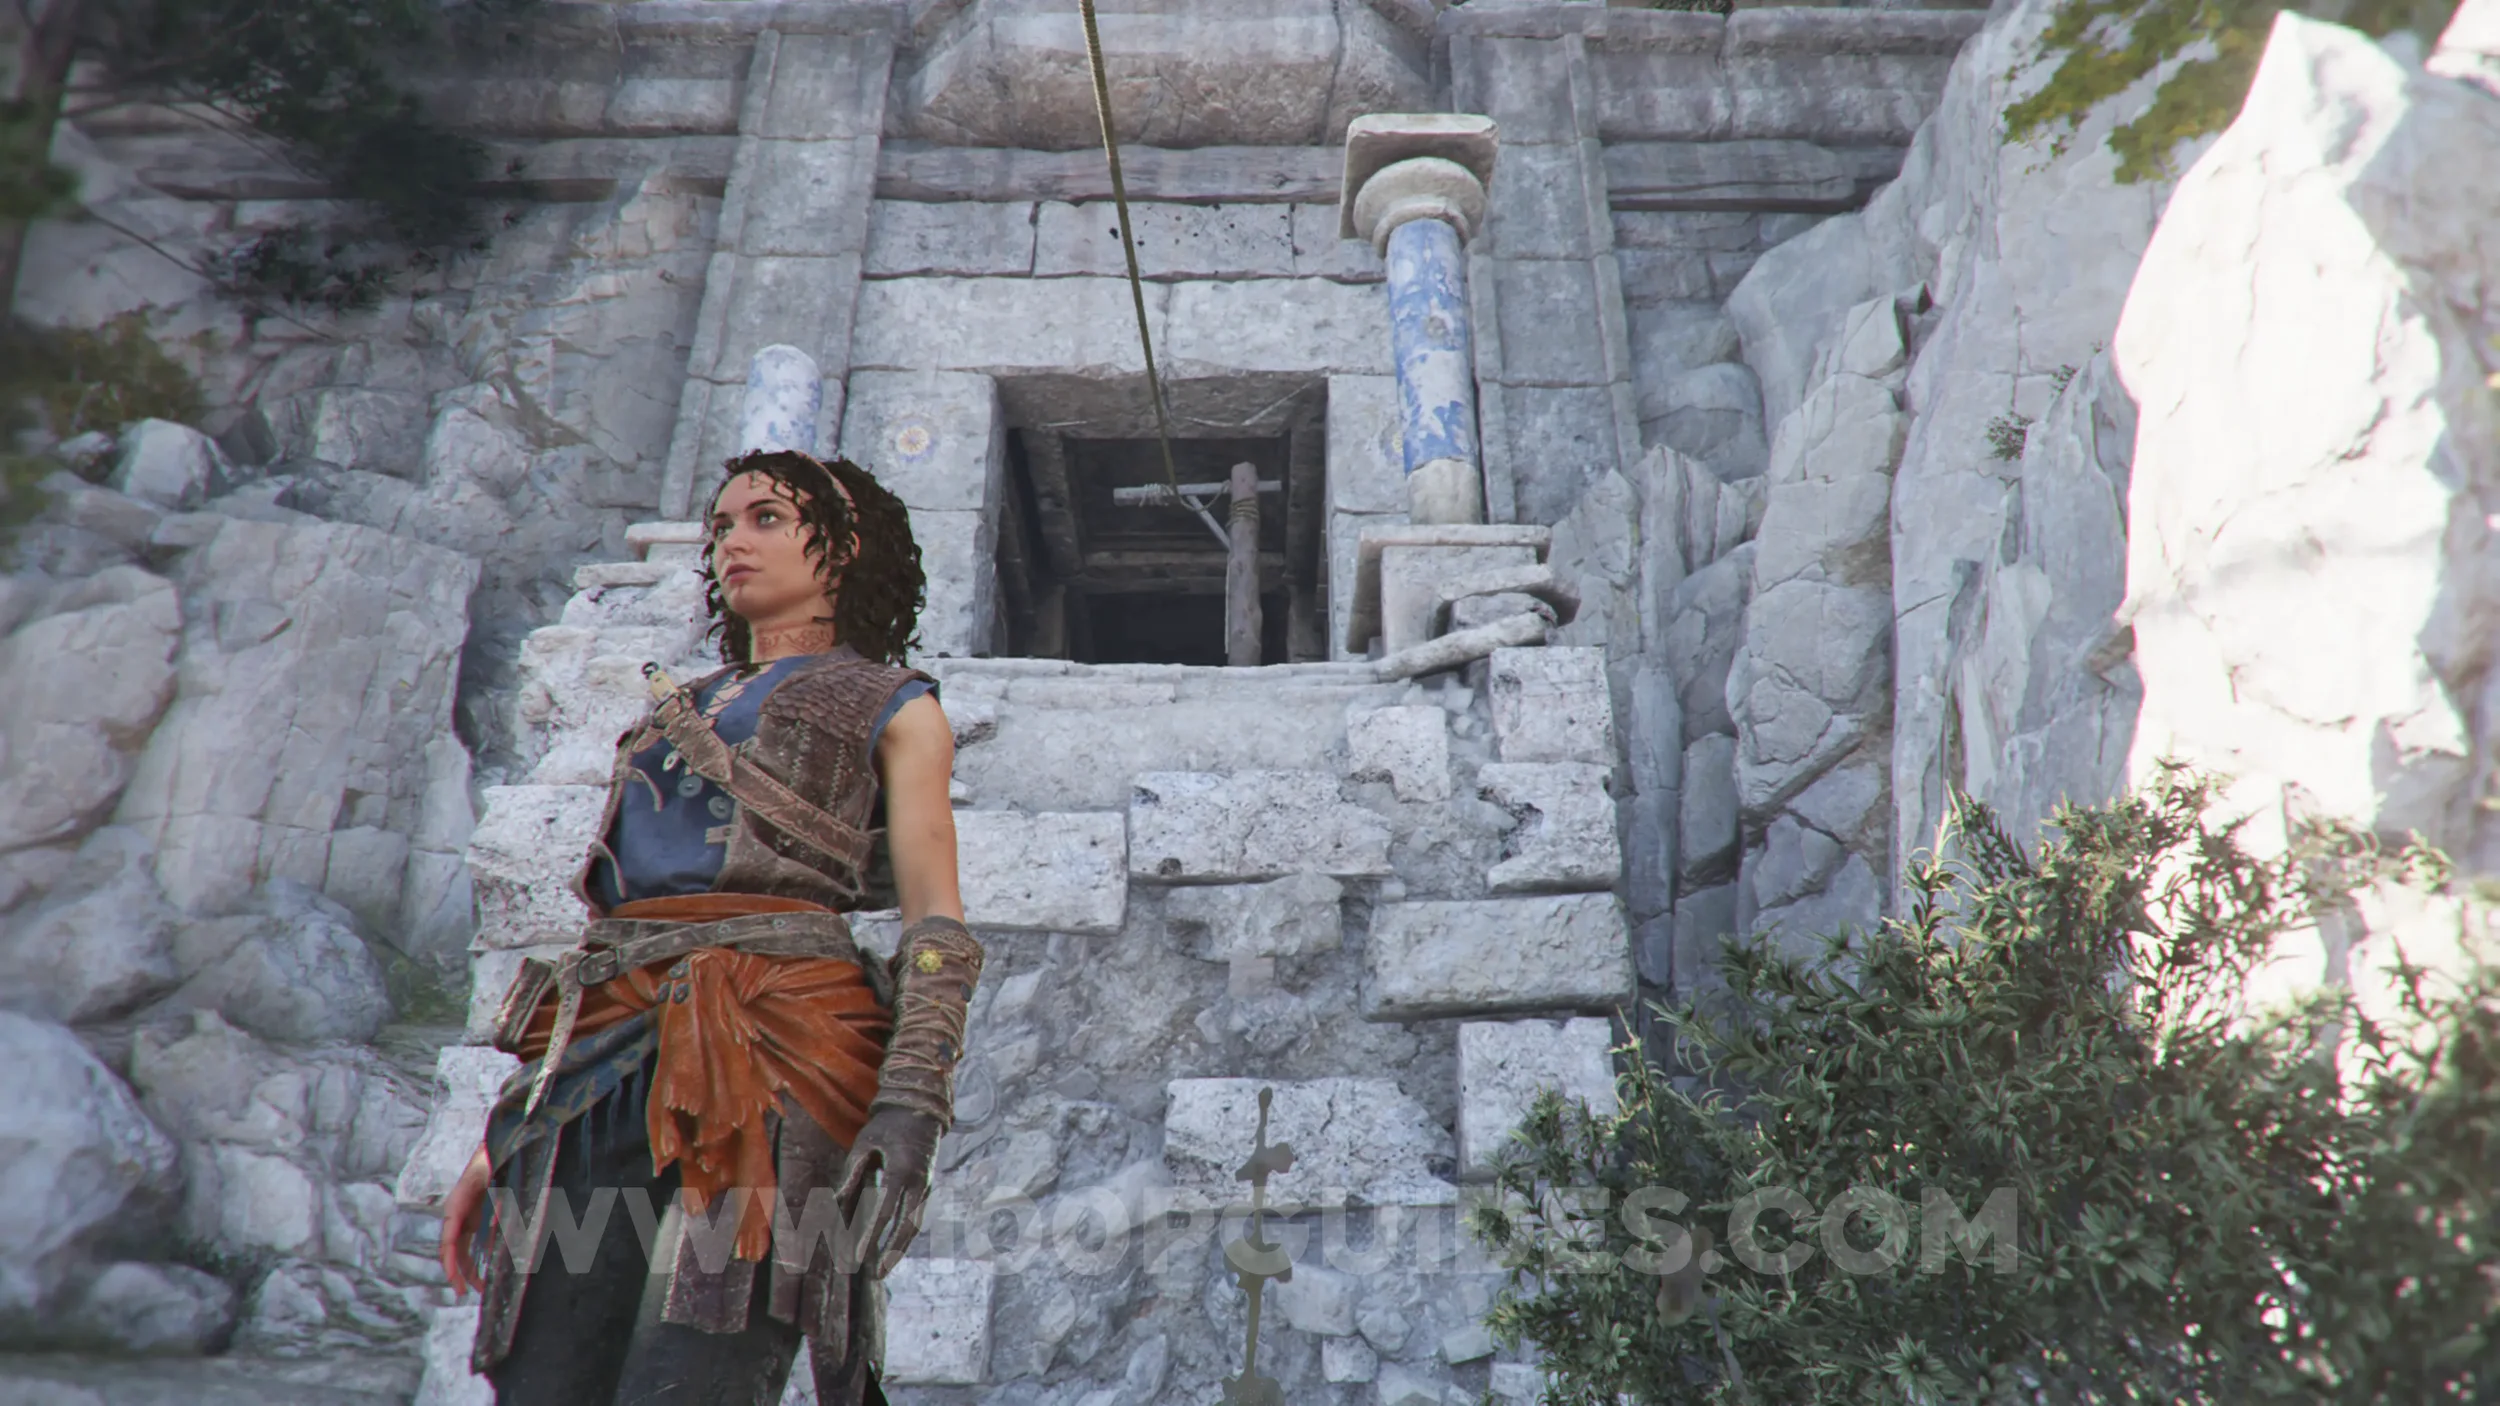
Resonance Point
Chapter 5: Sub-Chapter 2.
Obtained automatically by defeating the first group of enemies just after the previous collectible.
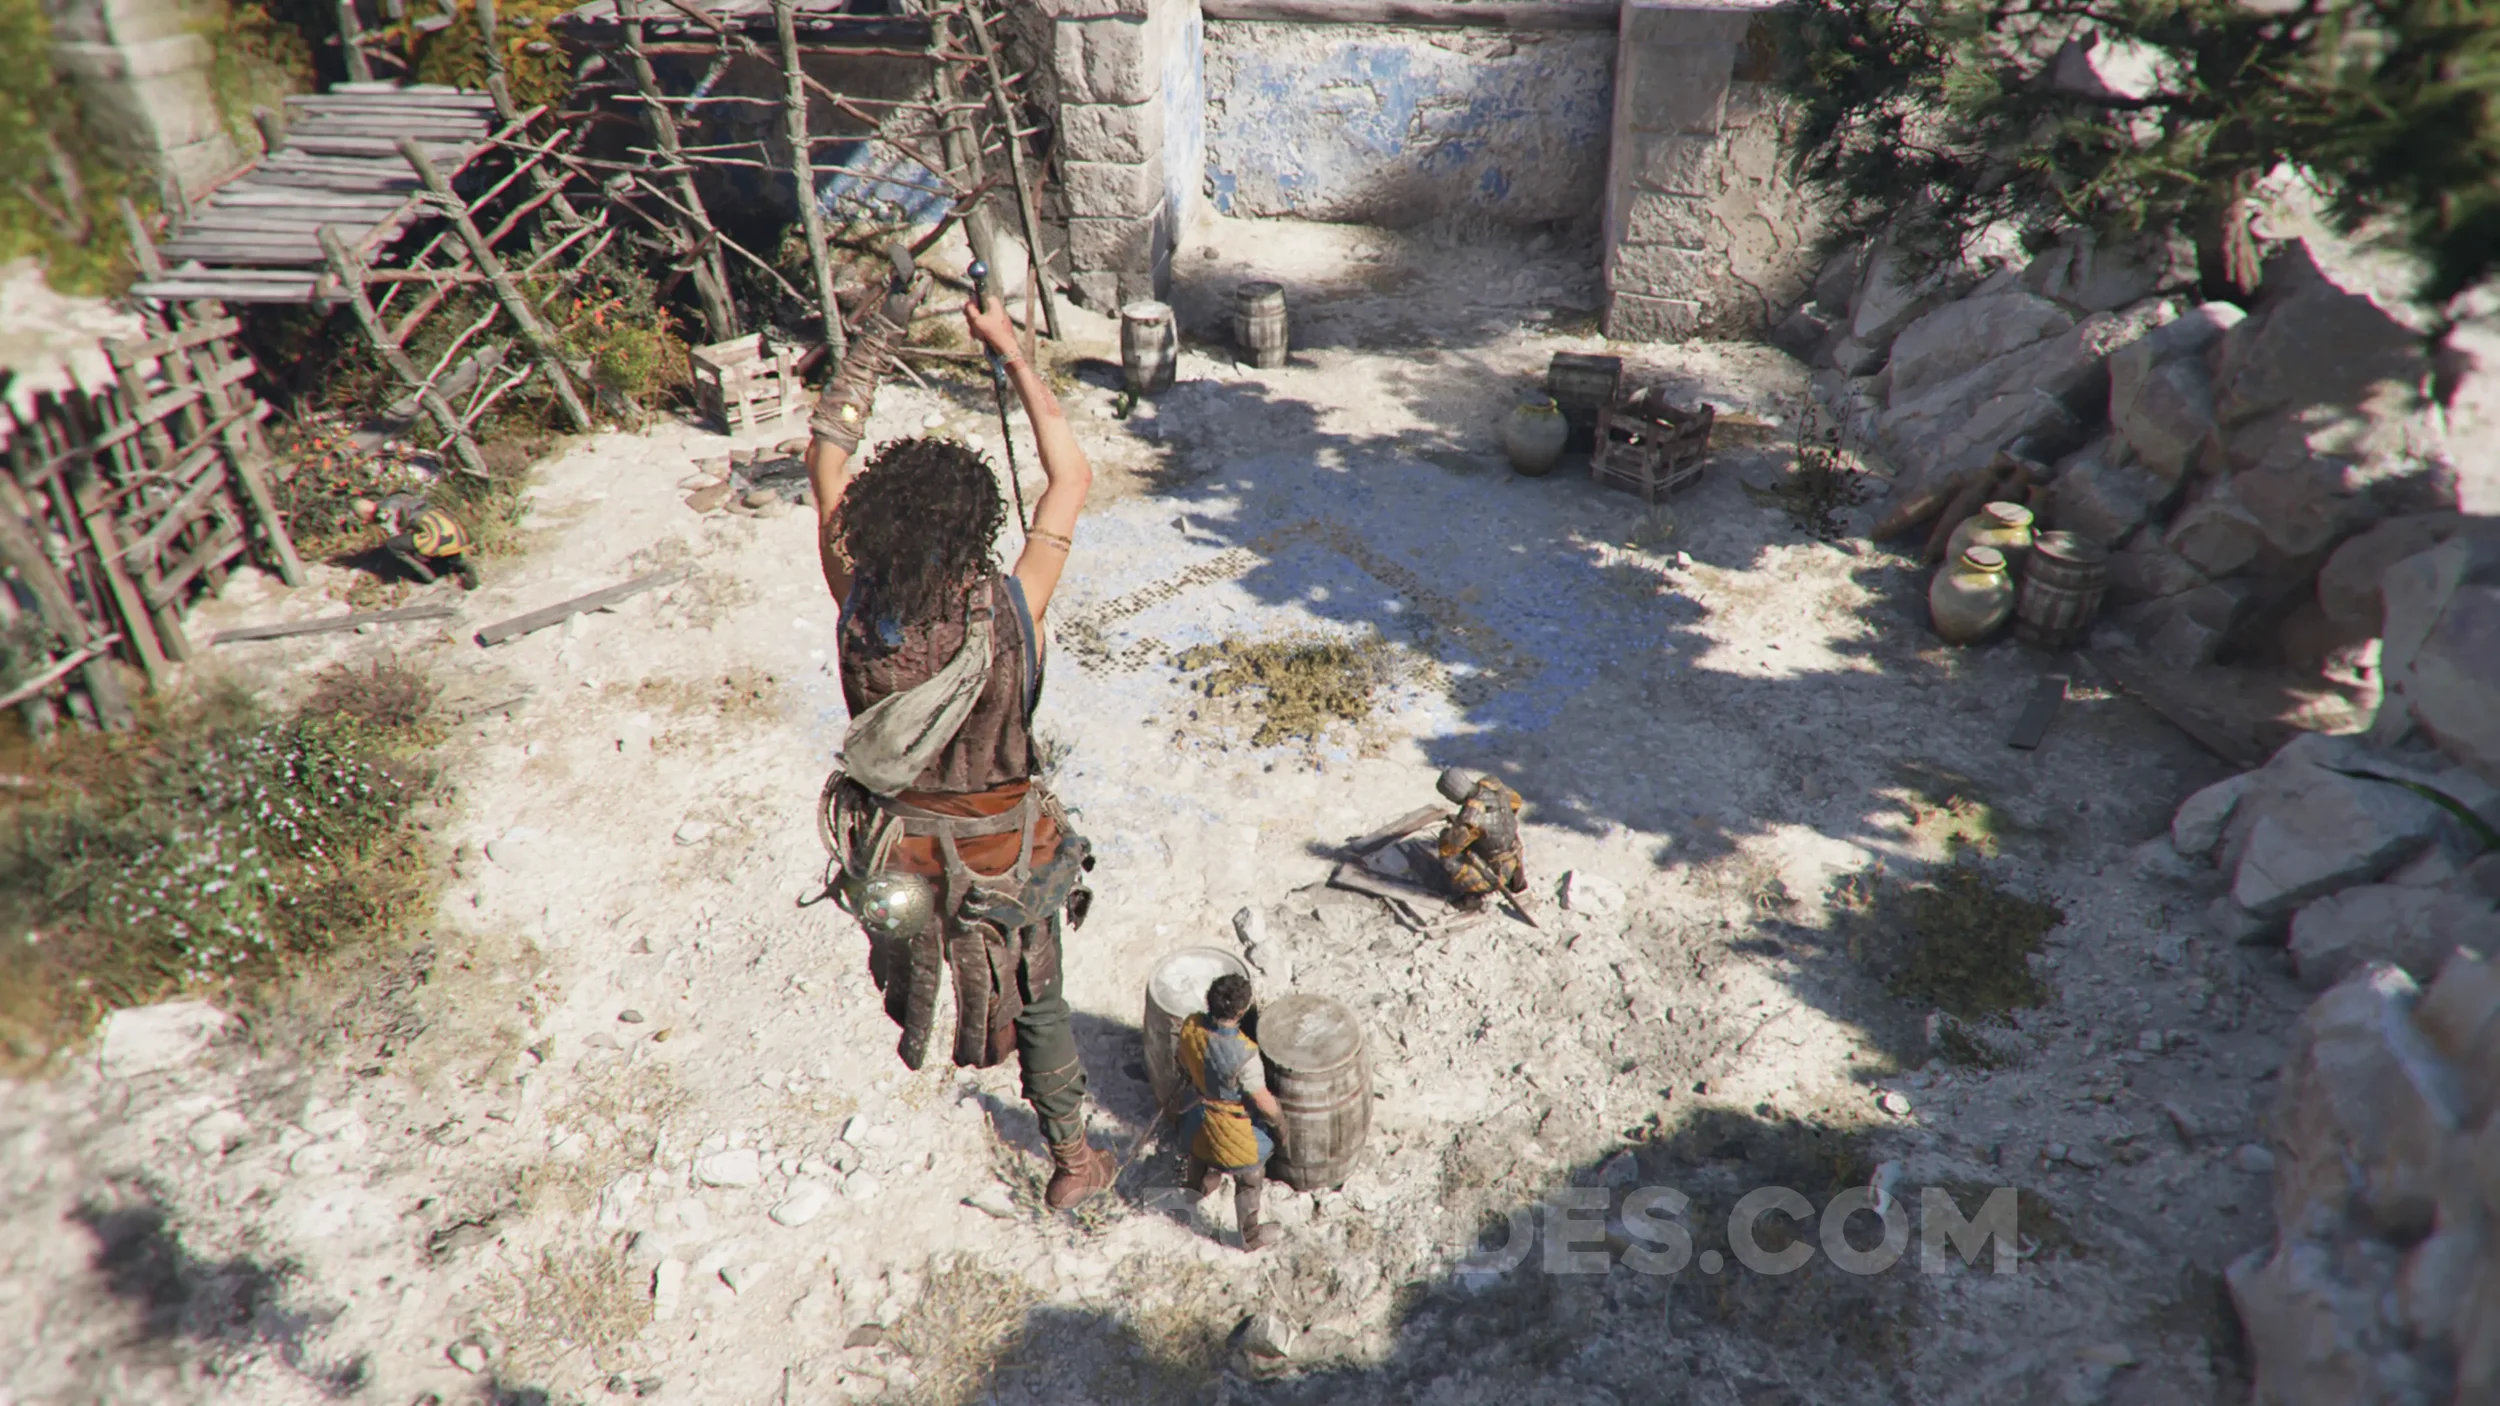
Resonance Point
Chapter 5: Sub-Chapter 2.
From where you defeated the previous enemies, use your grappling hook to bring down the wooden planks on your left. Take that path and enter the building to find the resonance point on your right.
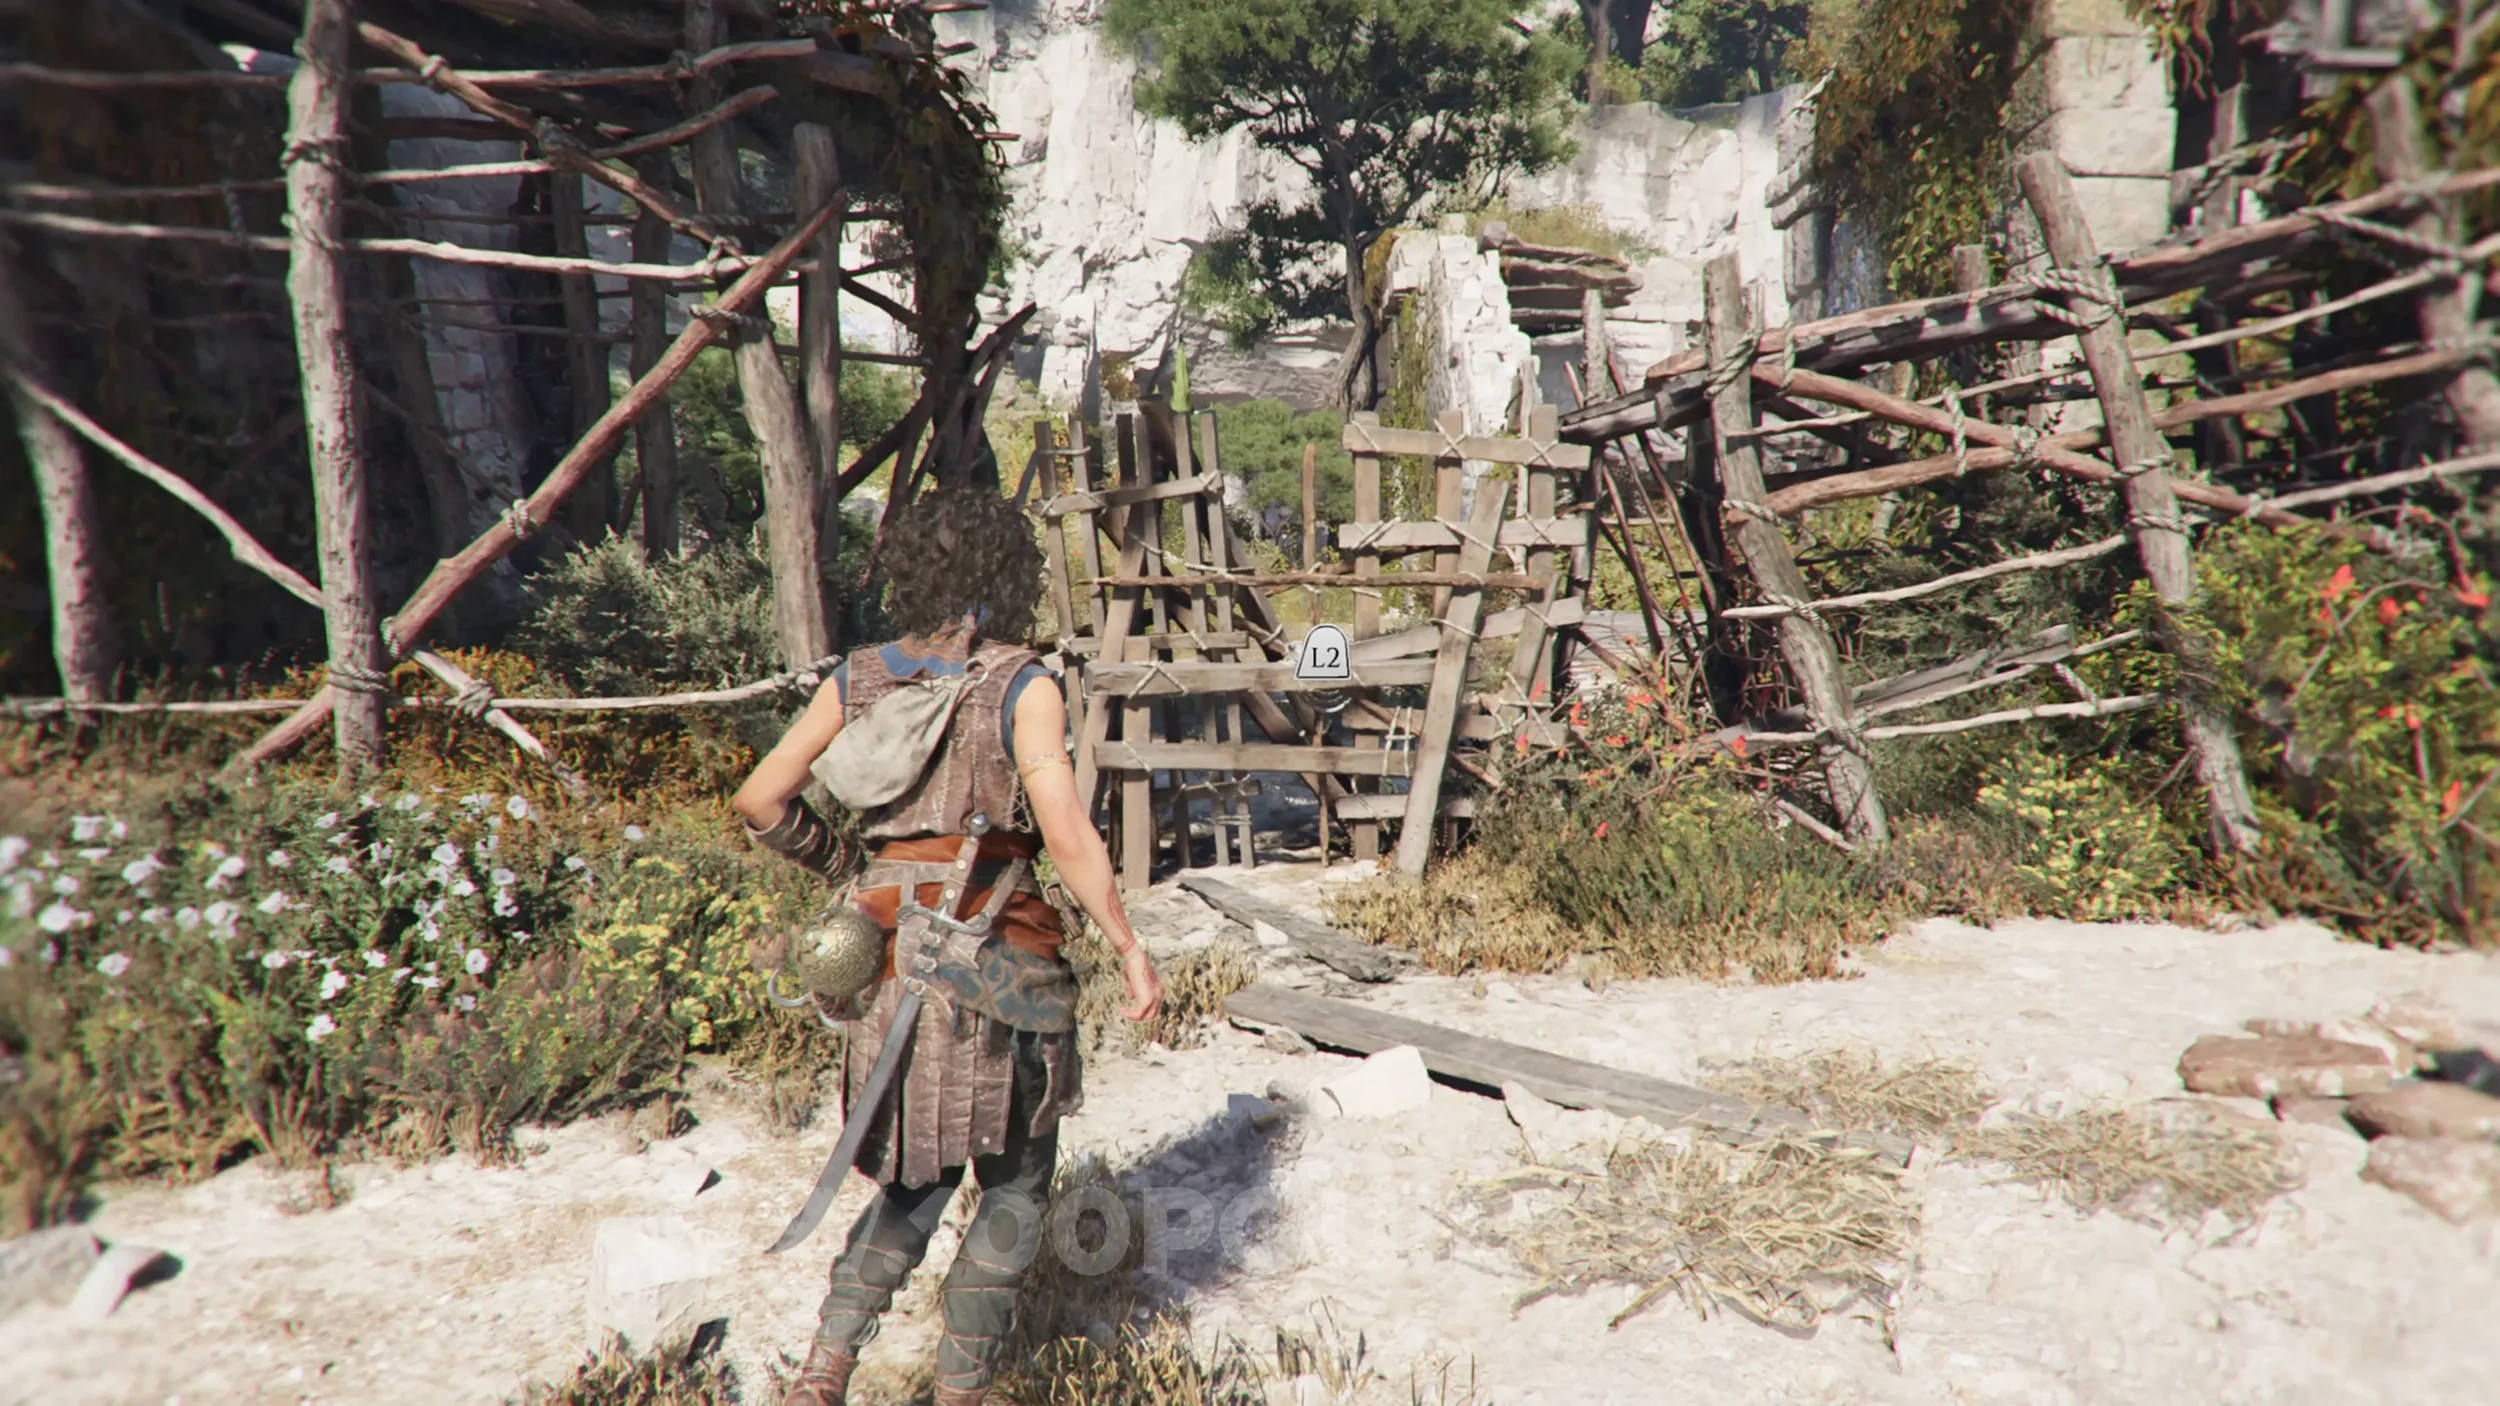
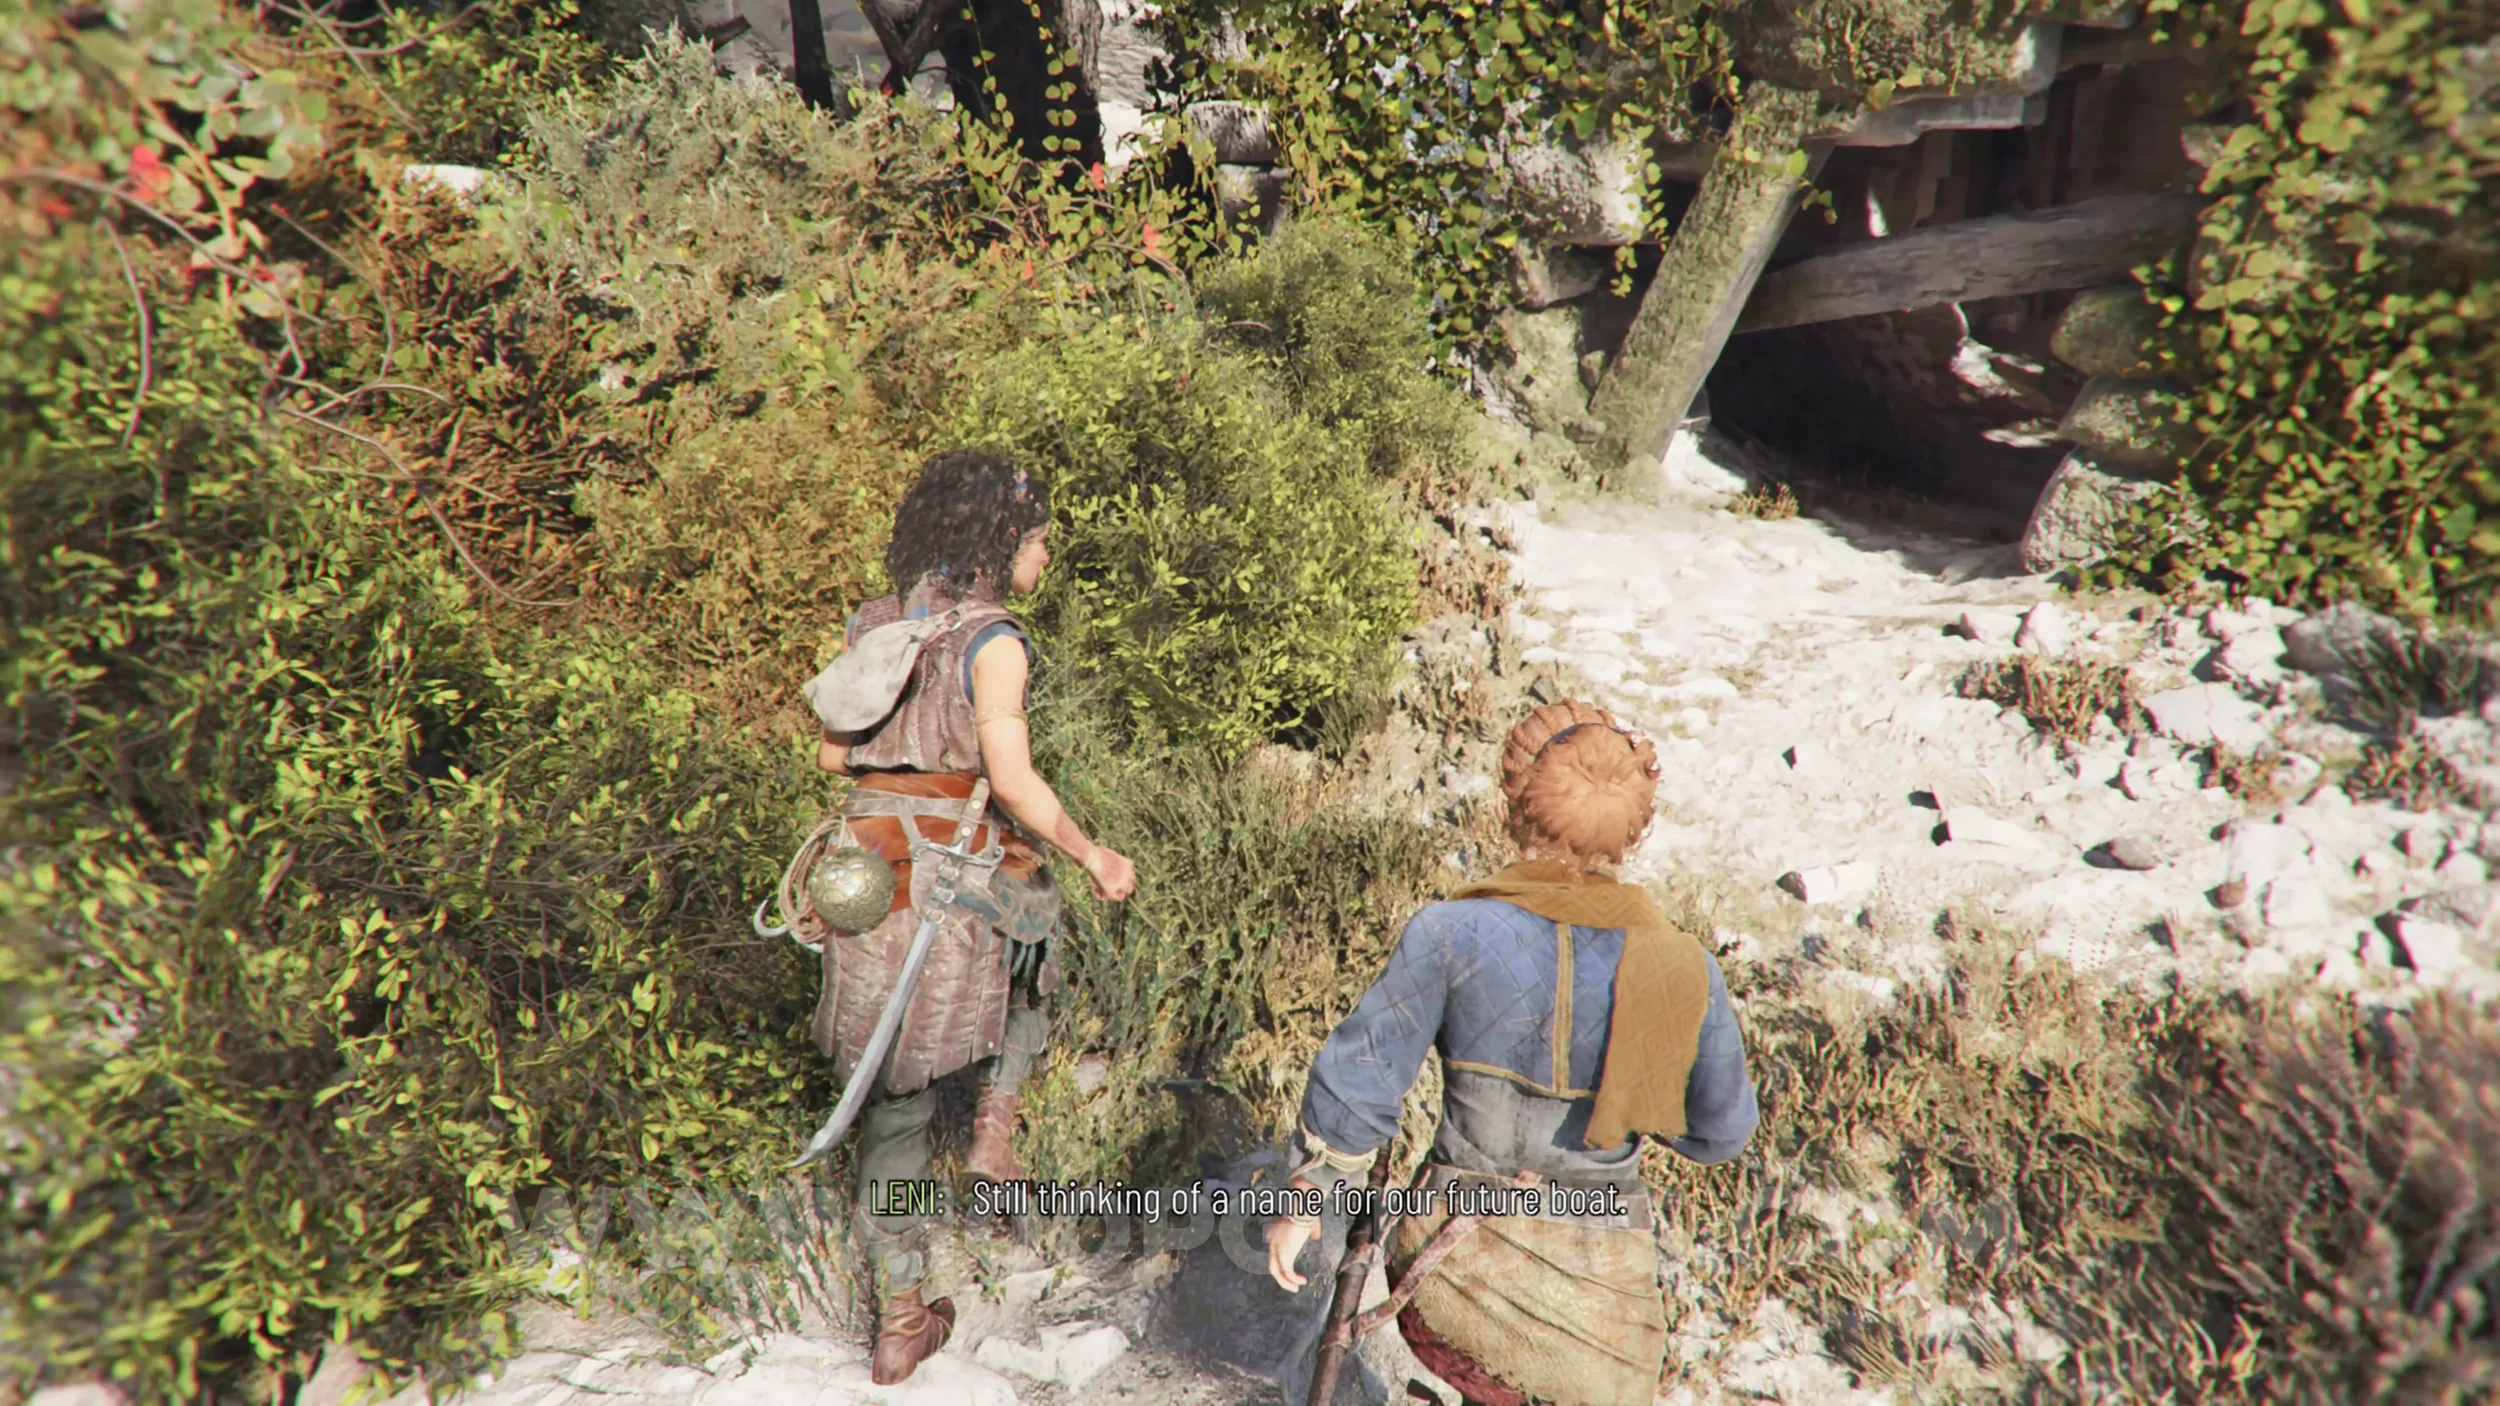
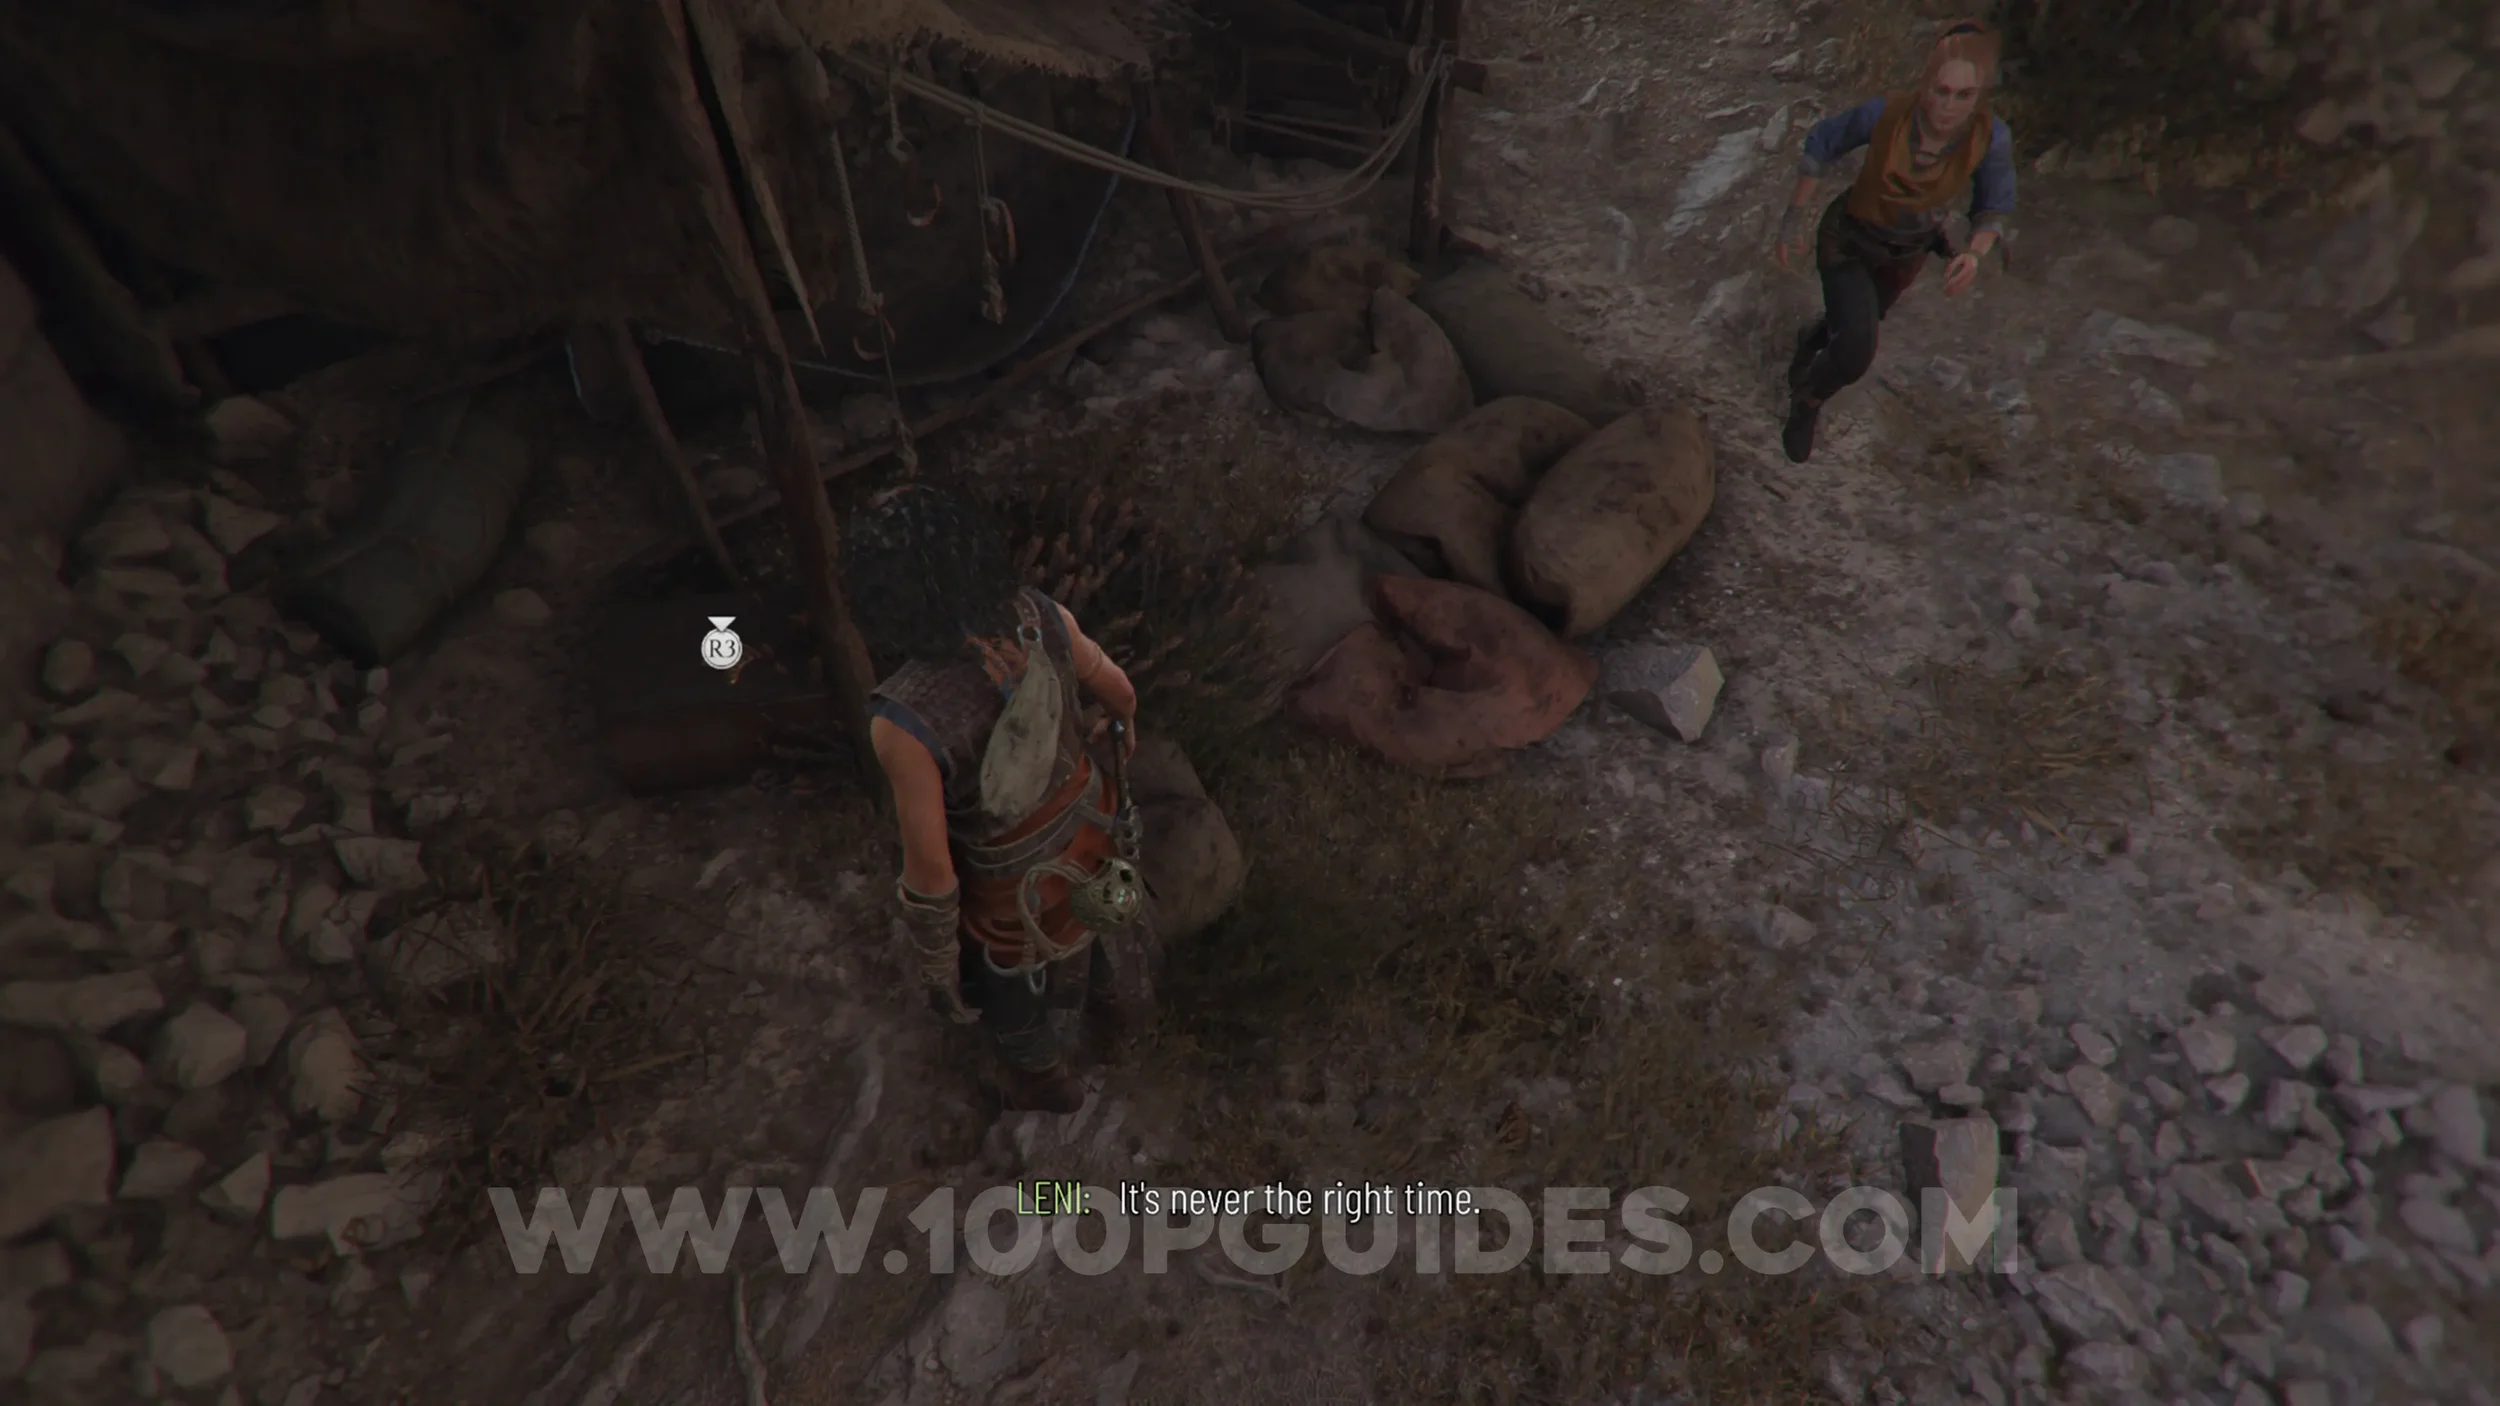
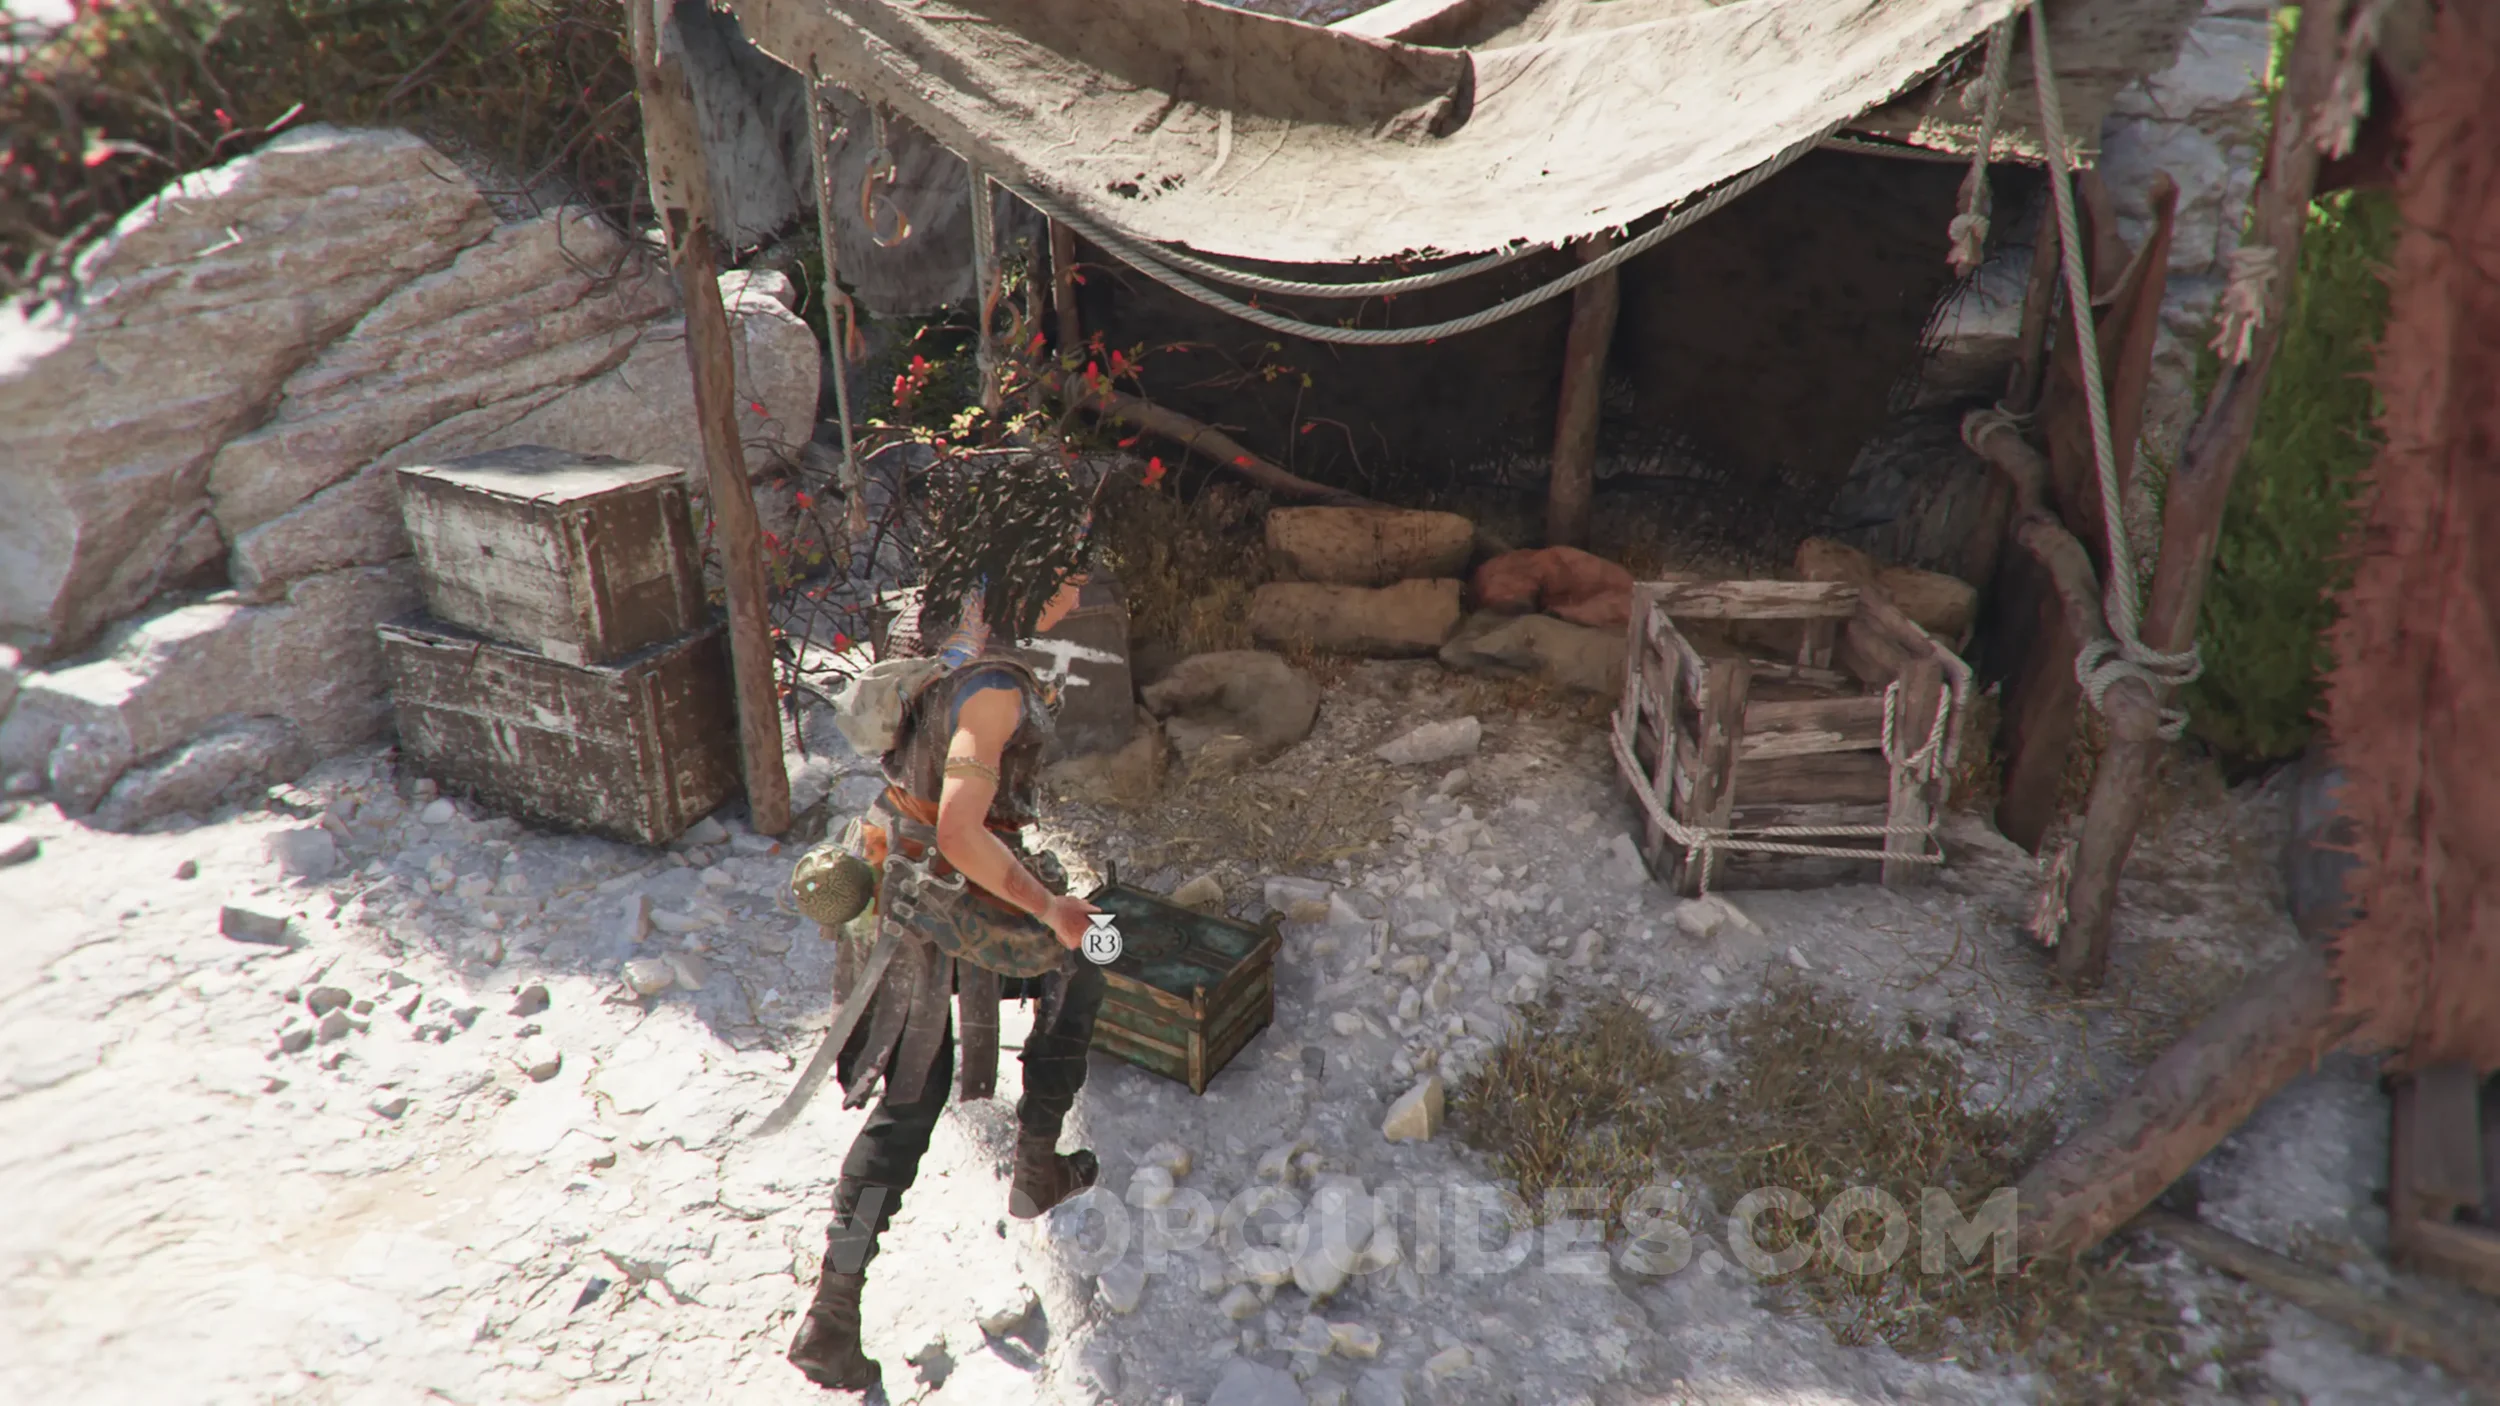
Charm: Trinket #2
Chapter 5: Sub-Chapter 2.
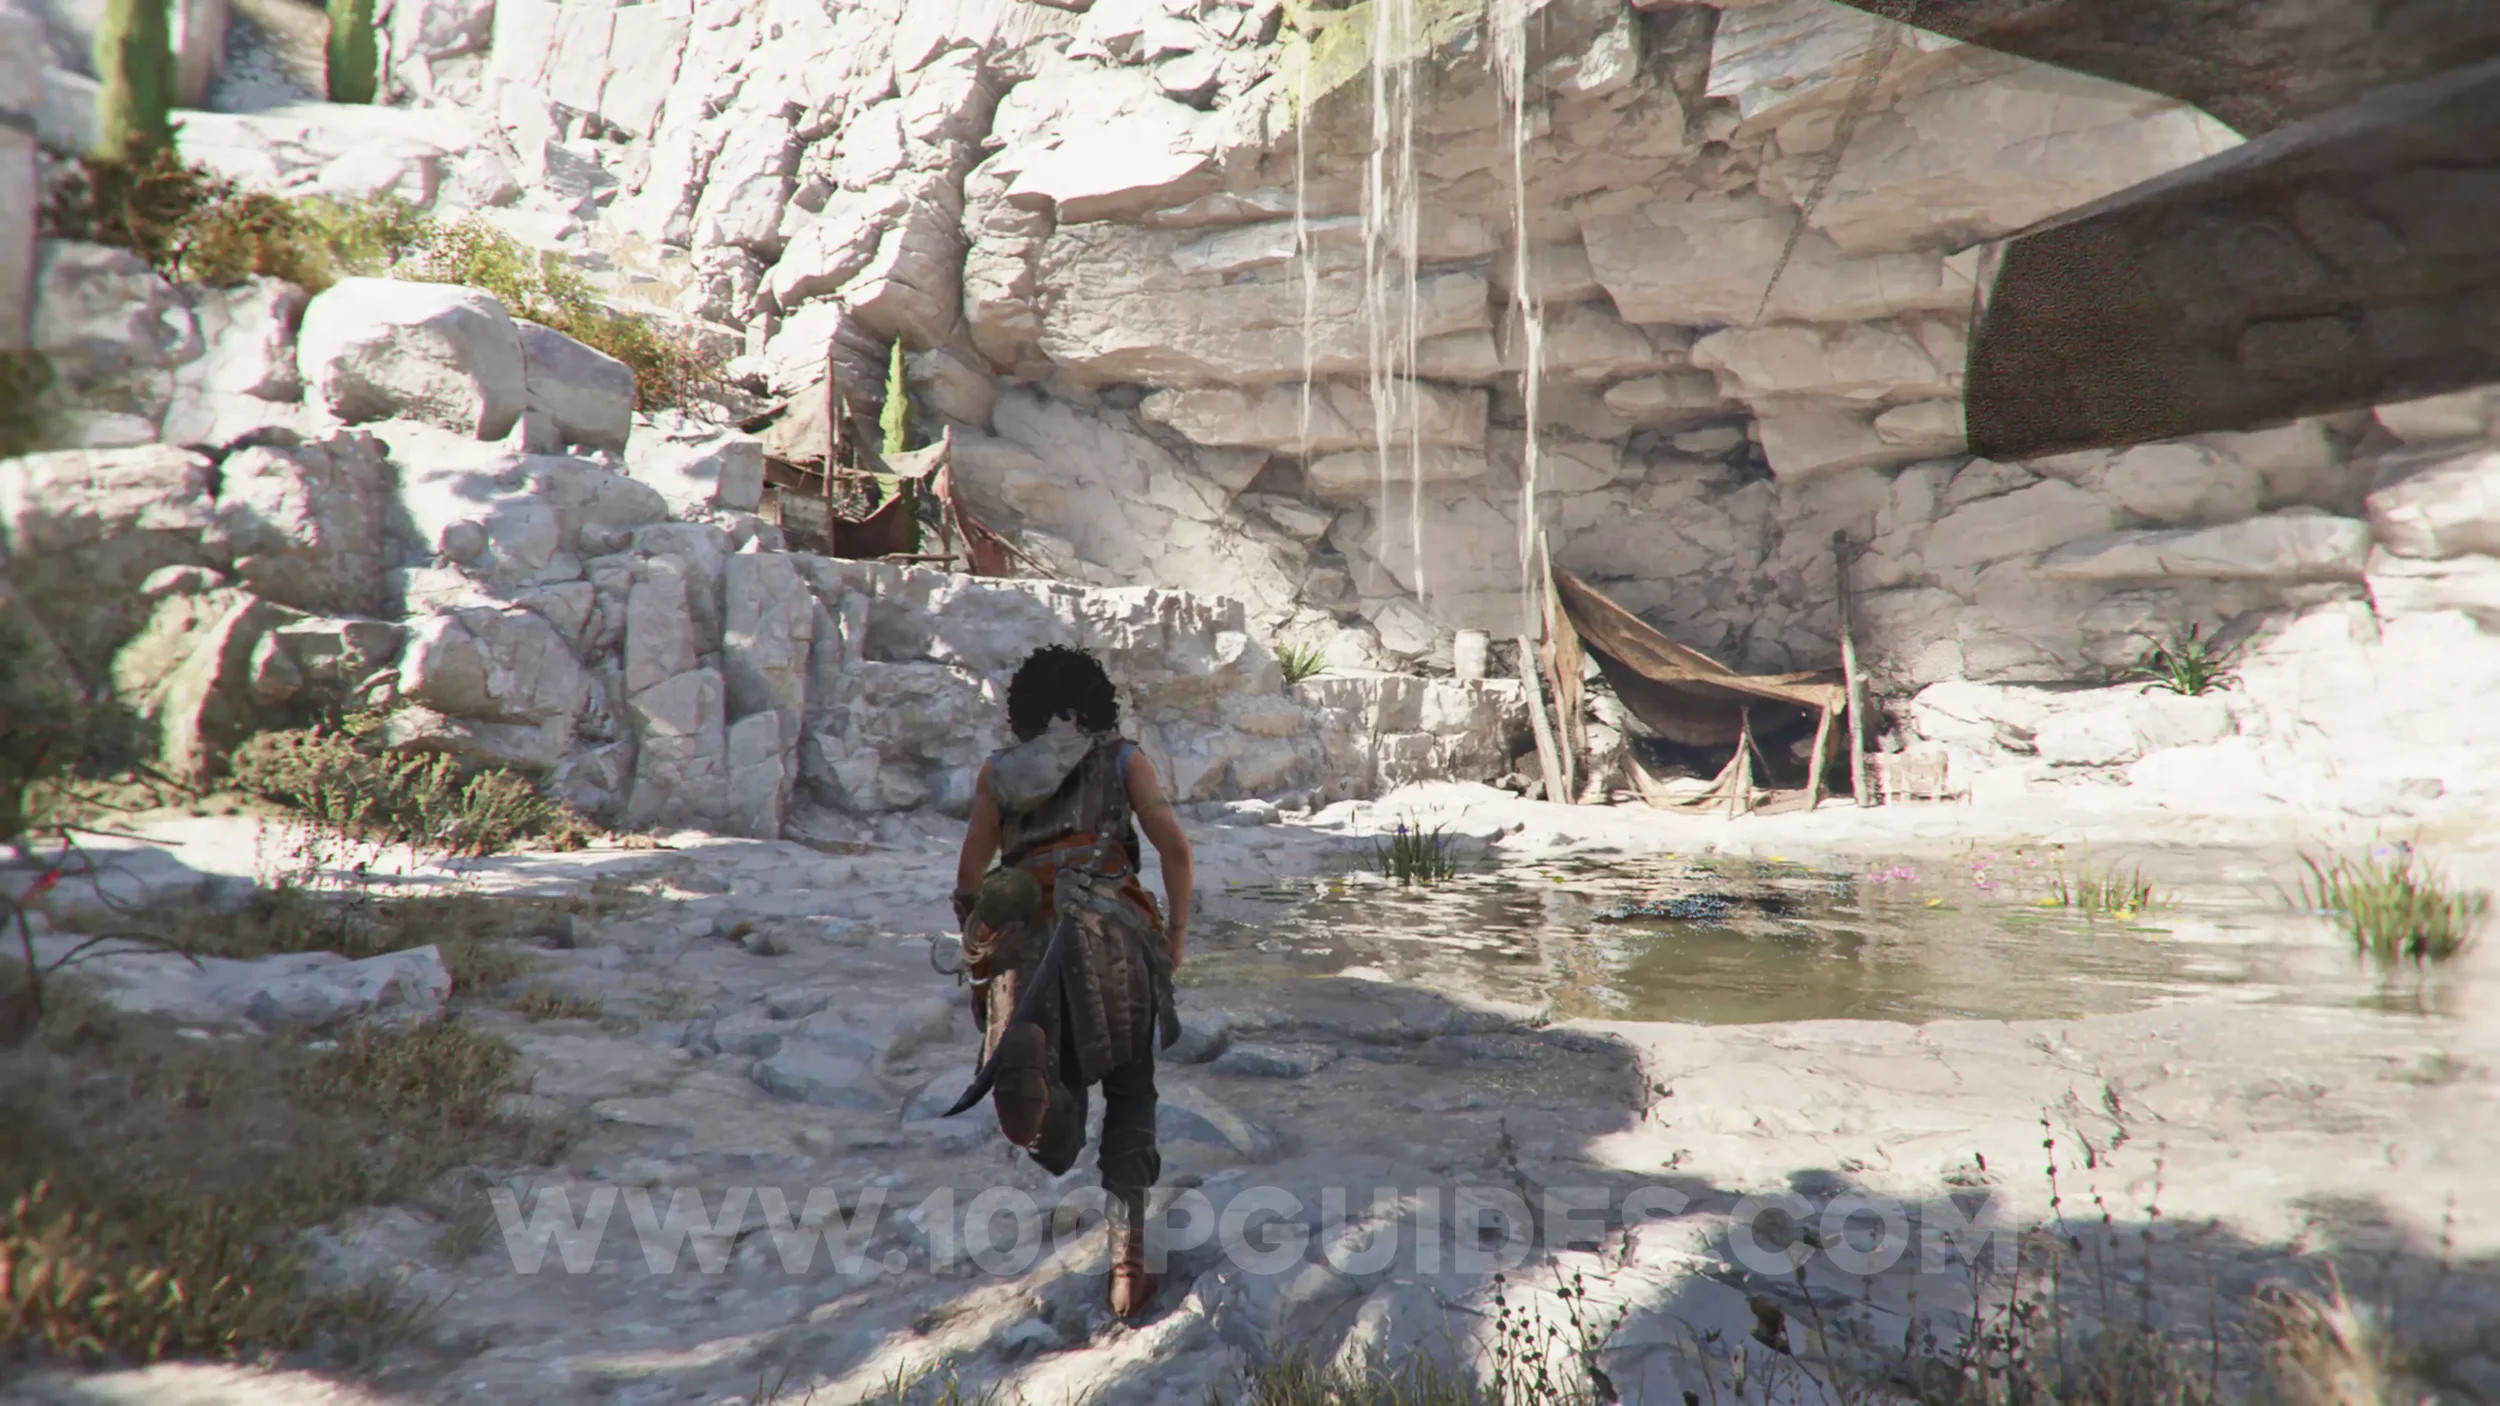
From the previous collectible, exit the building through the door on the other side into the open area with water. Head left and climb up to the tents to find the charm.
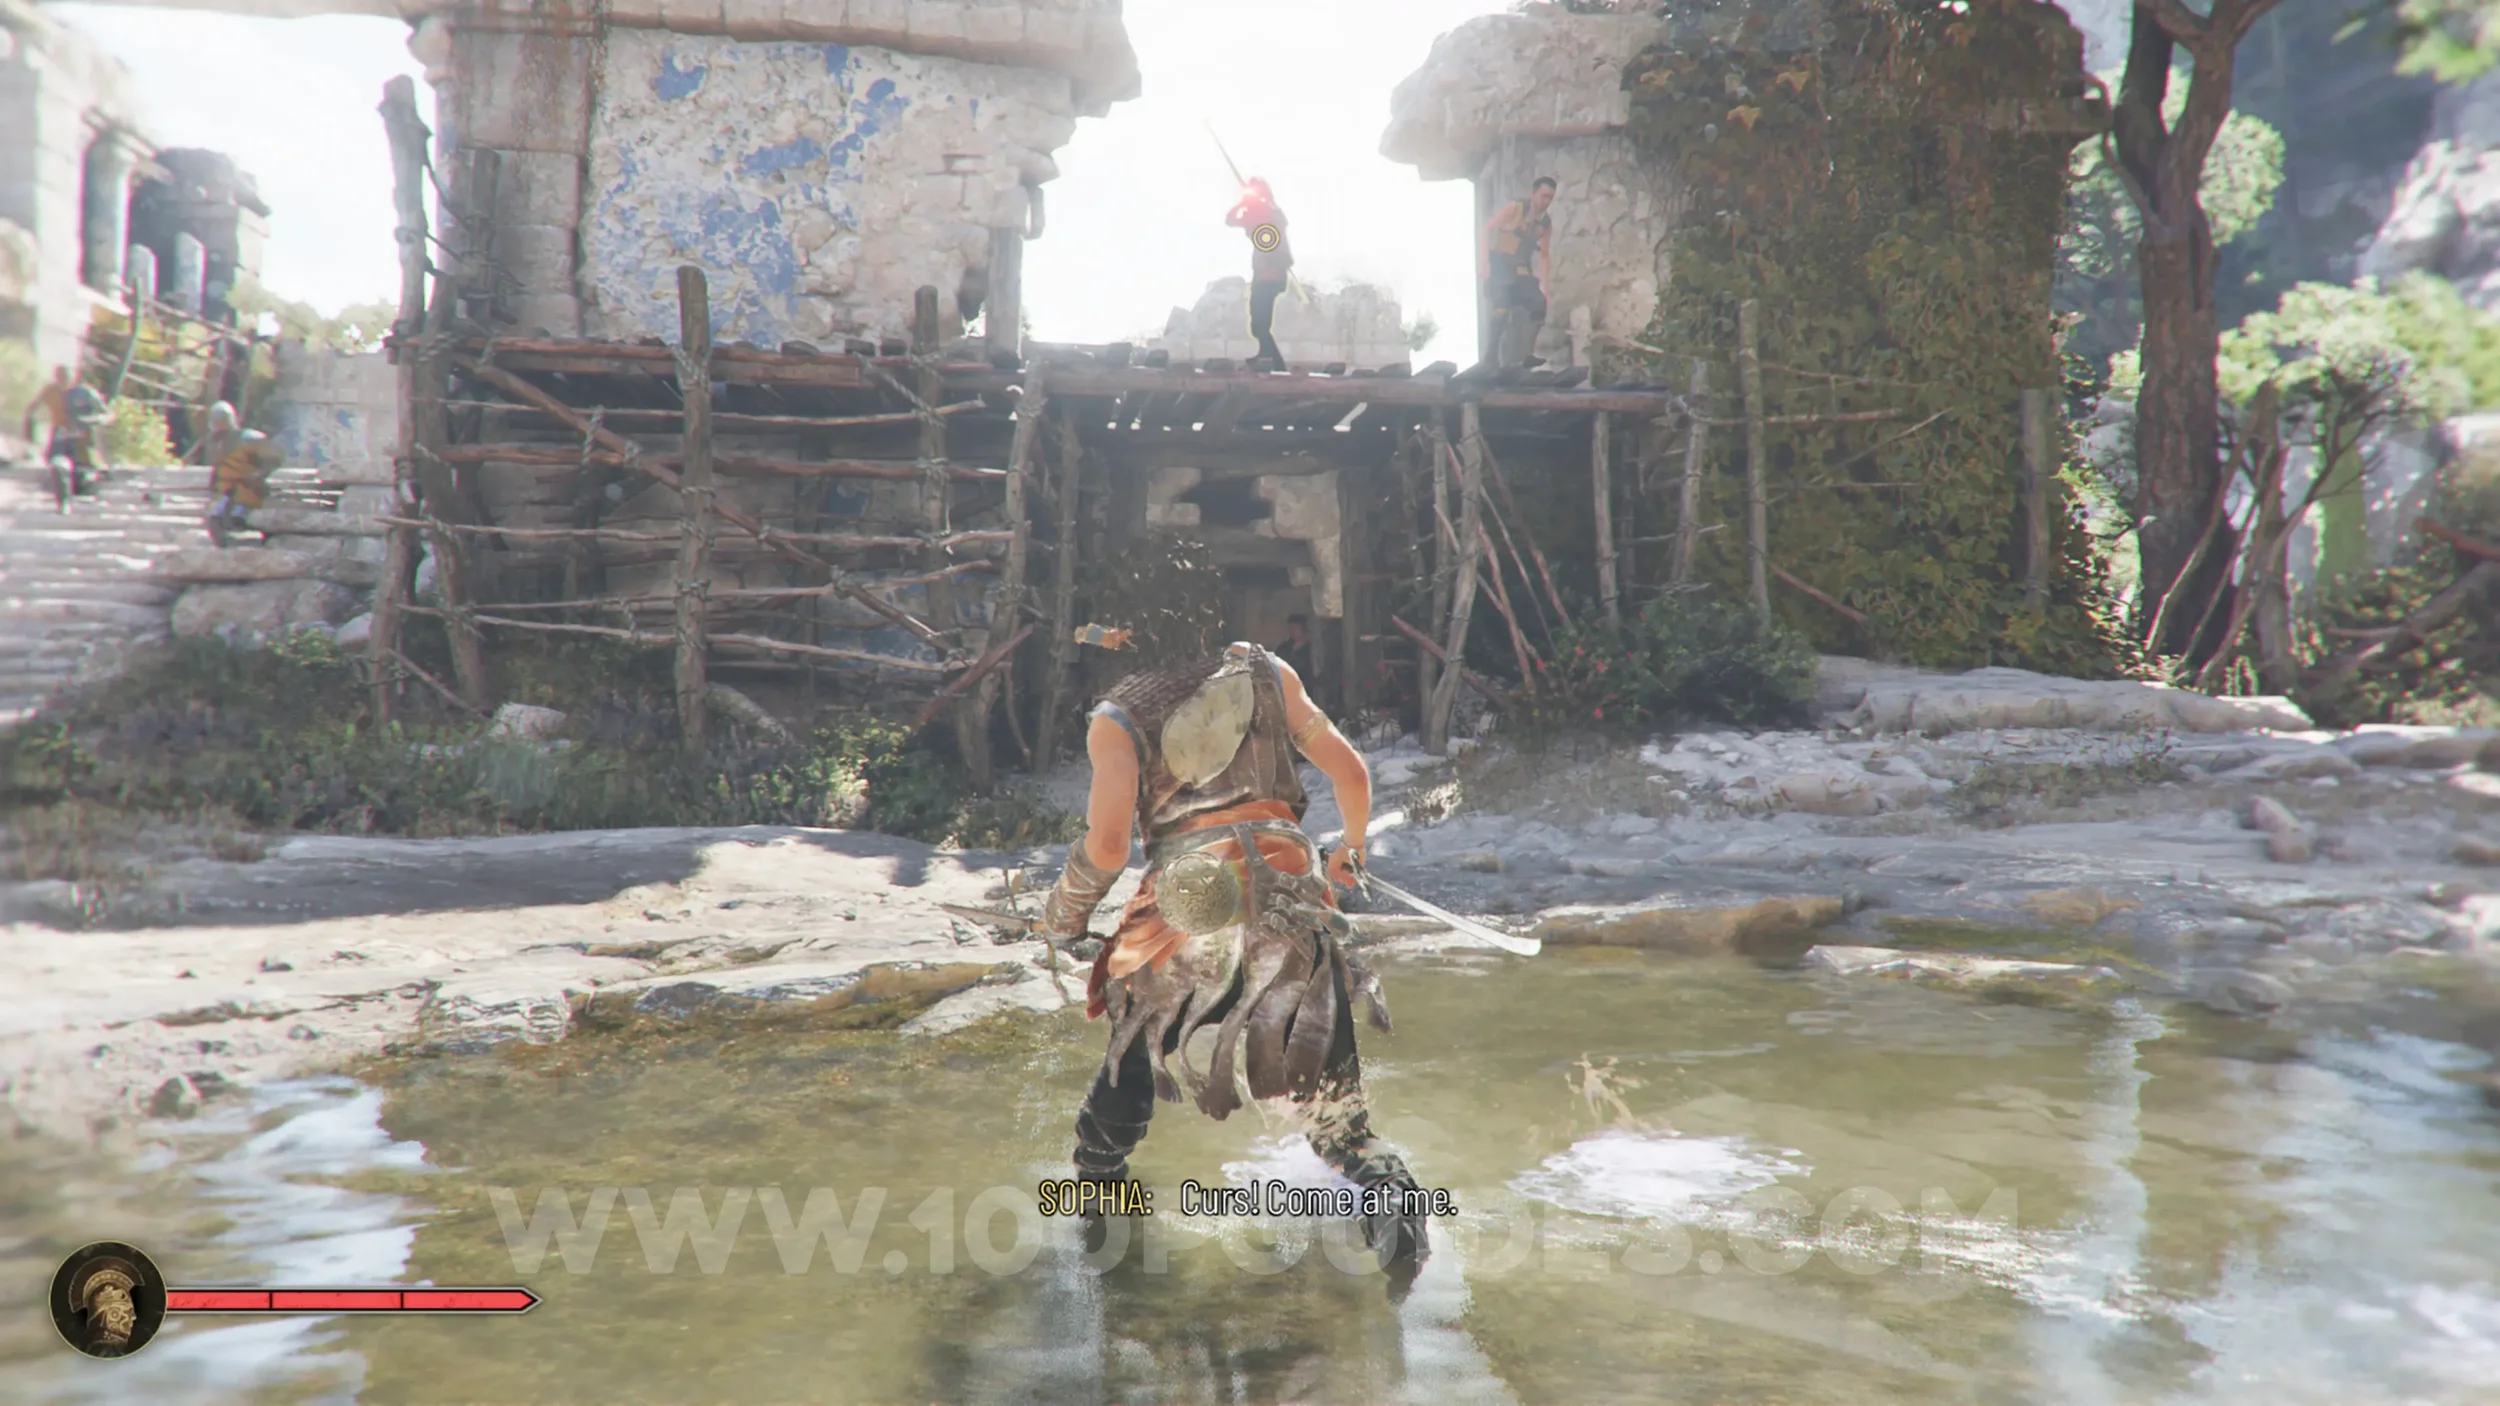
Resonance Point x2
Chapter 5: Sub-Chapter 2.
After collecting the previous charm, a new group of enemies spawns and attacks. Defeat them to earn the points.
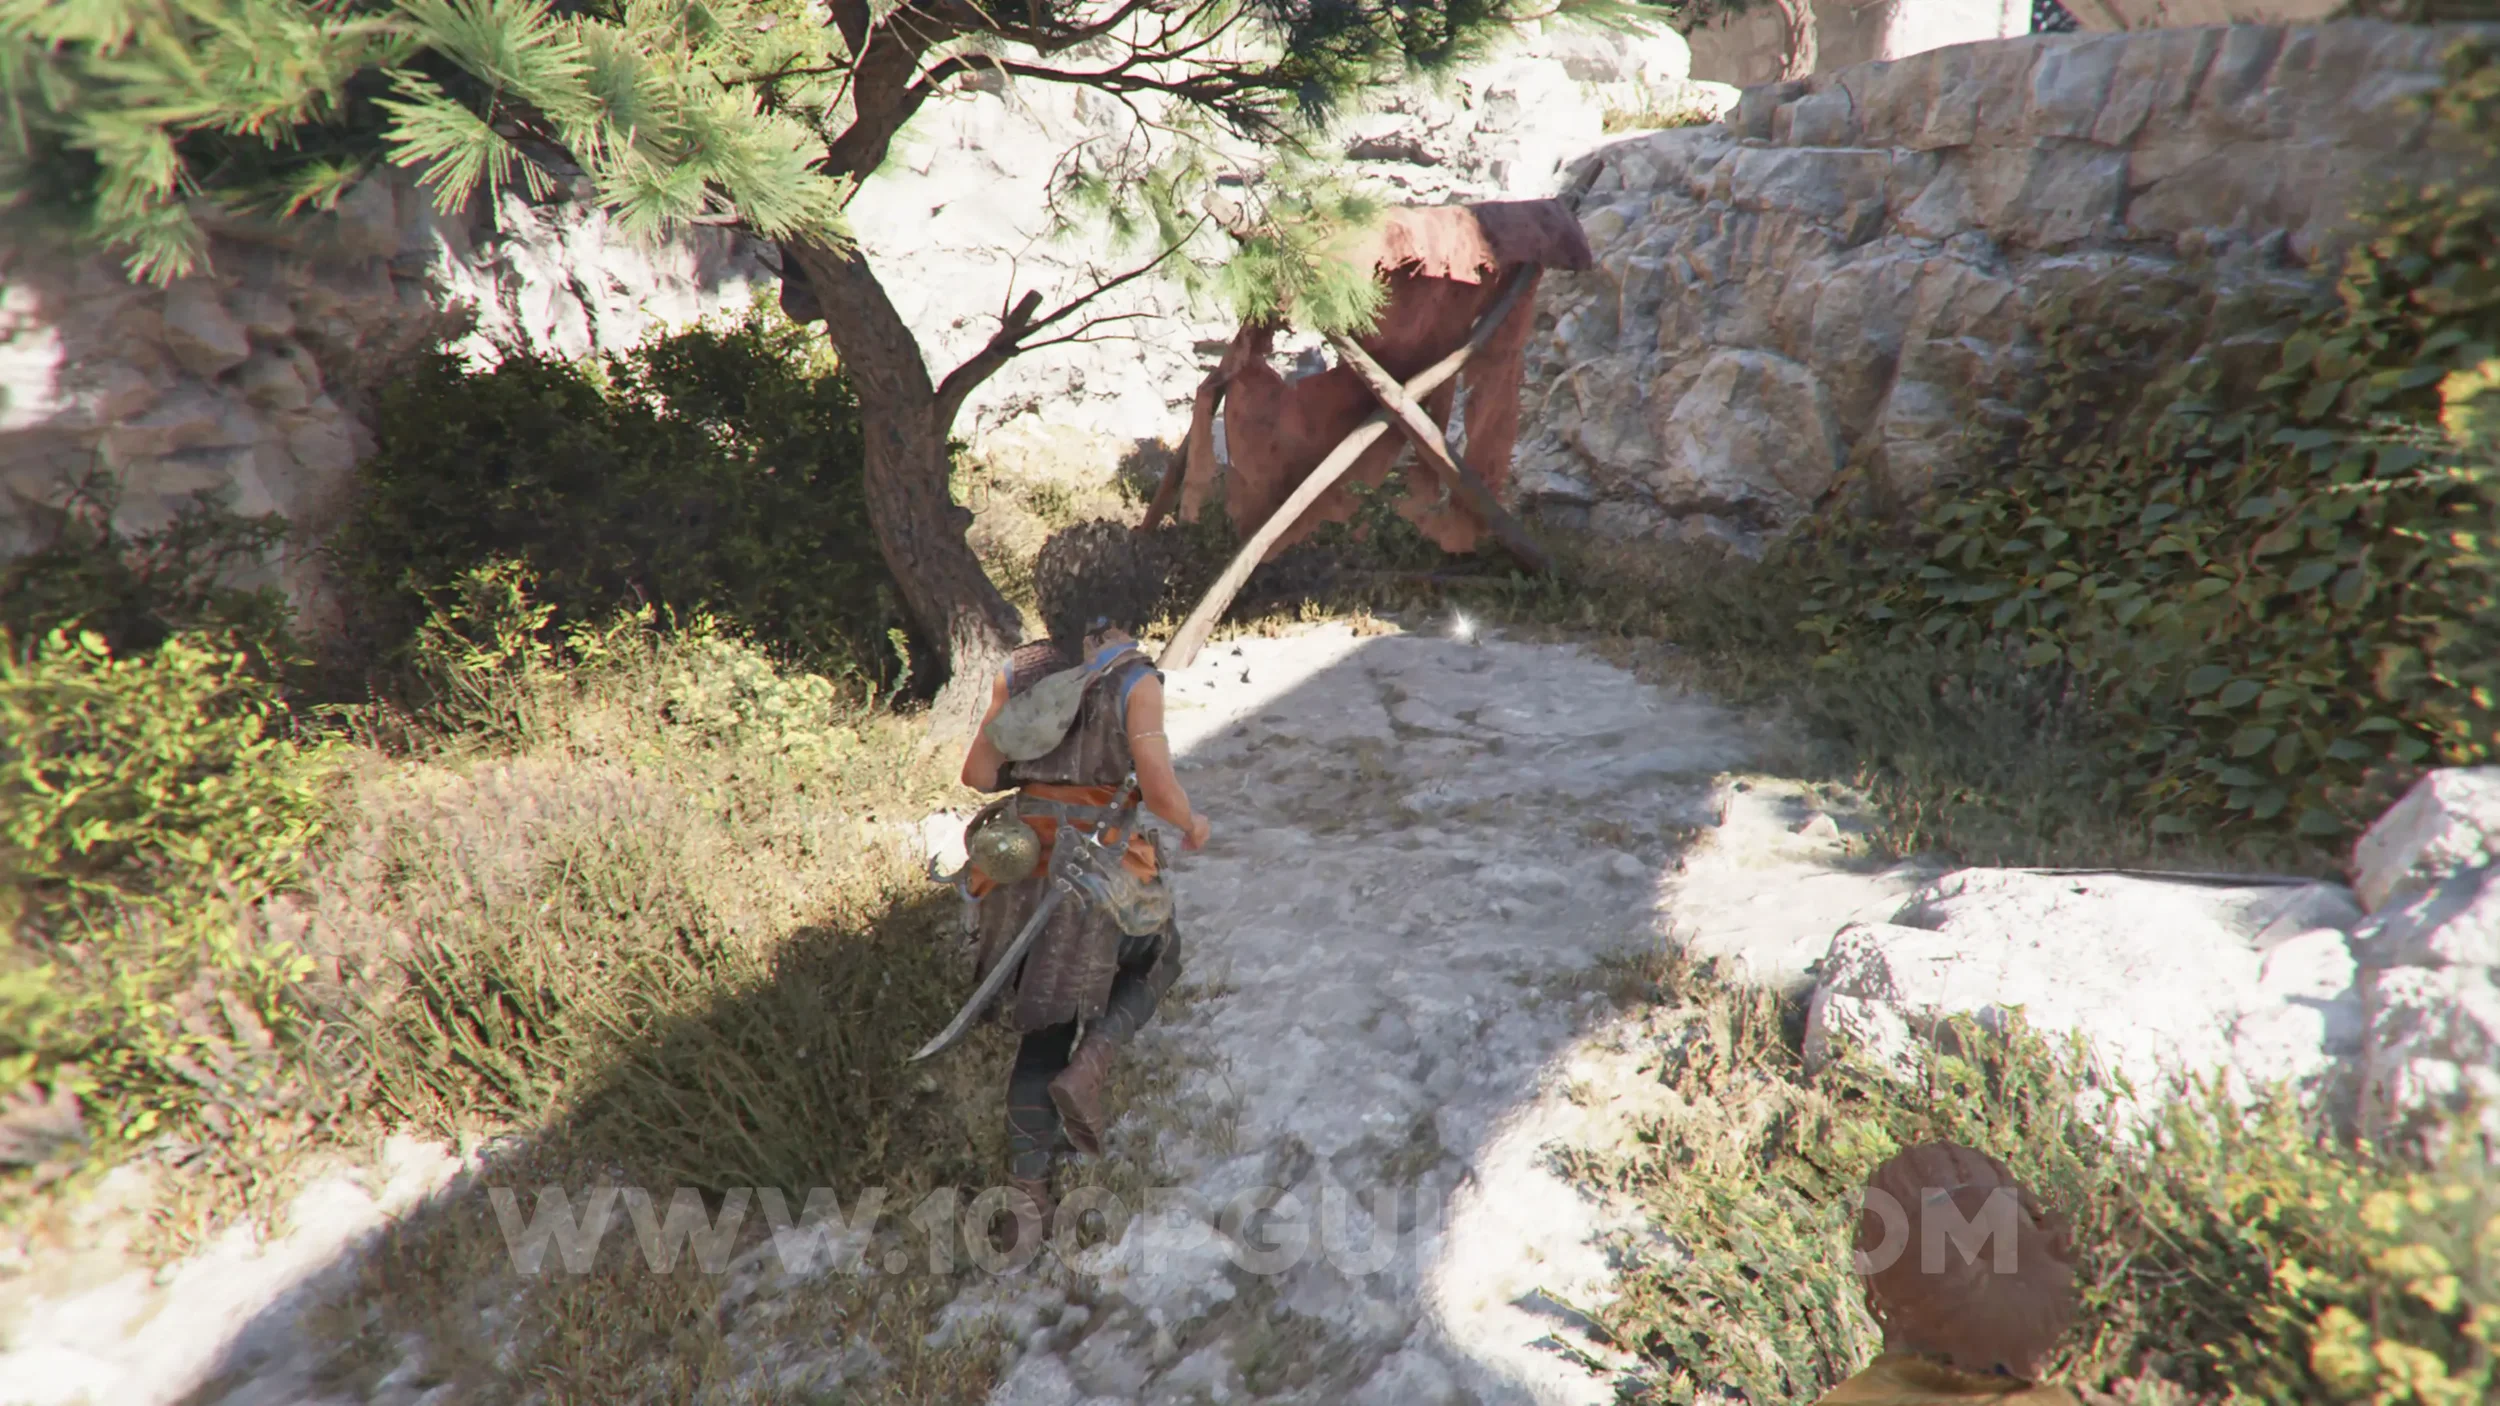
Resonance Point
Chapter 5: Sub-Chapter 2.
Near the red cloth at the end of the area with the previous collectibles.
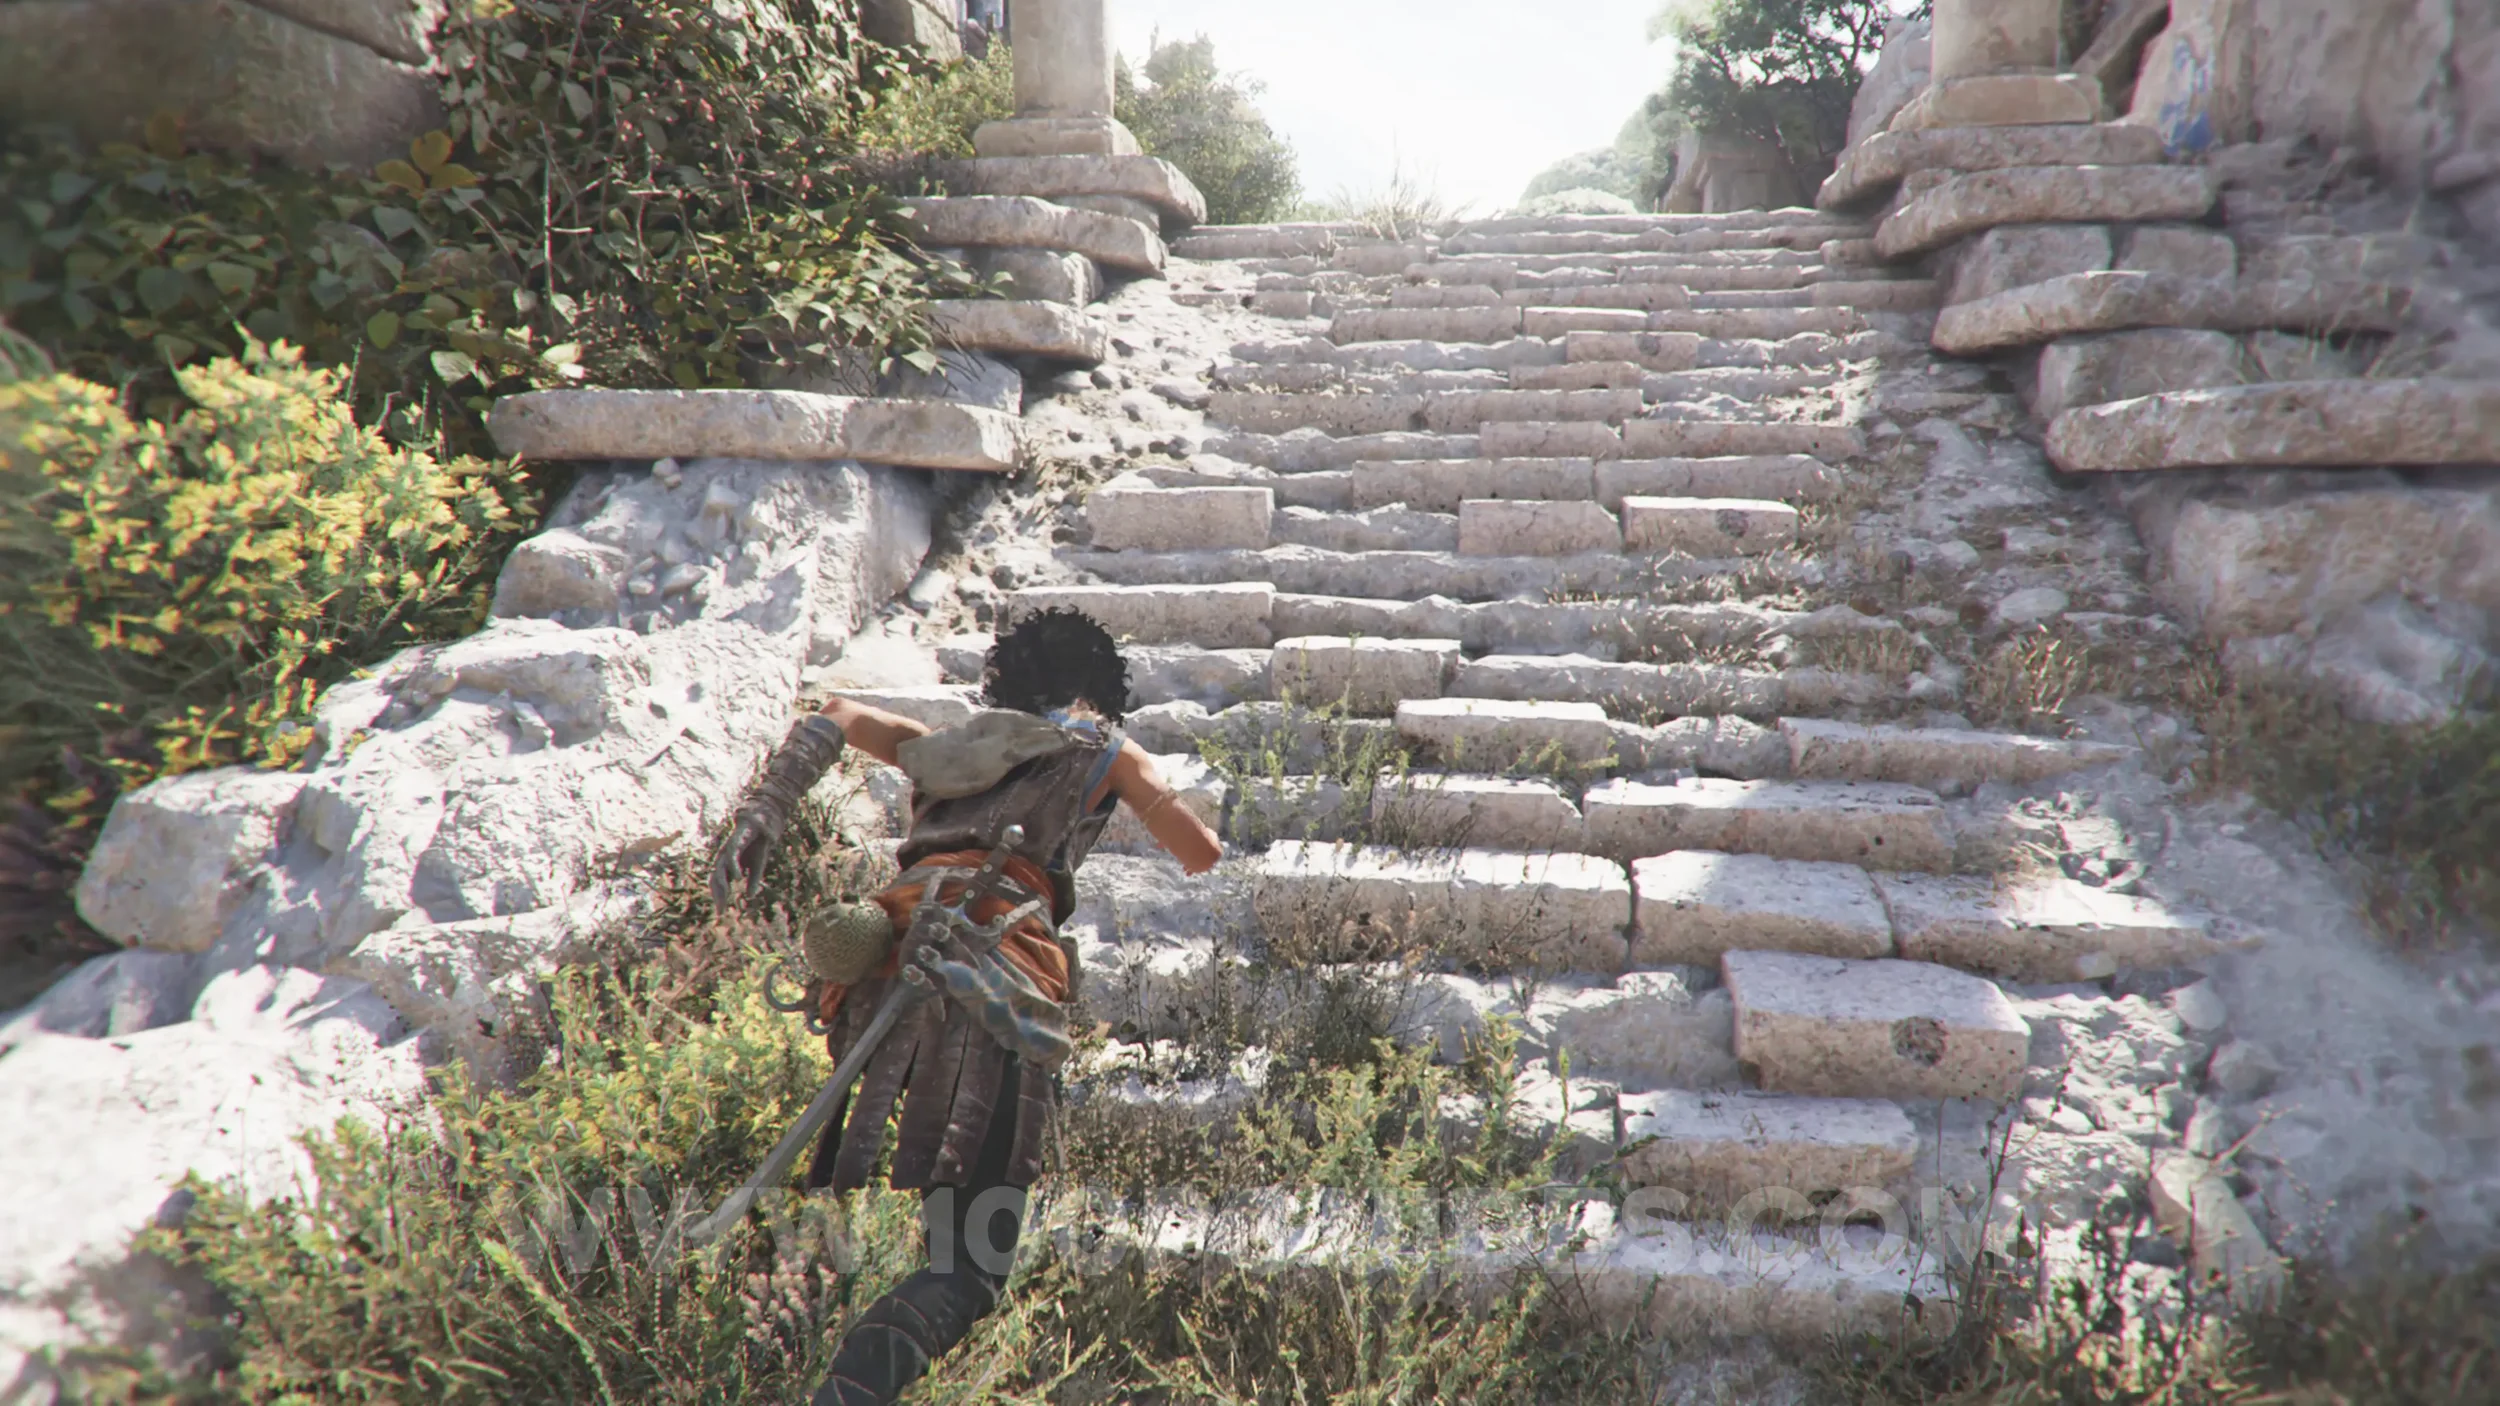
Charm: Seal #2
Chapter 5: Sub-Chapter 2.
Head up the stairs right next to the red cloth and the previous collectible, and at the top, where the square hole is in the ground, head left. Then, as soon as you pass the next wall, look left to find the charm in a box.
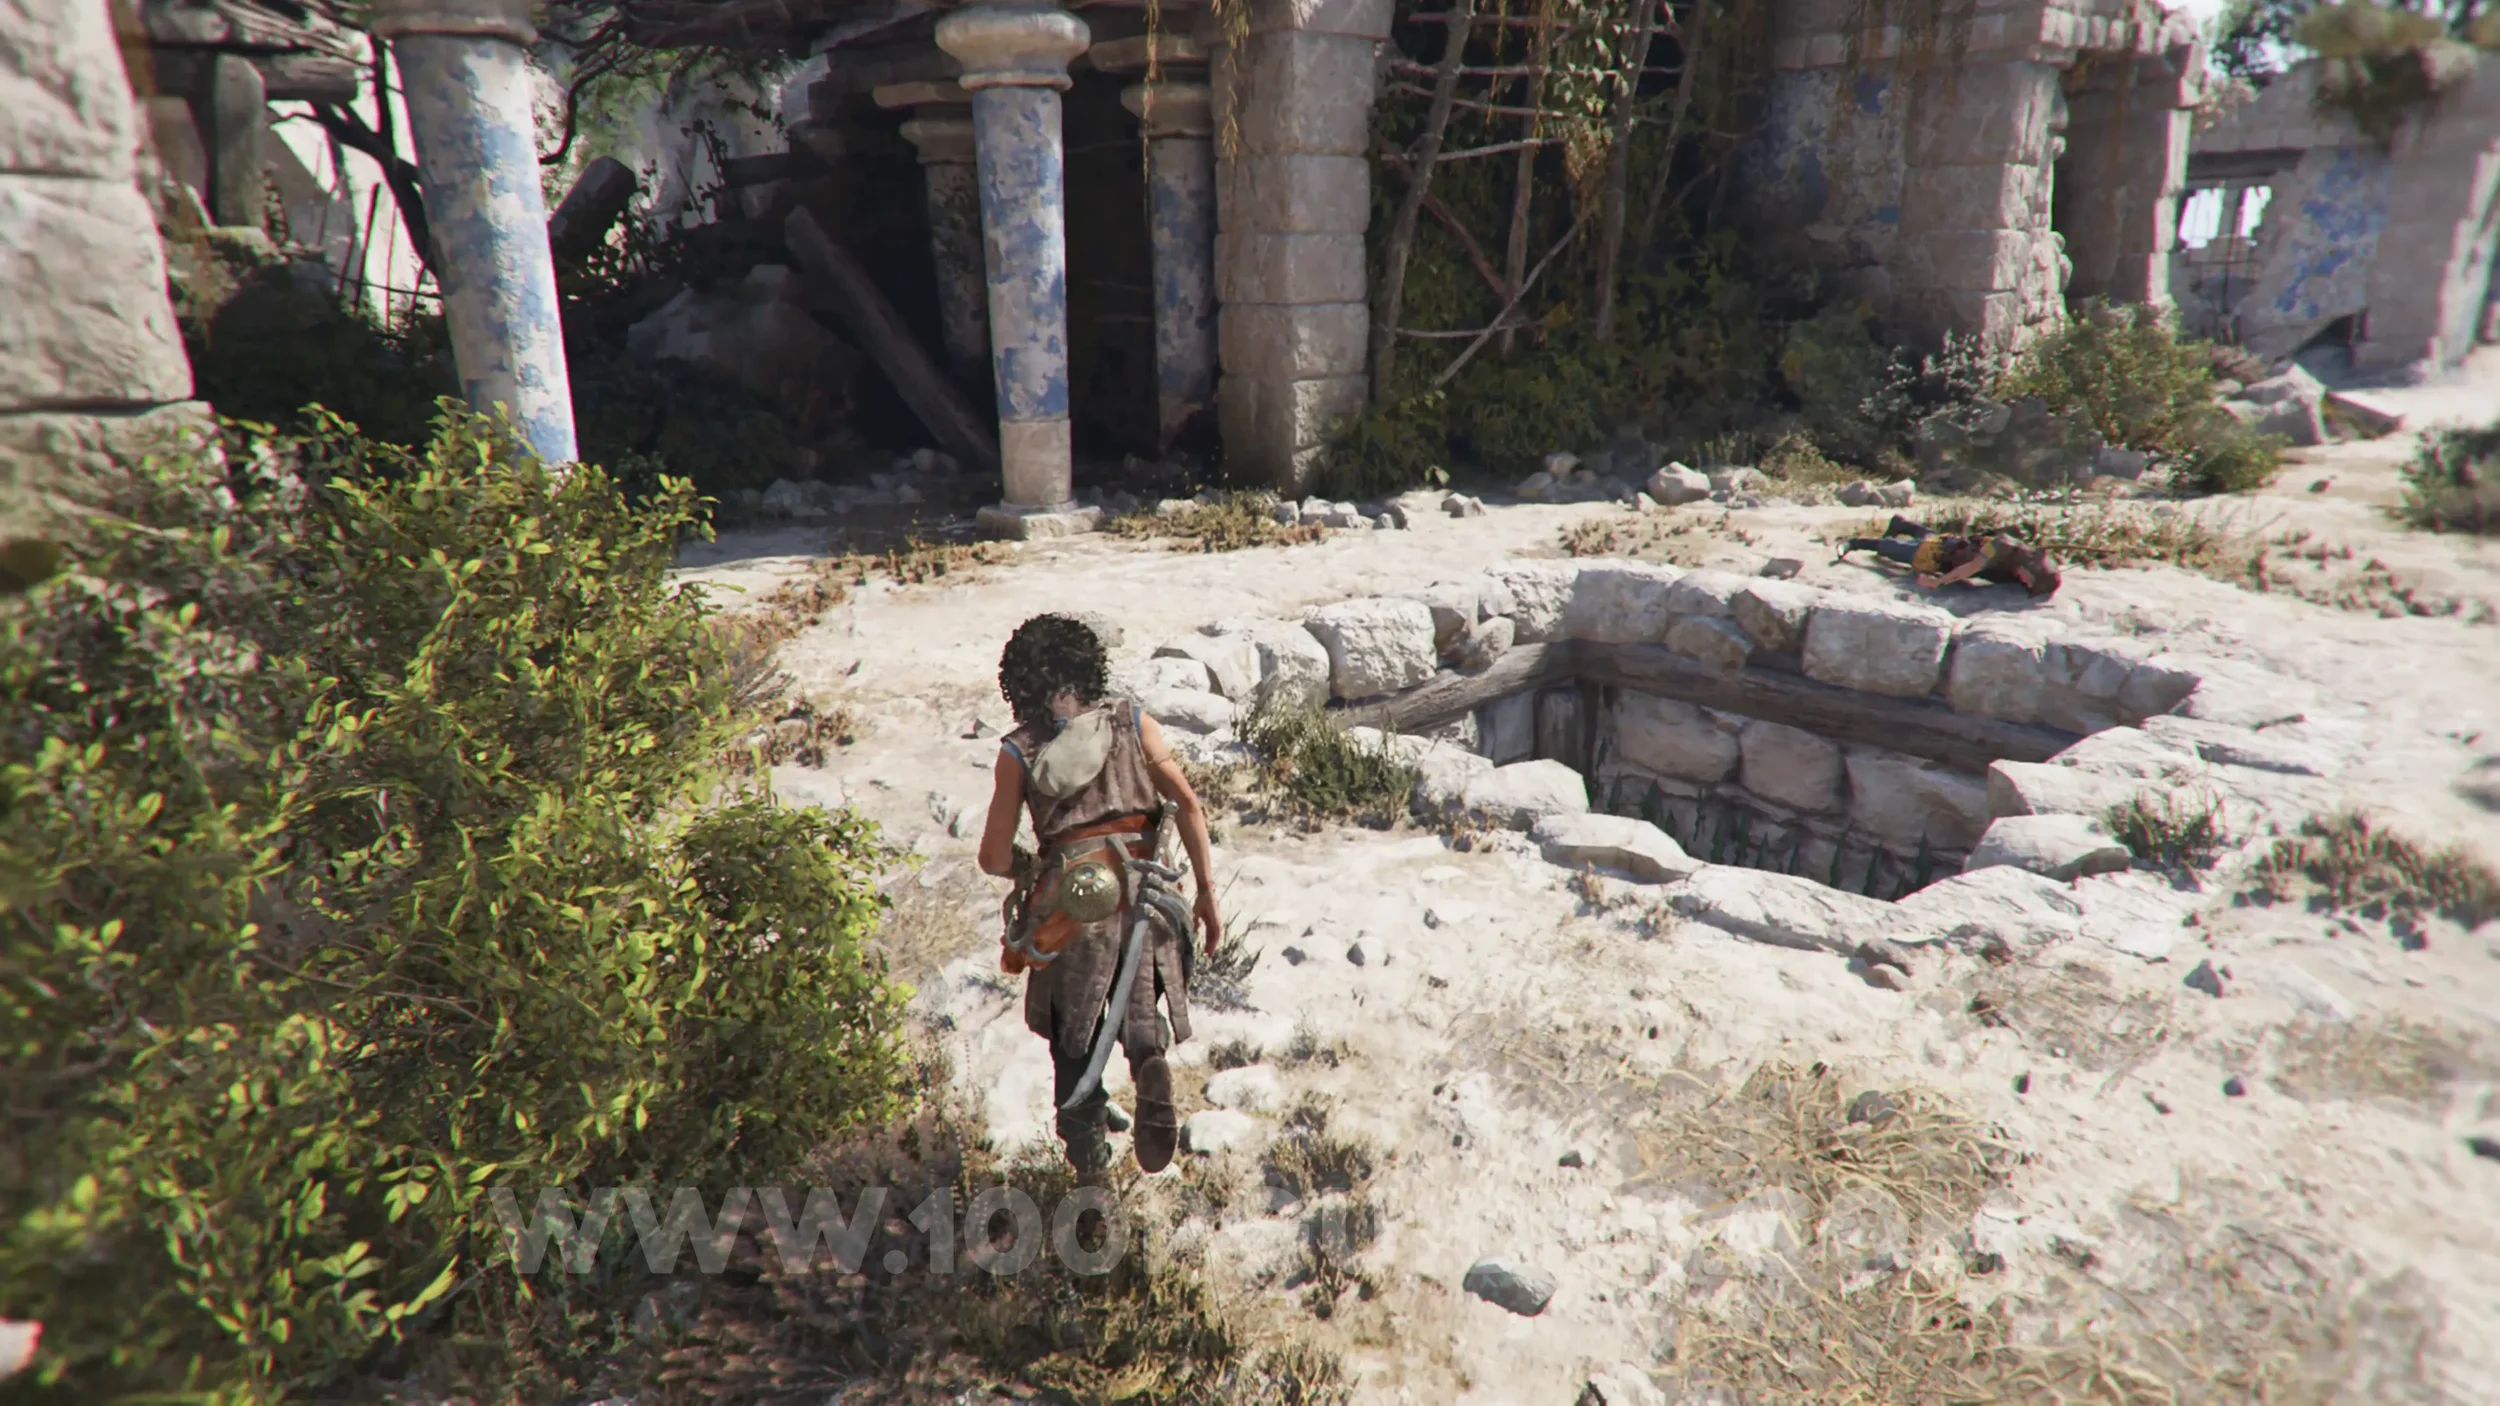
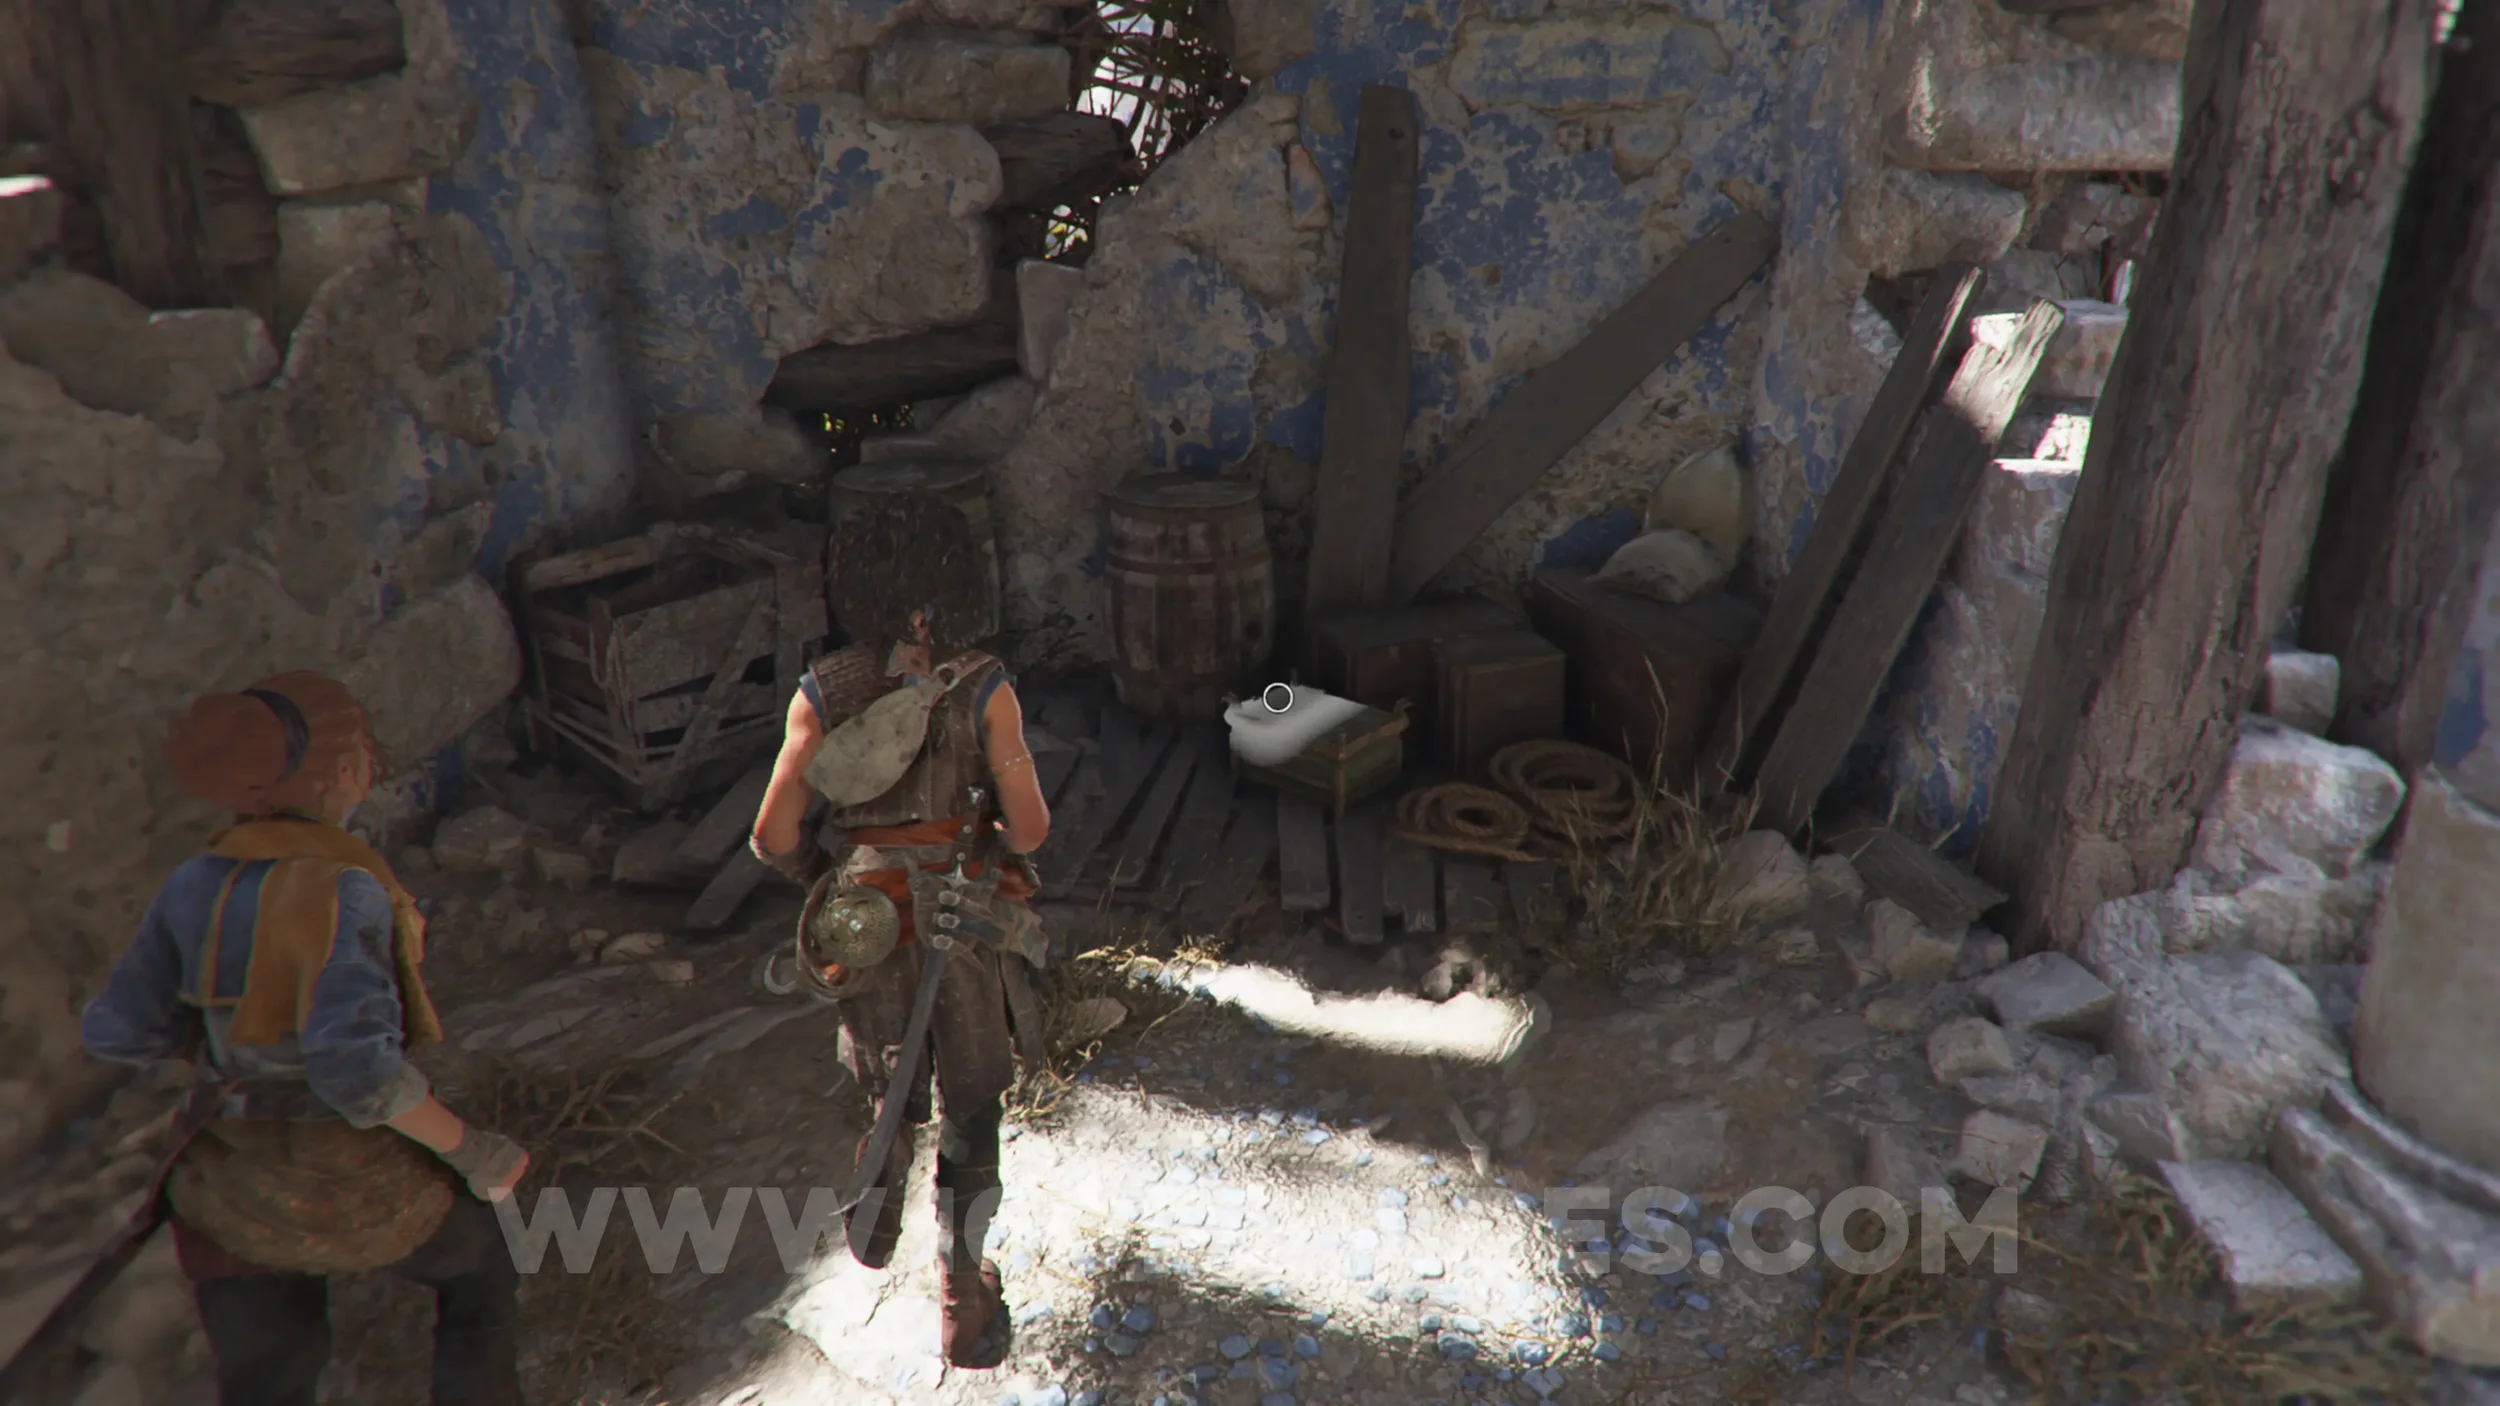
Artefact: Dante’s Inferno - Canto XII
Chapter 5: Sub-Chapter 2.
Continue on the path past the previous collectible, and you'll then drop down into an area with enemies and some tents. The artefact can be found between the second set of tents on the left.
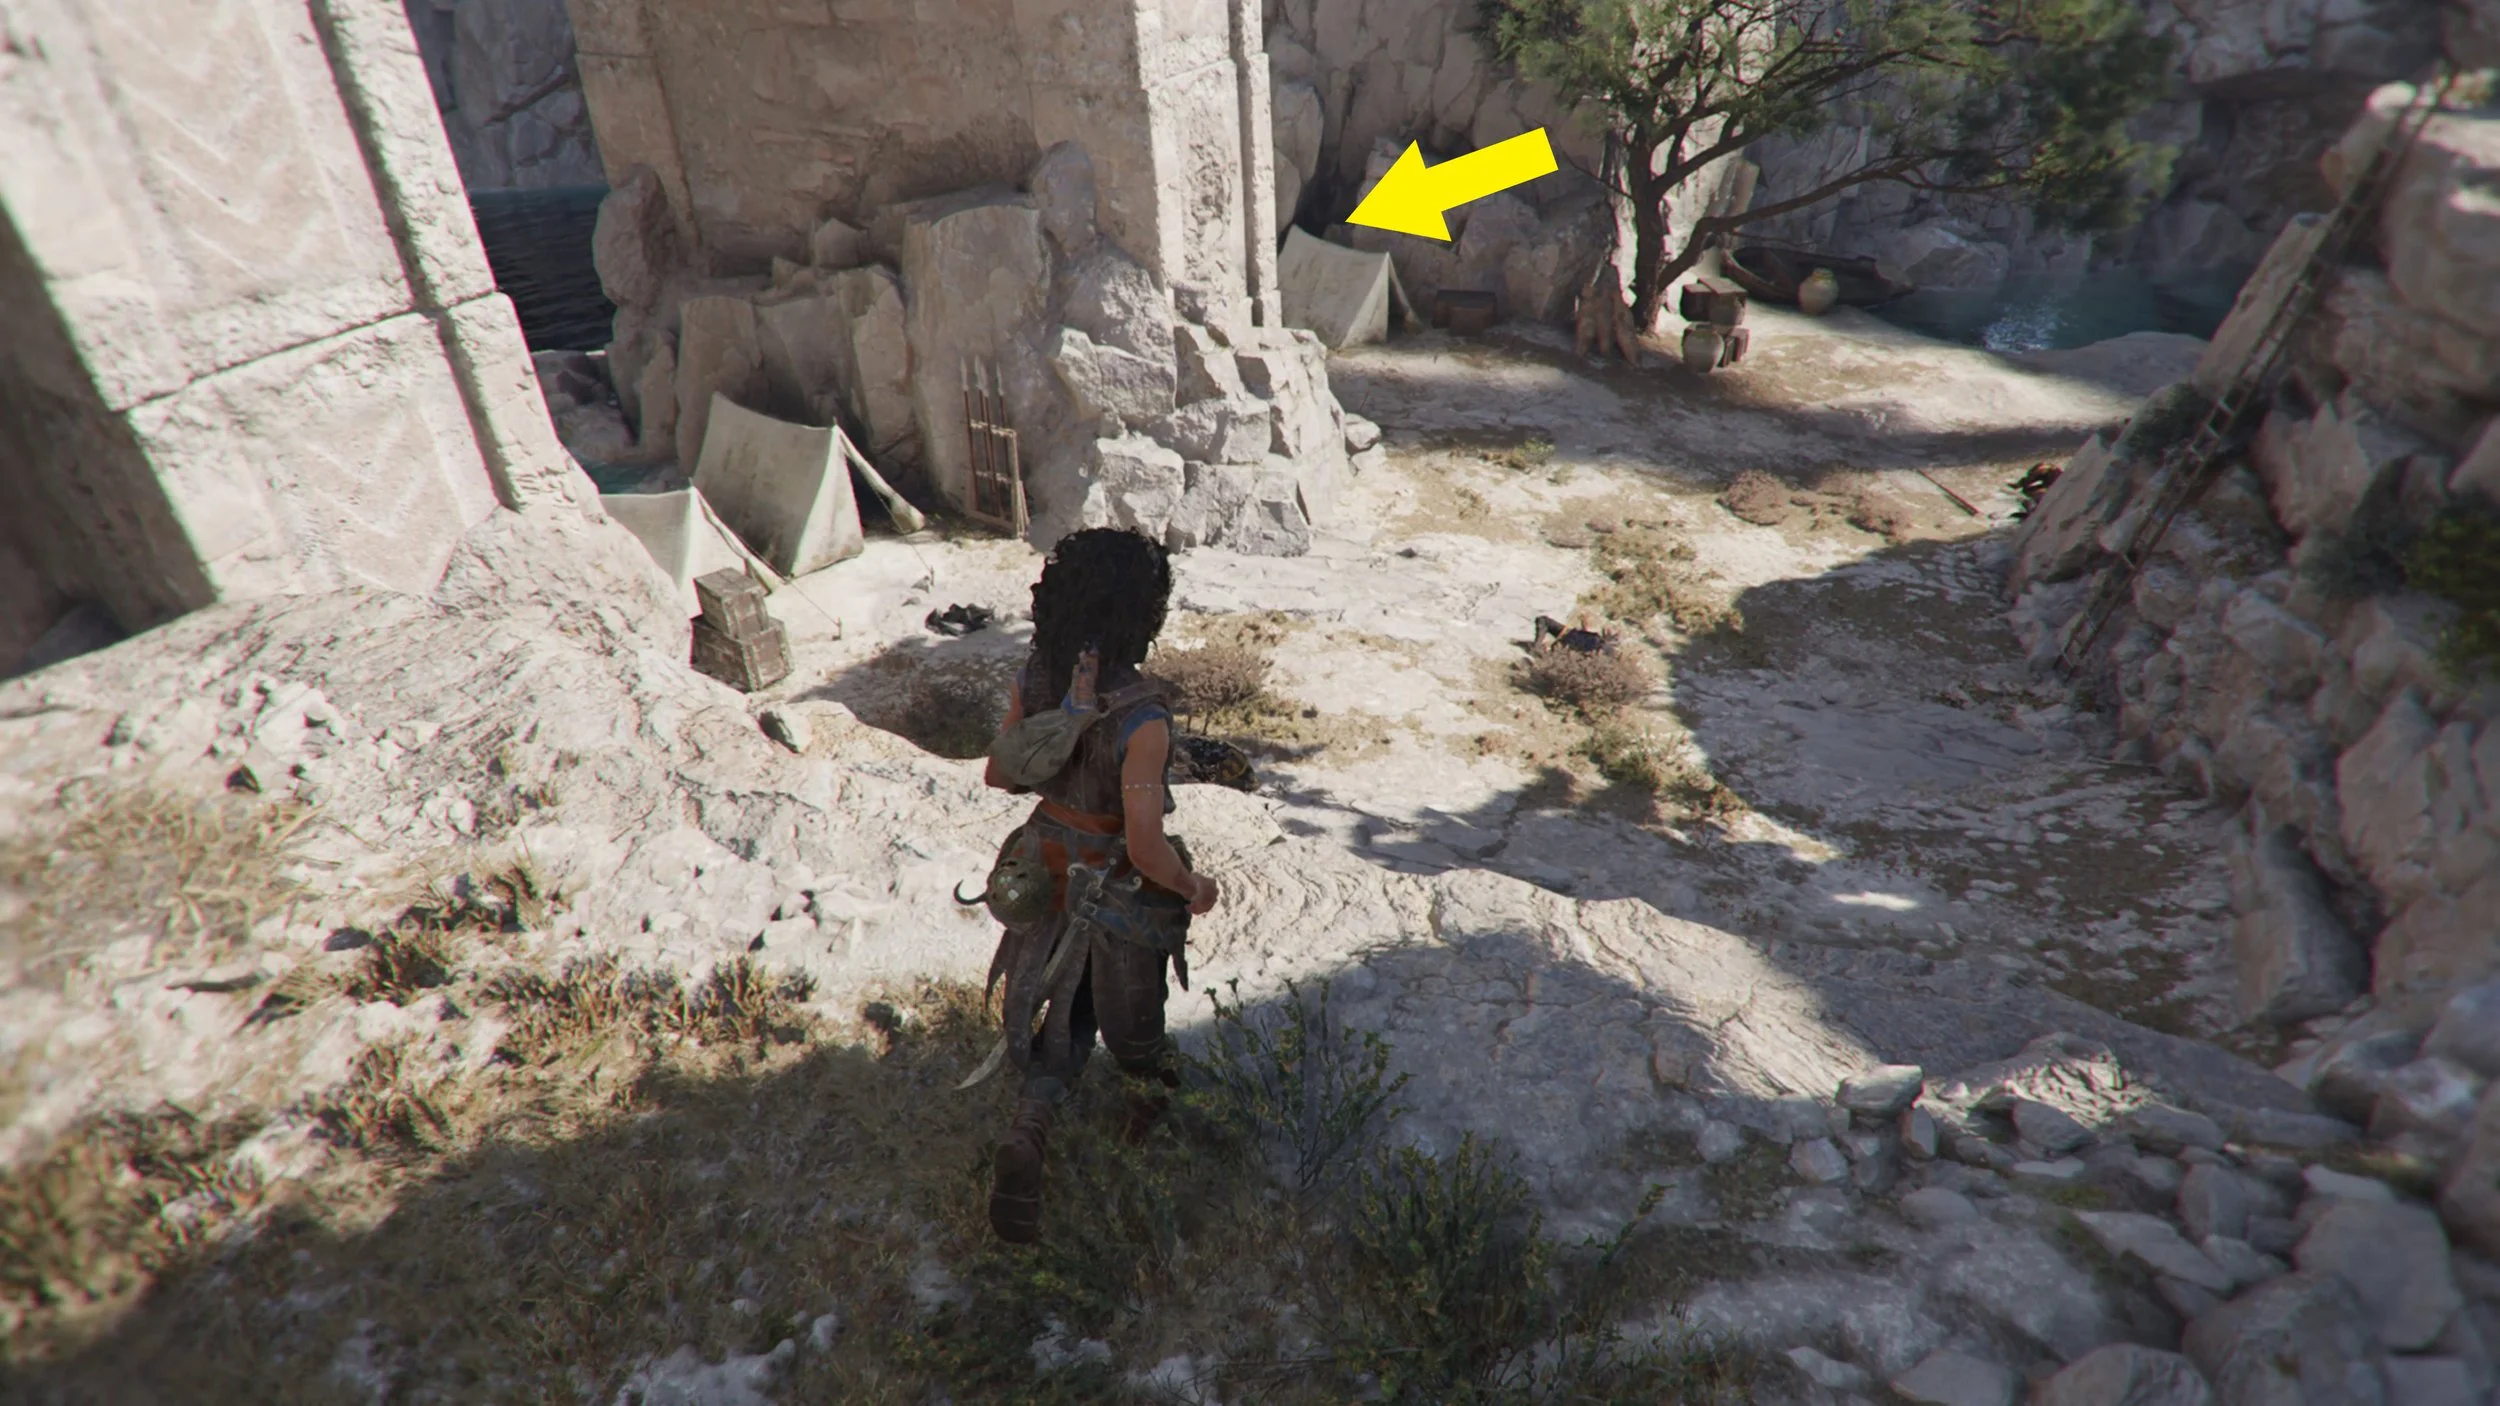
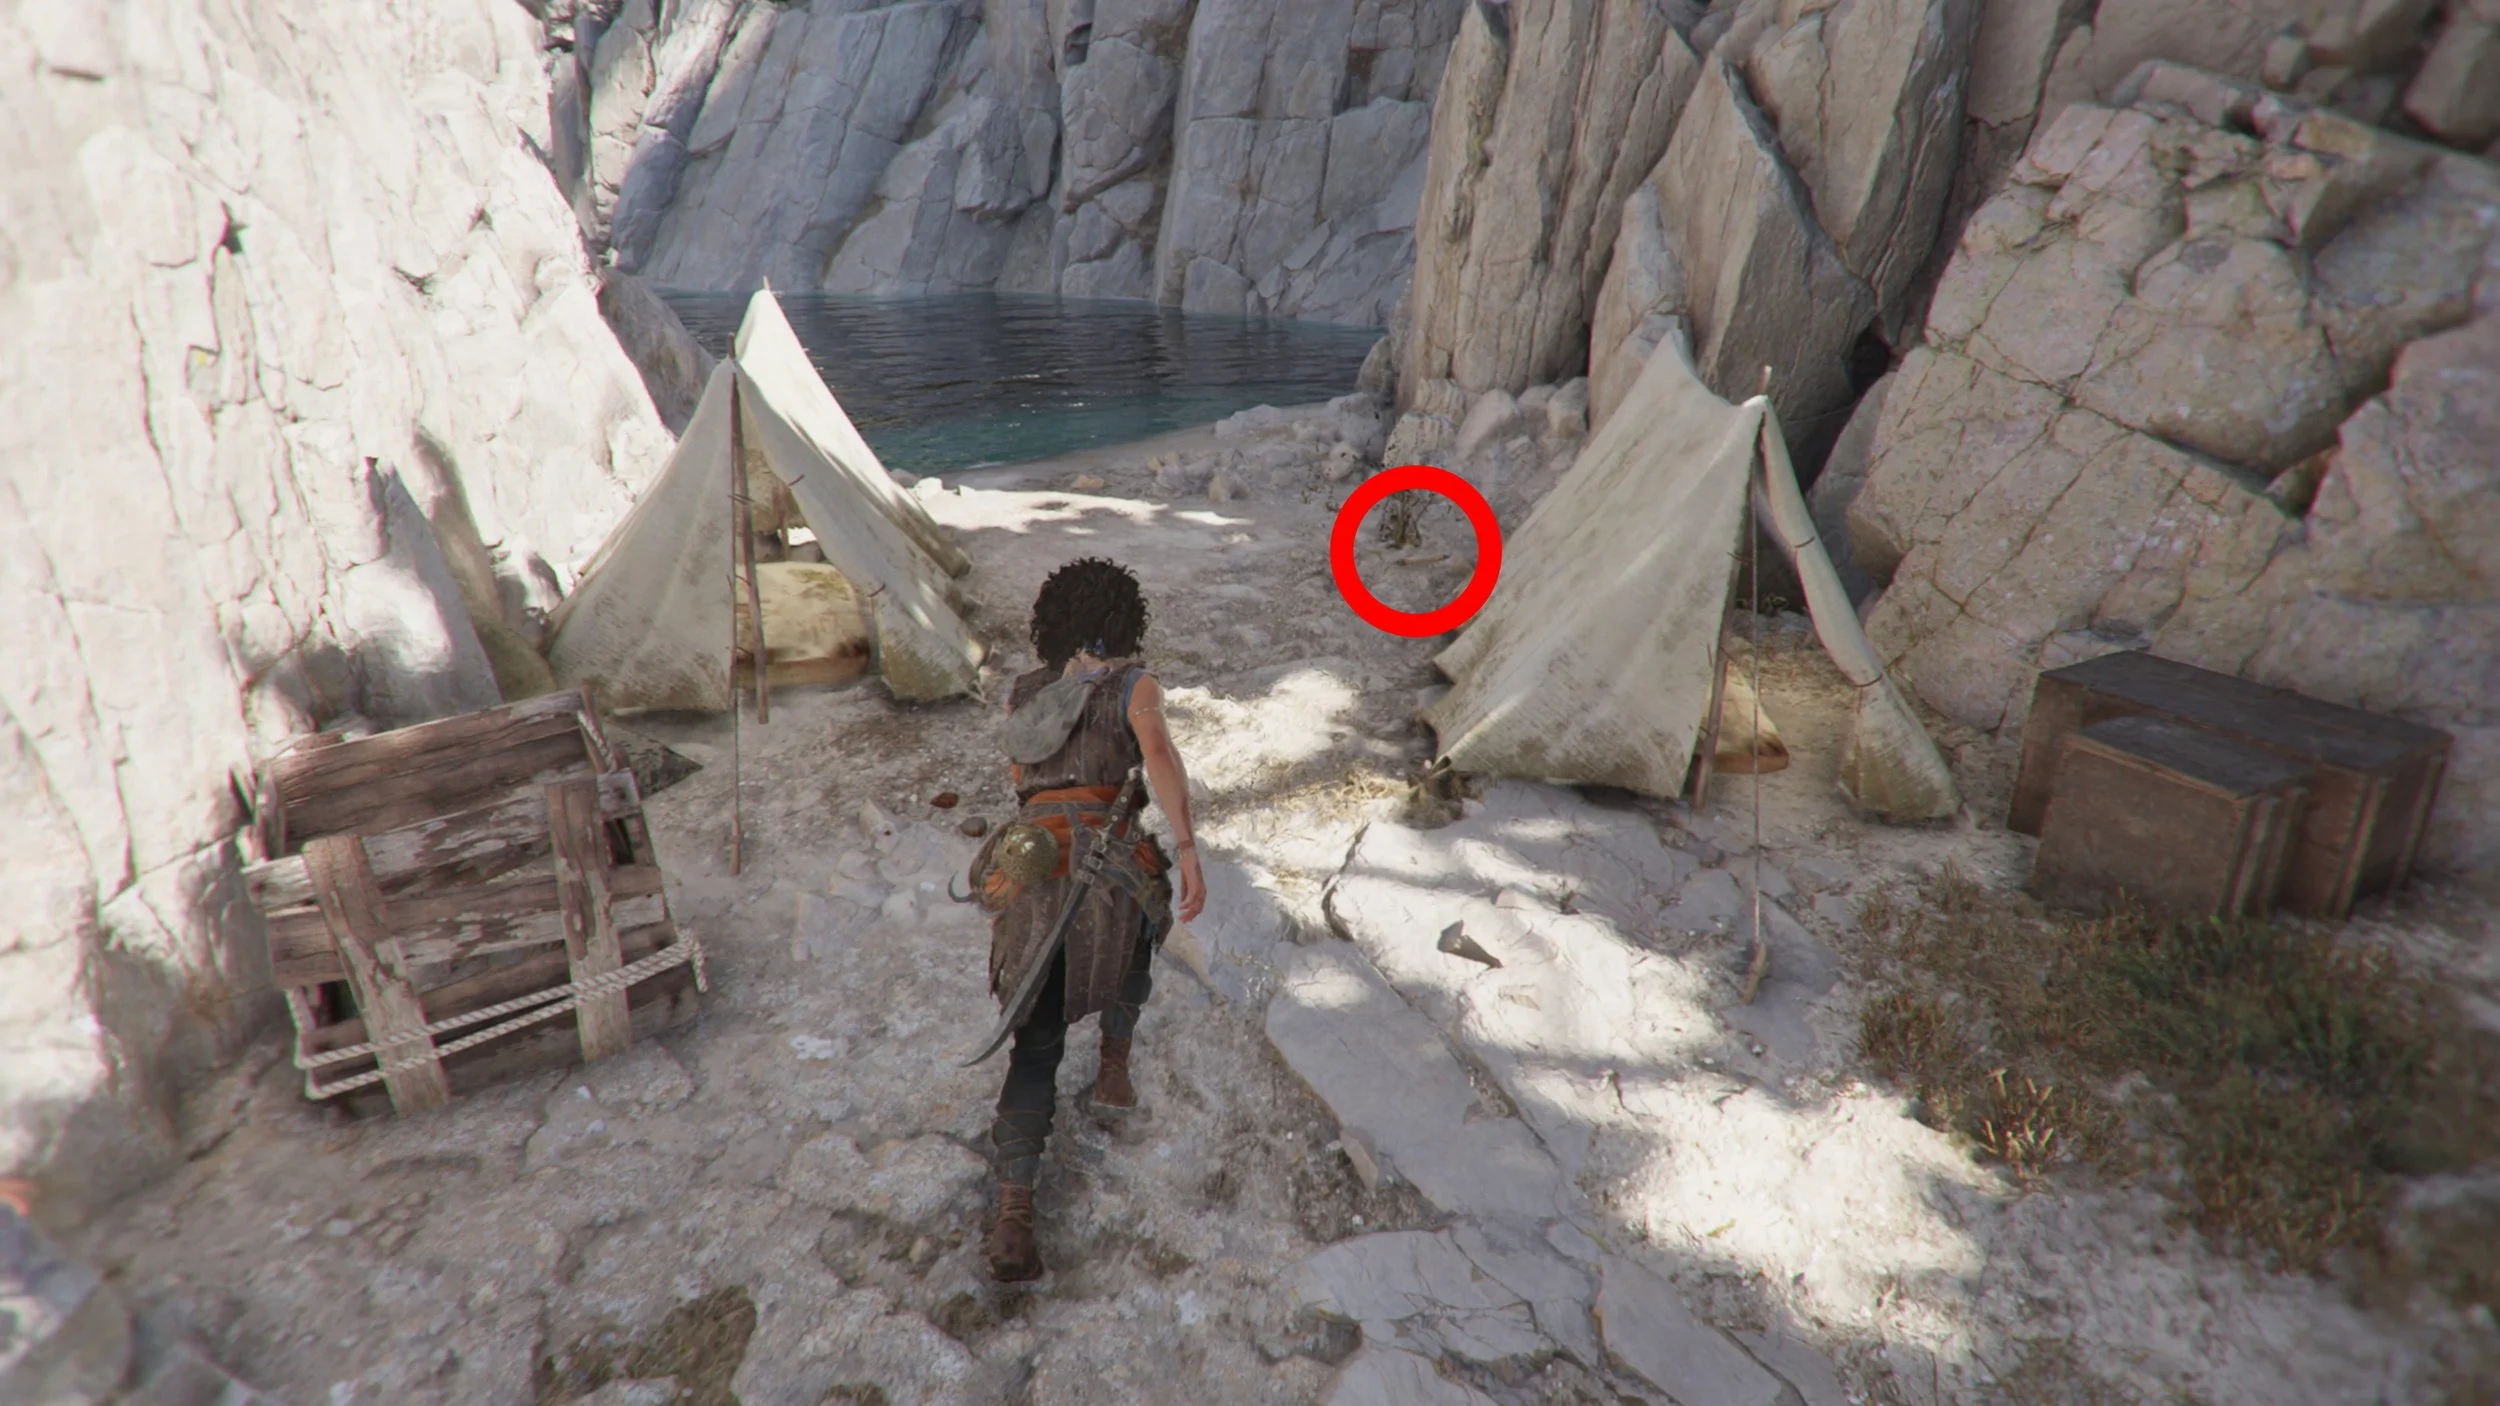
Resonance Point
Chapter 5: Sub-Chapter 2.
From the previous collectible, turn around and climb the ladder. Then look behind the barrels directly in front of you.
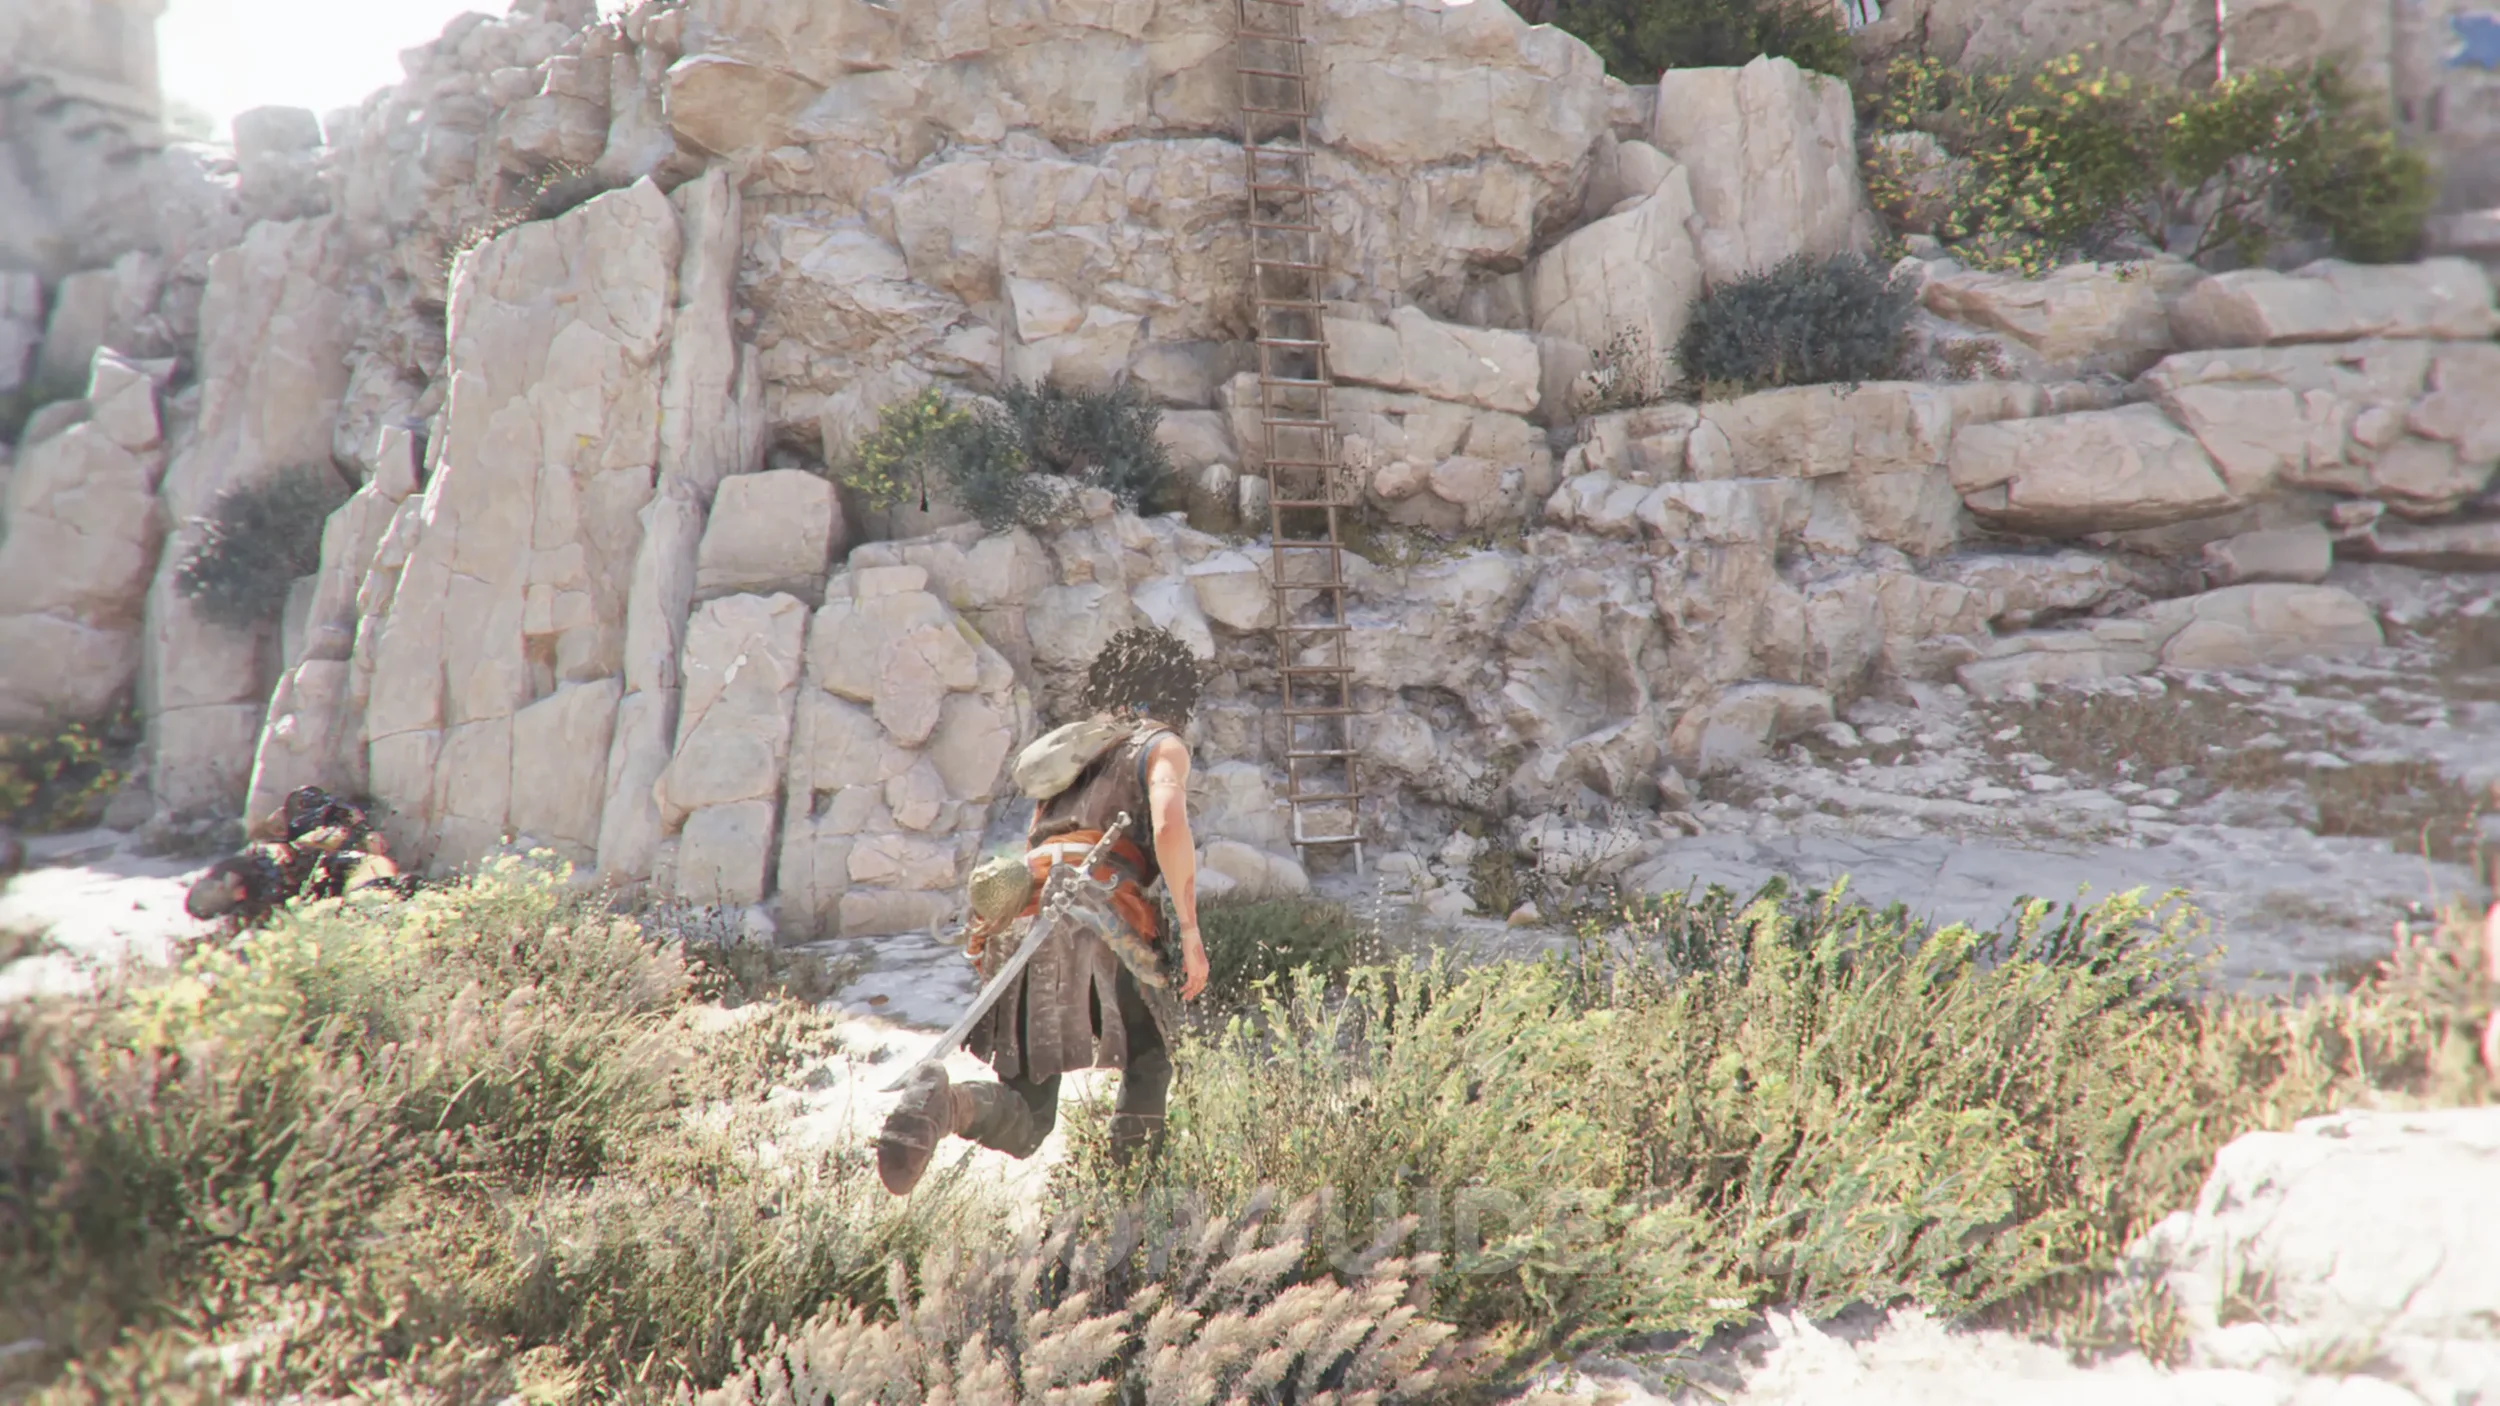
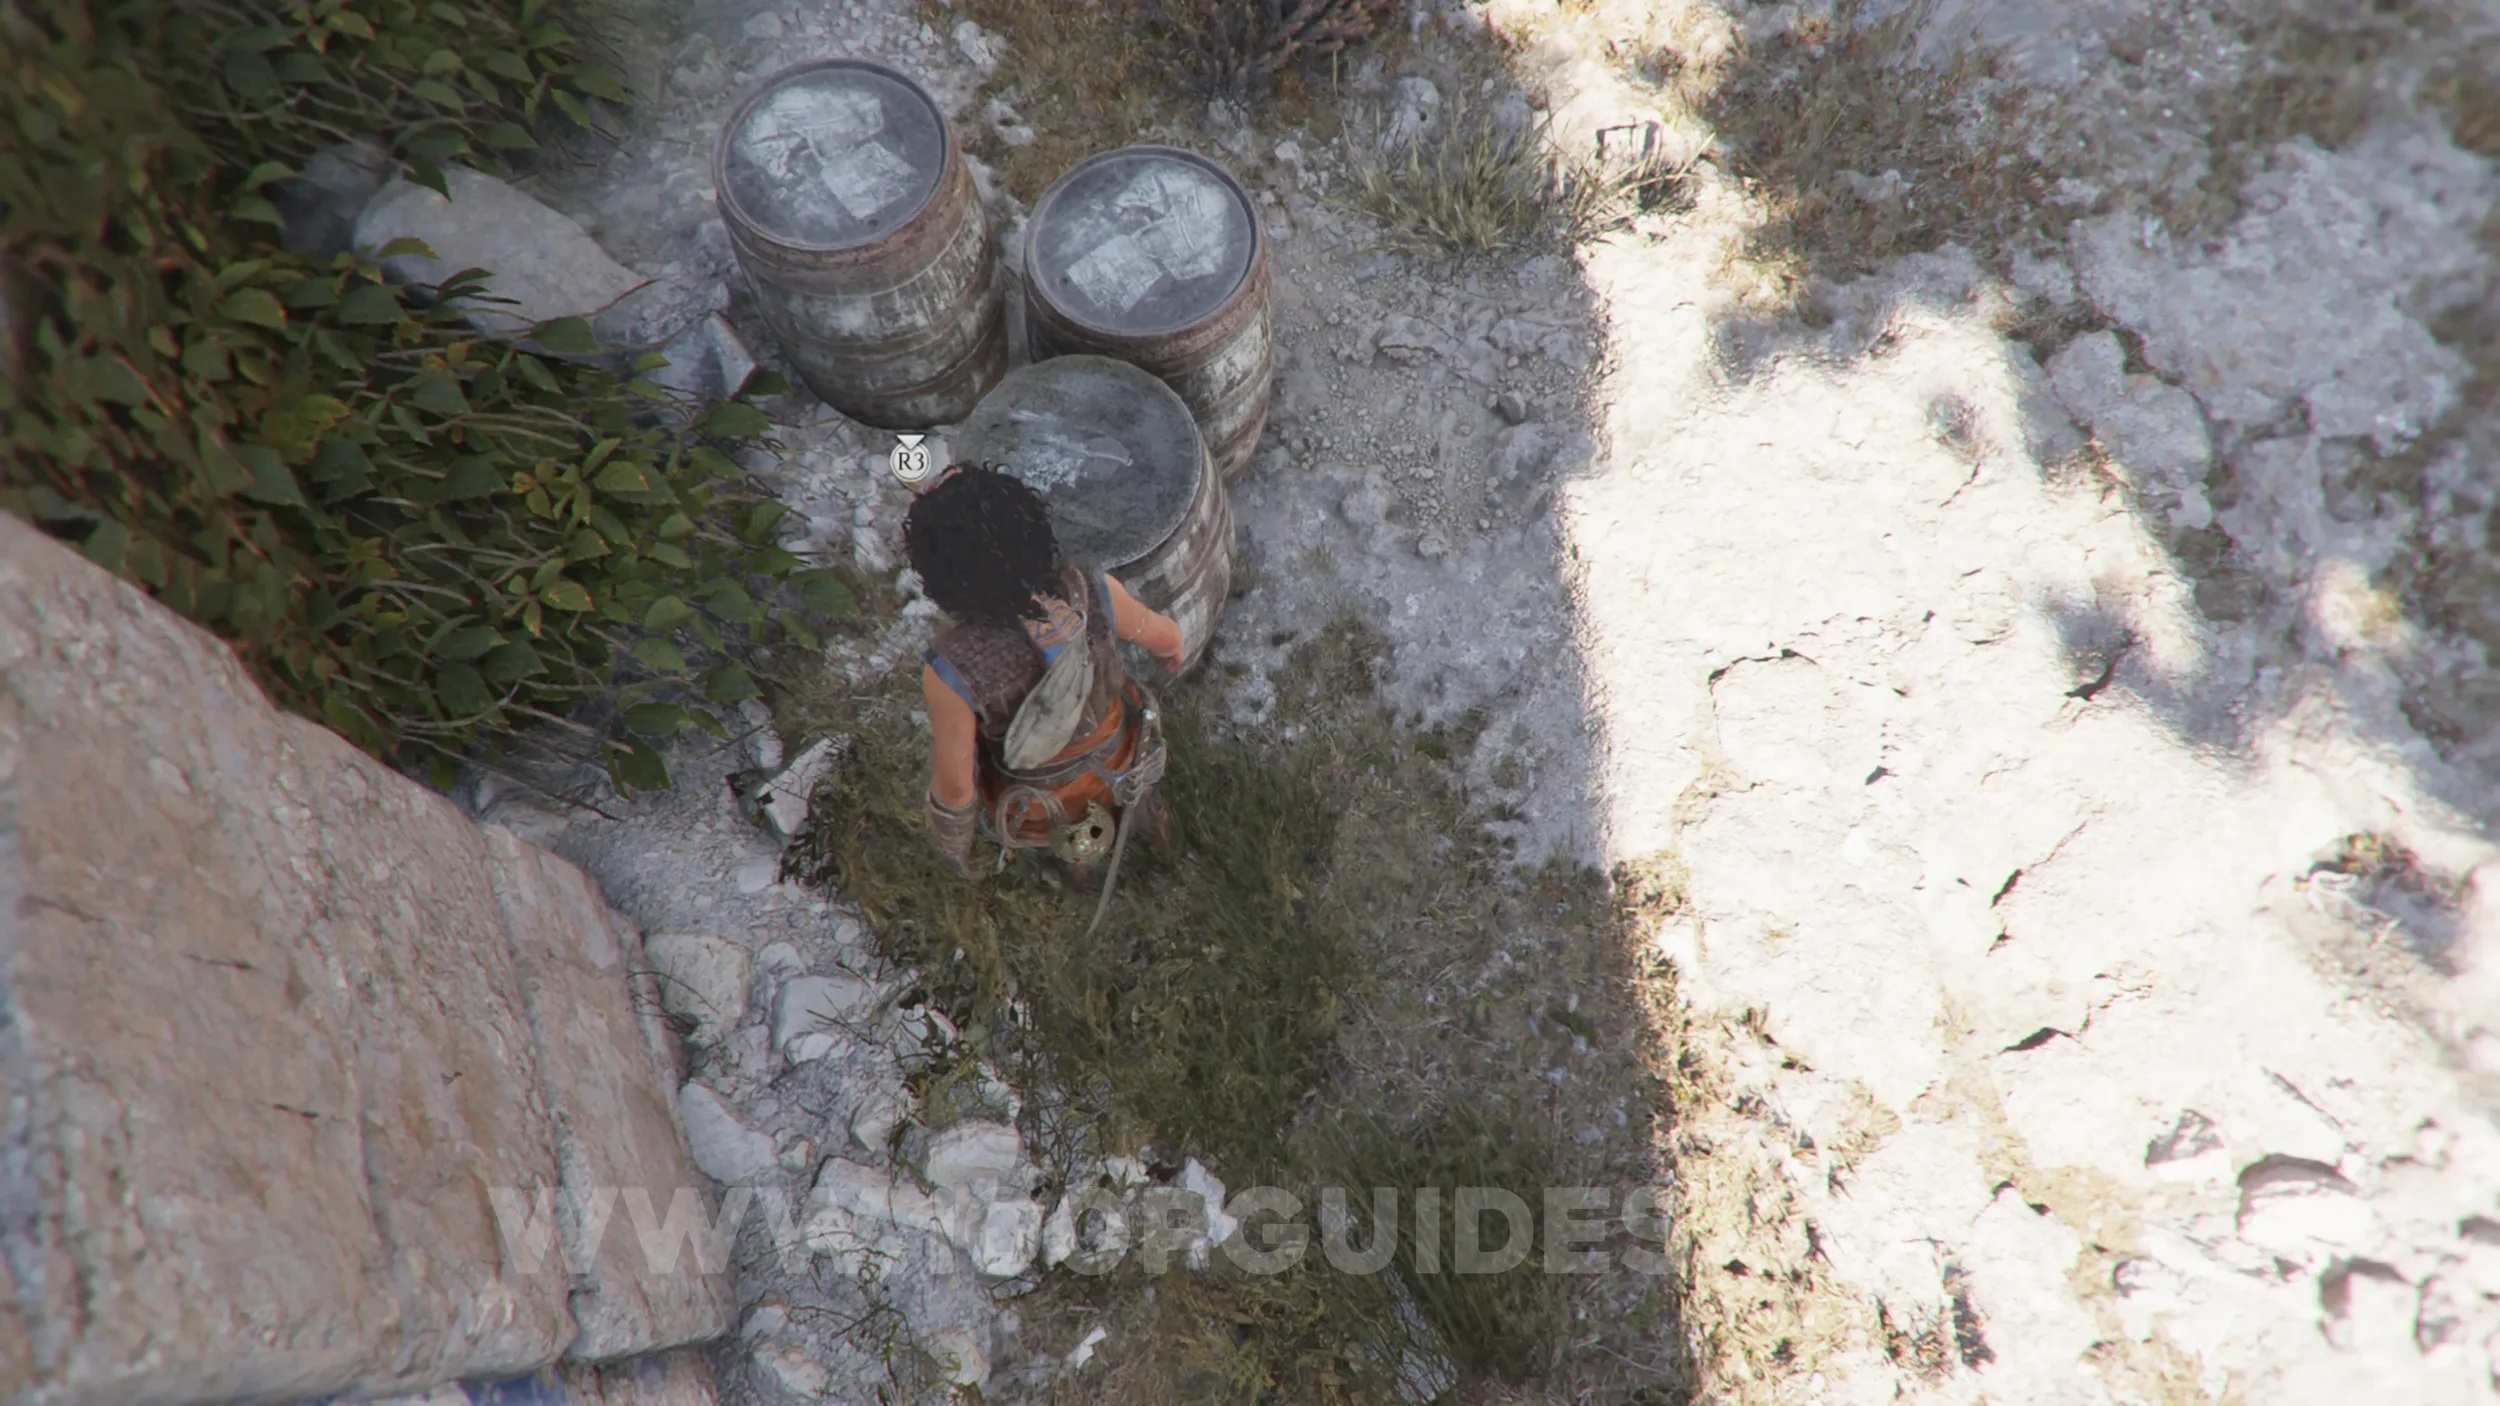
Resonance Point
Chapter 5: Sub-Chapter 2.
After the previous collectible, you'll see some large stairs on your left. Before heading up them, continue straight and go through the hole in the wall. Then, on the other side, look left to find the resonance point beside the tree overlooking the water below.
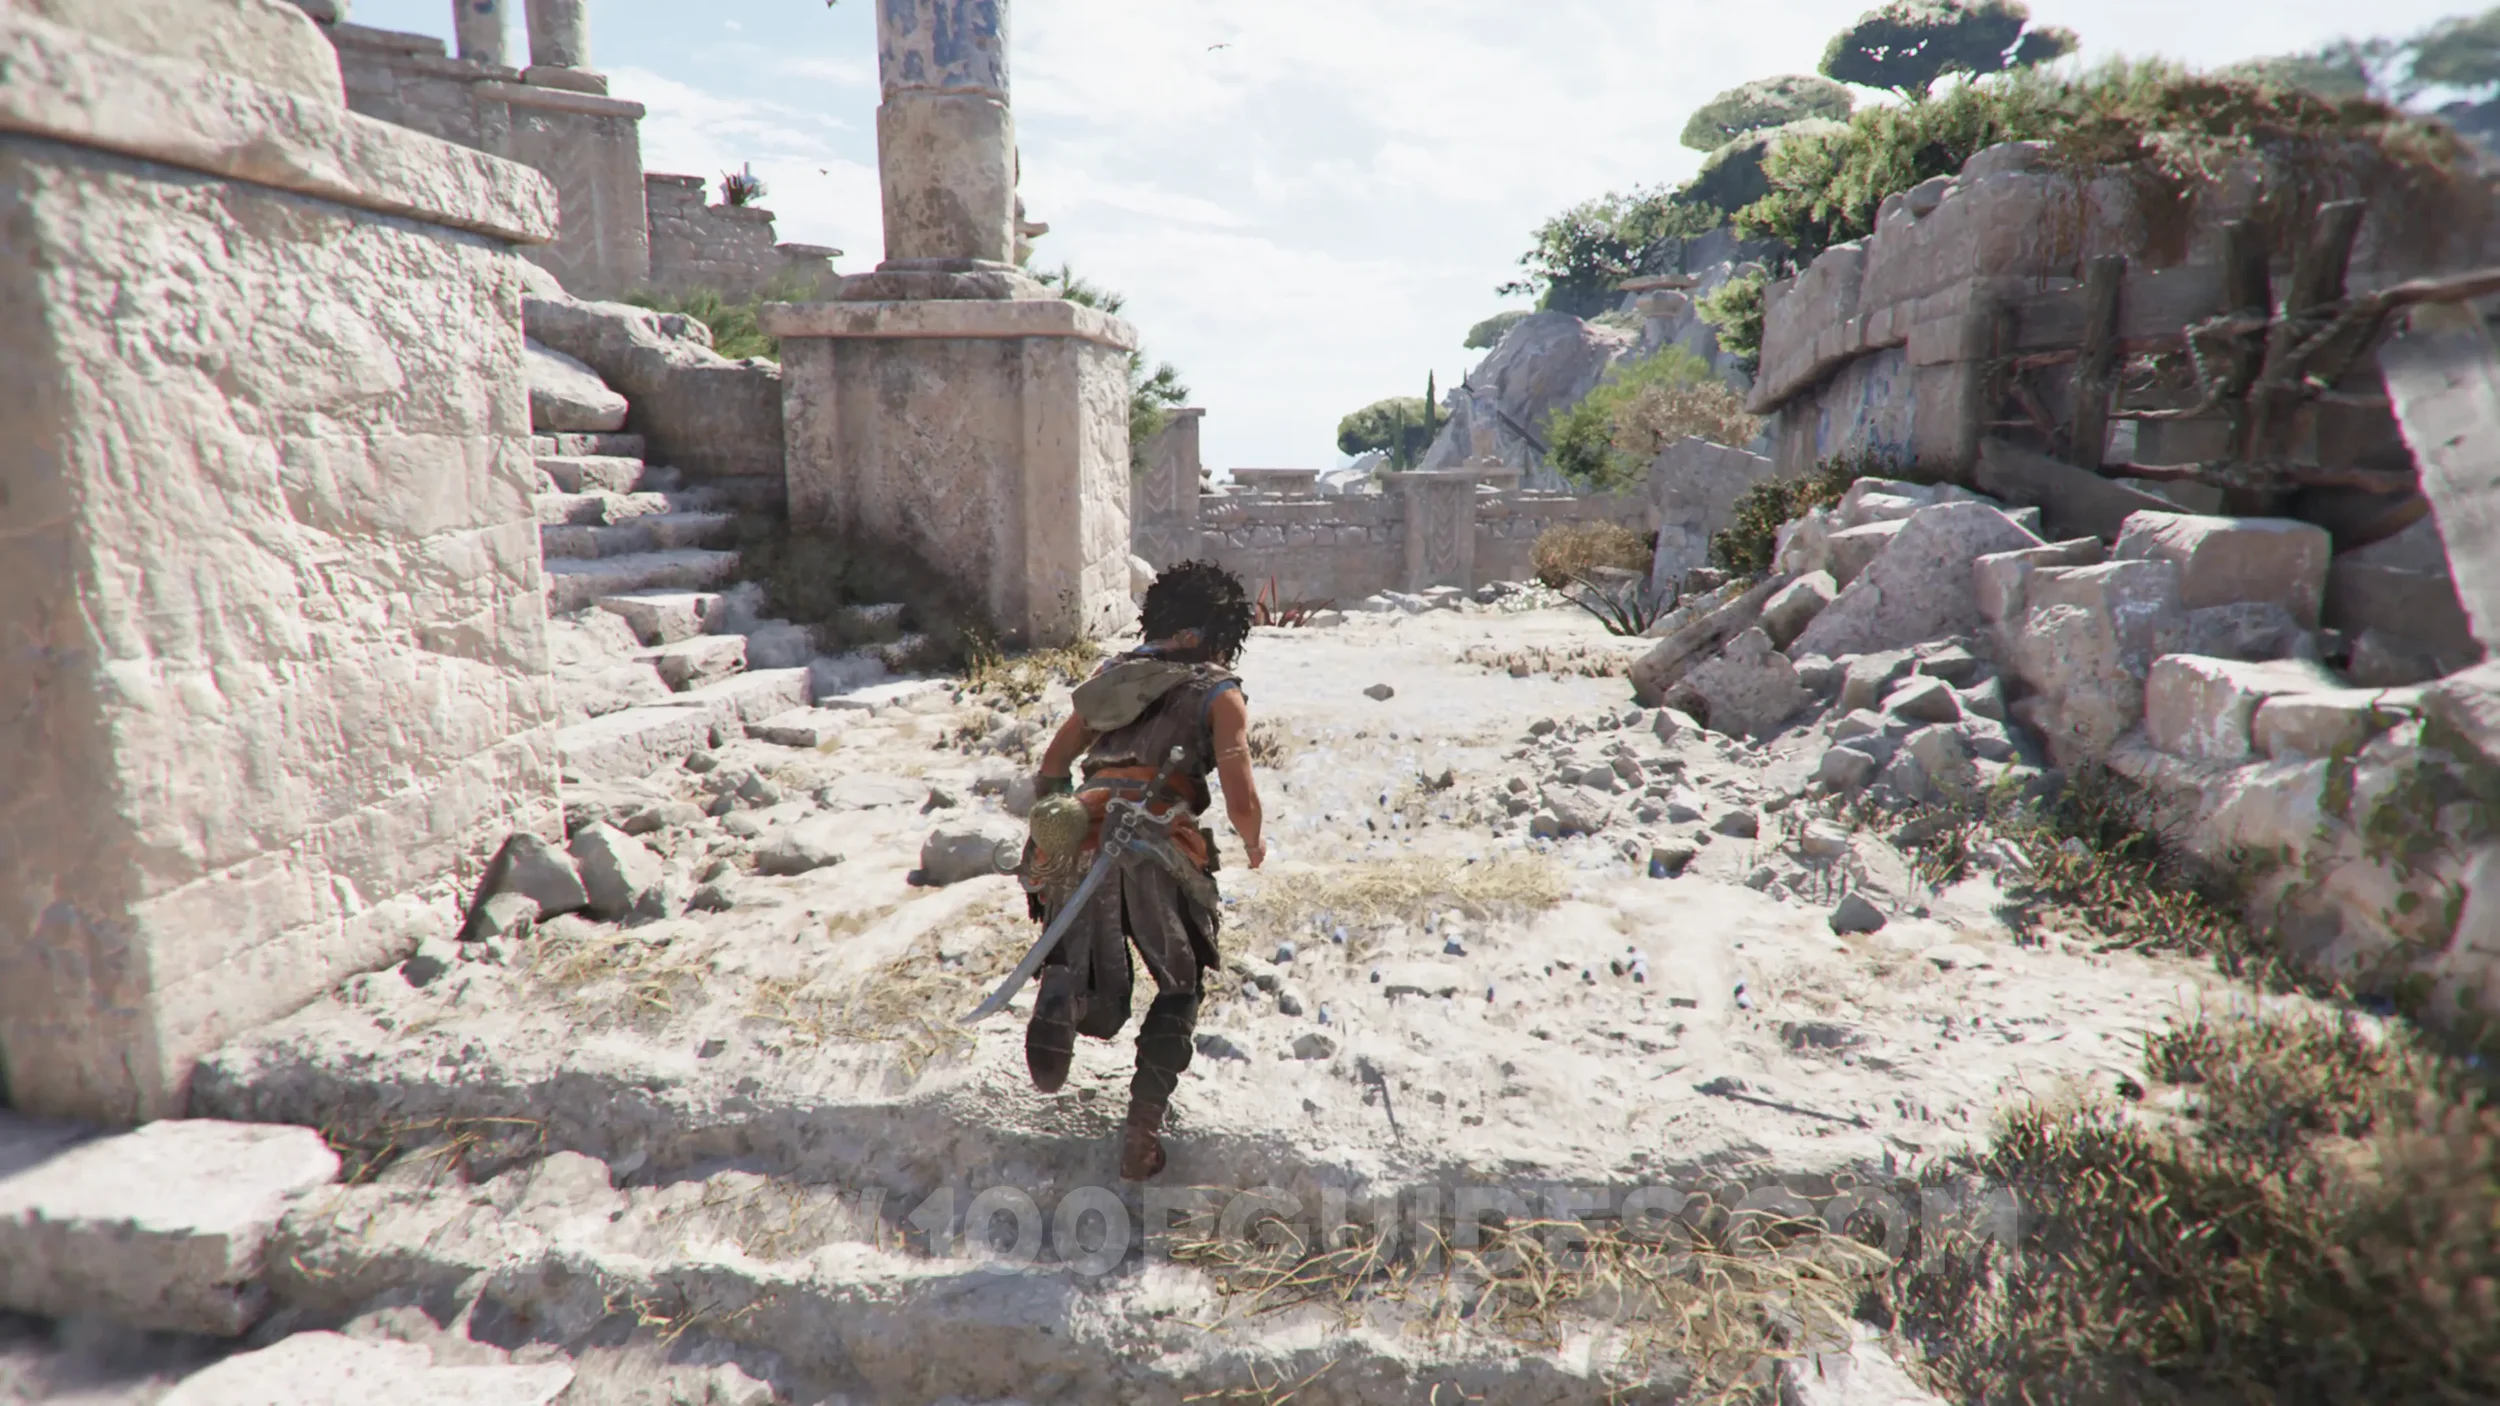
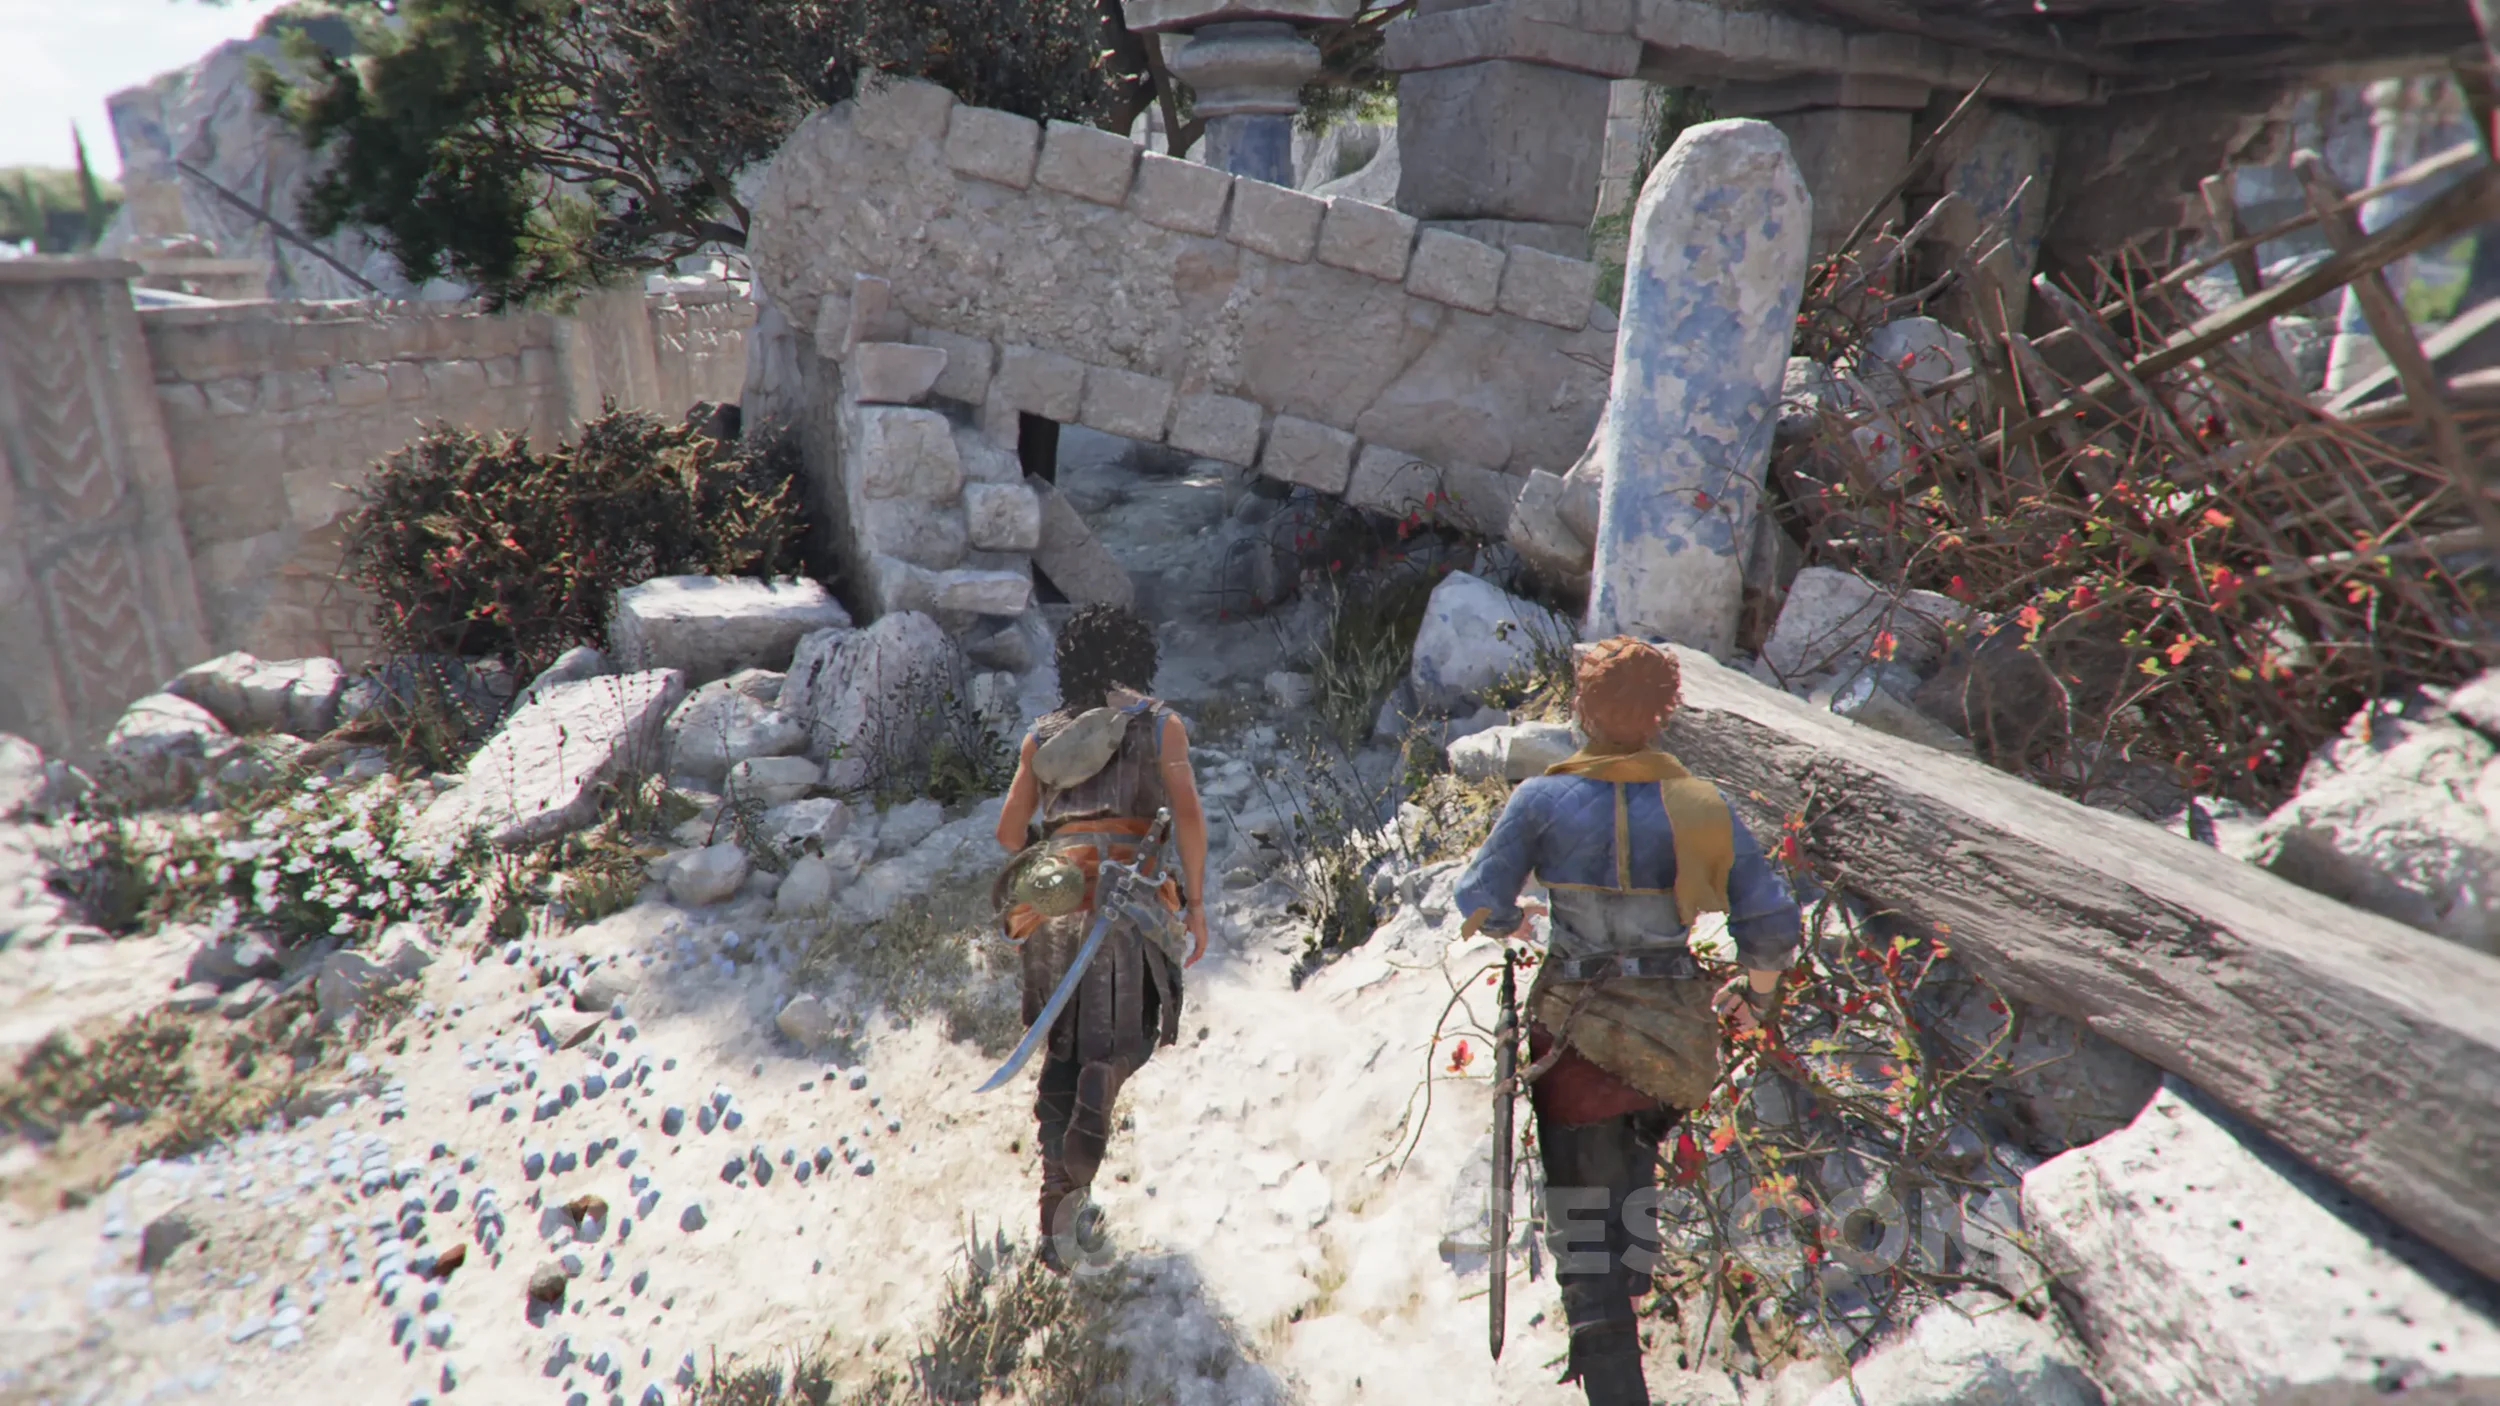
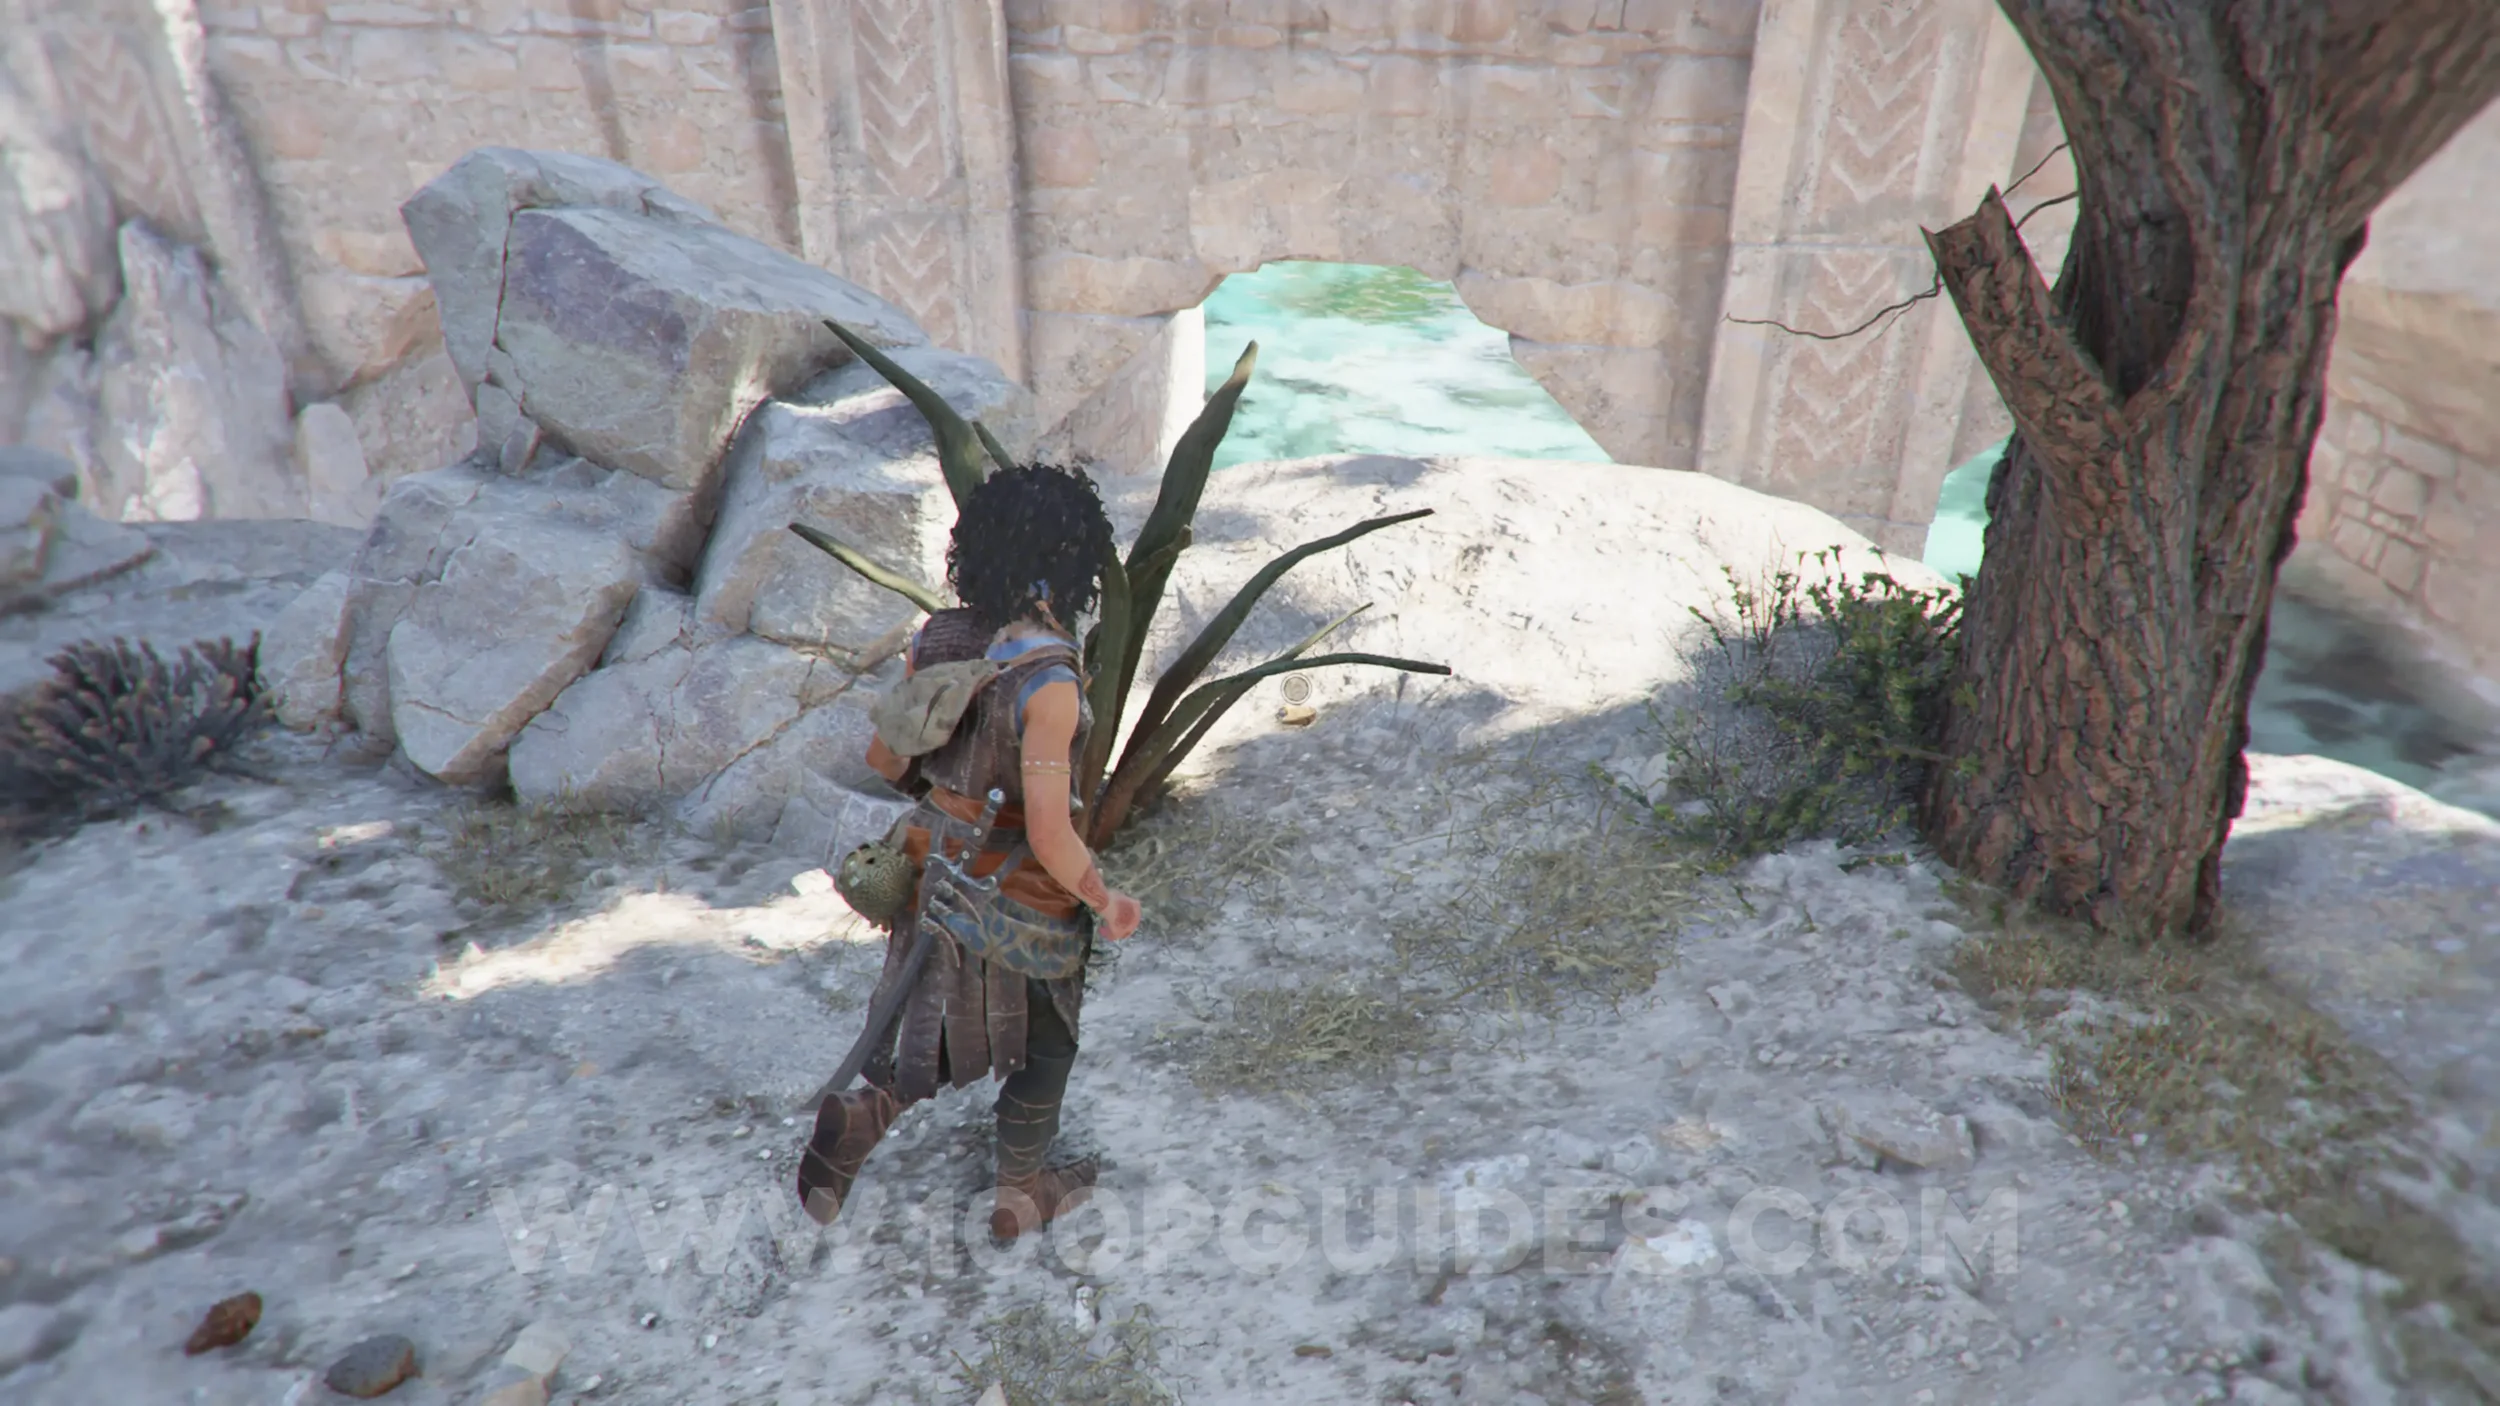
Artefact: Griffin Figurine
Chapter 5: Sub-Chapter 2.
From the previous collectible, turn around and you'll see a hole with spikes in the middle and some enemies. Head over to the other side of the hole and shimmy across the wooden platform on the right. The collectible will be on the other side.
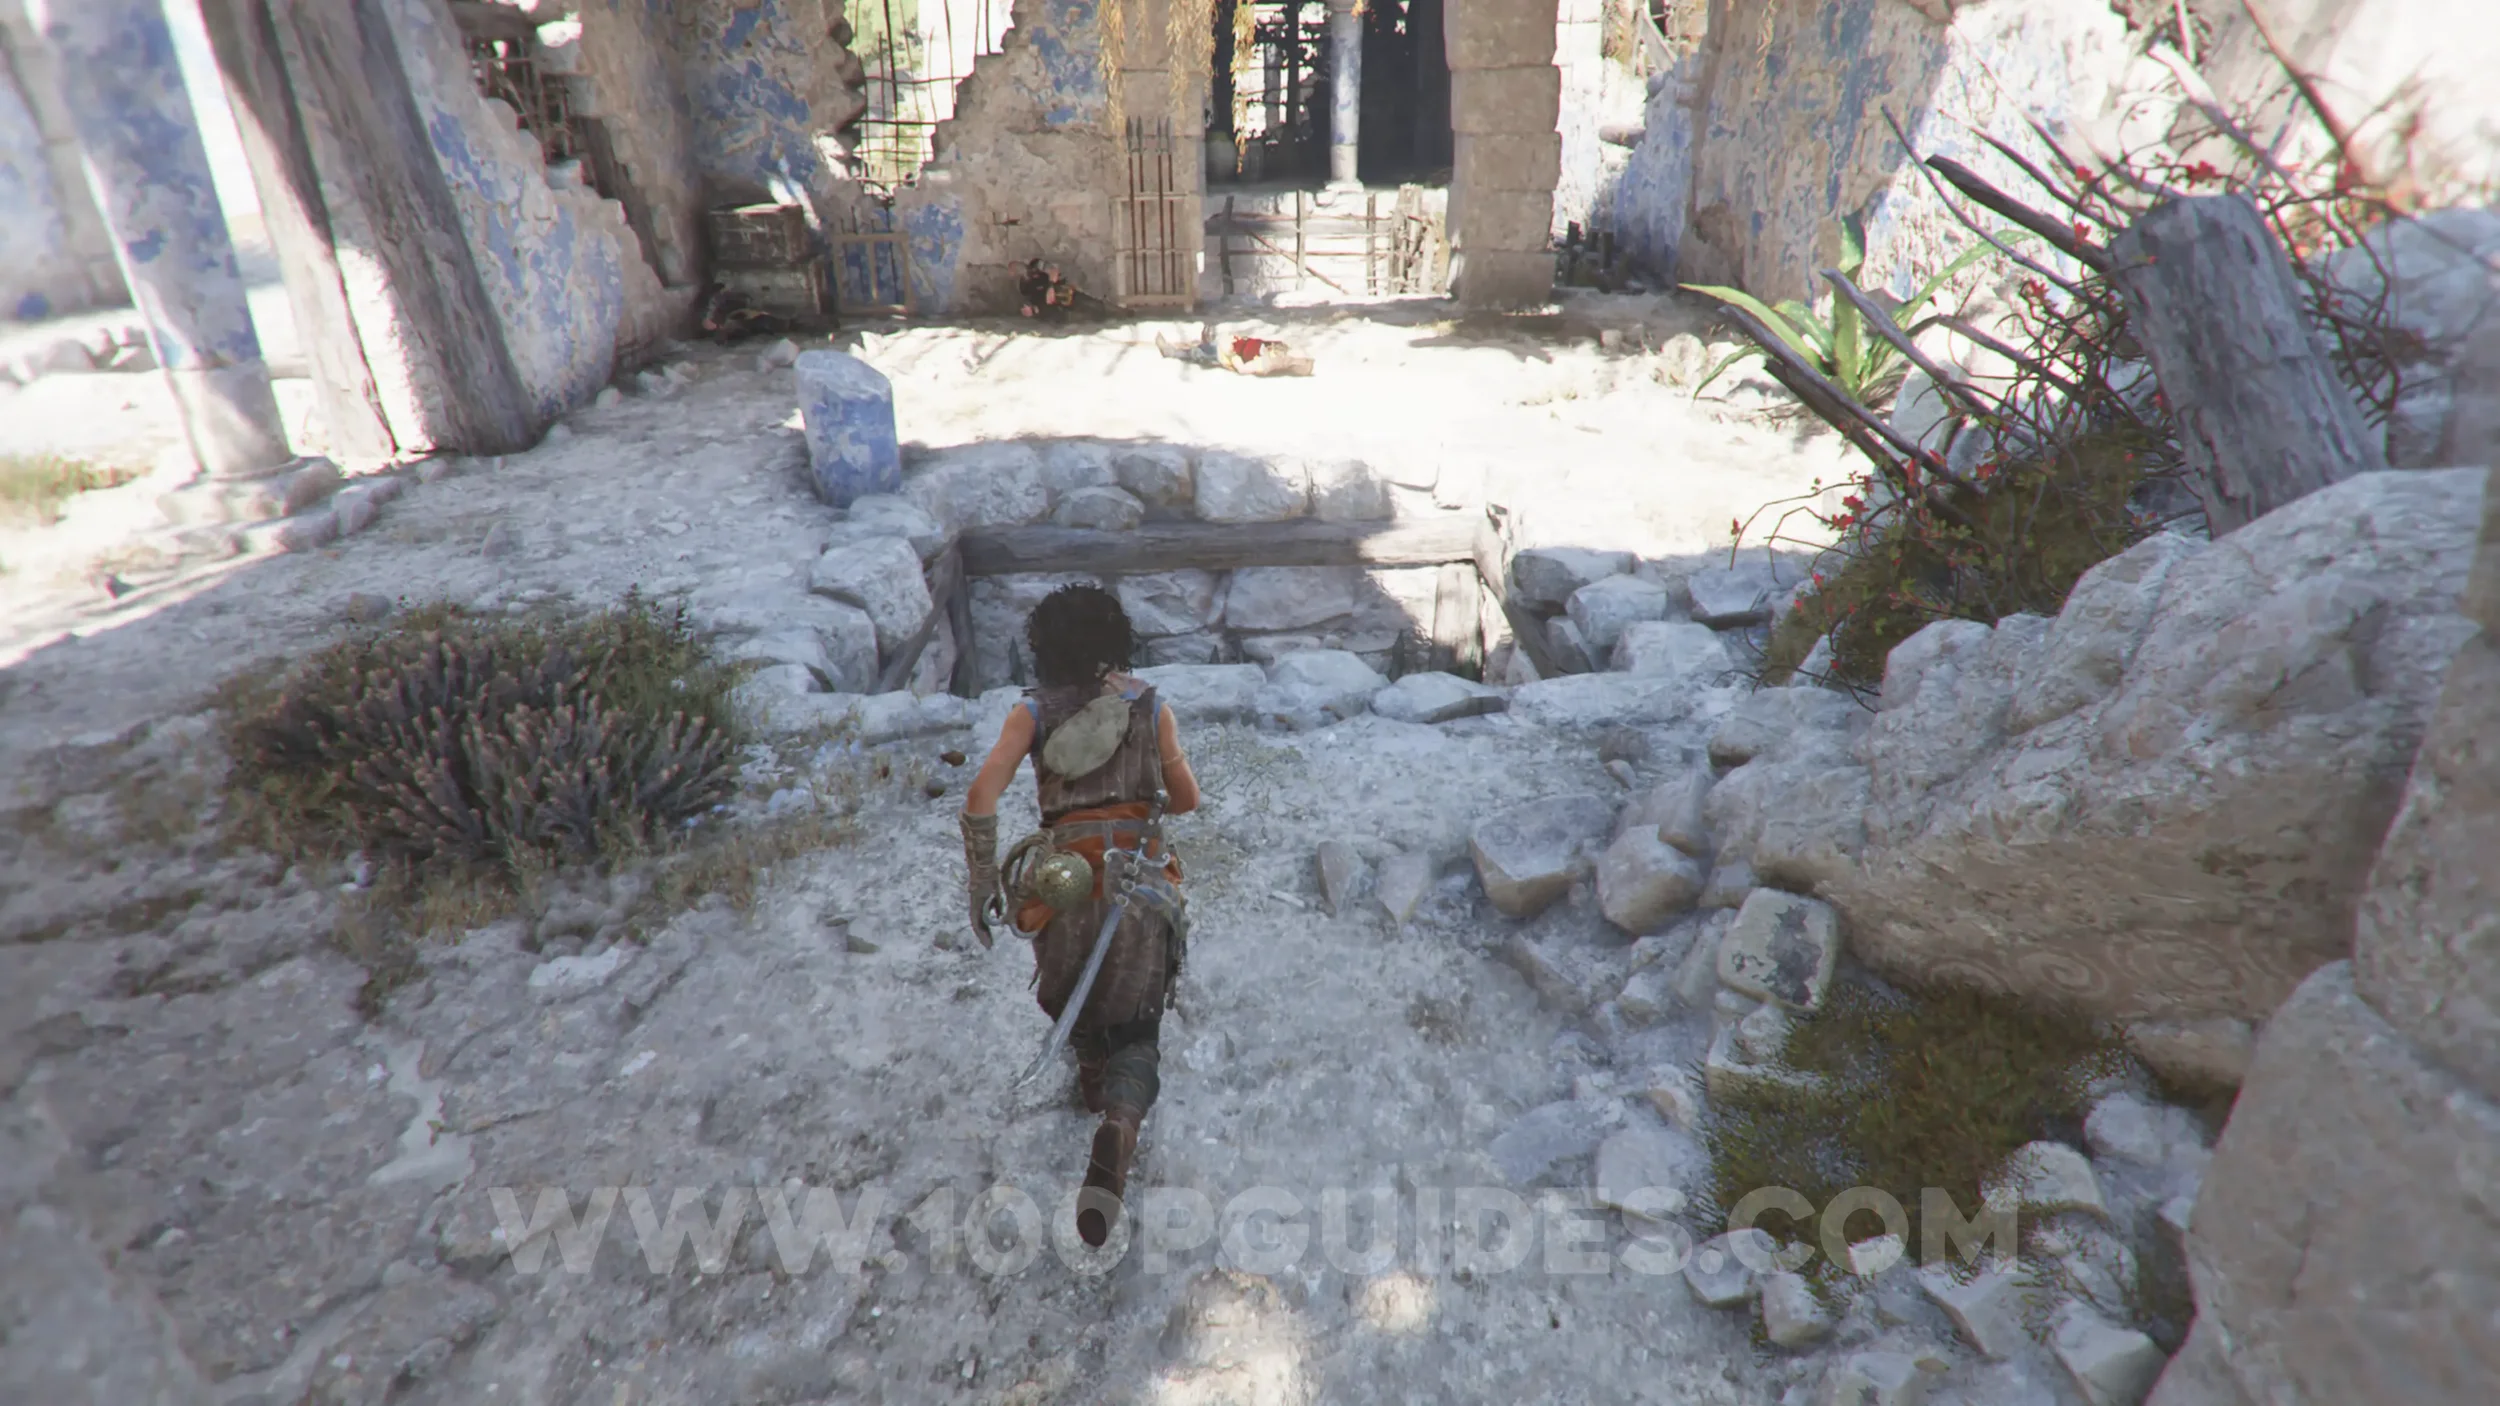
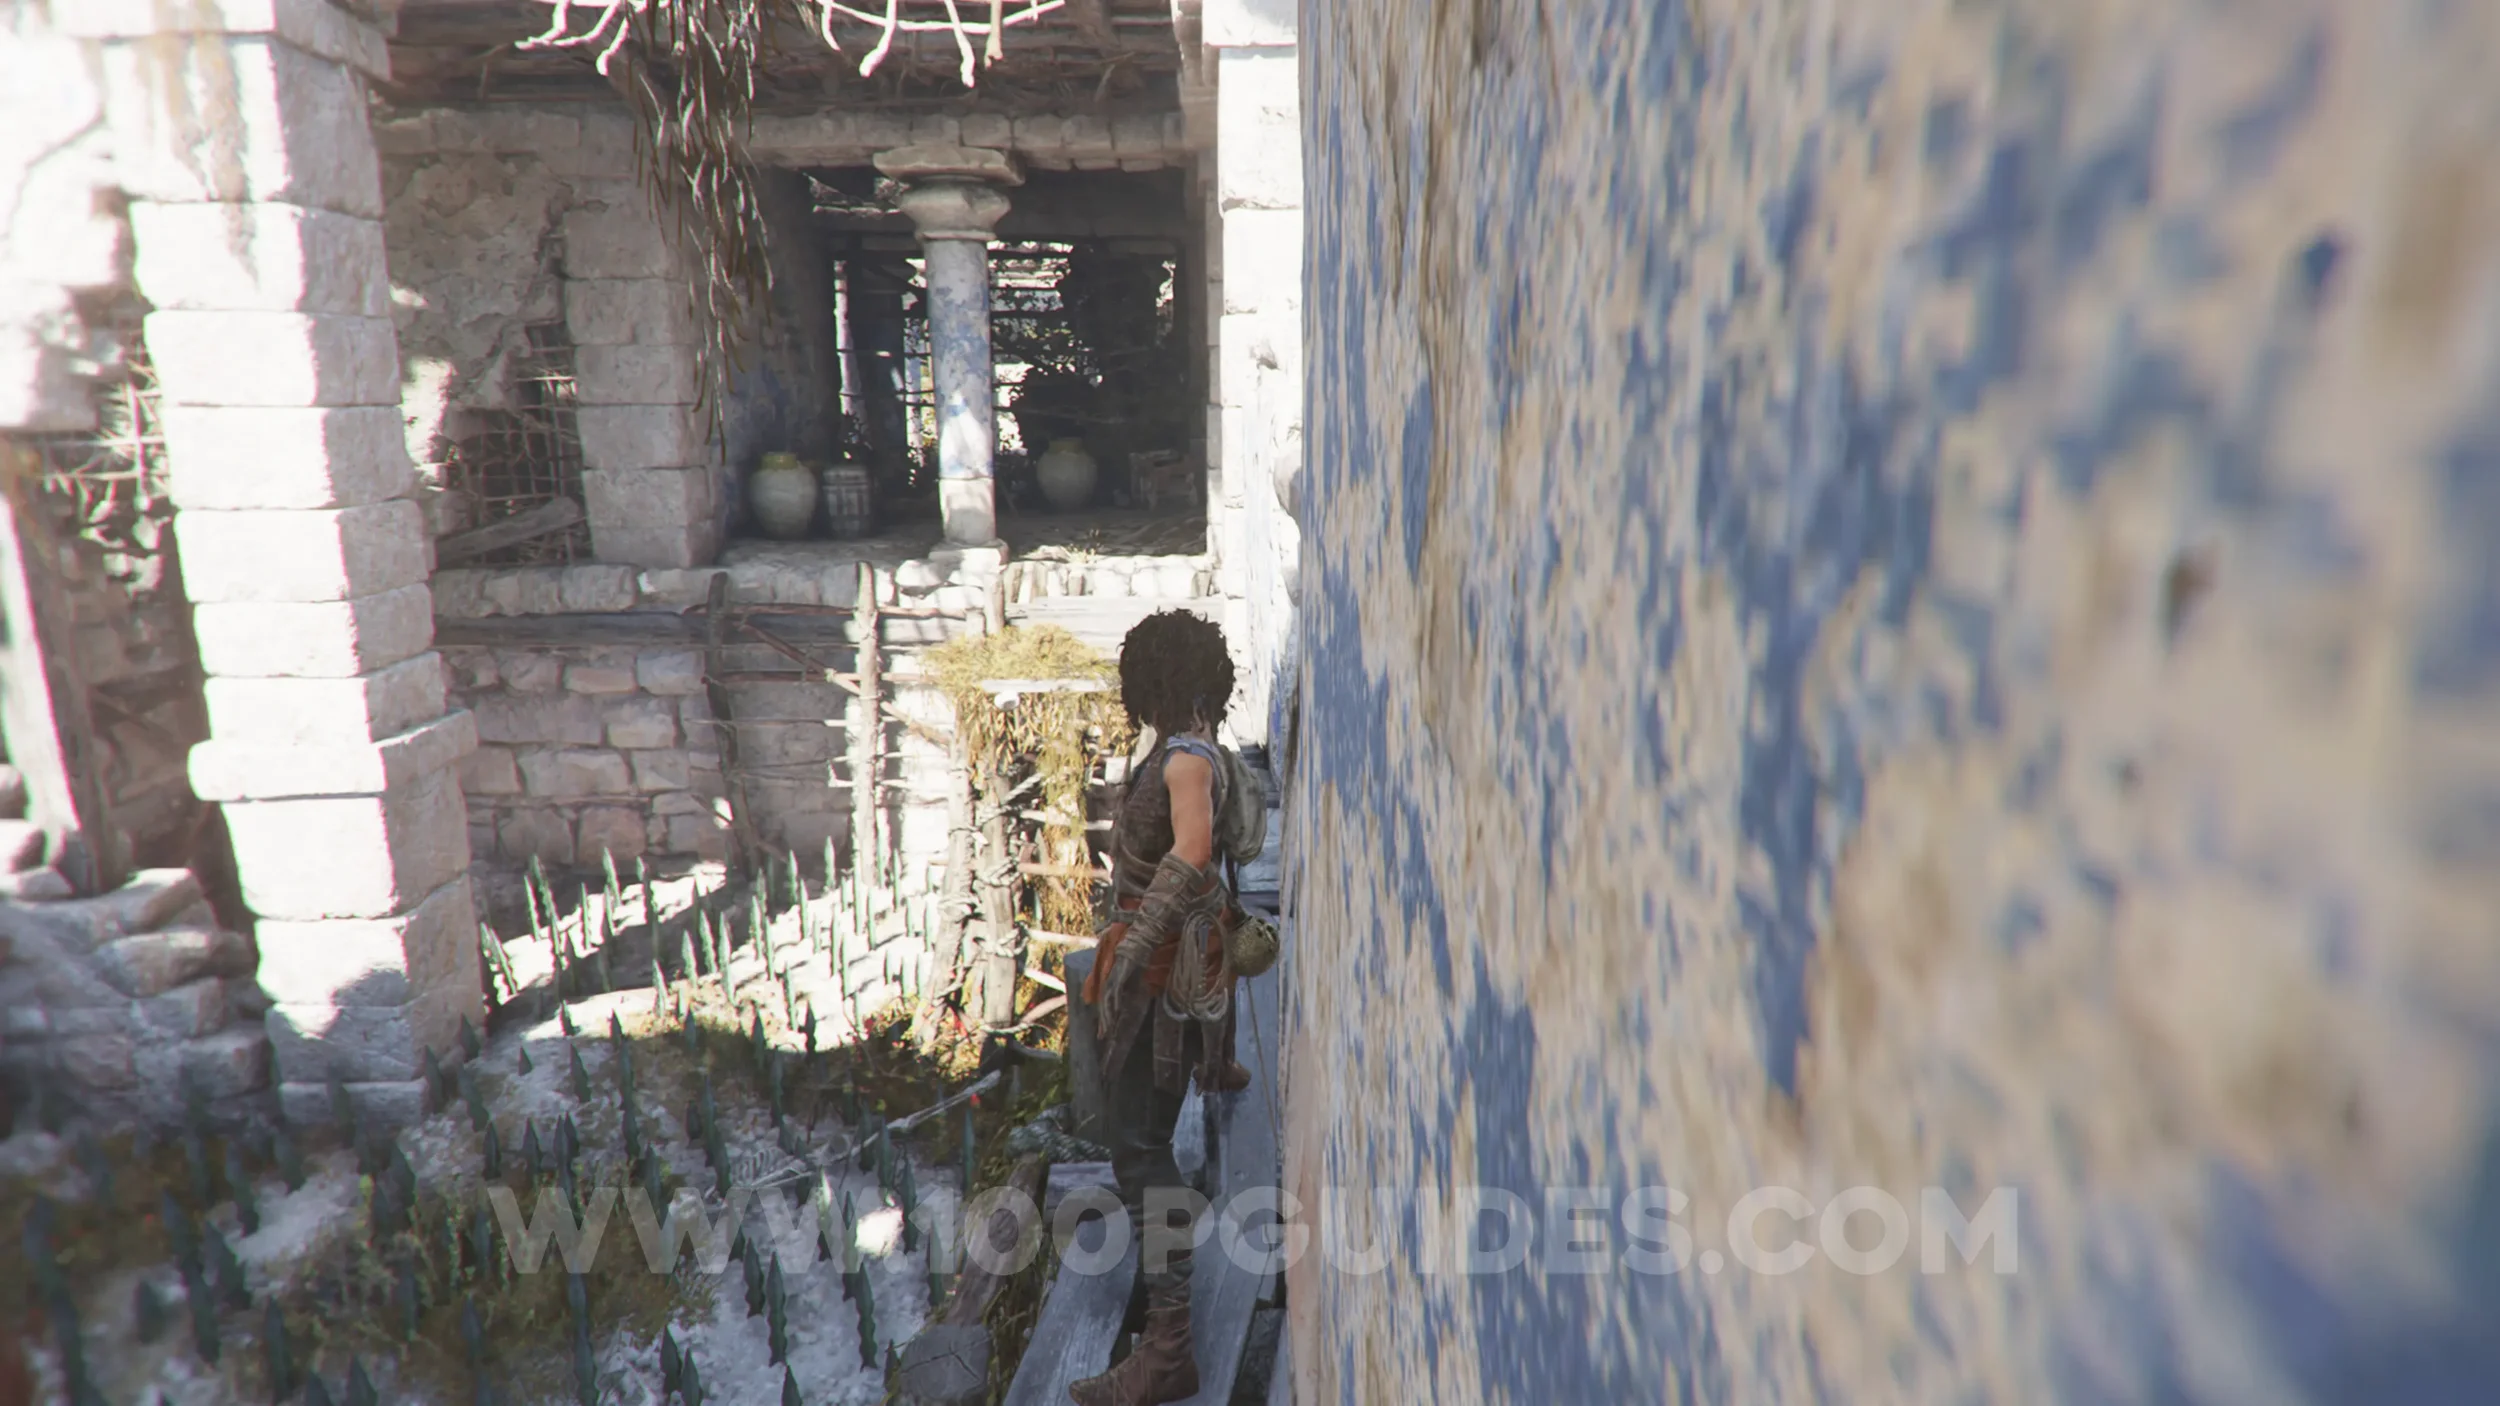
Resonance Point
Chapter 5: Sub-Chapter 2.
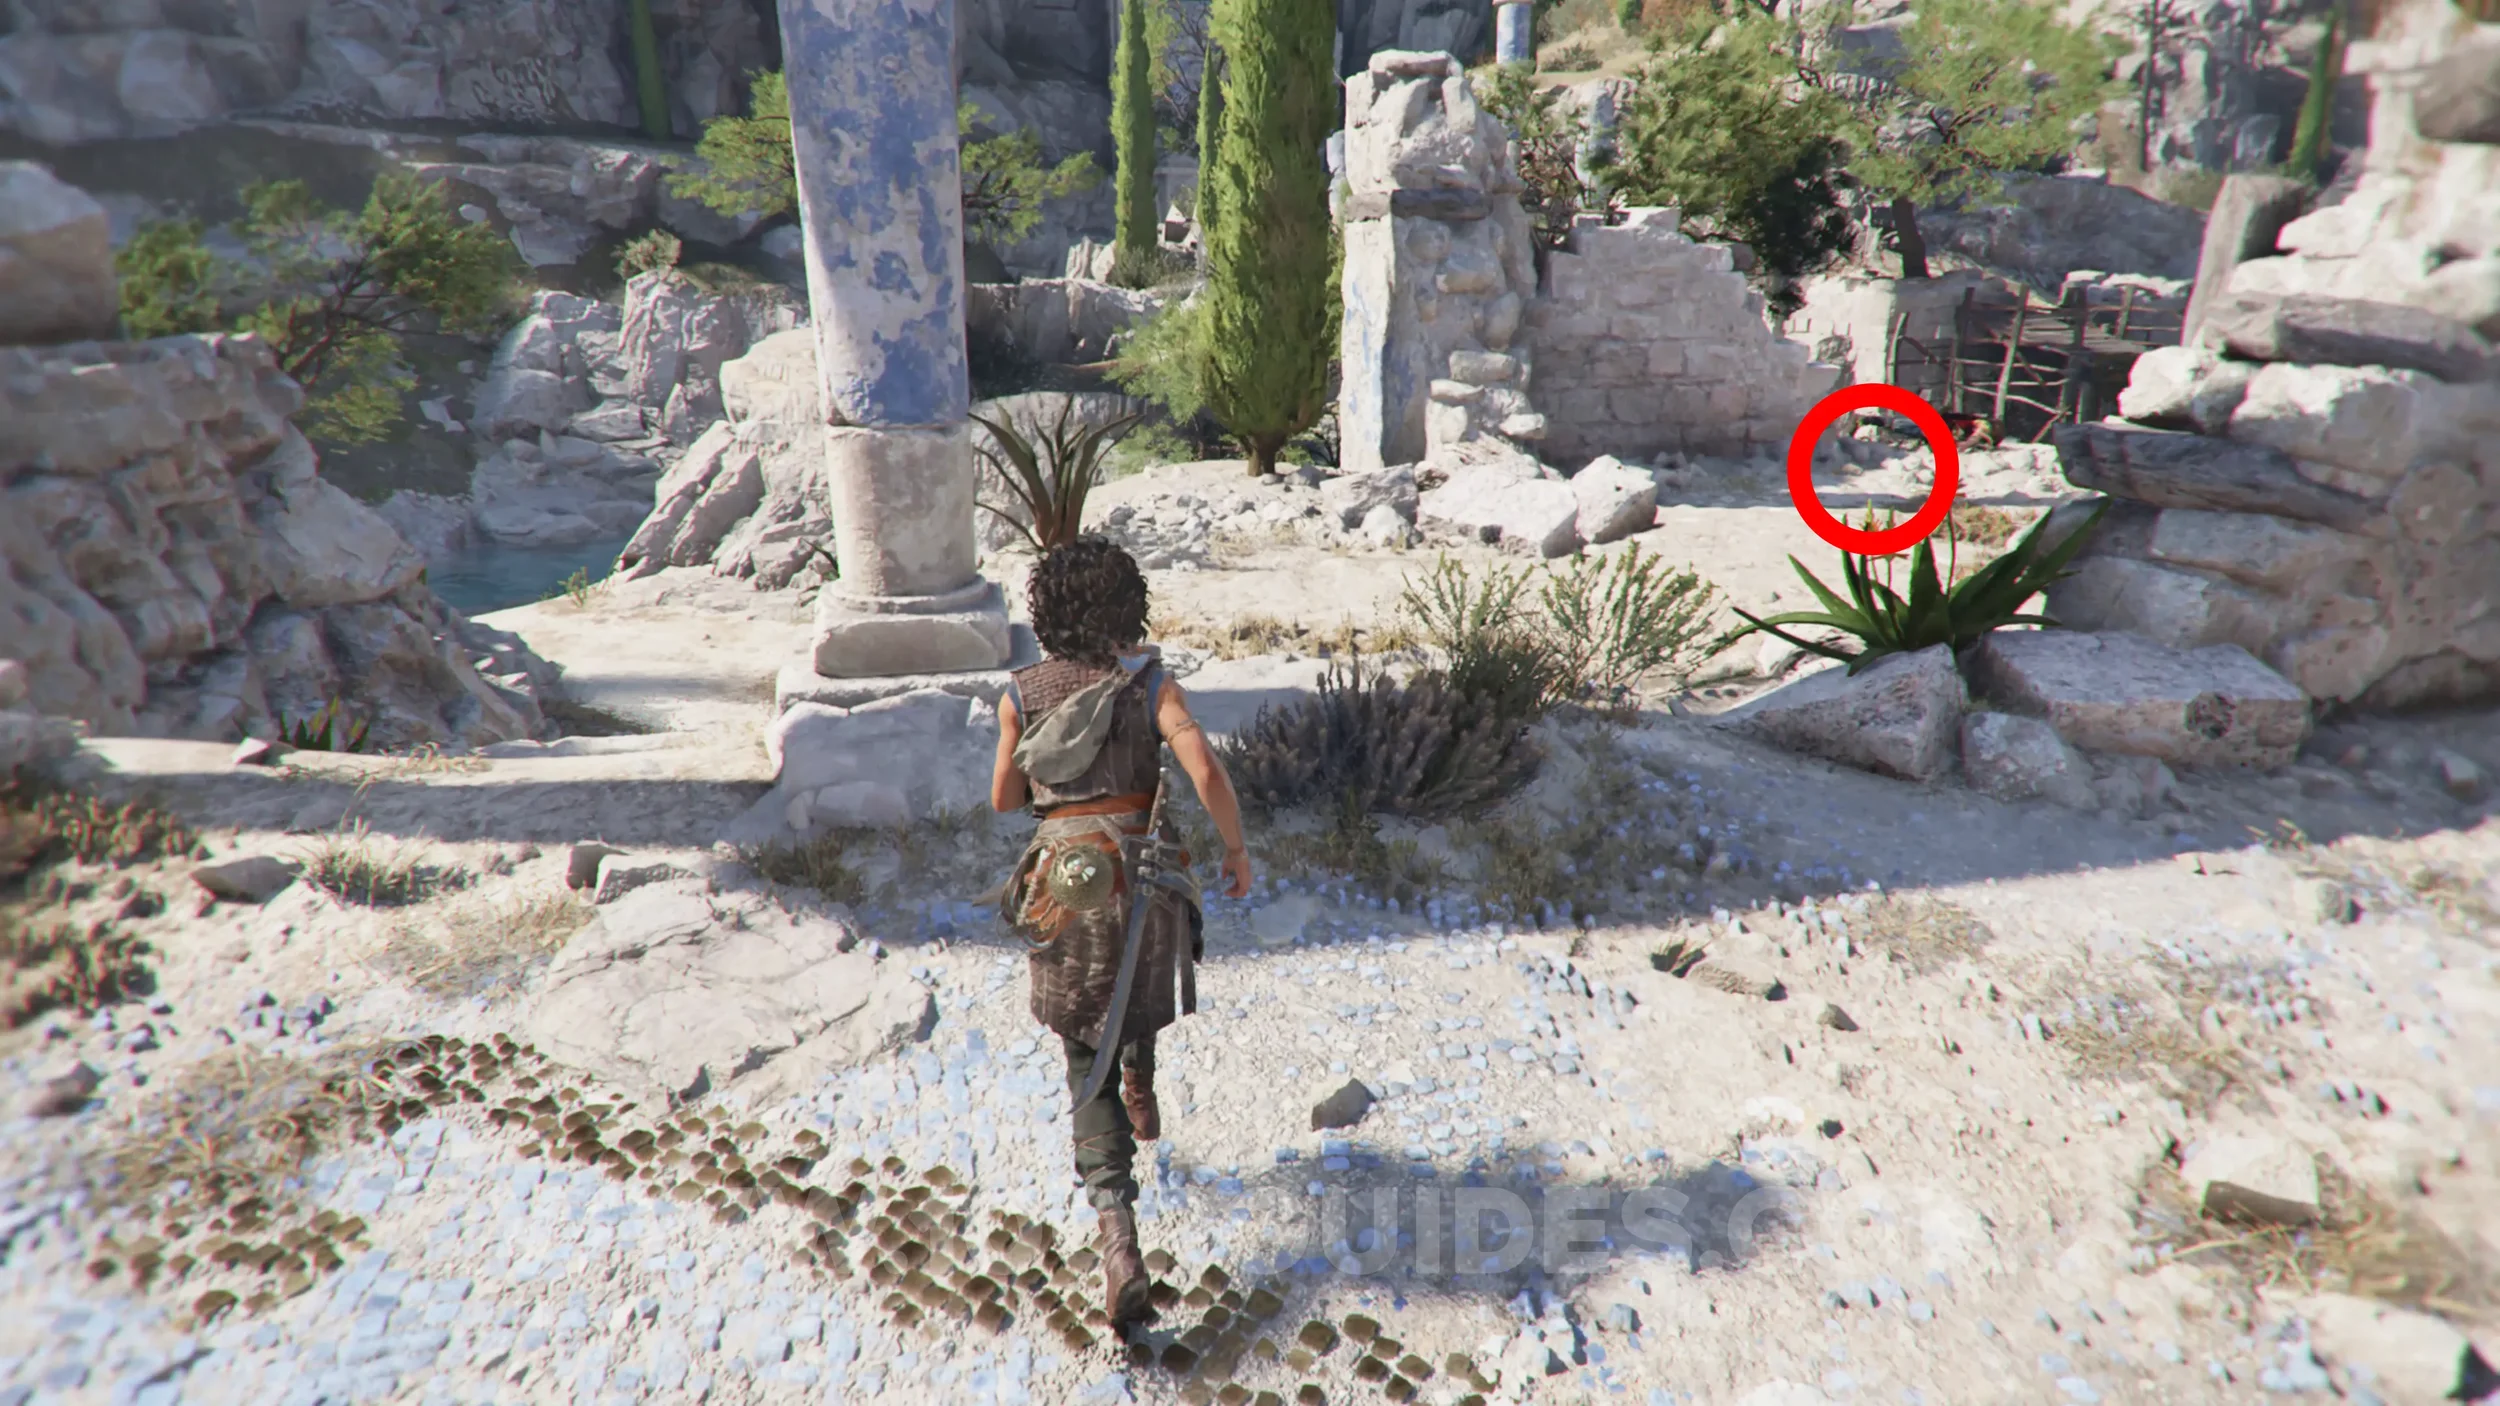
Head back across the wooden platform, and in the area with the square hole in the middle, head out through the right side. Then, at the top of the stairs that would take you back down to the start of the area, look for the collectible in the small area on the right.
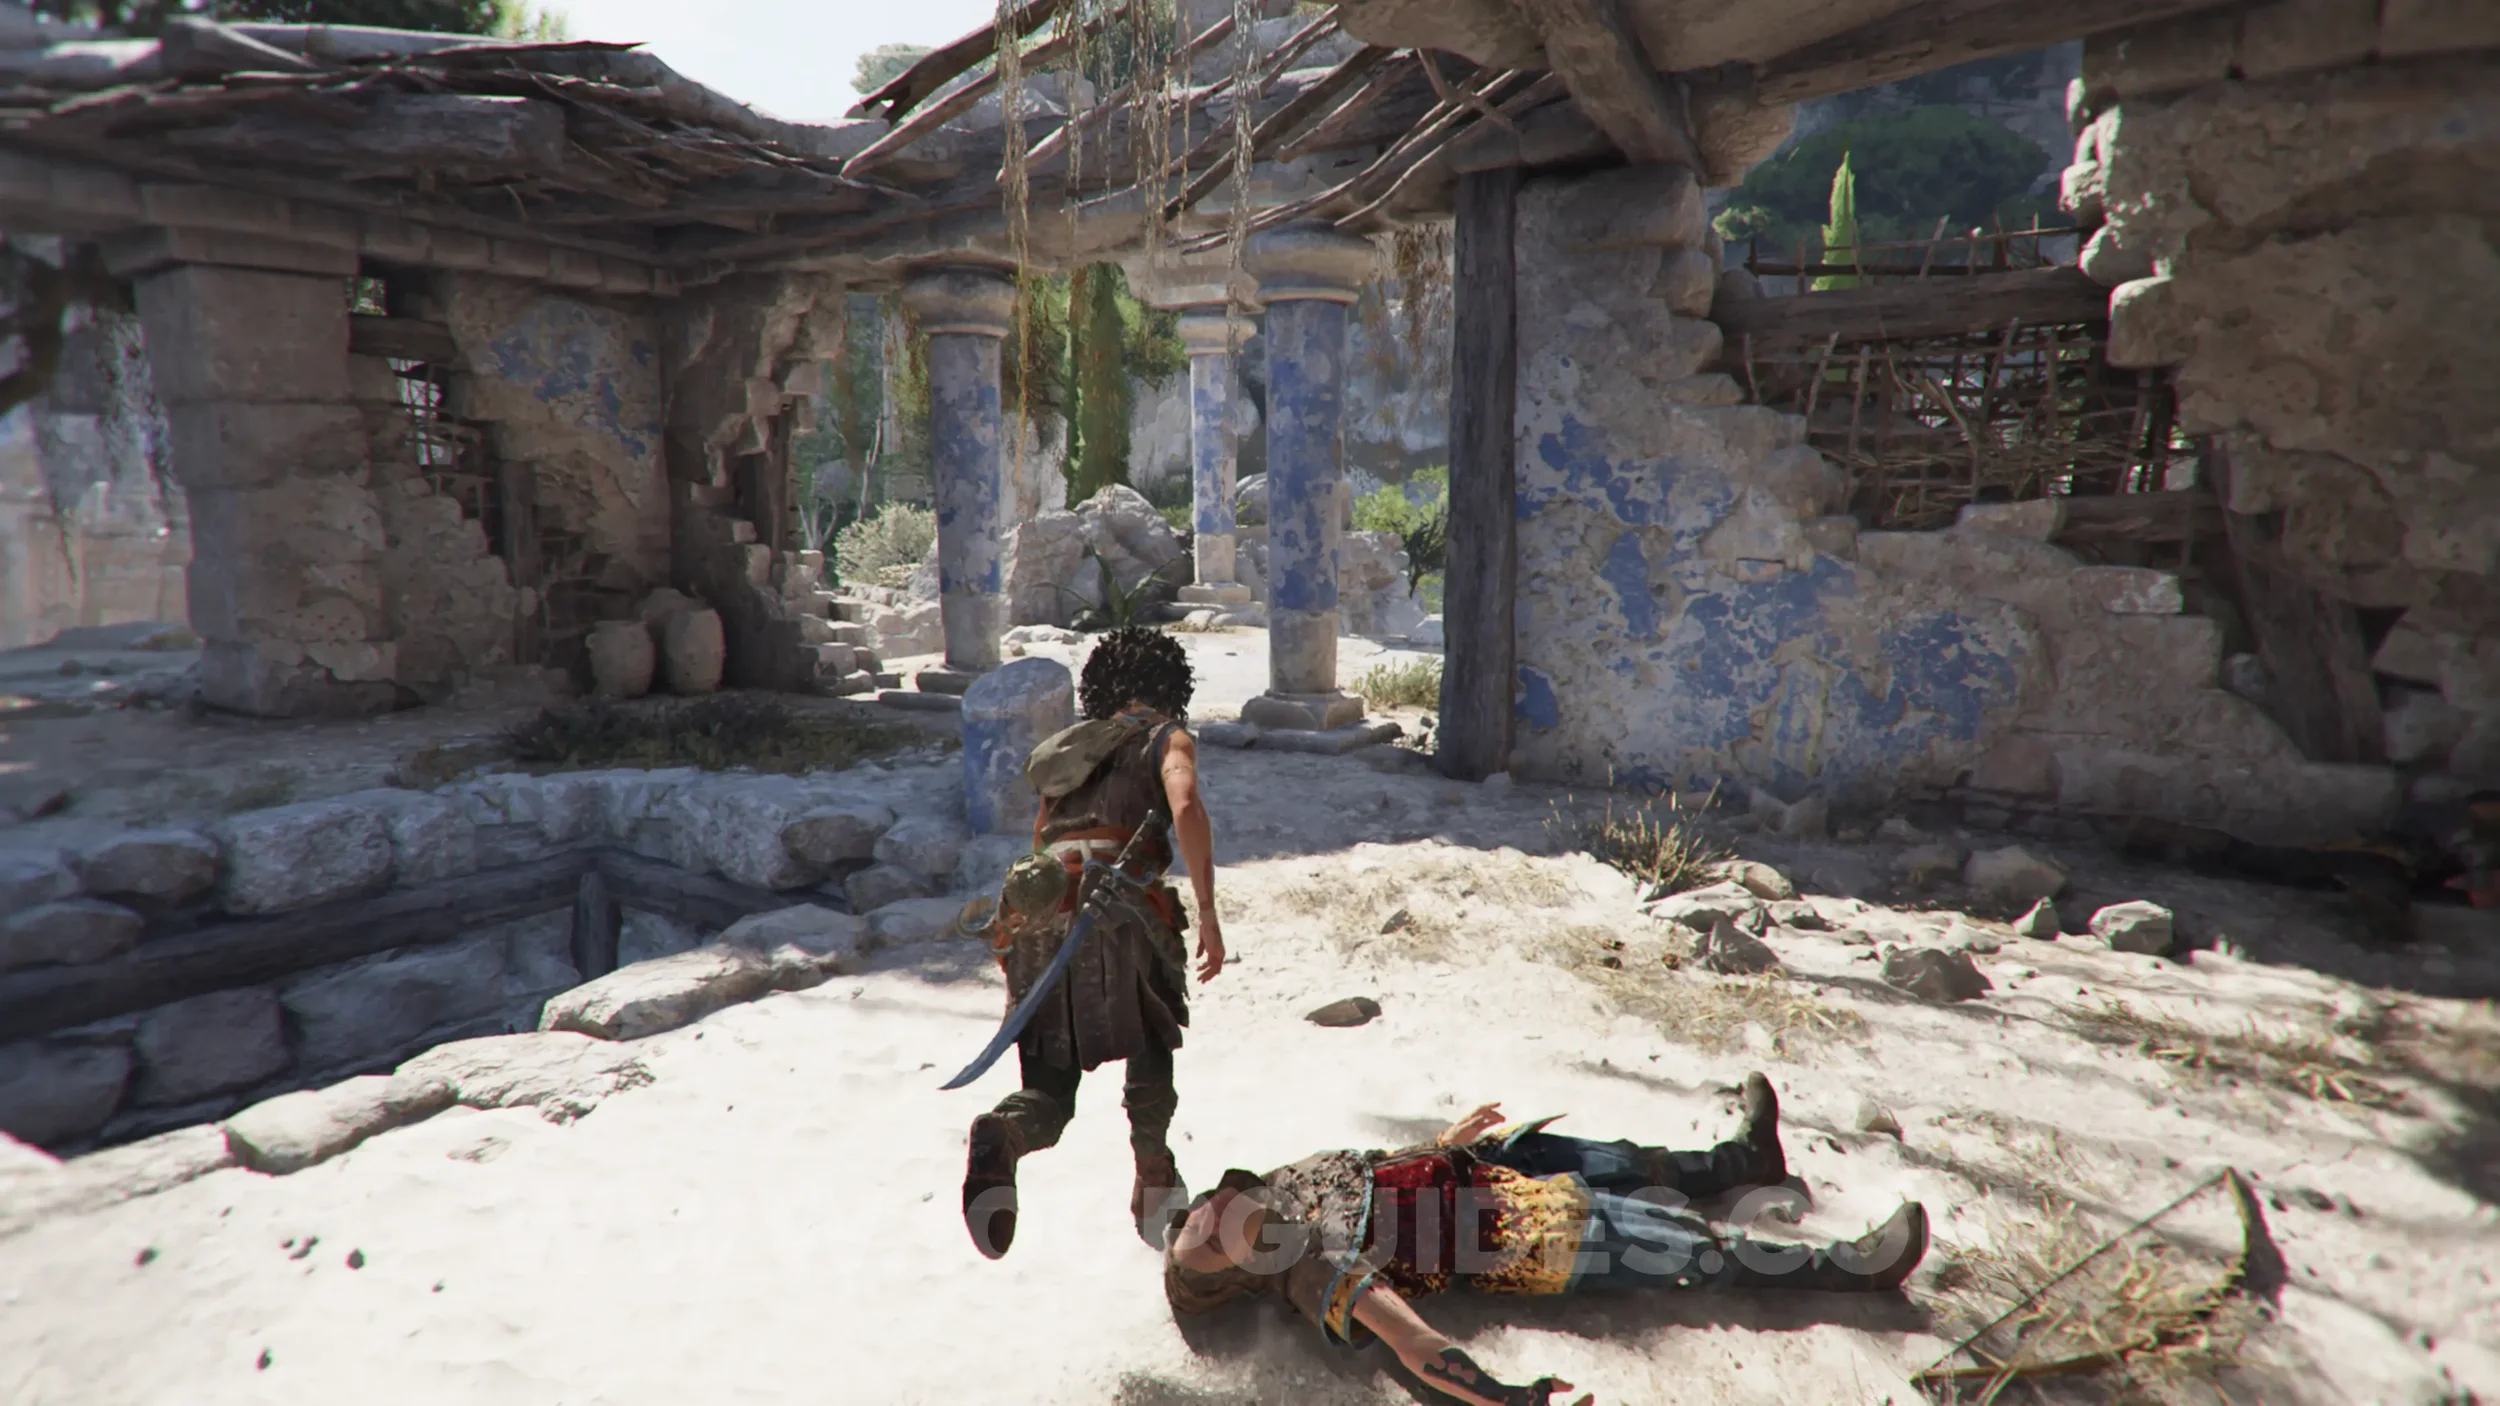
Resonance Point
Chapter 5: Sub-Chapter 3.
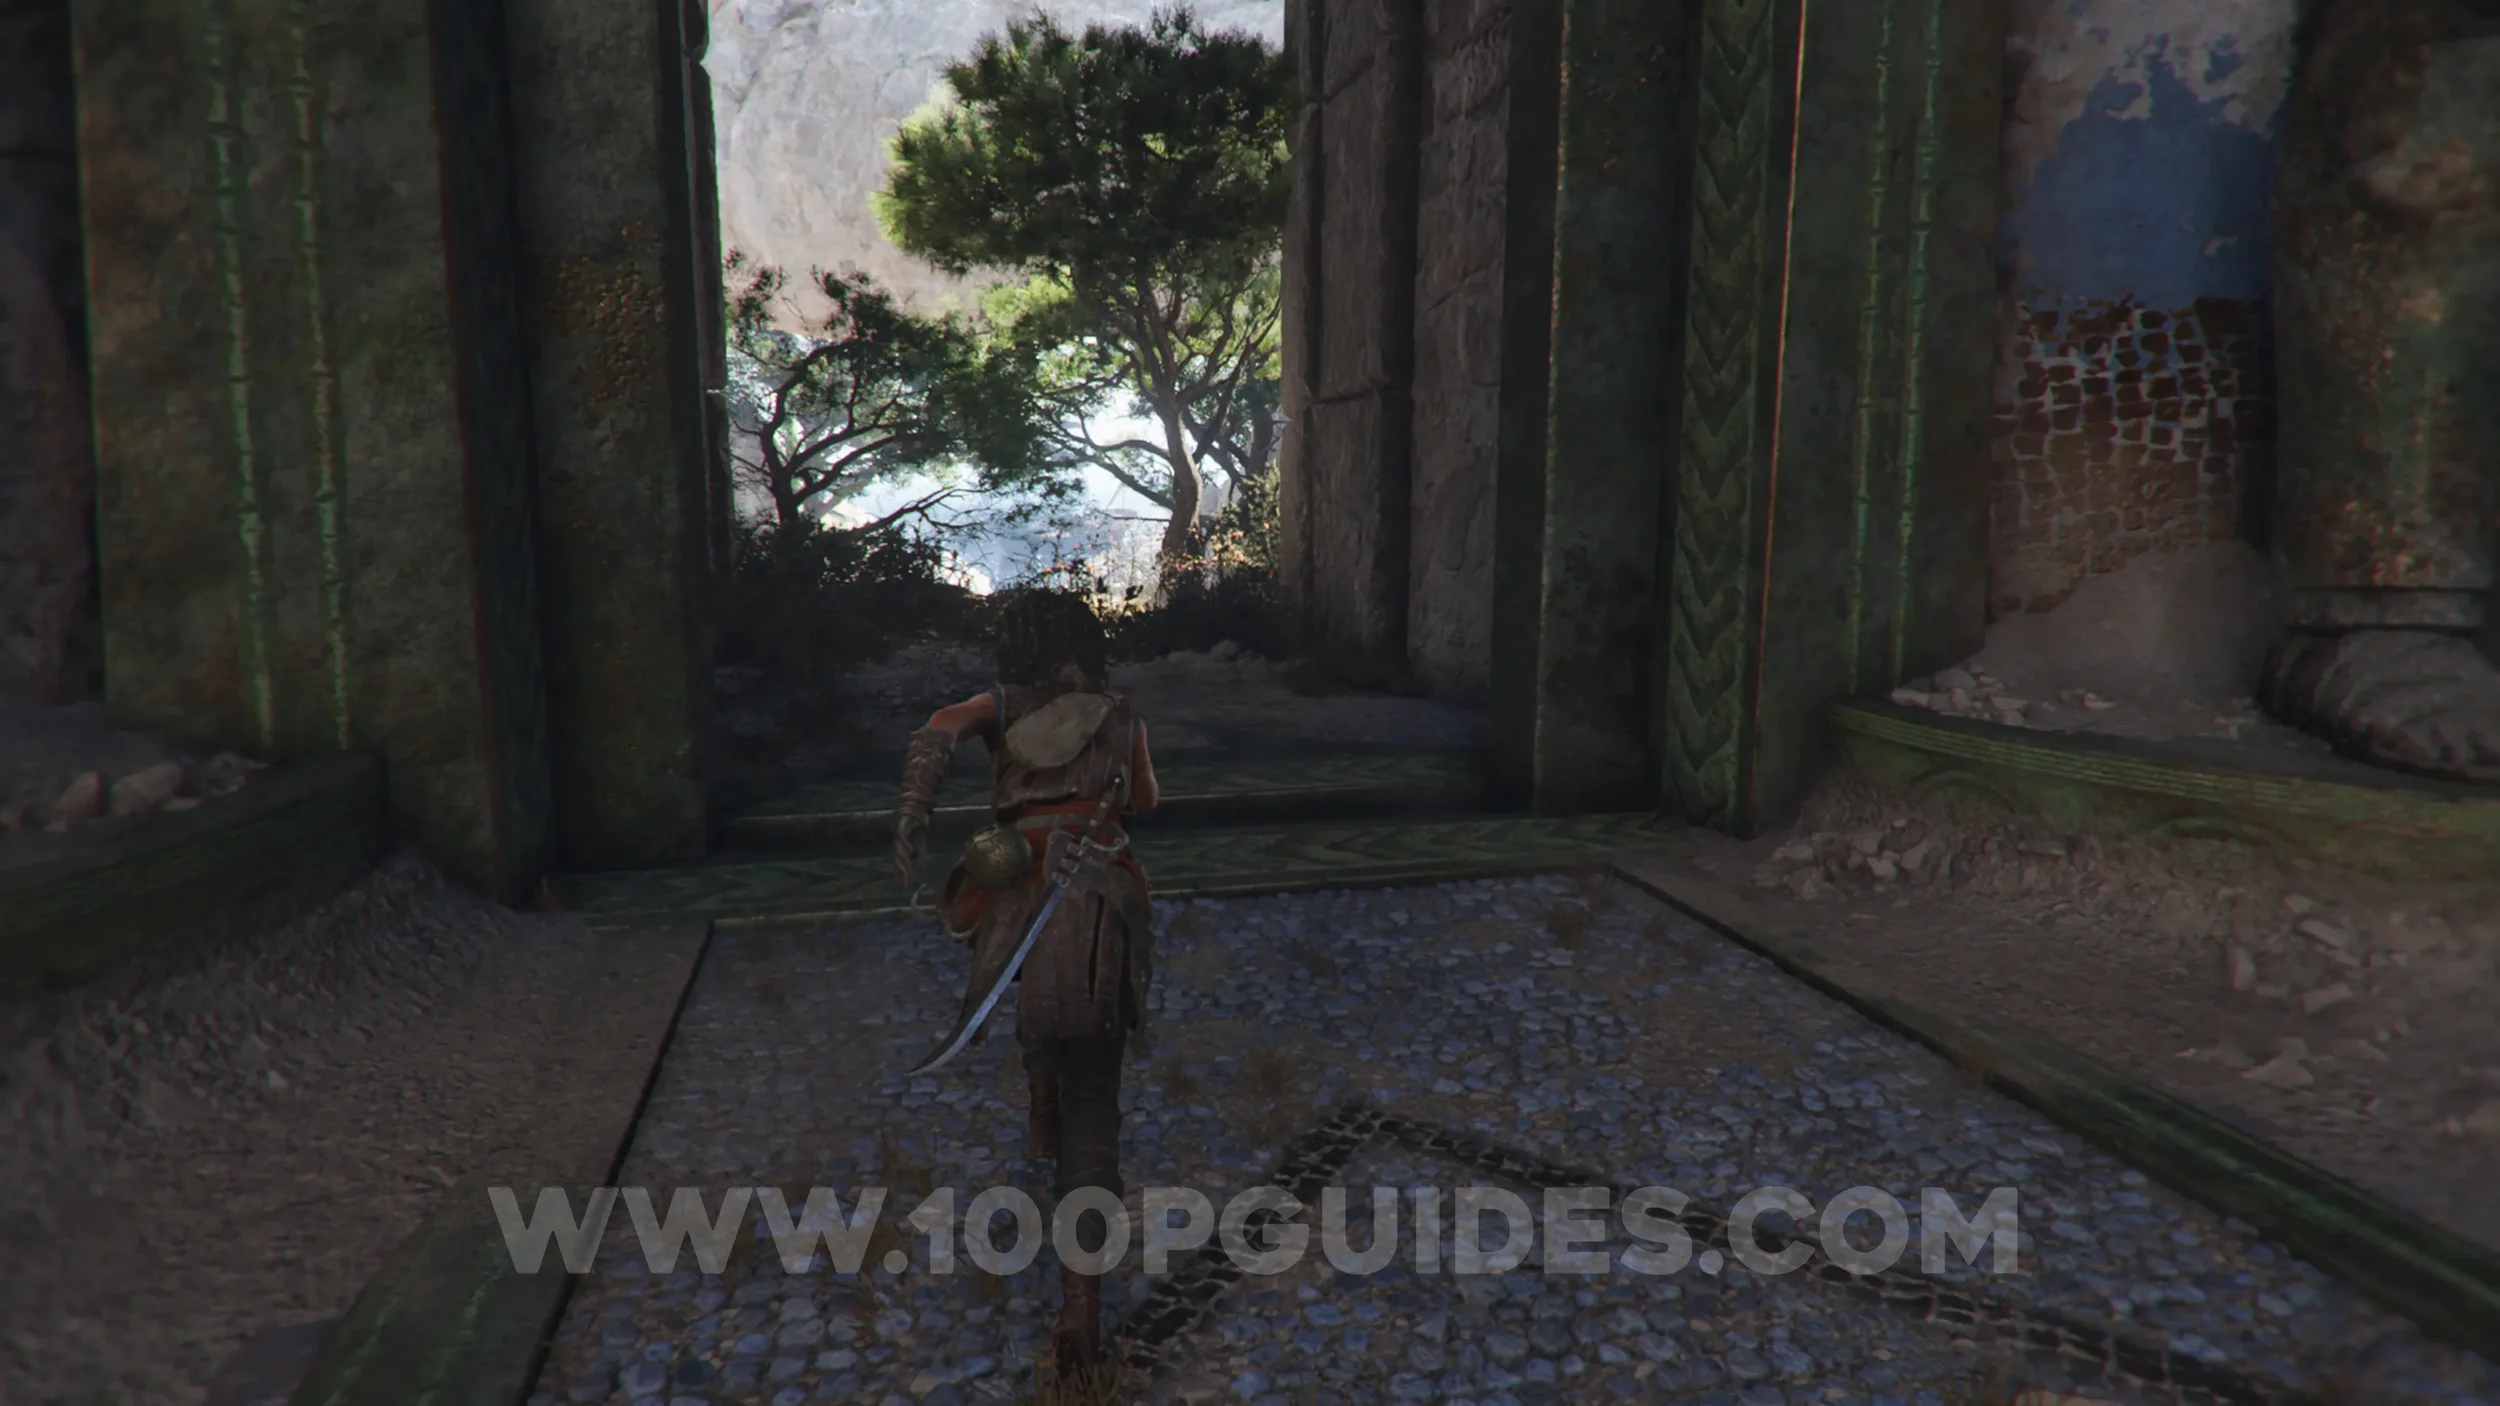
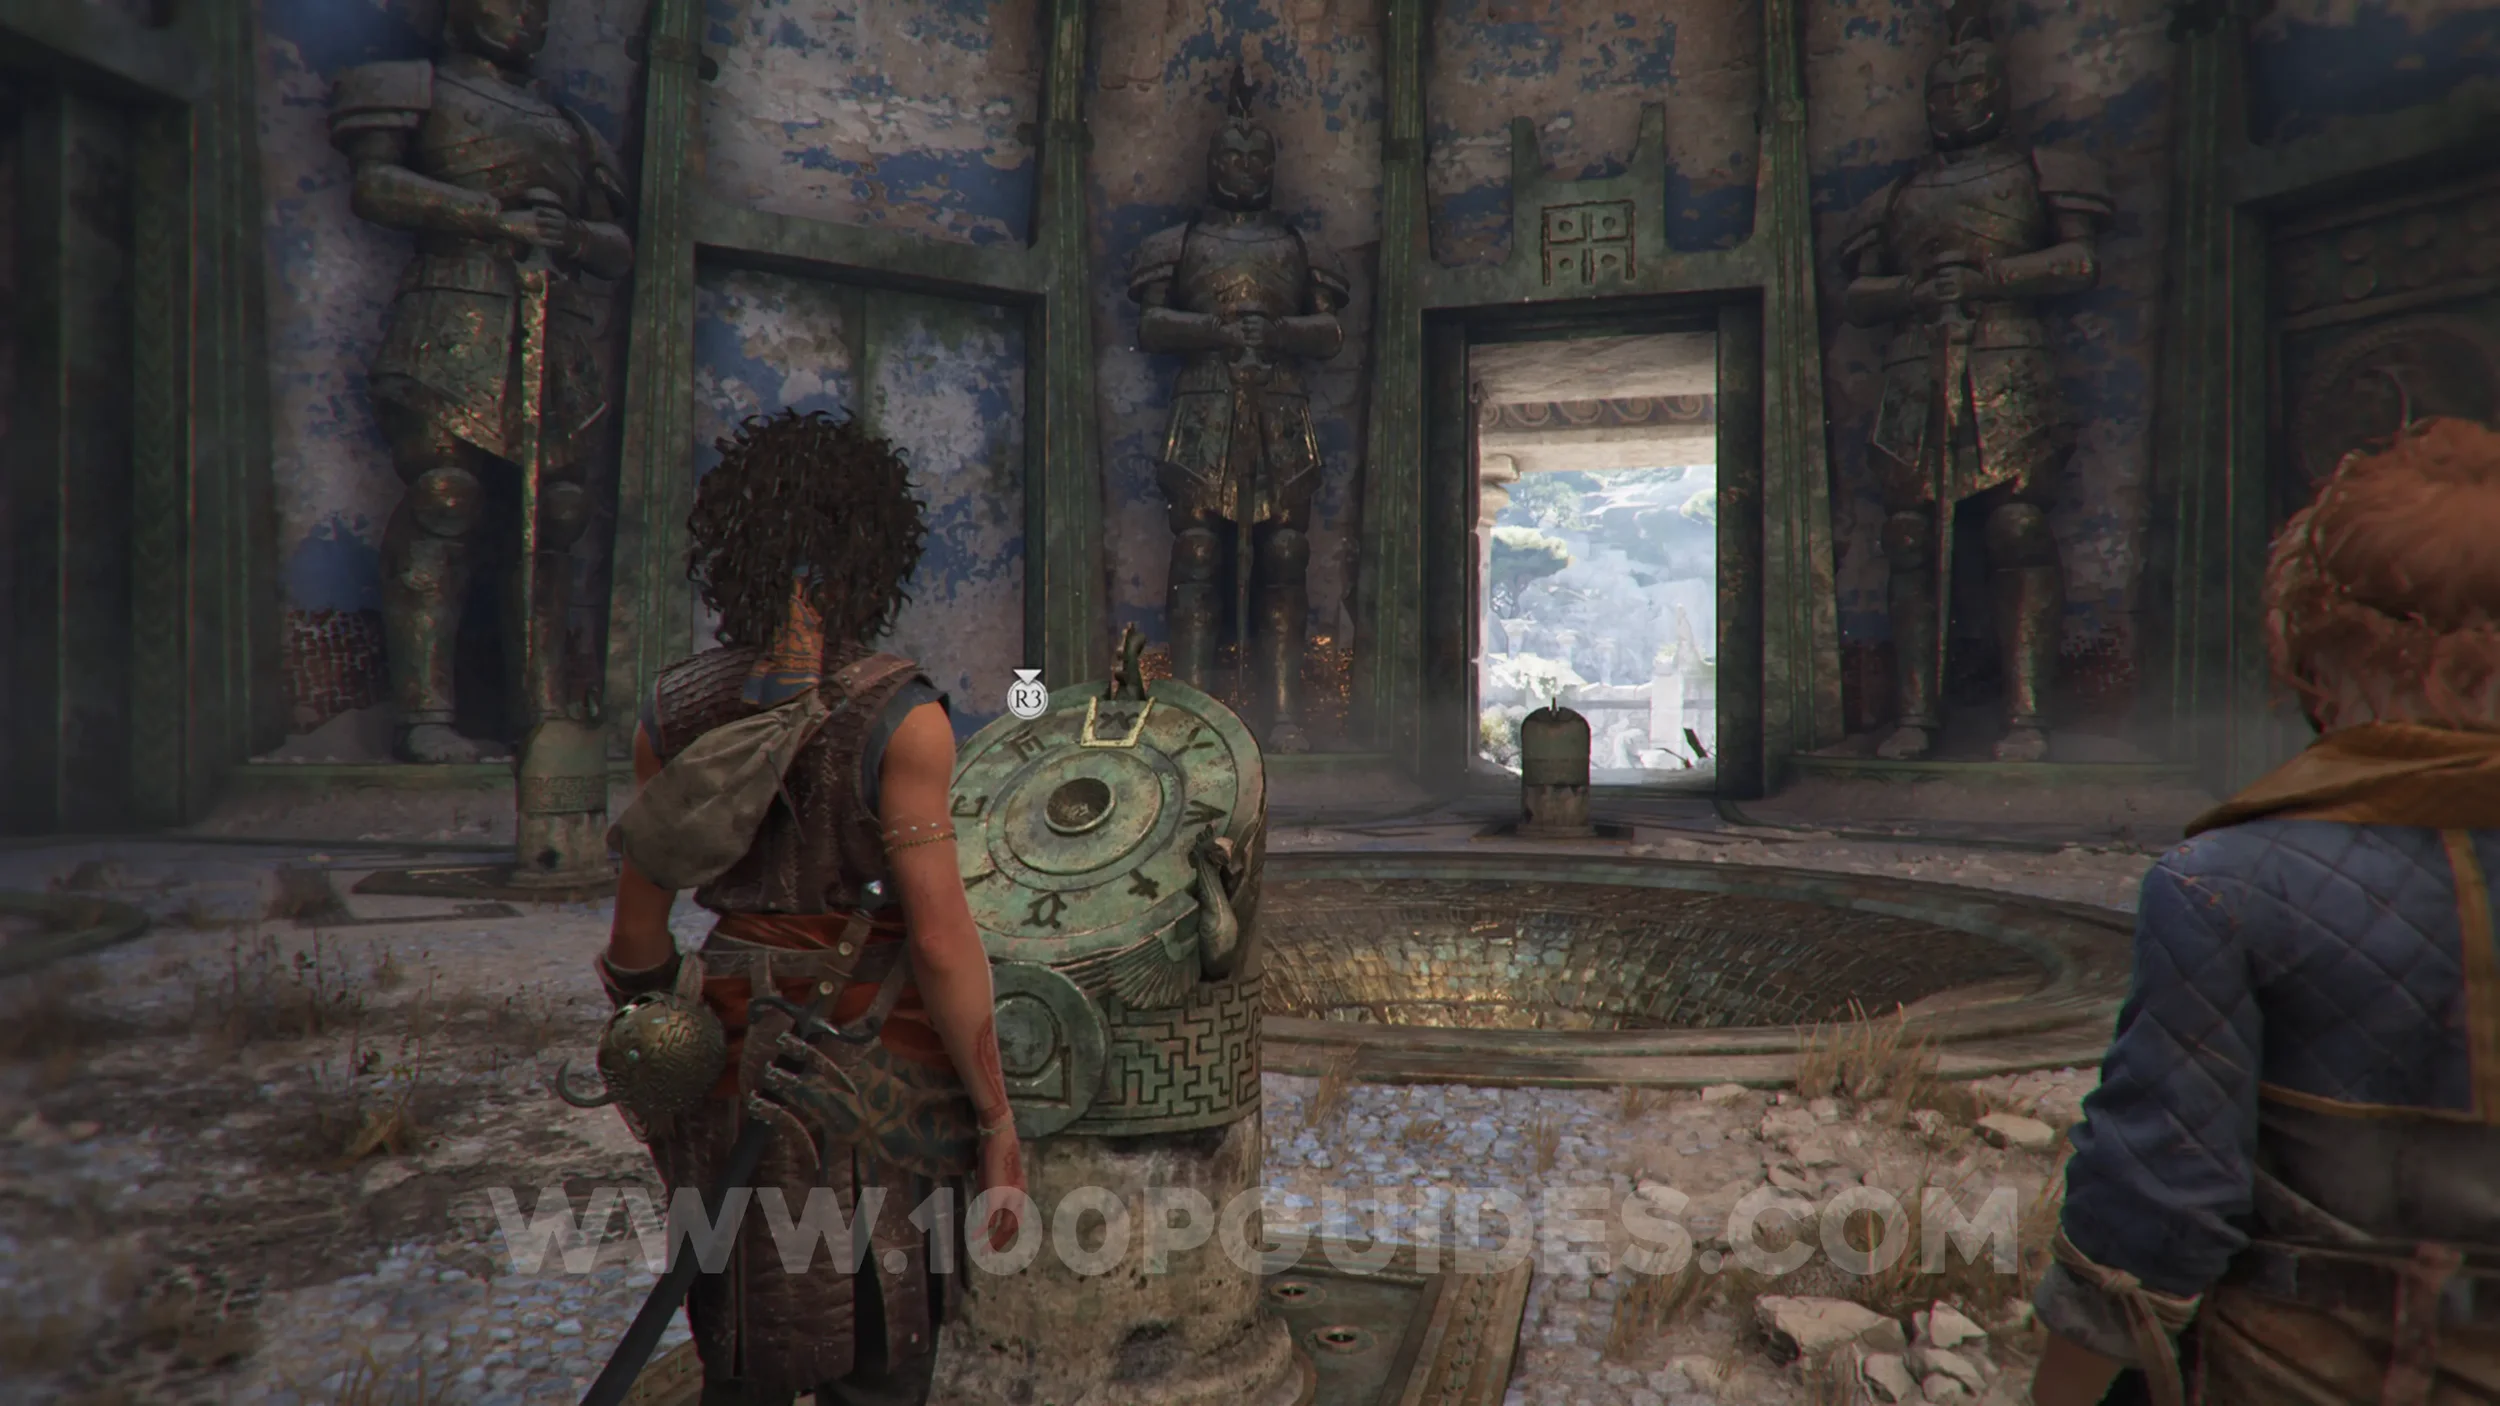
After heading up the stairs and entering the large door to continue on the story path, inside you'll use the key (sphere) on a pedestal, causing multiple other pedestals to appear and the doors to open. First, pick up the resonance point behind the door that opened on your left (the one with a dead end).
Resonance Point x2
Chapter 5: Sub-Chapter 3.
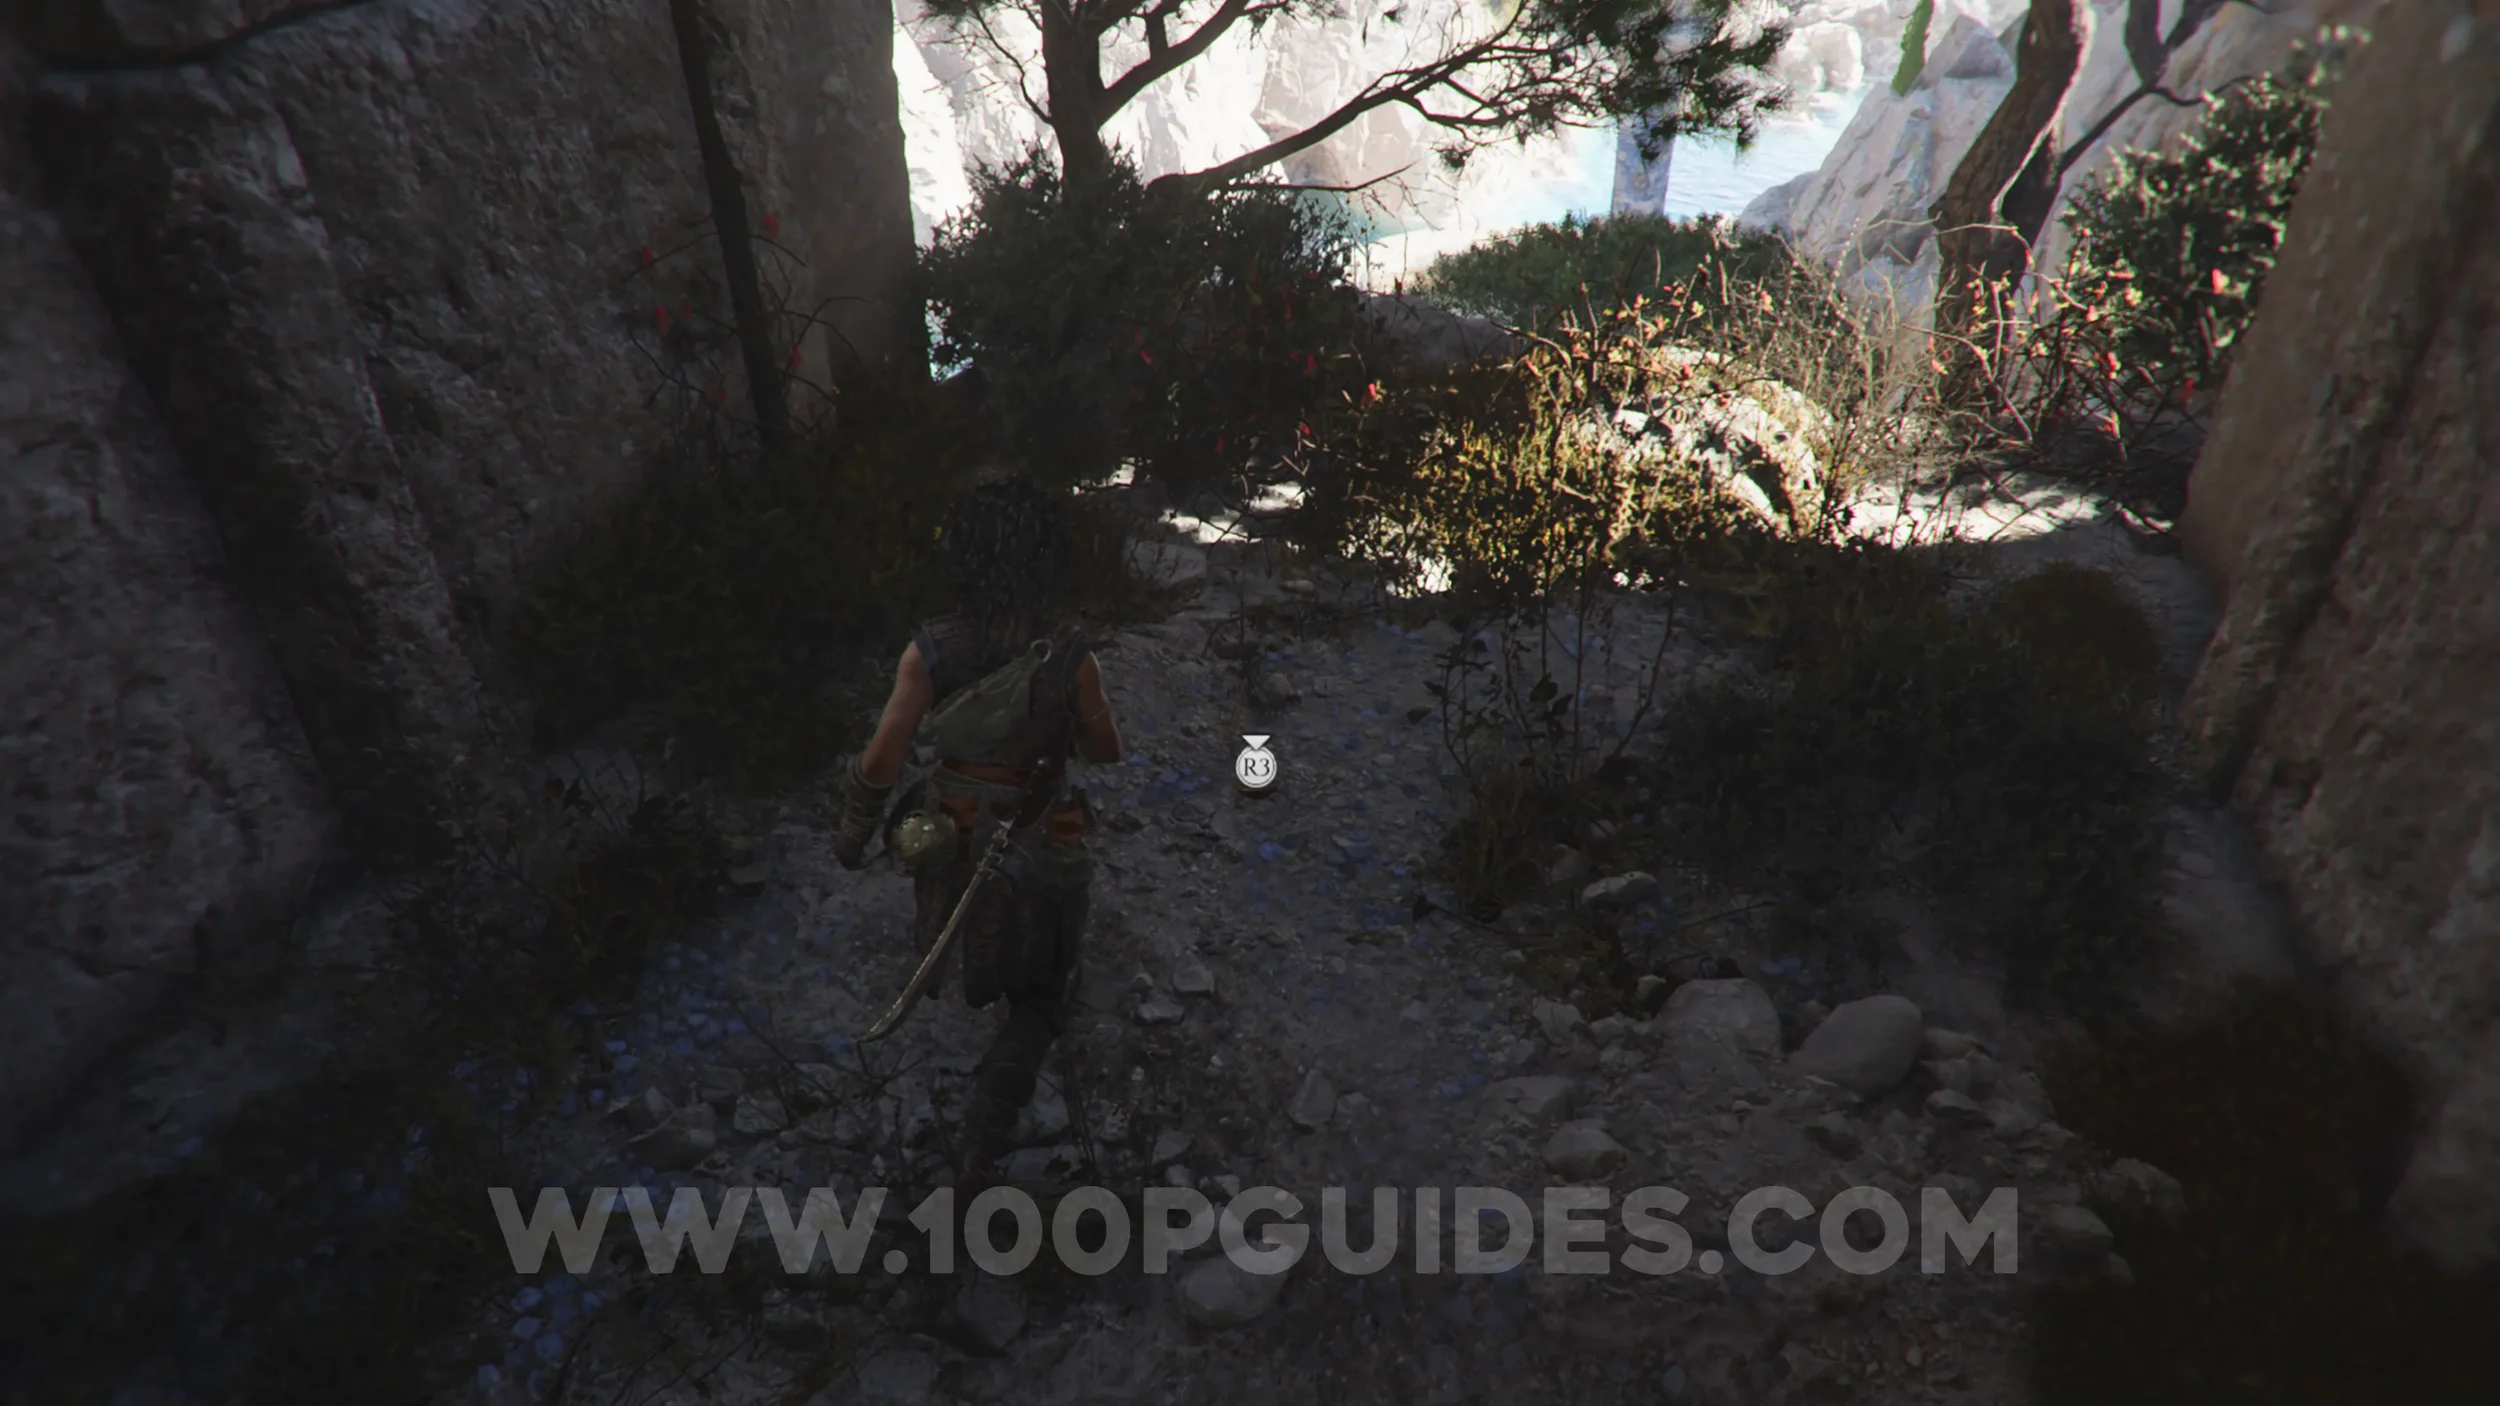
Next, head through the door directly to the right of the original pedestal where you used the key, then down the central path, and after jumping over the first gap, head right to find the two resonance points on the ground.
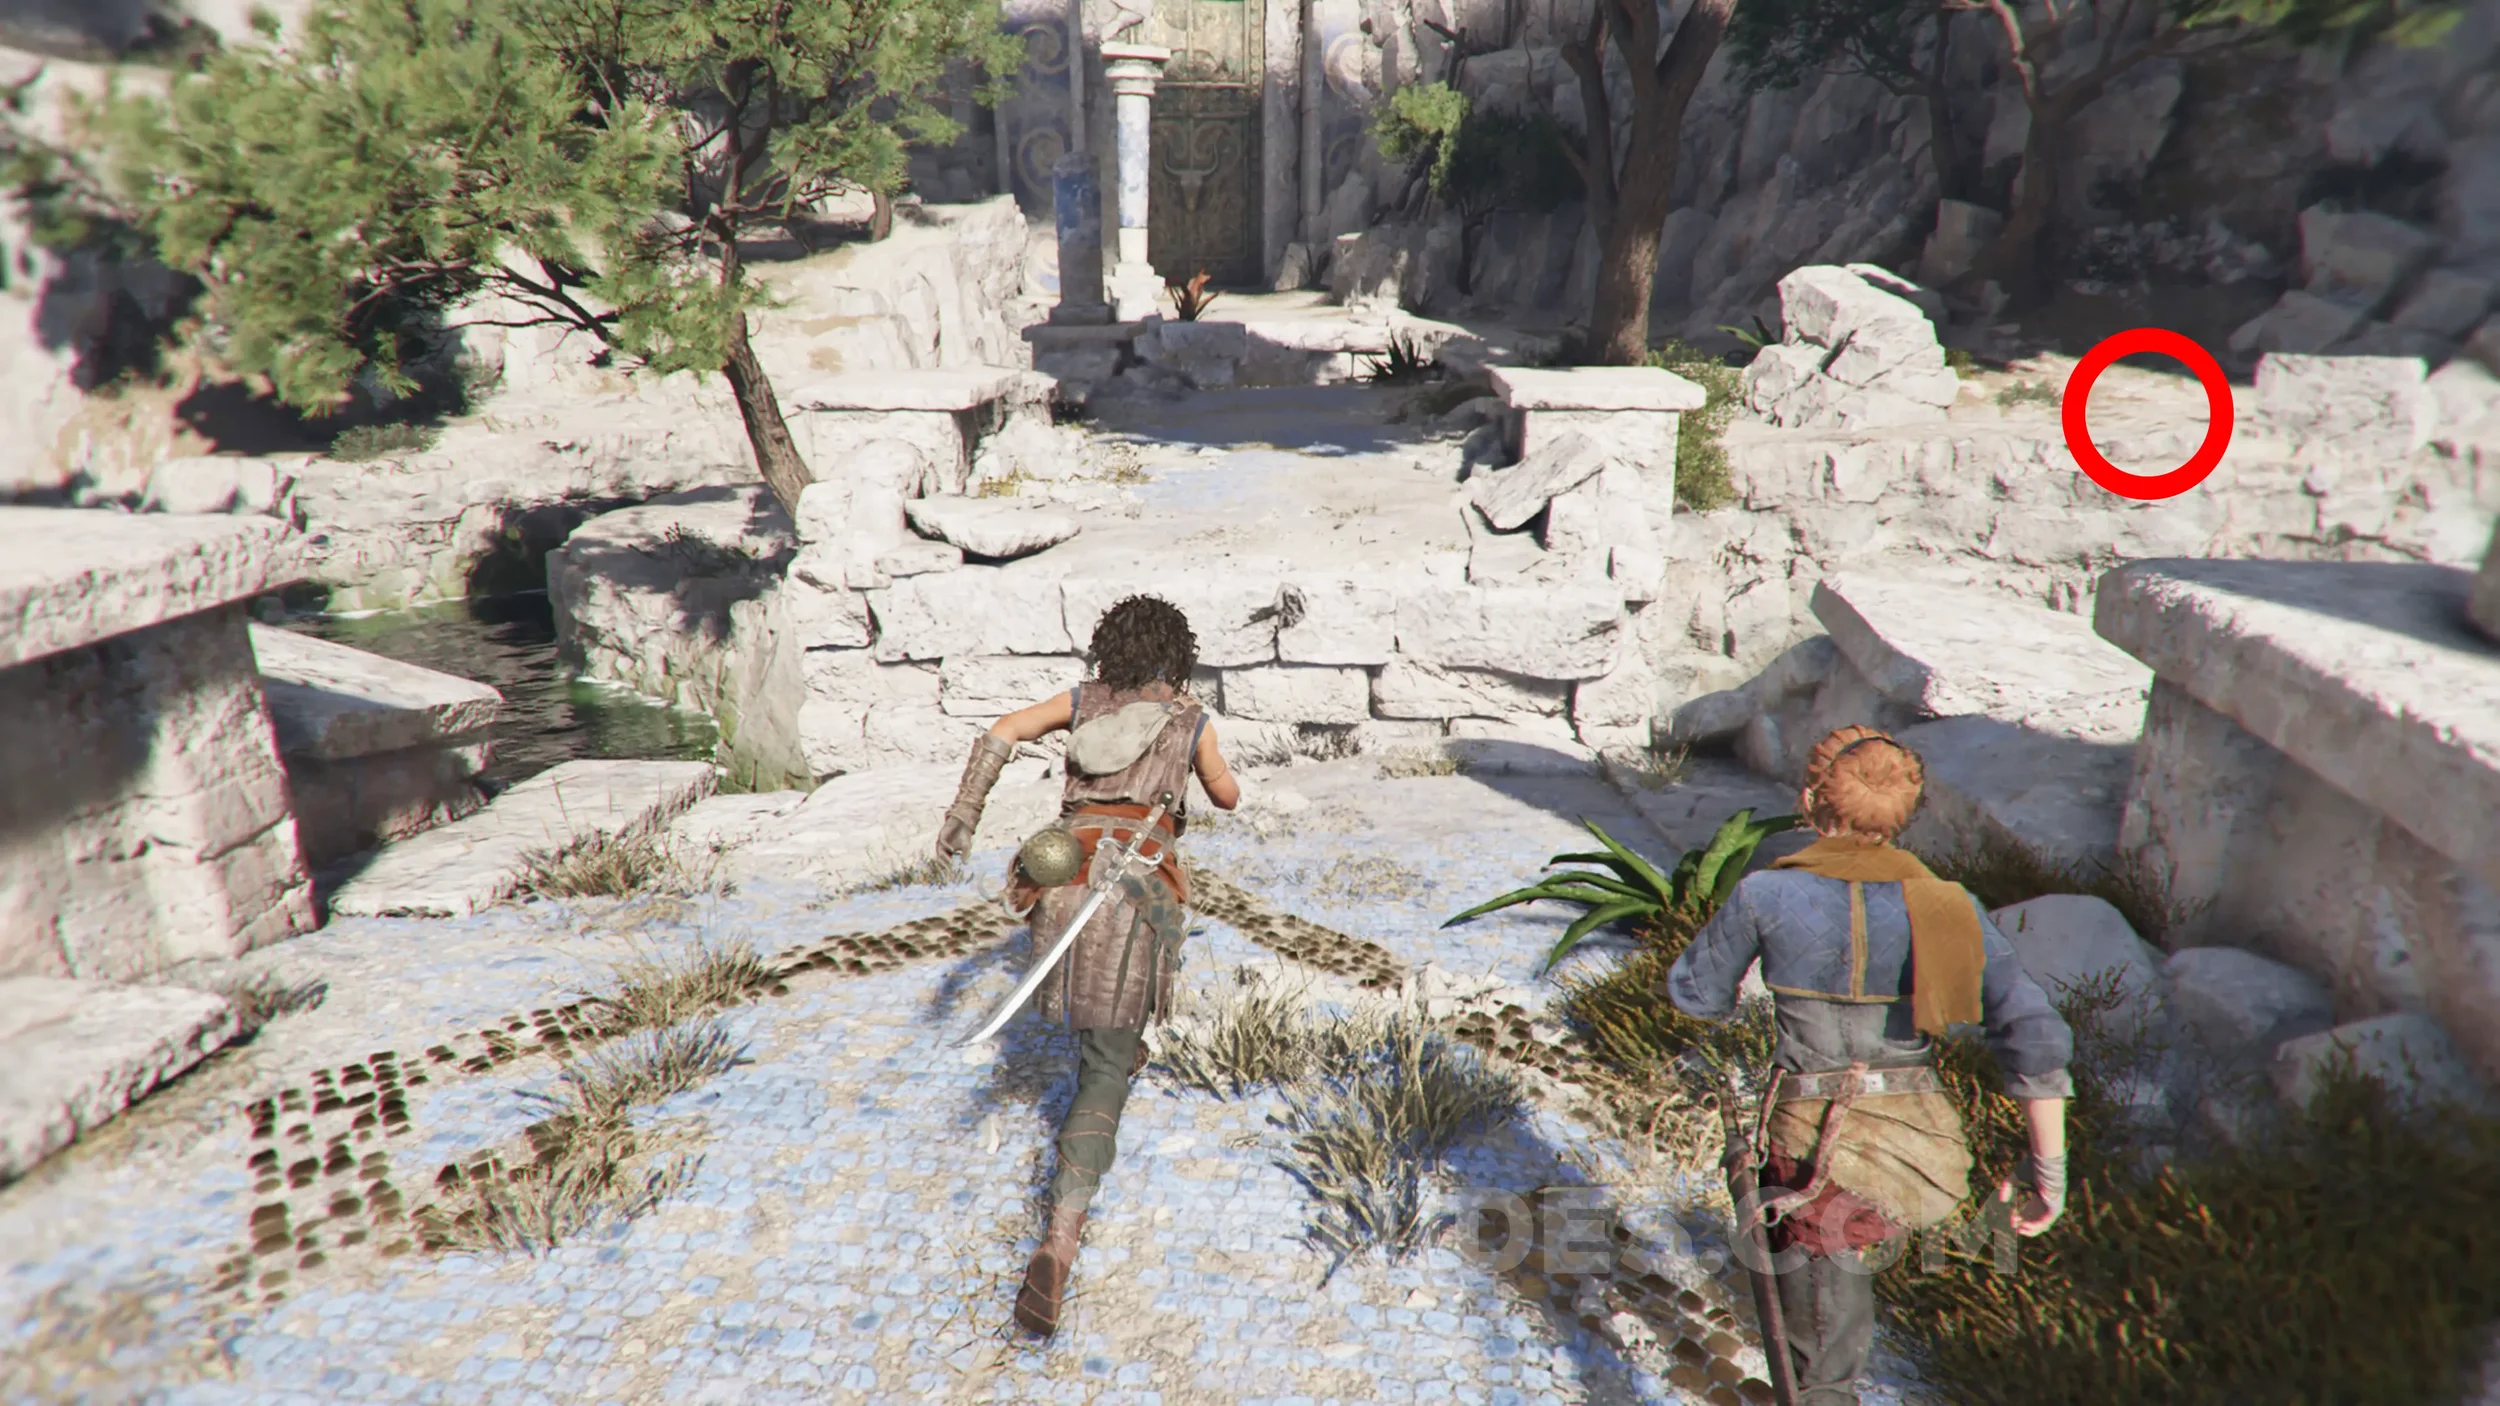
Artefact: Ceremonial Blade
Chapter 5: Sub-Chapter 3.
From the previous resonance points, head back to the middle path and jump over to the tree on the opposite side, where you'll find the artefact.
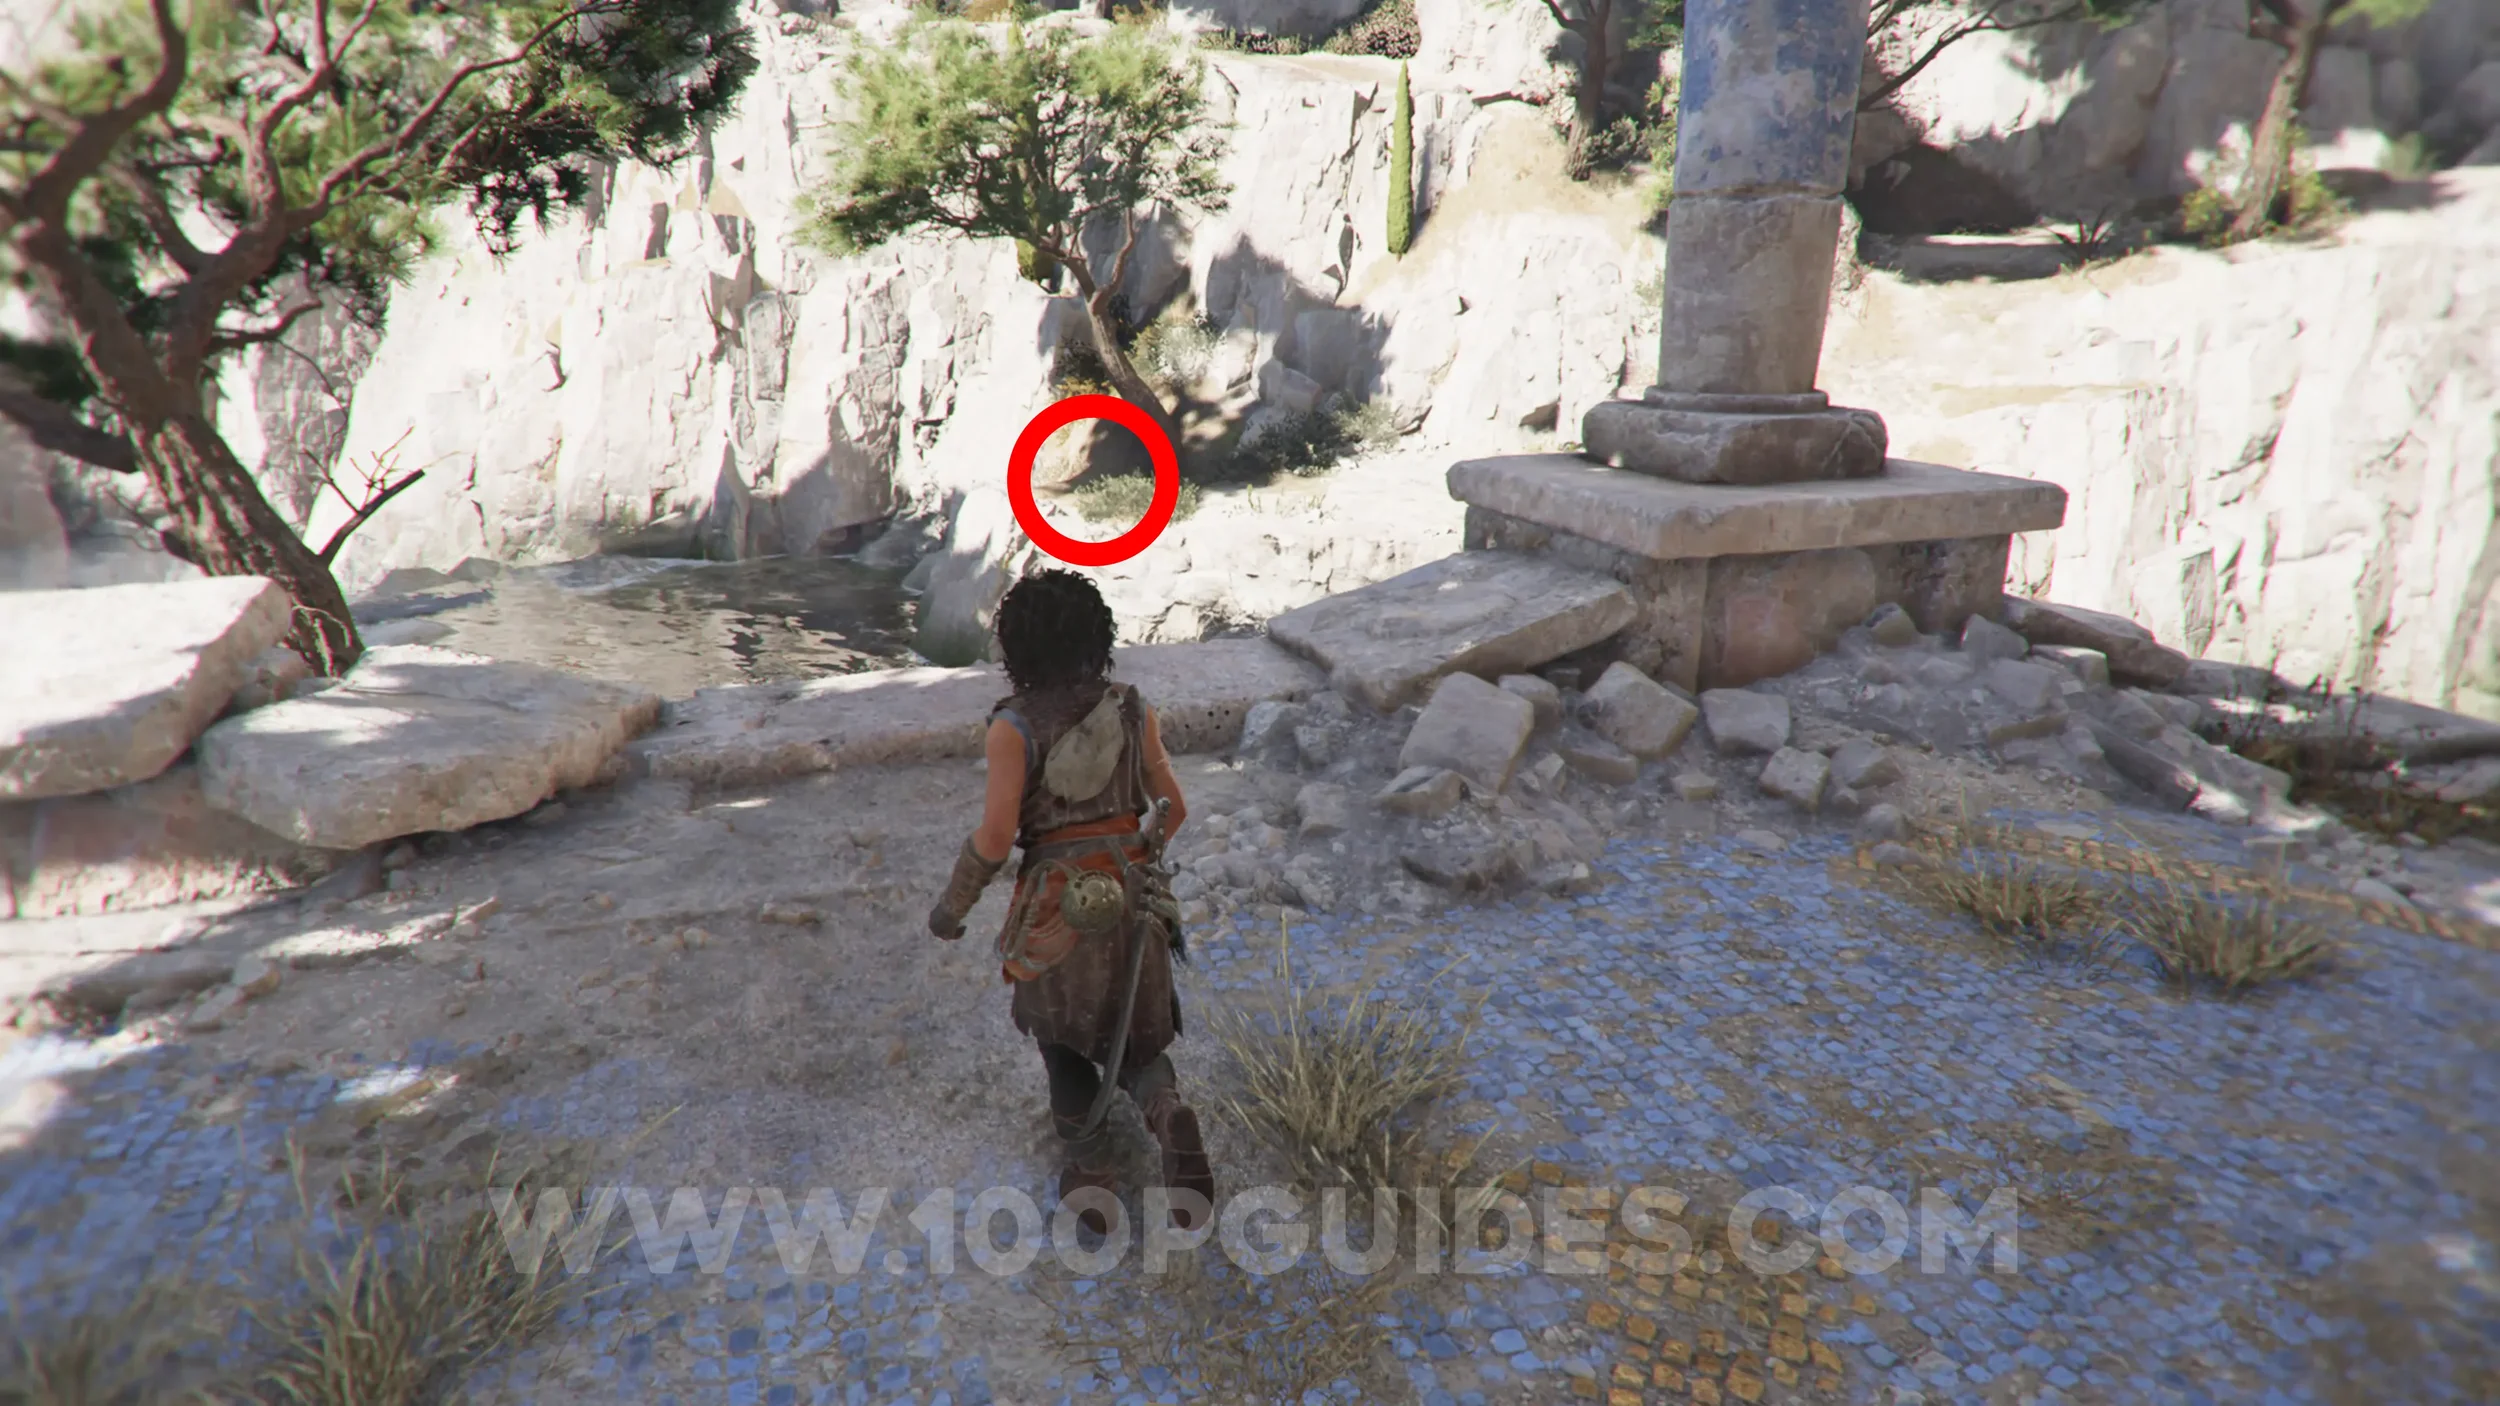
Resonance Point
Chapter 5: Sub-Chapter 3.
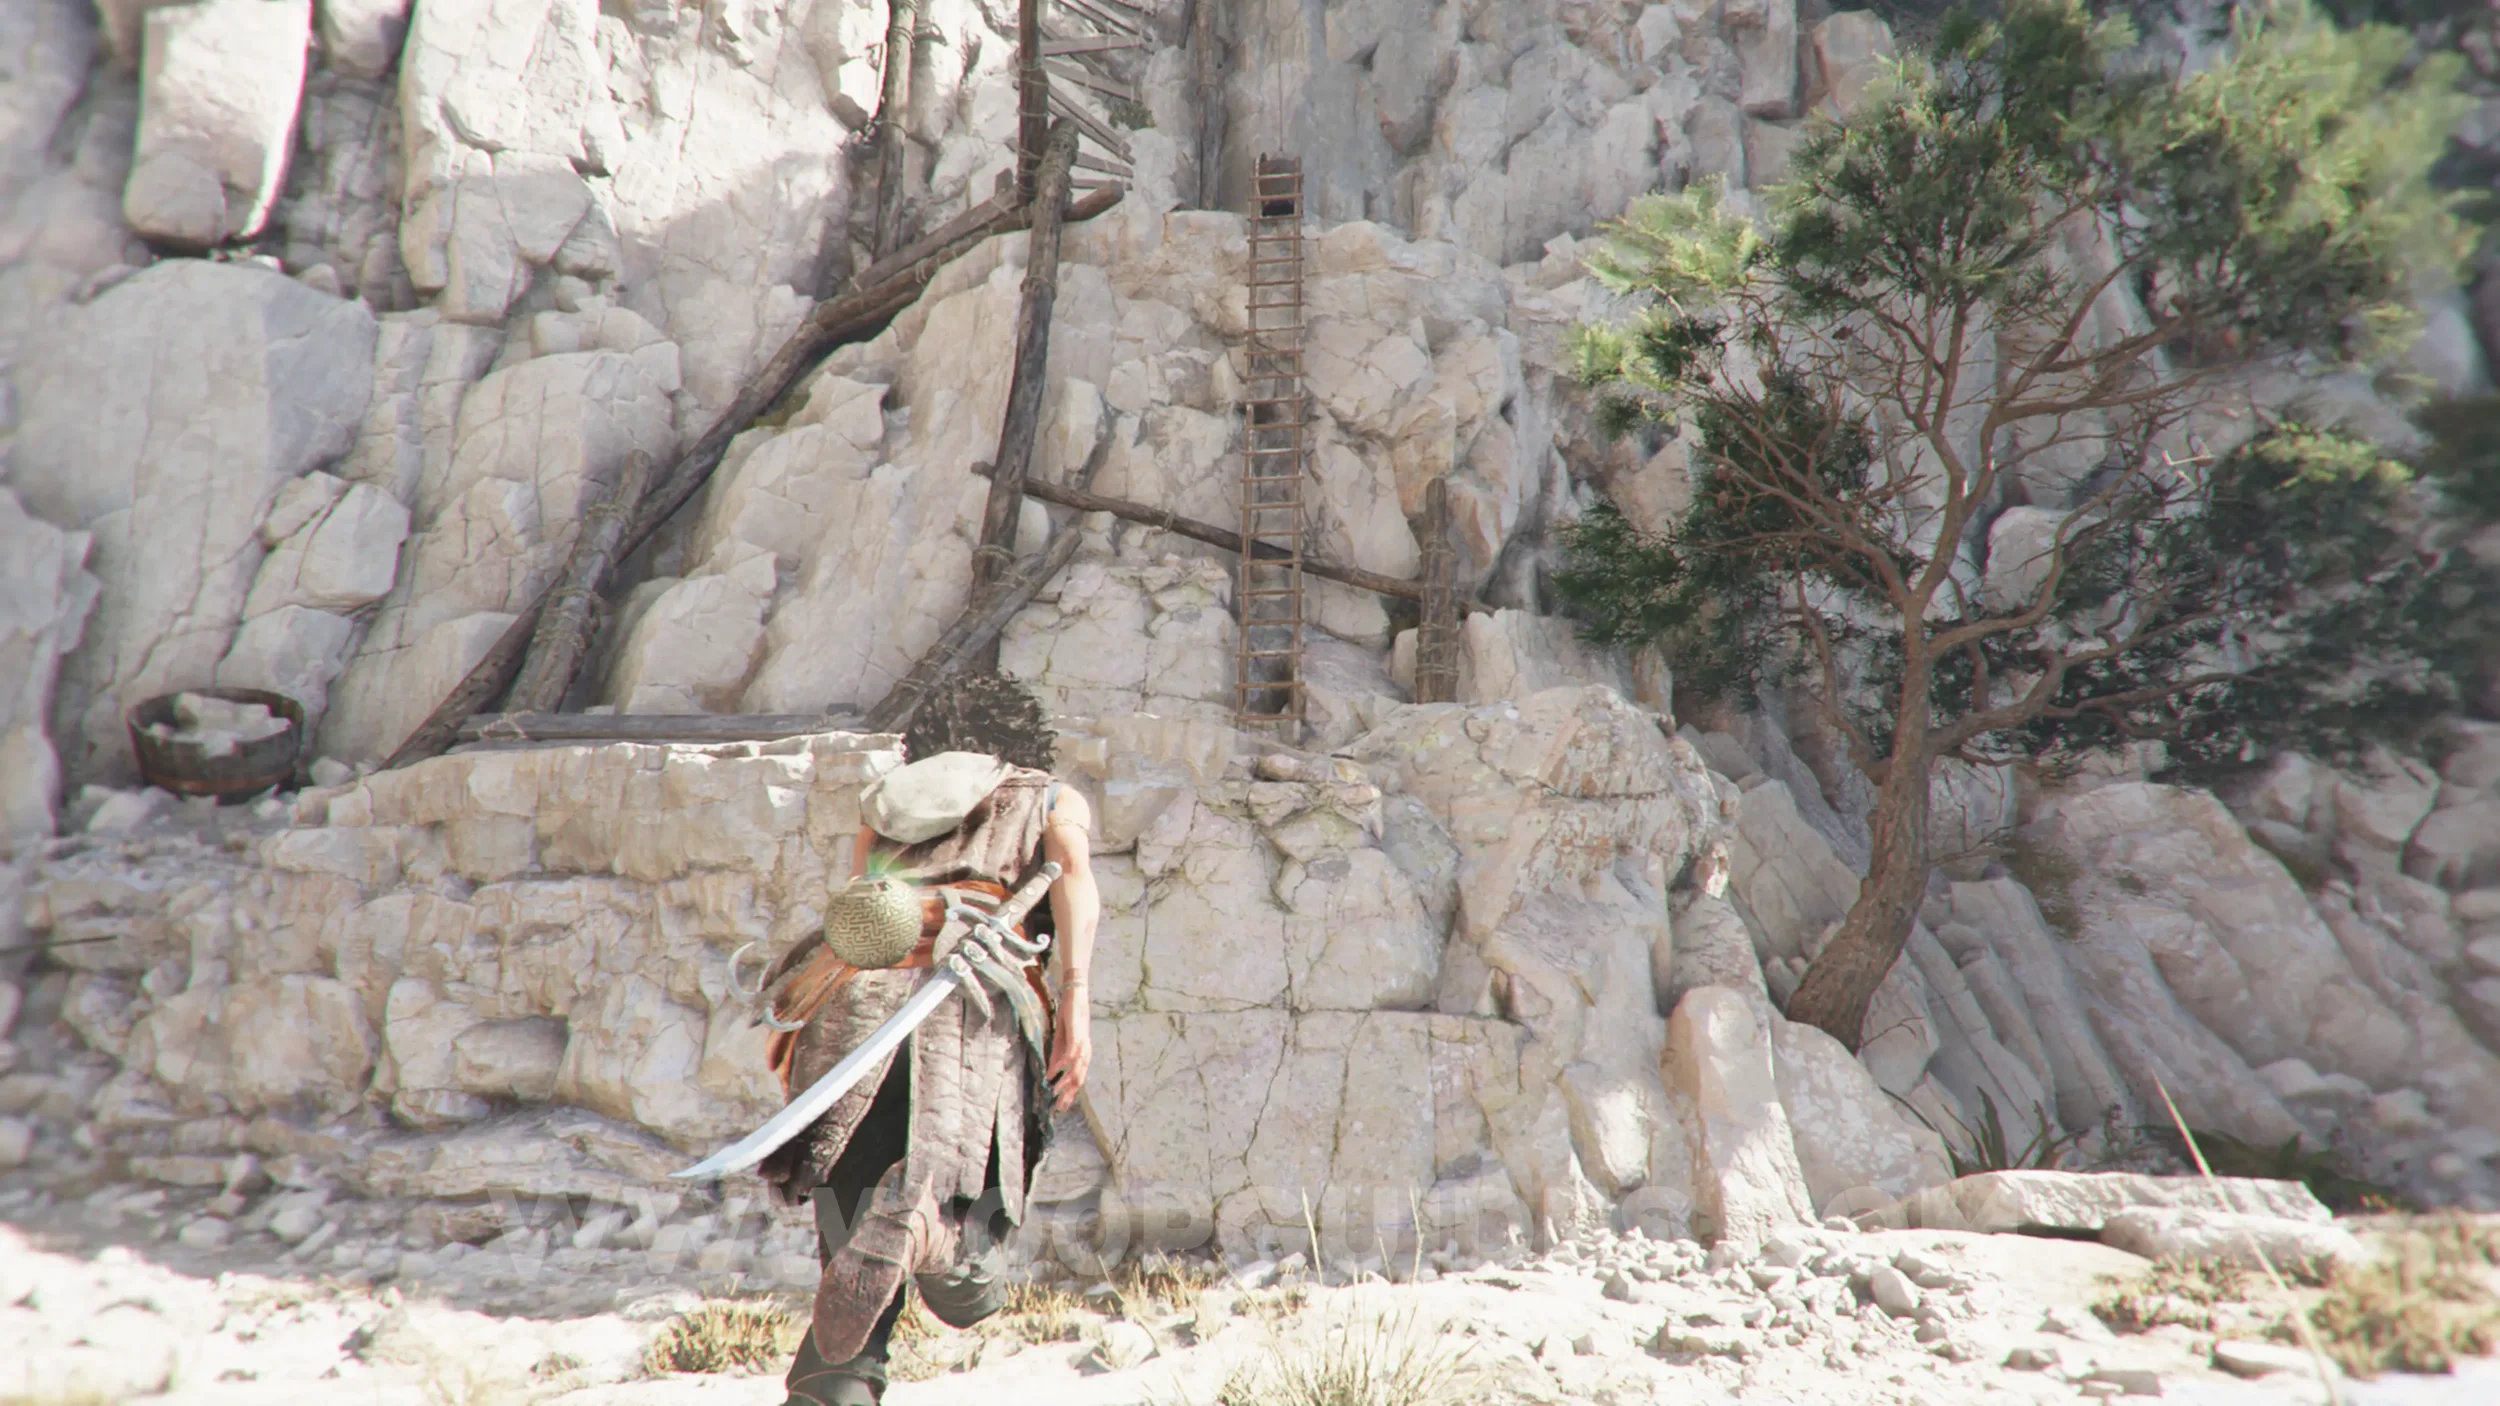
Now head to the large door in this area (it will be locked) and look for a ladder just to the right of the door. Climb it, and then at the top, grapple up to the area above. At the top, head right to find the collectible.
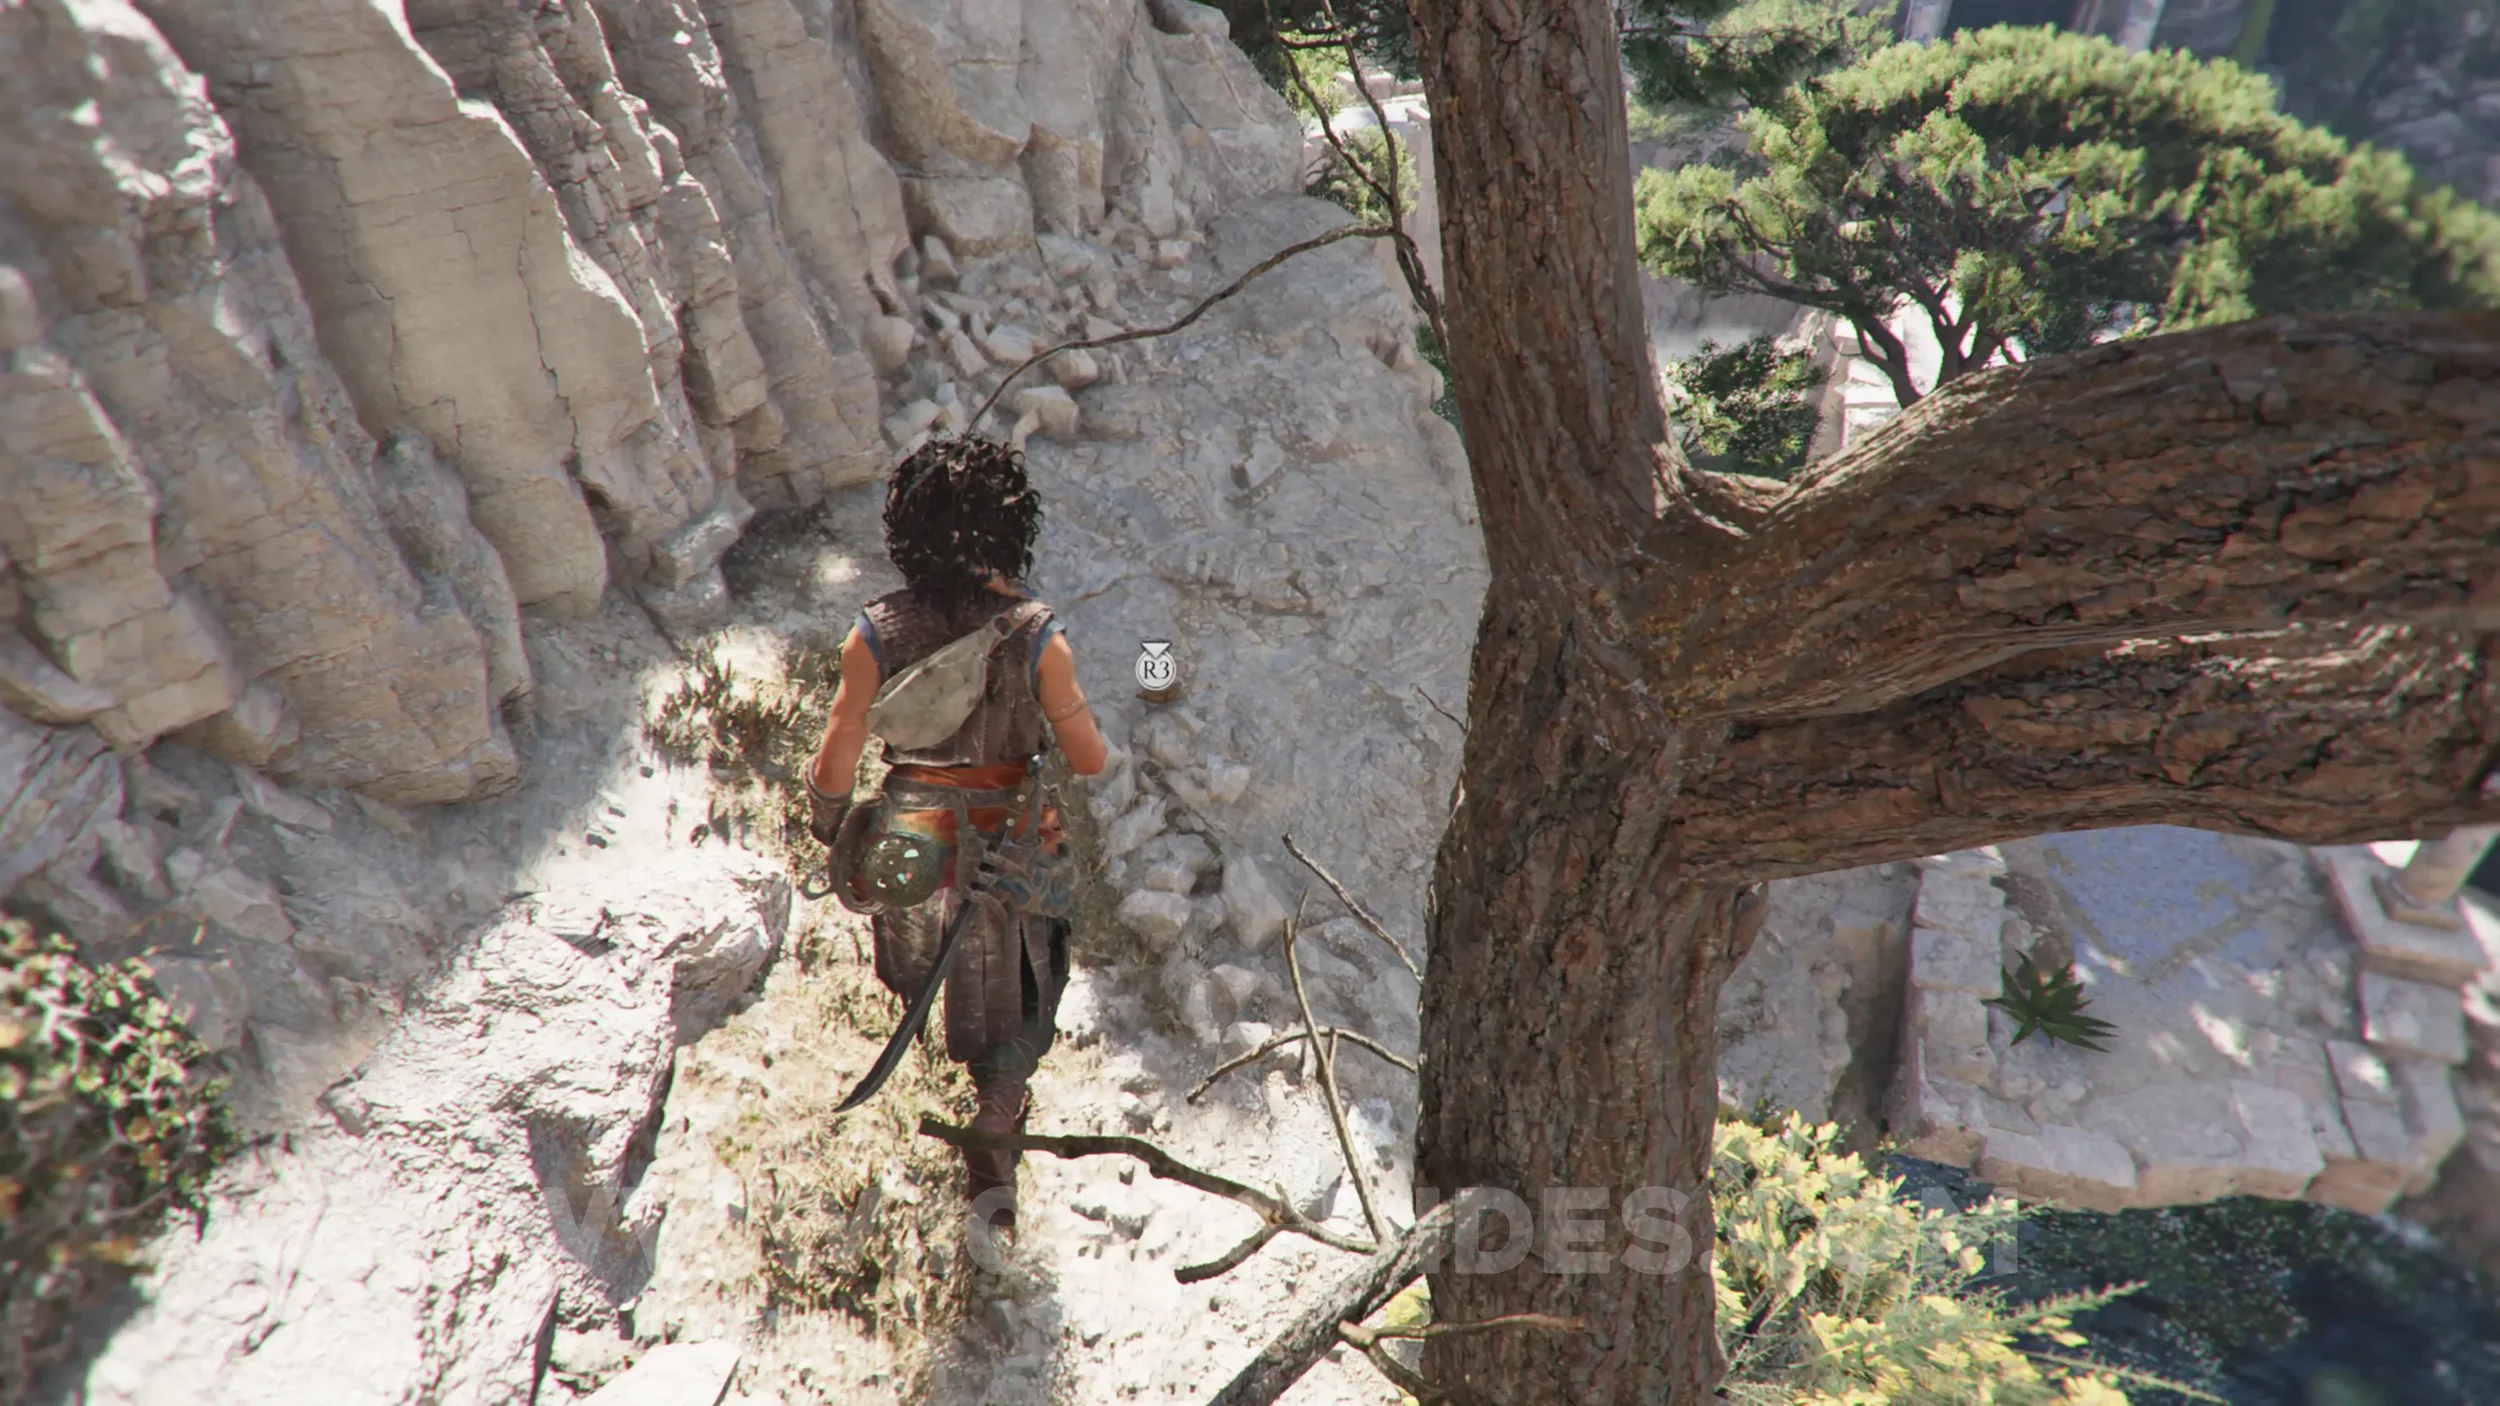
Resonance Point
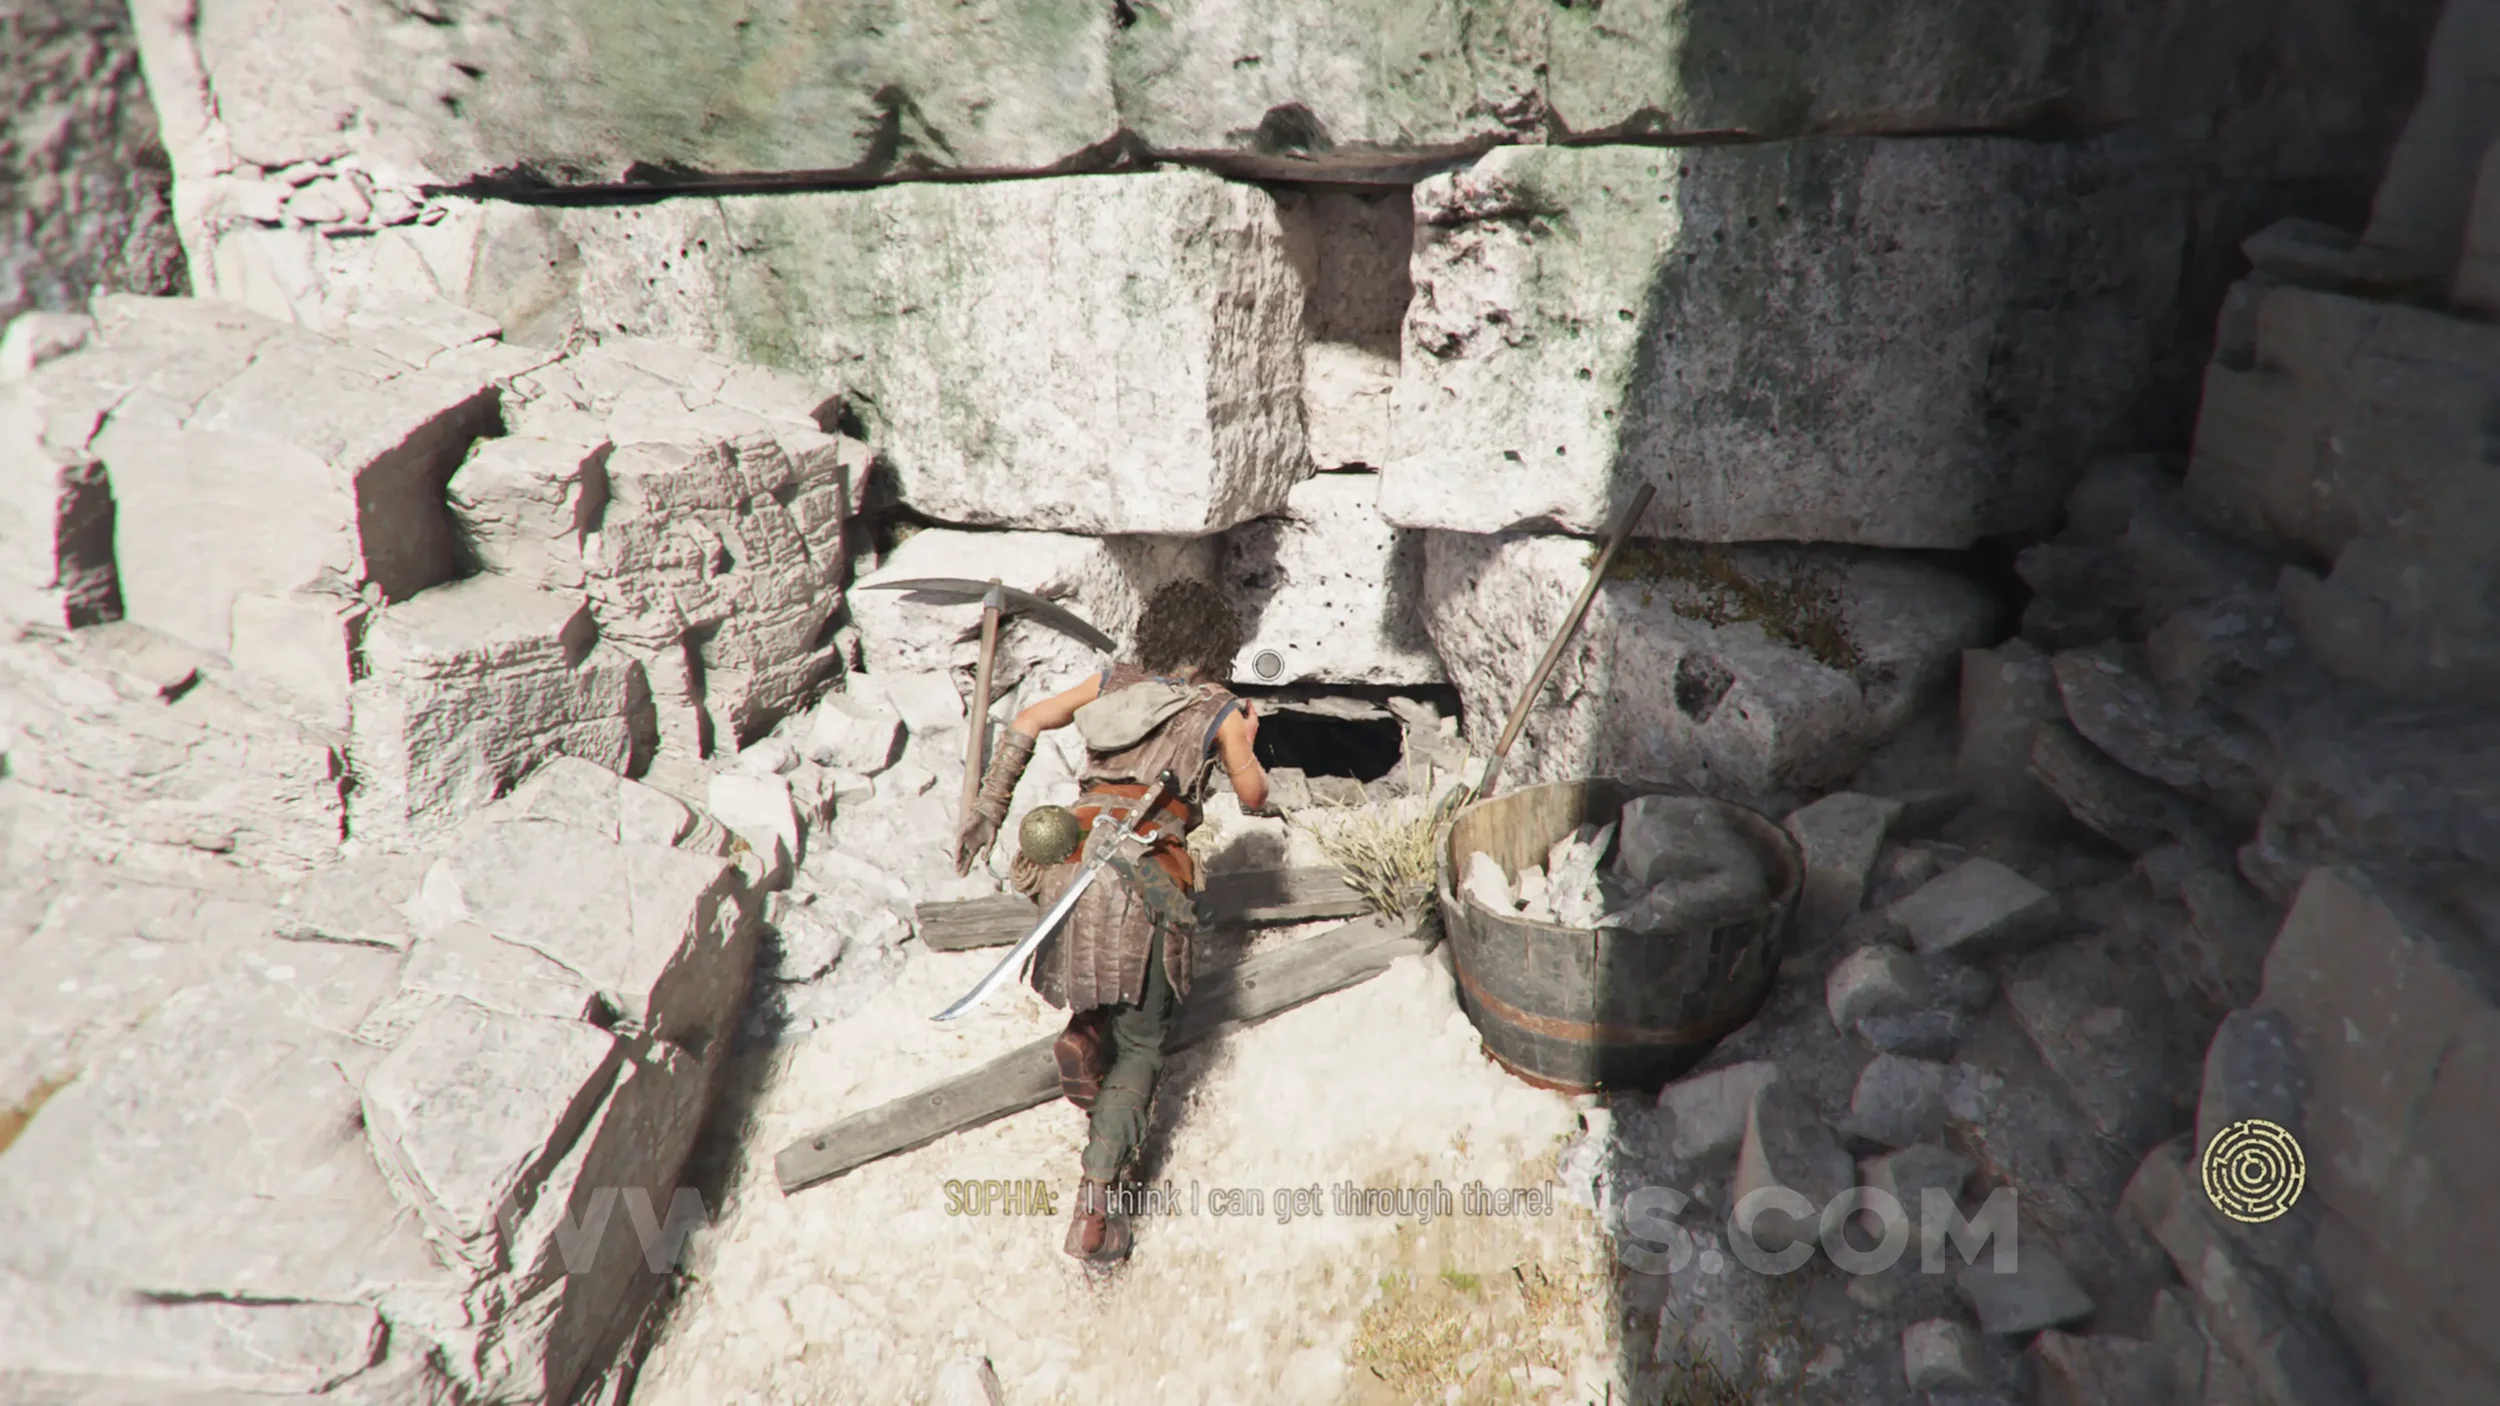
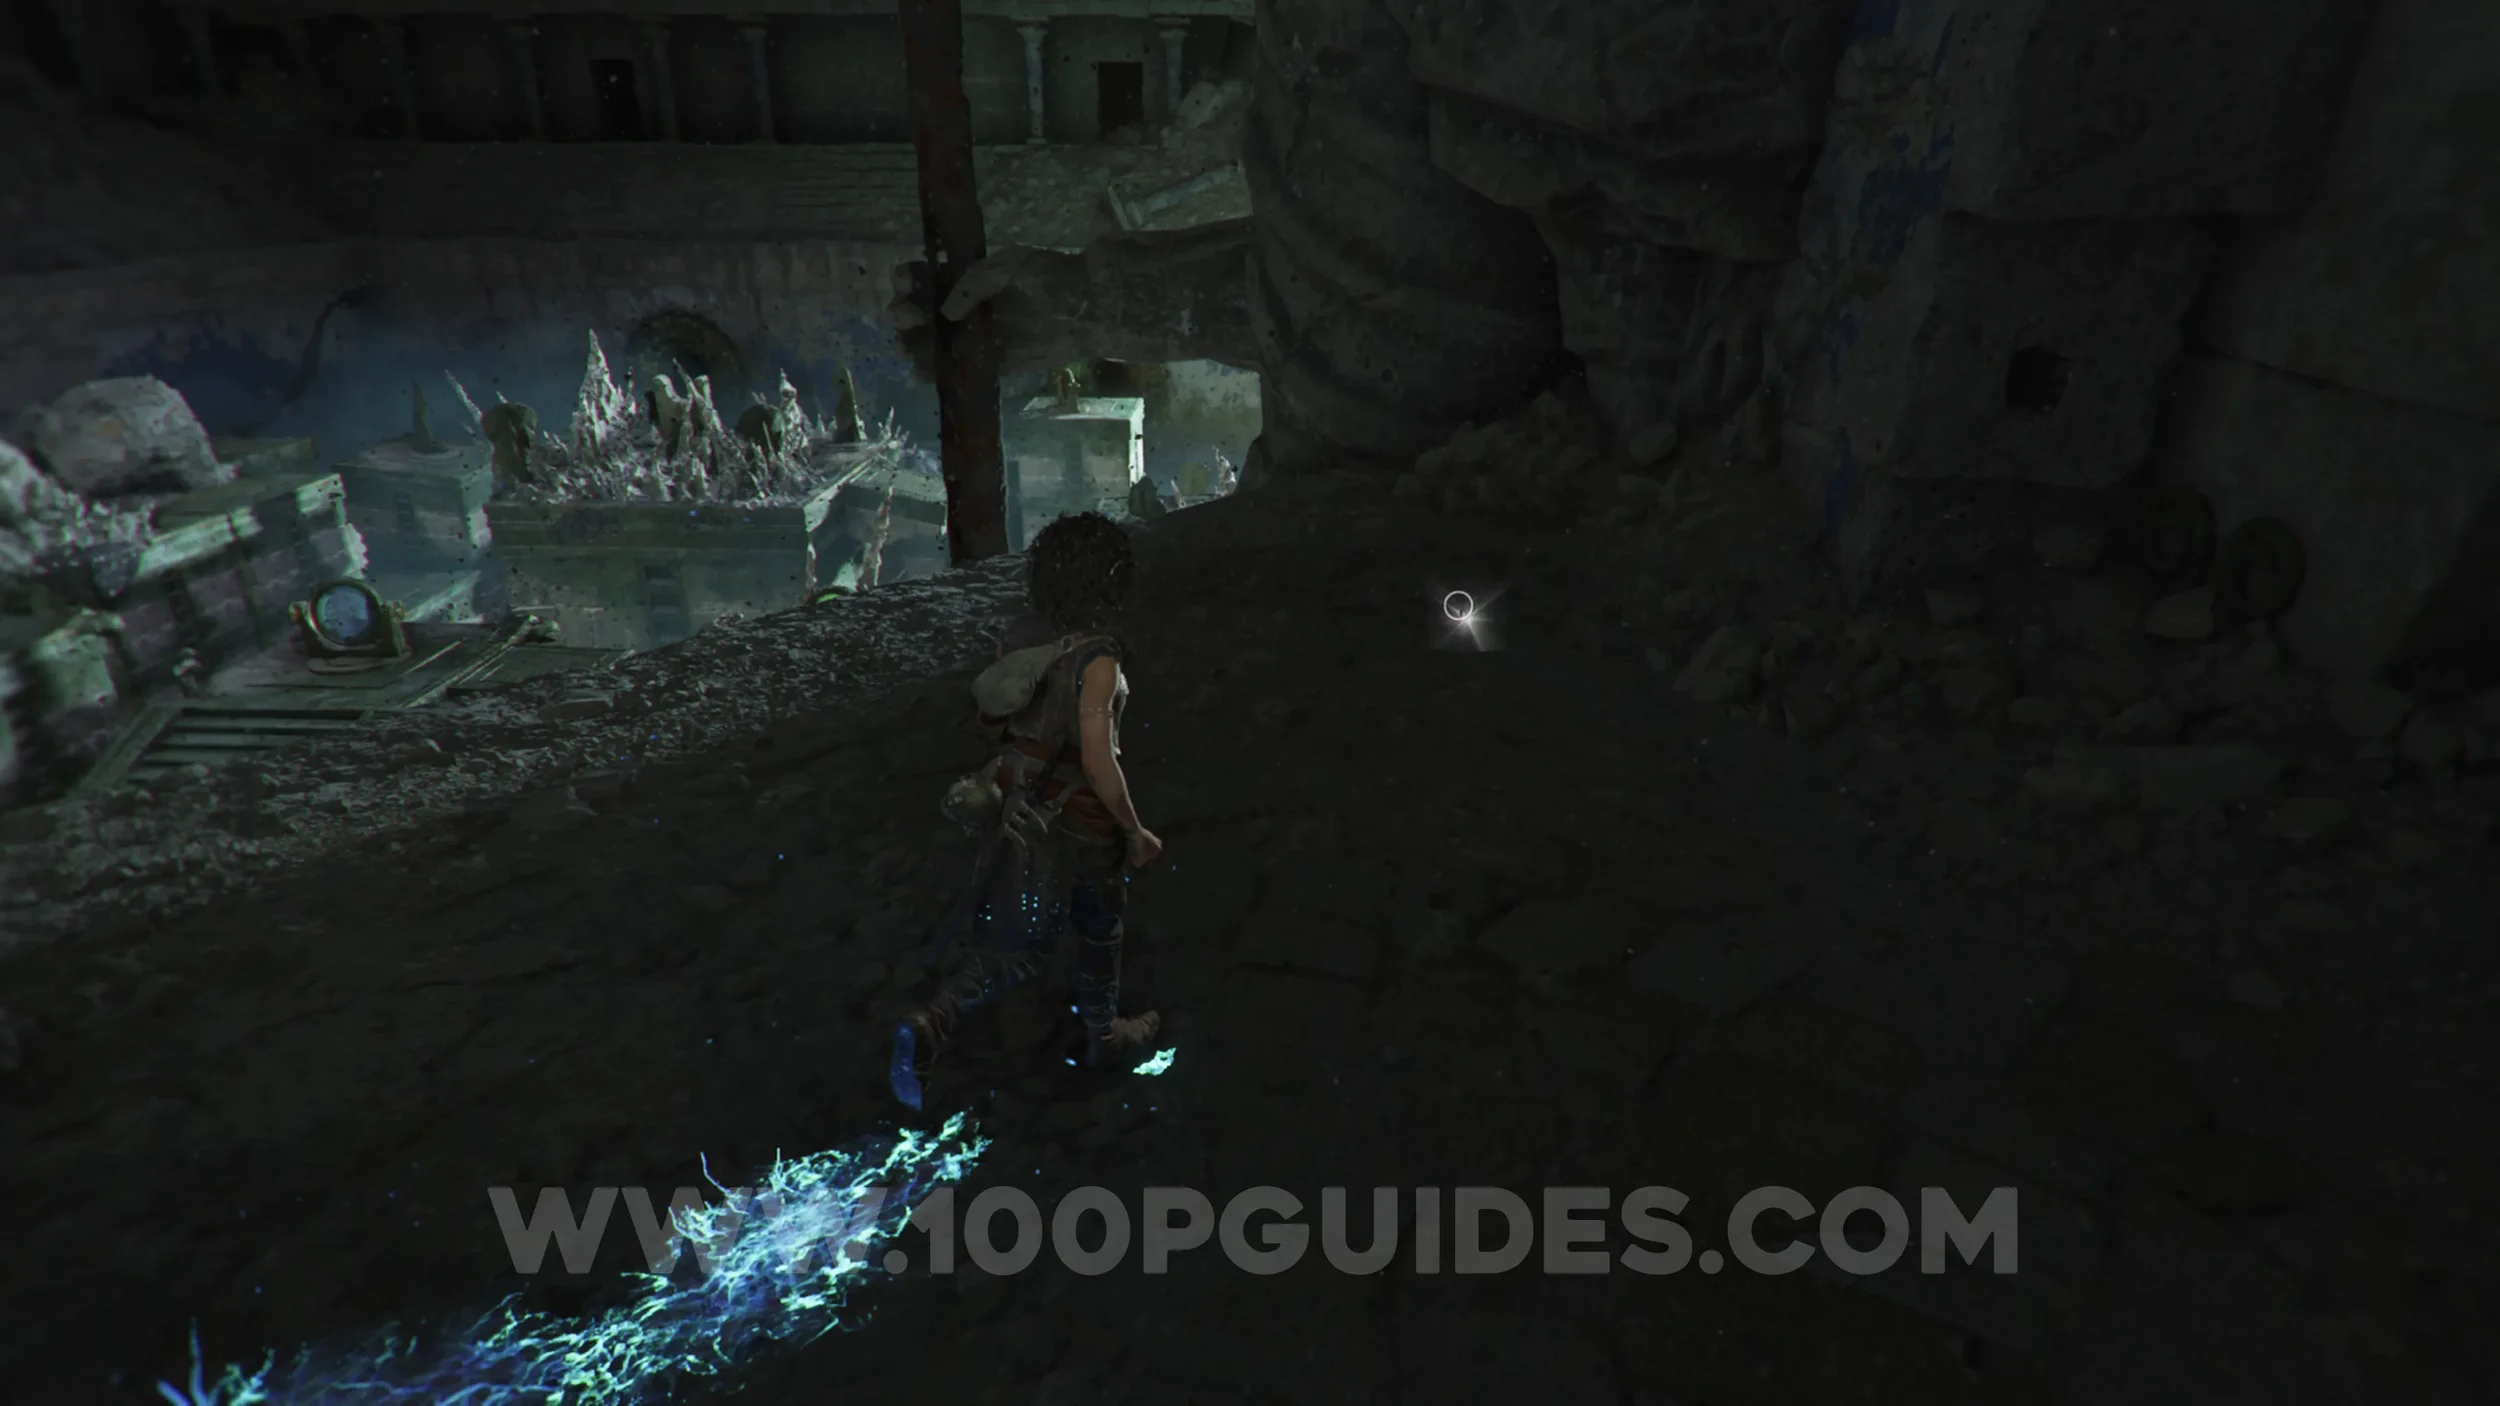
Chapter 5: Sub-Chapter 3.
From the previous collectible, turn around and crawl through the hole below the green wall. Once you come out the other side, head right to find the collectible.
Resonance Point
Chapter 5: Sub-Chapter 3.
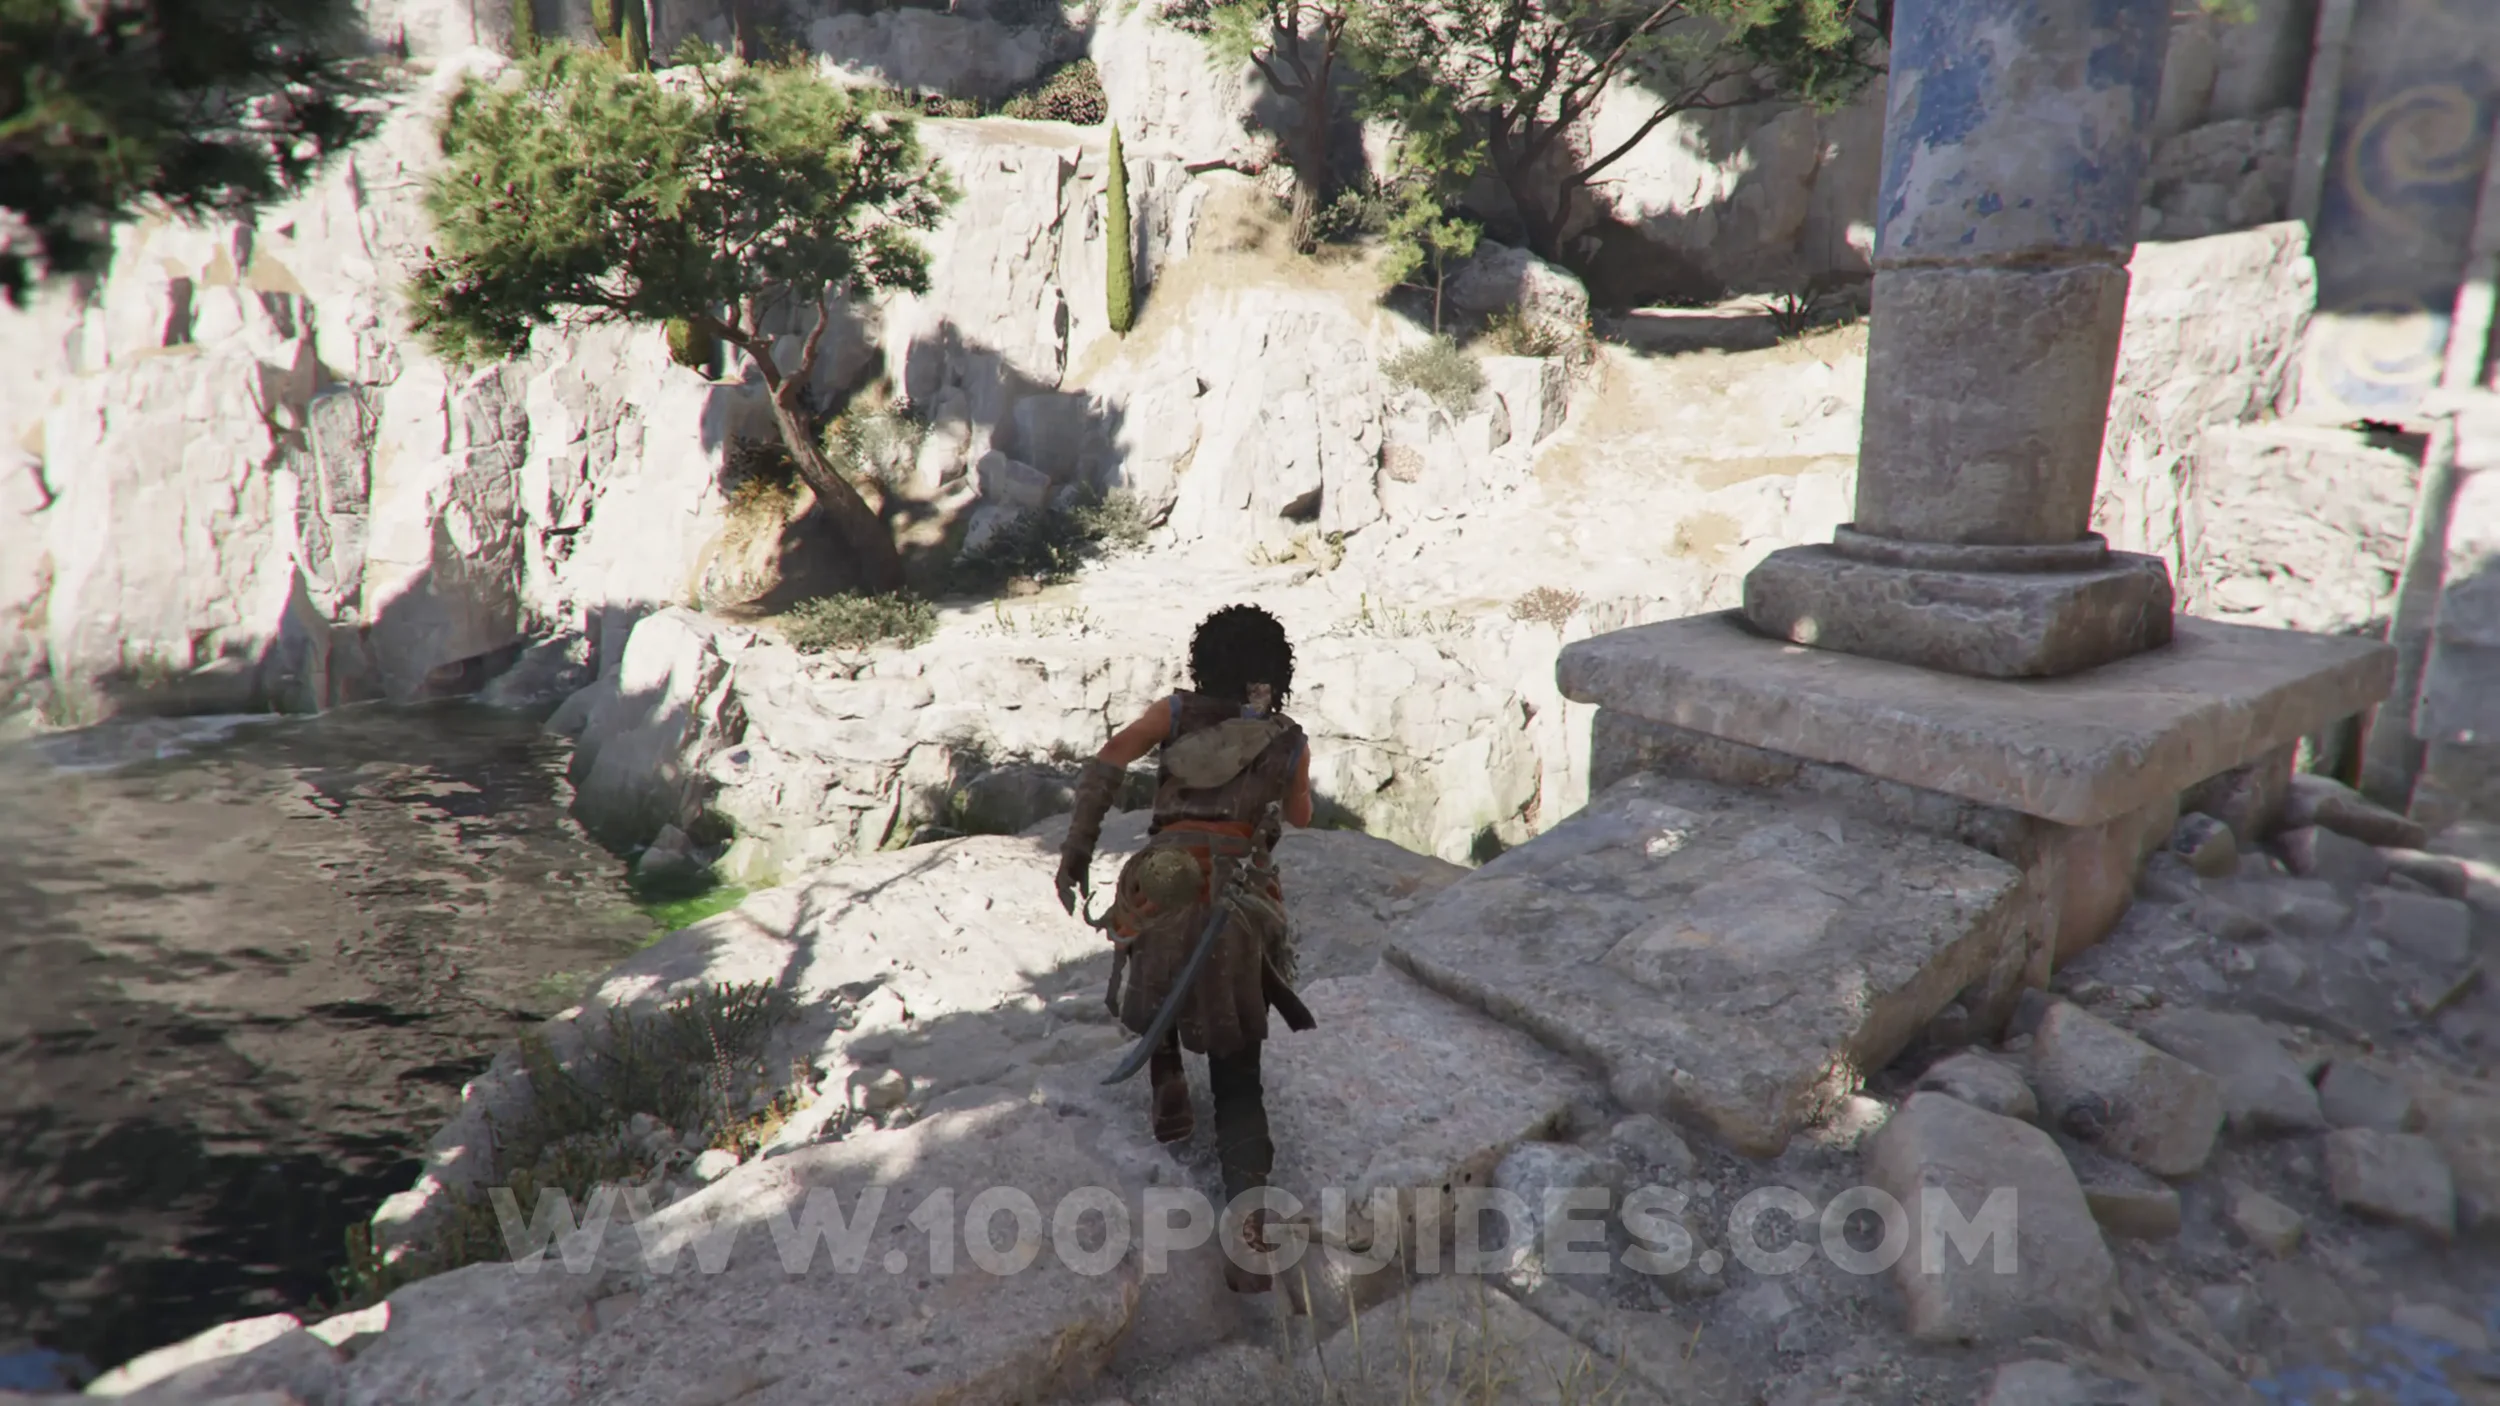
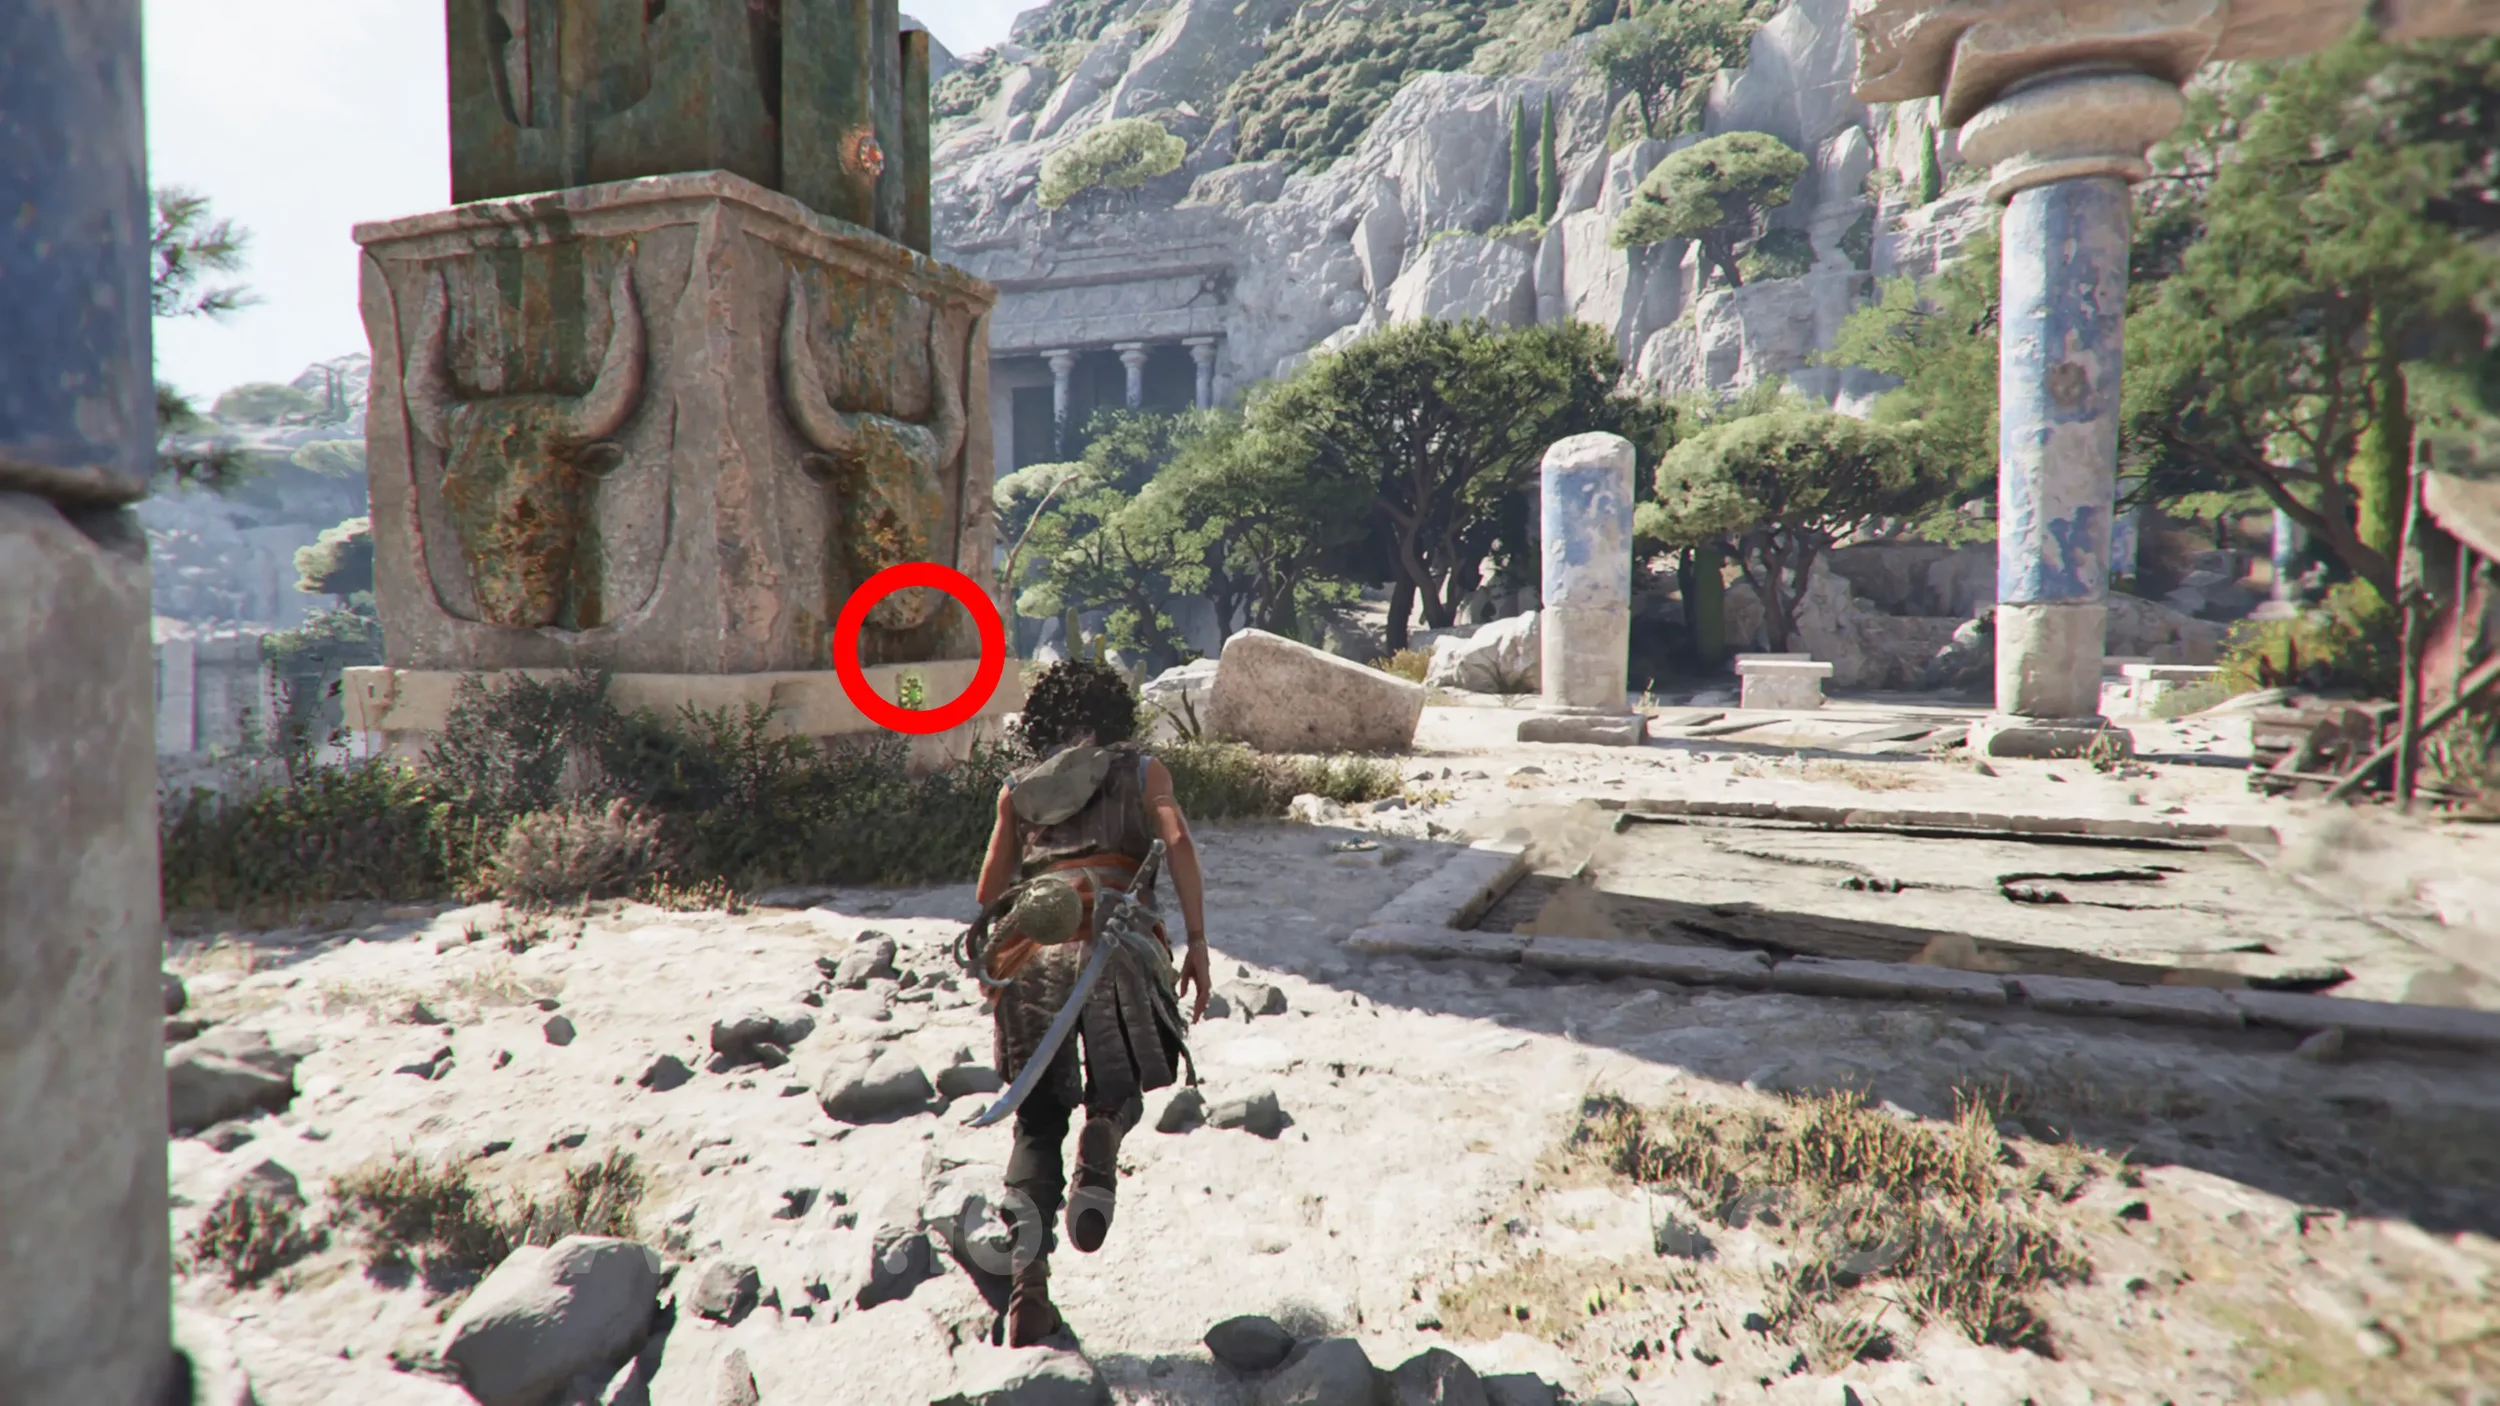
After solving the puzzle for the first symbol, head back outside and defeat the enemies. Then jump across the first gap in the central path and head right towards the tree where you found a previous artefact. Continue up the hill to reach a small camp area with tents. You'll find the collectible on the skull monument on your left with the bulls on it.
Resonance Point
Chapter 5: Sub-Chapter 3.
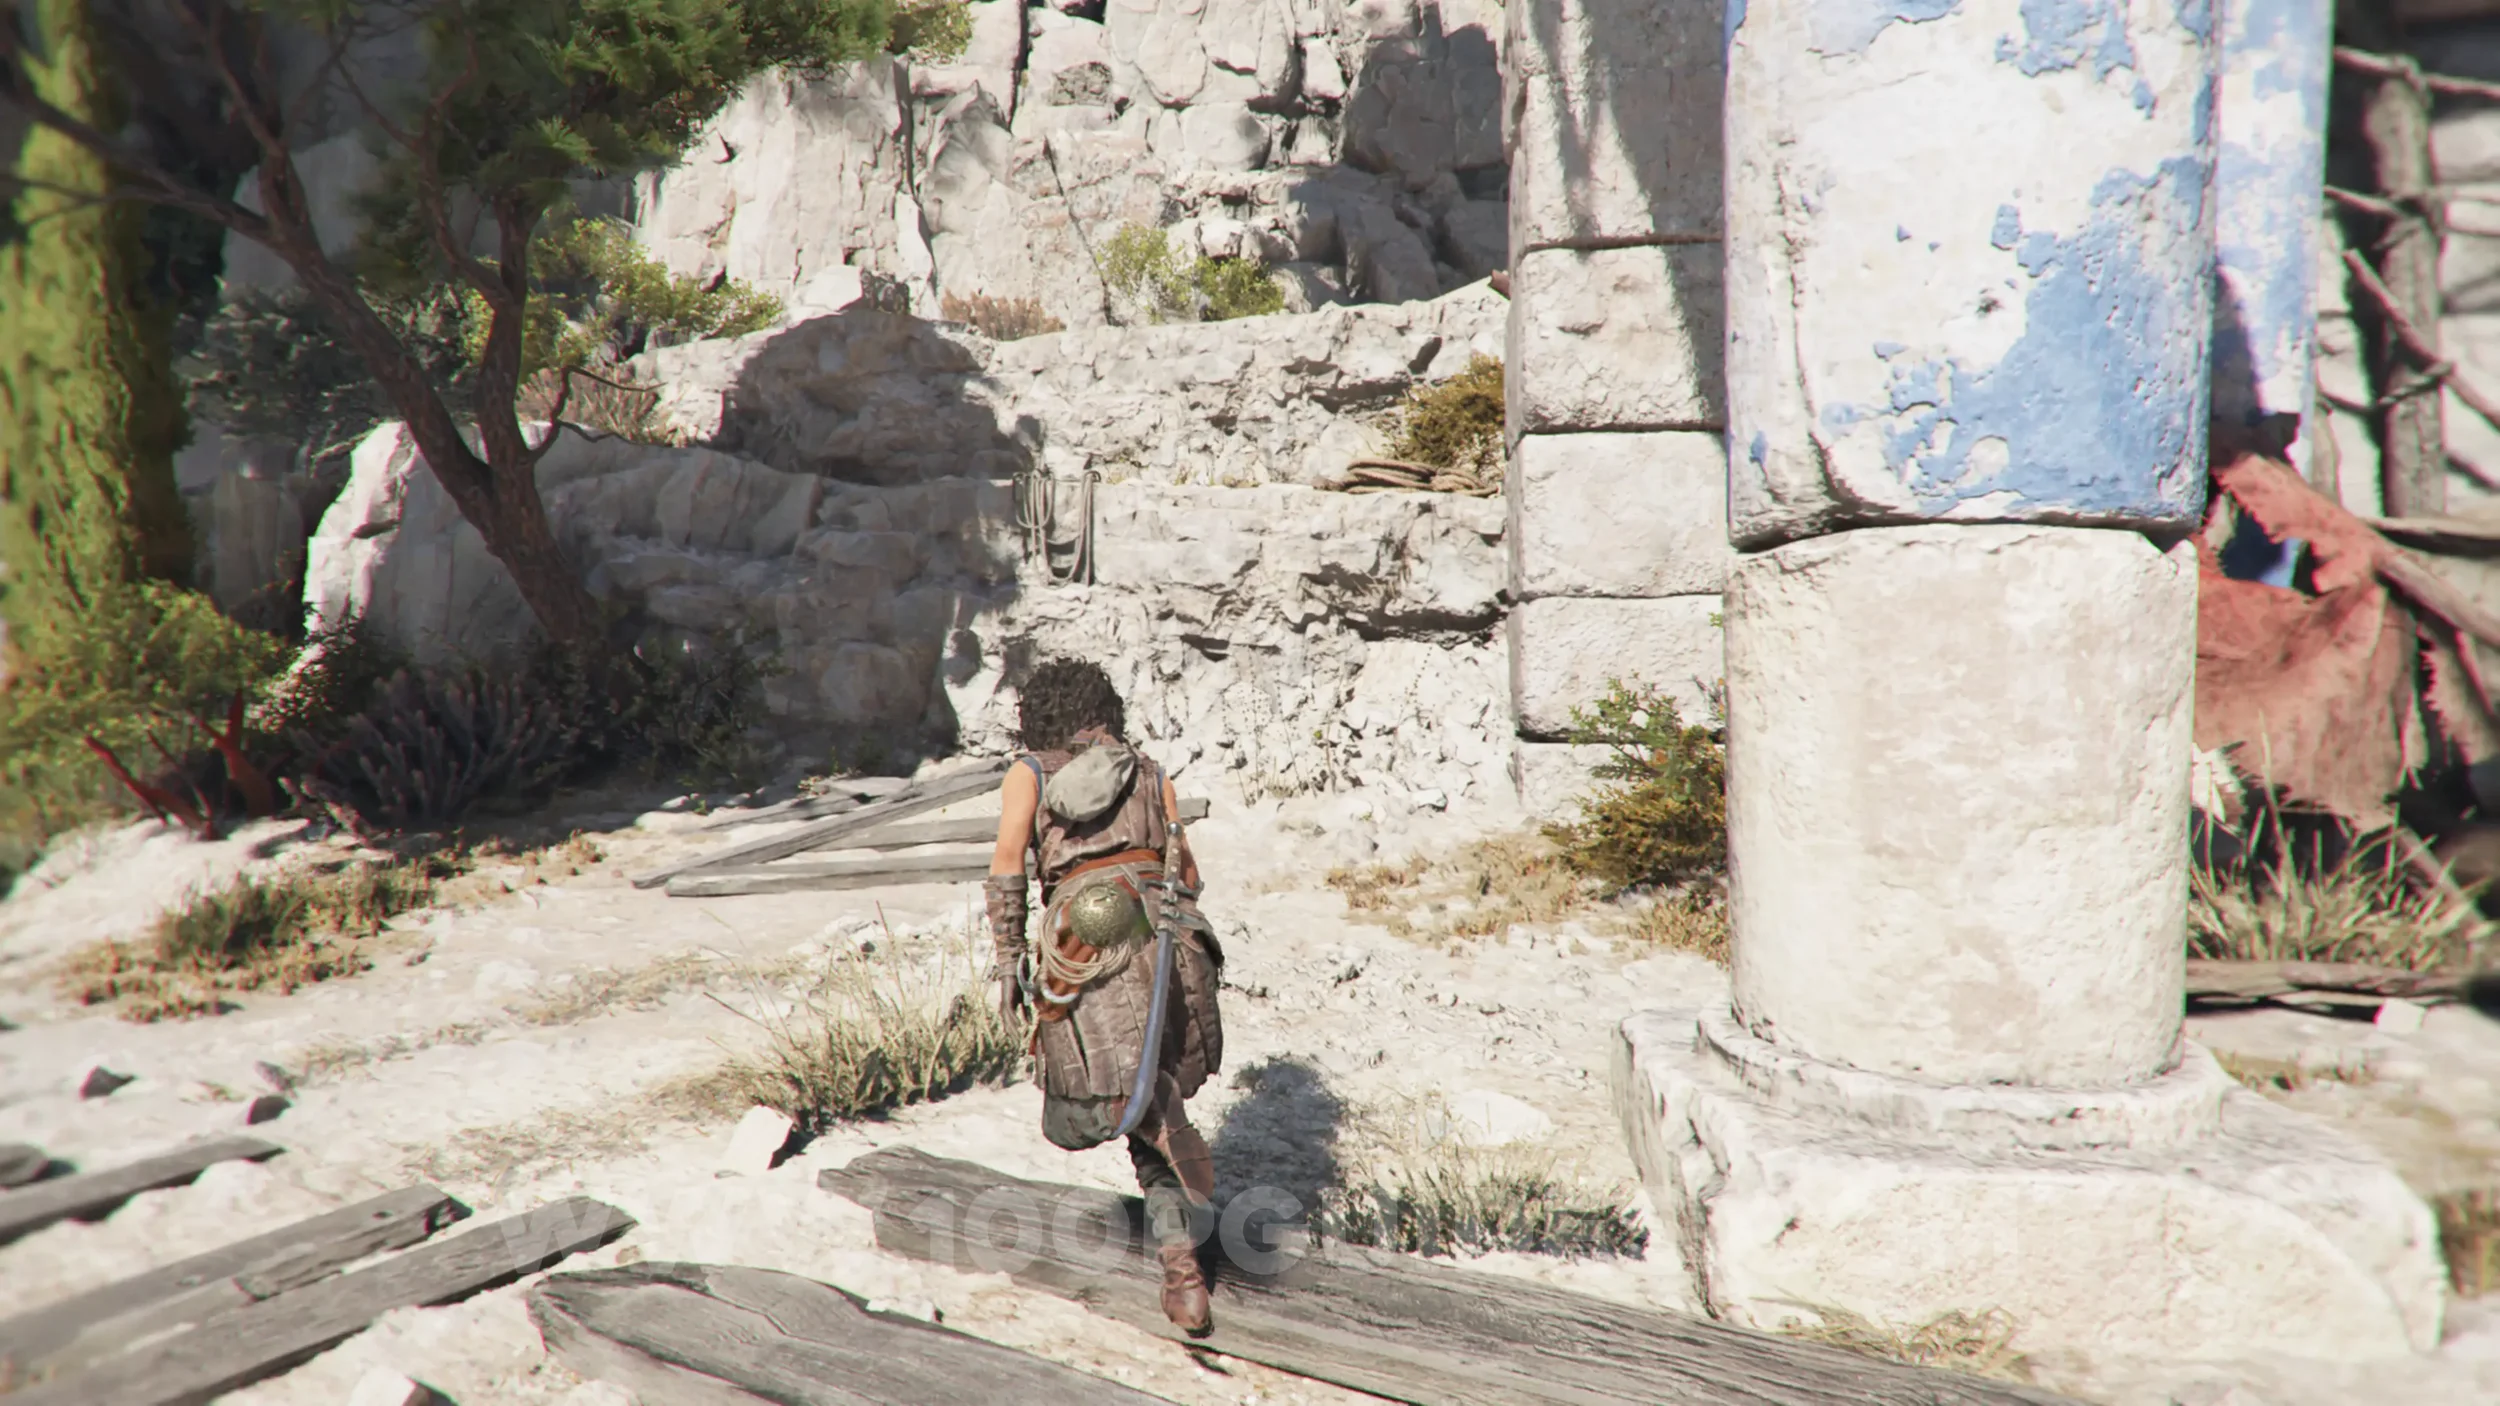
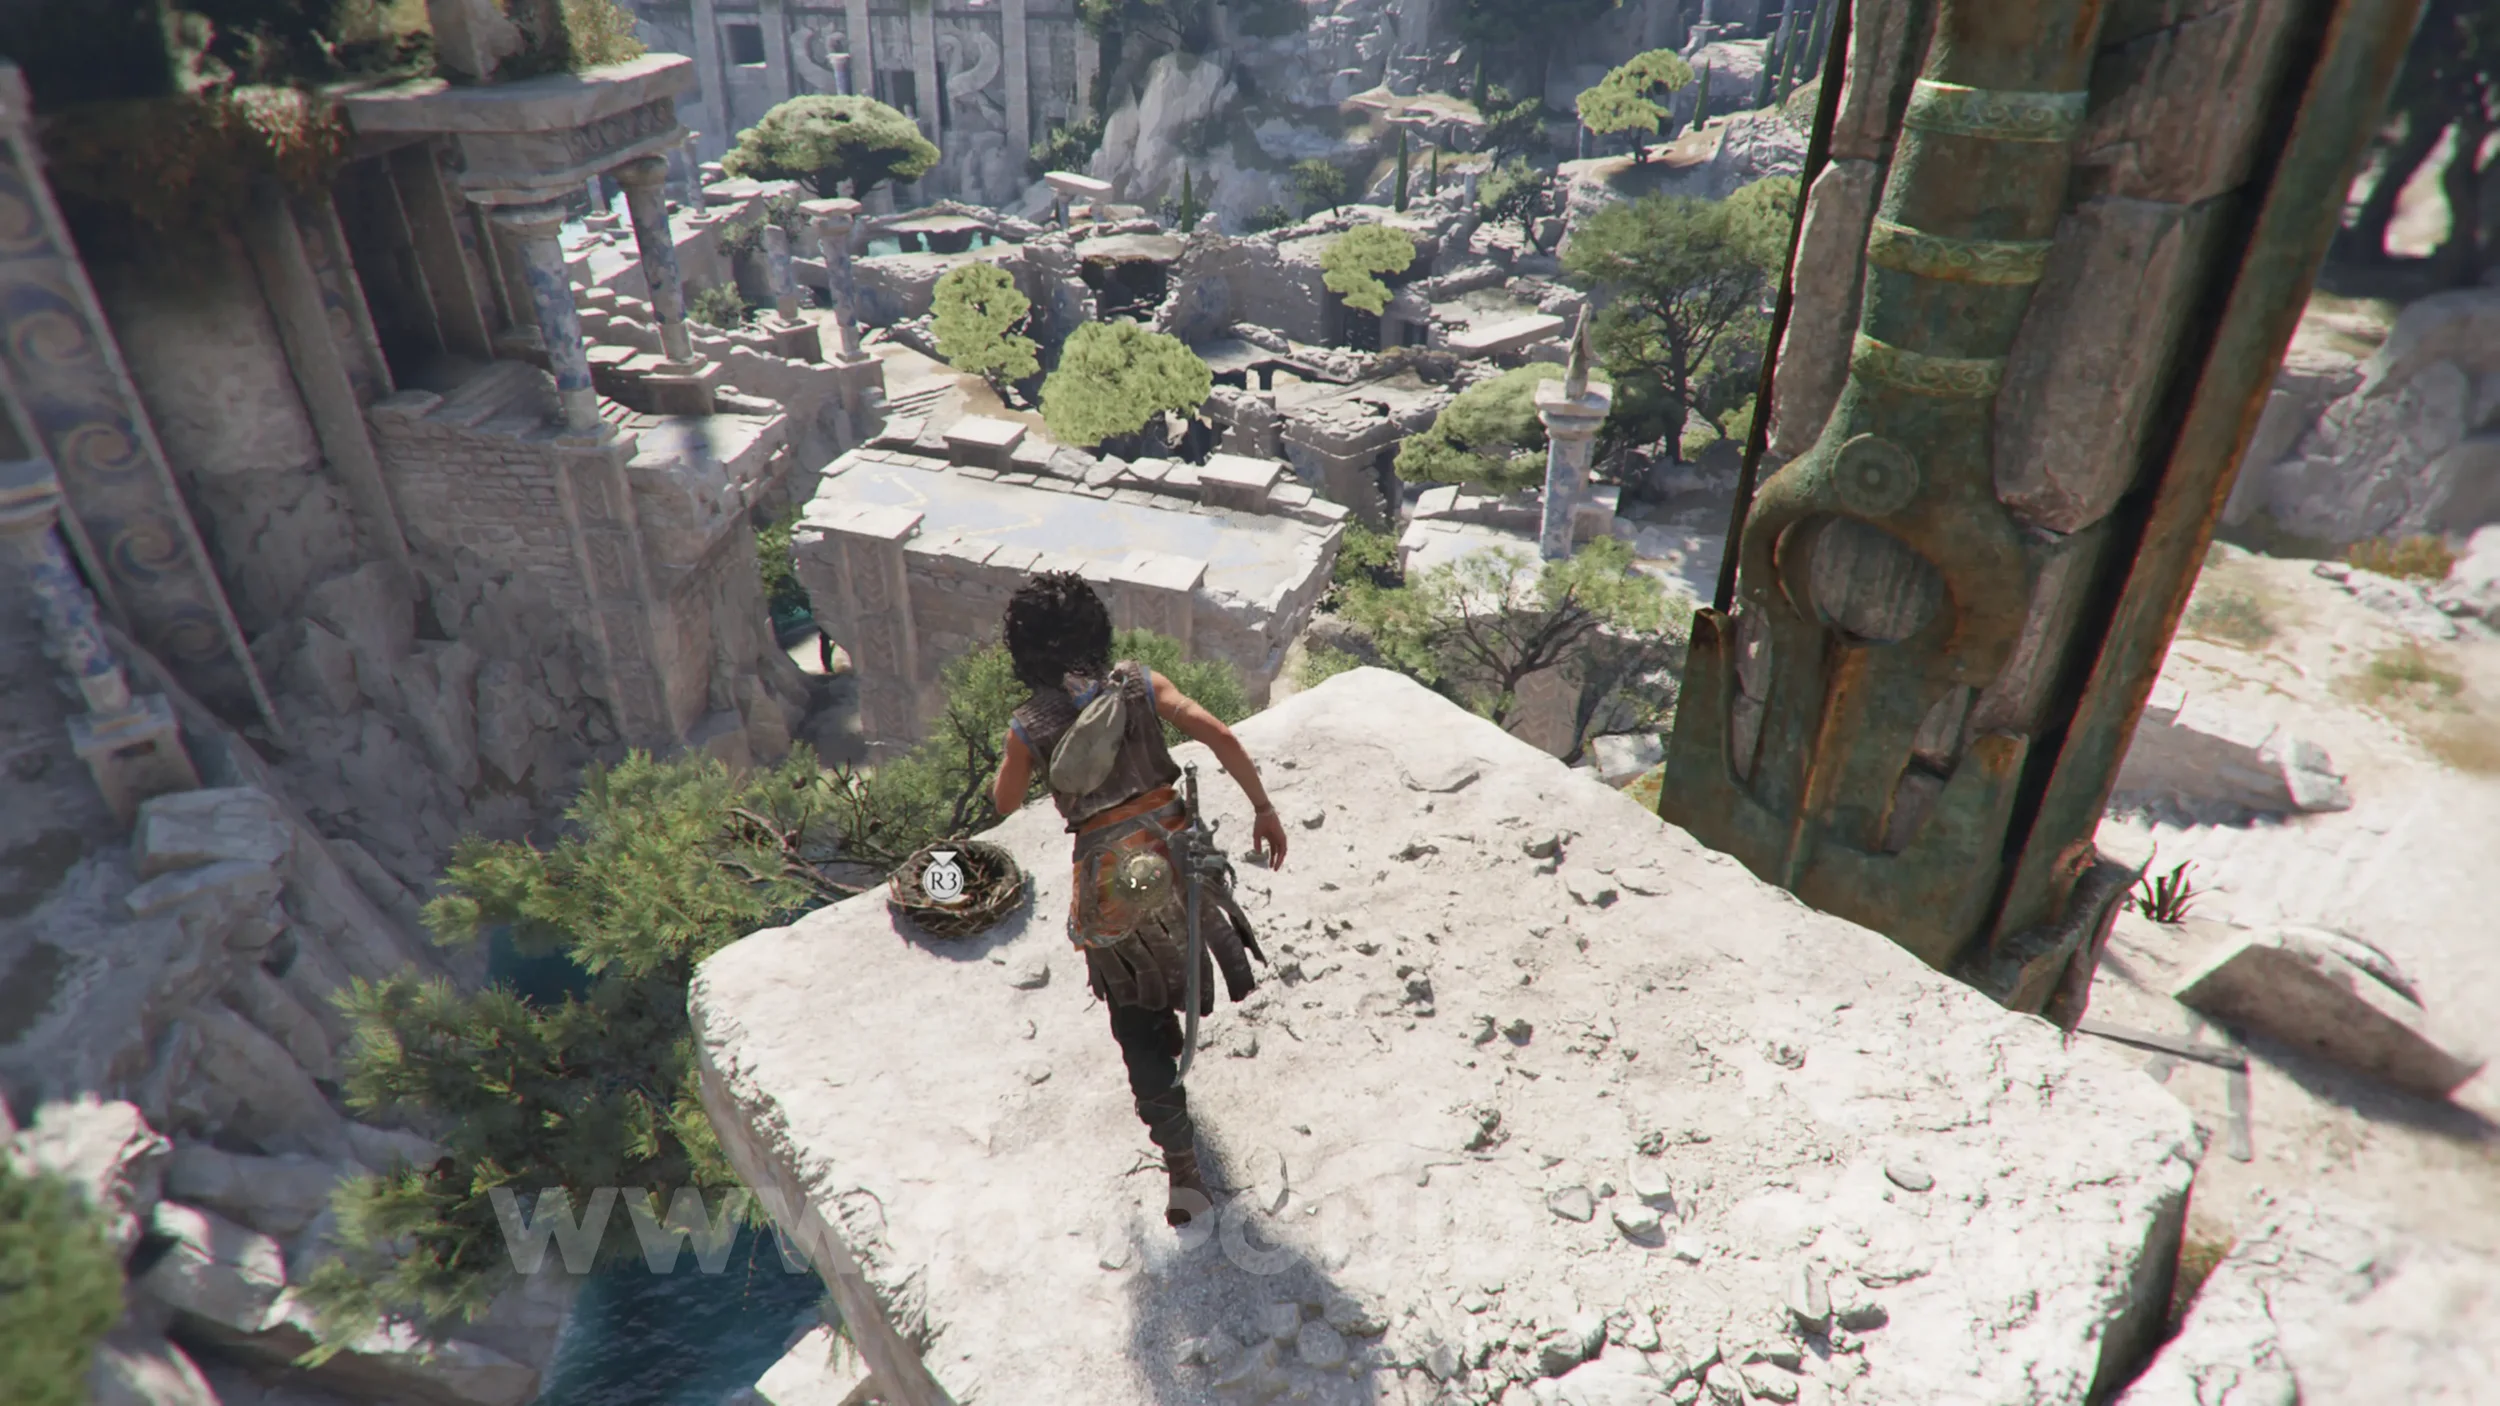
Look for some ledges on the cliffside you can climb up just left of the tents in the camp. This will let you get onto the top of the columns above the camp. You'll find the resonance point in the bird's nest on the left side.
Blade: Greek Sword
Chapter 5: Sub-Chapter 3.
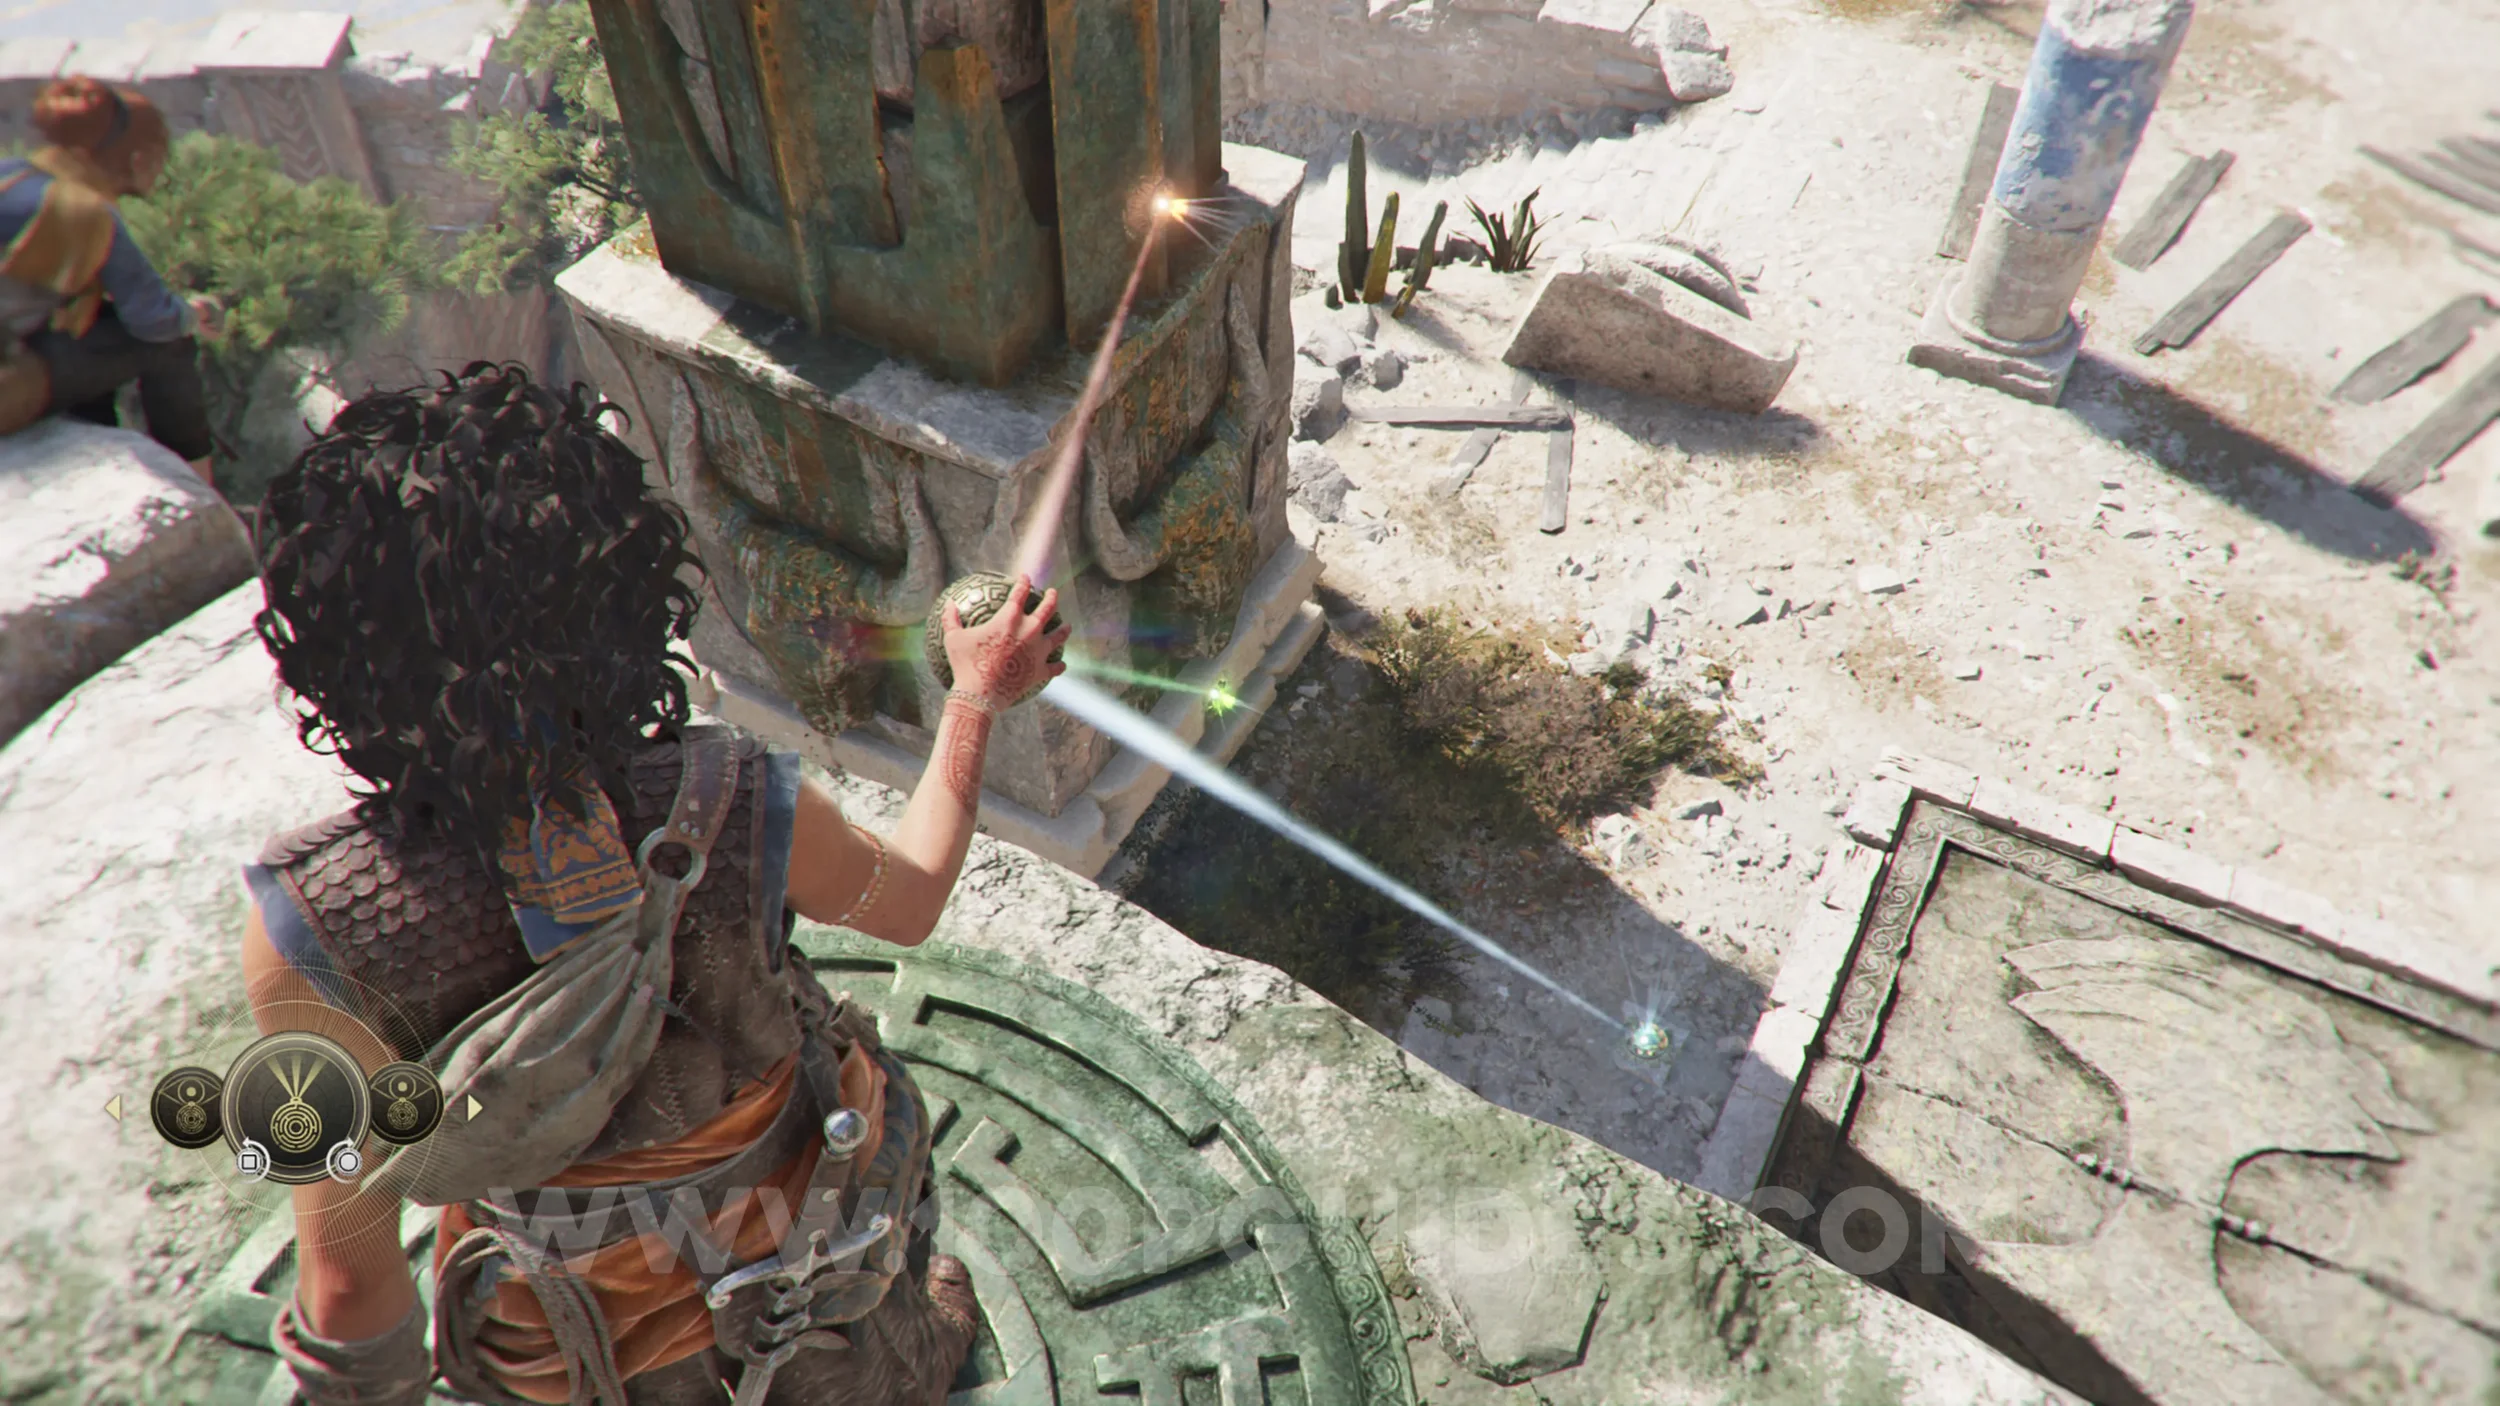
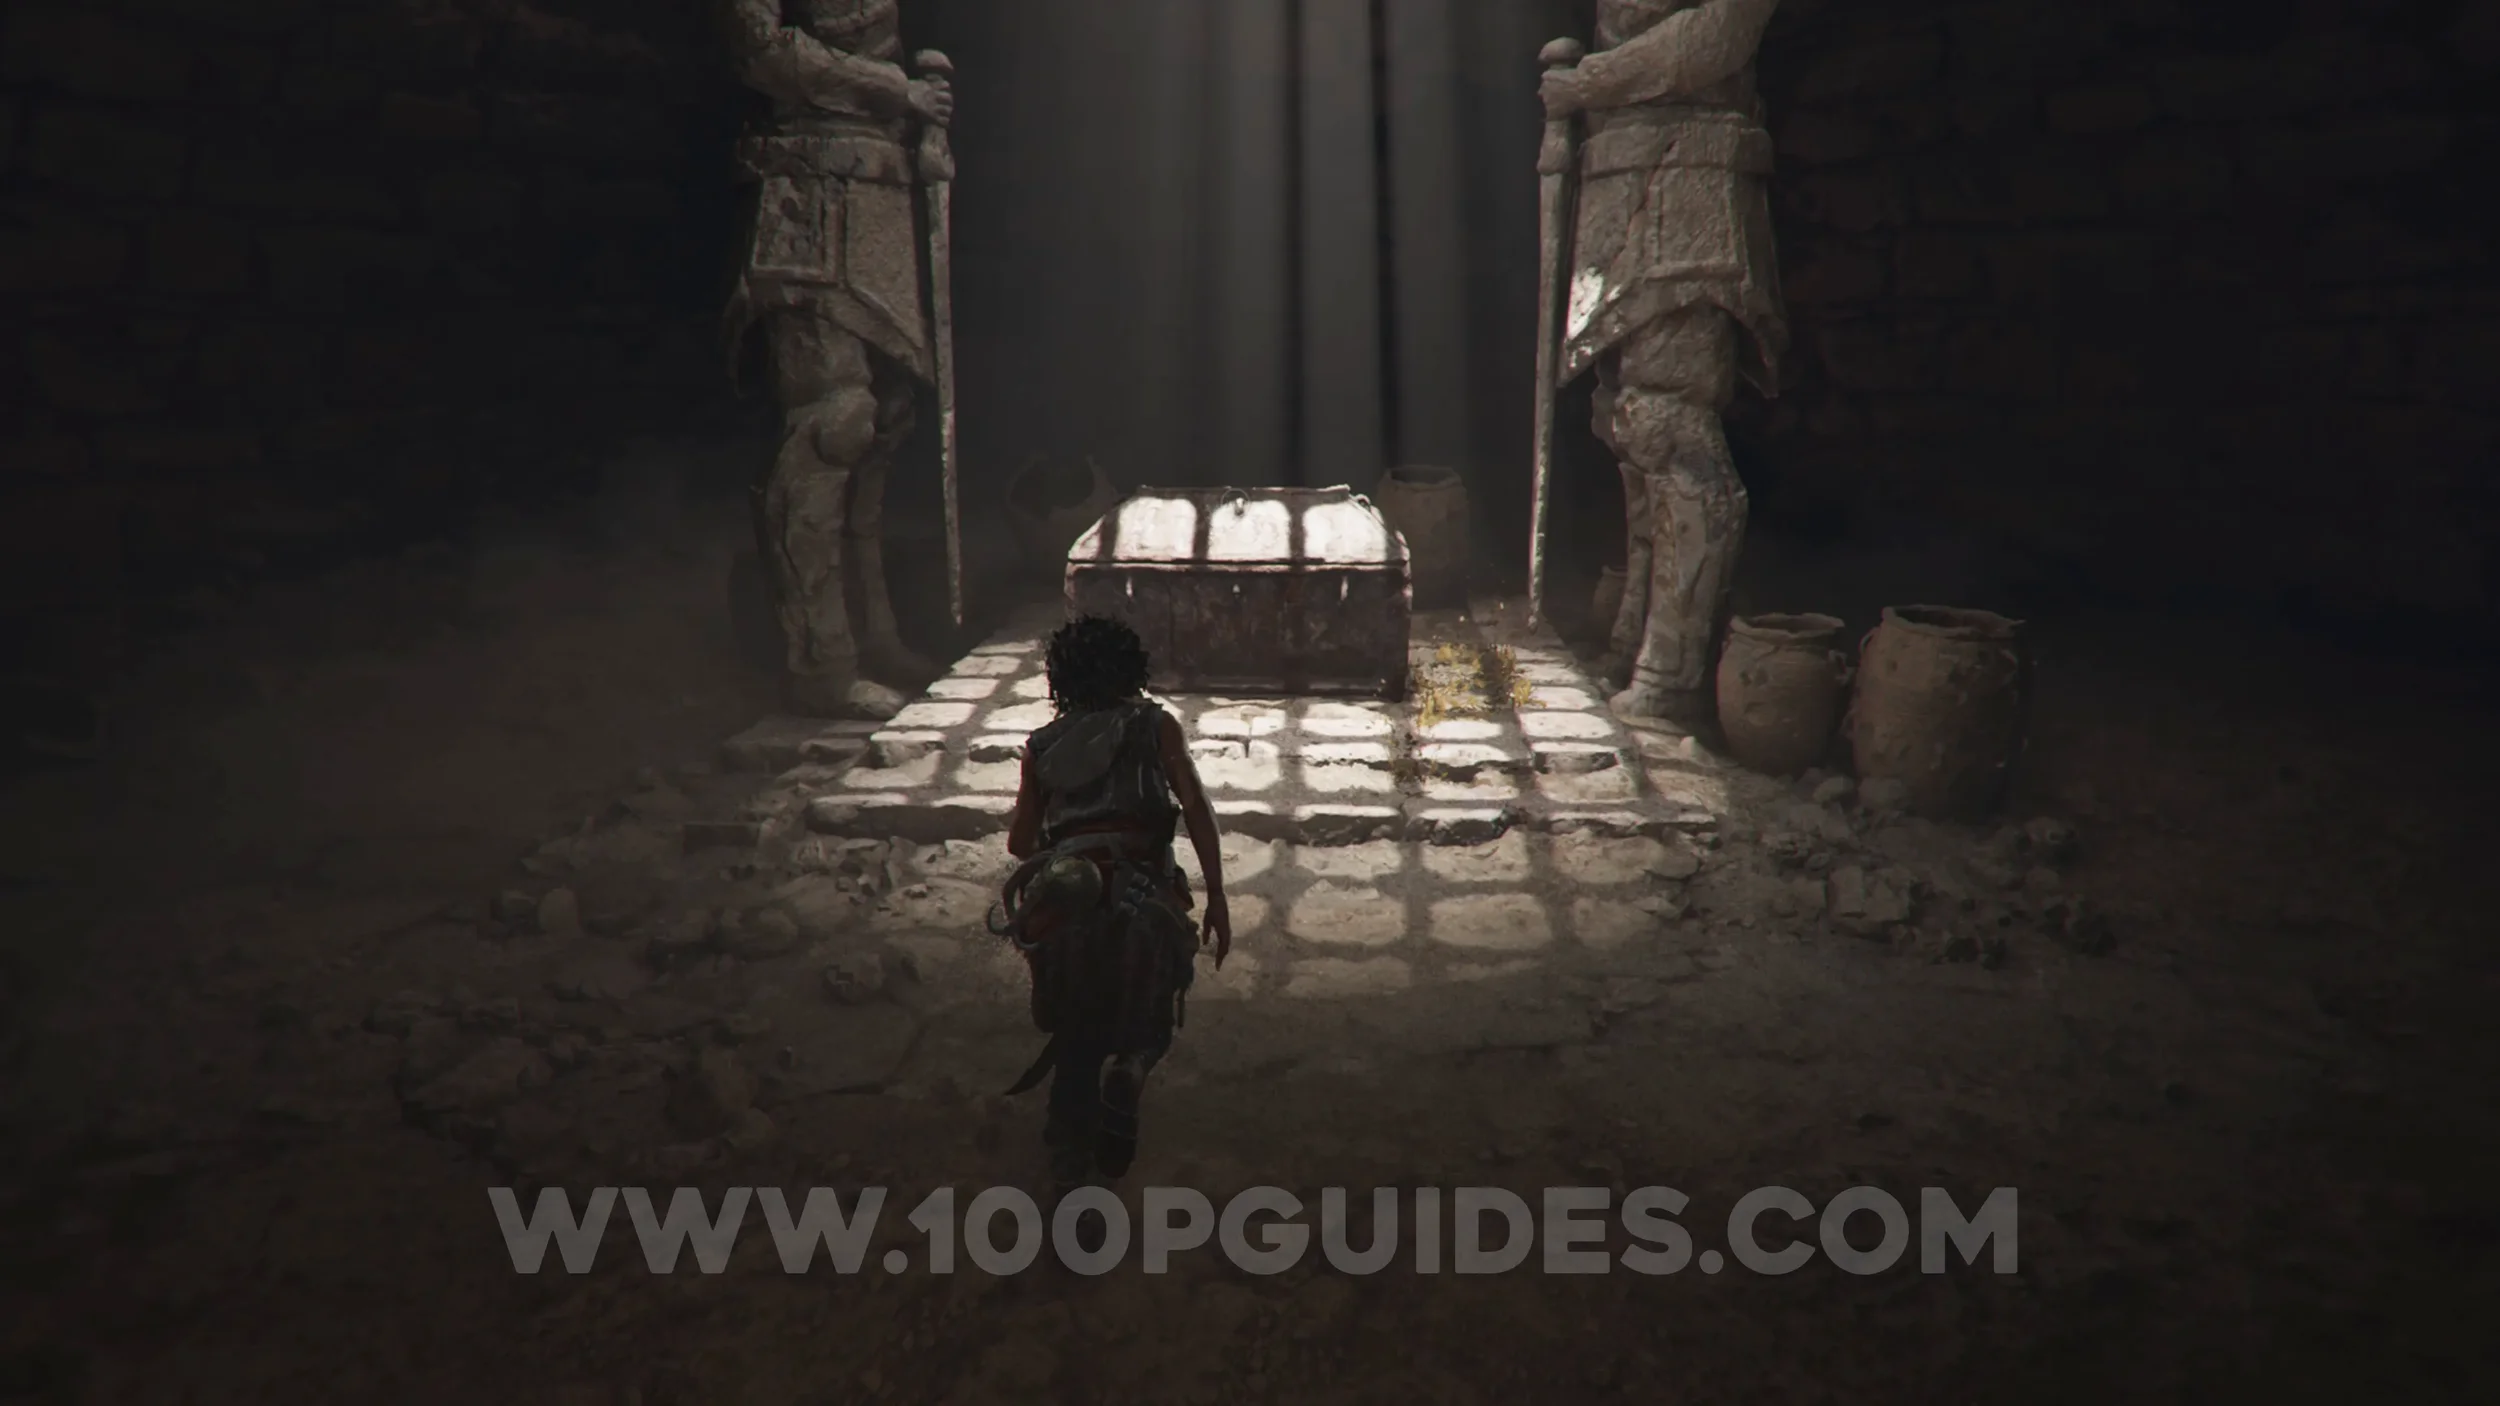
Stand on the plate next to the bird's nest where the previous collectible was and use the sphere in its triple light mode, spinning it until the three colored lasers line up with the three gems below. This will open the path in the camp below. Head down to find the blade in a chest.
Resonance Point
Chapter 5: Sub-Chapter 3.
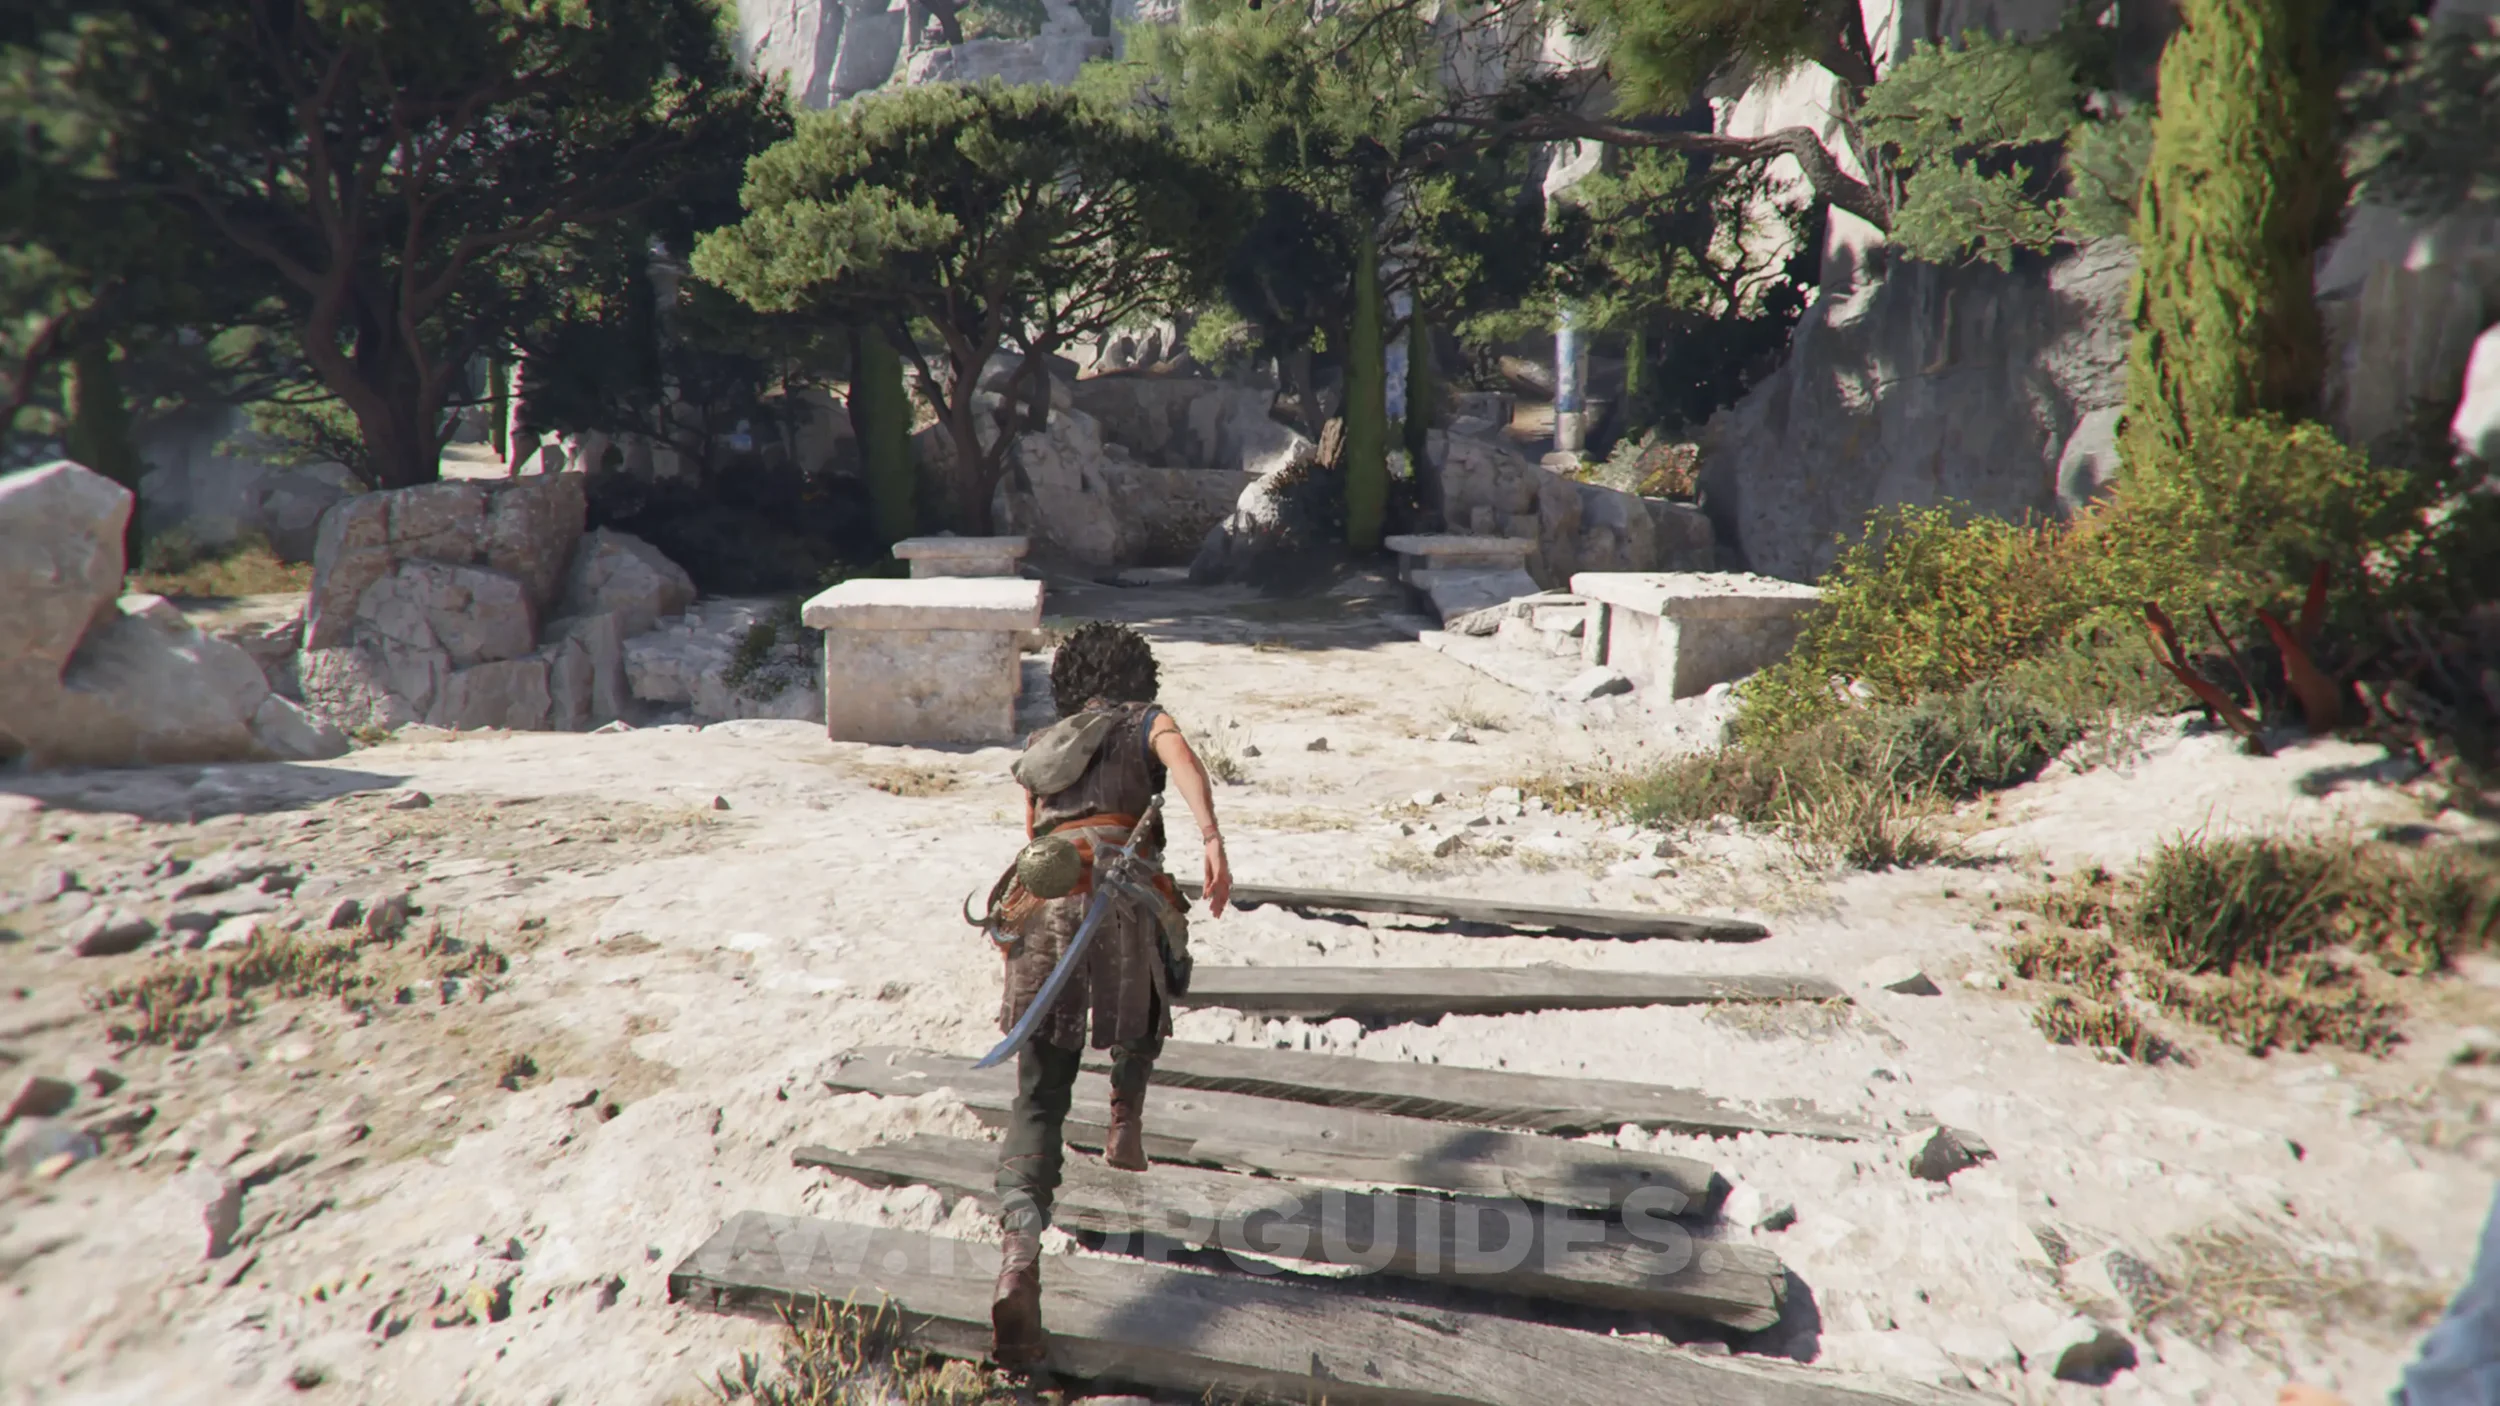
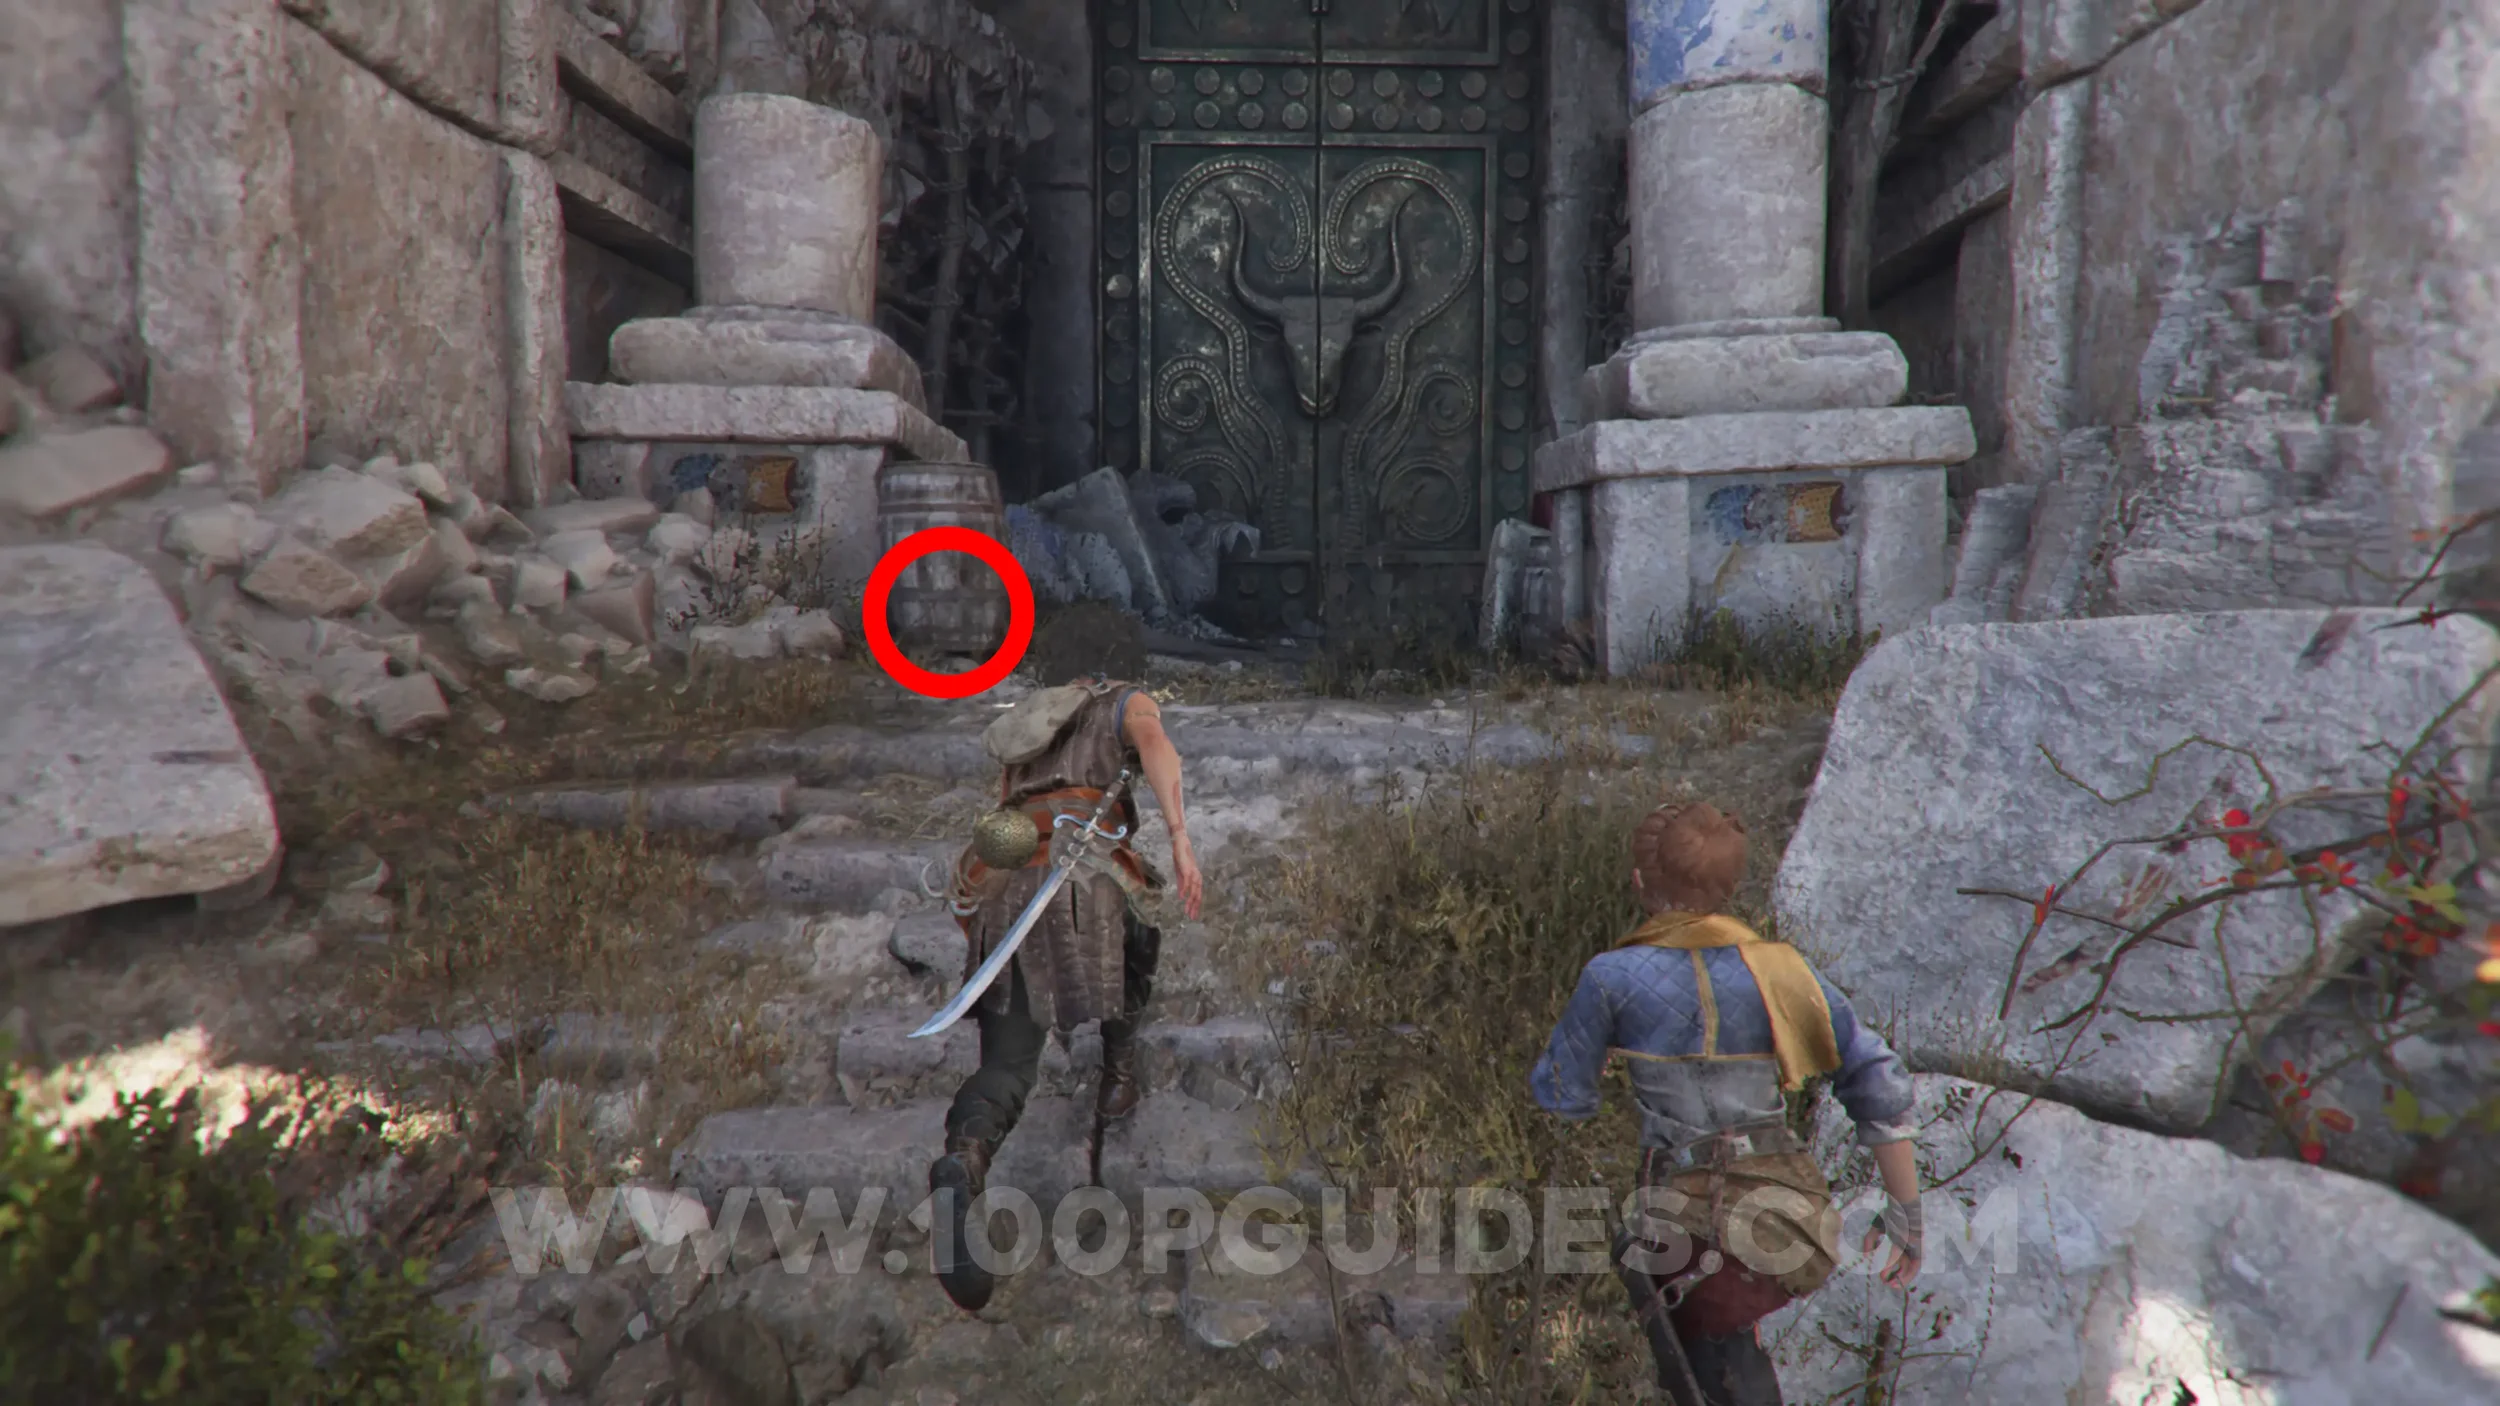
Leave the camp via the opposite side from the one you entered by, cross the bridge, and then head right. Defeat the group of enemies, and head up towards the large door. Before going through the hole, look for the collectible behind the barrel on the left.
Resonance Point
Chapter 5: Sub-Chapter 3.
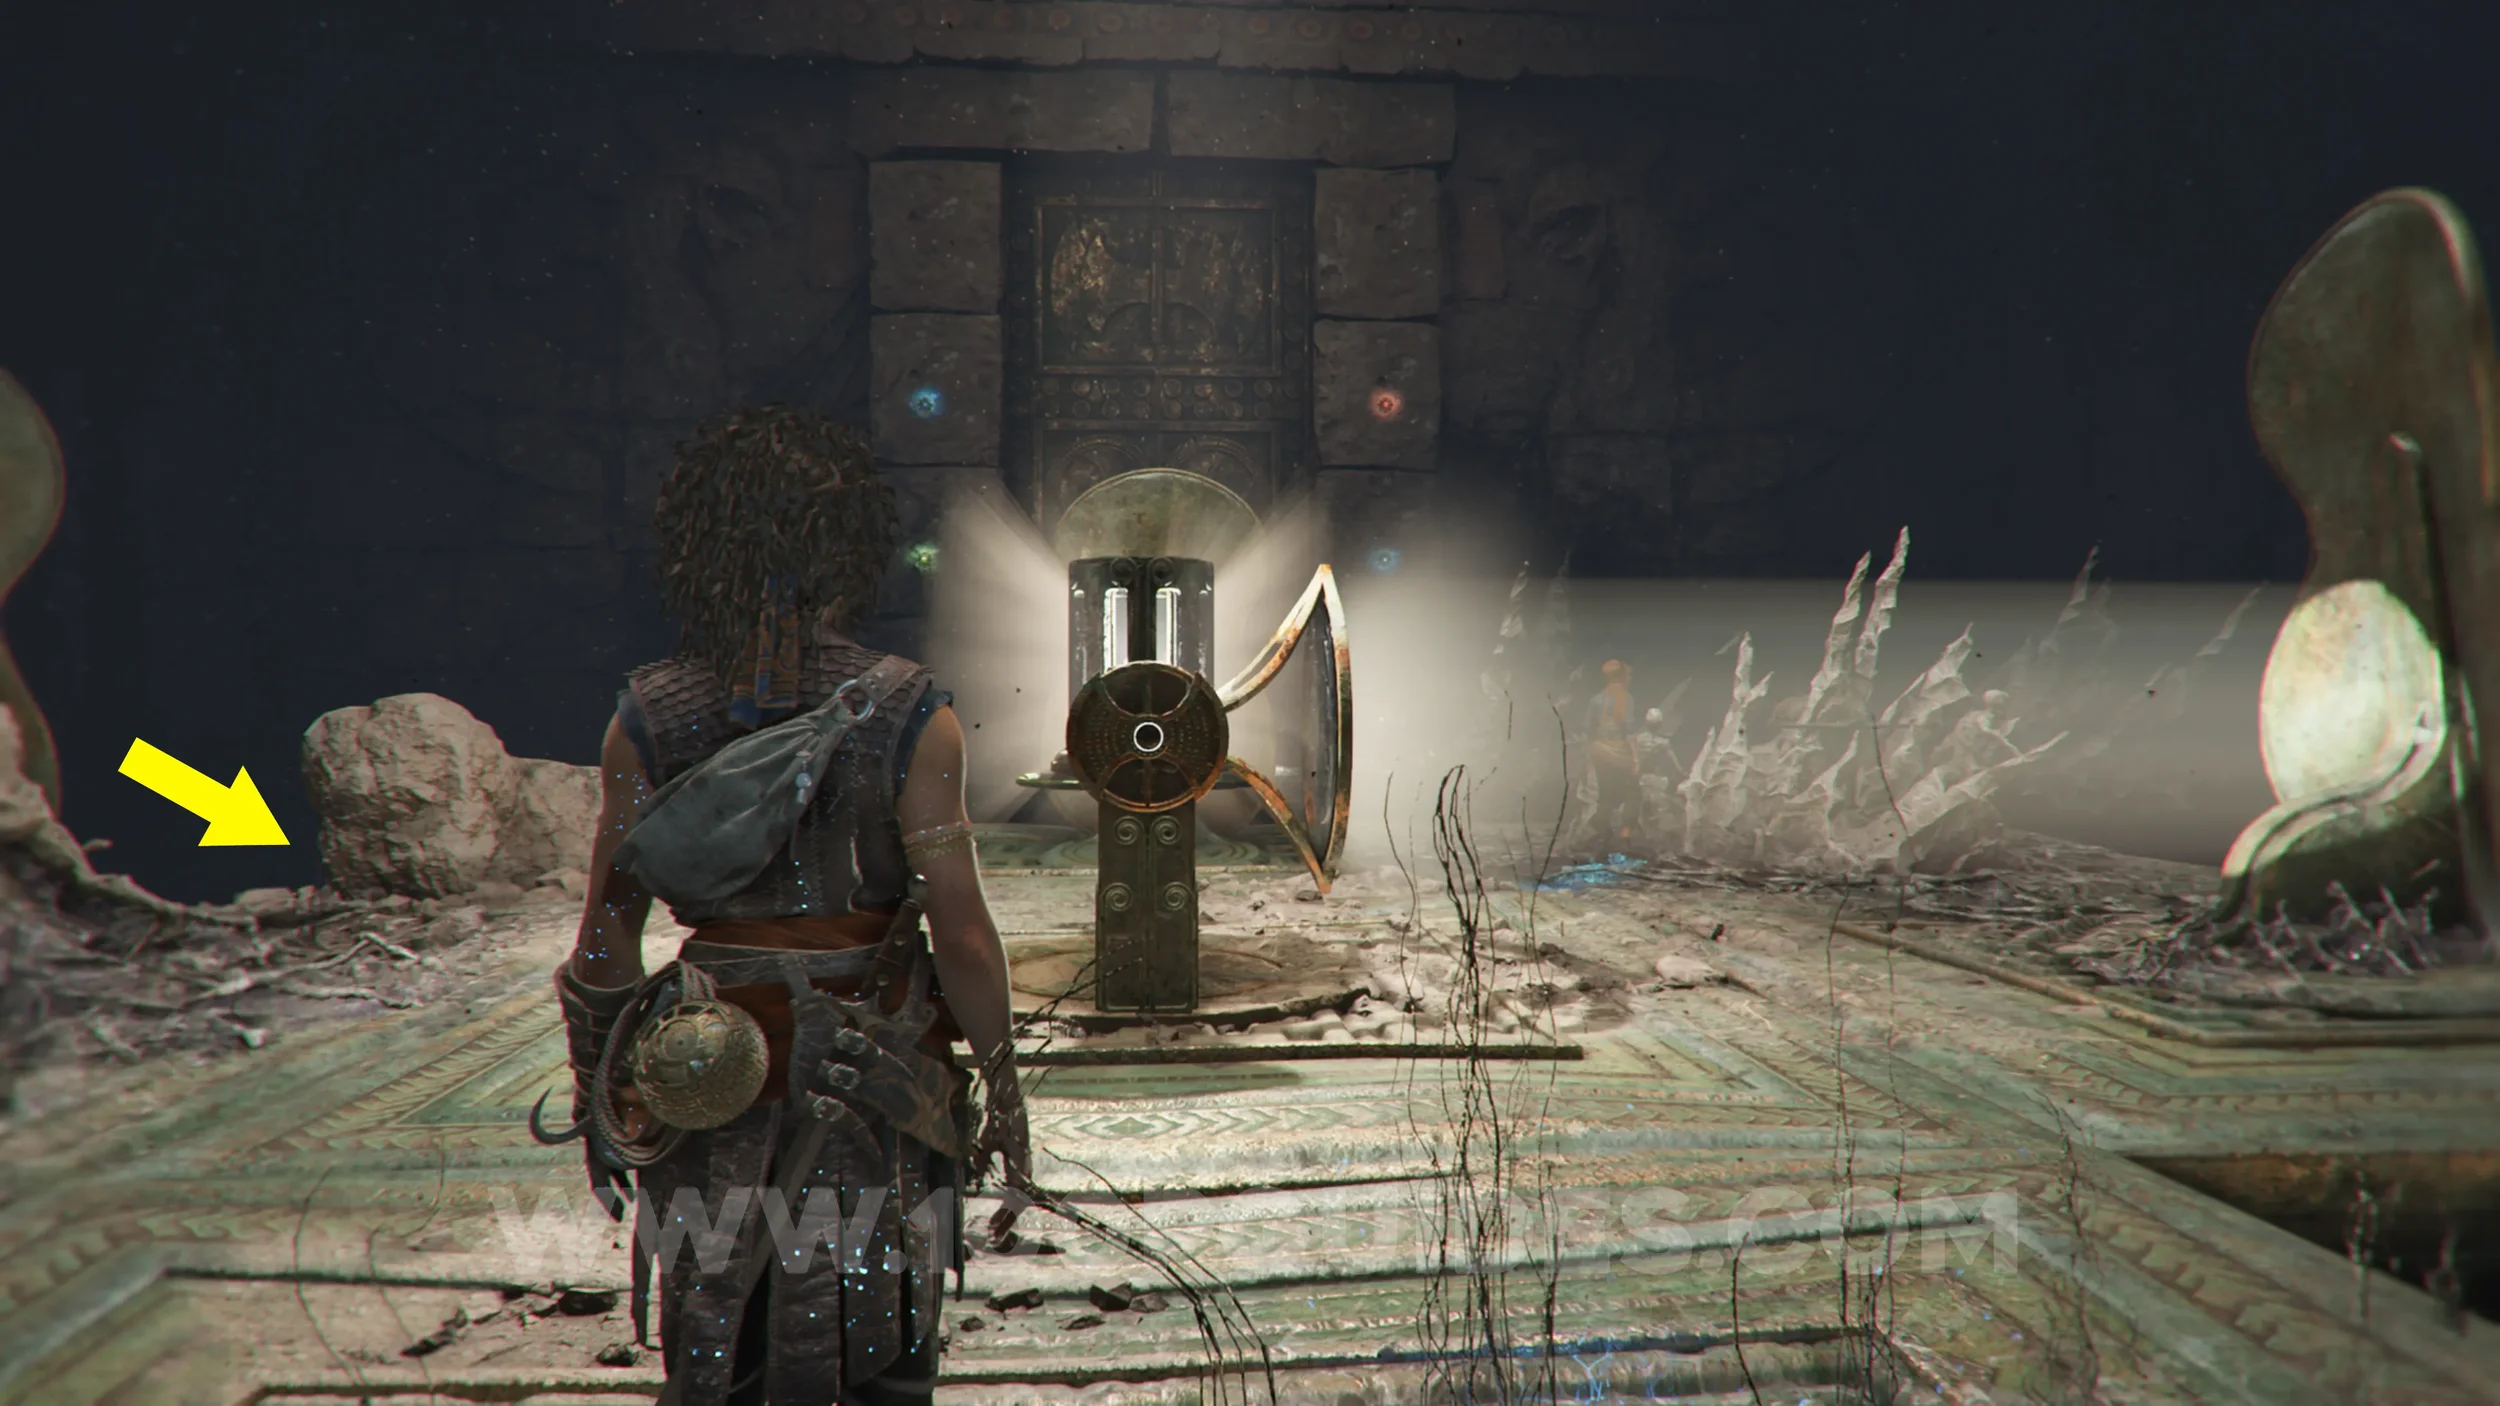
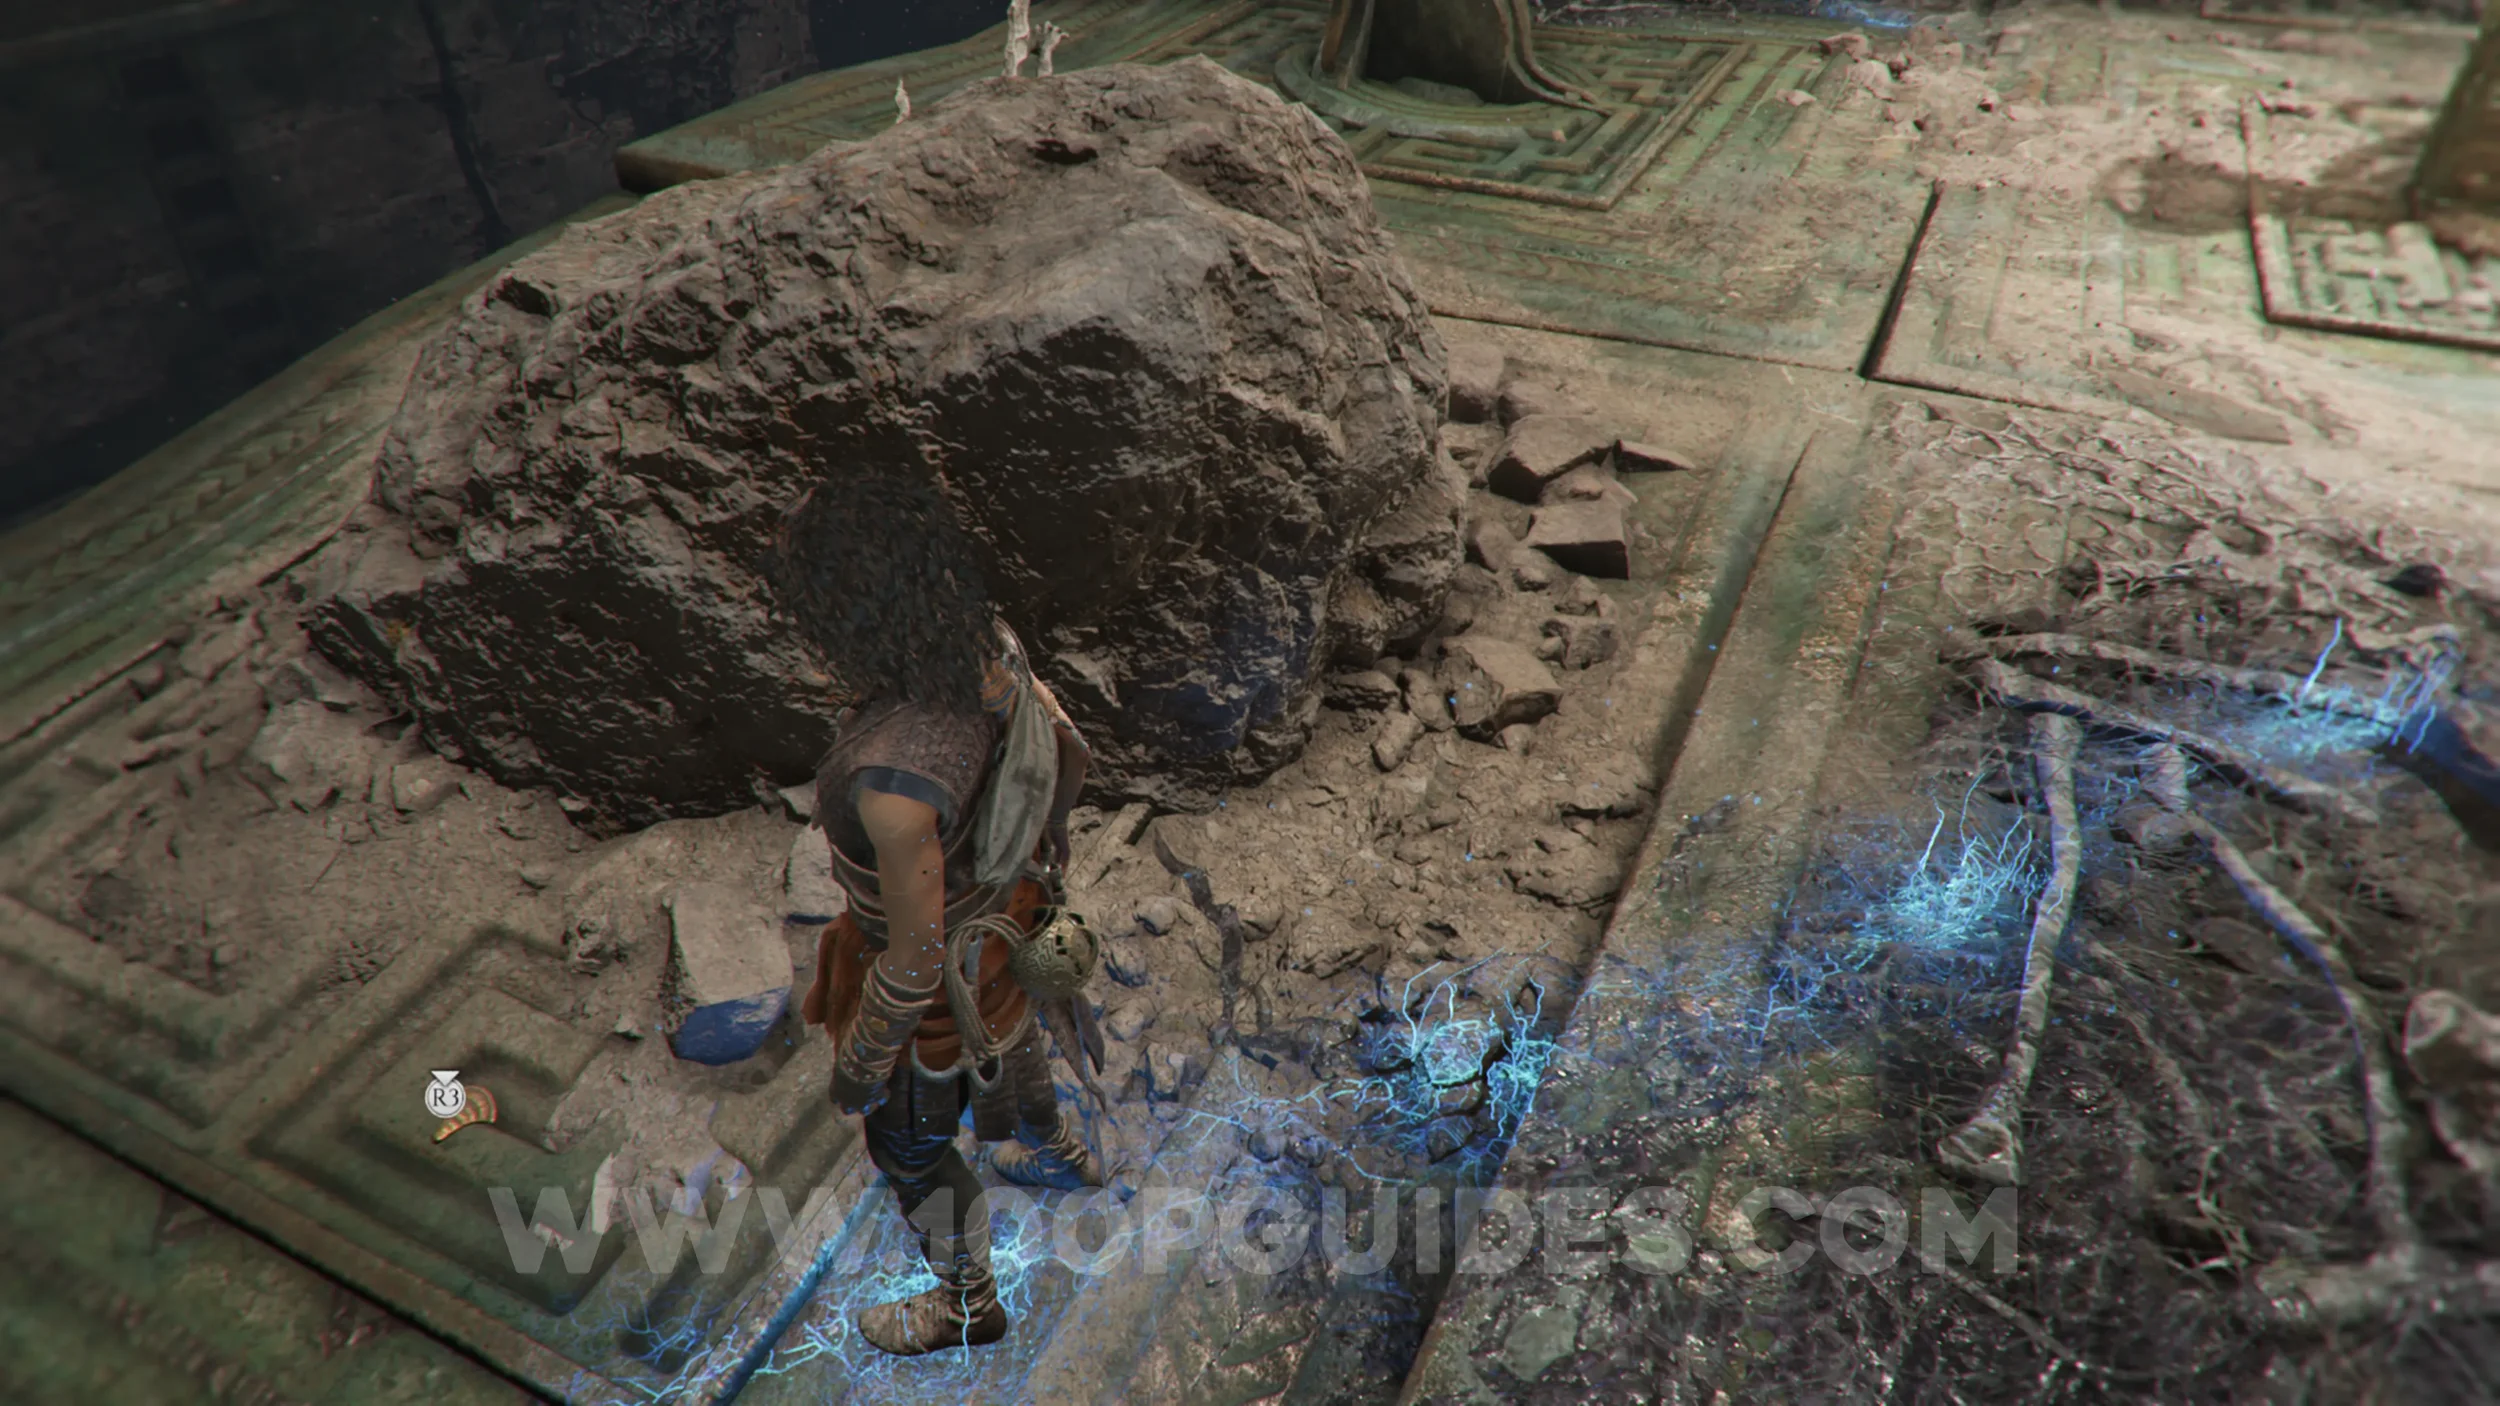
After the previous collectible, head through the hole under the door. Then follow the path, solving the laser puzzles, until you reach the large room with cranks and a light you can spin on the main platform. The Resonance Point can be found behind the rock on the left side of this platform.
Resonance Point
Chapter 5: Sub-Chapter 3.
After the previous collectible, solve the puzzle and you'll emerge back outside to find the second symbol. From there, take the zipline back down to the main circular room with all the doors. As soon as you land, the Resonance Point can be found on your left, next to the rock.
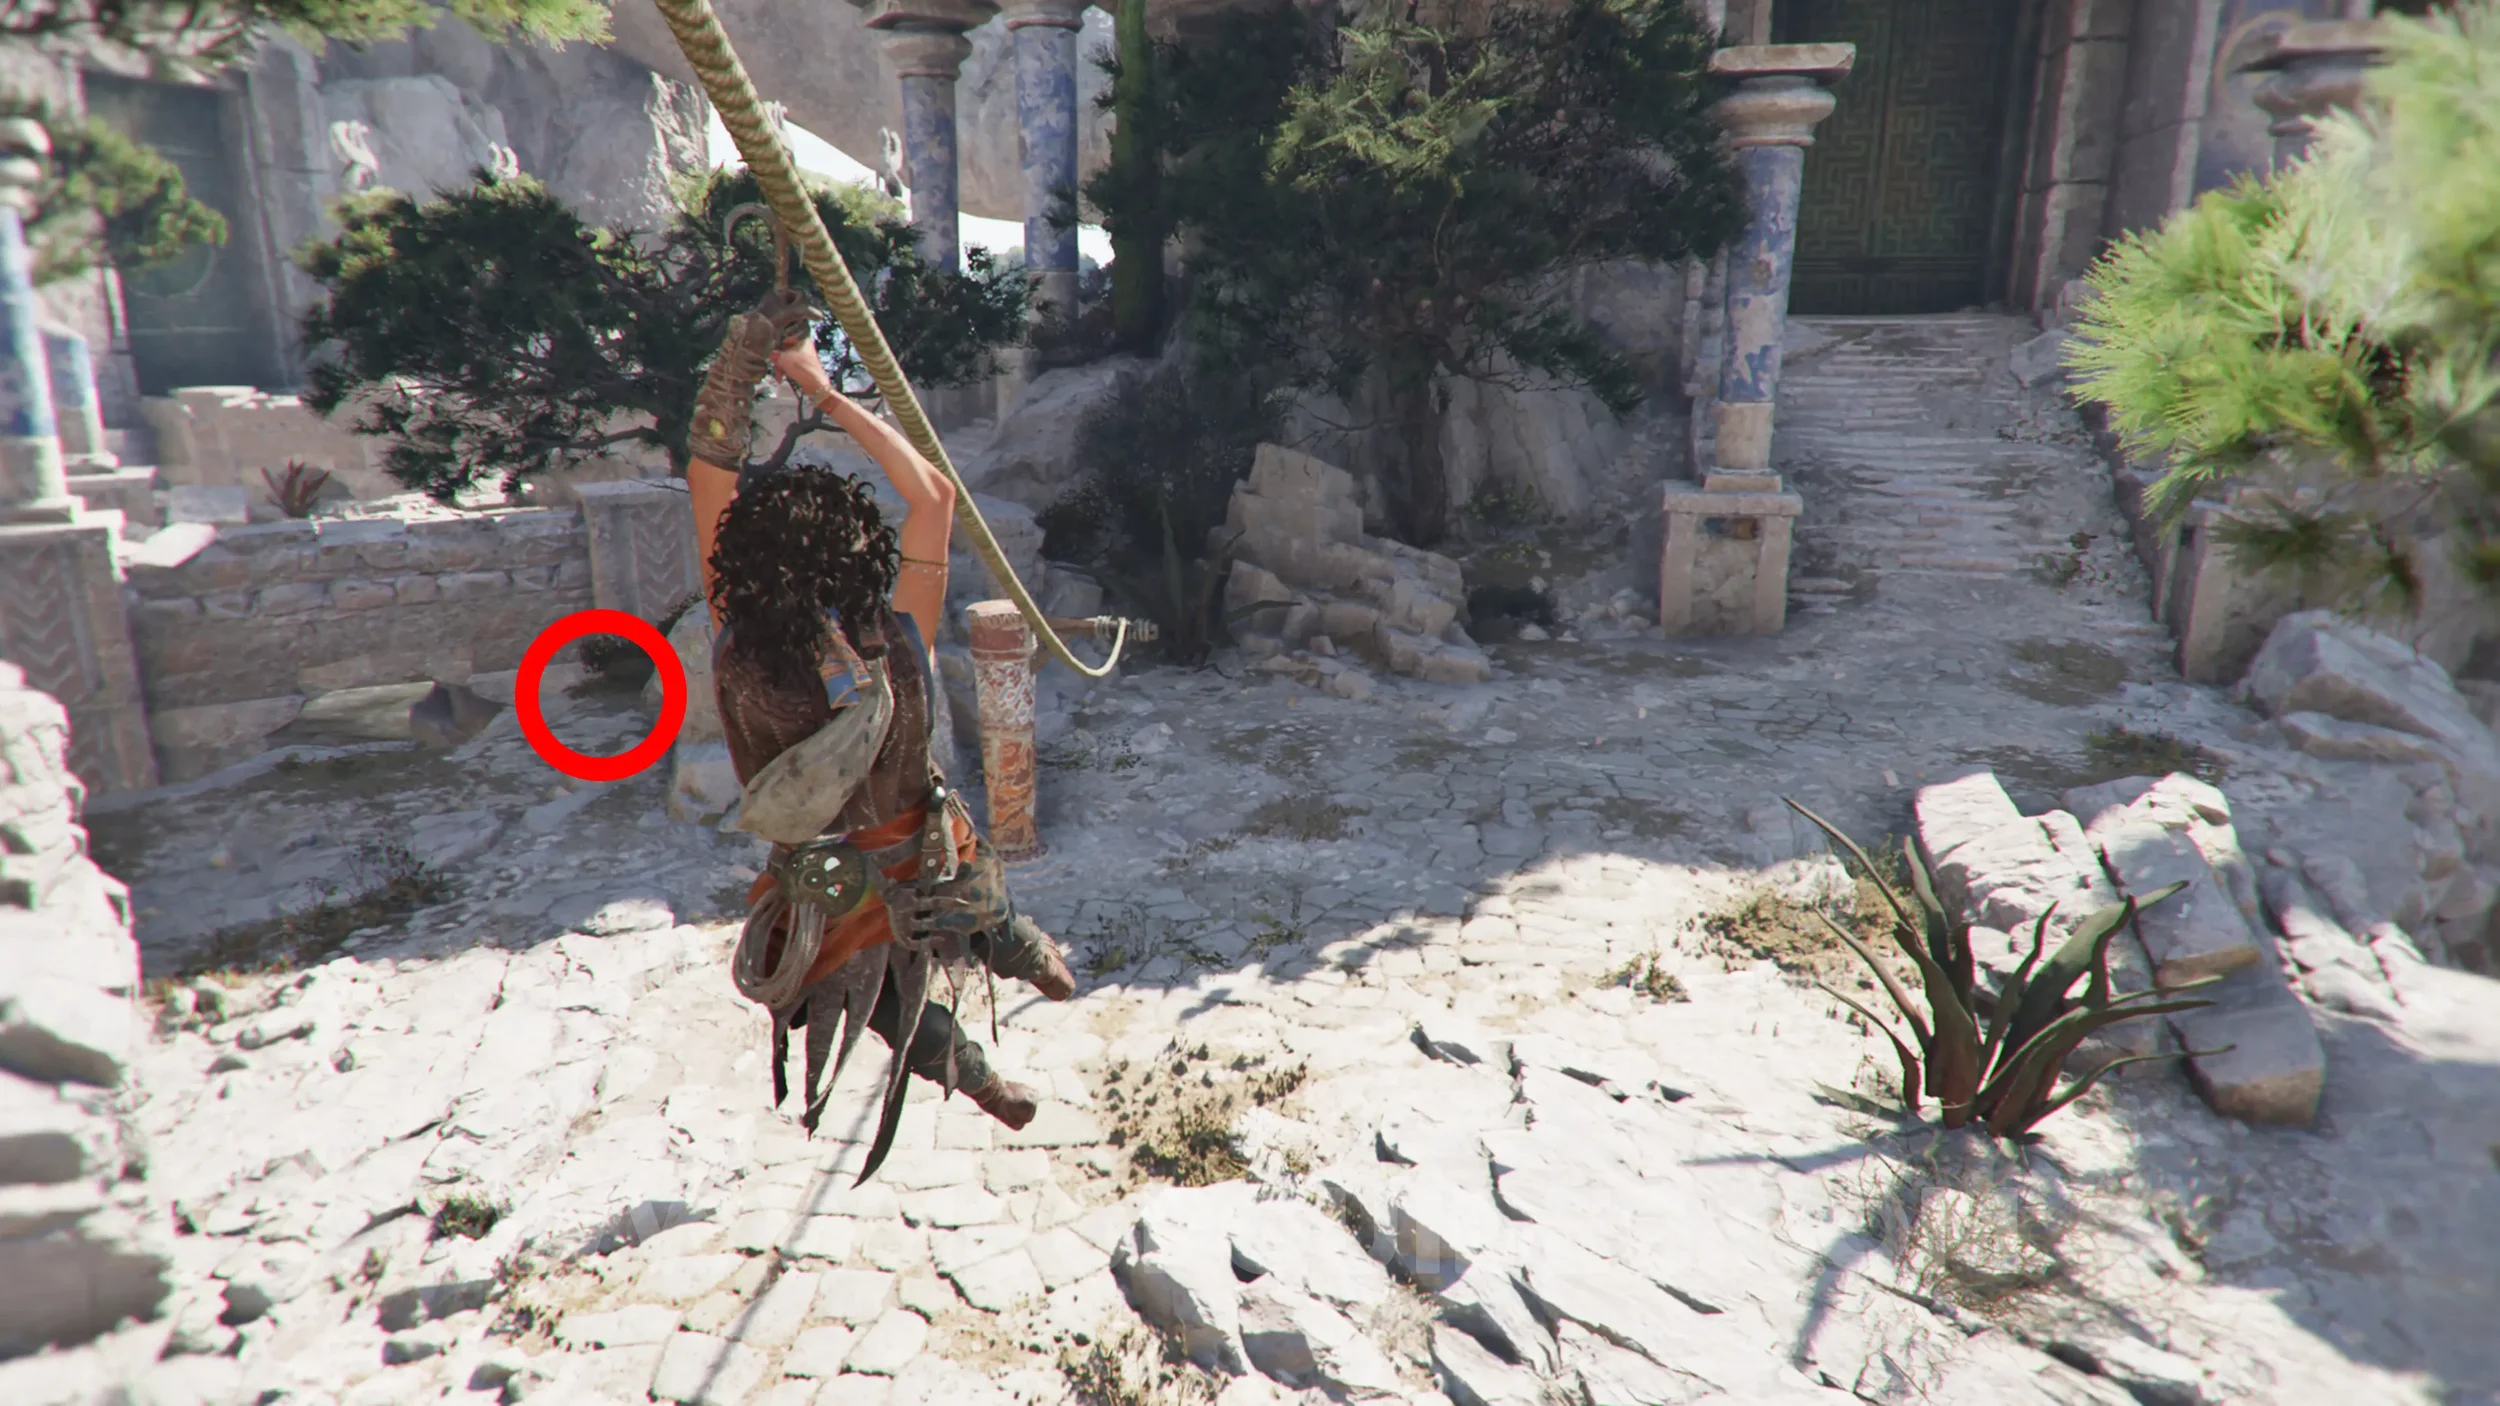
Artefact: Condottiero Stamp
Chapter 5: Sub-Chapter 3.
From the previous collectible, turn around and jump across the gap to the slope that leads back up to the camp. The artefact is on the ground on the other side of the gap, before you head back up to the camp.
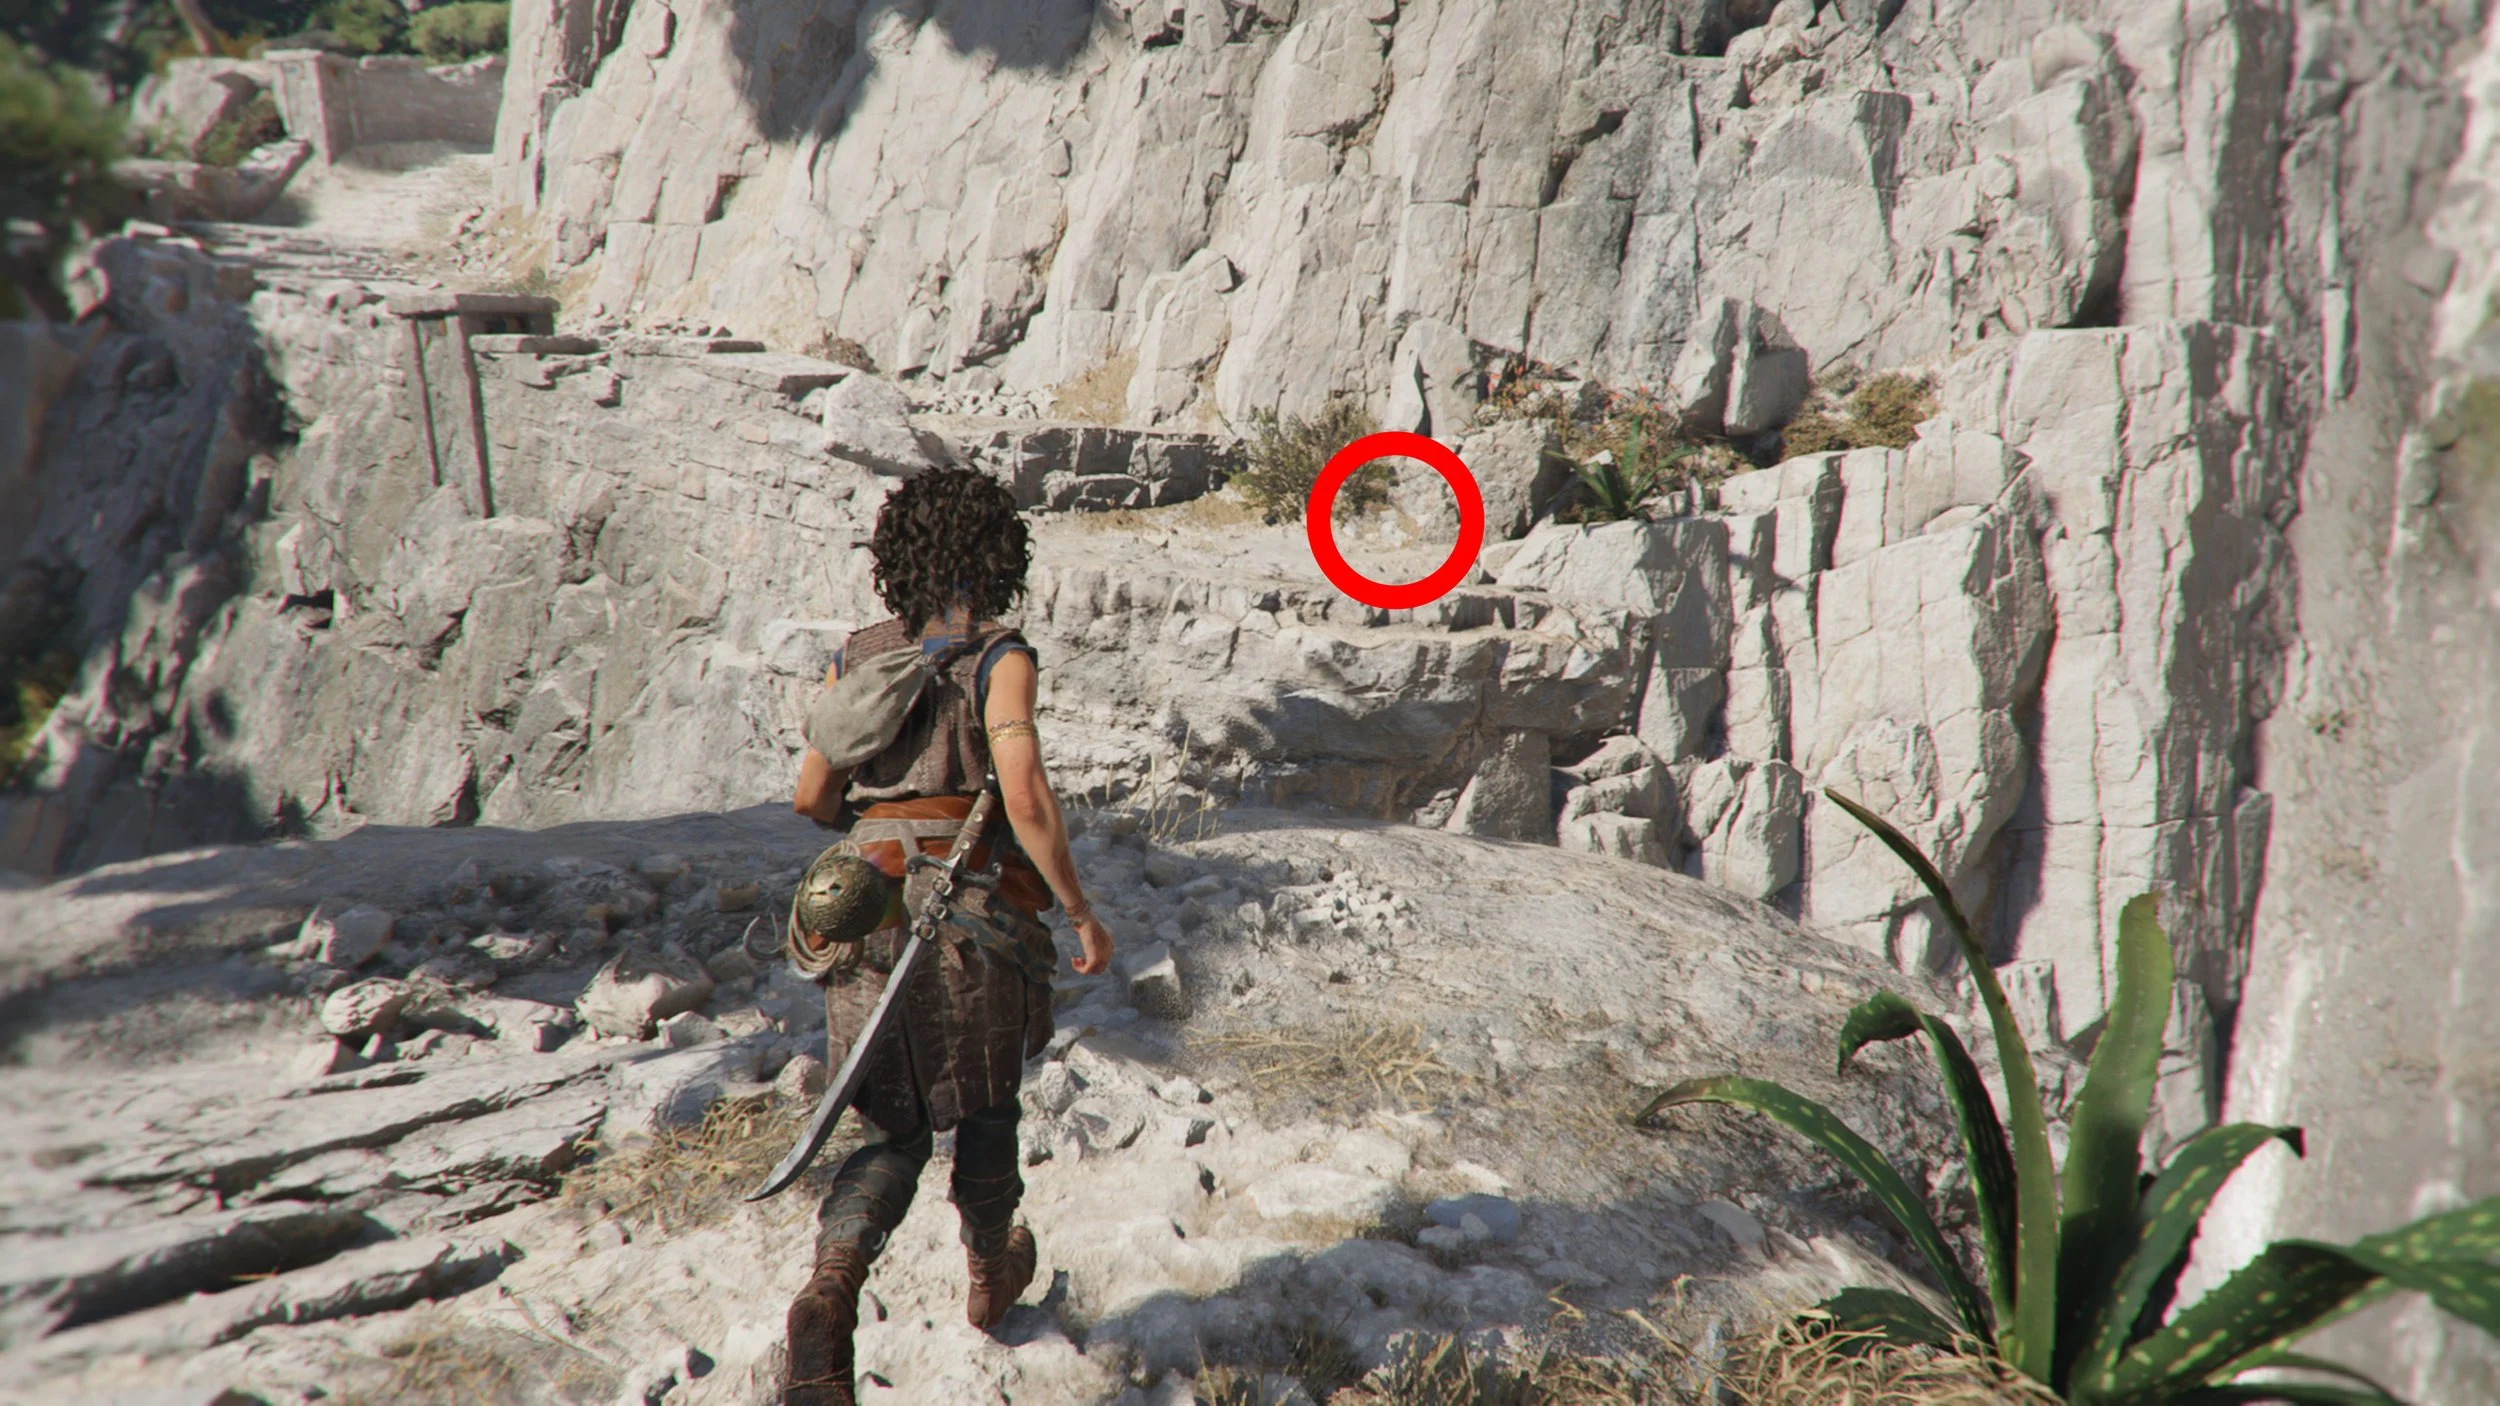
Resonance Point
Chapter 5: Sub-Chapter 3.
From the previous collectible, head back up to the camp. Cross the bridge on the left again, and this time slide down the slope on your left. Then, before the first gap in the bridge, take the path on the right. After climbing up a small ledge, head left and jump over a small wall to reach an area with a little pond of water. The collectible will be just to the right of the water.
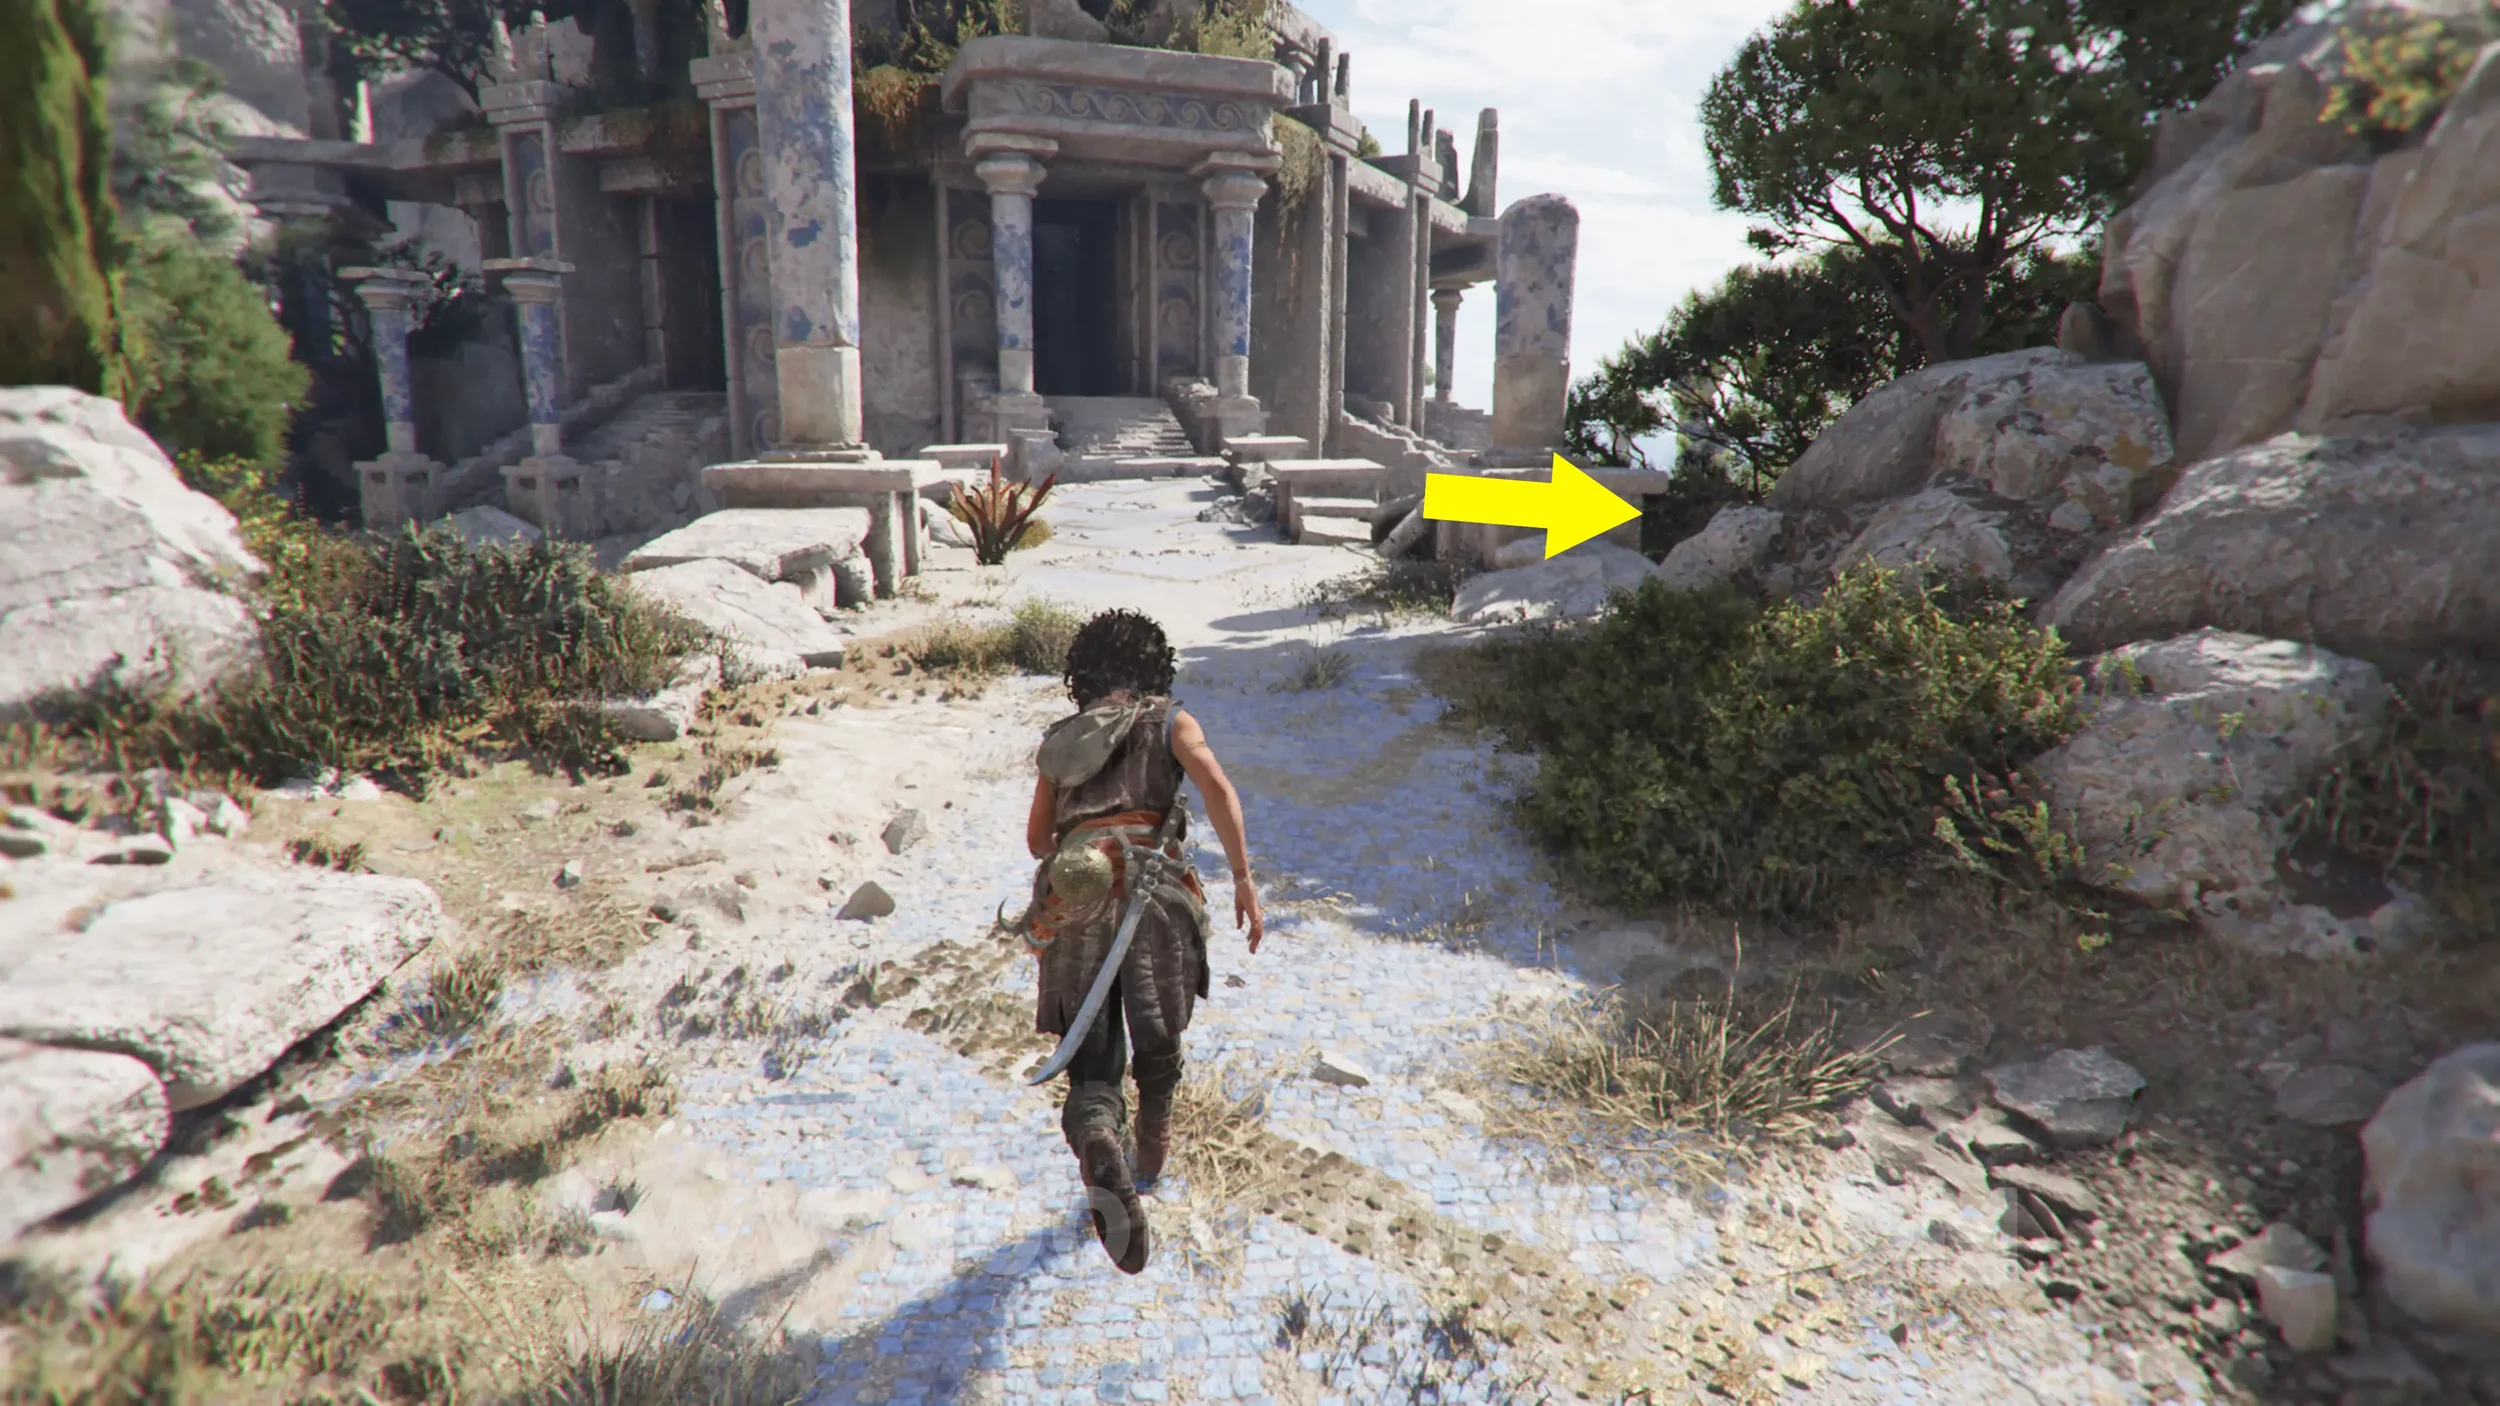
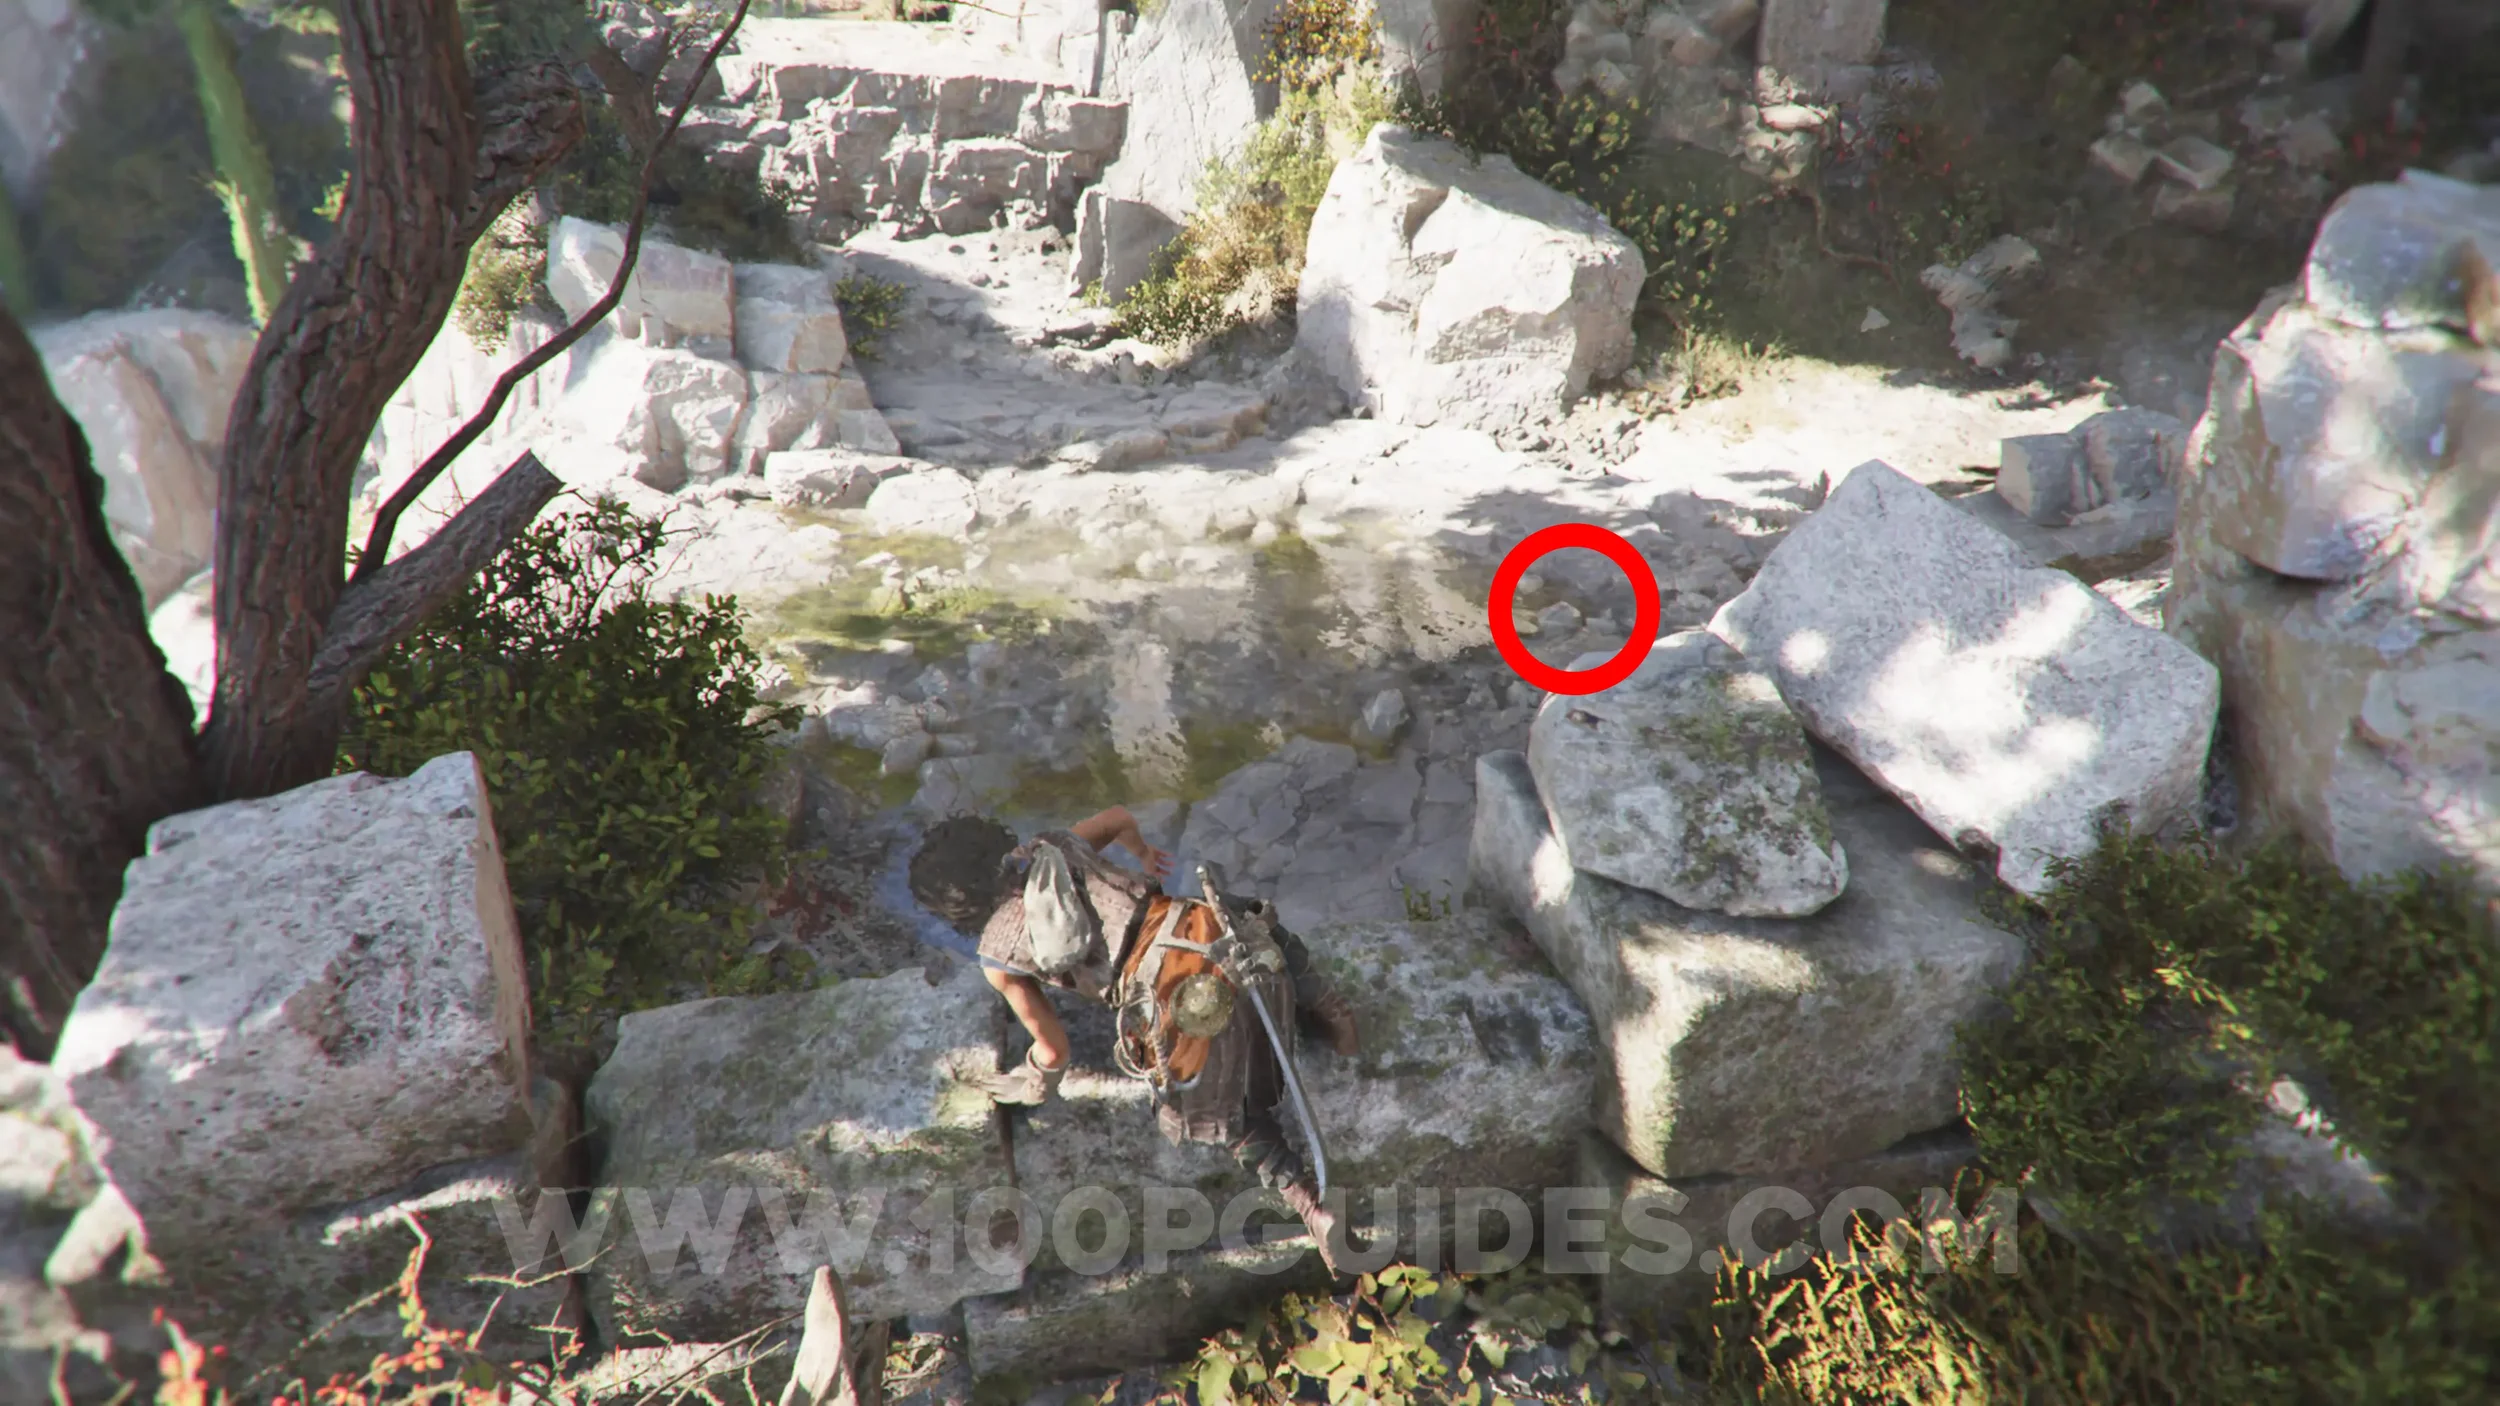
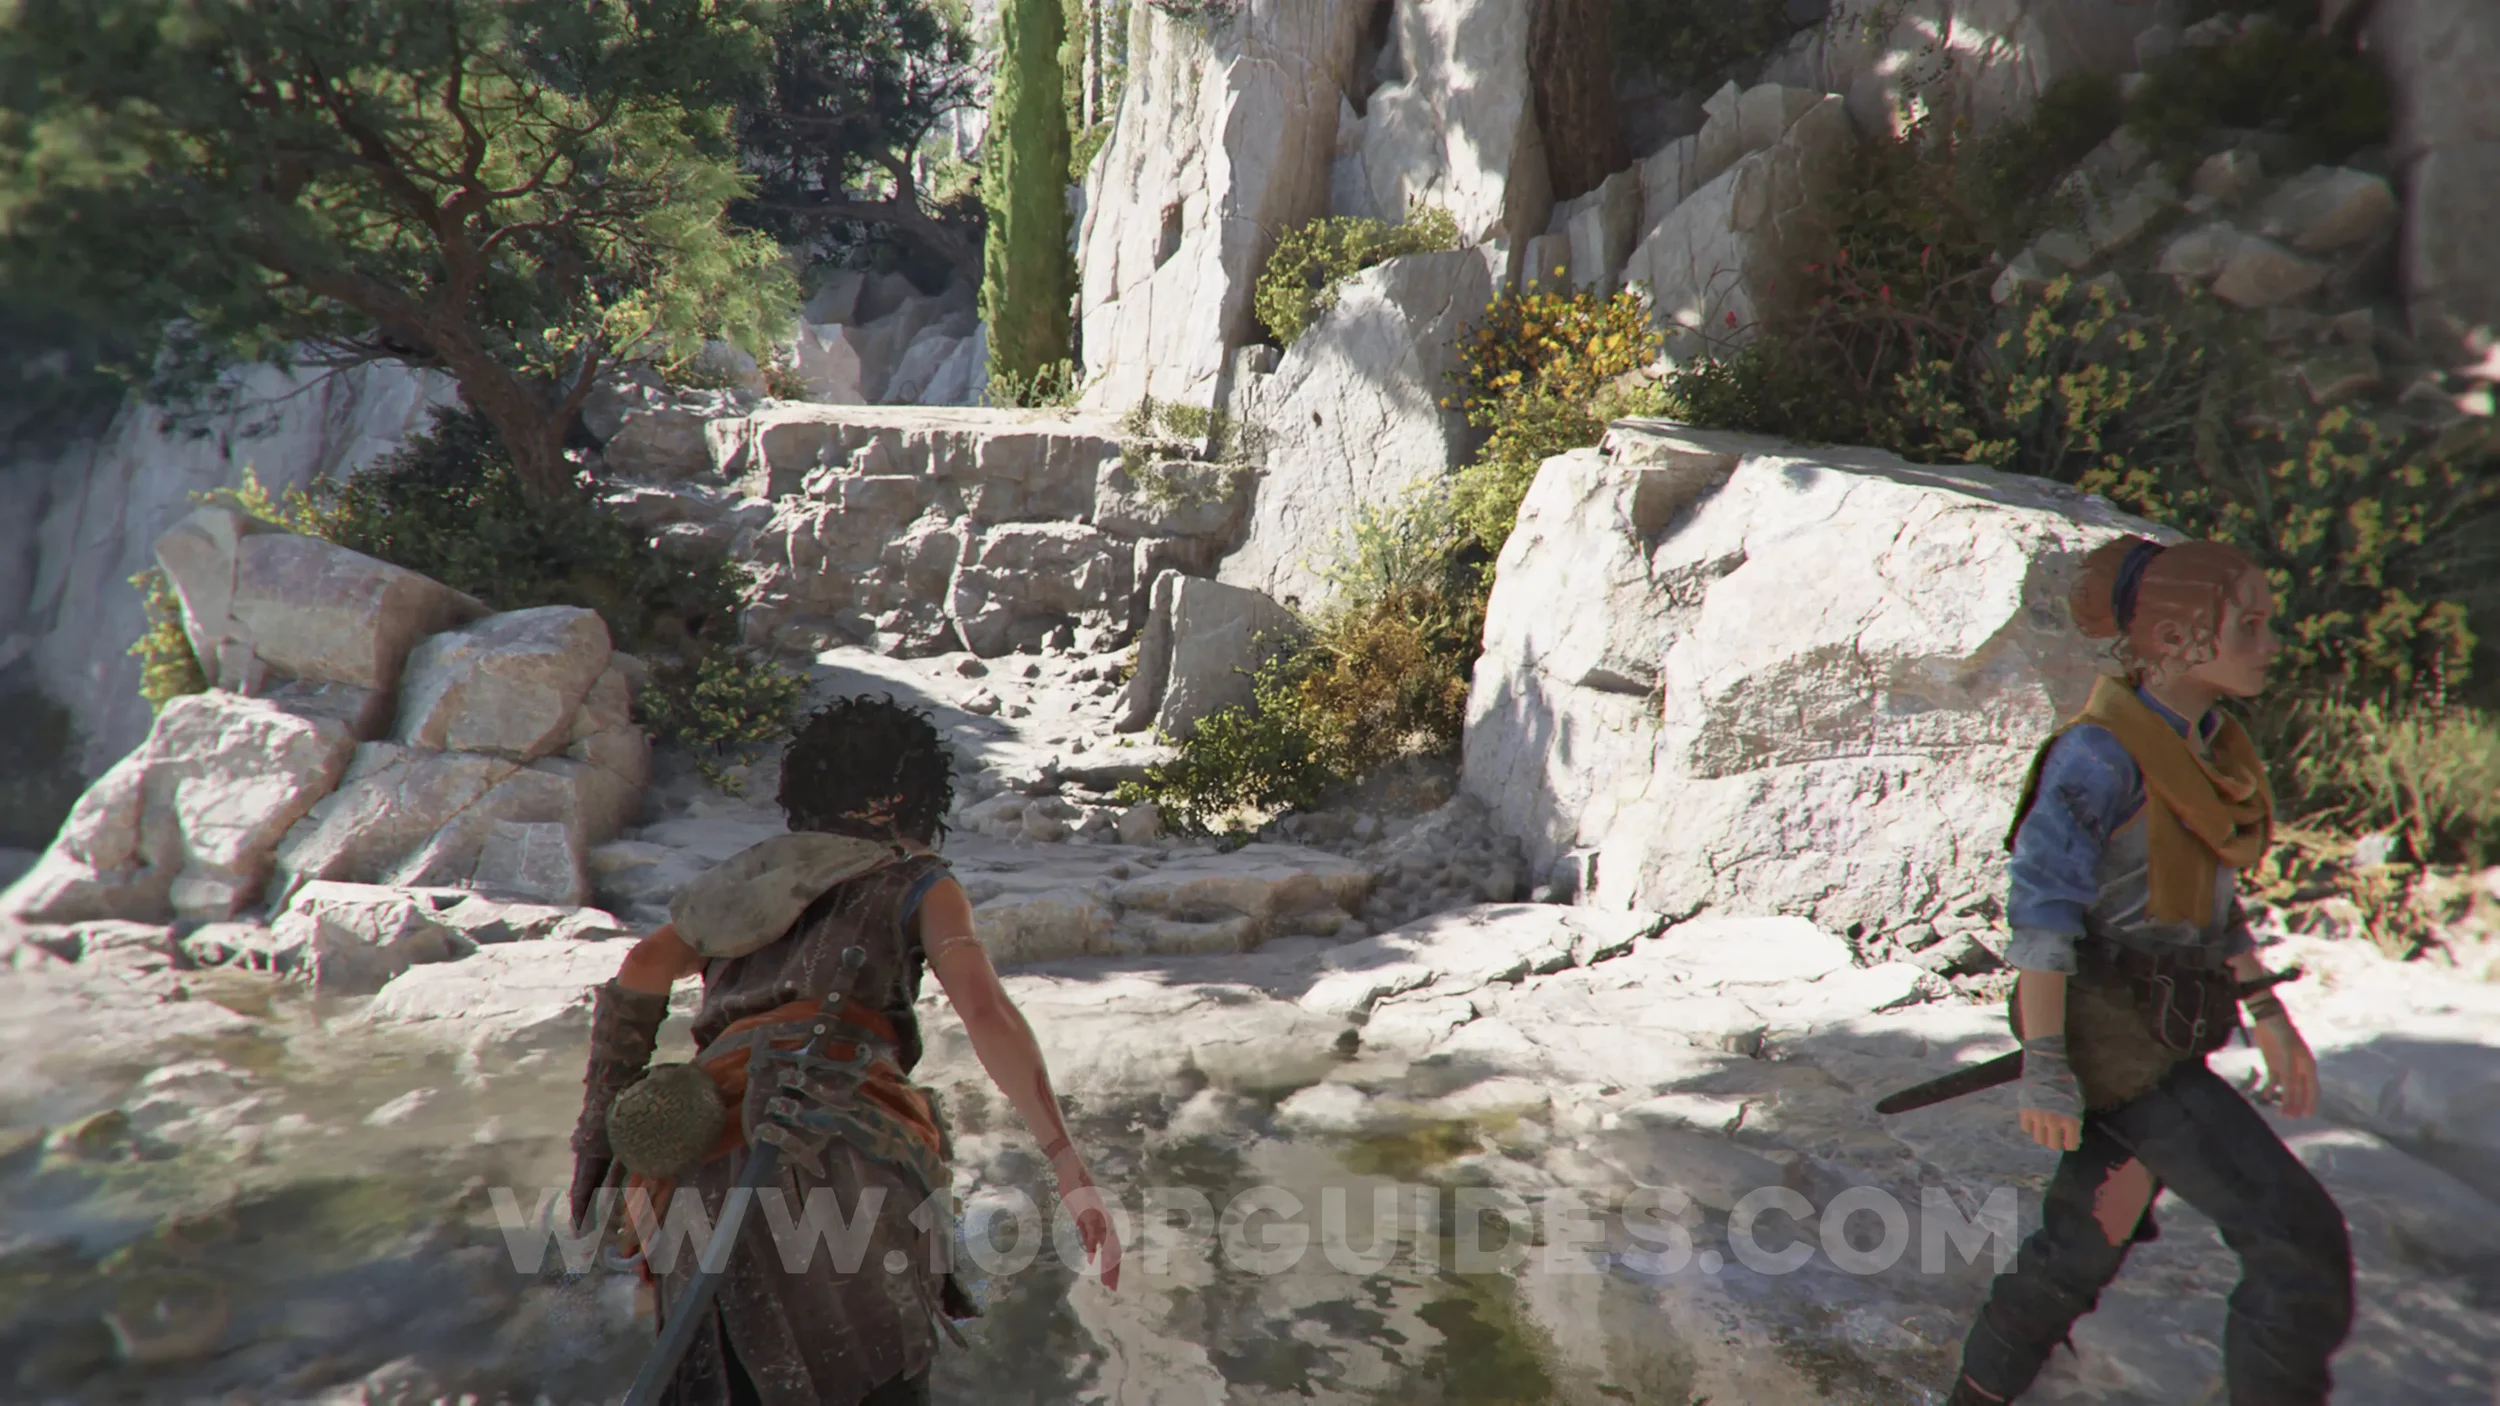
Charm: Pierced Coin #1
Chapter 5: Sub-Chapter 3.
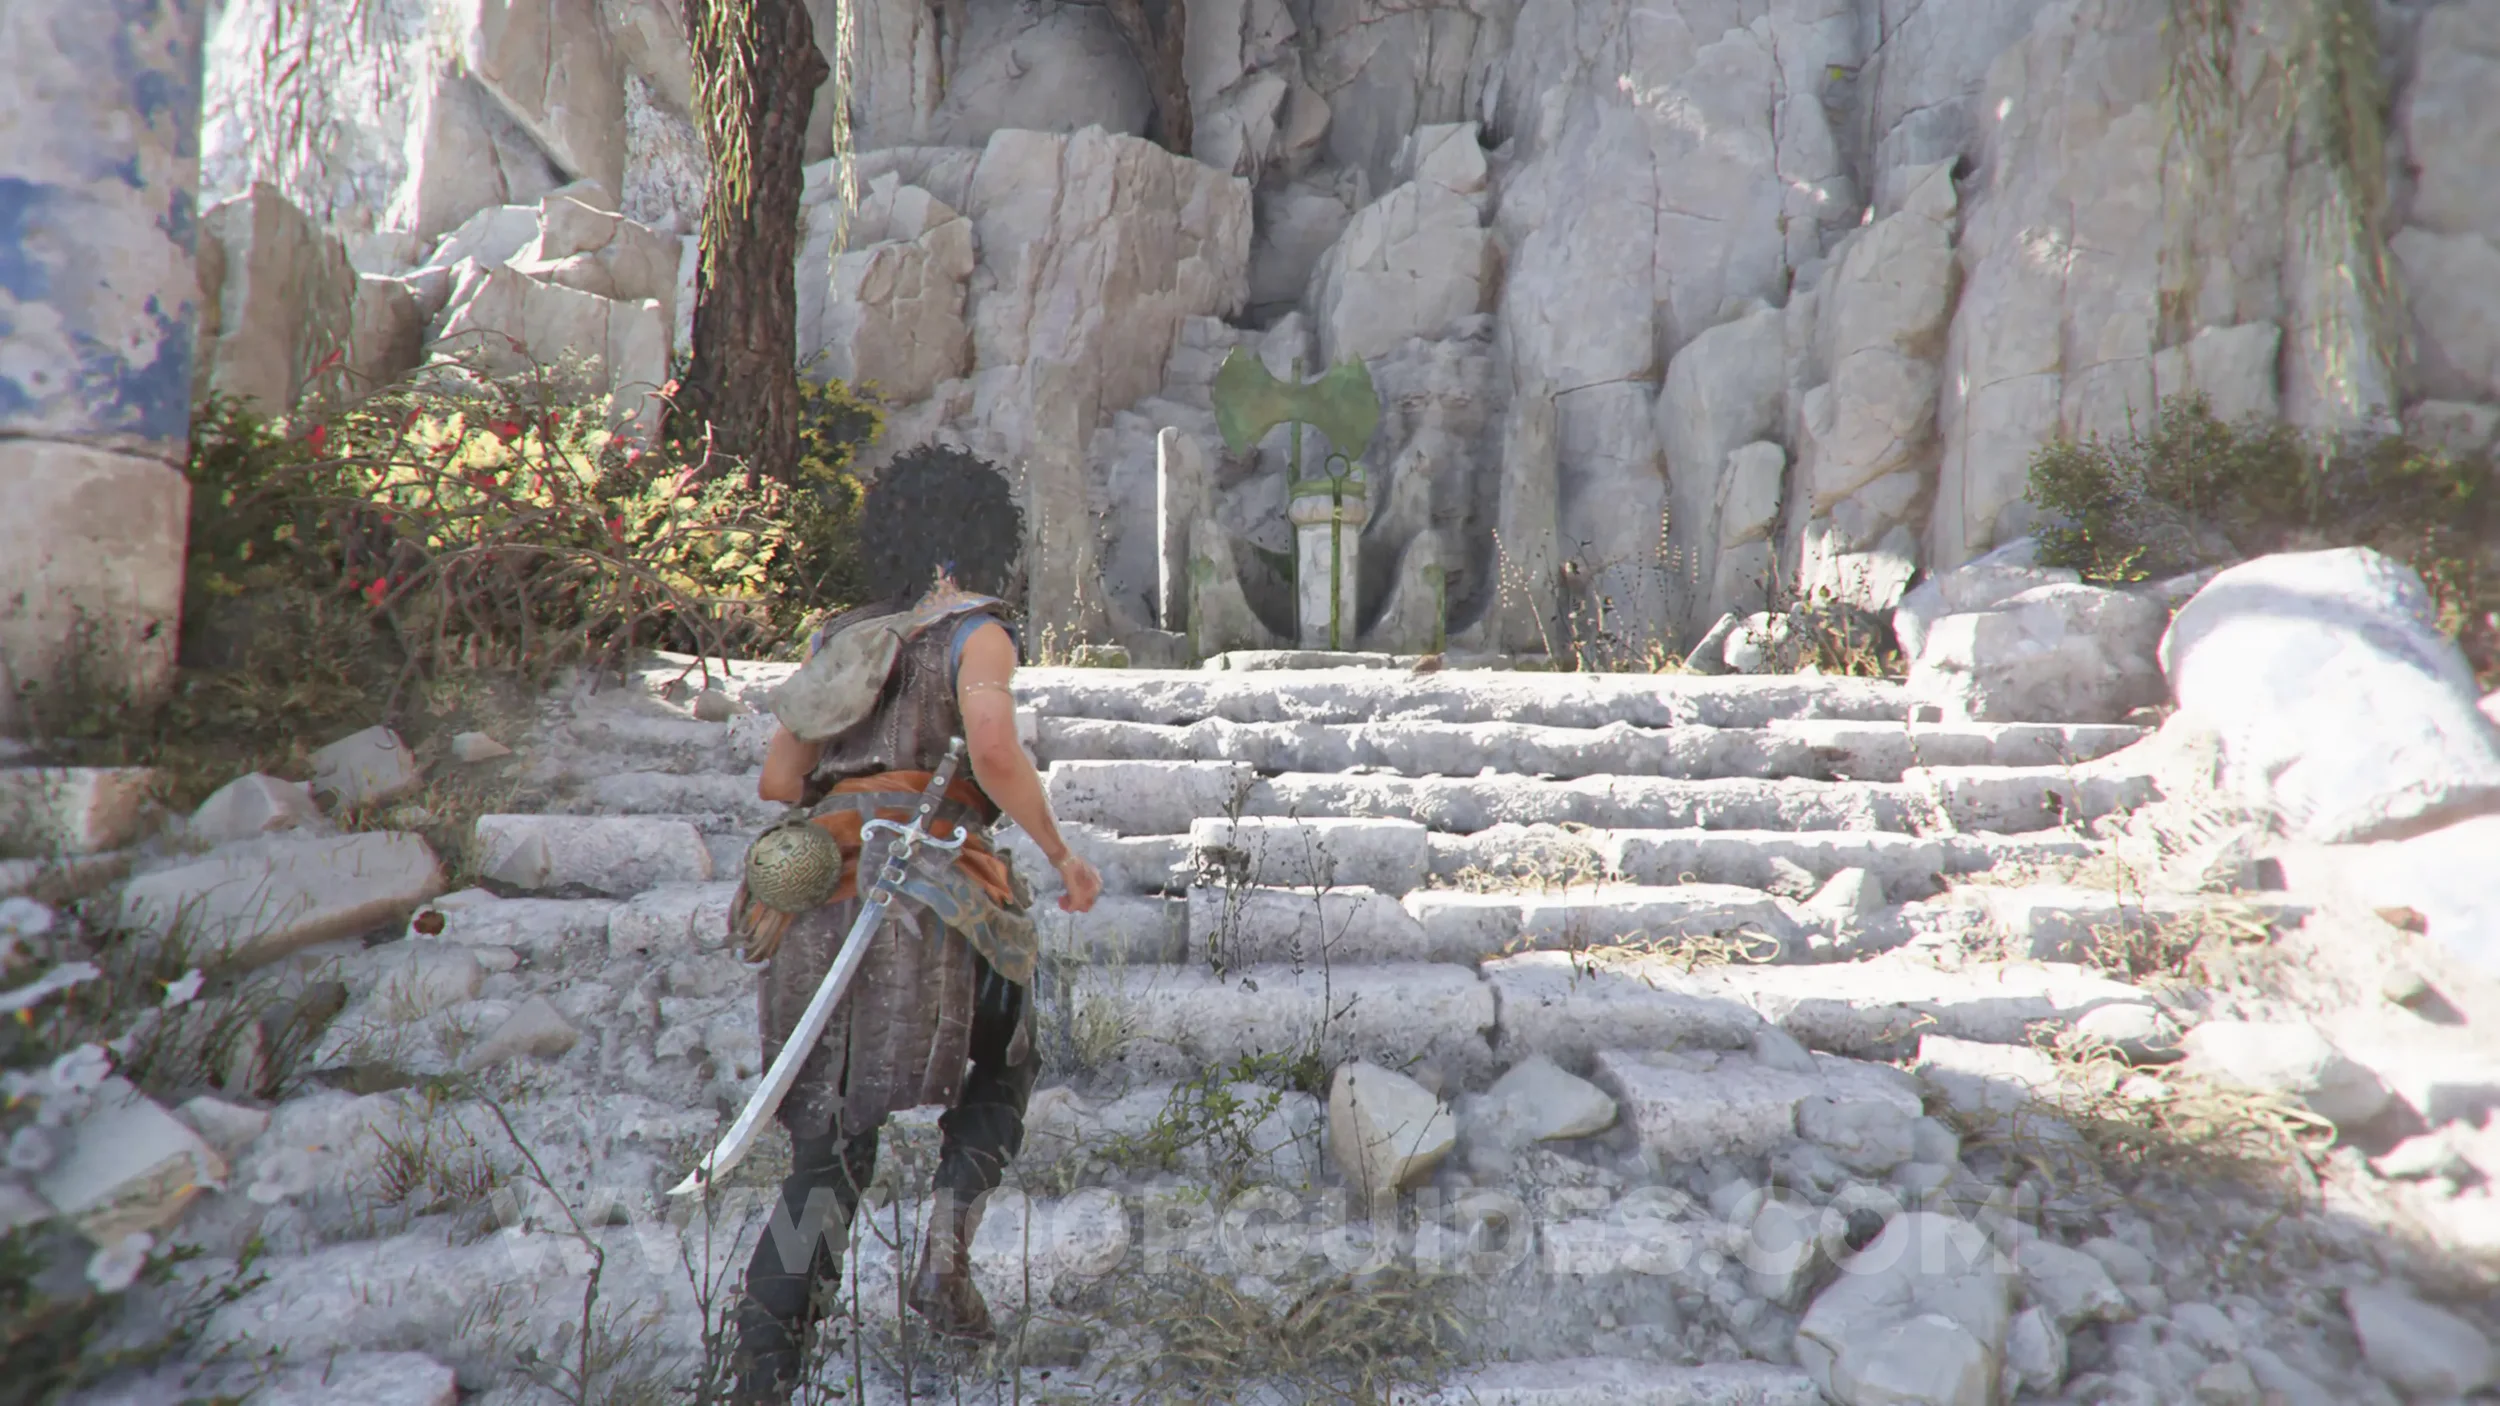
Climb up the ledge on the other side of the small pond of water where the previous collectible was, then climb the ladder. At the top, look left and interact with the bowl and axe.
Charm: Bracelet #3
Chapter 5: Sub-Chapter 3.
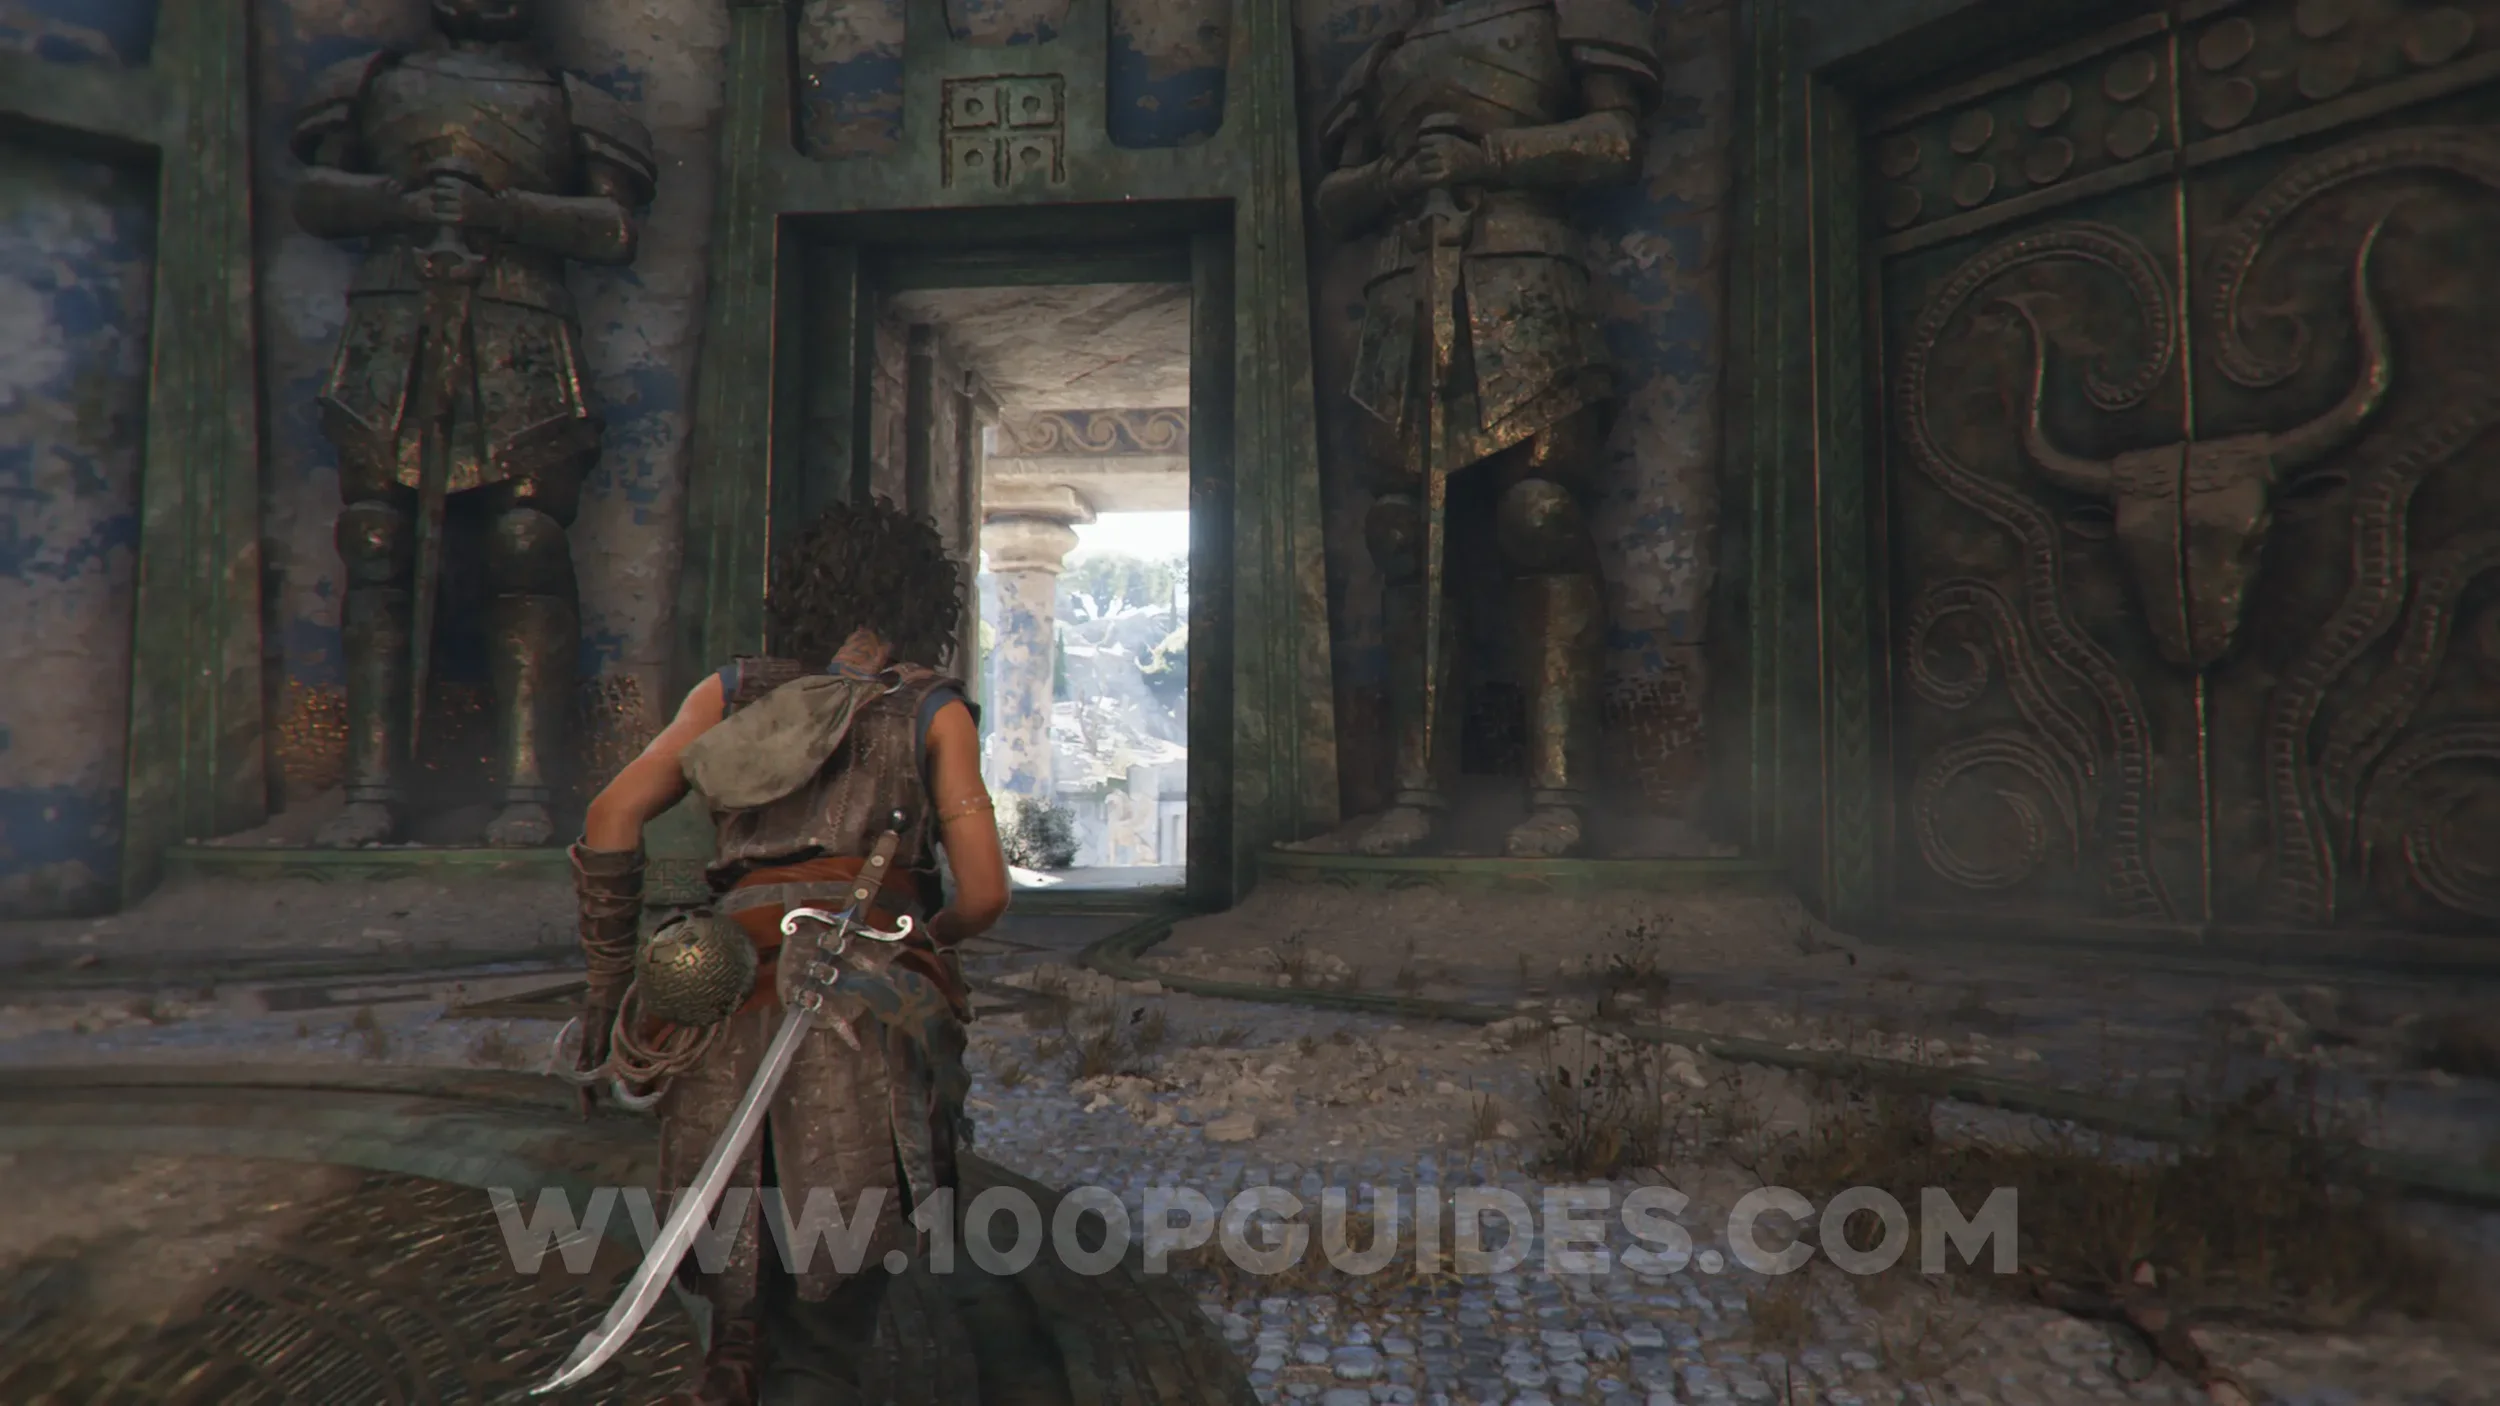
Return to the main circular room with the multiple doors and pedestals, and go through the remaining door to the final trial. At the start of this trial, you'll get separated from Leni. Jump across the platforms until you drop down to ground level. From there, climb up to the platform on your left and follow these platforms to find the charm at the end.
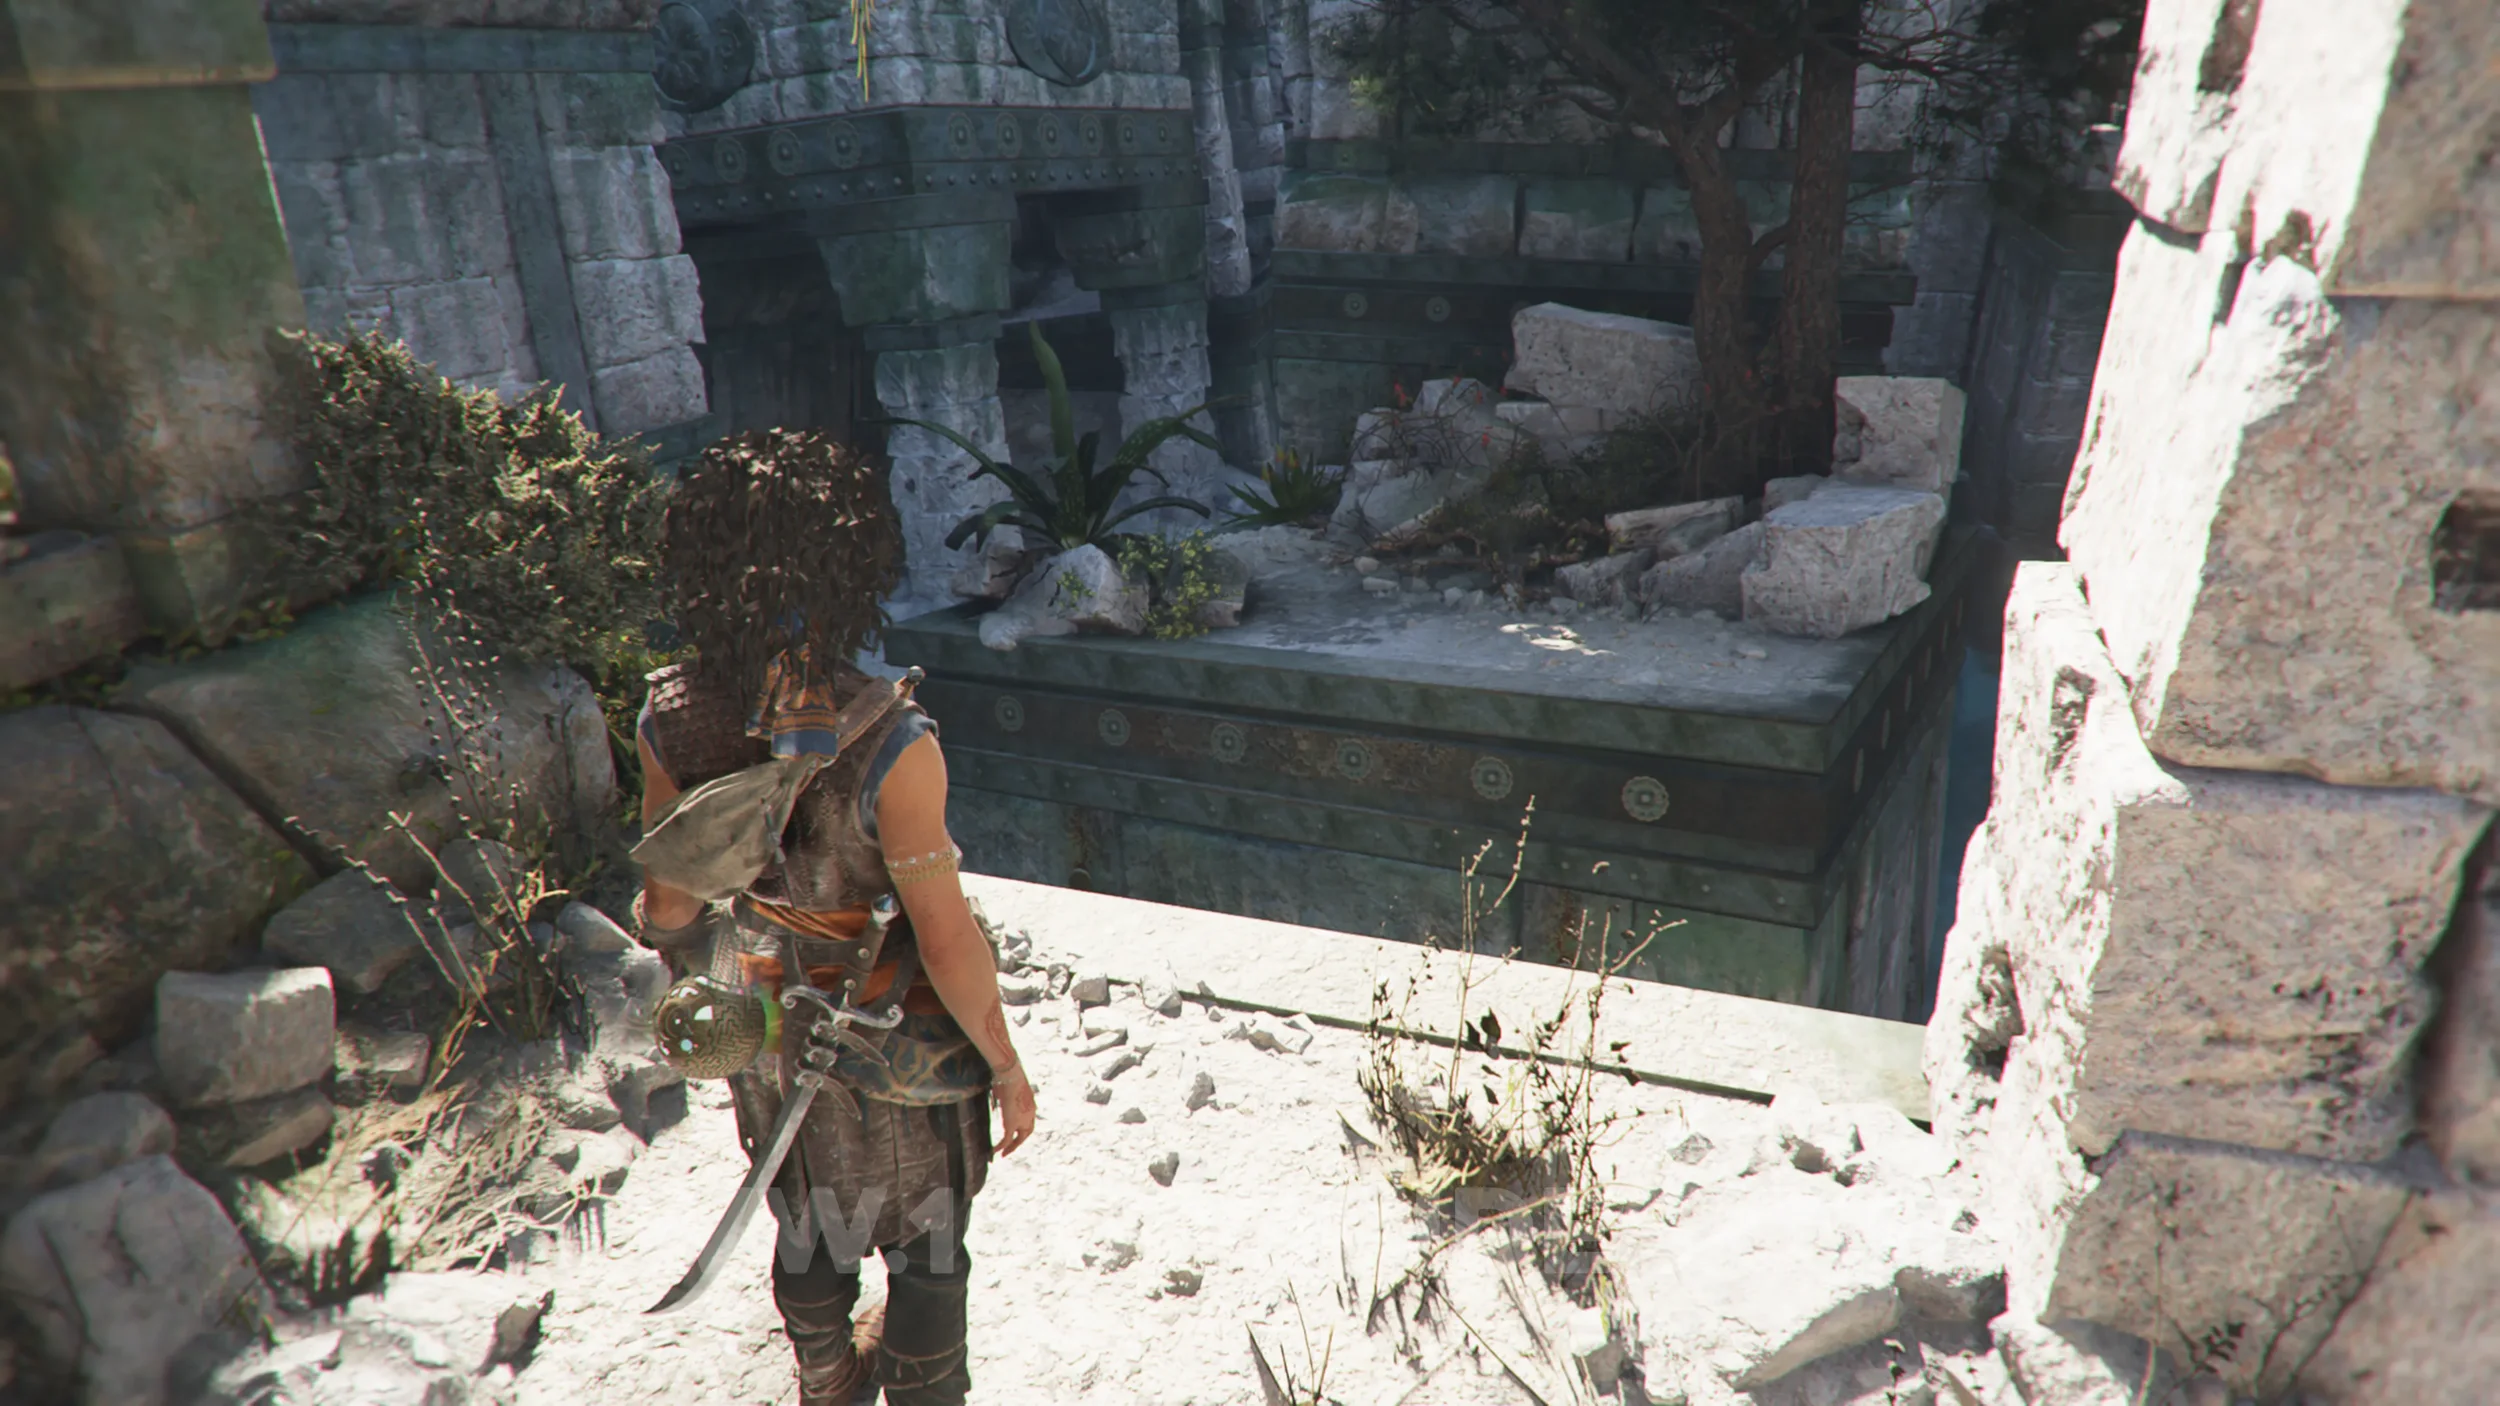
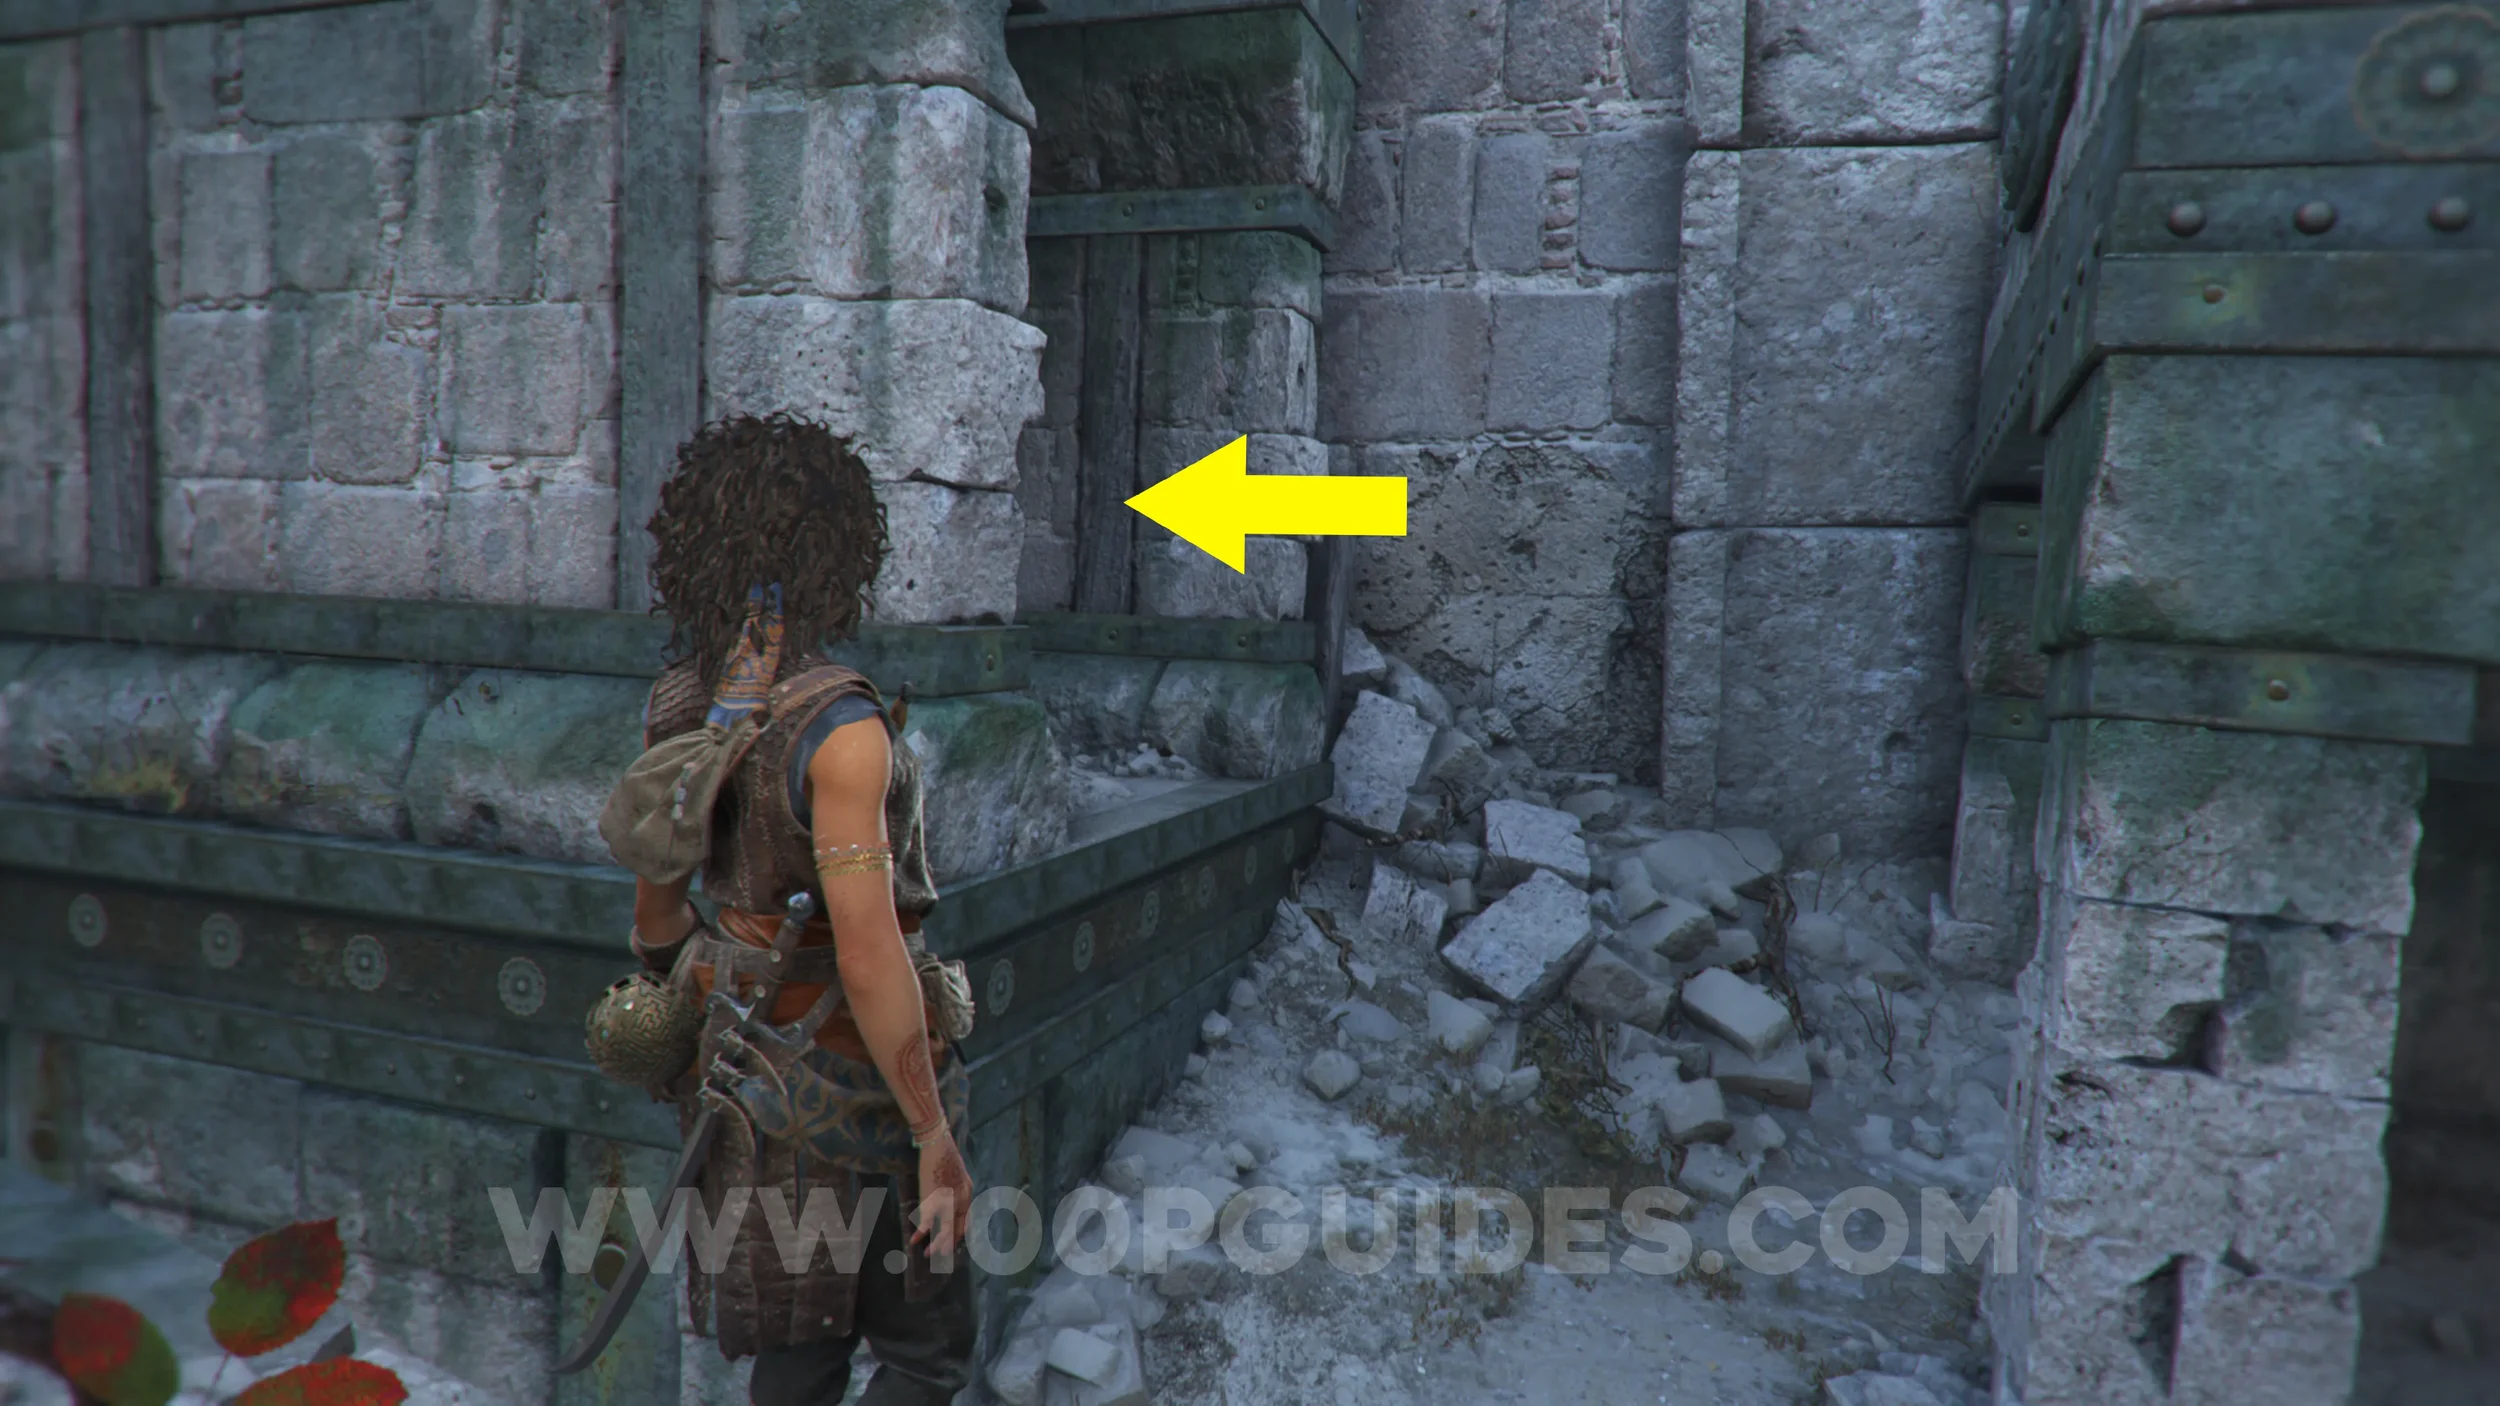
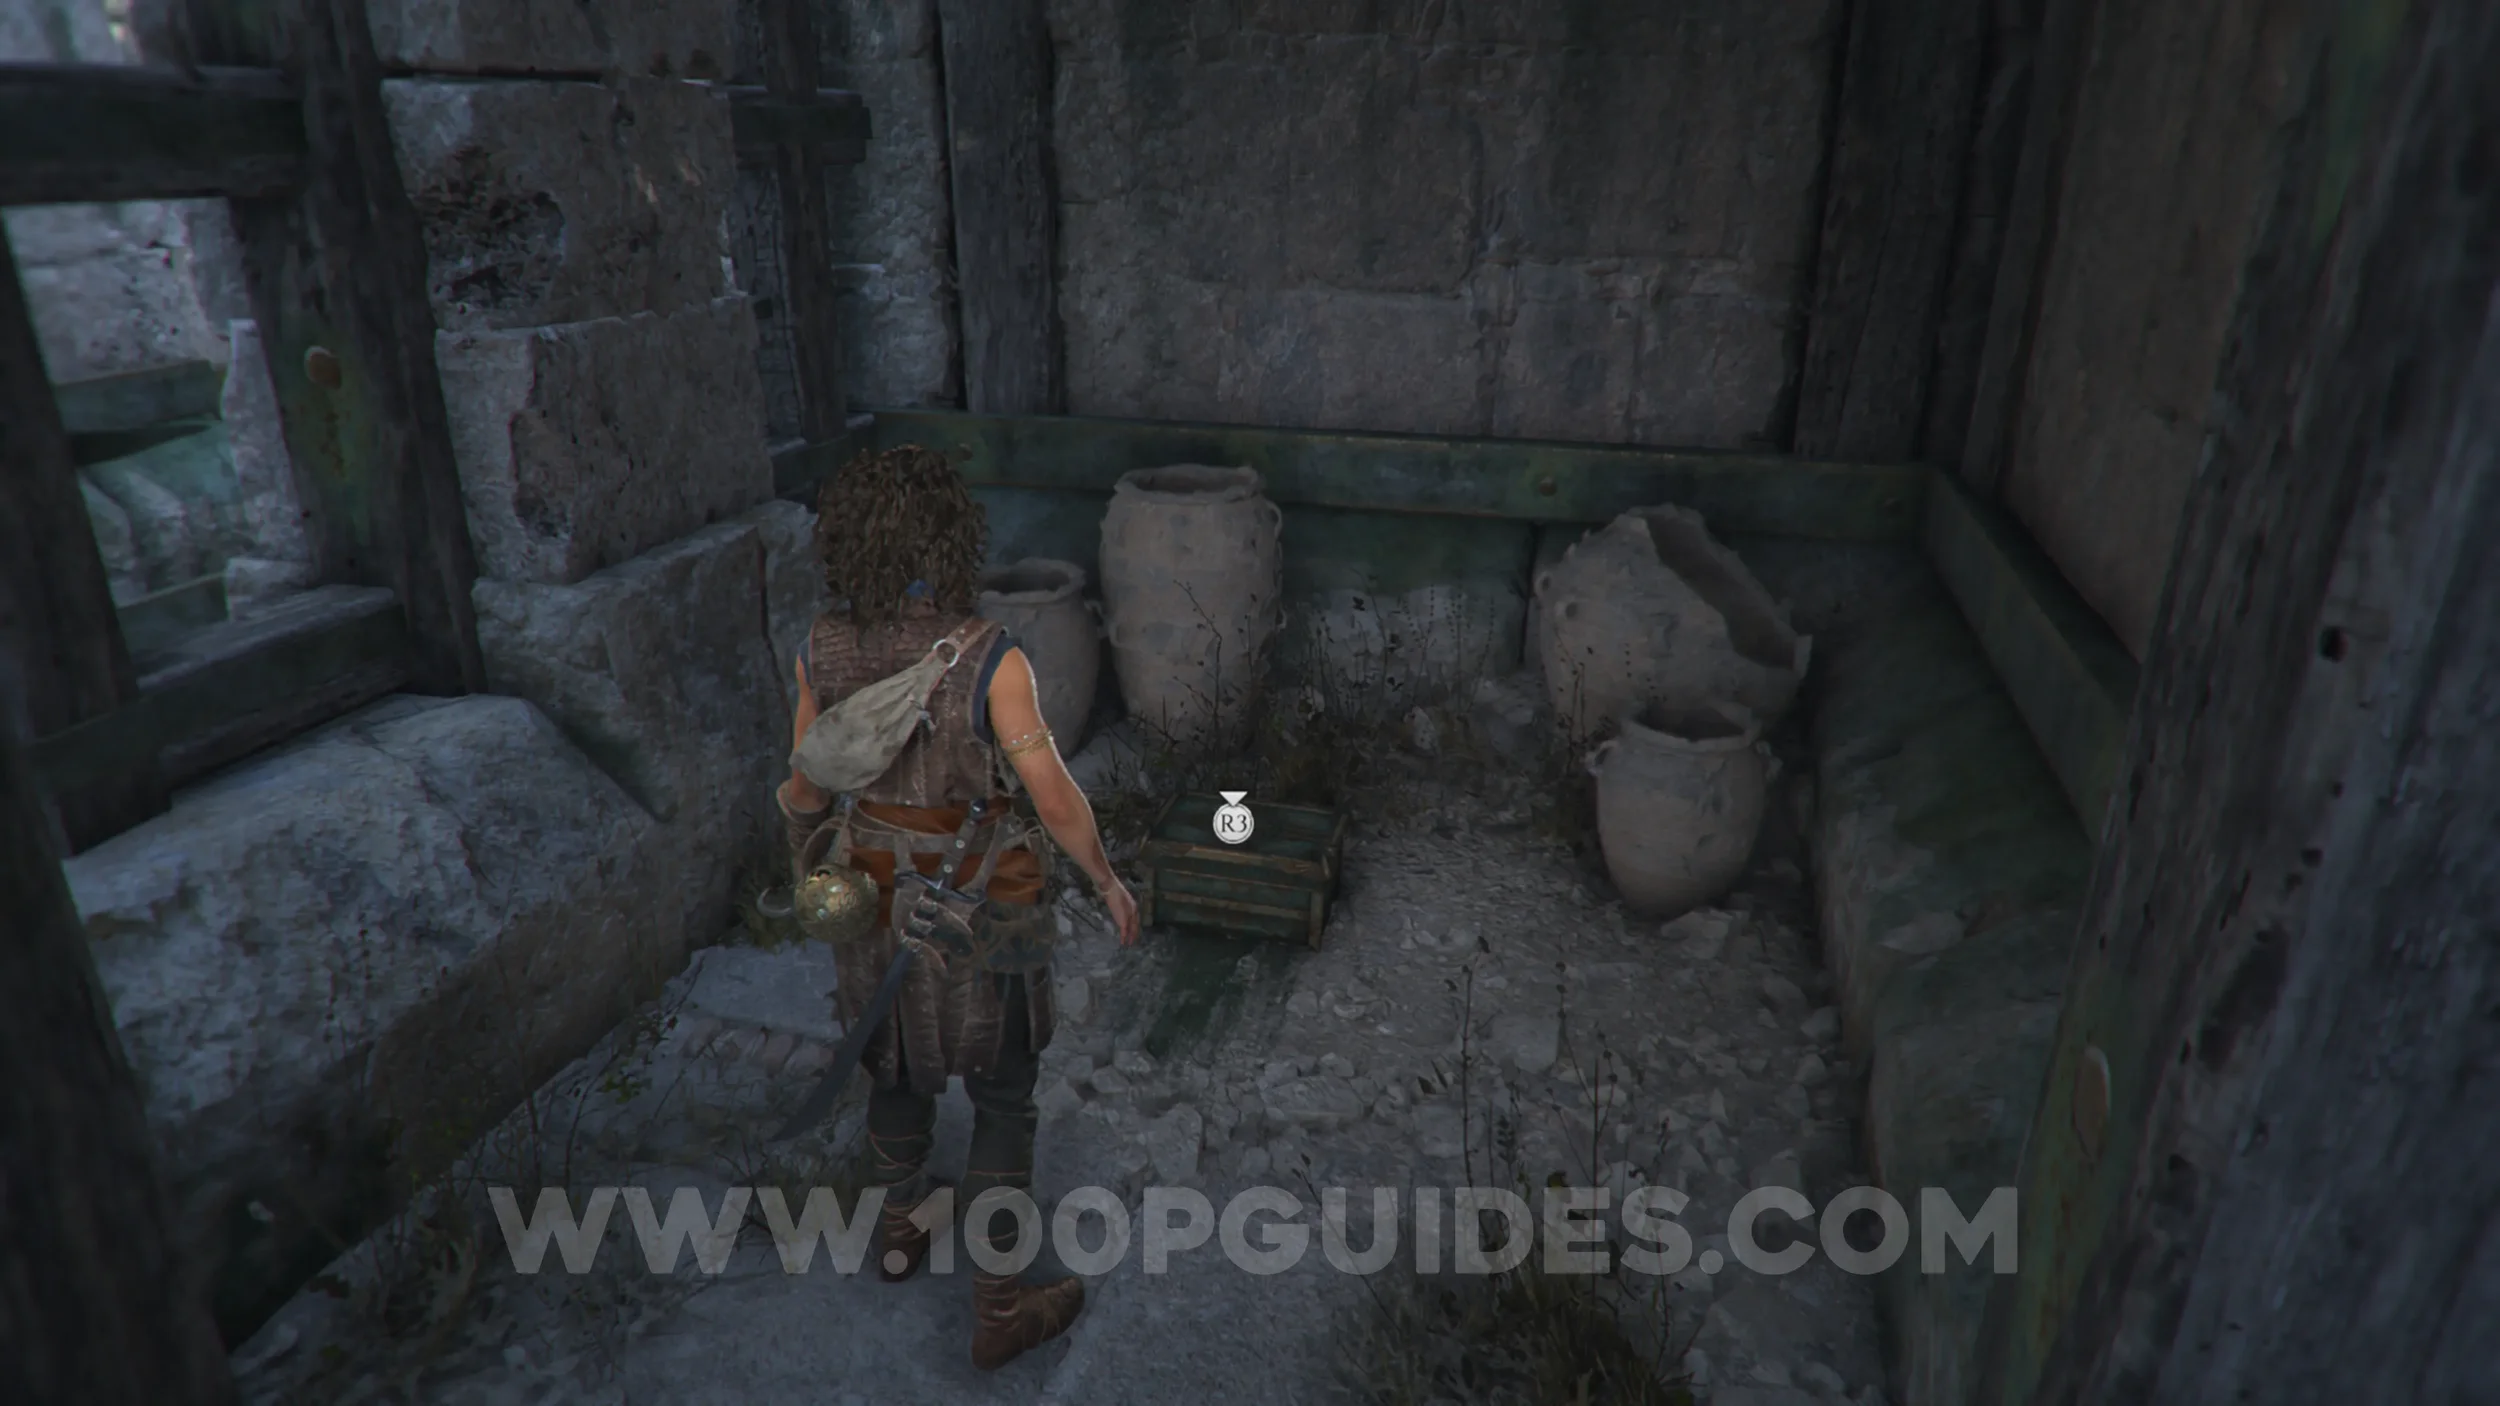
Resonance Point
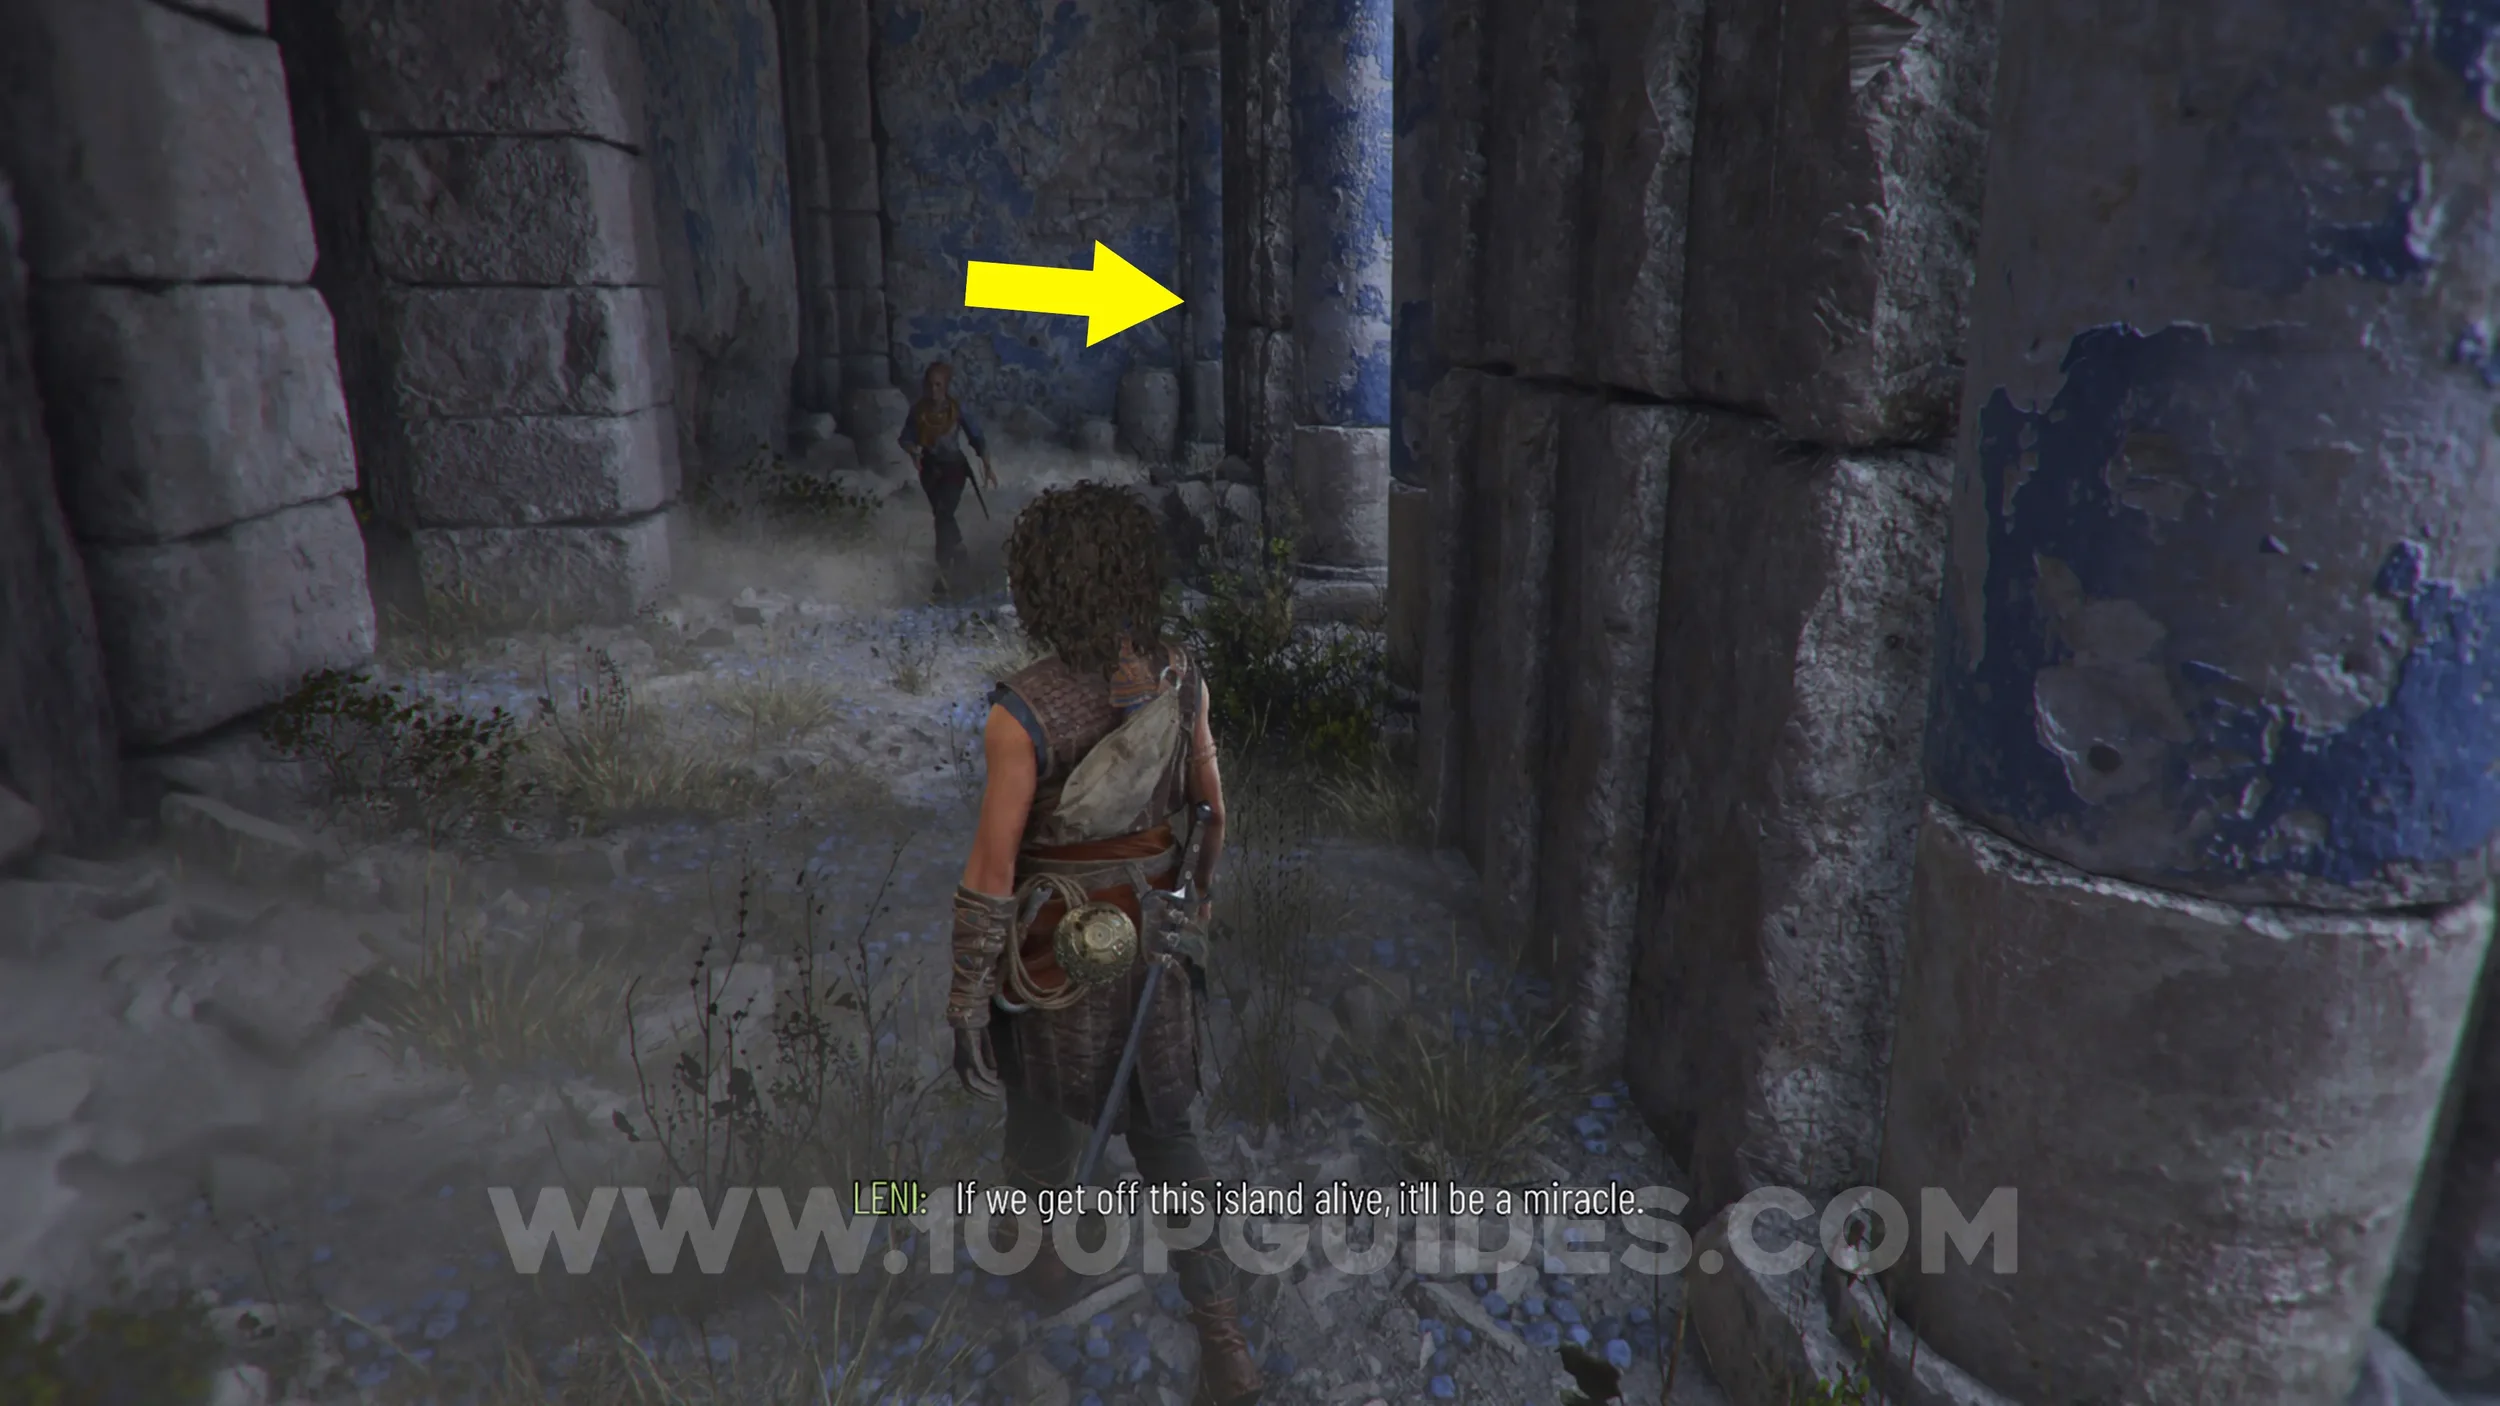
Chapter 5: Sub-Chapter 3.
As soon as you reunite with Leni, go down the path she came from, and after jumping over the second gap, look left to find a small square area with the resonance point.
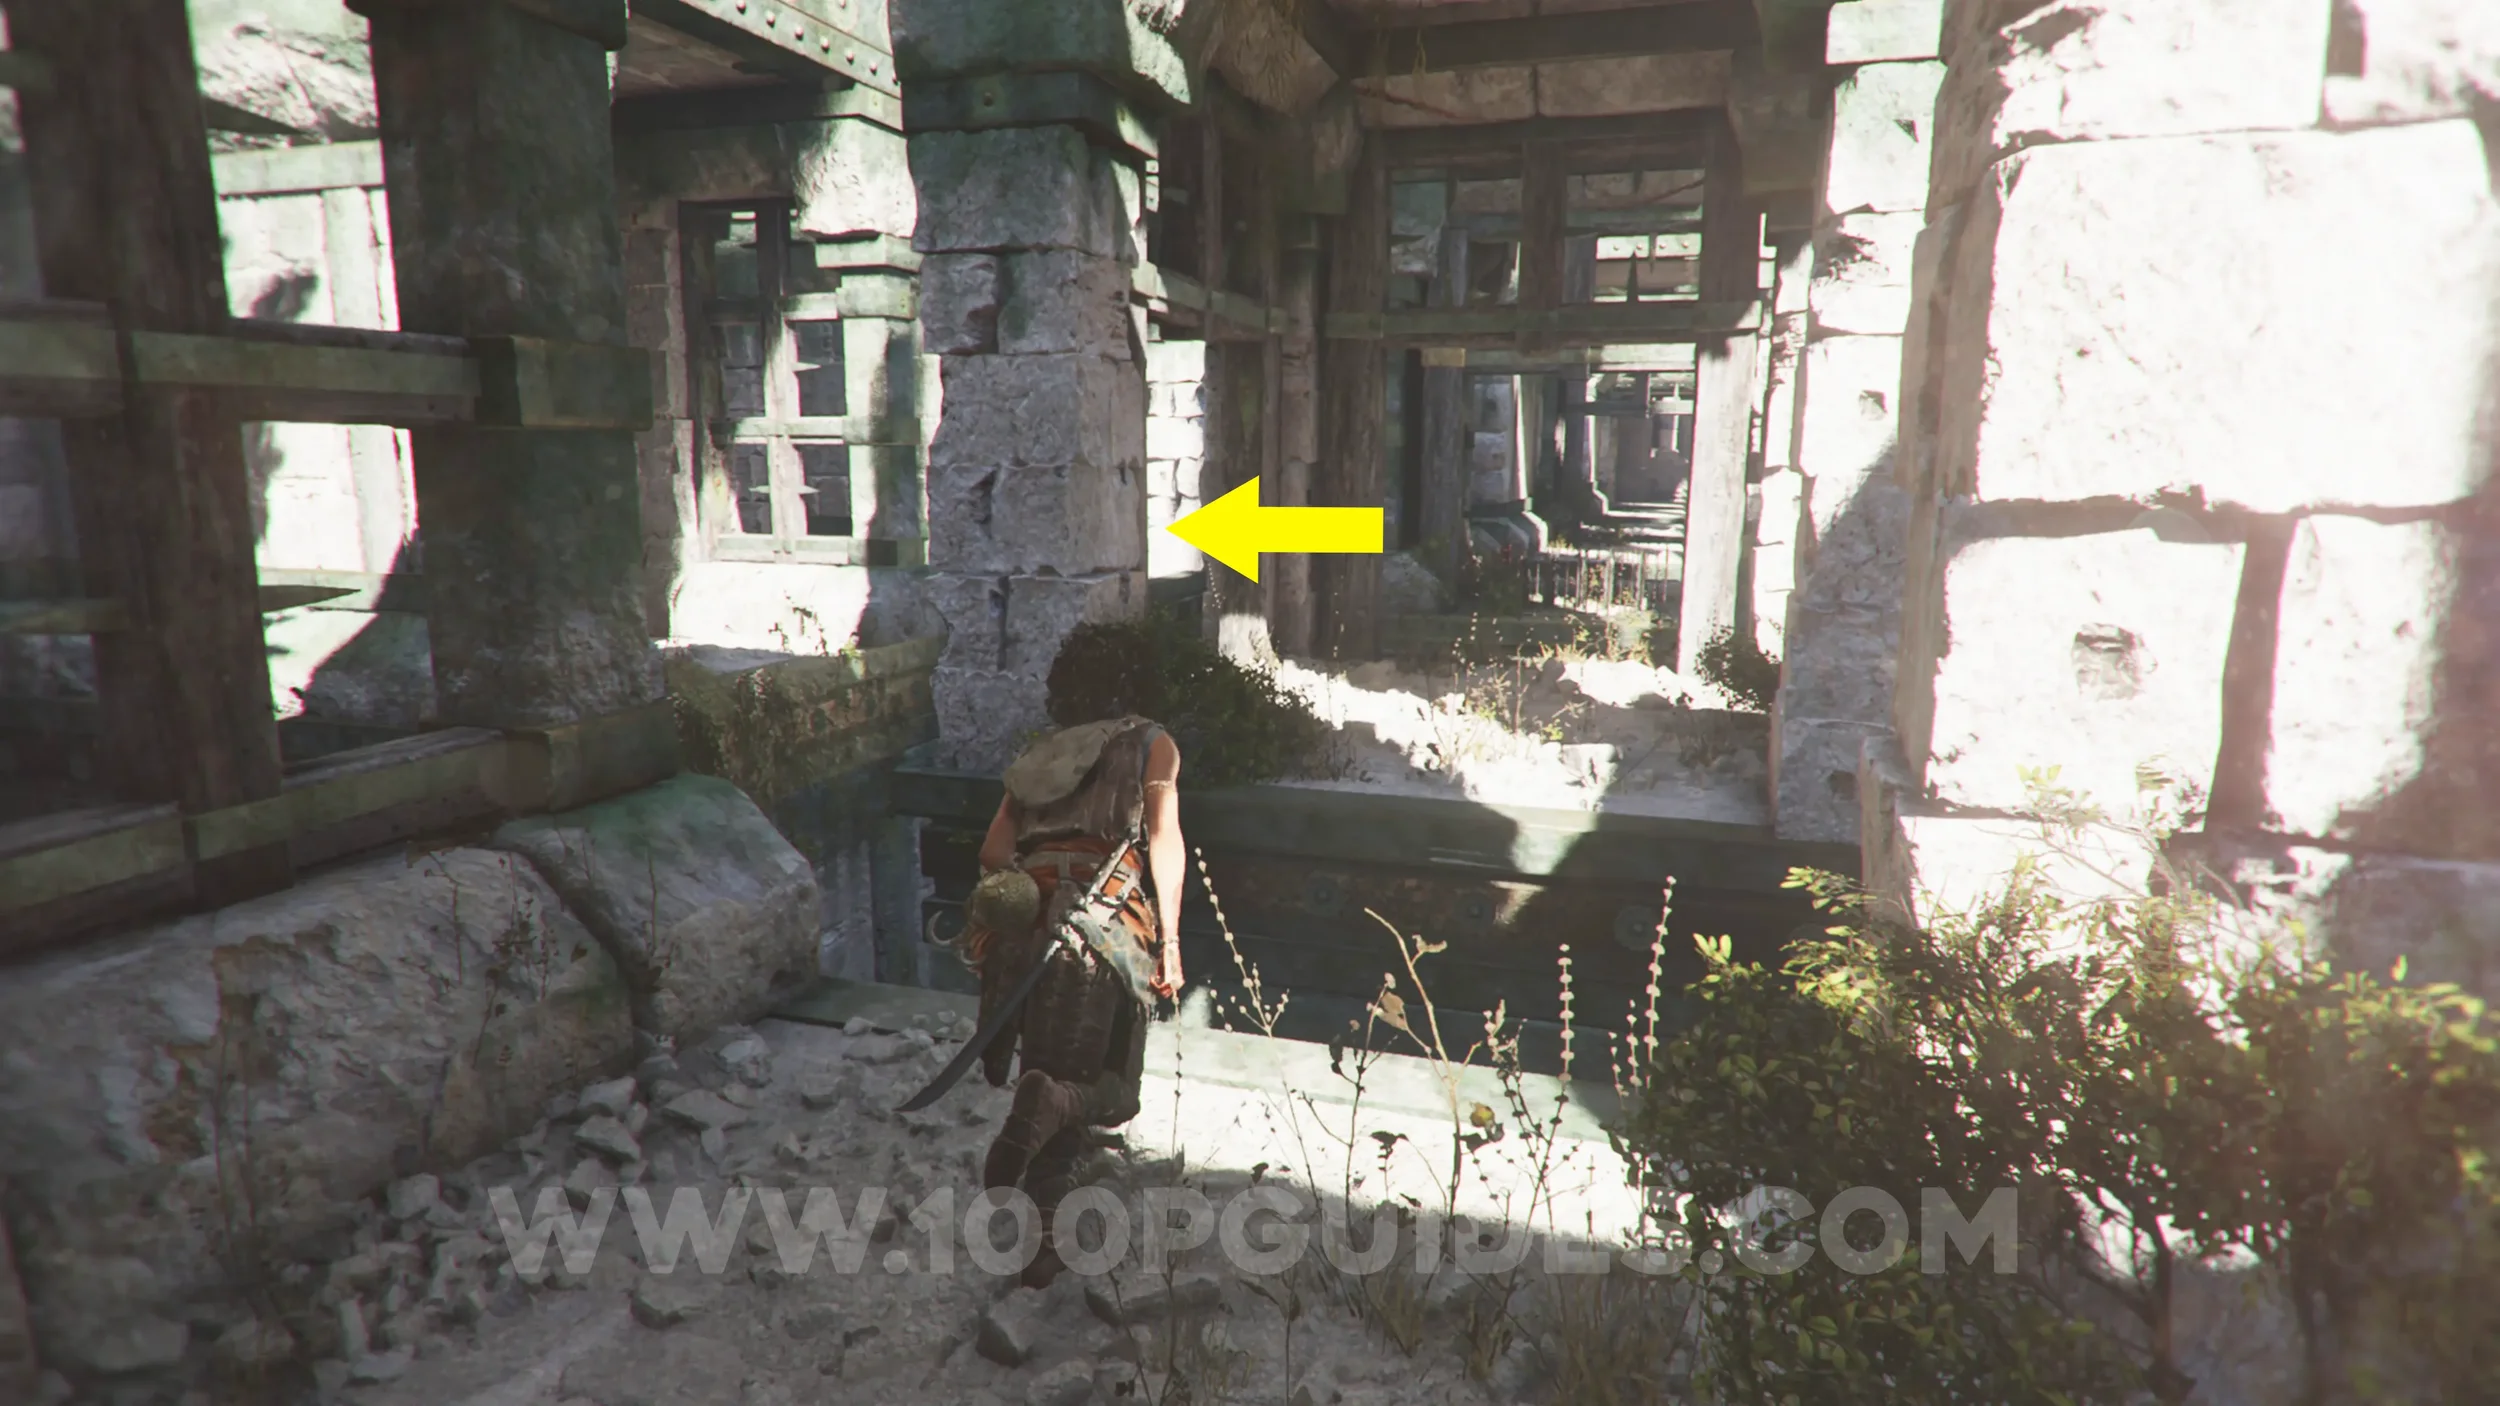
Resonance Point x2
Chapter 5: Sub-Chapter 3.
Continue after the previous collectible, and you'll have to fight a group of enemies. You'll get the resonance point automatically after defeating them.
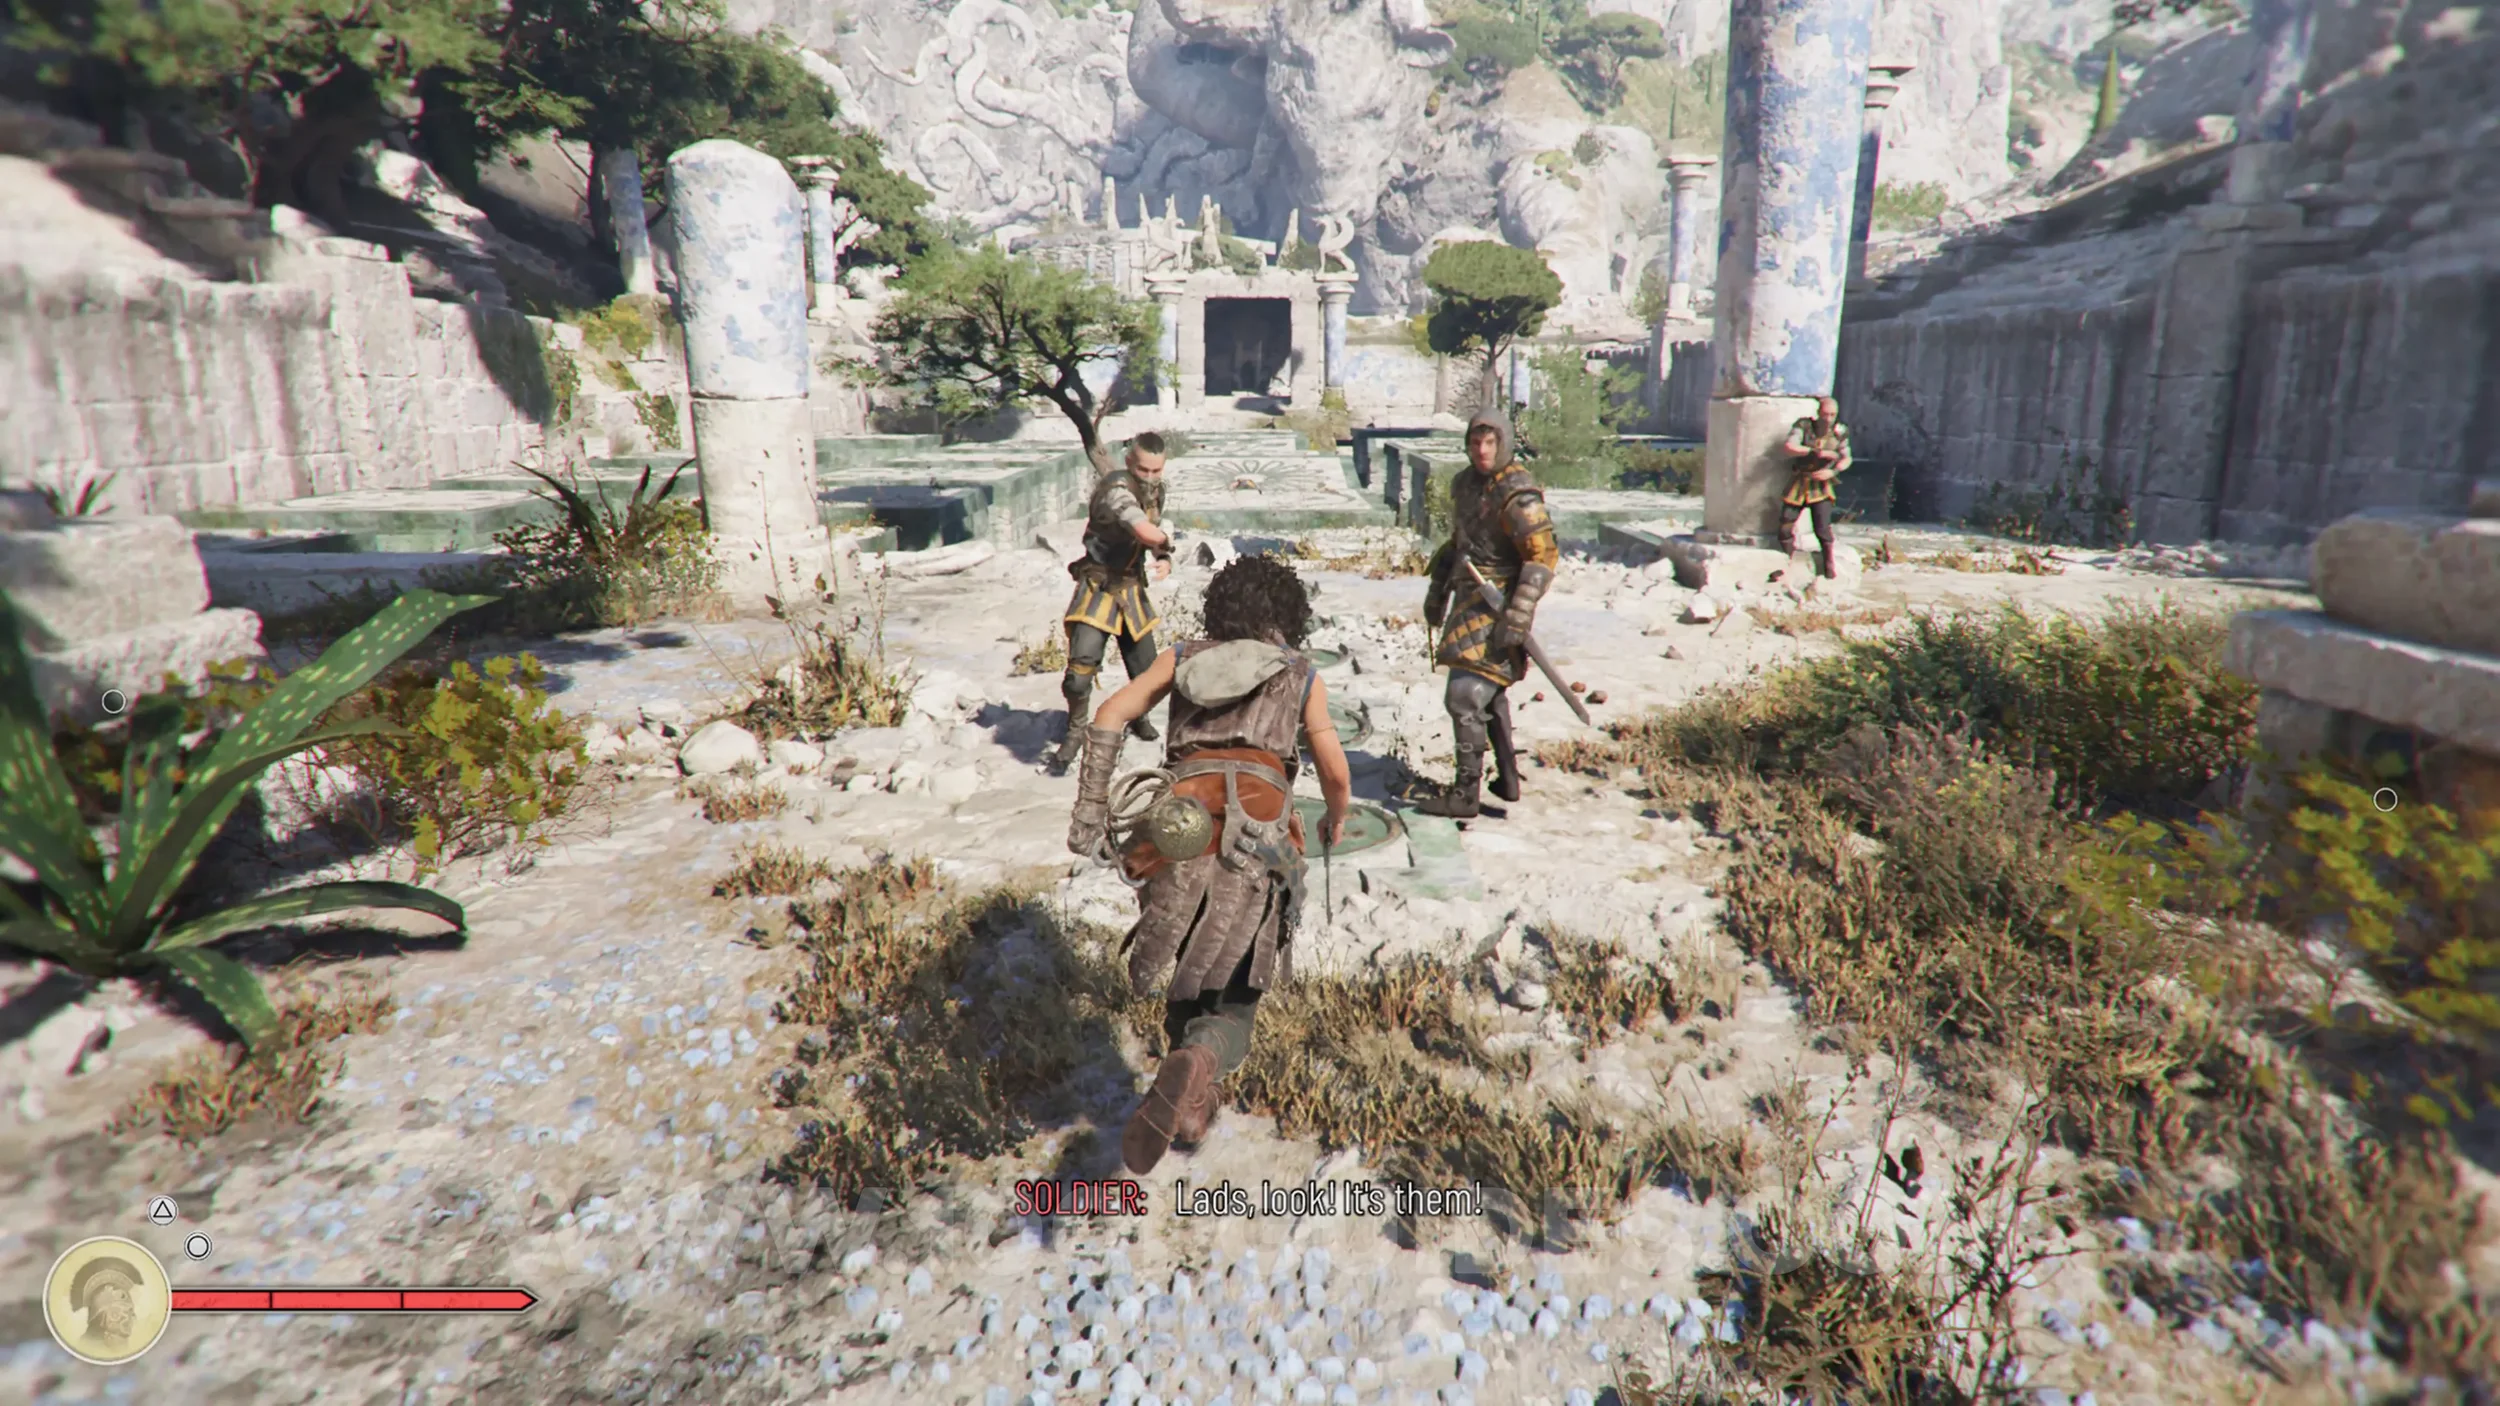
Artefact: Scarab Amulet
Chapter 5: Sub-Chapter 3.
During the puzzle for the final symbol, you'll need to stand on the platforms with symbols in the correct order. There are multiple possible paths, but for this collectible, always stick to the left path when you have a choice. Eventually you'll reach a point where you can get off the puzzle platforms to shimmy across the mountain on the left side. As soon as you finish shimmying, the collectible will be on the ground in front of you.
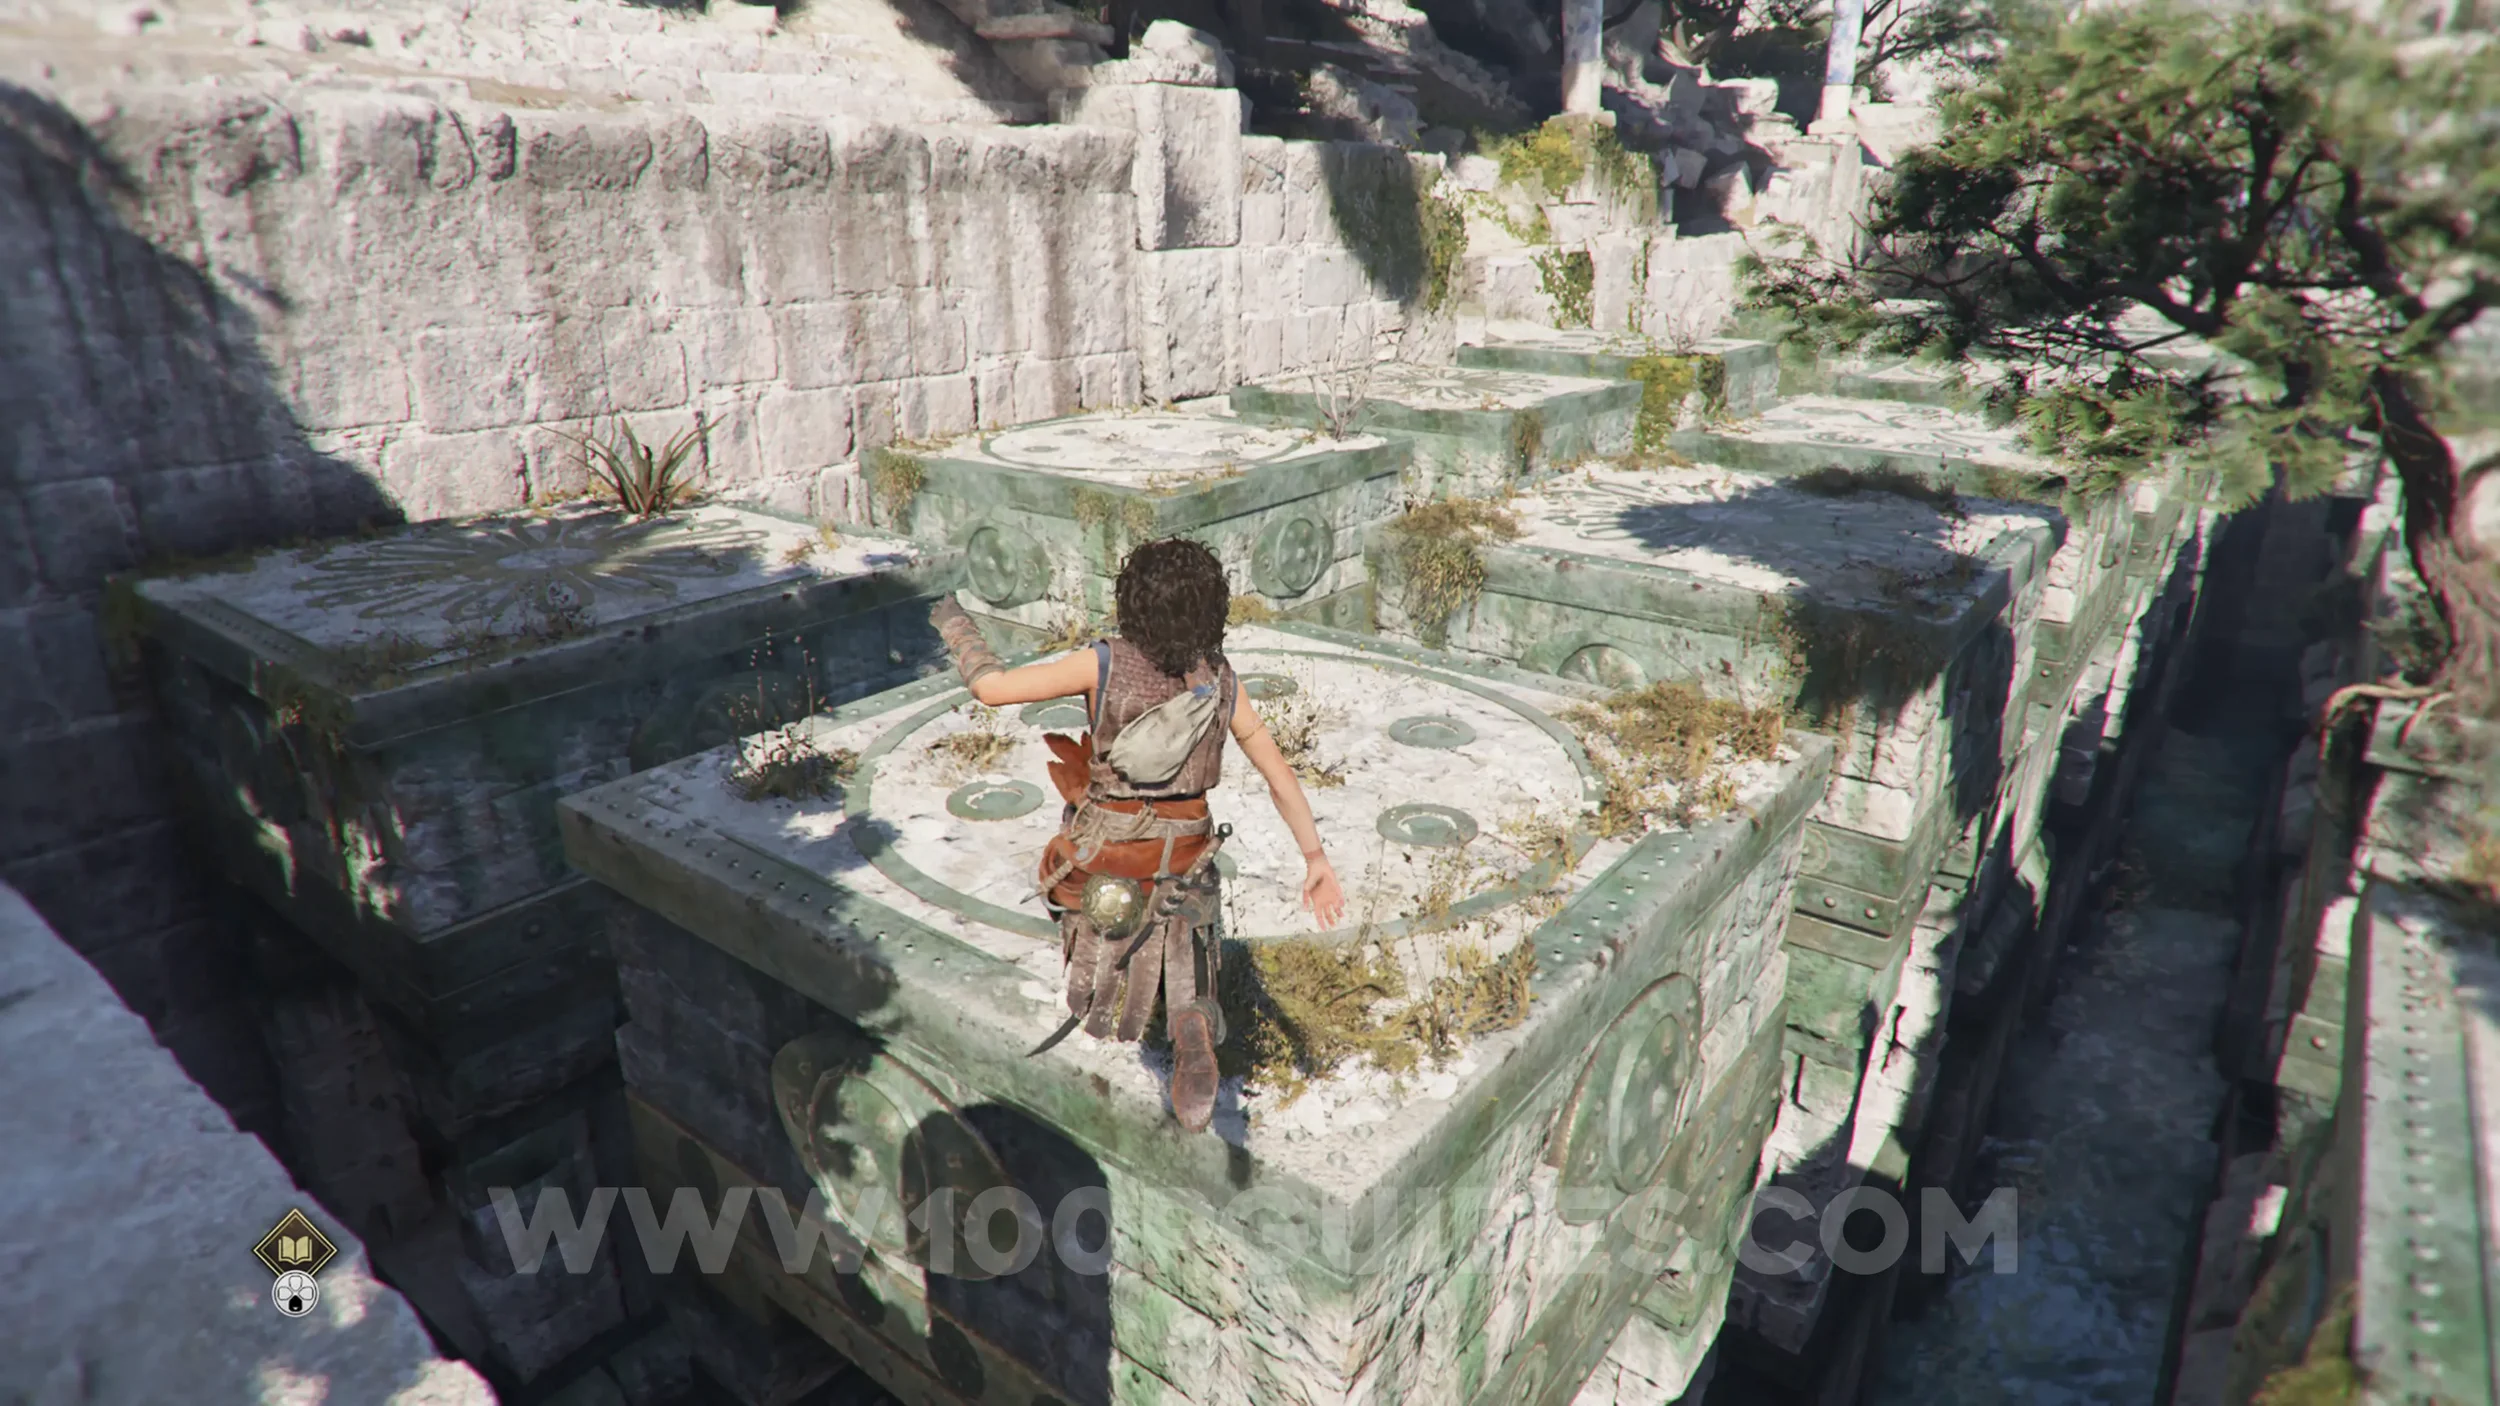
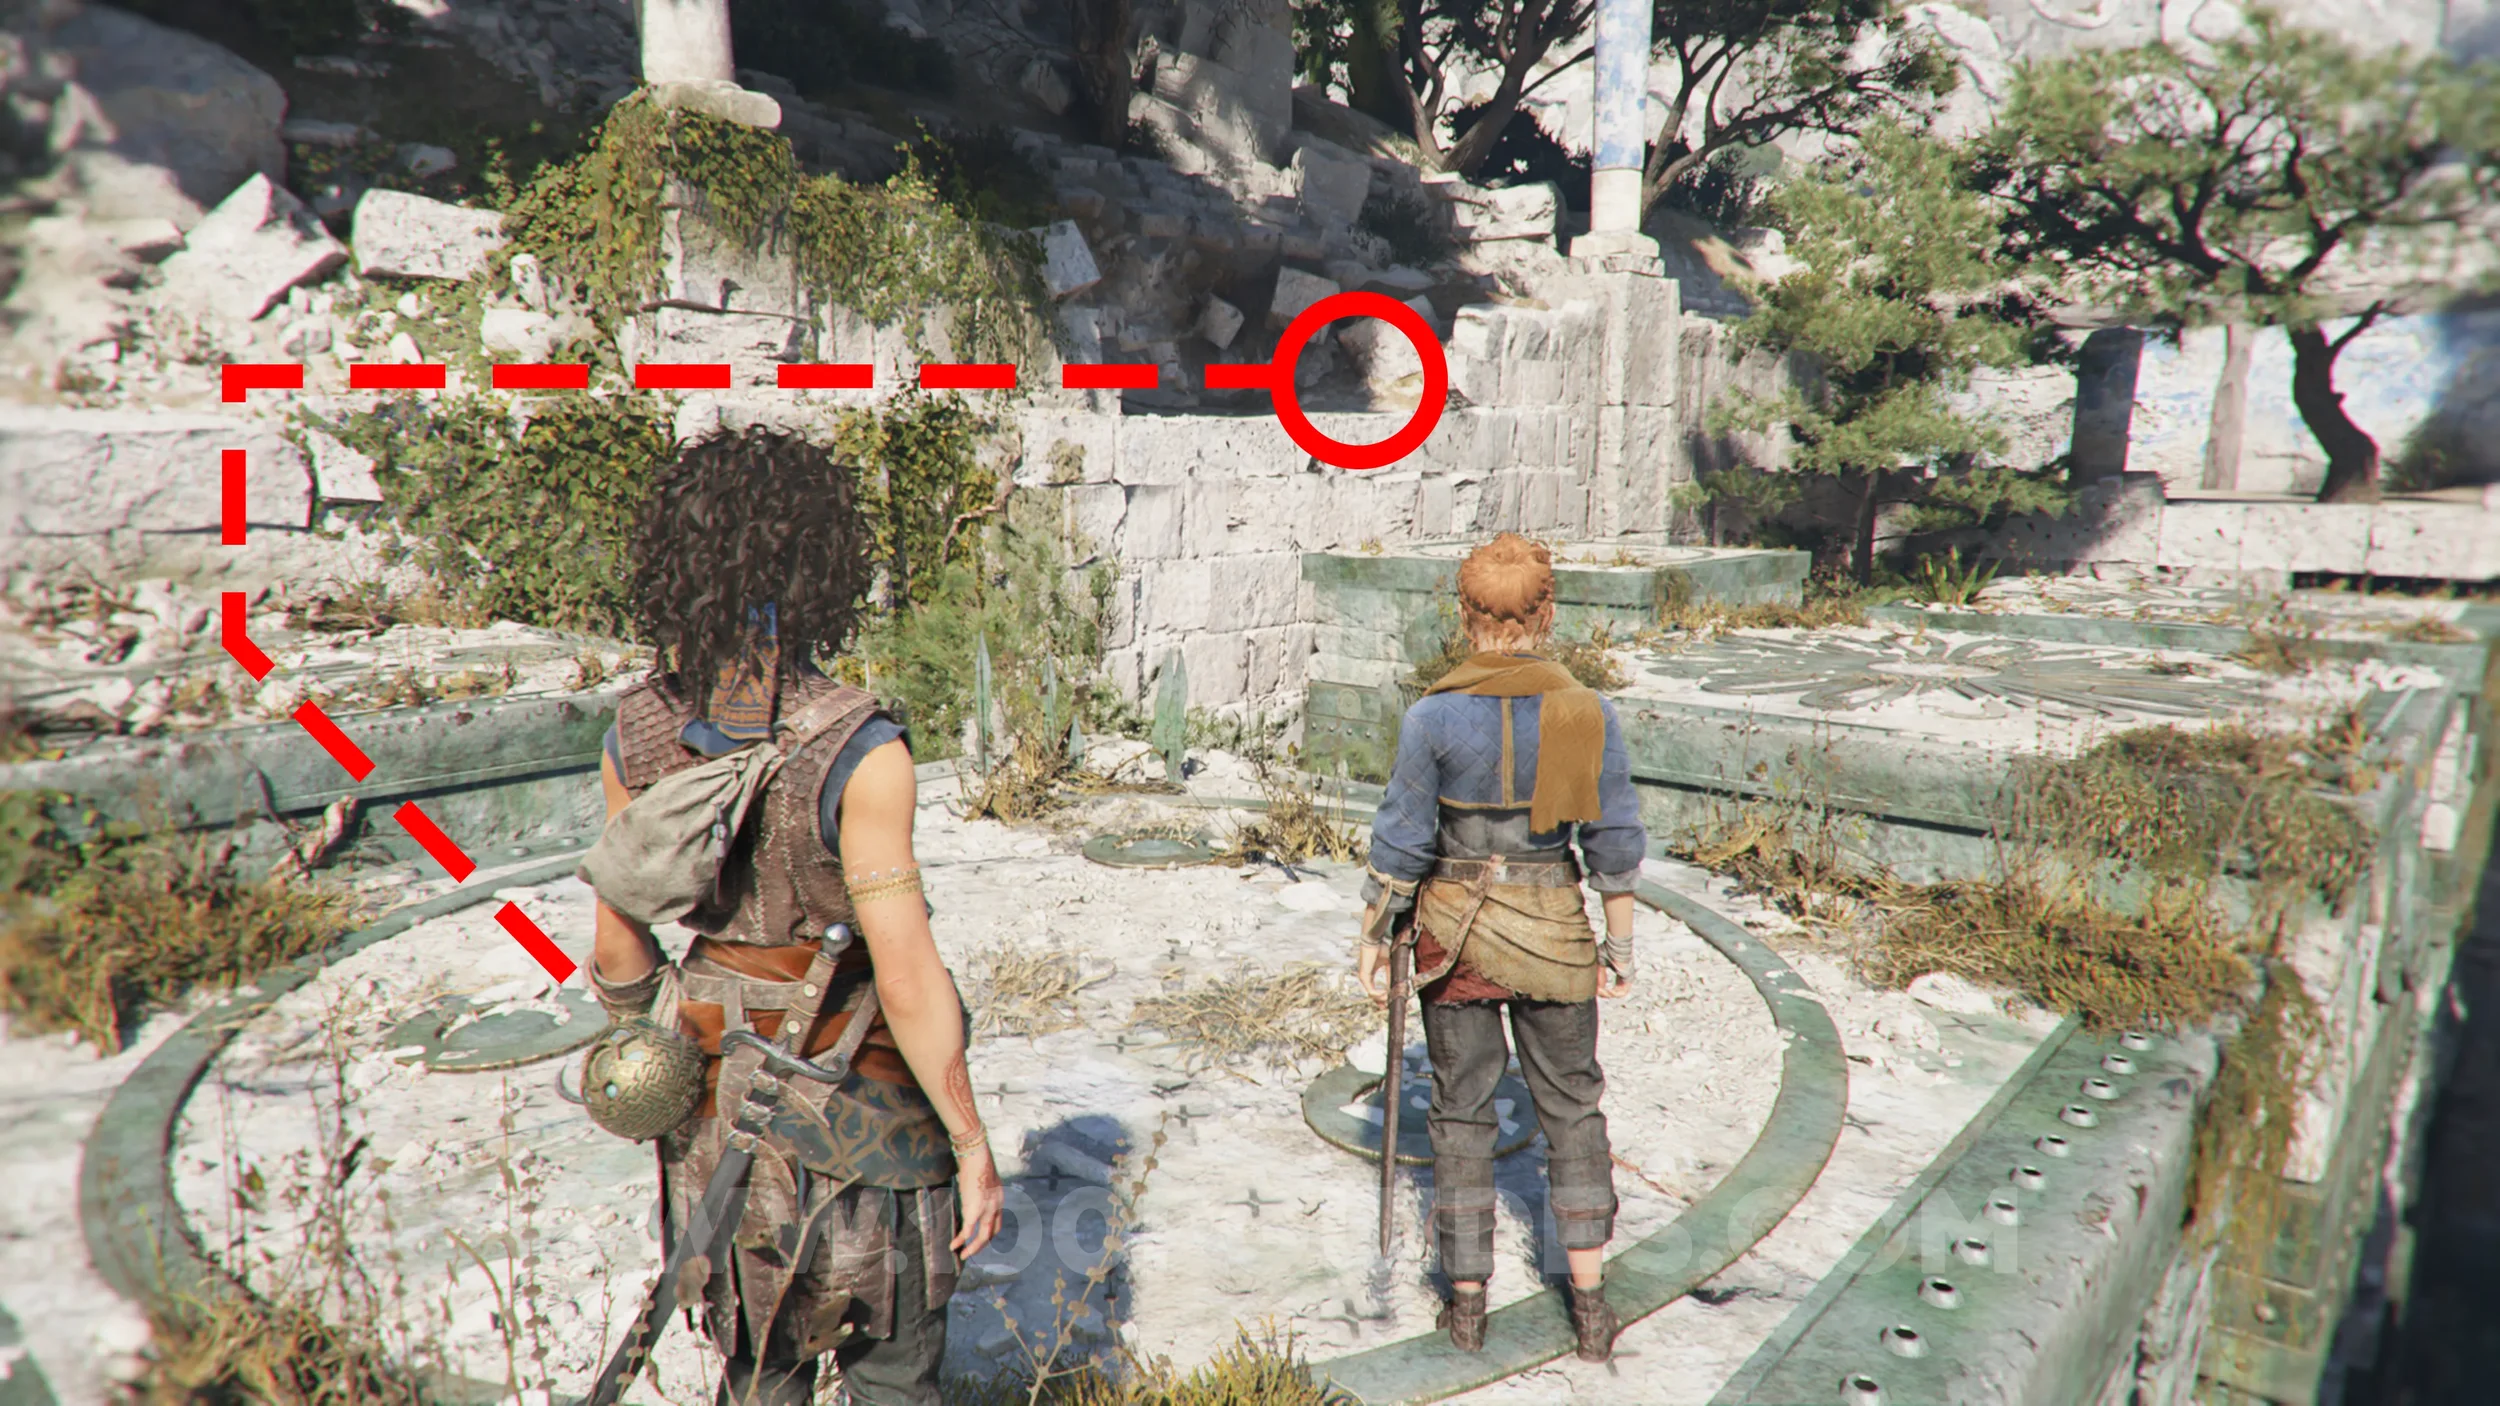
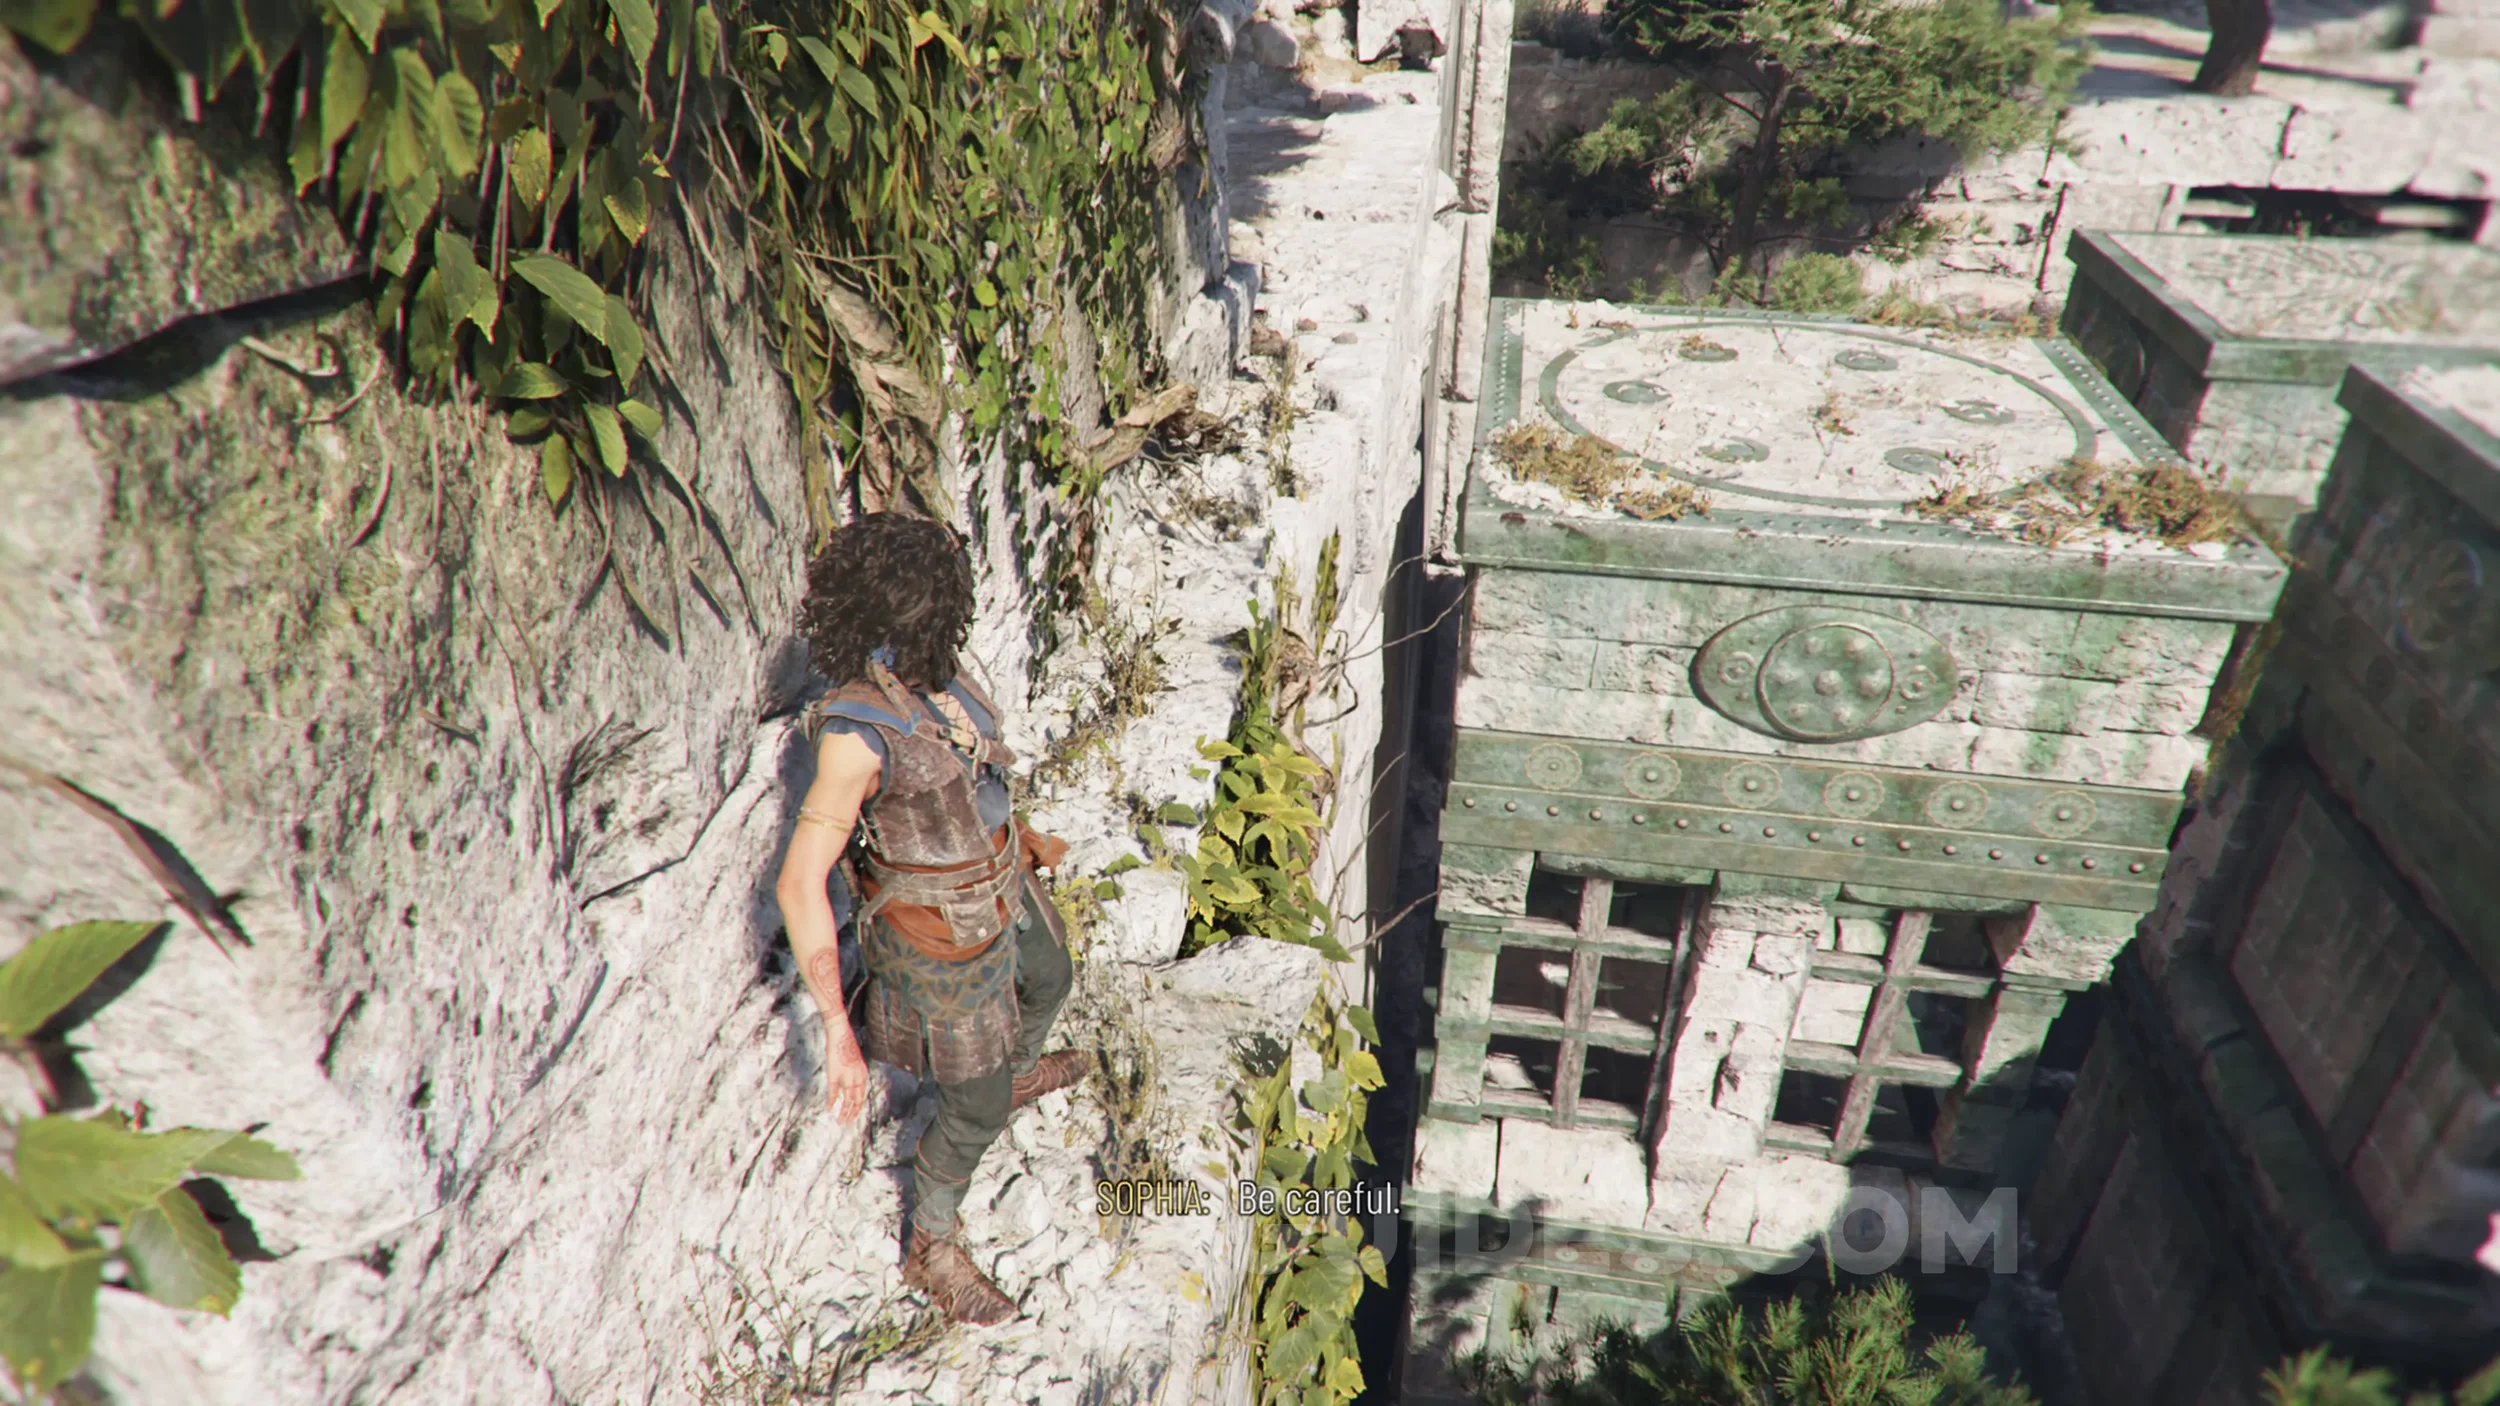
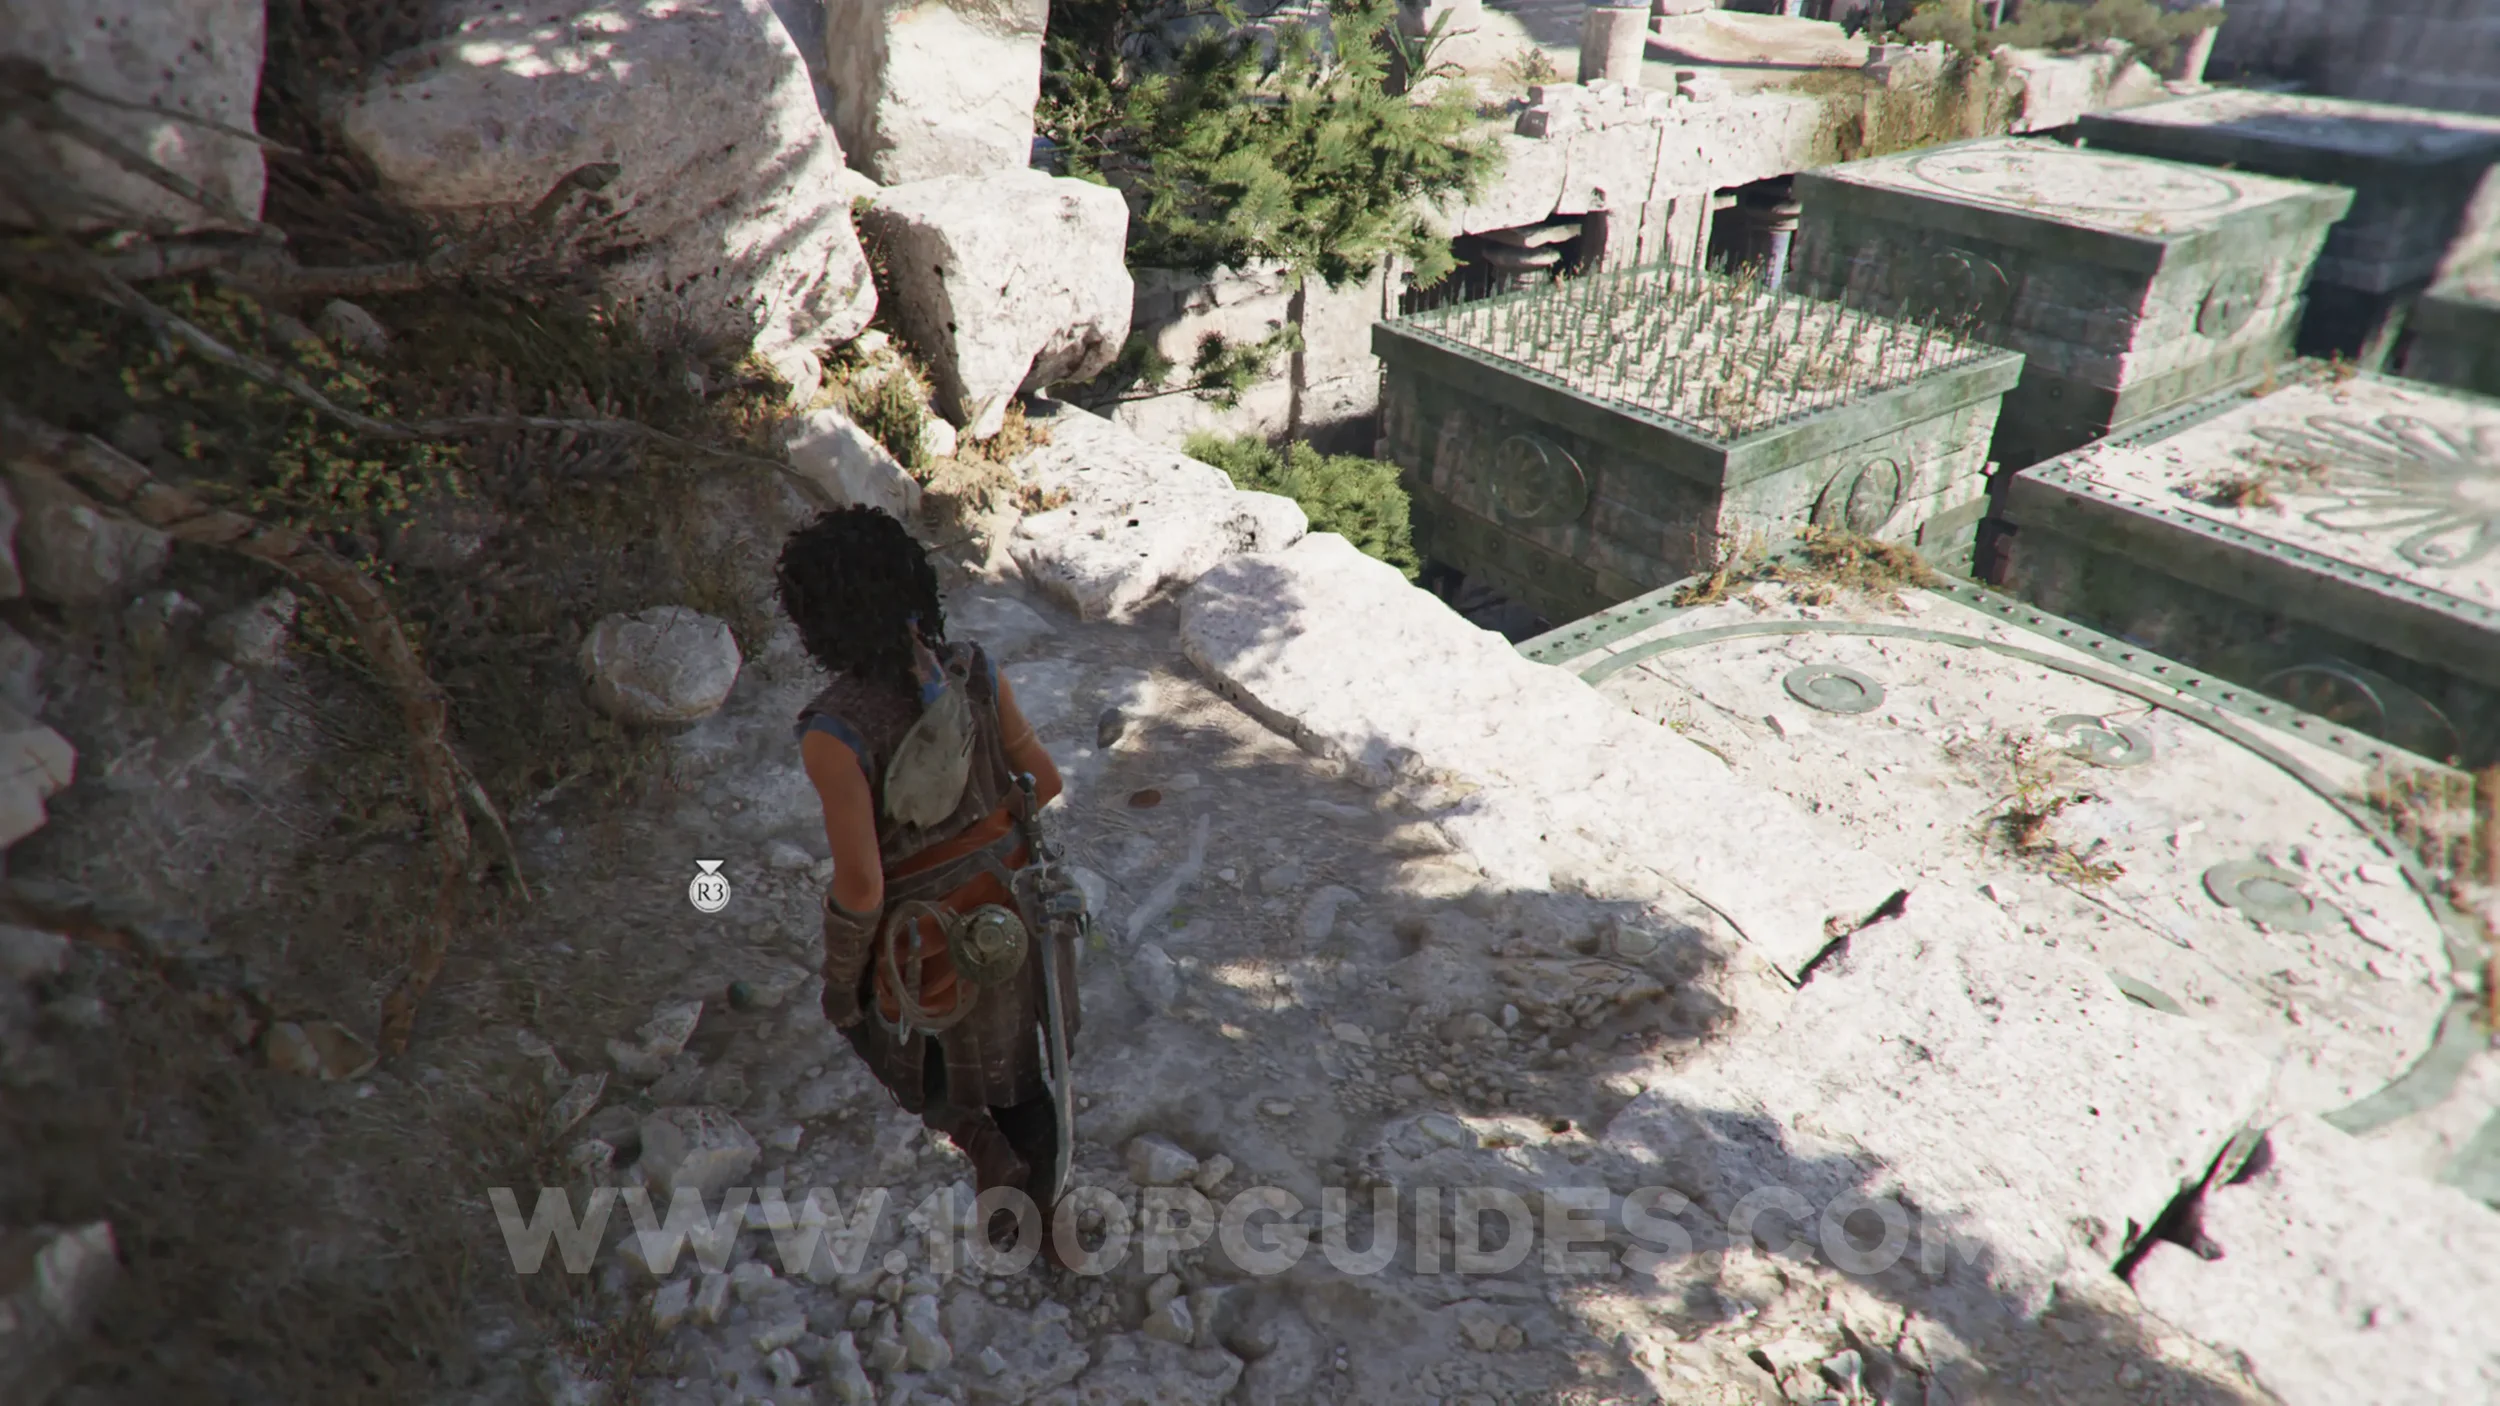
Resonance Point
Chapter 5: Sub-Chapter 3.
On the ground to the left of the third symbol.
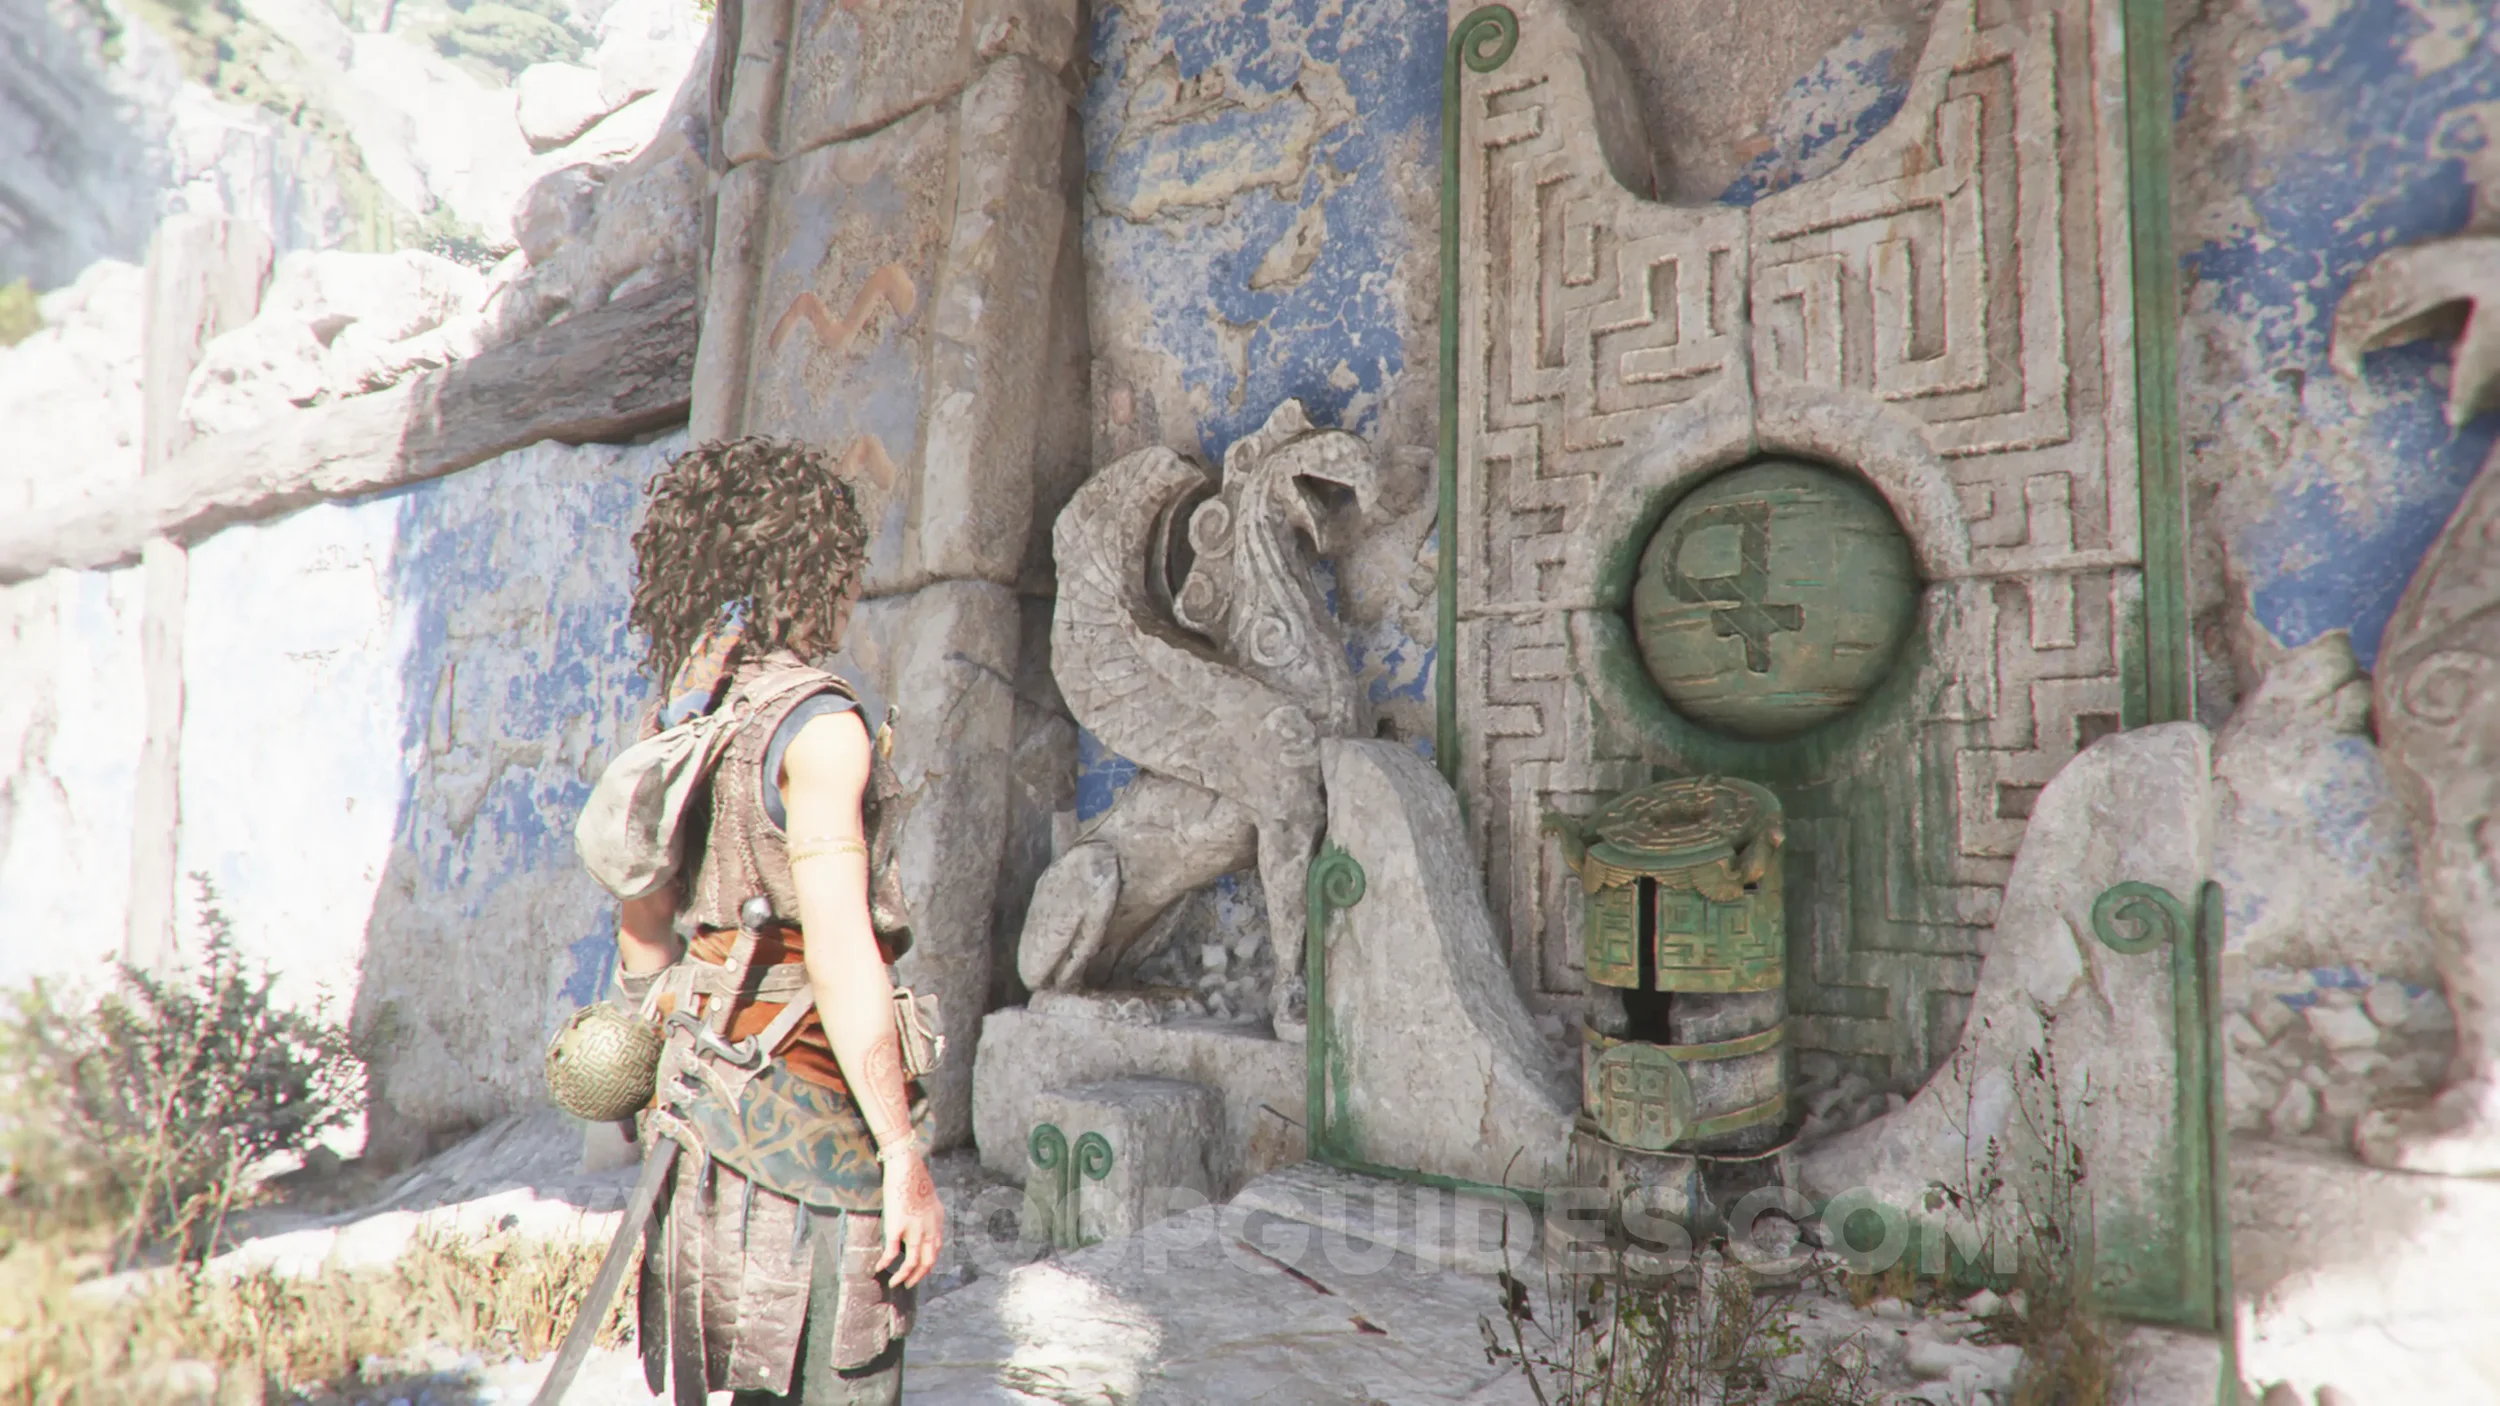
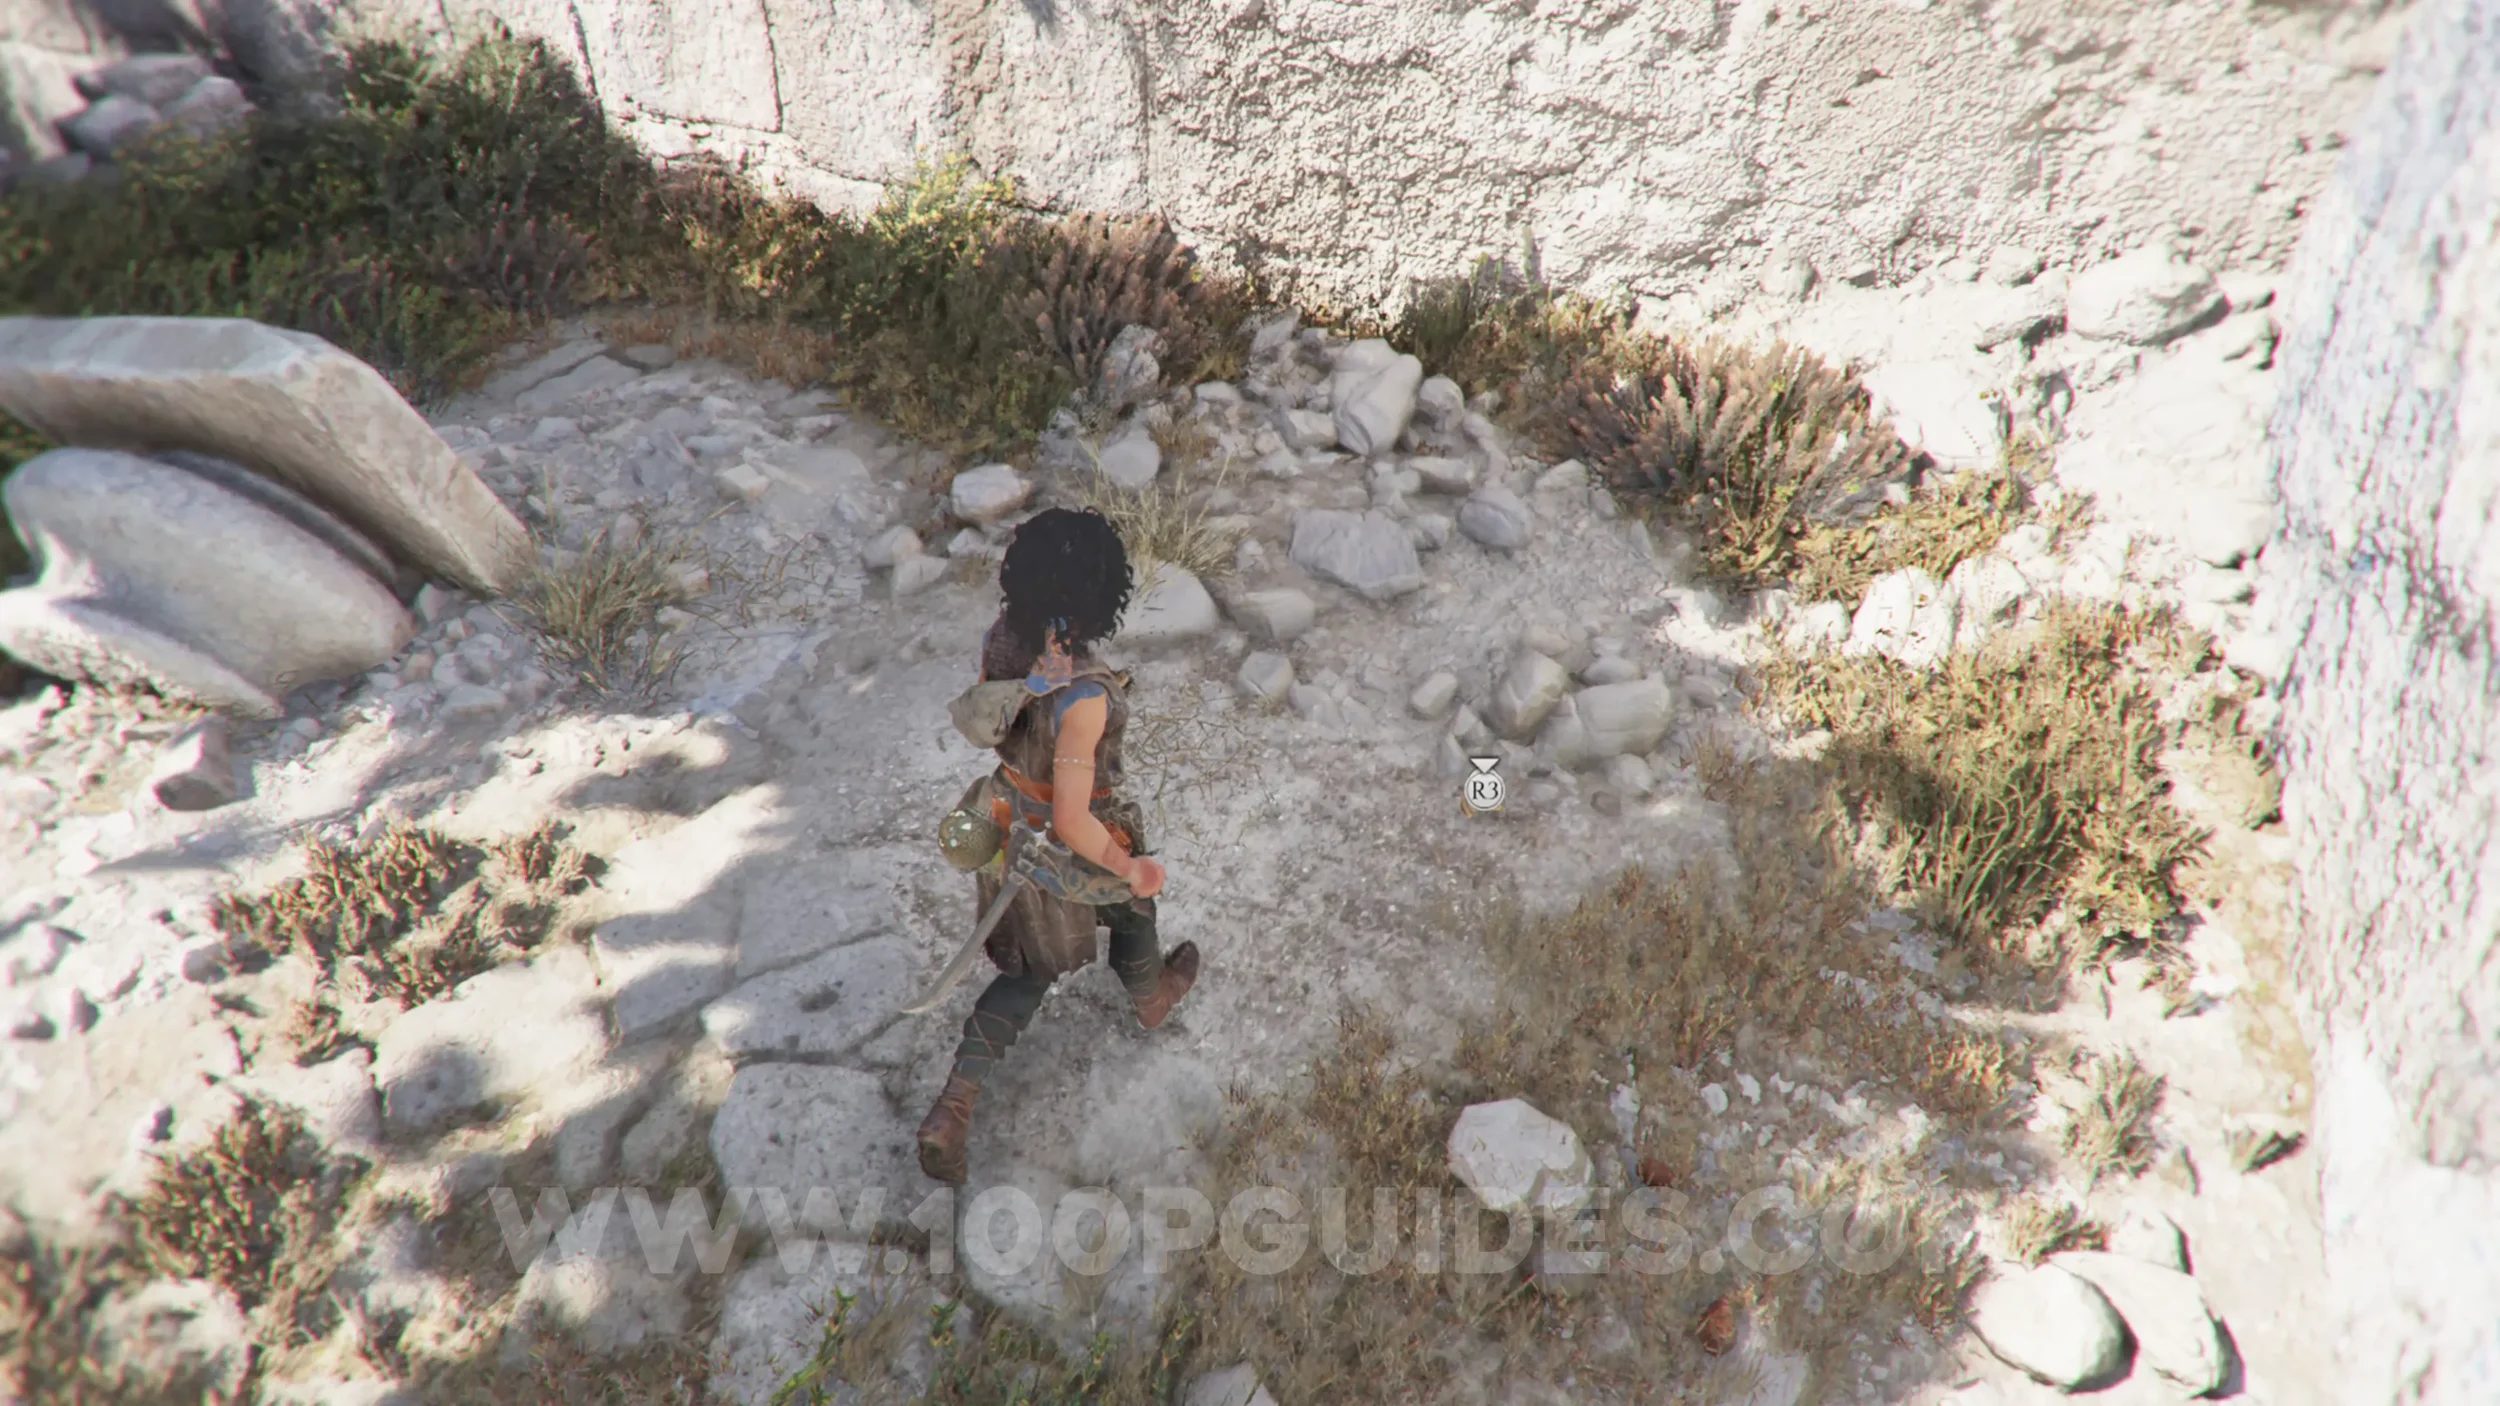
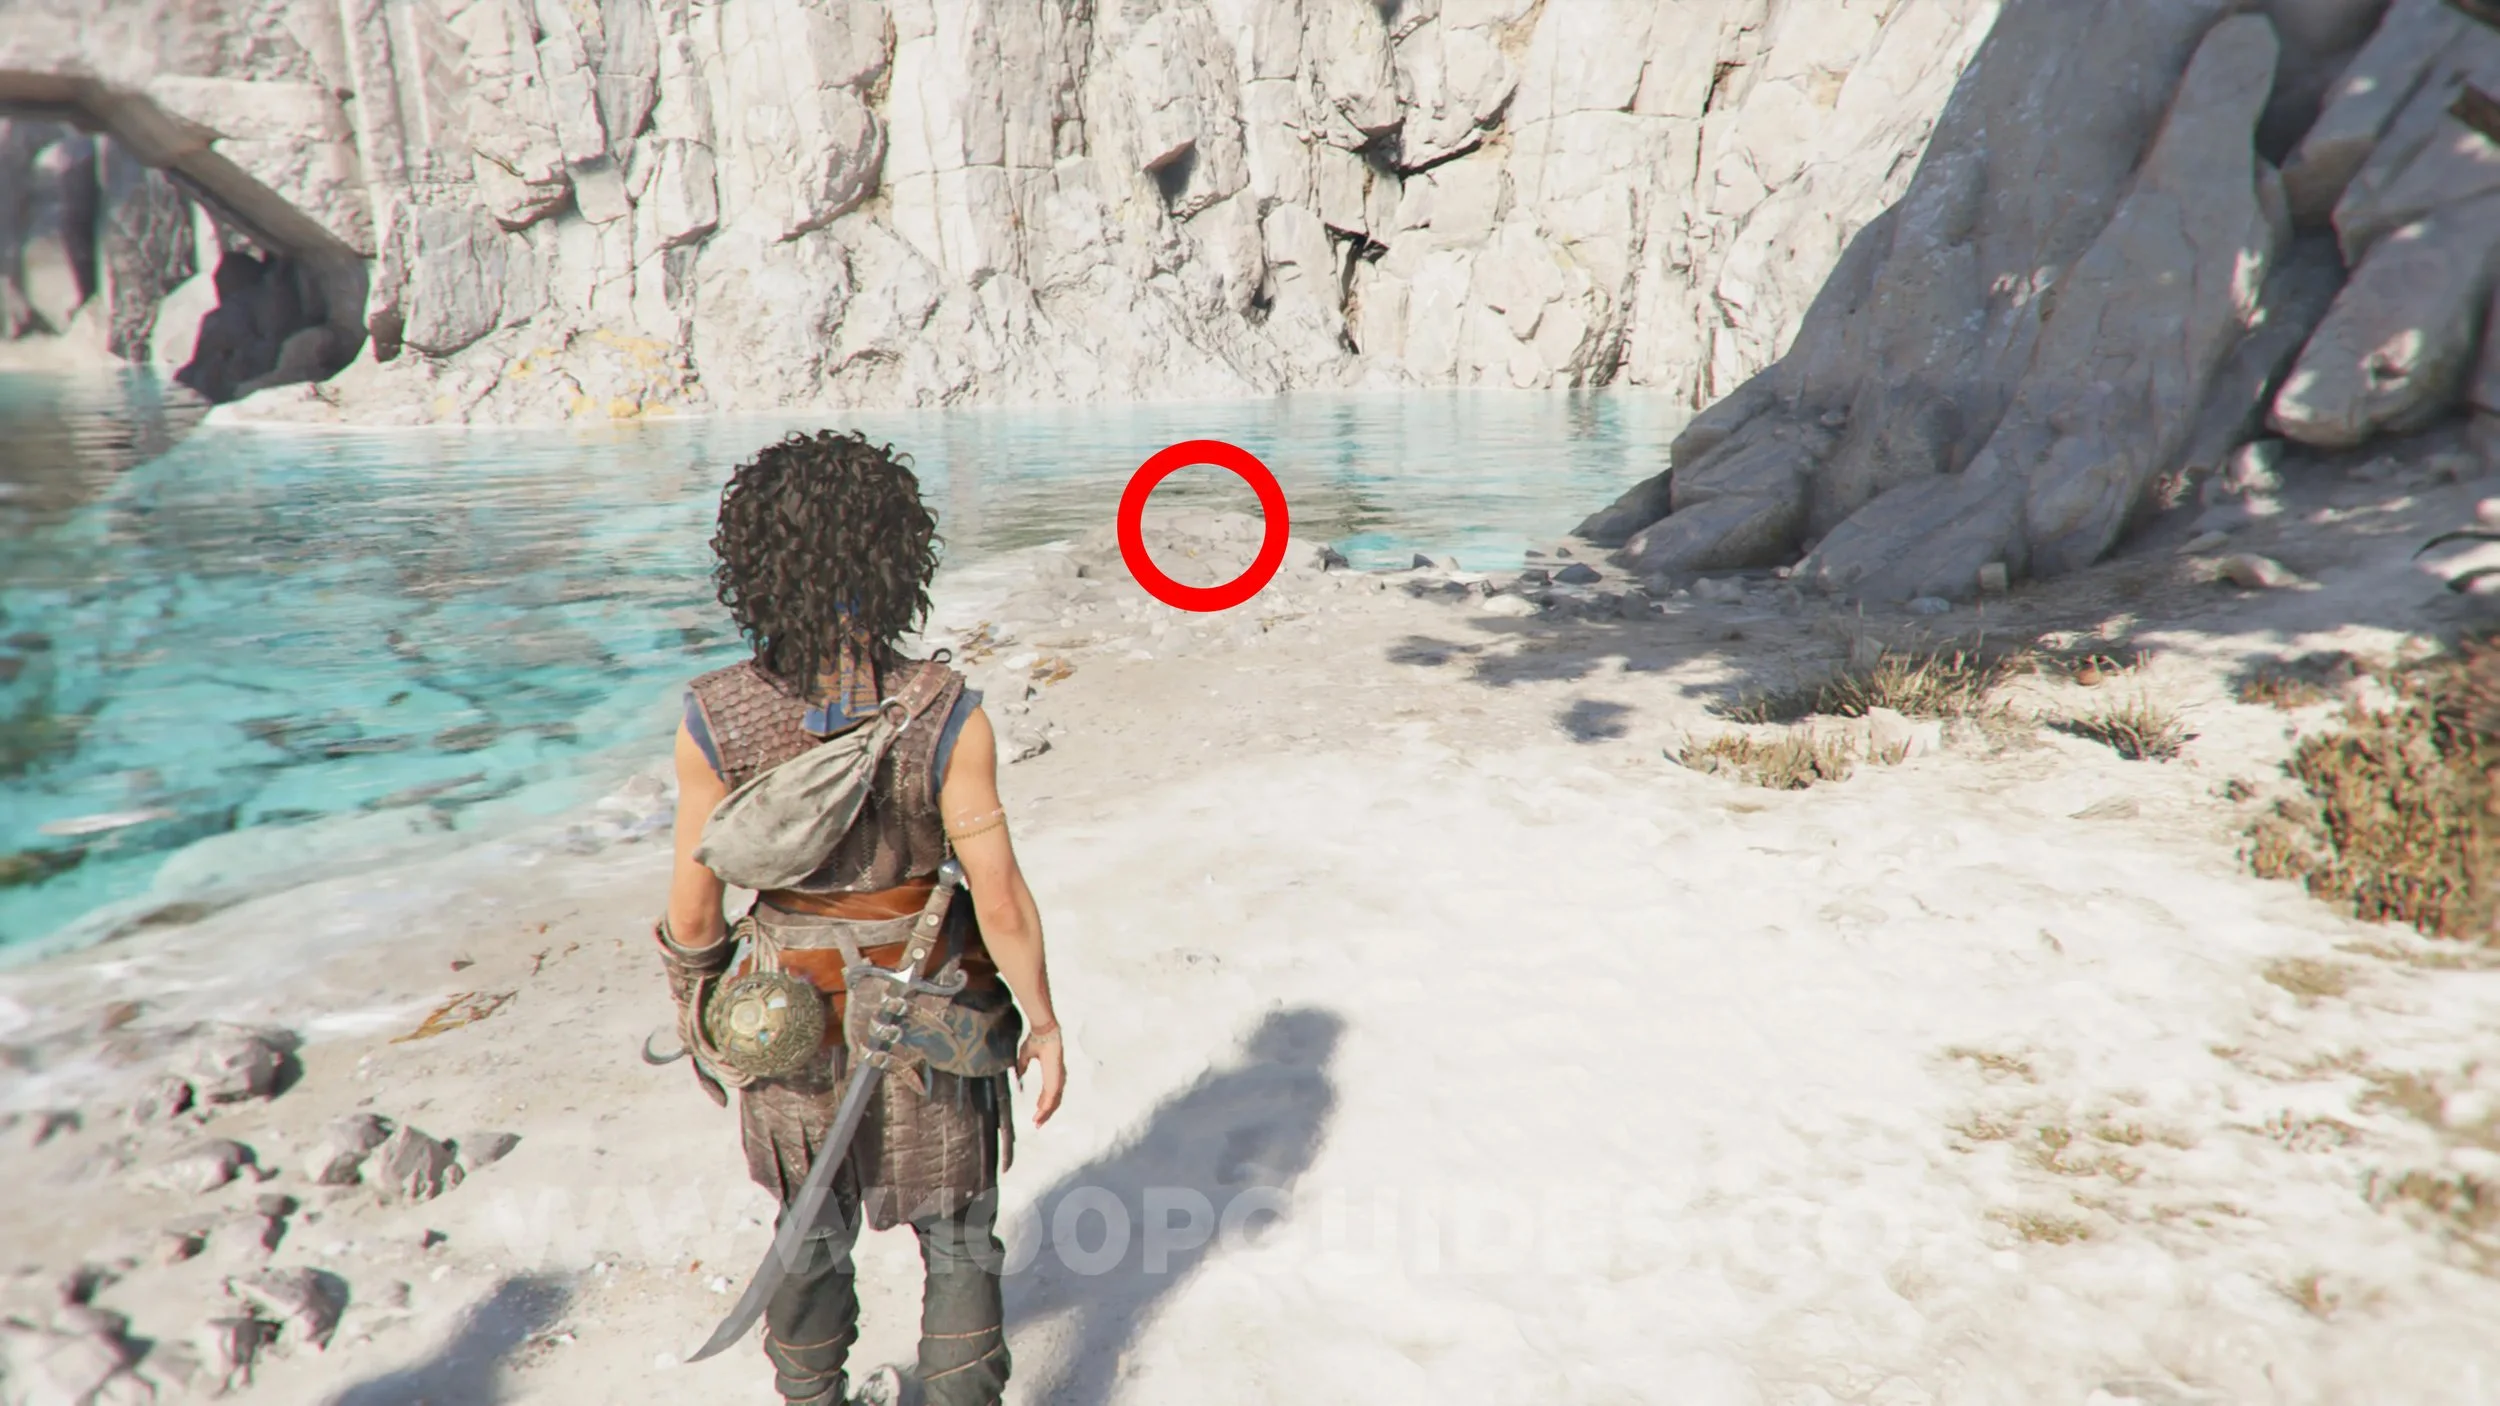
Resonance Point
Chapter 5: Sub-Chapter 3.
After getting the third symbol, leave via the zipline. At the bottom, you'll see the resonance point on the beach to your left.
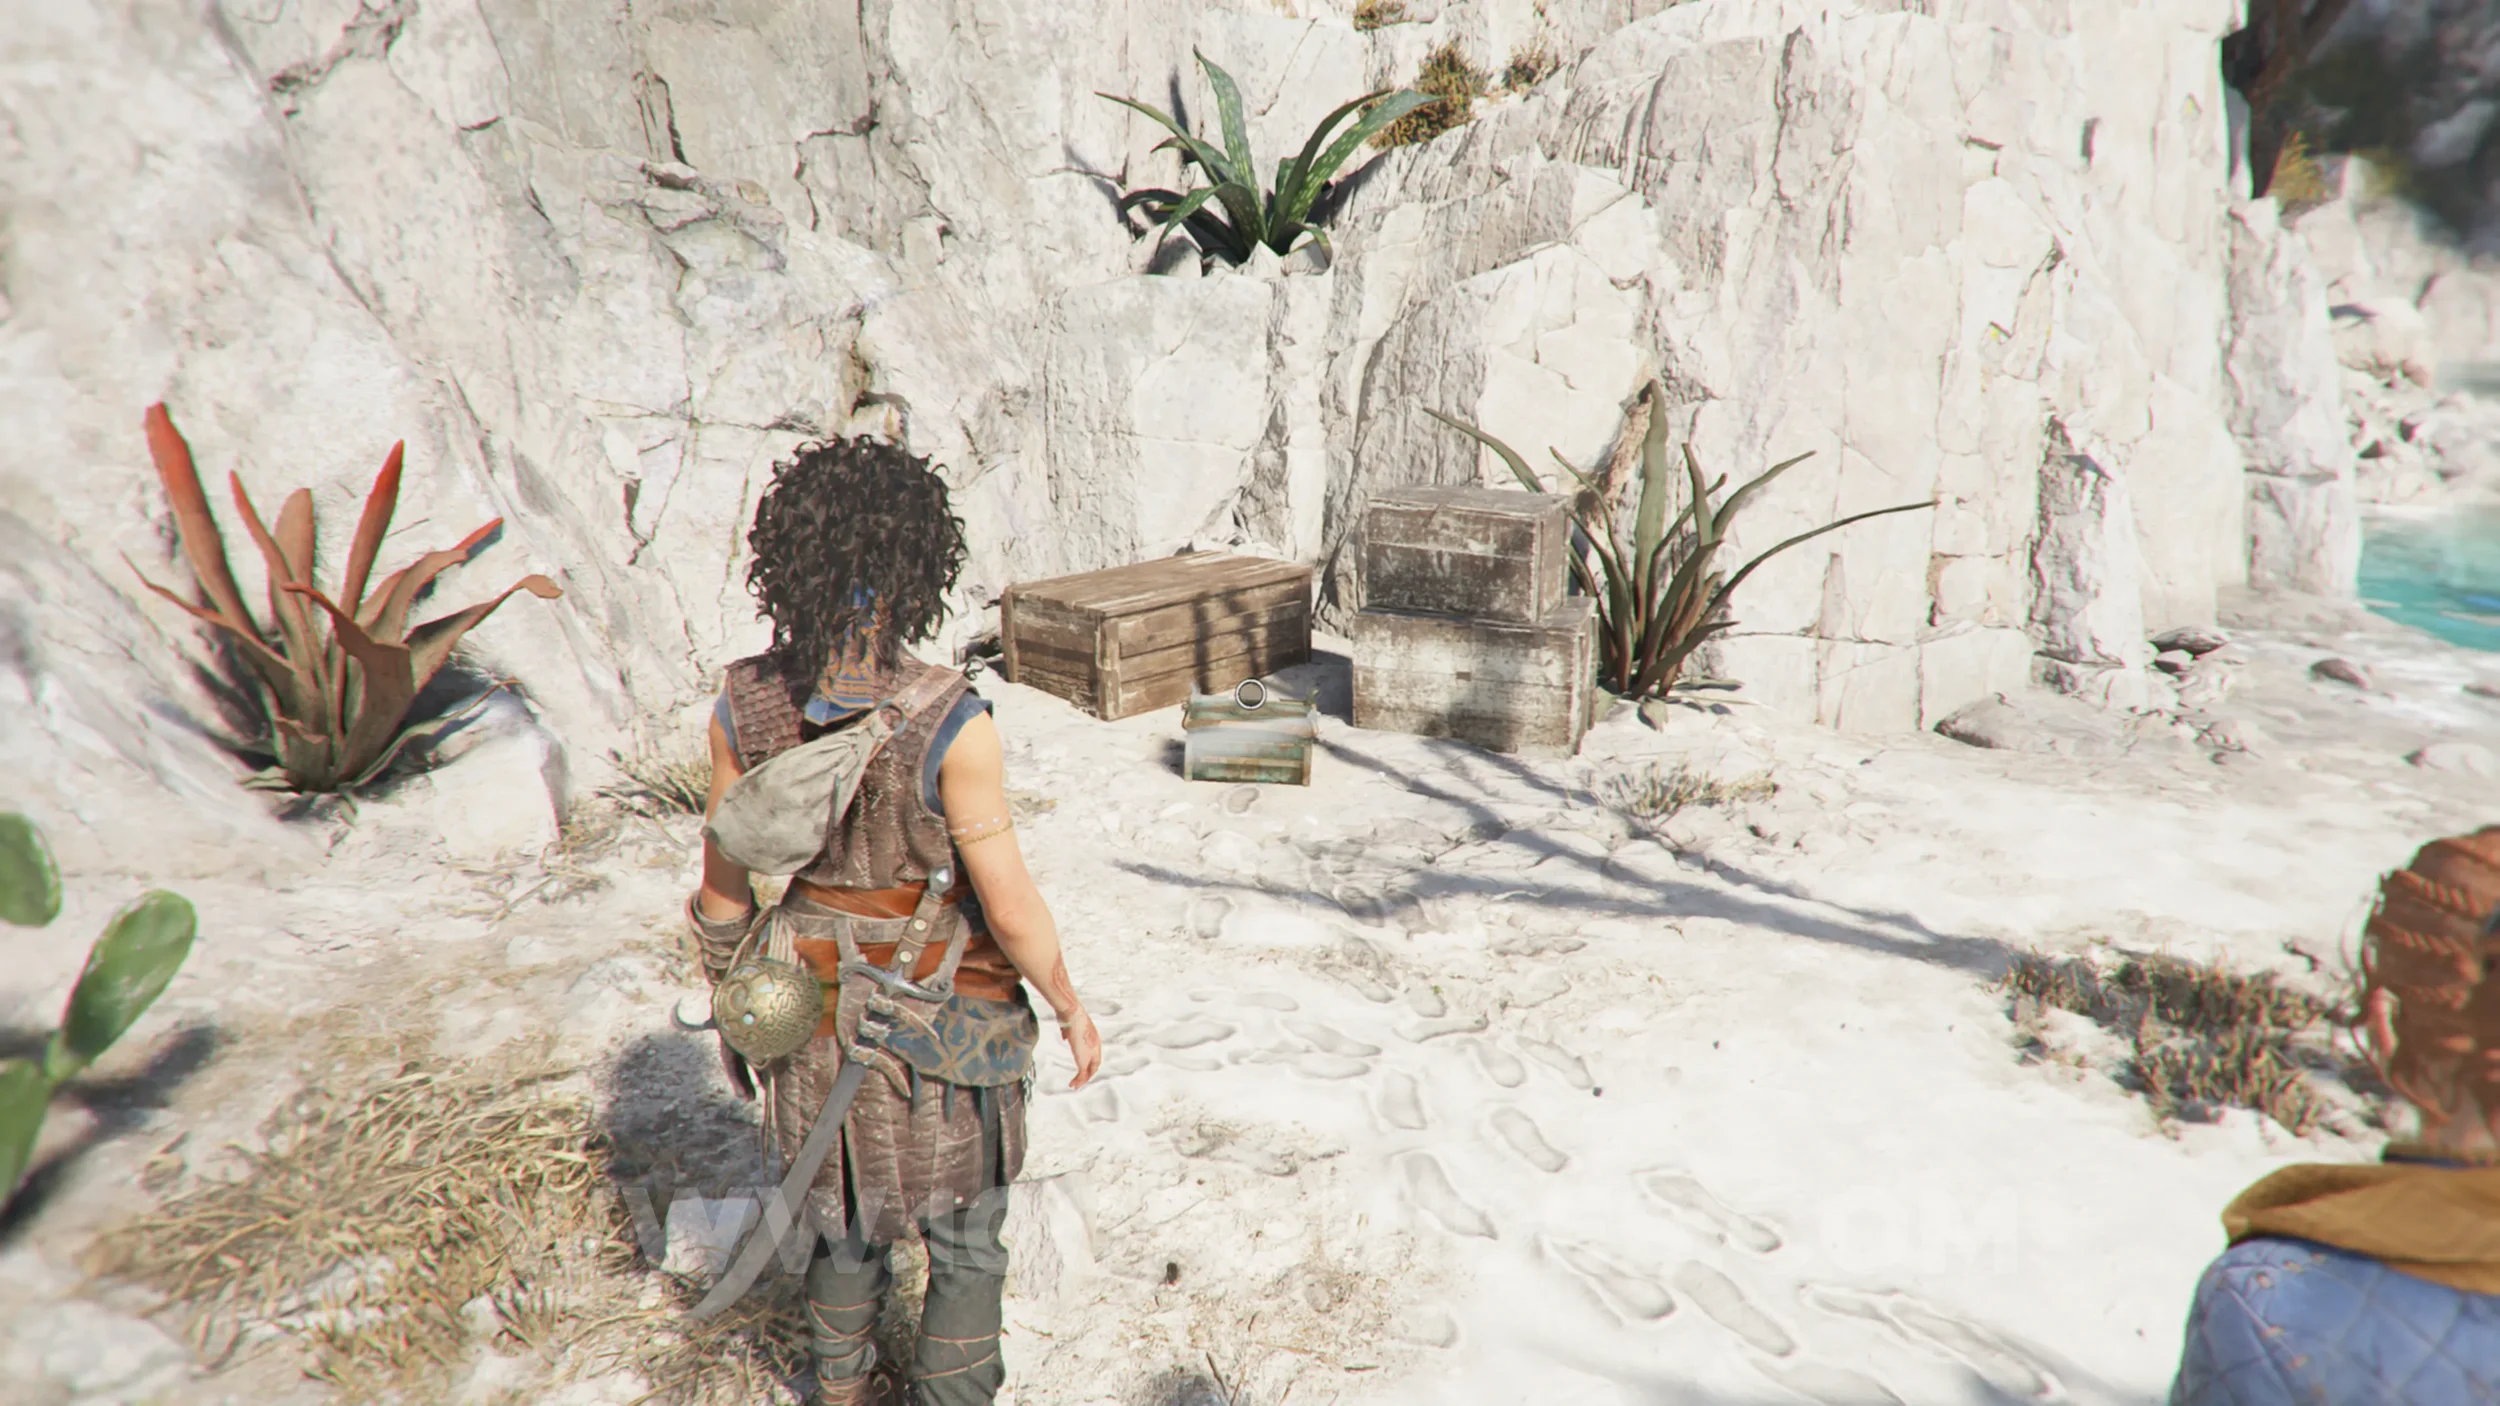
Charm: Arm Band #3
Chapter 5: Sub-Chapter 3.
On the same beach as the previous collectible, this time go right all the way to the end.
Chapter 6
Resonance Point
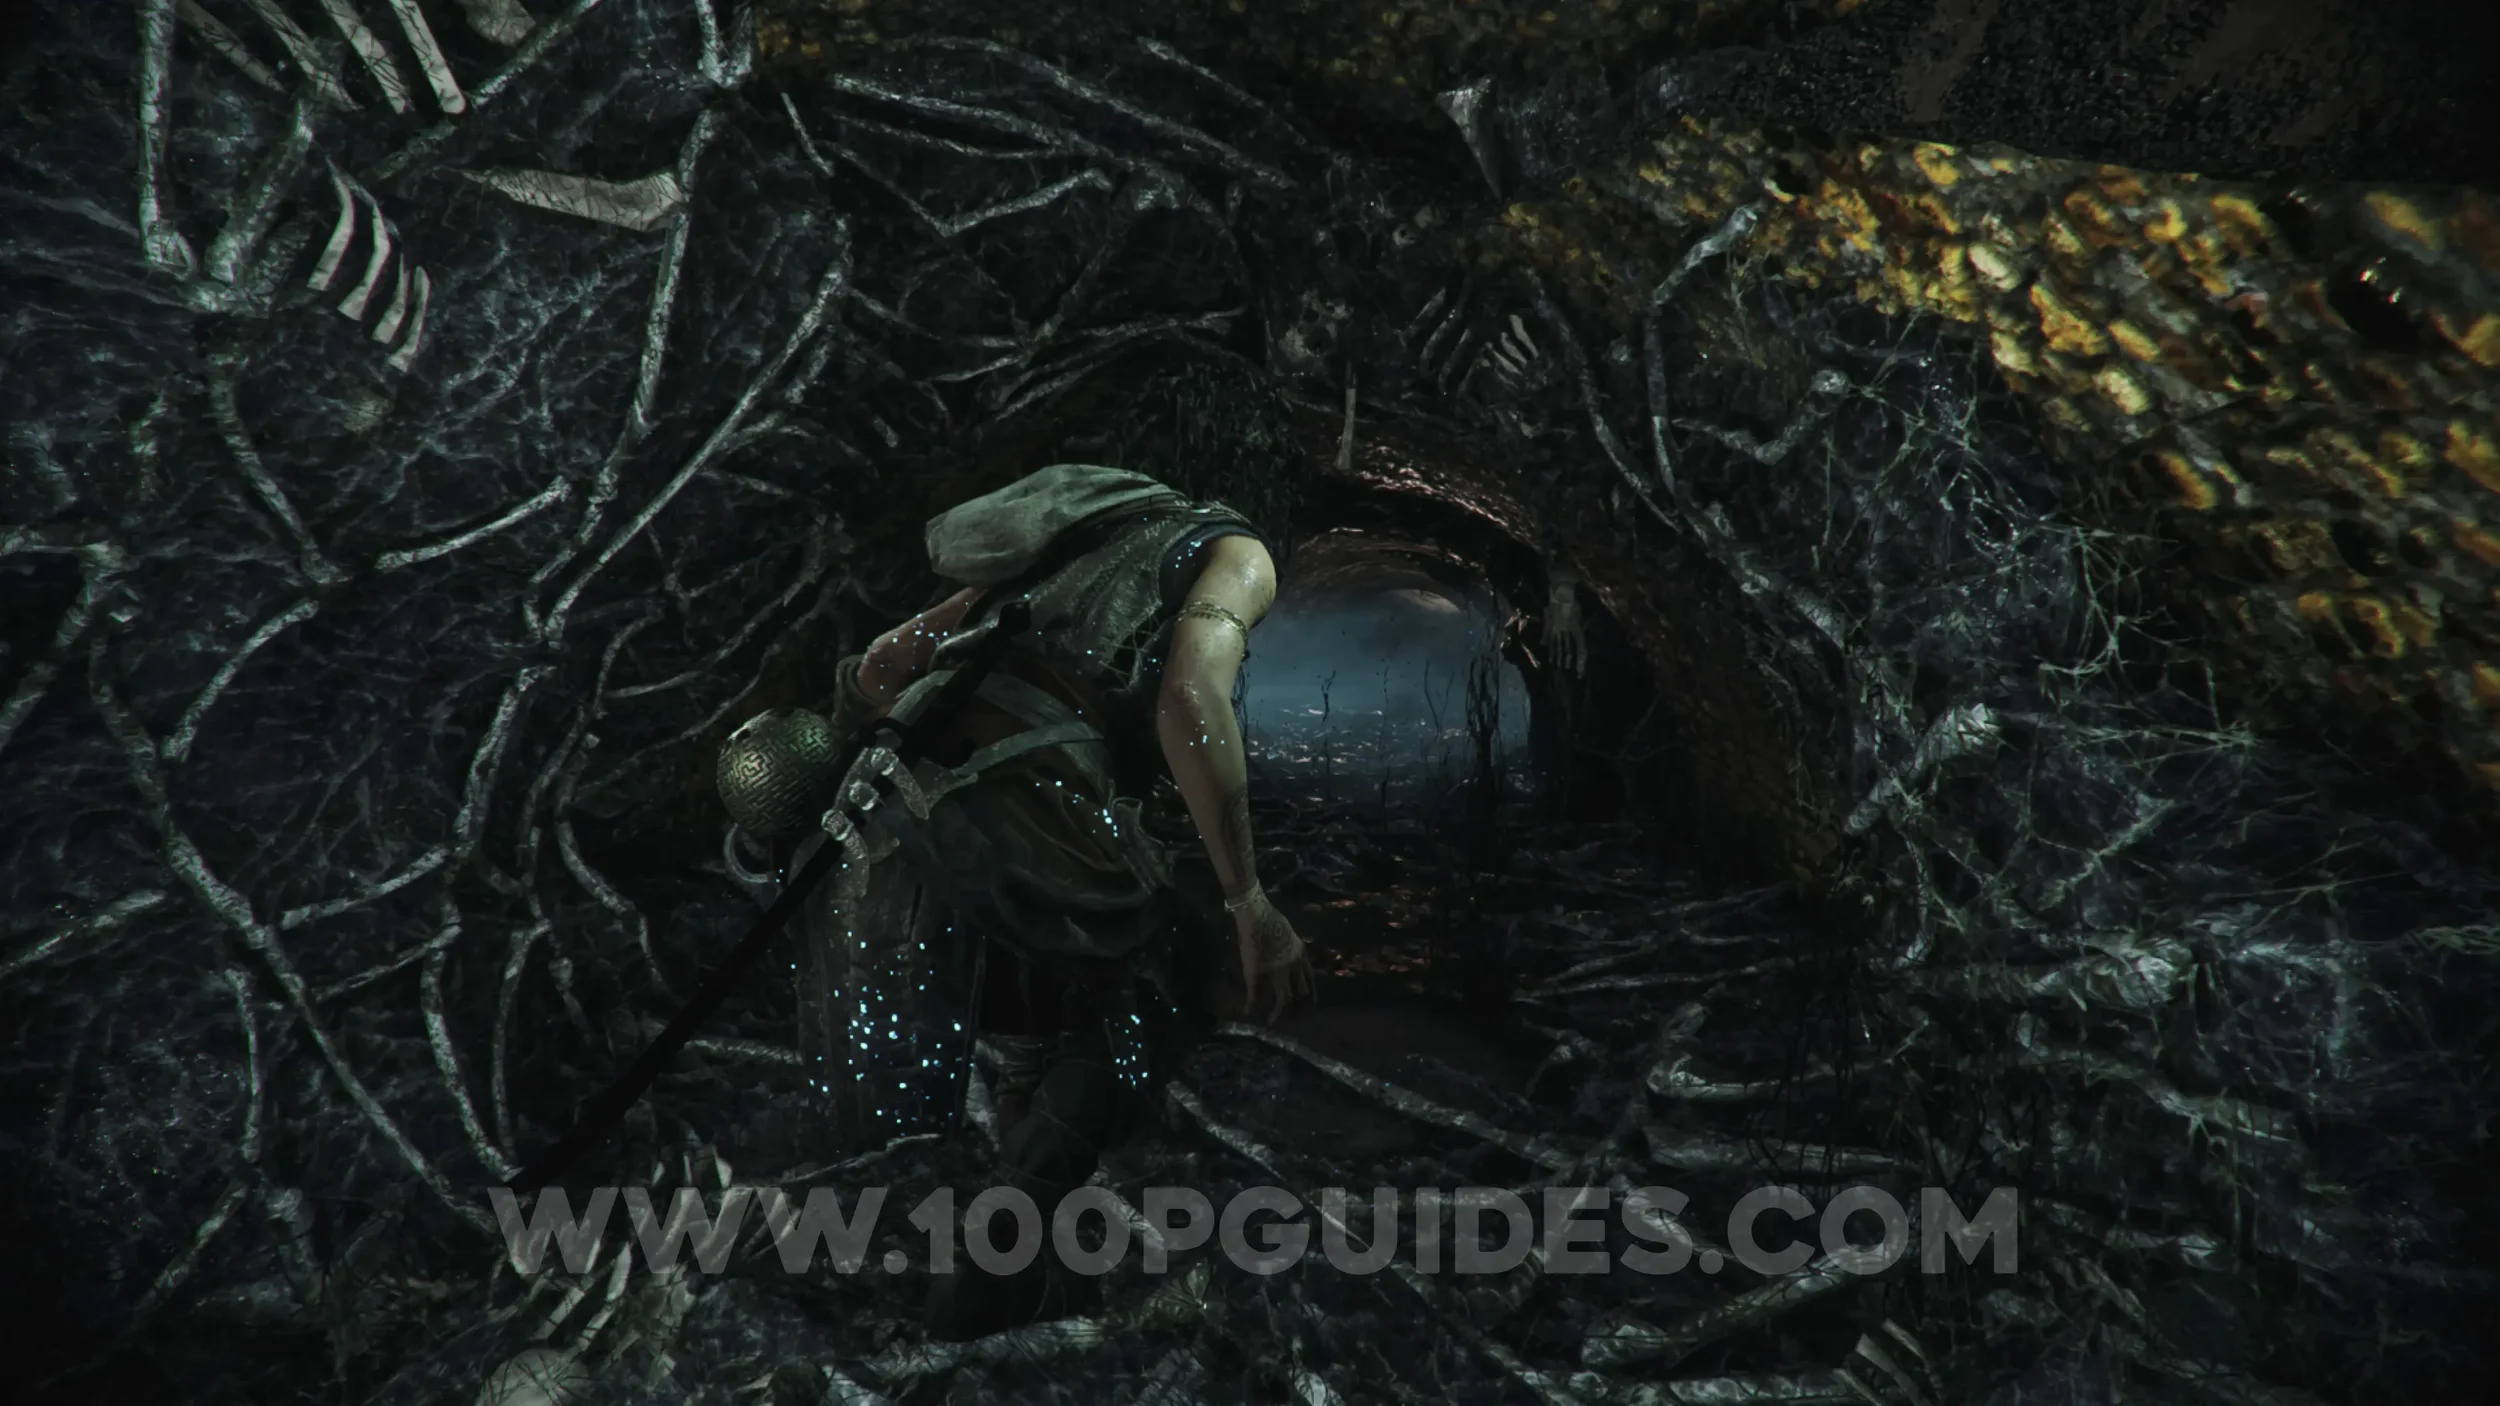
Chapter 6: Sub-Chapter 1.
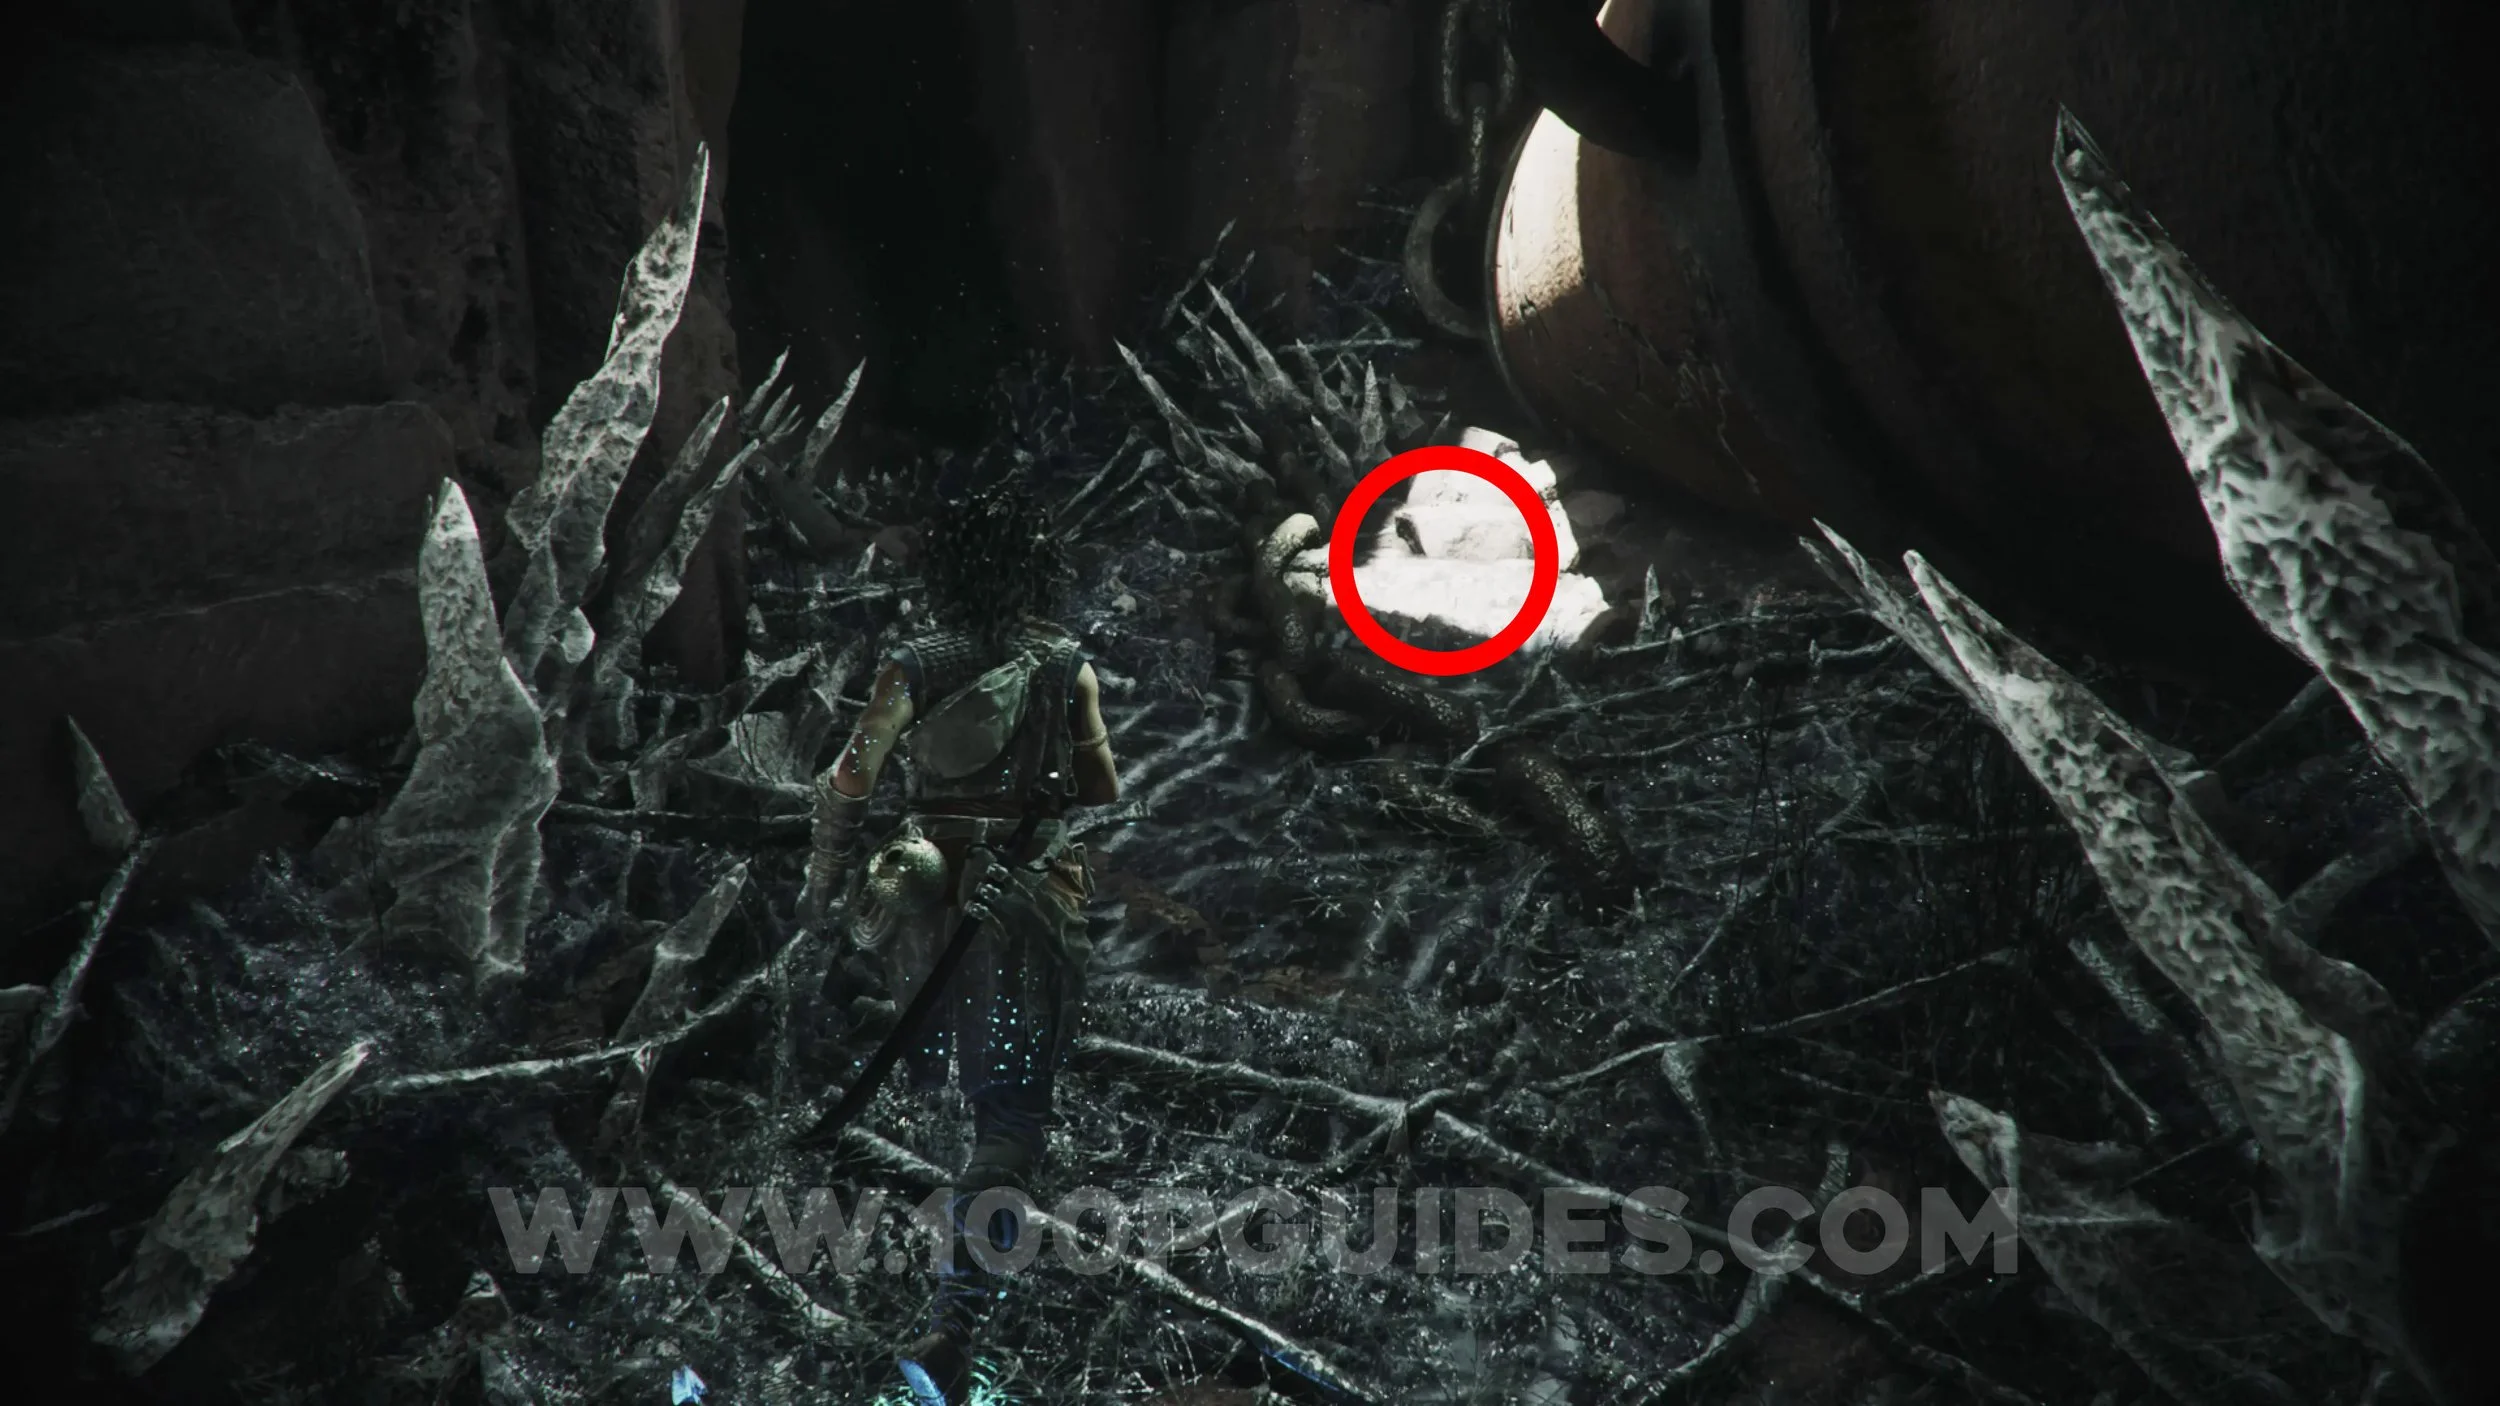
At the start of the chapter, you'll go through a pipe with black stuff, then use a broken fragment of pipe as a small ramp. You'll then see a small patch of sunlight on your right. The collectible will be in that sunlight.
Resonance Point
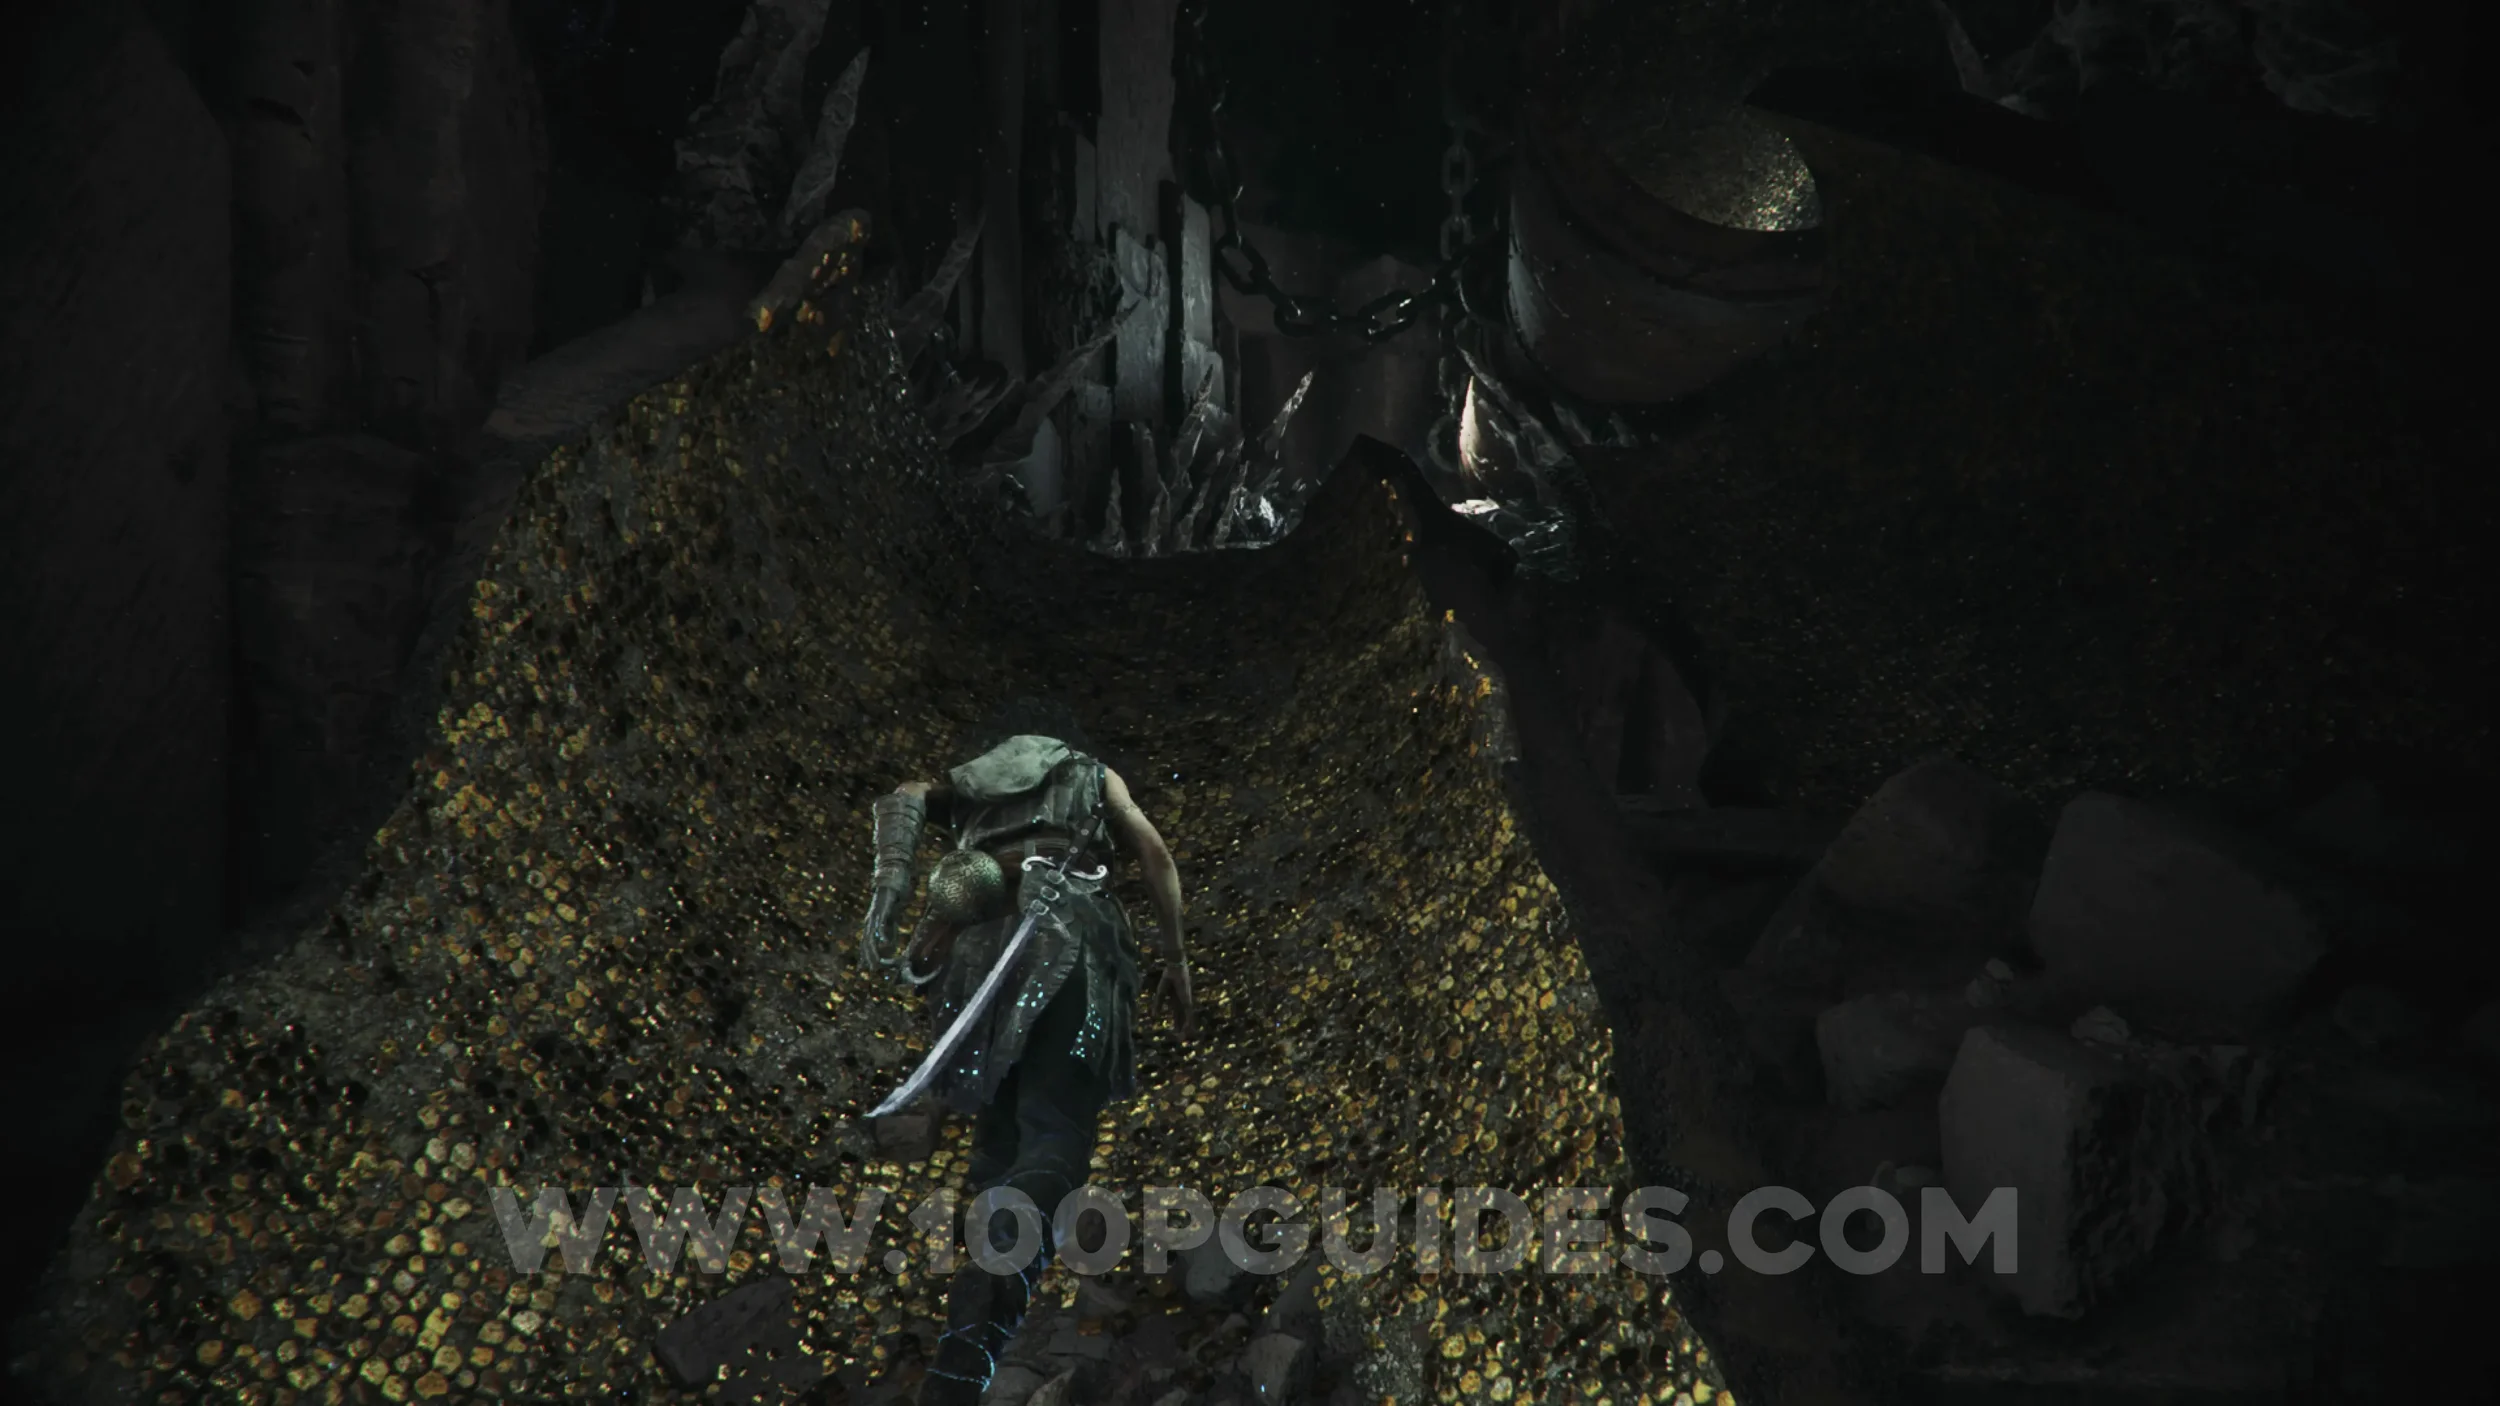
Chapter 6: Sub-Chapter 2.
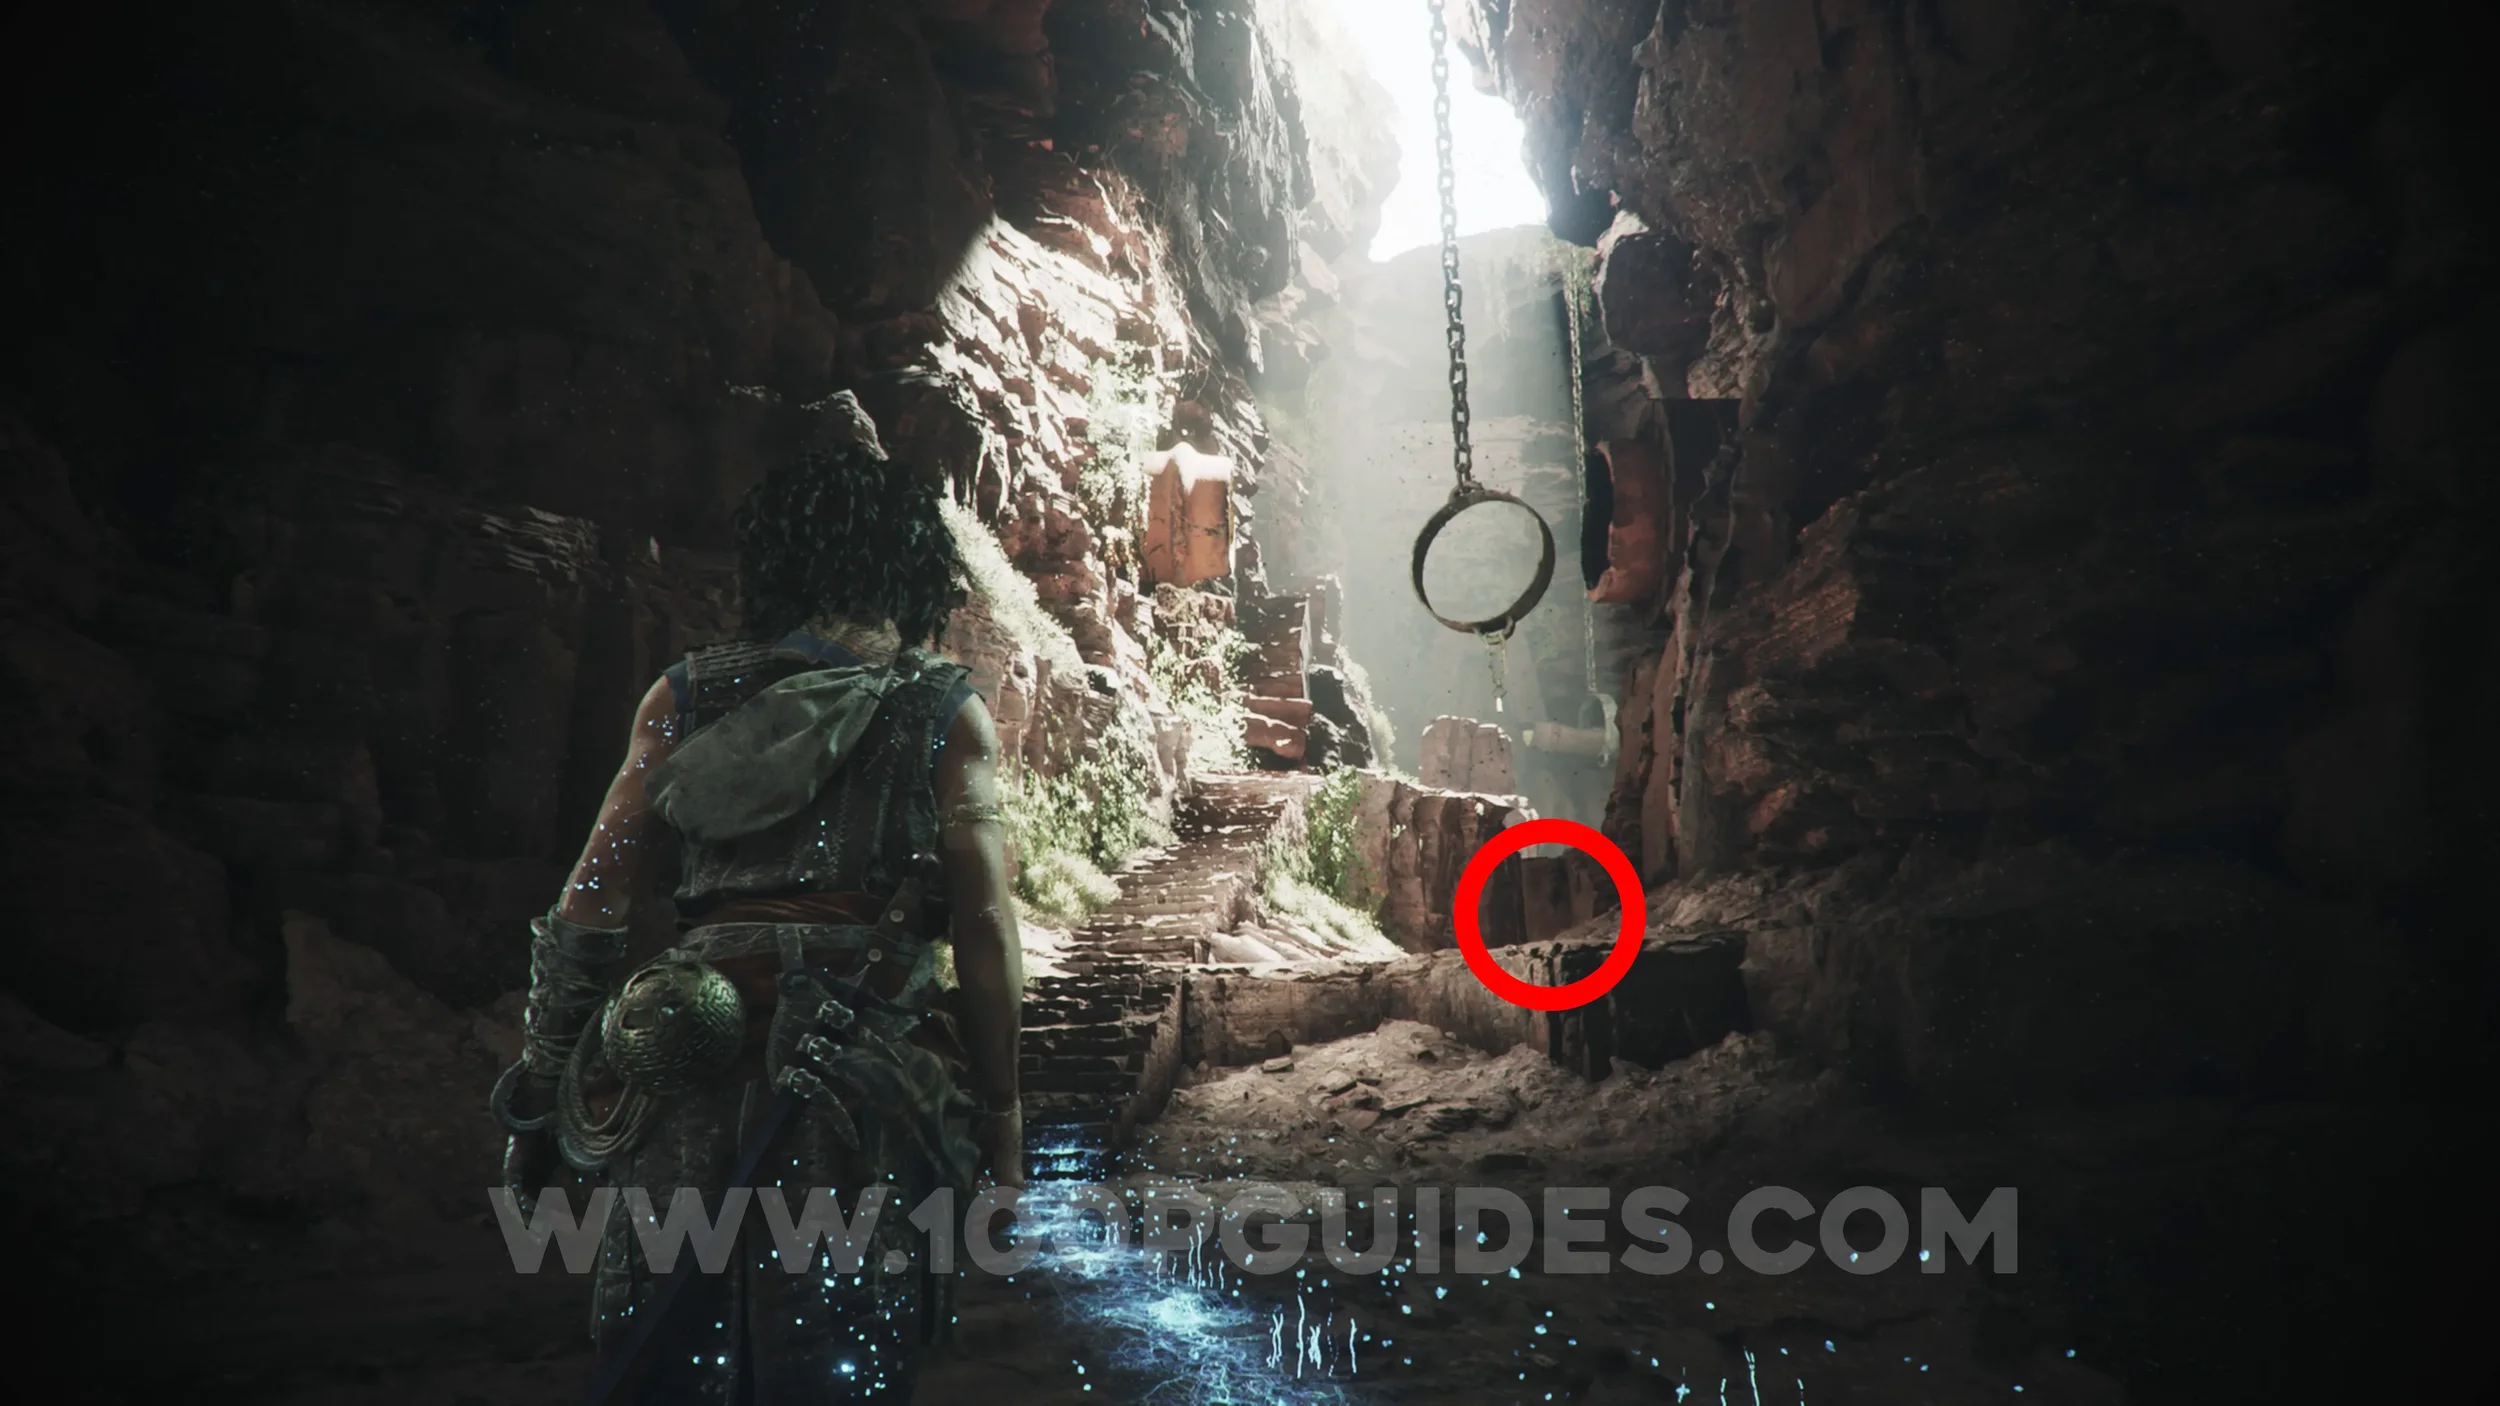
After avoiding the beast for the first time, you'll reach the top of the hill and see some stairs in the light, with a ring hanging on a chain. The resonance point can be found on the ground to the right of the stairs.
Resonance Point
Chapter 6: Sub-Chapter 2.
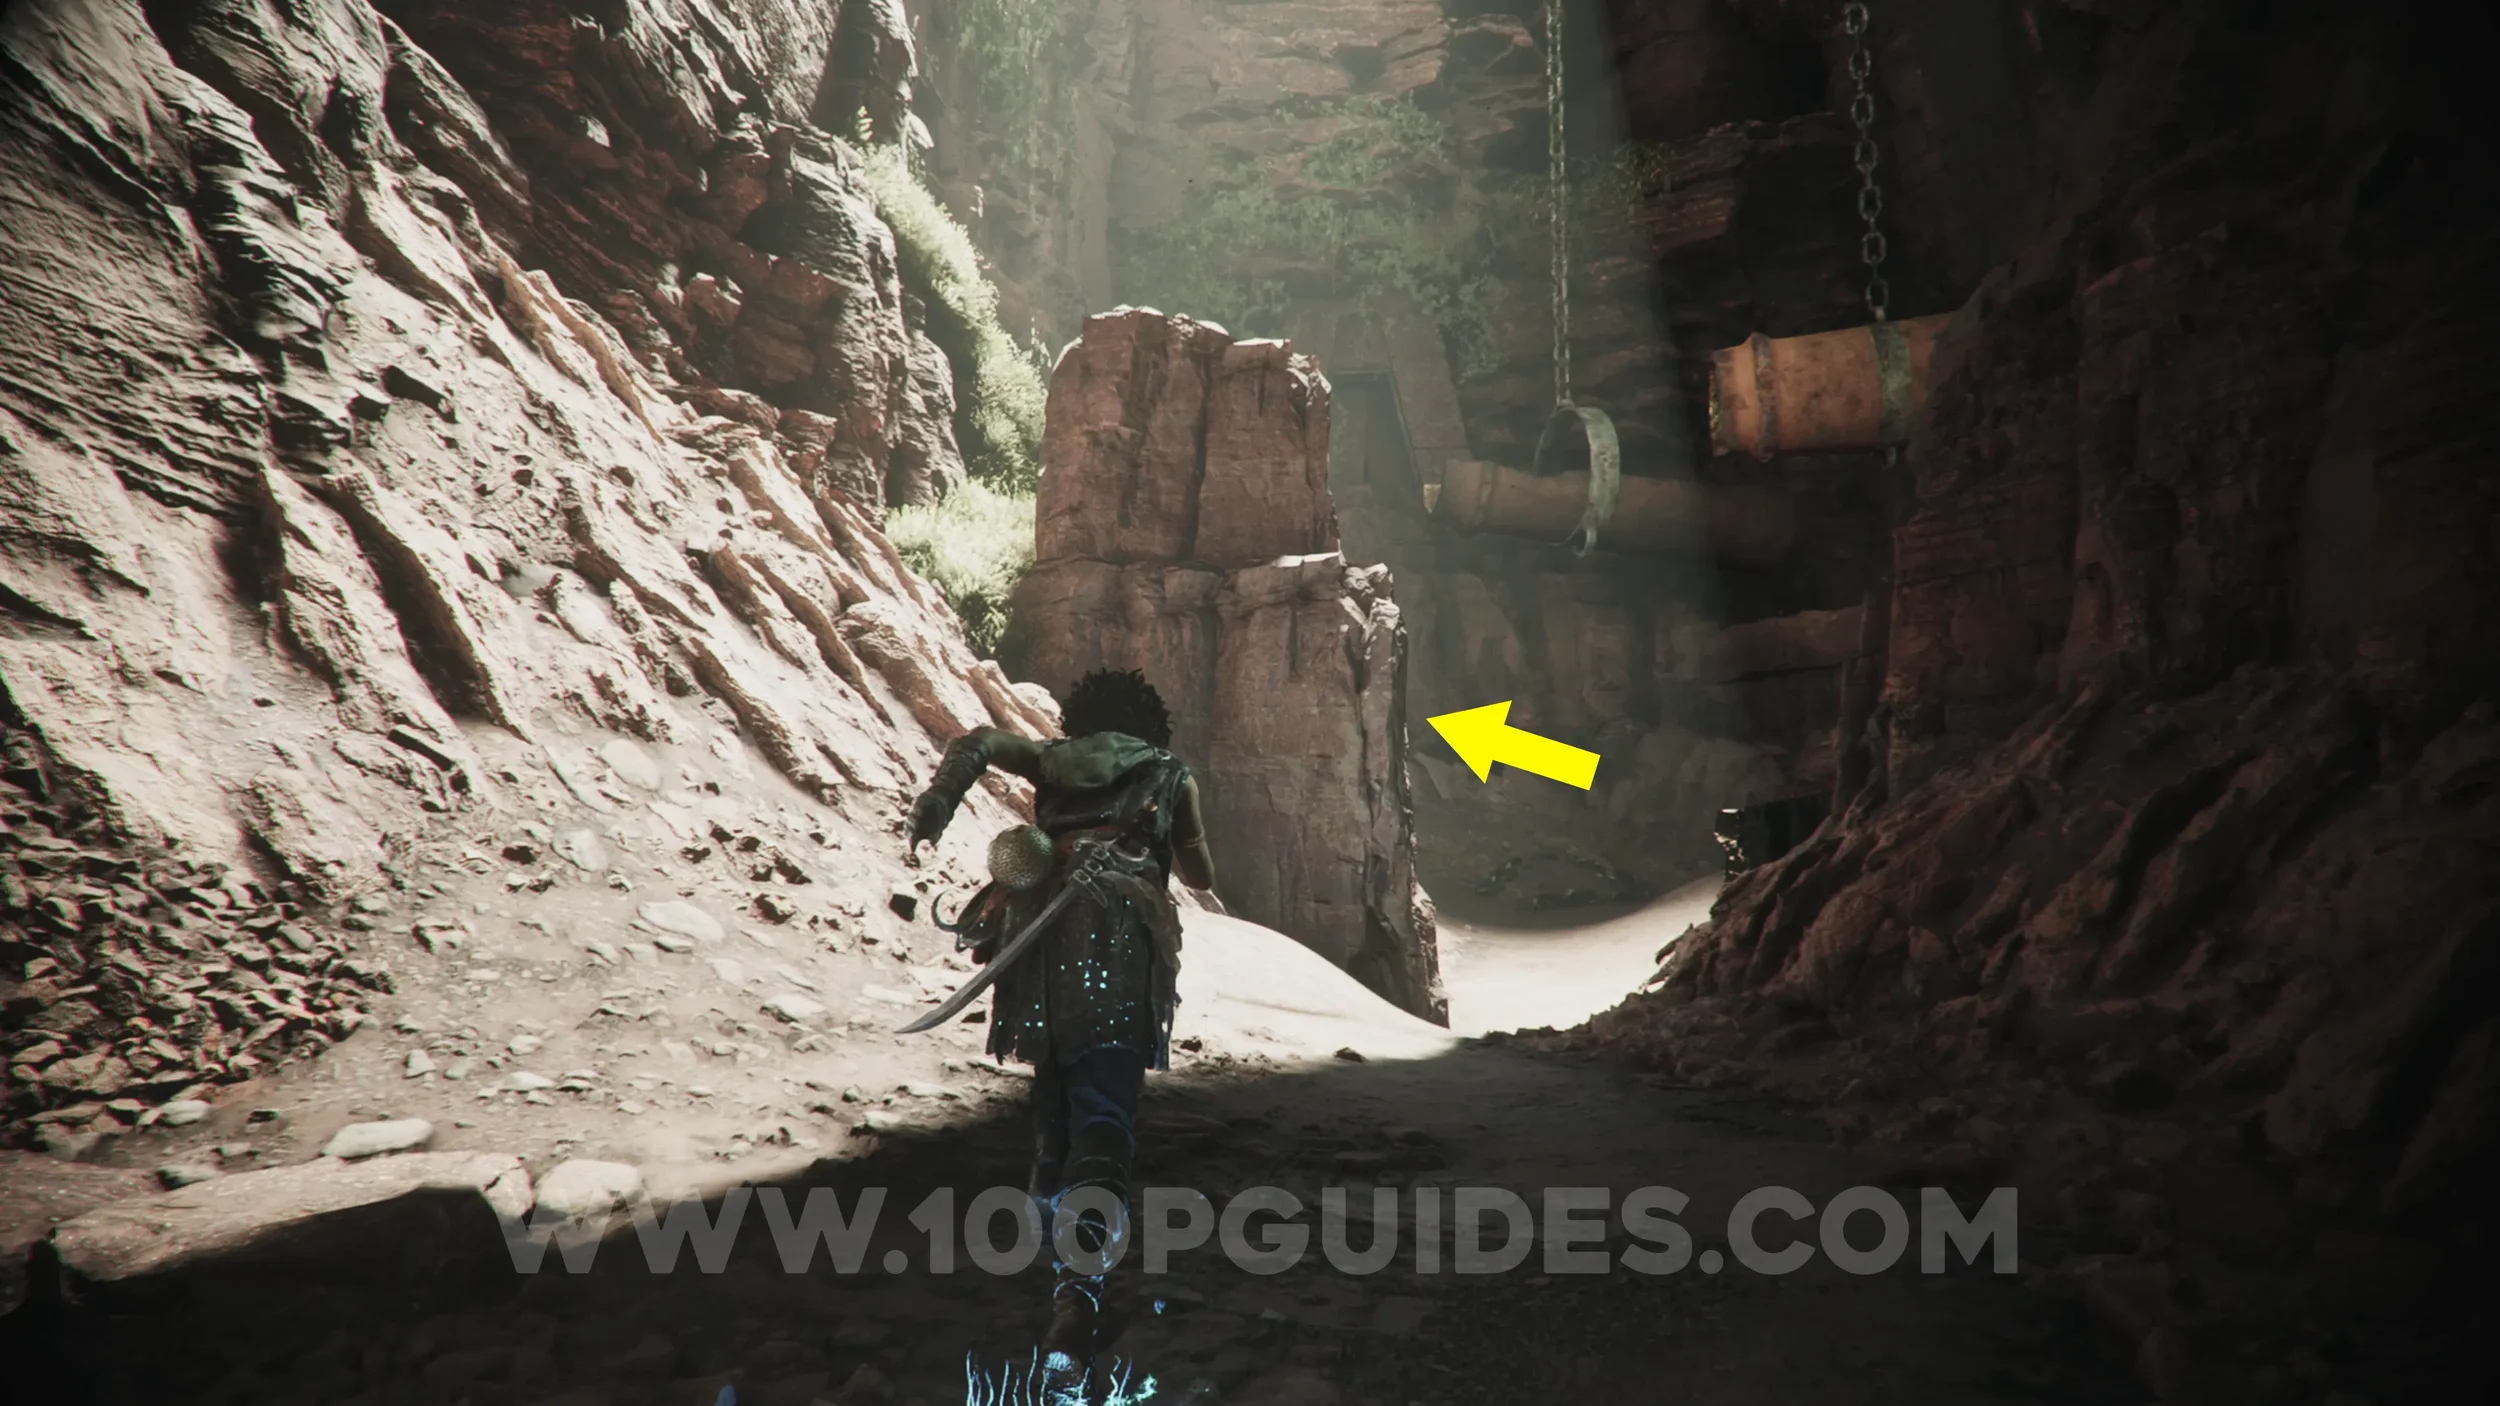
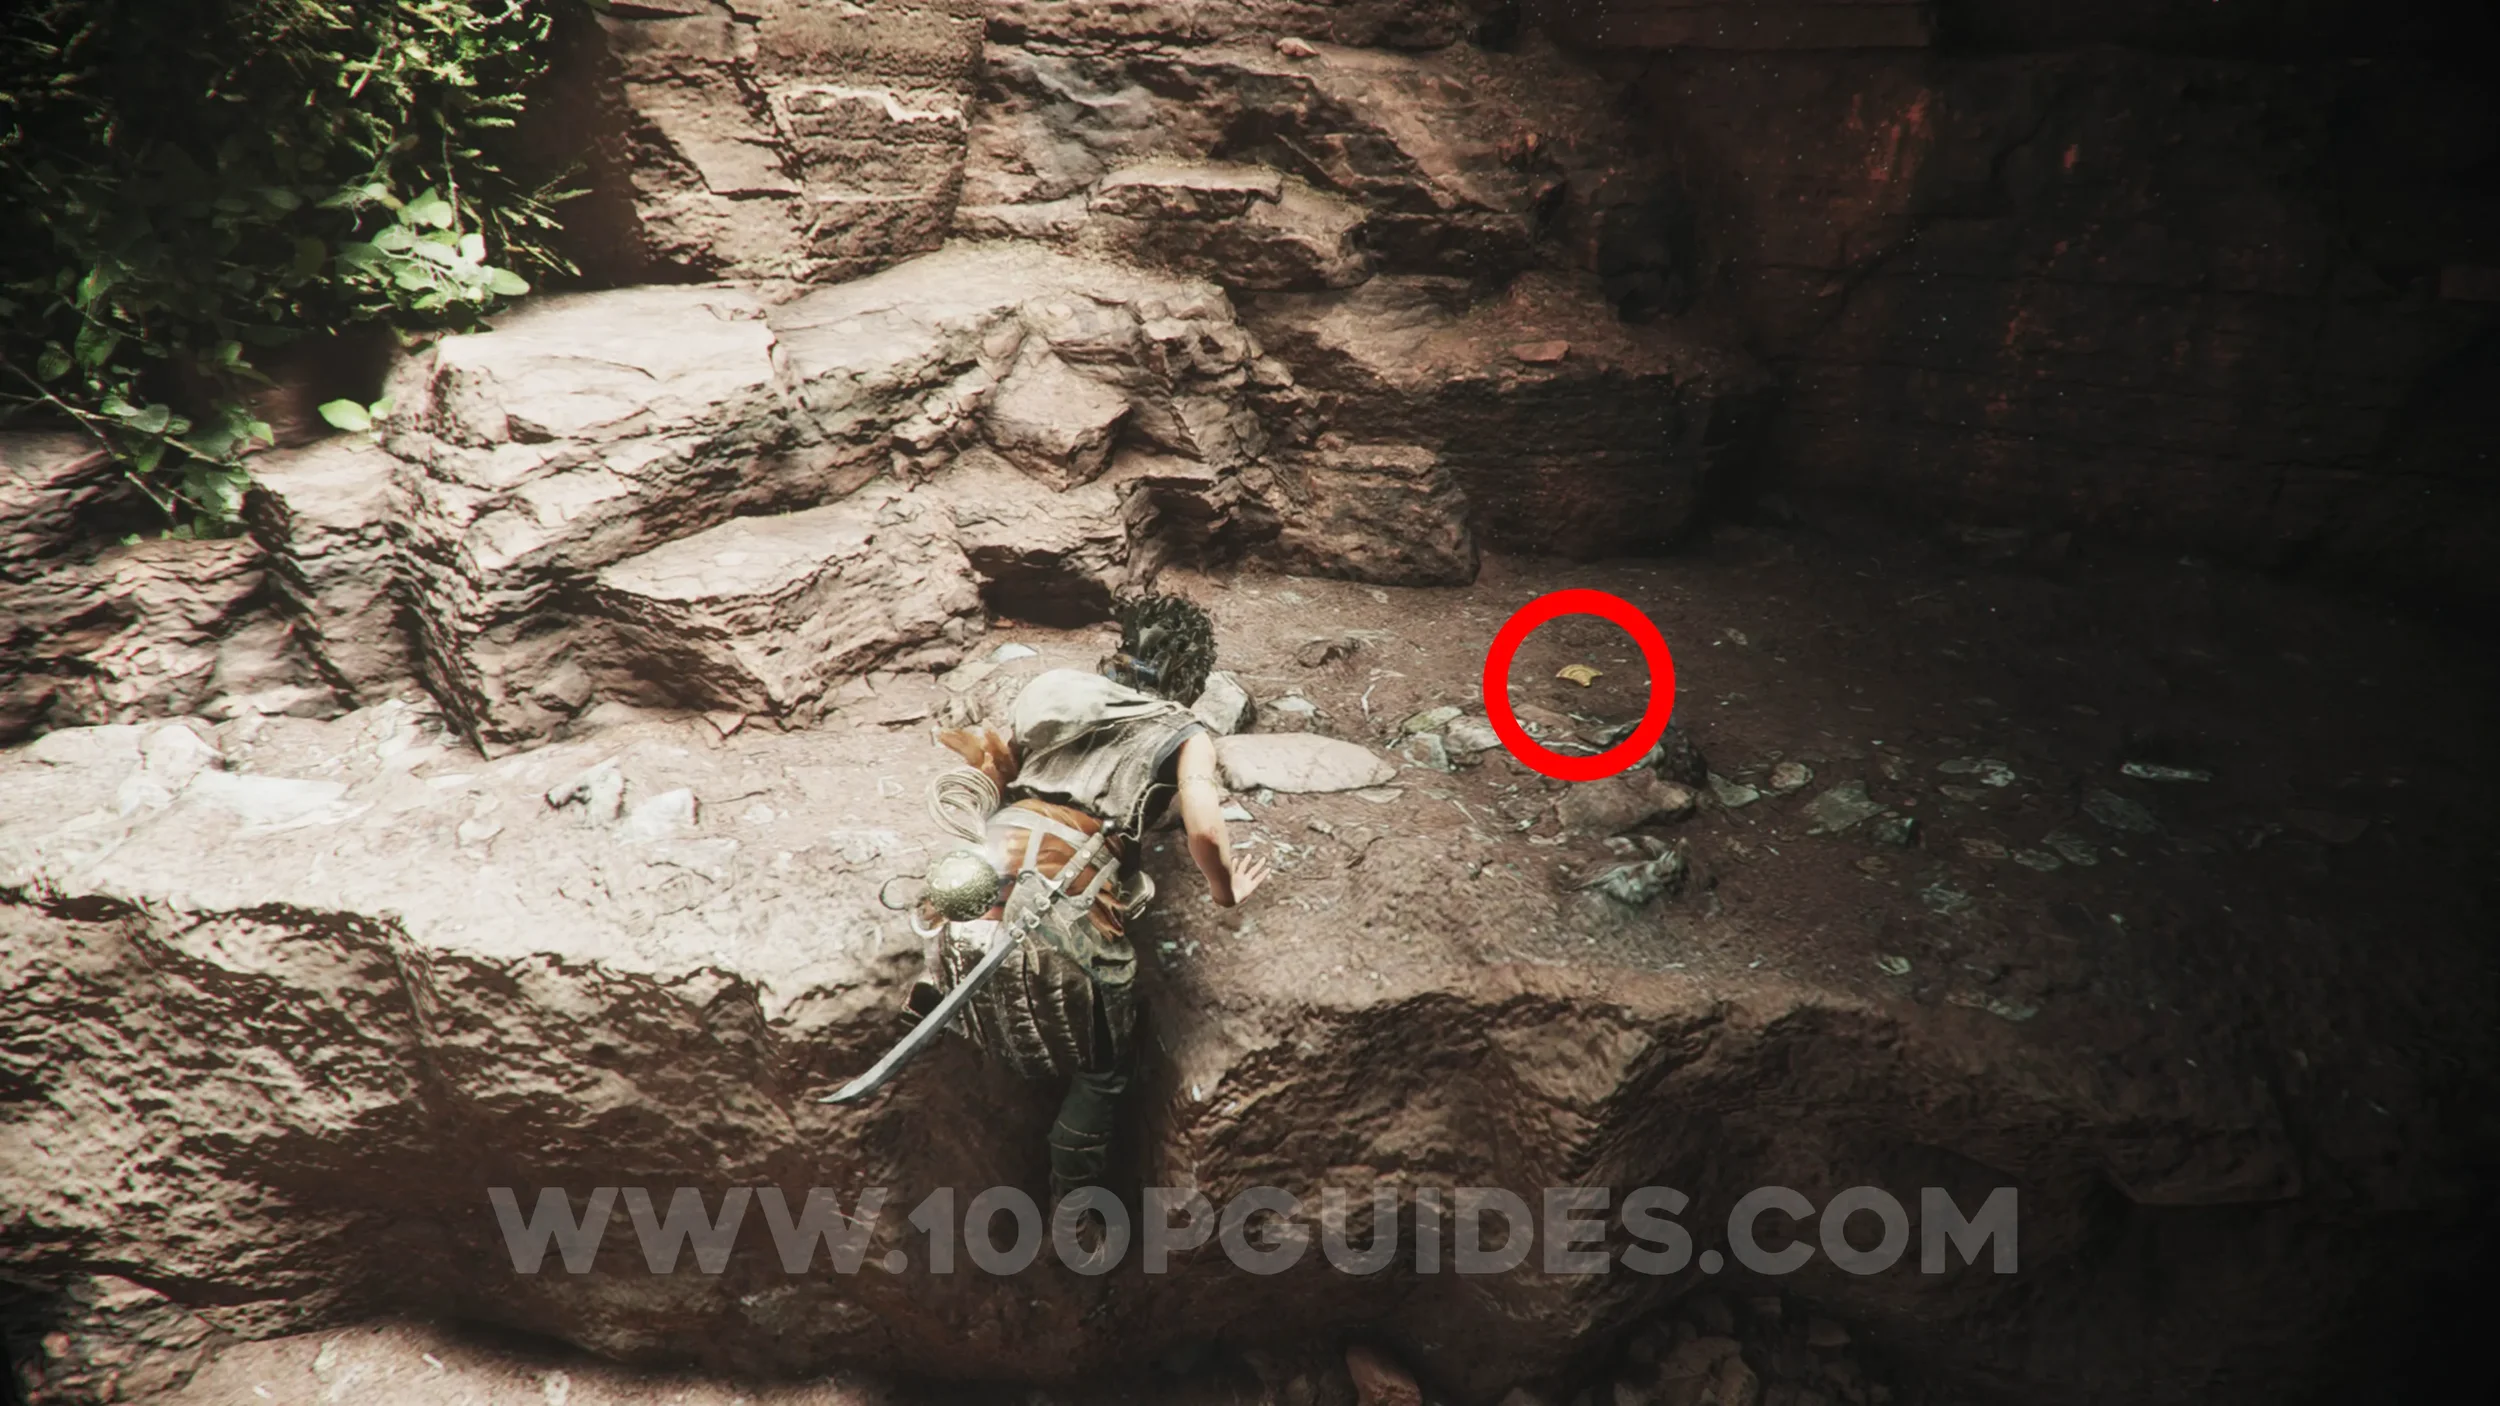
After the previous collectible, use the grappling point to continue. Then, after the large rock on your left, look for some platforms on your left you can climb to find the resonance point.
Resonance Point
Chapter 6: Sub-Chapter 3.
After learning about cutting off your trail by jumping over gaps, you'll almost escape, but then fall down another pit during a cutscene. From here, continue on the path towards the large waterwheel with green plants on it. The collectible will be on the right just before it.
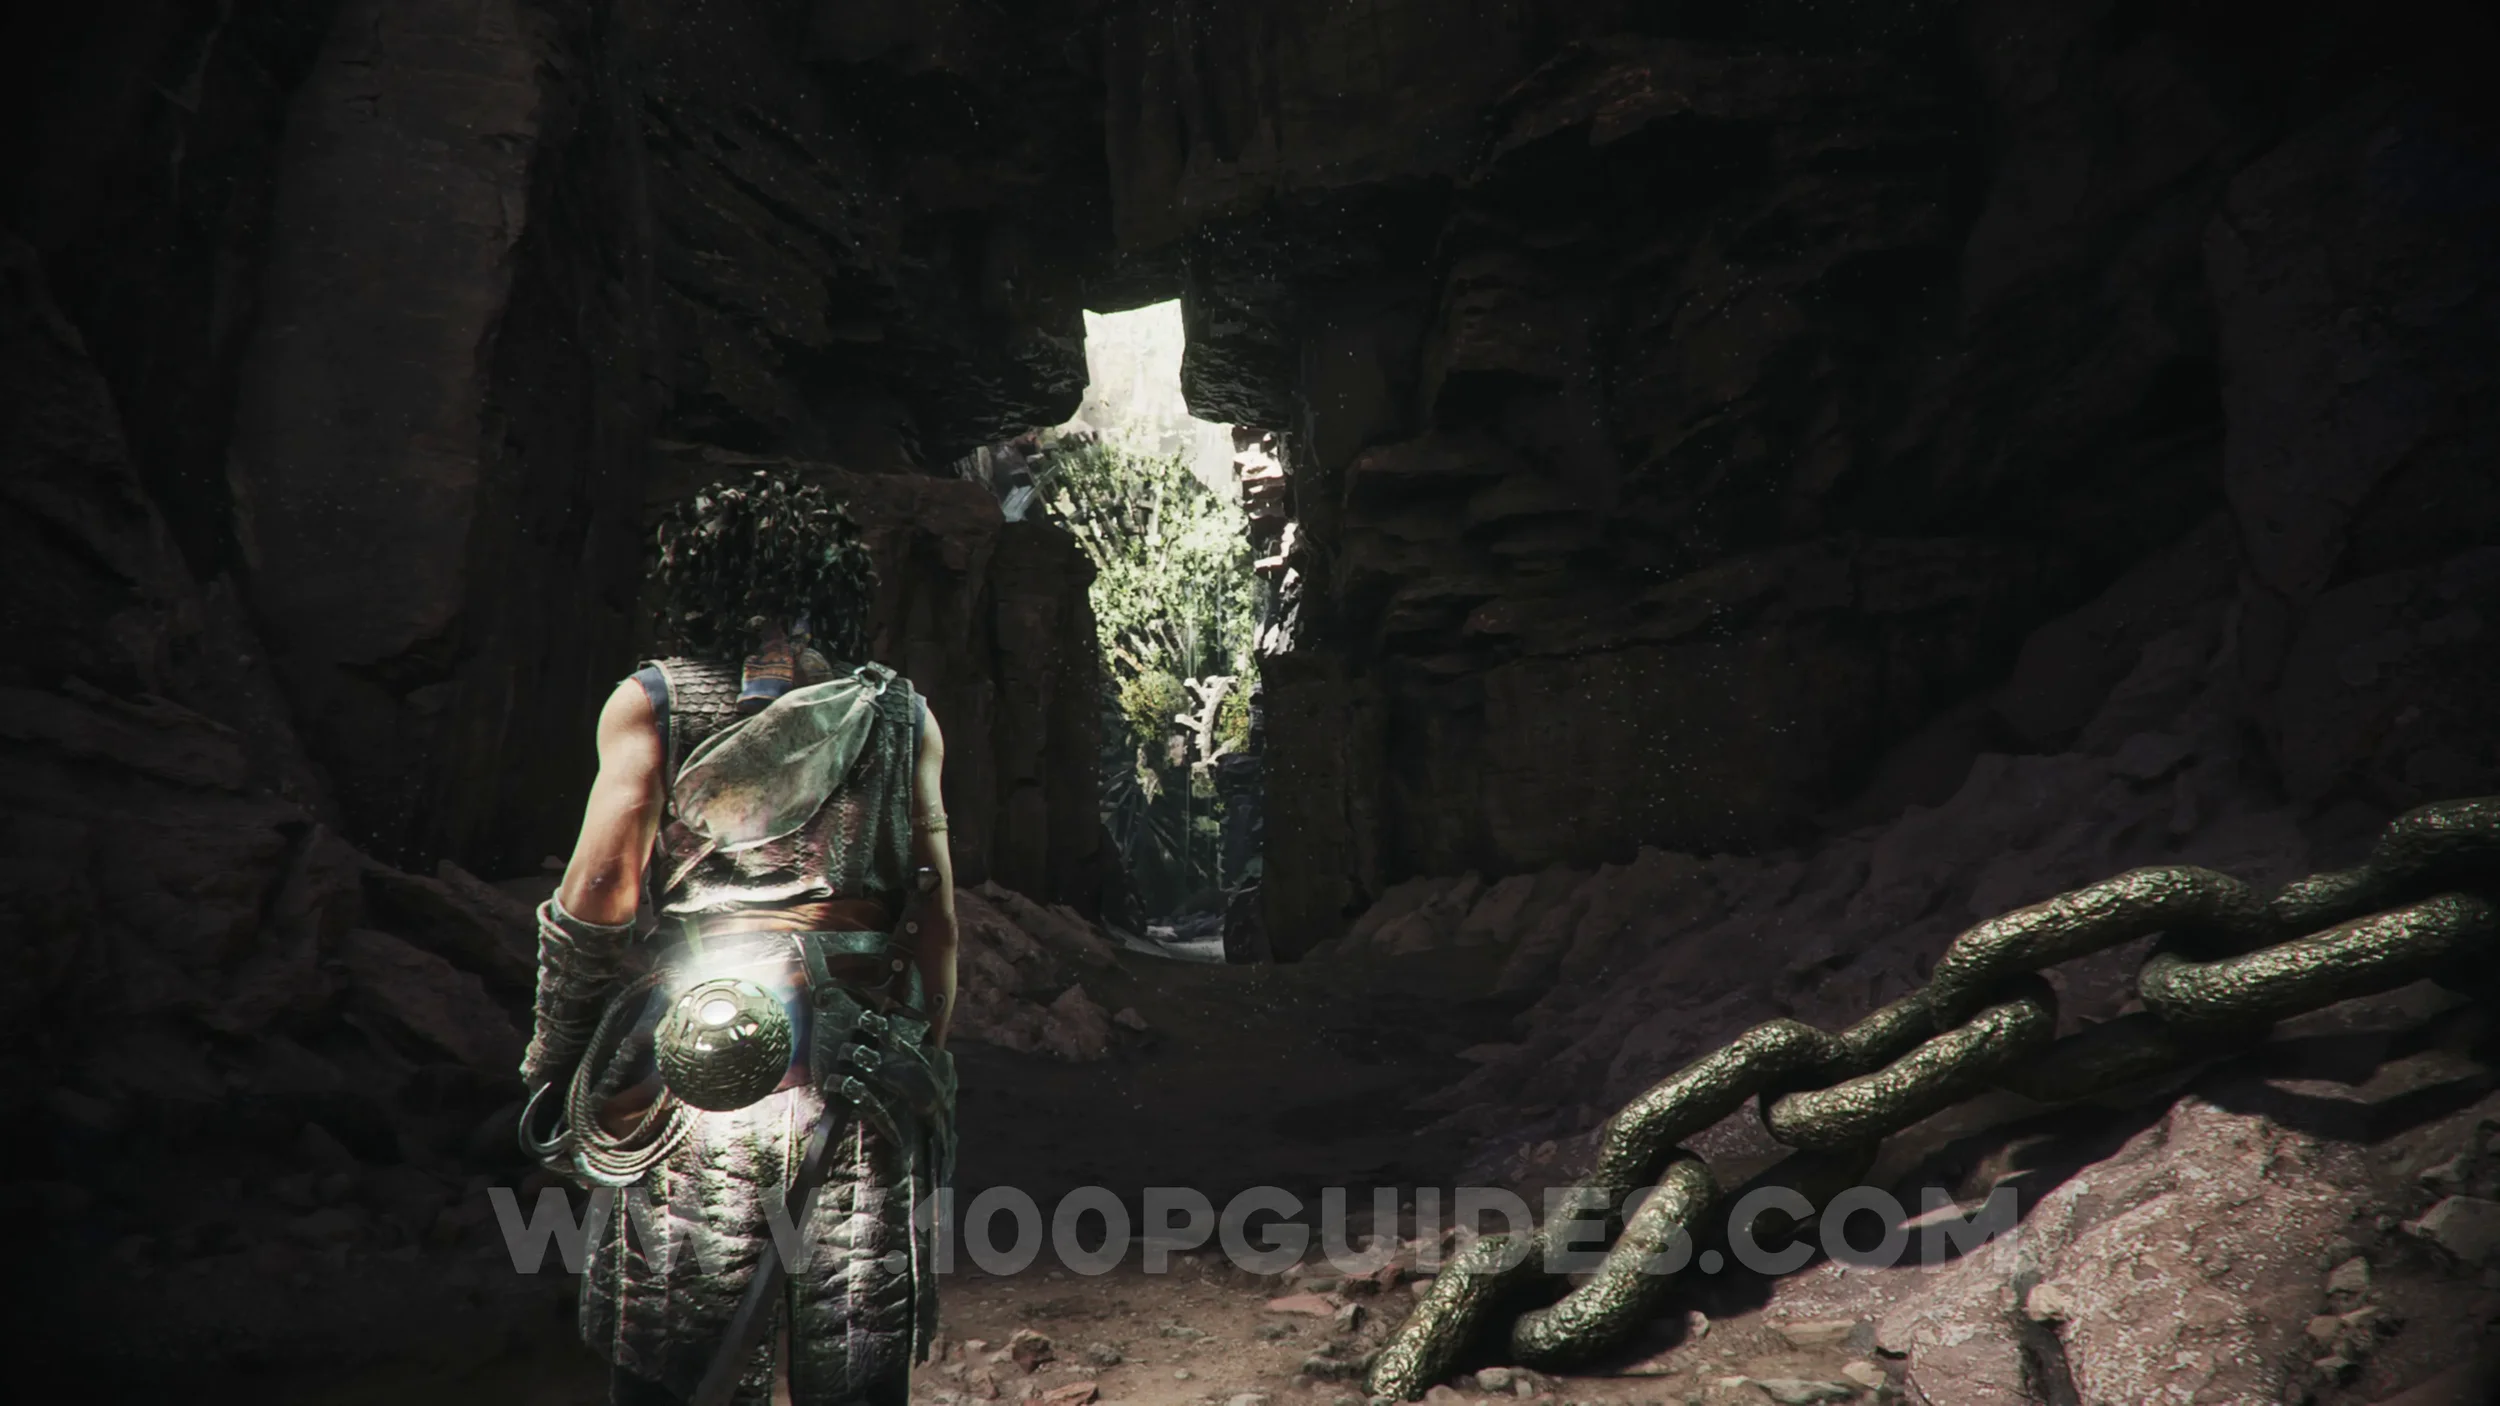
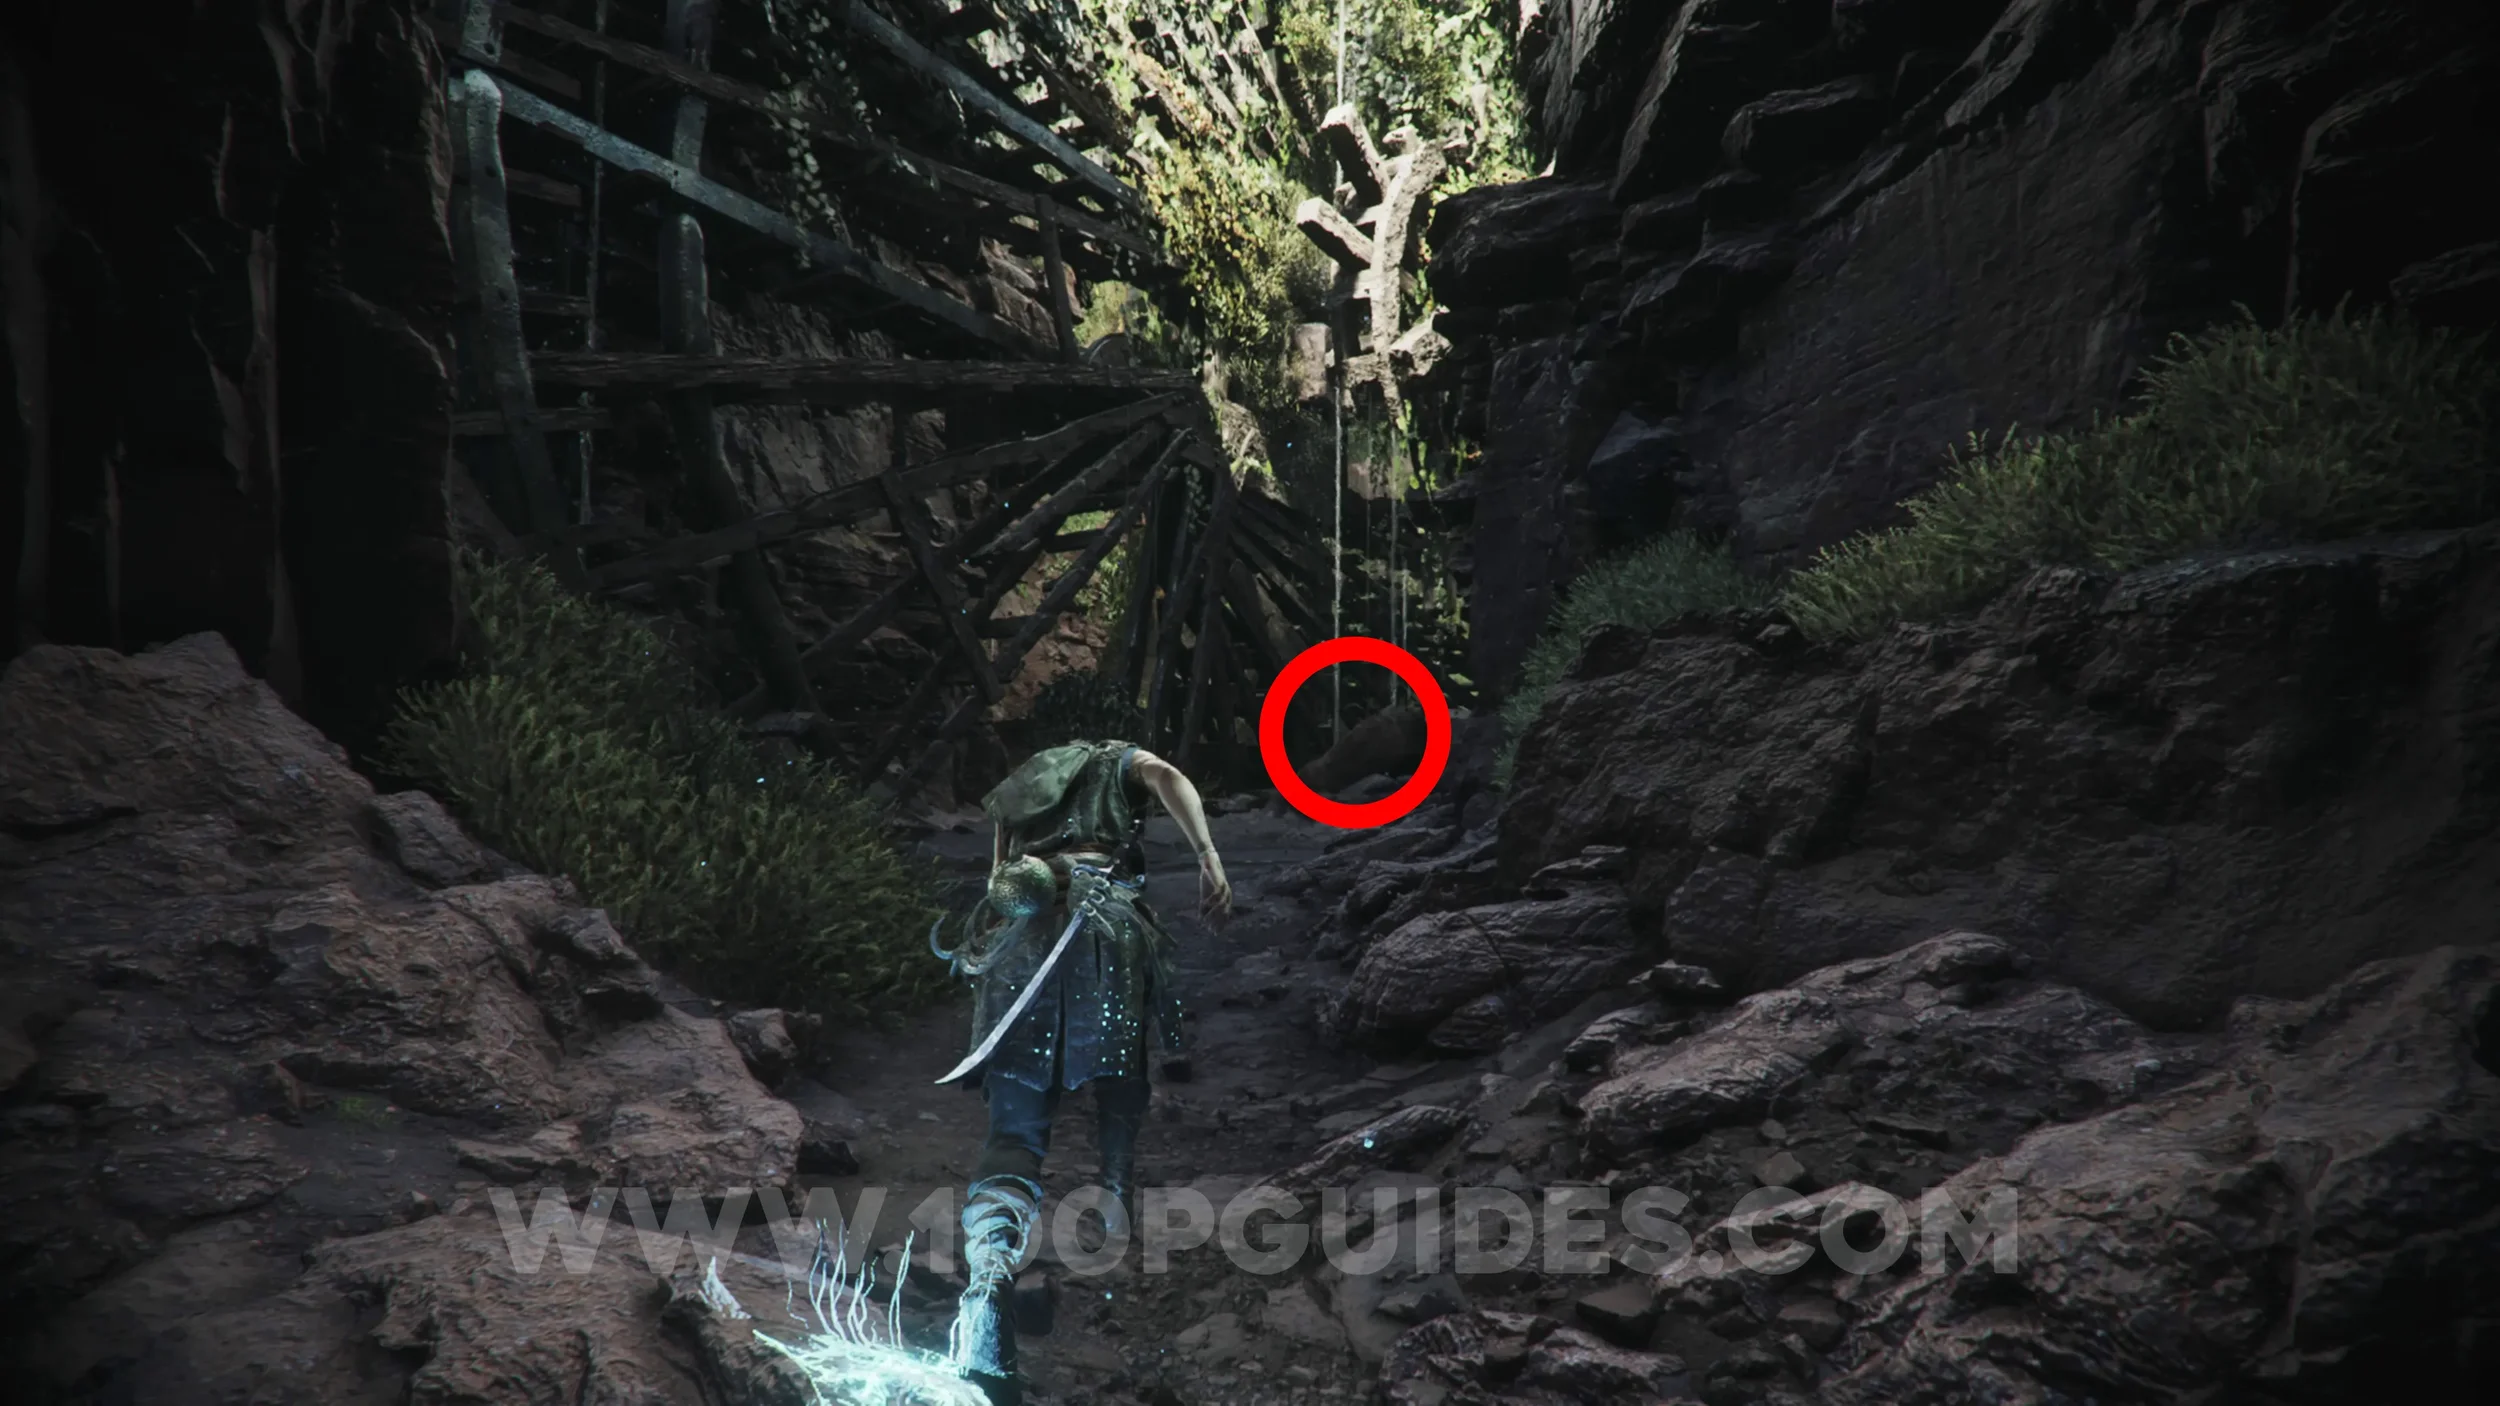
Artefact: Minoan Queen
Chapter 6: Sub-Chapter 3.
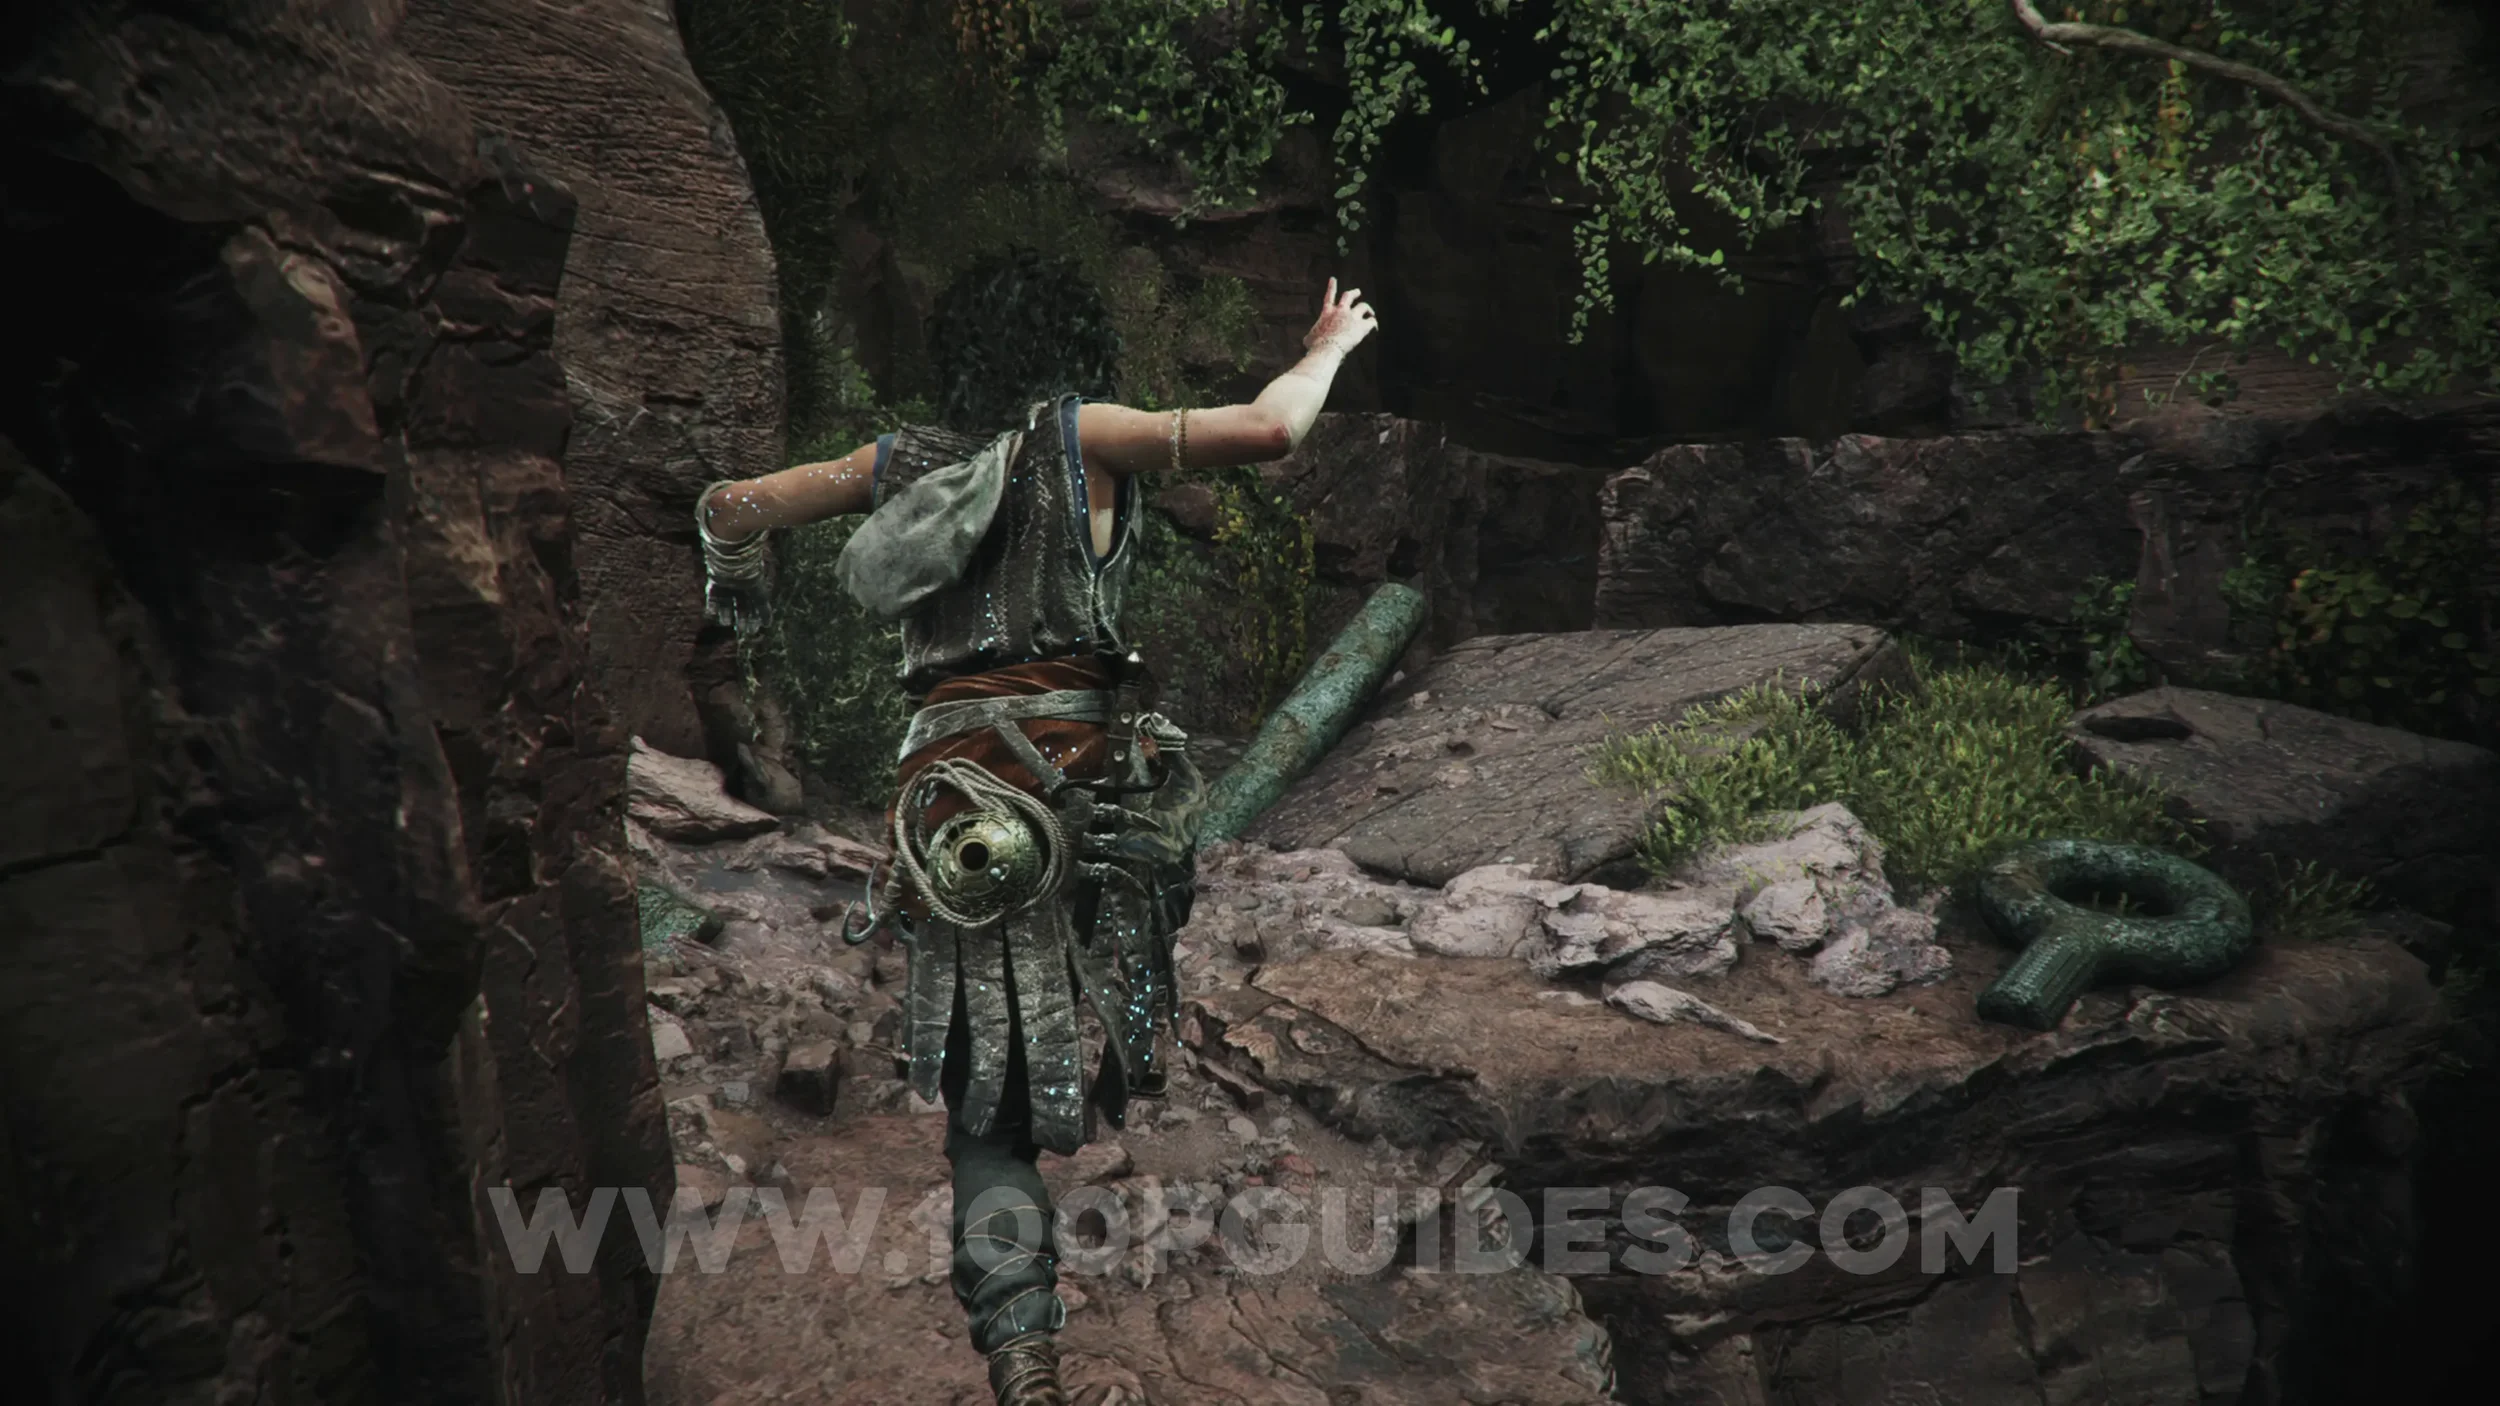
After going under the waterwheel, head up the small ramp in front of you, then stick to the right side at the top to find the artefact.
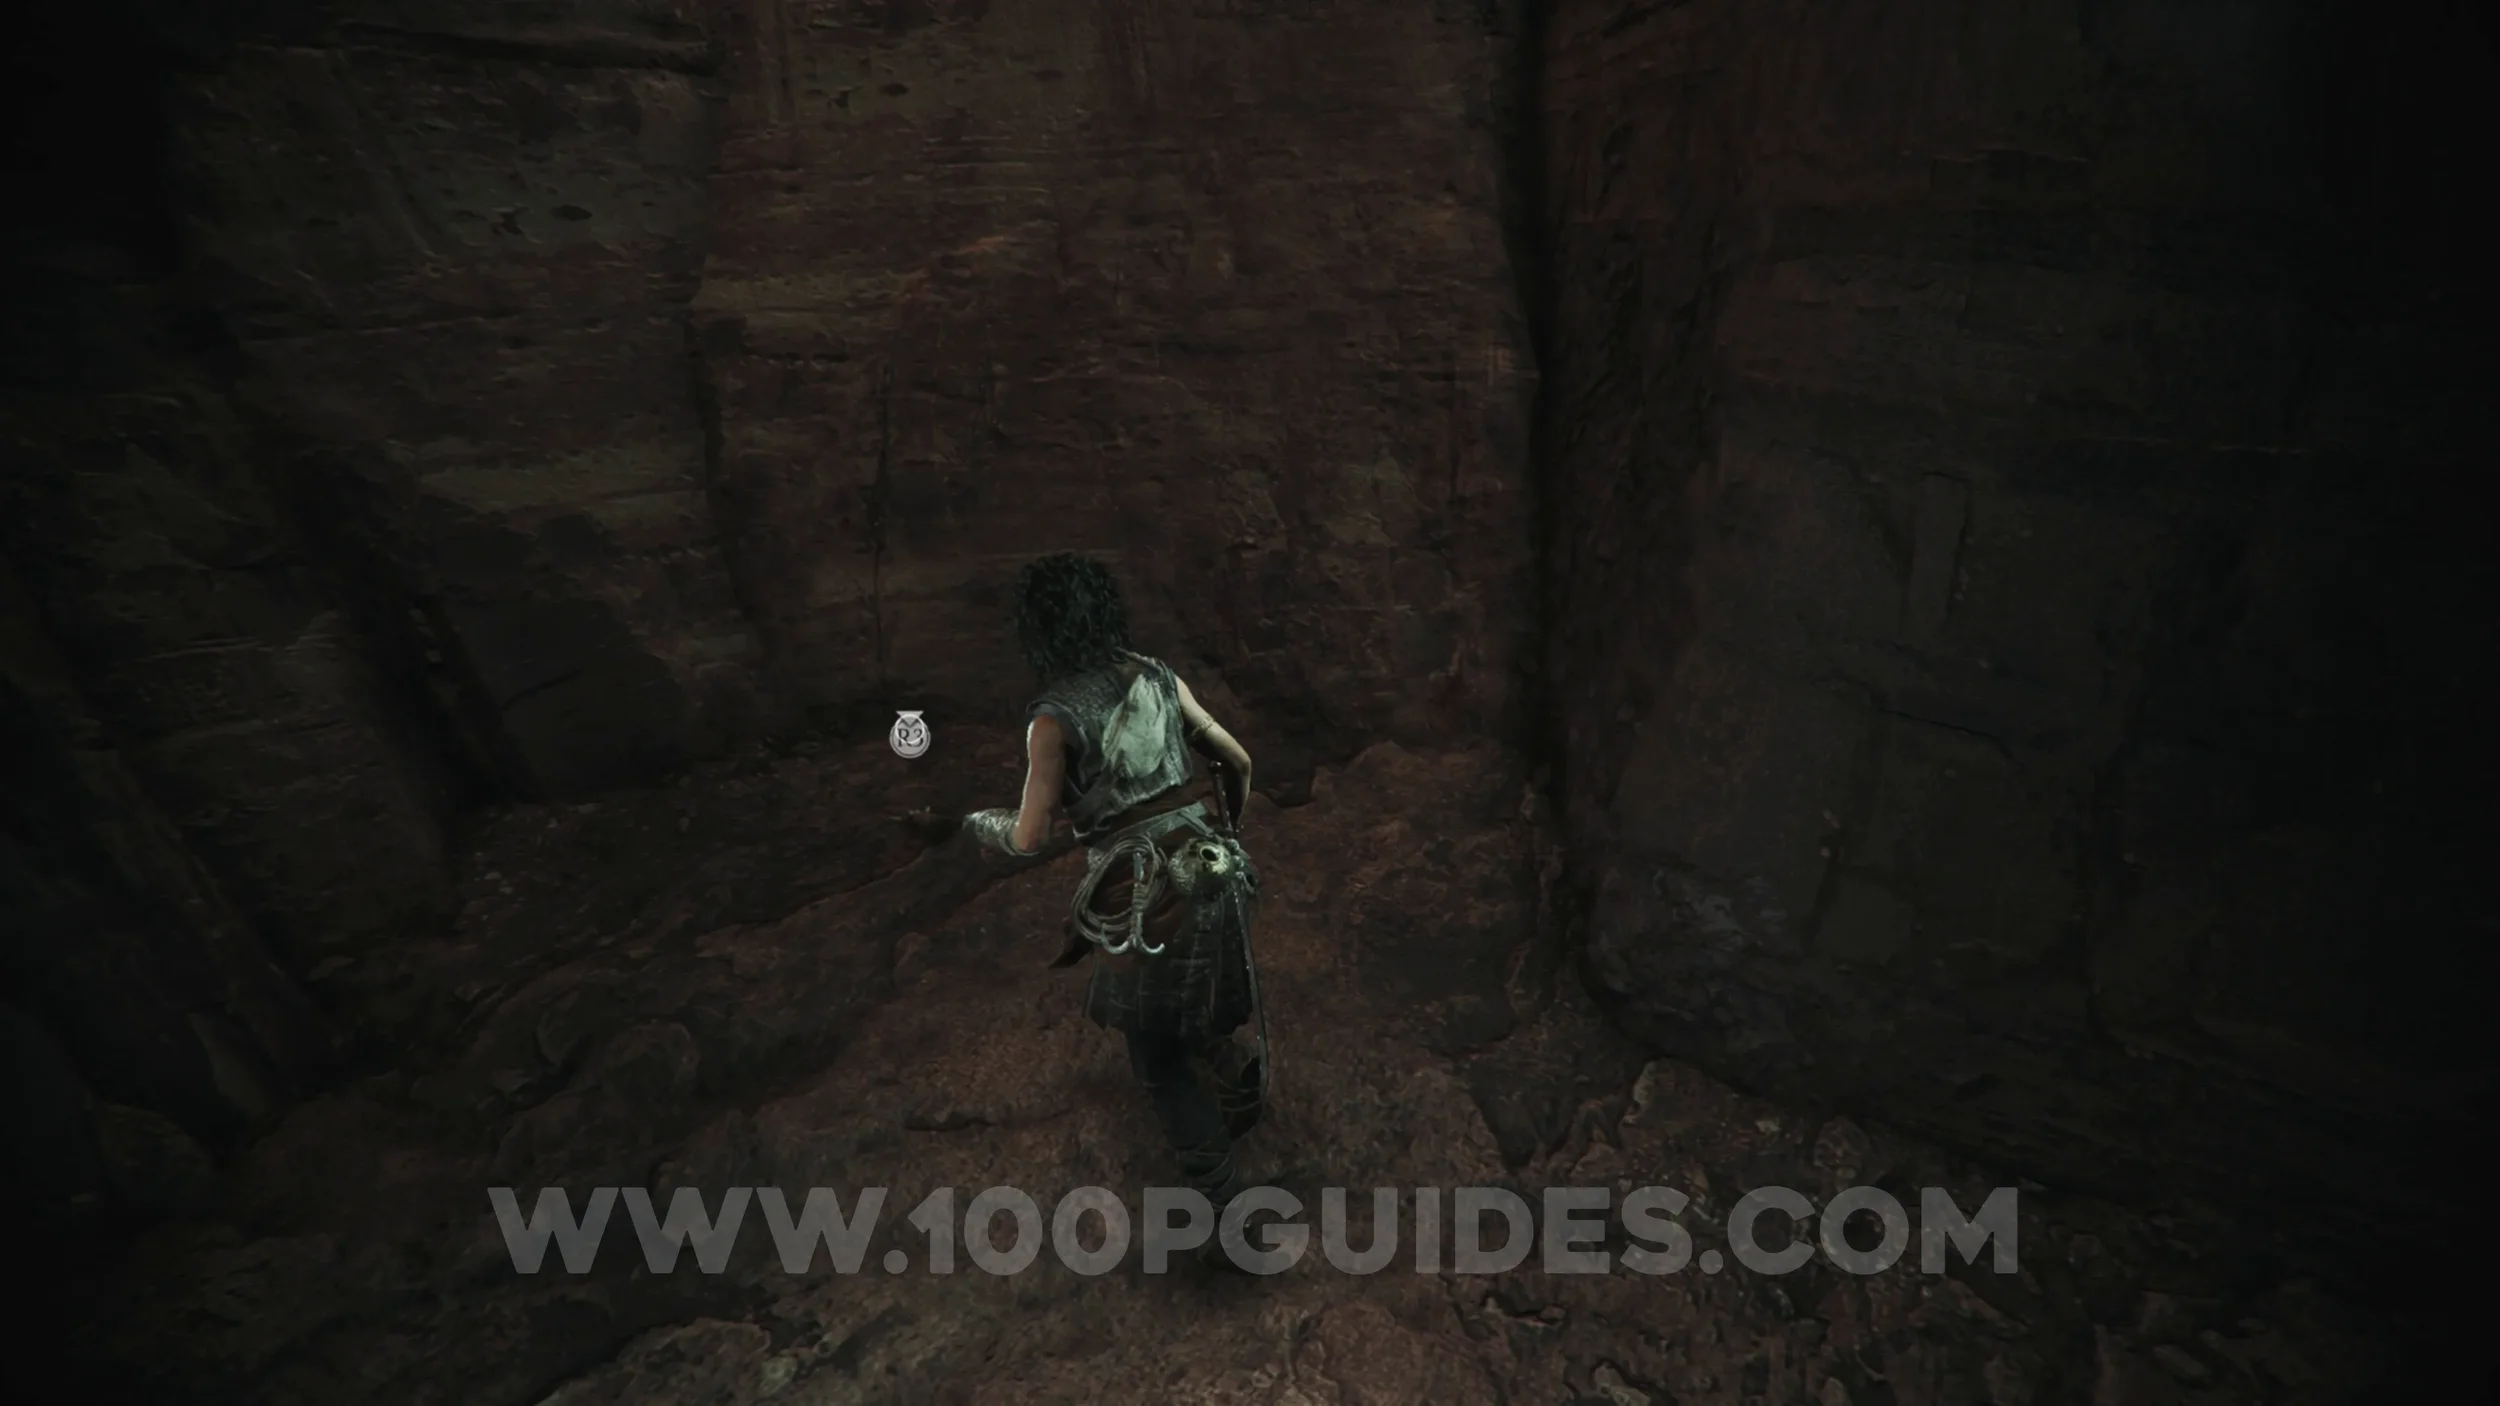
Resonance Point x2
Chapter 6: Sub-Chapter 3.
After the previous collectible, you'll climb a wall by grappling up. At the top, head right and drop down to the two resonance points.
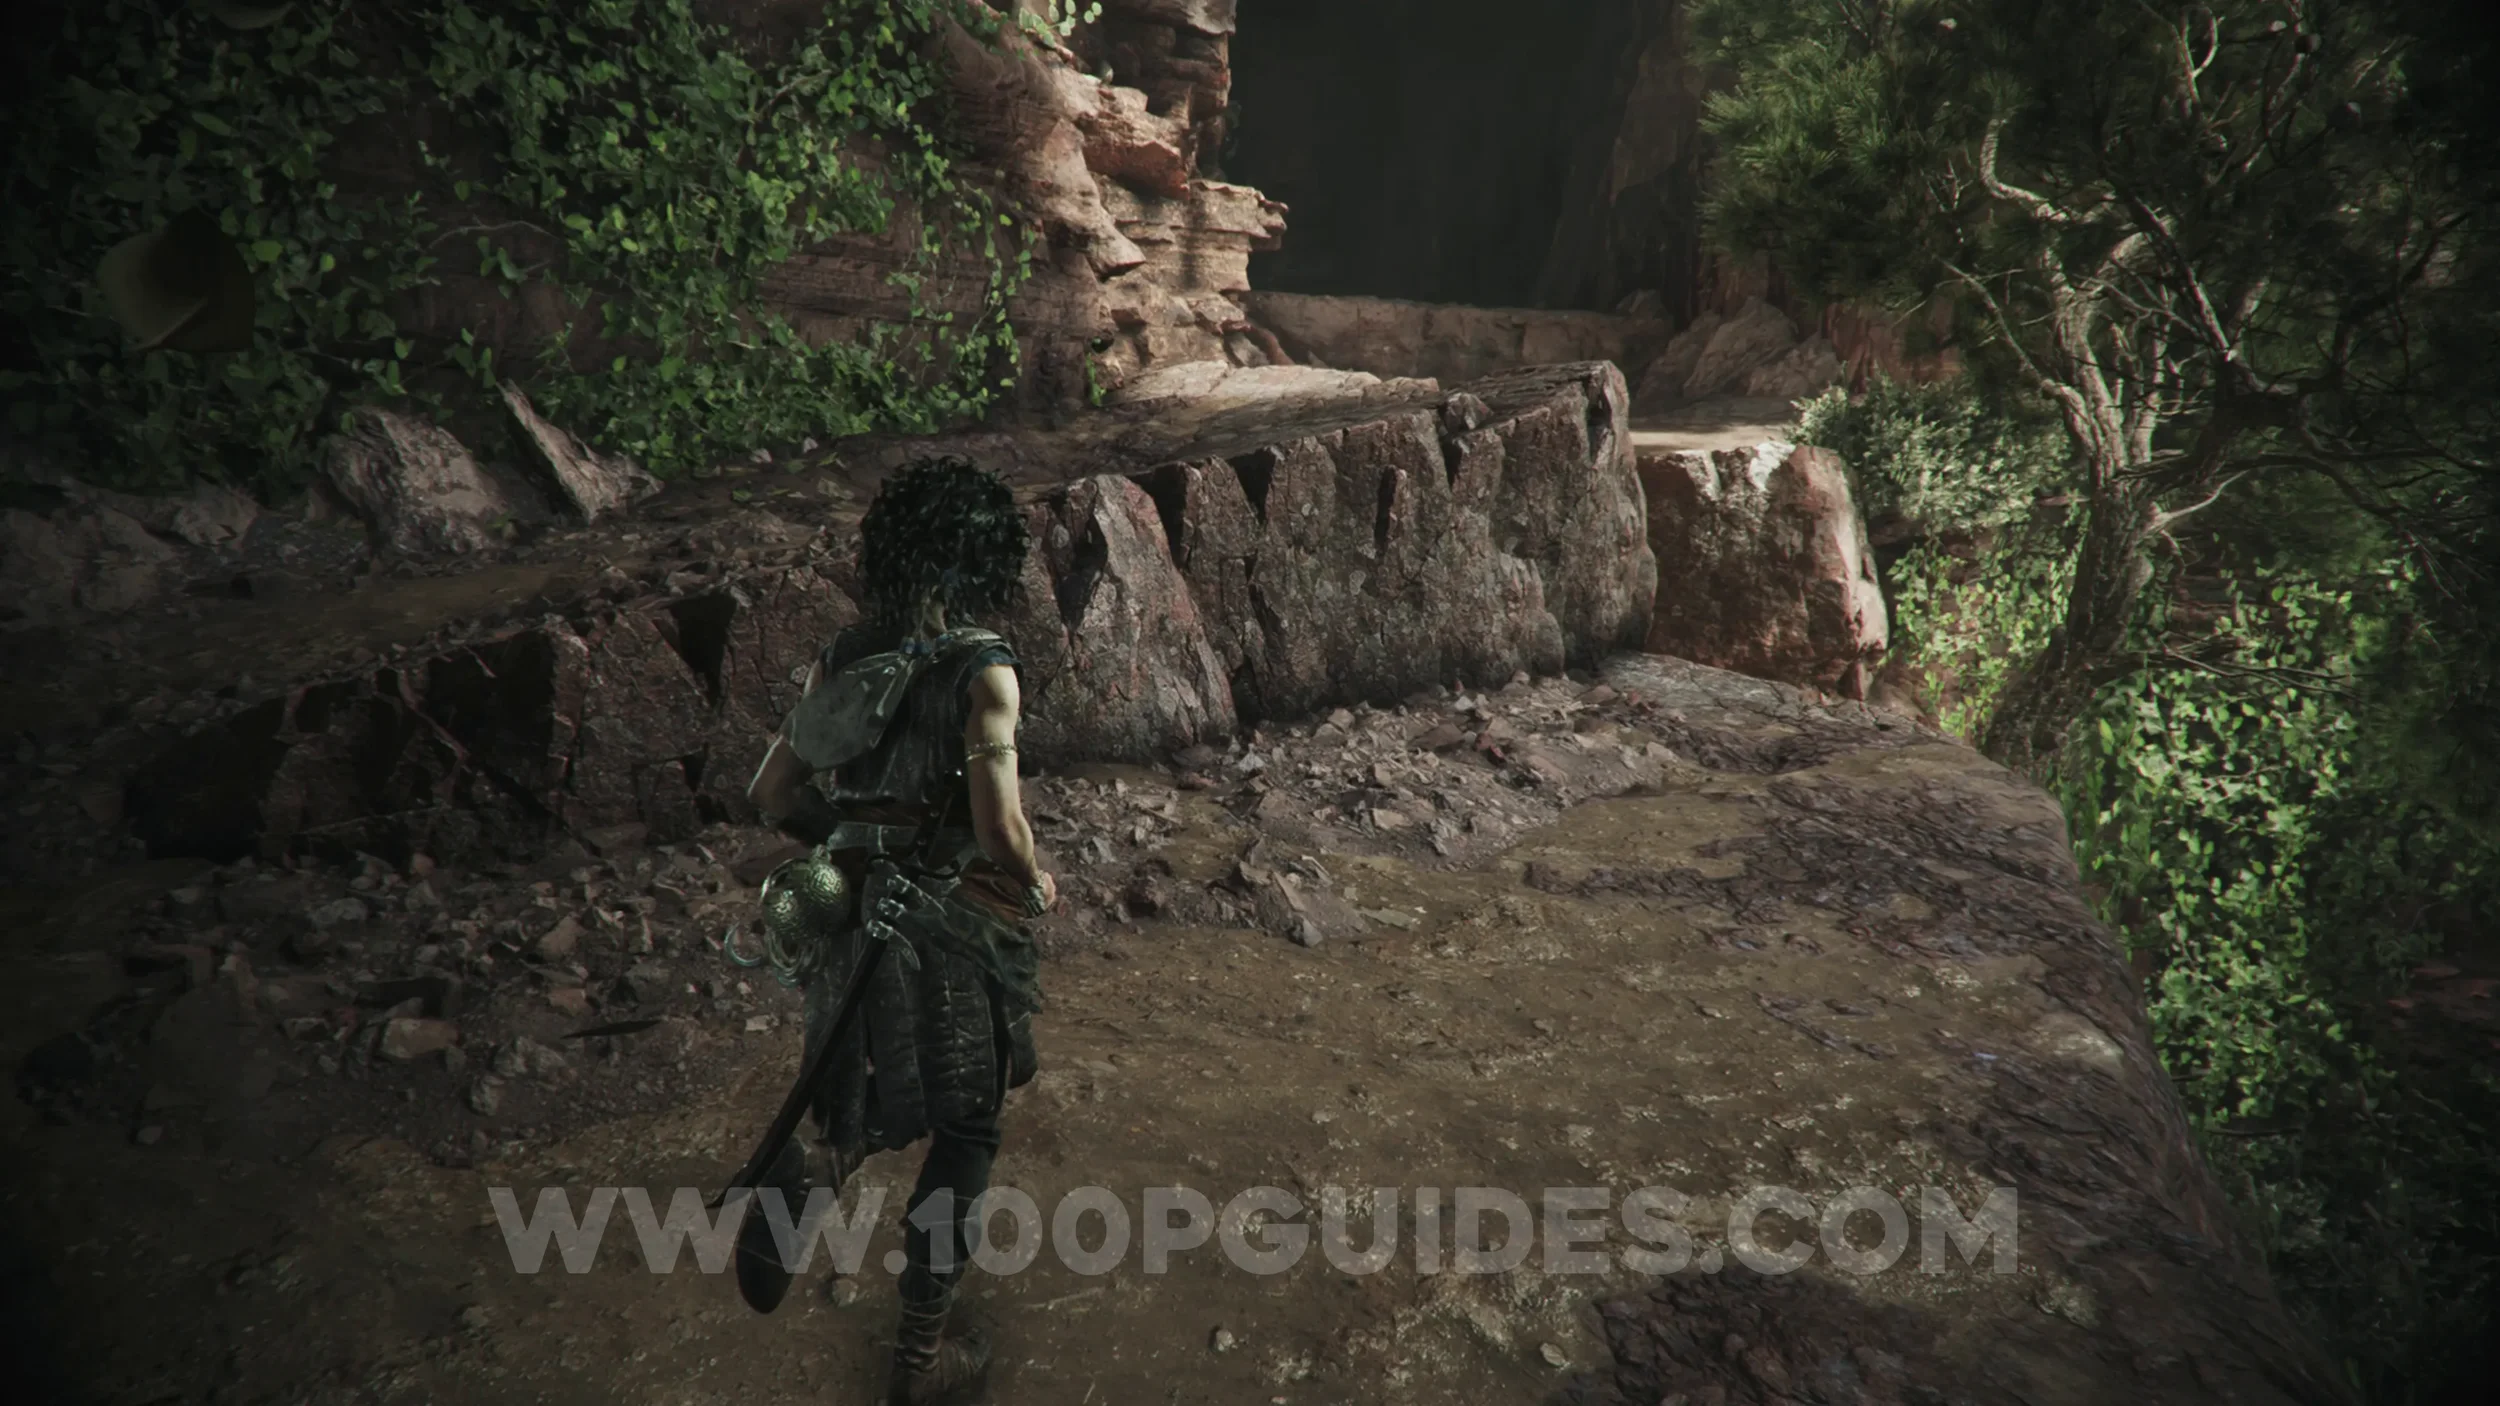
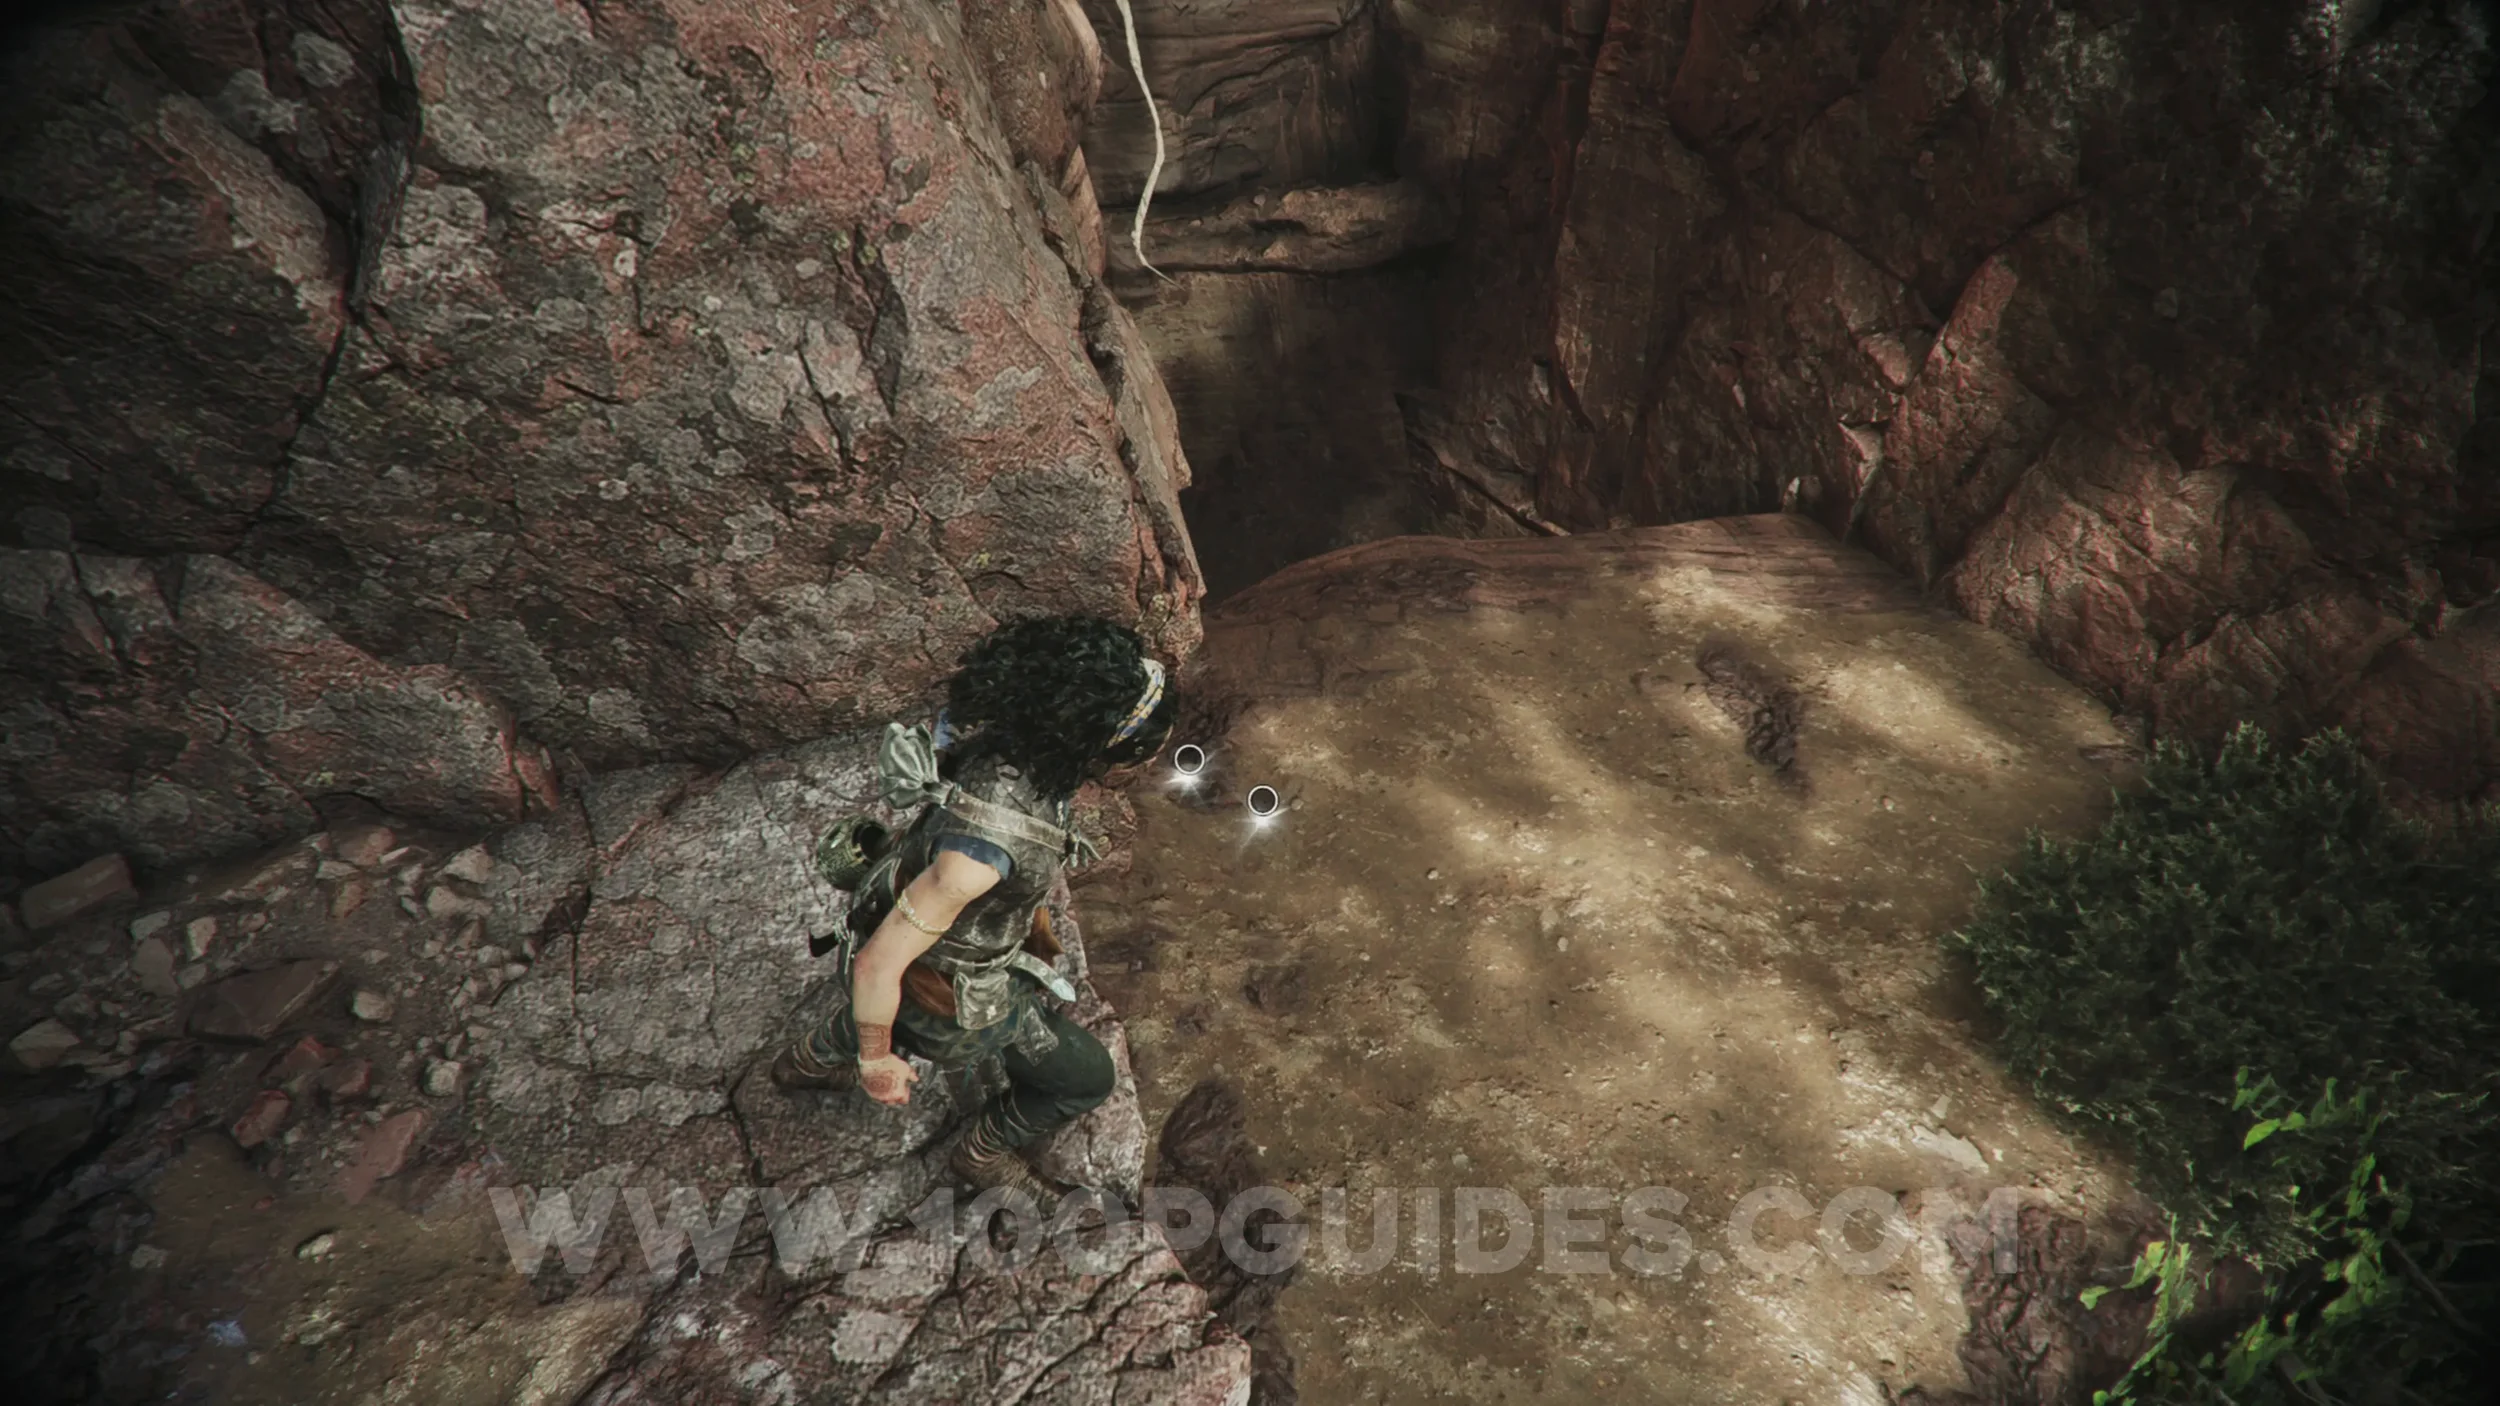
Resonance Point
Chapter 6: Sub-Chapter 3.
Continue until you get to the next section where the beast chases you and you have to go from light to light. Close to the start of this section, you'll slide down a slope. At the bottom, head around to the right of the slope to find the collectible.
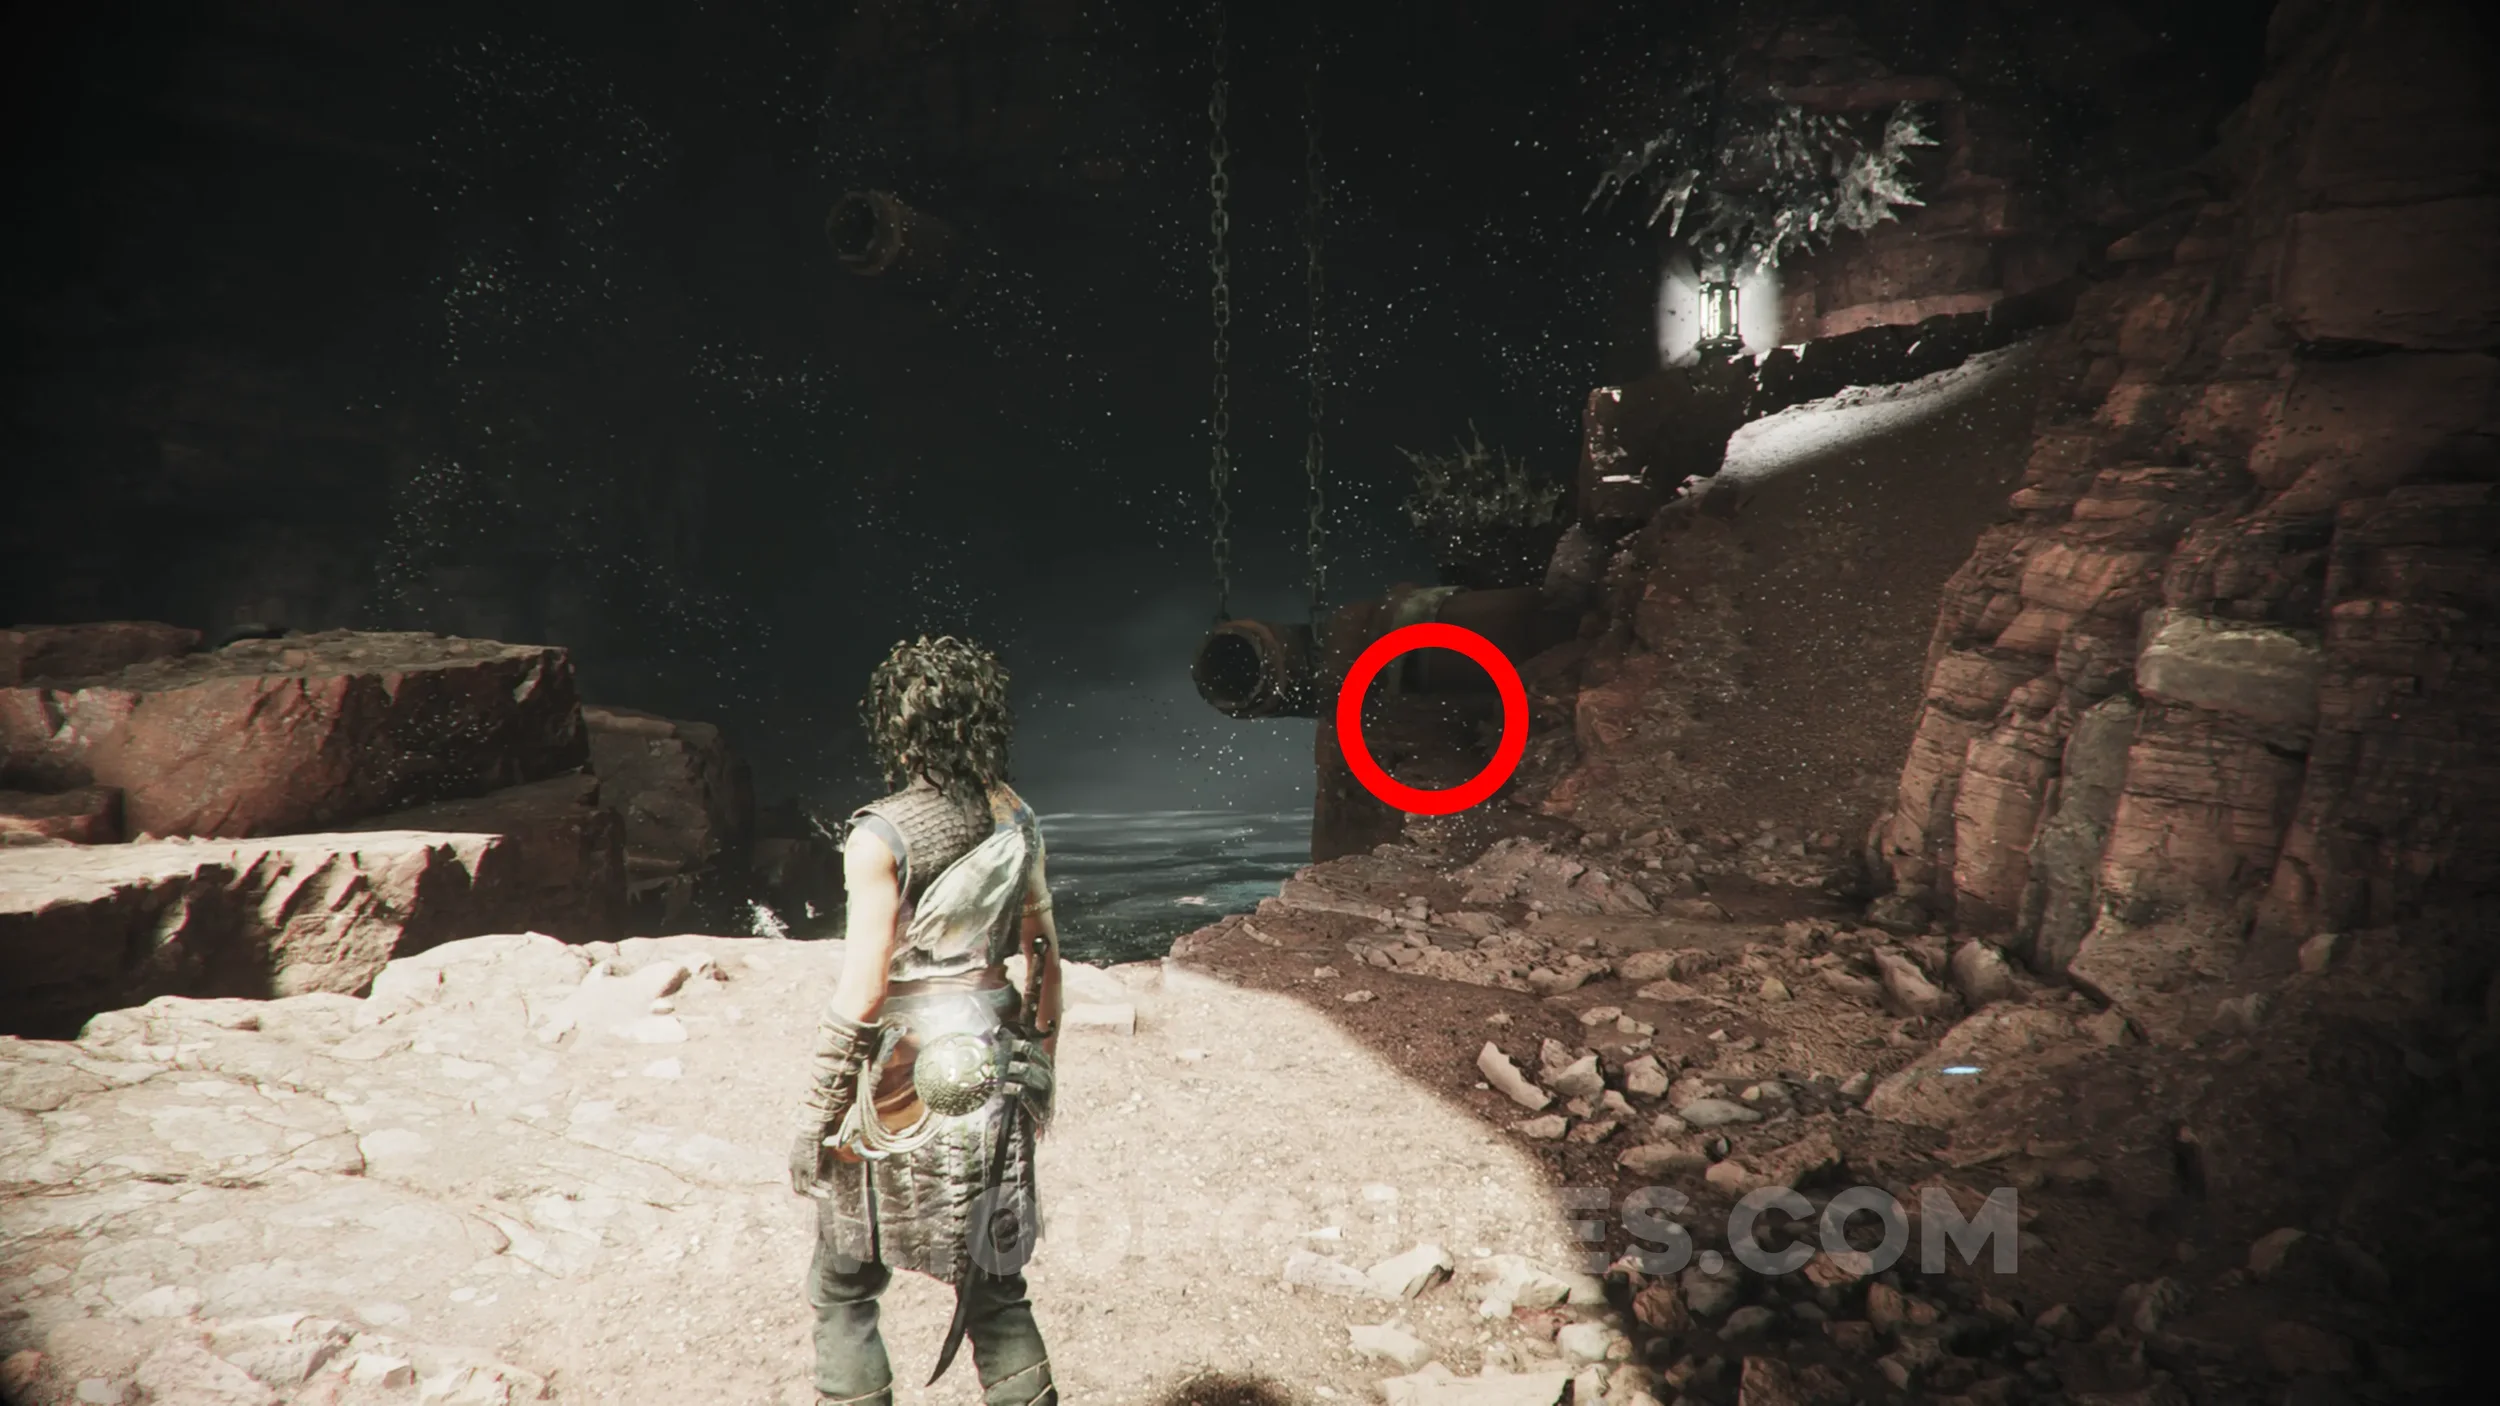
Resonance Point
Chapter 6: Sub-Chapter 3.
Immediately after the previous collectible, you'll have to cross a rocky area. The collectible can be found in a broken pipe on the right side, just before you reach the next light.
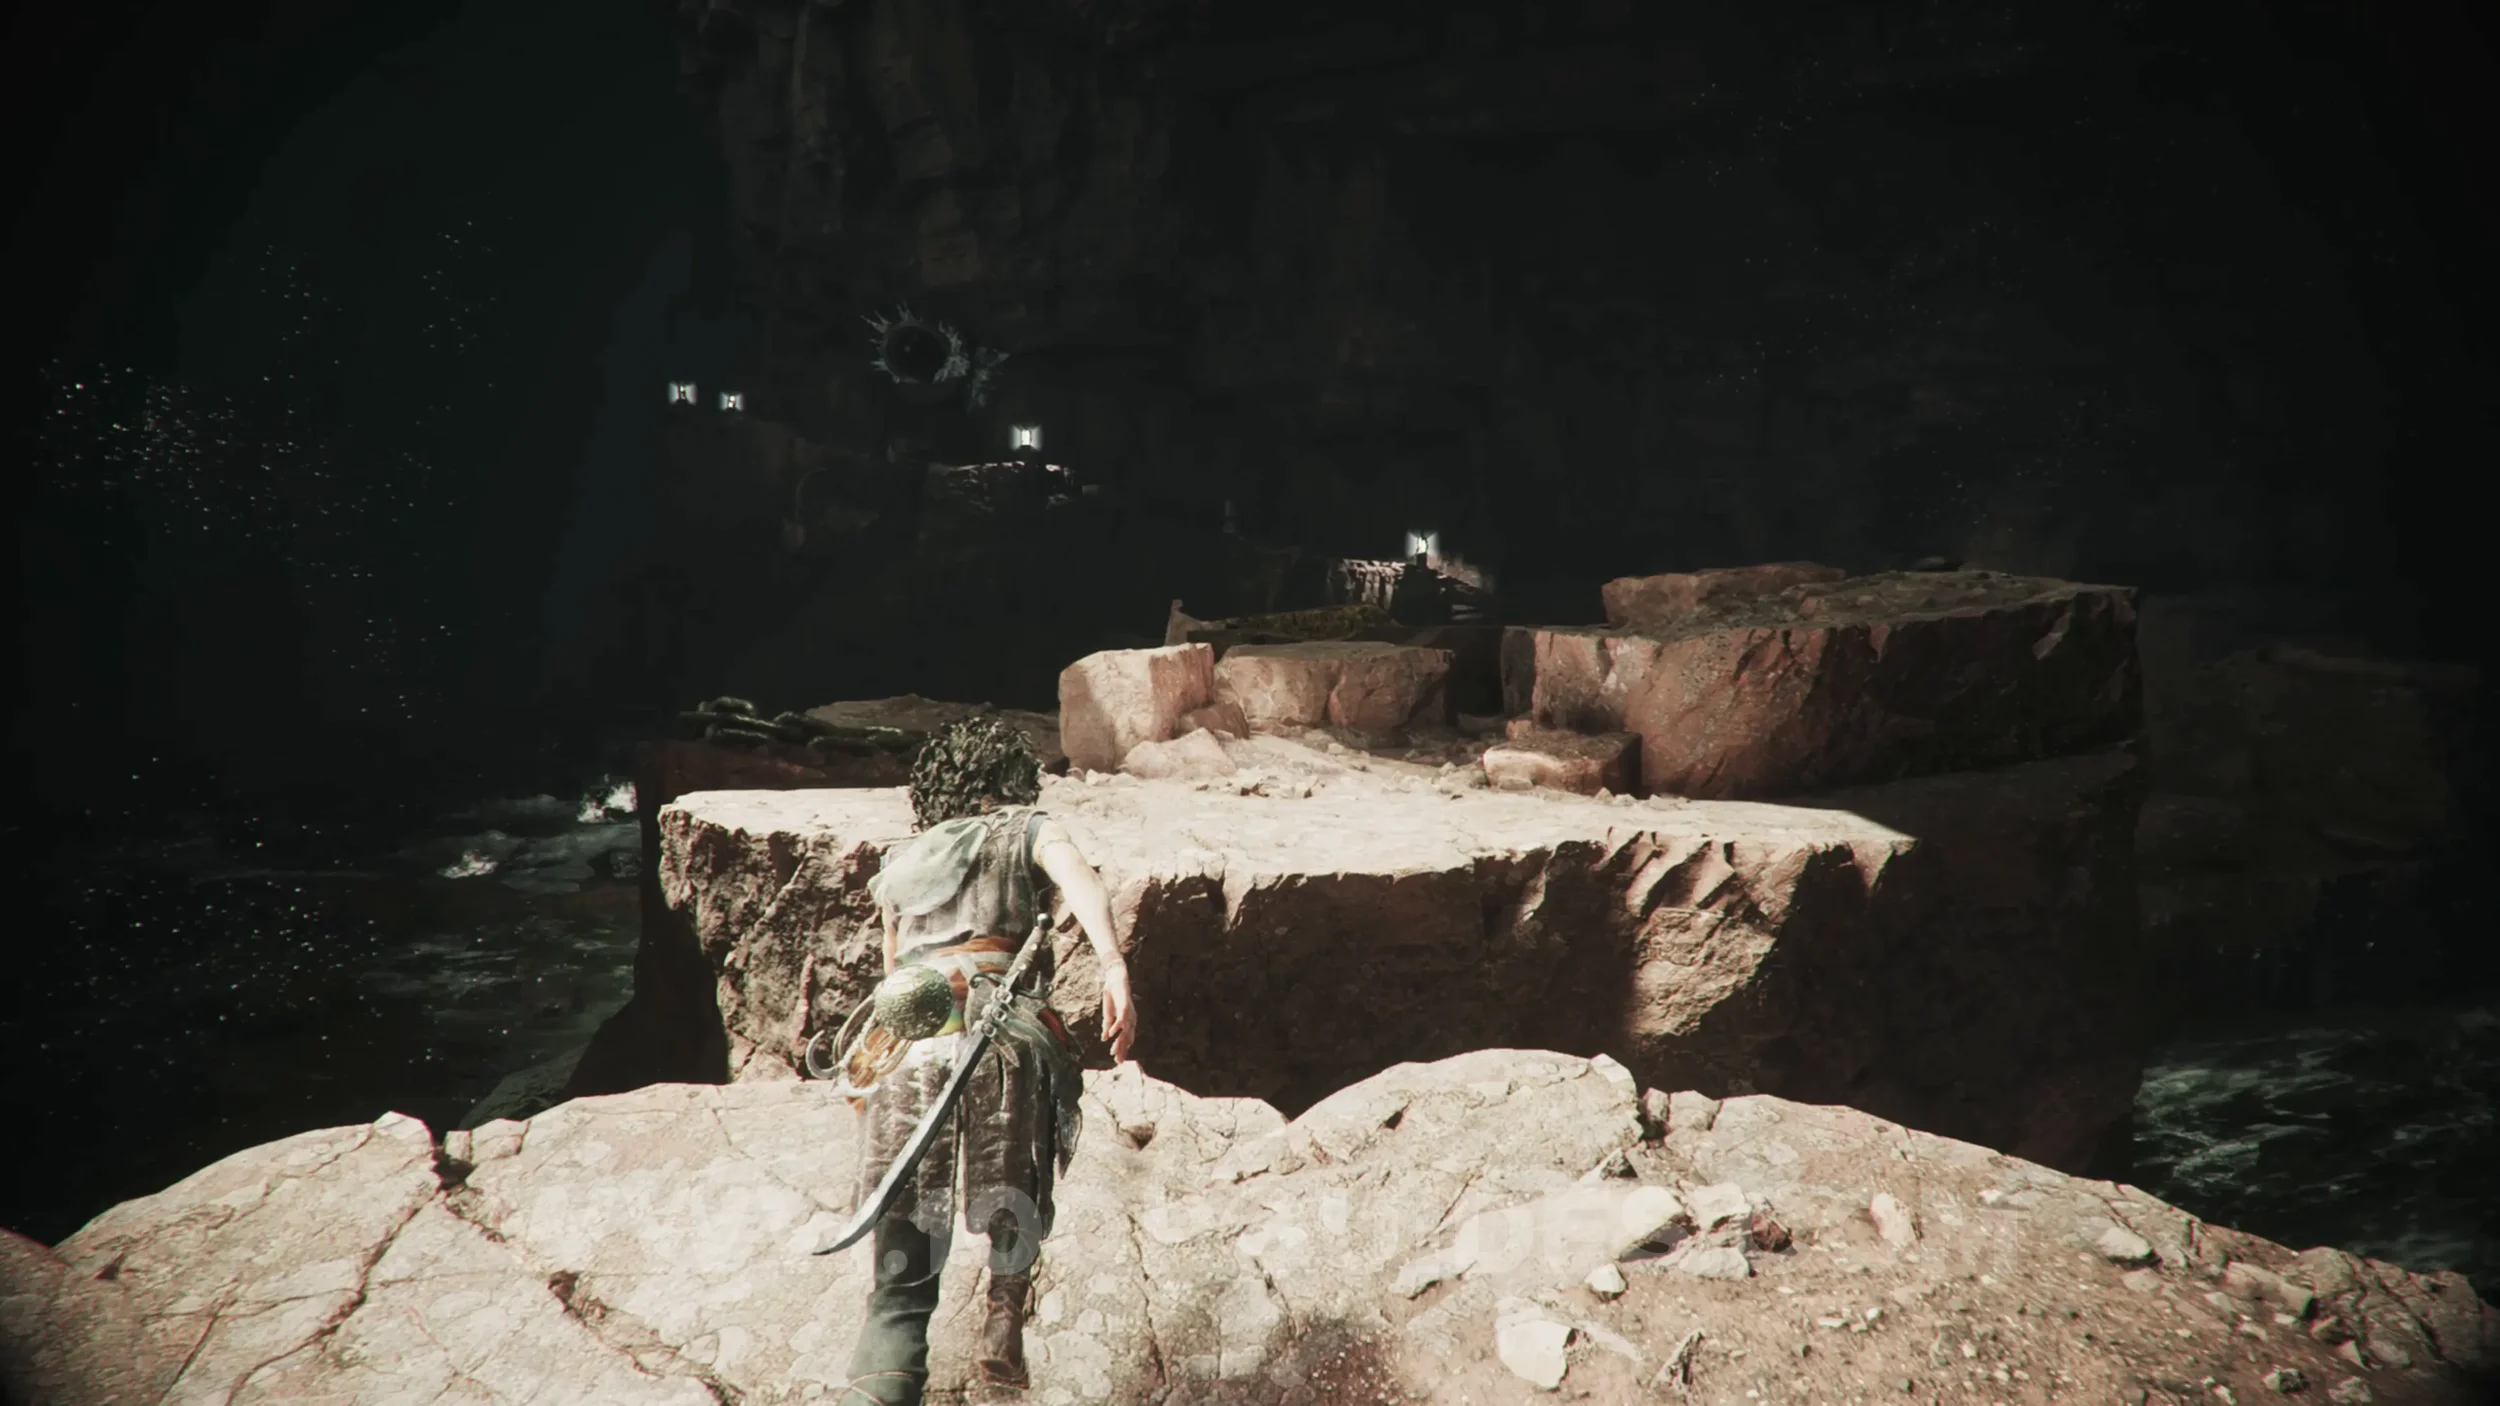
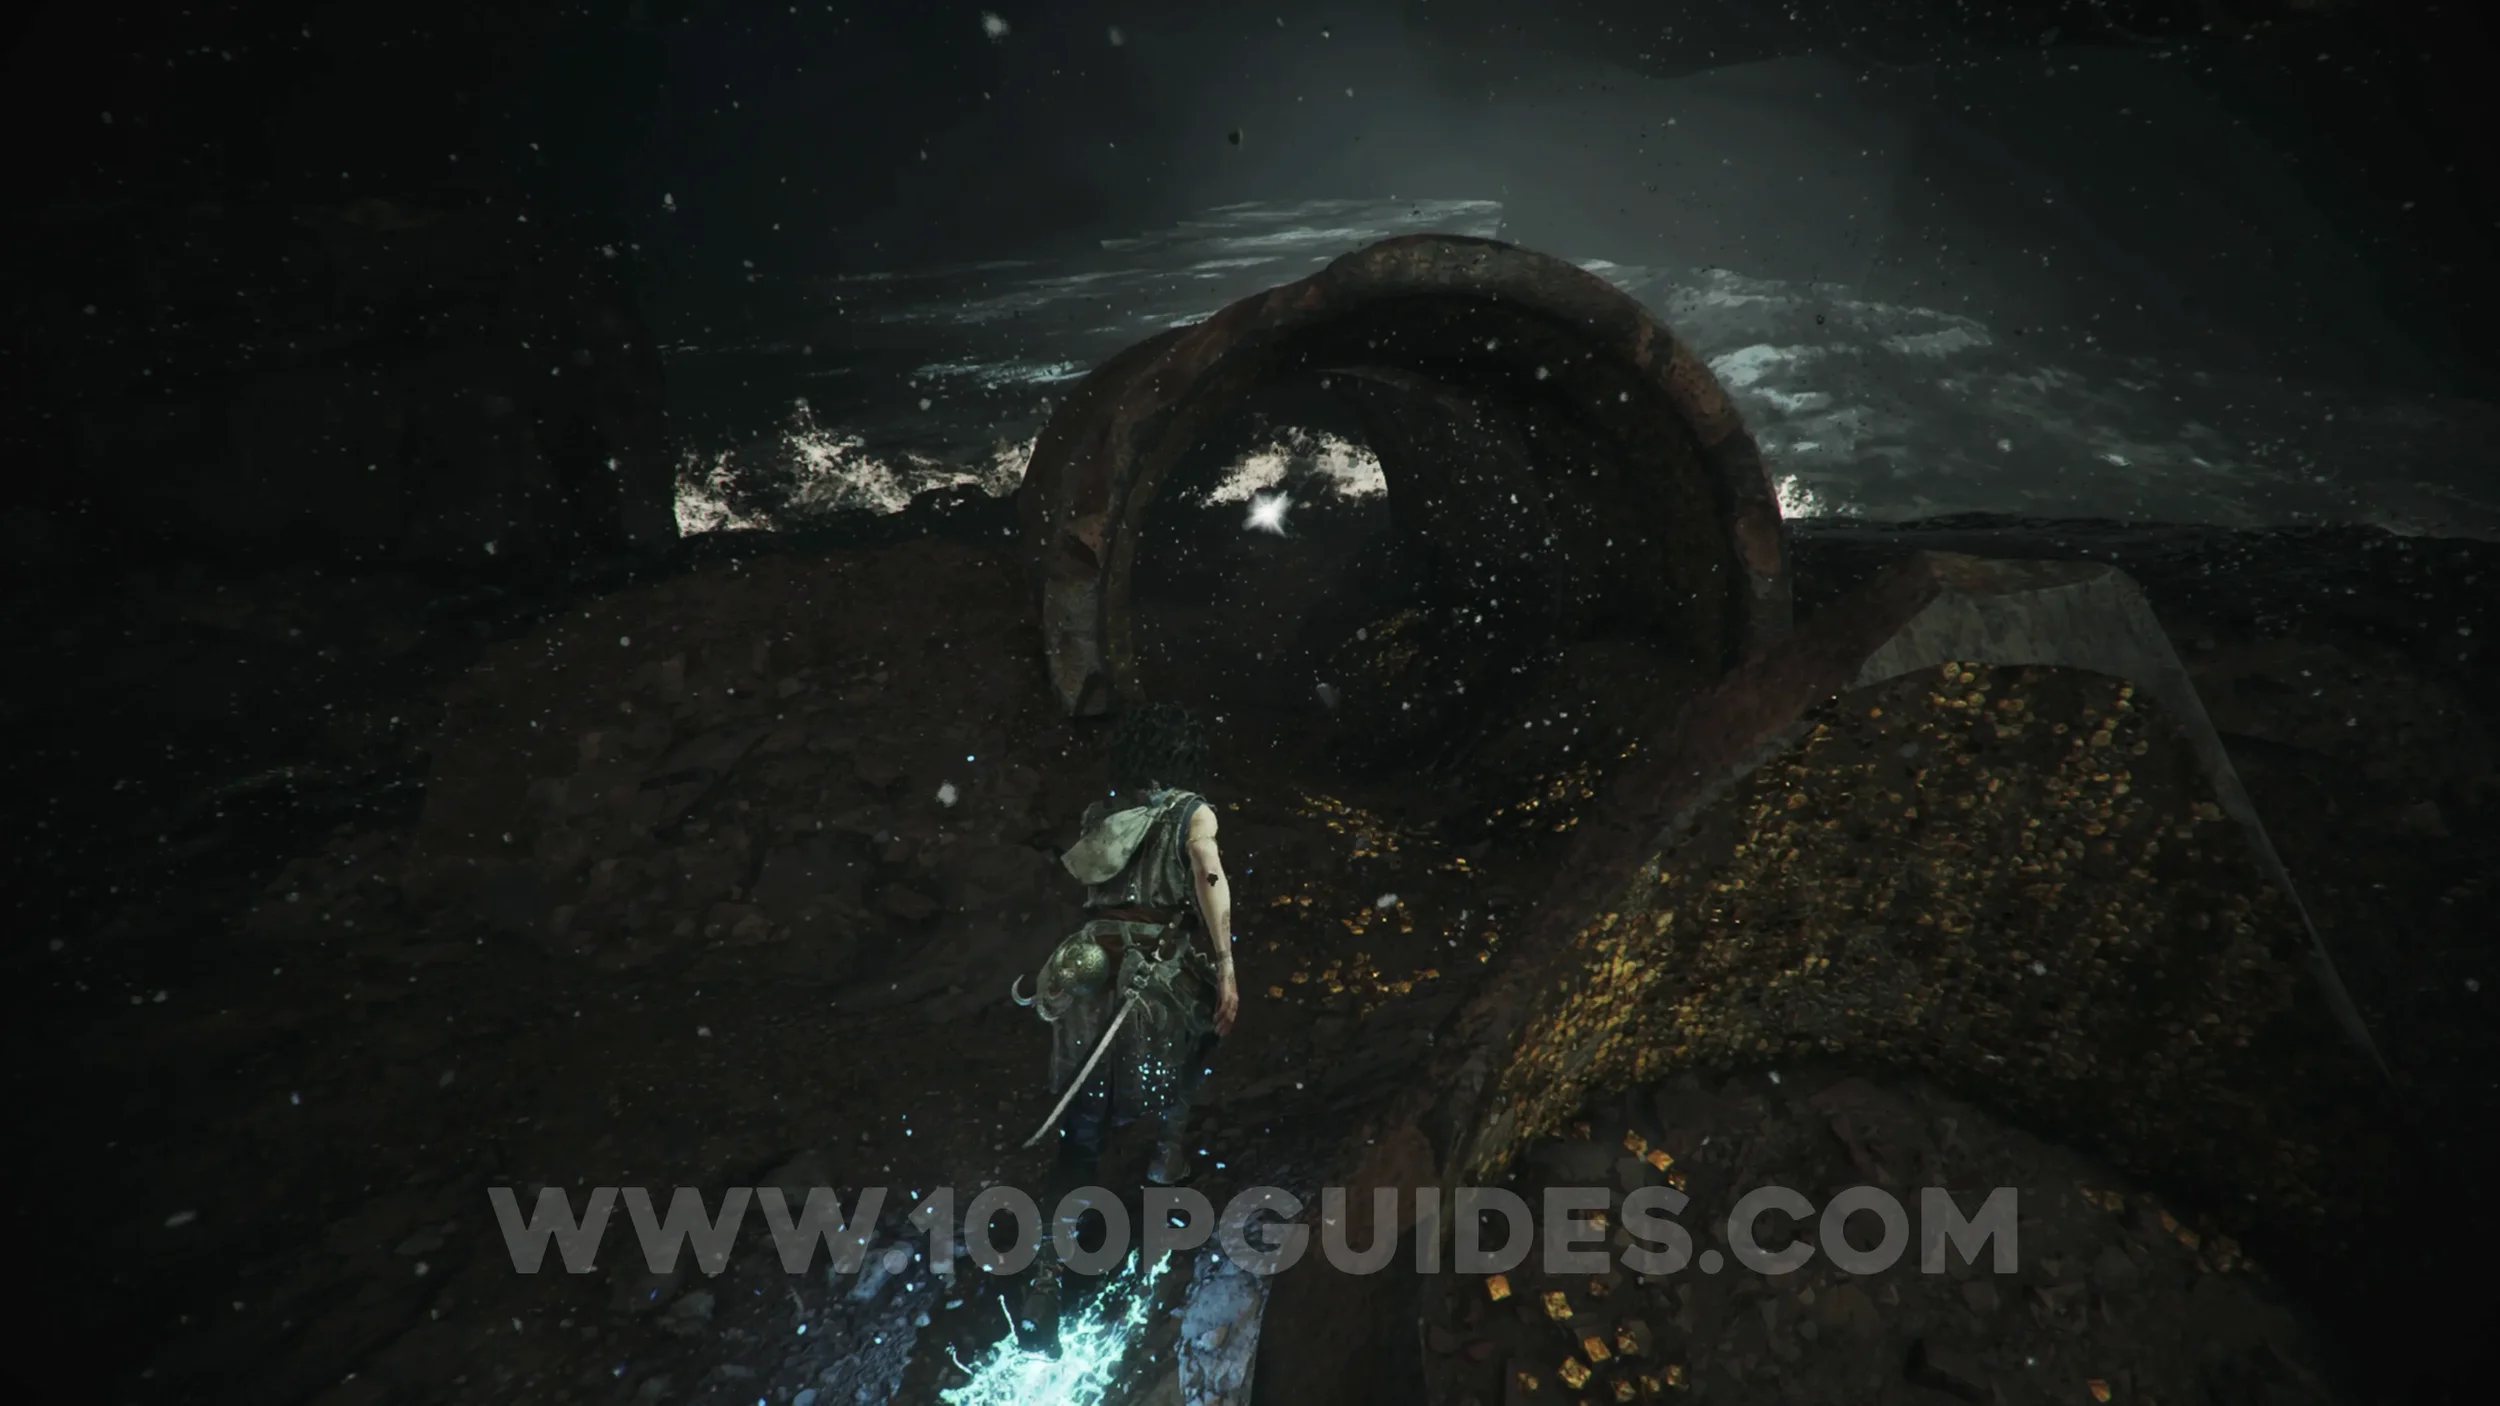
Resonance Point
Chapter 6: Sub-Chapter 4.
After the previous collectible, you'll go up the hill following the lights to avoid the creature. Then squeeze through a gap in the rocks and reach another area with a giant waterwheel. Immediately head left here to find the collectible.
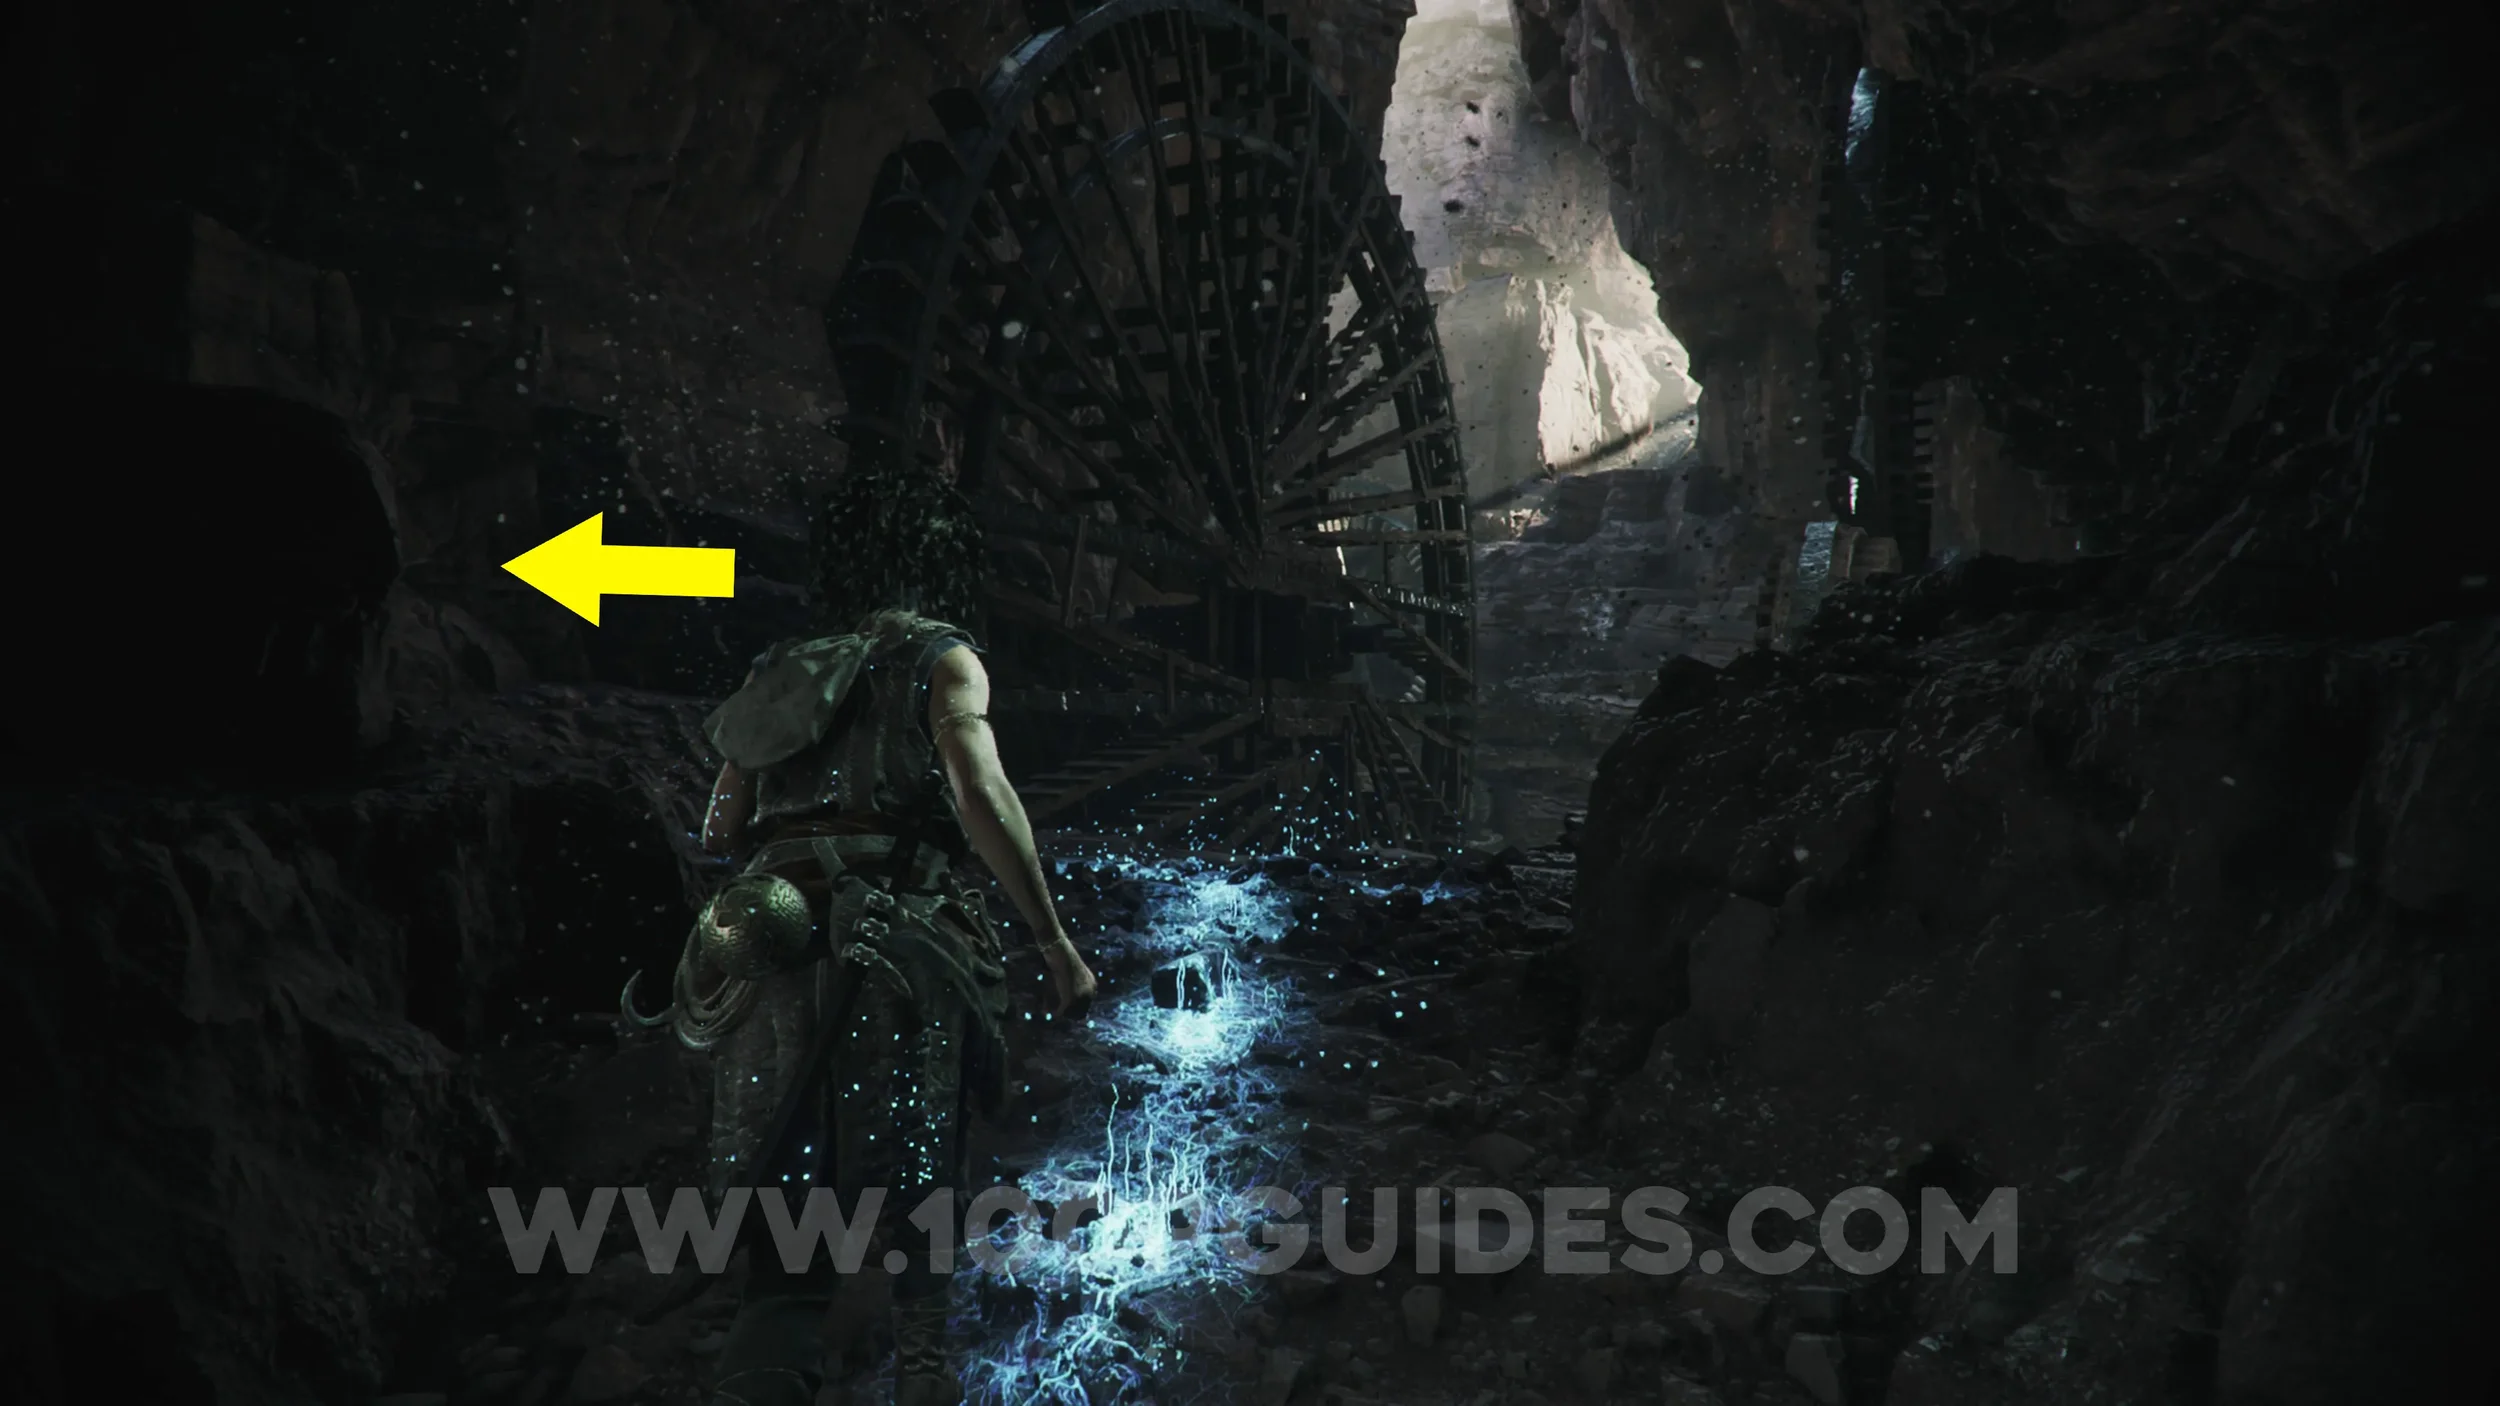
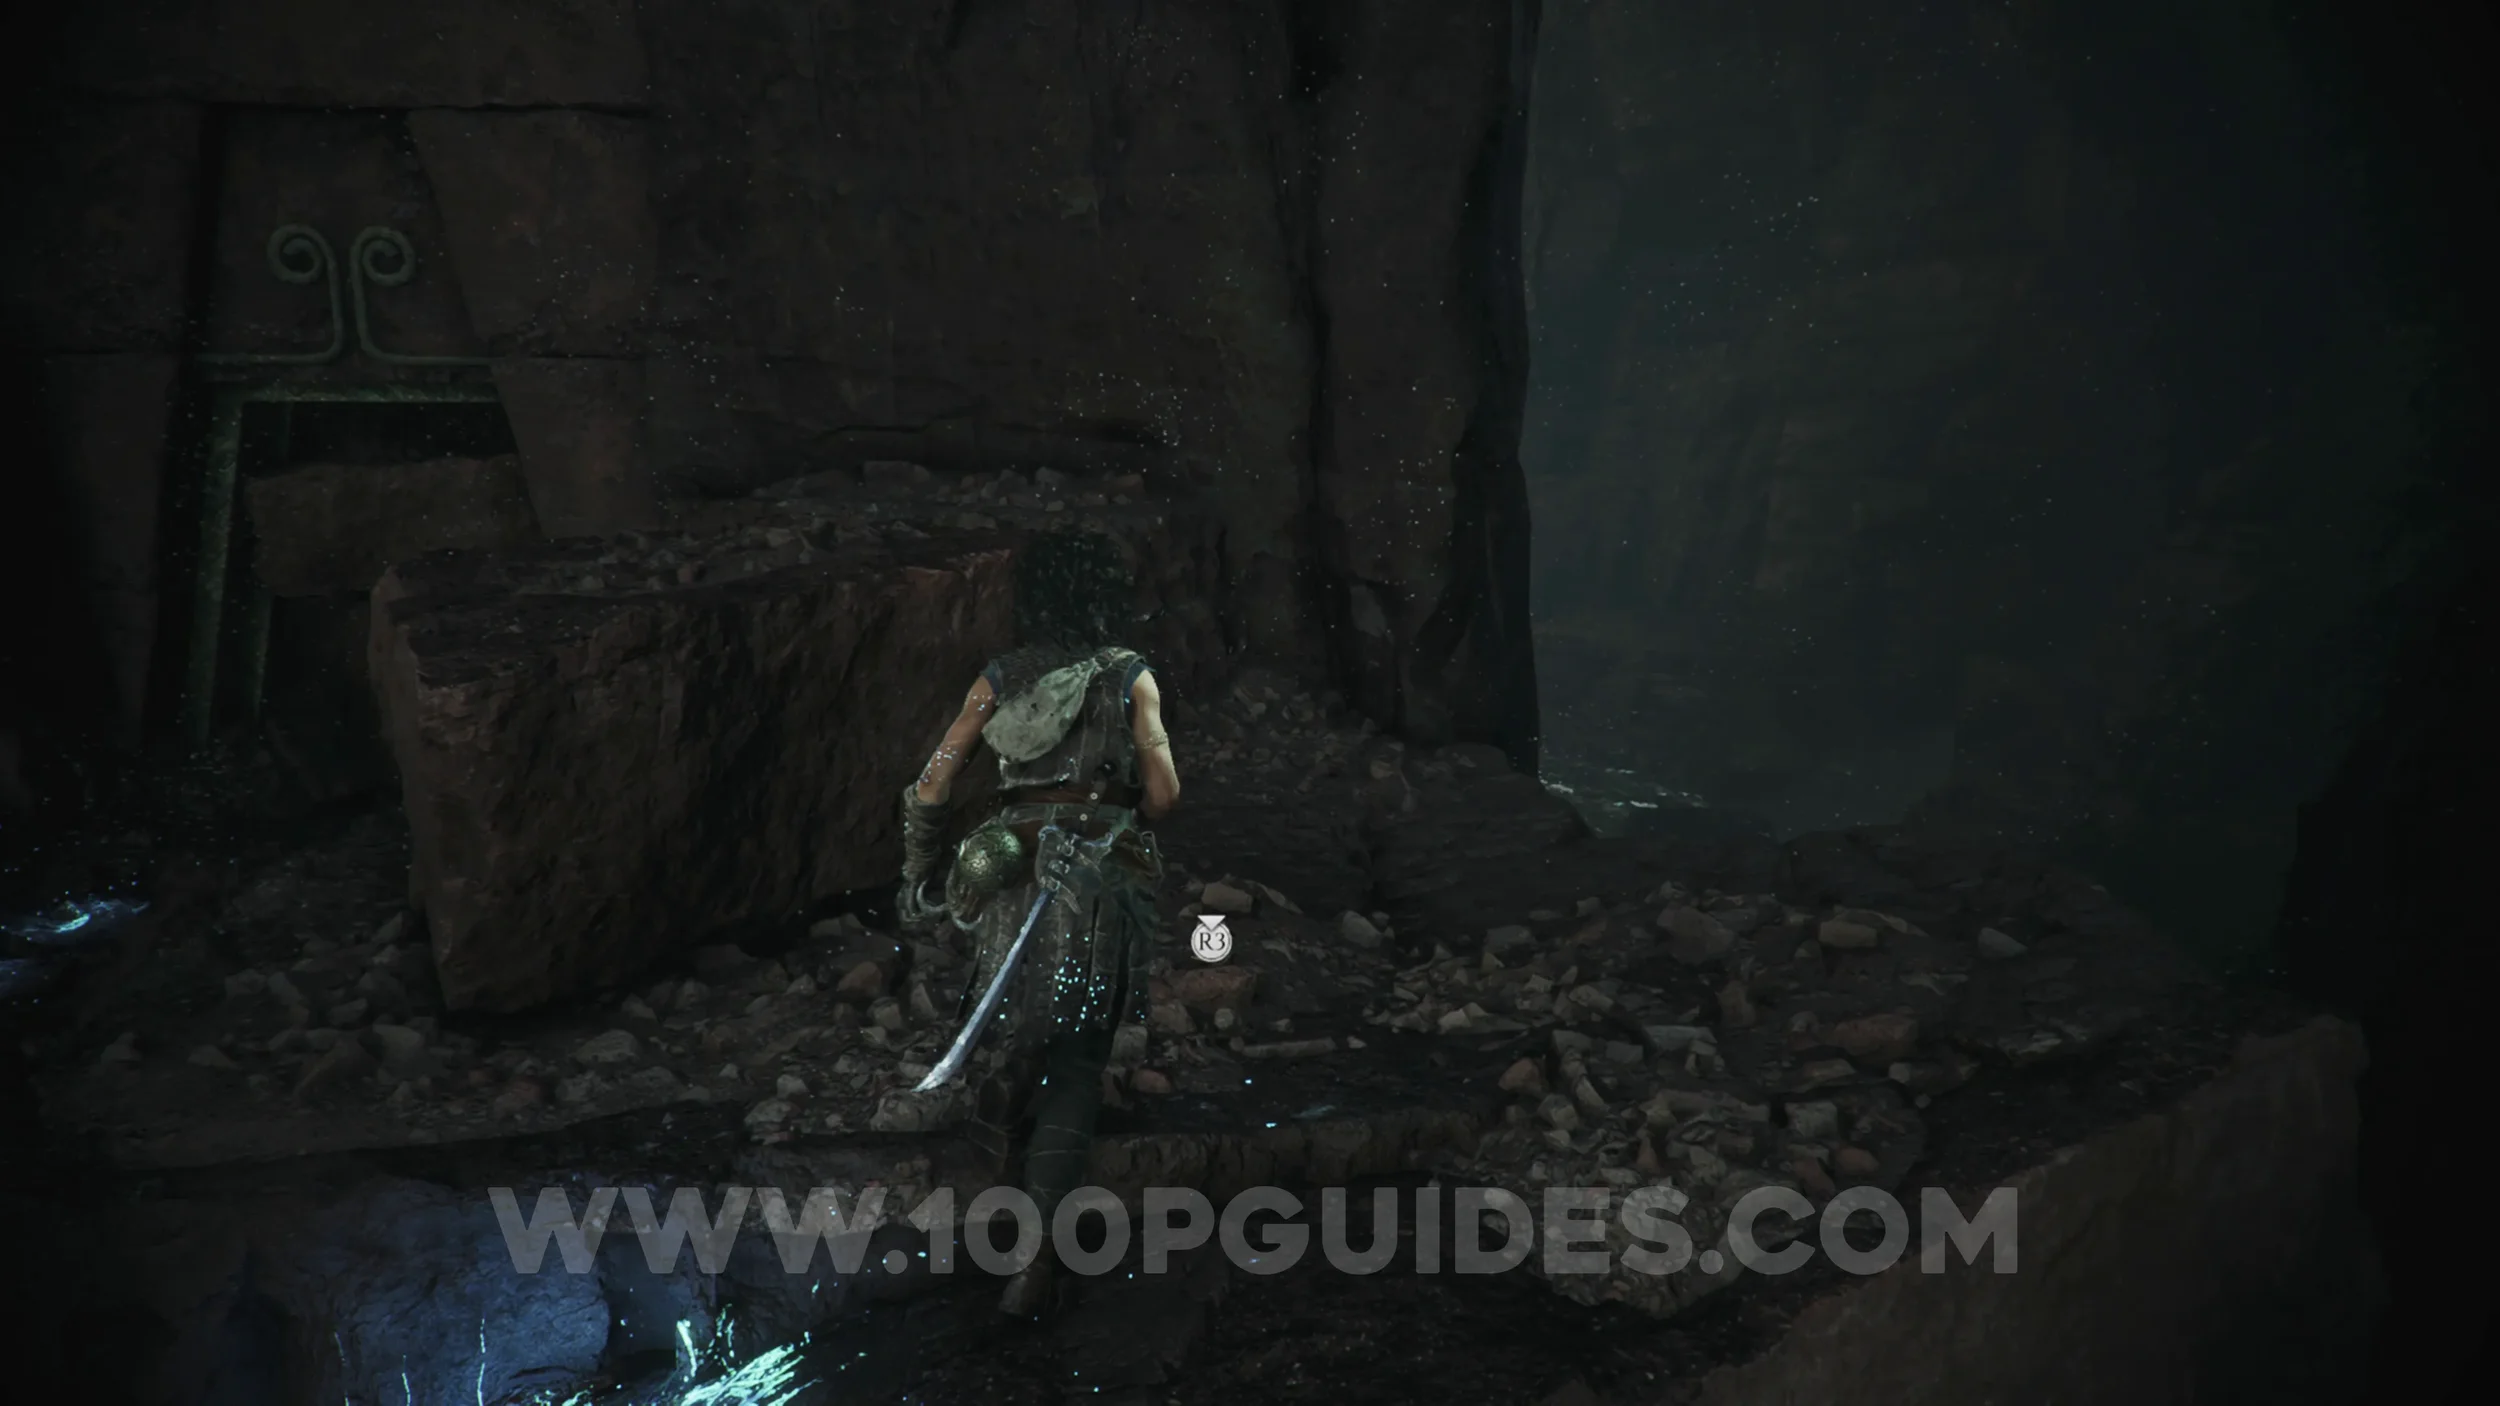
Resonance Point
Chapter 6: Sub-Chapter 4.
Just after the previous collectible, near the next light.
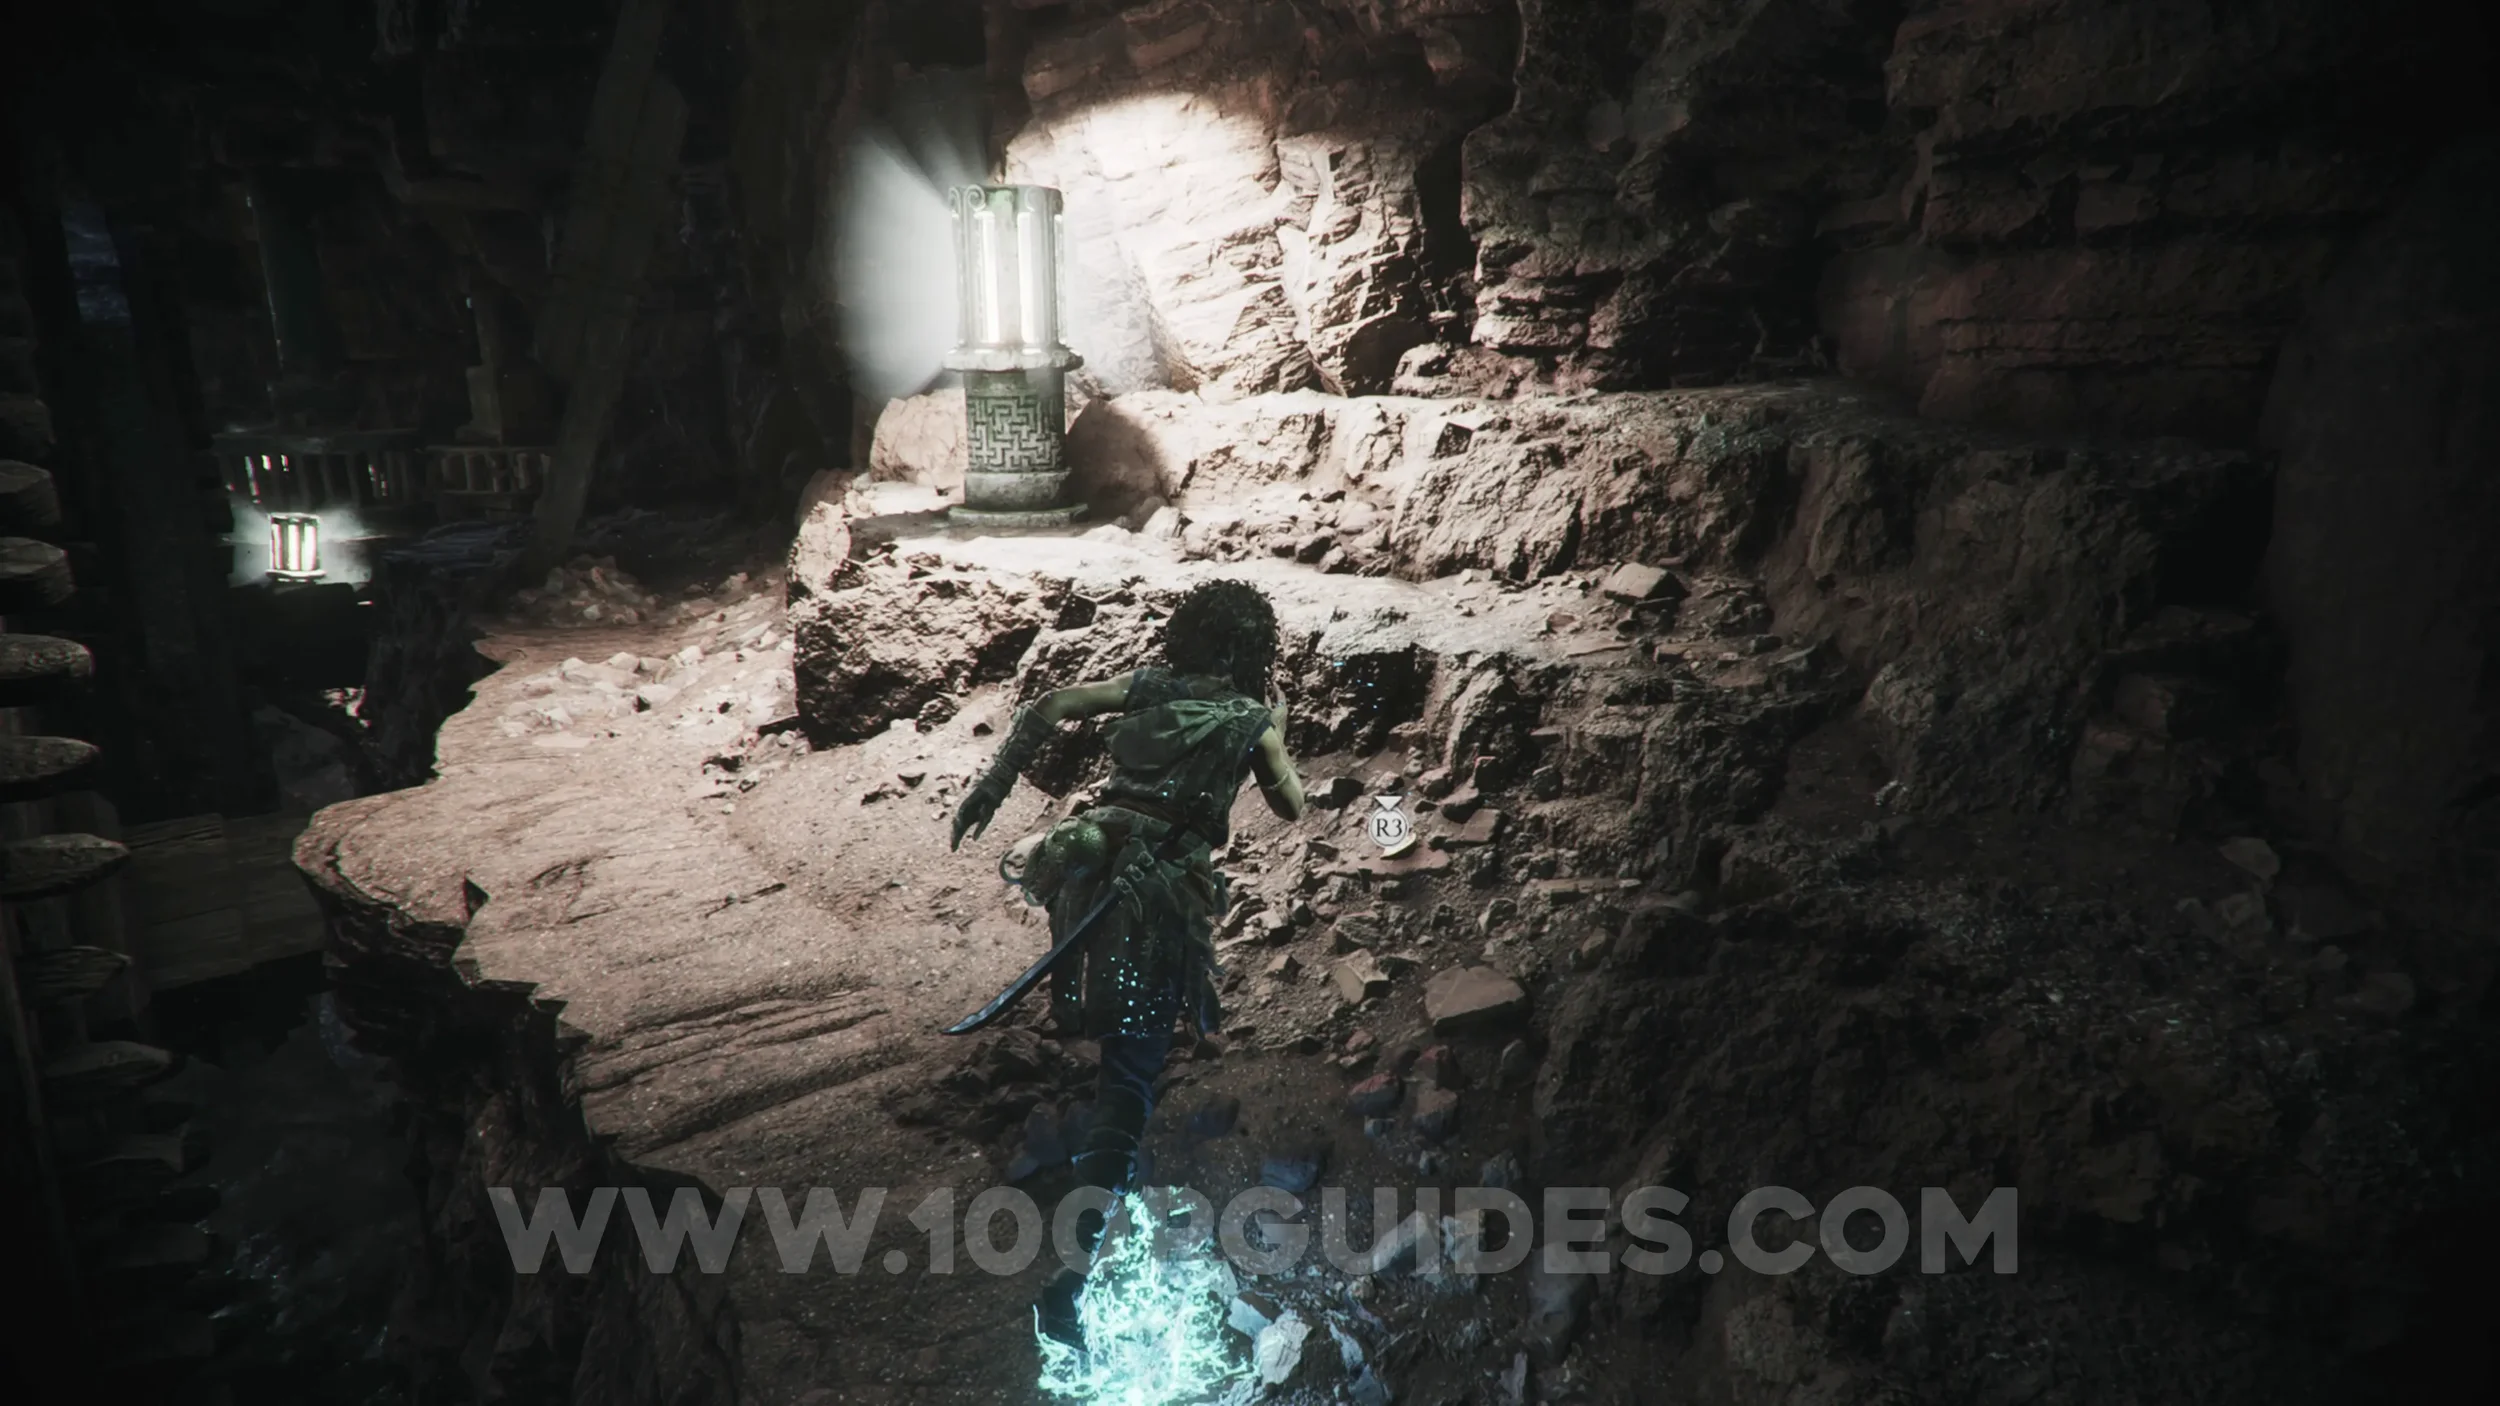
Resonance Point
Chapter 6: Sub-Chapter 4.
After escaping the beast by jumping across the broken wooden platforms from the waterwheel, you'll find the collectible on your left, just before the first light in the next section.
Charm: Seal #3
Chapter 6: Sub-Chapter 4.
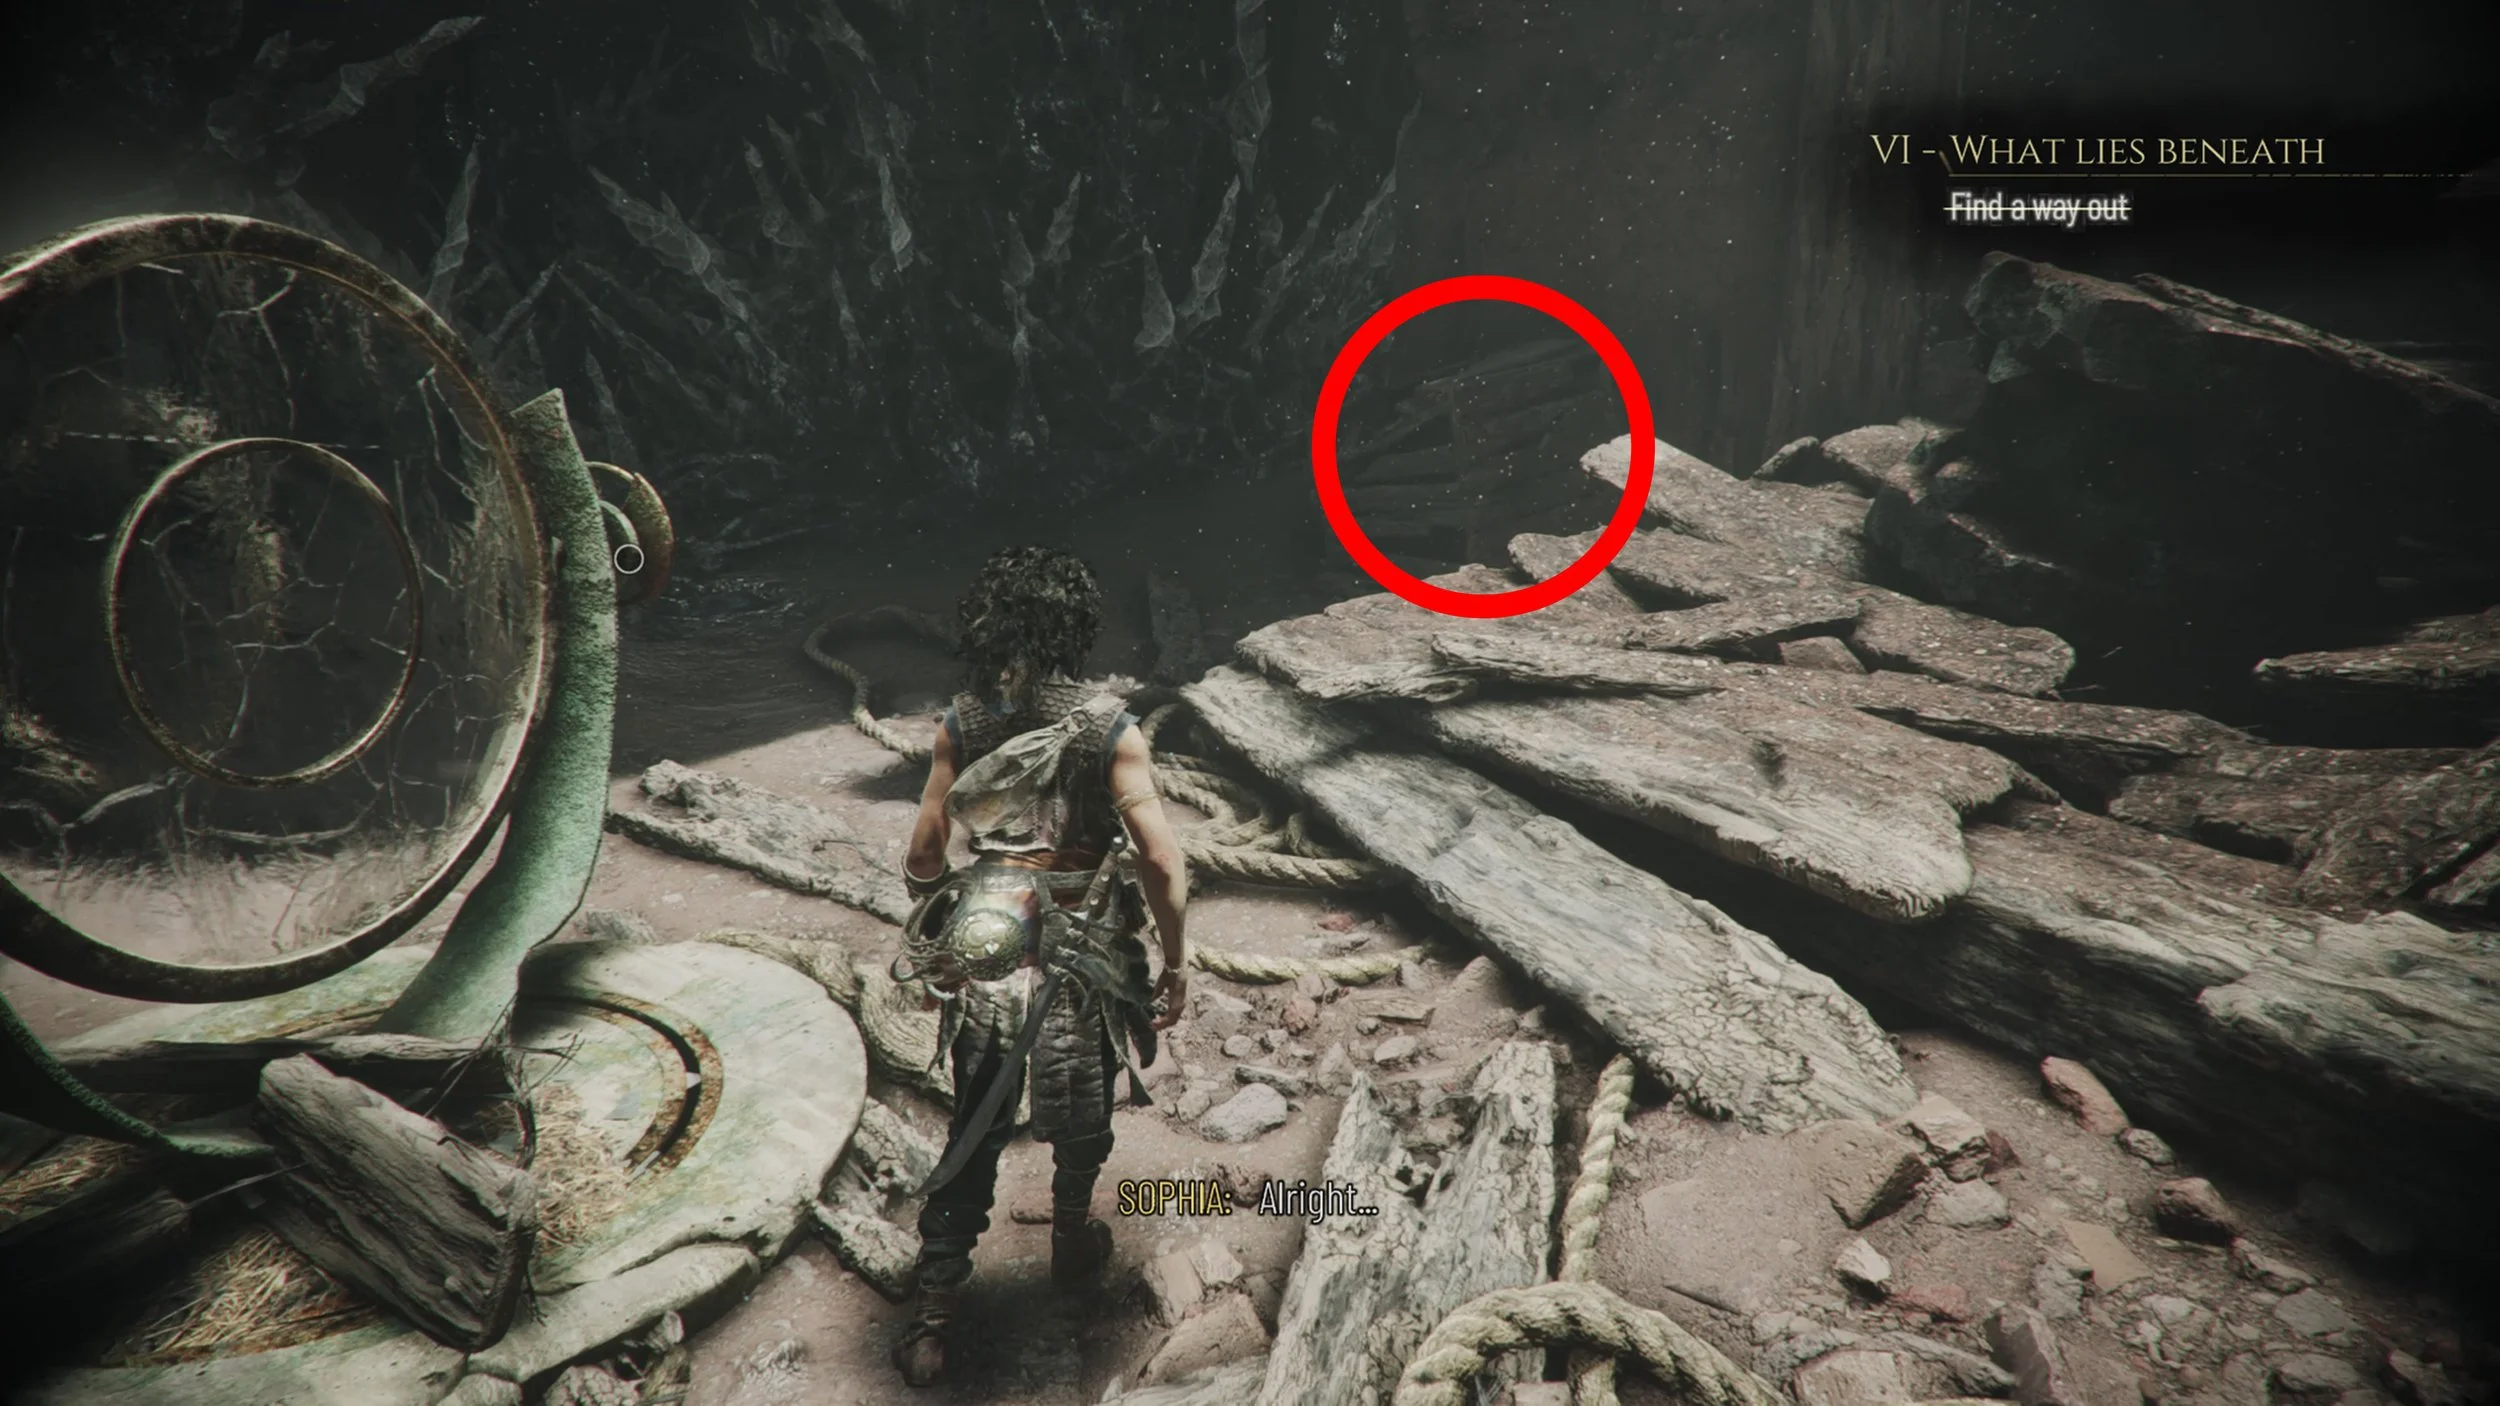
In the next area, you'll have to destroy a wooden crate to reveal a mirror. To the right of this crate, you'll see another crate. Break it to find the charm inside.
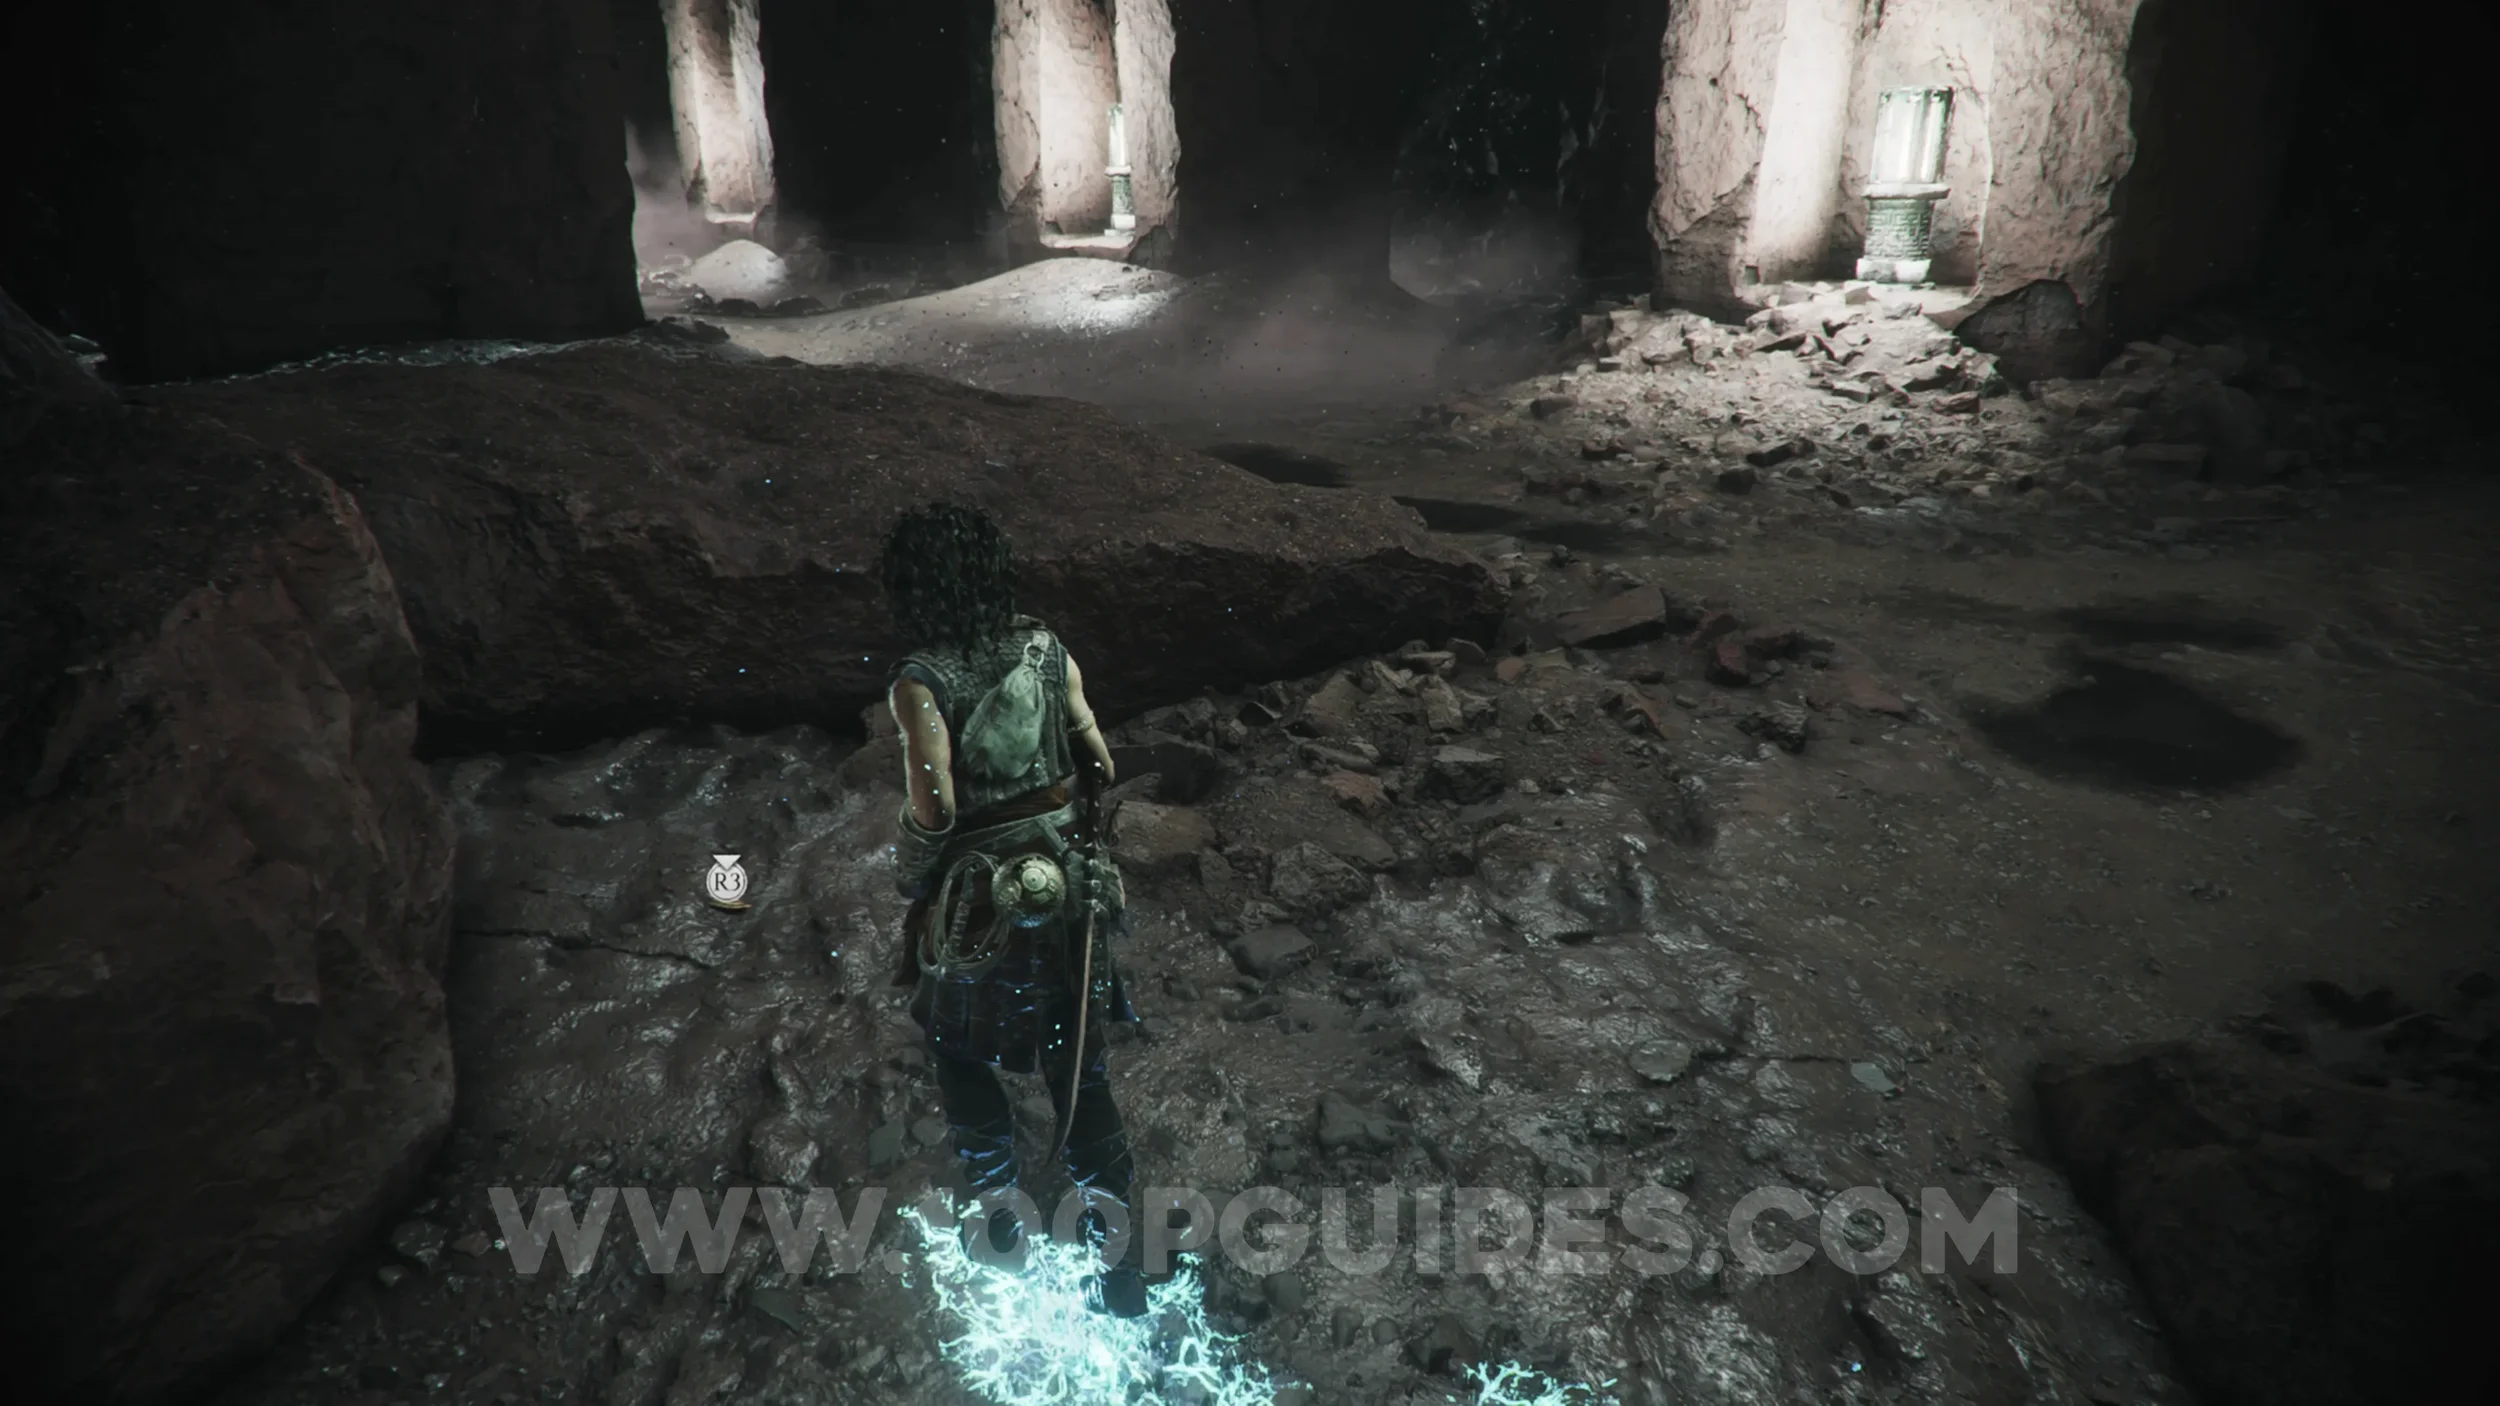
Resonance Point x2
Chapter 6: Sub-Chapter 4.
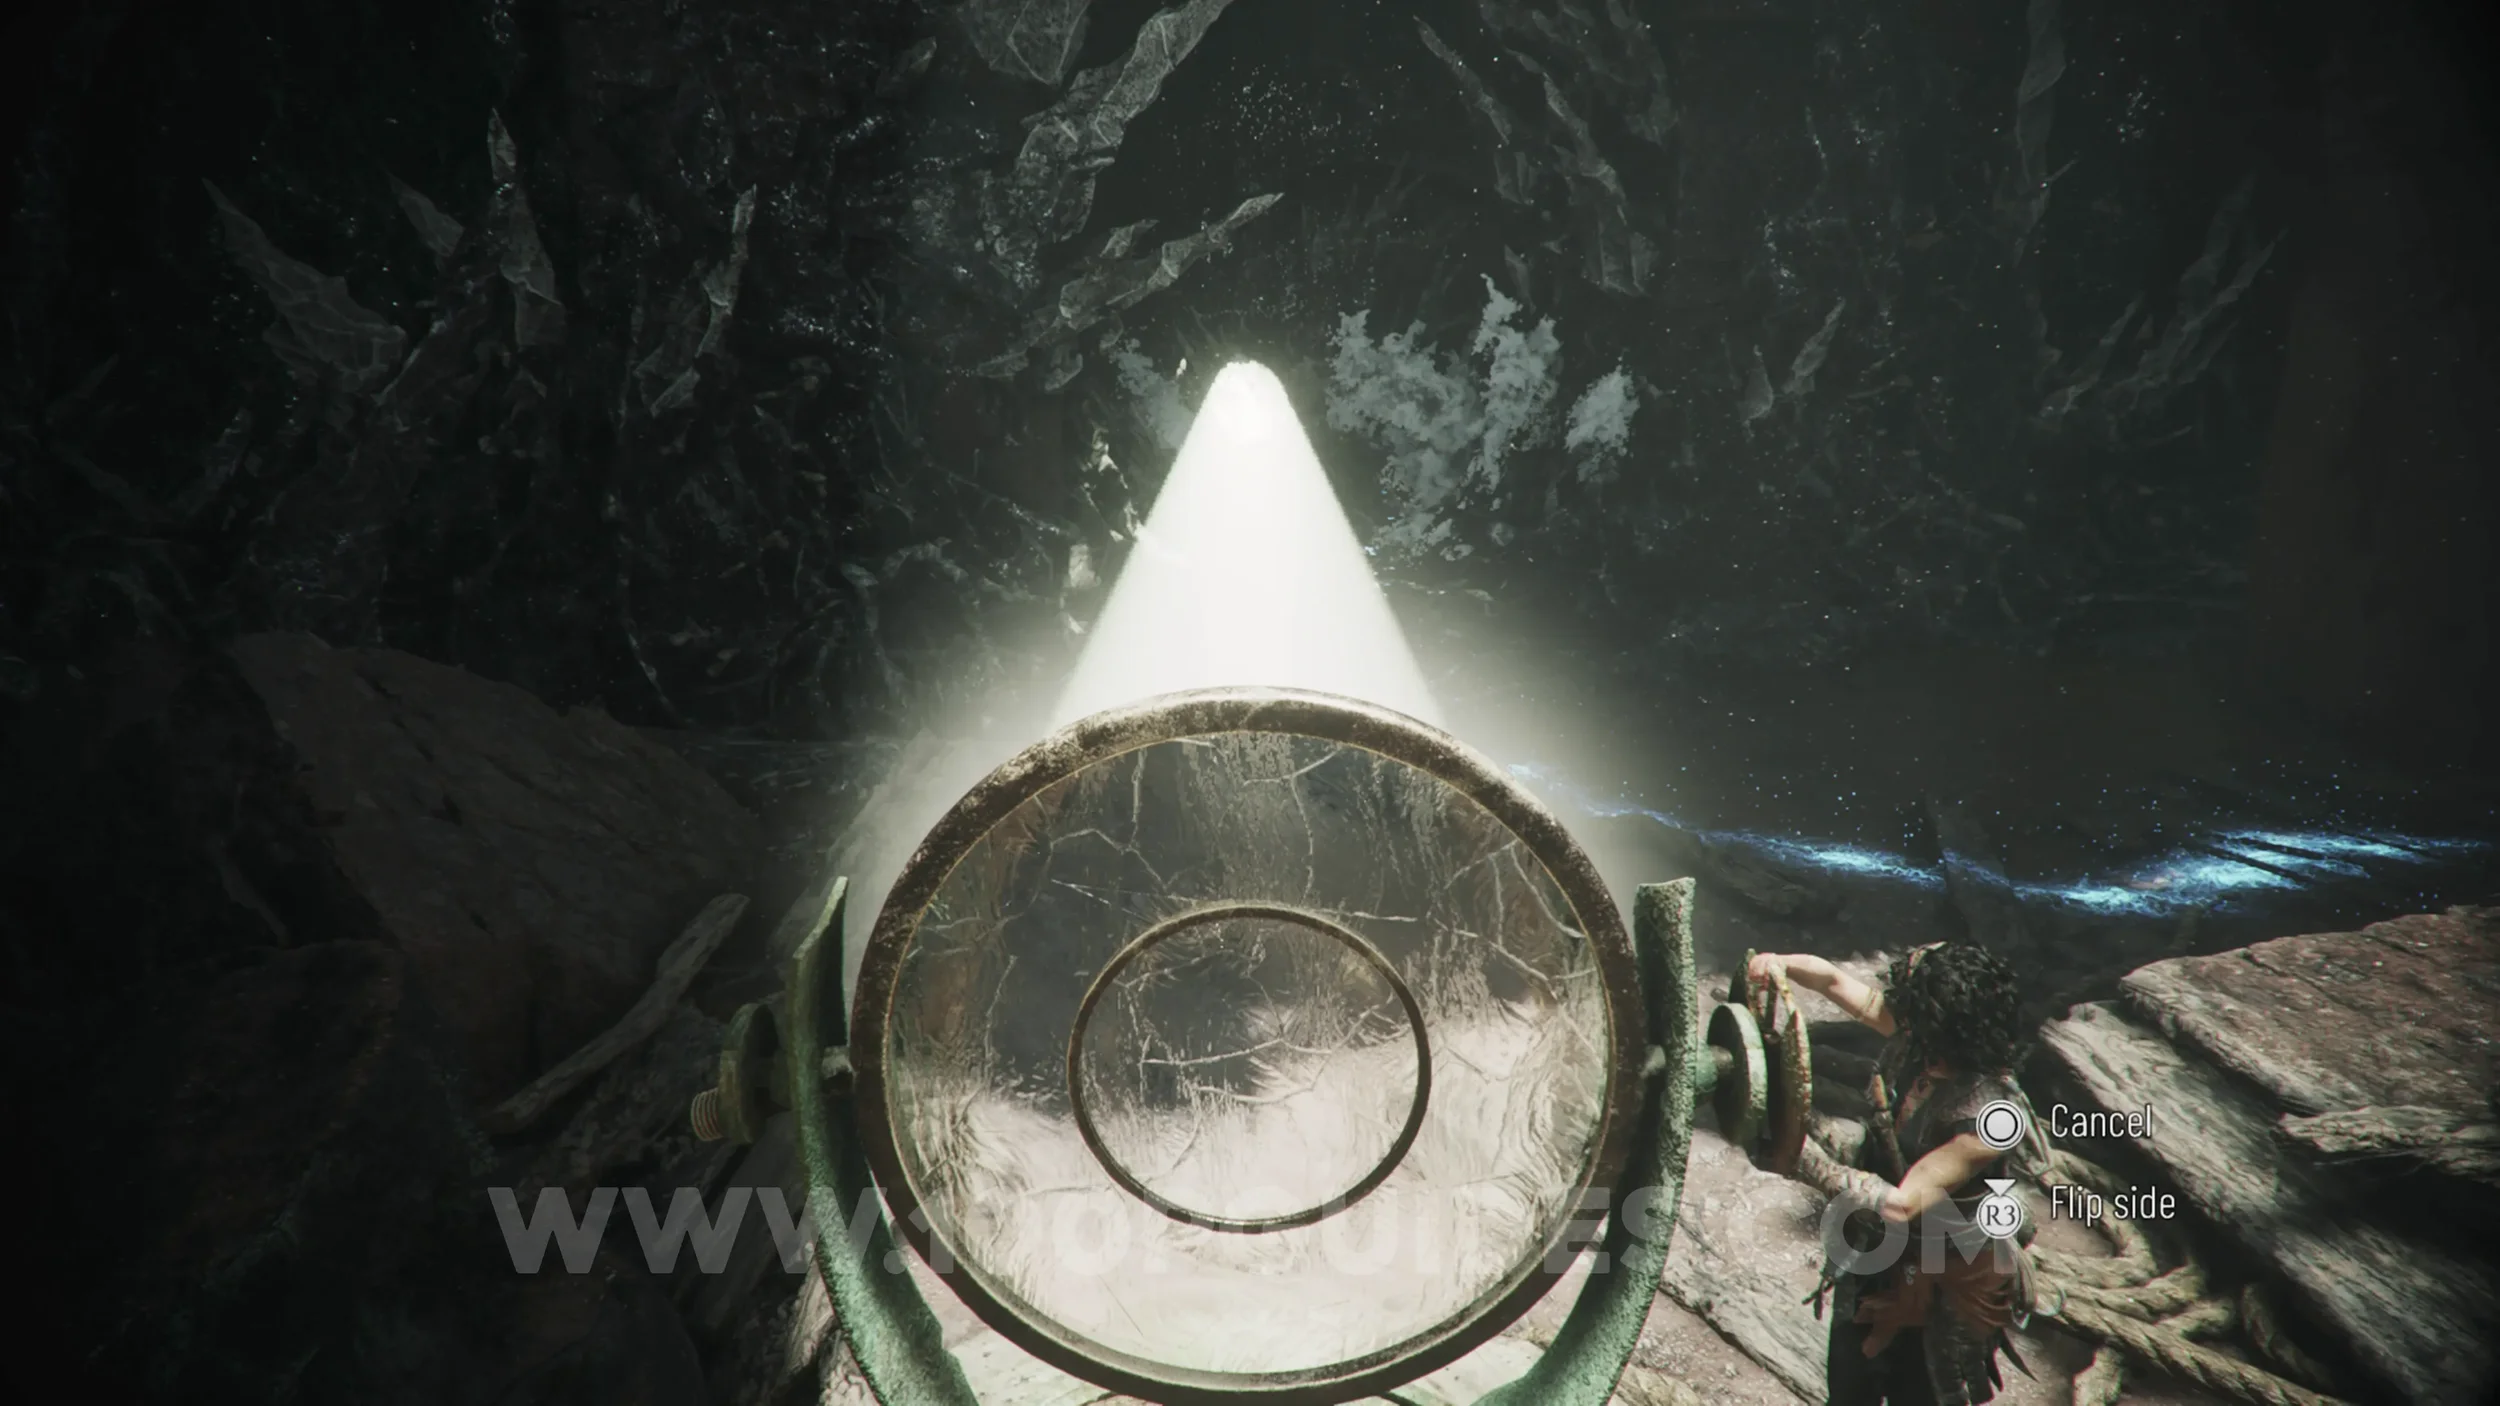
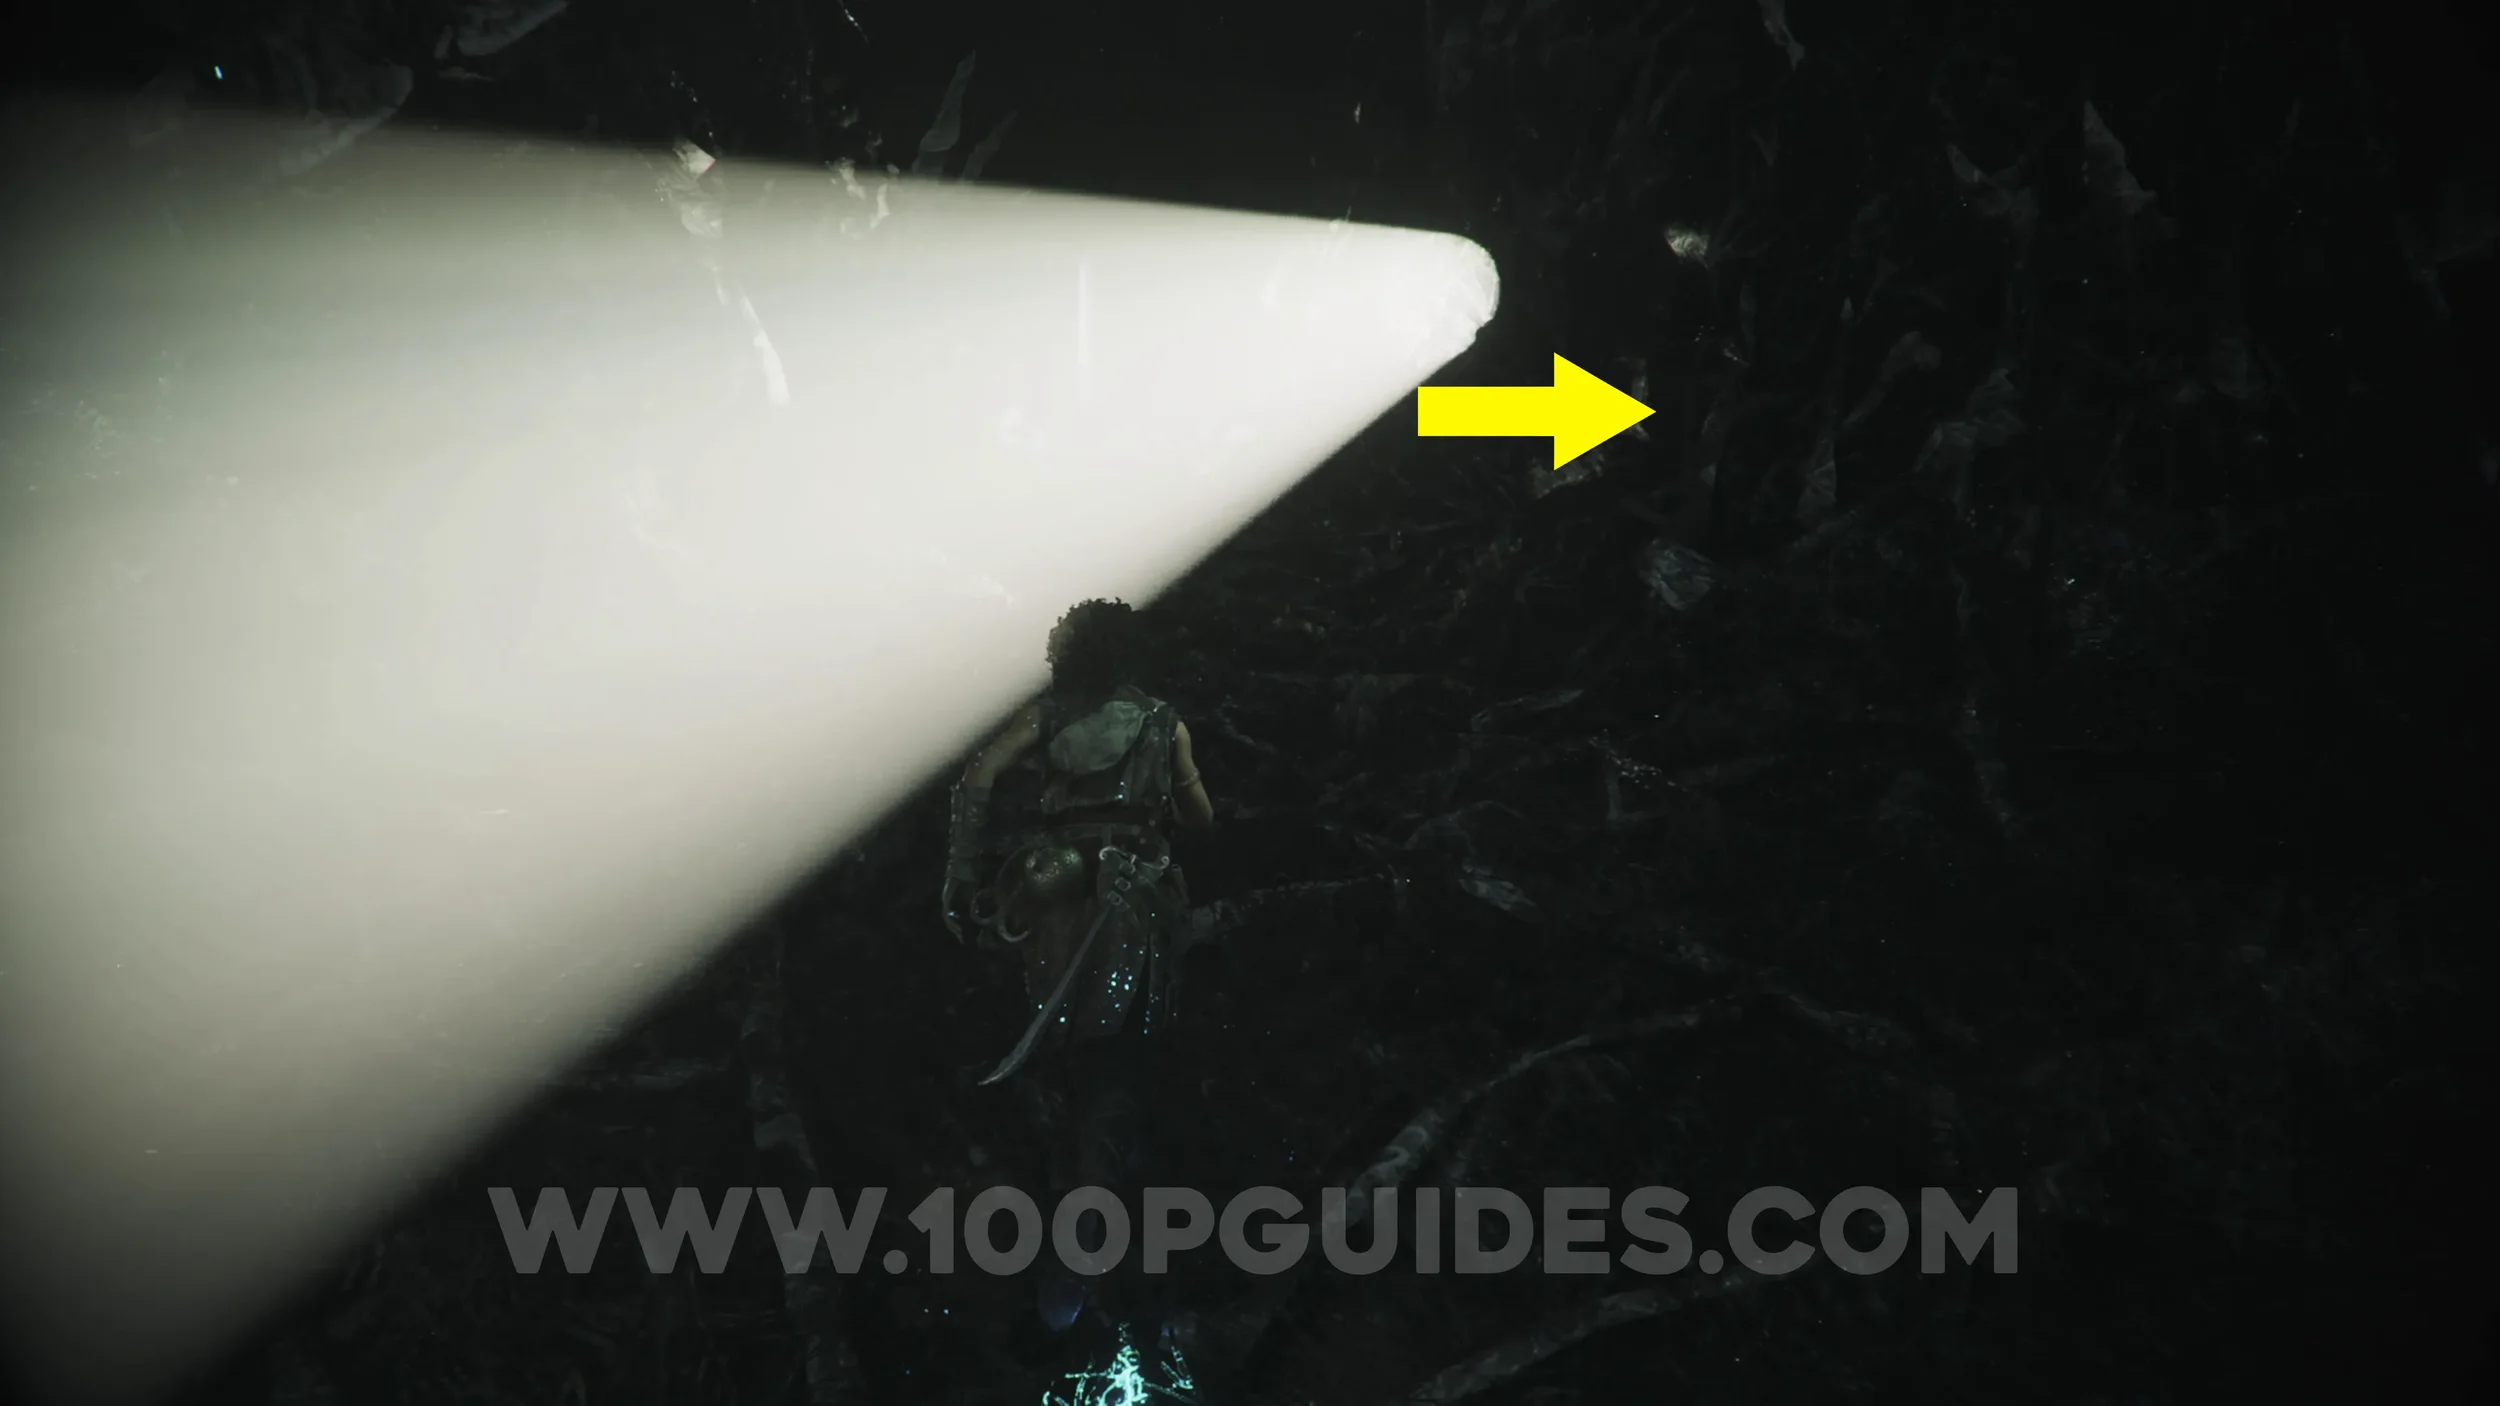
After using the mirror to destroy the black substance, go through and take an immediate right to find the two resonance points on the ground.
Charm: Bead #3
Chapter 6: Sub-Chapter 5.
Once you reach the area with the miniature labyrinth, the charm will be on the left of this room.
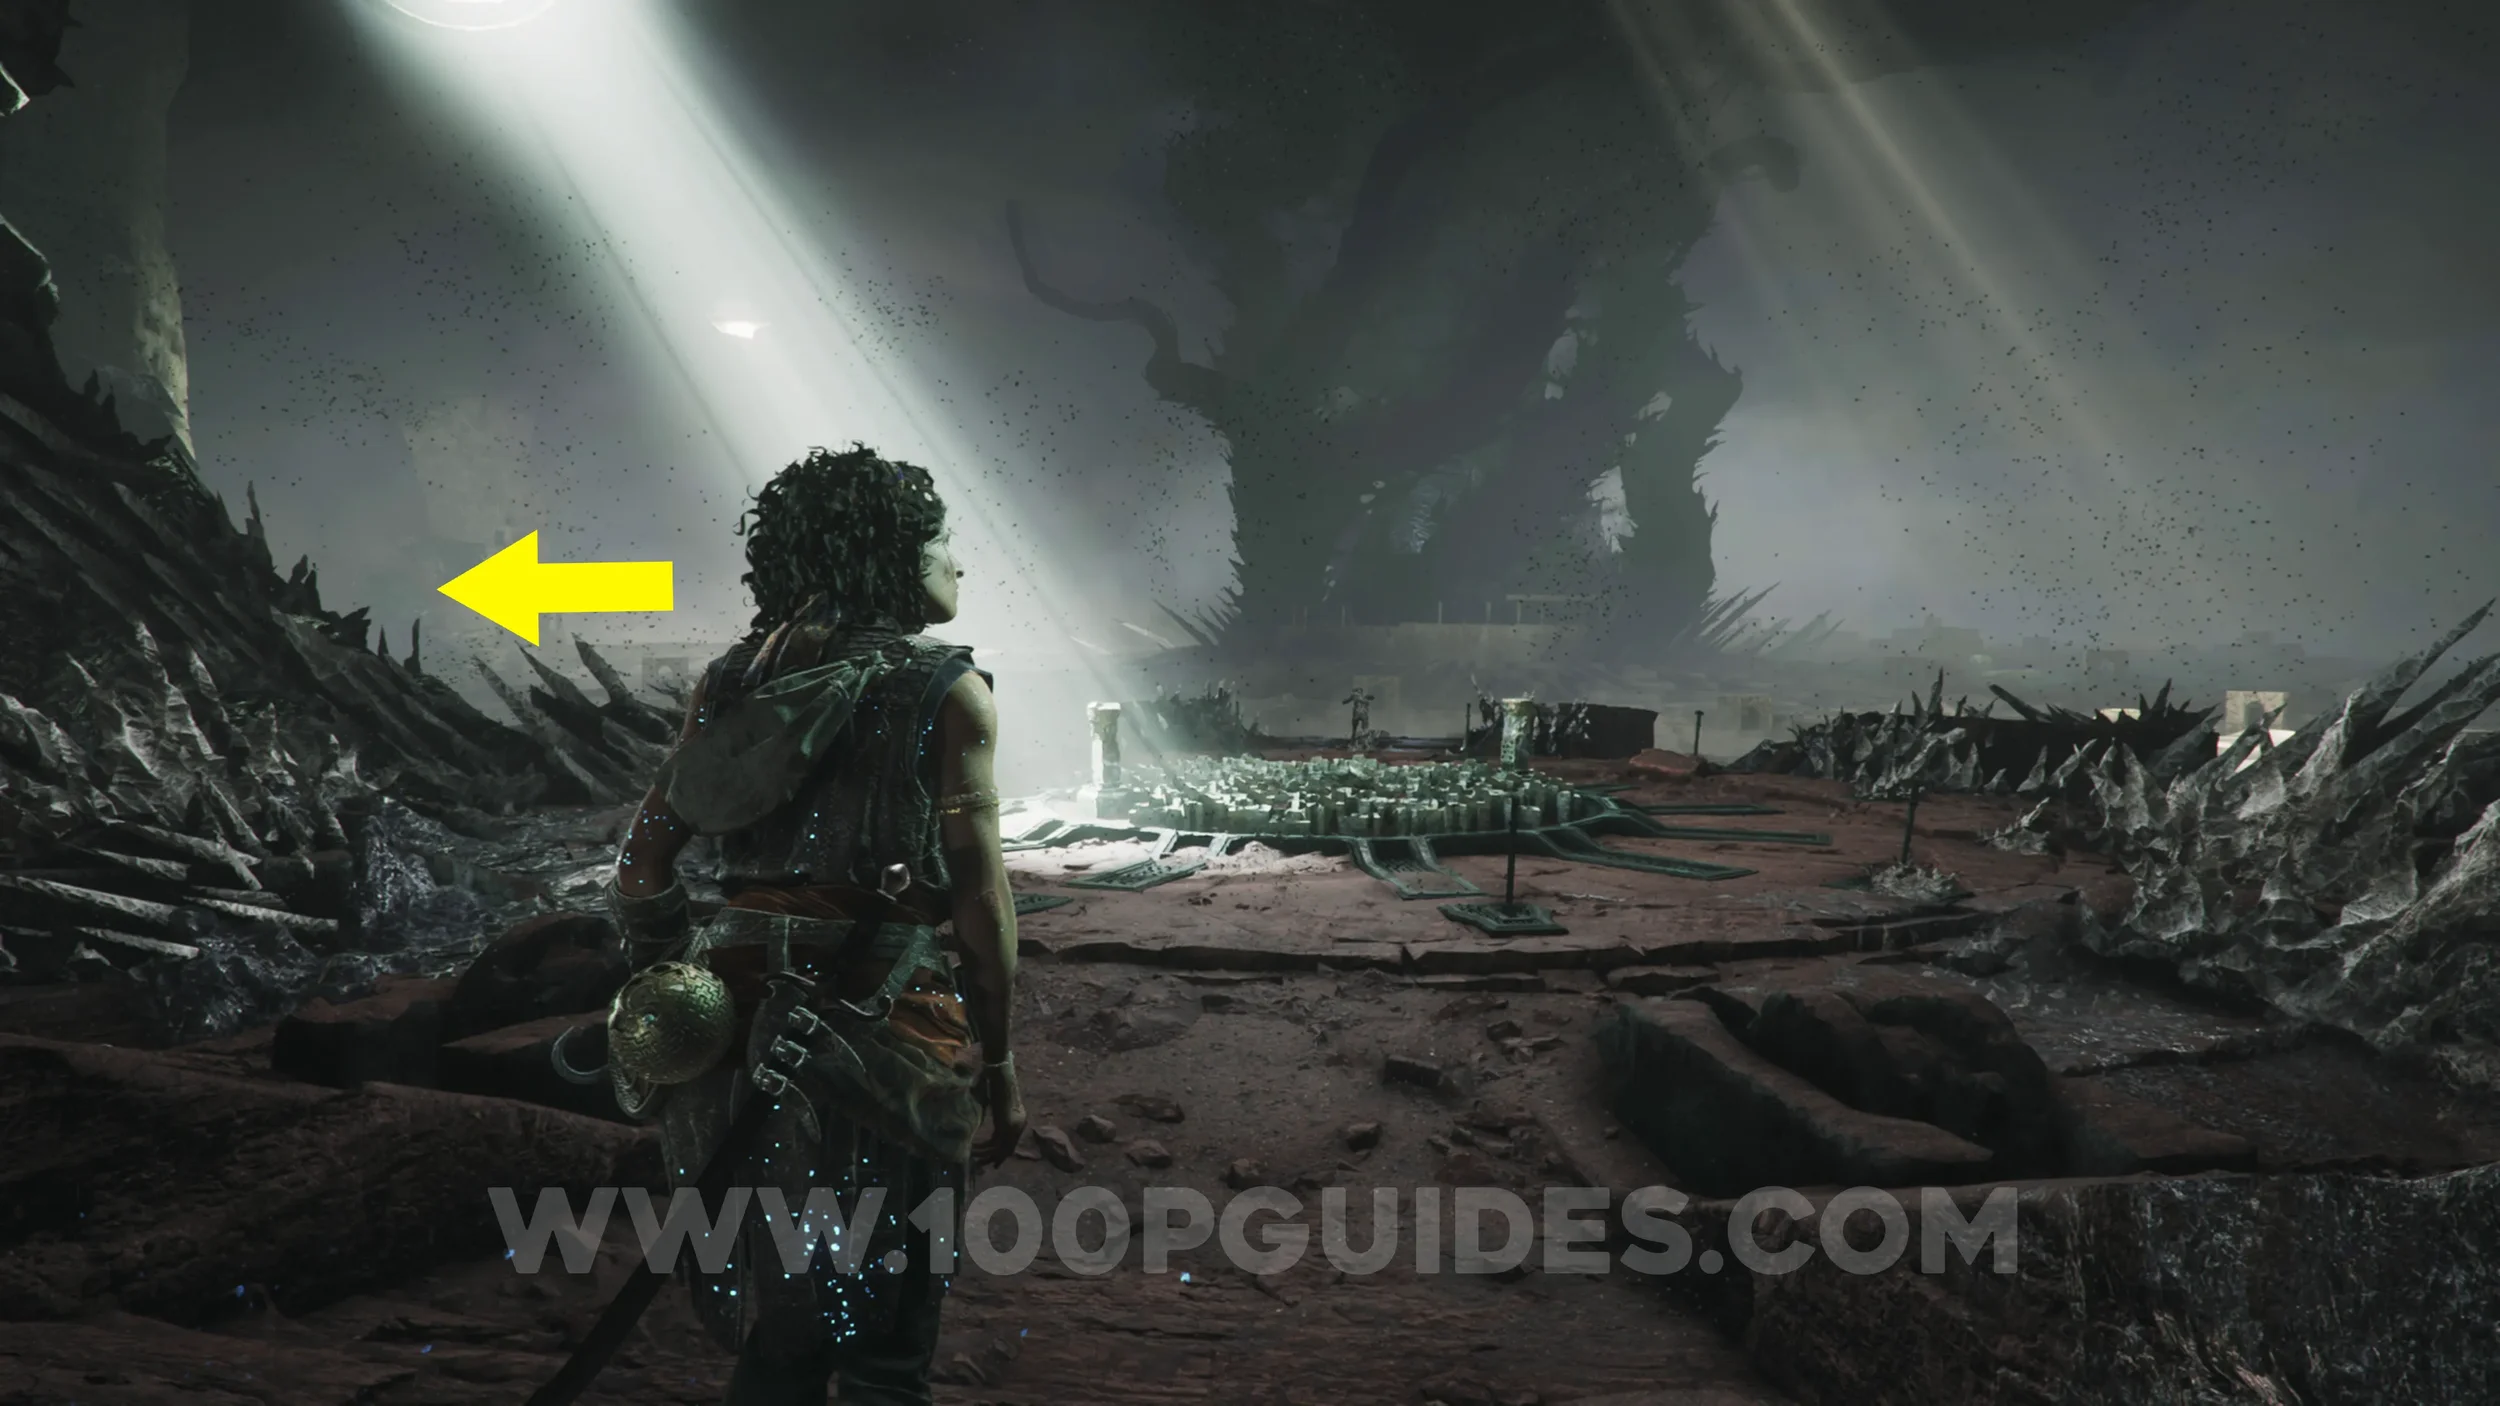
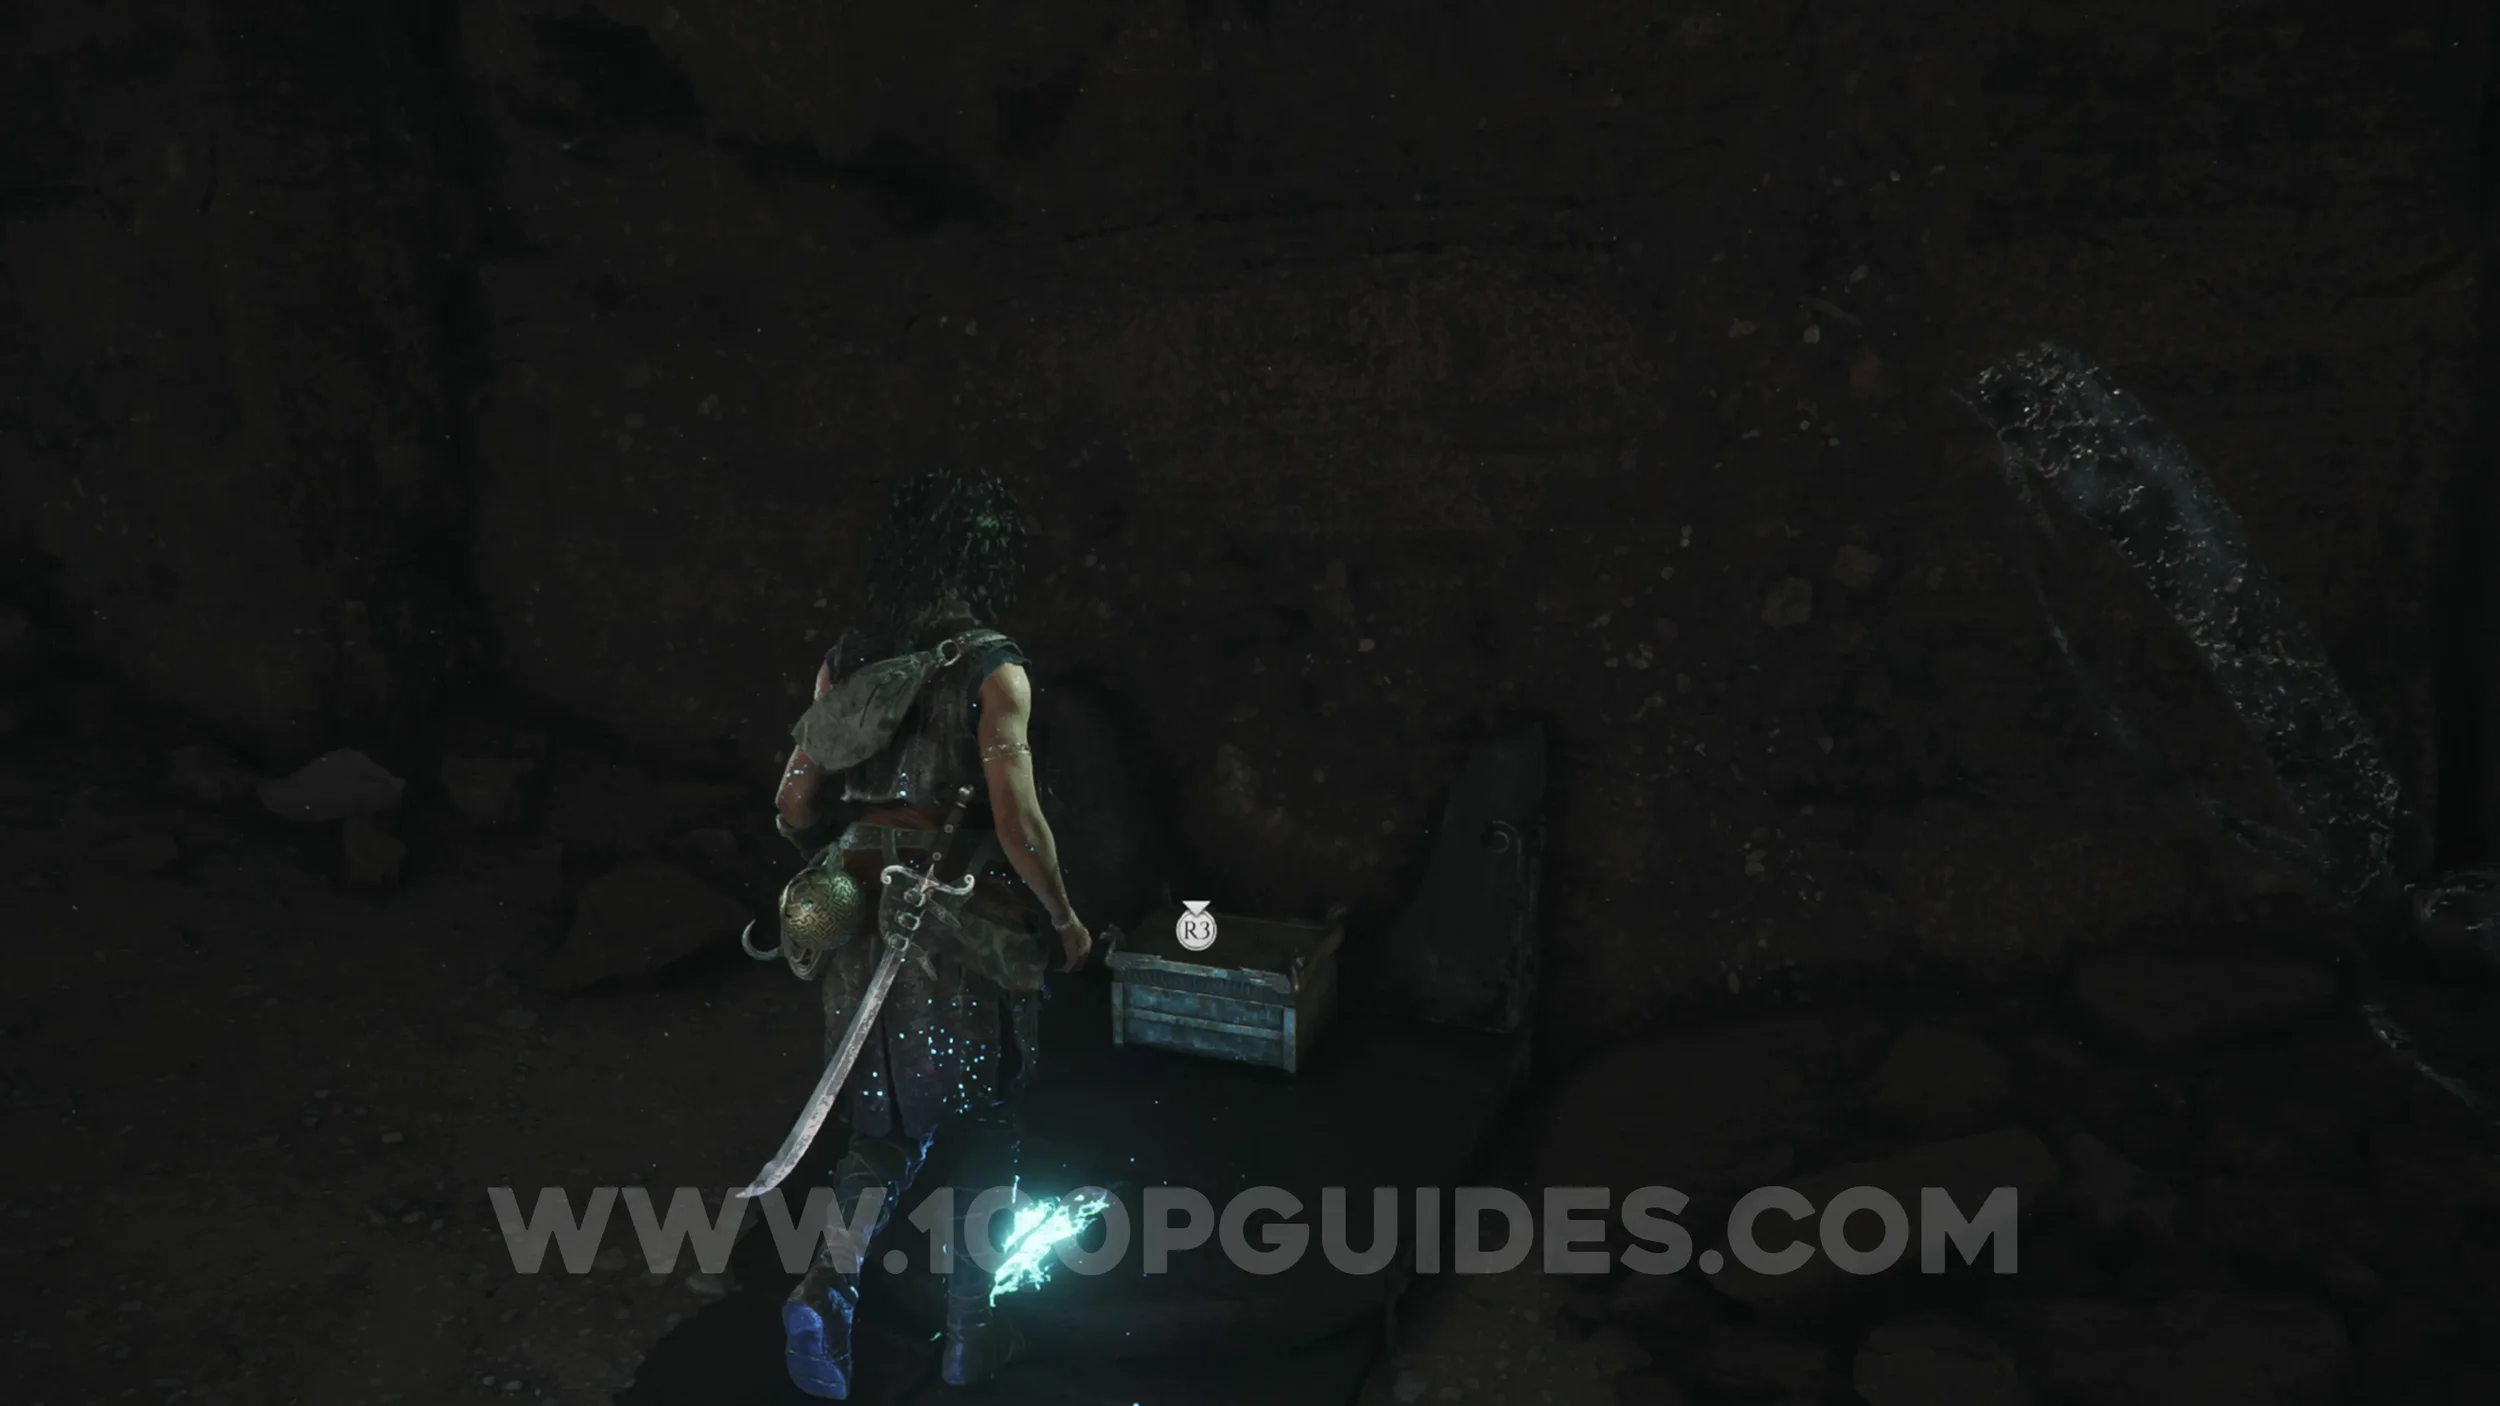
Artefact: Corrupted Mosaic
Chapter 6: Sub-Chapter 5.
Through a door on the right side of the miniature labyrinth.
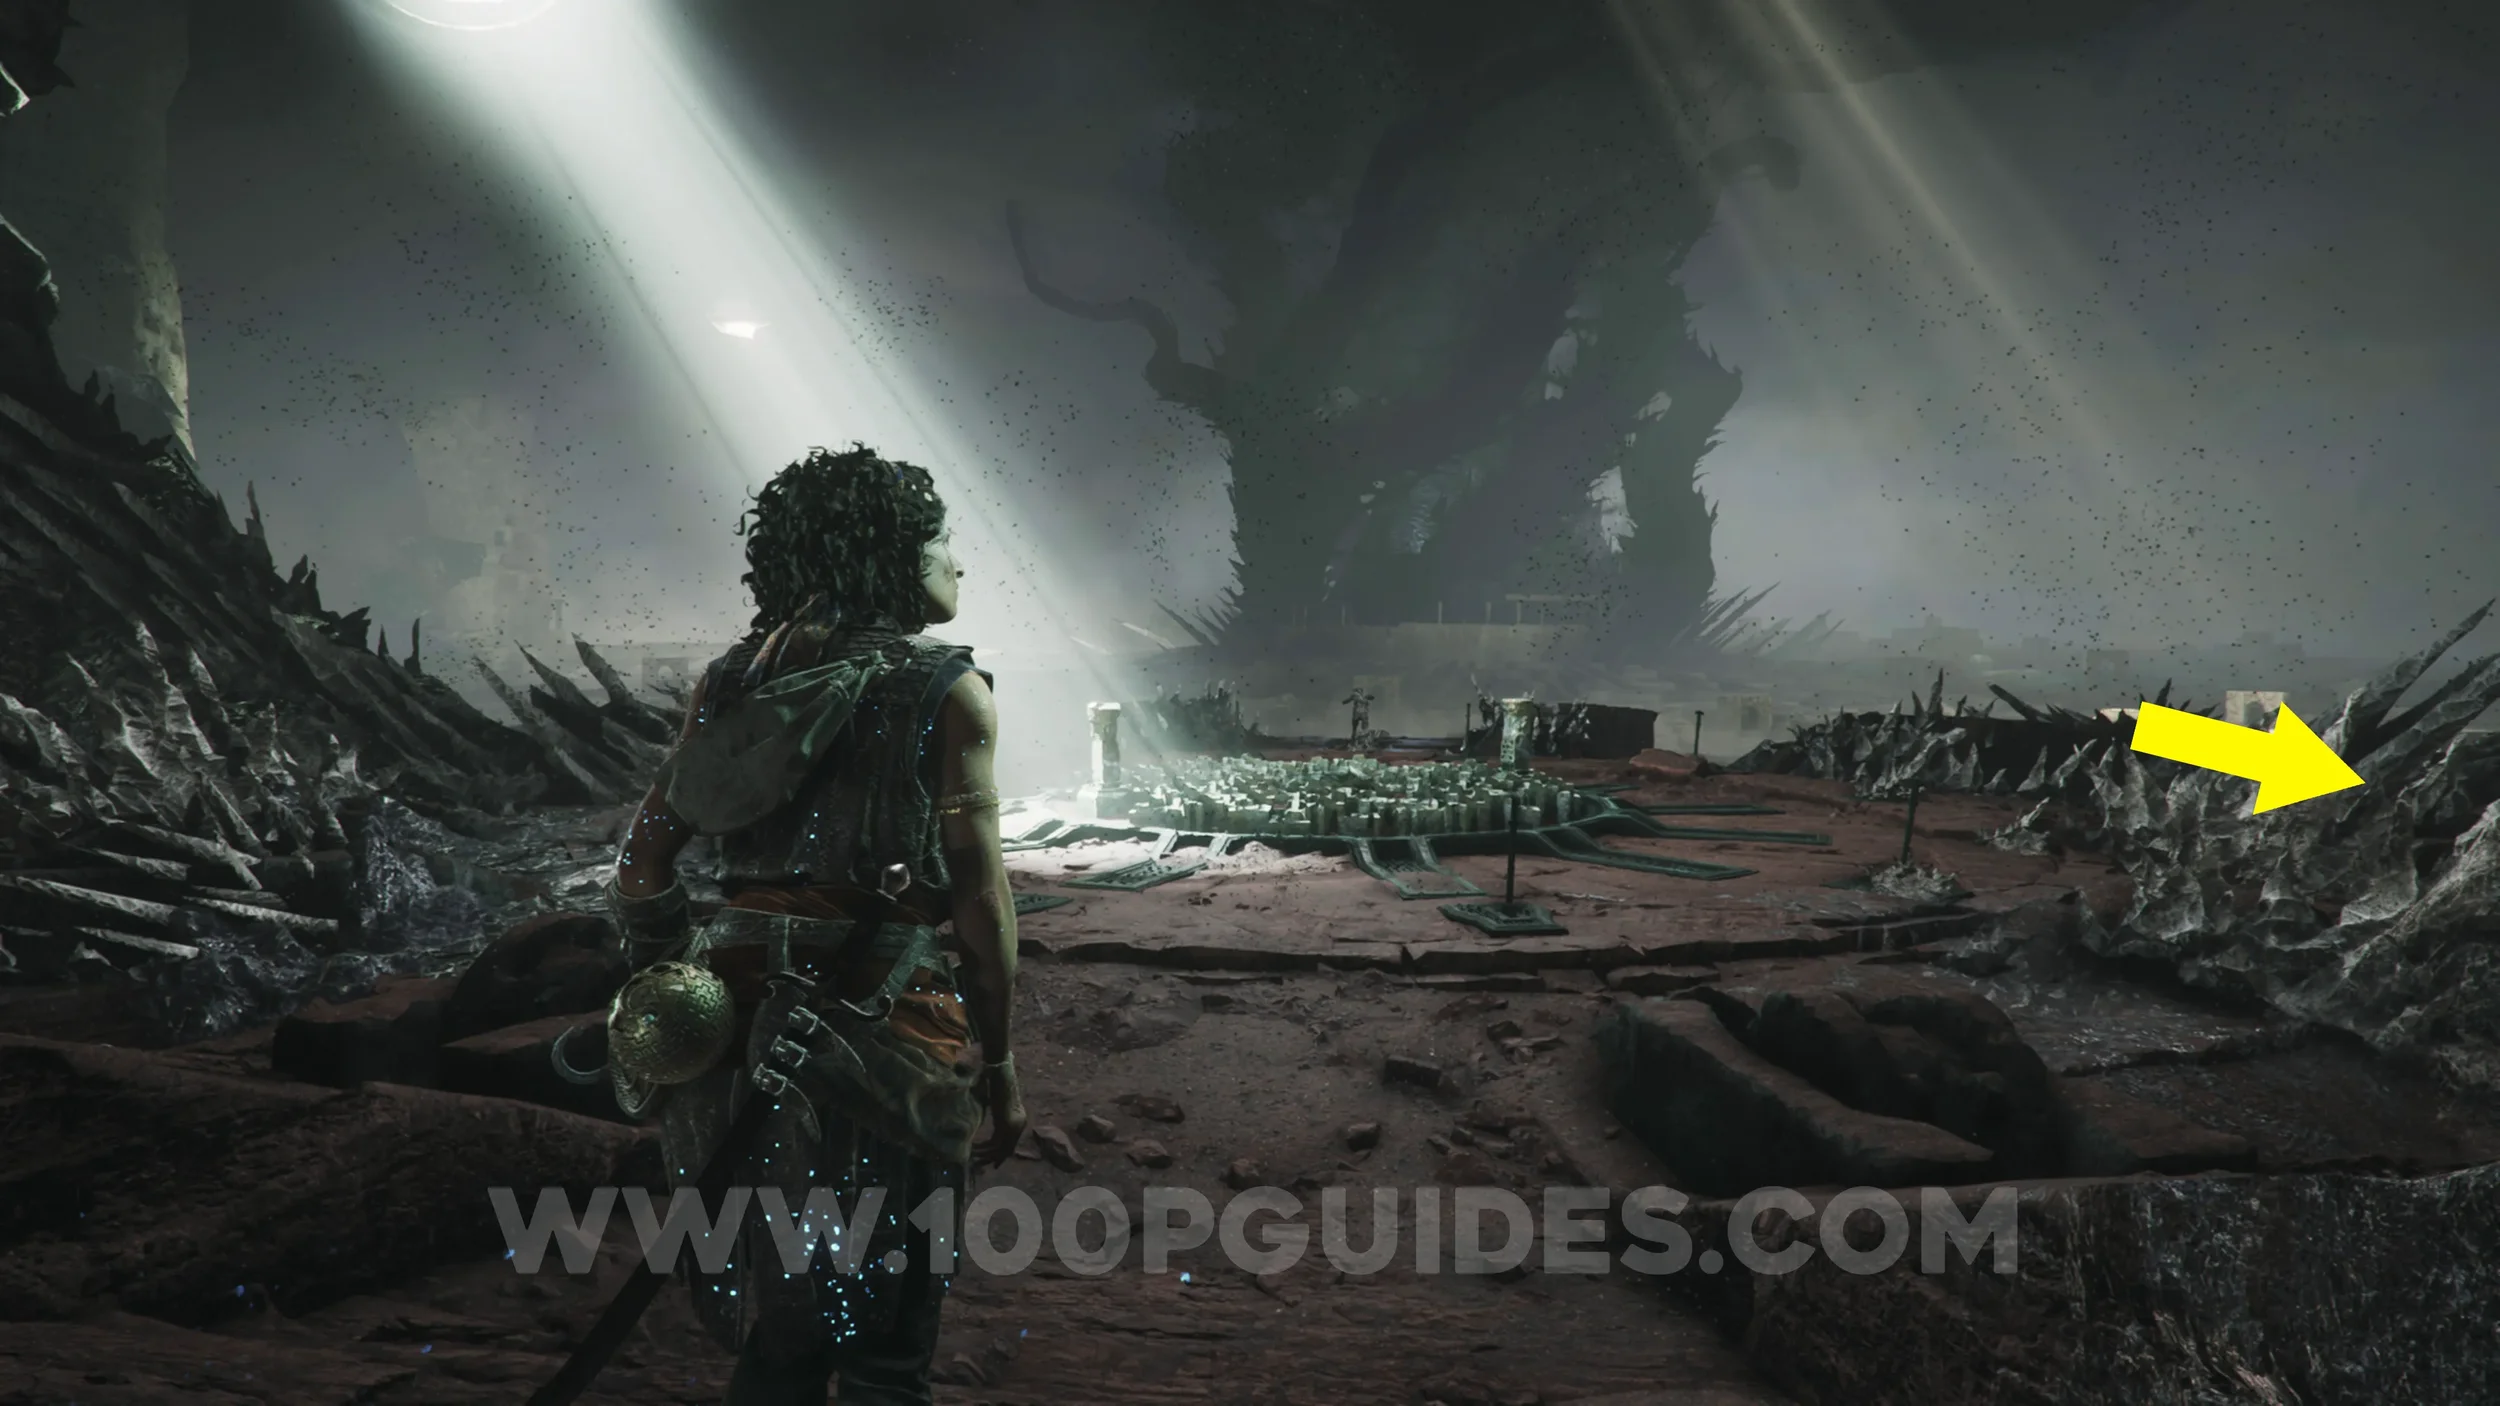
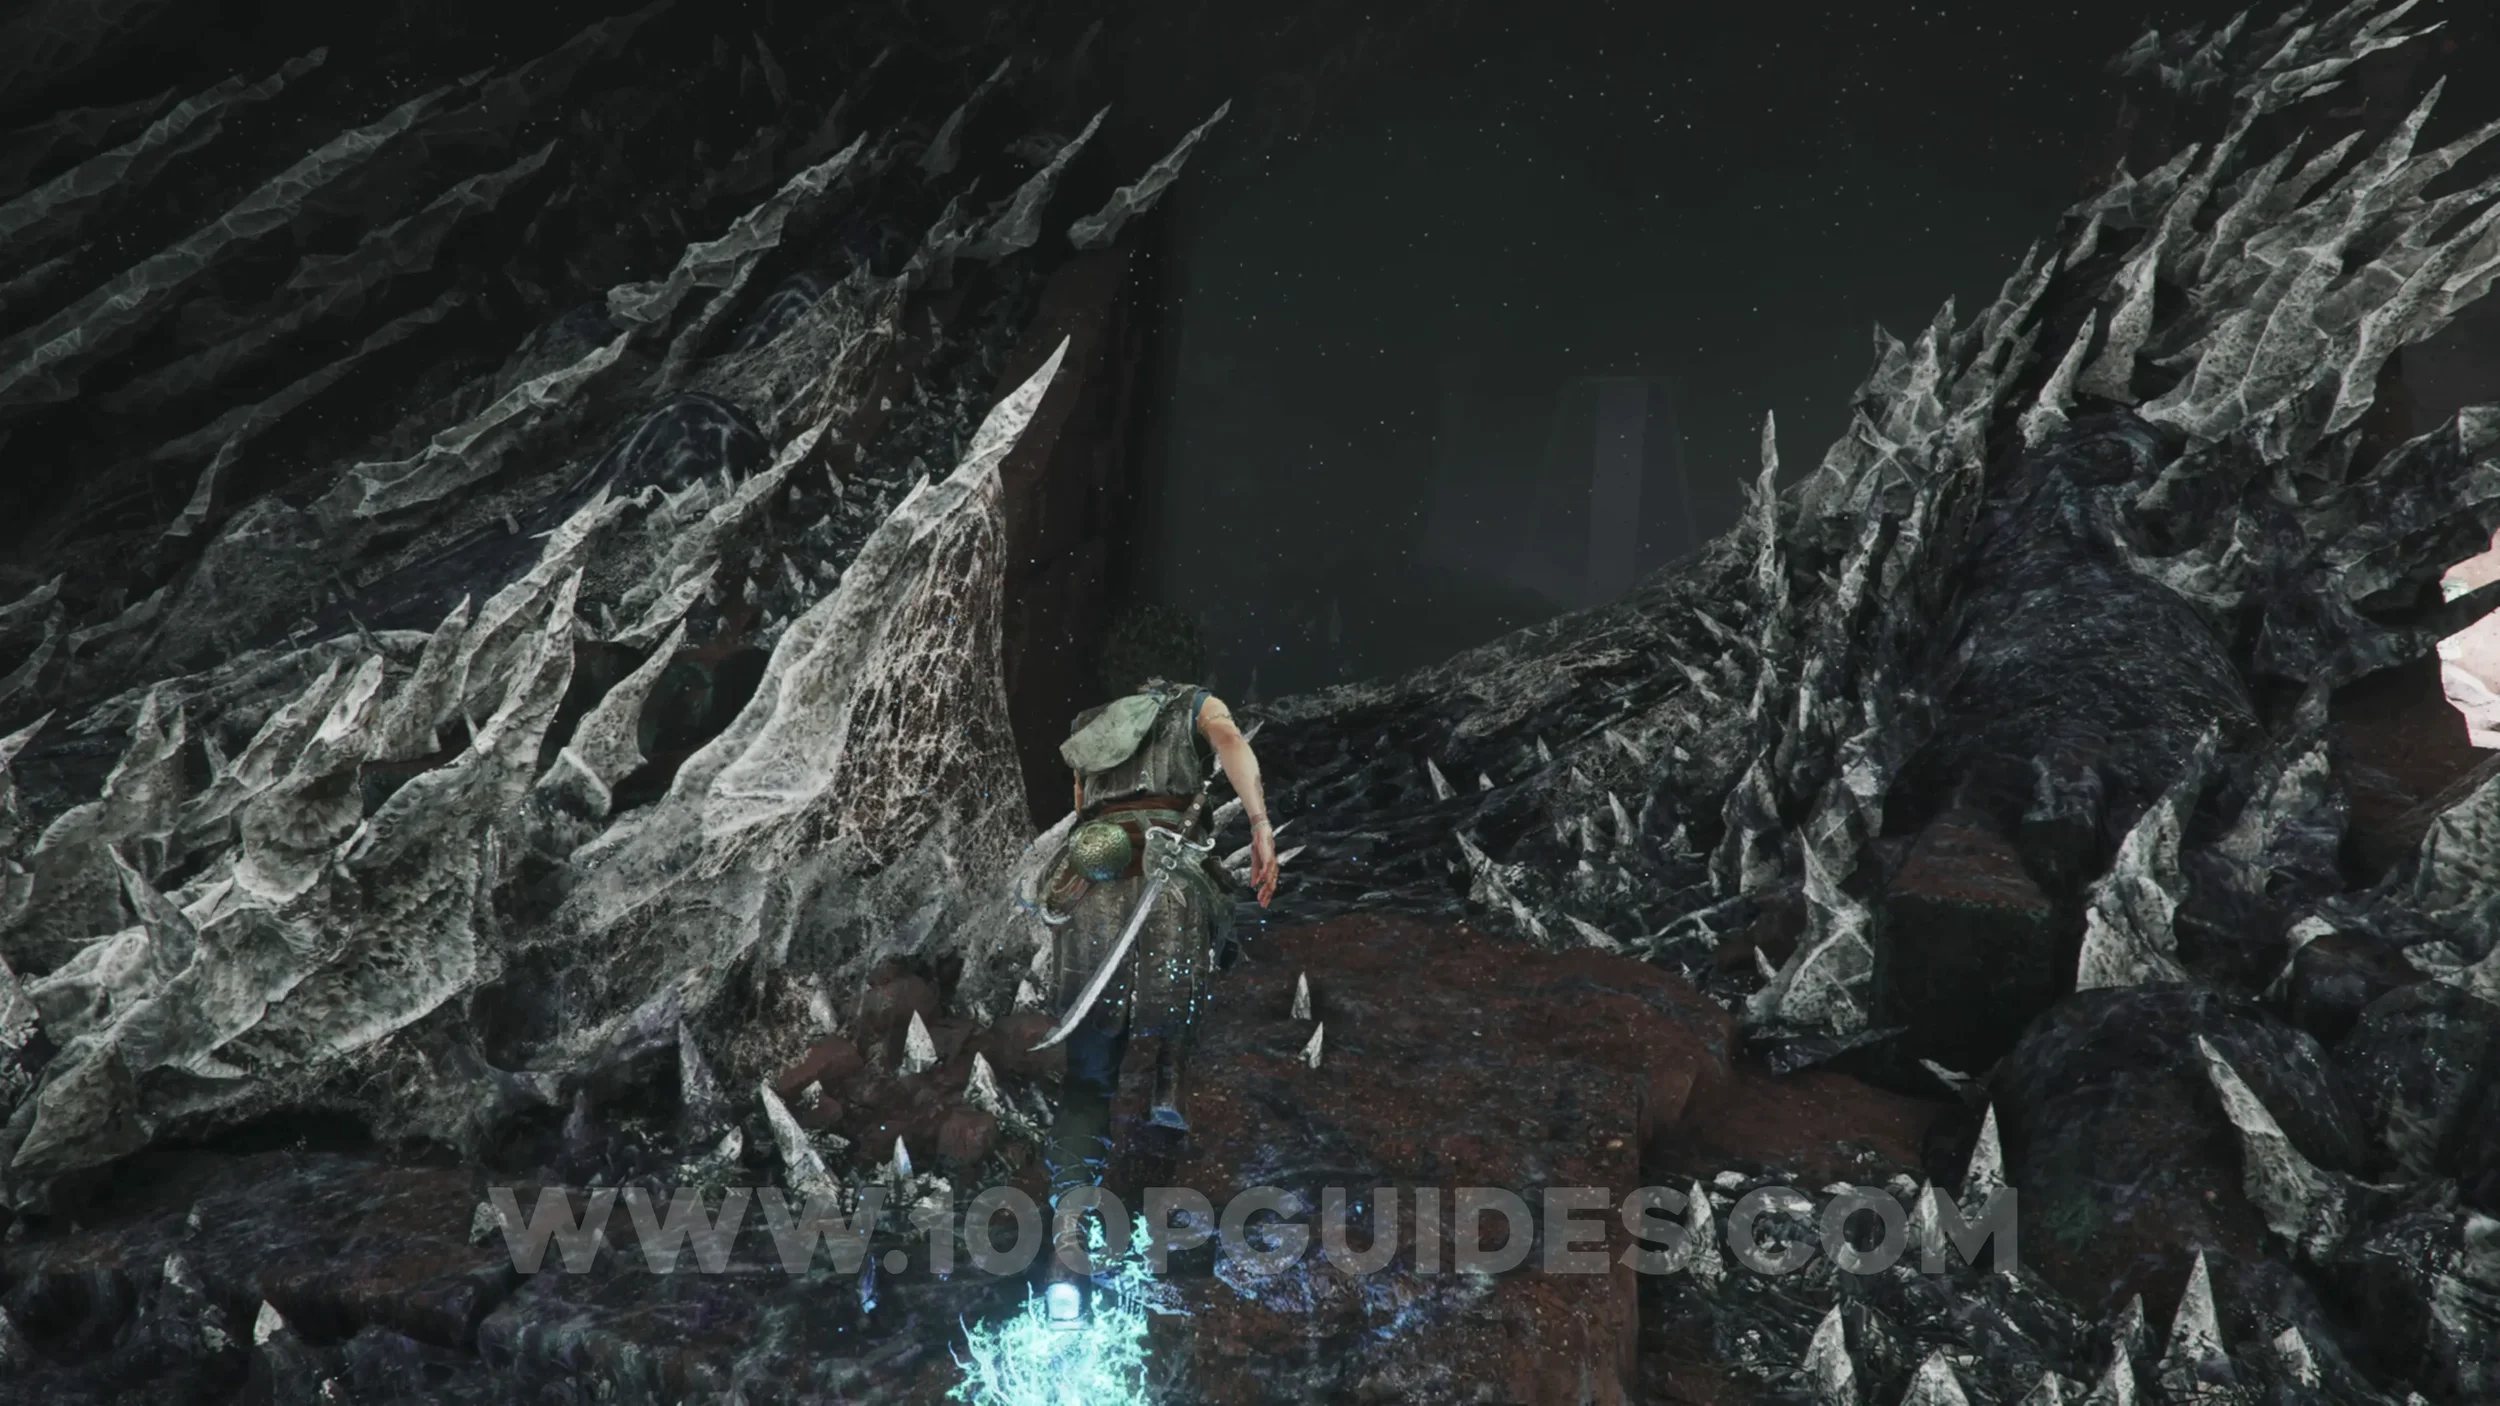
Charm: Pierced Coin #2
Chapter 6: Sub-Chapter 5.
Once you get the bracelet key, head through the door directly under the stairs you used as you entered the labyrinth area. Then examine the cup and axe on the left.
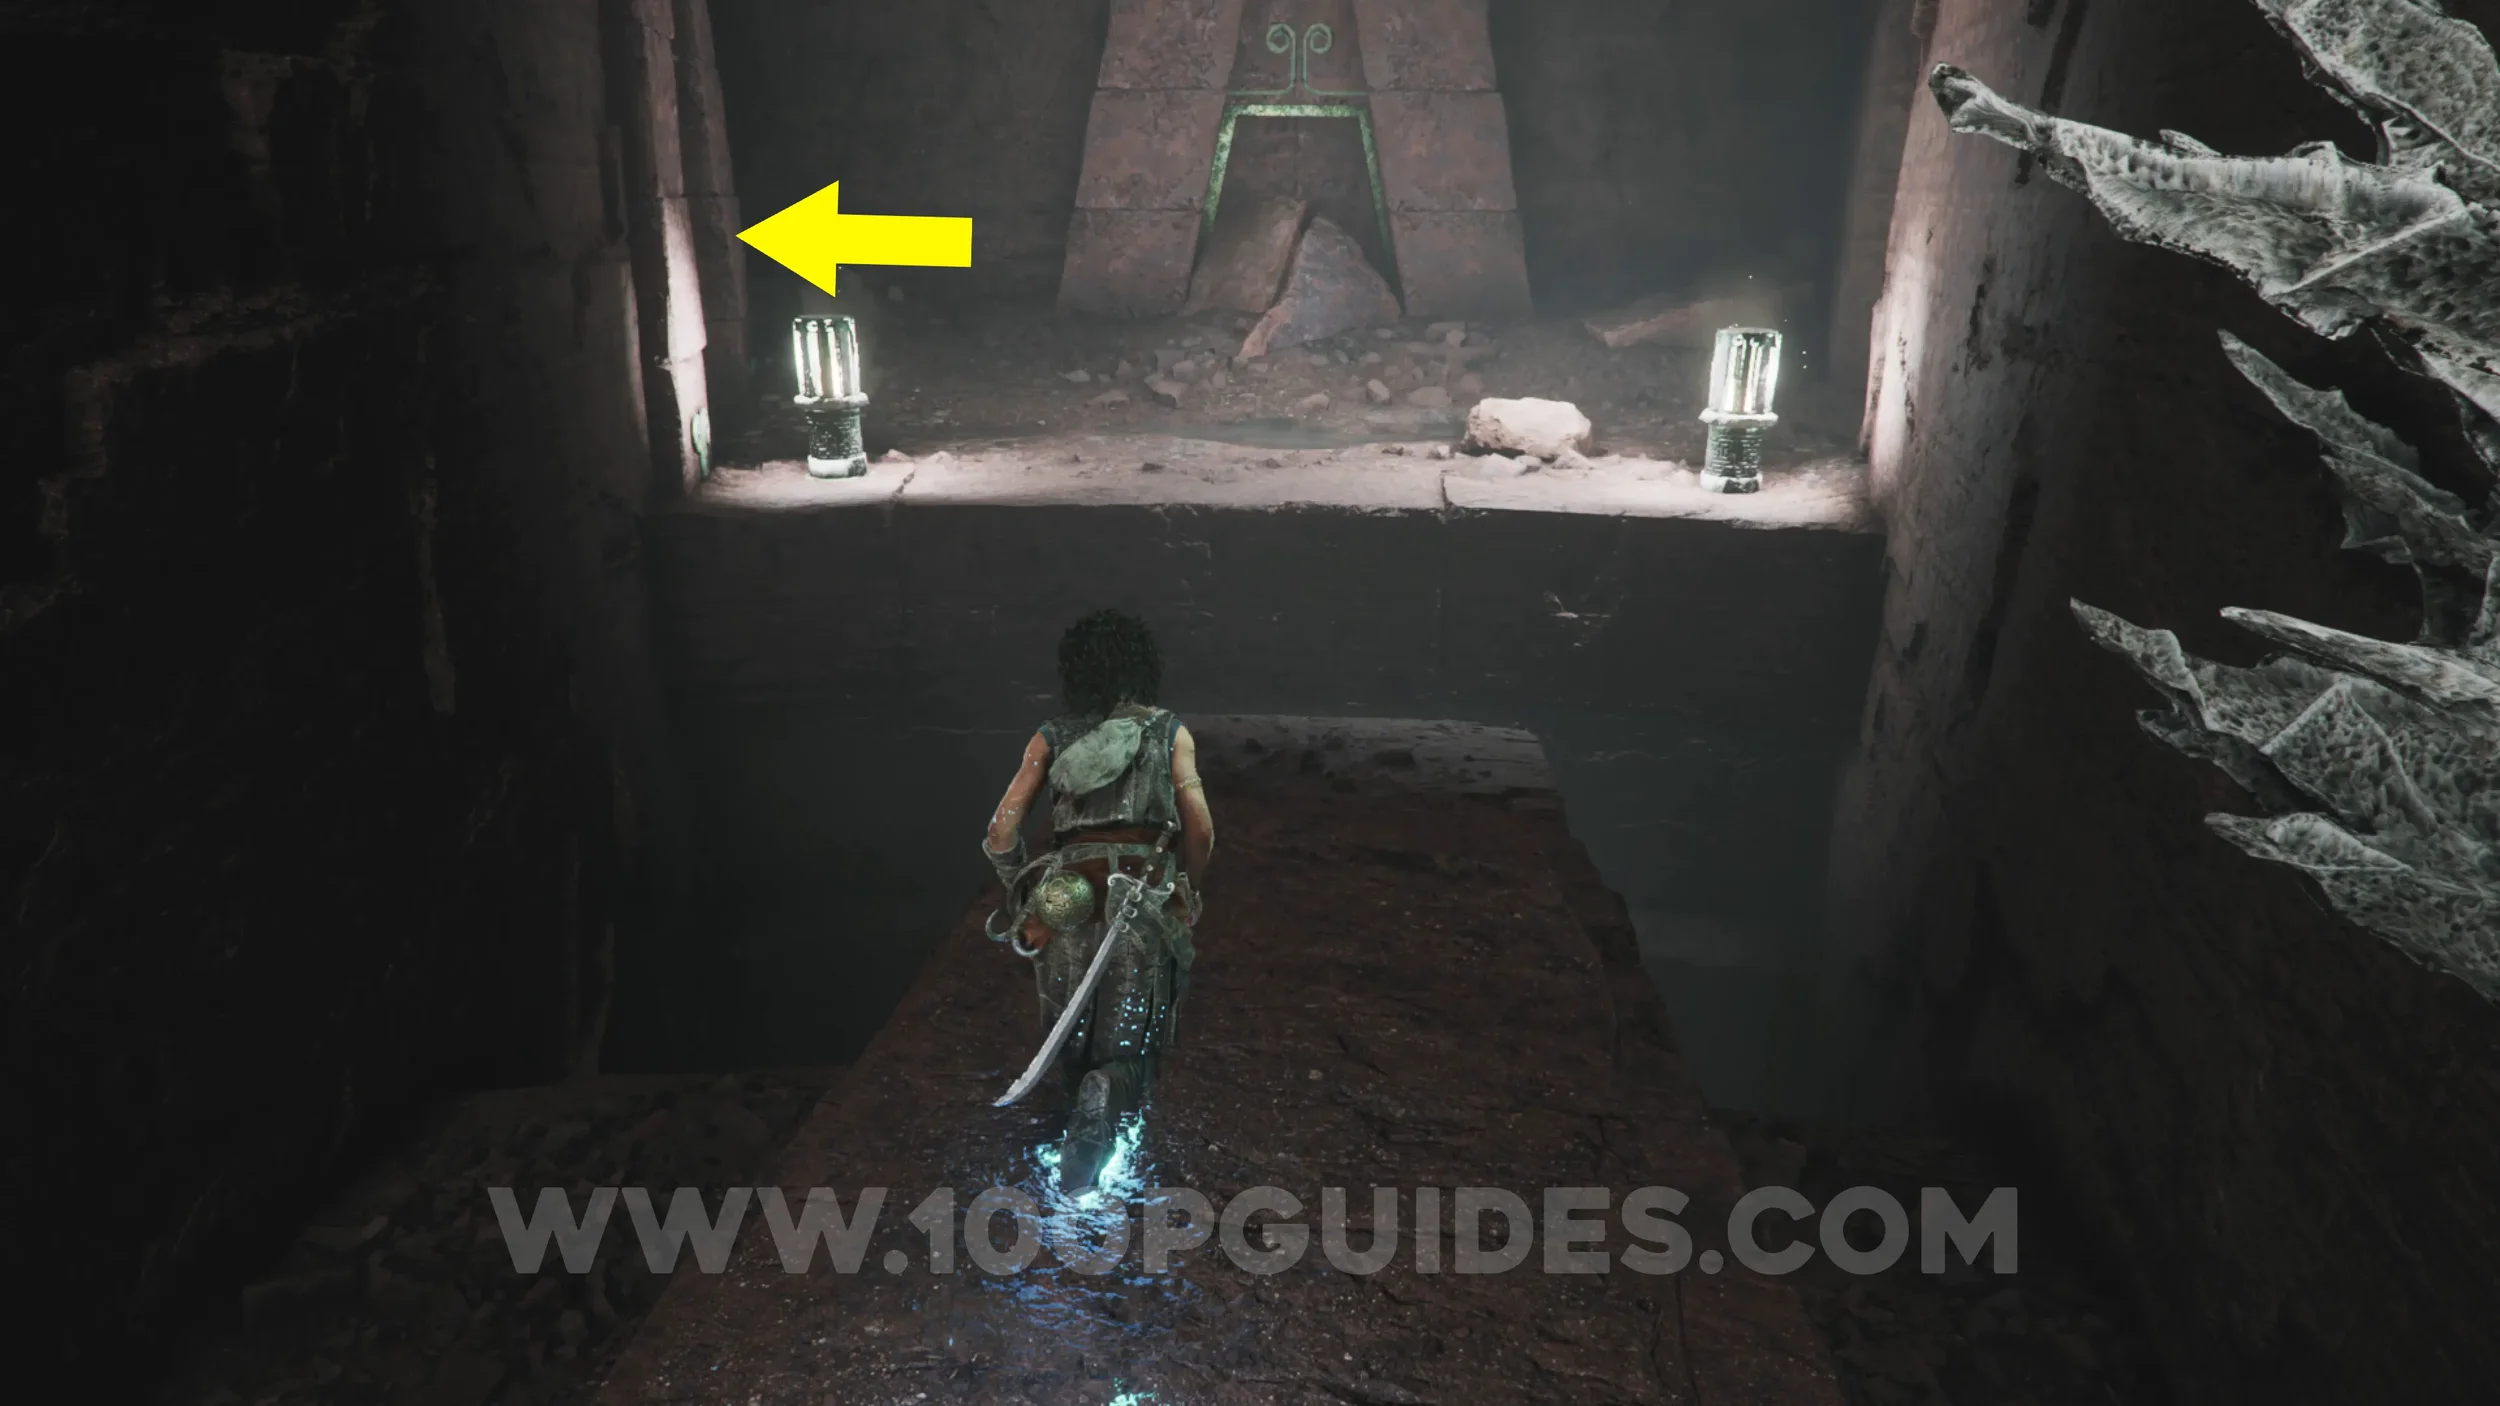
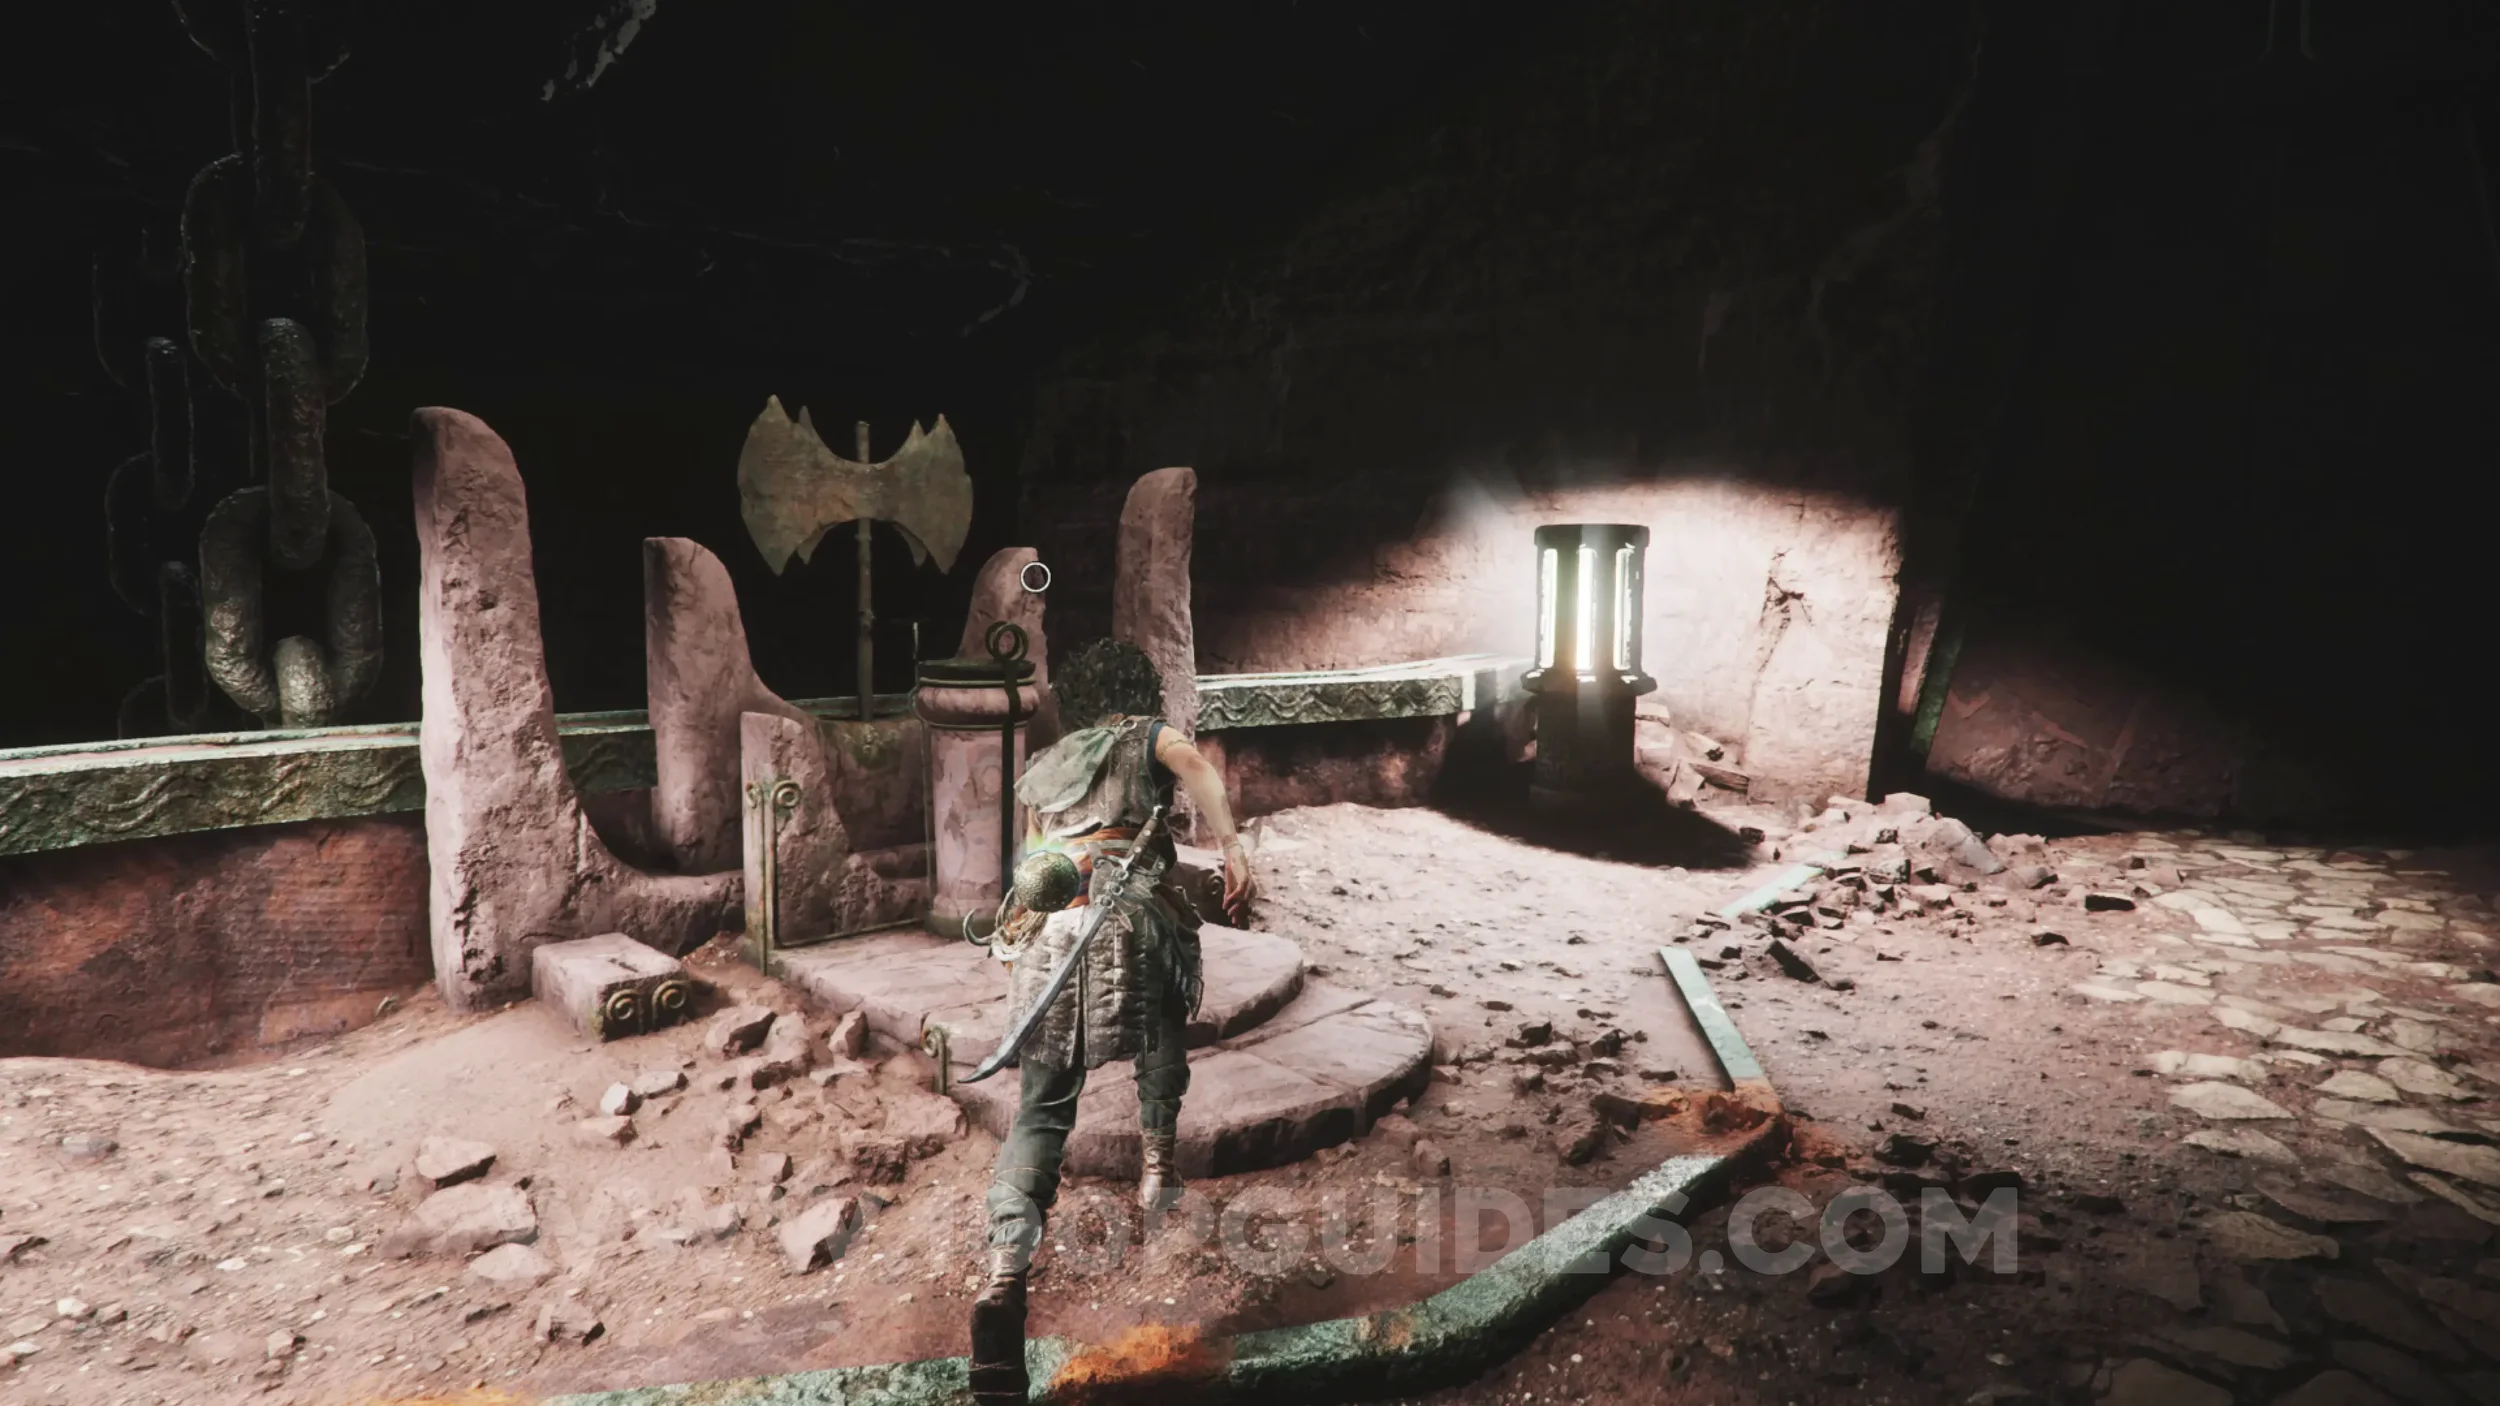
Resonance Point x2
Chapter 6: Sub-Chapter 5.
Continue through the door past the previous collectible to find the two resonance points on the floor.
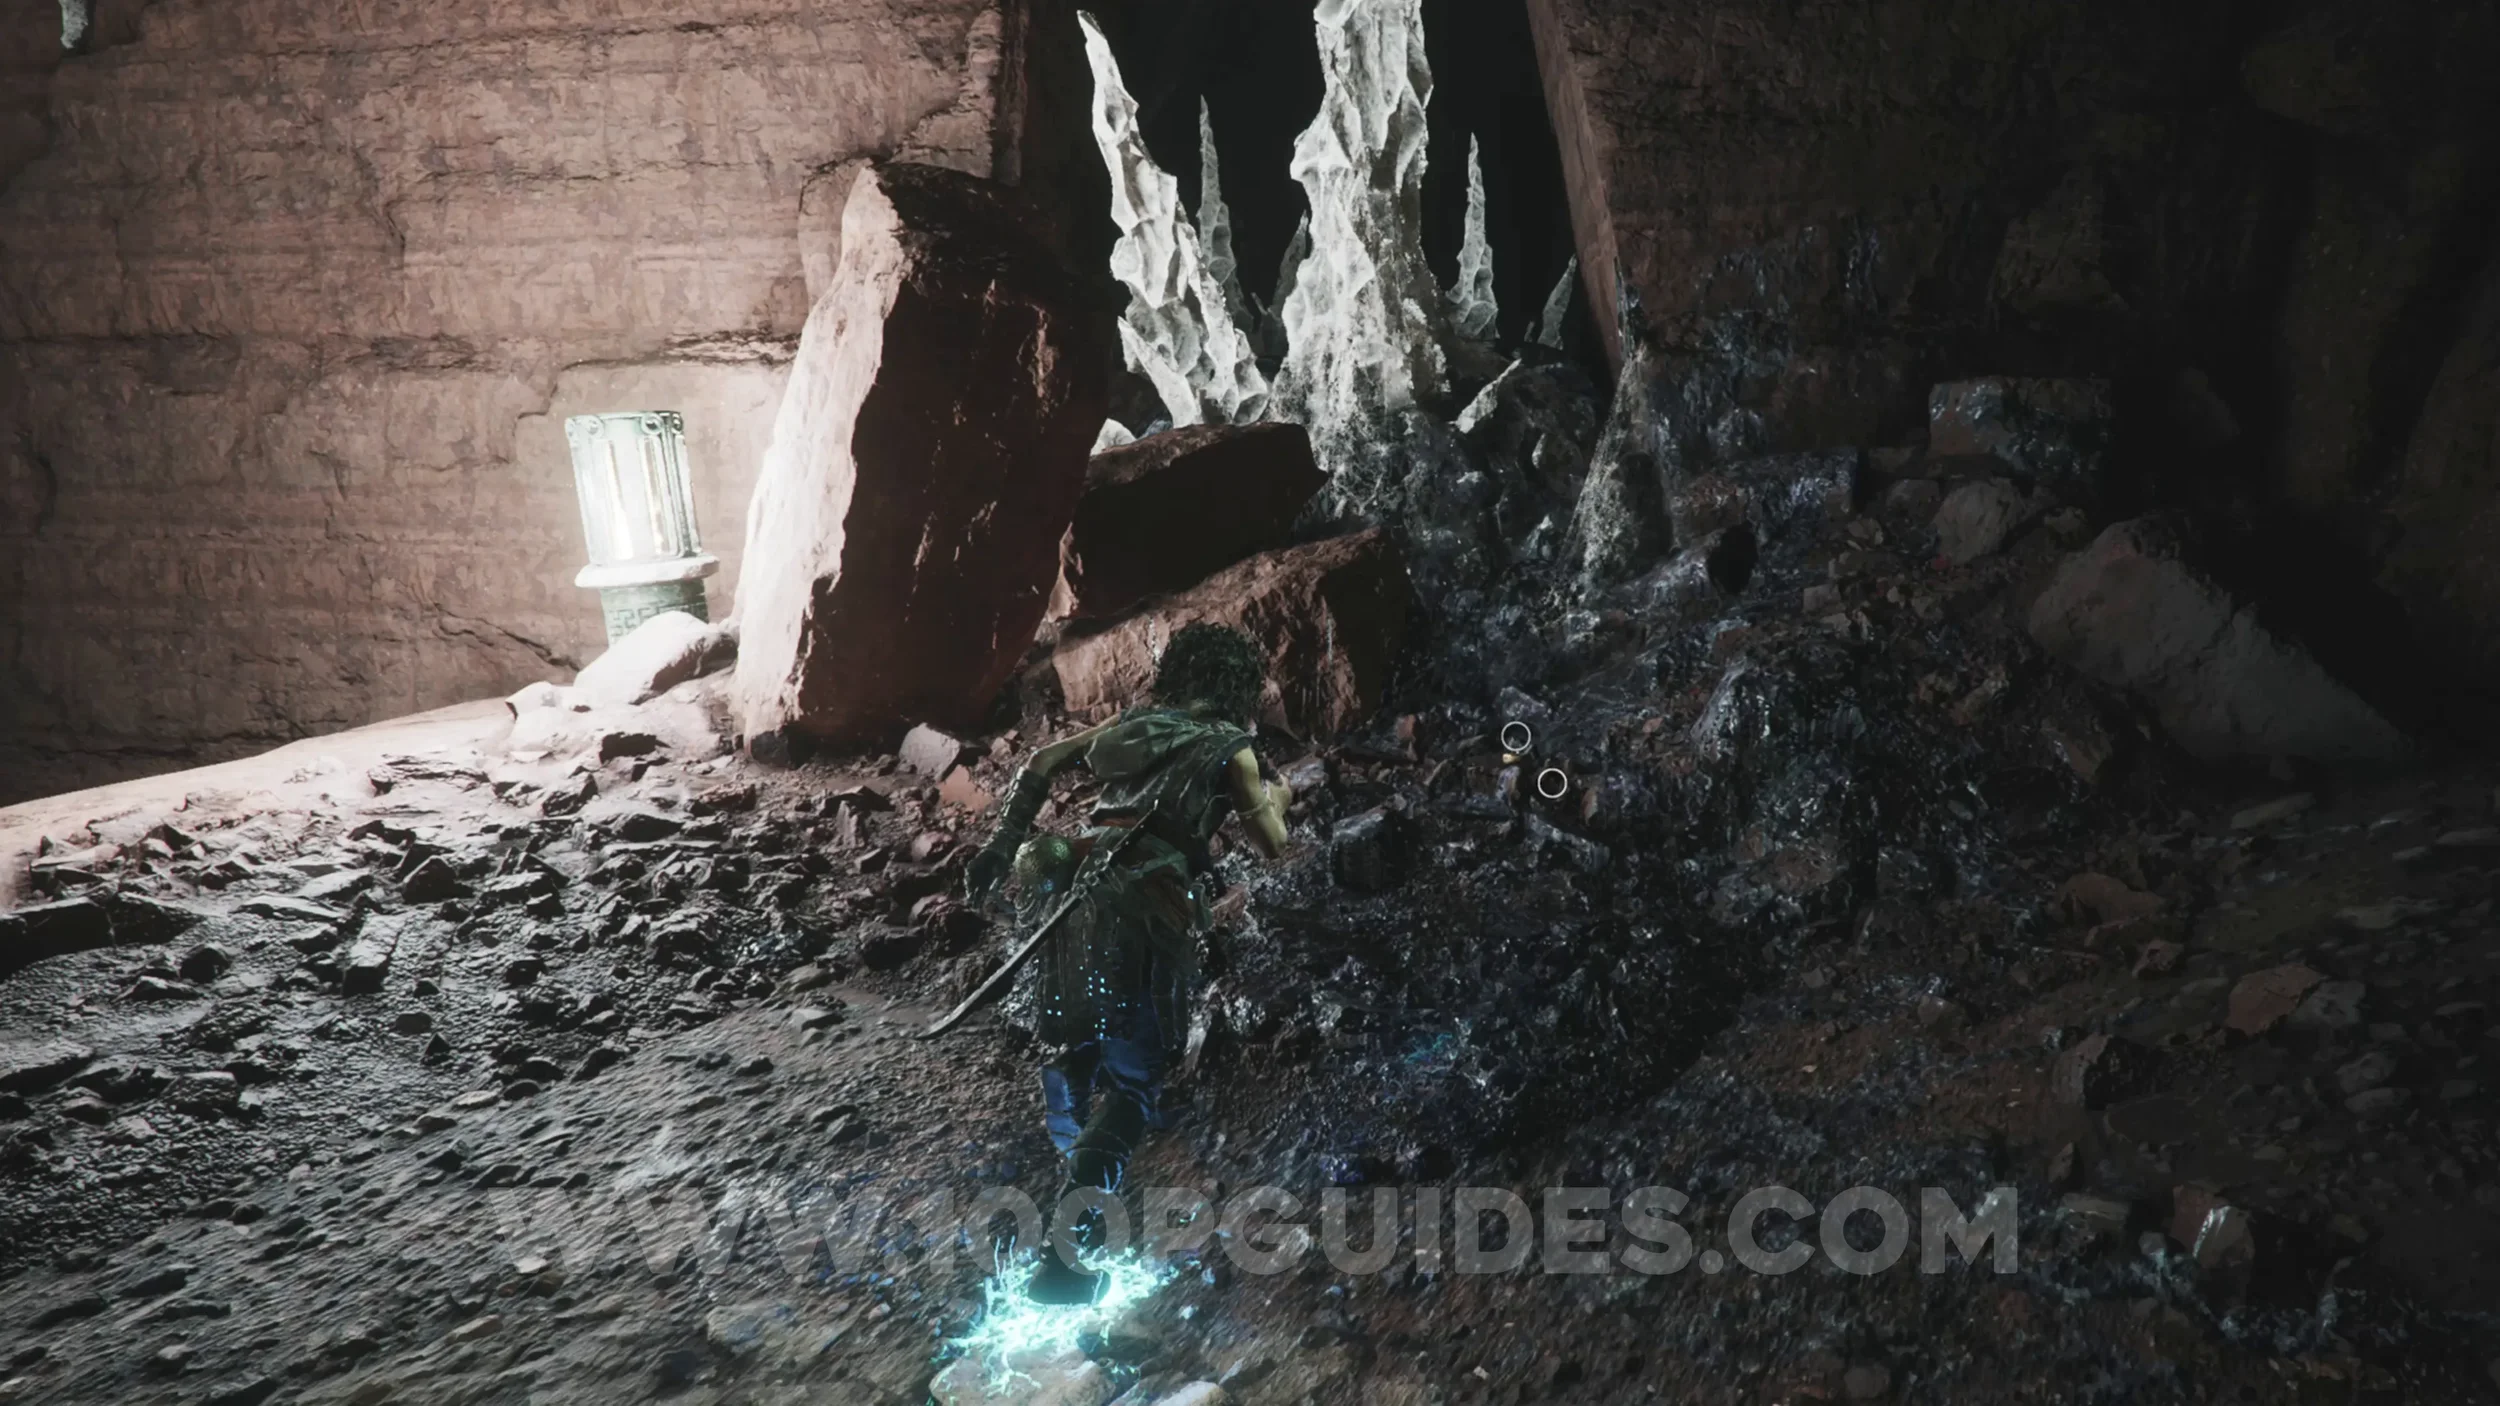
Resonance Point
Chapter 6: Sub-Chapter 5.
Now continue through the remaining door to continue on the main path. Soon after going through the door, you'll see the collectible on the floor just below the stairs.
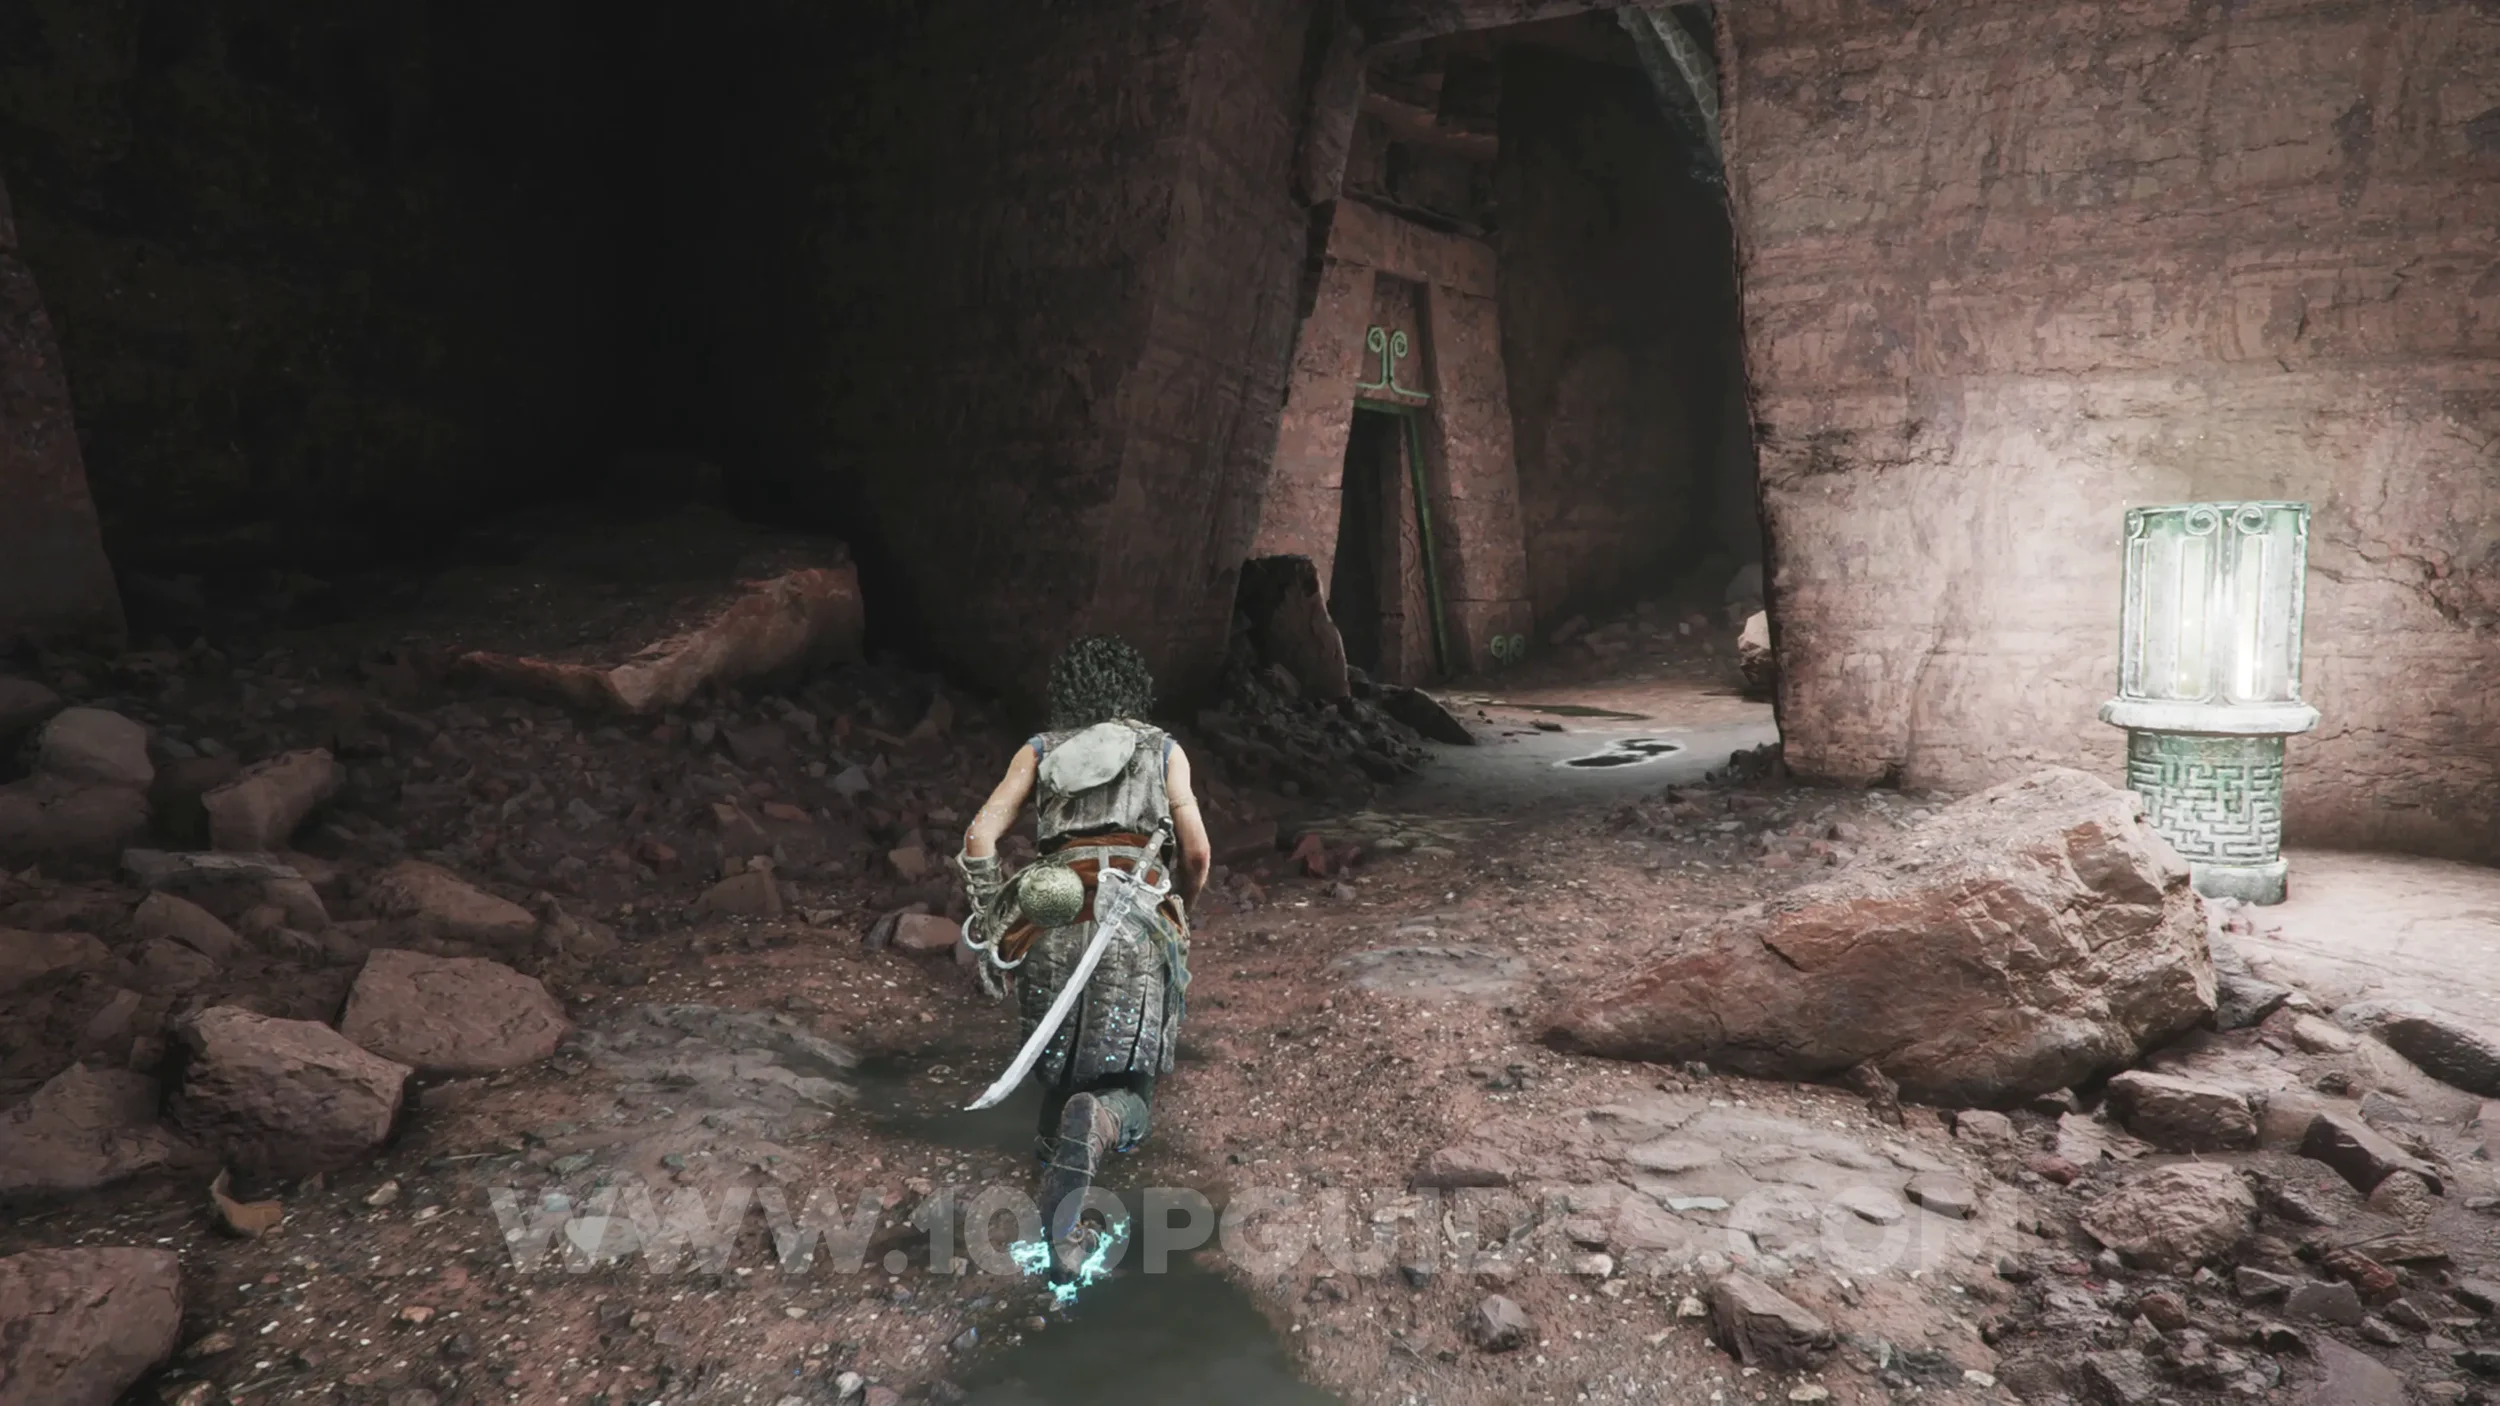
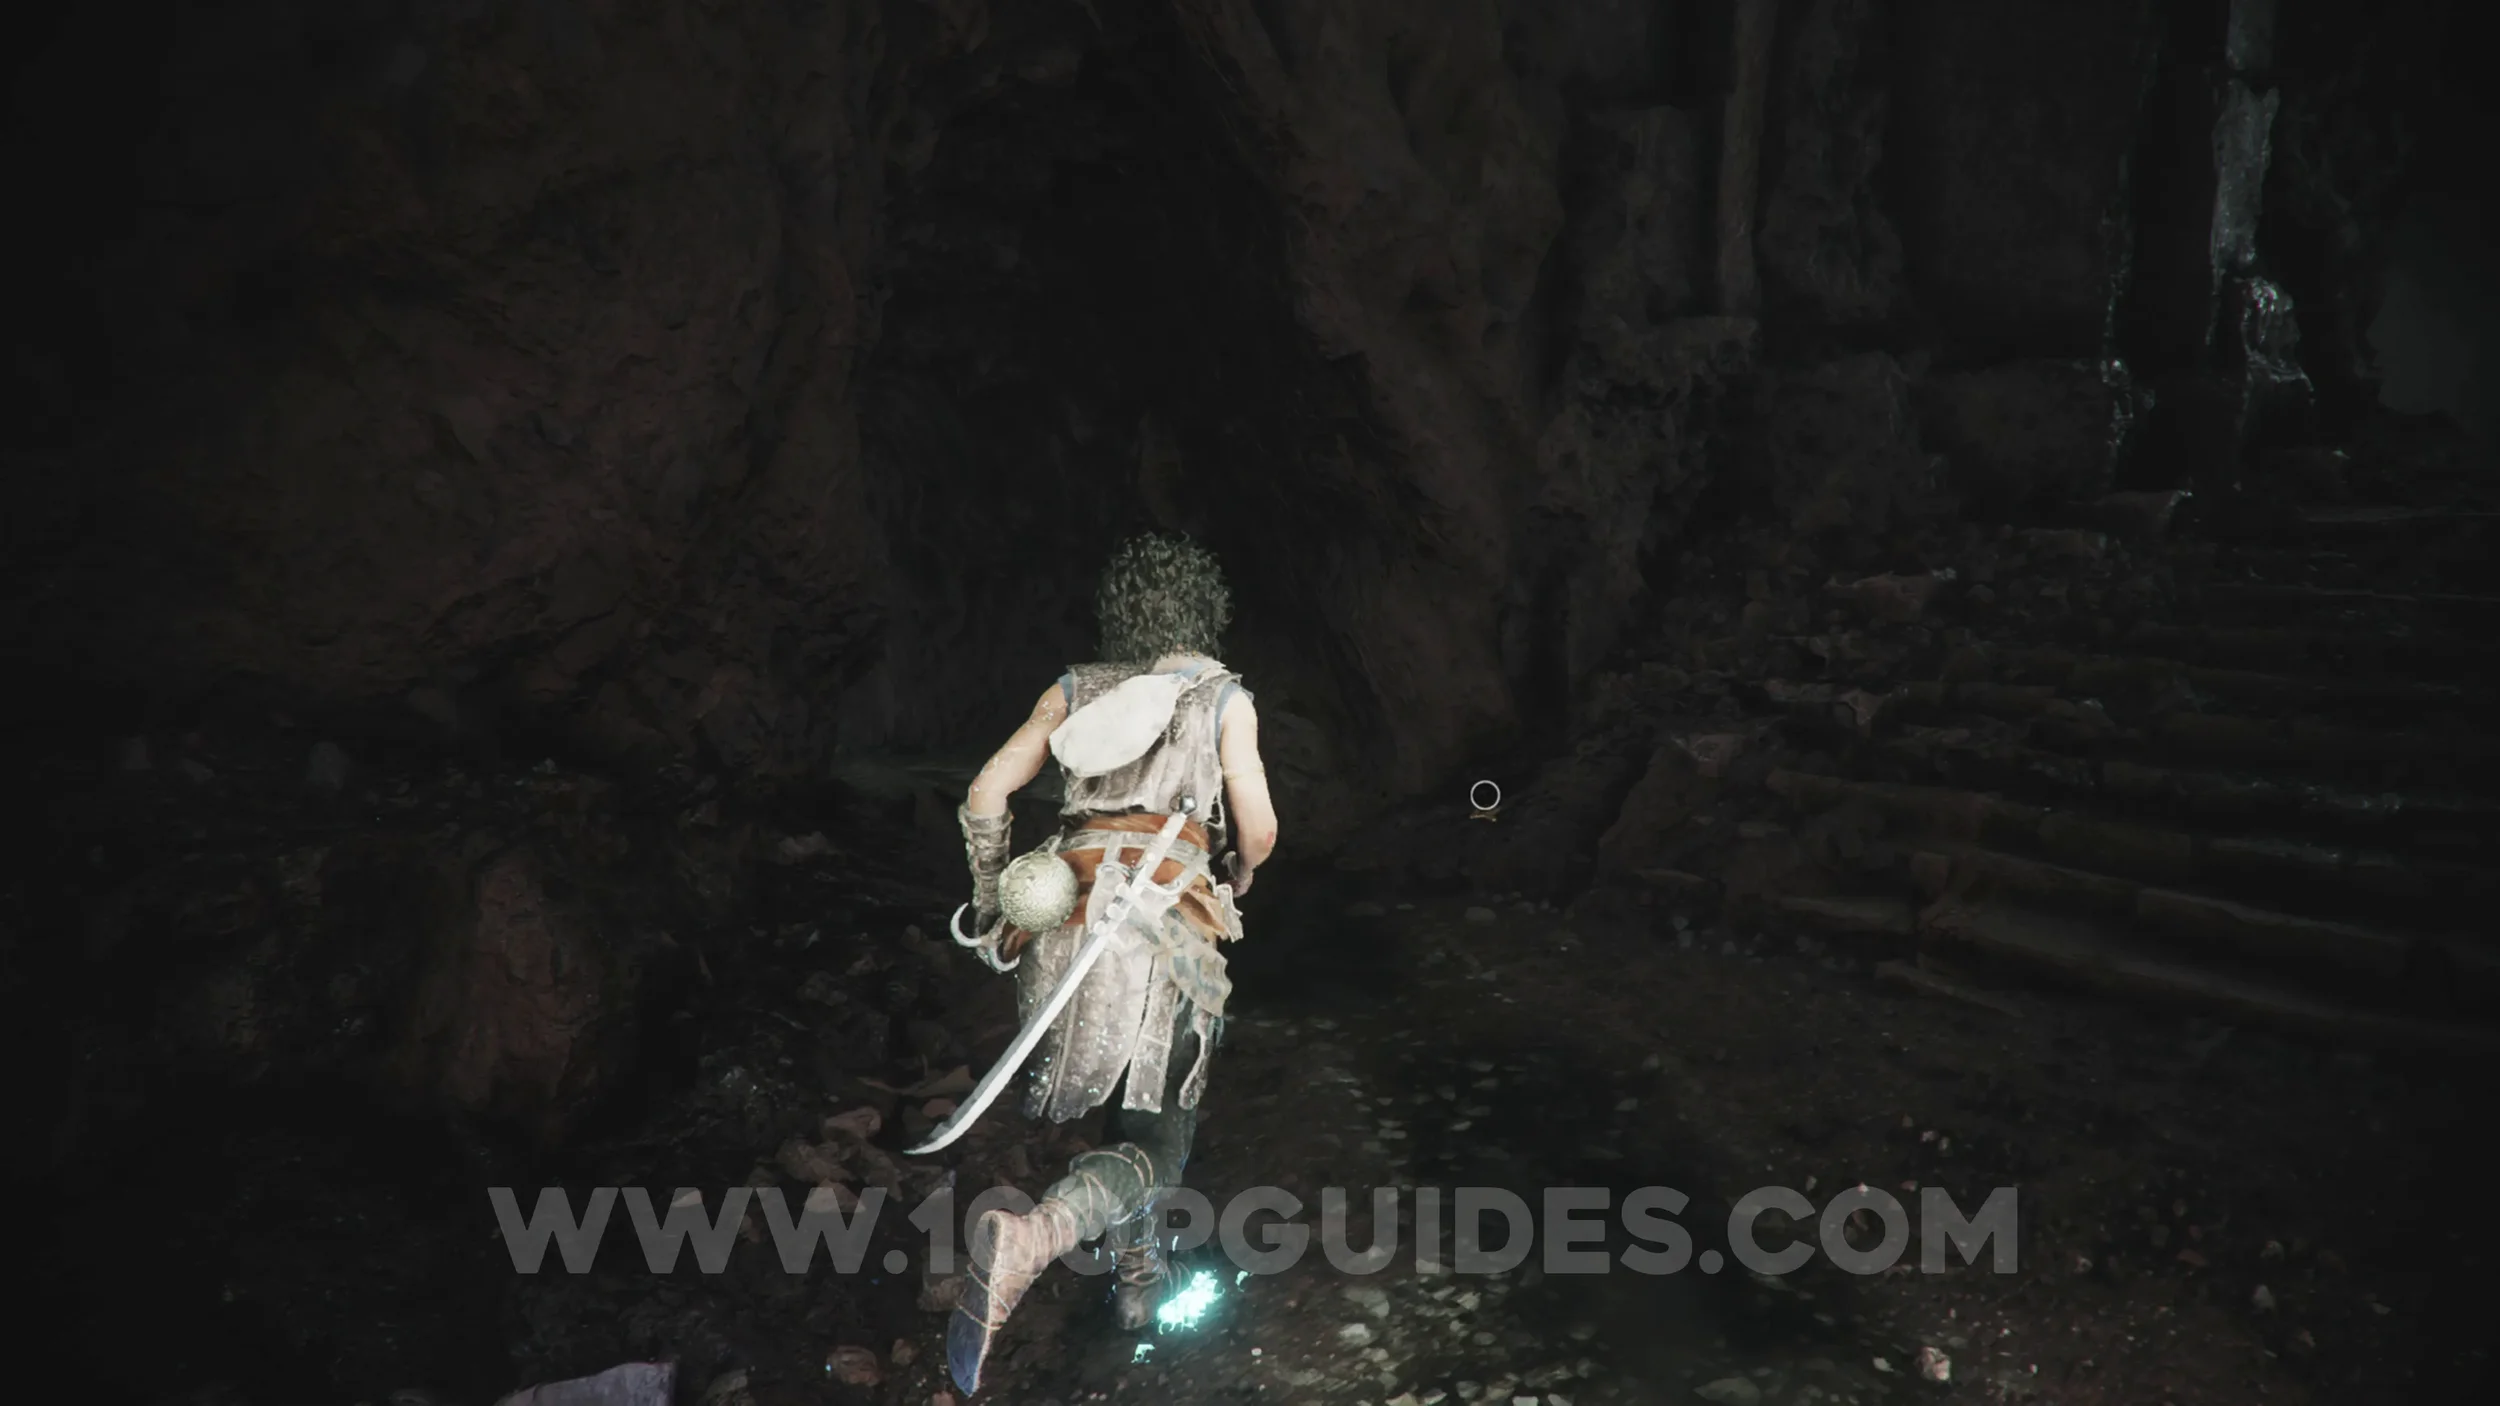
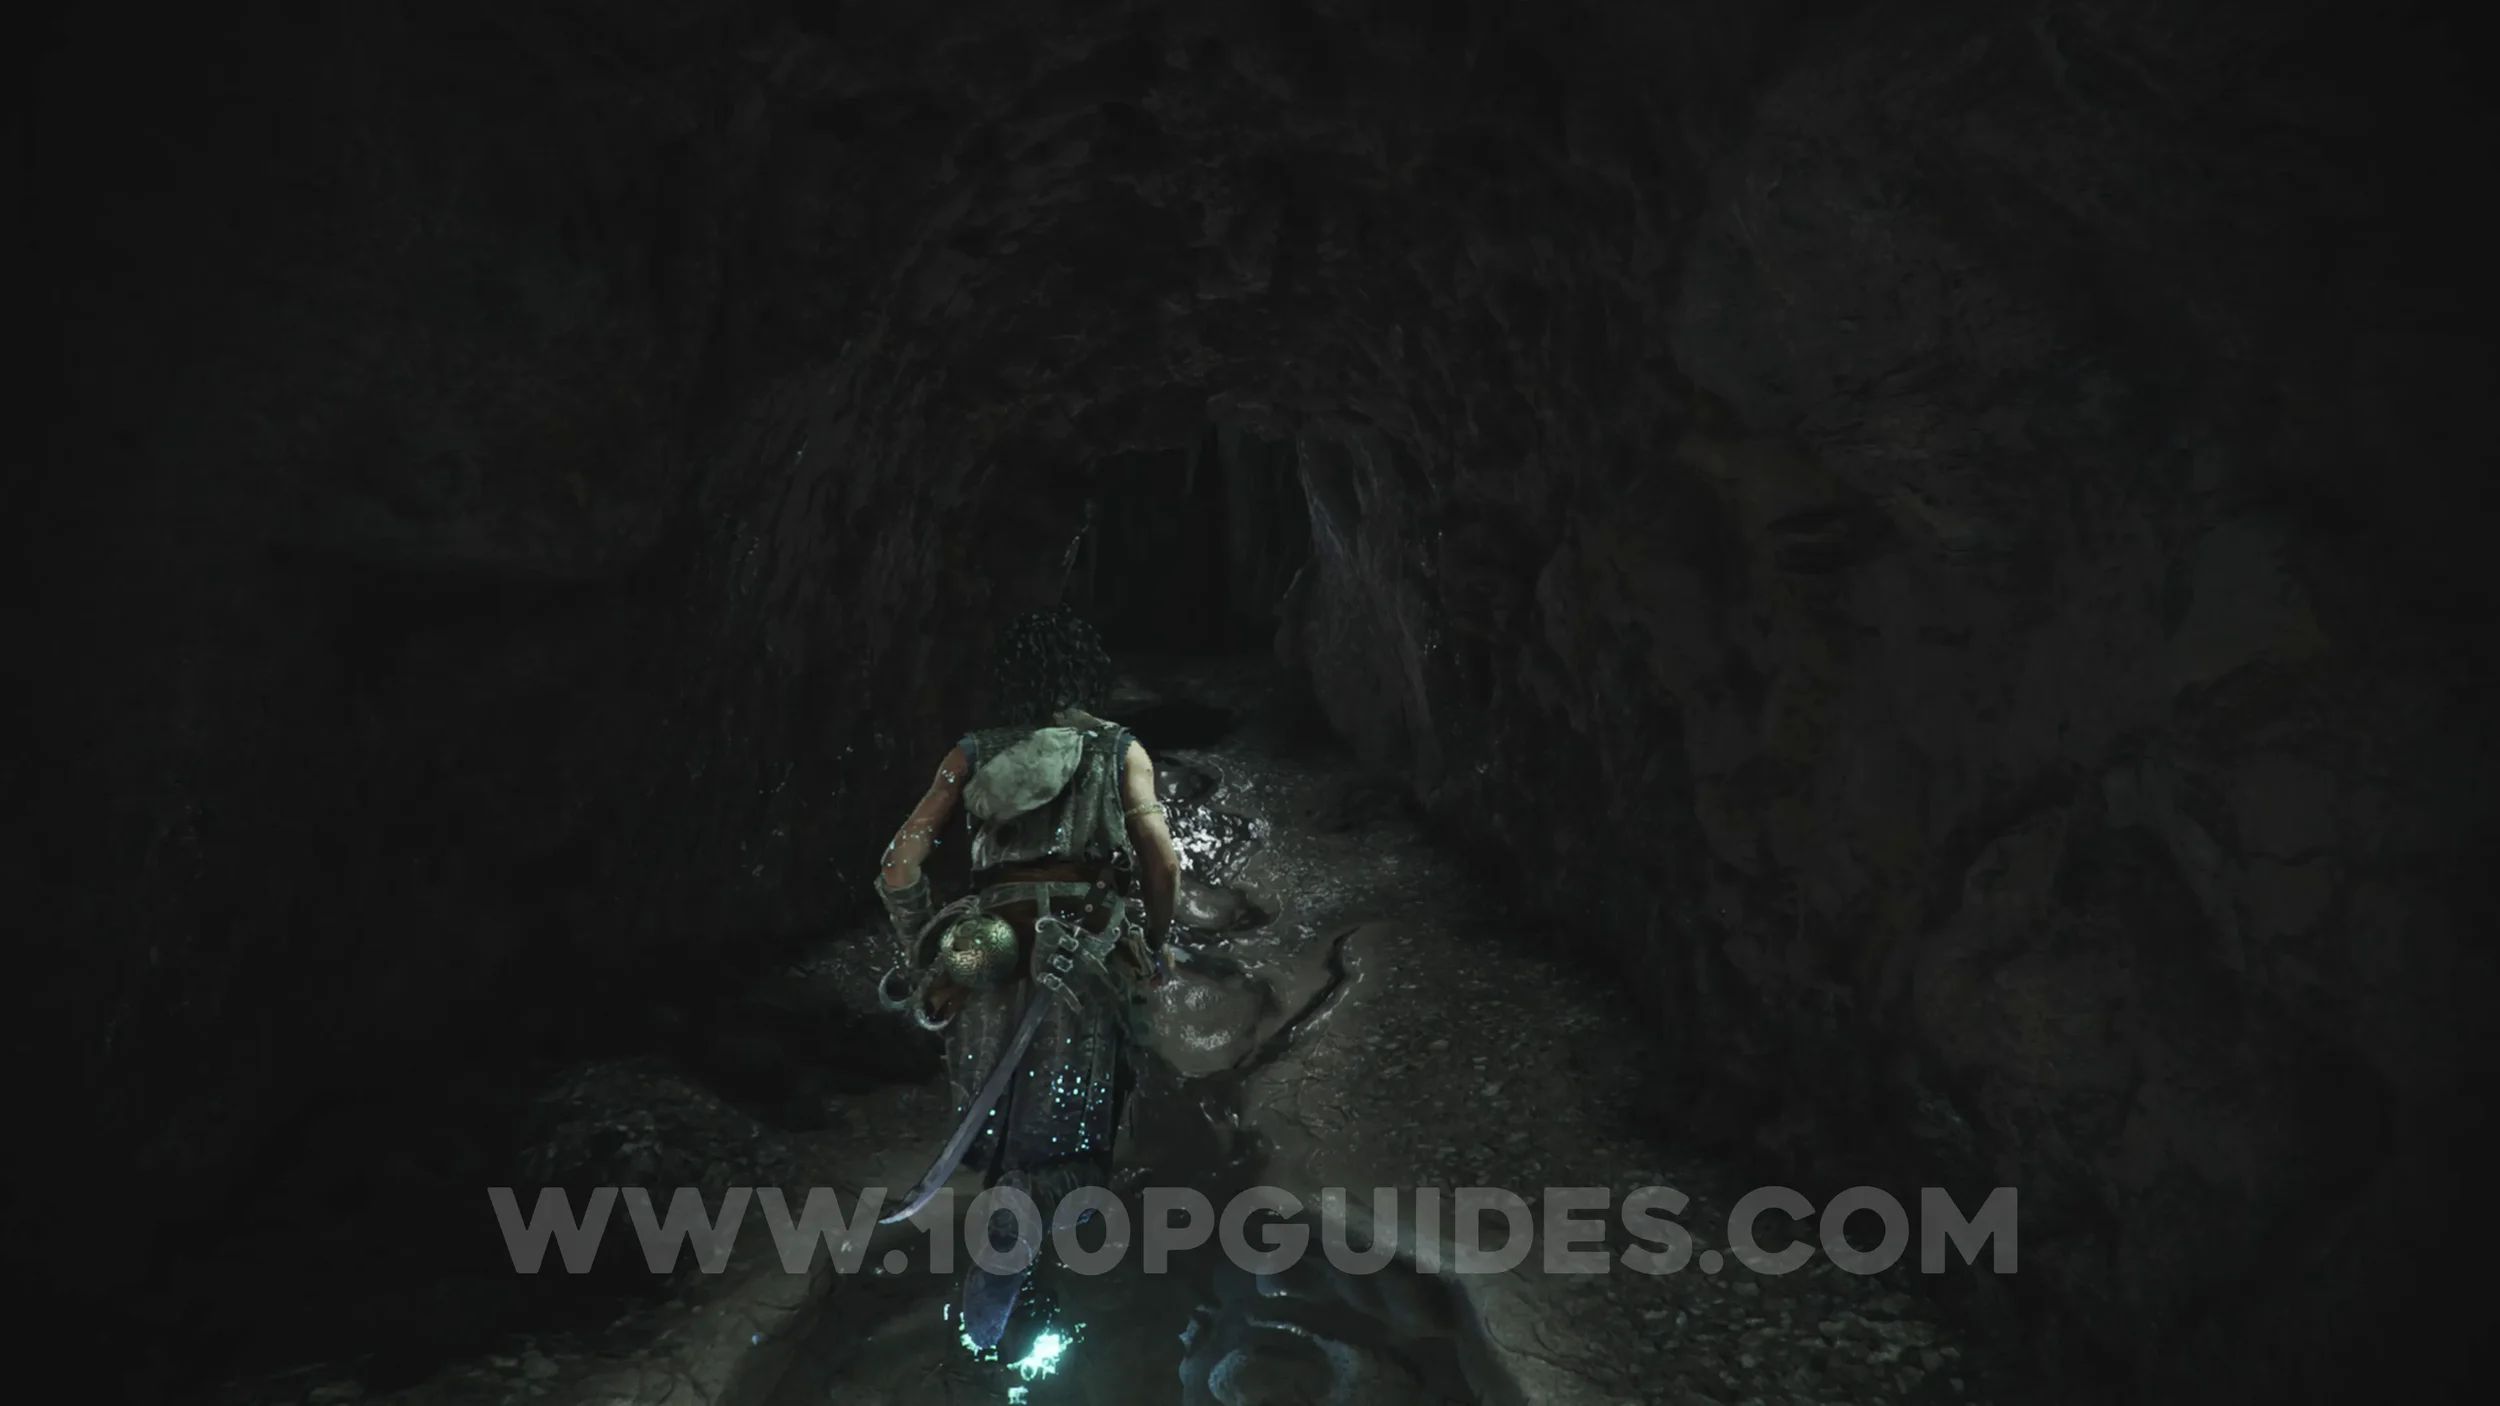
Resonance Point
Chapter 6: Sub-Chapter 5.
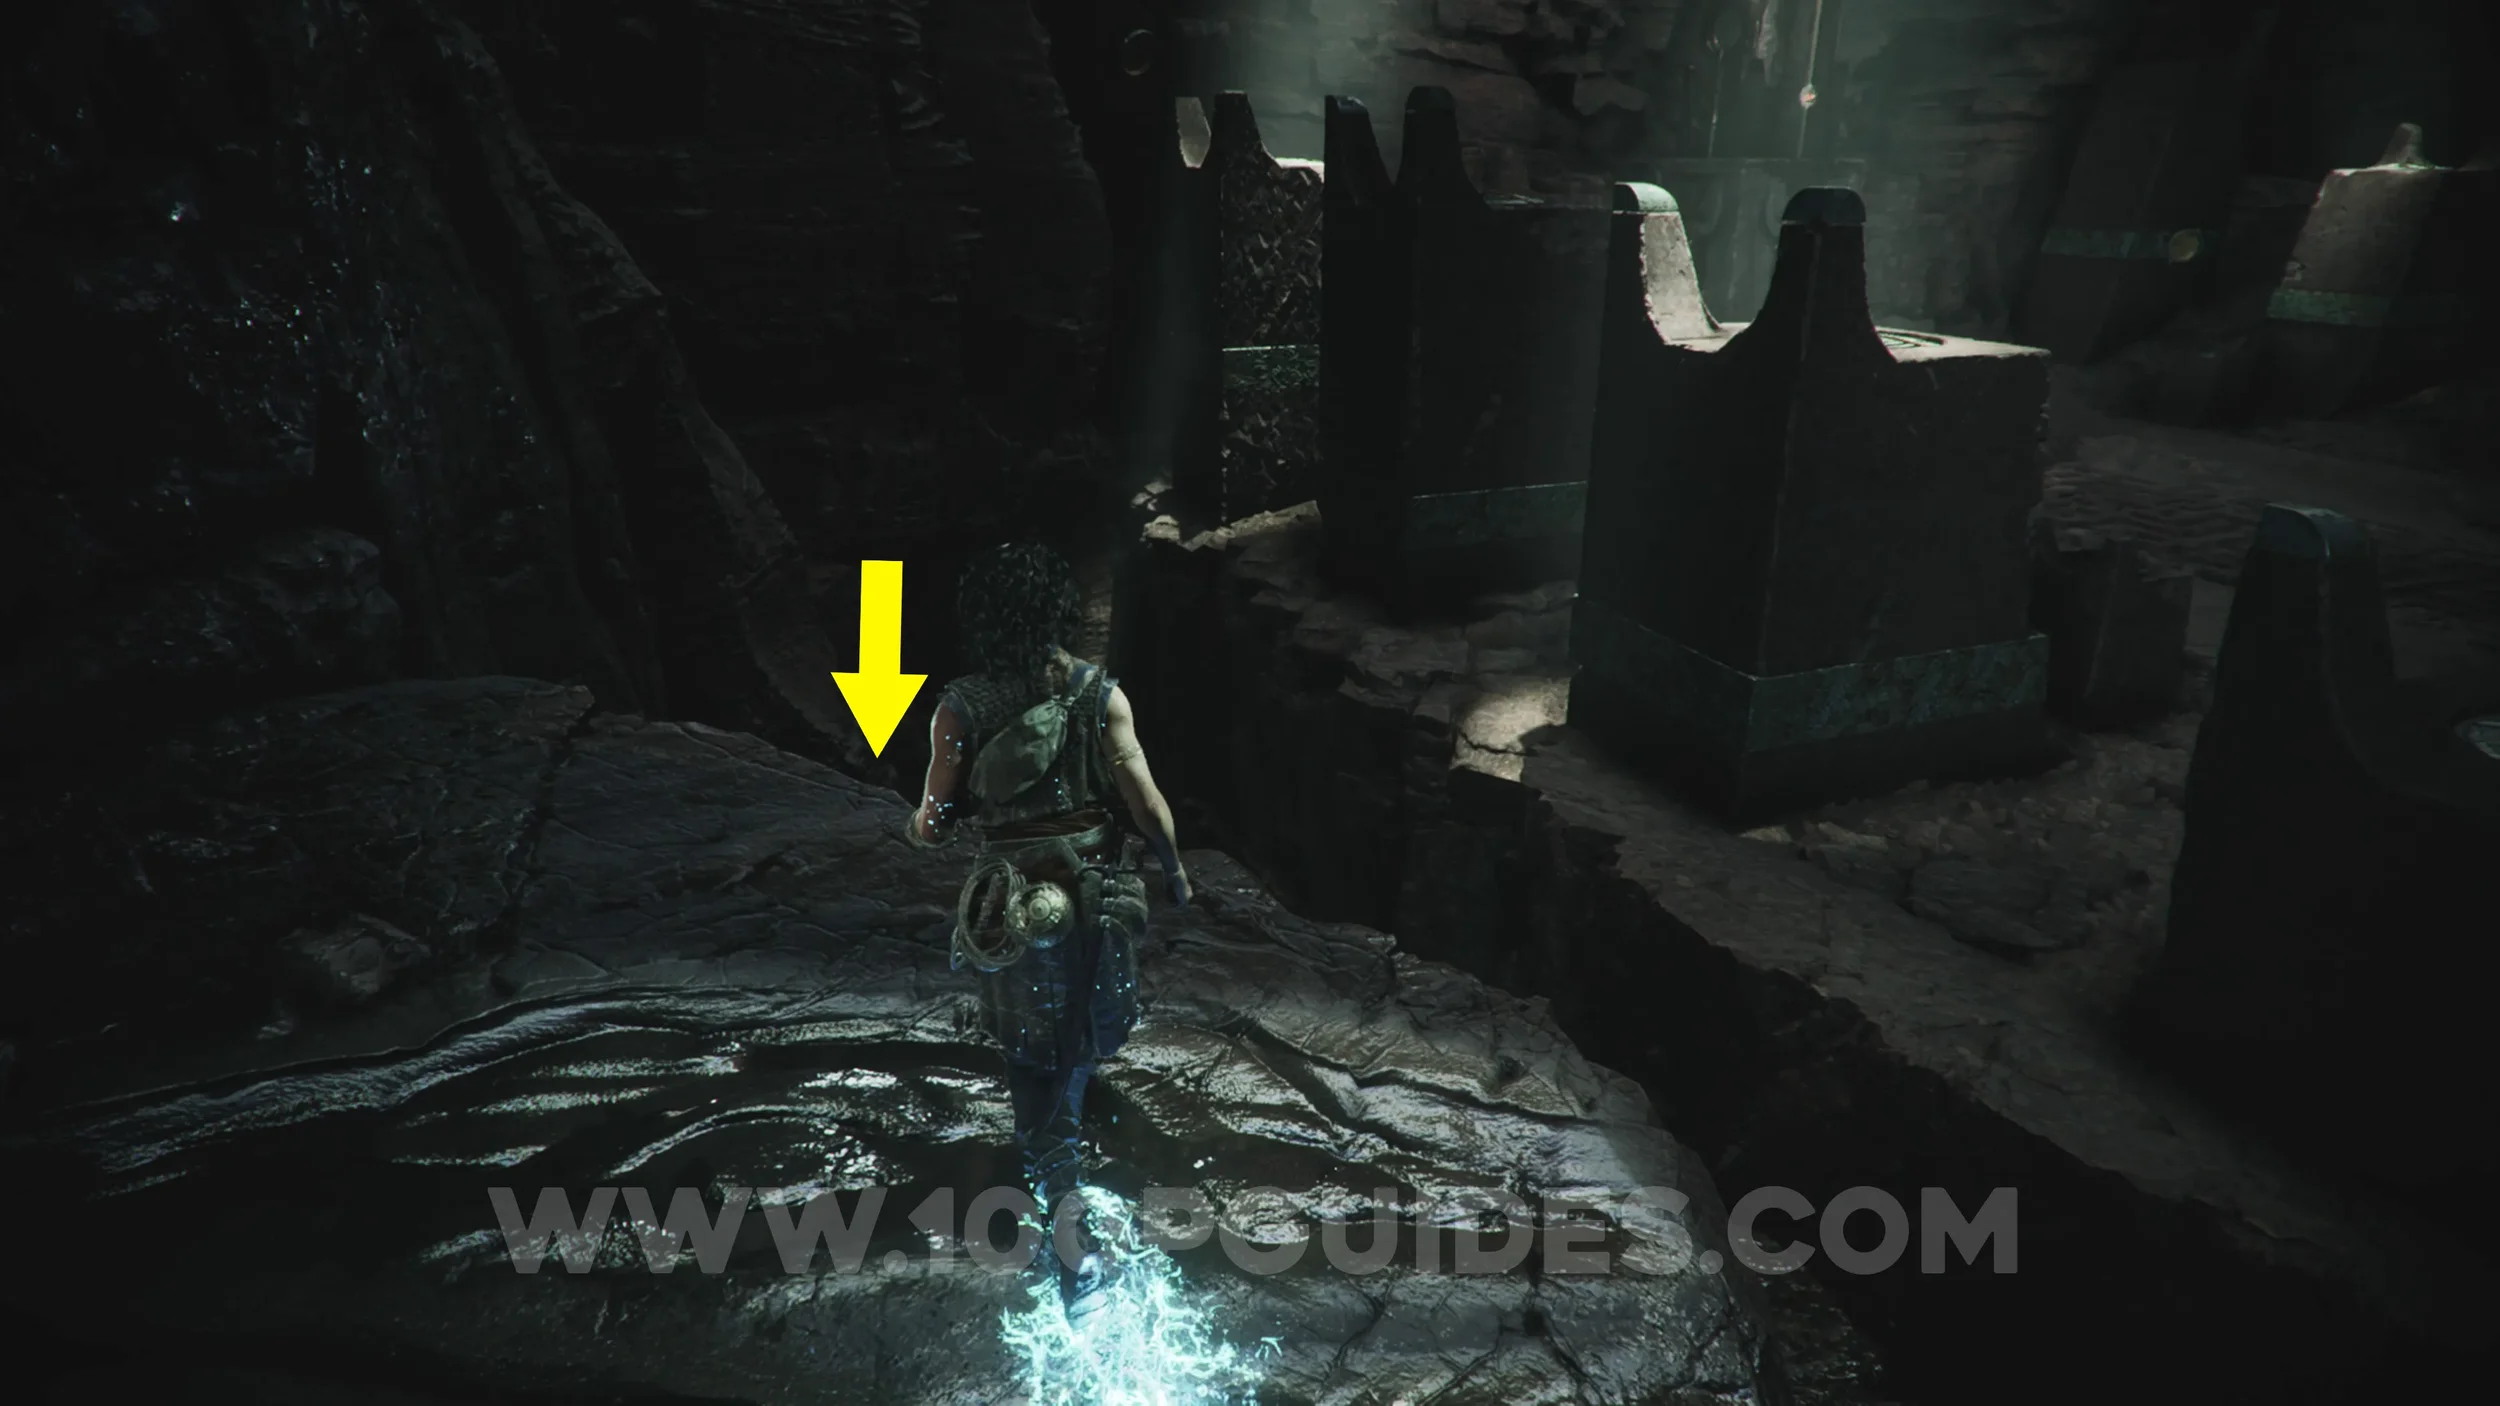
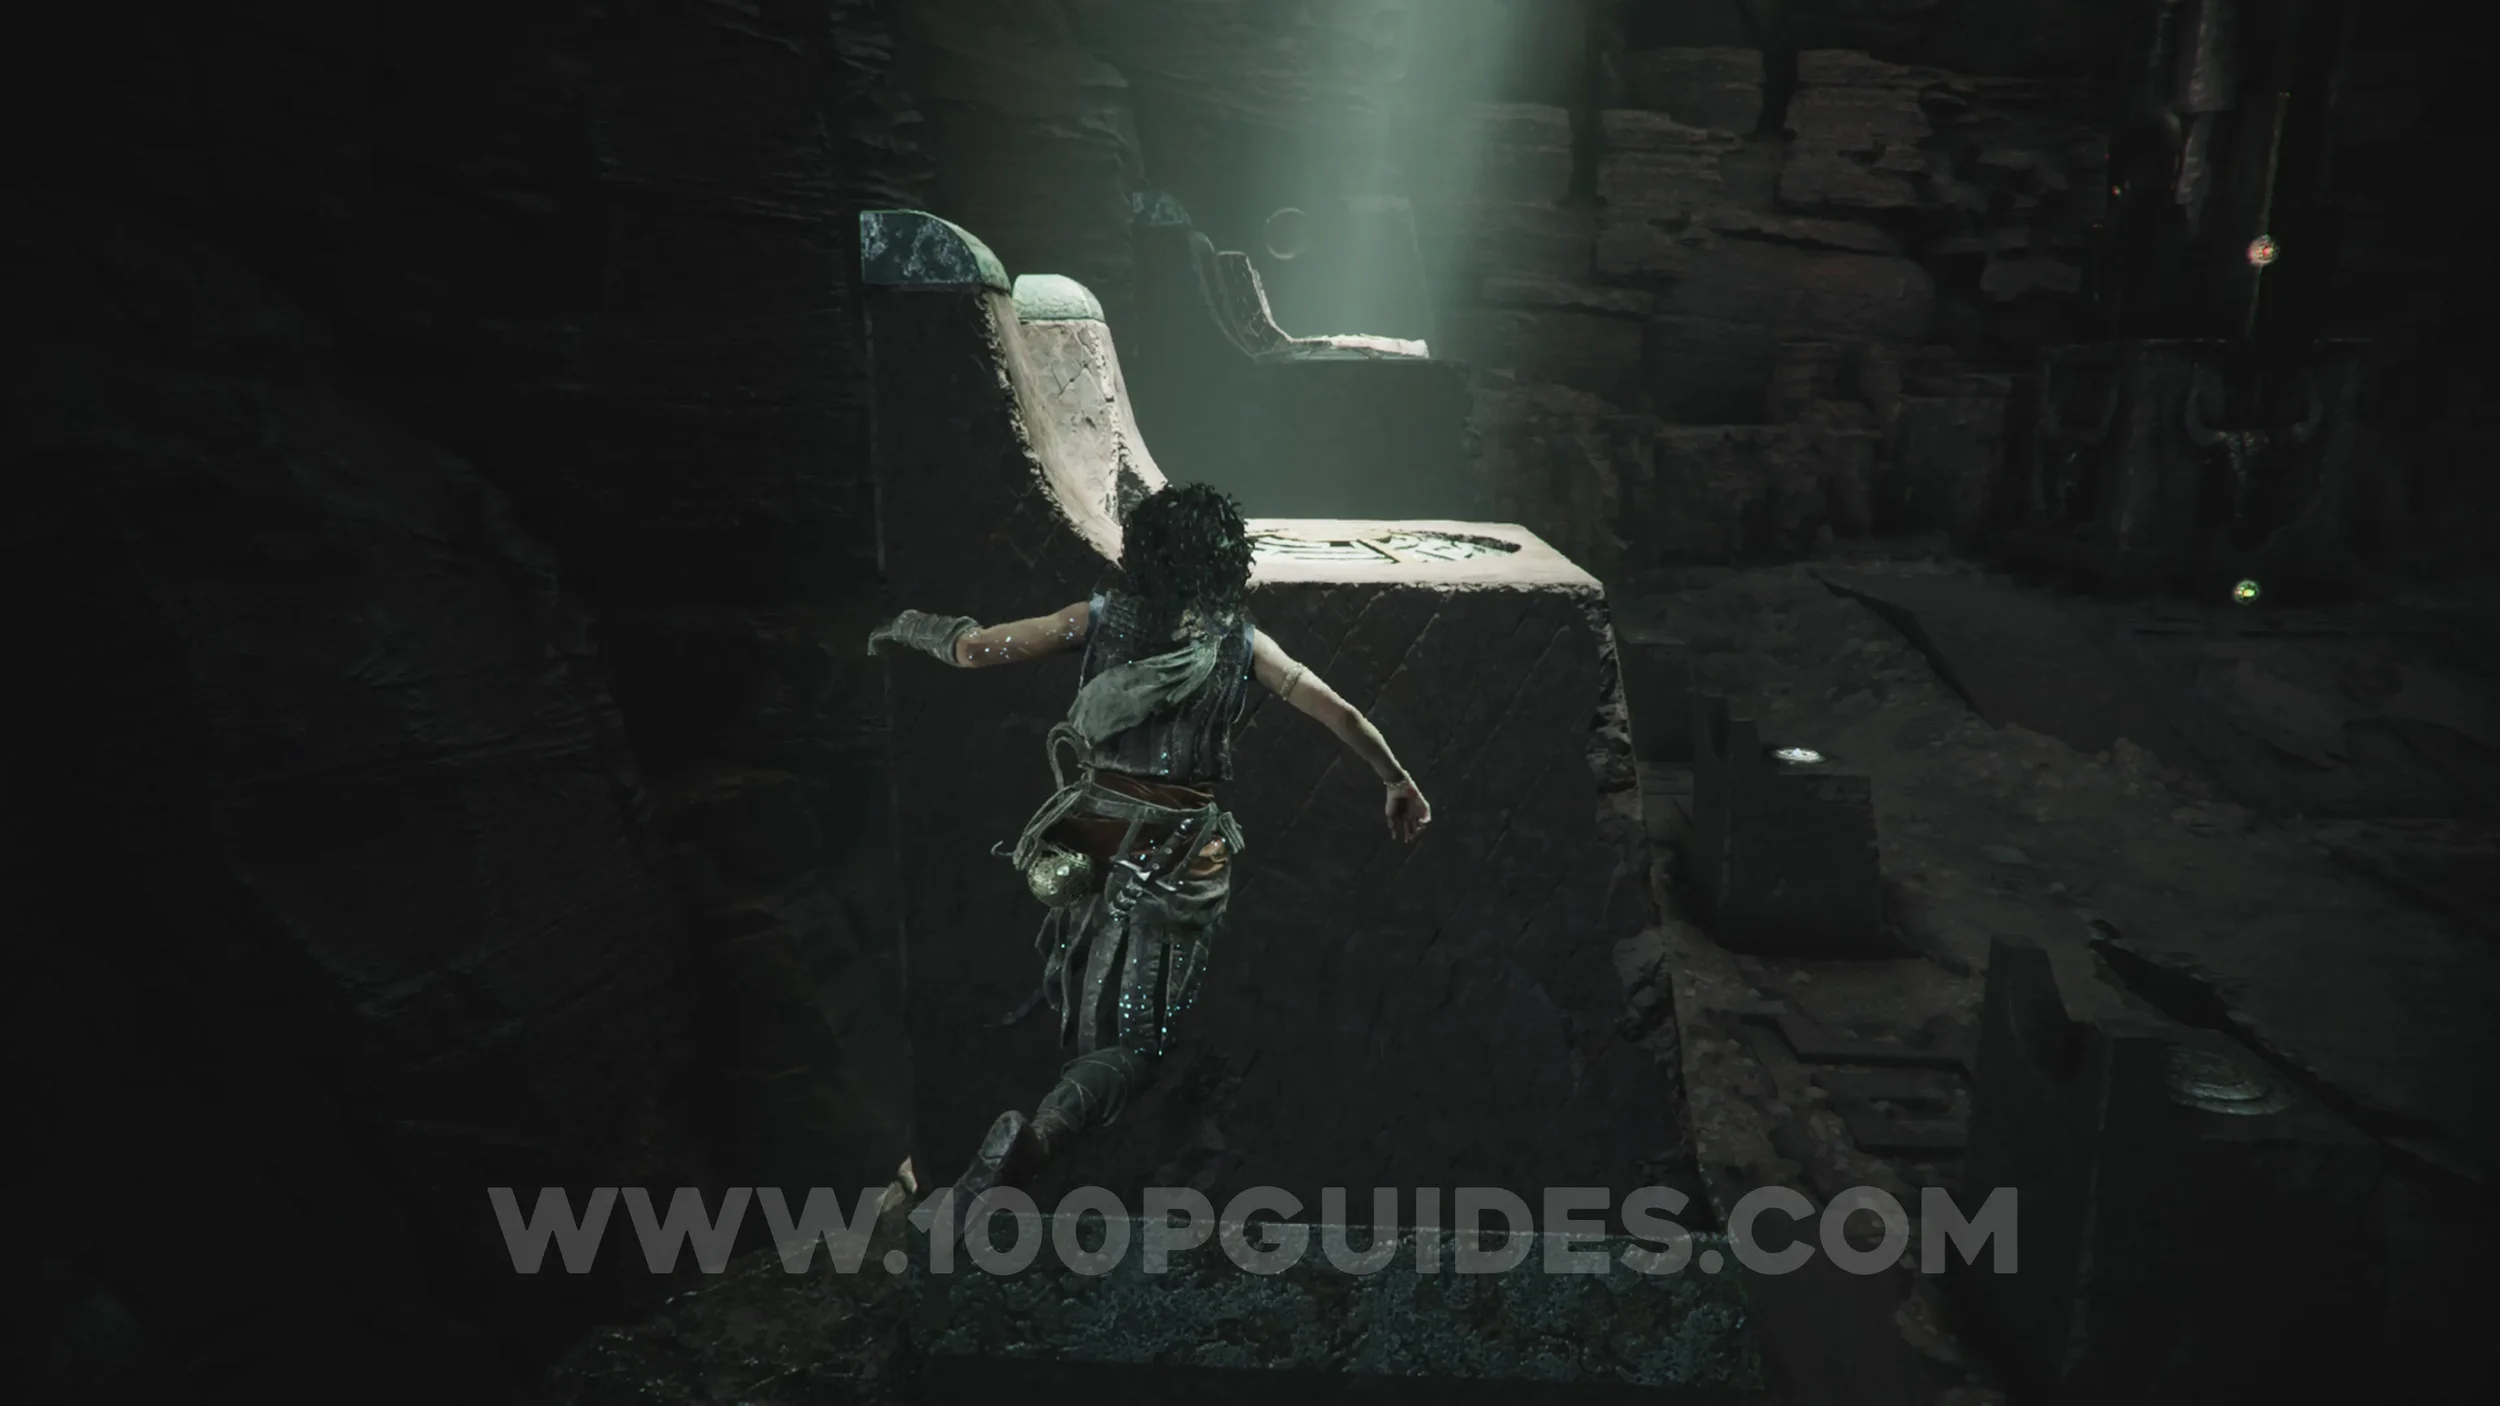
Head through the cave to the left of the previous collectible, and you'll emerge into a large room with a skull statue at the far end. In this room, stick to the left to find the collectible on the platform below you.
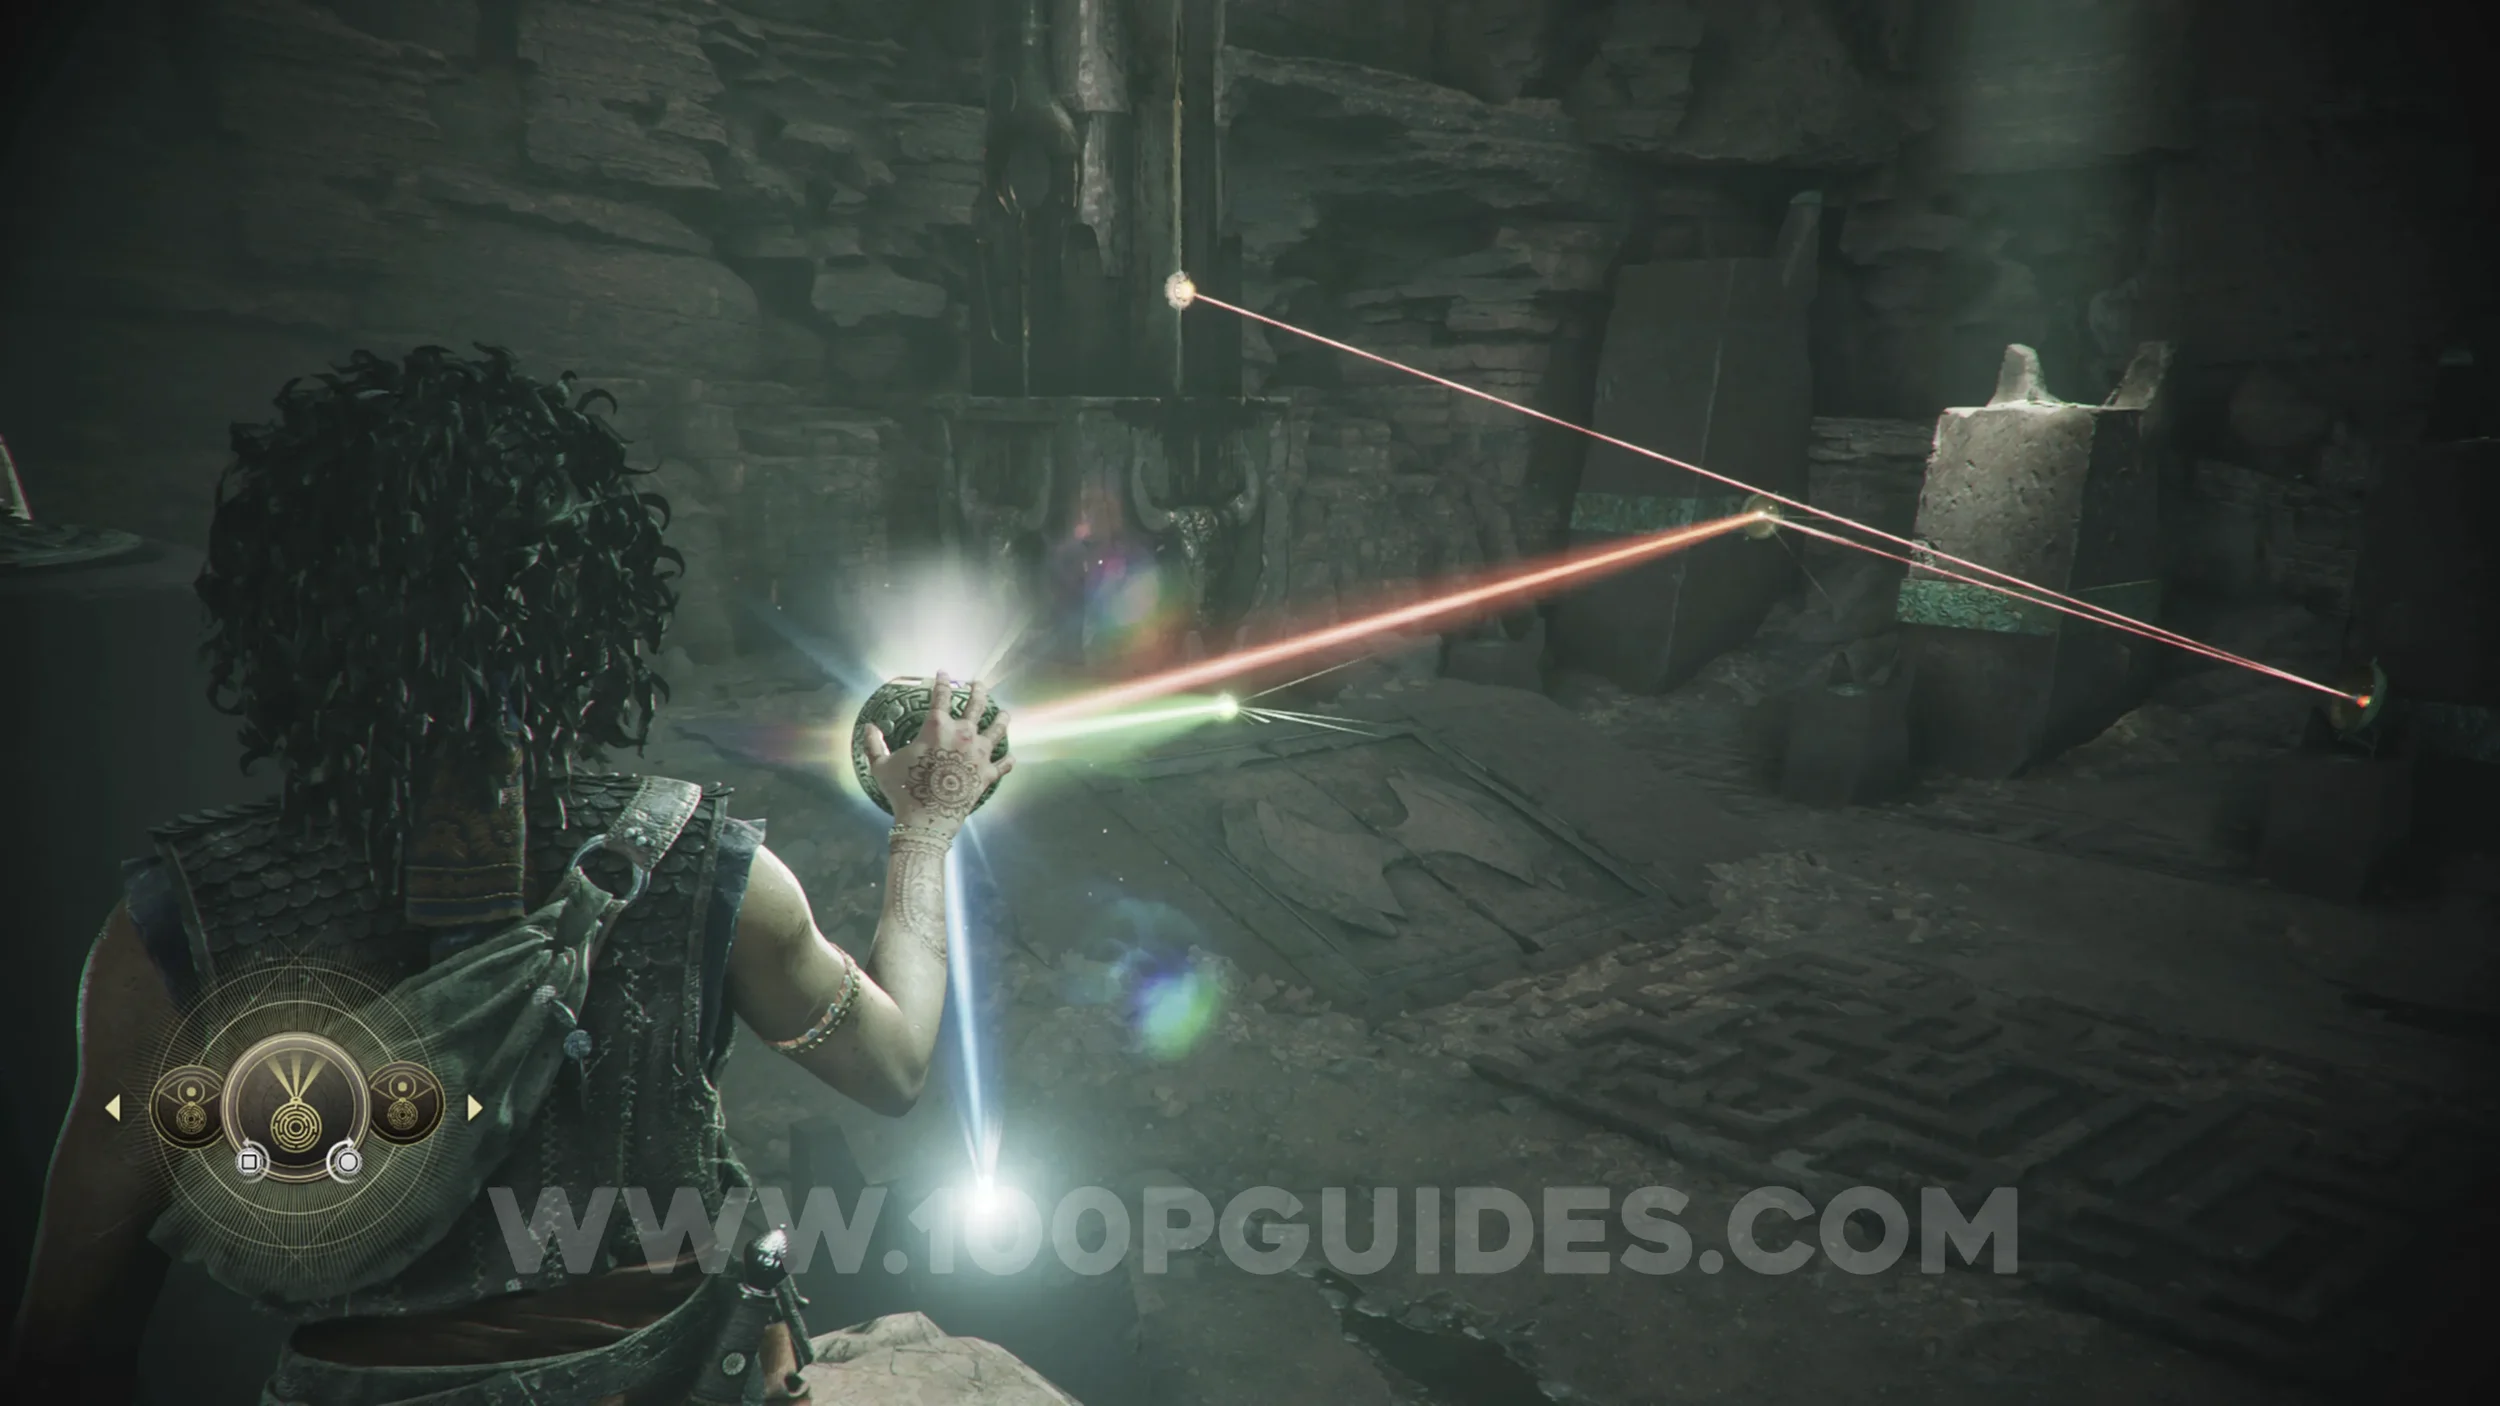
Blade: Sica
Chapter 6: Sub-Chapter 5.
Stand on the first structure with sunlight on the left side of the room with the skull statue. Then use the sphere to point the tri-colored lasers at the gems to open the path below the statue, where you'll find the blade in the chest.
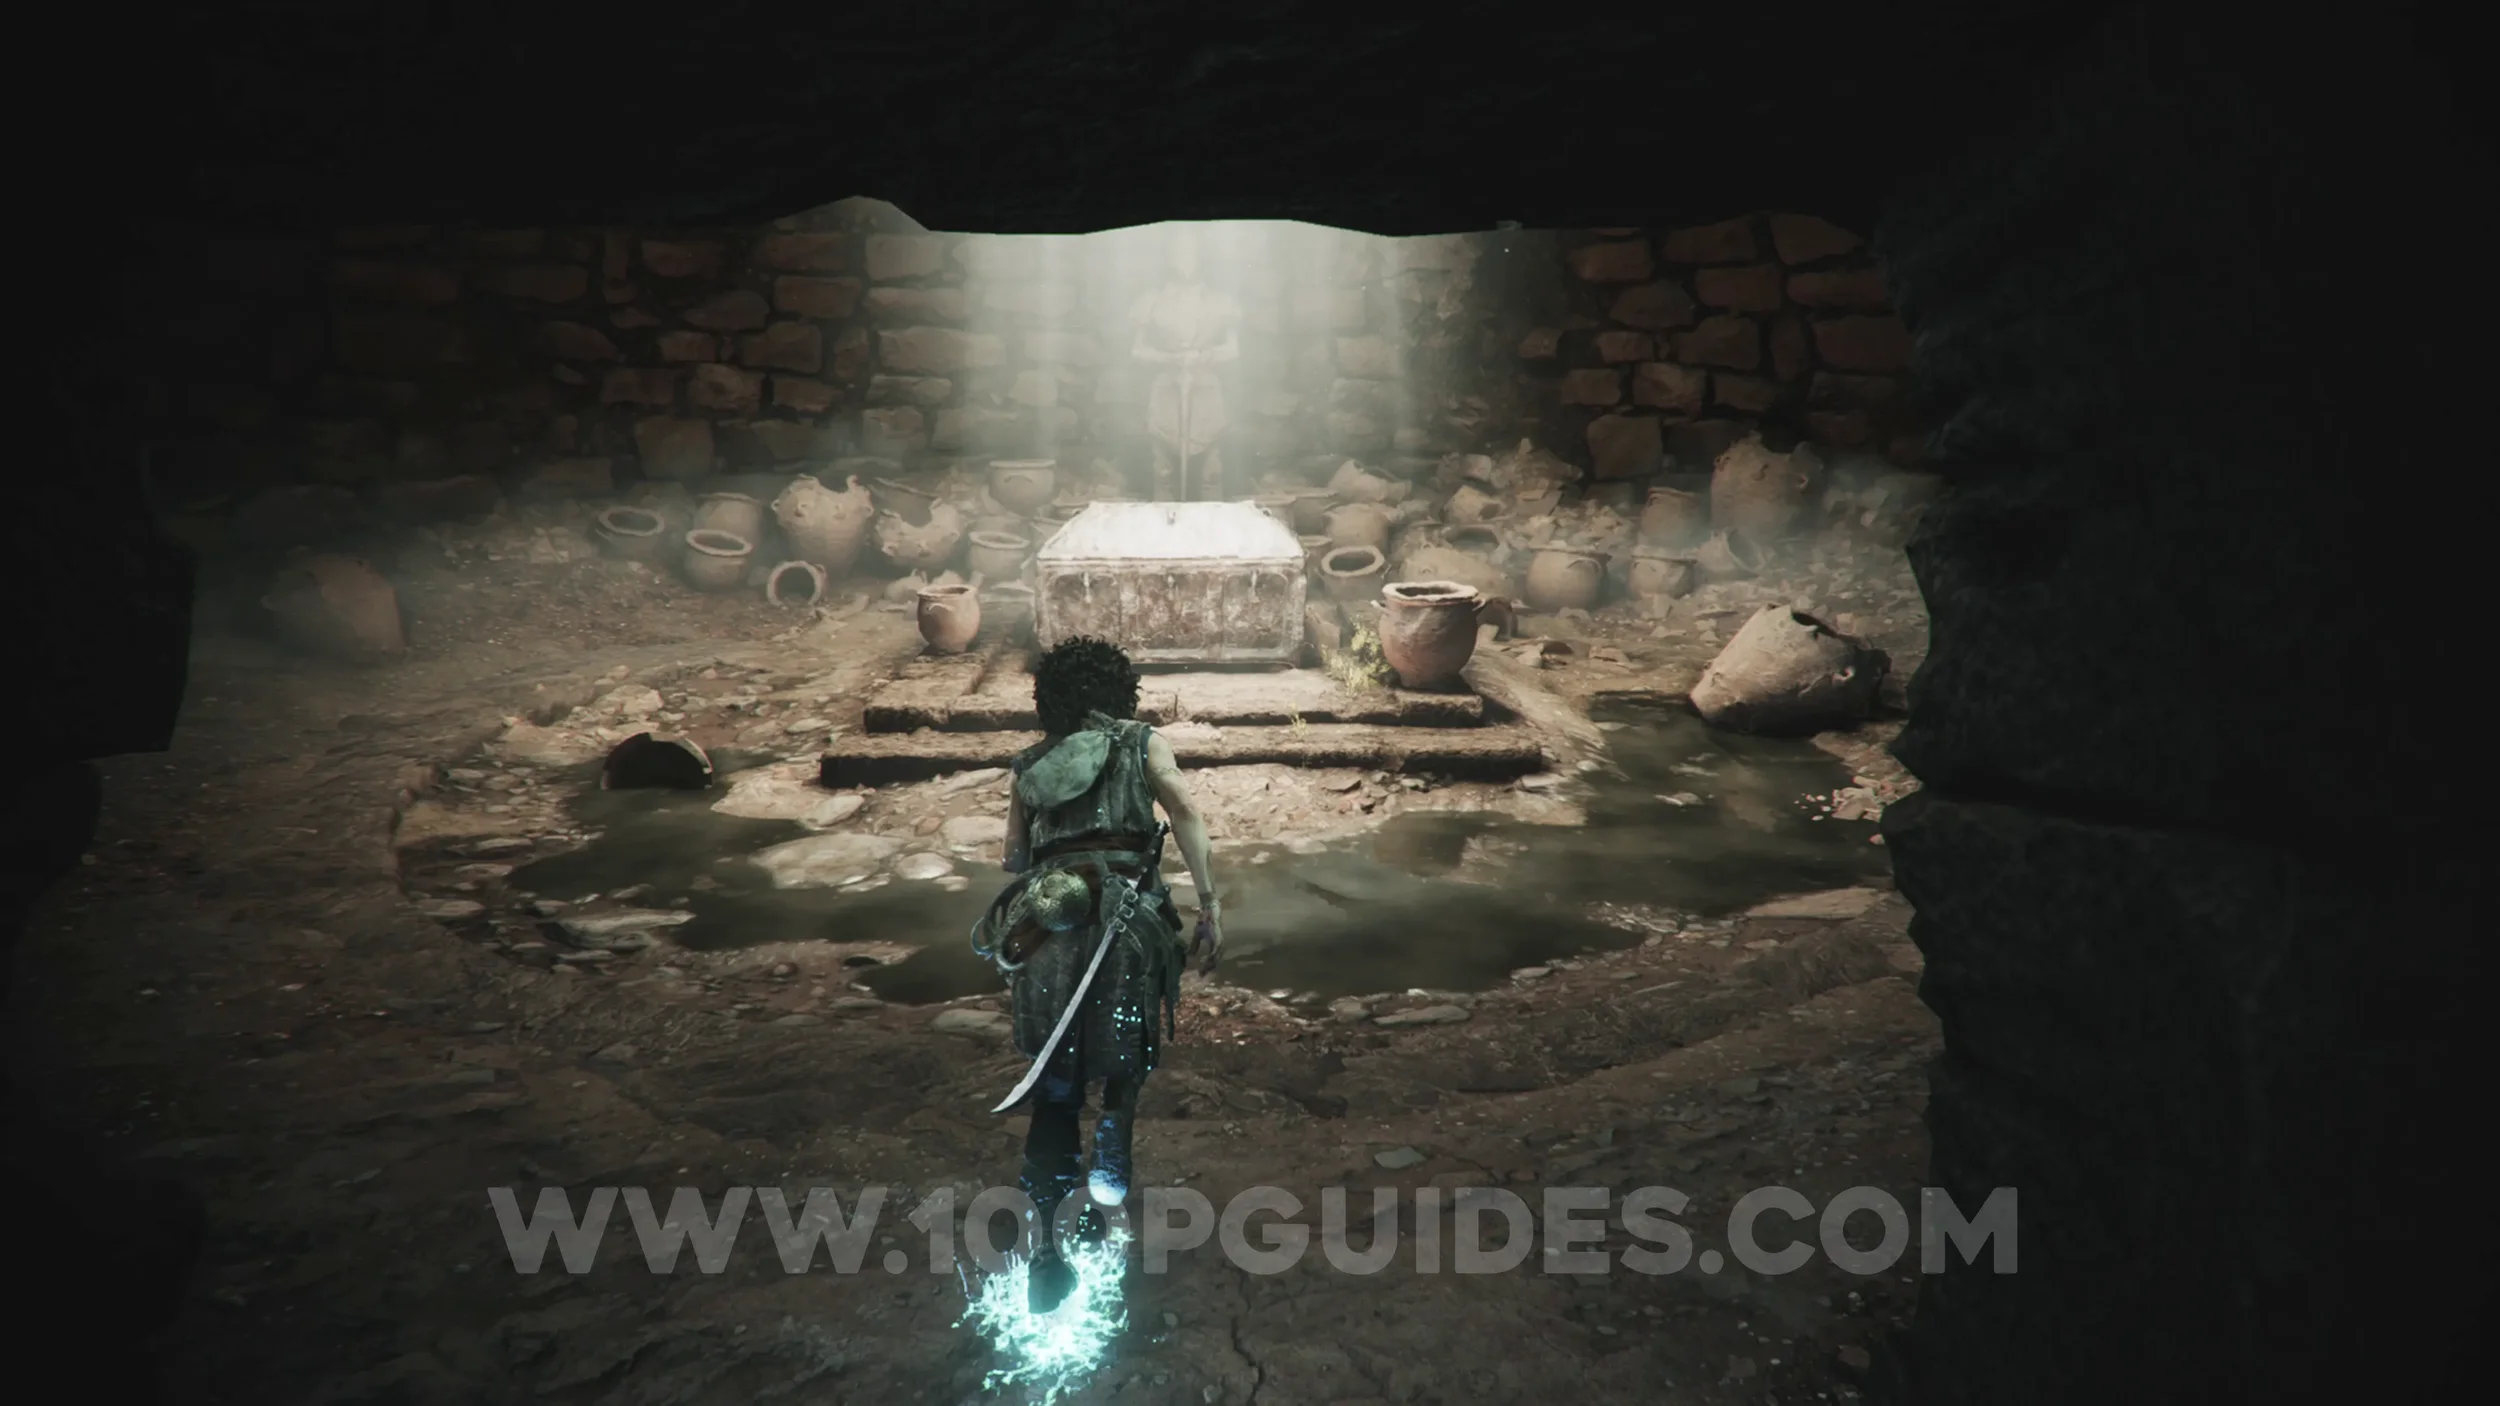
Resonance Point
Chapter 6: Sub-Chapter 5.
To the left of the previous chest.
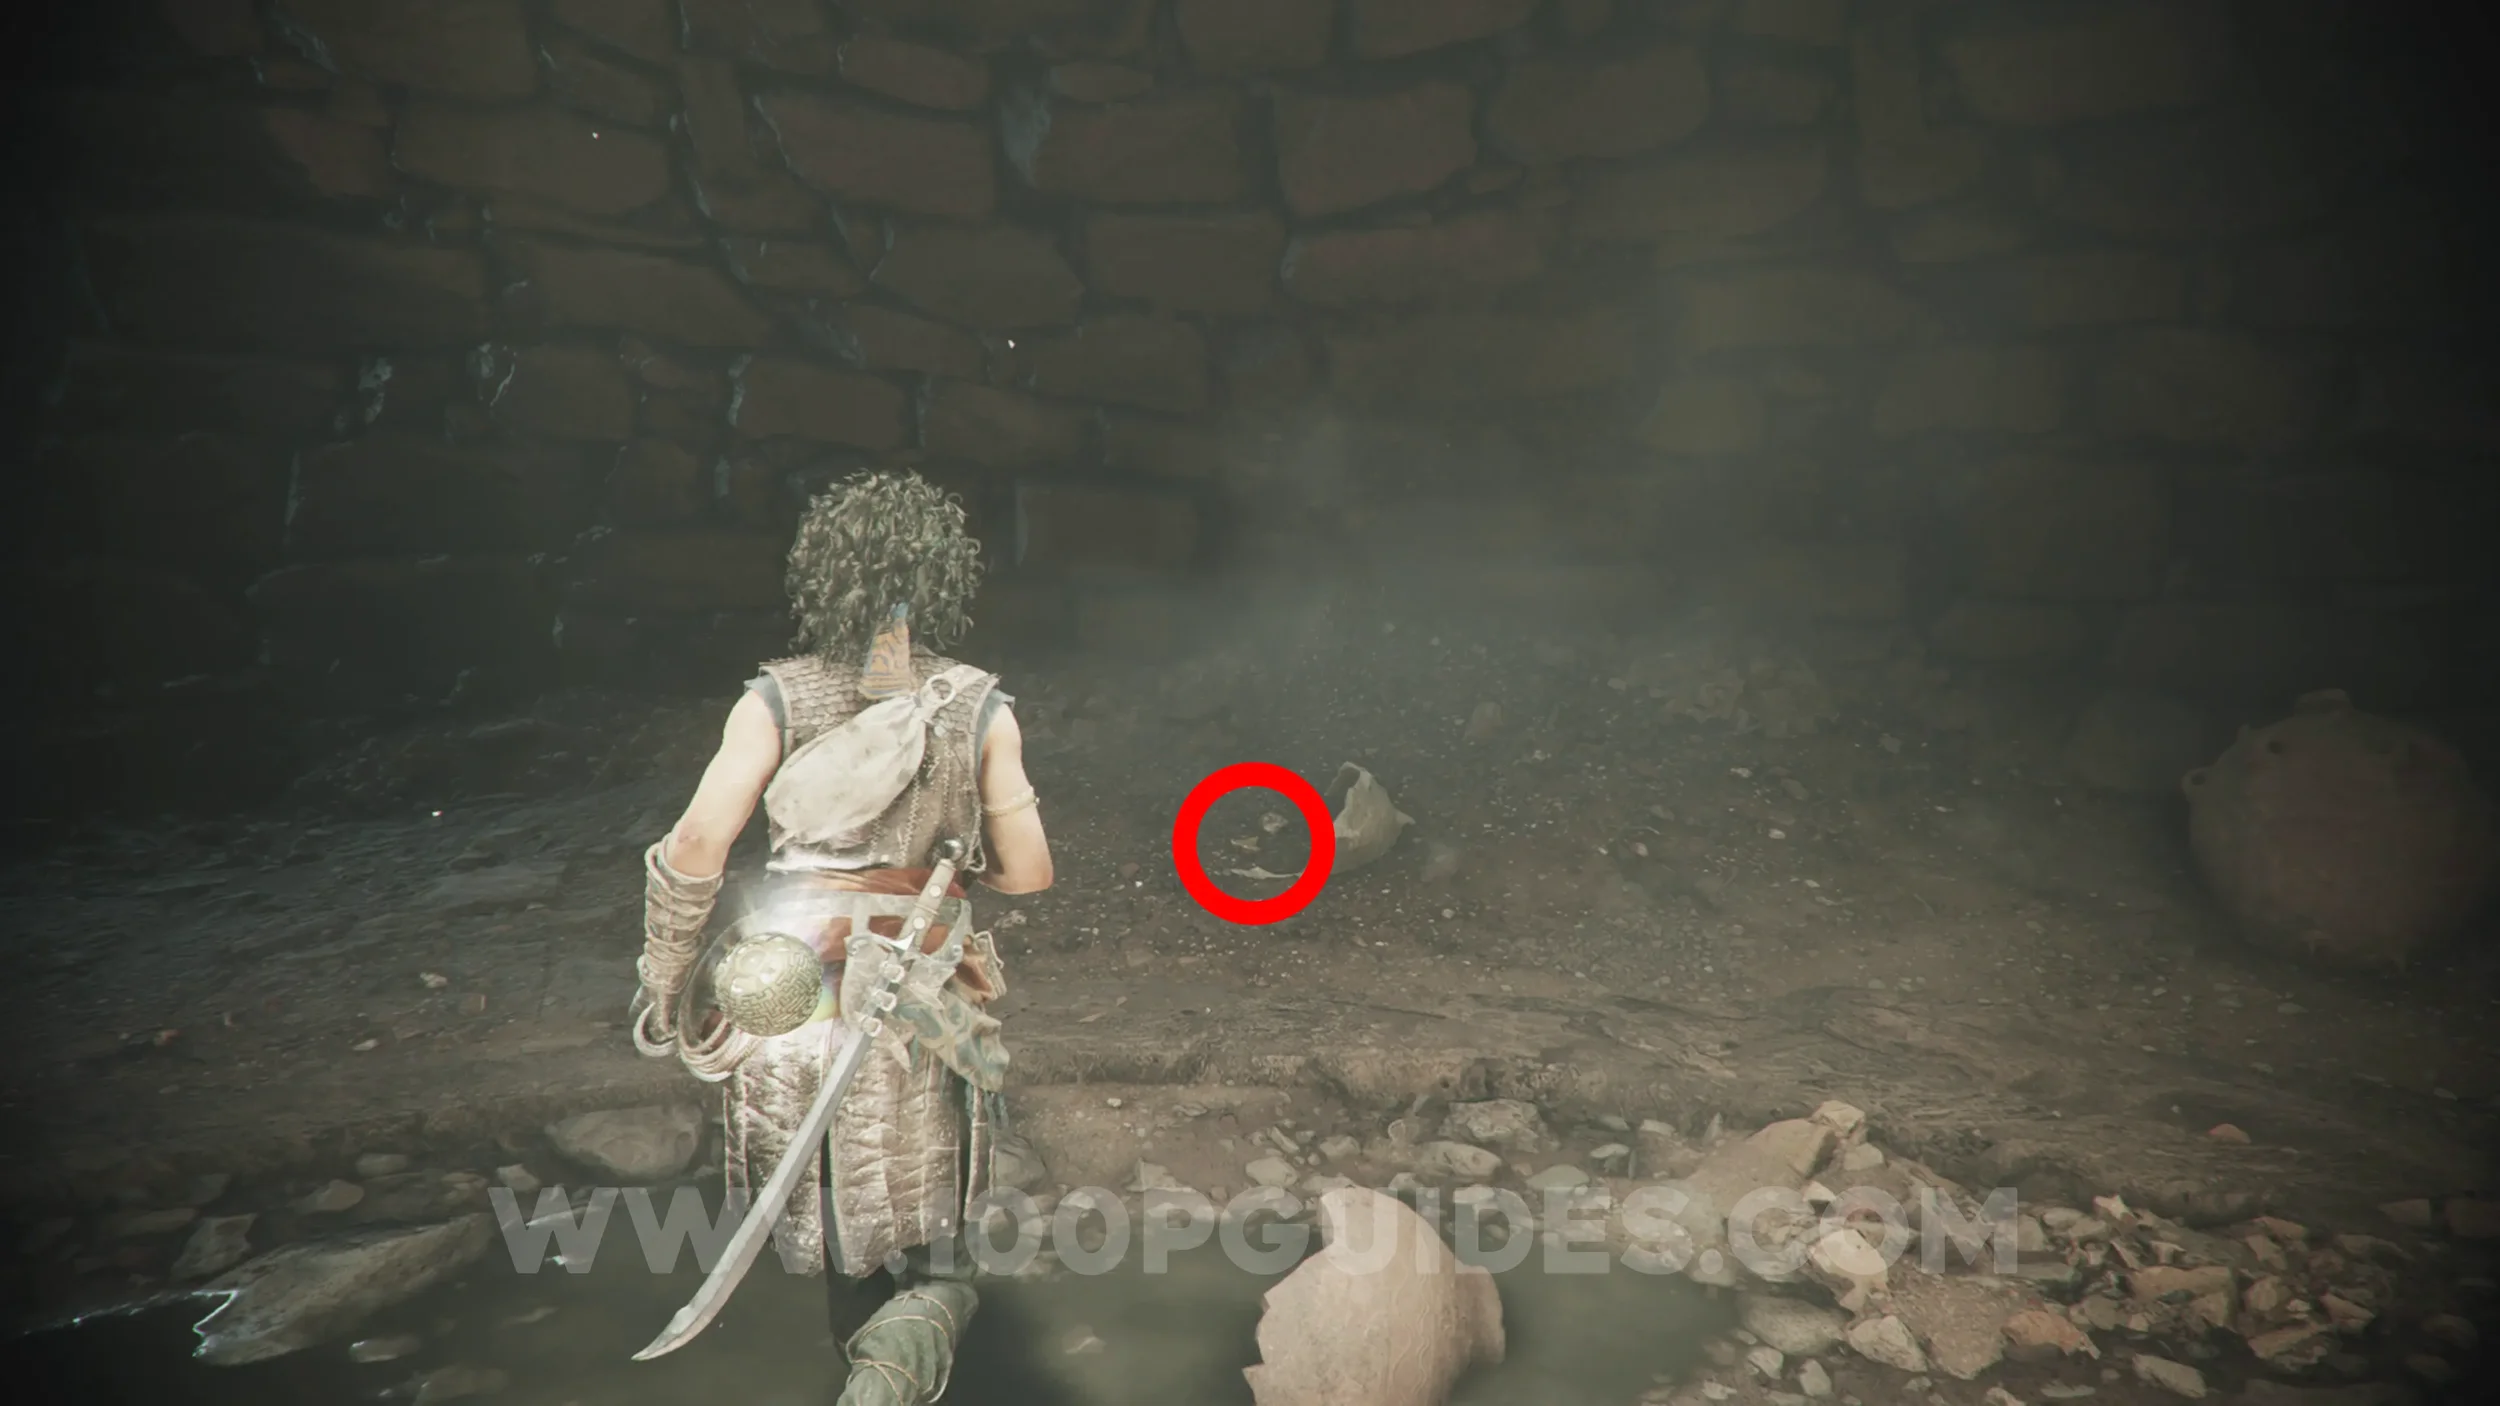
Resonance Point x2
Chapter 6: Sub-Chapter 5.
Continue on the main path, and you'll go through a huge room with loads of pipes crossing it. Once you reach the other side of the pipes, climb up the rocks on your left to find the two resonance points.
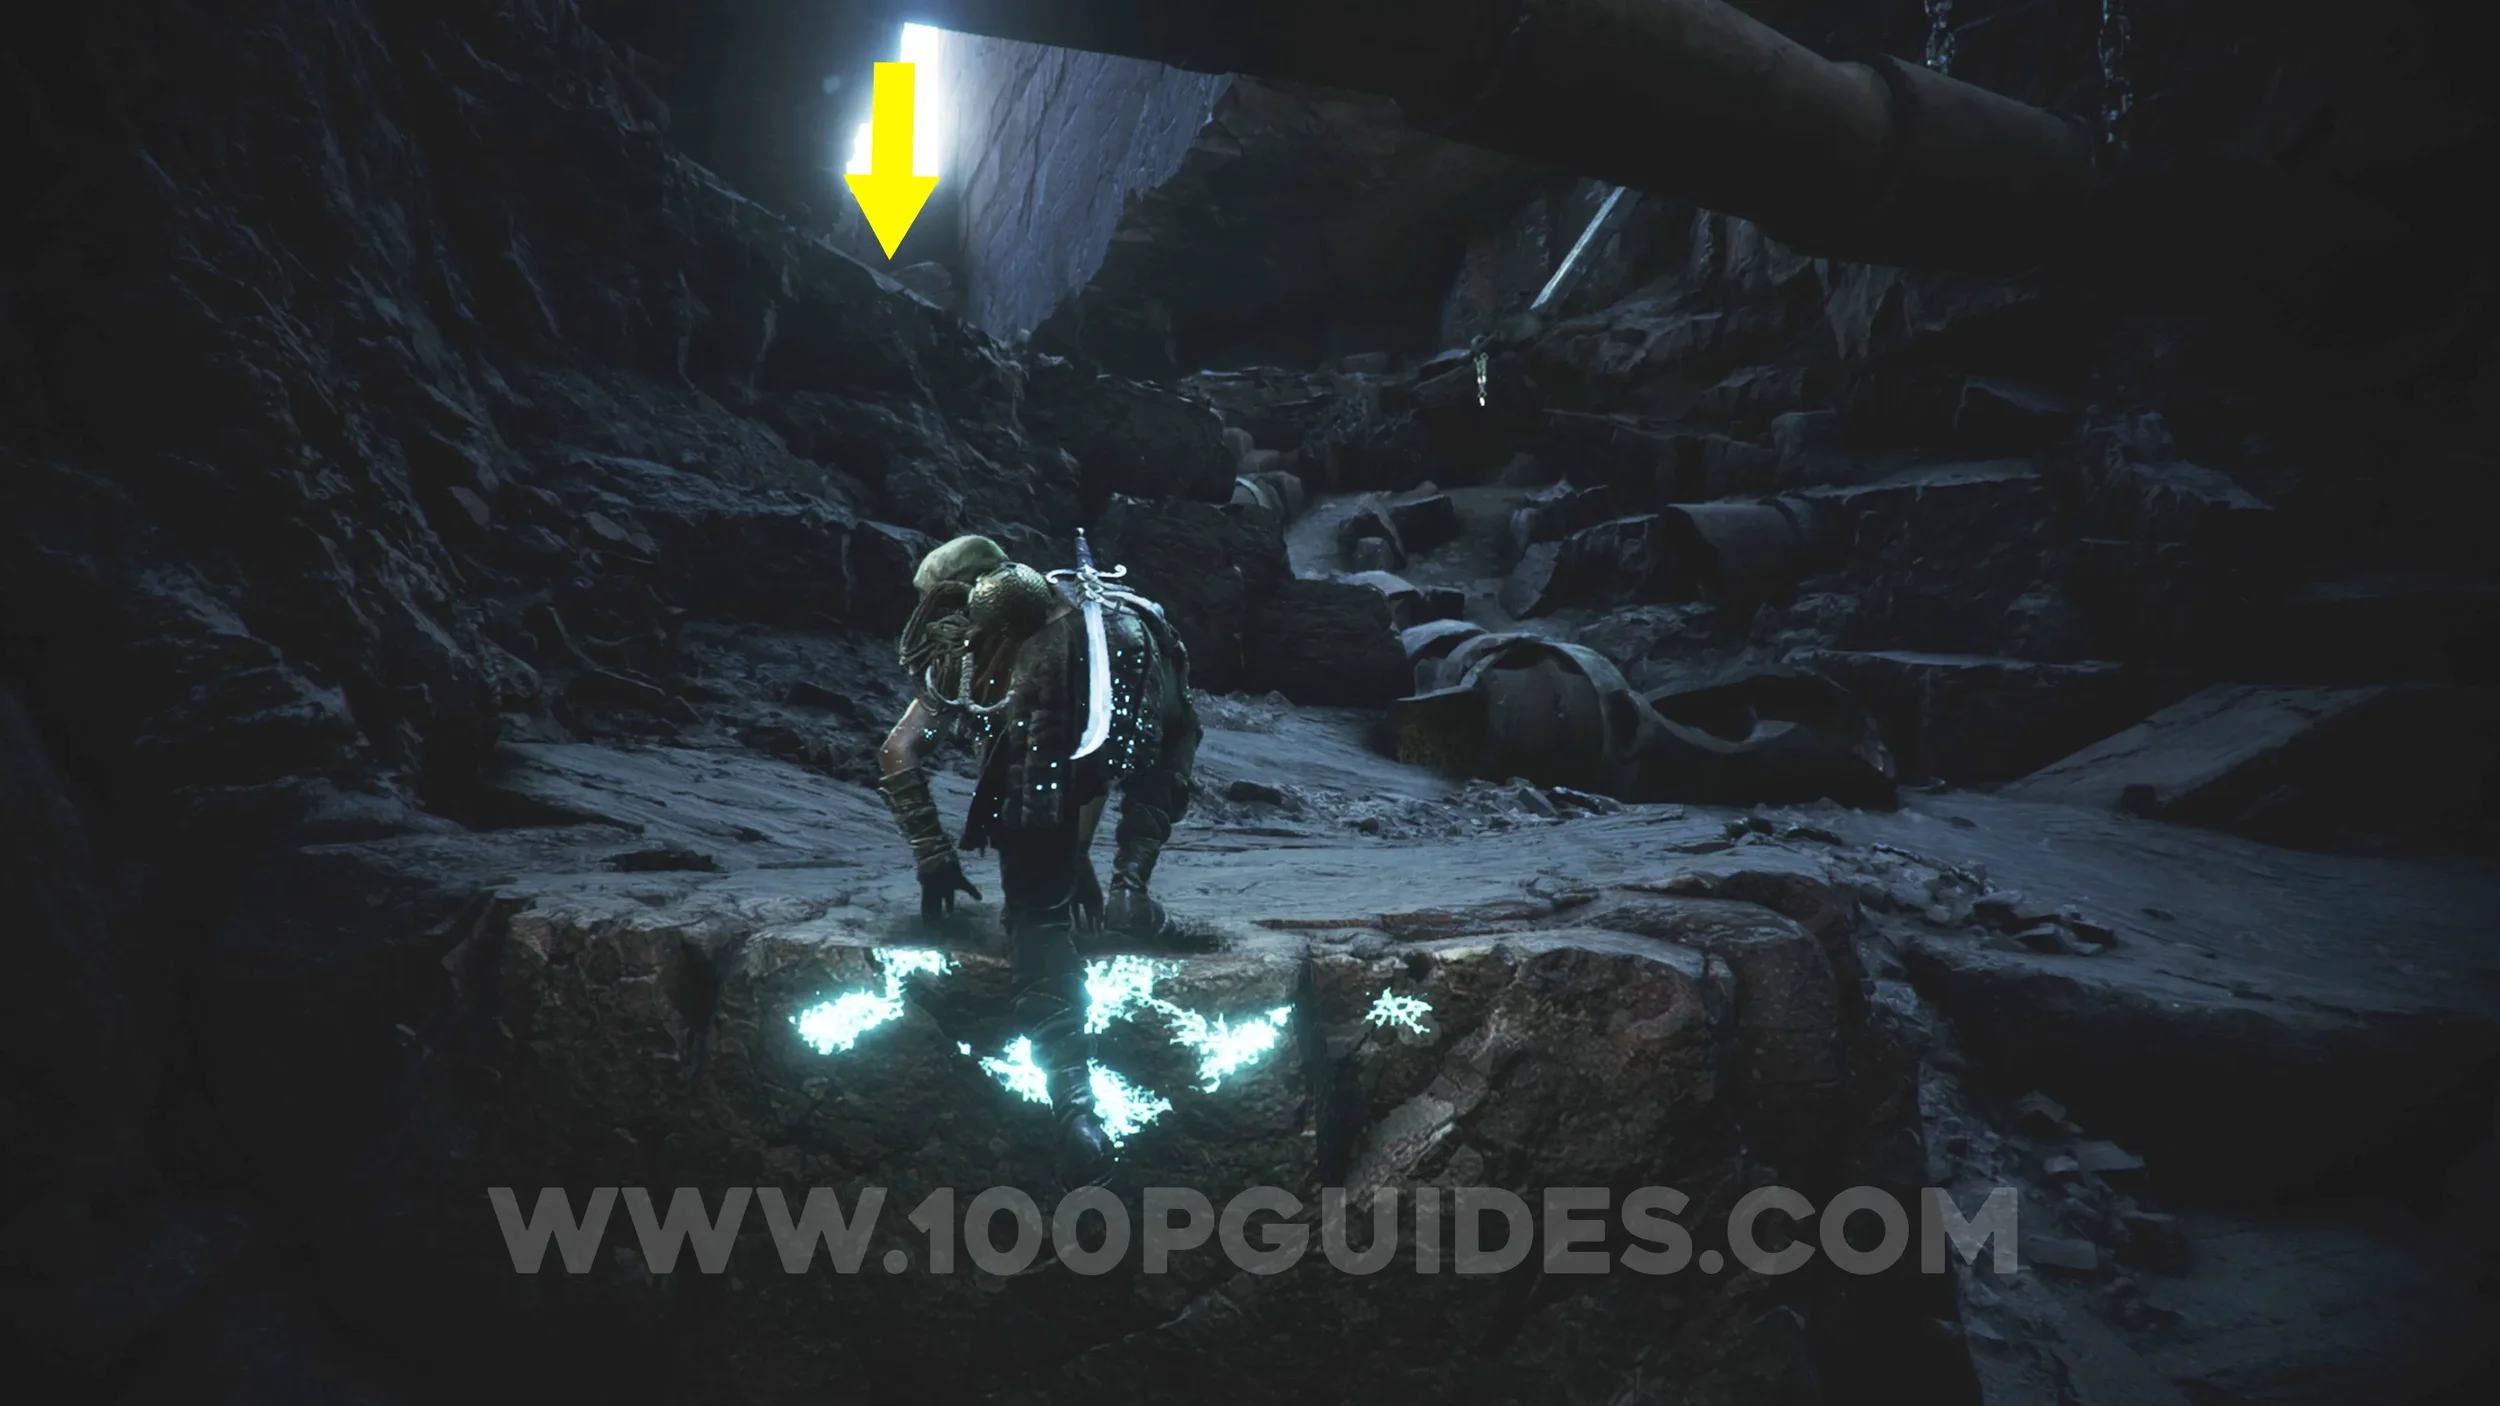
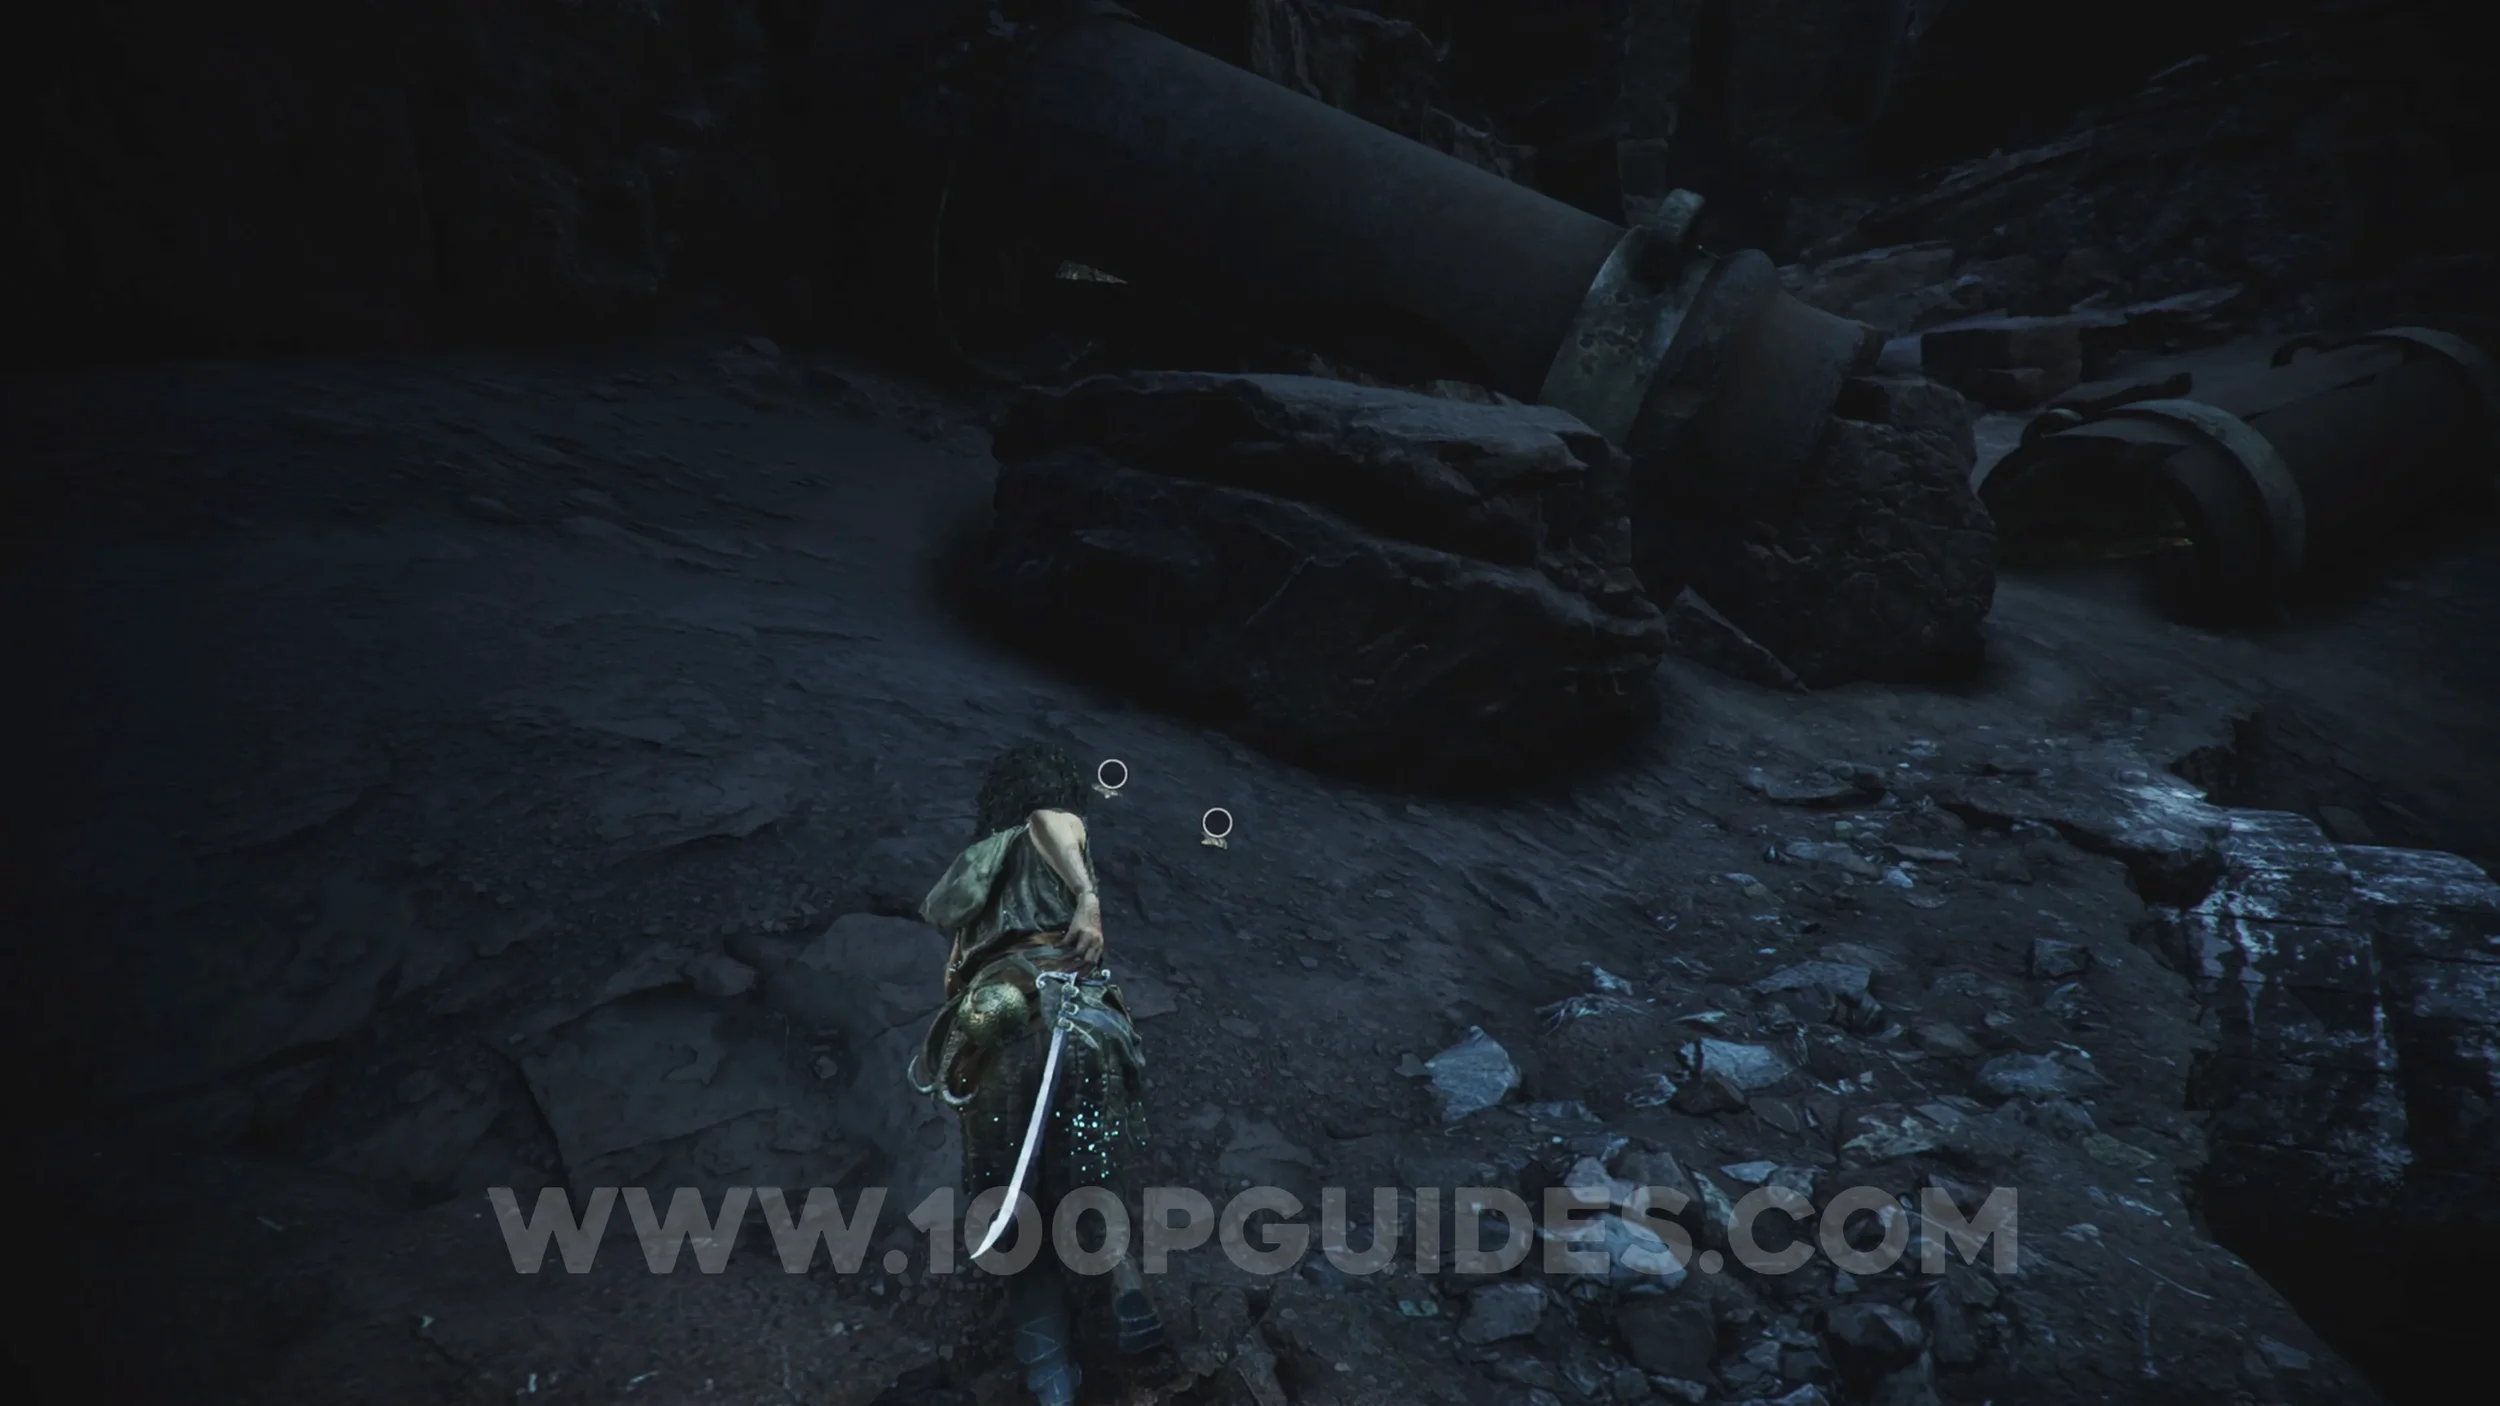
Resonance Point
Chapter 6: Sub-Chapter 5.
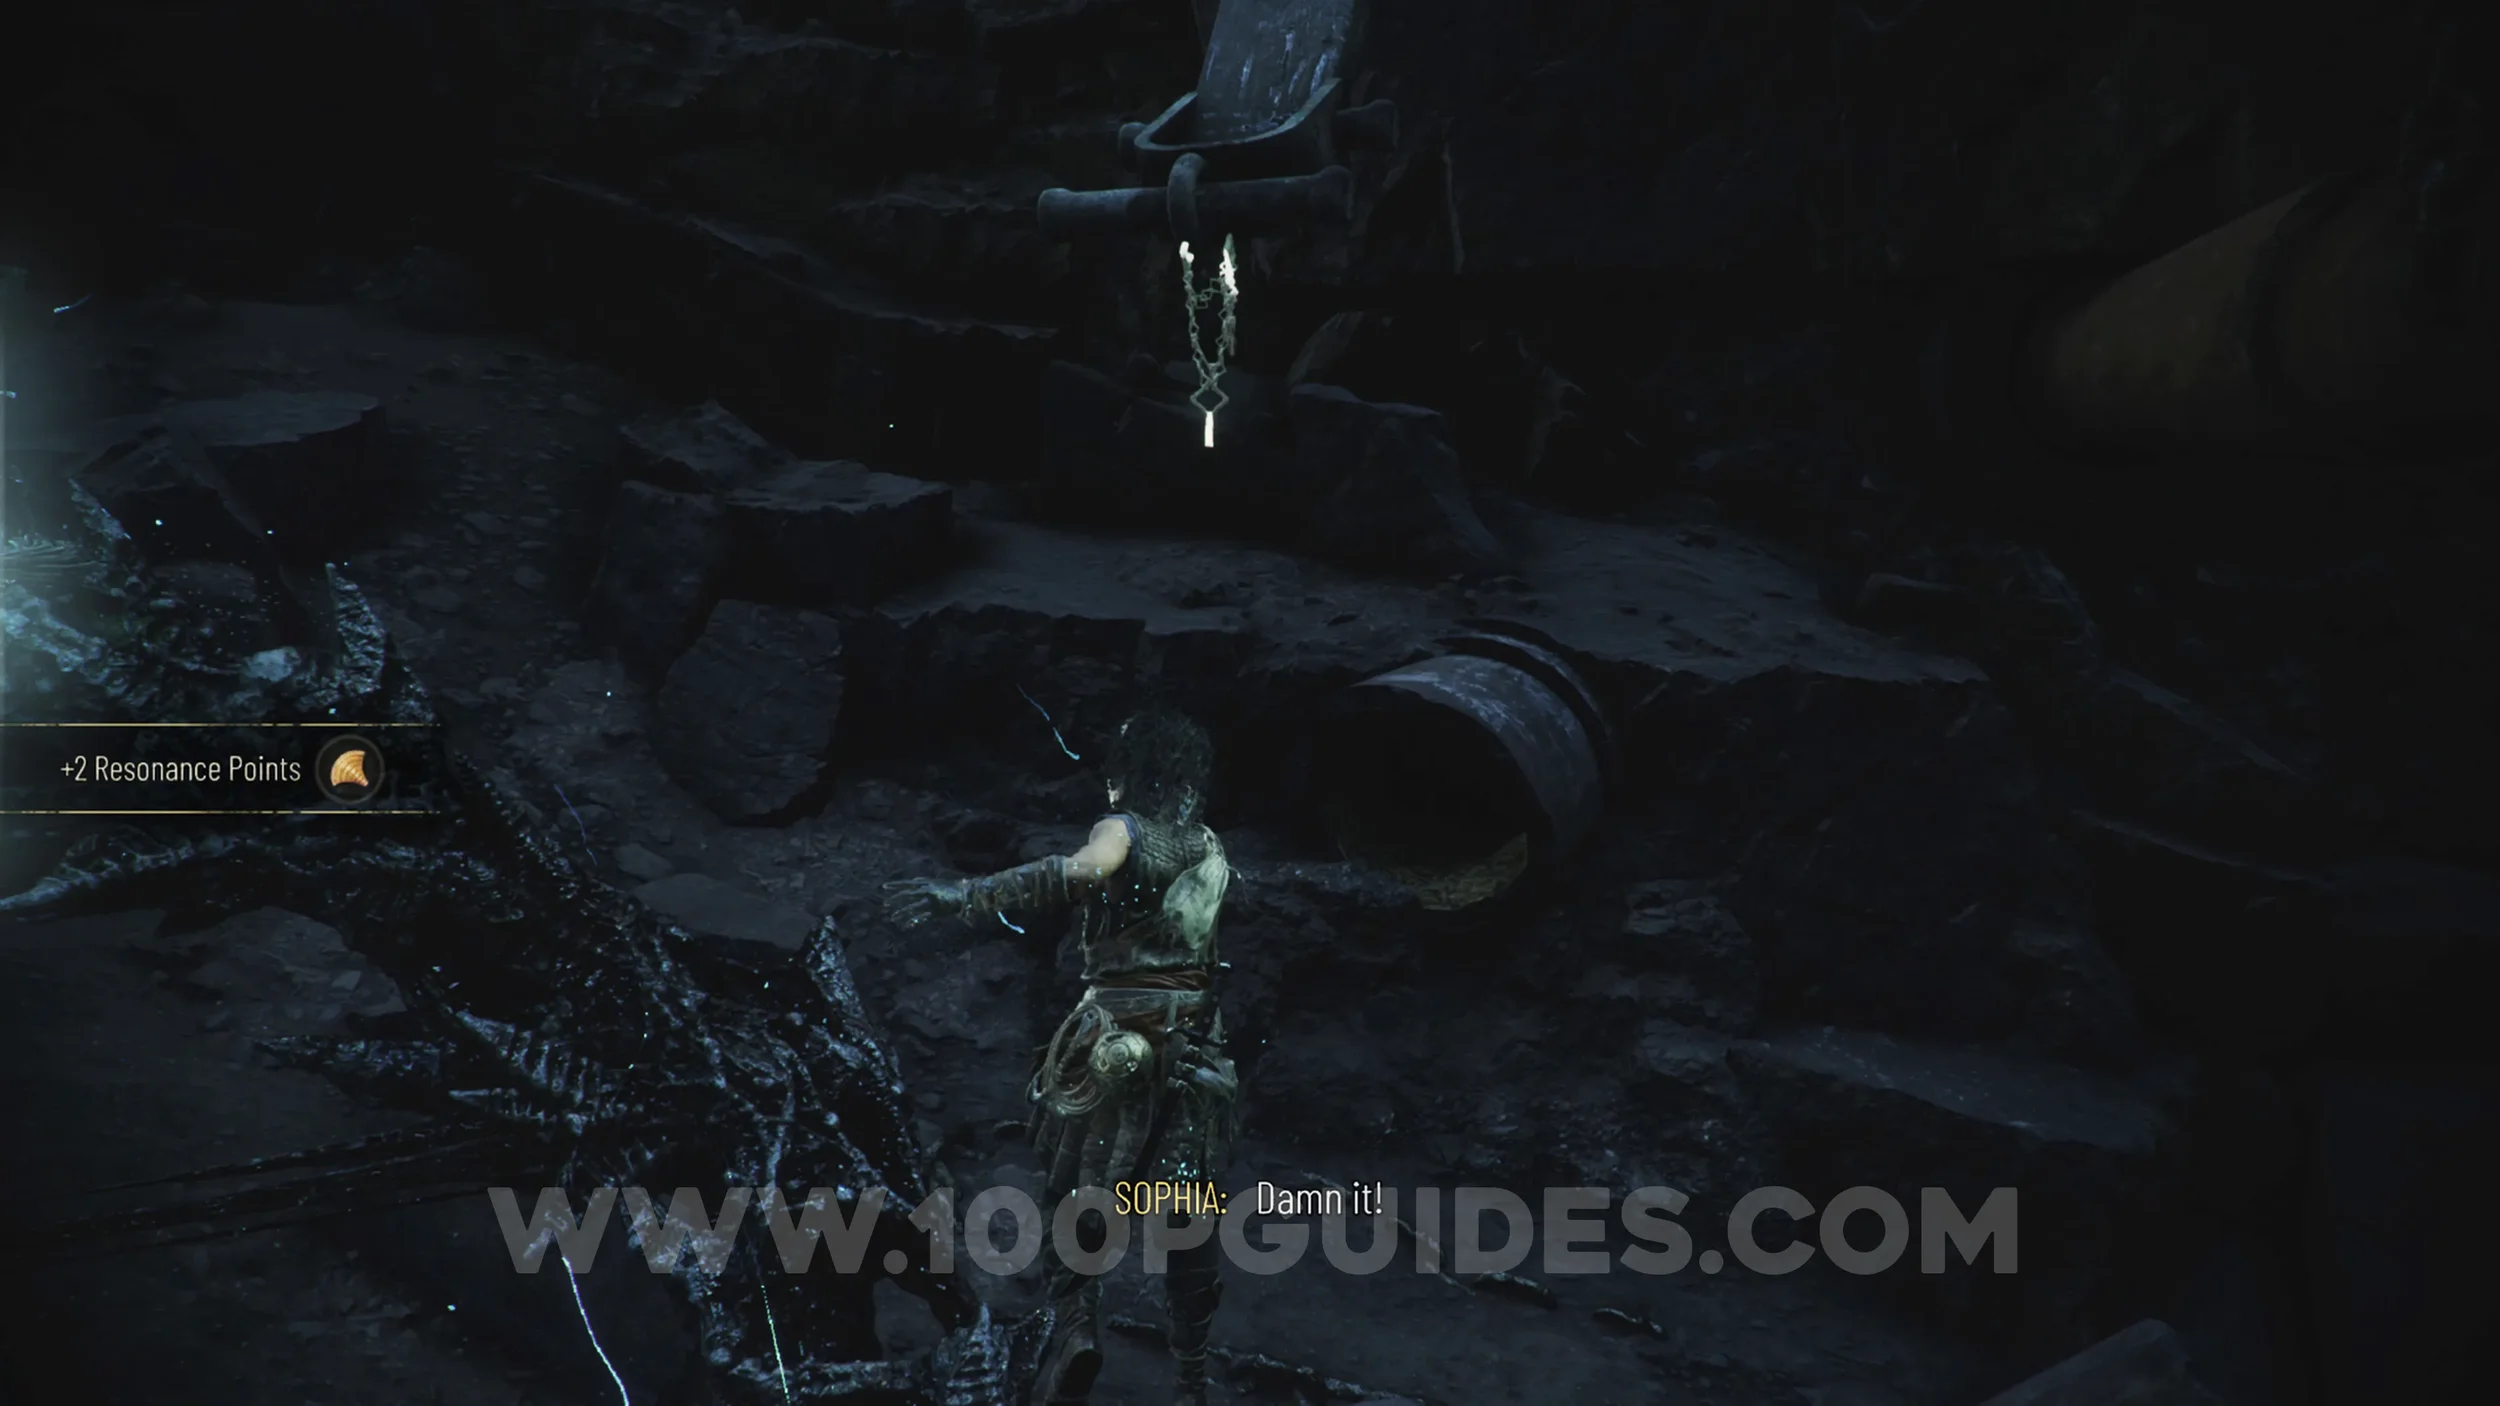
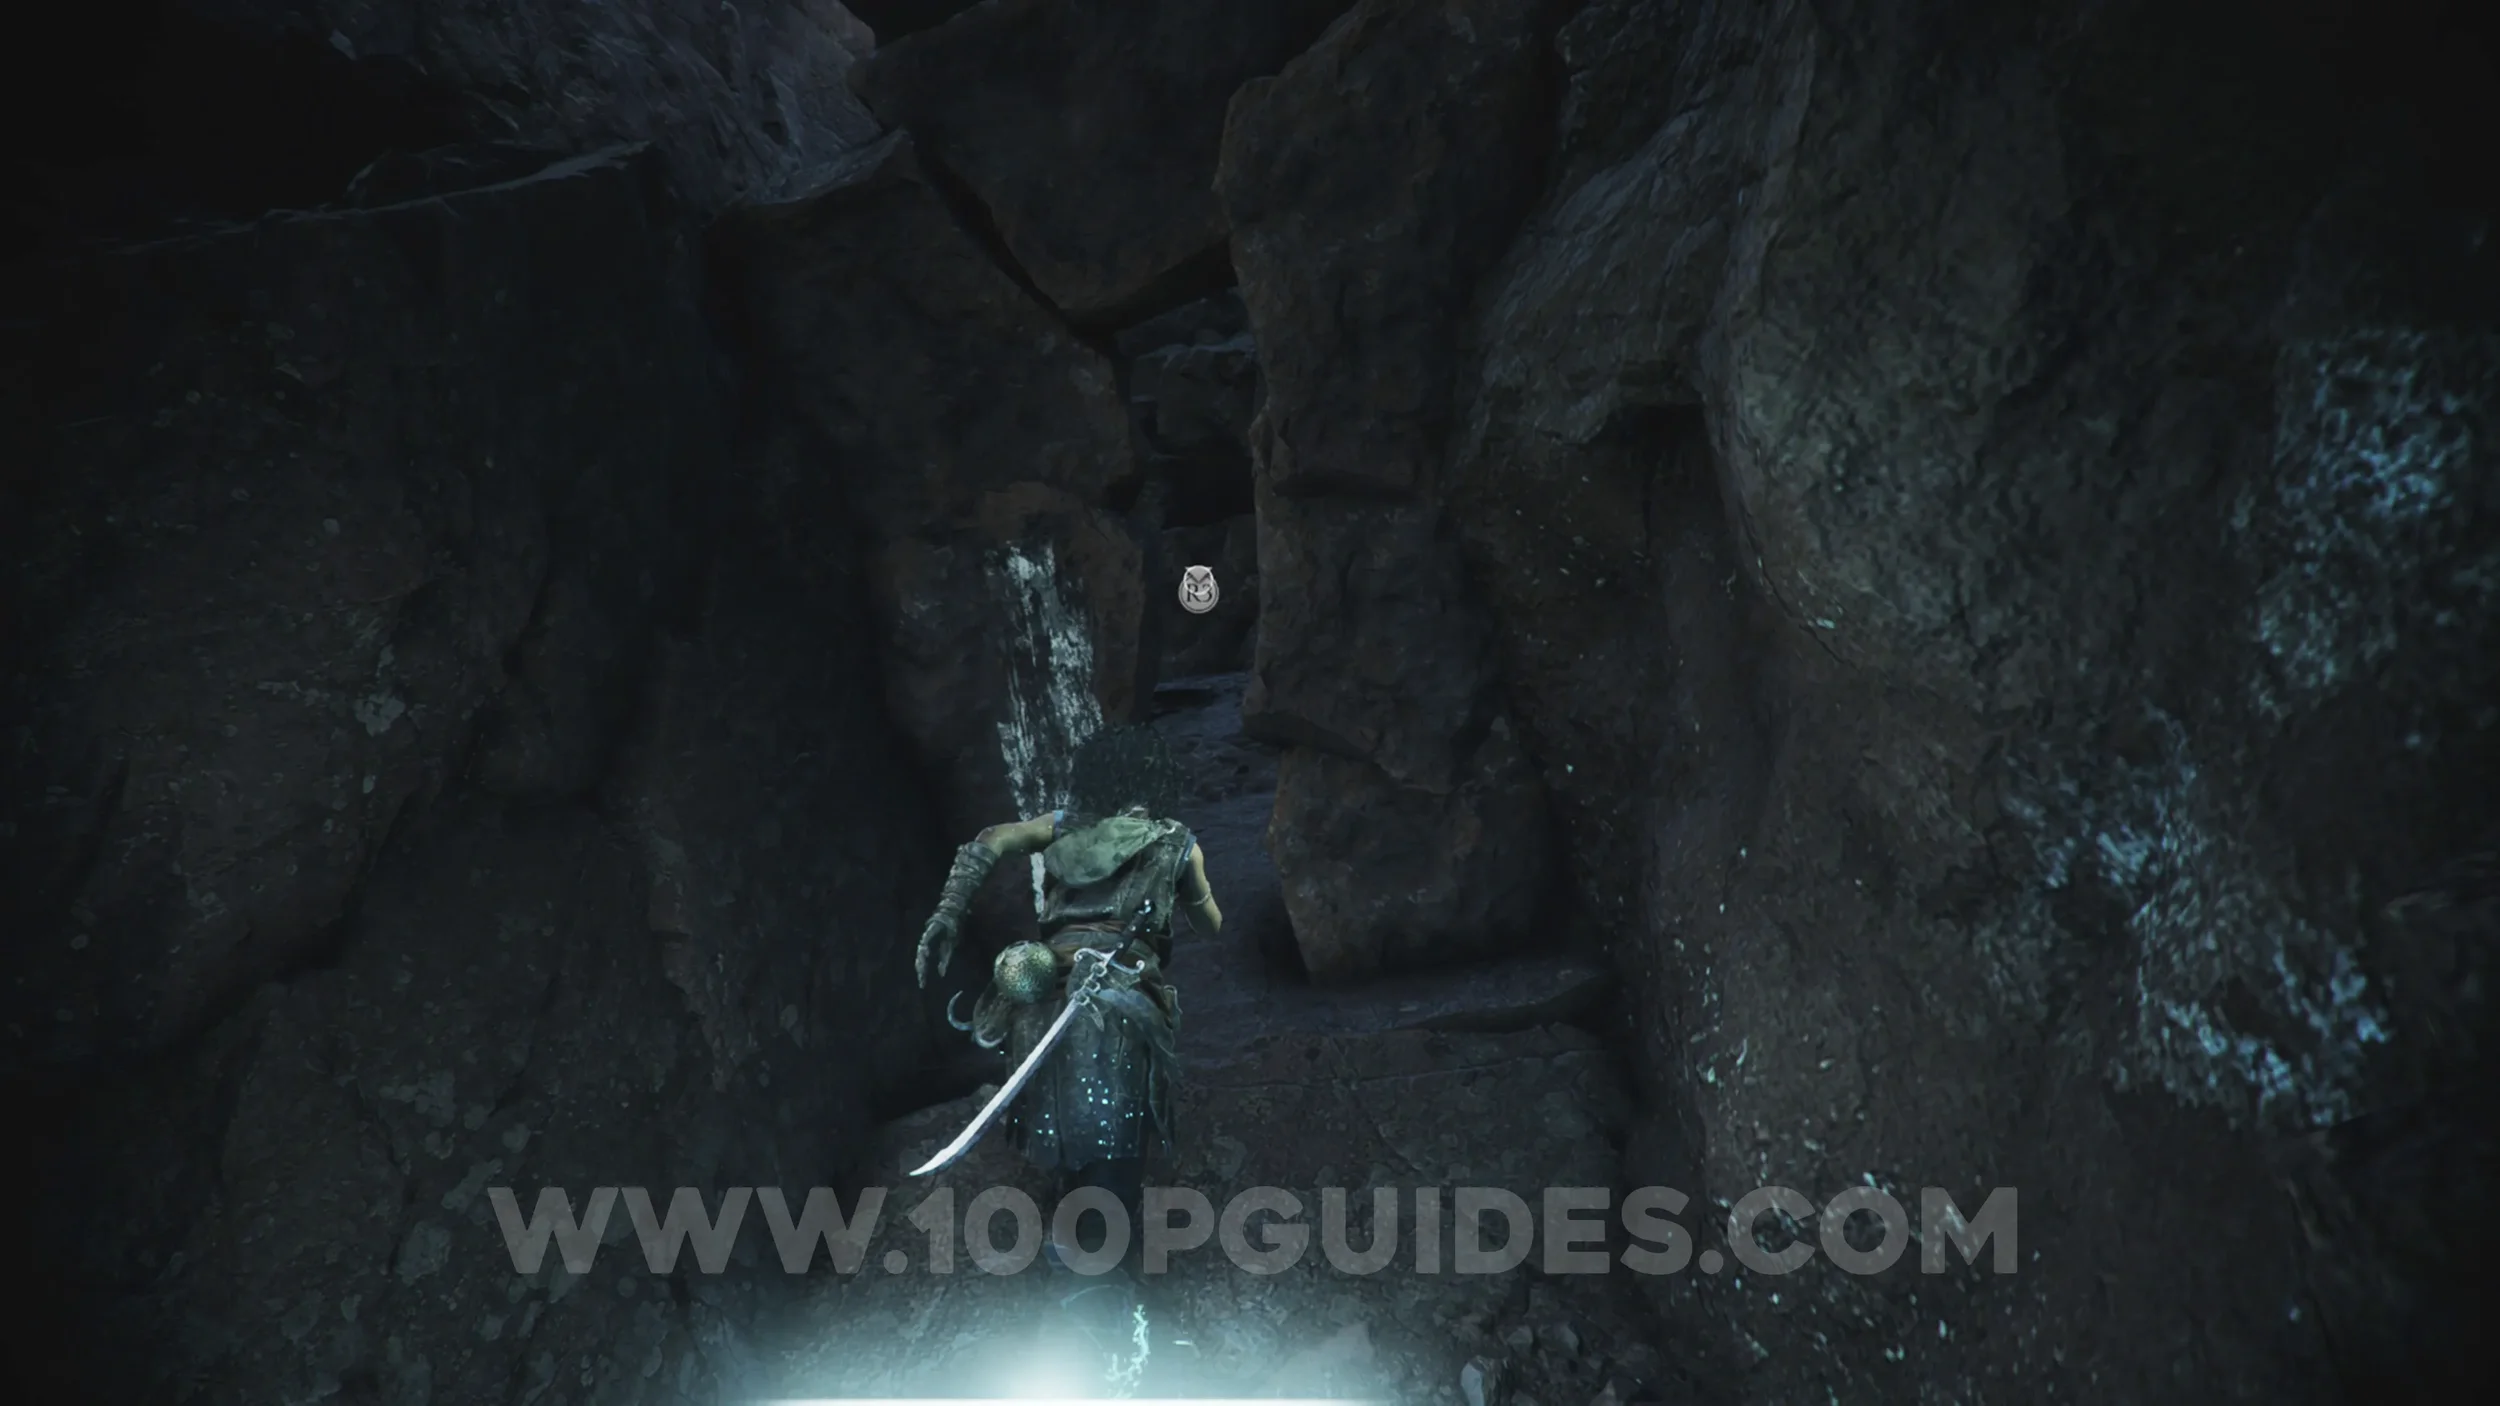
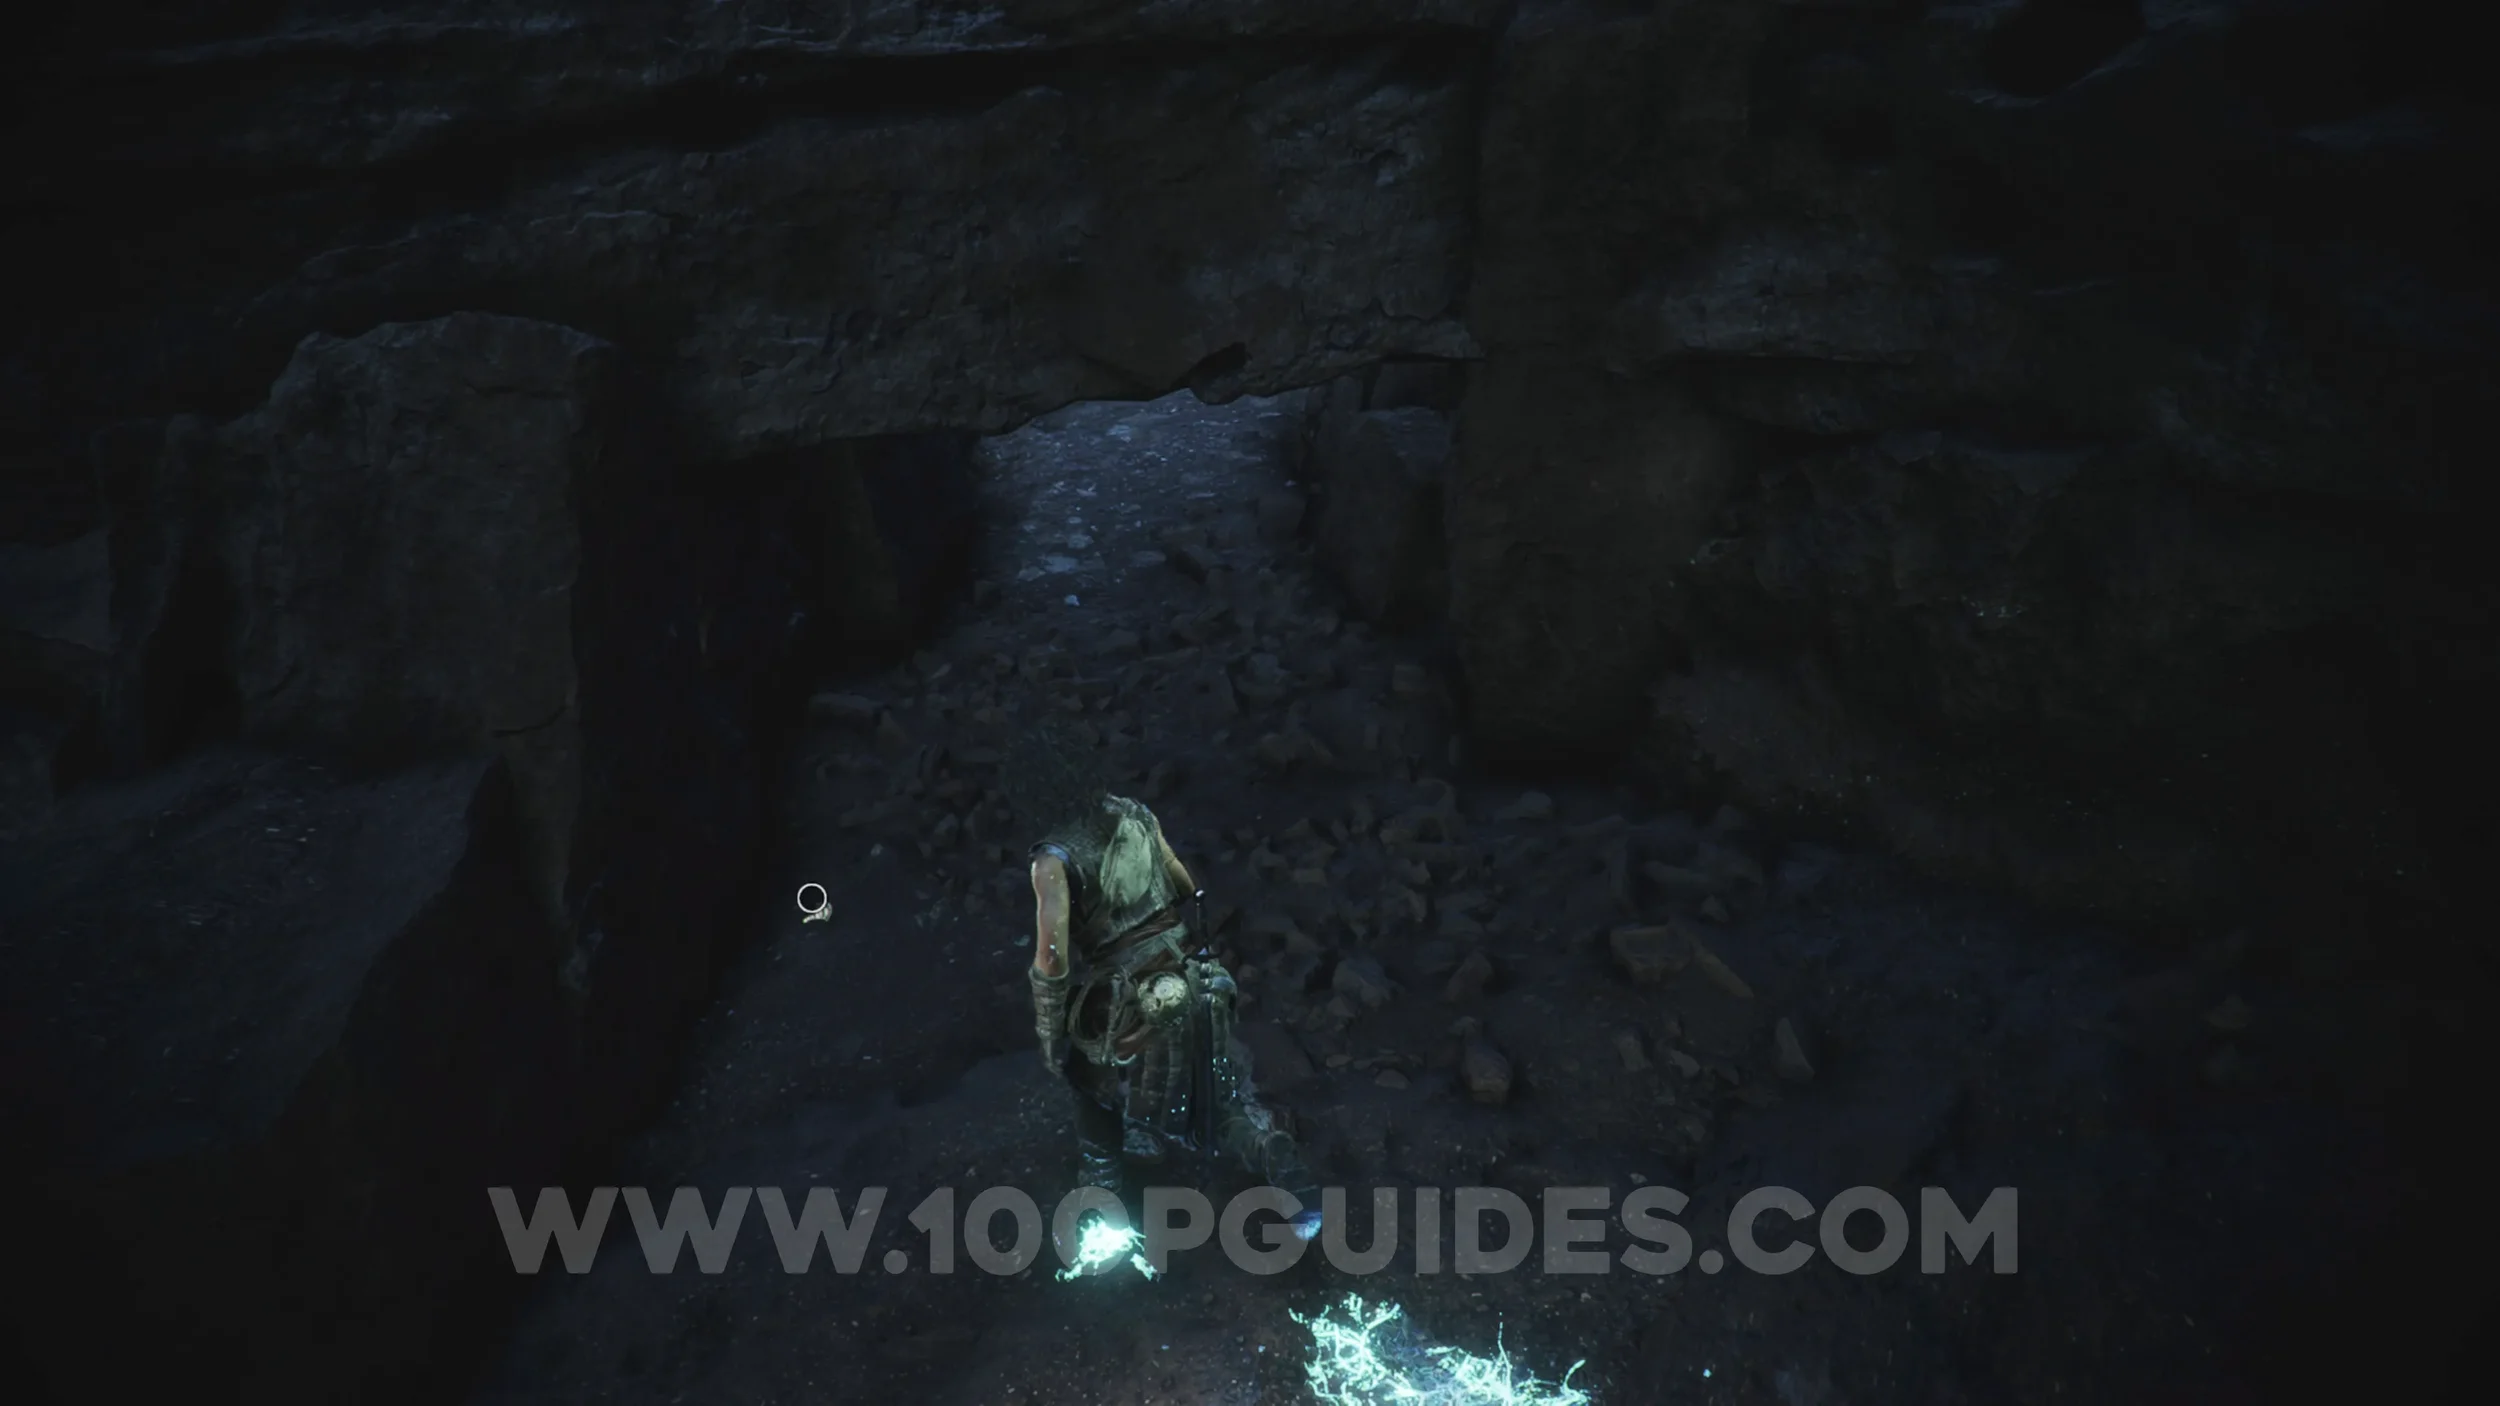
From the previous collectibles, look right and grapple across to the other side. Then head left and squeeze through the rocks. You'll see the collectible on the ground just past a hole.
Chapter 7
Resonance Point
Chapter 7: Sub-Chapter 1.
Close to the start of the chapter, you'll shimmy across the side of the rocks and then grapple across a drop. Then climb up the rock in front of you to find the resonance point before heading down the next hole.
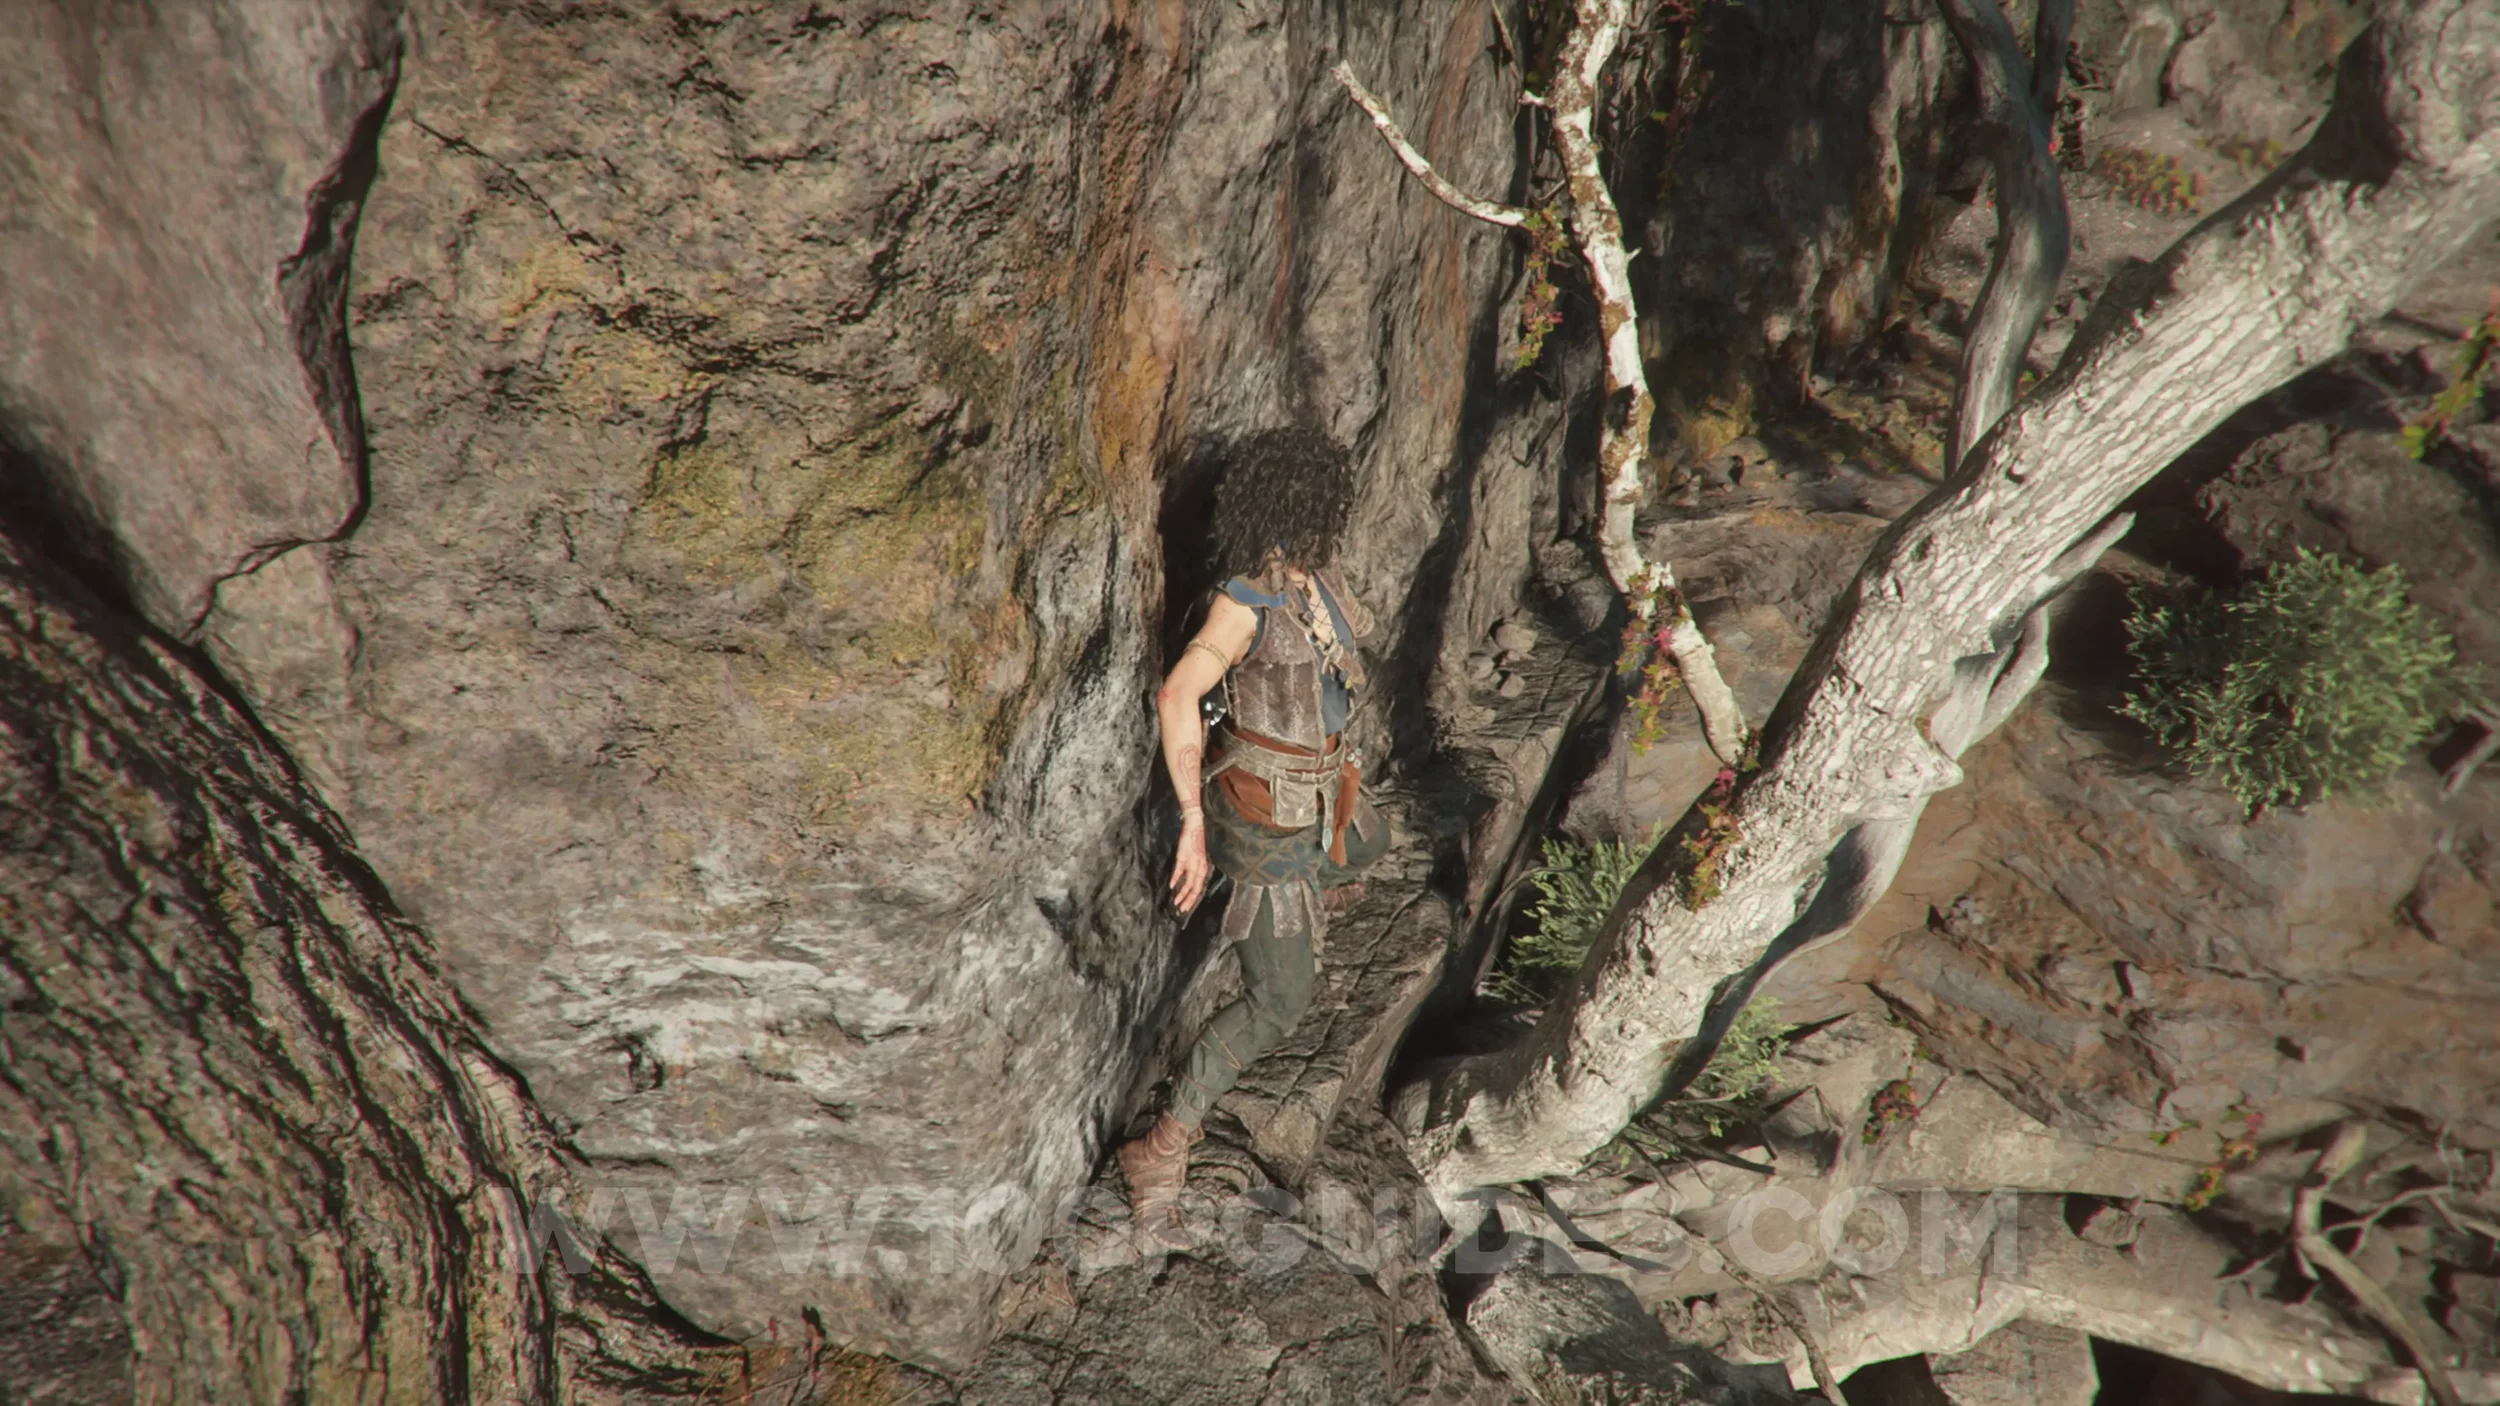
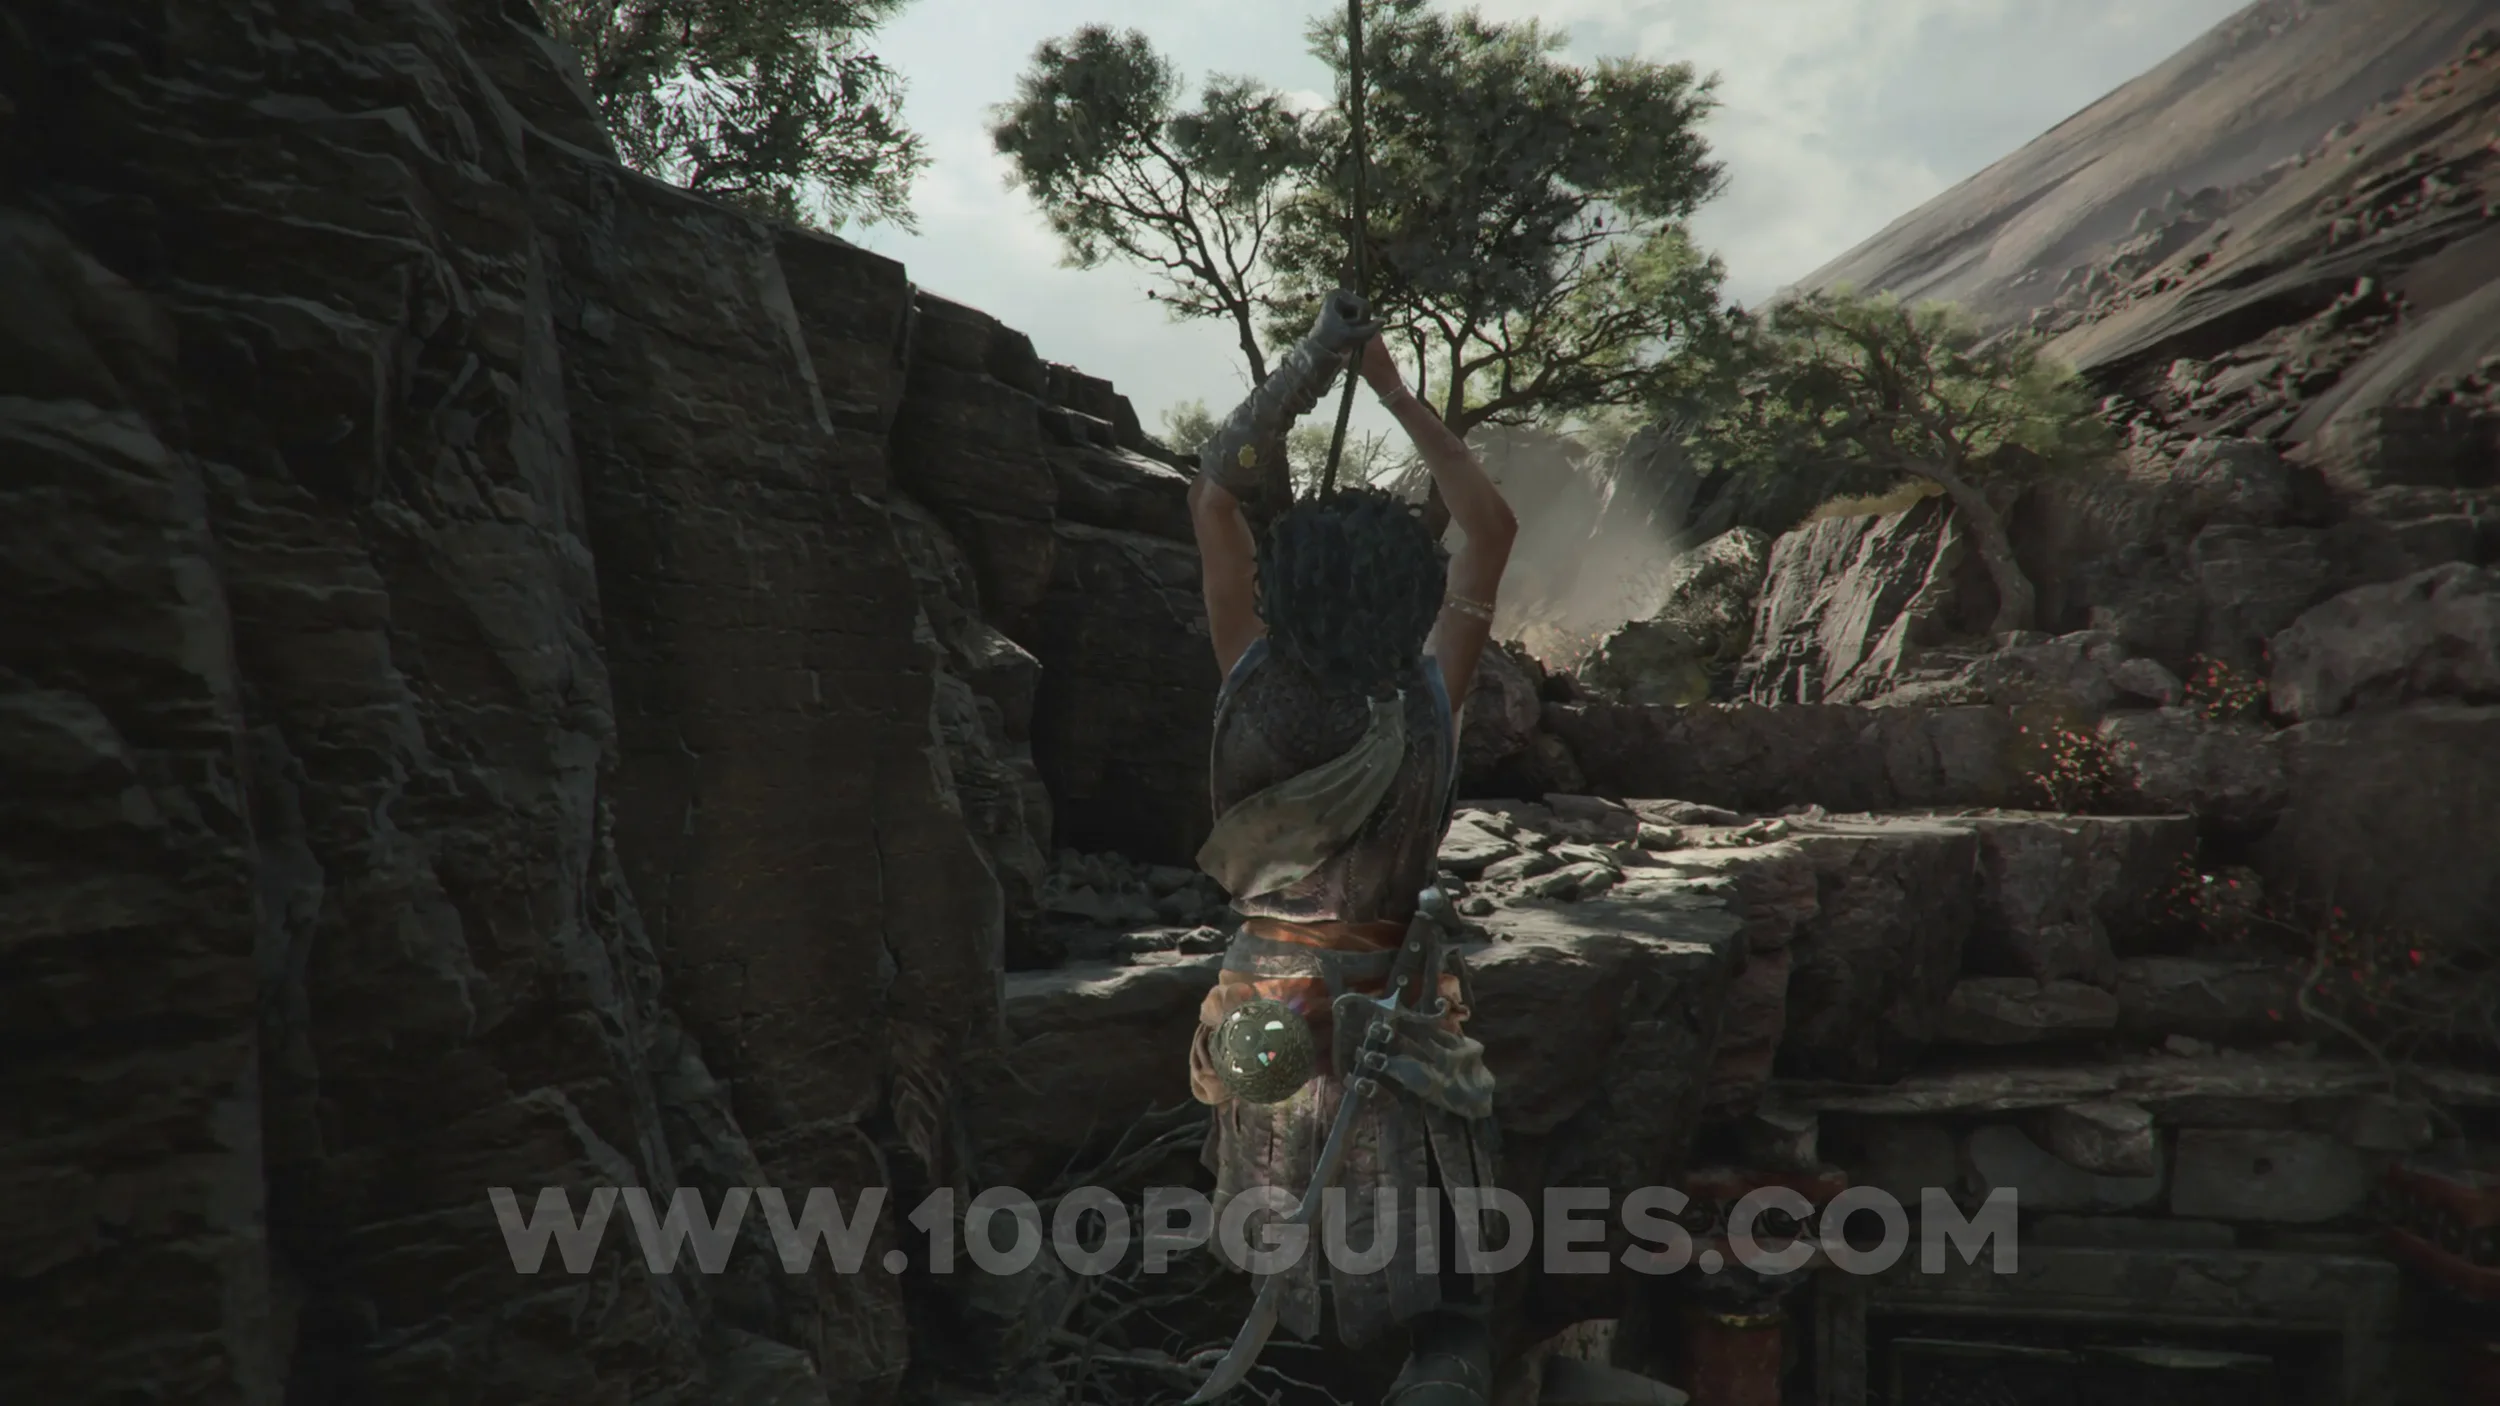
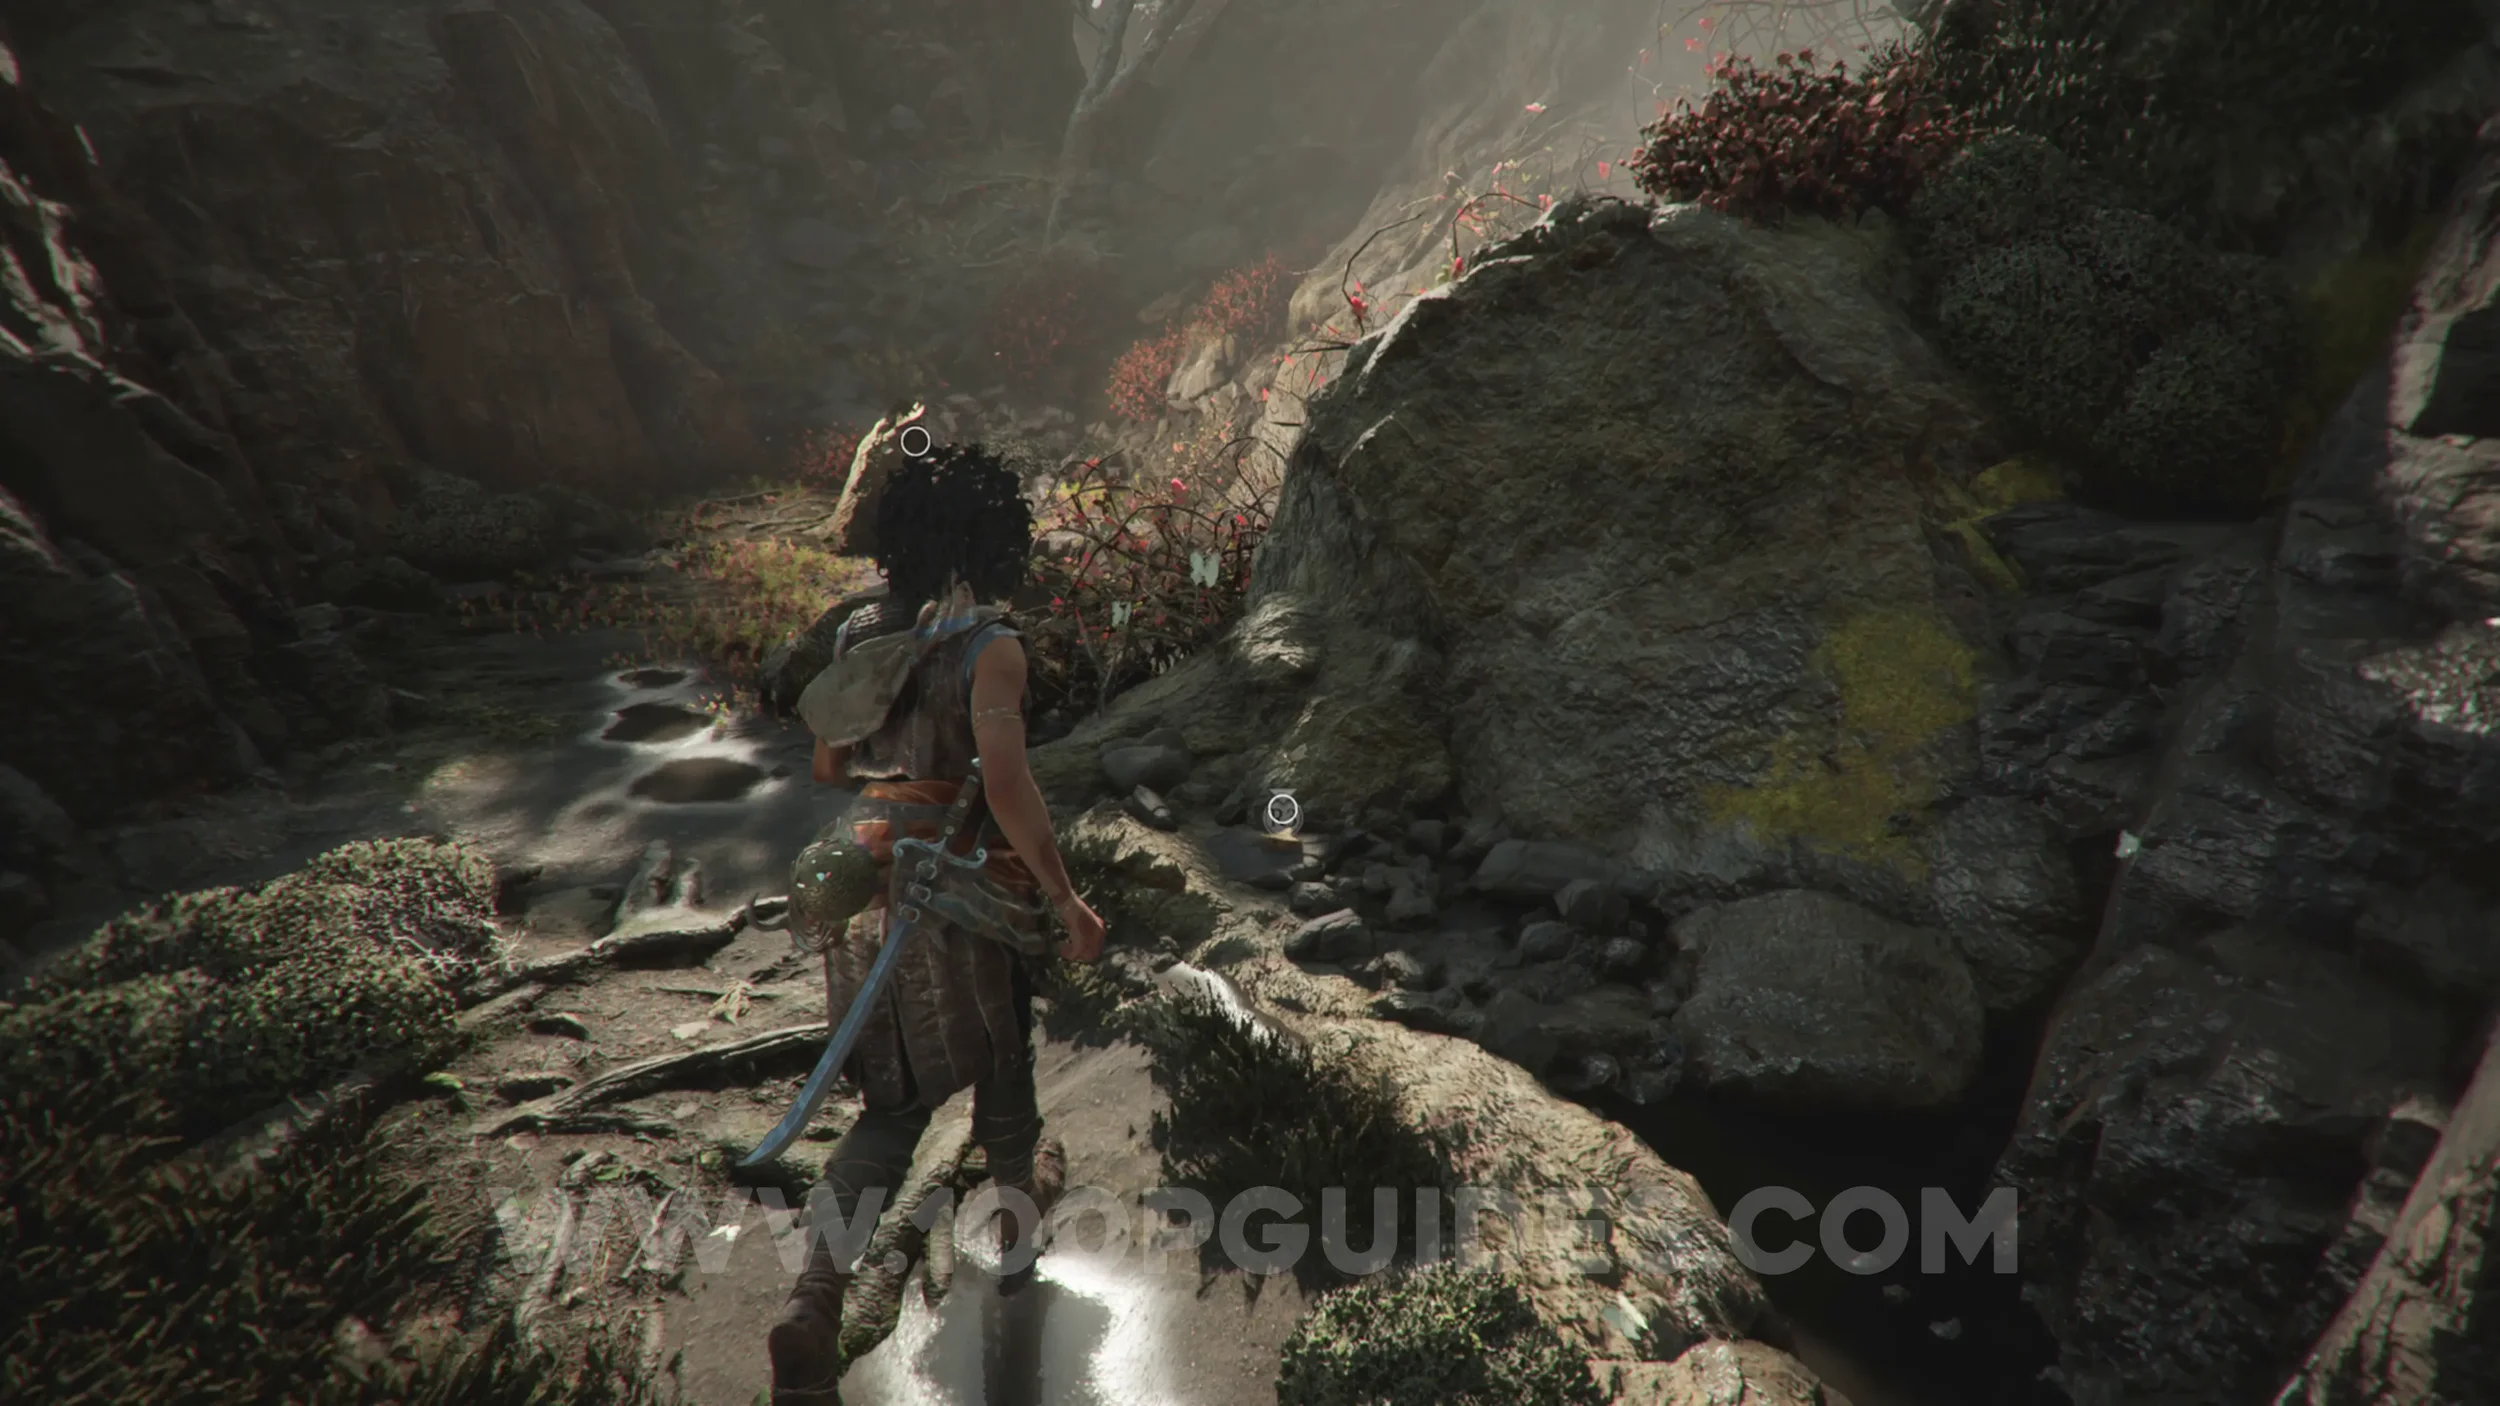
Resonance Point
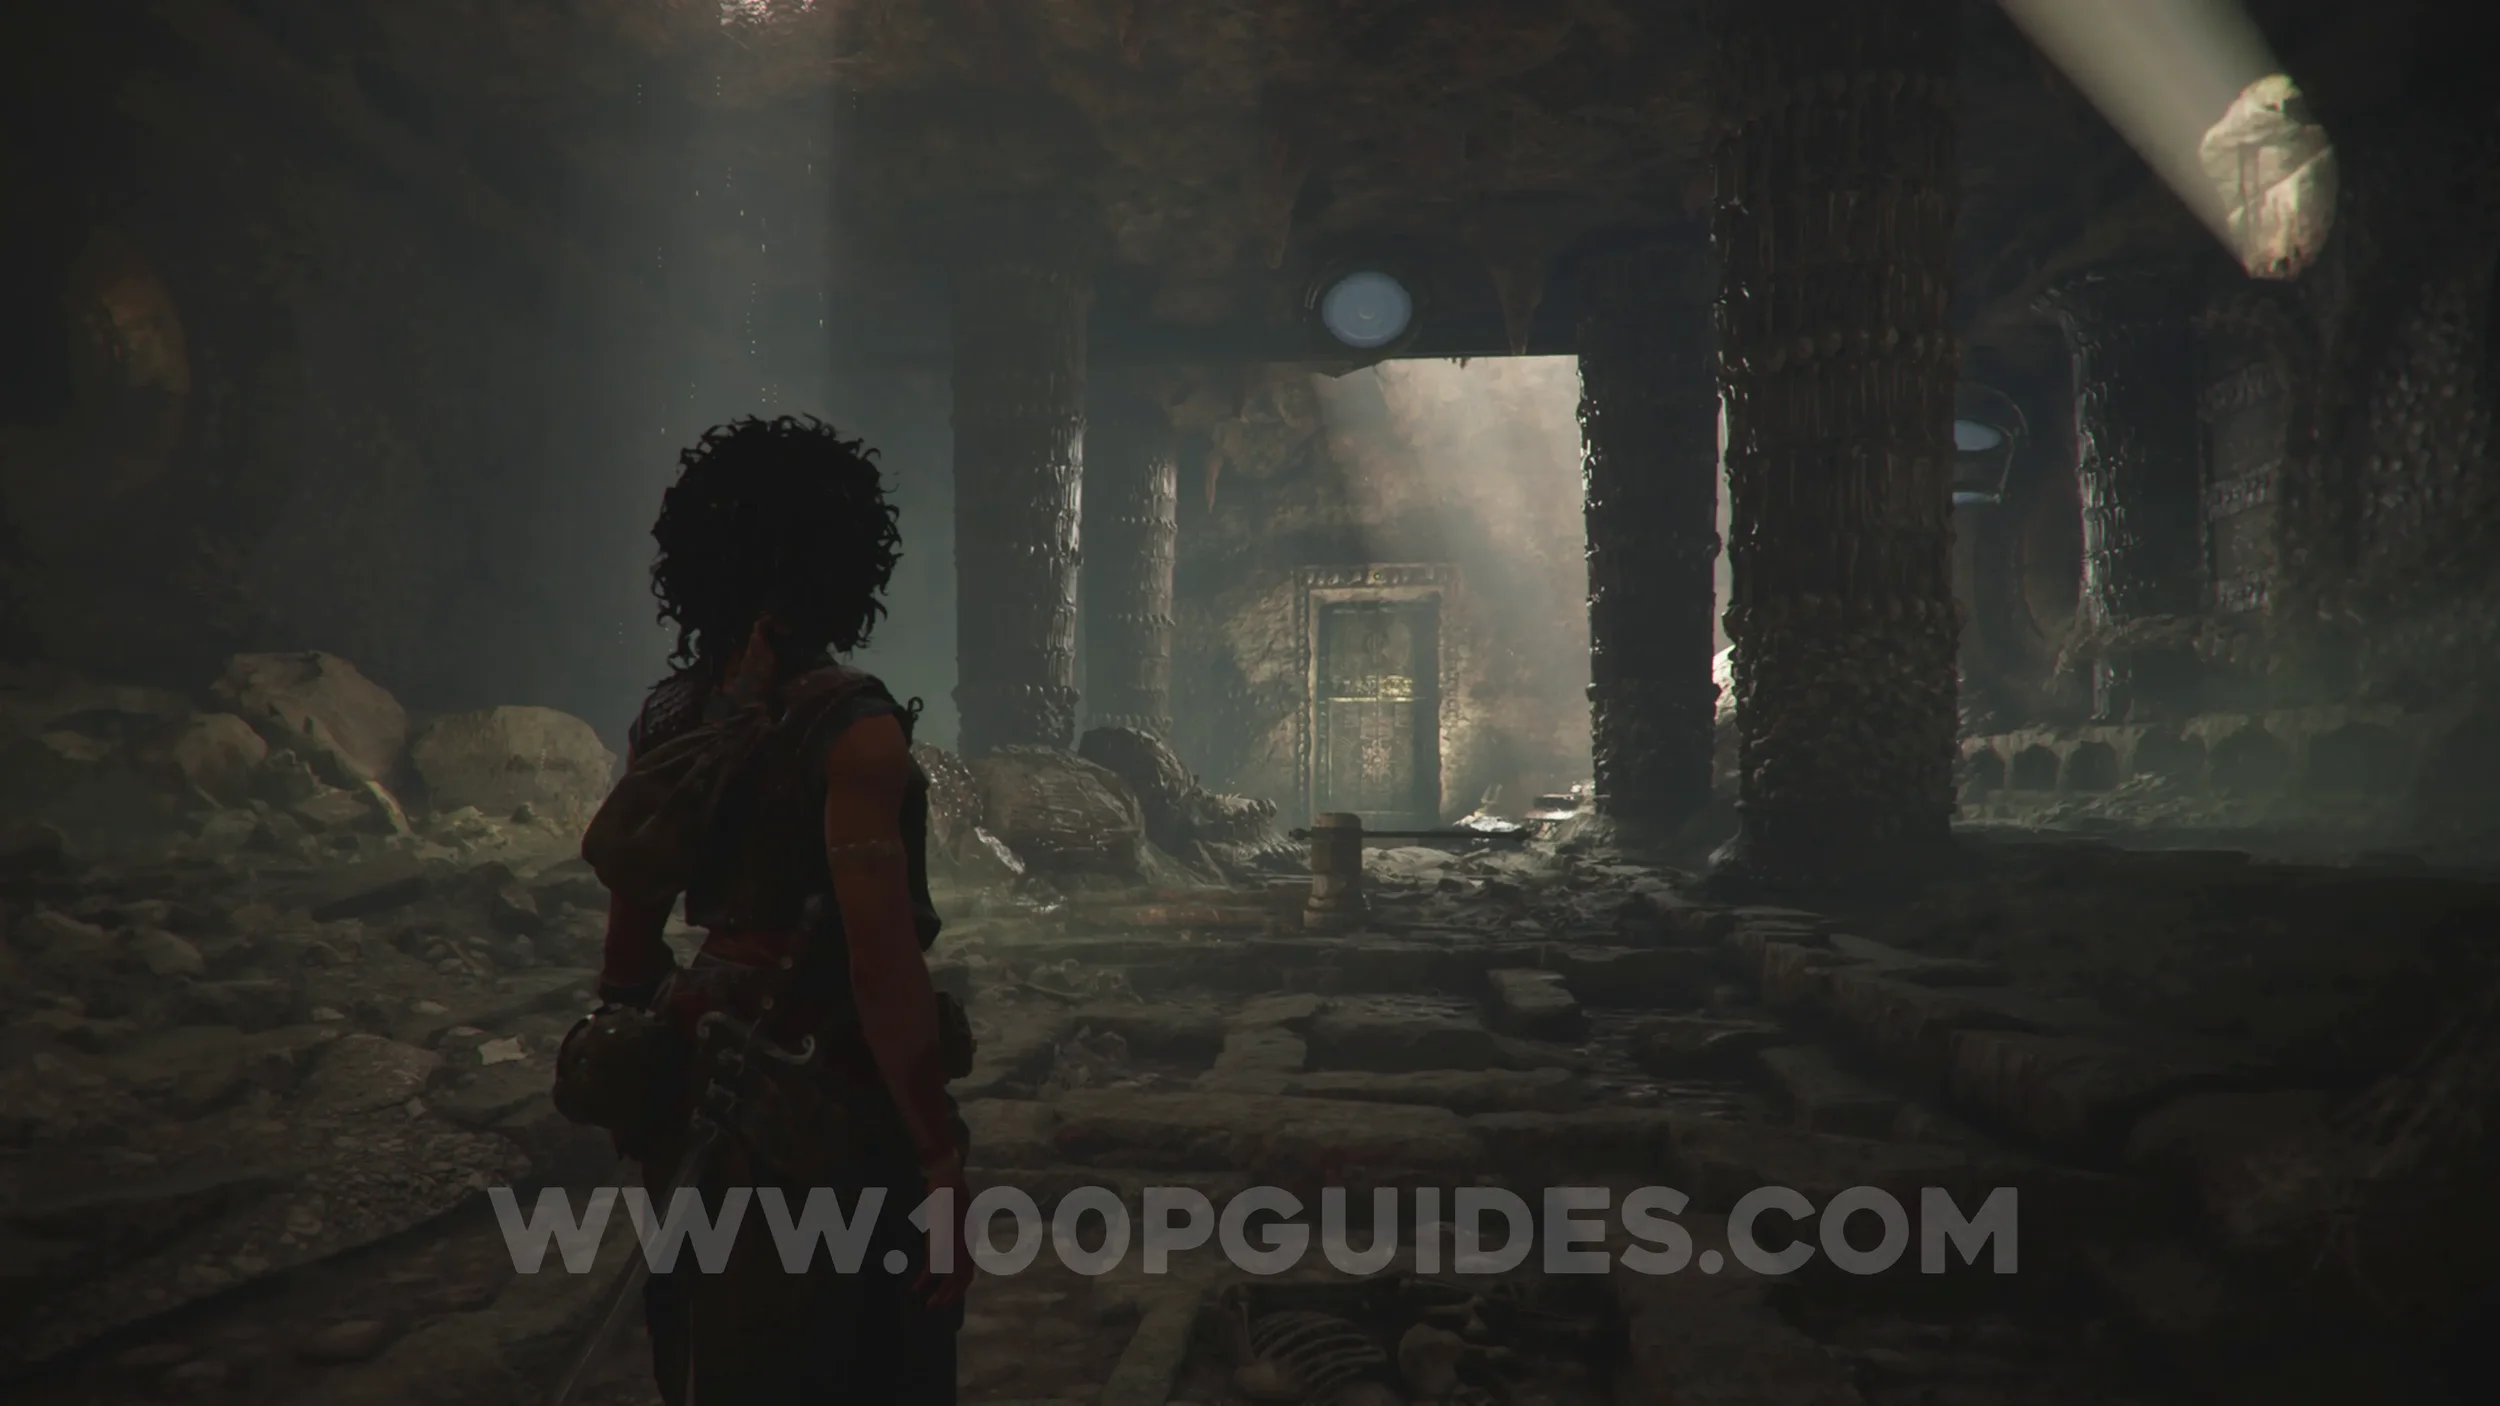
Chapter 7: Sub-Chapter 1.
After the previous collectible, climb down the hole. In the next room, you'll find the resonance point near one of the columns on the left of the room.
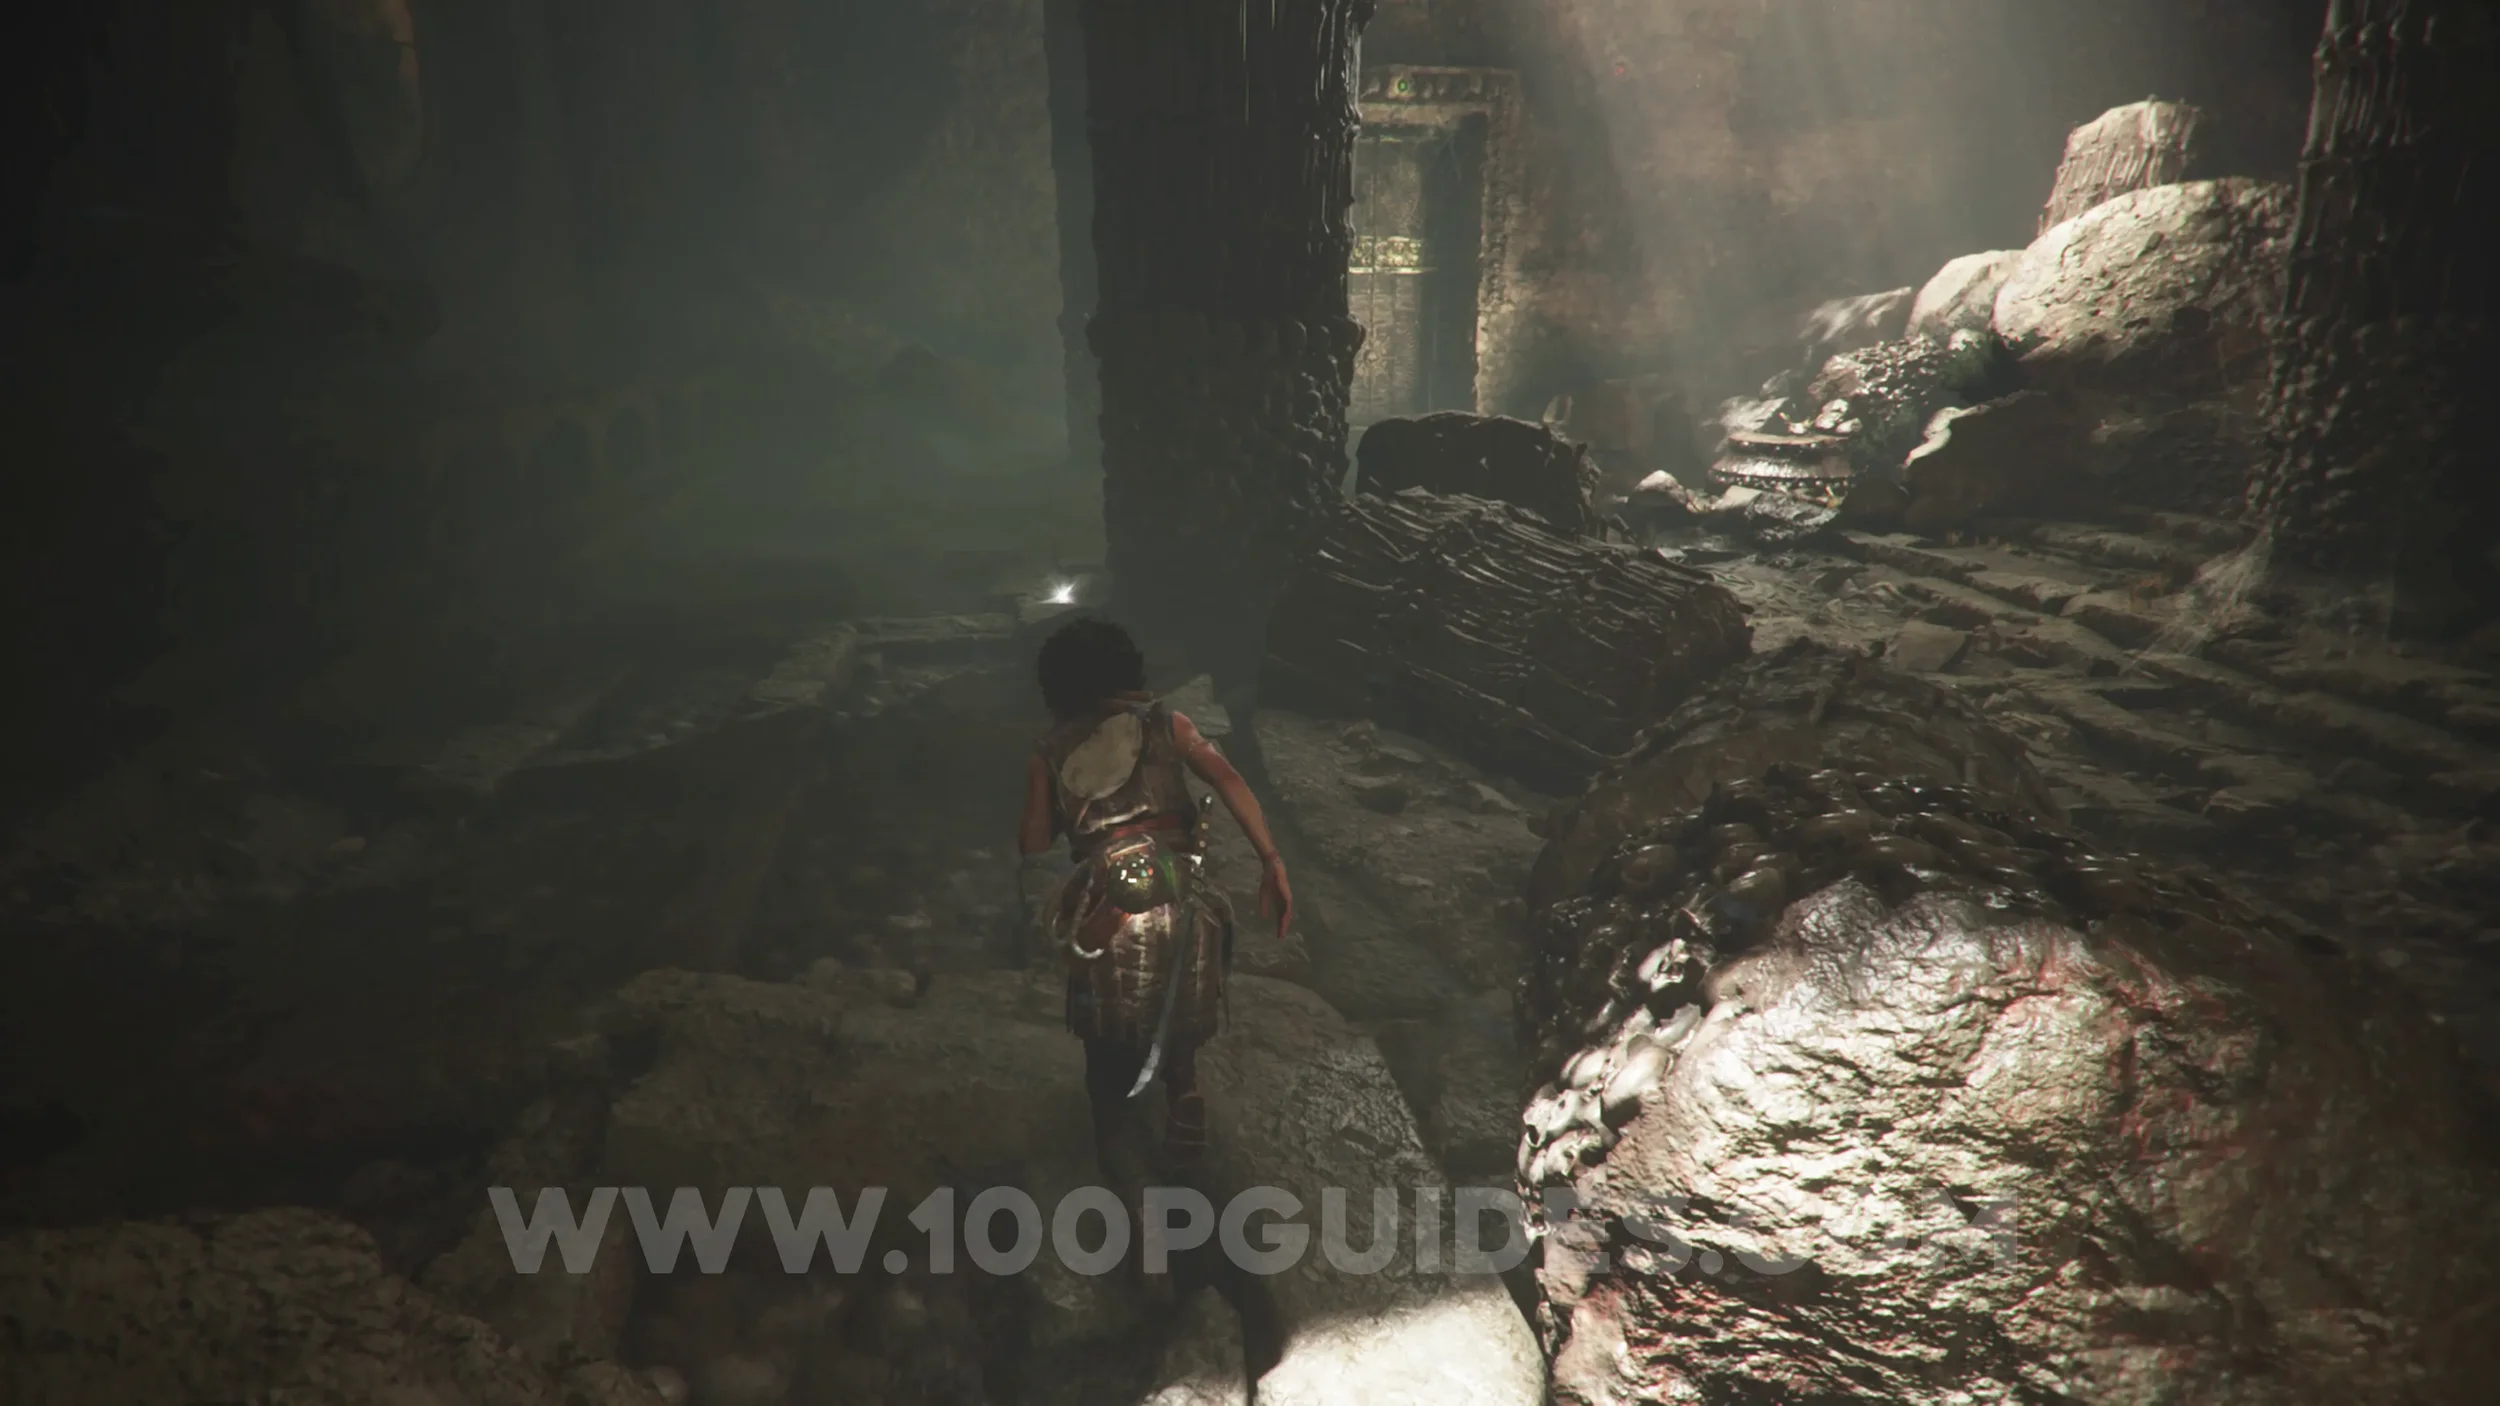
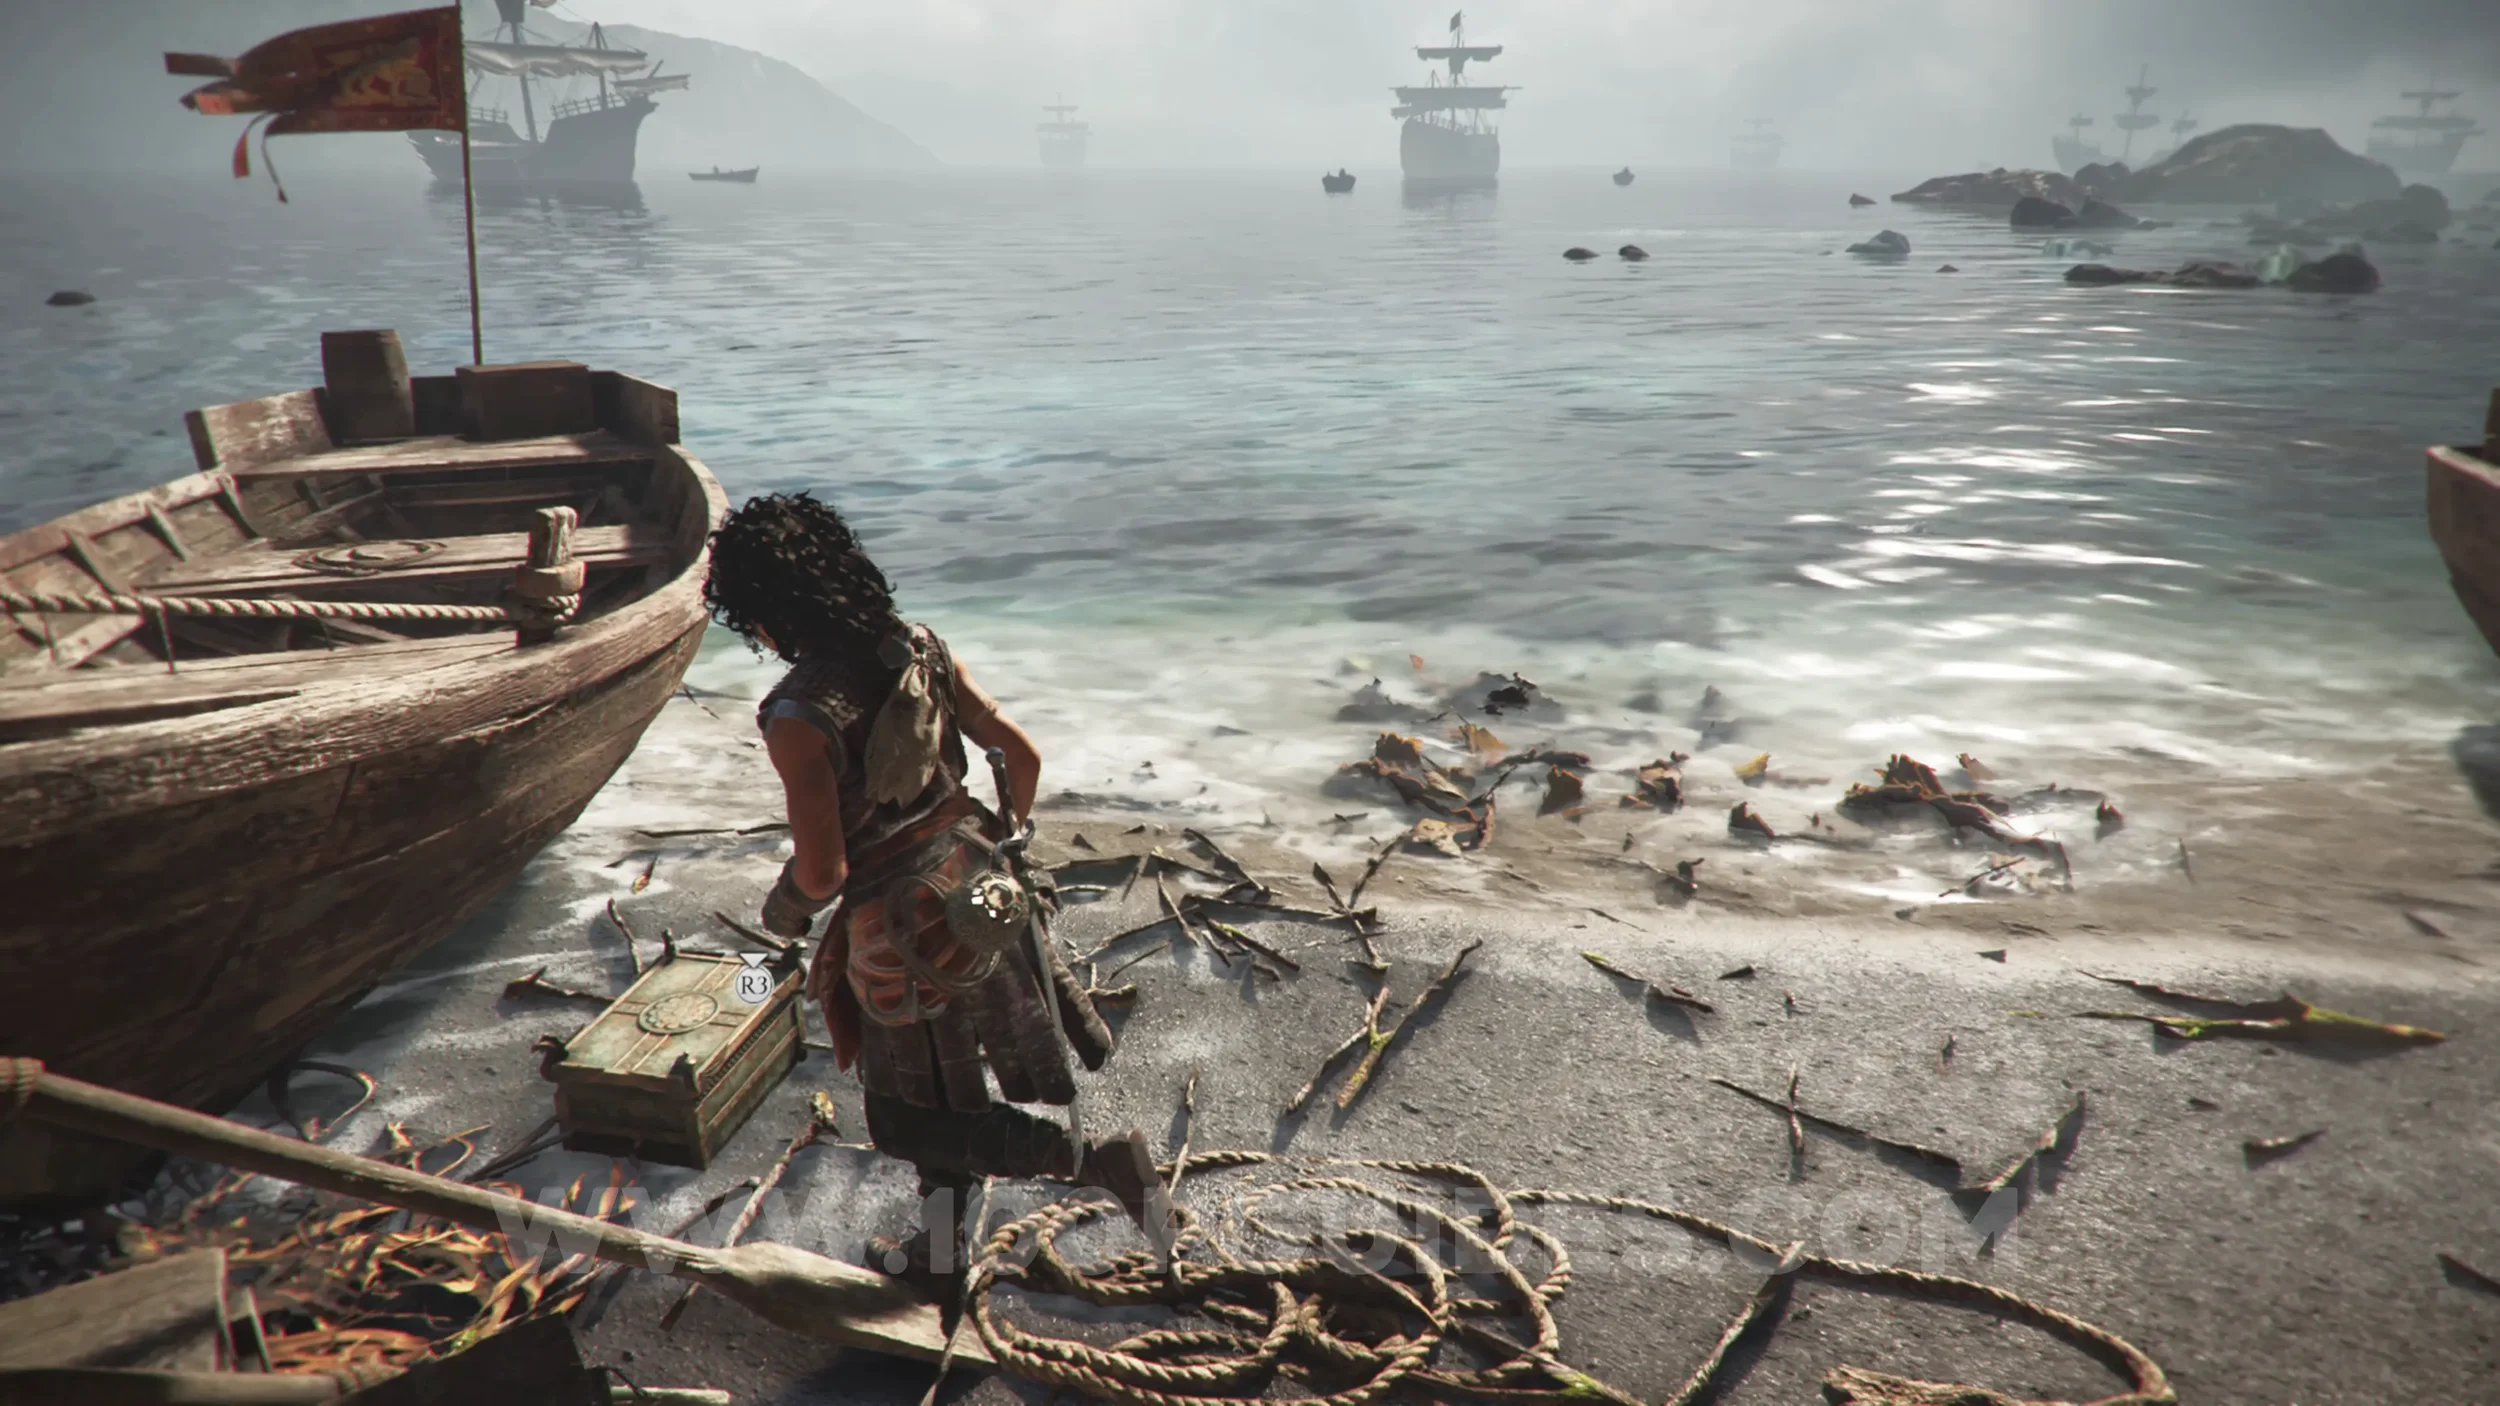
Charm: Bead #4
Chapter 7: Sub-Chapter 2.
Between the small boats, once you get to the beach area.
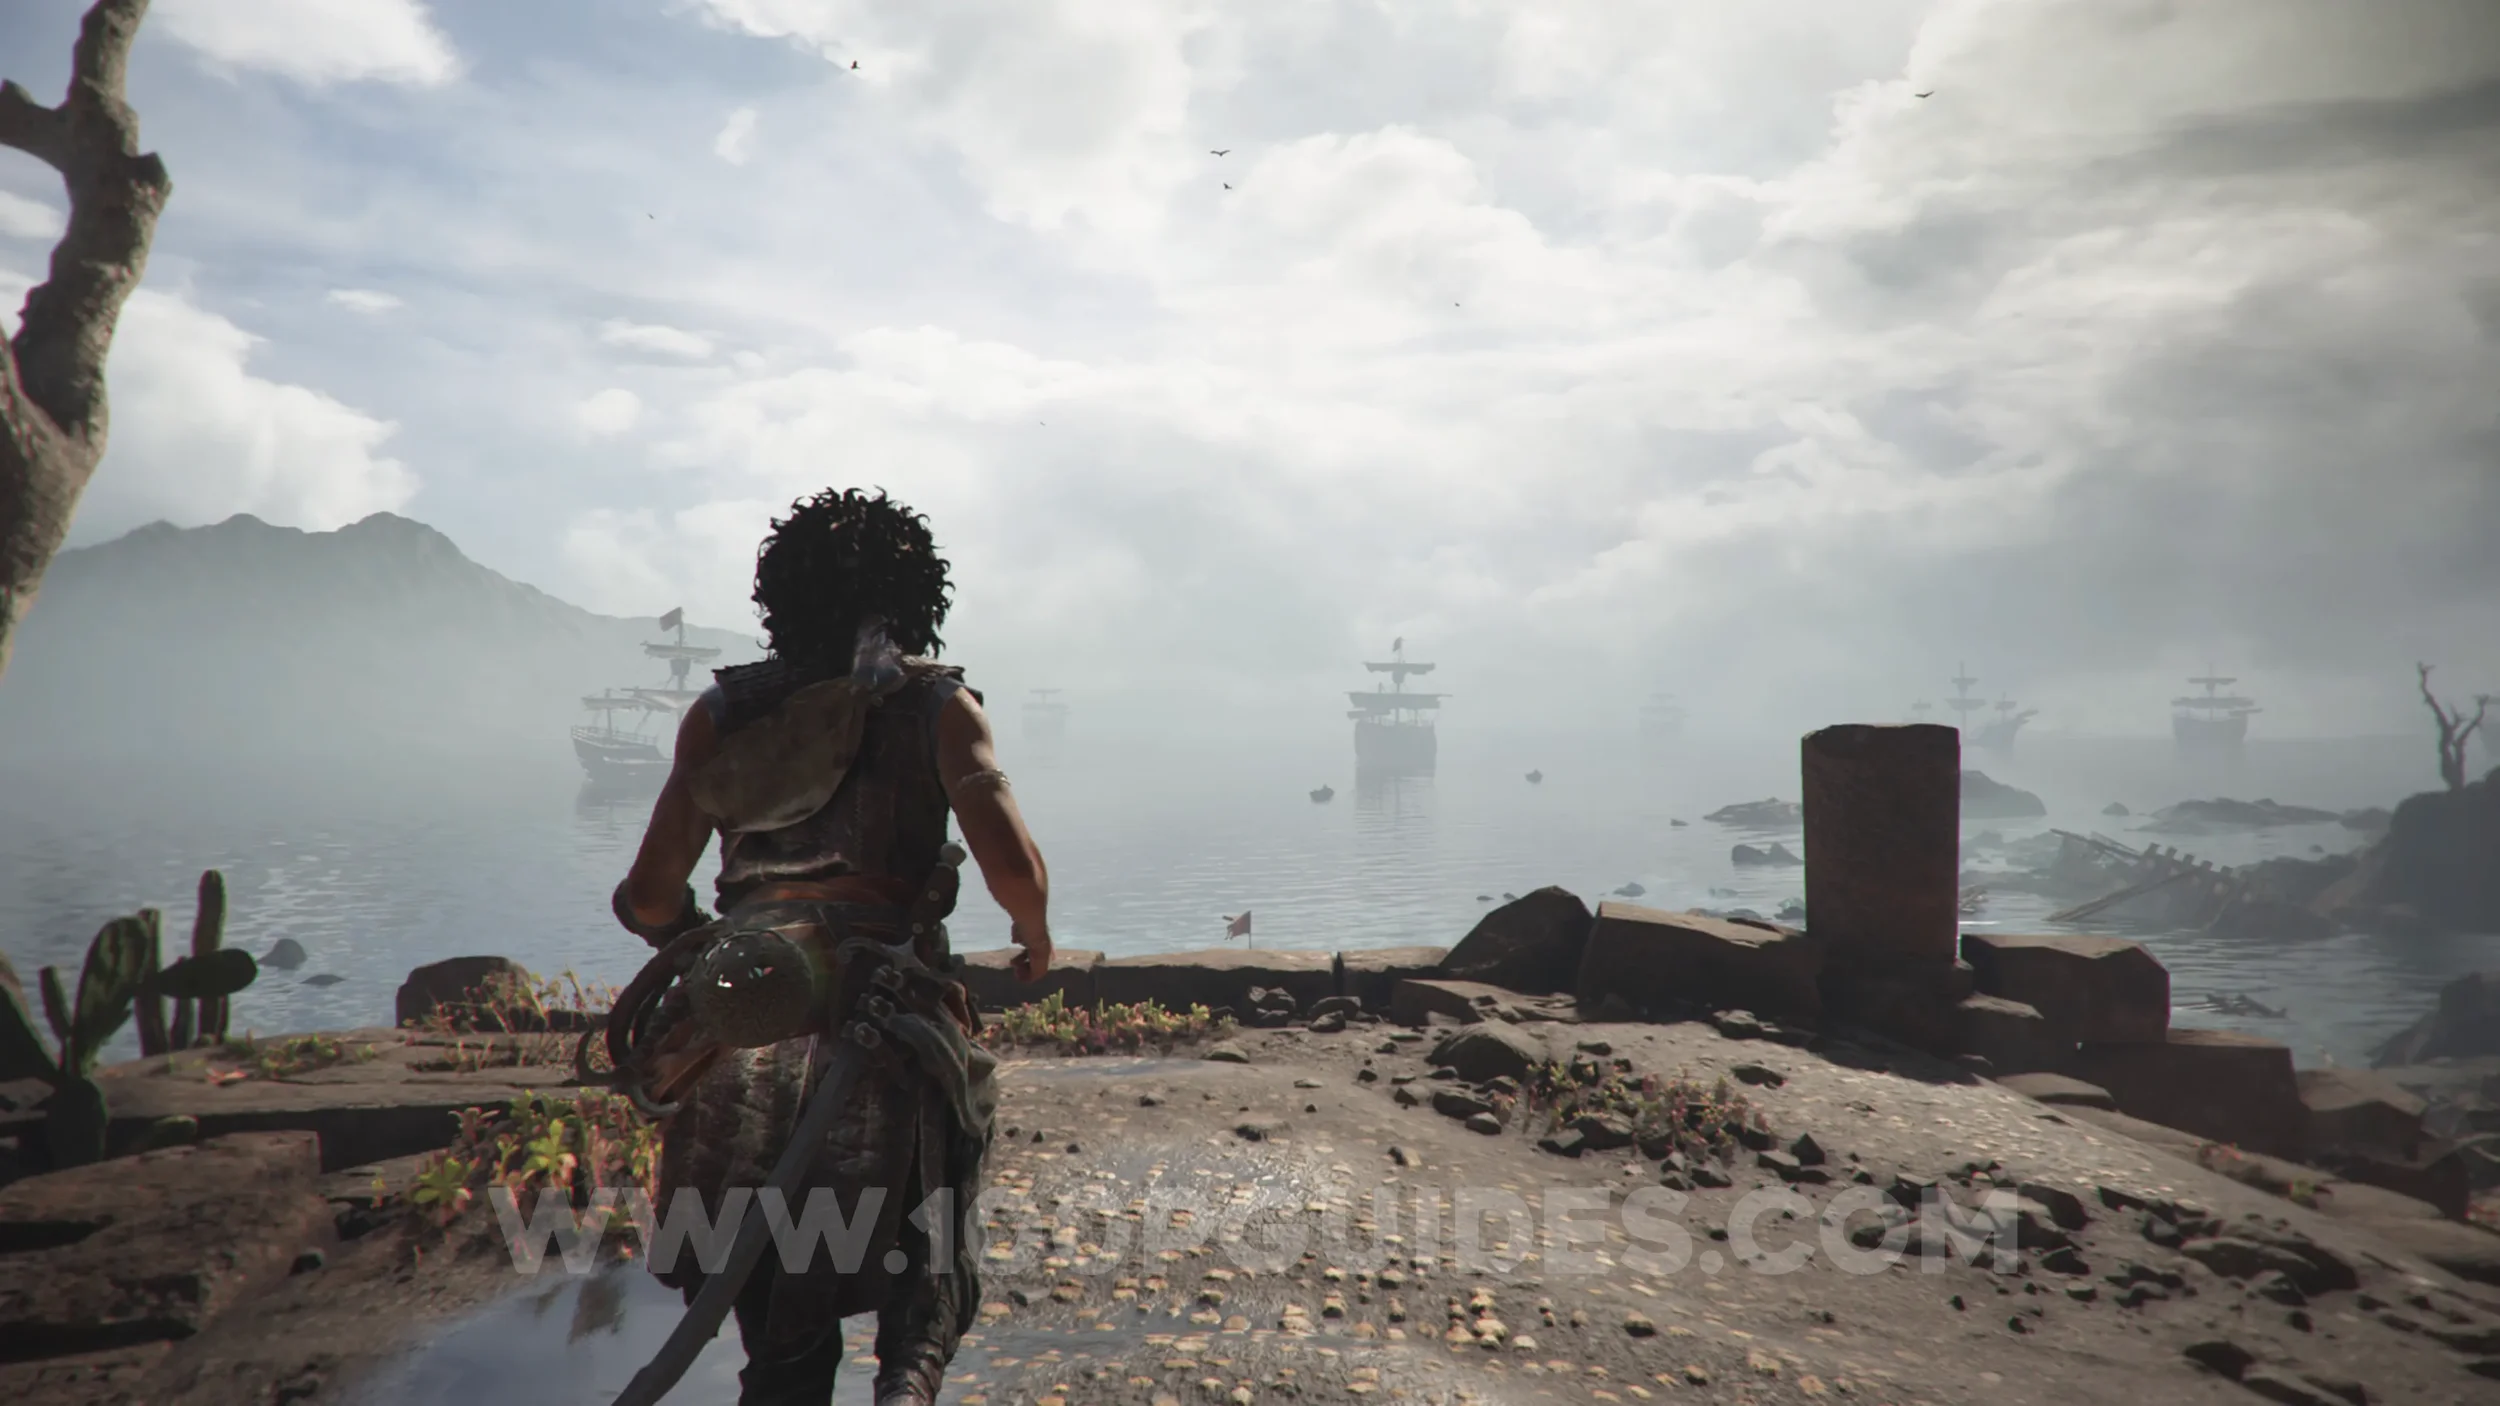
Artefact: Tarot Card
Chapter 7: Sub-Chapter 2.
On the corpse at the far right end of the beach.
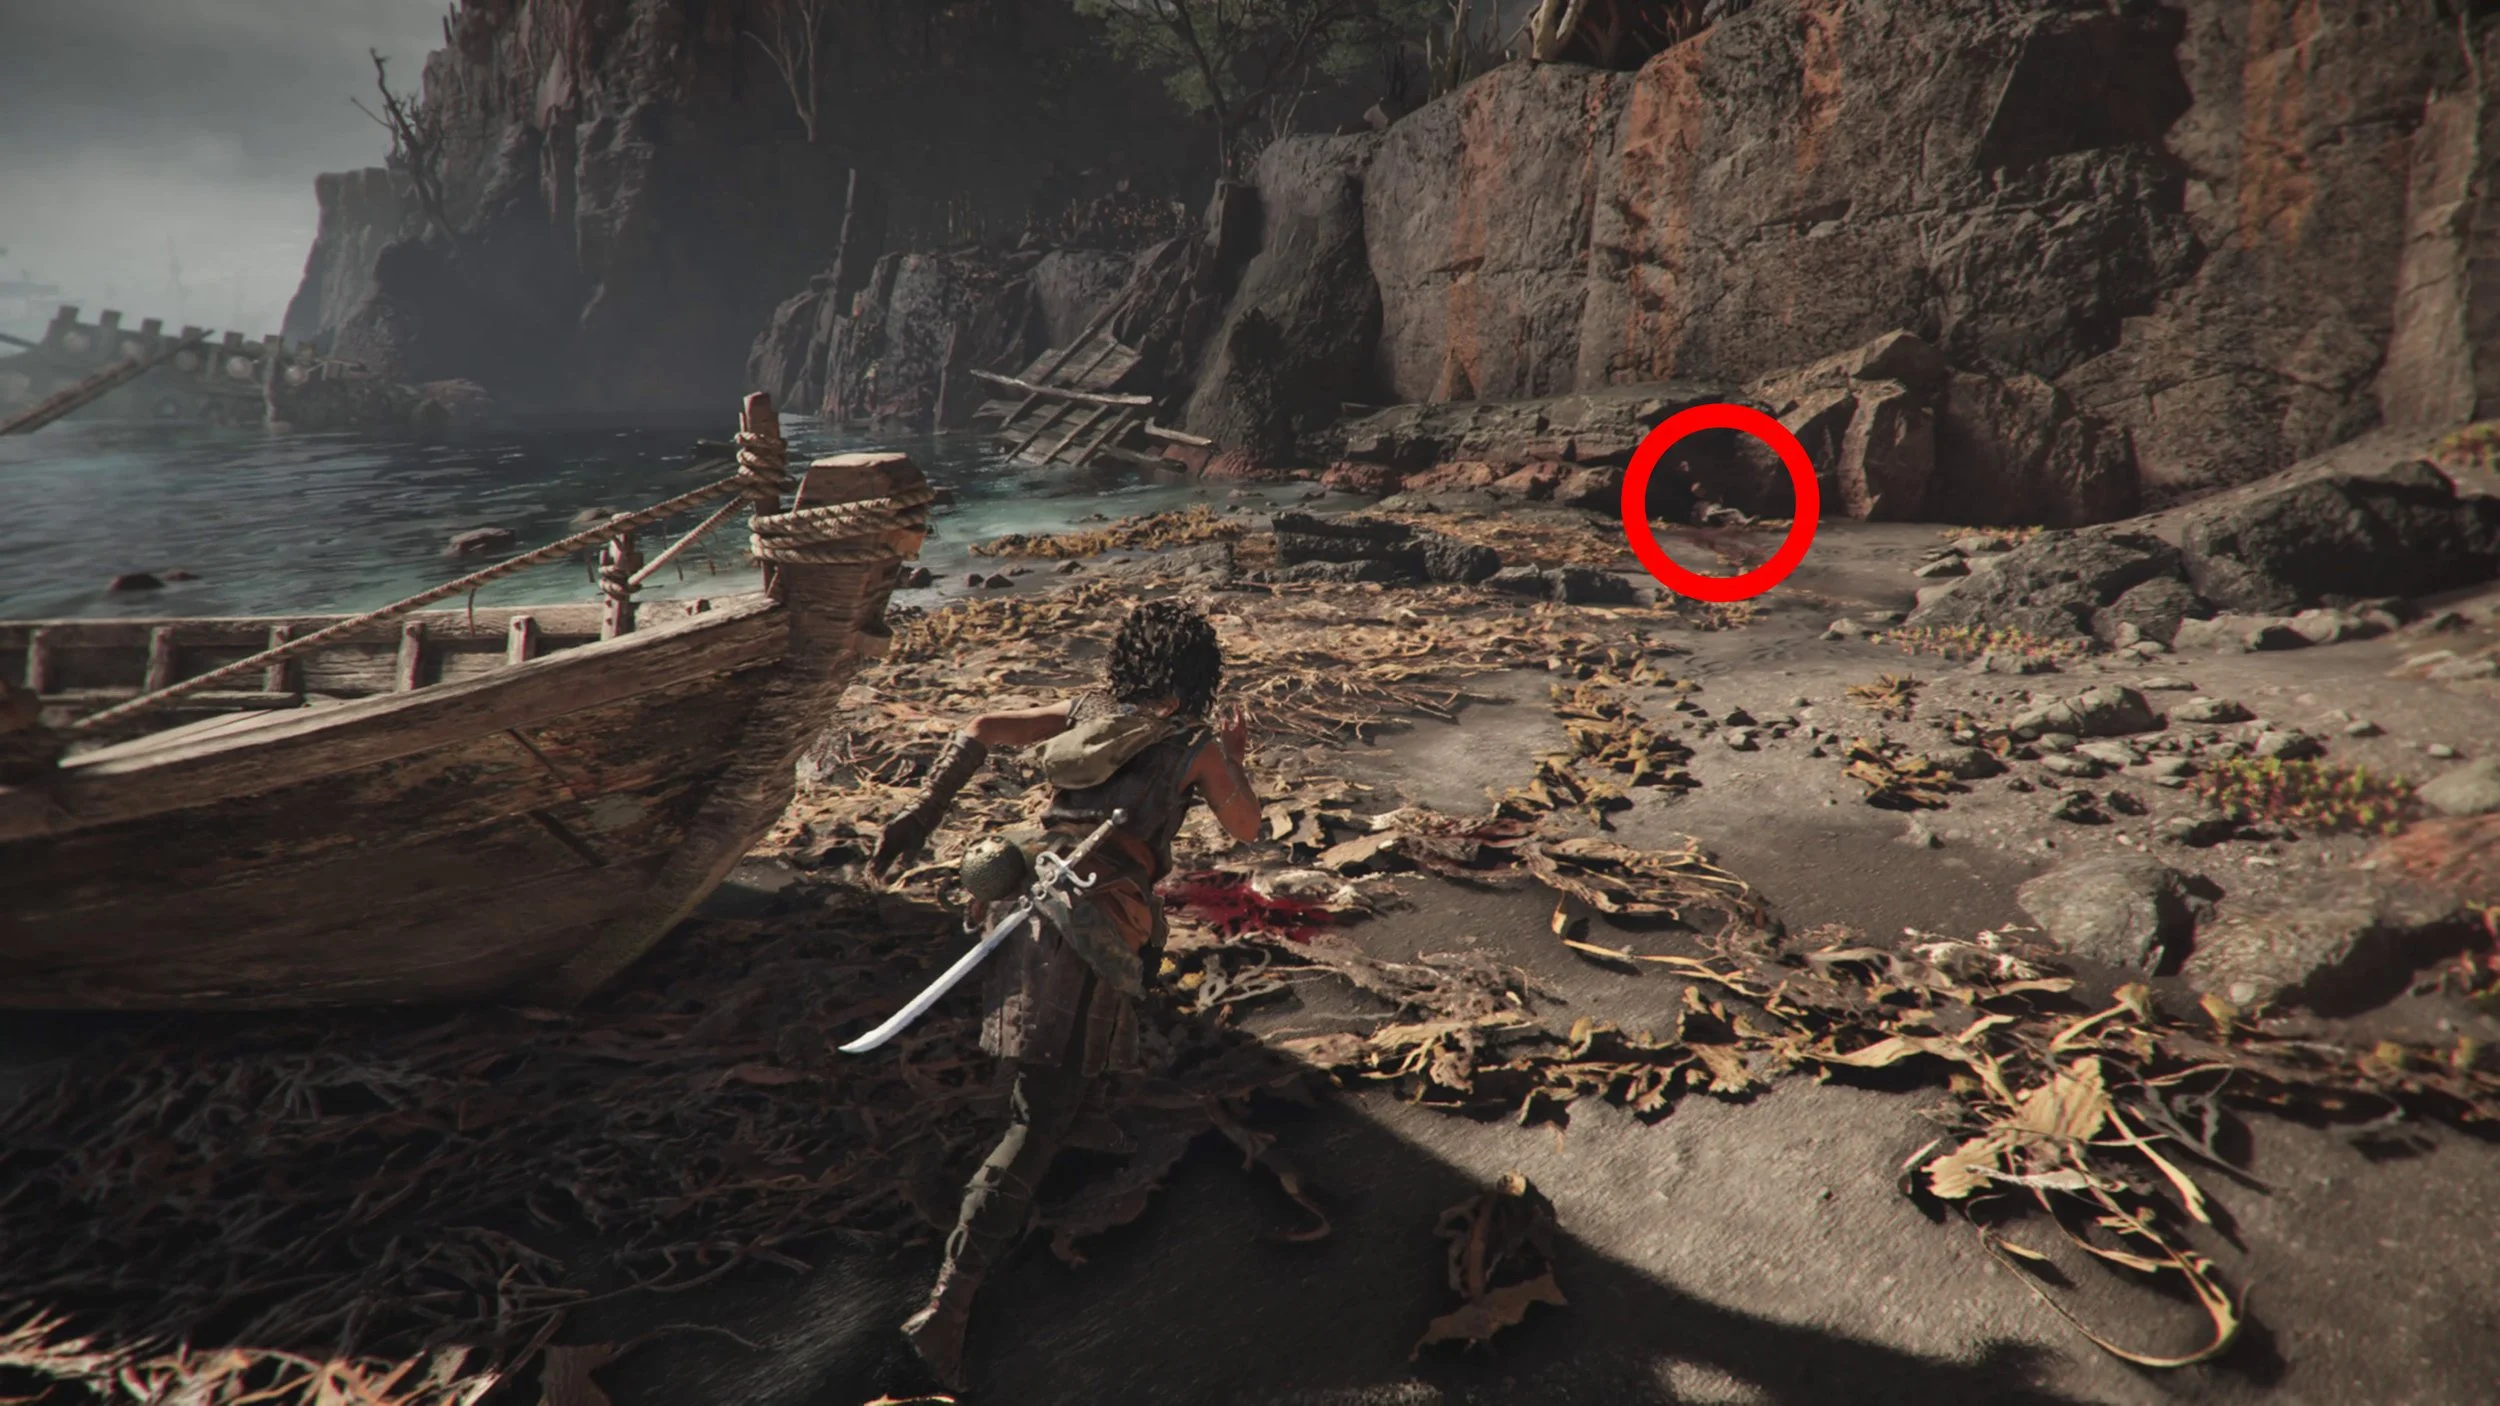
Resonance Point
Chapter 7: Sub-Chapter 2.
Leave the beach via the wooden planks on the right side. Then immediately jump across the top of the columns on your left. On the other side, head right, then go all the way to the end to find the collectible on your left.
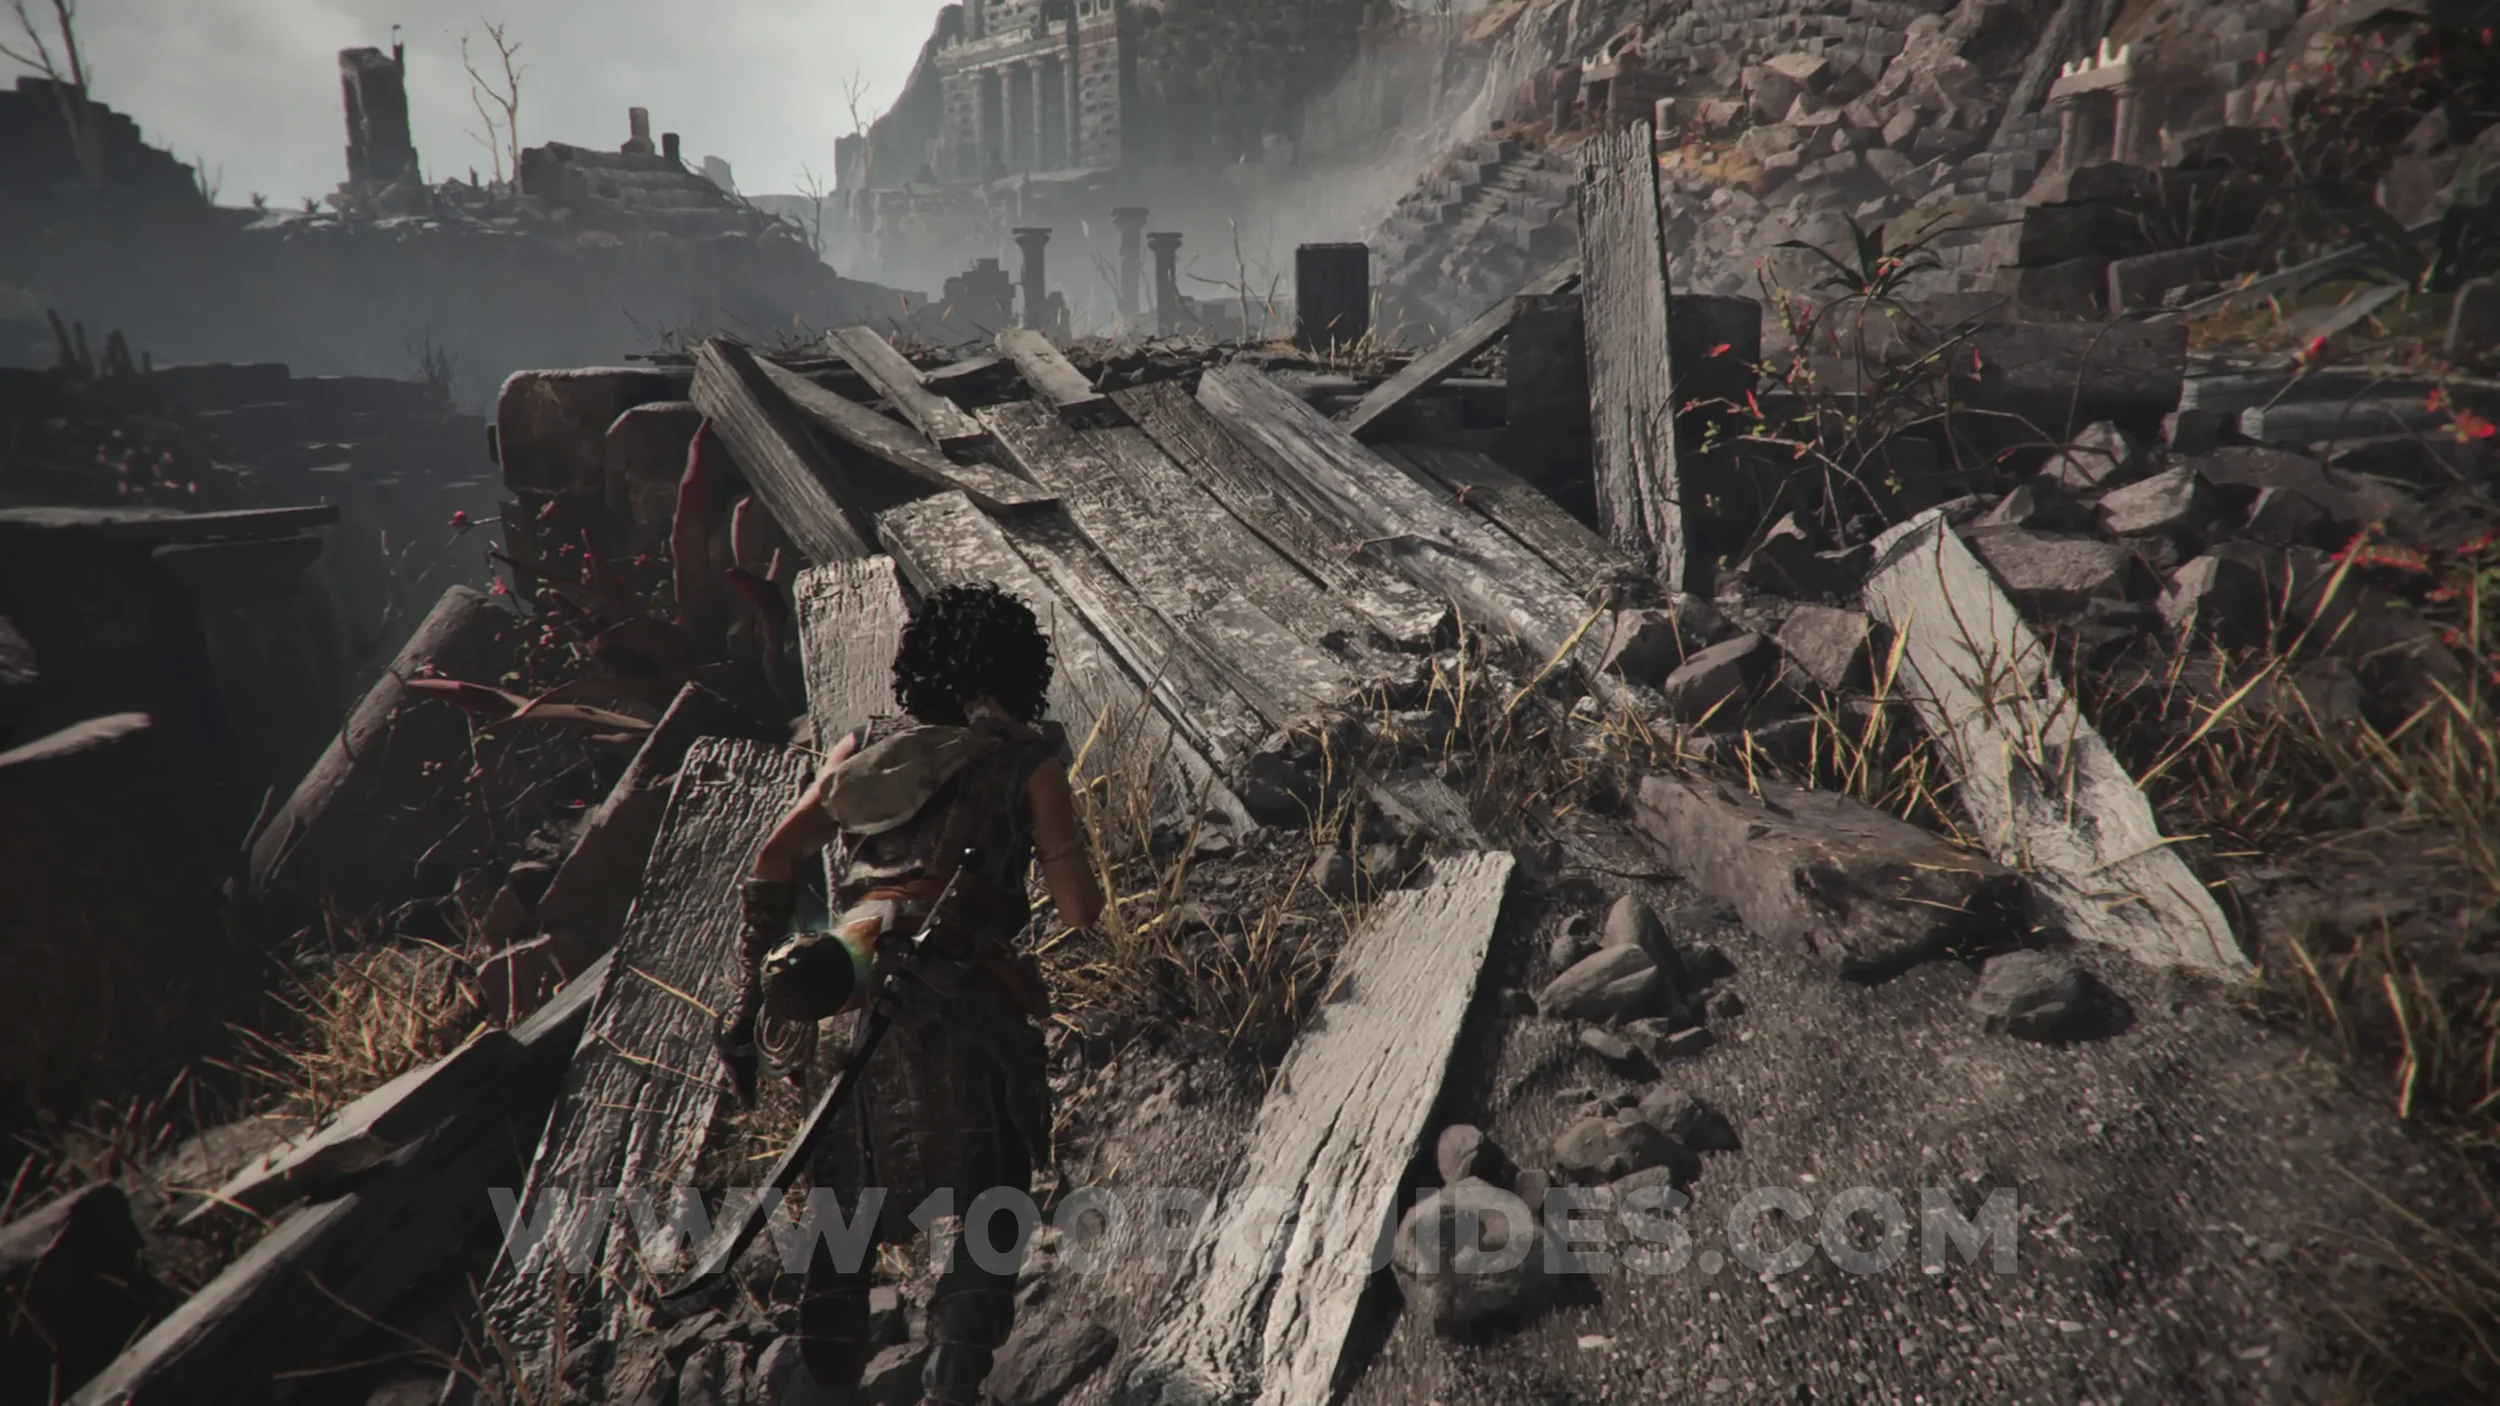
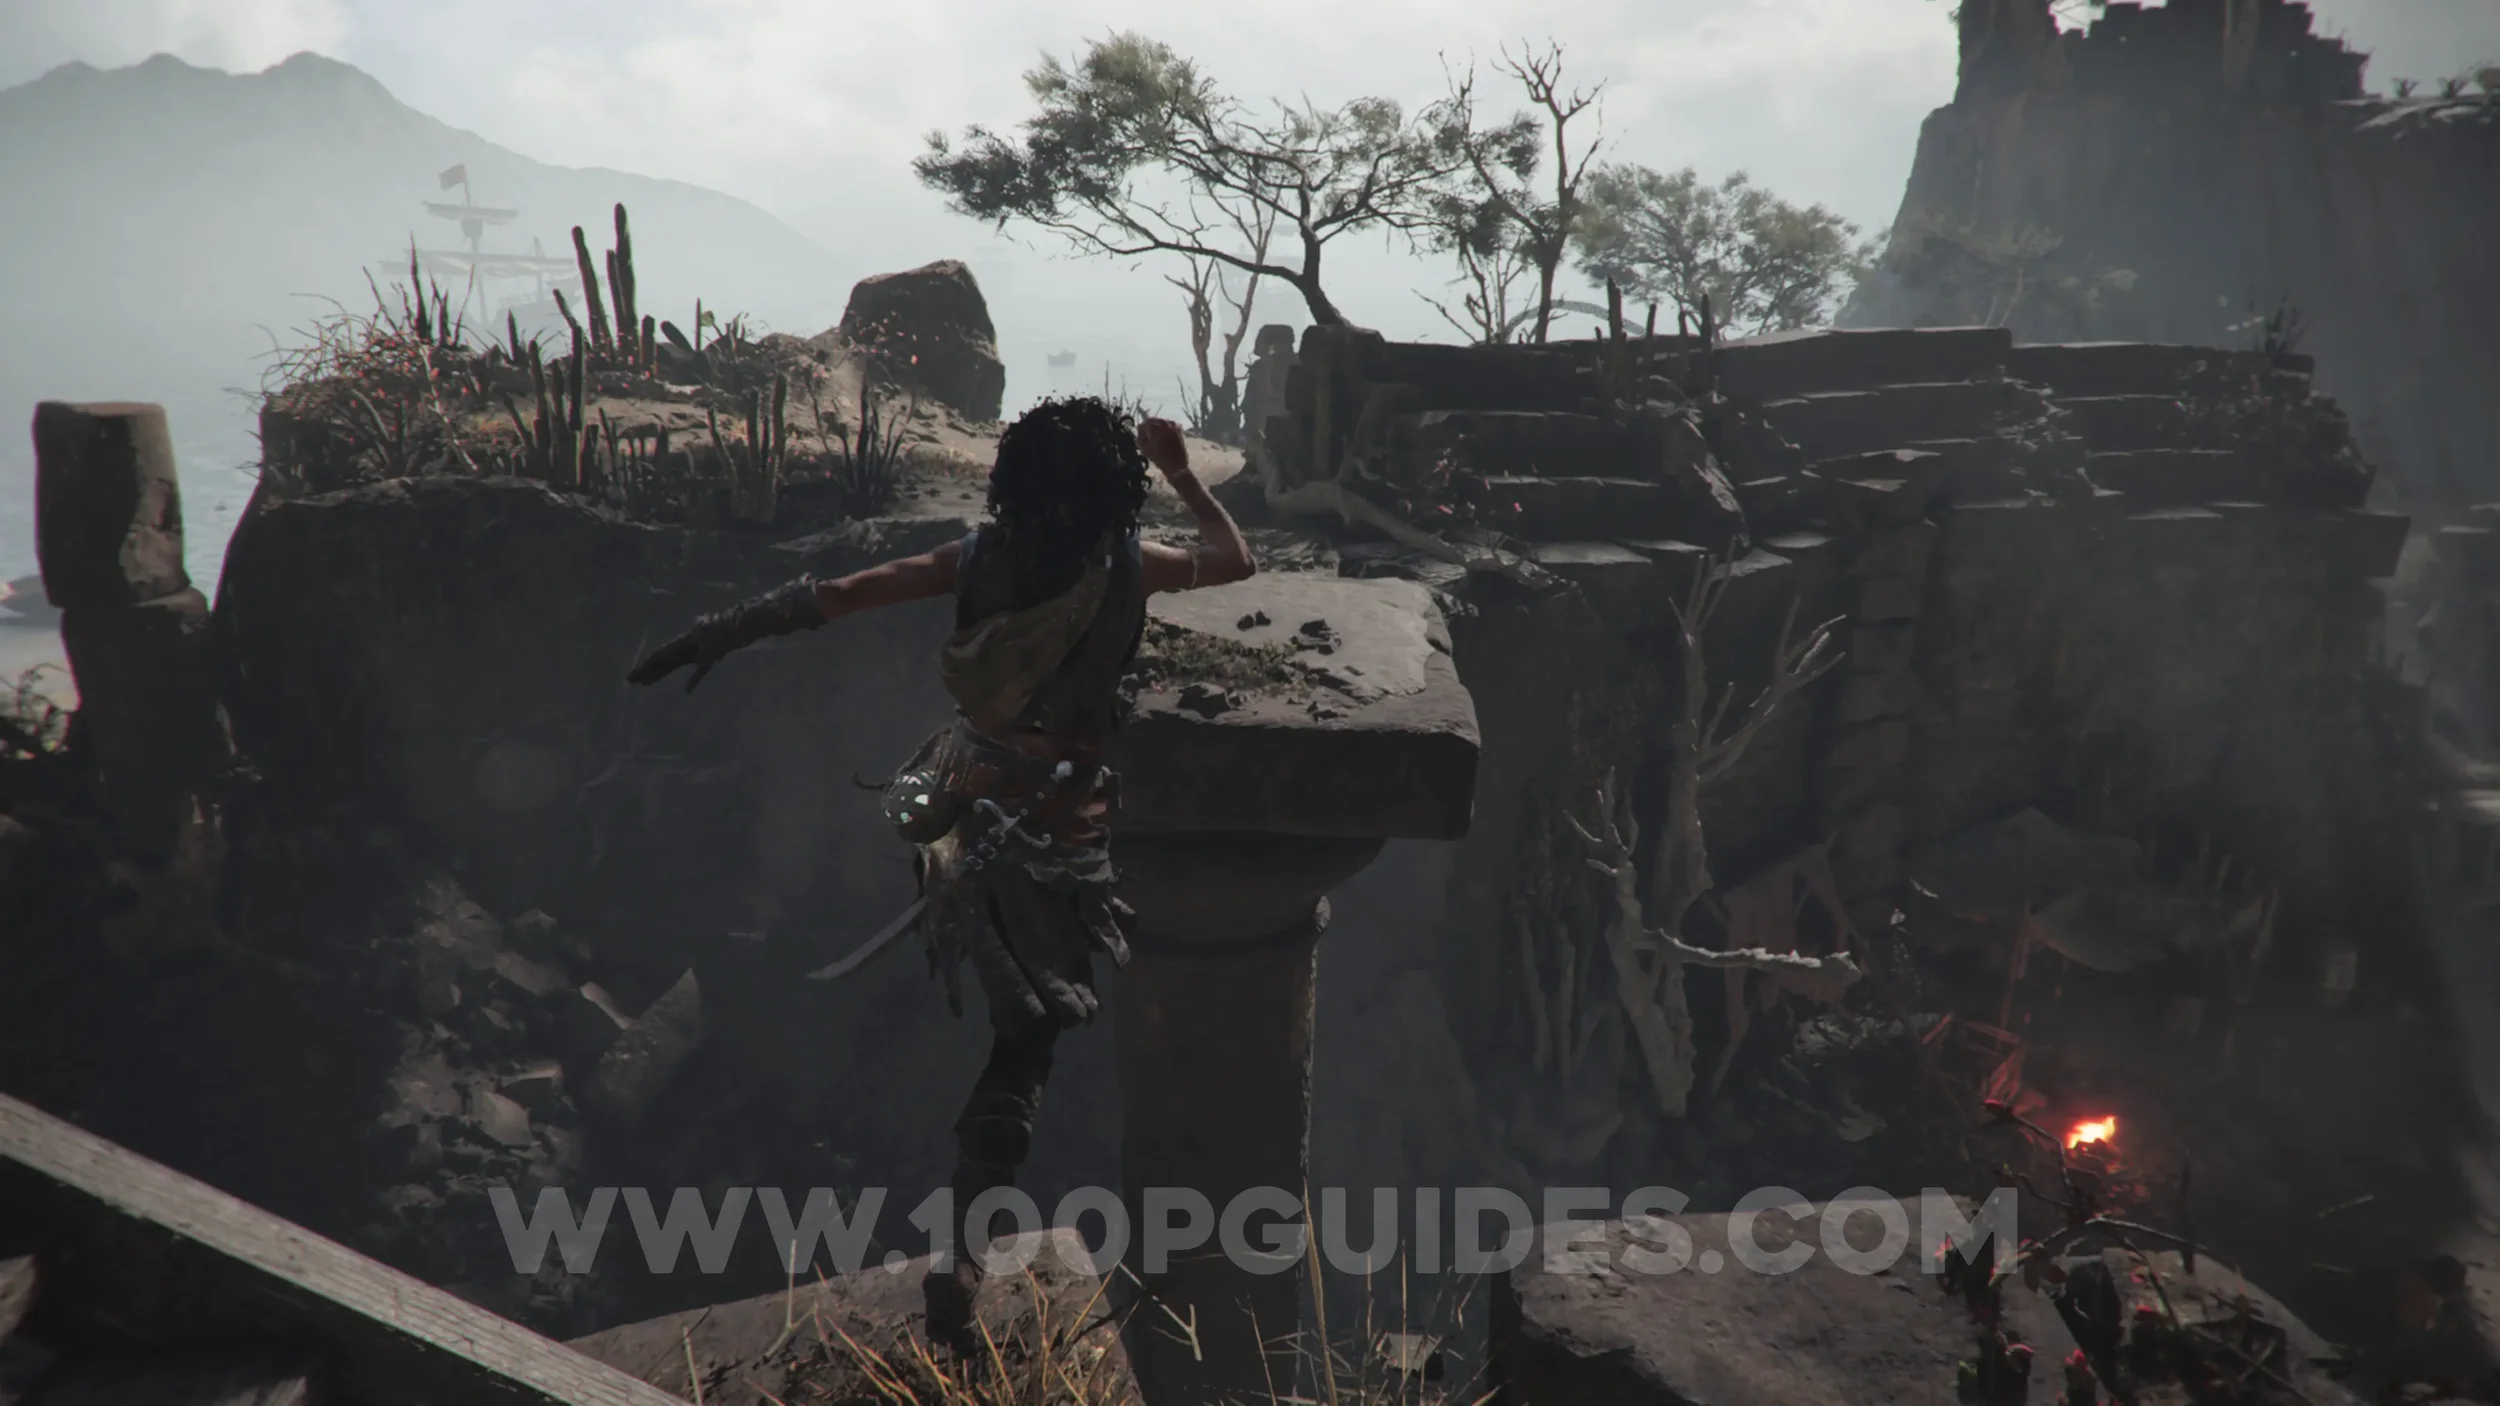
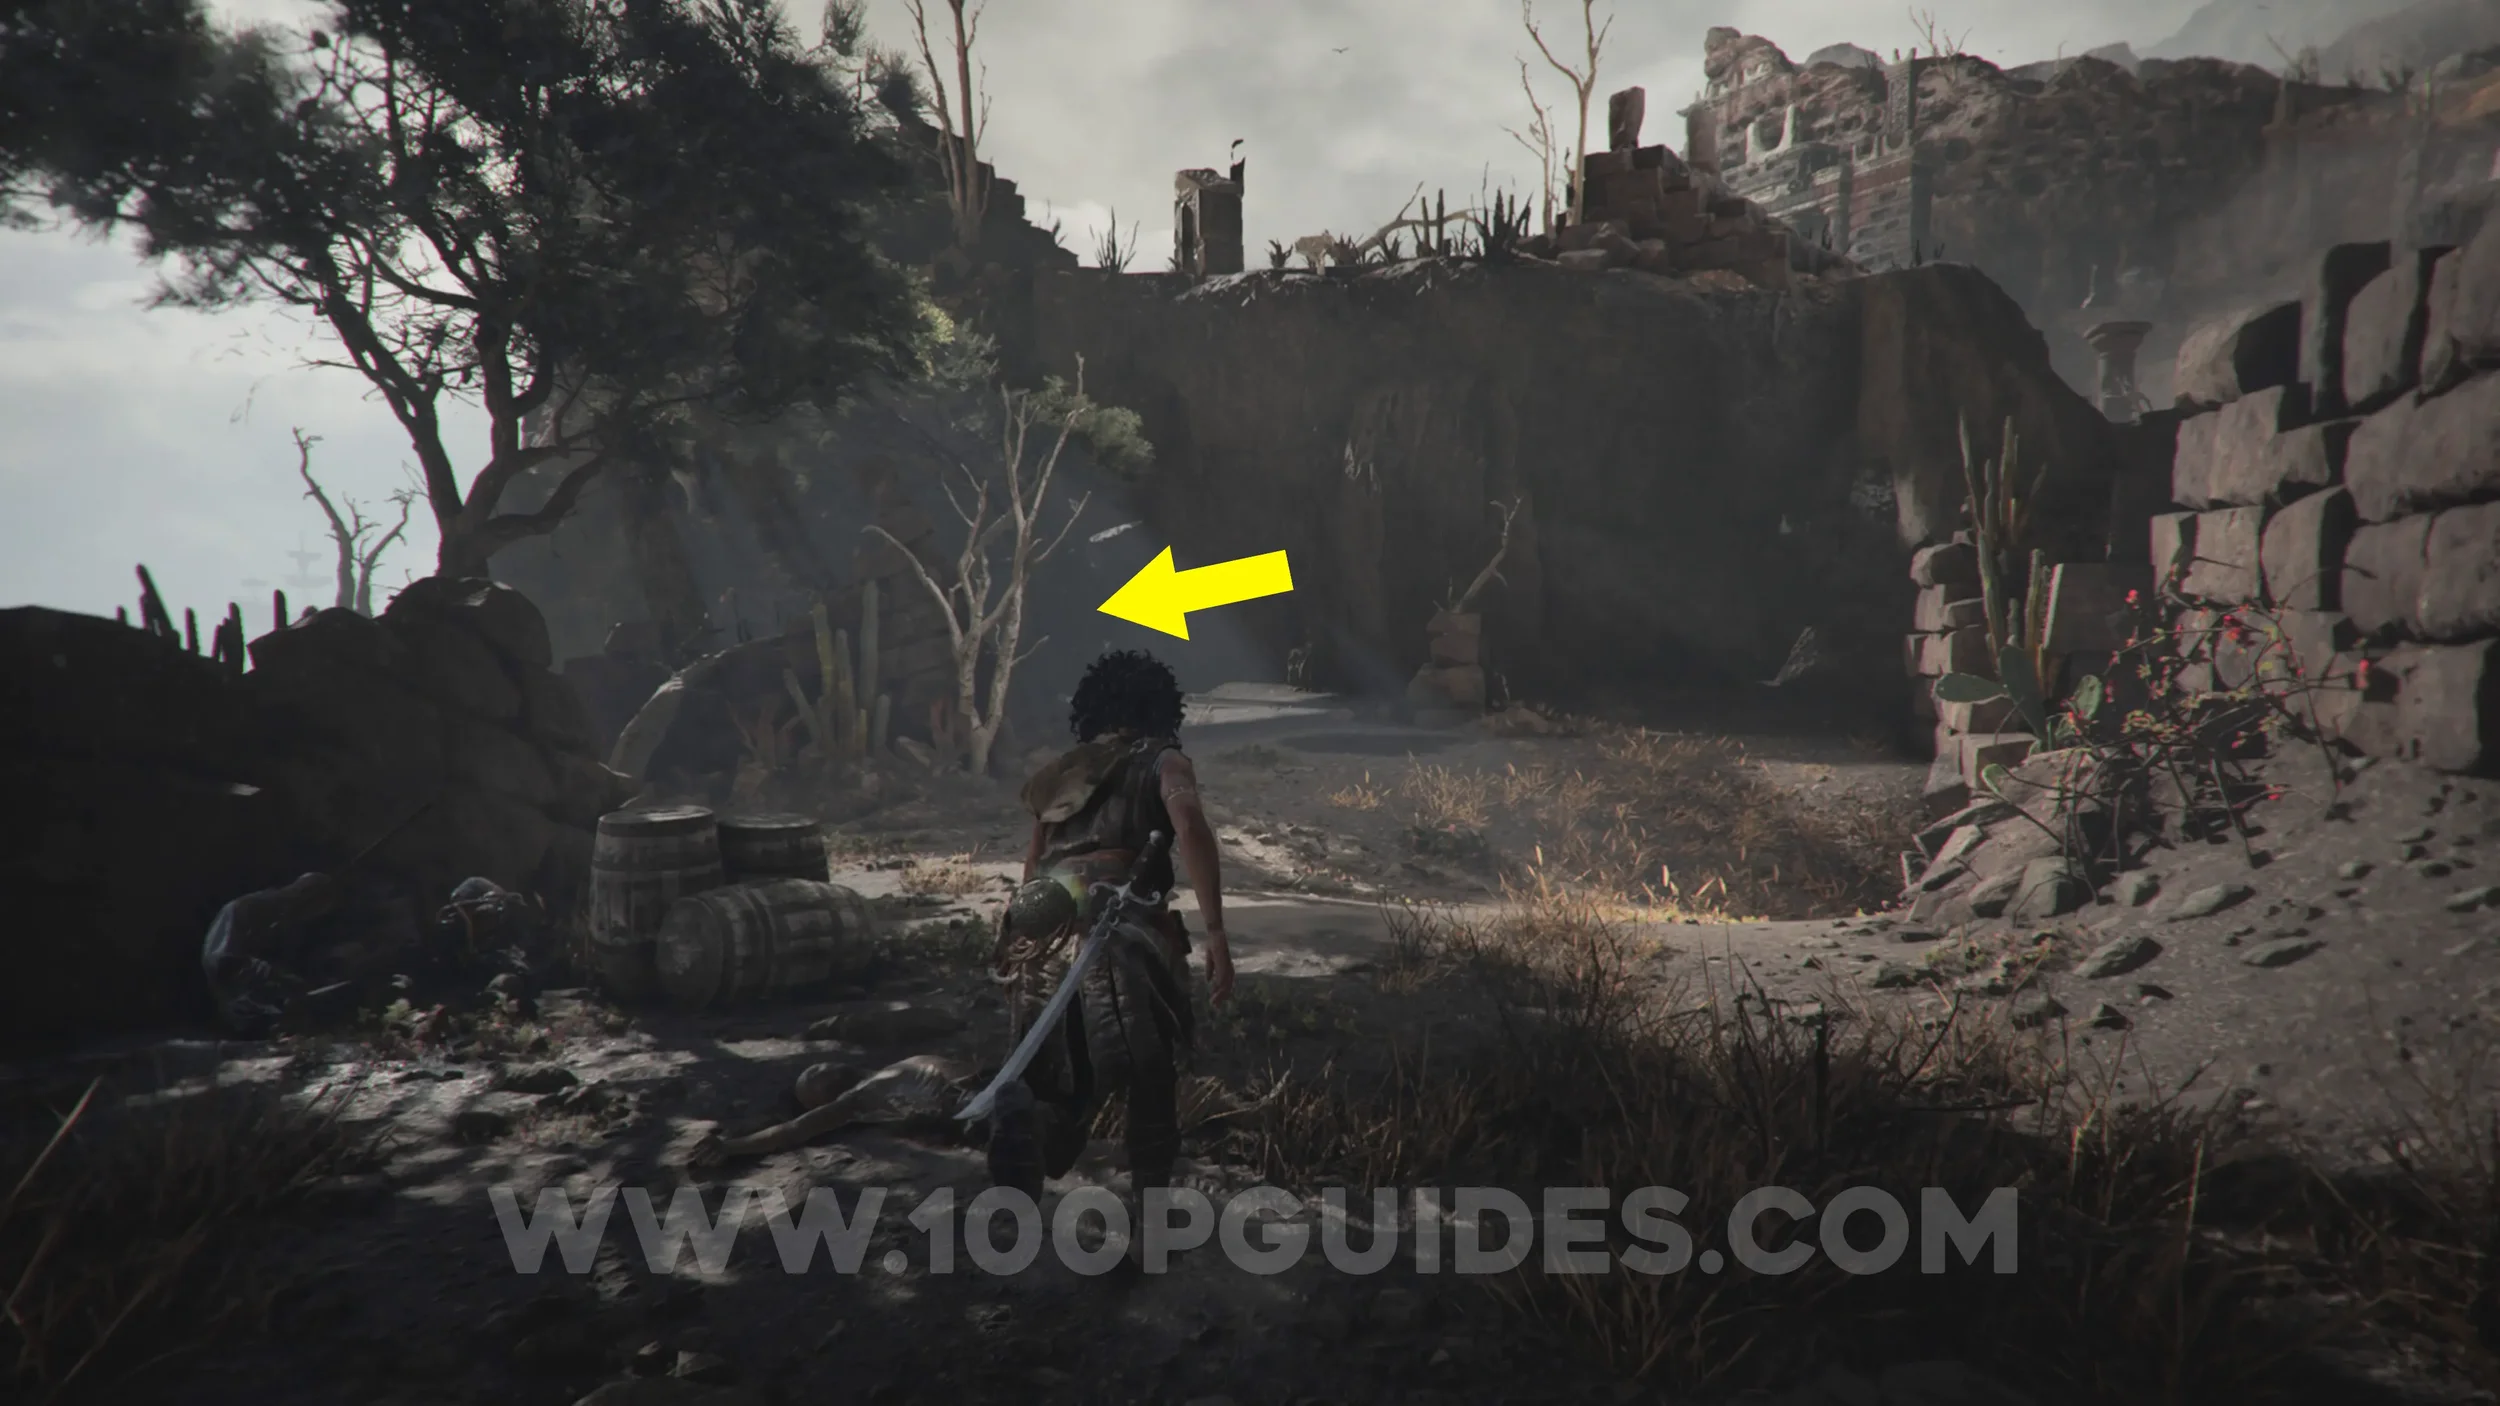
Resonance Point x2
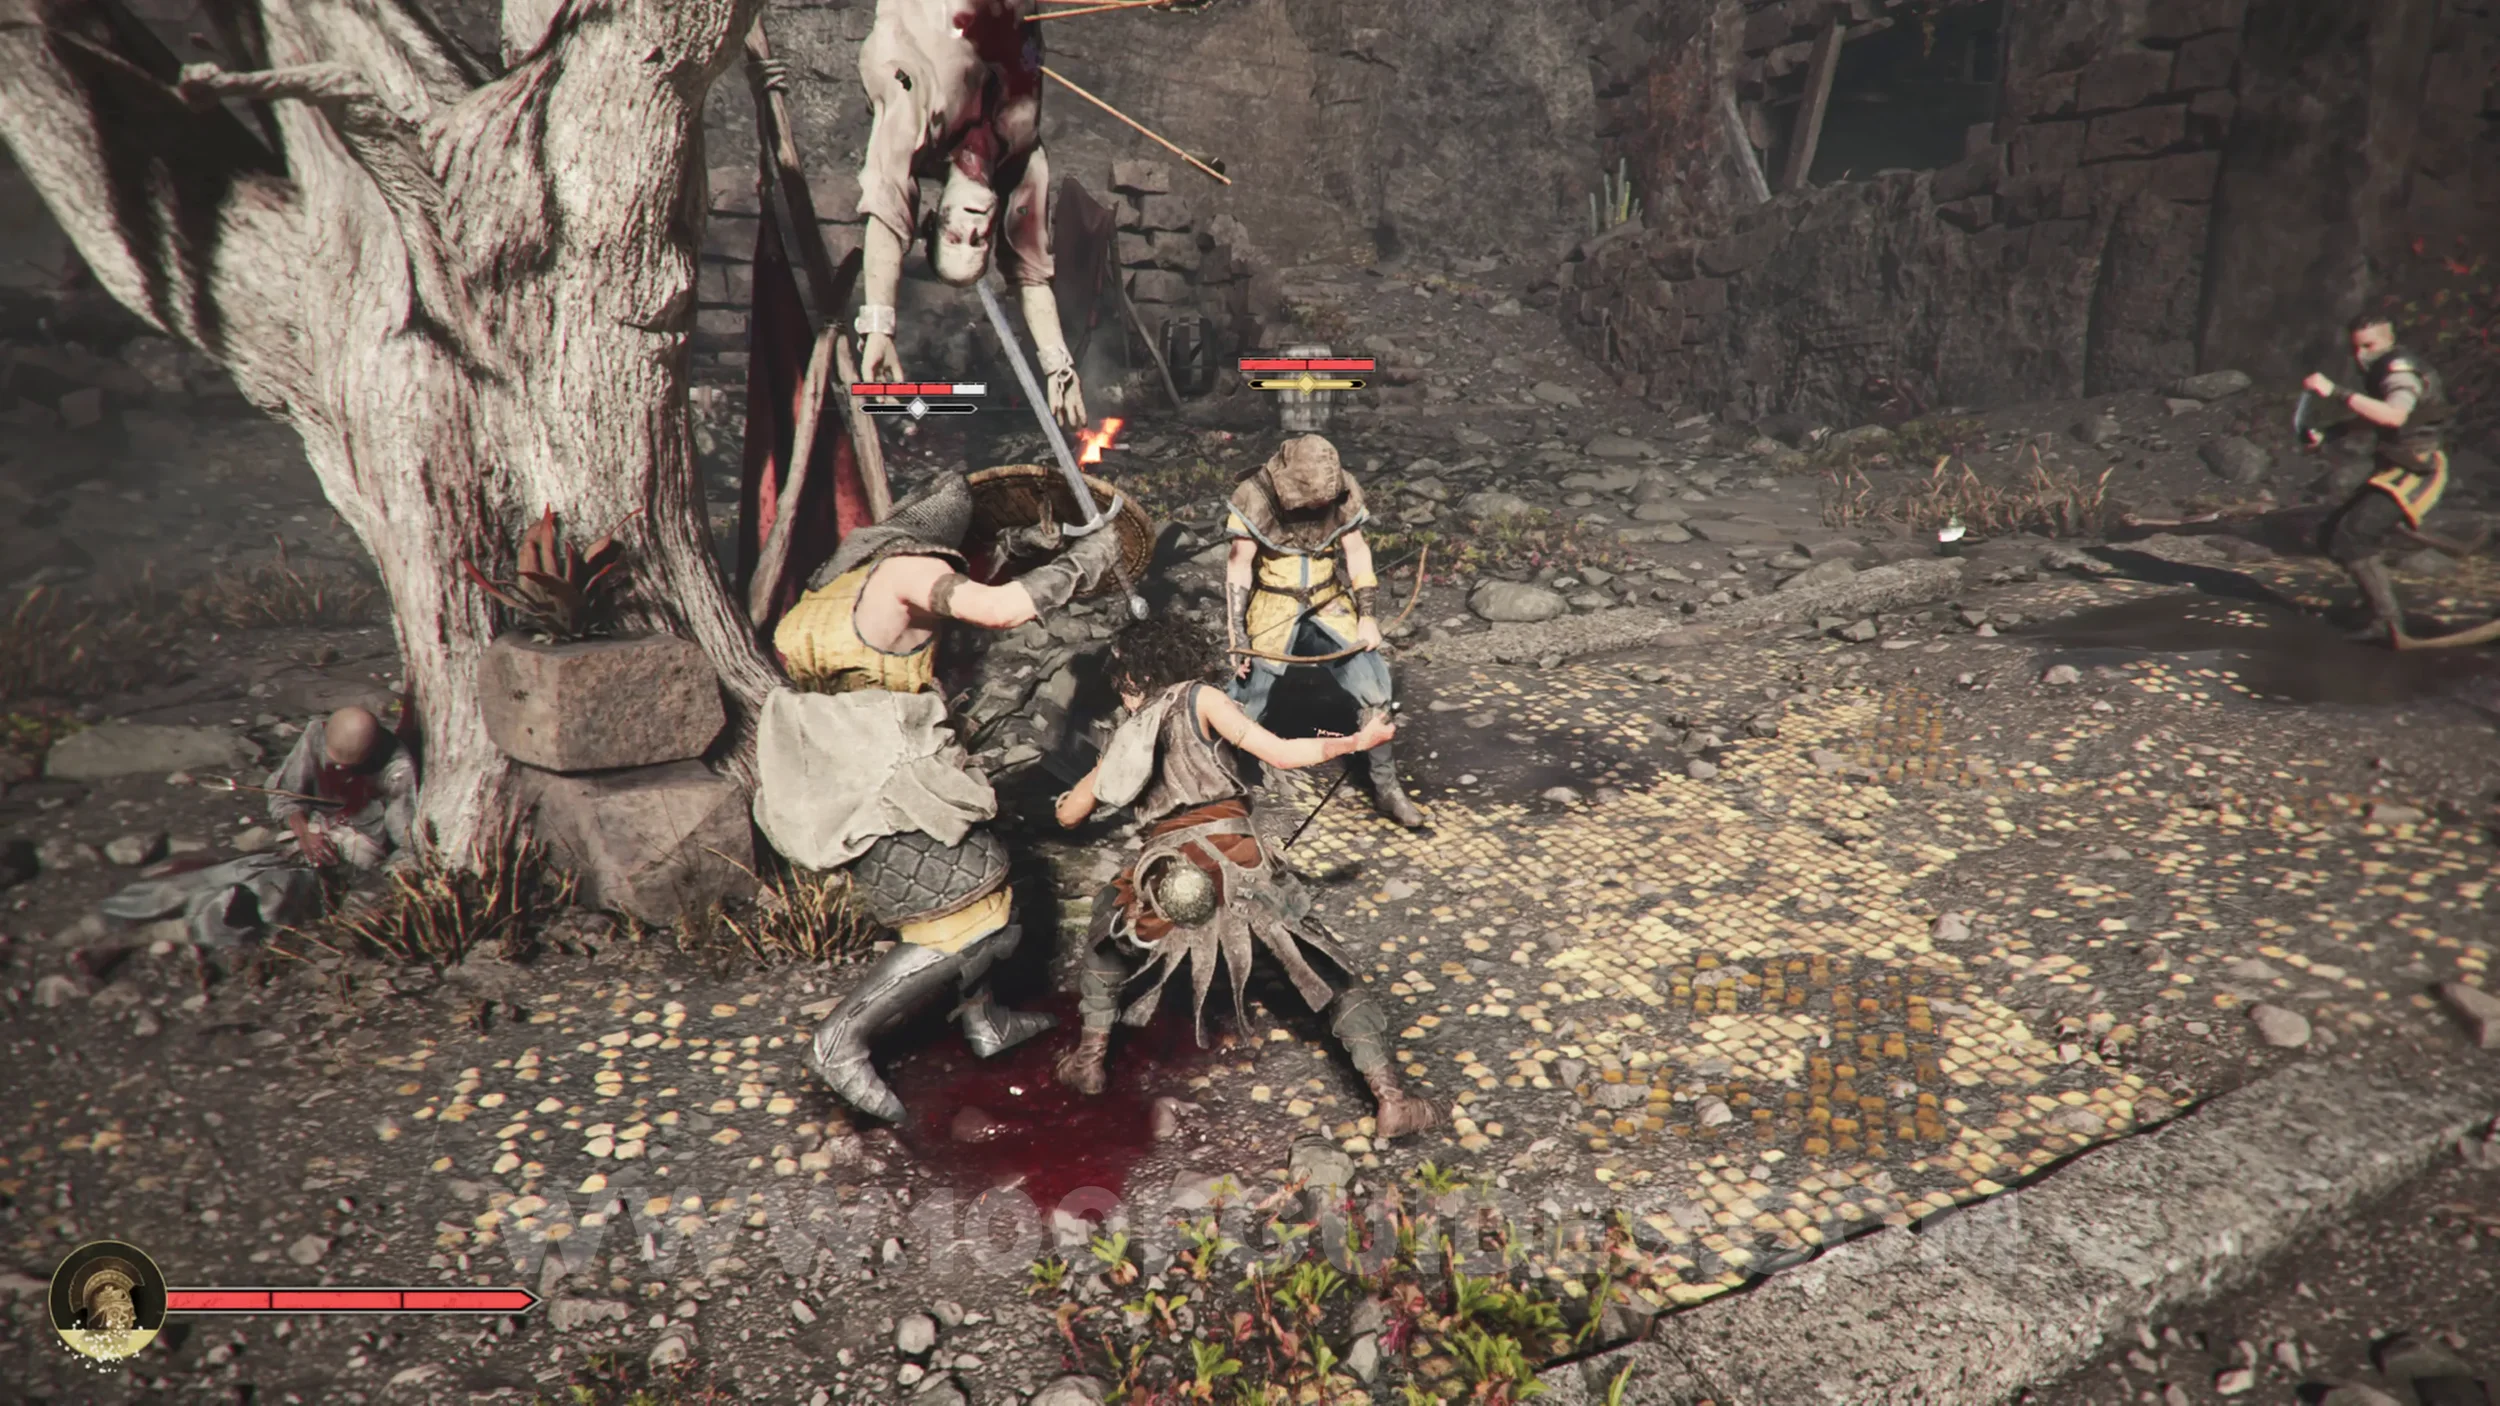
Chapter 7: Sub-Chapter 2.
Obtained after defeating the group of enemies in the center of the area.
Resonance Point
Chapter 7: Sub-Chapter 2.
Inside the ruined building in the corner of the area where you defeated the enemies. This is the building you were on when jumping over the columns.
Resonance Point
Chapter 7: Sub-Chapter 2.
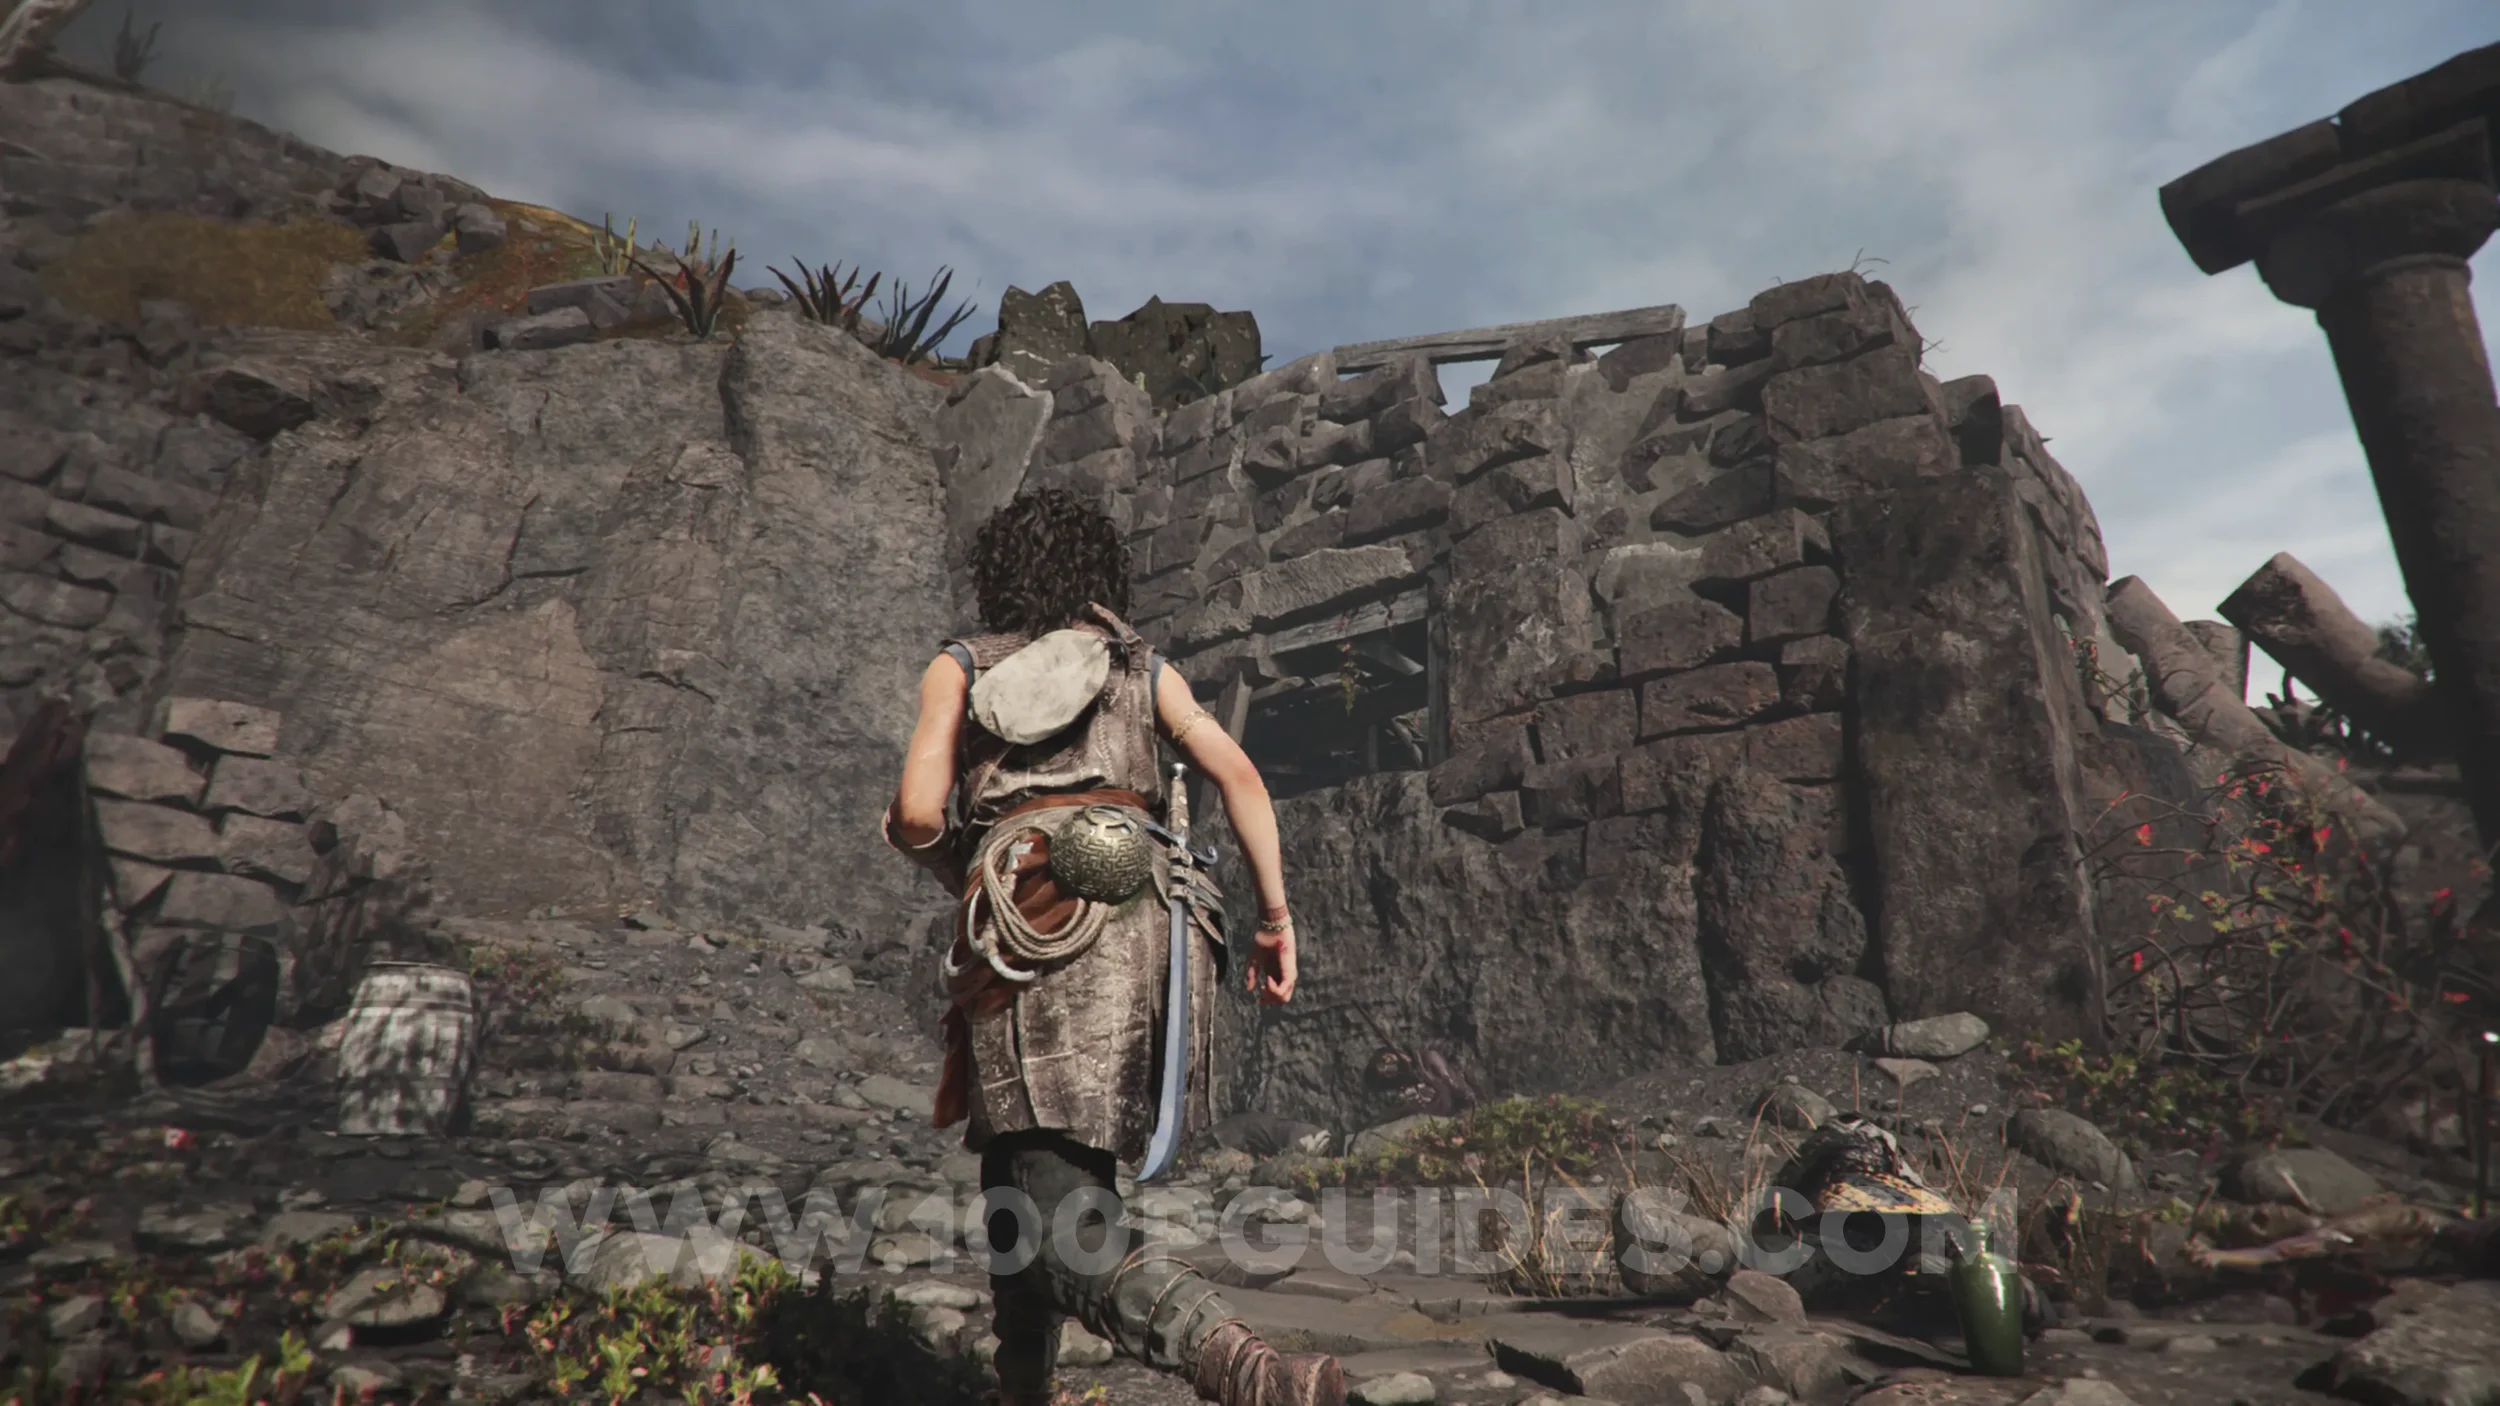
Leave the area where you fought the enemies by pulling the door down with your grappling hook. On the other side, drop down and look for a gap in front of you that you can crouch under. The collectible will be on the other side.
Artefact: Kill Onyx
Chapter 7: Sub-Chapter 2.
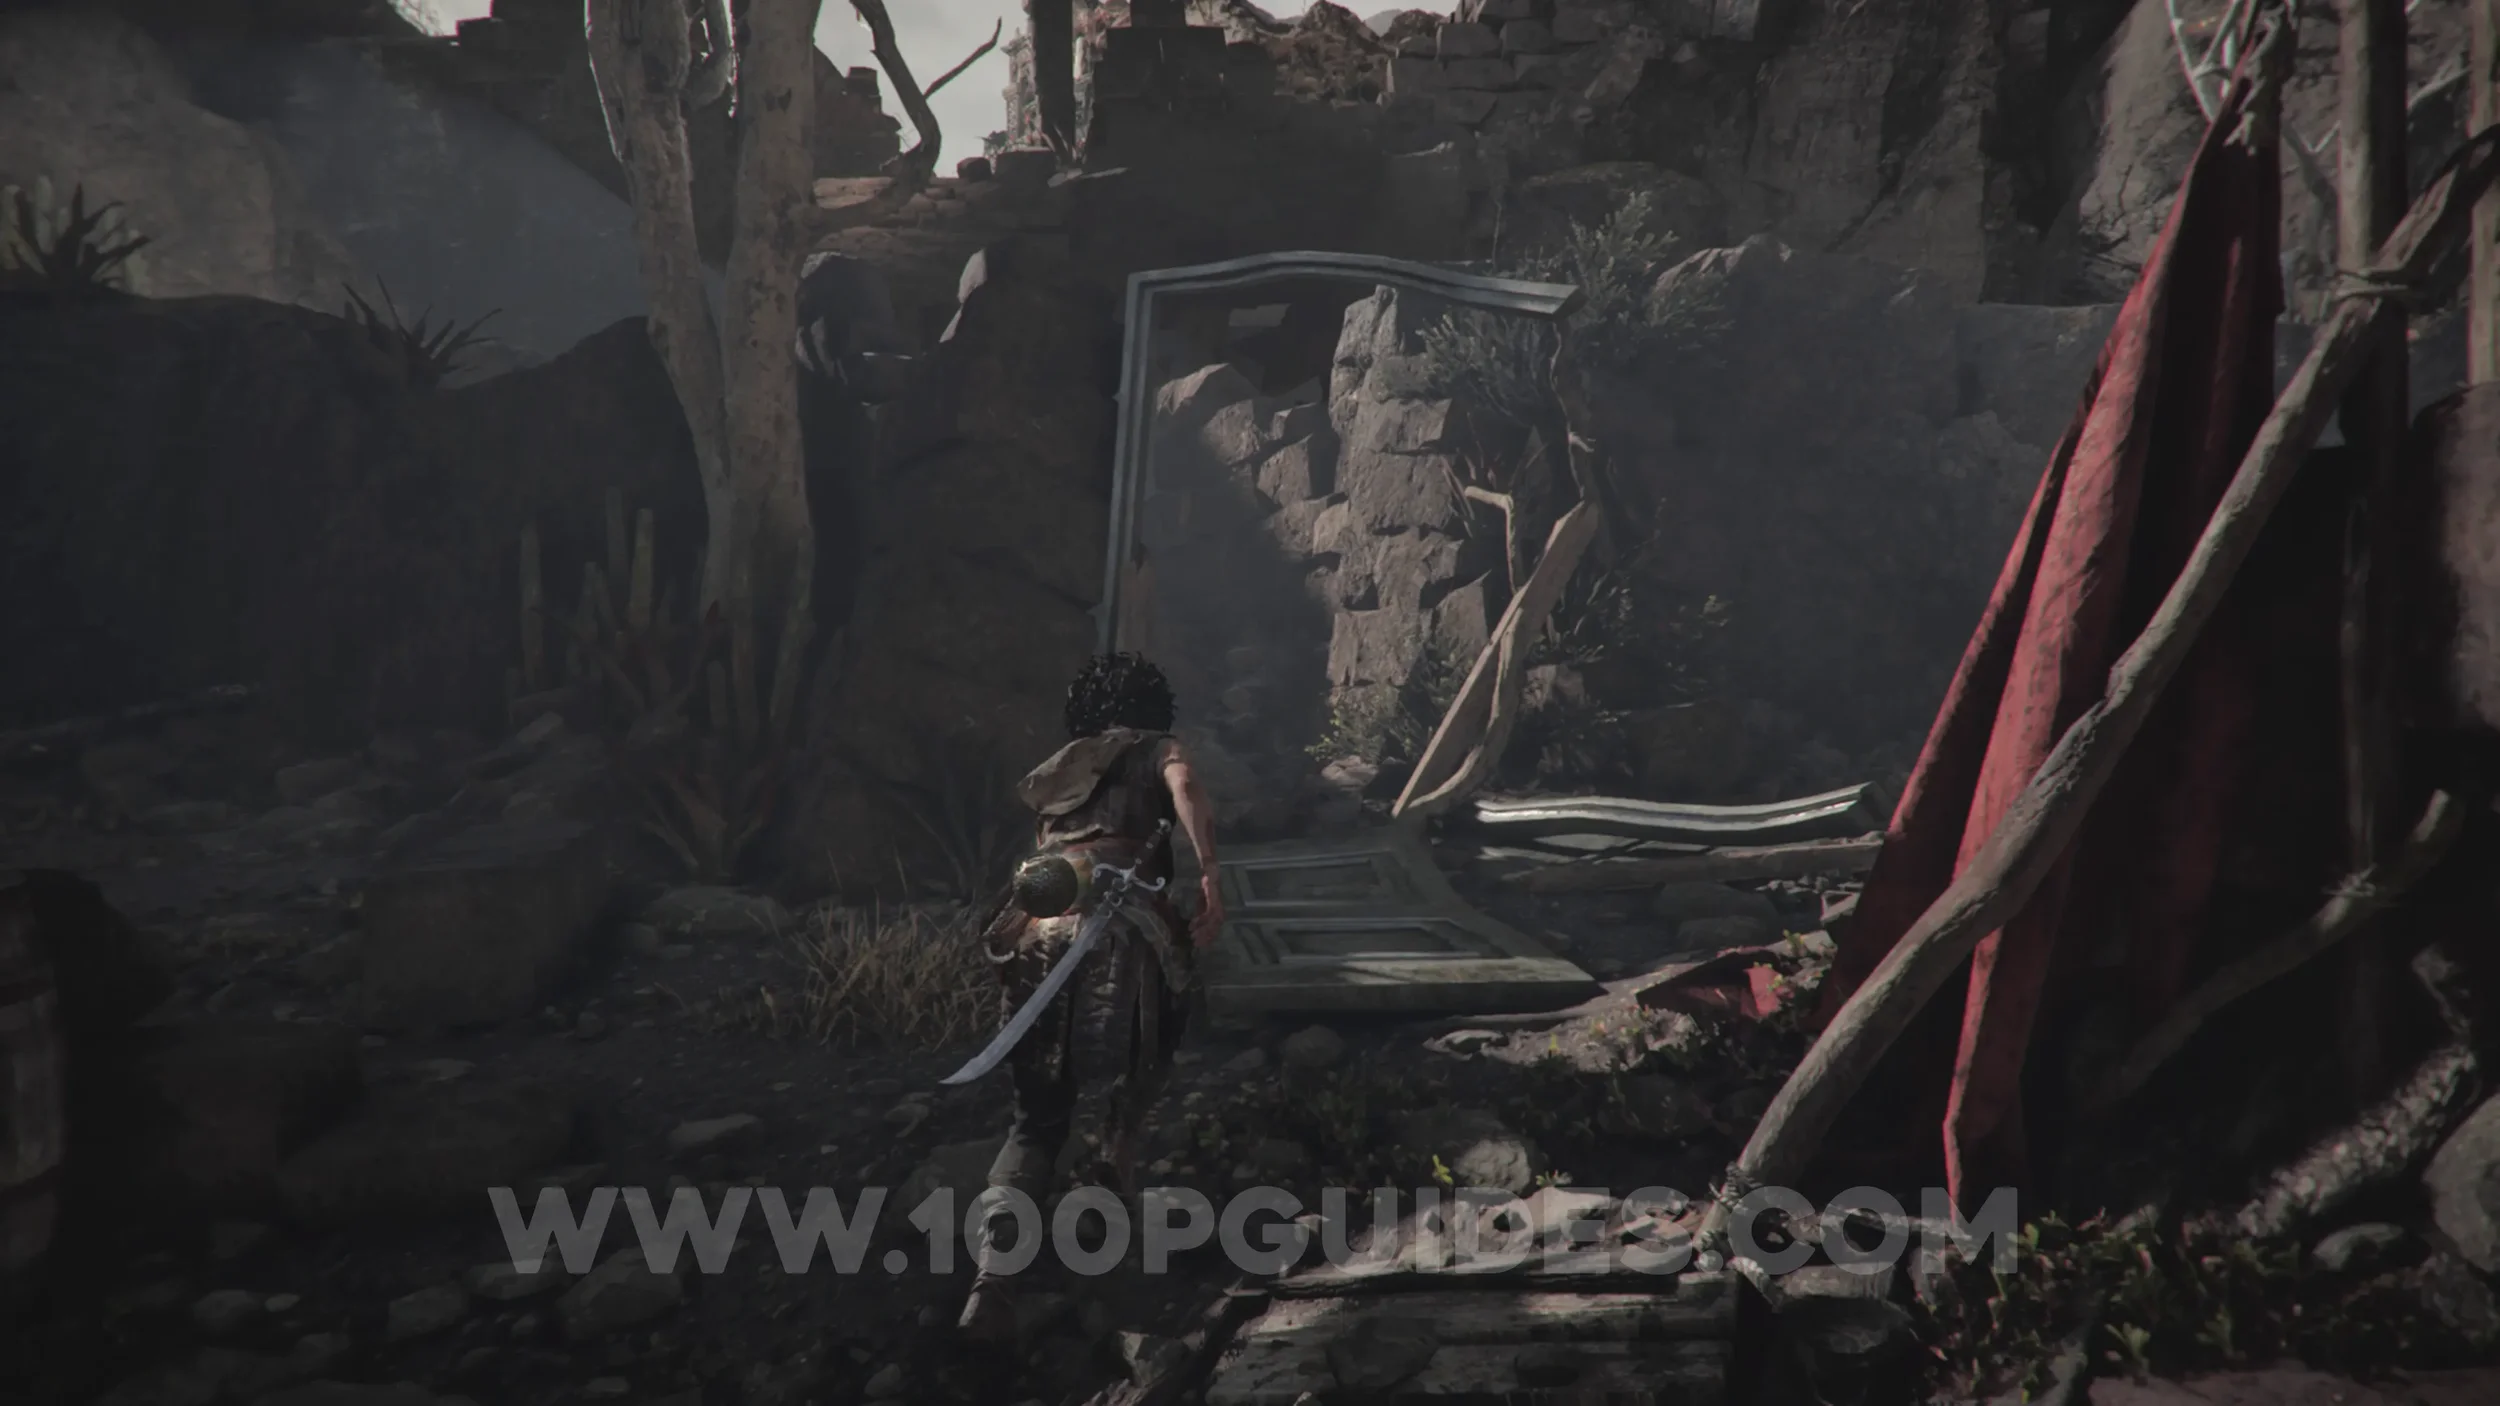
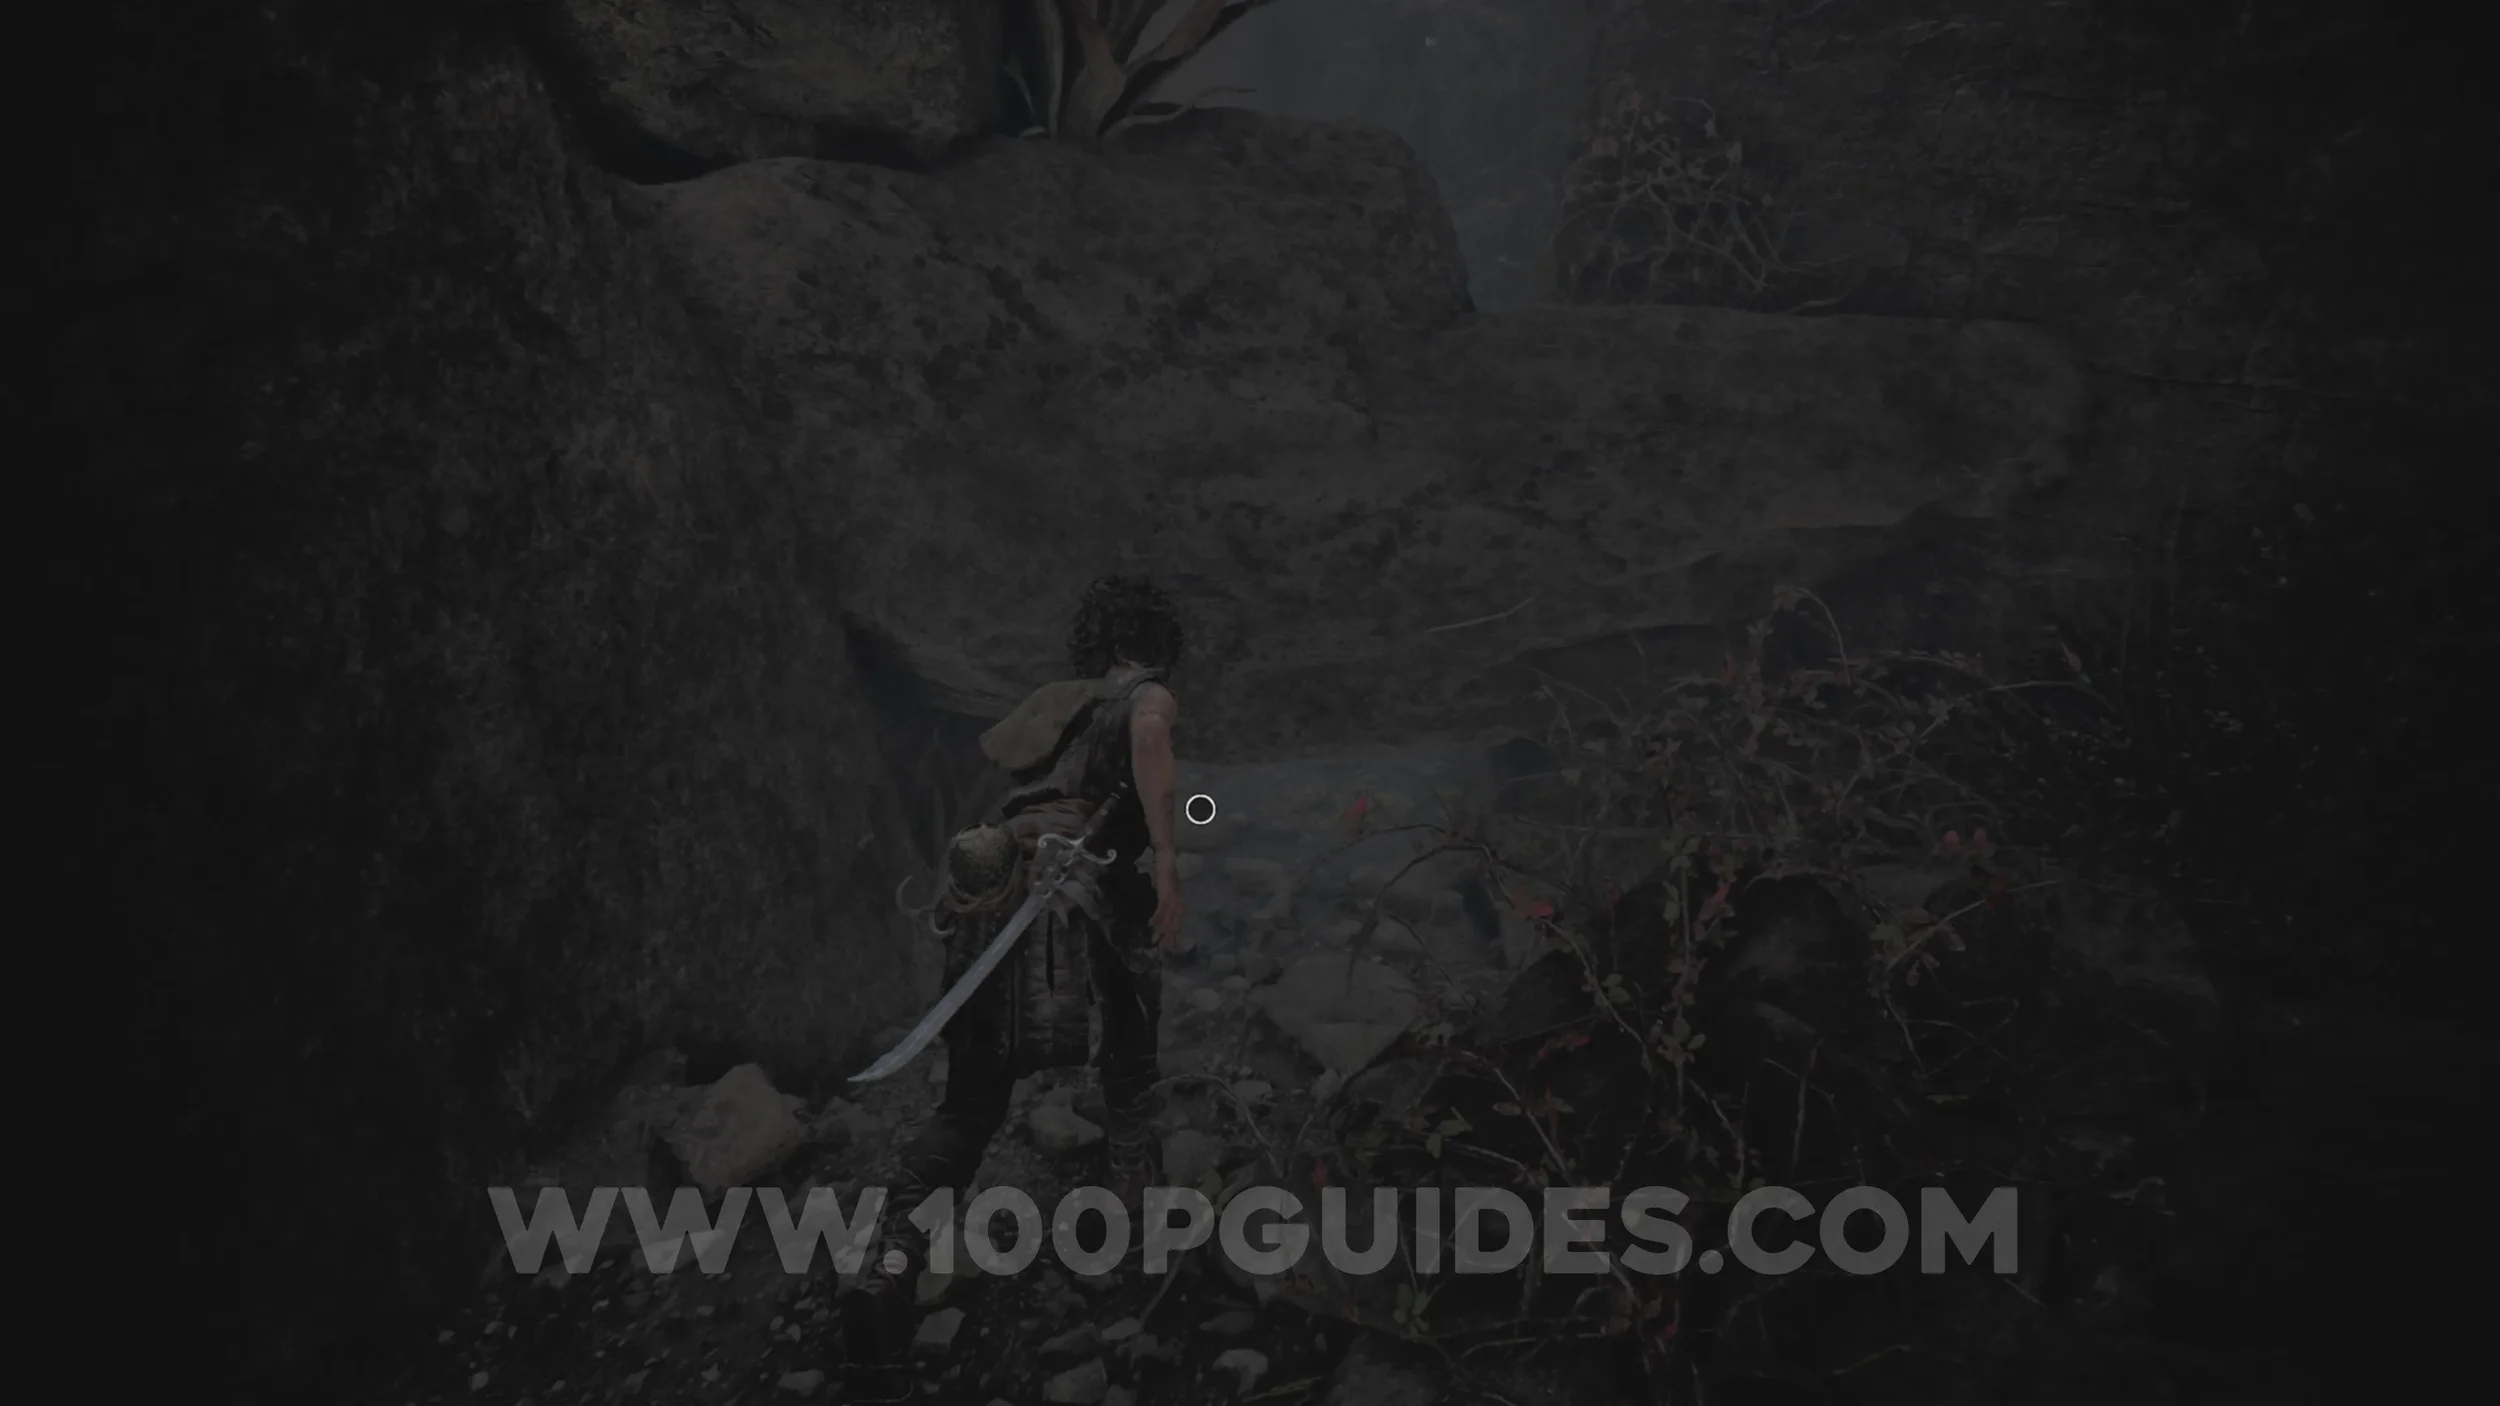
After going through the next underground section and emerging back above ground, go up the small stairs in front of you and head right. Then right again to circle back around the other side of the wall to the right of the area where you emerged. Crouch under the rock, and you'll find the collectible in the next area near some broken metal grates.
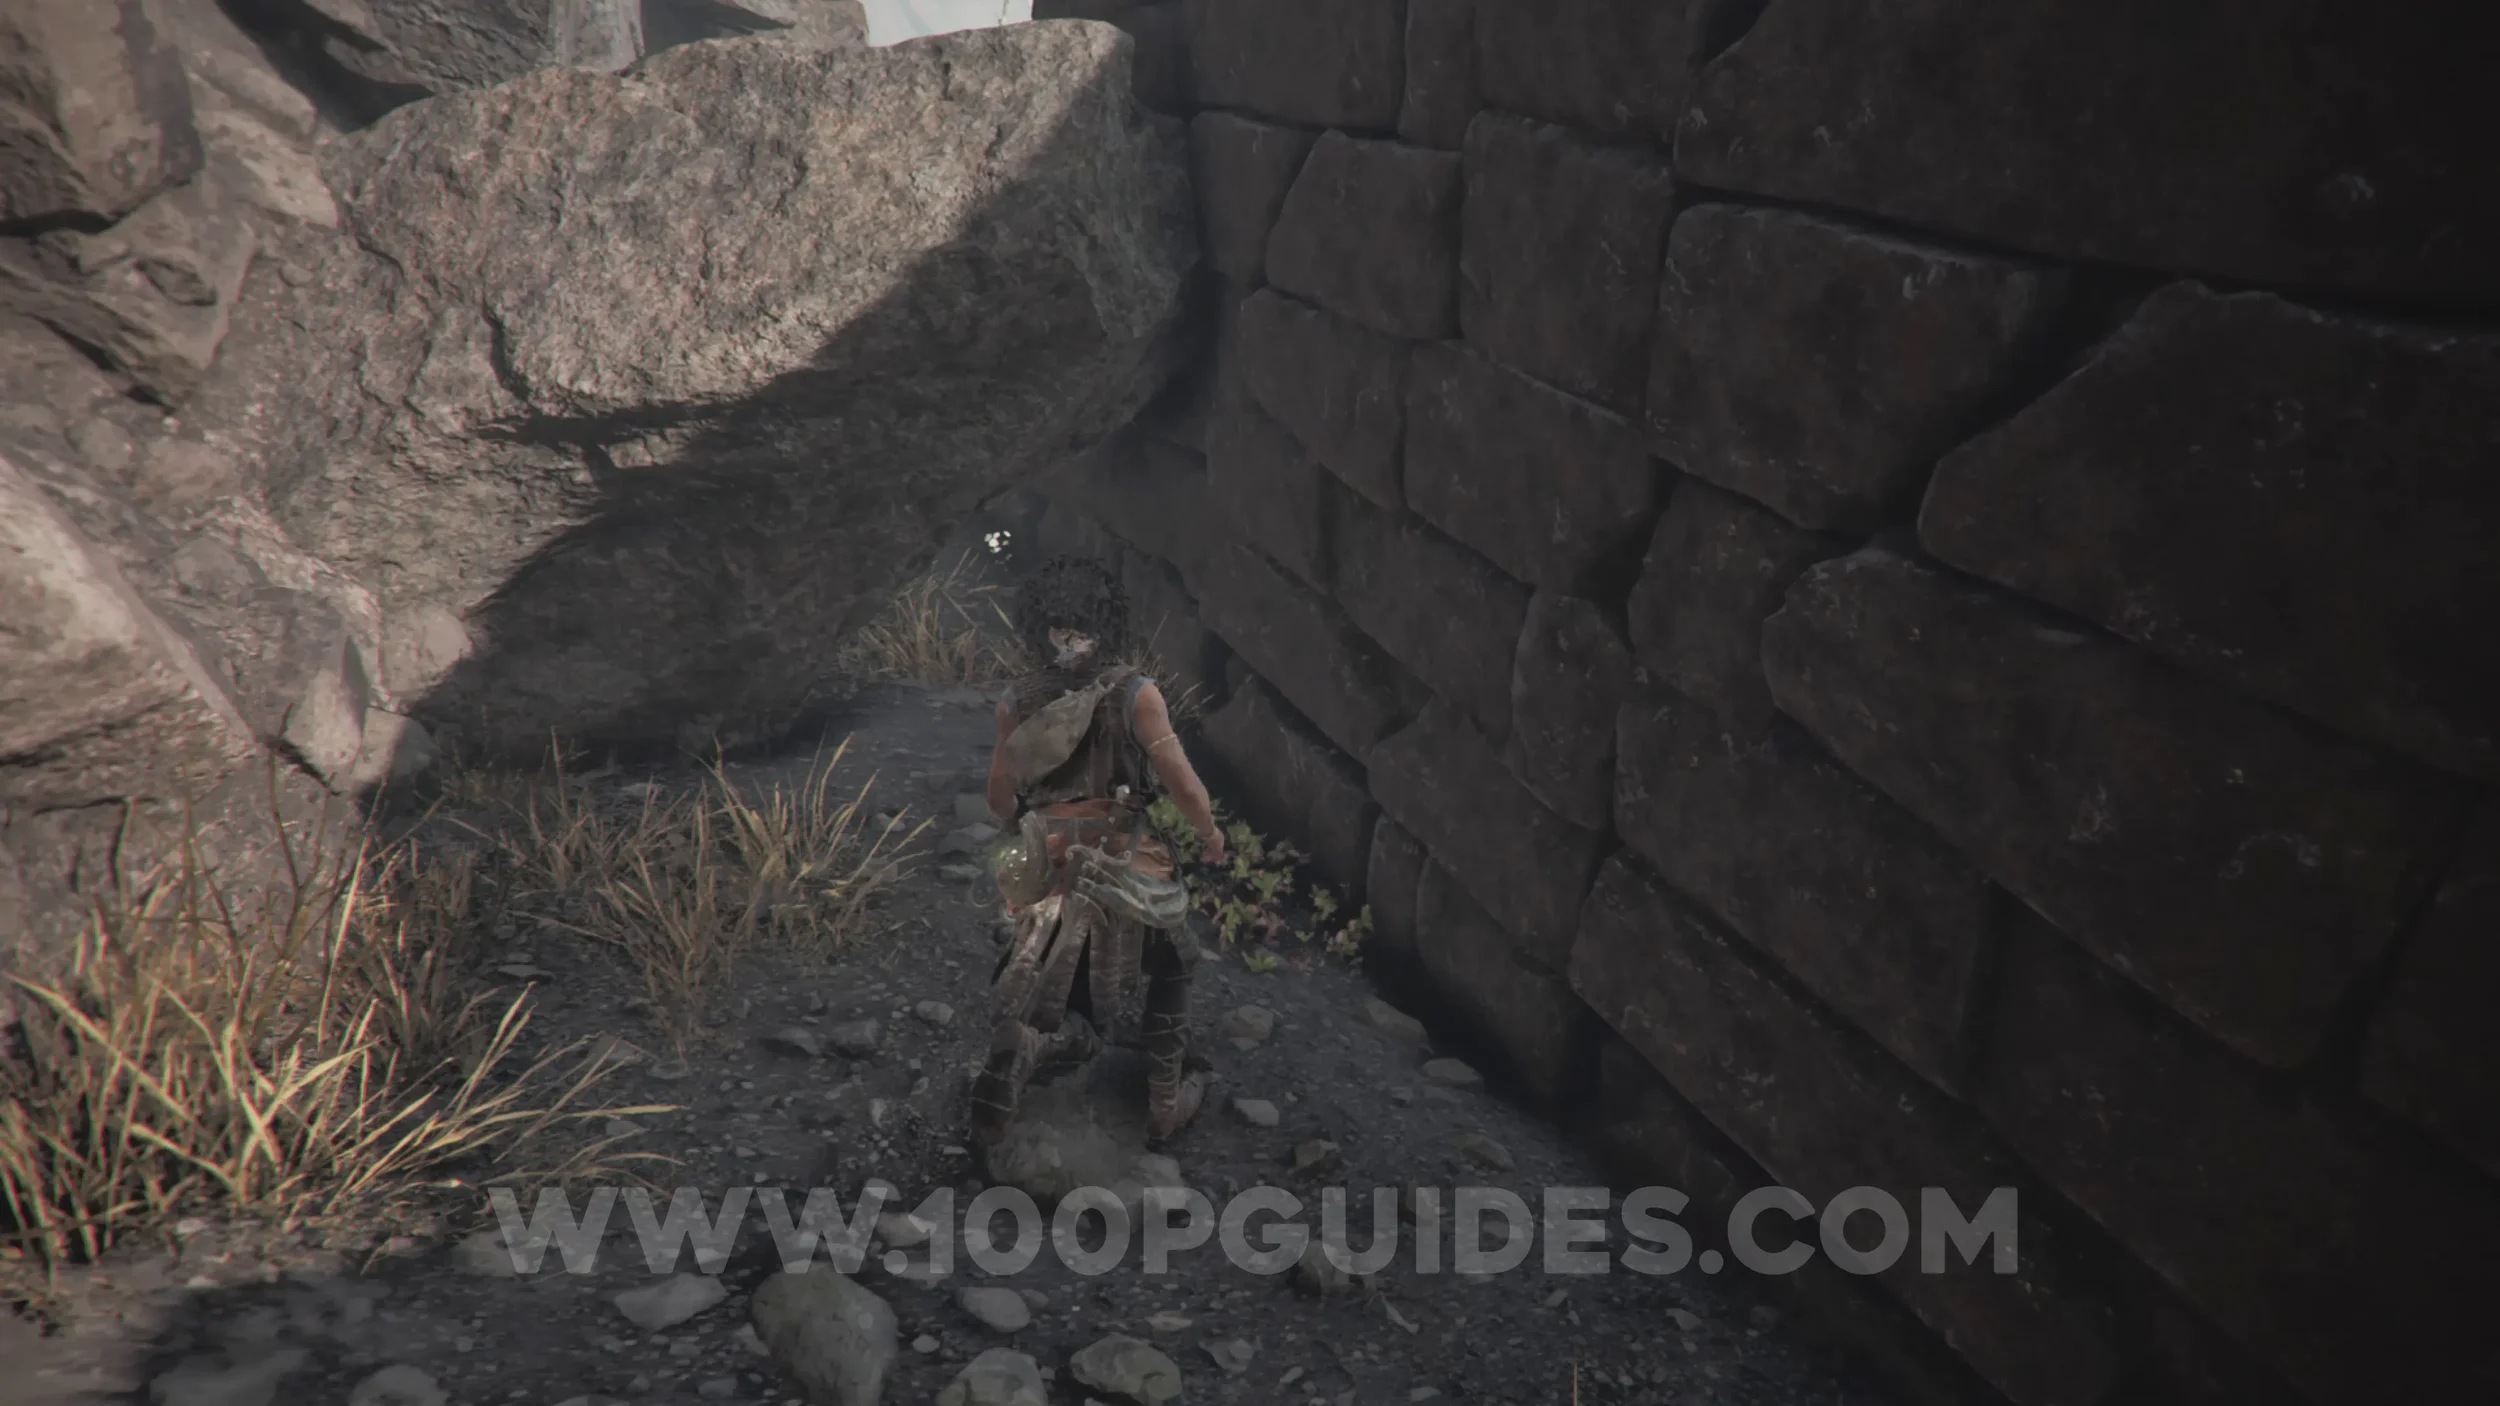
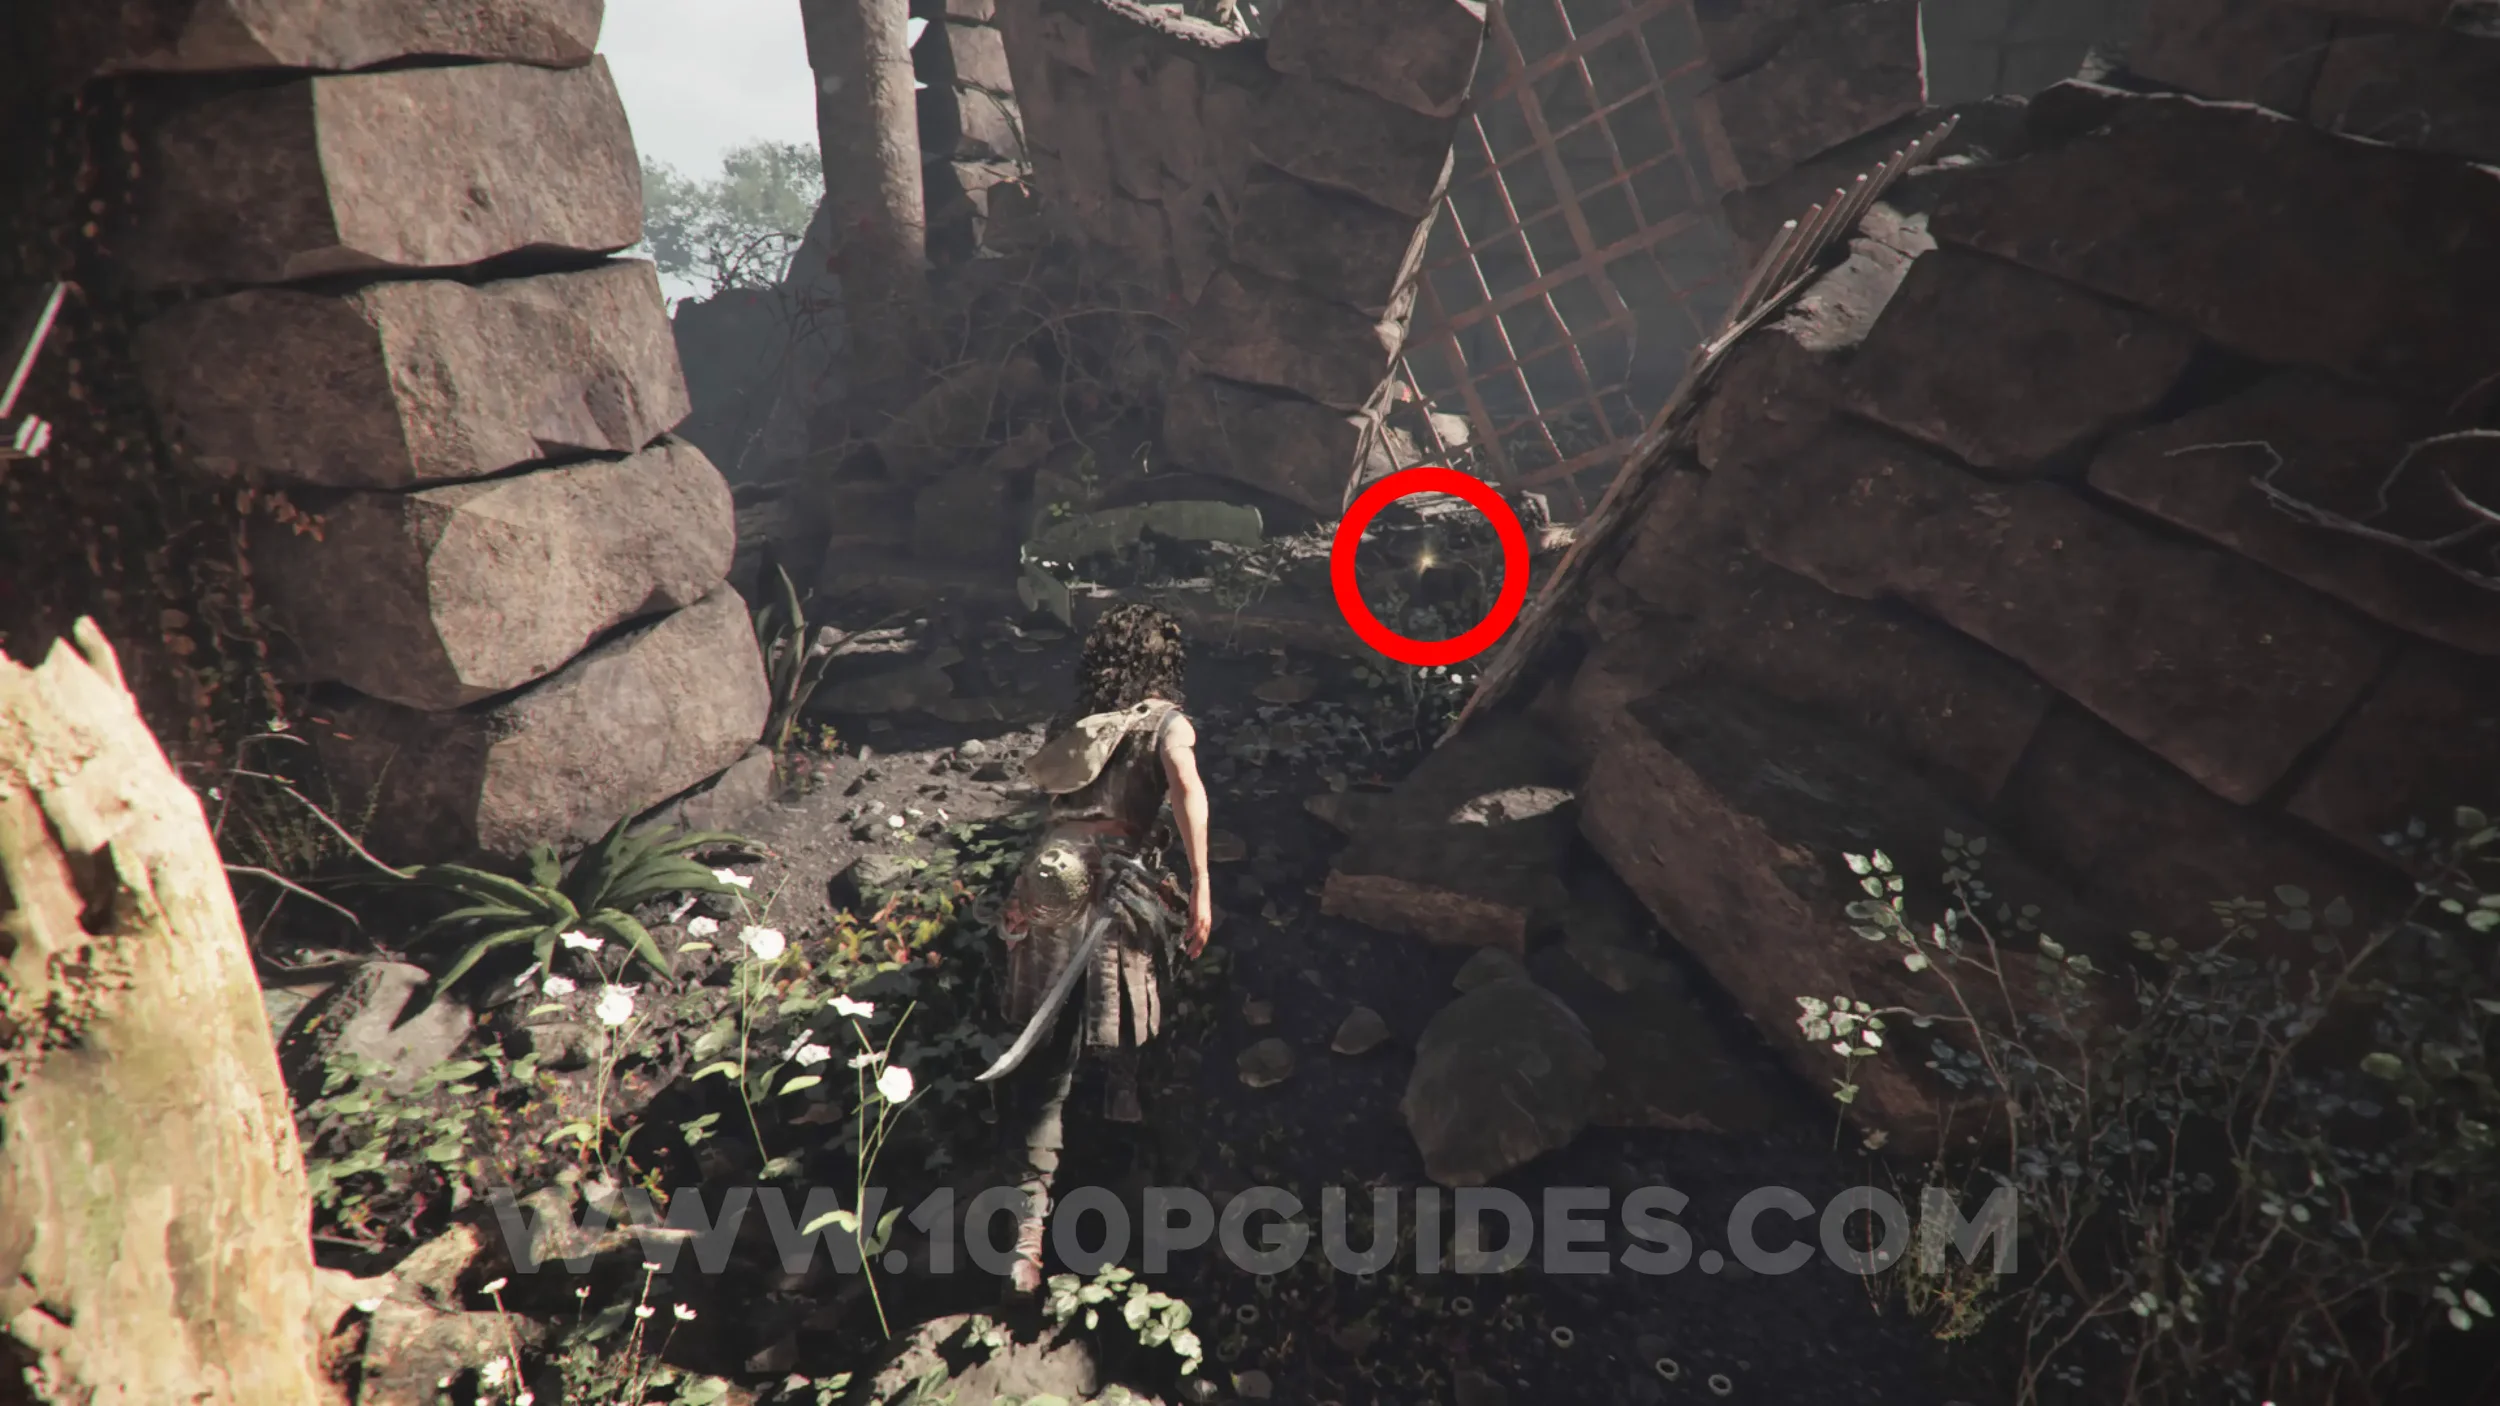
Resonance Point
Chapter 7: Sub-Chapter 2.
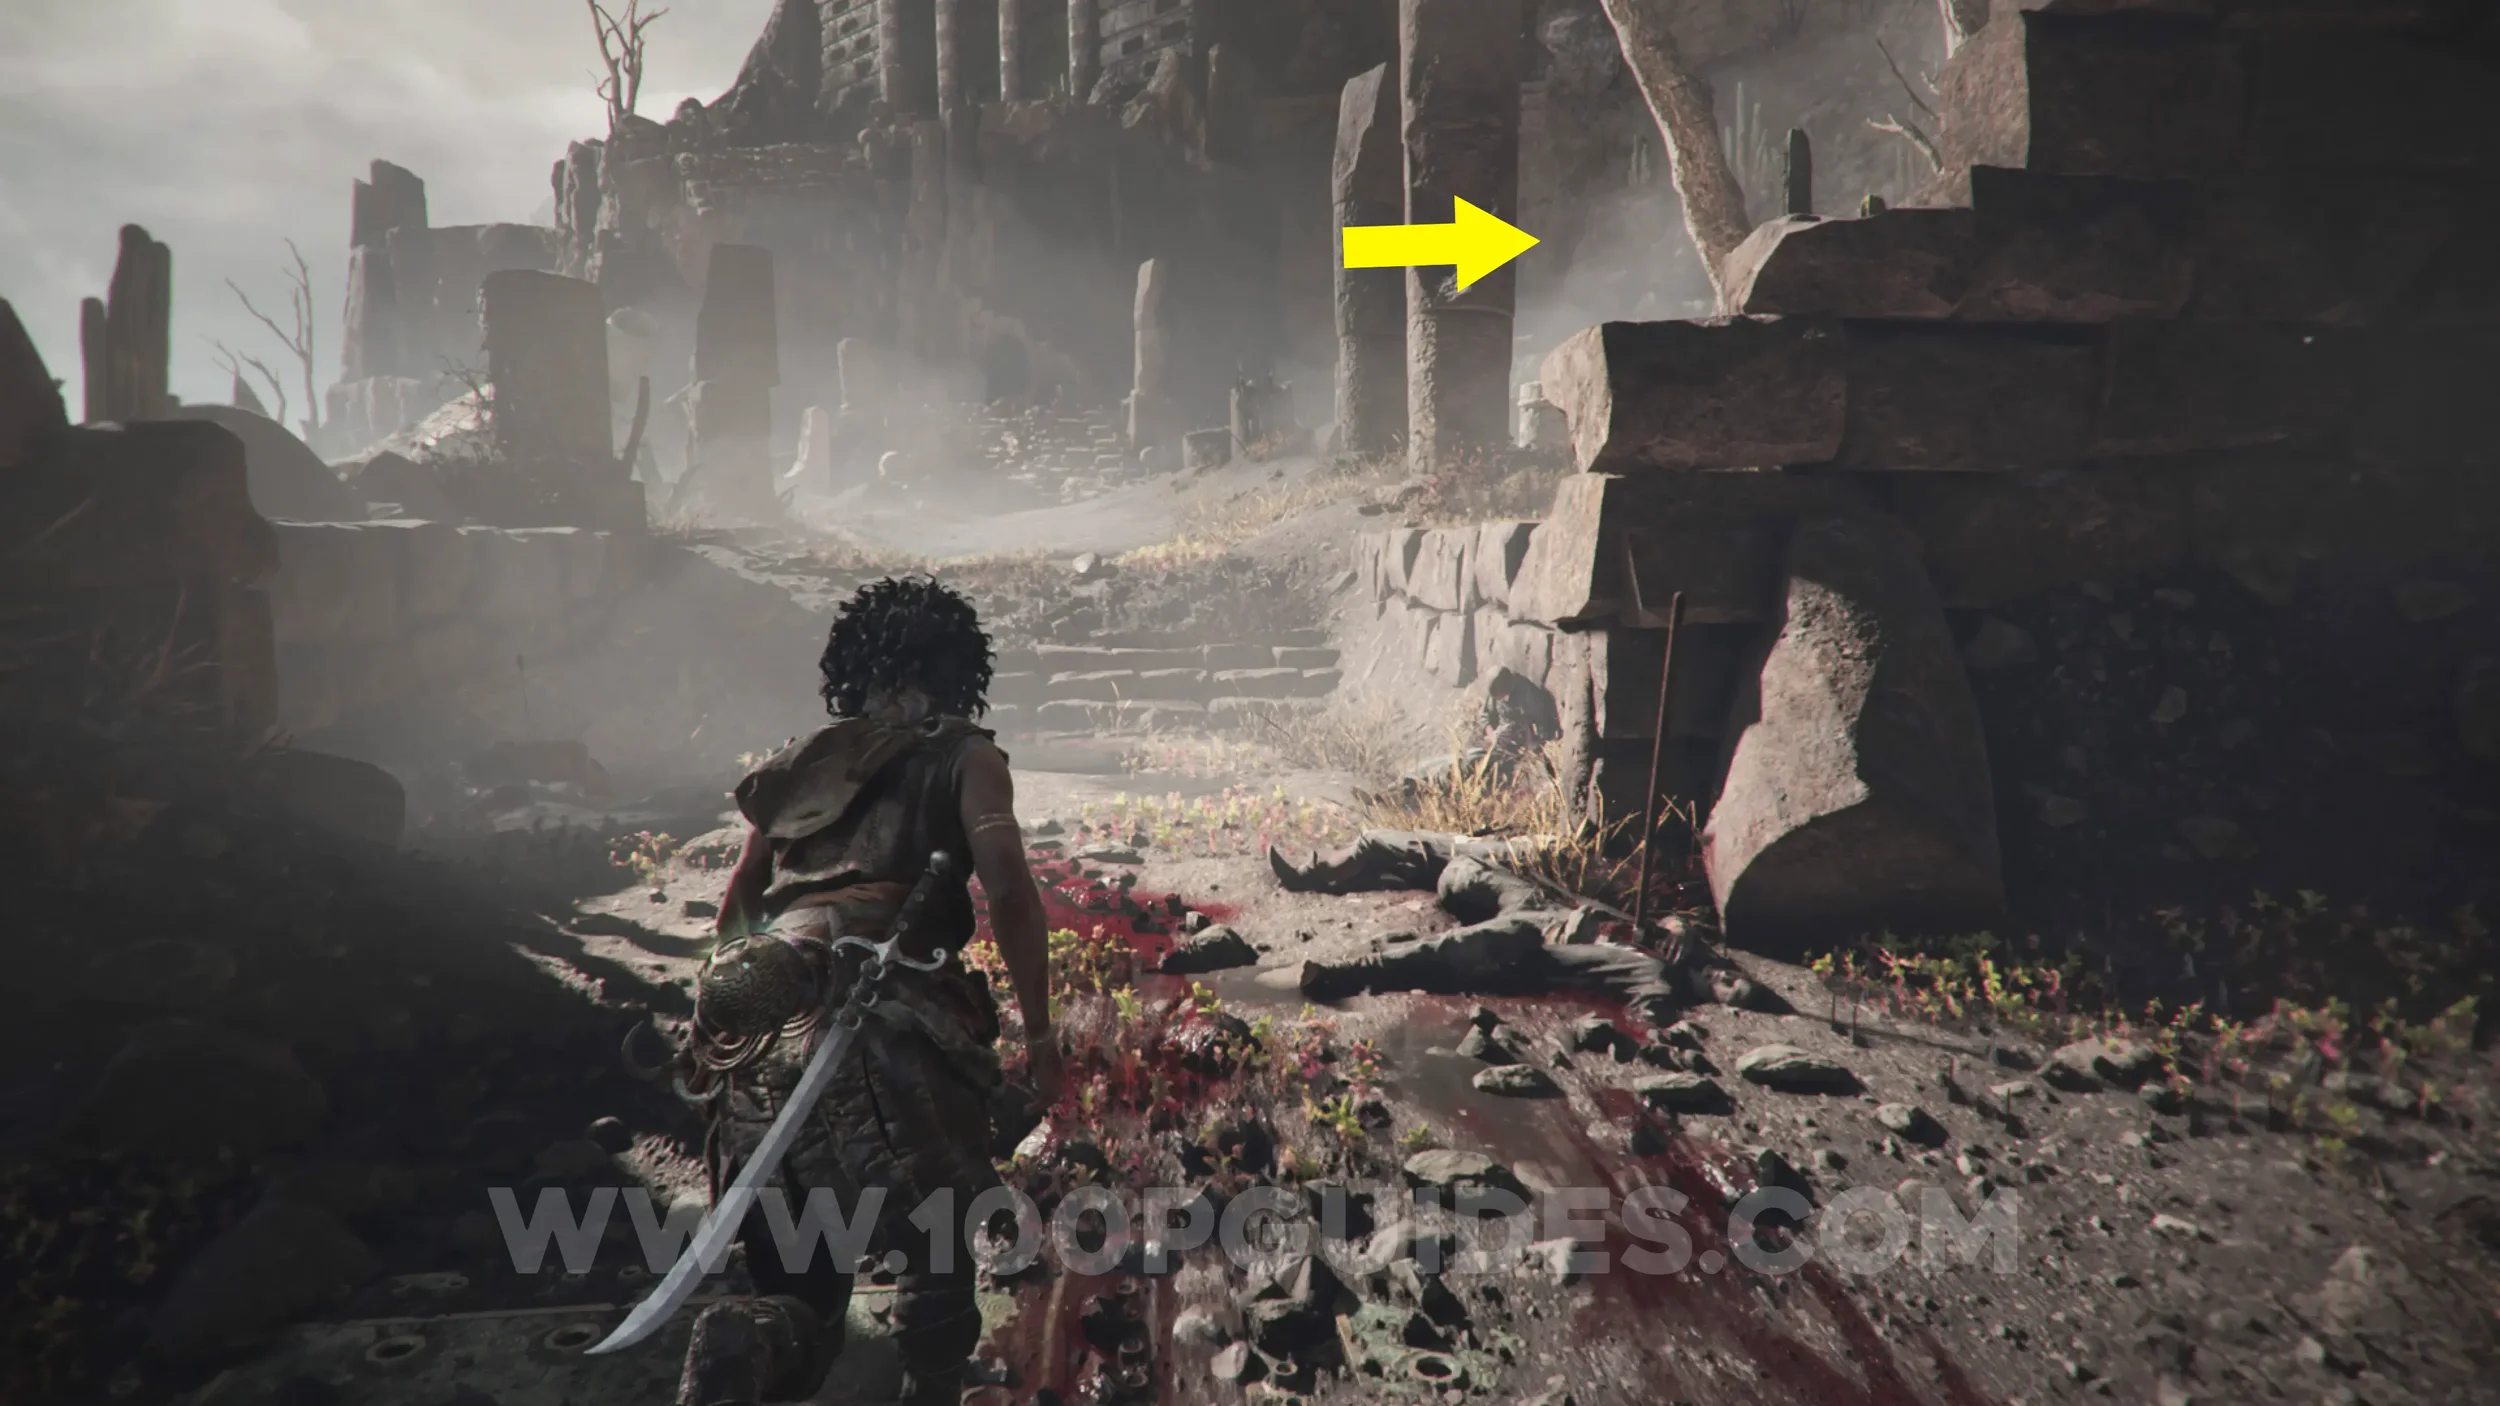
From the previous collectible, retrace your steps until you crouch under the rock again. Then, in the open area in front of you, find the collectible under the white trees.
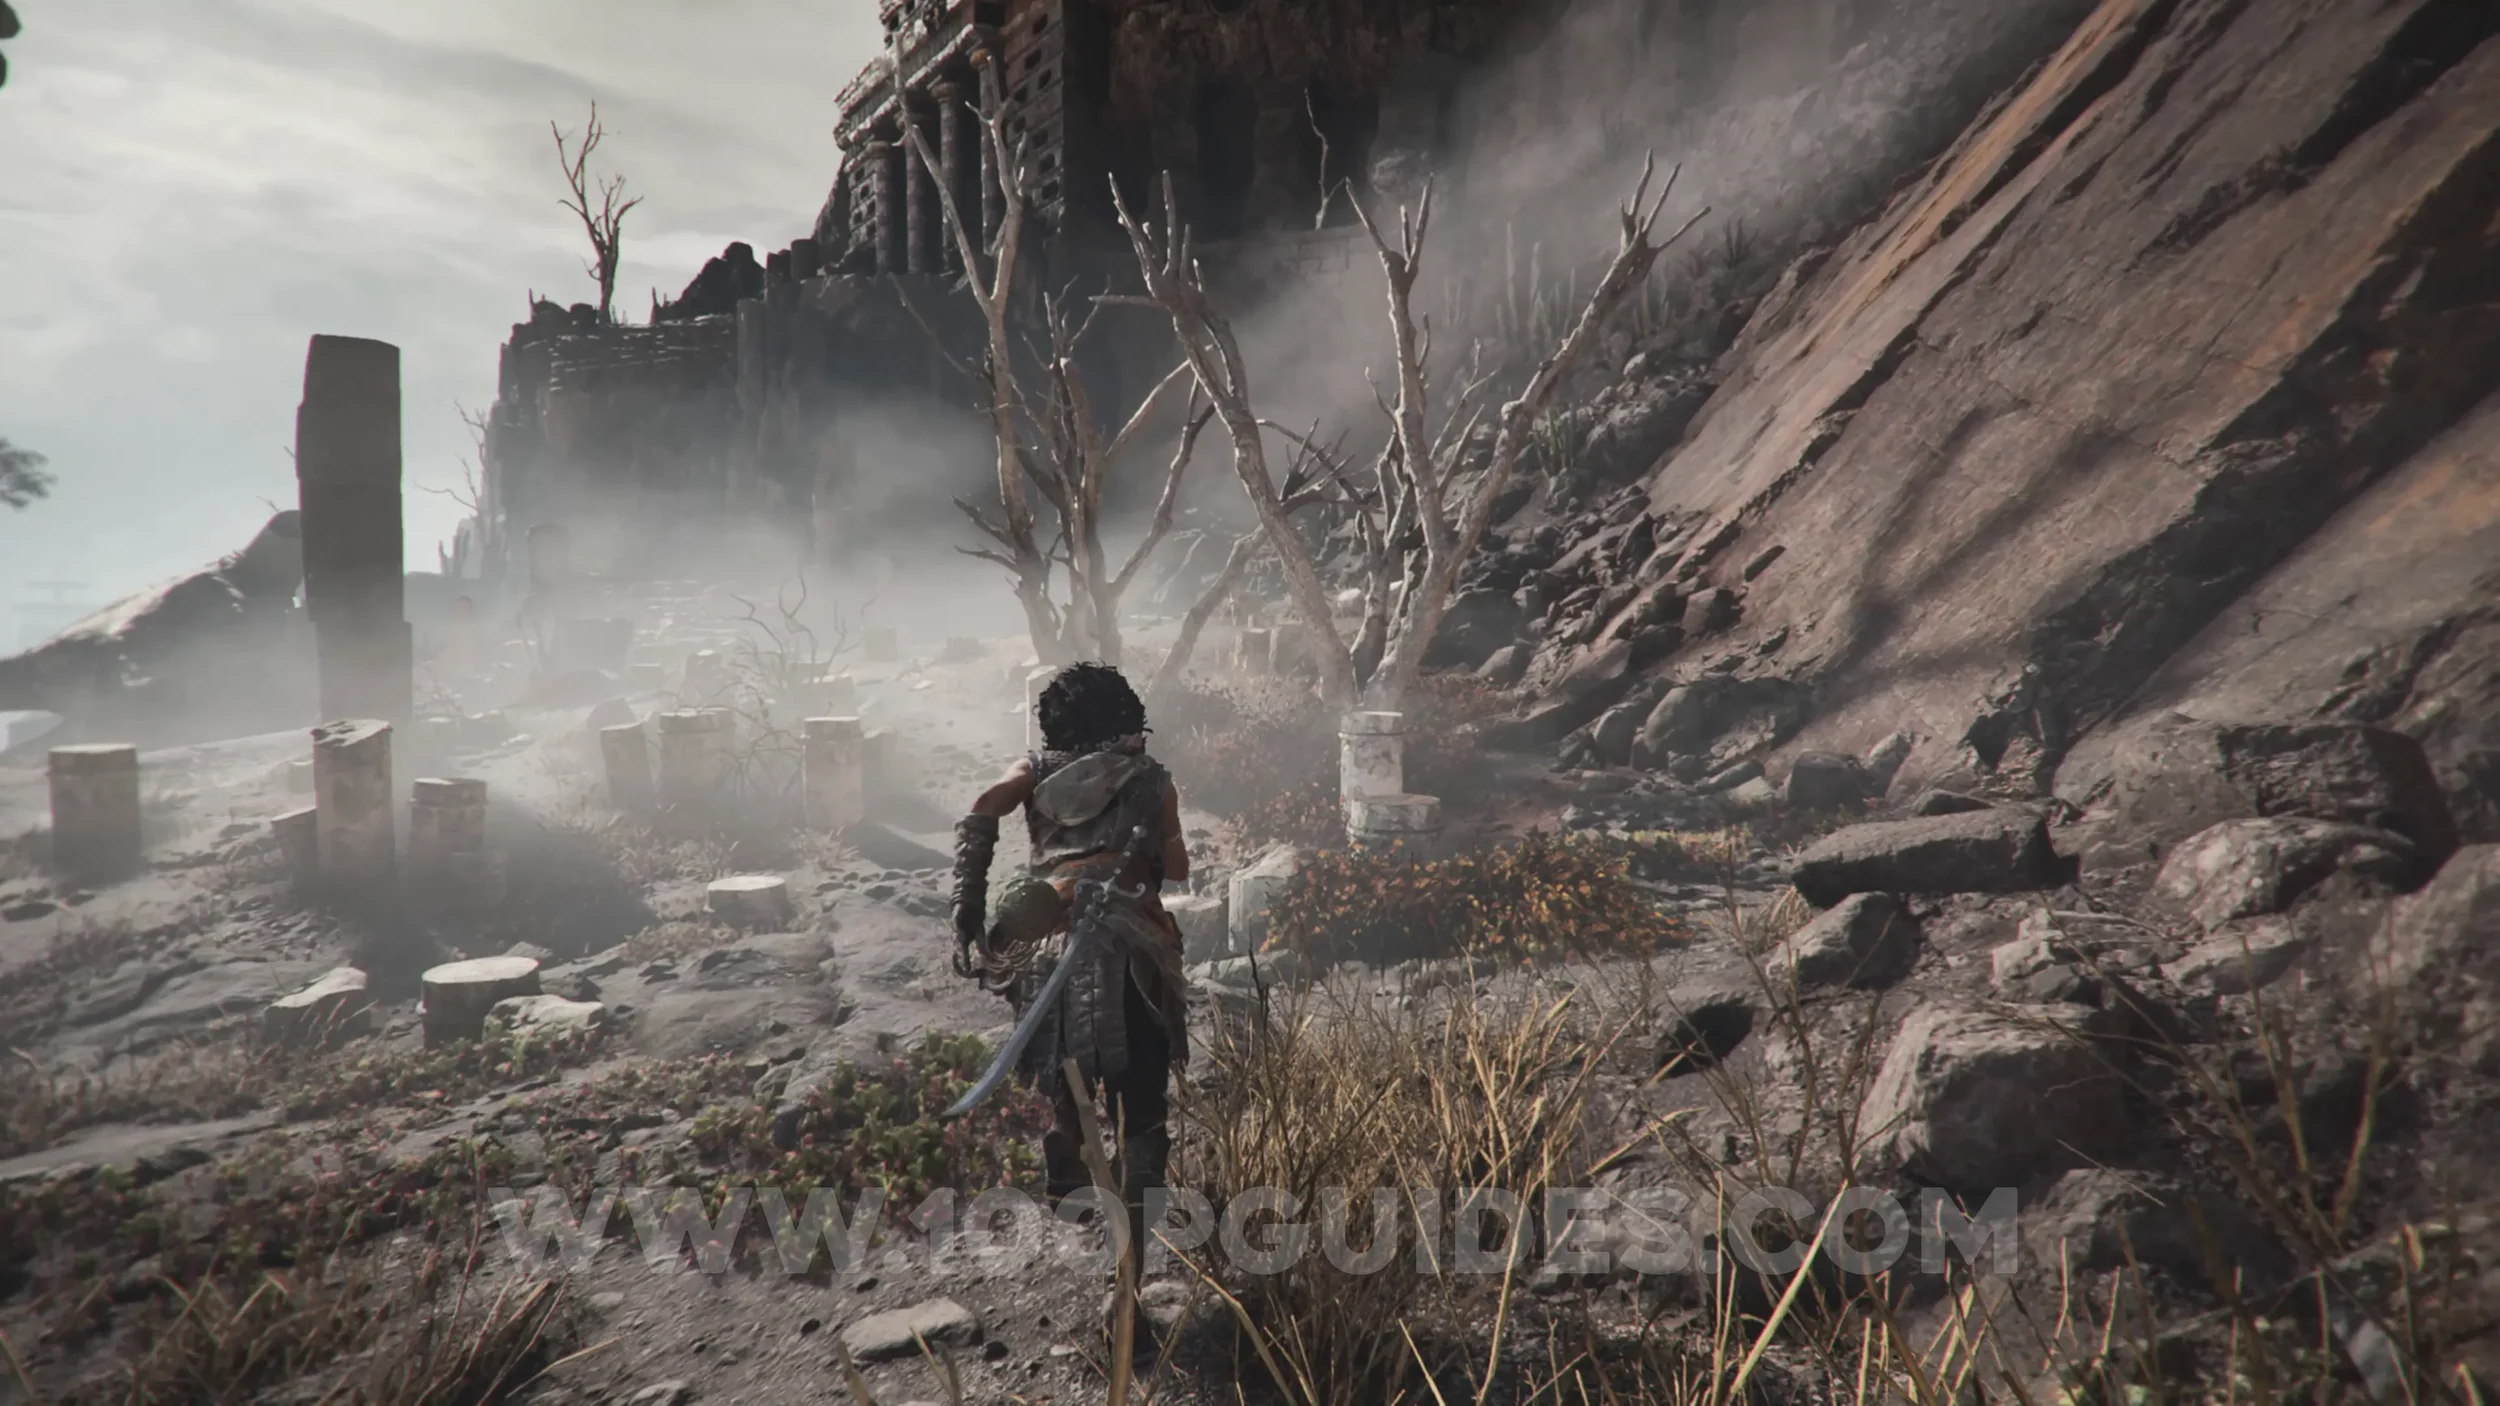
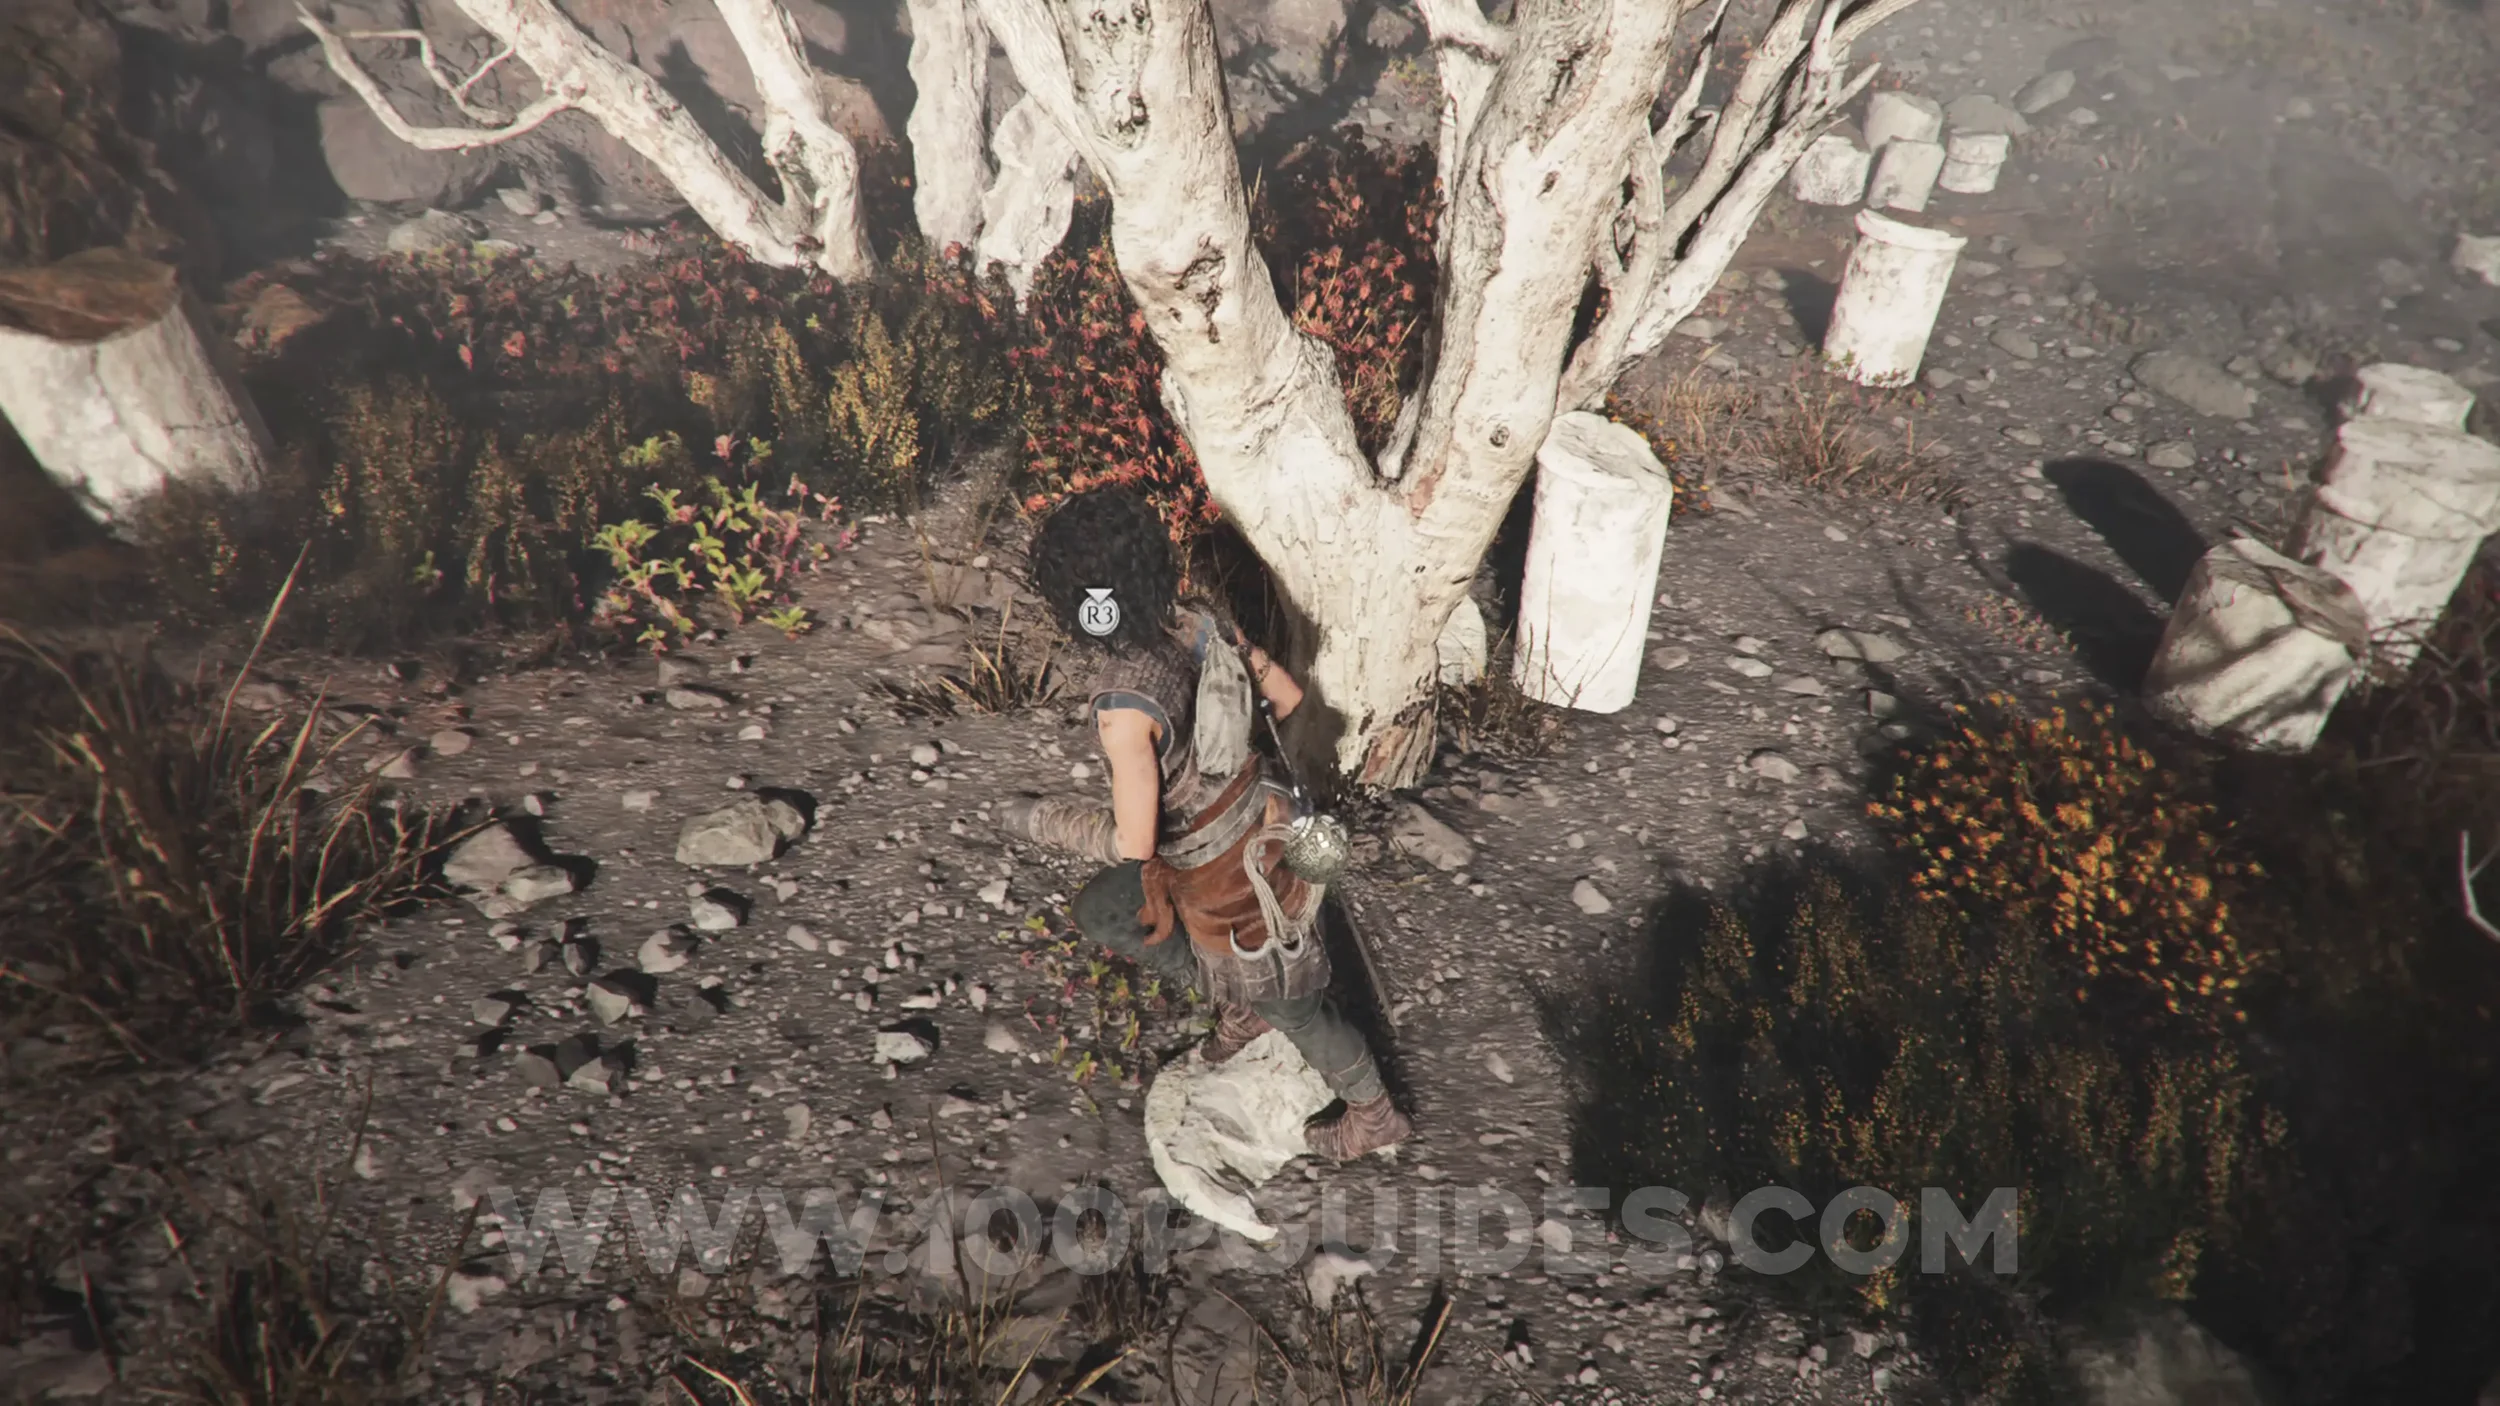
Blade: Khopesh
Chapter 7: Sub-Chapter 2.
From the previous collectible, cross over to the other side of the path and look for a metal plate on the ground. Stand on it and use the sphere to aim the tri-colored lasers at the gems on the skull statue to open the door. You'll find the blade in the chest inside.
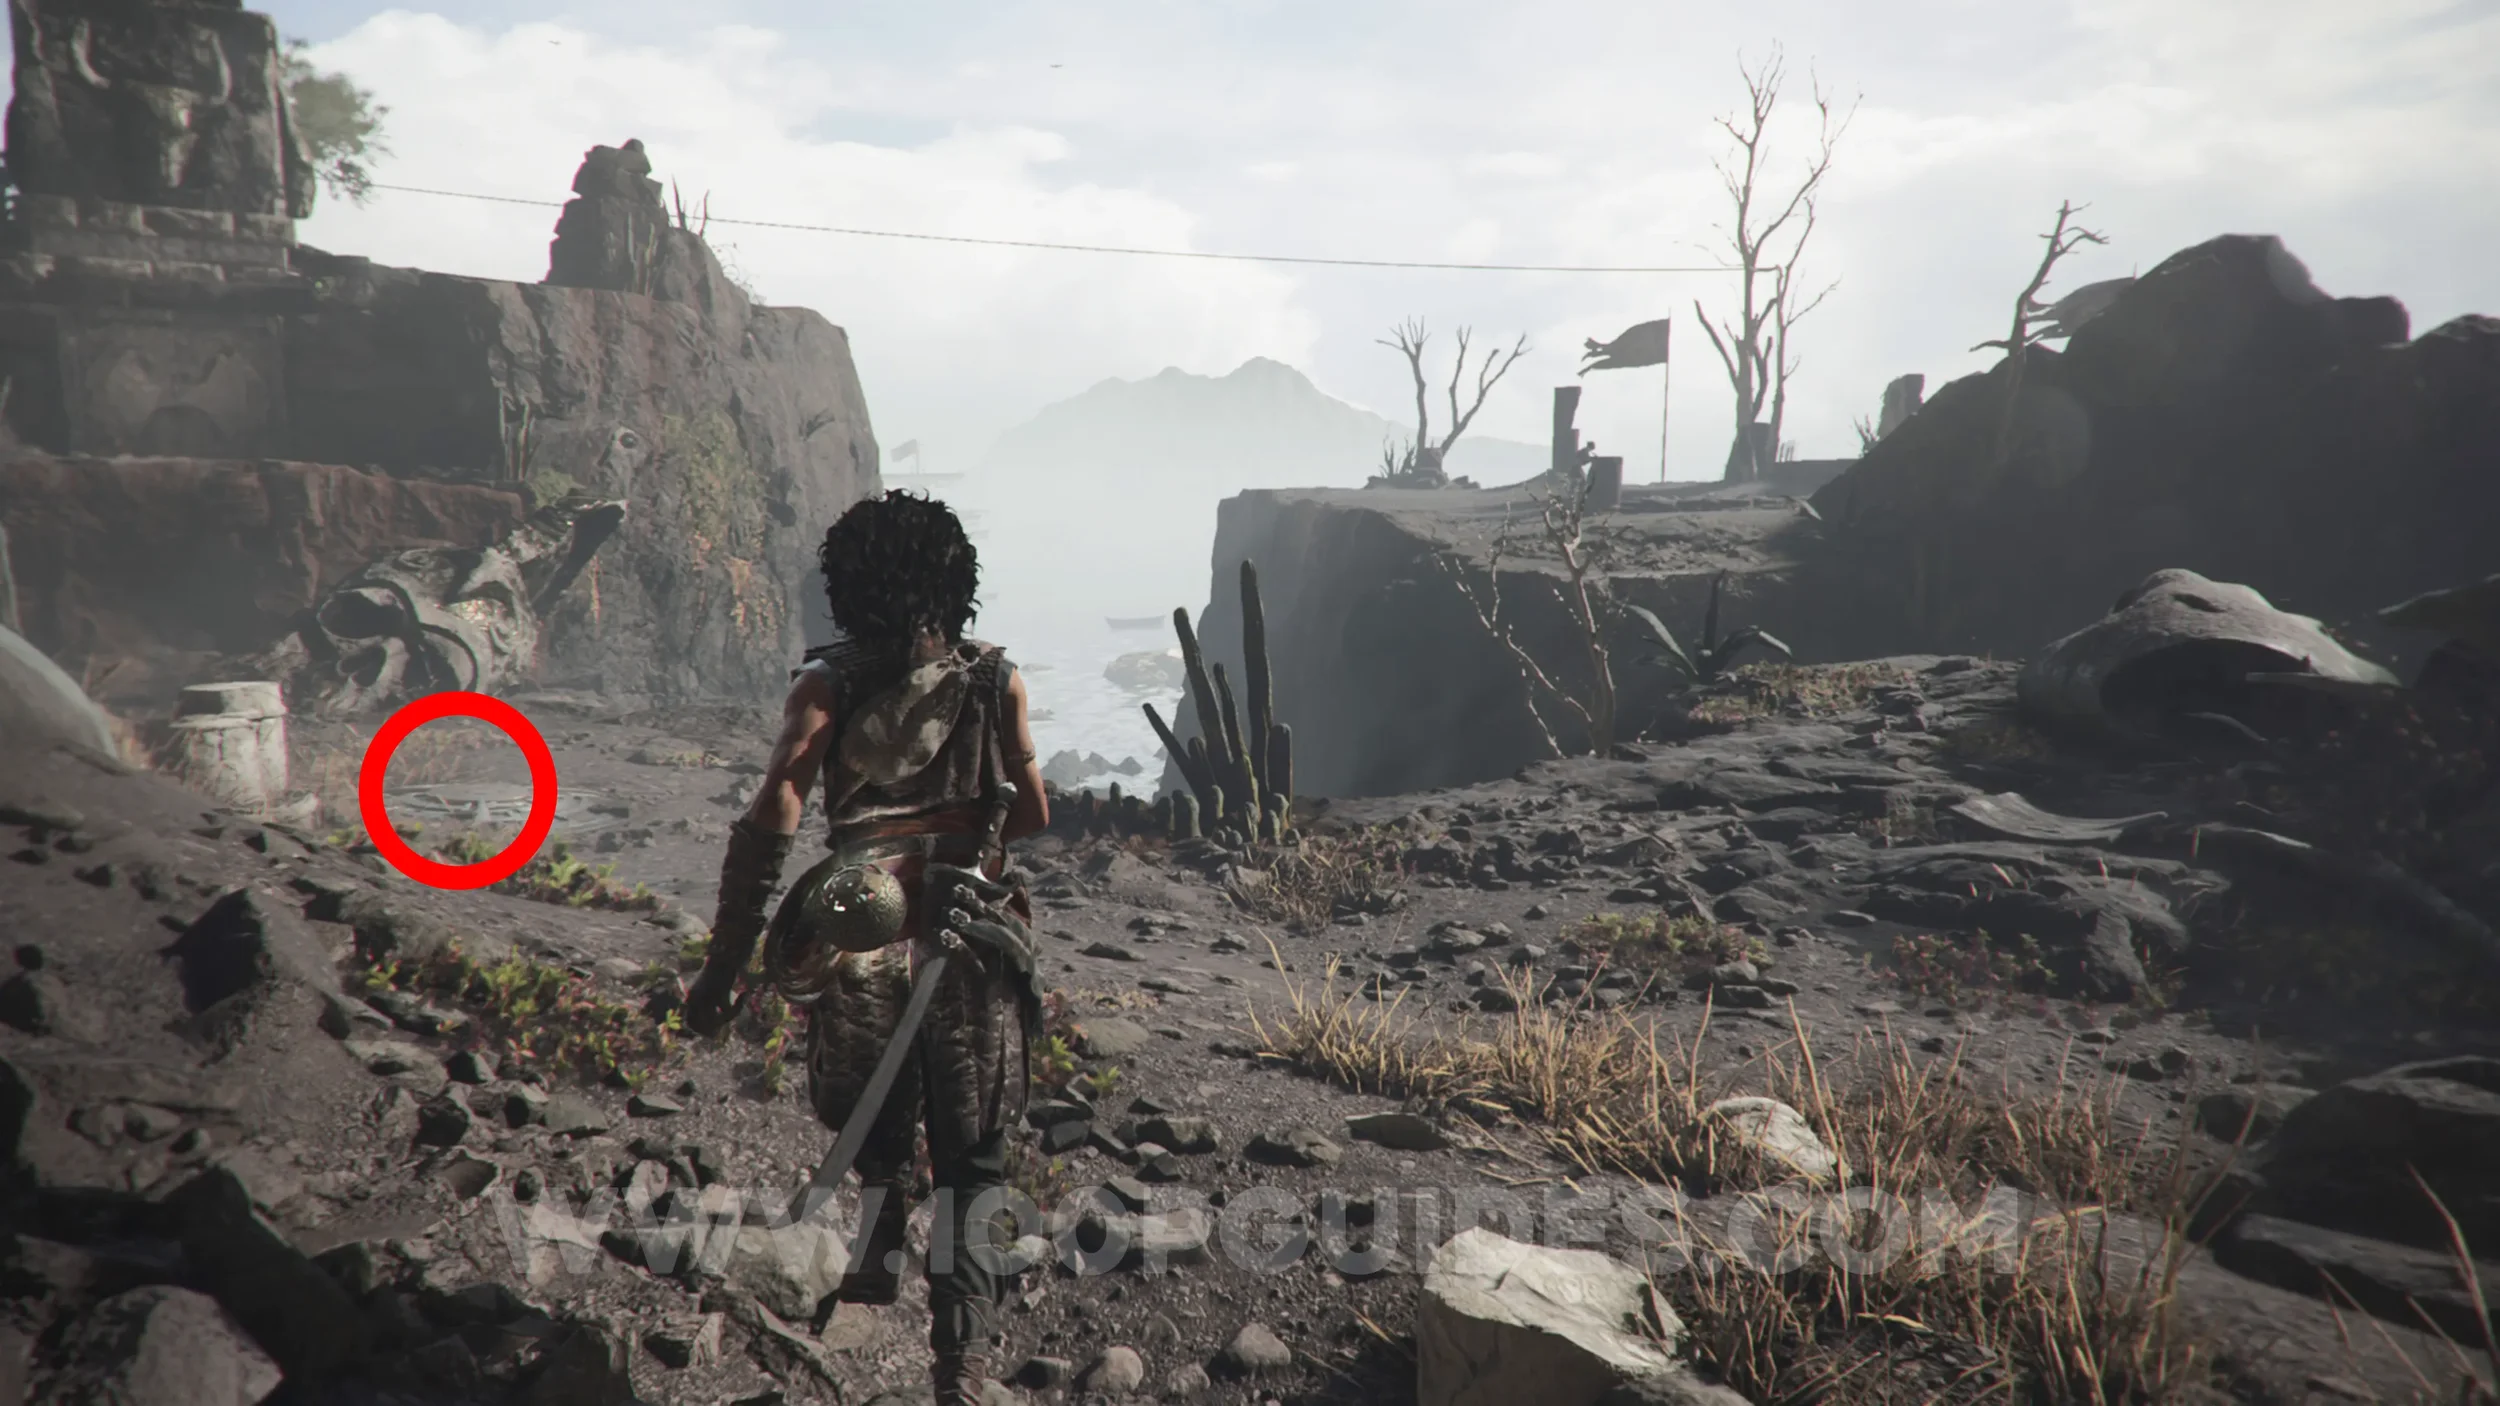
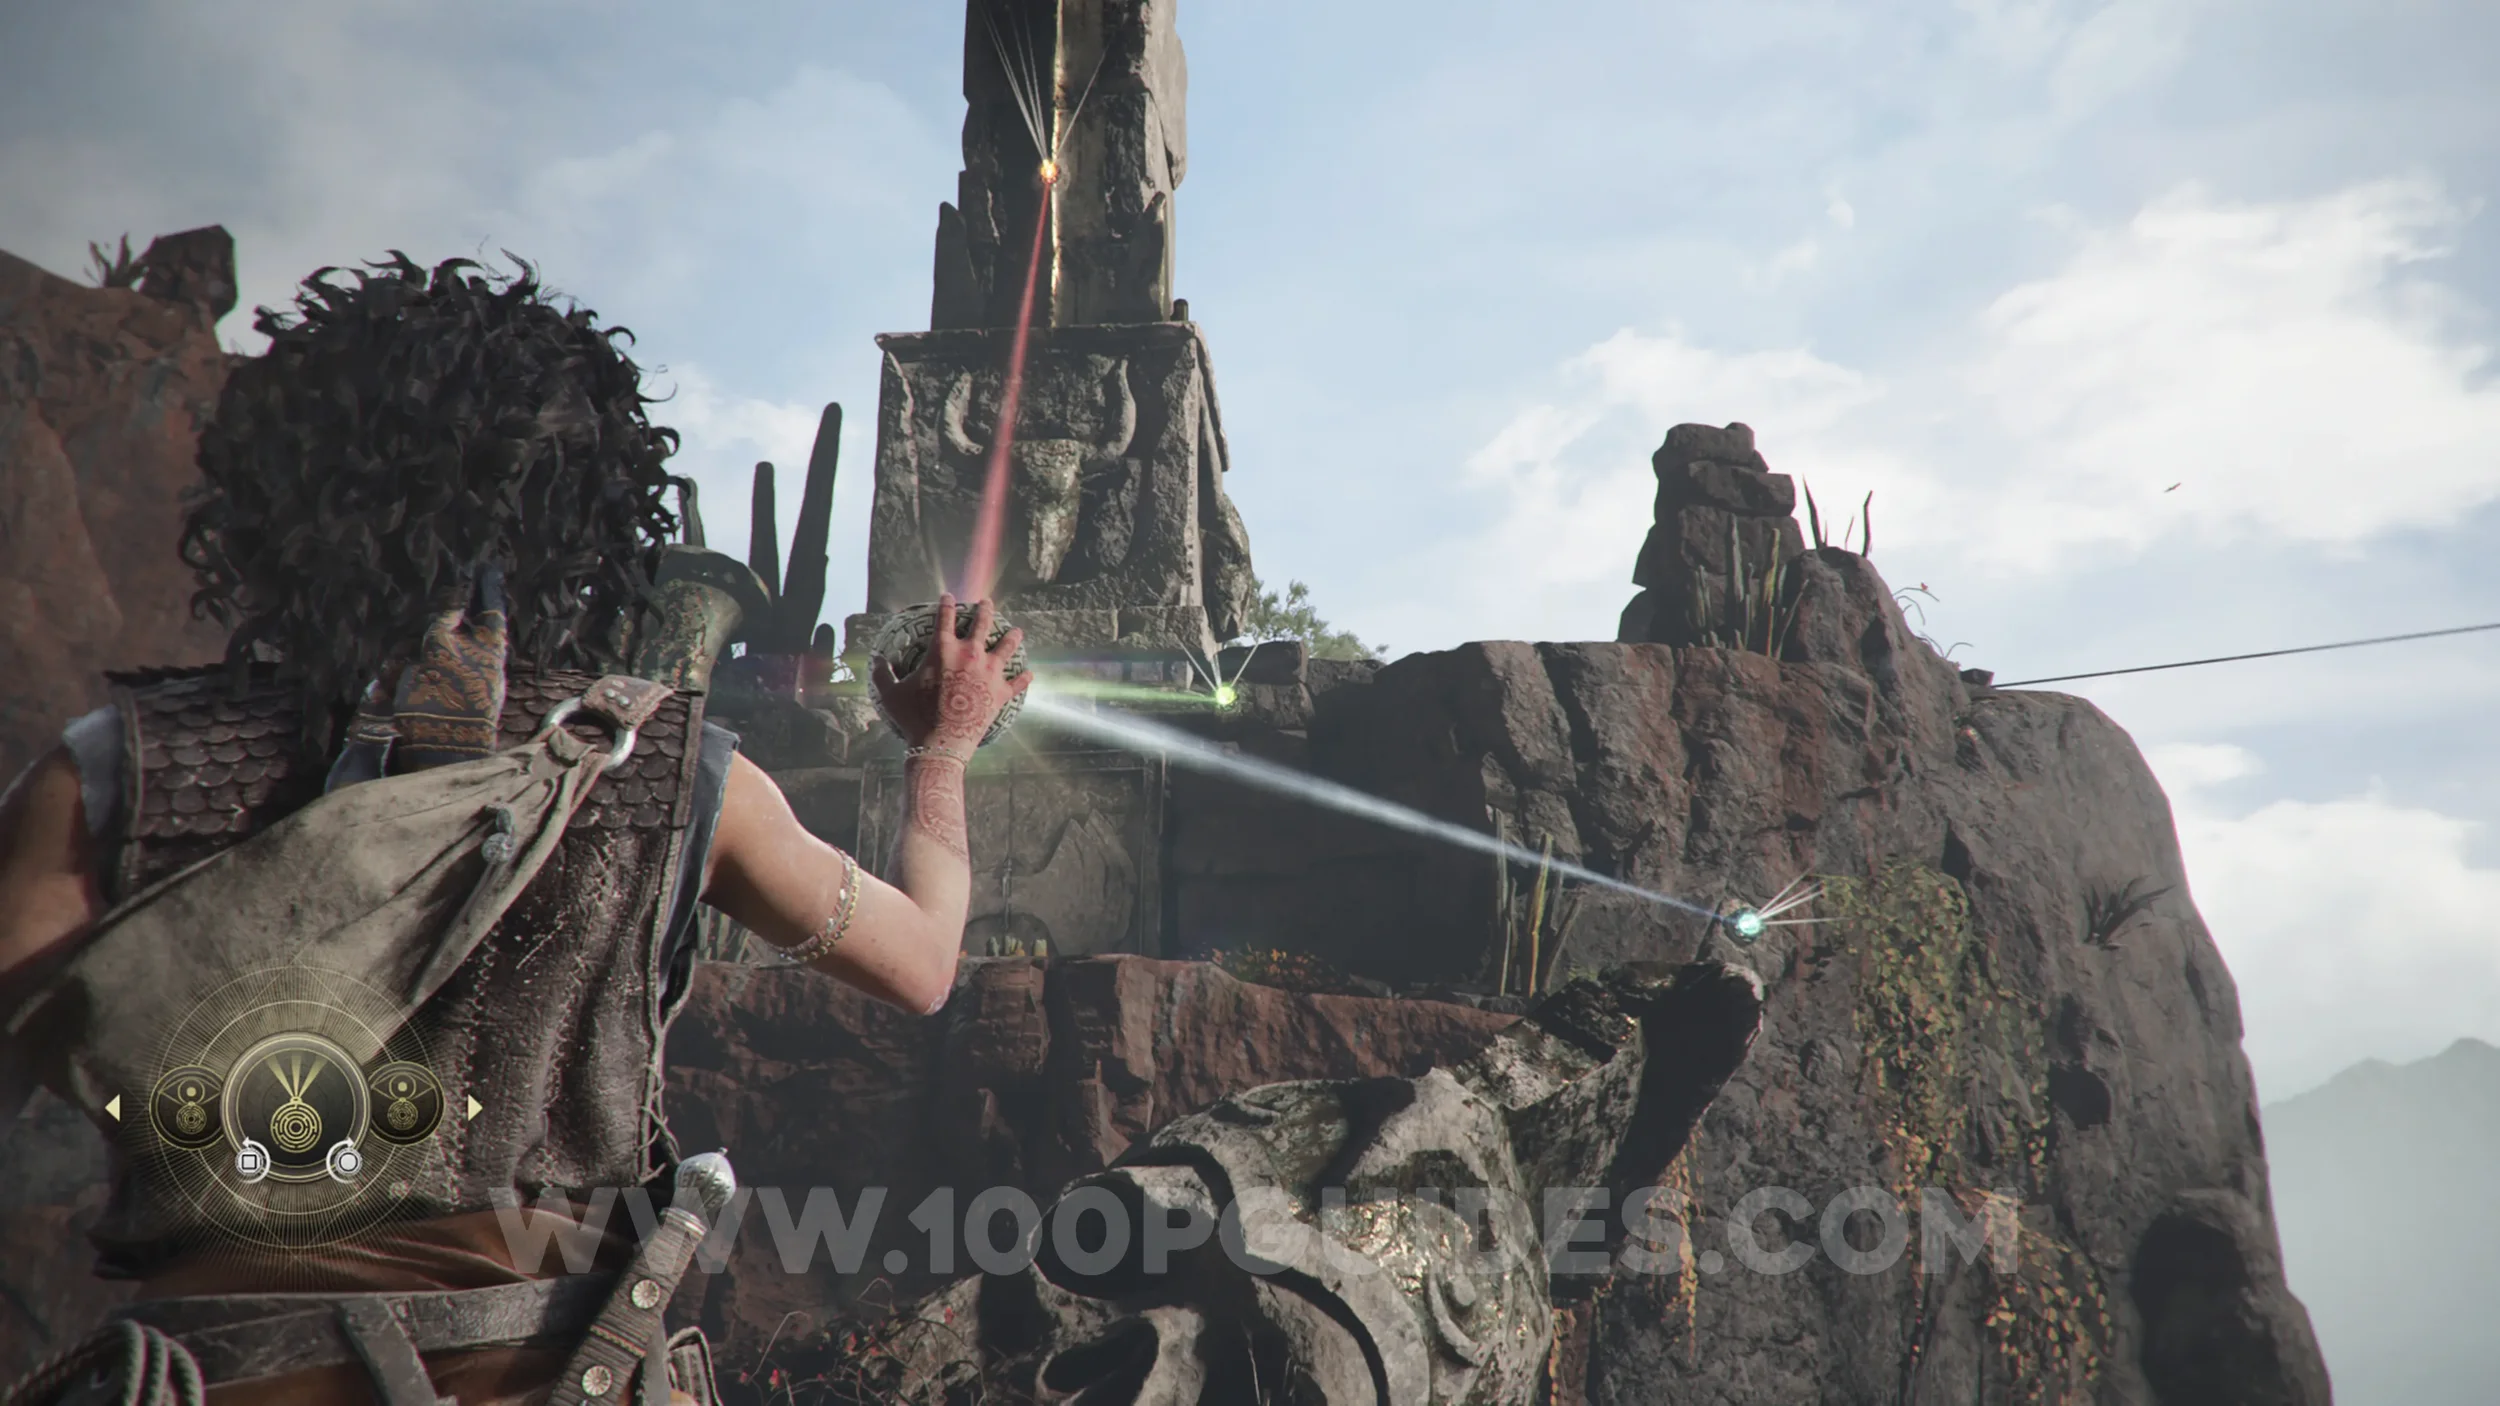
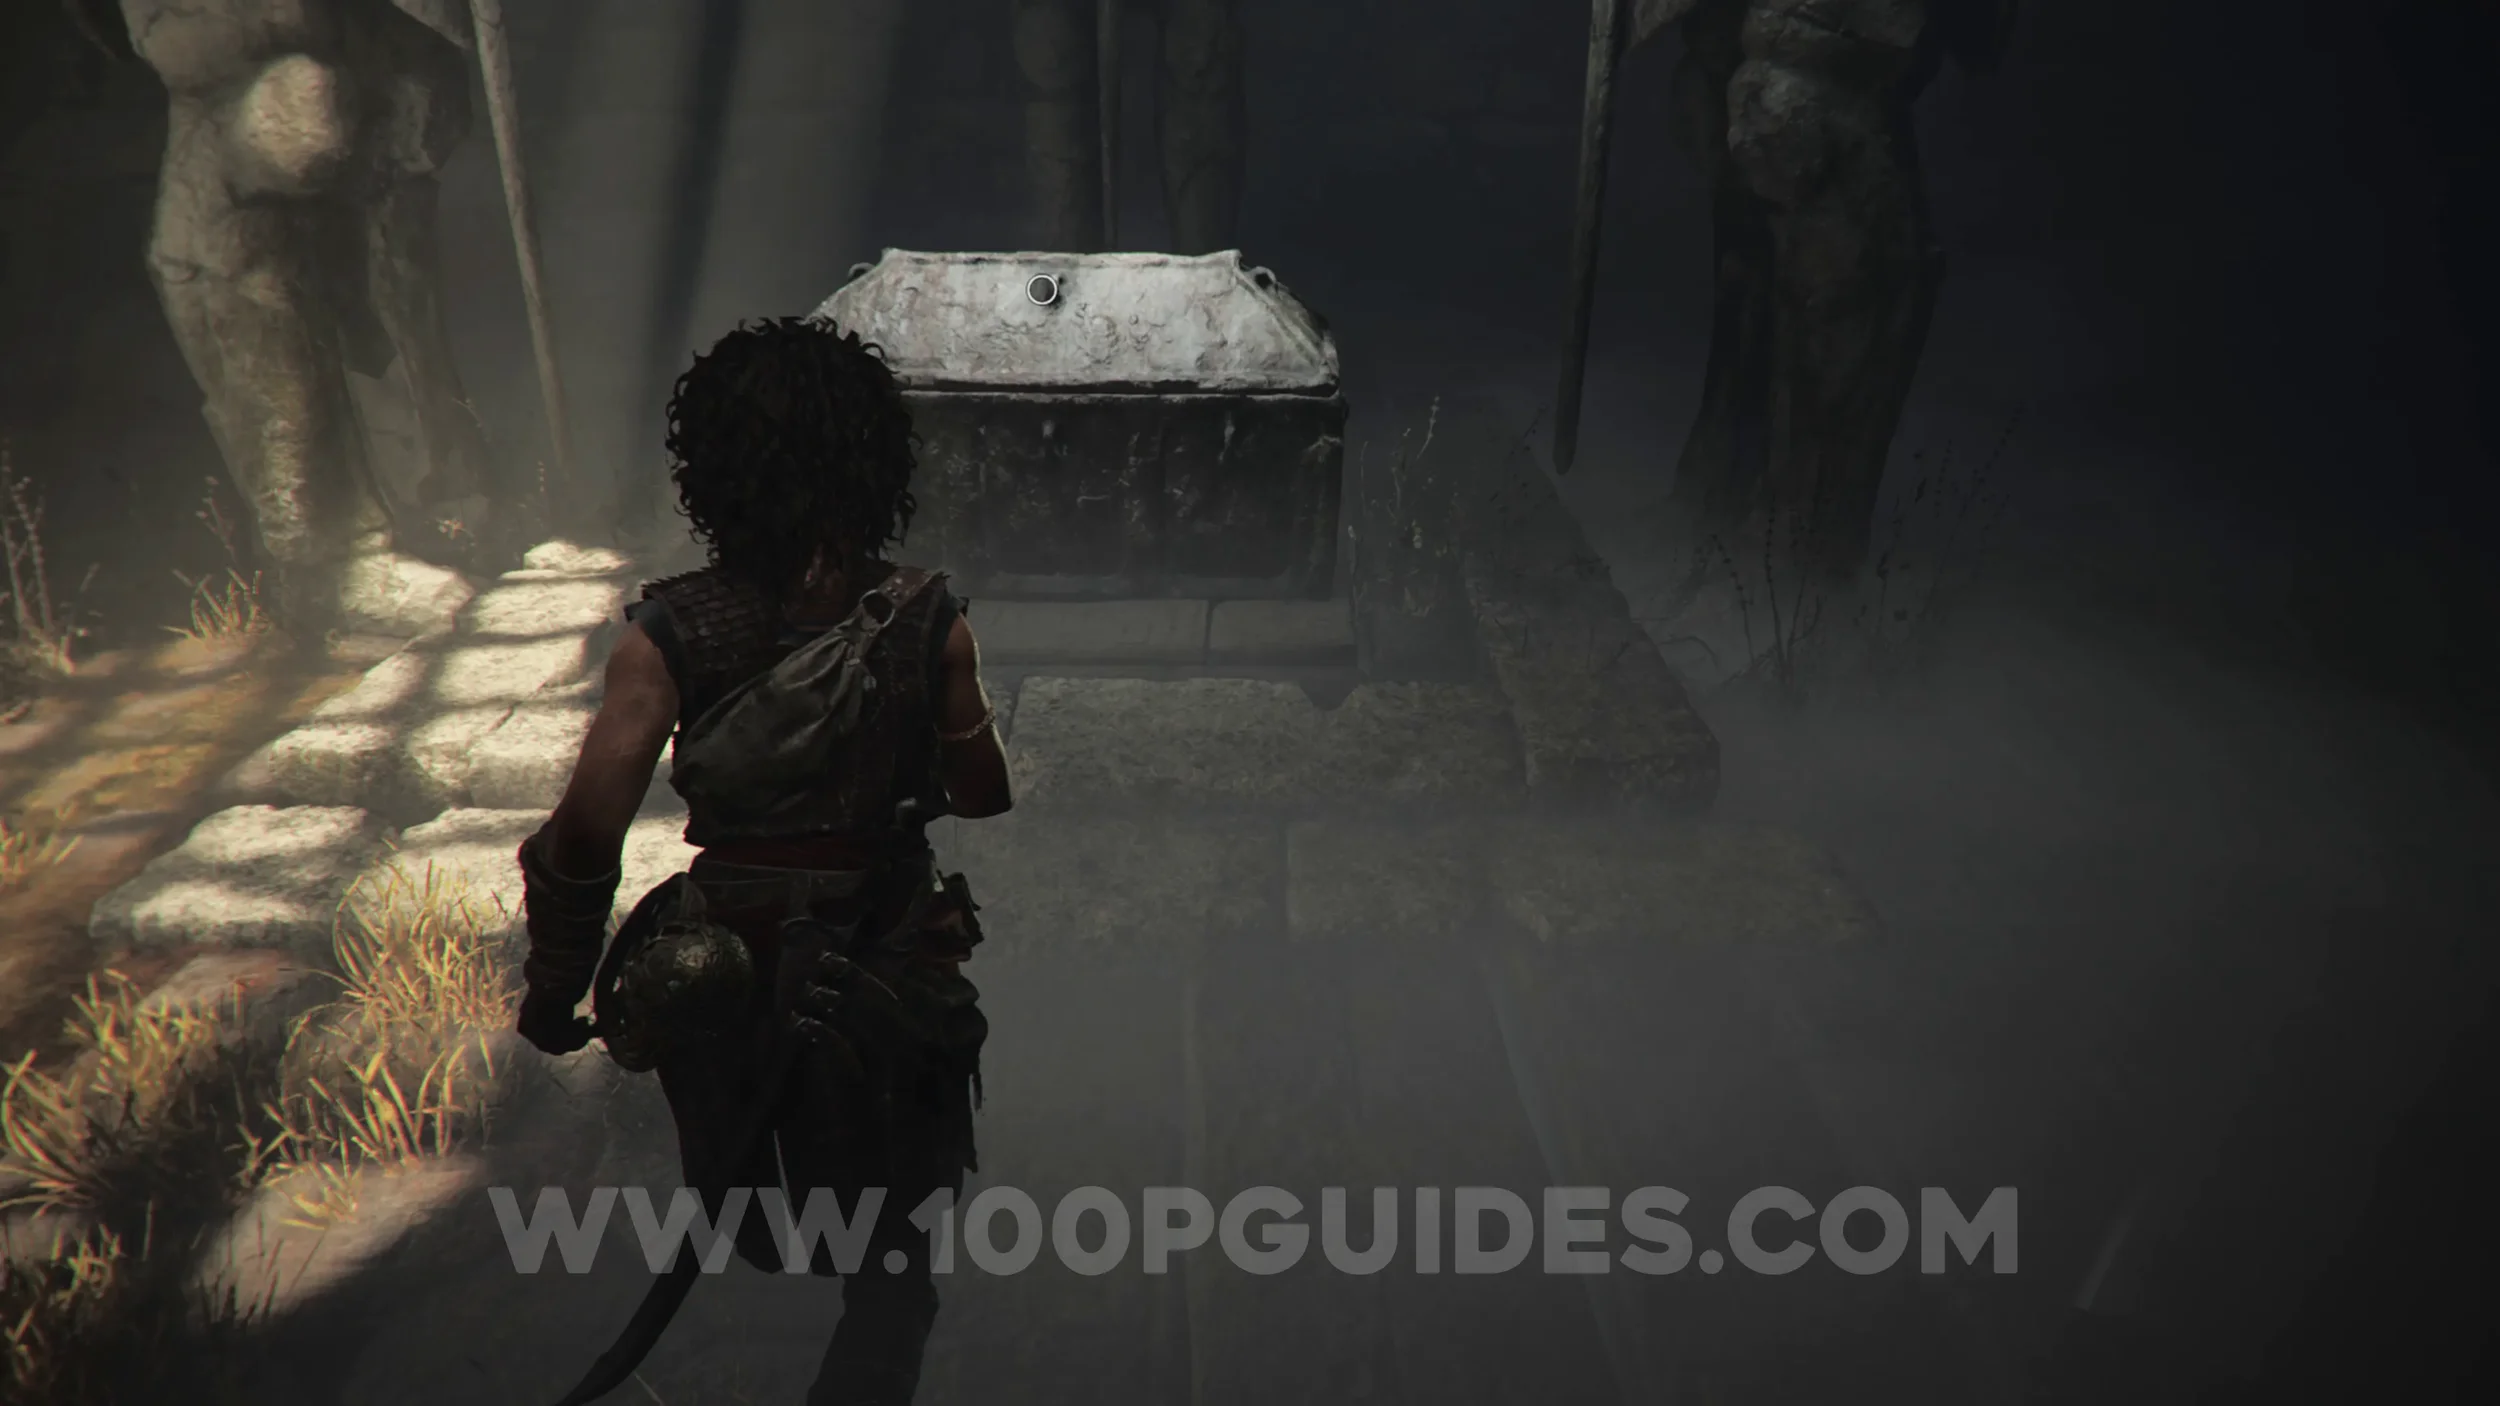
Resonance Point
Chapter 7: Sub-Chapter 2.
In the same room as the blade.
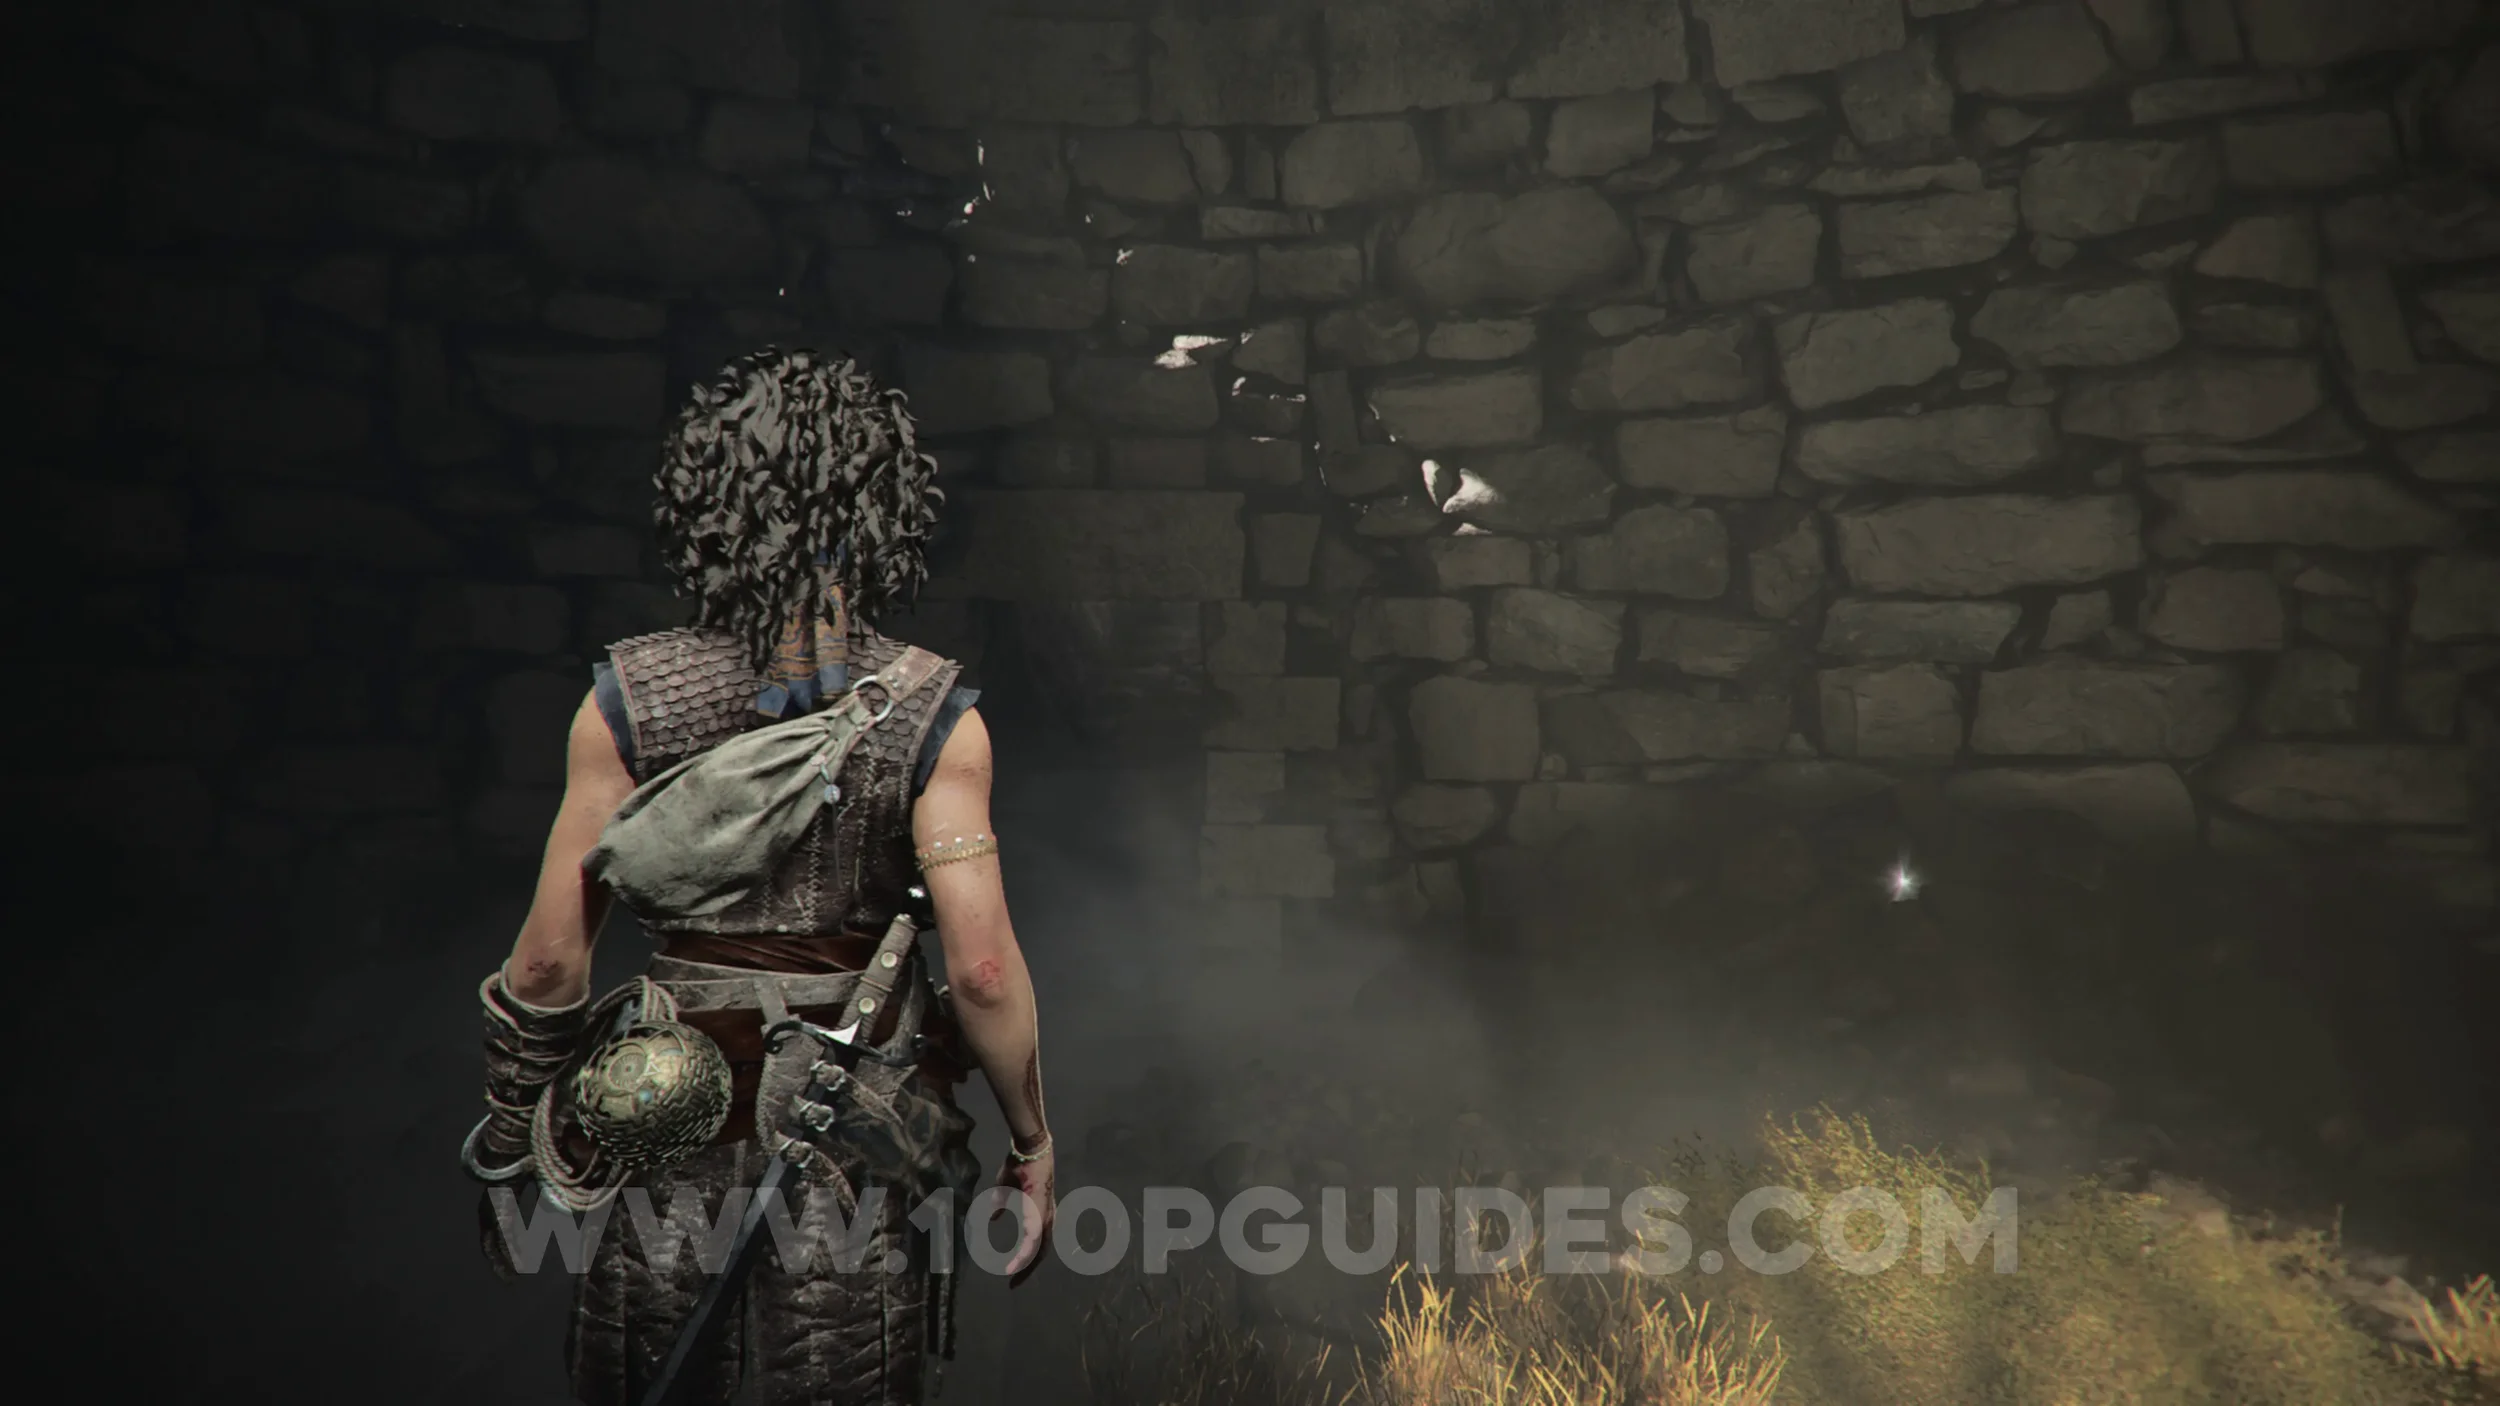
Resonance Point x2
Chapter 7: Sub-Chapter 2.
Obtained automatically after defeating the next group of enemies on the story path.
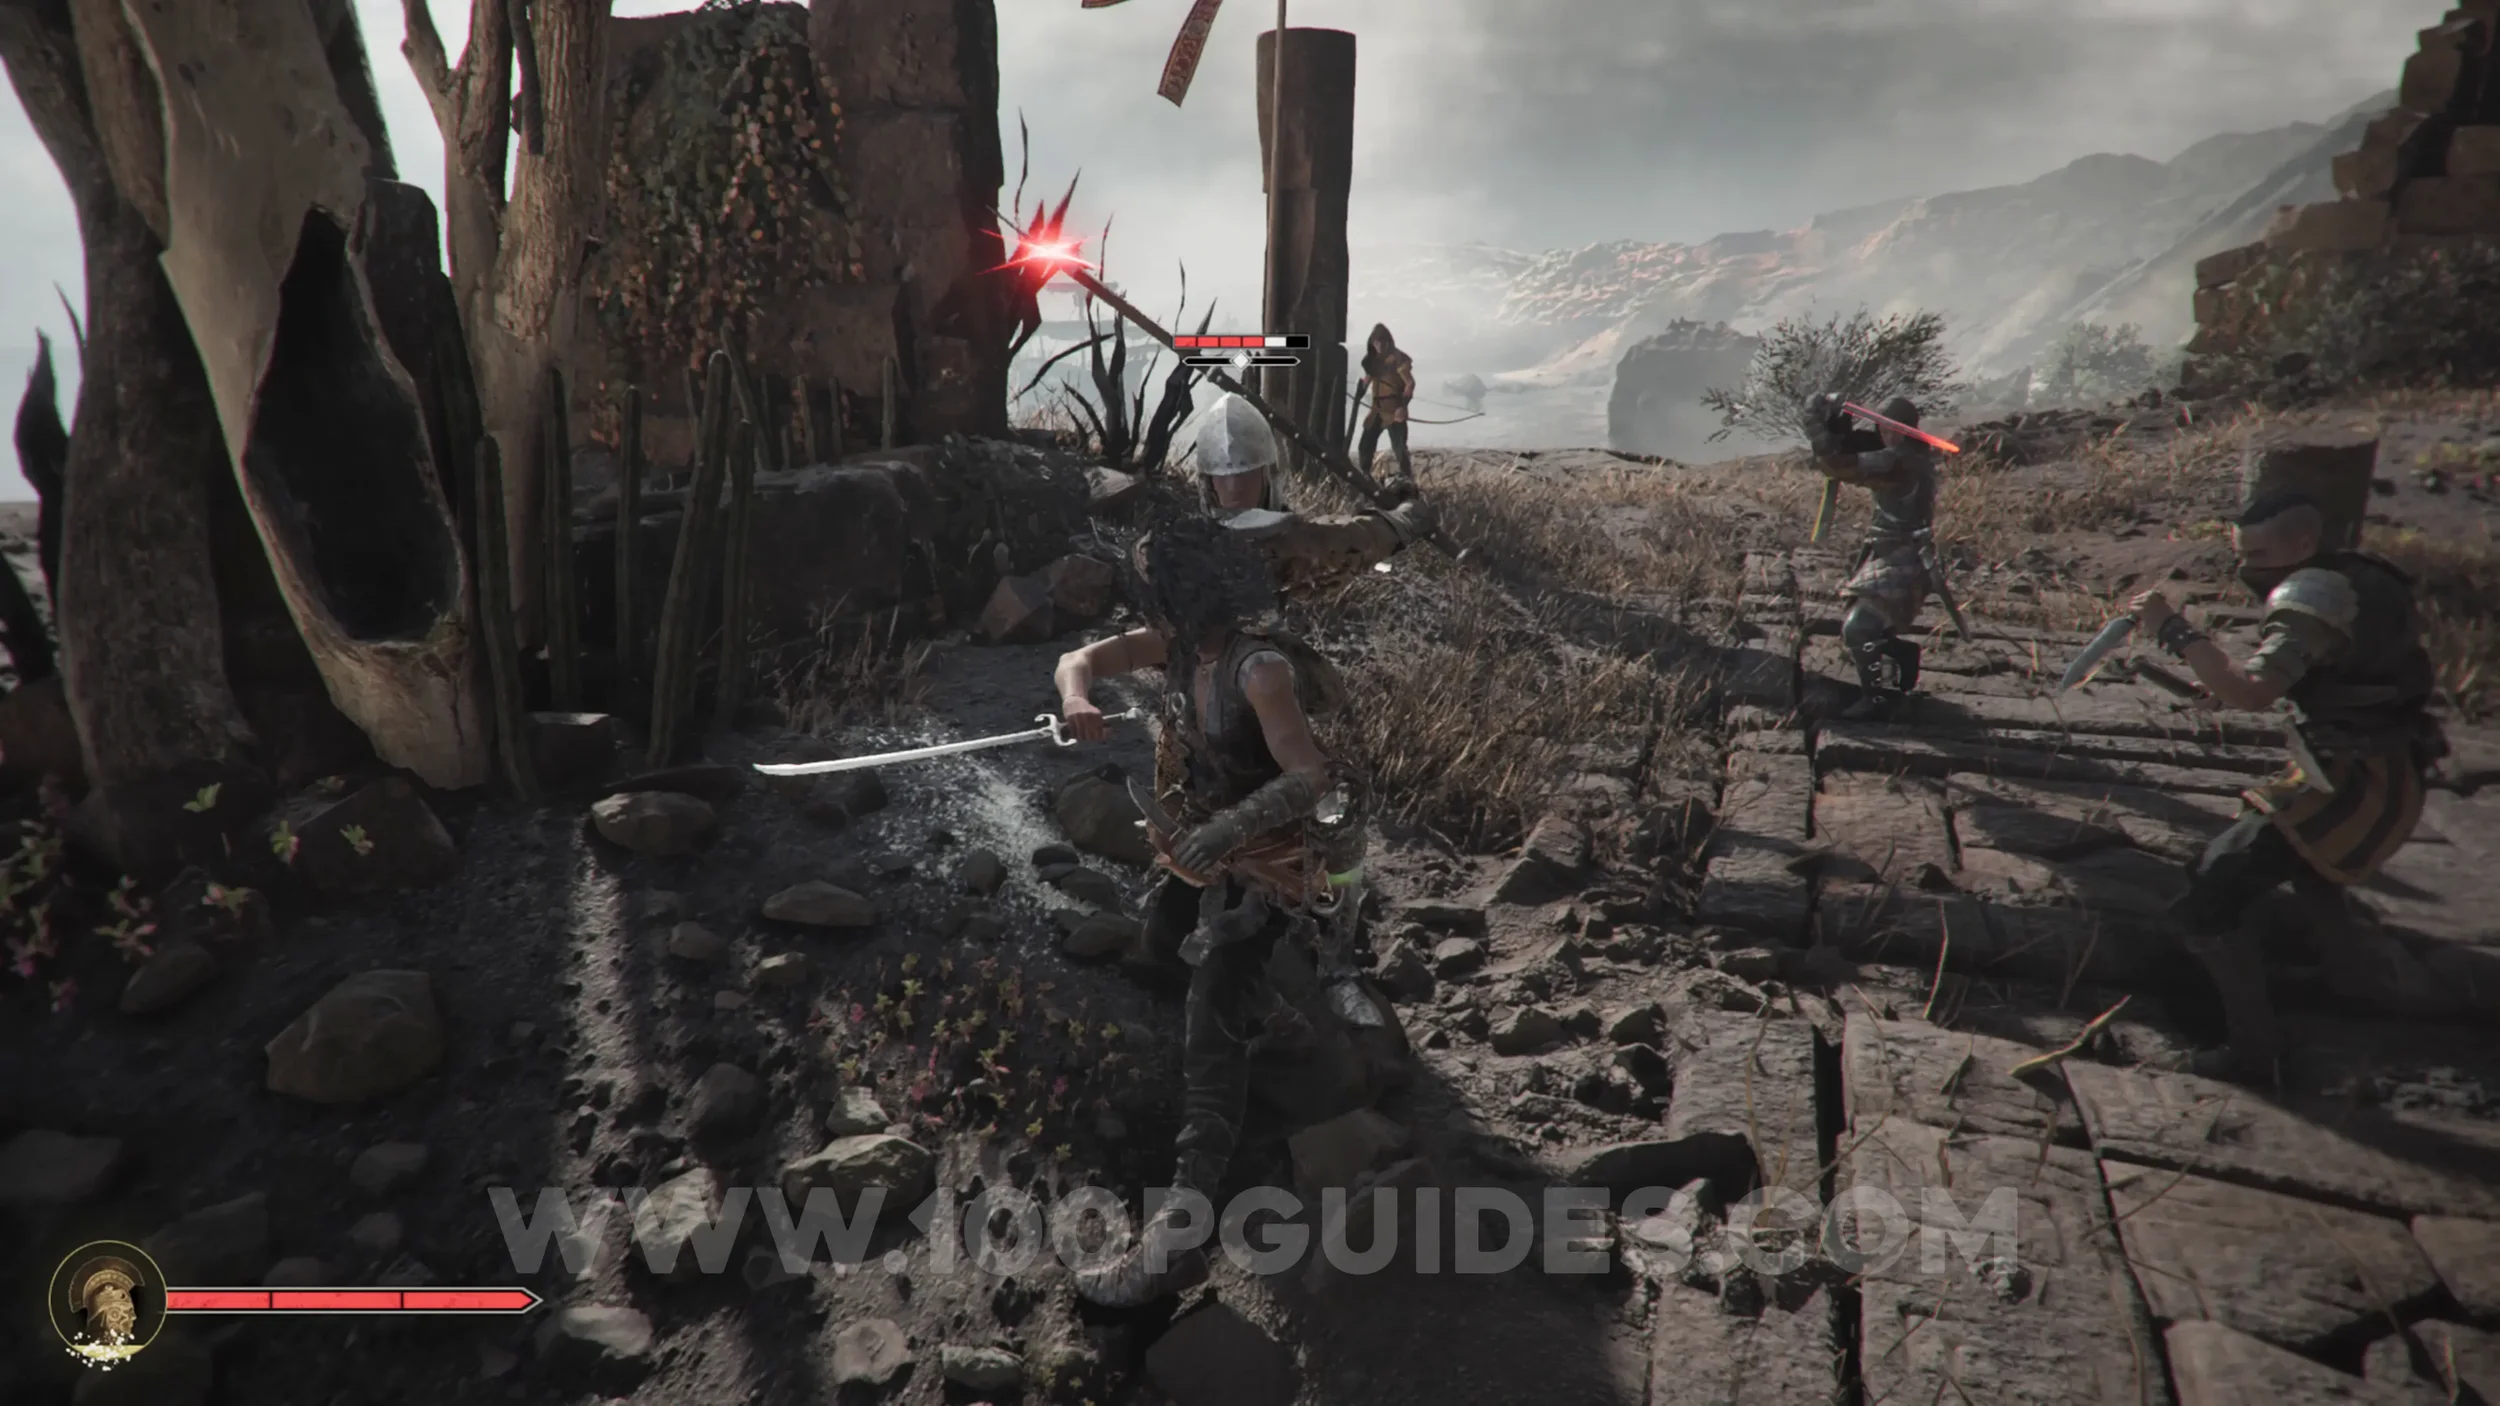
Resonance Point
Chapter 7: Sub-Chapter 2.
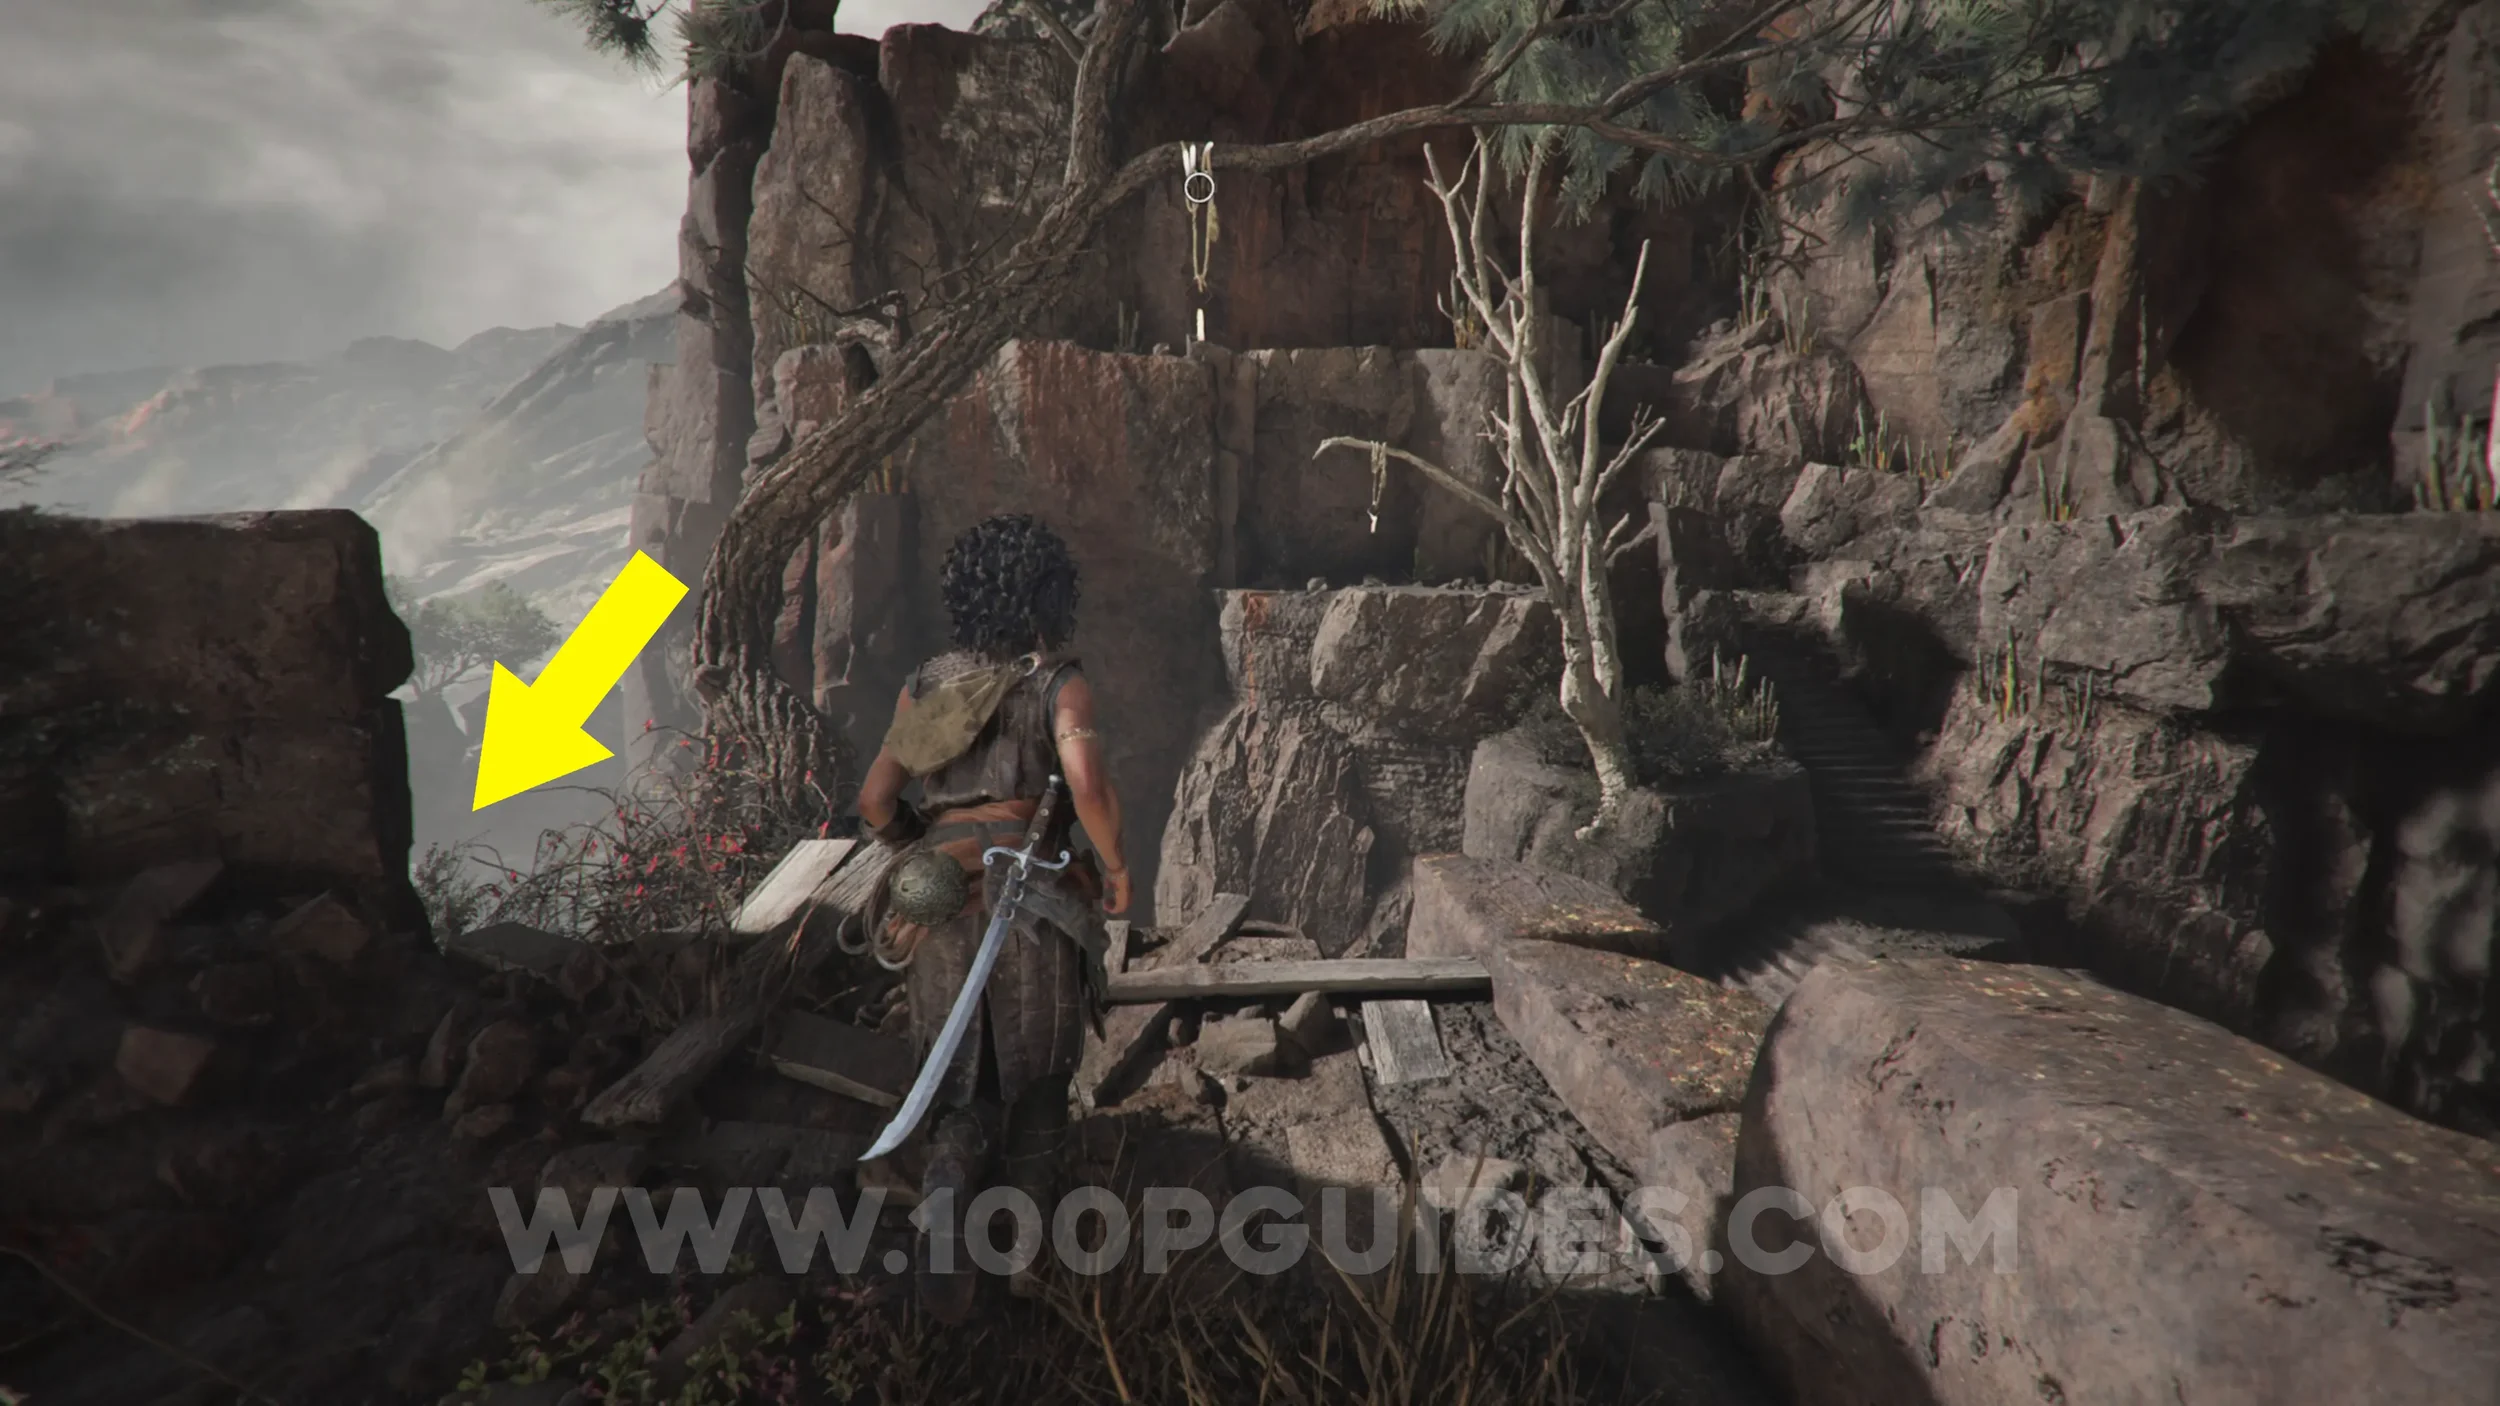
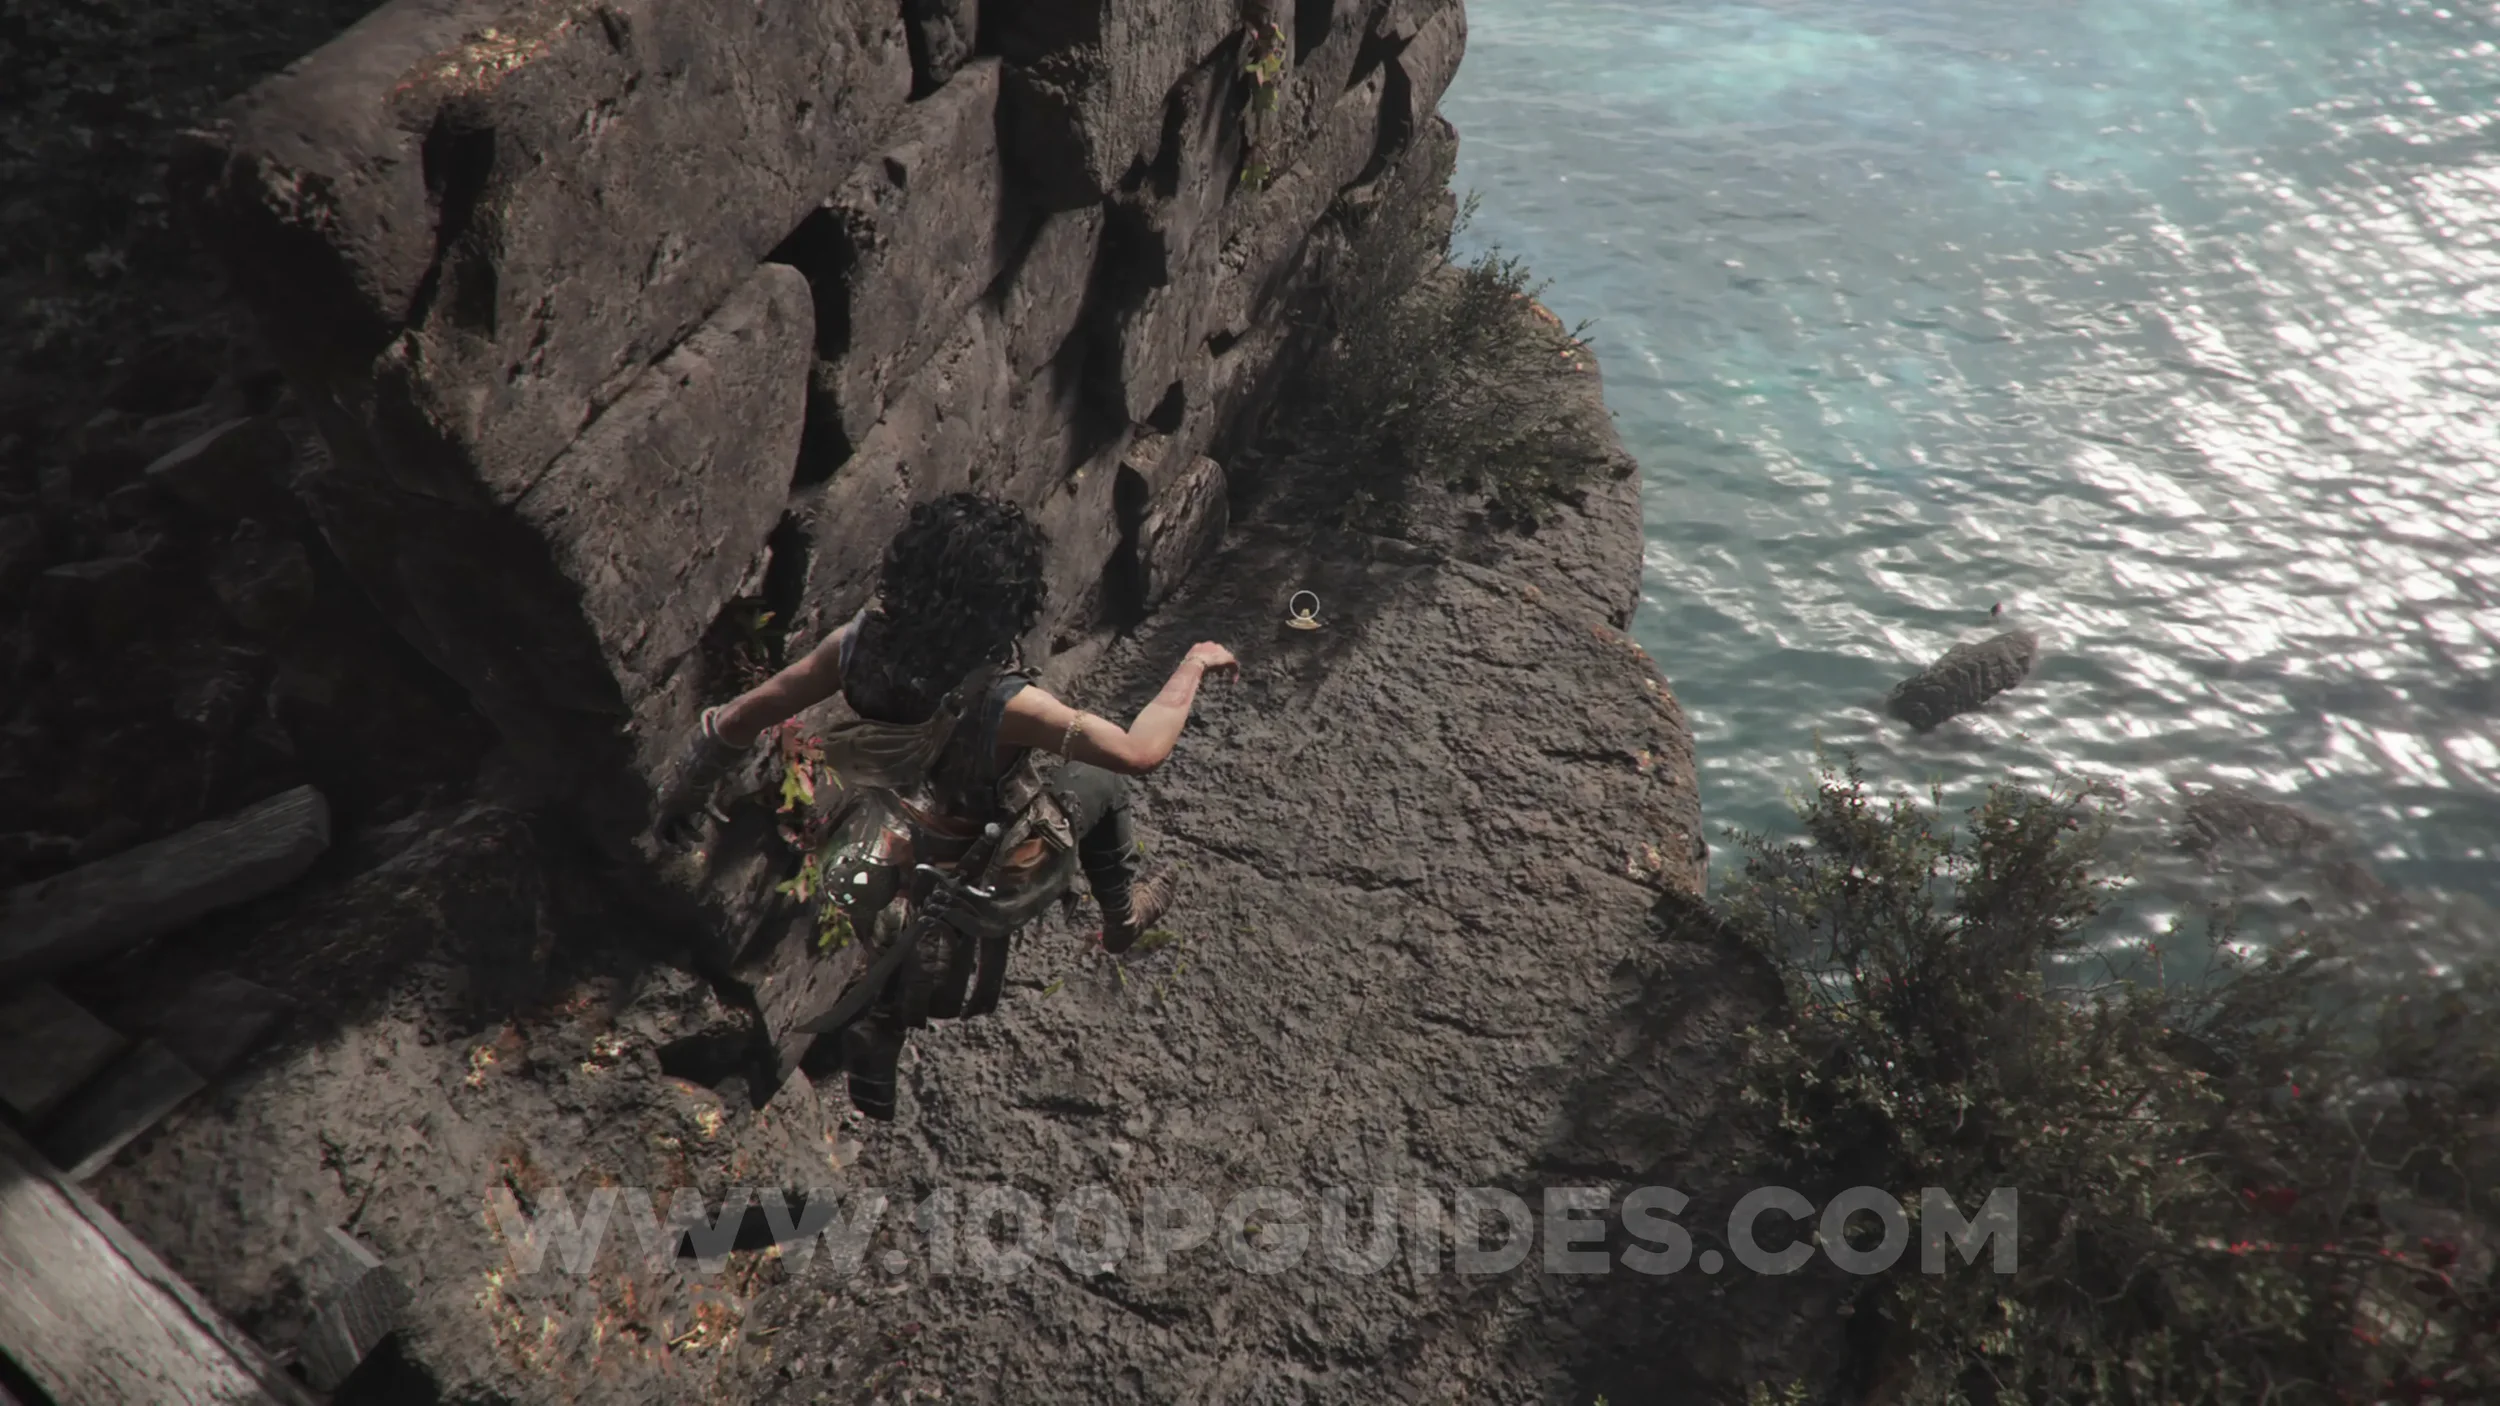
After the previous enemy group, you'll pull some wooden planks down and then see a grappling point to swing on. Before using the grappling point, look down to the platform below you to find the collectible.
Charm: Arm Band #4
Chapter 7: Sub-Chapter 2.
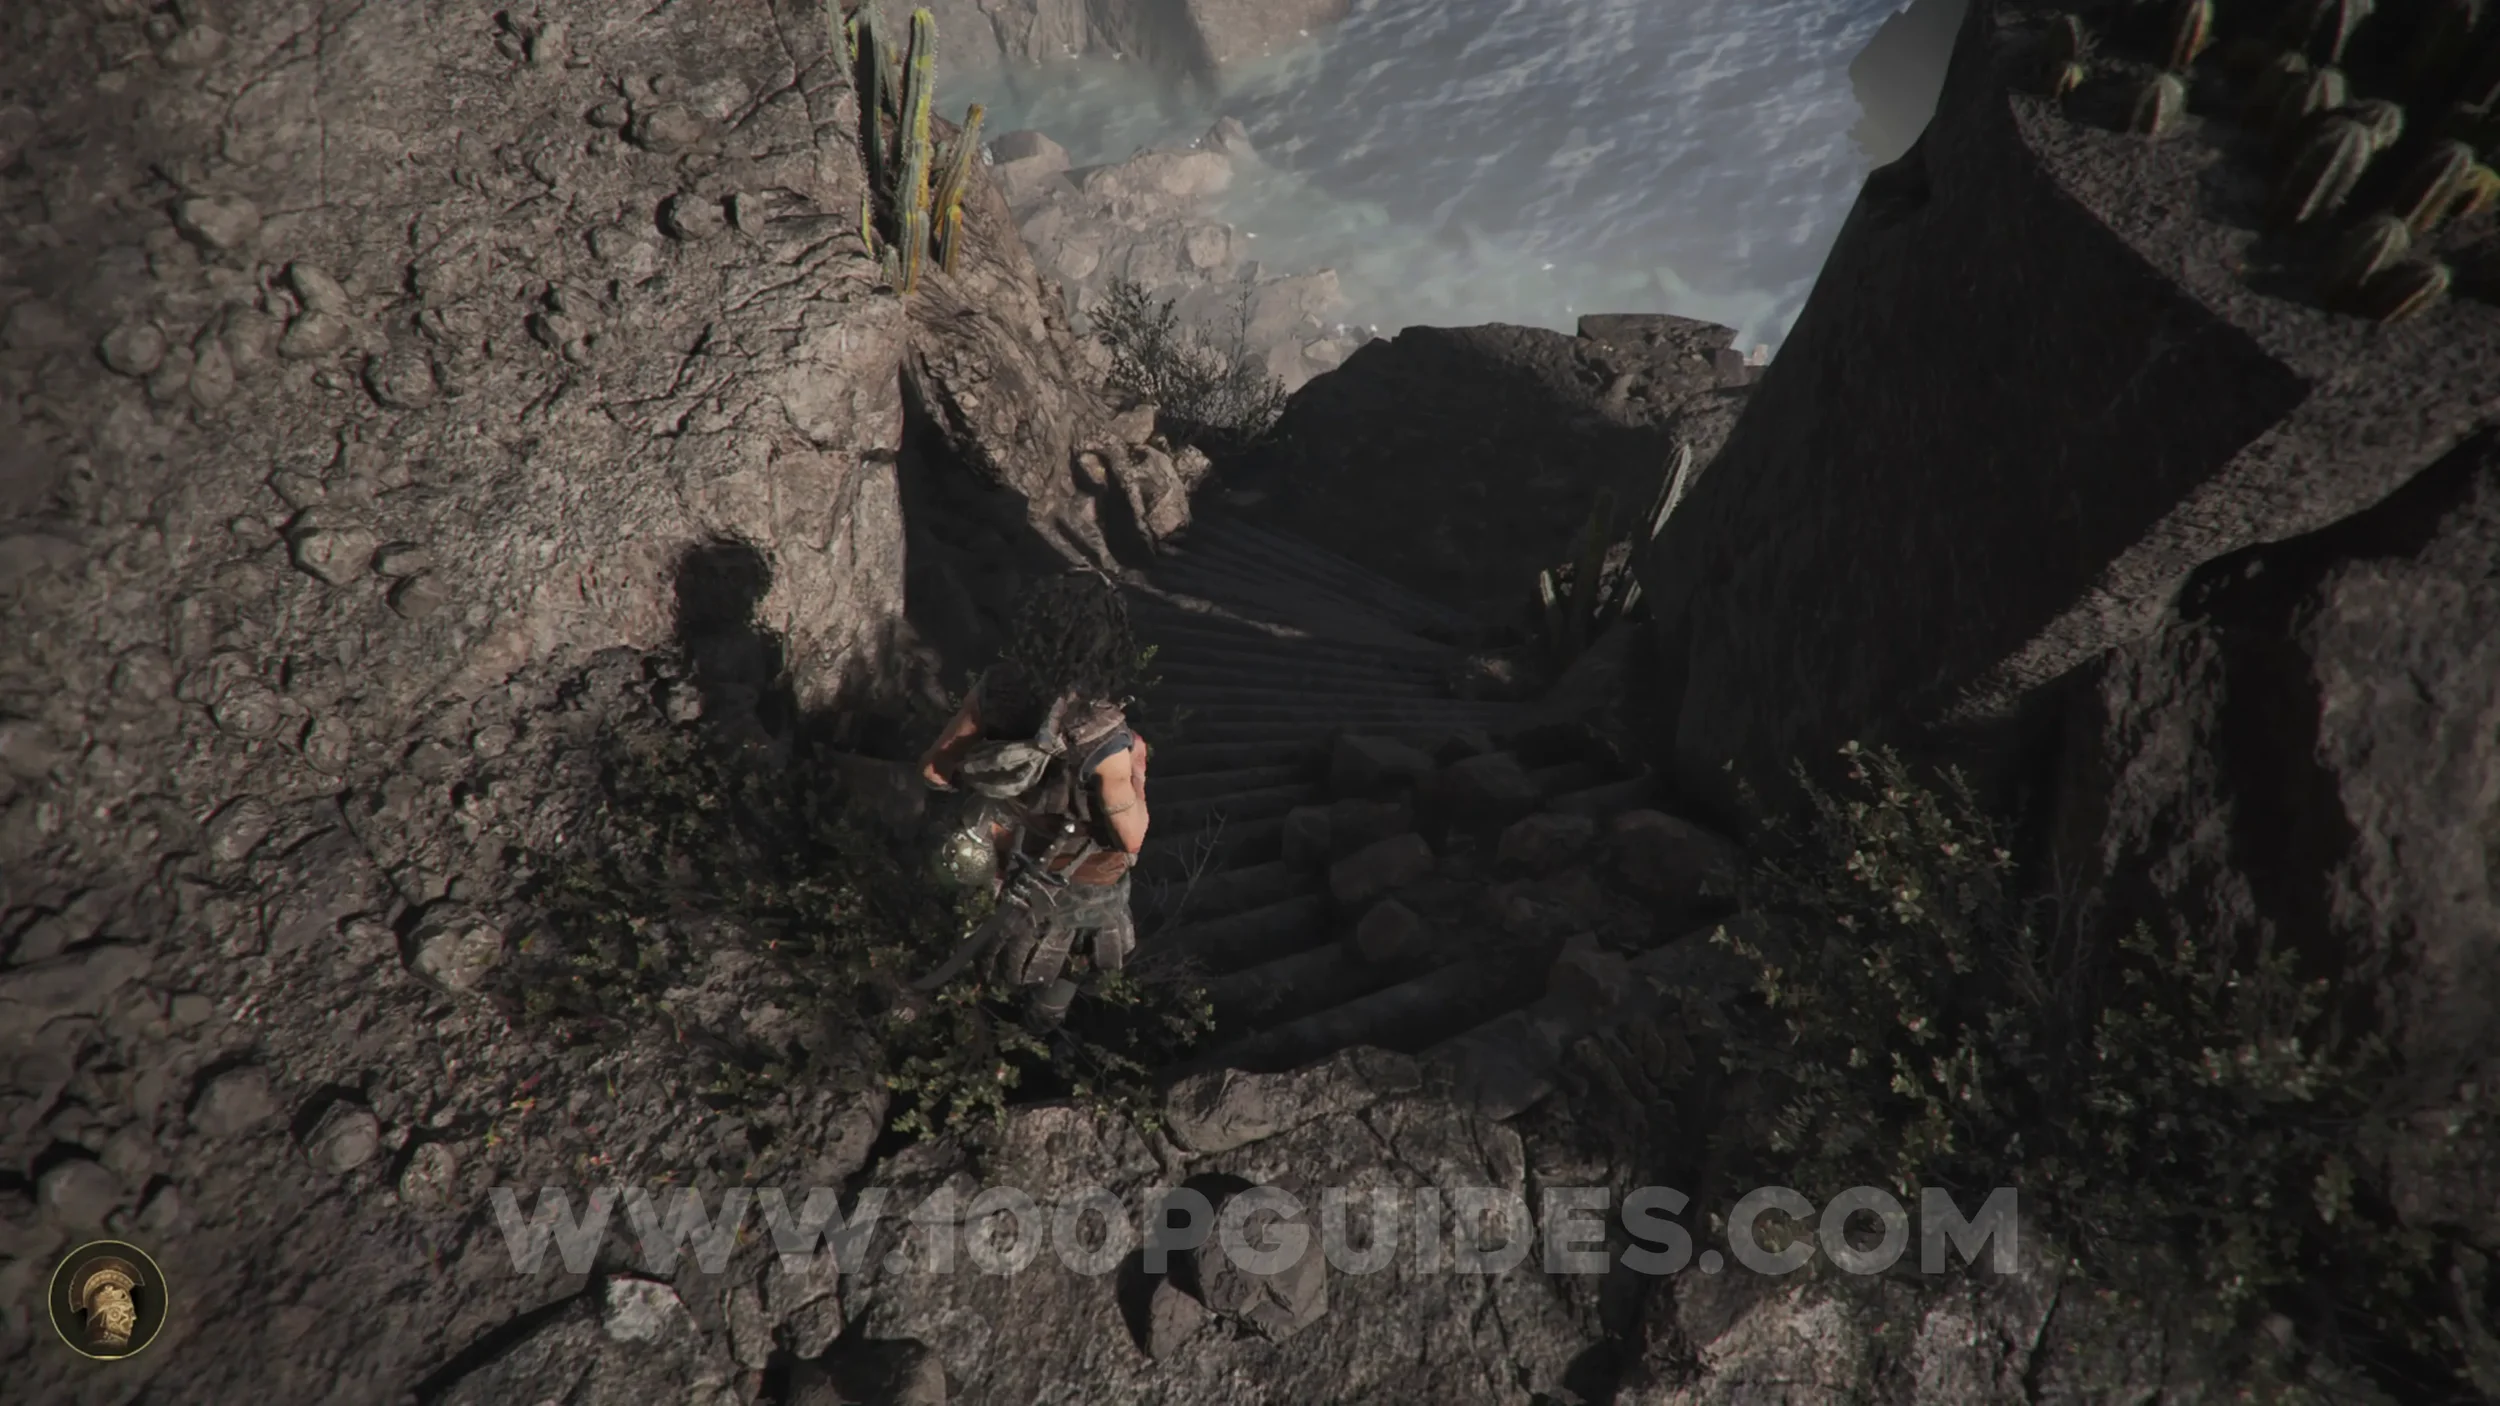
After the previous collectible, use the grappling points to cross the gap. Then look for some stairs on your right that take you down to the beach with the two enemies. You'll find the charm in a small box on the left side of the beach, near the buried statue.
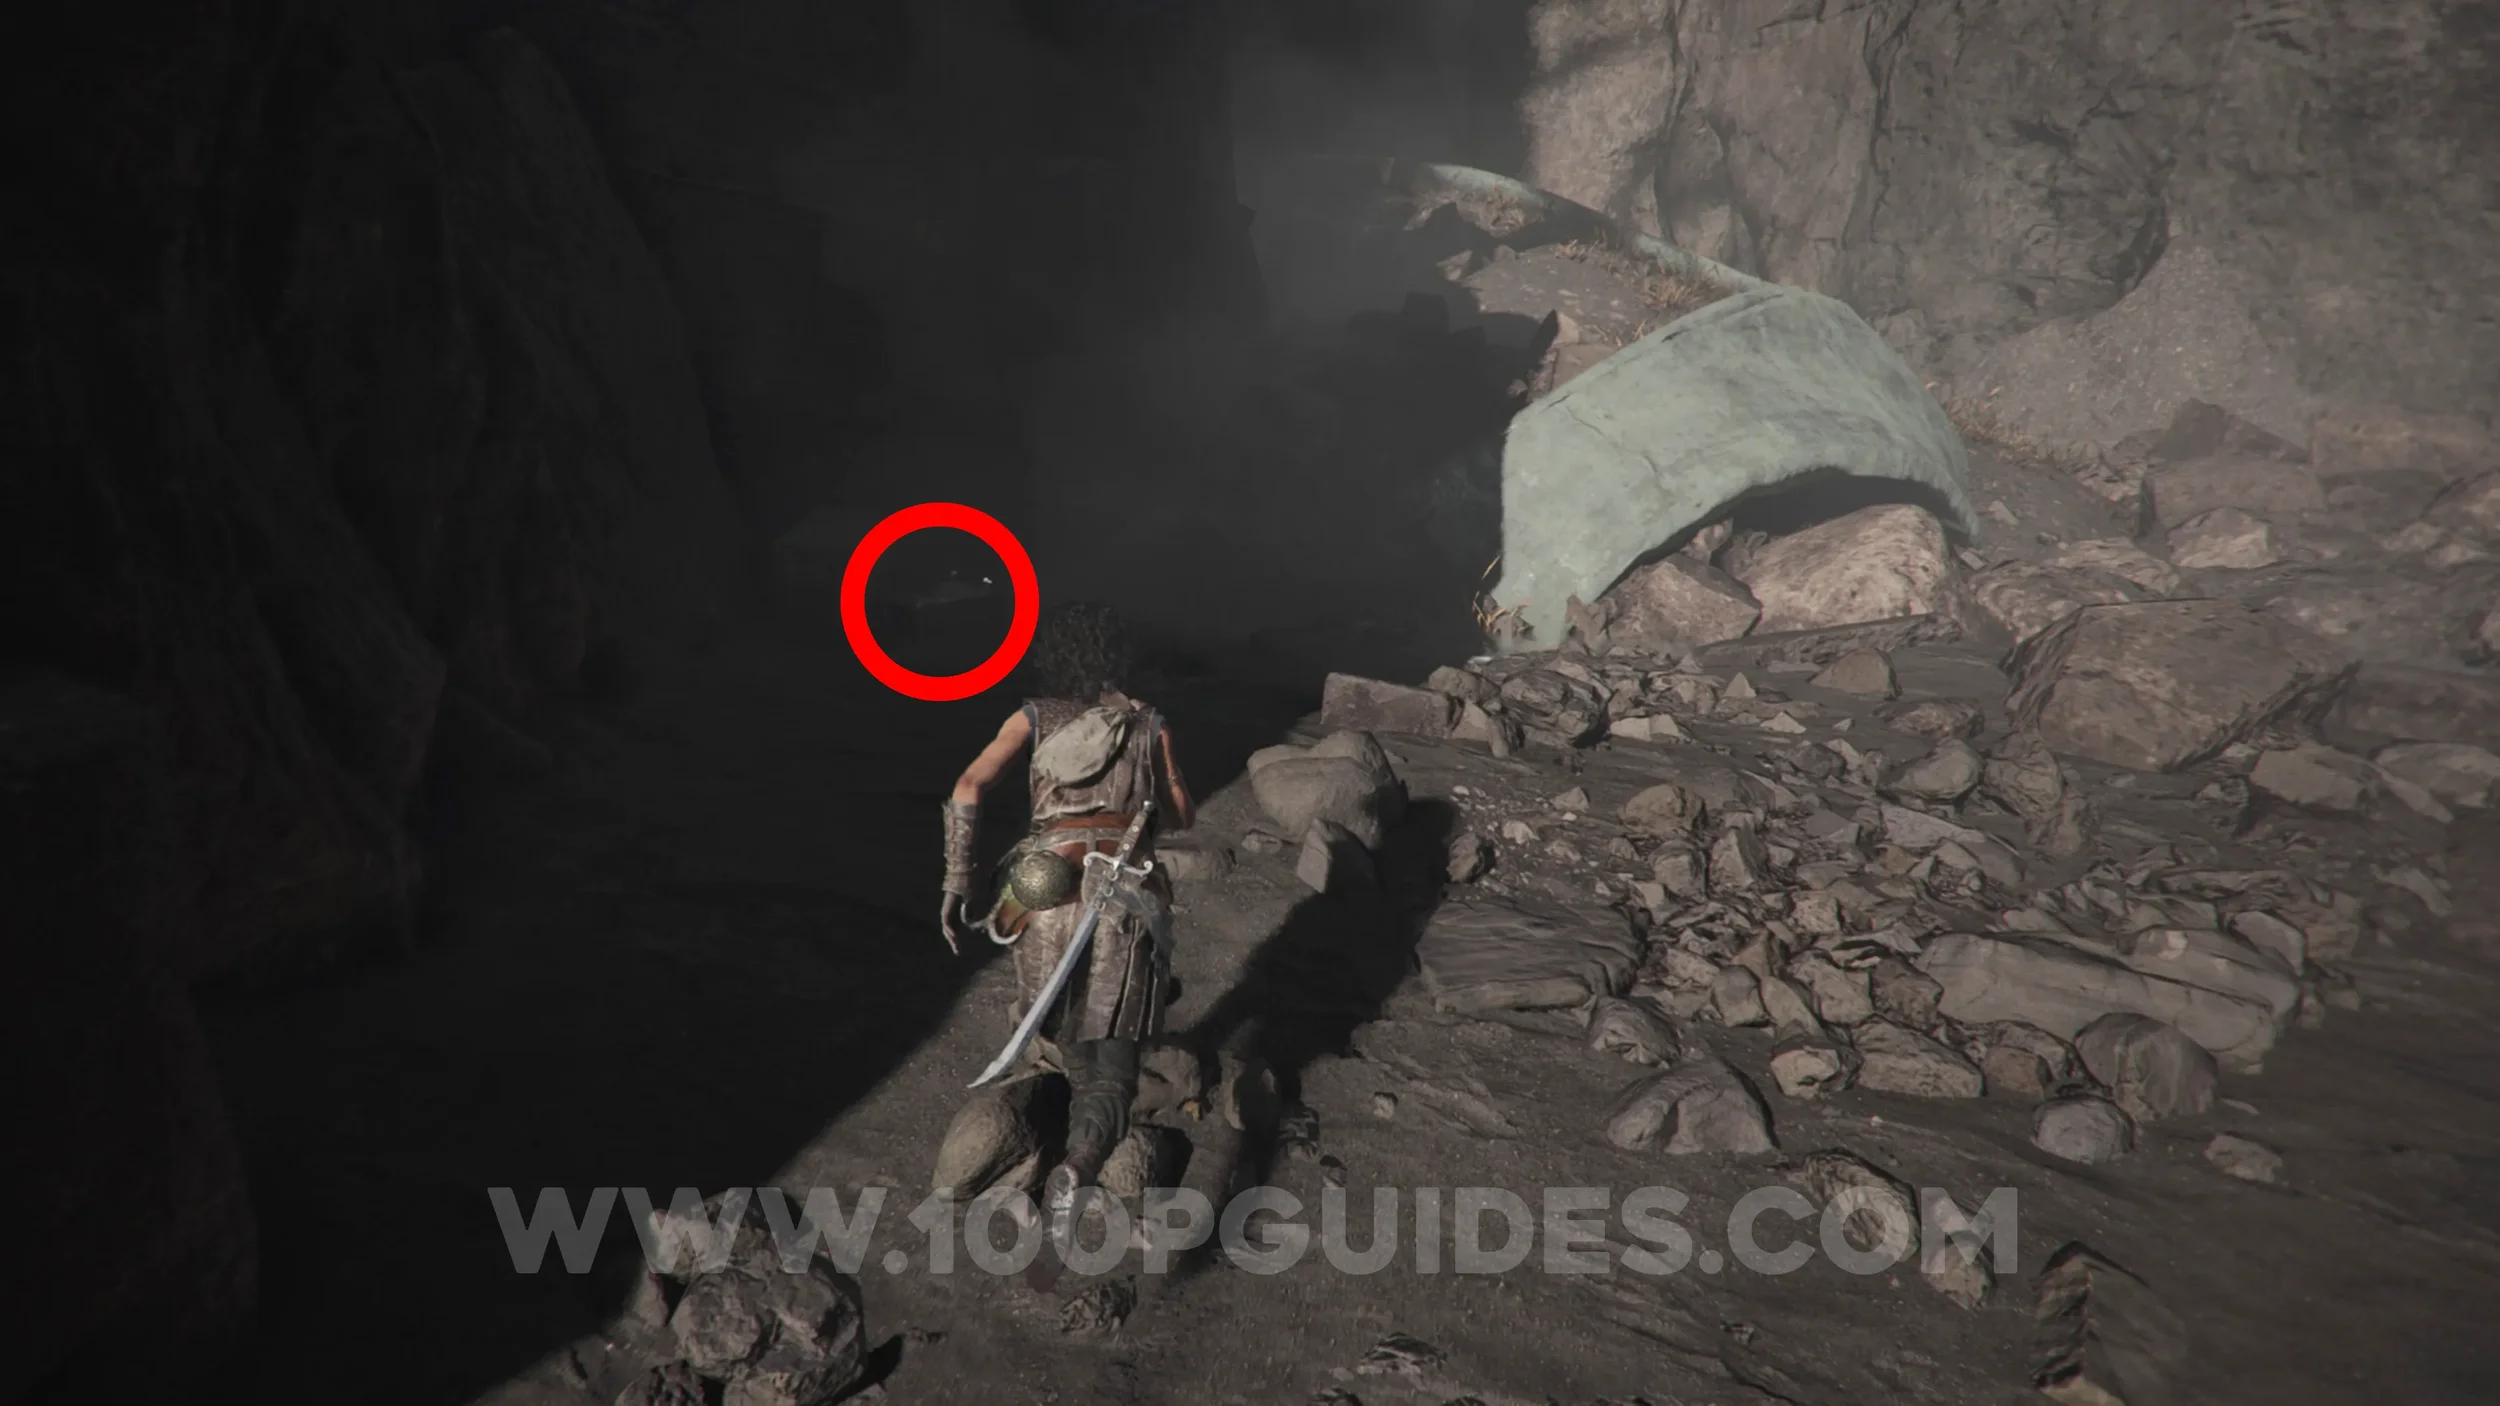
Artefact: Stained Mosaic
Chapter 7: Sub-Chapter 3.
Once you reach the door to the Black Temple, defeat the enemies there, then head into the small cave on the right side of the door to find the collectible.
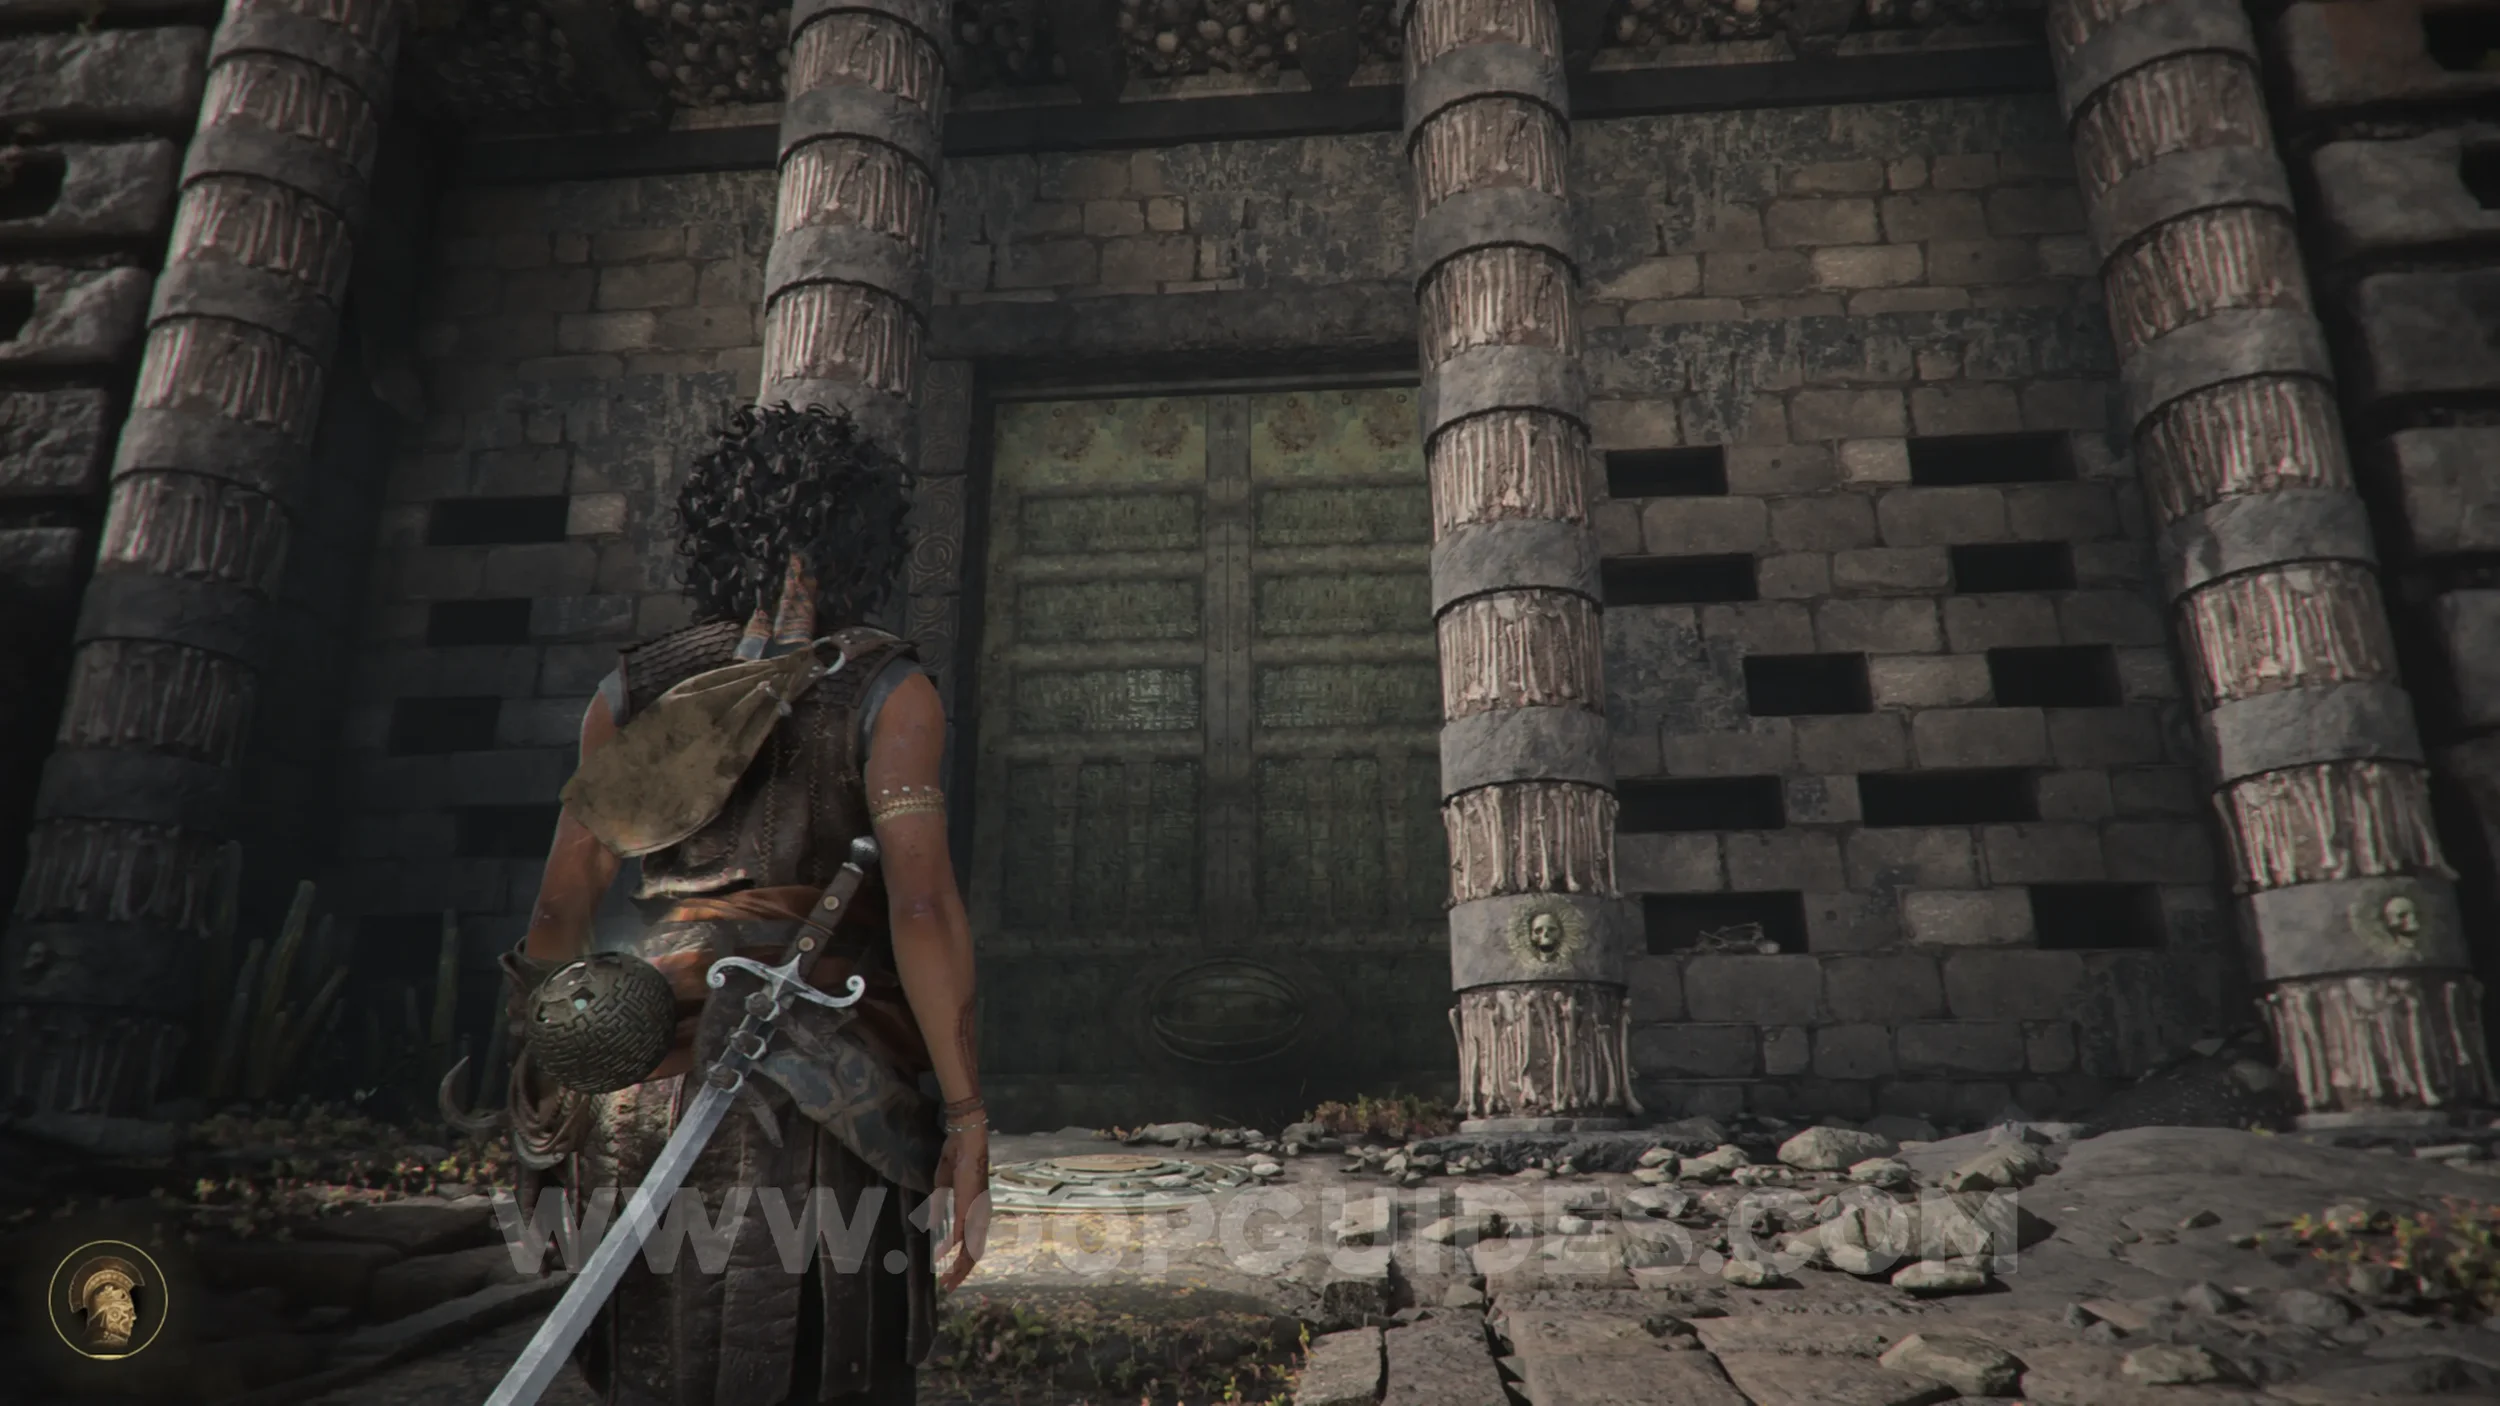
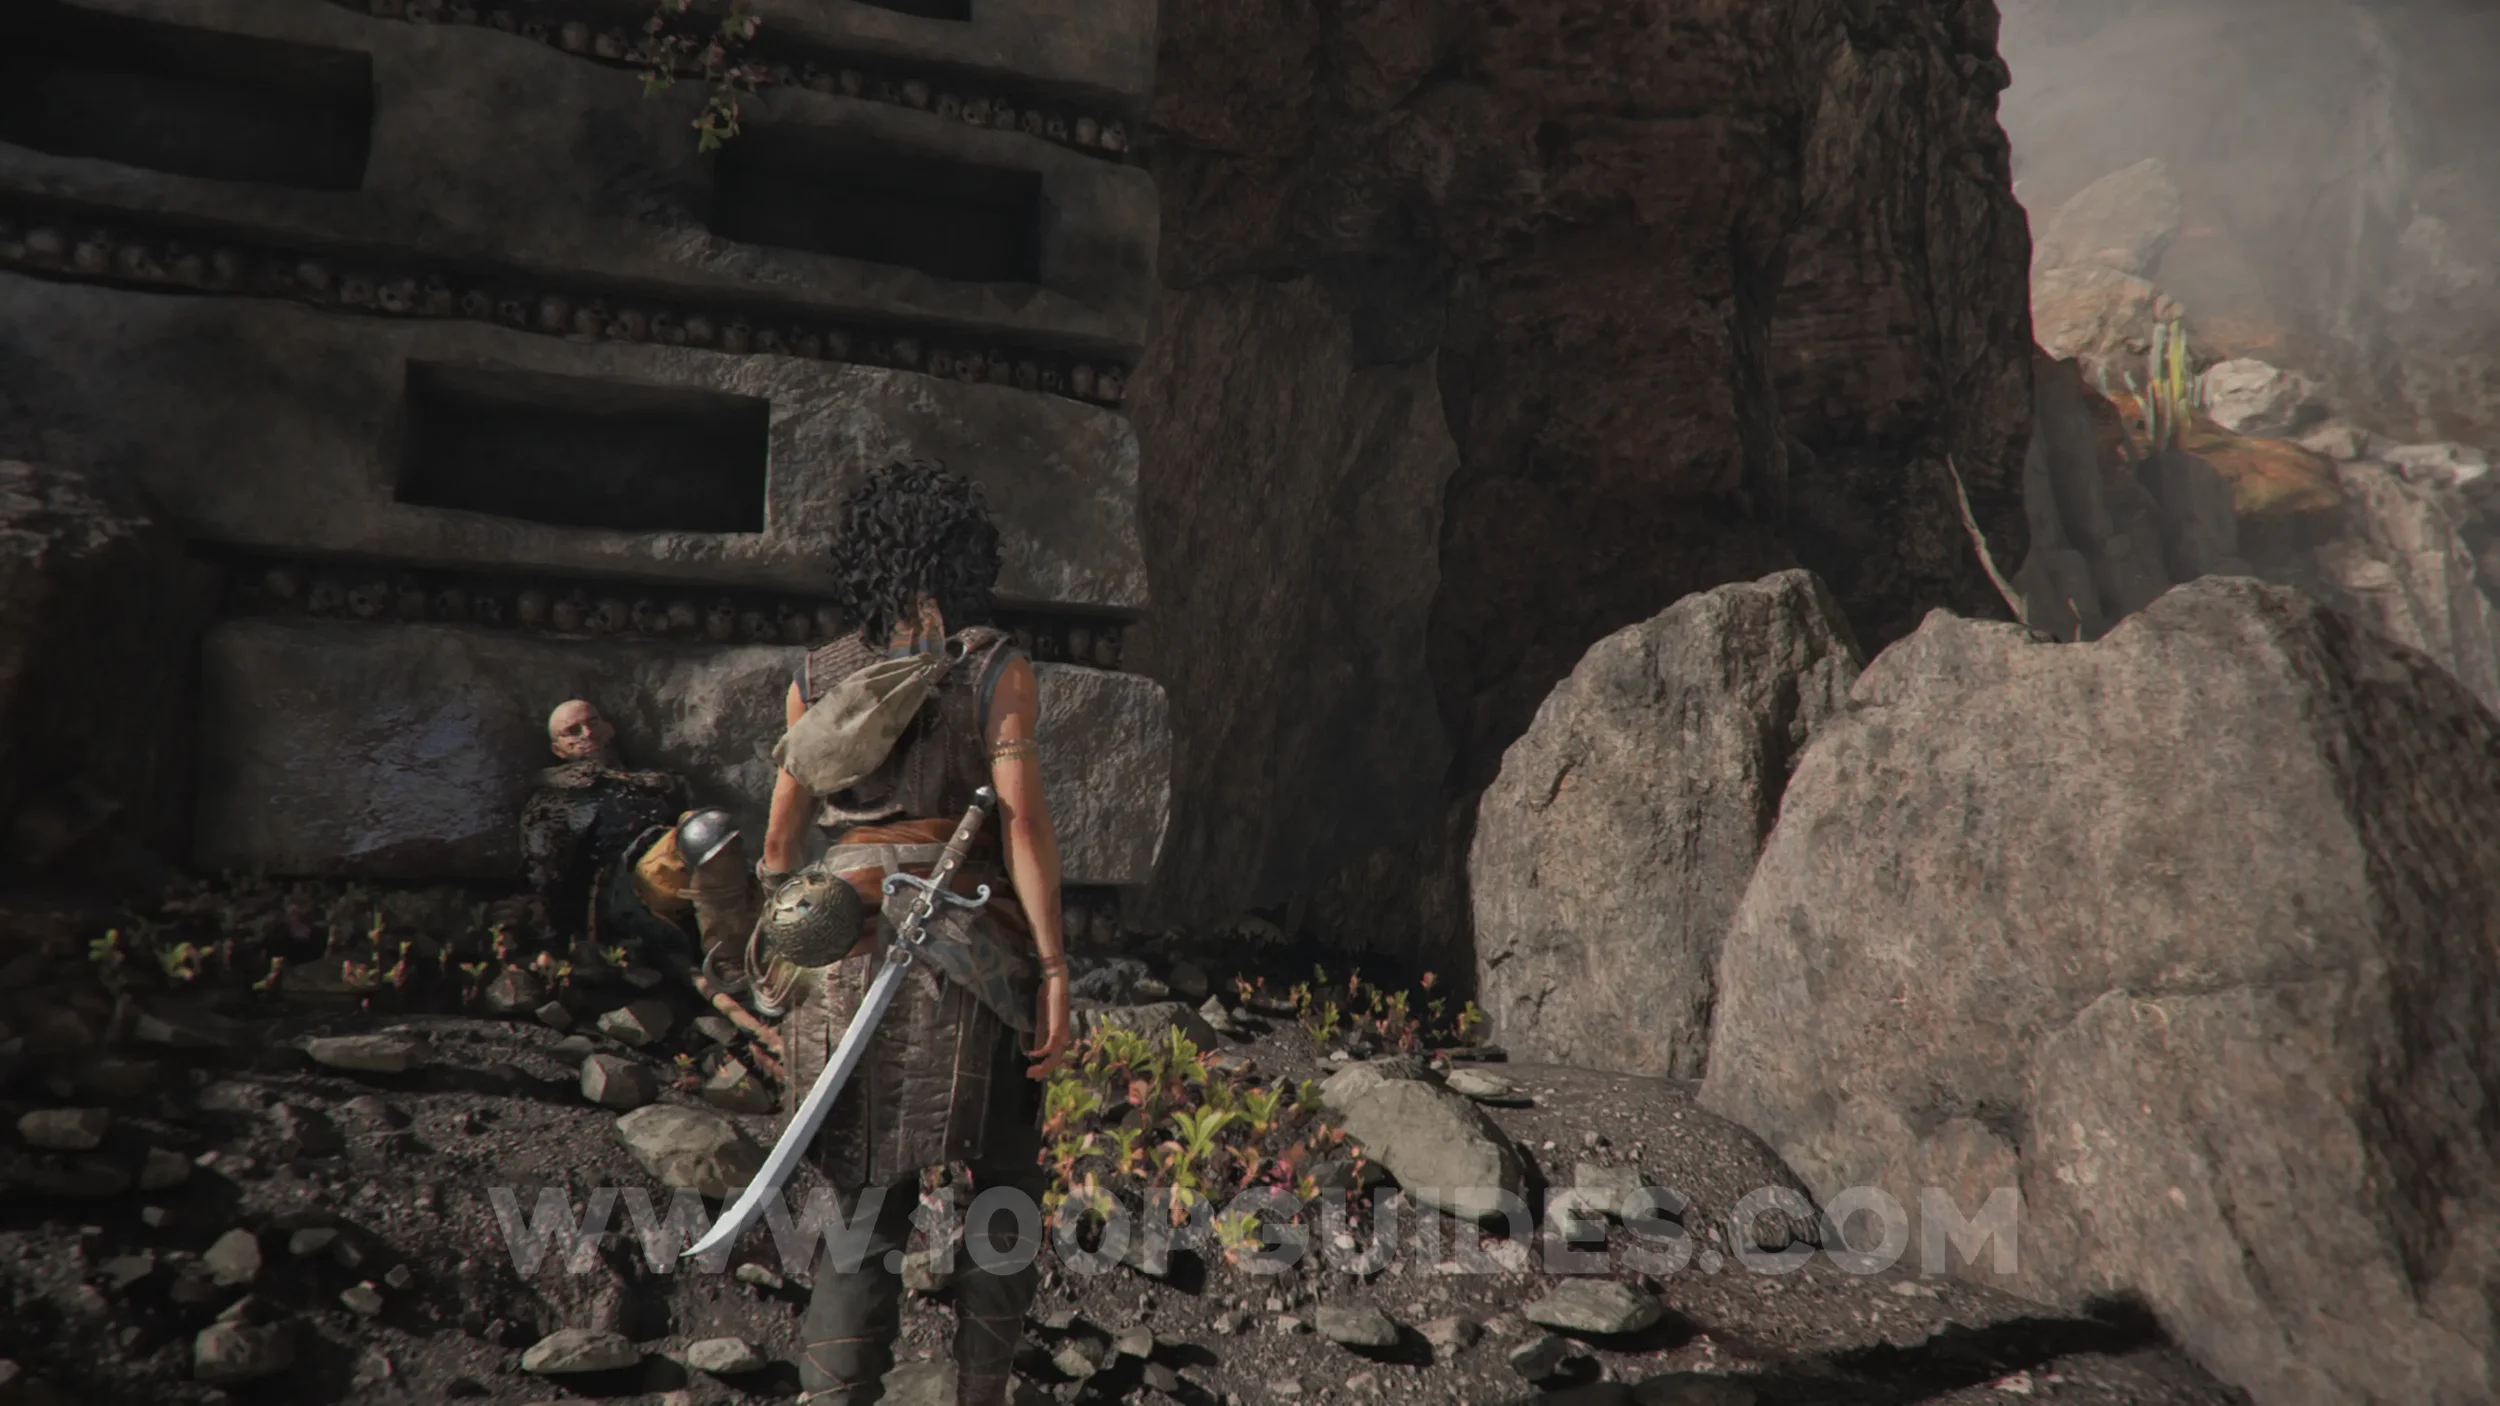
Resonance Point x2
Chapter 7: Sub-Chapter 3.
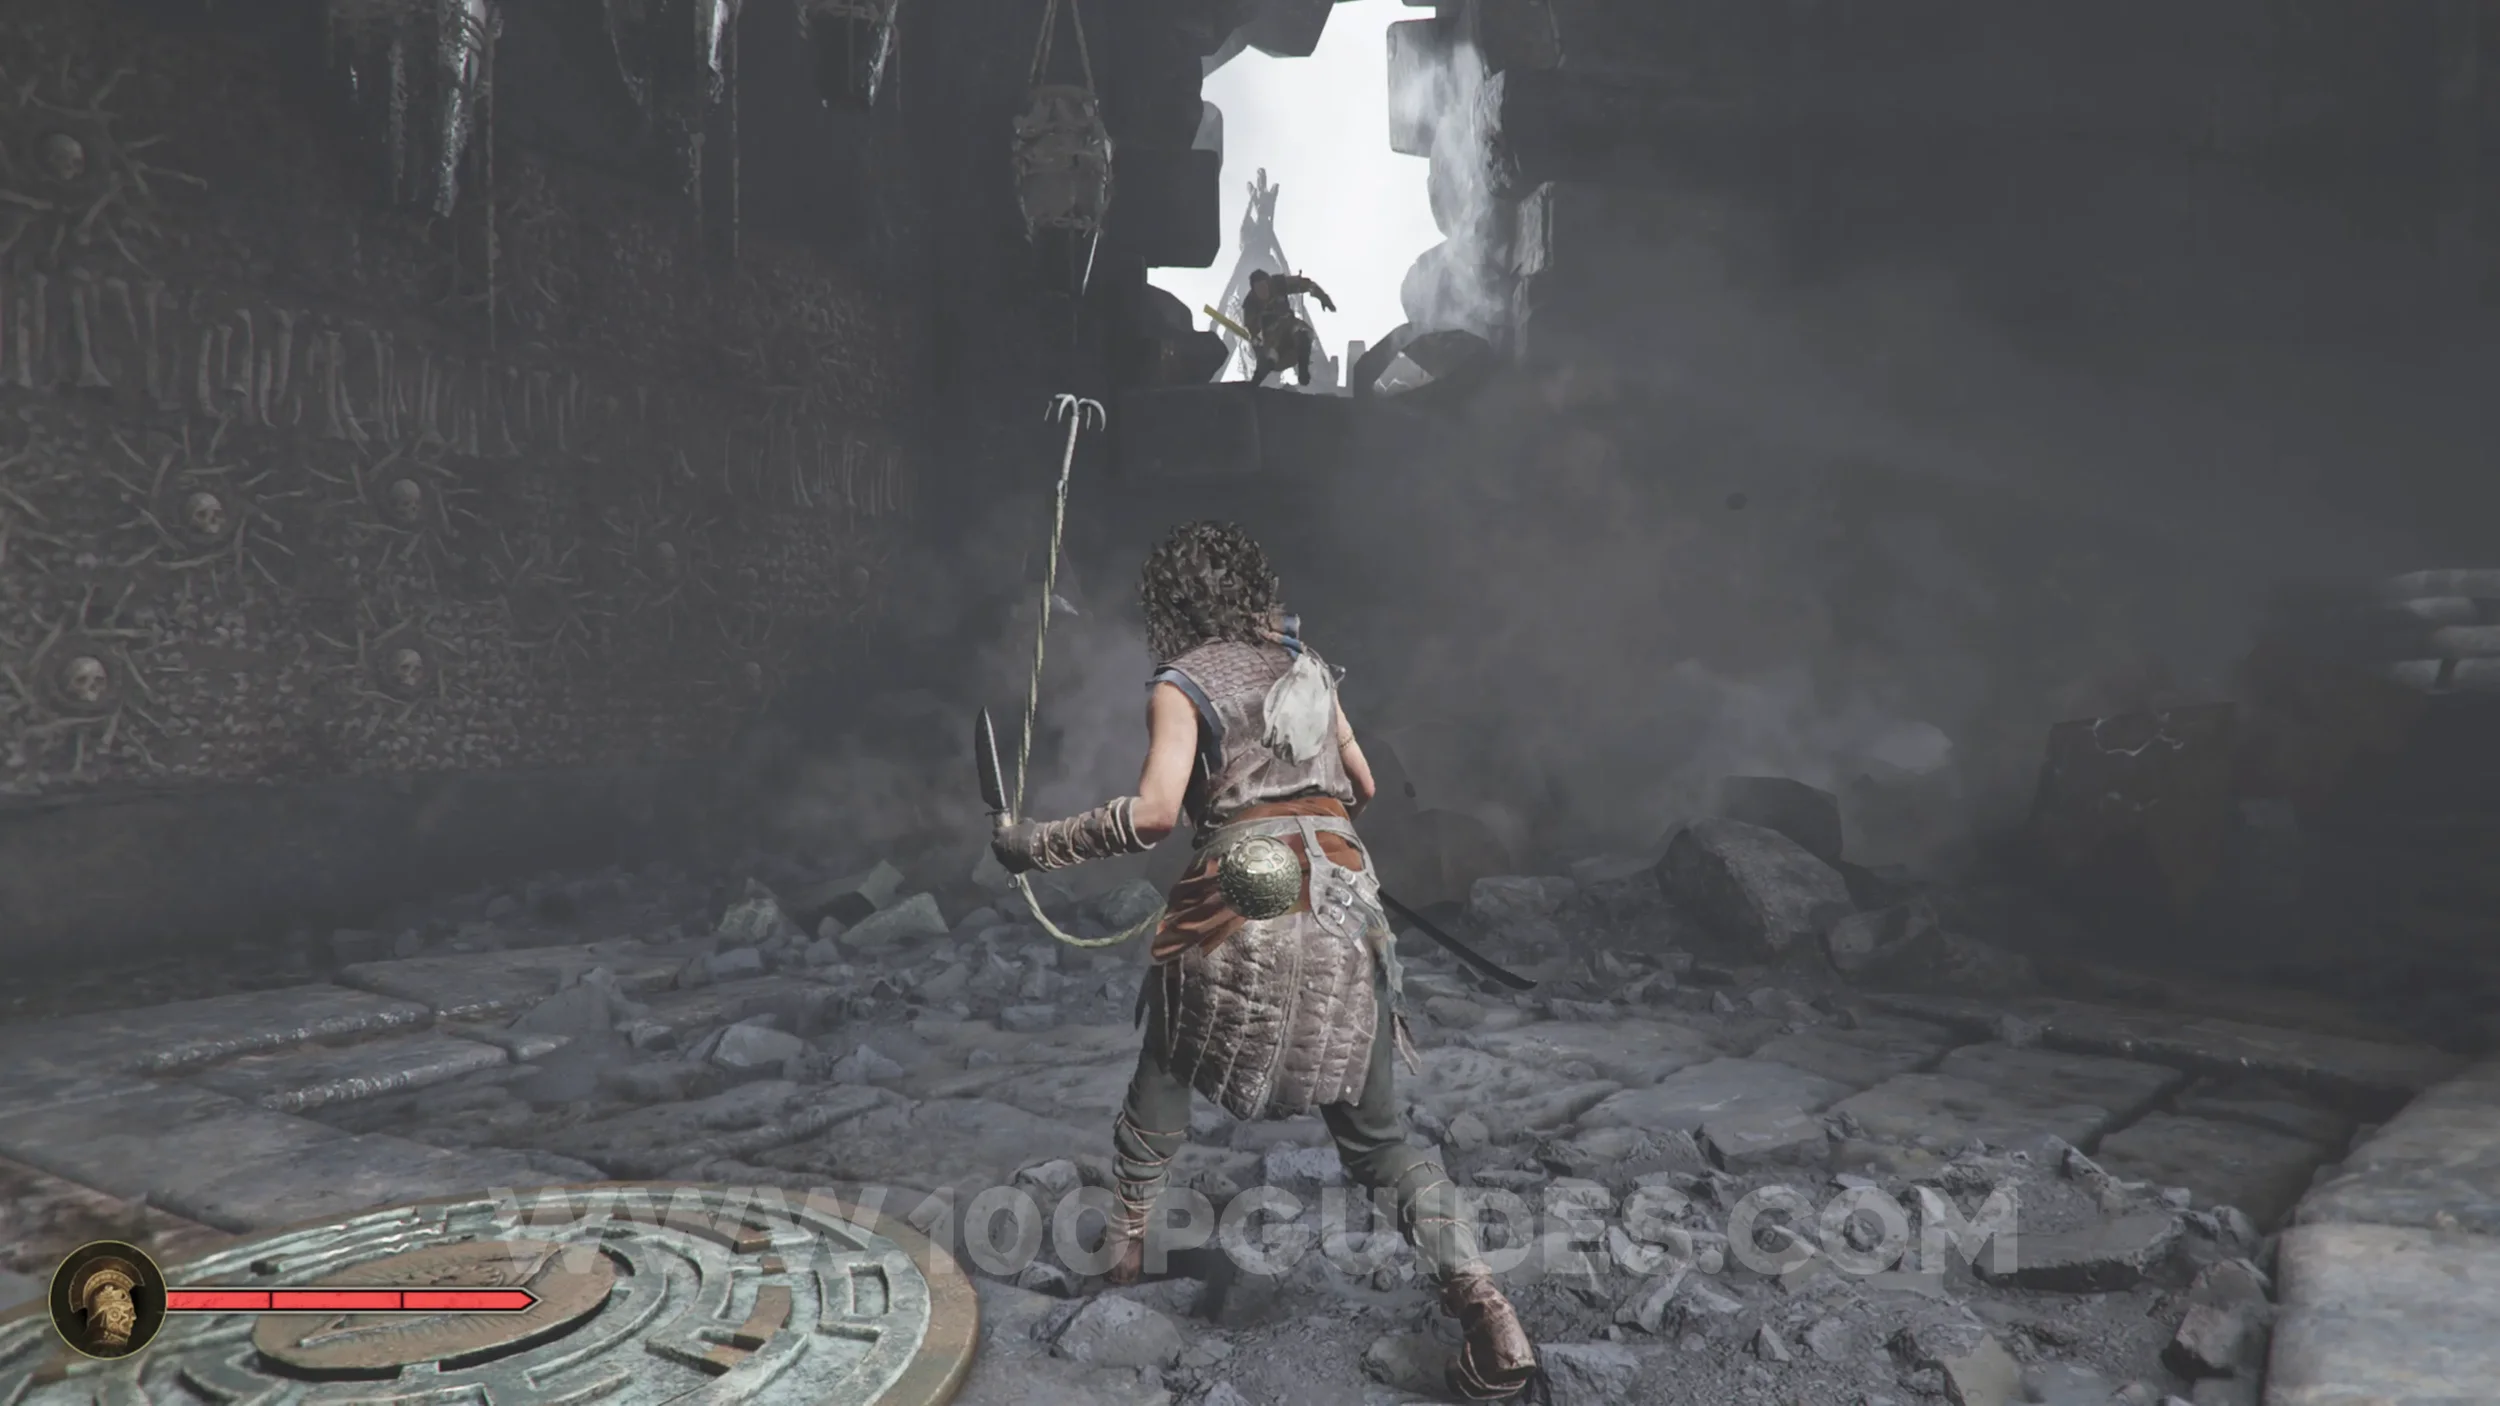
Once you enter the Black Temple and press the first skull button on the wall during the first puzzle, a group of enemies will blast through the wall. Defeat them to get the resonance points.
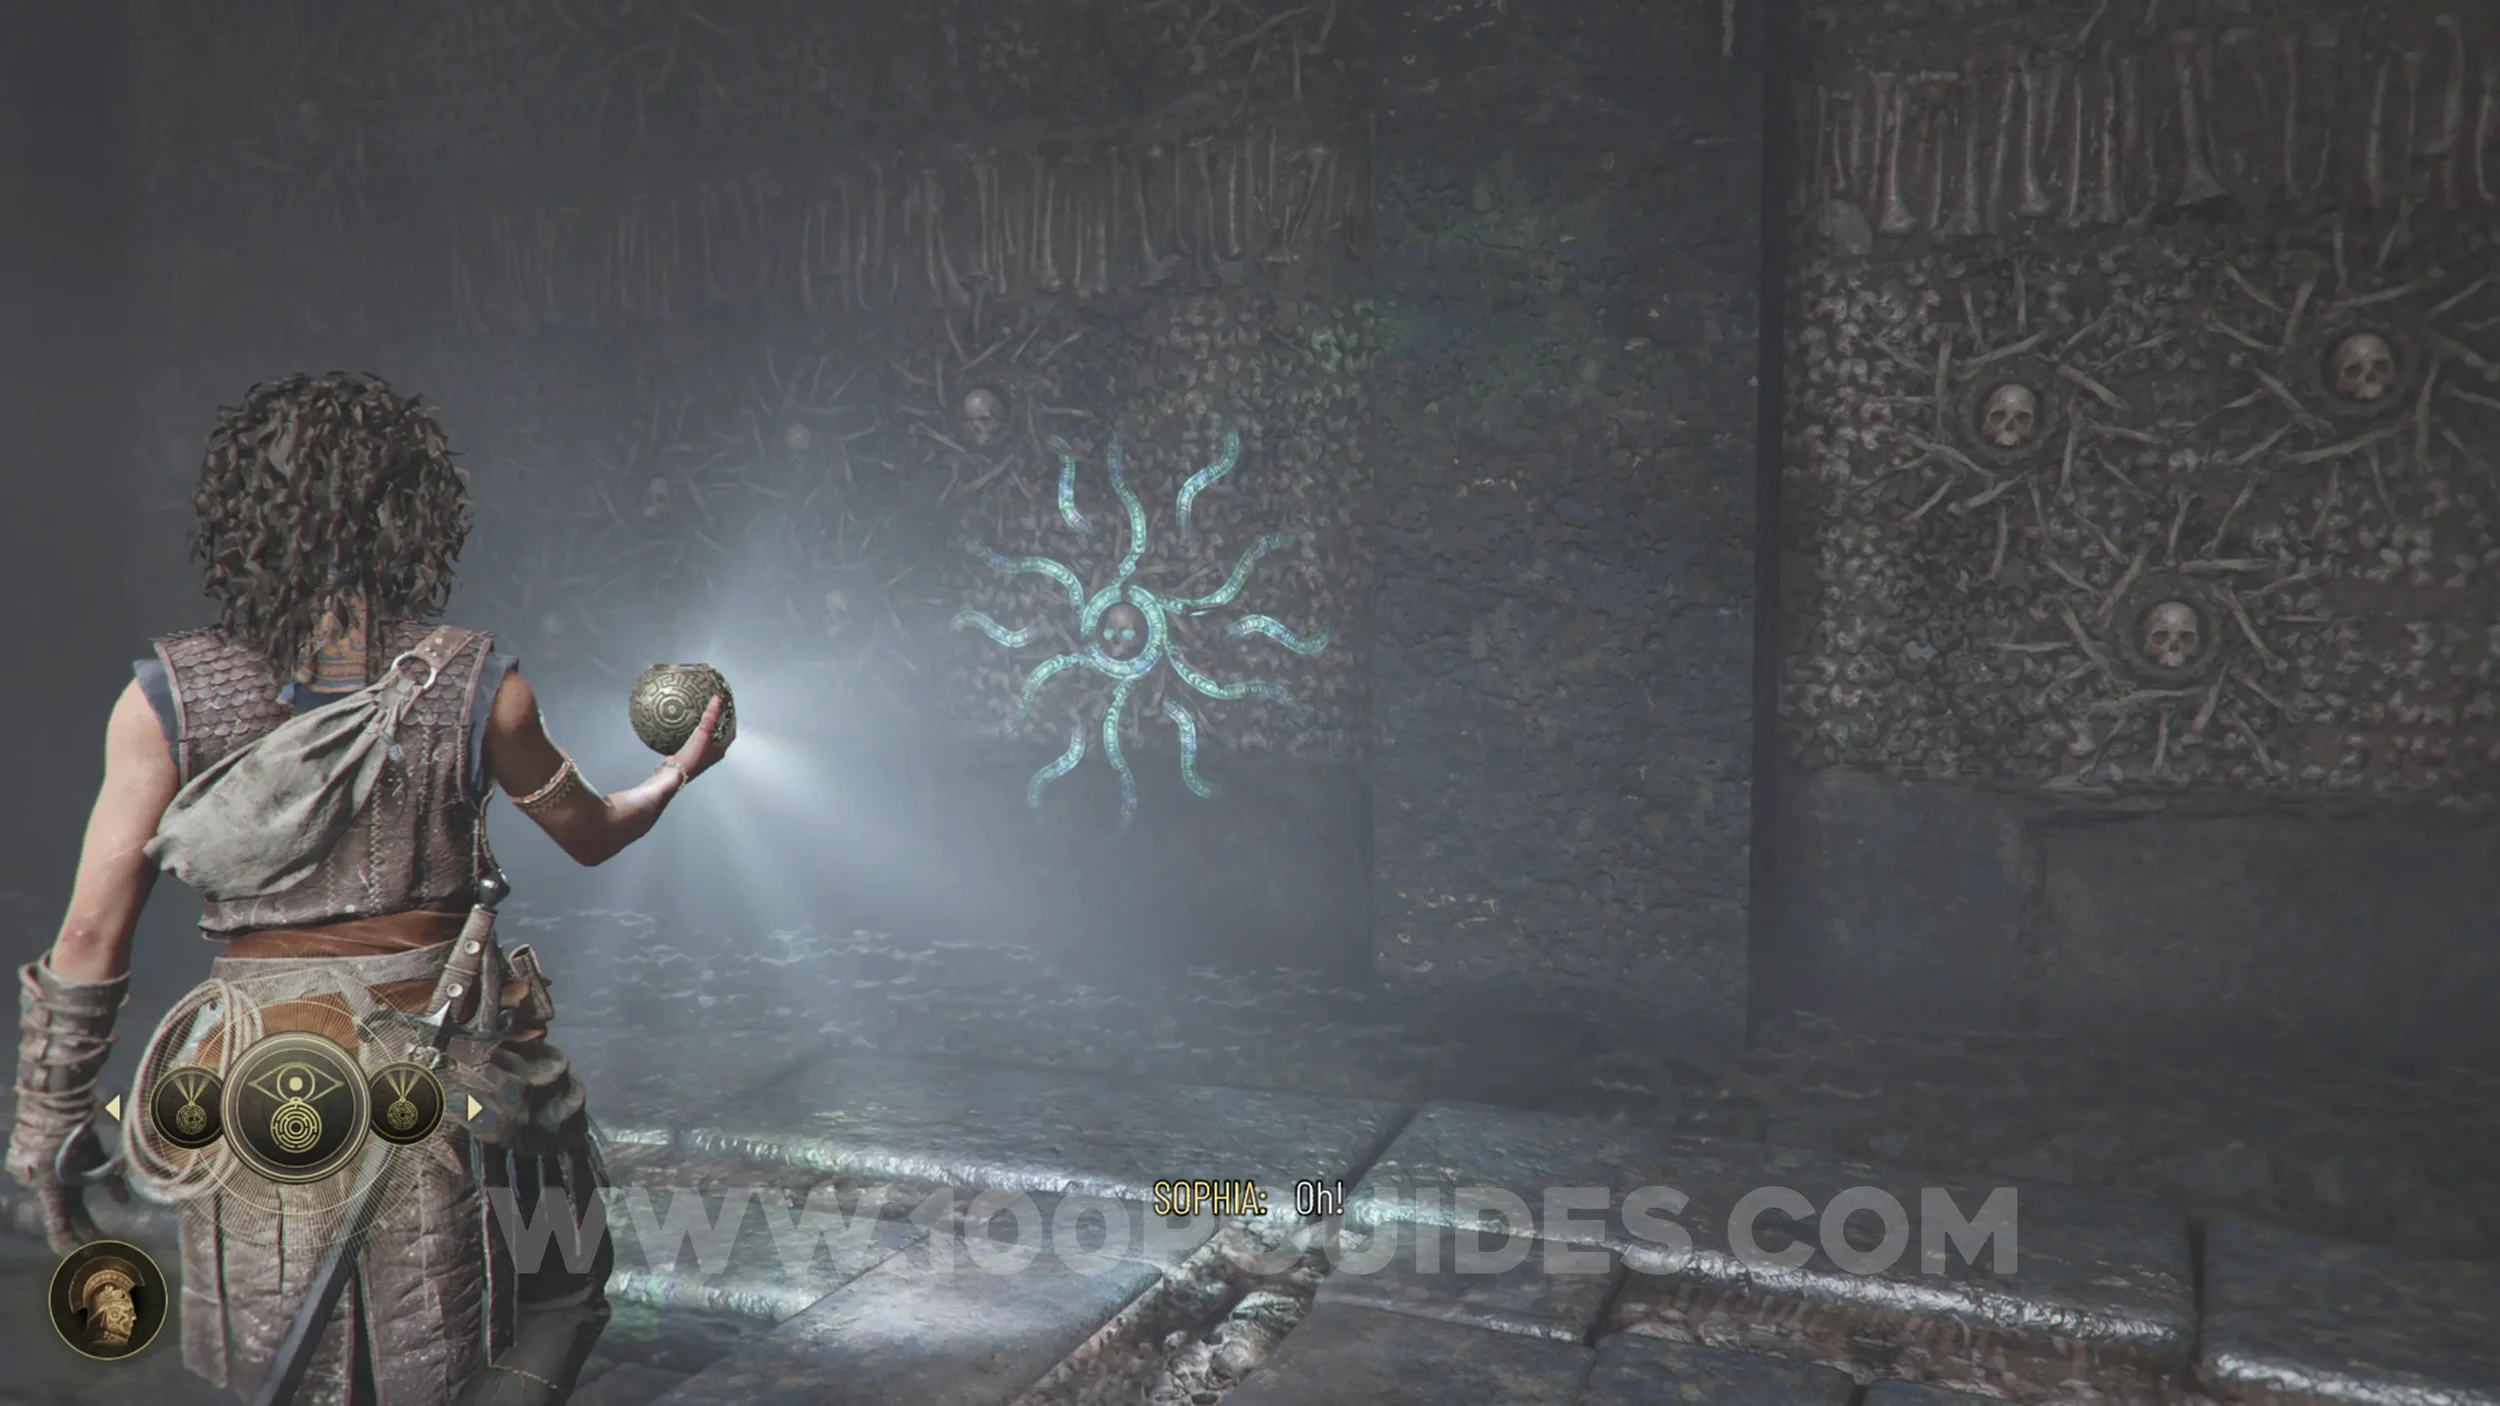
Resonance Point
Chapter 7: Sub-Chapter 3.
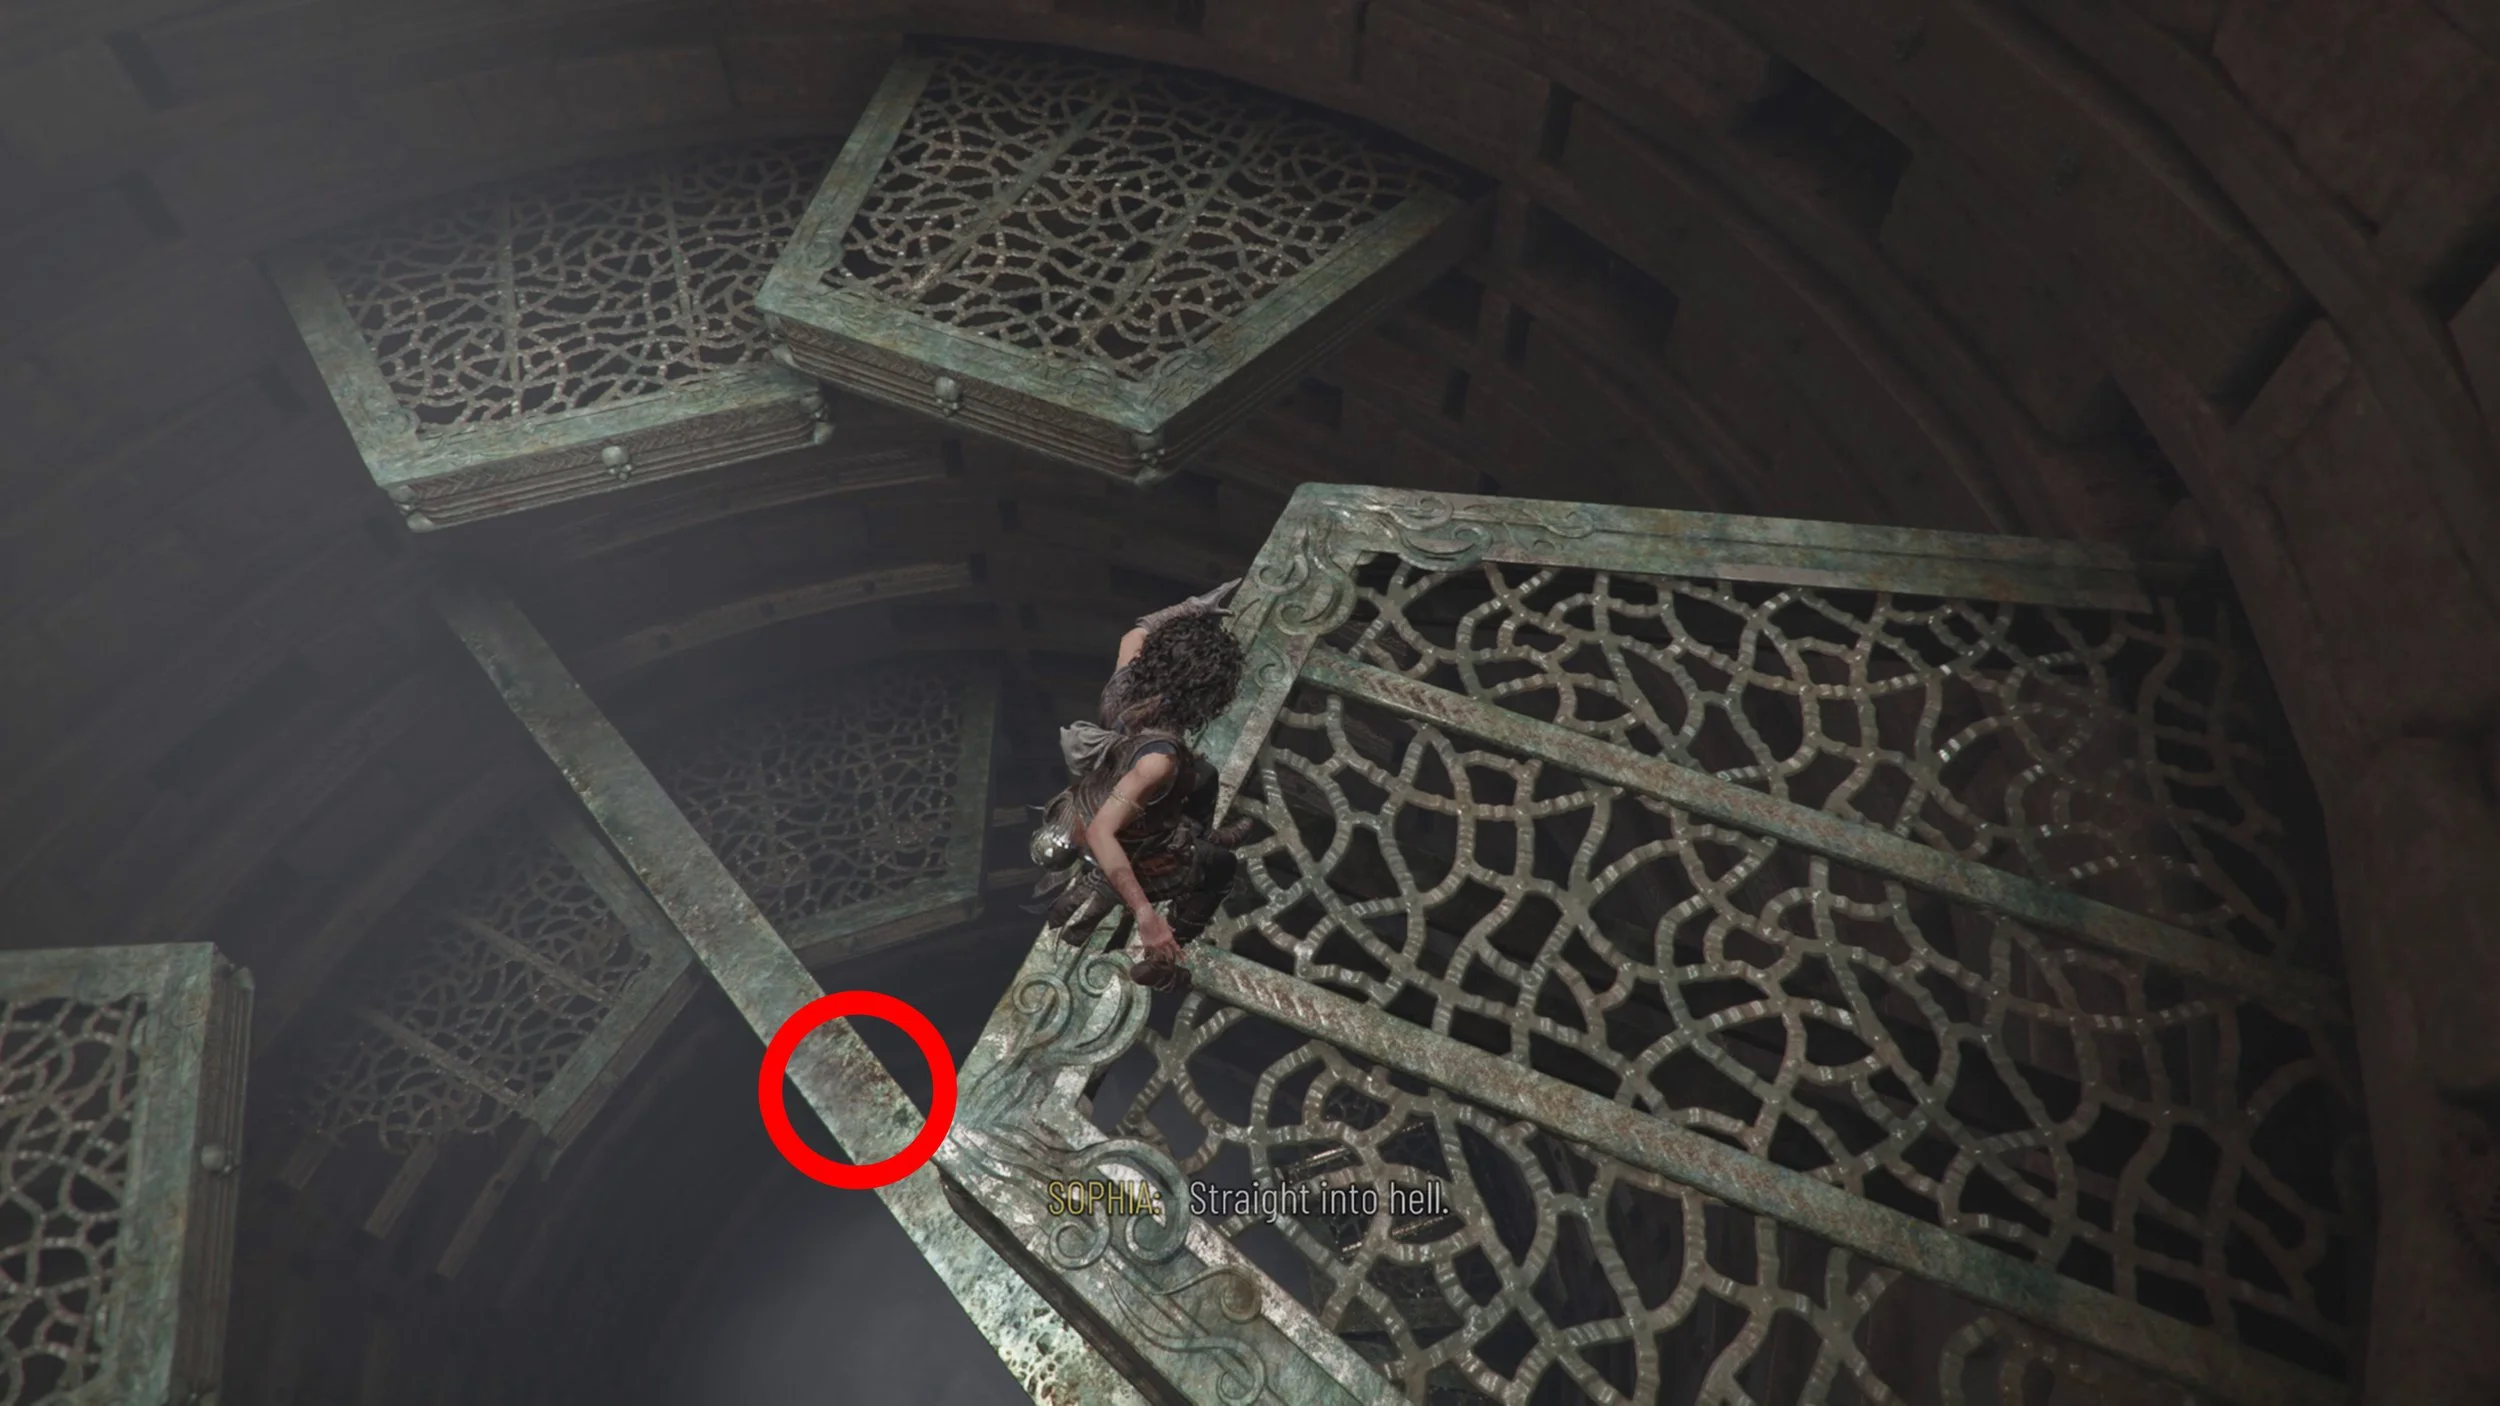
After solving the first puzzle in the Black Temple, you'll have to descend the hole using the metal platforms. After the first few, you'll see a metal beam. The collectible is on this beam.
Charm: Pierced Coin #3
Chapter 7: Sub-Chapter 3.
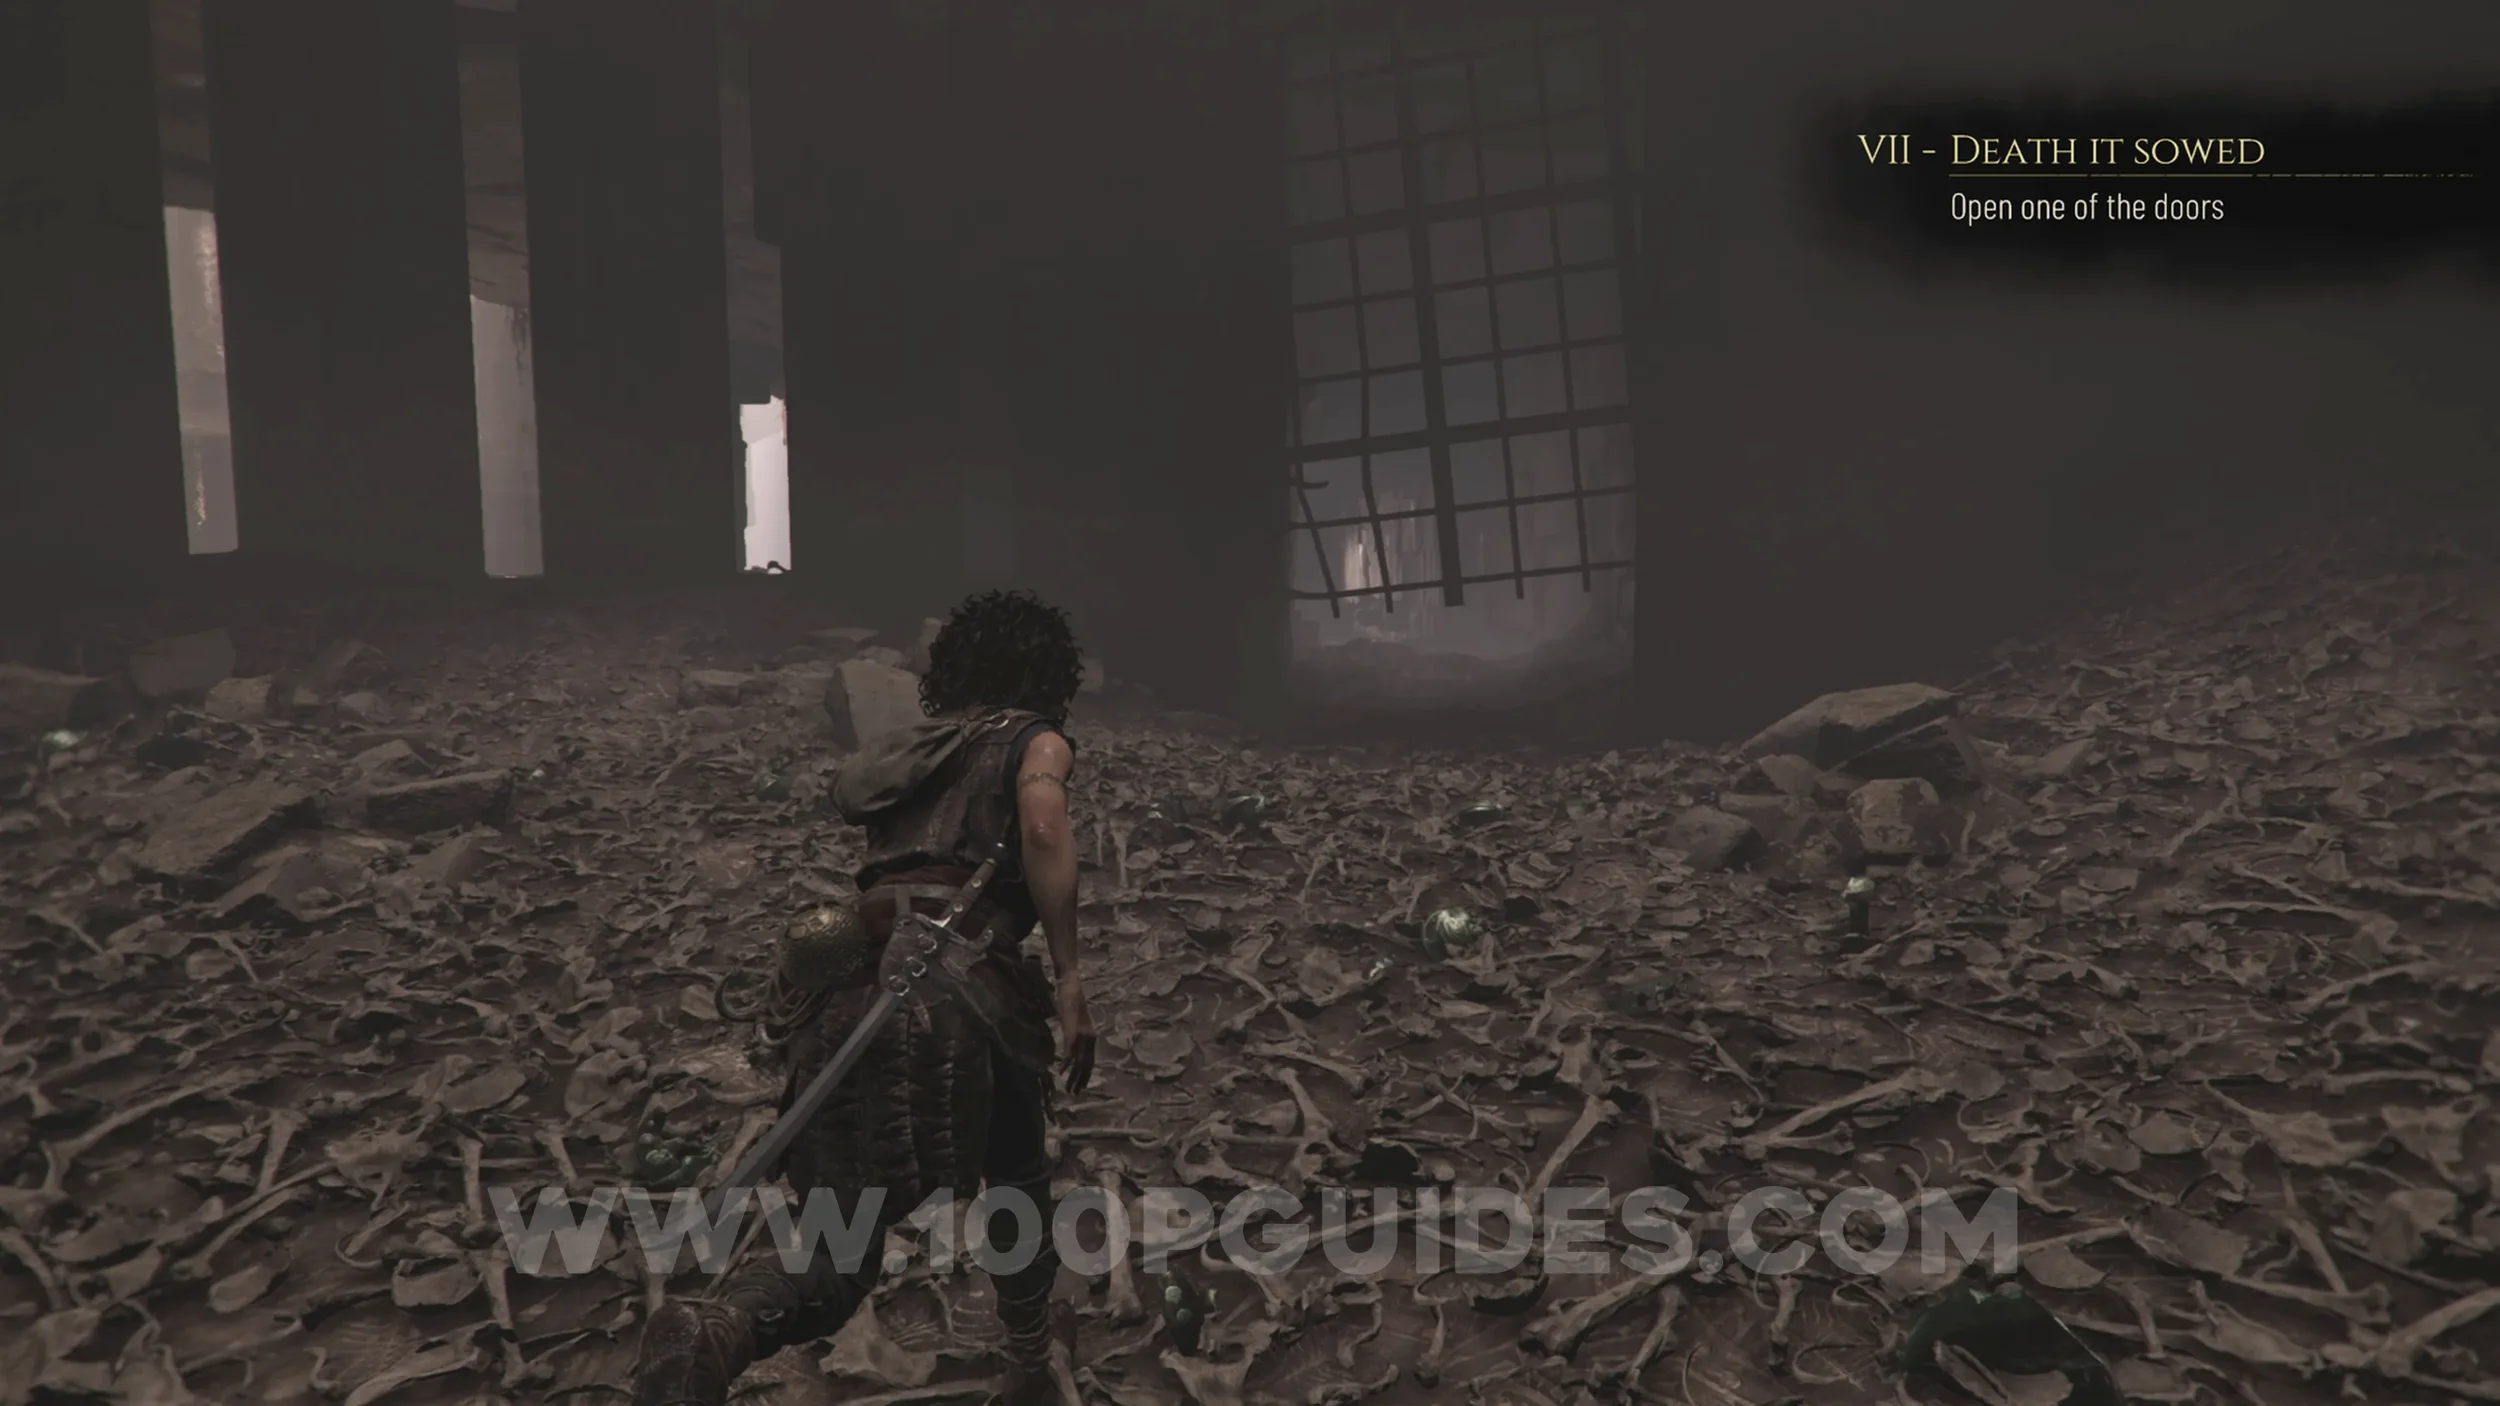
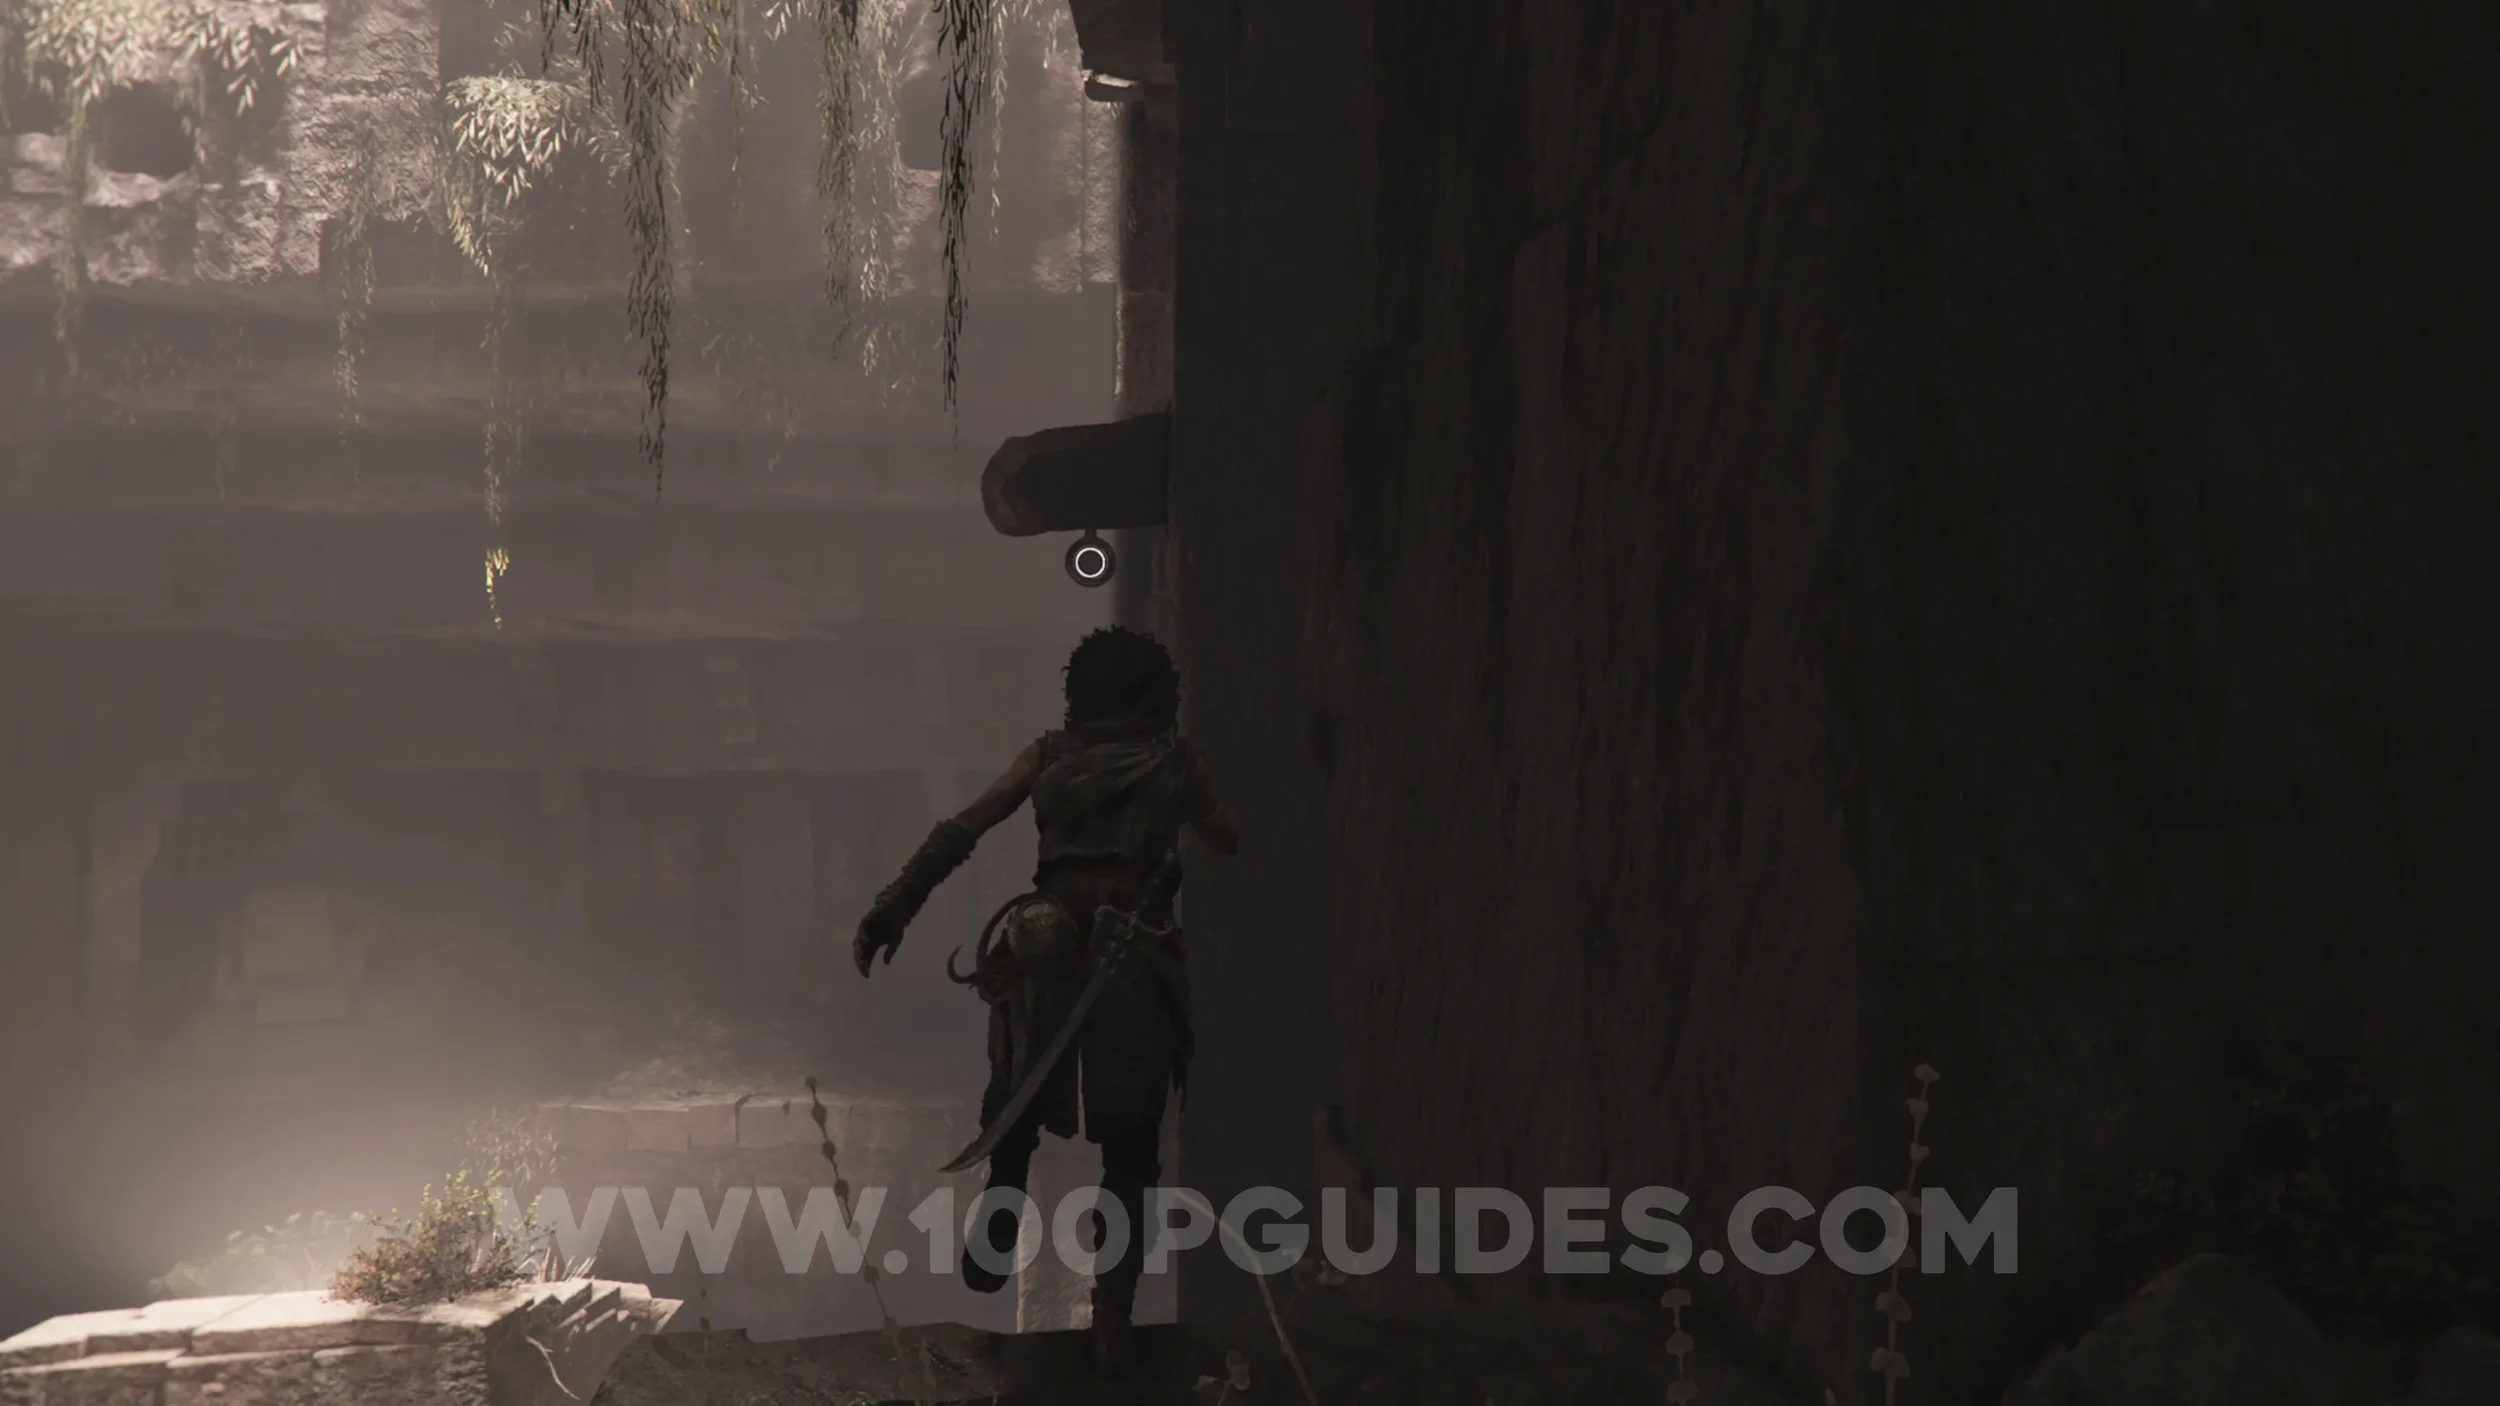
Once you reach the bottom of the hole, go under the metal grate. Then, after swinging on the second grappling point, you'll get to a door (it's locked). Here, turn around and jump back onto the lower part of the platform you landed on from the second grappling swing. Head left to find the collectible.
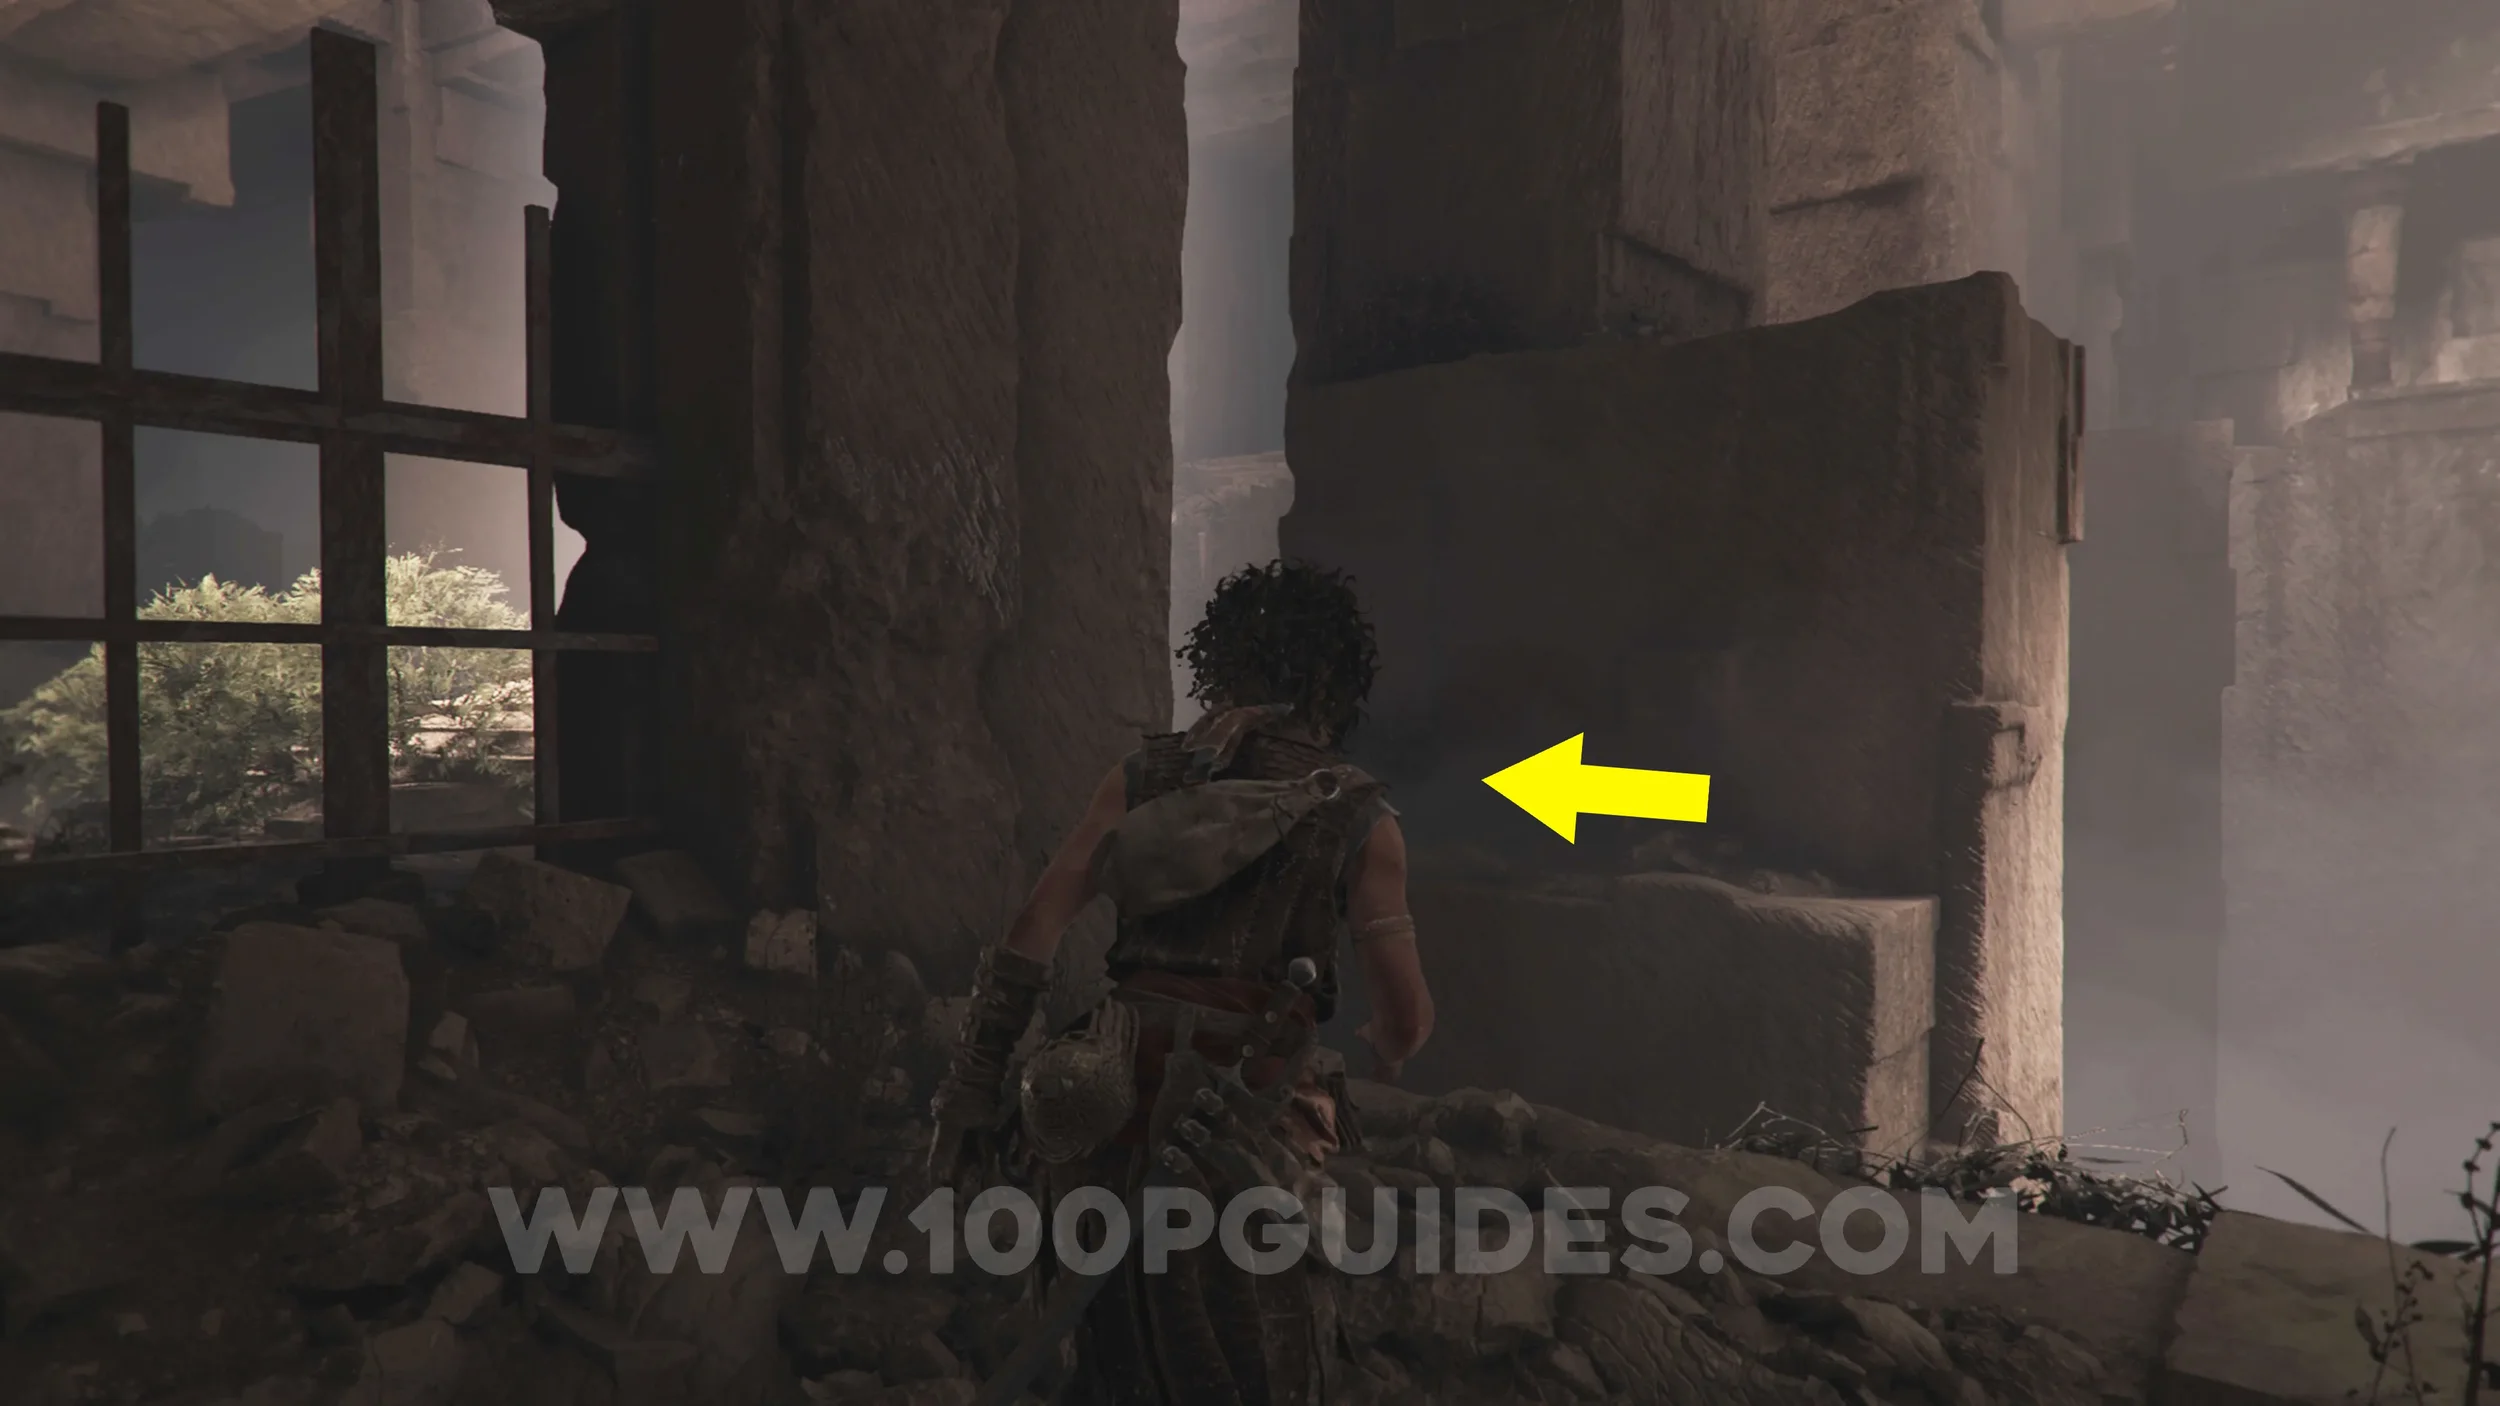
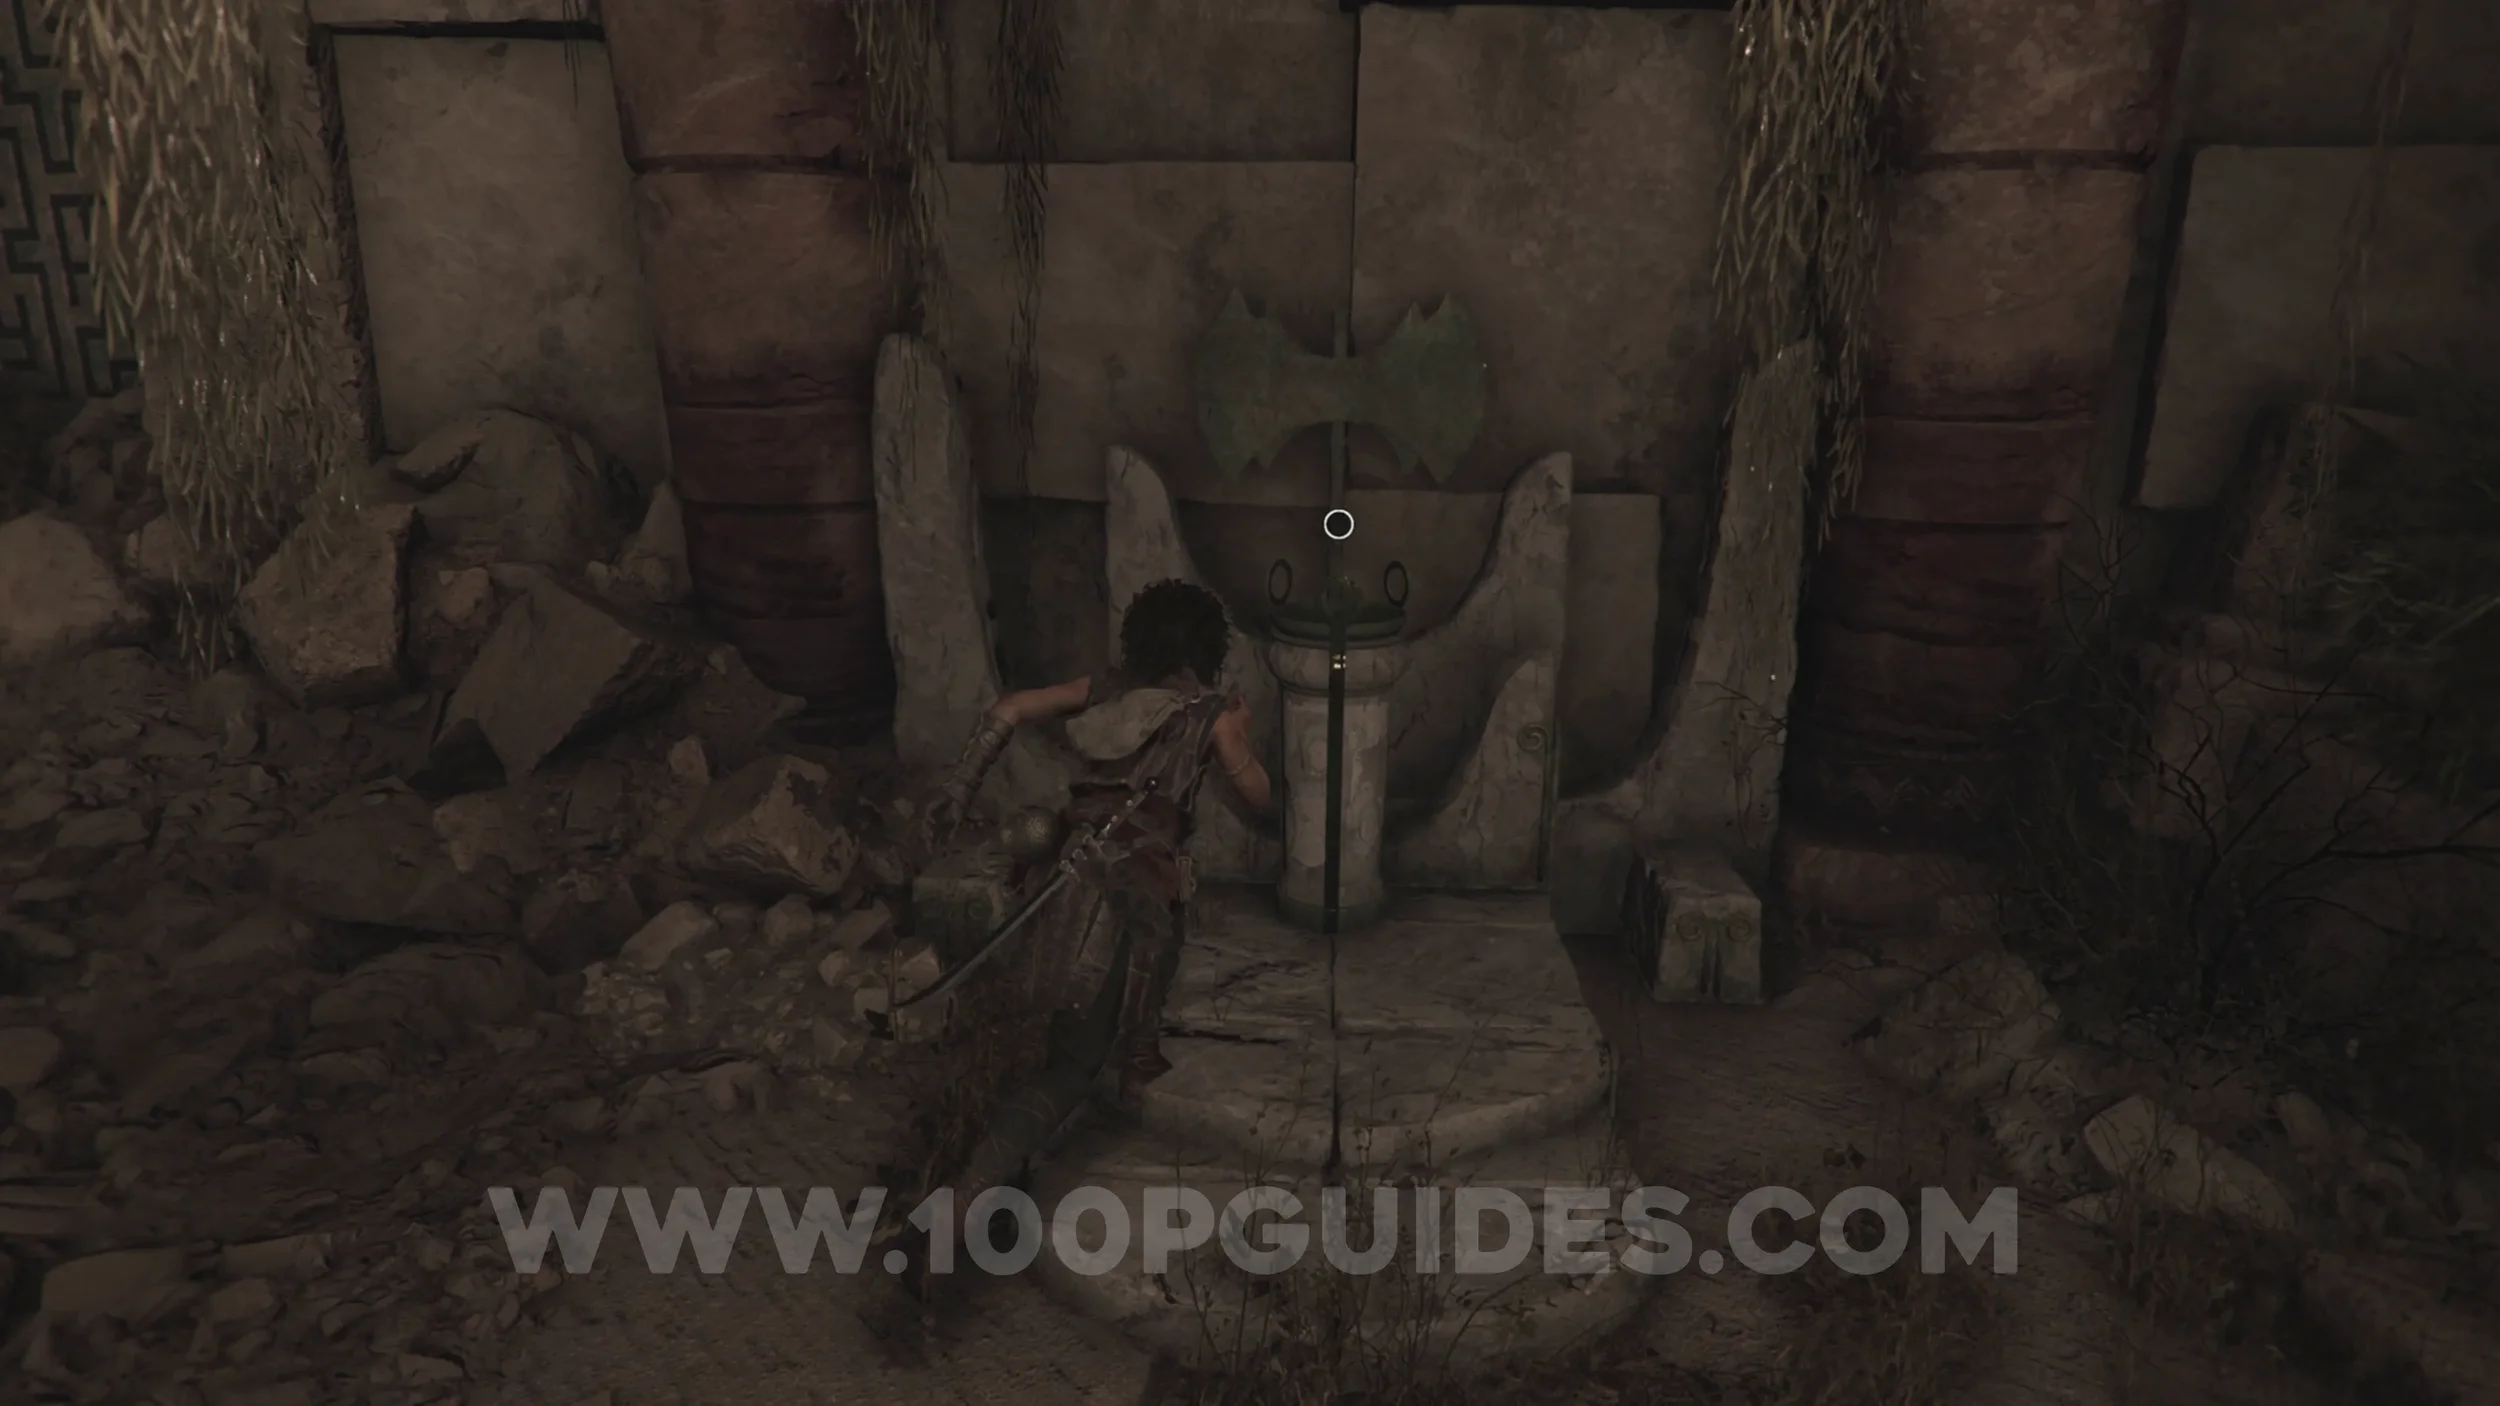
Resonance Point
Chapter 7: Sub-Chapter 3.
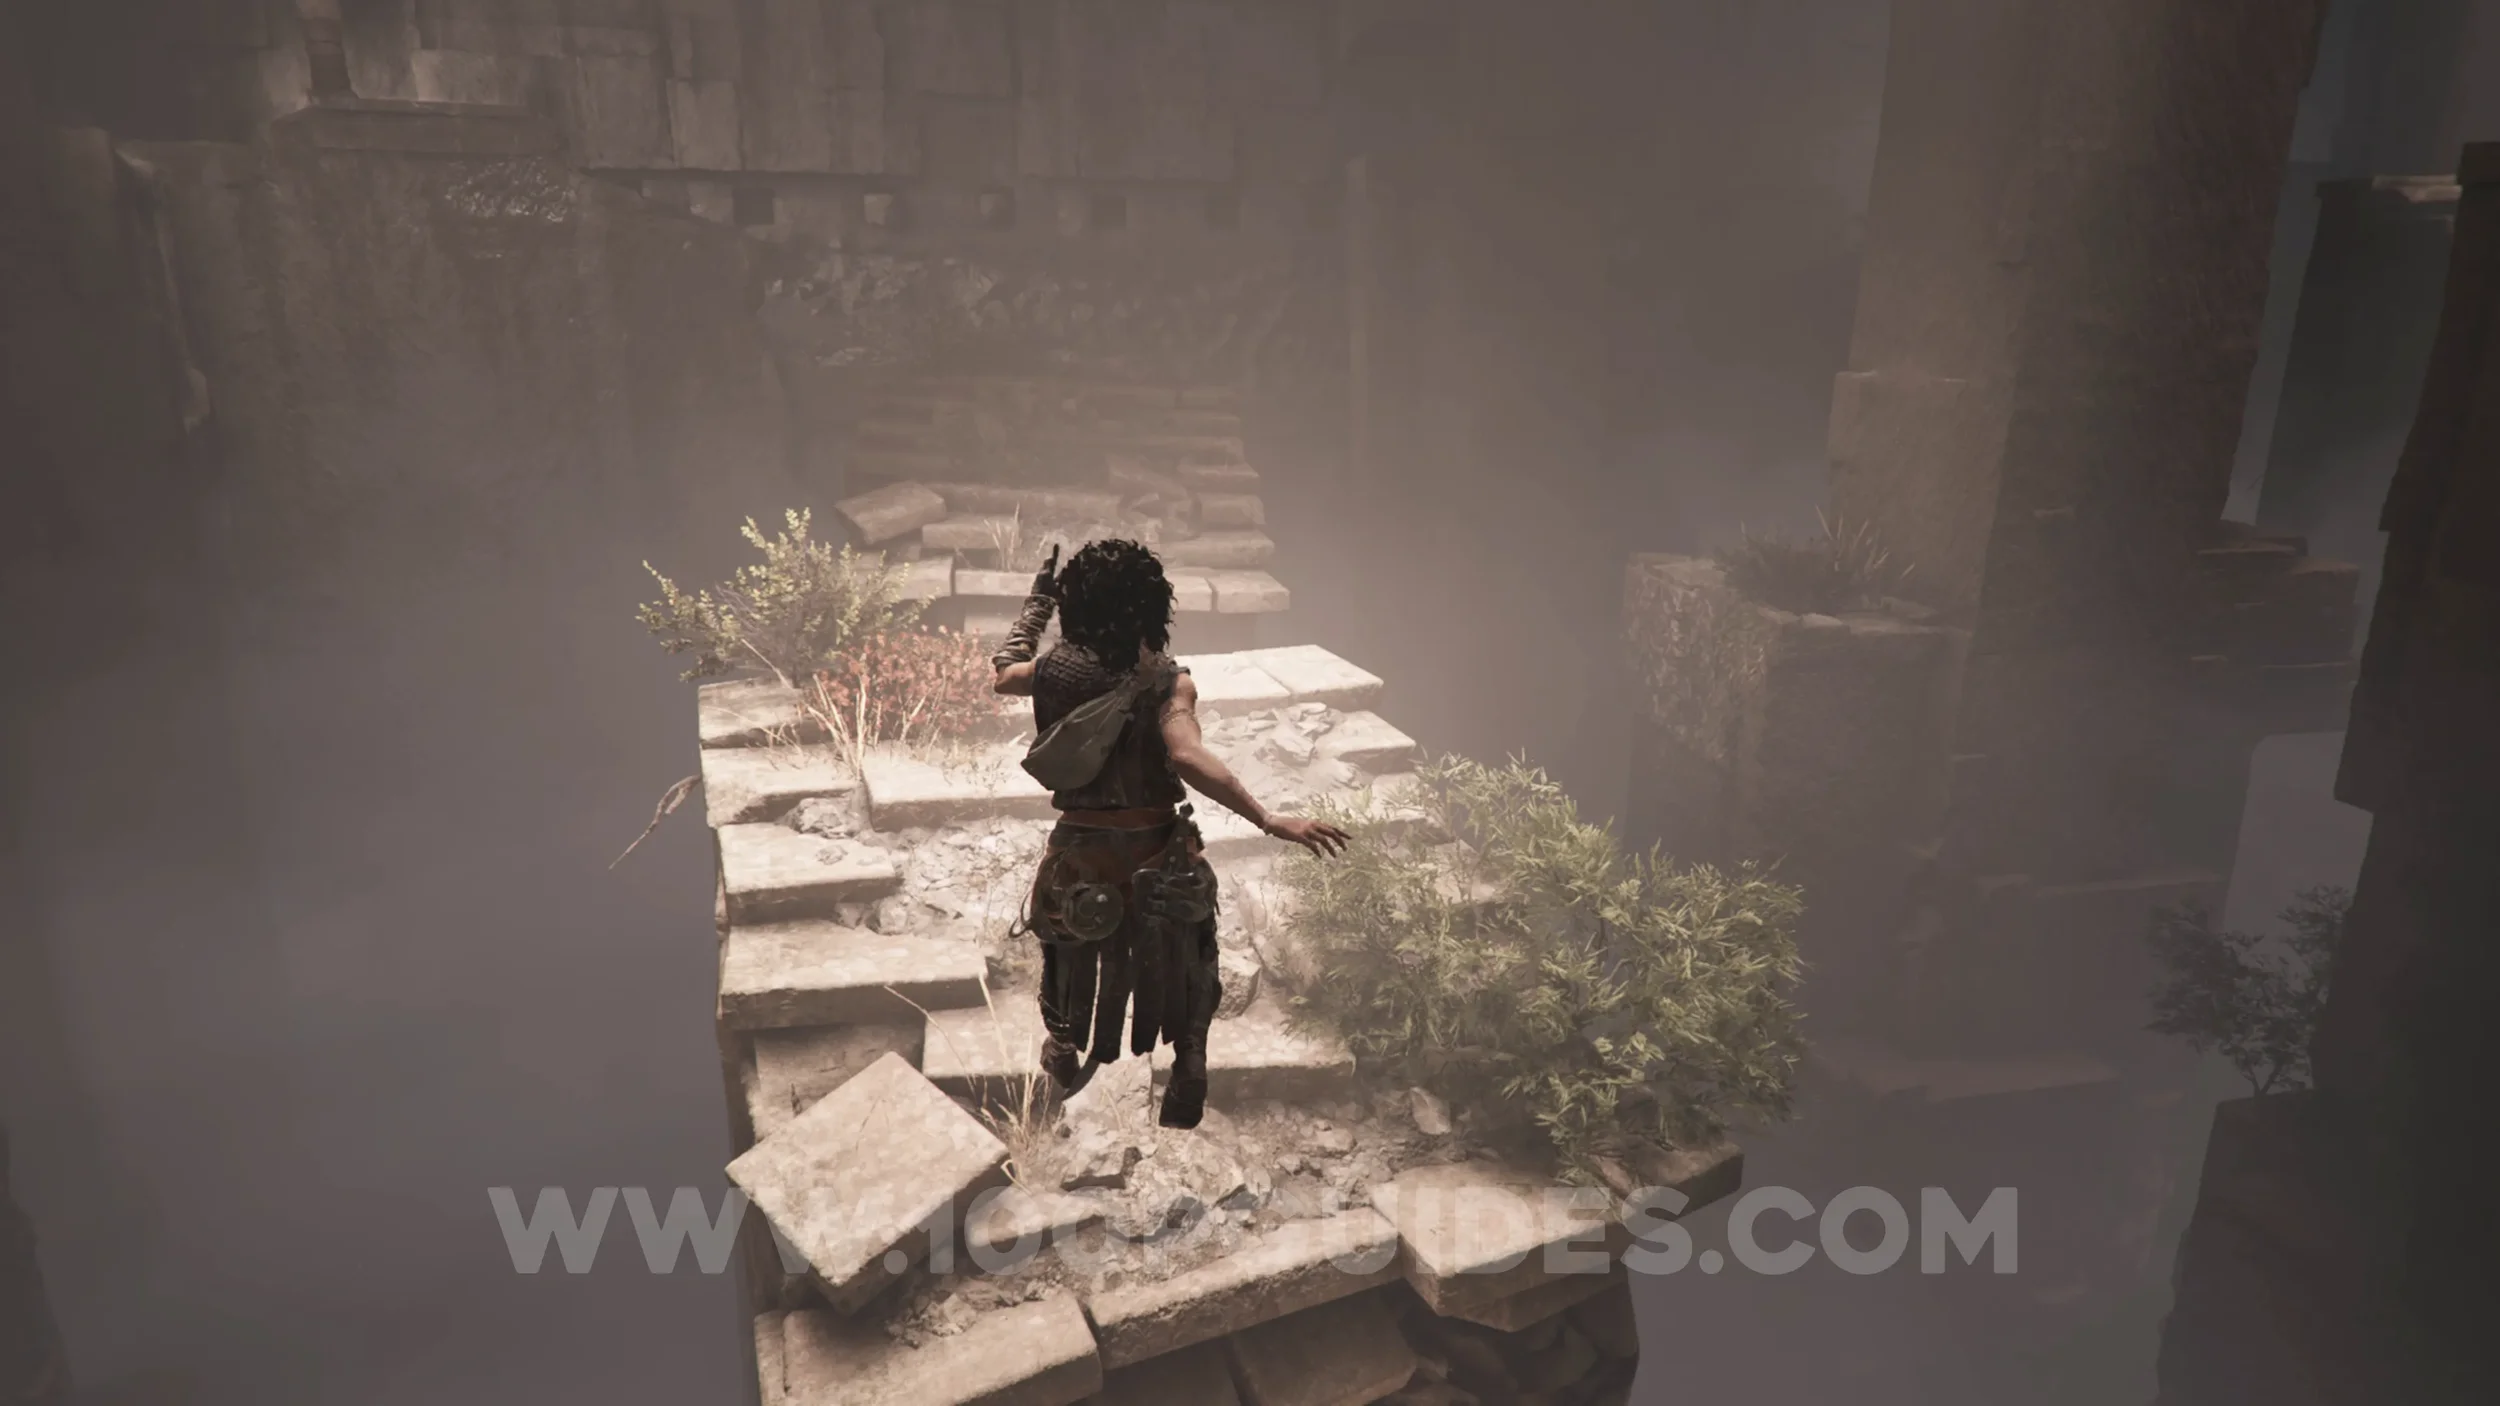
Return to the locked door and jump onto the broken stairs in the middle of the area. Continue across the broken platforms until you reach the last platform, then jump back onto the path that goes around the side of the room. Here, look right to see the collectible on the ground, on the right side of the column.
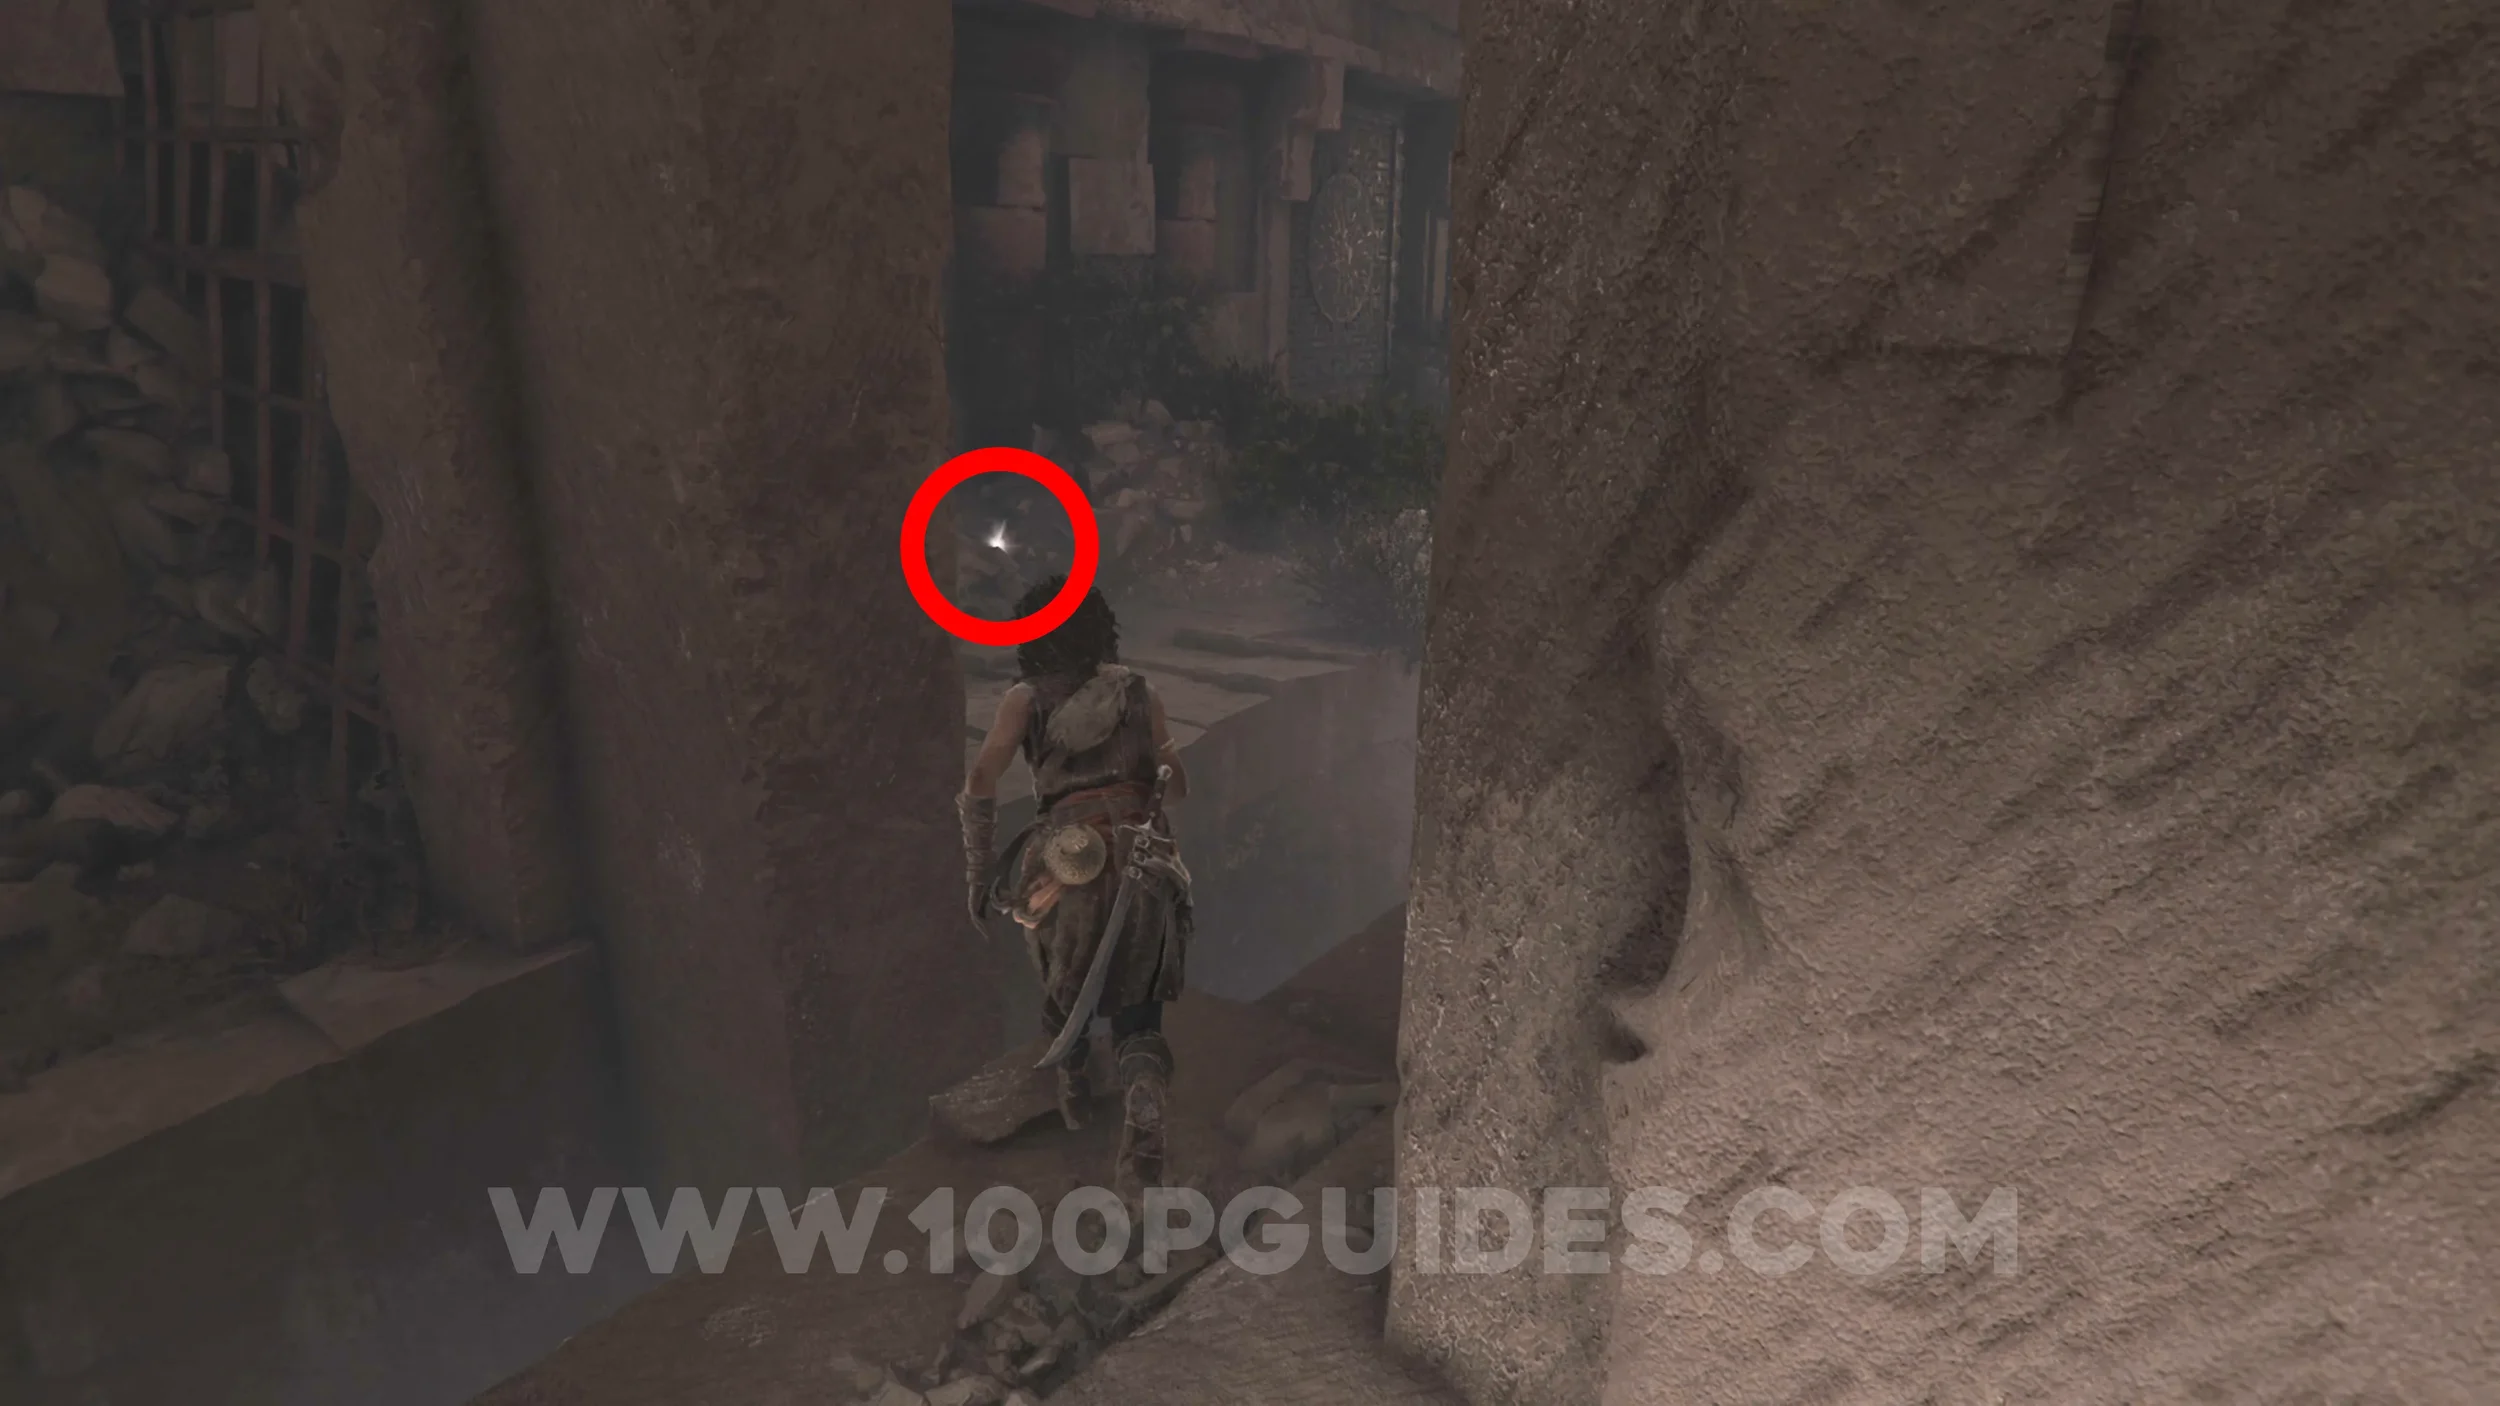
Charm: Bracelet #4
Chapter 7: Sub-Chapter 3.
From the previous collectible, jump back to the previous platform and then to the path on the side of the room, but this time on the left side of the column. Then, before heading through the hole in the grated metal, jump to the platform on the left with a tree on it to find the charm behind the tree.
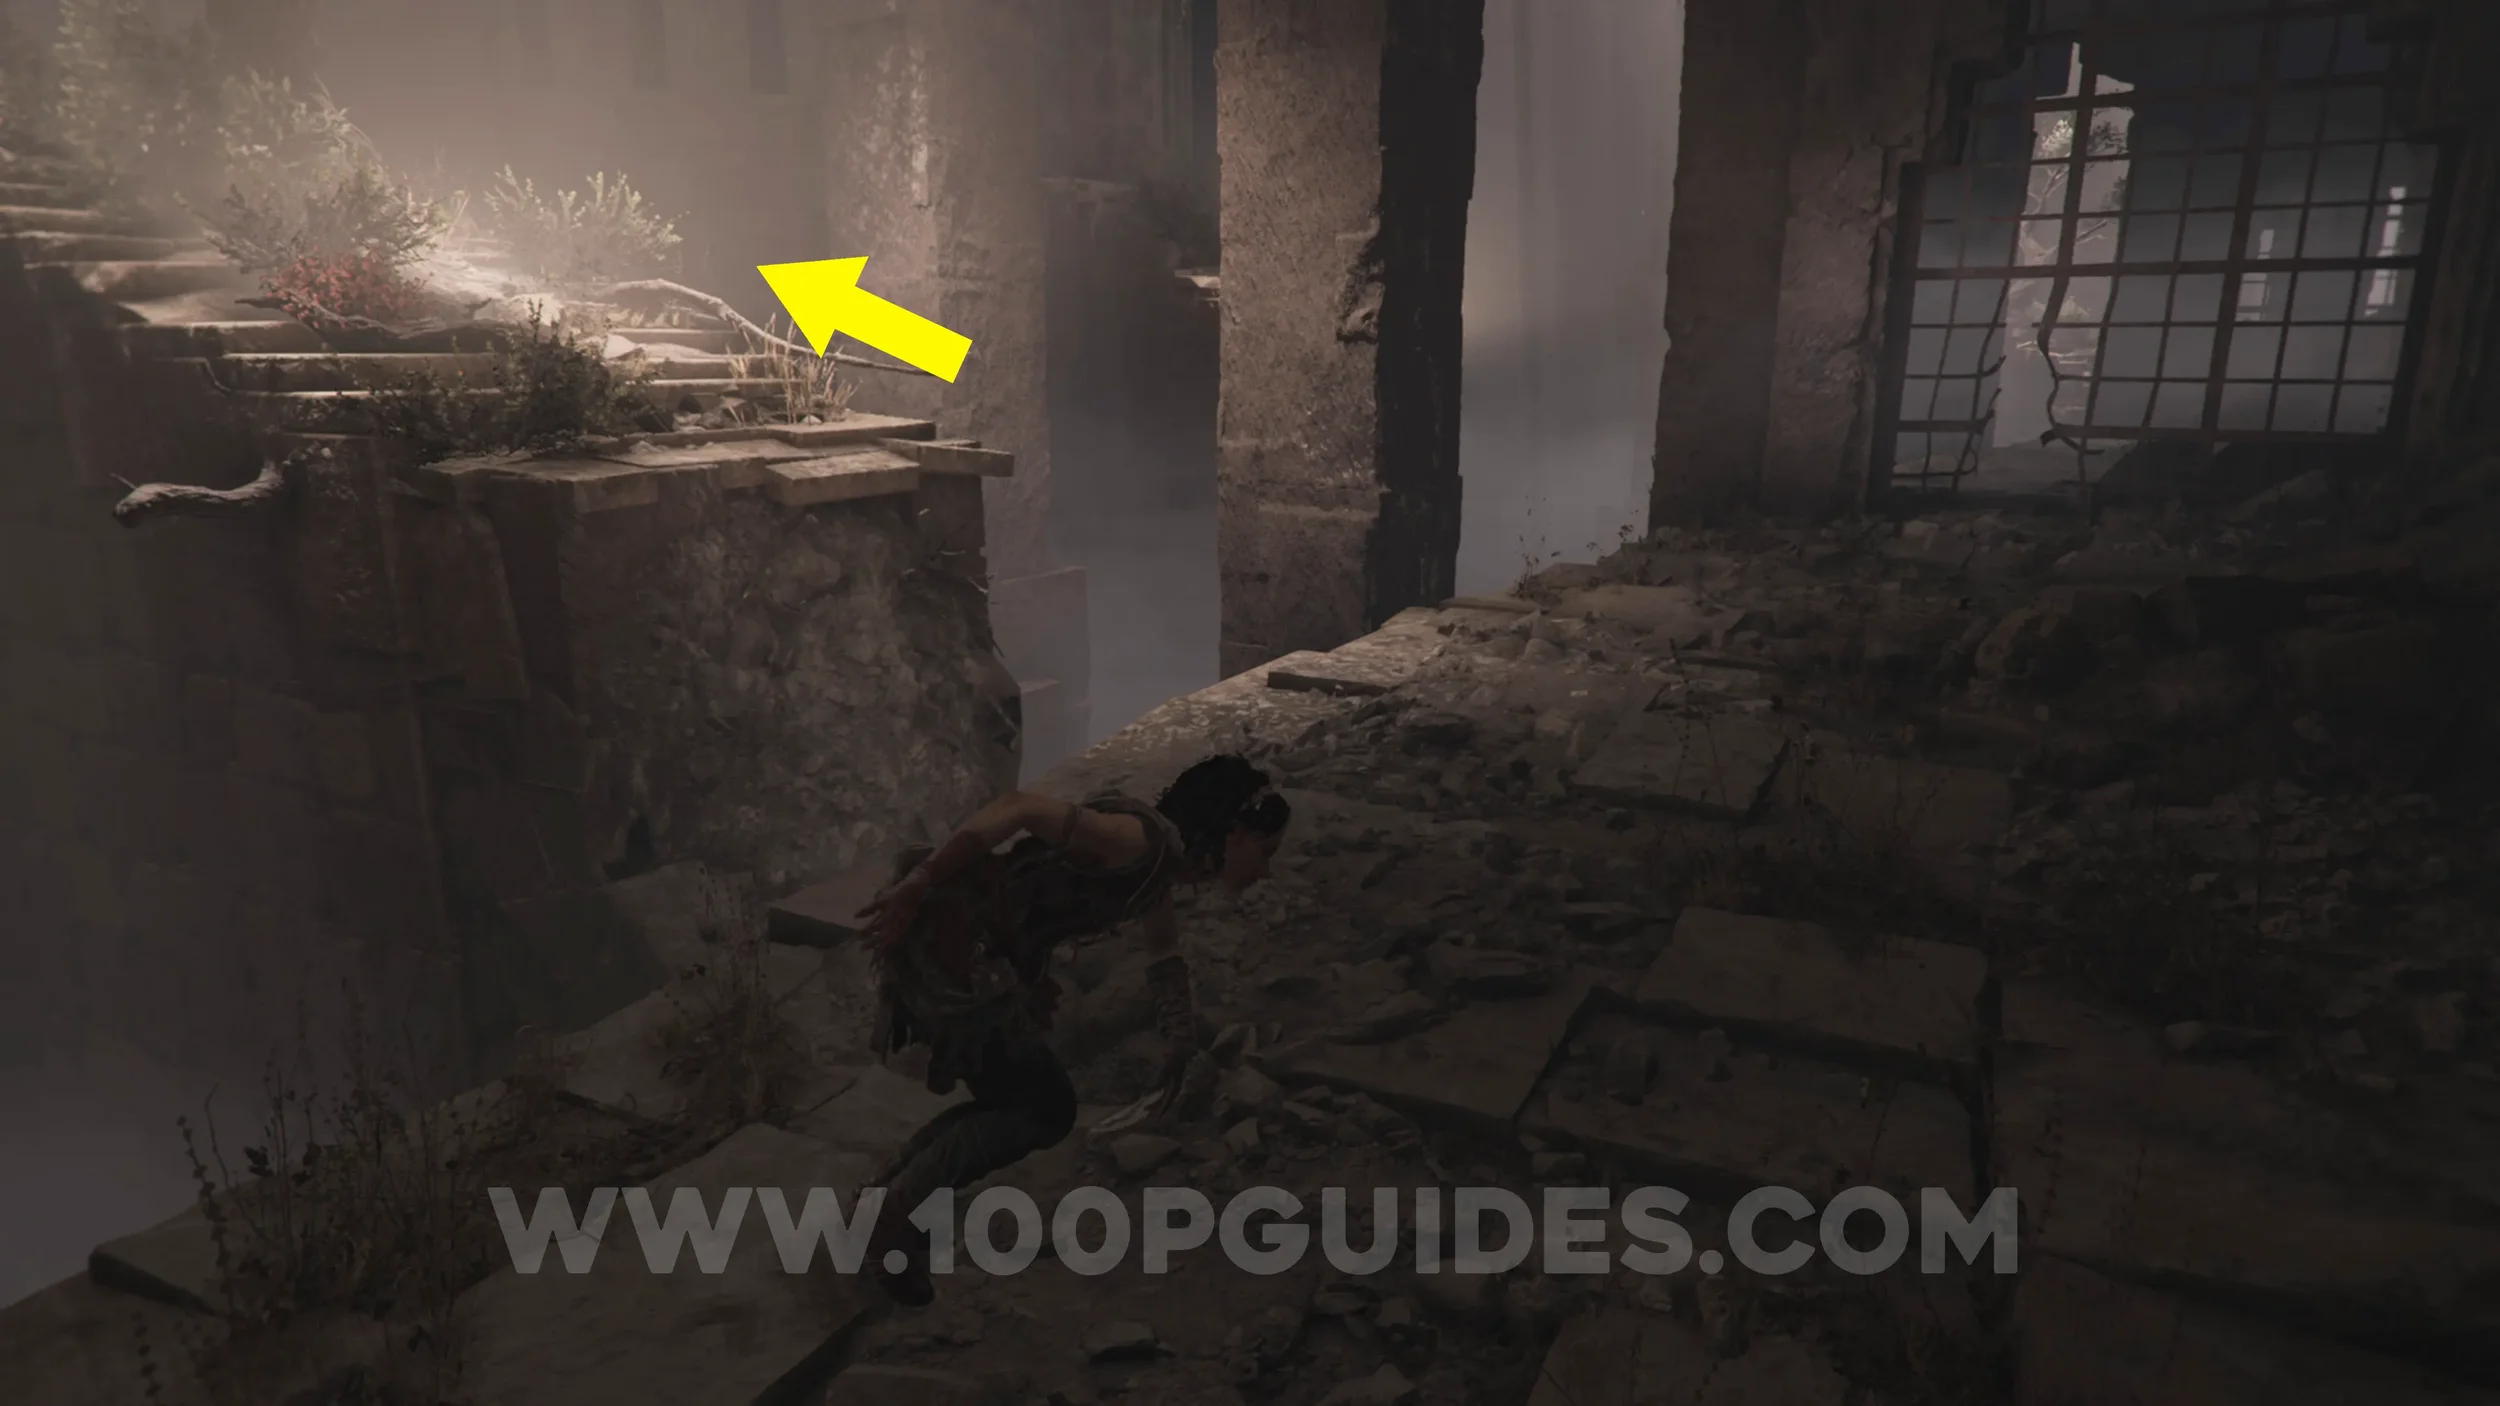
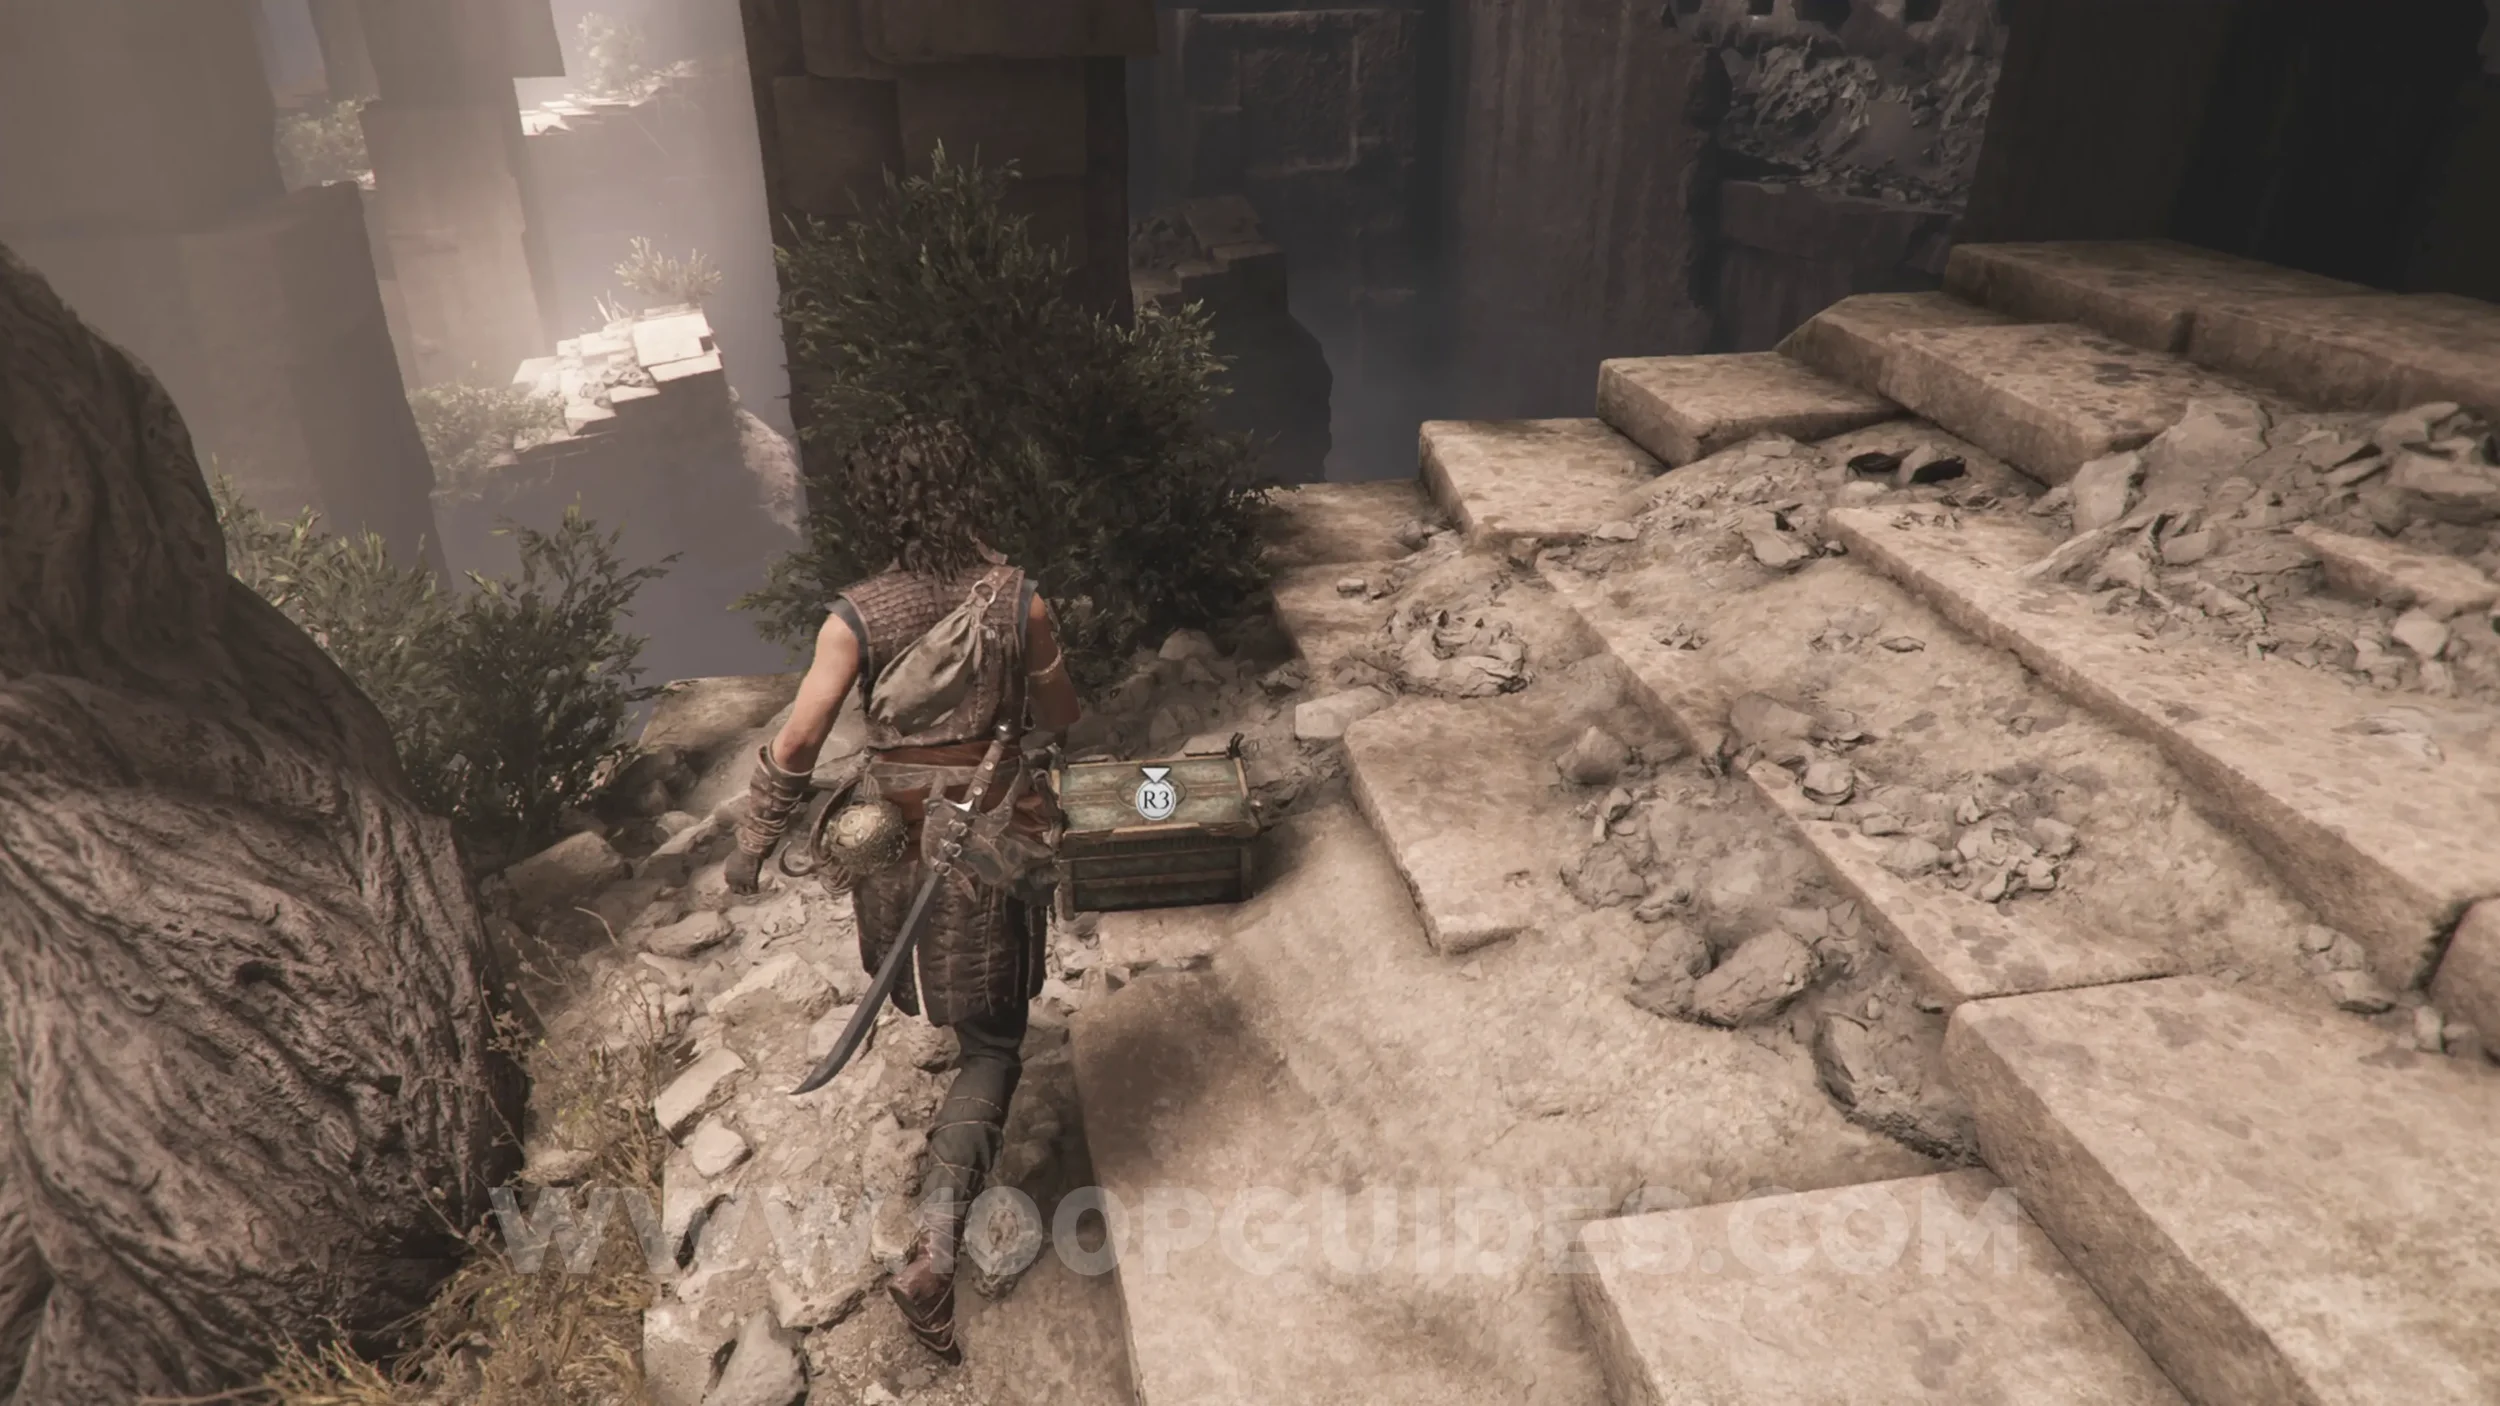
Resonance Point
Chapter 7: Sub-Chapter 5.
After the playable "vision" where you play as Theseus and return to controlling Sophia, use the zipline and then shimmy across to the left. As soon as you finish shimmying, look left to find the collectible.
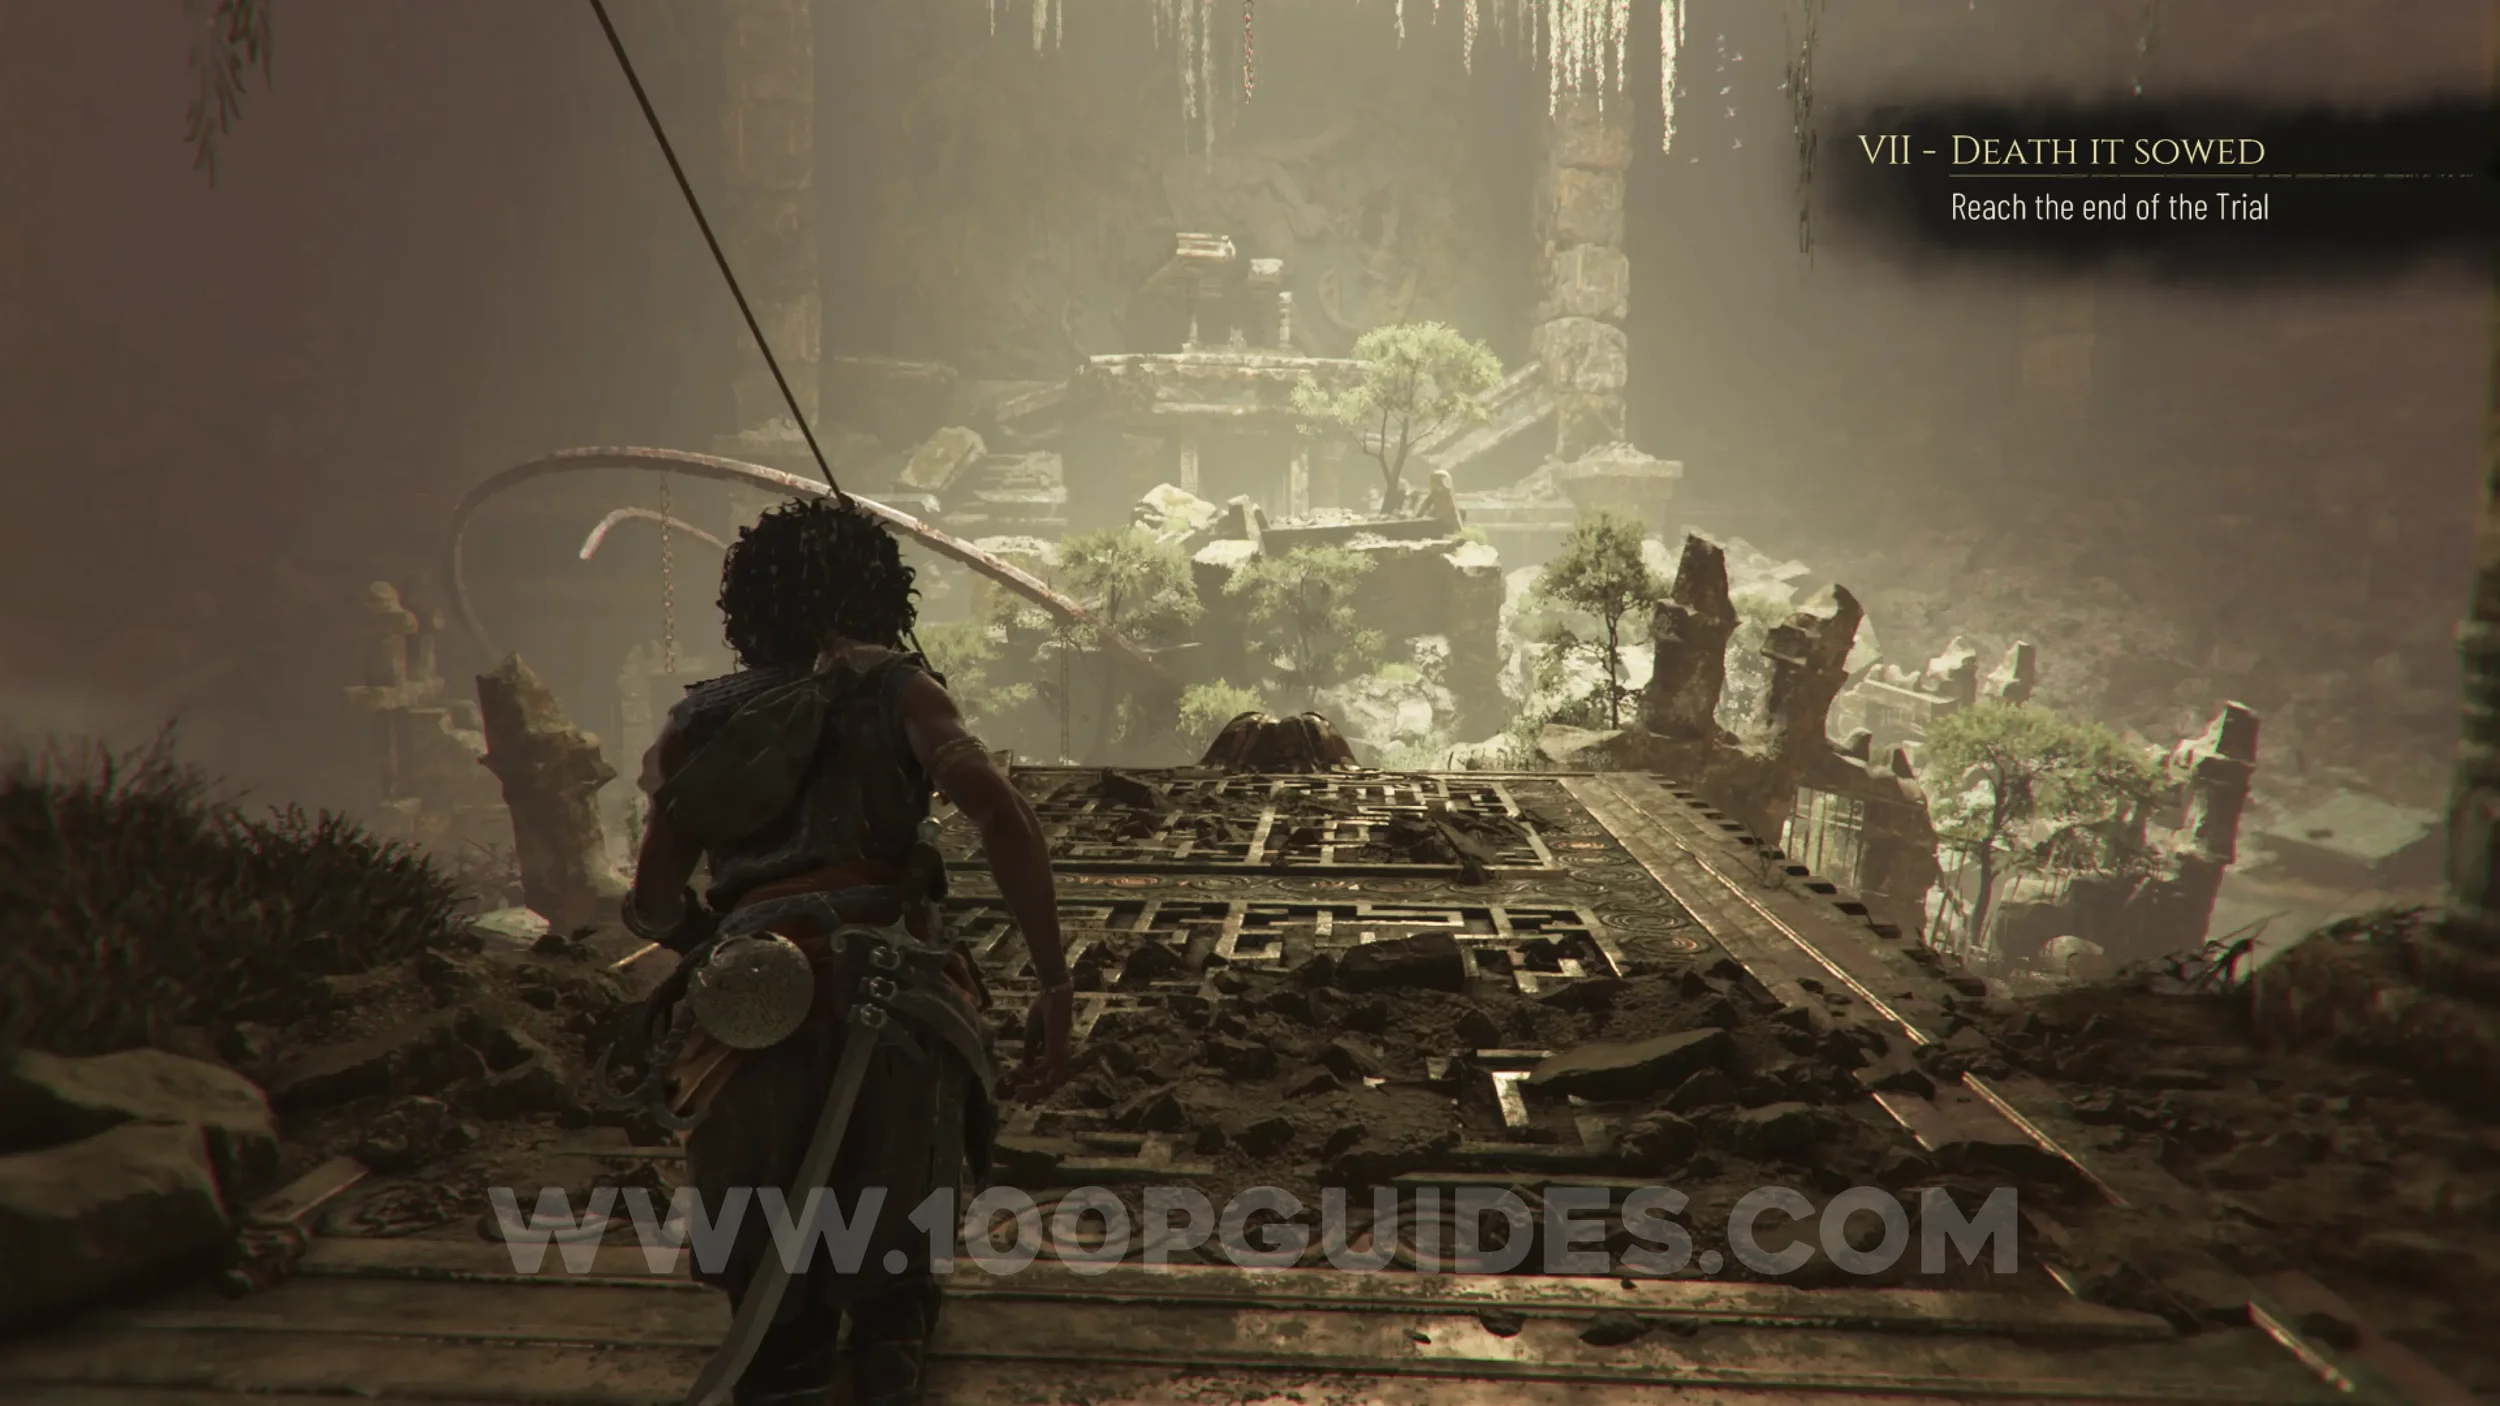
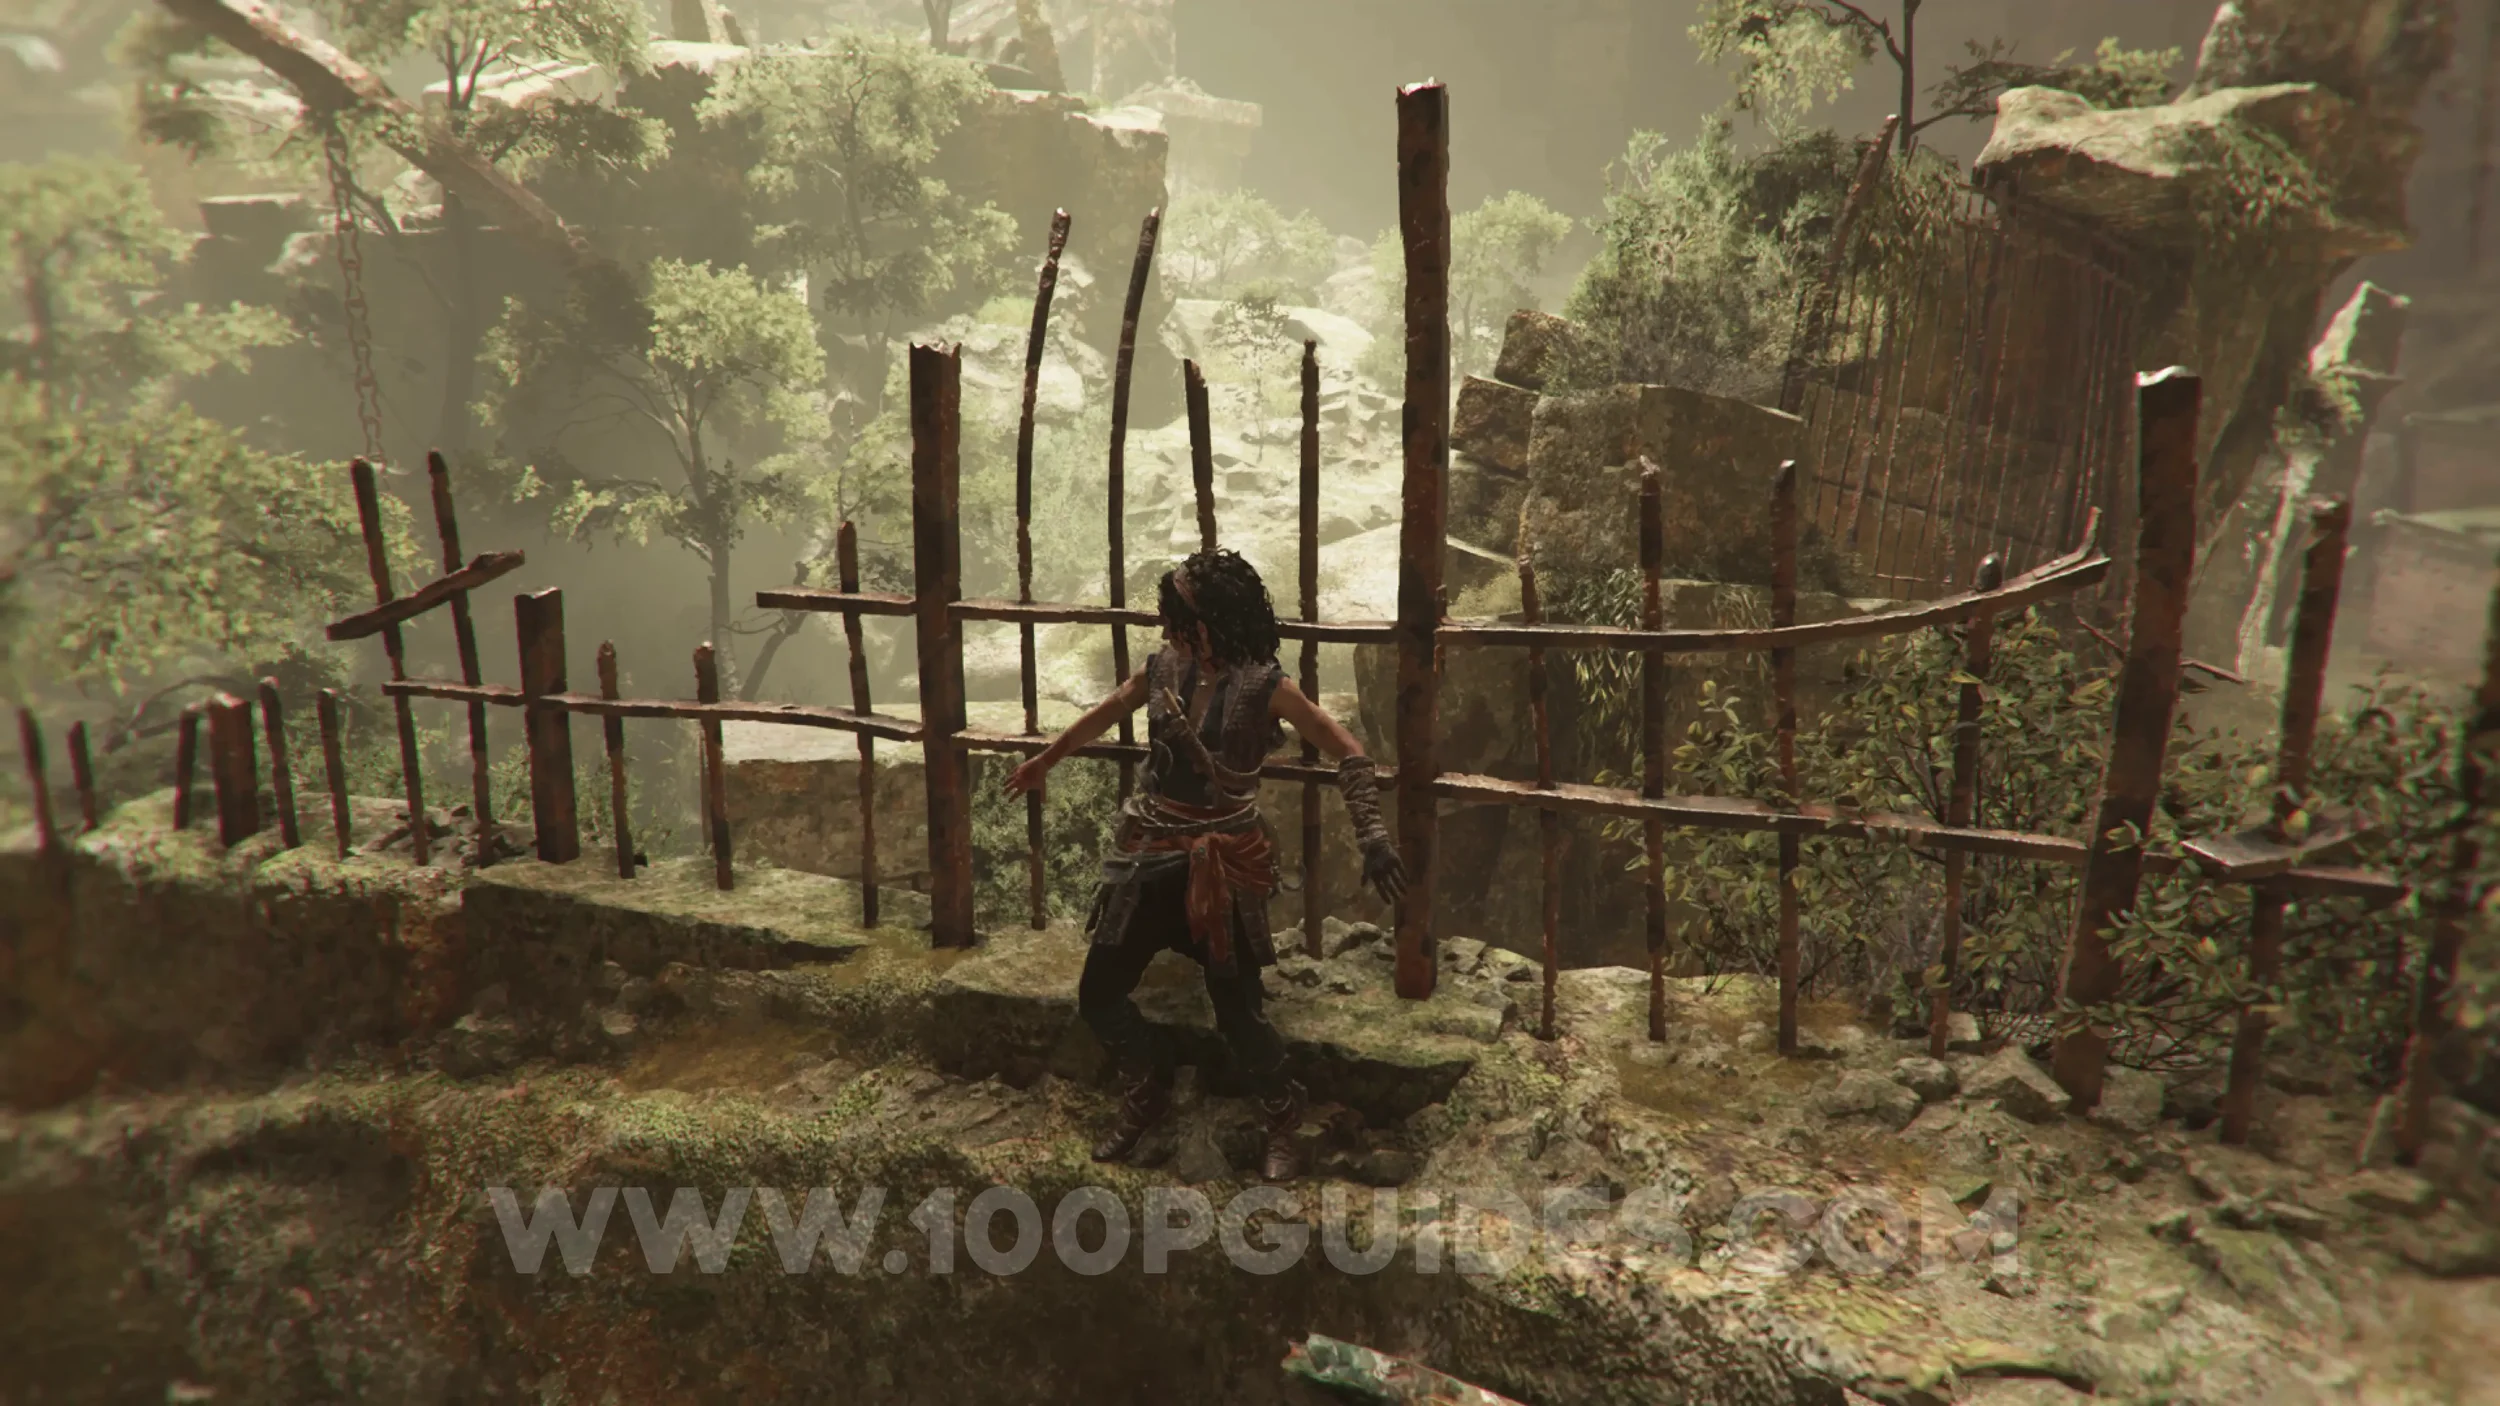
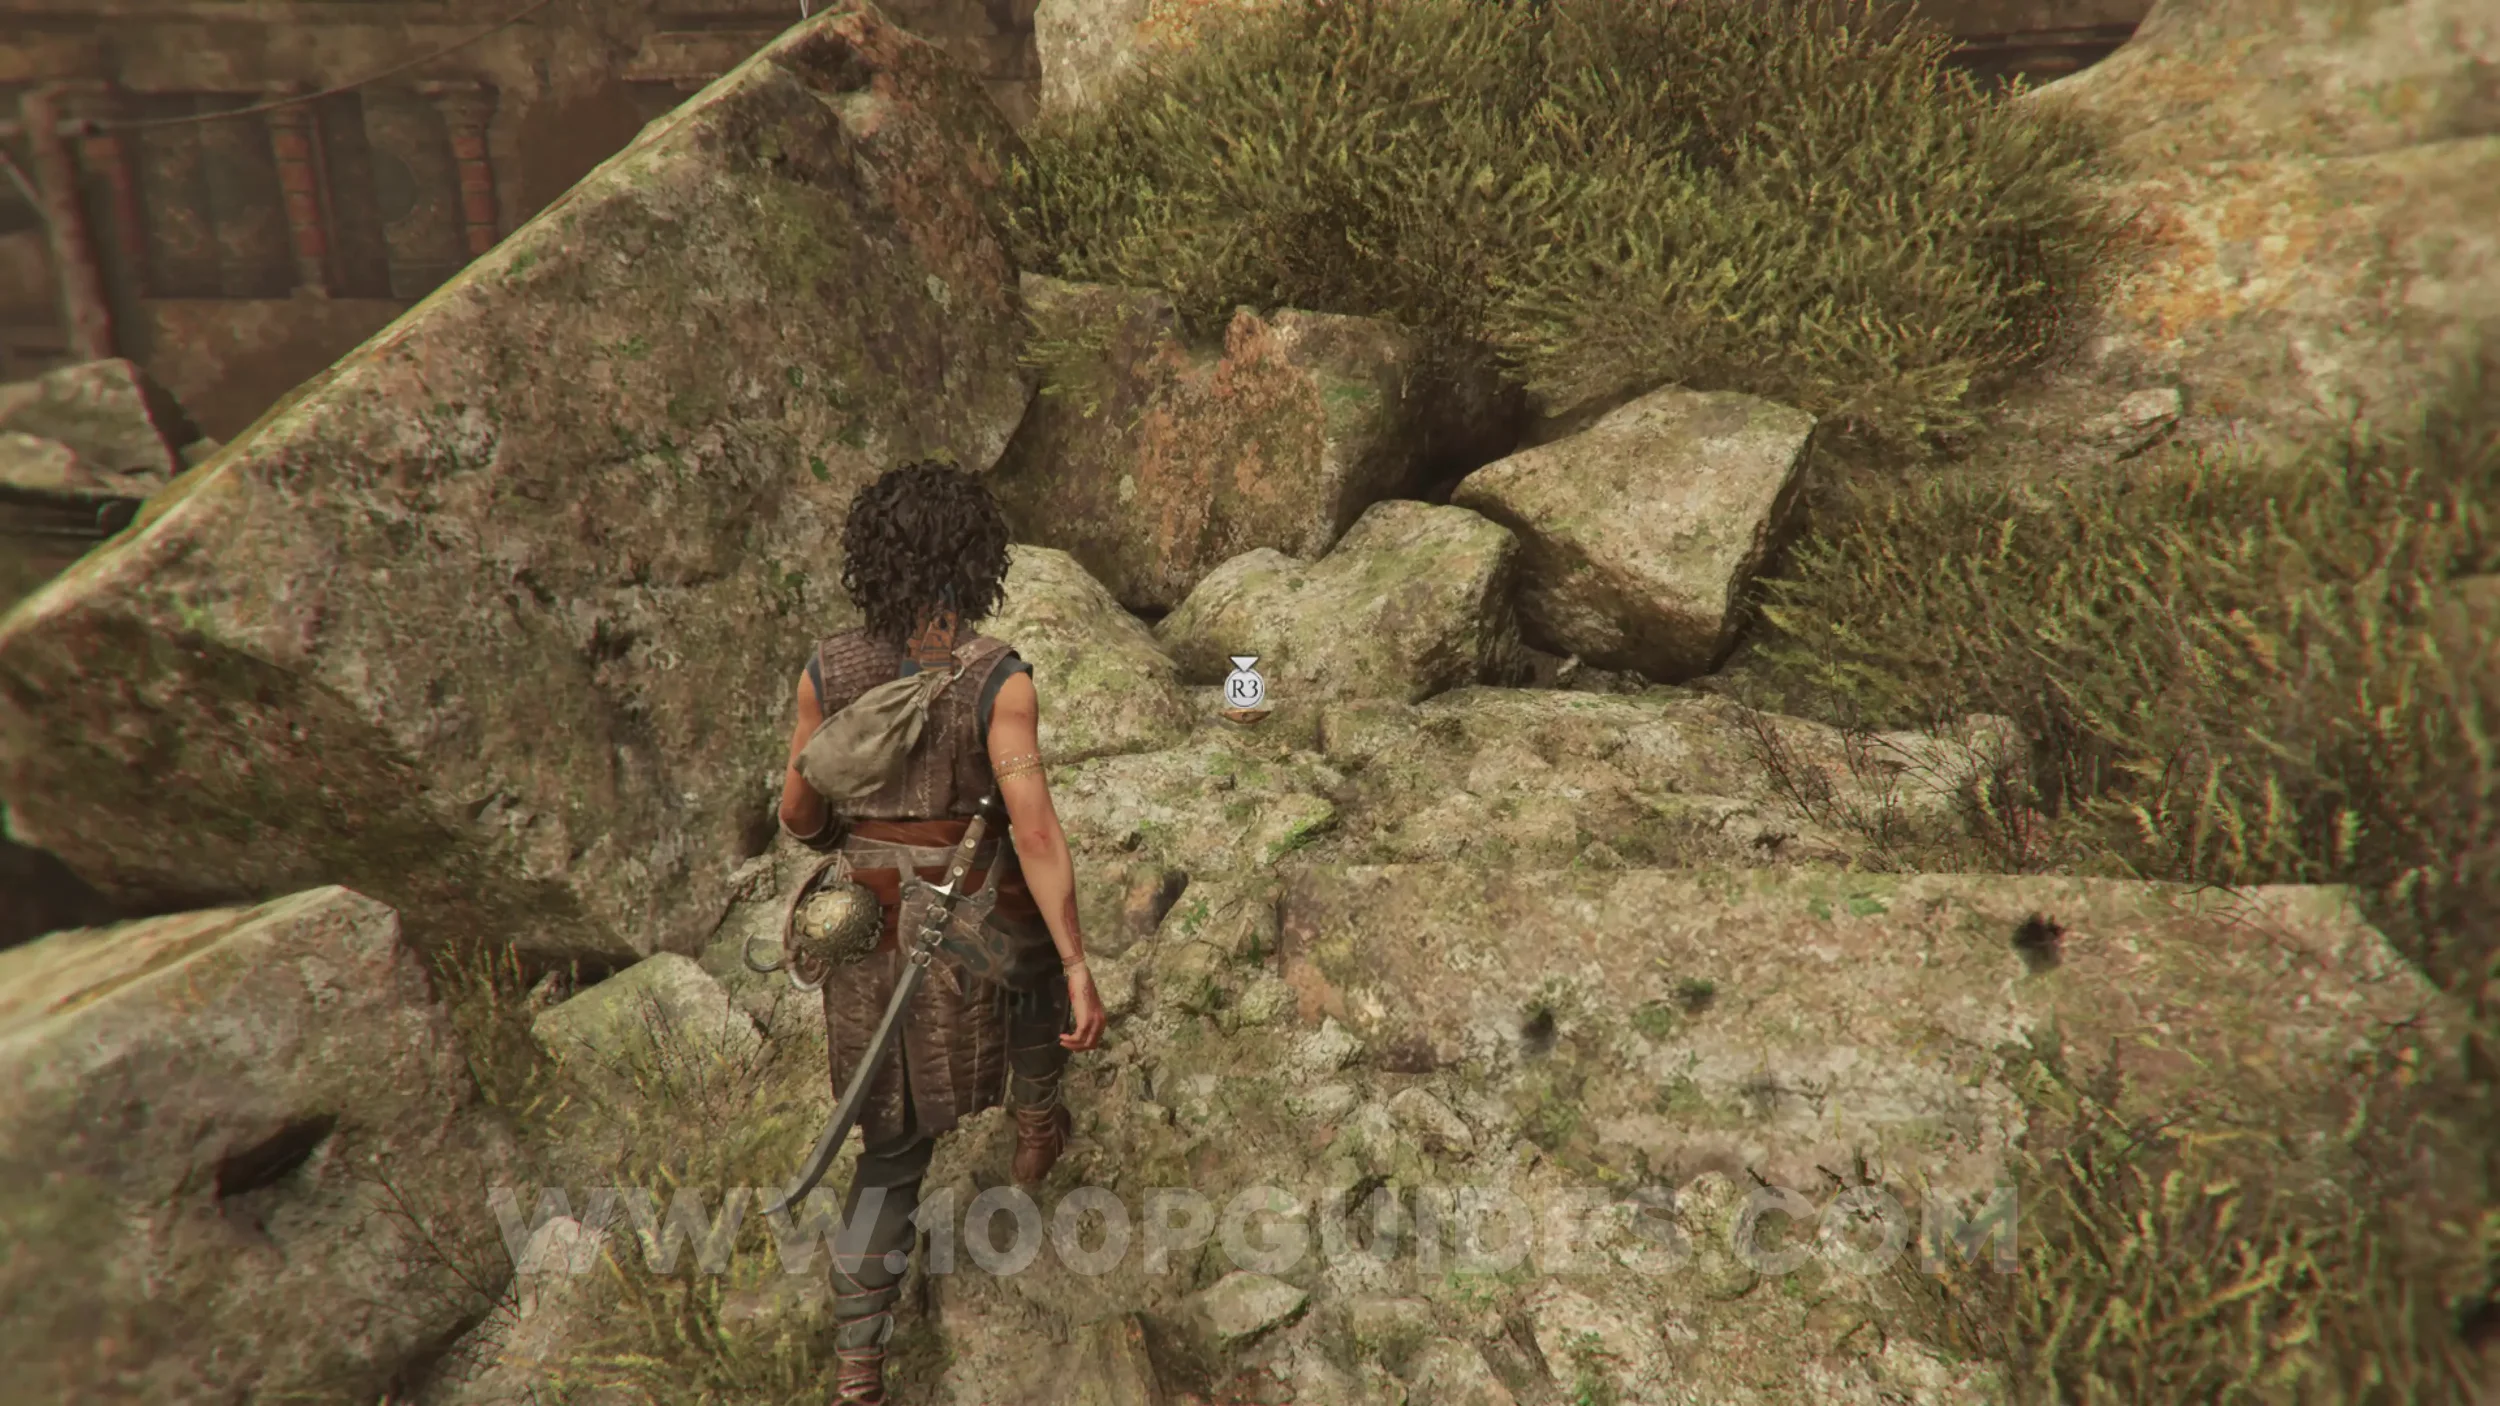
Resonance Point
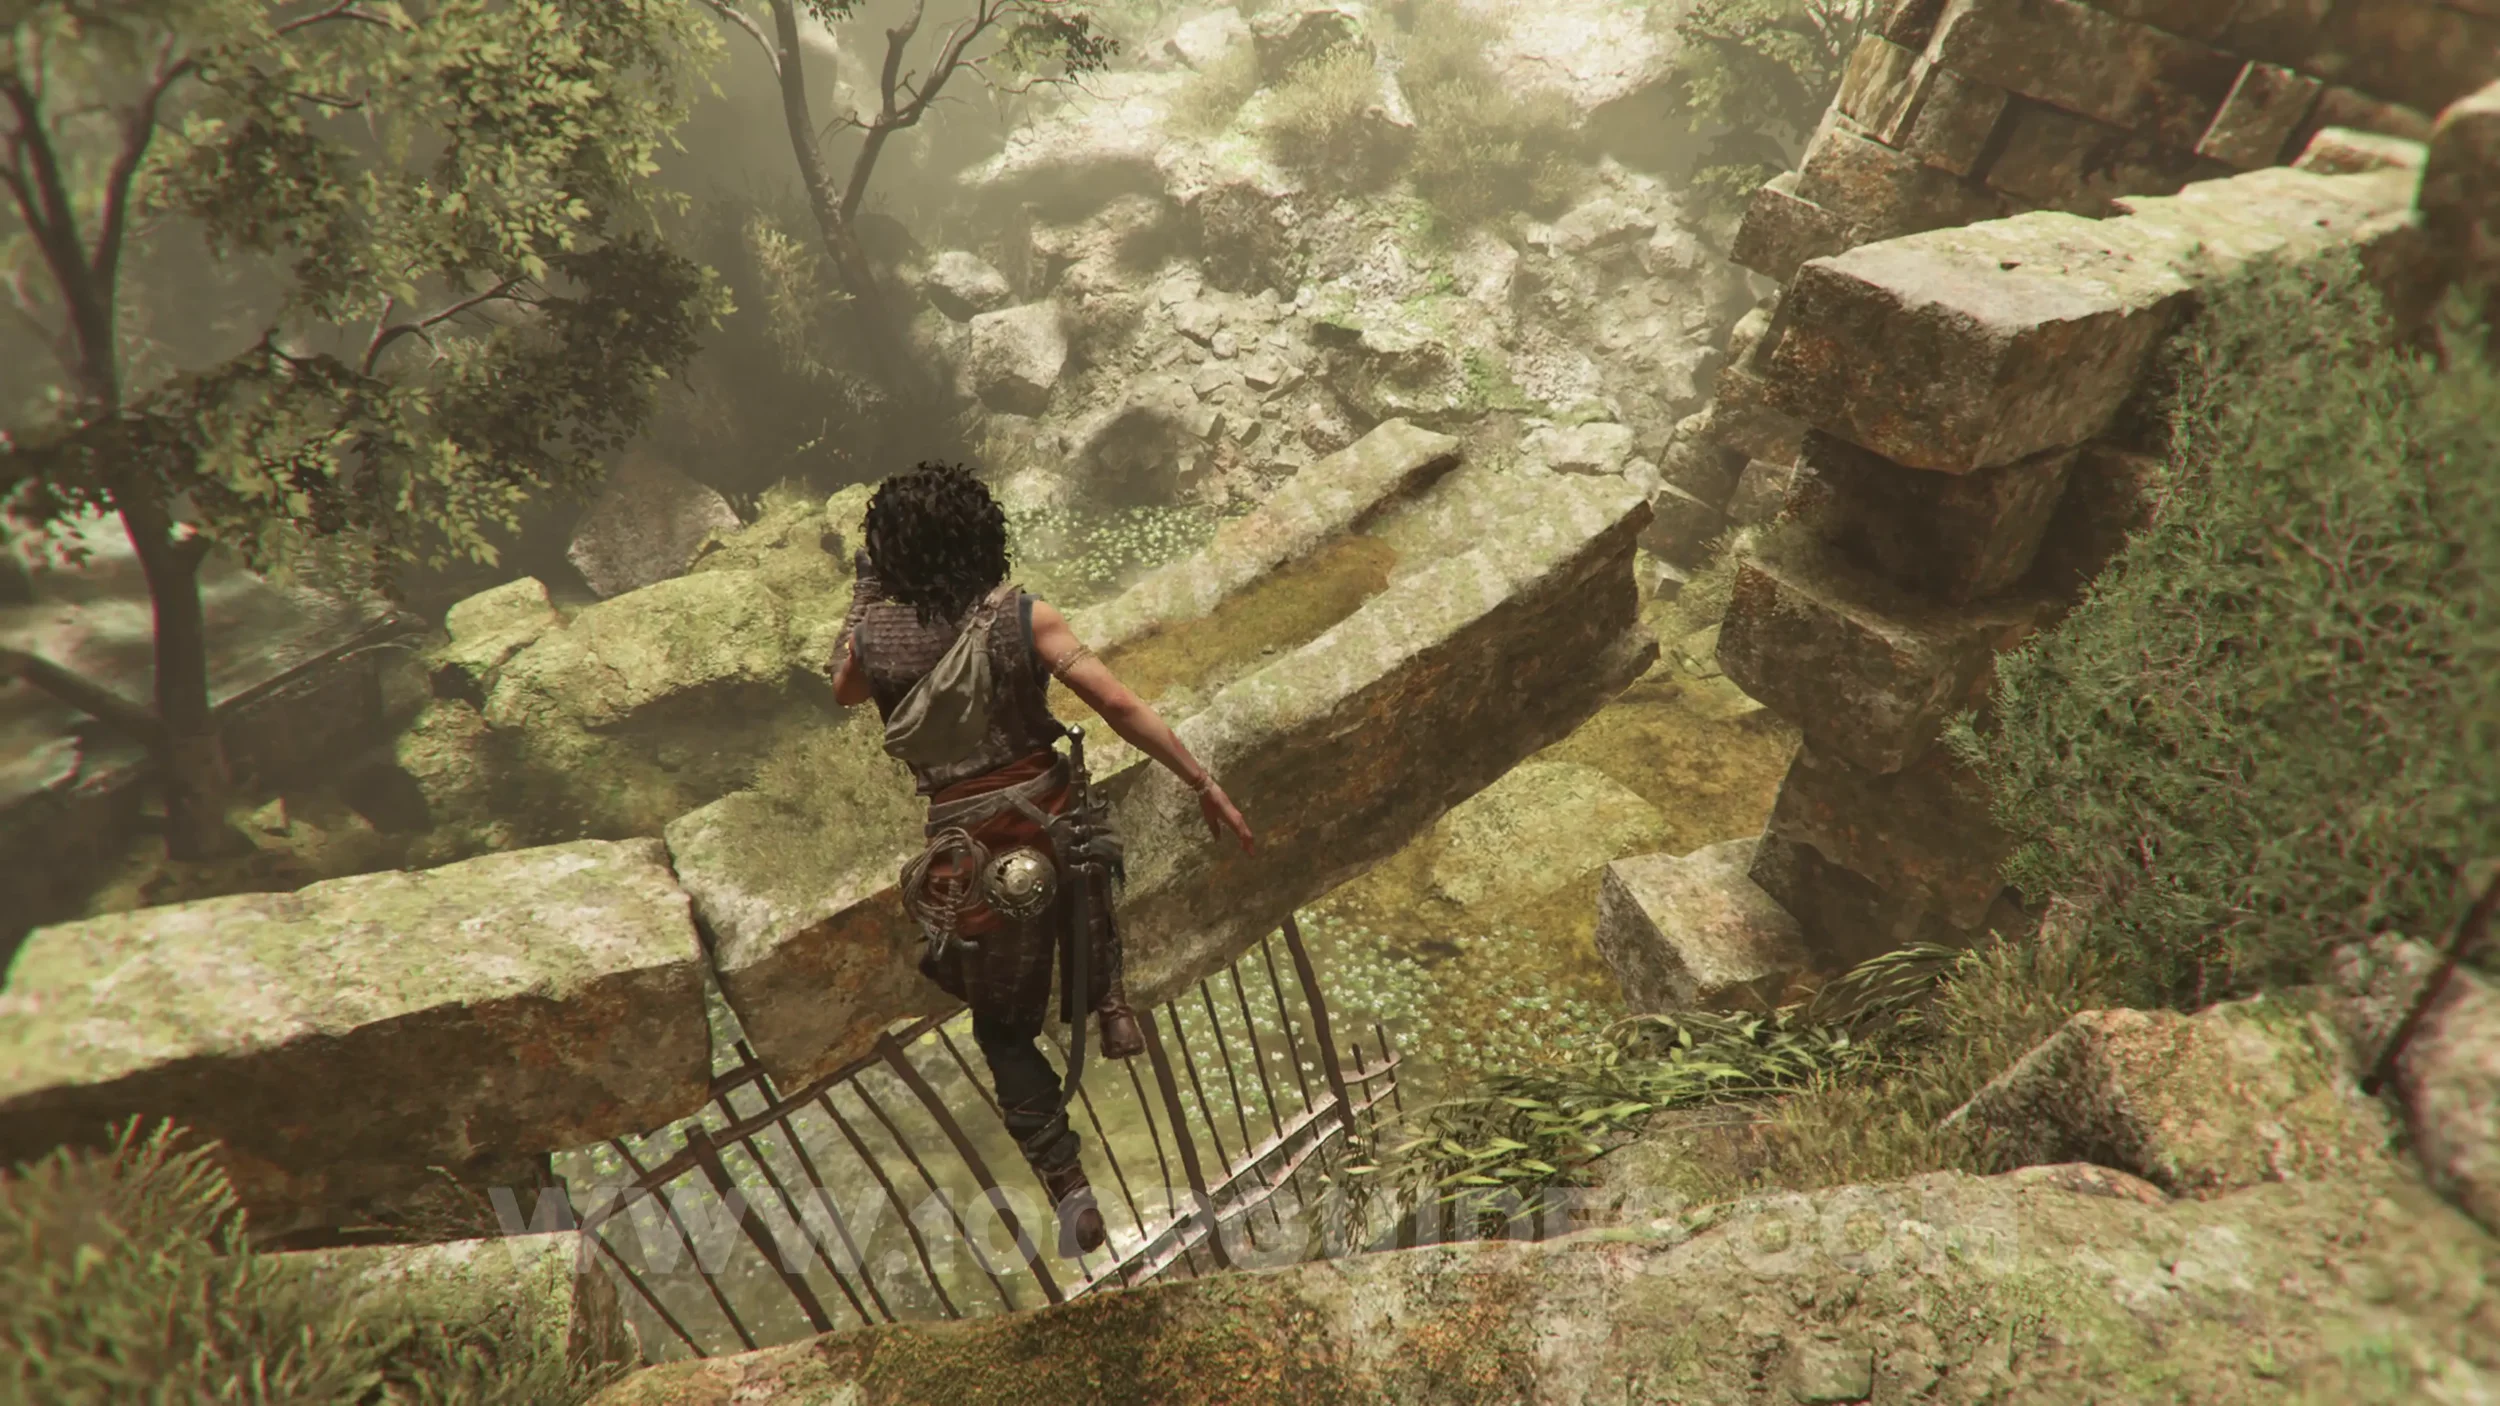
Chapter 7: Sub-Chapter 5.
From the previous collectible, turn around and jump to the stone structure, then head right to find the resonance point at the end.
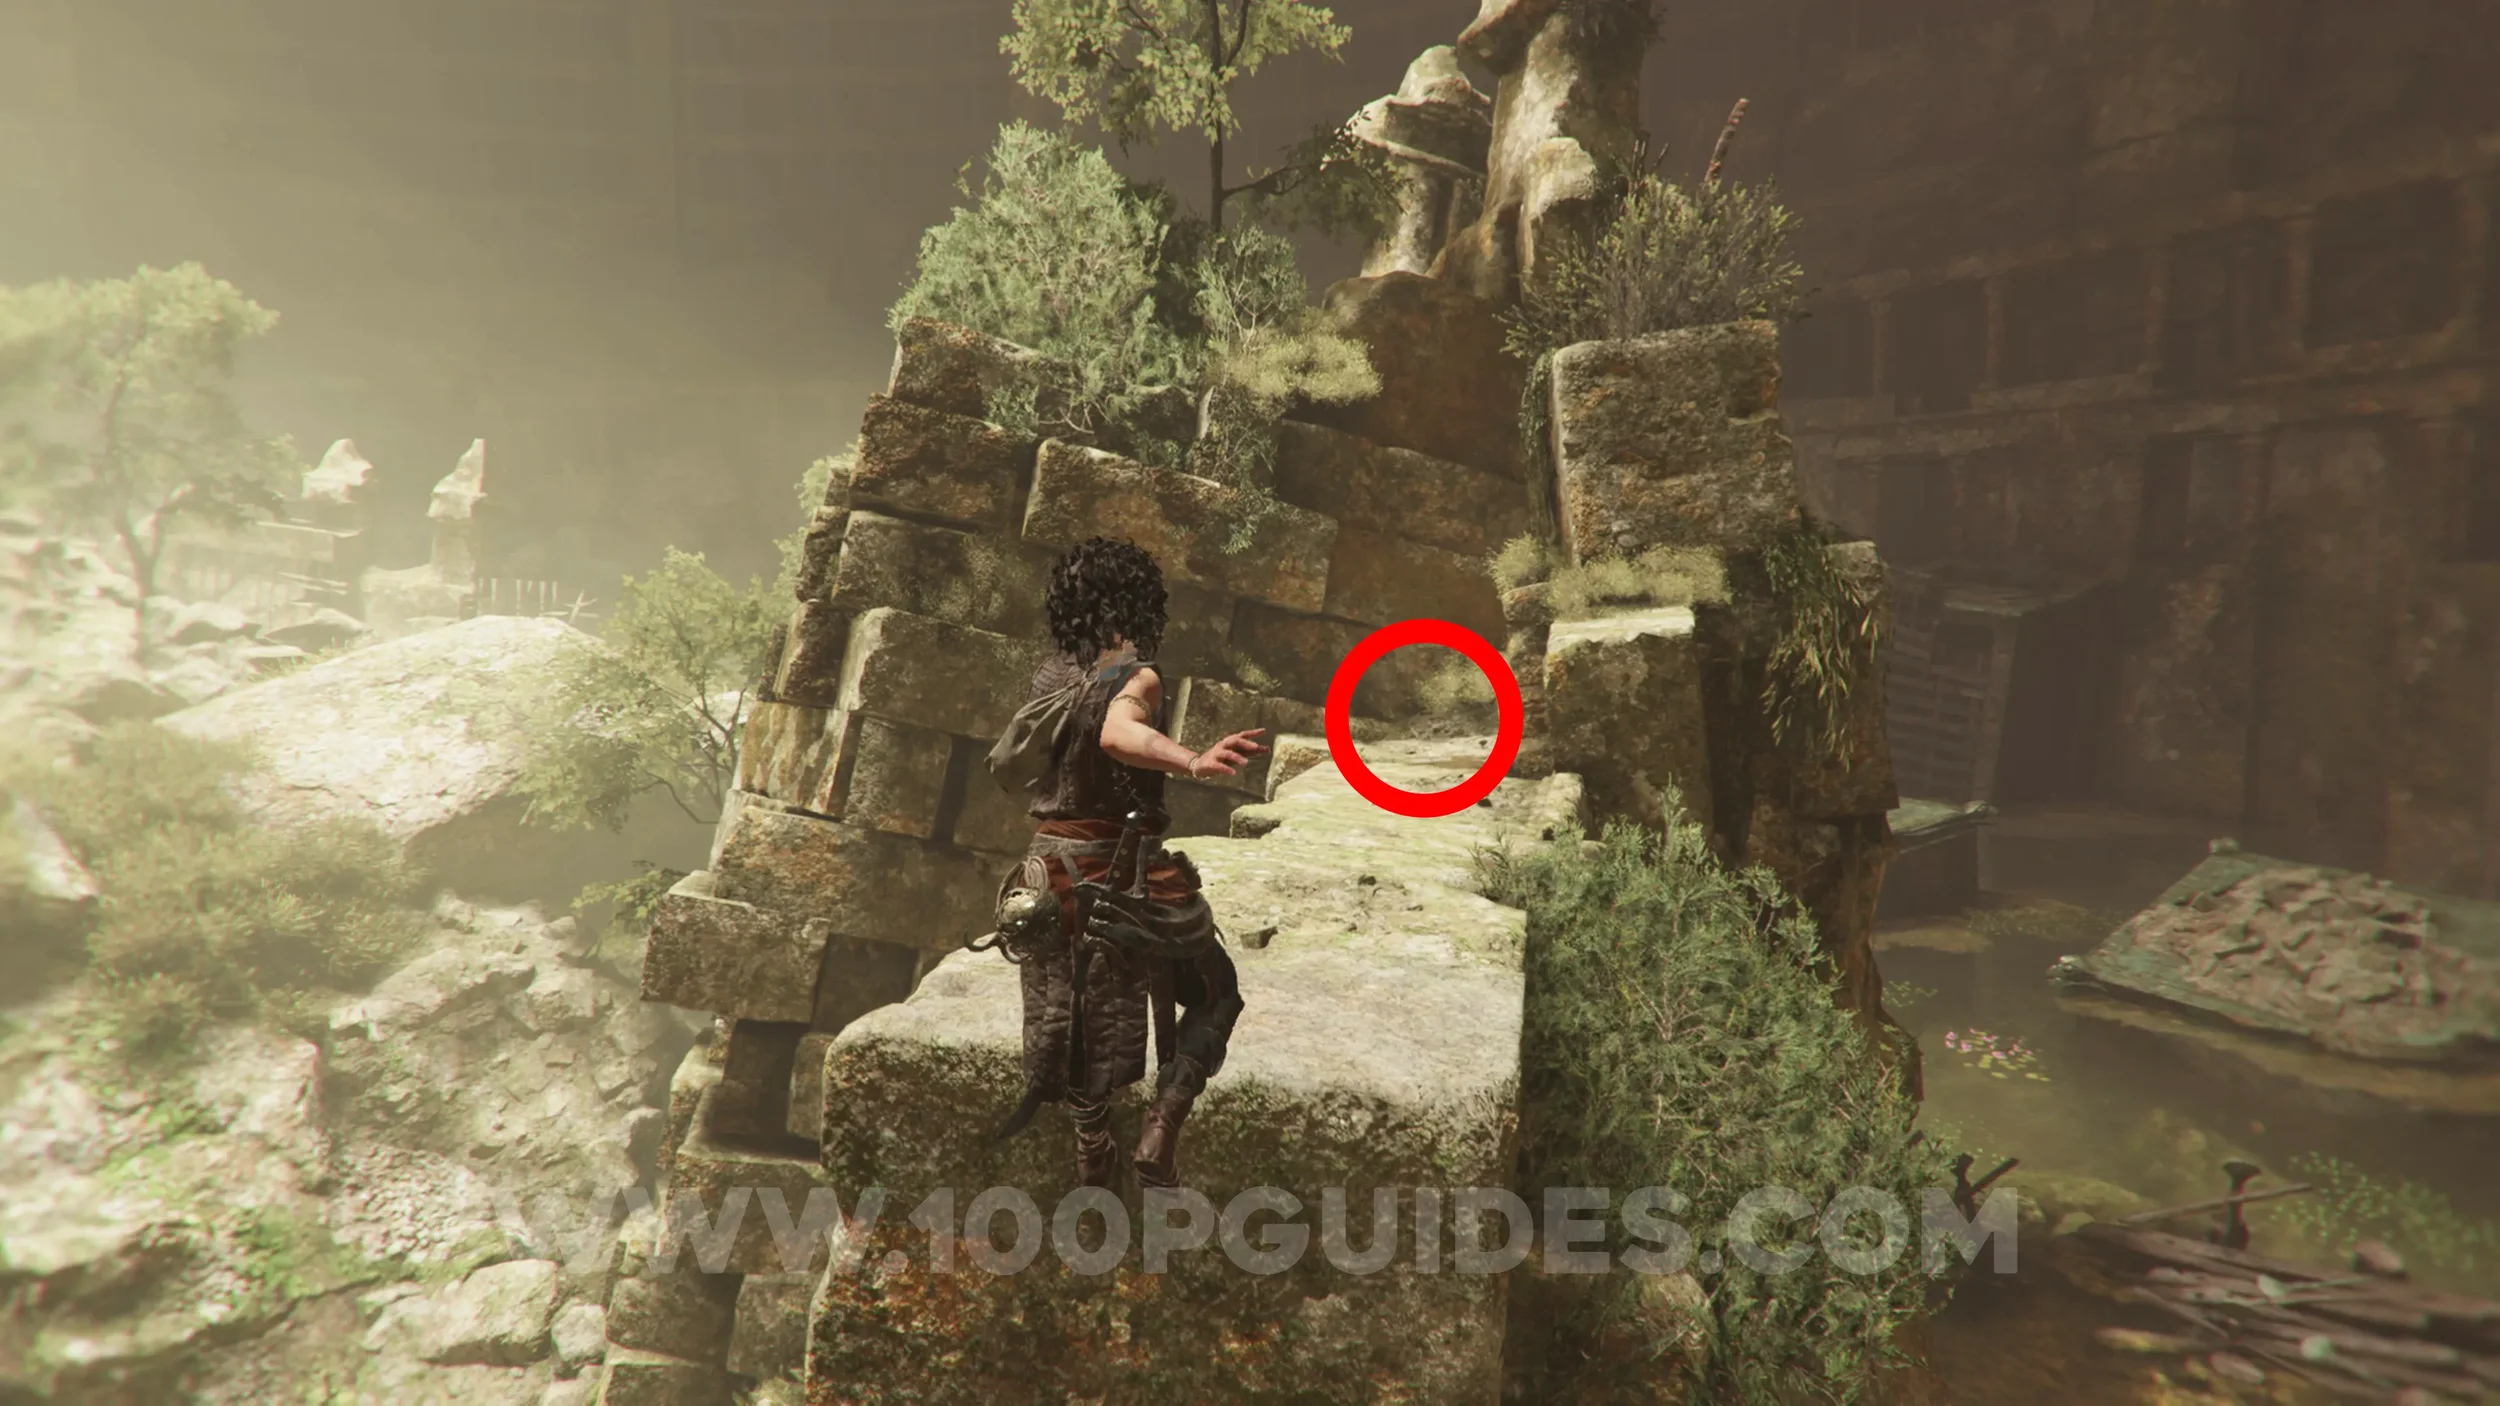
Resonance Point
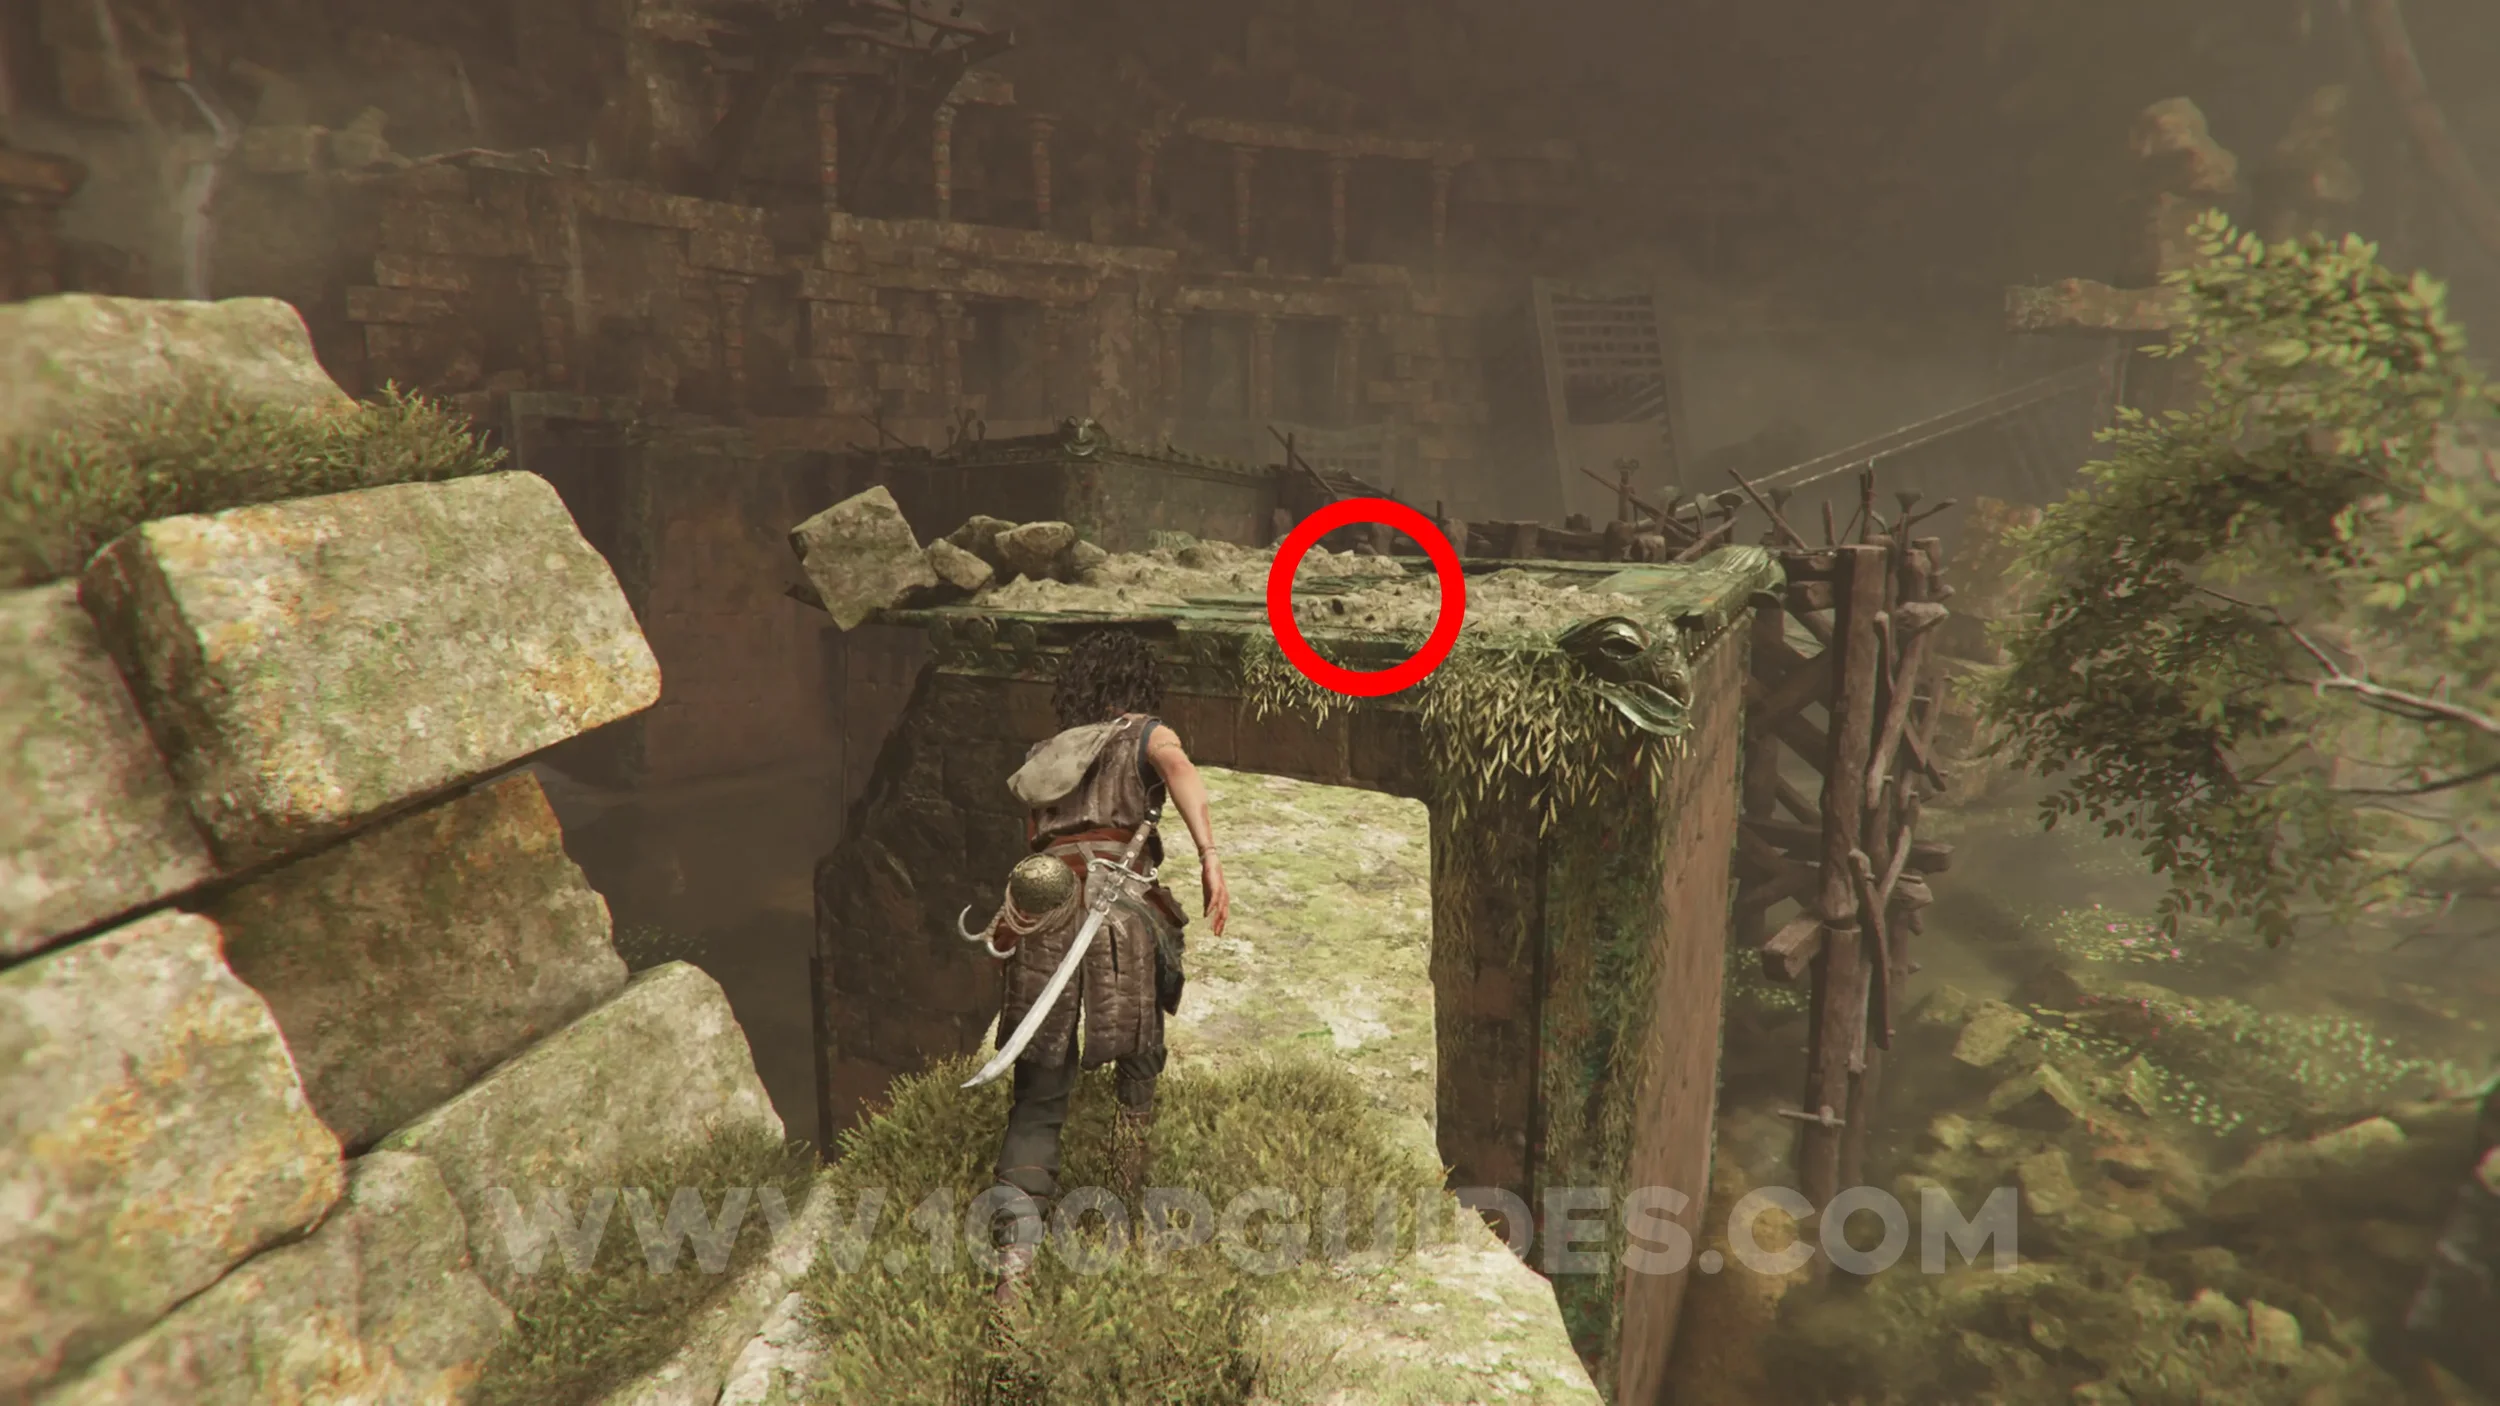
Chapter 7: Sub-Chapter 5.
From the previous collectible, turn around and go back across the stone structure to reach a square platform where the resonance point will be.
Resonance Point
Chapter 7: Sub-Chapter 5.
In plain sight on the main path, after climbing the next wall with the grappling hook.
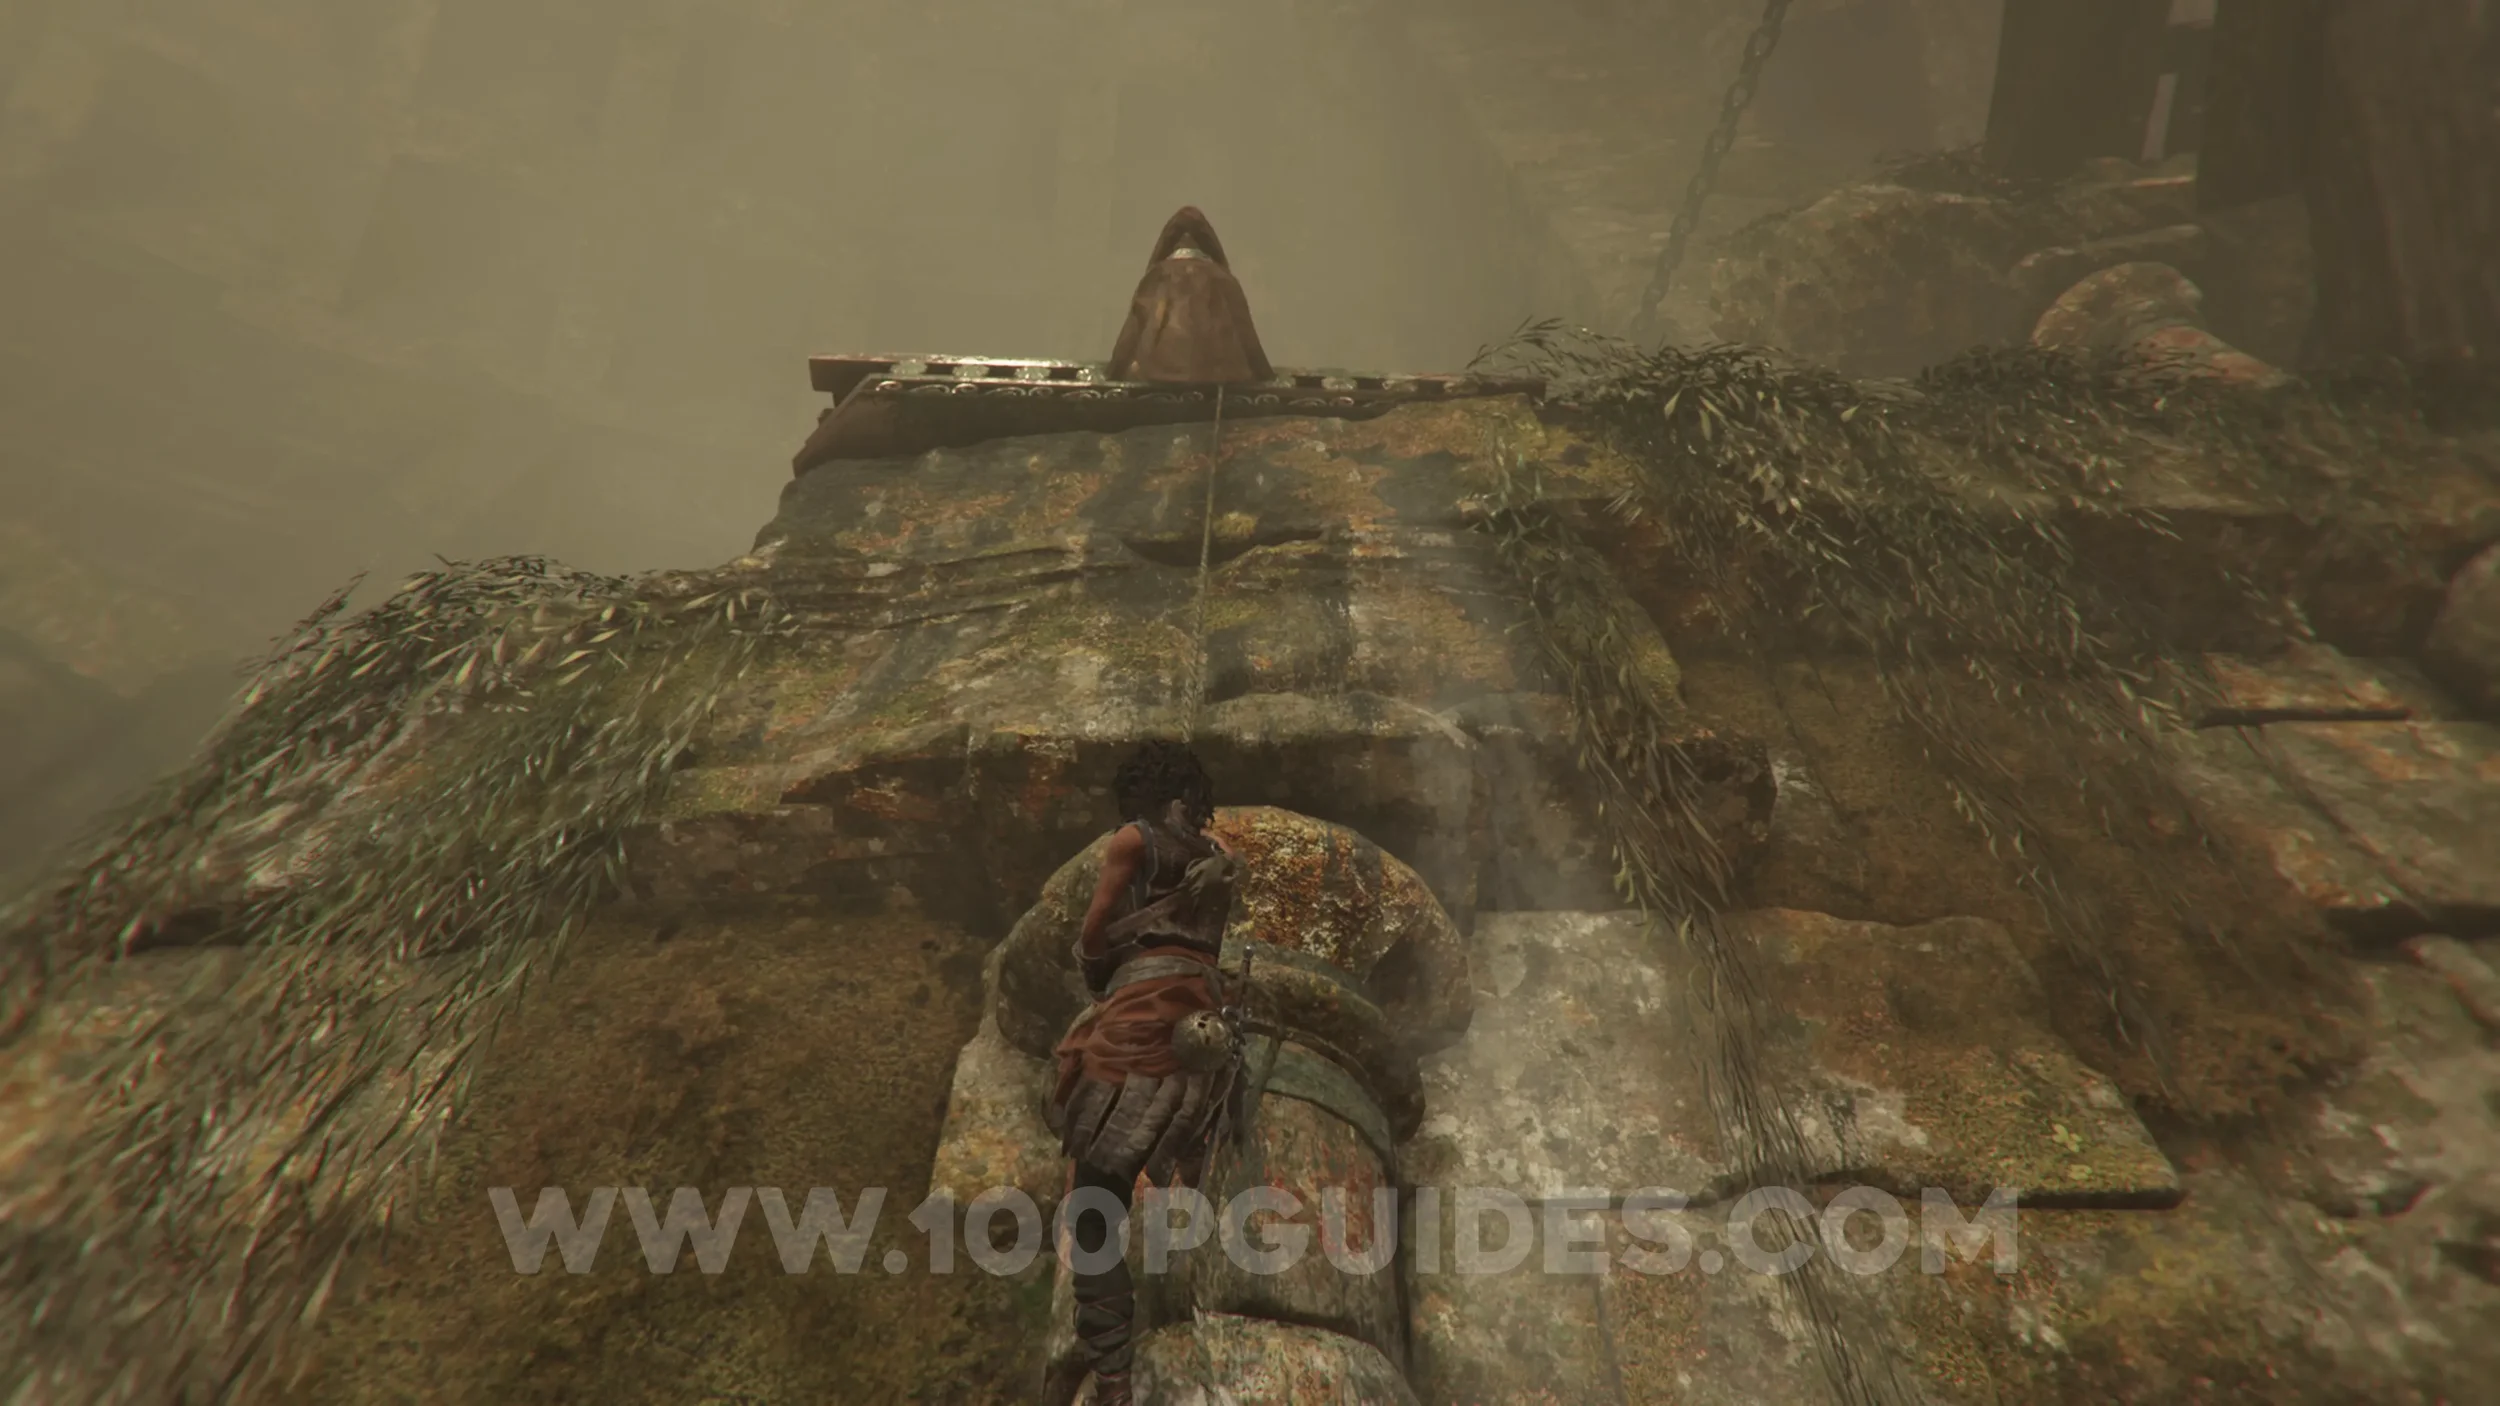
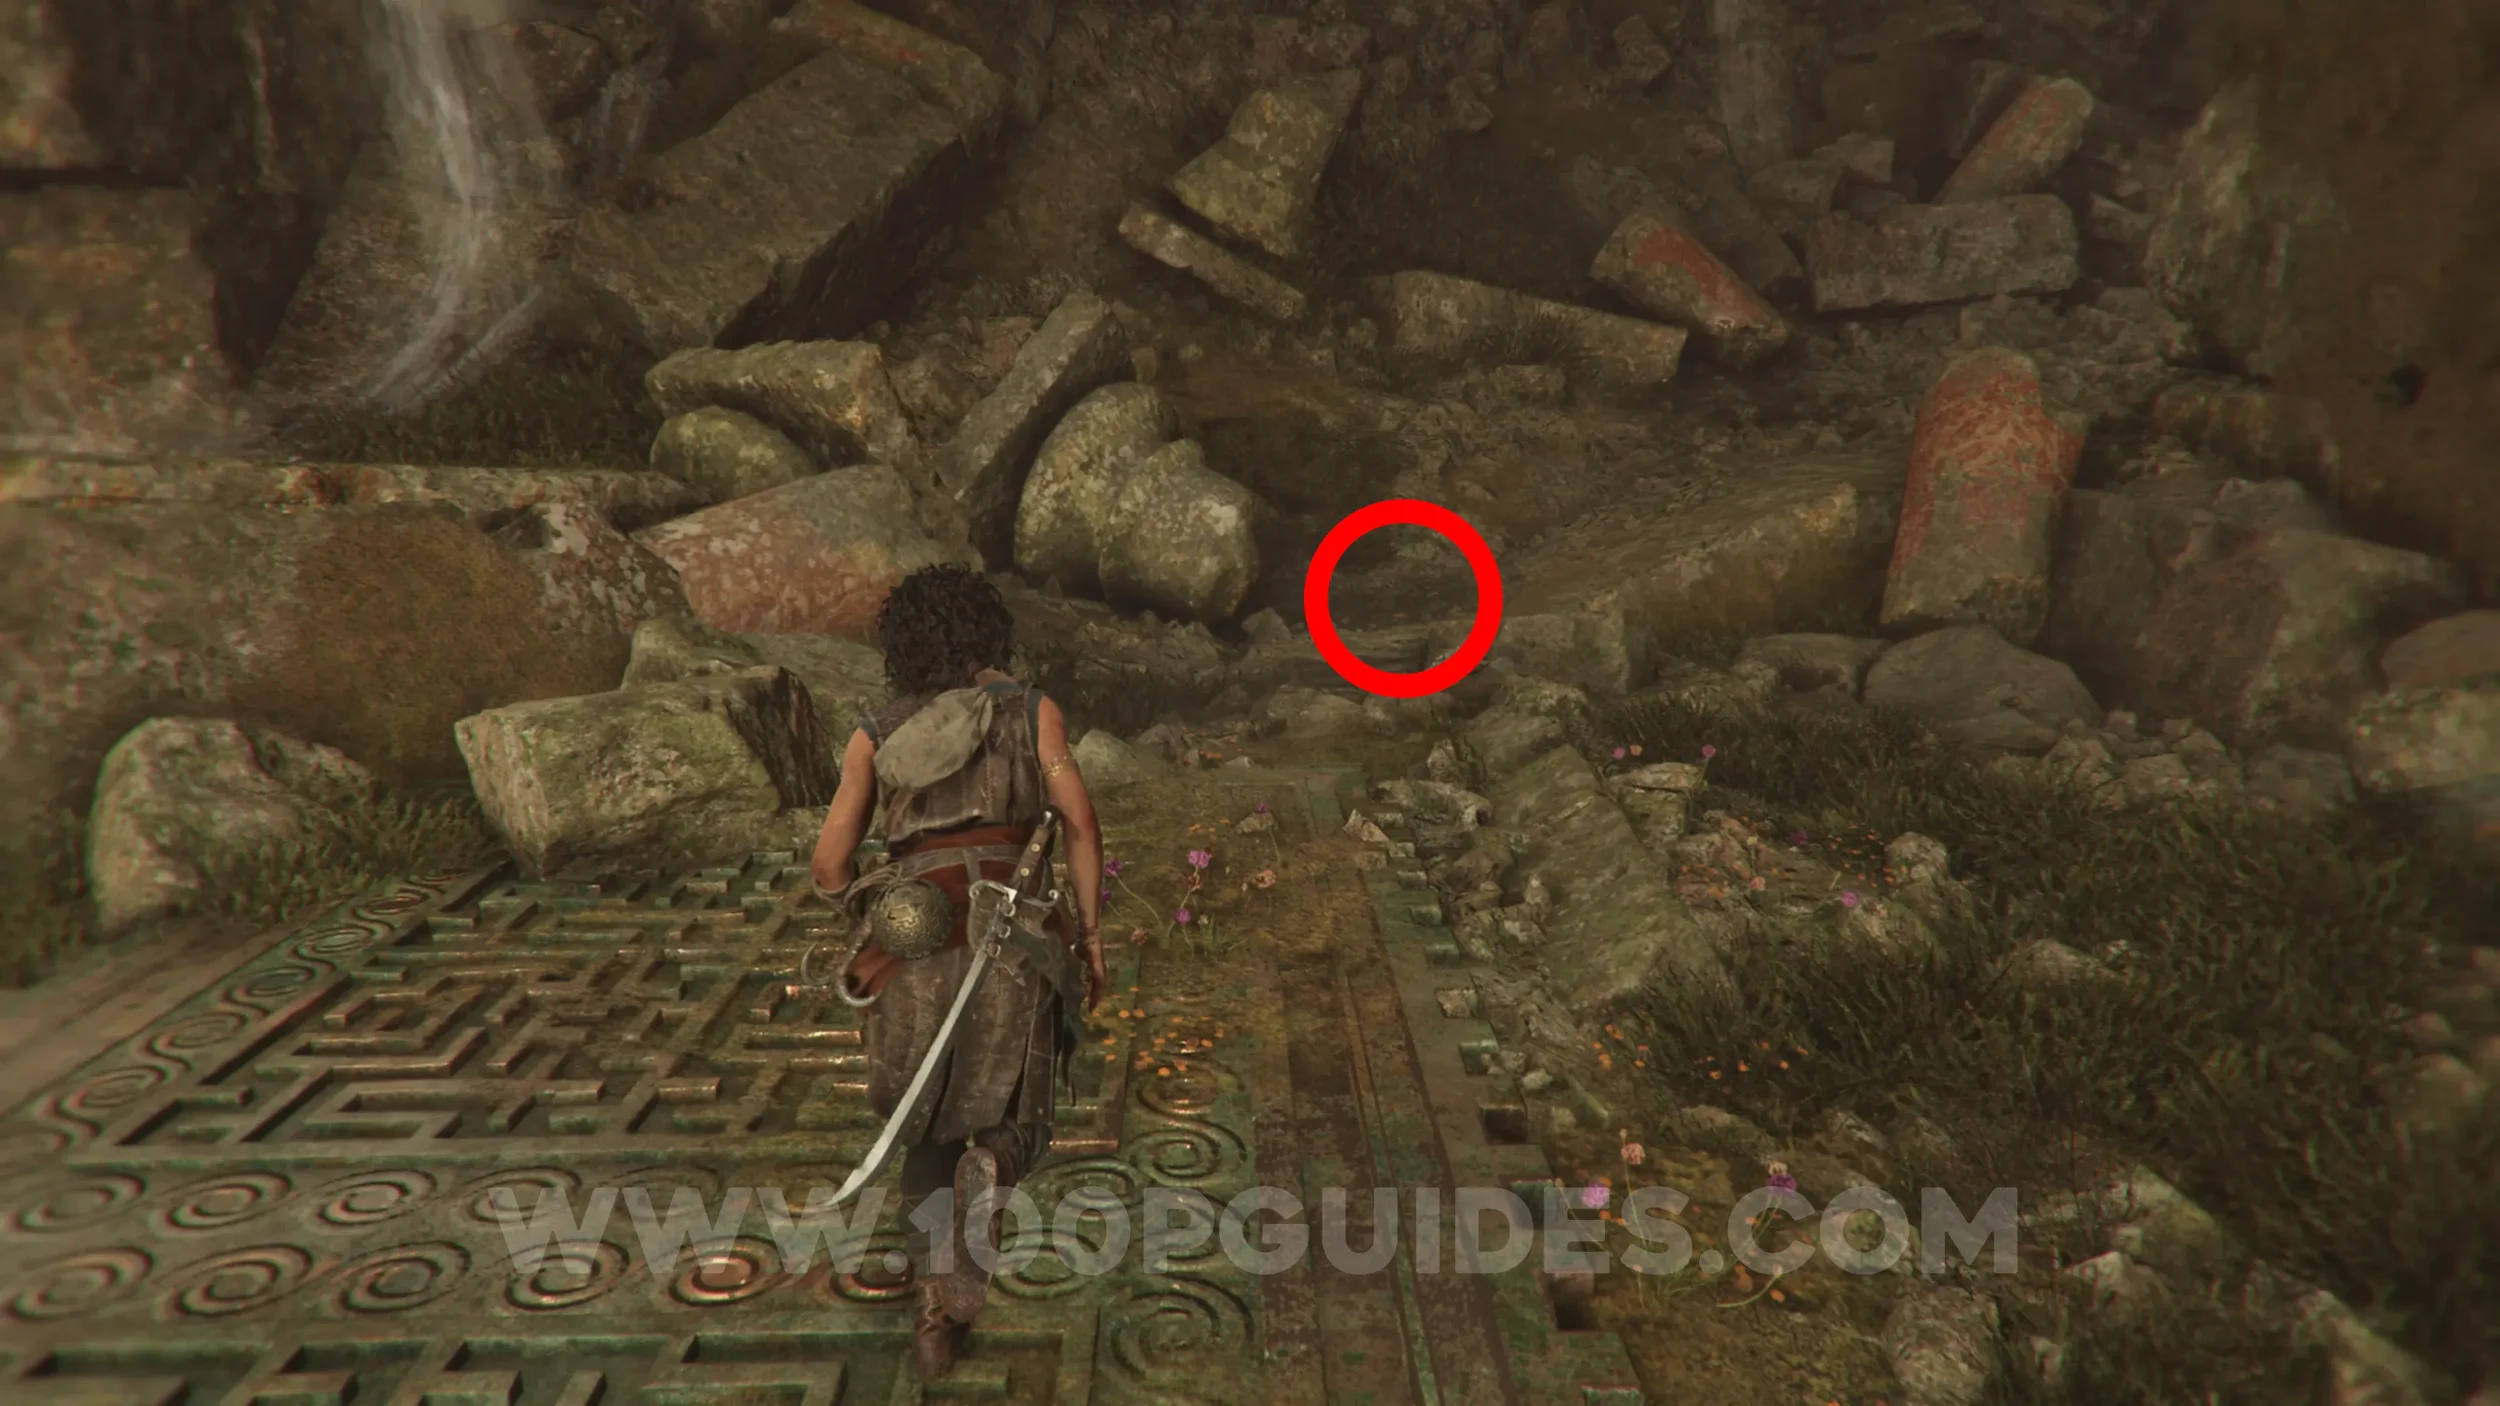
Artefact: Kouros Puppet
Chapter 7: Sub-Chapter 5.
After the previous collectible, you'll climb another wall with your grappling hook and then slide down a slope. At the bottom of the slope, jump to the stone structure in front of you, then go right and all the way to the end, where you'll find the collectible on the wooden platform.
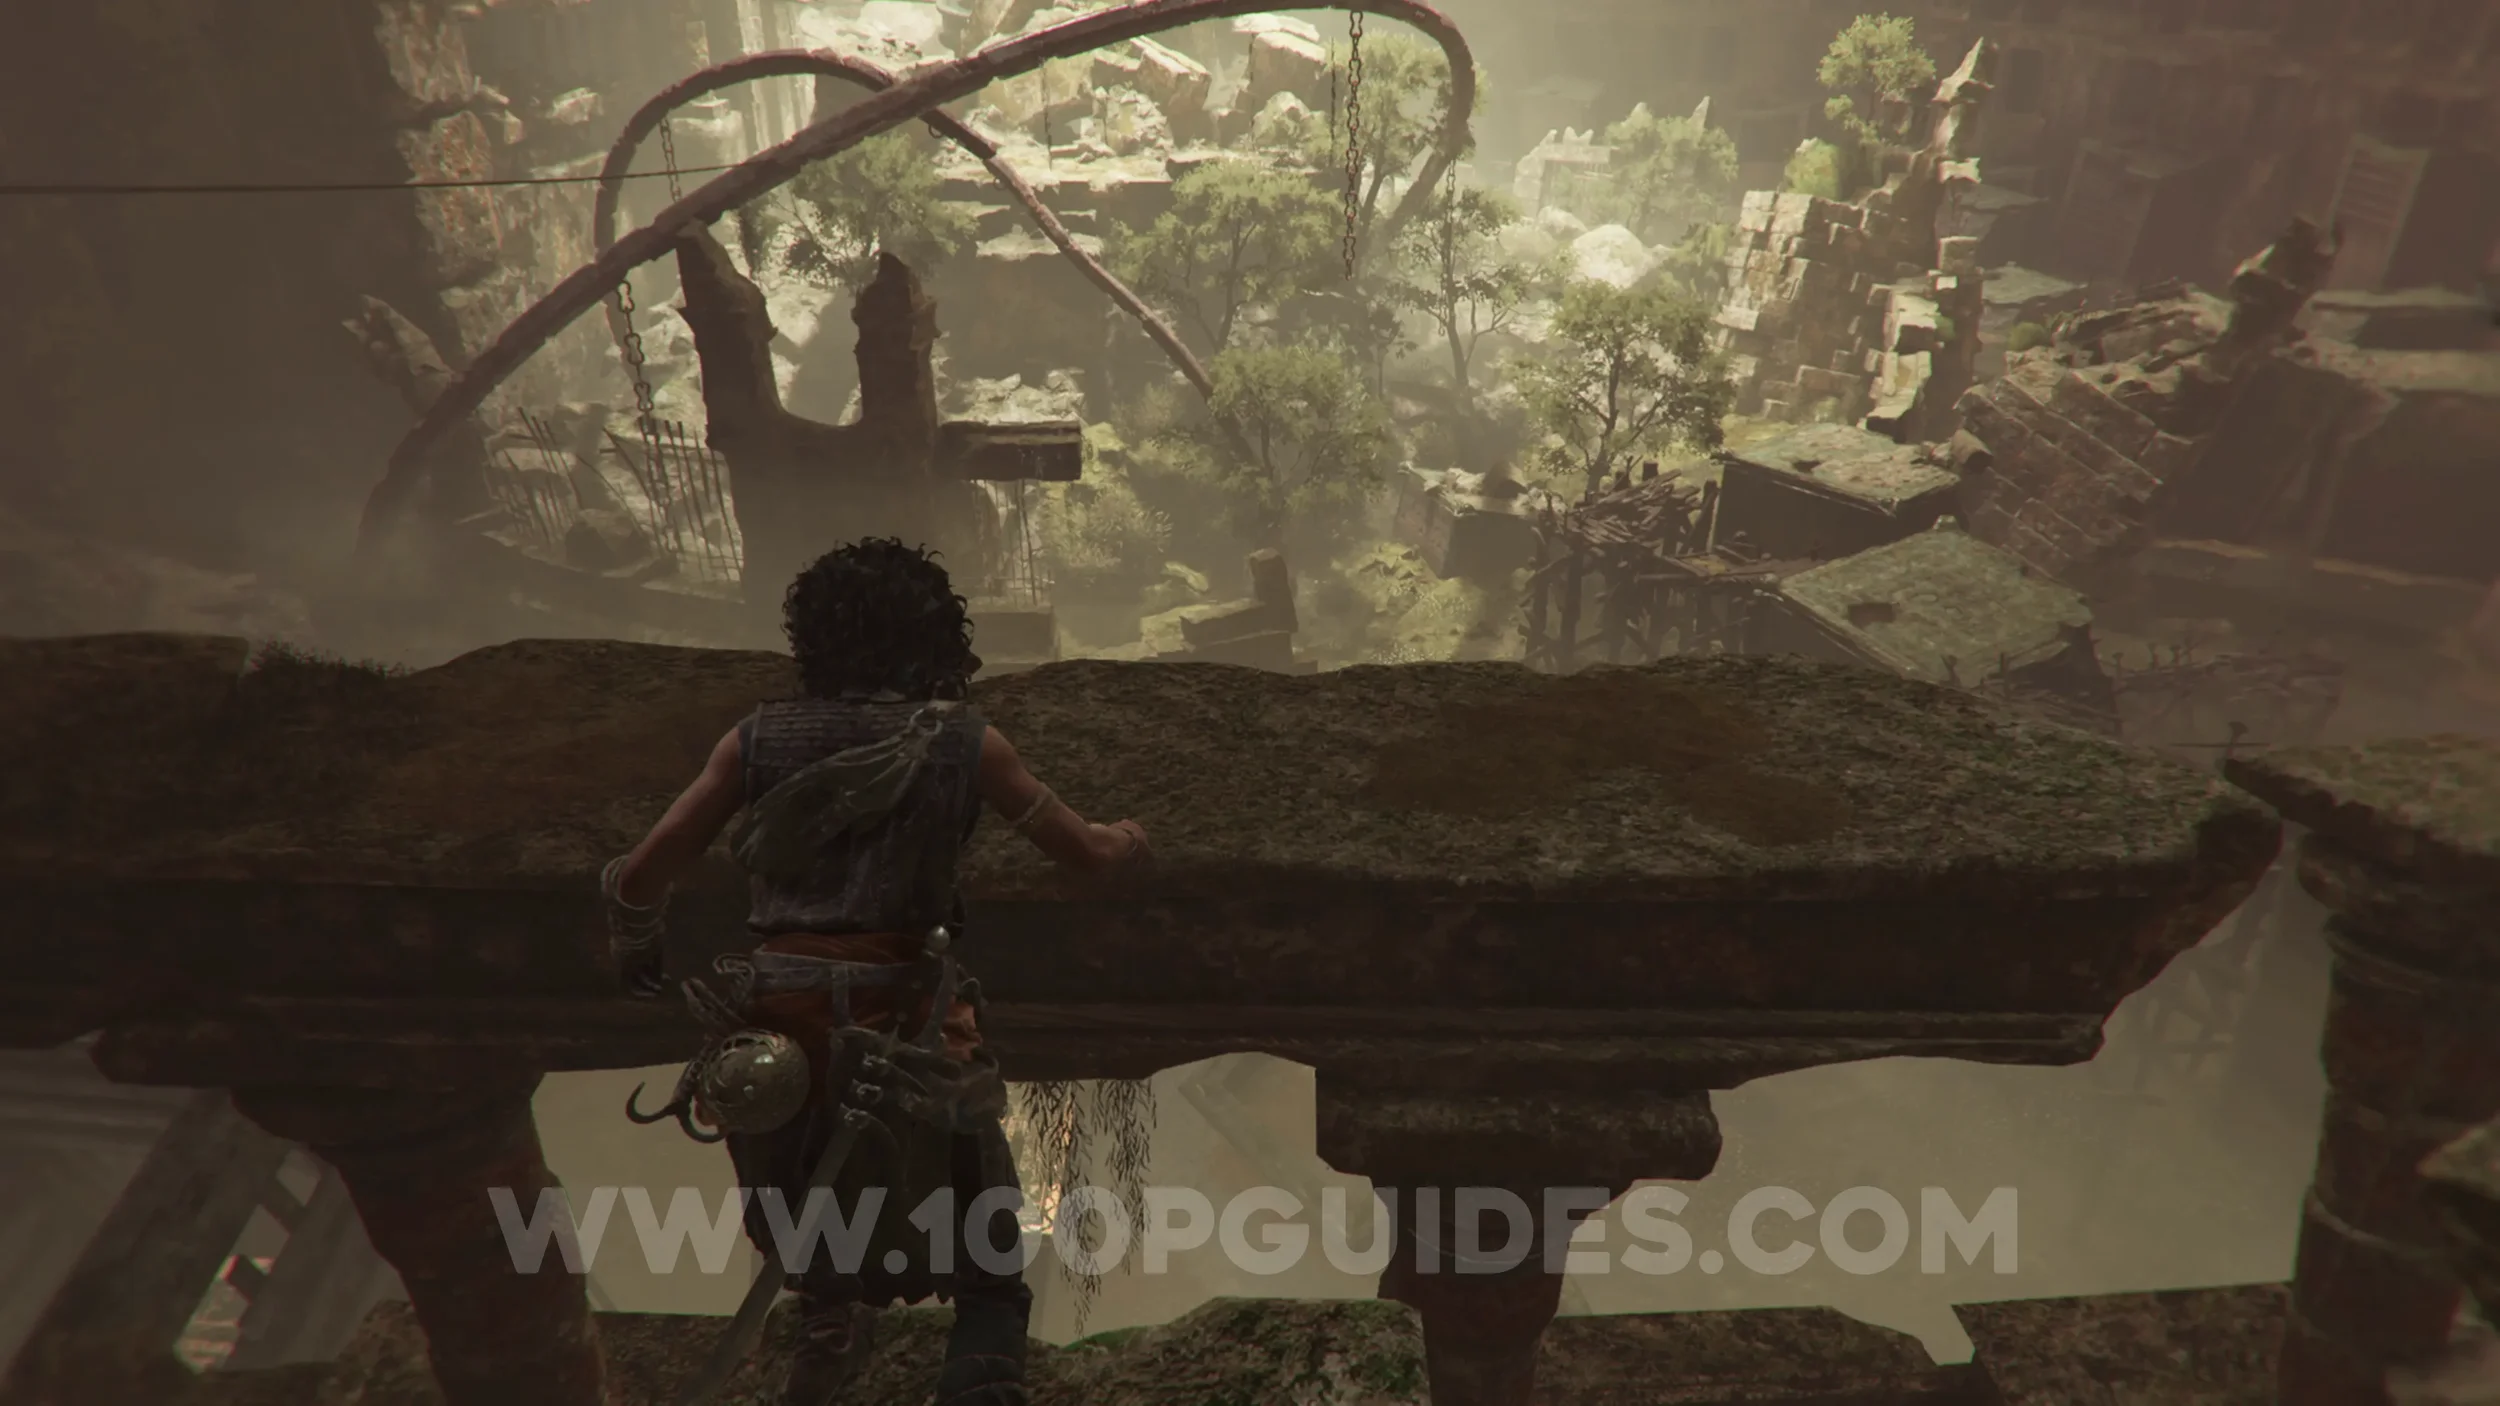
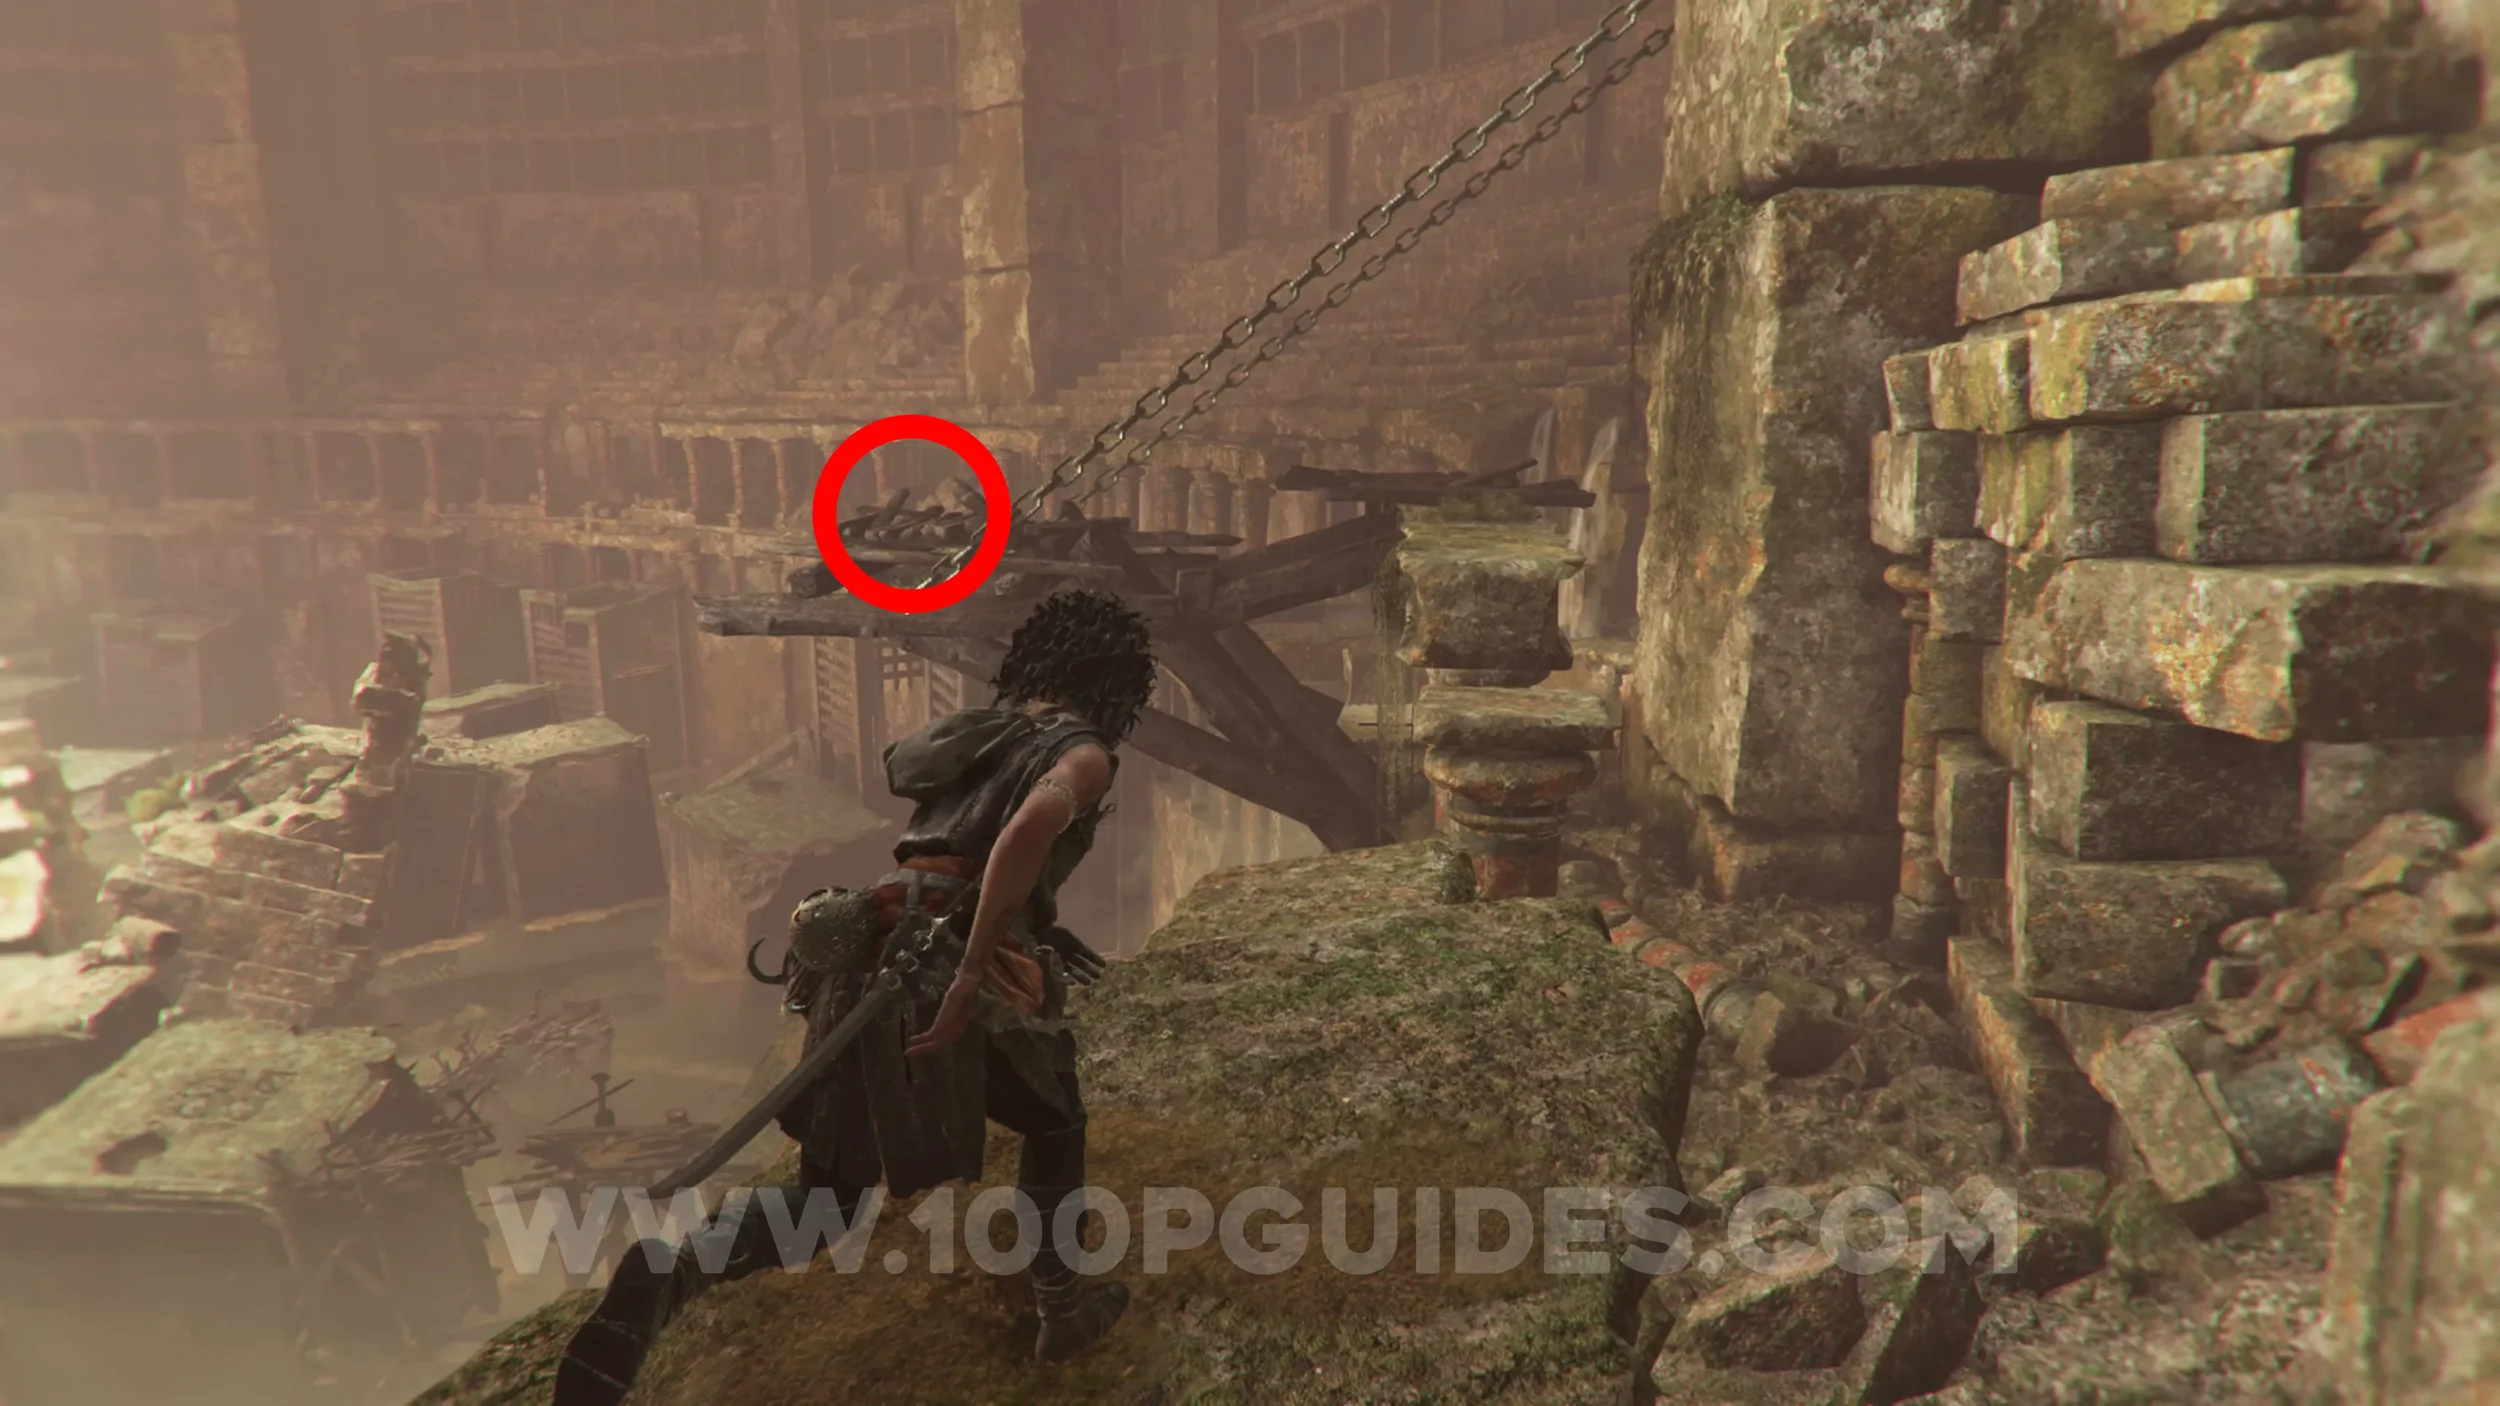
Charm: Trinket #3
Chapter 7: Sub-Chapter 5.
After using the long zipline and swinging on the arc-like structures, climb up, then head right and squeeze through the gap in the rocks. On the other side, immediately climb up the rock on your right, then crouch under the structure on your left to find the charm.
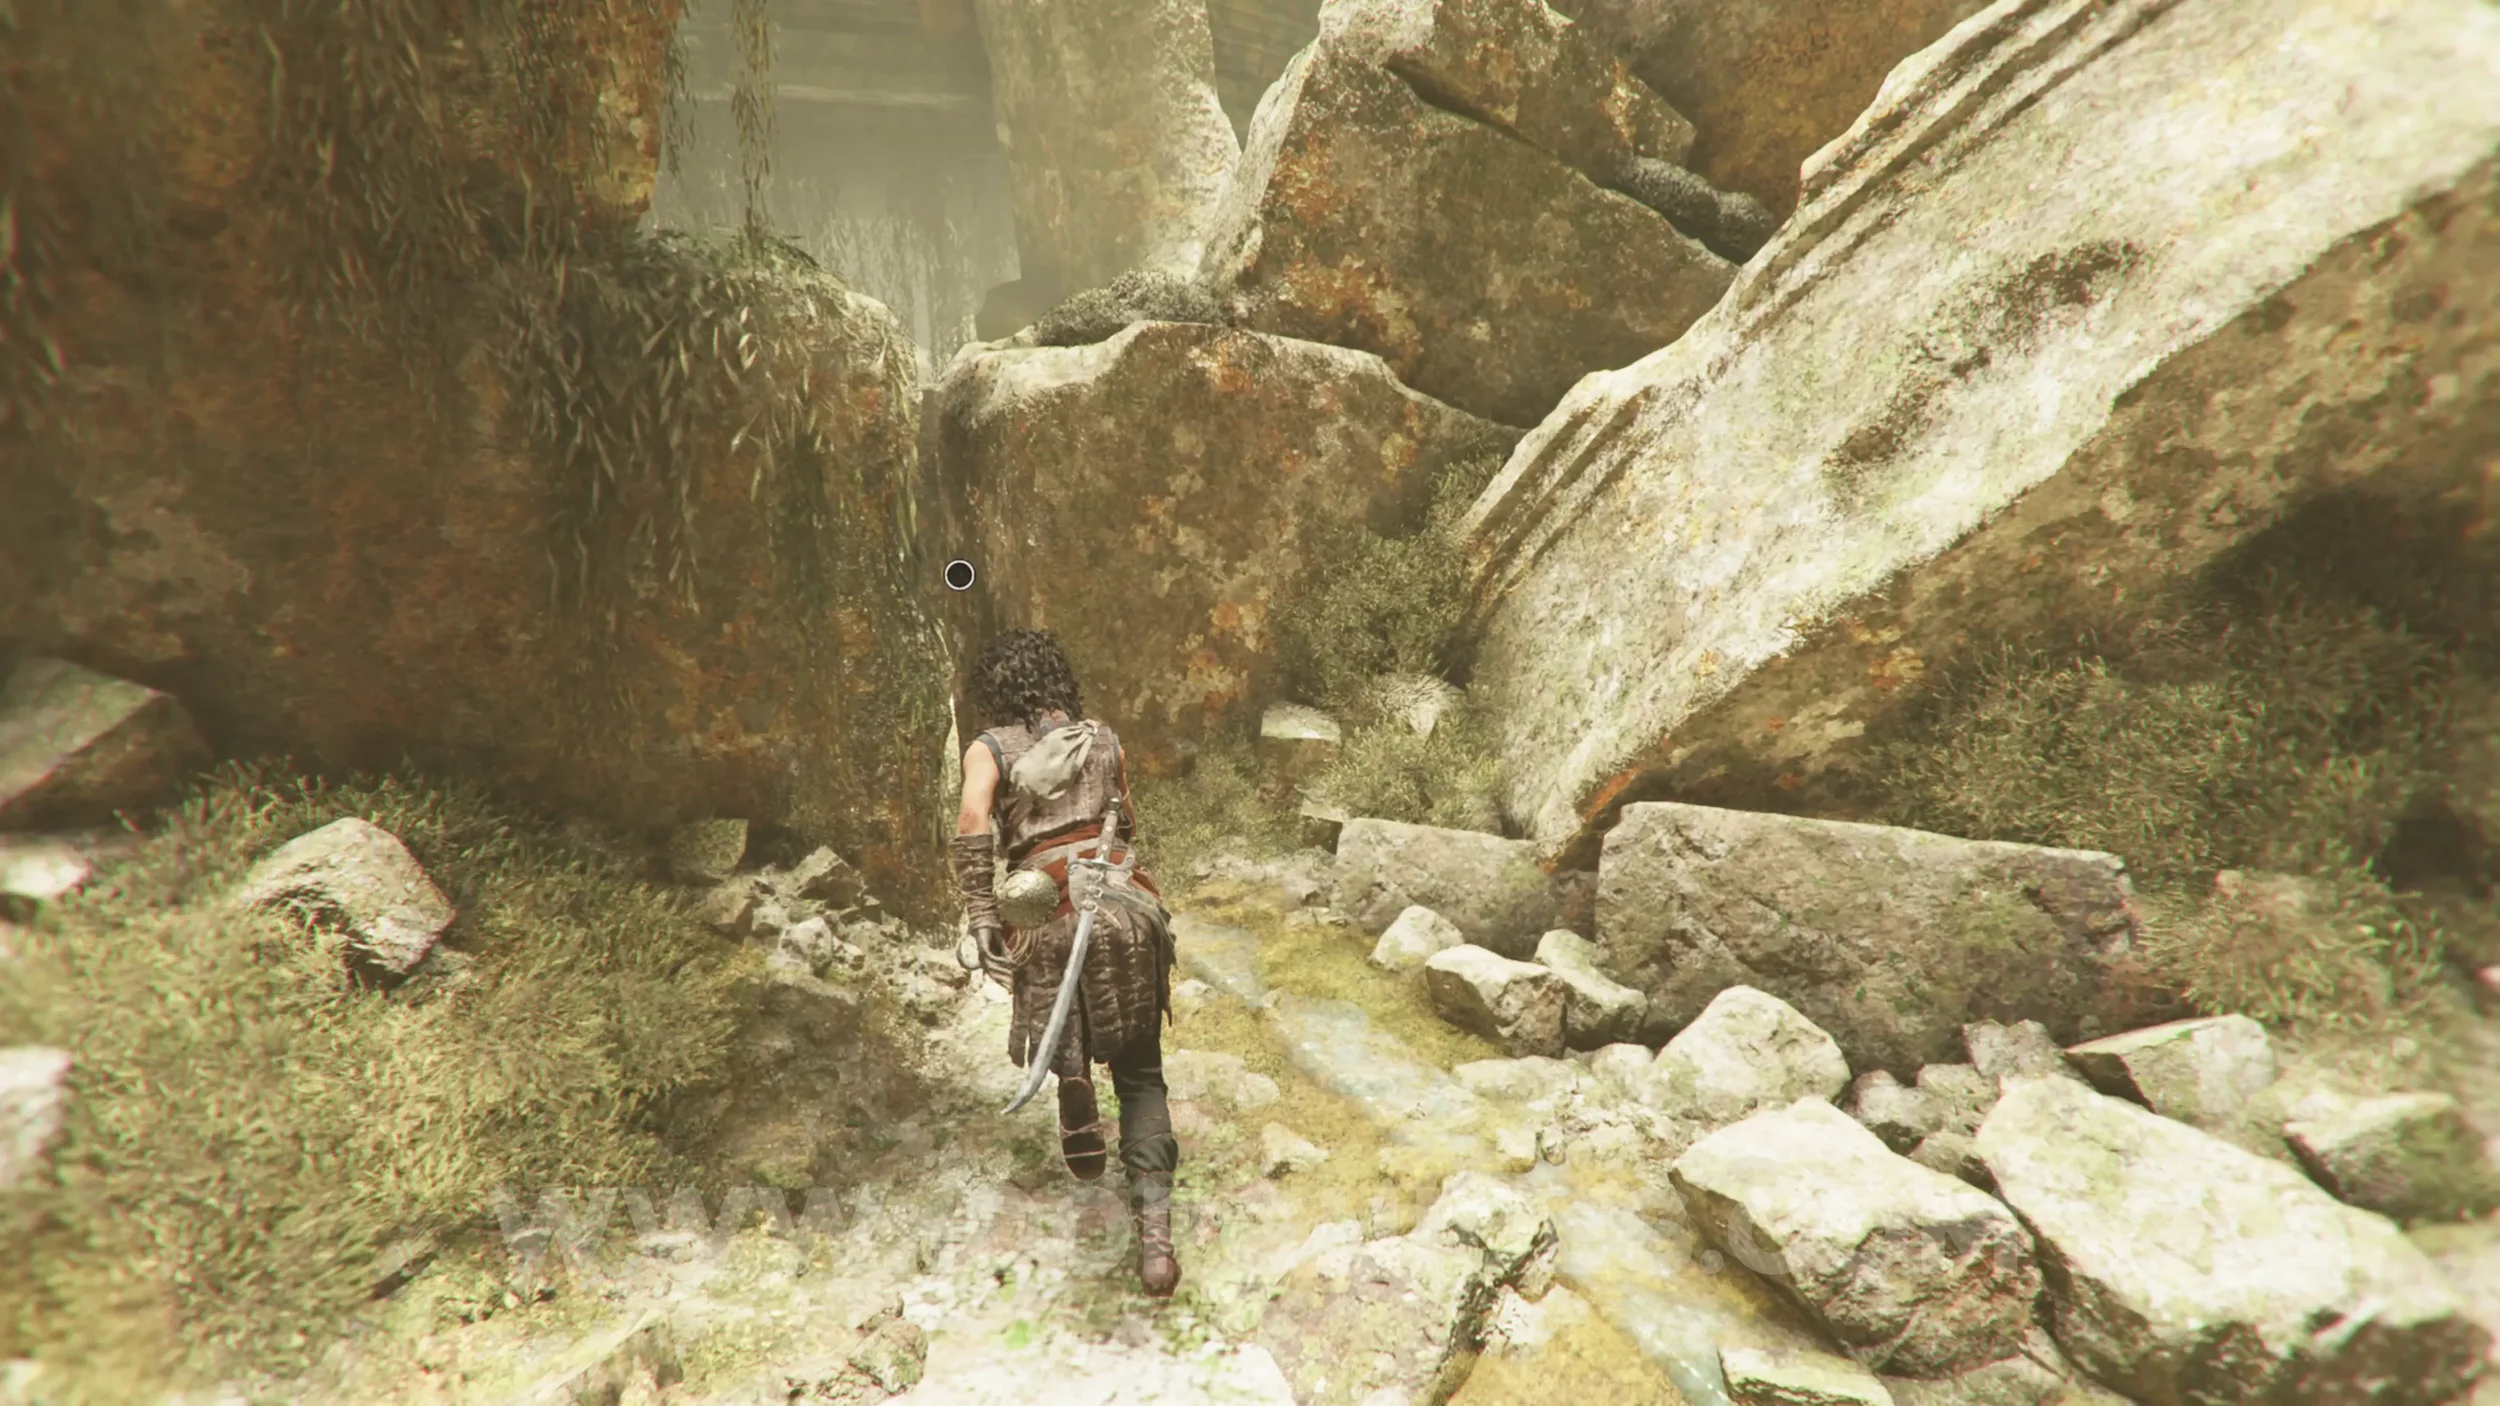
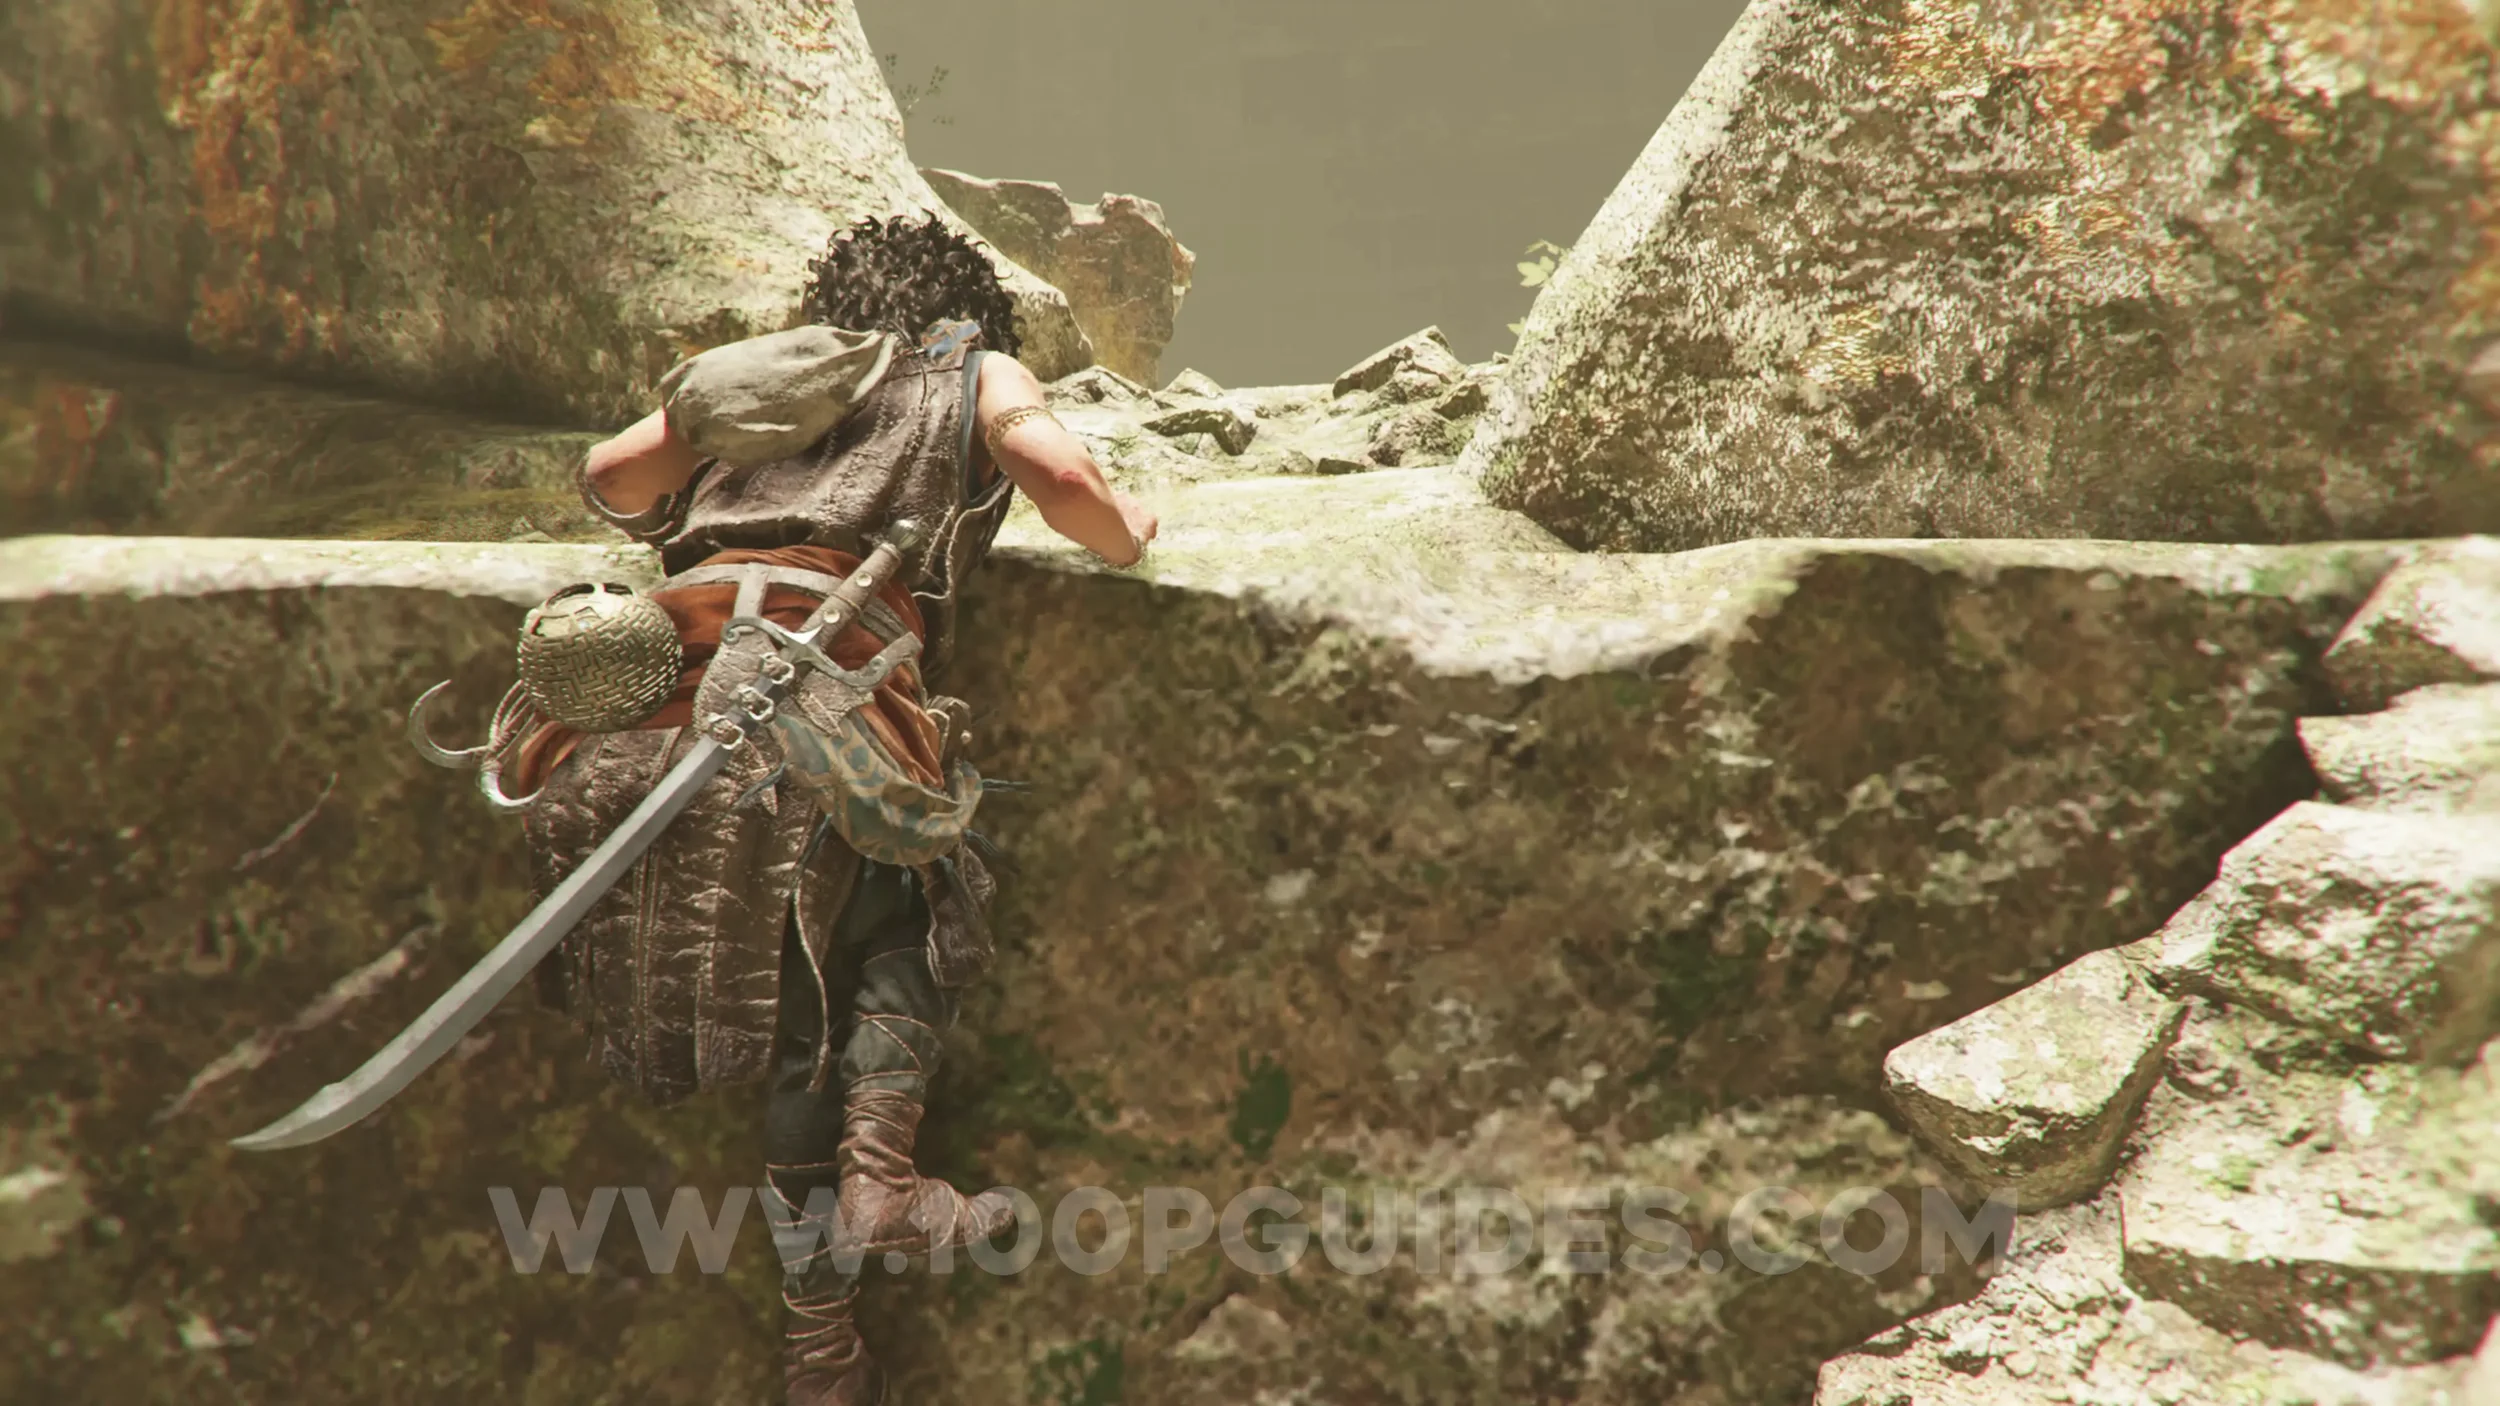
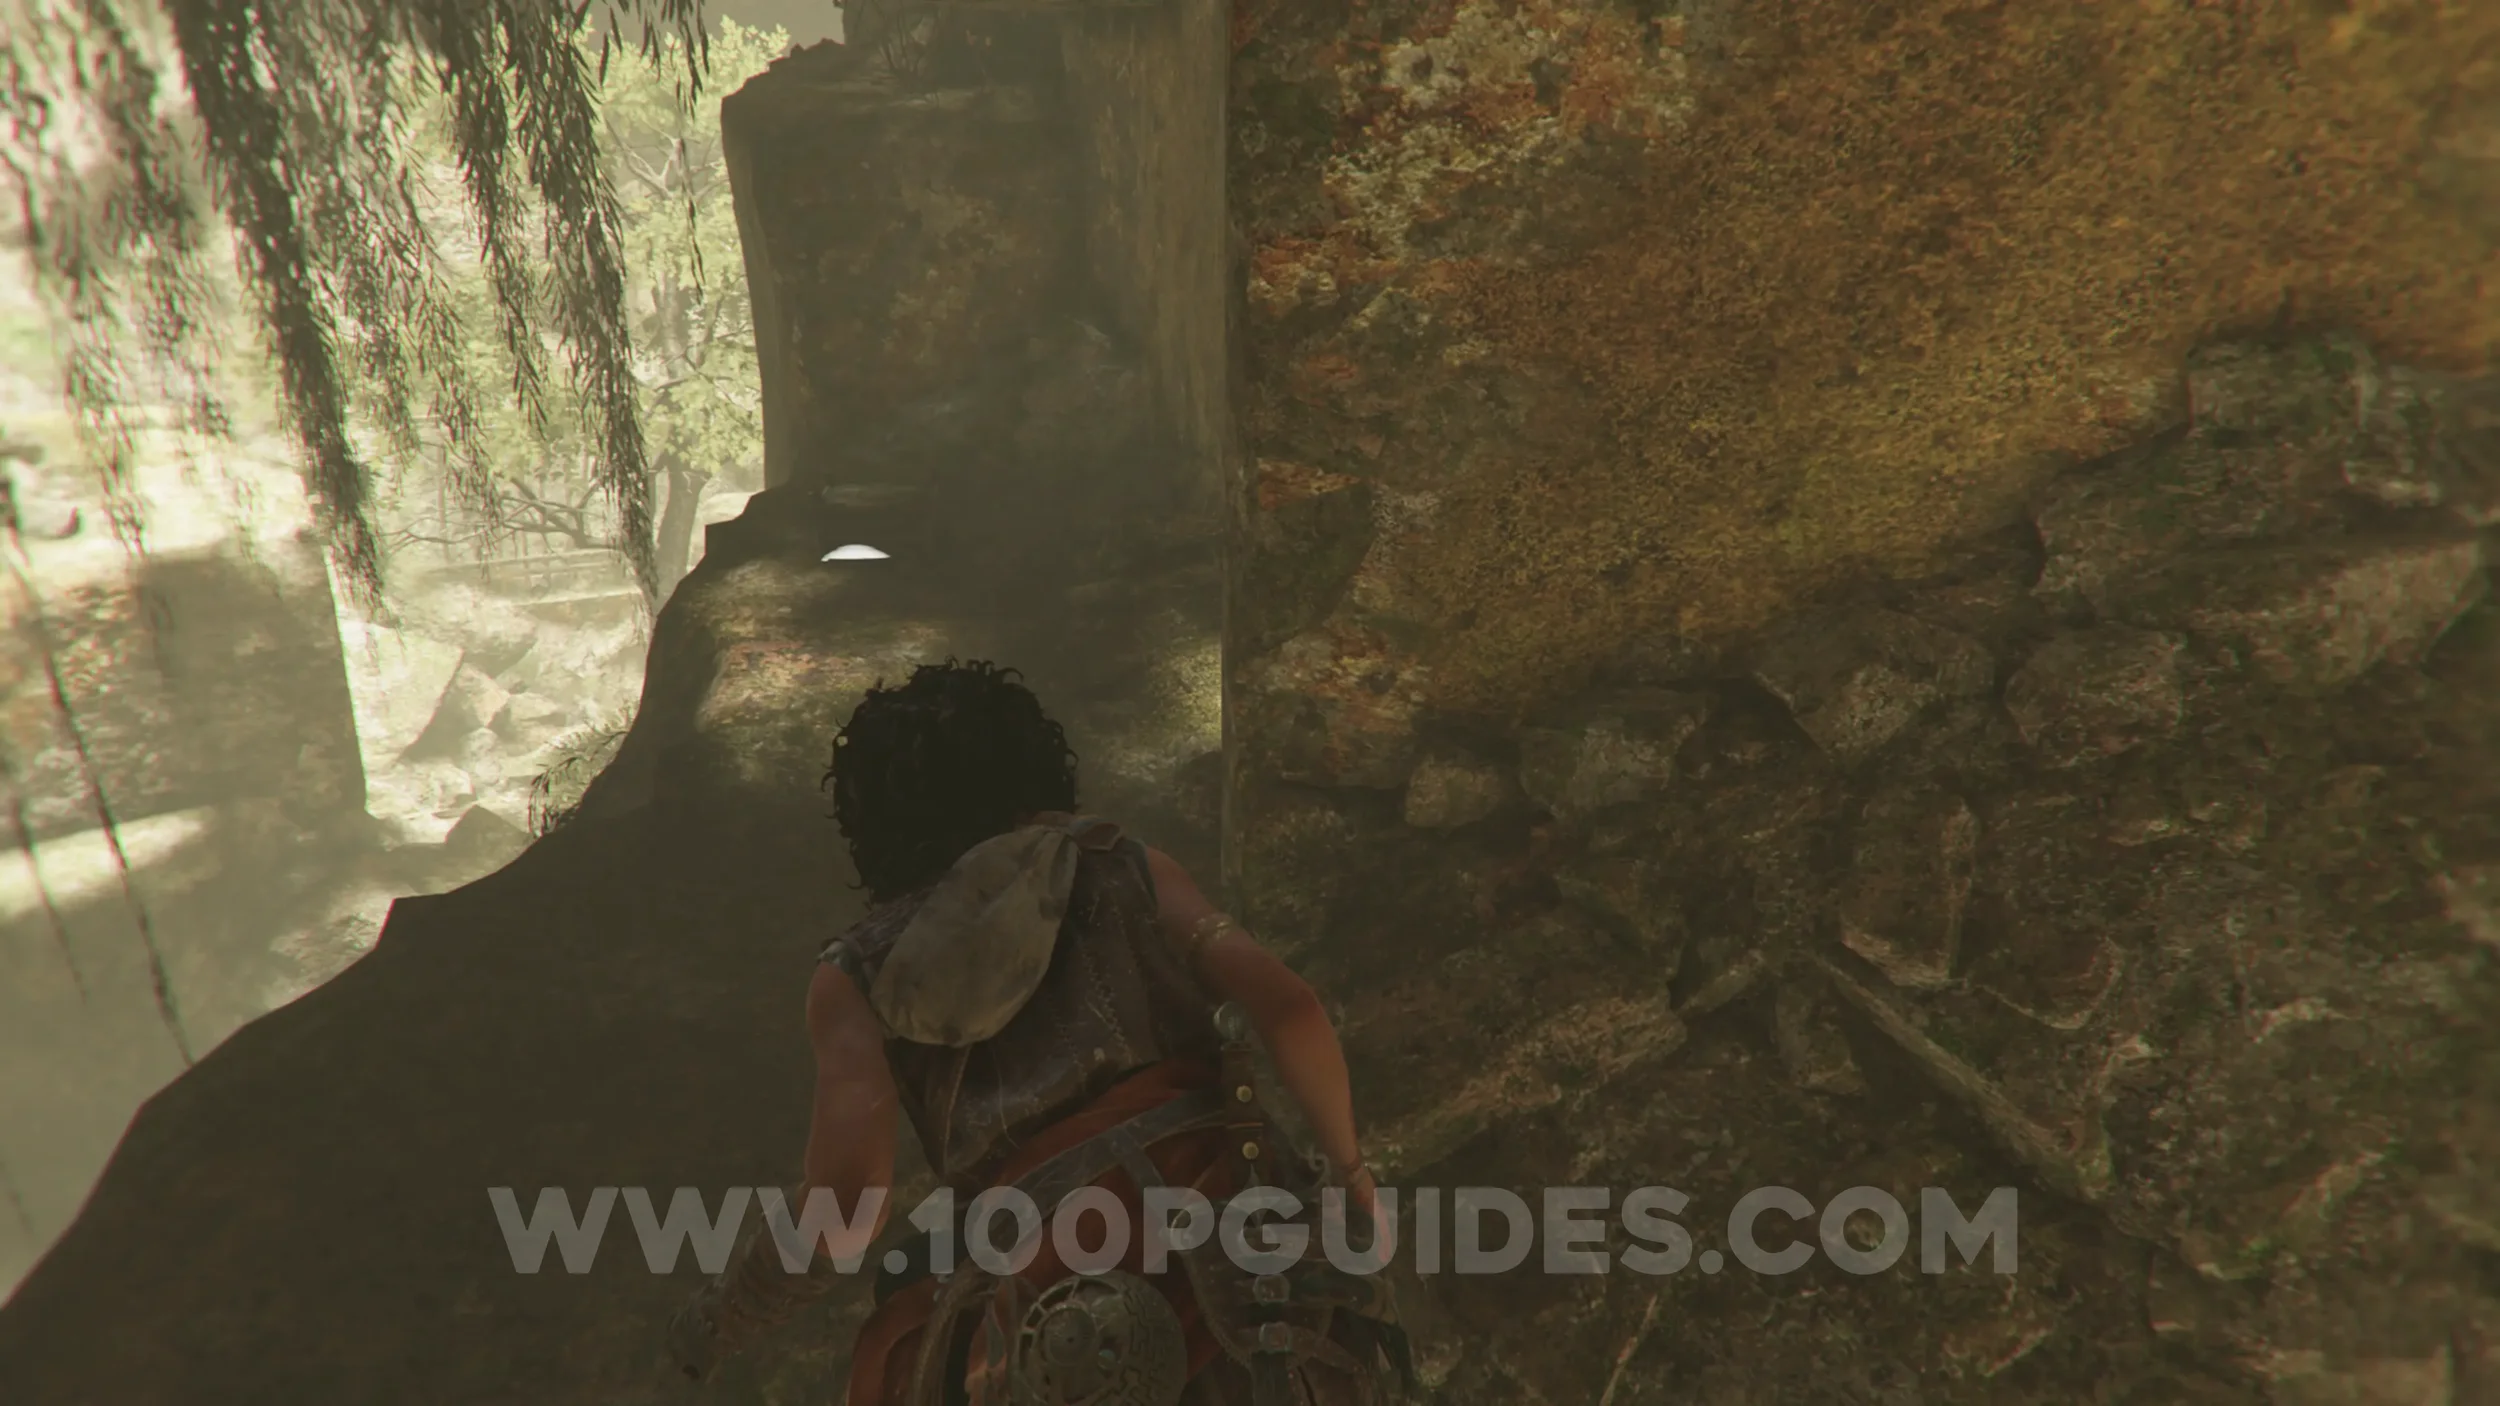
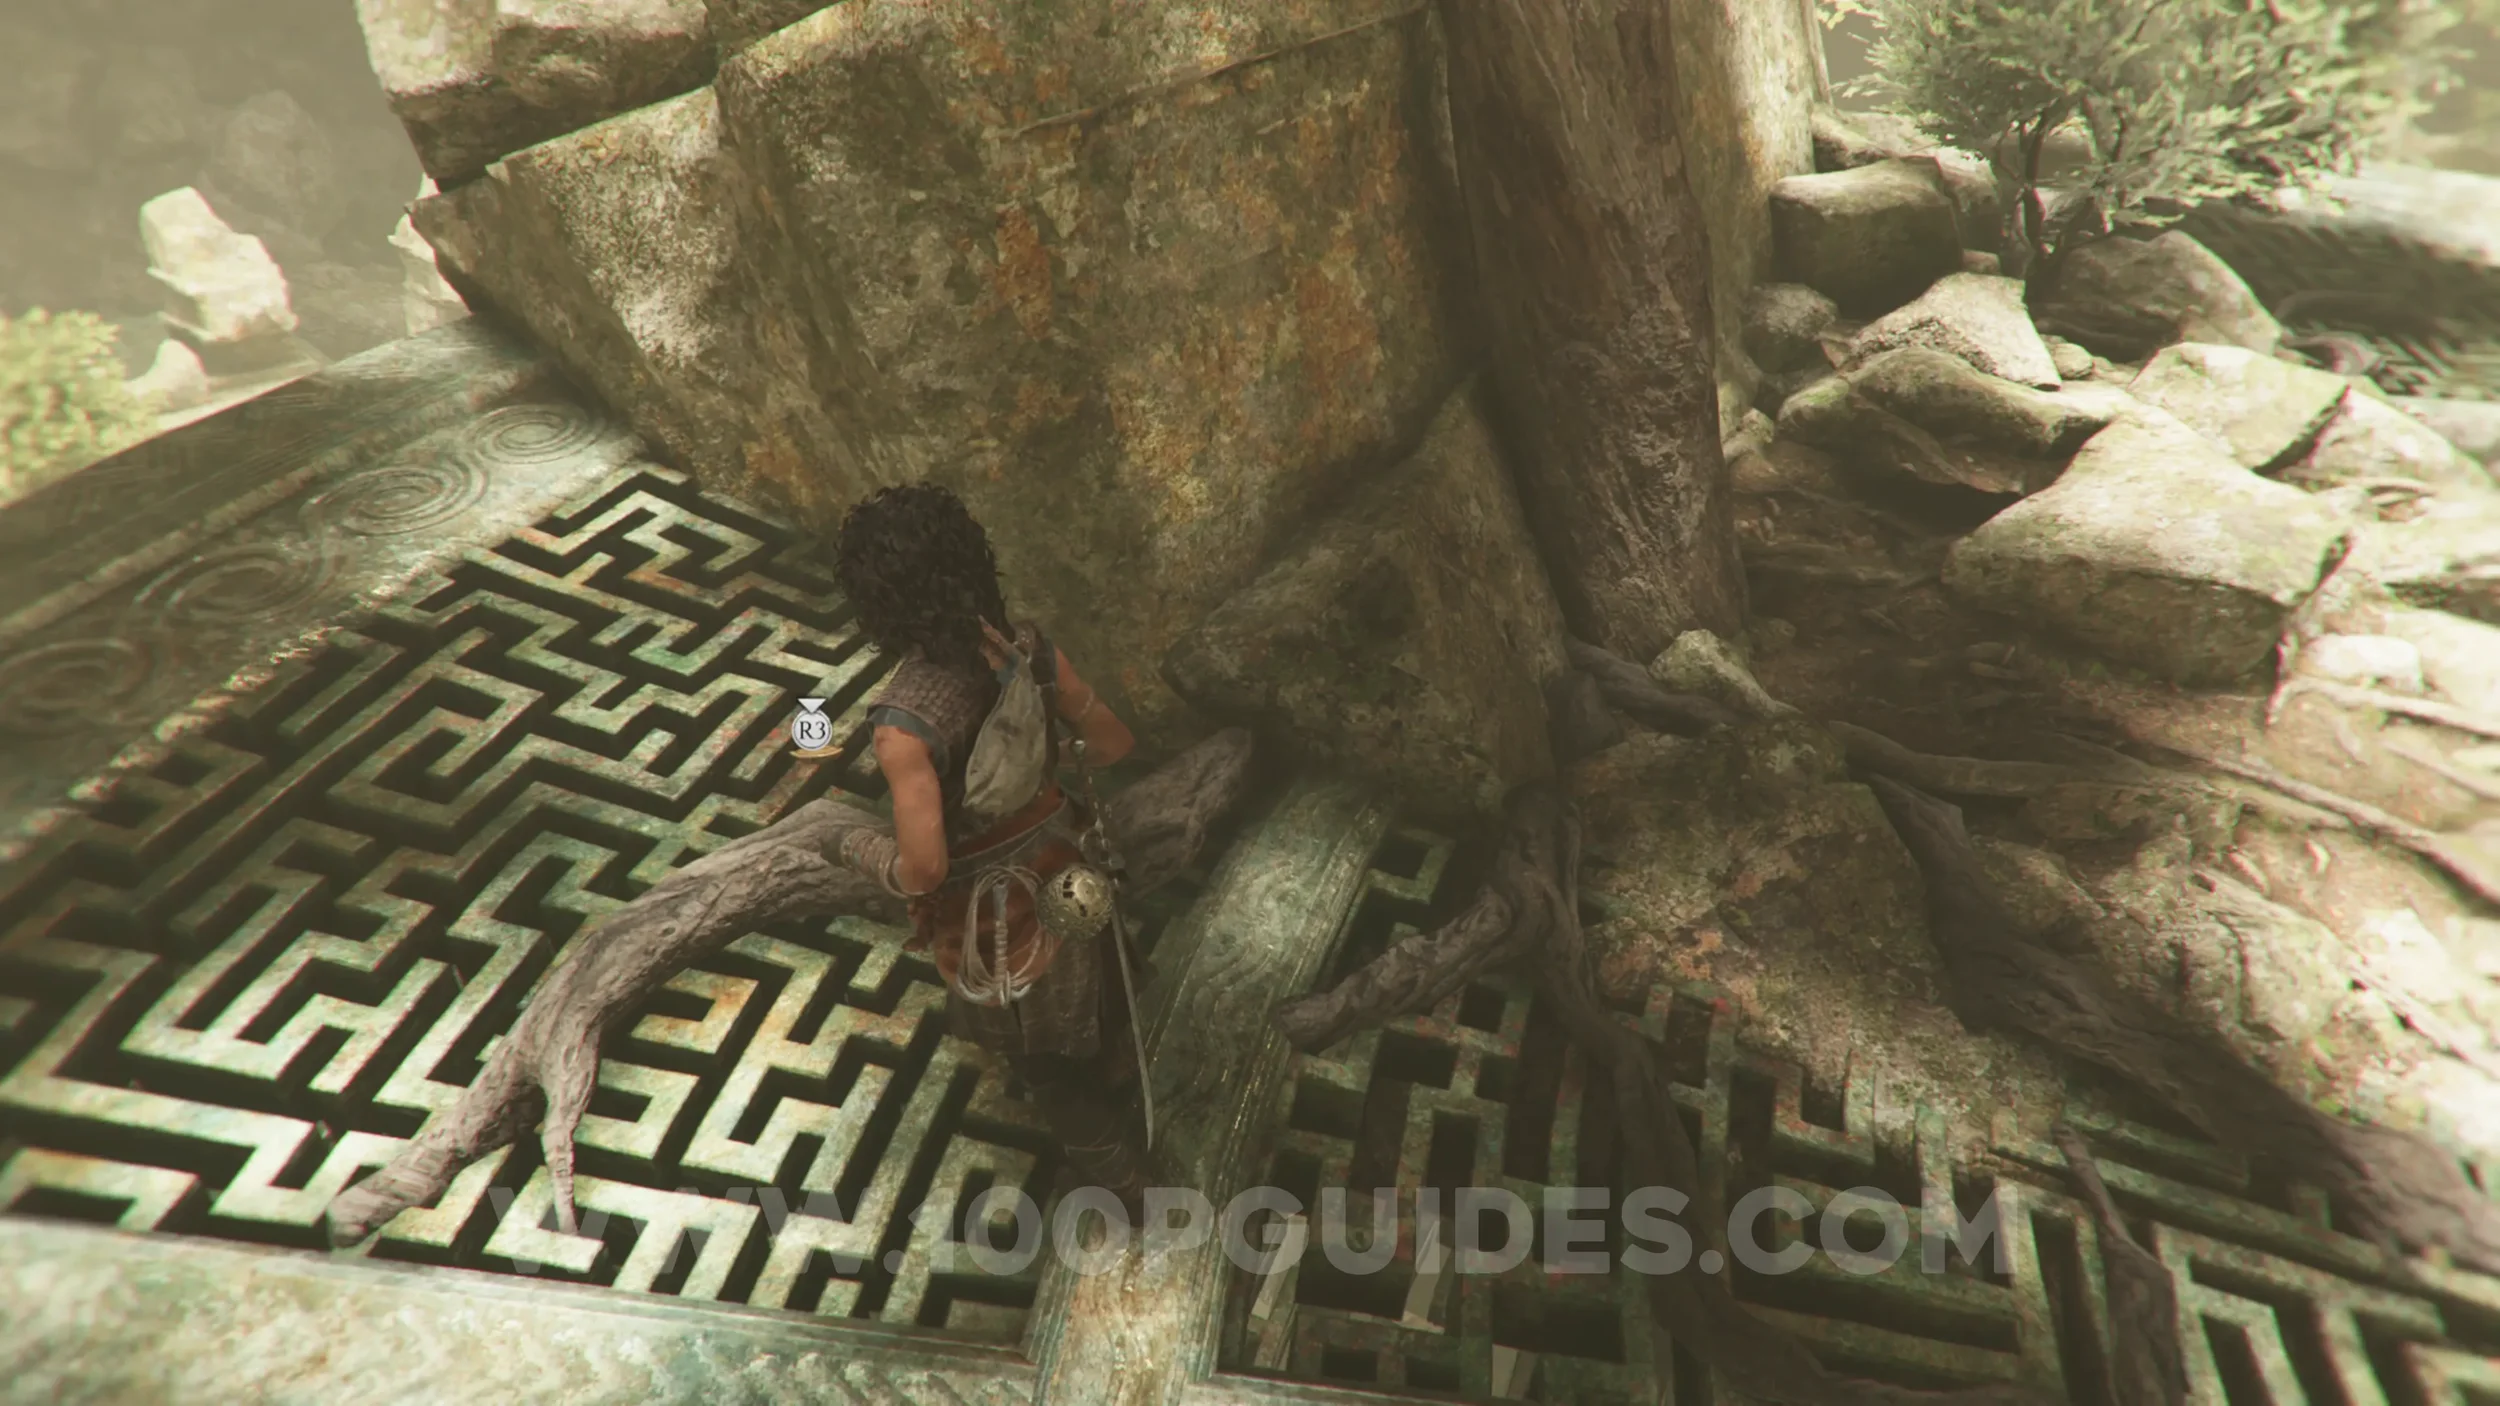
Resonance Point
Chapter 7: Sub-Chapter 5.
From the previous collectible, continue climbing until you reach the circular metallic platform. The collectible will be on it, to the right next to a rock.
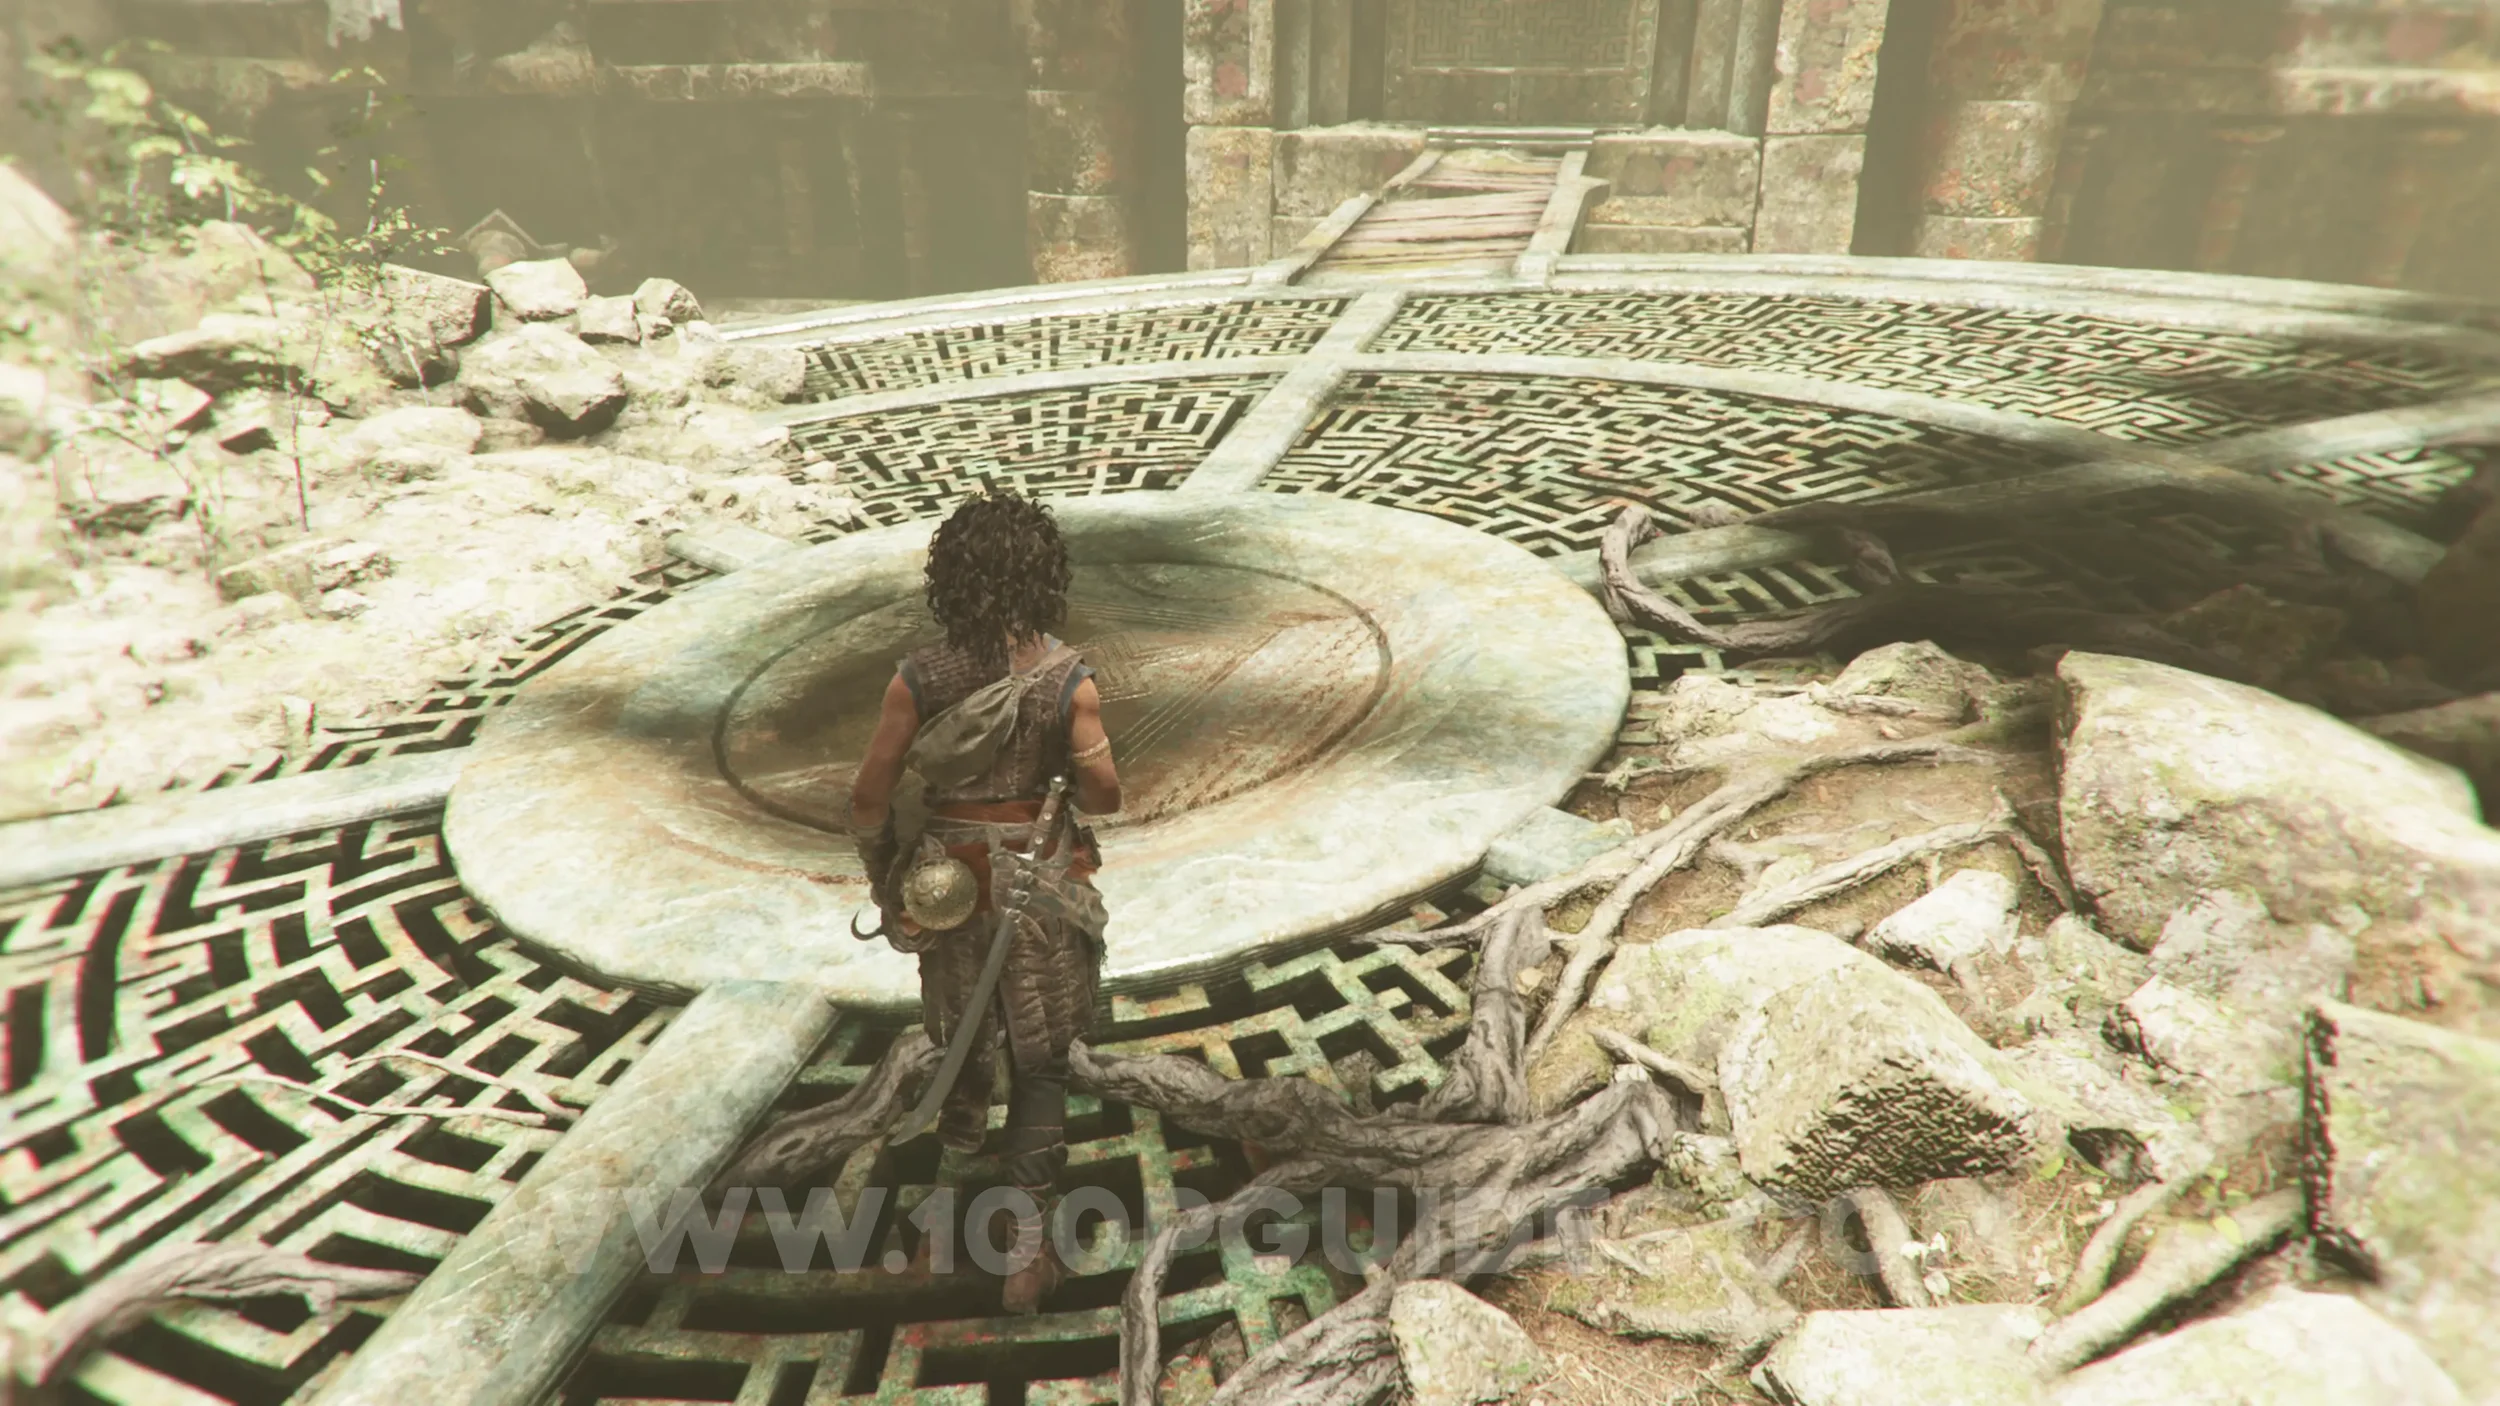
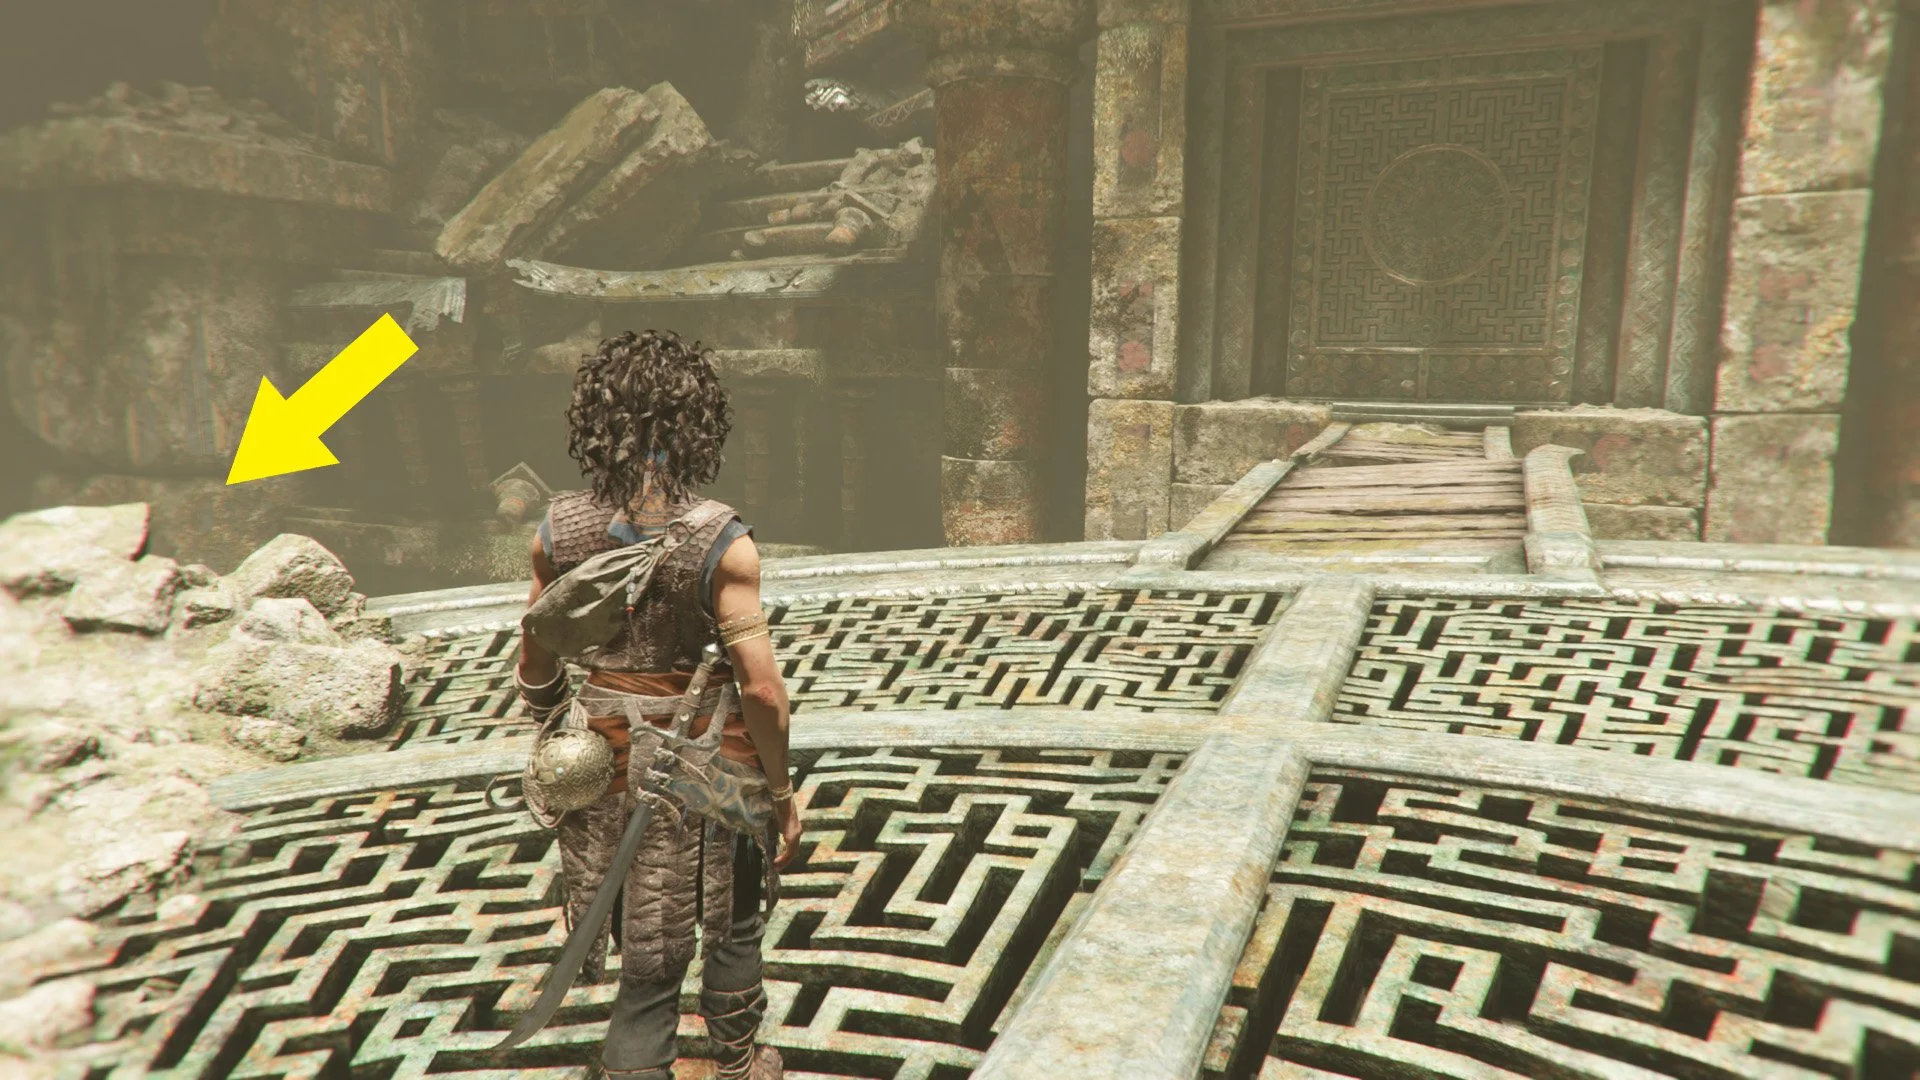
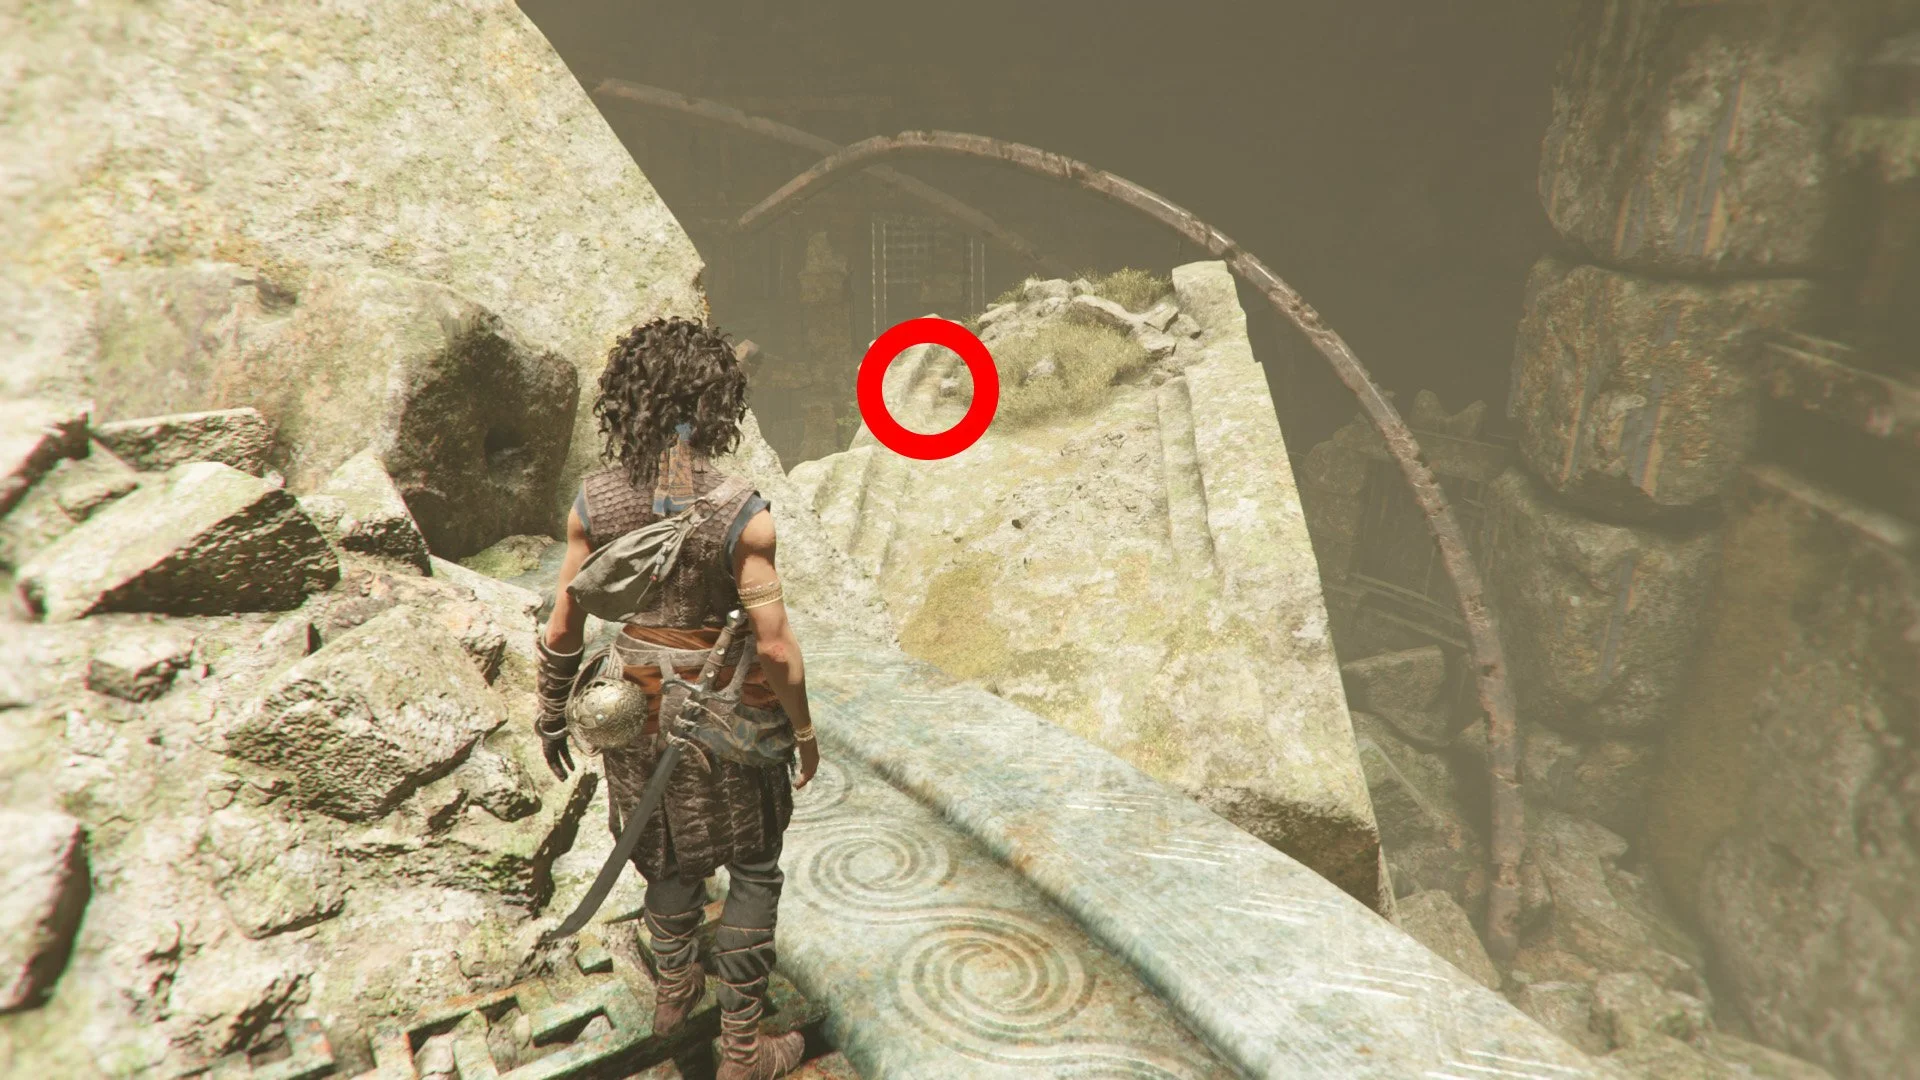
Resonance Point
Chapter 7: Sub-Chapter 5.
From the previous collectible, jump off the left side of the round platform, just before the bridge, to find the collectible on the platform below.
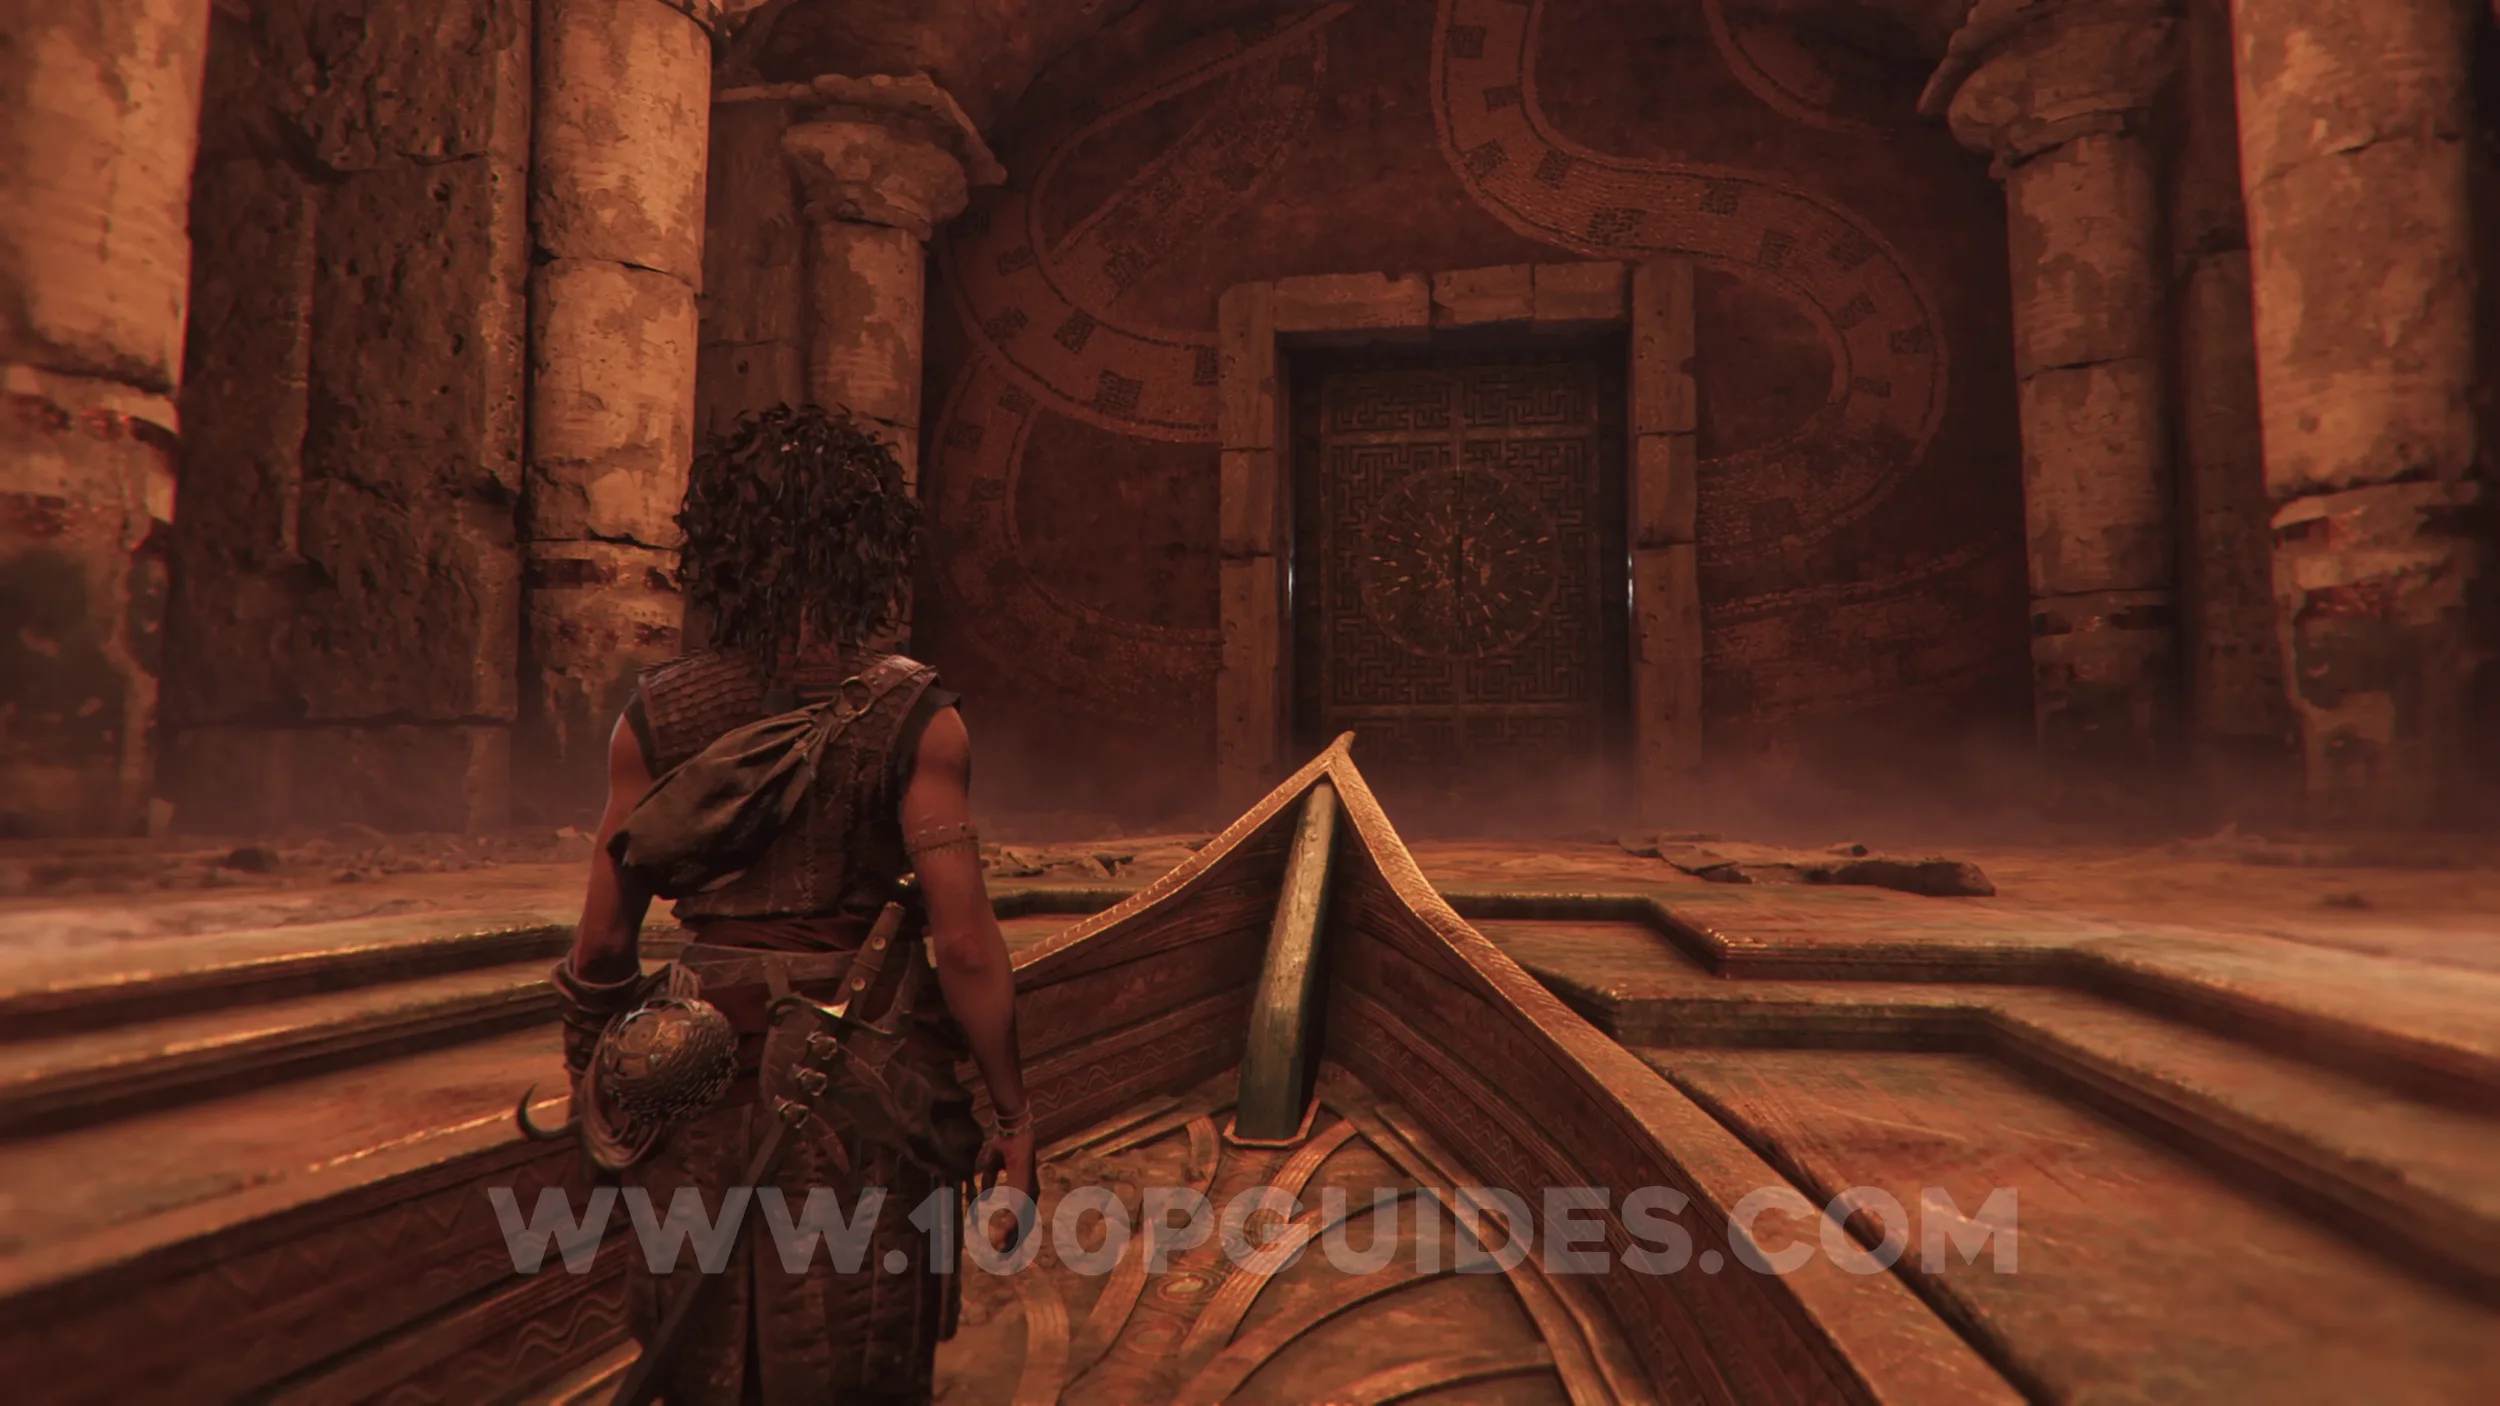
Resonance Point
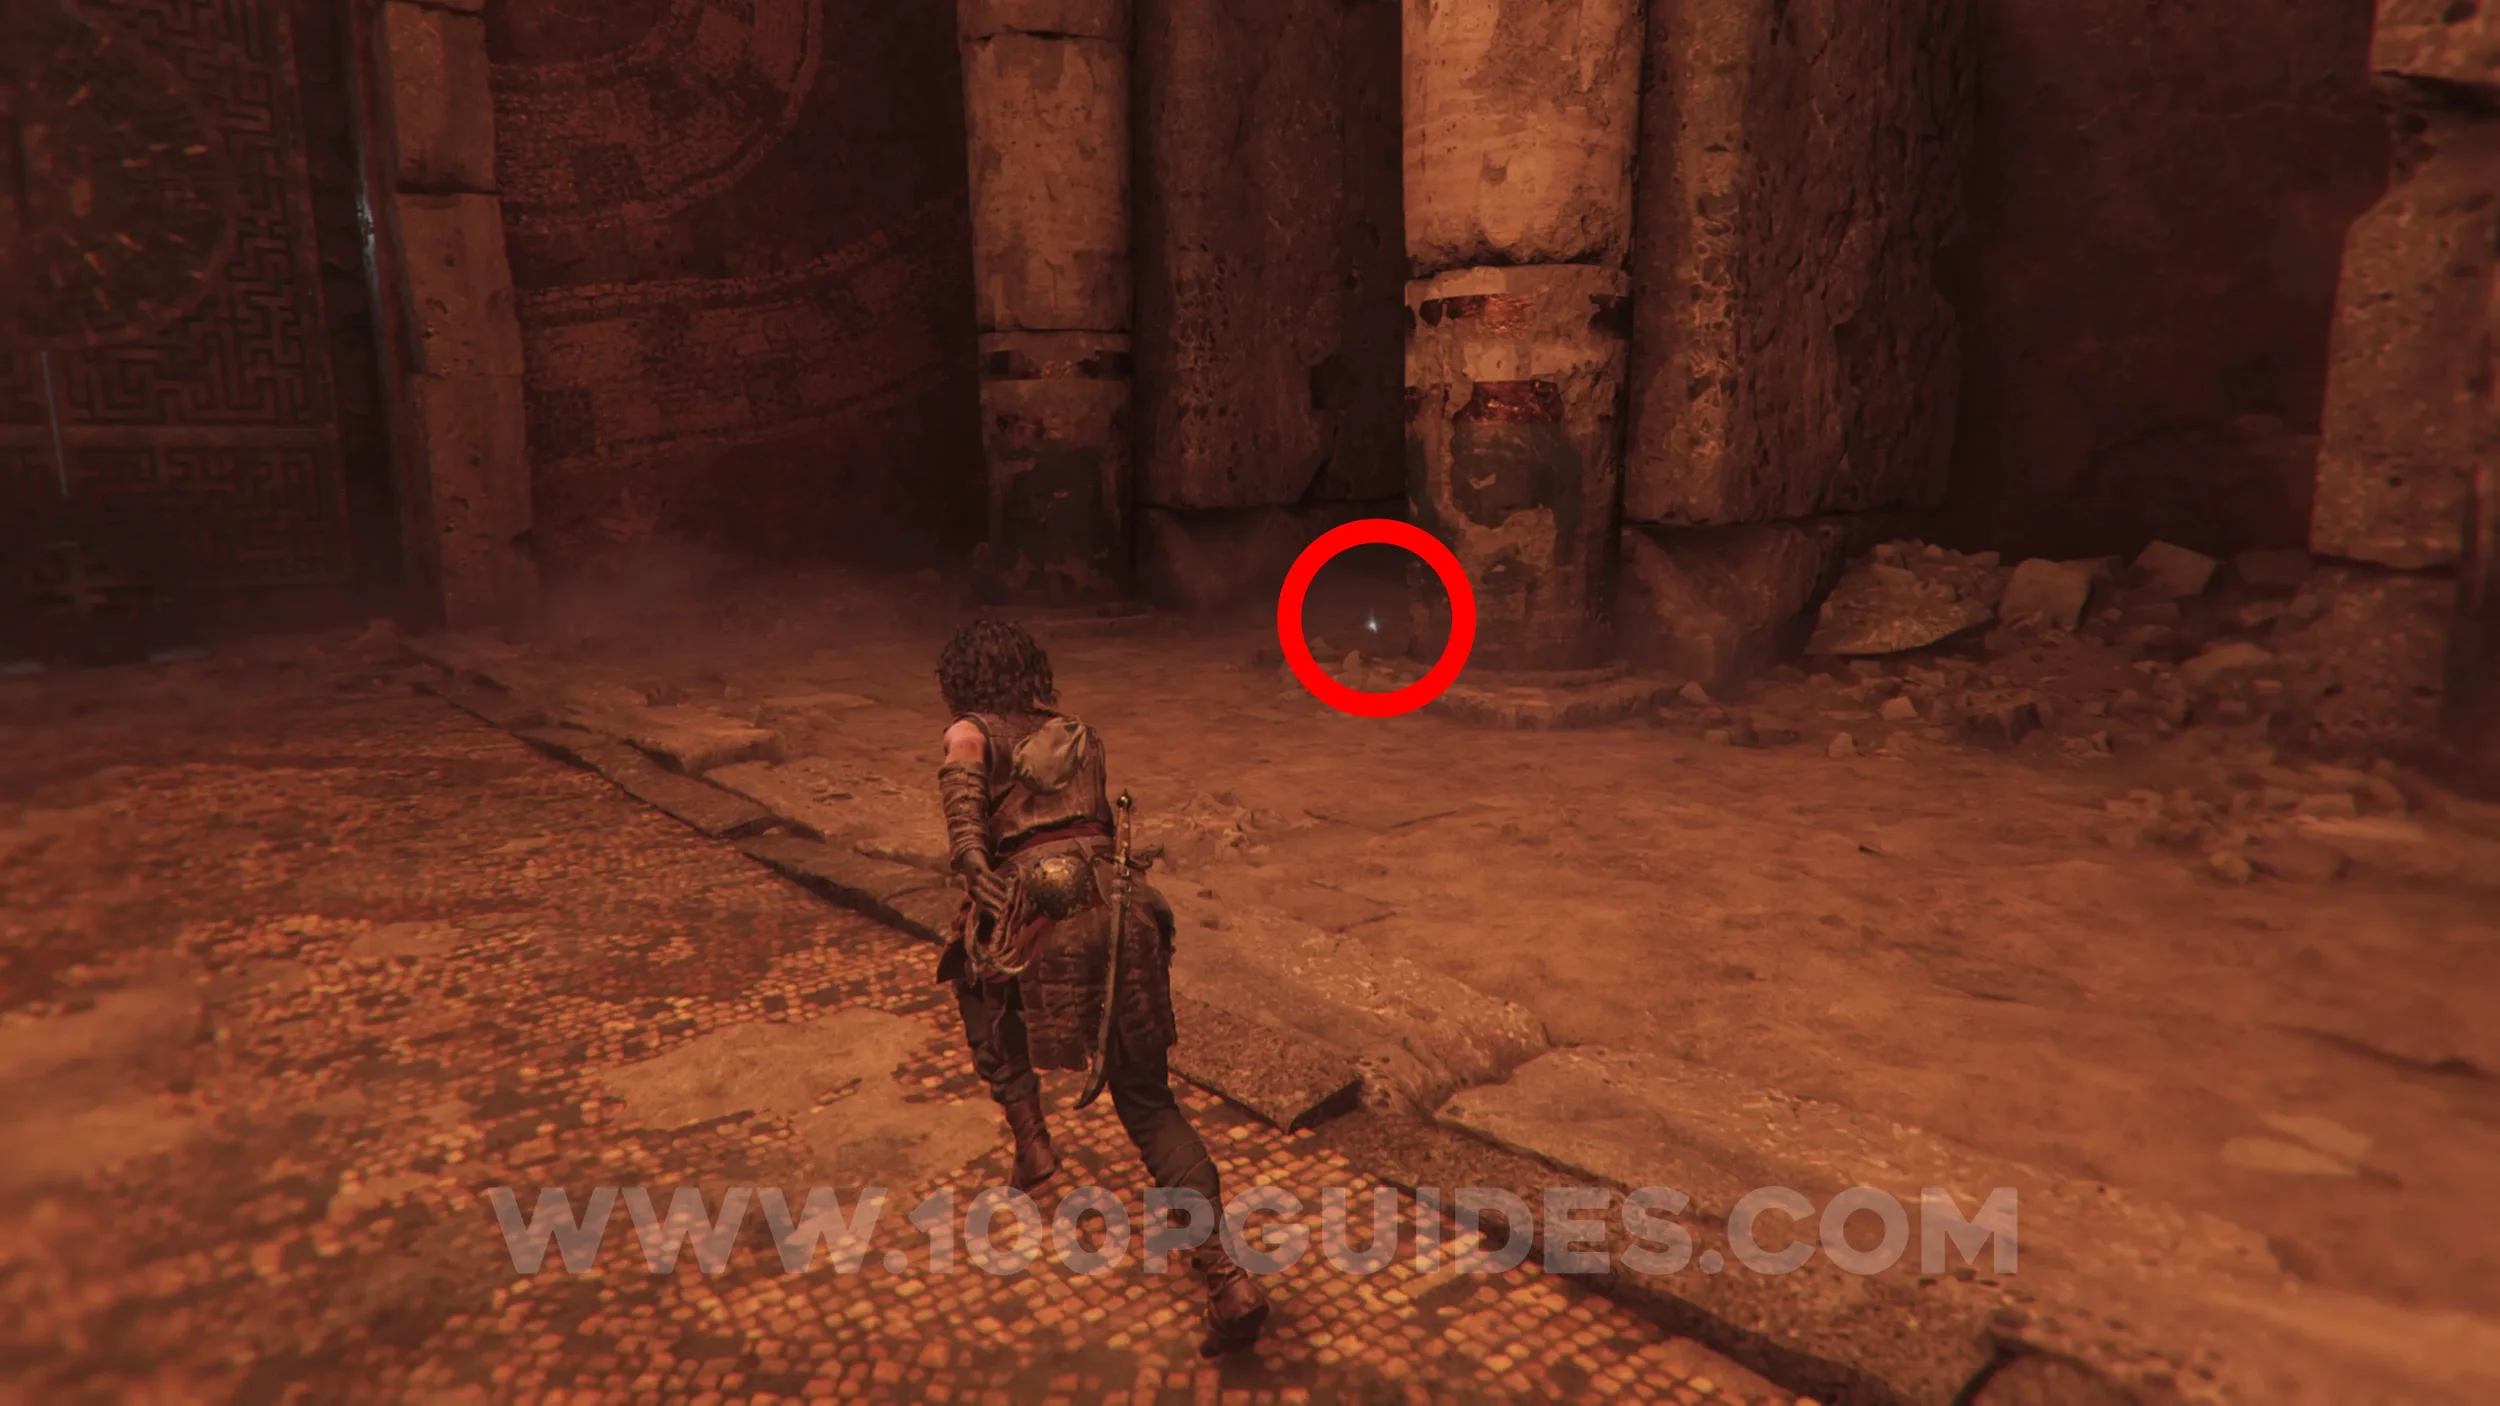
Chapter 7: Sub-Chapter 5.
Between the columns on the right side of the room, once you get off the boat.
Chapter 8
No collectibles in this chapter.
Chapter 9
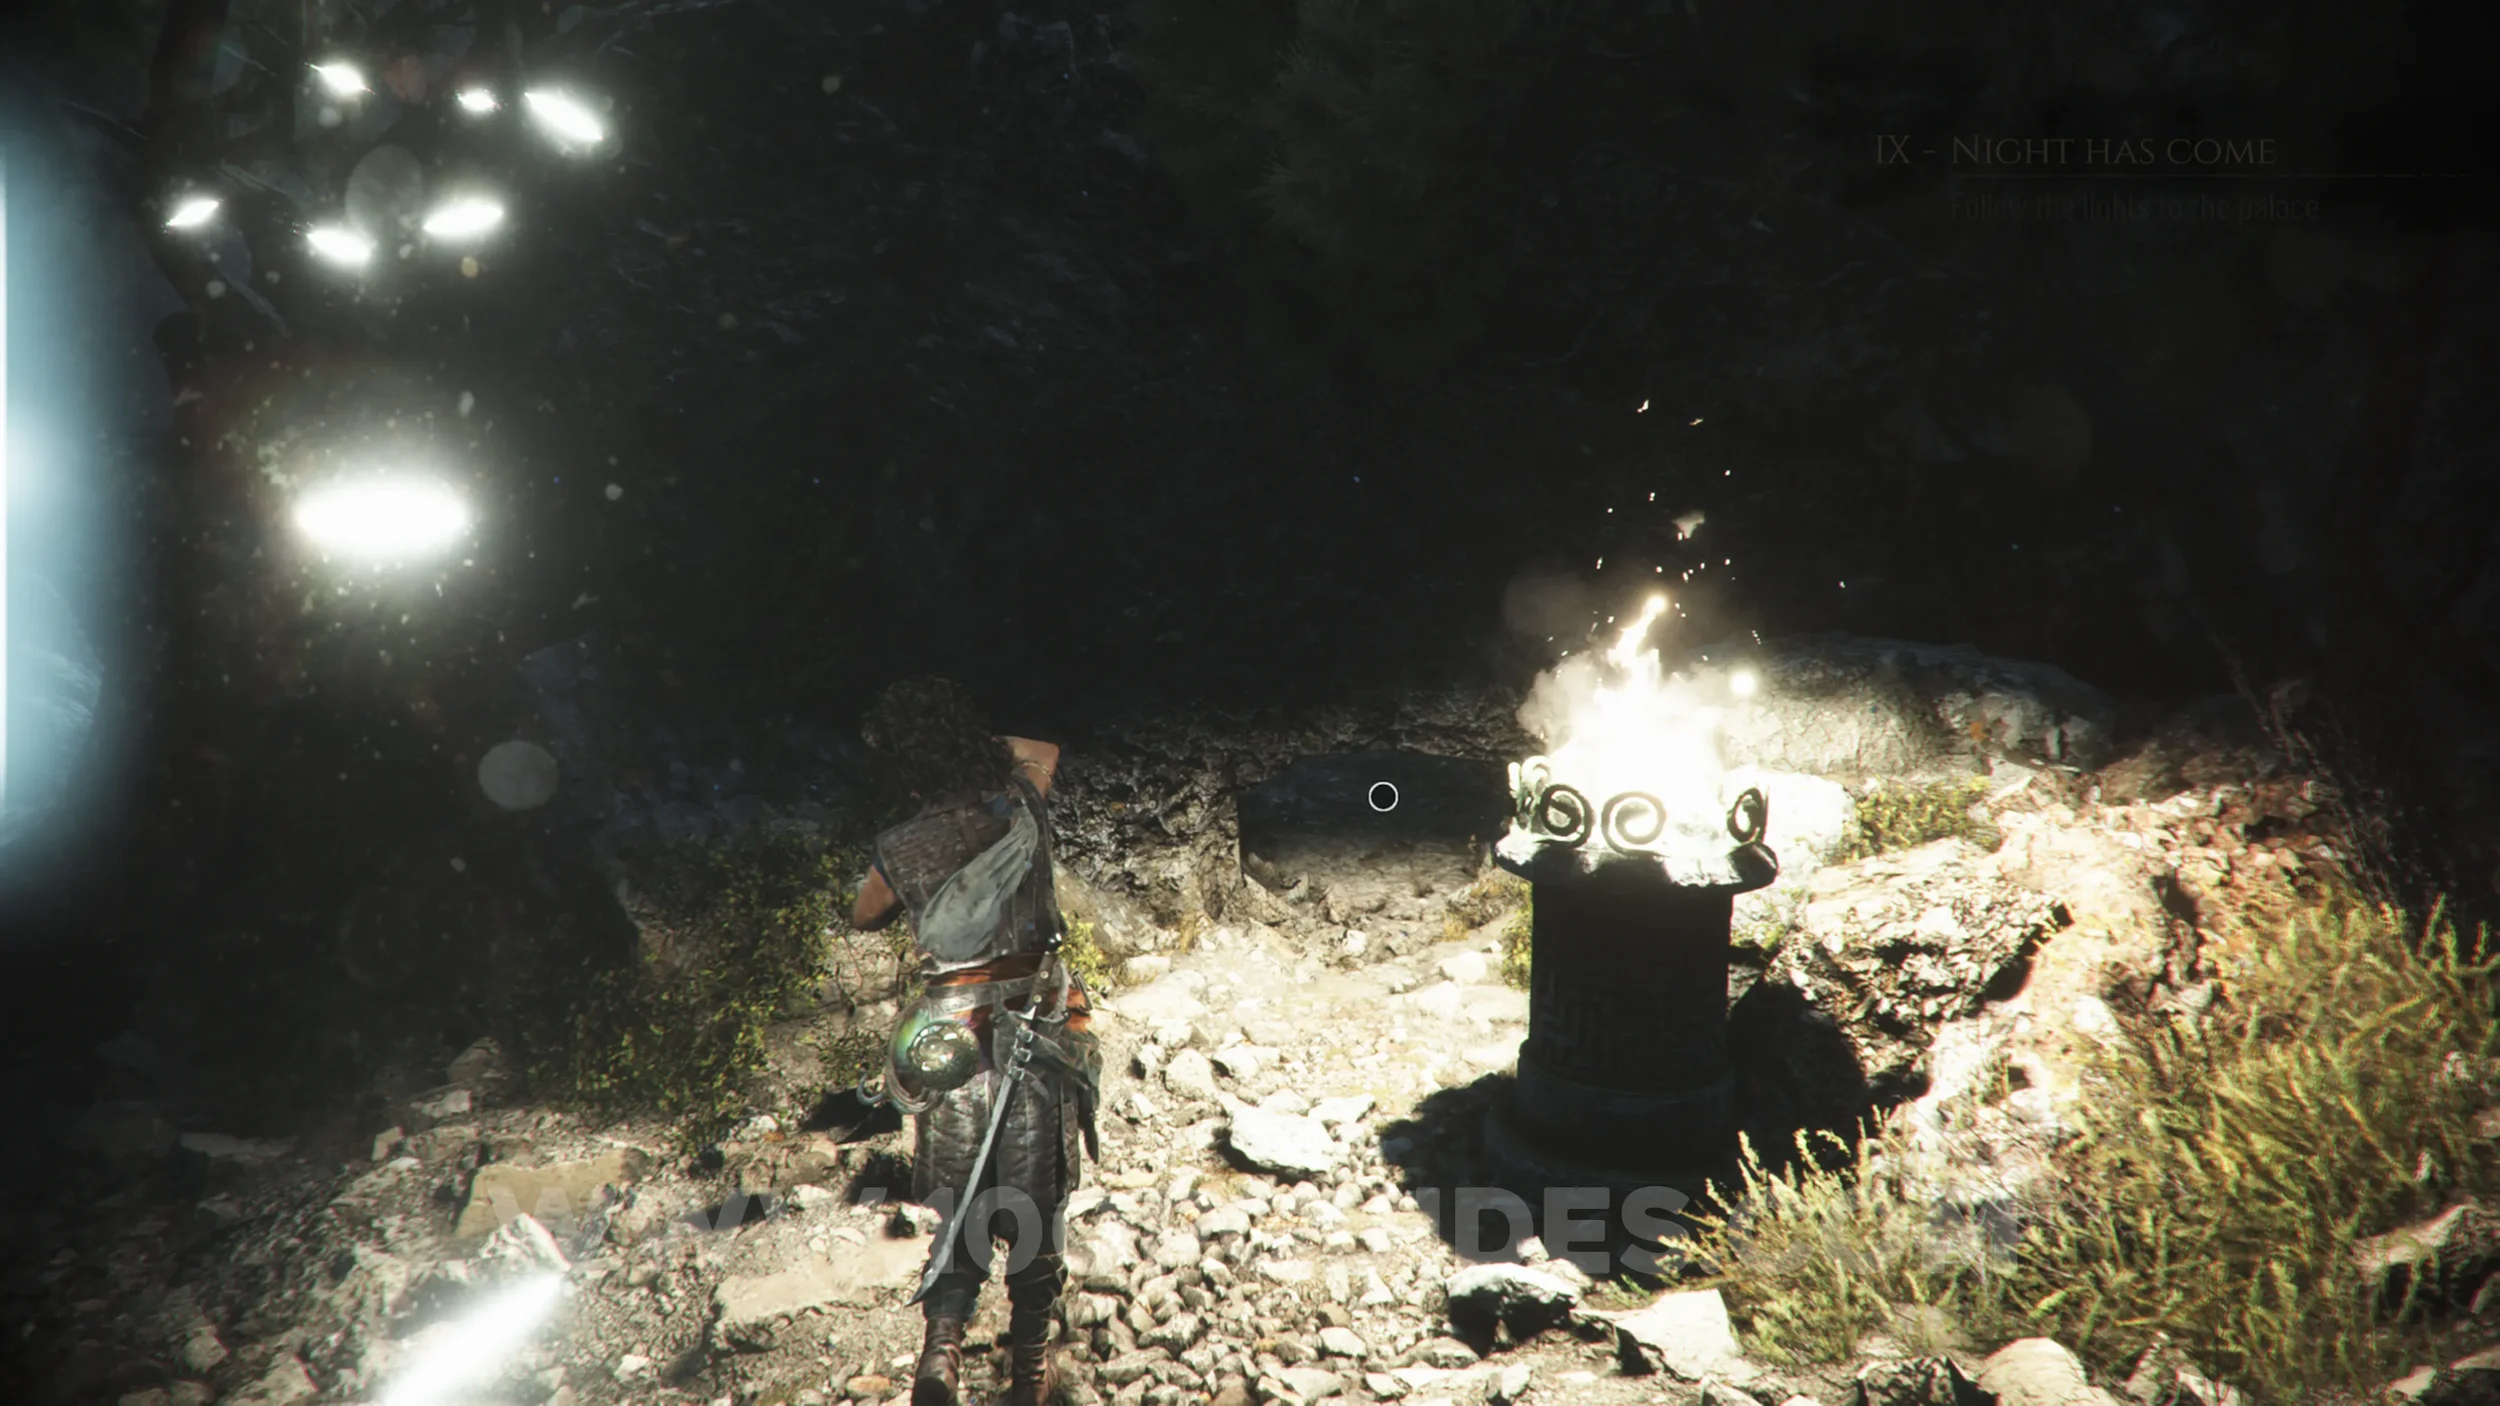
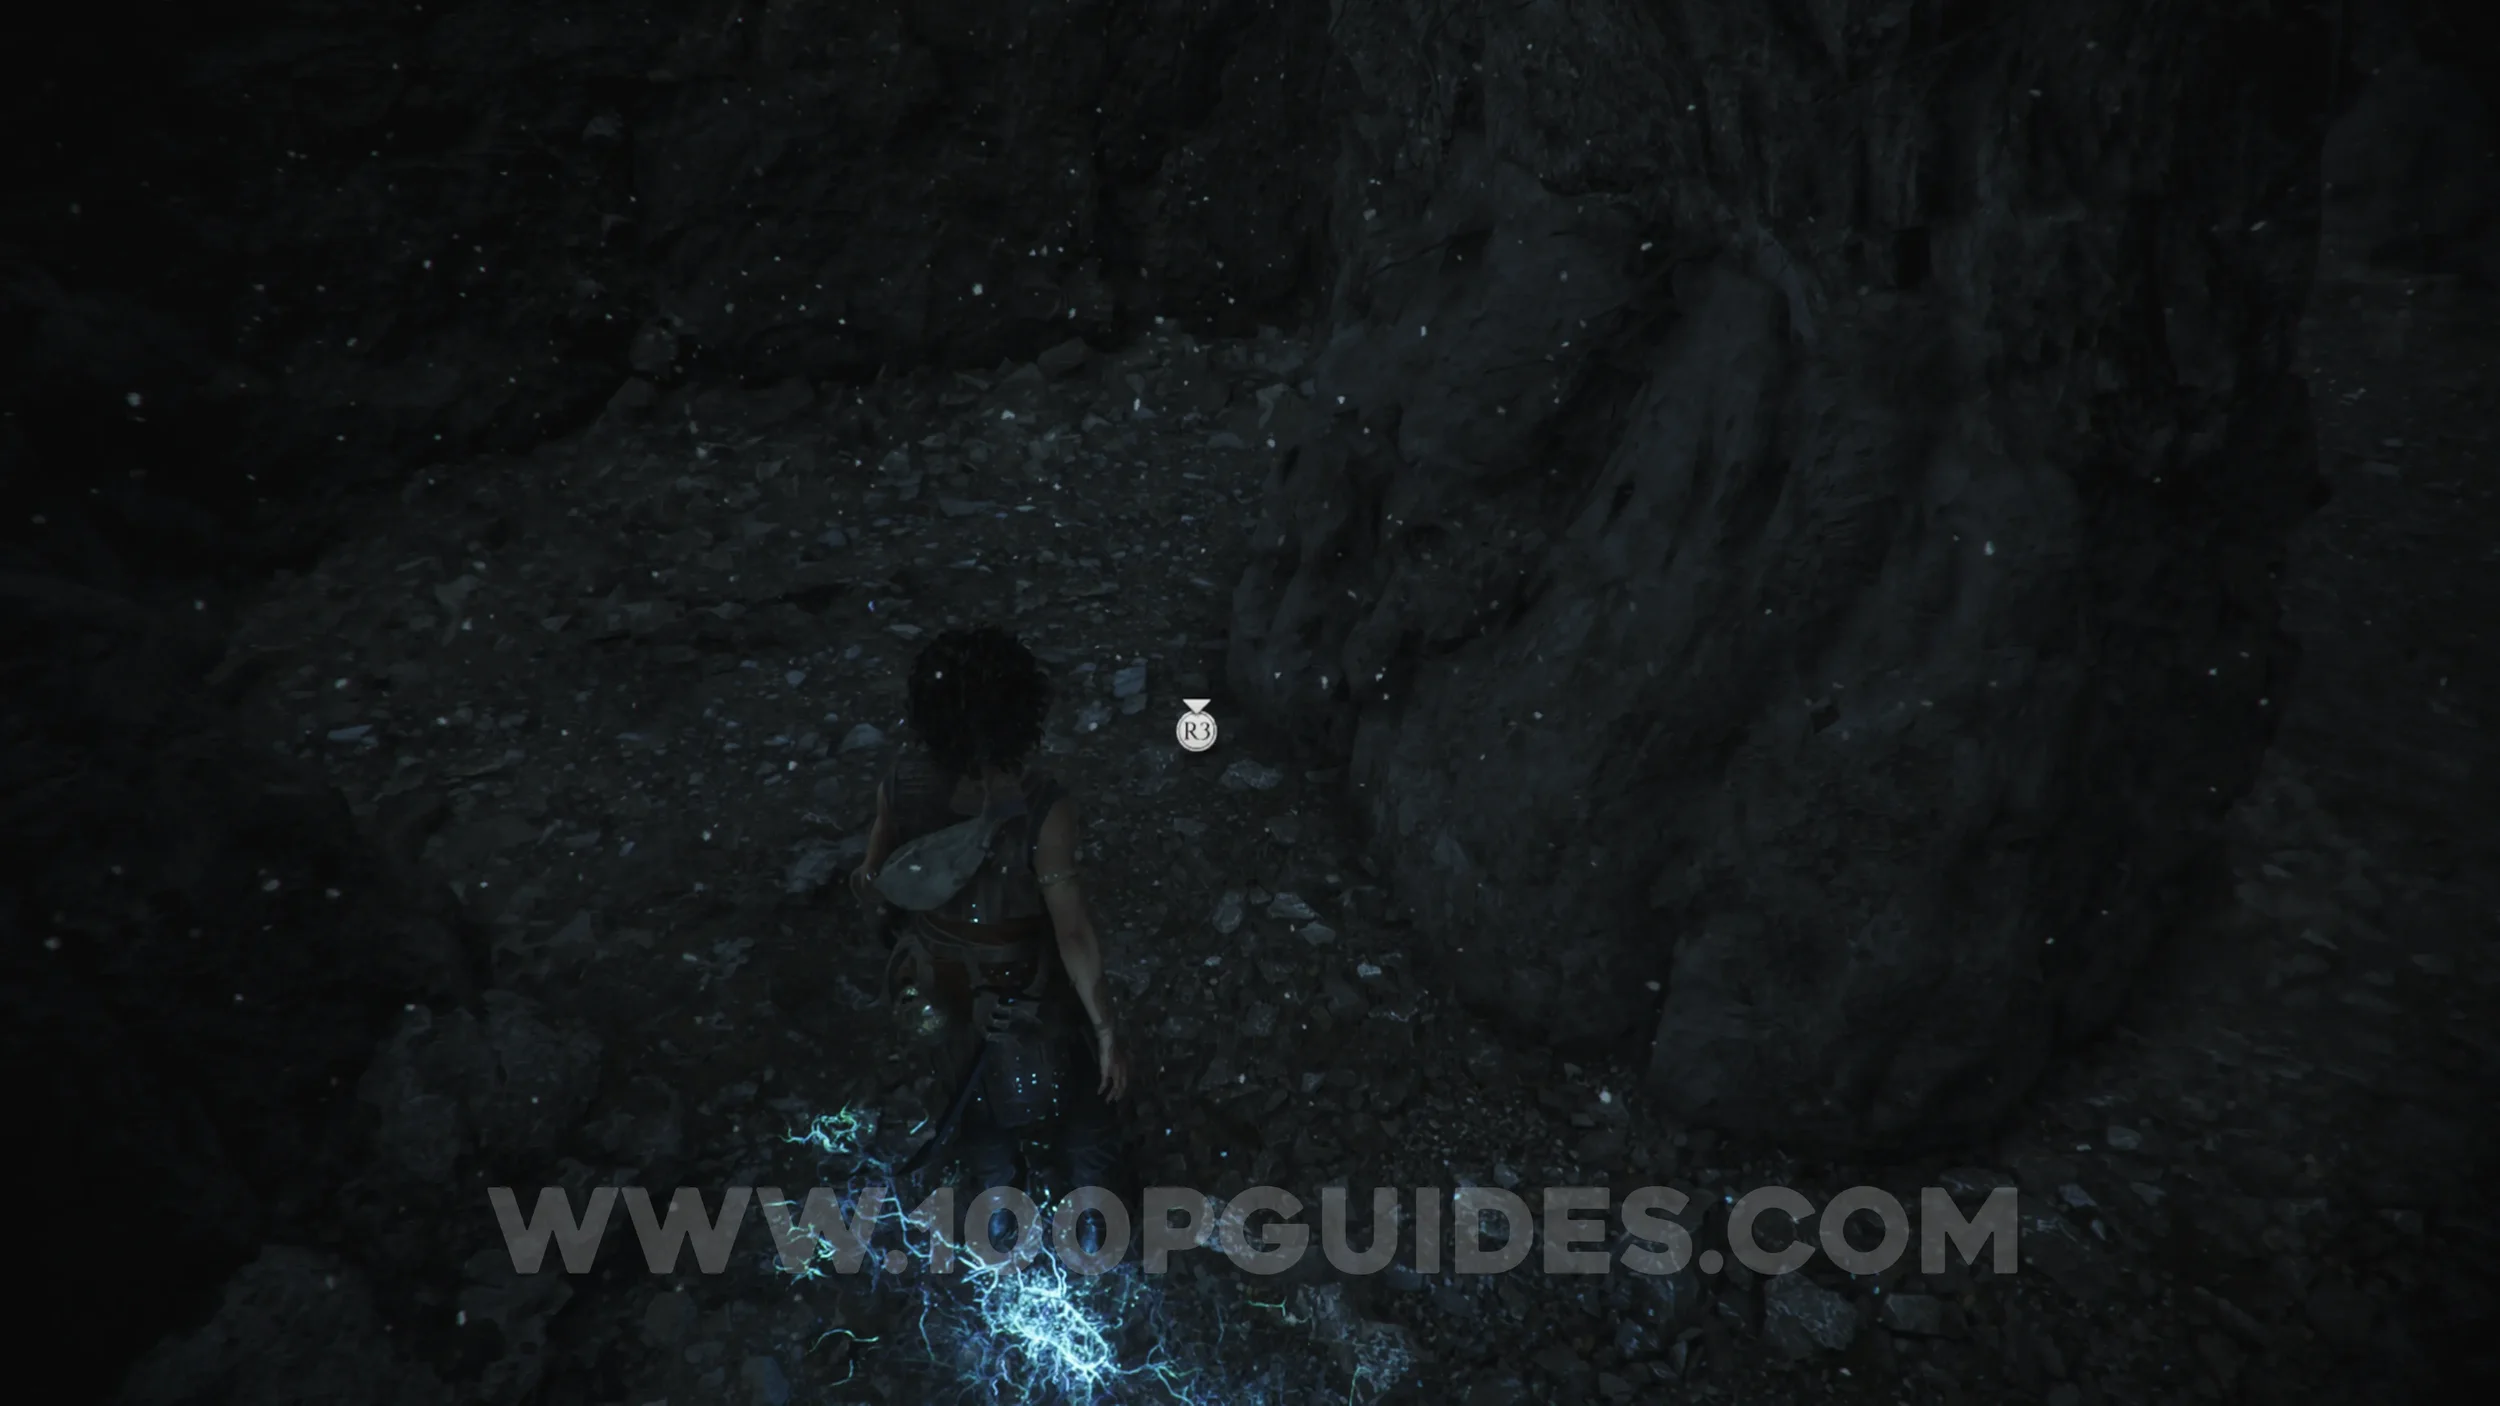
Resonance Point
Chapter 9: Sub-Chapter 2.
Just before you reach the second light, the floor gives way and you slide down to the platform below. Head right and look for a small hole next to the torch that you can go through. Go through it to find the collectible in the cave.
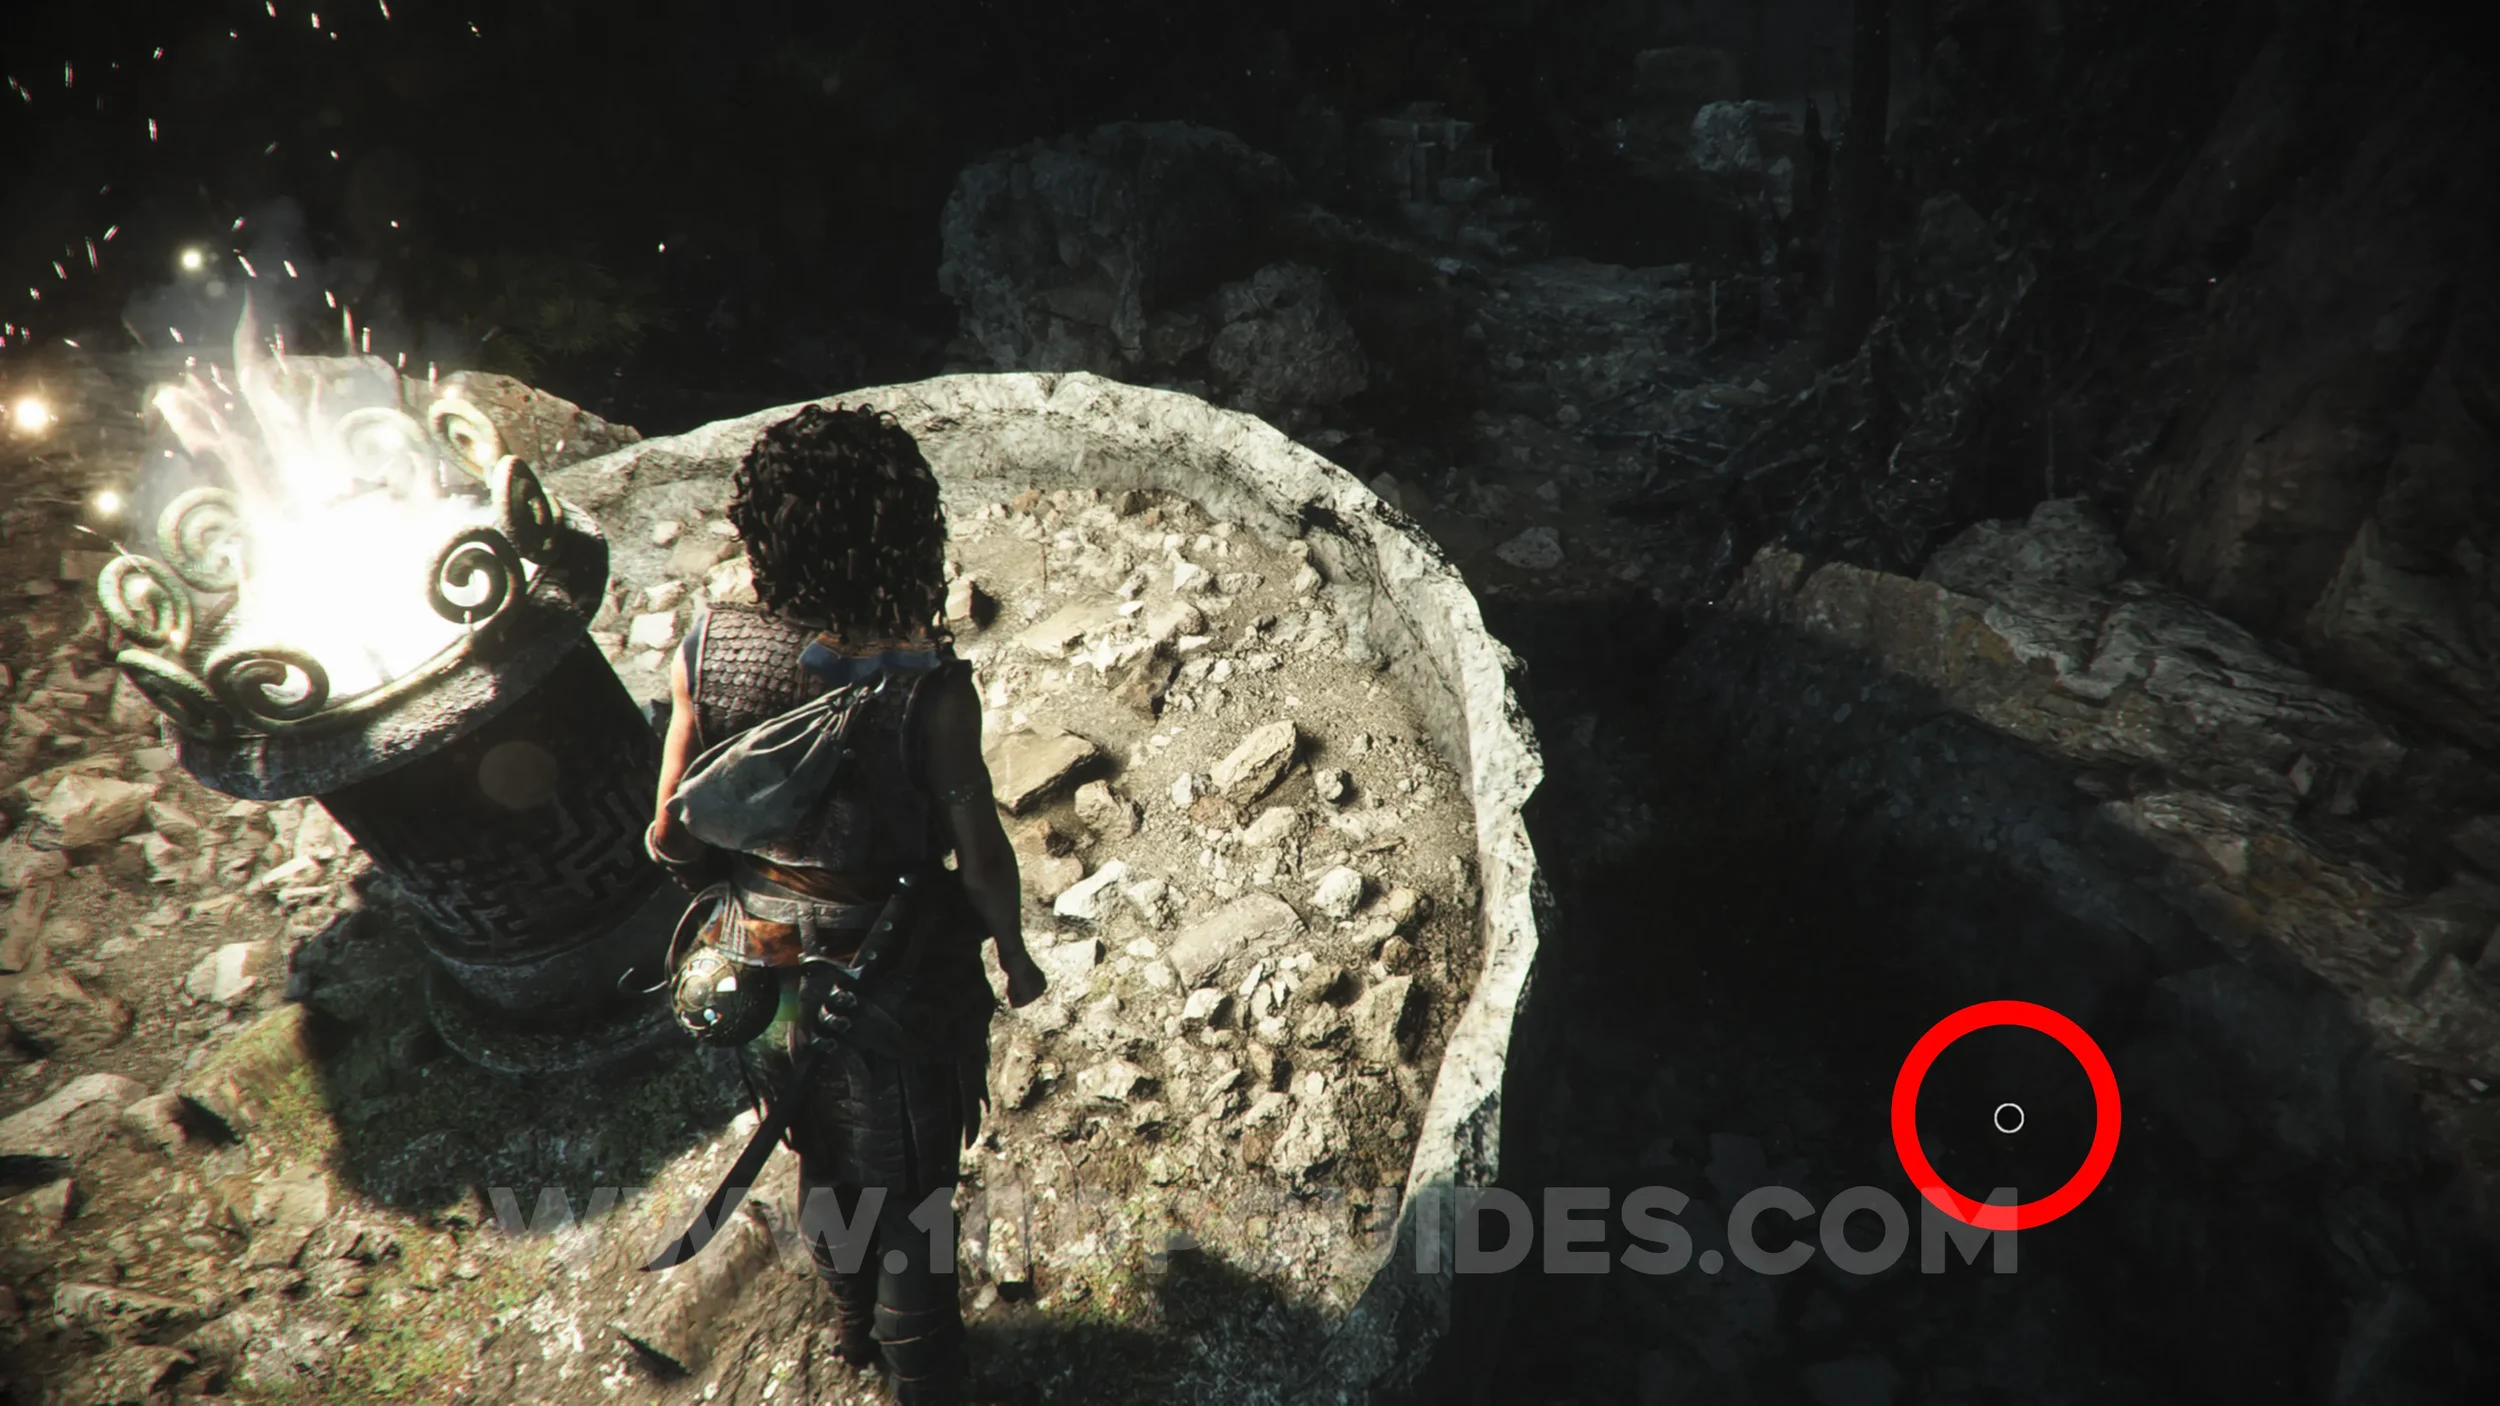
Resonance Point
Chapter 9: Sub-Chapter 2.
Continue on the main path until you encounter two enemy soldiers. After defeating them, hit the torch to light it. The collectible can be found on the path just below this torch.
Artefact: Dante’s Inferno - Canto V
Chapter 9: Sub-Chapter 3.
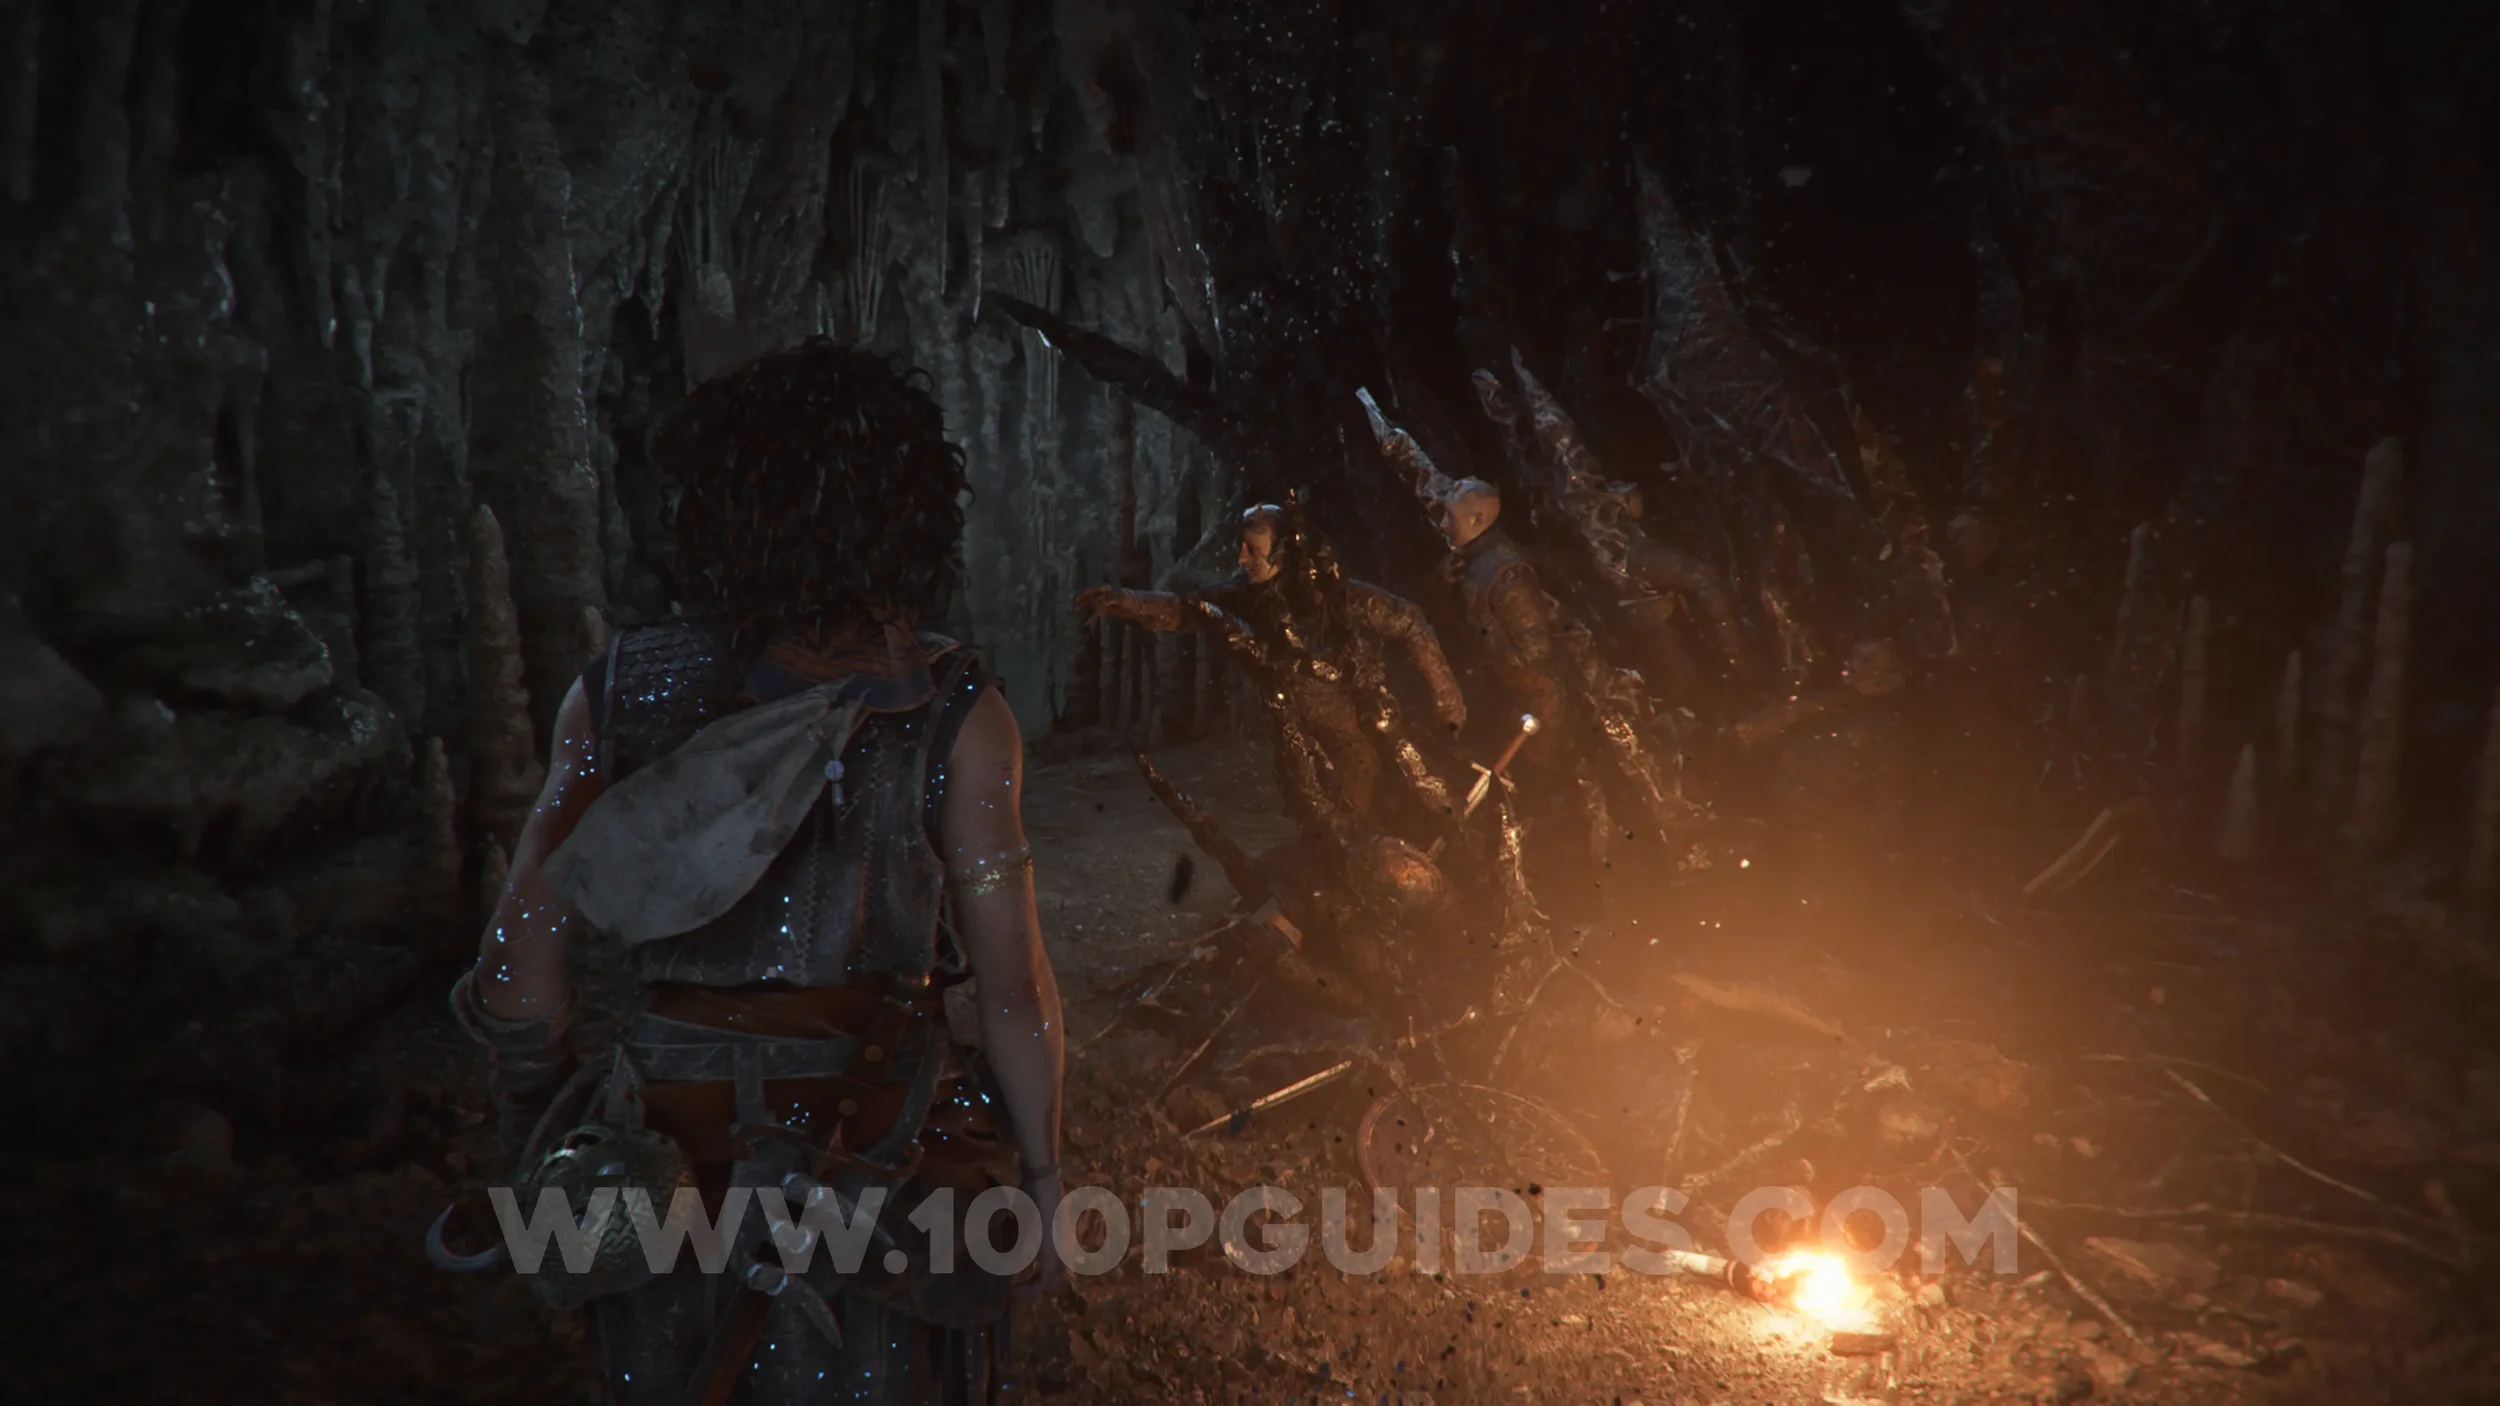
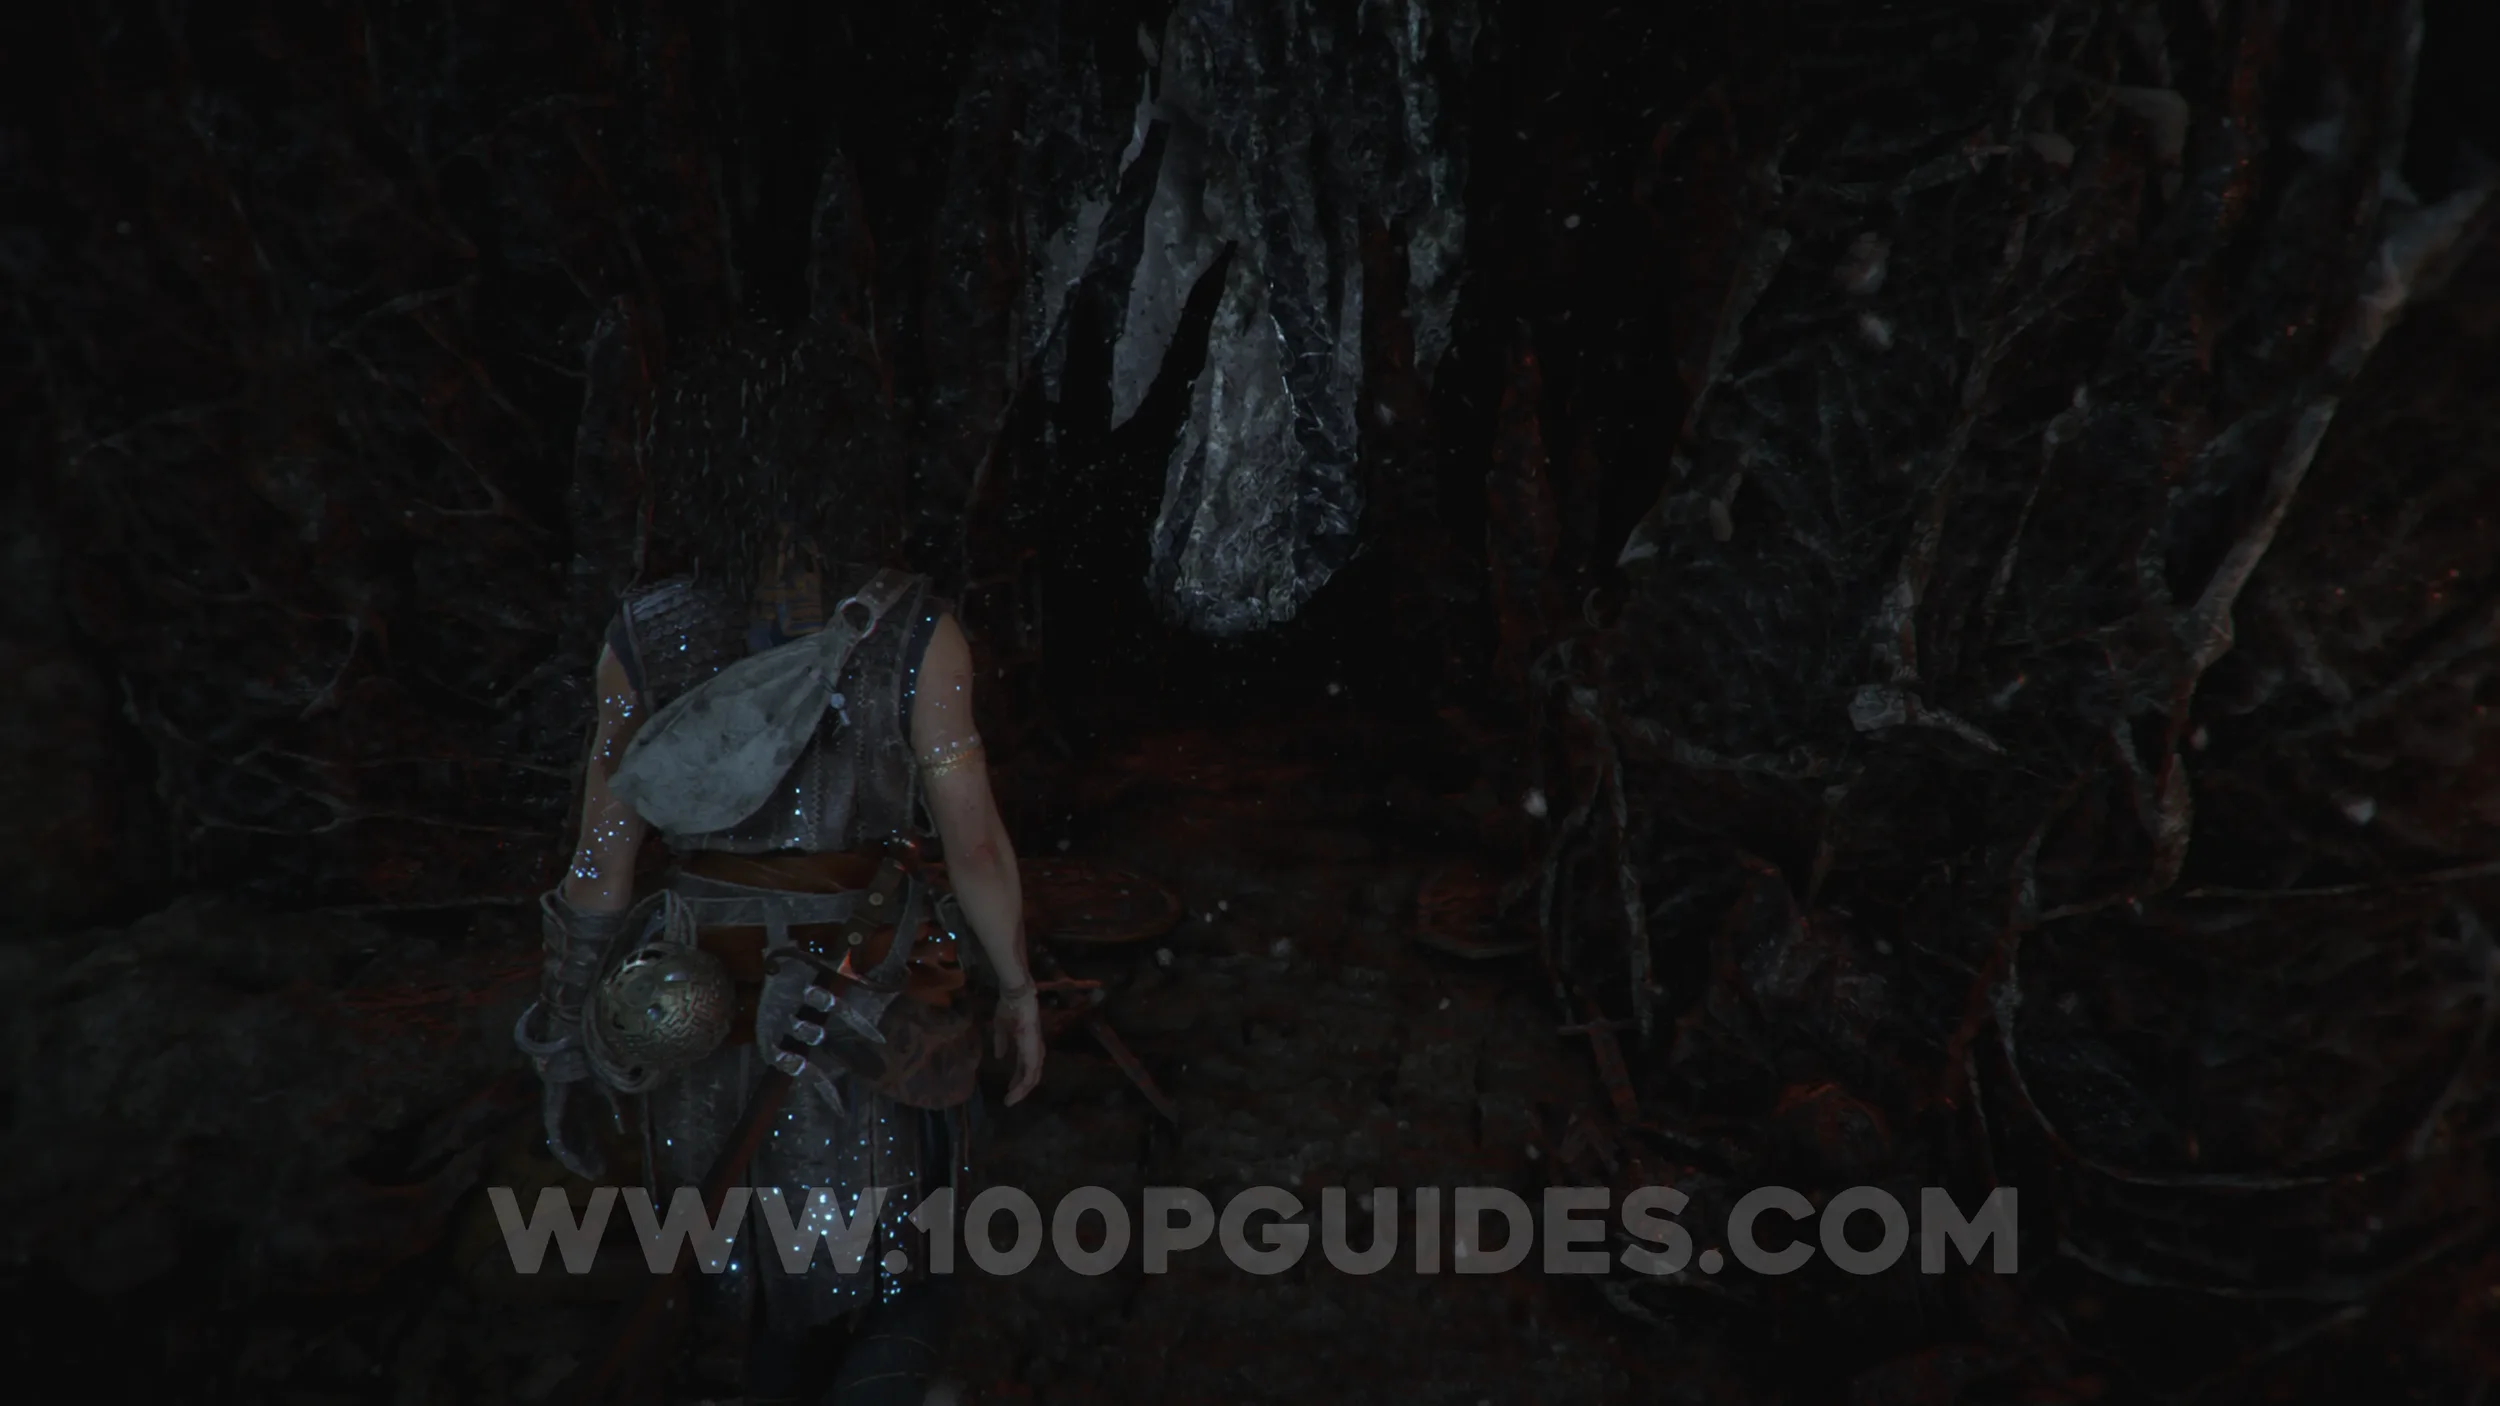
Once you escape the creature and enter a cave with stalagmites and water, climb up a ledge where you'll see some petrified corpses and a lit torch on the ground. Immediately after these corpses, look for a path on the right. Follow it to find the artefact at the end.
Charm: Seal #4
Chapter 9: Sub-Chapter 3.
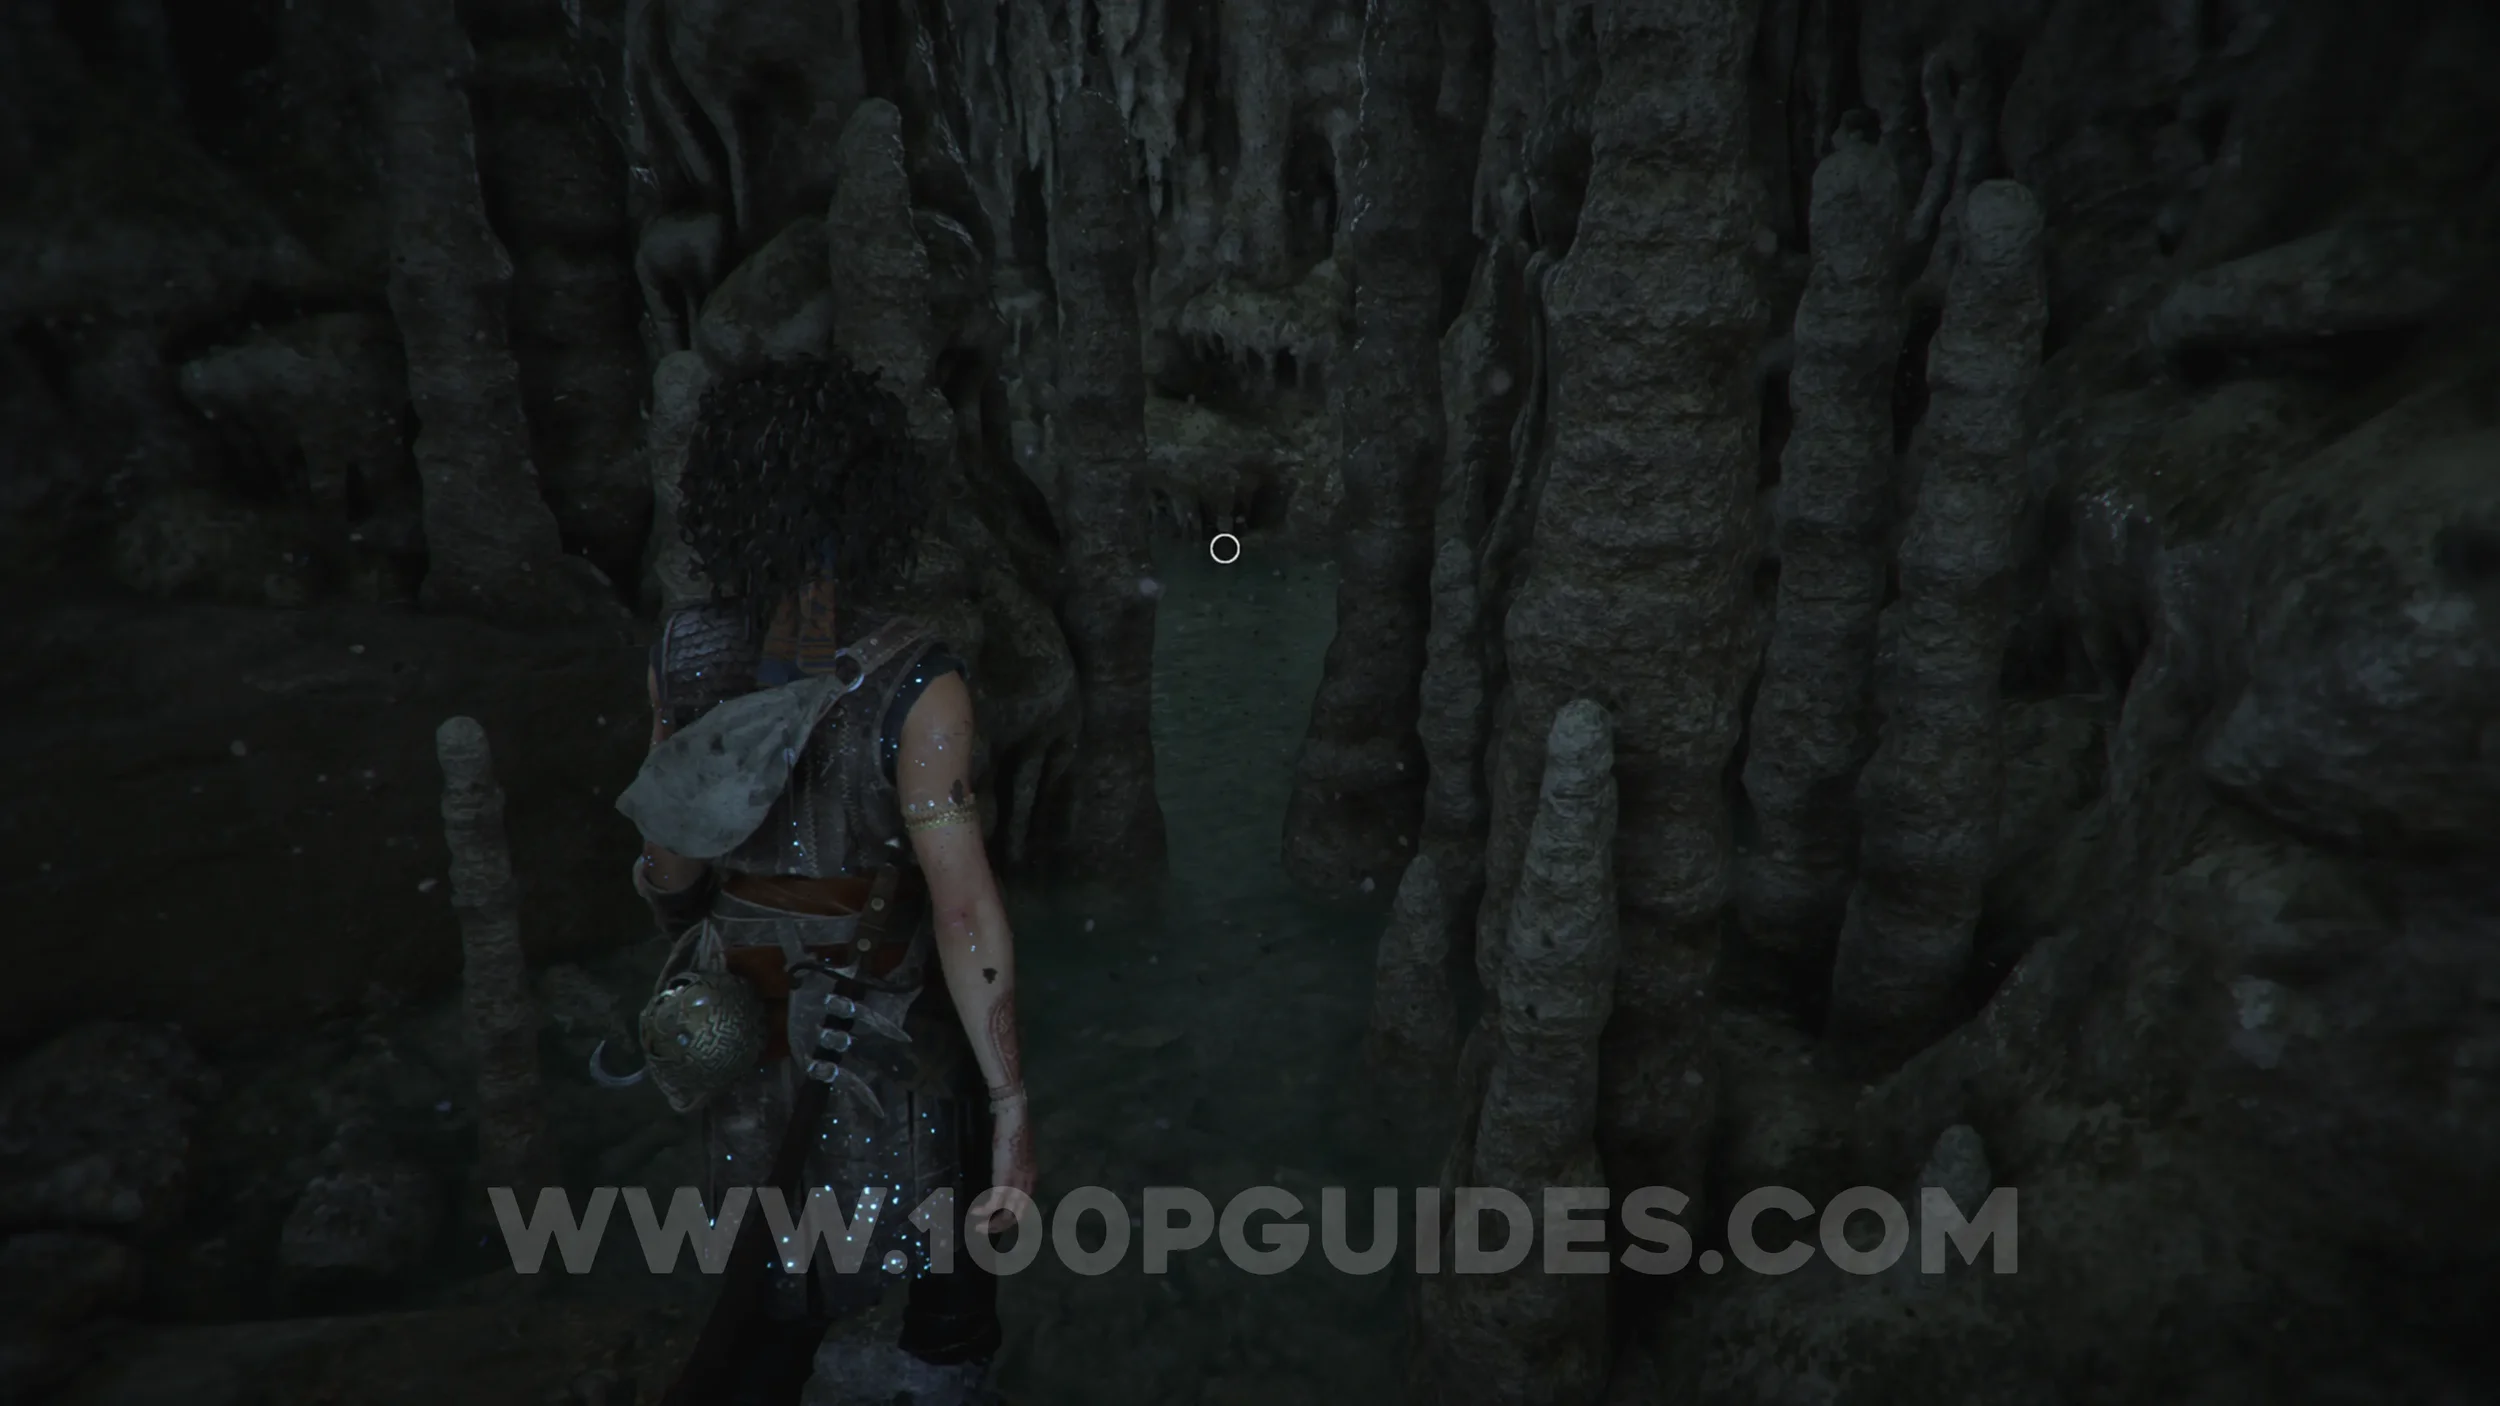
From the previous collectible, backtrack to the main path where the corpses and the torch on the ground were, then continue forward. Almost immediately, look for a gap between the stalagmites on your left that you can go through. The collectible will be on the other side.
Resonance Point x2
Chapter 9: Sub-Chapter 3.
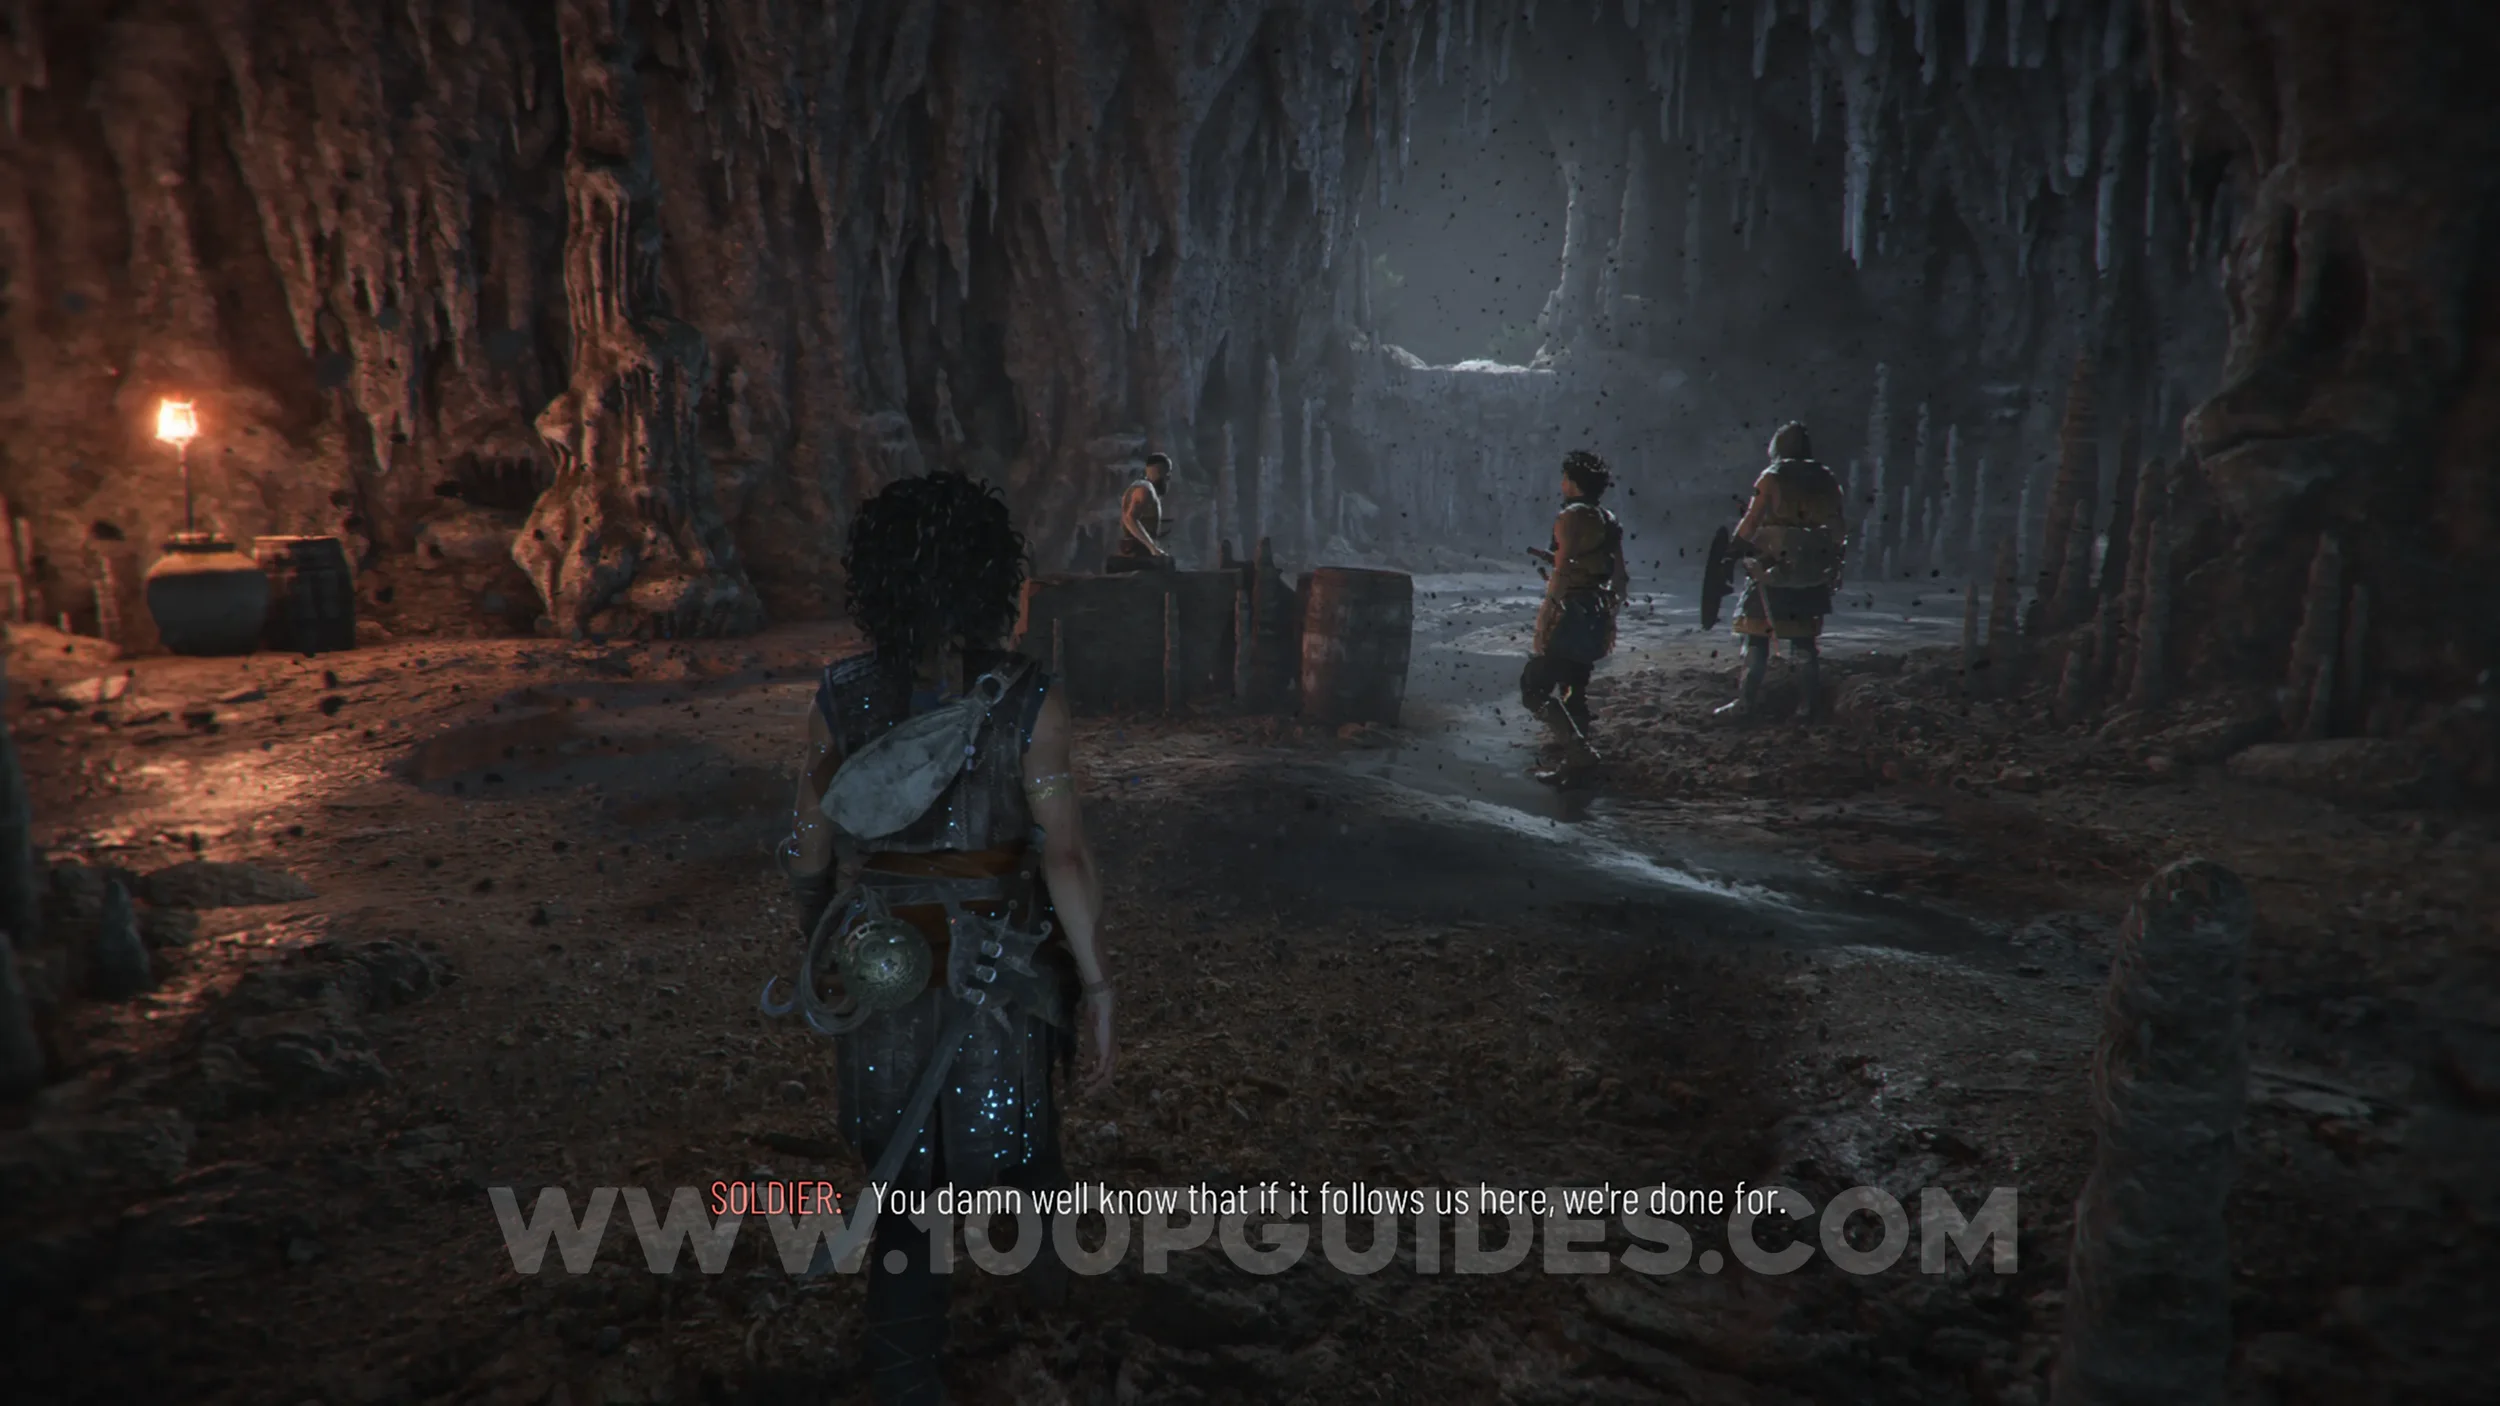
Follow the main path, and after squeezing through the rock walls, you'll encounter a group of enemies. Defeat them to get the Resonance Point.
Resonance Point
Chapter 9: Sub-Chapter 3.
After leaving the cave, look for a large fallen tree on your right. As soon as you pass it, head right to find the points.
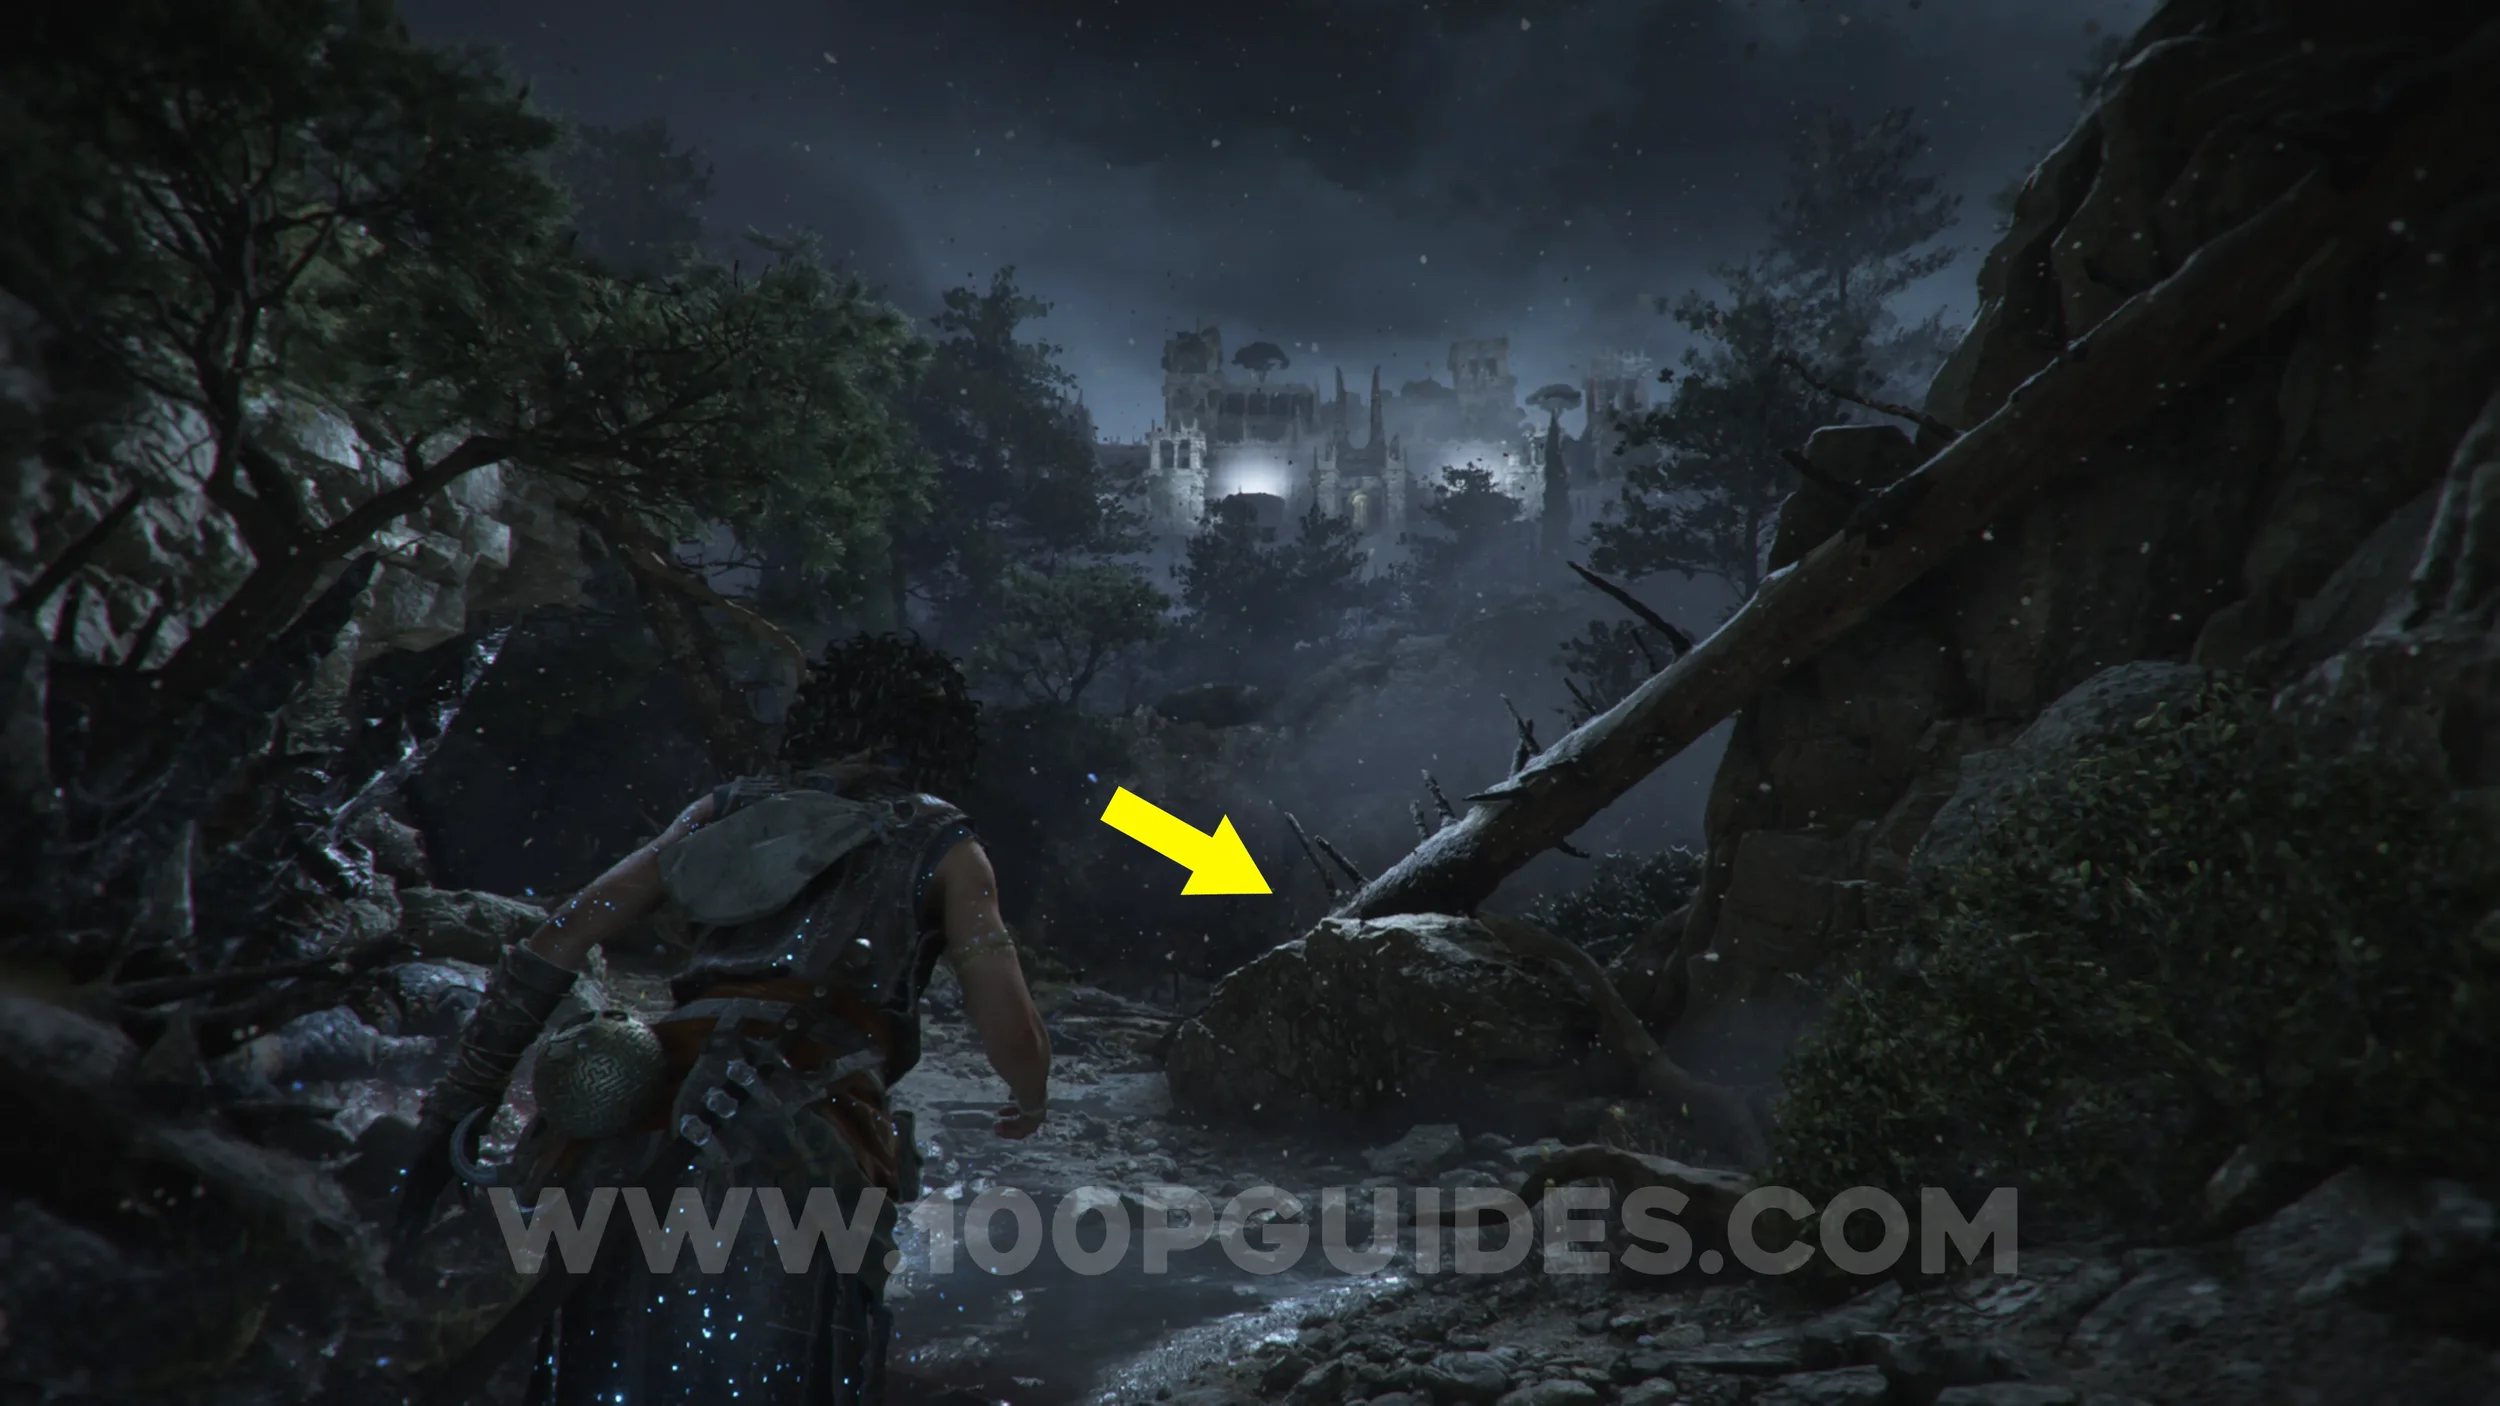
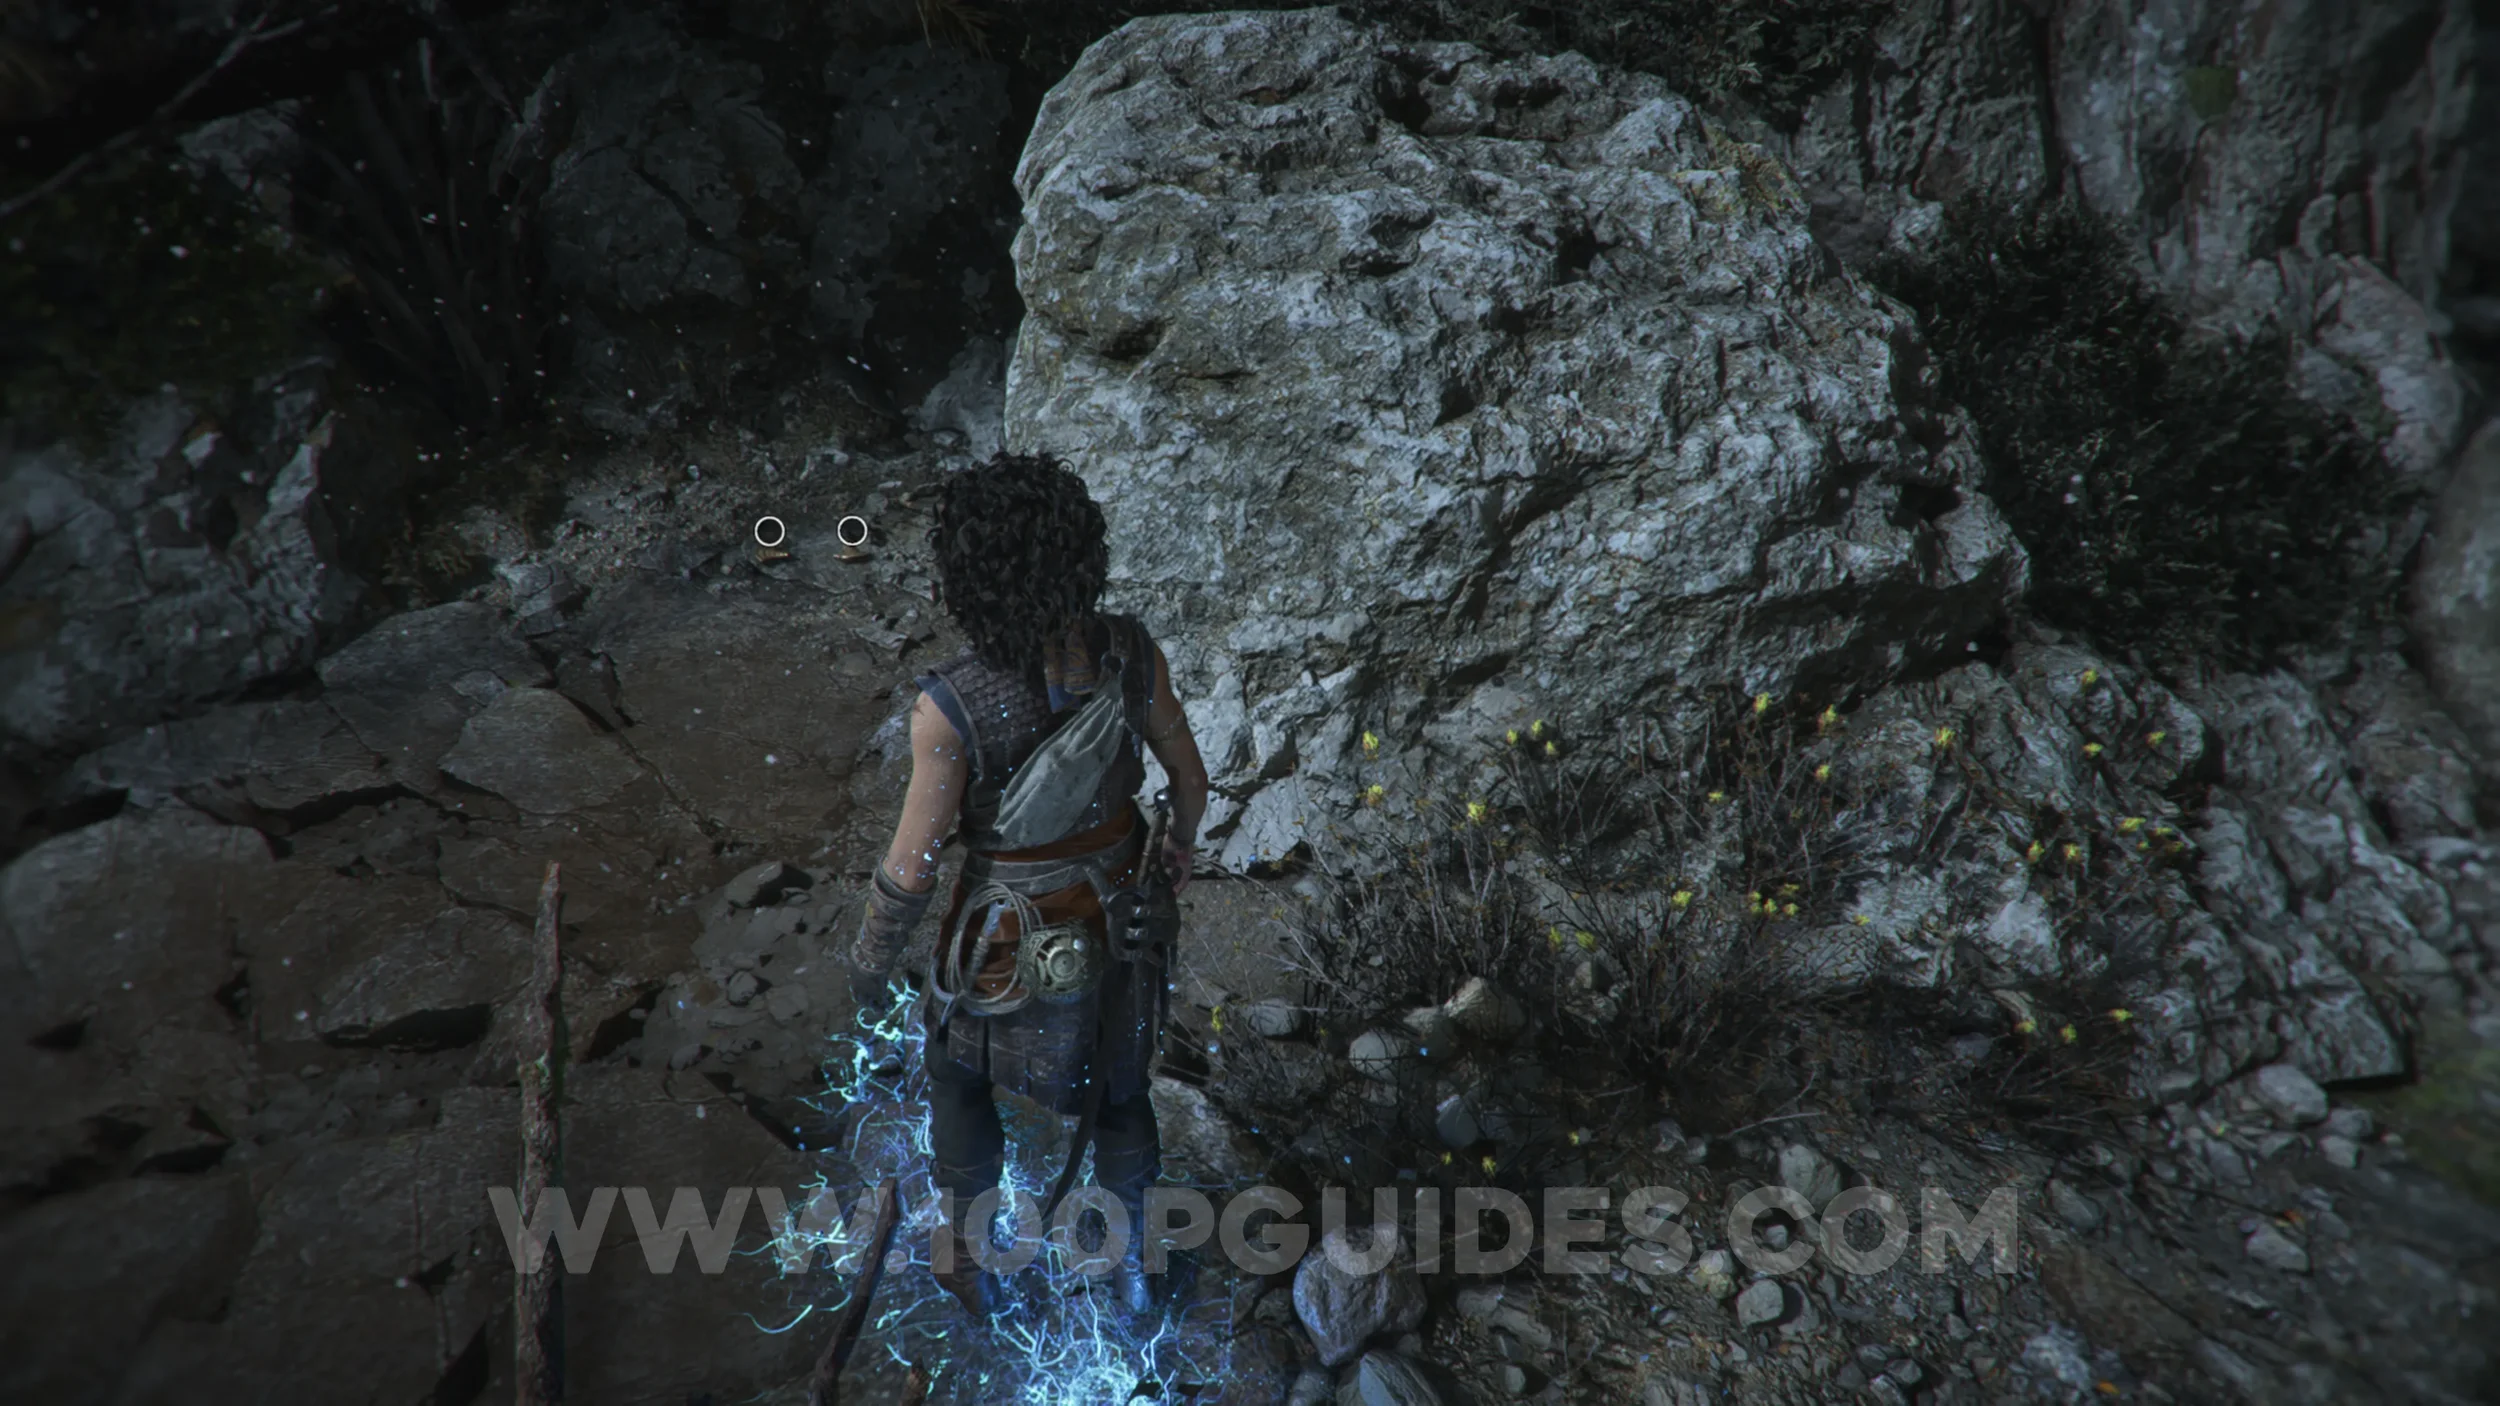
Resonance Point
Chapter 9: Sub-Chapter 3.
Continue on the main path, and eventually you'll pass under a tree branch. After this, you'll need to climb up a wall with your grappling hook. Before you do, head around to the left of the wall and destroy the barrels next to the hole in the ground to find the points.
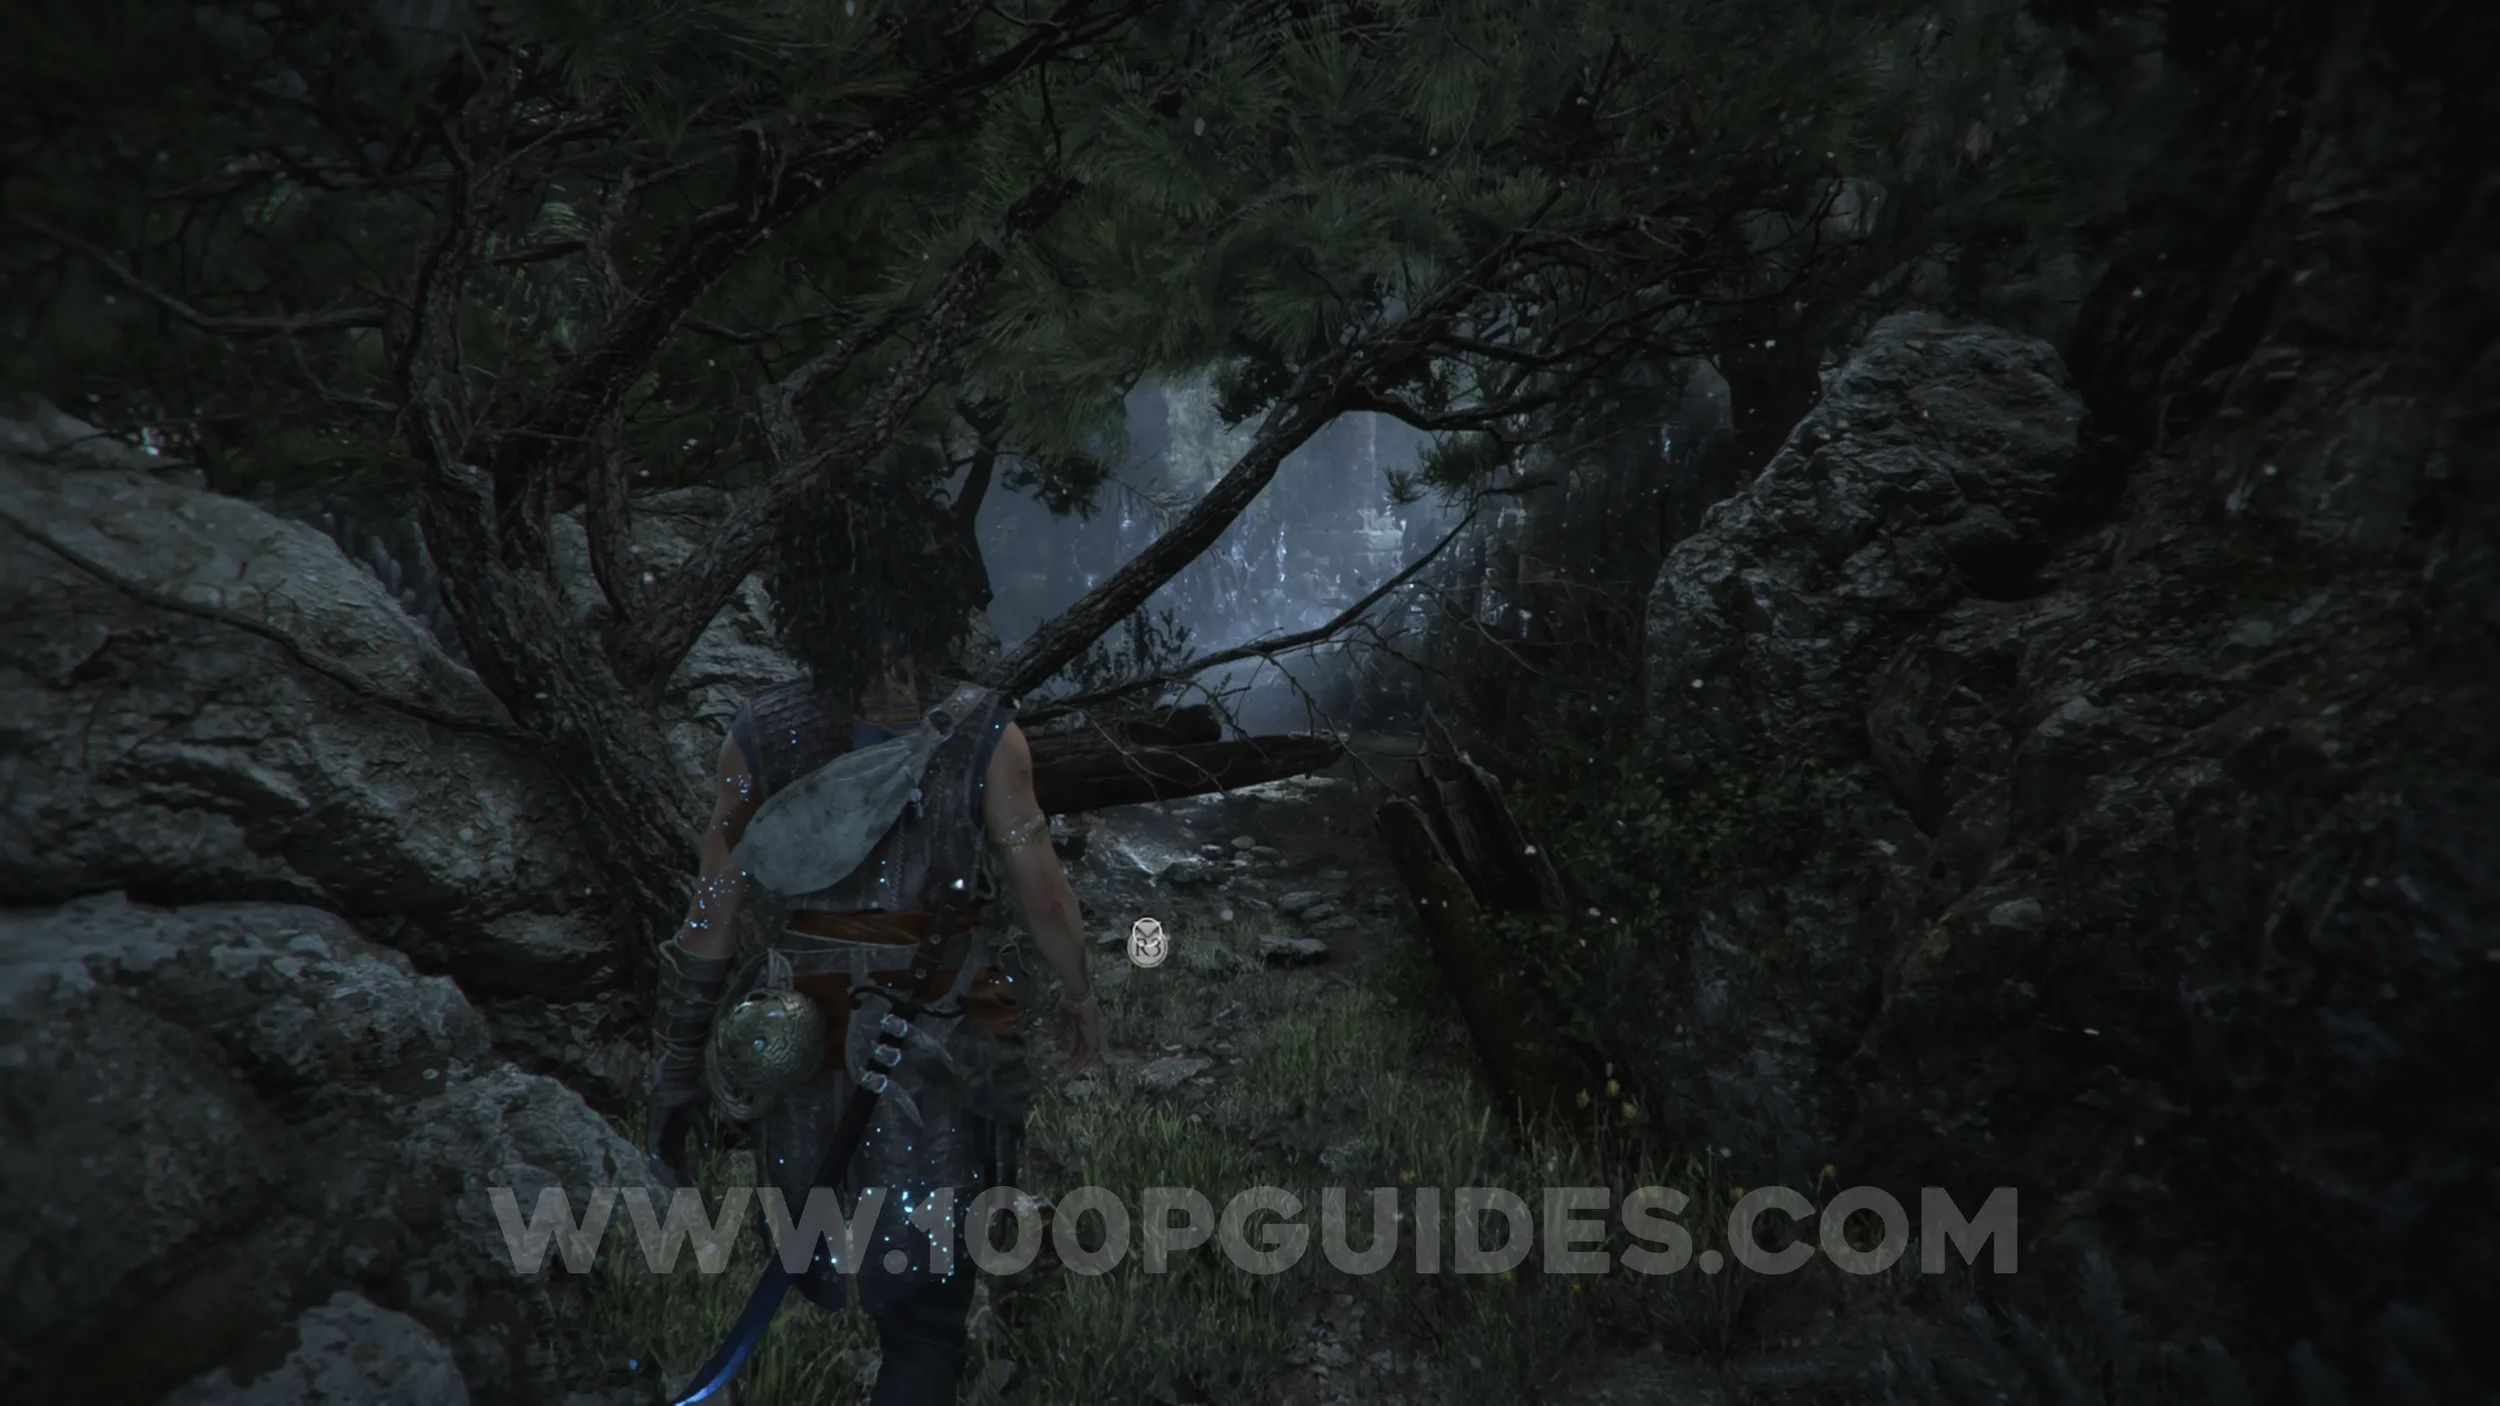
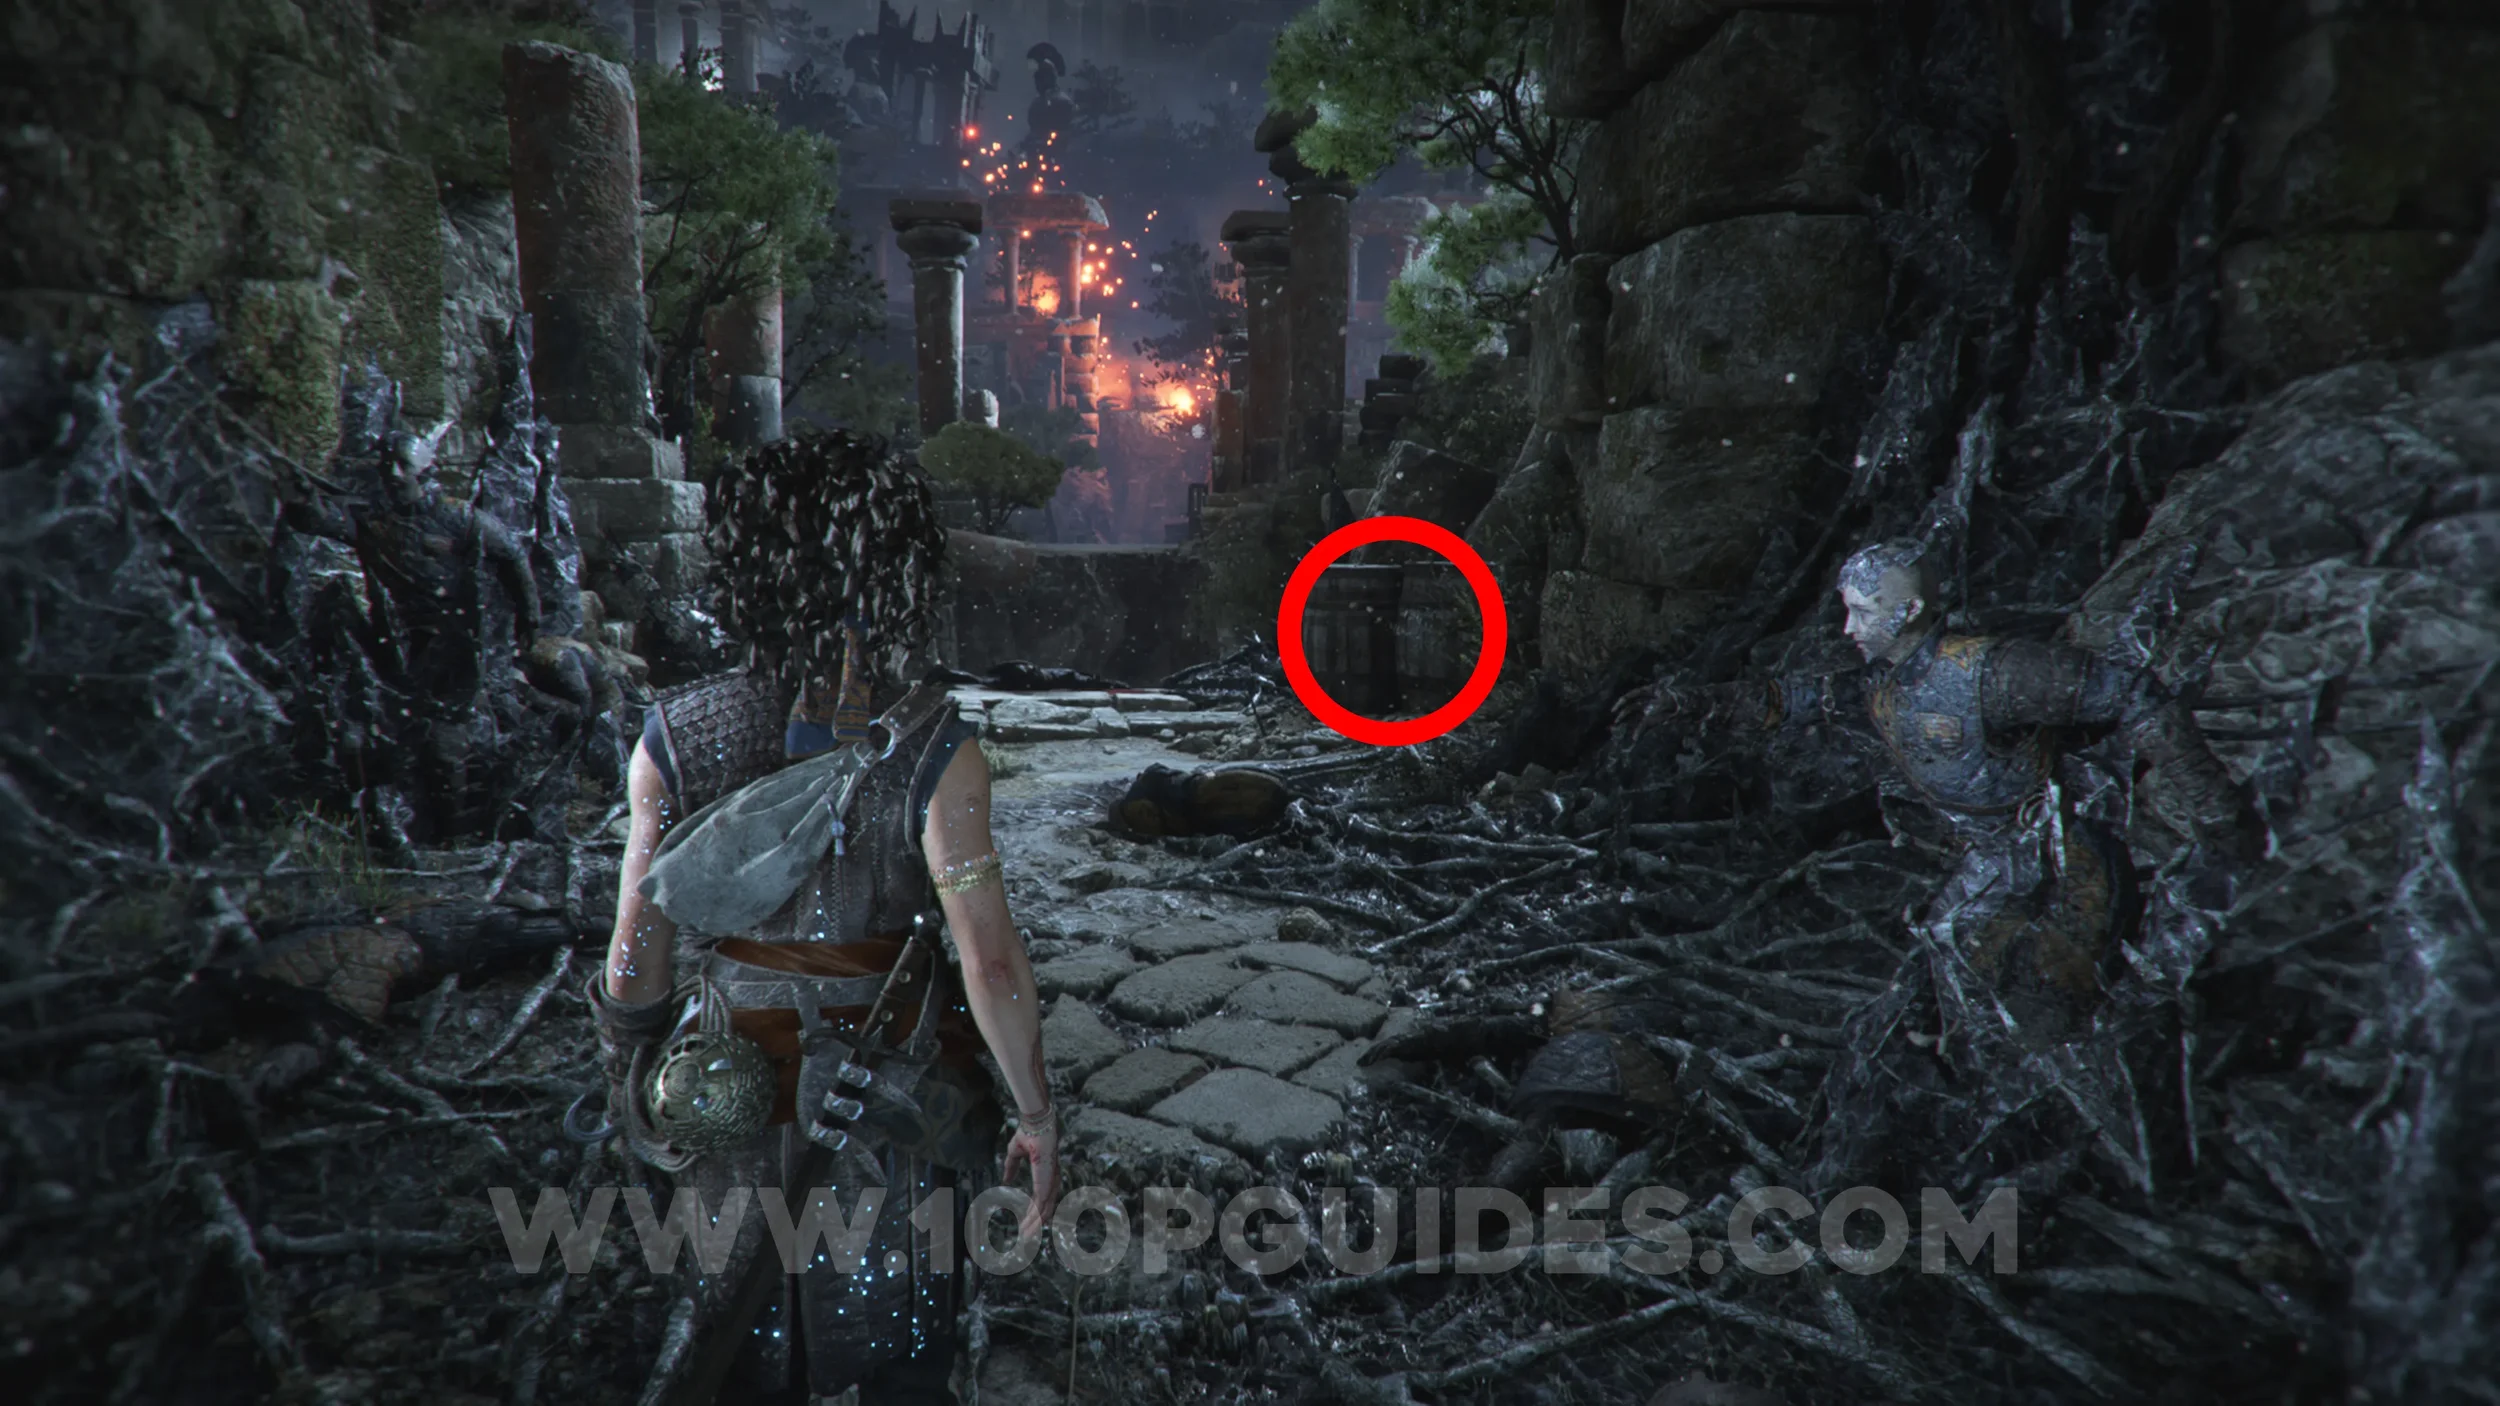
Resonance Point
Chapter 9: Sub-Chapter 3.
After climbing the wall with the grappling hook, cross over to the platform with the light. The point is in the corner of this platform.
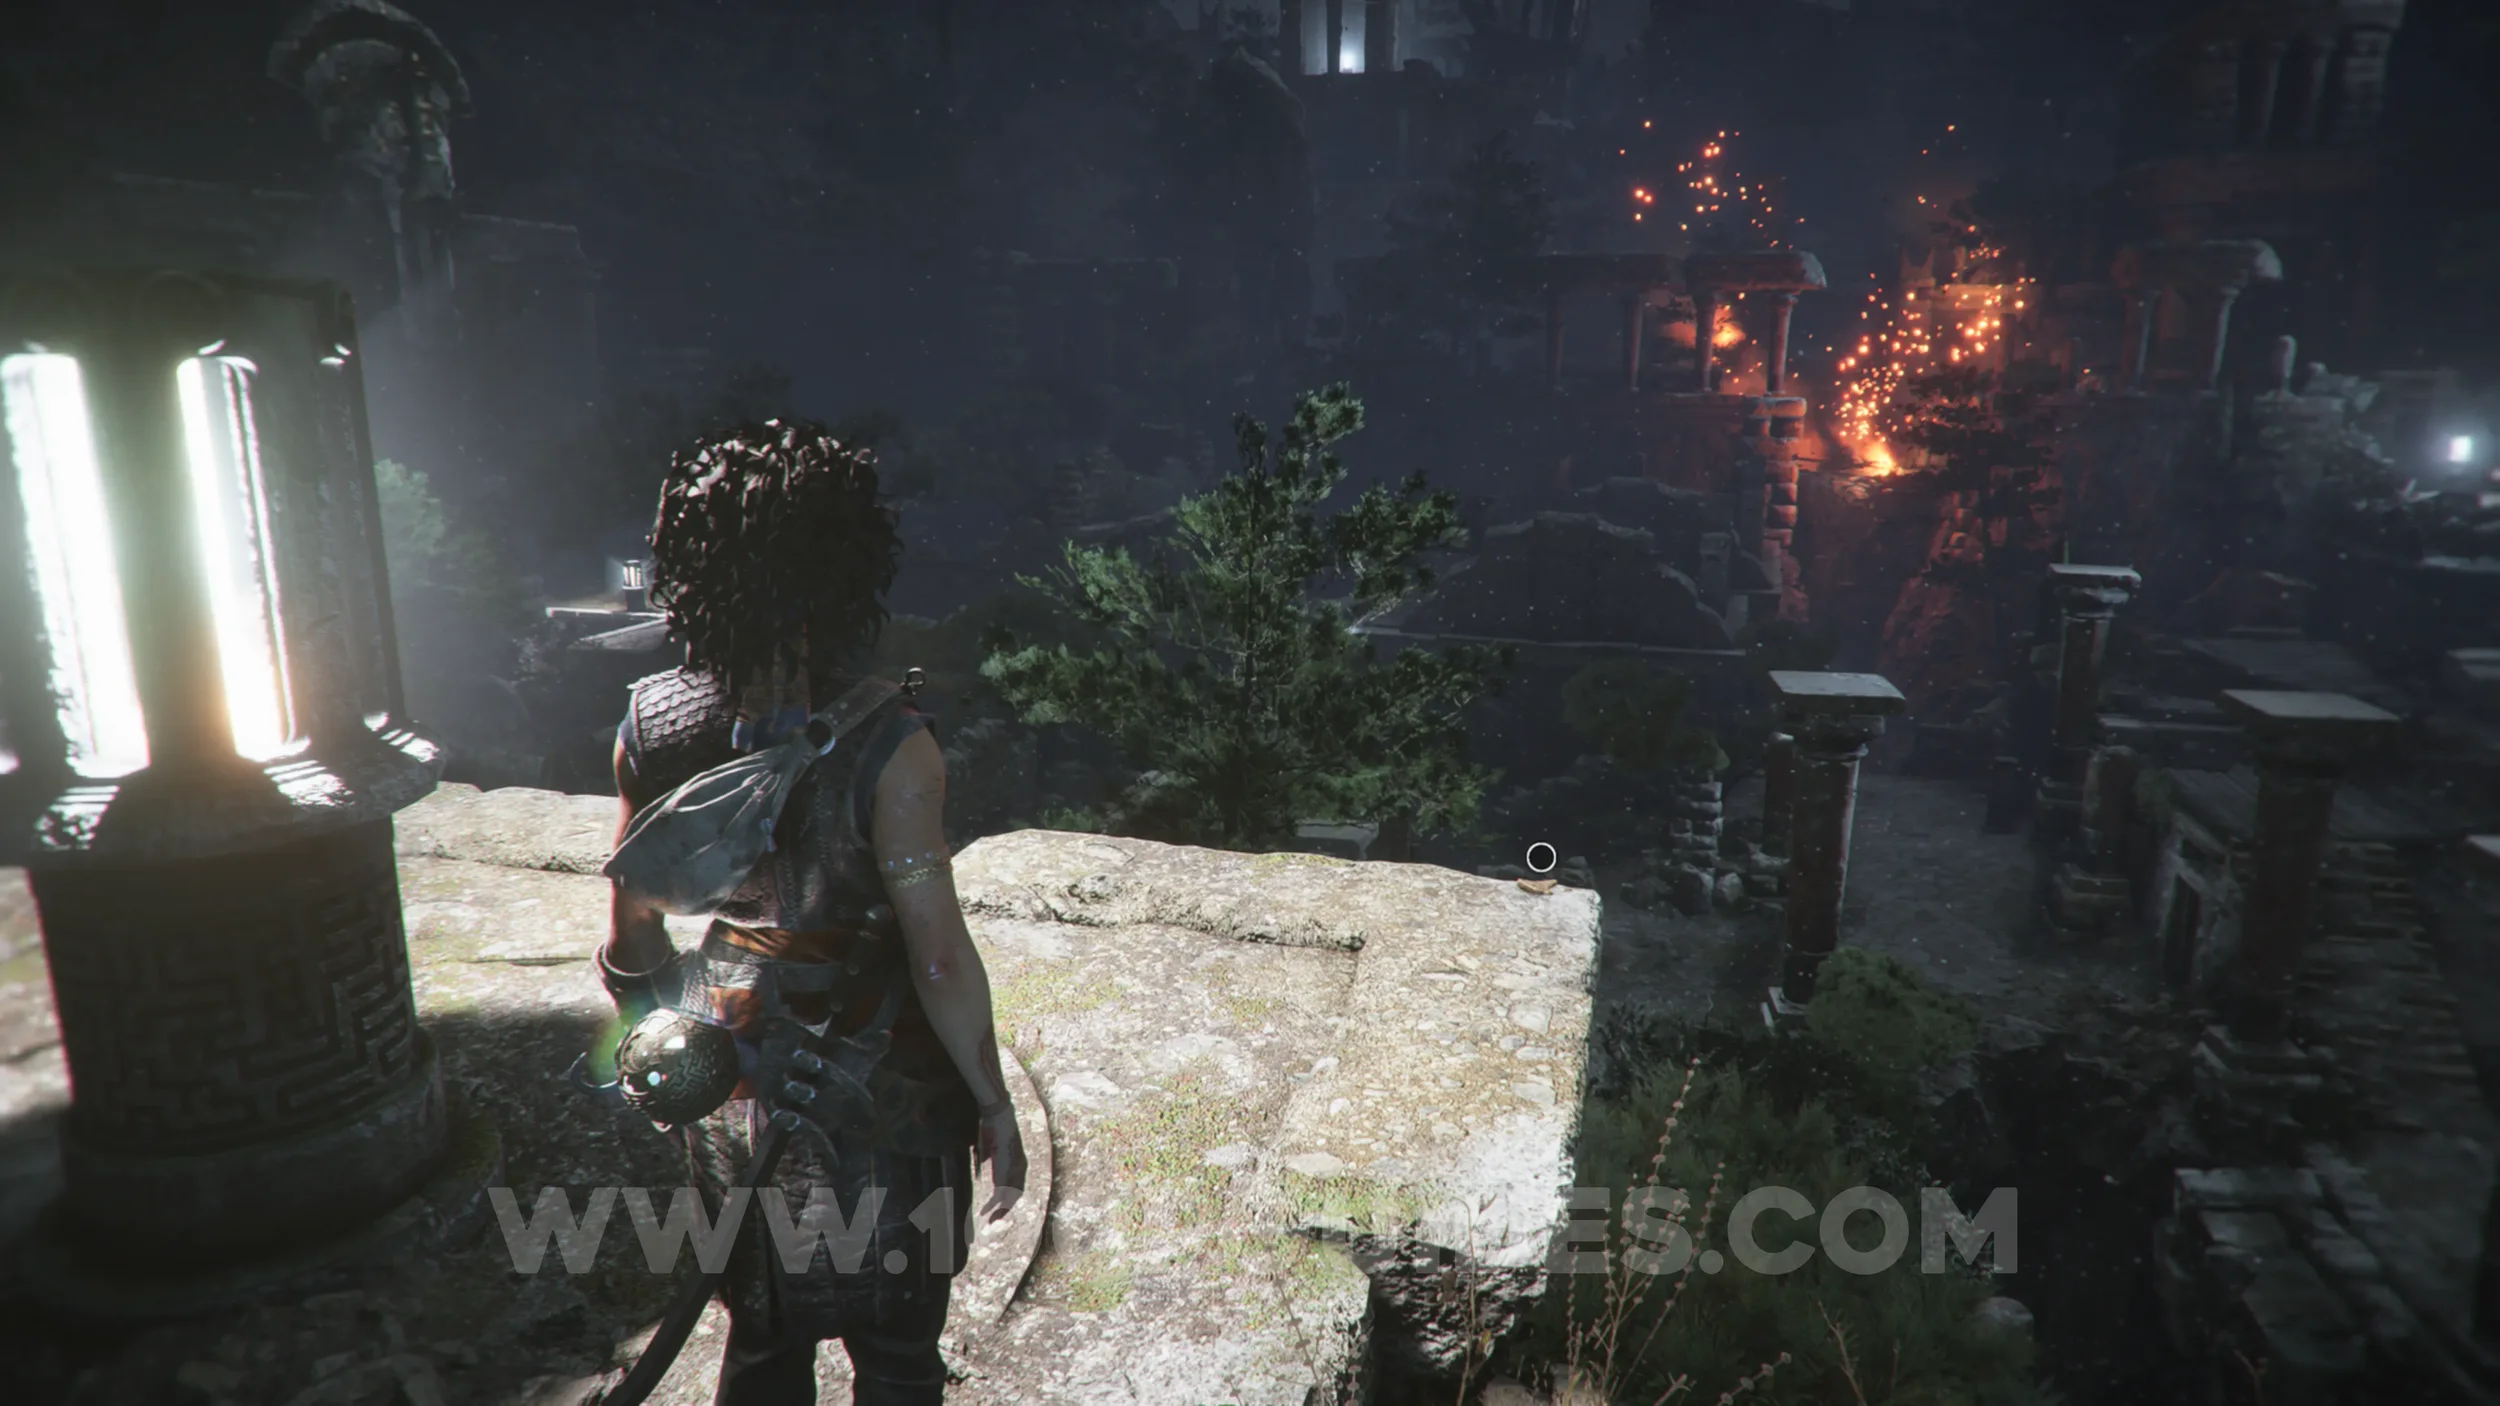
Resonance Point
Chapter 9: Sub-Chapter 3.
From the previous collectible, continue on and drop down into the ruins with enemies. After defeating them, head through the broken wall on the right to find the point on the ground.
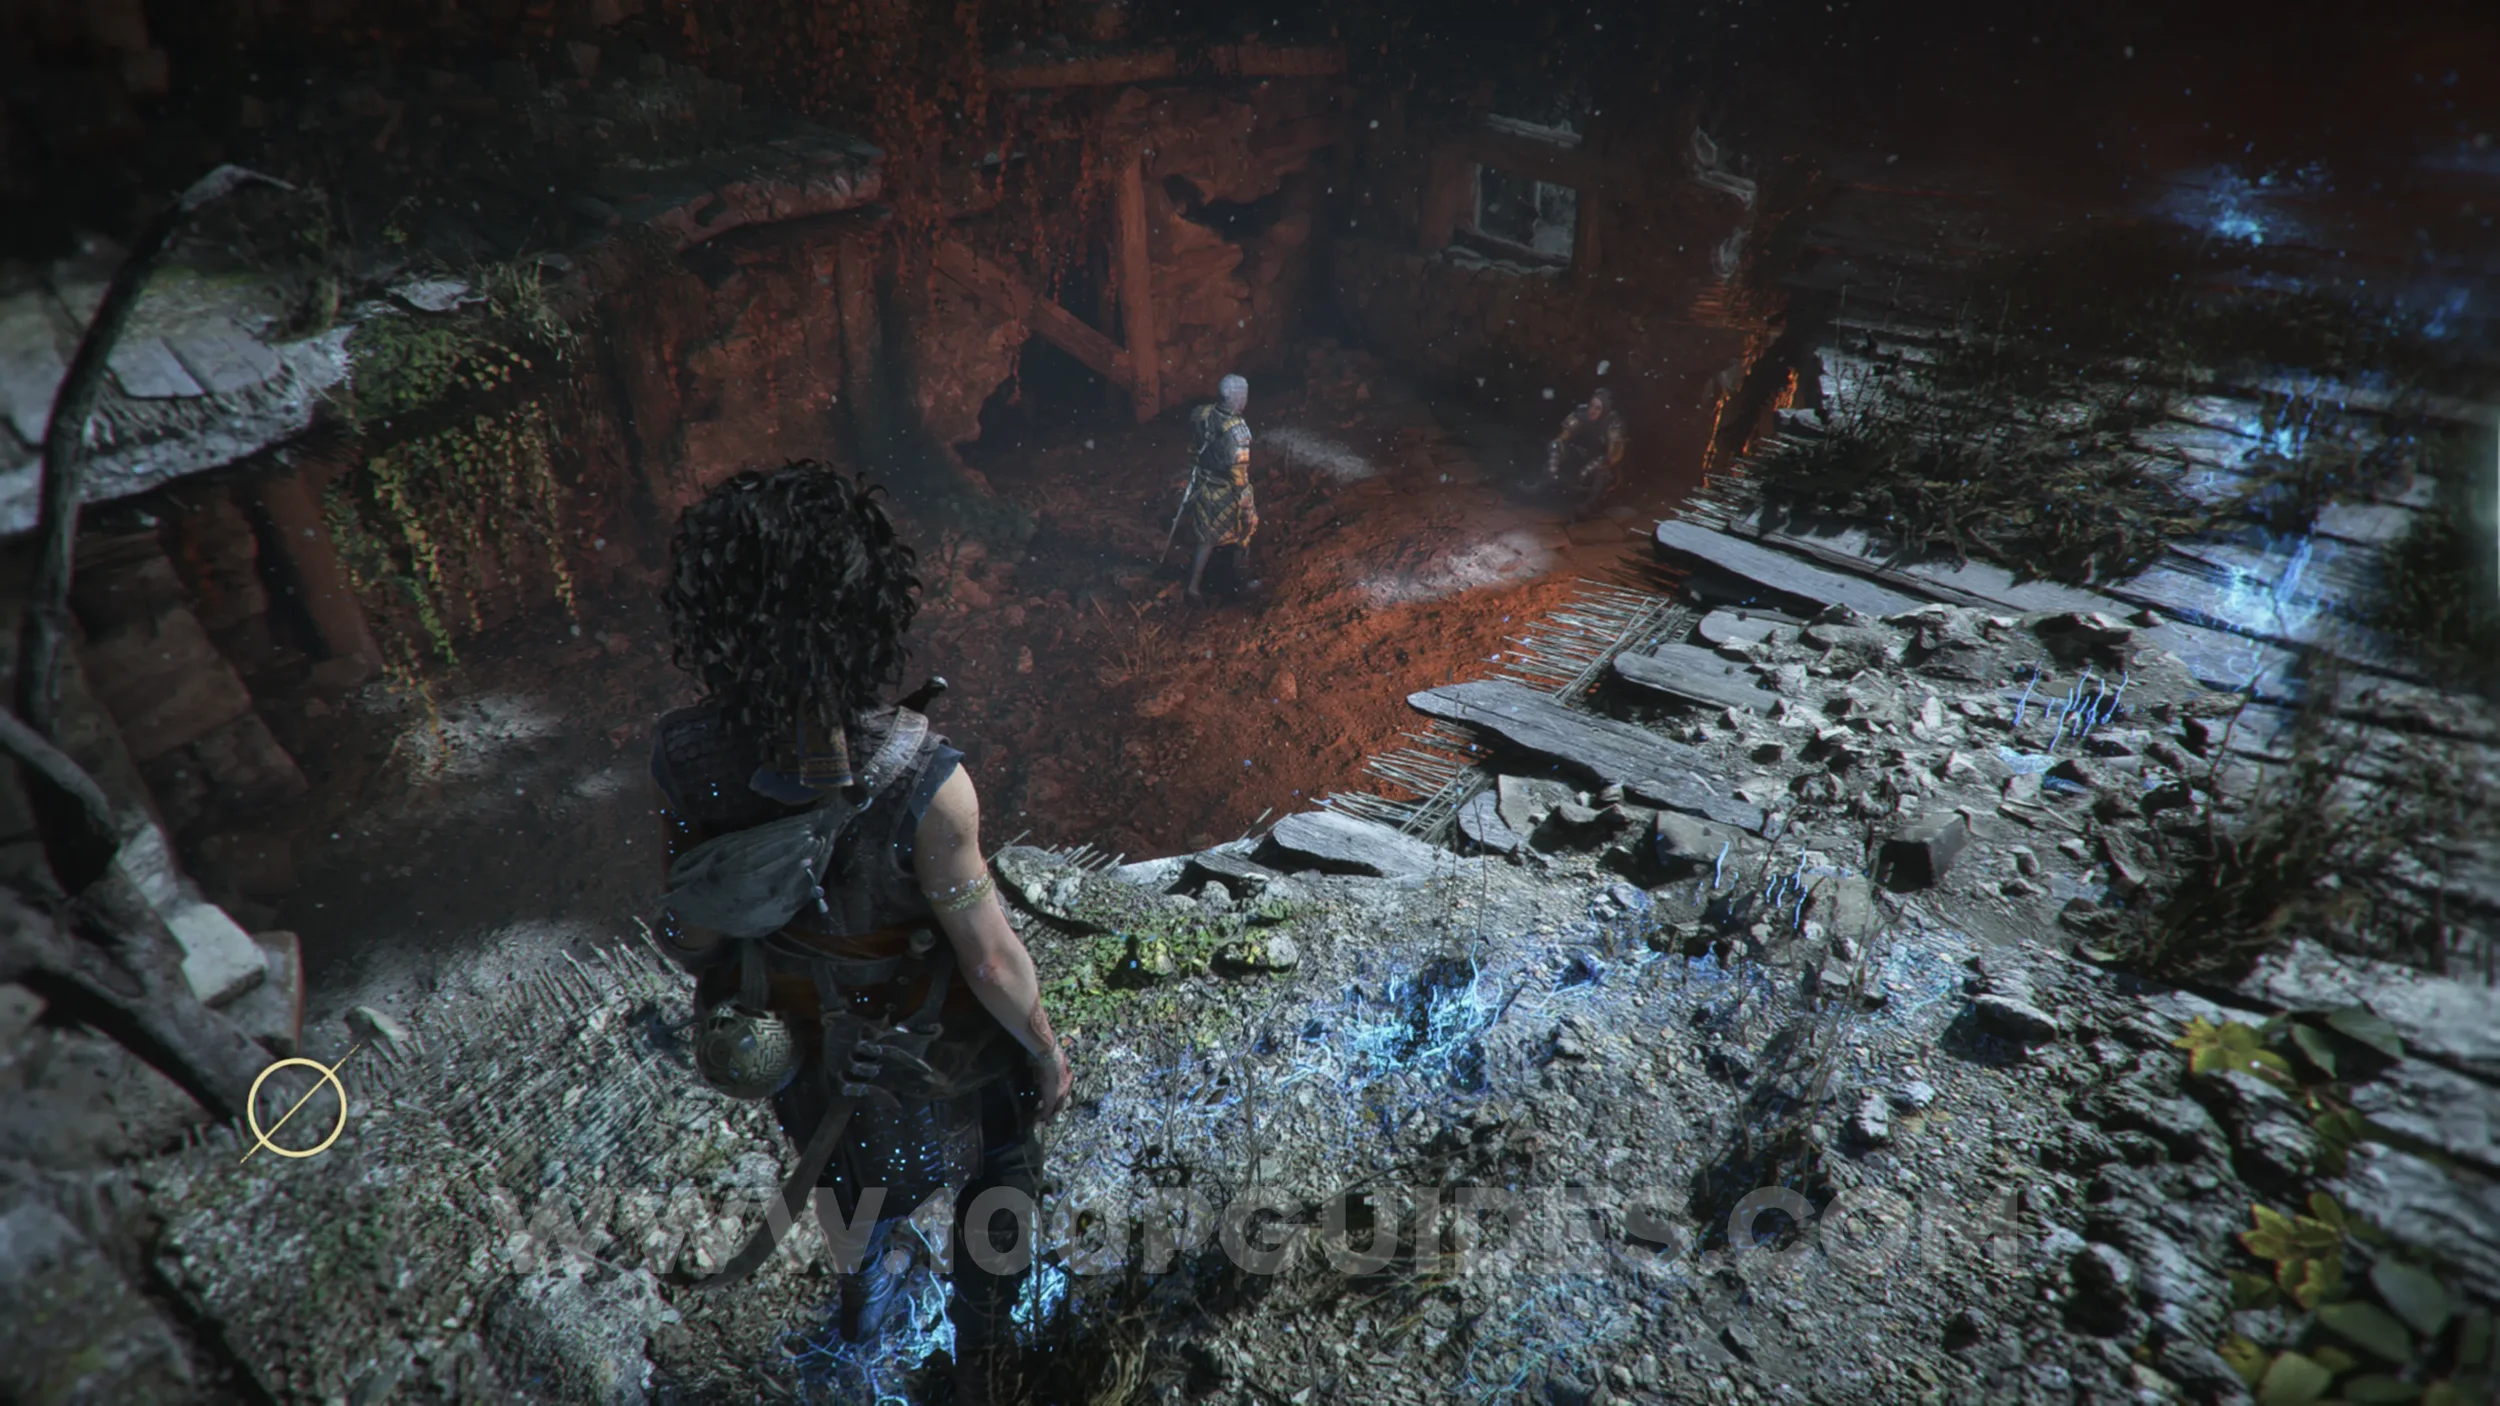
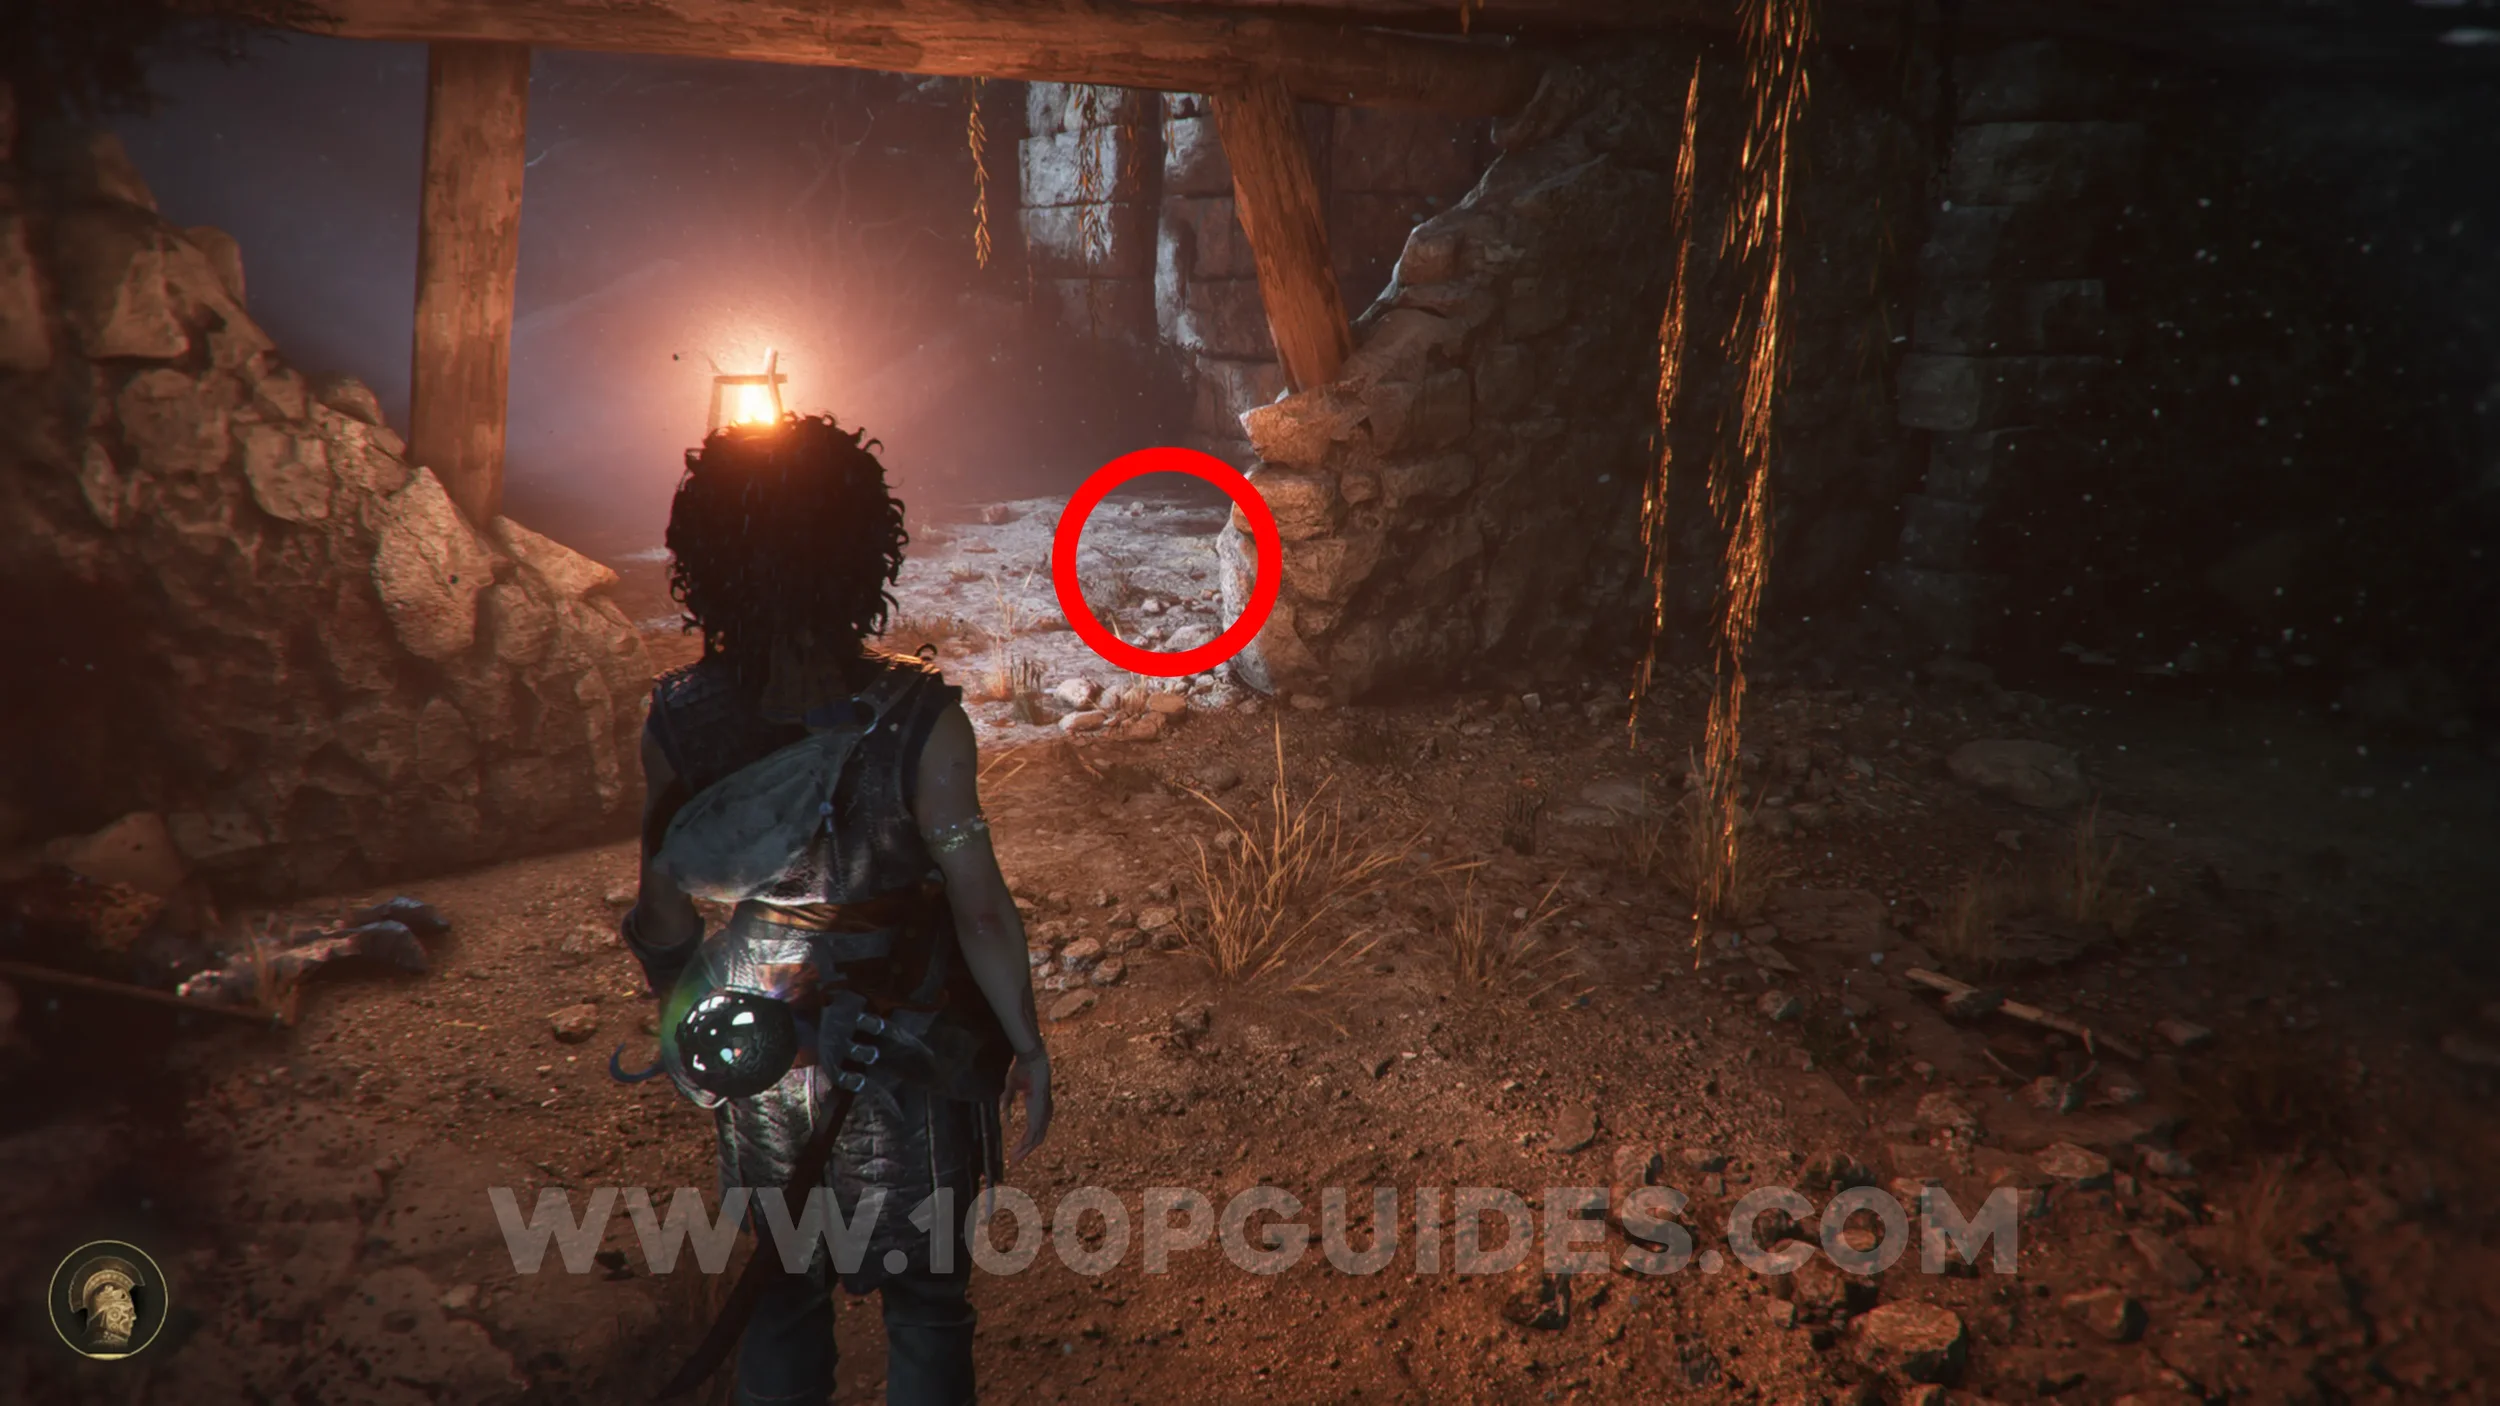
Blade: Broken Spear
Chapter 9: Sub-Chapter 4.
Leave the room where the enemies were through the hole in the wall. A cutscene will then play where the creature kills a soldier. After that, follow the path to the left of the soldier's corpse and climb the wall to find a light. Head into the tomb near the light to find the blade in the chest.
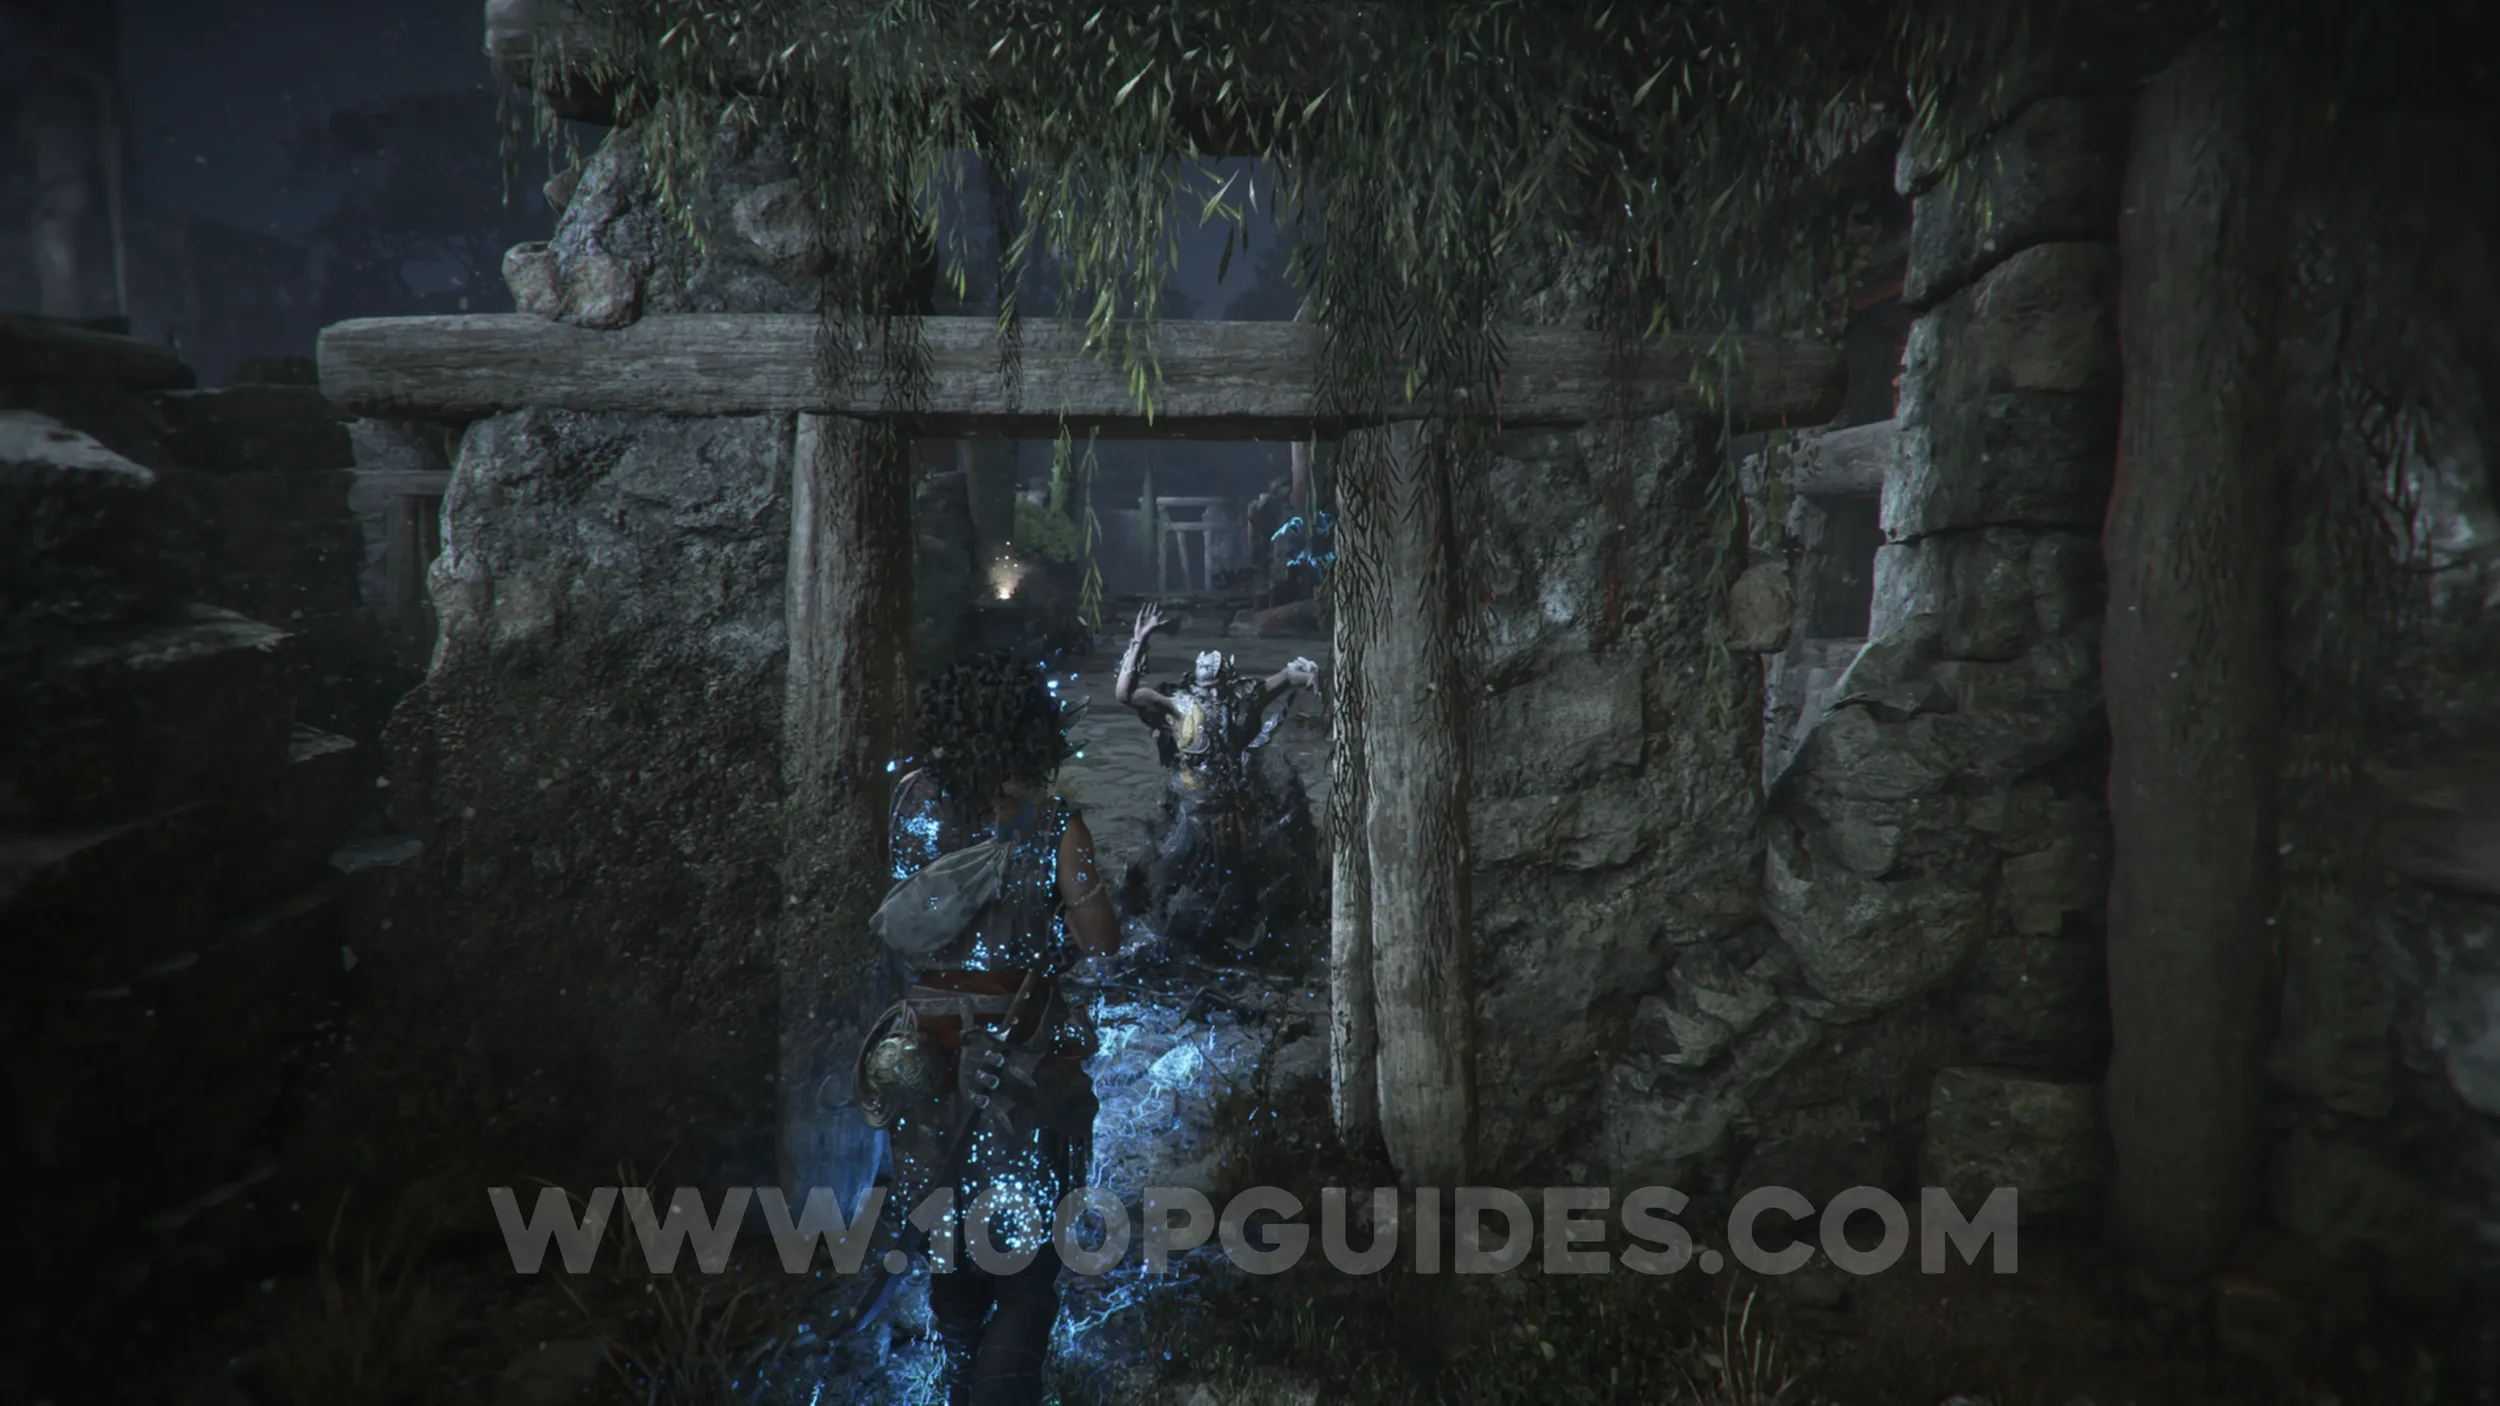
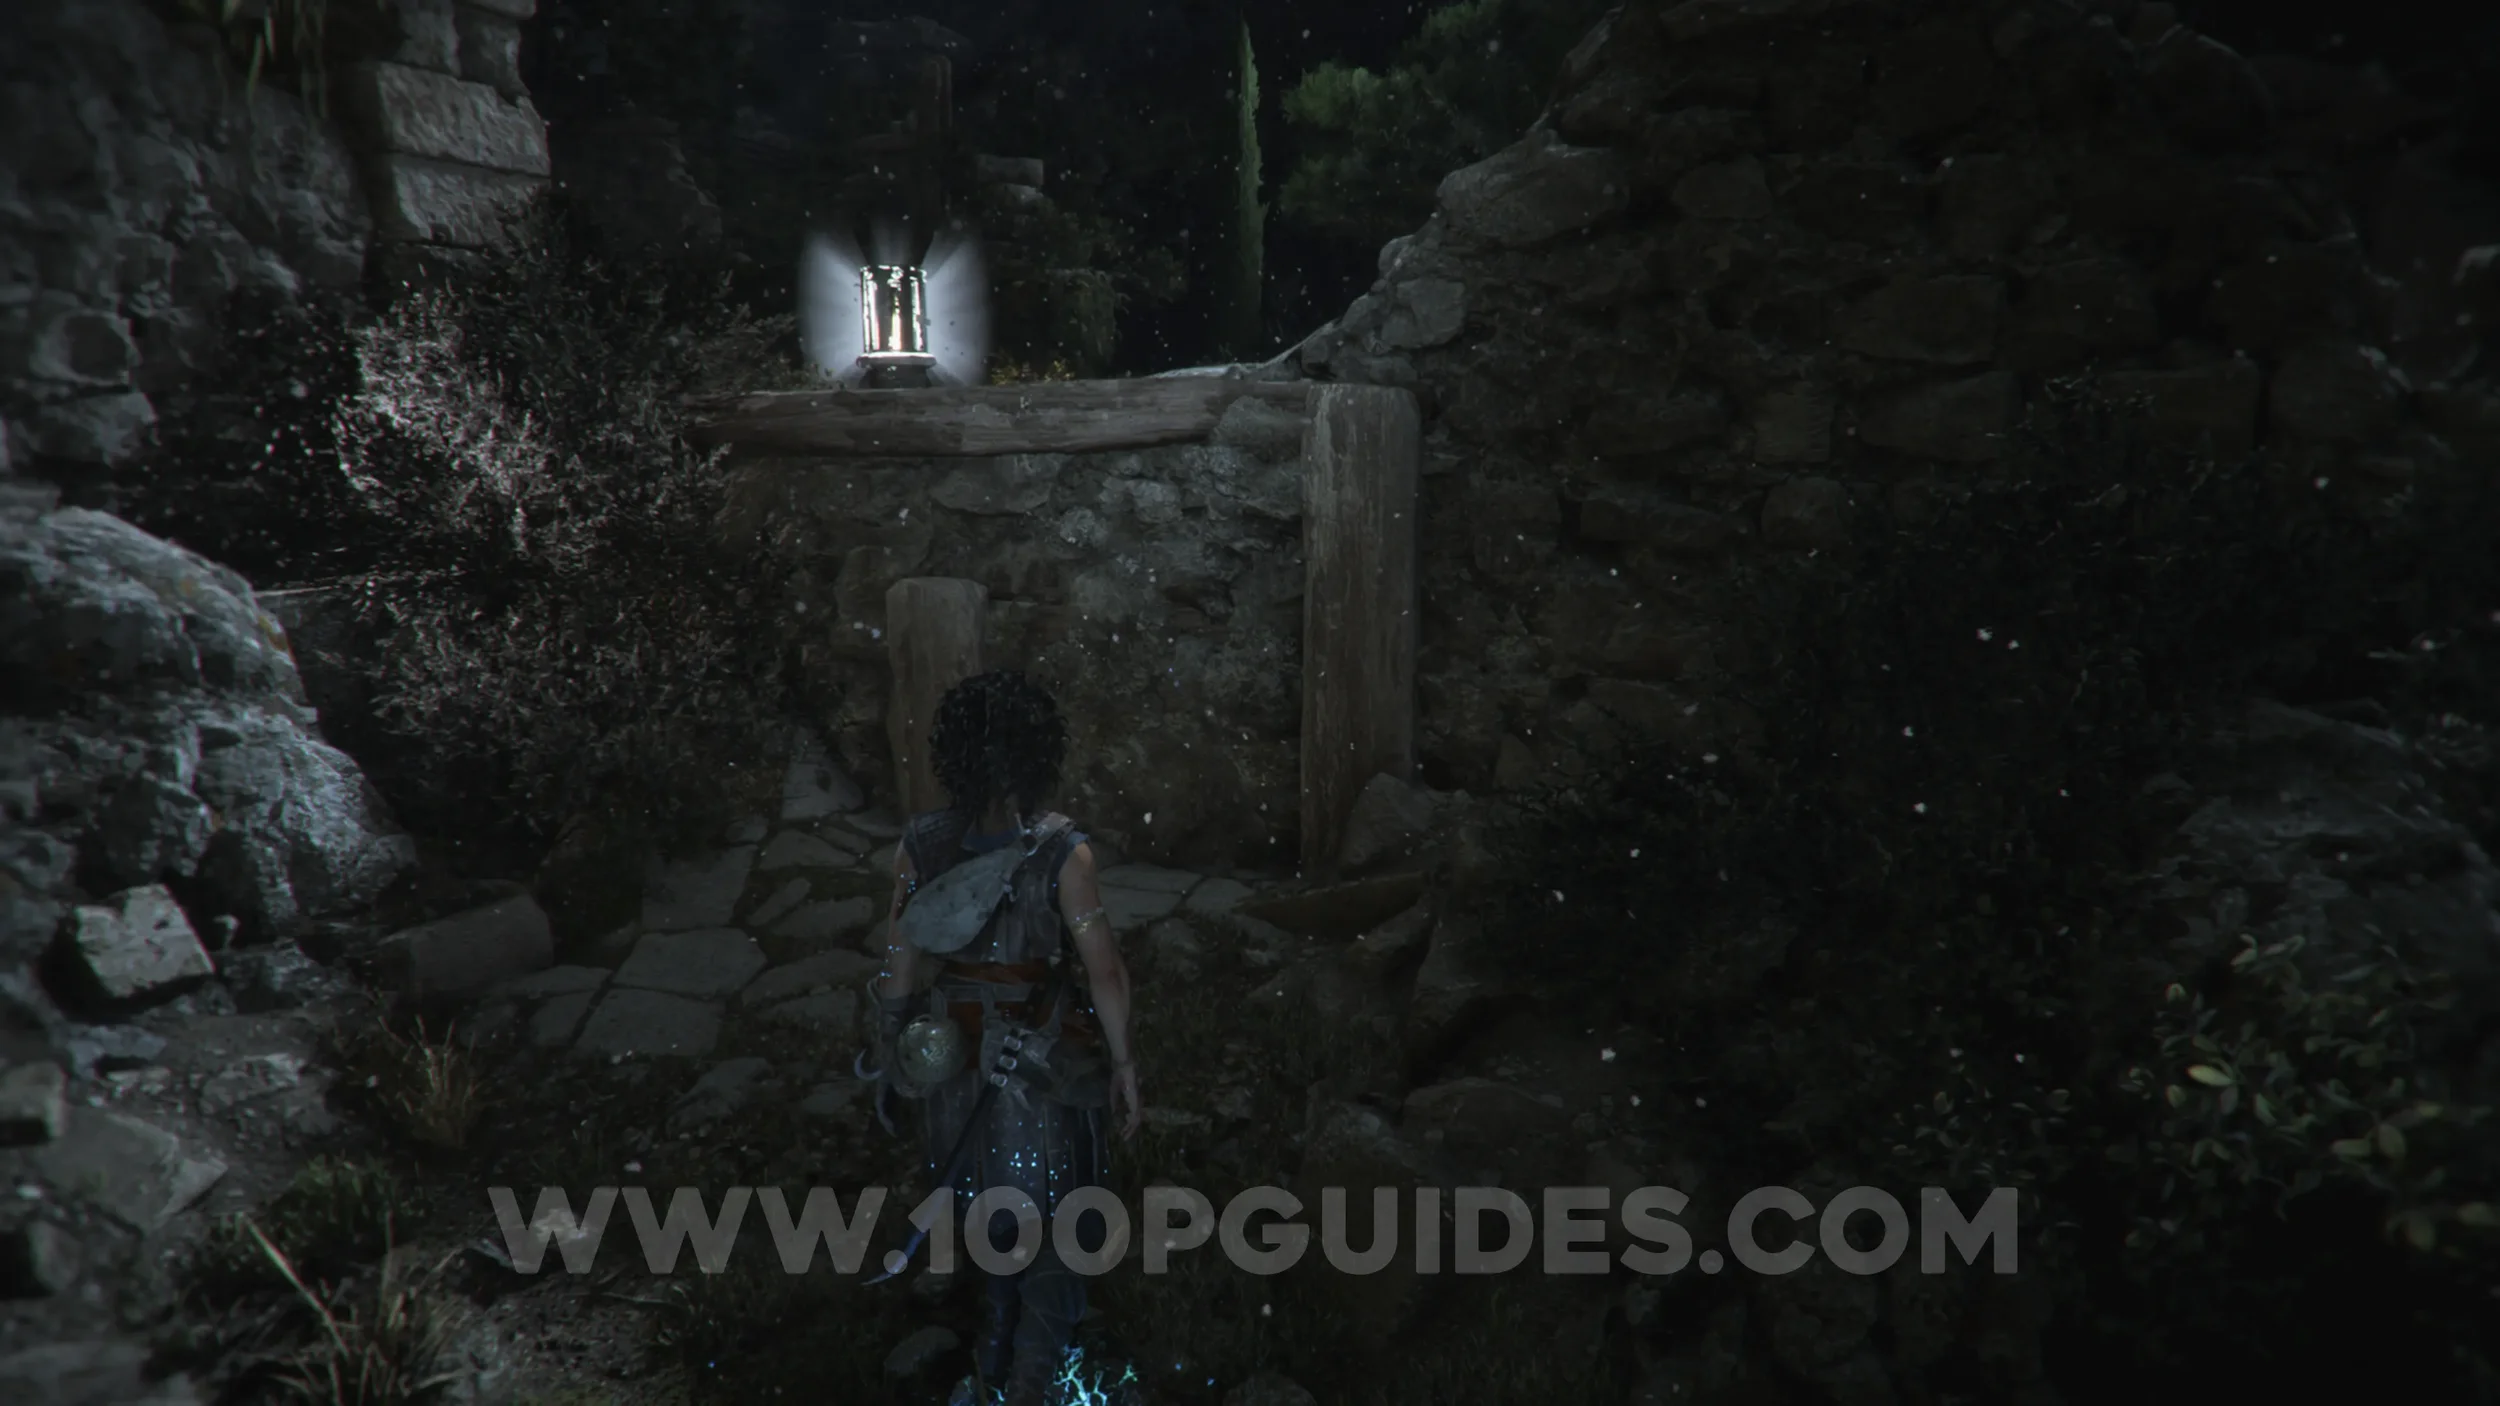
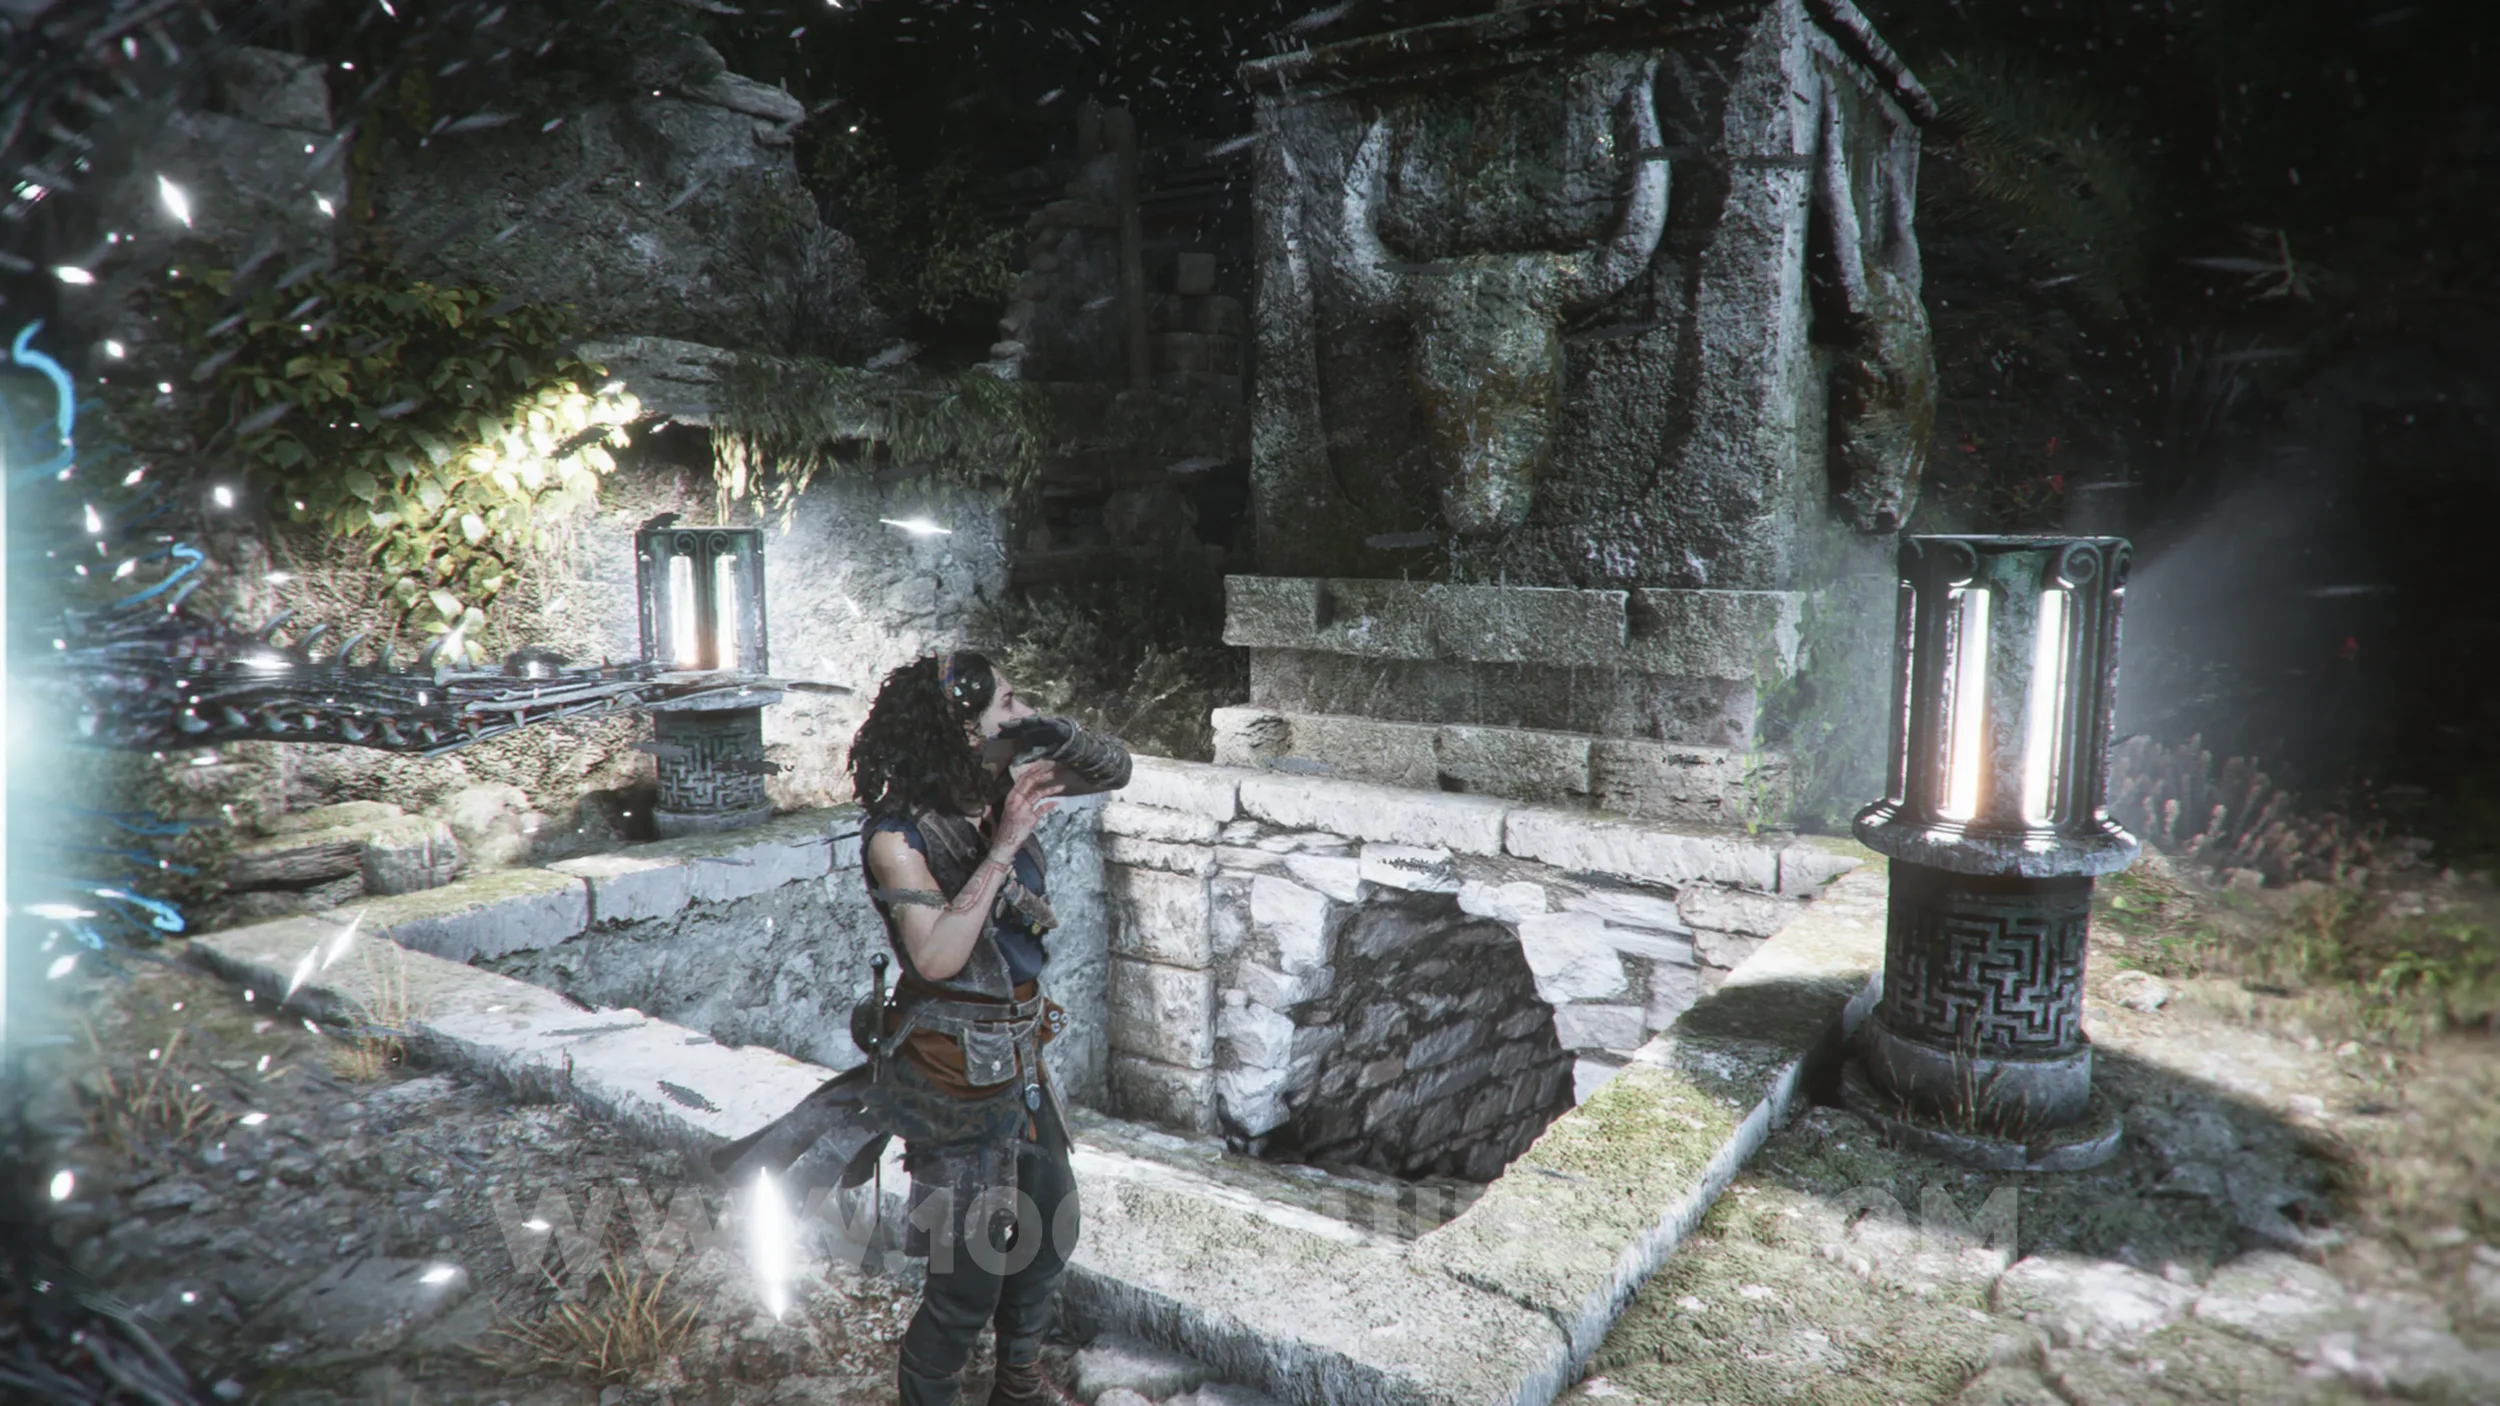
Resonance Point
Chapter 9: Sub-Chapter 4.
Head back out of the tomb and continue straight until you see another light you can activate. From this light, head right towards the red columns. Then jump across to the path on the left and enter the door on your right to find the collectible in the corner inside.
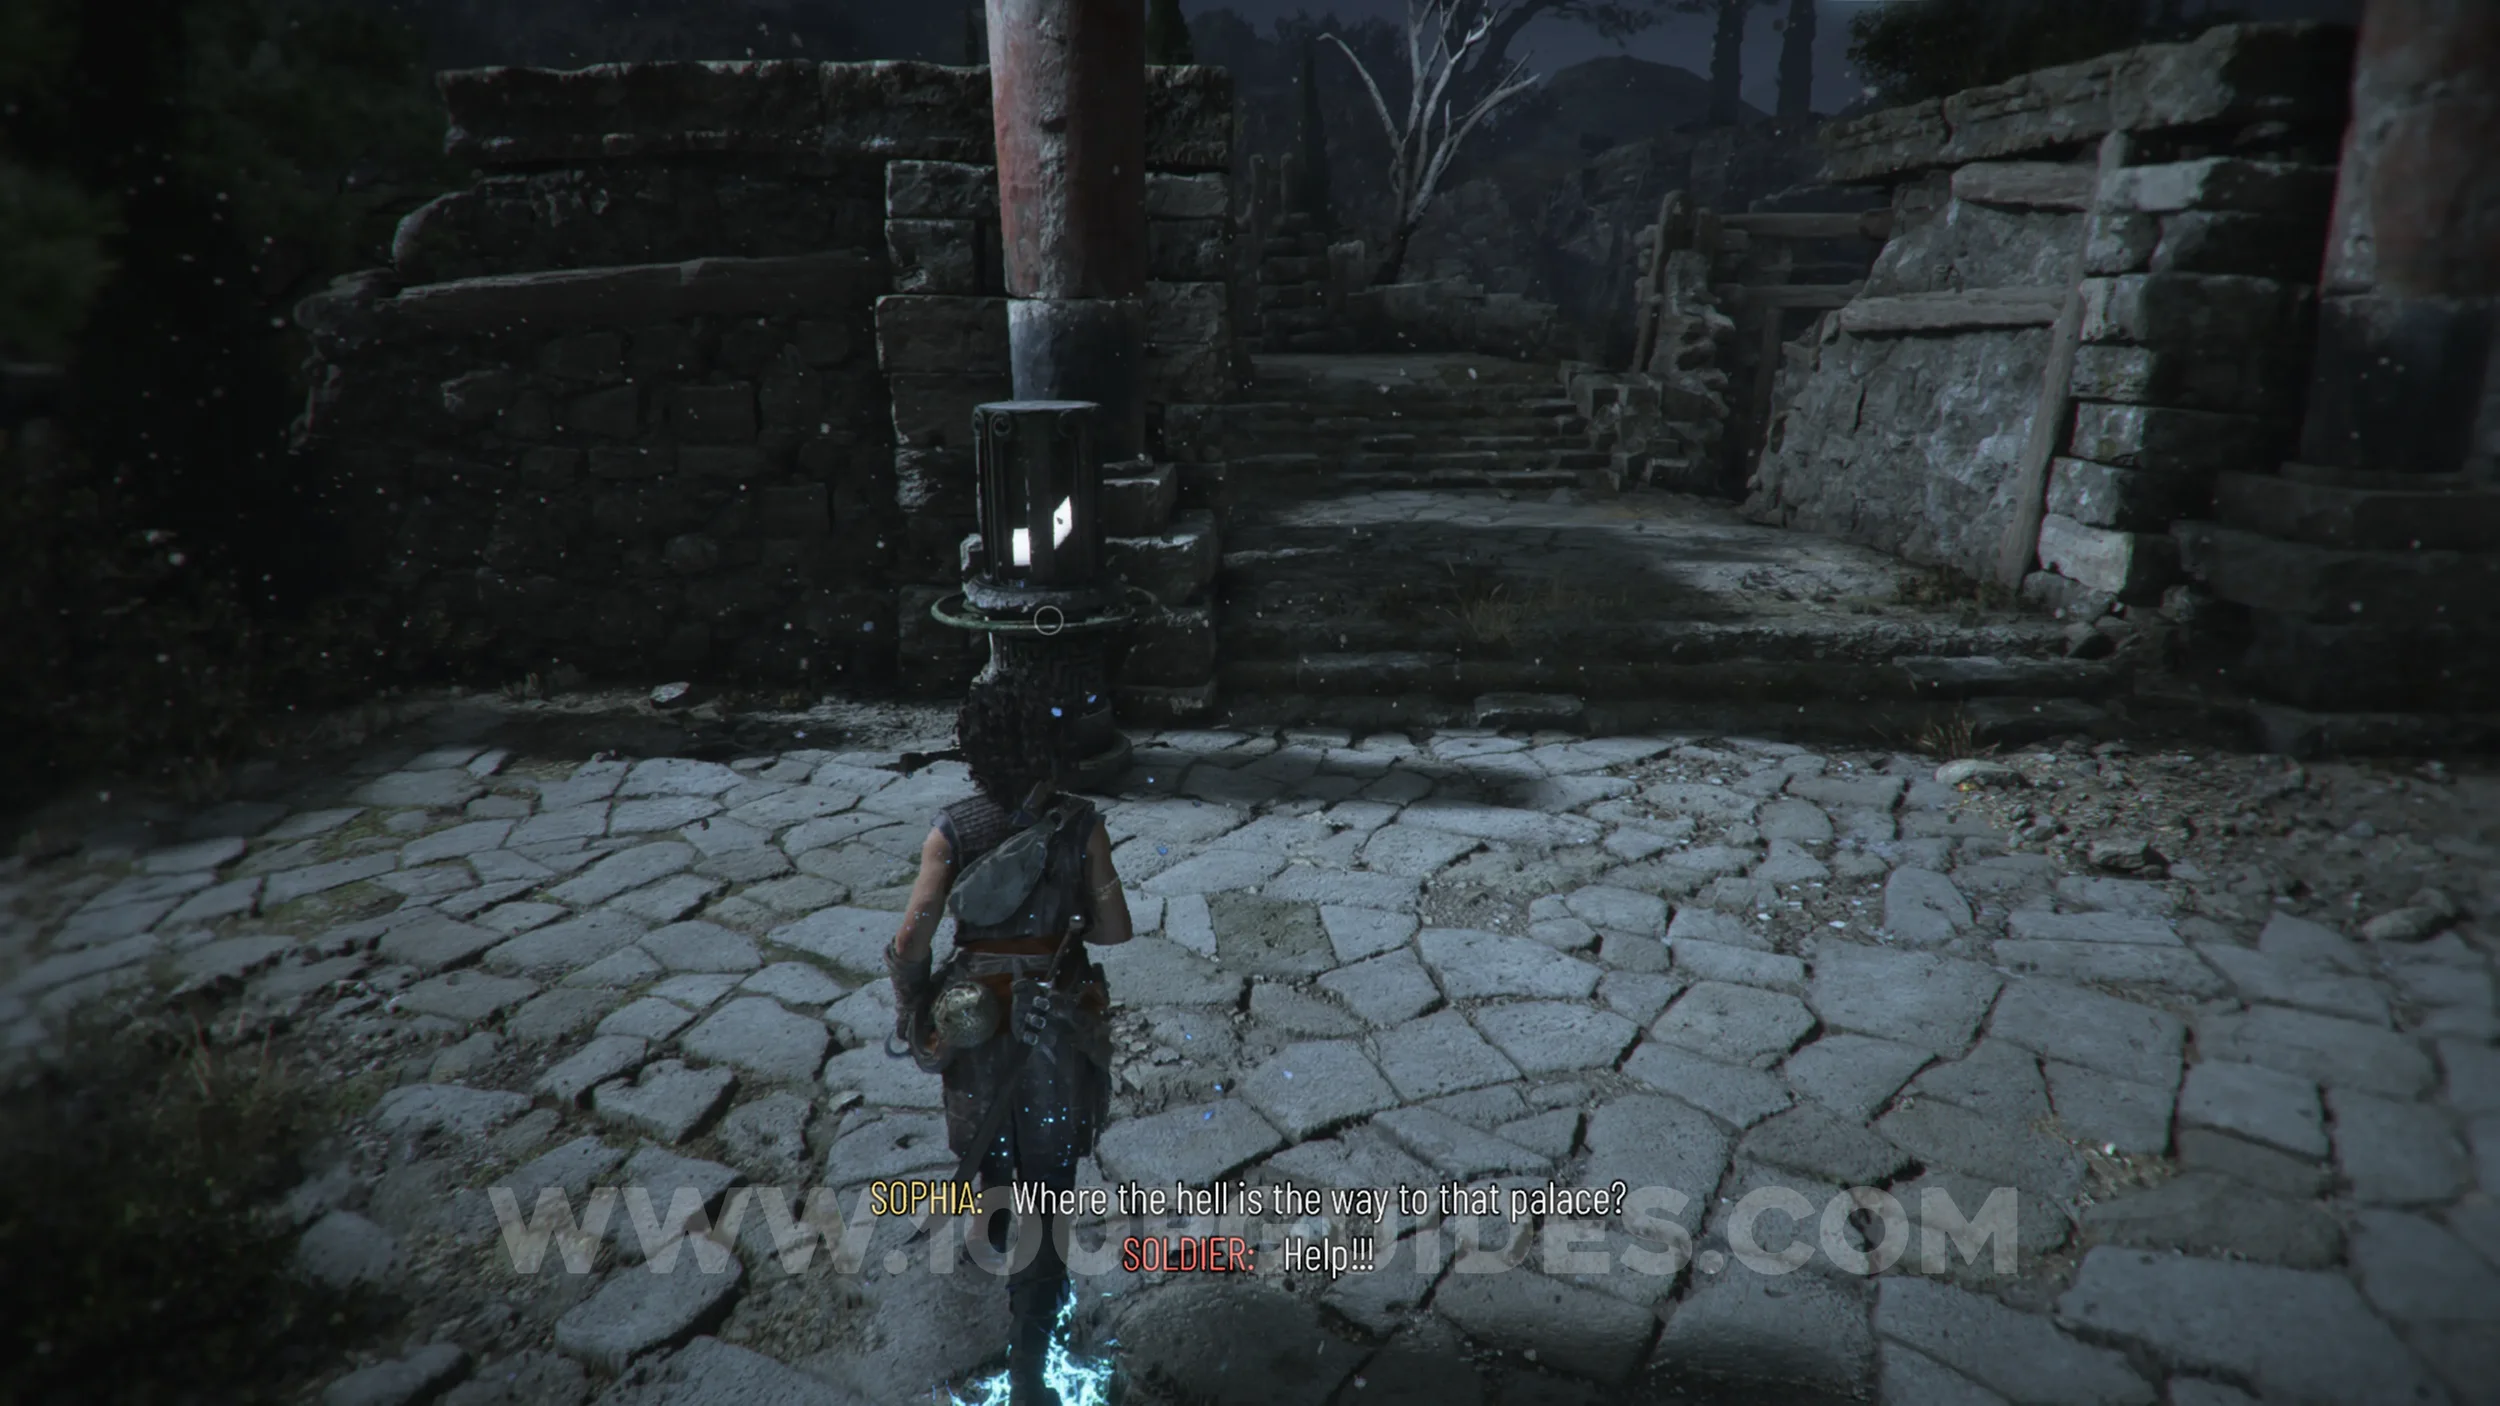
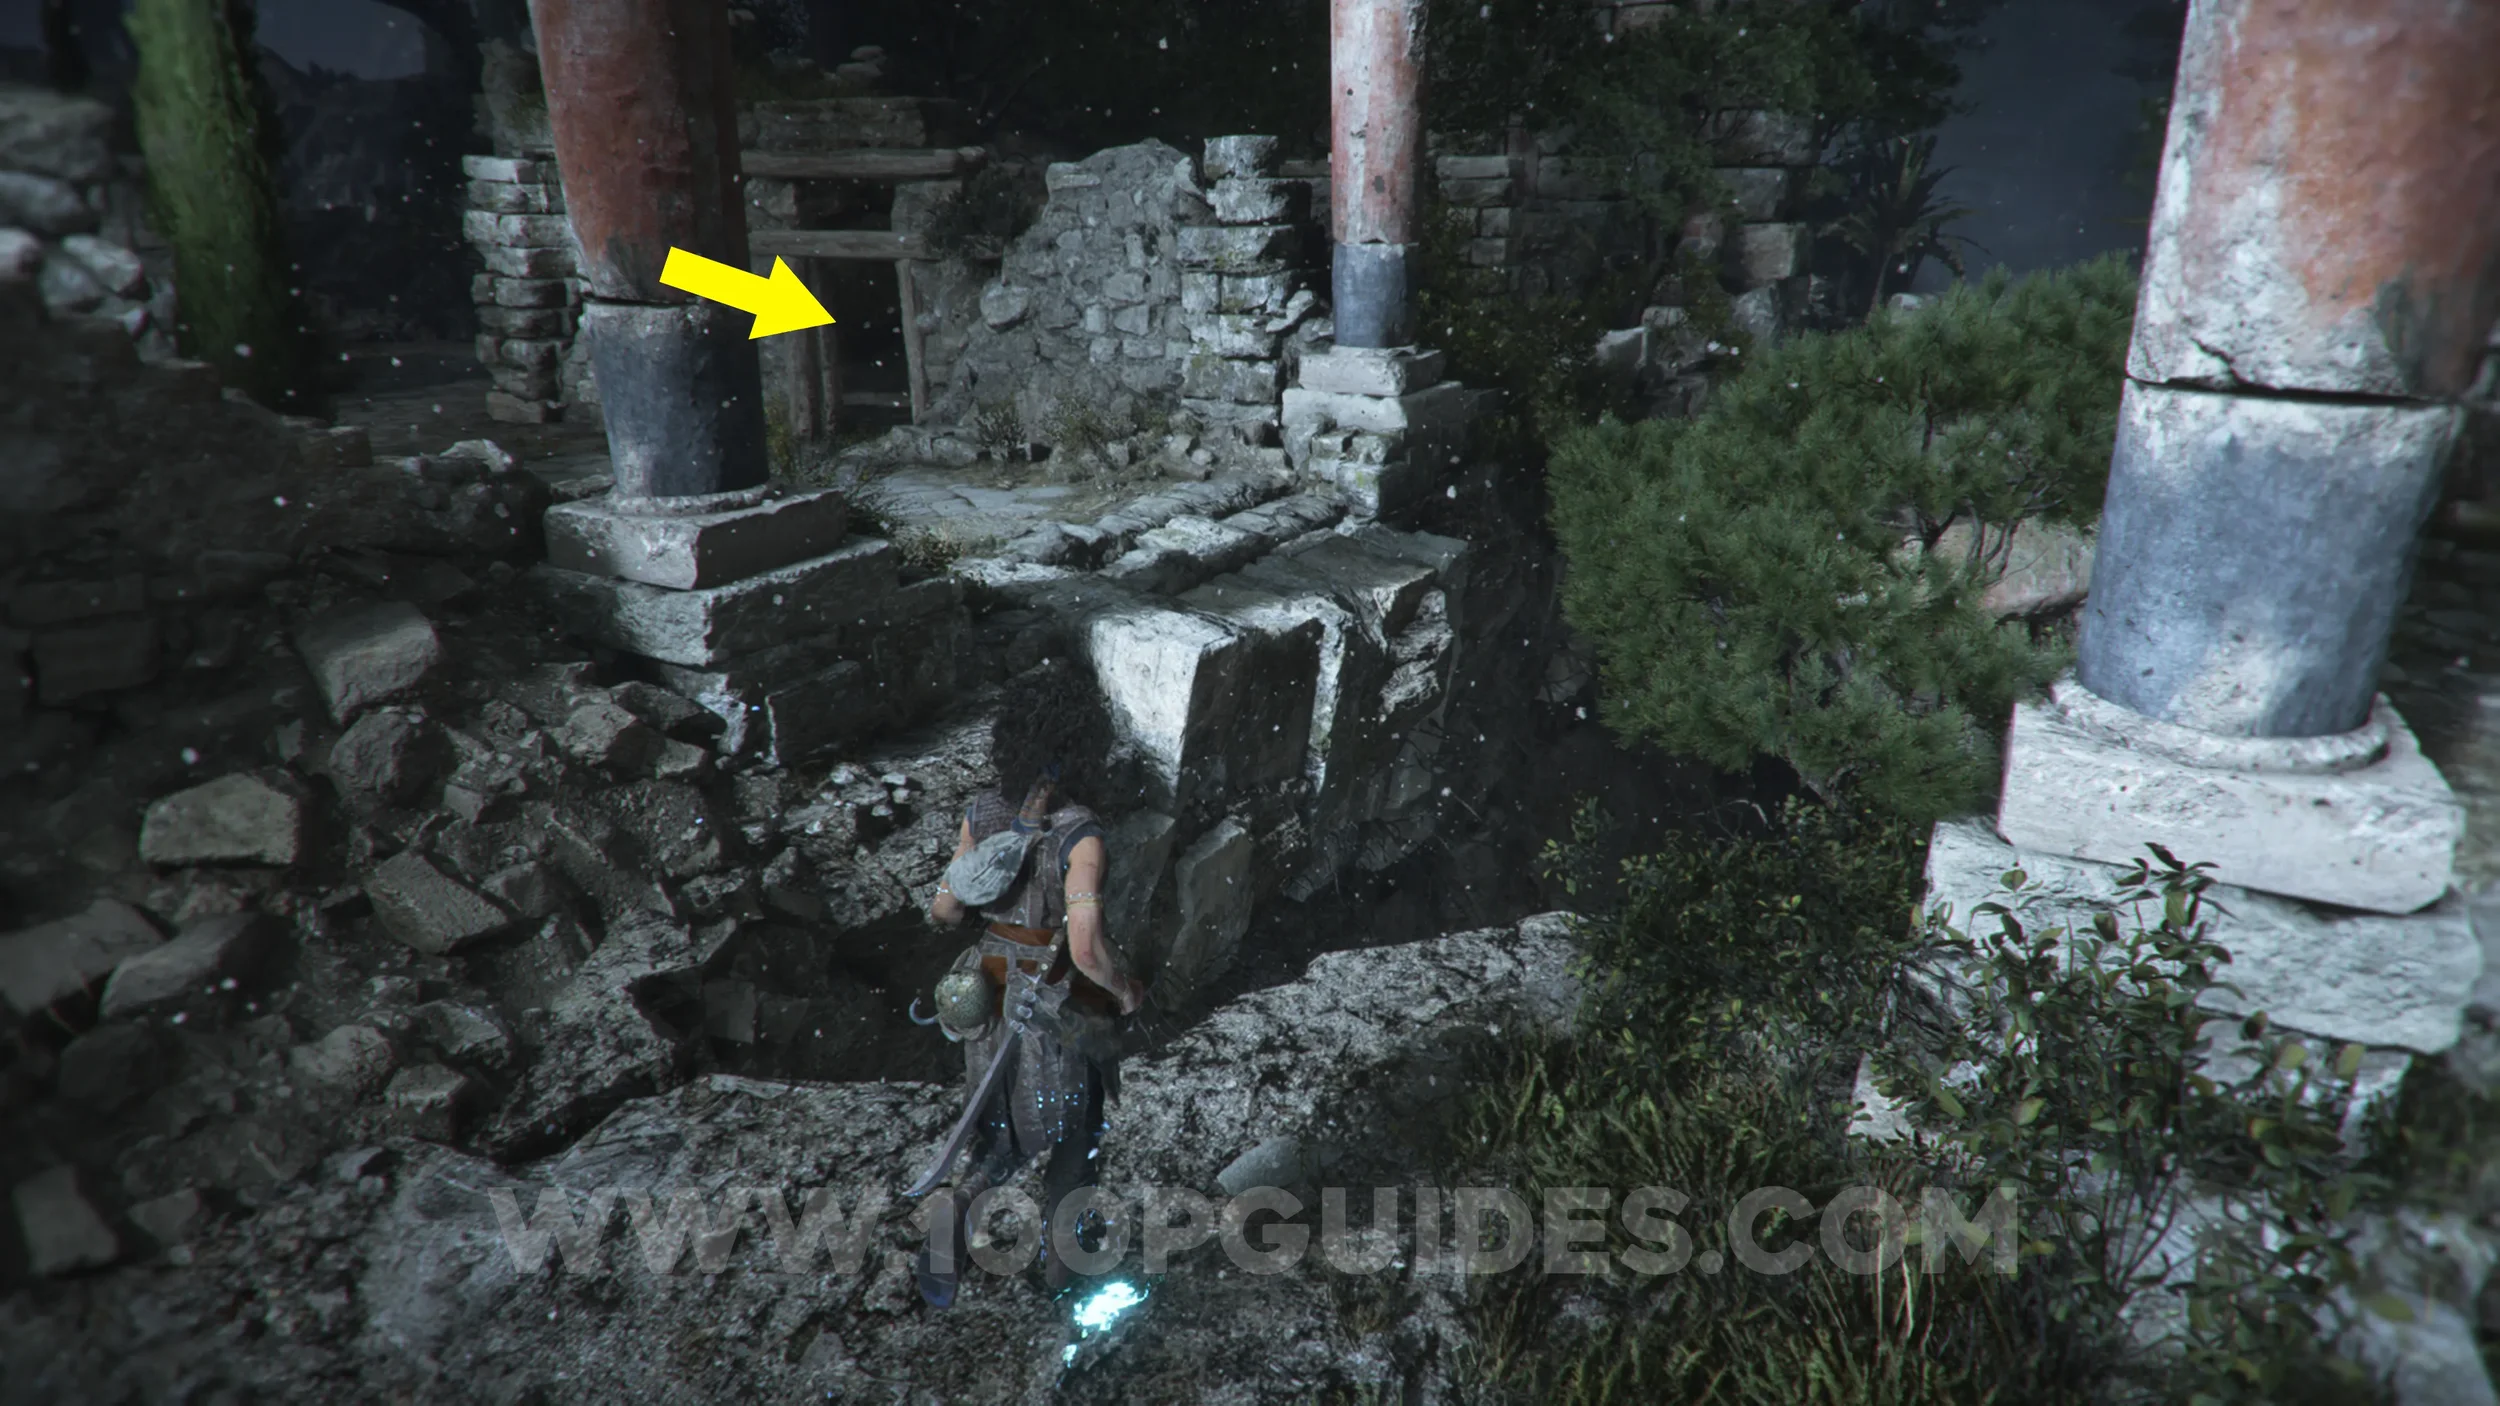
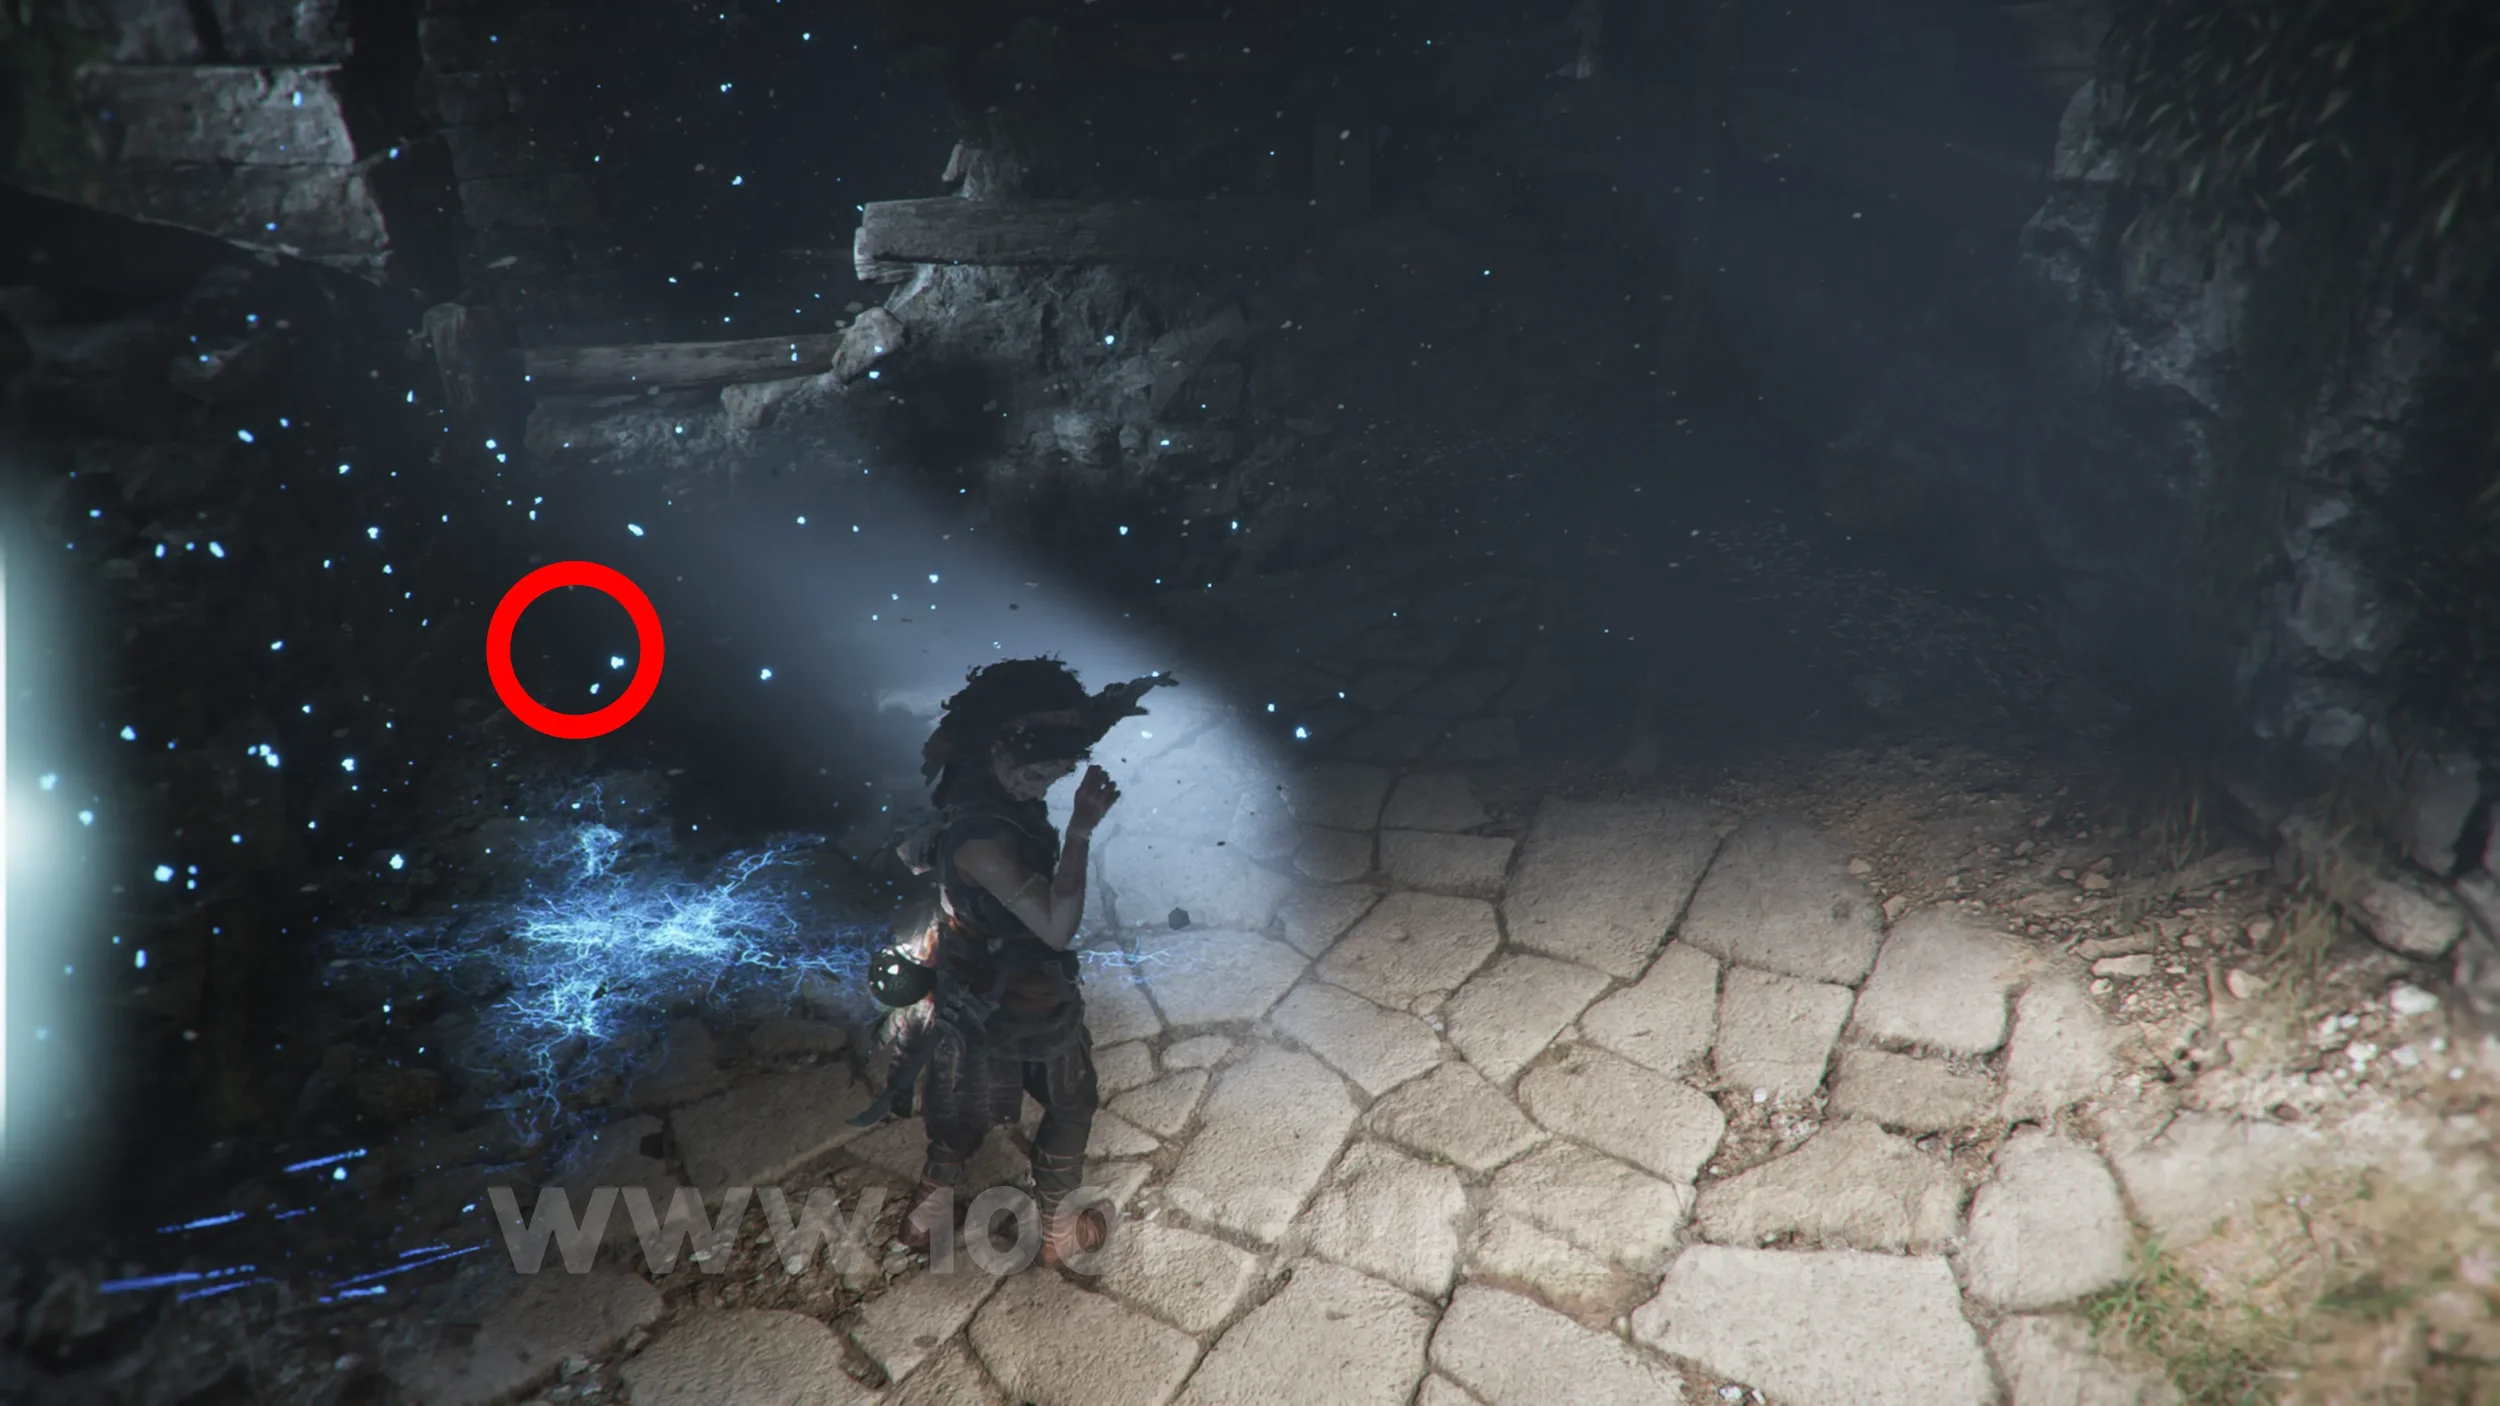
Resonance Point
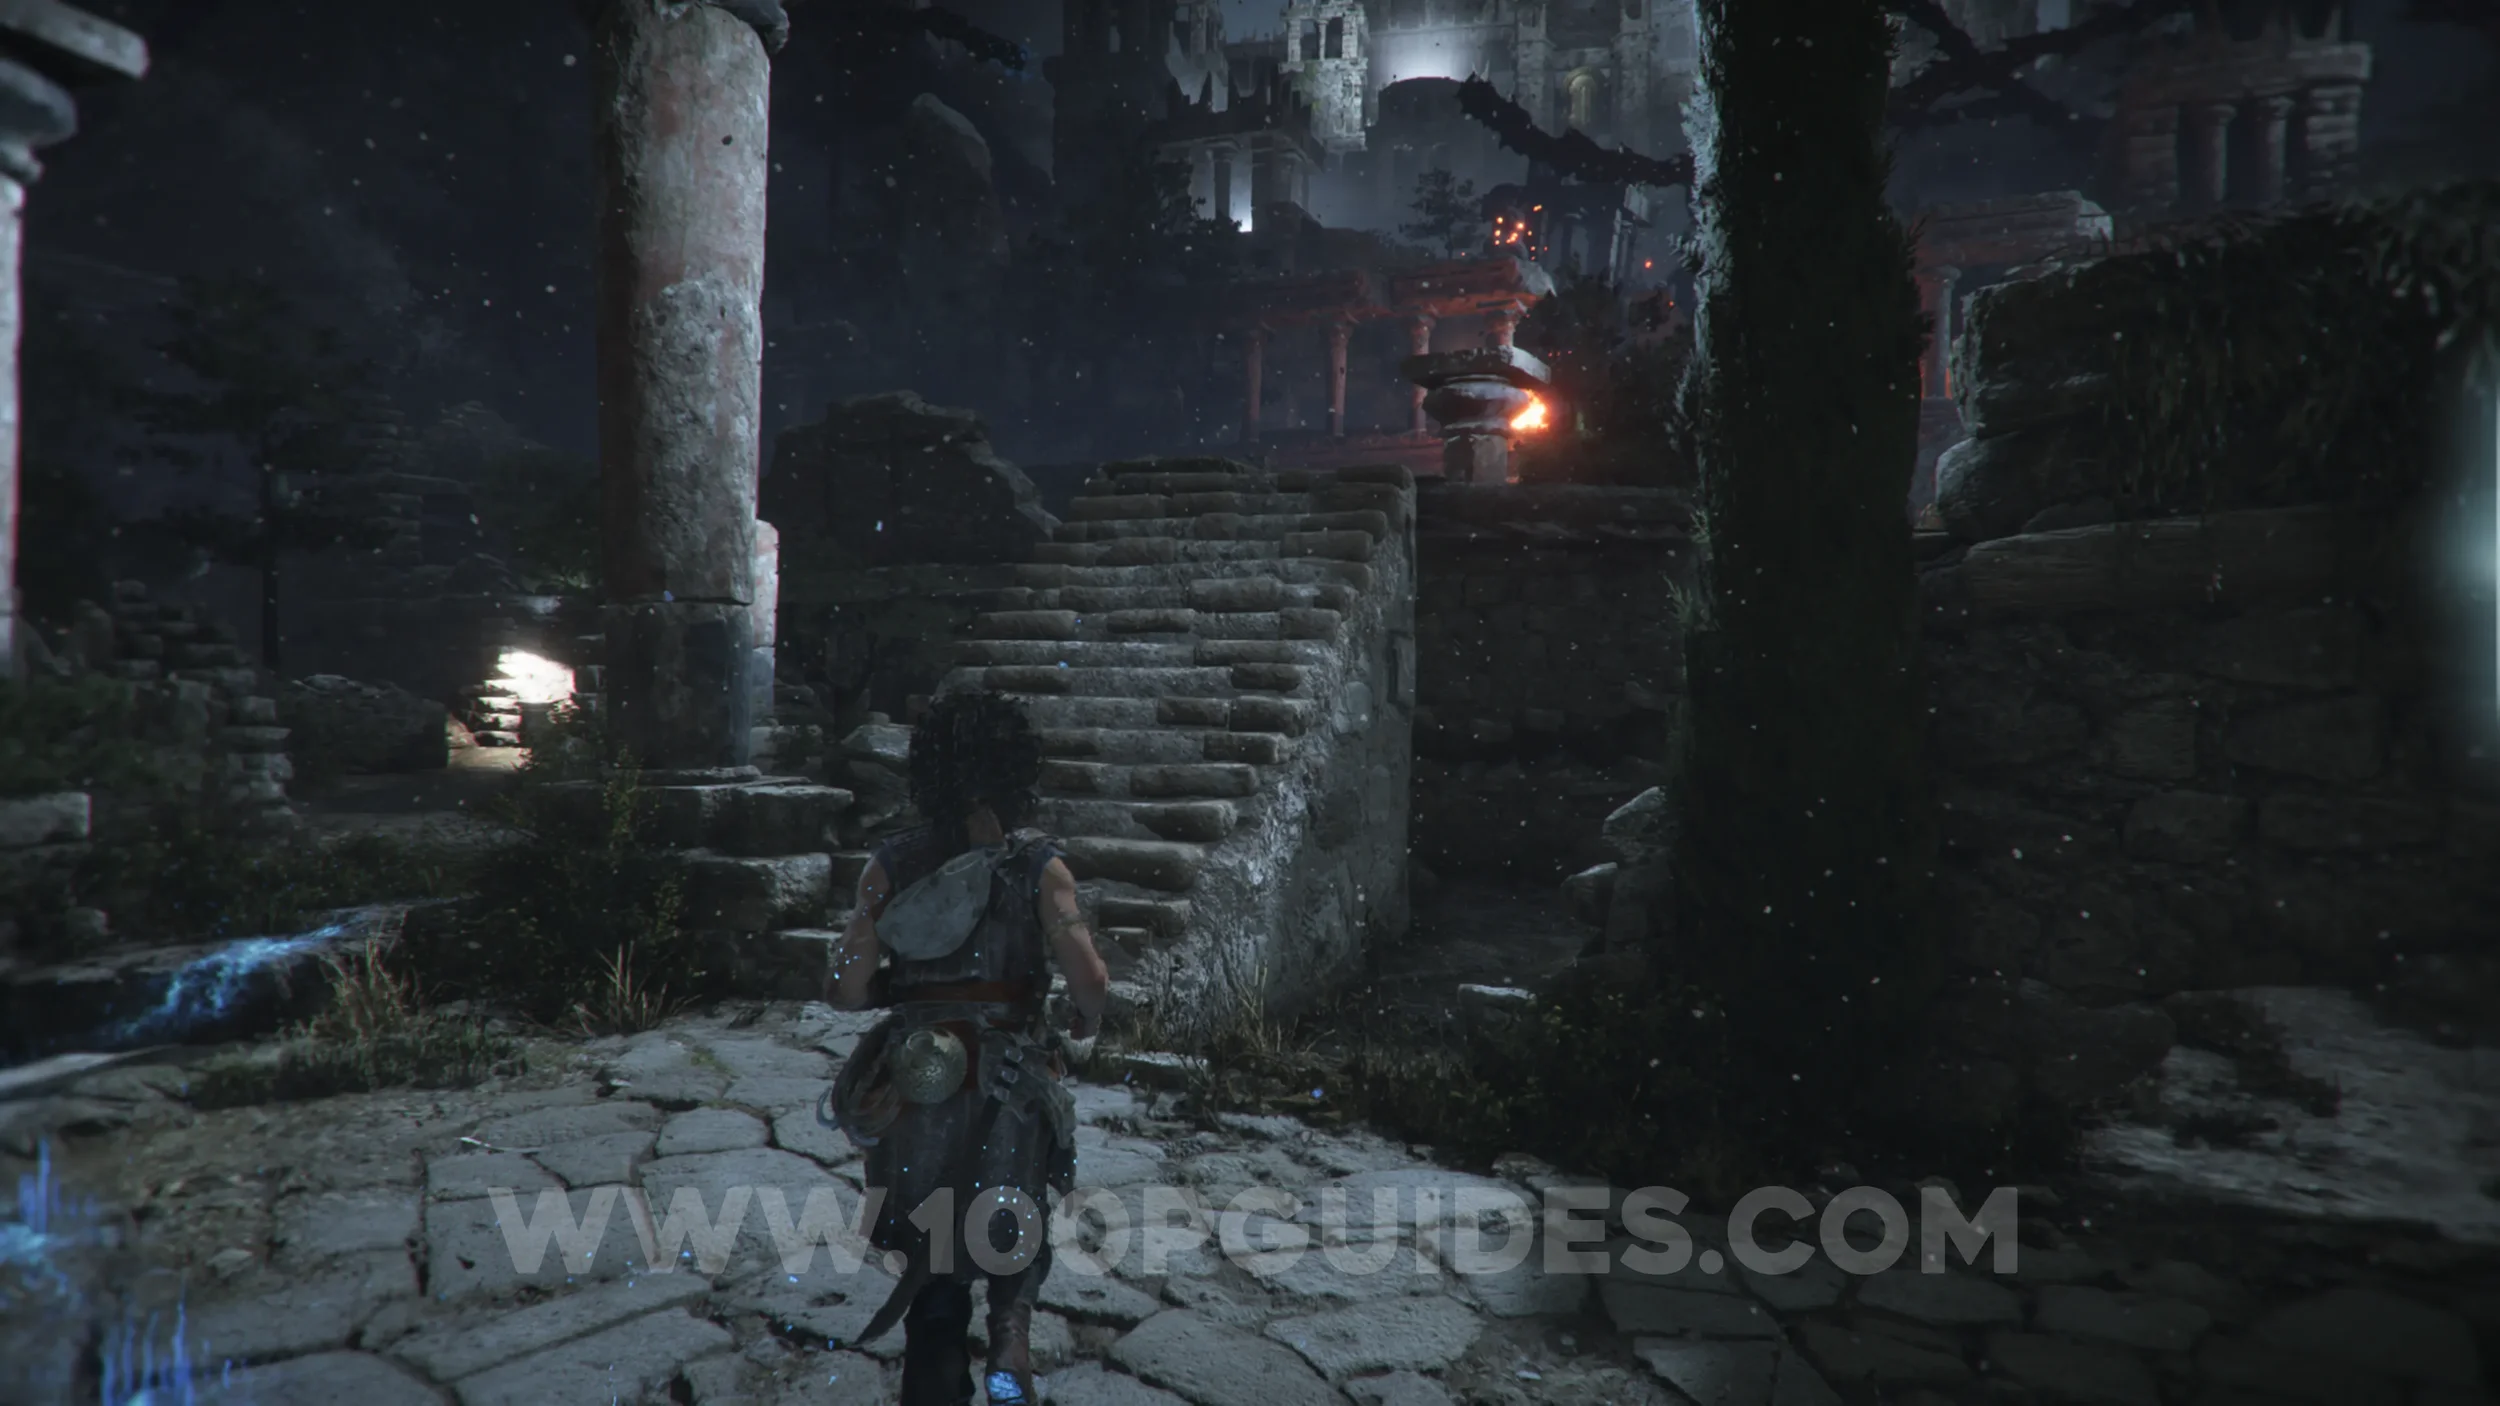
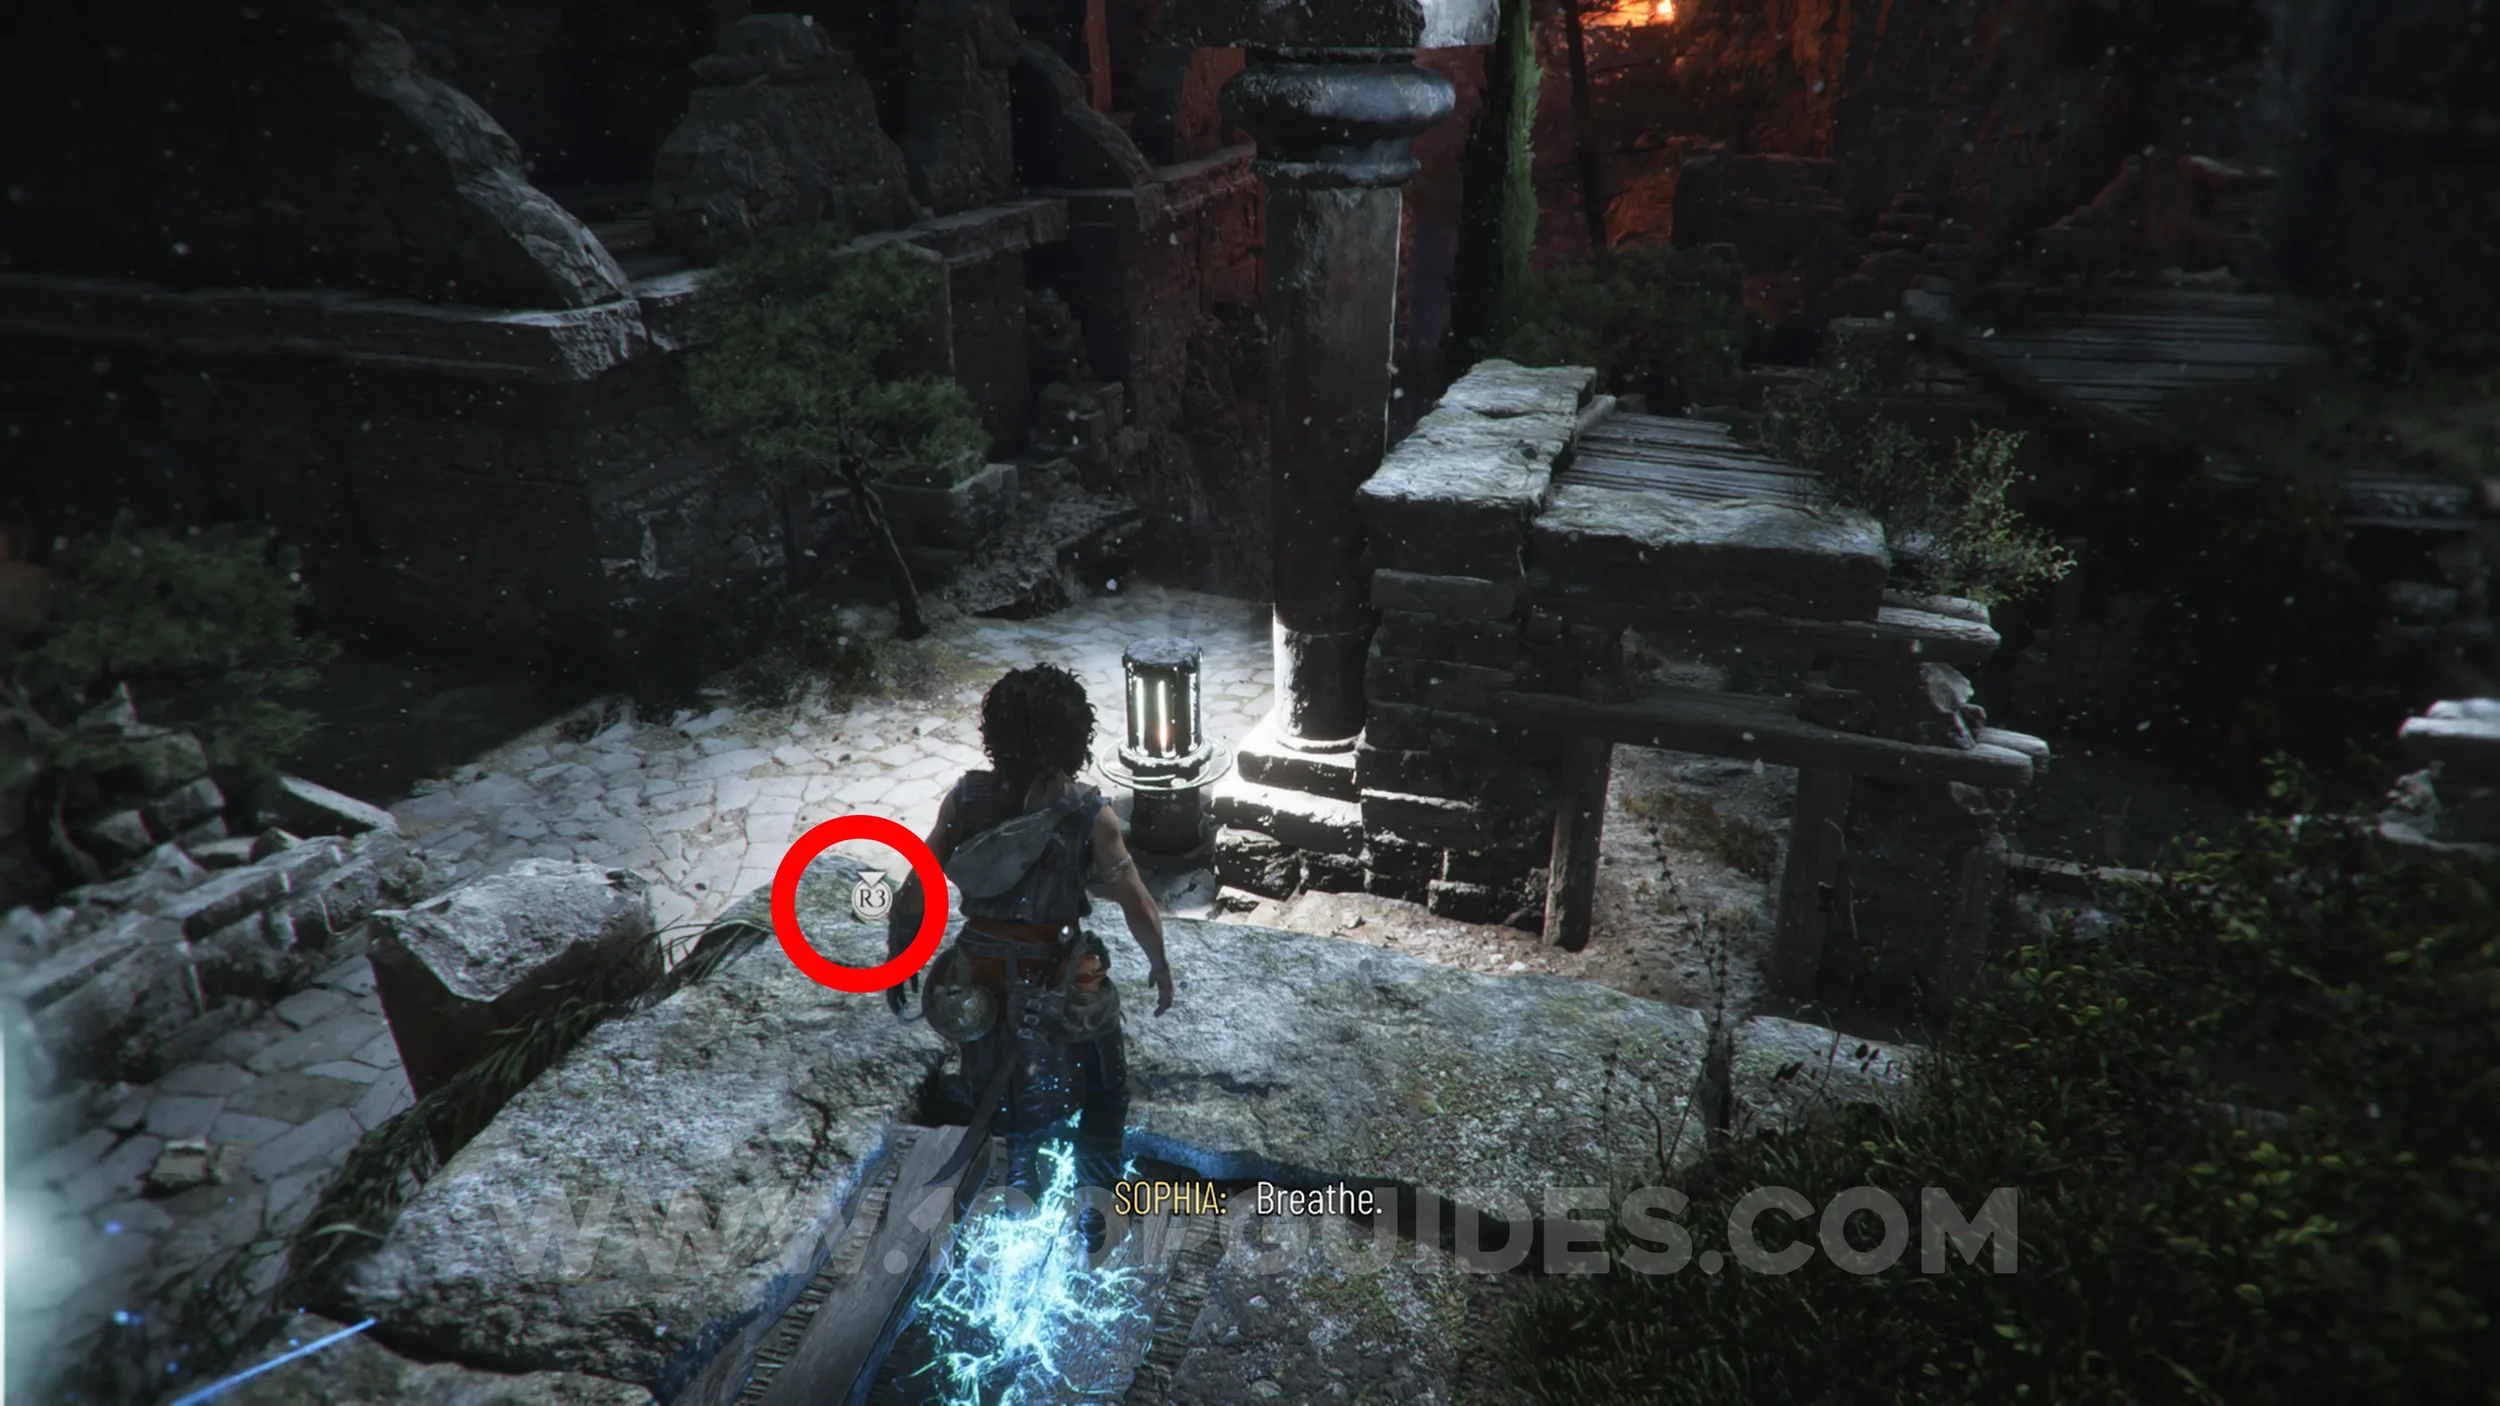
Chapter 9: Sub-Chapter 4.
From the previous collectible, head back out the door you came through and go up the stairs in front of you. The collectible will be in the corner on the left at the top.
Resonance Point
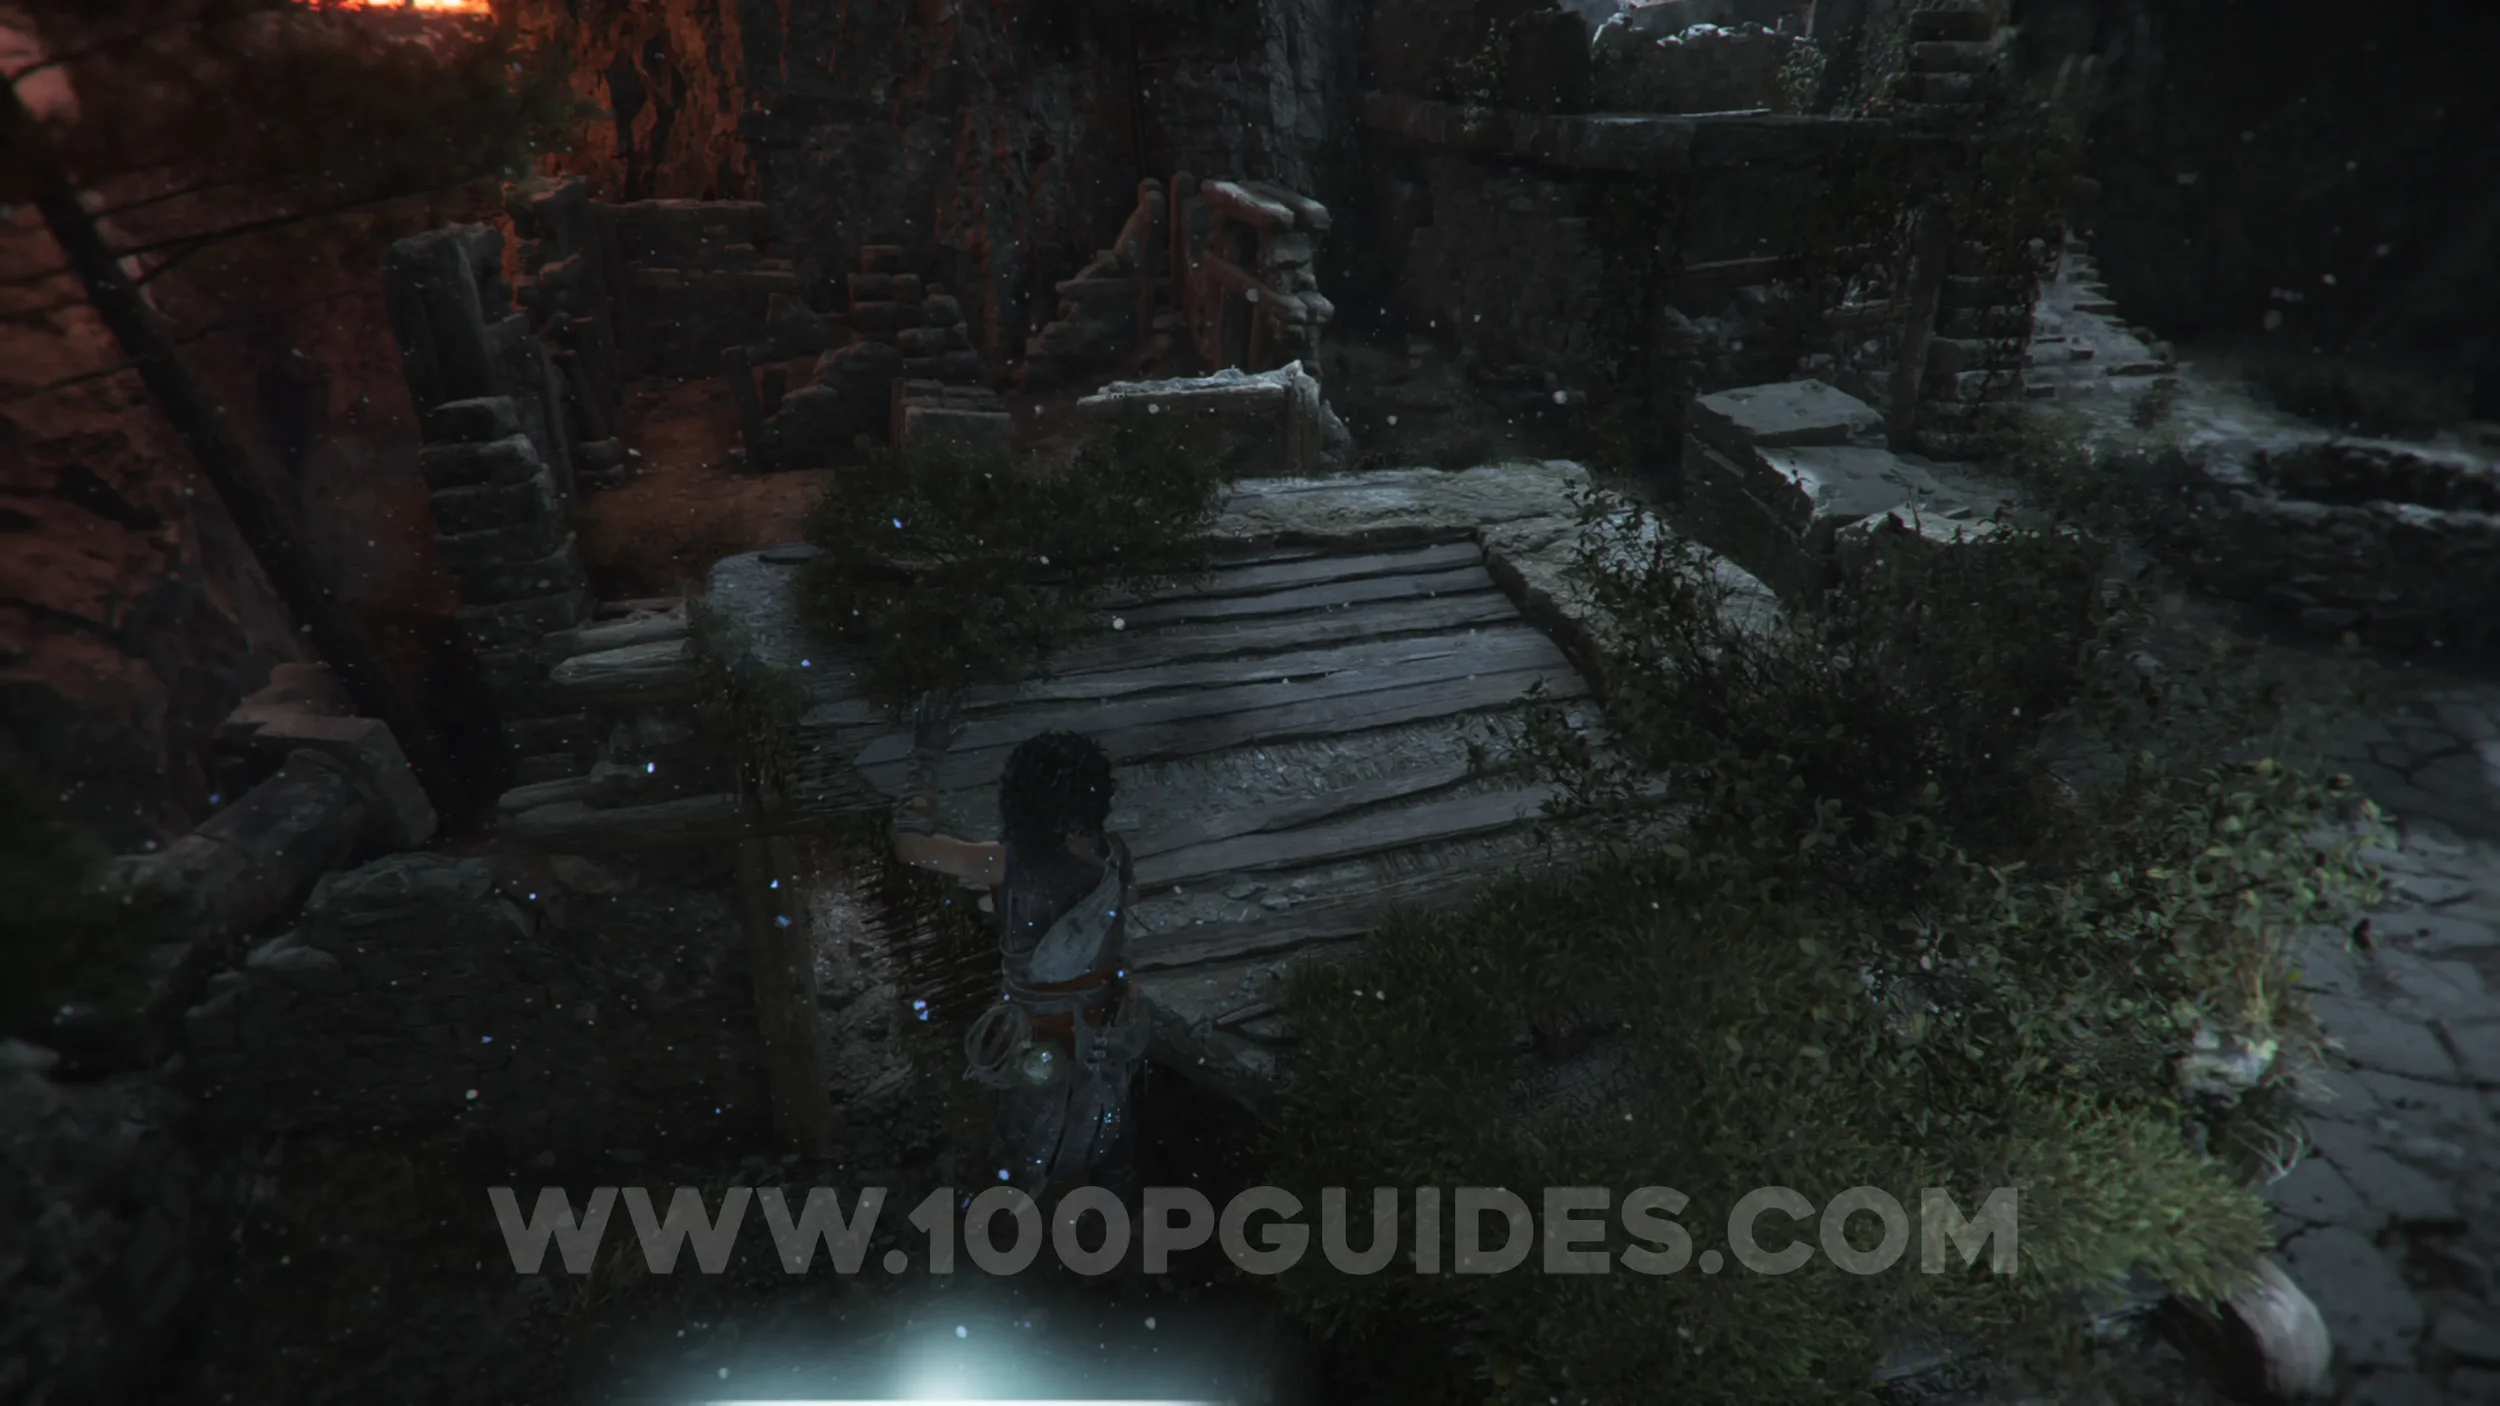
Chapter 9: Sub-Chapter 4.
From the previous collectible, continue straight, jumping over the gaps, and land in the ruins on the far side with the orange glow from the fire in the mountains. The collectible is on the ground in these ruins.
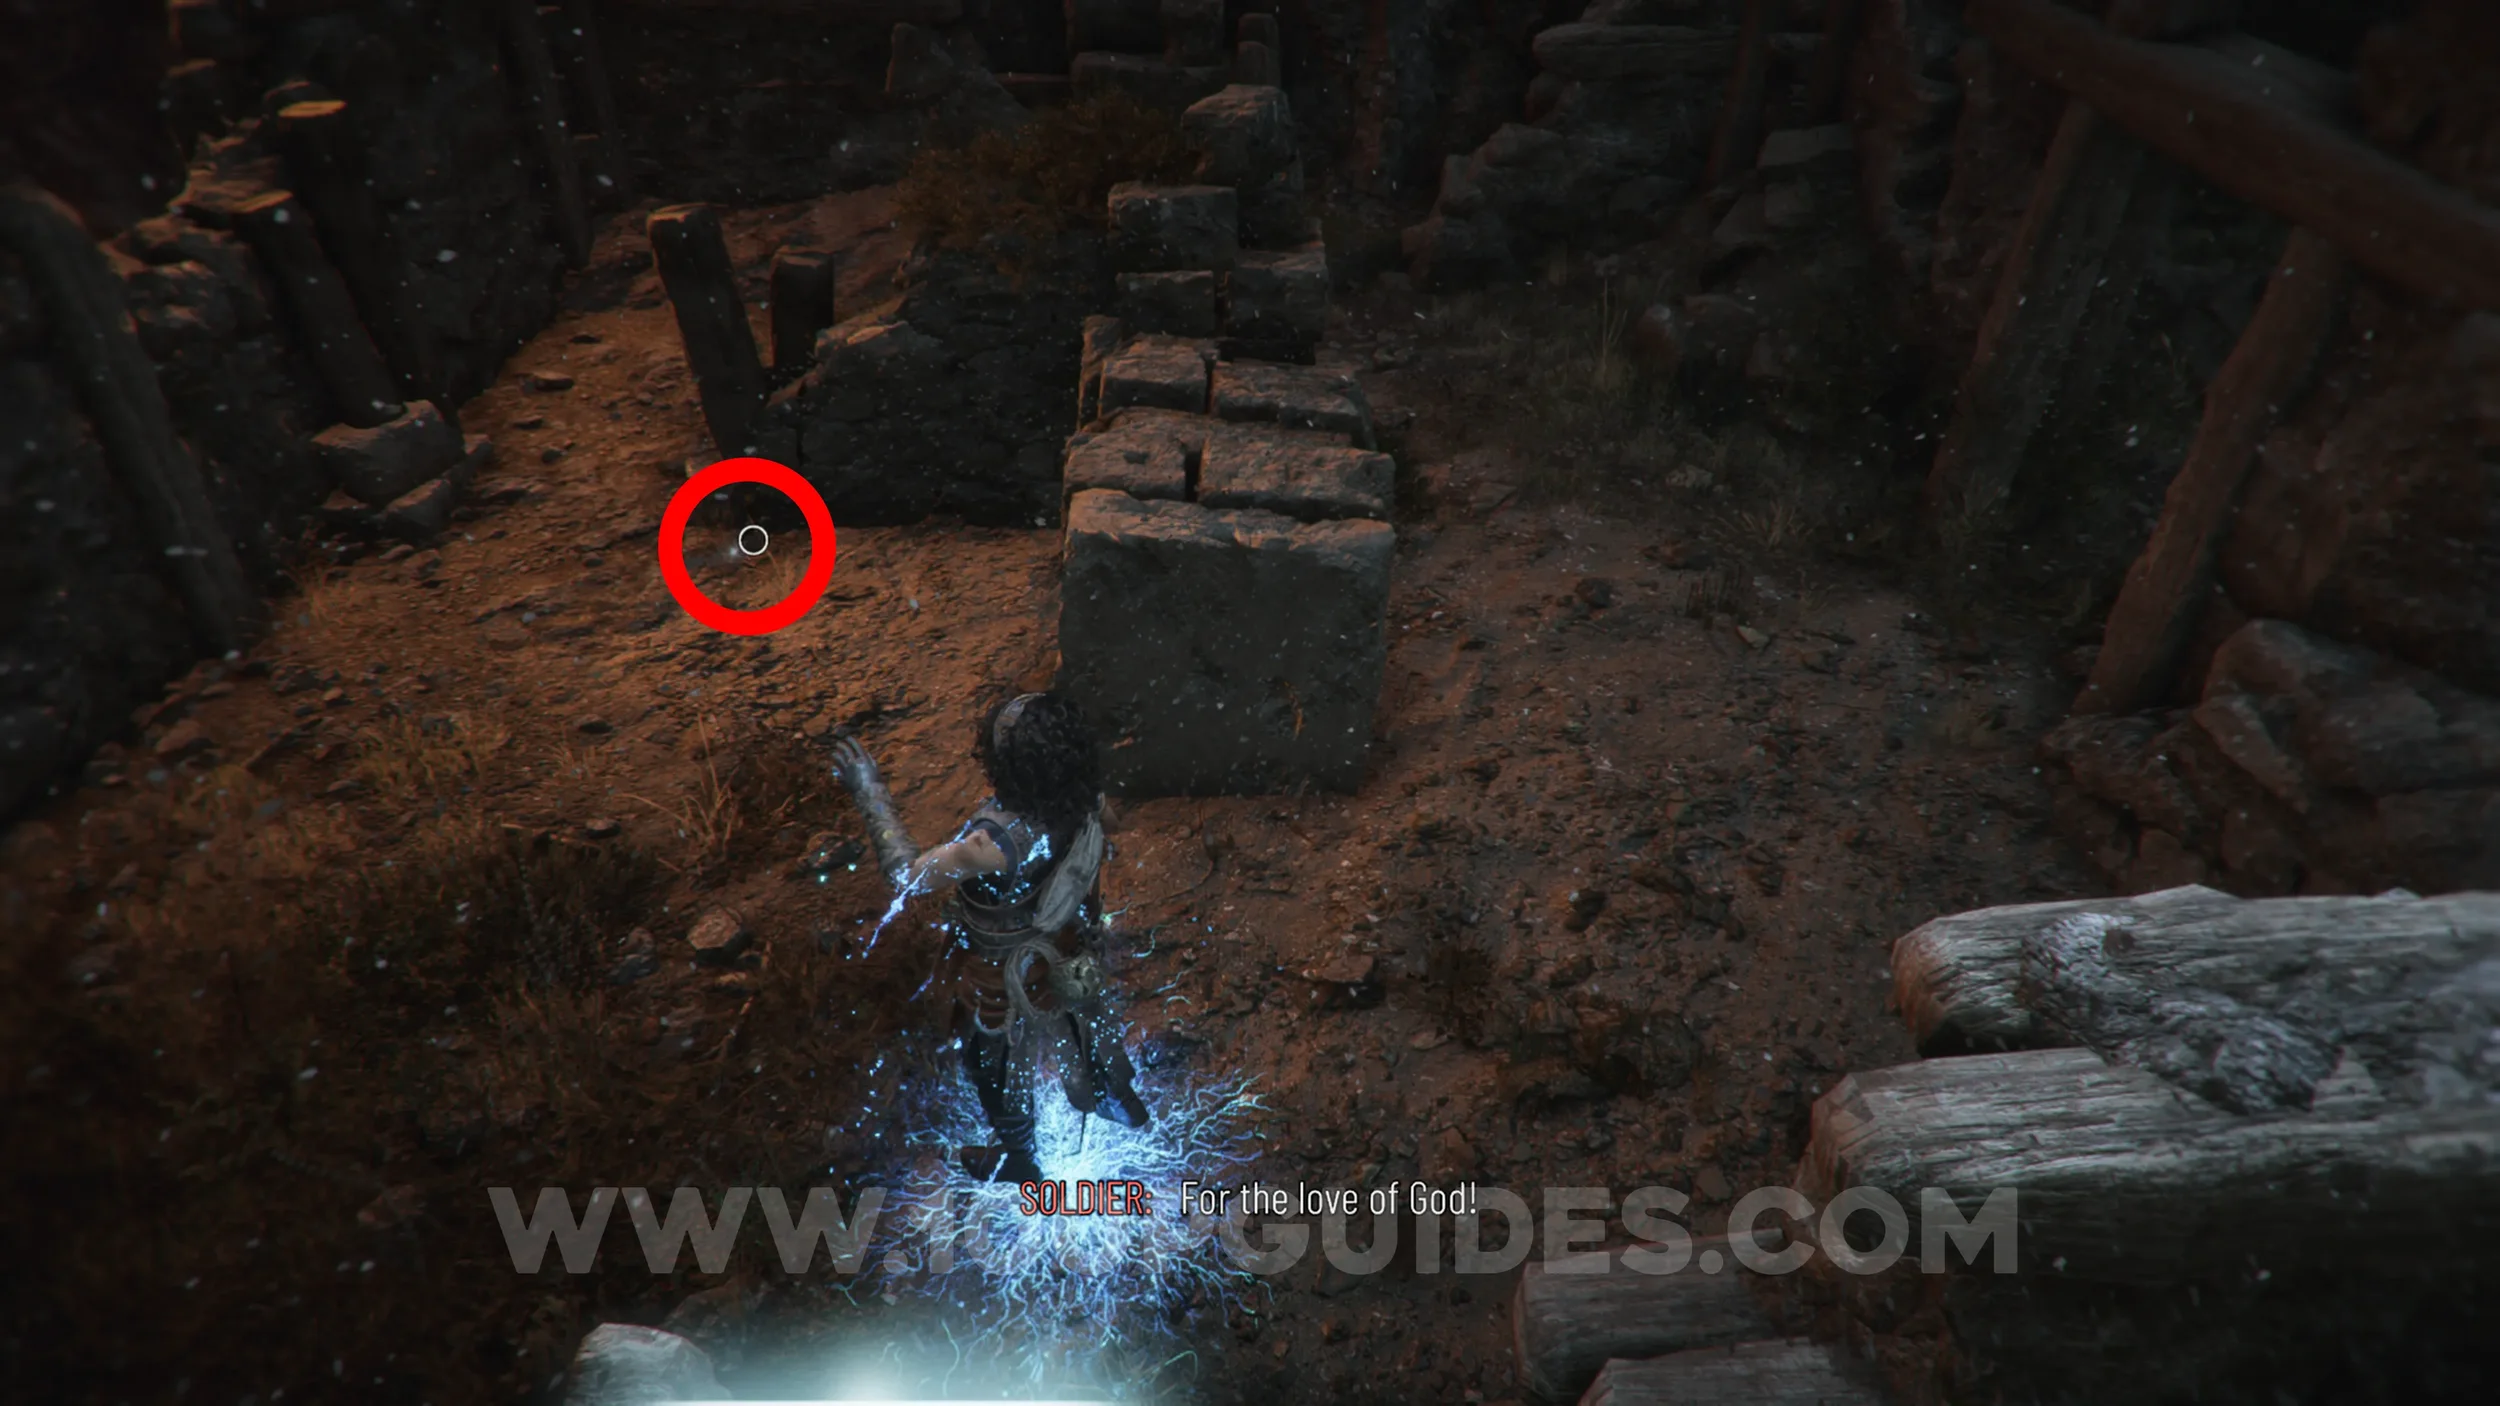
Artefact: Phosphate Ring
Chapter 9: Sub-Chapter 4.
Go through the hole in the wall next to the next permanent light you find.
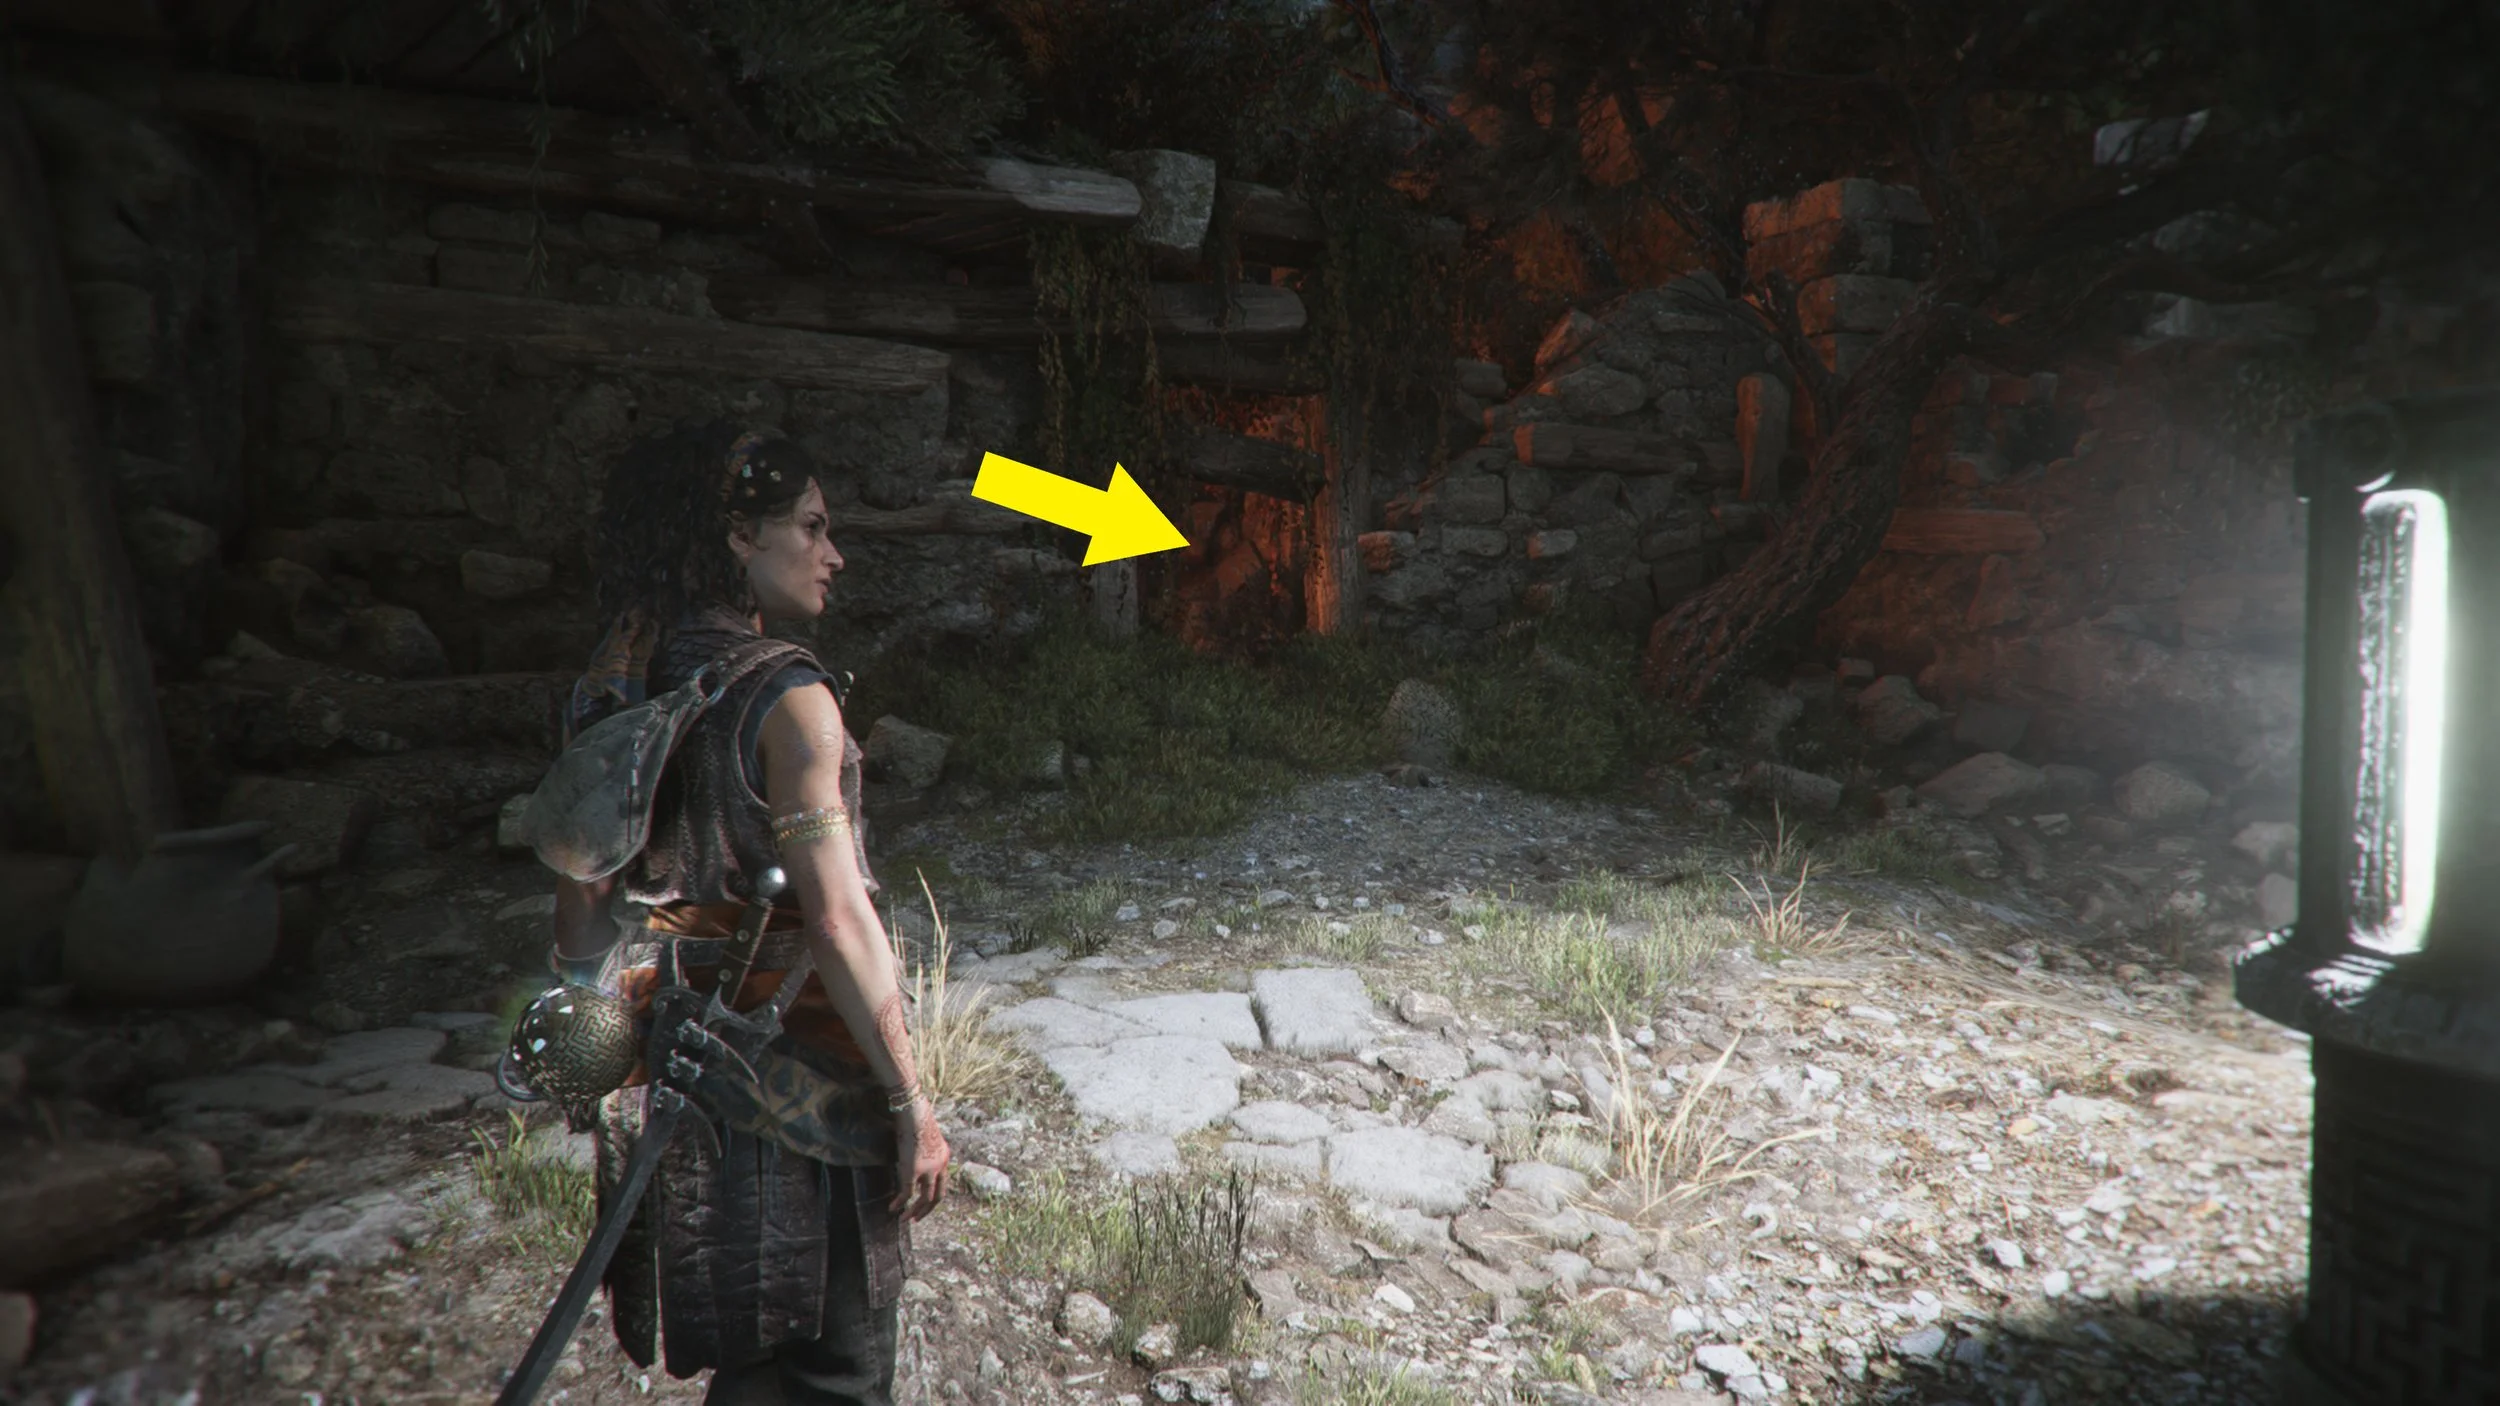
Resonance Point x3
Chapter 9: Sub-Chapter 5.
Follow the story path and you'll soon ride a zipline that lands you among a group of enemies. Defeat them to get the two Resonance Points.
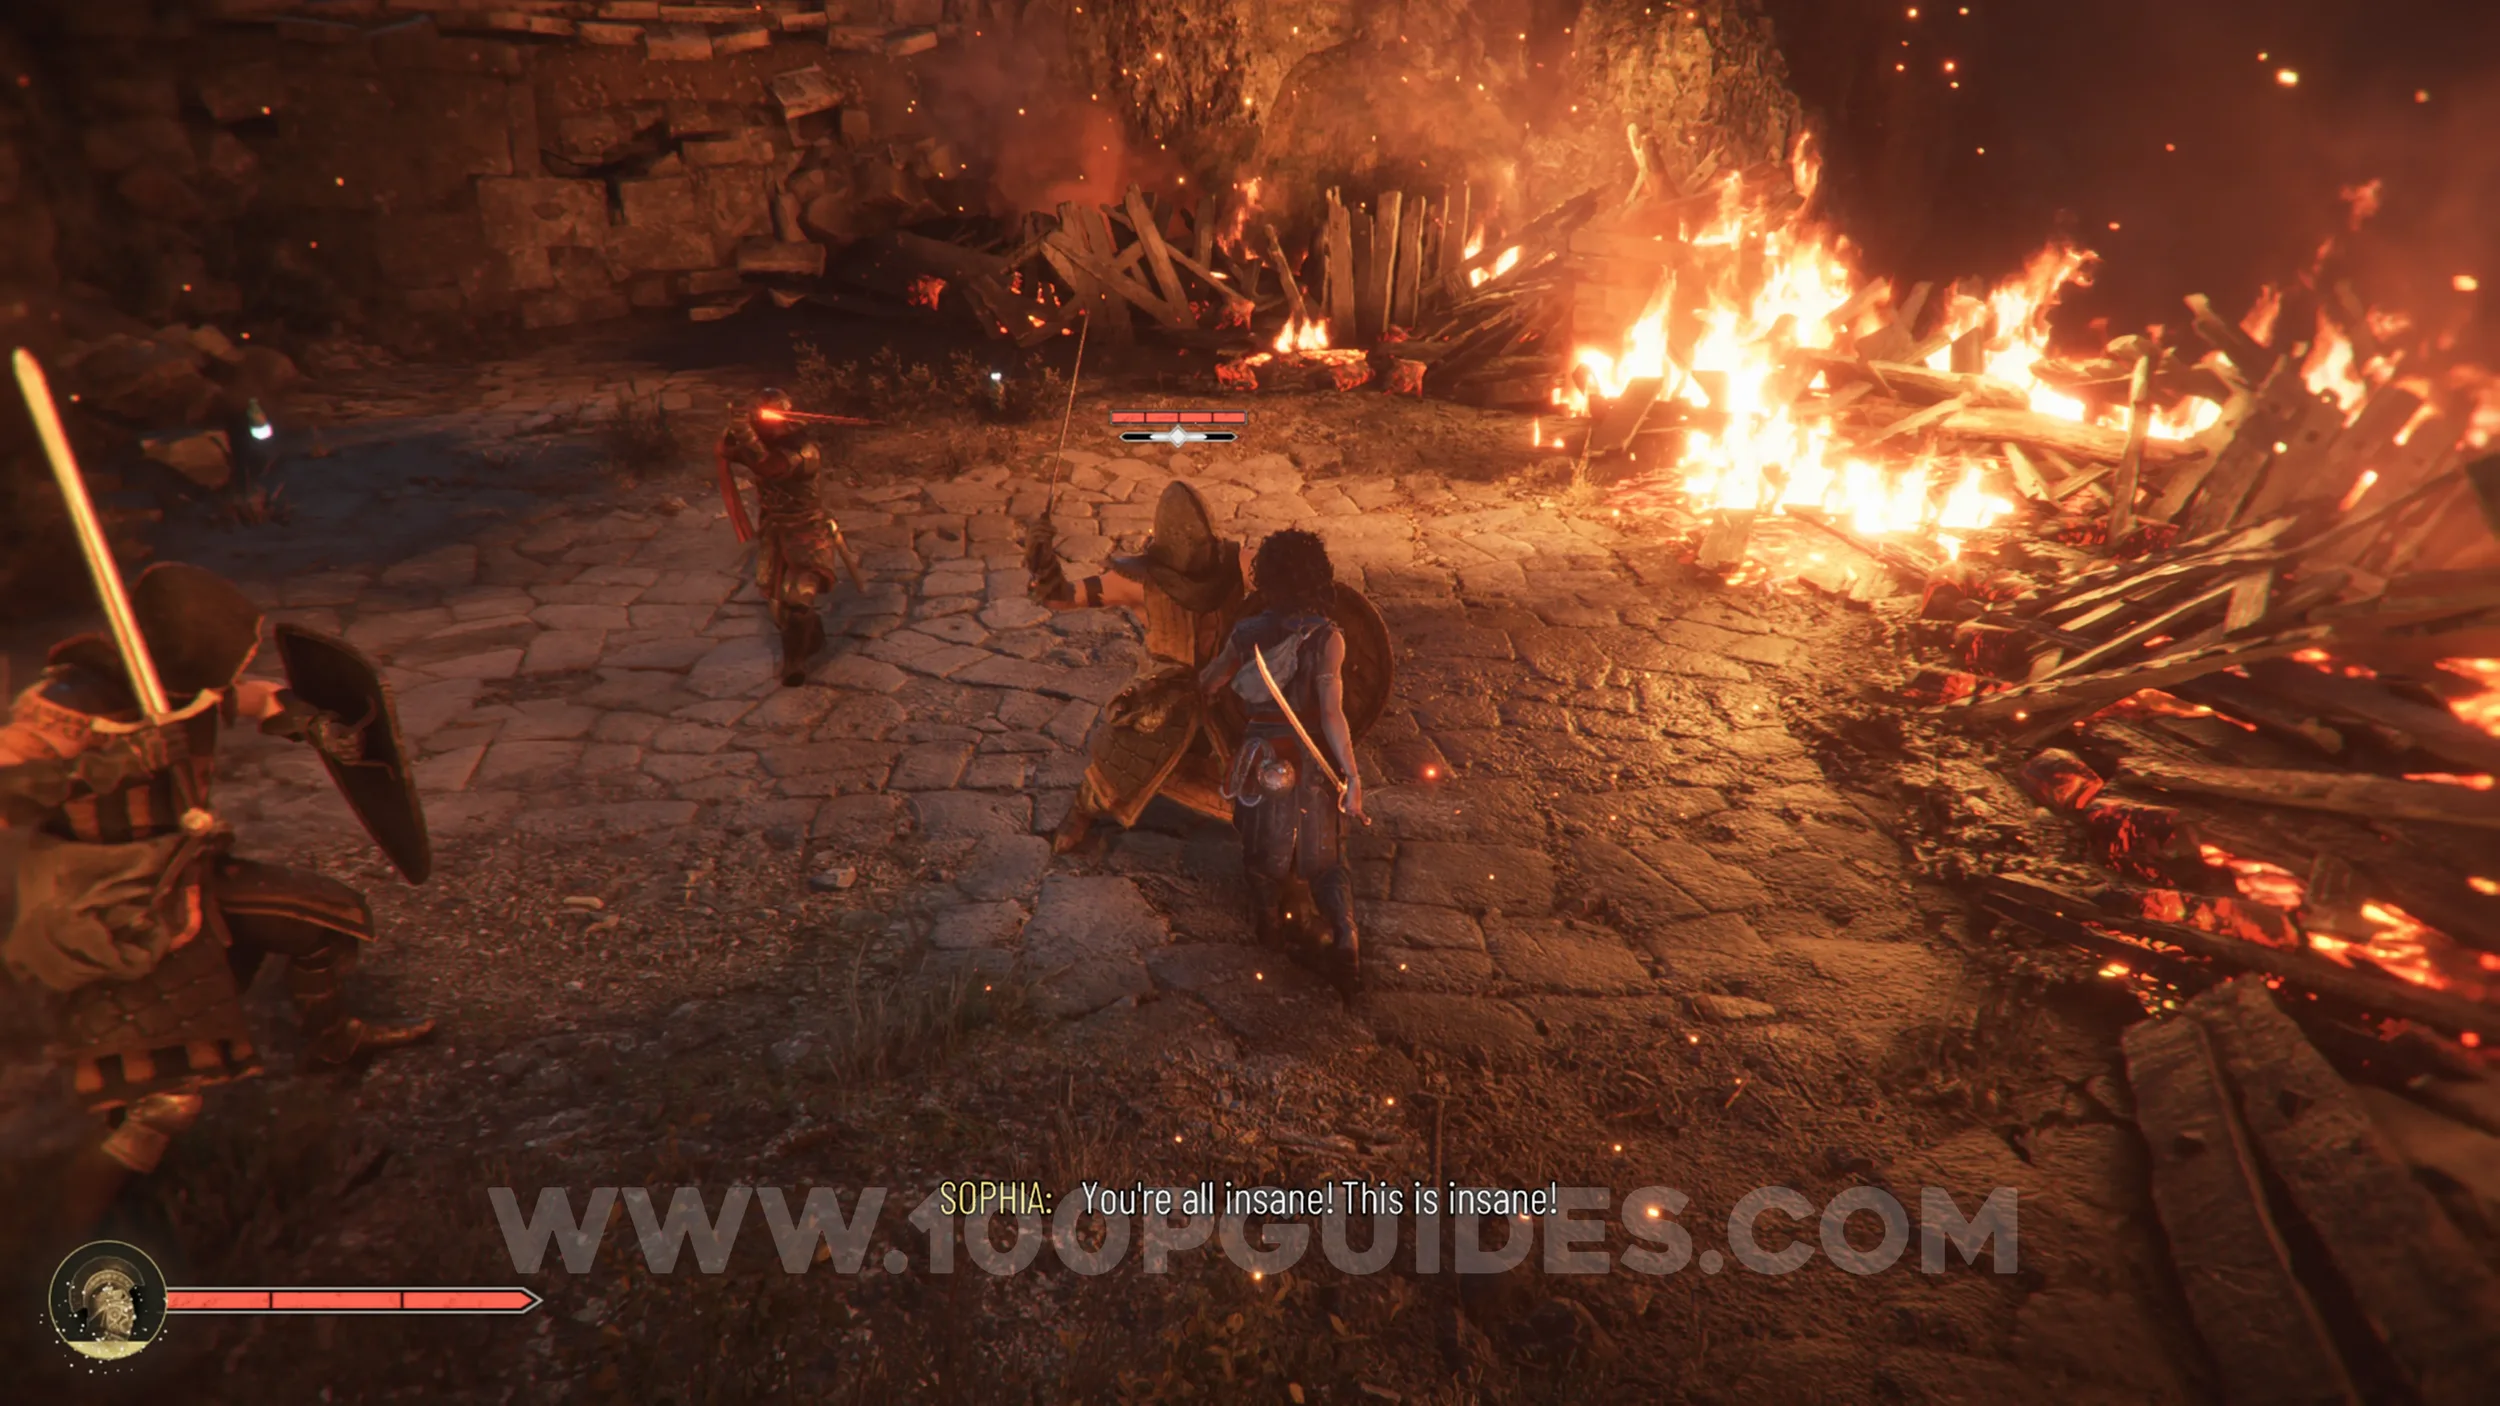
Resonance Point
Chapter 9: Sub-Chapter 5.
After the previous group of enemies, you'll pull down some wood with the grappling hook. After that, you'll see the collectible on your left on the main path.
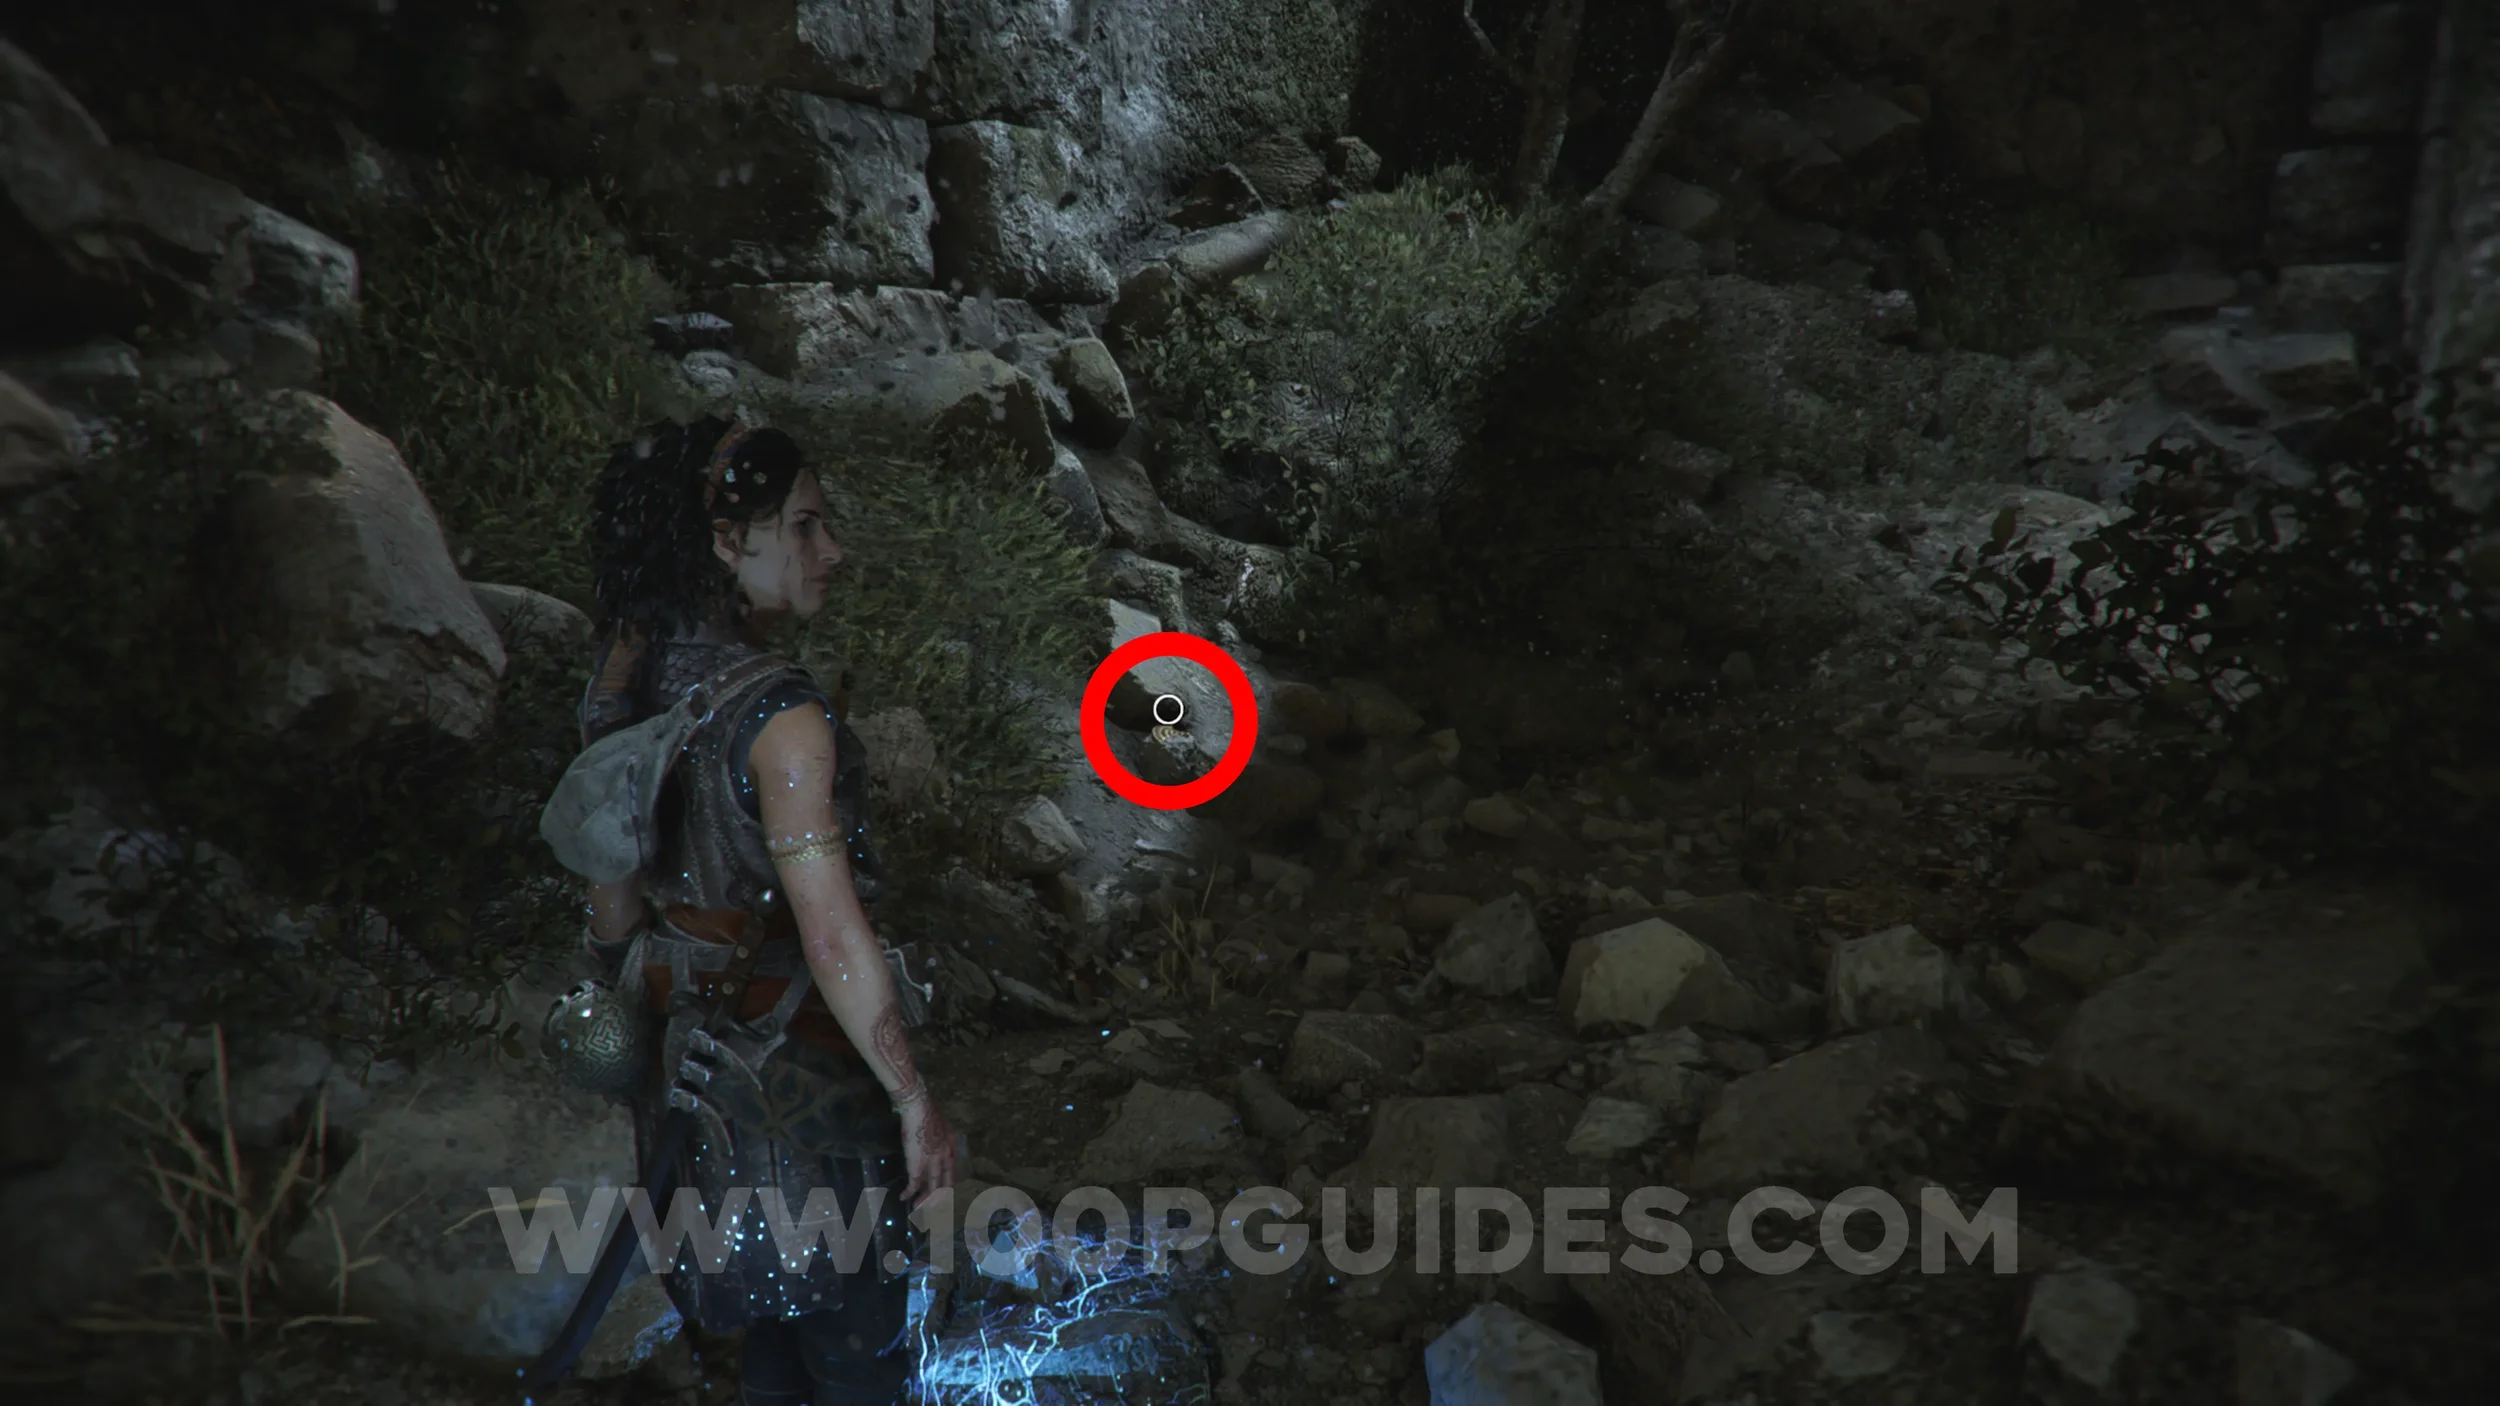
Resonance Point x2
Chapter 9: Sub-Chapter 6.
After the chase scene, head left before heading up the stairs to the Palace.
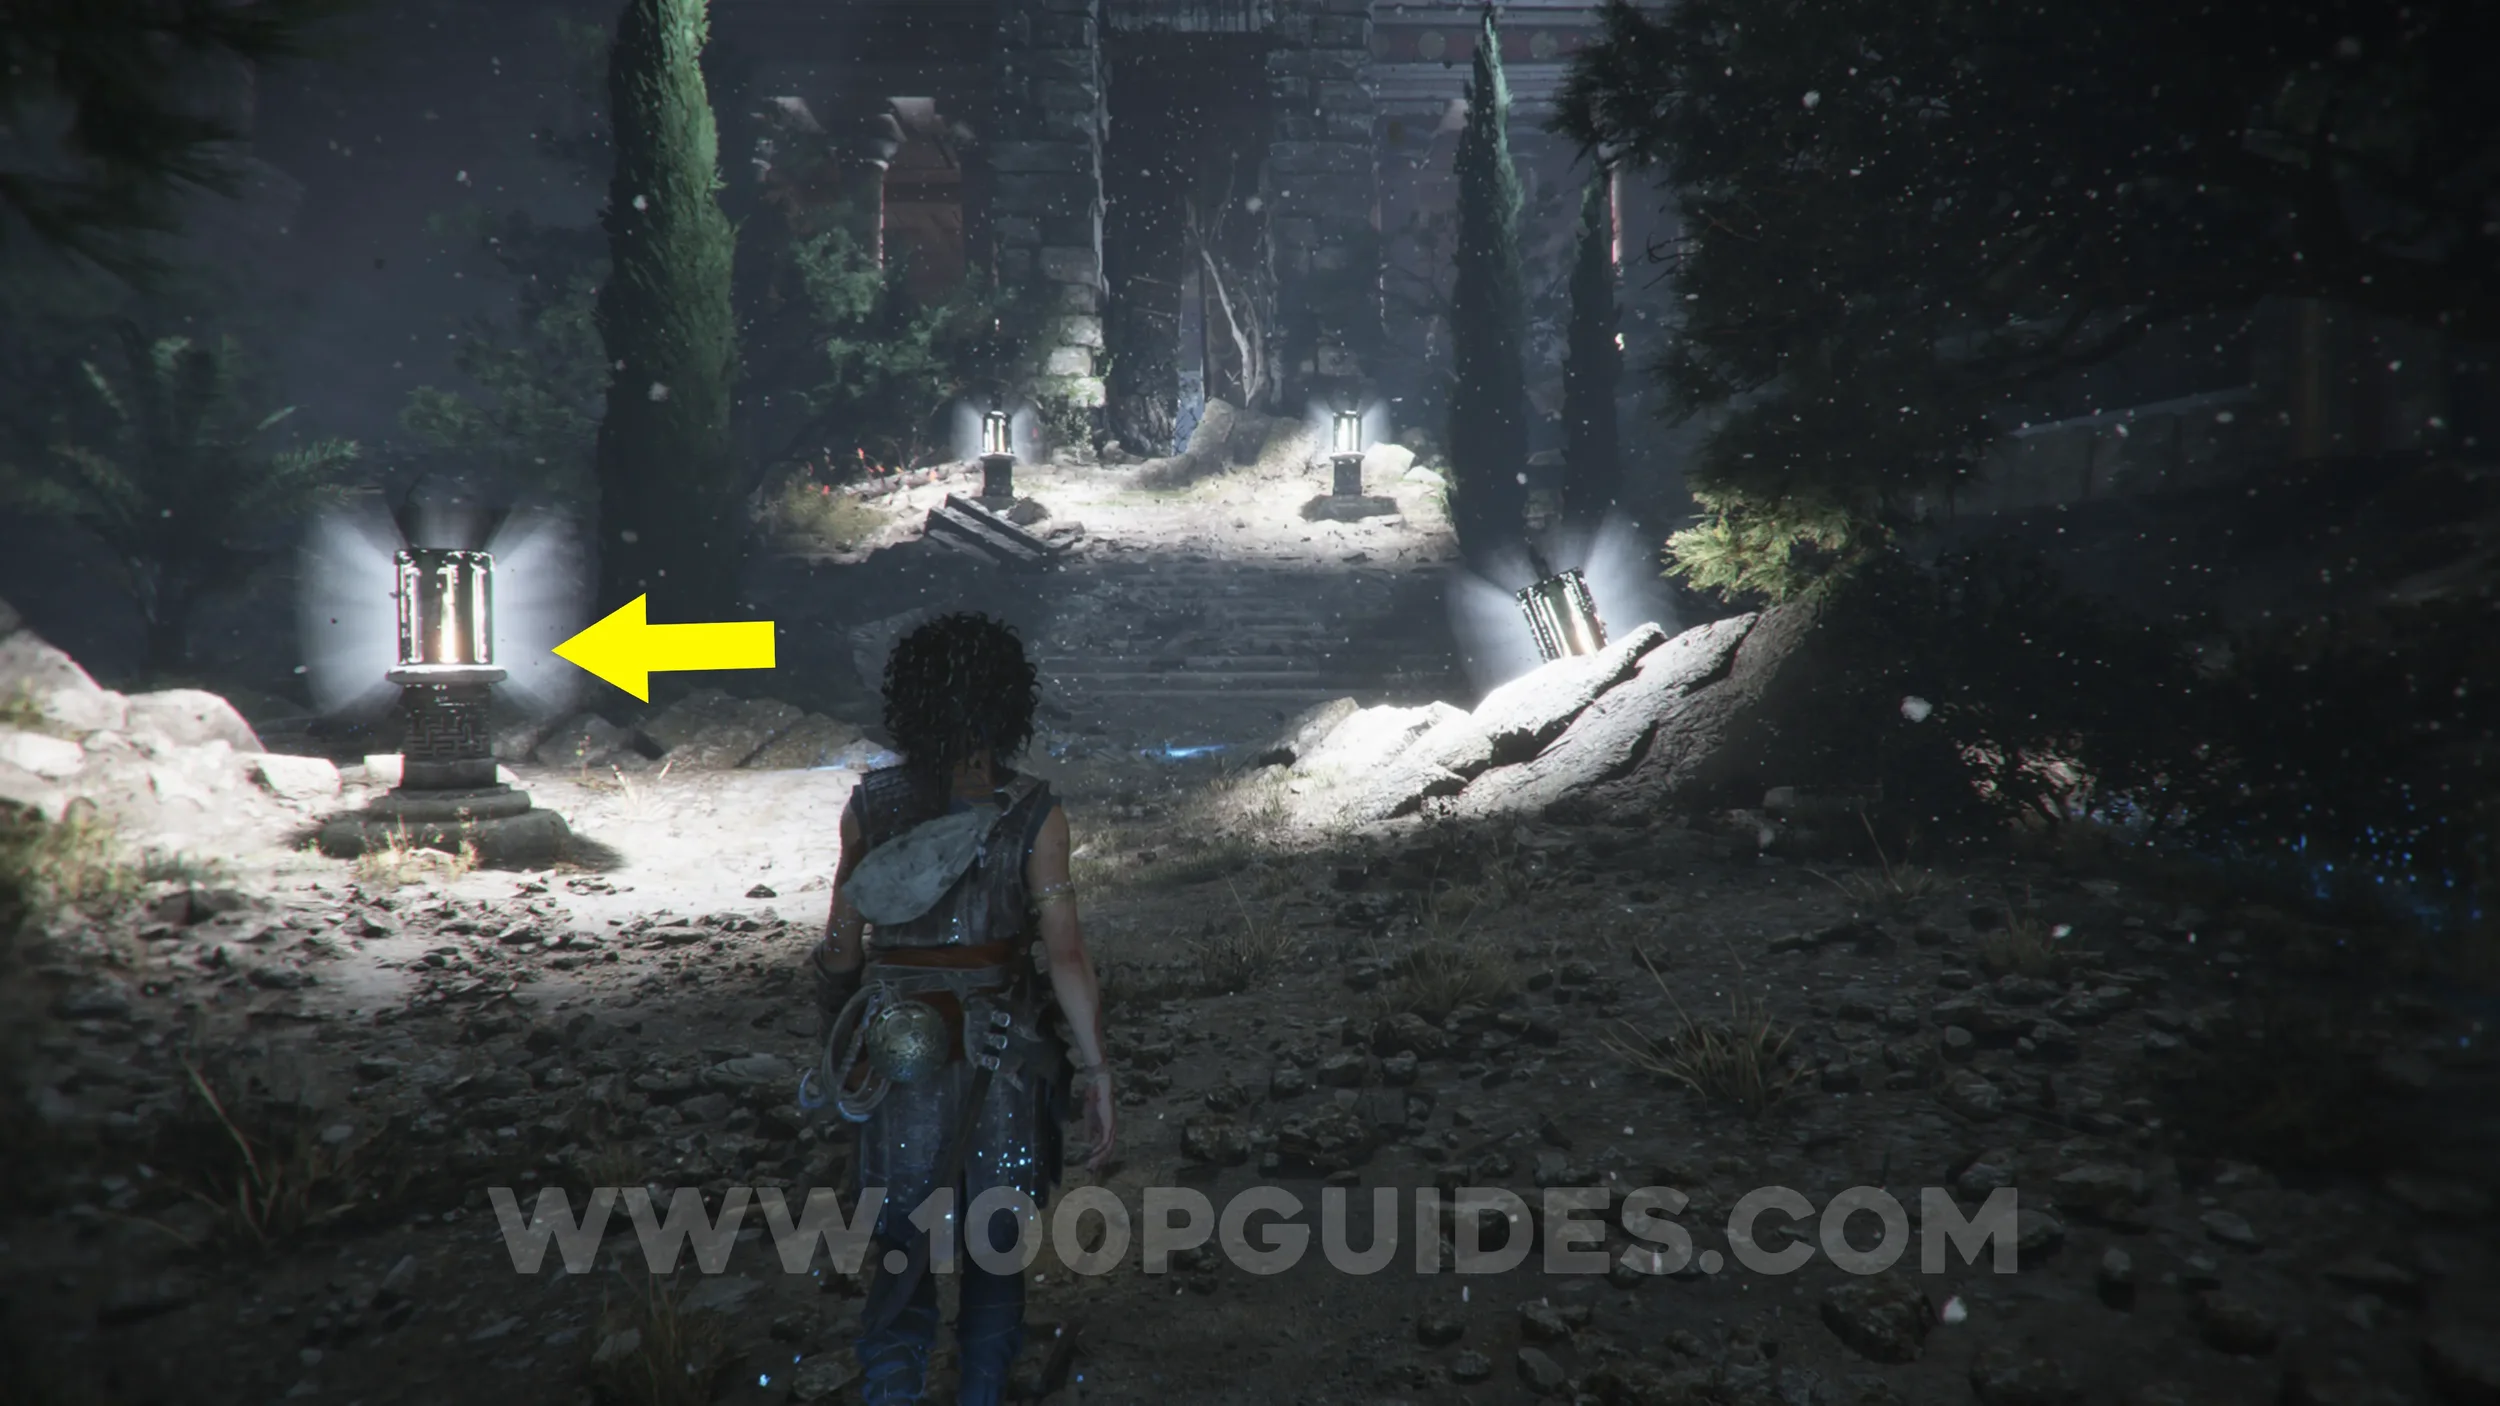
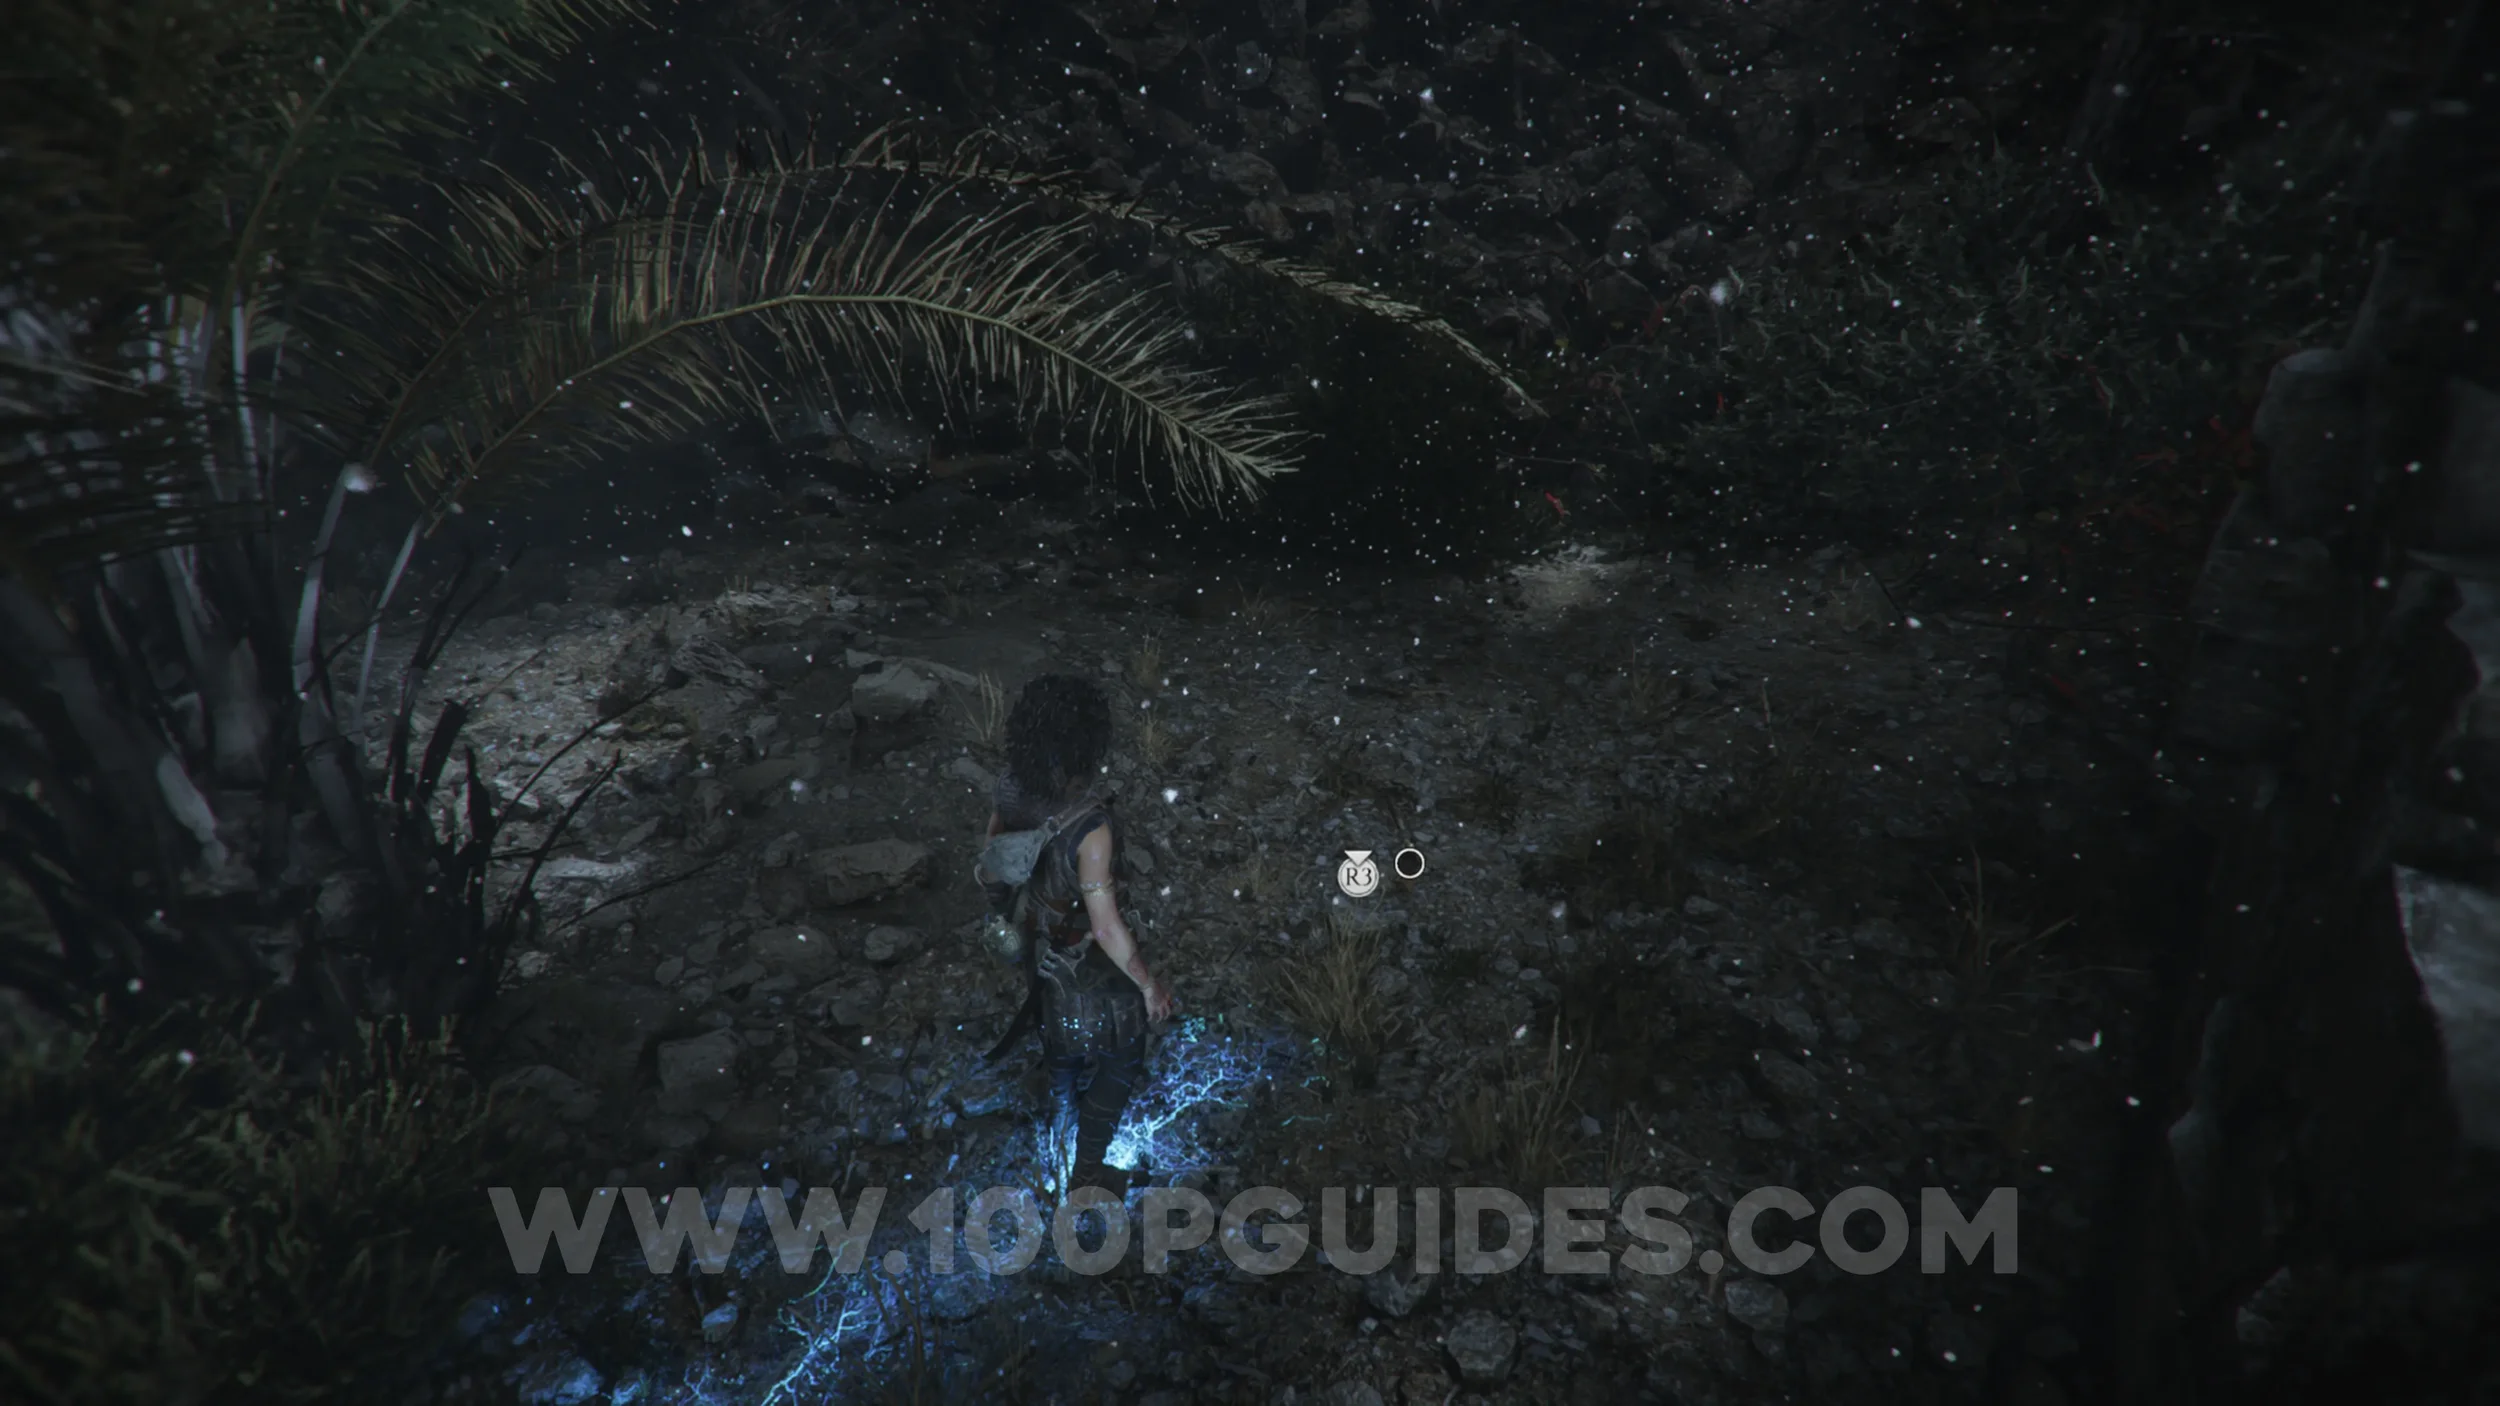
Resonance Point
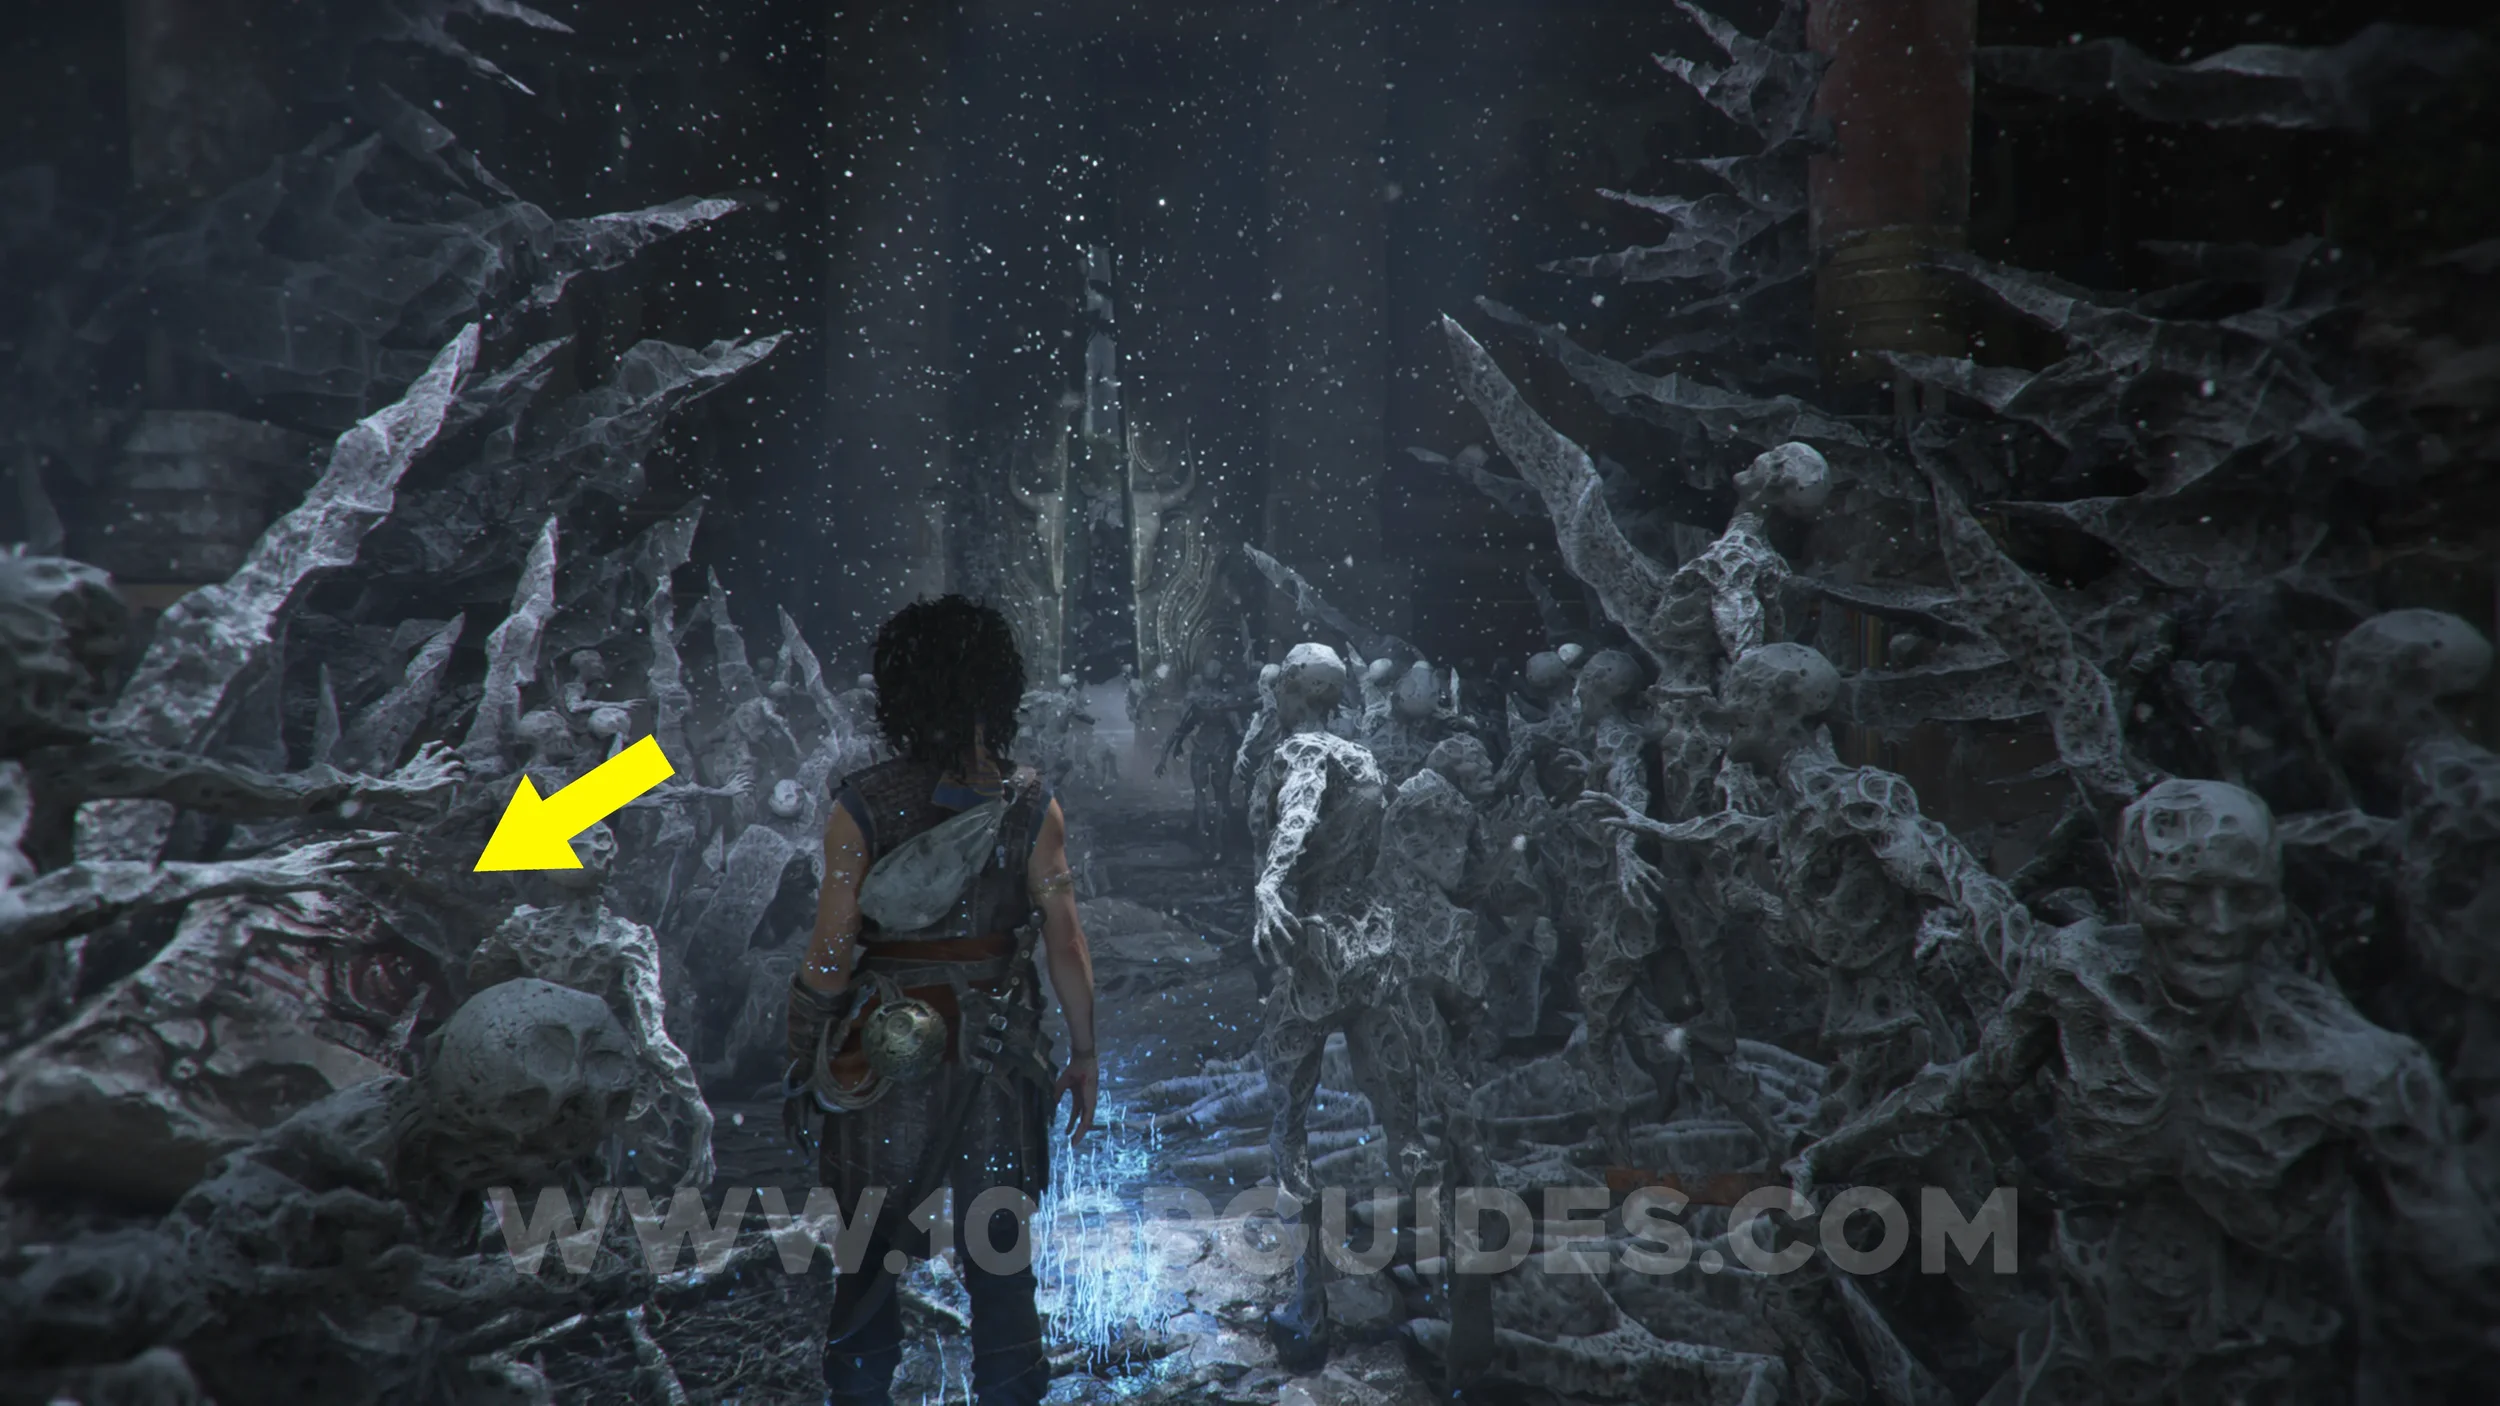
Chapter 9: Sub-Chapter 6.
After the previous collectible, head up the stairs and through the hole. Then, in the next room, as you walk through all the corpses, look for an opening on your left where you'll find the Resonance Point.
Resonance Point
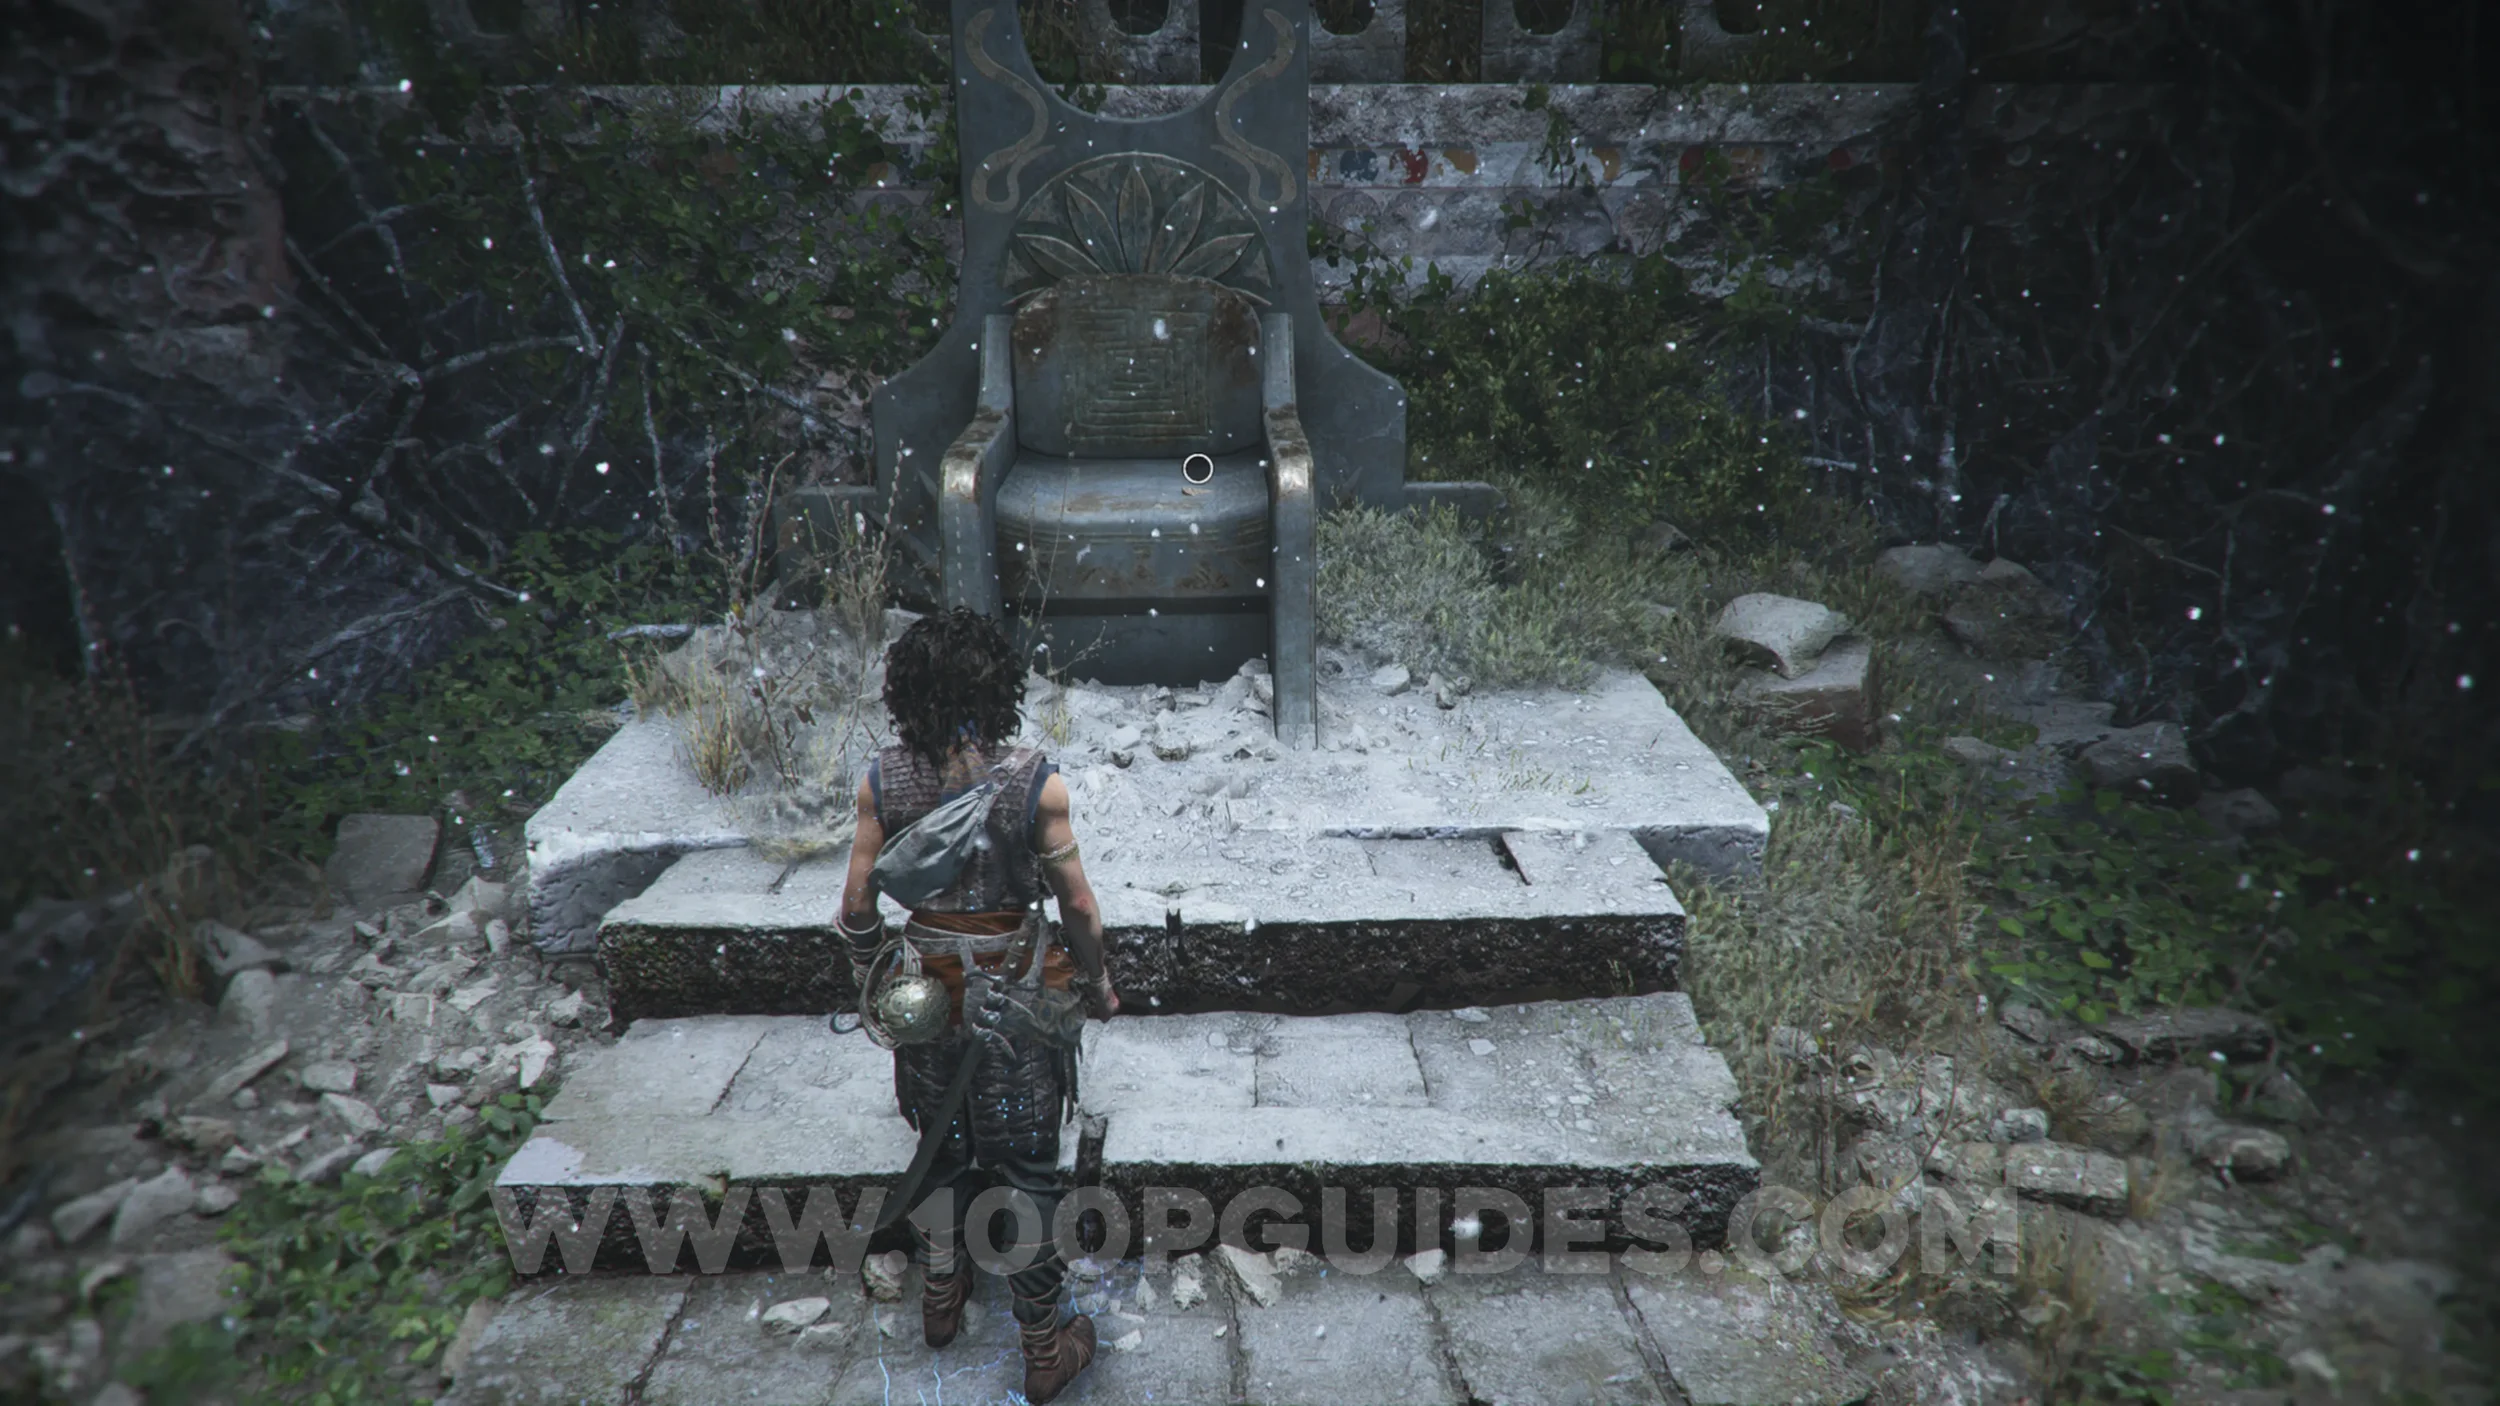
Chapter 9: Sub-Chapter 6.
On the throne in the next room. Hard to miss.
Resonance Point x2
Chapter 9: Sub-Chapter 6.
Drop down to the right of the throne to reach the next light. Then, in the next corridor, look for a hole on the right side that you can crouch through. Go through it to find the points.
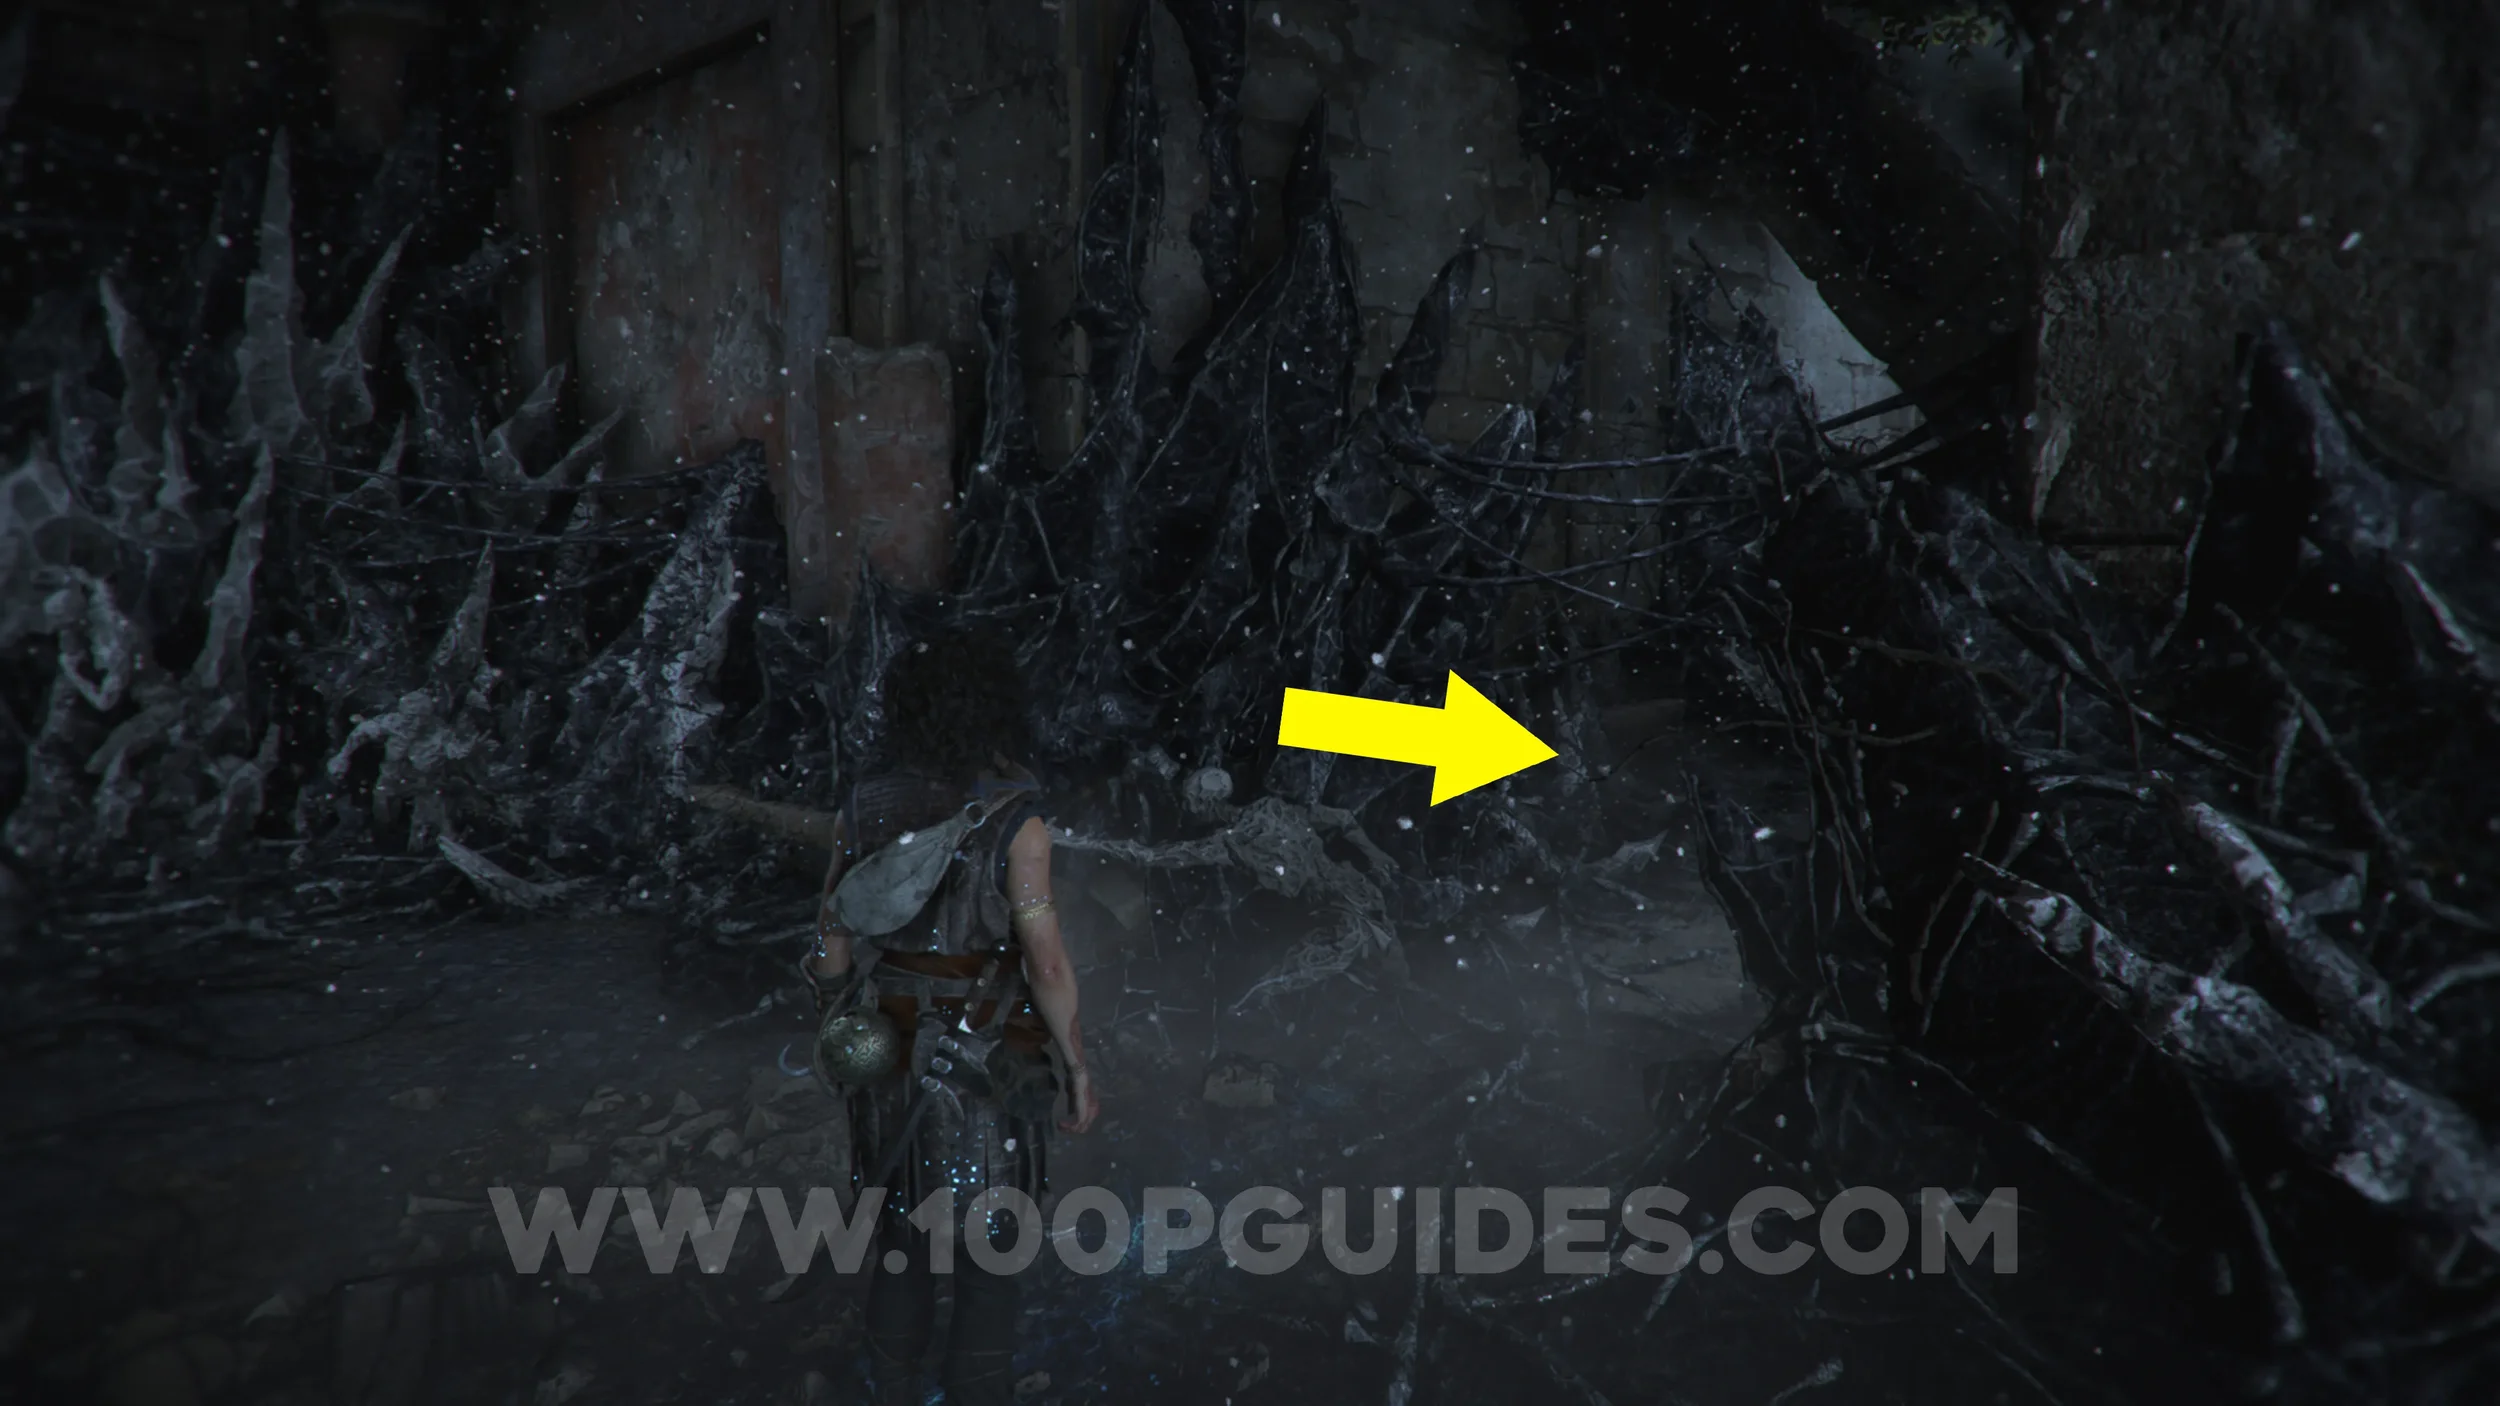
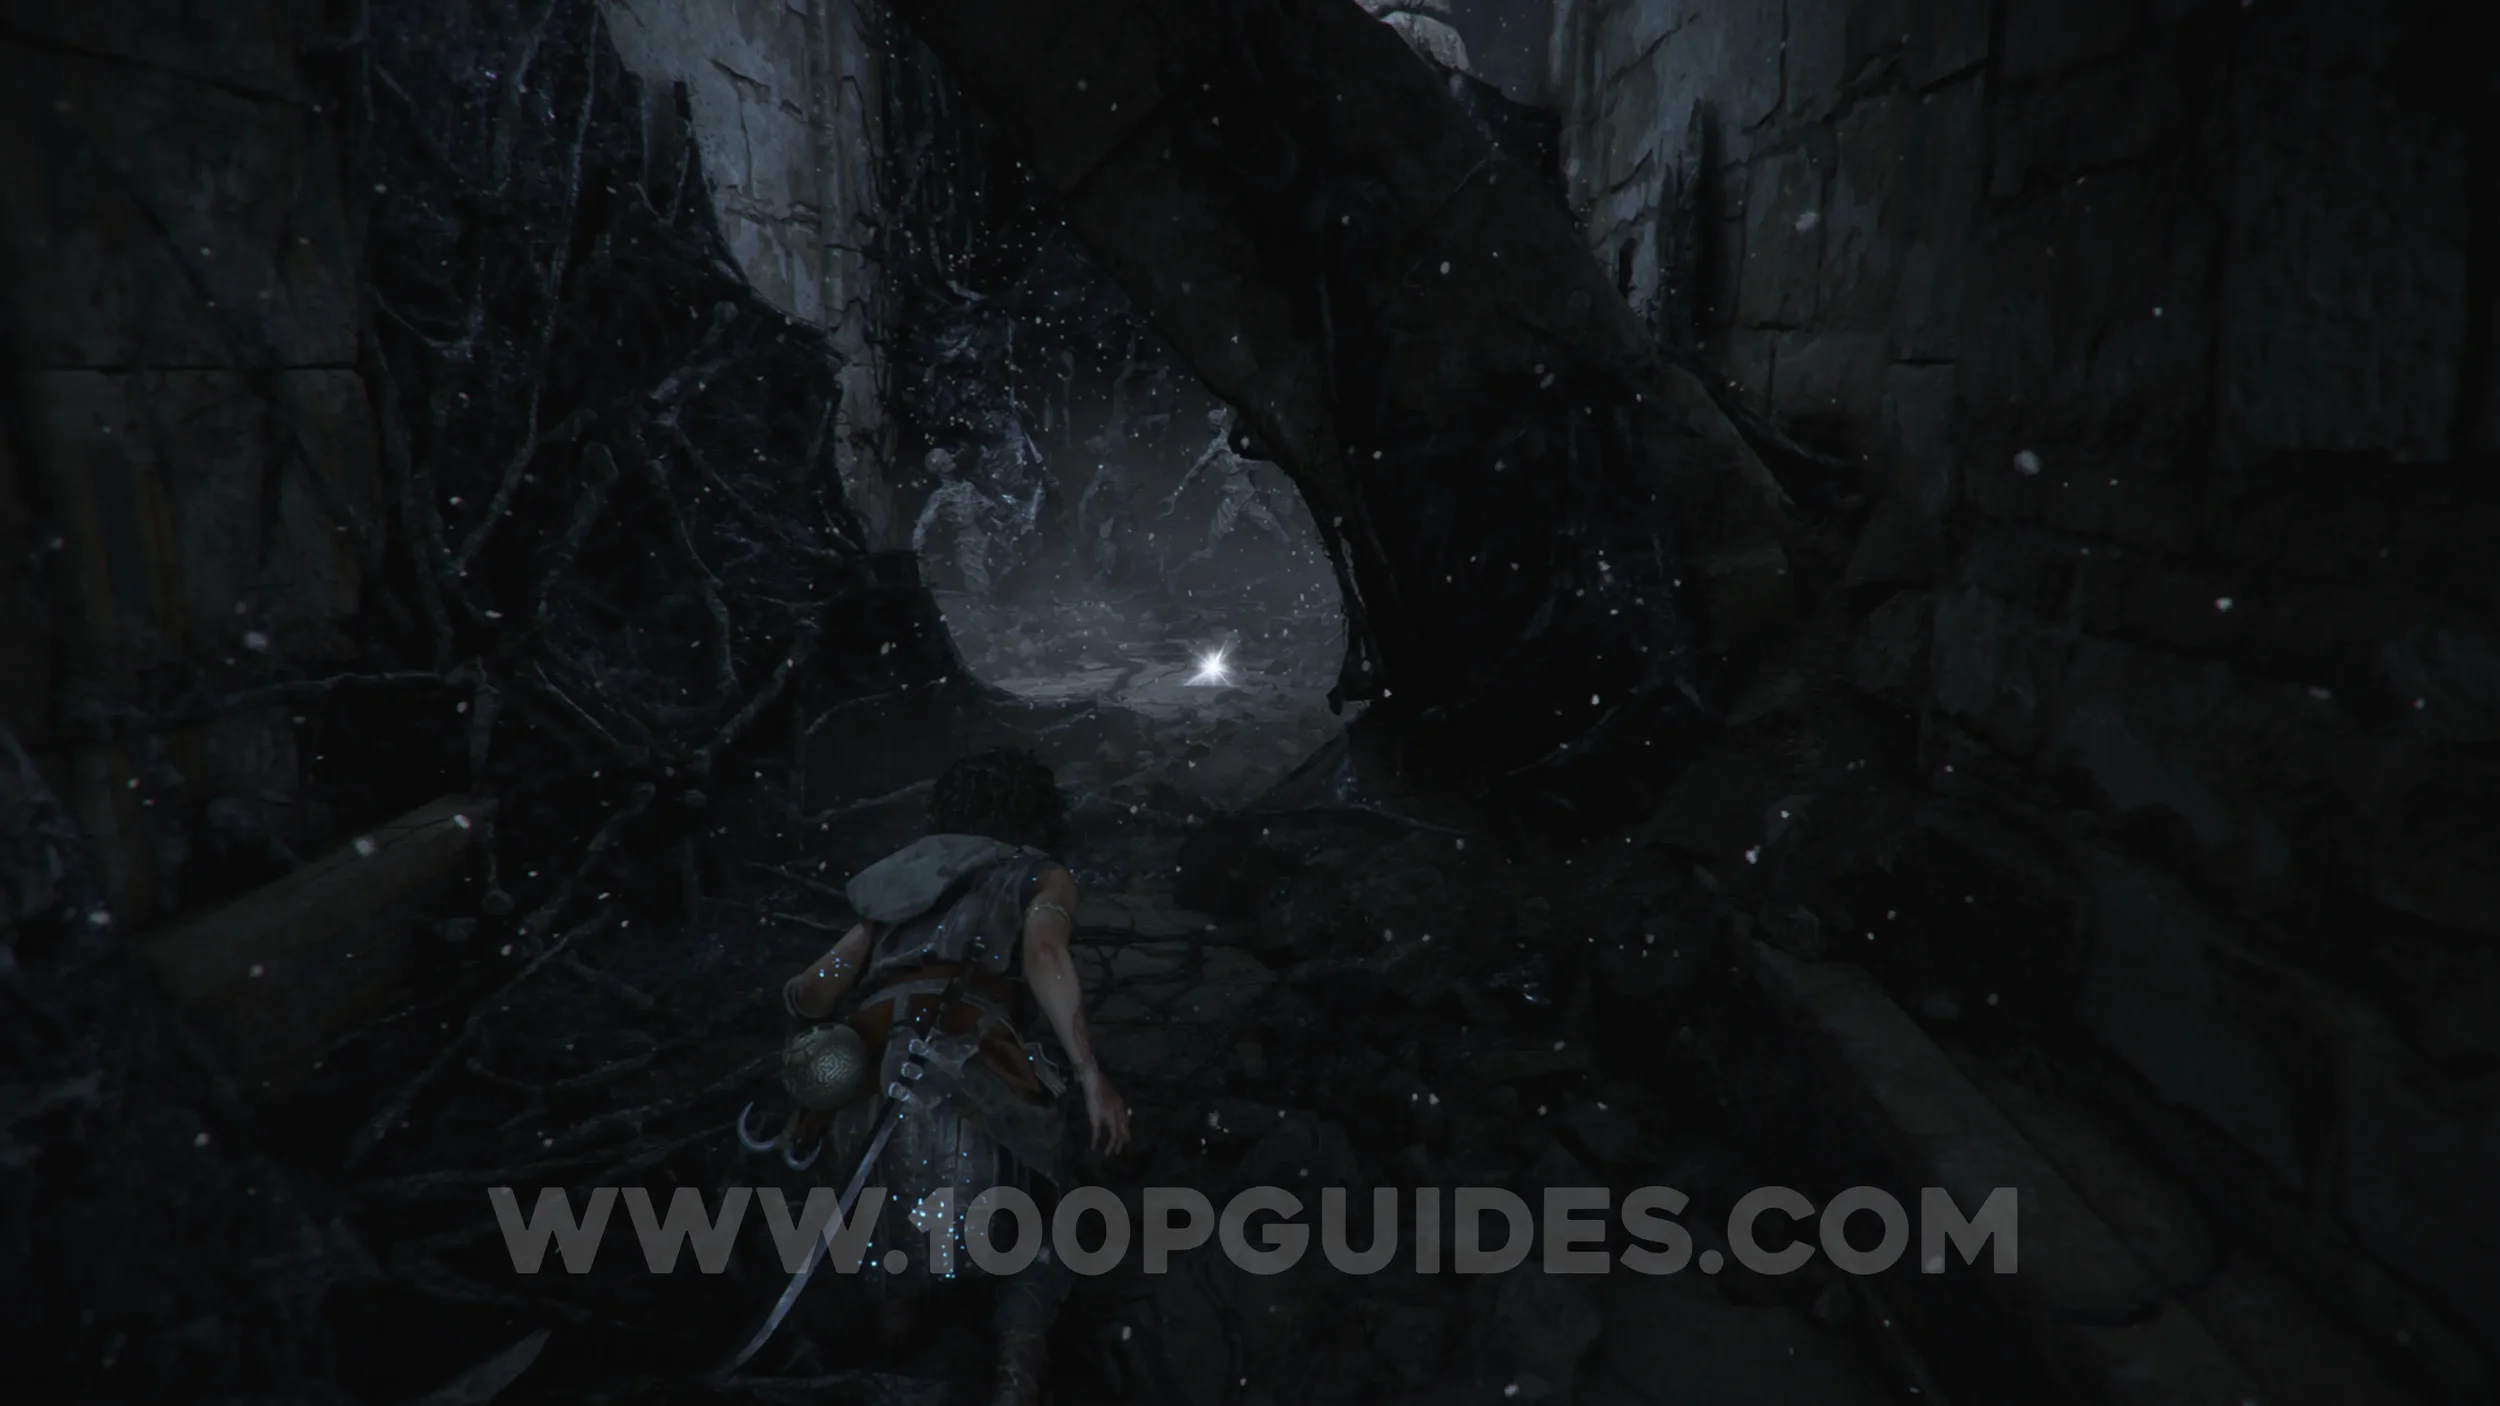
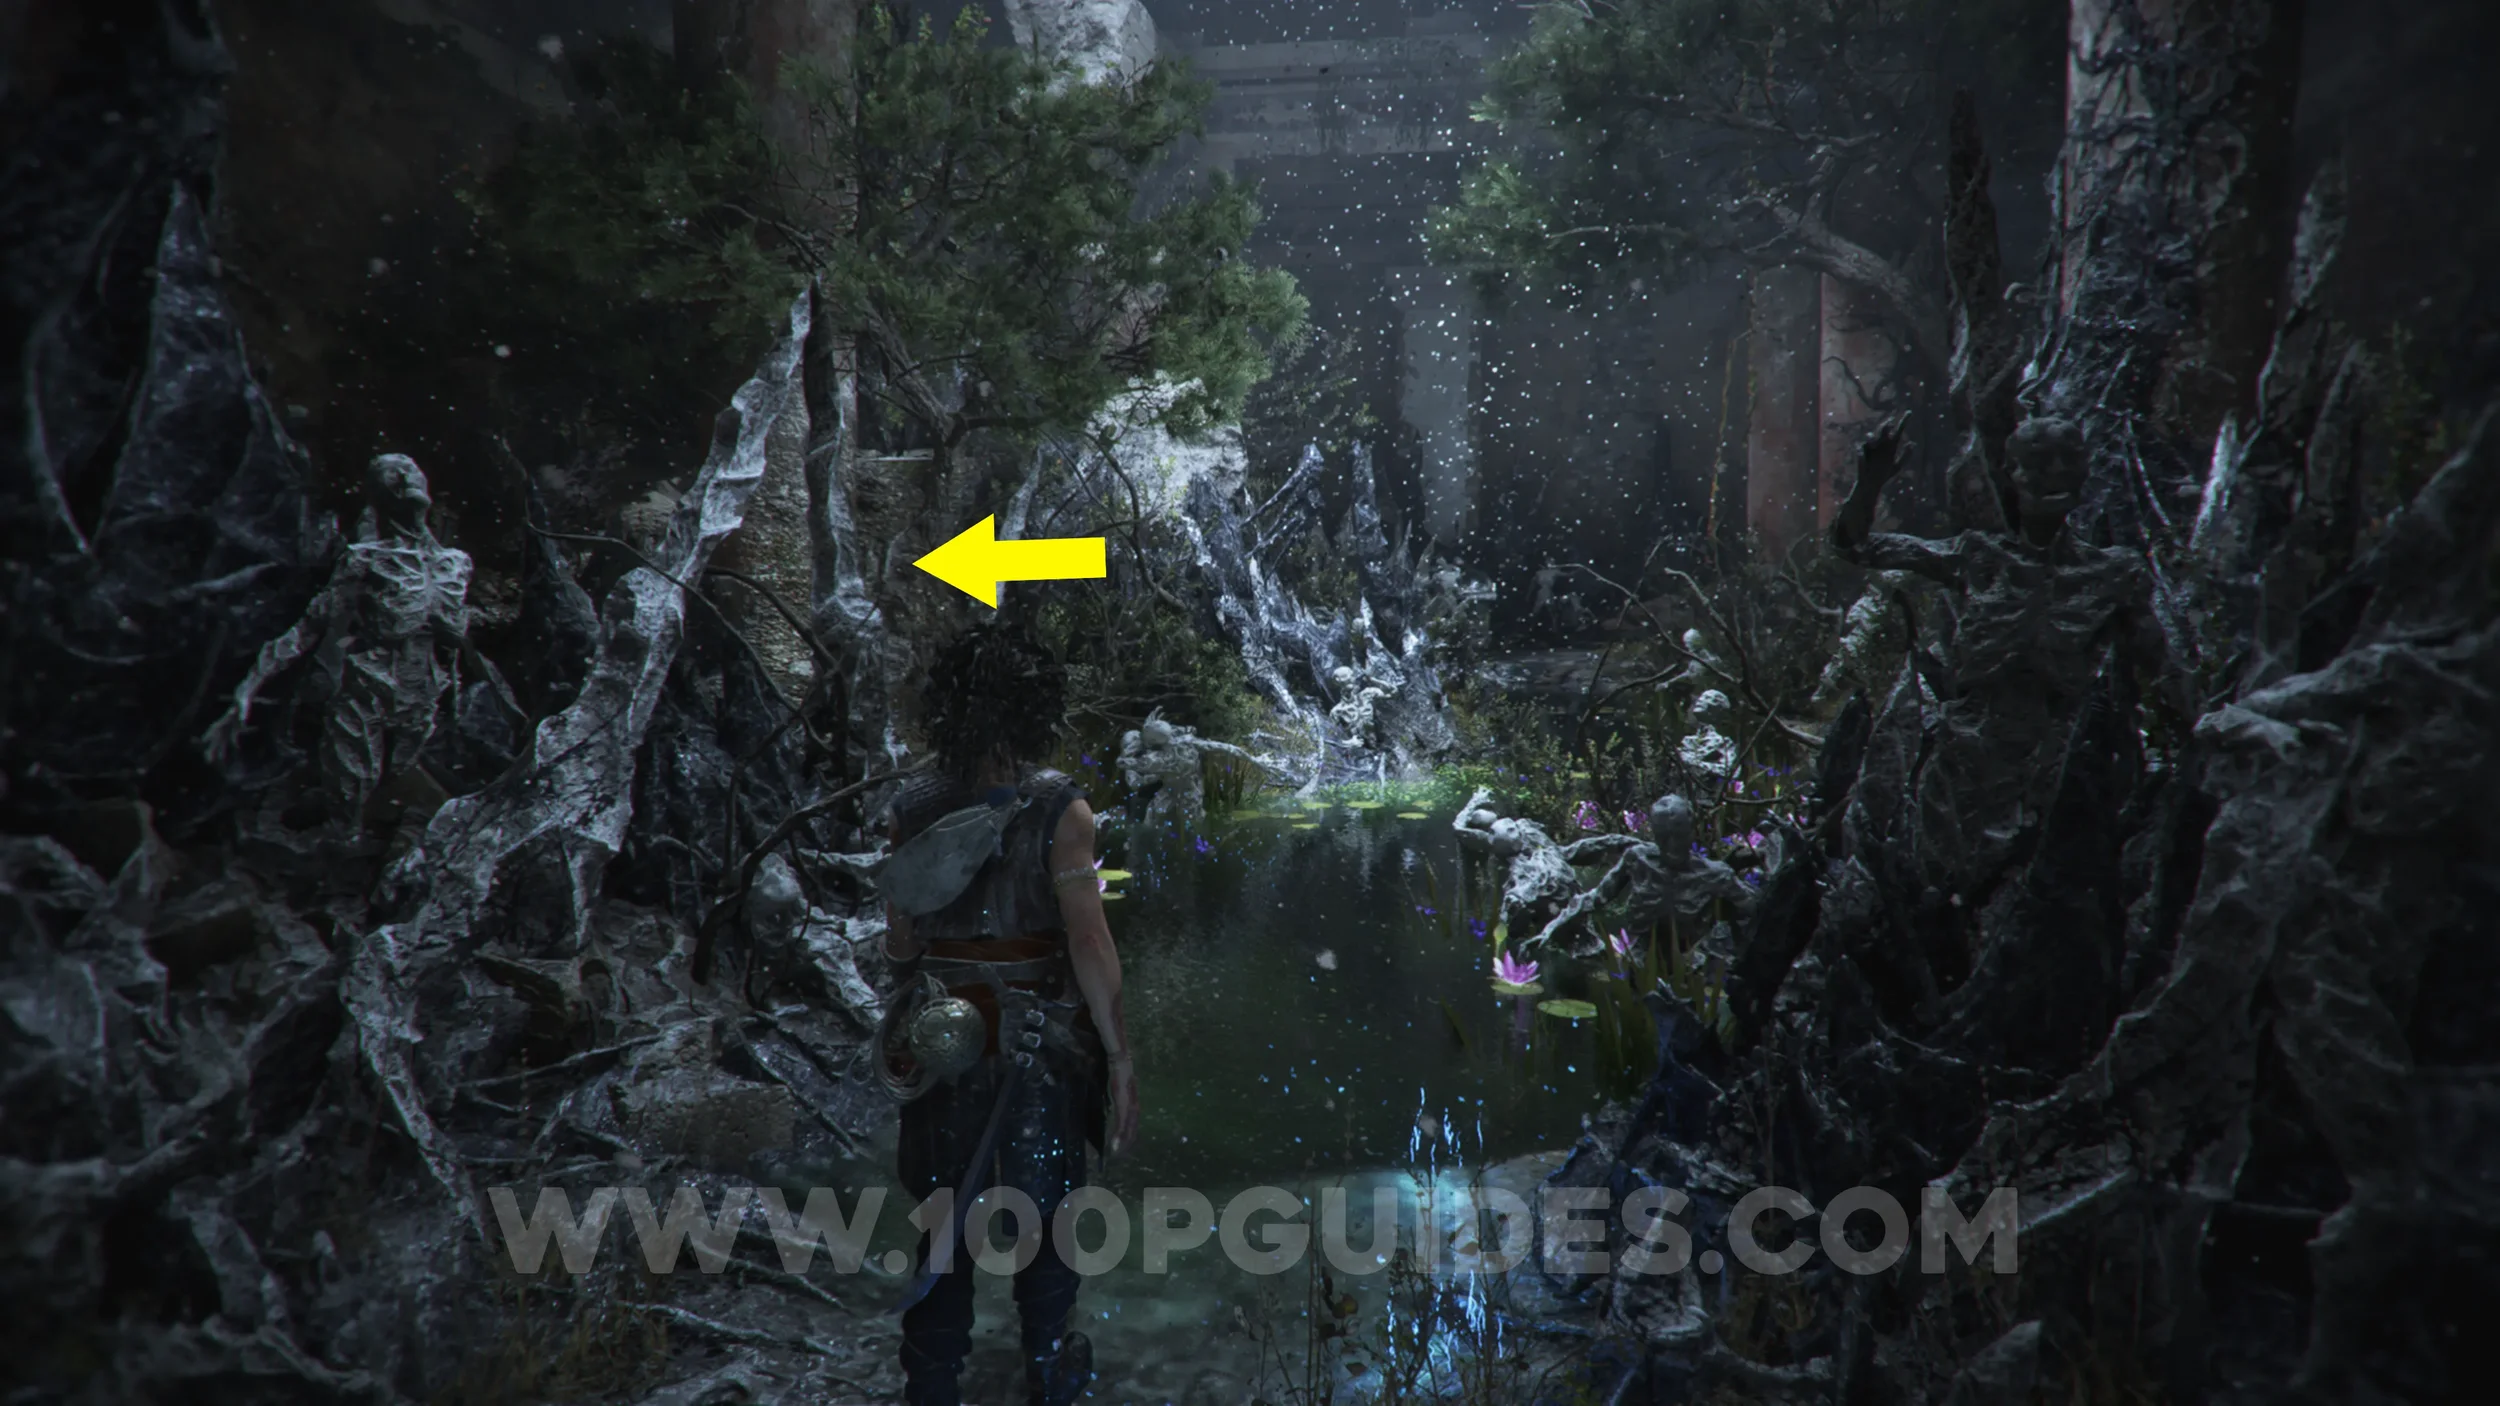
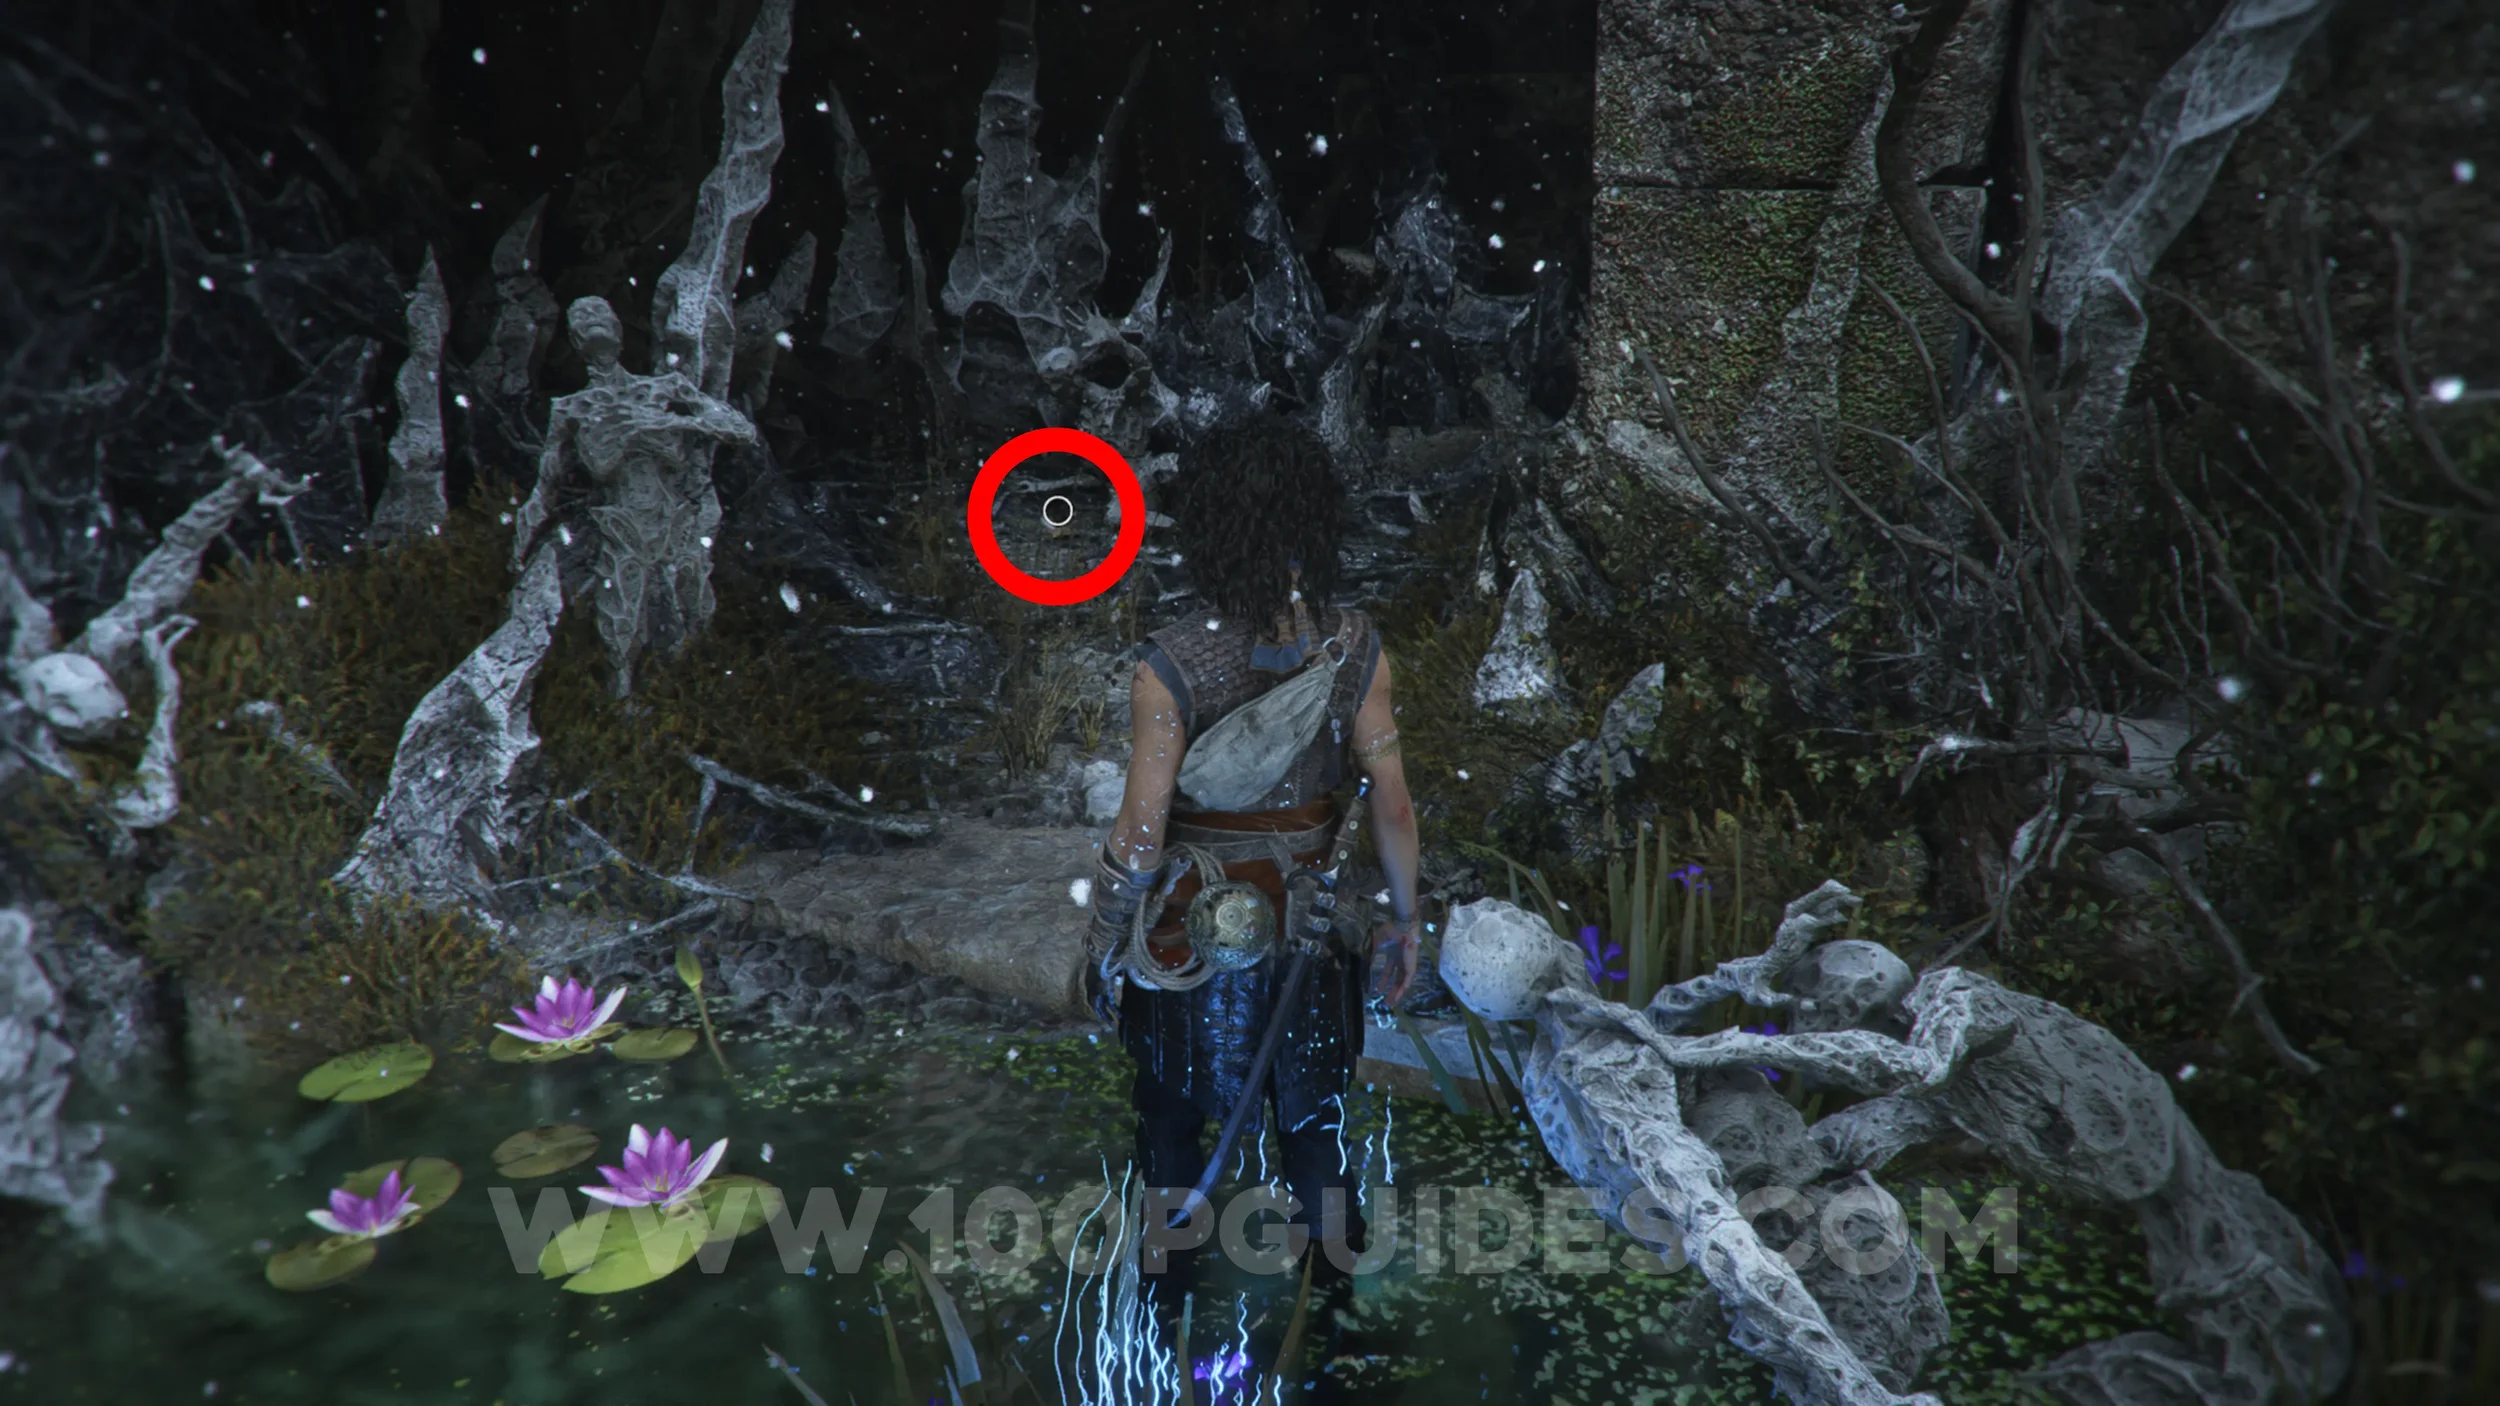
Resonance Point
Chapter 9: Sub-Chapter 6.
Continue on the main path, and you'll soon go through some water with flowers floating on it. Here, look for an opening on your left to find the collectible.
Charm: Pierced Coin #4
Chapter 9: Sub-Chapter 6.
Soon after the previous collectible, you'll climb some stairs covered with petrified corpses. At the top, head left and go through the hole to find the collectible.
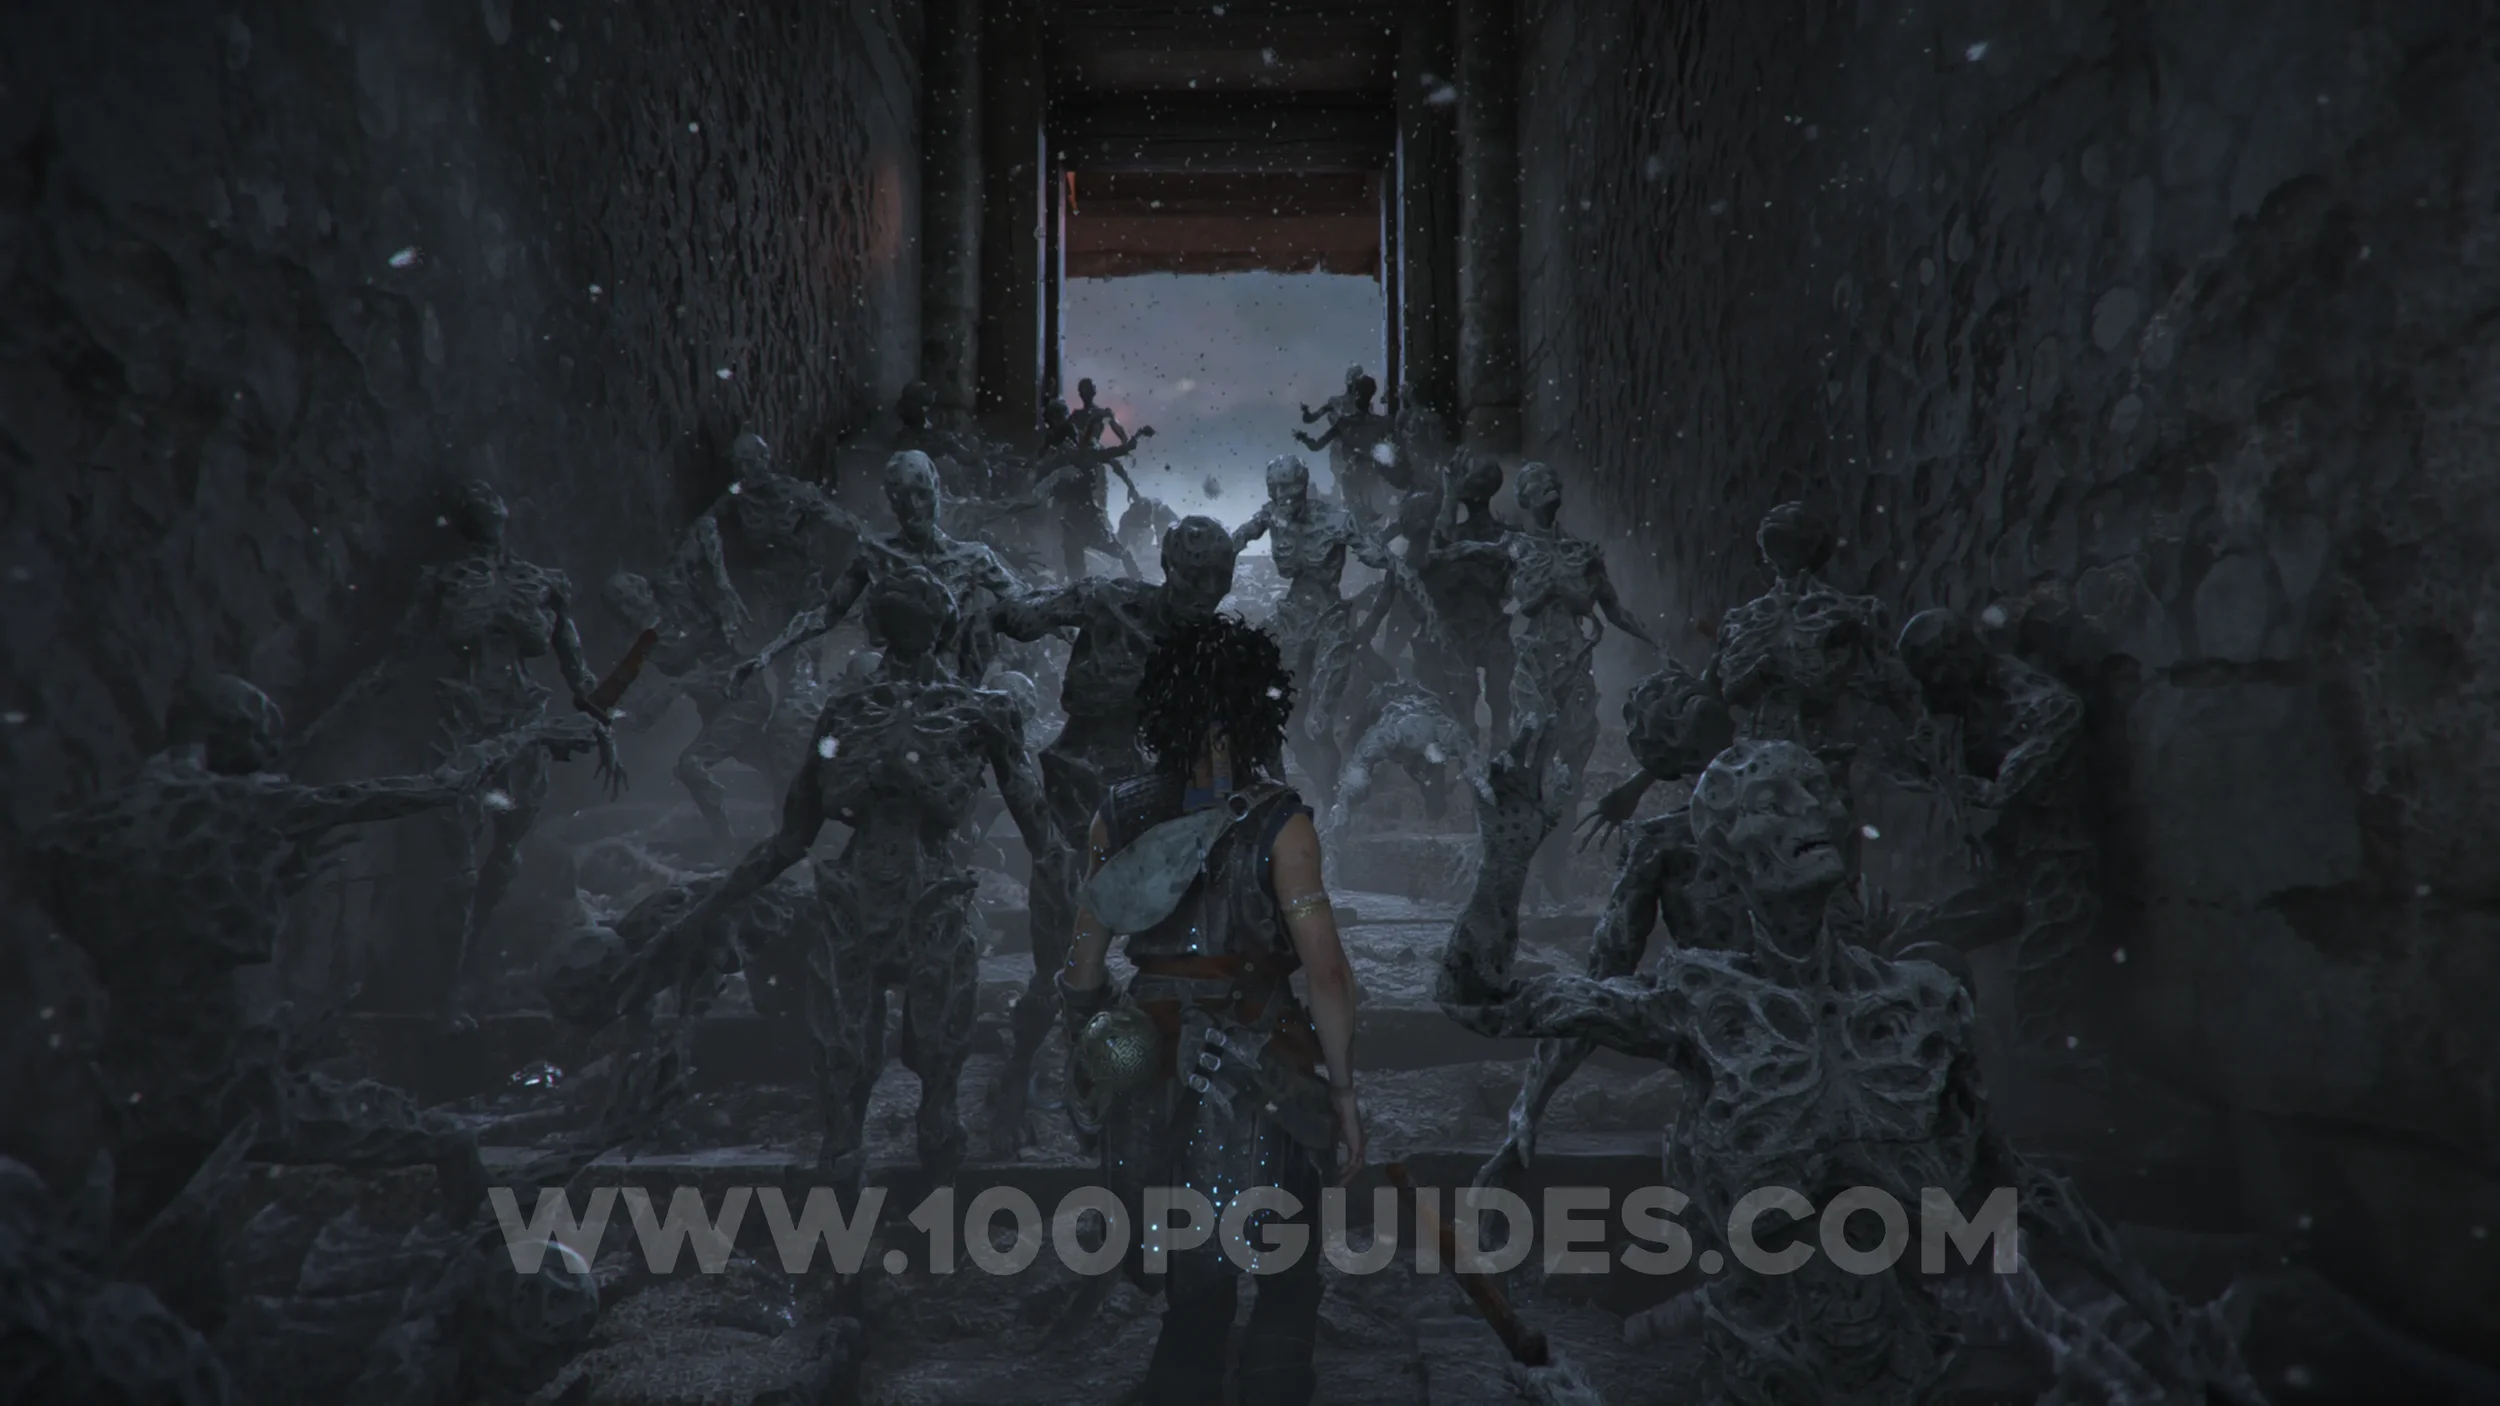
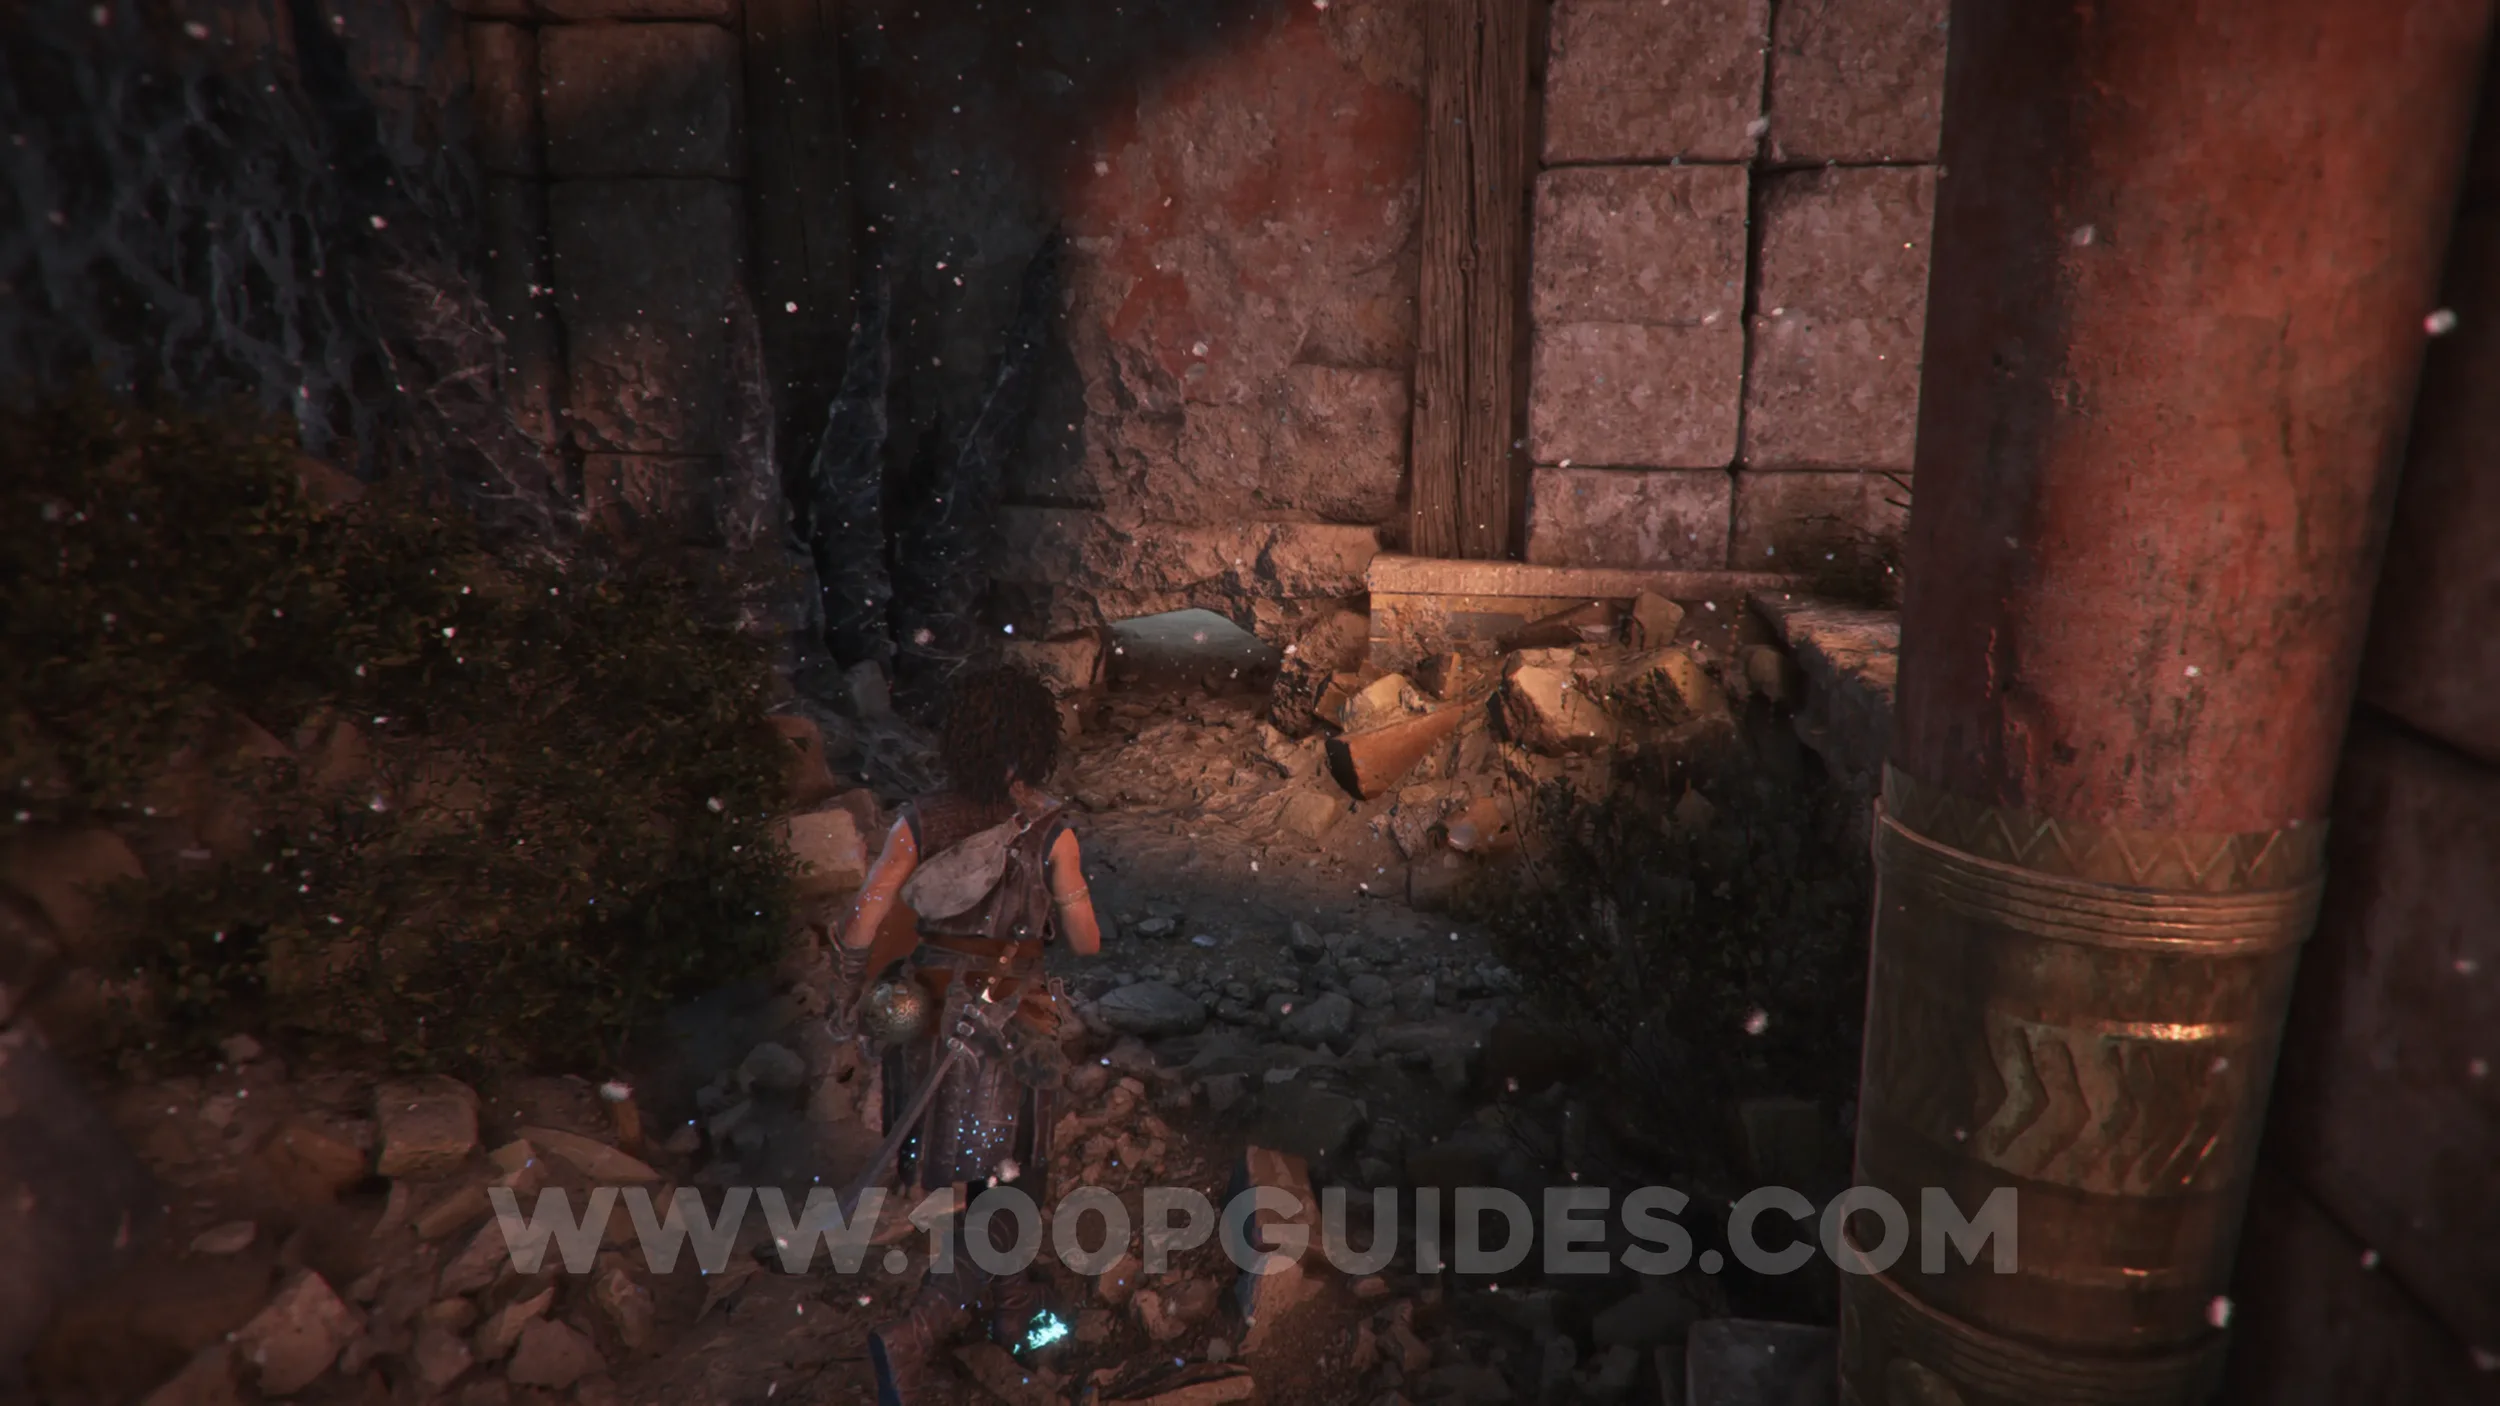
Resonance Point
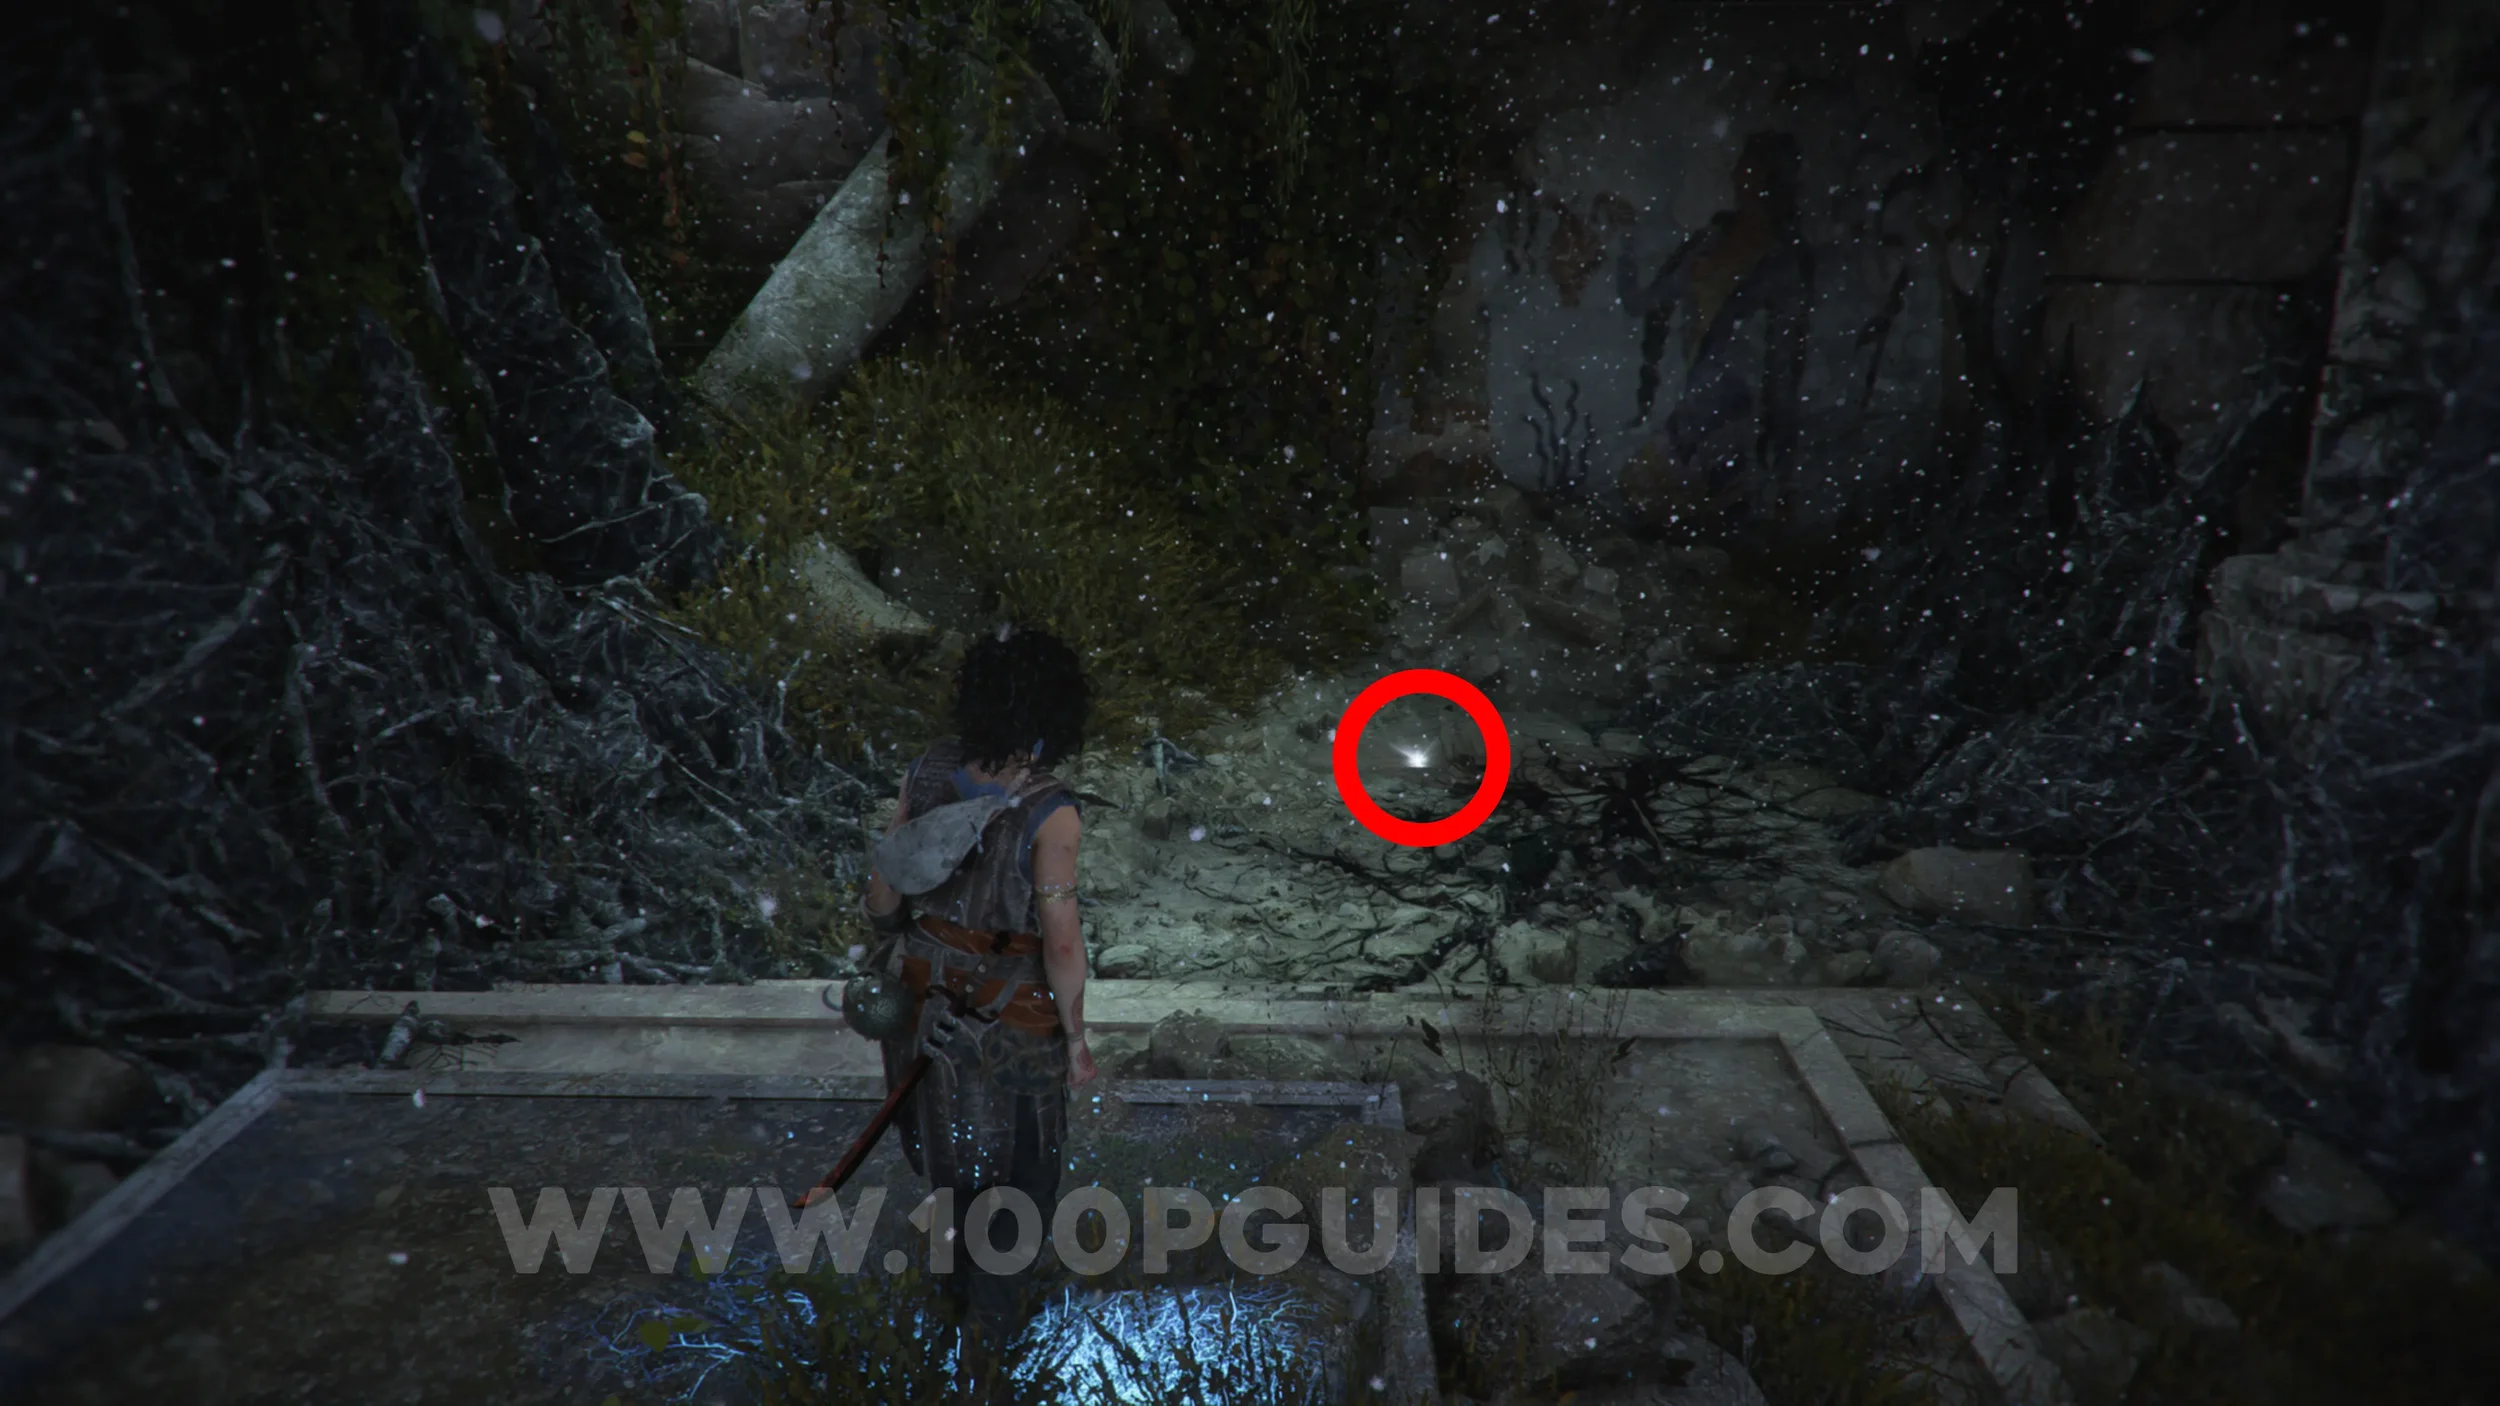
Chapter 9: Sub-Chapter 6.
After the cutscene where Daedalus talks to the King, once you retake control of Sophia, head to the right side of the first room to find the collectible.
Artefact: Bronze Mirror
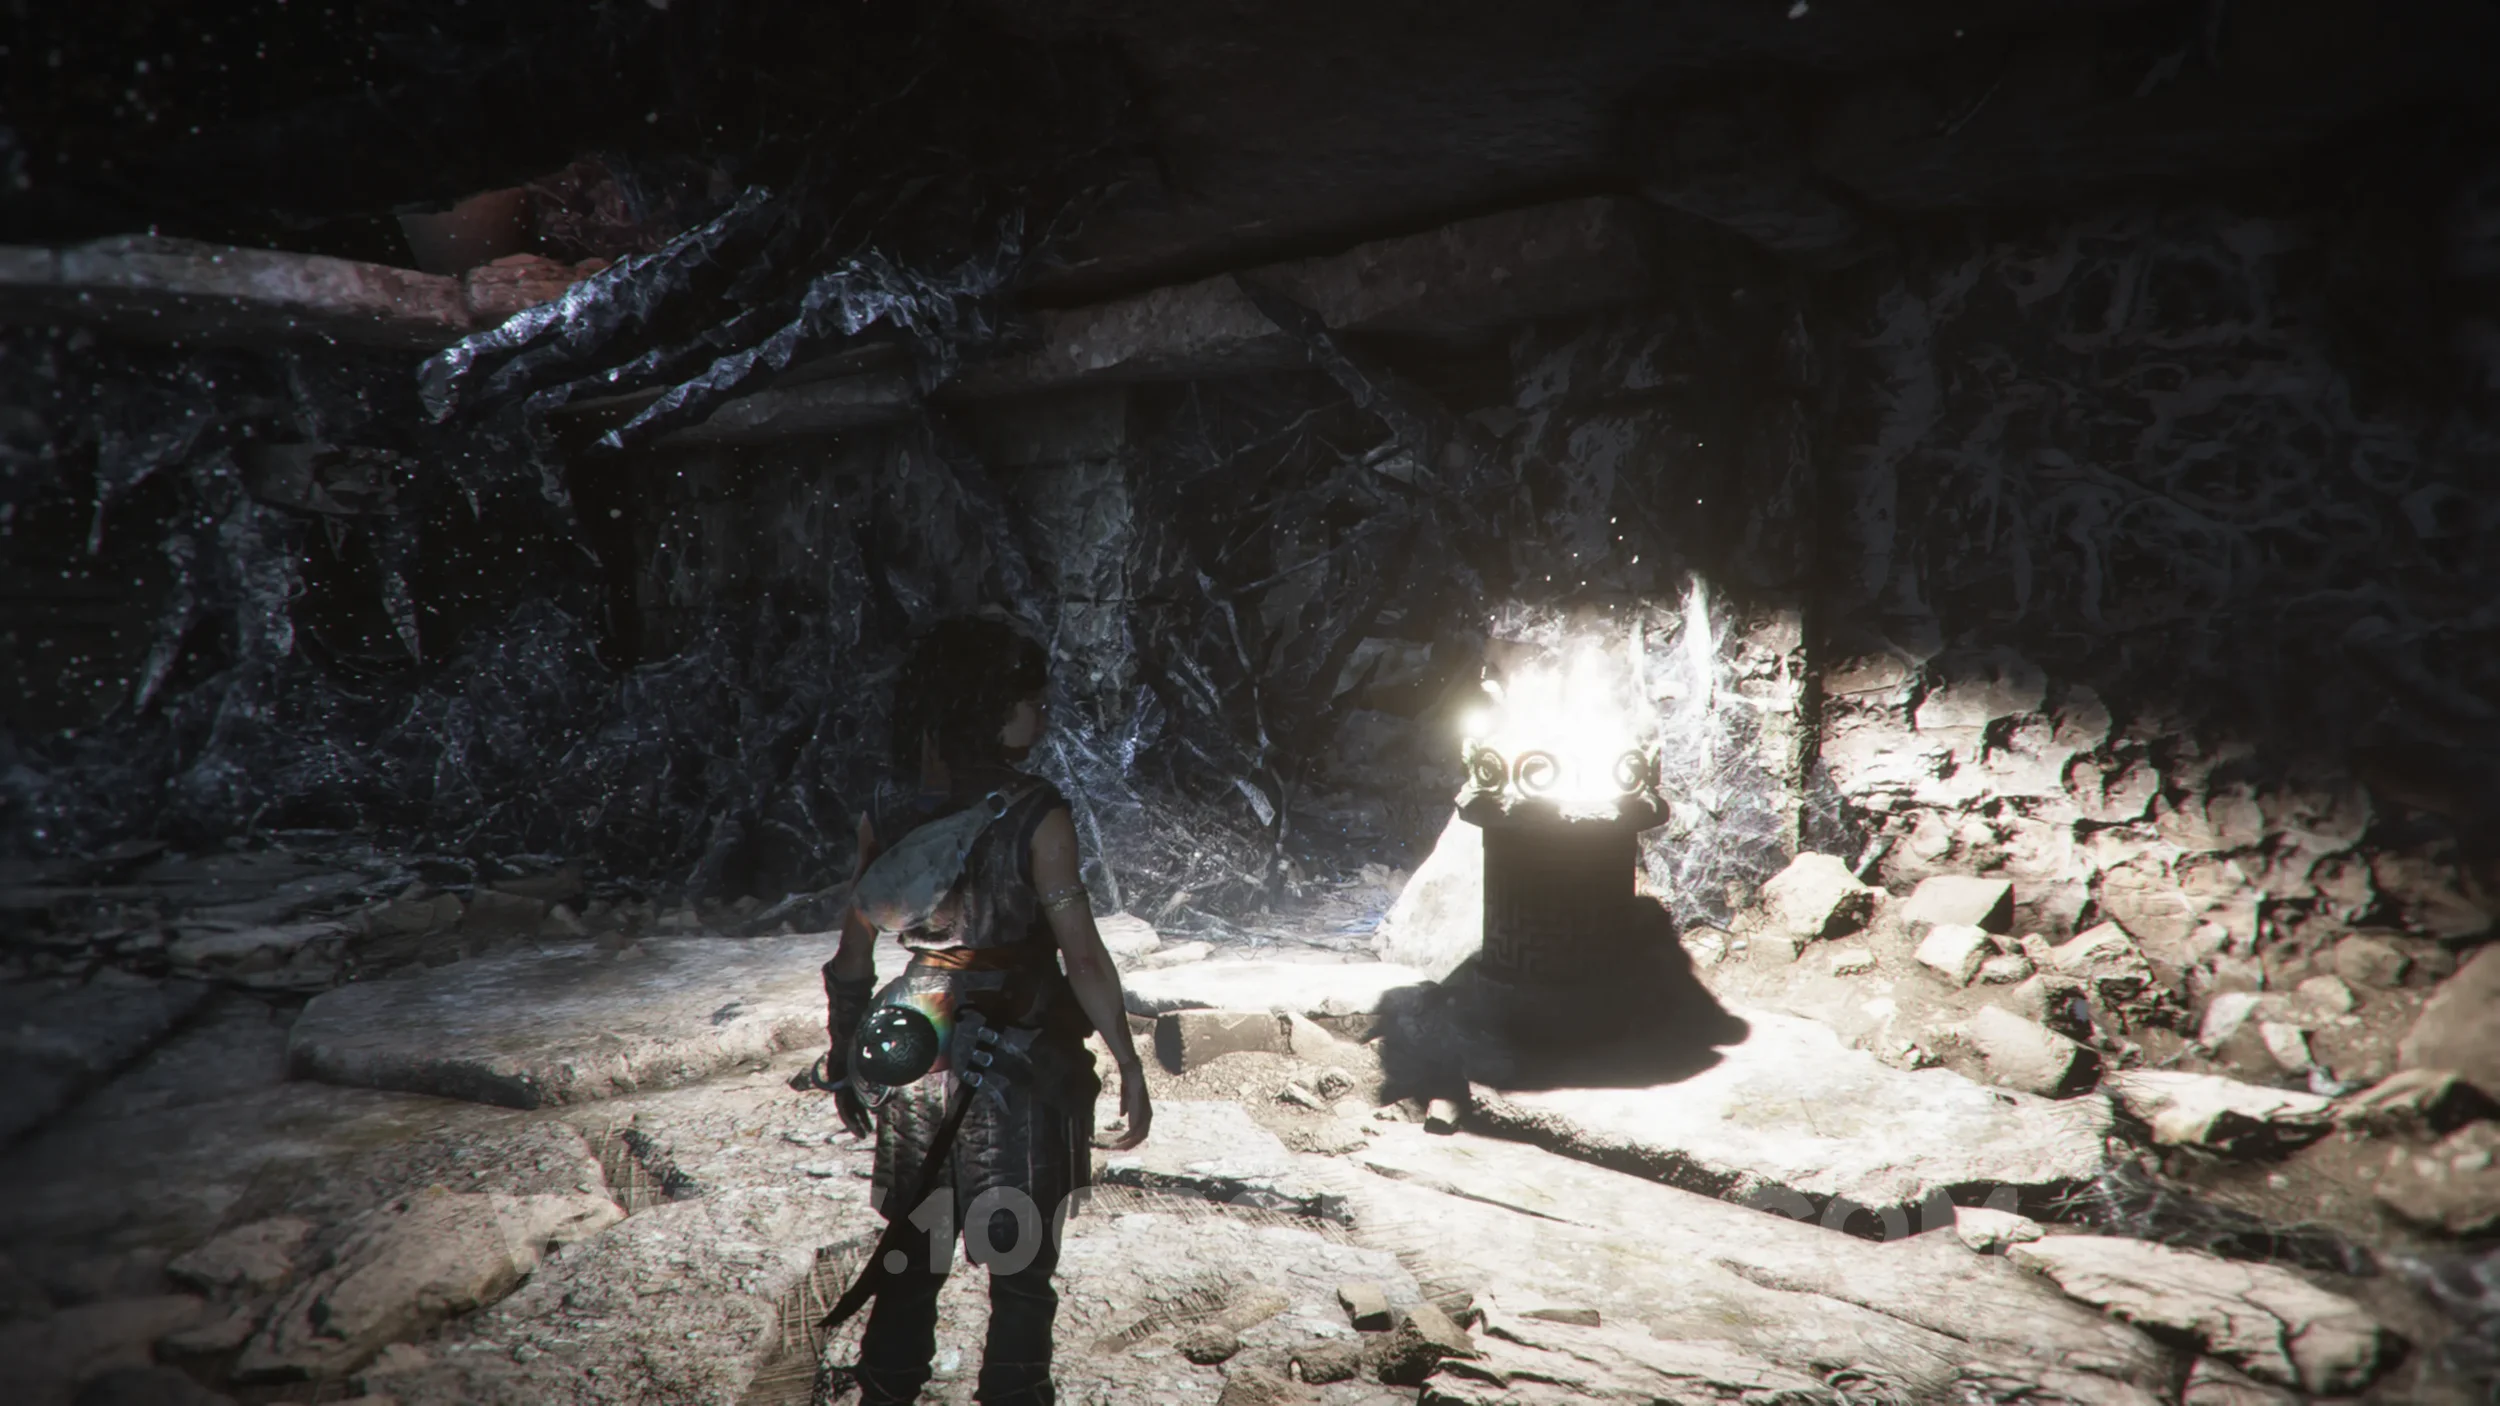
Chapter 9: Sub-Chapter 6.
From the previous collectible, drop down the hole in the floor and hit the tourch on the right to light it. This will open a hole in the wall next to it. Head through and then vault through the hole on the right to find the artefact.
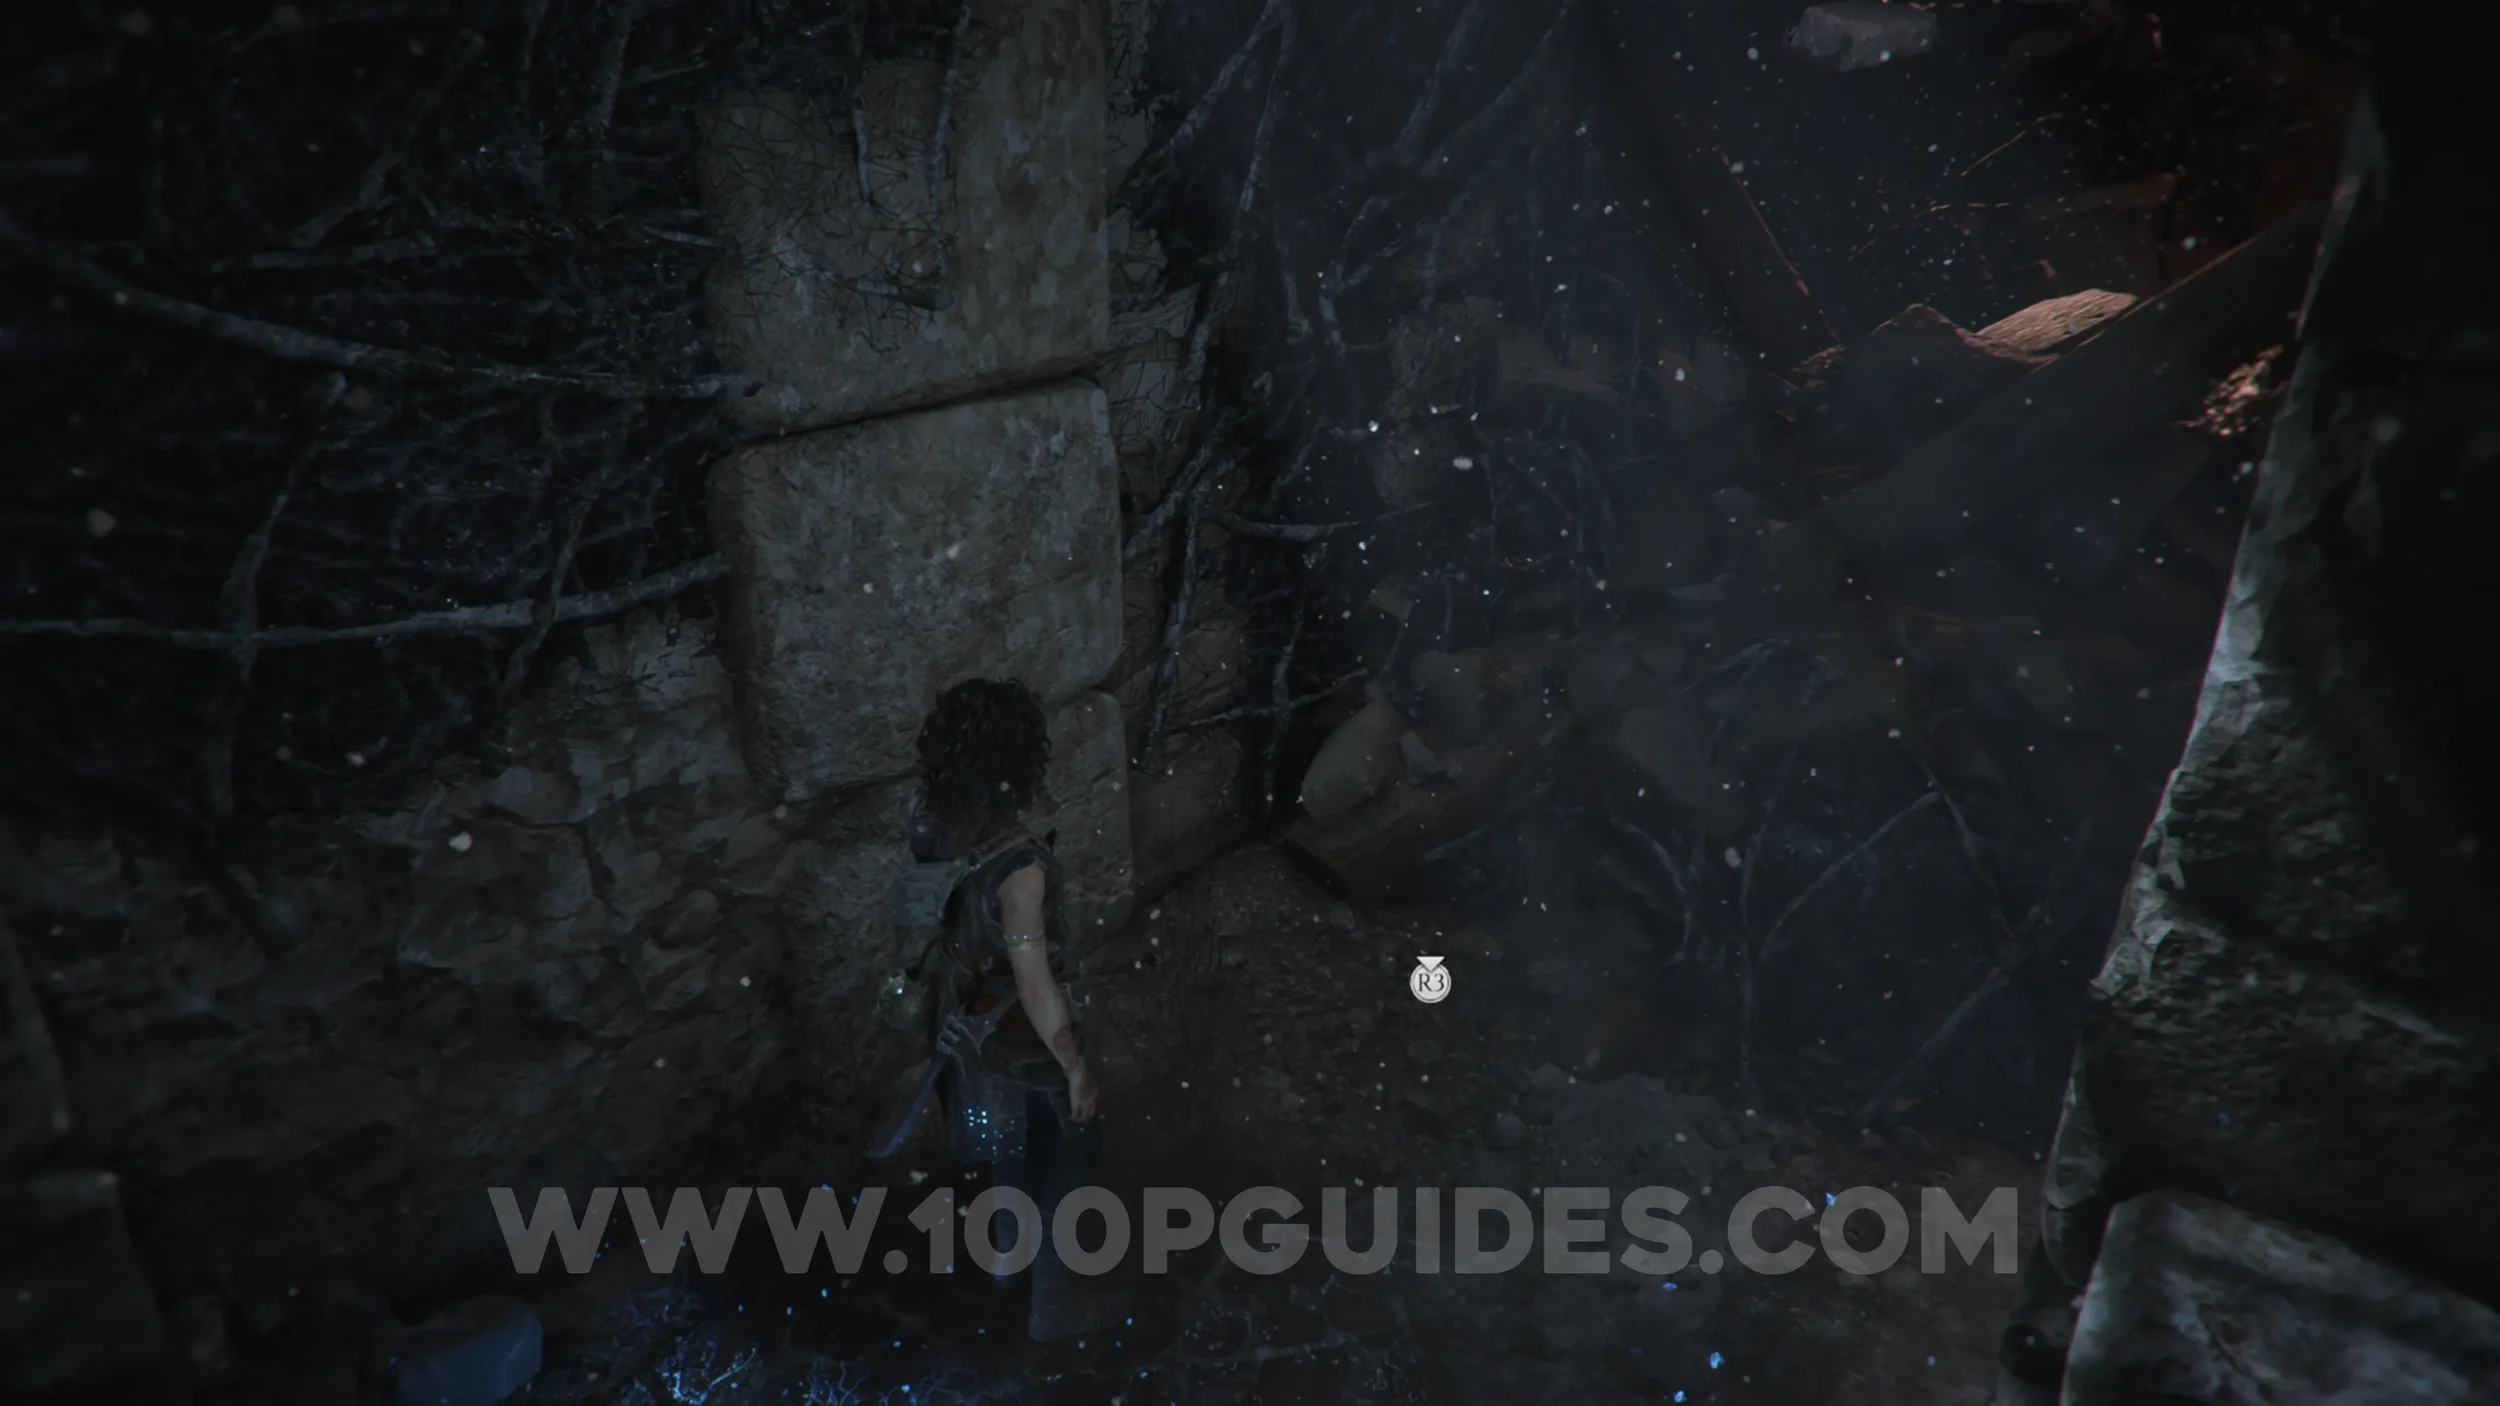
Resonance Point
Chapter 9: Sub-Chapter 6.
Return to the room with the torch. Continue through the next corridor to find another torch. Then, in the next room filled with enemies, look for a gap on your left that you can go through, where you'll find the collectible on the other side.
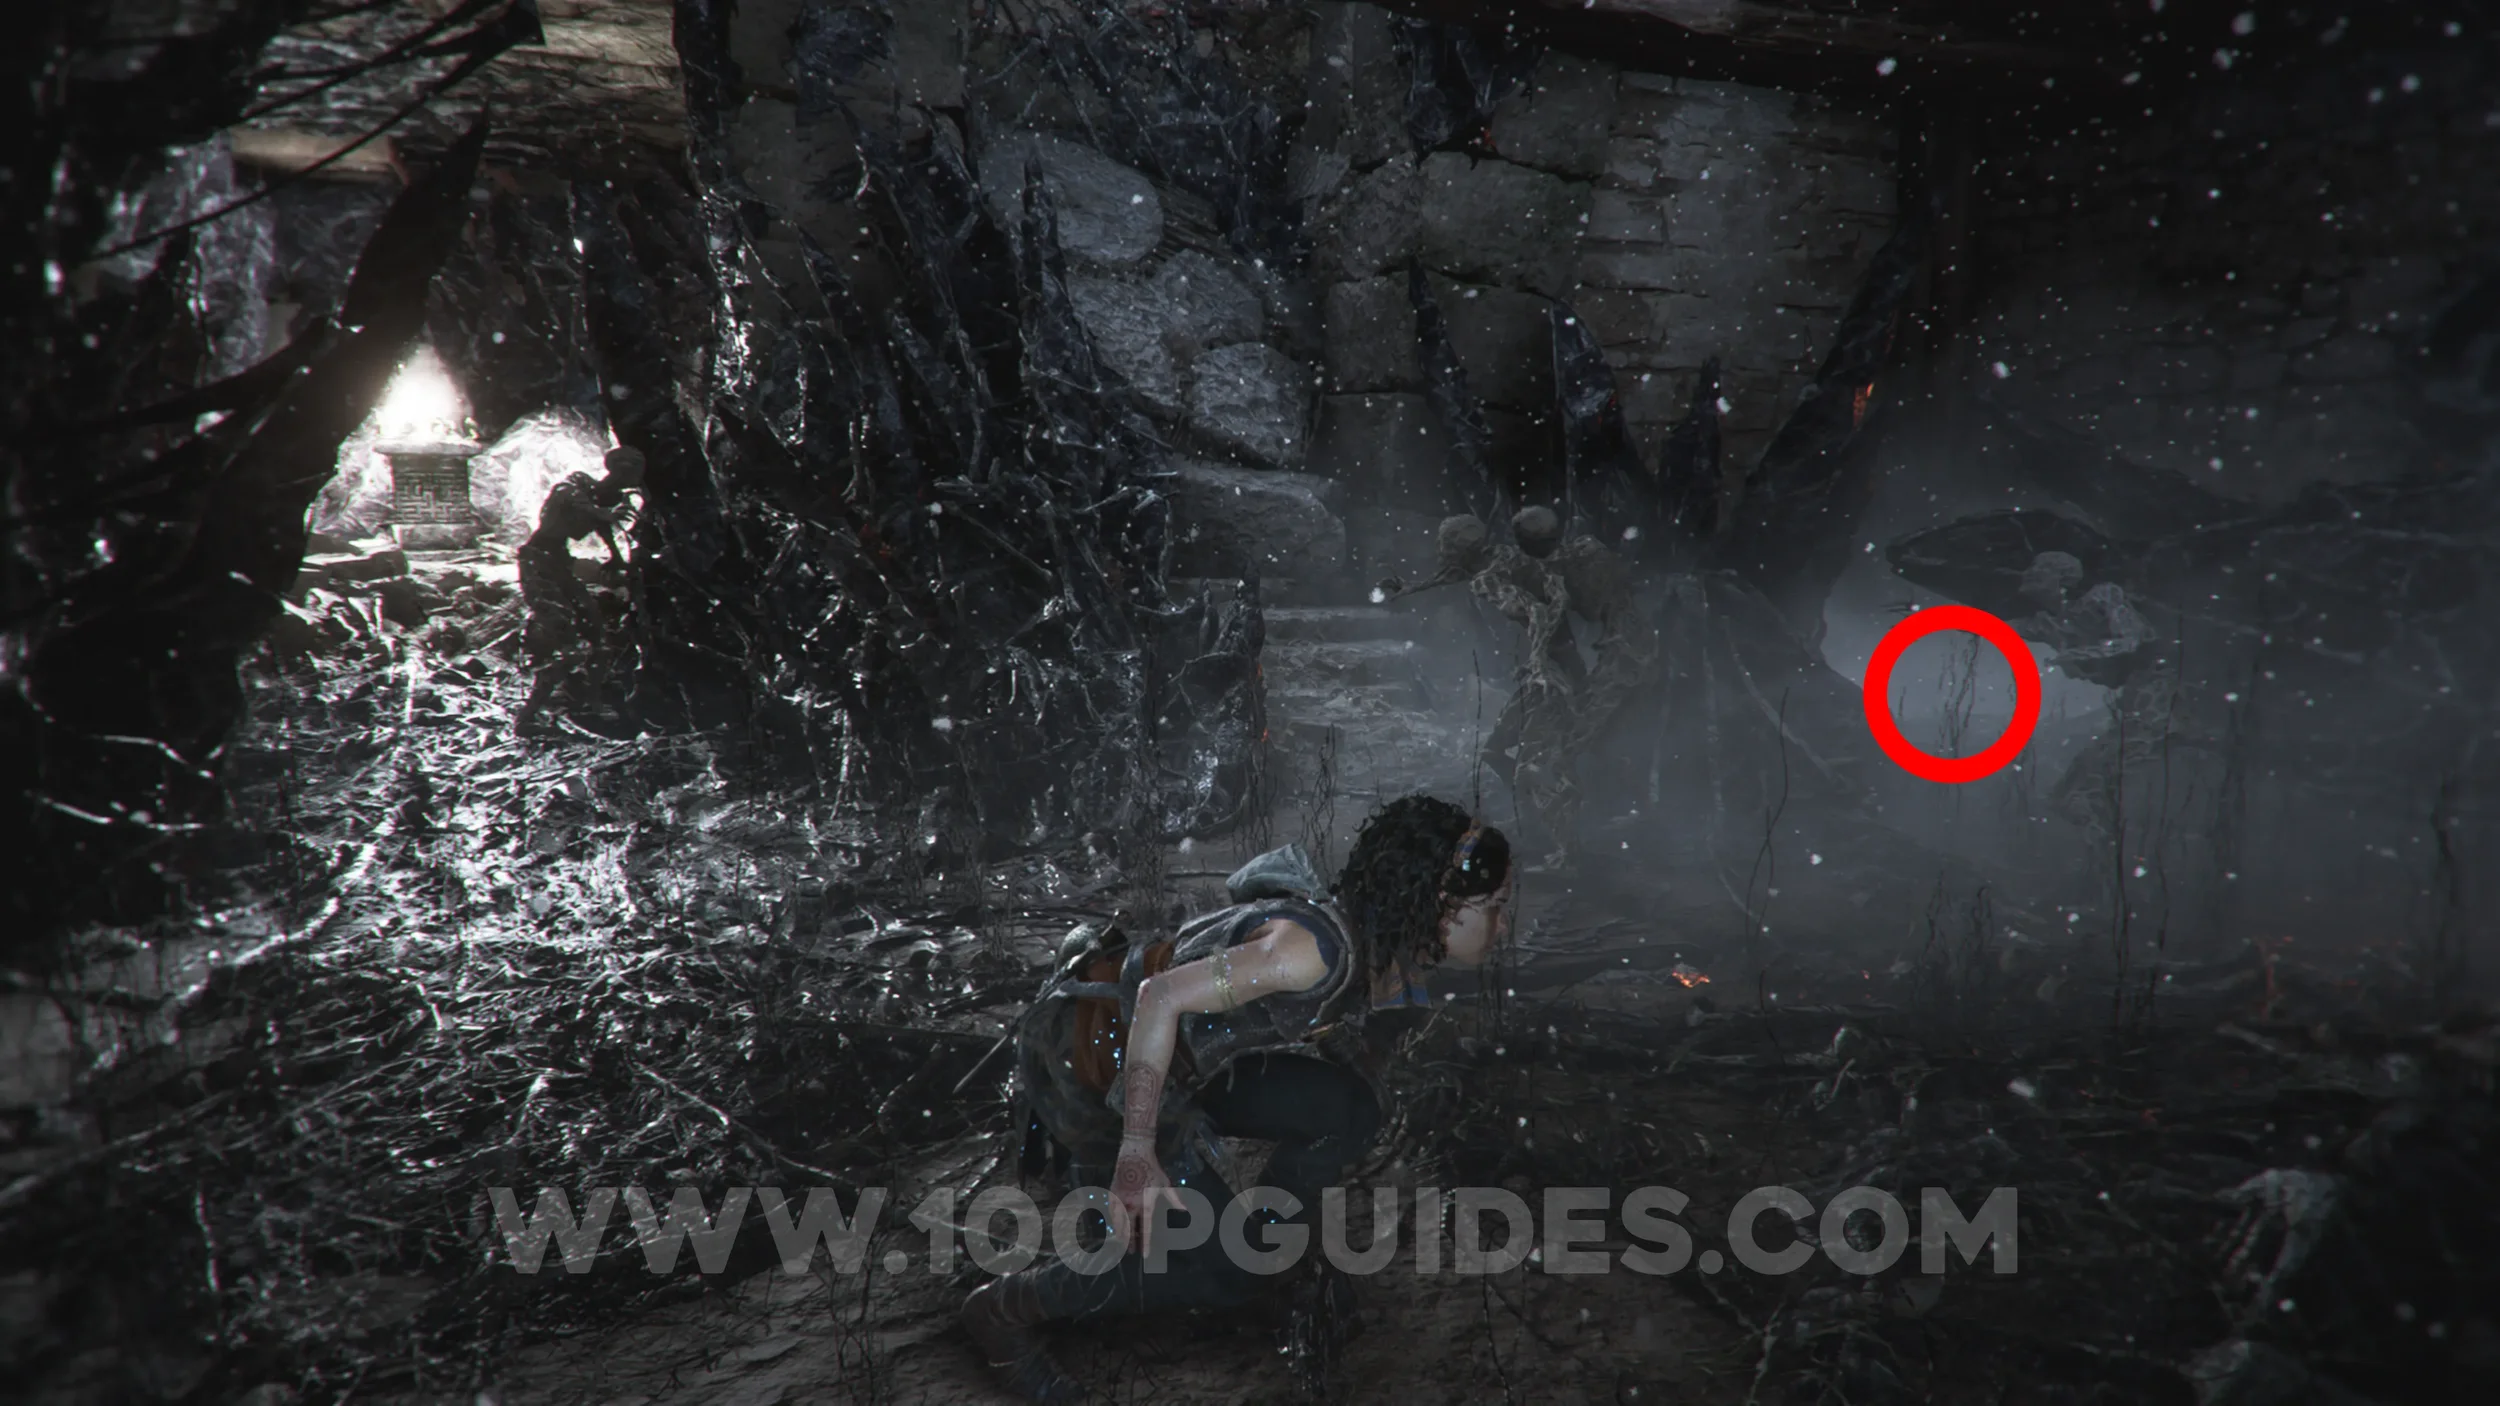
Resonance Point
Chapter 9: Sub-Chapter 6.
From the room where the previous collectible was, head up the stairs into the room above. Here, bait the enemies around the central structure so you can run out the other side of the room by jumping over the gap. On the other side, head left to find the collectible.
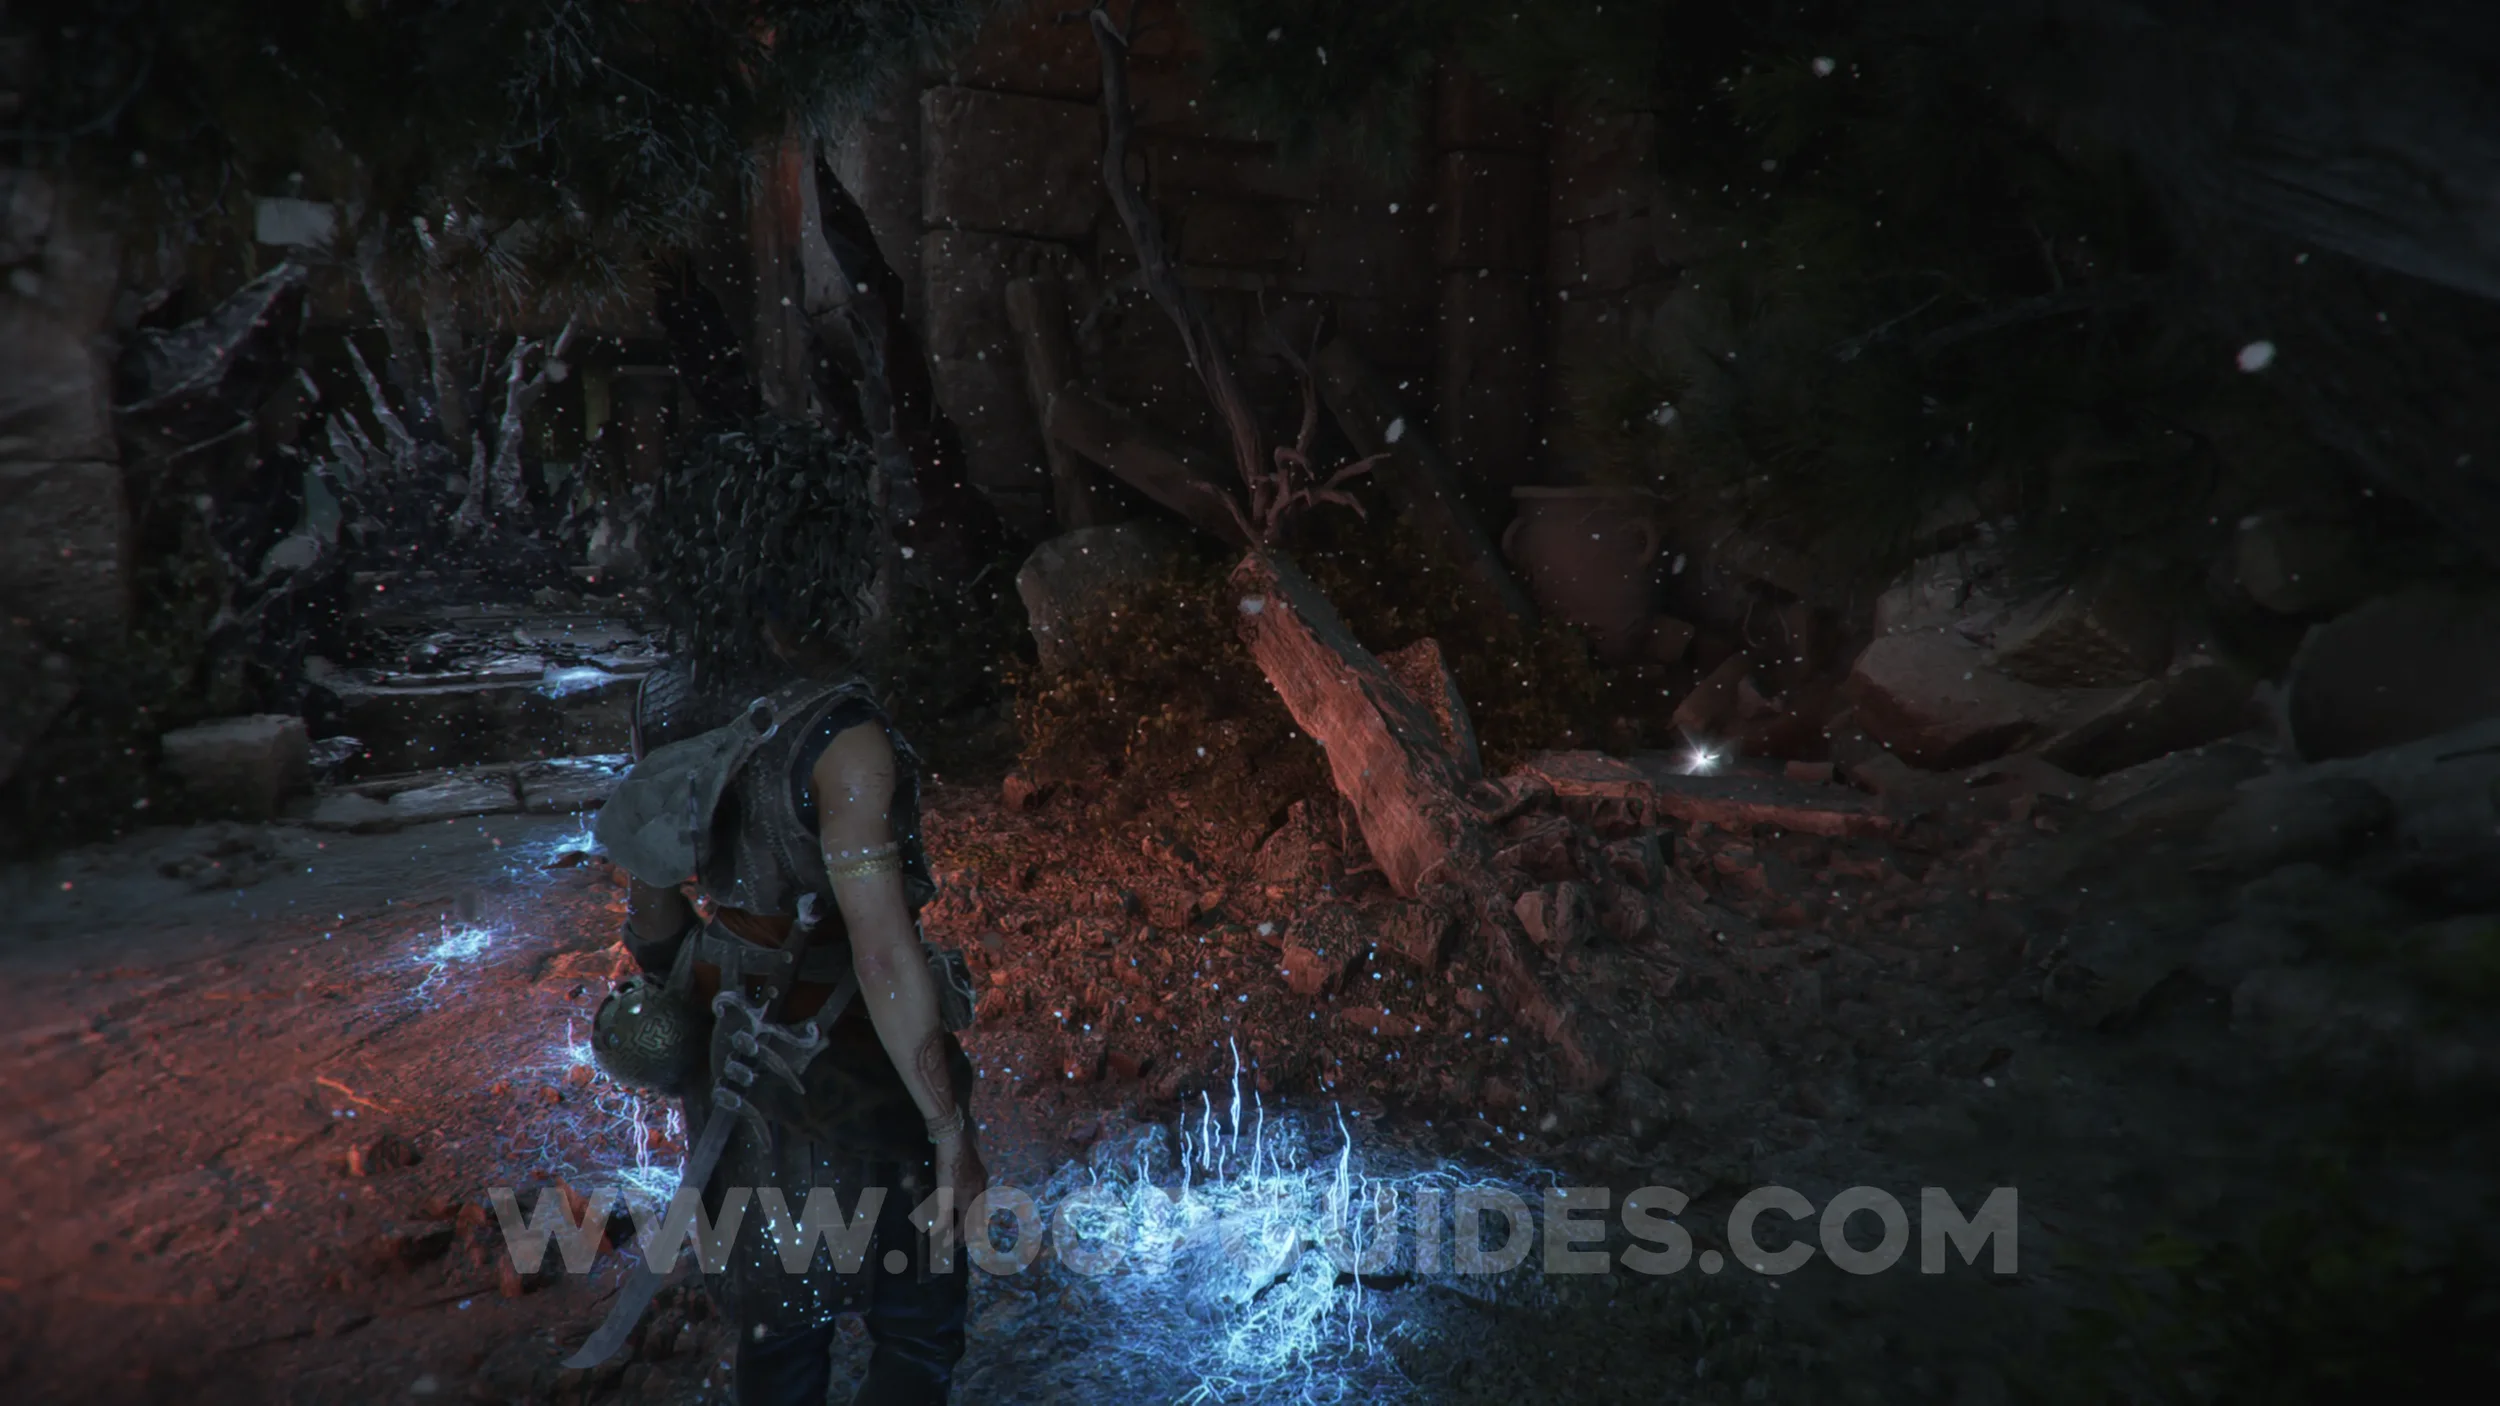
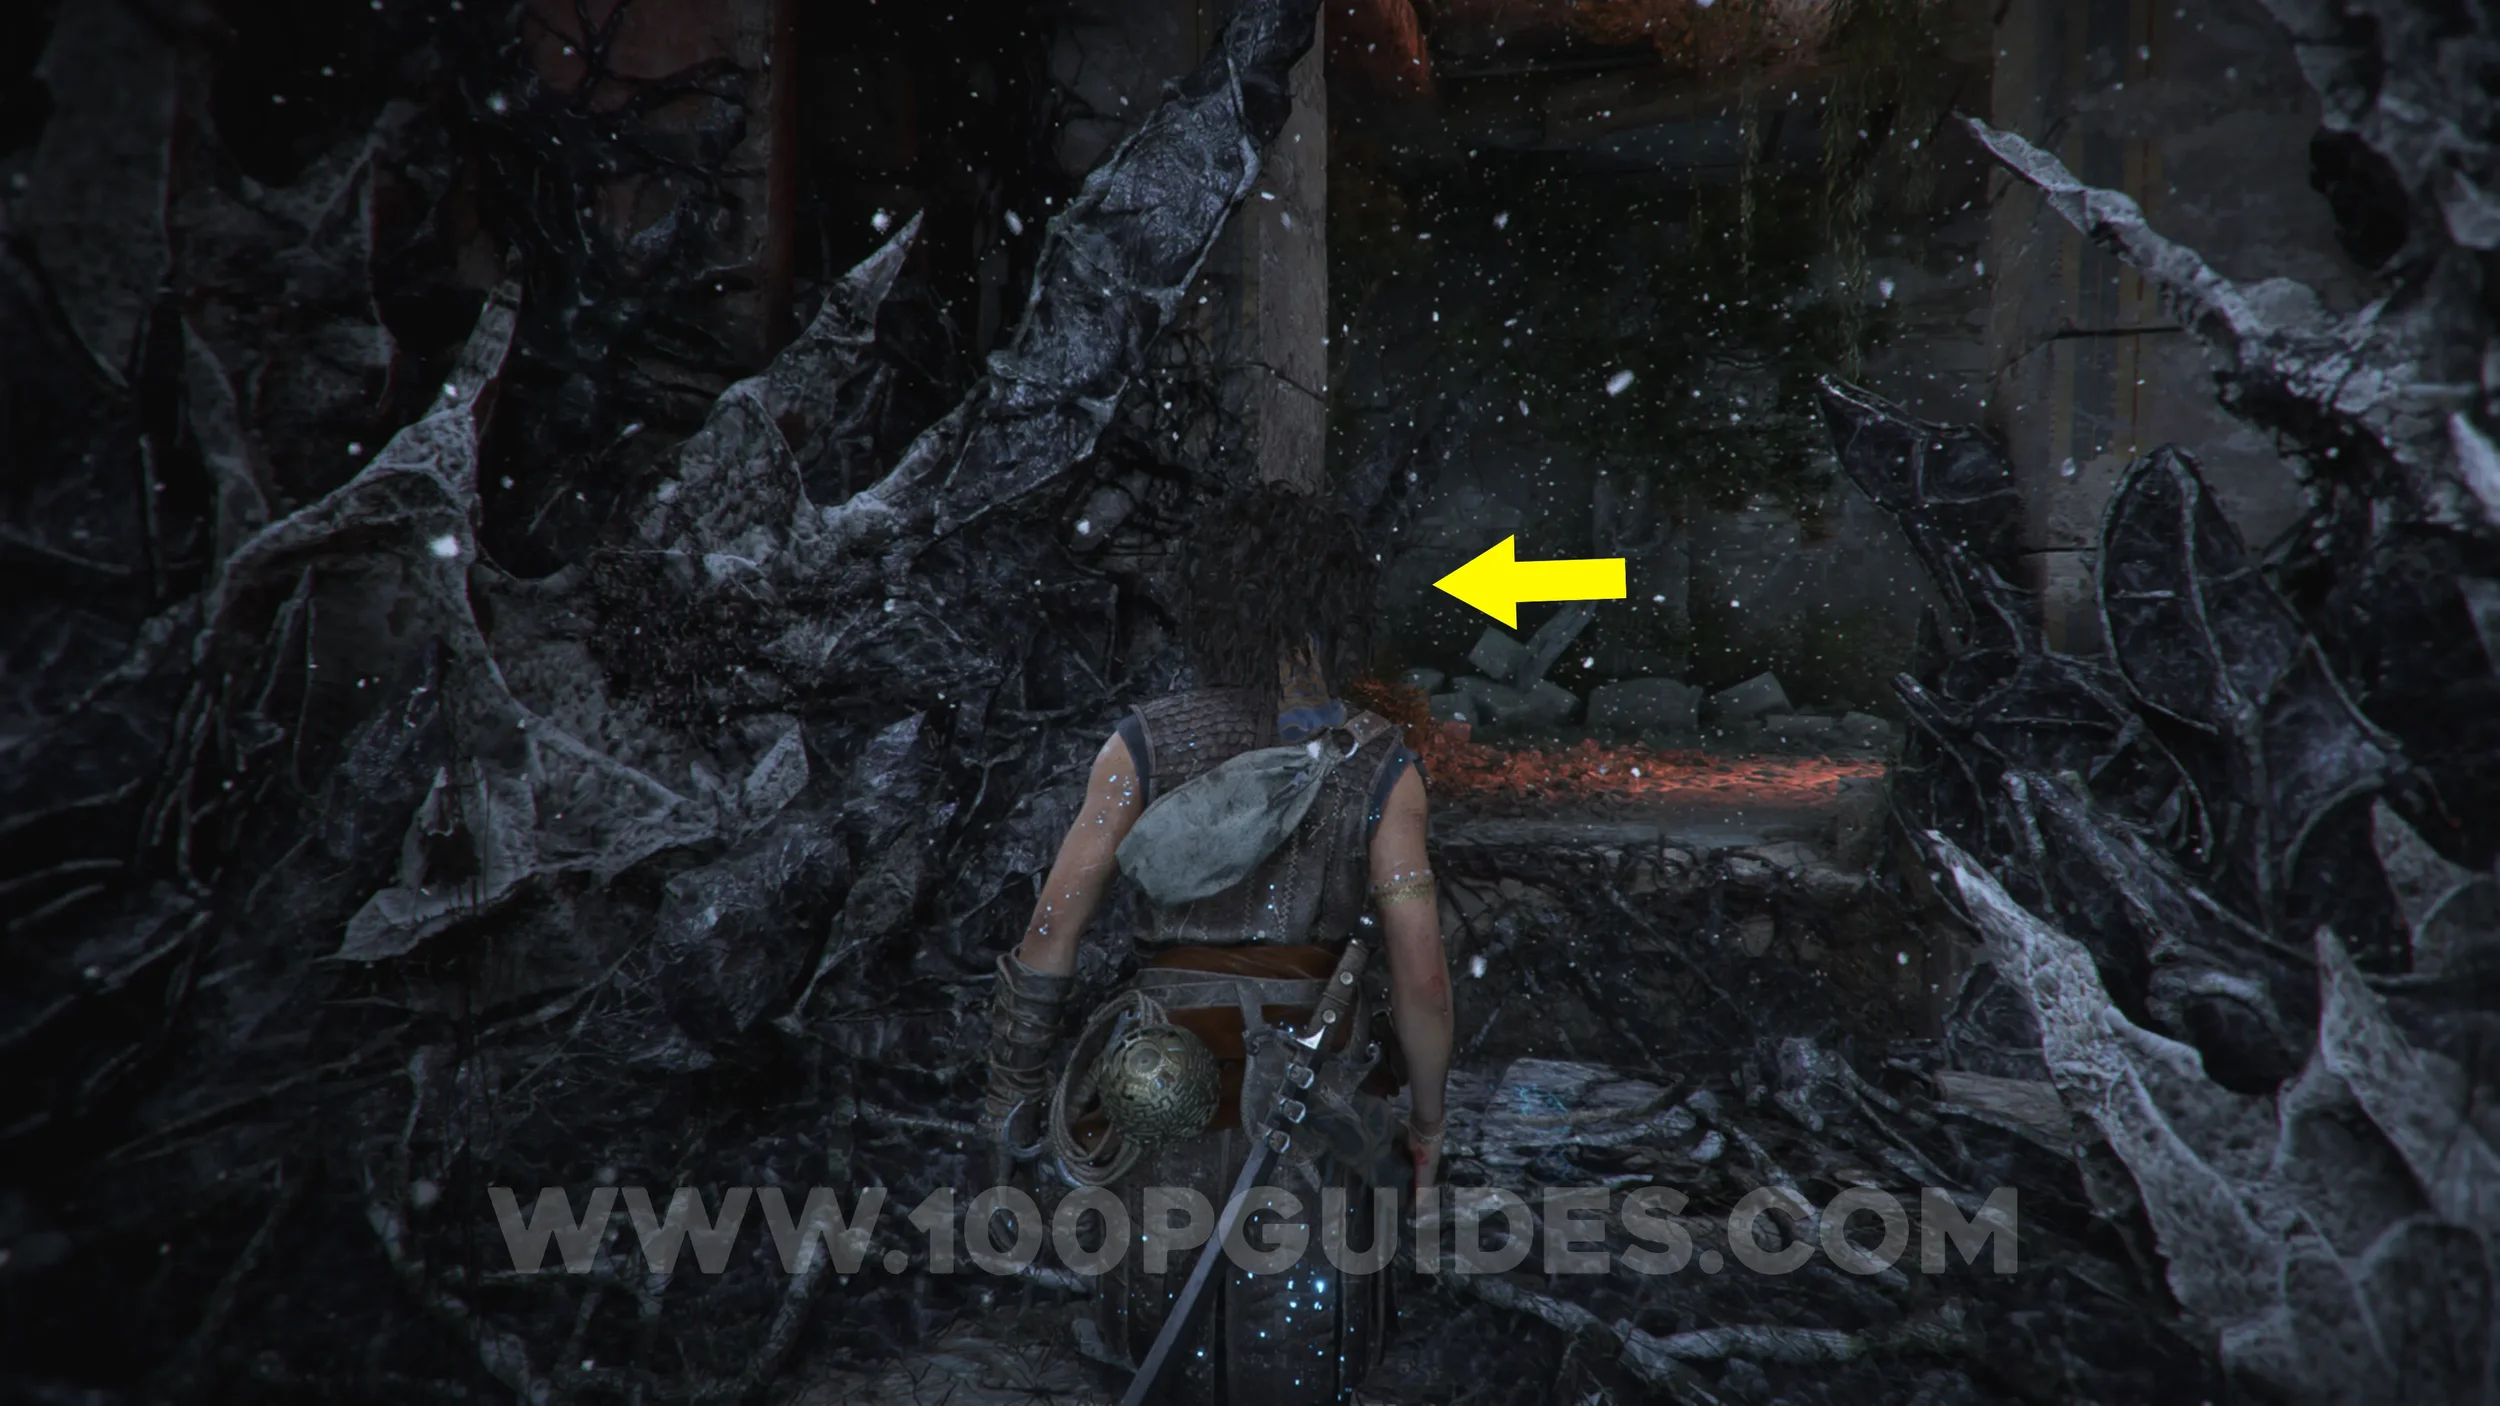
Chapter 10
Artefact: Sun Dial
Chapter 10: Sub-Chapter 1.
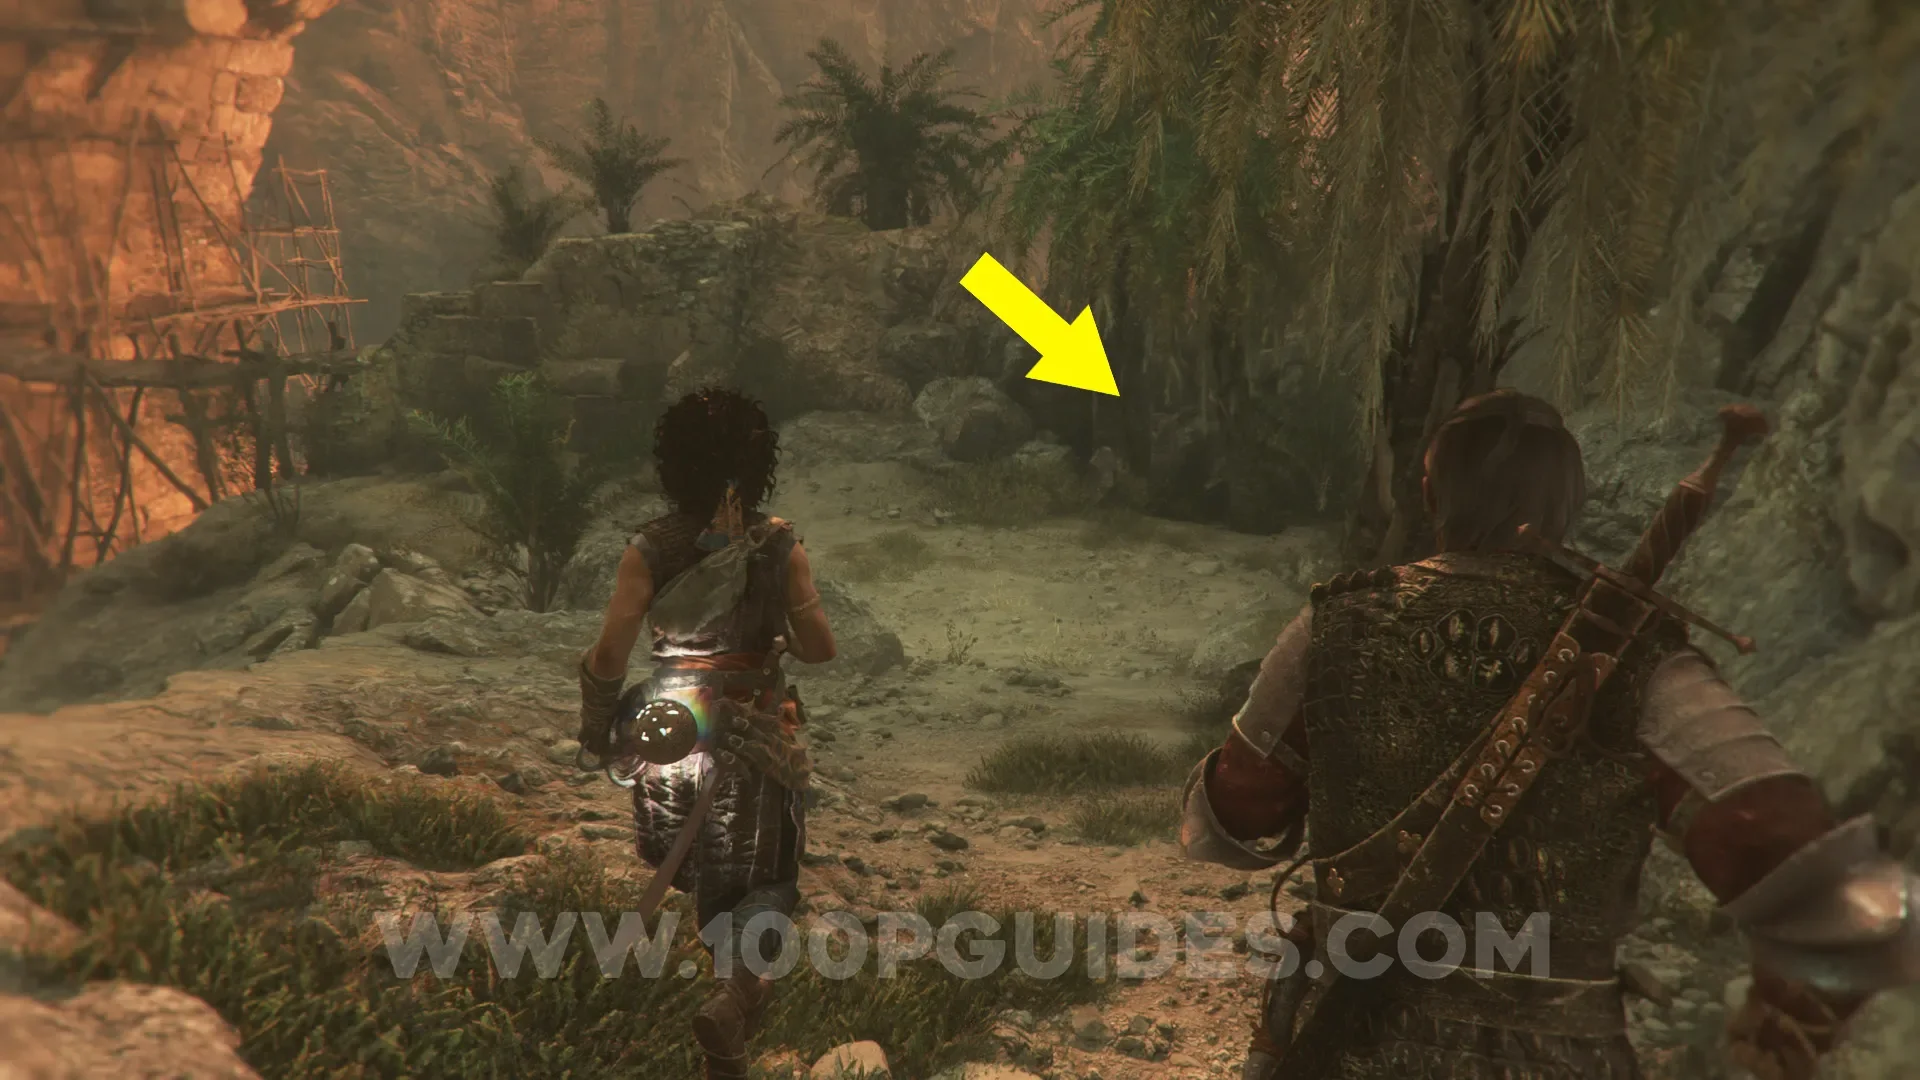
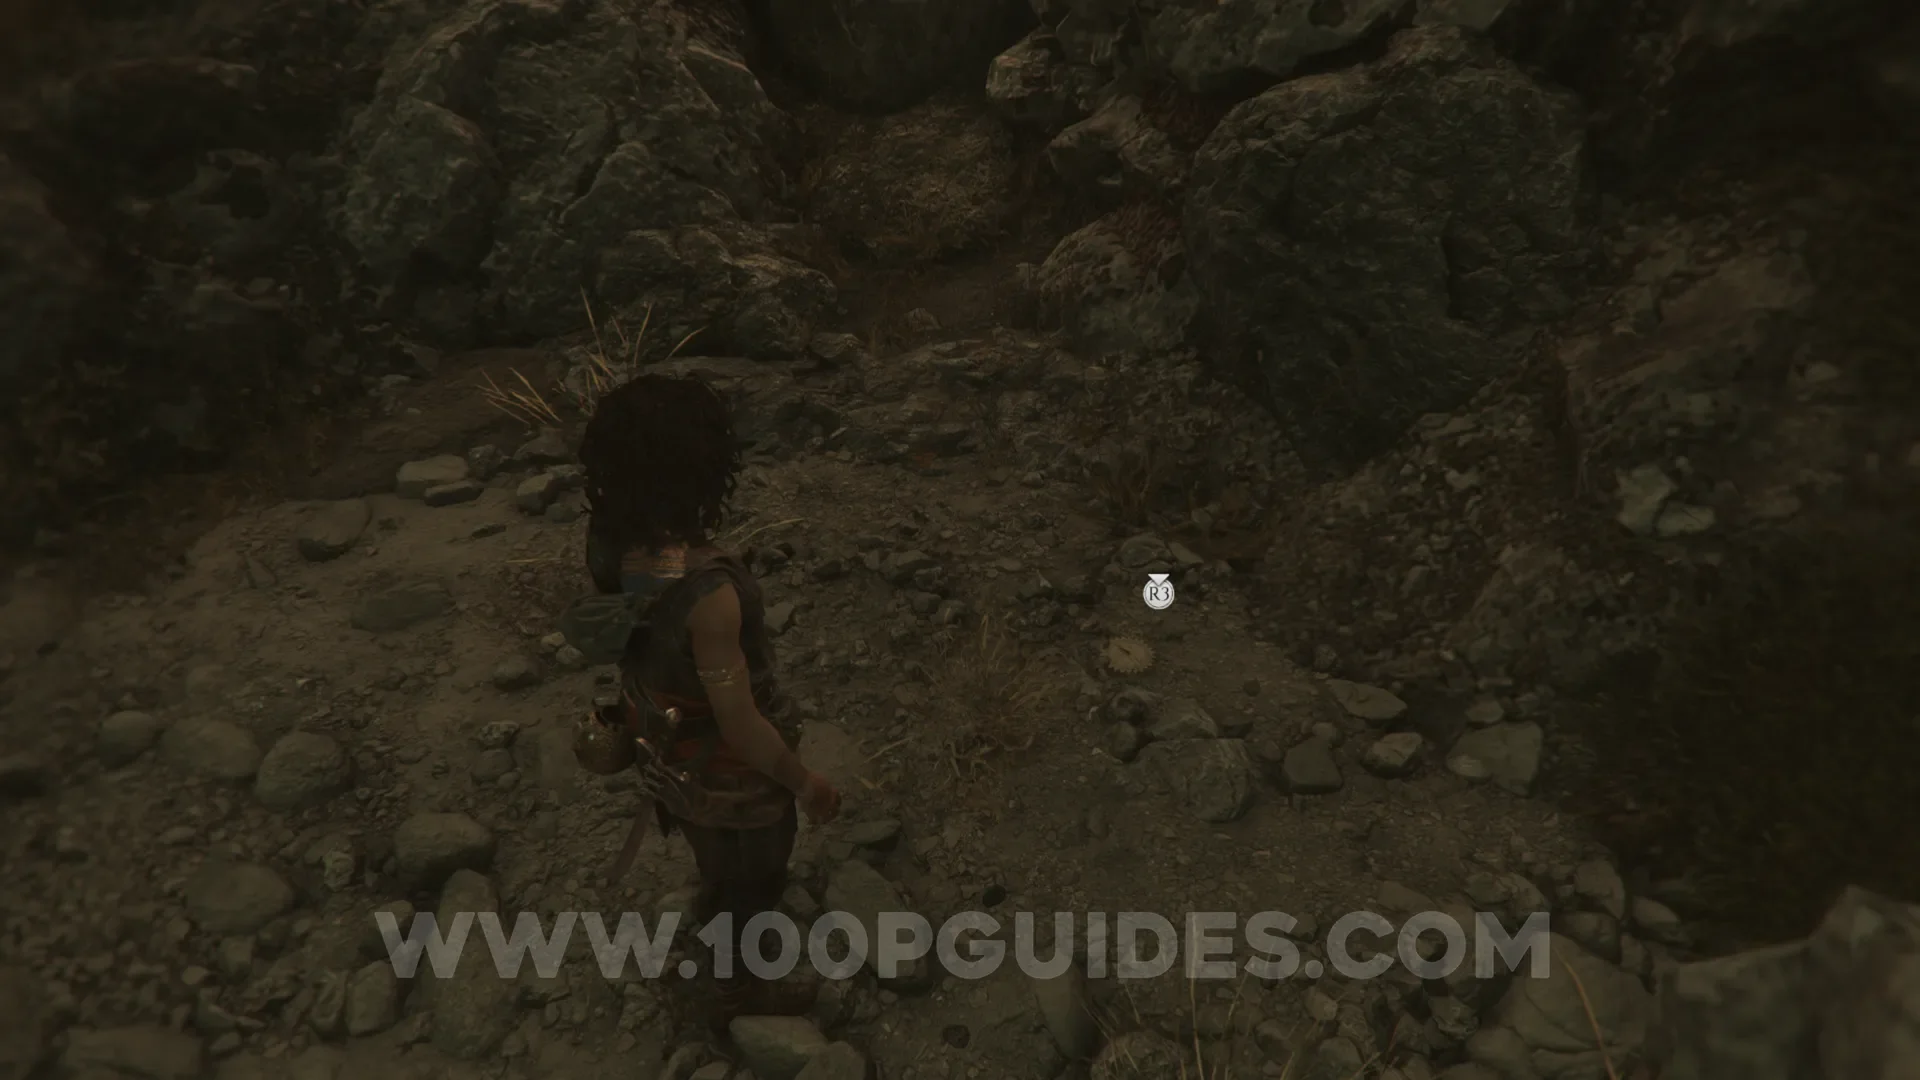
After emerging from the valley at the start of the chapter, you'll head down a hill on your right. Before climbing the ladder up to the scaffolding, look for a gap behind the palm trees at the bottom of the hill. The artefact will be on the other side.
Resonance Point
Chapter 10: Sub-Chapter 1.
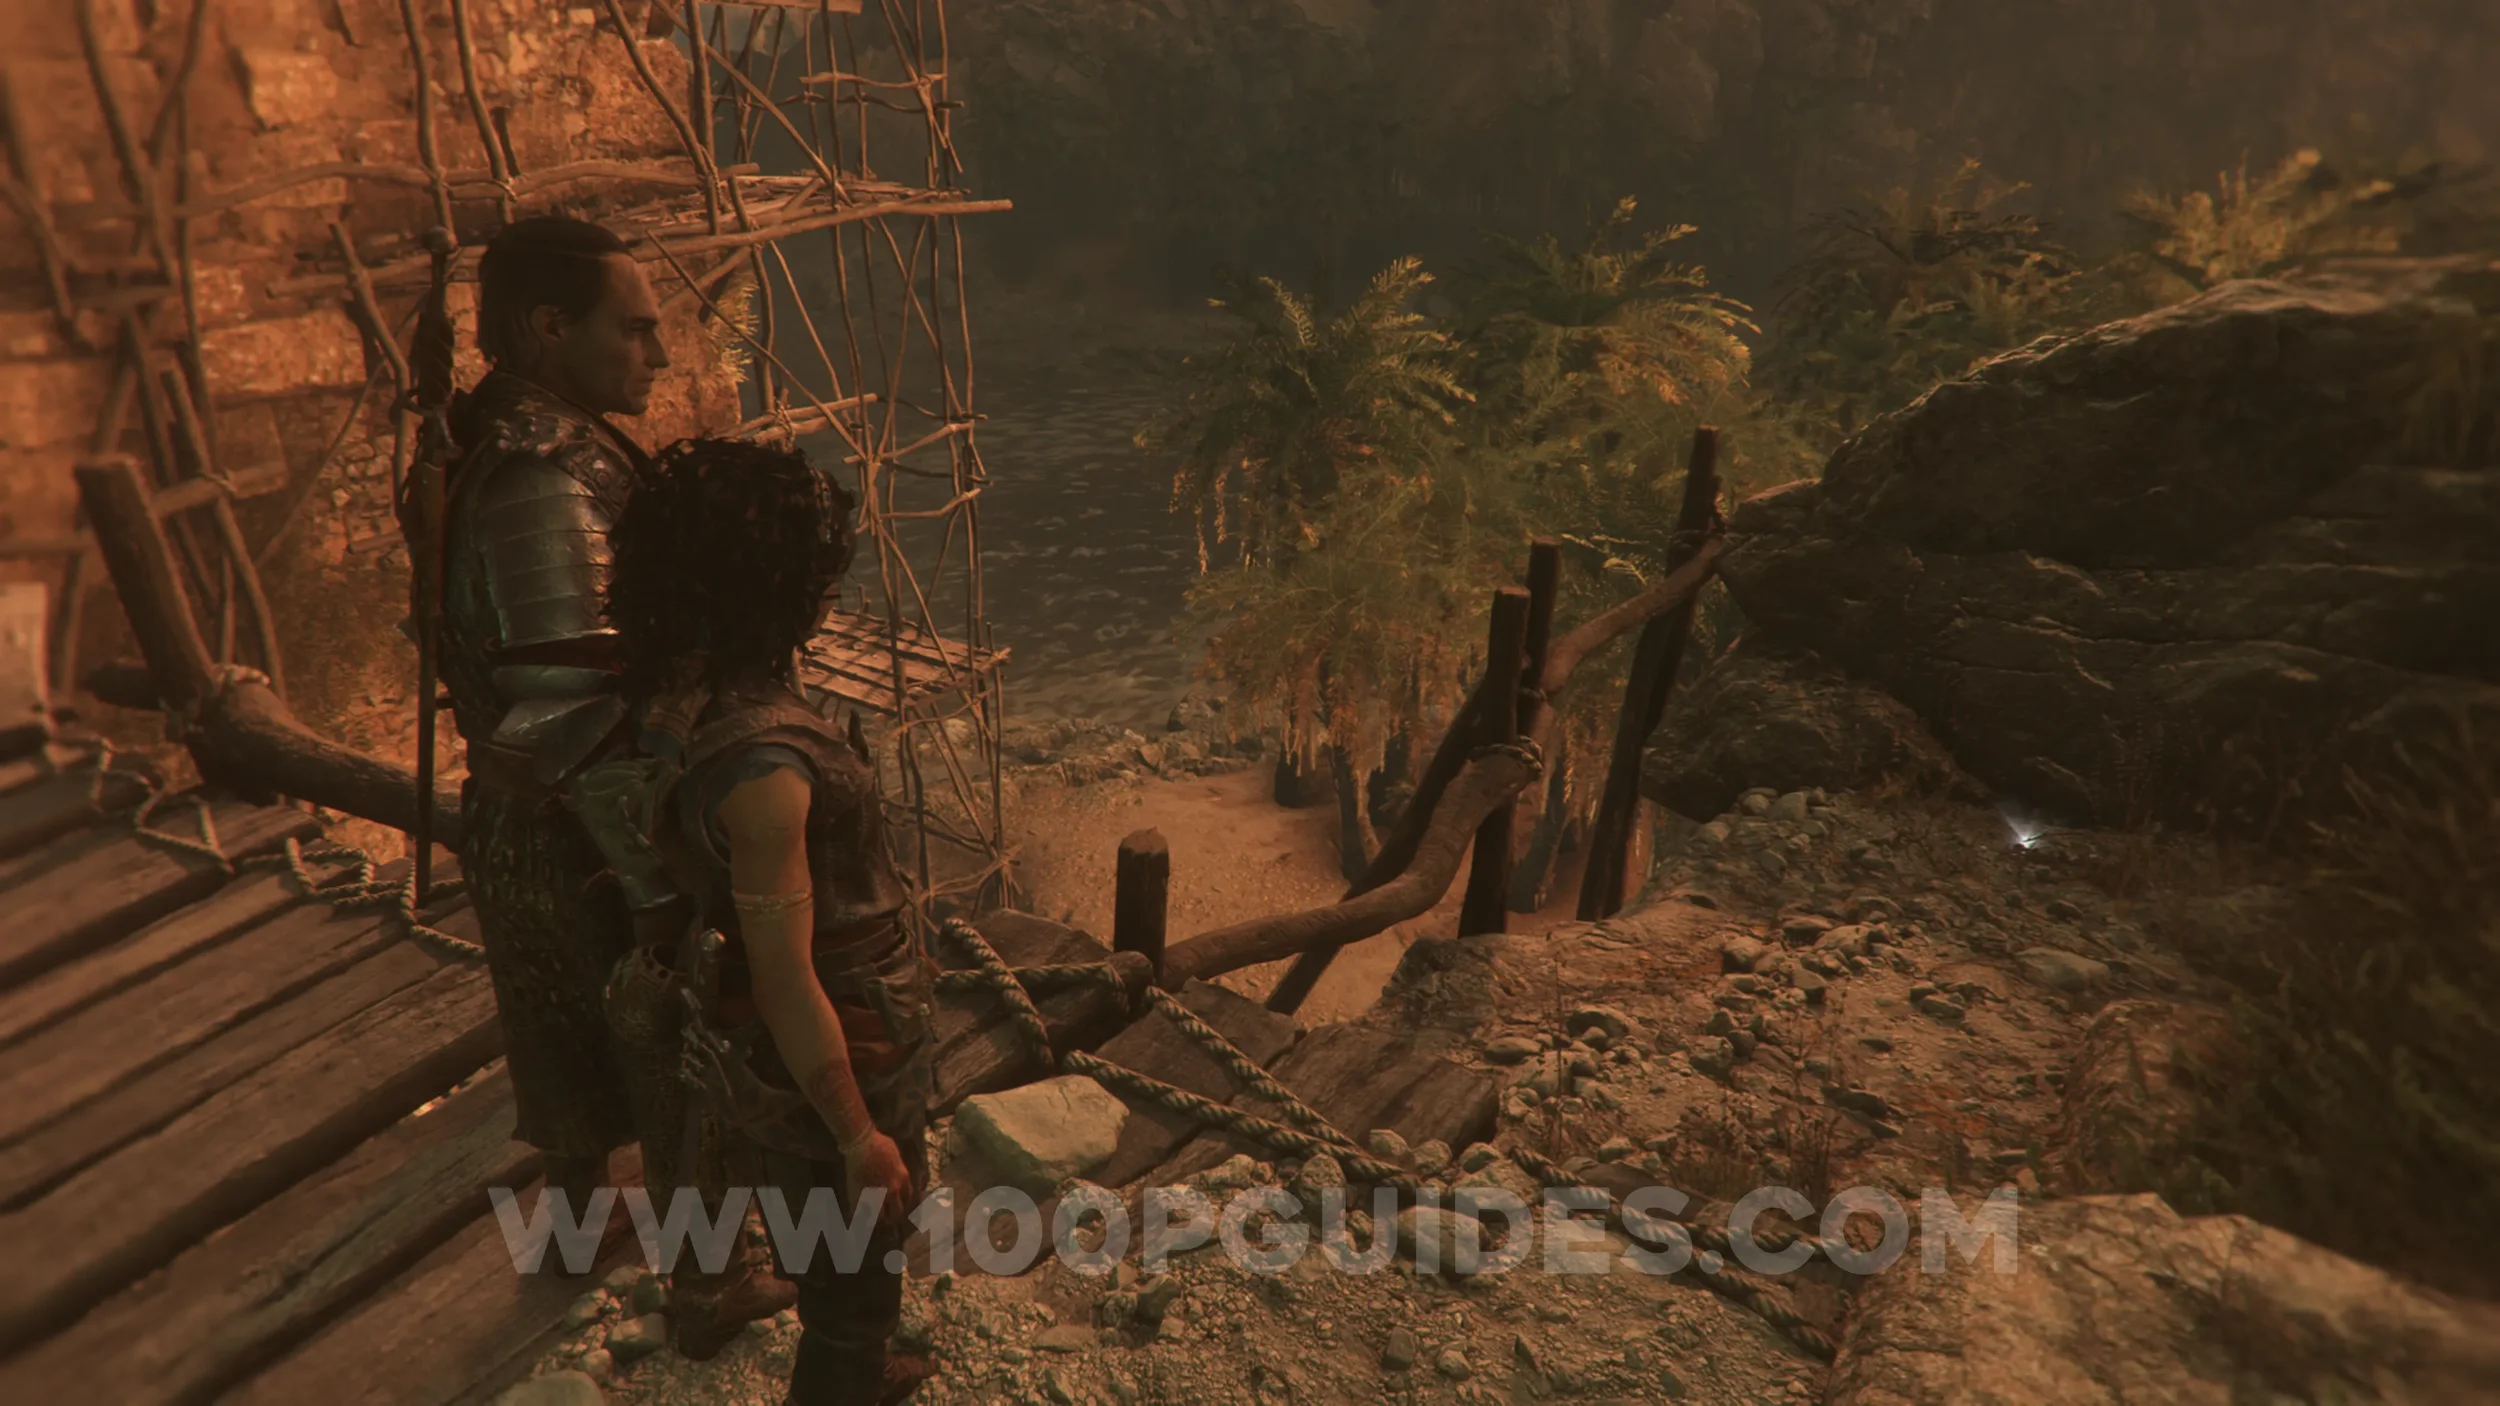
Climb the ladder to the scaffolding, and look straight ahead to see the collectible.
Resonance Point x3
Chapter 10: Sub-Chapter 1.
Obtained automatically after the big fight at the top of the scaffolding.
Resonance Point
Chapter 10: Sub-Chapter 1.
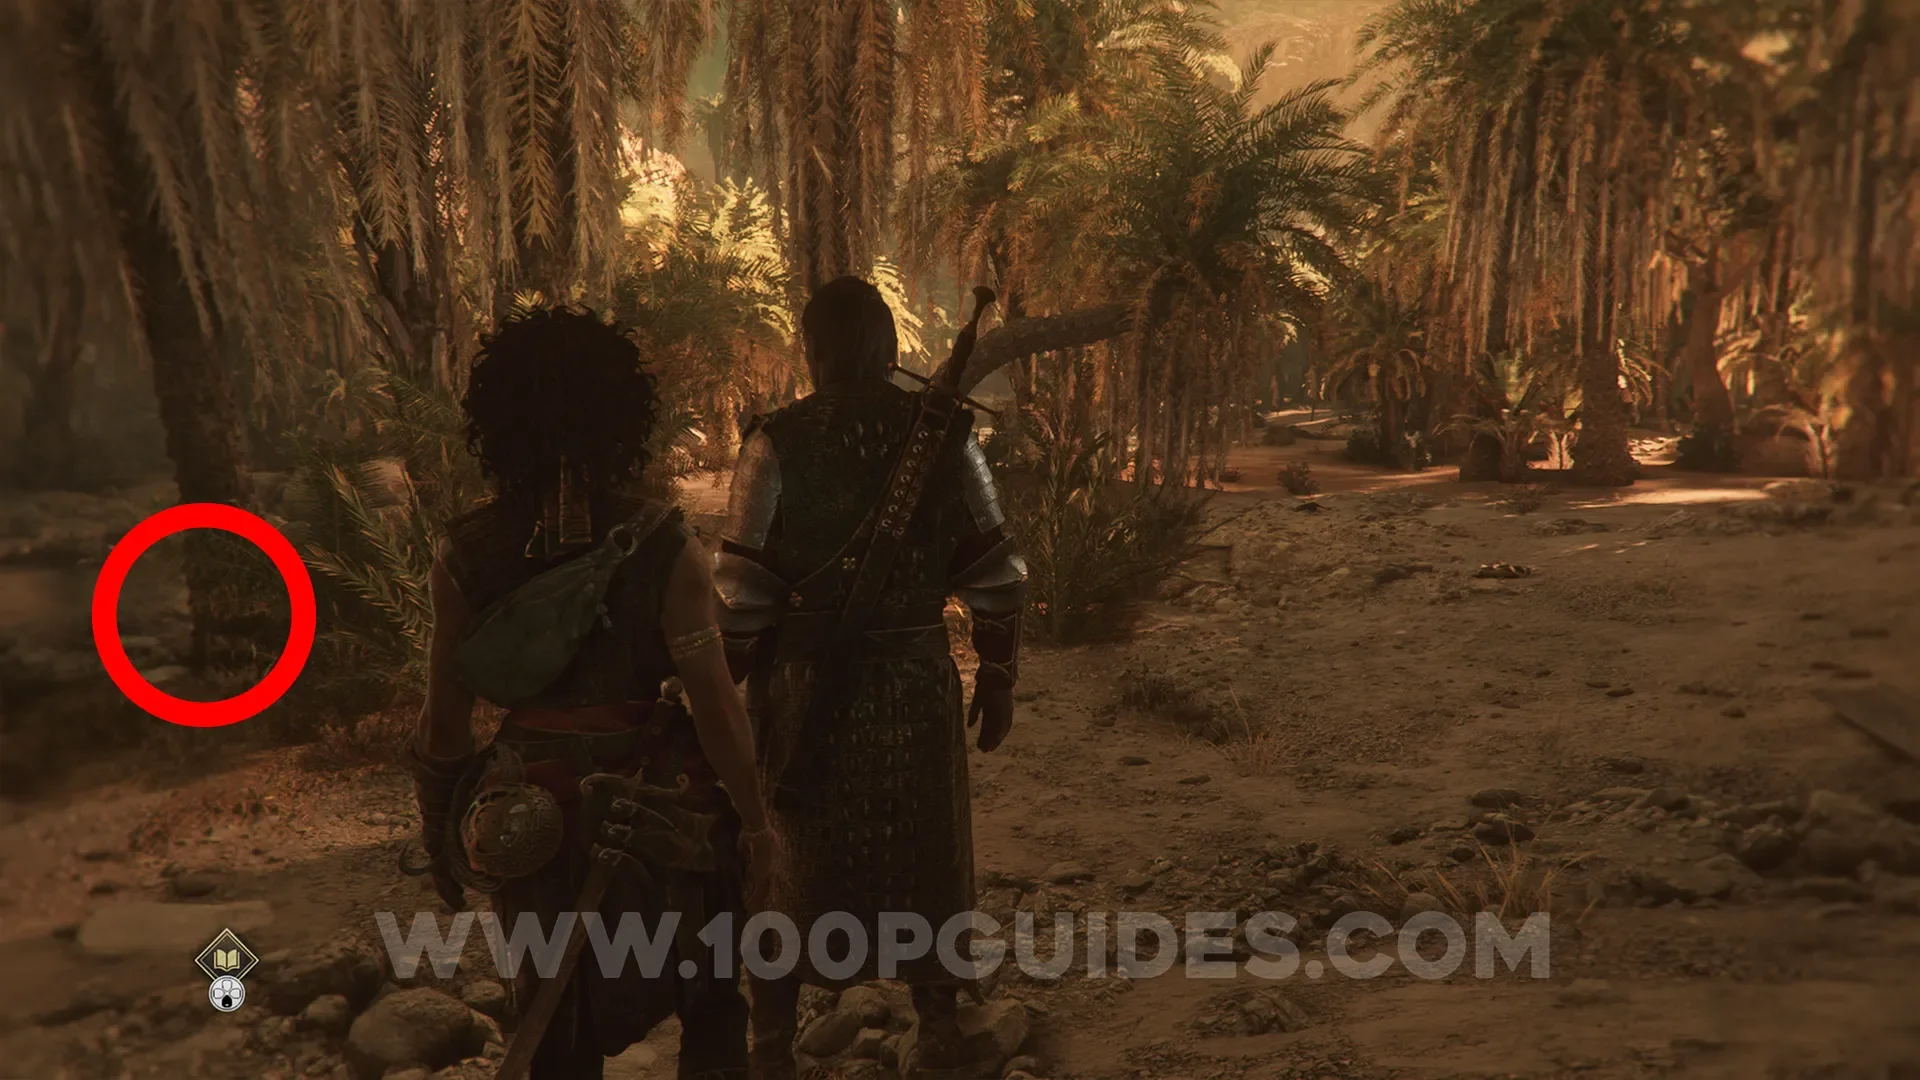
After the fight at the top of the scaffolding, you'll reach an area with loads of palm trees. The collectible can be found behind the first group of trees on your left.
Artefact: Terra Incognita
Chapter 10: Sub-Chapter 1.
From the previous collectible, continue through the area with the palm trees, sticking to the wall on the right side. You'll soon see the artefact on the ground next to some pots.
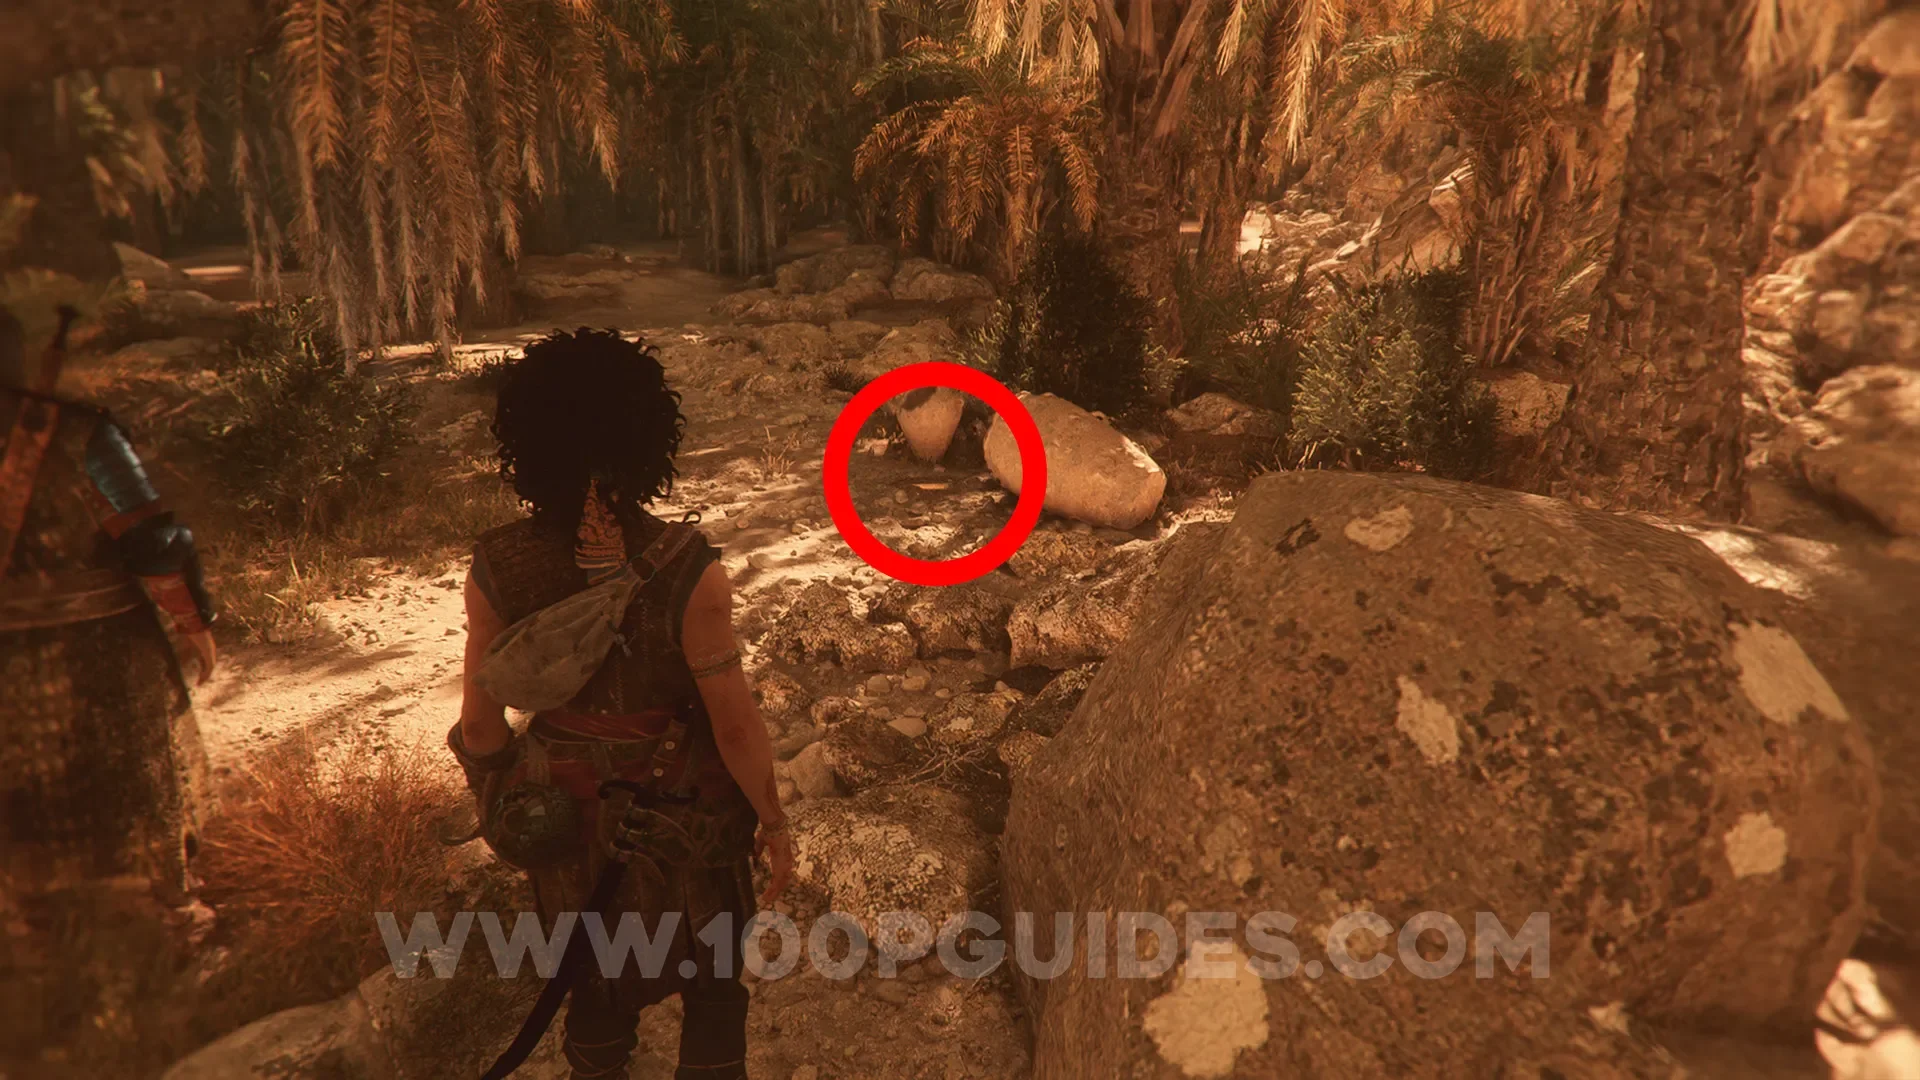
Resonance Point
Chapter 10: Sub-Chapter 1.
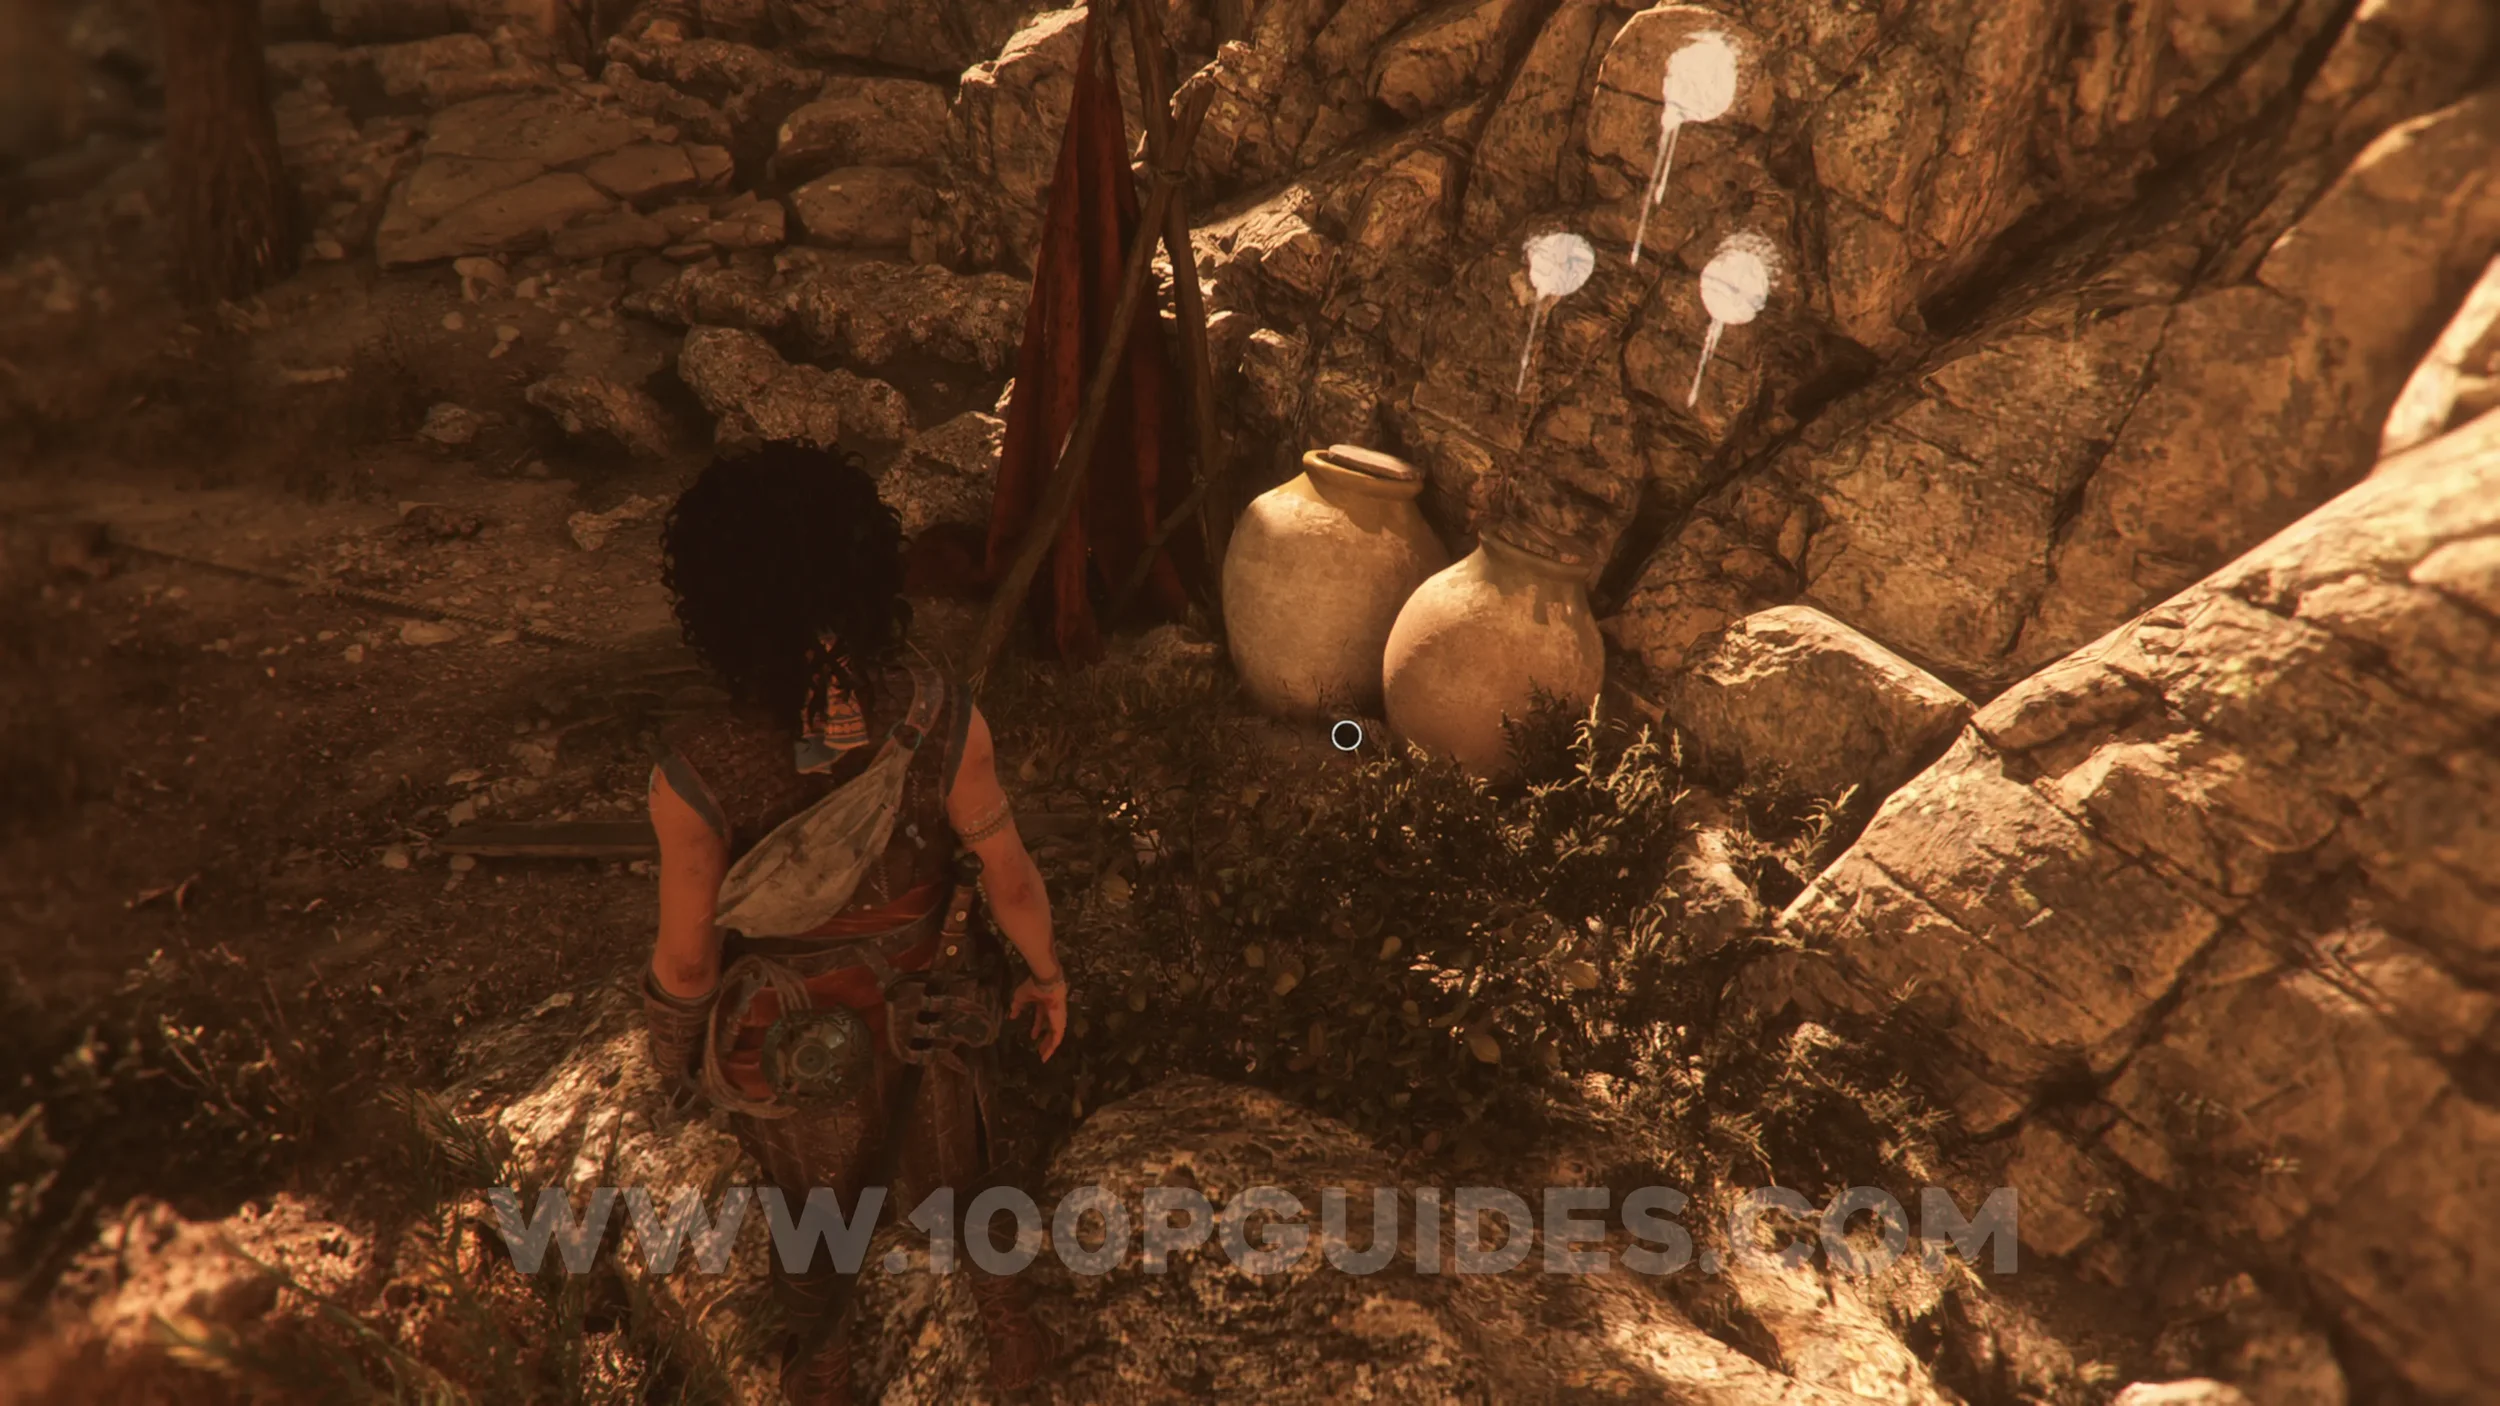
Continue forward while sticking to the wall on the right, and you'll soon see this collectible next to some more pots.
Charm: Bead #5
Chapter 10: Sub-Chapter 1.
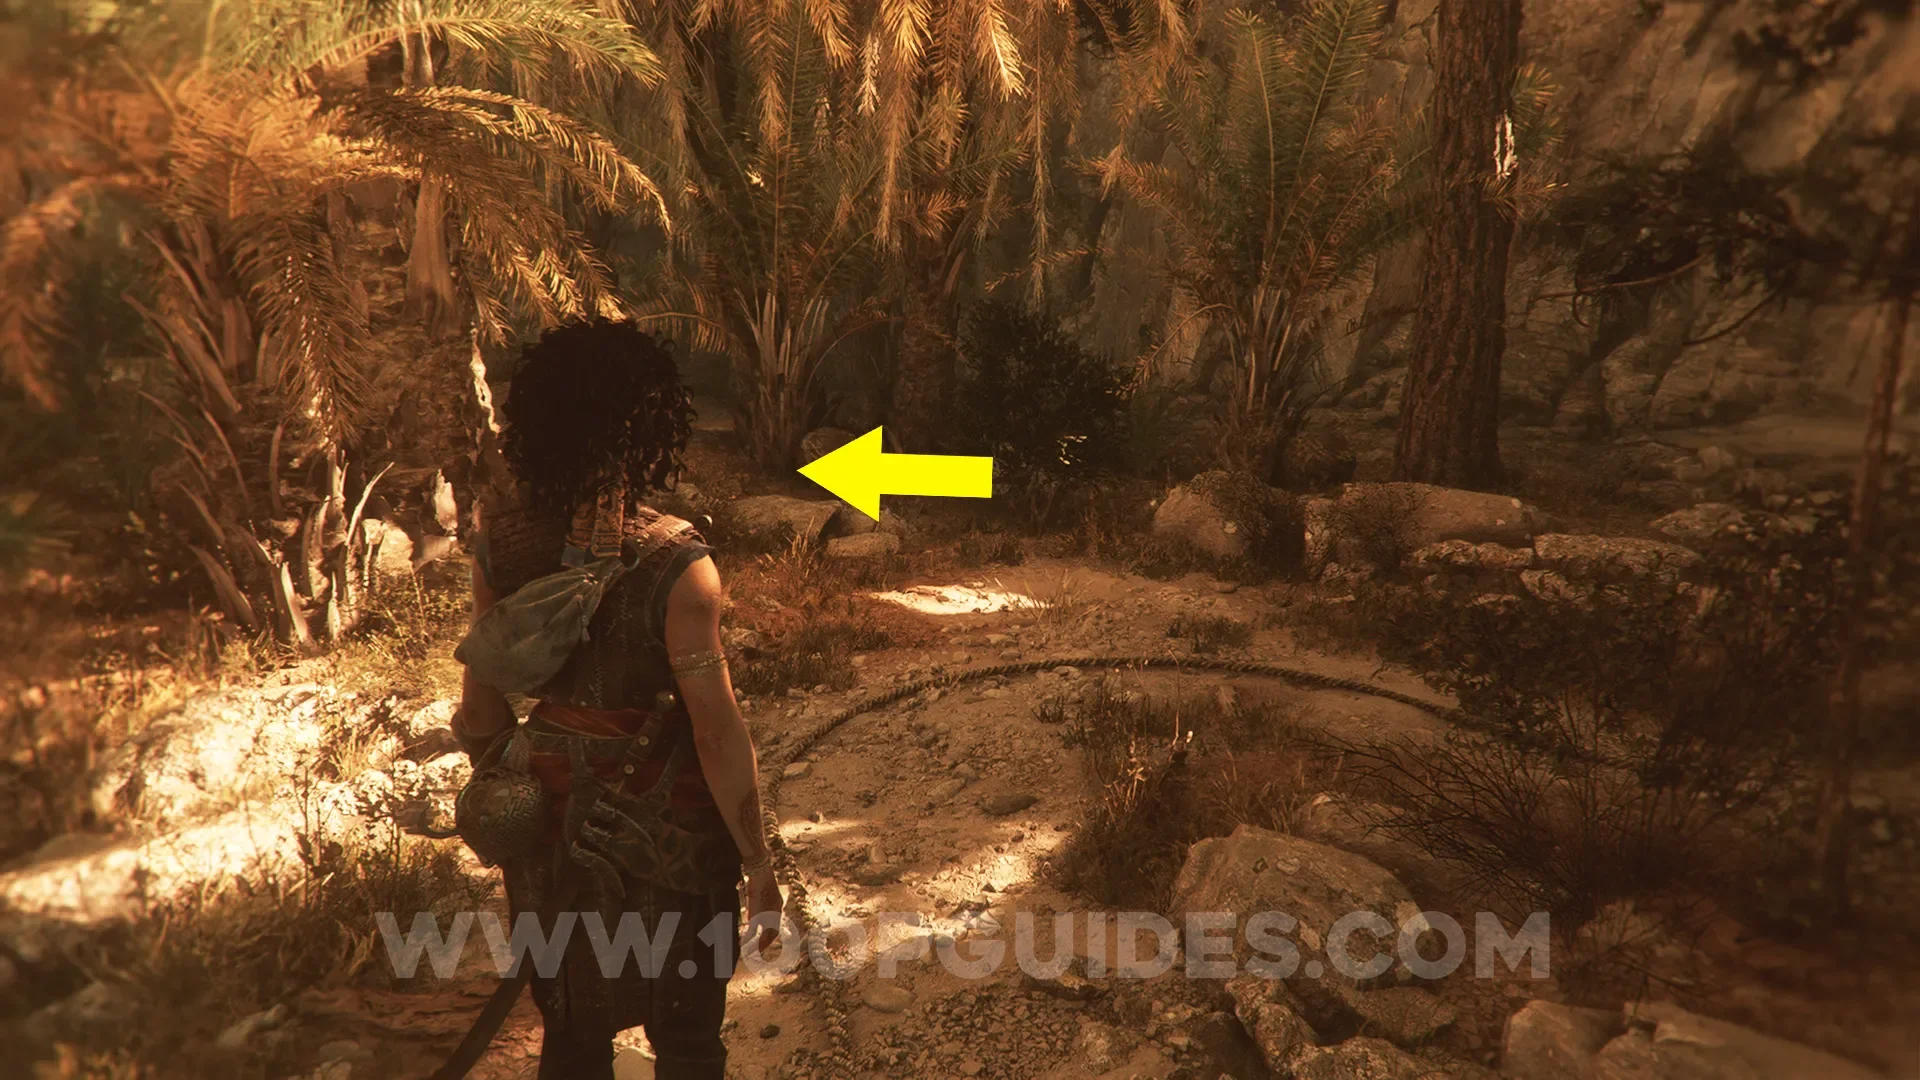
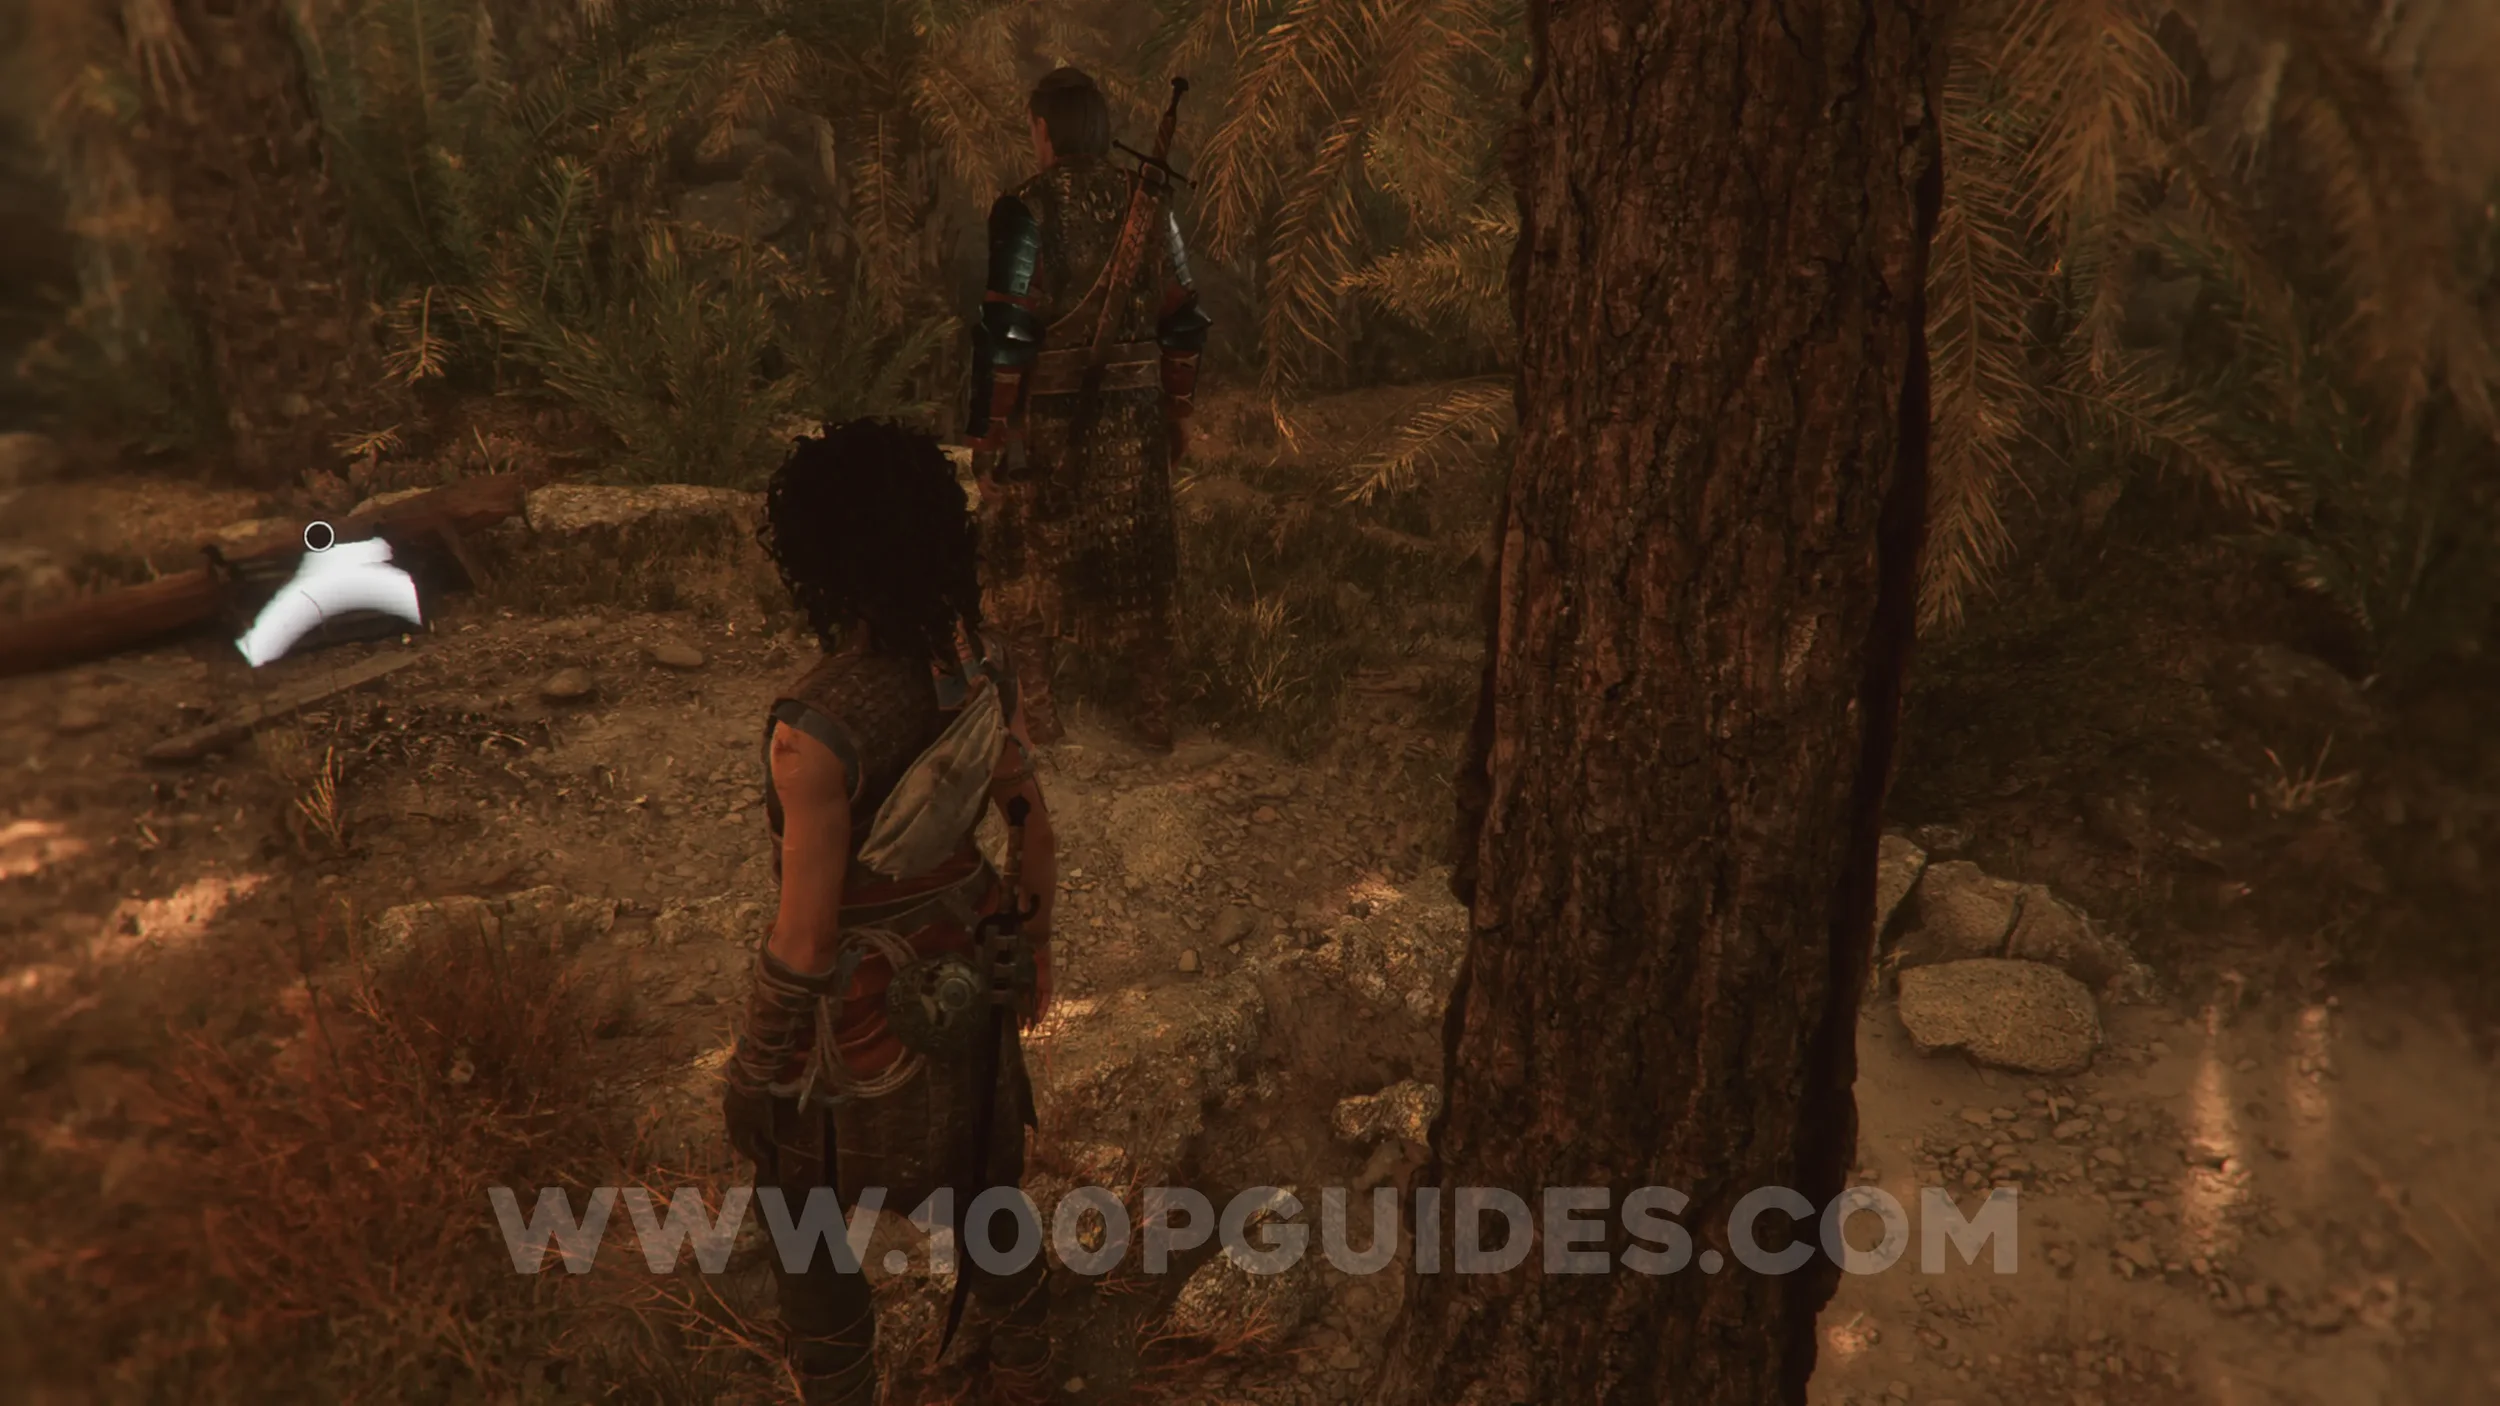
Just past the previous collectible, you'll see a rope running along the ground. Follow it until it makes a tight right turn, almost doubling back on itself. Here, head off to the left to find the box containing the charm.
Resonance Point
Chapter 10: Sub-Chapter 1.
Behind the box where the charm was, you'll see a small stream of water. Follow it left until you reach the main river. Cross over to the other side, then head right and follow the river to the end, where you'll find the collectible in a pot.
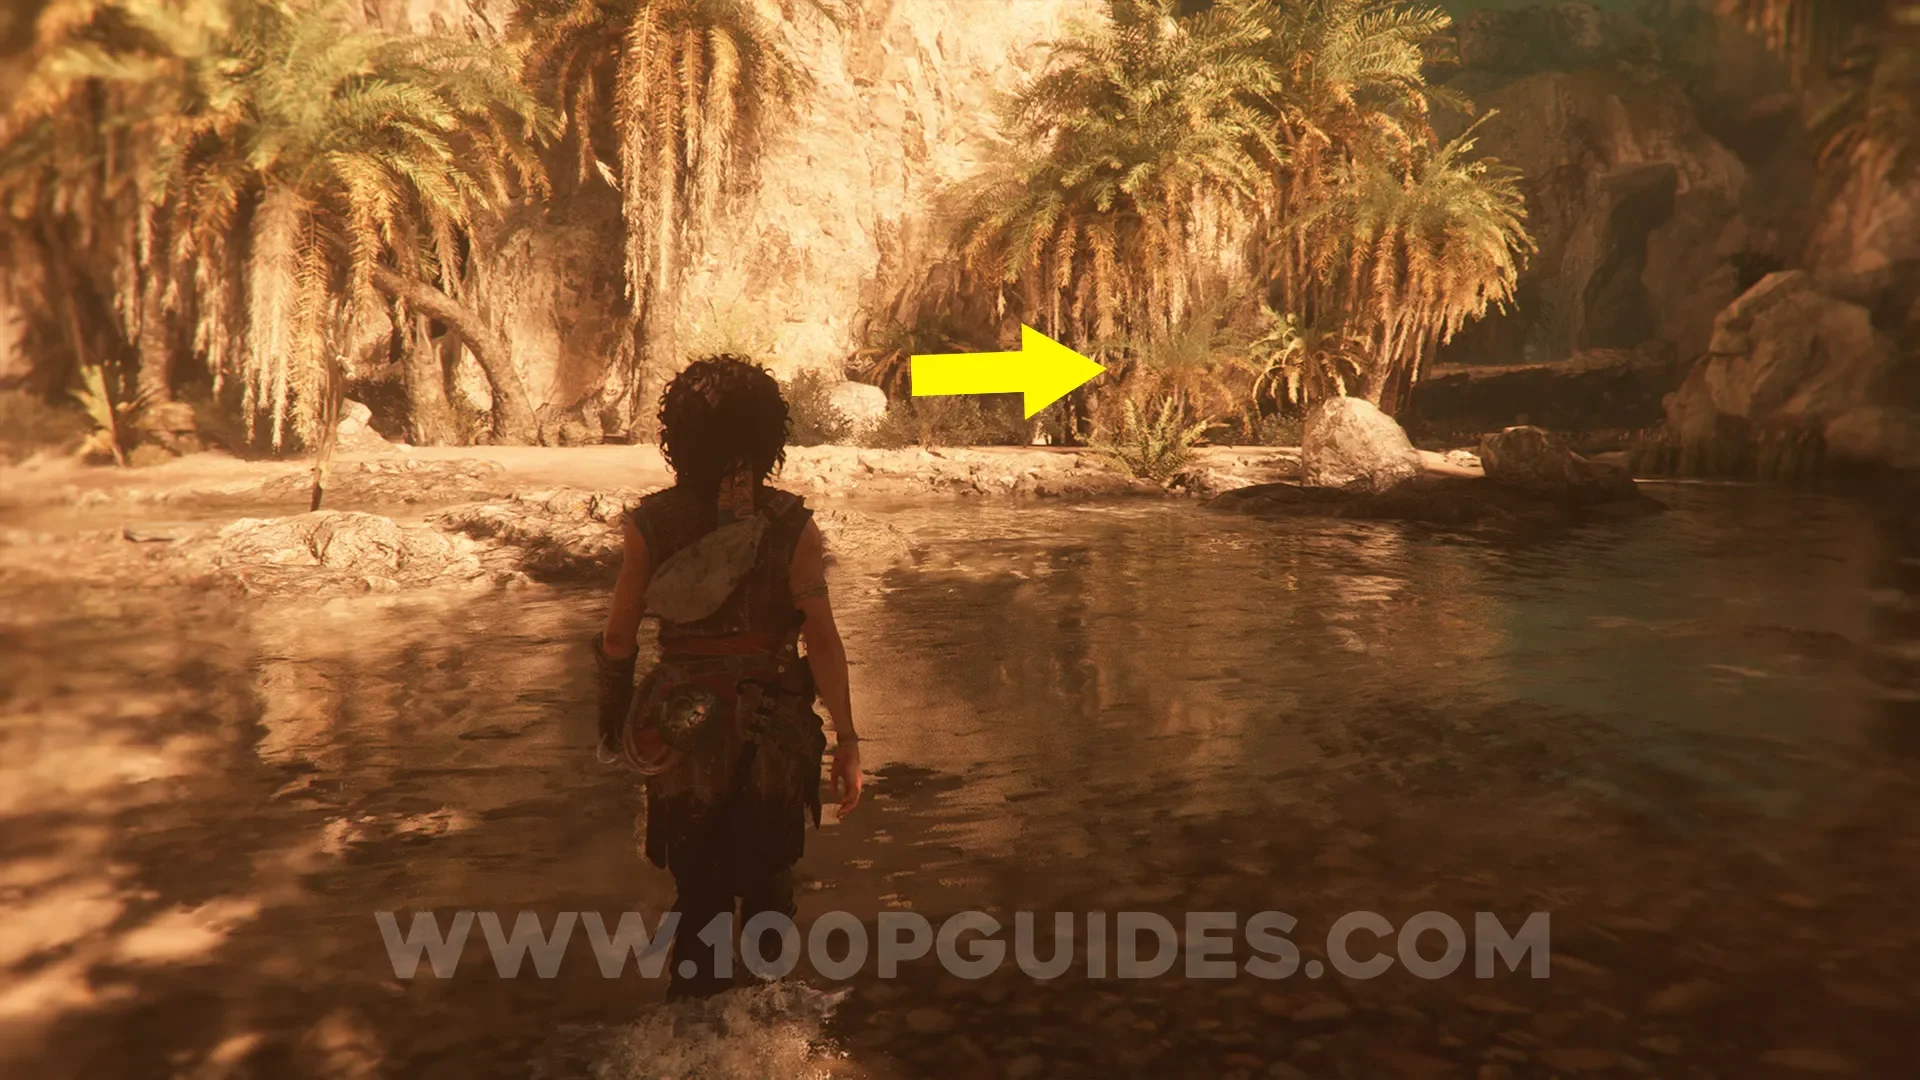
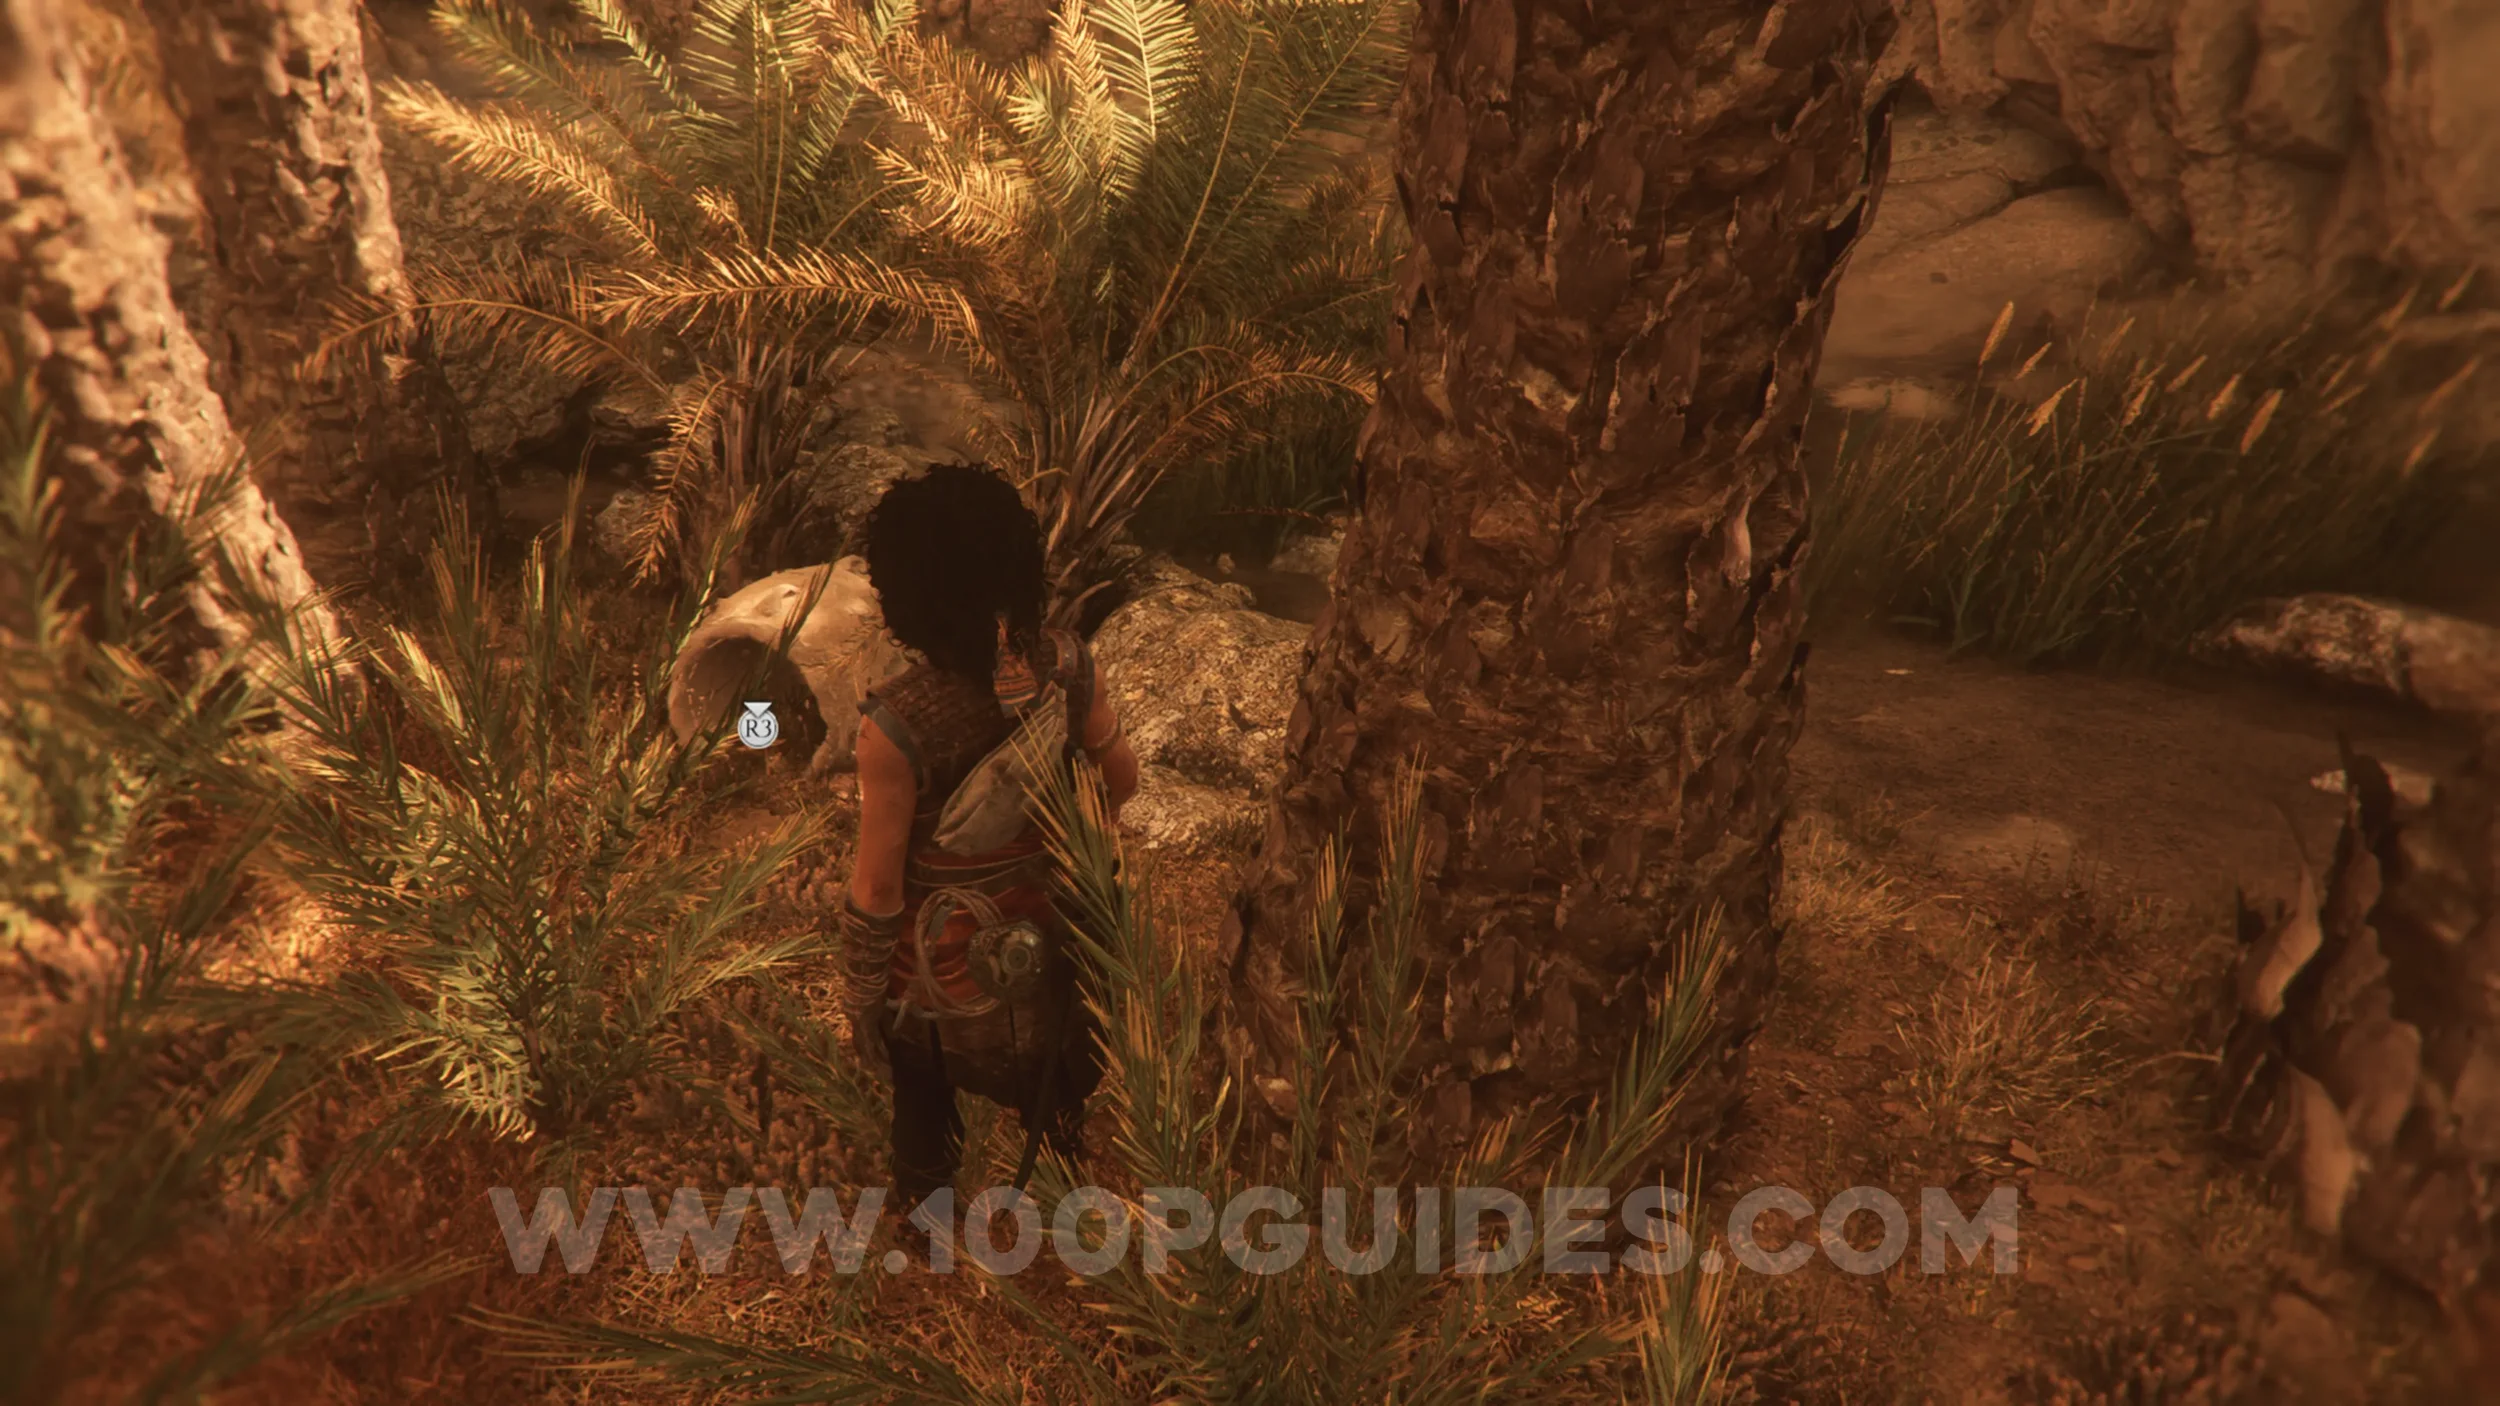
Resonance Point
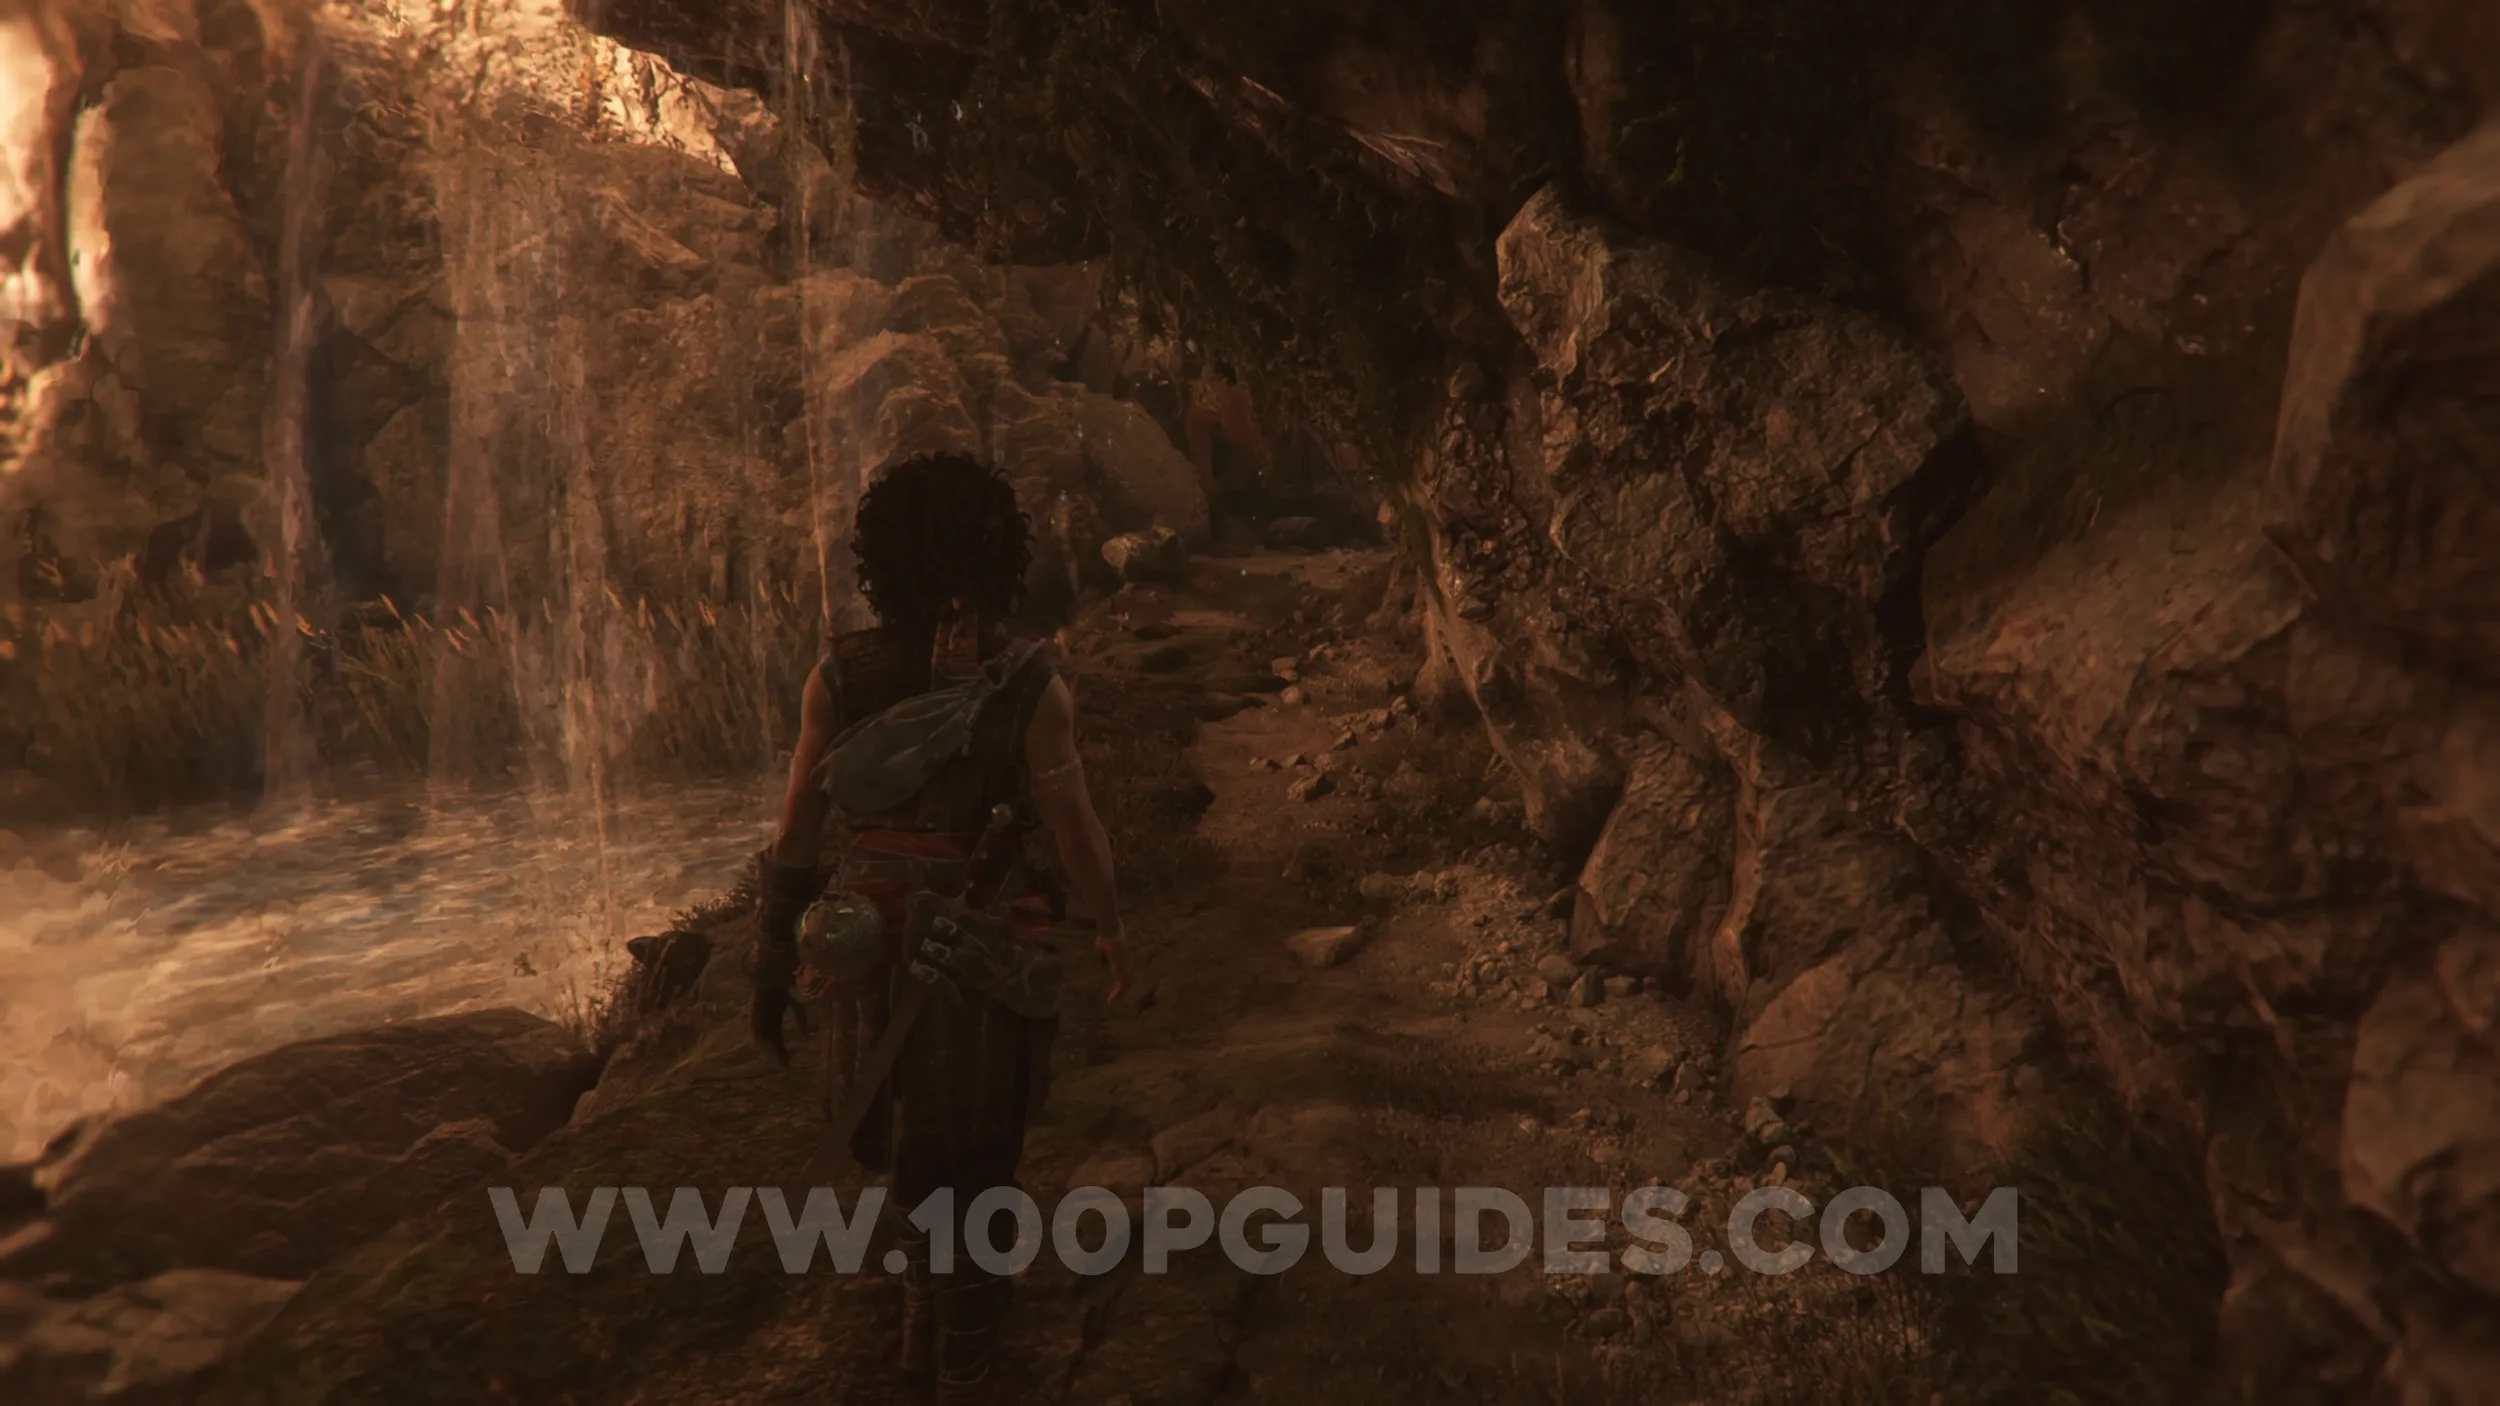
Chapter 10: Sub-Chapter 1.
After following the rope and using a zipline, you'll walk under a small waterfall and arrive at a camp. The collectible can be found on your left as you walk through it.
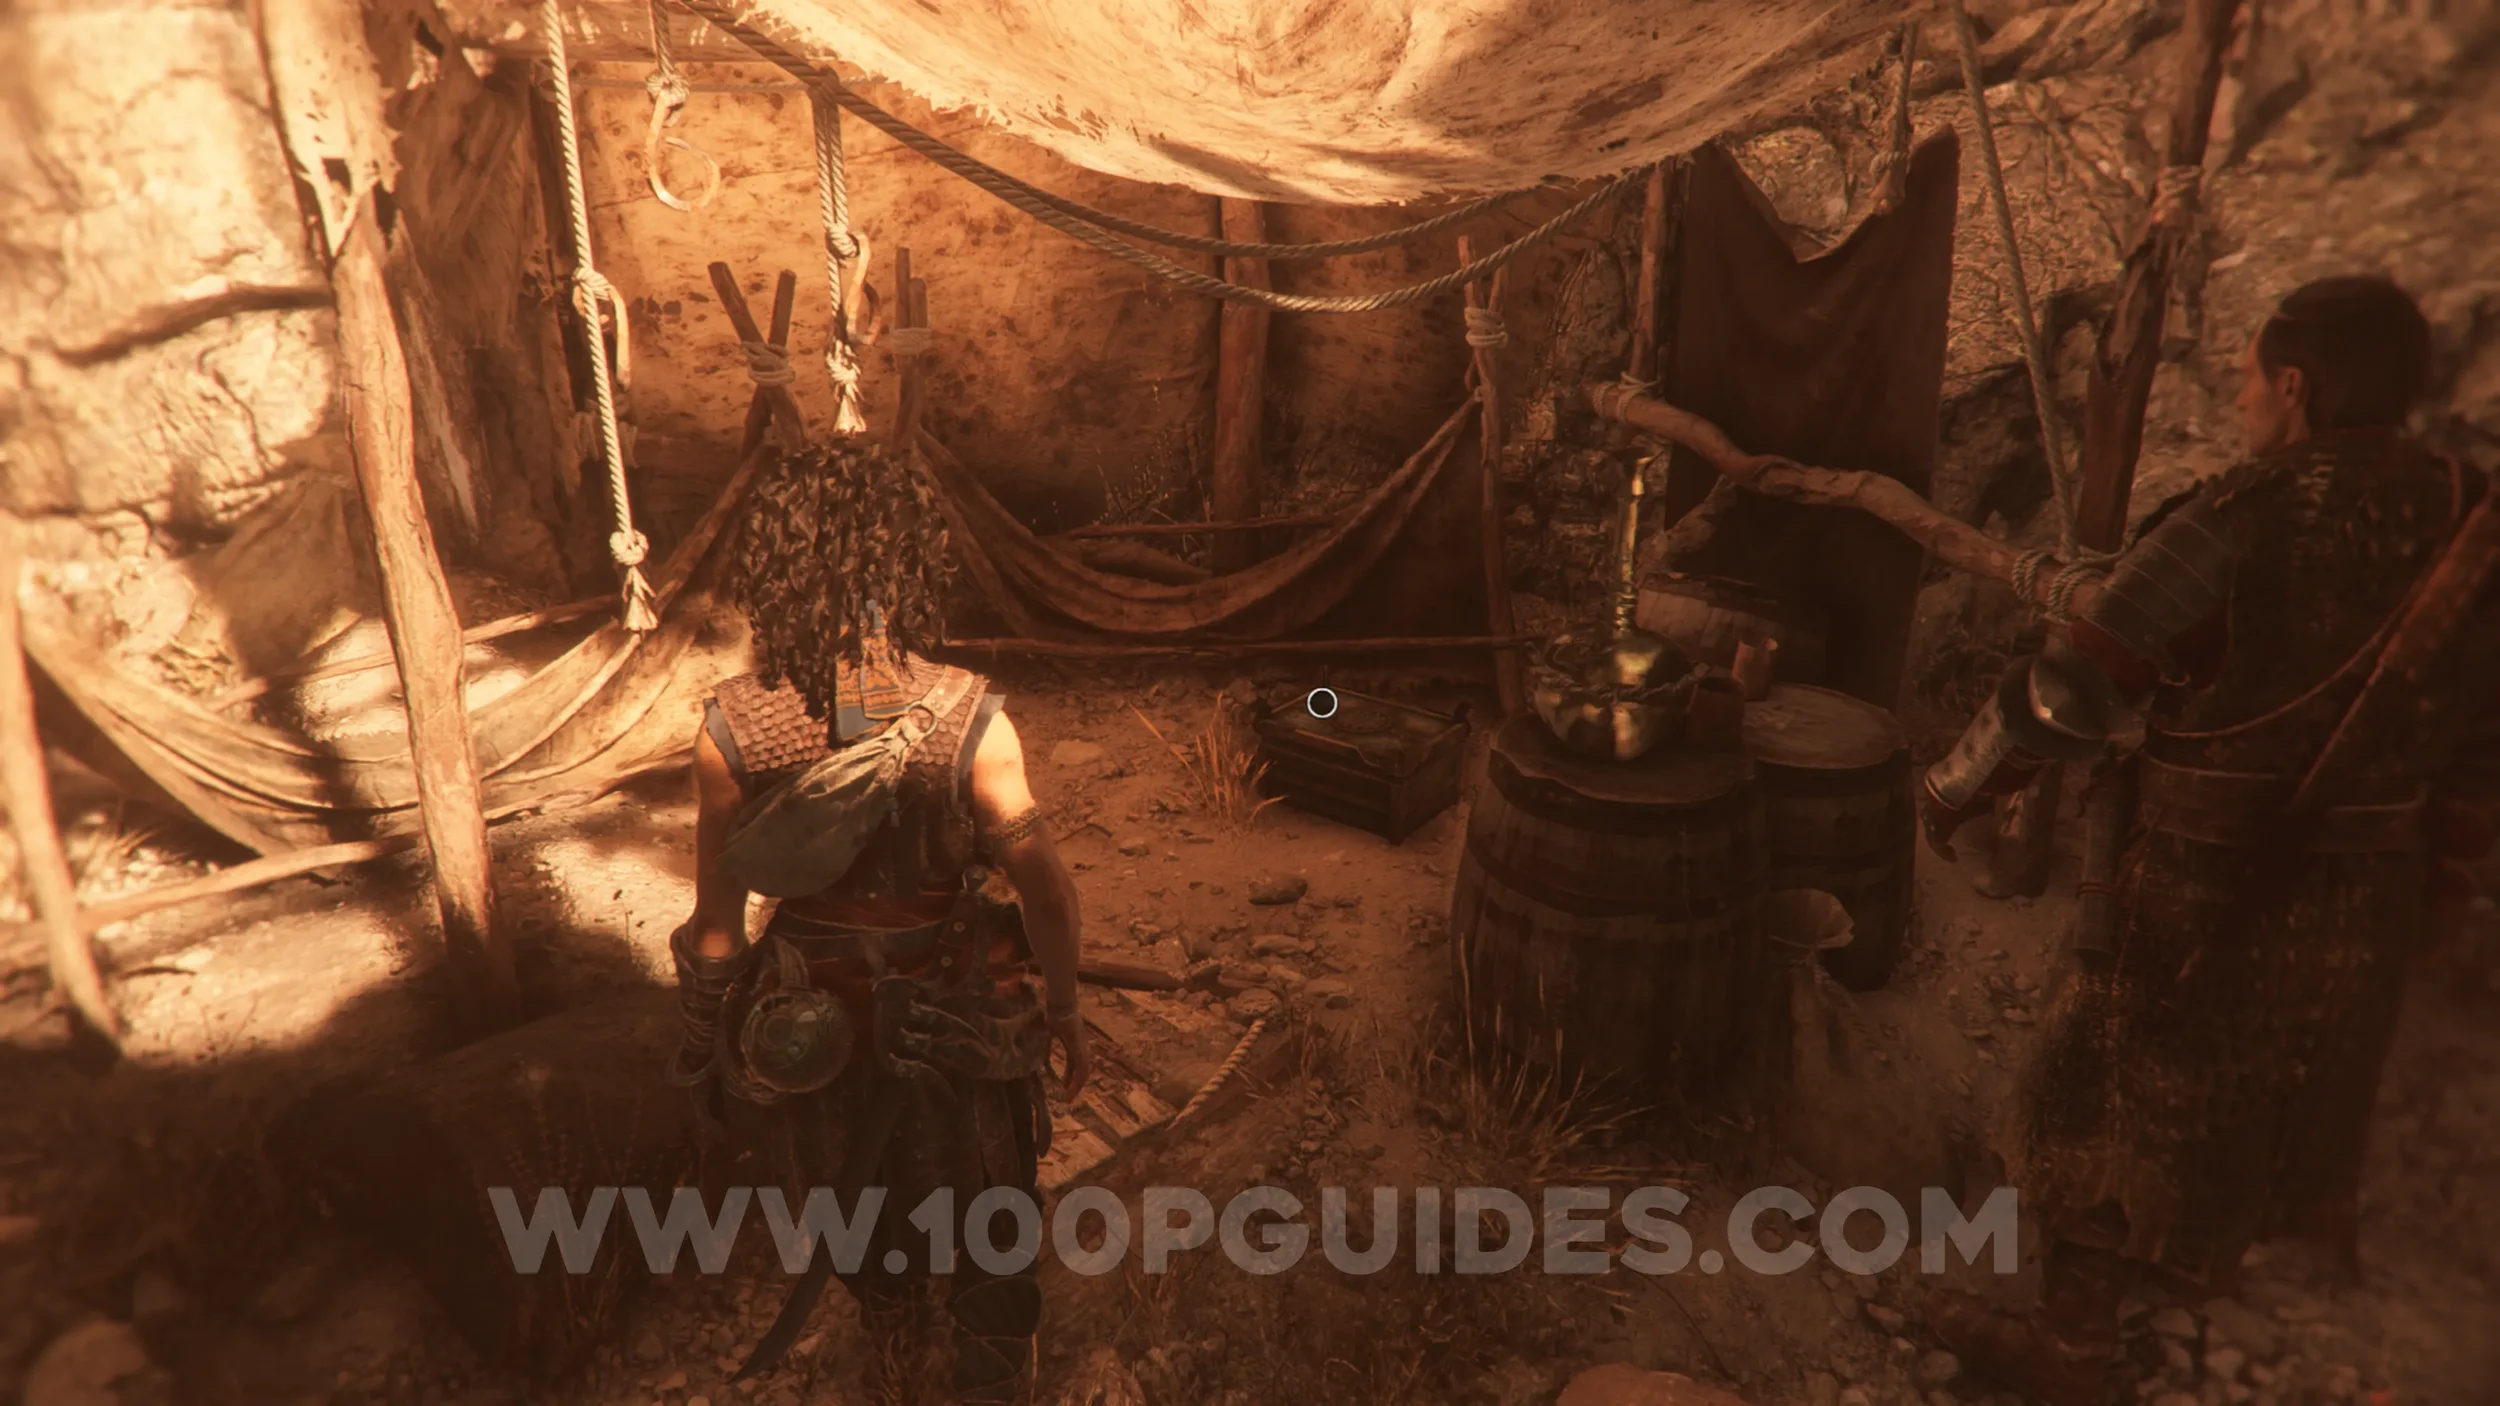
Charm: Trinket #4
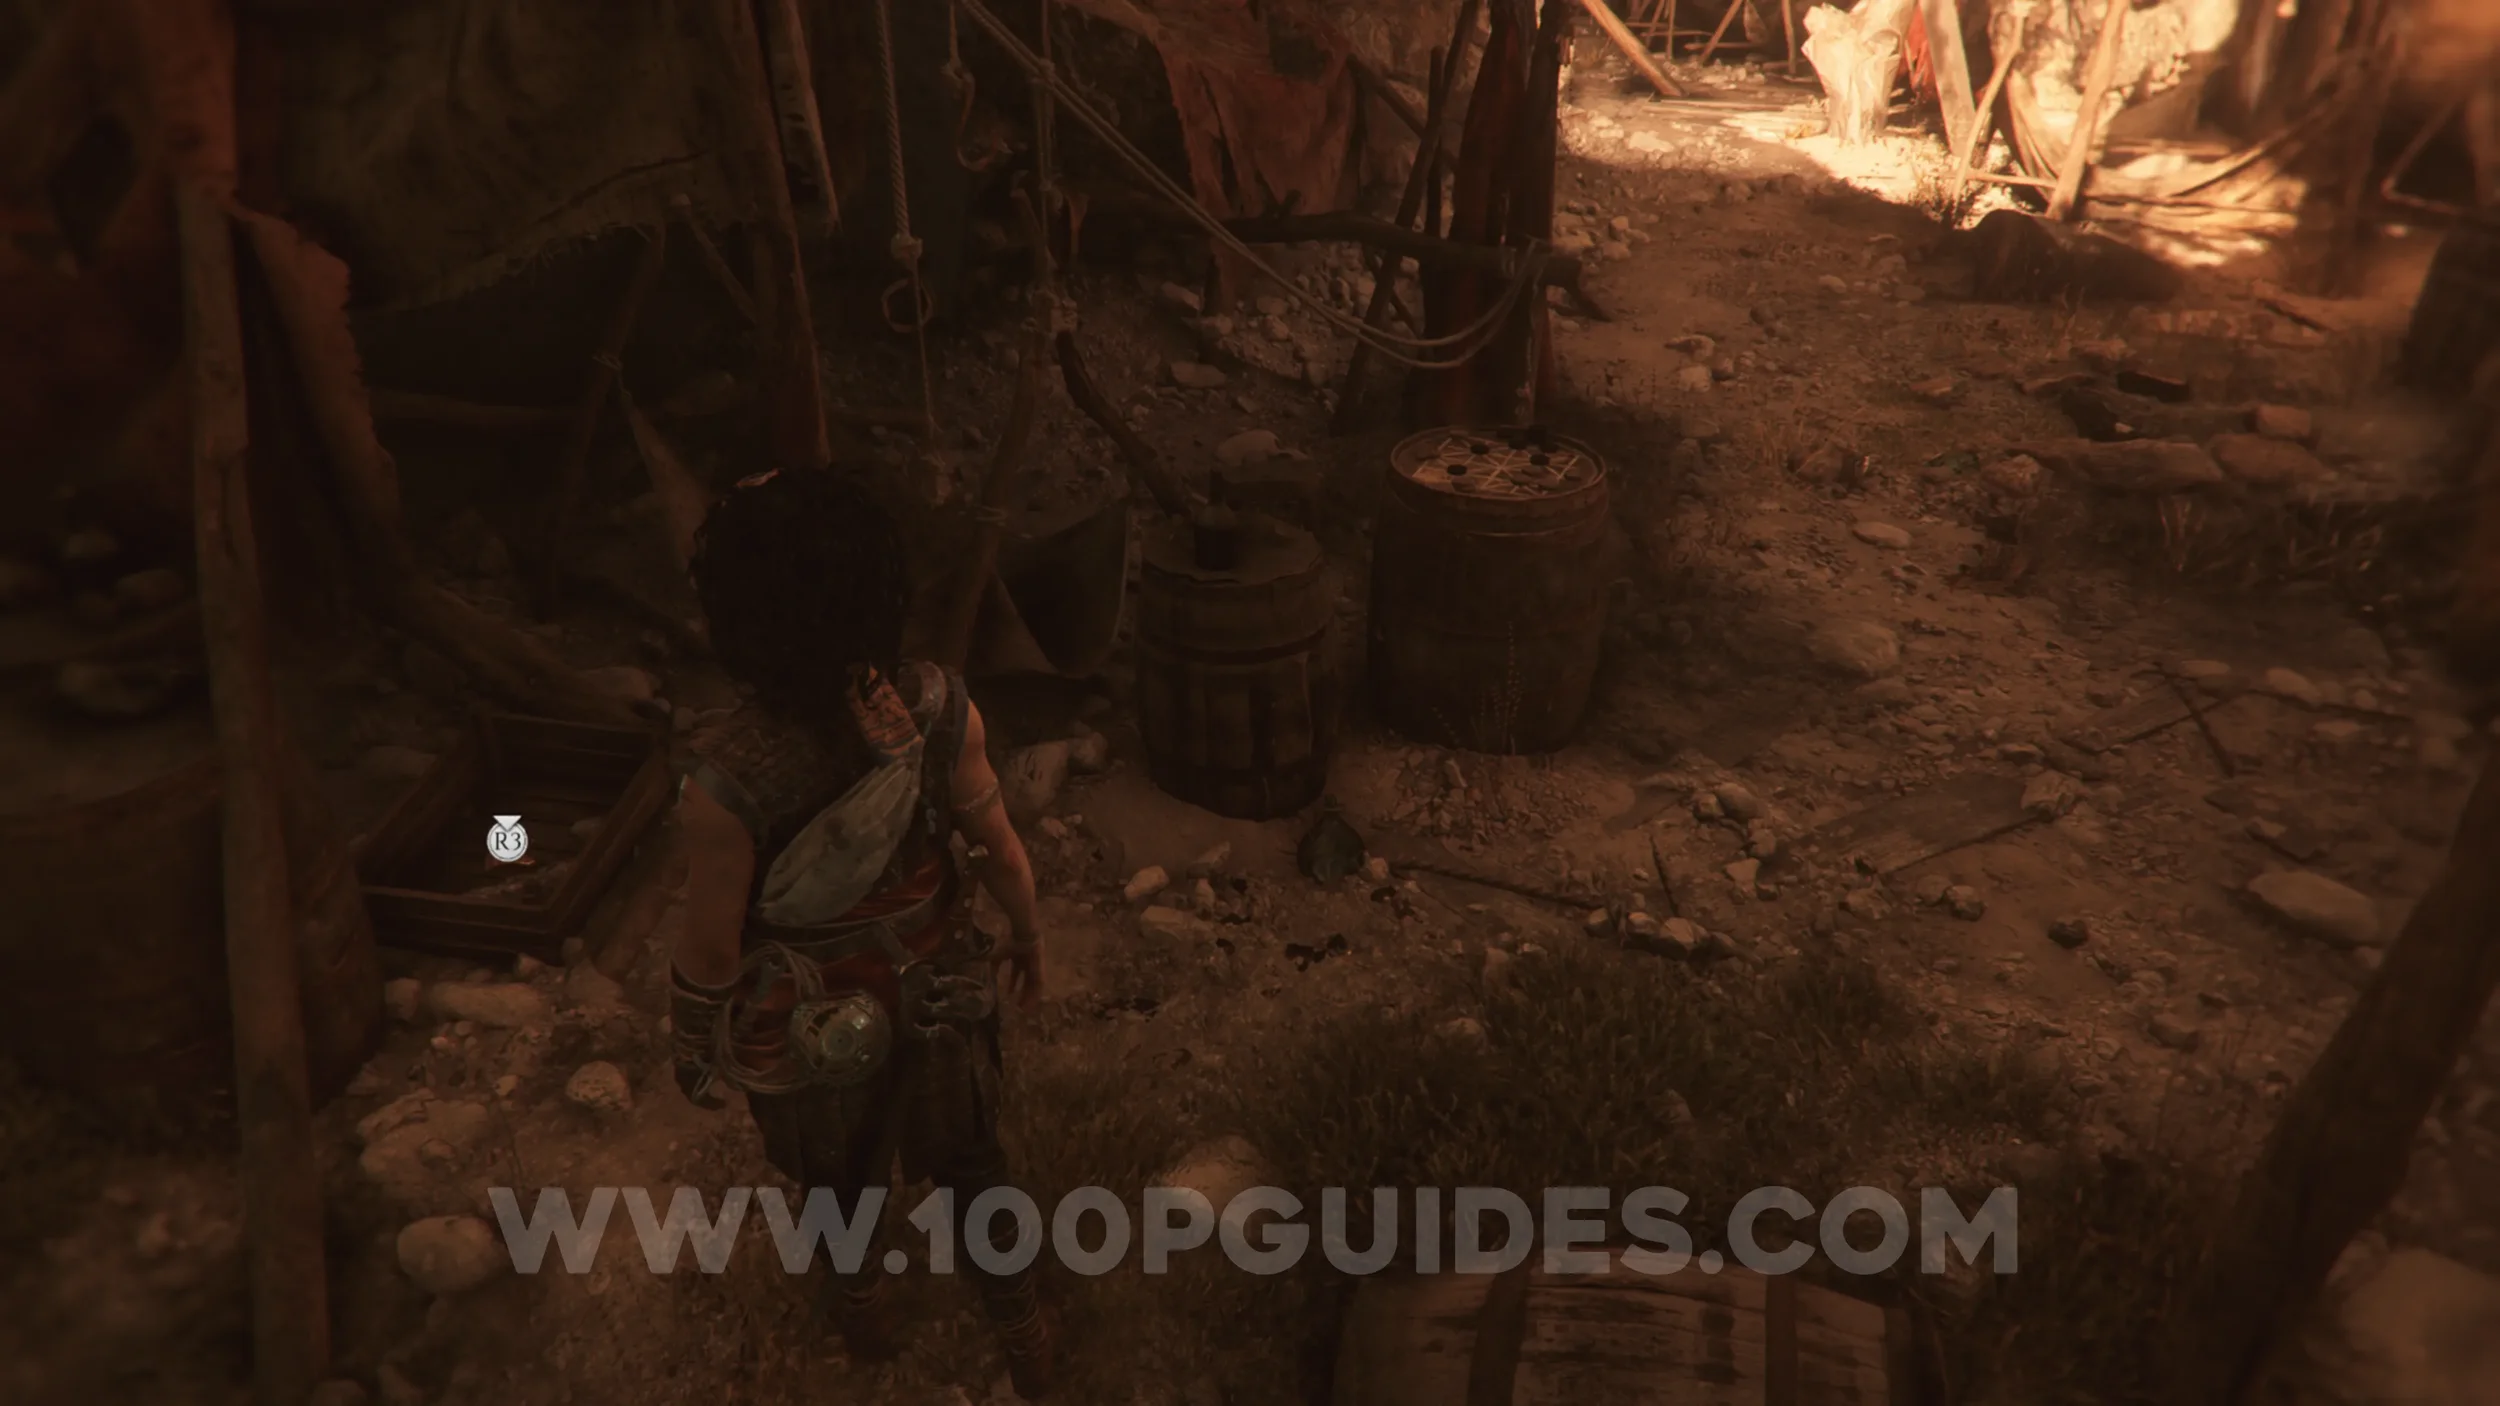
Chapter 10: Sub-Chapter 1.
On the right side of the same camp.
Resonance Point
Chapter 10: Sub-Chapter 2.
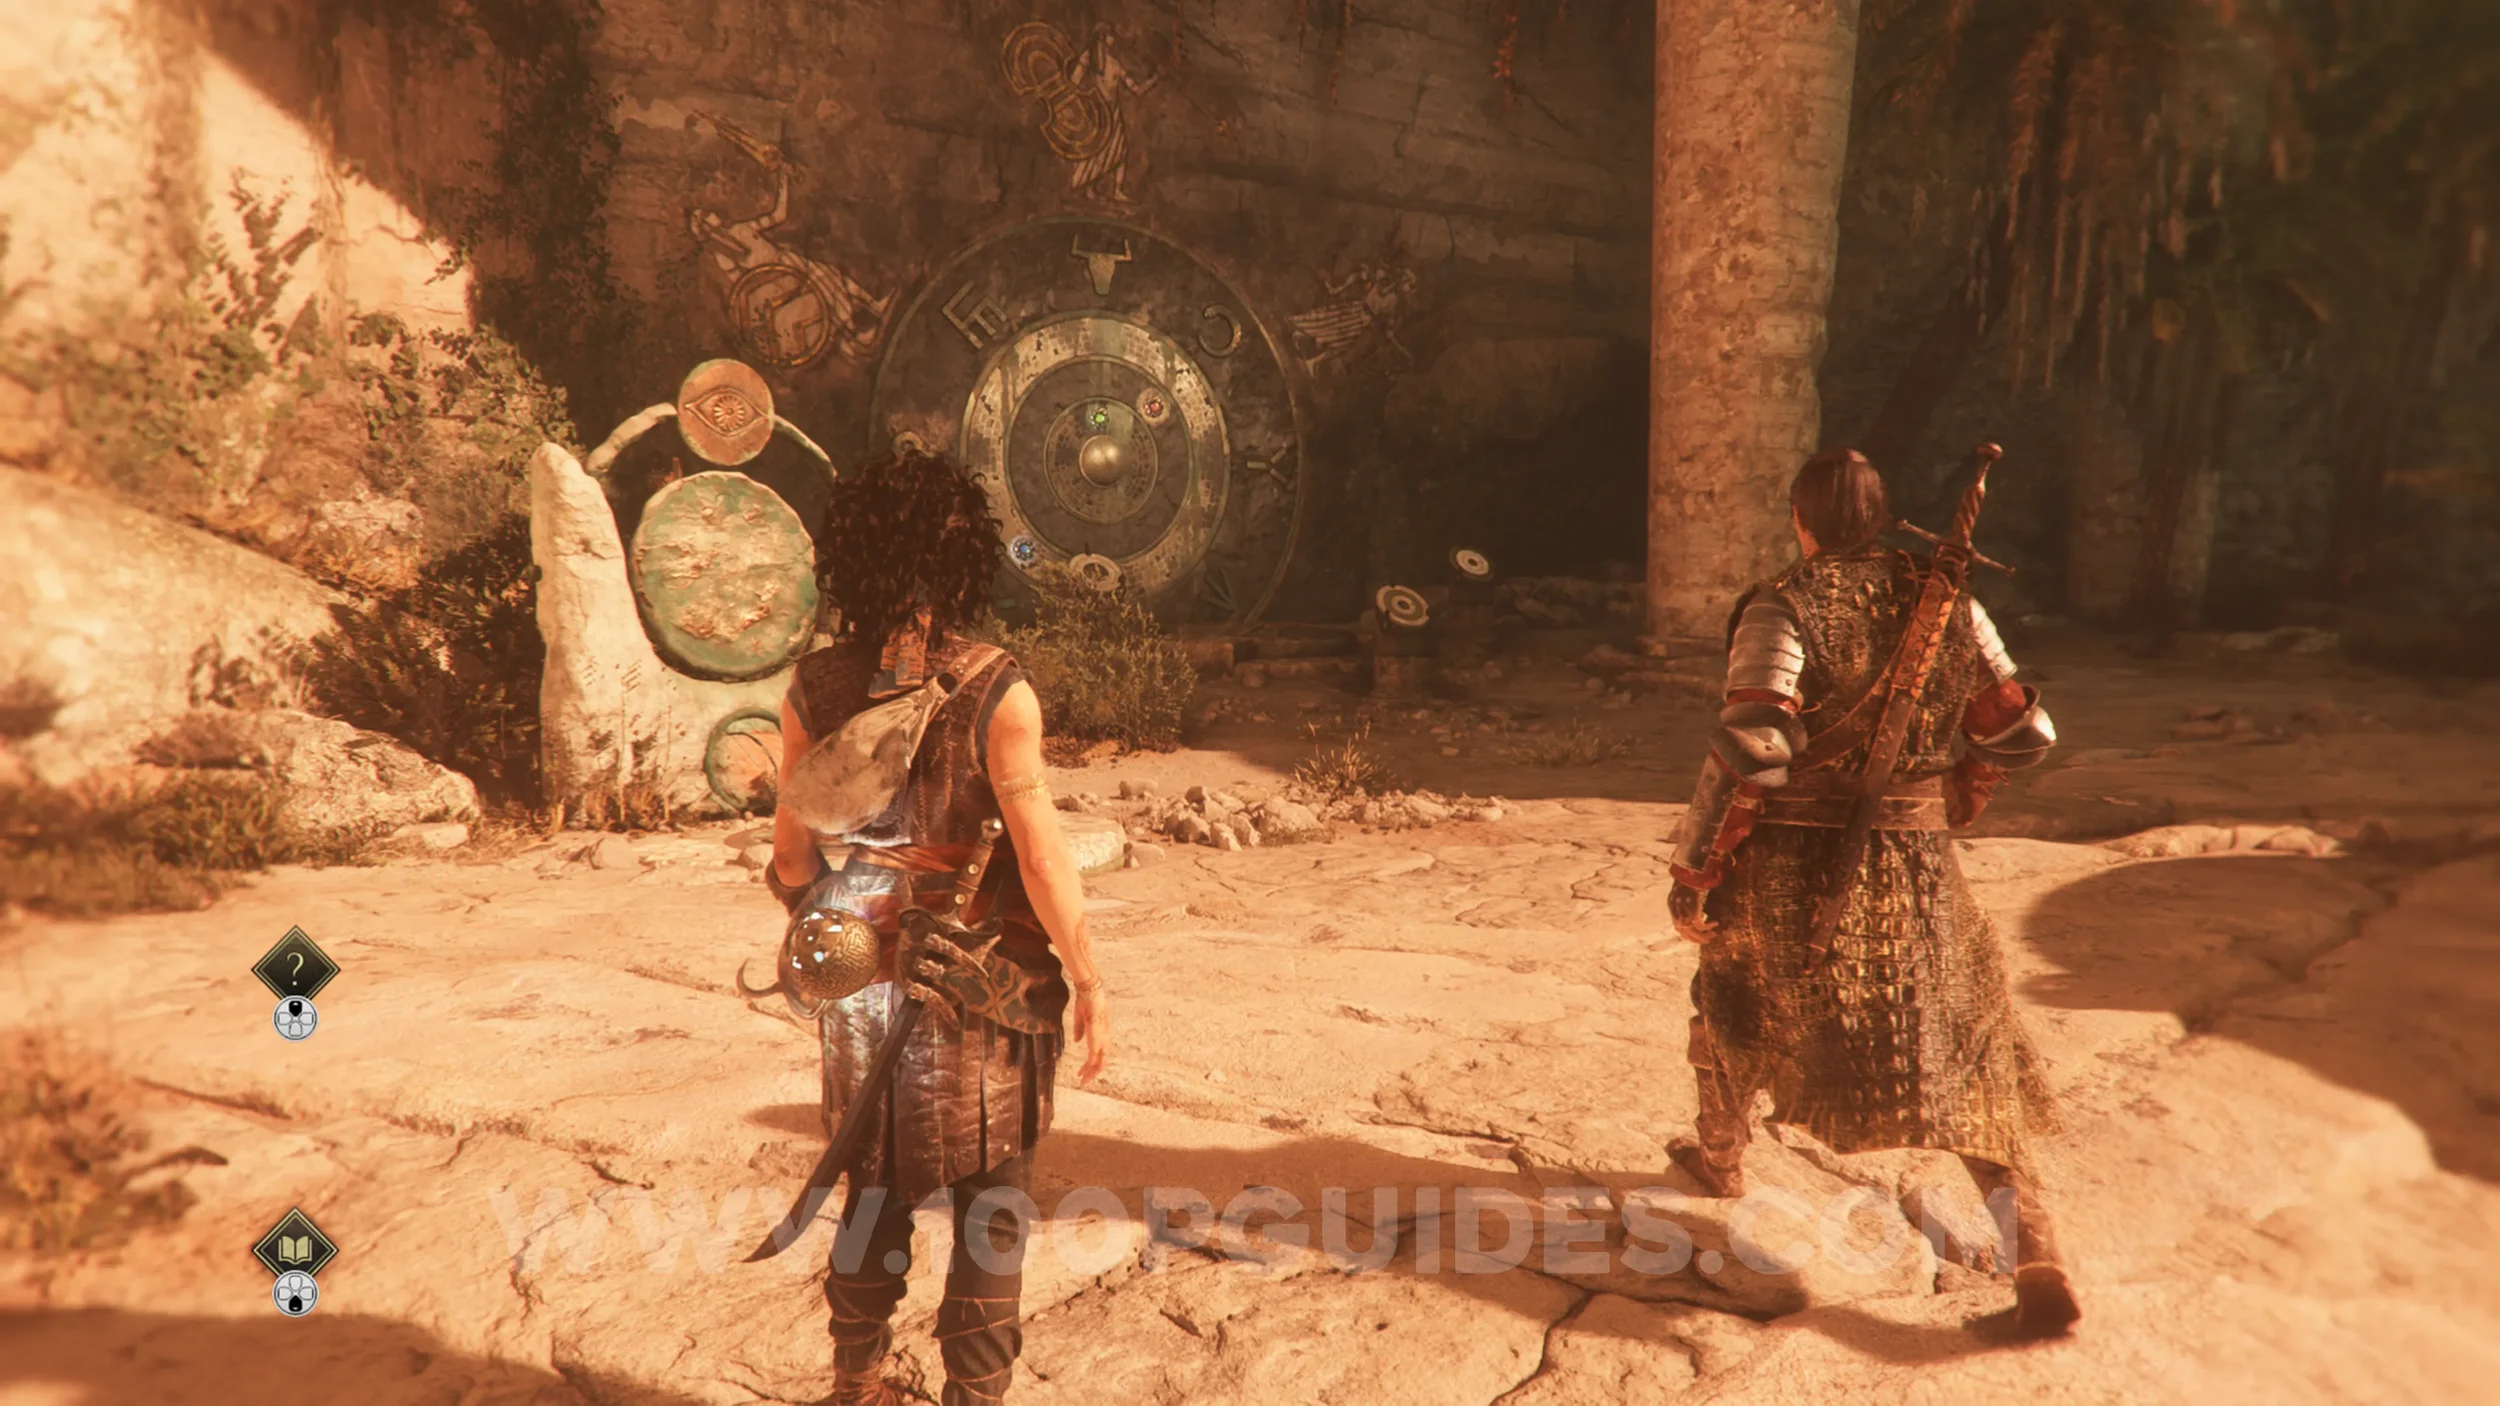
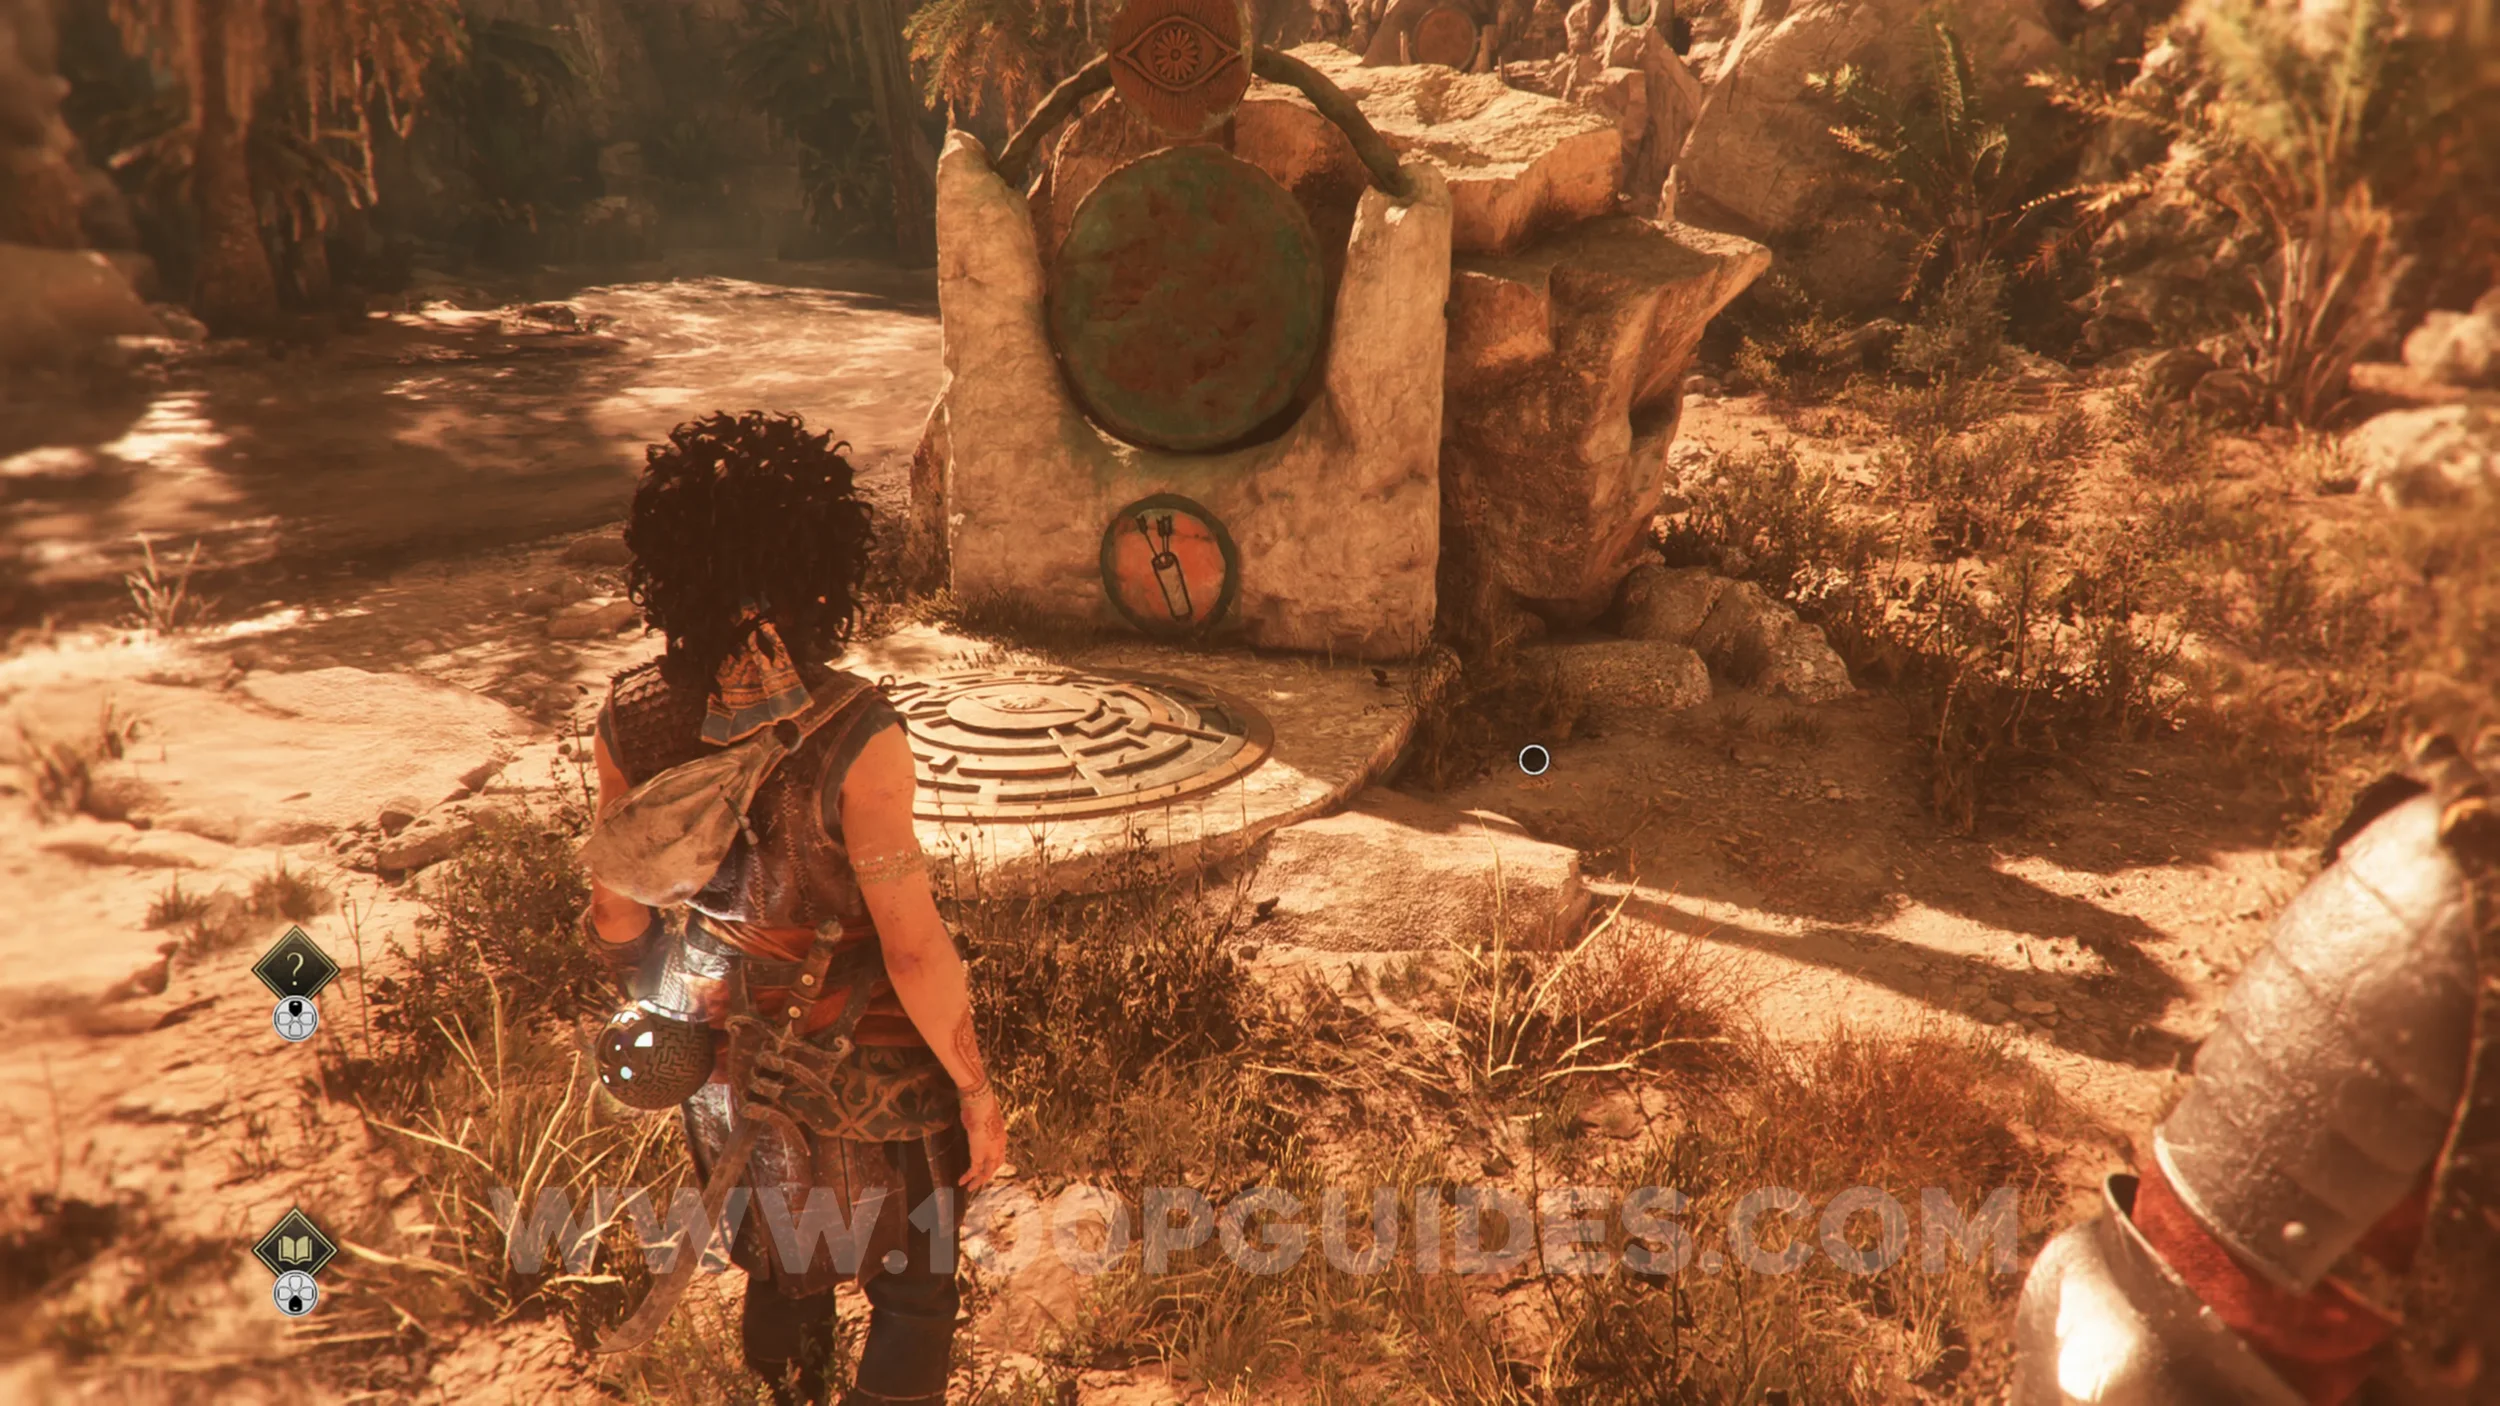
After leaving the cave with the white symbols, you'll reach a circular door that you must open by solving a puzzle. From the door, turn around and head in the opposite direction. You'll soon come to a river. Just as you reach it, you'll see one of the puzzle mechanisms on your right with a picture of arrows in a quiver. The collectible will be next to it.
Resonance Point
Chapter 10: Sub-Chapter 2.
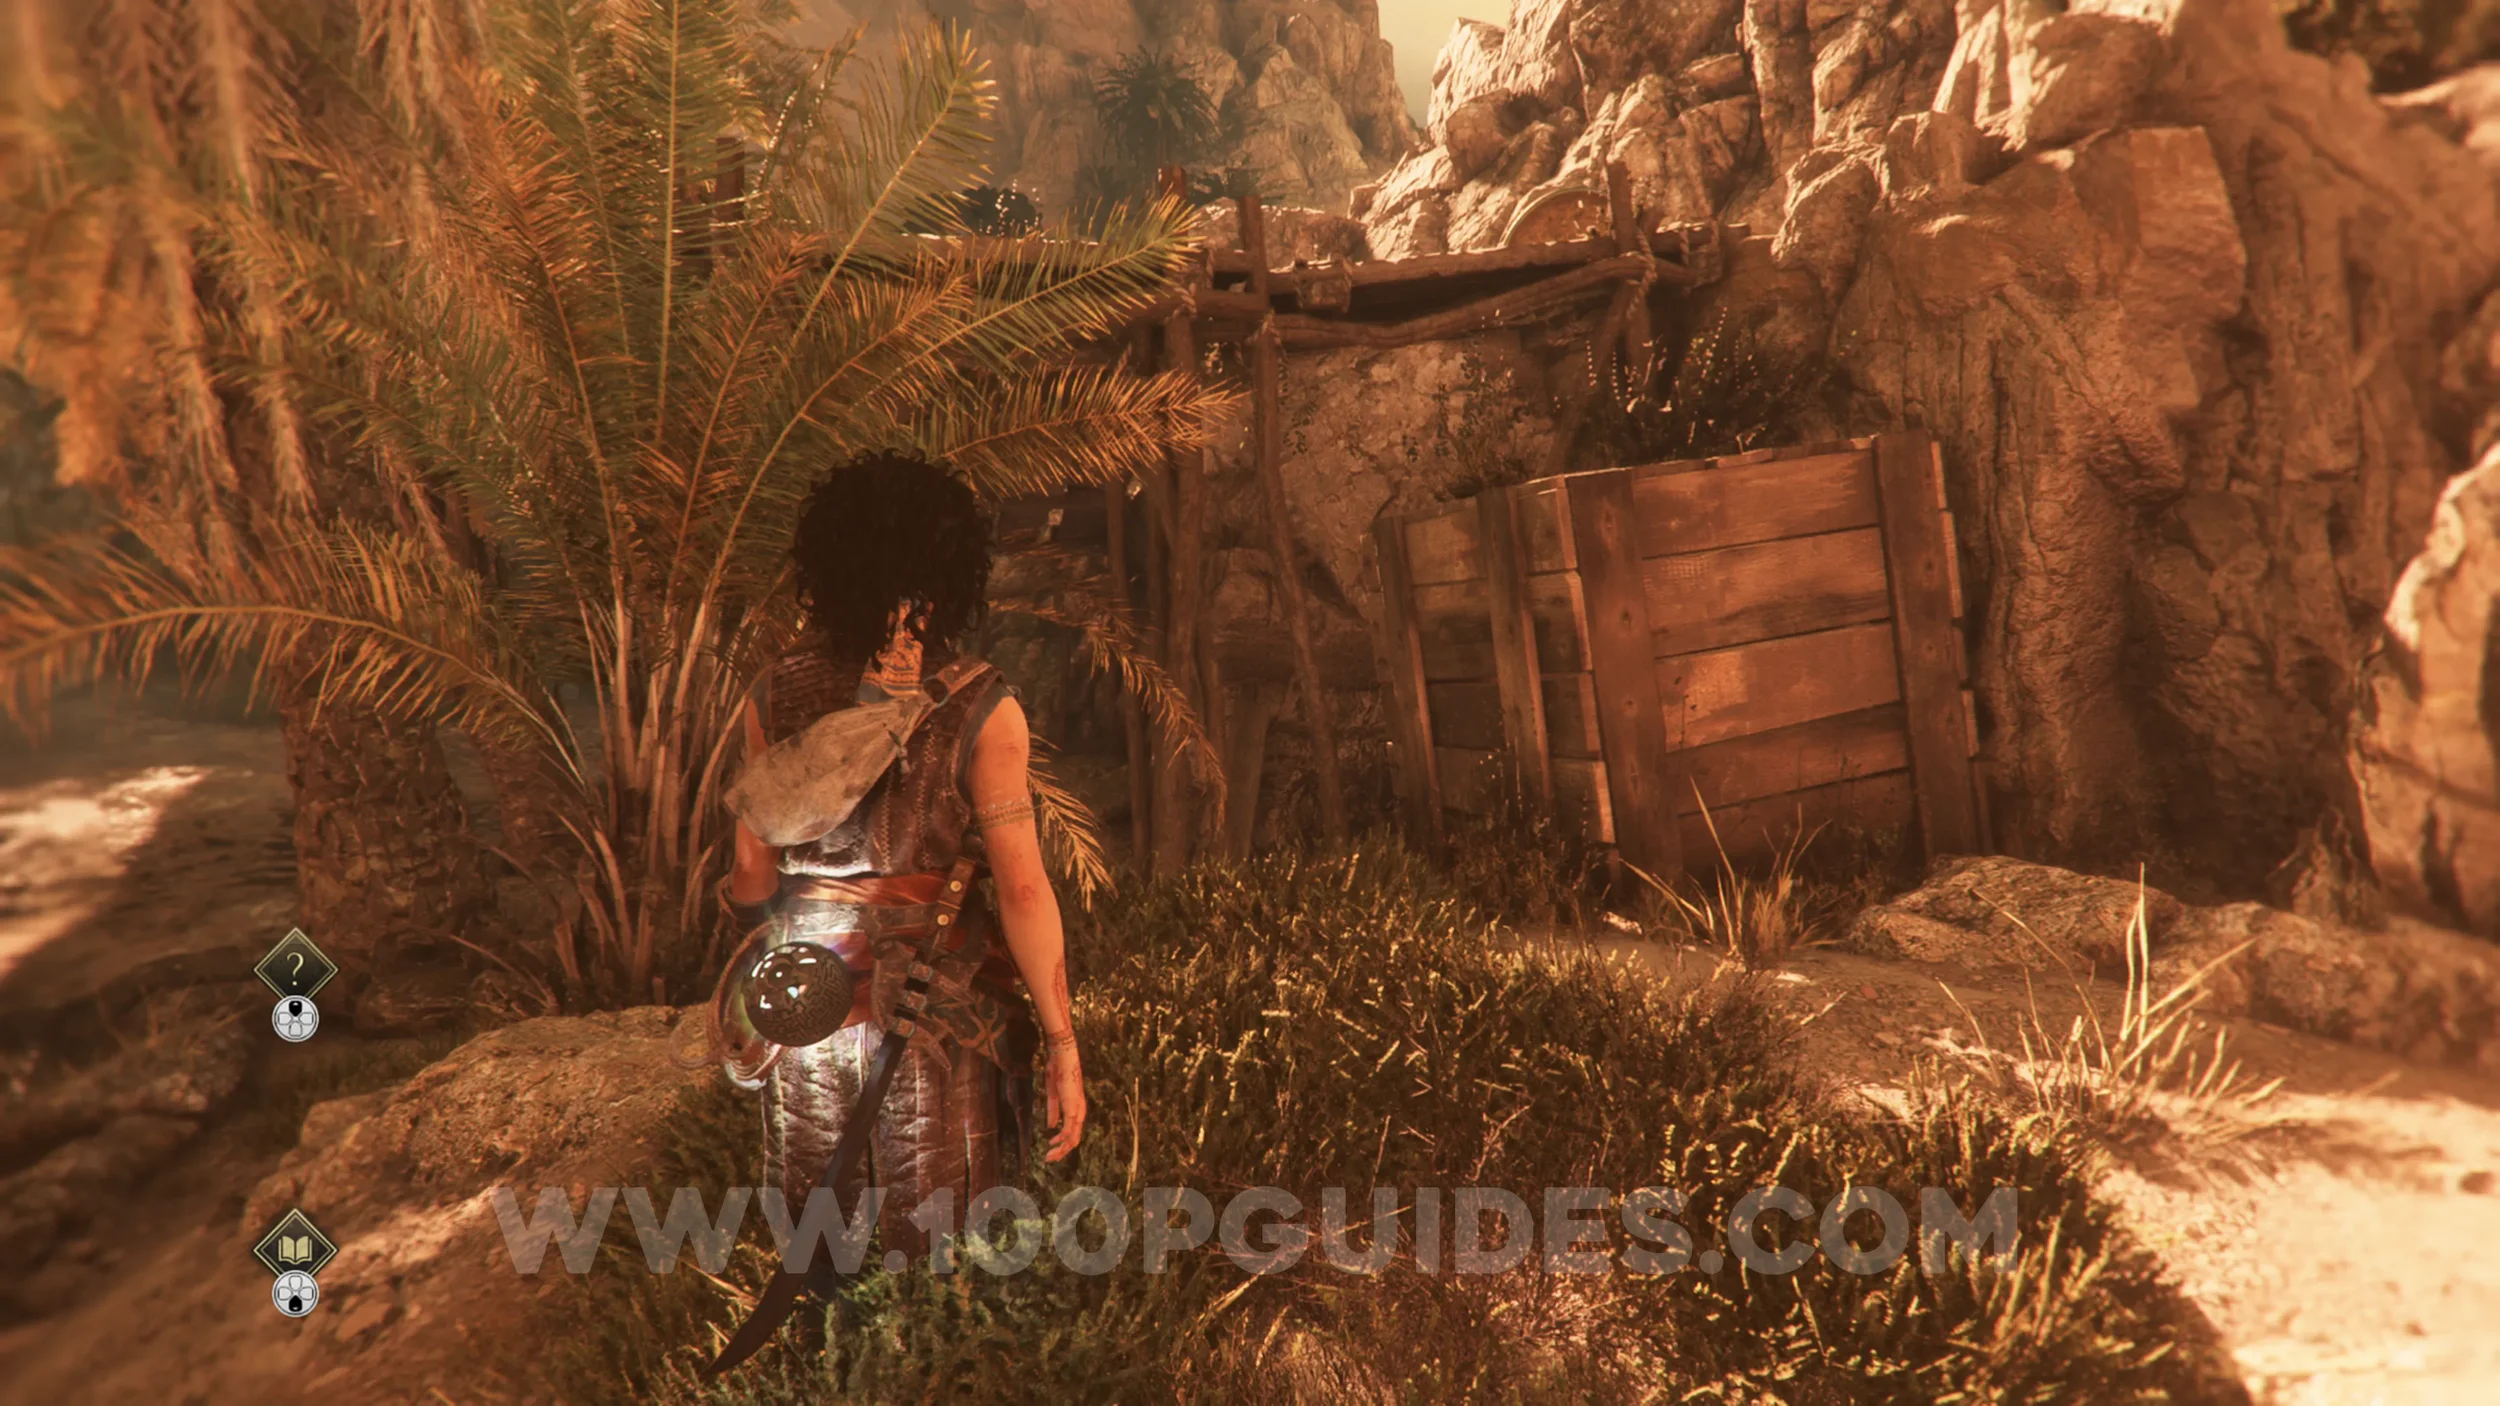
Continue following the river away from the door, sticking to the right side of it. You'll soon see a large box you can use to climb up to a wooden platform with another one of the puzzle mechanisms on it. Climb up, and you'll find the collectible on the rock platform behind the mechanism.
Artefact: Thakourth Ball
Chapter 10: Sub-Chapter 2.
From the previous collectible, continue following the river while sticking to the right side to find the artefact at the end.
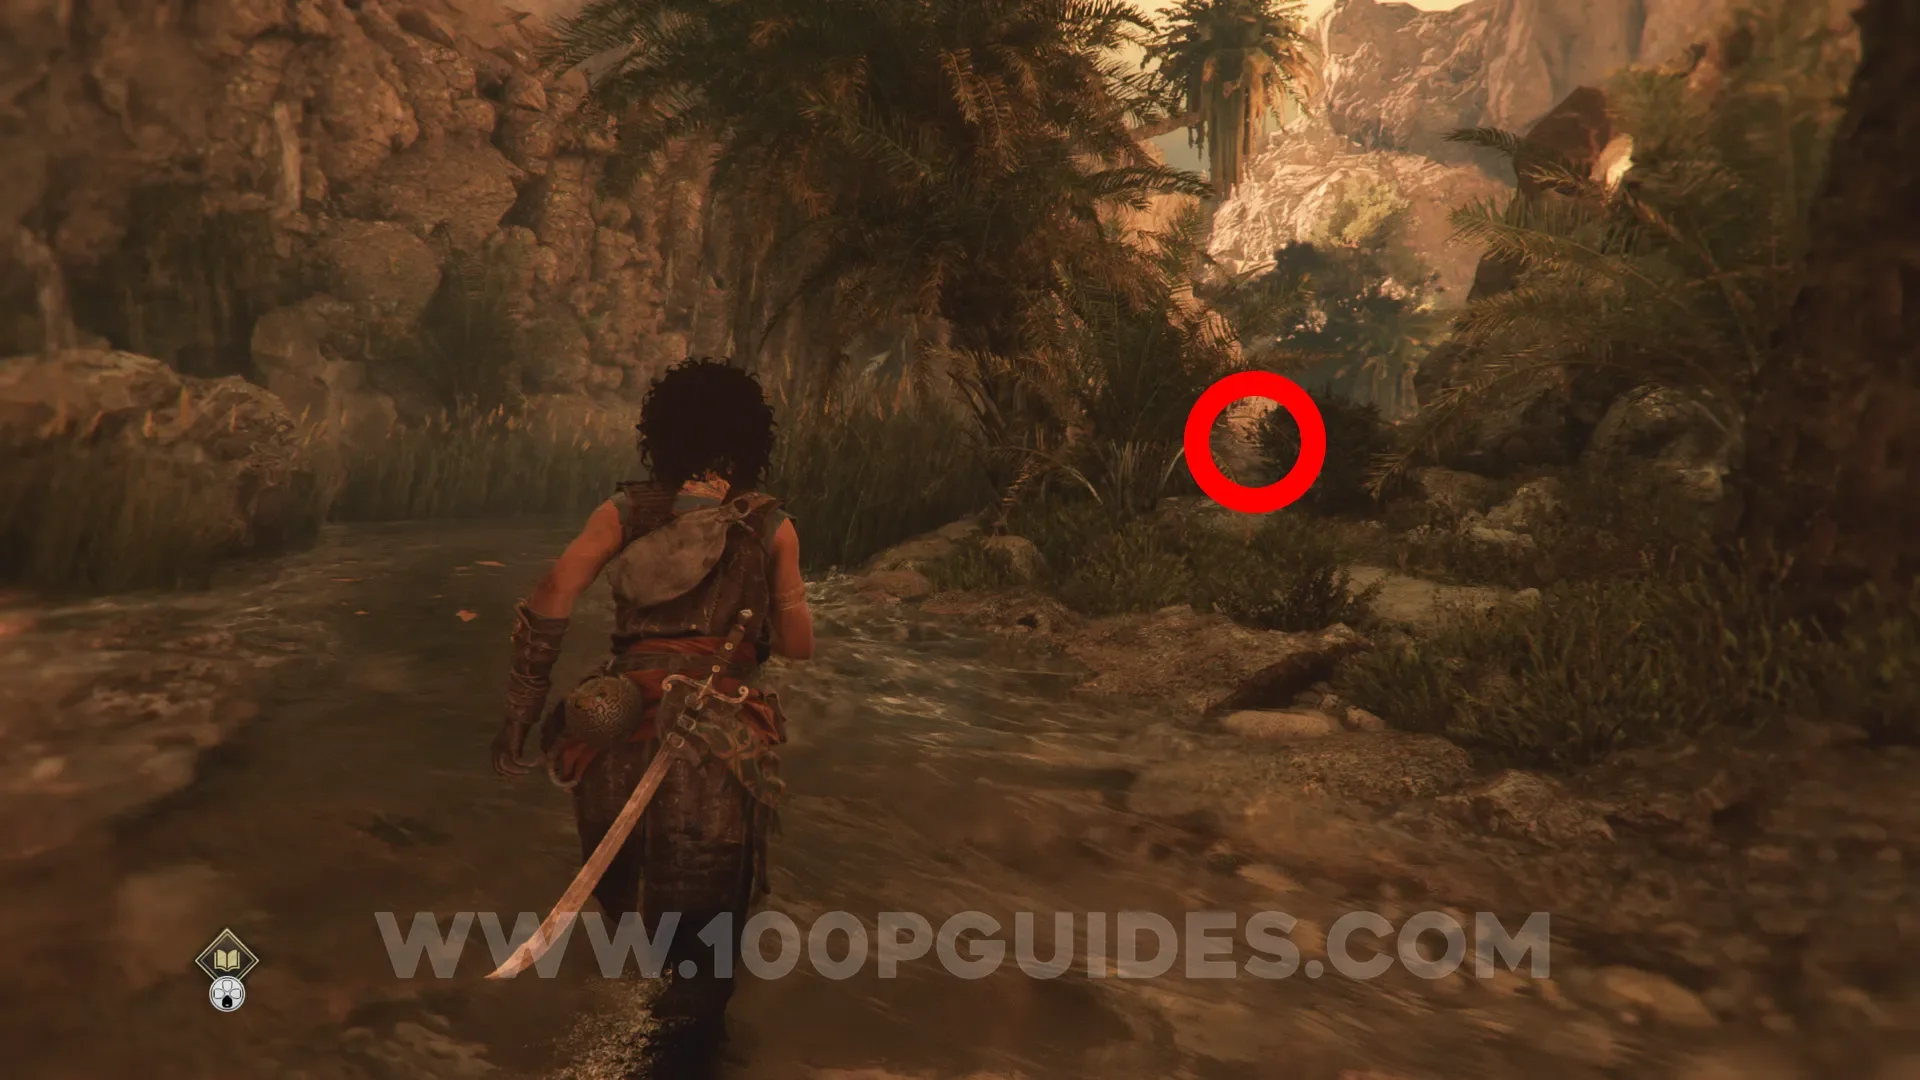
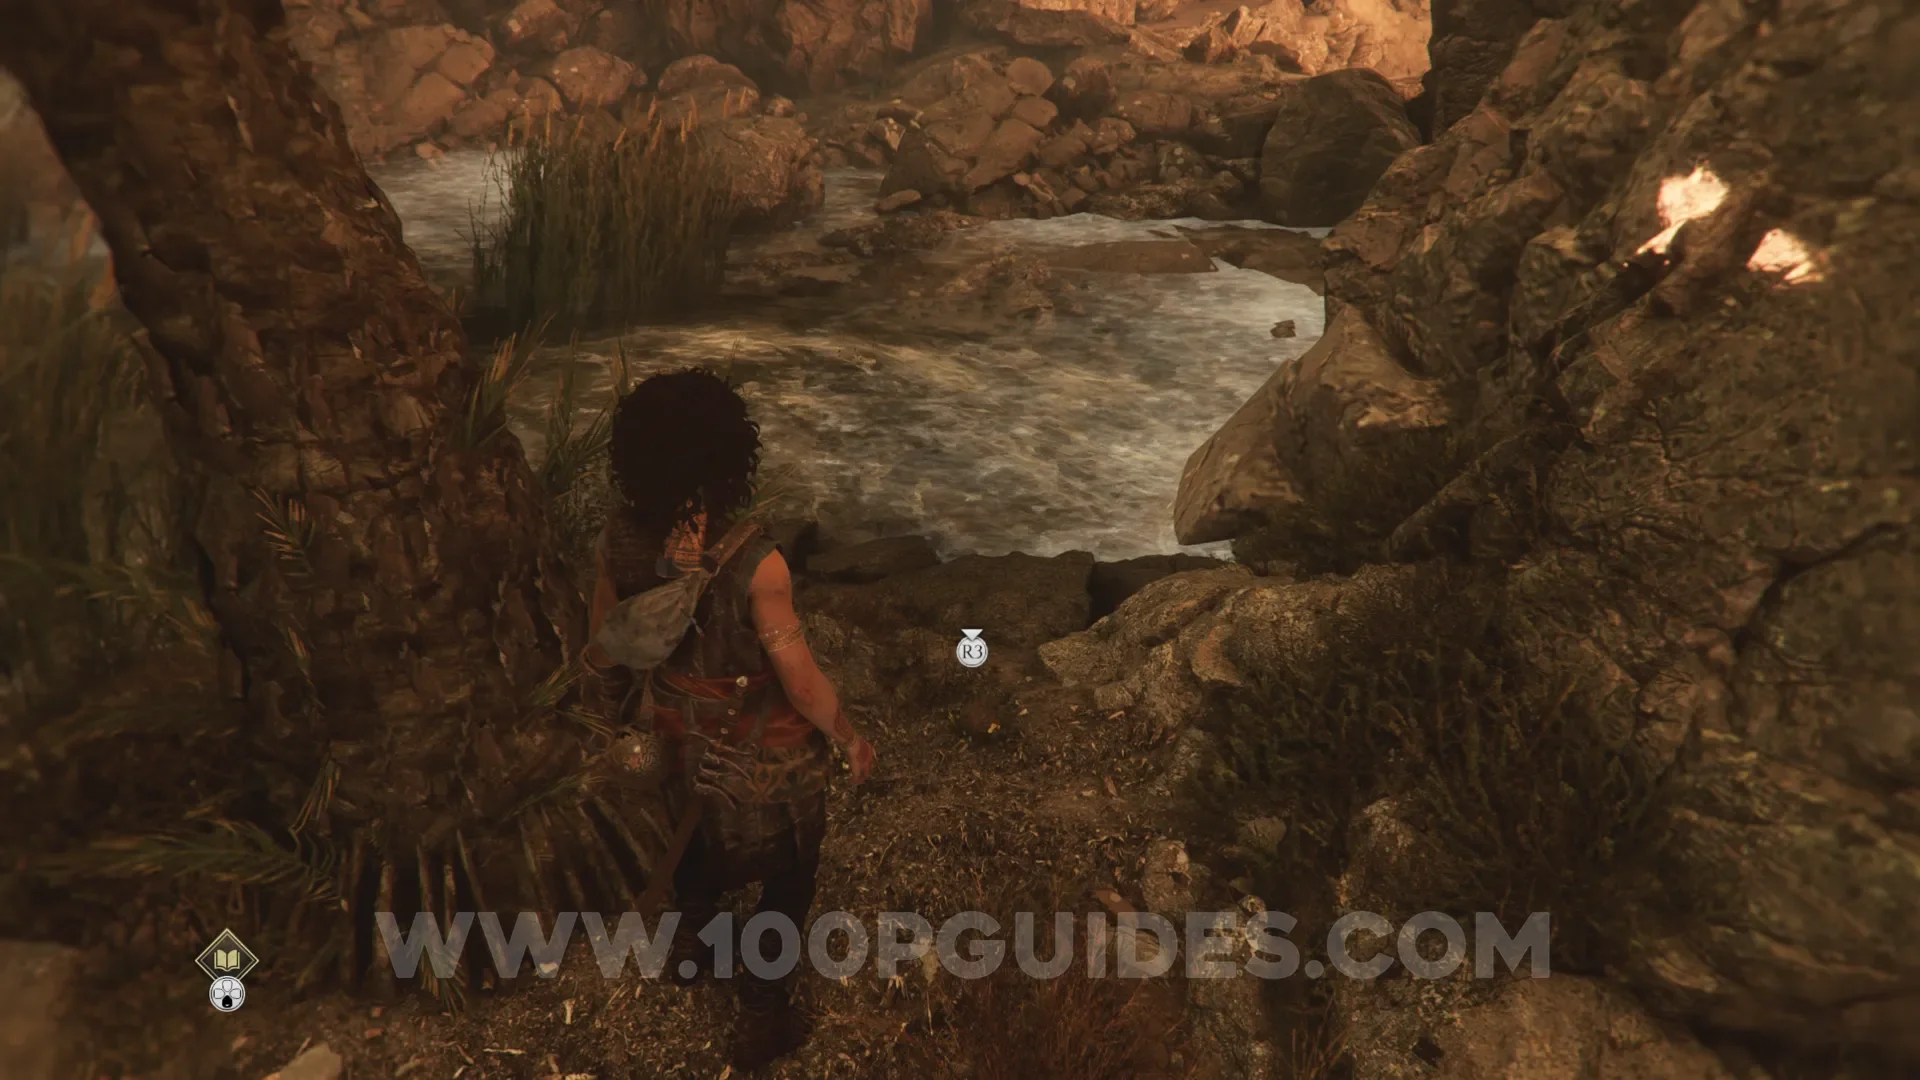
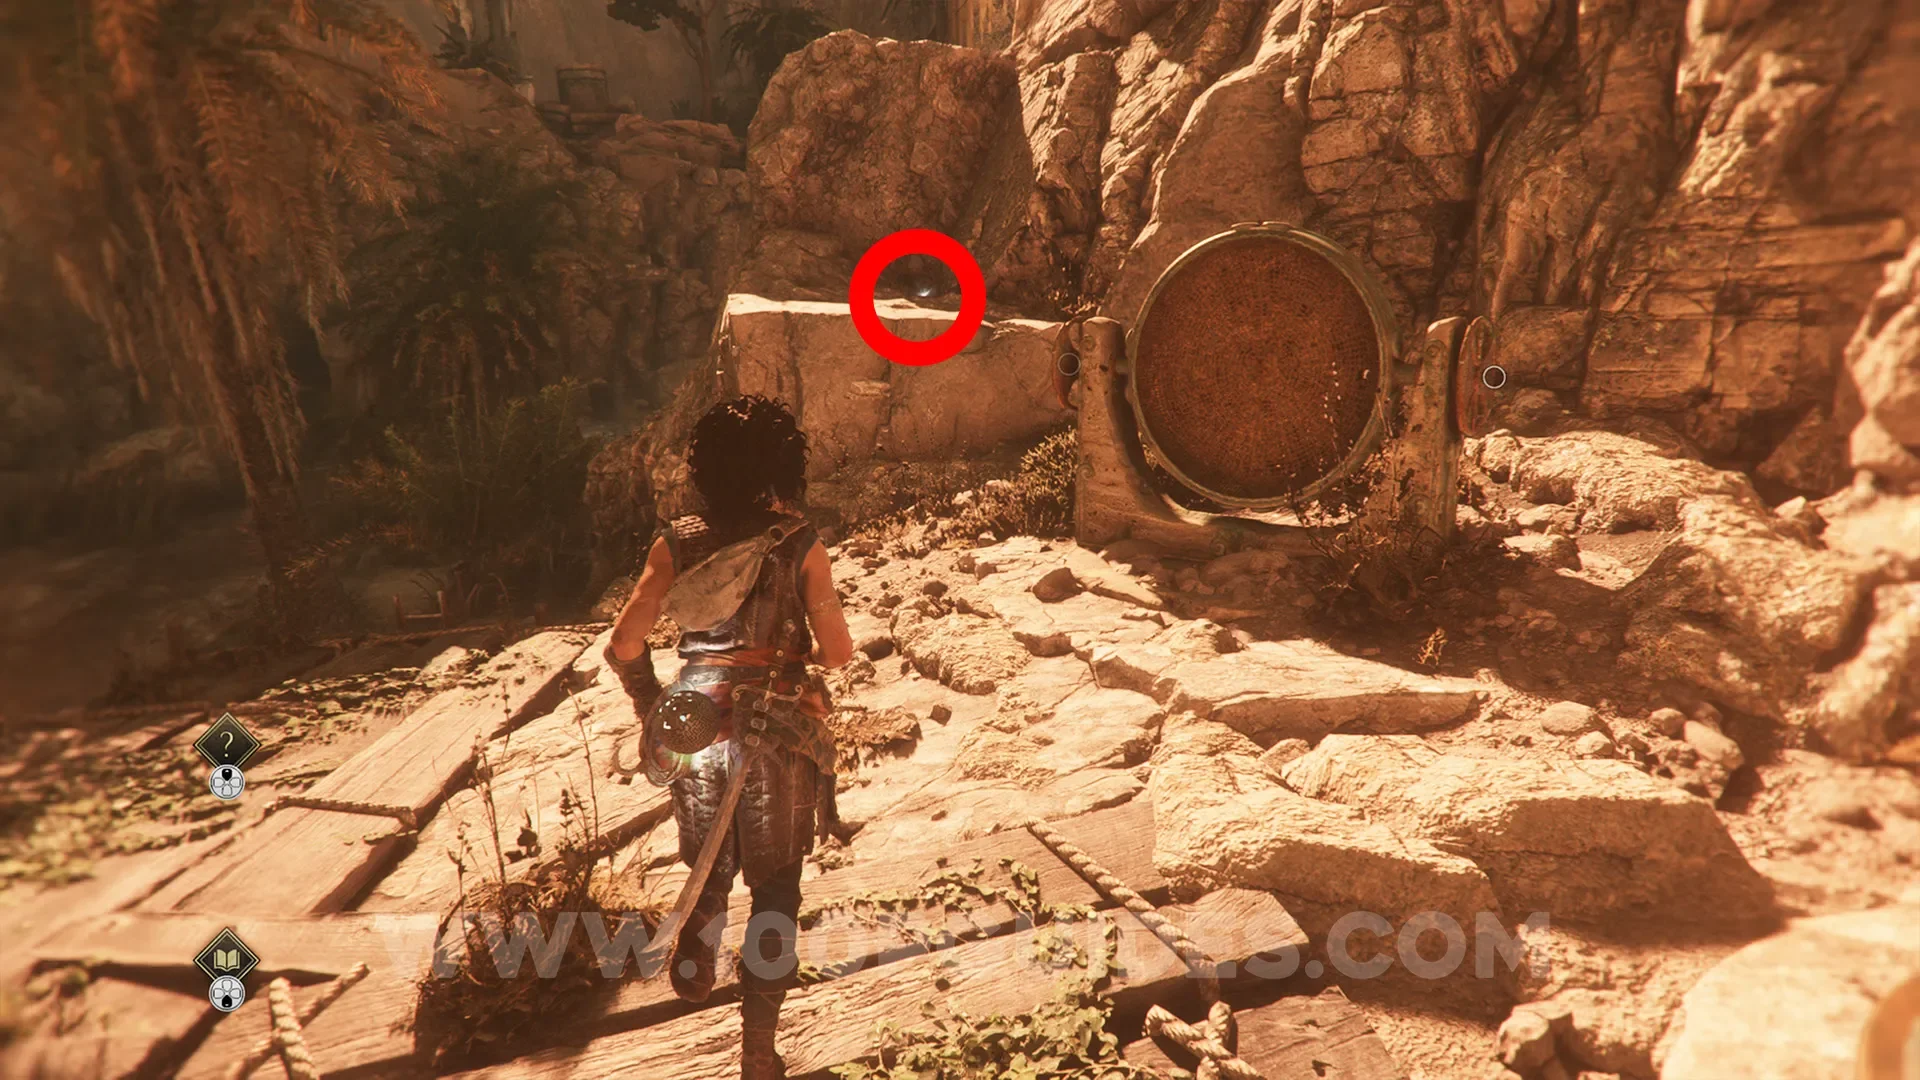
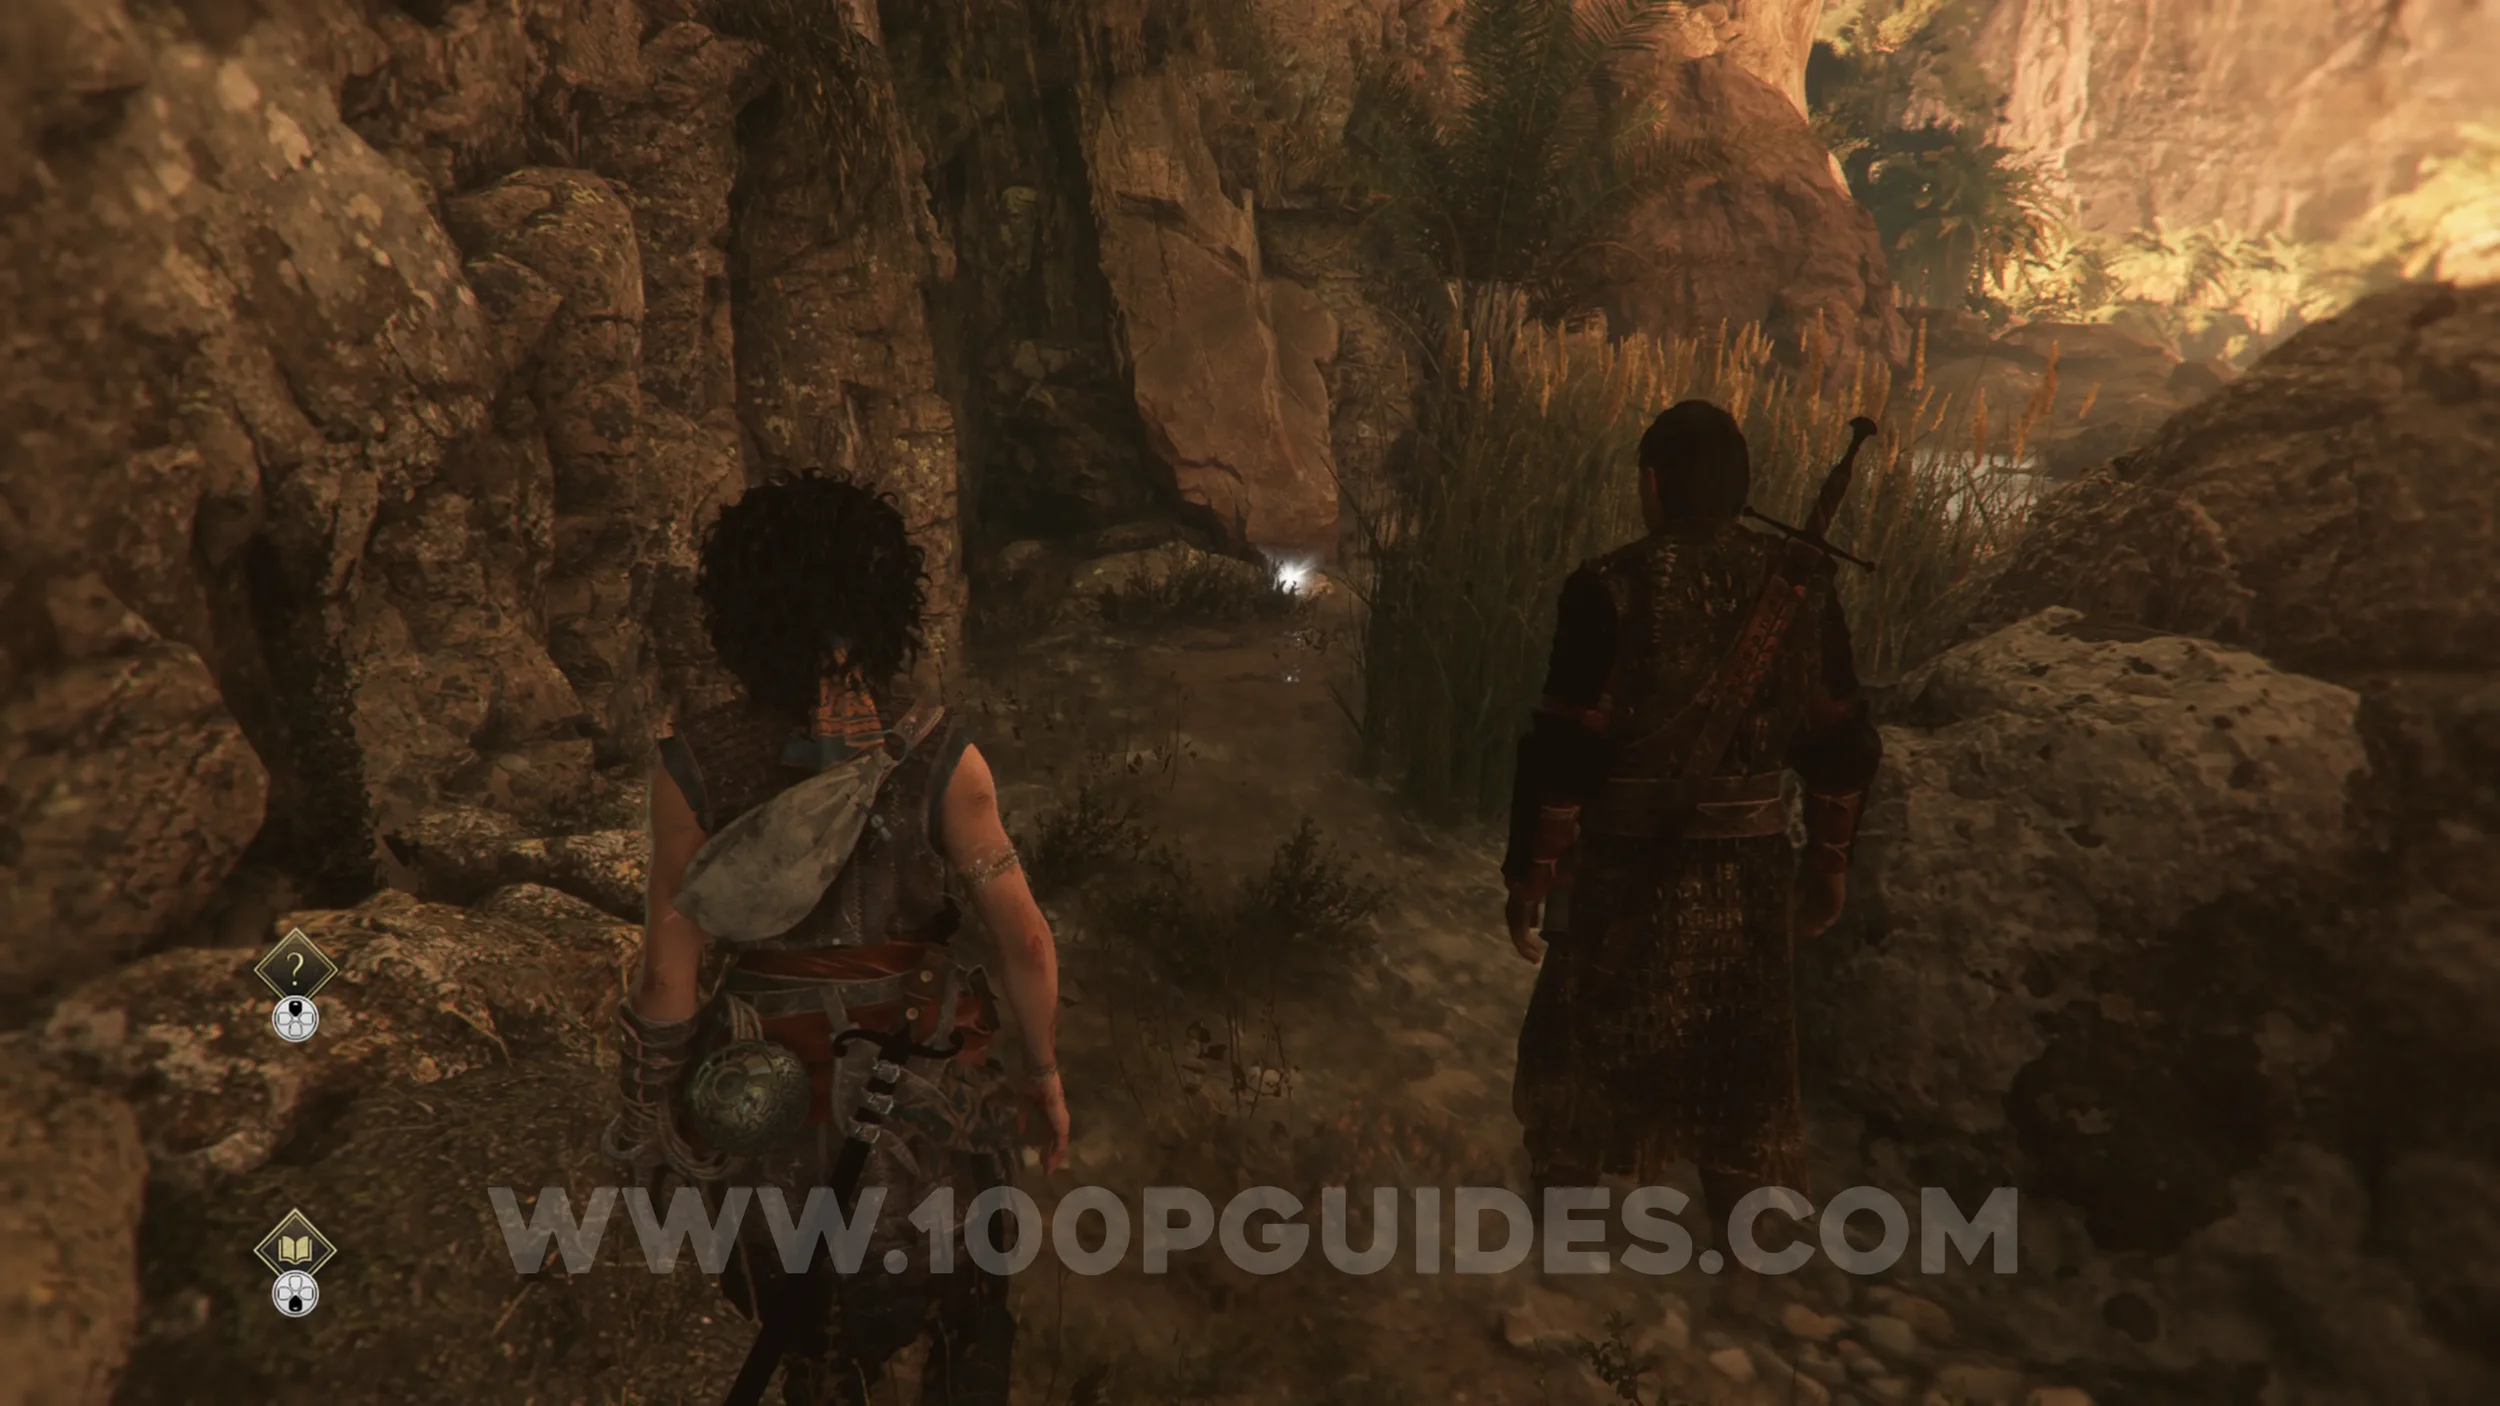
Resonance Point
Chapter 10: Sub-Chapter 2.
From the previous collectible, cross over to the left side of the river, and you'll see the collectible on a rock next to a small cave entrance.
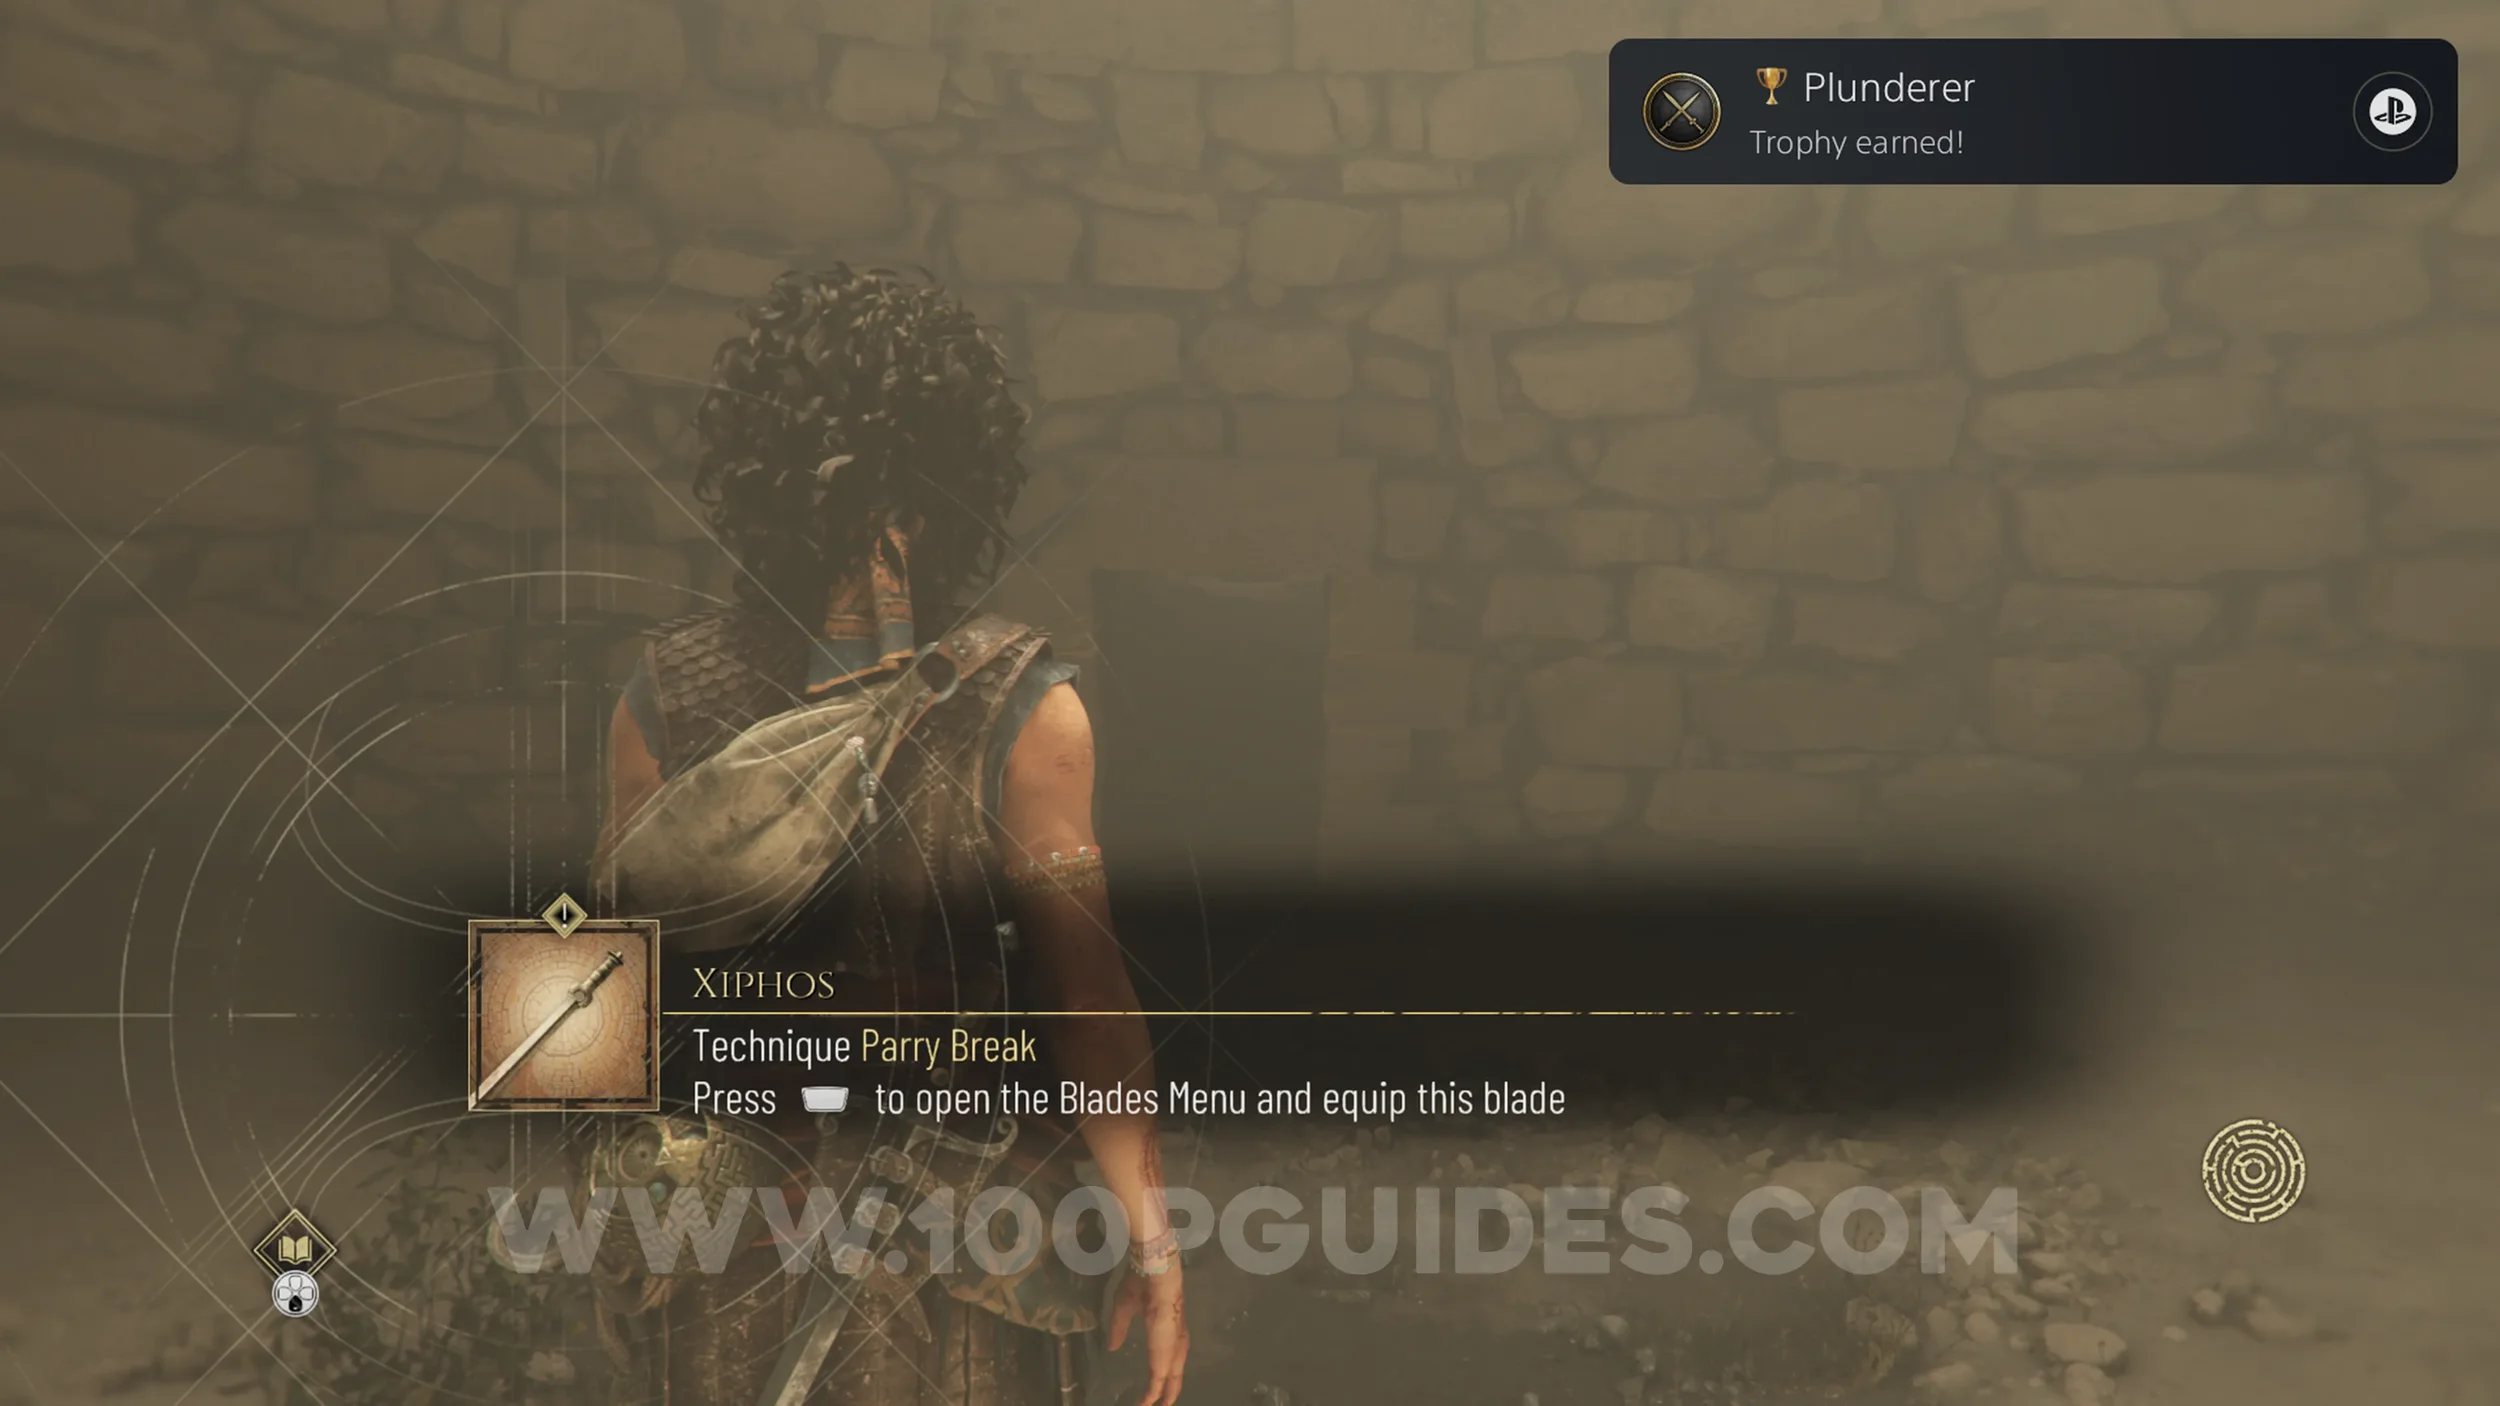
Blade: Xiphos
Chapter 10: Sub-Chapter 2.
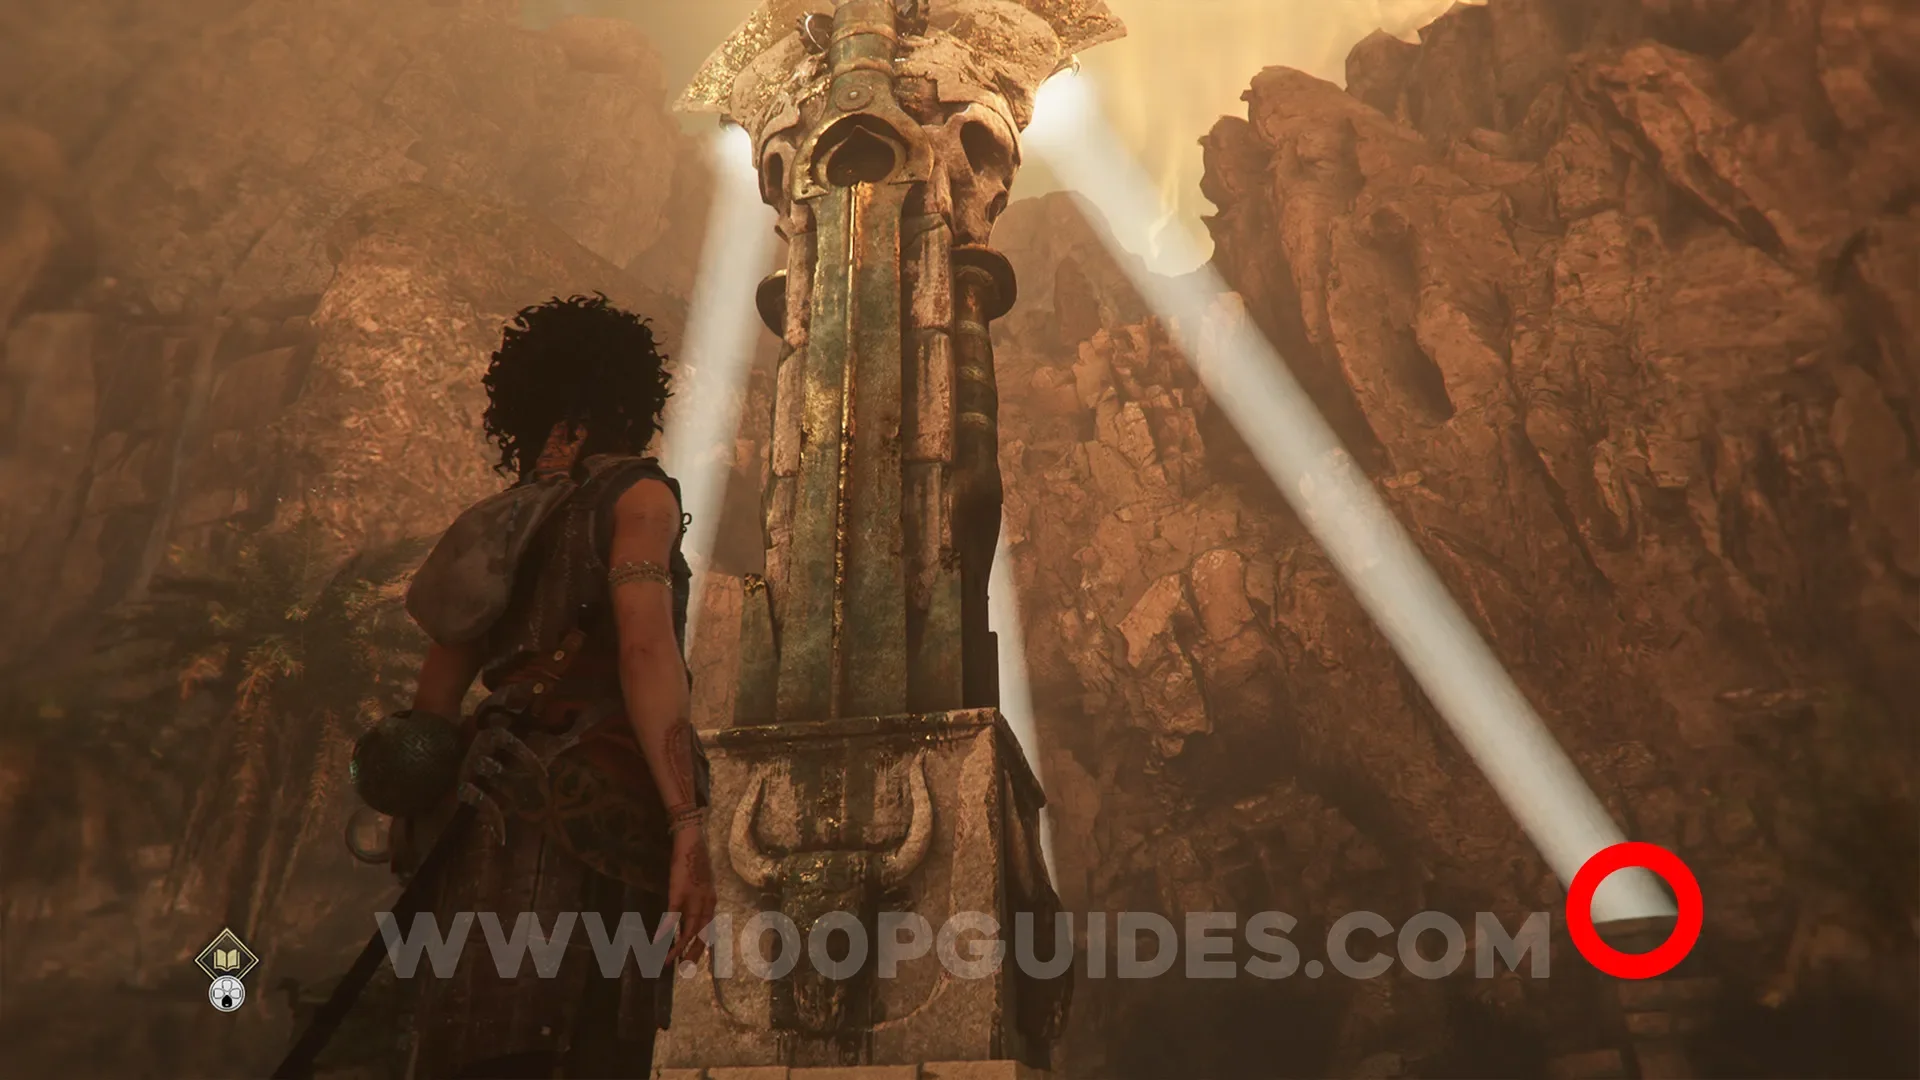
From the previous collectible, turn around and enter the cave straight ahead. Interact with the mechanism to turn on the light beam, then aim it out to the mirror in the direction of the previous collectible. Turn that mirror so the light bounces to the mirror on the wooden platform where you previously collected a Resonance Point. Finally, use that mirror to bounce the light up to the top of the skull statue on the mountain above the previous collectible.
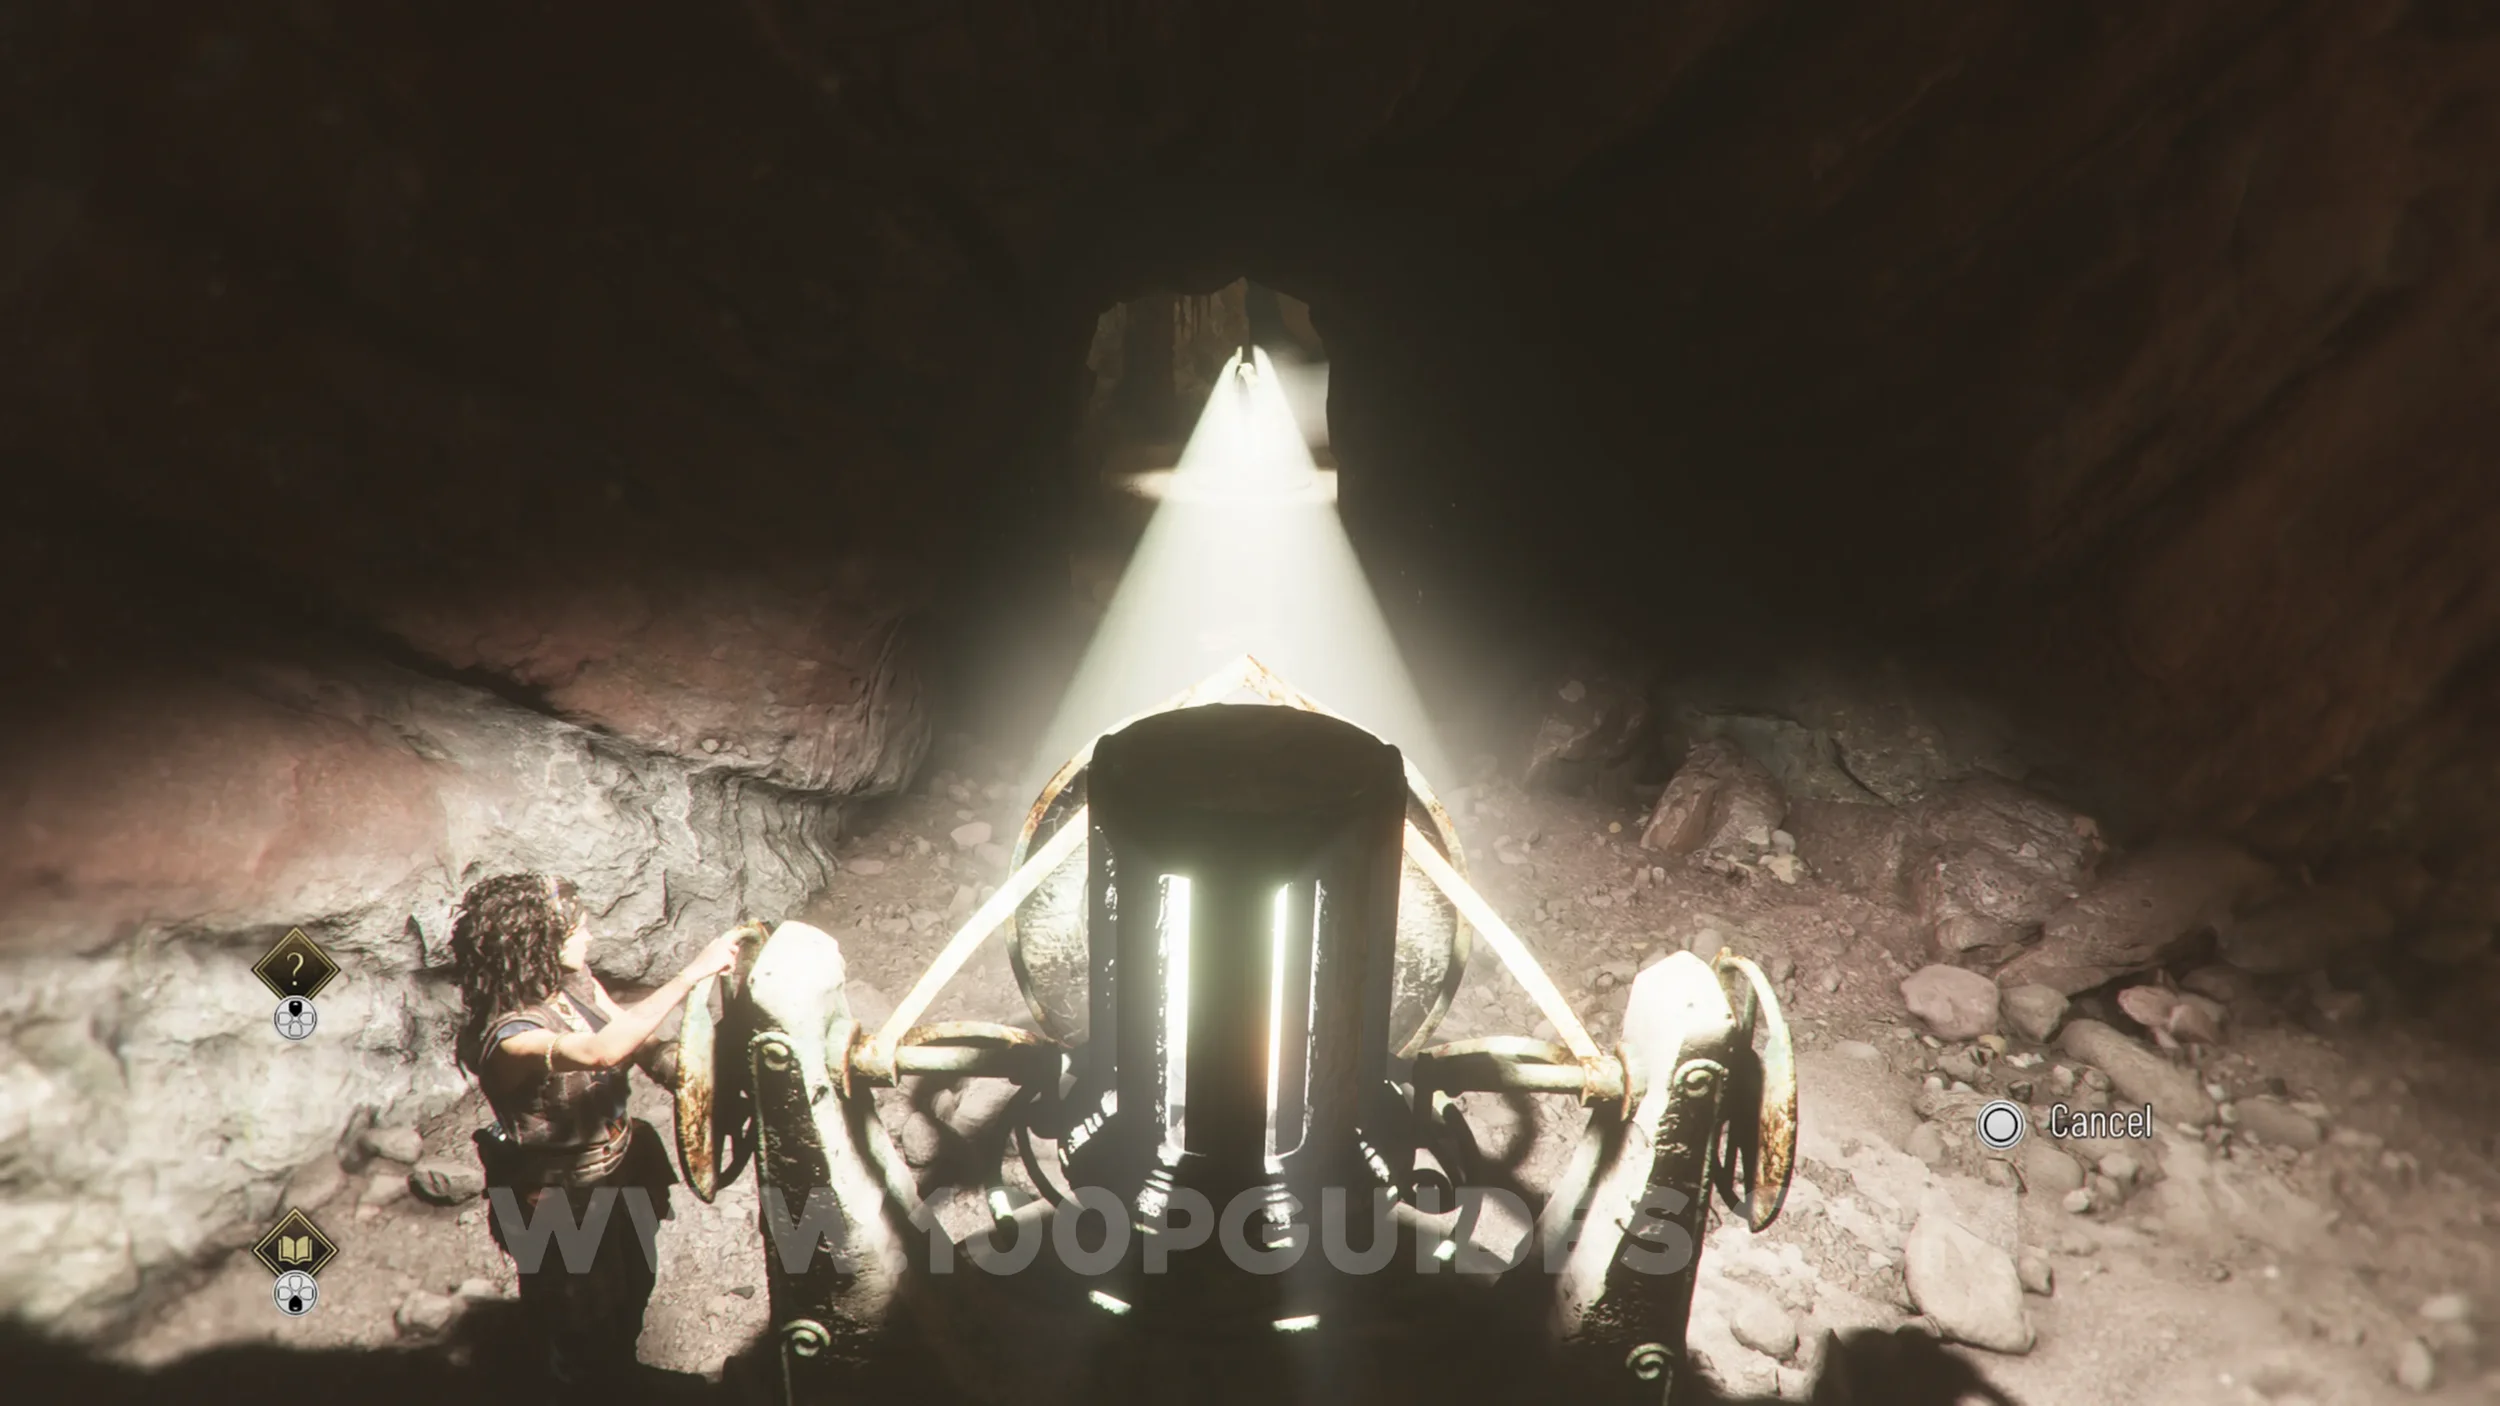
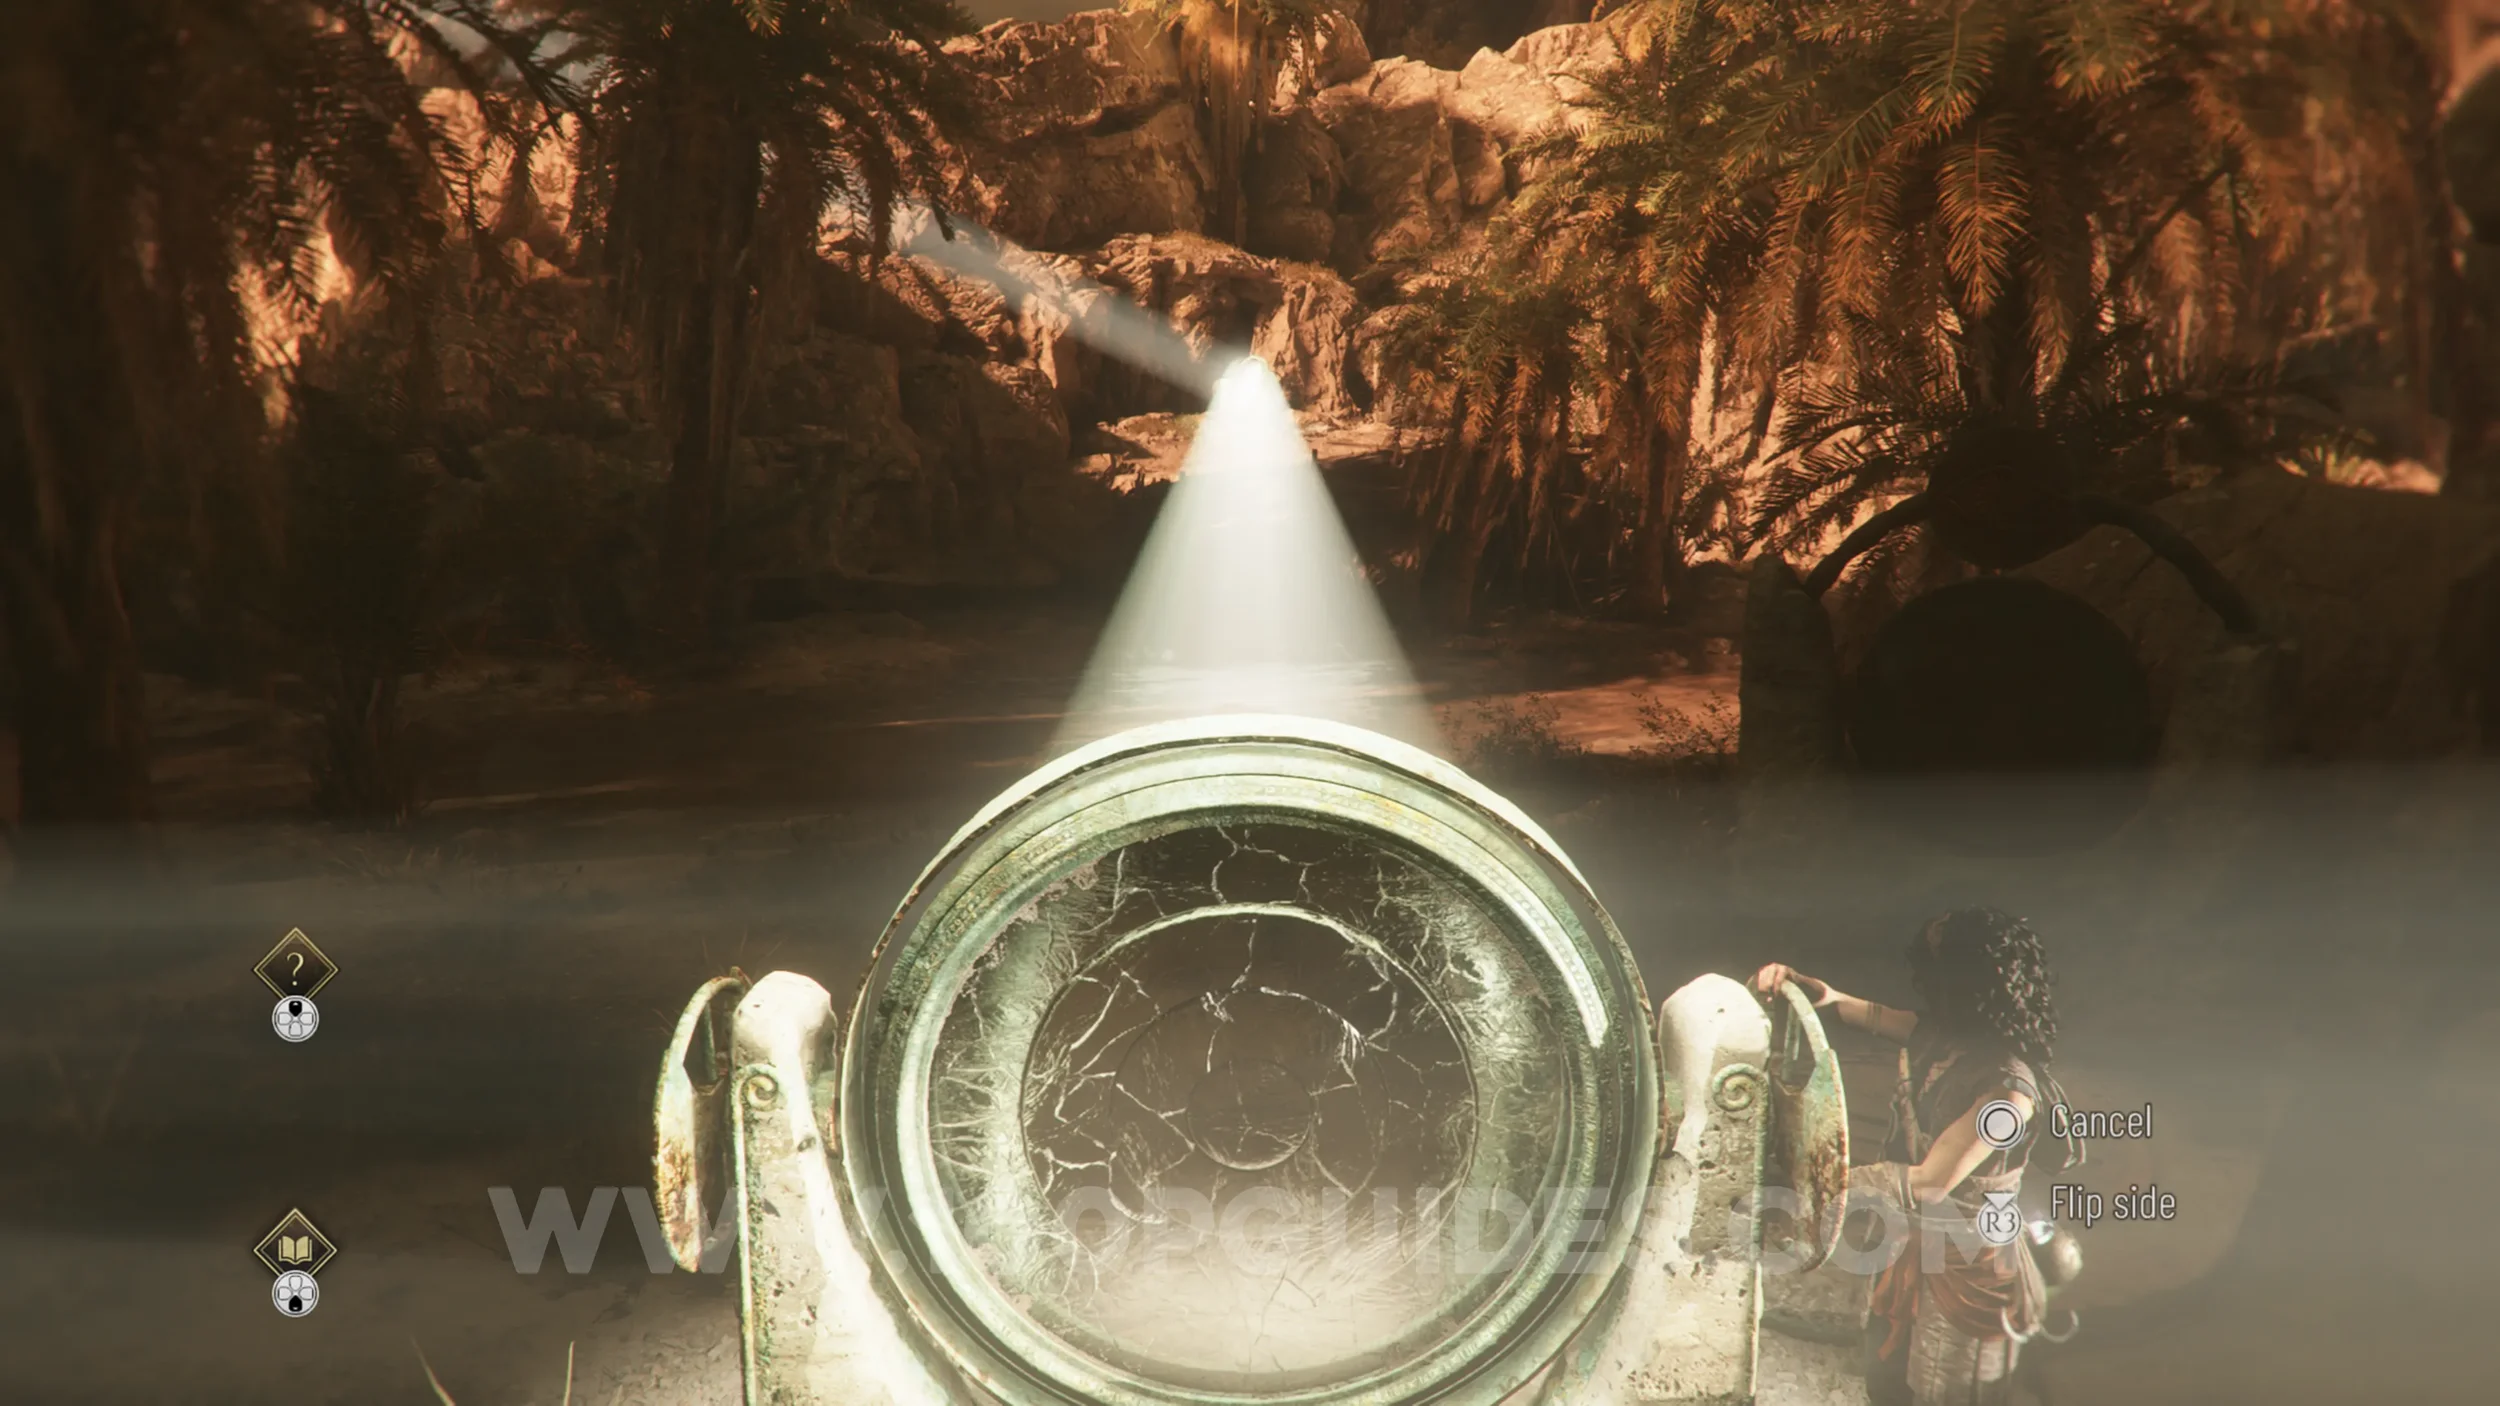
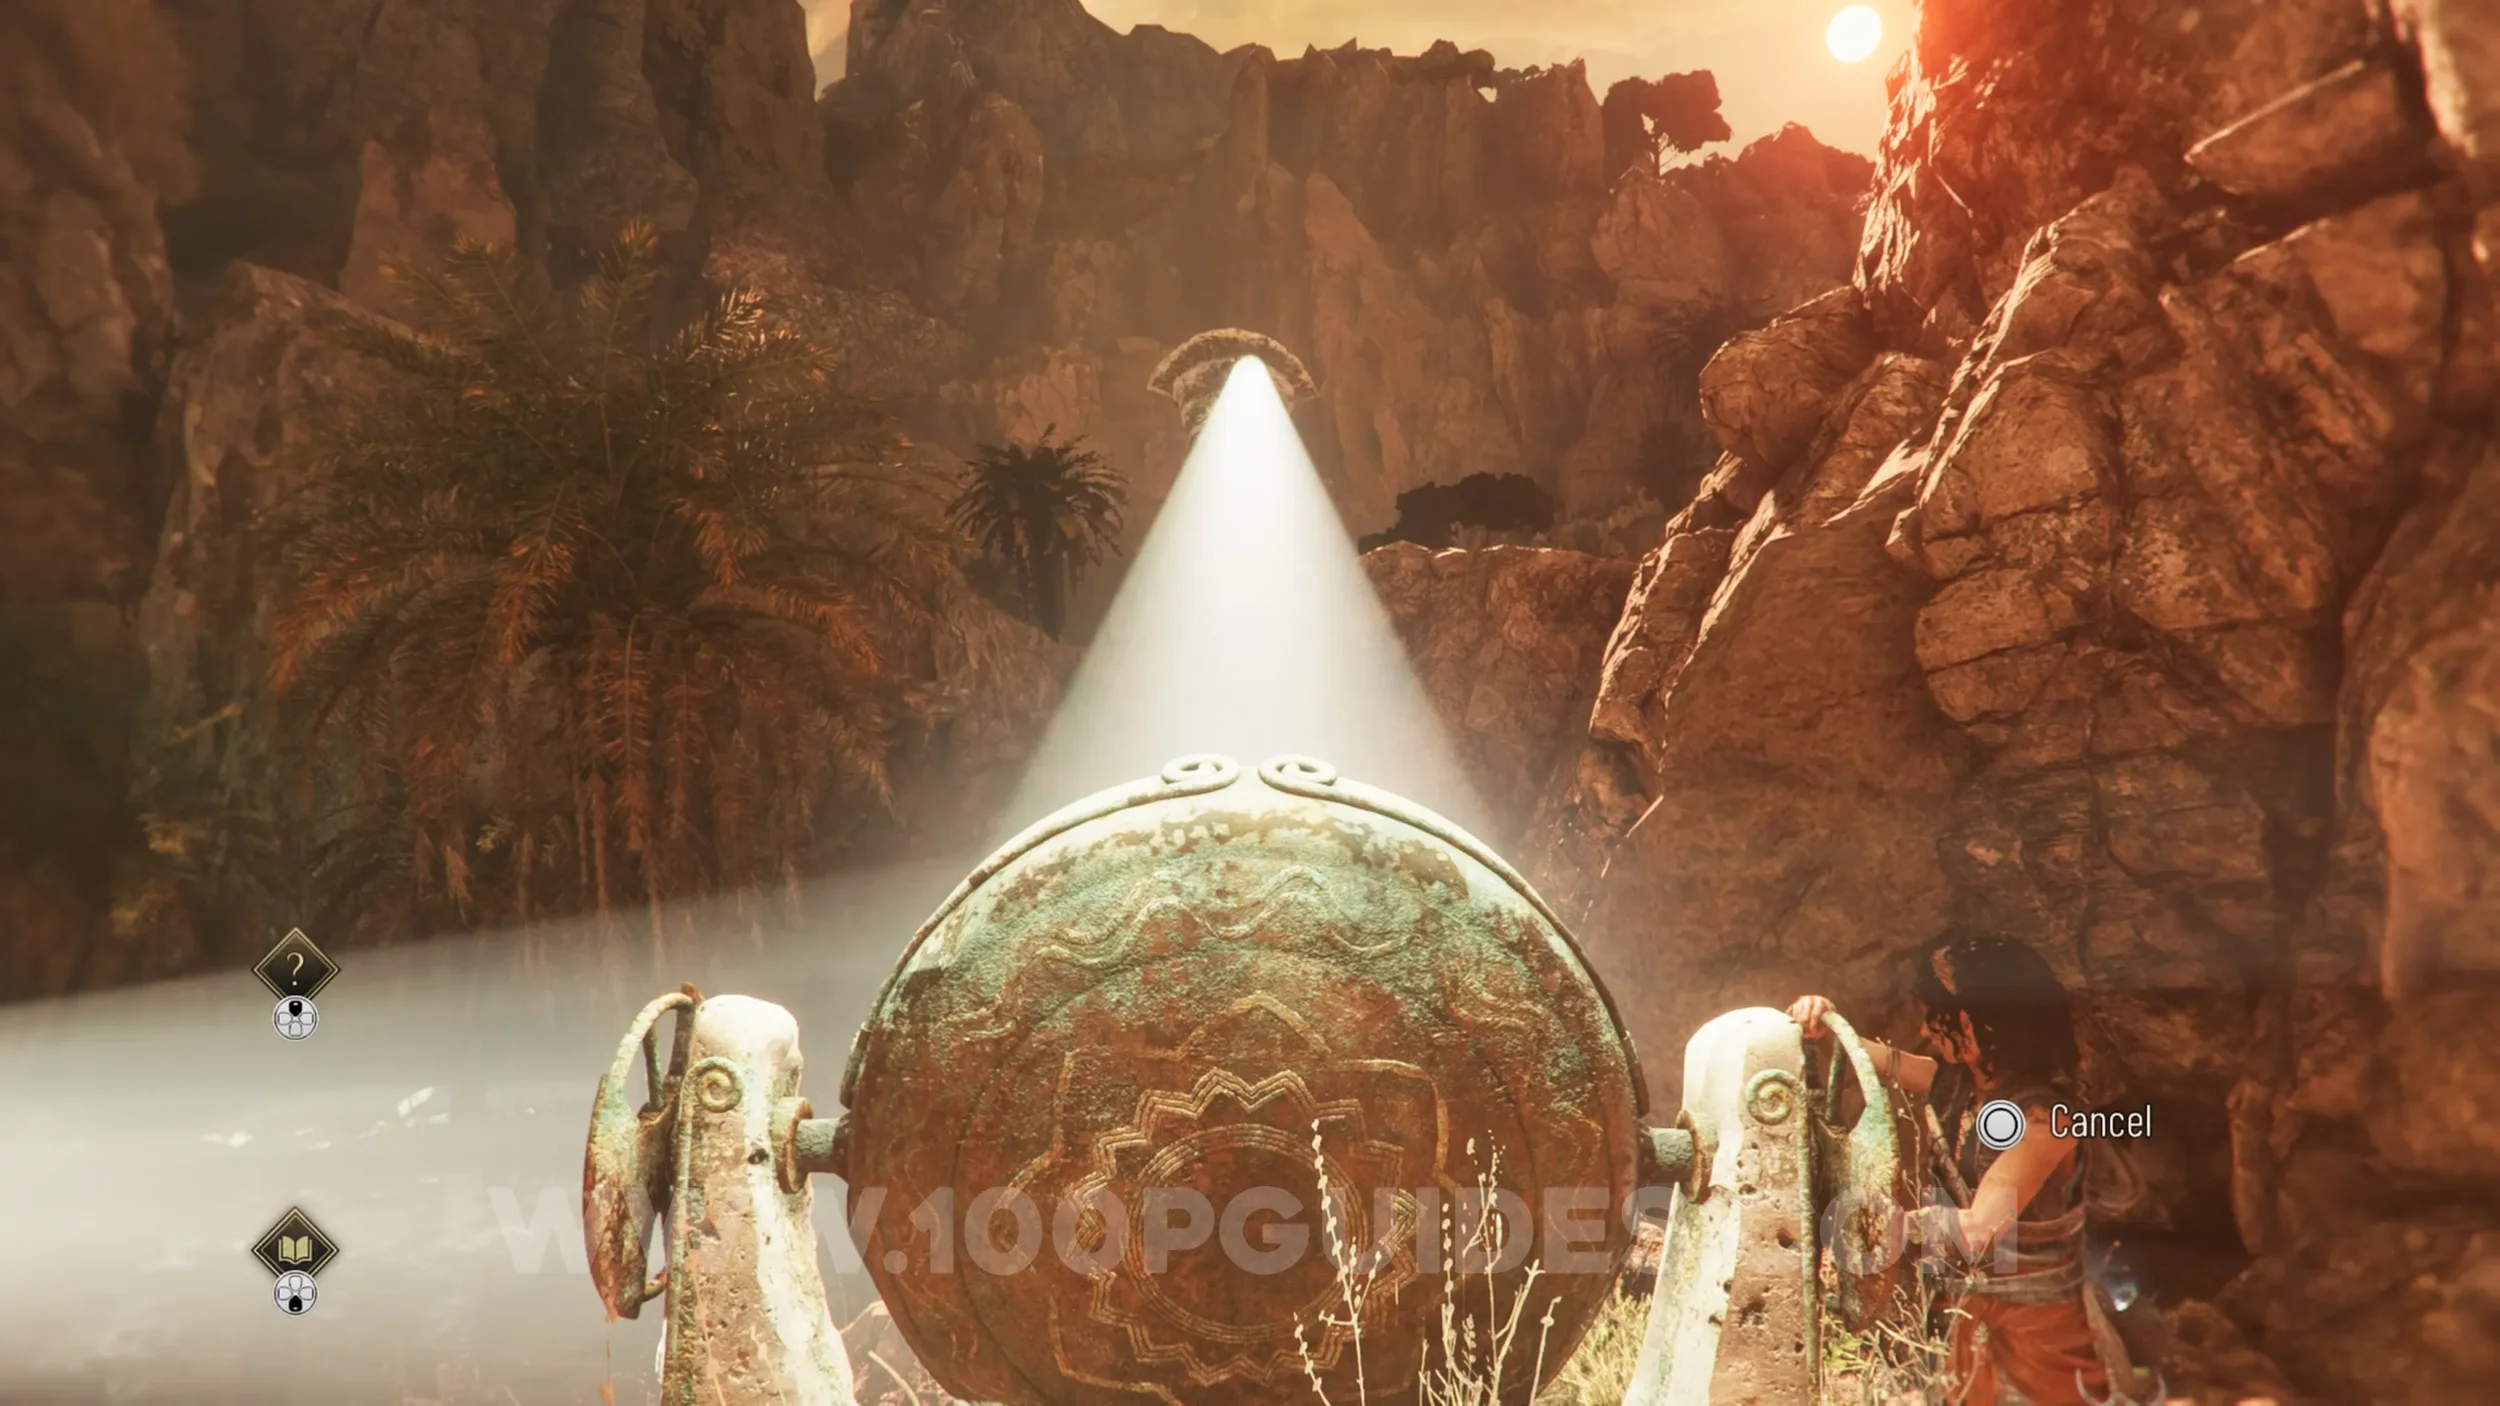
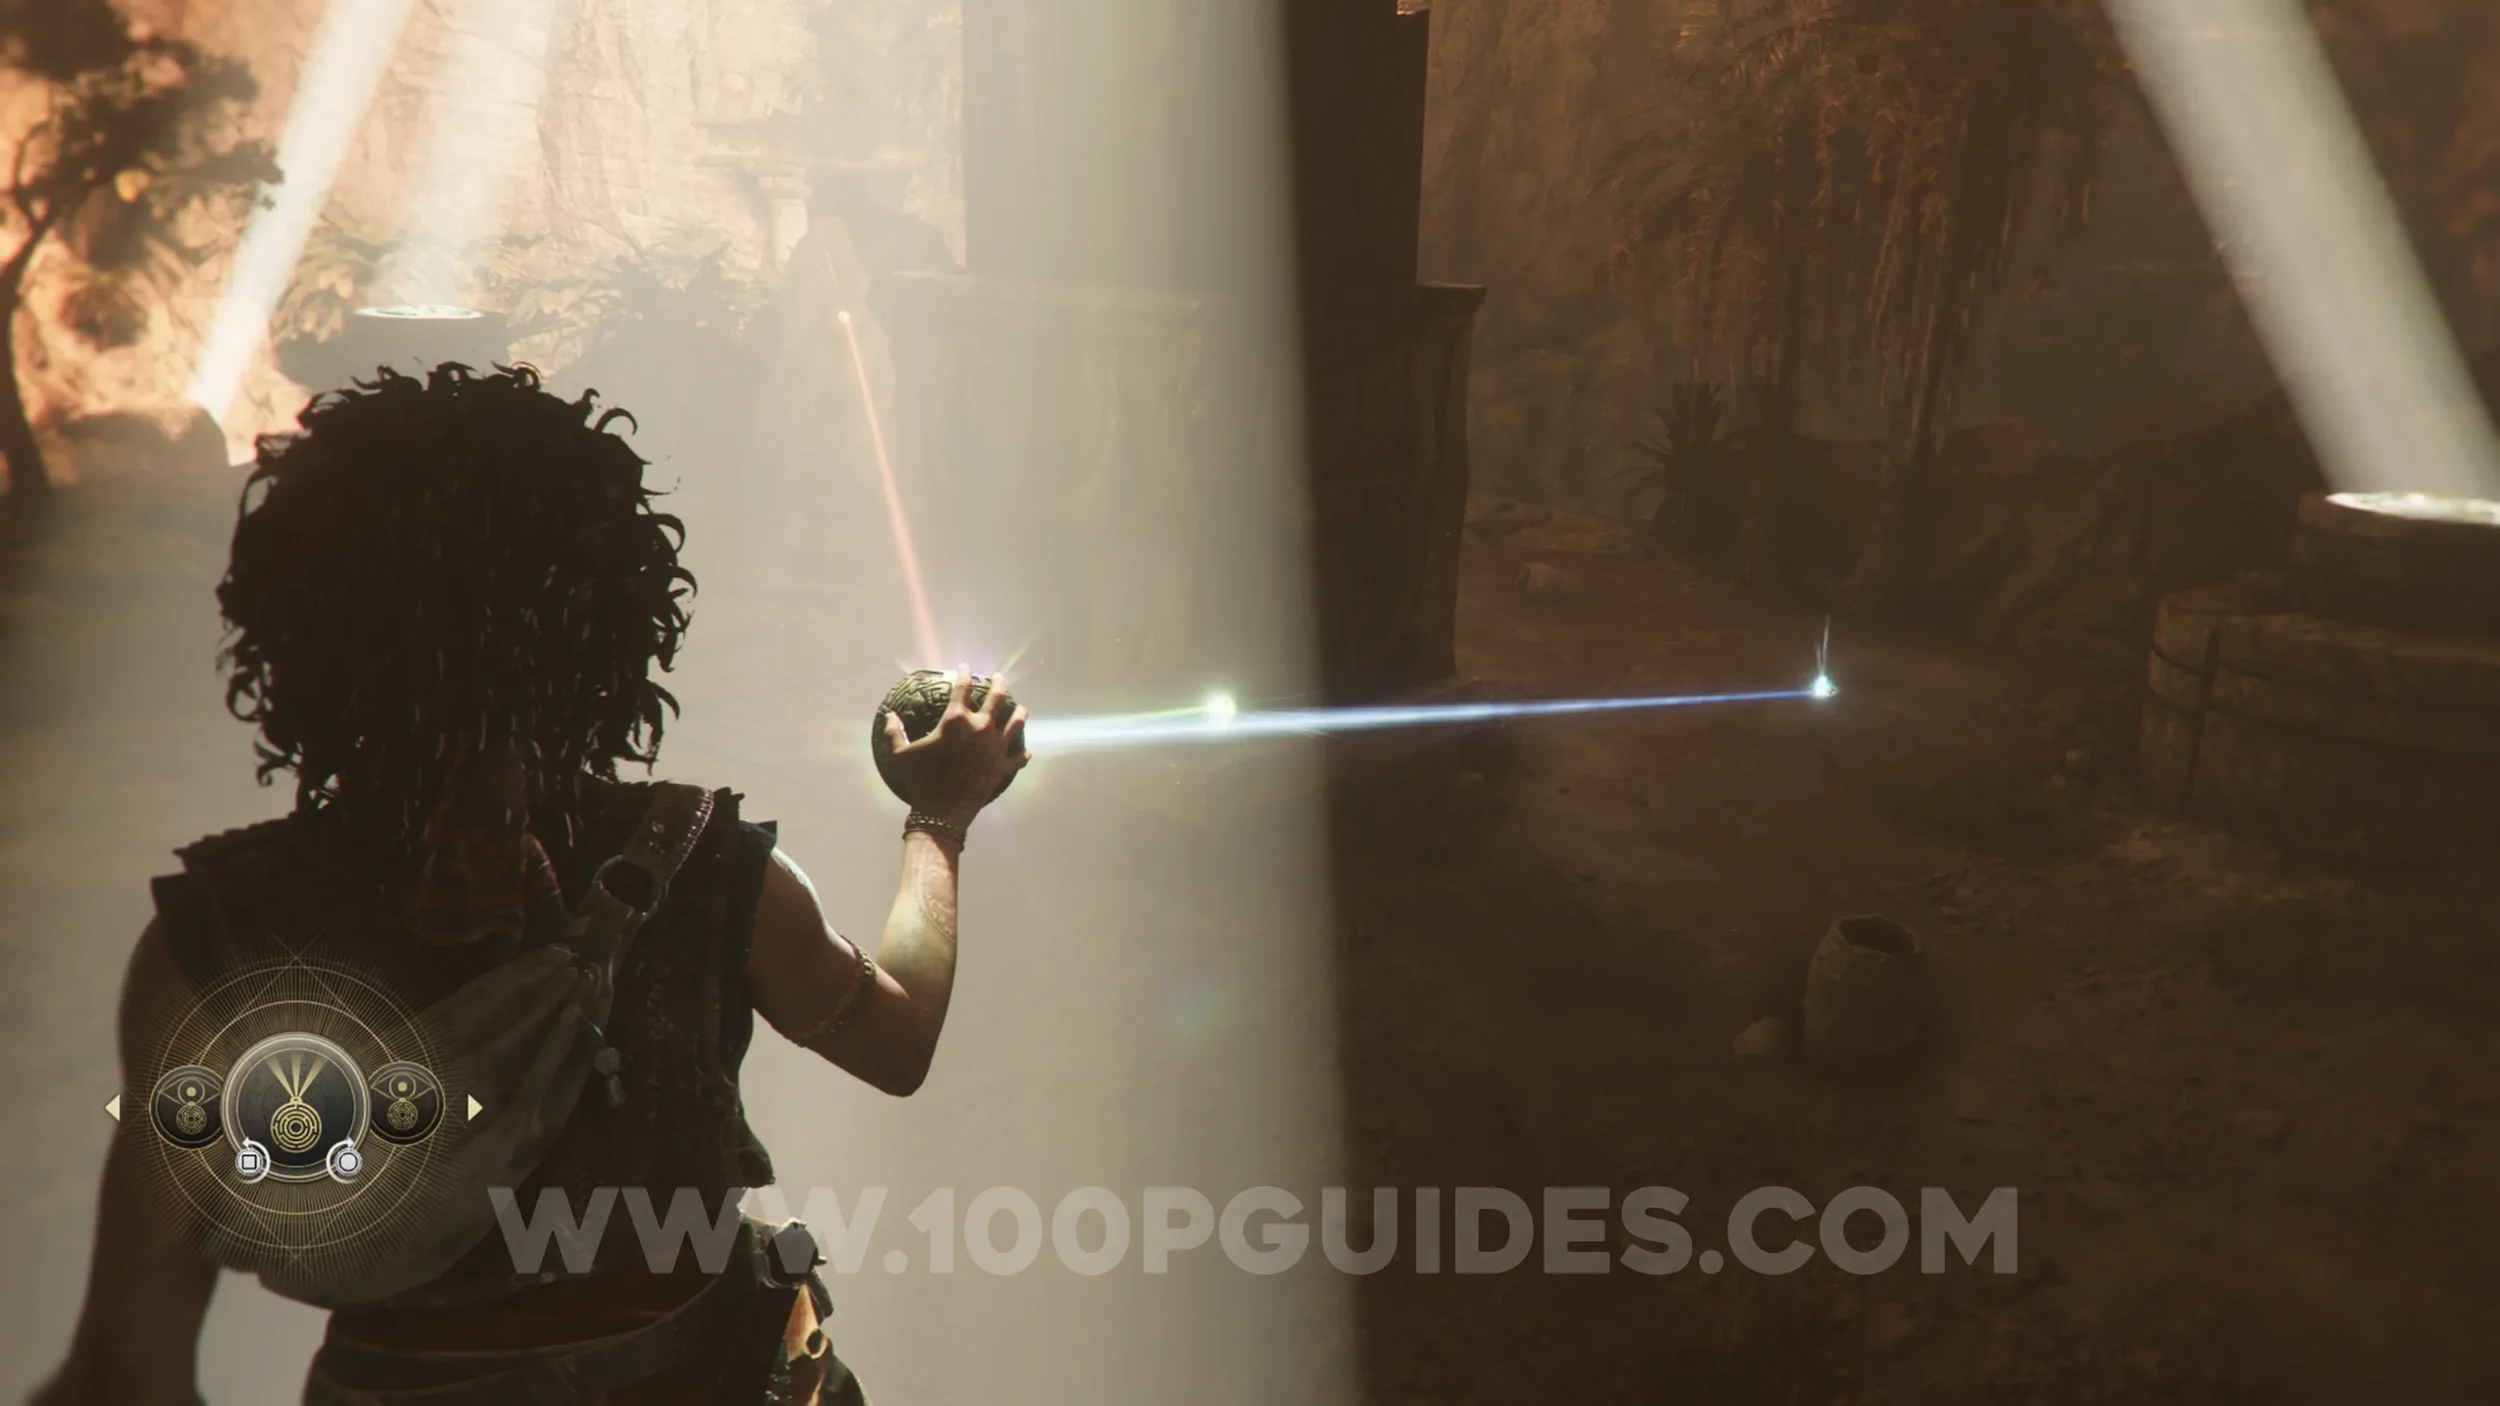
Next, head through the cave to the left of the previous collectible and climb the wall with your grappling hook to reach the skull statue. Here, use the sphere to activate the mechanism in front of it, which reflects the light onto multiple metal plates in the area. The correct one to use is on the right, behind the statue. While standing on that plate, use the tri-laser function of the sphere to line up the lasers with the gems and open the door to the final blade.
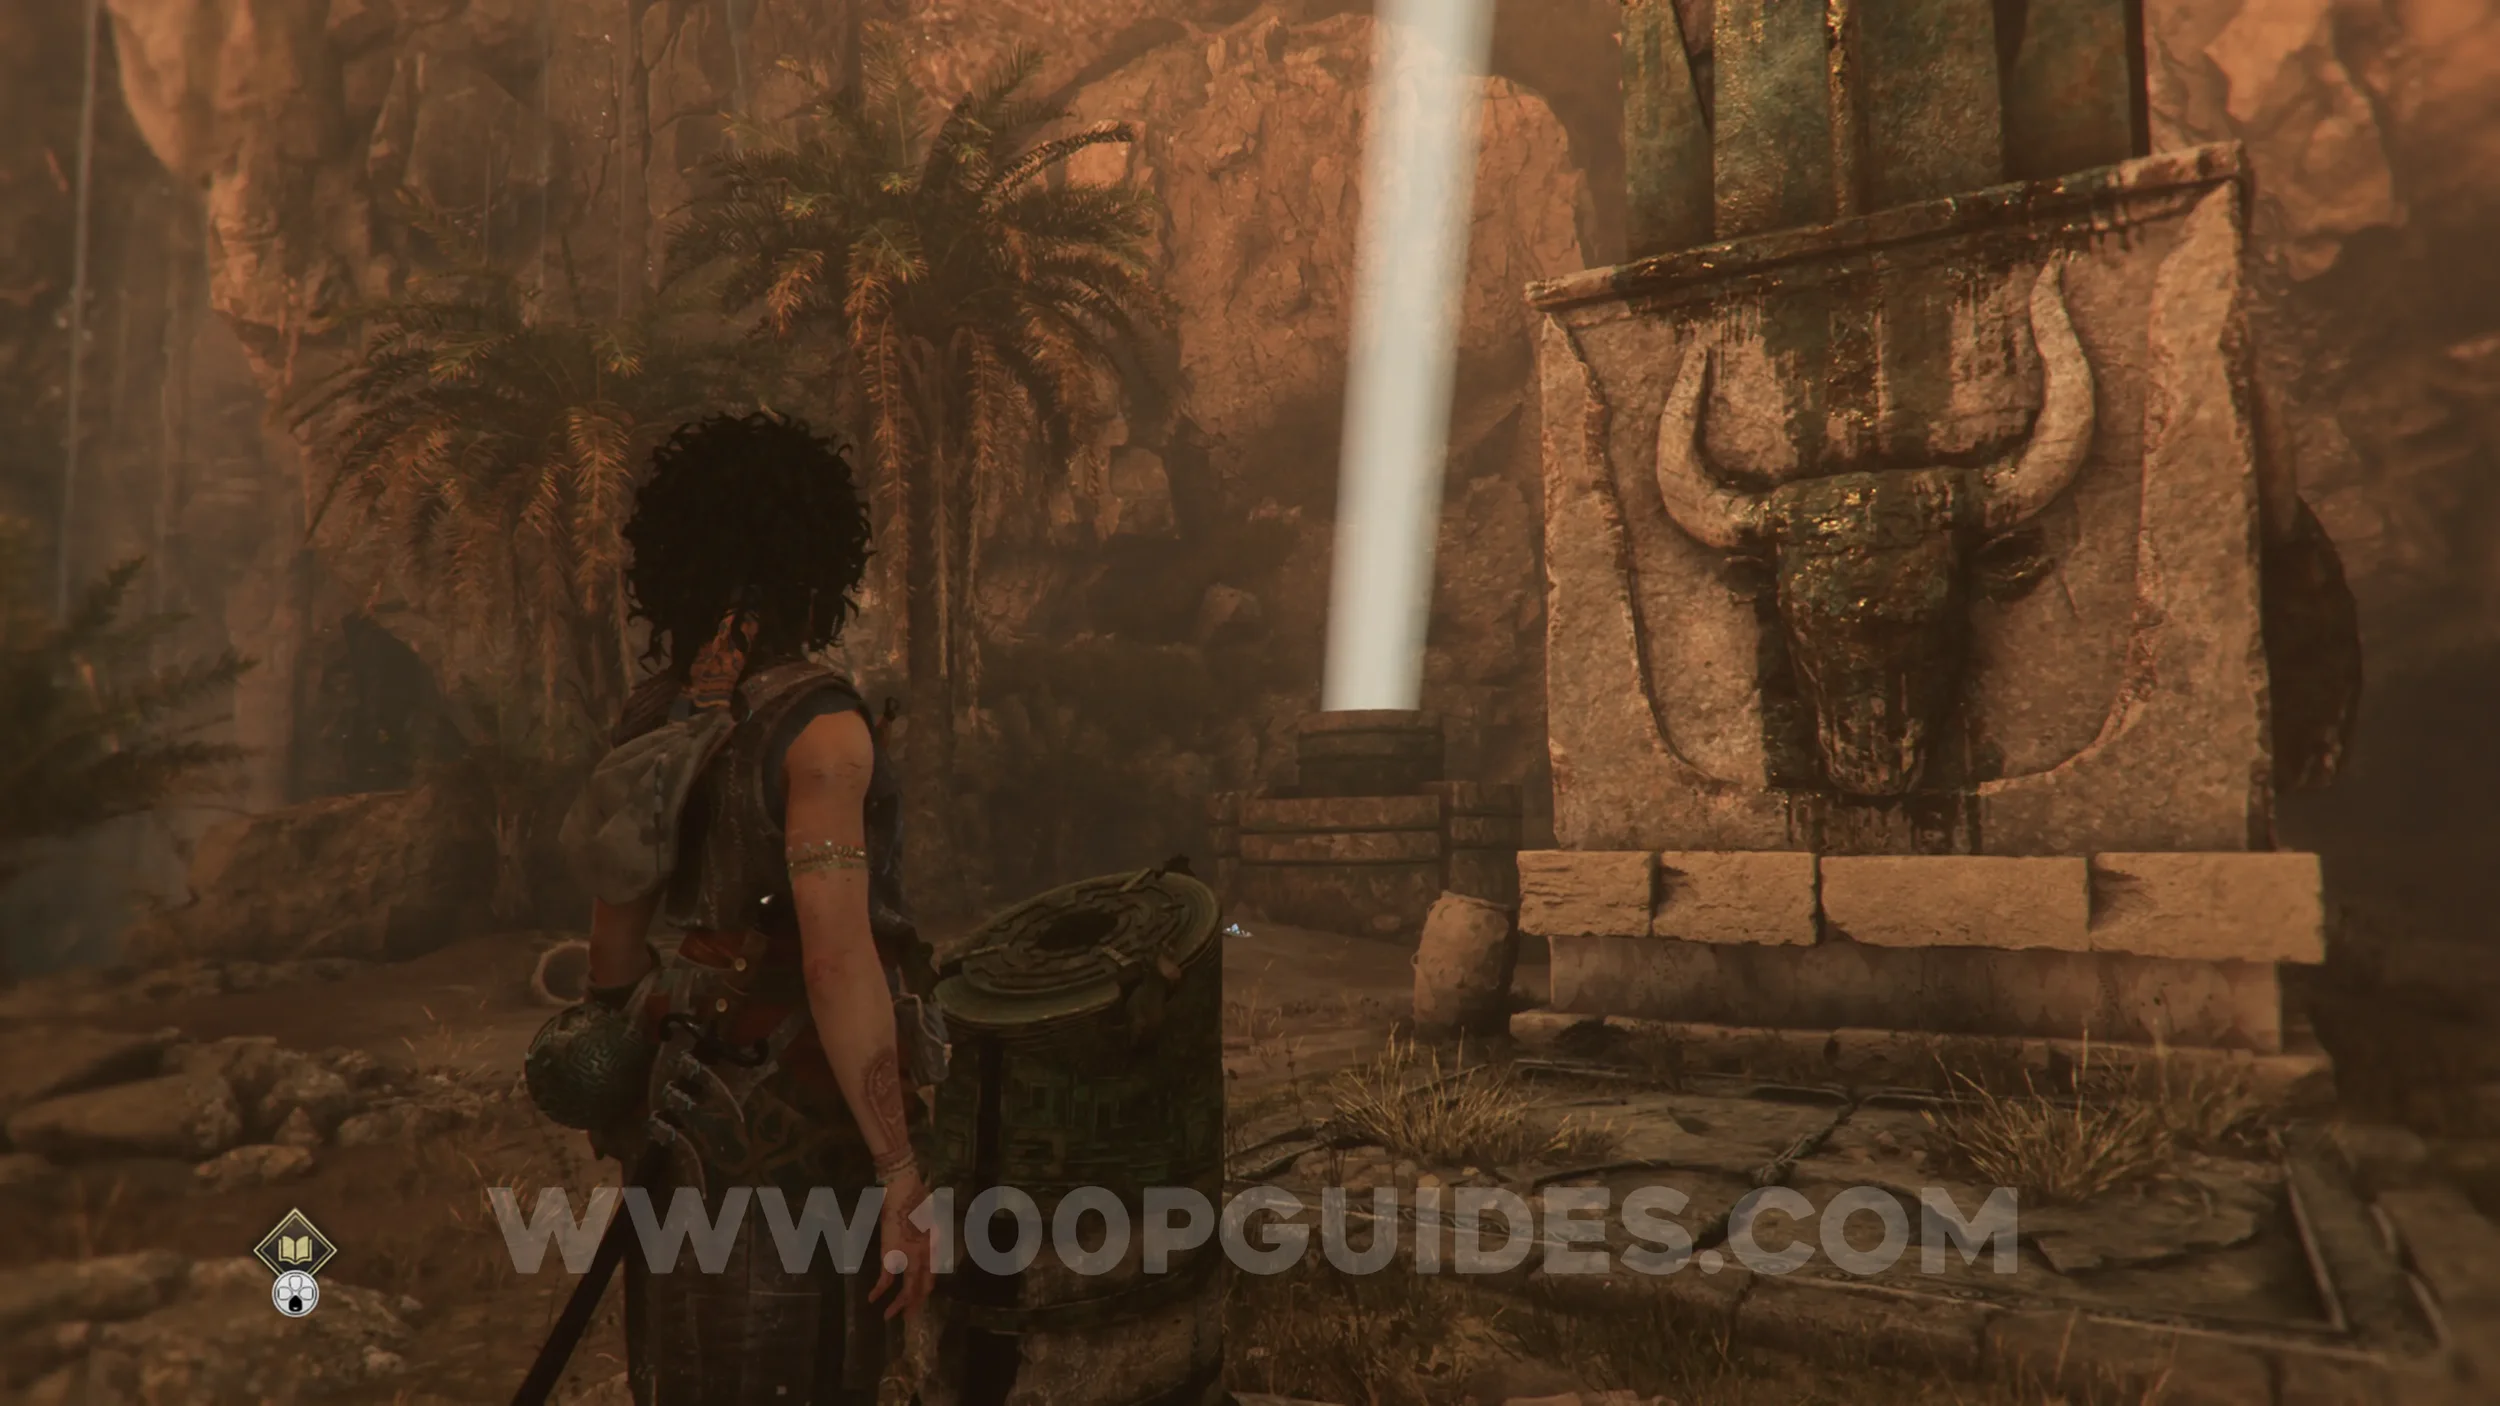
Resonance Point
Chapter 10: Sub-Chapter 2.
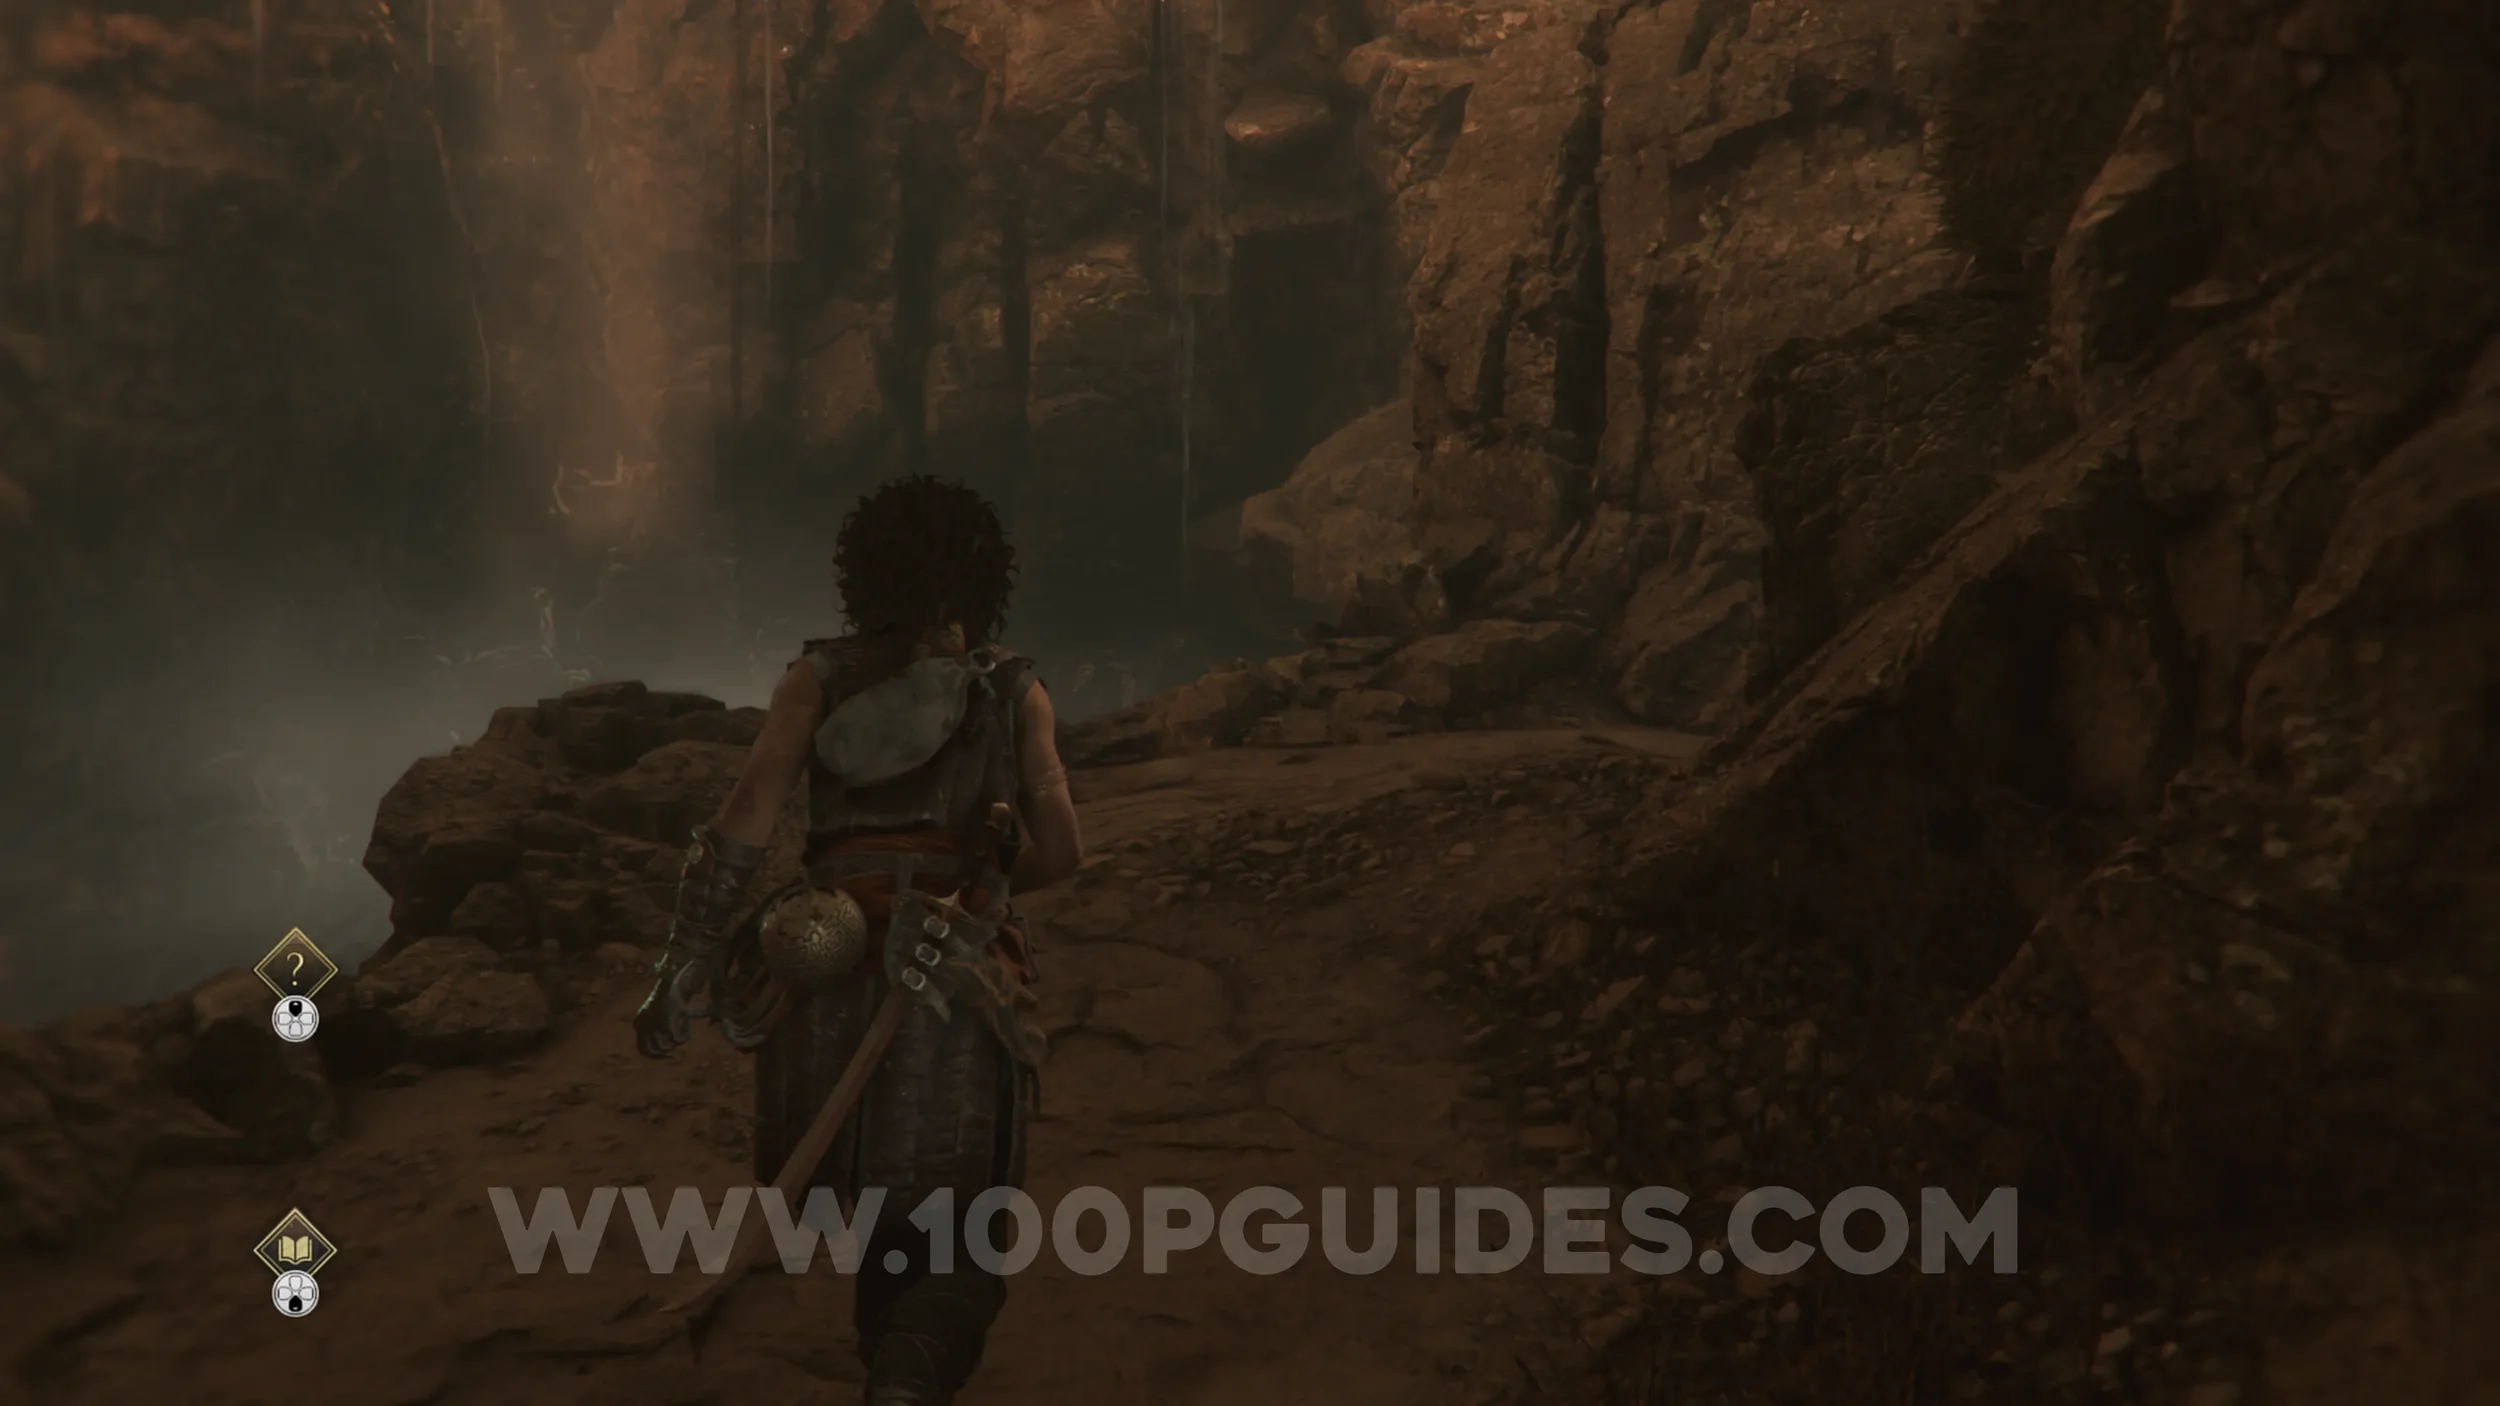
Destroy the pots on the ground in the skull statue area. The specific pot is close to the grappling point you used to climb up here.
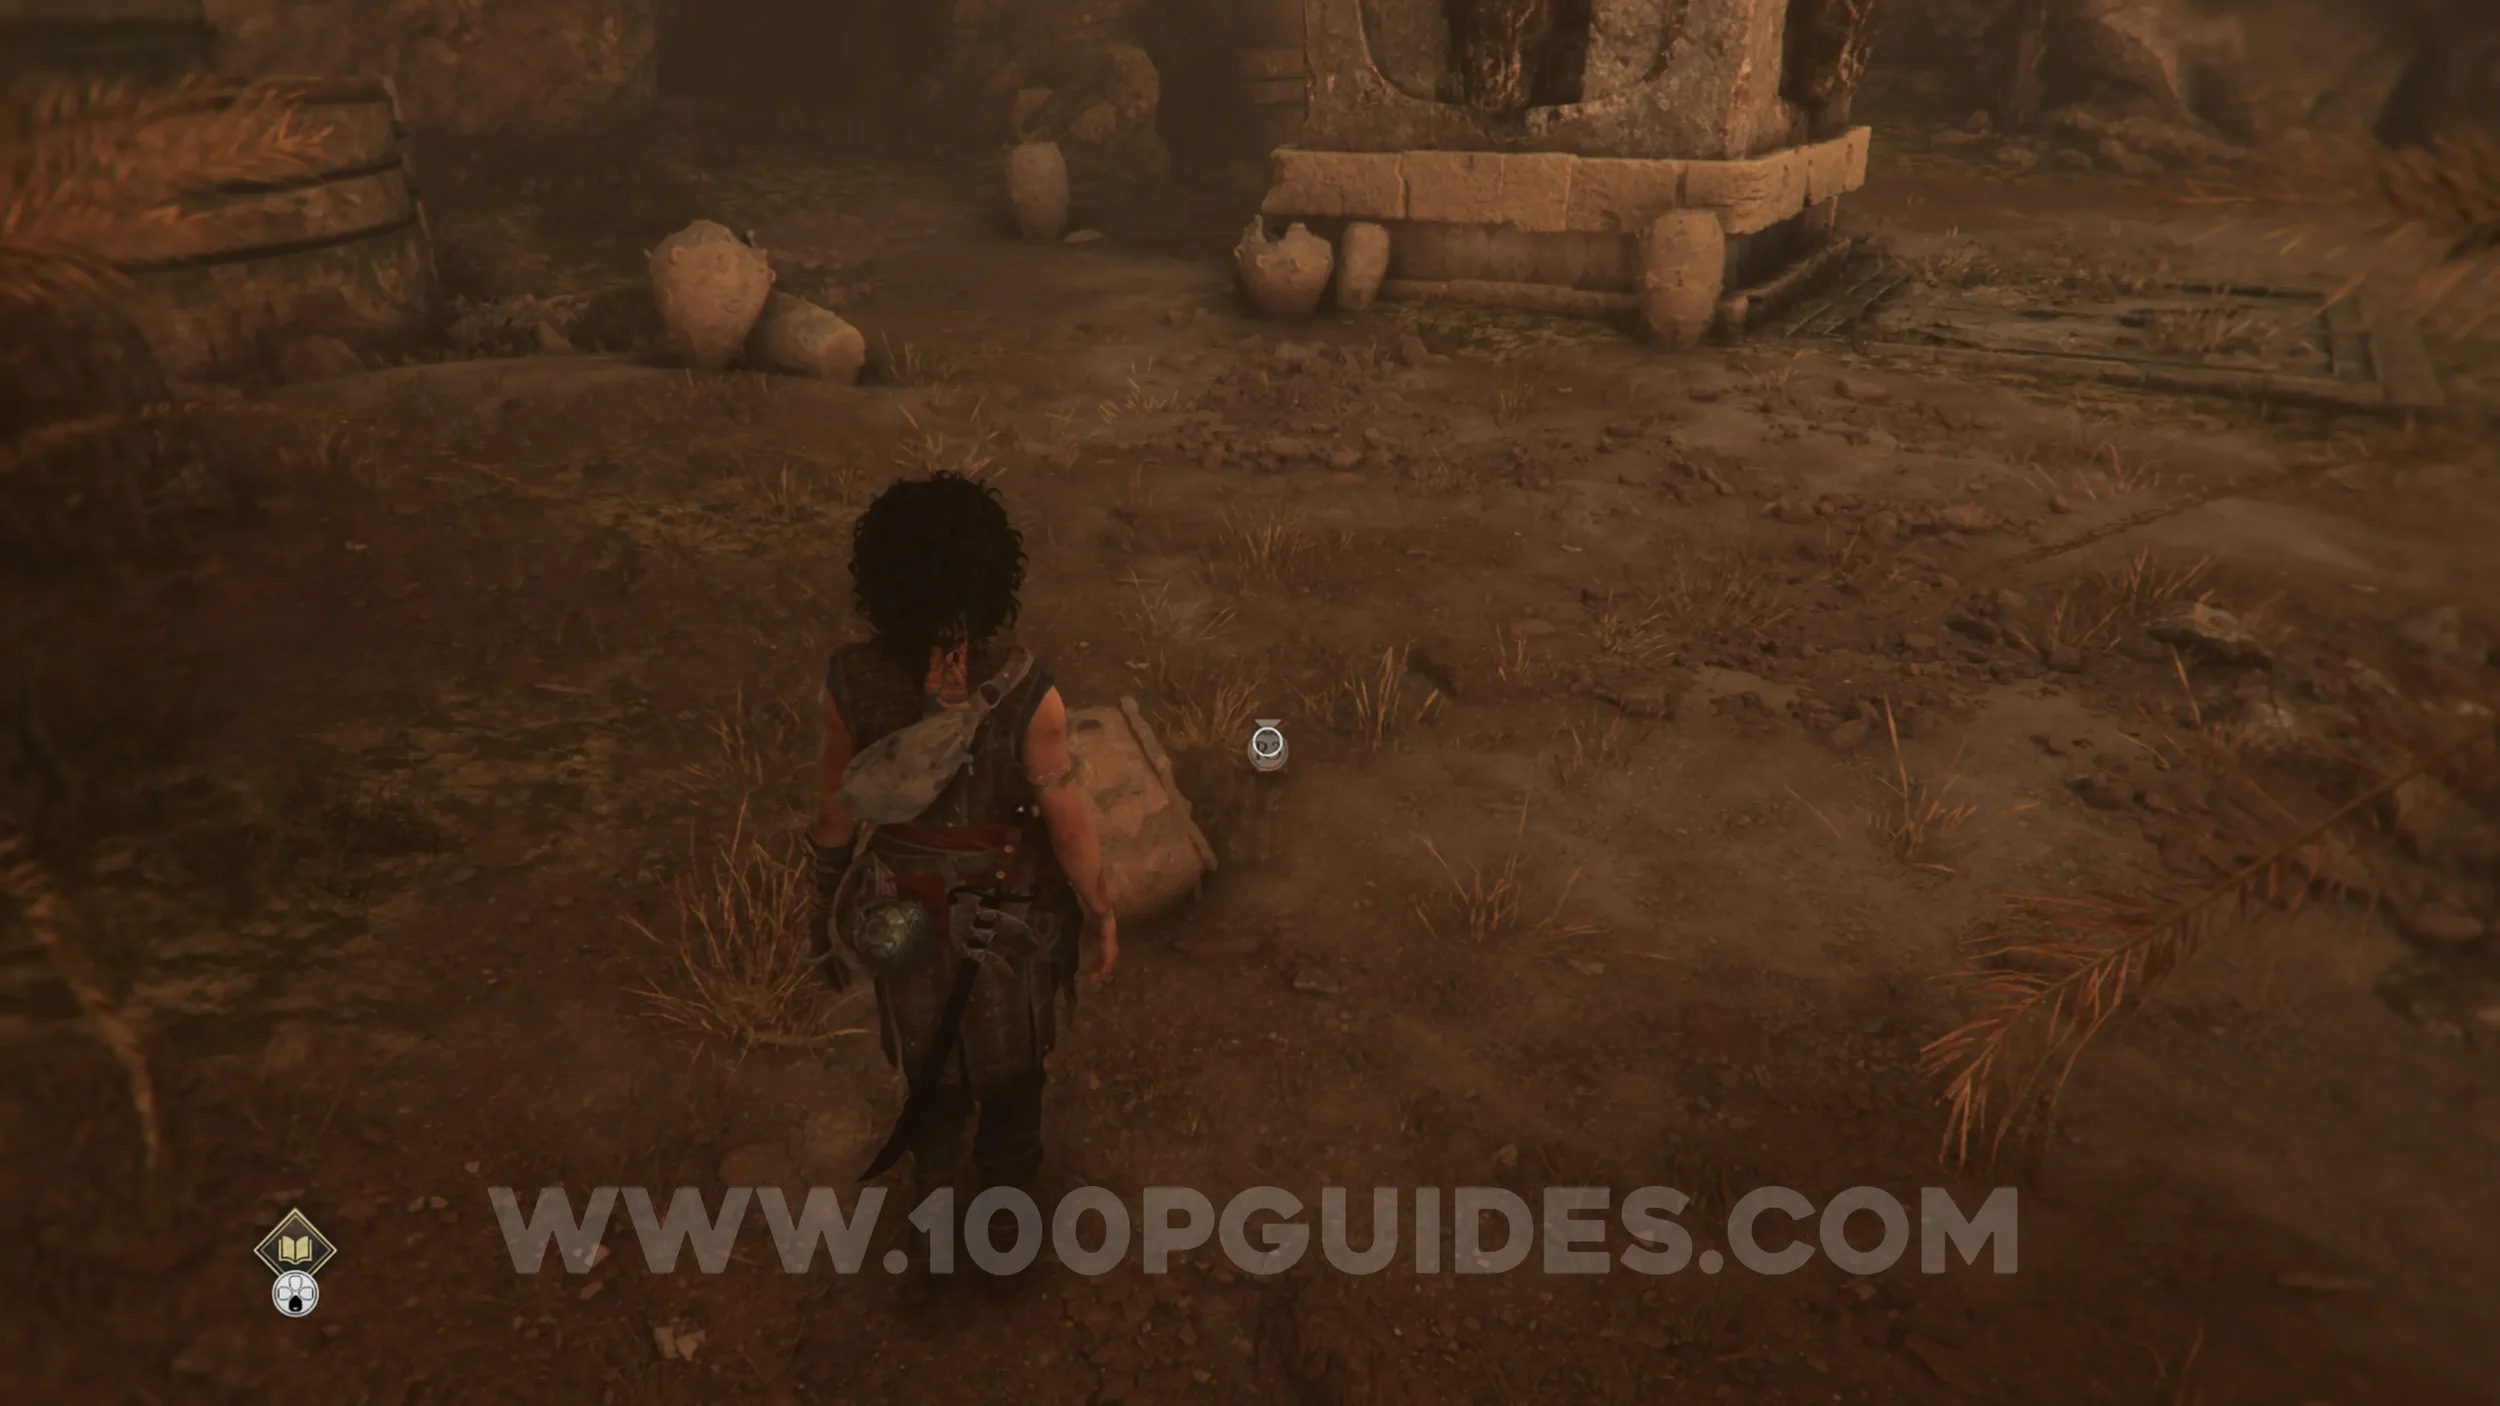
Resonance Point x2
Chapter 10: Sub-Chapter 2.
As you try to solve the puzzle to open the circular door, you'll be attacked by a group of enemy soldiers. Defeat them to get the Resonance Point.
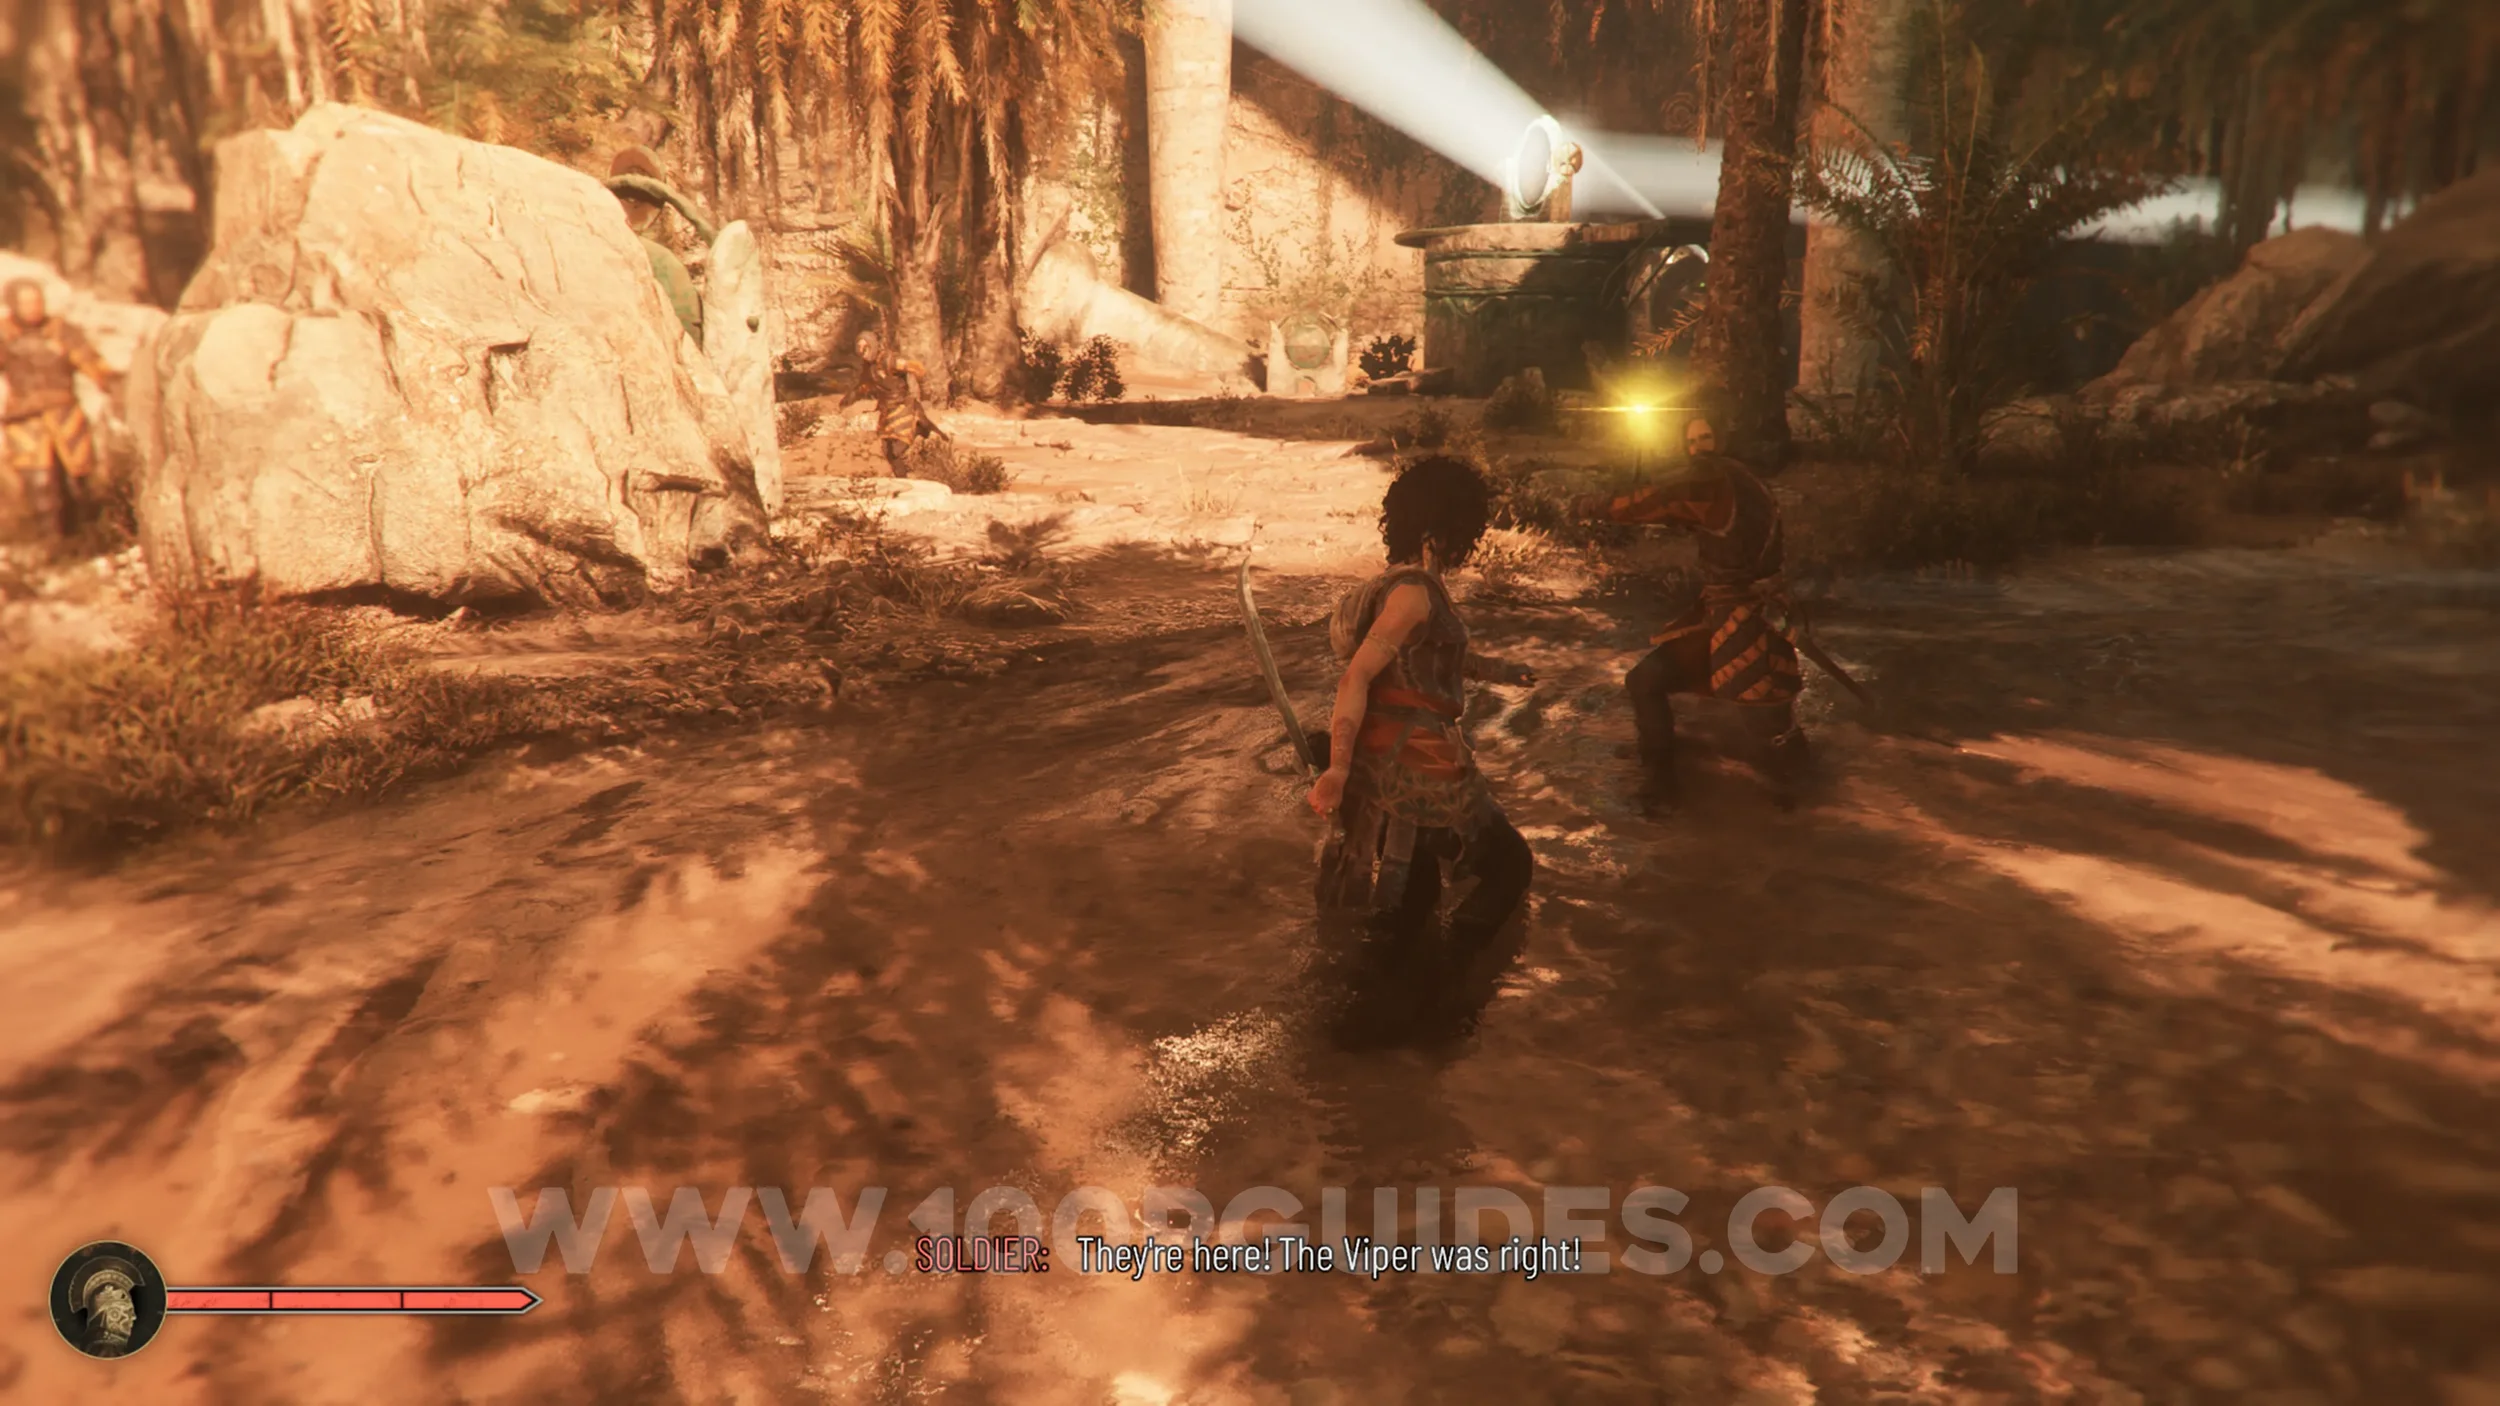
Resonance Point
Chapter 10: Sub-Chapter 2.
After solving the puzzle and opening the circular door, head through it. Continue straight all the way to the end to find the collectible behind the last pillar on the left.
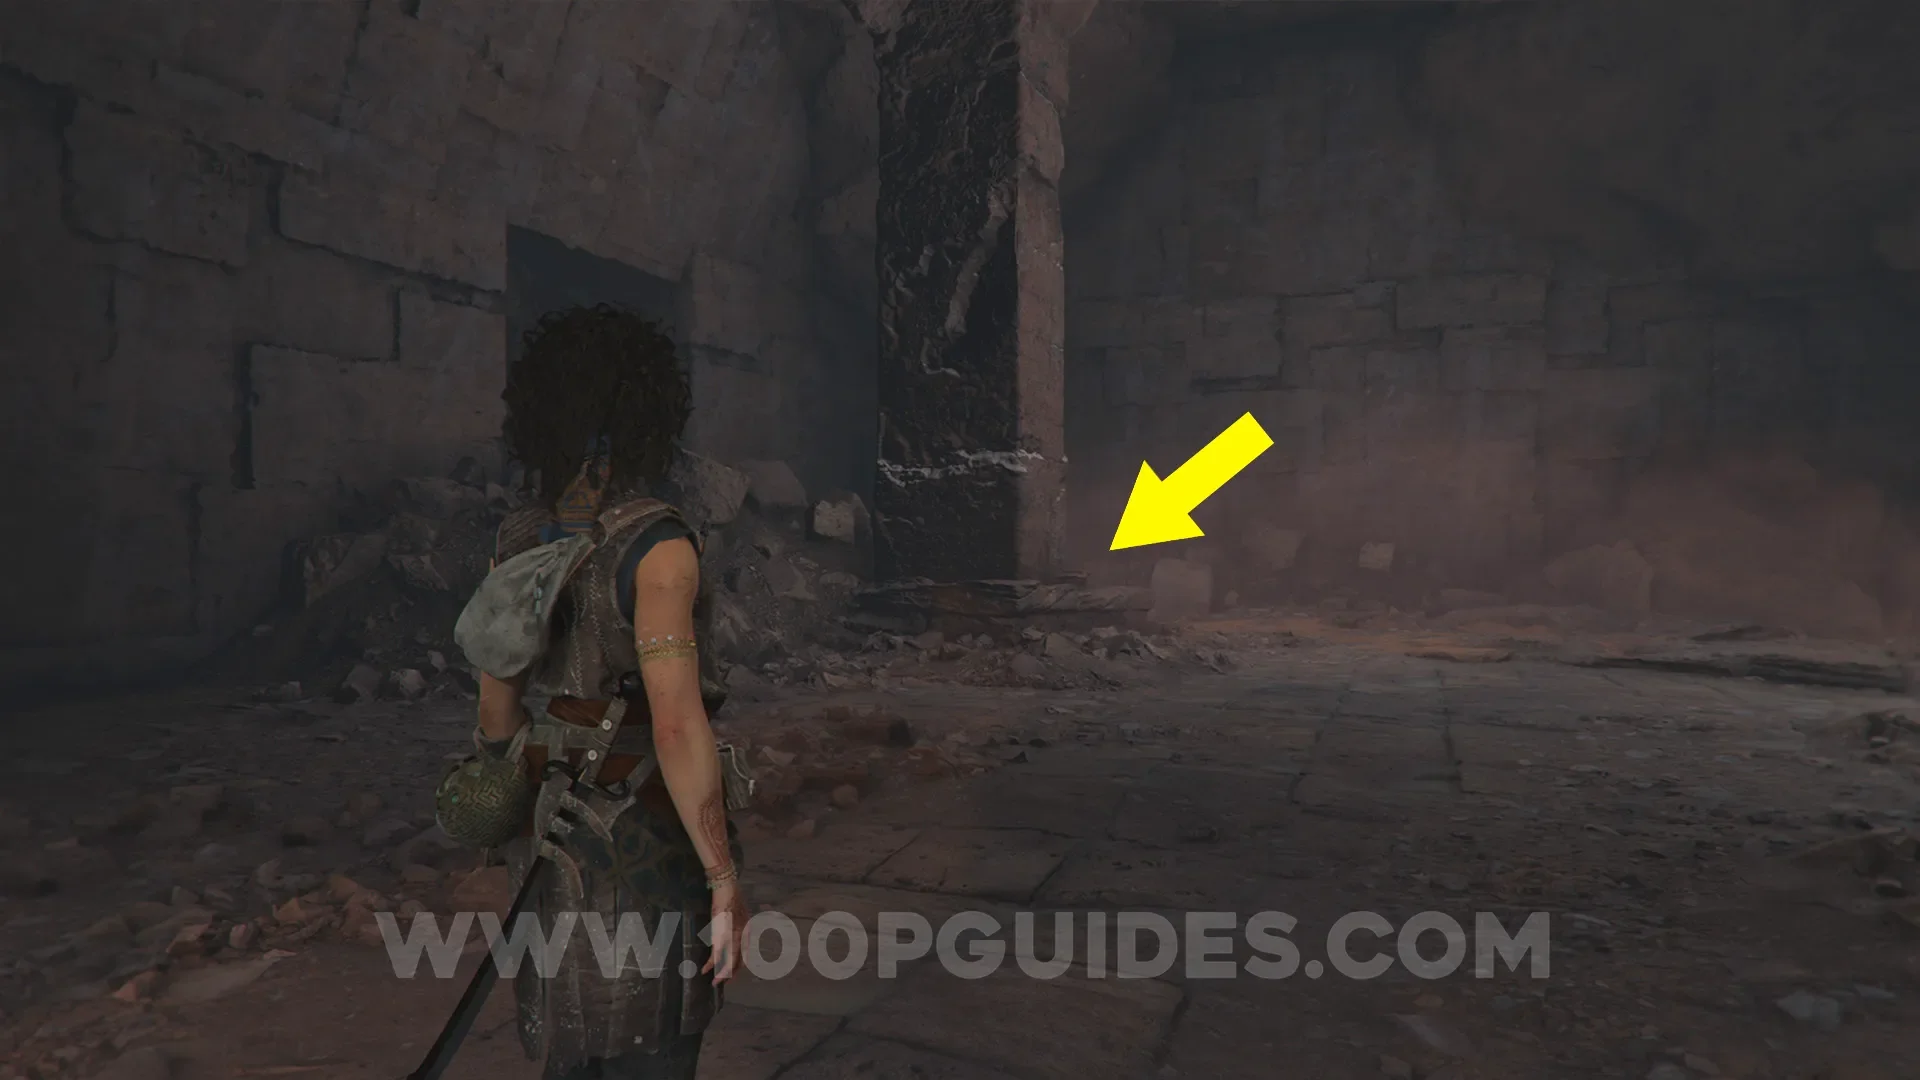
Artefact: Impossible Mechanism
Chapter 10: Sub-Chapter 3.
After going through the next door, you'll get to an area with a massive structure in the middle and a bridge on the side. Head to the middle, then cross the next bridge on your right. This will take you to a small workshop. The artefact will be on the ground at the back right.
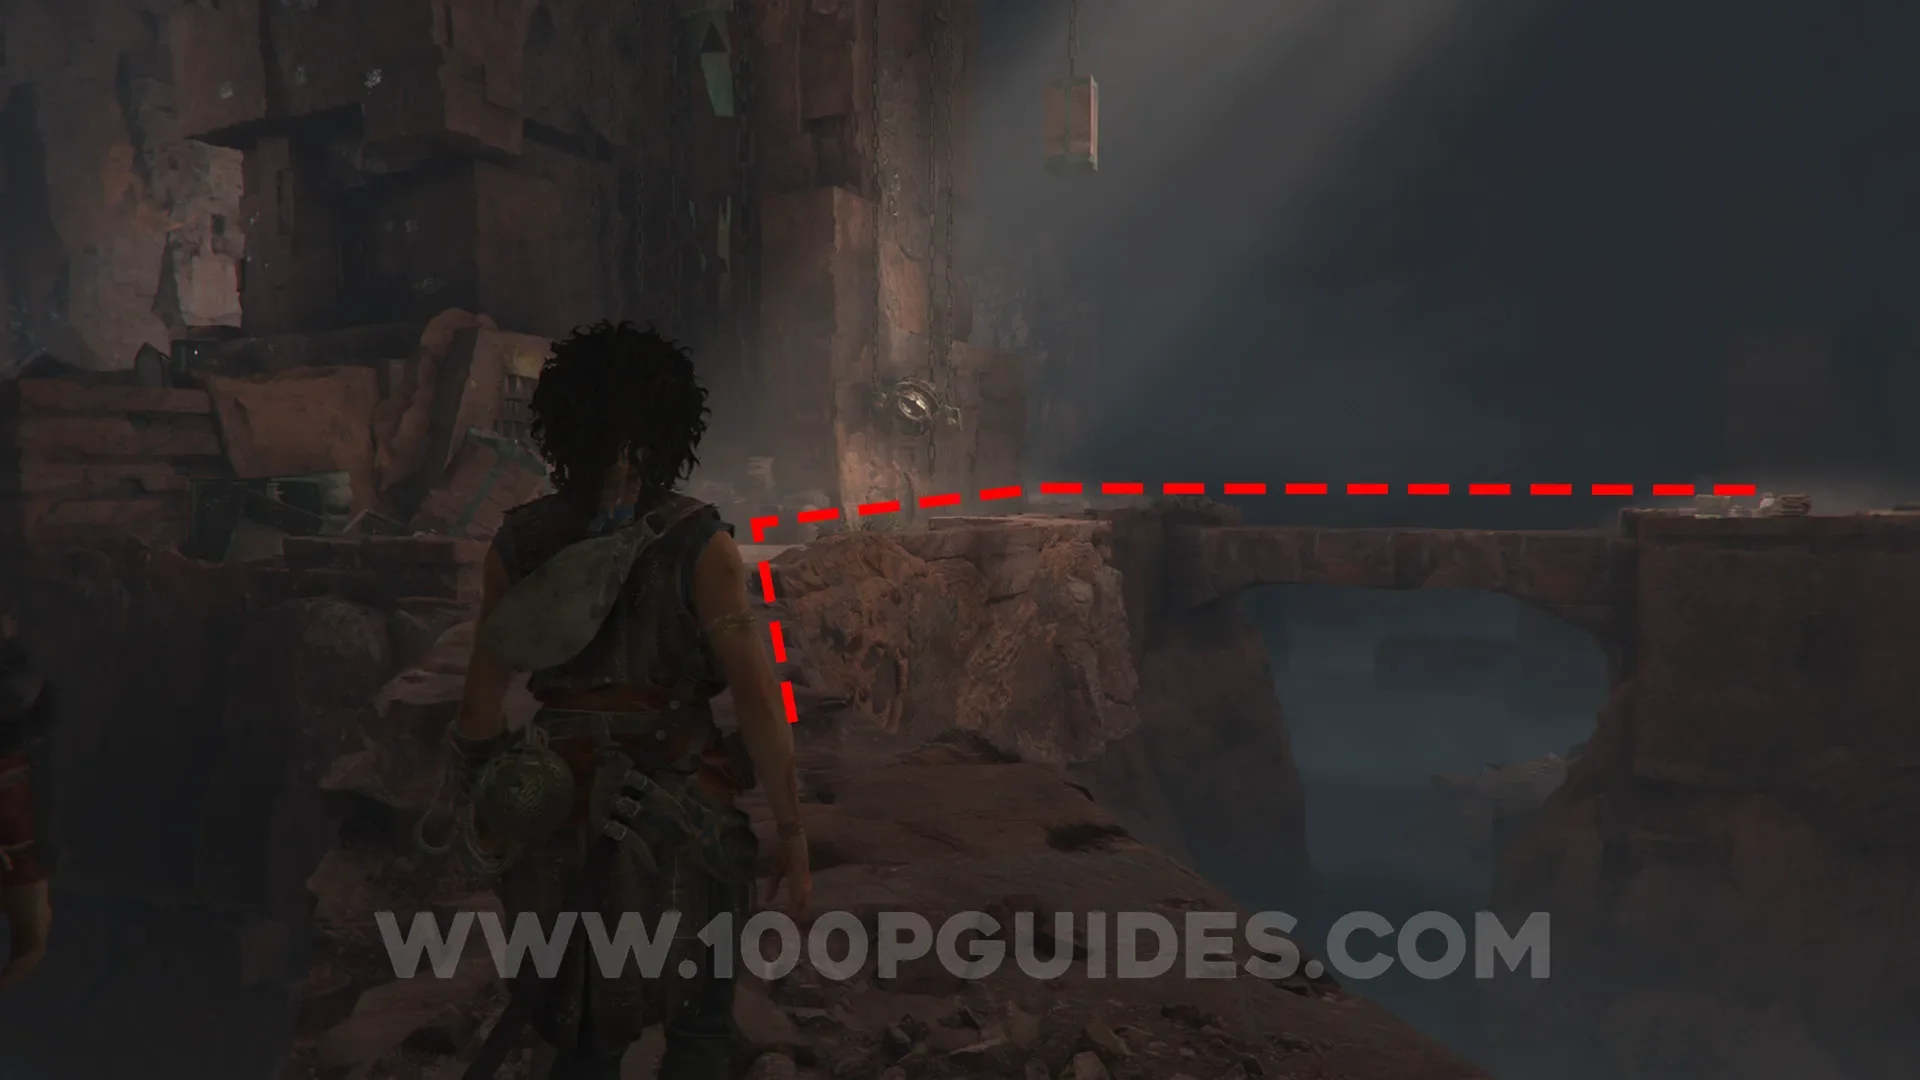
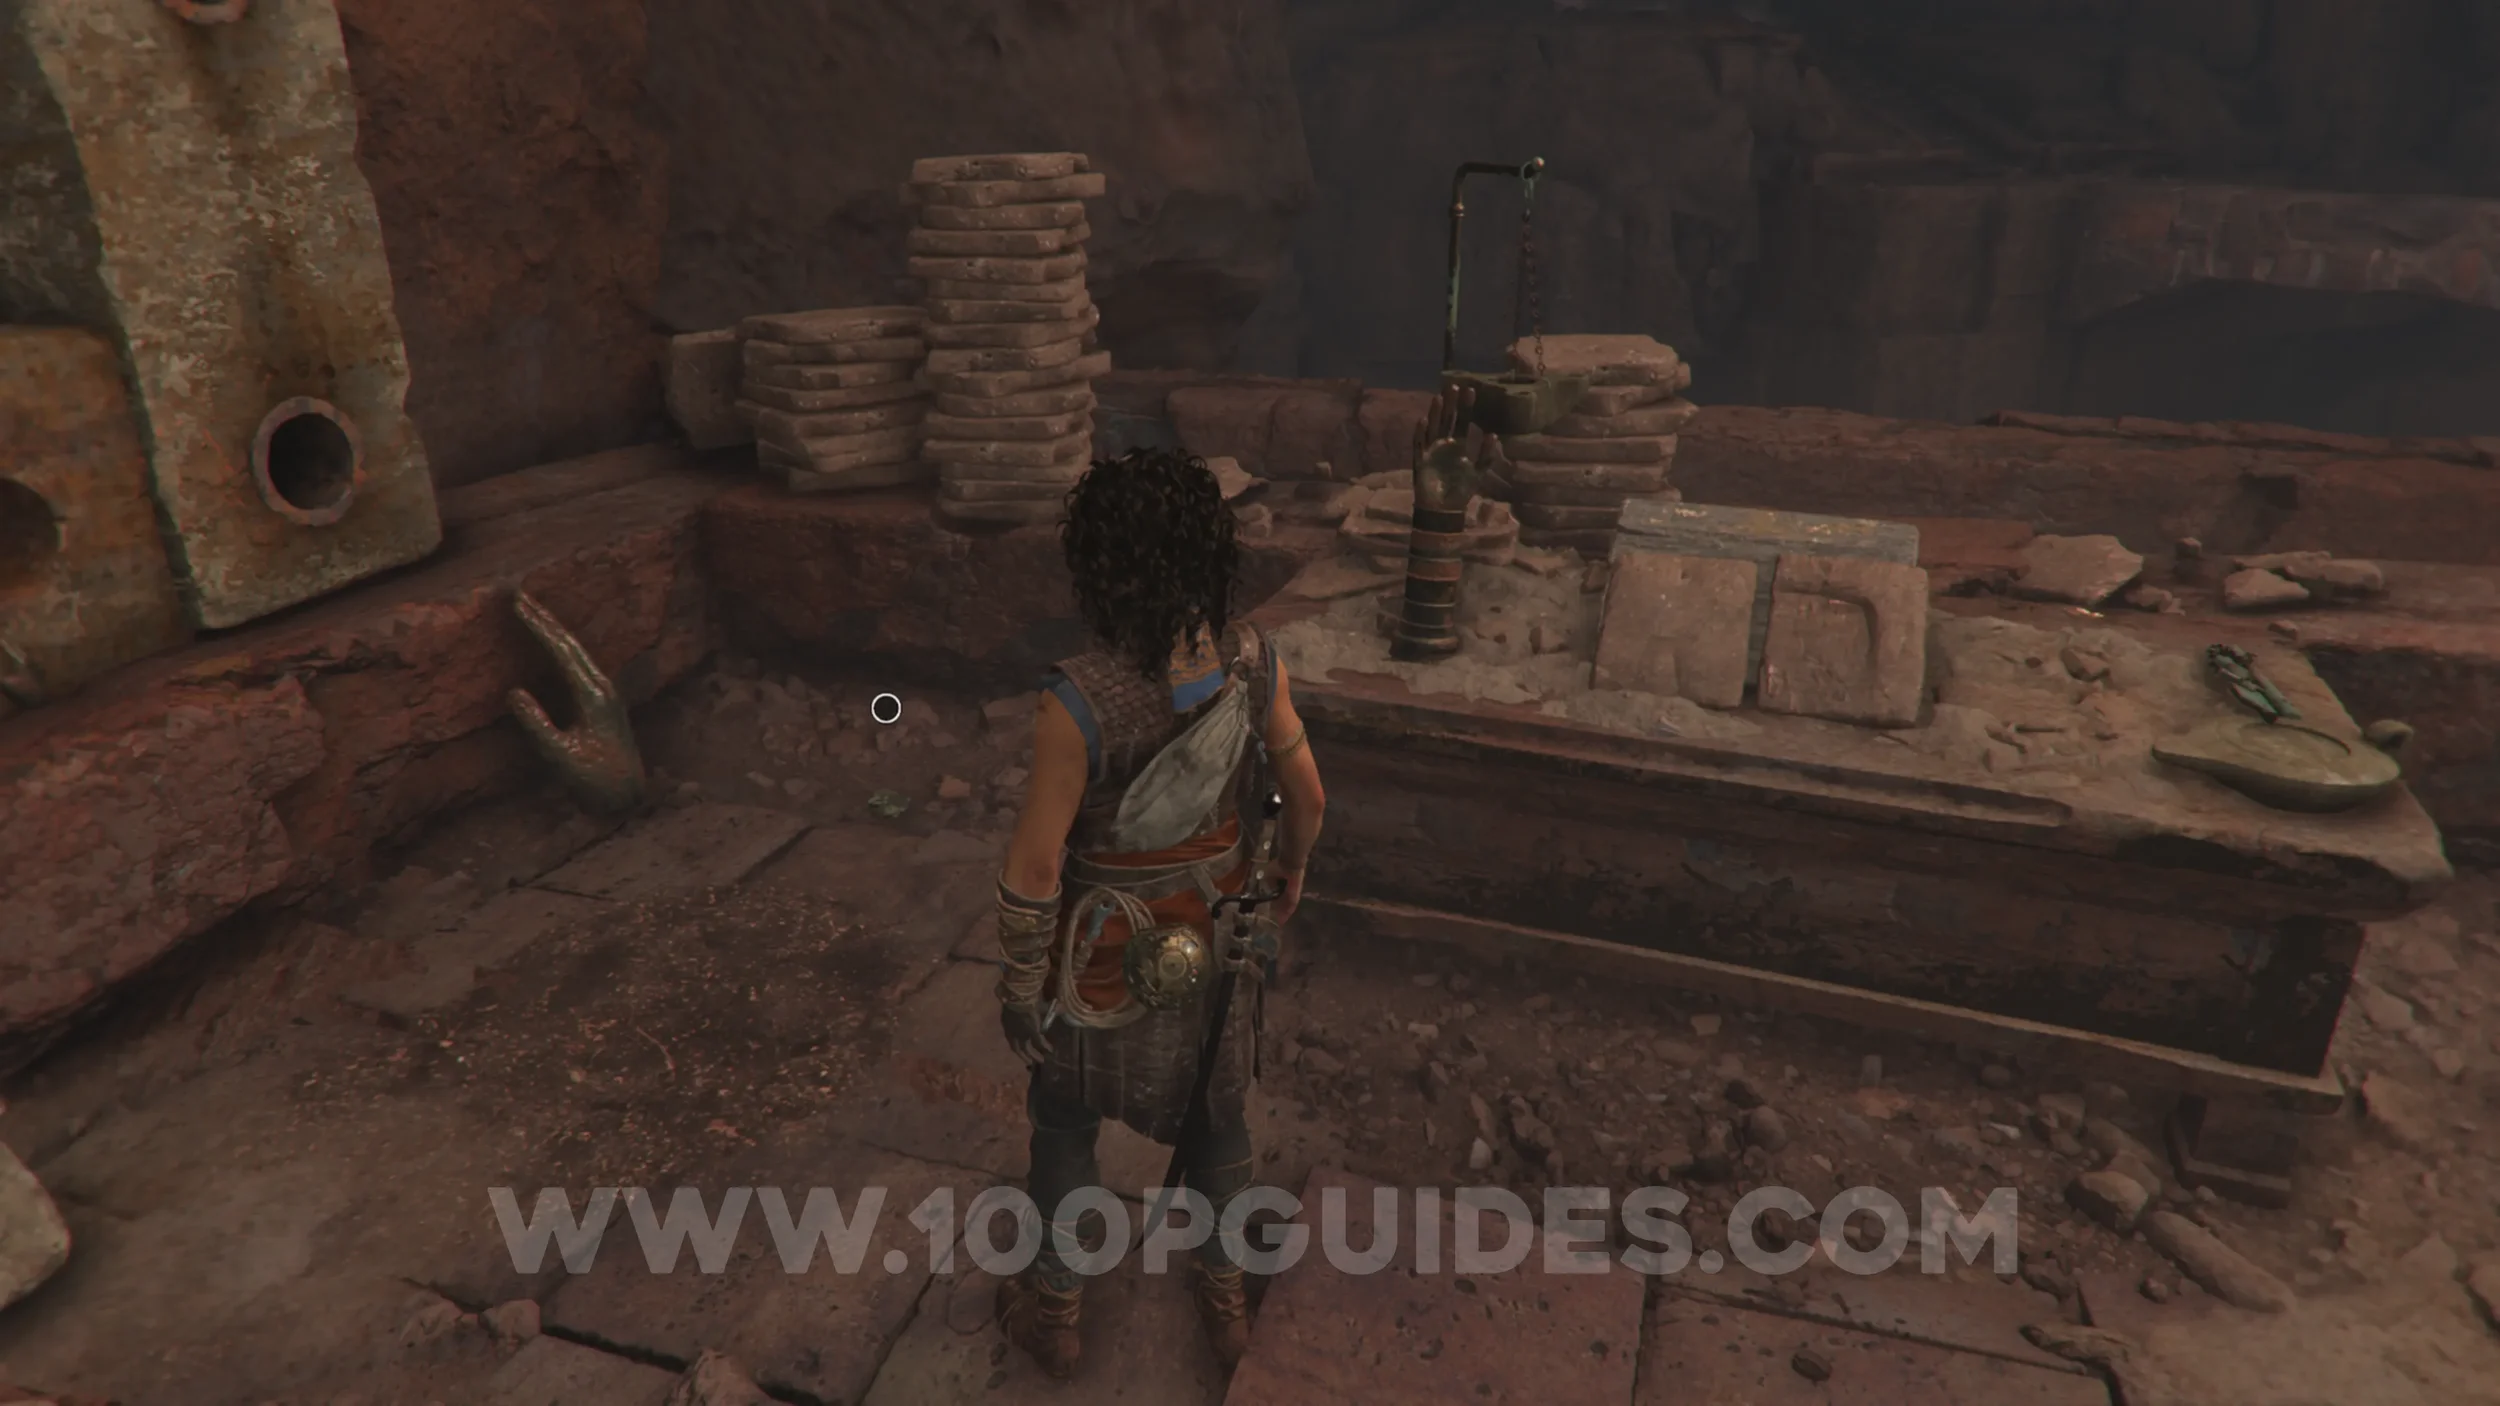
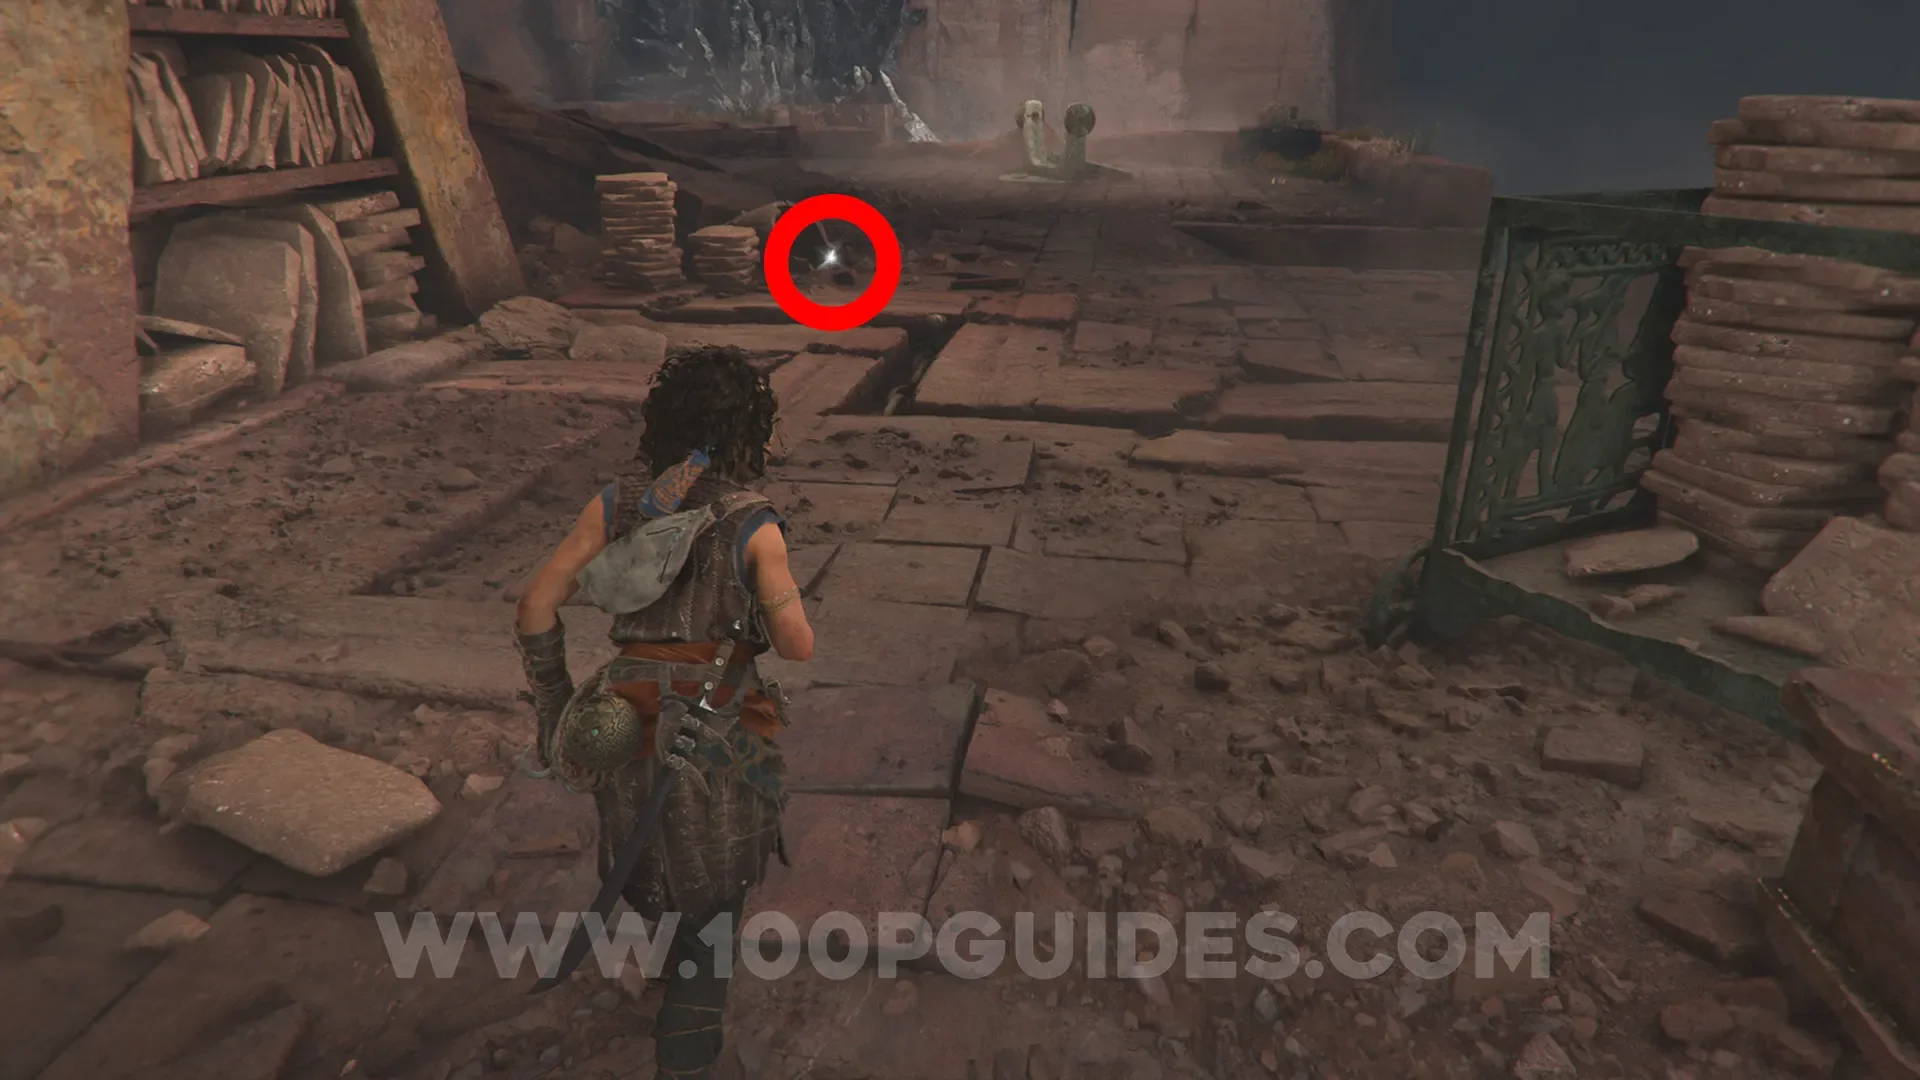
Resonance Point
Chapter 10: Sub-Chapter 3.
Go back across the bridge and continue straight until you see the Resonance Point near a pot on the ground to your left.
Charm: Pierced Coin #5
Chapter 10: Sub-Chapter 3.
From the previous collectible, head down the stairs to the right, then look right and jump onto the circular platform. From here, look right and use the grappling hook to break the weight on the wall. Head back up to the upper area, and you'll see that the tablet shelves have opened to reveal a secret room. Head inside to find the charm.
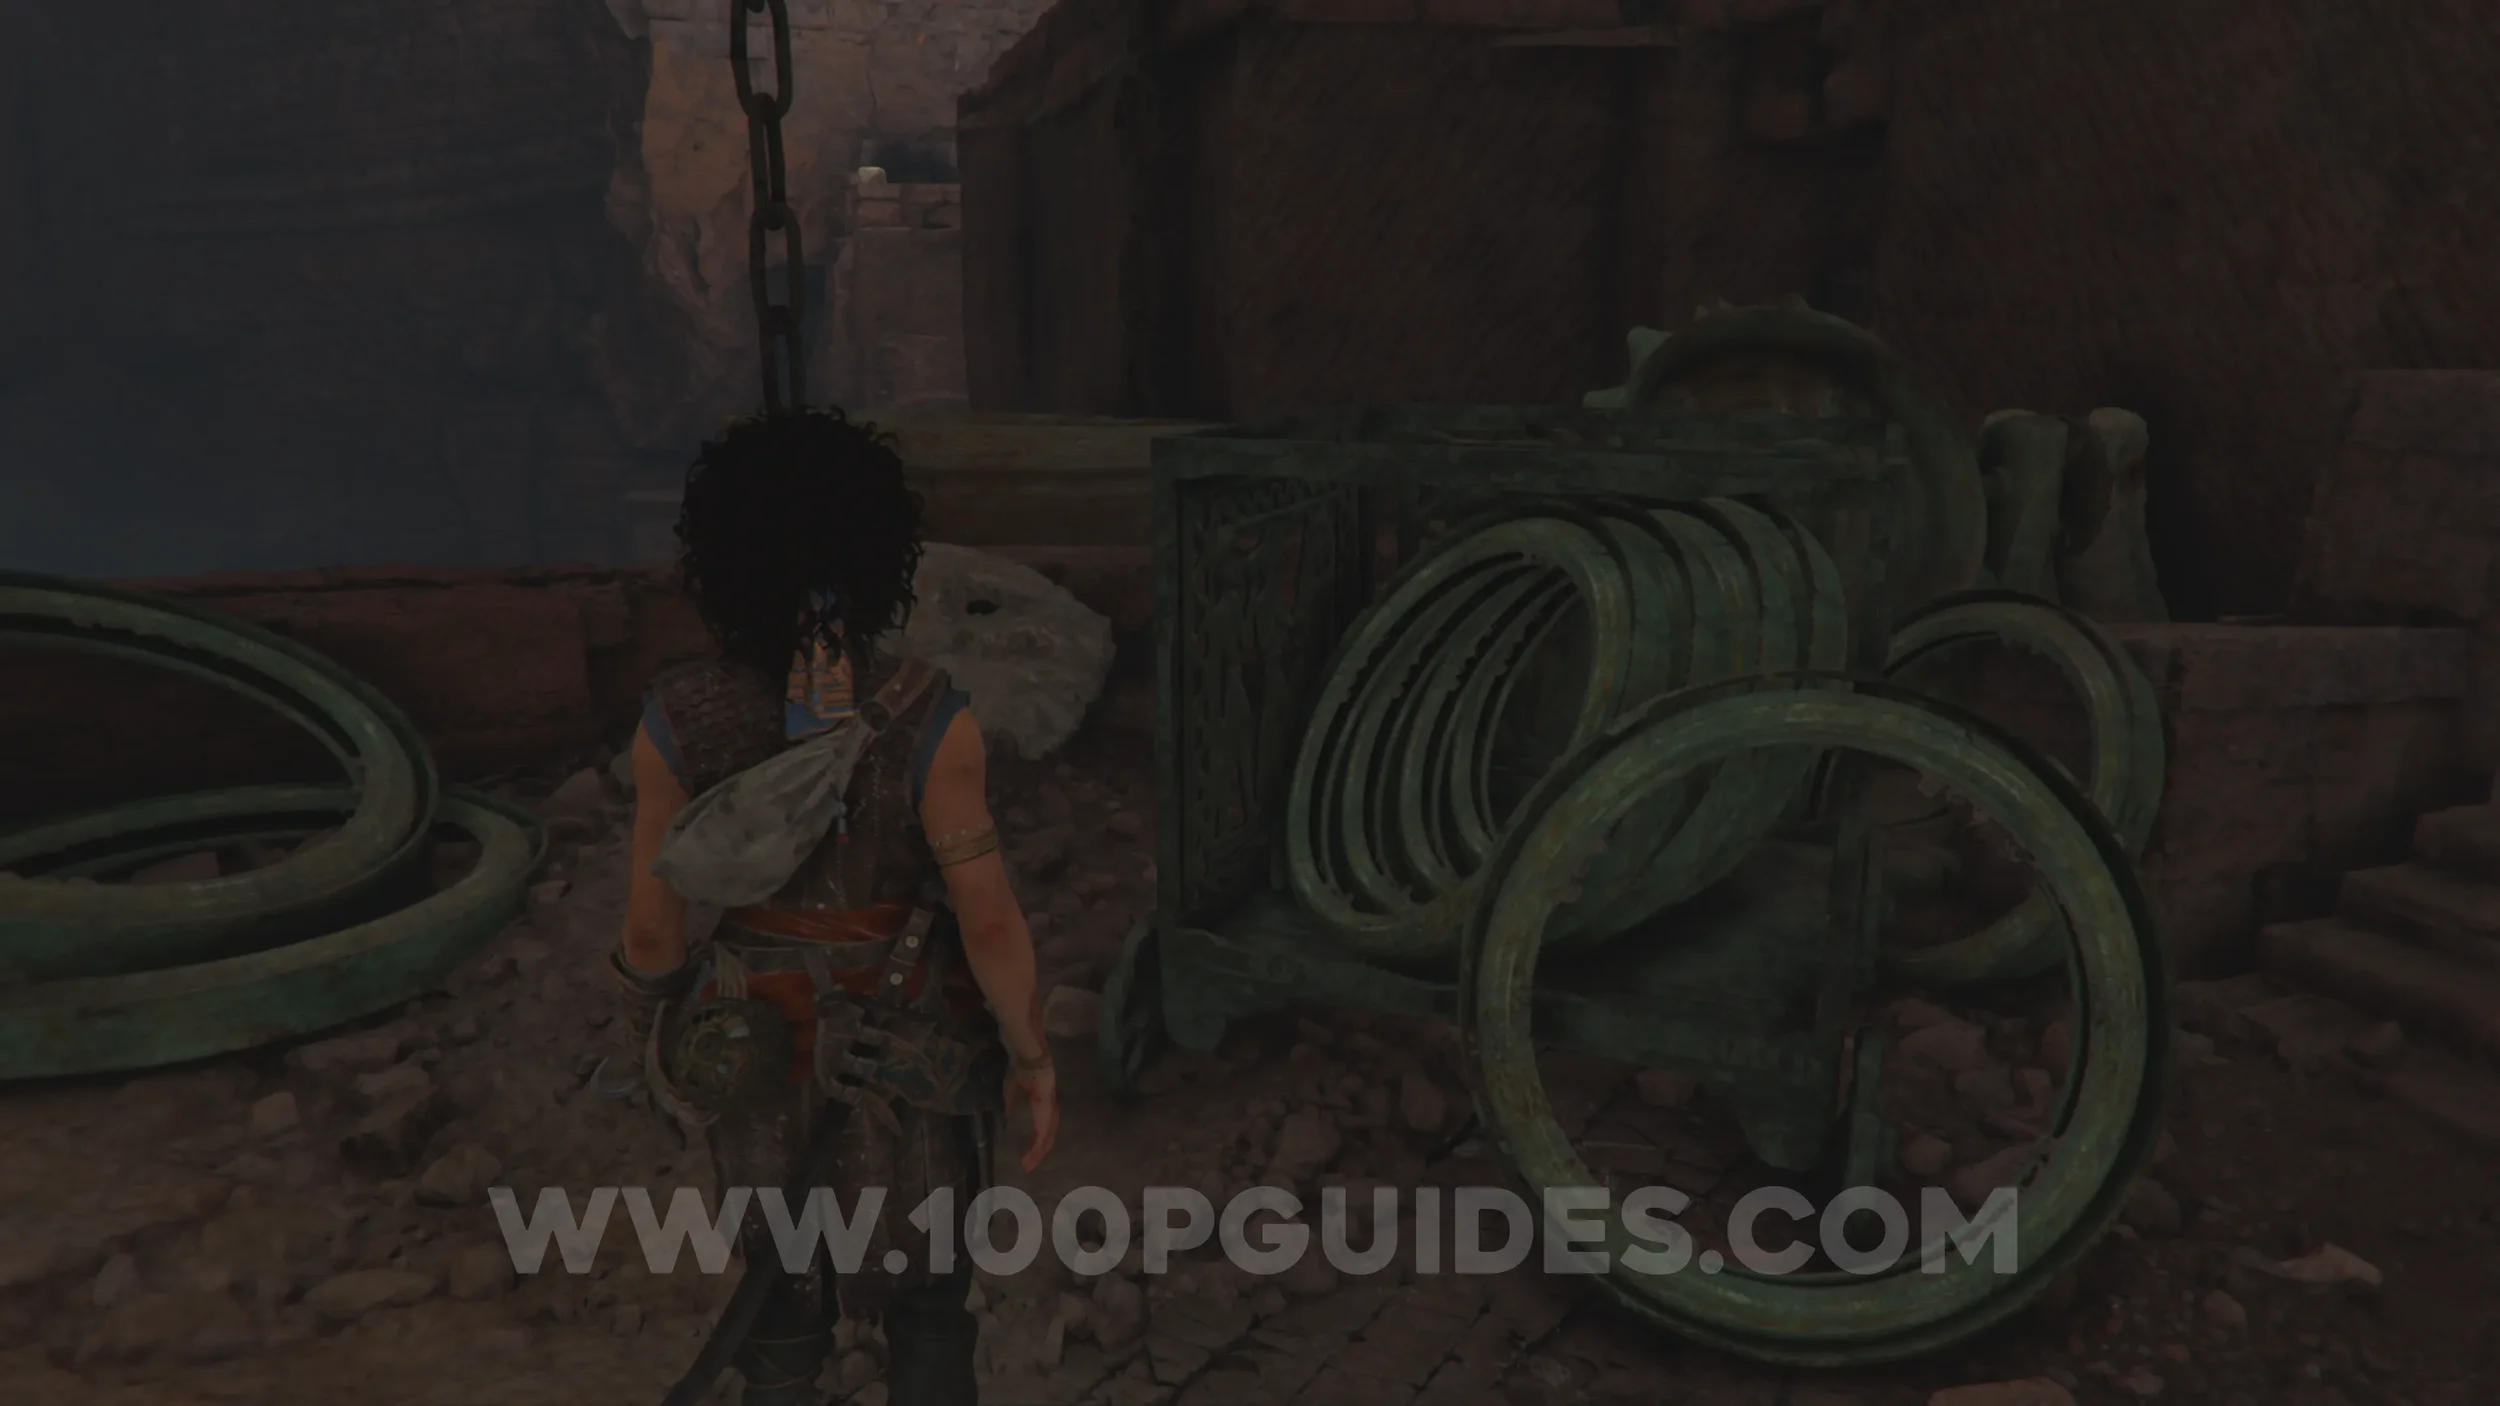
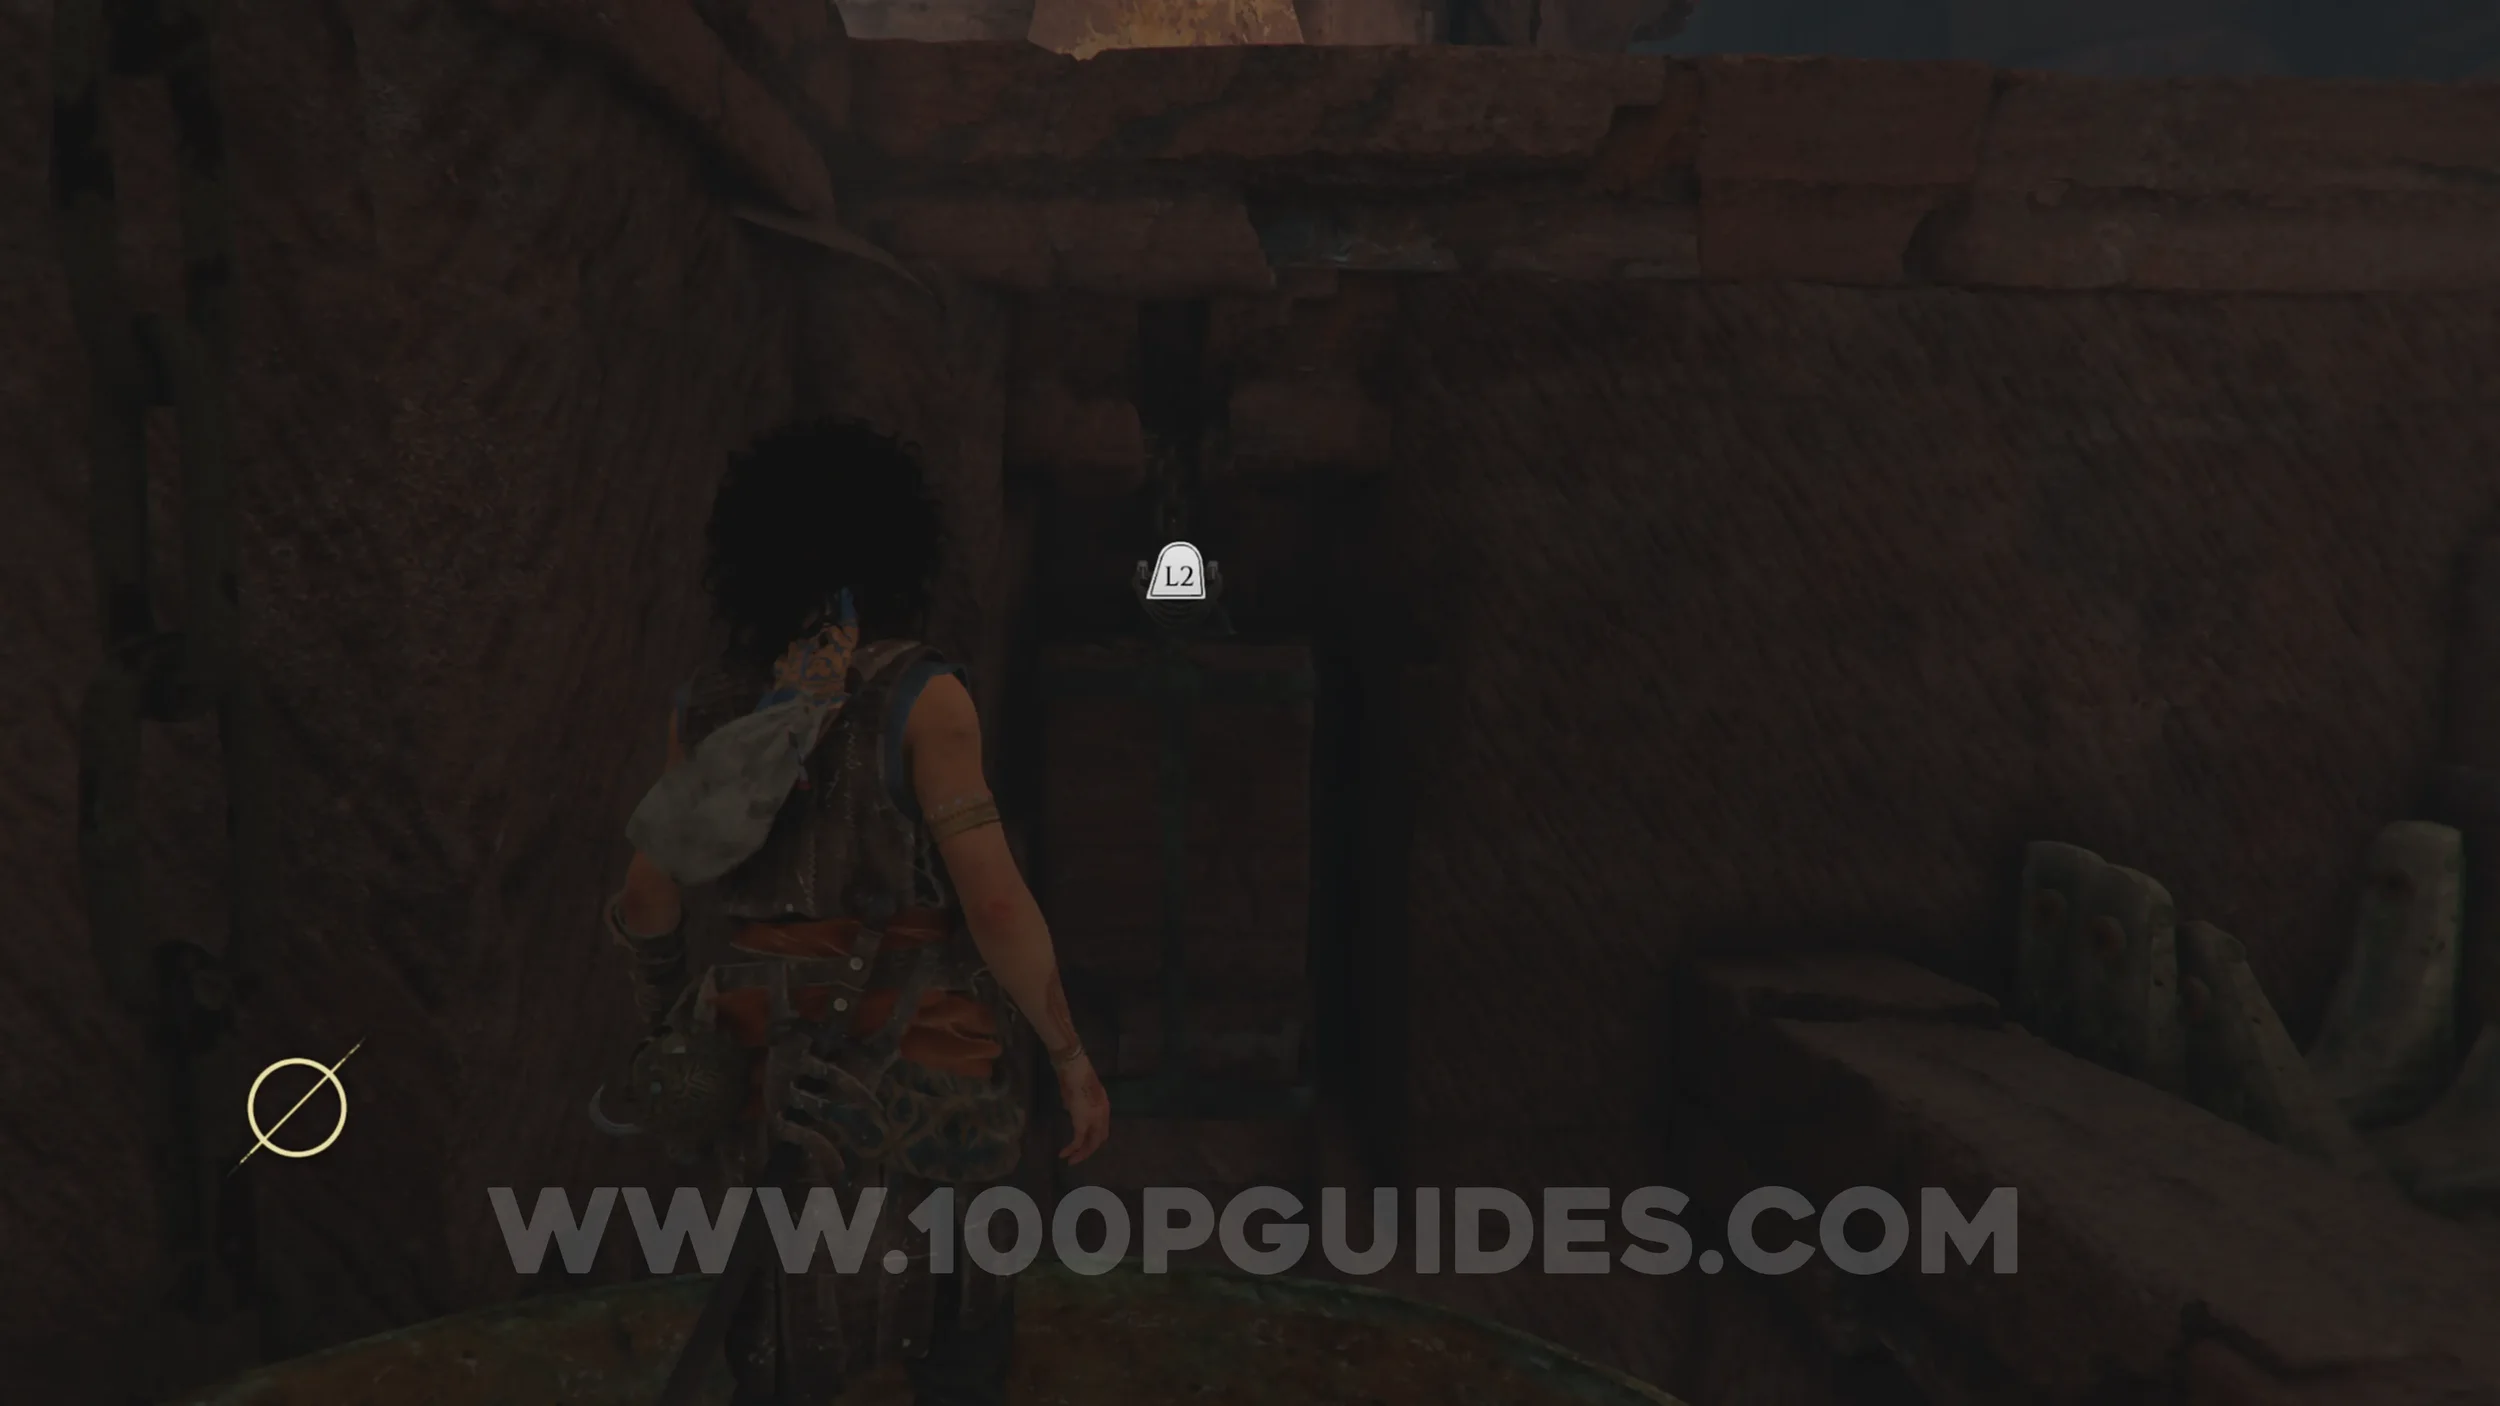
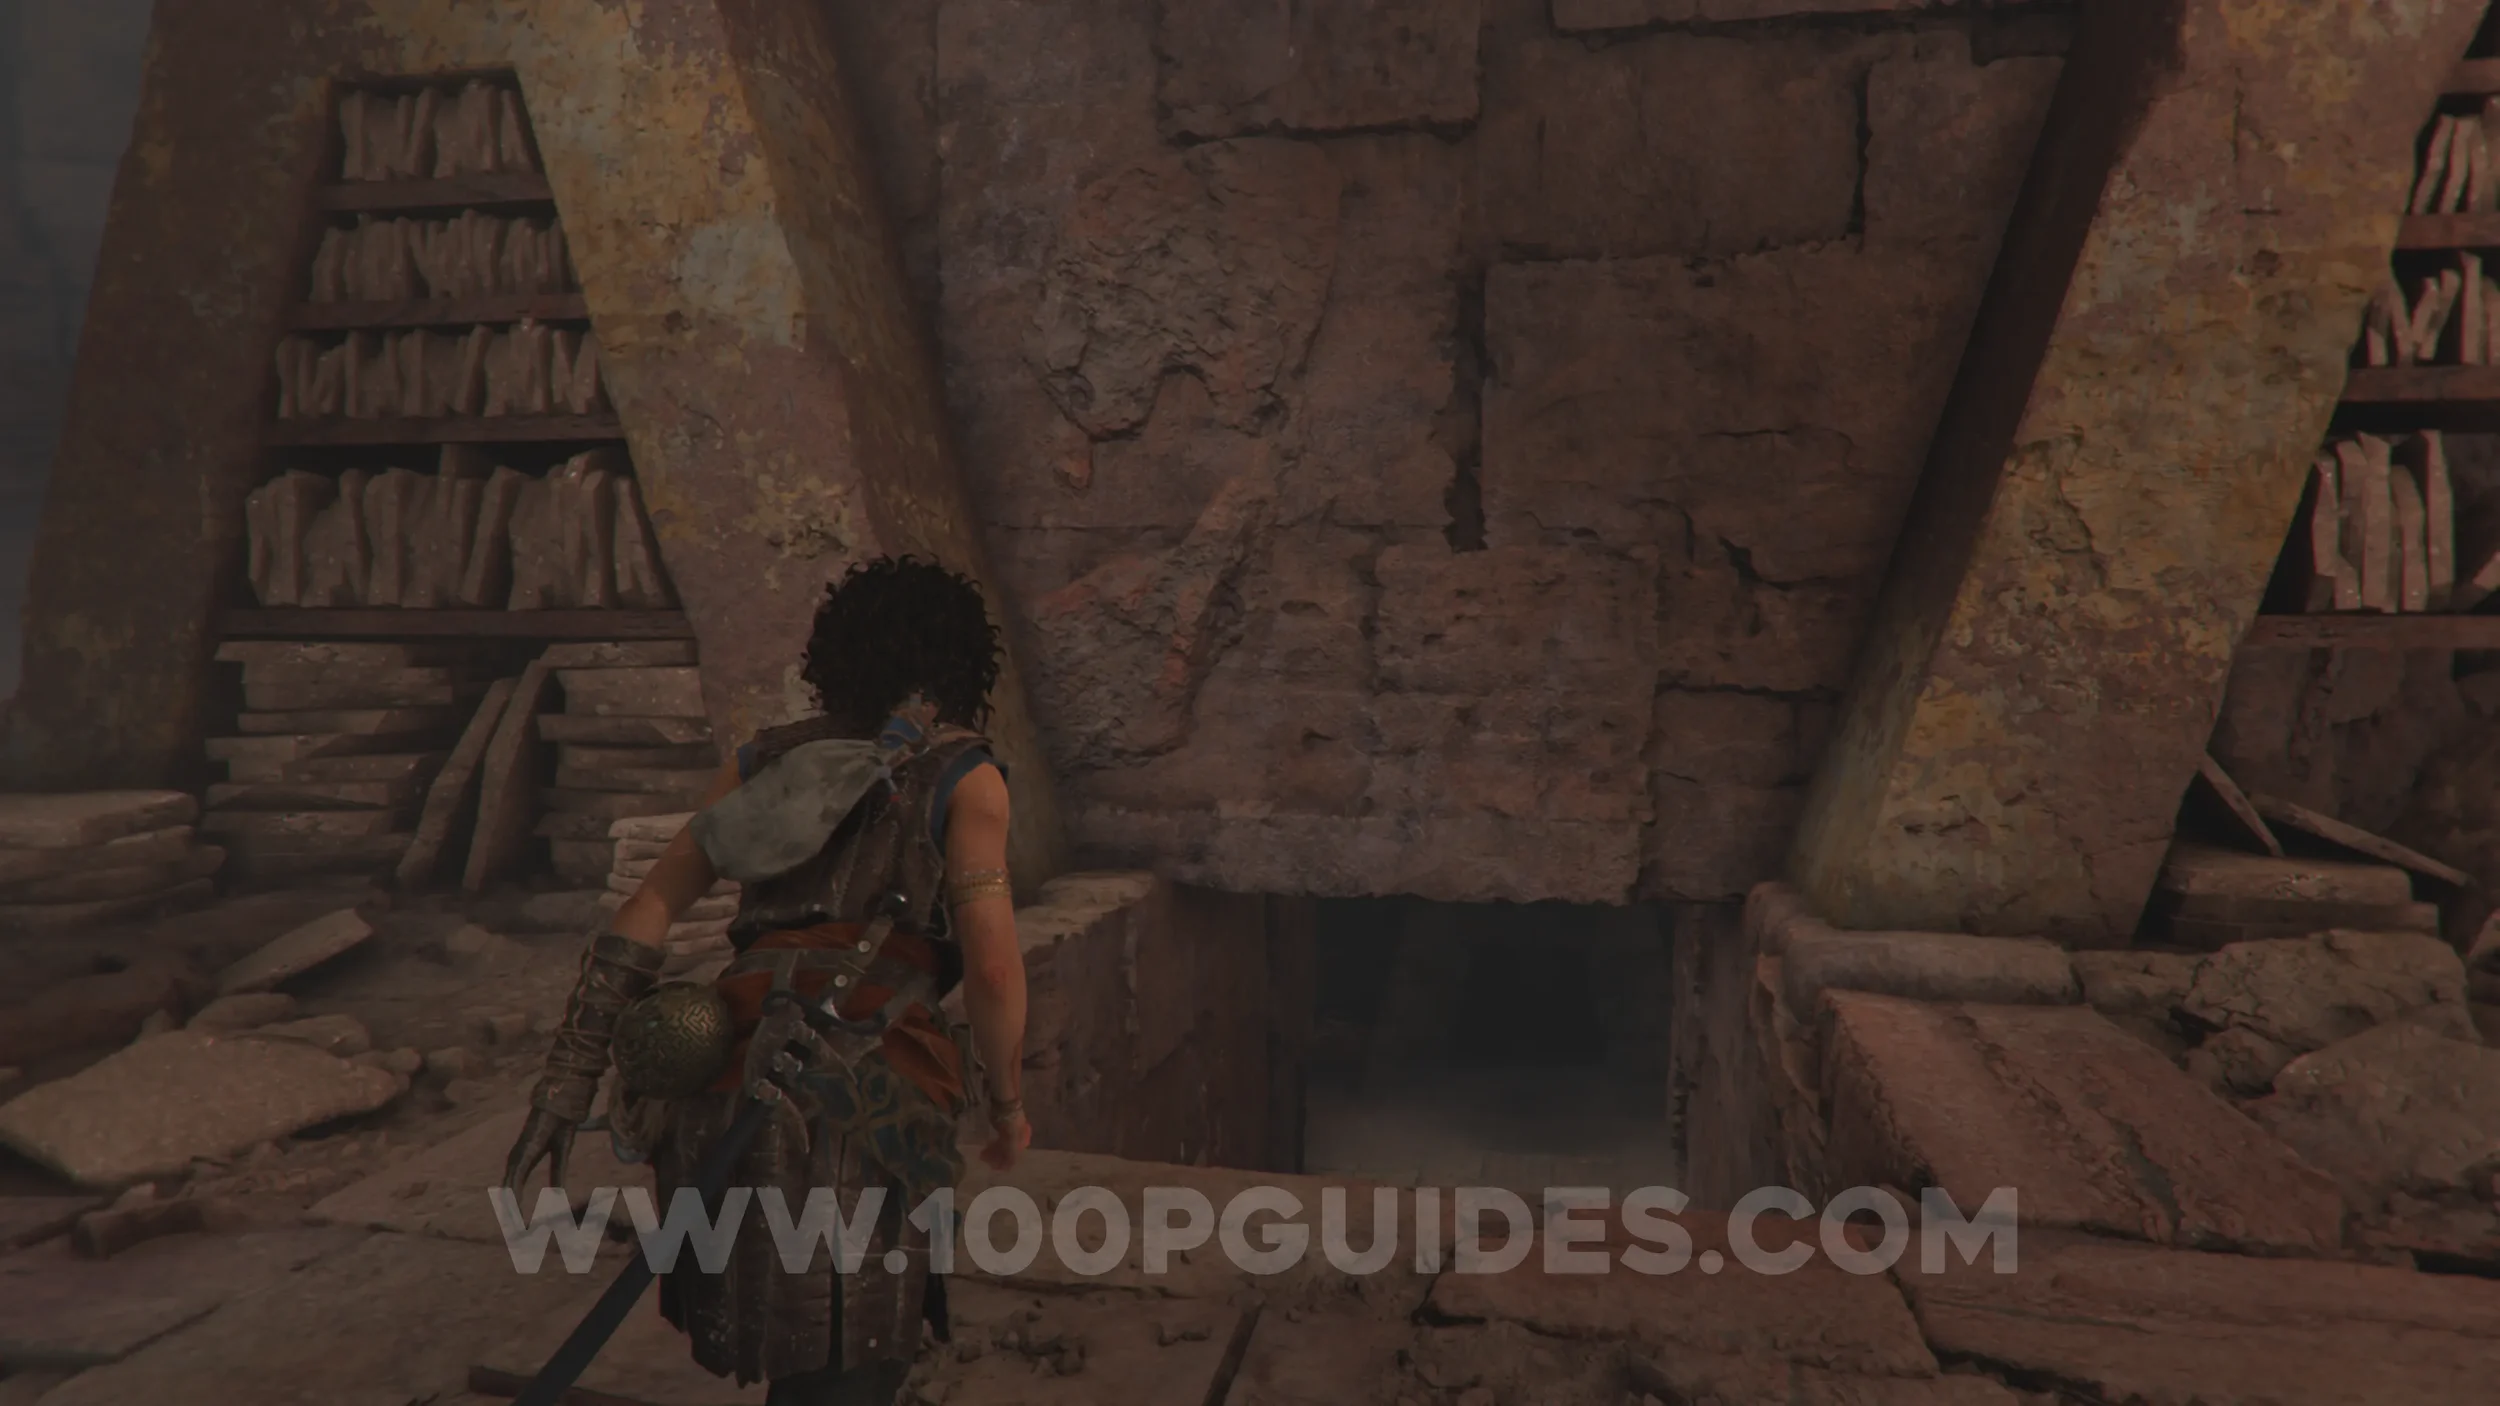
Resonance Point
Chapter 19: Sub-Chapter 3.
In the same room as the previous collectible.
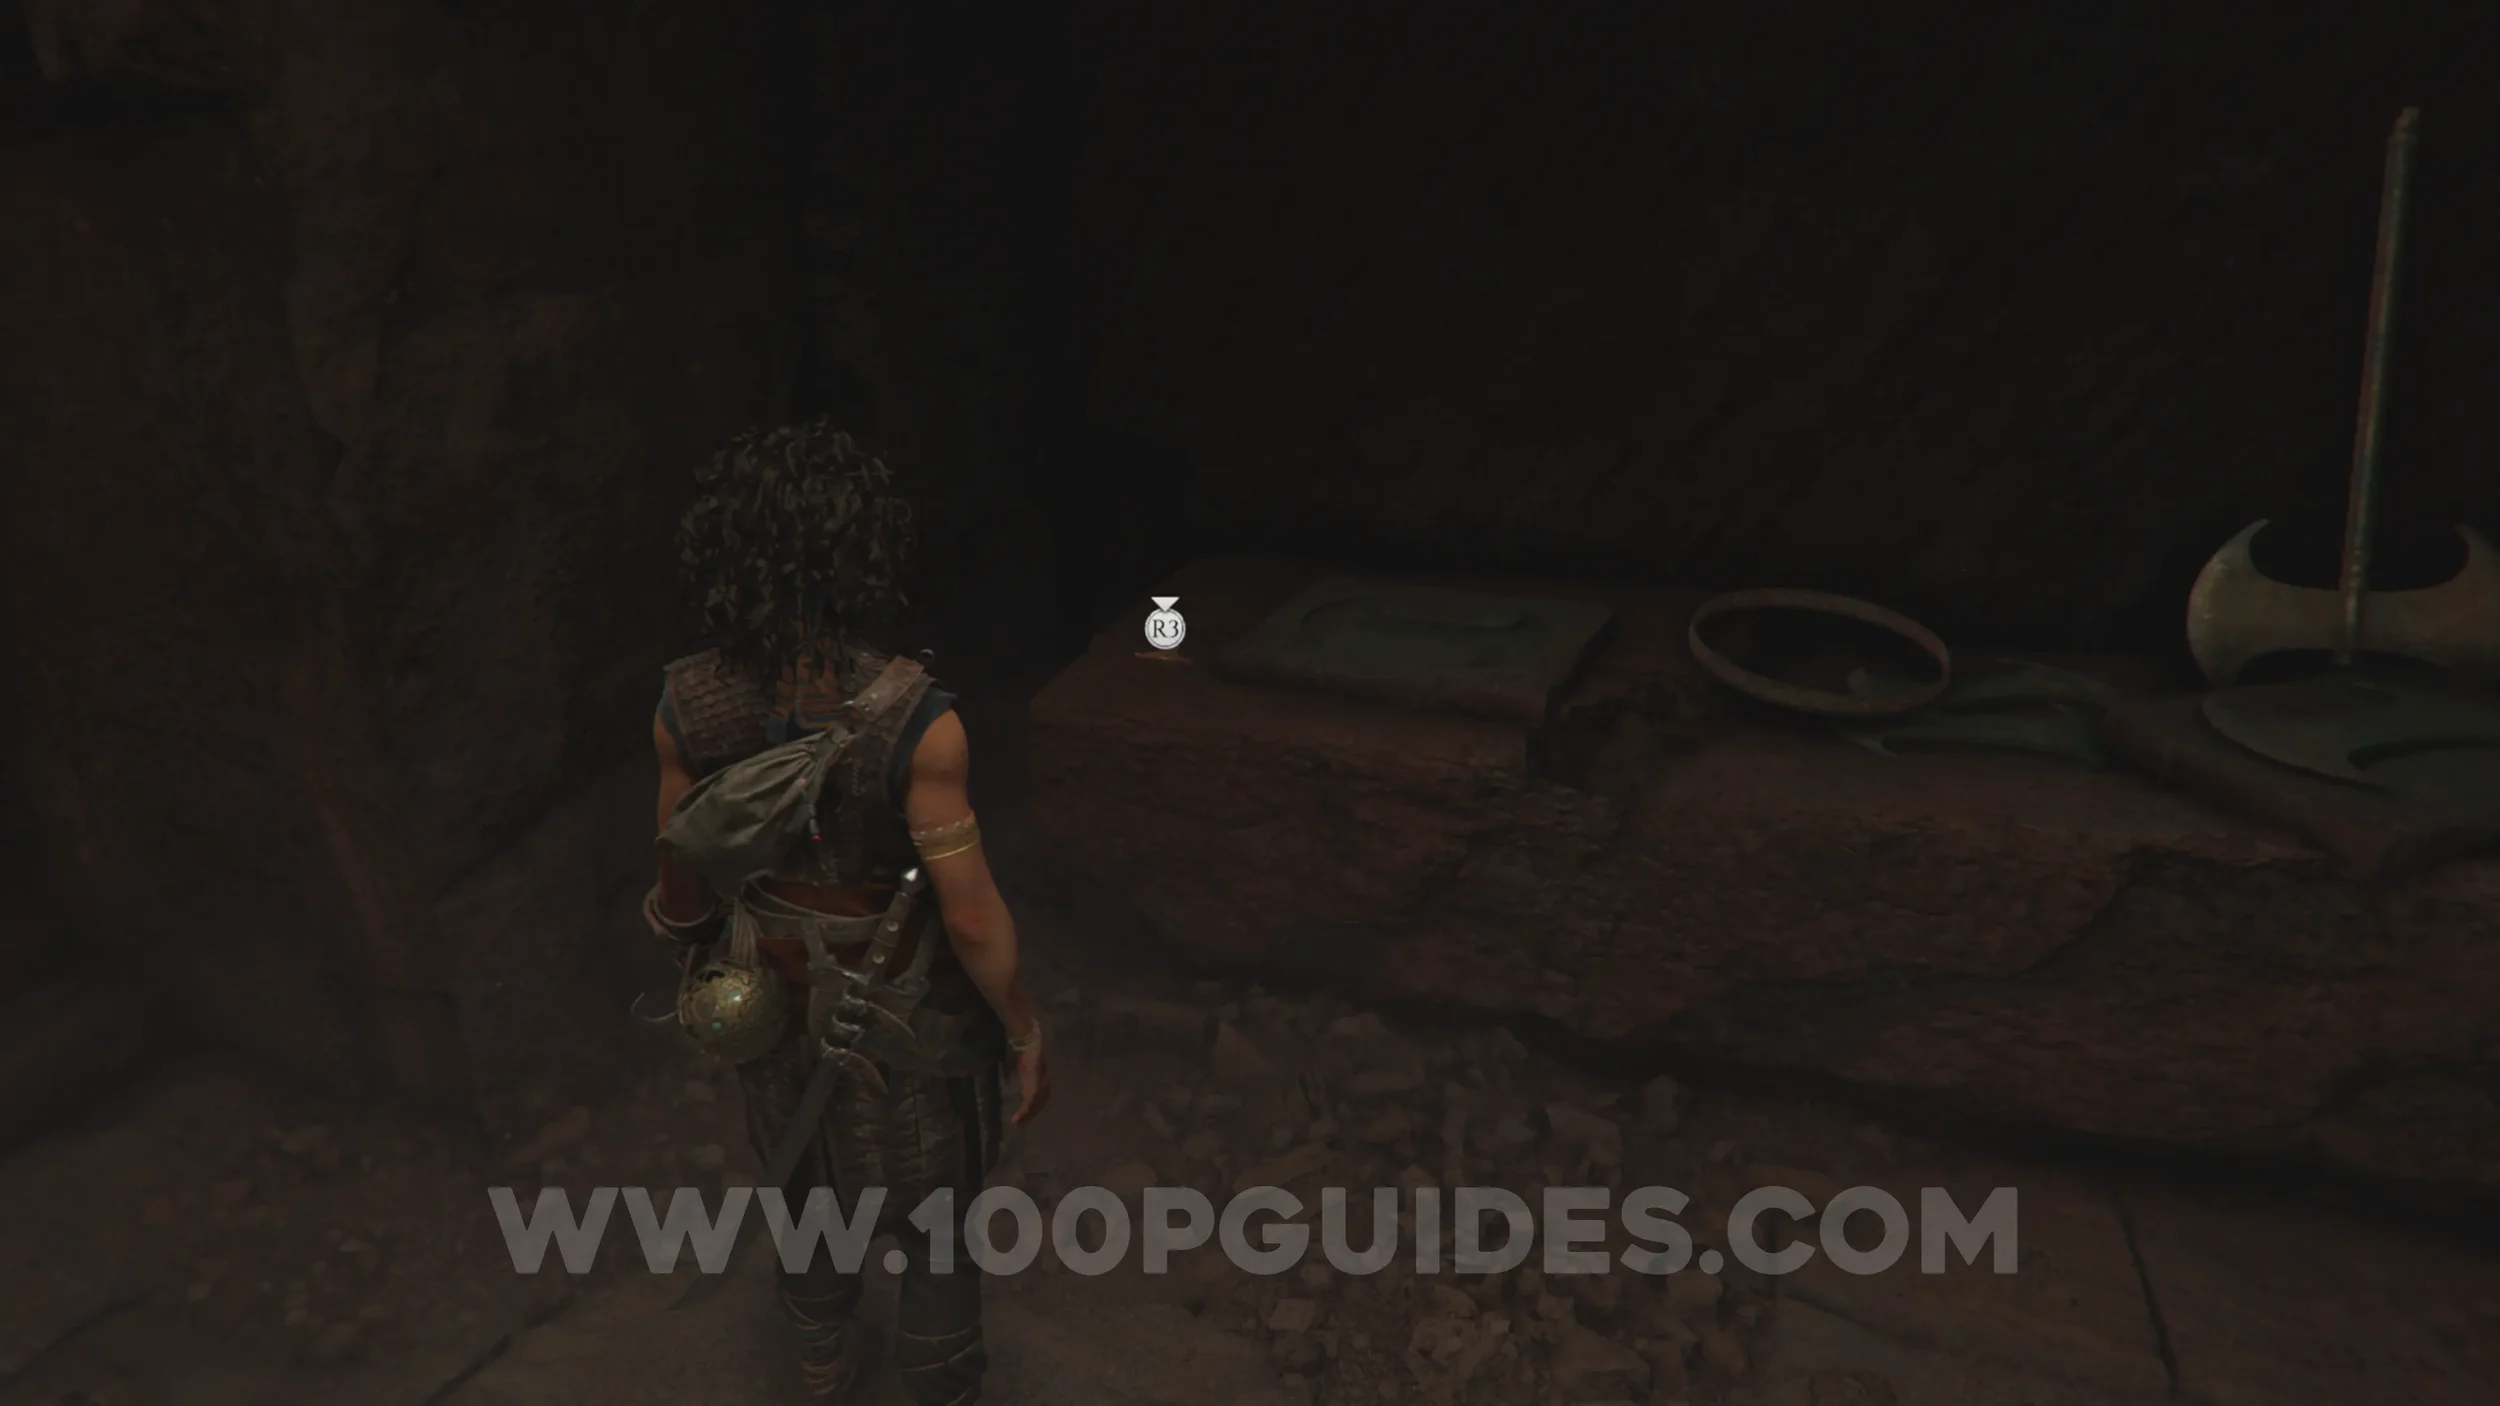
Resonance Point
Chapter 10: Sub-Chapter 5.
After the "vision" where you play as Theseus, as soon as you regain control of Sophia, turn around to find the collectible on your right.
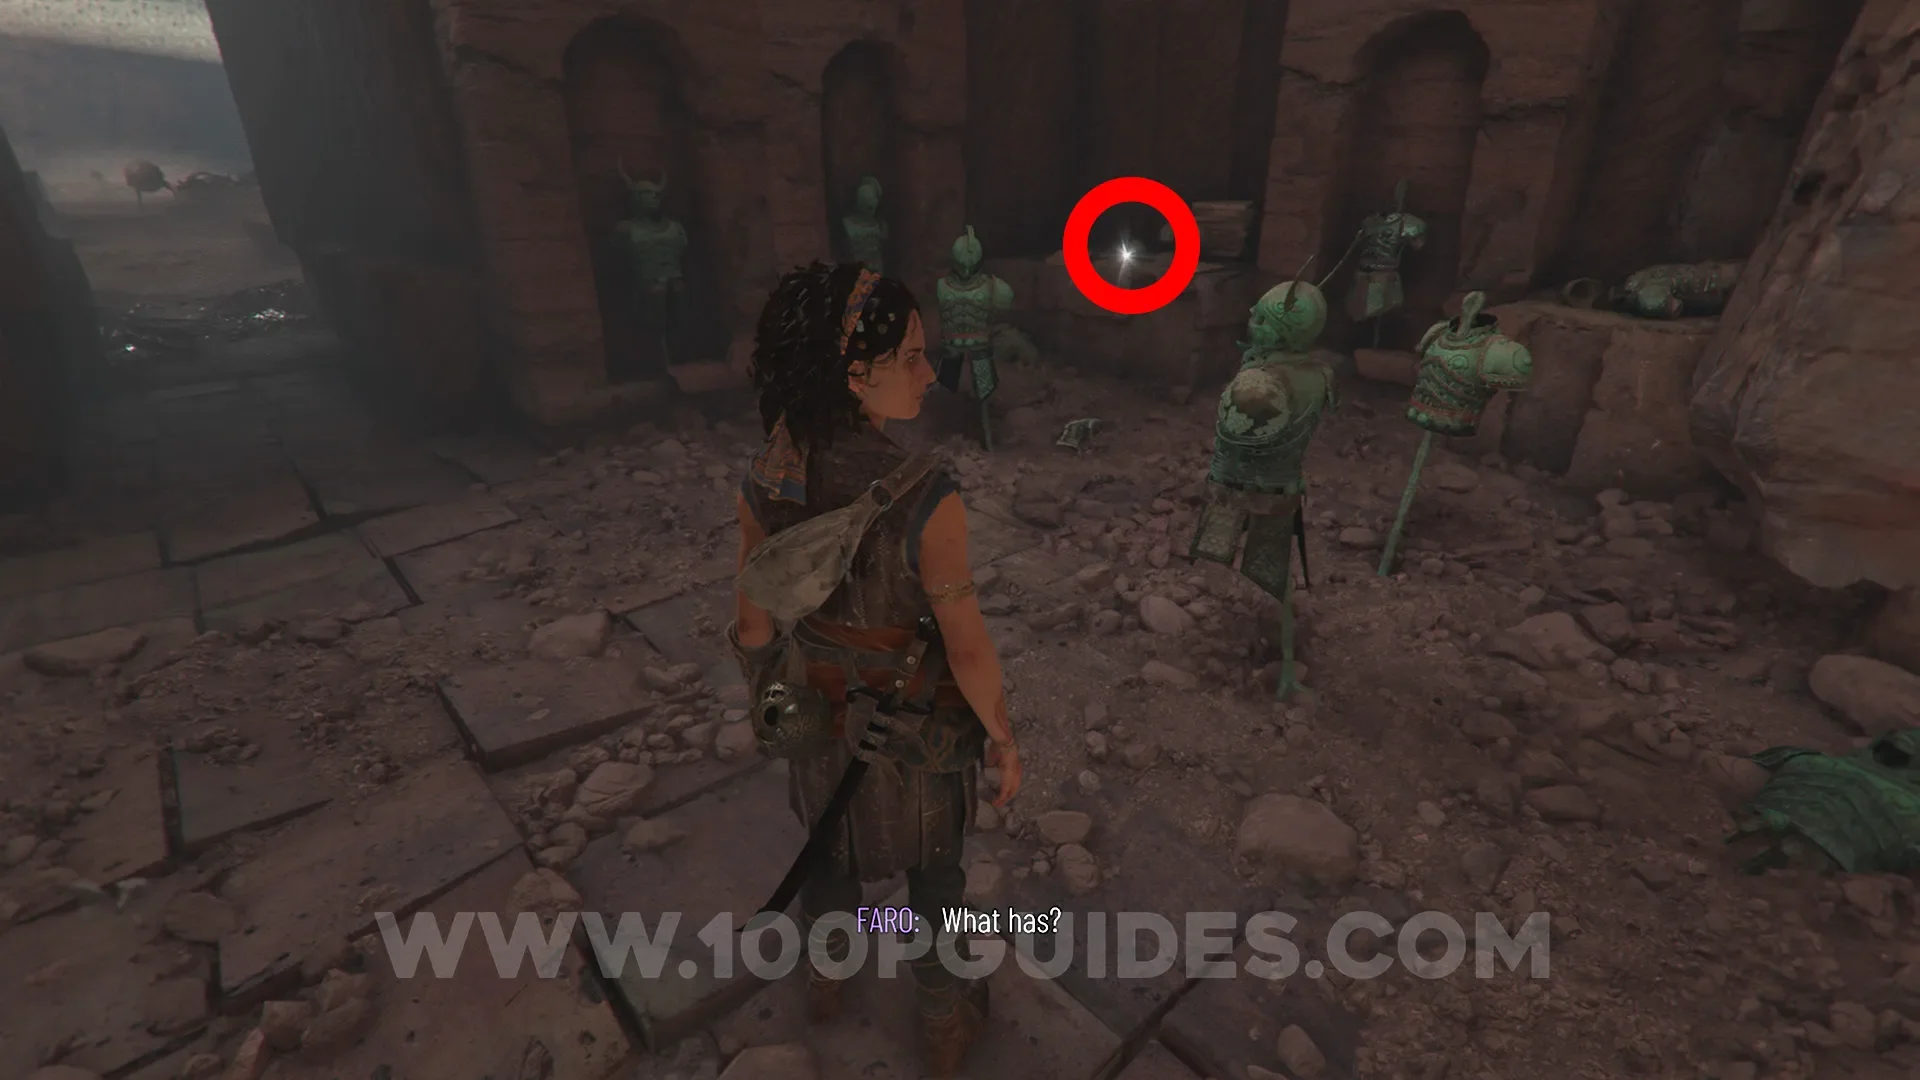
Resonance Point
Chapter 10: Sub-Chapter 5.
After the previous collectible, you'll reach the training grounds. After climbing around some metal platforms, you'll eventually land on a solid rock platform with a metal ramp heading up in front of you. Head down the path underneath it and climb over the rock on your left to find the collectible.
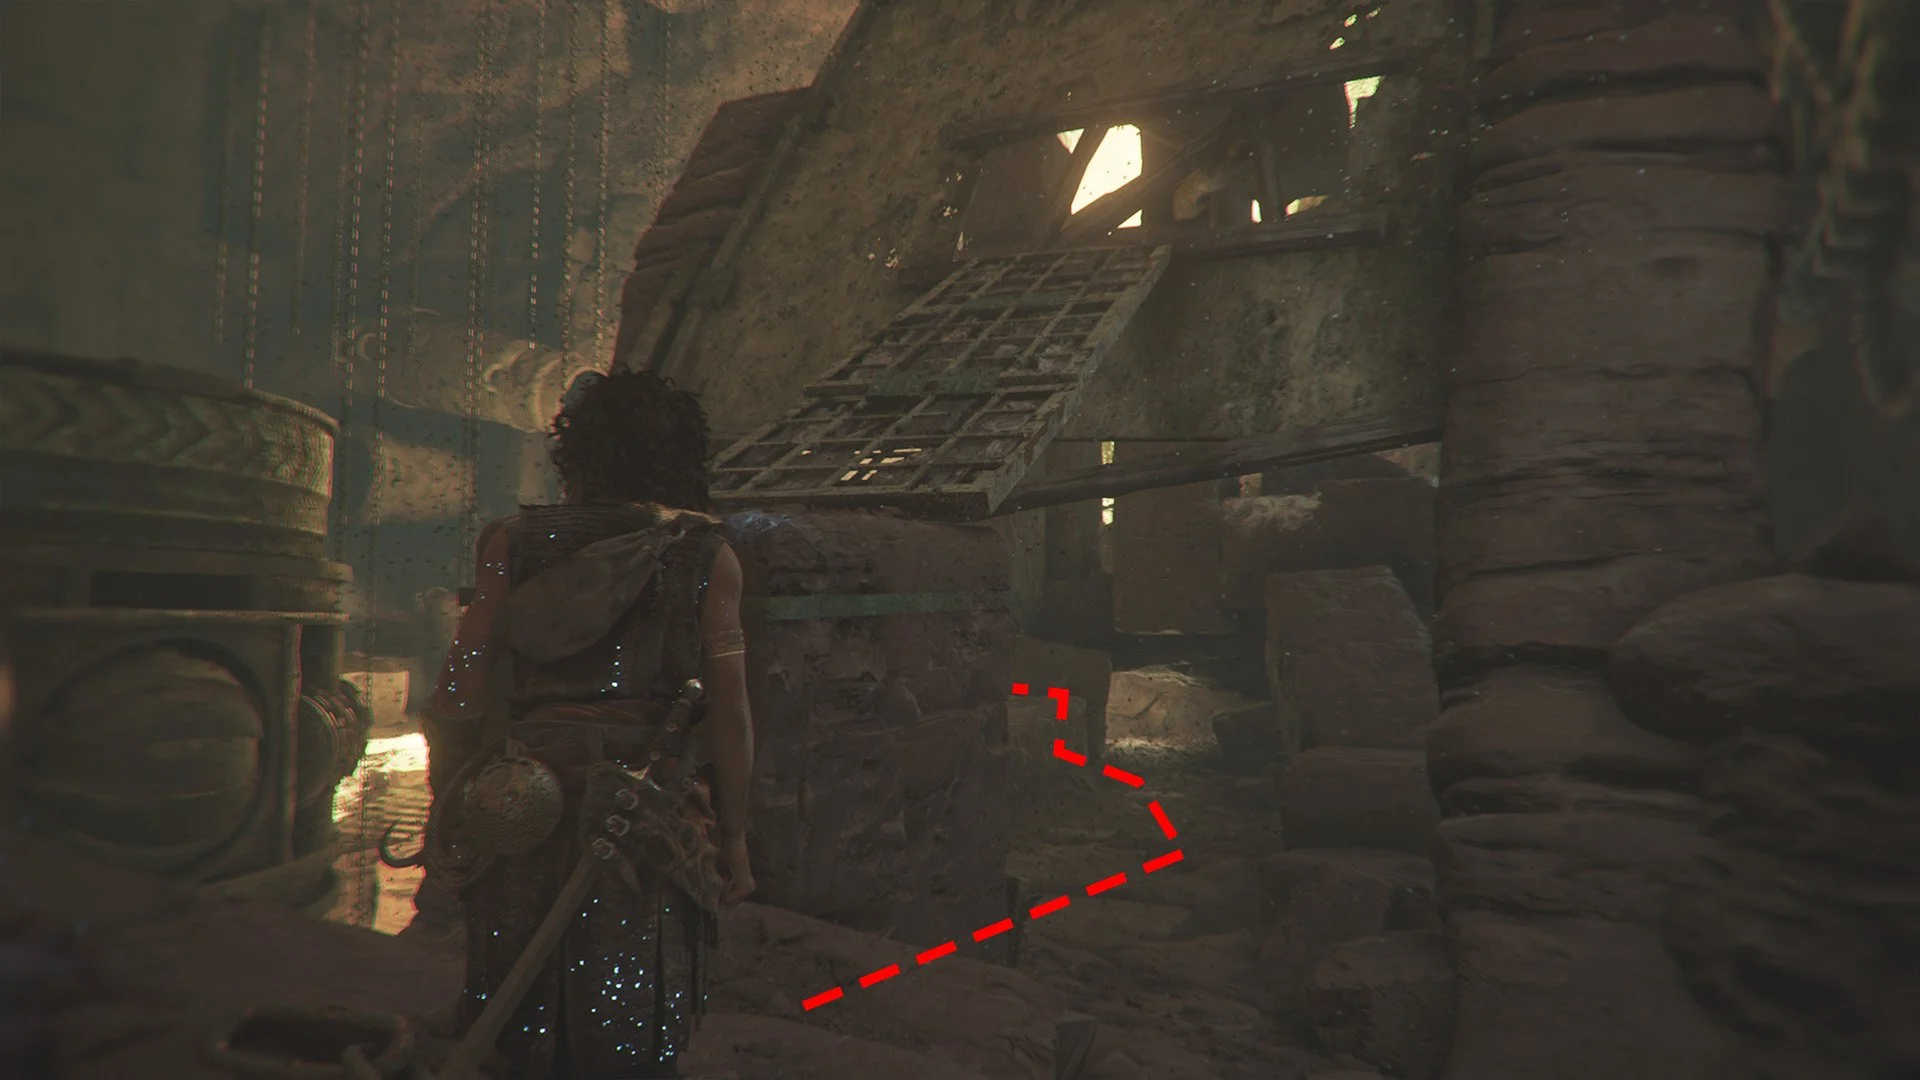
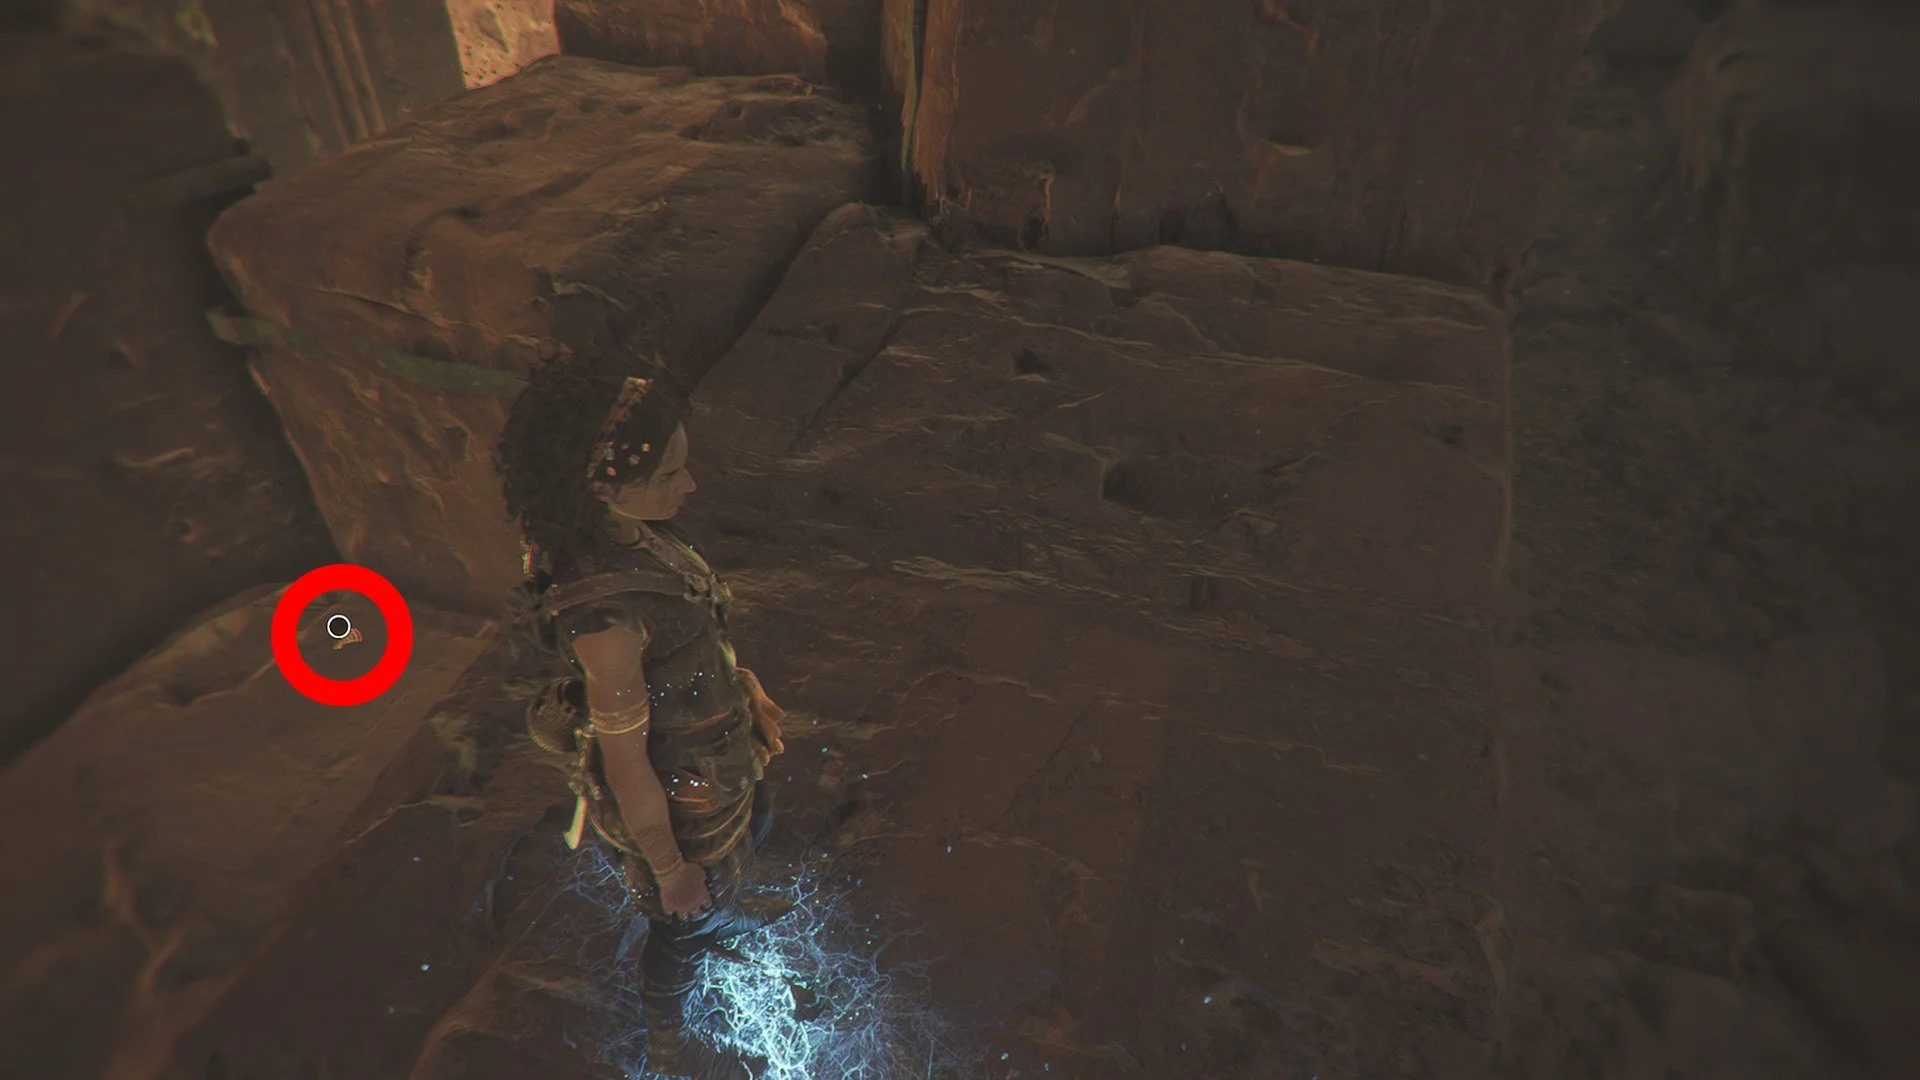
Resonance Point
Chapter 10: Sub-Chapter 5.
Now, go up the metal ramp, then use the grappling hook to swing across a gap. As soon as you land, look right to find the collectible.
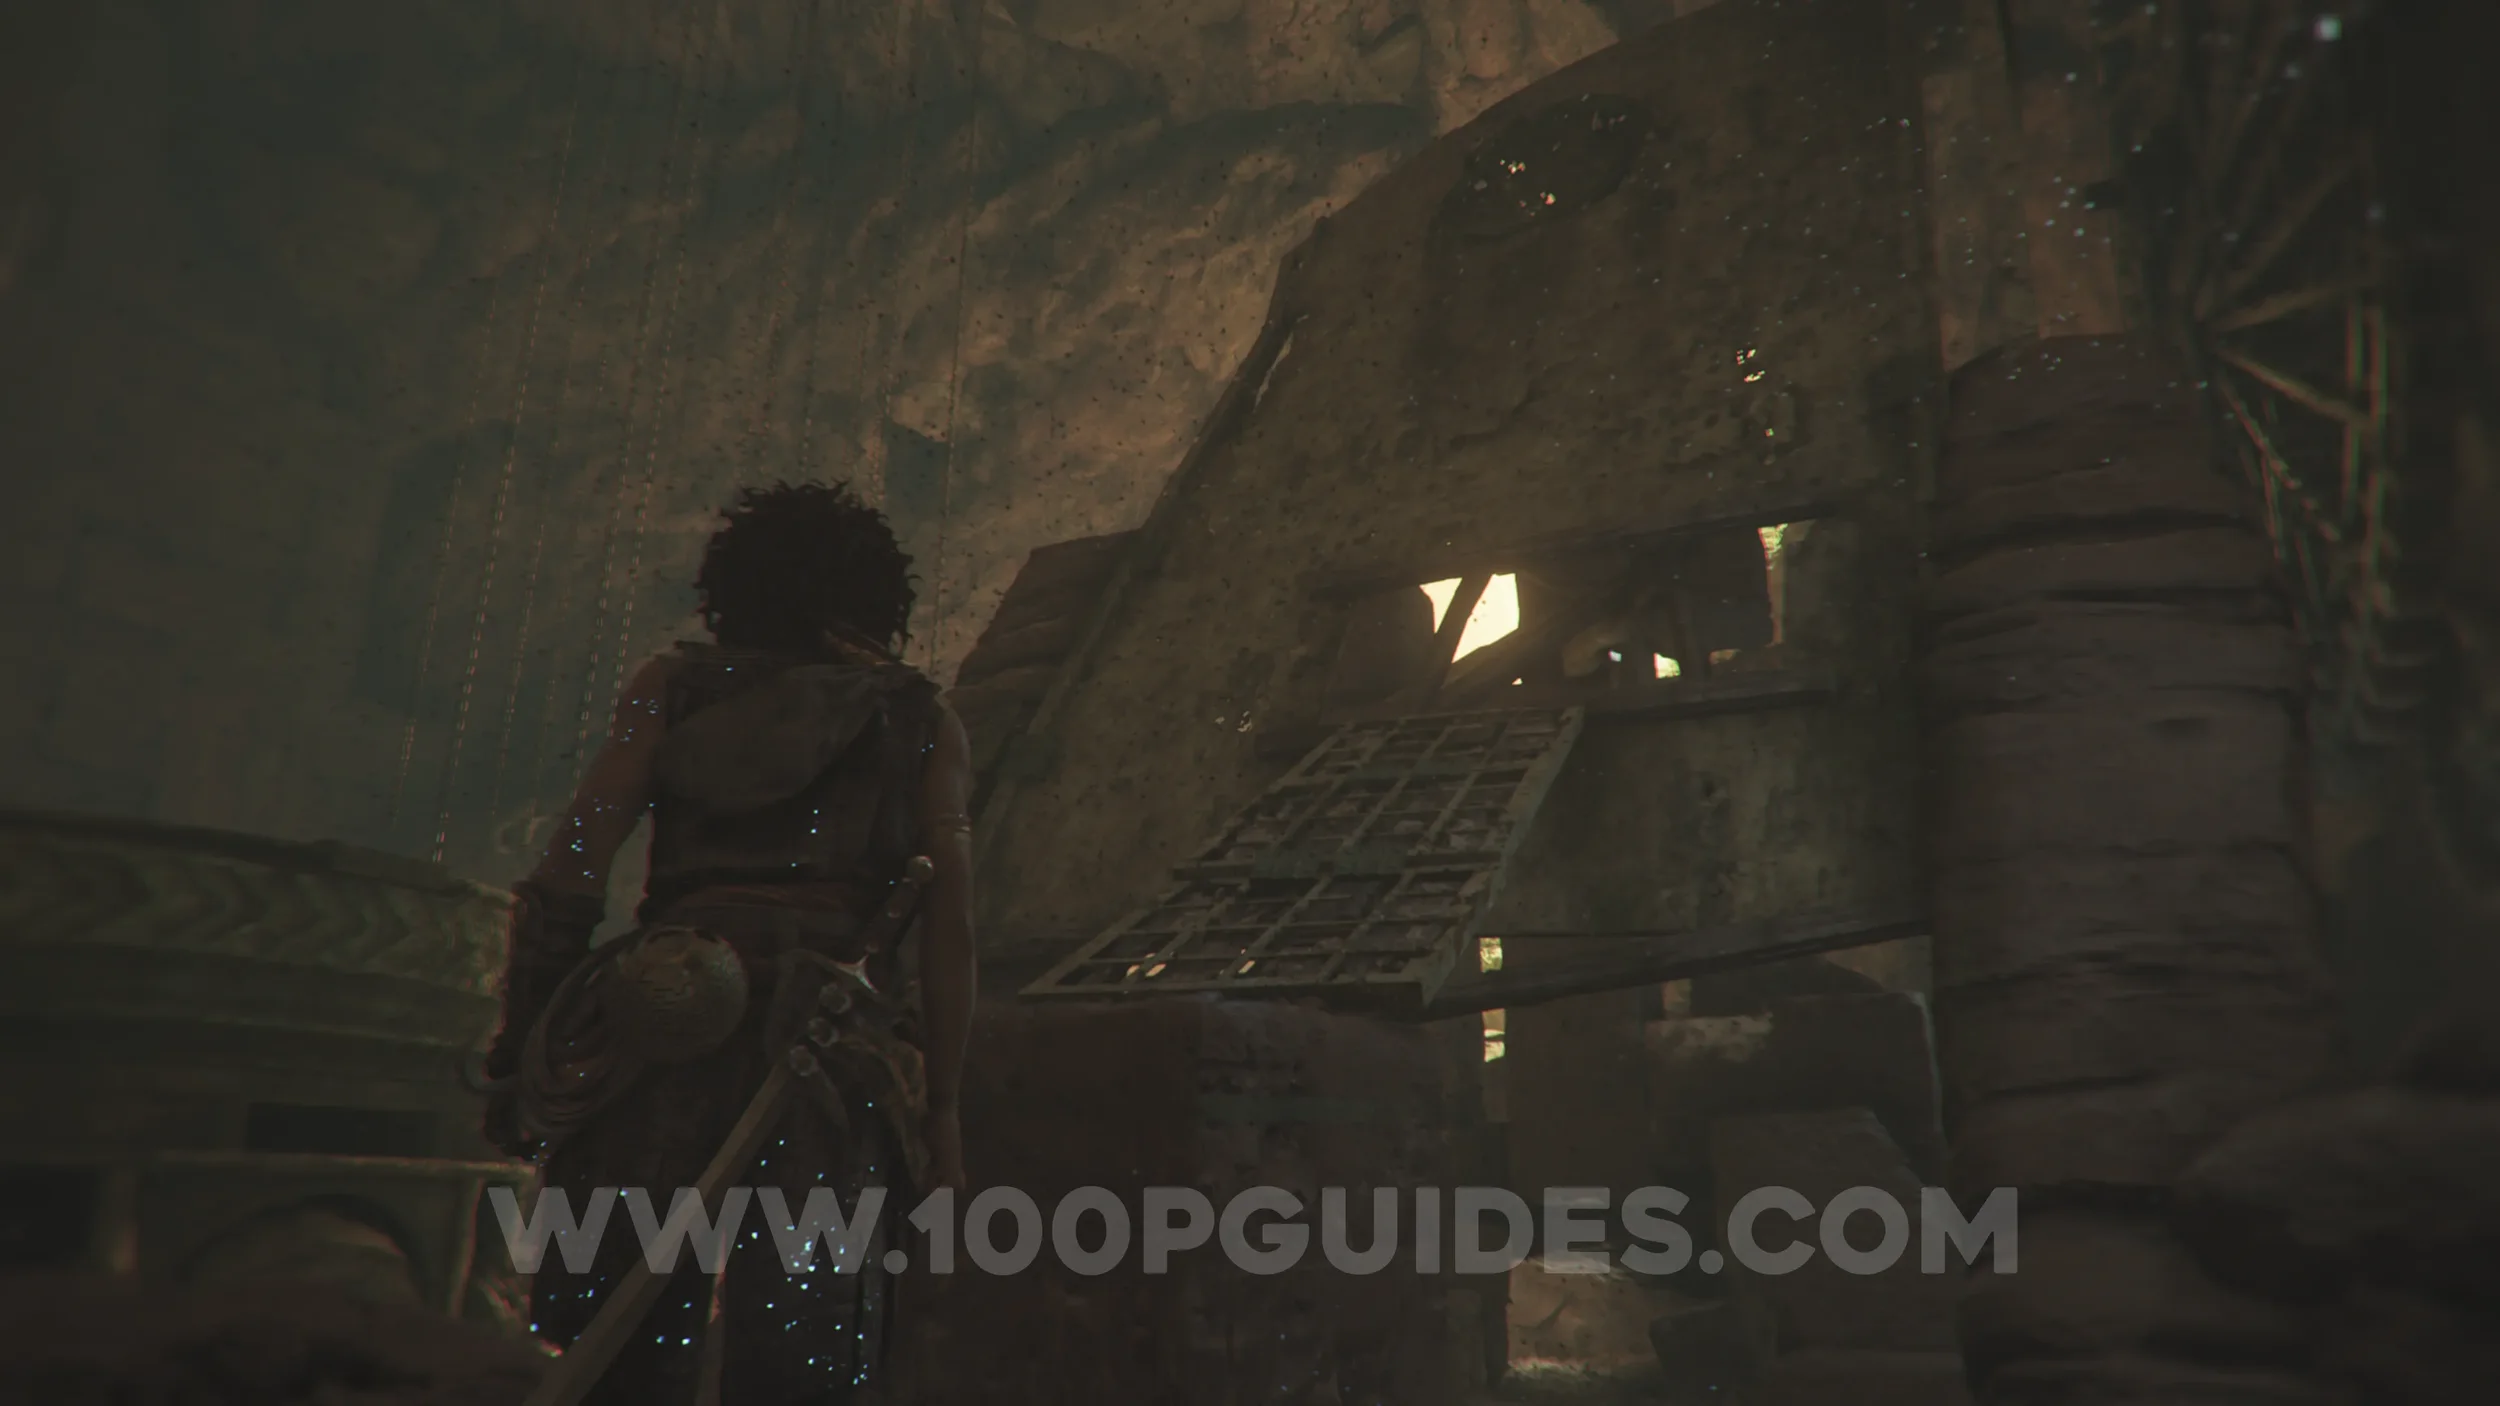
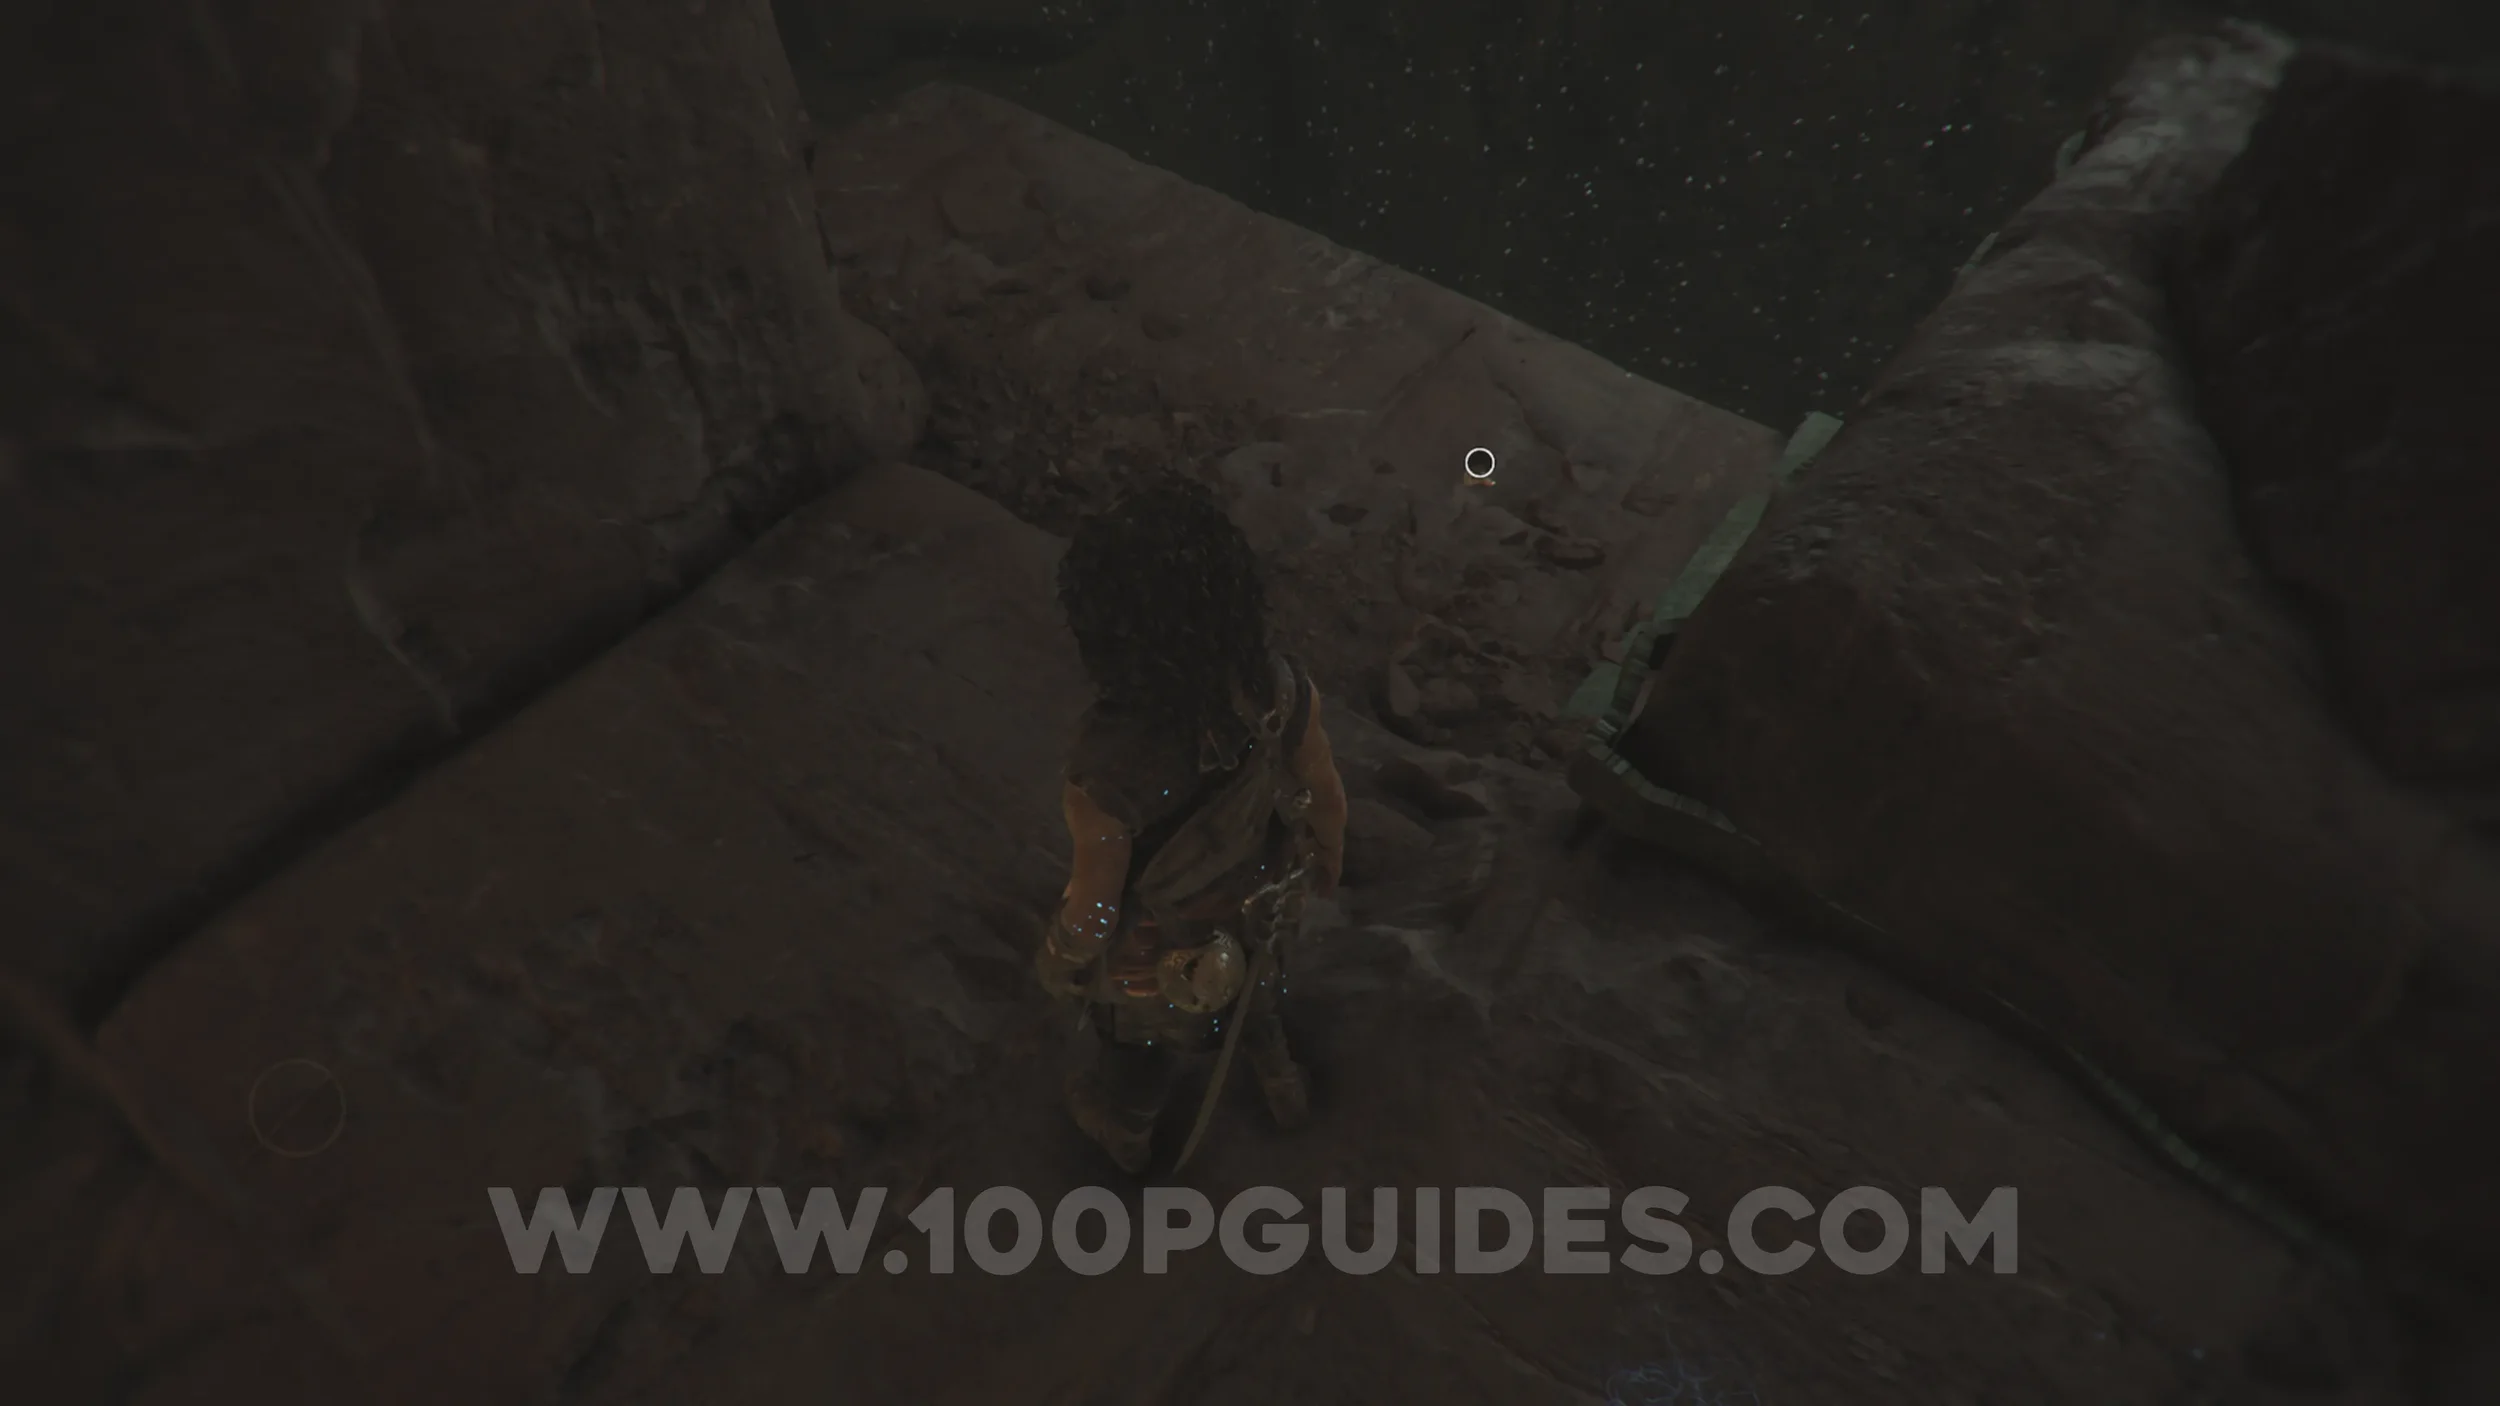
Resonance Point
Chapter 10: Sub-Chapter 5.
From the previous collectible, turn around and pass between the rock columns on your right. Then look left to see a tree in a green-lit area. The collectible will be in the chains below that tree.
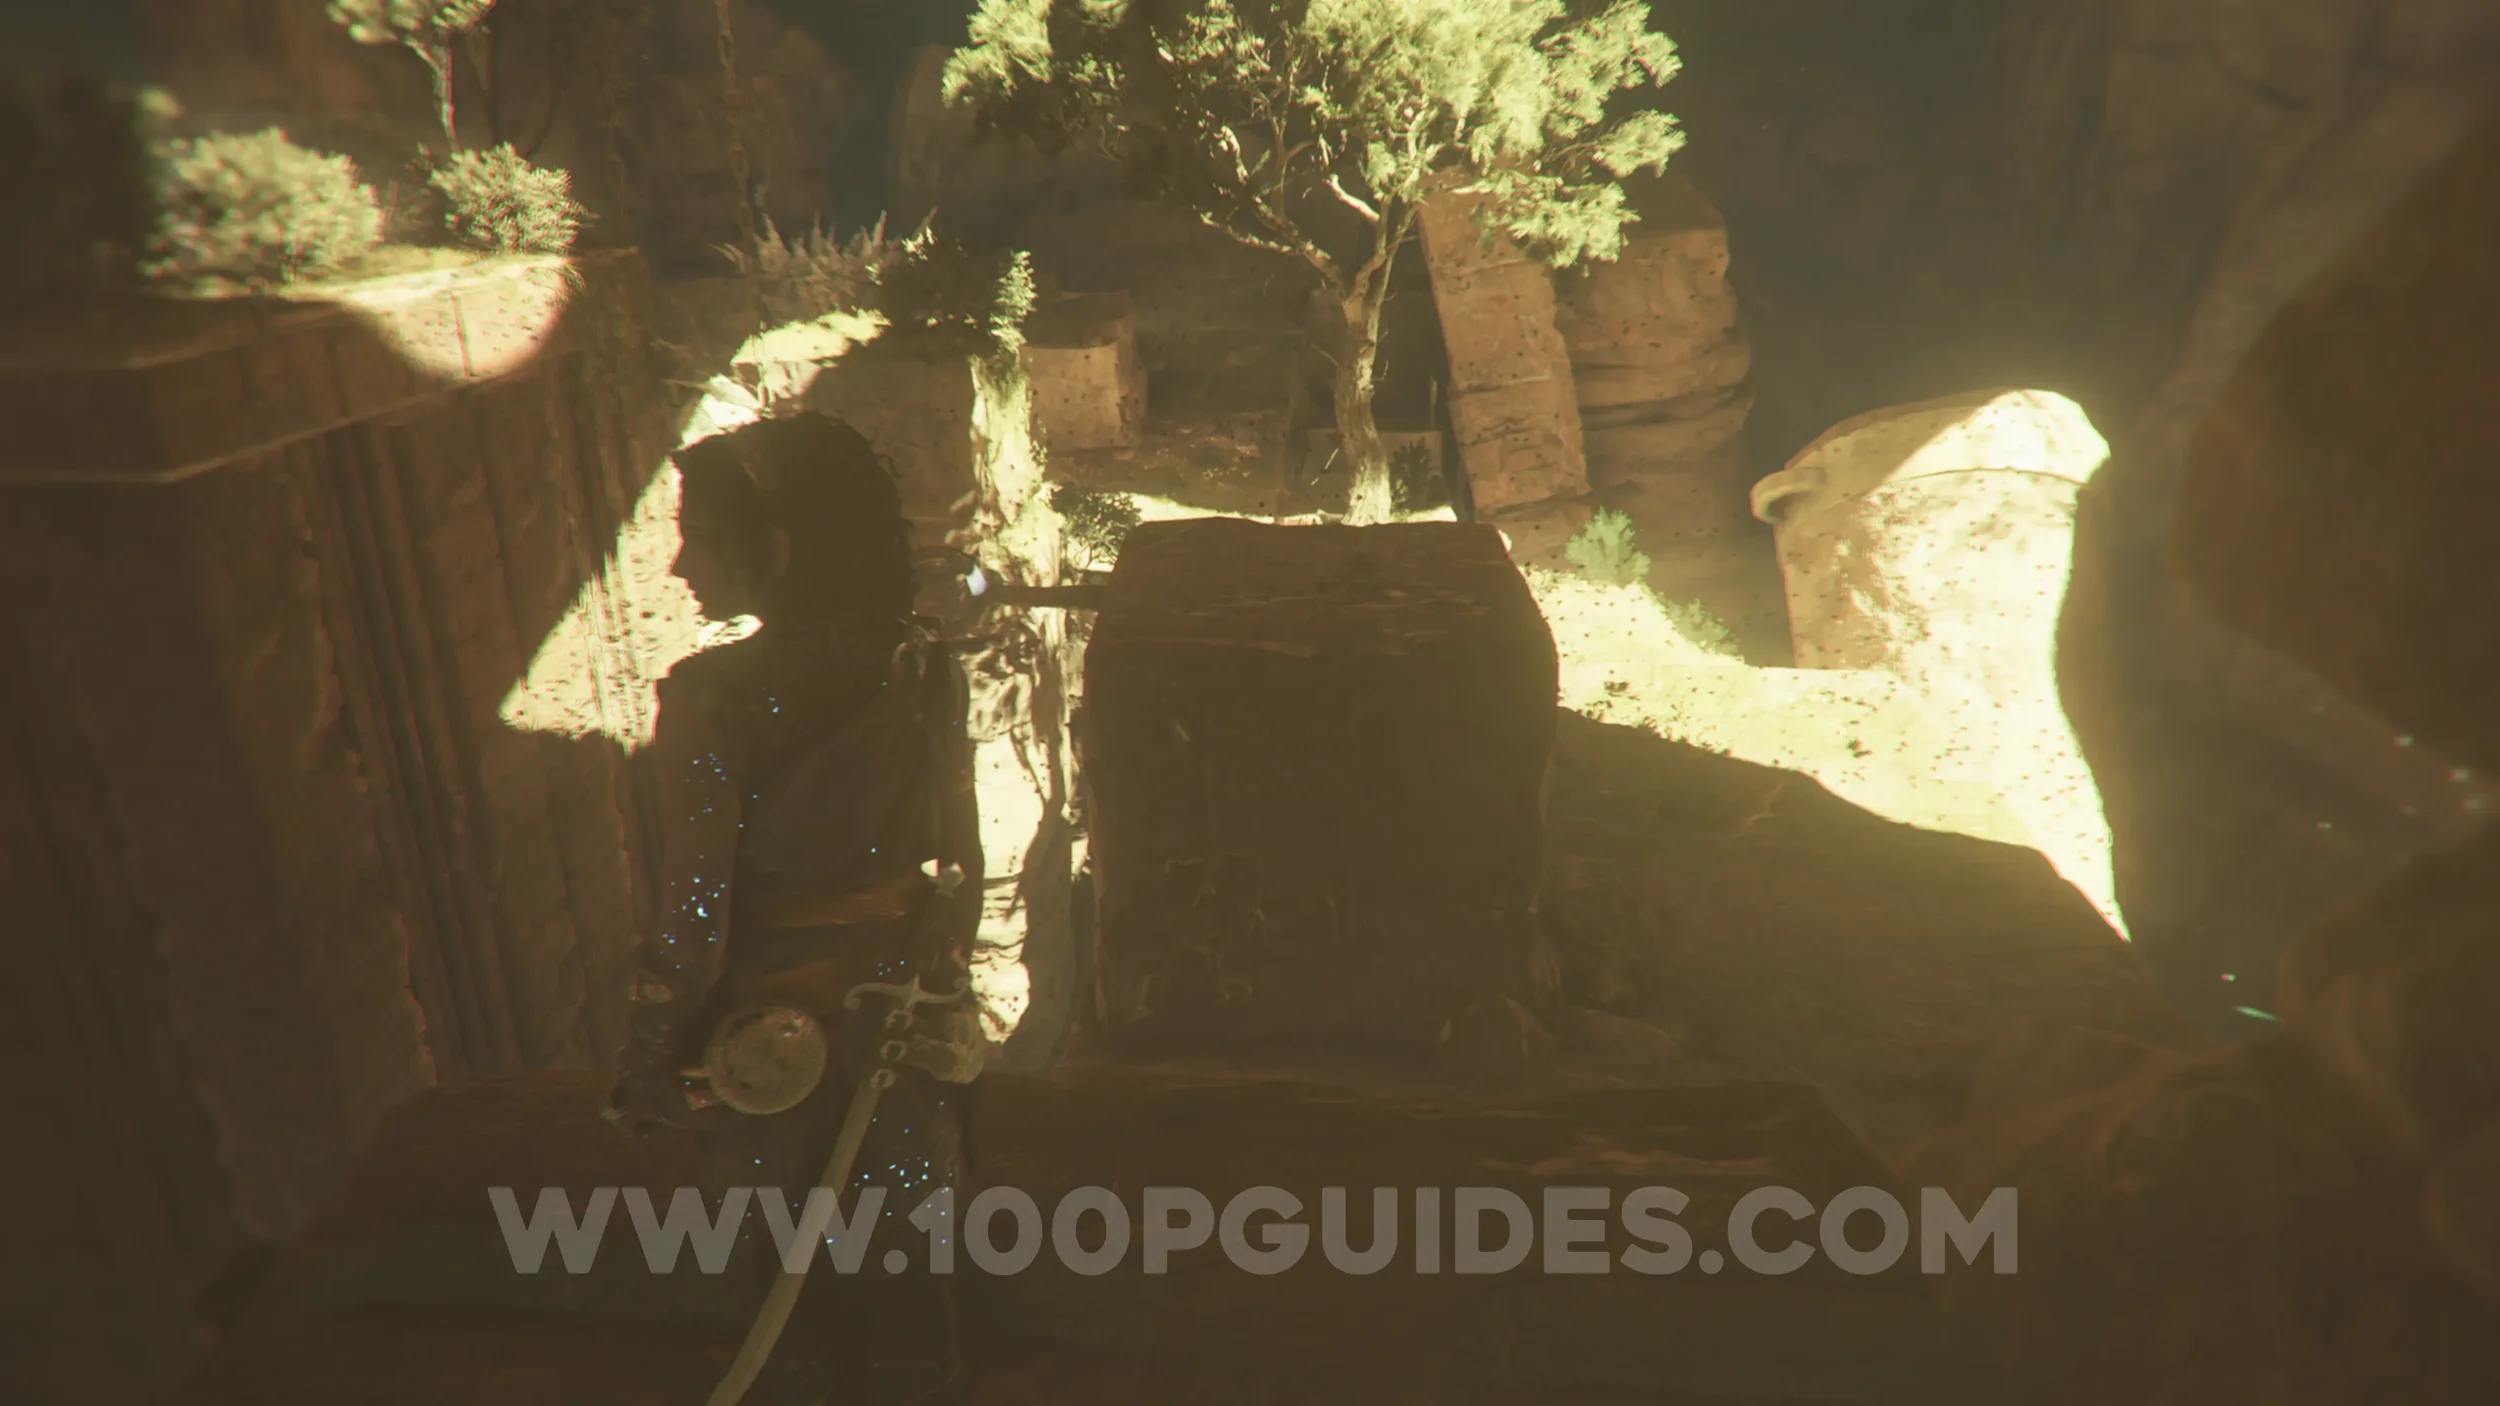
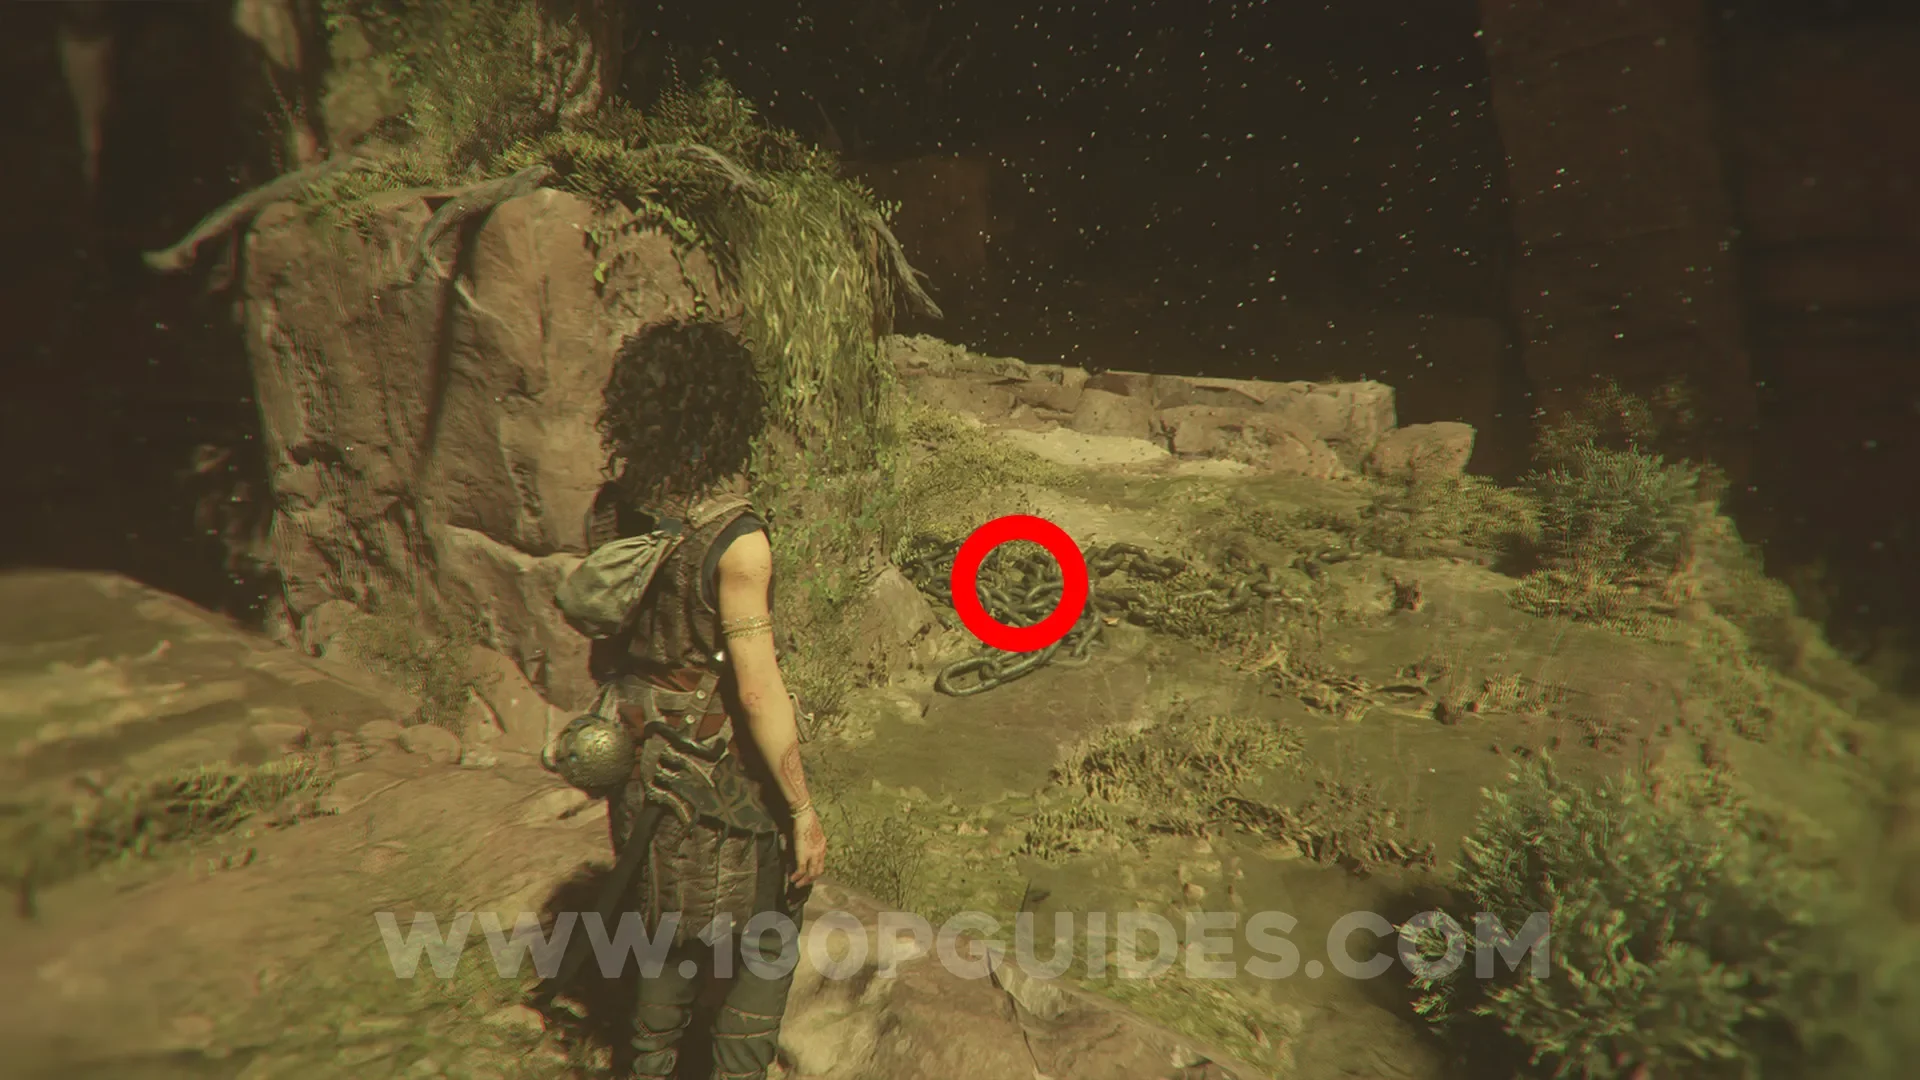
Resonance Point
Chapter 10: Sub-Chapter 5.
Continue through the area until you slide down a slope and then grapple across a gap. As soon as you land, head through the triangular-shaped gap above you to find the collectible.
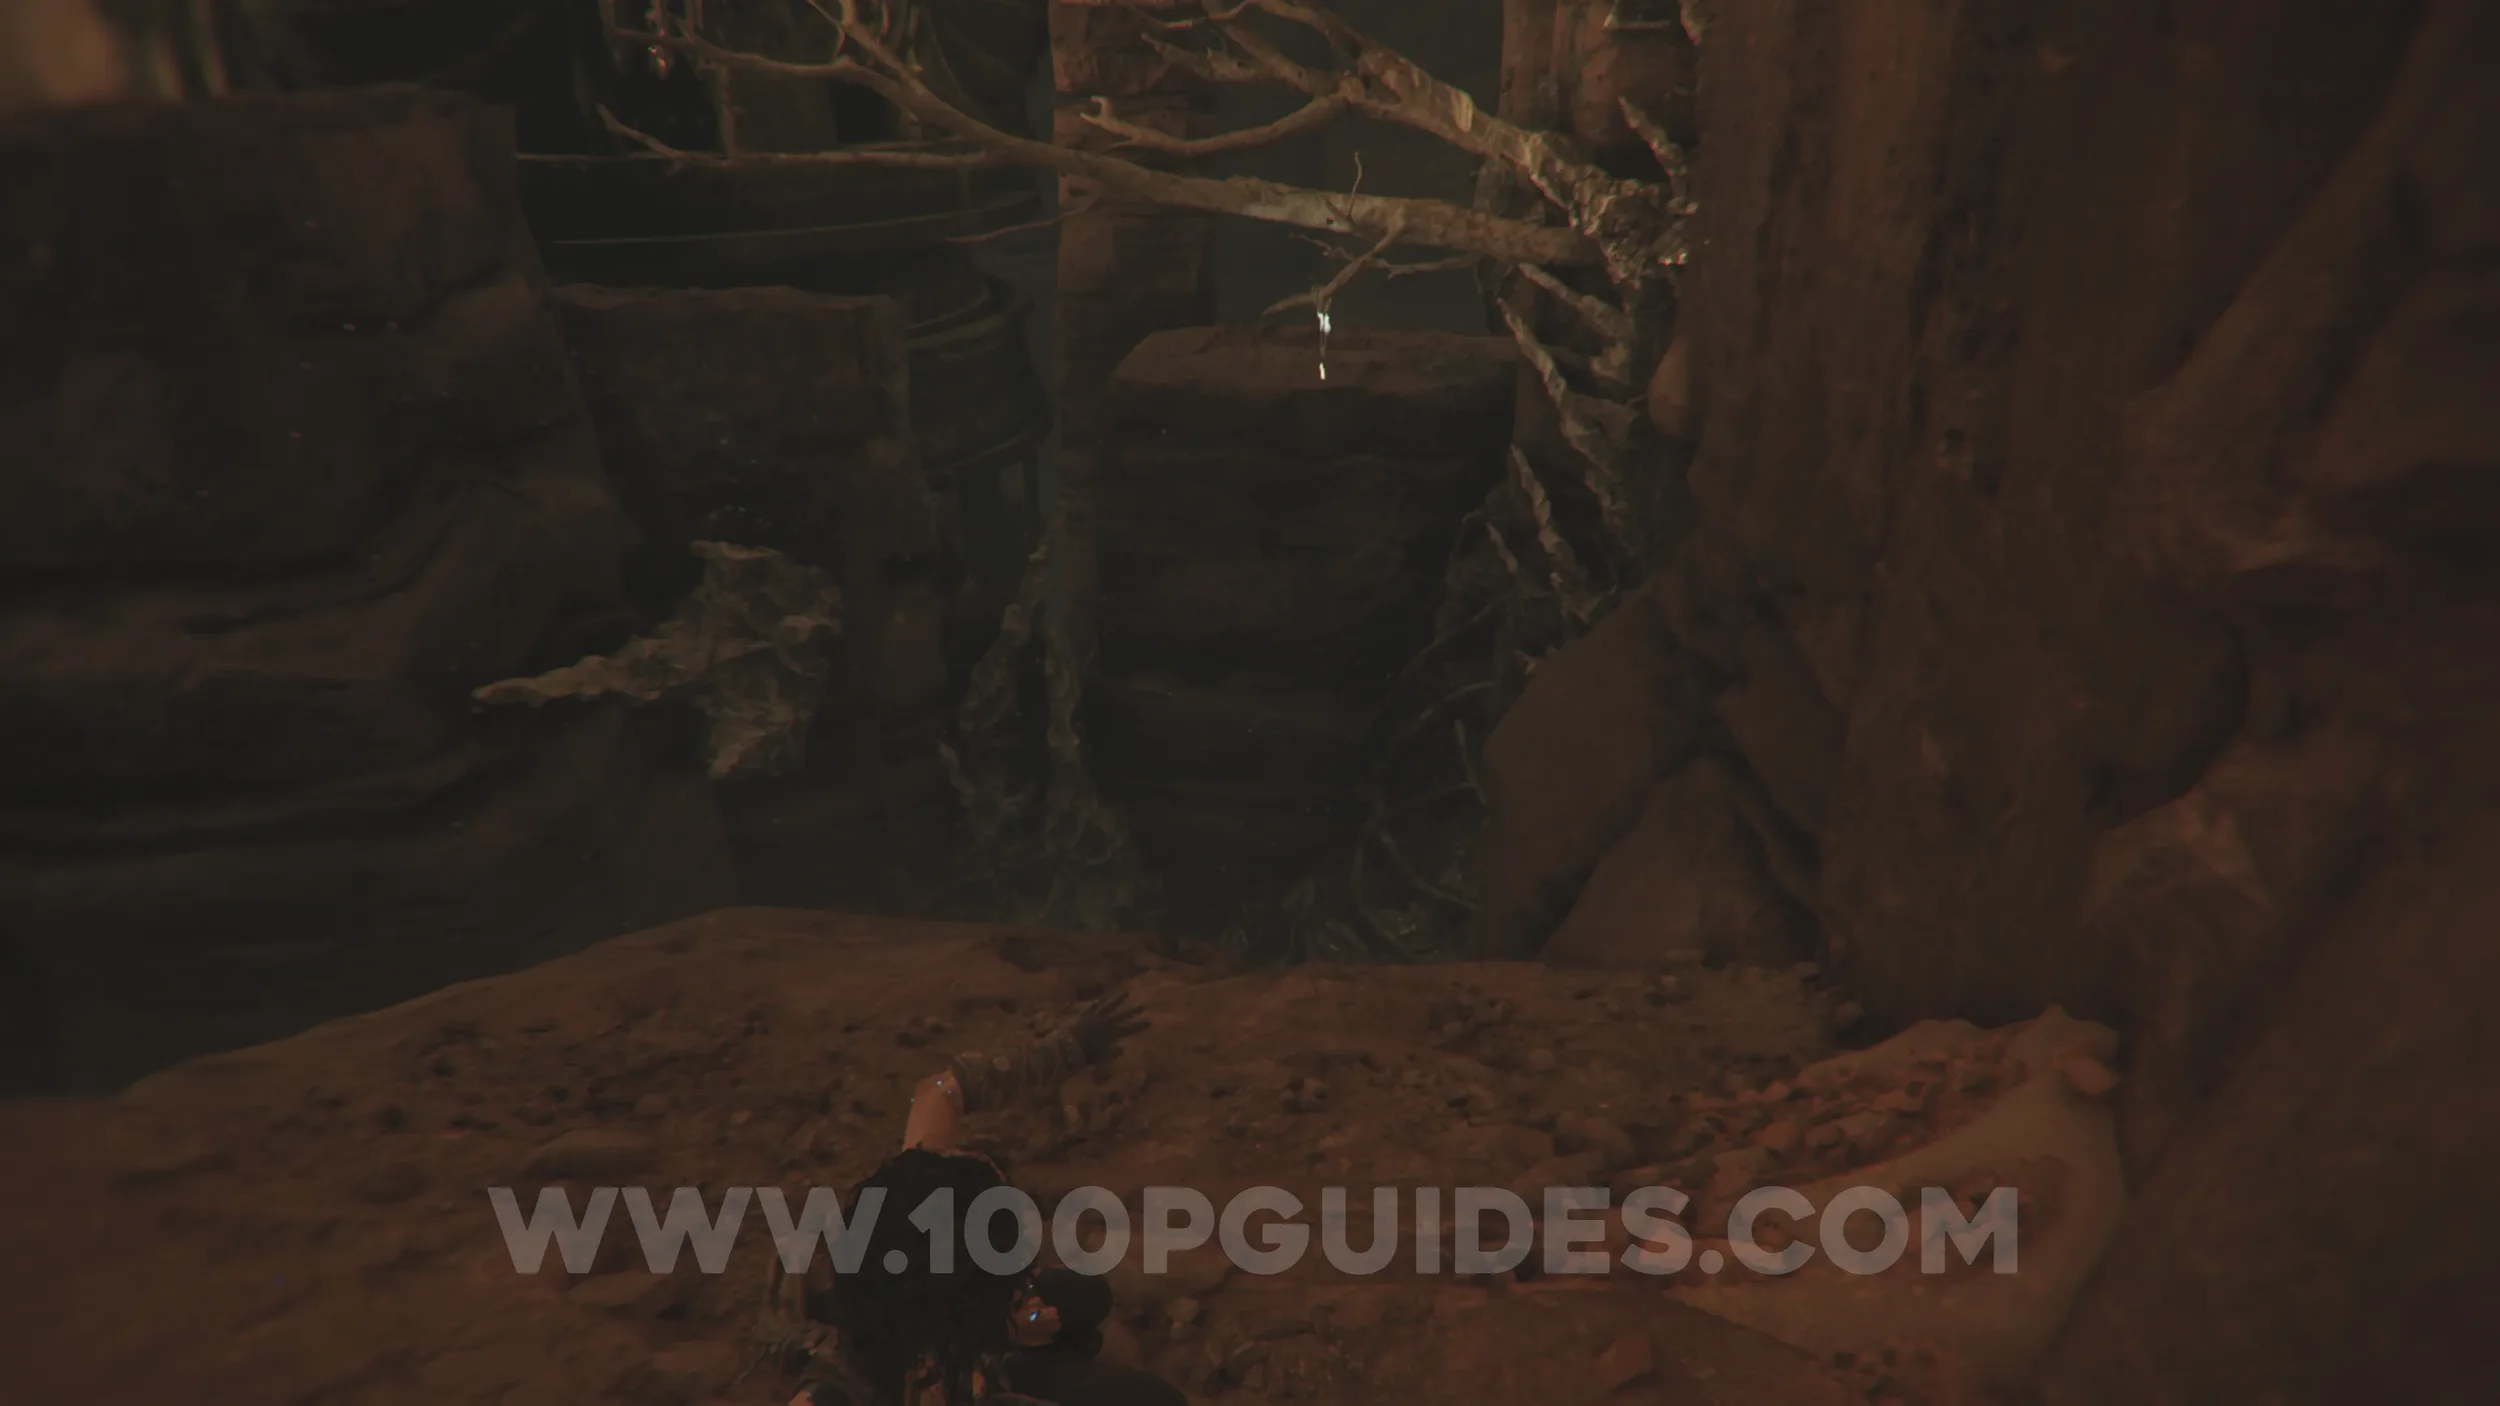
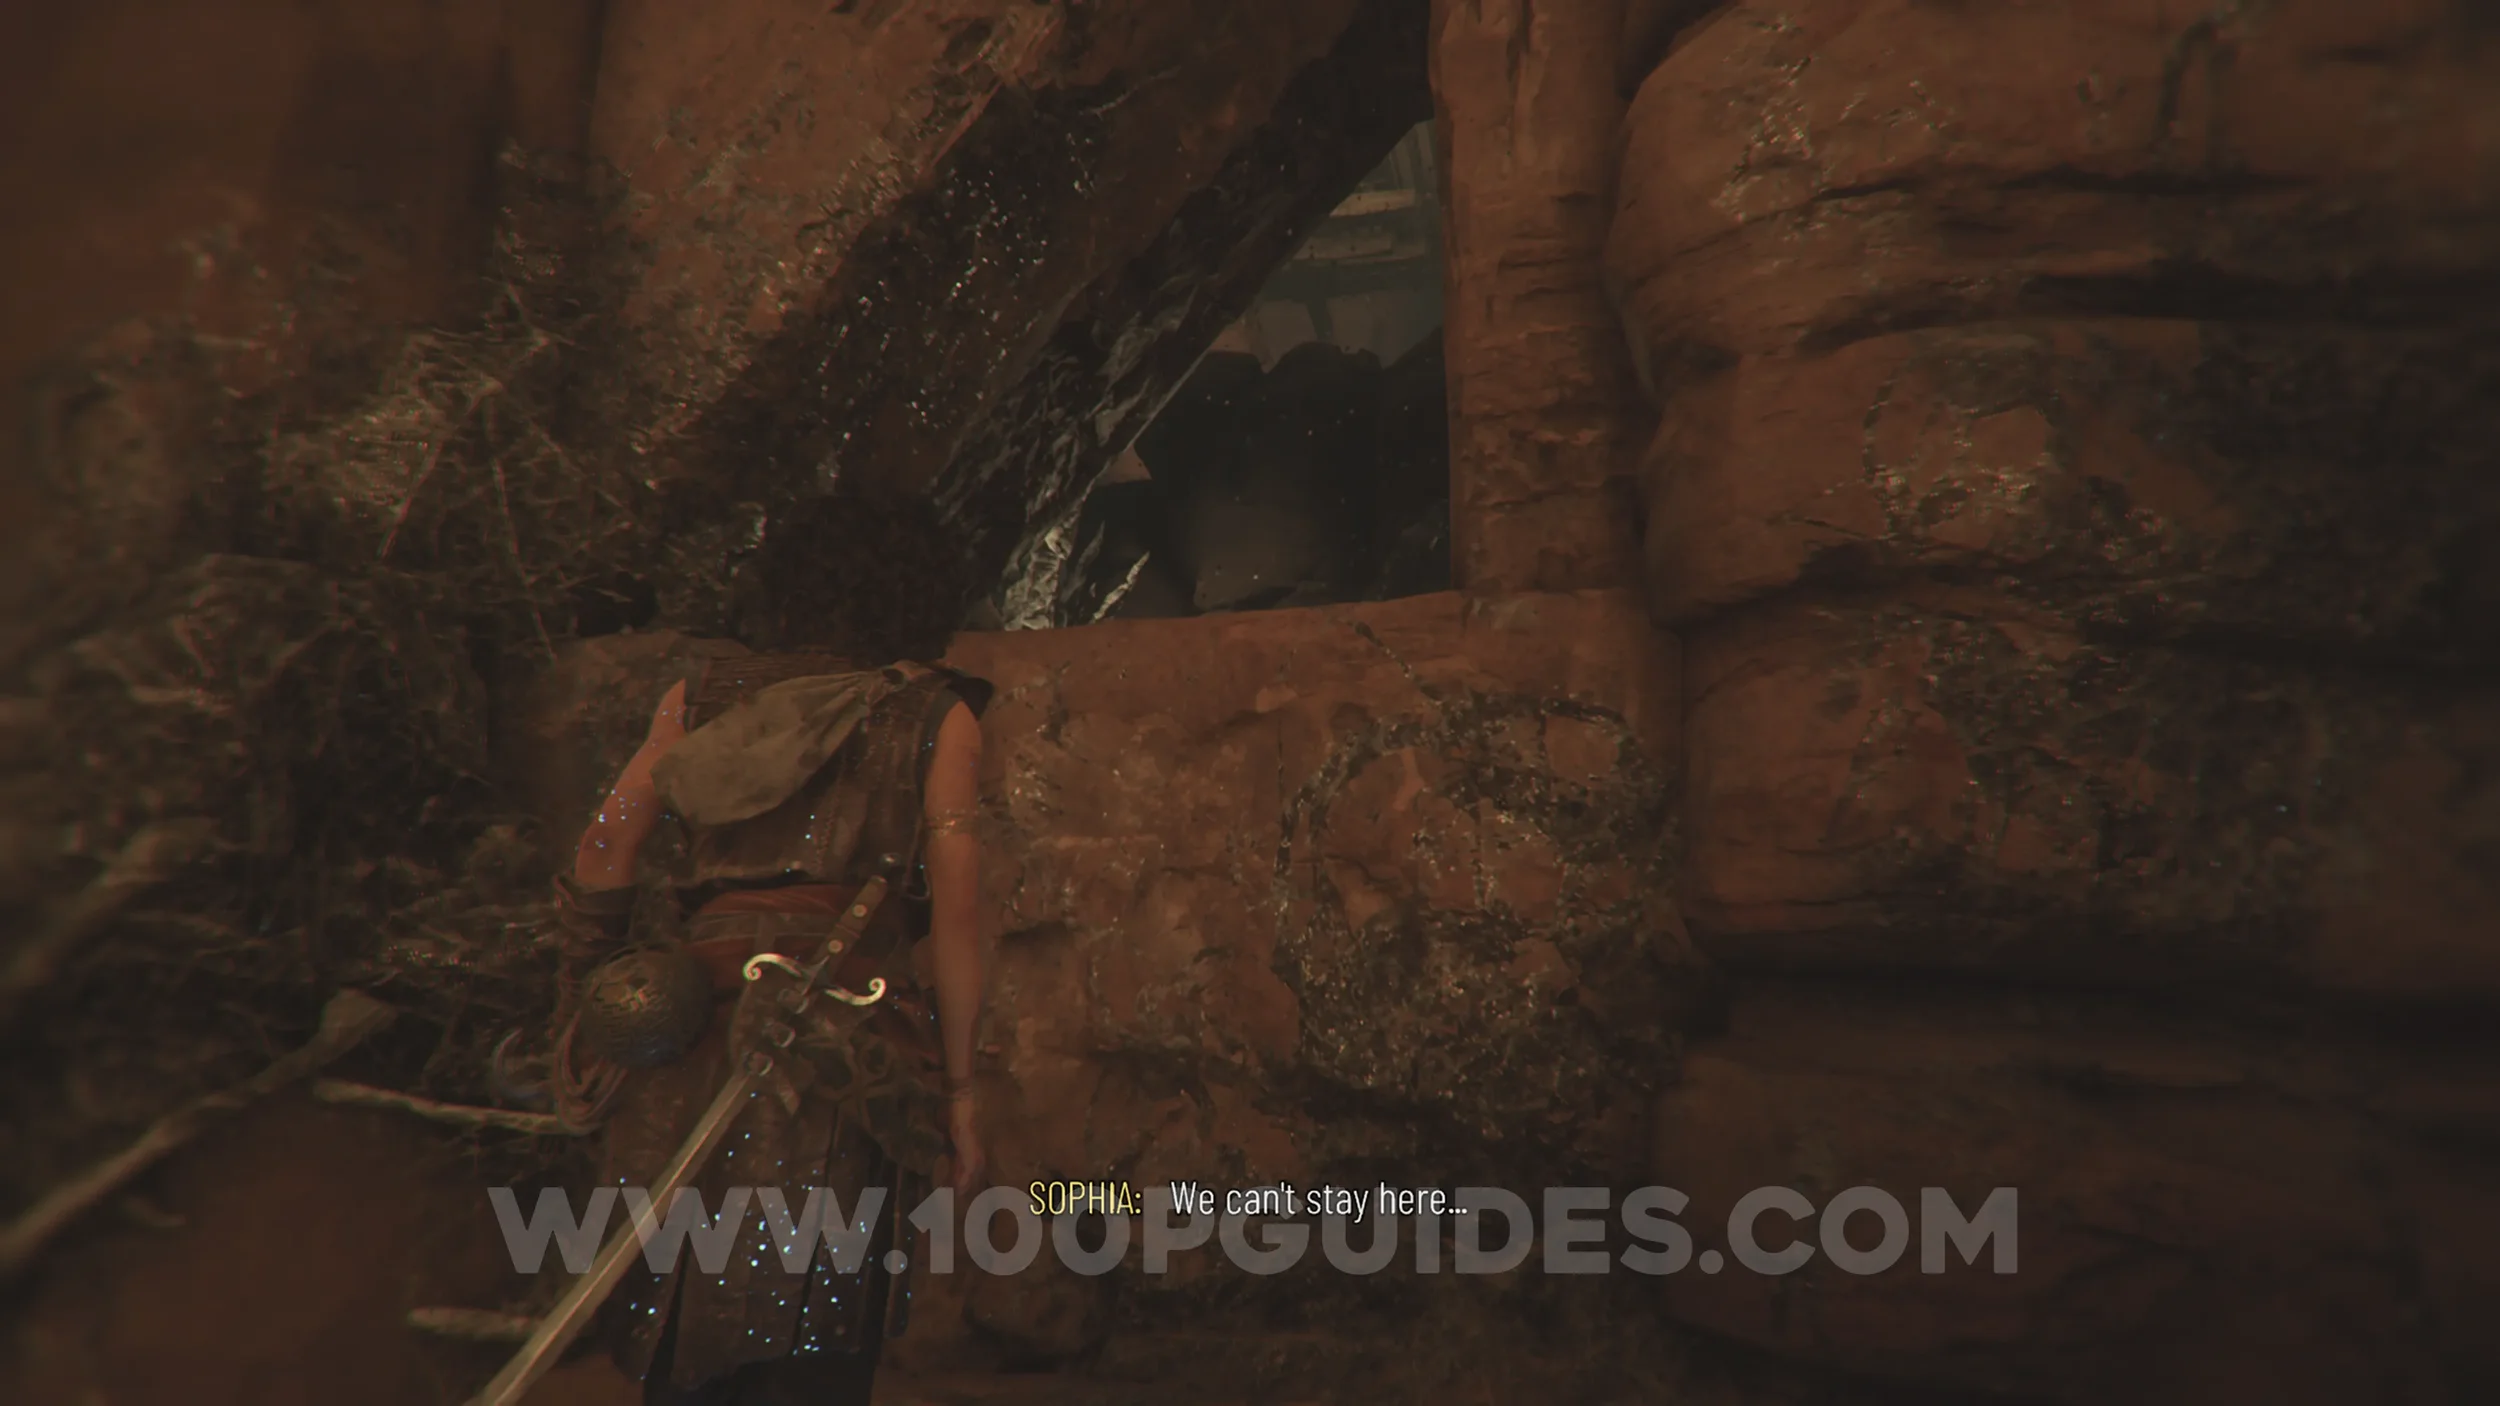
Resonance Point
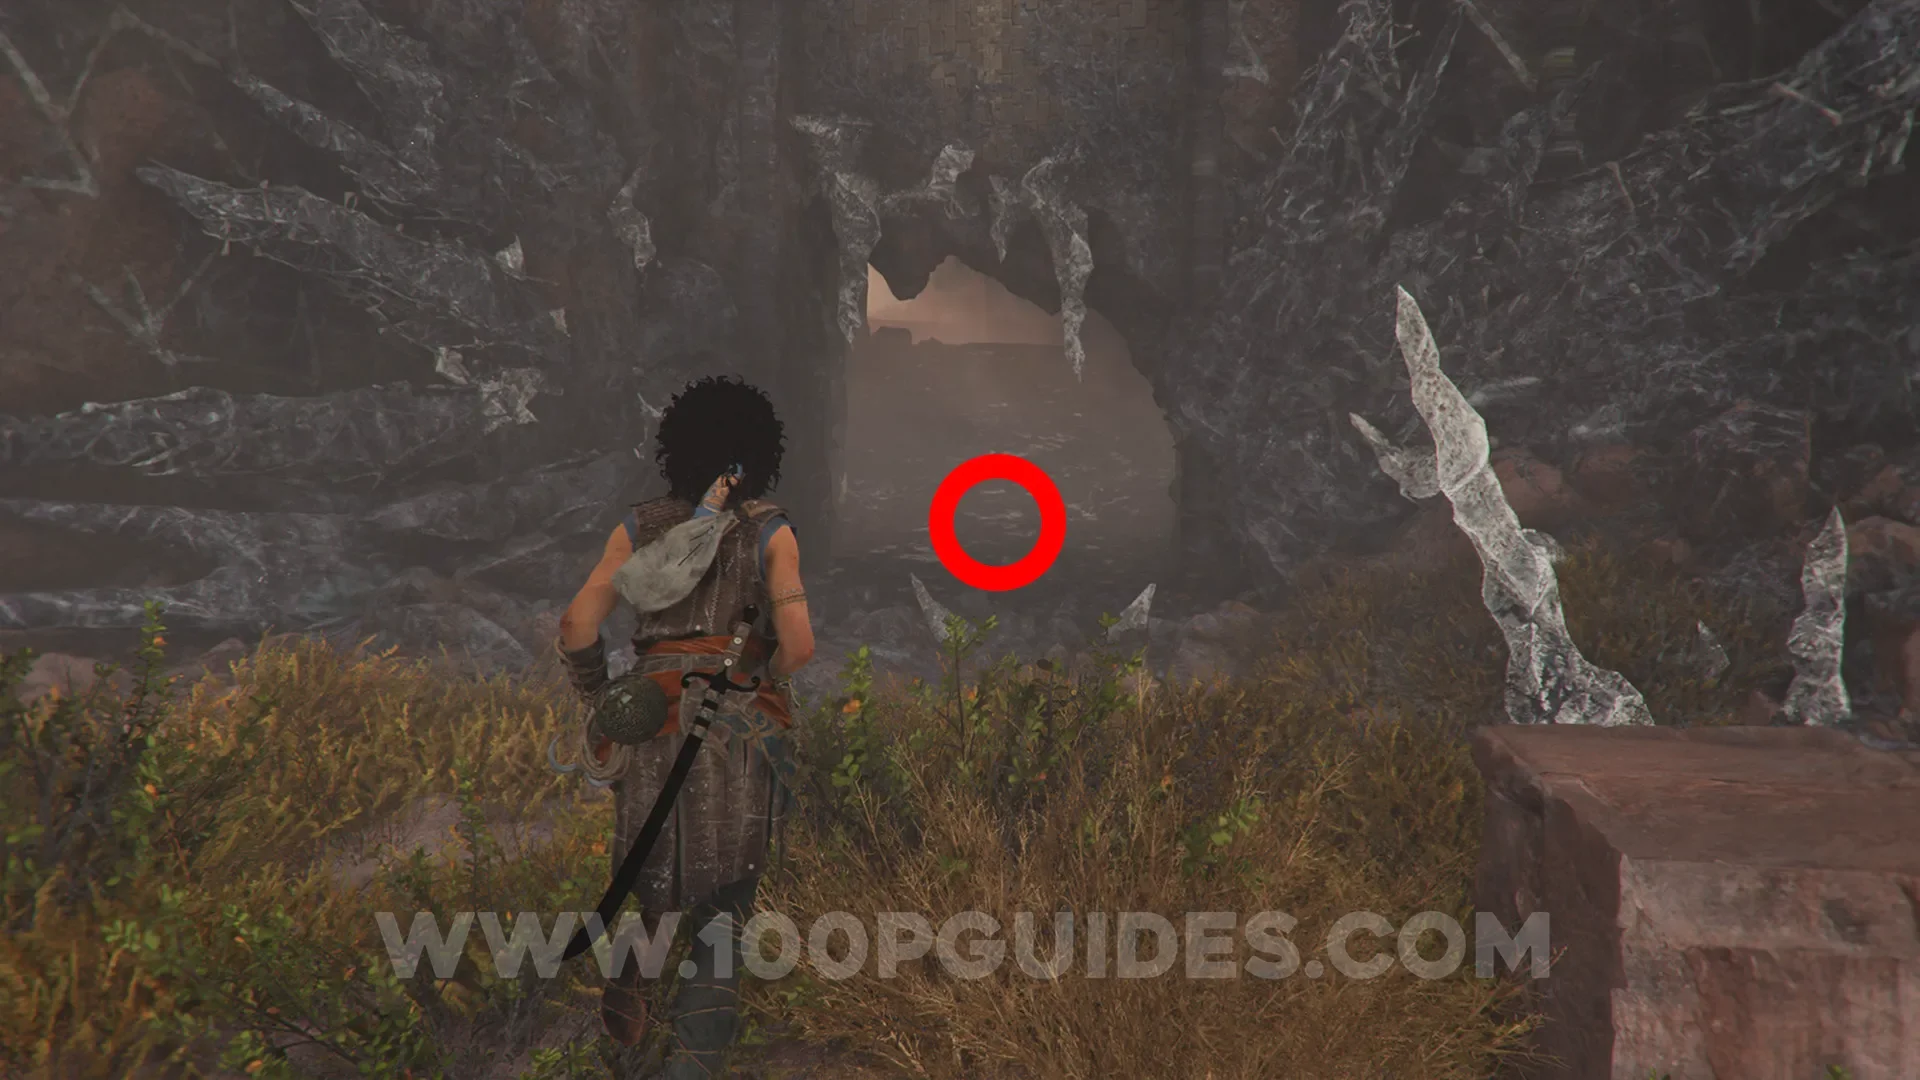
Chapter 10: Sub-Chapter 5.
In plain sight after returning to the main room and removing the obstacles from the door with the beam.
Chapter 11
Resonance Point
Chapter 11: Sub-Chapter 1.
Once you get to the large circular room underground with the beam of light in the middle, head left all the way to the end to find the point.
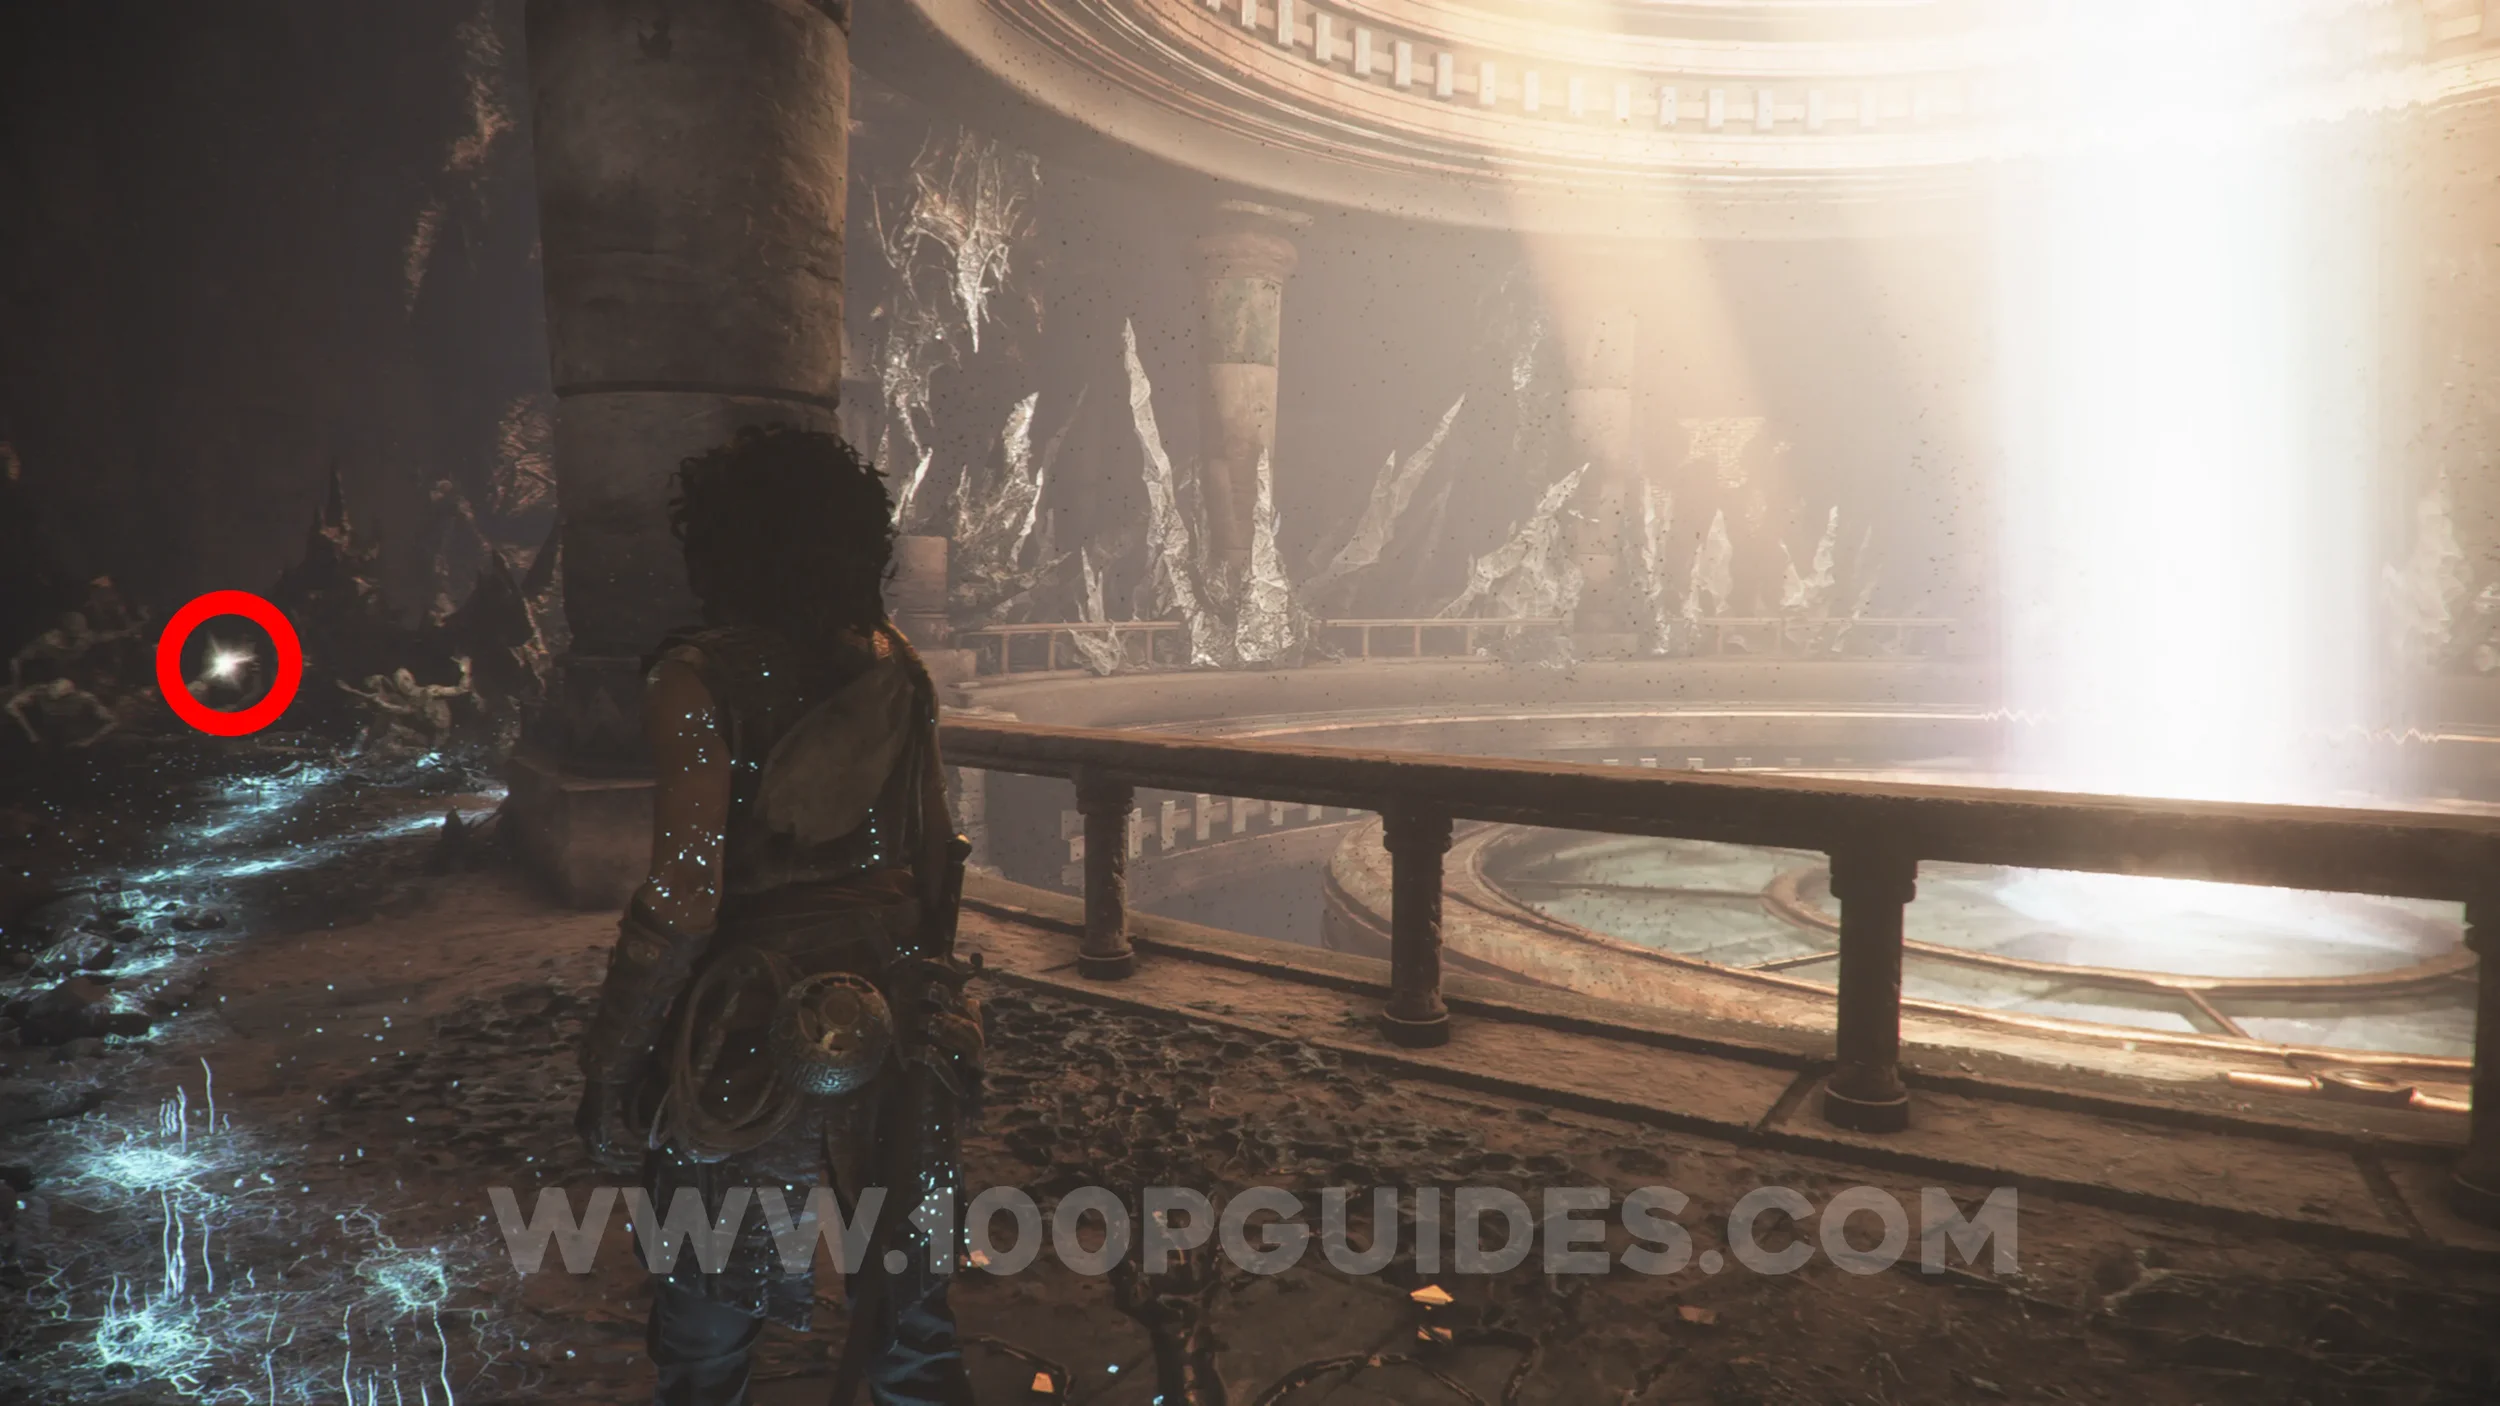
Resonance Point
Chapter 11: Sub-Chapter 2.
After clearing out the obstacles with the light in the large room where the previous collectible was, you'll ride a lift down to another large circular room. Circle around it, and you'll see the collectible on the ground just before the doorway blocked by the light.
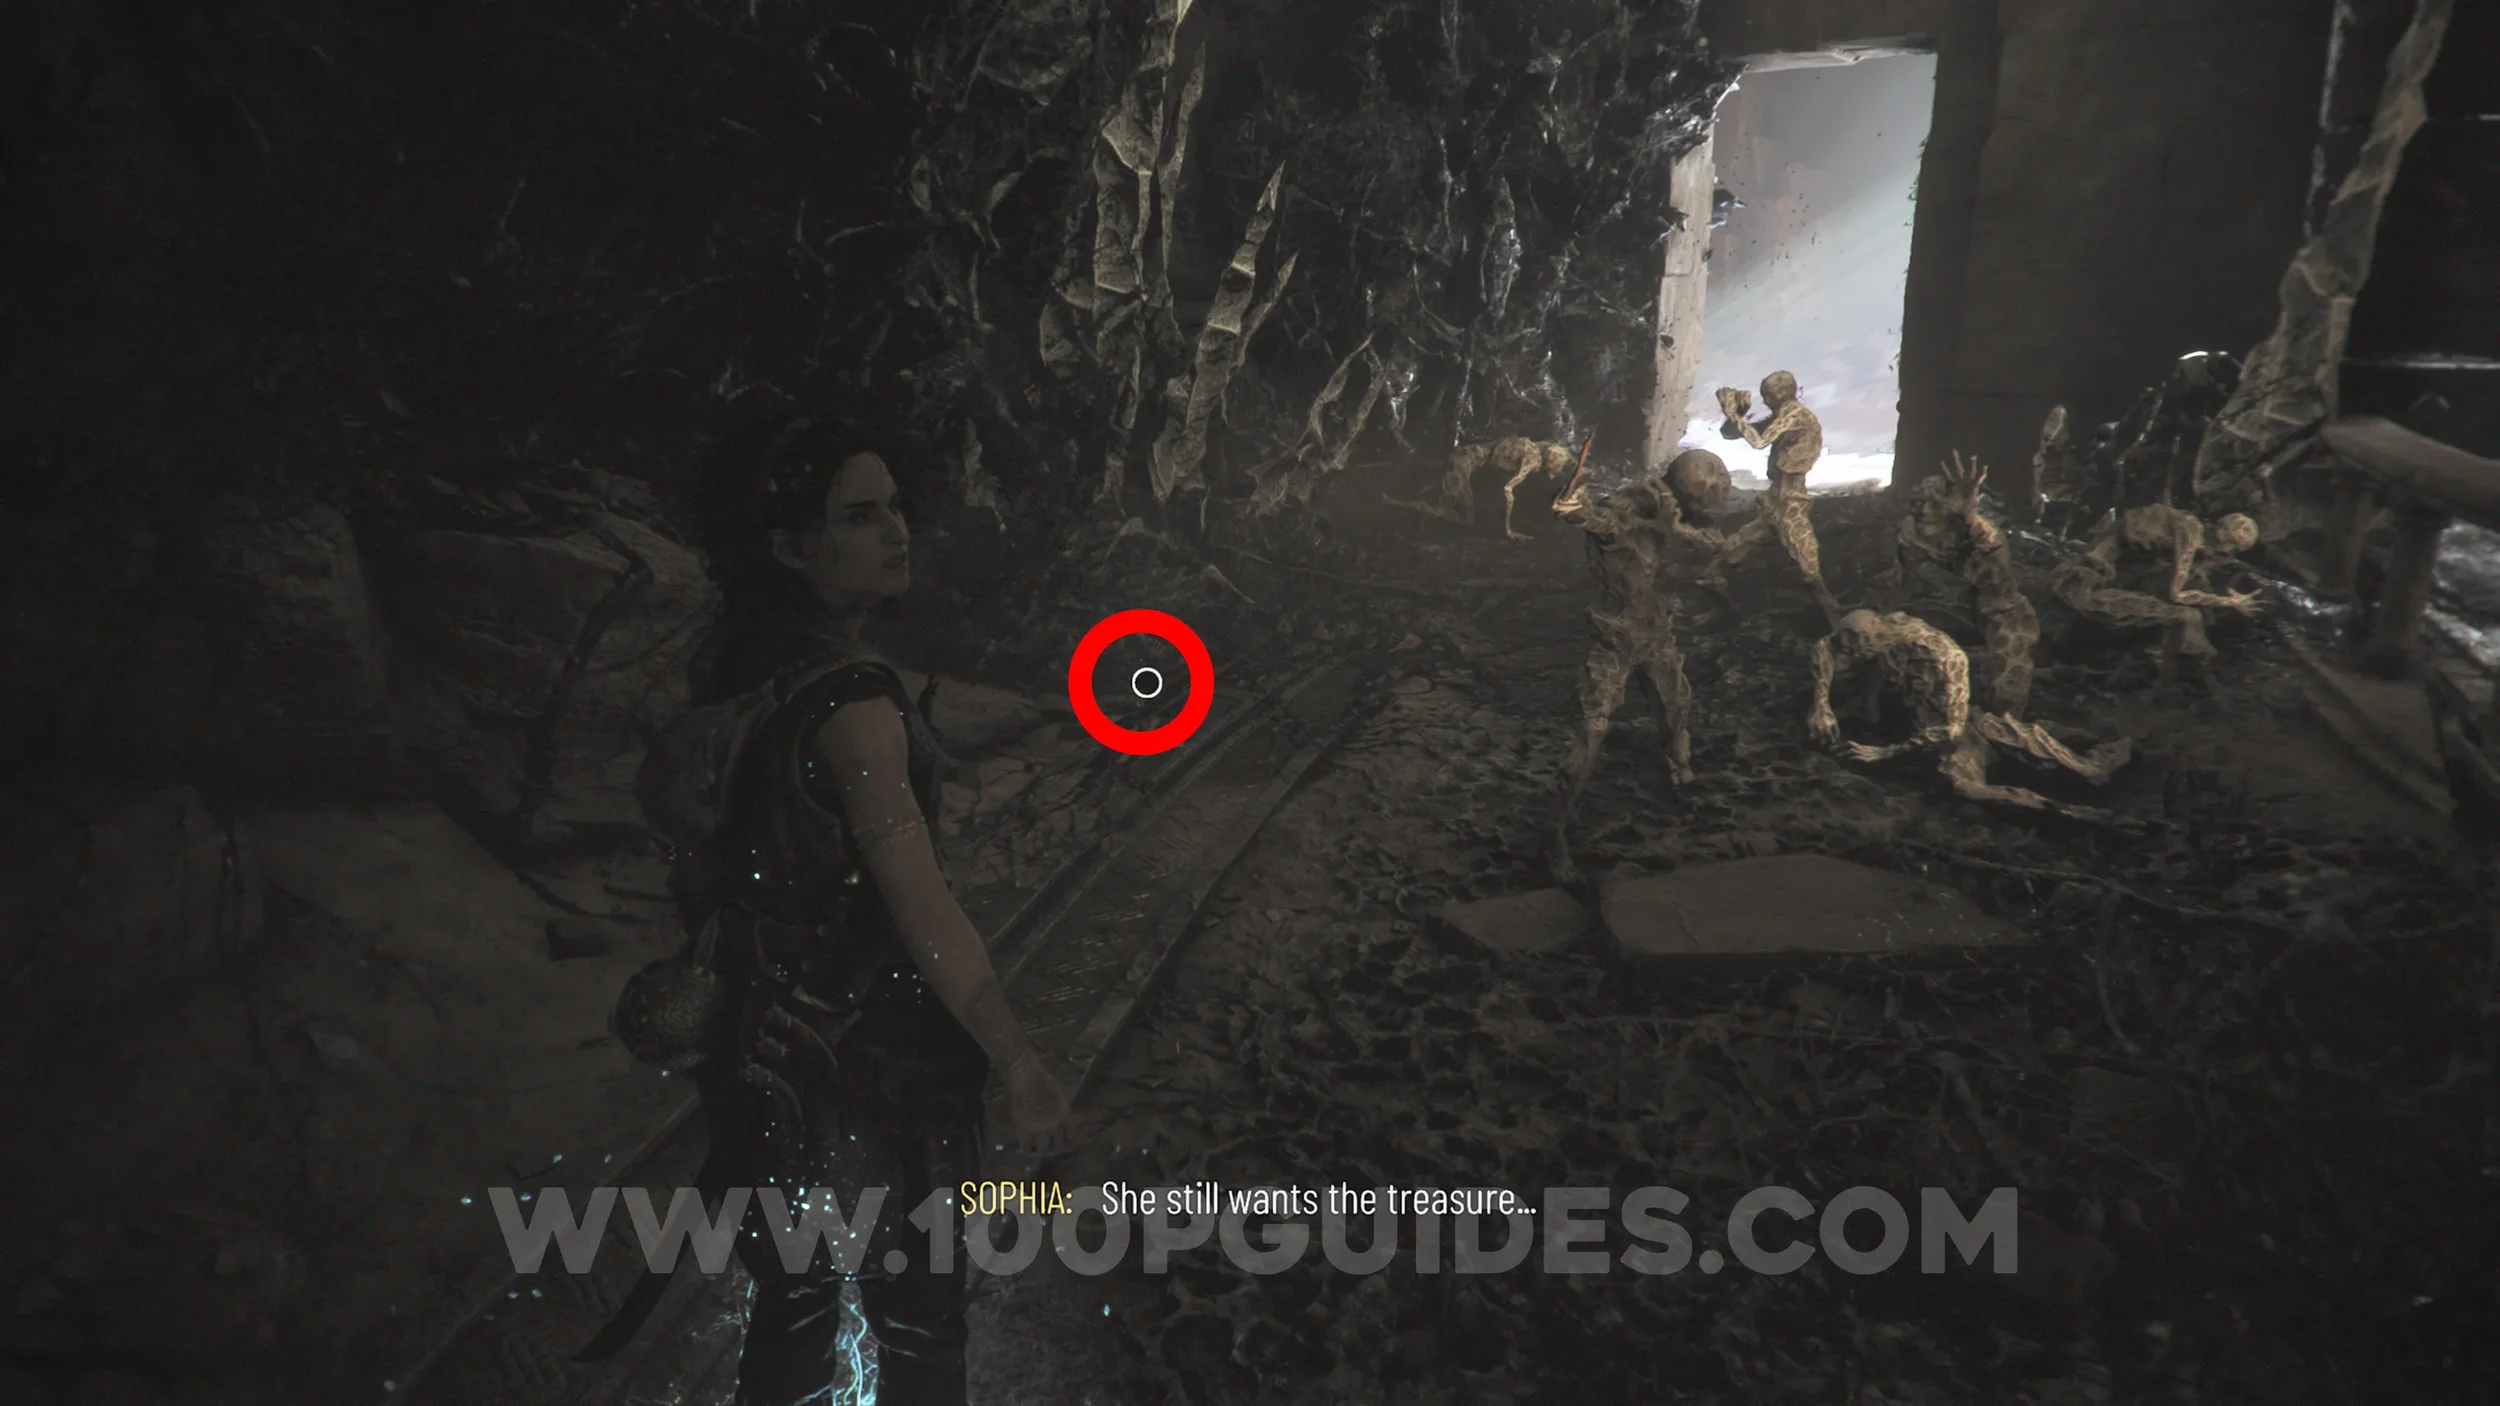
Resonance Point x2
Chapter 11: Sub-Chapter 2.
After adjusting the light in the second circular room, you'll get attacked by some soldiers. Defeat them to get the Resonance Point.
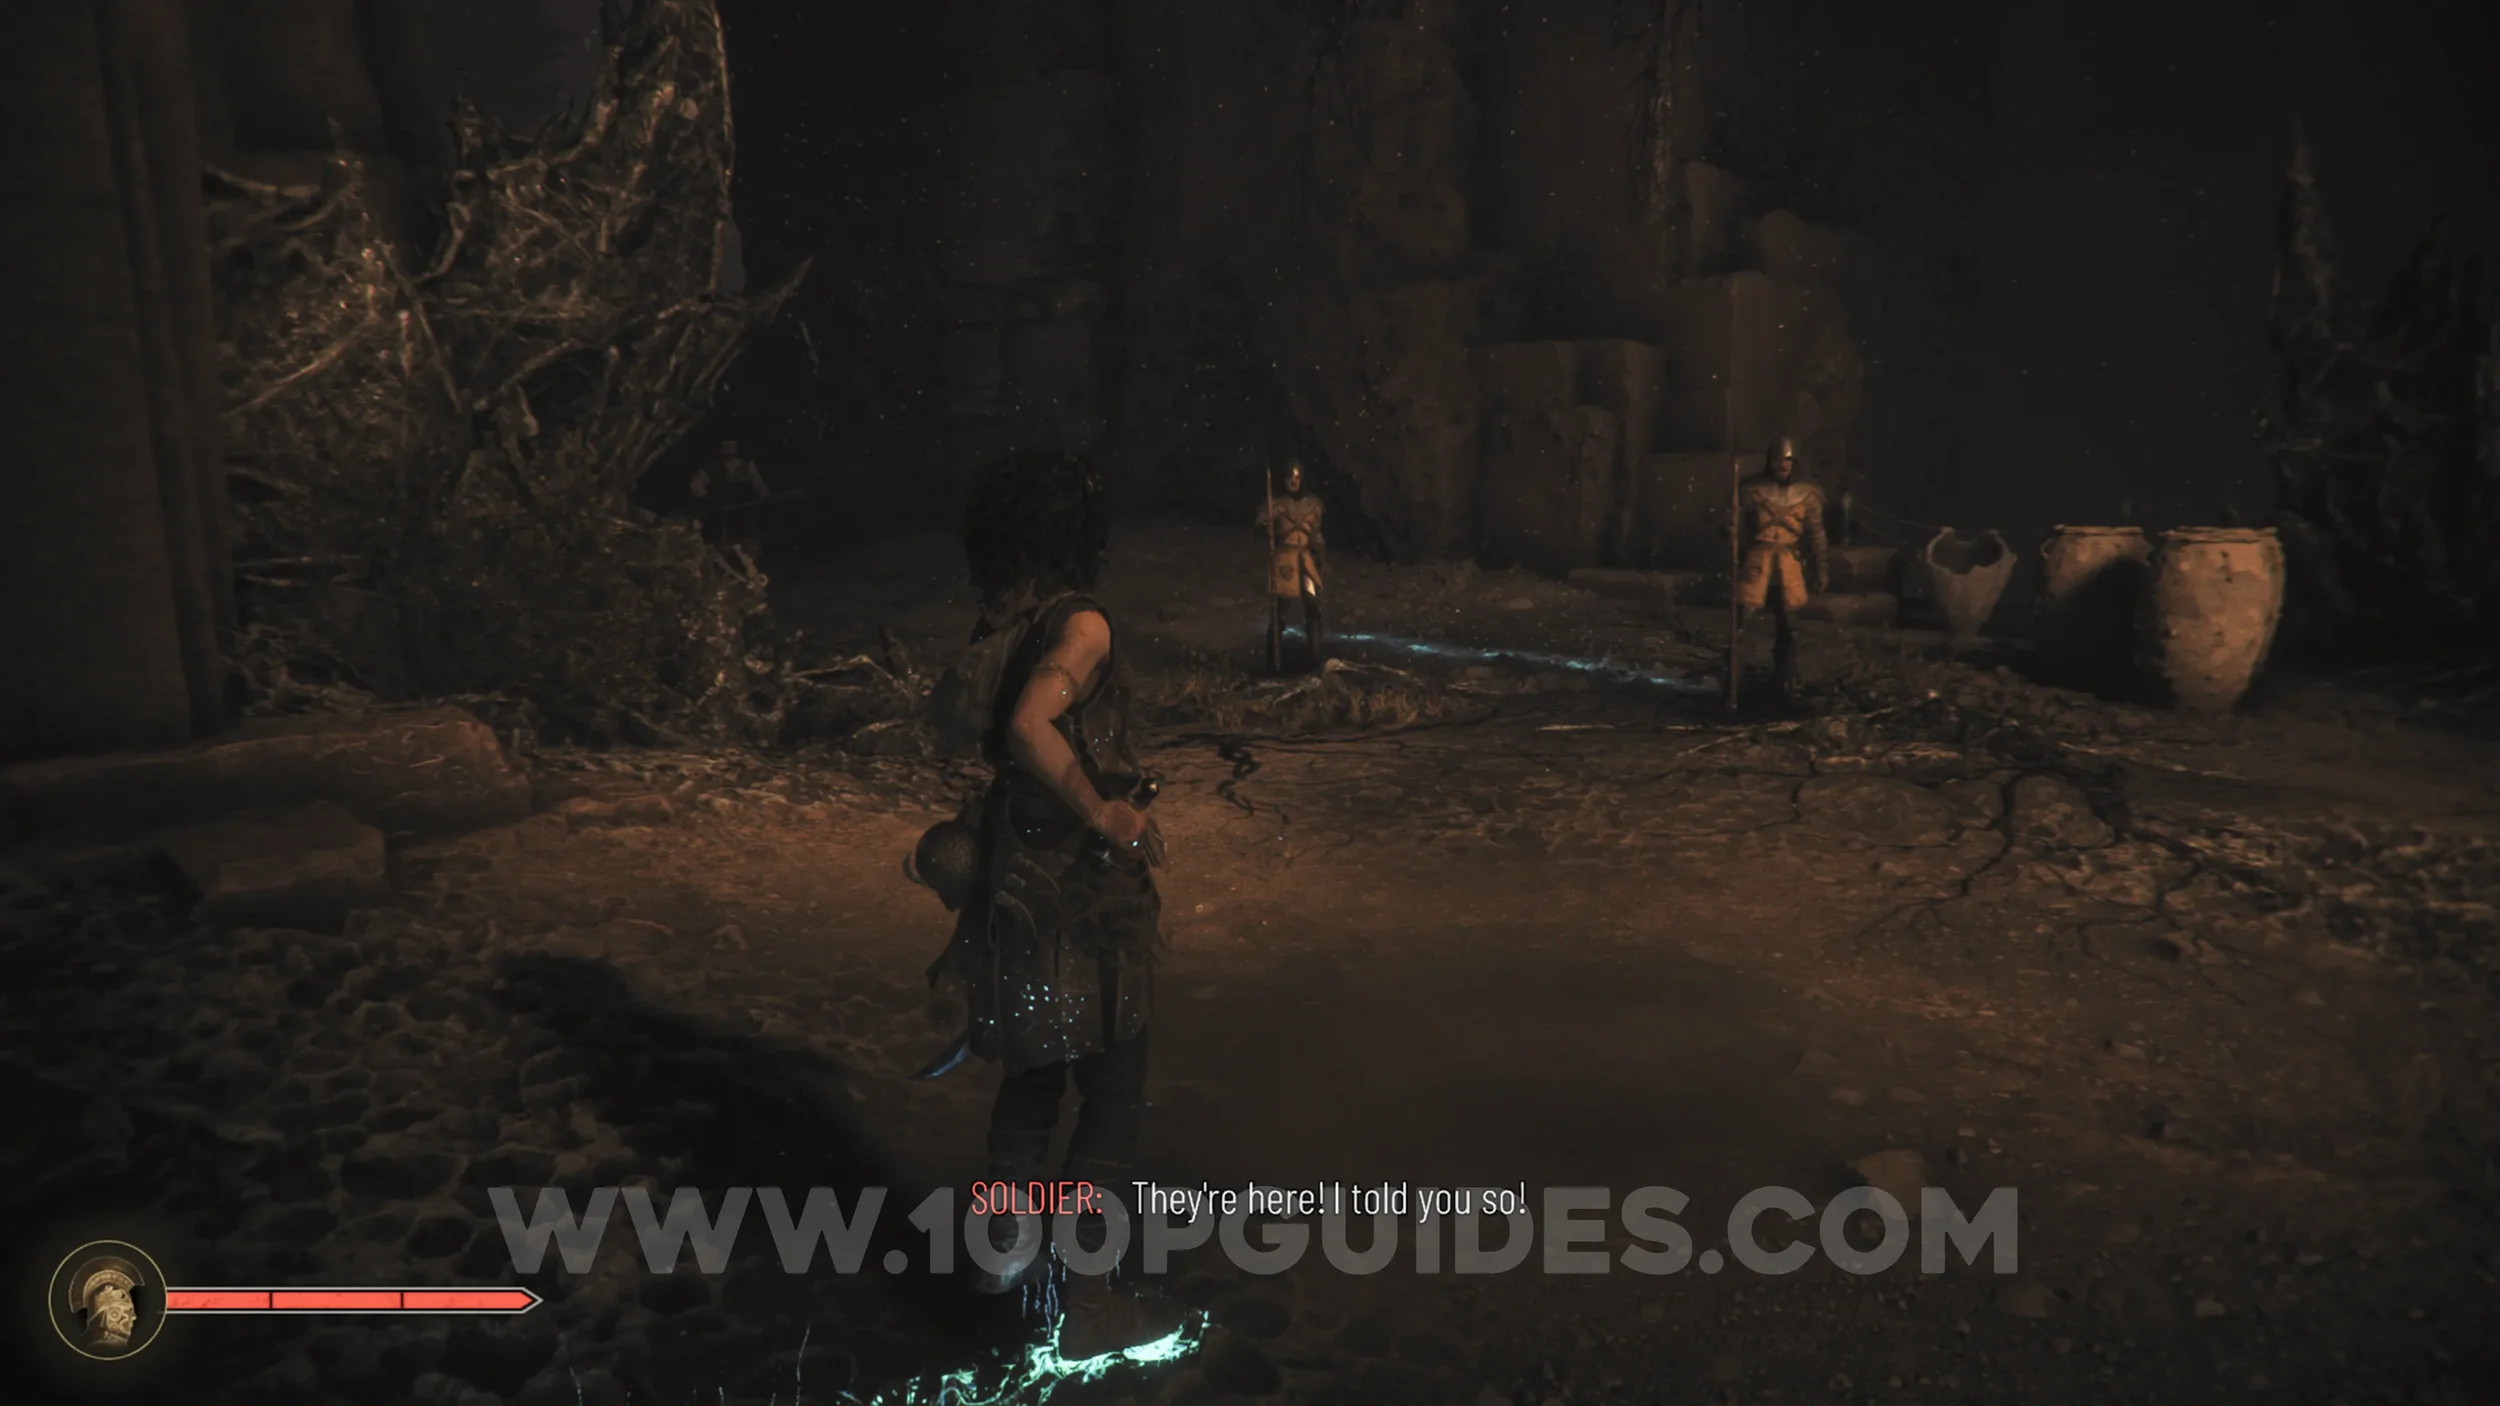
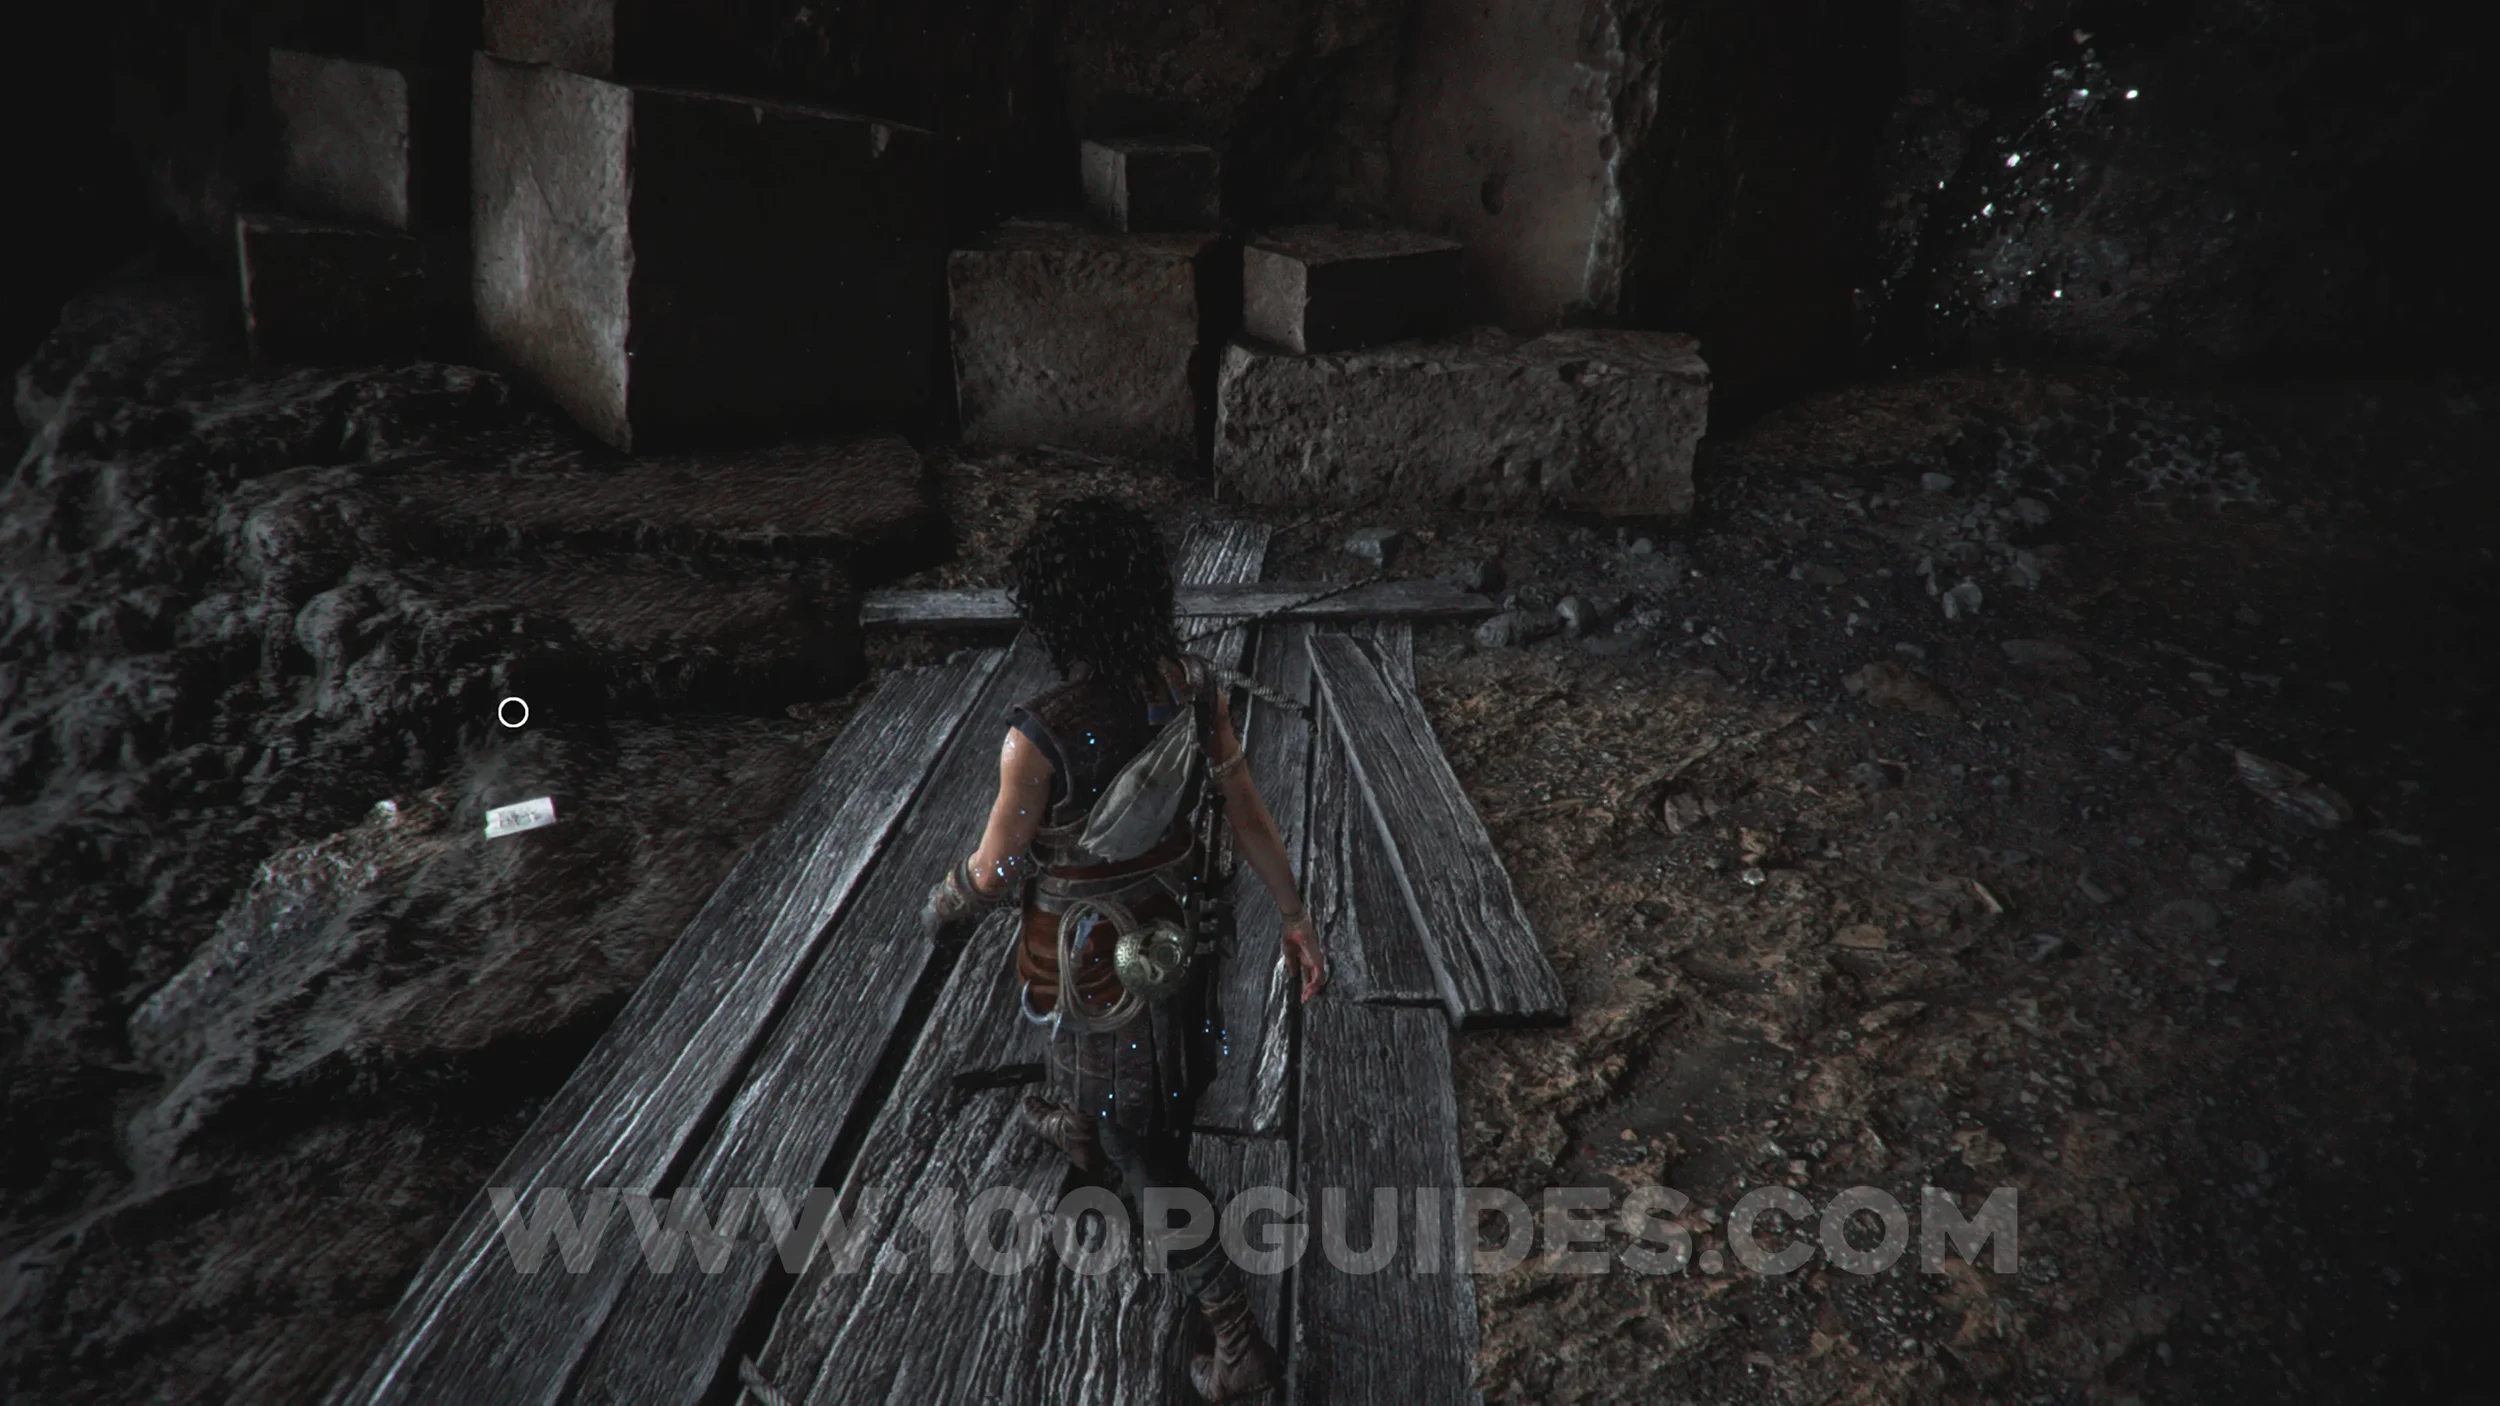
Artefact: Olden Abacus
Chapter 11: Sub-Chapter 2.
After the previous enemies, head down the hill and you'll see the creature again. After this, you'll come across a wooden platform with a ladder heading down to the left. Before you climb down, go around to the right of the wooden platform to find the collectible.
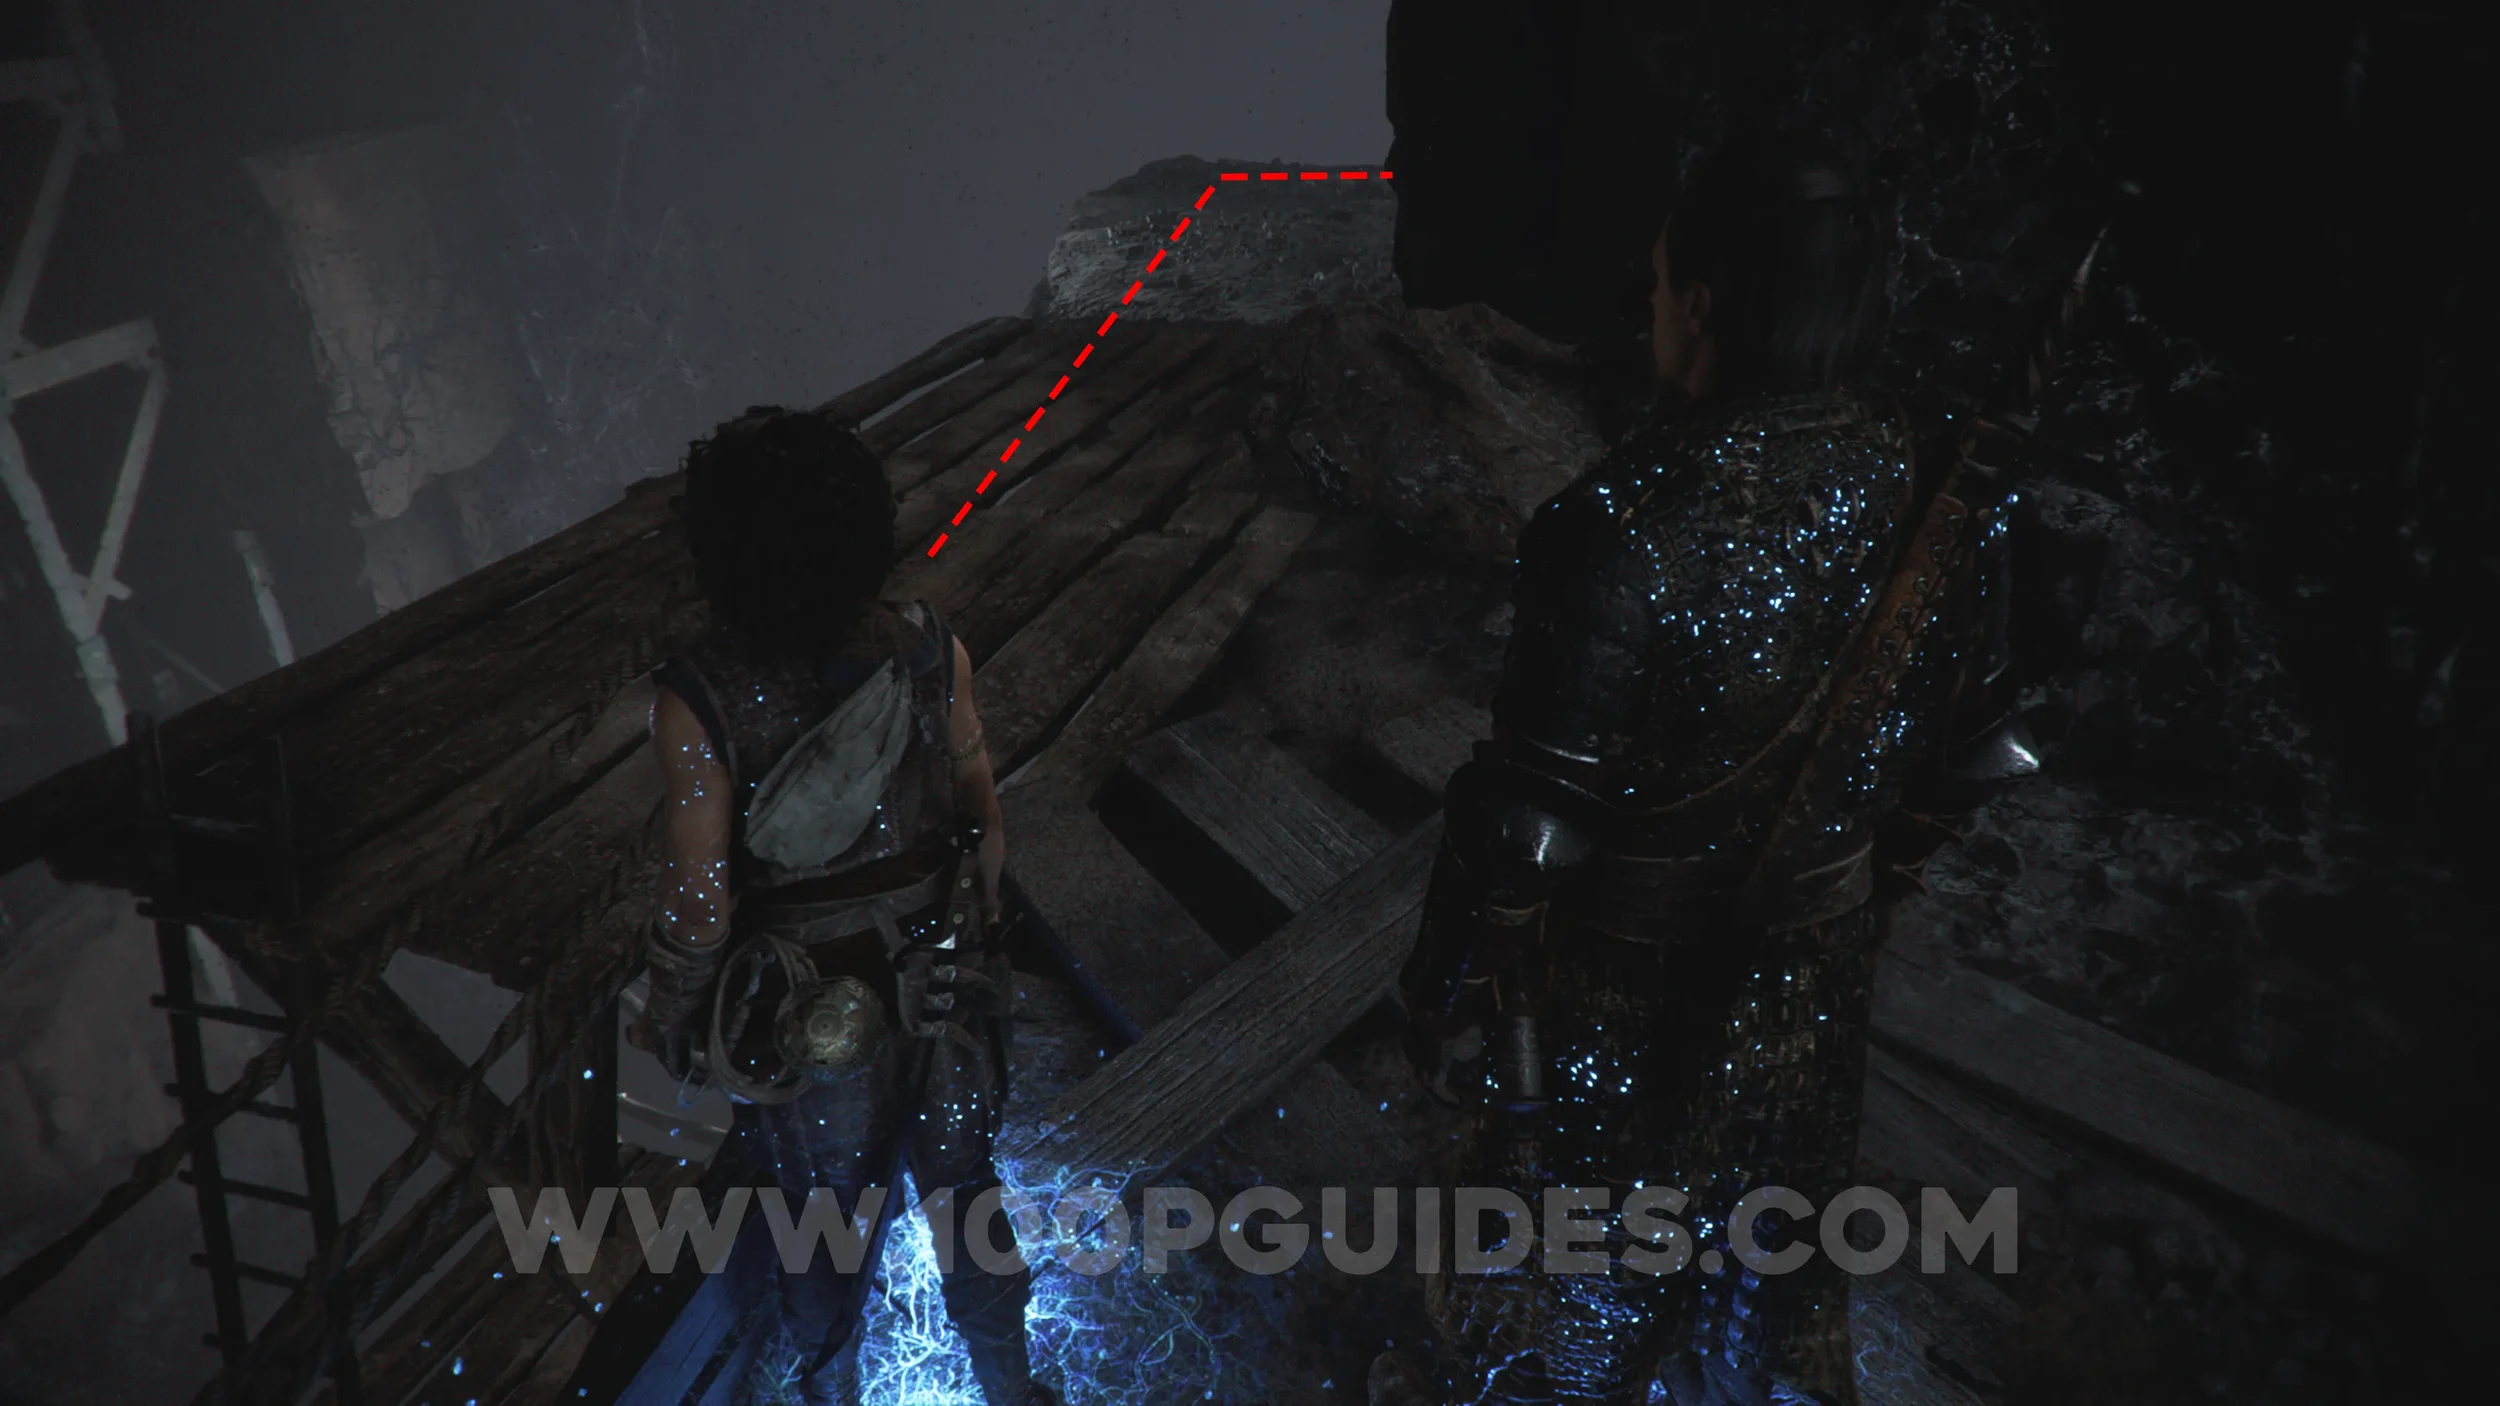
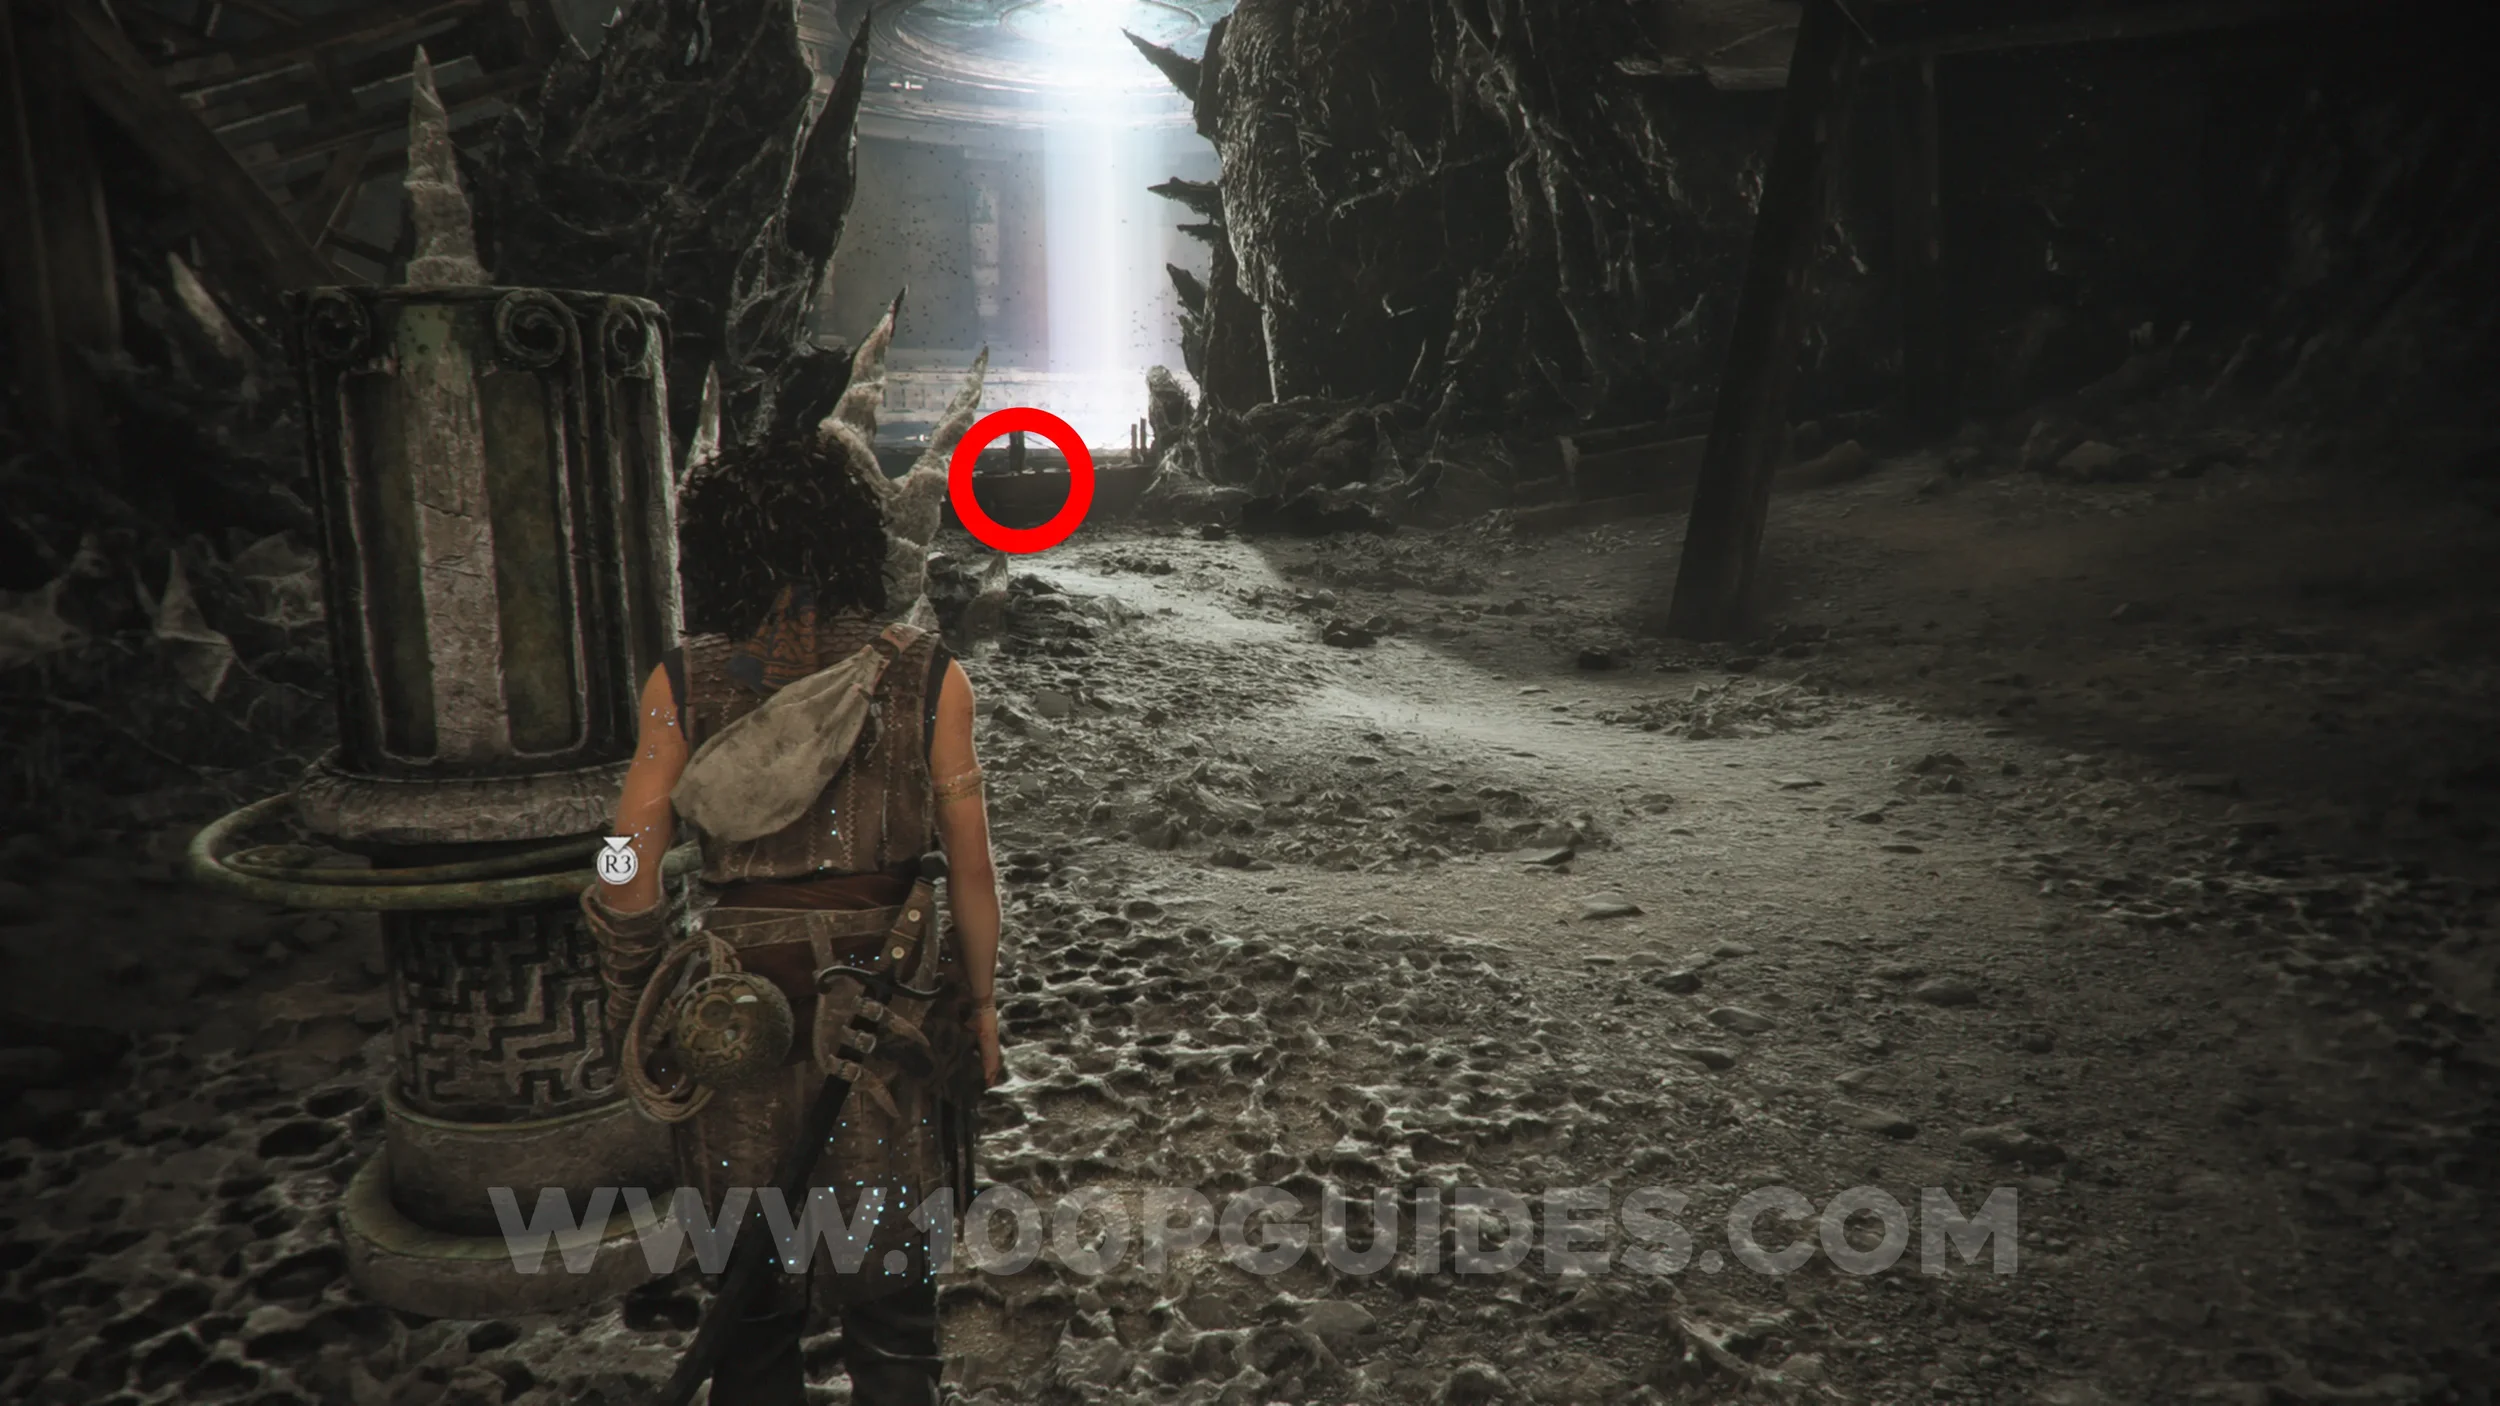
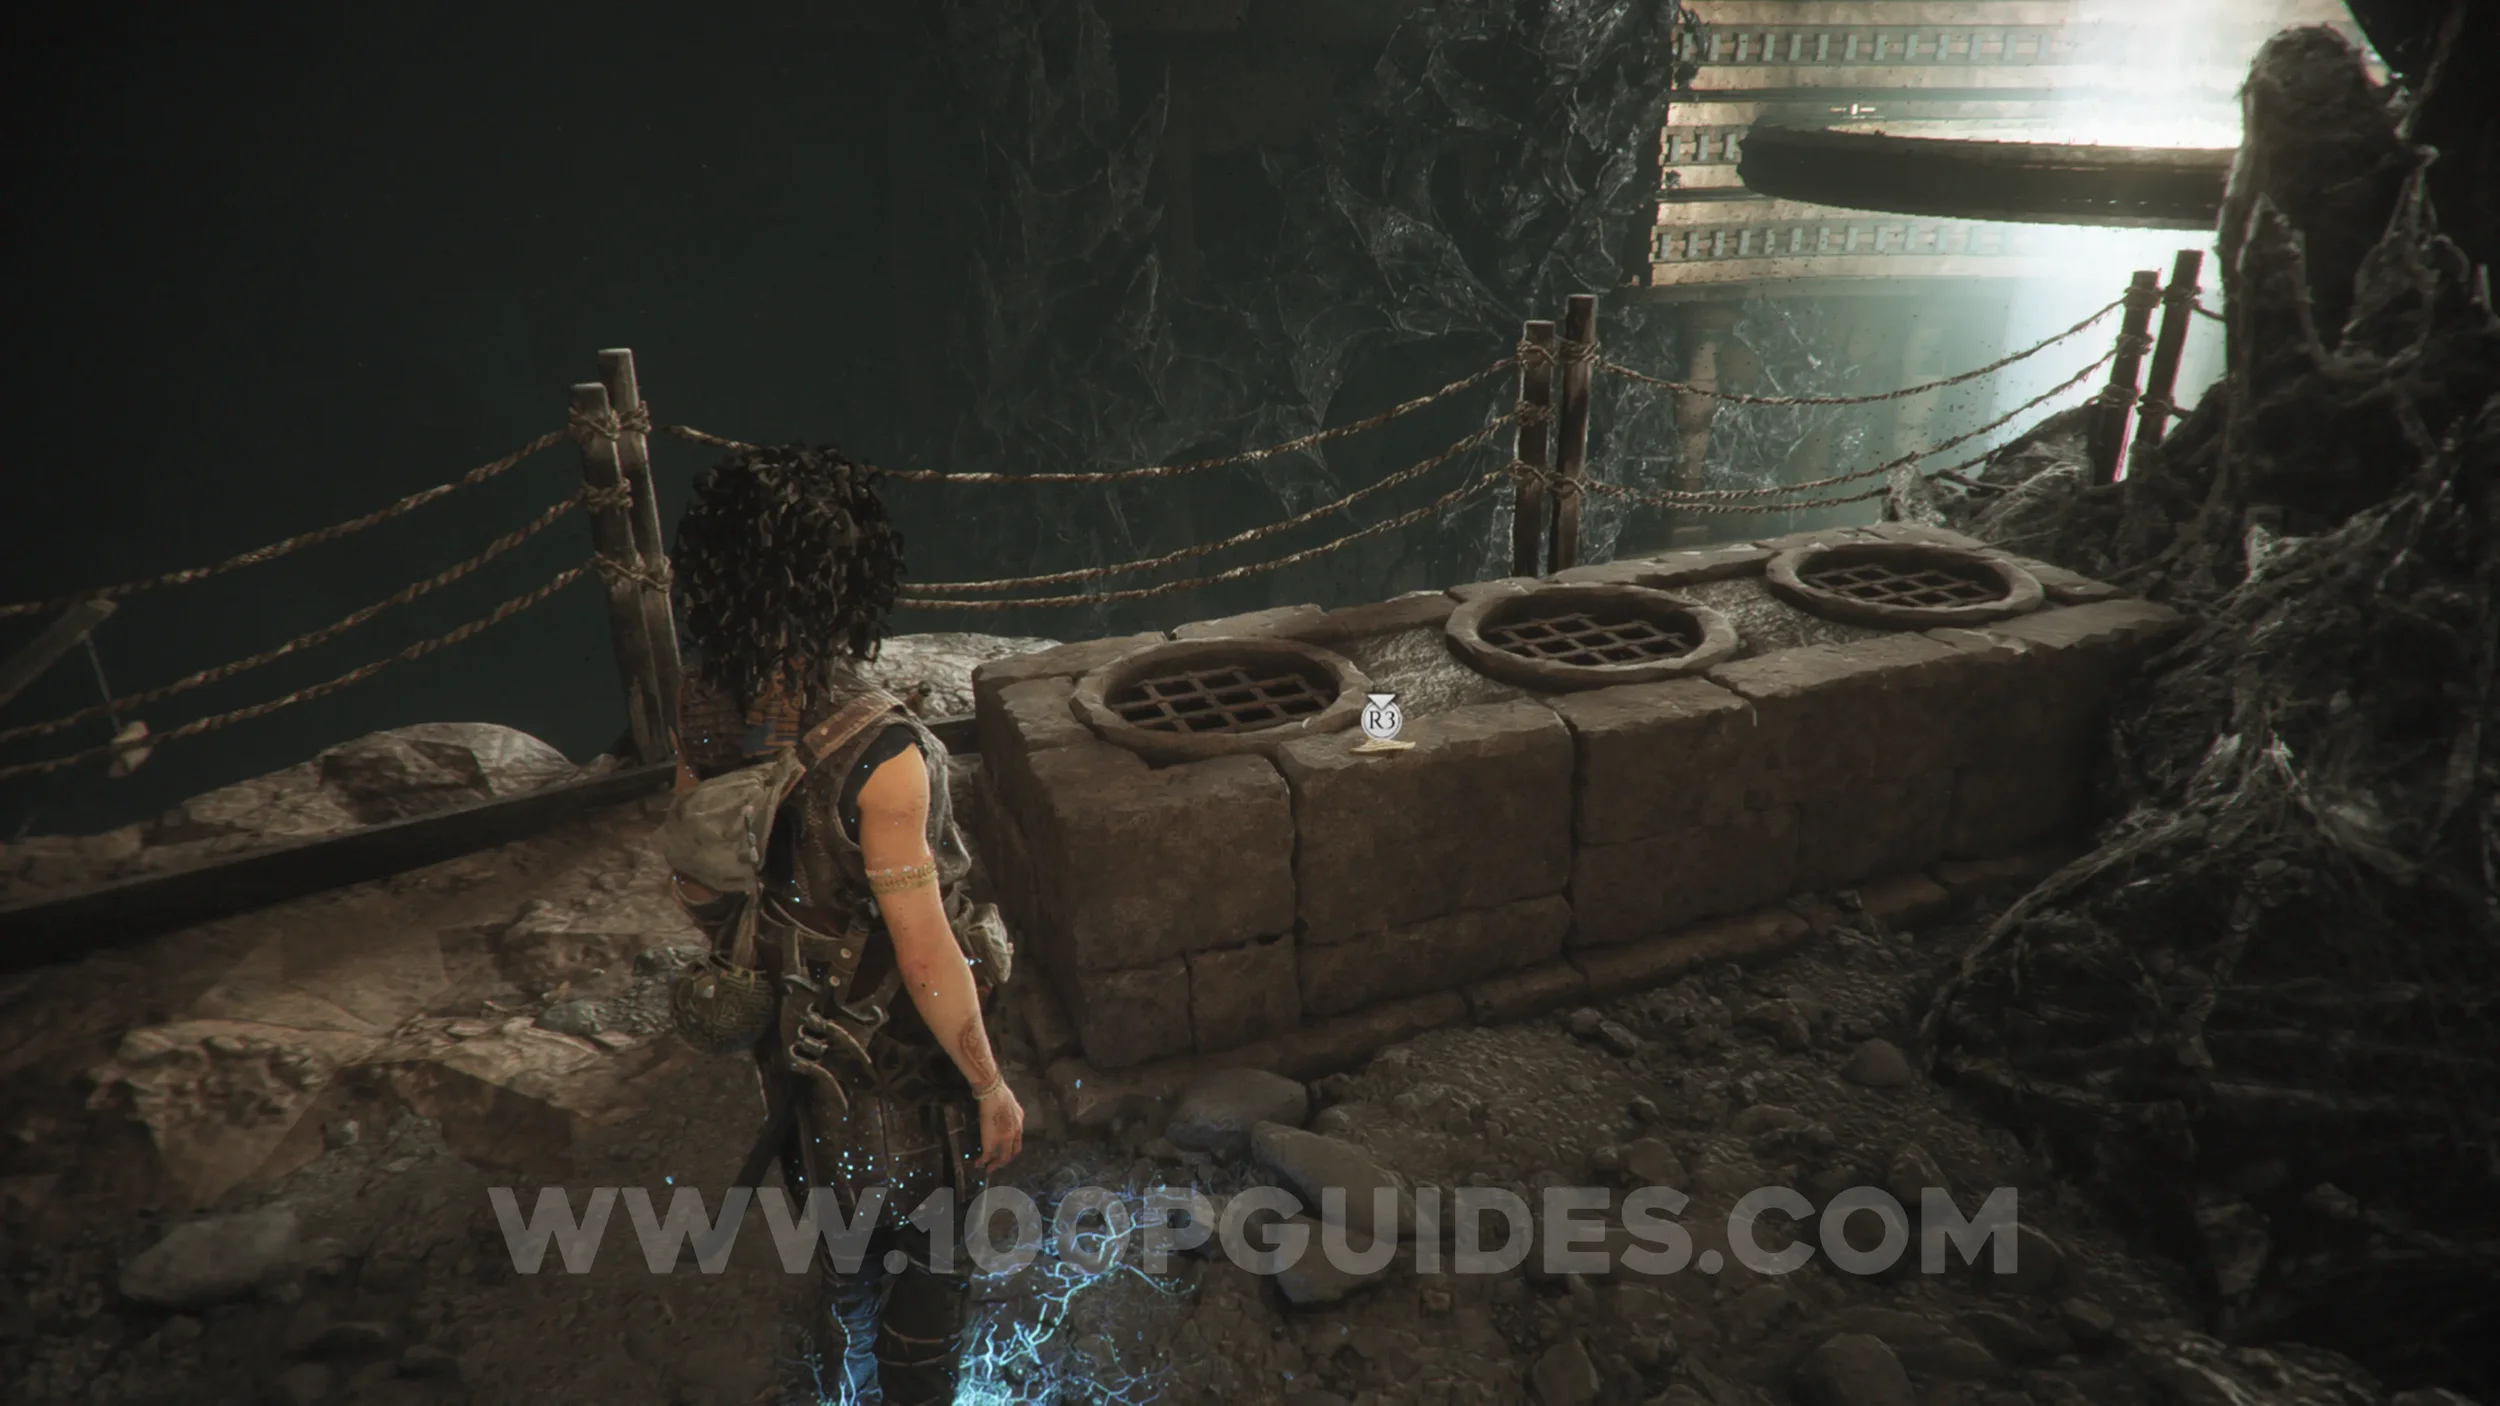
Resonance Point
Chapter 11: Sub-Chapter 3.
After climbing down the wooden platforms, you'll need to activate a light. The collectible can be found on the left, just past it.
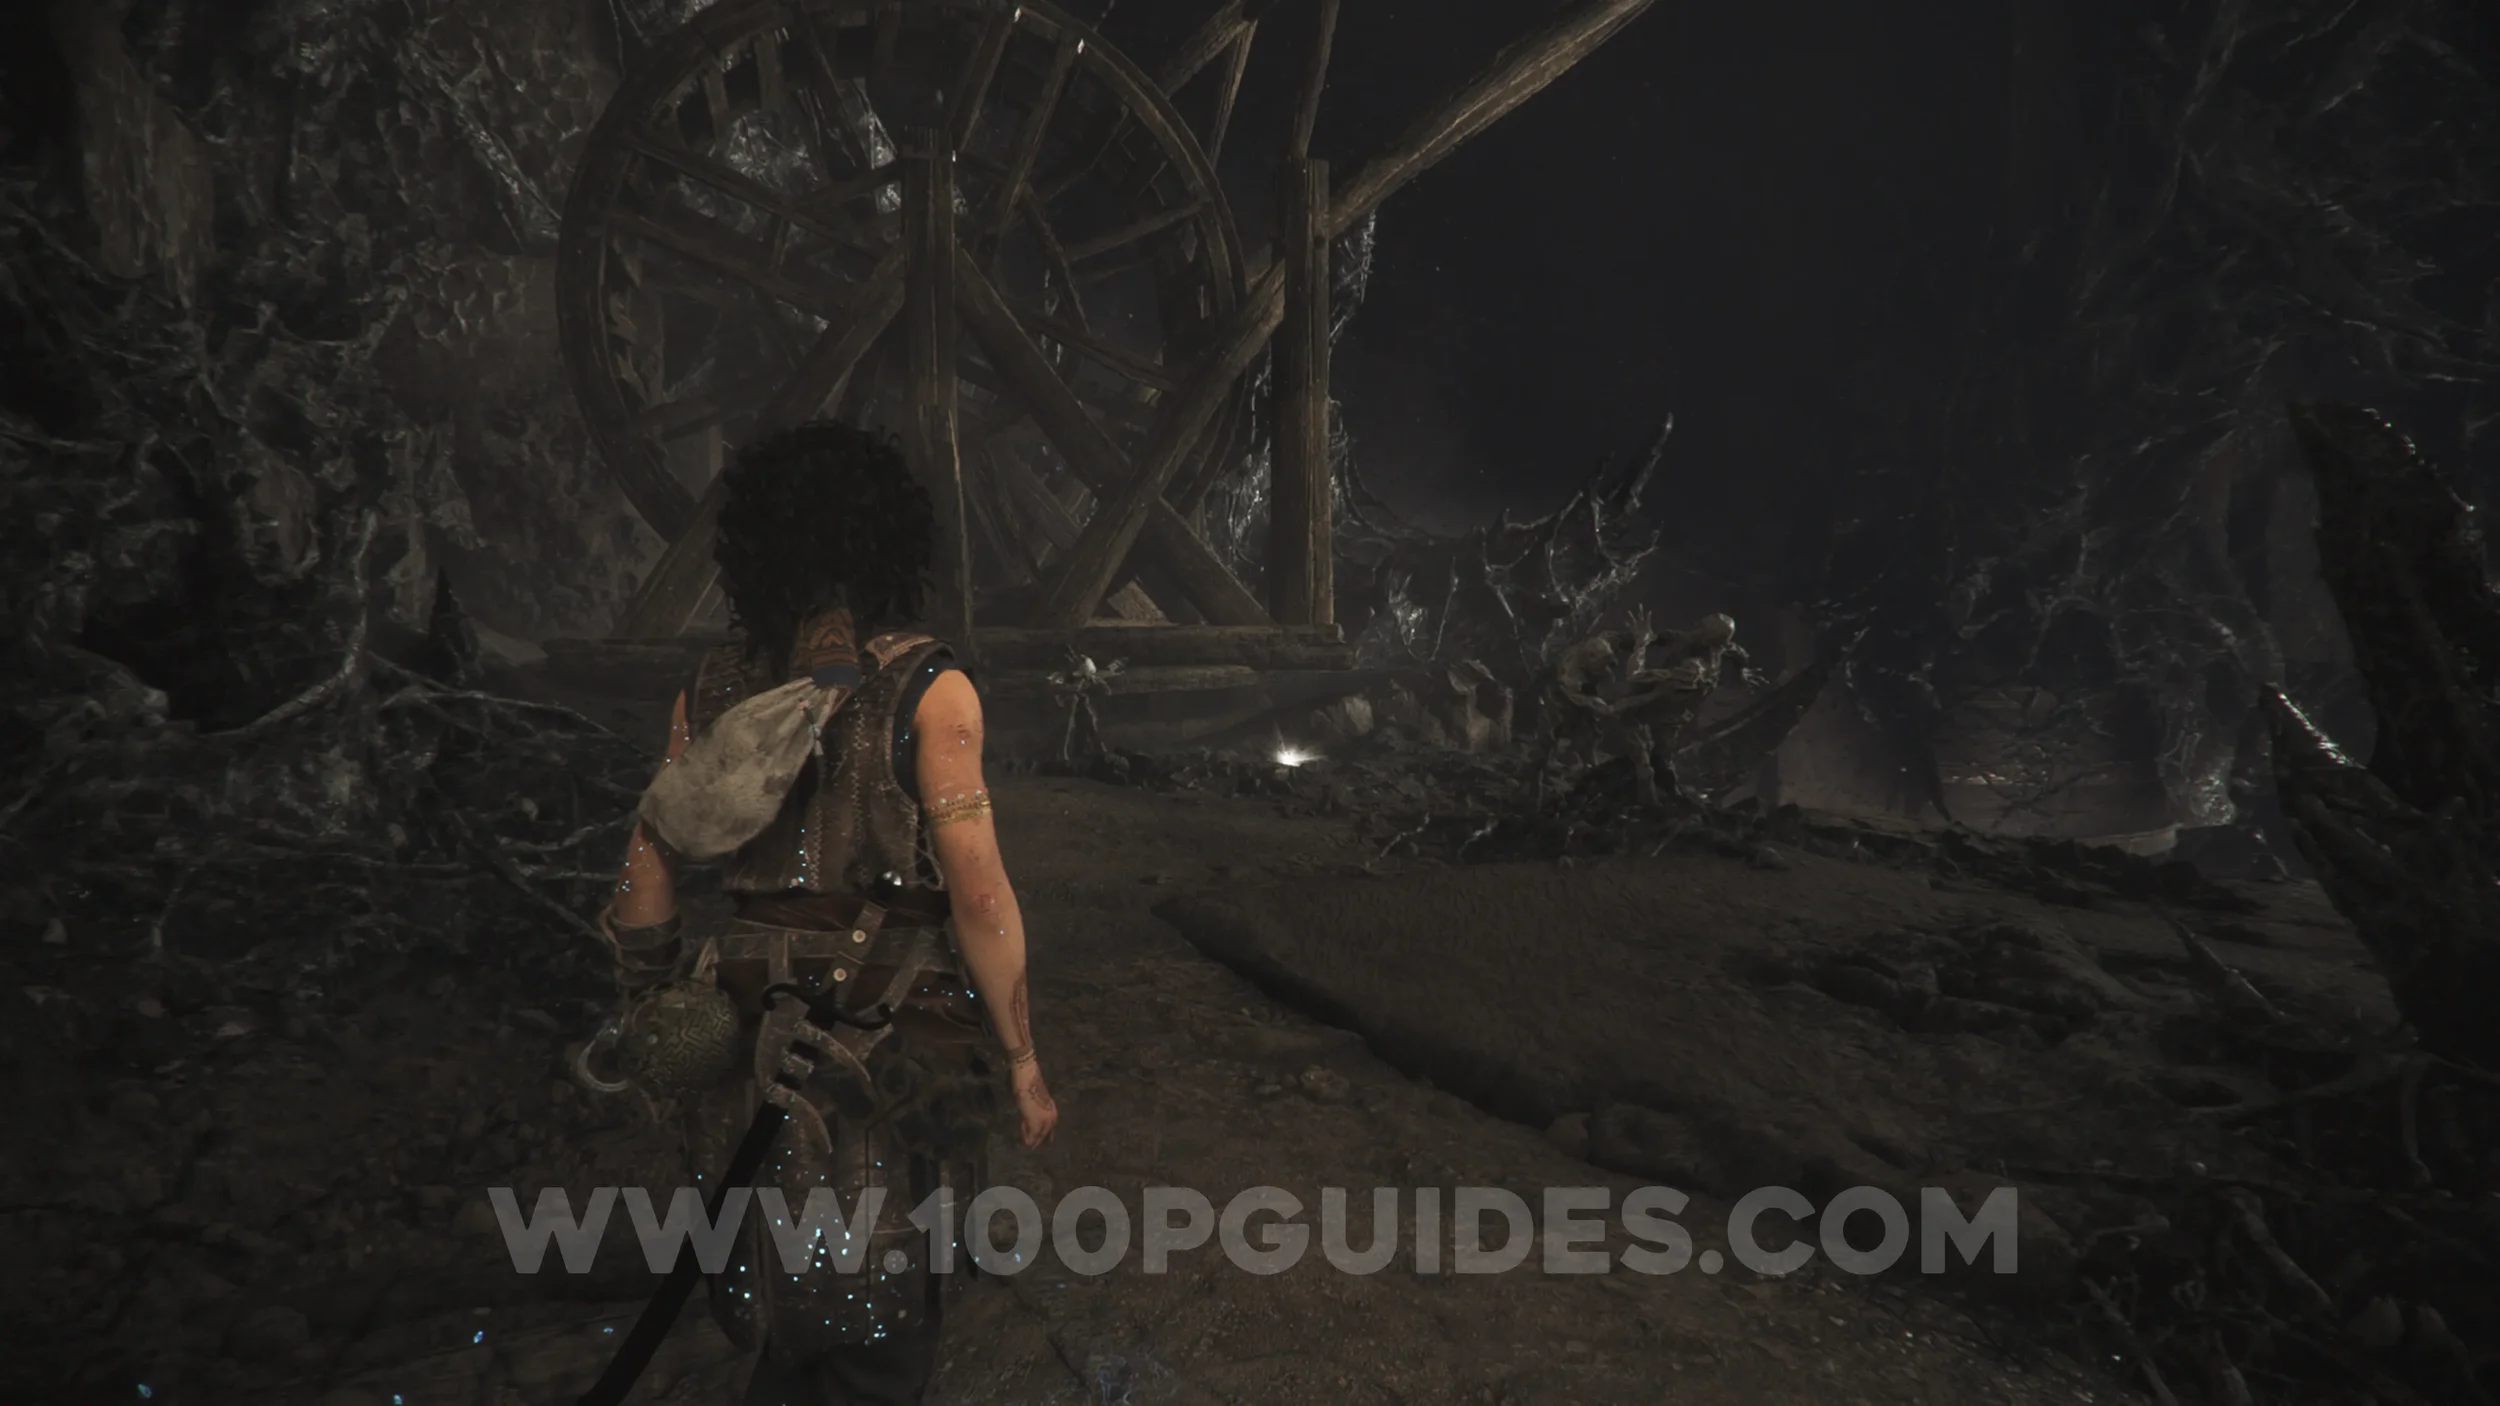
Resonance Point
Chapter 11: Sub-Chapter 3.
After riding the wooden lift down to the next level, head left to find the collectible near the crane at the end.
Resonance Point
Chapter 11: Sub-Chapter 3.
From the previous collectible, head back past the wooden lift to find this Resonance Point on your right at the end.
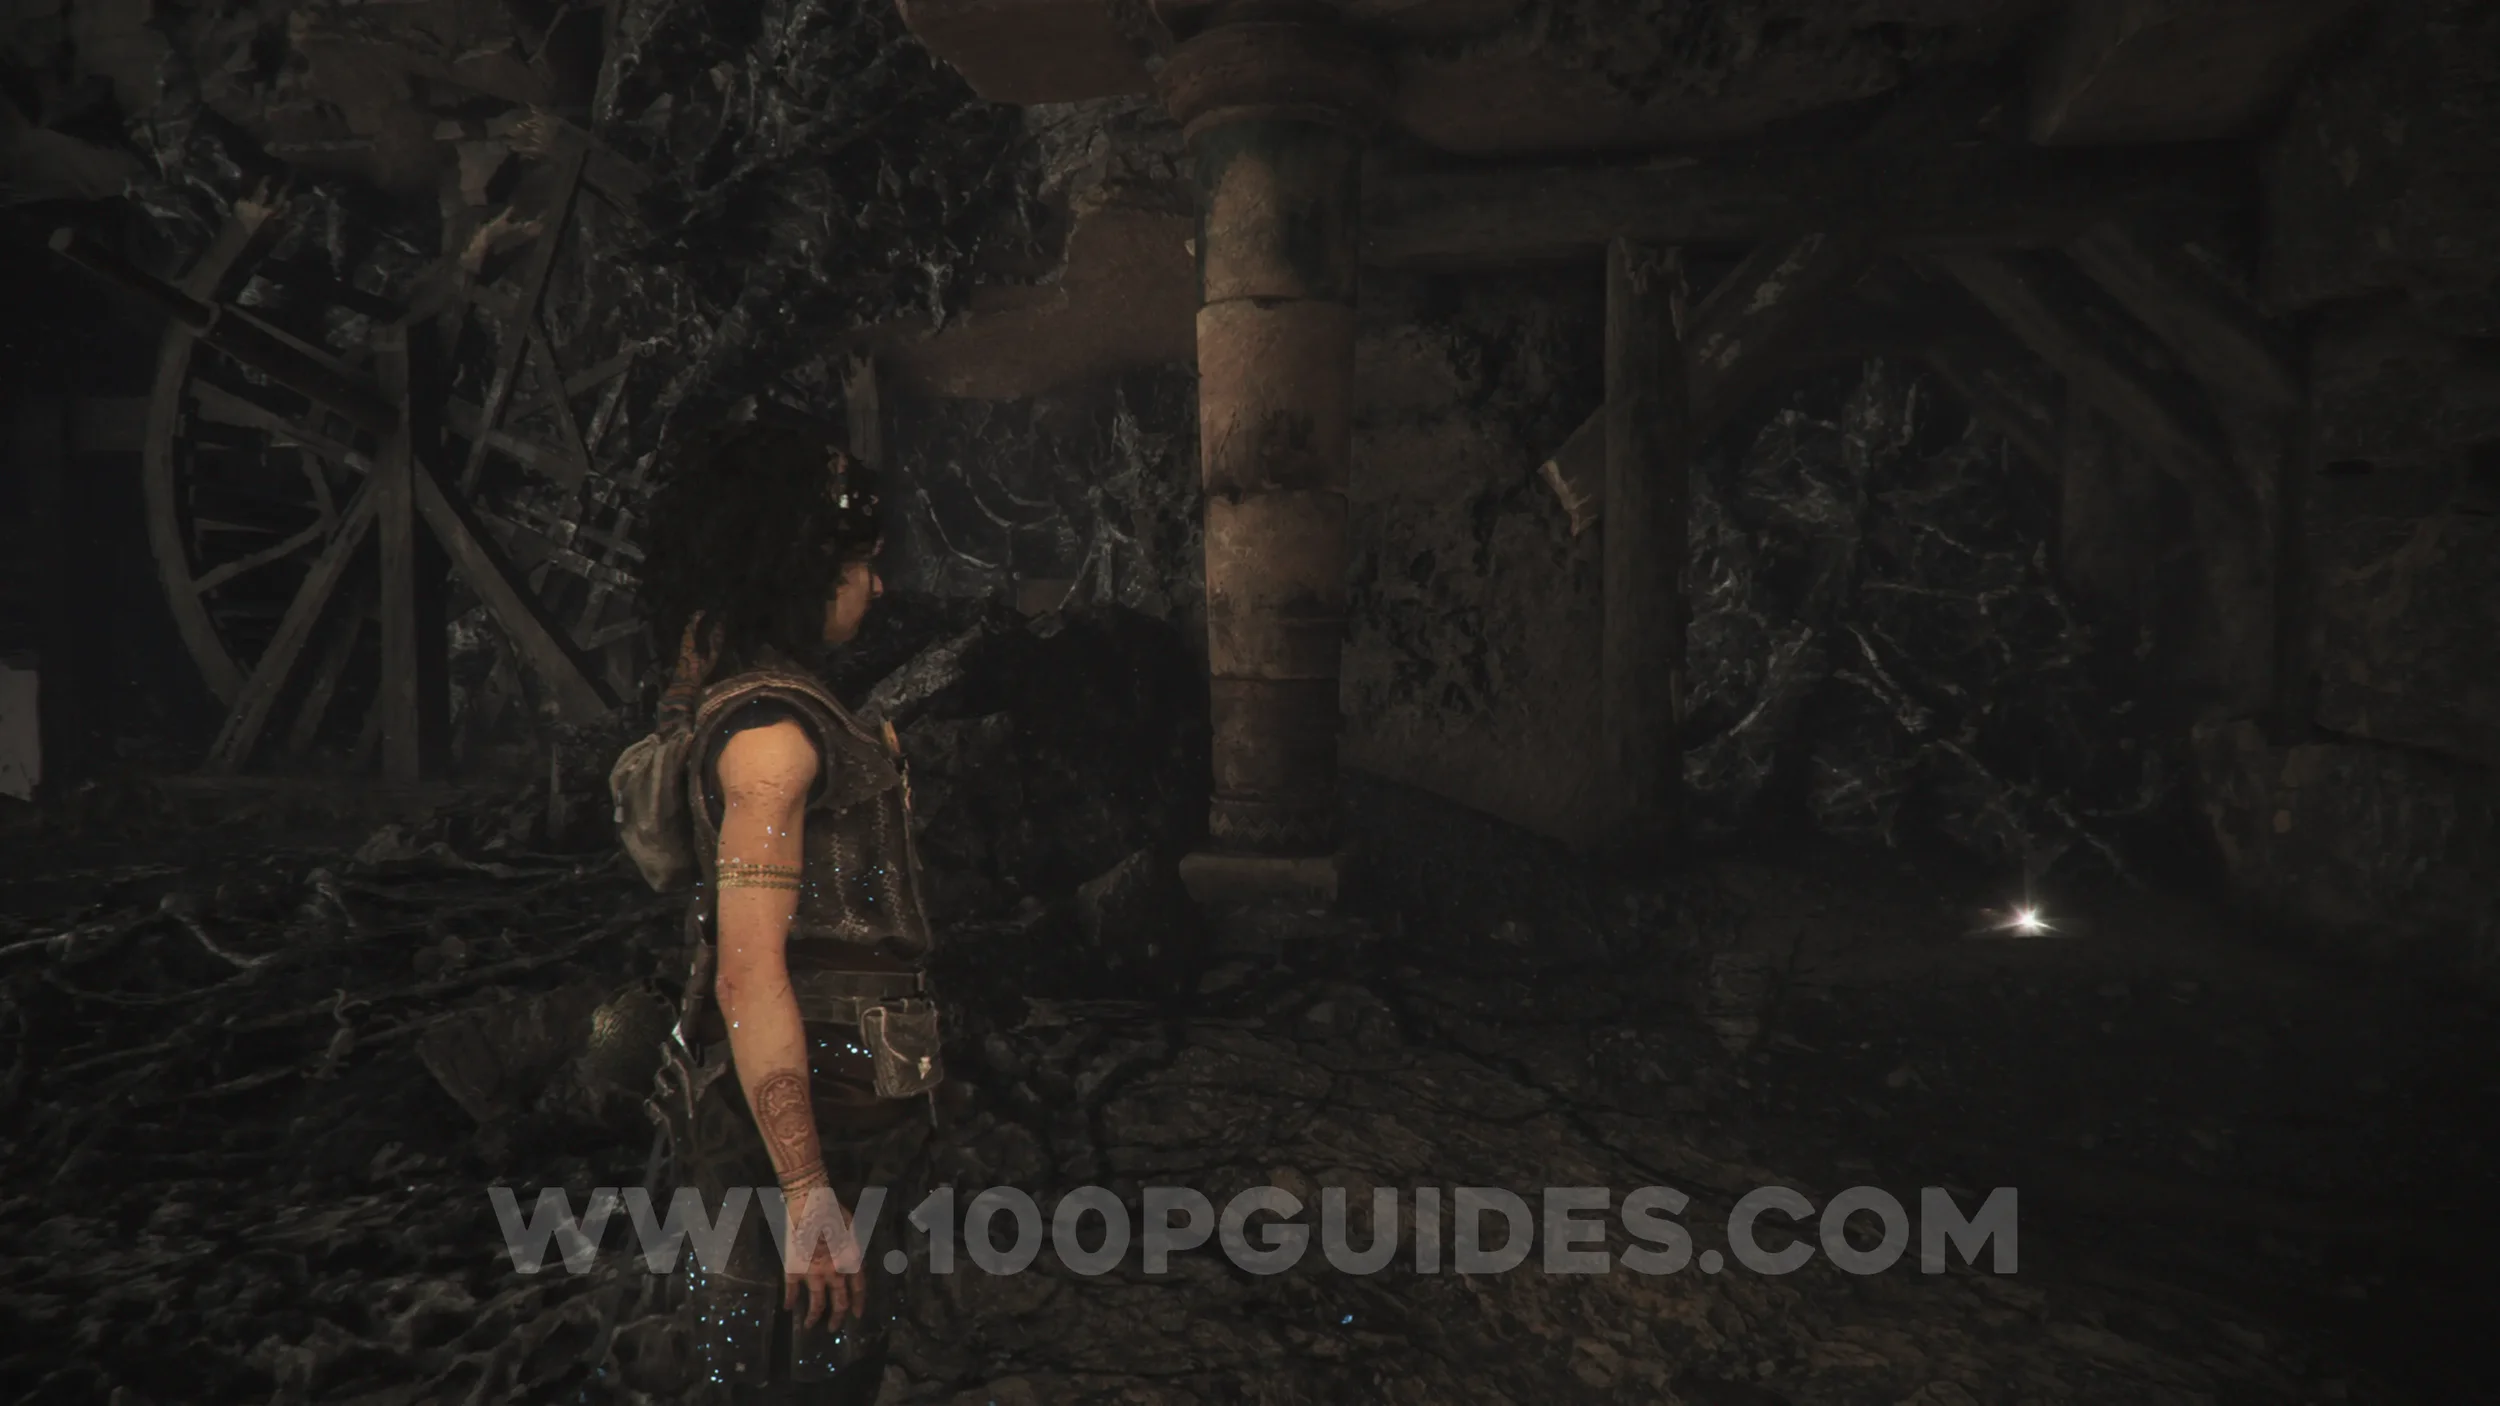
Resonance Point
Chapter 11: Sub-Chapter 3.
After defeating a couple more puppet enemies with the blue tendrils coming out of their heads, Faro will boost you up to the ledge above. As soon as you get up there, the collectible will be right in front of you.
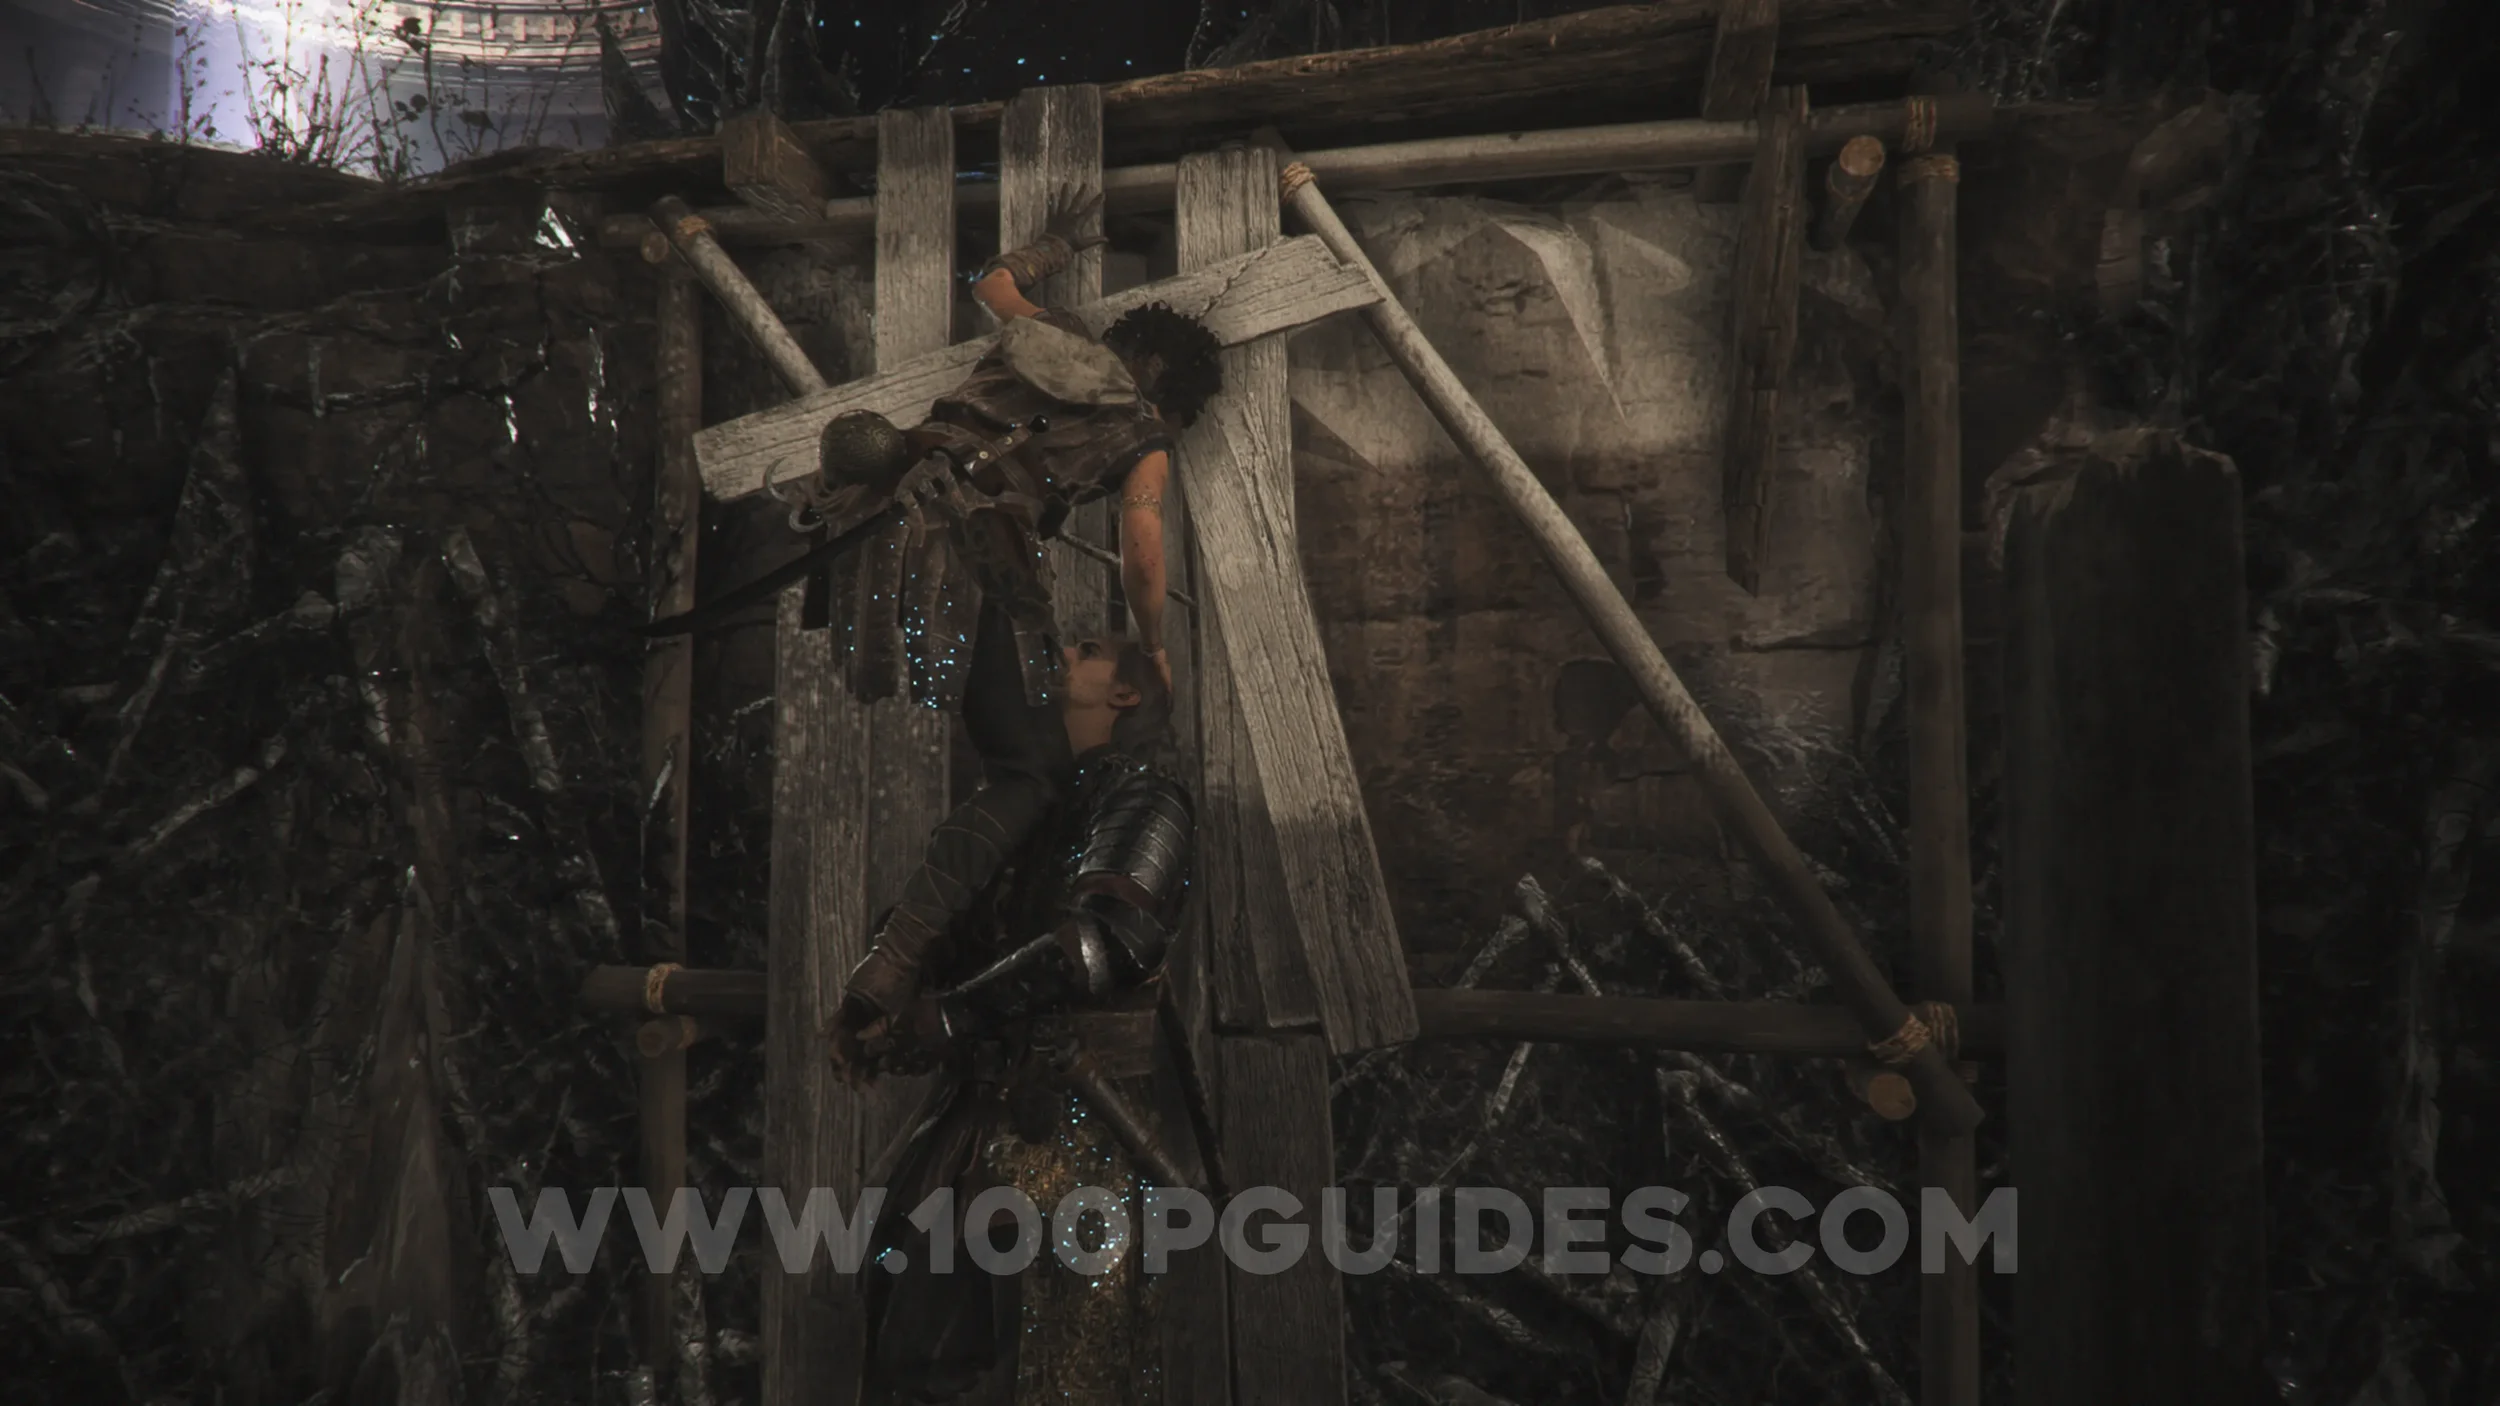
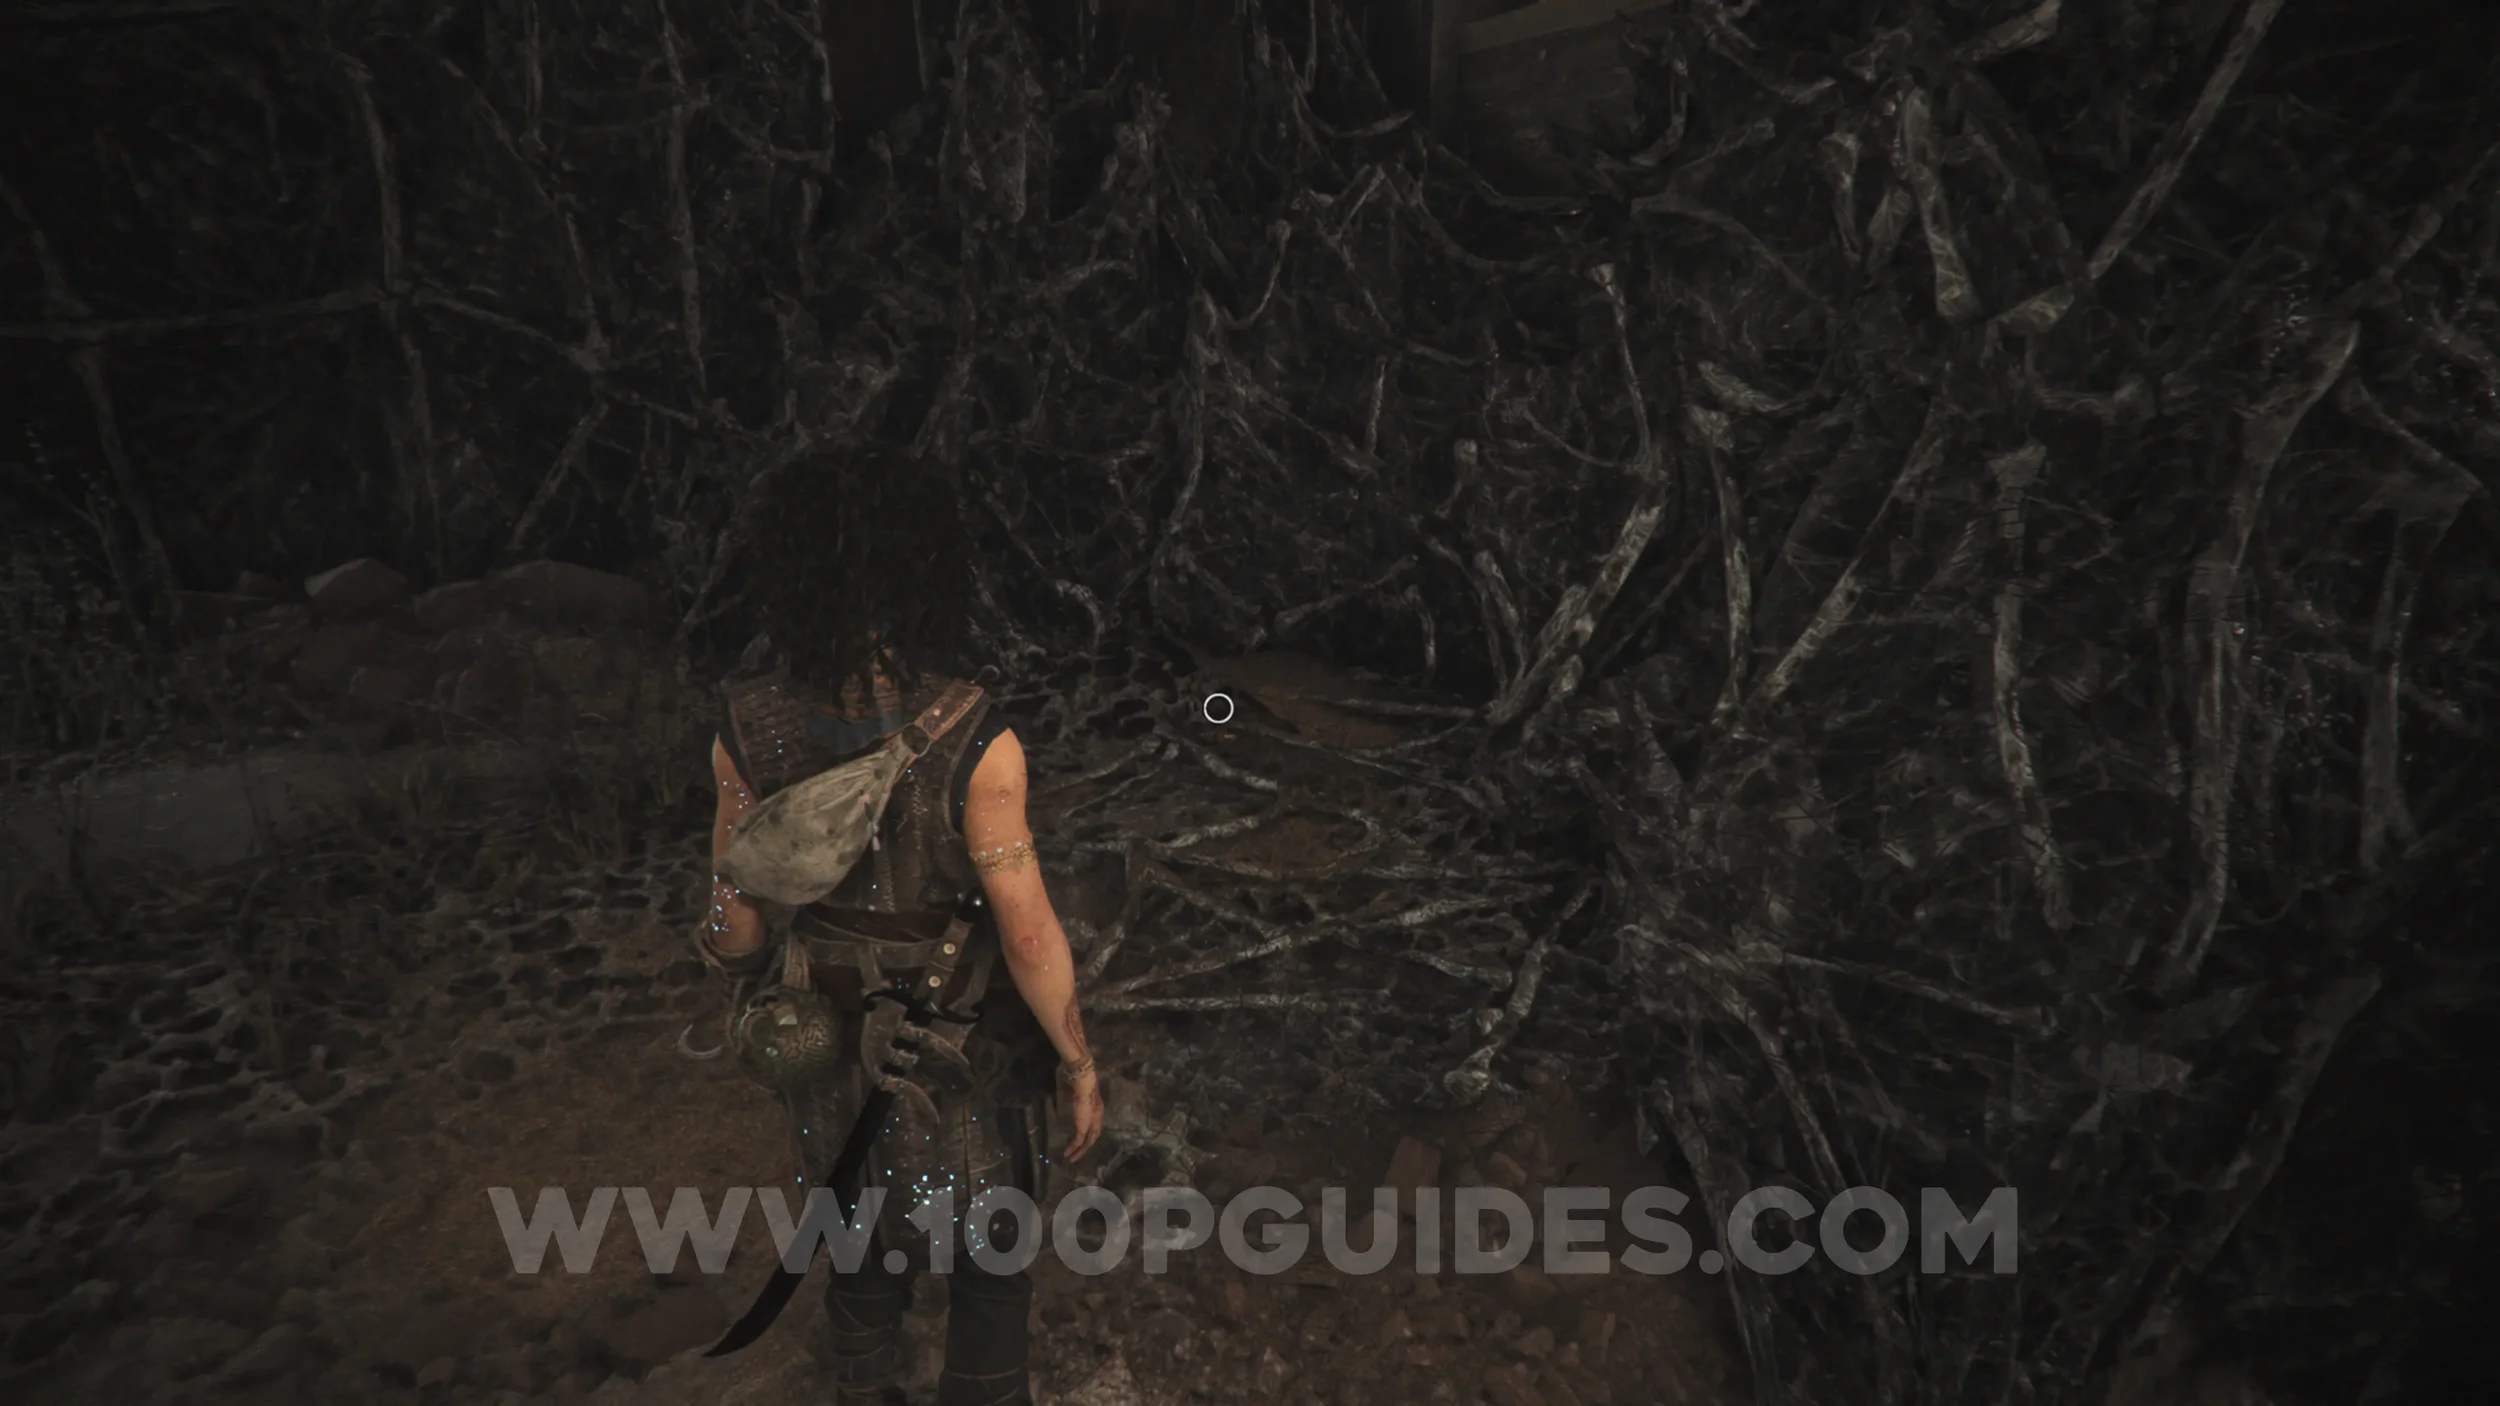
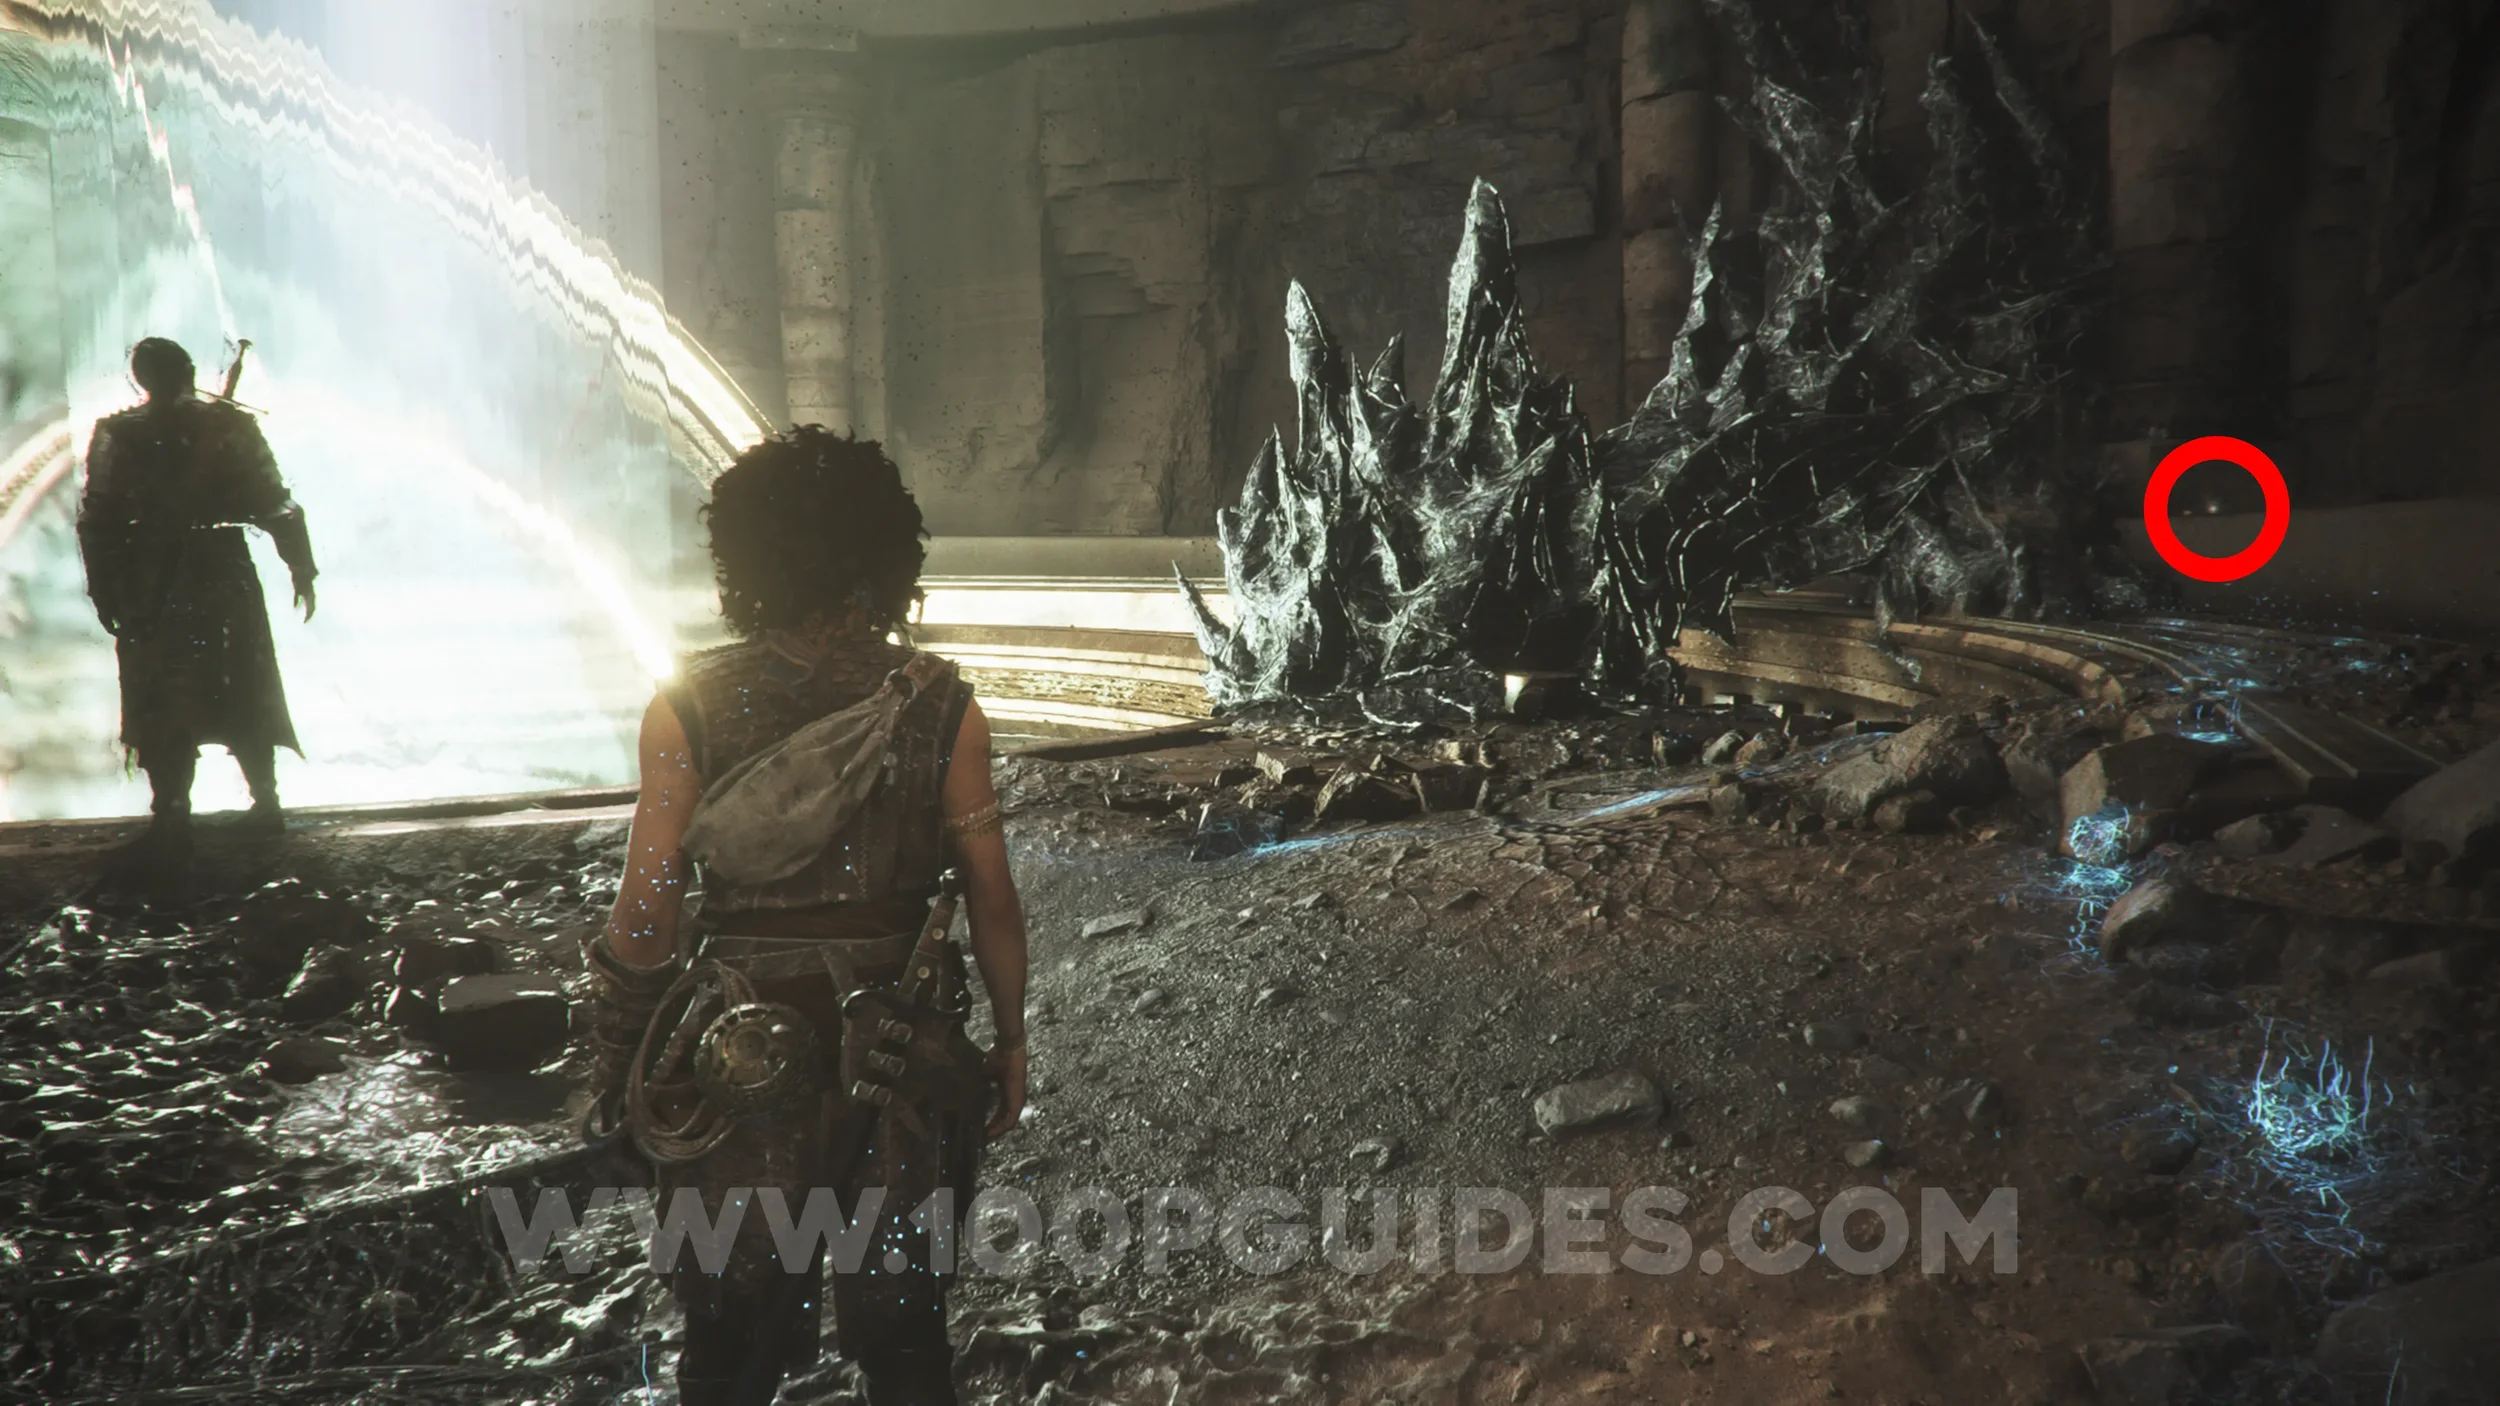
Resonance Point
Chapter 11: Sub-Chapter 3.
Soon after the previous collectible, you'll reach the giant lens. The collectible will be on the wall to the right.
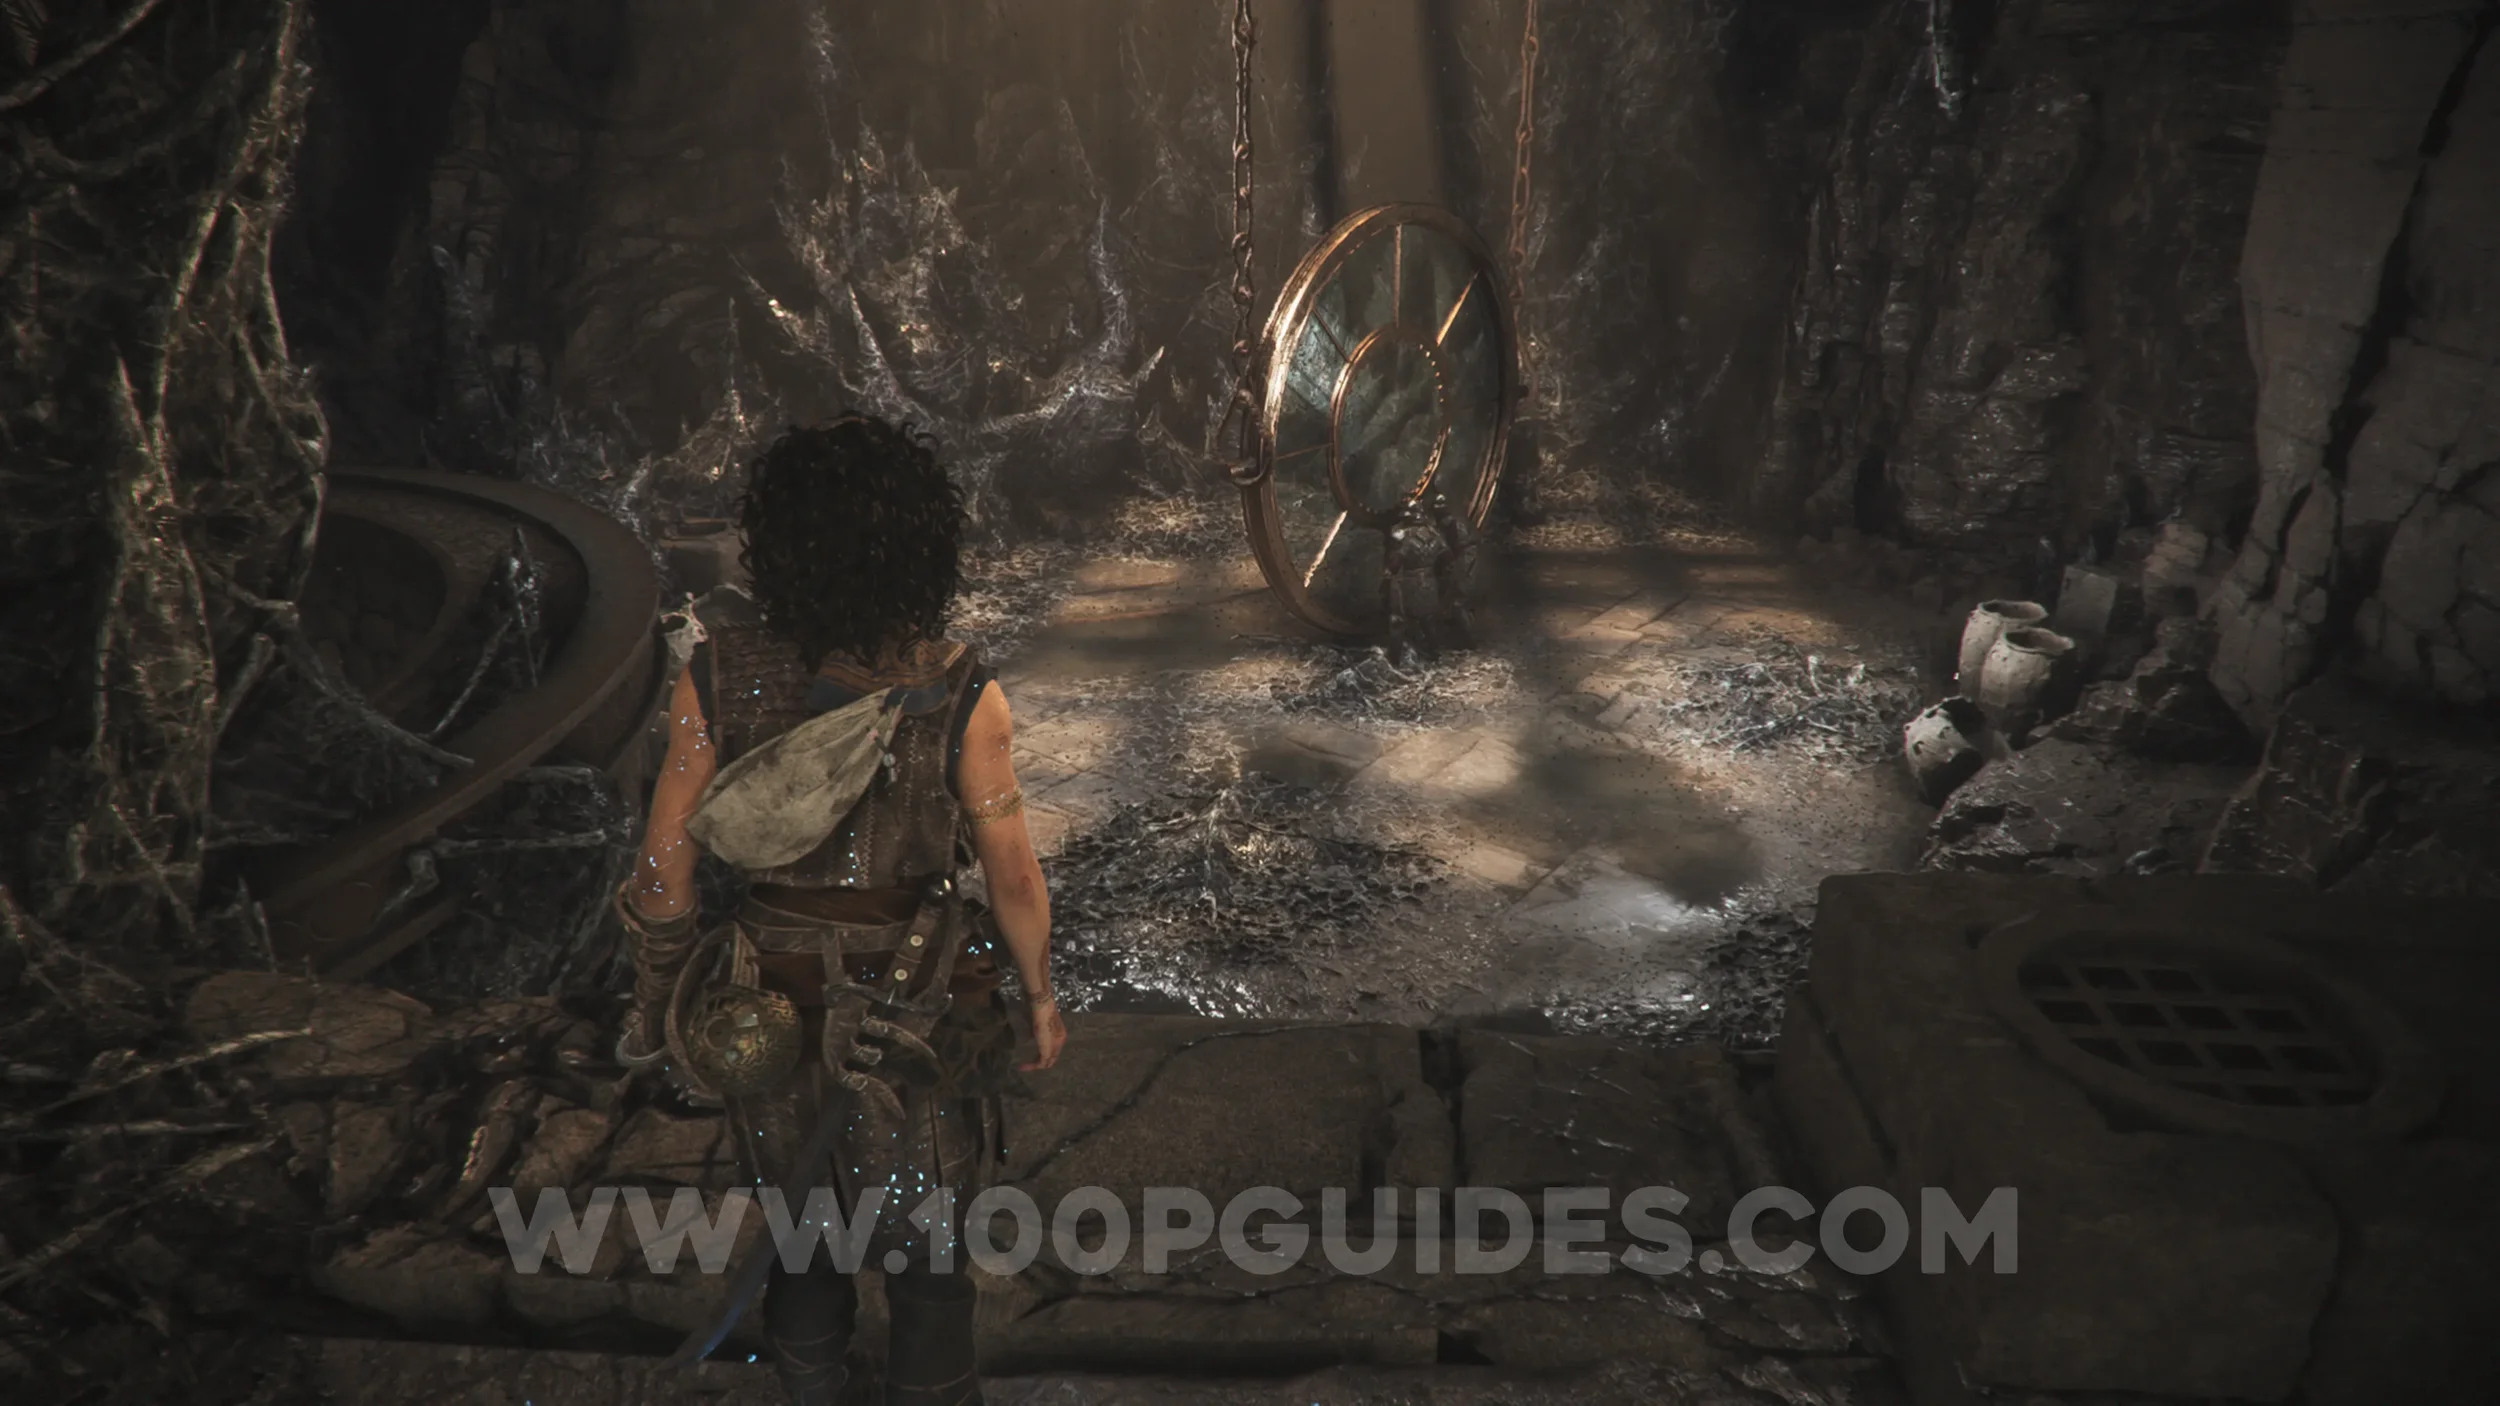
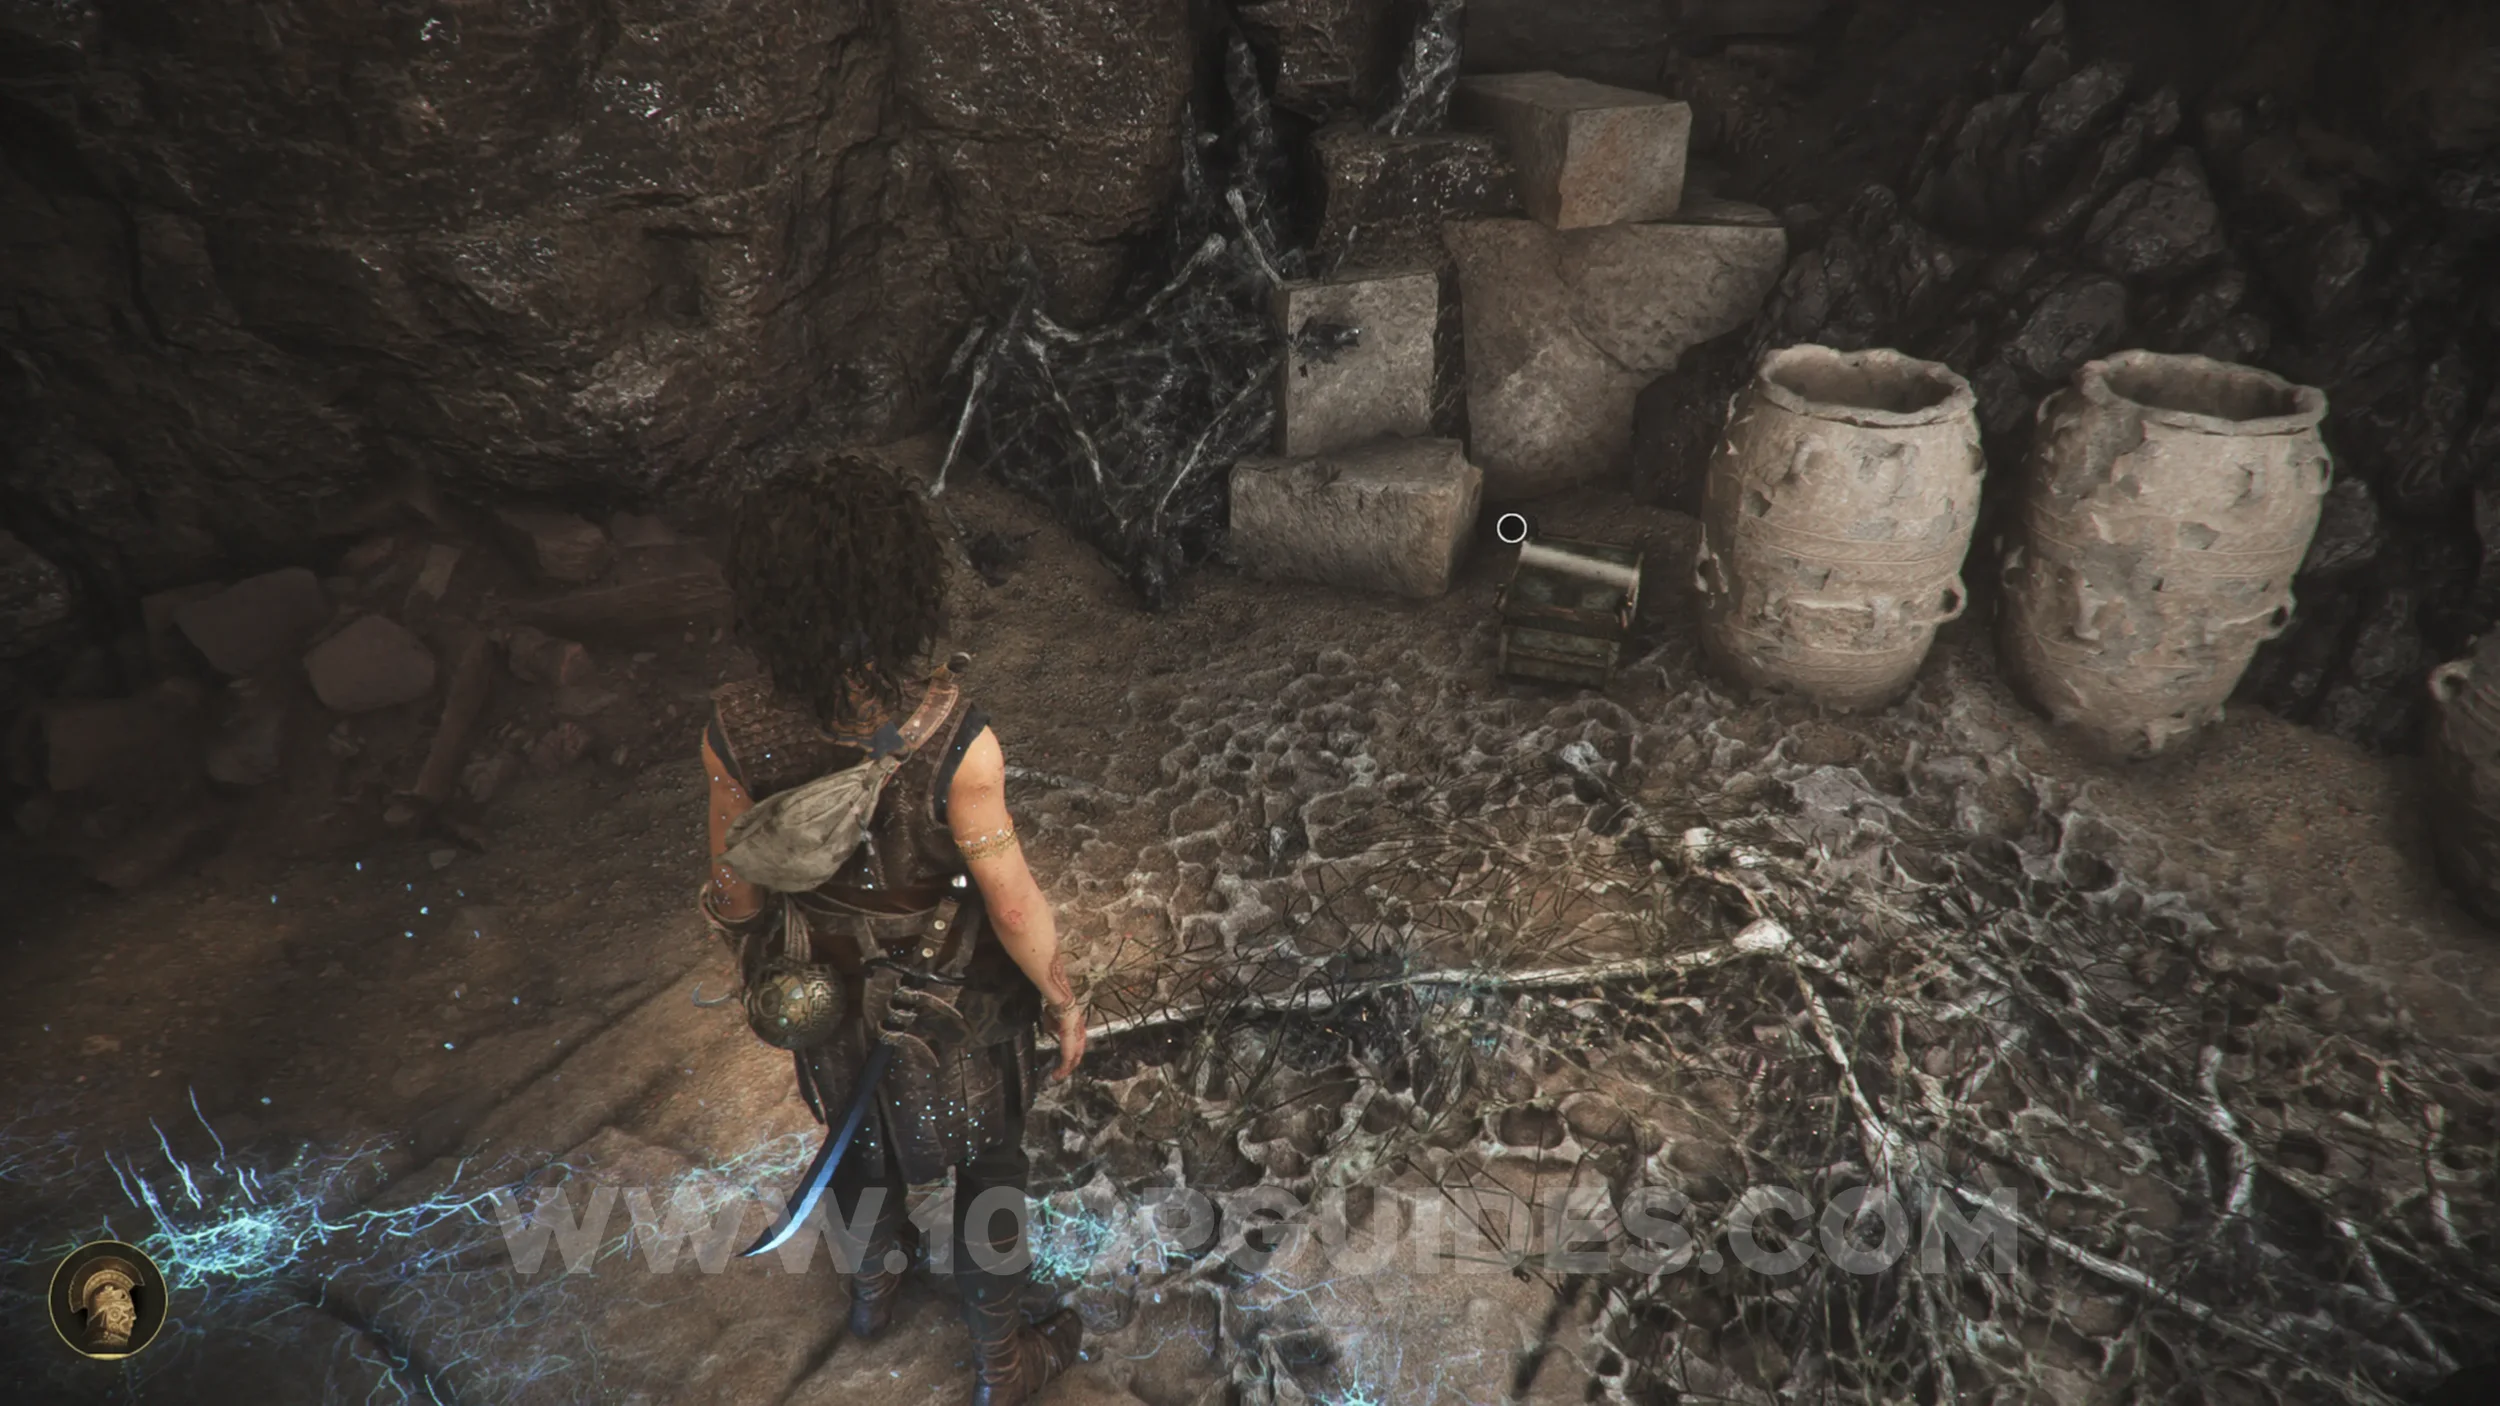
Charm: Arm Band #5
Chapter 11: Sub-Chapter 3.
After going around the side of the giant lens, you'll start heading down a hill. Almost immediately, look for a room on your right with another lens and two enemies near it. The box with the charm will be on the right side of this room.
Resonance Point
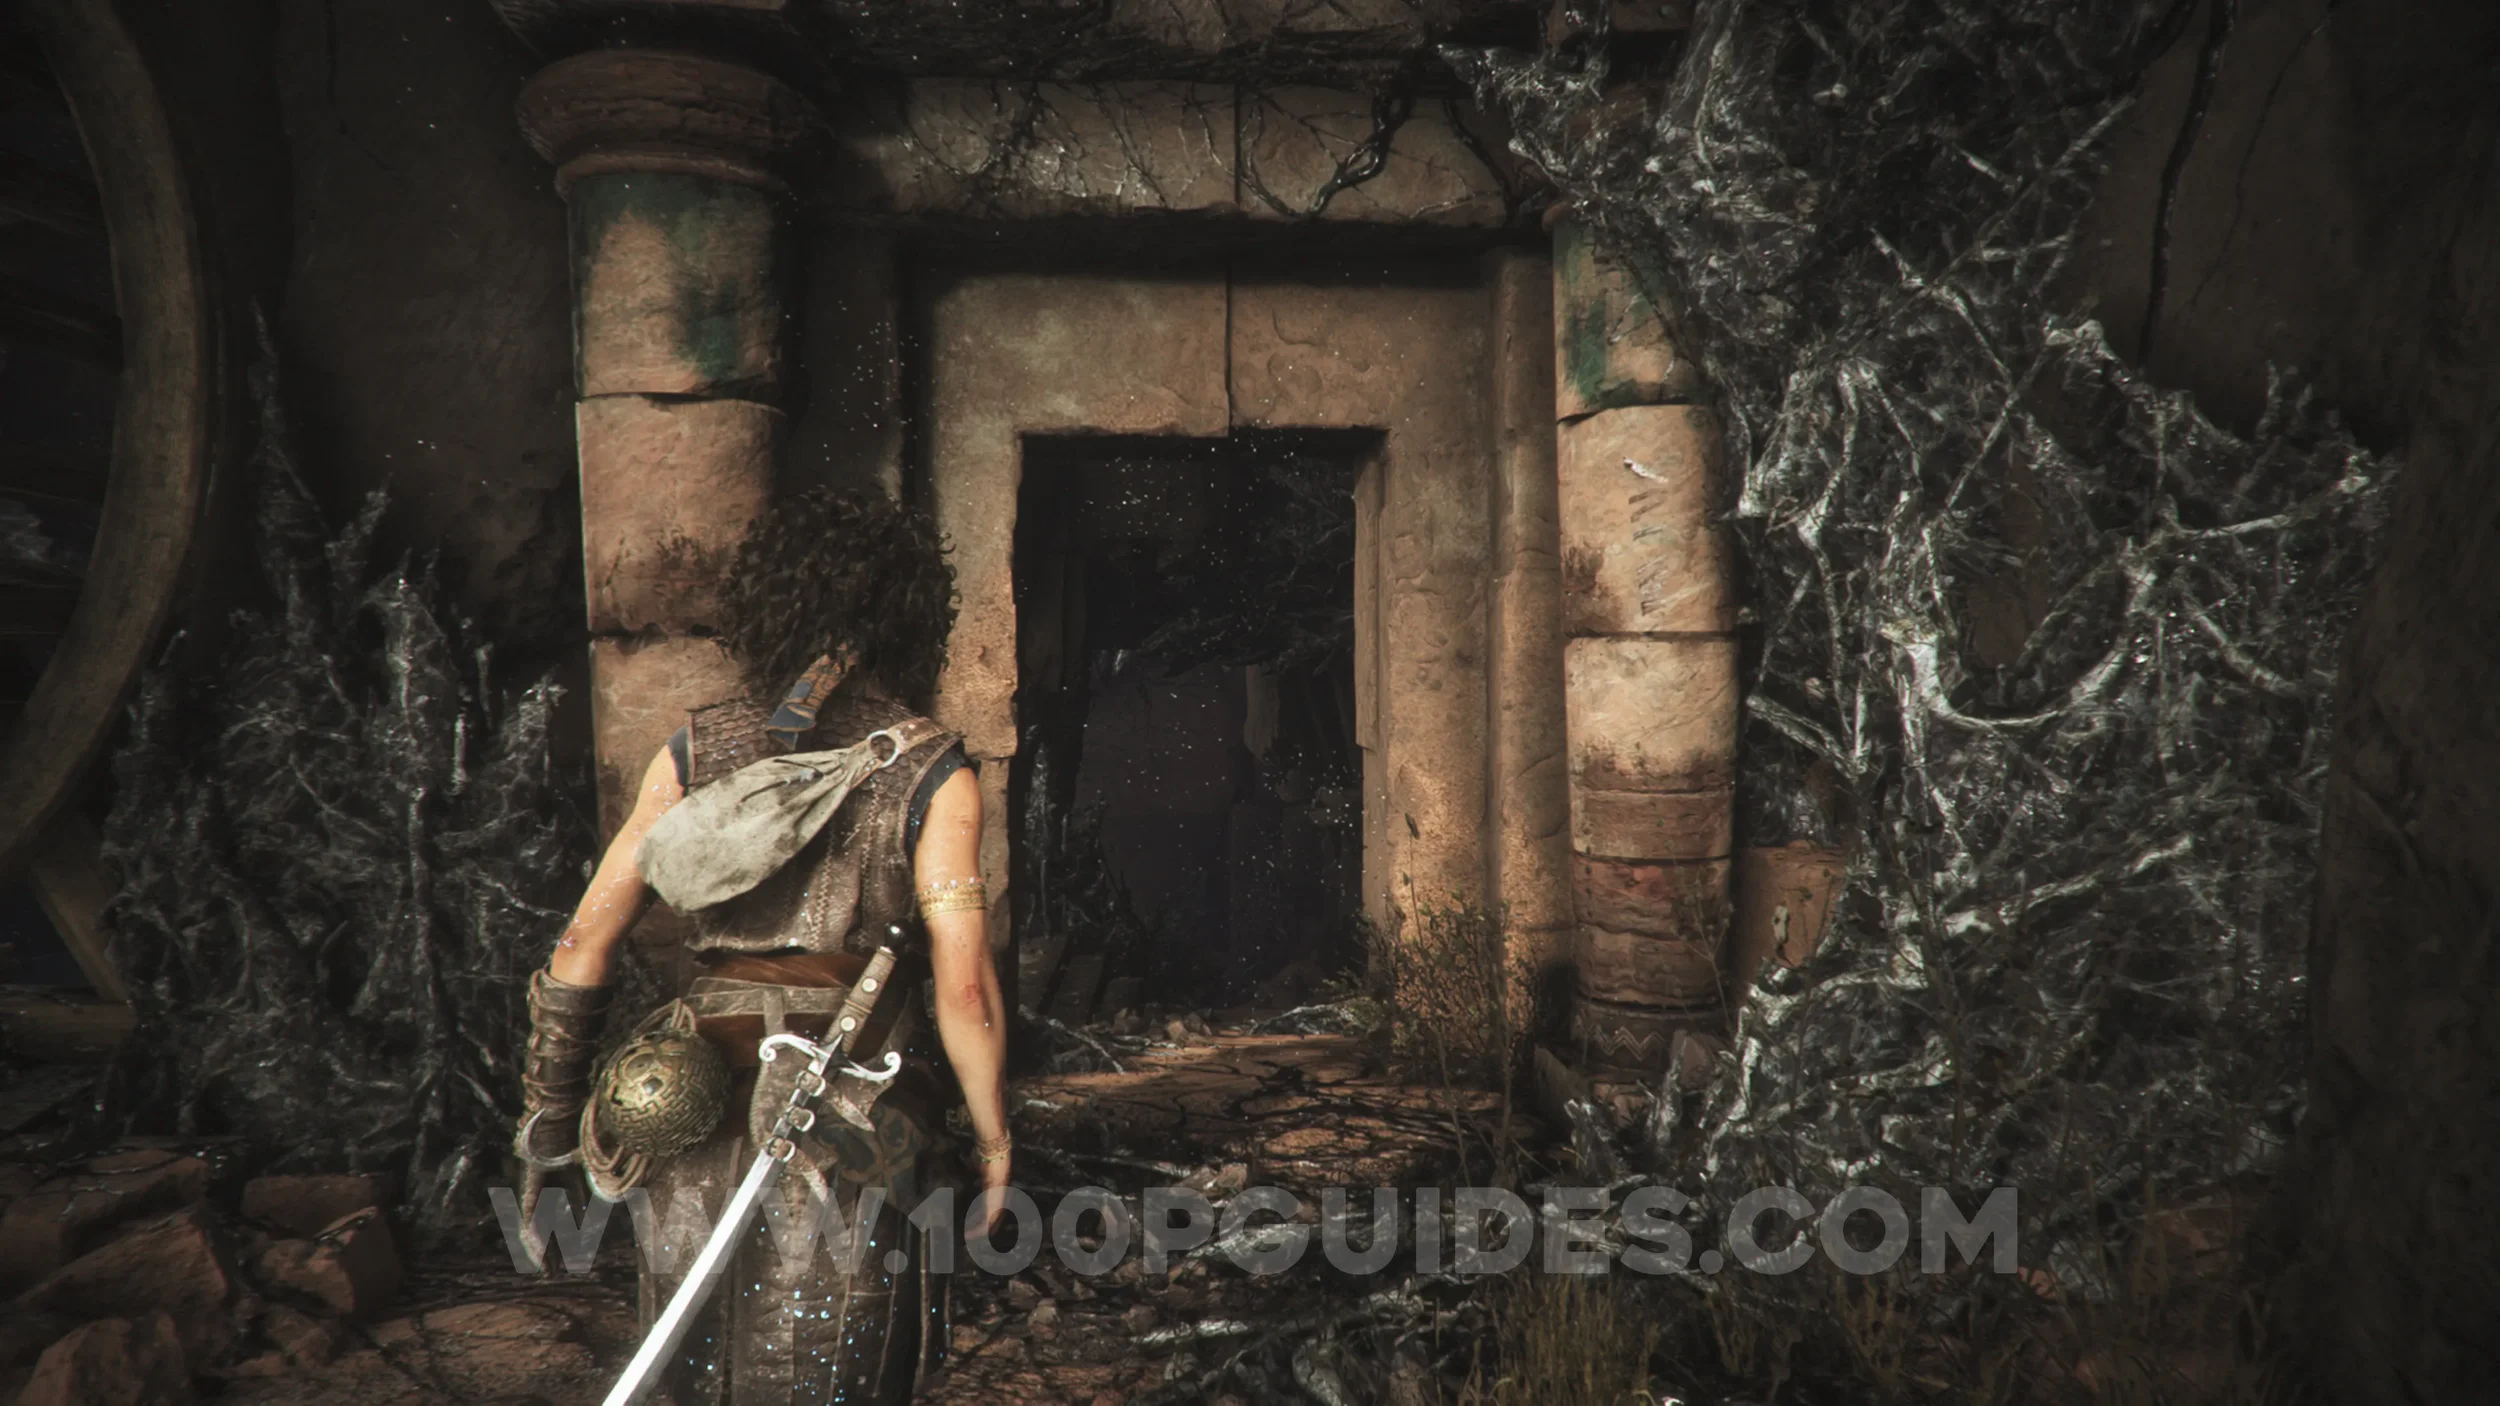
Chapter 11: Sub-Chapter 3.
Return to the hill and go through the stone door frame. Immediately on your left, you'll find the collectible.
Resonance Point
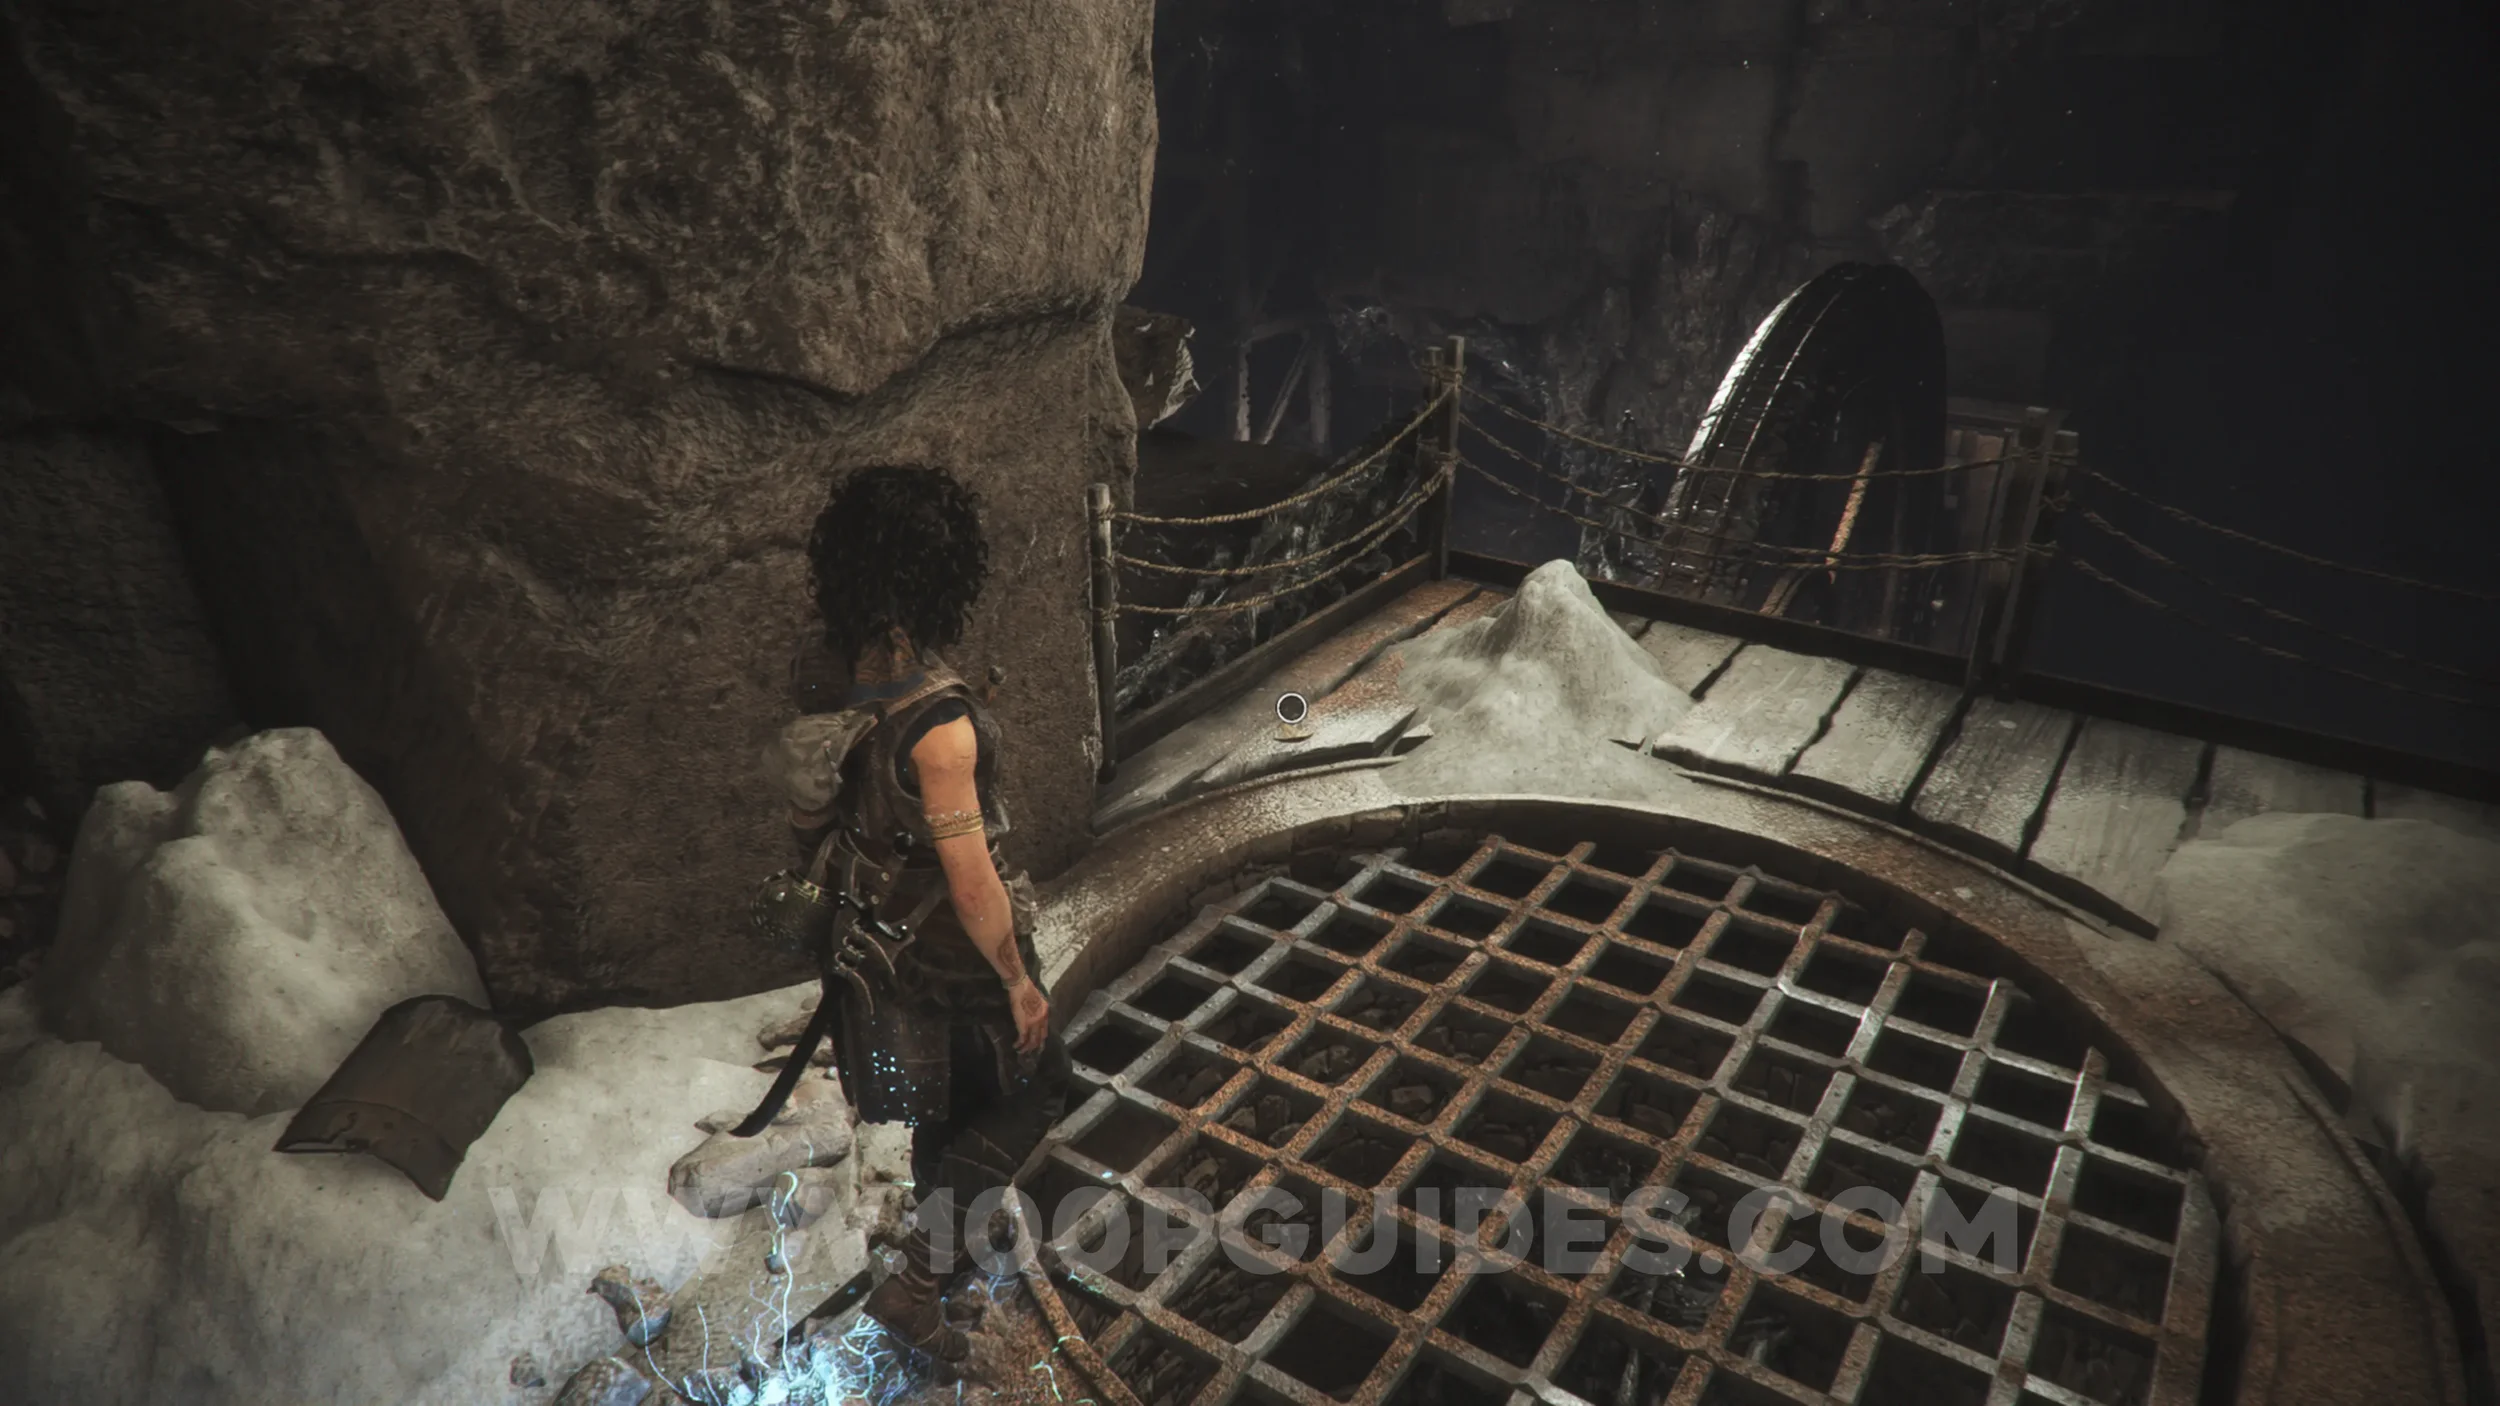
Chapter 11: Sub-Chapter 3.
Continue down the hill a little more, and you'll see it in plain sight.
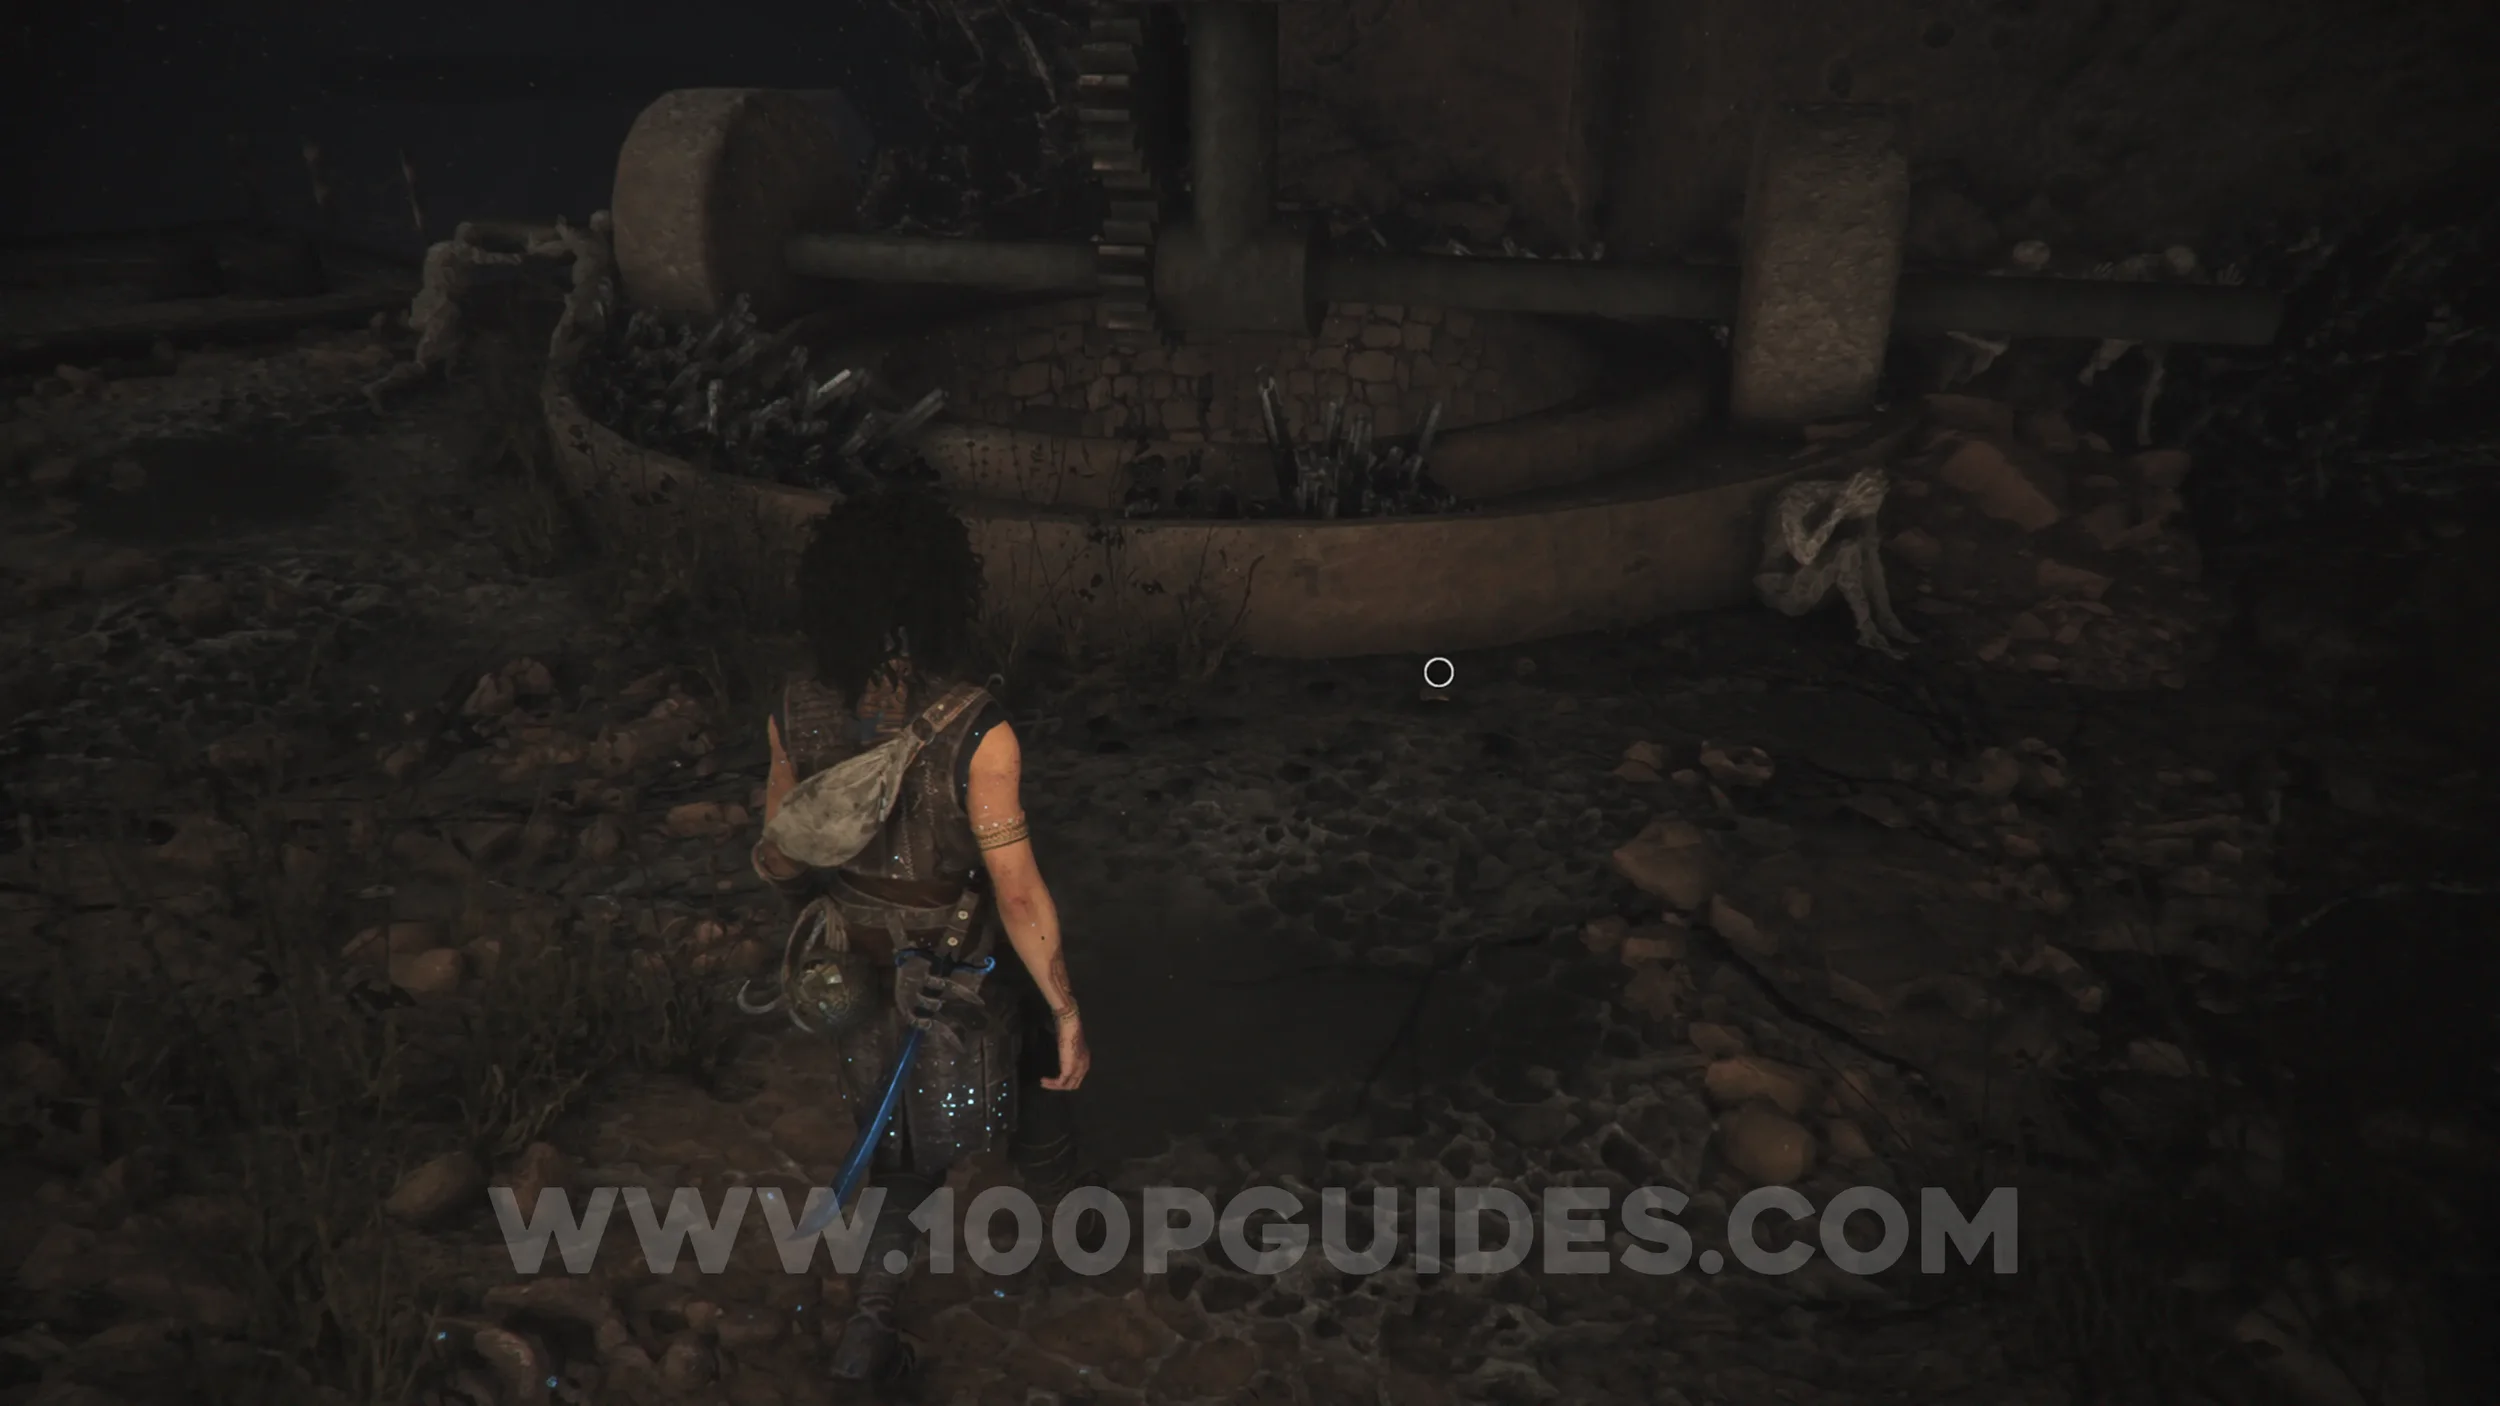
Resonance Point x2
Chapter 11: Sub-Chapter 4.
Obtained automatically once you defeat the next group of enemies.
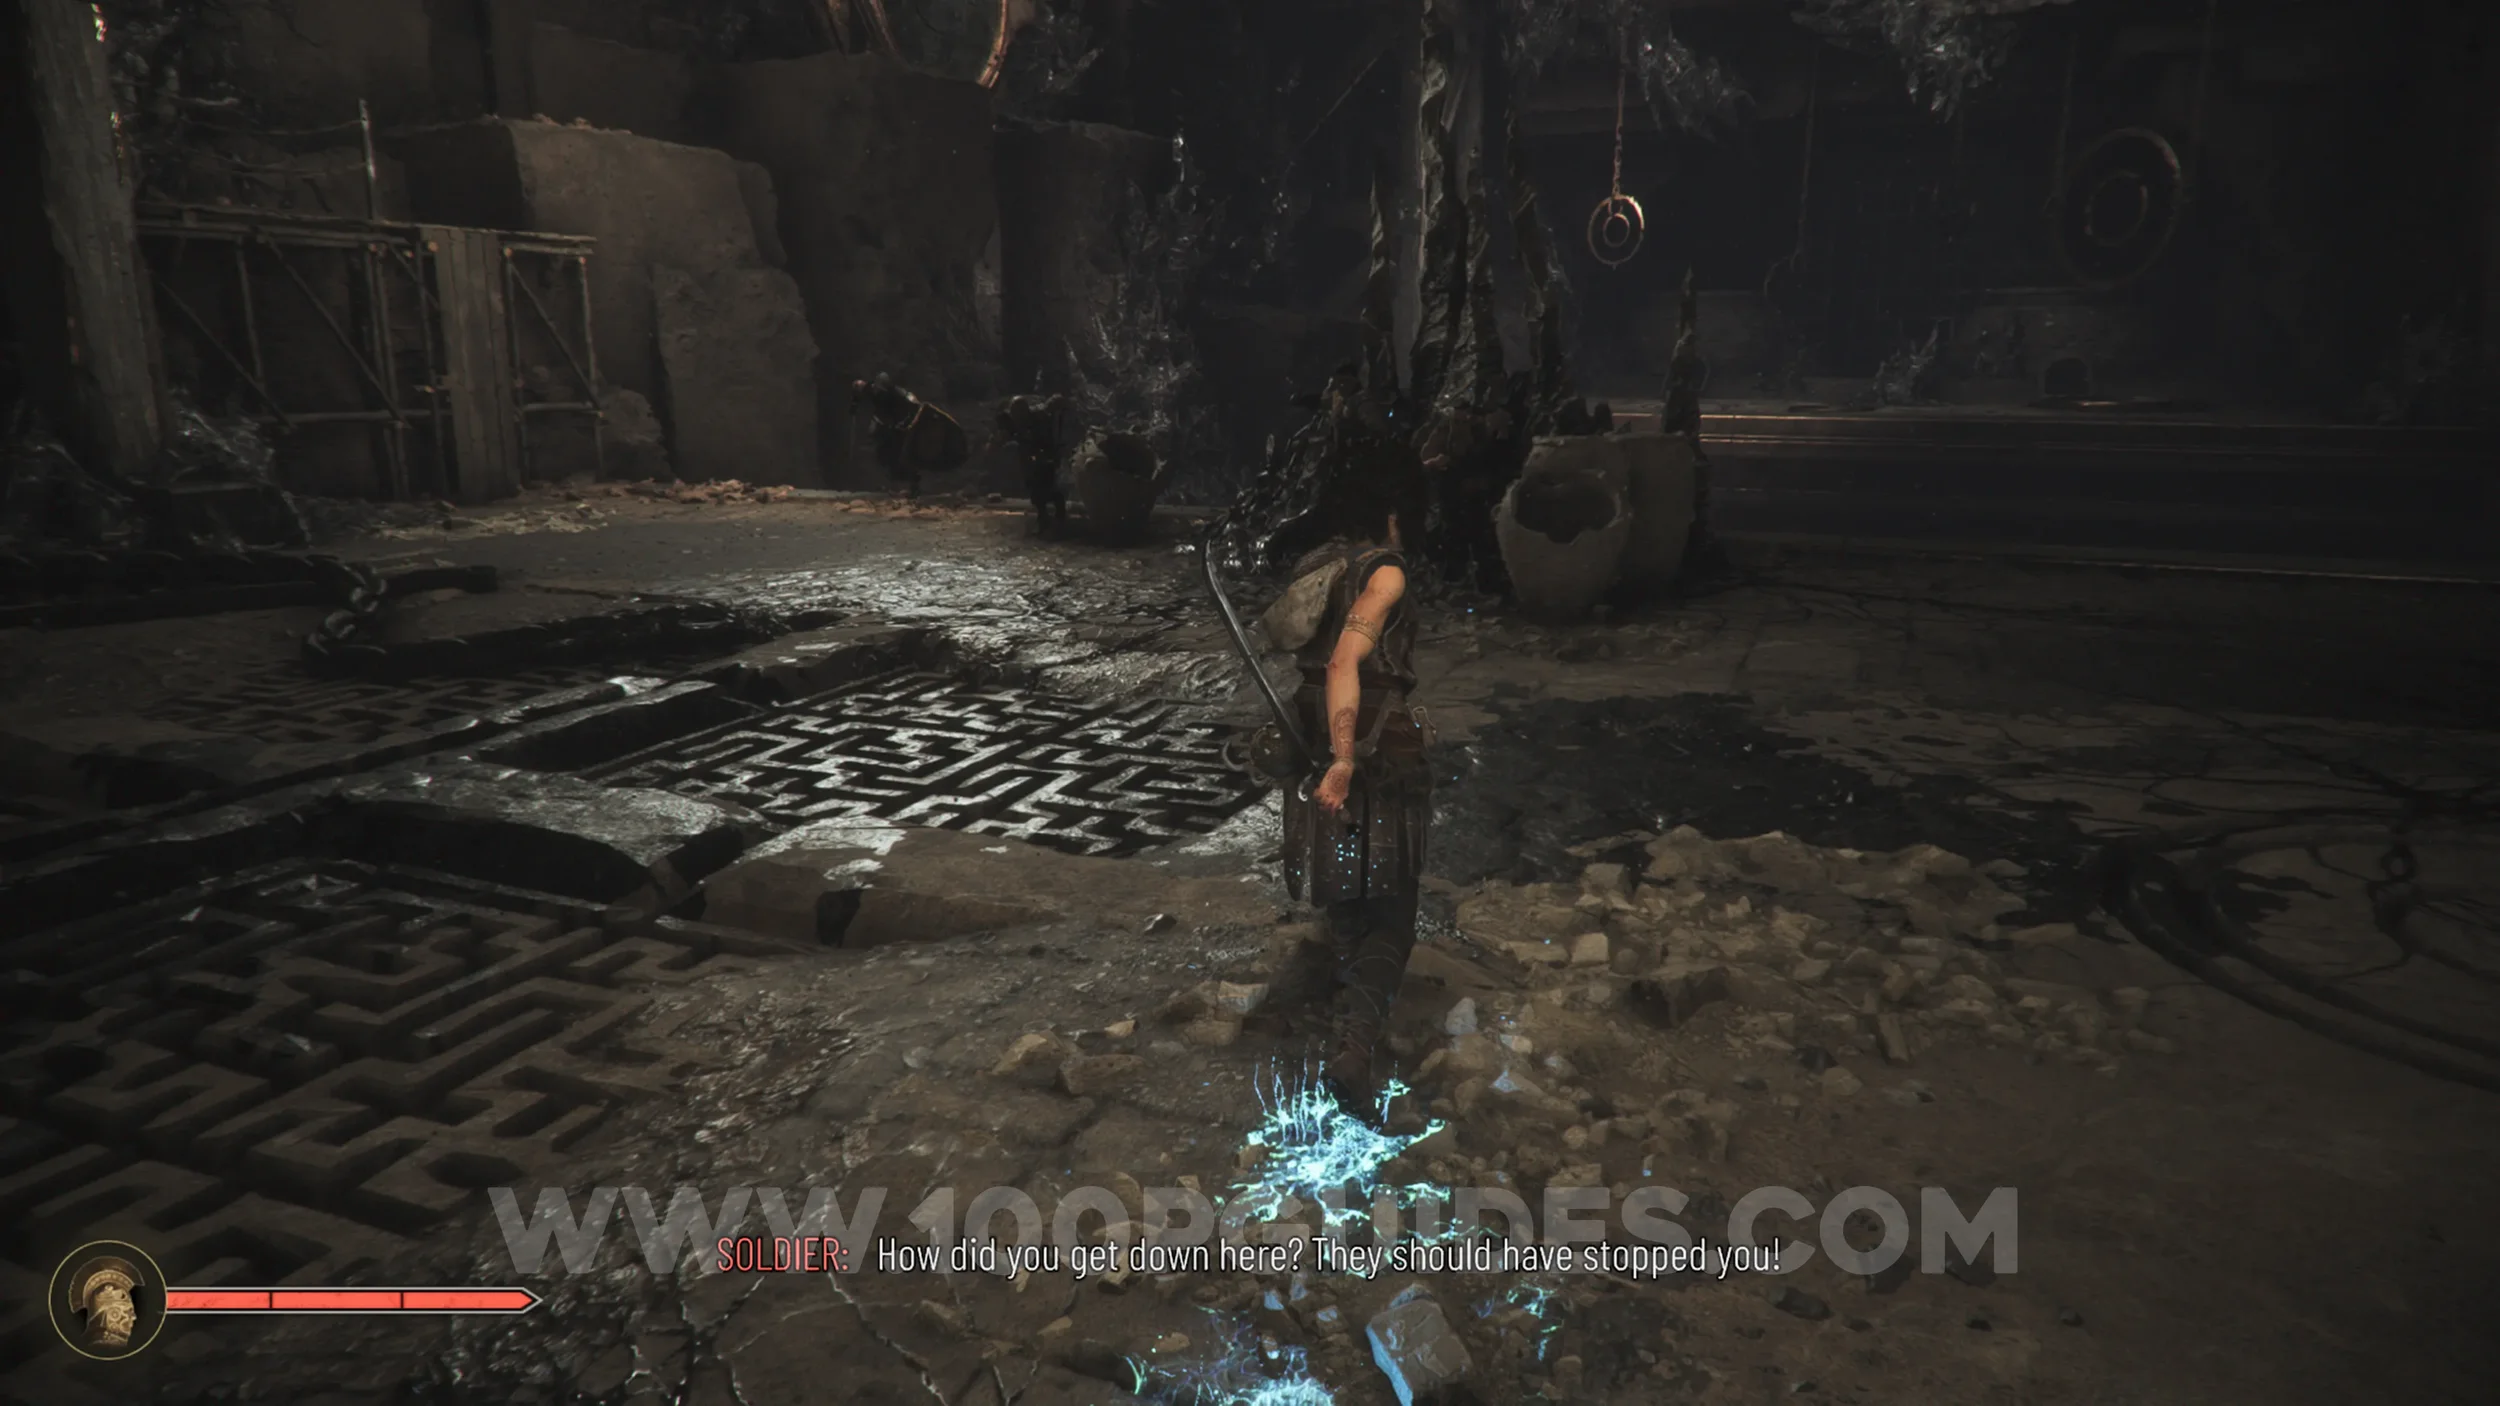
Charm: Bracelet #5
Chapter 11: Sub-Chapter 4.
After defeating the previous enemies, climb along the left-side wall to cross over to the other side of the gap. From there, you'll find the collectible behind the right furnace at the end of the room.
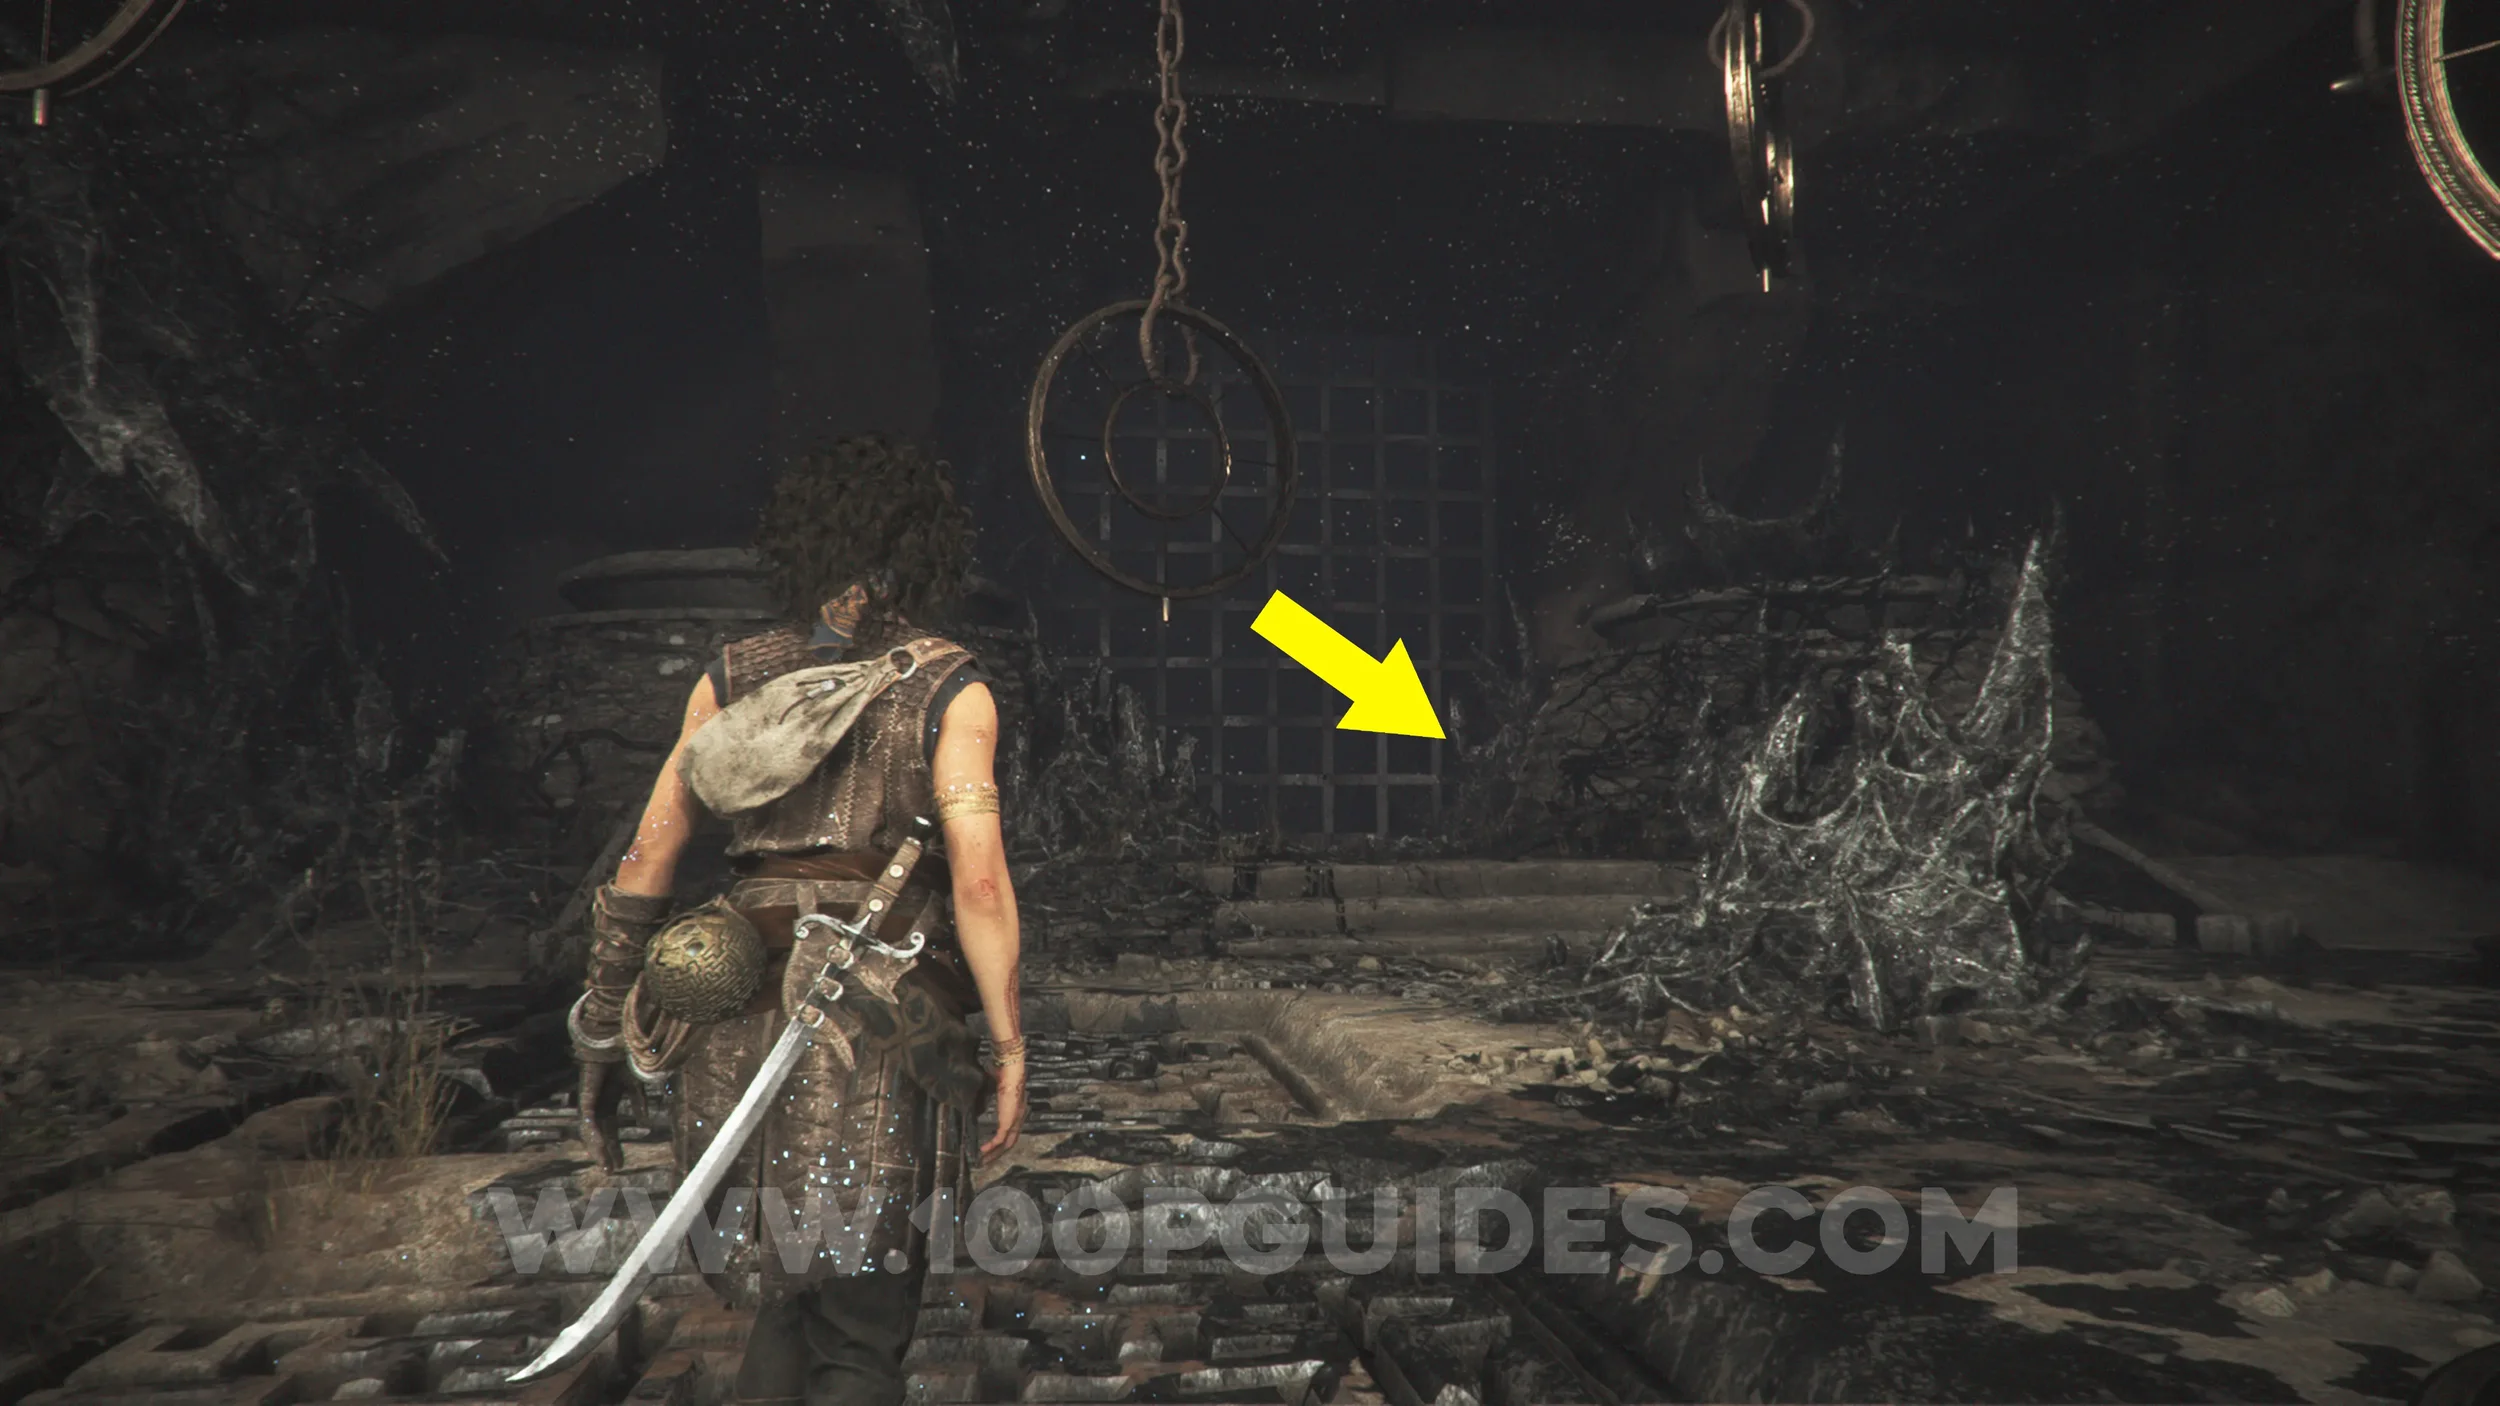
Resonance Point x2
Chapter 11: Sub-Chapter 4.
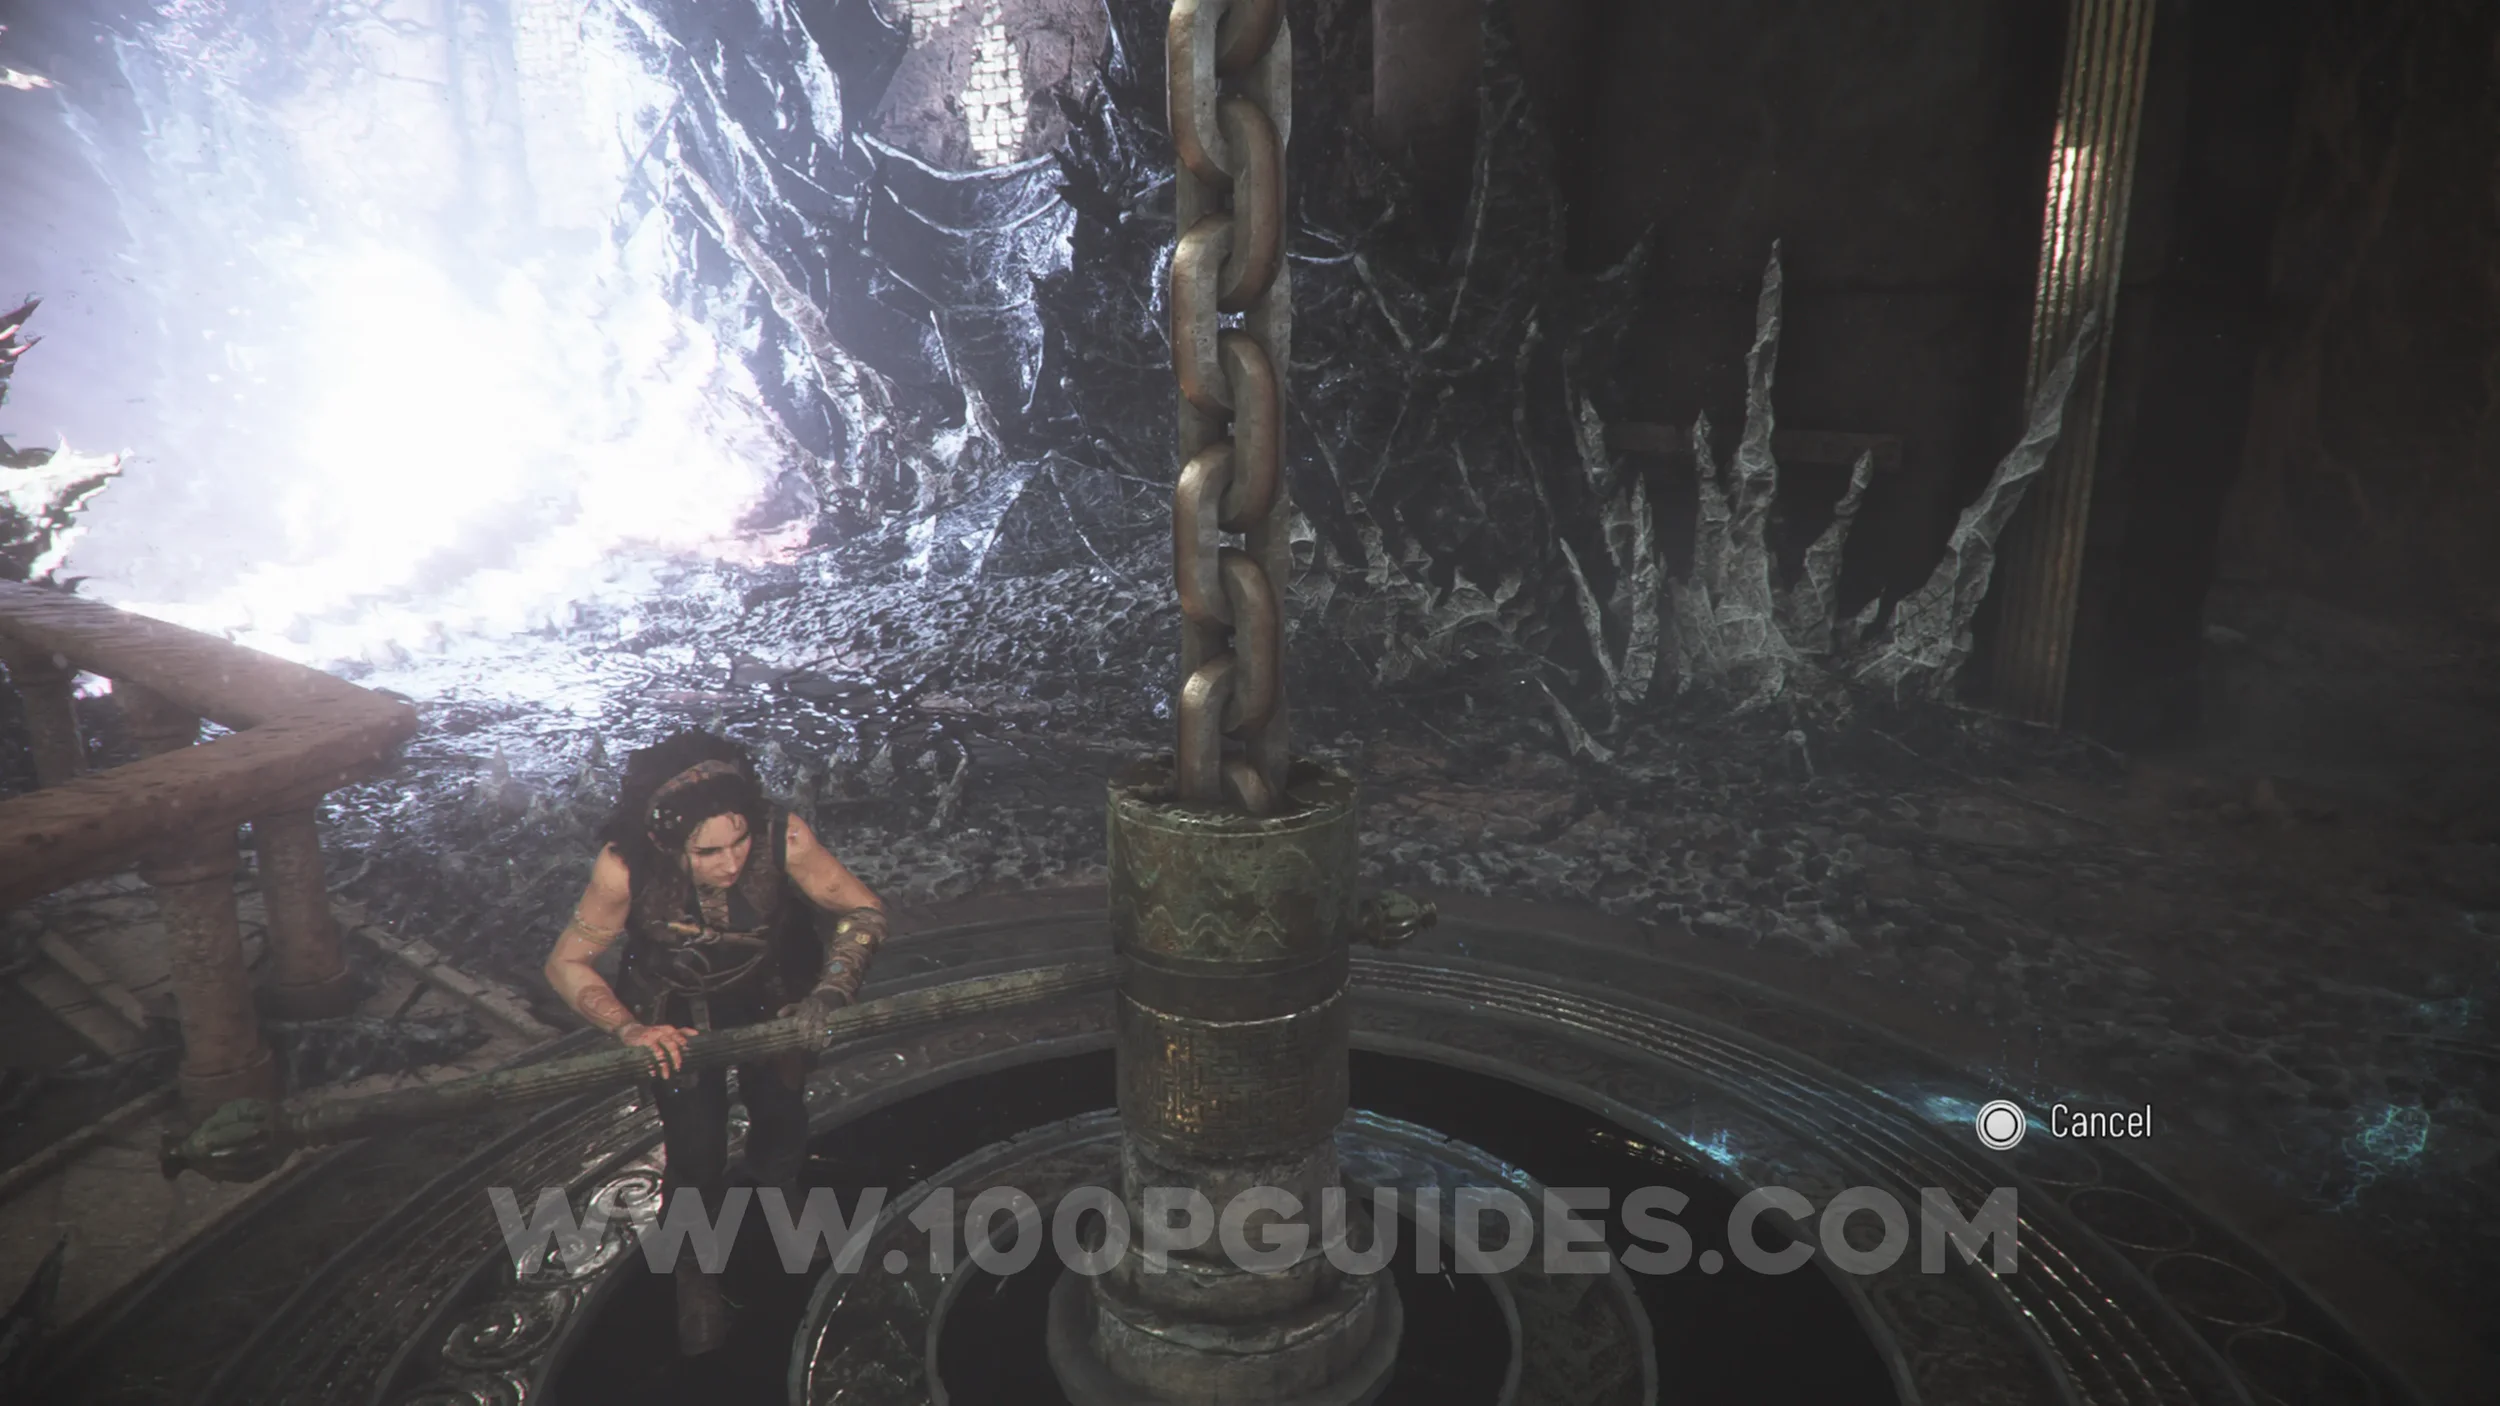
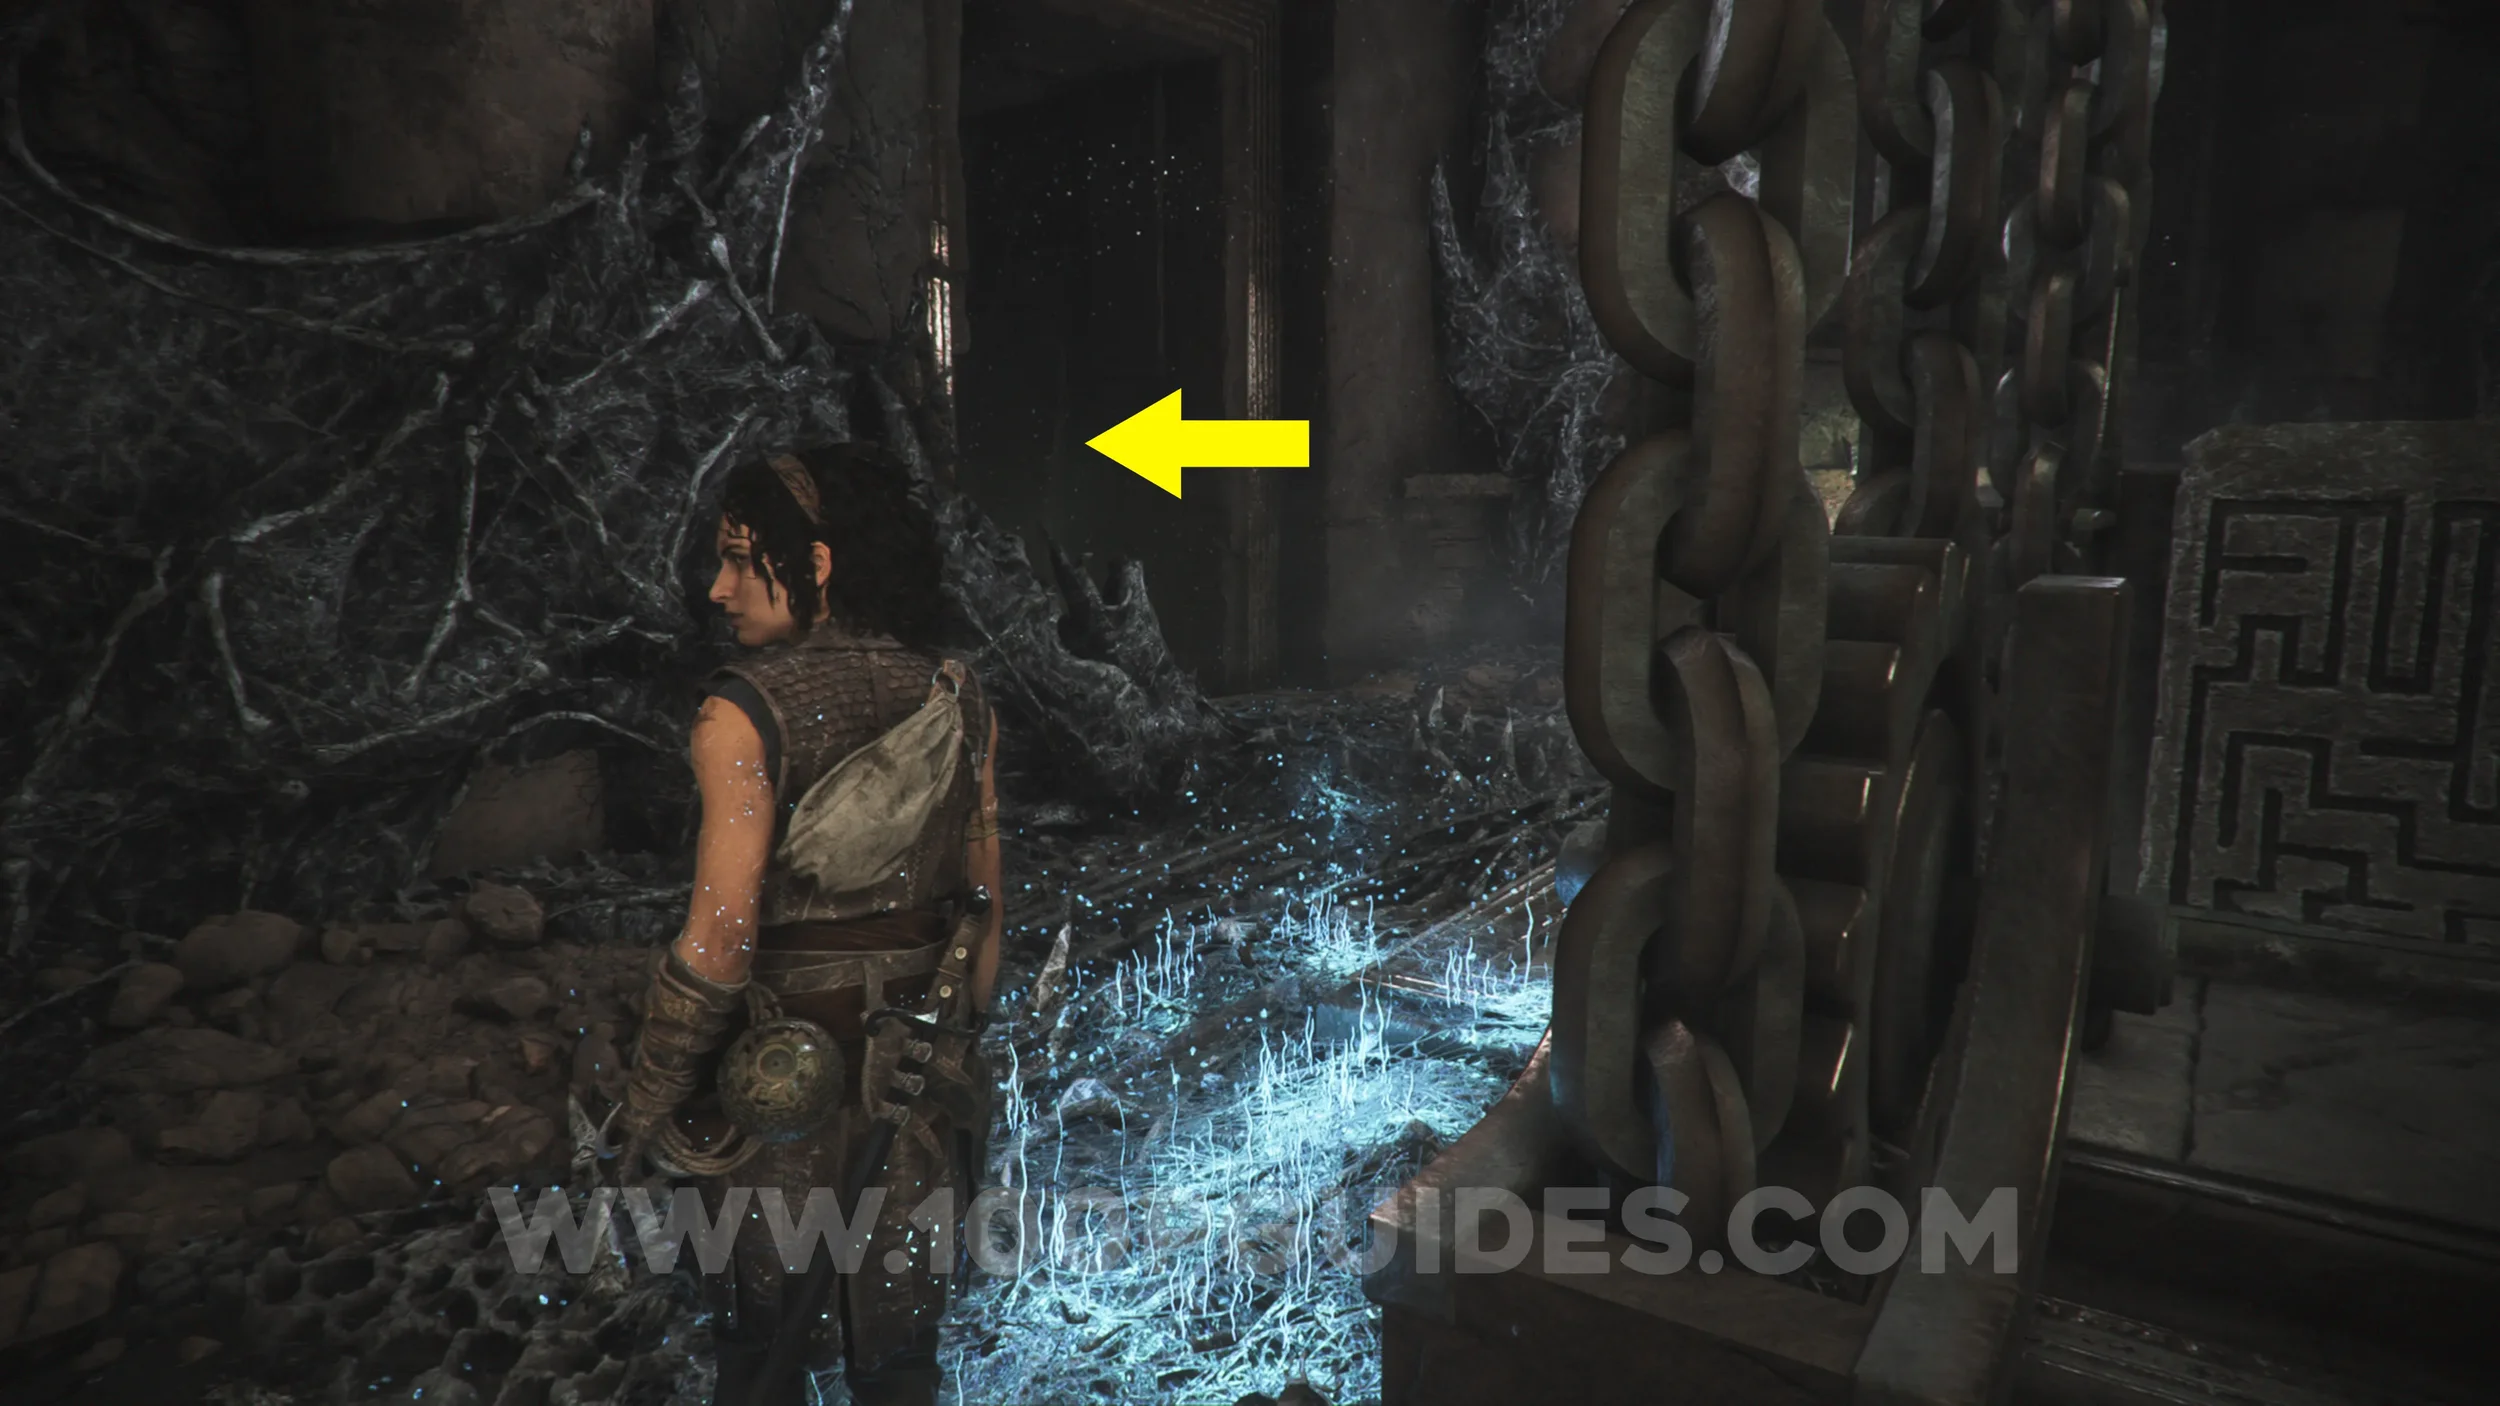
After the previous collectible, you'll ride a lift up to the area where you have to use the crank to redirect the light. Go through the cave to the natural light and use your sphere to clear the petrified substance blocking the lever. Use this lever to send the massive beam of light through, cleansing all the petrified substance around the room. Then head left until you reach the now-usable crank. At the crank, look for a now-open corridor on your left, where you'll find the points inside.
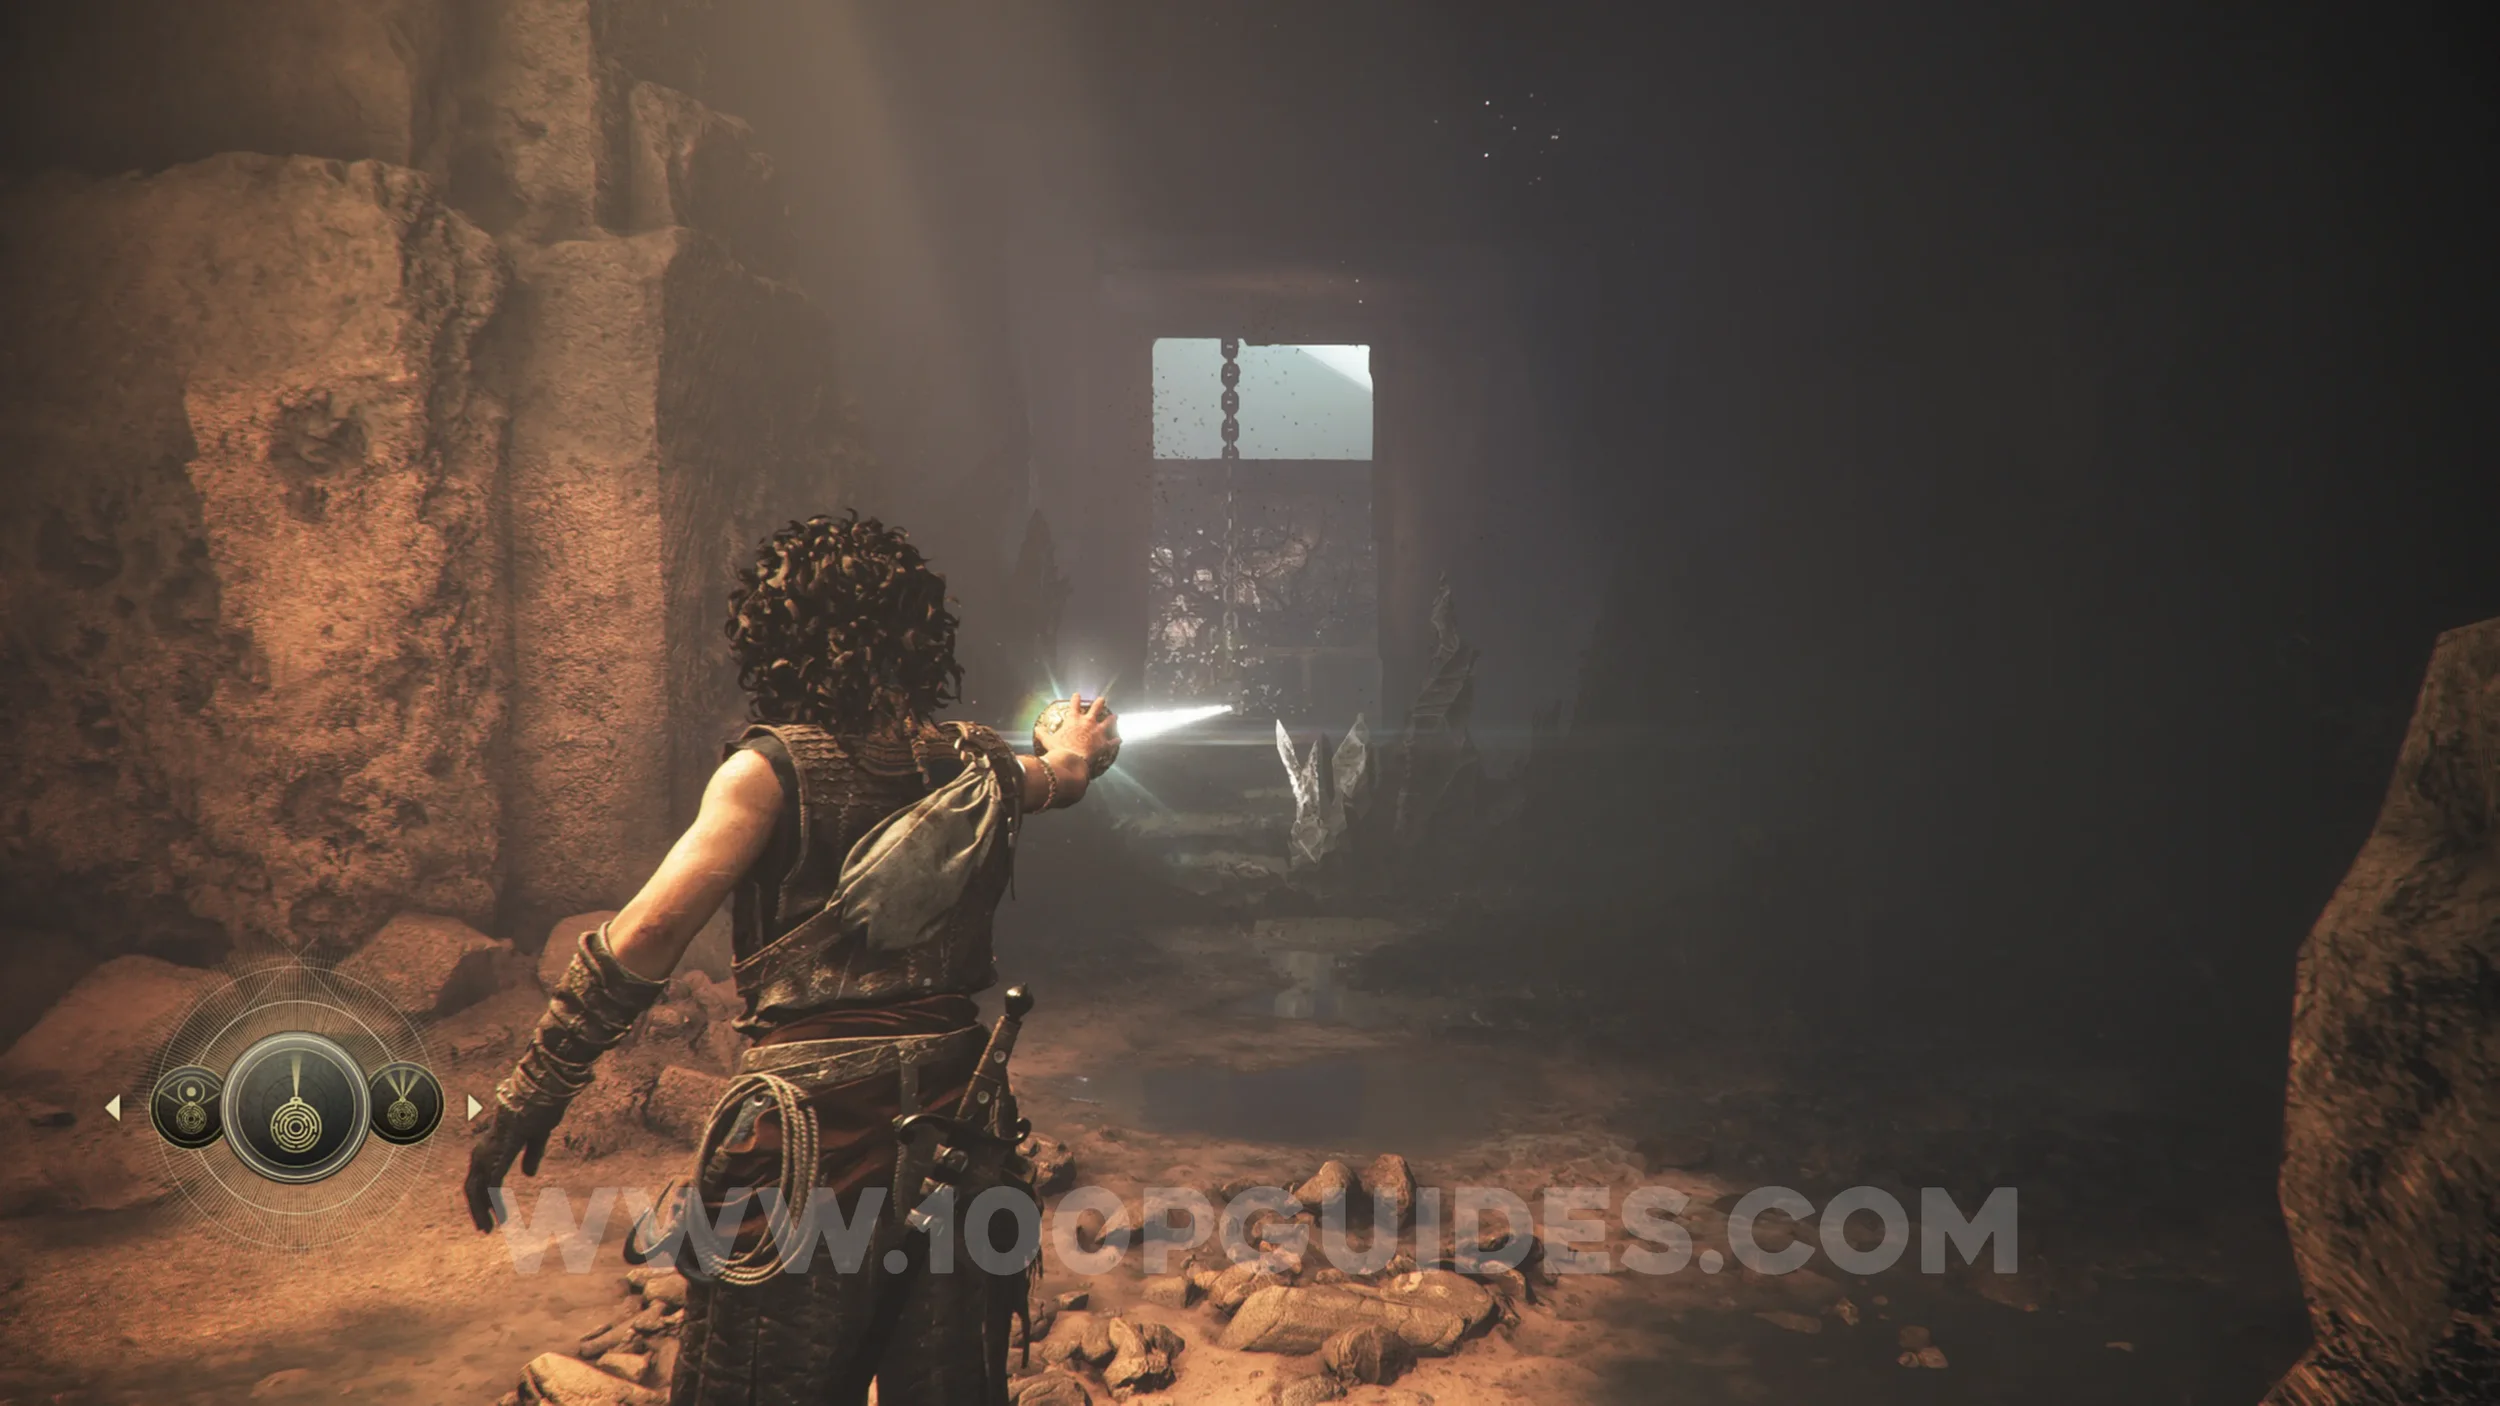
Artefact: Burnt Mosaic
Chapter 11: Sub-Chapter 4.
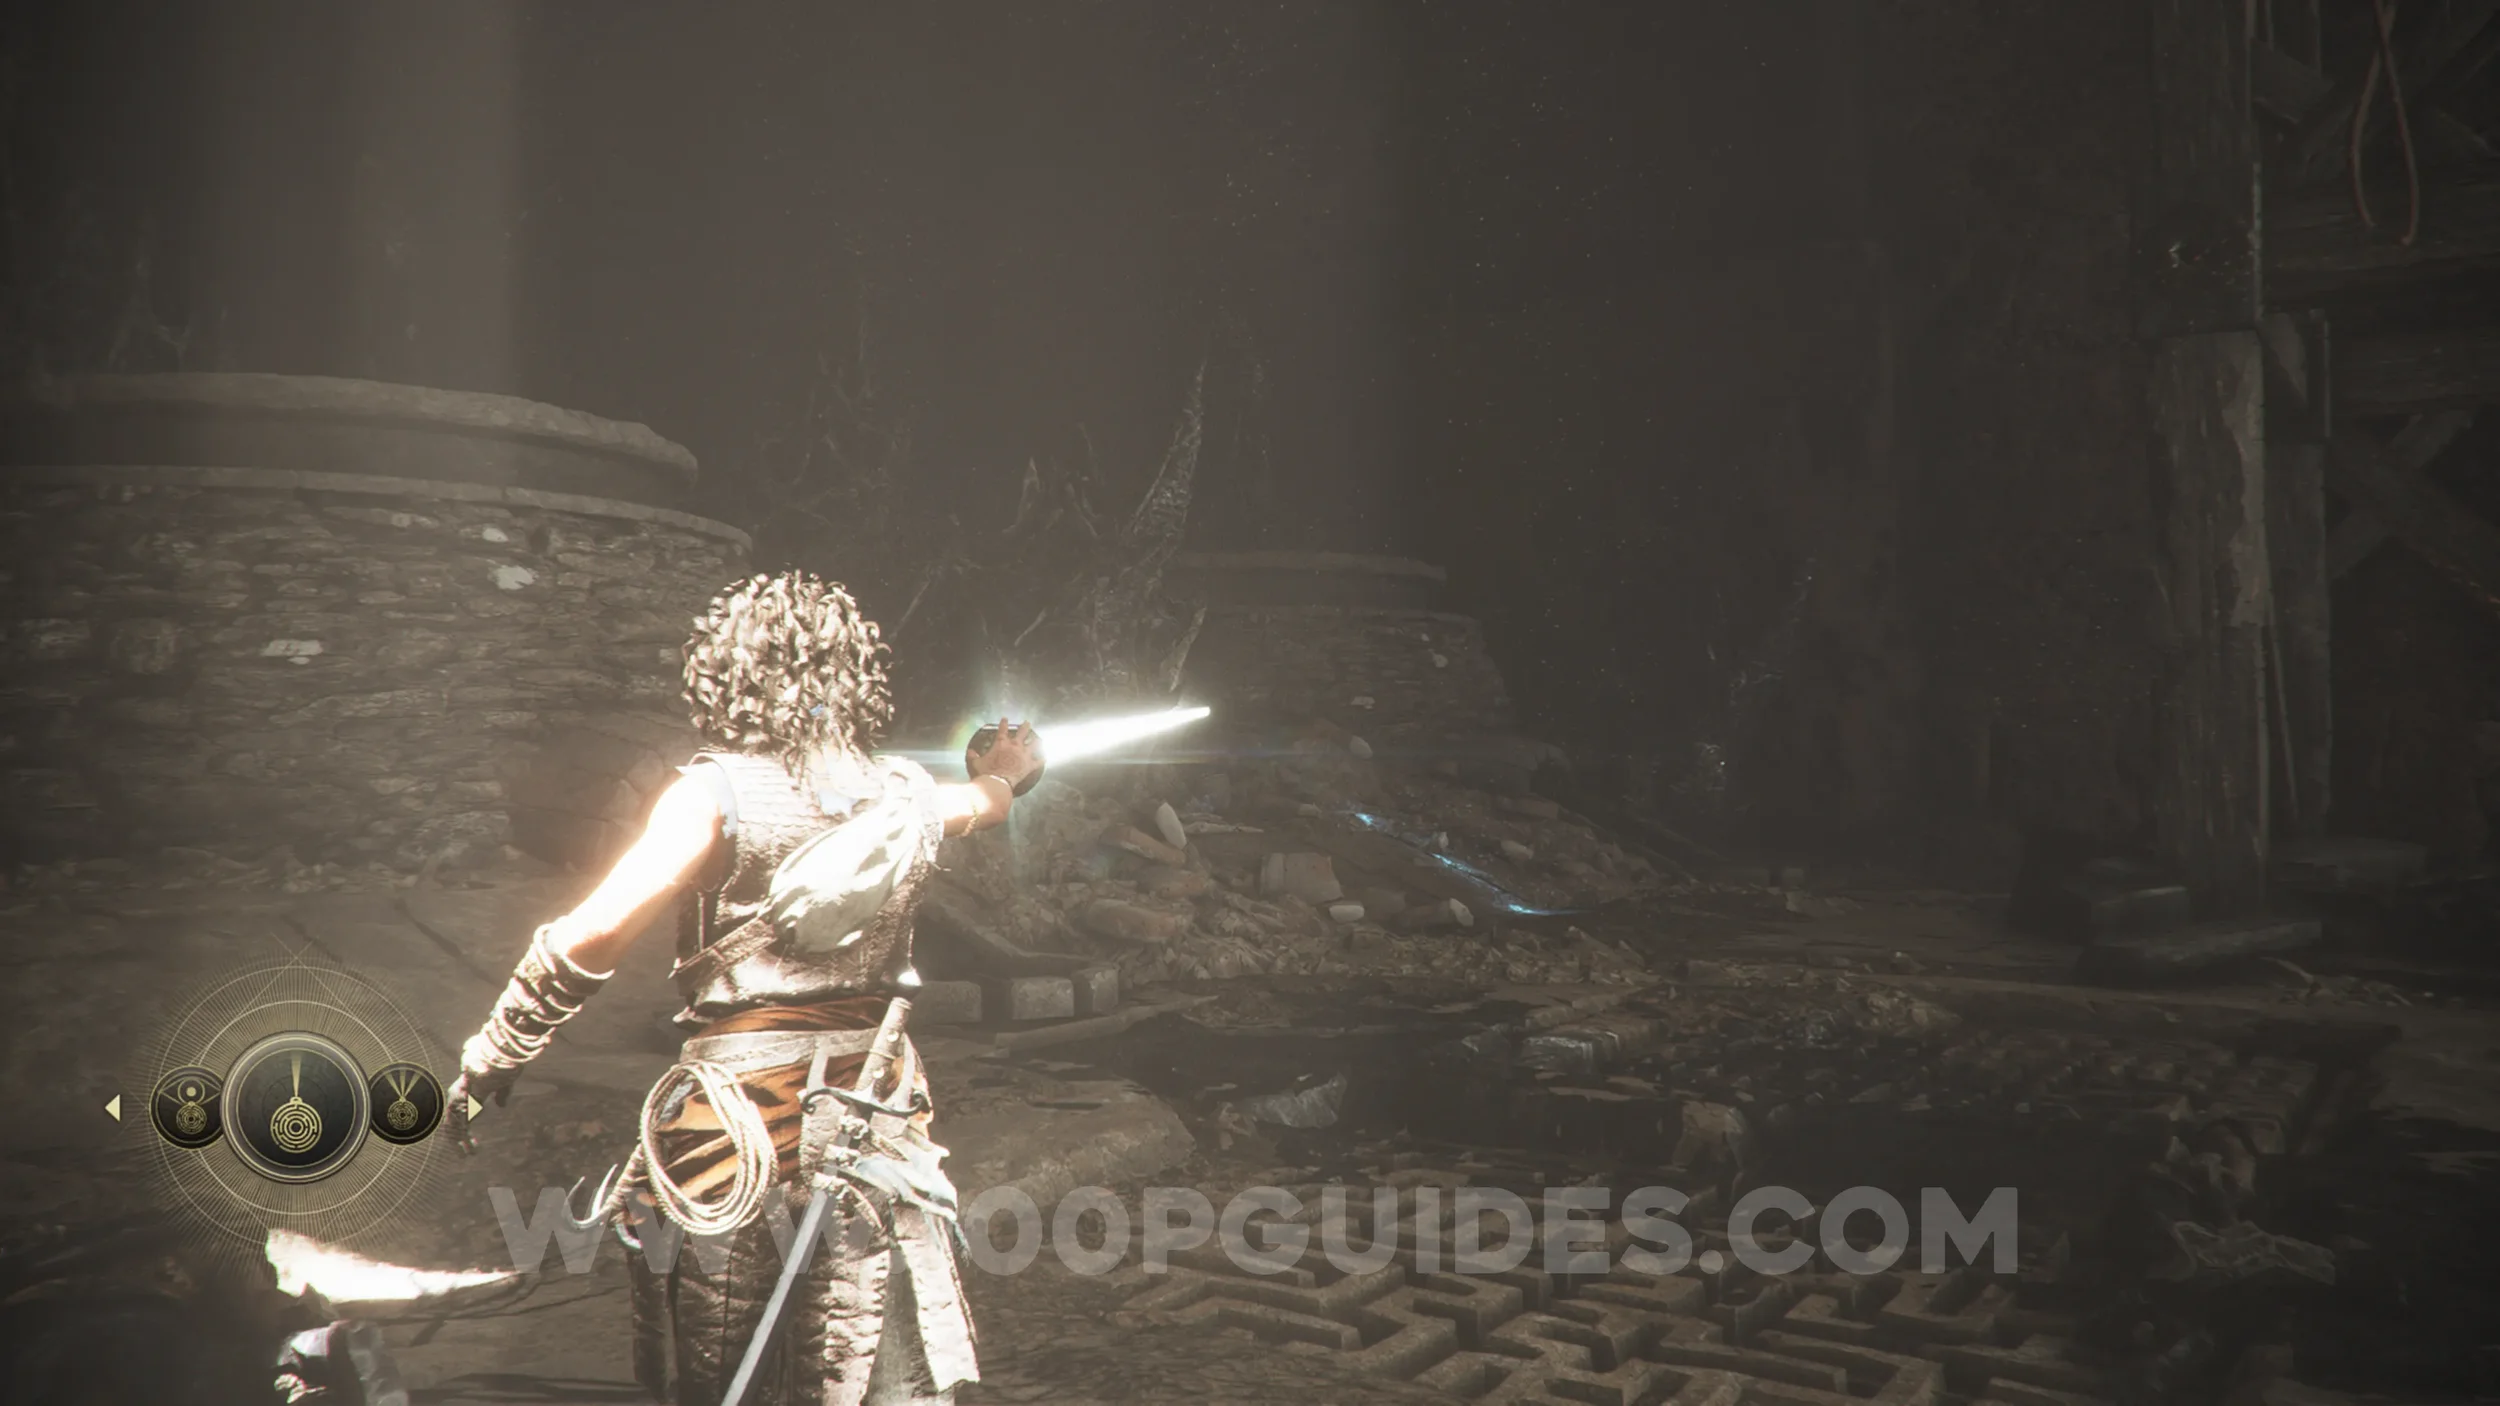
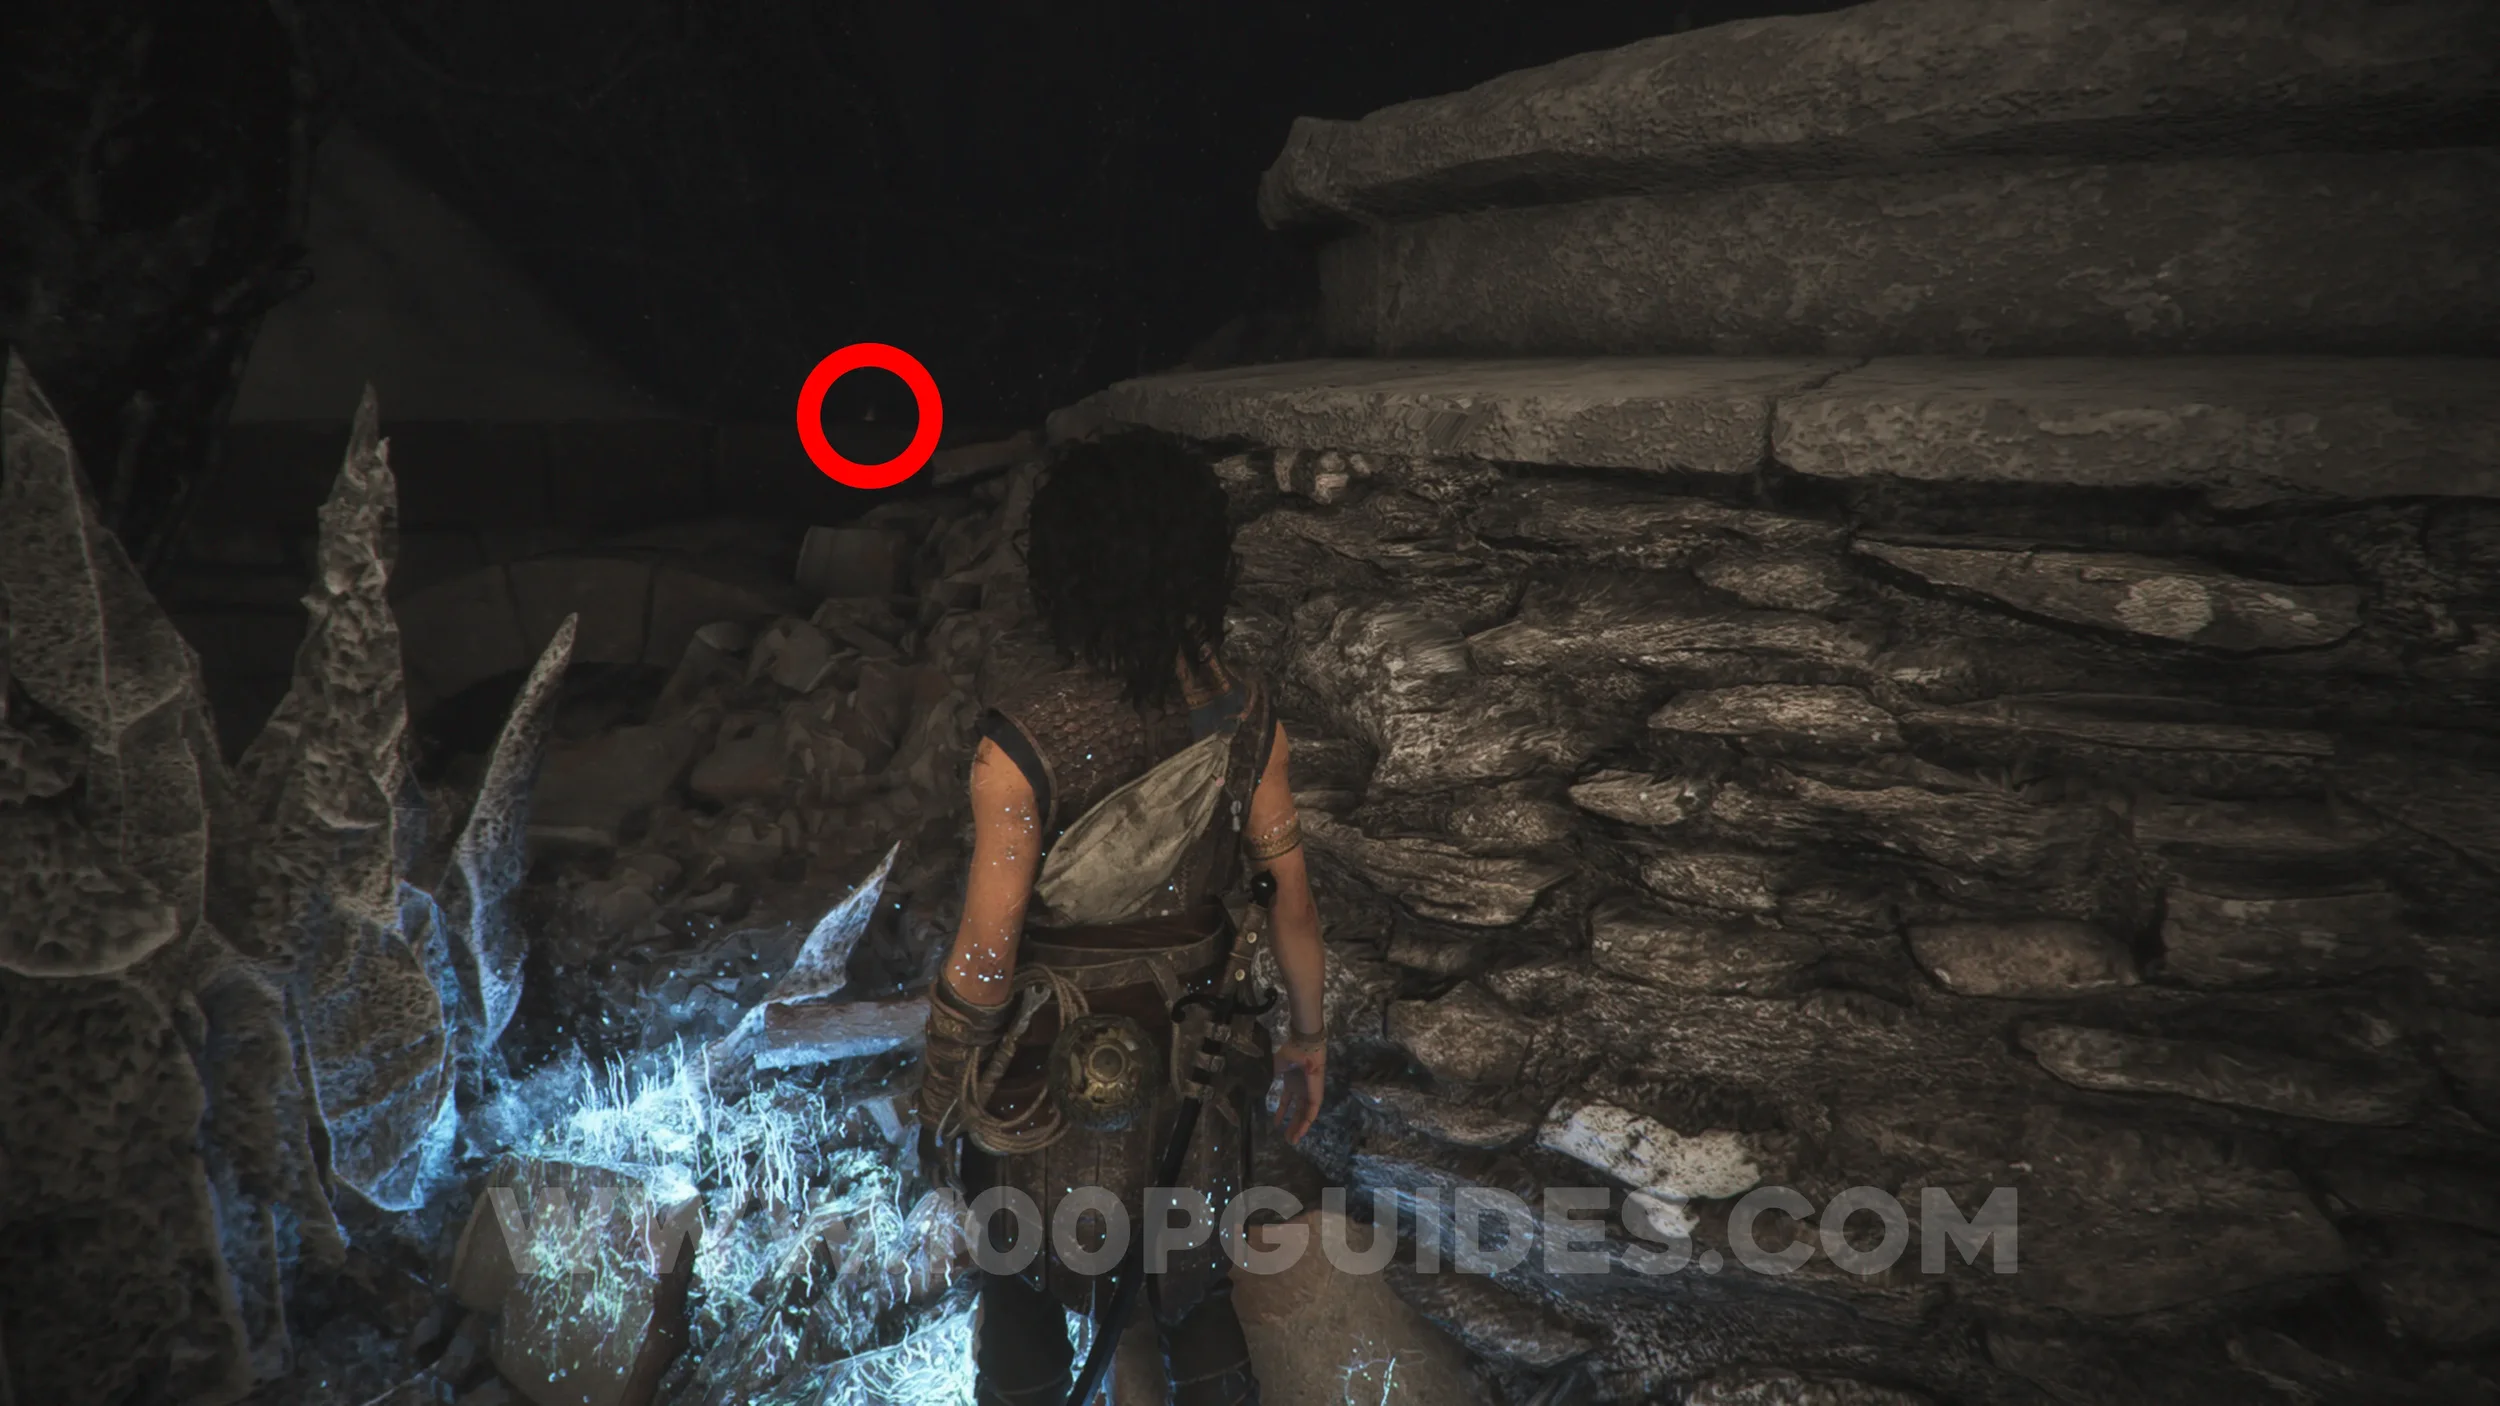
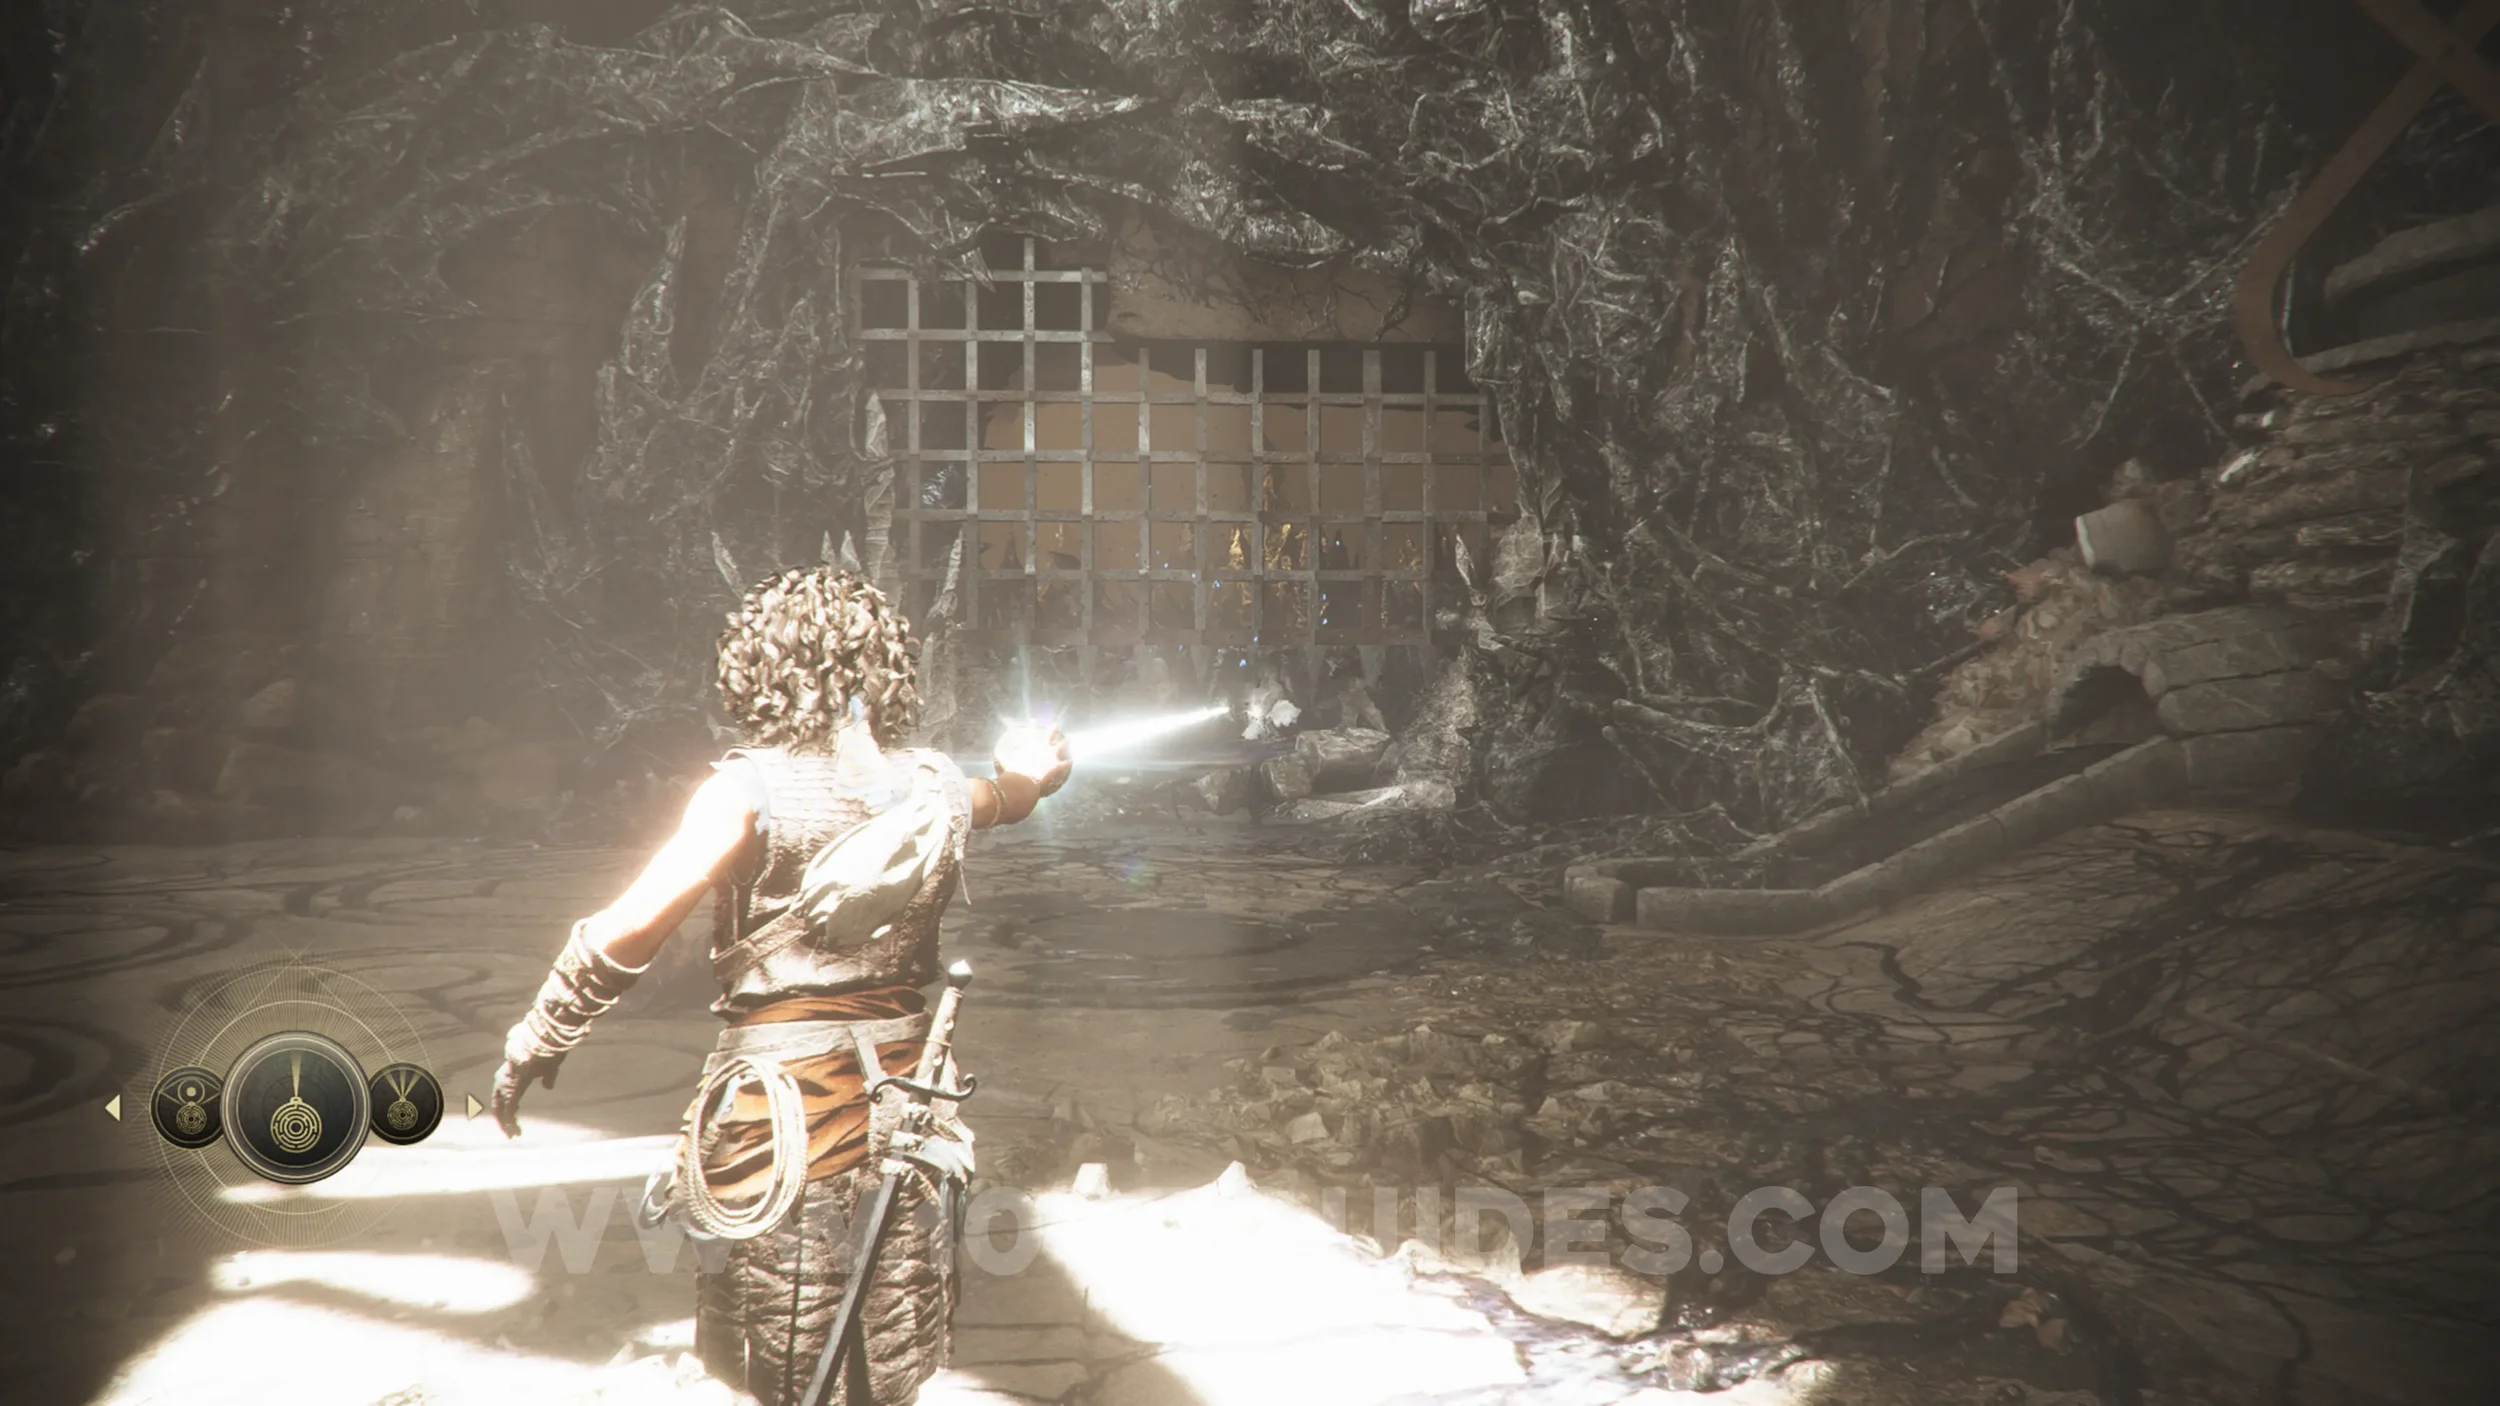
After redirecting the light through the giant lens, you'll grapple down to the area below, where you have to defeat another two puppet enemies with blue tendrils. Then use the sphere to redirect the light and destroy the petrified substance blocking the path between the two right-hand furnaces in the room. The collectible will be behind the destroyed substance.
Resonance Point
Chapter 11: Sub-Chapter 4.
In the room where you got the previous collectible, use the sphere to redirect the light and destroy the petrified substance blocking the gap under the gate in front of you. Go under the gate, and in the next room, head left to find the collectible.
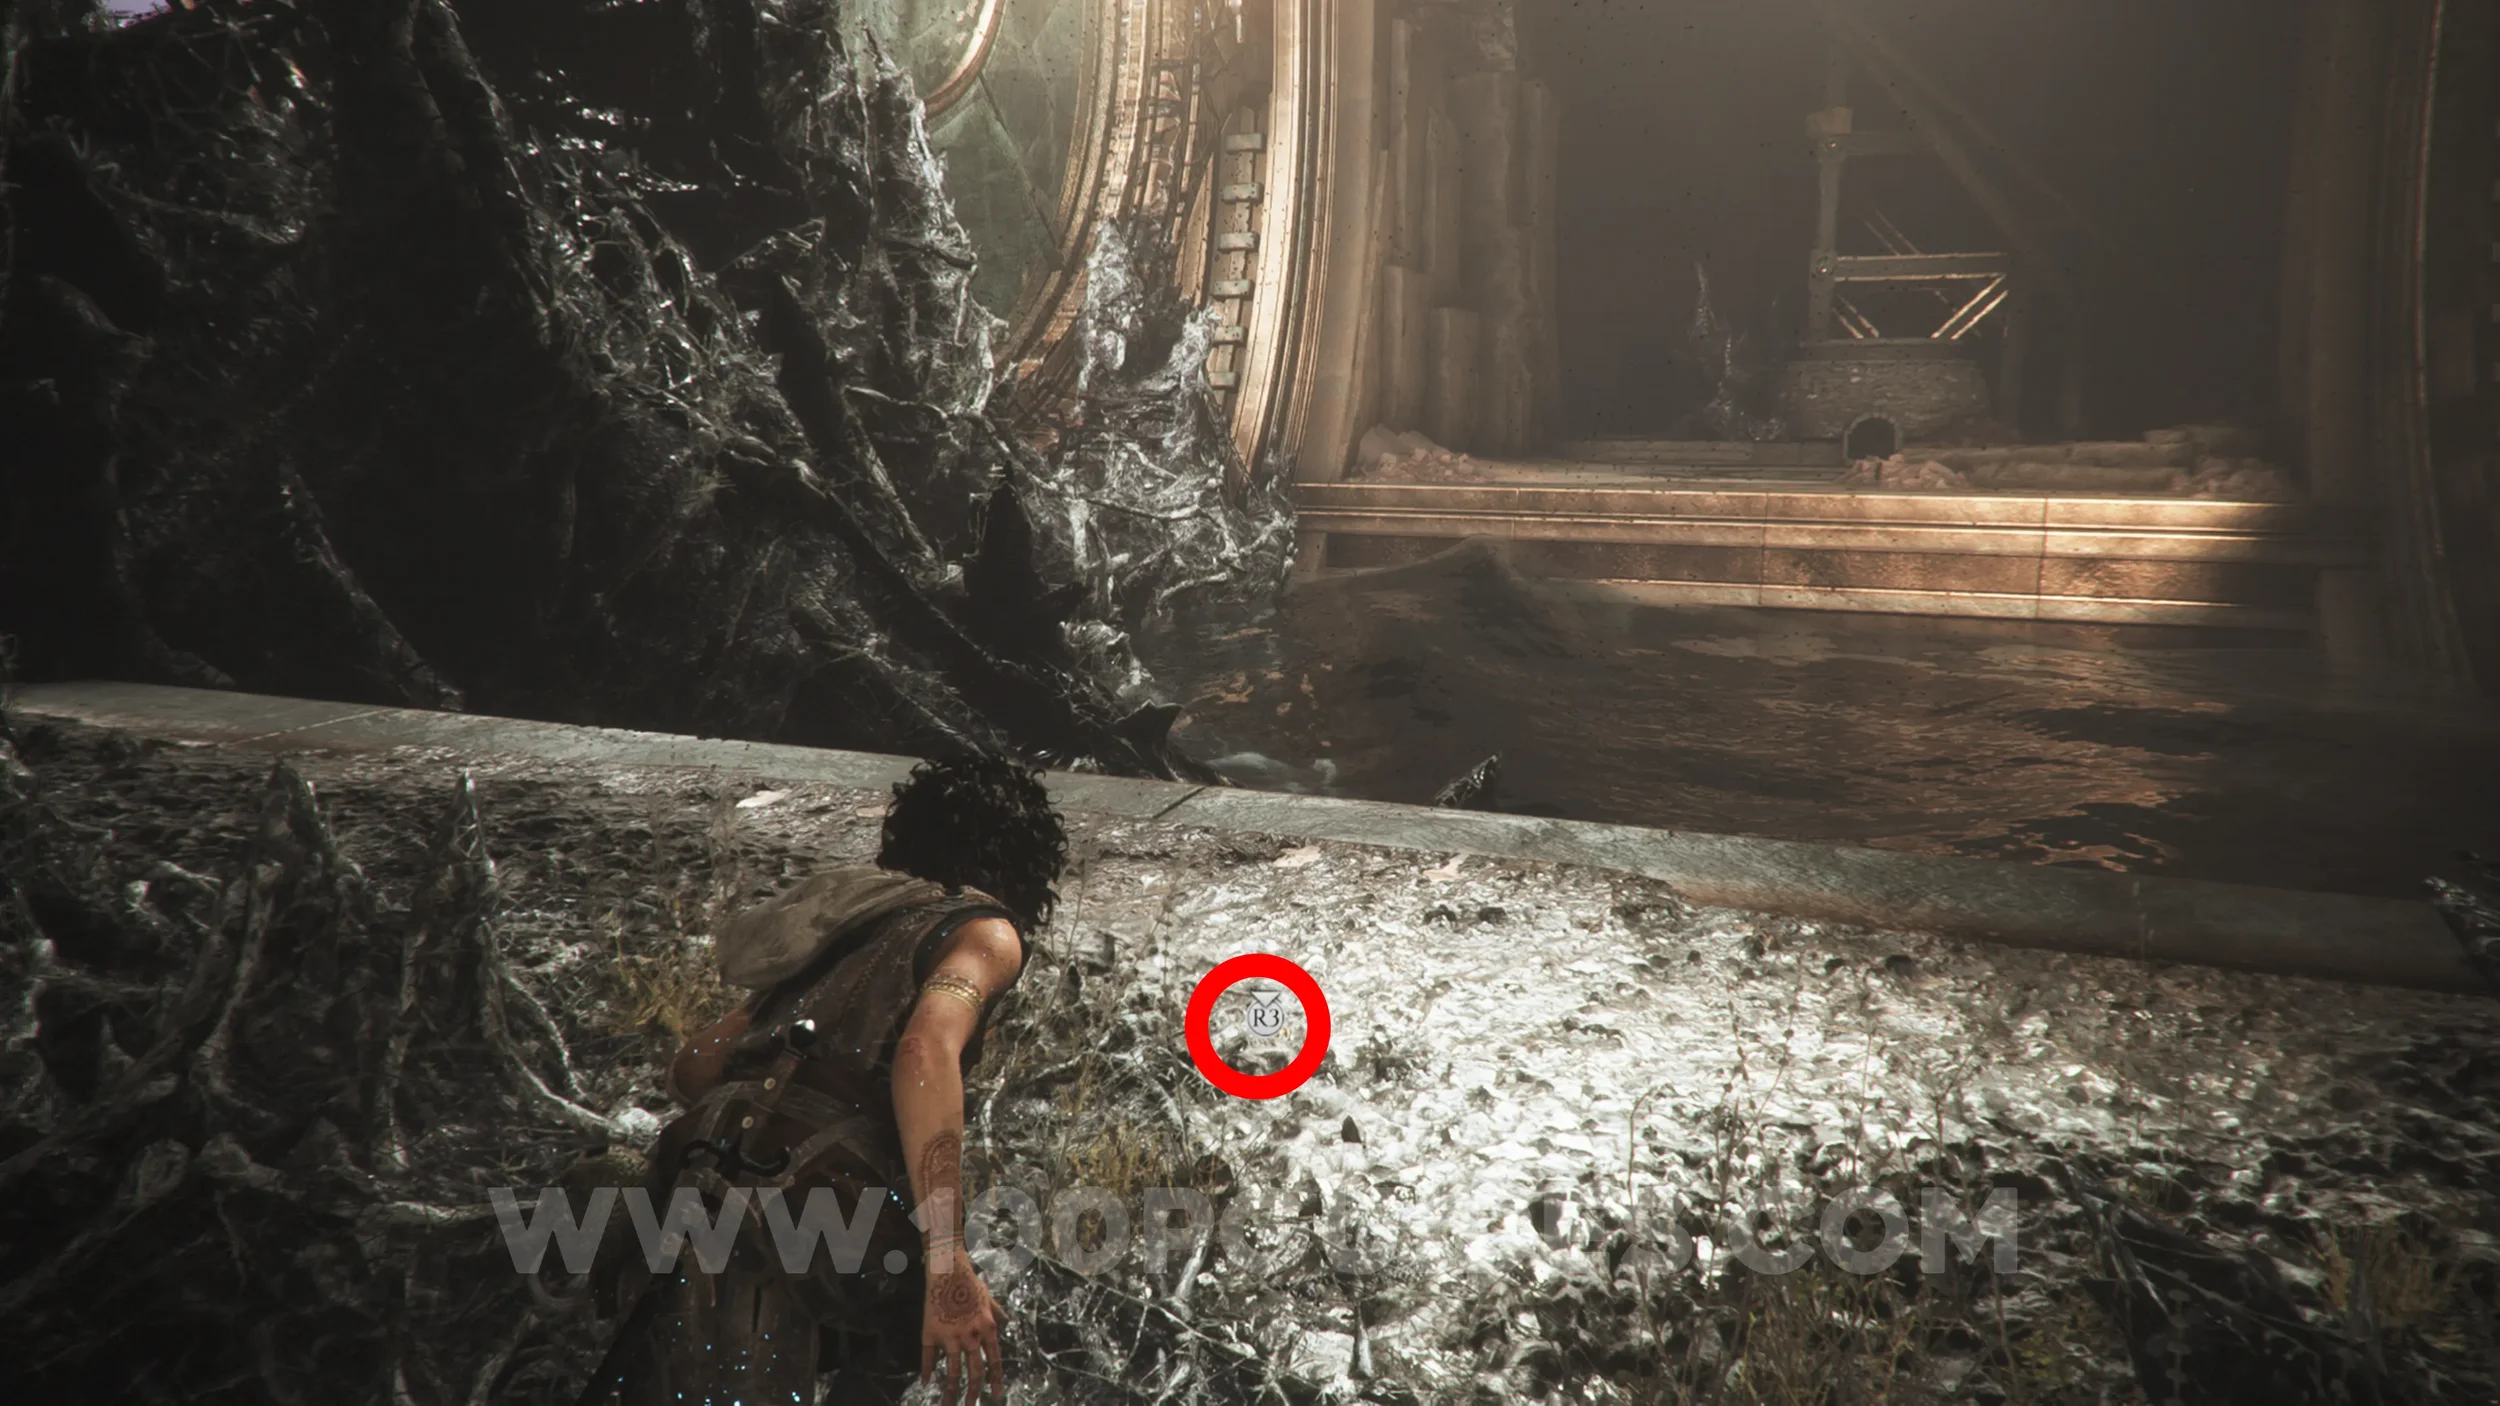
Resonance Point
Chapter 11: Sub-Chapter 4.
From the previous one, turn around and you'll see some furnaces on the opposite side of the room. The collectible will be behind the one on the right.
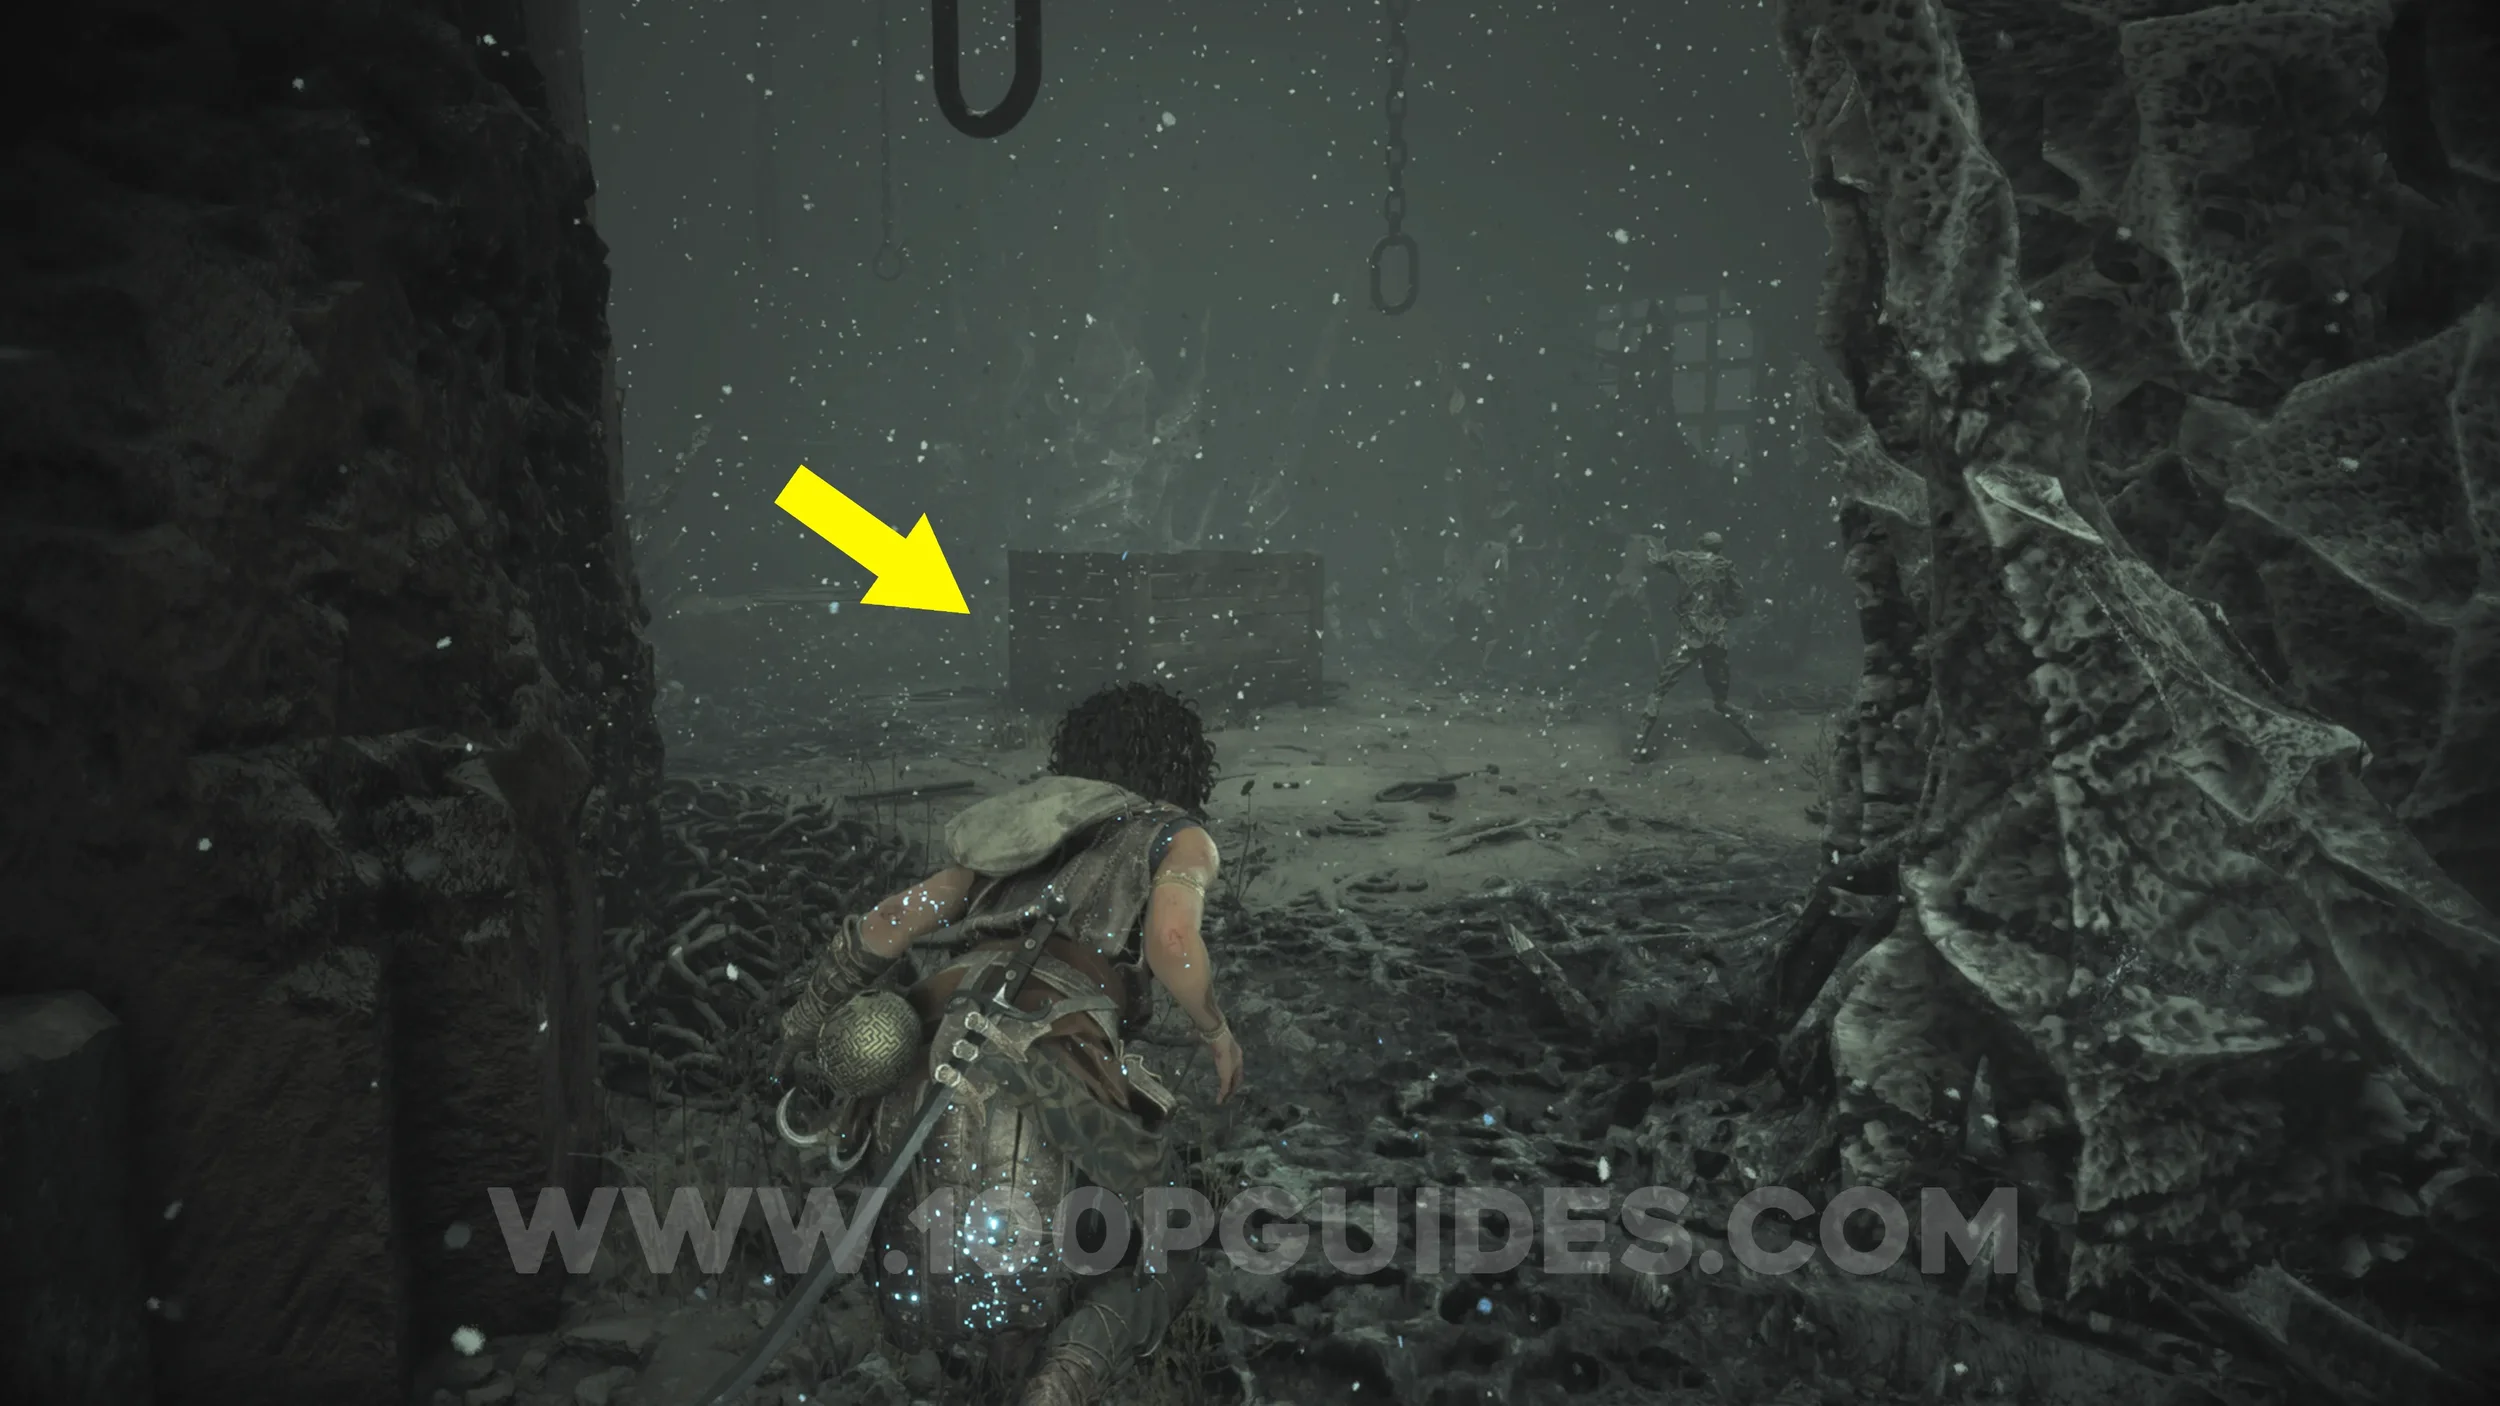
Resonance Point
Chapter 11: Sub-Chapter 5.
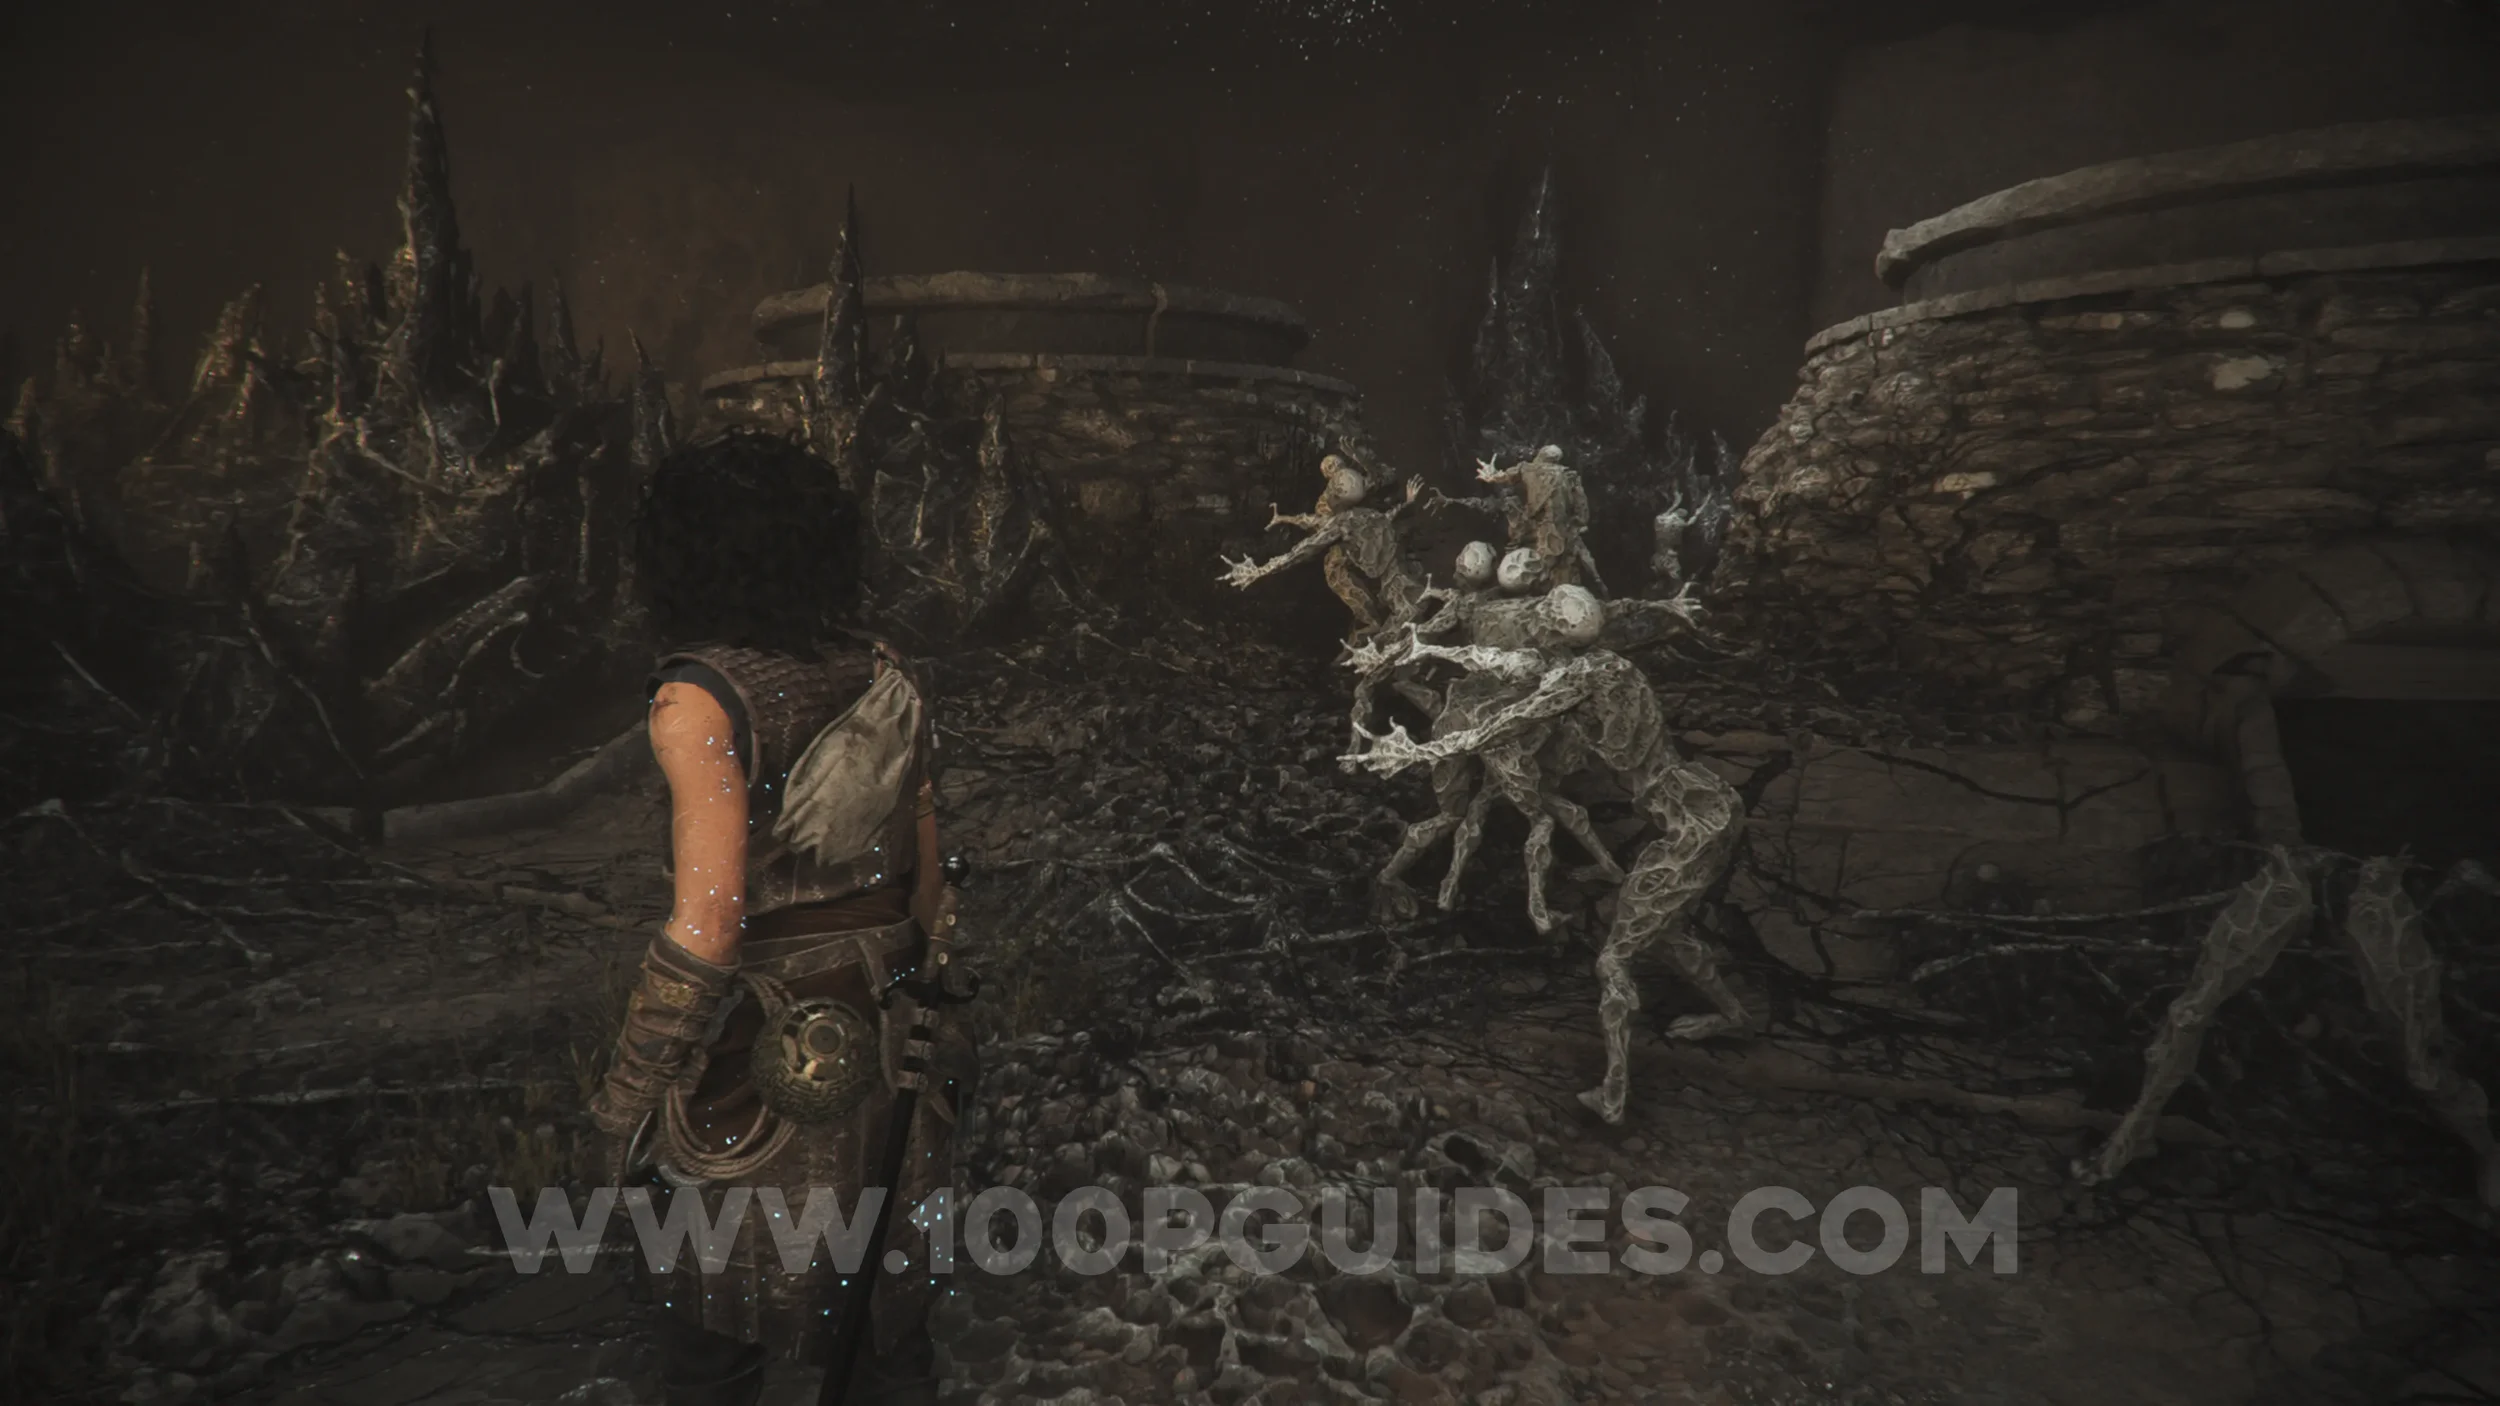
After running across the rotating golden platforms section, you'll squeeze through two walls. In the next room, filled with petrified enemies, you'll see a large box at the back. The collectible can be found behind it.
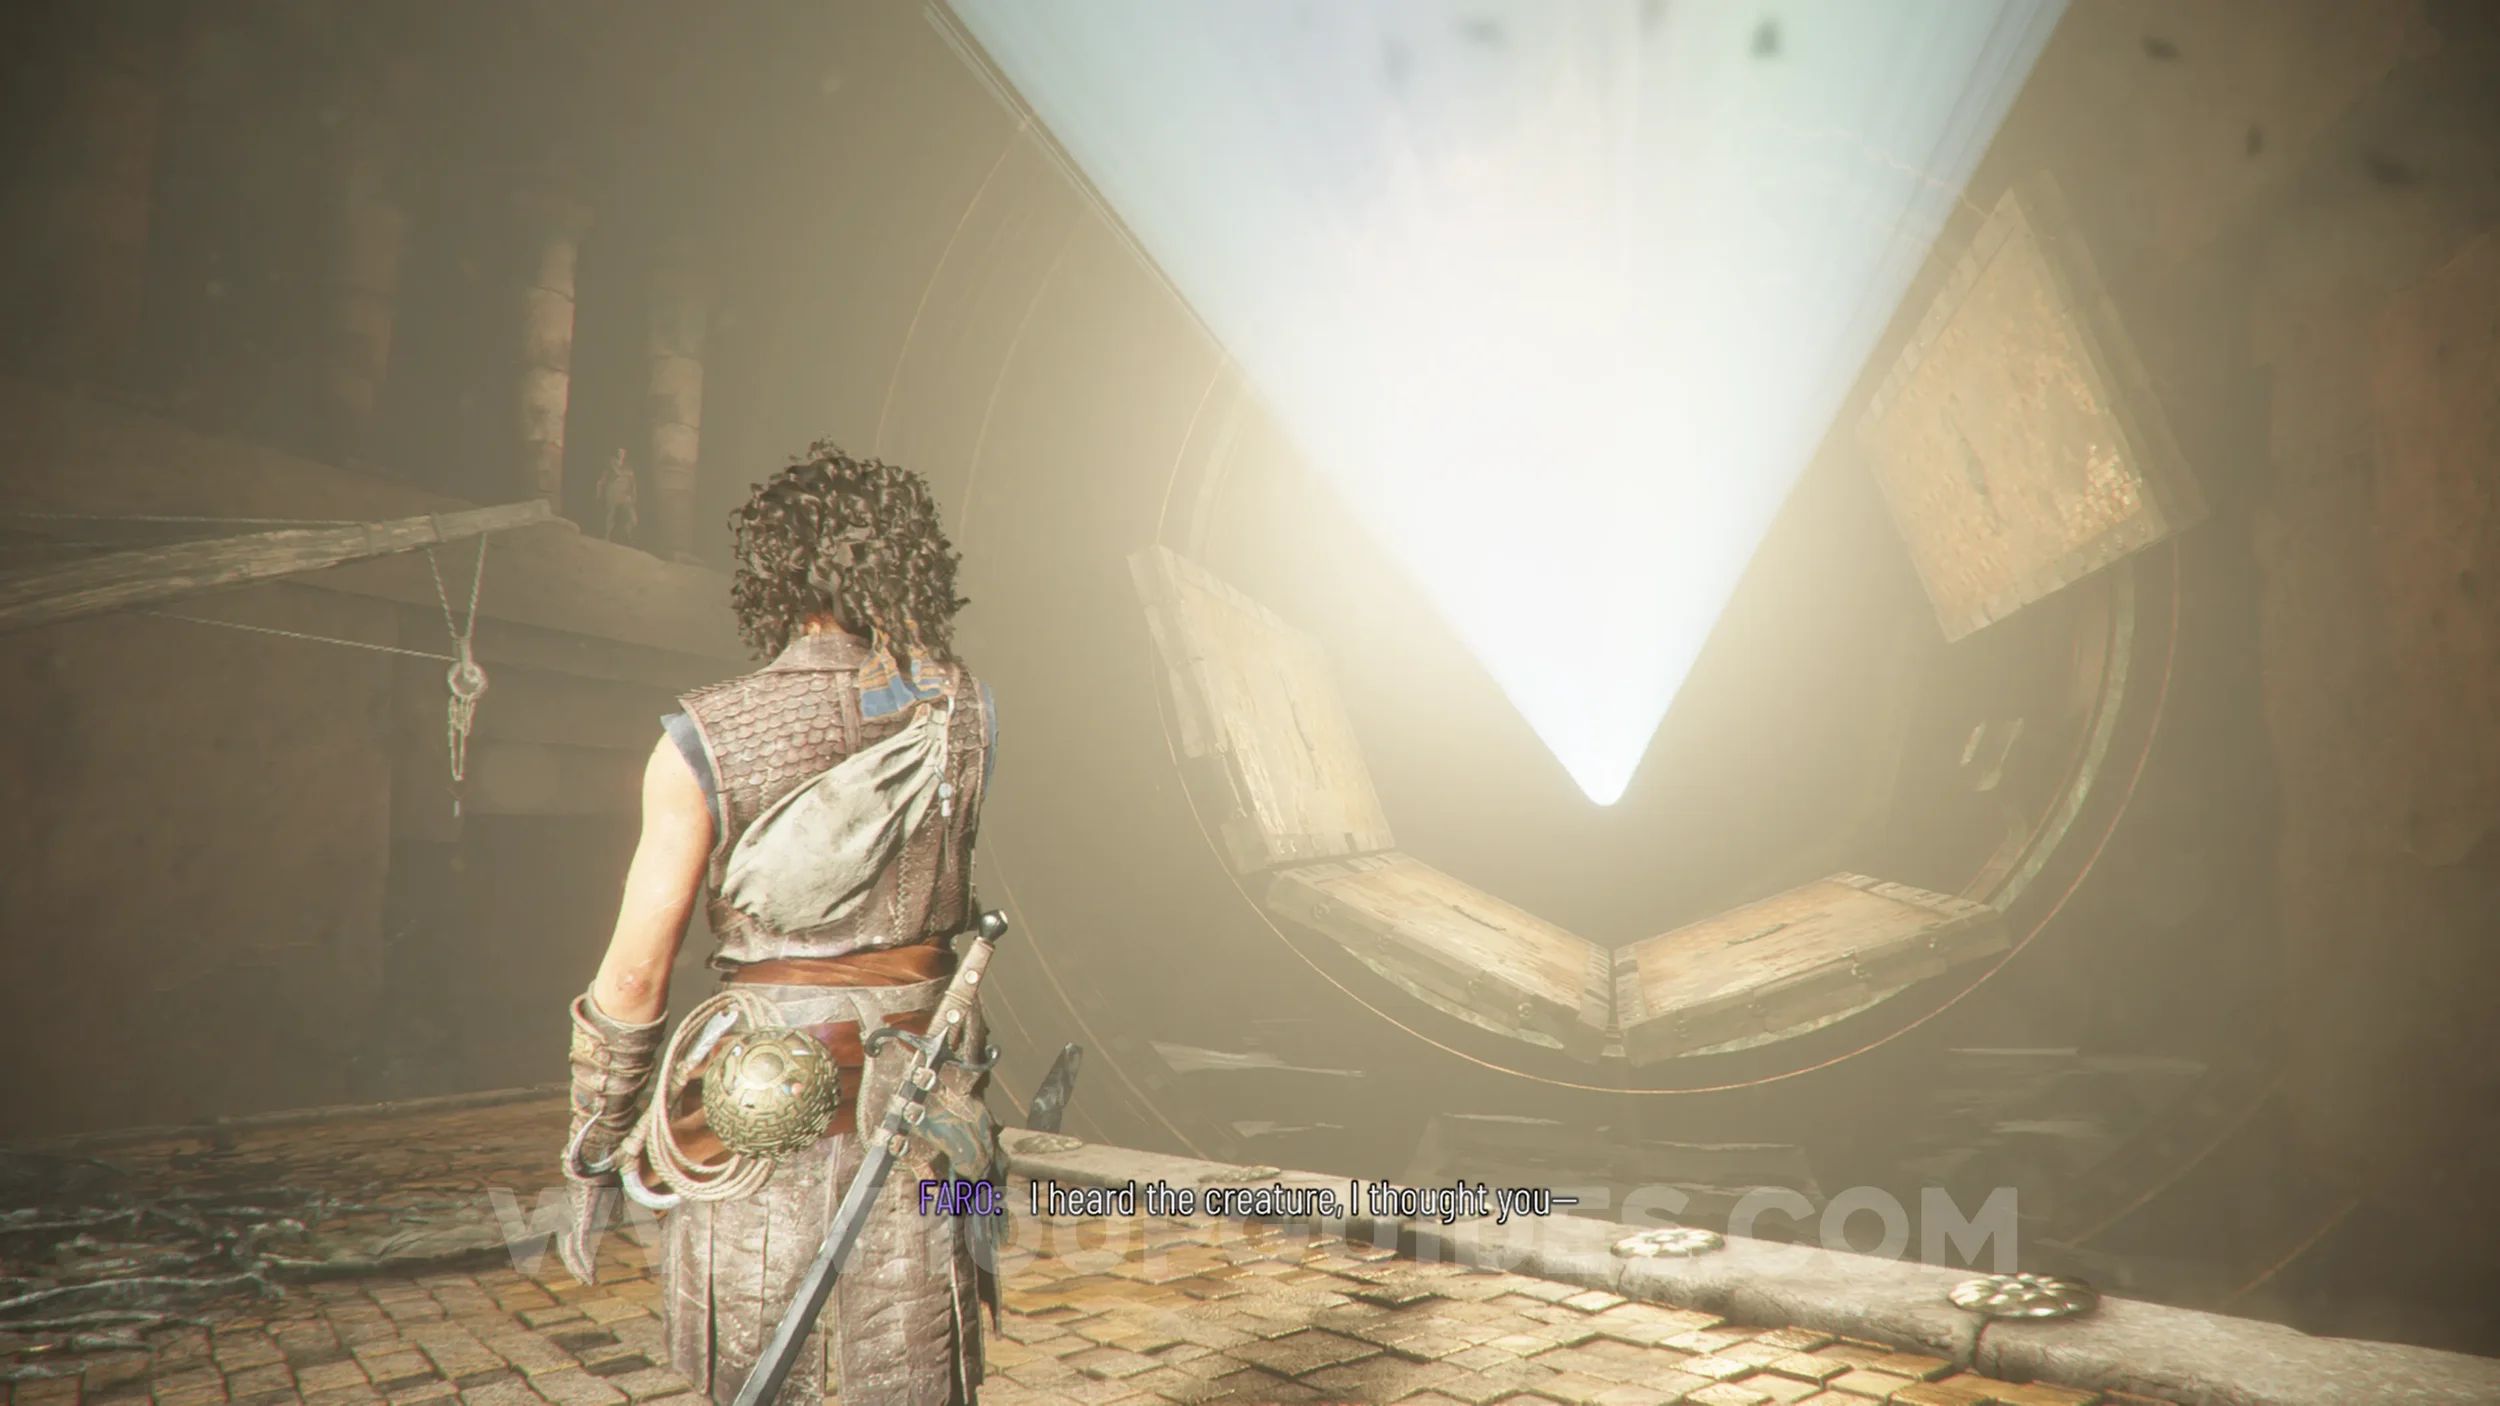
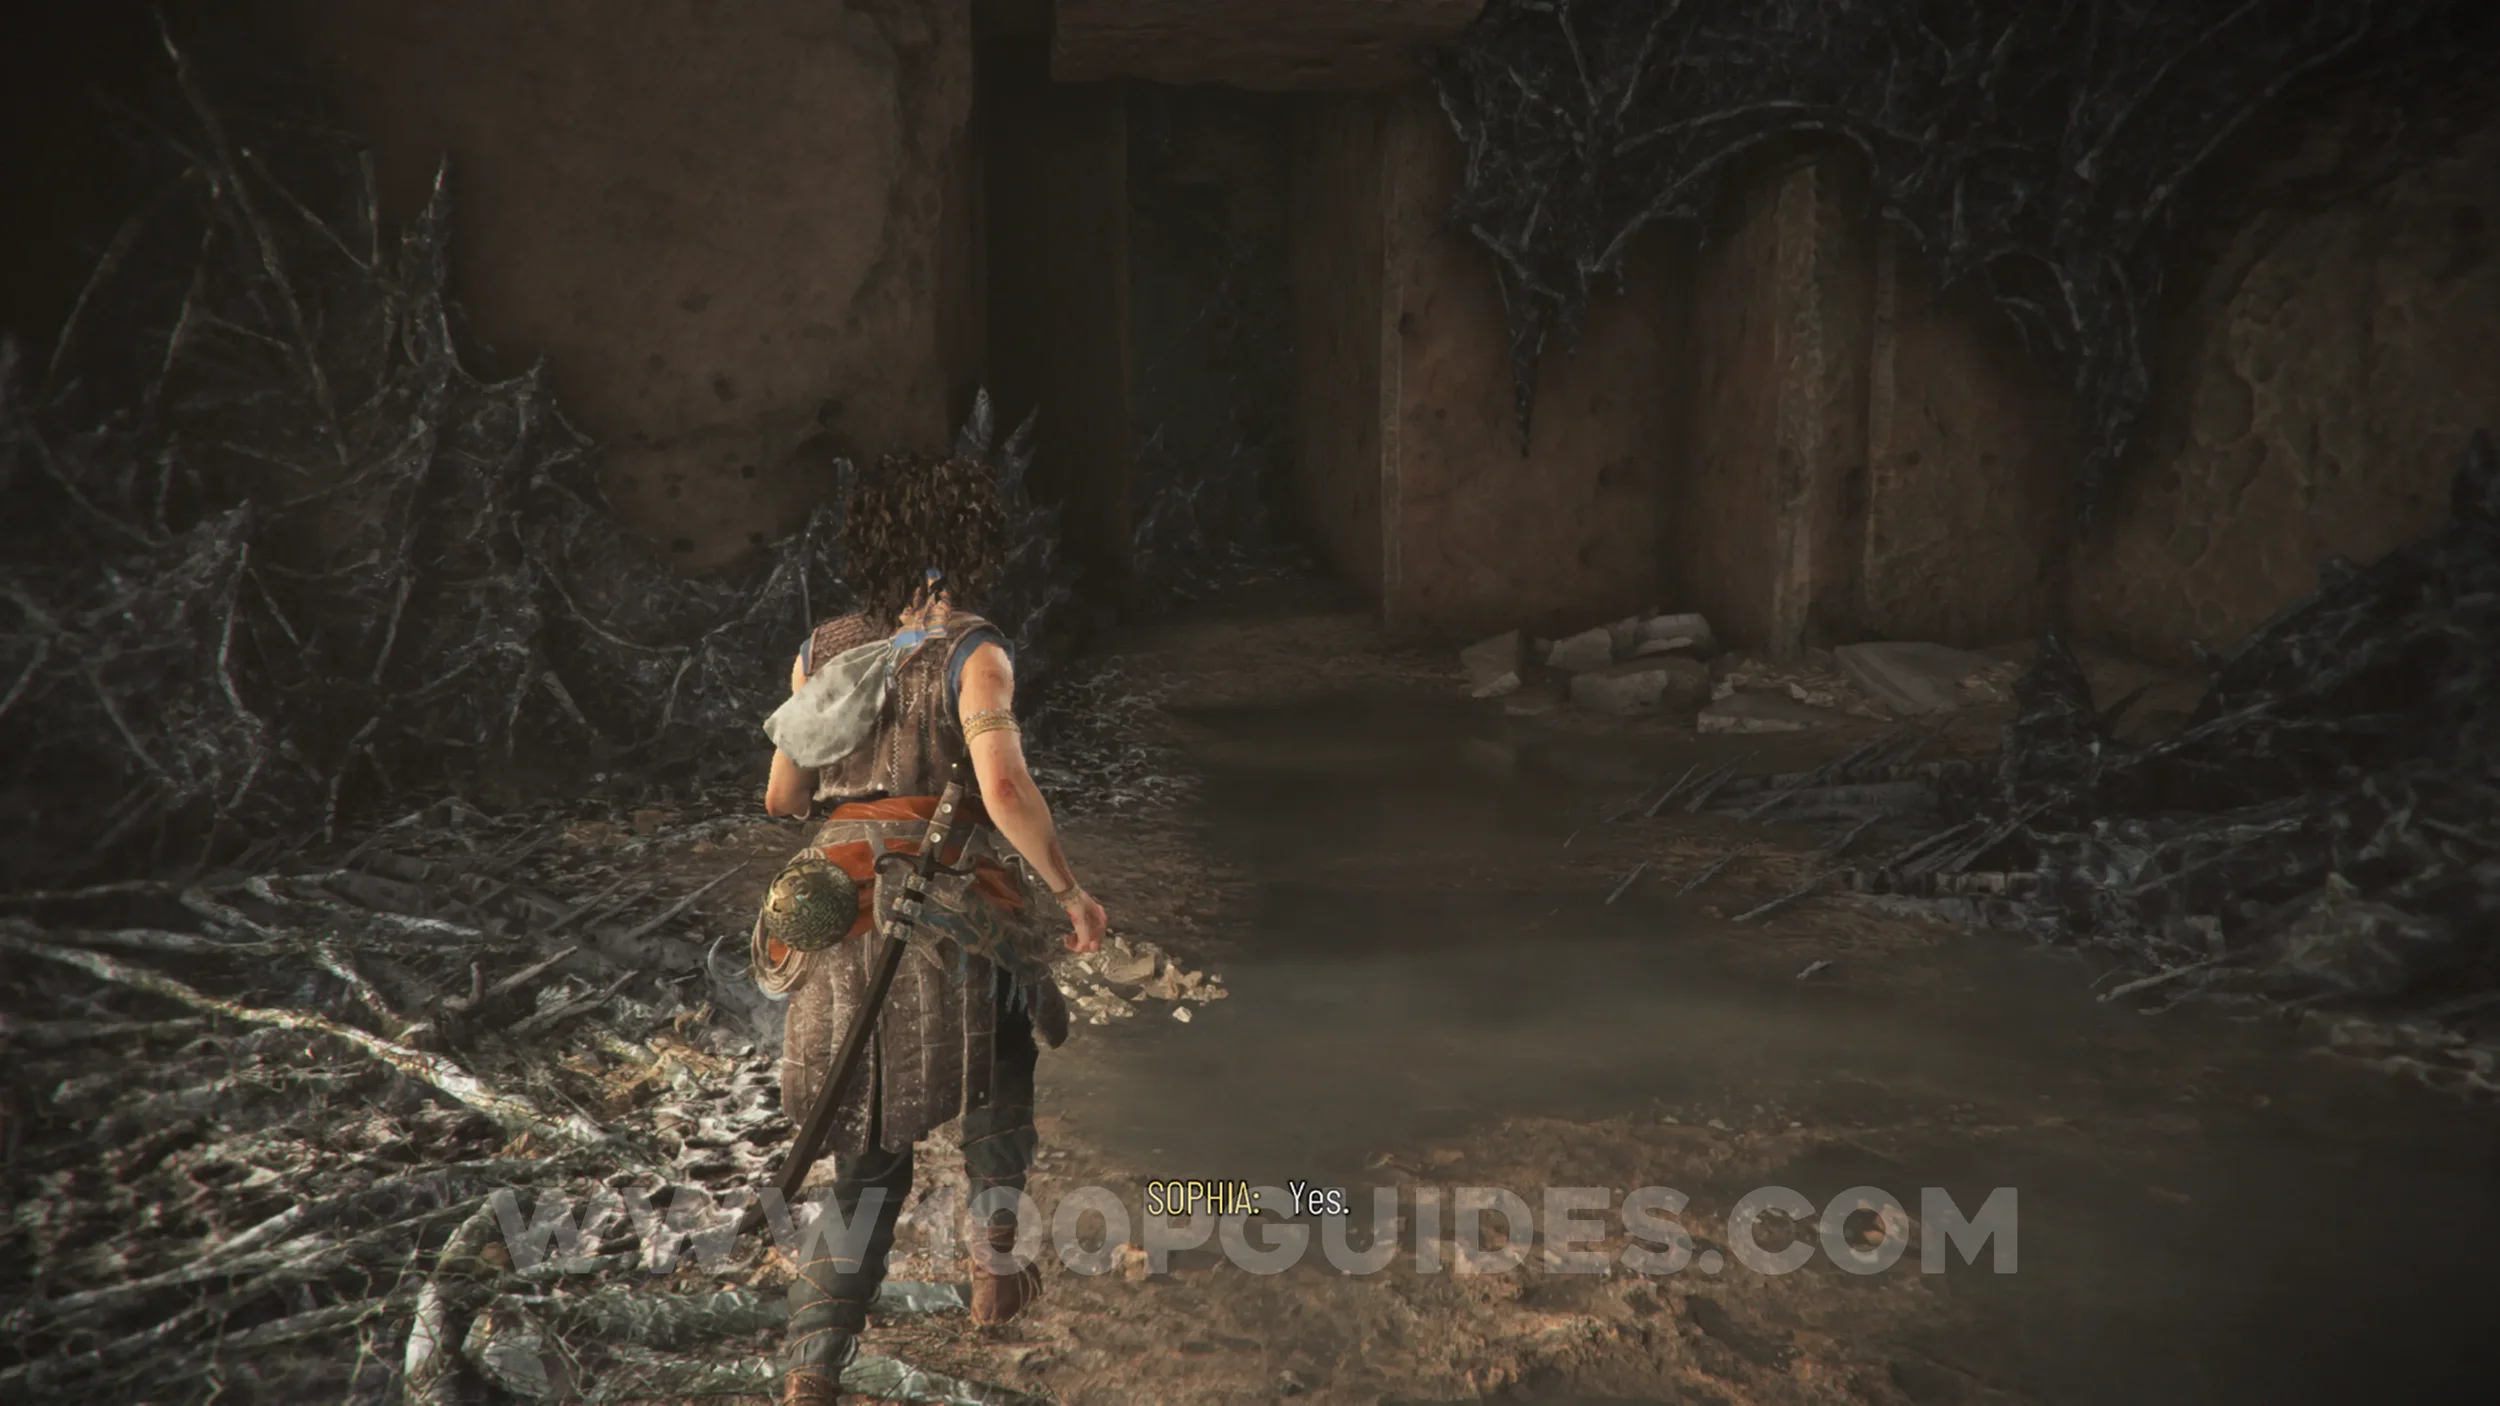
Resonance Point
Chapter 11: Sub-Chapter 5.
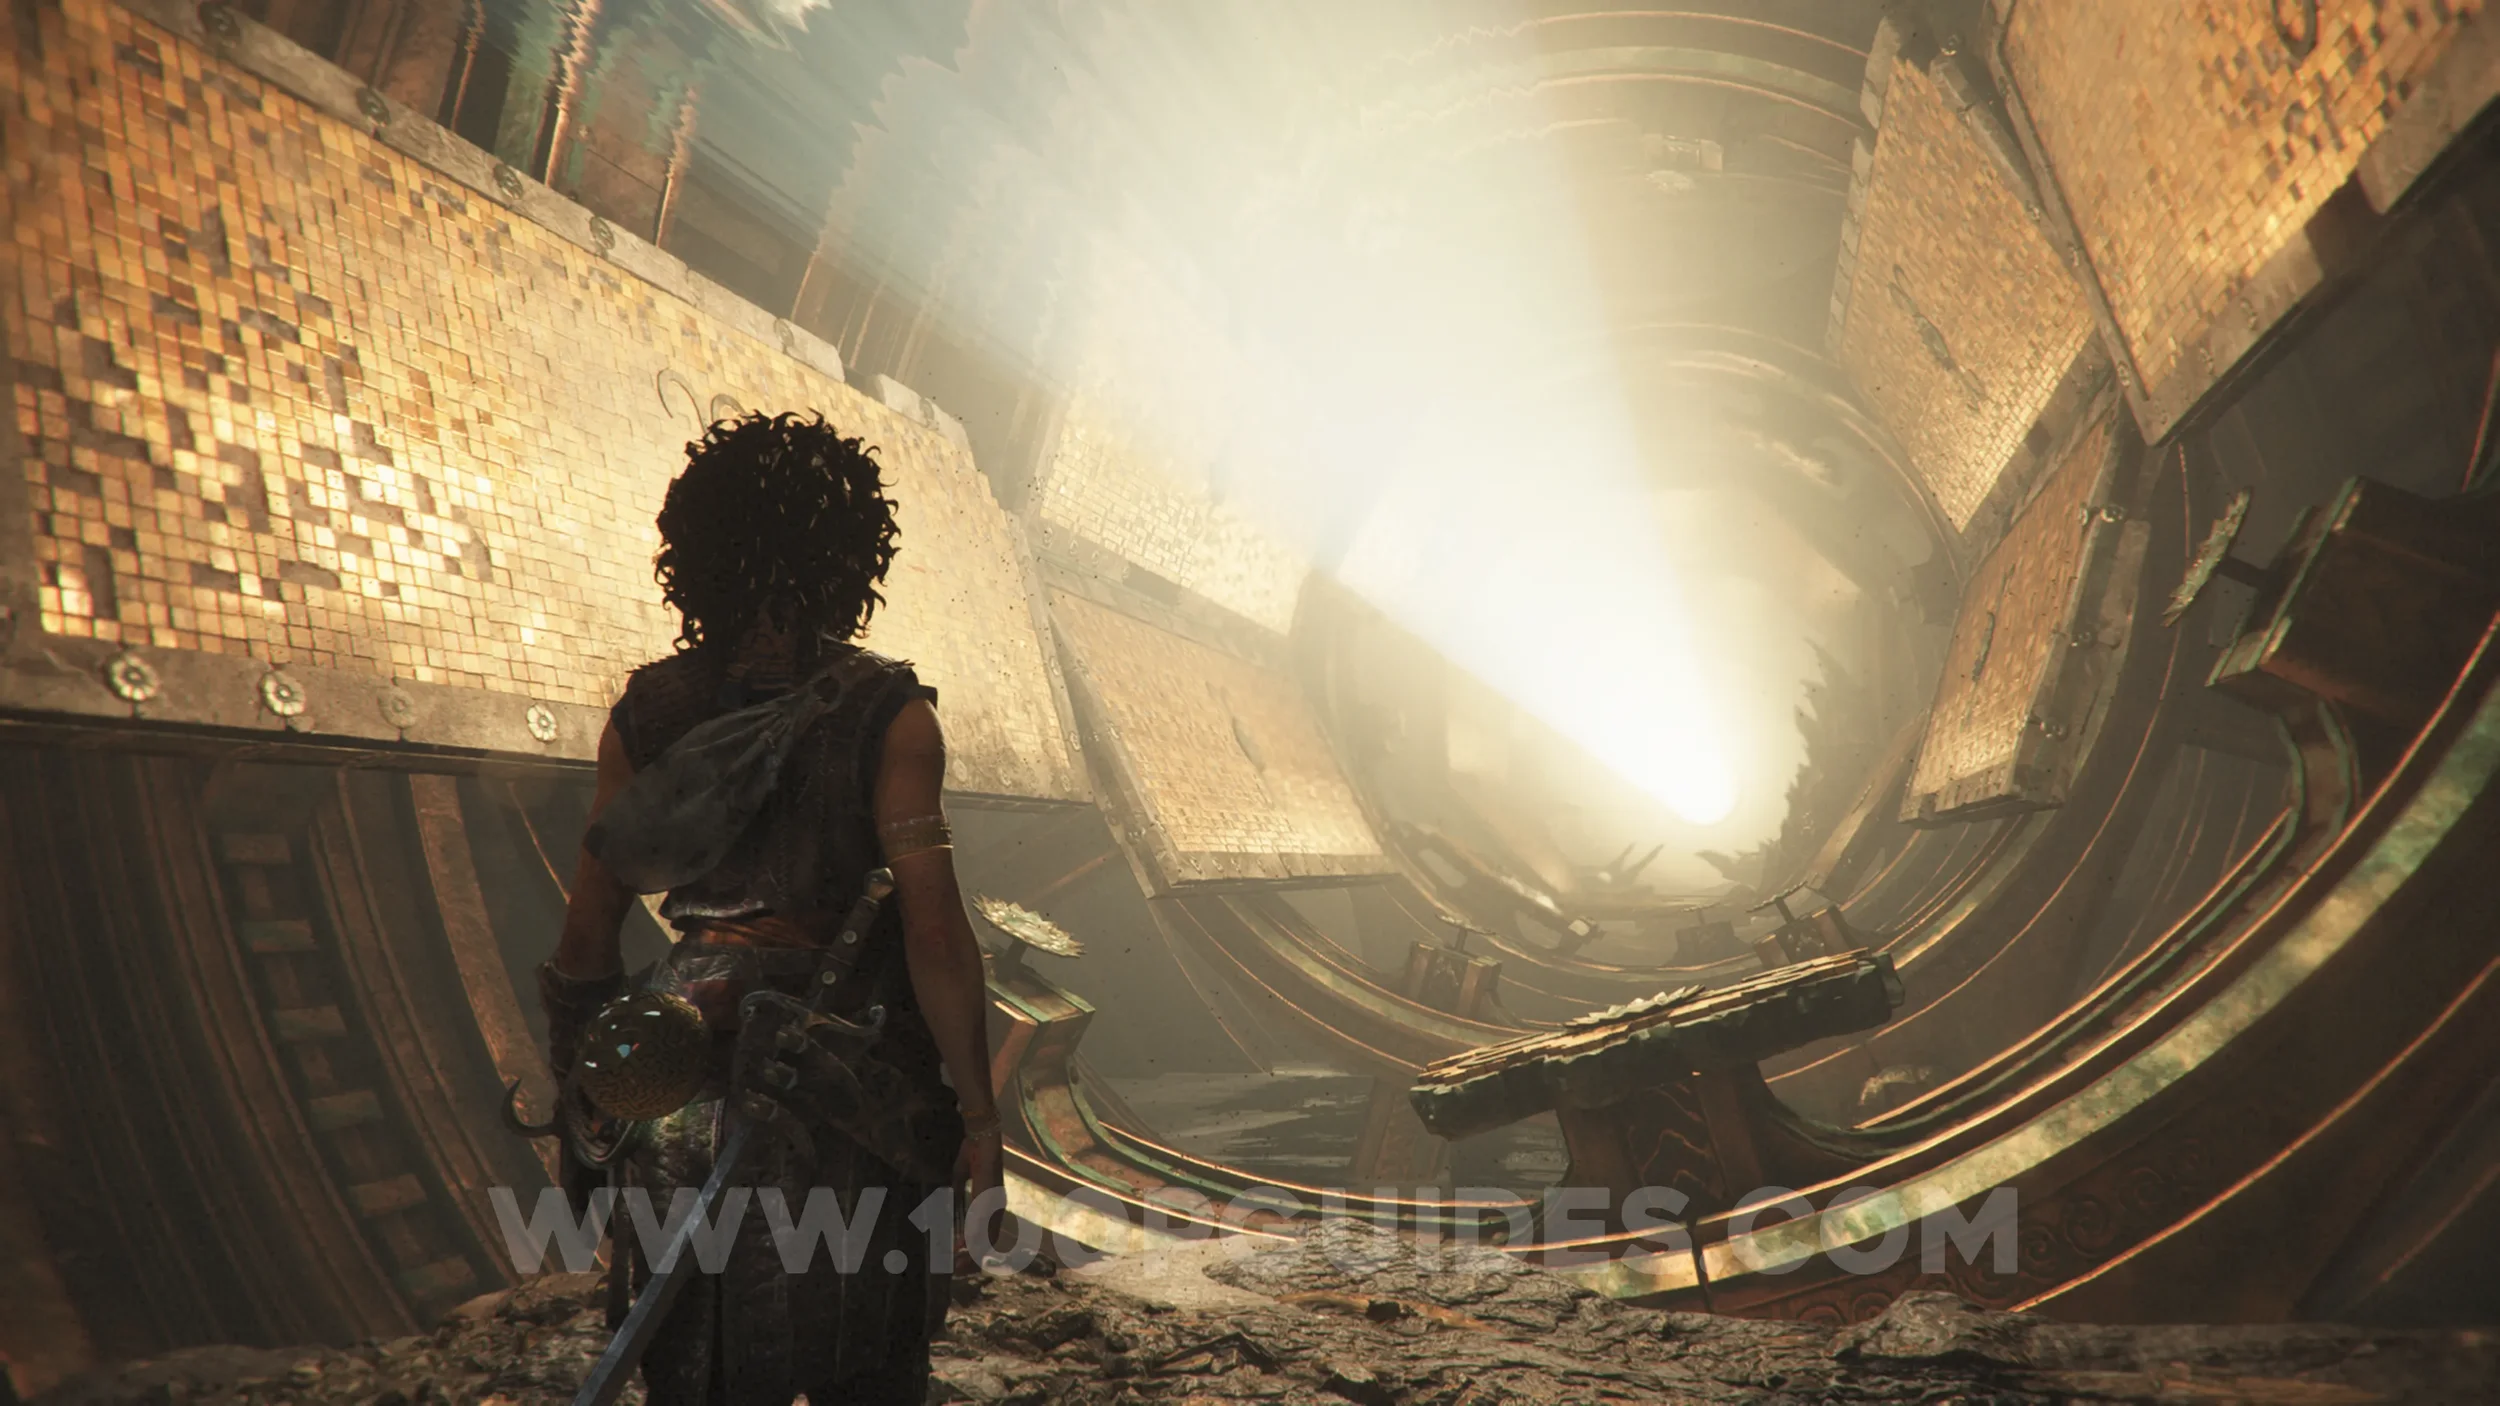
After avoiding the creature and pressing the lever to open the next section of the golden tunnel, head inside. You'll then swing across a grappling point on the left to leave the tunnel once again. As soon as you do, look left to find the collectible in the blocked corridor.
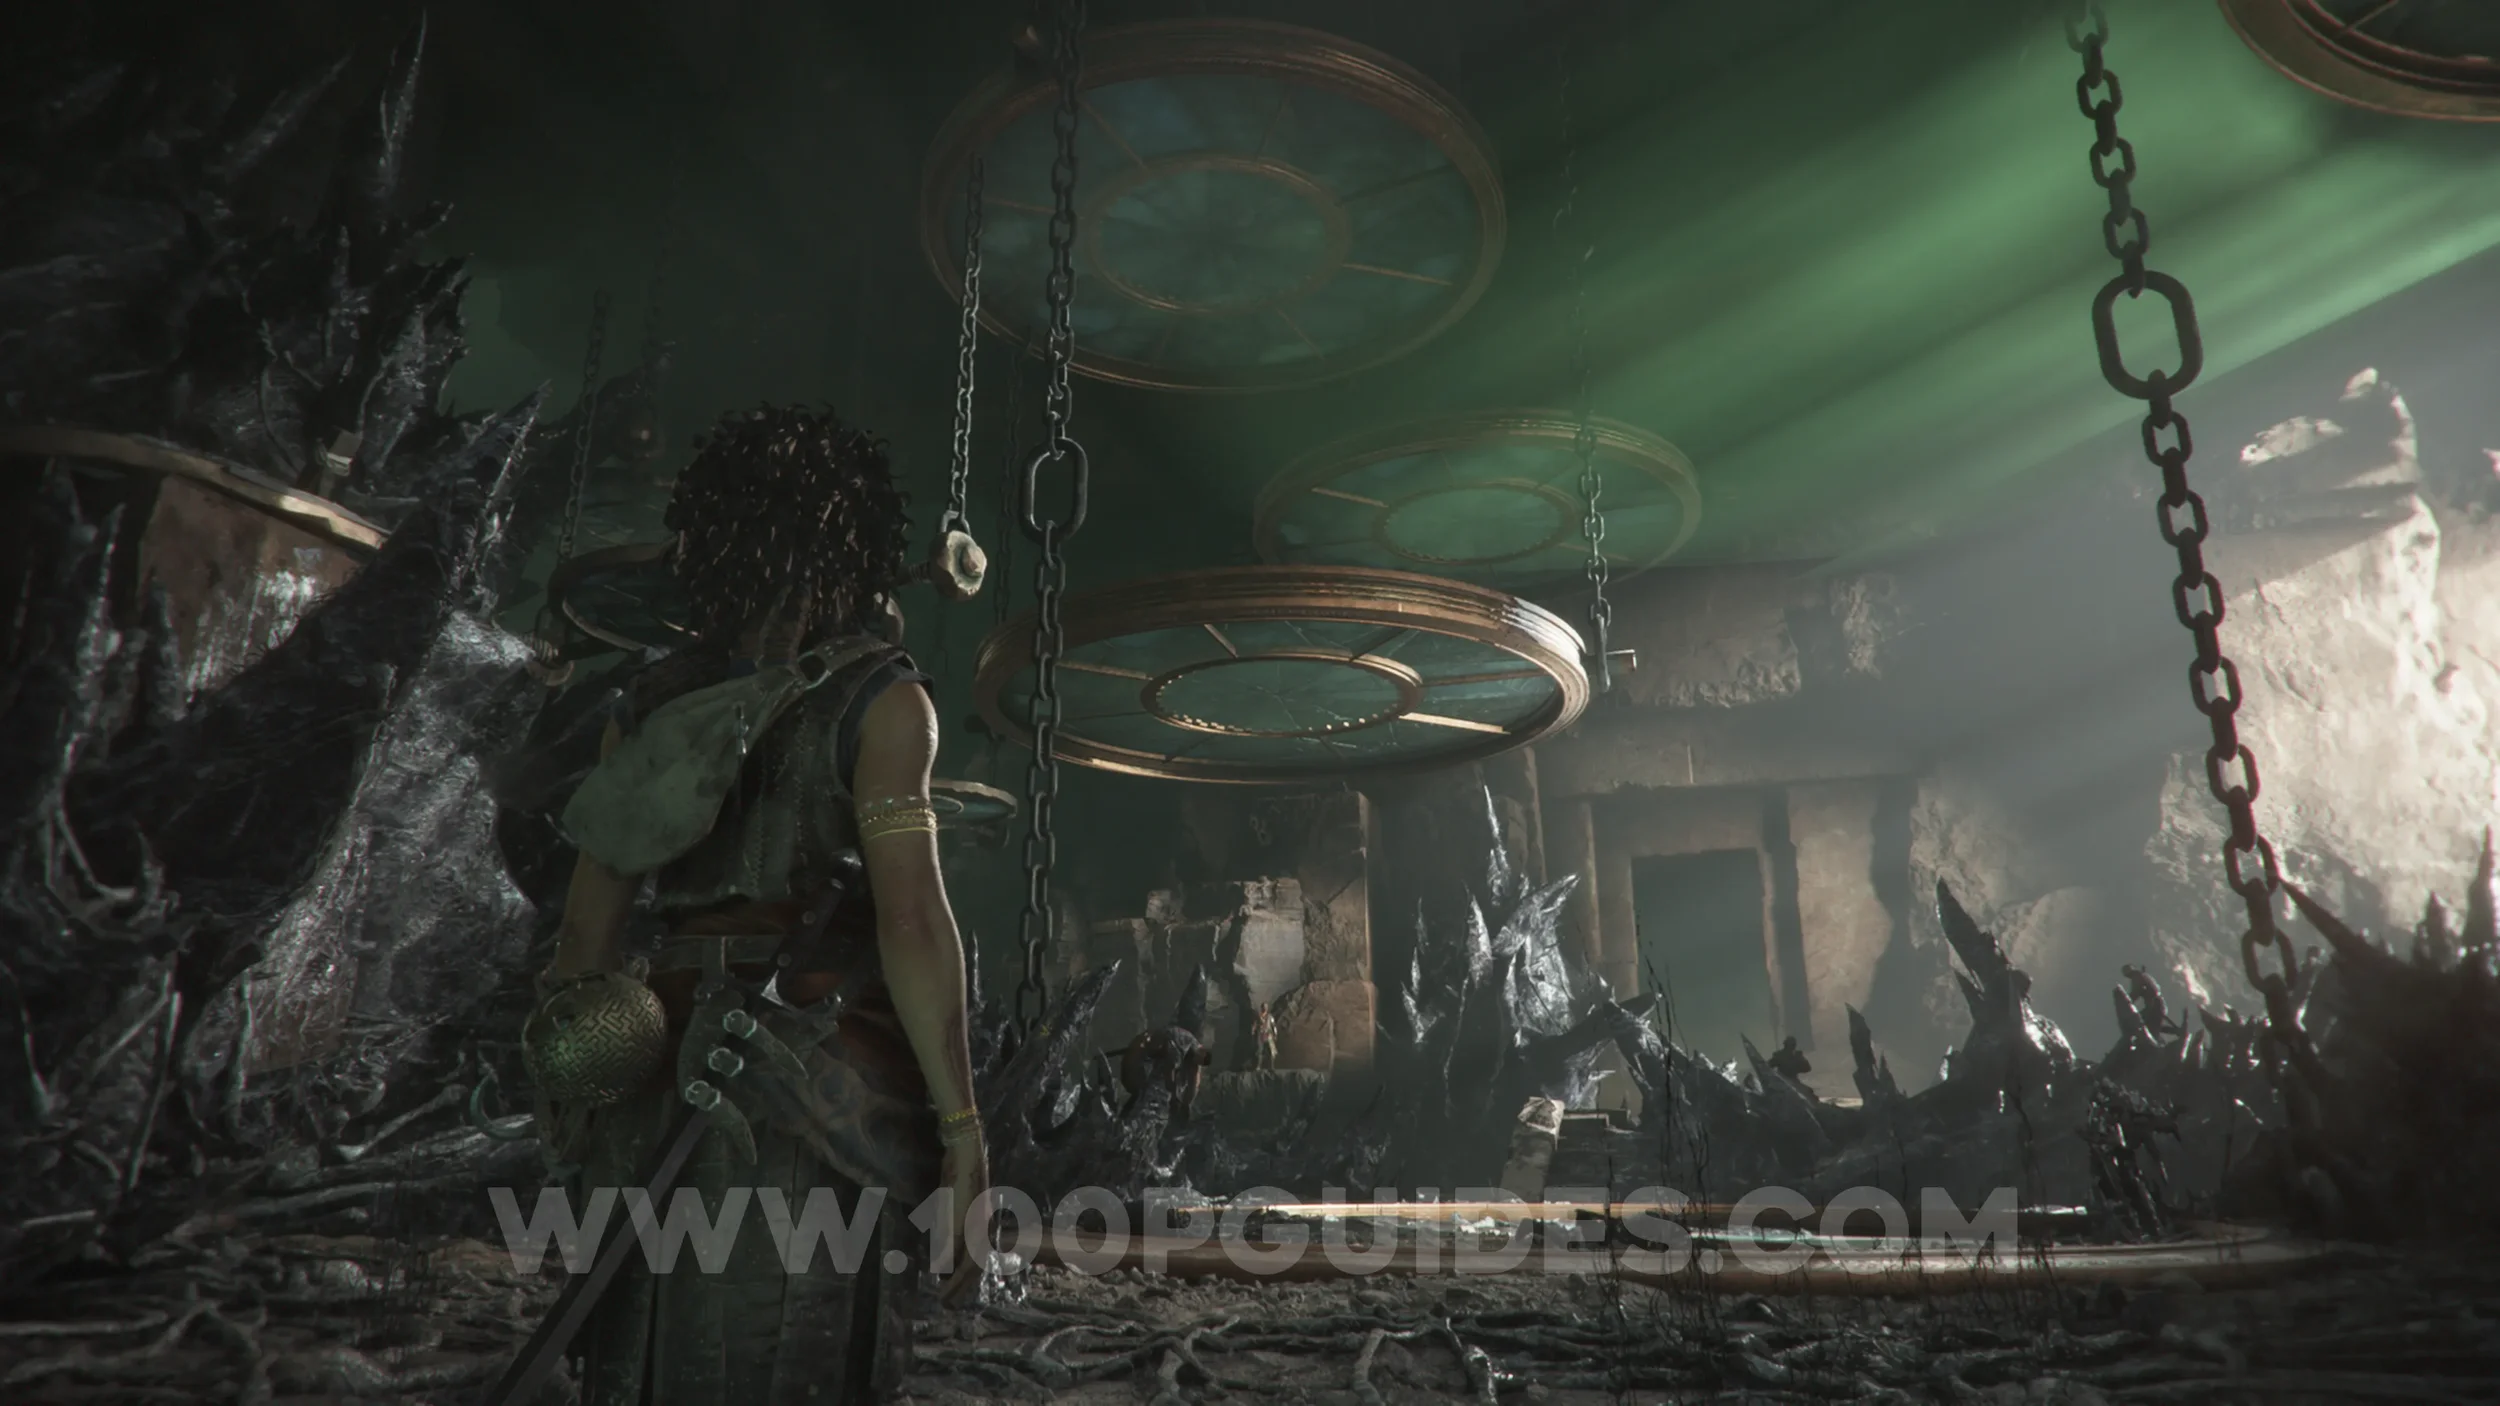
Resonance Point
Chapter 11: Sub-Chapter 5.
After defeating the puppet enemies in the room with all the lenses hanging from the ceiling, you'll need to use them as platforms. Once you reach the large one, you'll see a corpse on the side. The collectible will be on this corpse.
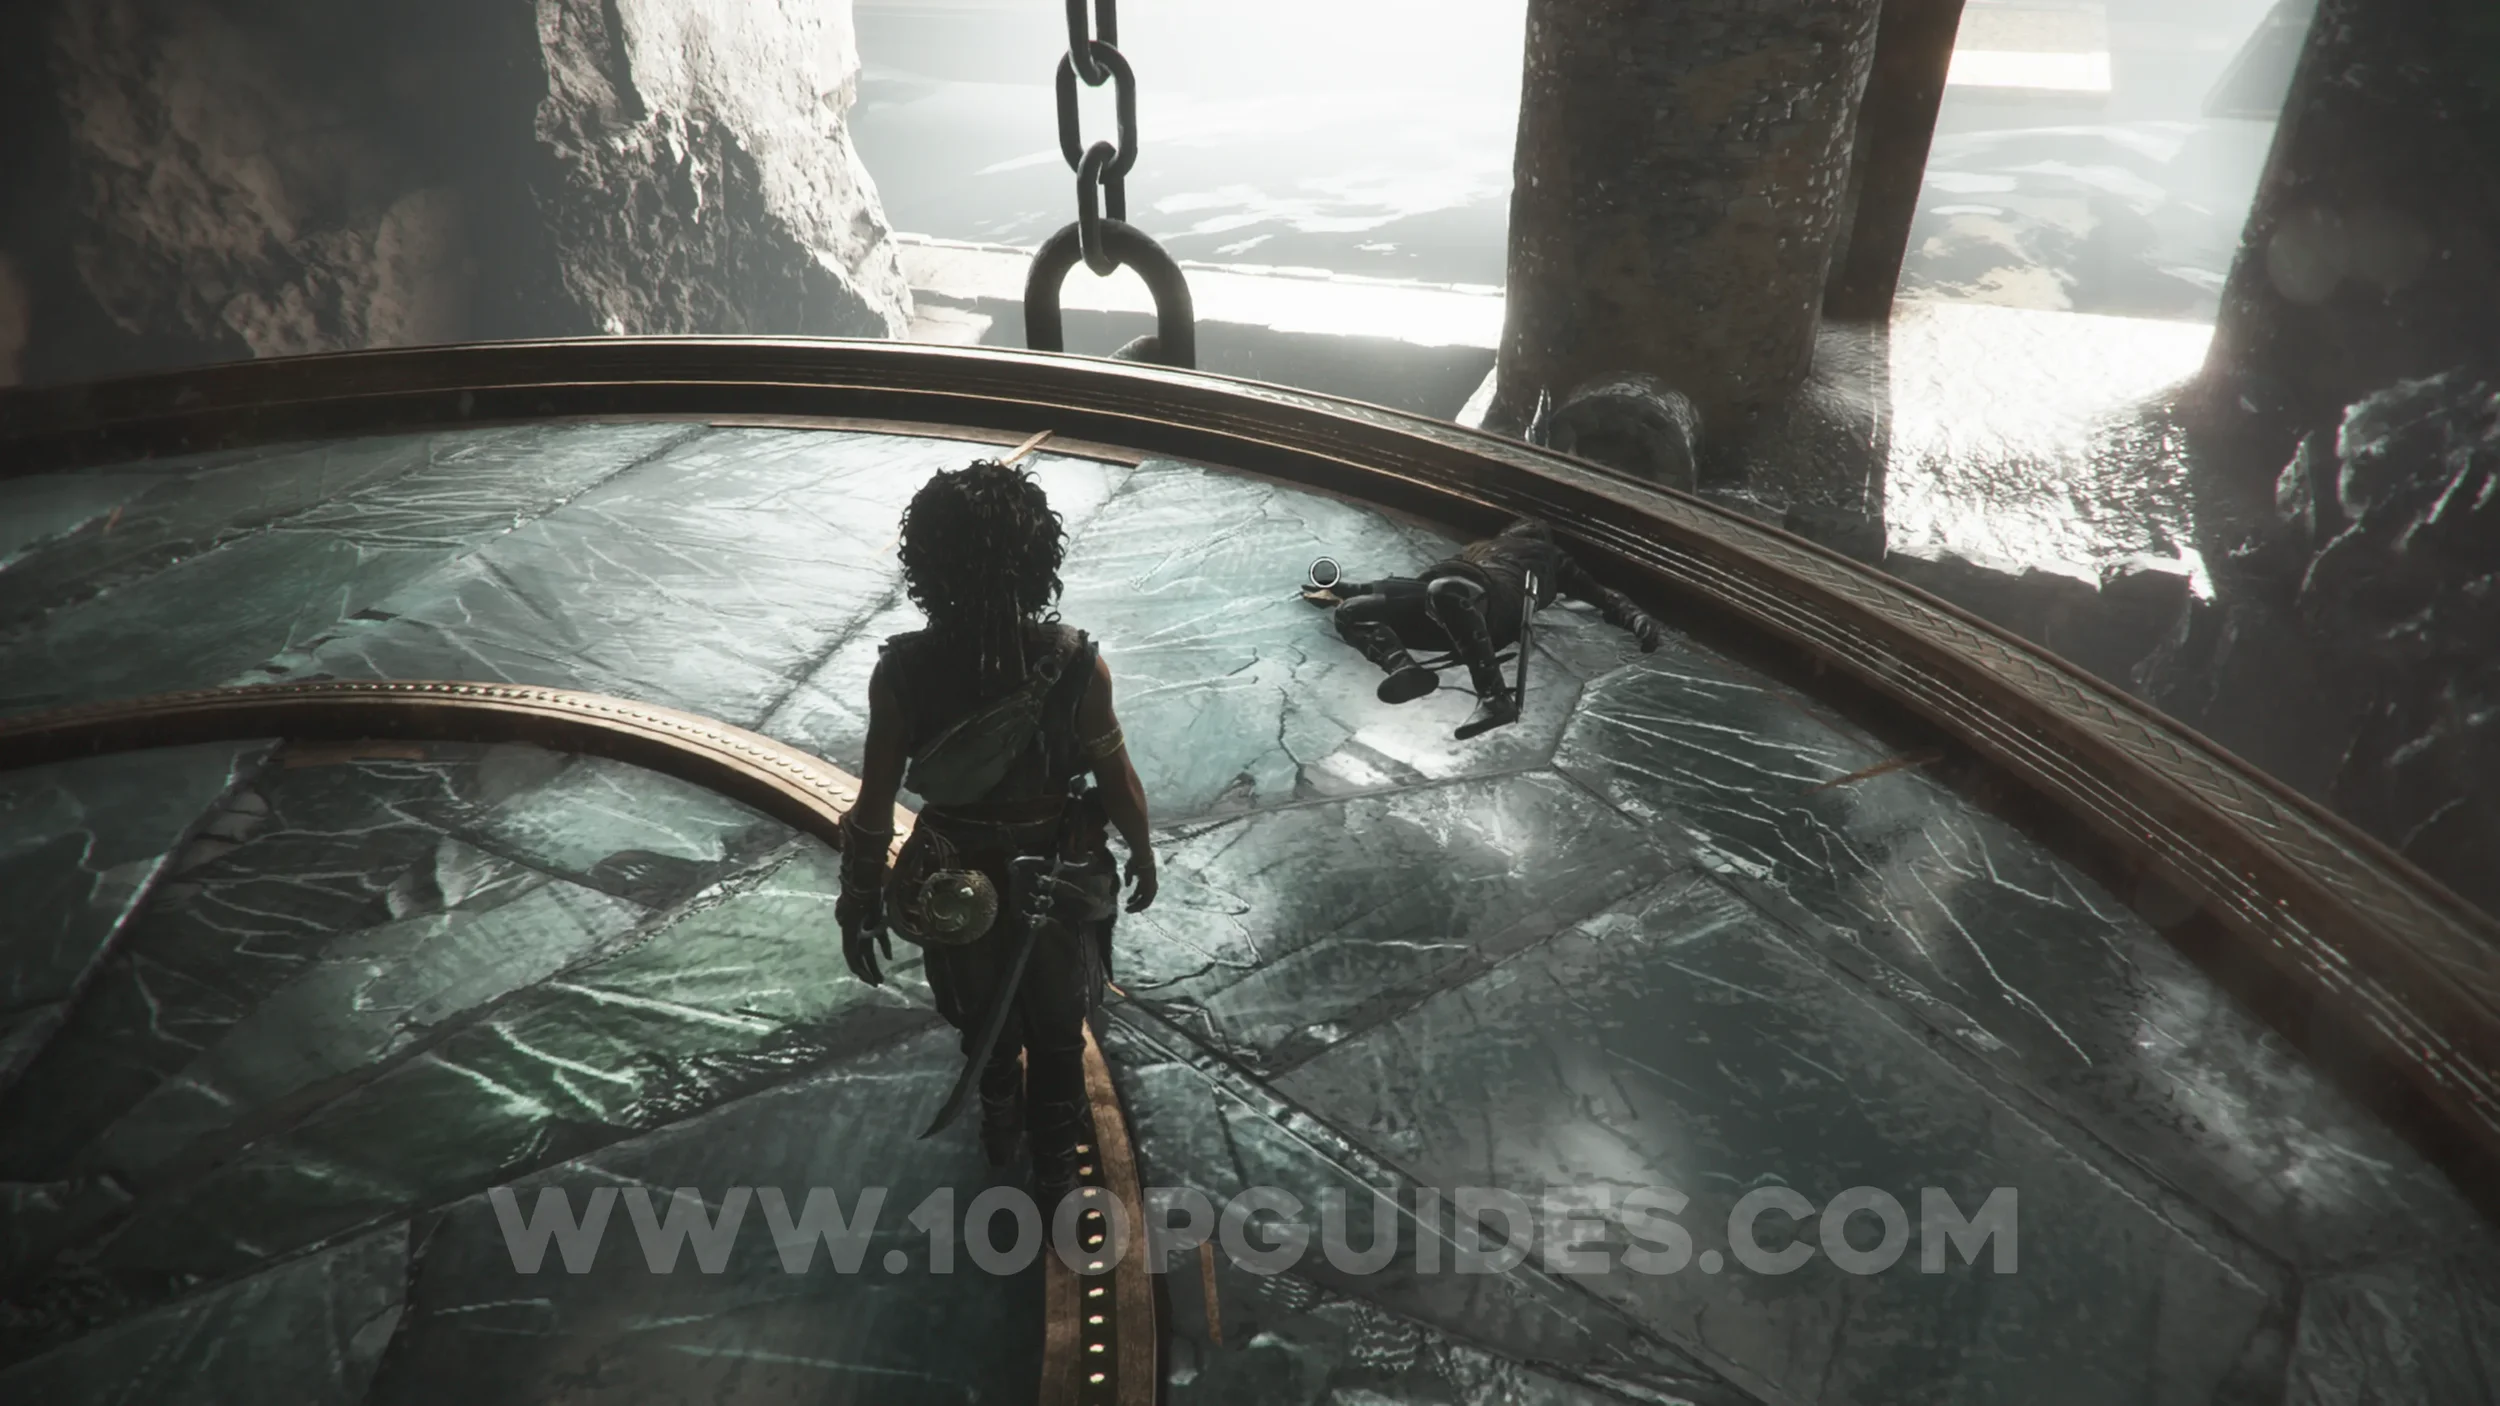
Resonance Point
Chapter 11: Sub-Chapter 6.
Before entering the mines, turn around. You'll see it hanging at an angle behind the lens.
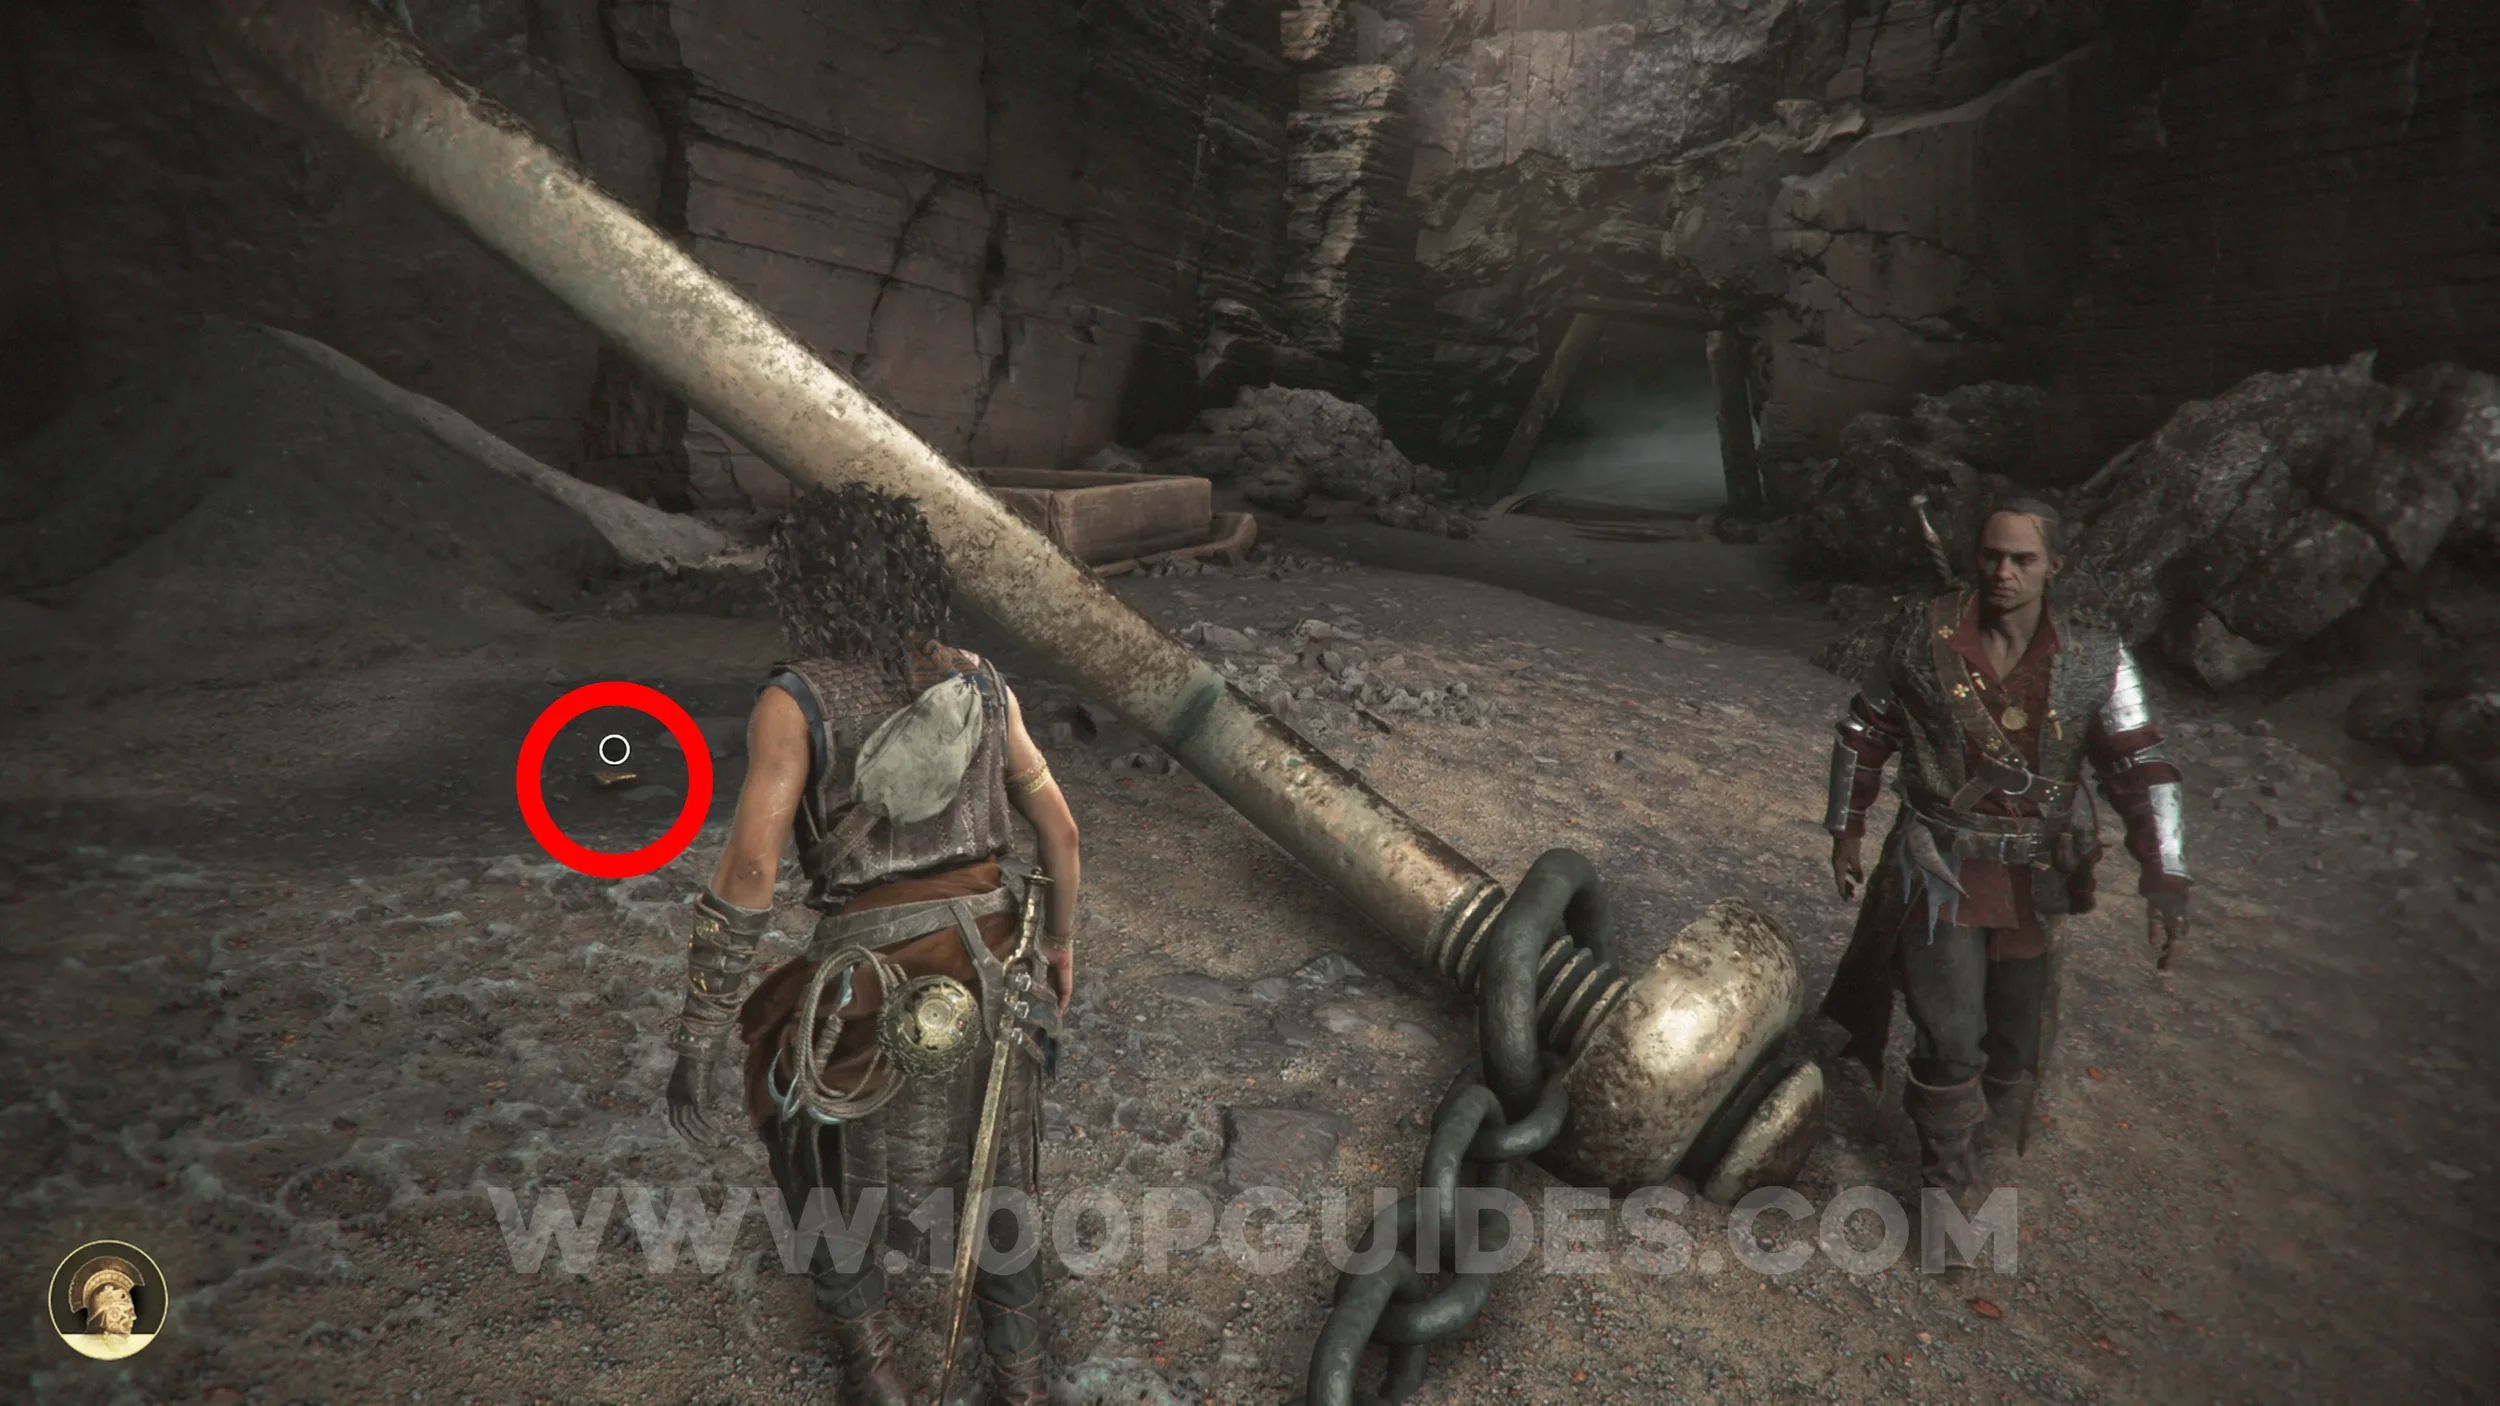
Resonance Point
Chapter 11: Sub-Chapter 6.
Soon after you enter the mines, you'll come across an empty lift shaft you have to jump over. Before this, take the path on the right to find the collectible.
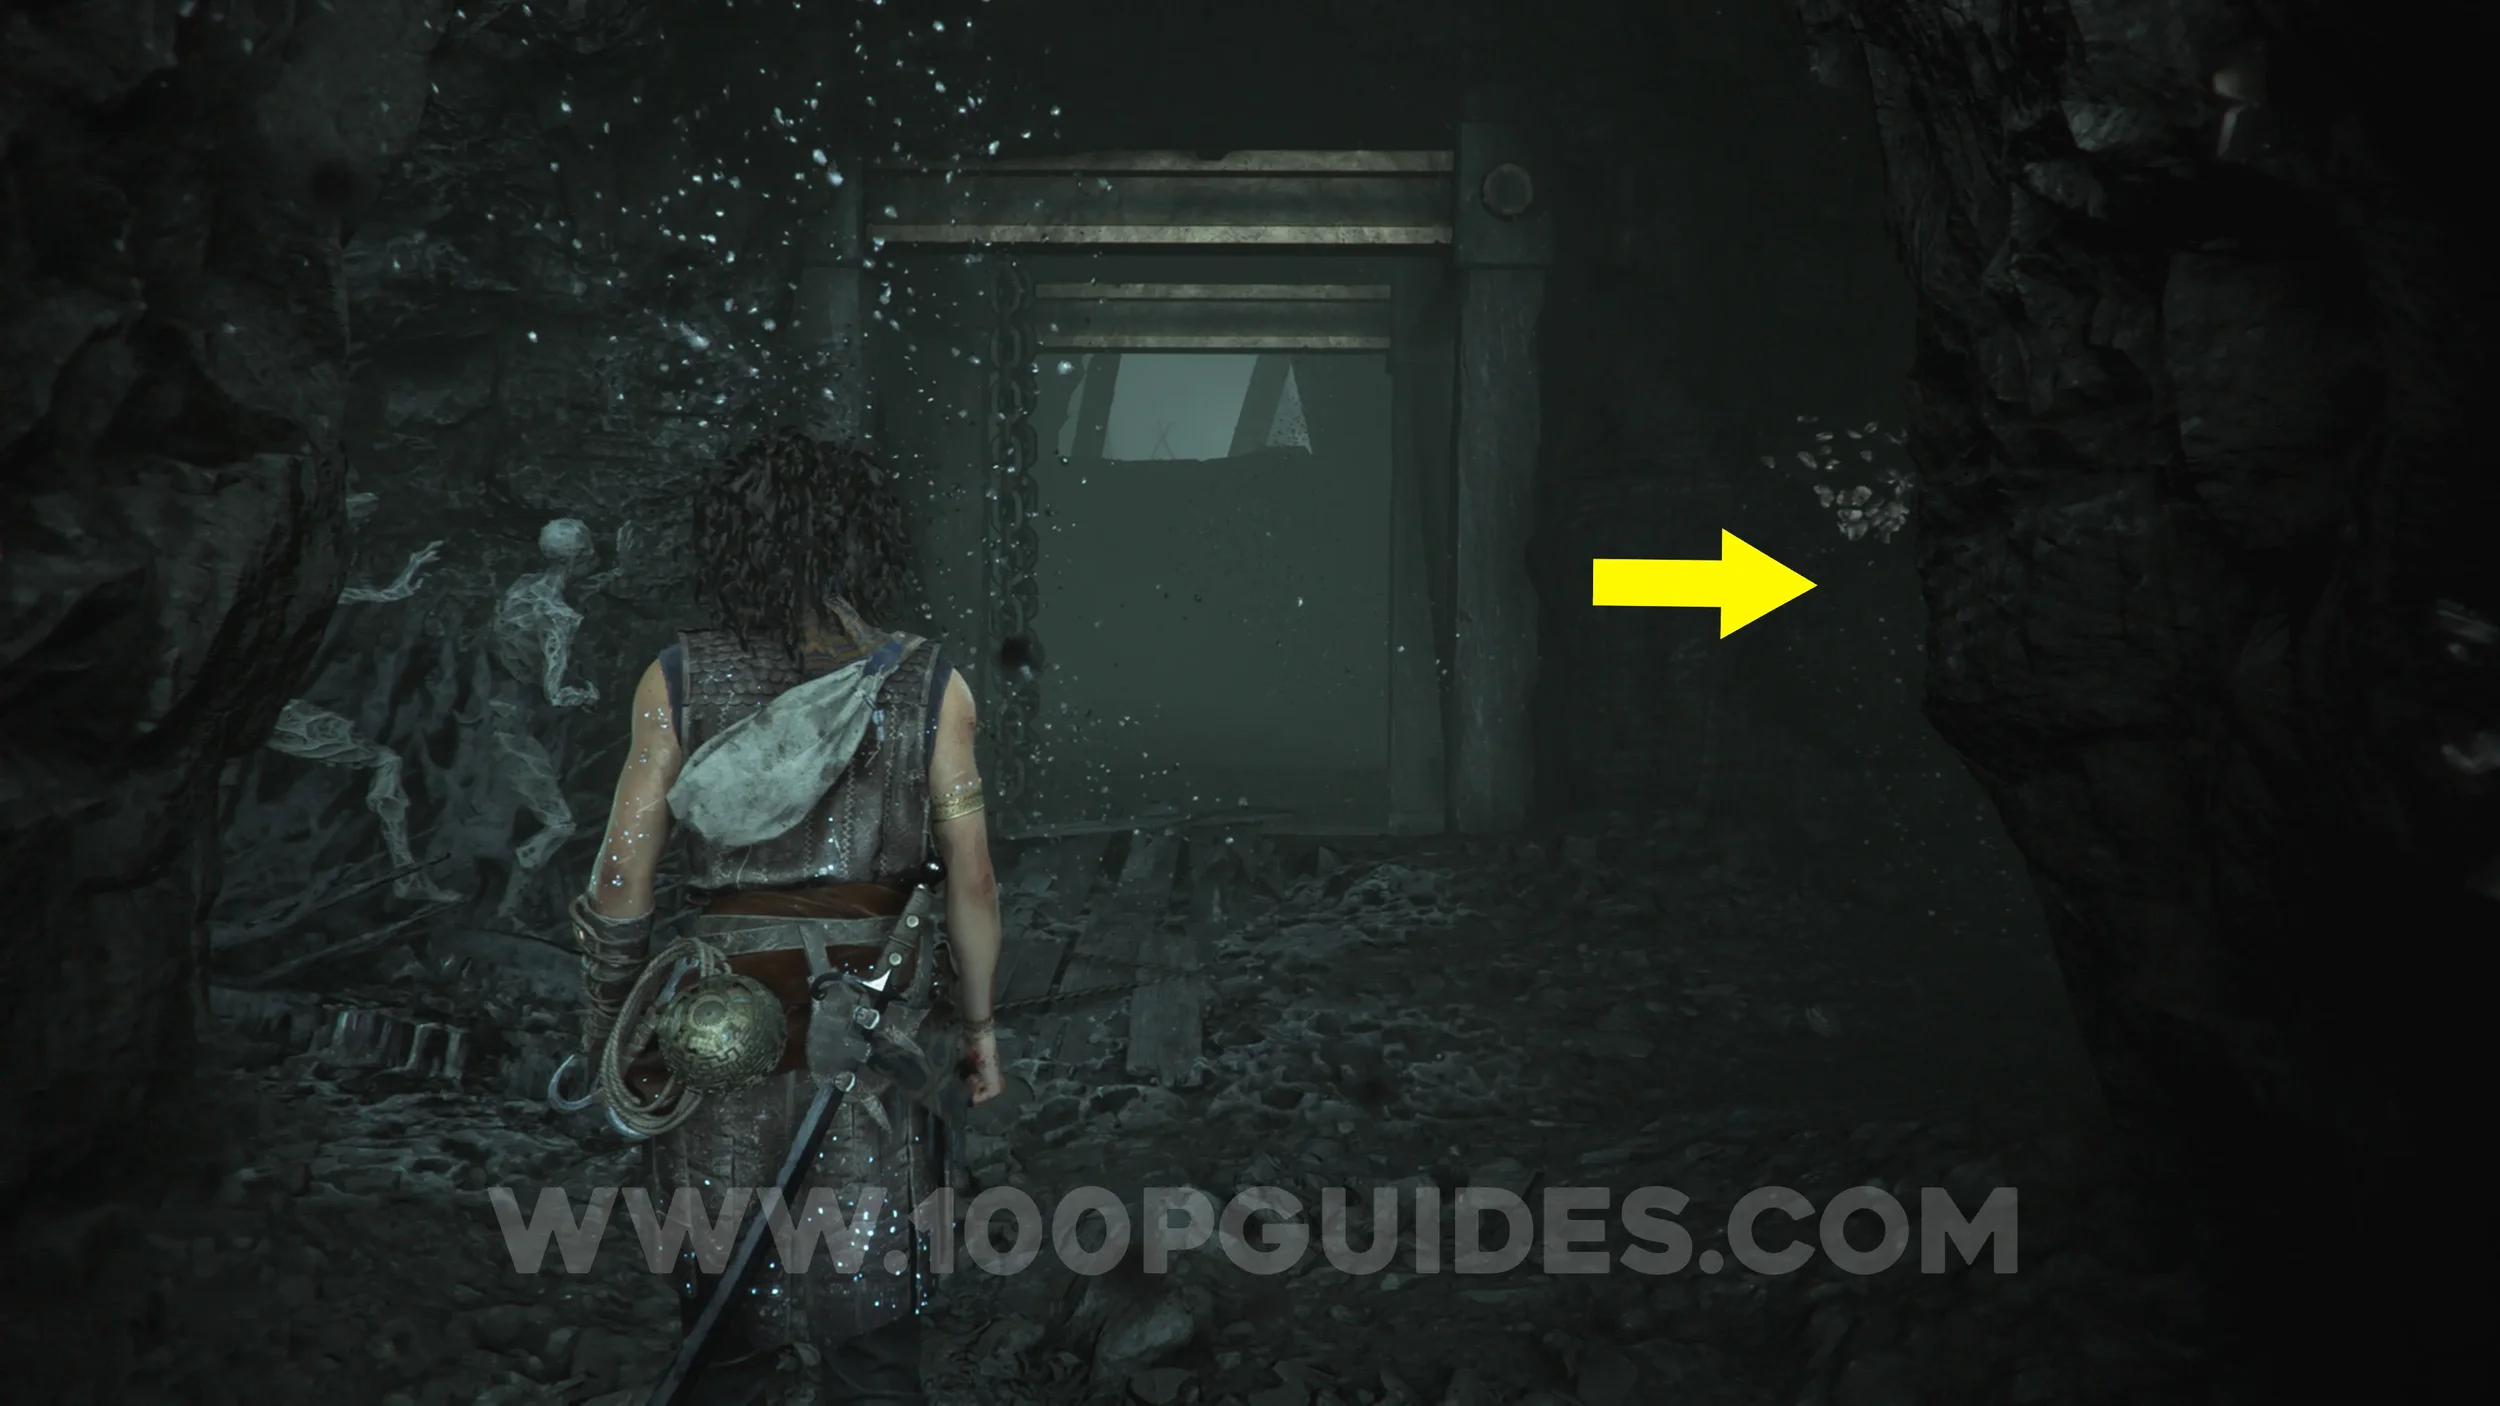
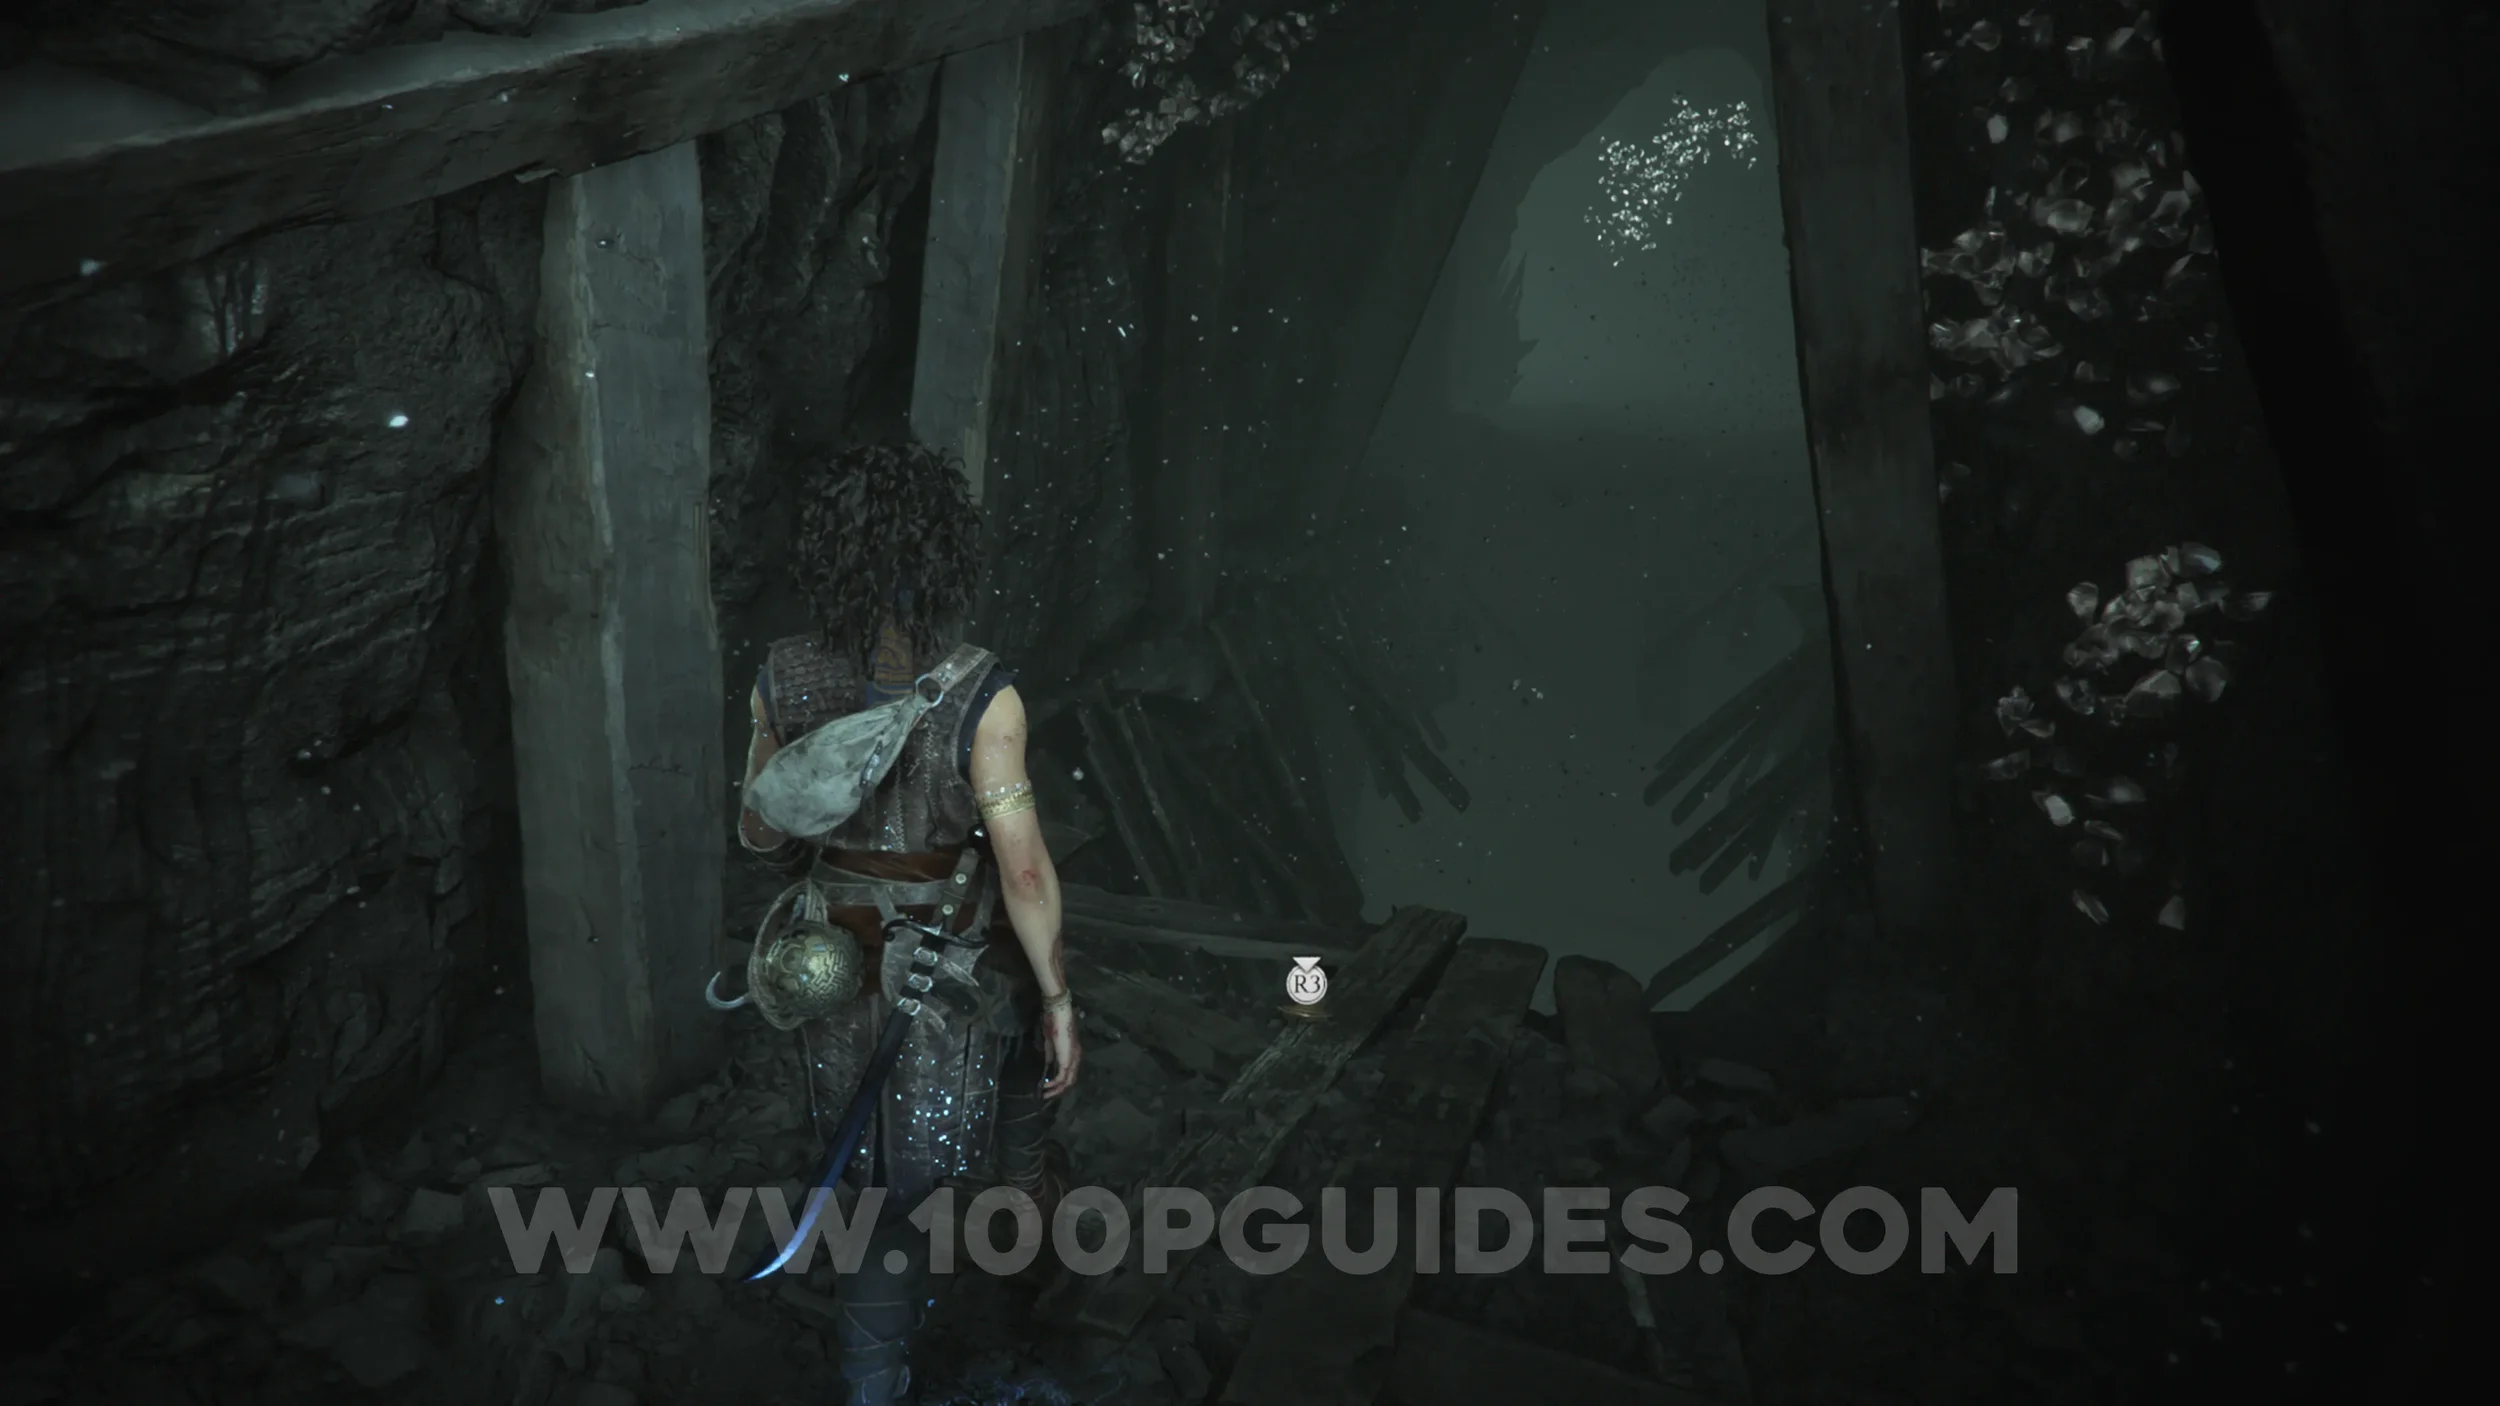
Resonance Point
Chapter 11: Sub-Chapter 6.
After jumping over the shaft, follow the only possible path until you reach a camp, where you'll find the collectible on the hammock.
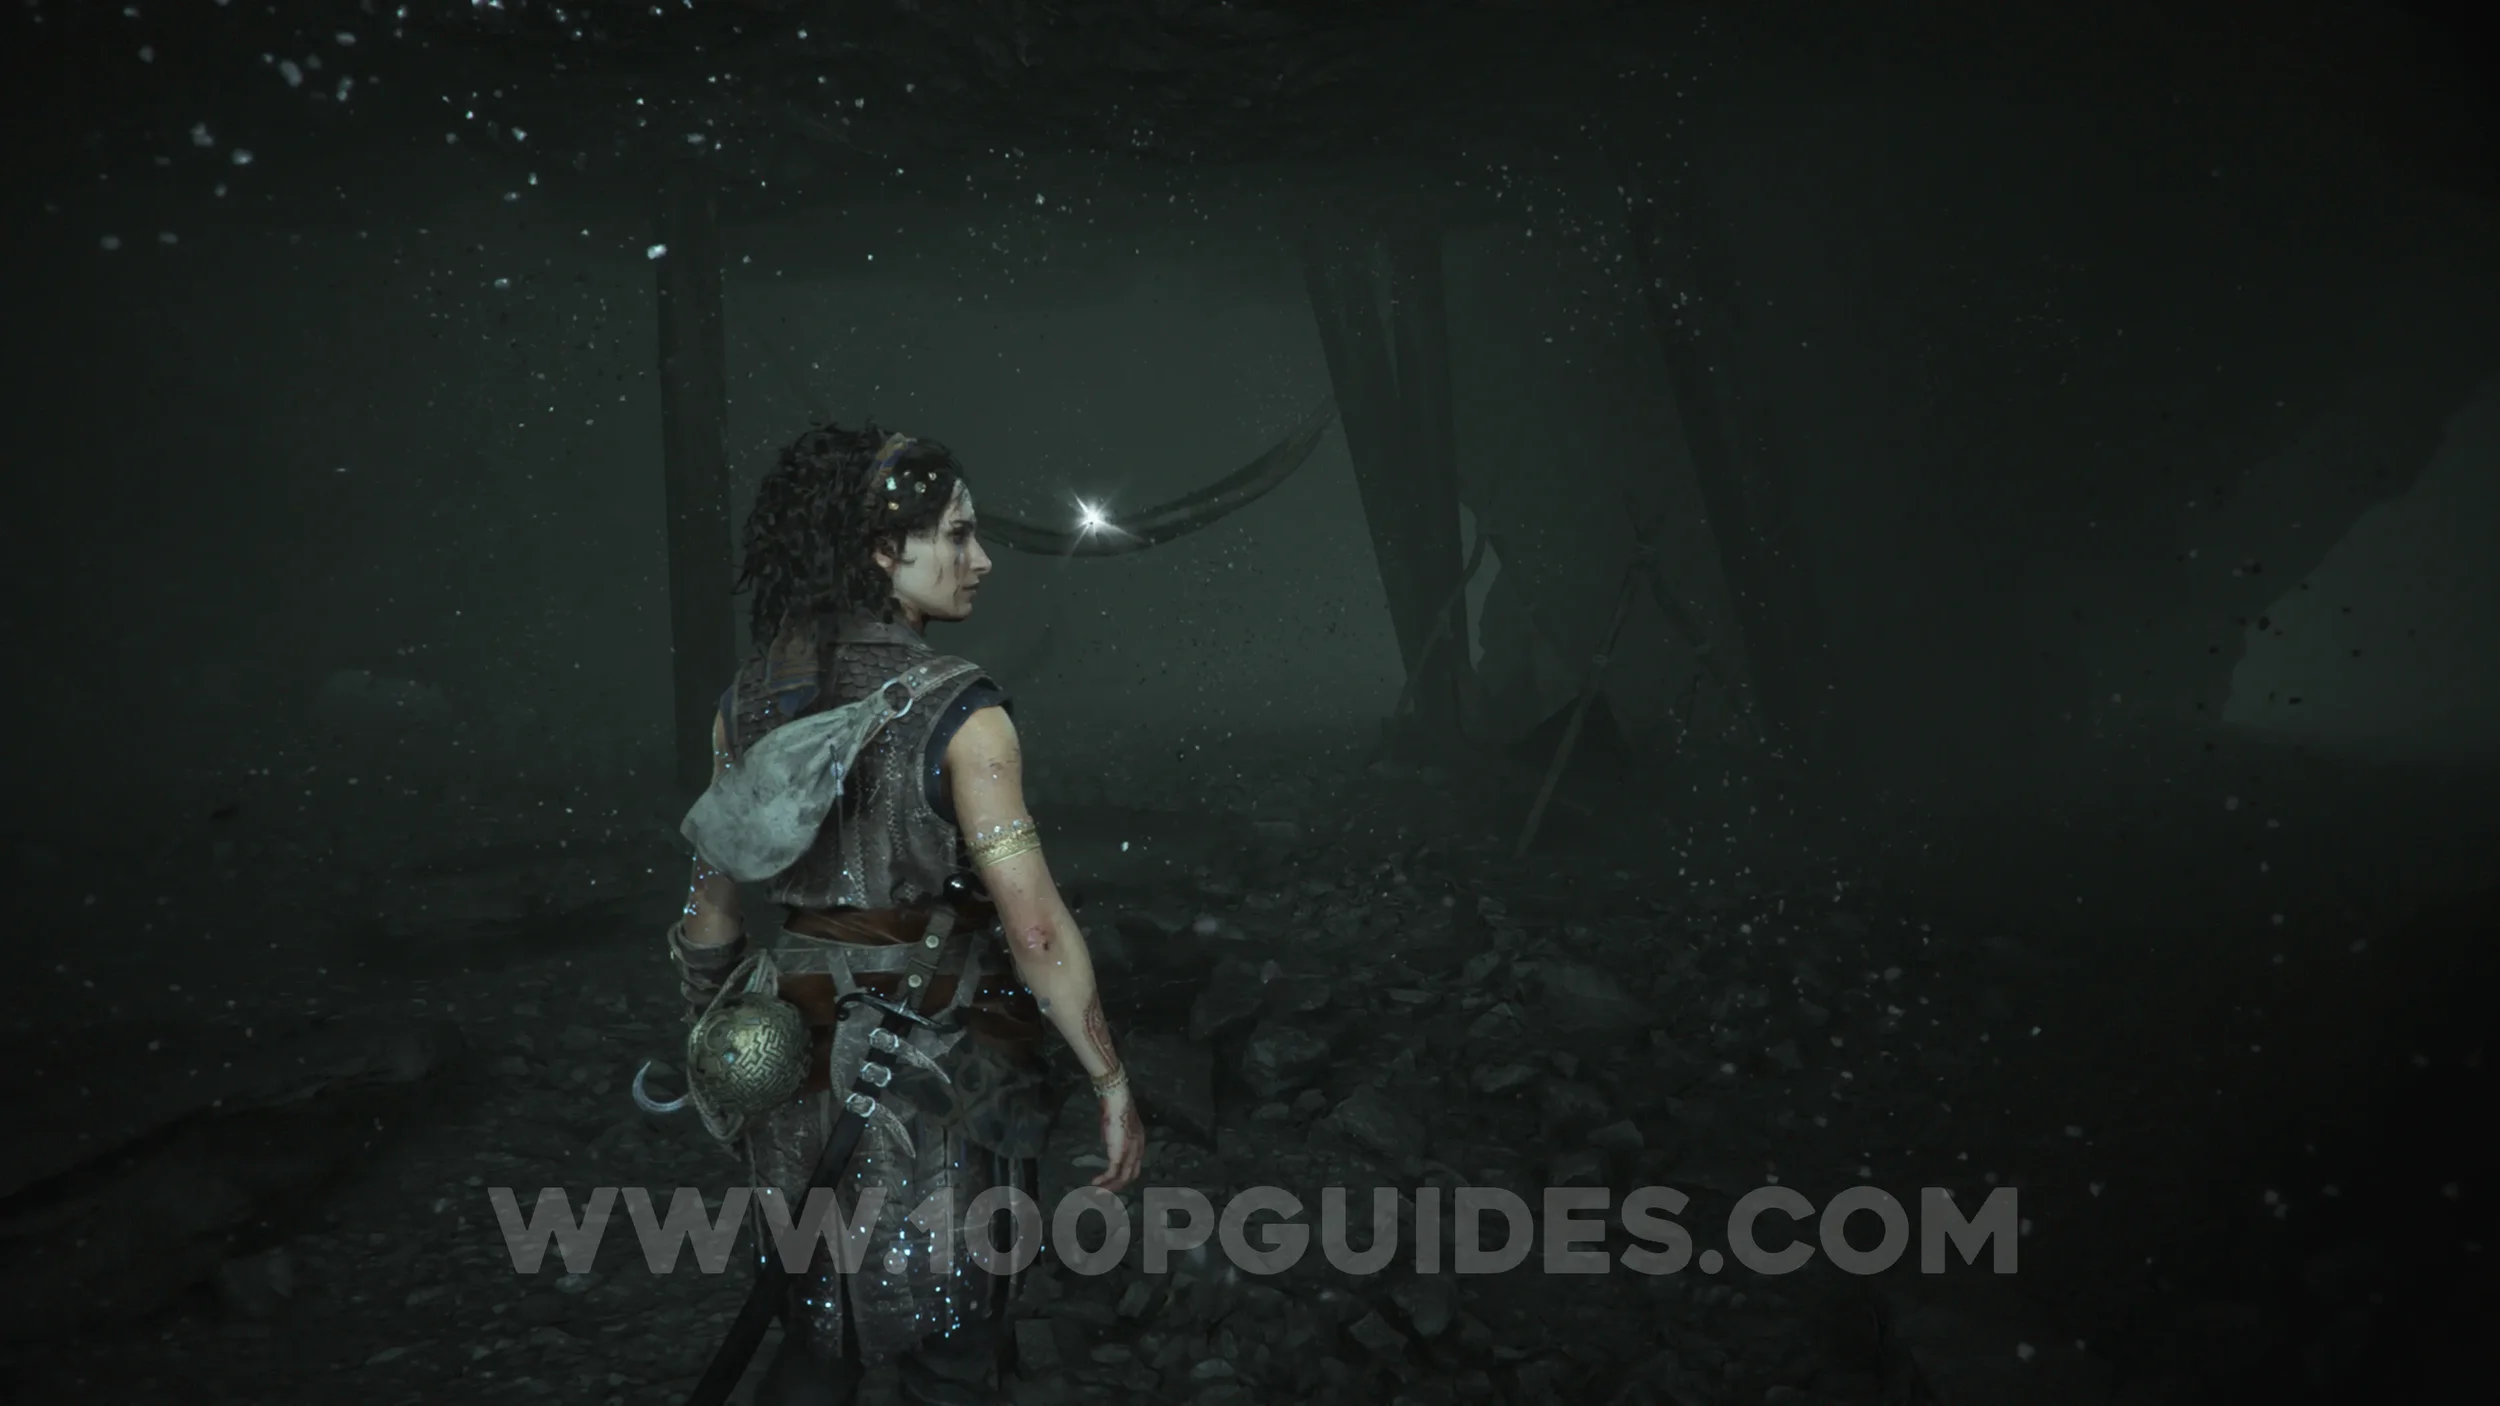
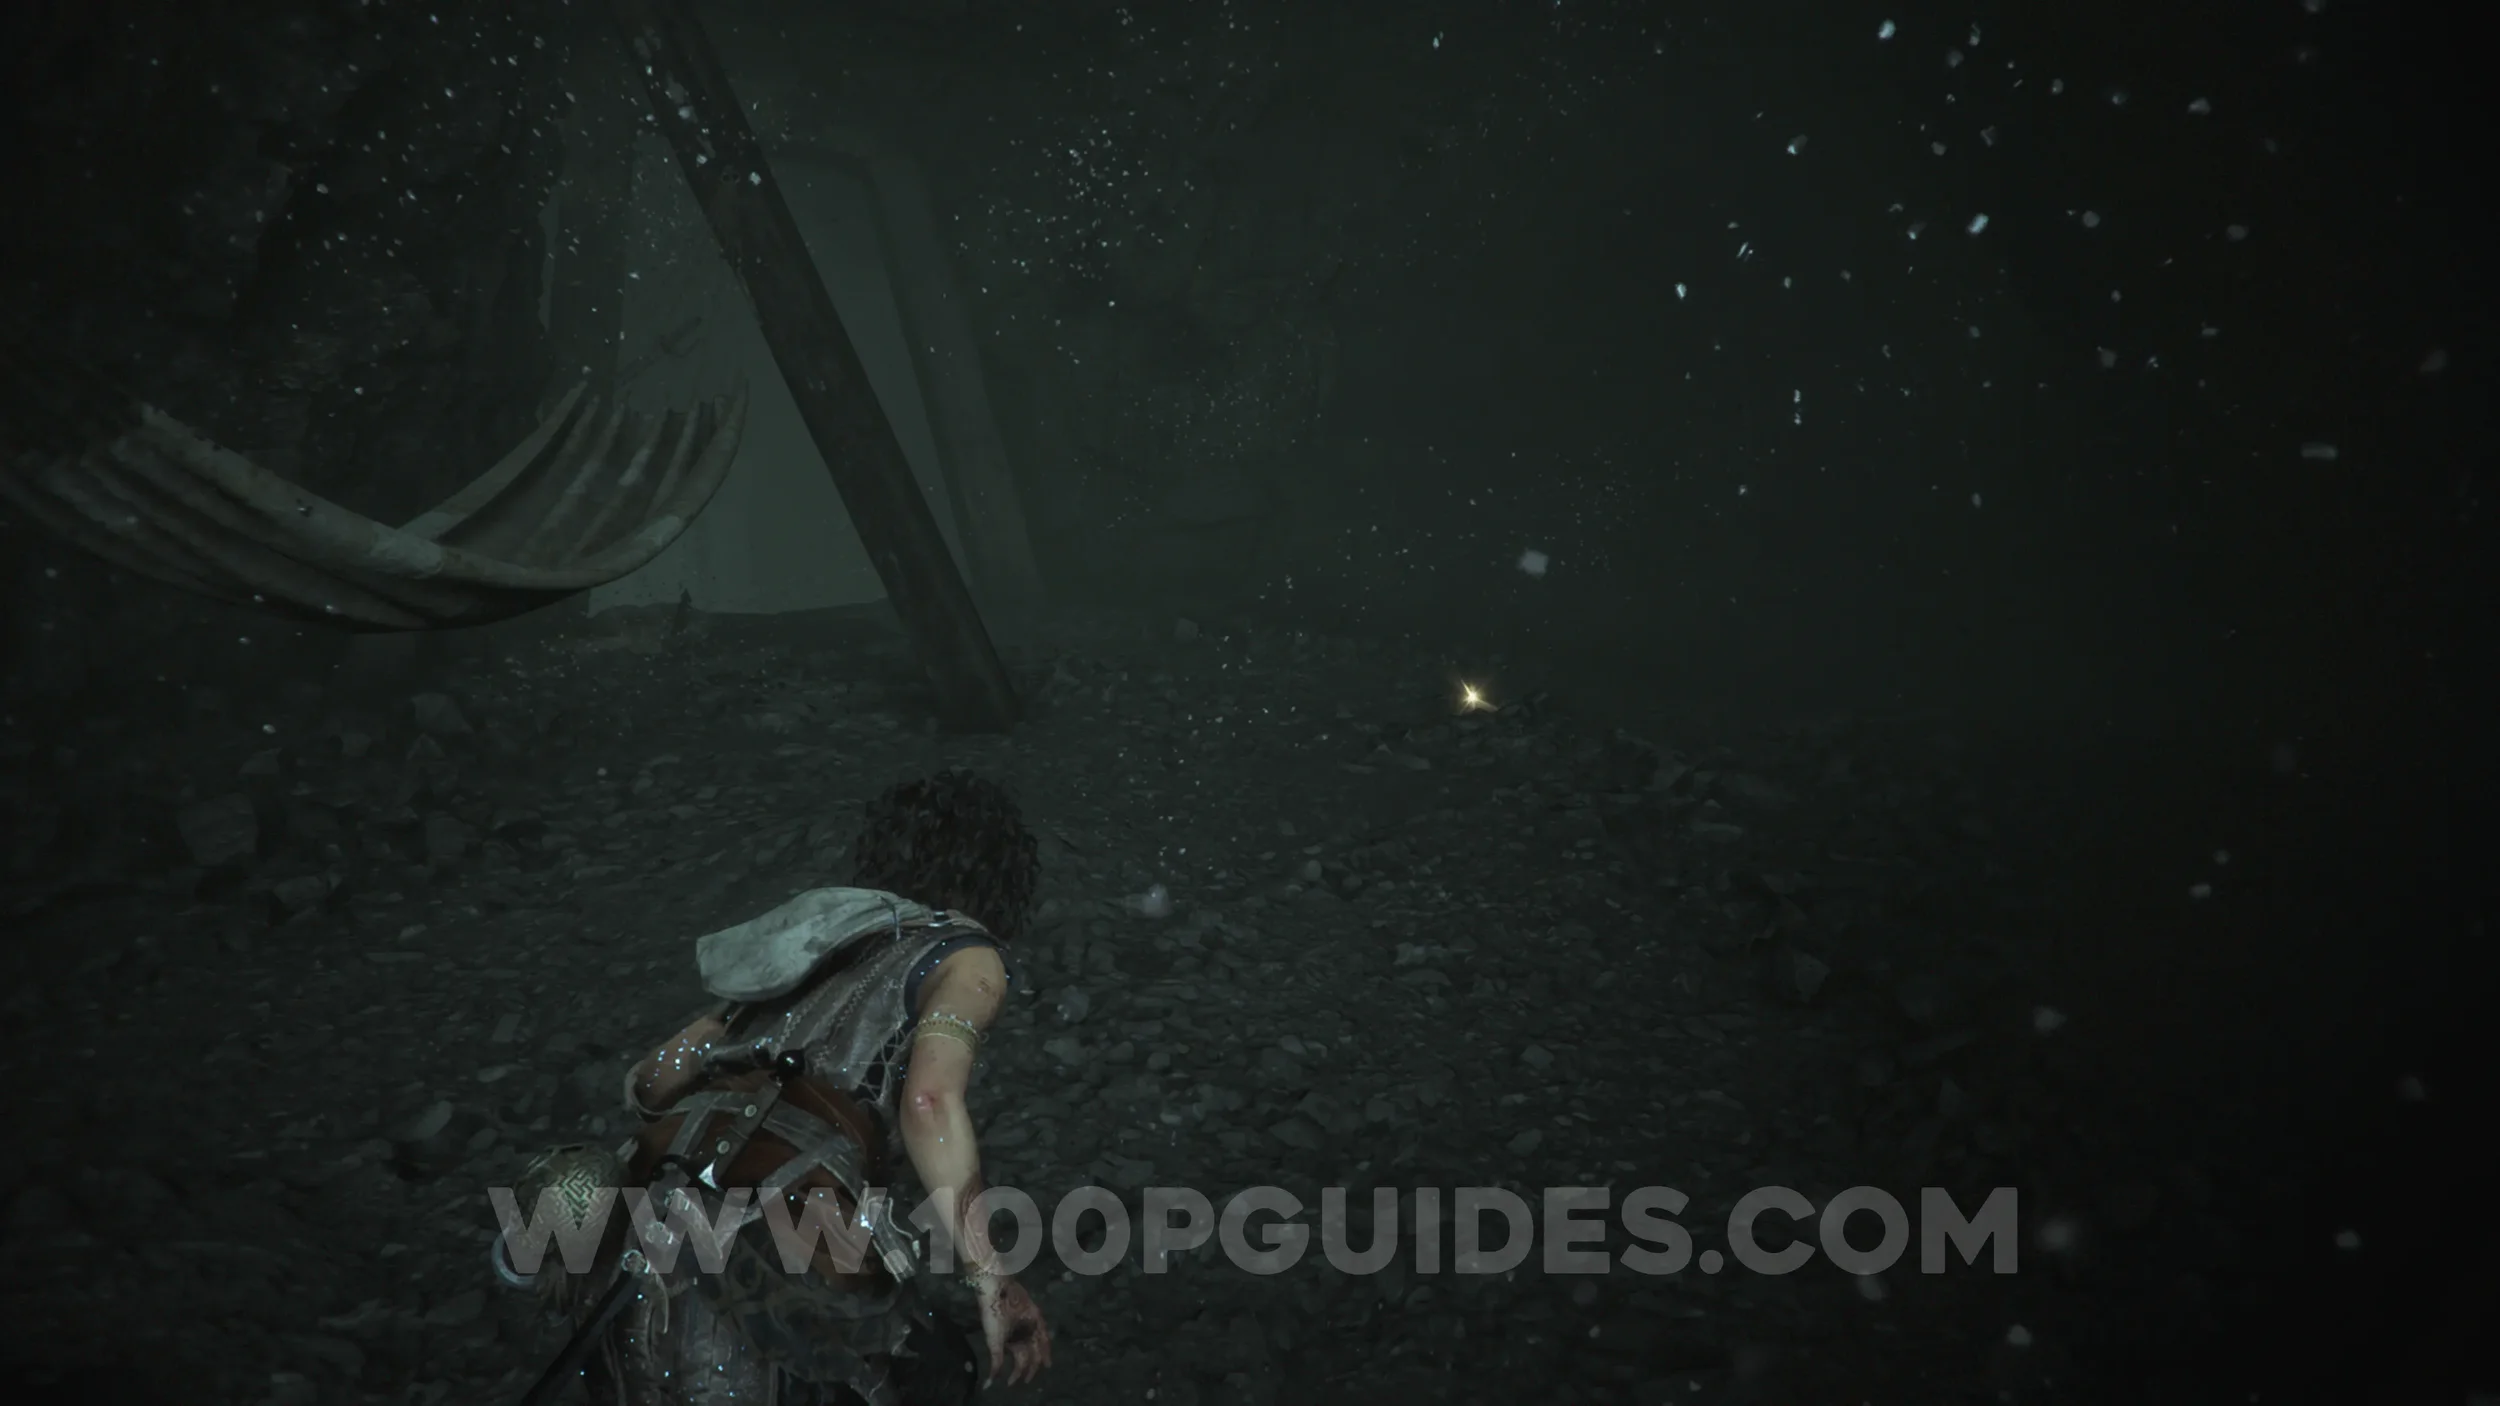
Artefact: Weasel Foot
Chapter 11: Sub-Chapter 6.
On the ground to the left of the previous collectible.
Chapter 12
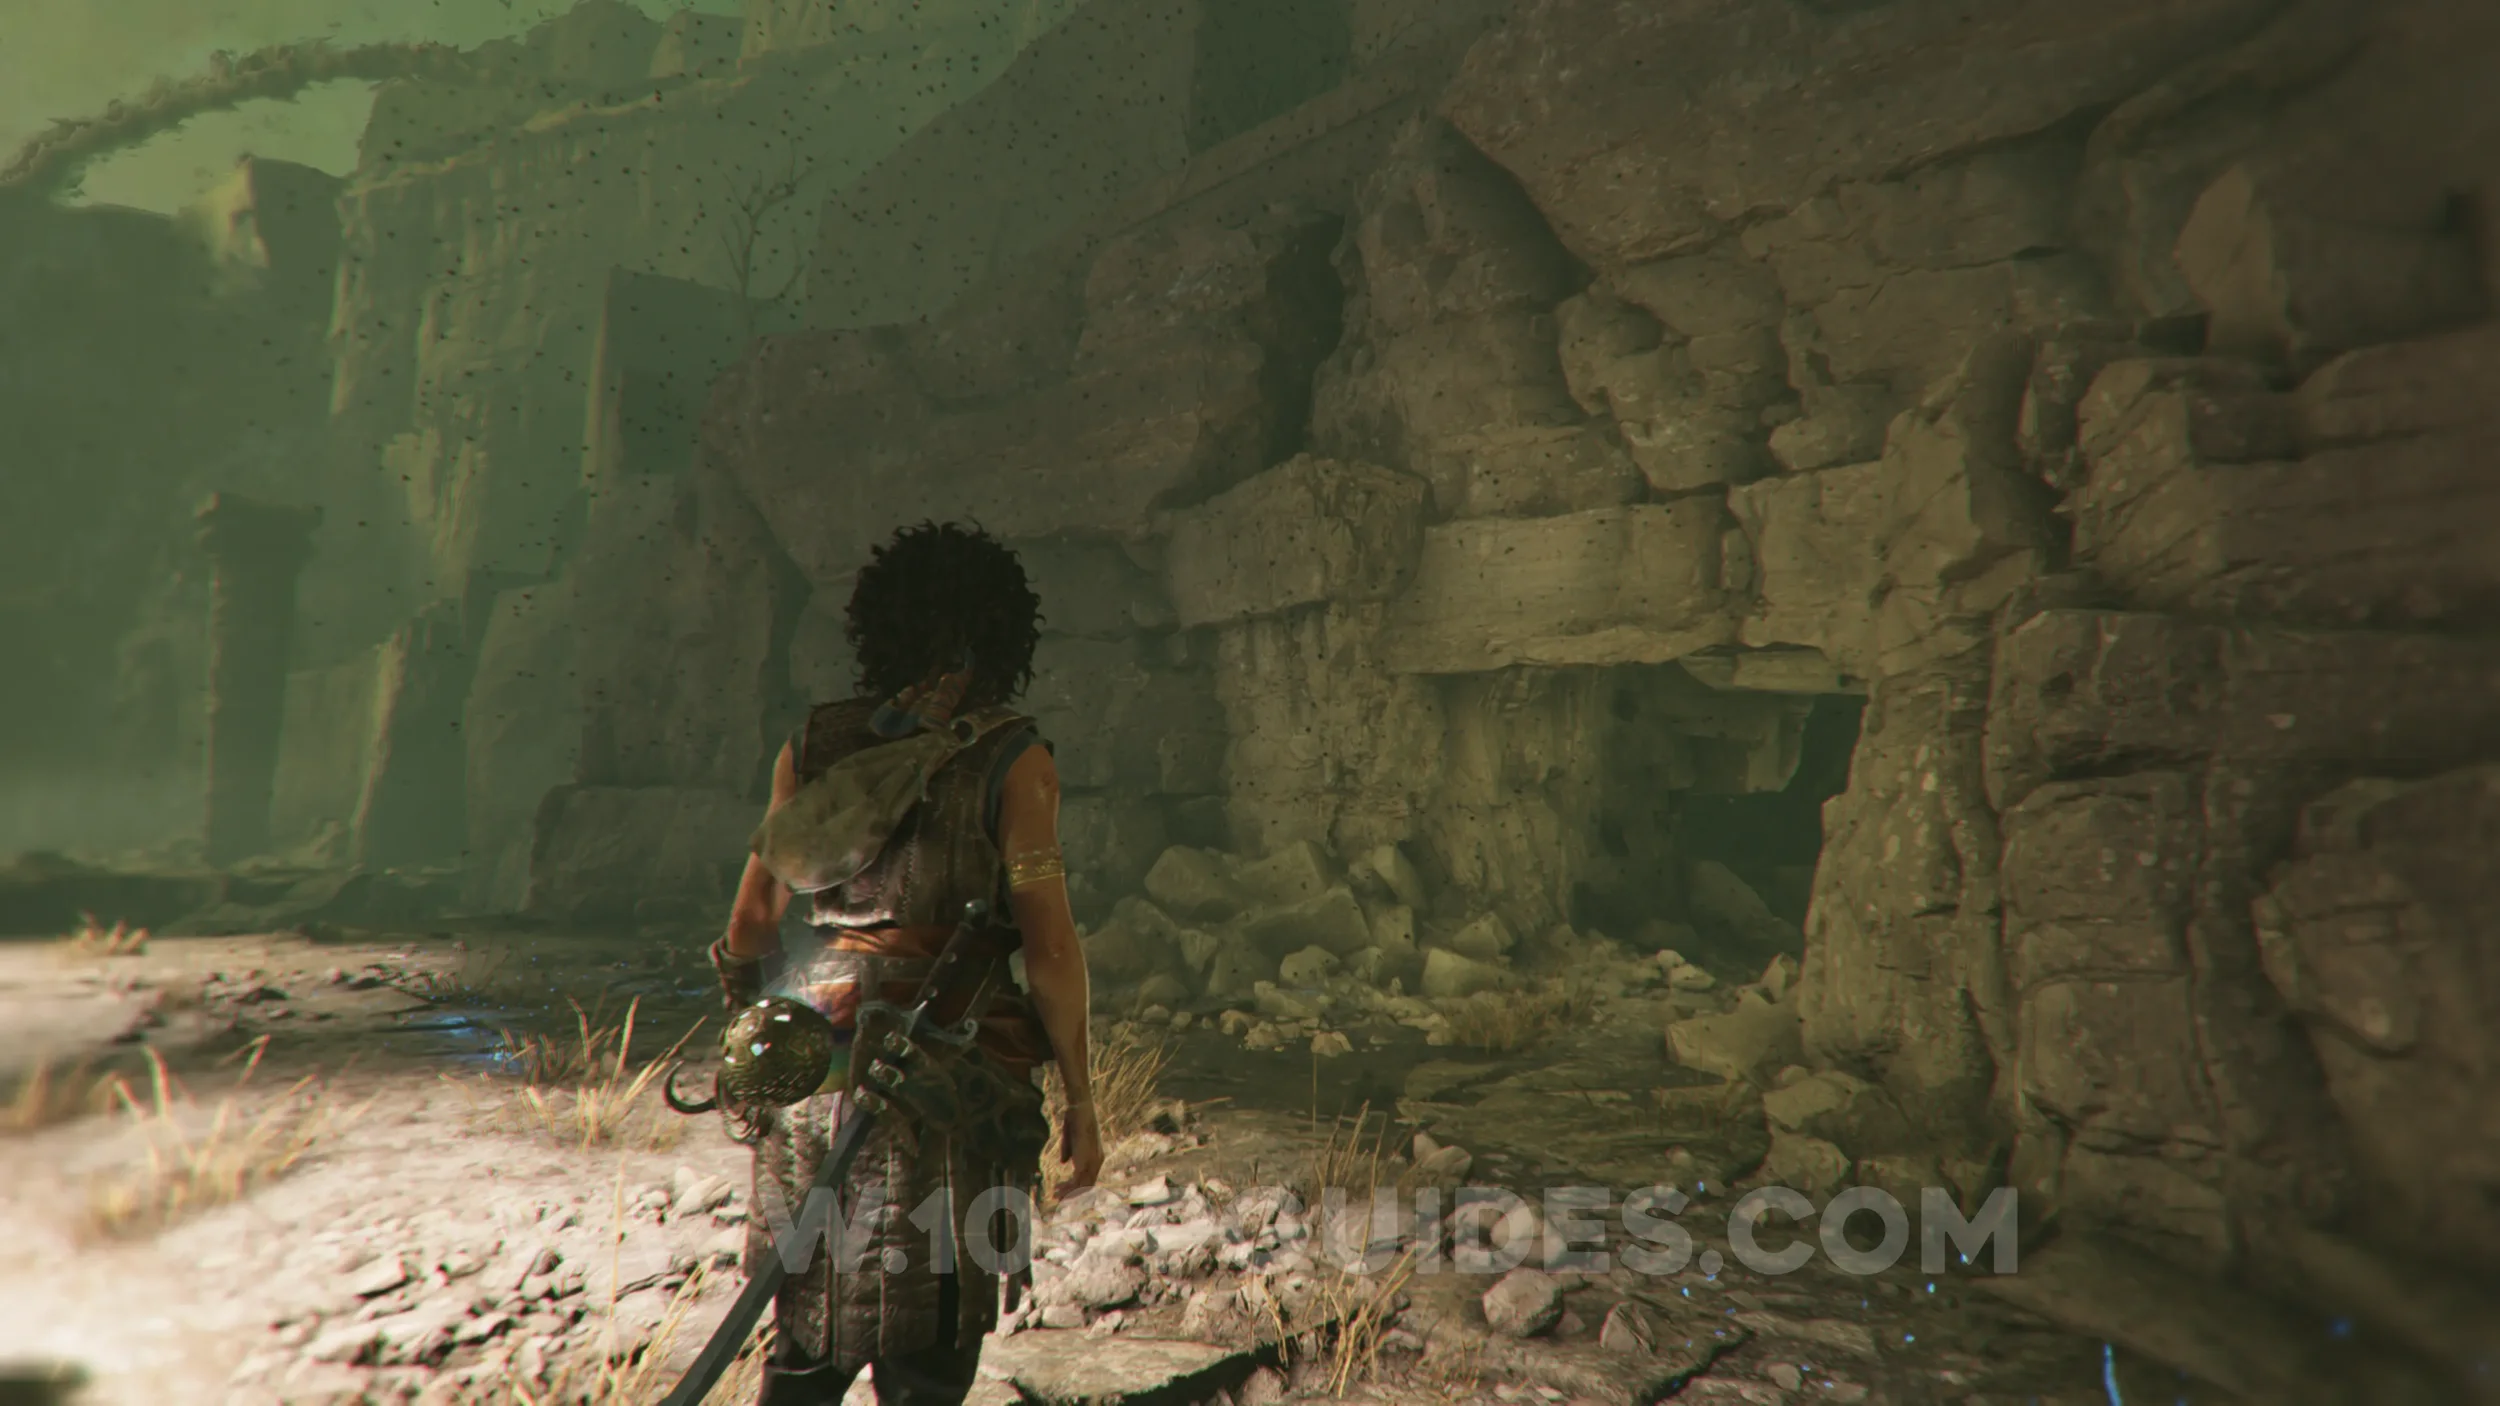
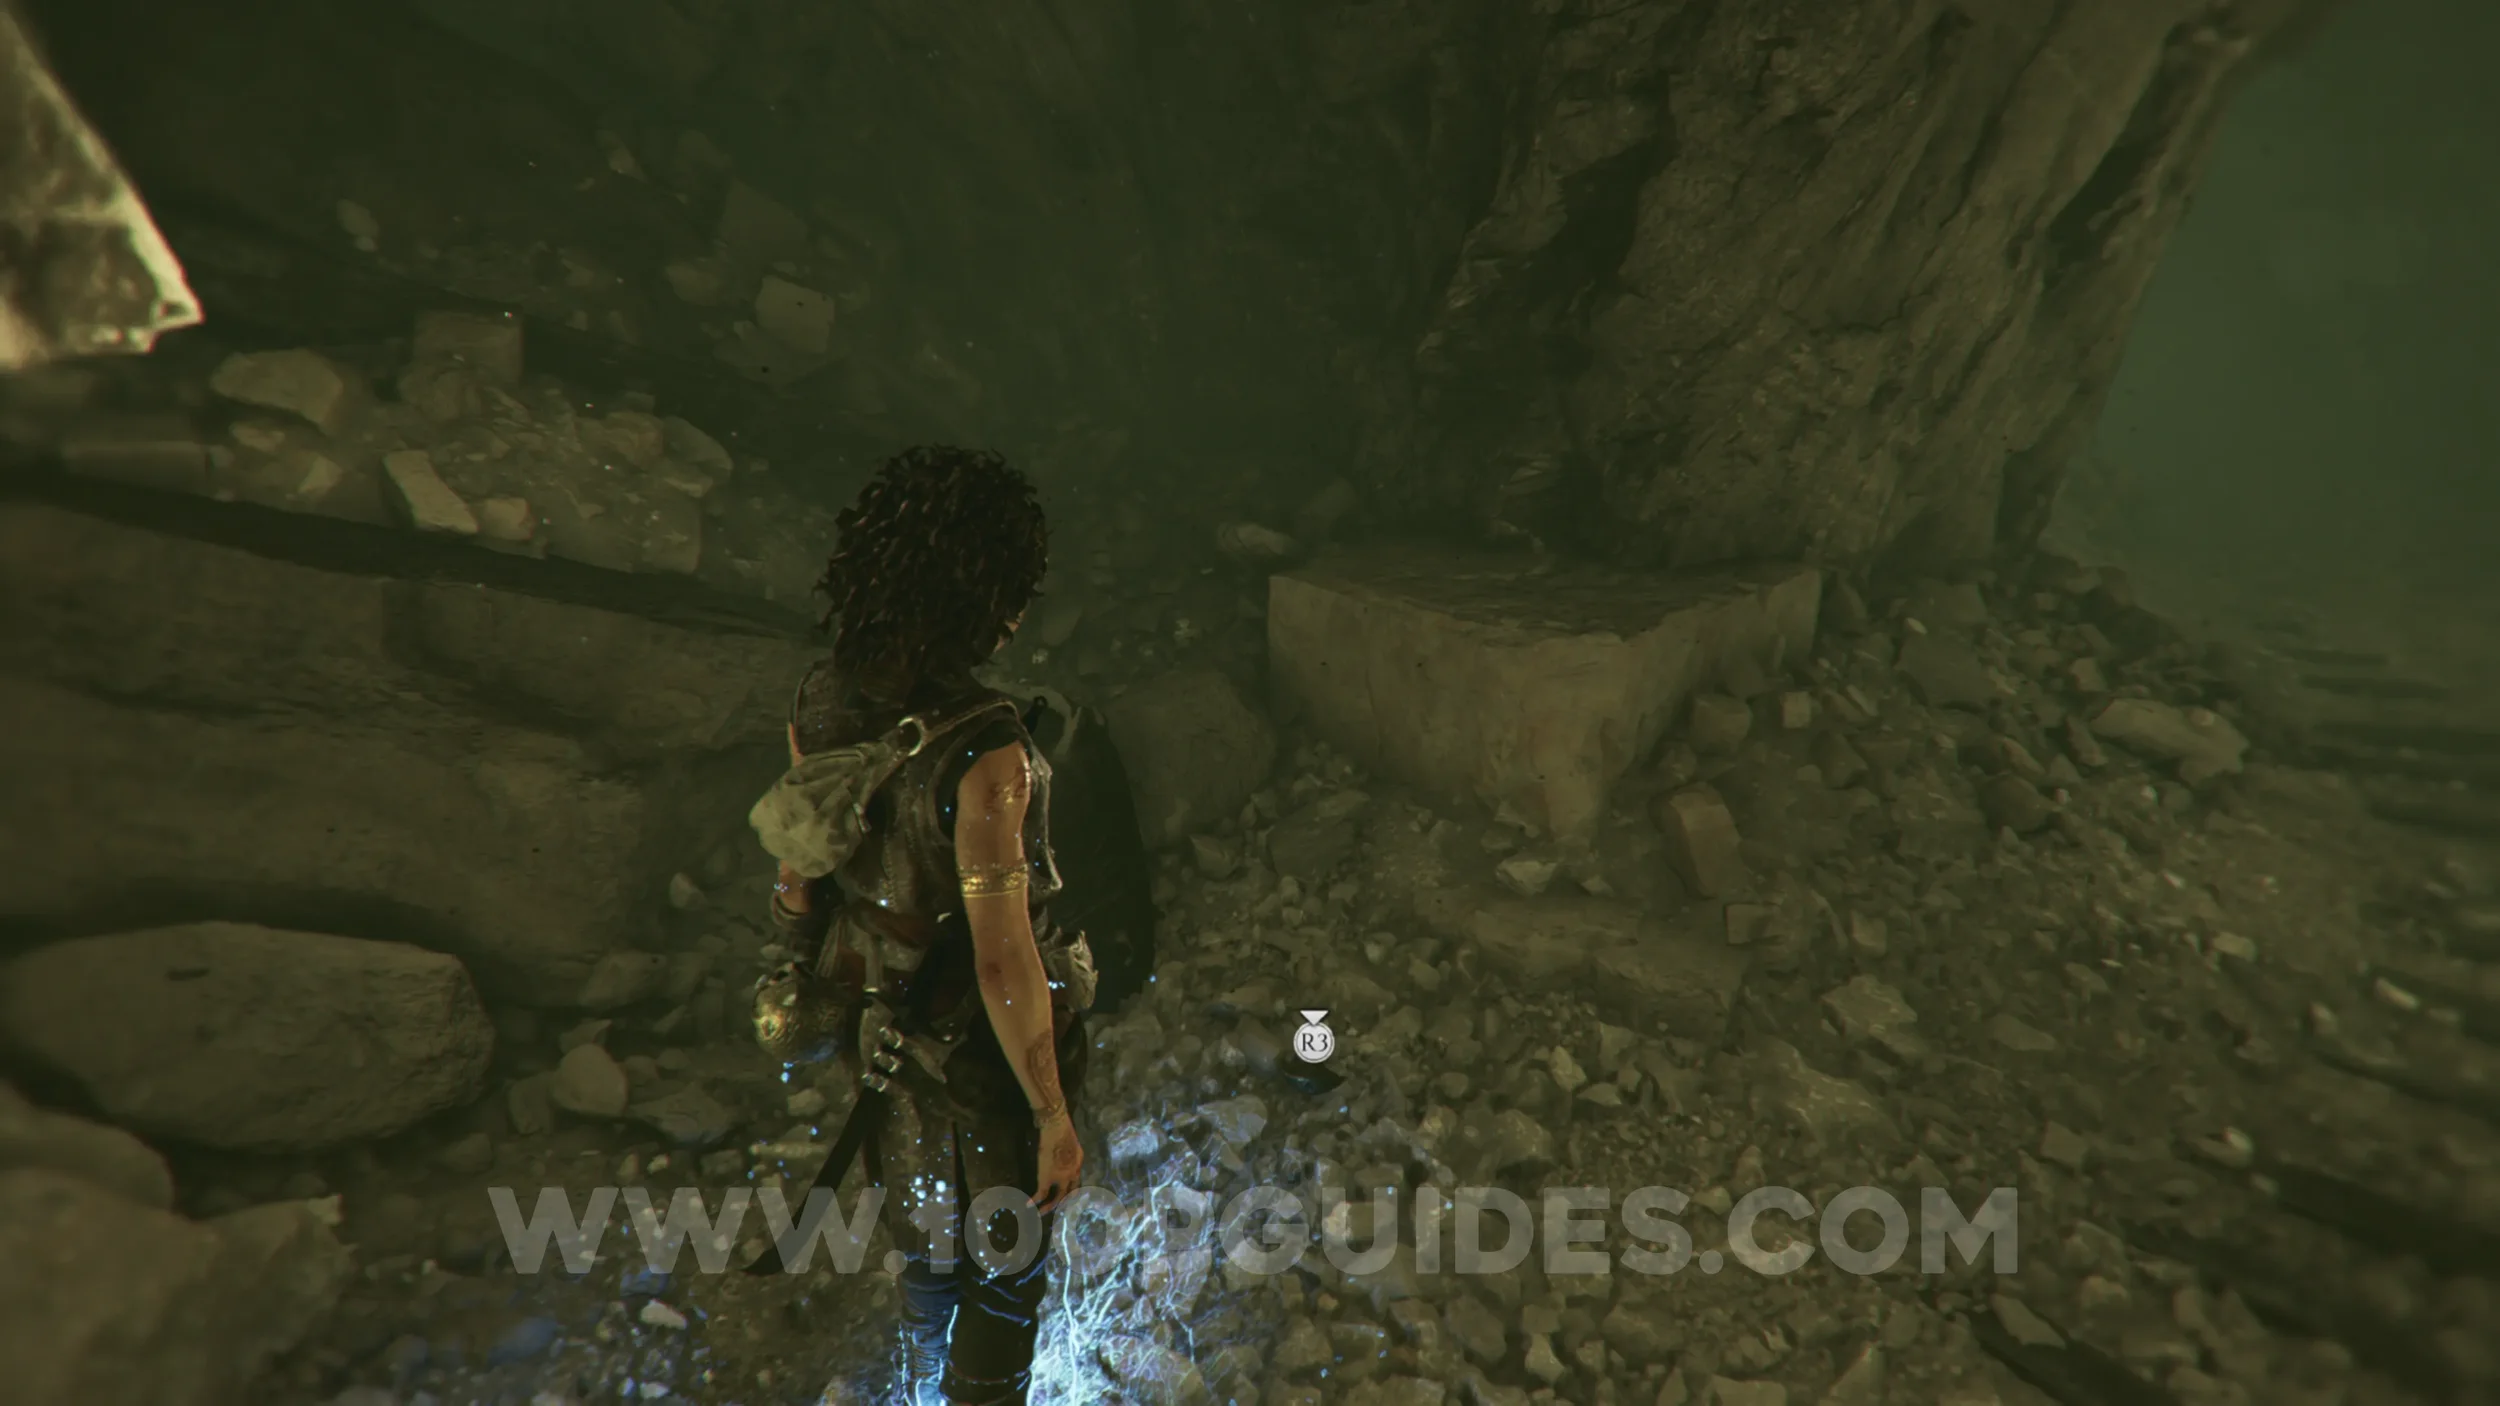
Resonance Point
Chapter 12: Sub-Chapter 1.
At the start of the chapter, you'll come to a hole in the path that forces you to take a detour through a small cave on your right. The collectible will be on the ground in plain sight as soon as you enter the cave.
Resonance Point x2
Chapter 12: Sub-Chapter 1.
Soon after the previous collectible, you'll reach a room filled with enemies. You'll get the point after defeating them.
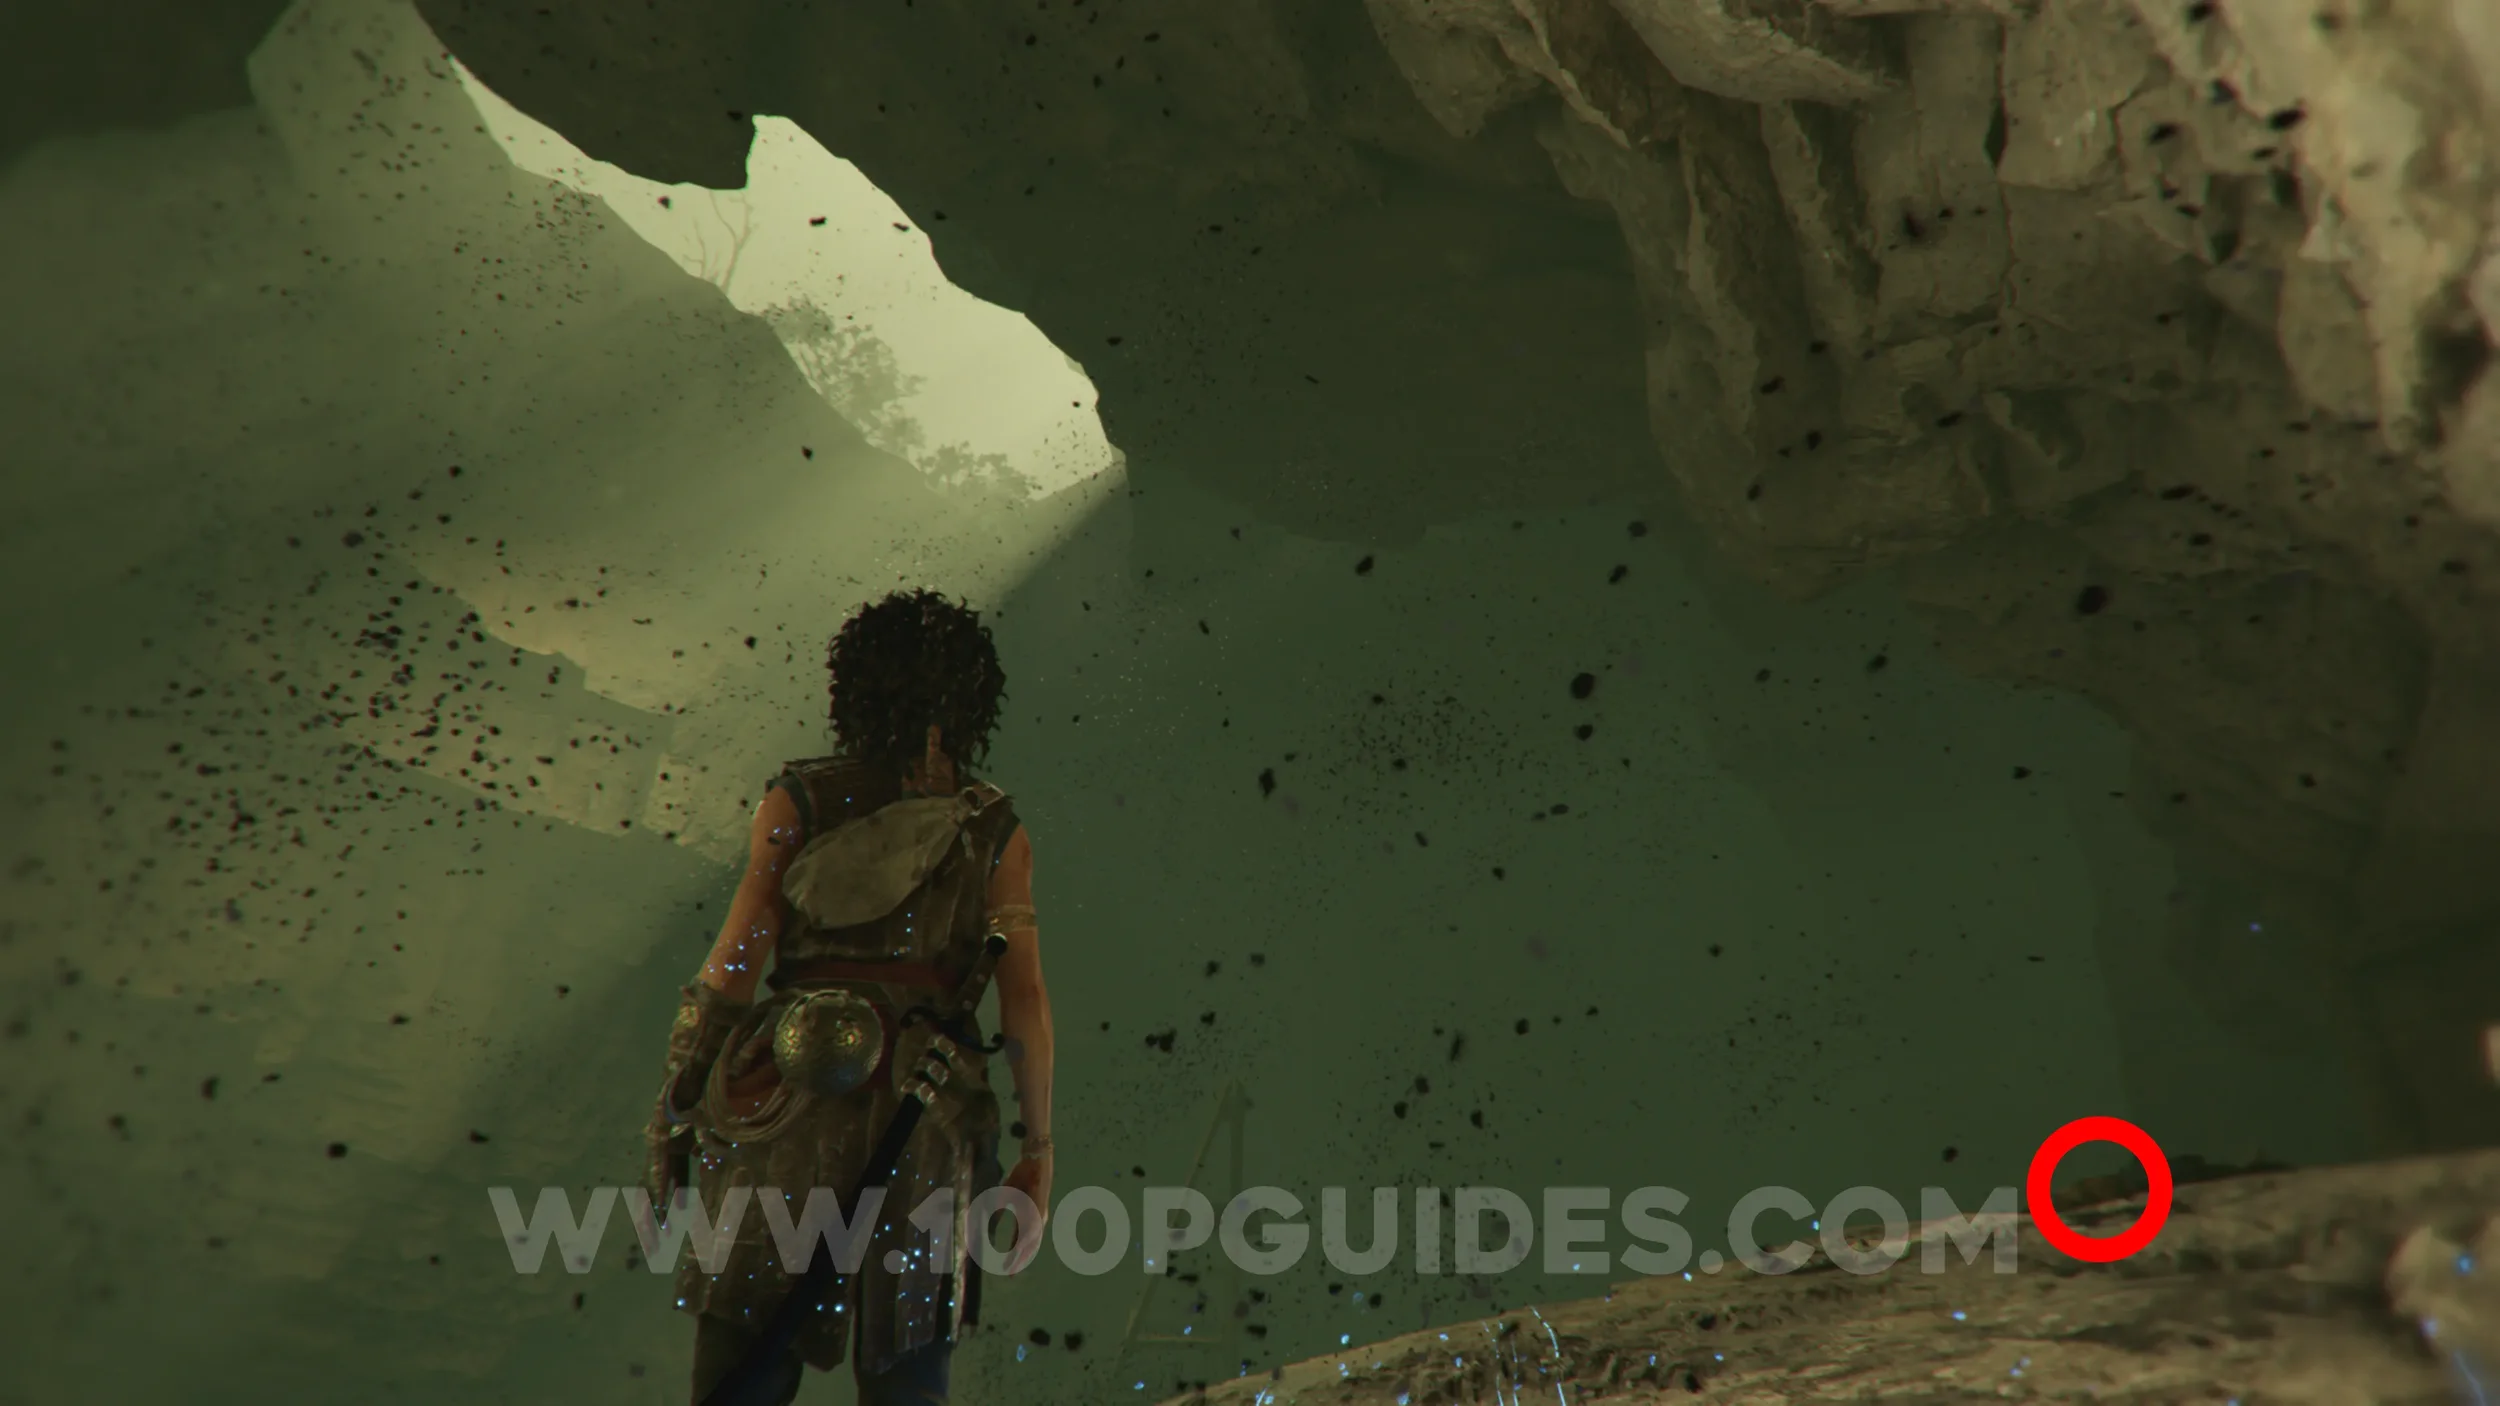
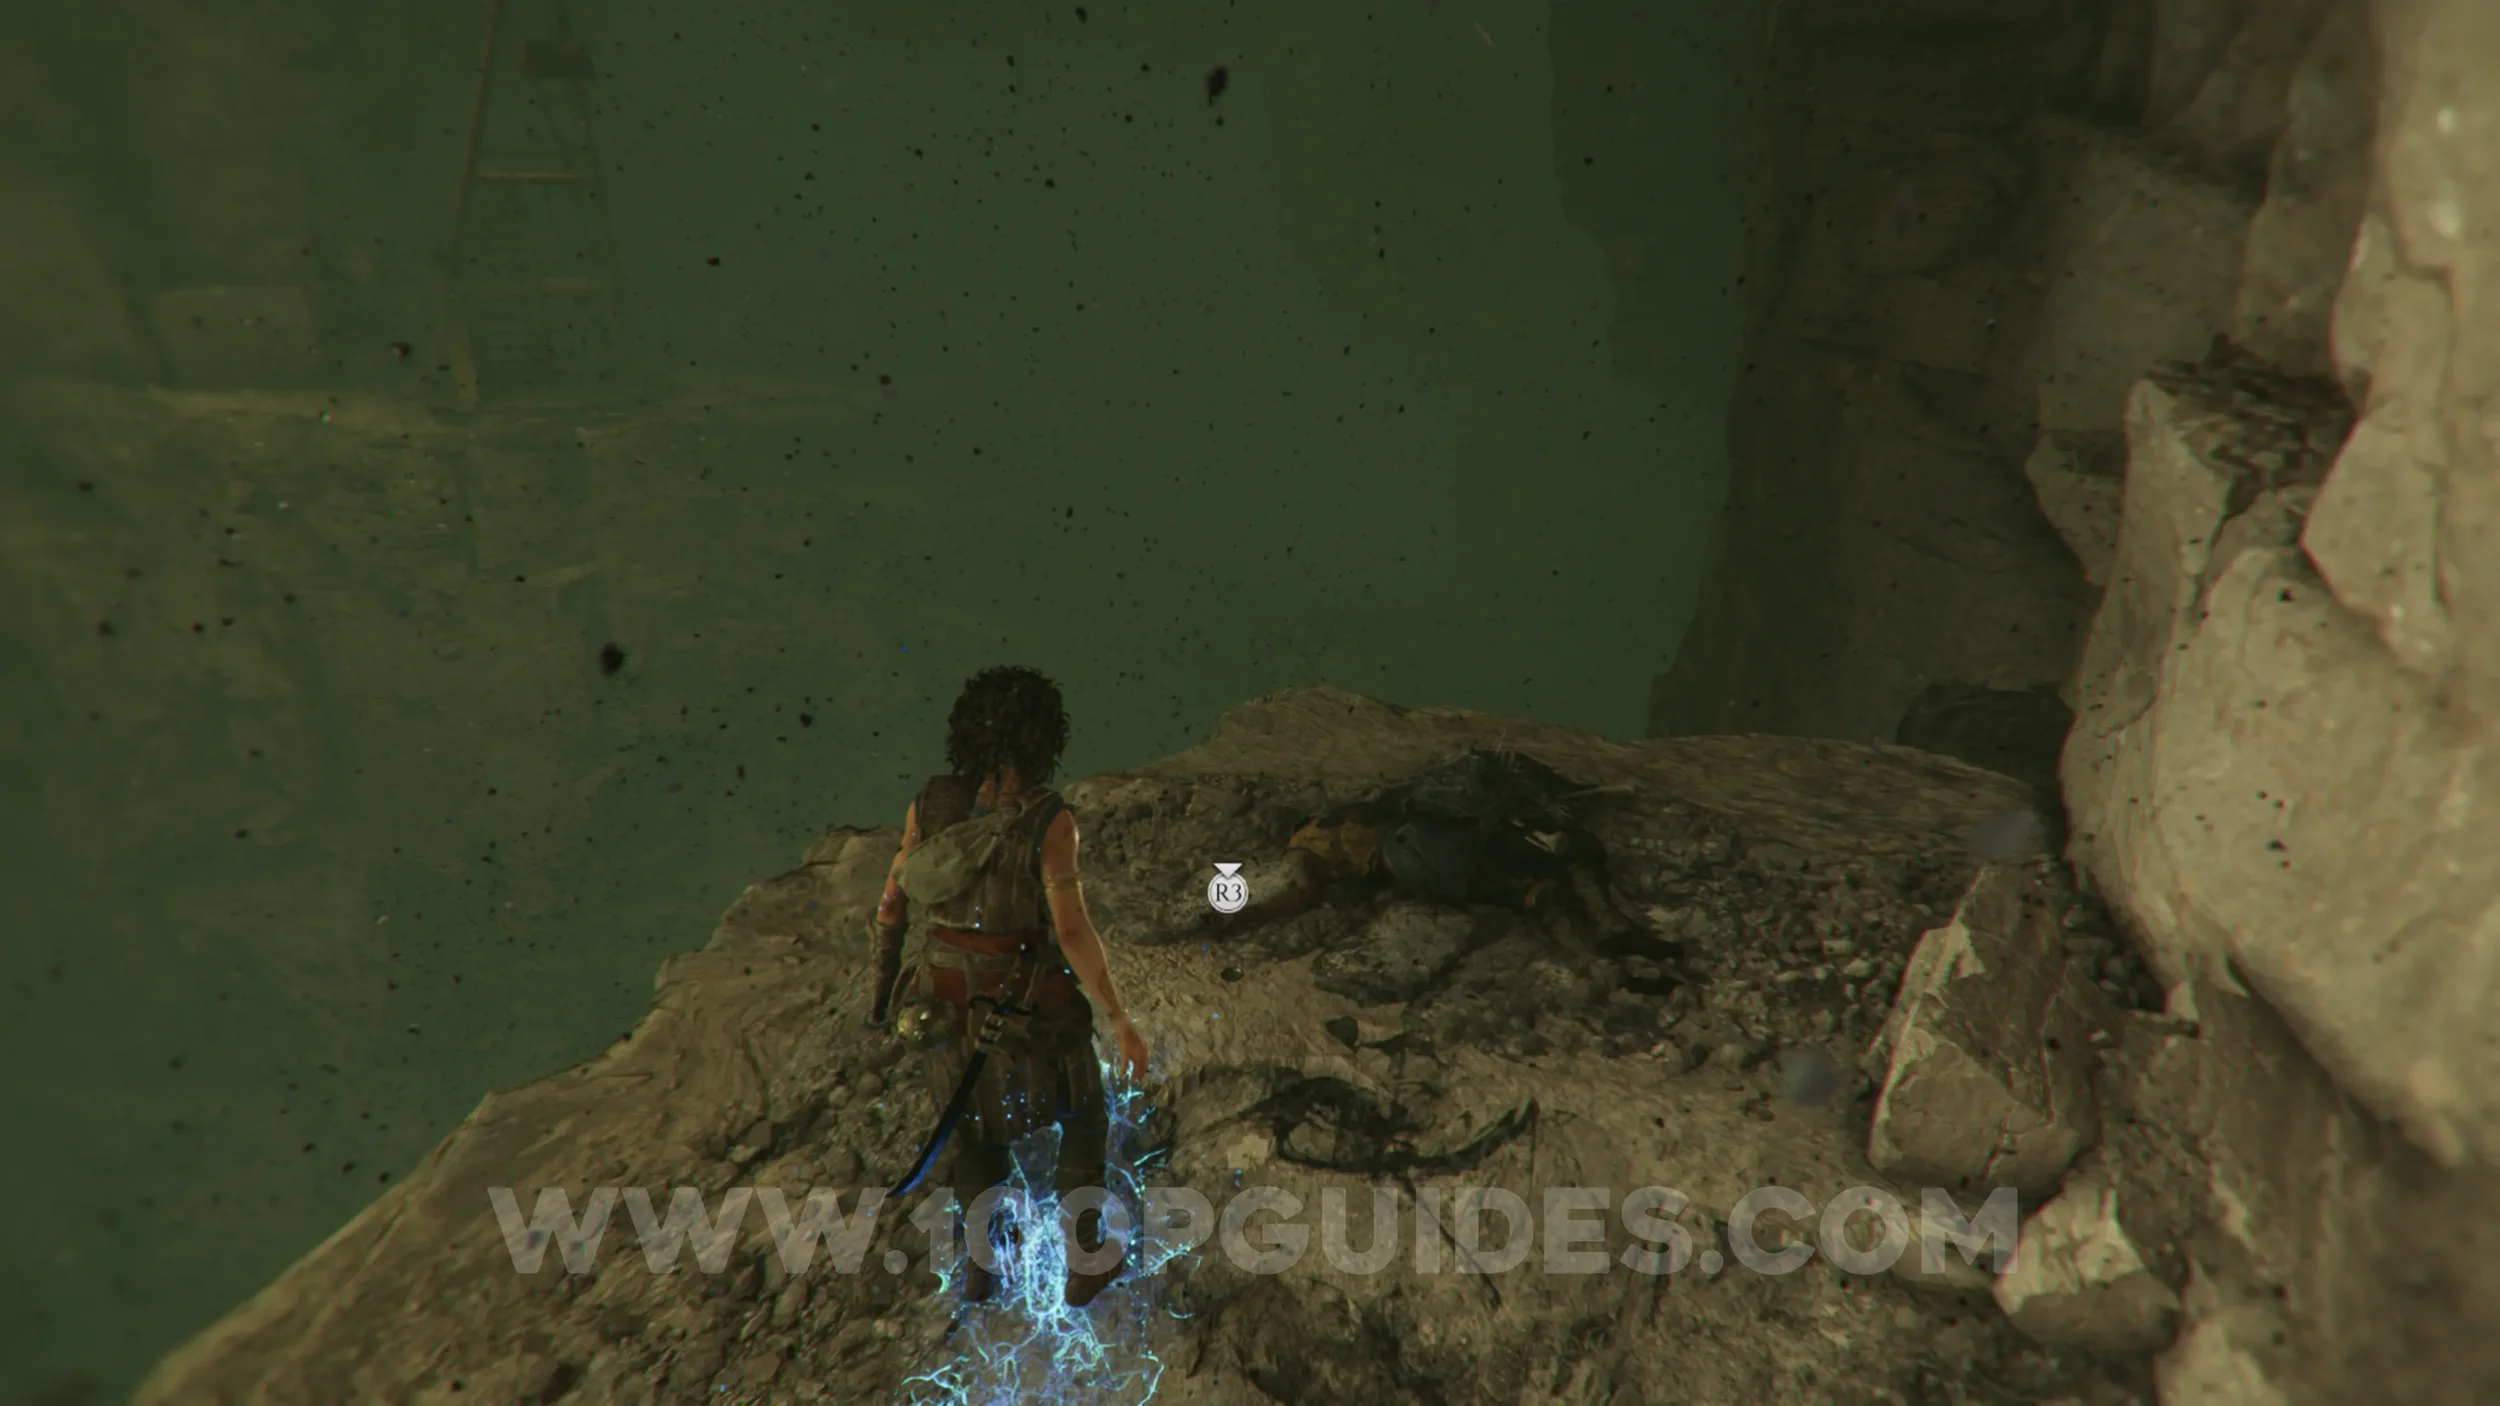
Artefact: Loving Memento
Chapter 12: Sub-Chapter 1.
Continue through the cave past the previous enemies until you emerge into an open area with light coming through the top. Here, head right to find the artefact on the corpse.
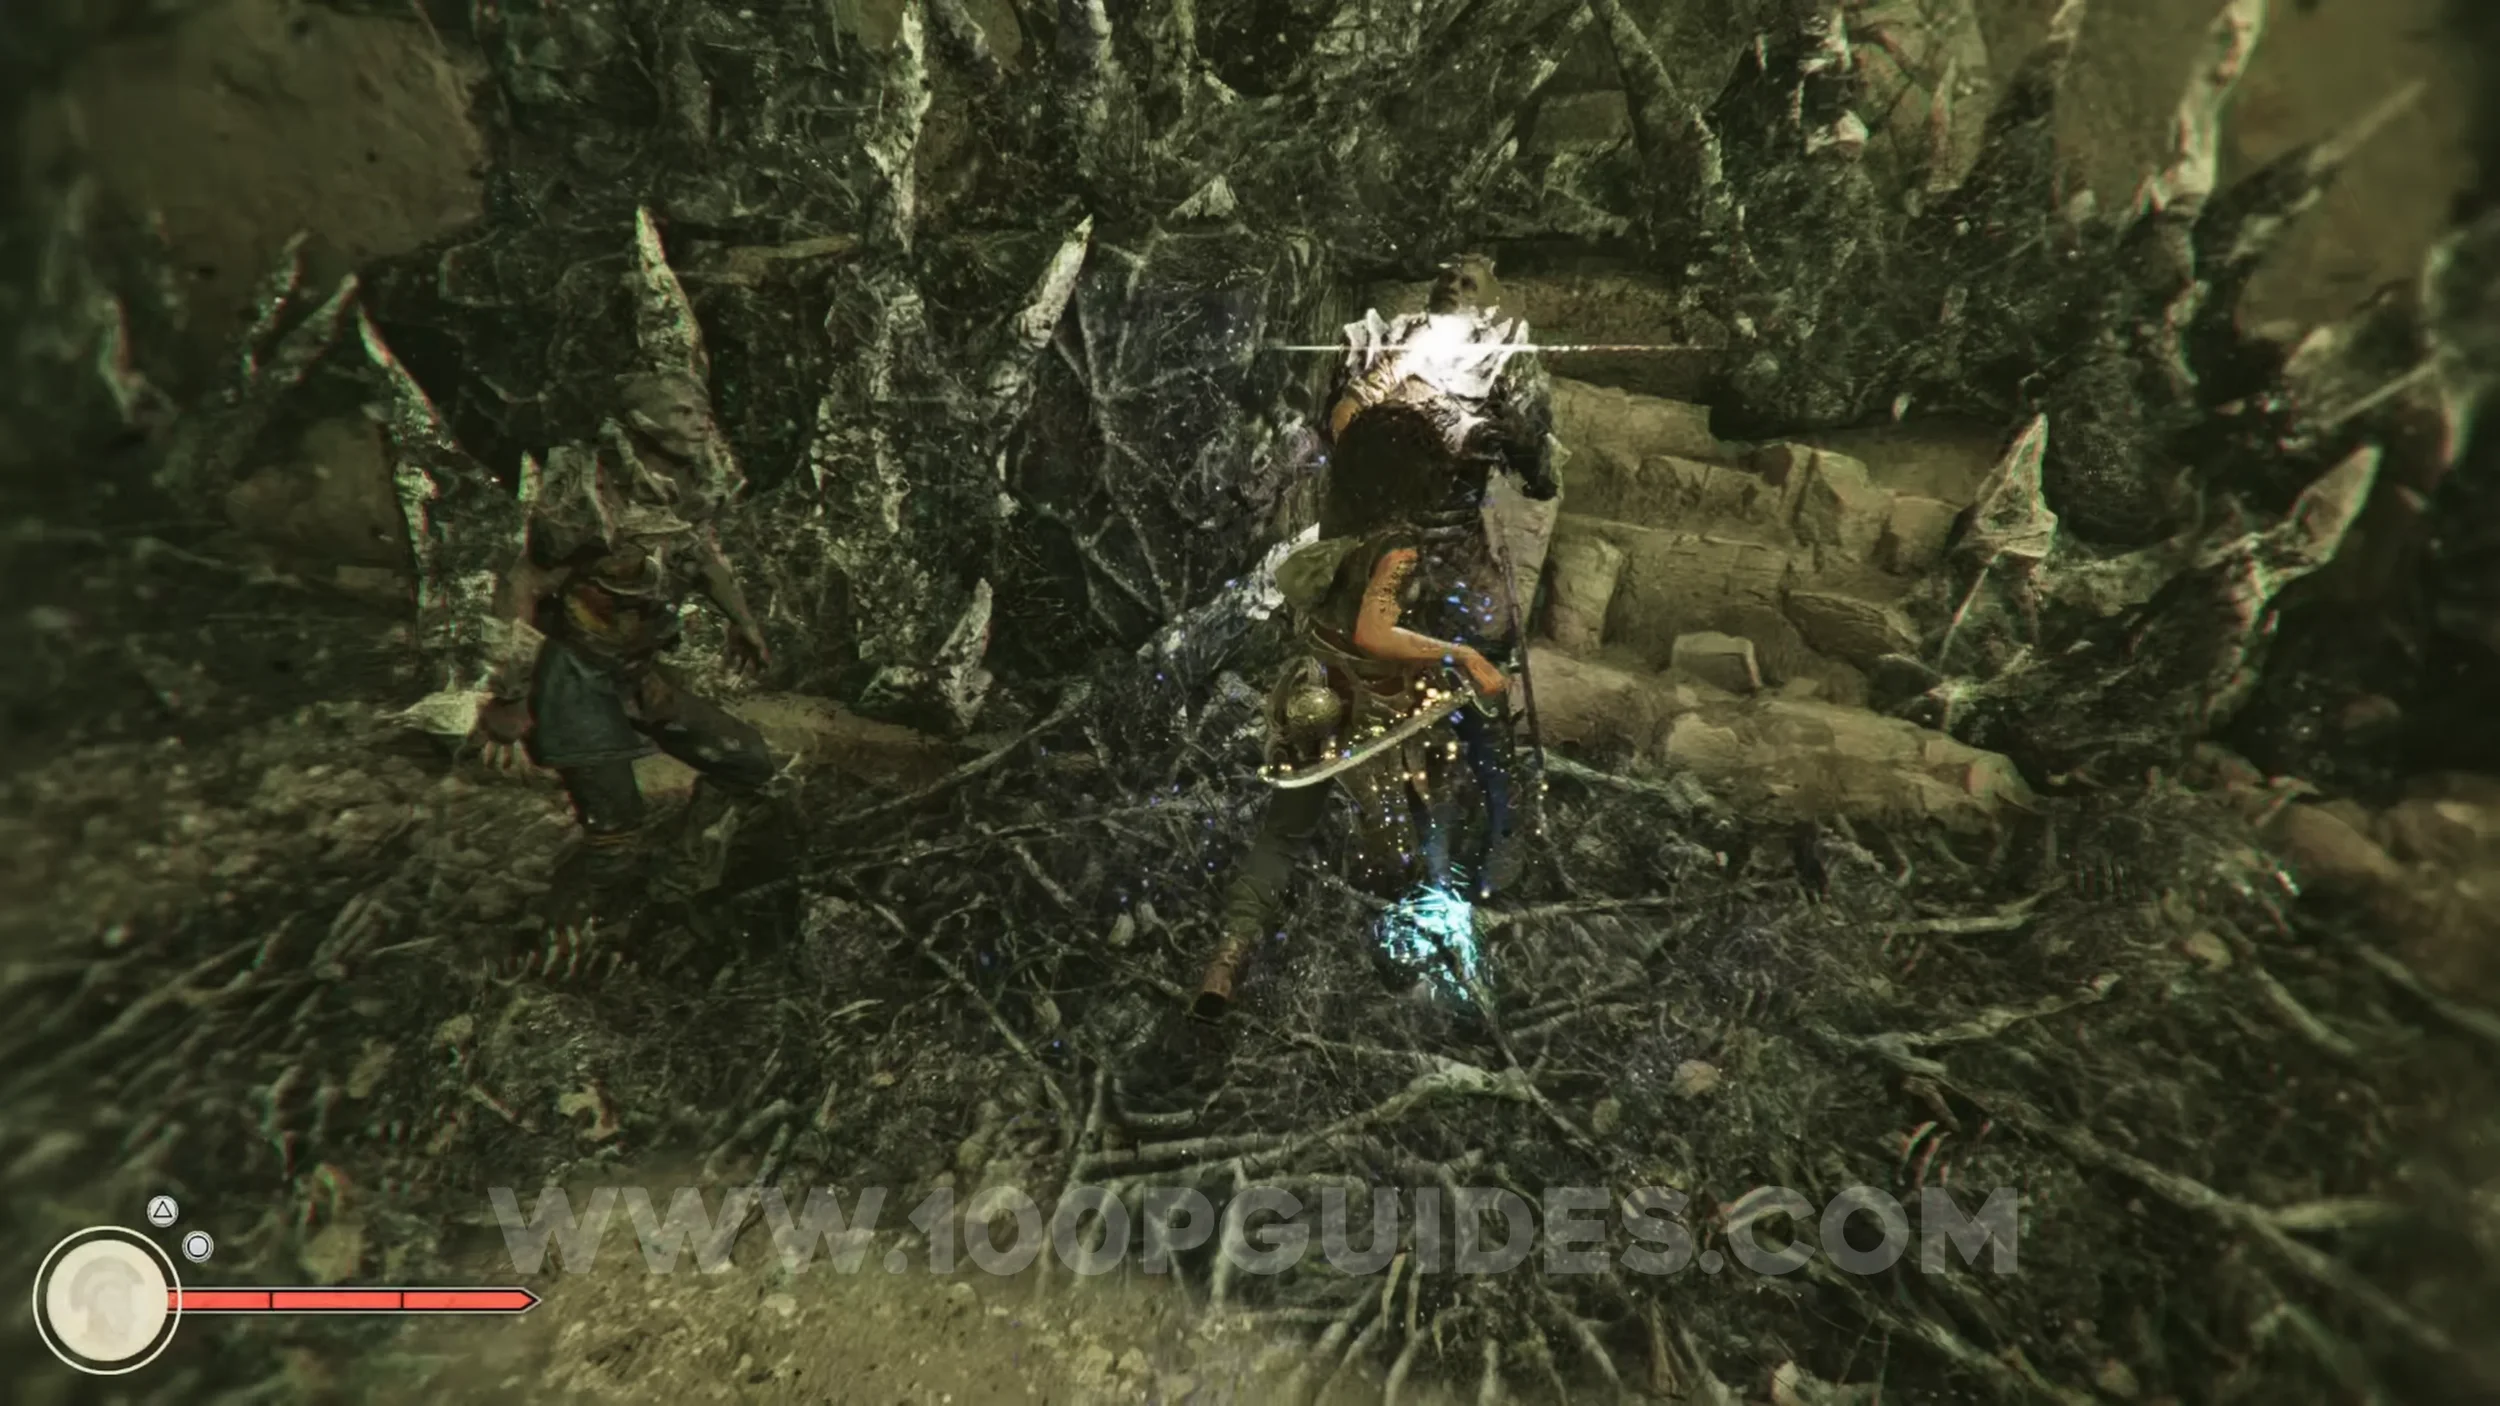
Resonance Point
Chapter 12: Sub-Chapter 1.
After the previous collectible, you'll need to use the sphere to clear the petrified substance stopping the bridge from opening. After crossing it and grappling to the other side, you'll be attacked by some puppet enemies. Defeat them to get the Resonance Point.
Charm: Seal #5
Chapter 12: Sub-Chapter 1.
After the previous enemies, you'll squeeze into another cave. Go all the way to the end to find the charm.
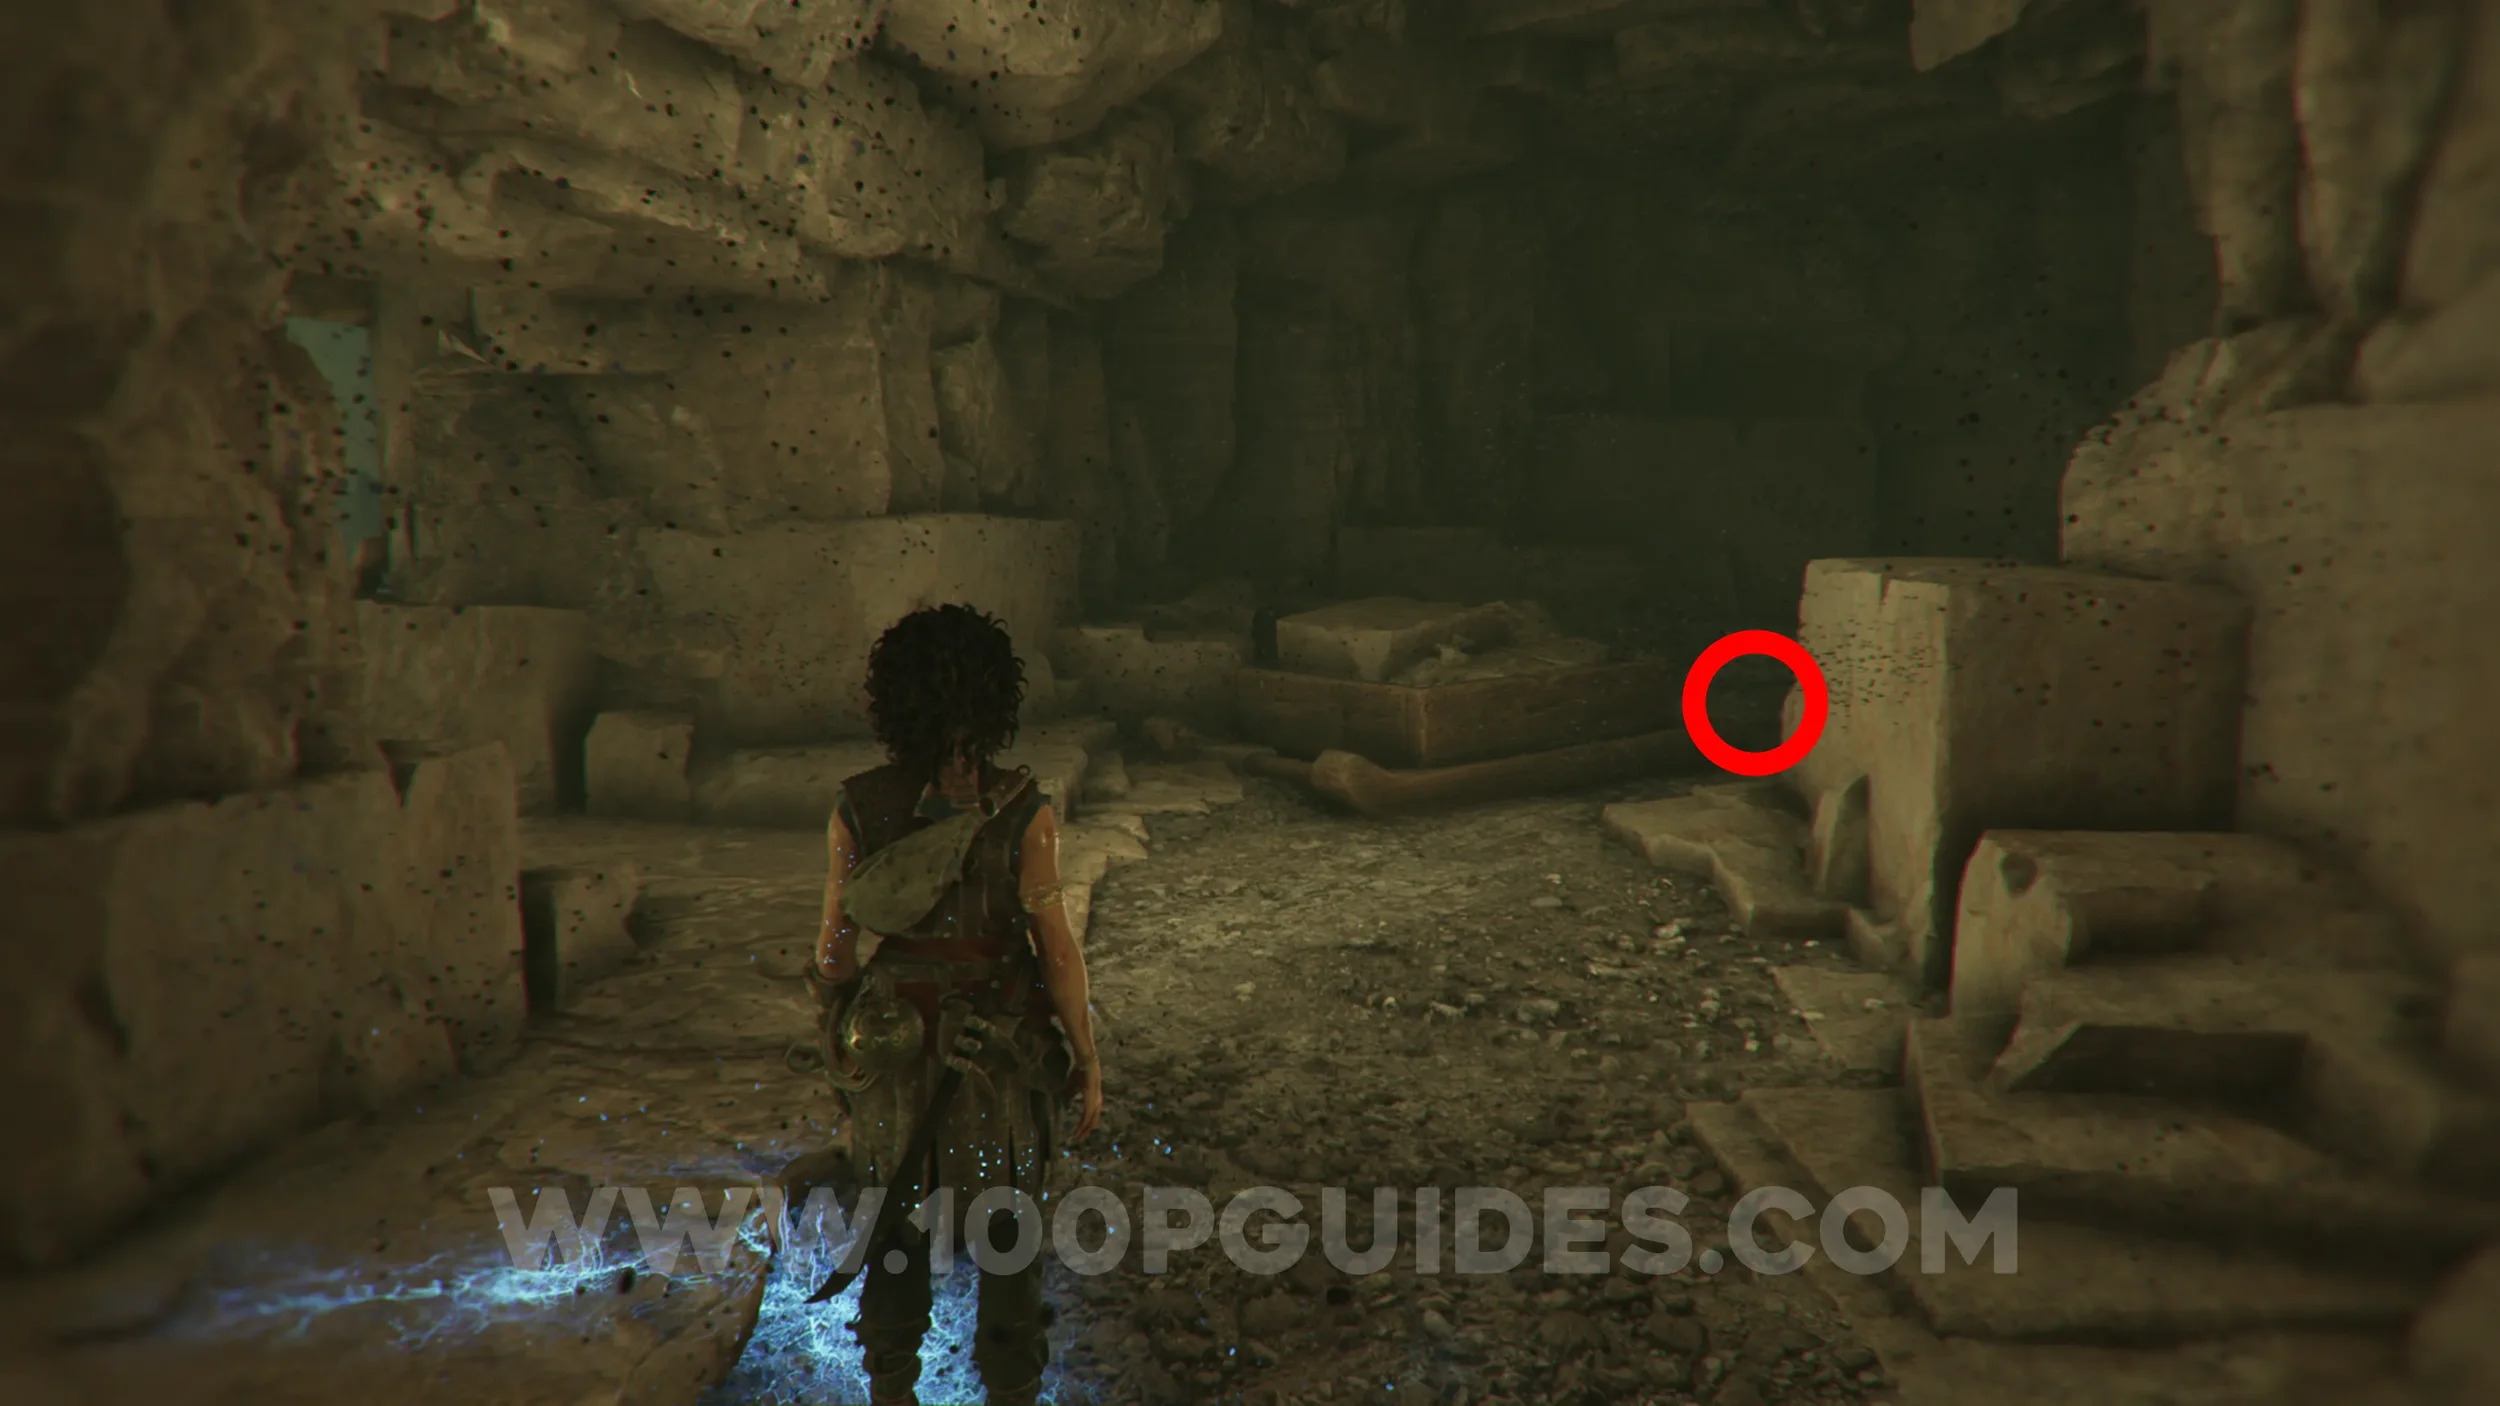
Resonance Point
Chapter 12: Sub-Chapter 2.
After dodging the creature while waiting for the platform to come down, and then riding it up, you'll enter another cave. Inside, you'll grapple across to the left side. As soon as you land, head right to get the Resonance Point.
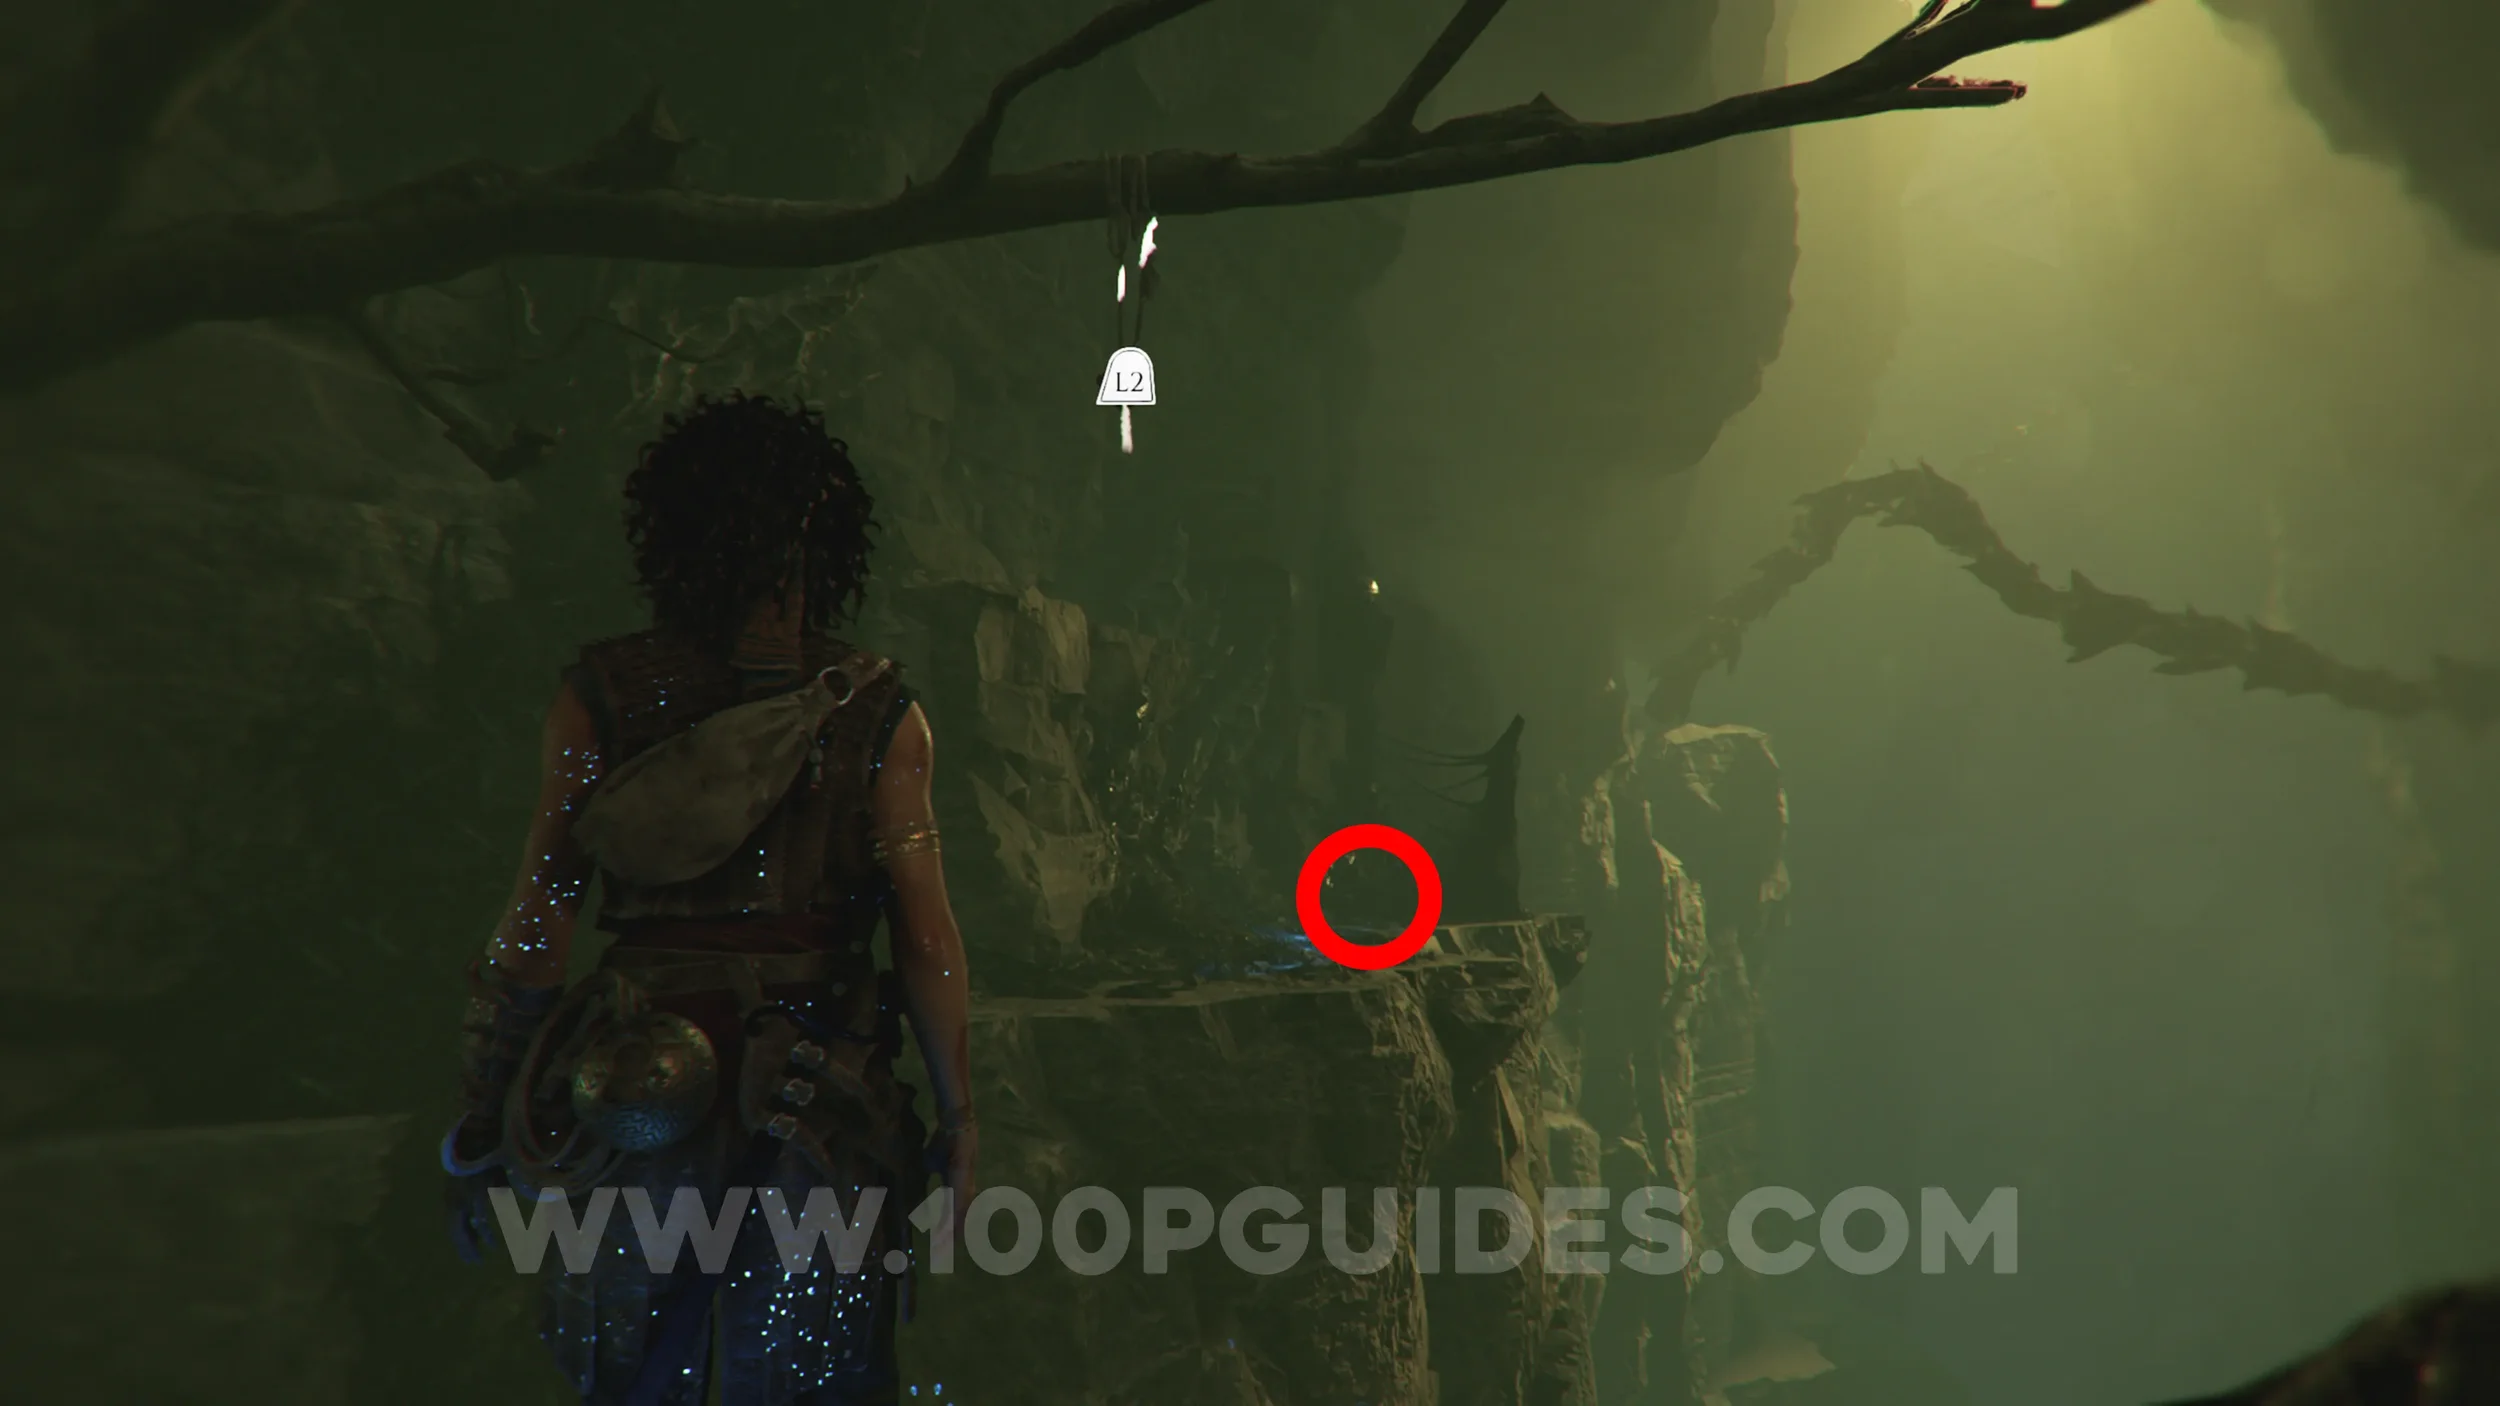
Resonance Point
Chapter 12: Sub-Chapter 2.
Head through the cave entrance near the previous collectibles and continue until the path splits. Go left to find the collectible.
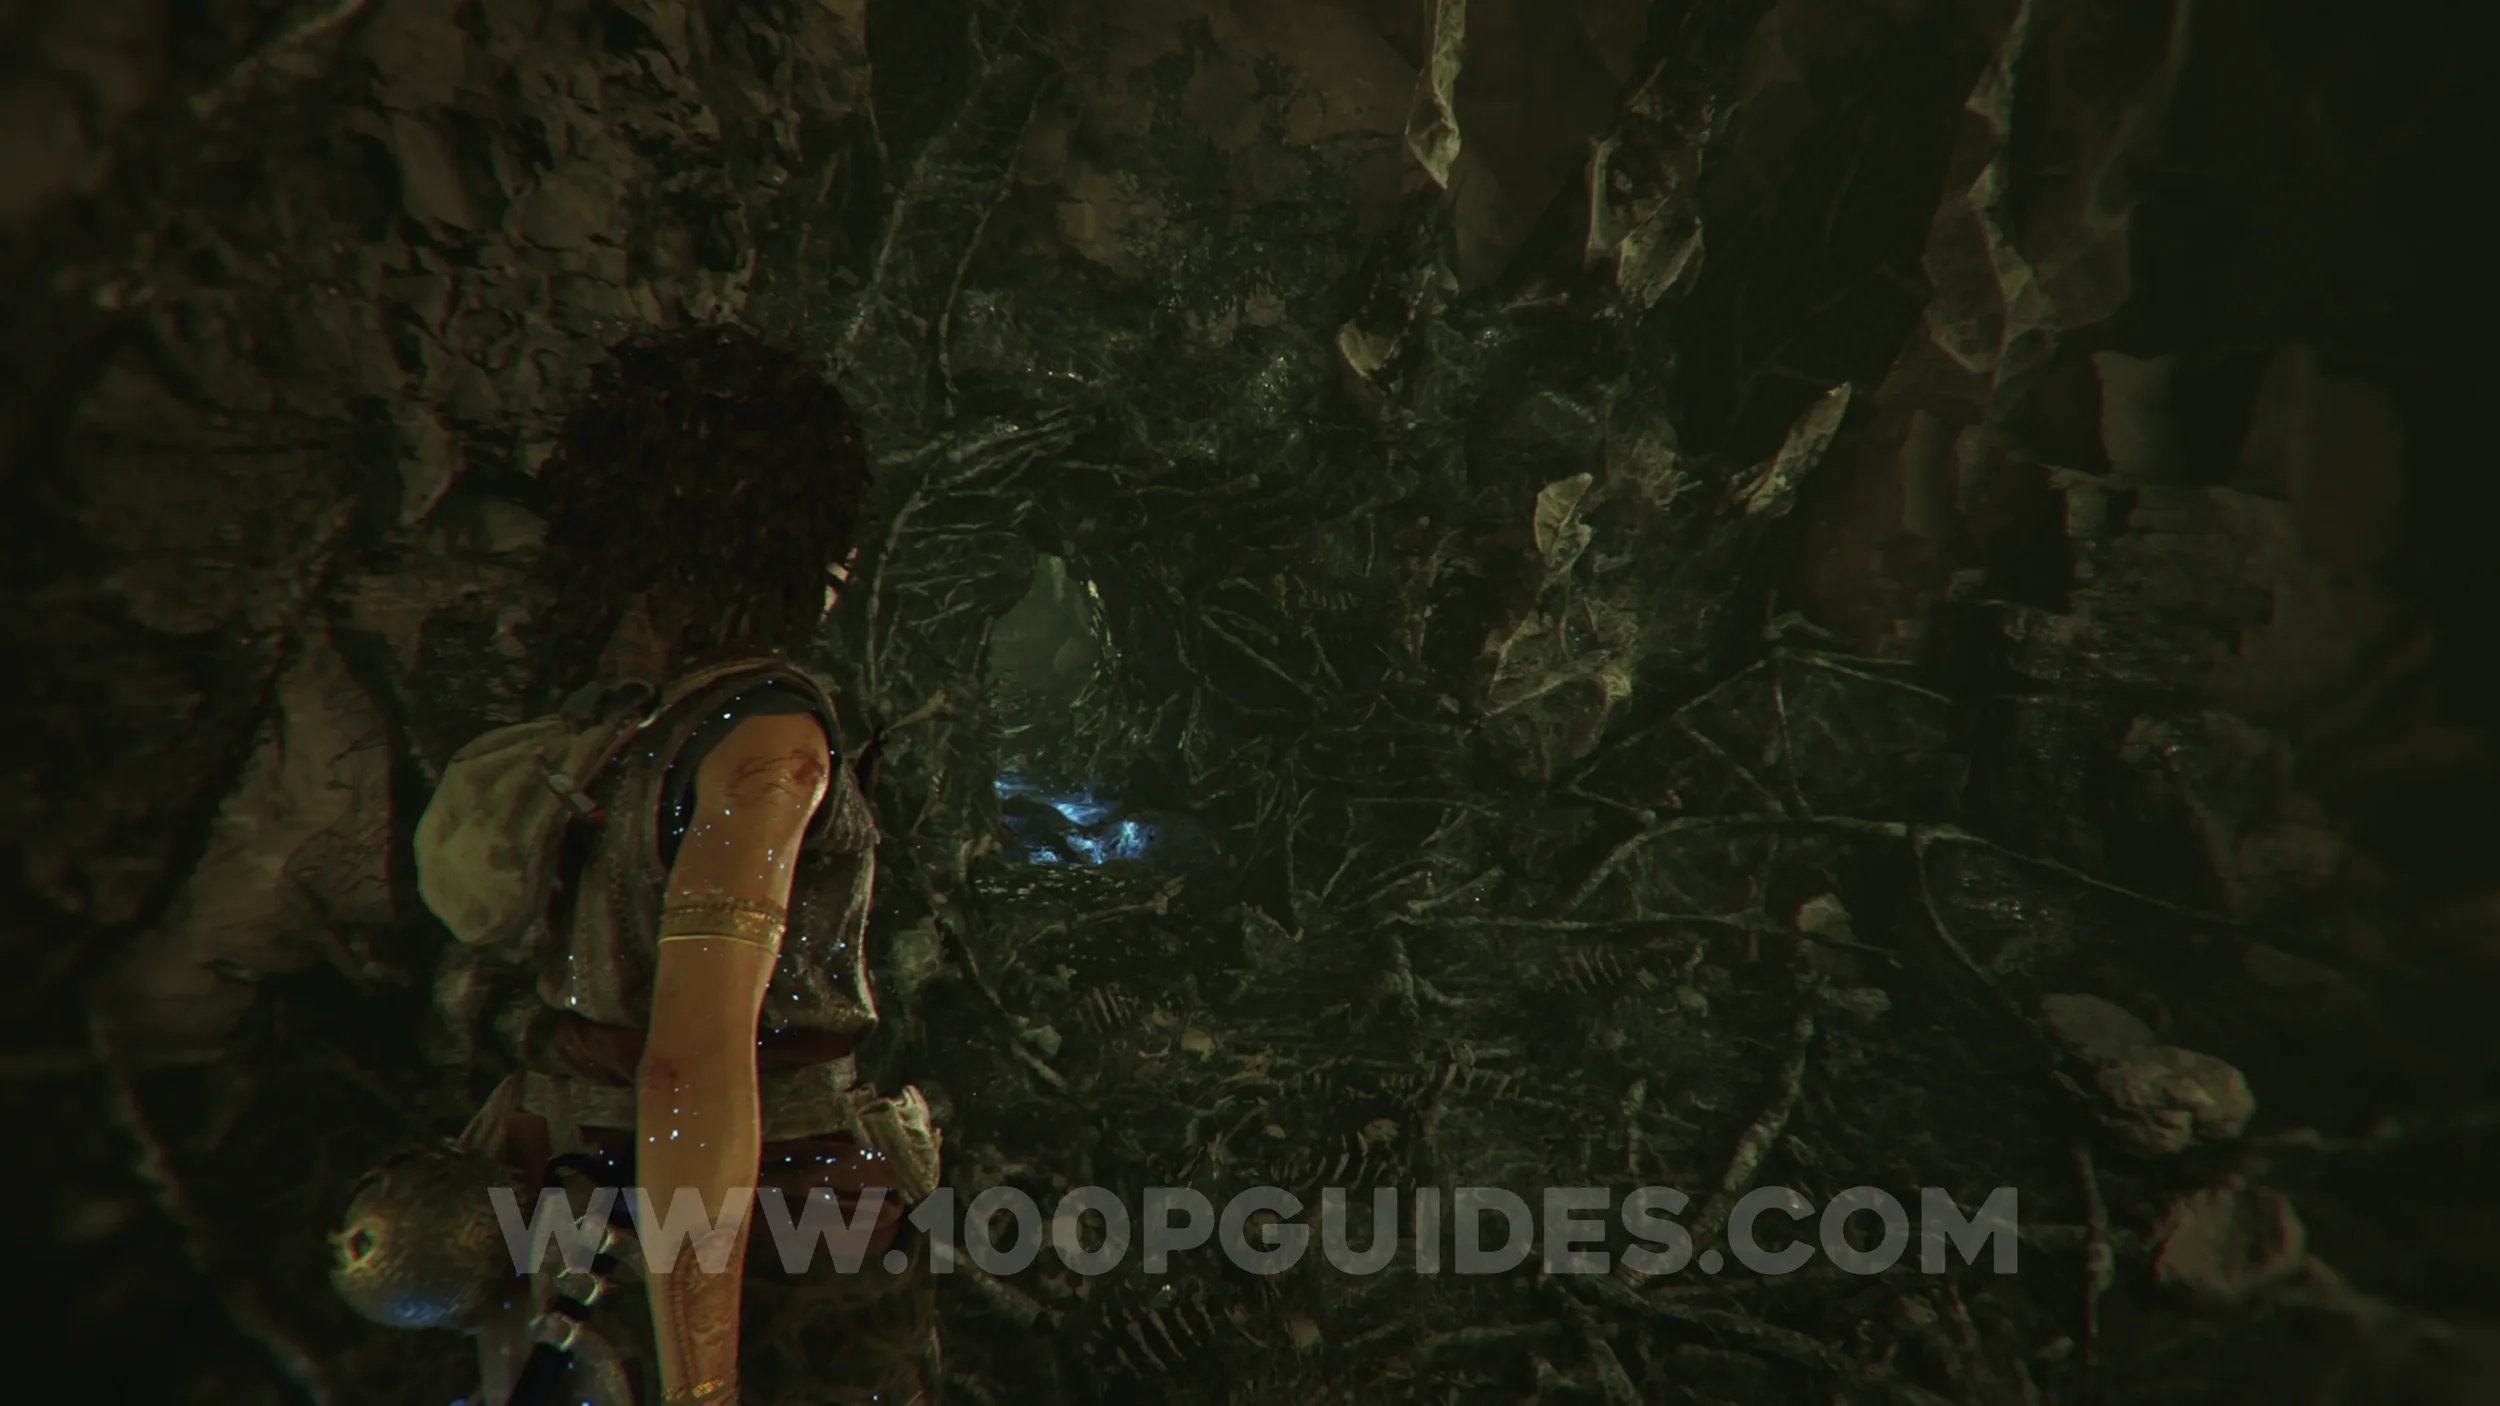
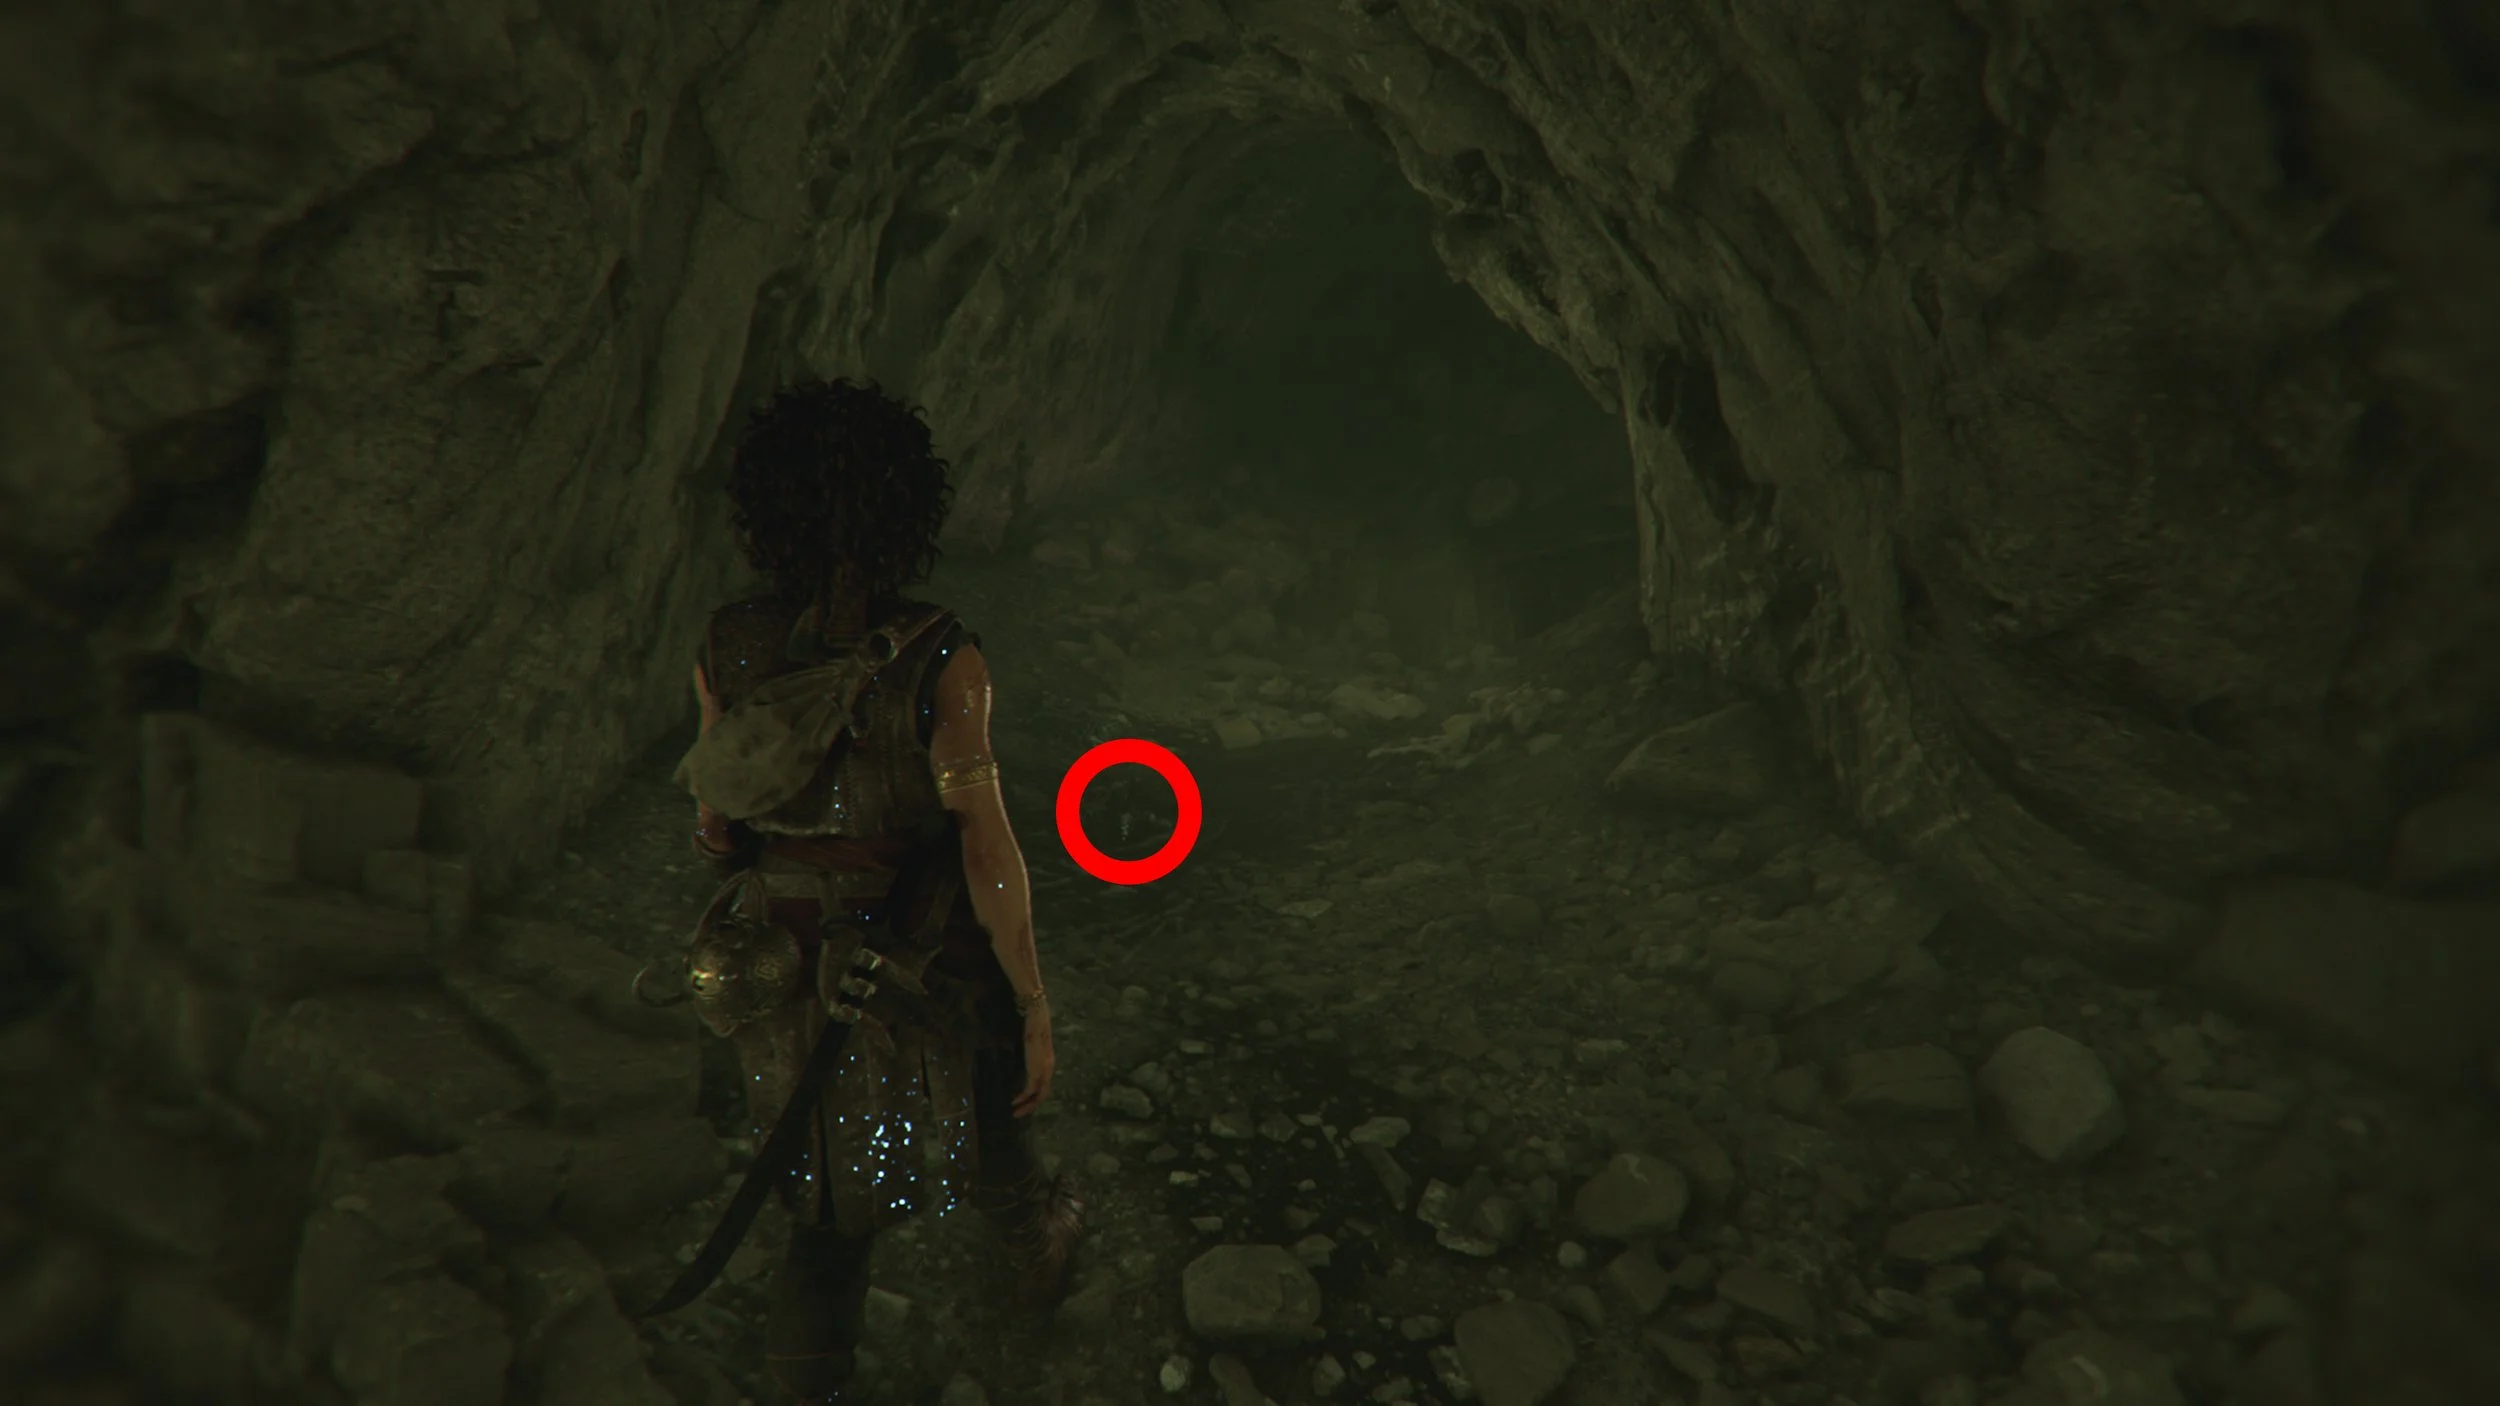
Resonance Point
Chapter 12: Sub-Chapter 3.
On your right, as soon as you regain control of Sophia after the chase scene that ends with her squeezing through two wooden structures.
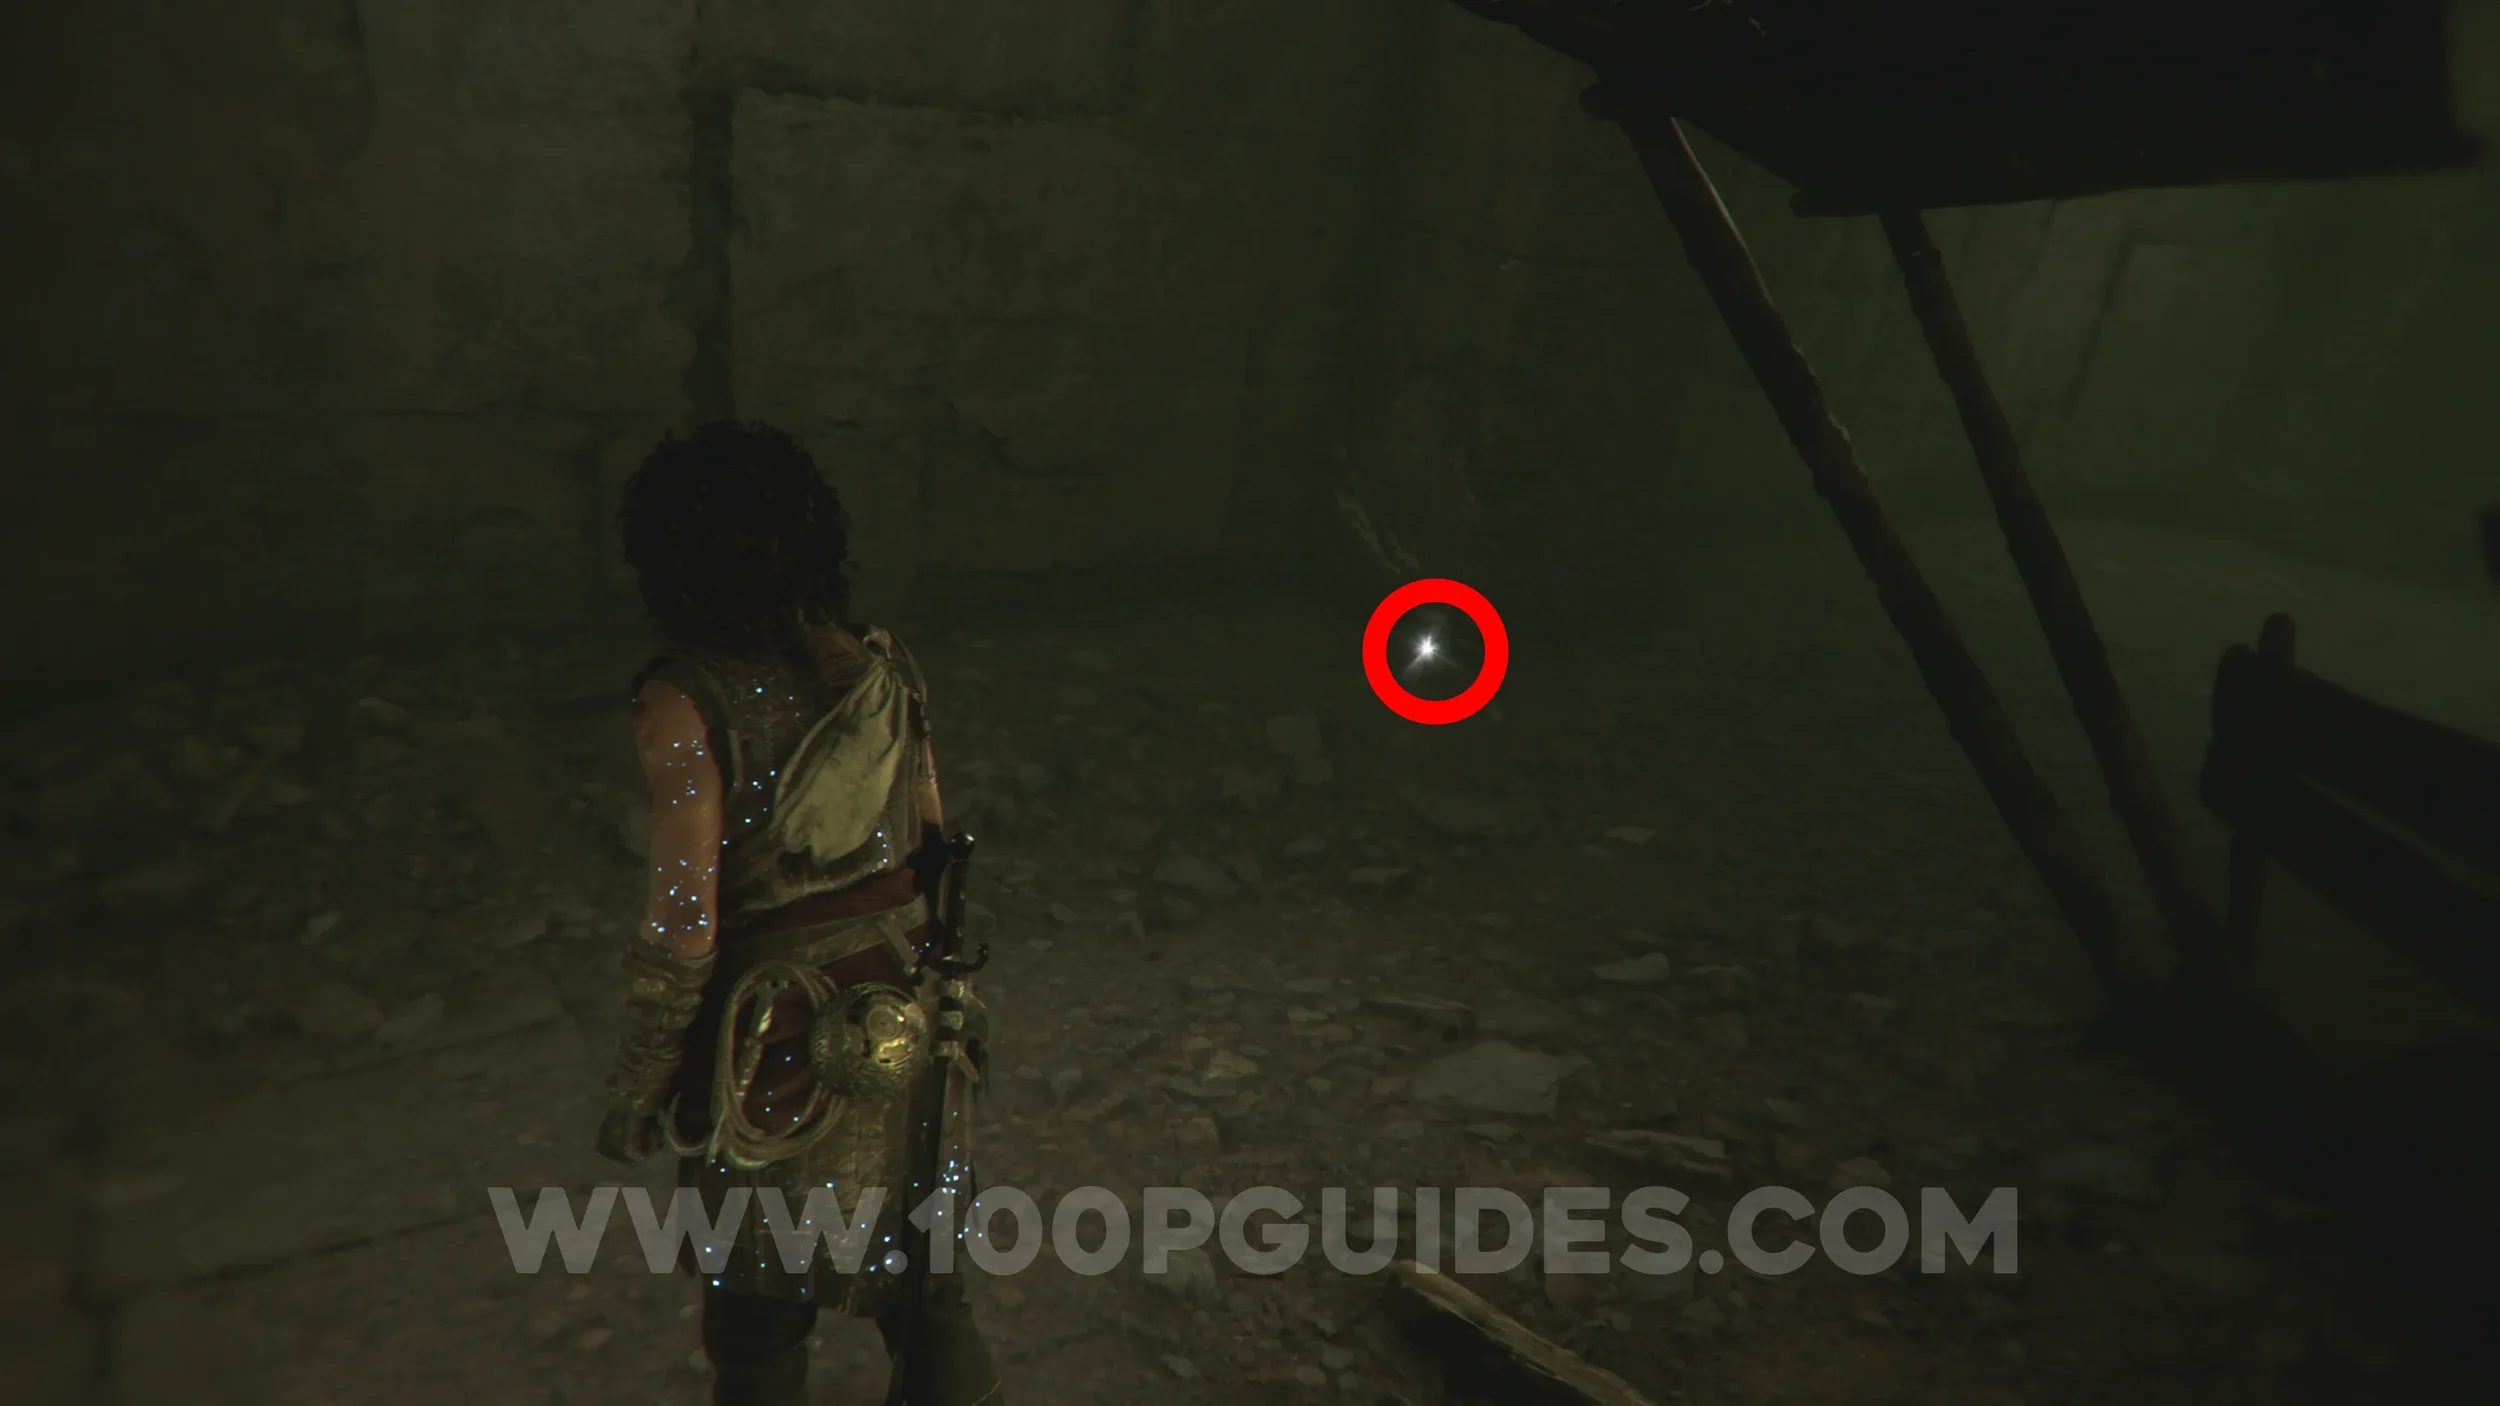
Artefact: Blank Mosaic
Chapter 12: Sub-Chapter 4.
Once you reach the room you previously went through on a boat in an earlier chapter (now without any water in it), you will grapple across one of the gaps on the left. Then, once you land, jump to the platform on the right to find the artefact.
Chapter 13
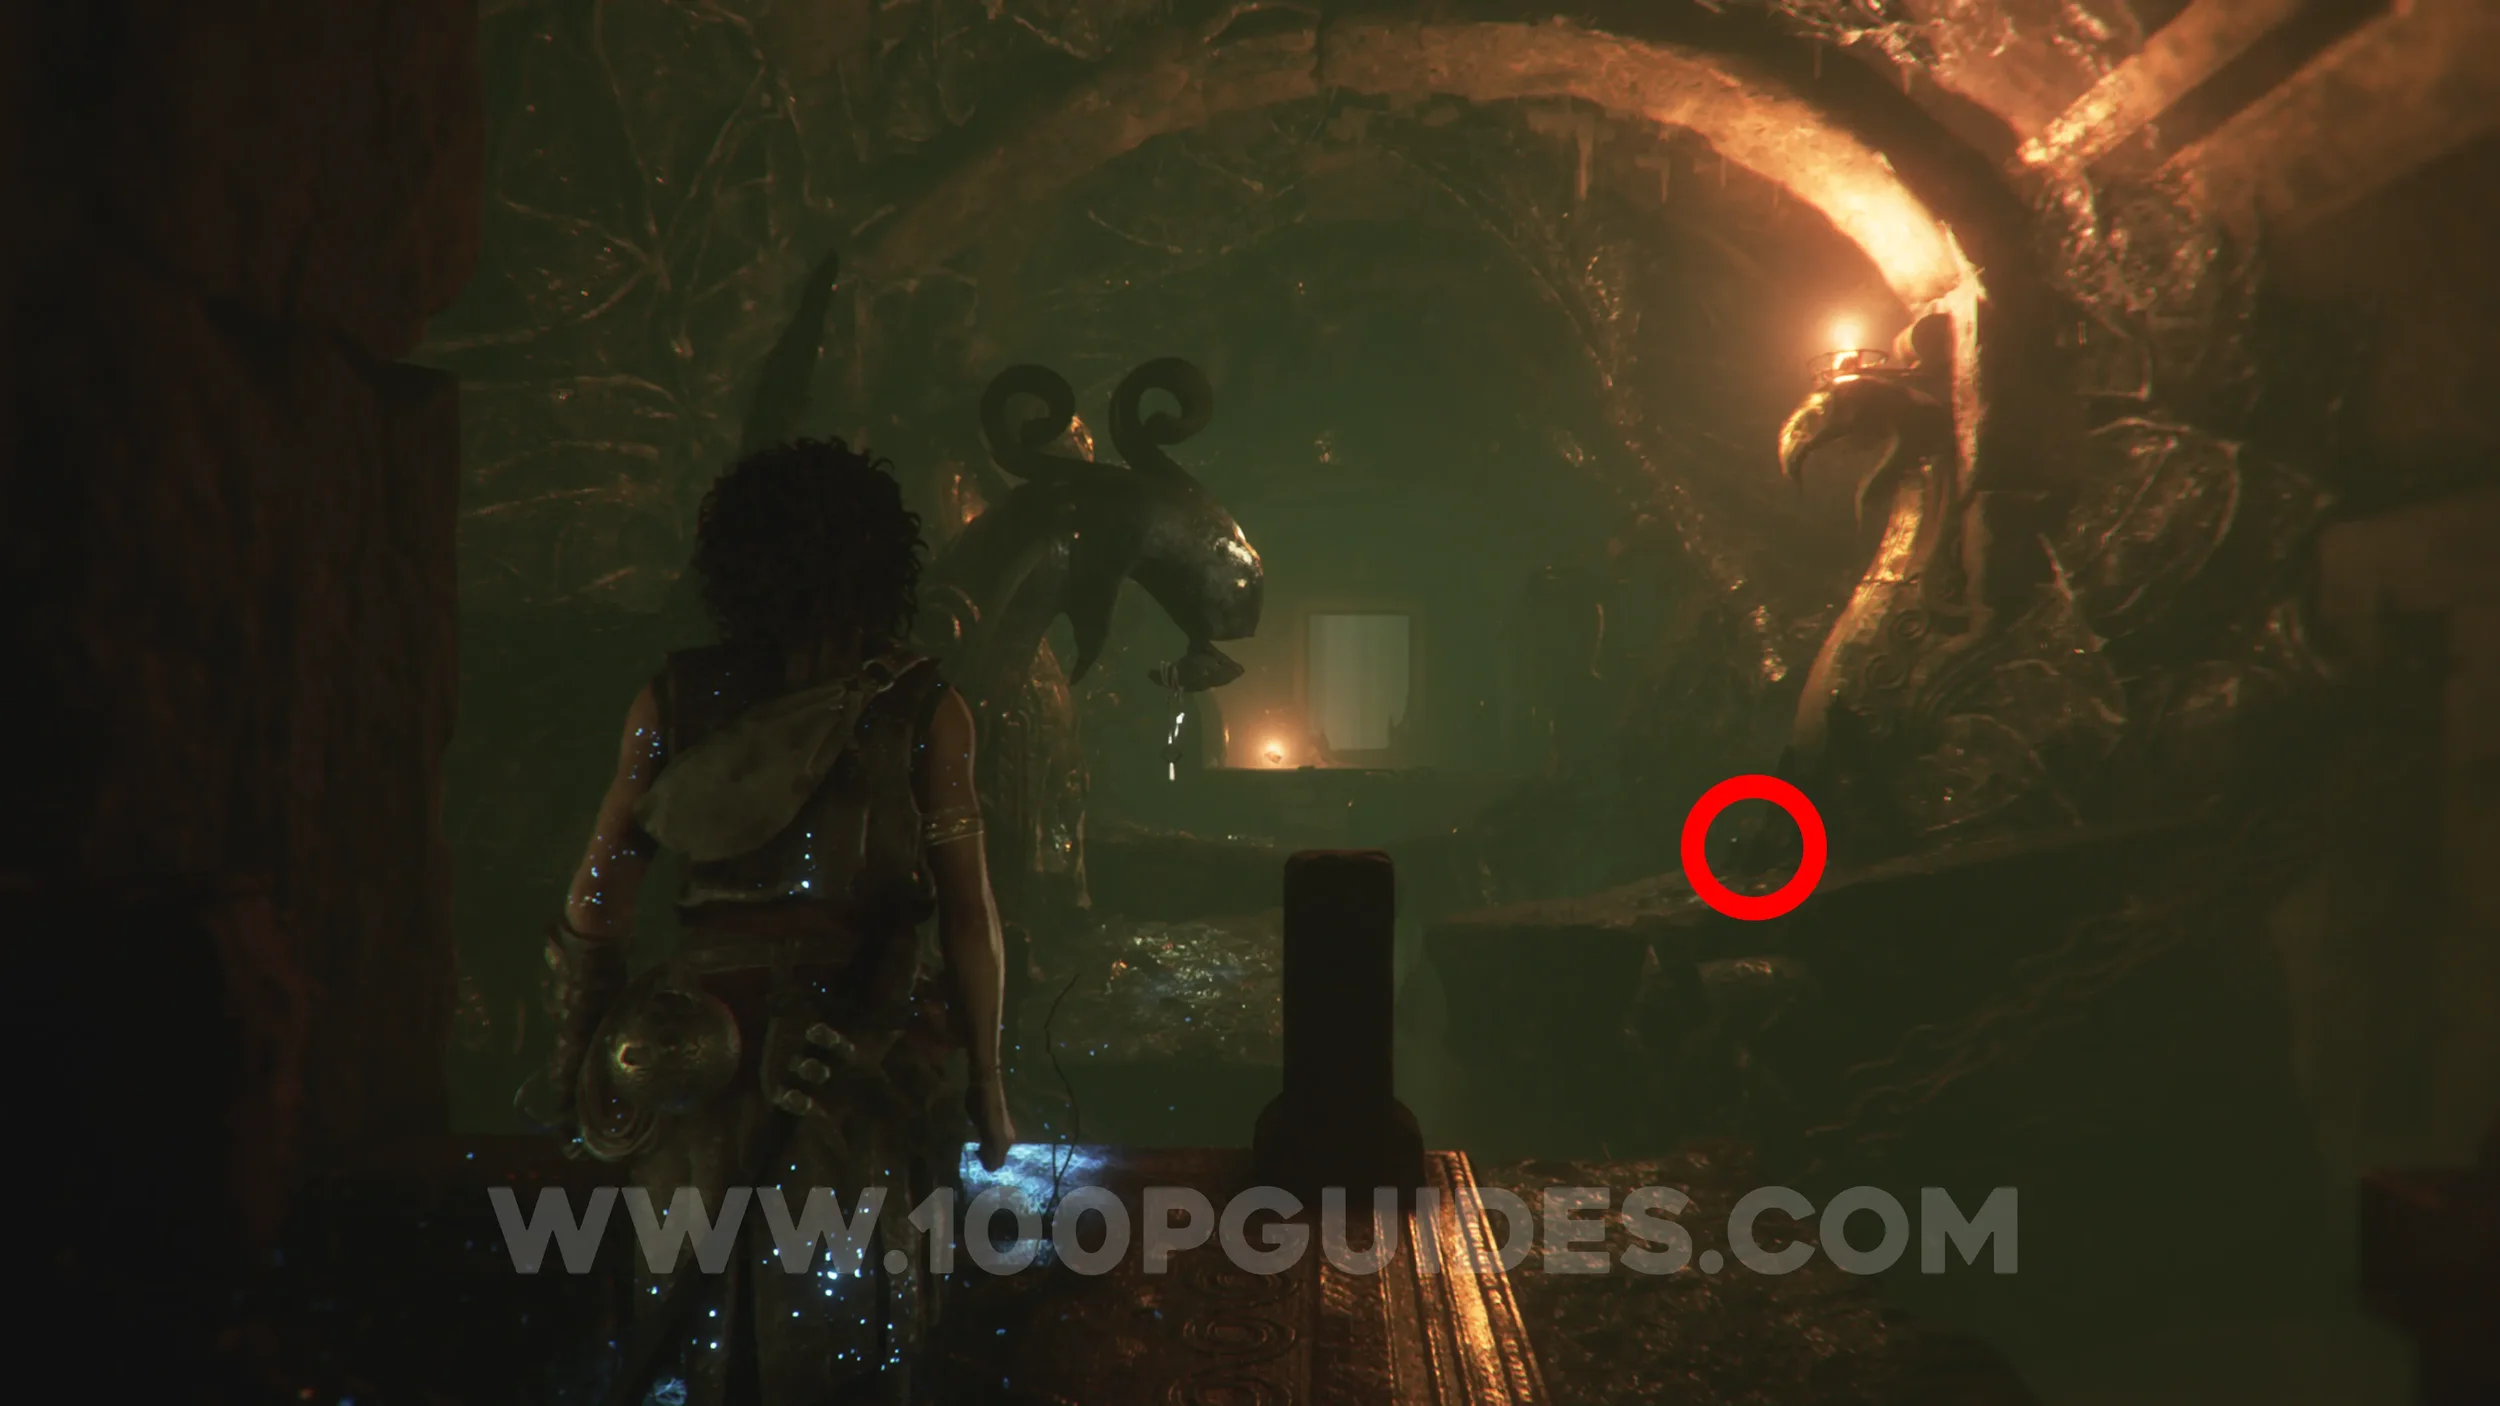
Resonance Point
Chapter 13: Sub-Chapter 1.
Once you enter the labyrinth and the first strands of light appear to guide you, they'll signal you to go left. Instead, continue straight, then right, to find the collectible.
Resonance Point
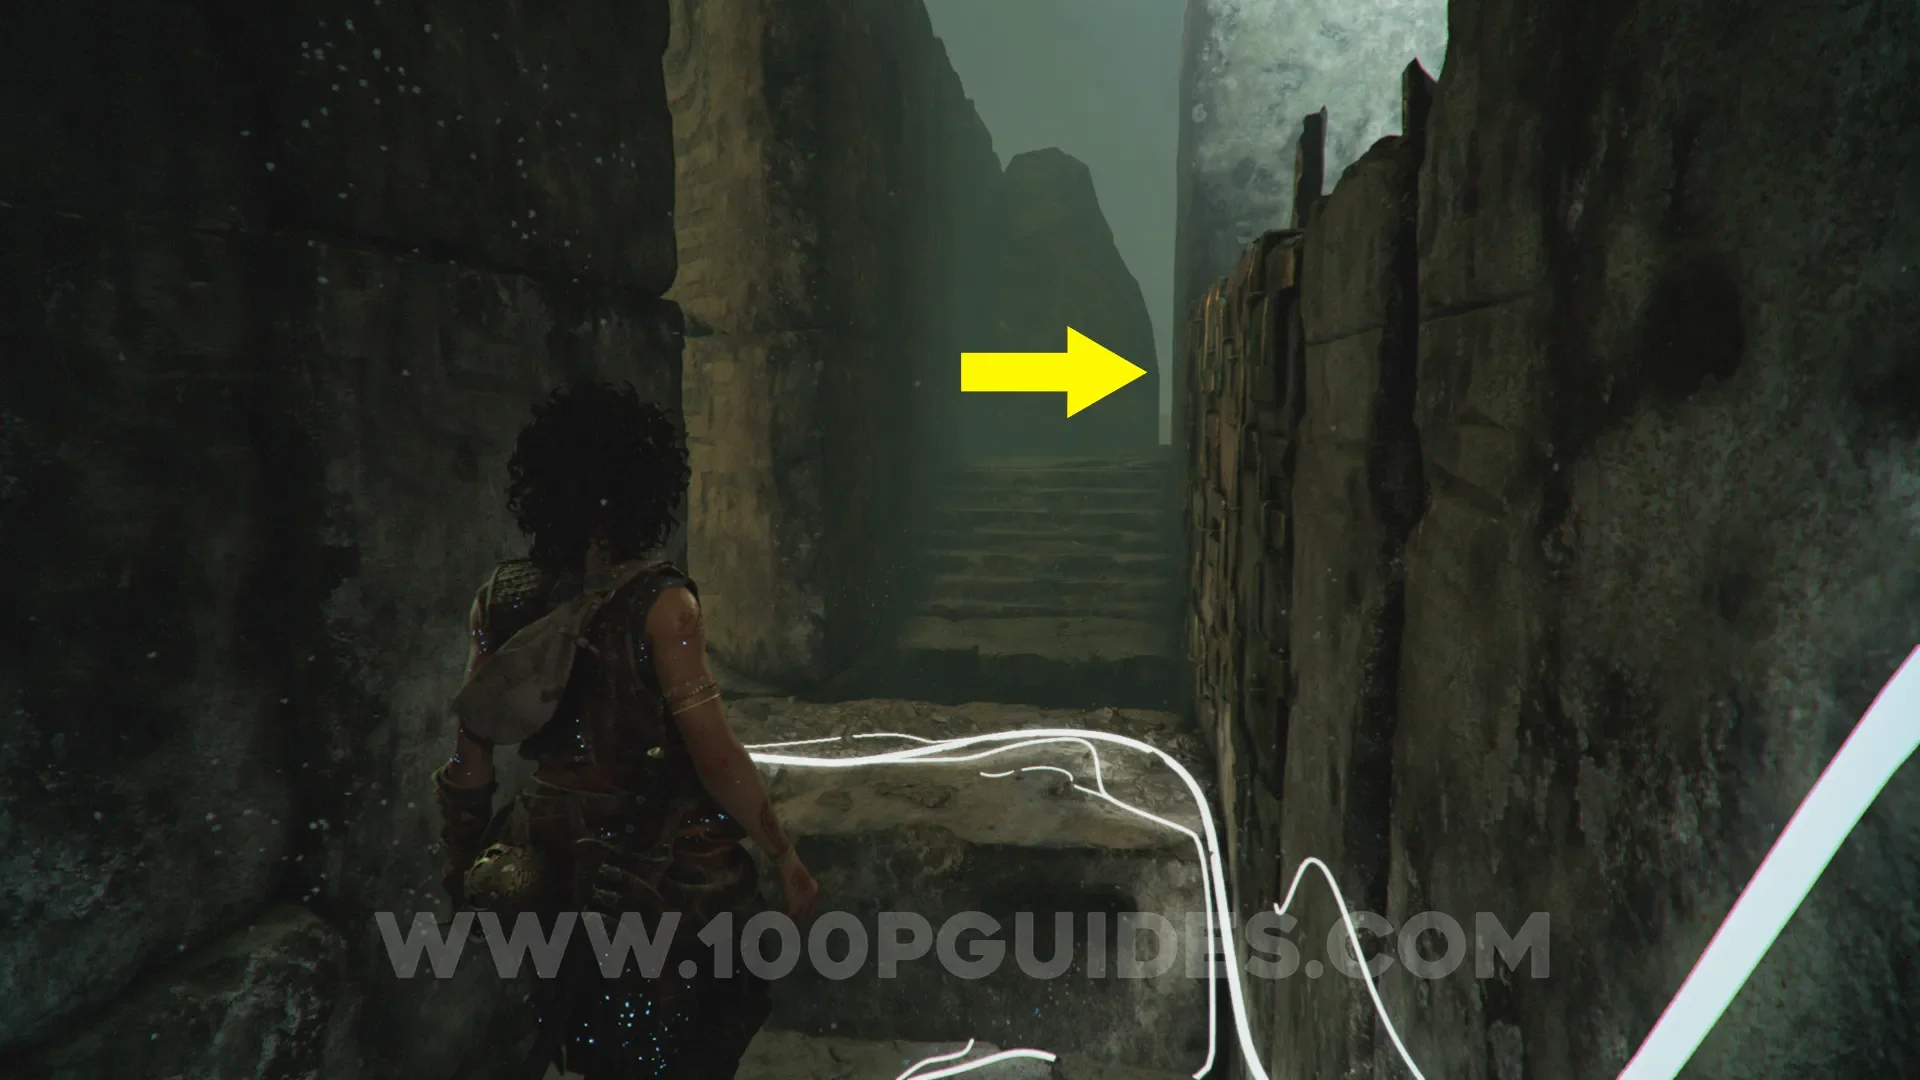
Chapter 13: Sub-Chapter 1.
Soon after the previous collectible, you'll start getting chased by the creature. Keep advancing while dodging and escaping from it until you walk through the main beam of light. From there, follow it until you see an extinguished torch. Then, follow the path by jumping over the gaps to the right of the torch to find the collectible.
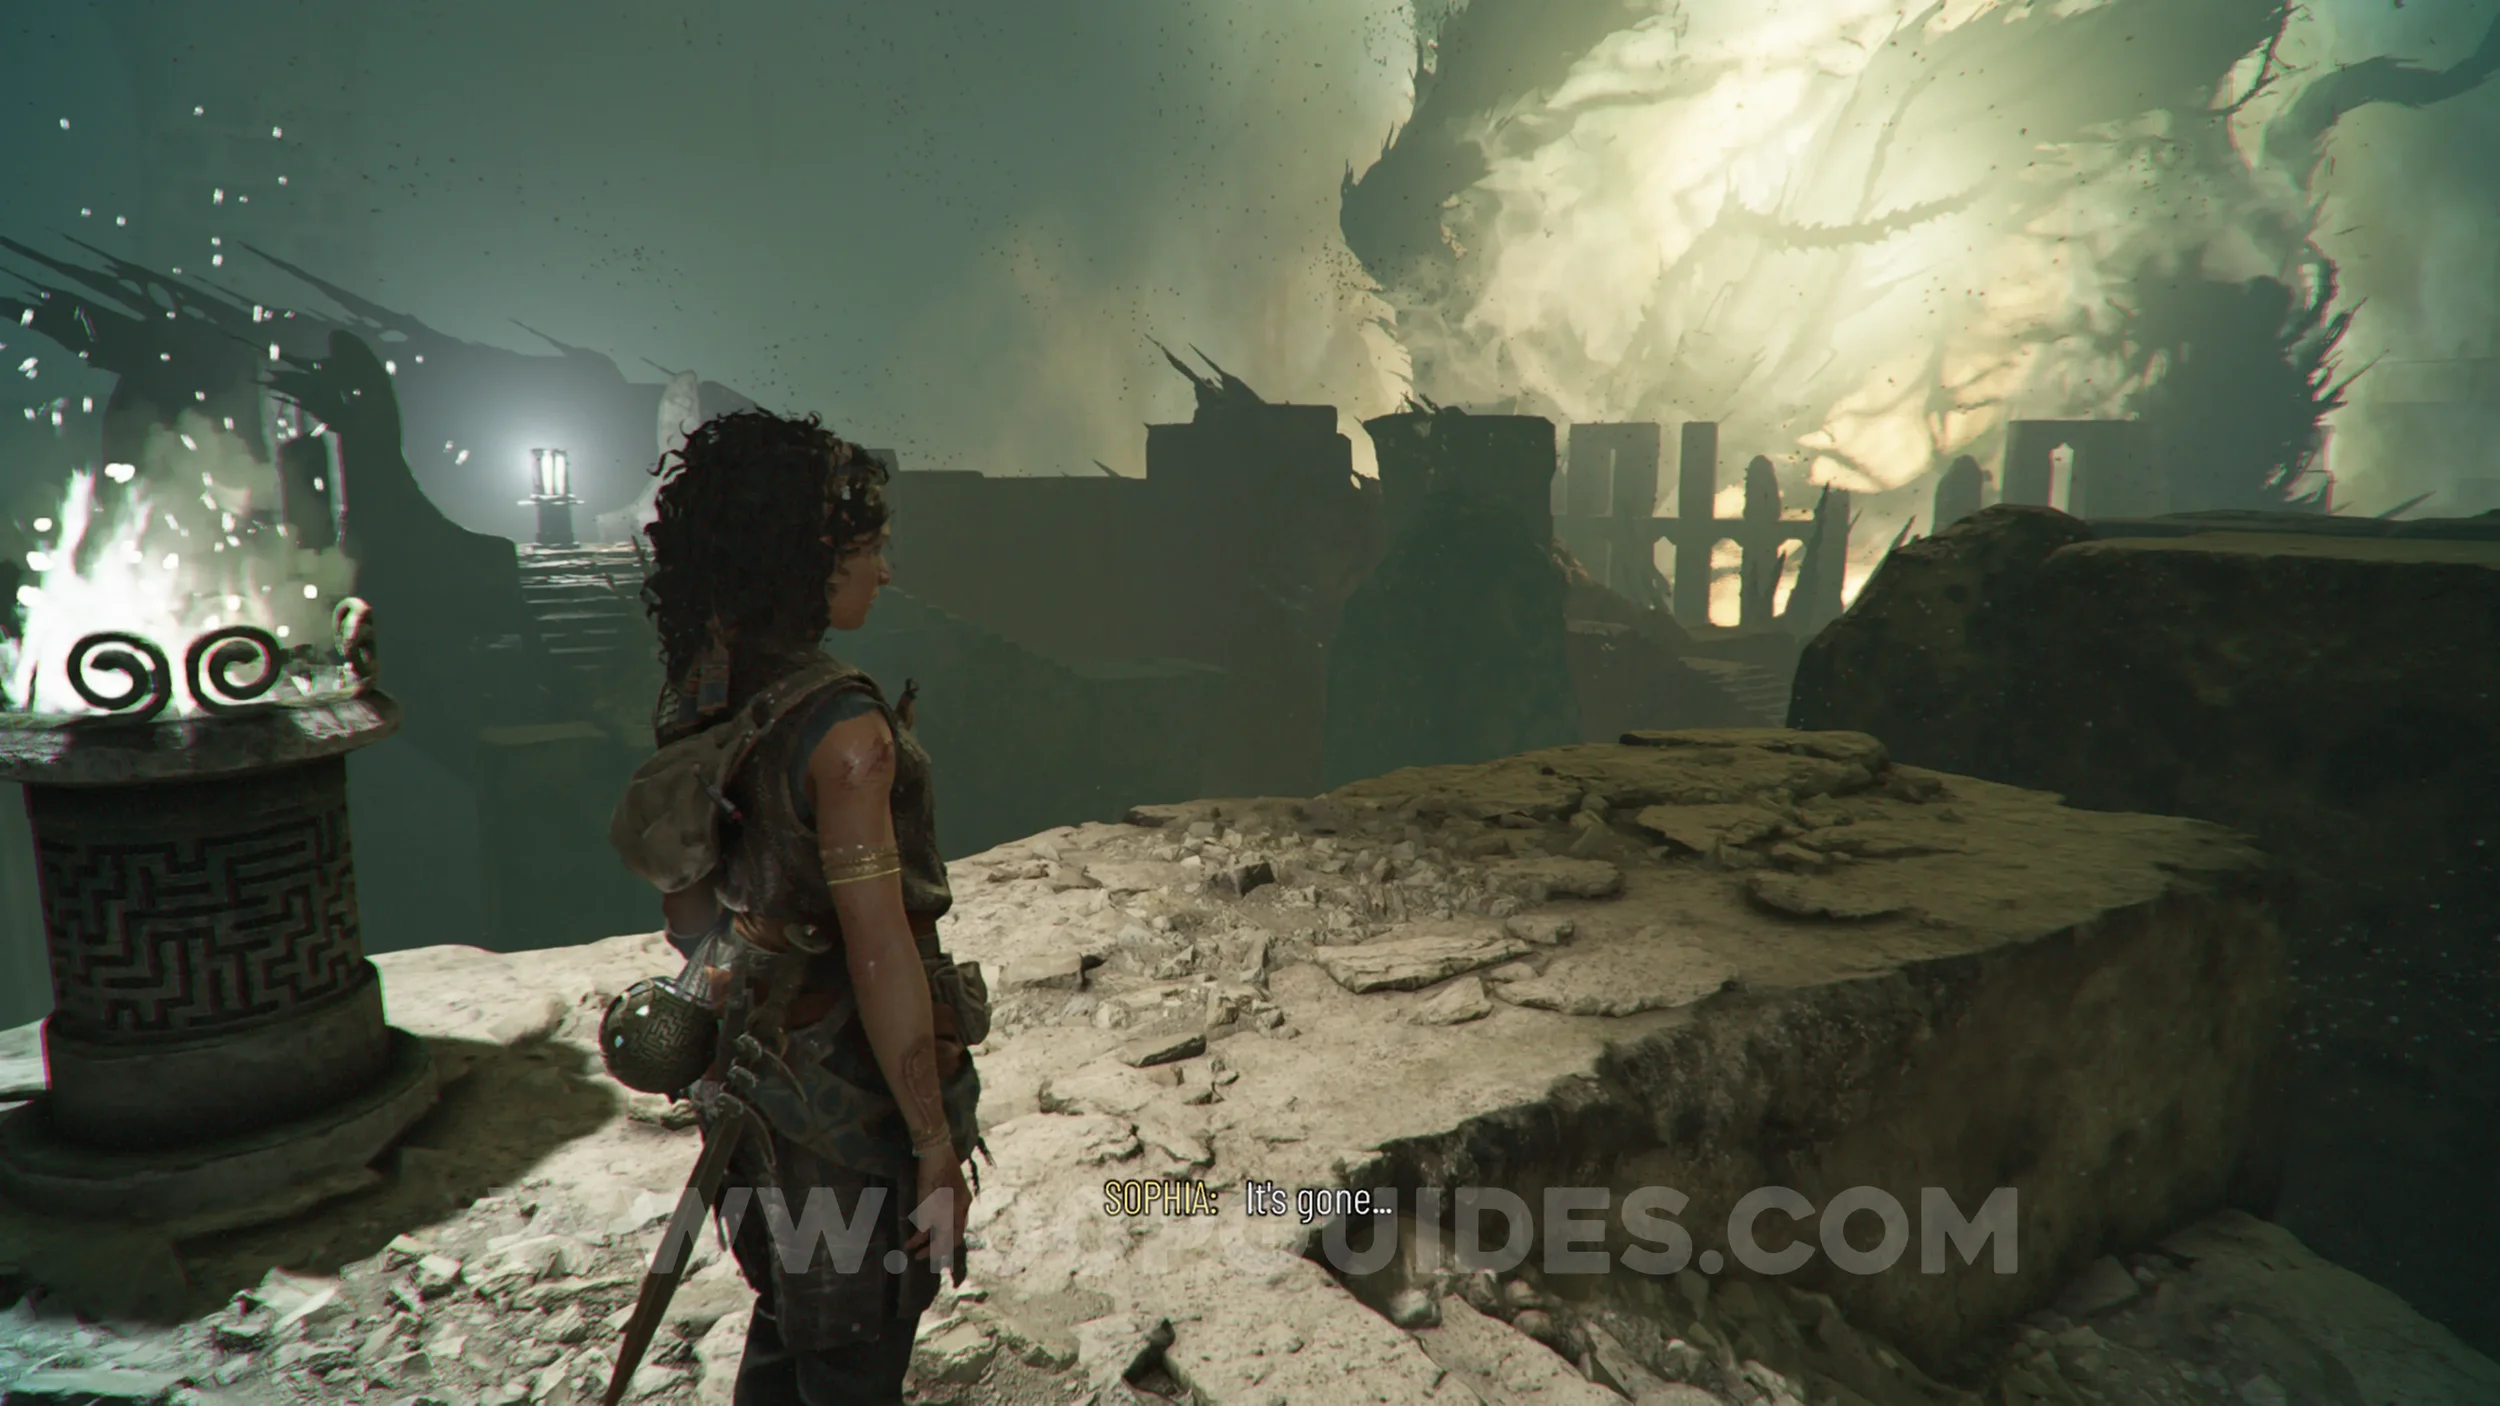
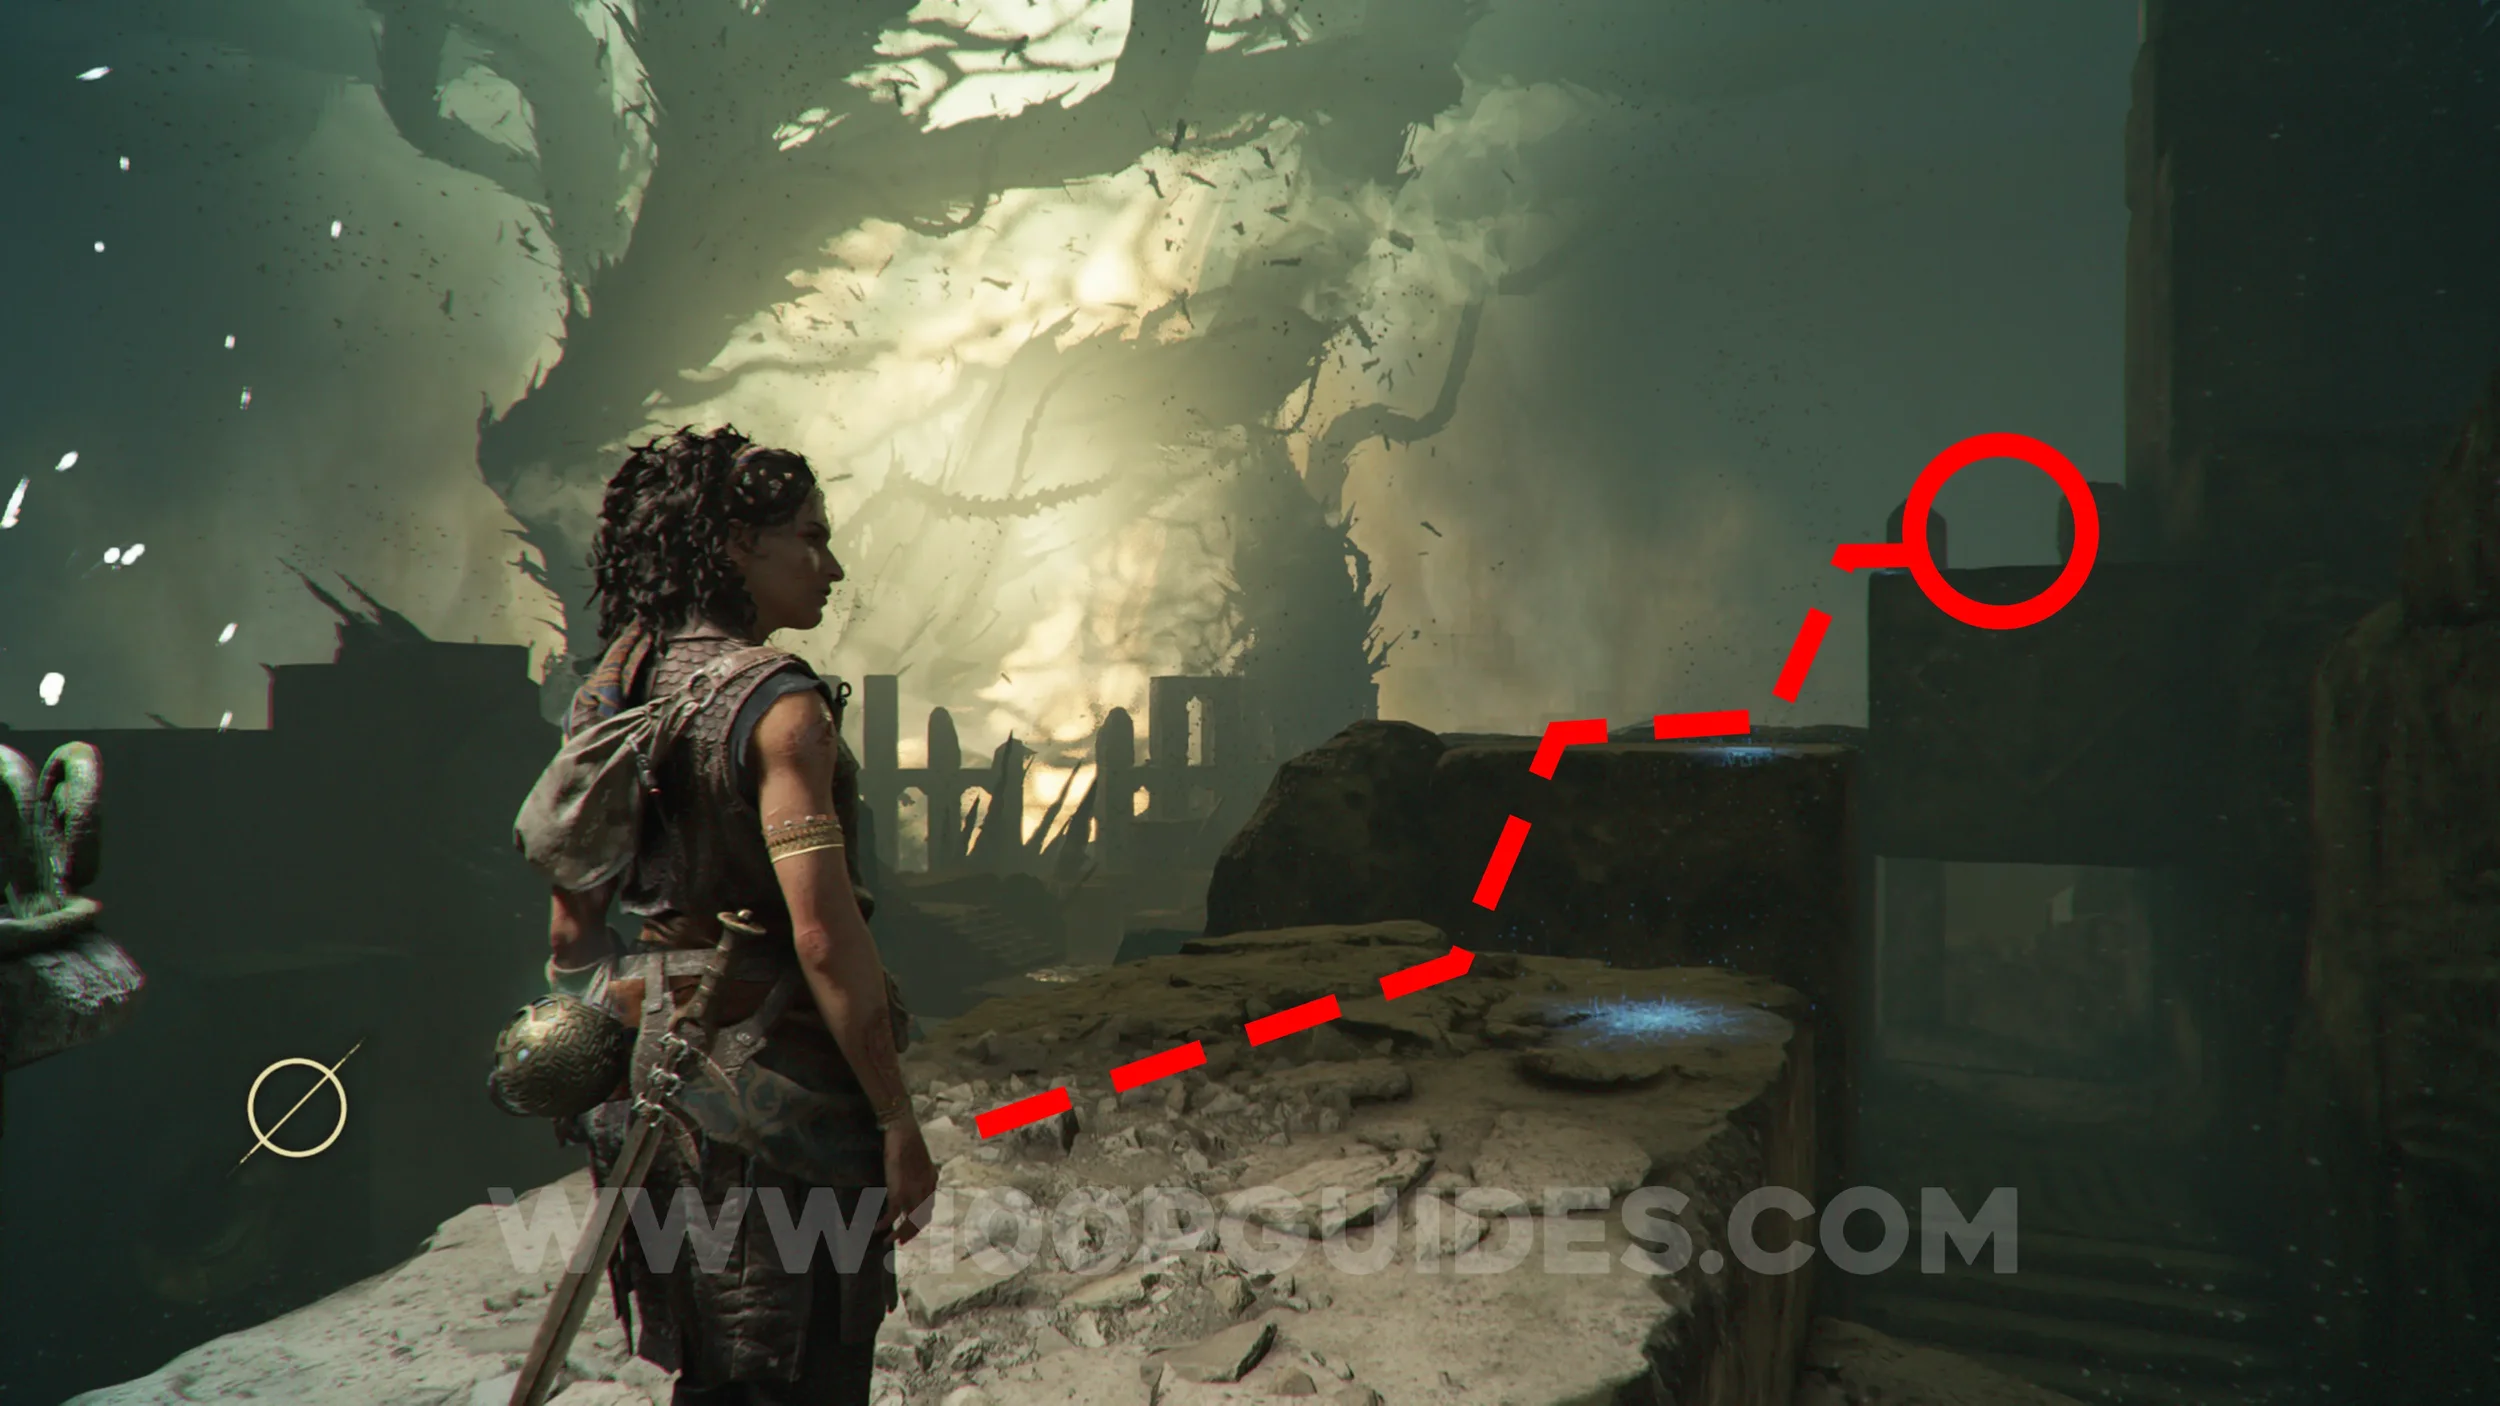
Artefact: Labyrinth Plan
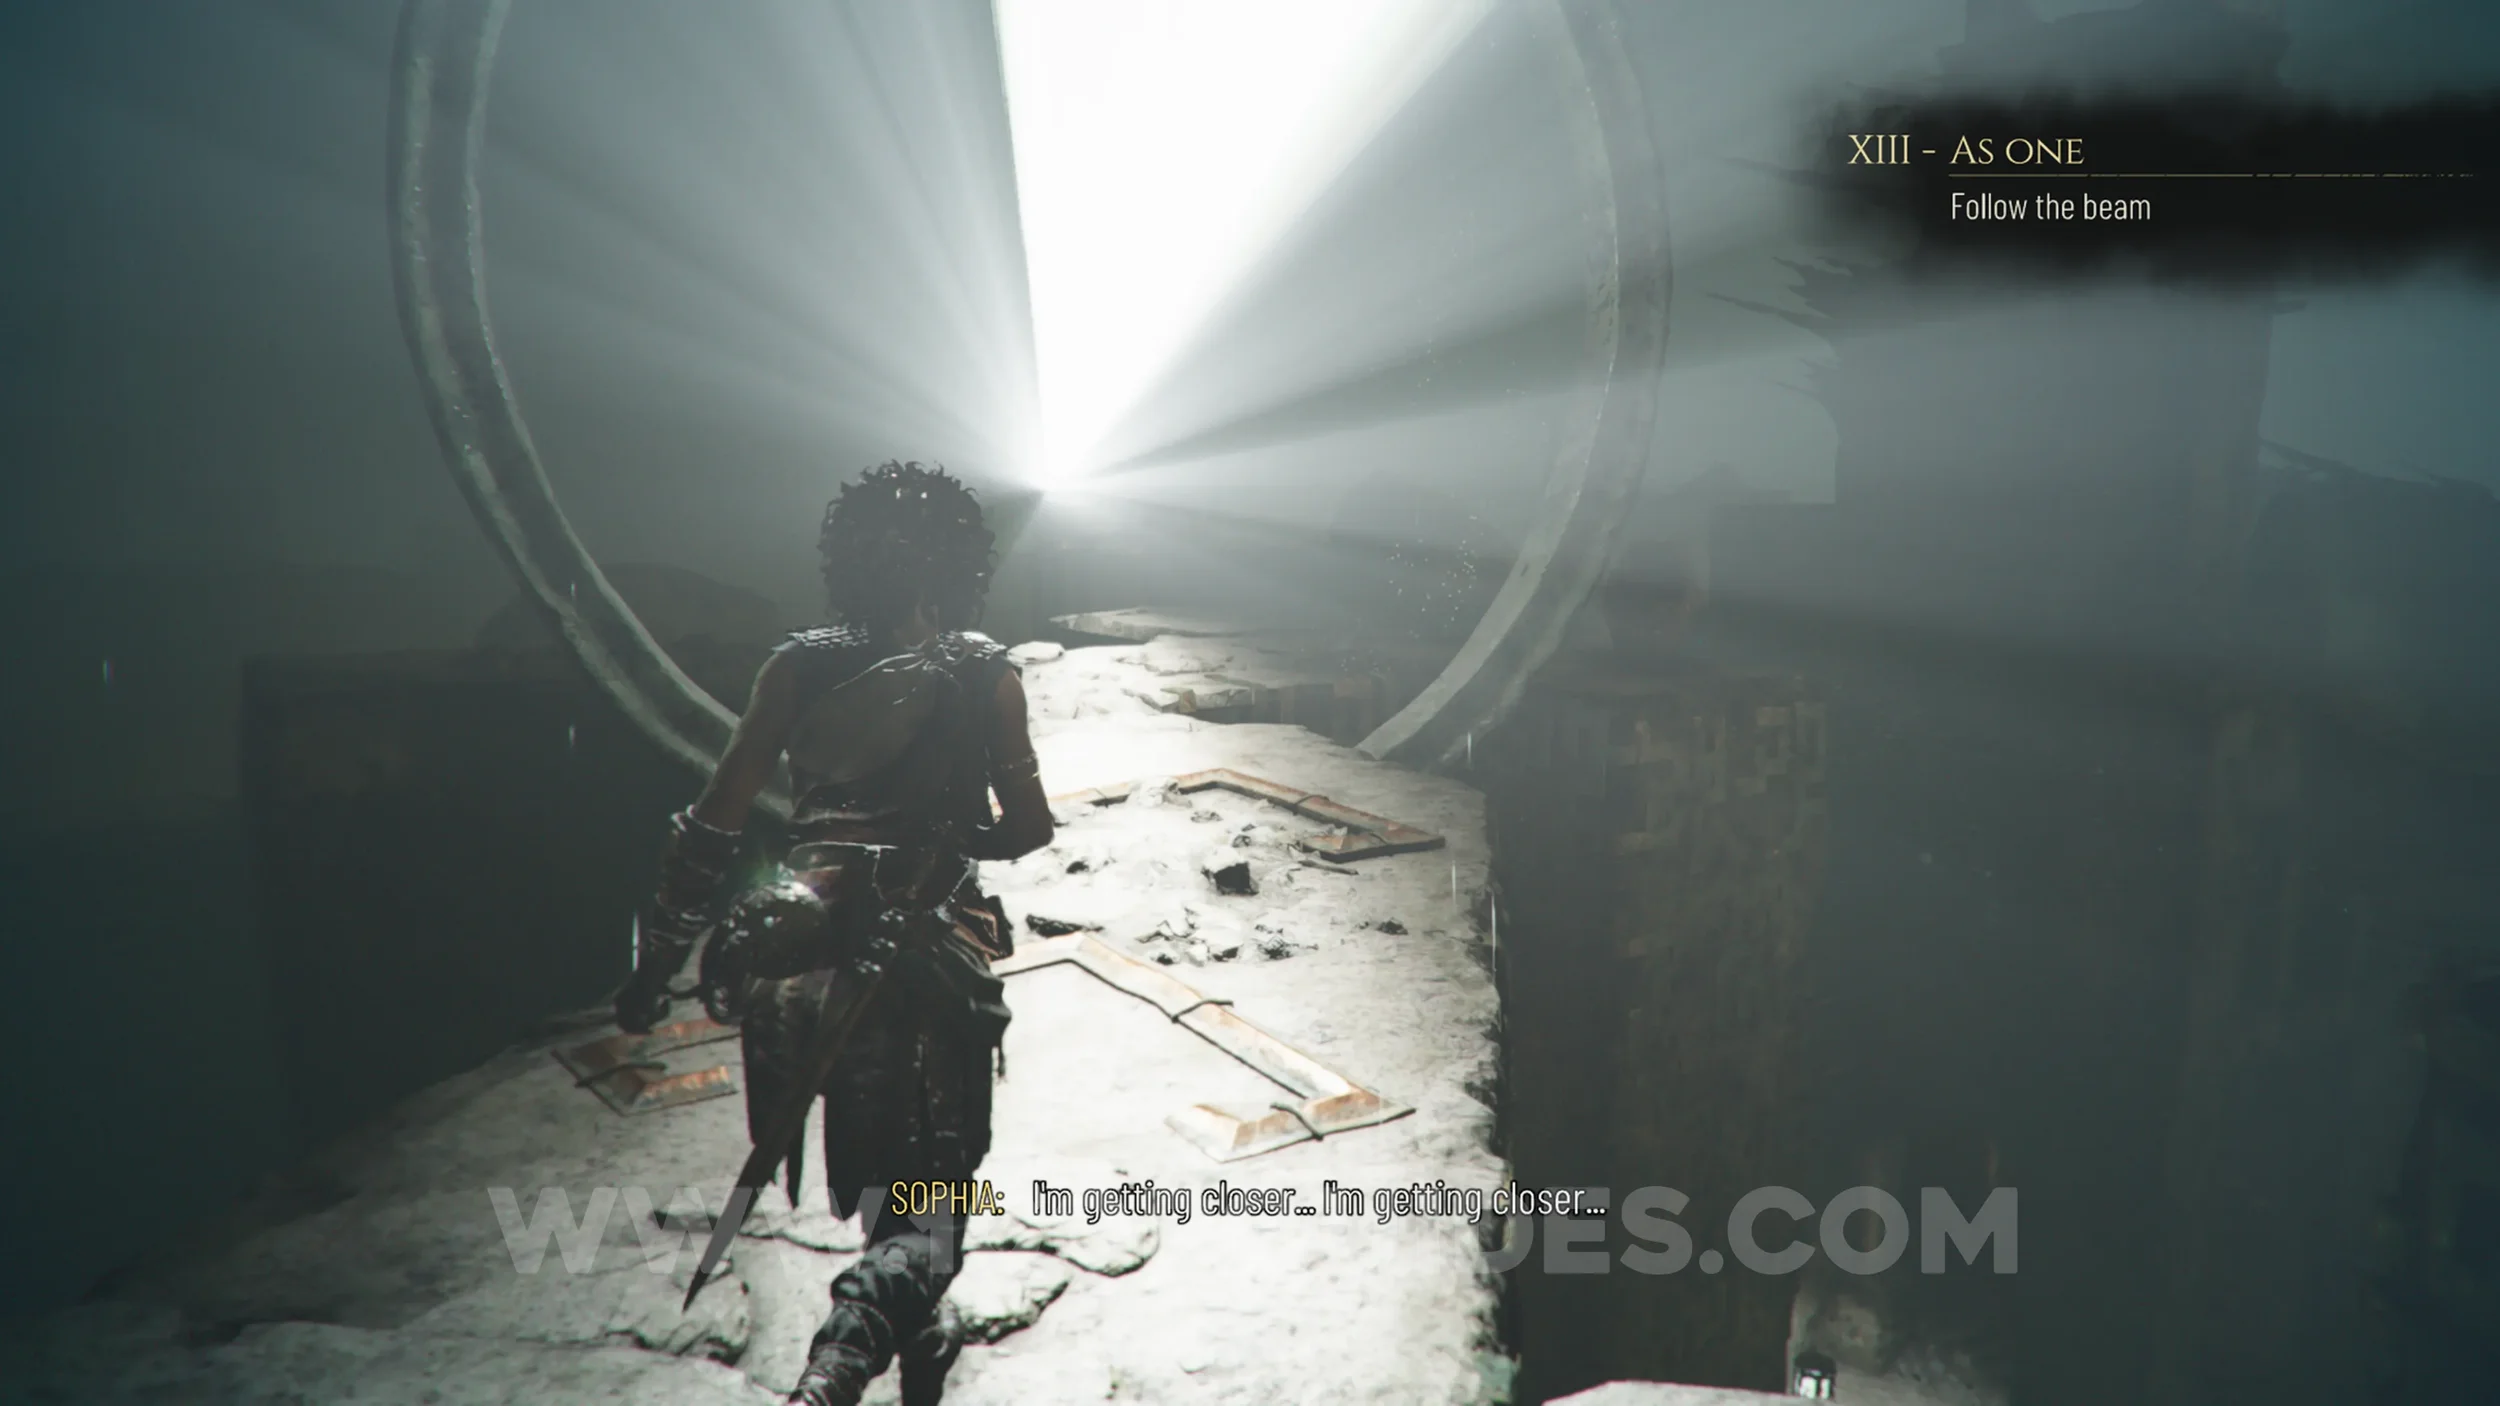
Chapter 13: Sub-Chapter 1.
Soon after the previous collectible, use your grappling hook to swing to a light on a square platform, where Sophia will almost black out. Here, use your sphere to redirect the light at the petrified structure on the left of the light to reveal the artefact.
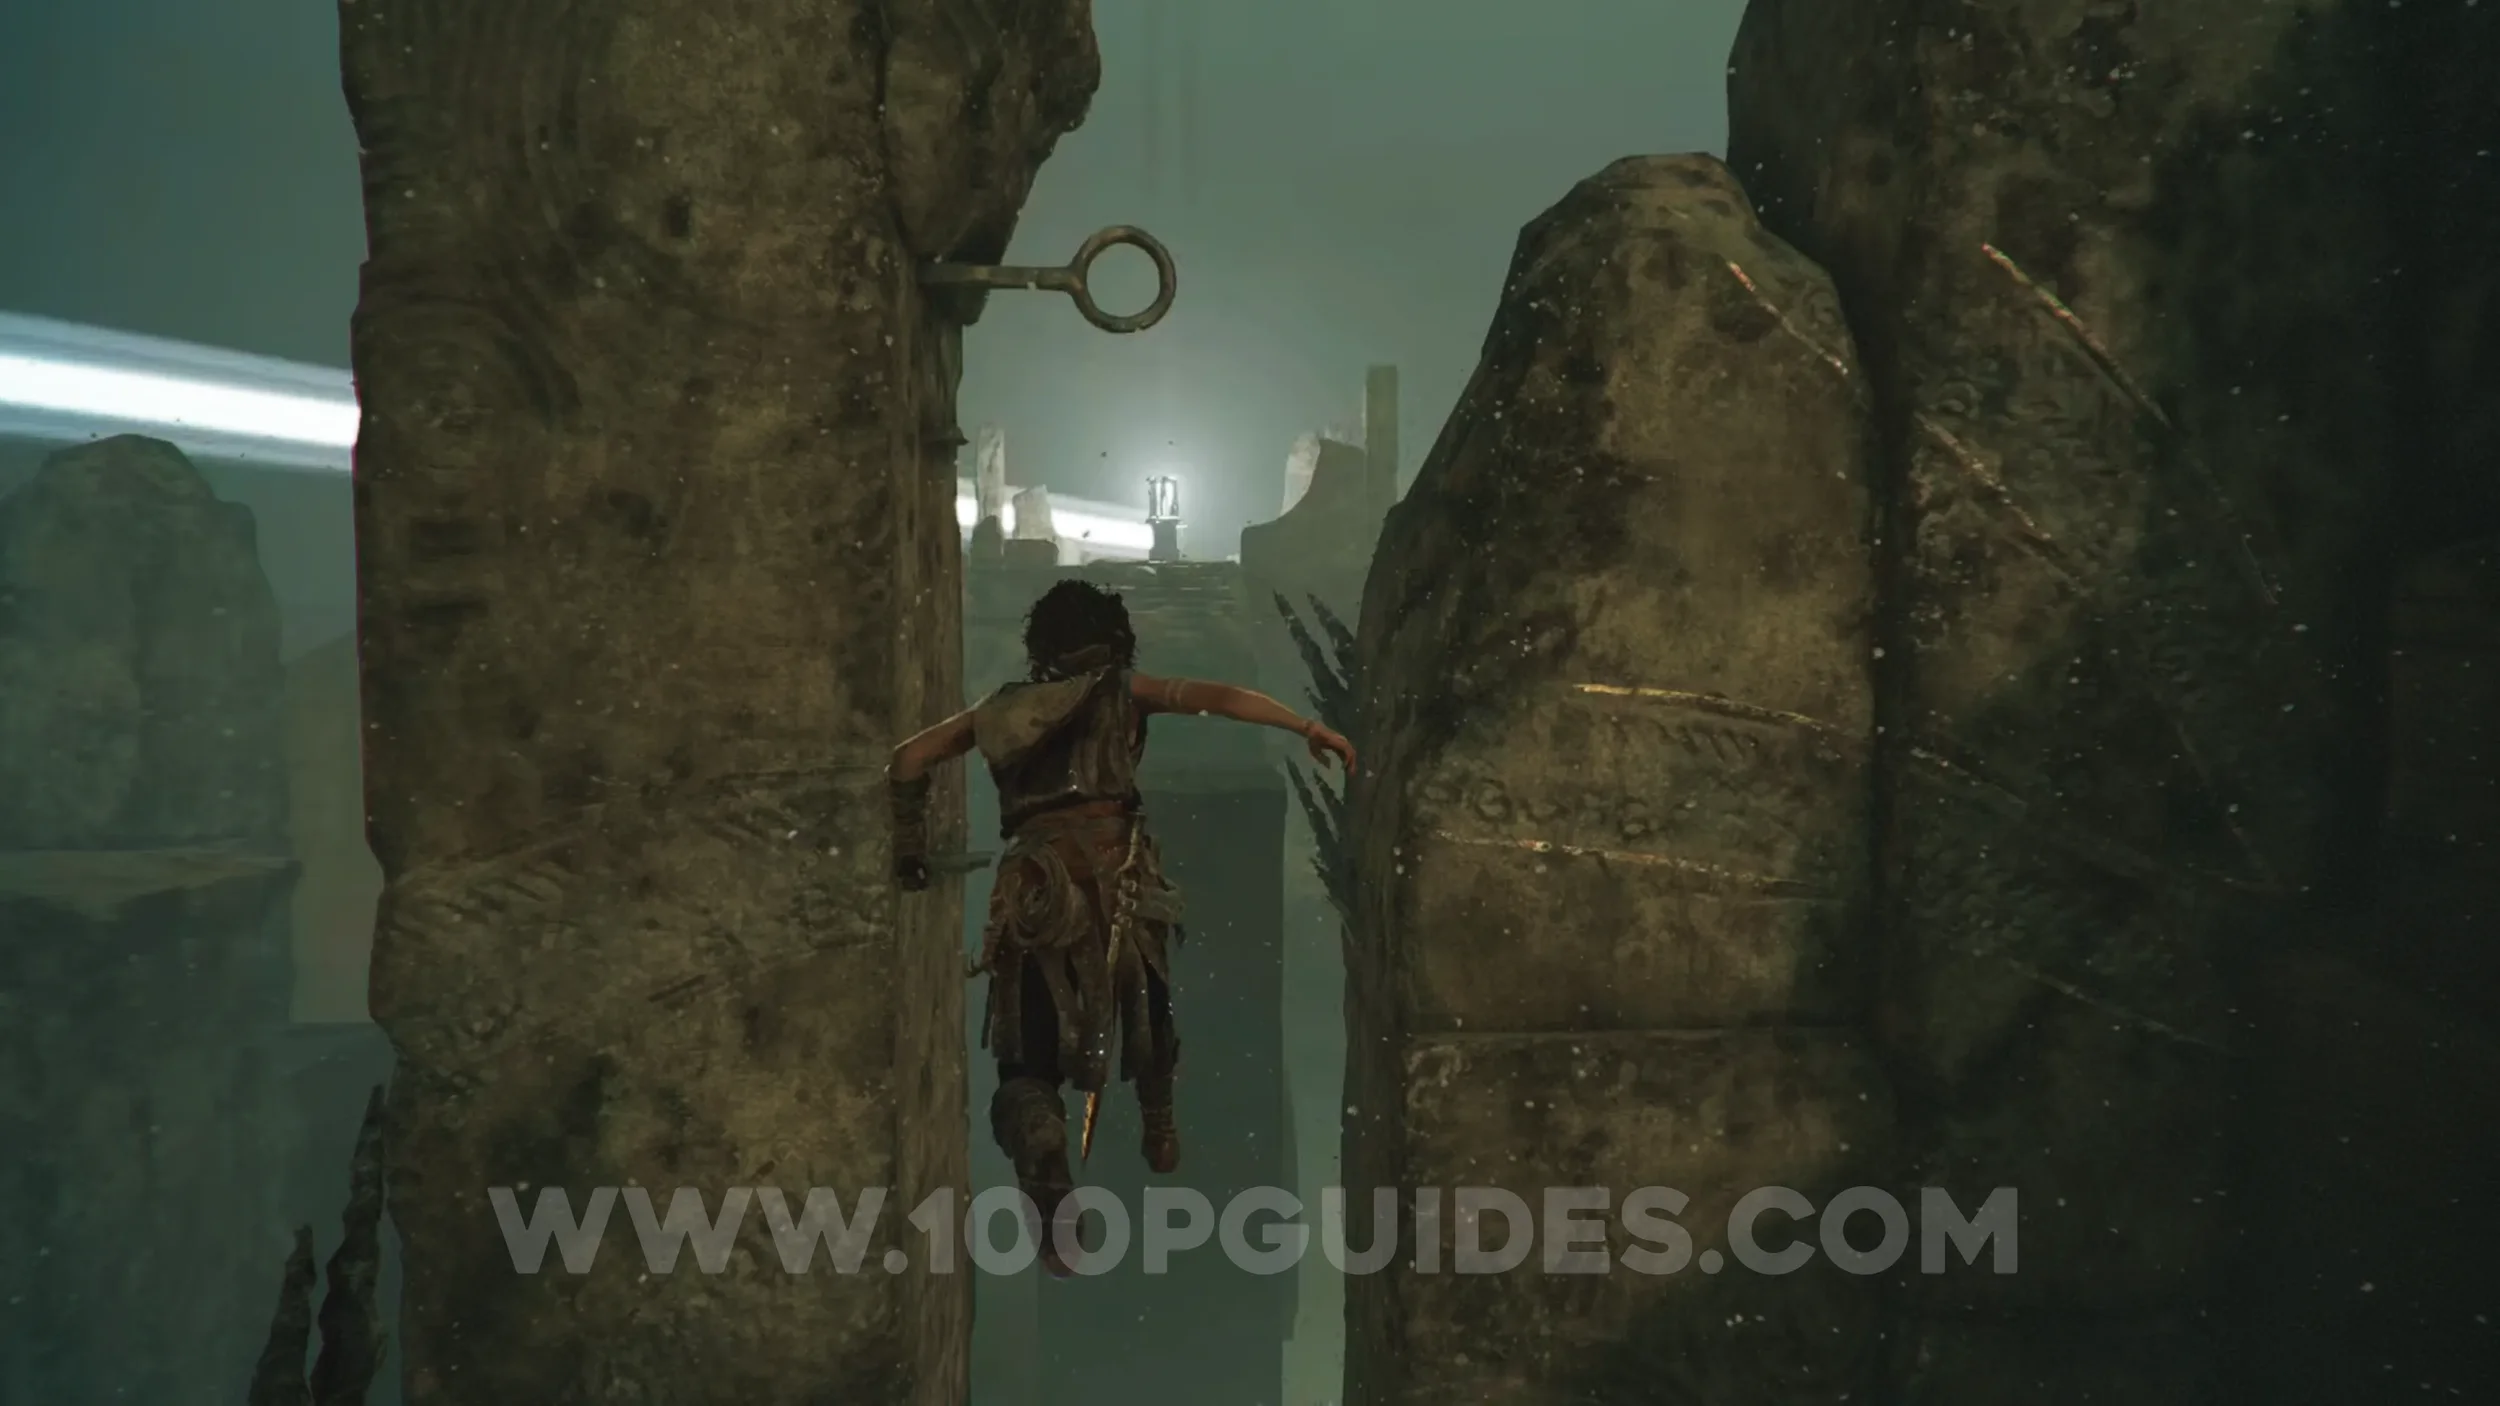
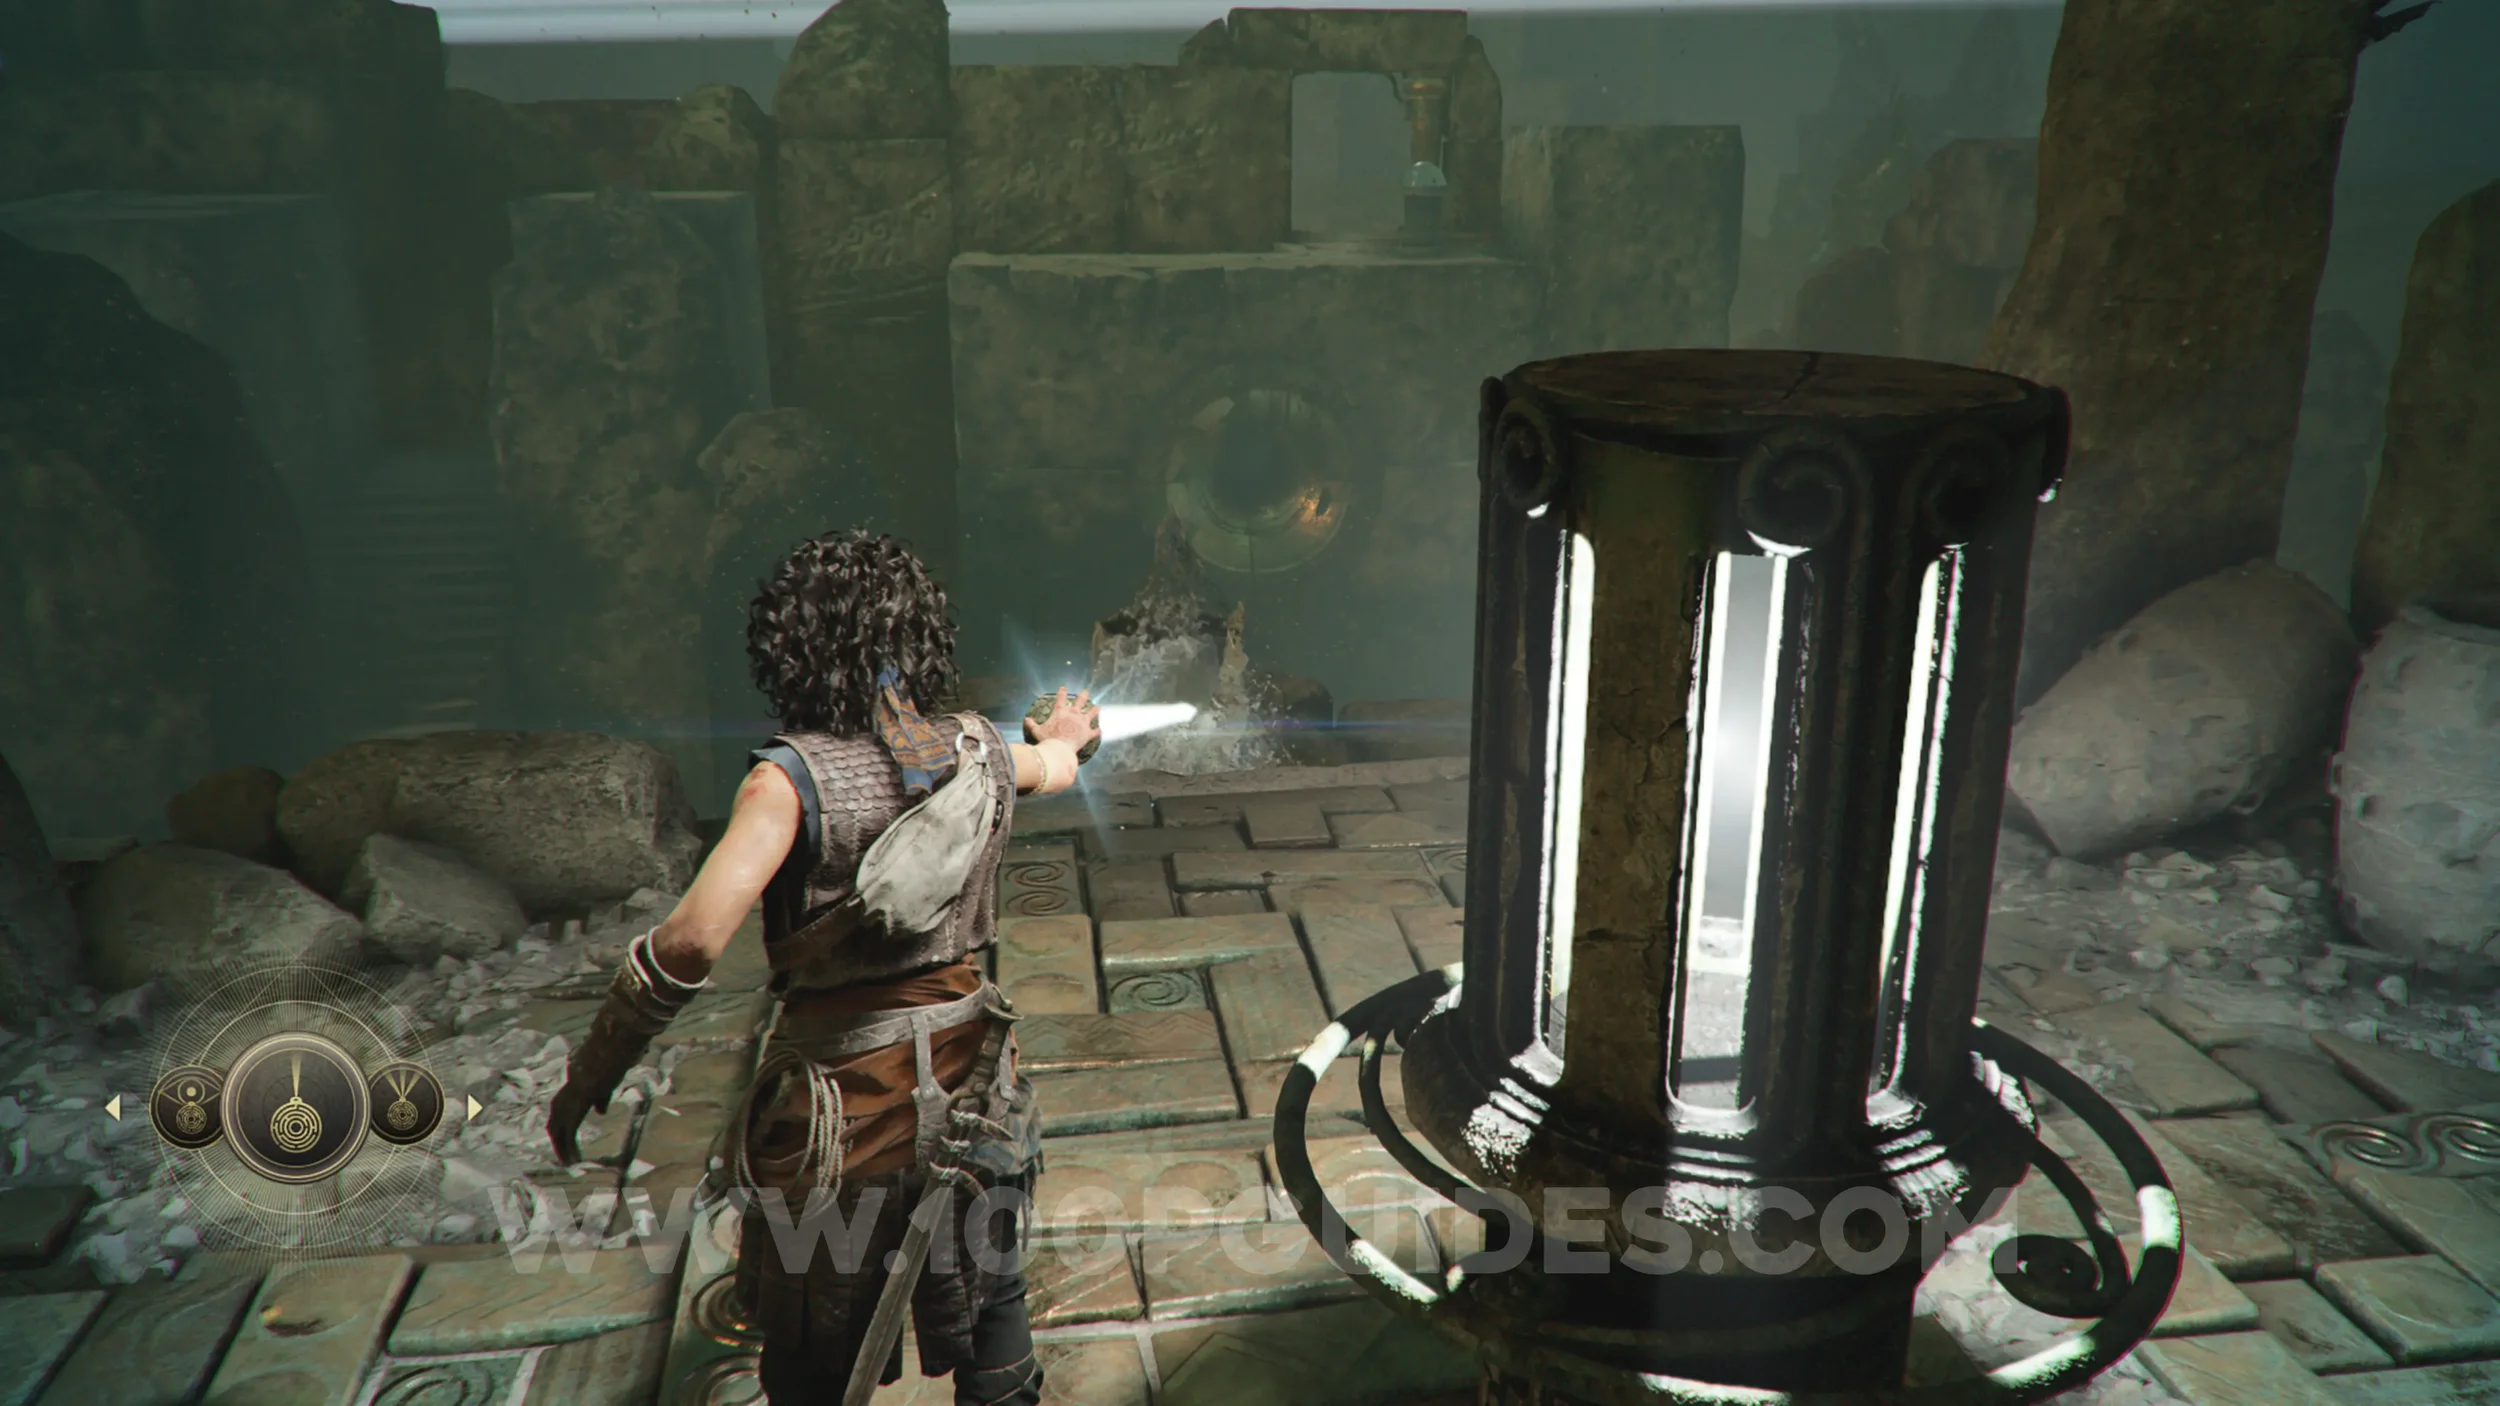
Resonance Point
Chapter 13: Sub-Chapter 2.
After defeating the first group of enemies and redirecting the light, follow the path forward. After jumping over the first gap, you'll see the Resonance Point on the ground.
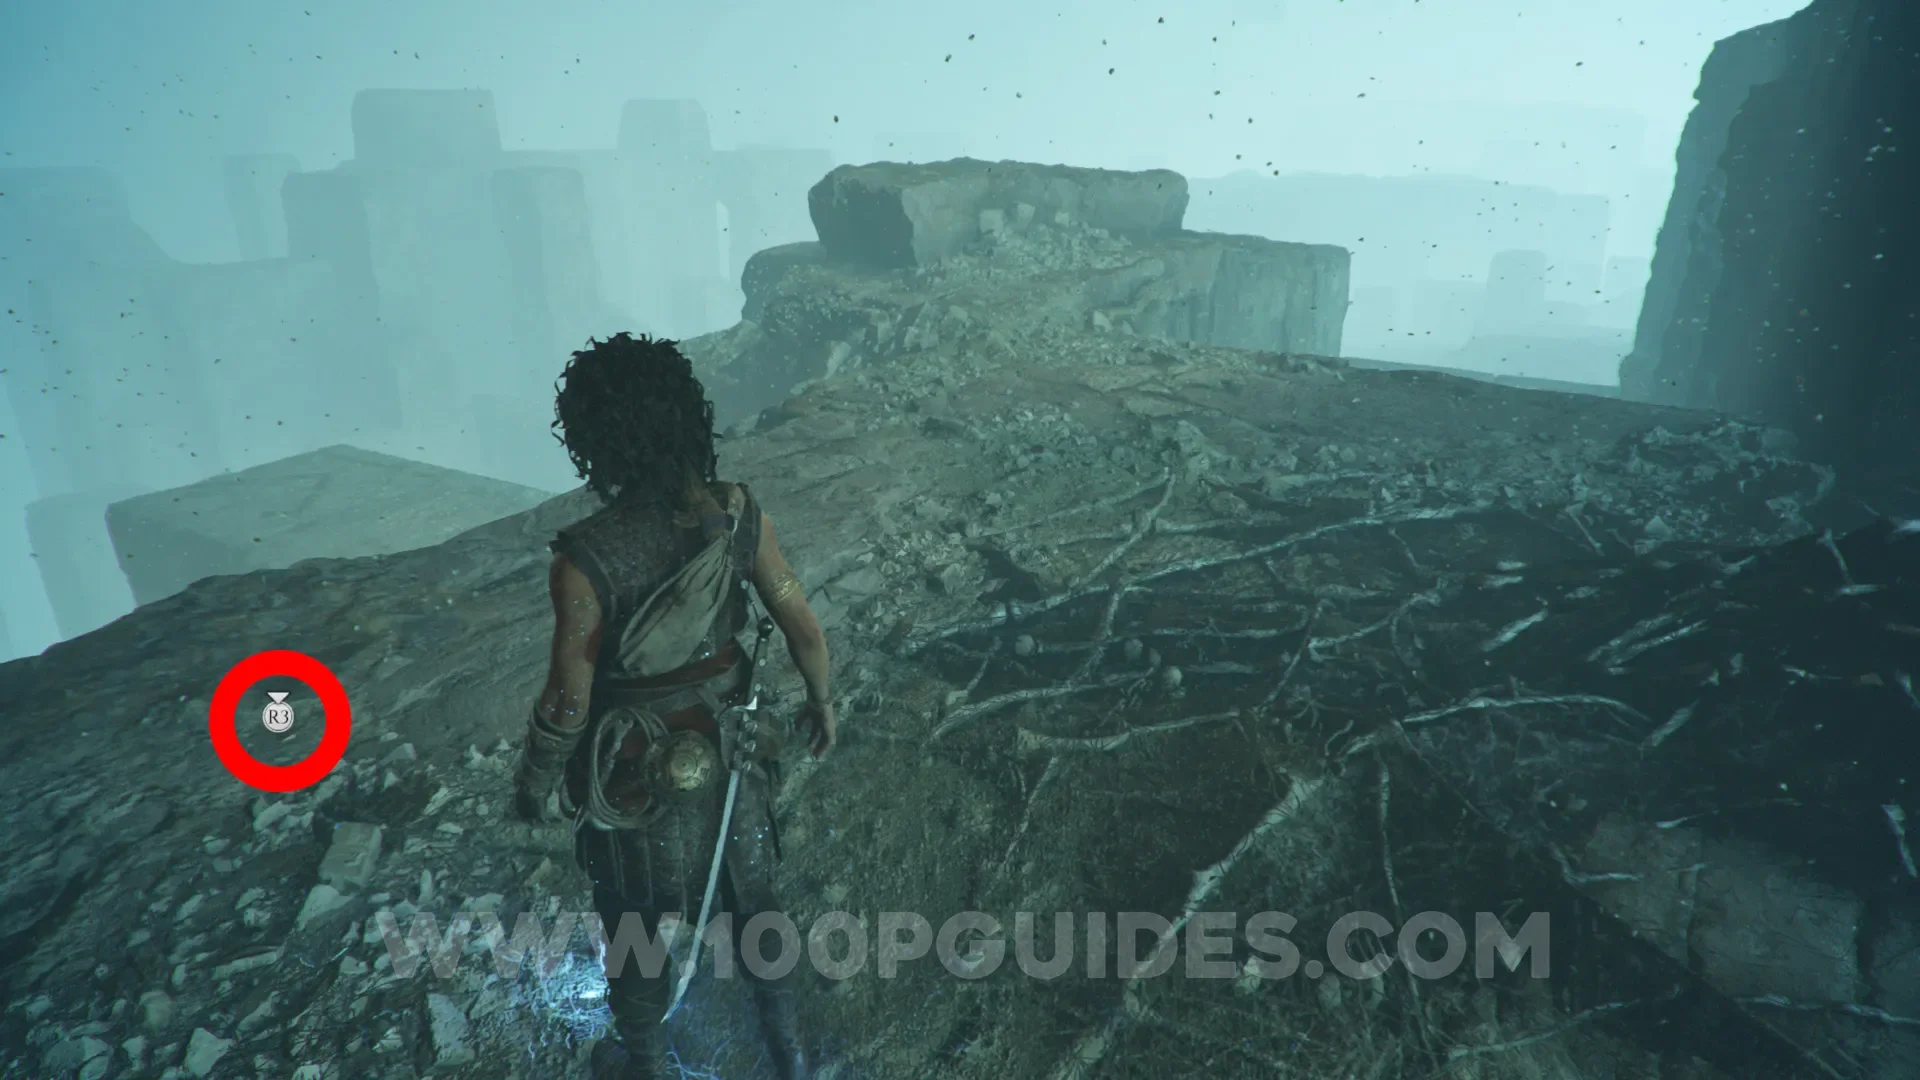
Resonance Point
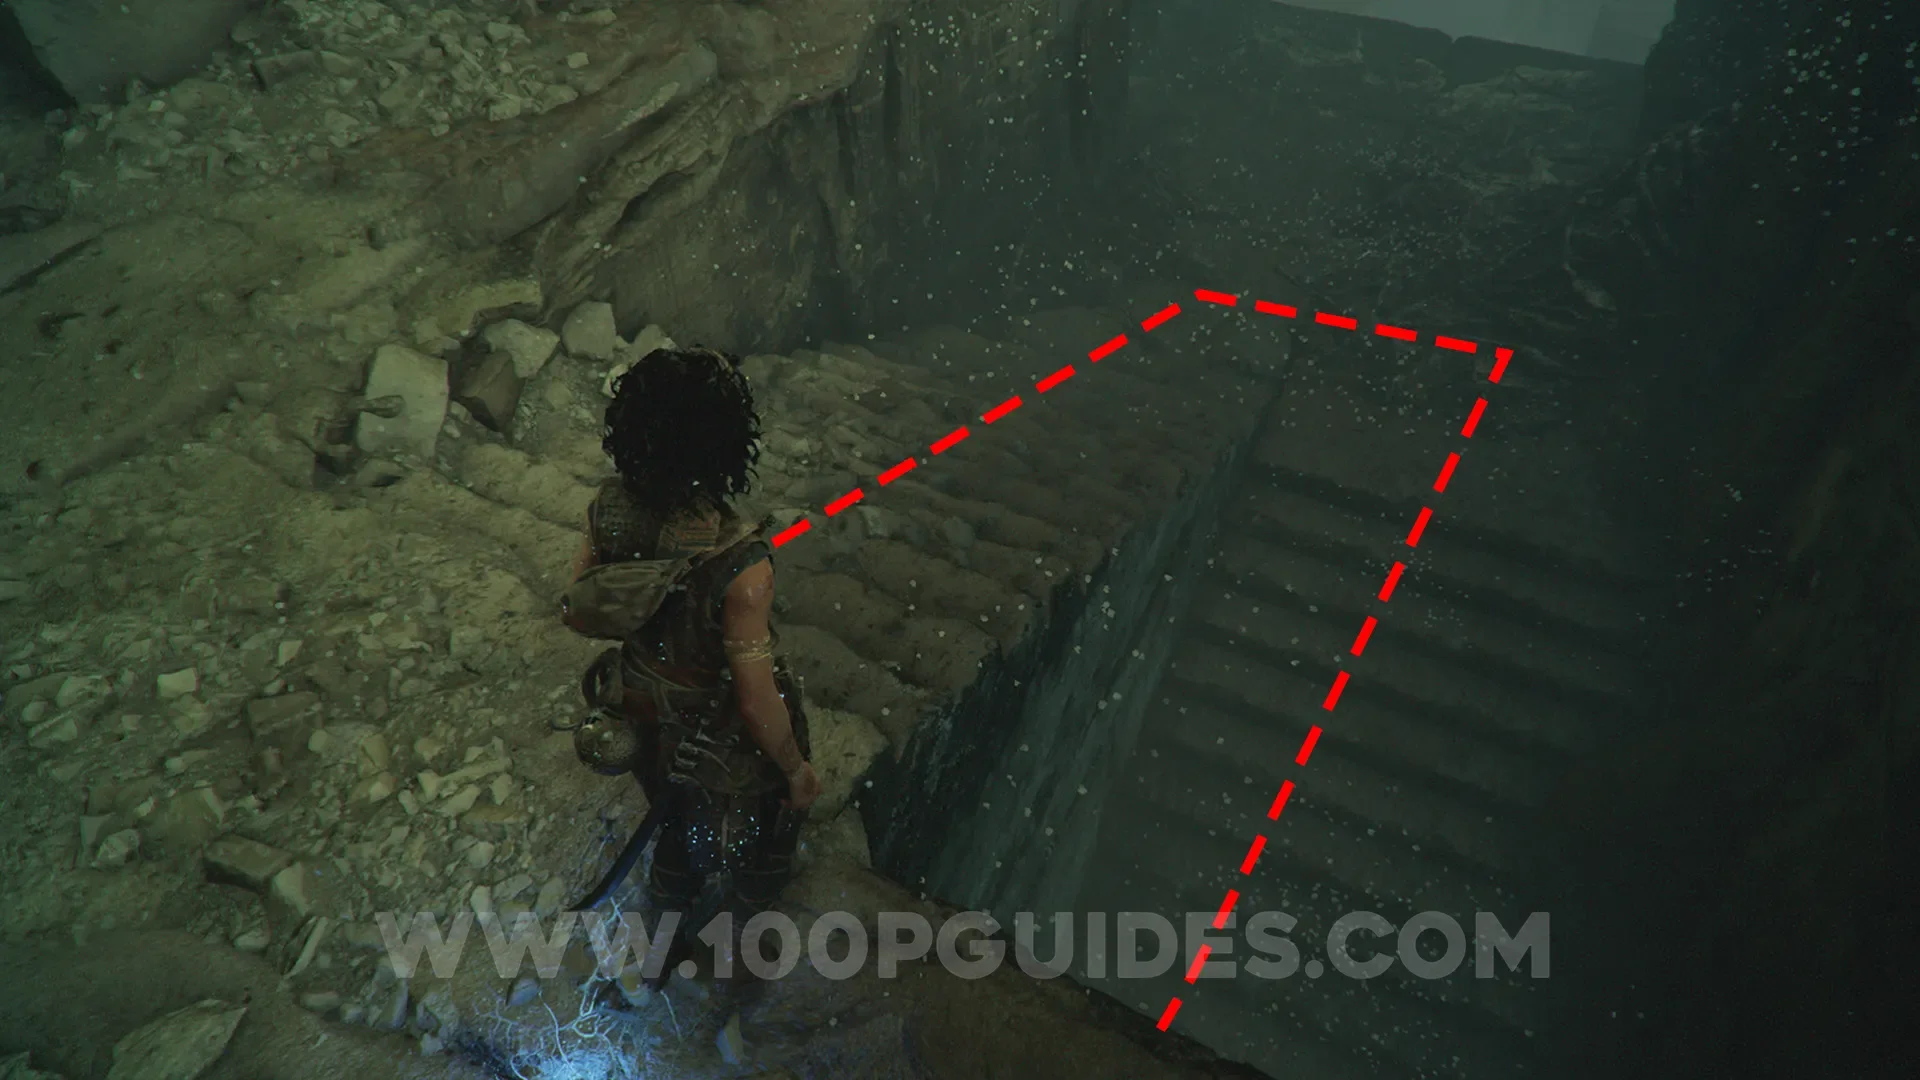
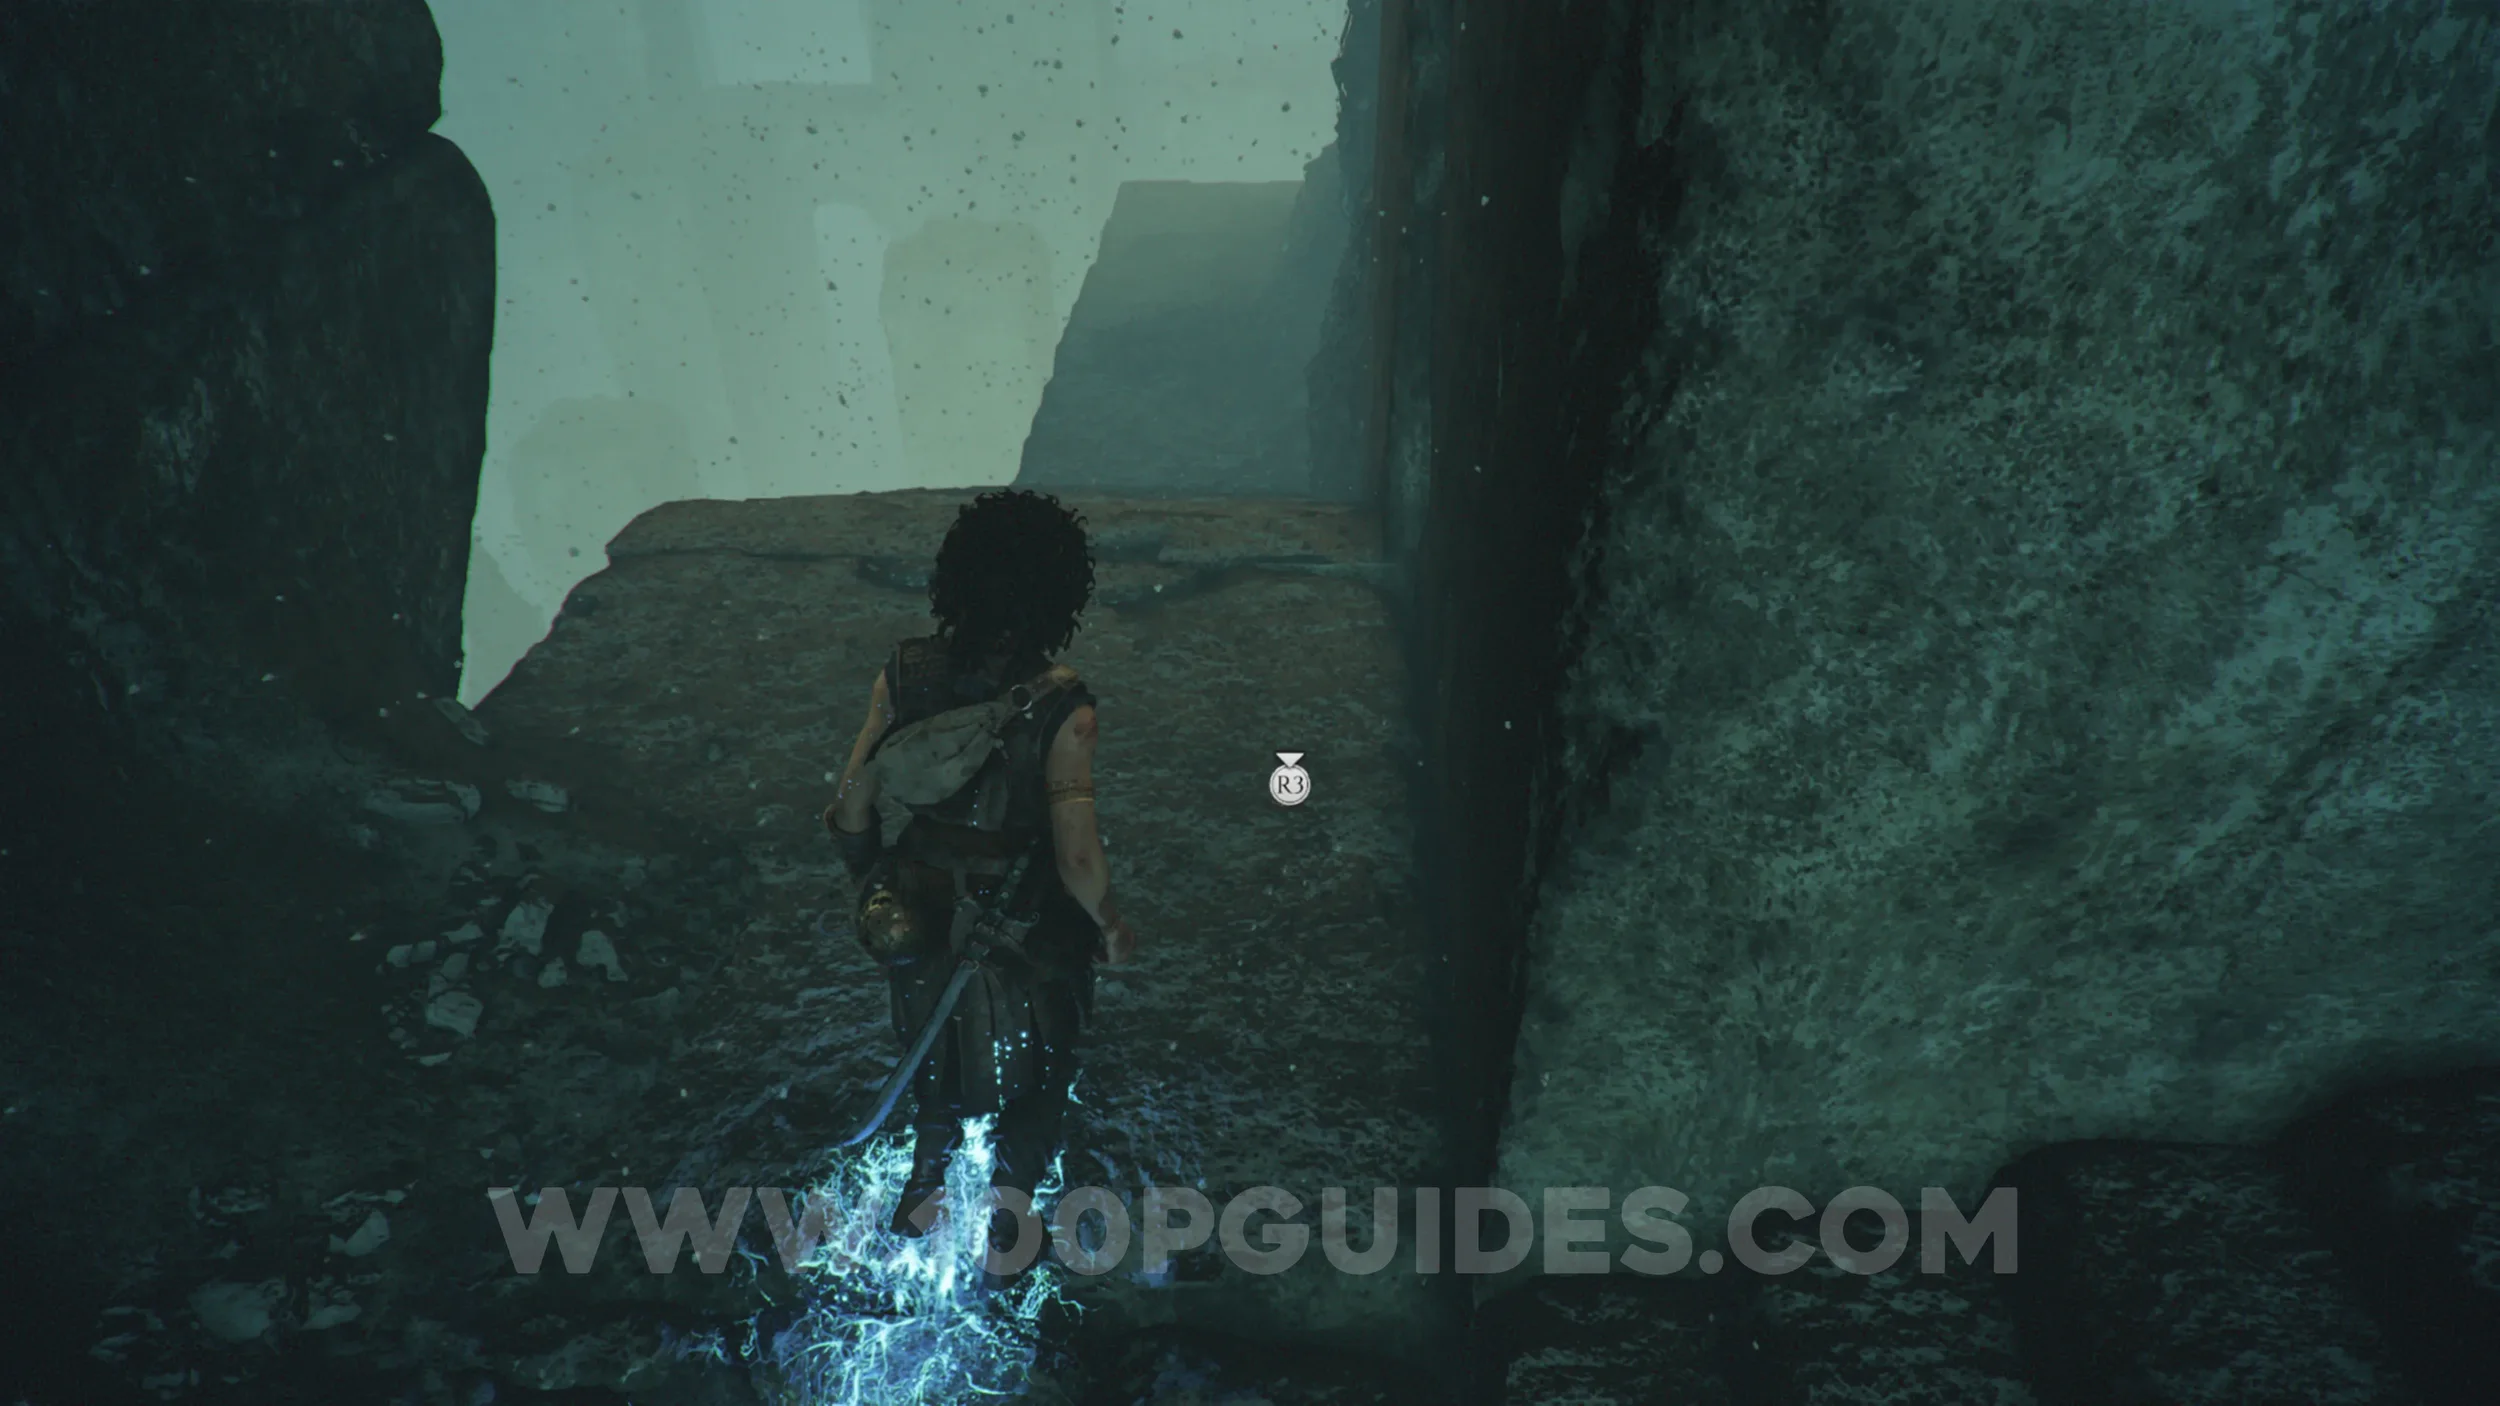
Chapter 13: Sub-Chapter 2.
From the previous collectible, head right and go down the stairs. You'll find the collectible on the ground after going around the corner at the bottom.
Resonance Point
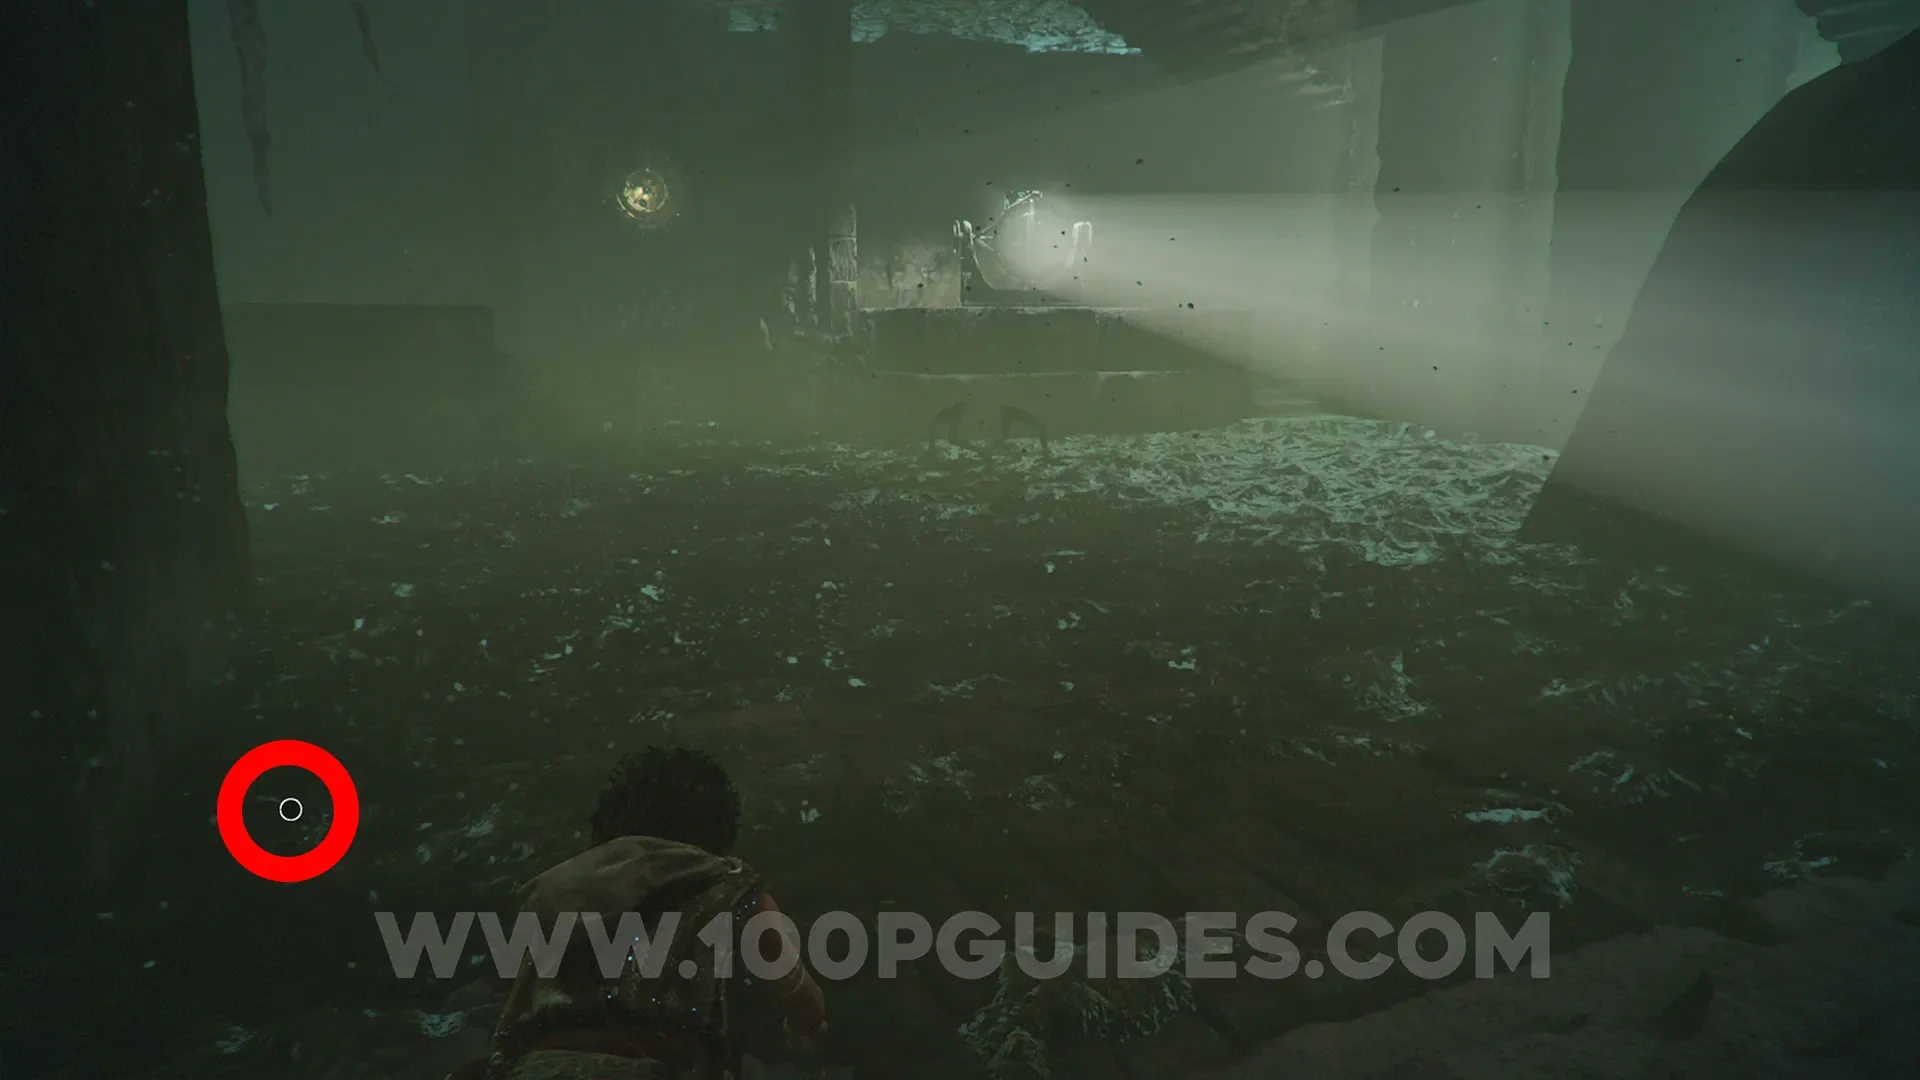
Chapter 13: Sub-Chapter 3.
After squeezing through a passage filled with loads of petrified enemies, you'll emerge into a room with even more petrified enemies and a petrified mirror in the middle. The Resonance Point can be found near a column on the left side of the room.
Resonance Point
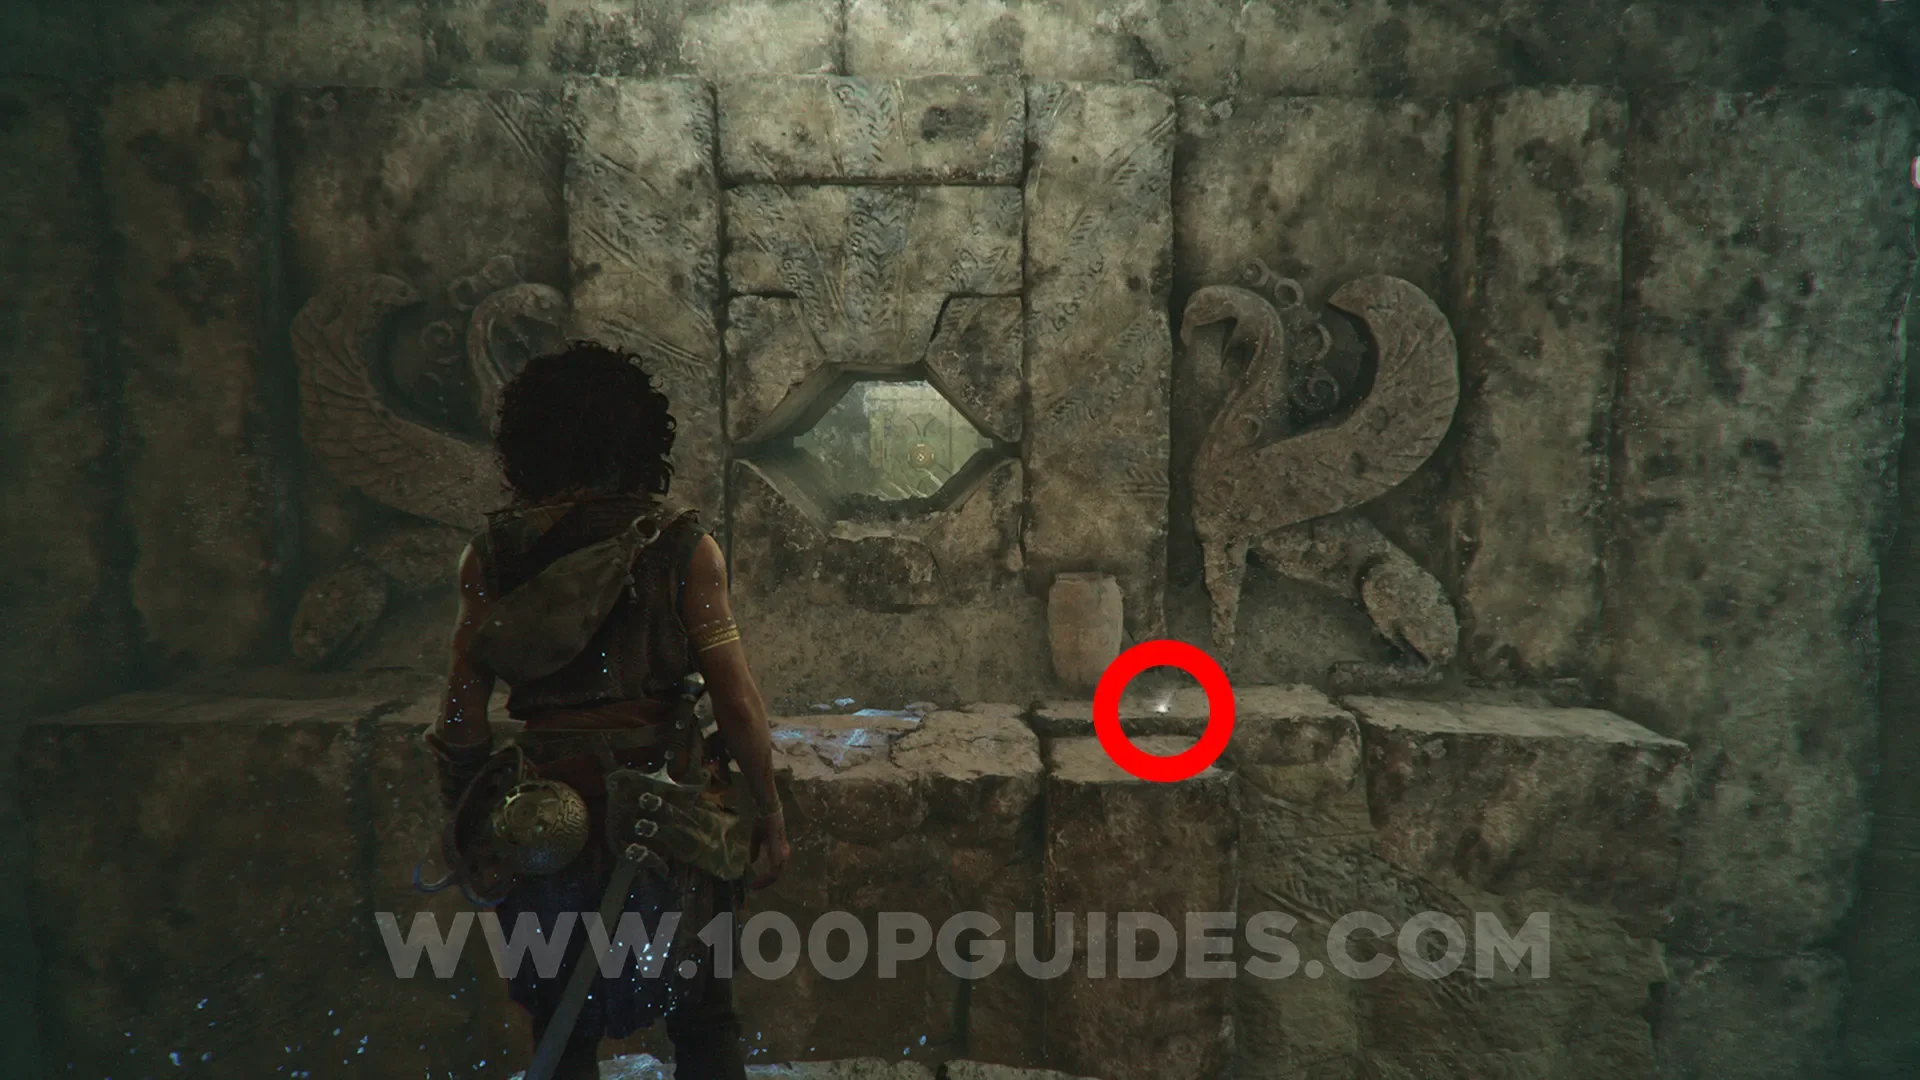
Chapter 13: Sub-Chapter 4.
After defeating the second group of enemies and redirecting the light again, head down the only possible path. You'll see the collectible on your right, just before the "eye-shaped" hole.
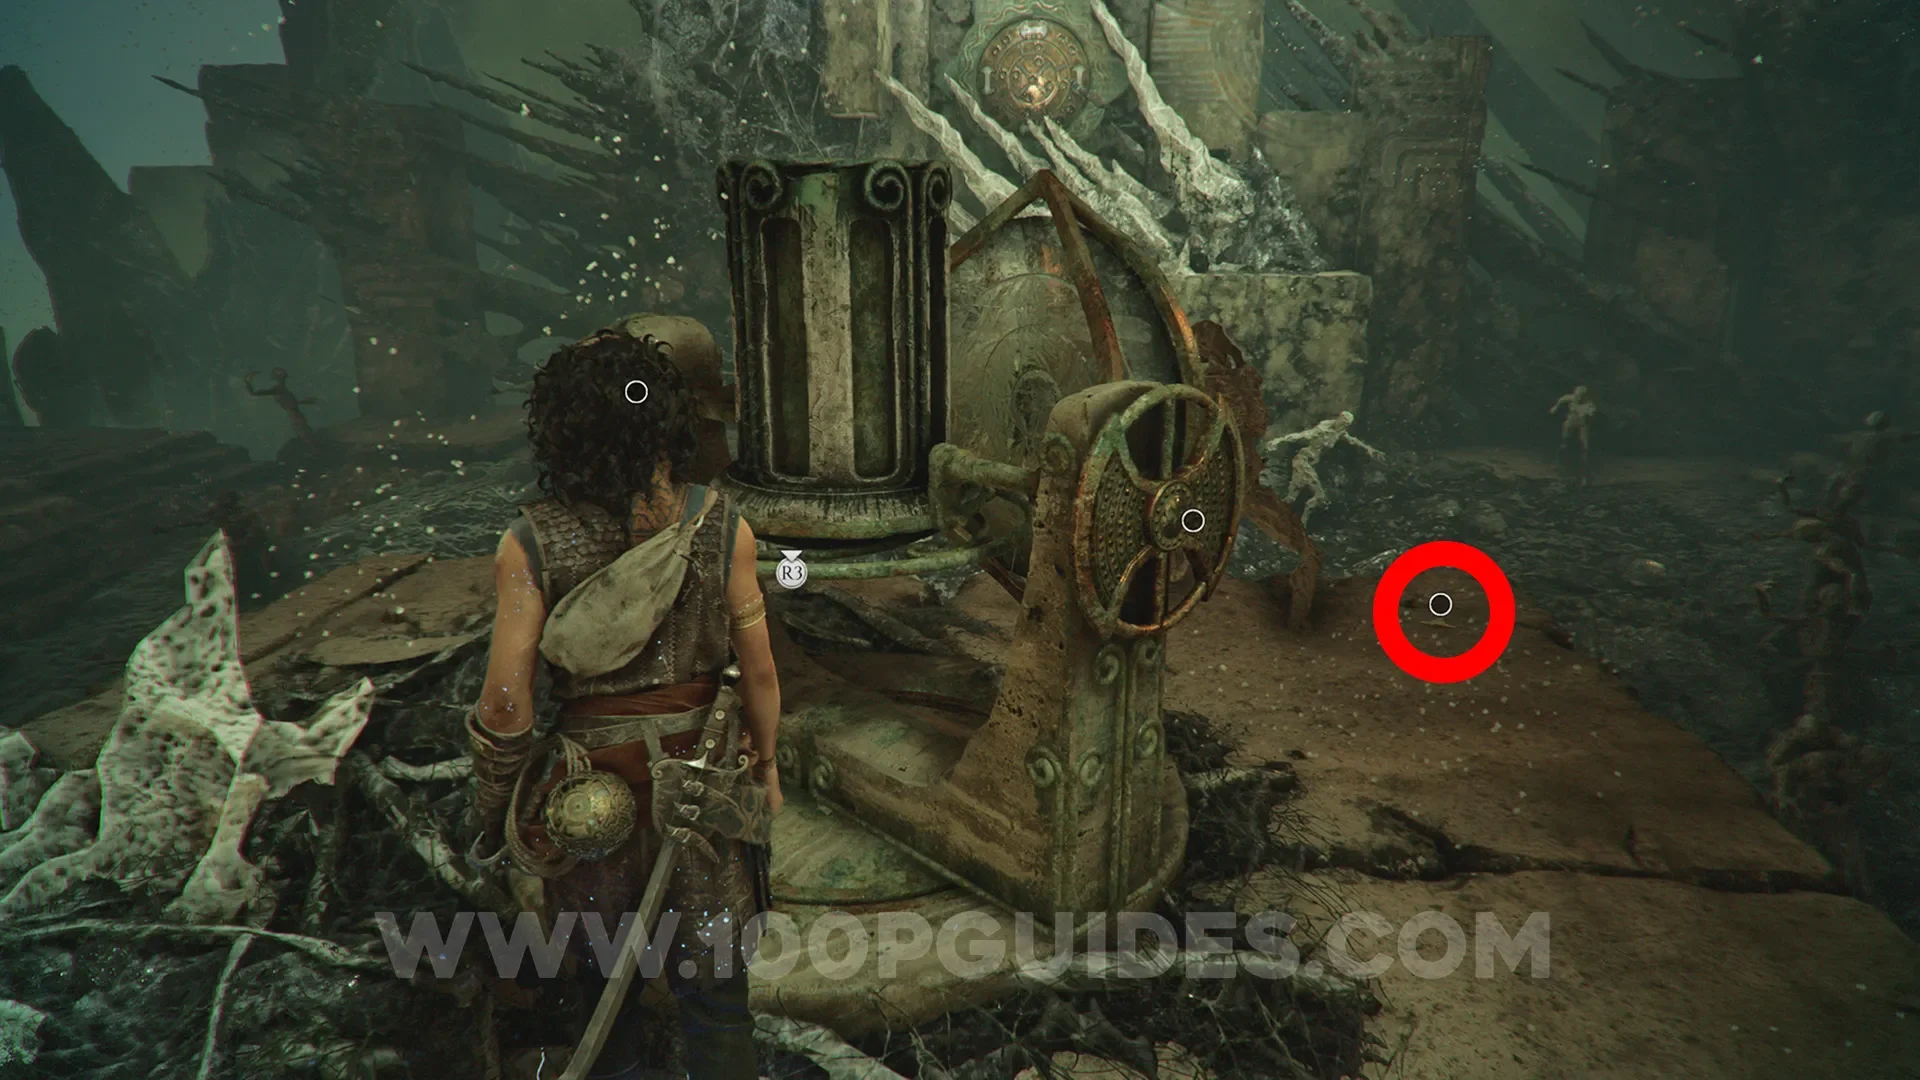
Resonance Point
Chapter 13: Sub-Chapter 4.
Go through the "eye-shaped" hole and reach the light in the middle of the room. The collectible will be on the ground in the corner of the same platform.
Artefact: Poisoned Syringe
Chapter 13: Sub-Chapter 4.
After opening the door with the light where the previous collectible was, you'll enter a room with the beam of light directly above you. Here, head left to find the artefact.
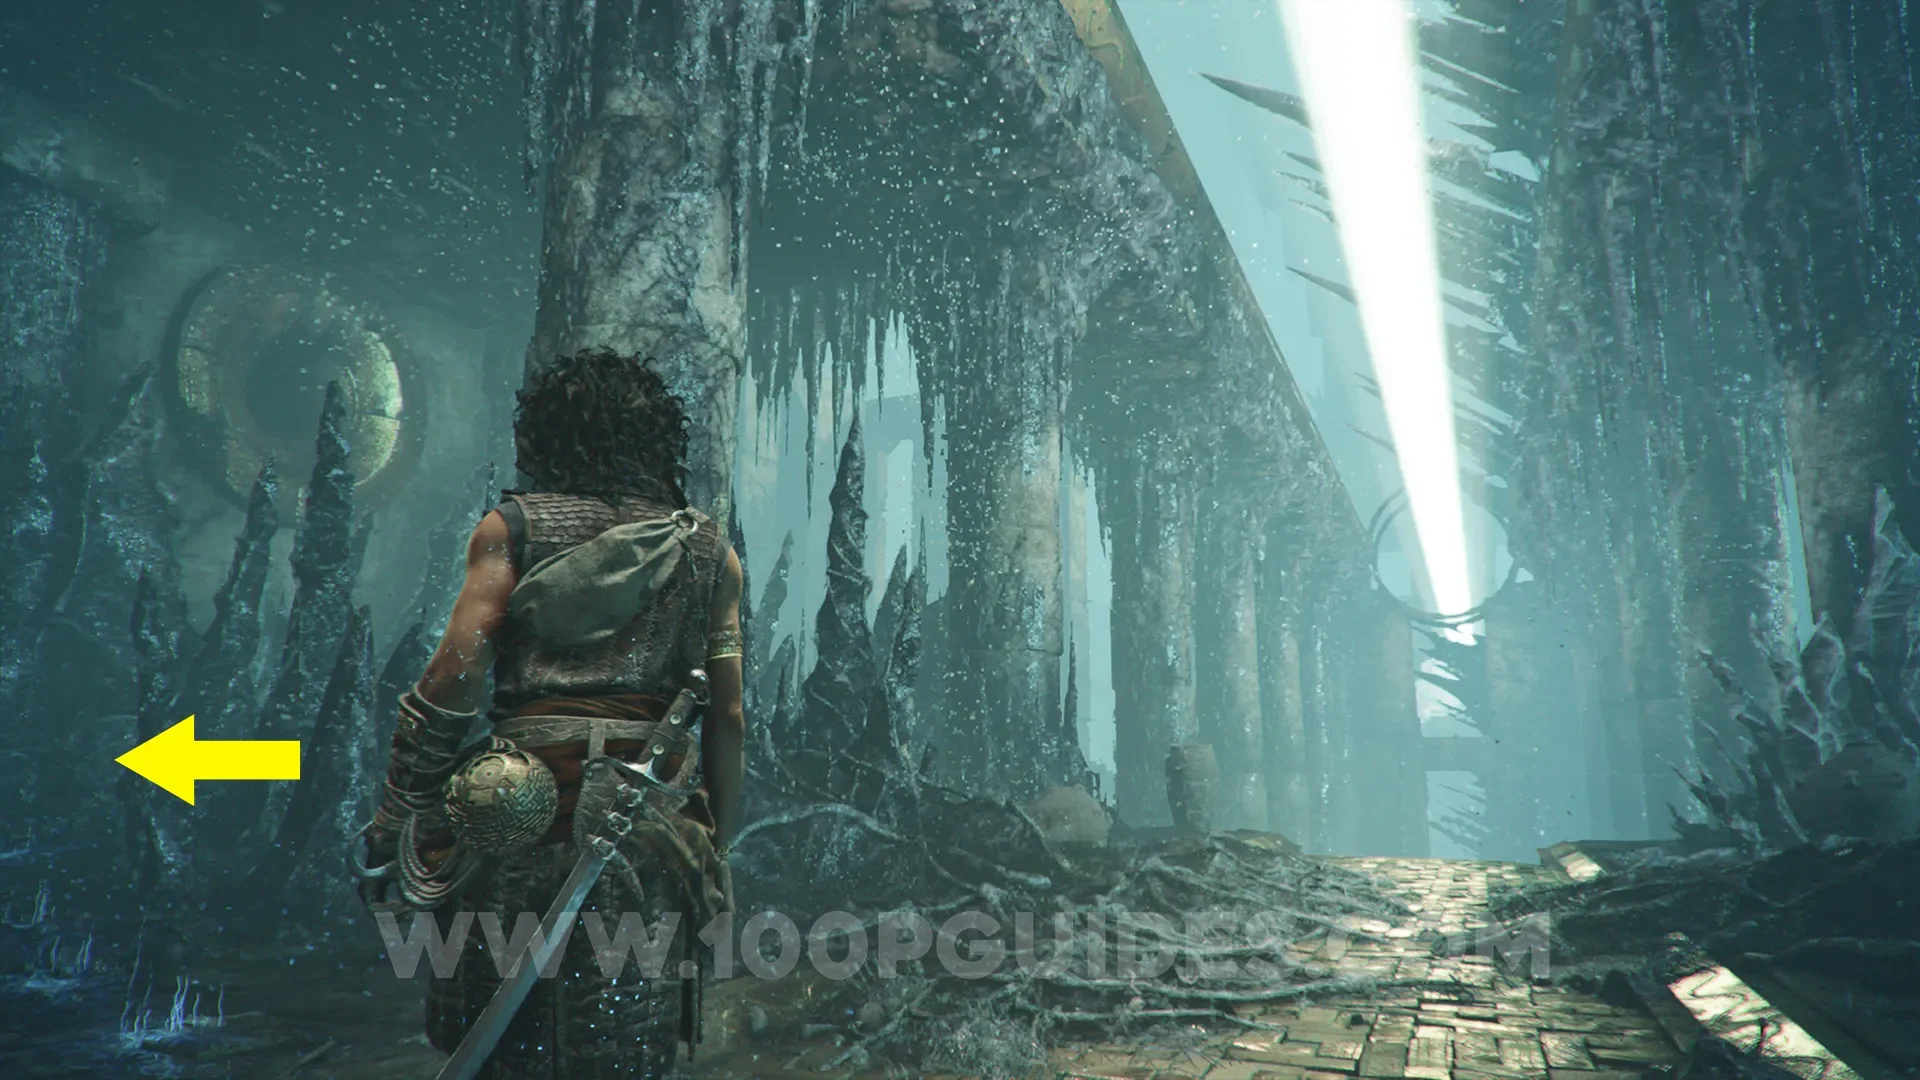
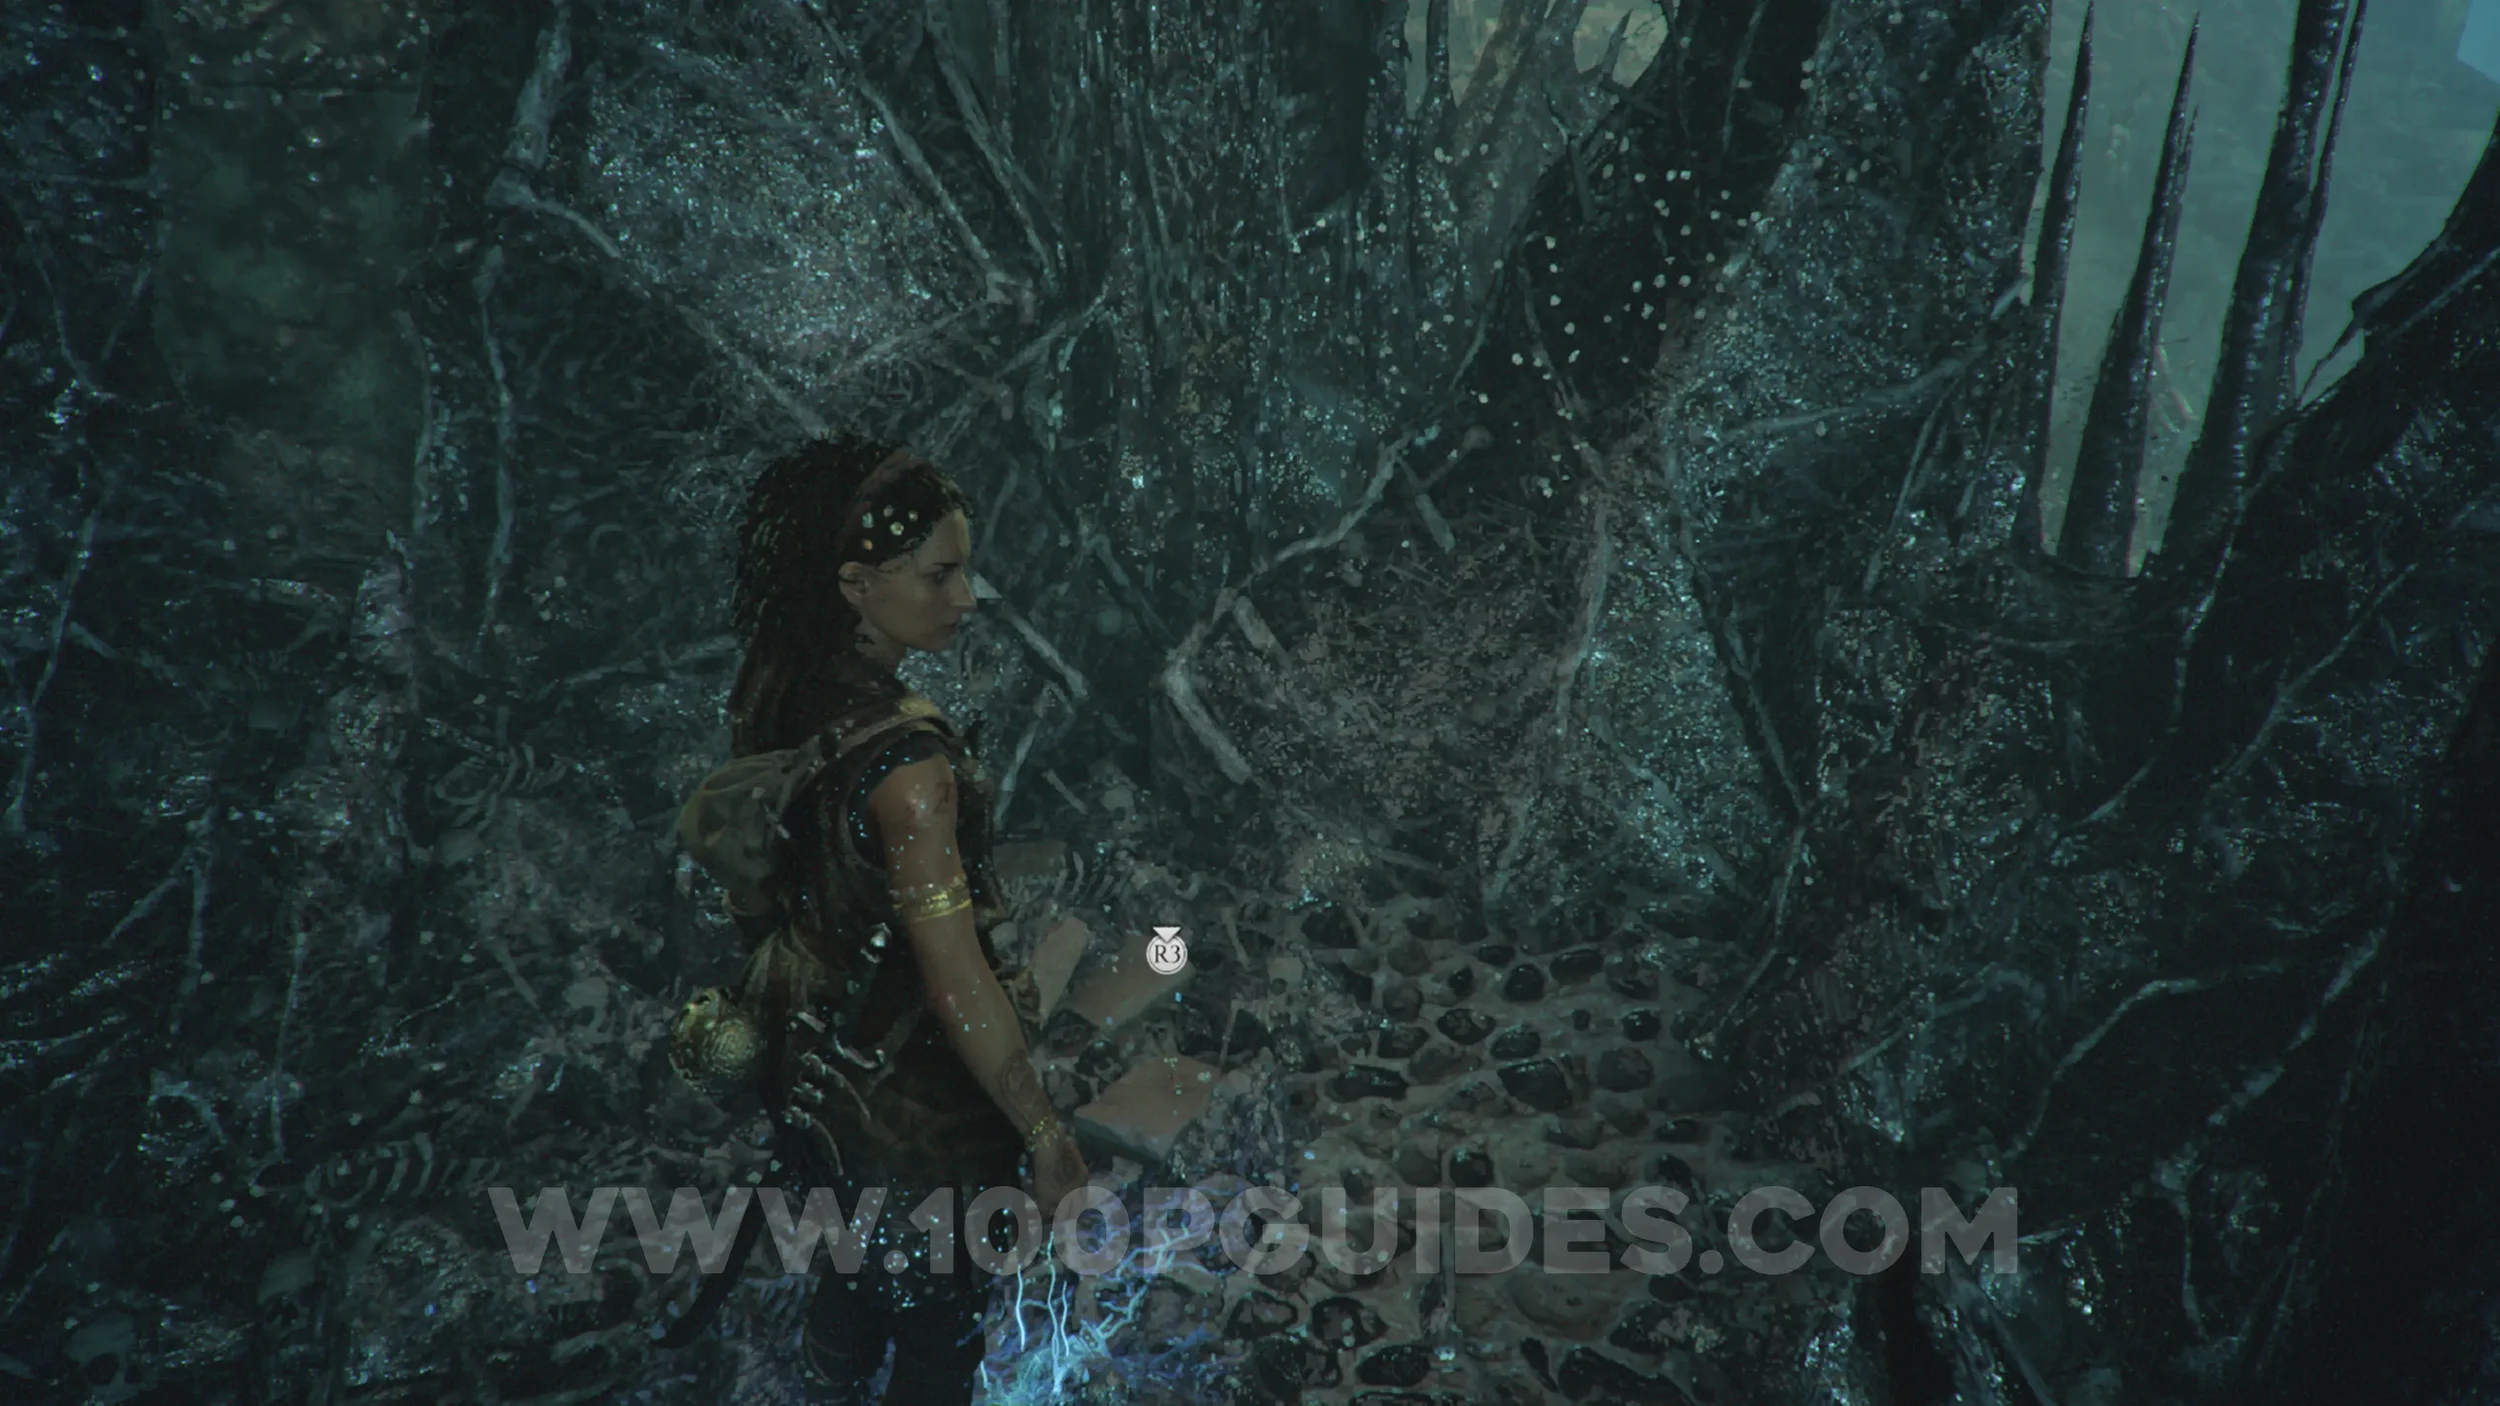
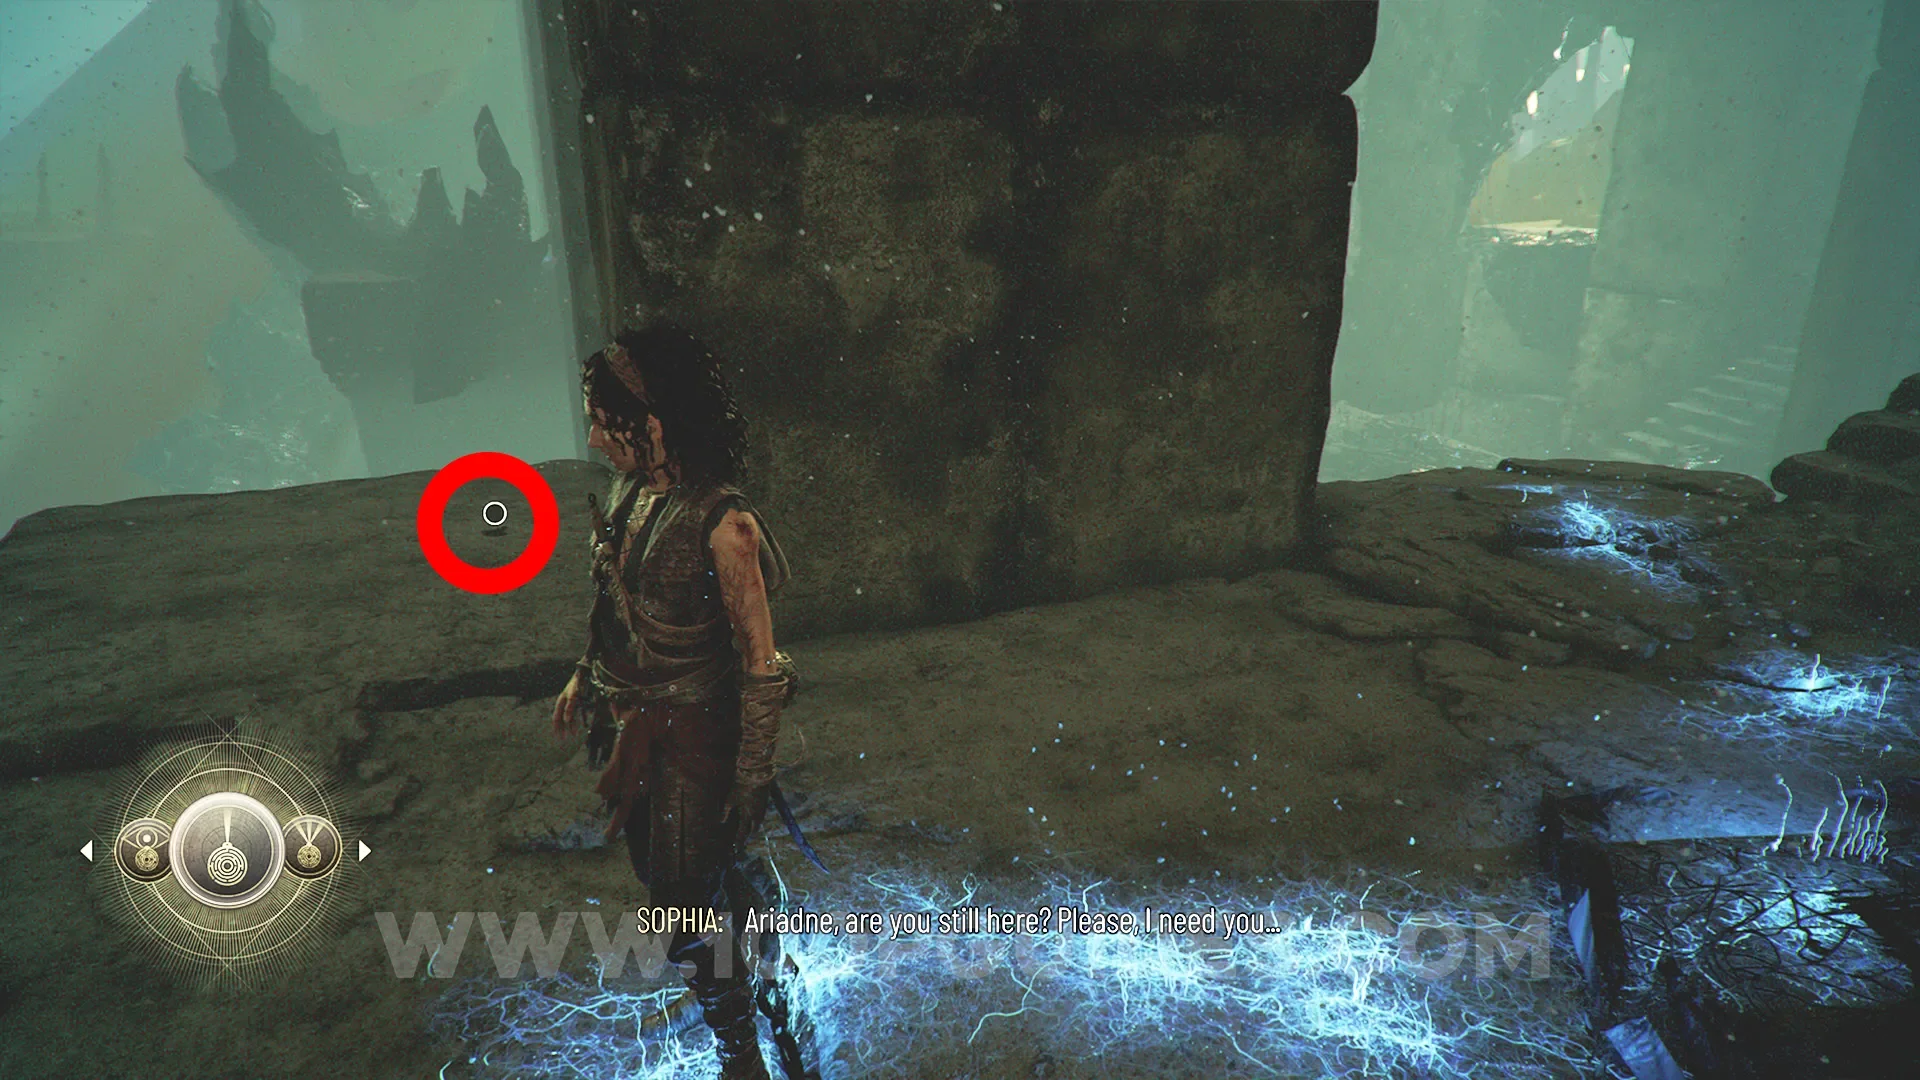
Resonance Point
Chapter 13: Sub-Chapter 5.
Once you reach the next light source, continue by heading around the building and grappling across the gaps. As soon as you land from the second grappling swing, head right to find the collectible.
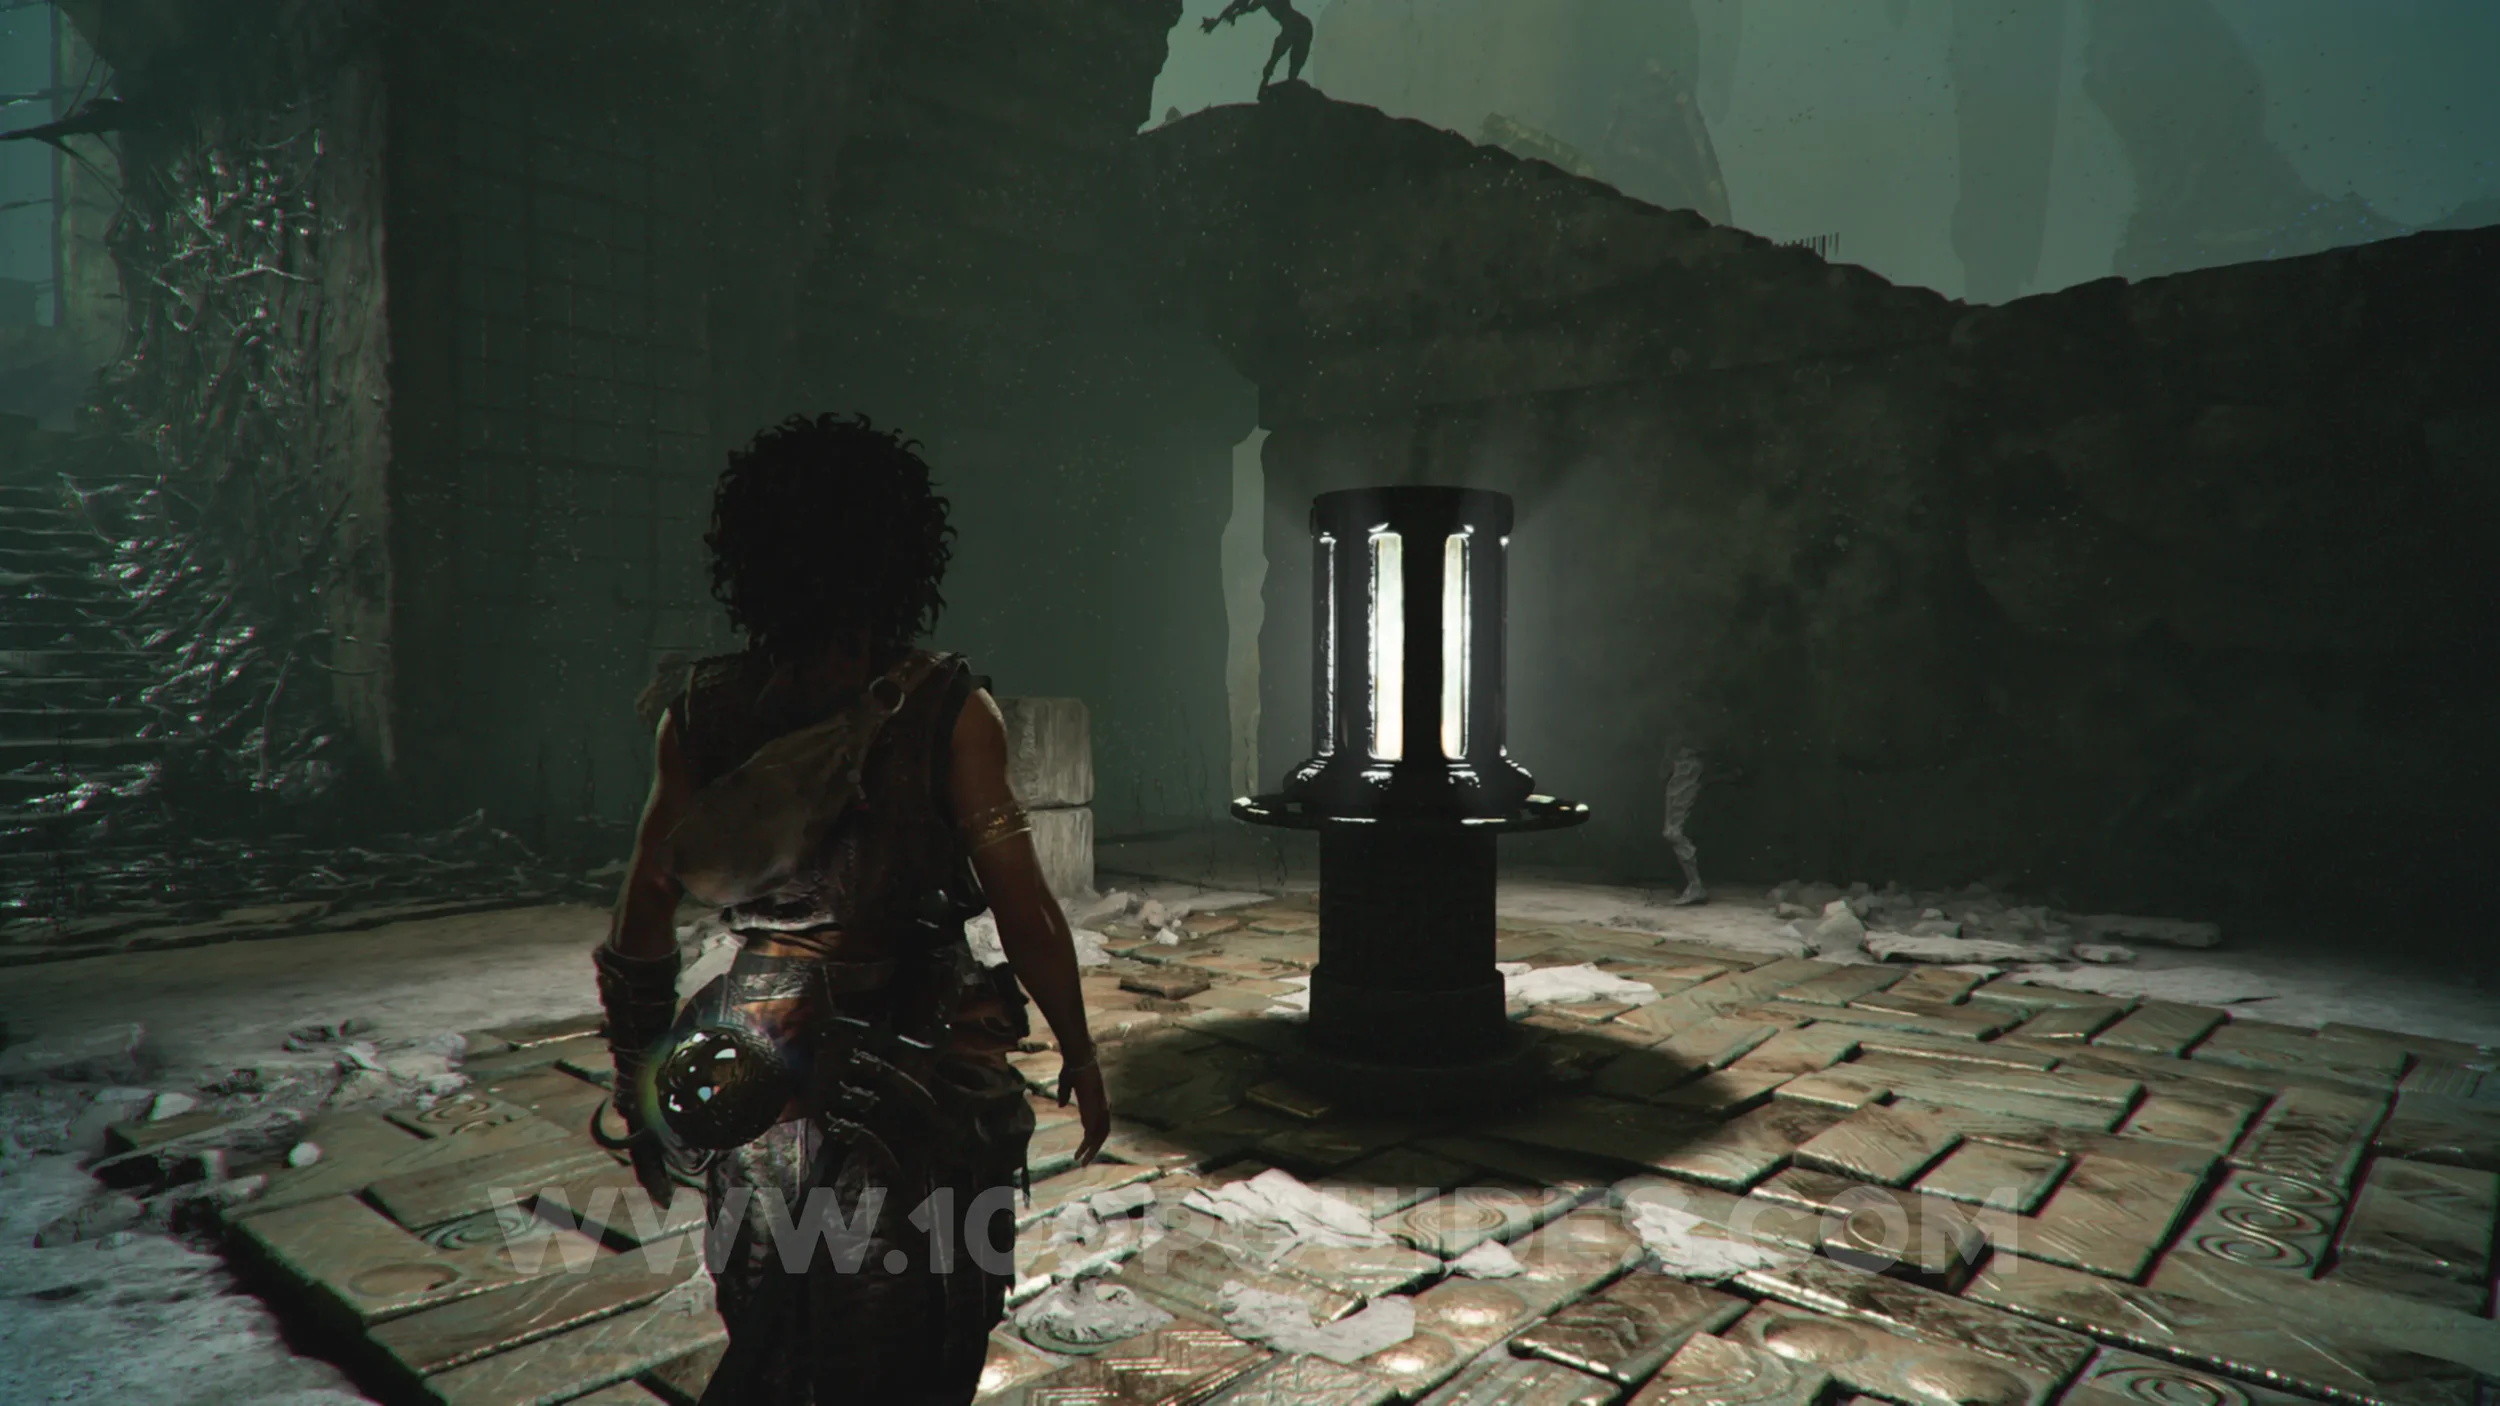
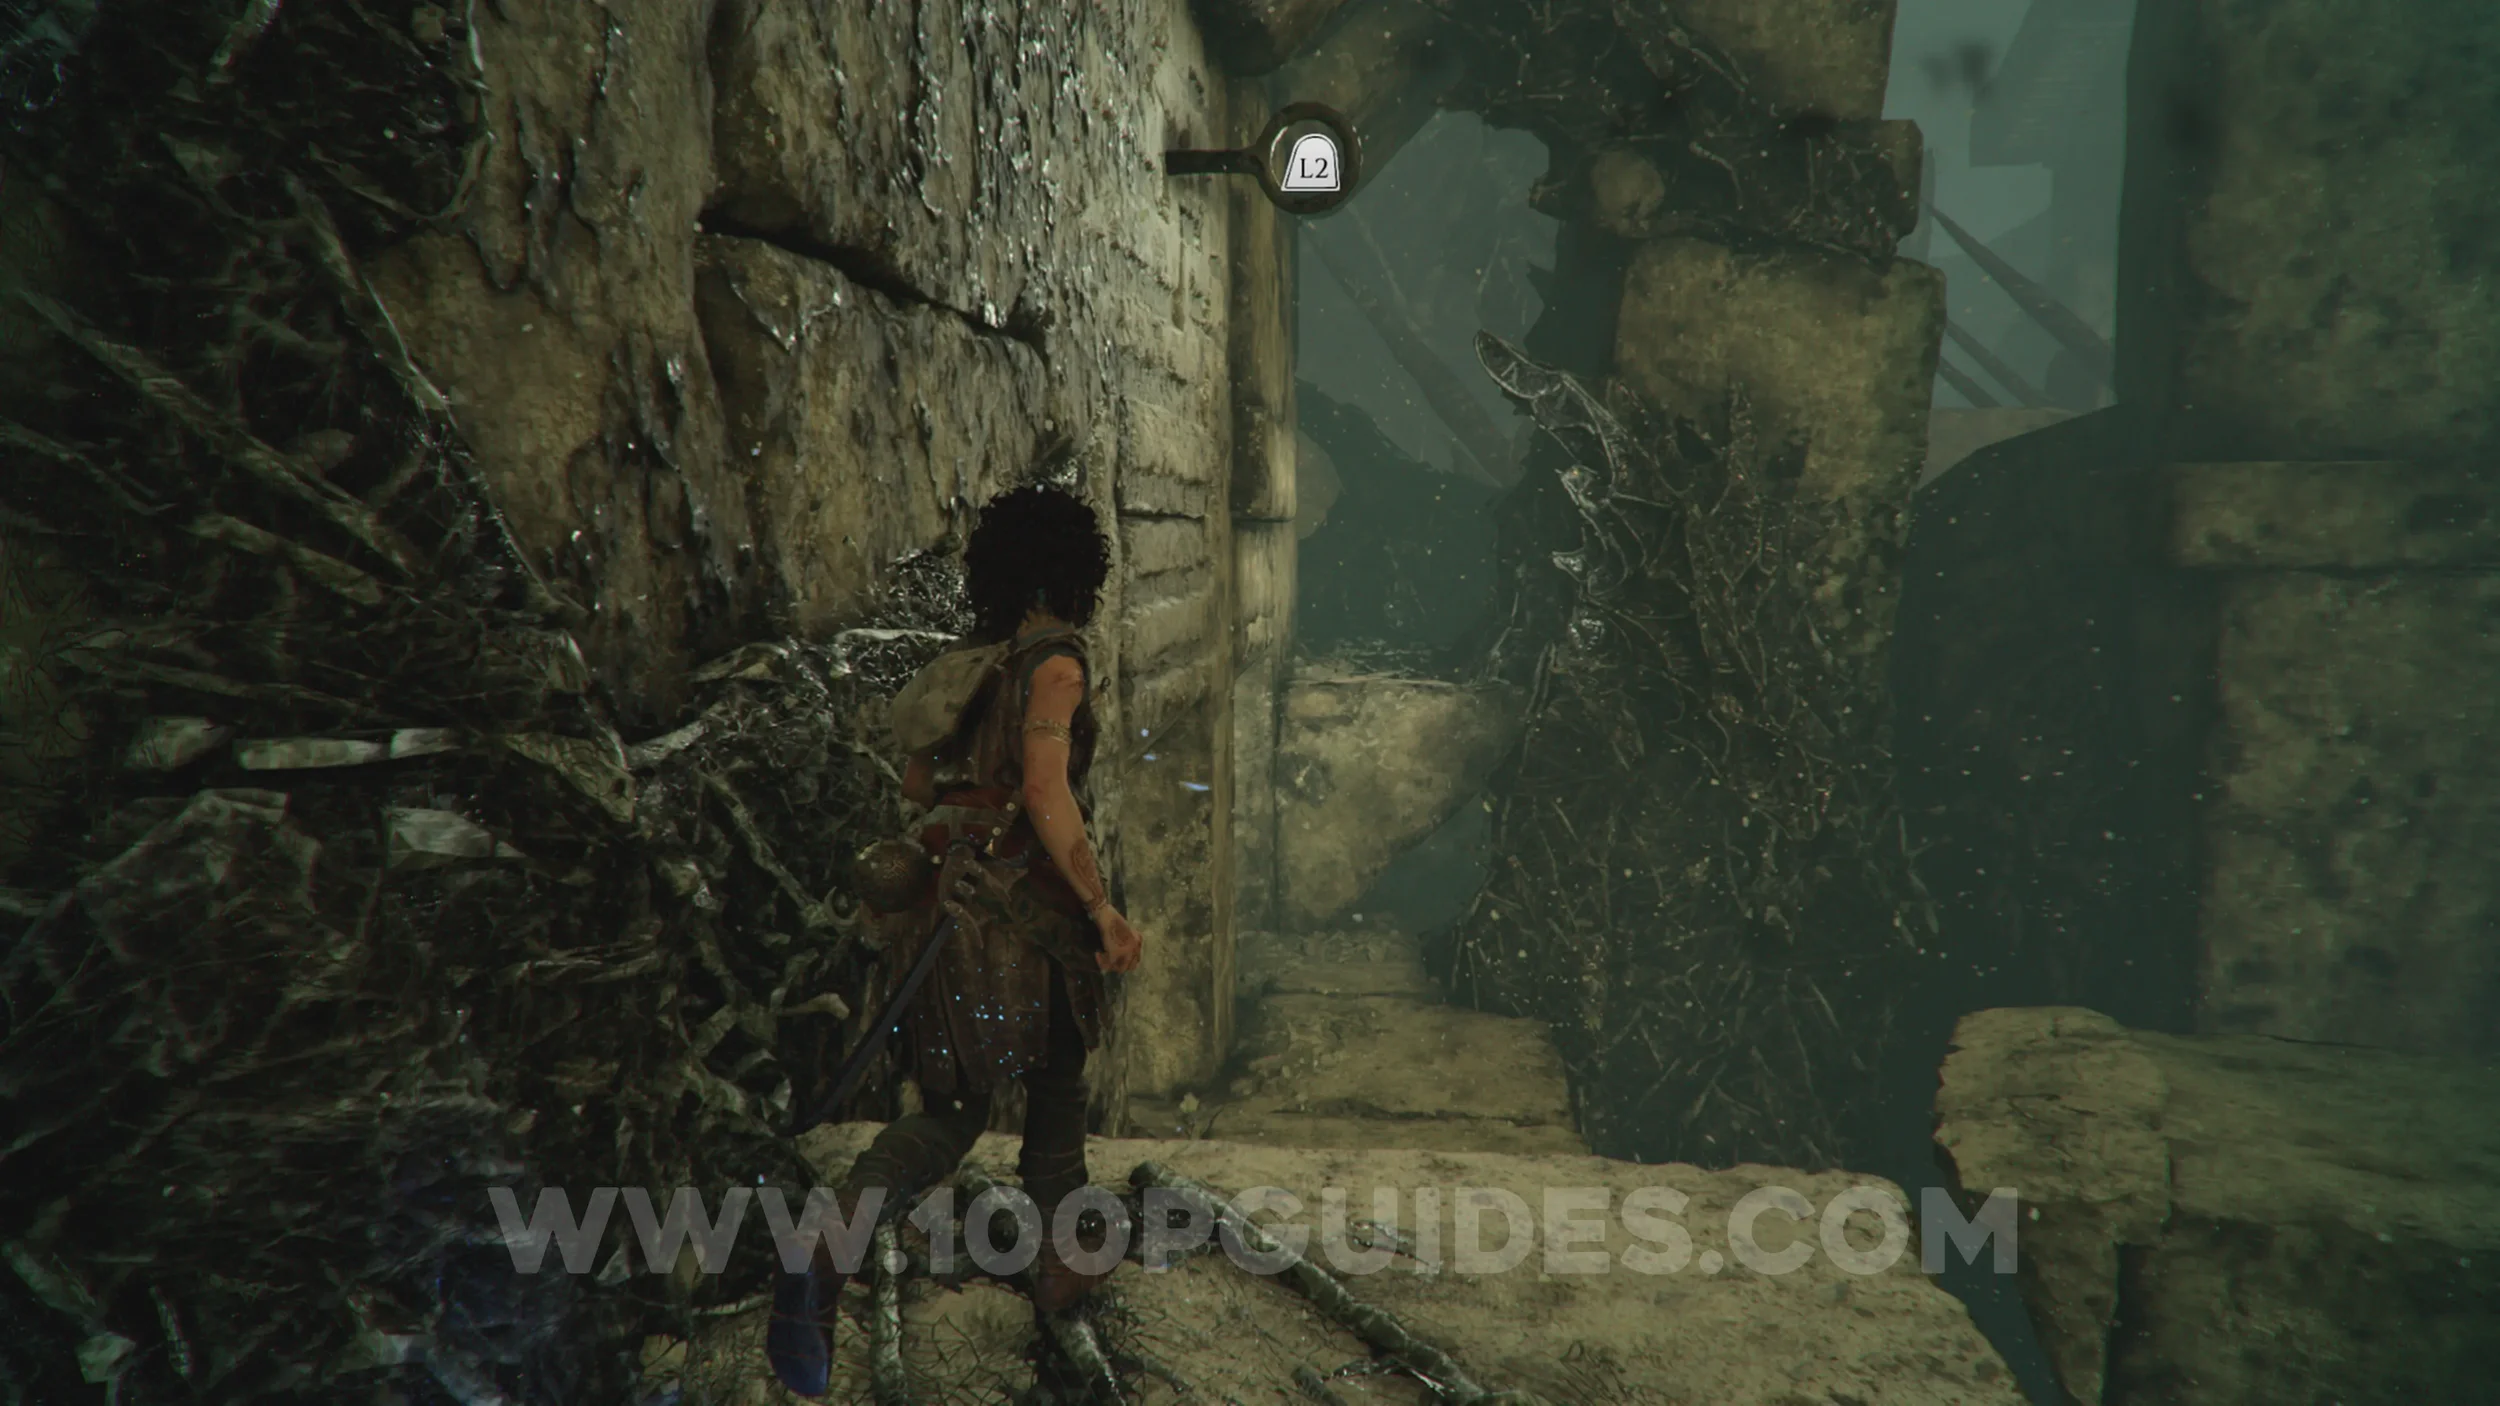
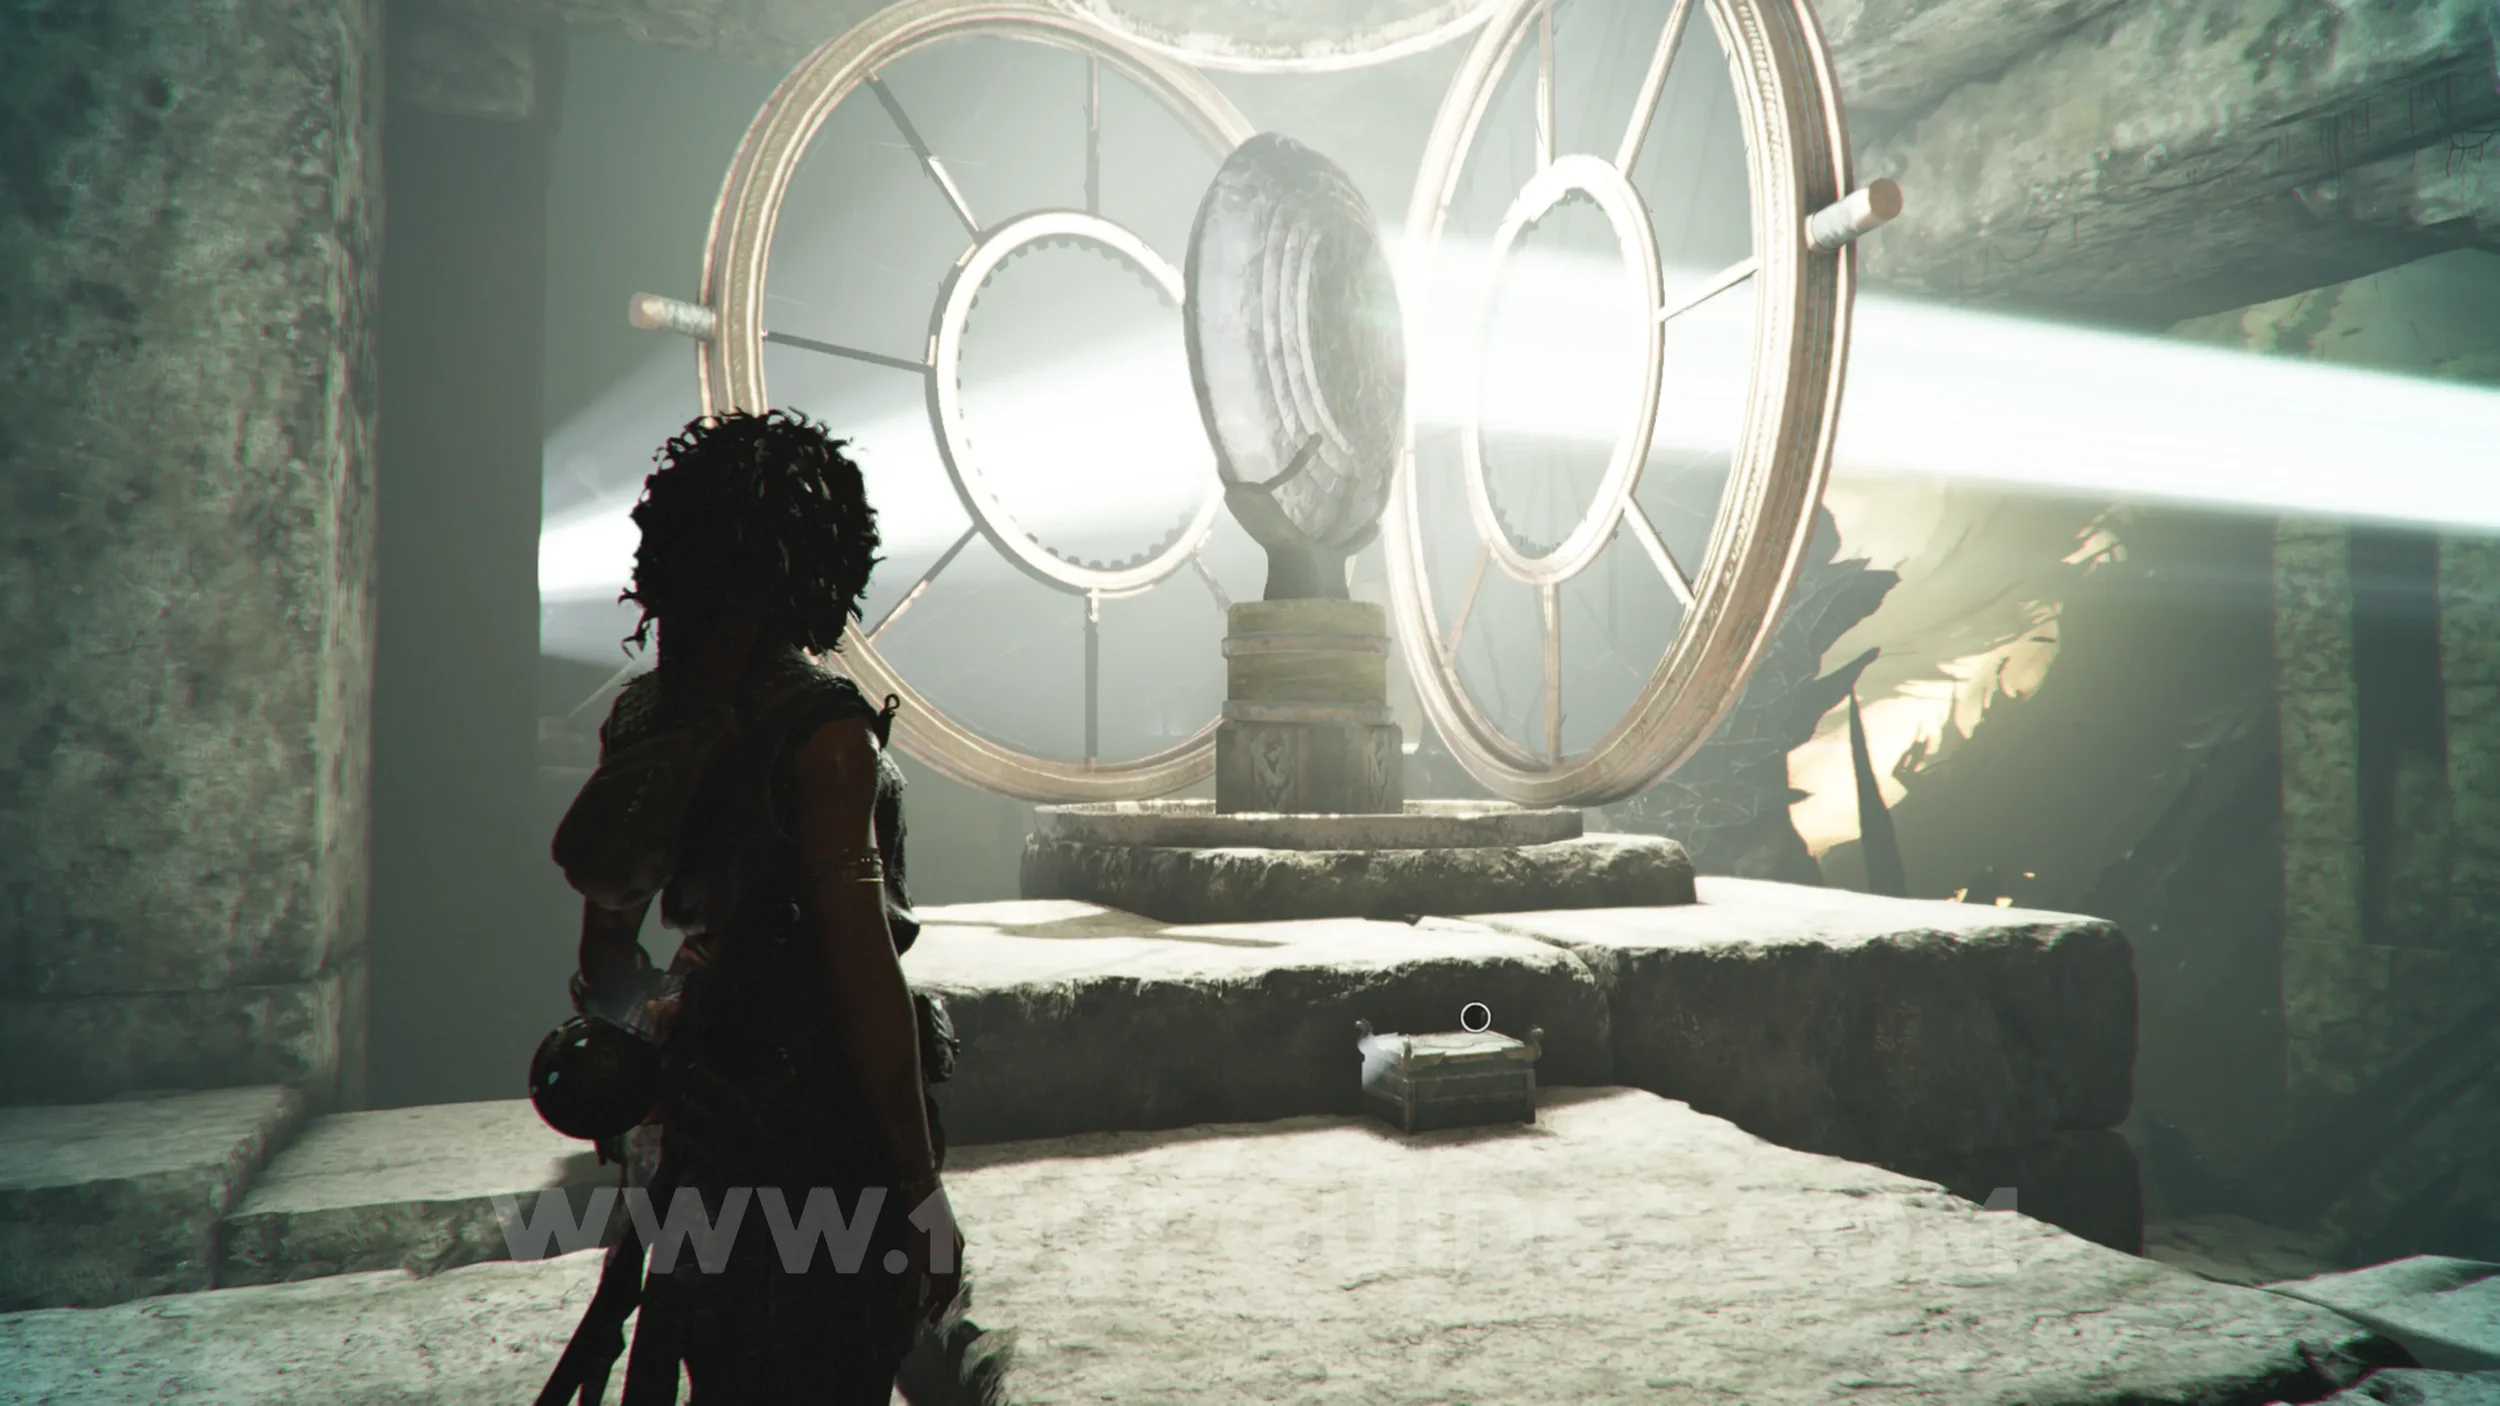
Charm: Trinket #5
Chapter 13: Sub-Chapter 5.
Continue climbing up from the previous collectible, and you'll come to two giant lenses. The box with the charm will be next to them.
Chapter 14
No Collectibles in this chapter.