This guide will show you where to find every collectible in Terrible Lizards.
There are multiple types of collectibles in Terrible Lizards, and they are all needed for trophies. These are:
- 16 Amber Samples. Required for the
 Bingo, Dino DNA trophy.
- 24 Audio Tapes. Required for the Audiophile trophy.
- 97 Notes. Required for the Pterry's Scrapbook trophy.
- 4 Paleo Pals. Required for the Paleo Pal Review trophy.
- 4 Stuffed Animals & Pedestals. Required for the You go There trophy.
Nothing is missable, since you can go back through any level via the "Level Select" option on the main menu.
Note: We are still searching for the last 7 notes. If you have any info on them, please leave a comment.
Chapter 1
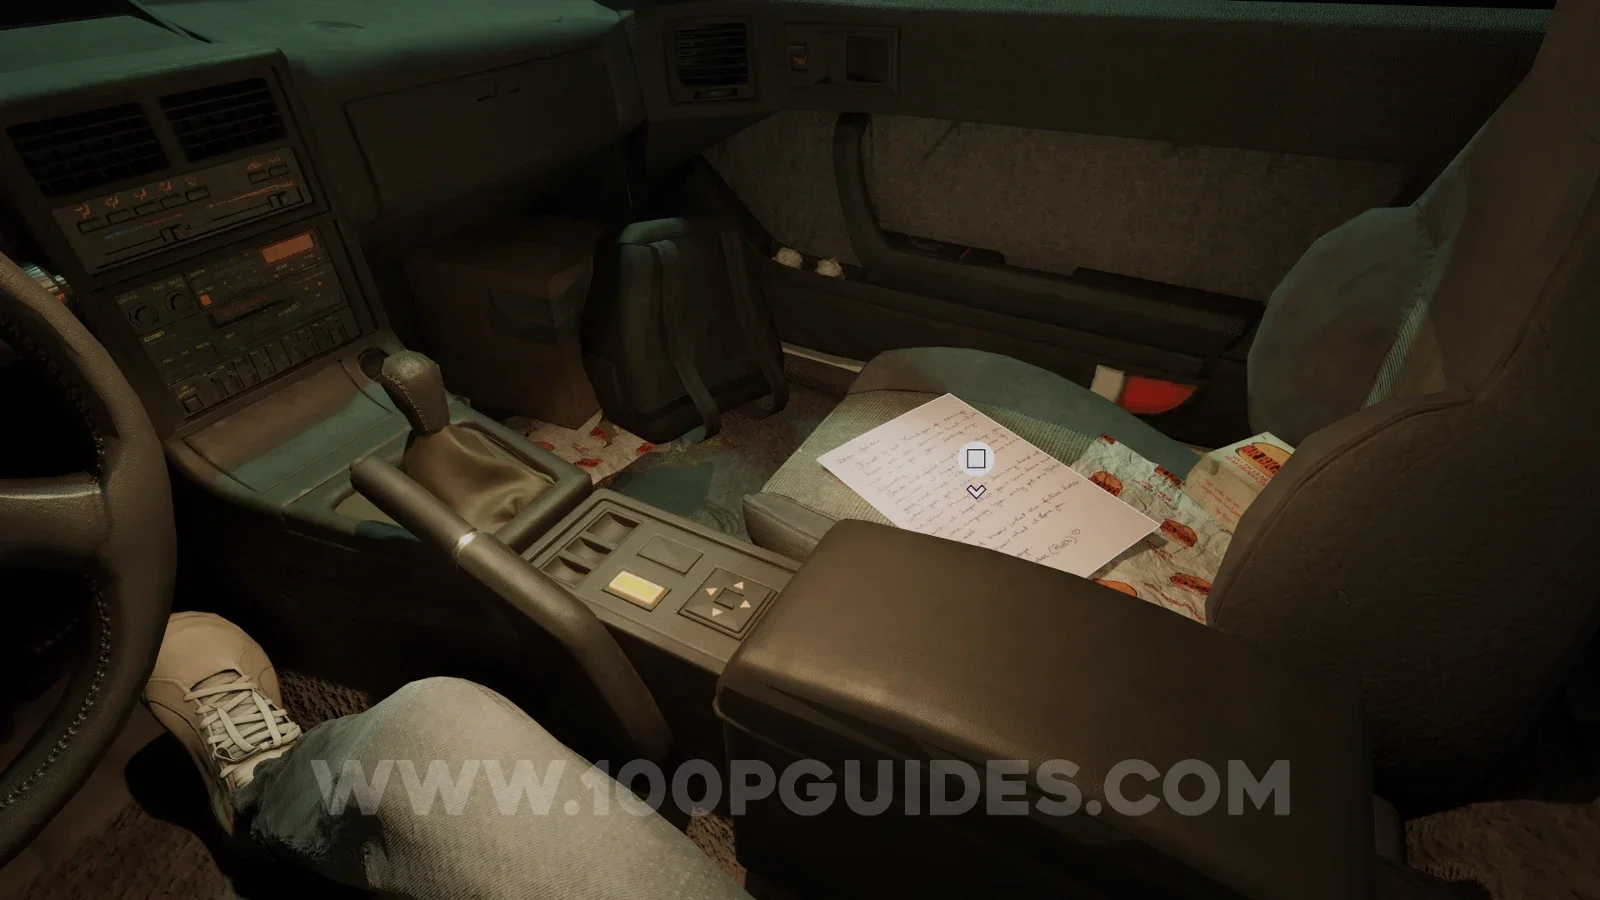
Note - Letter from Mom
Found in the passenger seat before getting out of the car at the very start of the game.
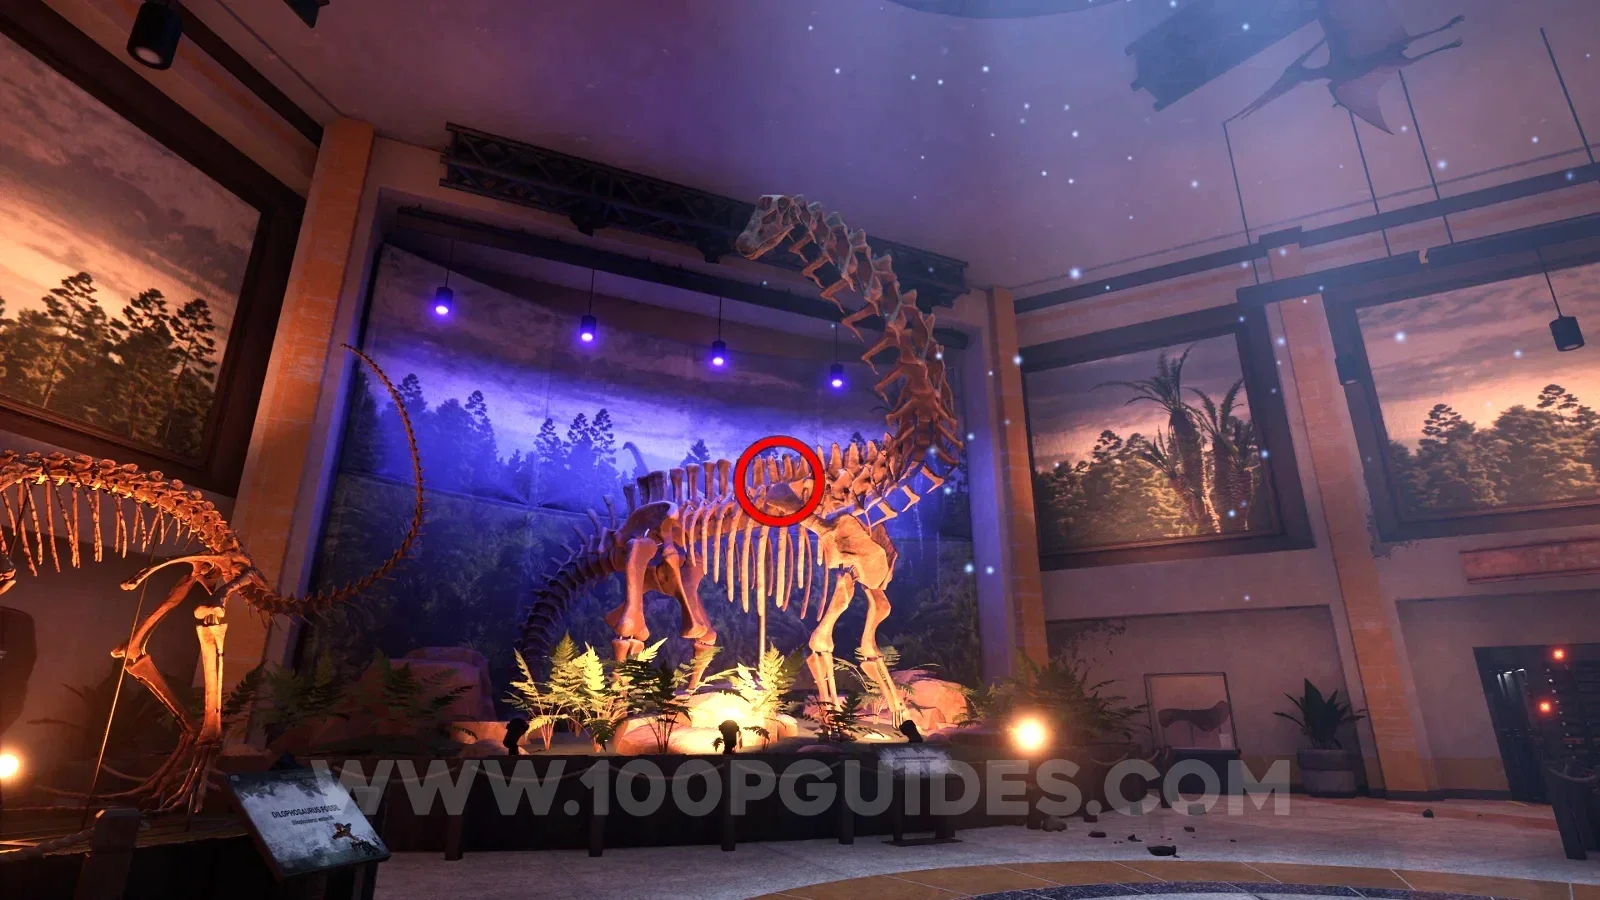
Sample - Amber Specimen 01
On top of the Brontosaurus skeleton in front of you in the very first room of Dalton's Dinos. Use the tail to reach it.
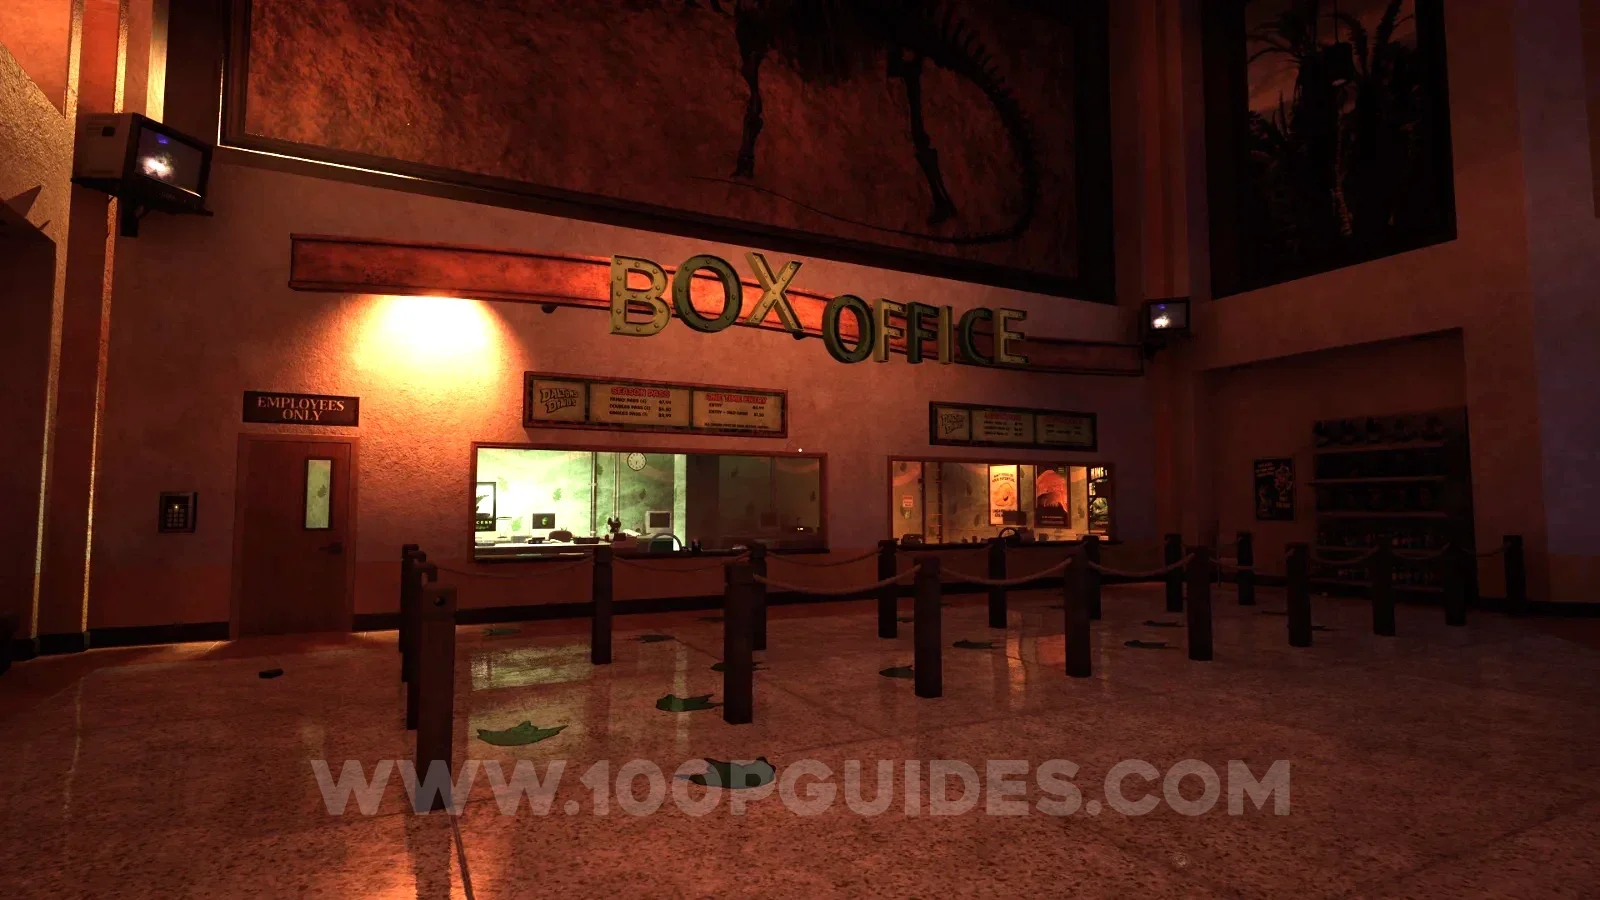
Note - Note from office manager
After using the code to get inside the box office, you will find the note on one of the desks.
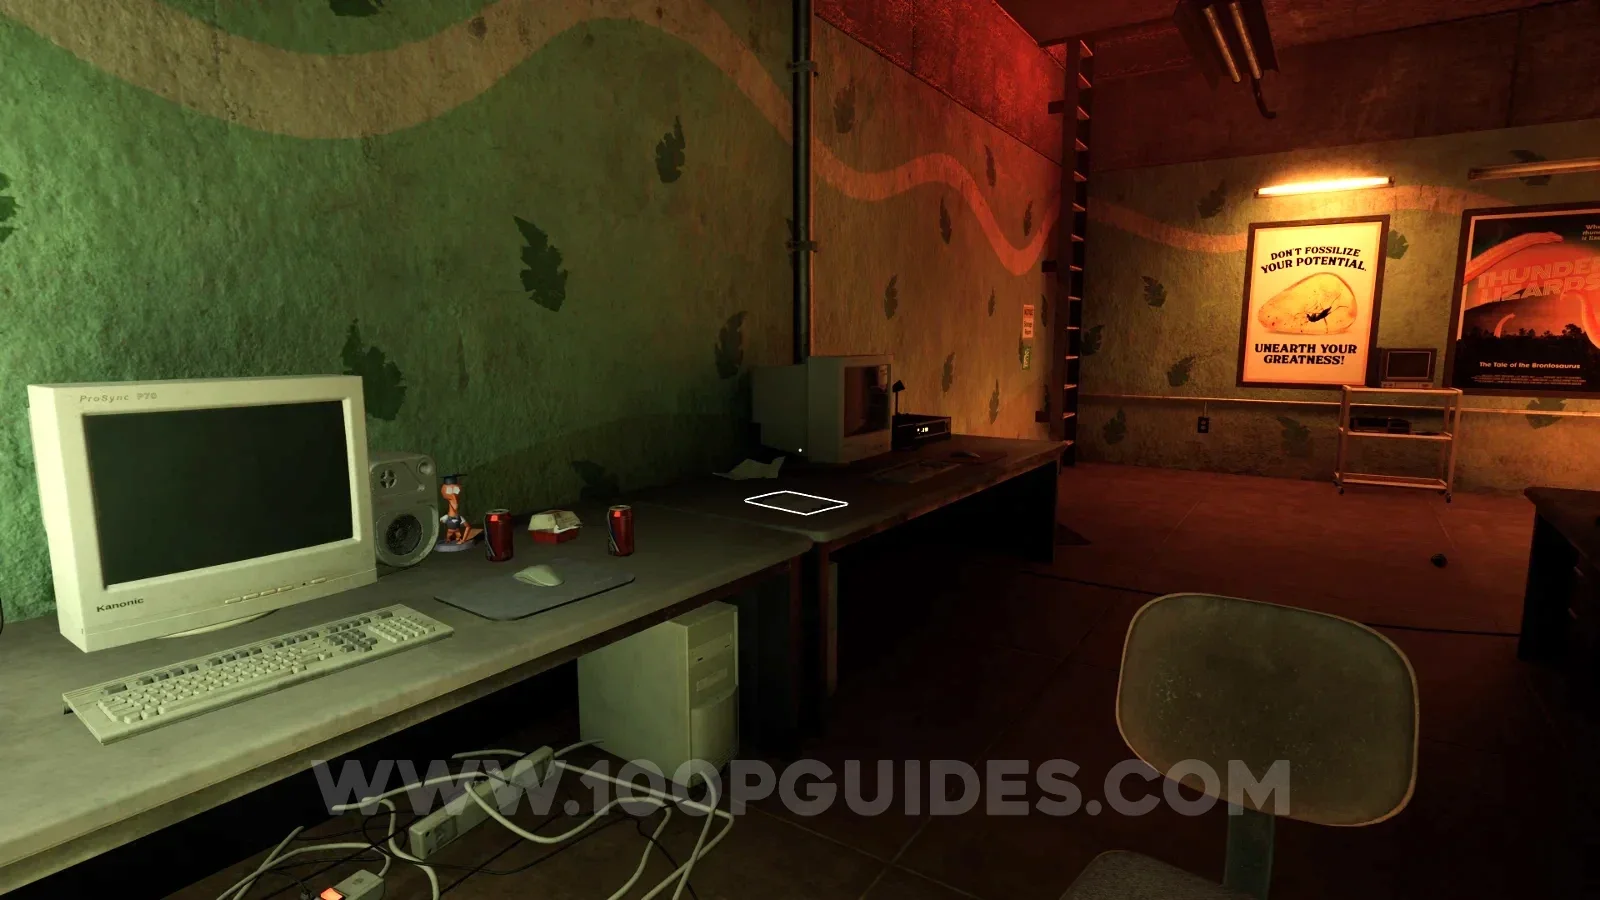
Stuffed Animal
Climb the ladder in the box office and pick up the stuffed animal on the ground next to the tent. You must then take it through the level without dying and place it on the pedestal close to the end of the level.
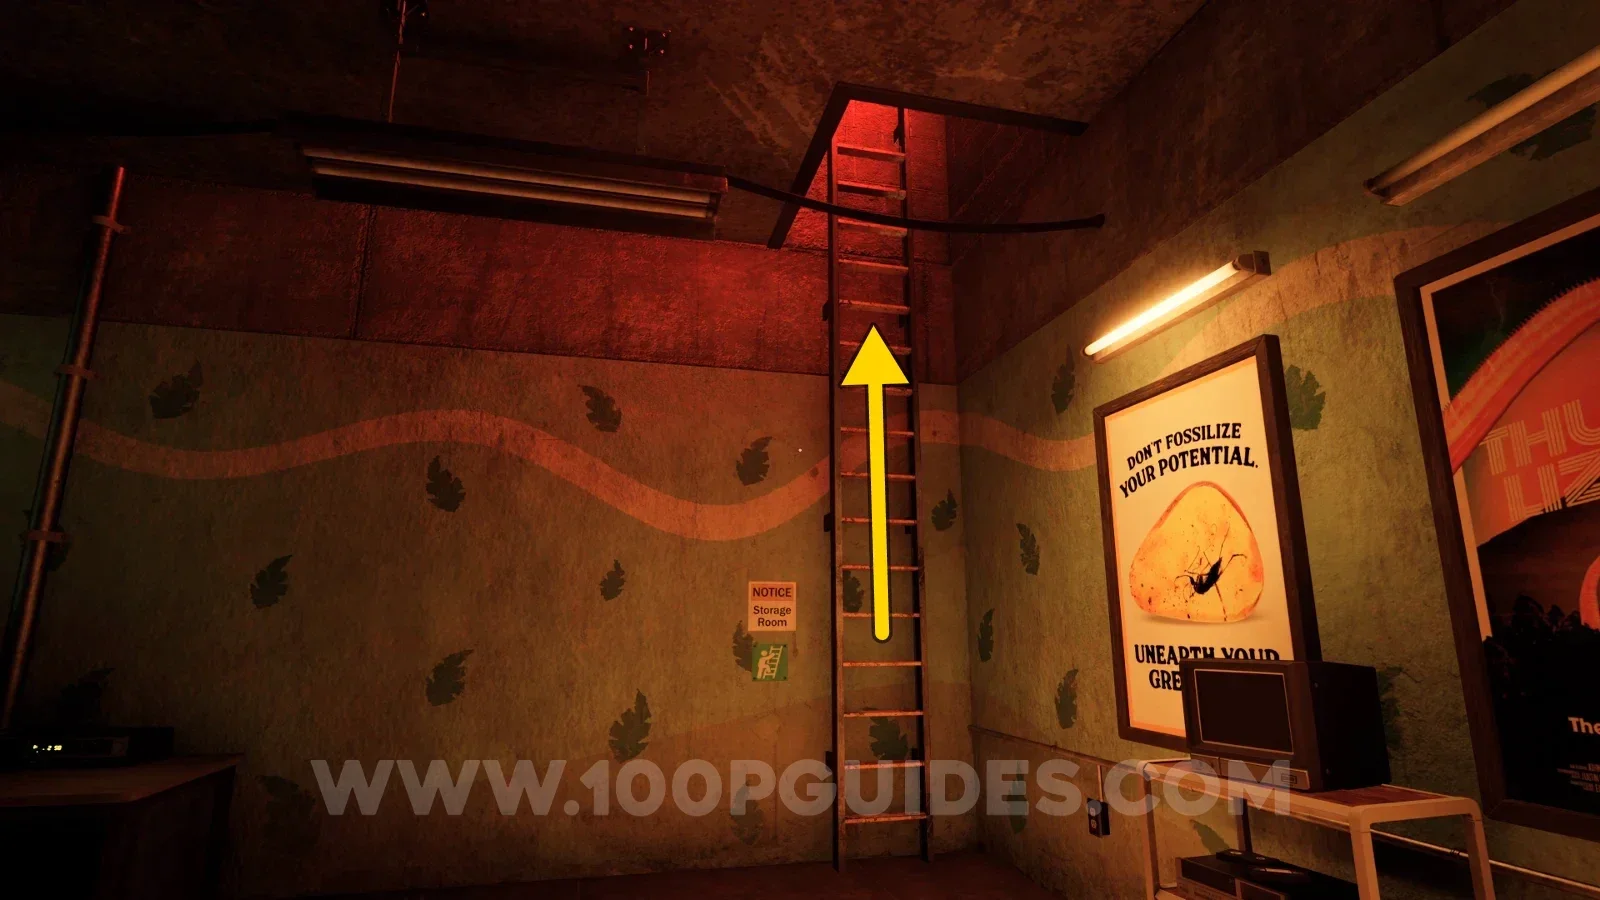
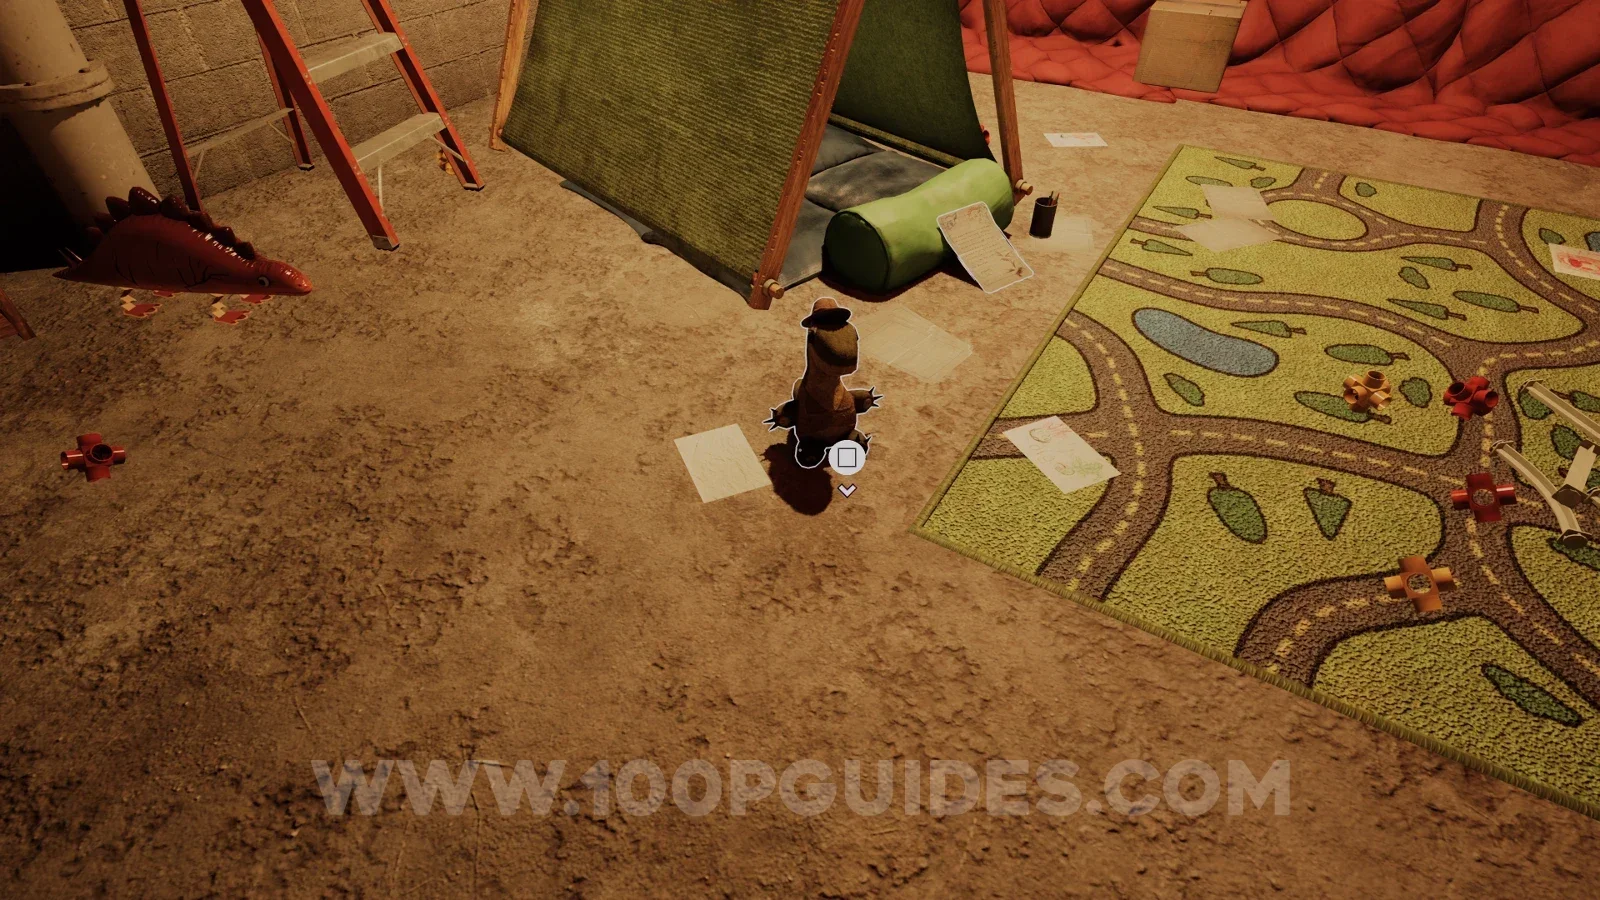
Note - Letter from Dalton to Elena
Next to the tent where the stuffed animal was.
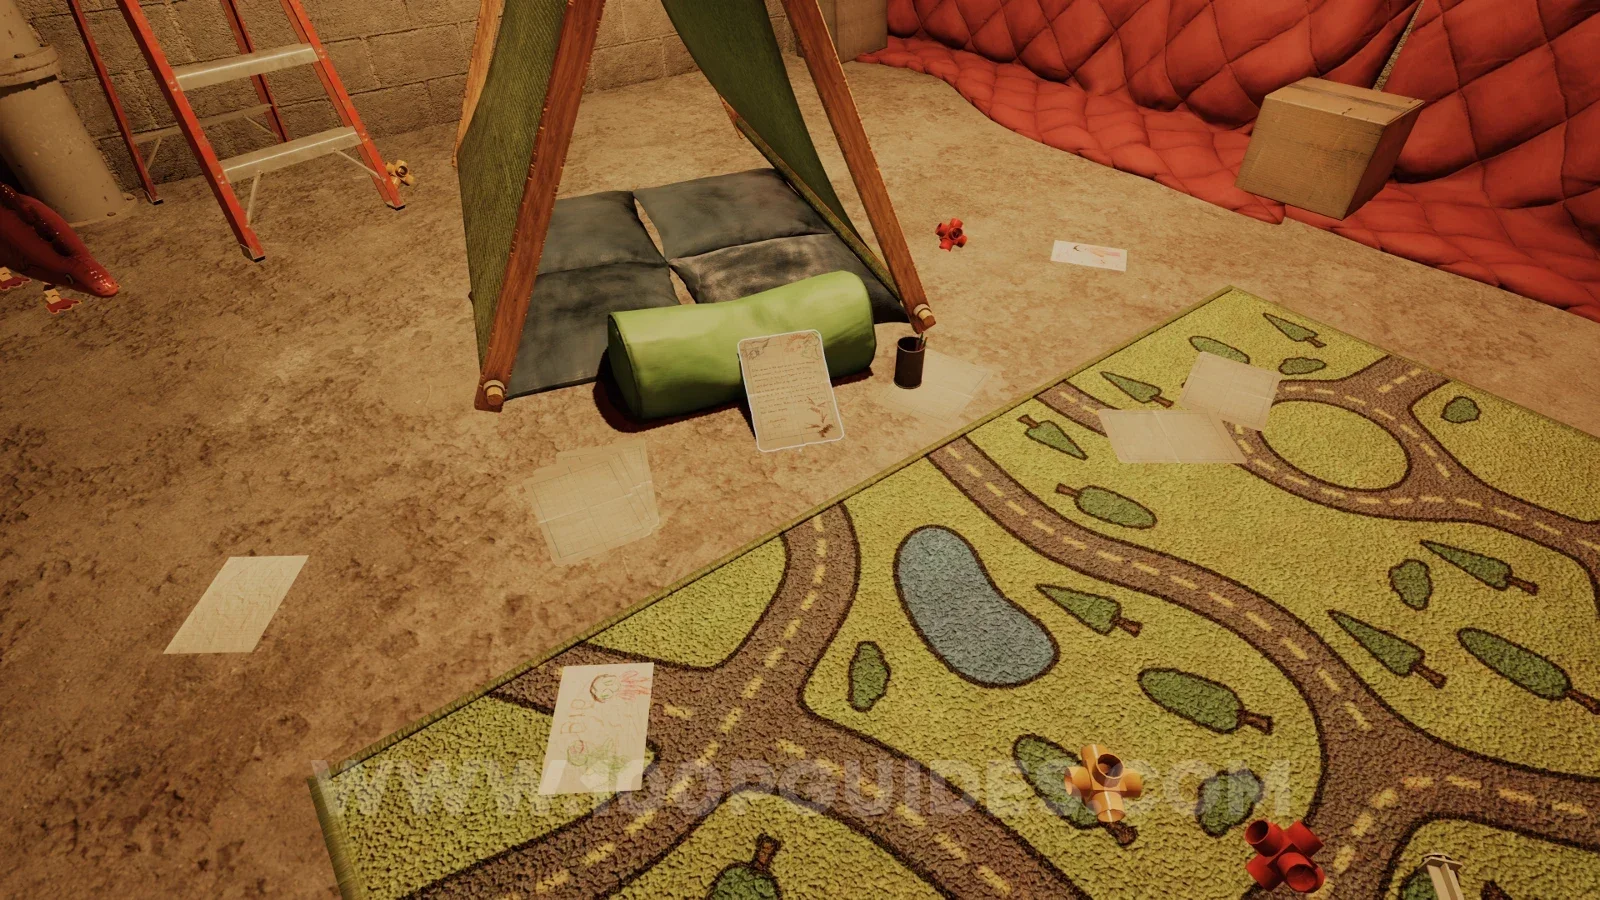
Note - Note from mascot suit guy
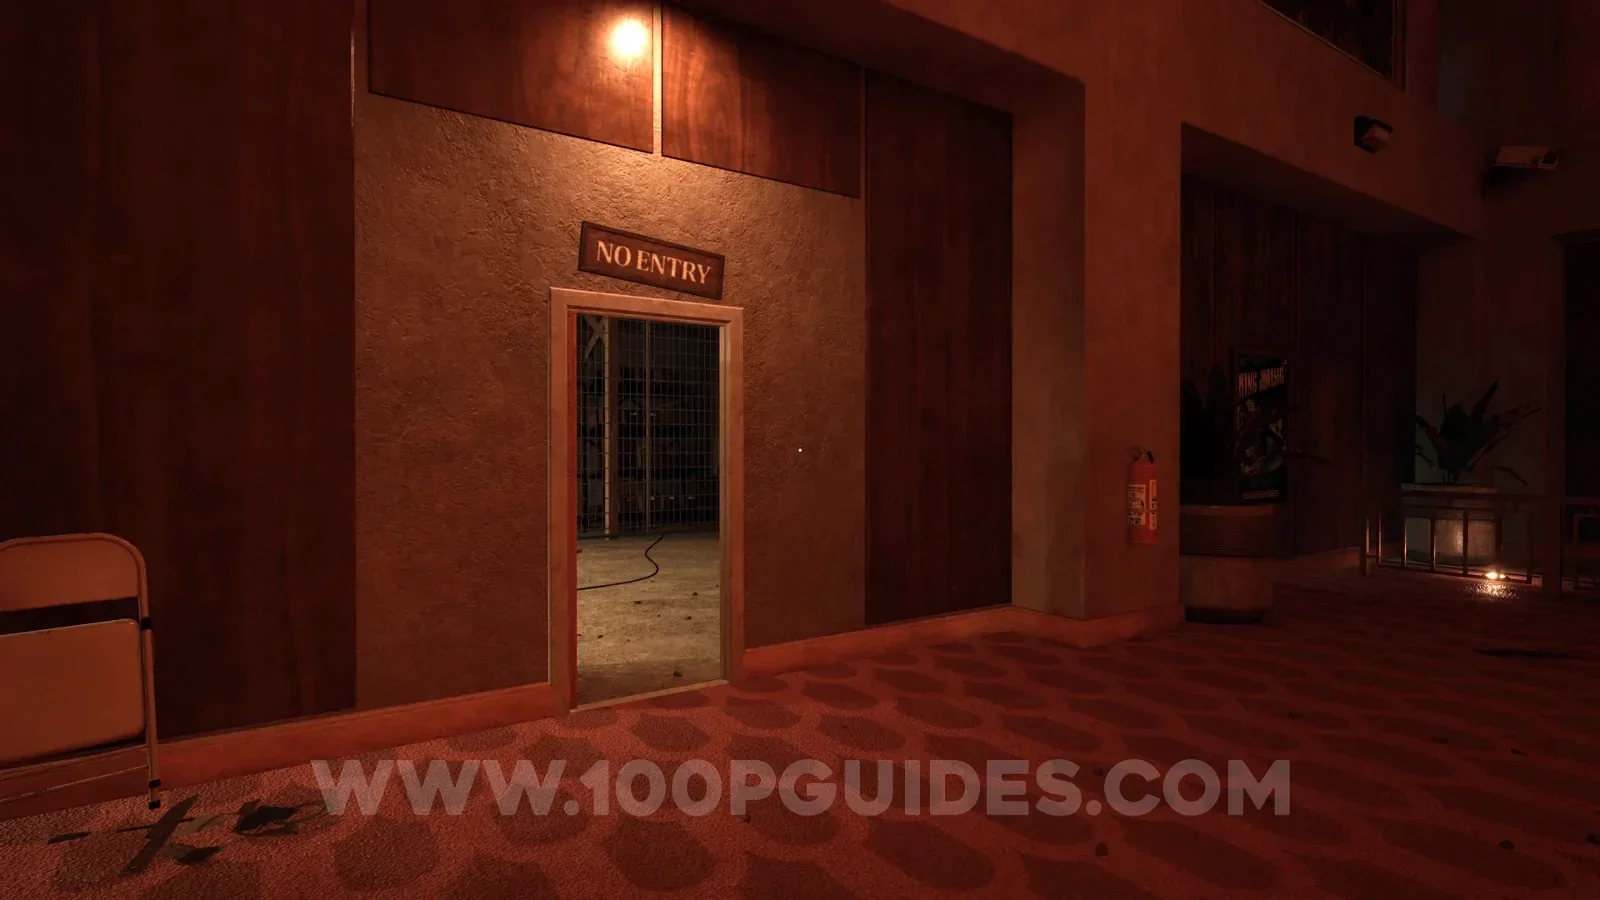
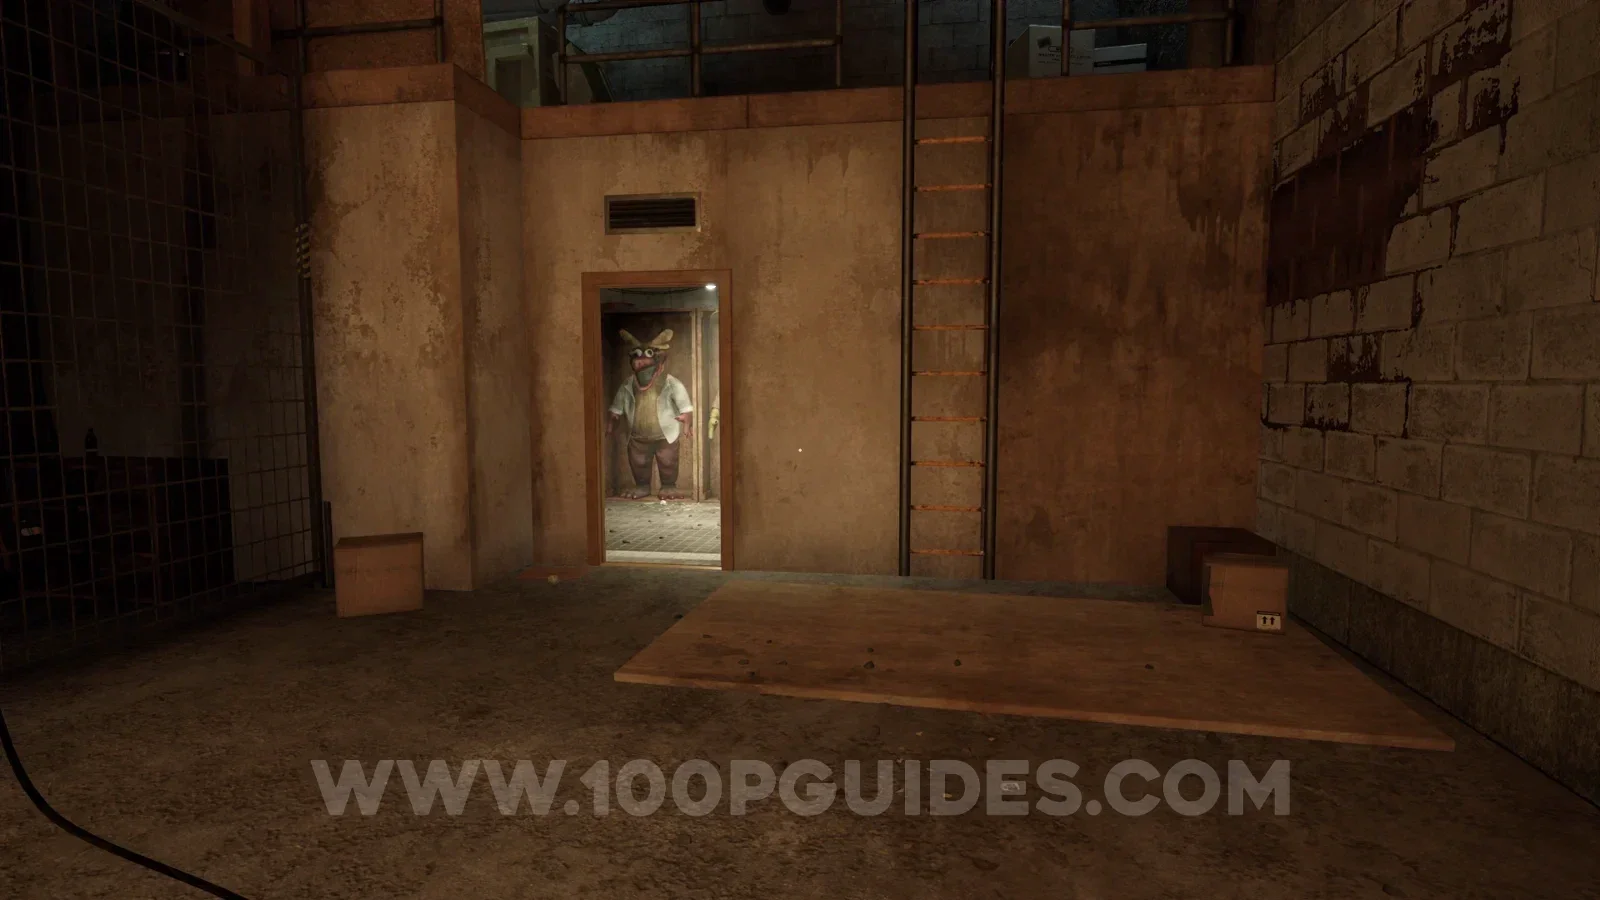
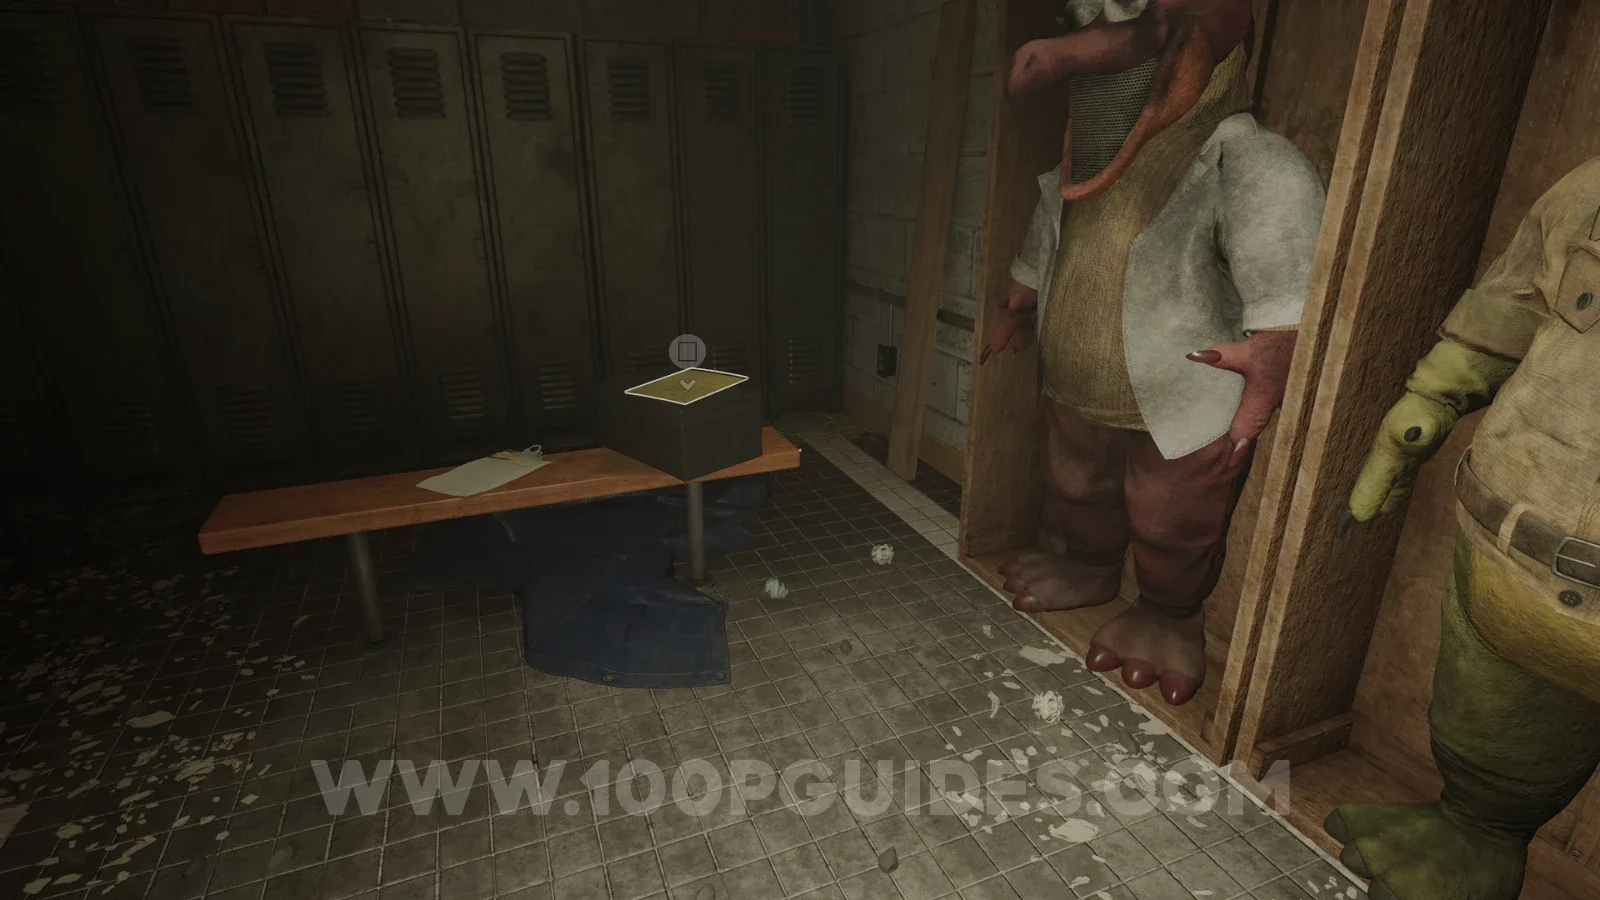
After using the coin to go through to the room with the projector in it, you will have to go through a door on the left with "No Entry" above it. Inside, head right and enter the small room with the mascot suits in it. The note will be on the bench in this room.
Paleo Pal - Benji
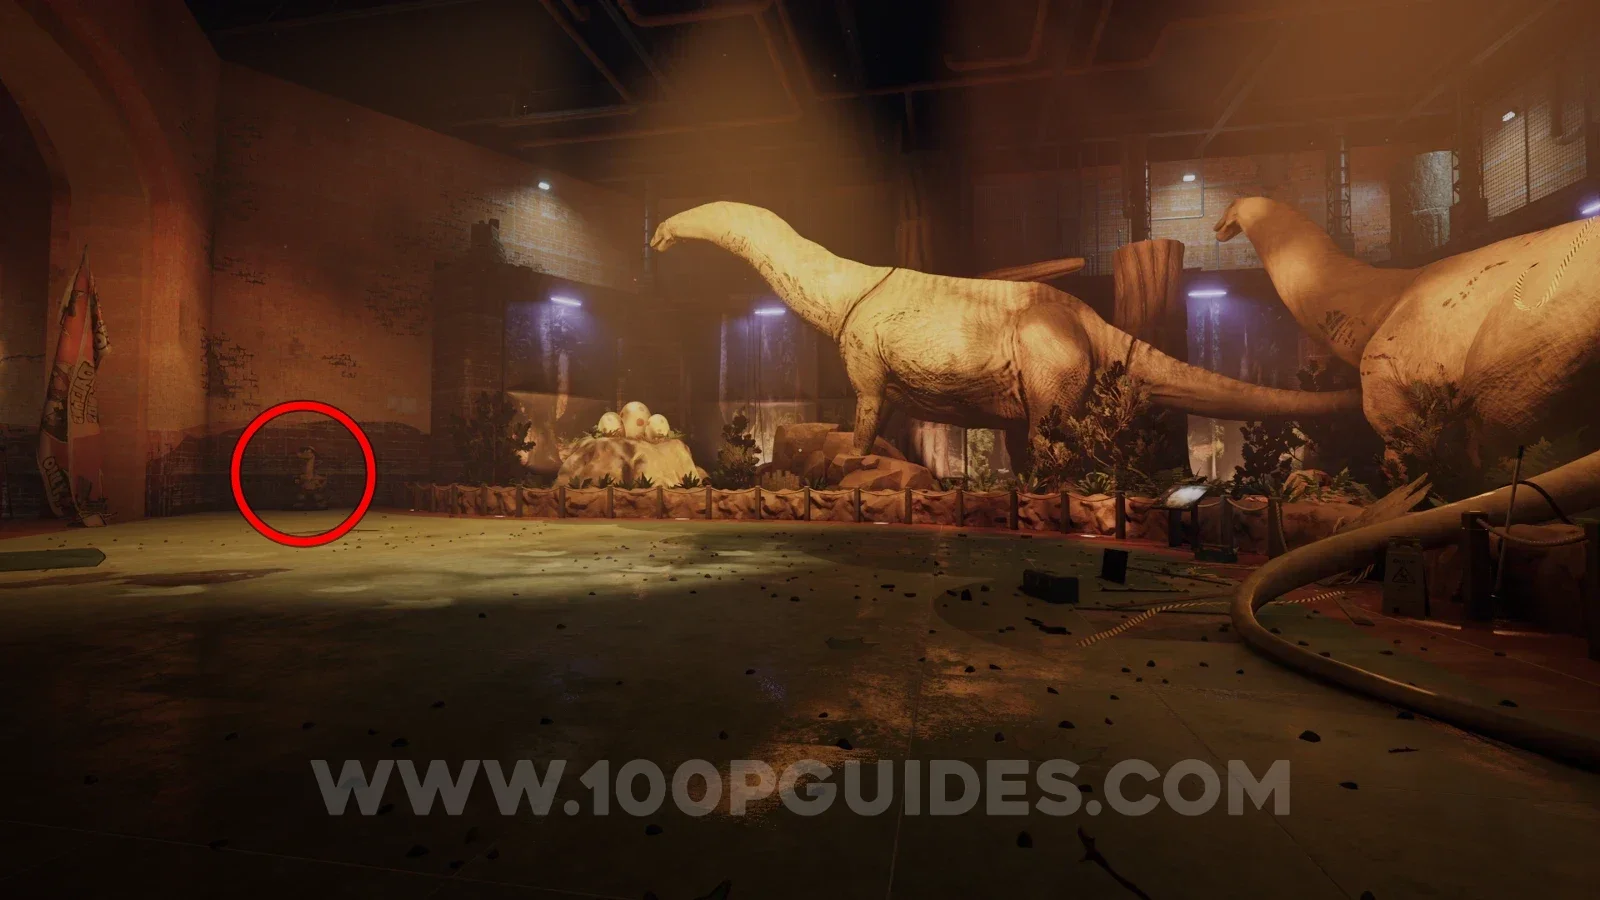
After fixing the projector and going through the blue tunnel, you will get to a large exhibition area with two long-necked dinosaurs on your right. Interact with the mascot statue to the left of the nest with eggs in it.
Sample - Amber Specimen 02
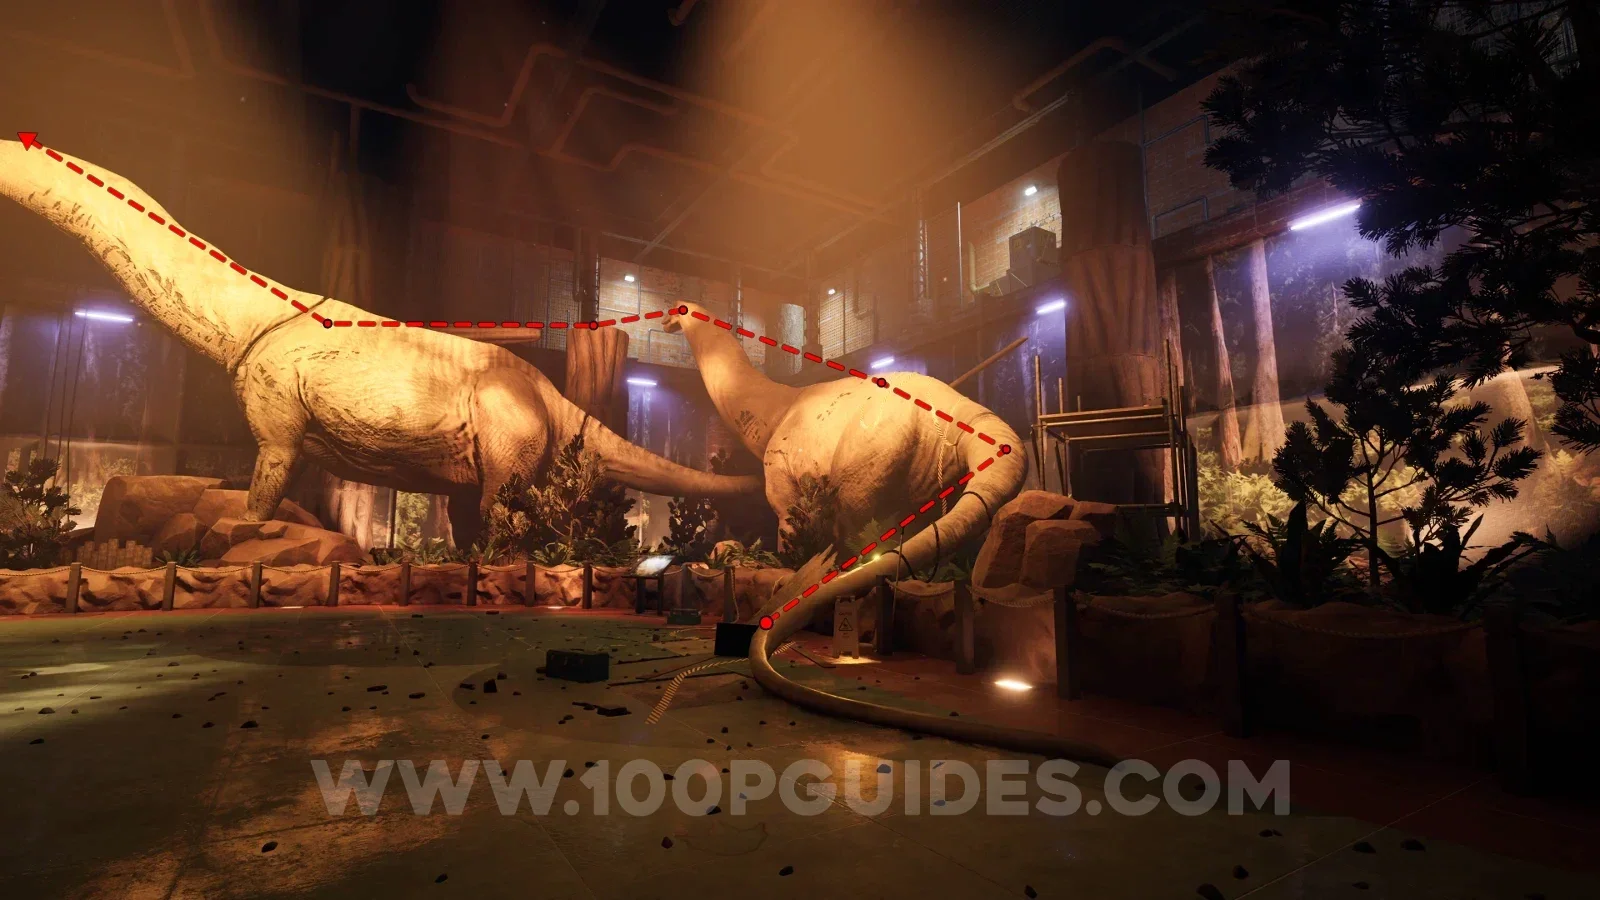
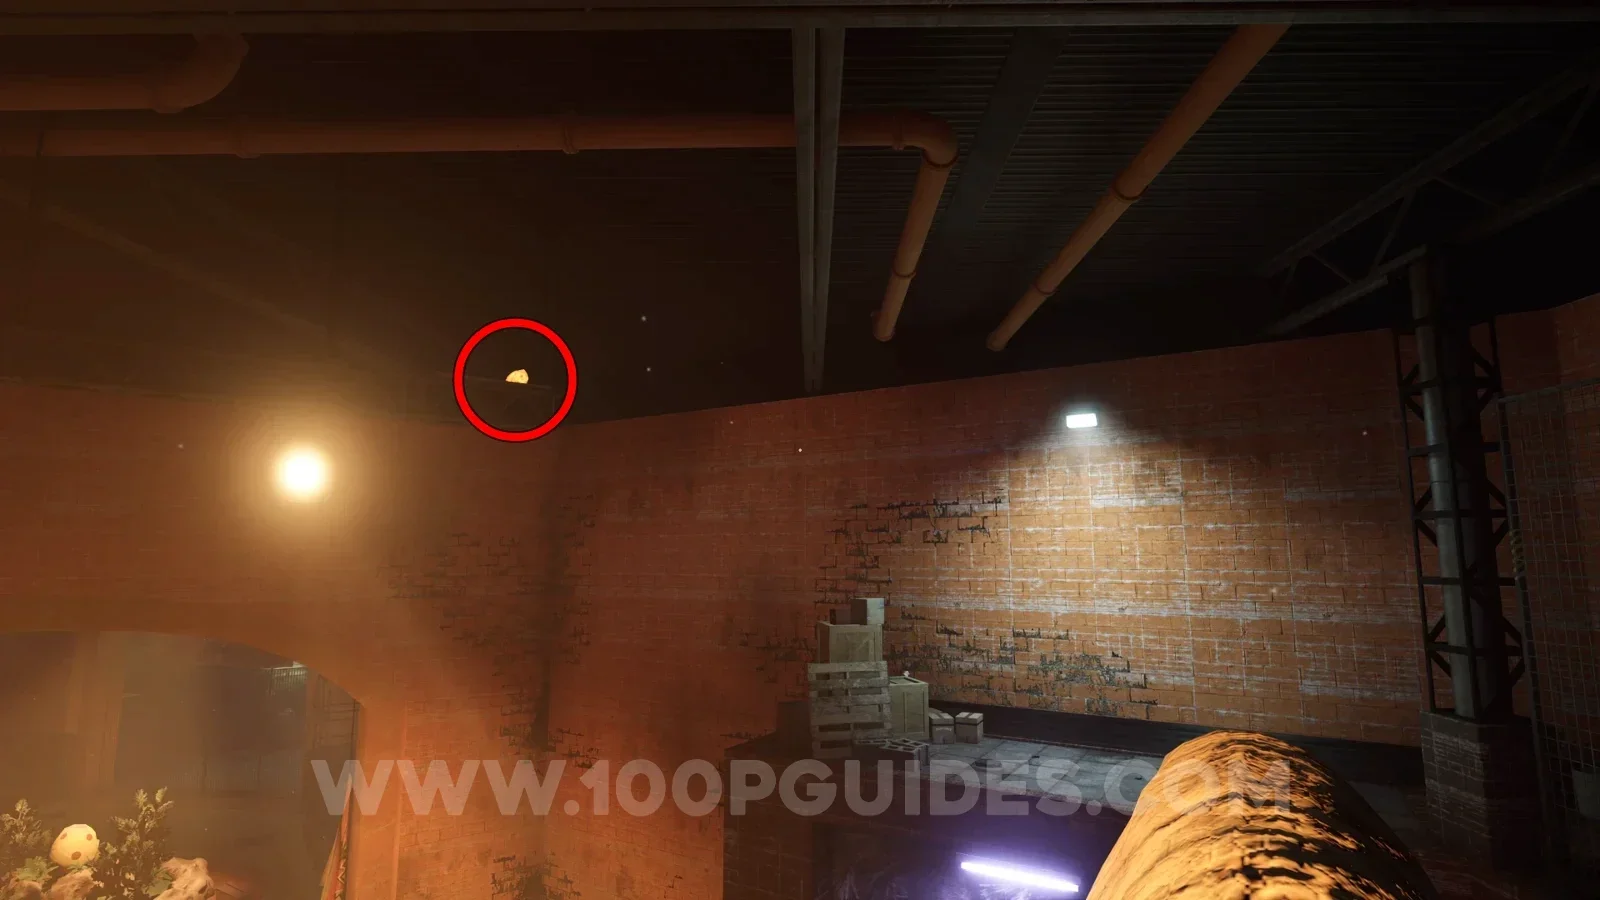
In the first exhibition area, use the first dinosaurs as ramps. Once you get to the head of the second one, you will see the sample on the metal beam hanging above. Wait for the head to rotate until you can jump to it.
Tape - Cheryl: Onboarding
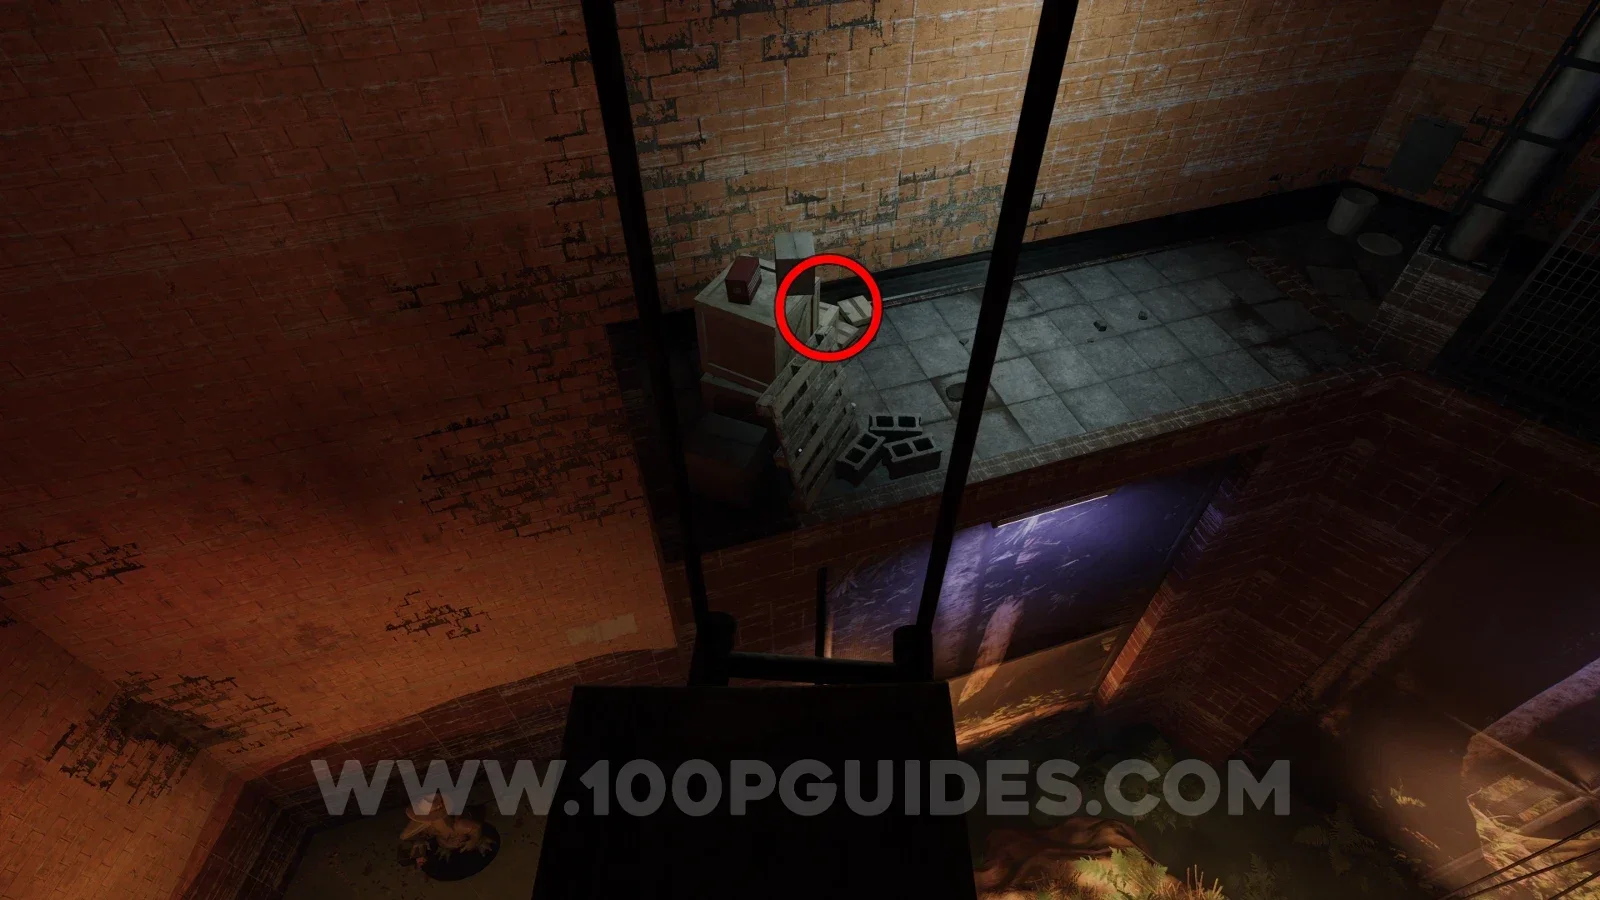
From the amber specimen, jump down to the boxes at the end of the upper path to find the tape.
Note - Dalton Journal Entry: Feb 27 1983
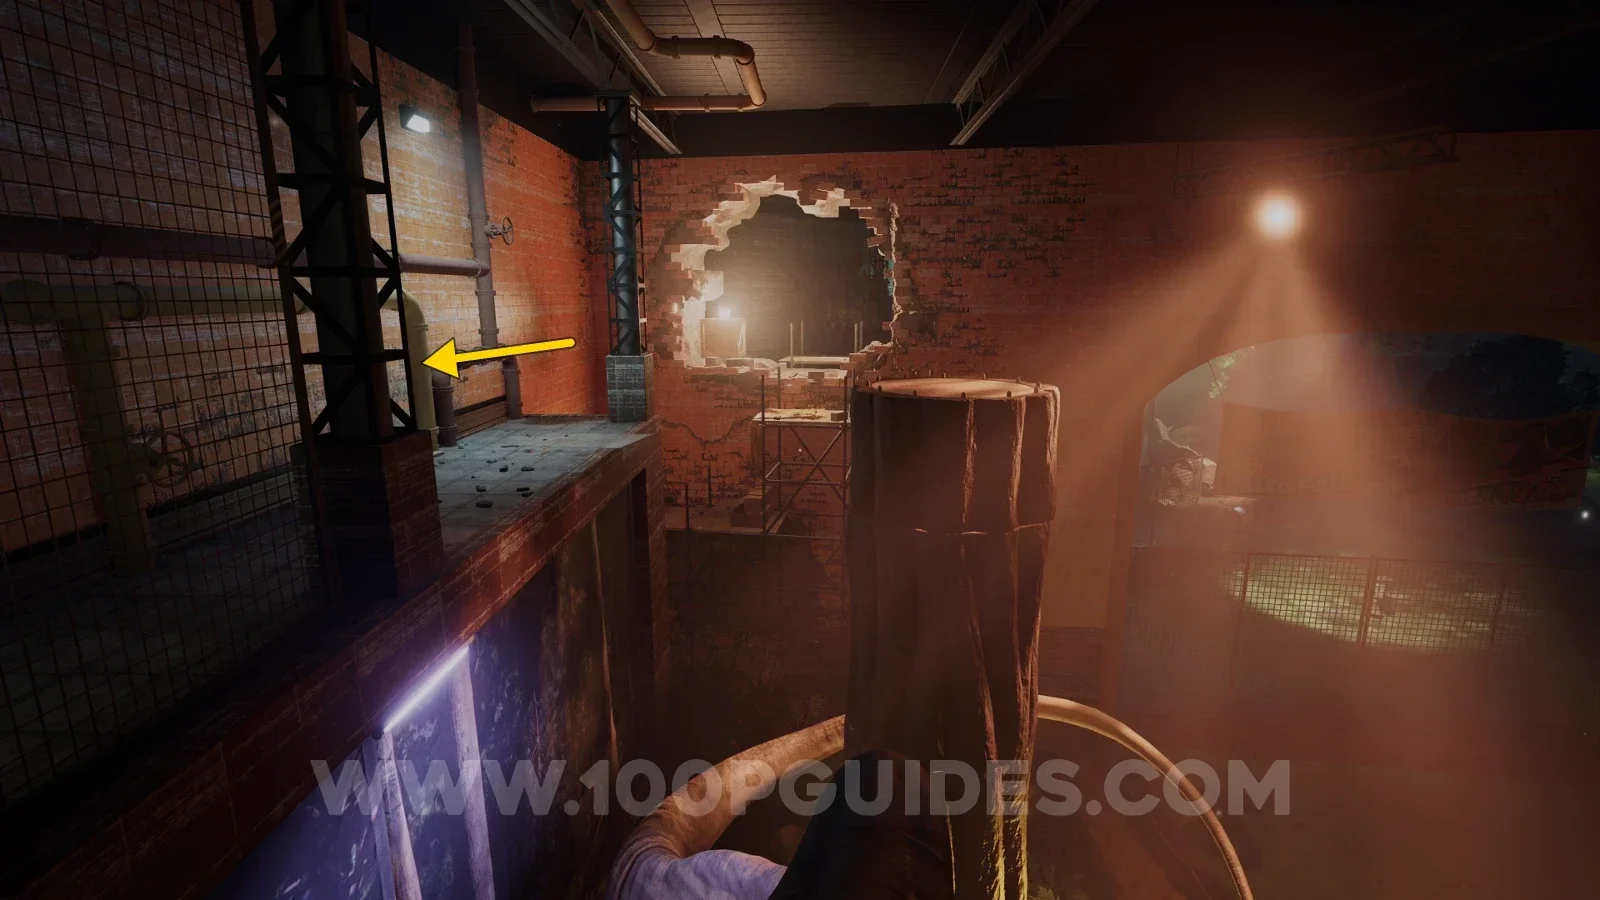
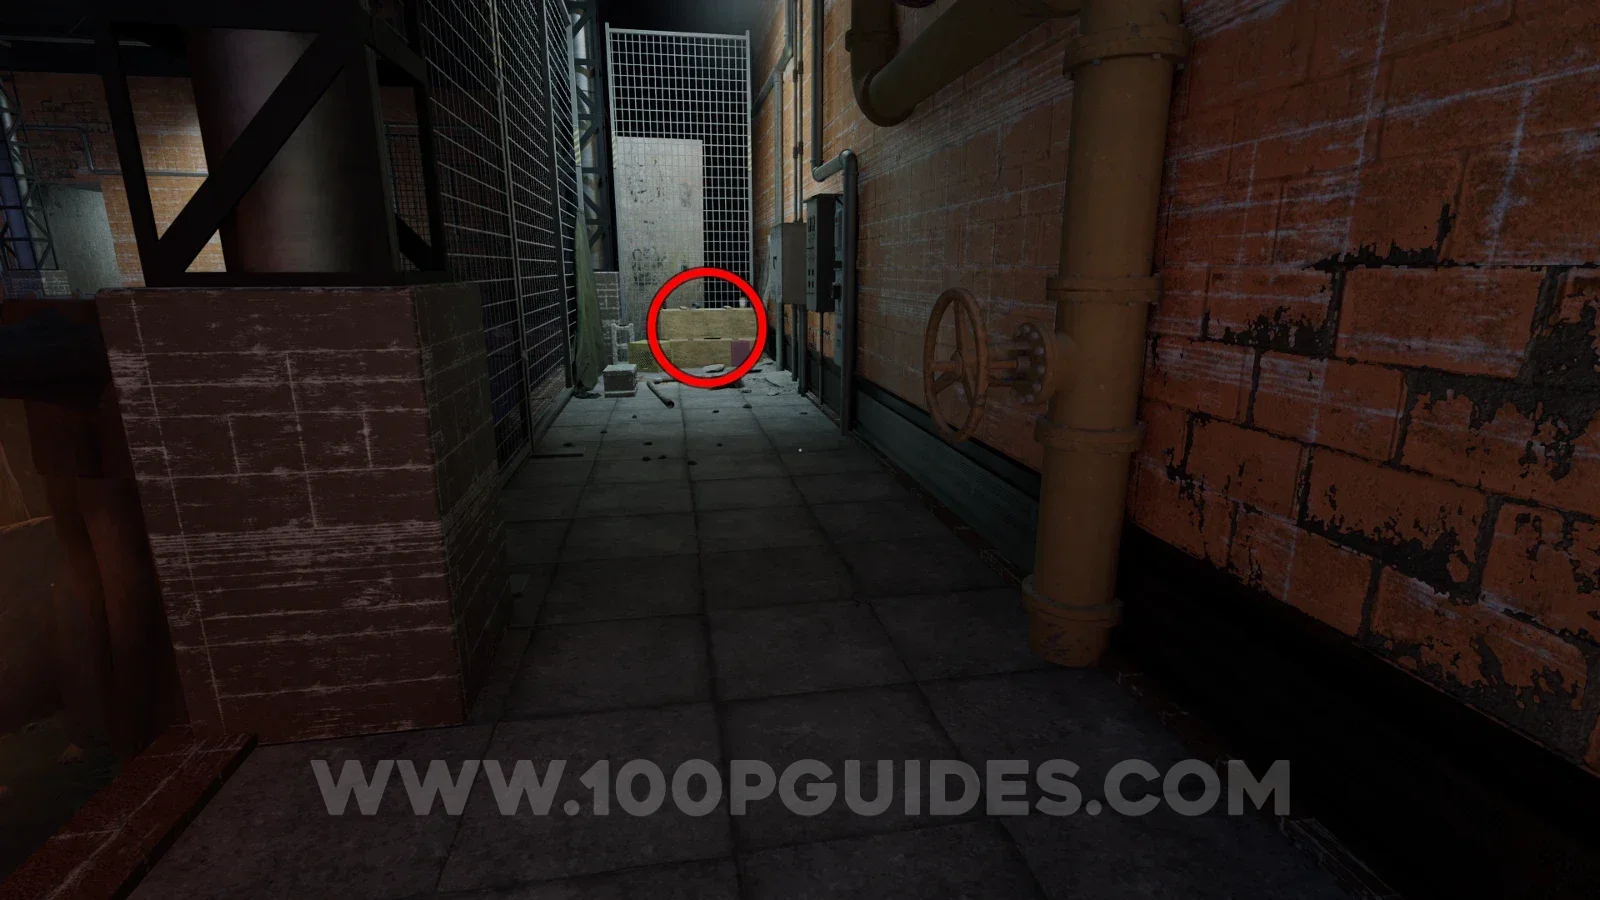
From the previous collectible, turn around and follow the path through the upper area until you have jumped across multiple circular "tree" platforms and see a hole in the wall in front of you. Before you head through the hole, turn around and go to the end to find the note on some wooden crates.
Trophy - Globe-fetti
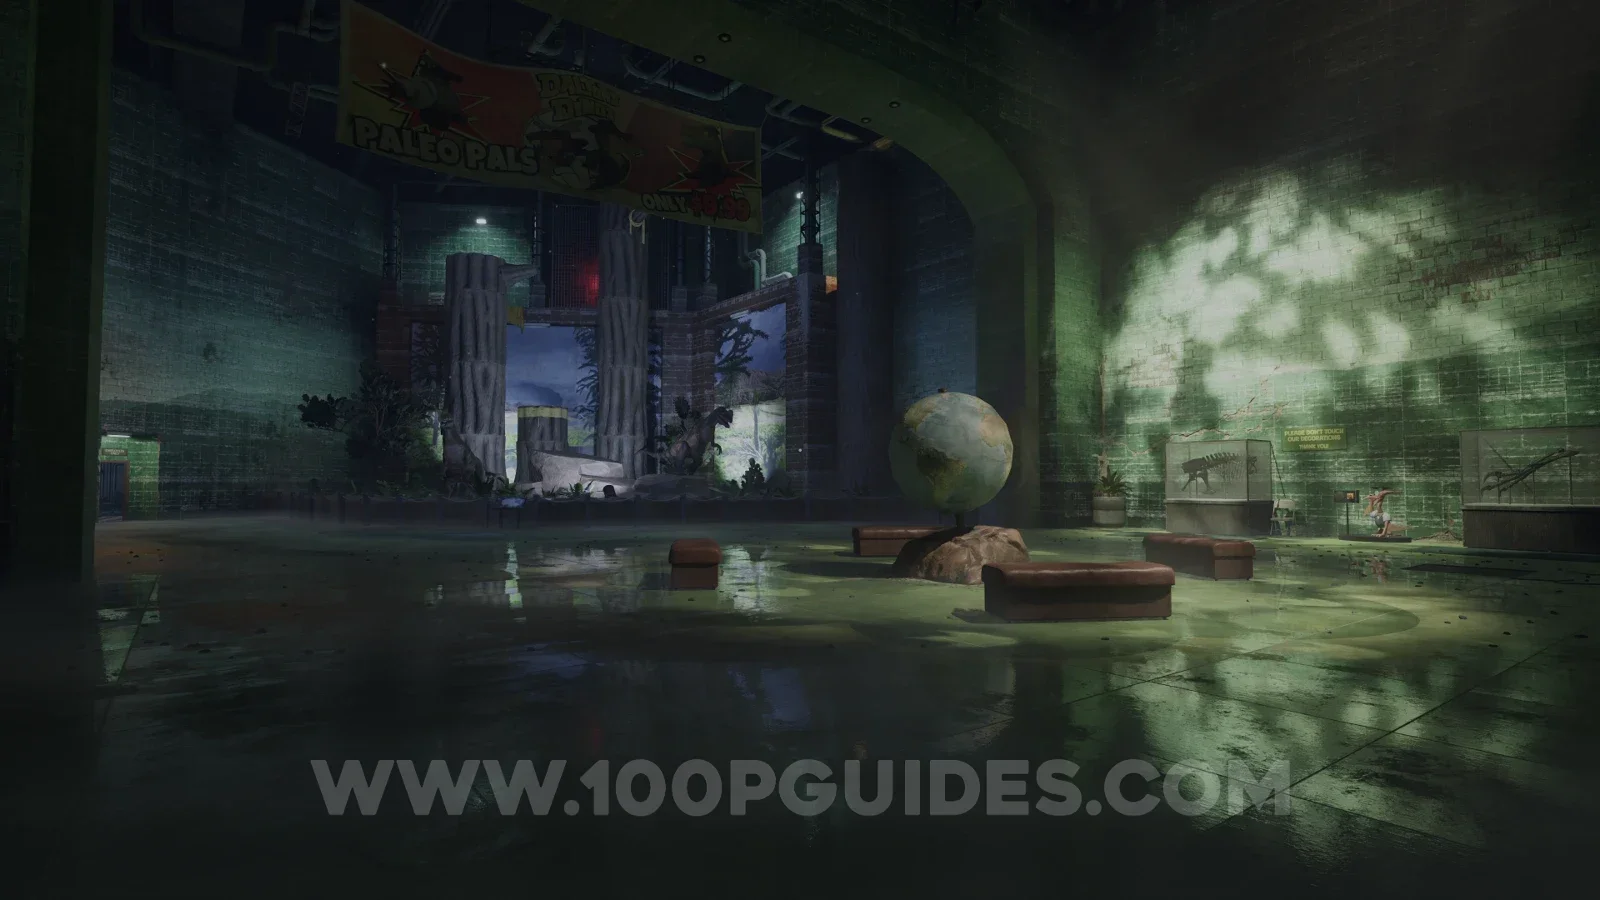
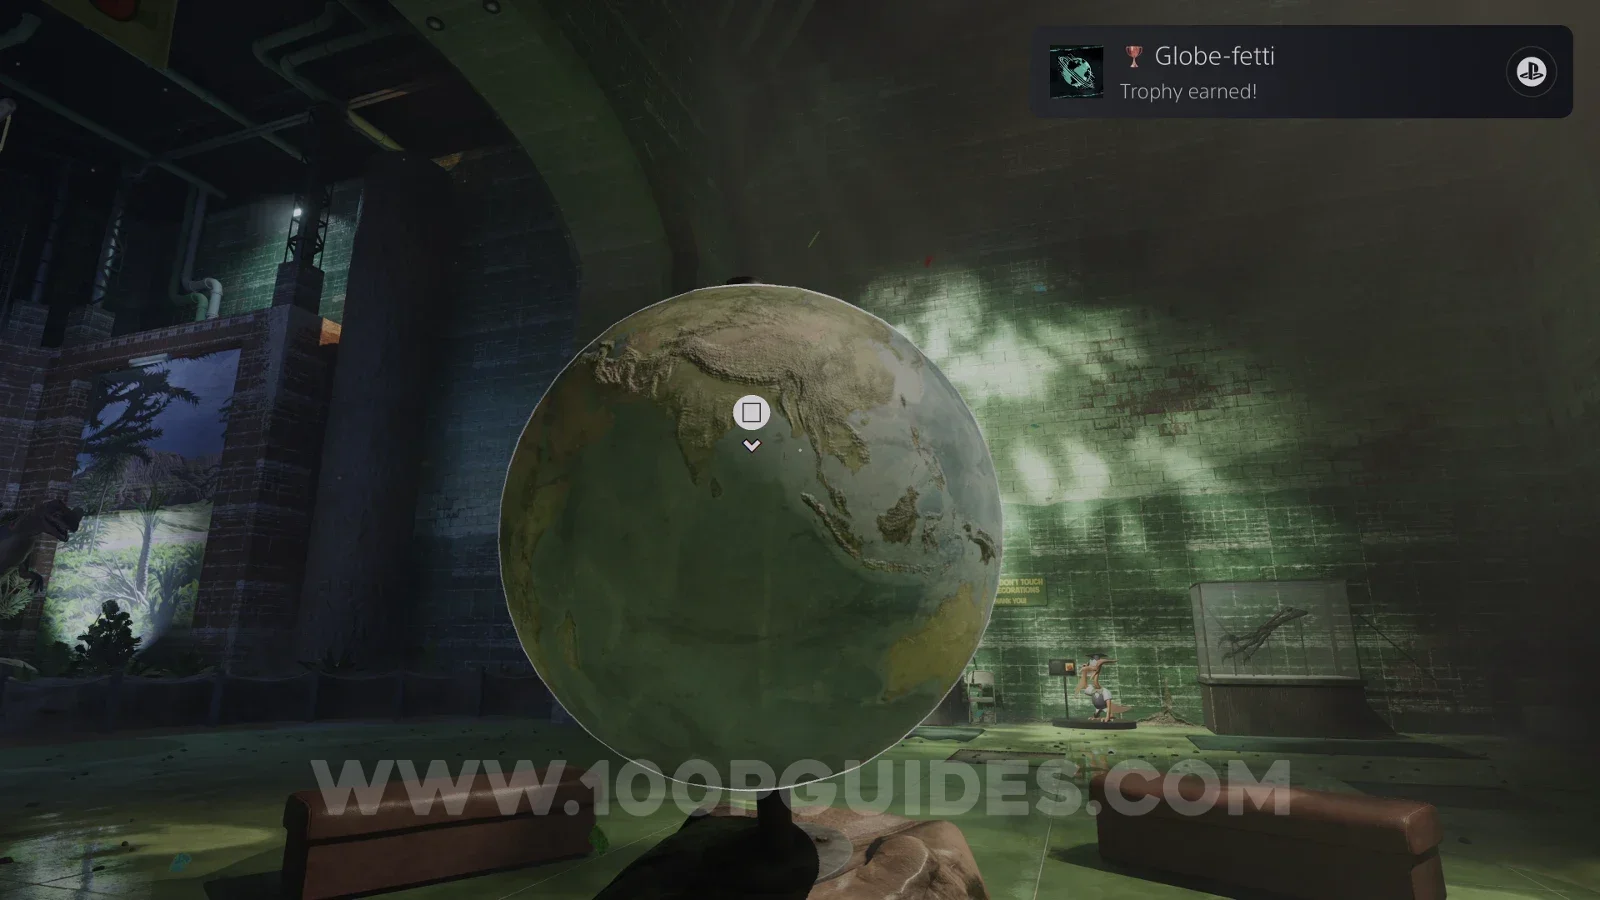
Once you reach the Watering Hole exhibition area, you will see an "employee" at the other end of the exhibition. Close to where he was standing, you will see a globe. Keep interacting with it with until it spins fast enough and you get the trophy.
Paleo Pal - Pterry
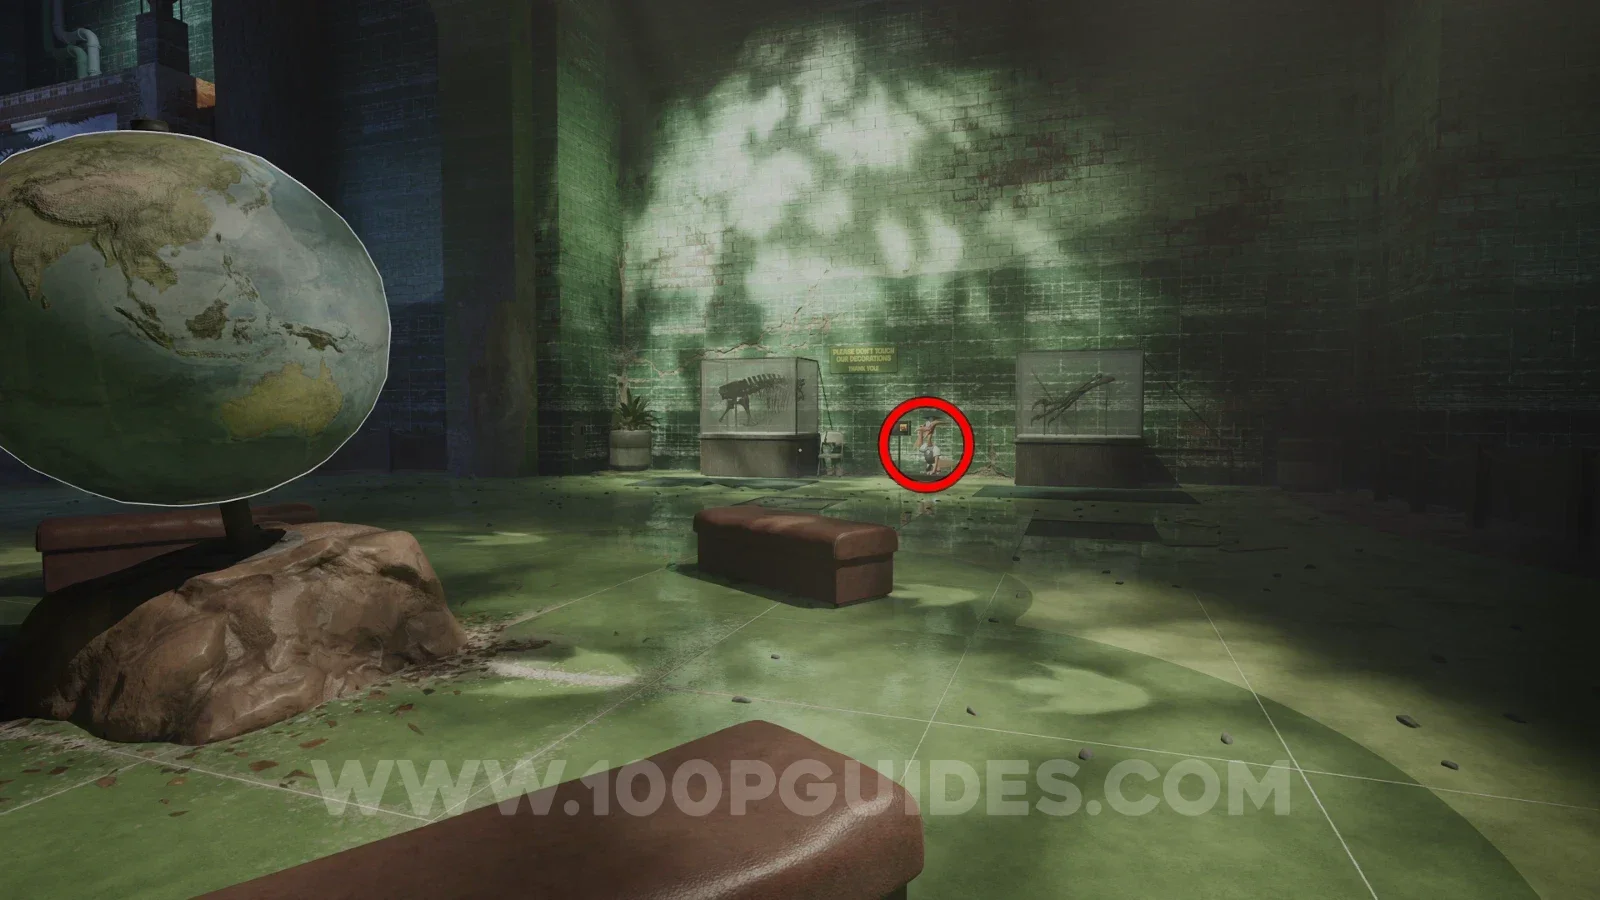
Next to the wall close to the globe in the Watering Hole exhibition.
Tape - Elena Coolidge: I'm Going to New York
Return to the entrance of the Watering Hole exhibition and climb up the trees on your left where the long-necked dinosaurs are. Then, at the top, swing on two branches and, from the second one, land on the path on the right. Here, turn around and go to the end to find the tape behind the wooden box.
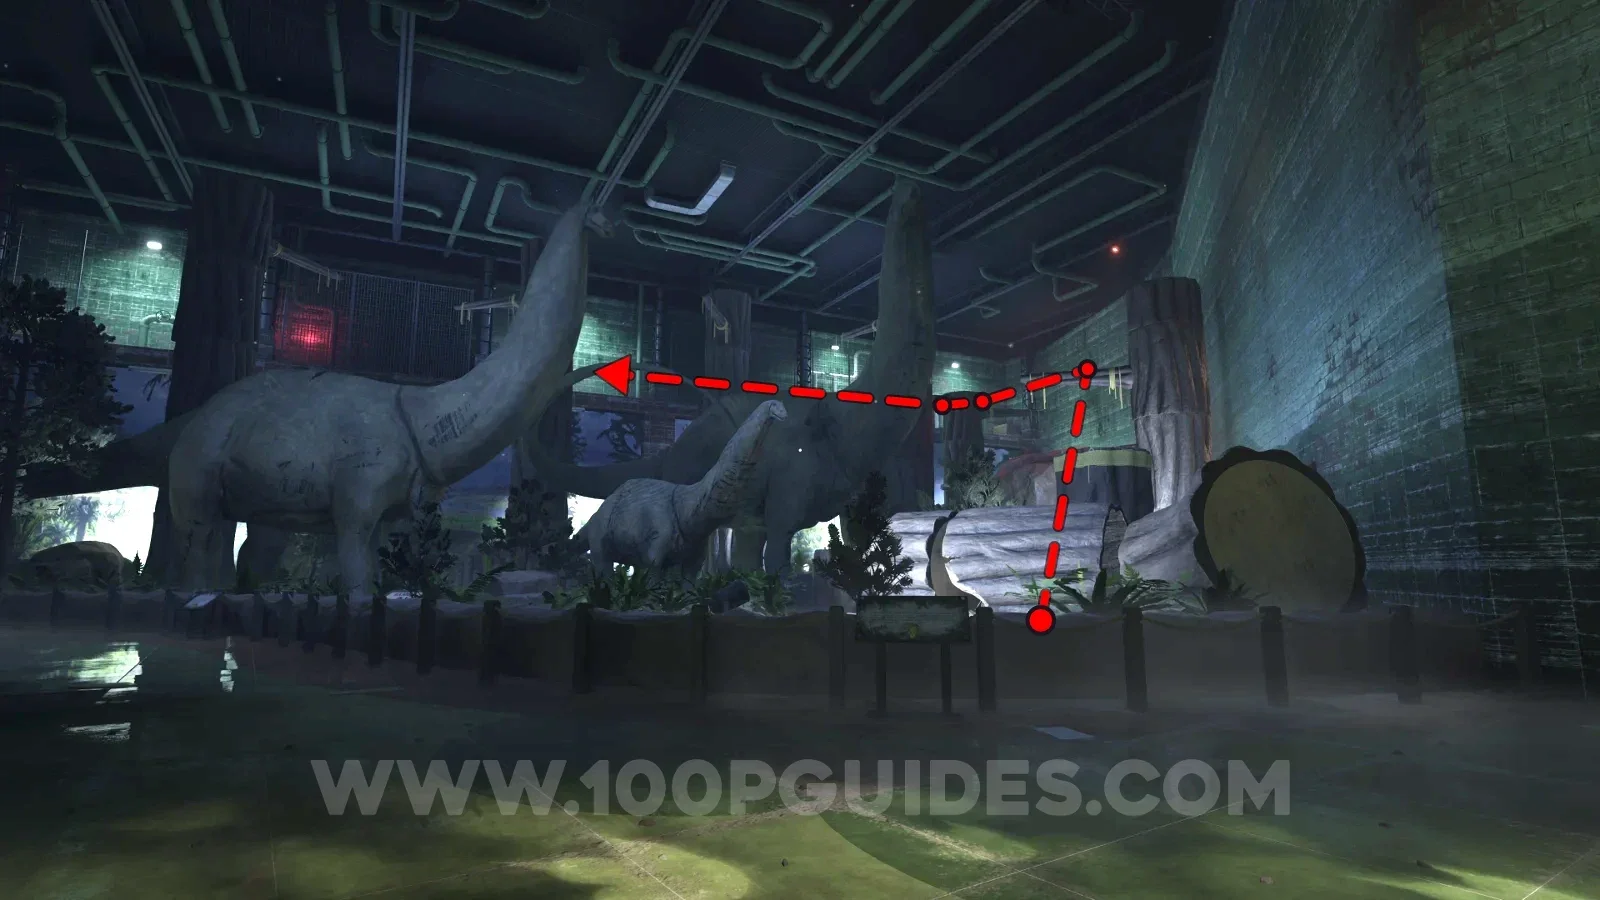
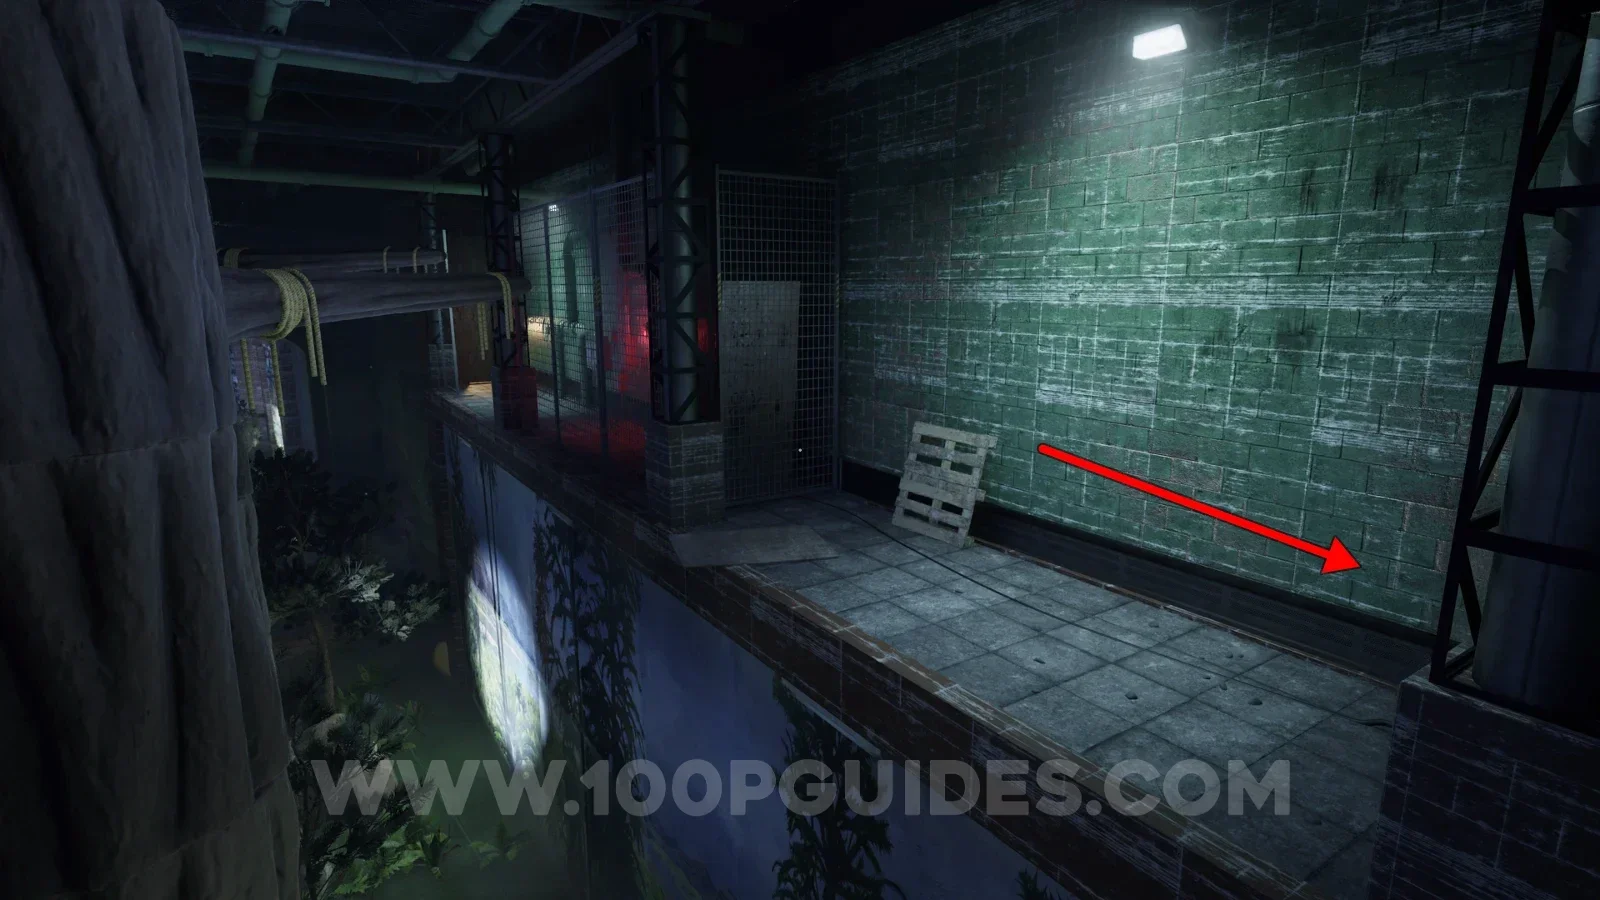
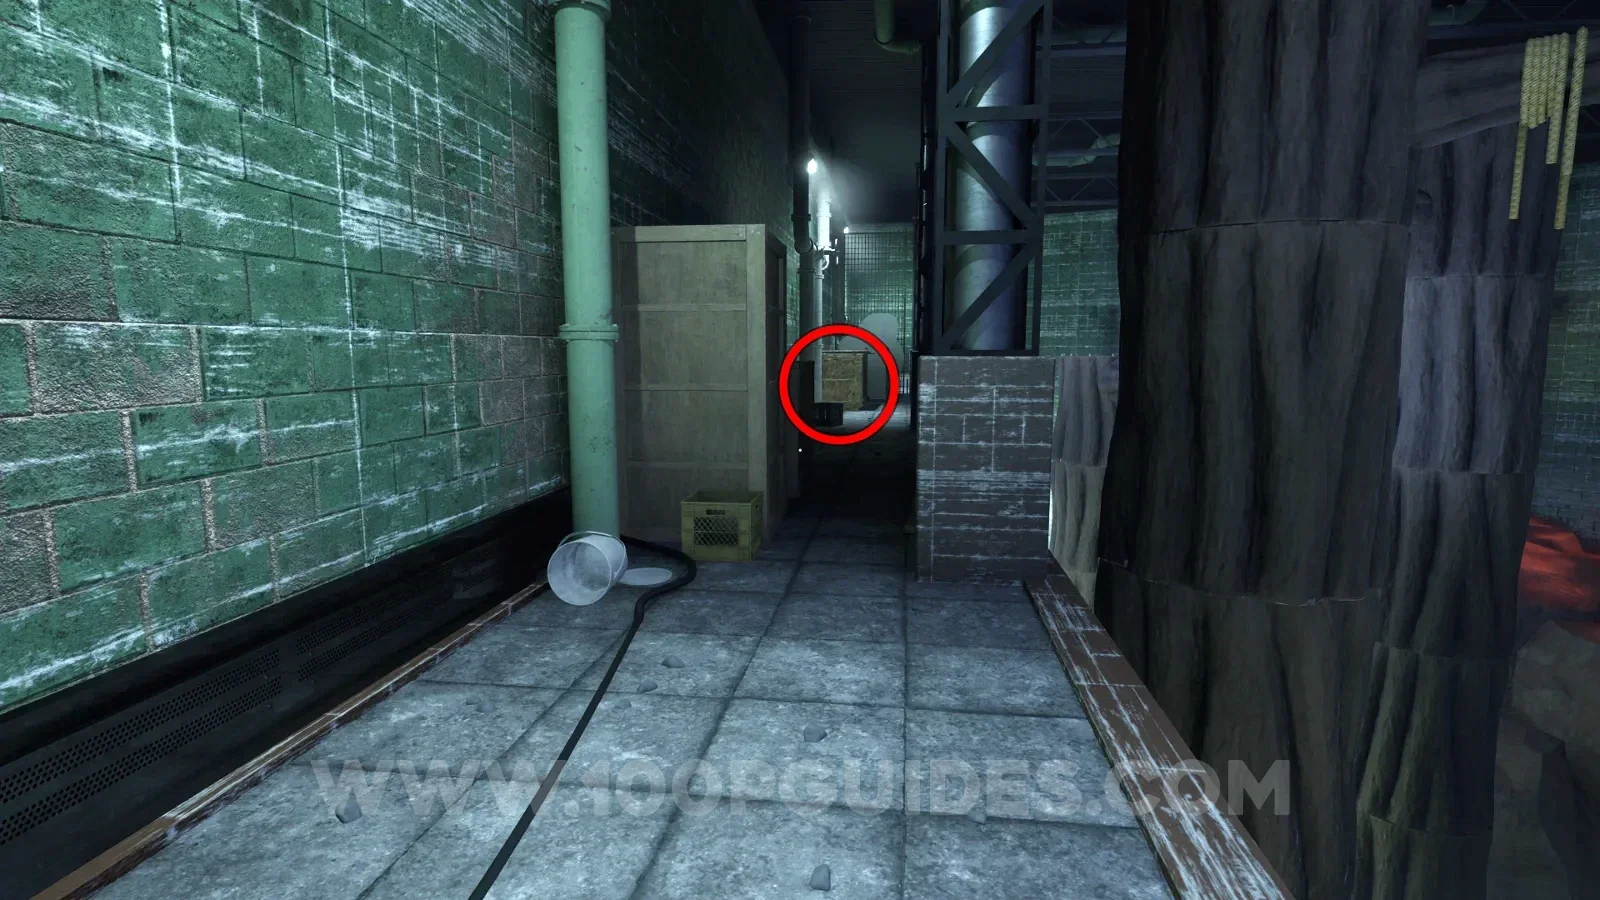
Note - Note from Security Guard
Found in the control room. You will have to enter this room after pressing the switches around the area.
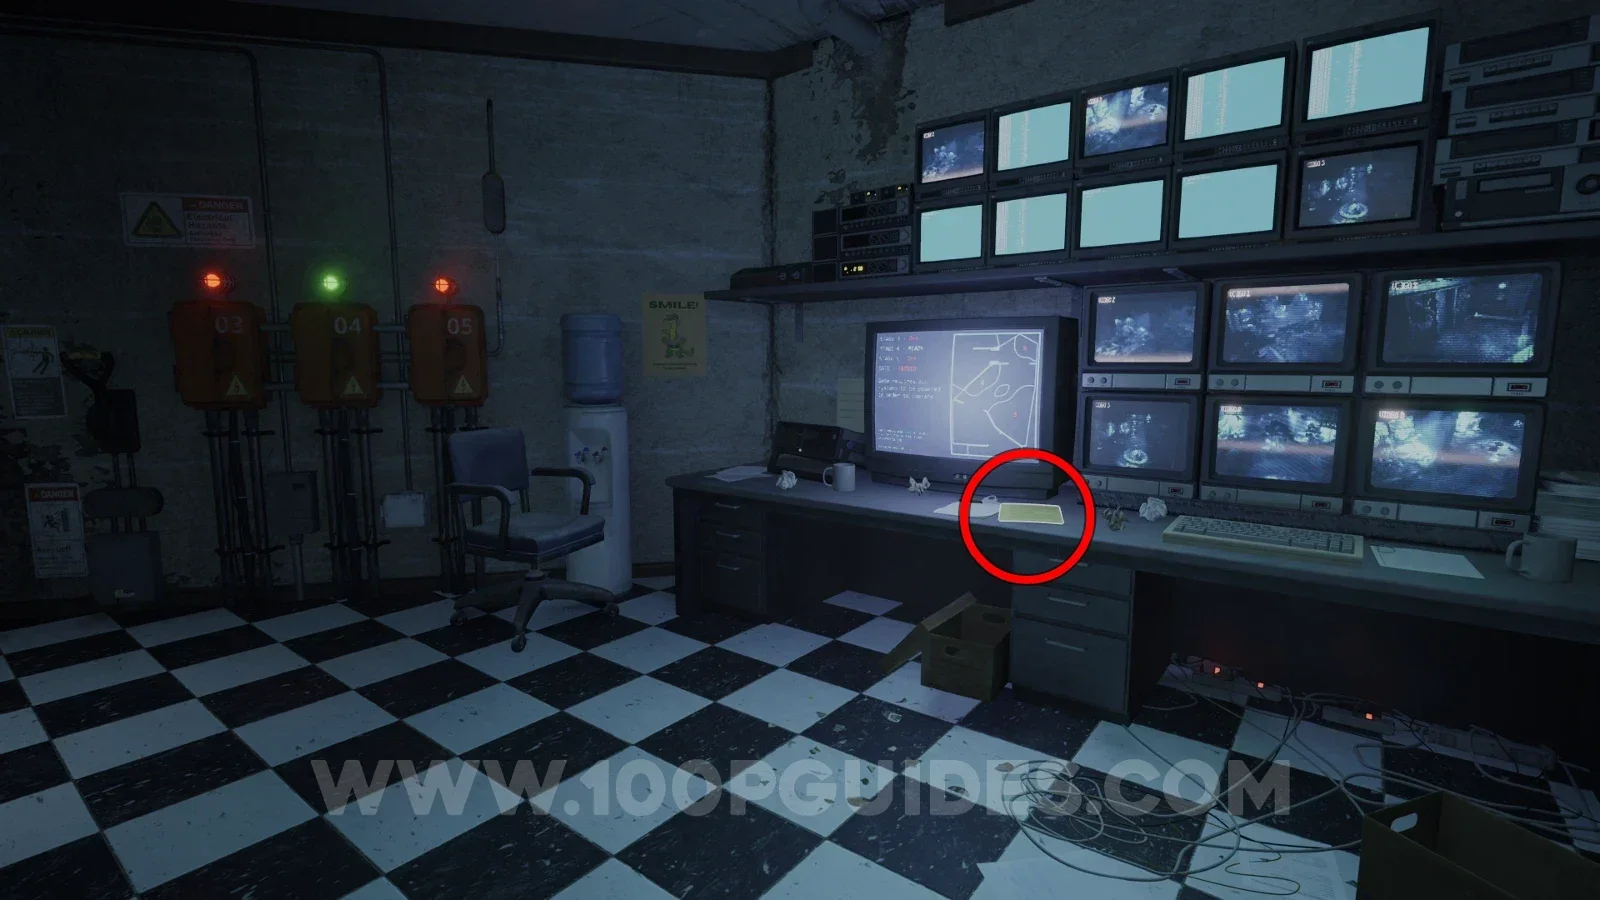
Note - Newspaper
After pressing the main switch in the control room and accessing the next area, you will have to climb up around the left of the room. Eventually, you will grab onto a slit in one of the trees and jump to the path on the left. As soon as you land, instead of vaulting over the box on your right, head left all the way to the end to find the note on a box.
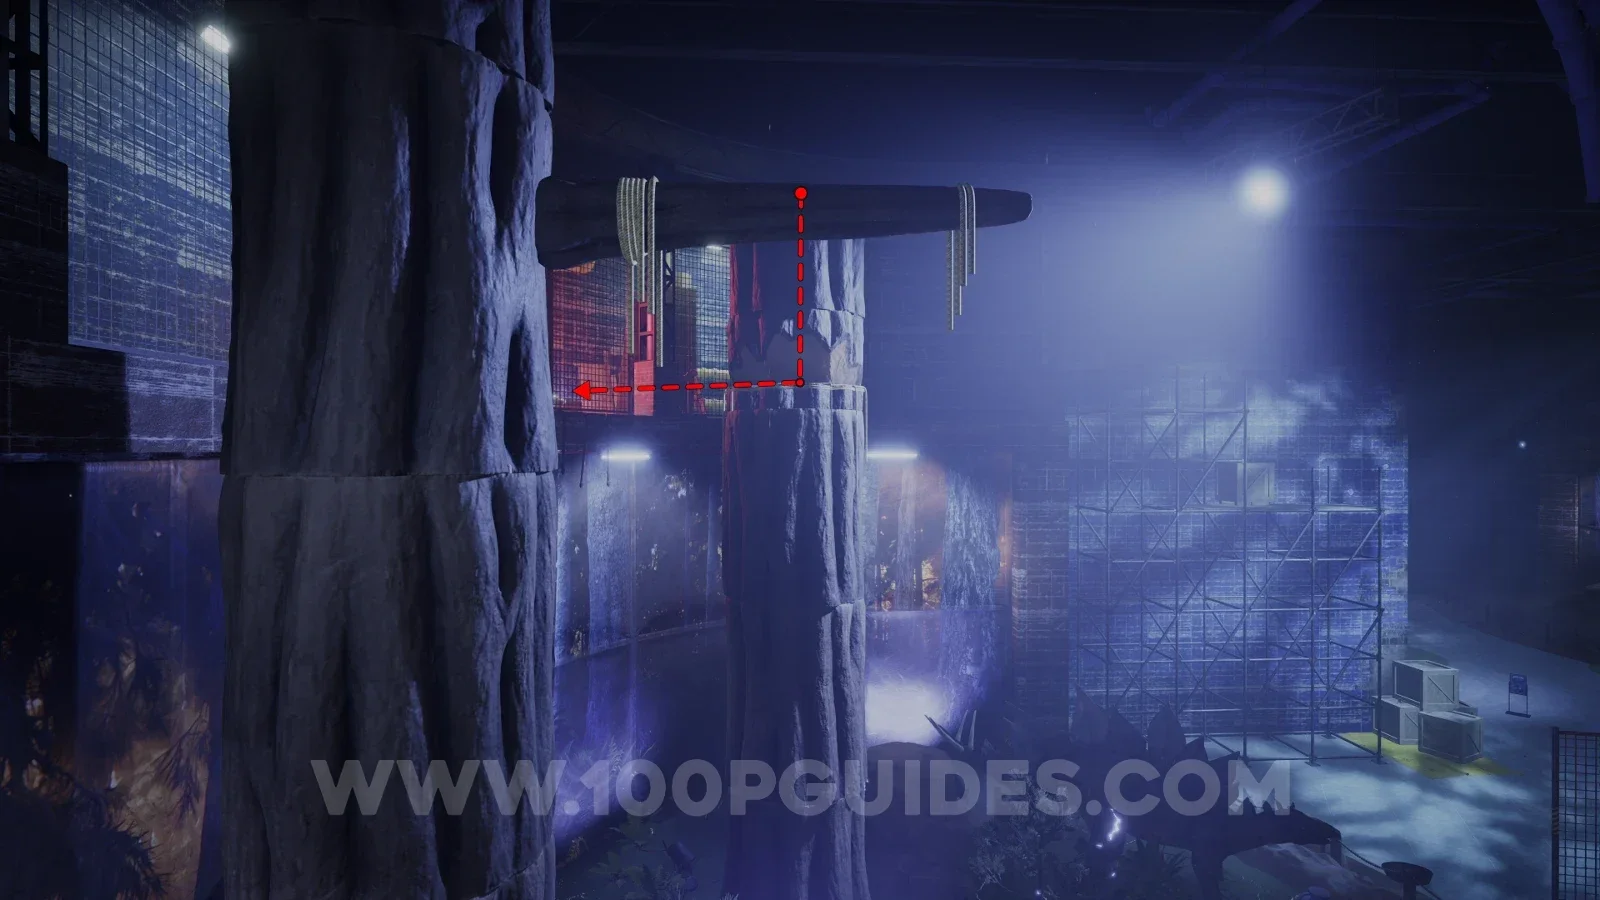
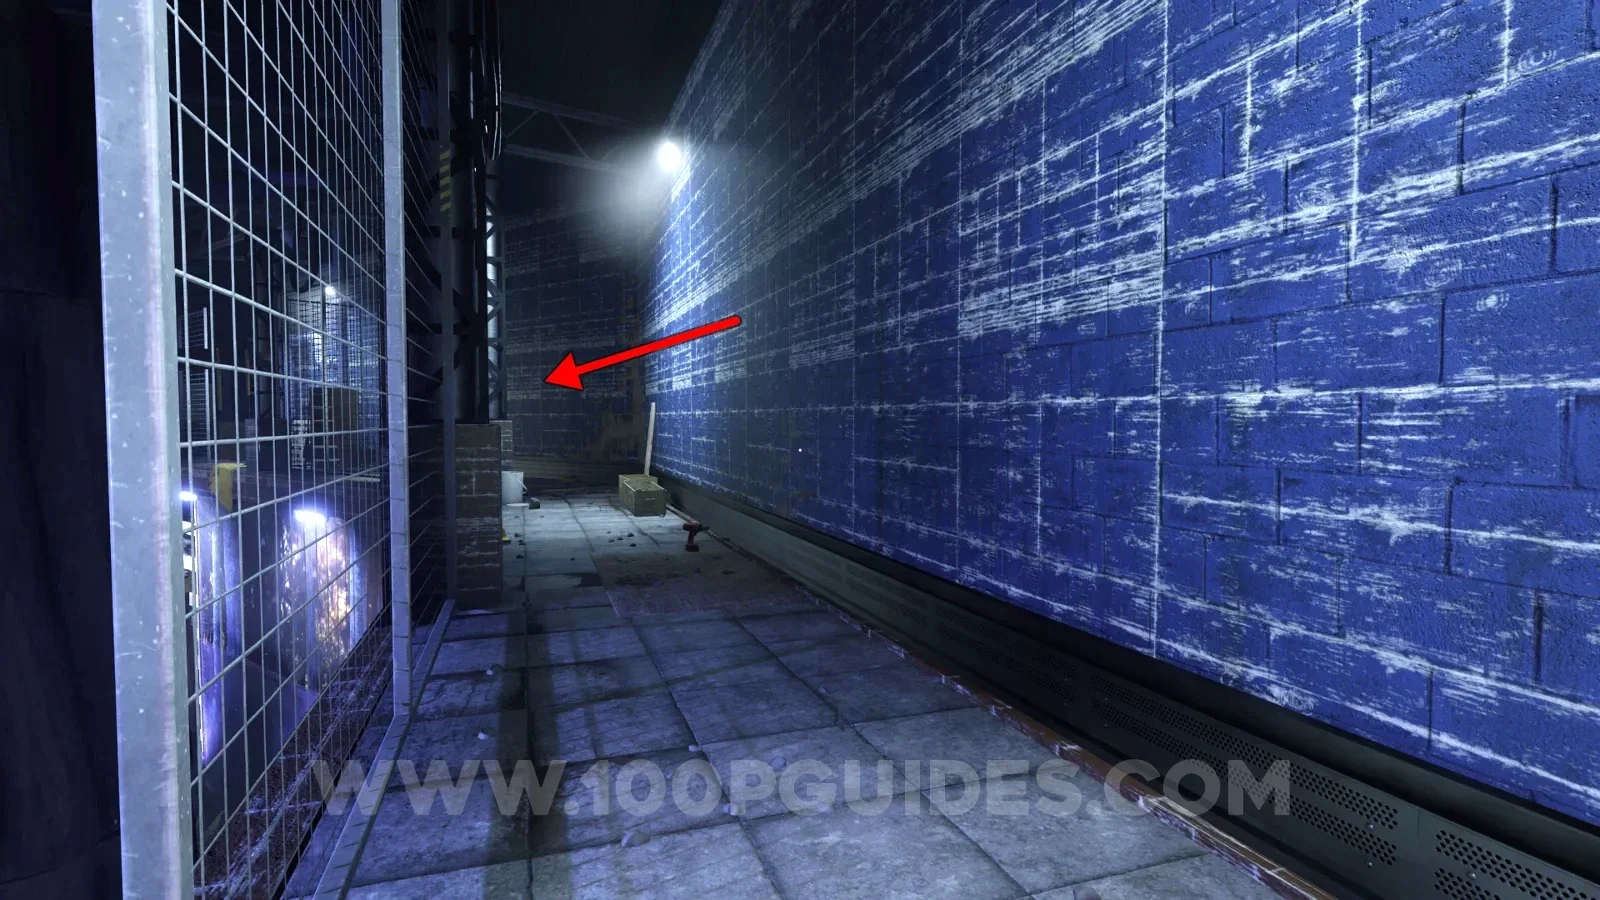
Paleo Pal - Dennis
Once you climb back down to the other side of the exhibition area, you will have to find a token to get a torch. The Paleo Pal statue can be found just left of the shutter where you have to insert the token to get the torch.
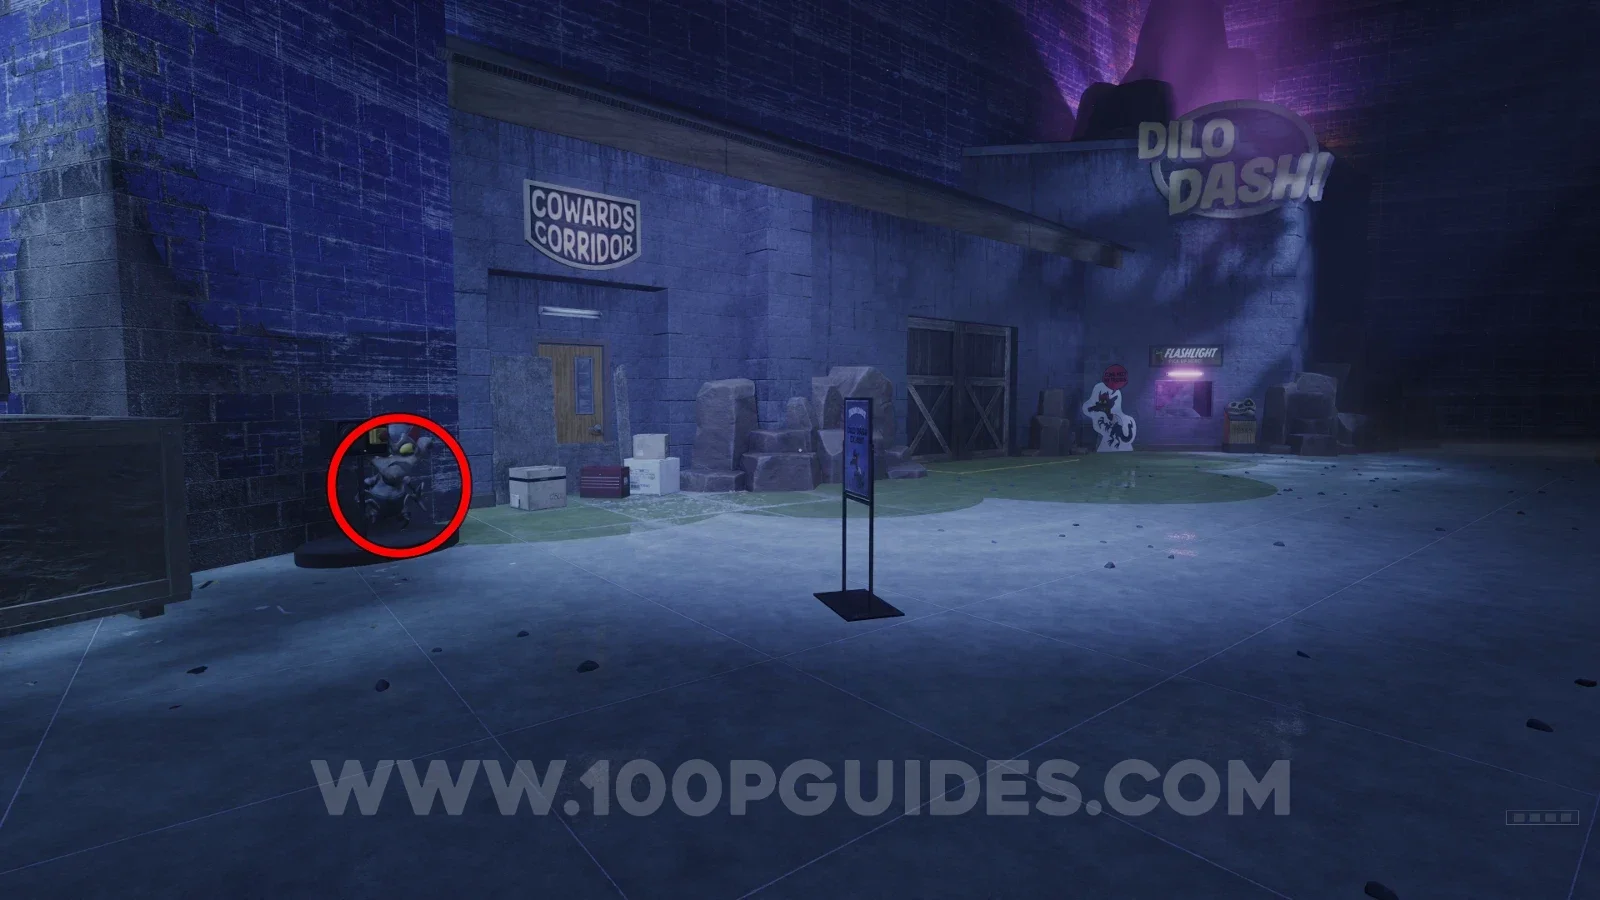
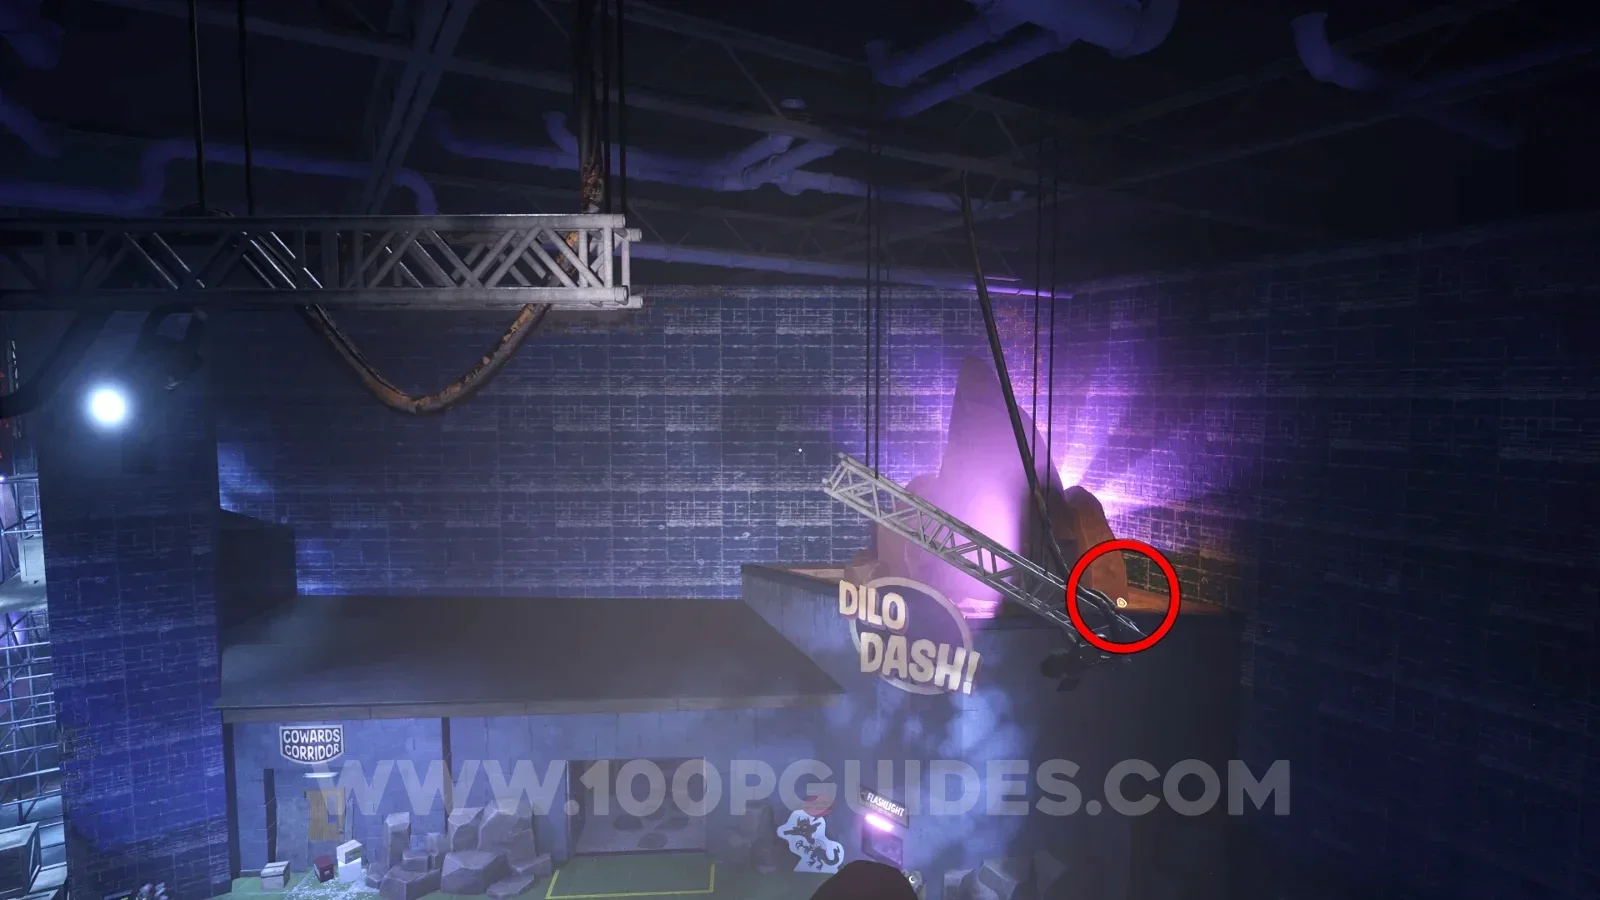
Sample - Amber Specimen 03
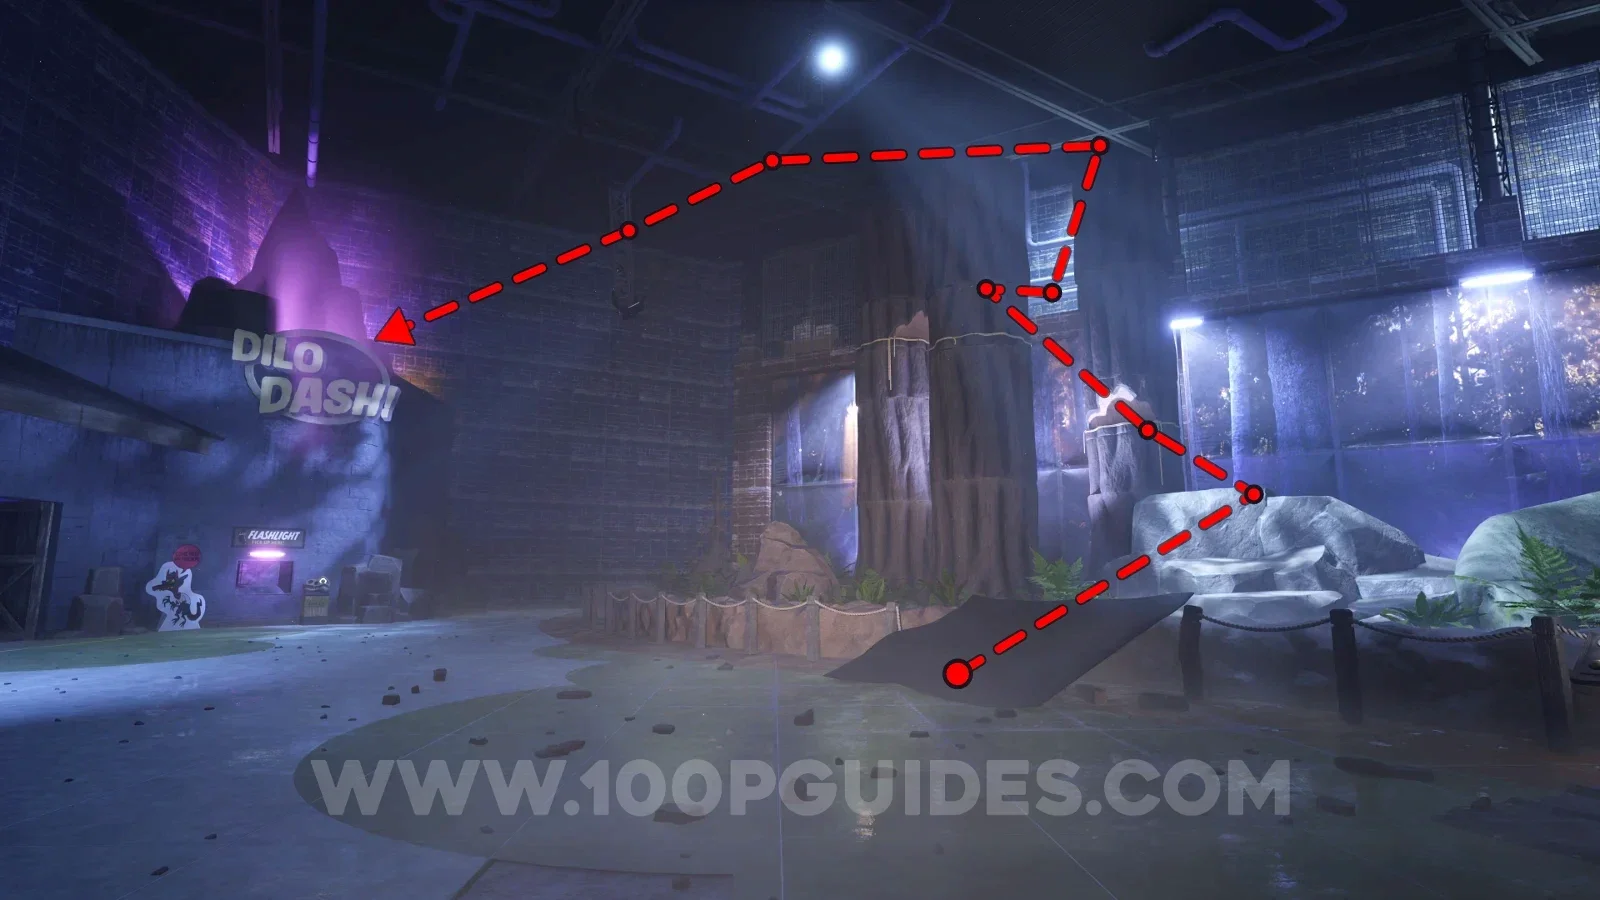
The collectible can be found on top of the room where you insert the token. To reach it, climb up the same trees in this area as if you were going to pick up the token. Then, at the top, as soon as you get to the path, turn around and jump on top of the tree. Then, use the hanging metal structures to reach the collectible.
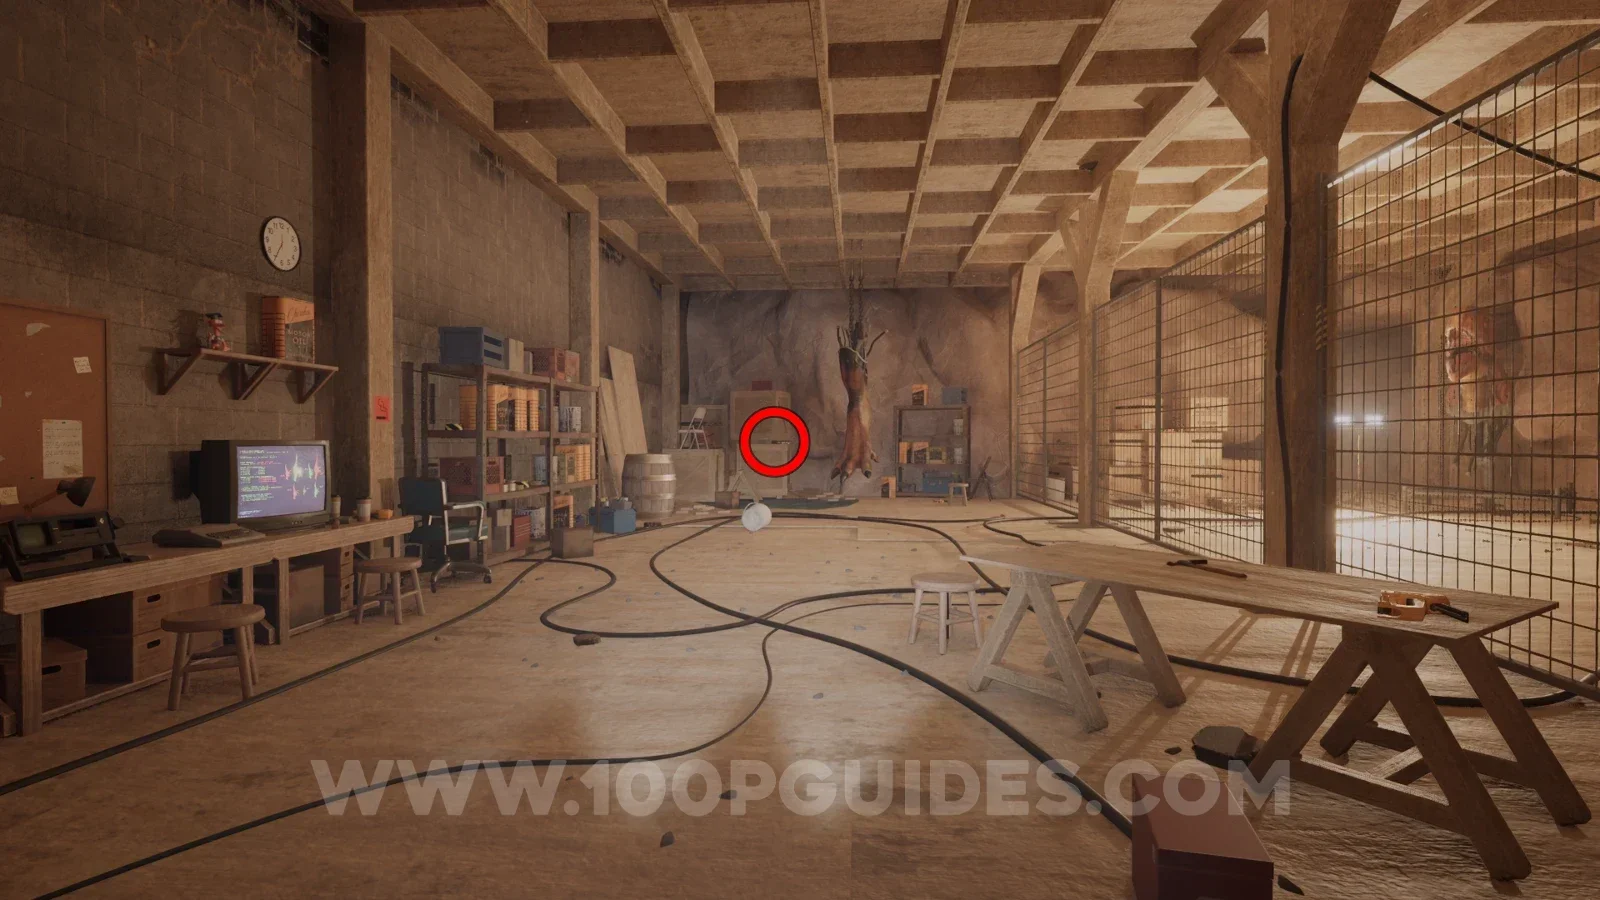
Tape - Dalton Coolidge: The New Site
After going through the dark tunnel attraction, you will emerge into a large area with a panel on the left that is missing a button. Head past it and then, just before you enter the next section of the exhibition, look for an entrance on your right. The tape can be found on the boxes at the end of the workshop.
Paleo Pal - Alistair
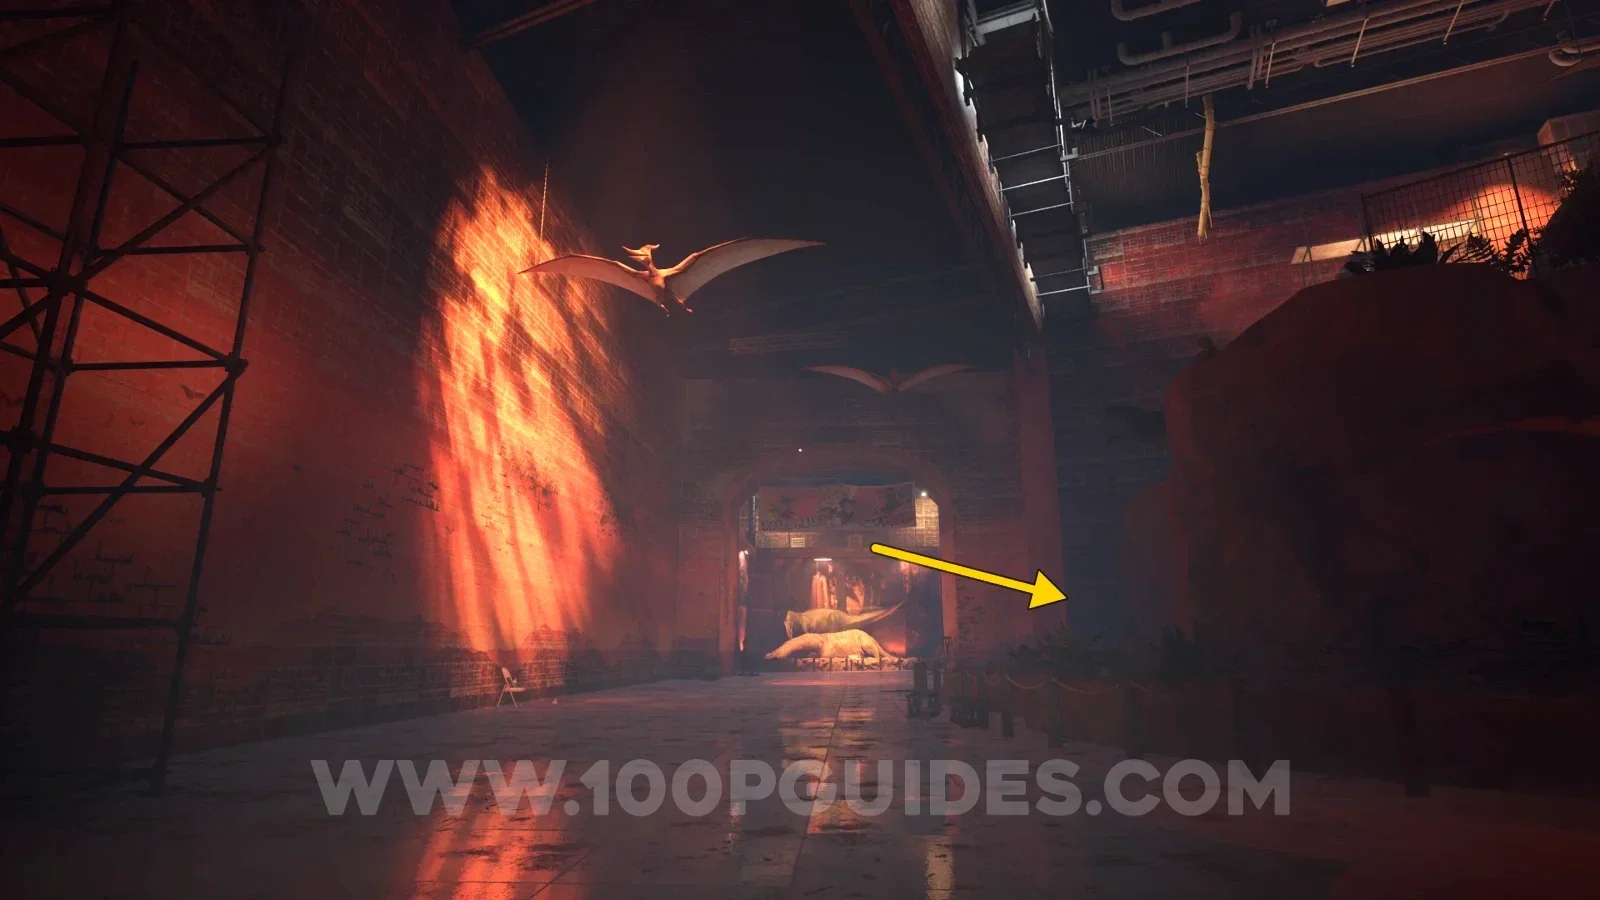
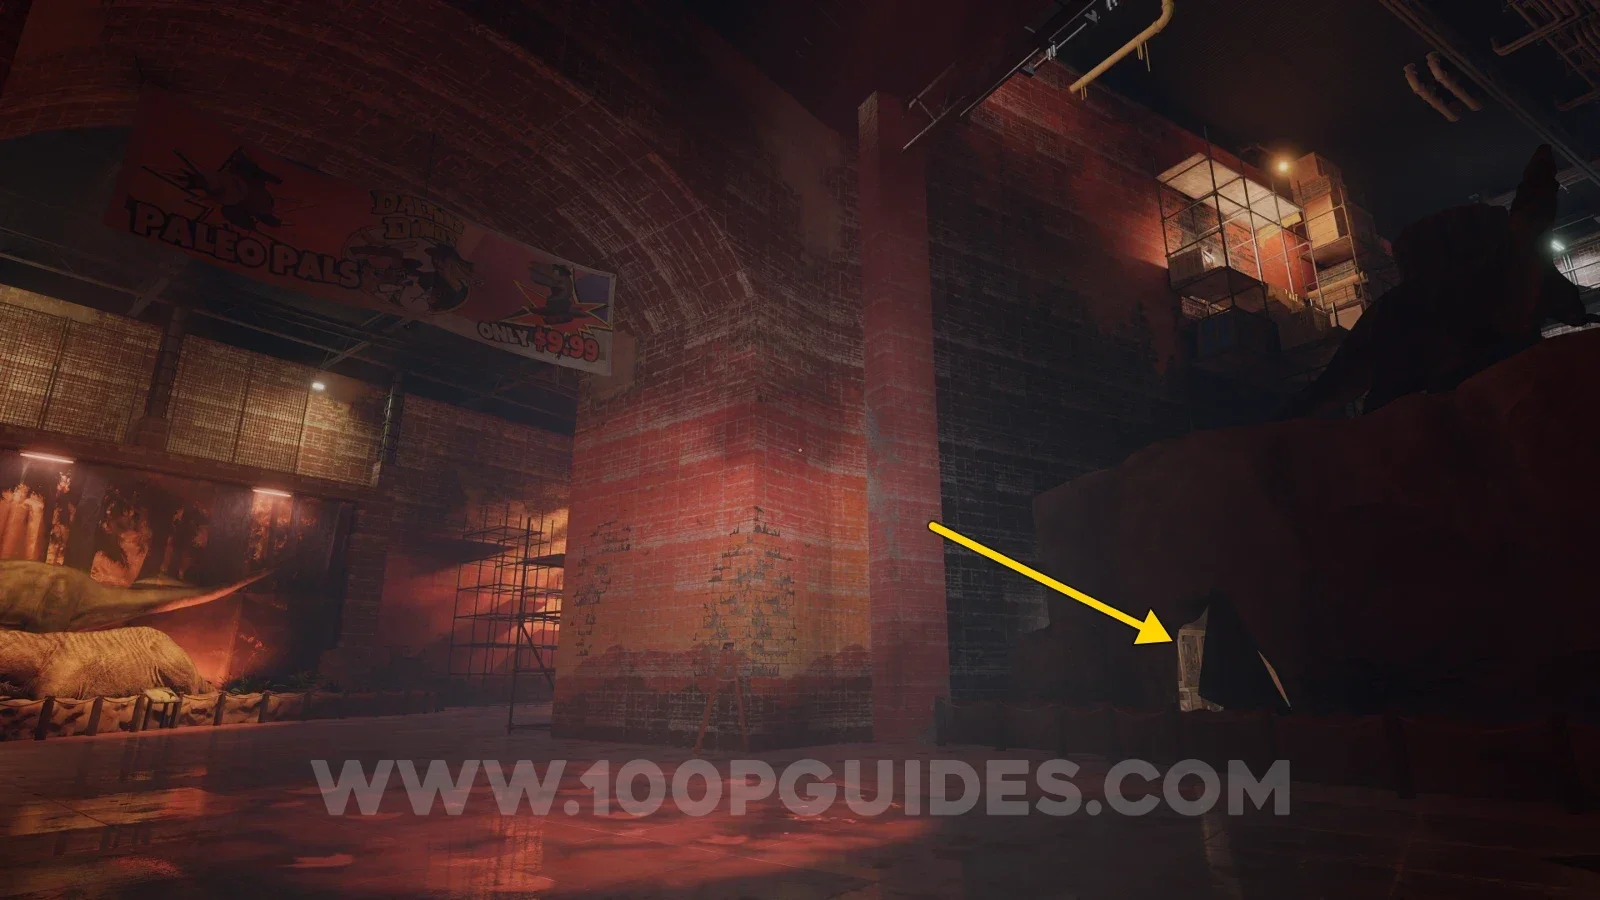
Leave the workshop and head right into the next part of the exhibition where you will find the Paleo Pal on your left.
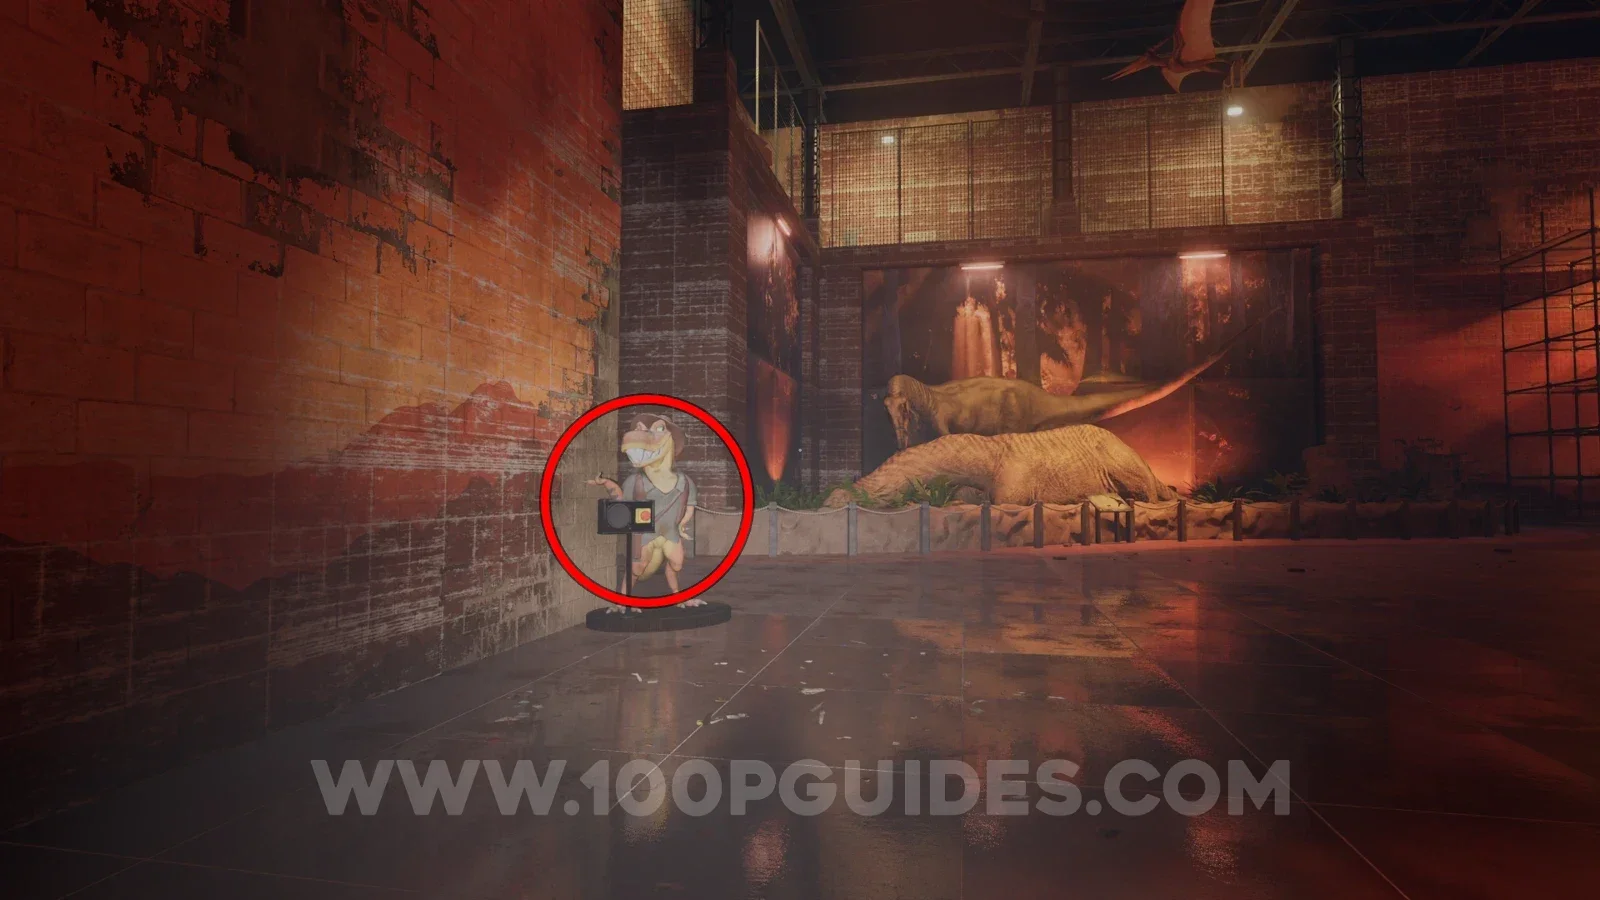
Paleo Pal - Stephanie
After using the button, jumping through the meteorite hole and going through some vents, you will drop down into an area with a lab on your right. The Paleo Pal can be seen in plain sight in the next room. This is the final one. Interacting with it will get you the Paleo Pal Review trophy.
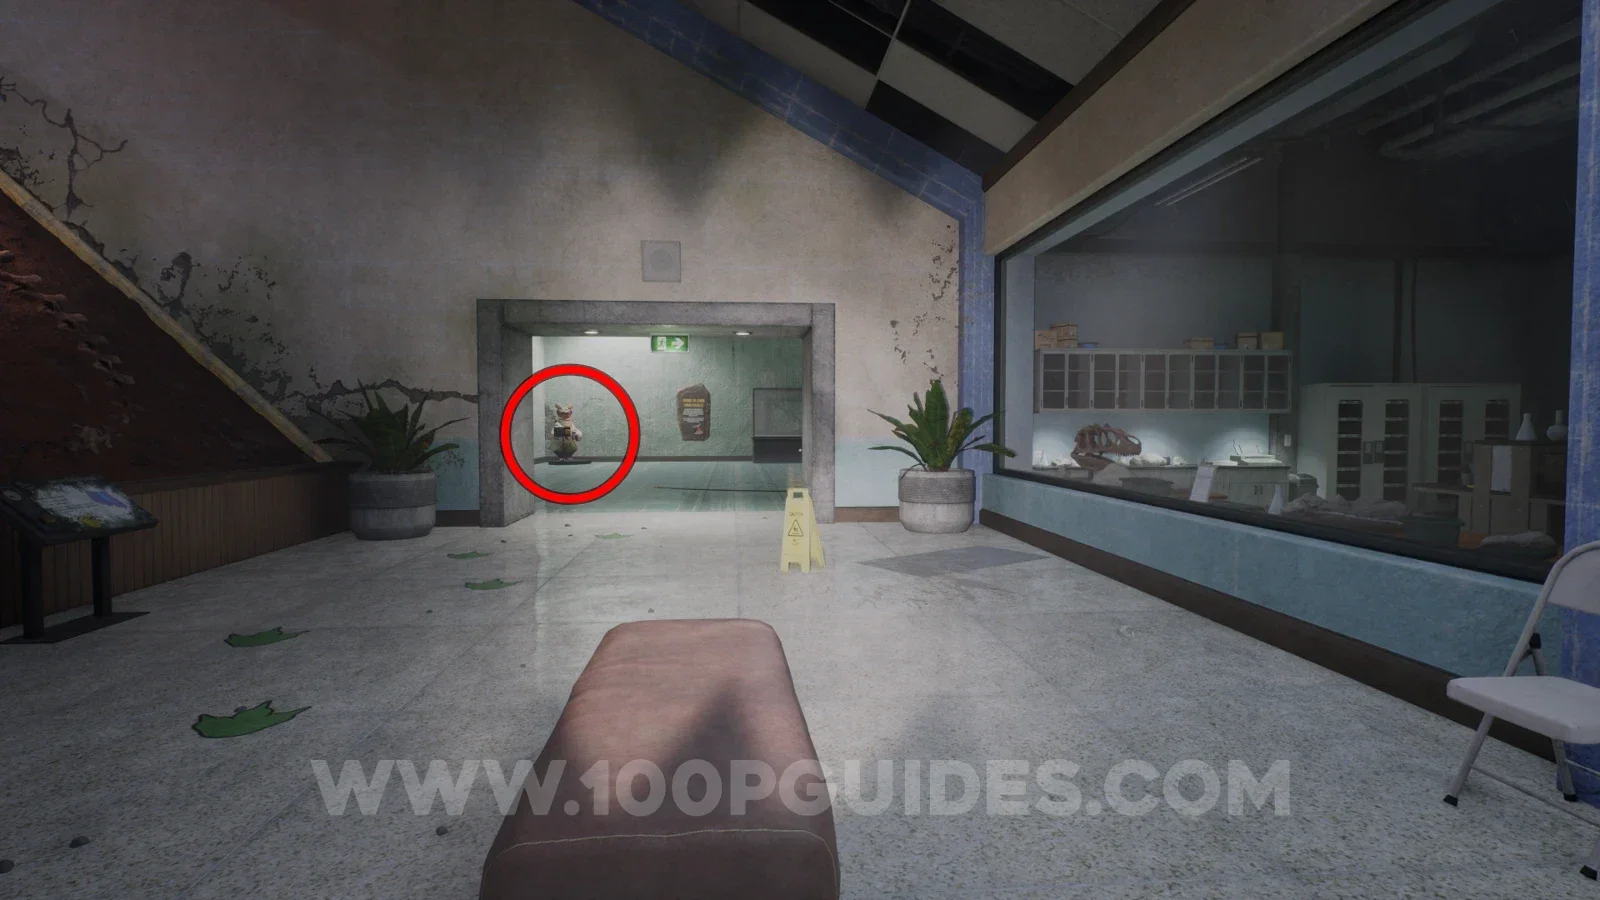
Tape - Stella Banks: Instructions for Willy
Continue through the level until you reach a massive open area with gift shops. First, head into the shop on your right to find the tape on the counter.
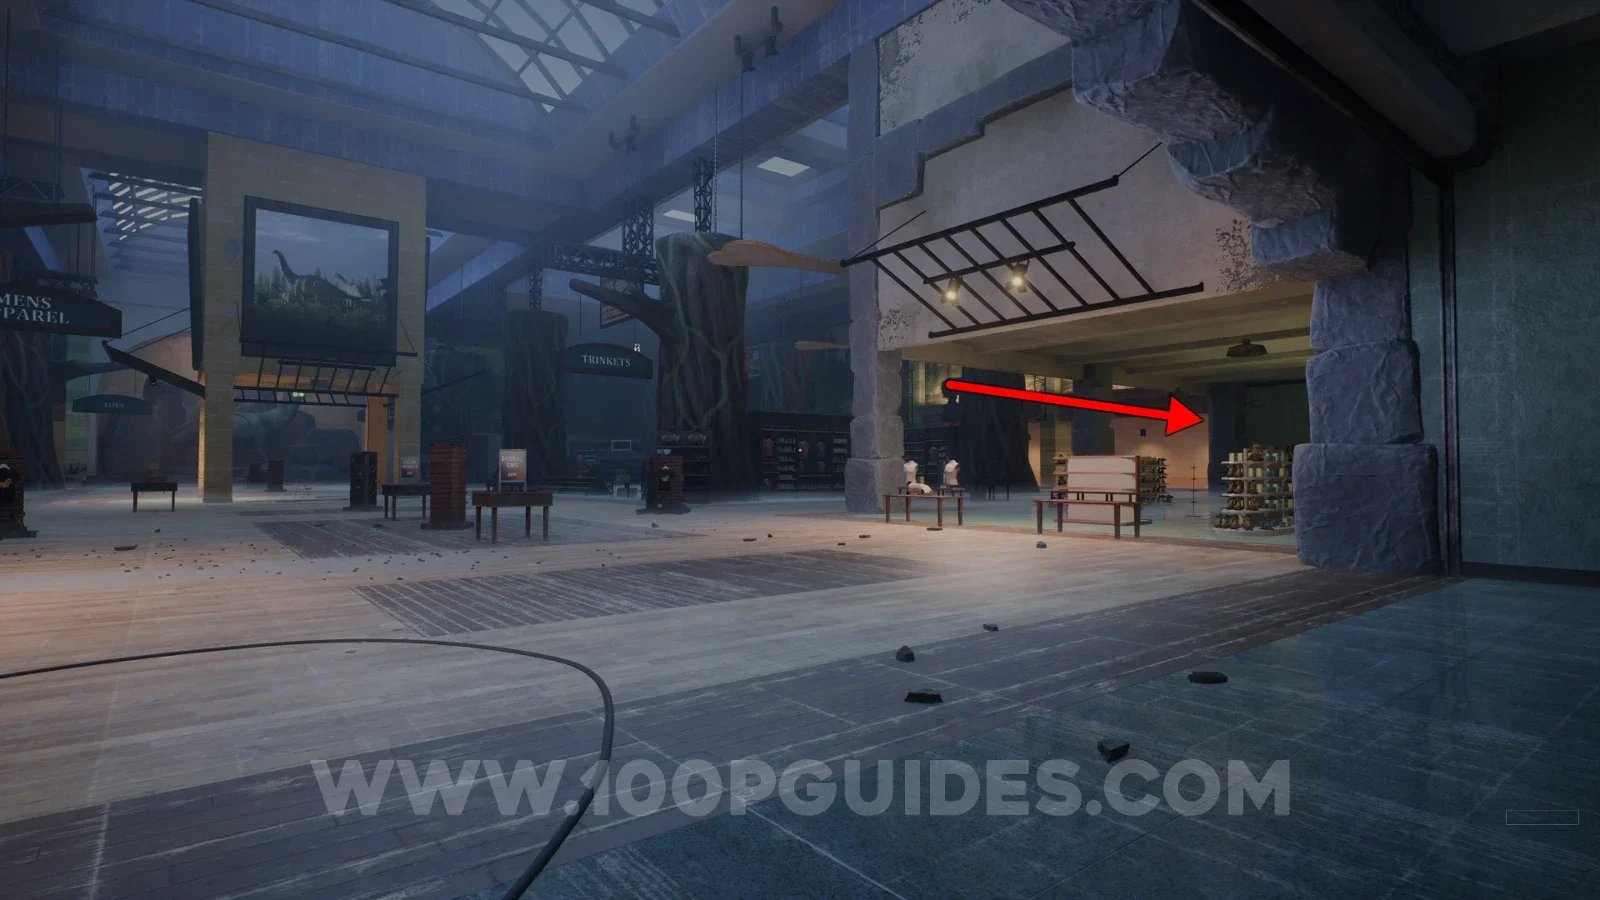
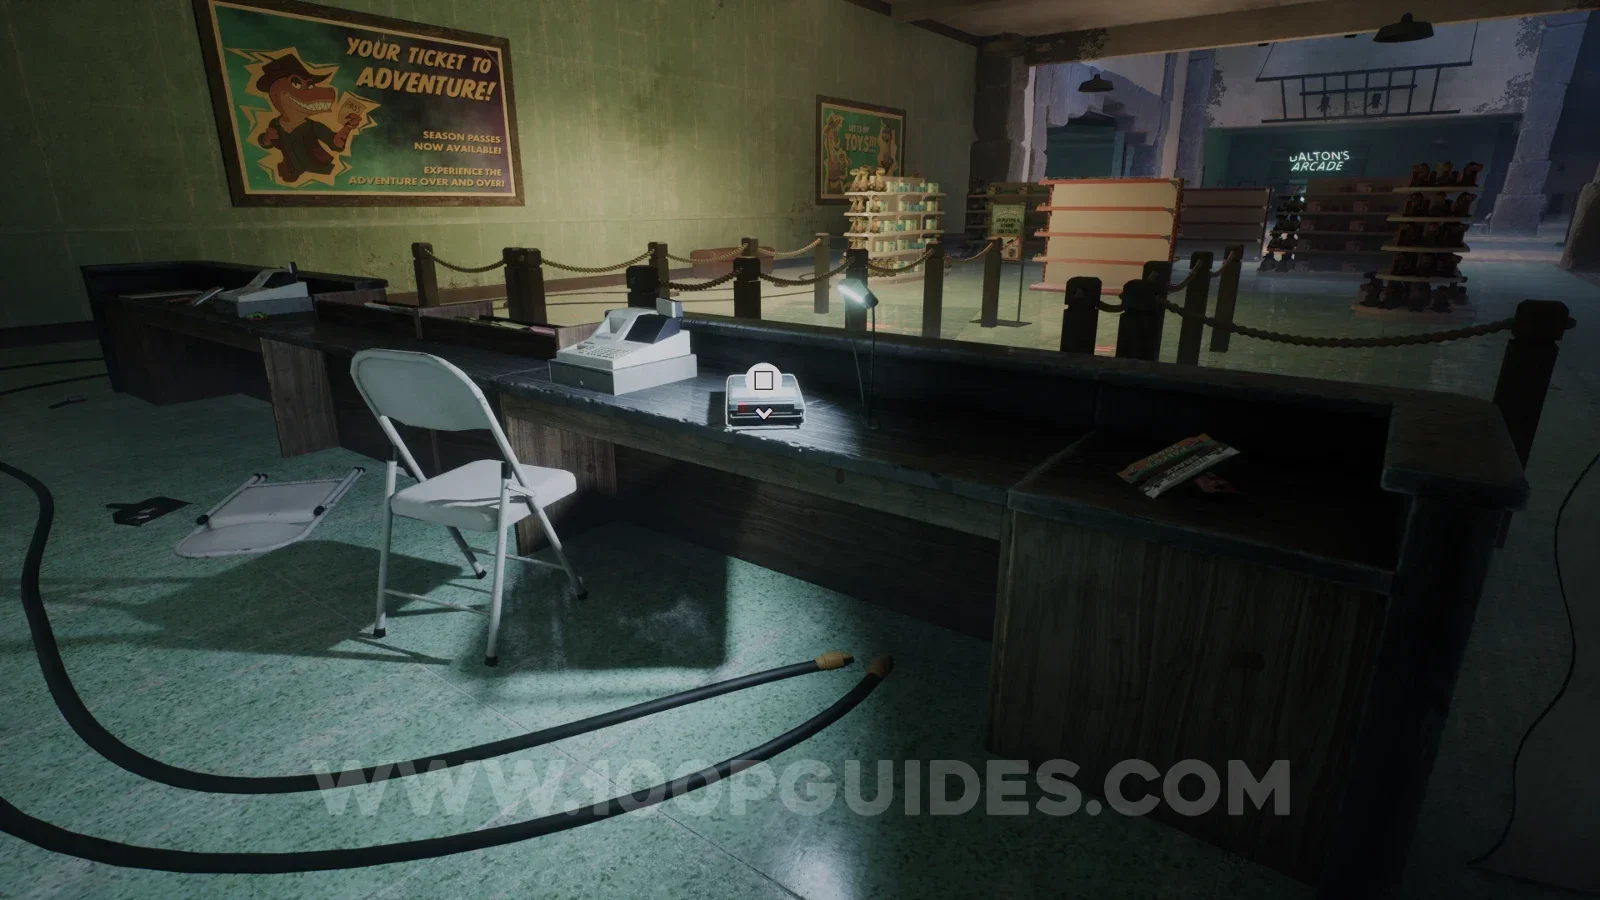
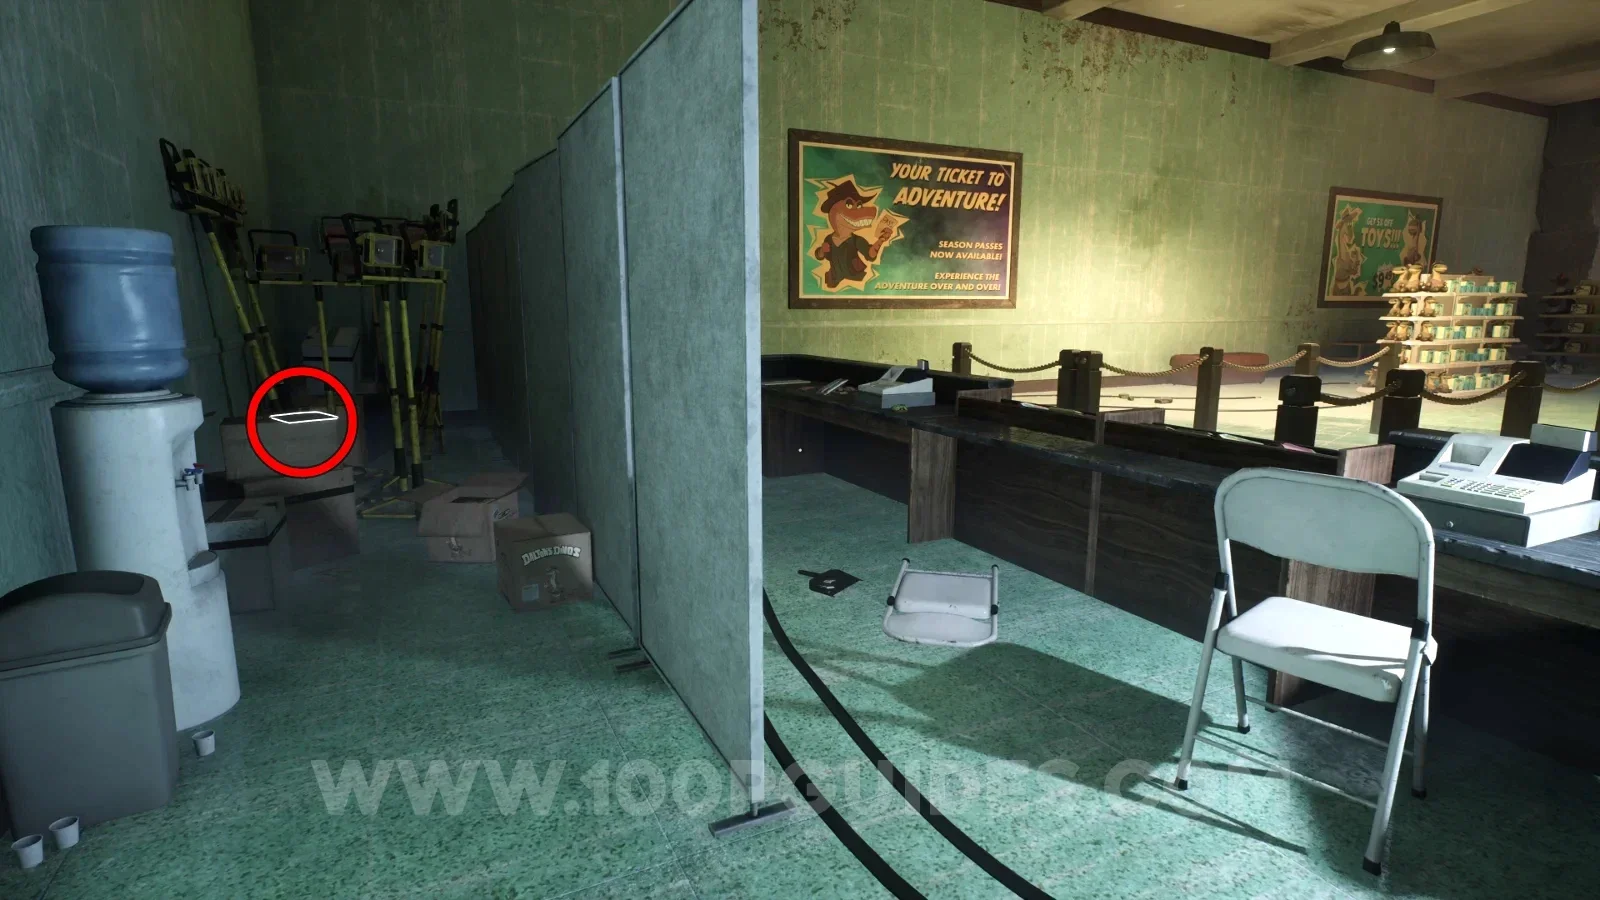
Note - Dennis Merch Shrinkage
Behind the dividers next to the previous collectible.
Note - Dalton Jr. Journal Entry: Sick Dennis
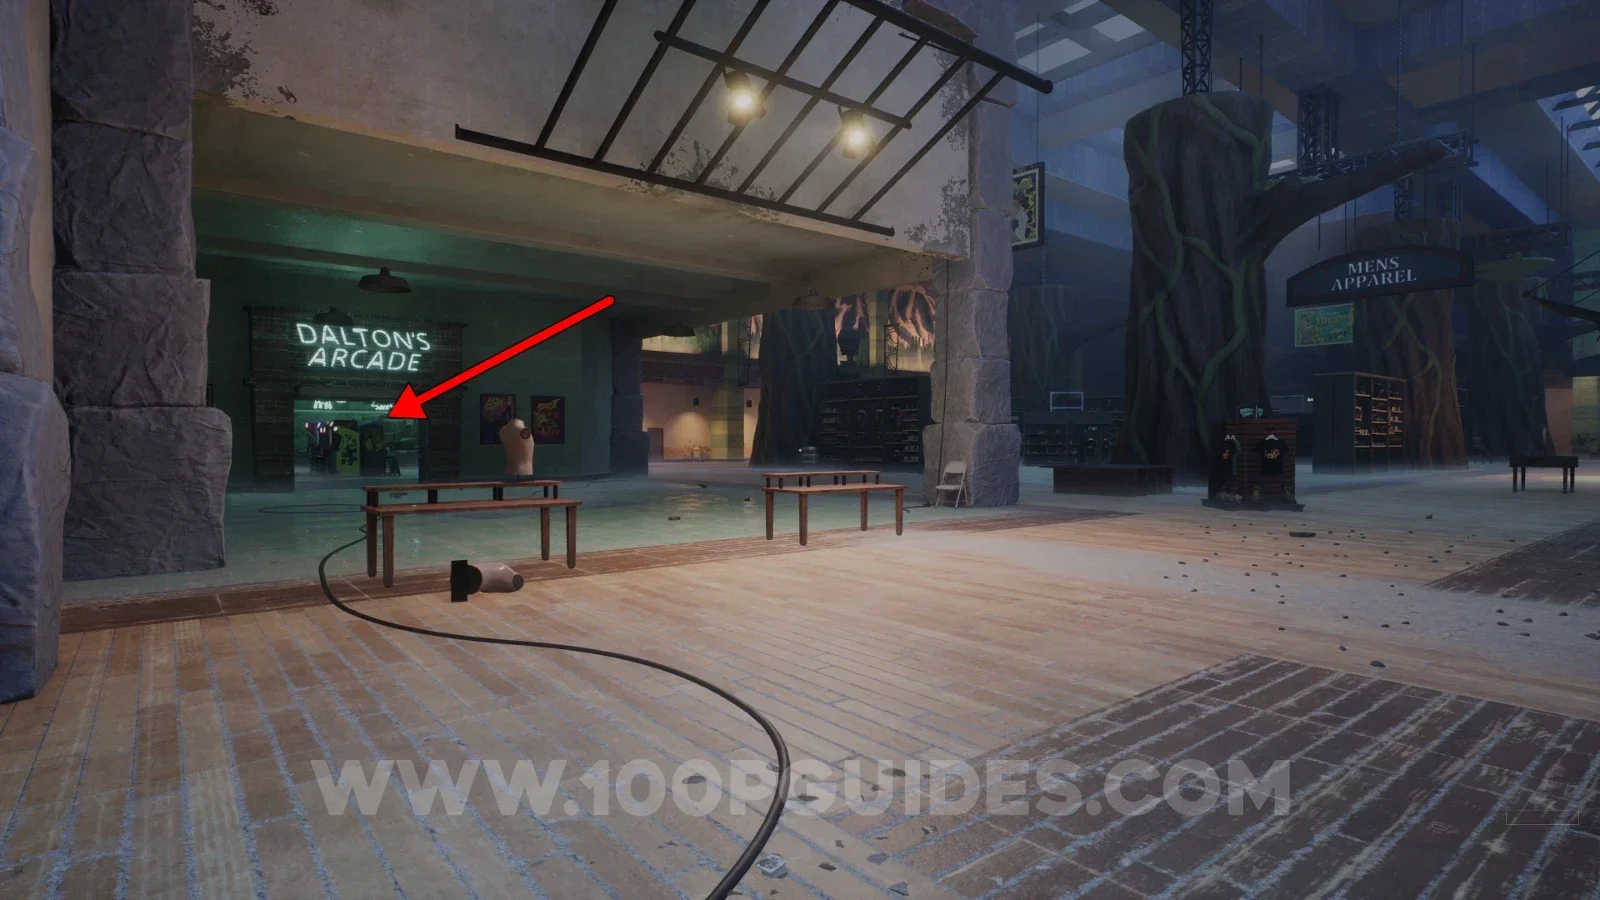
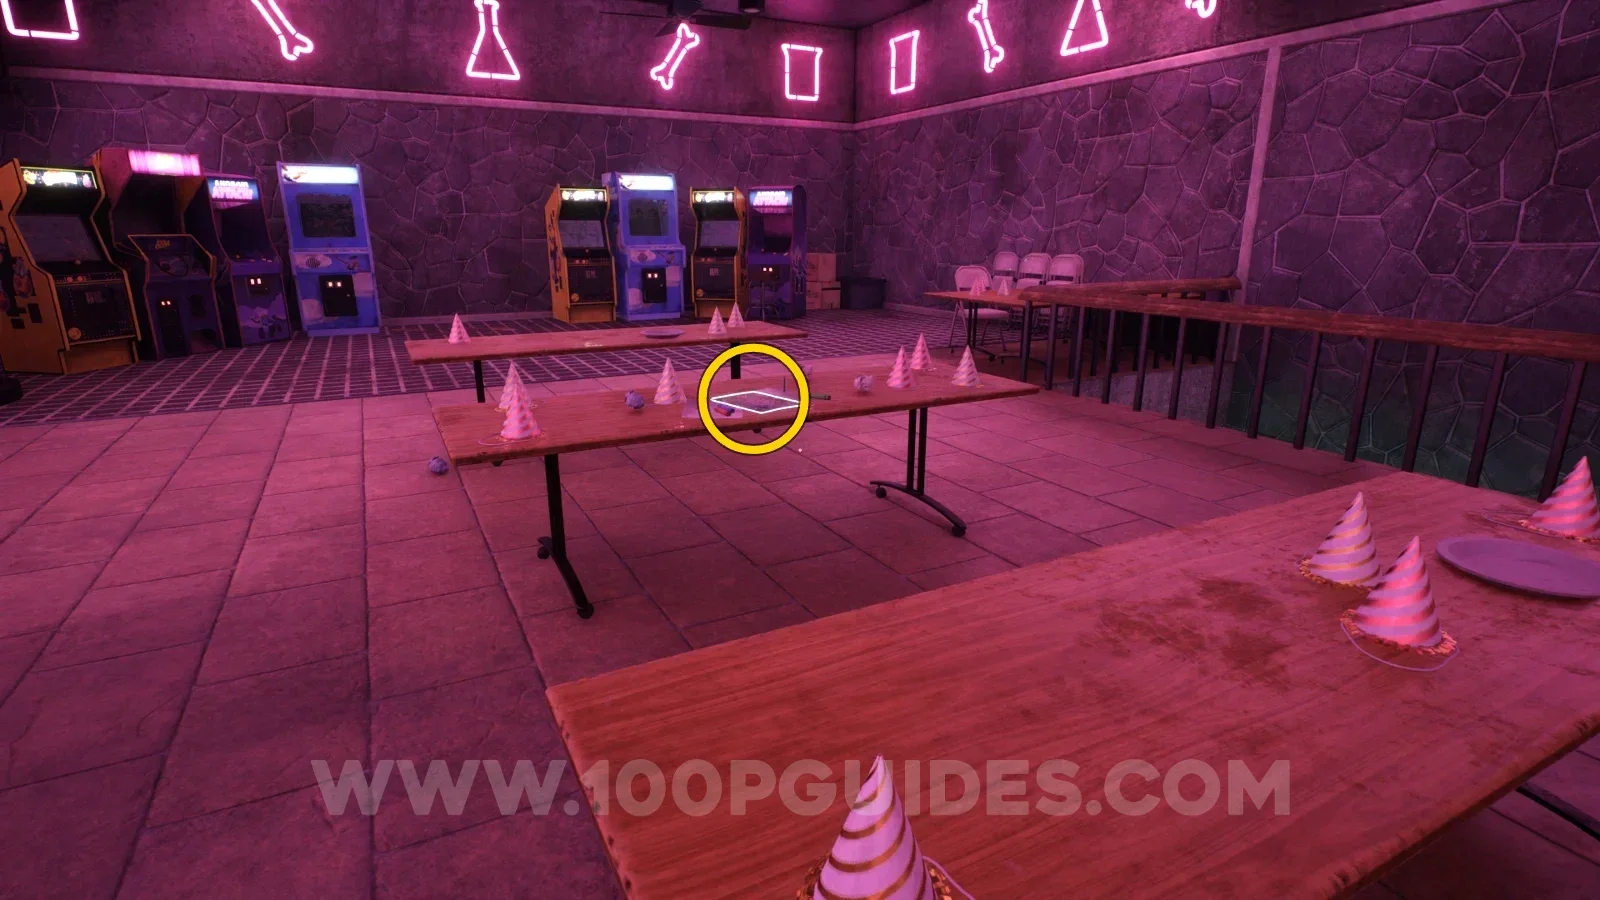
Return to the entrance of the gift shop area and head into the arcade on the left. The note can be found on a table upstairs.
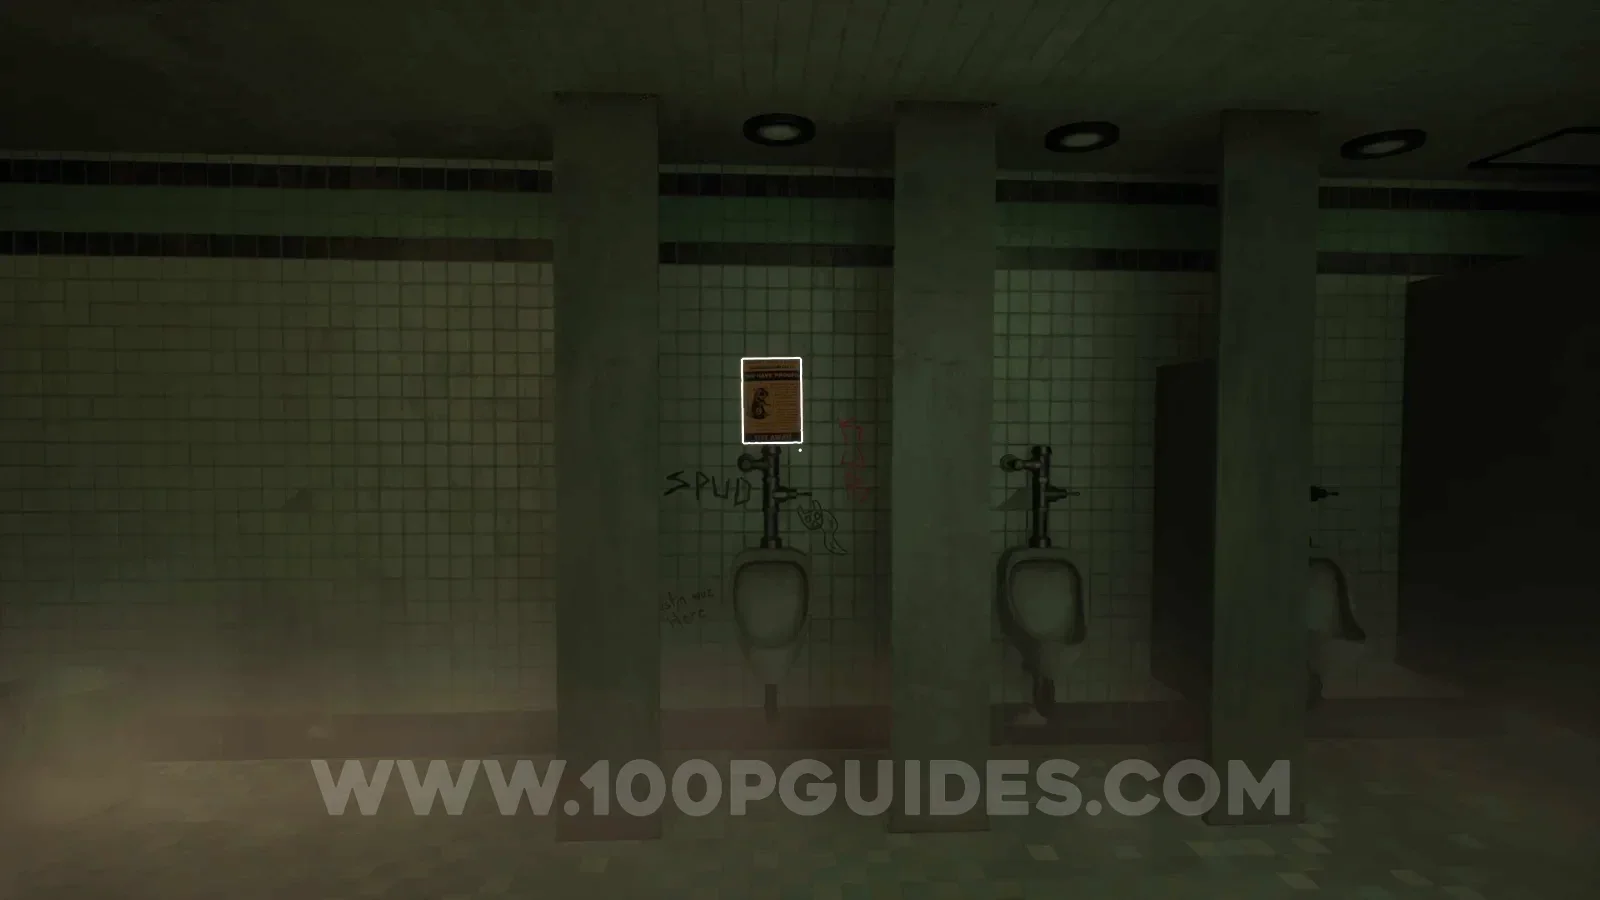
Note - Crumpled Flyer
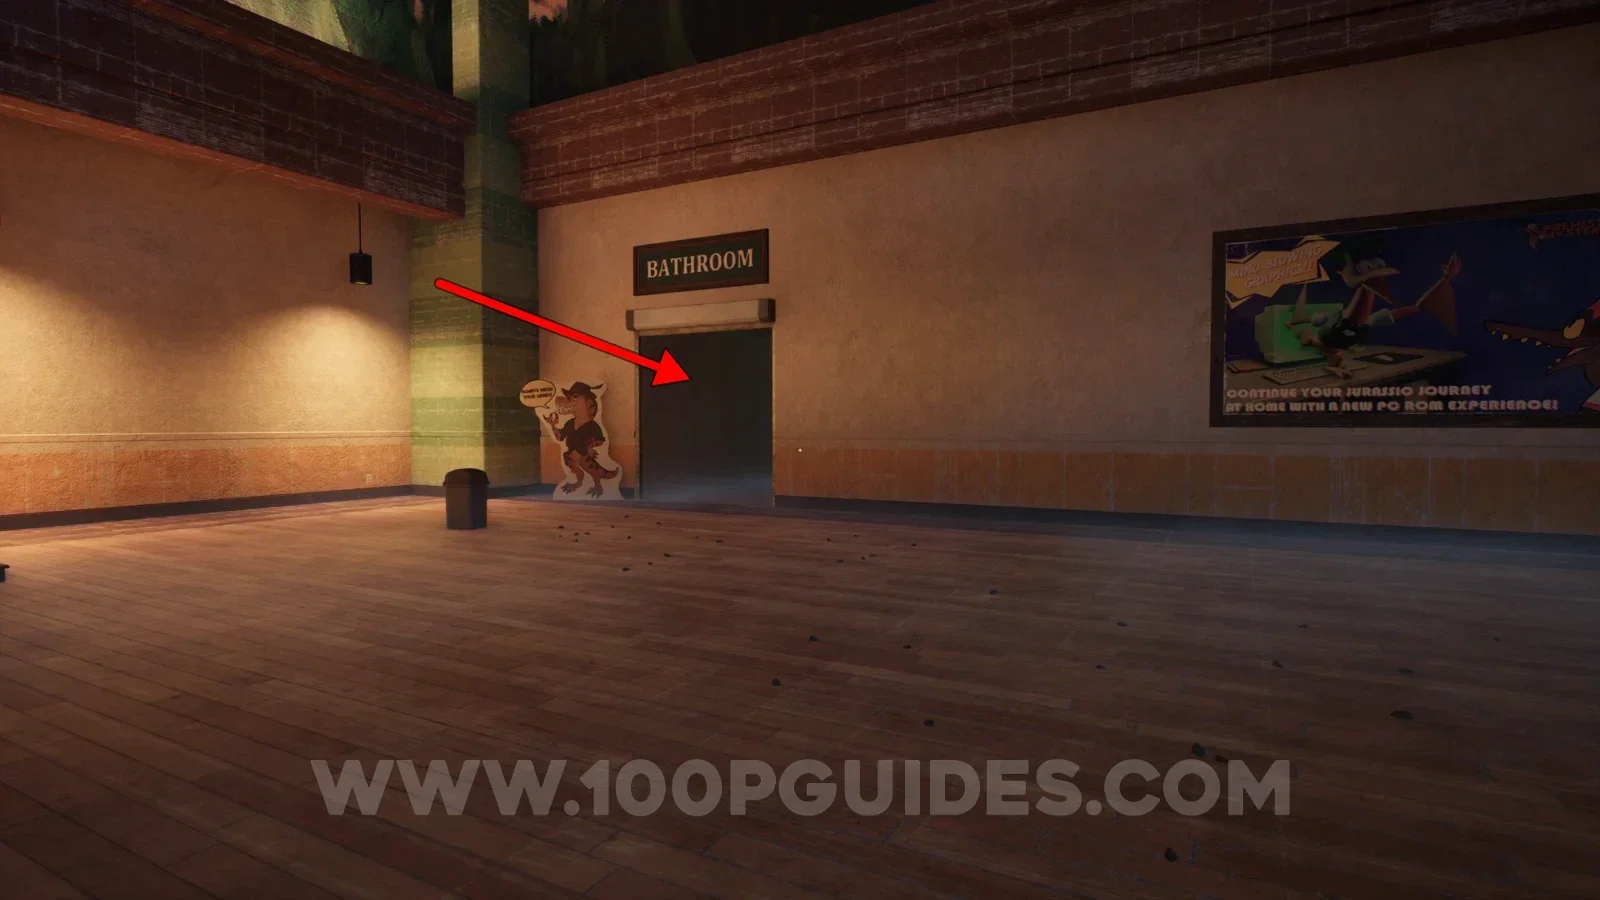
Head to the far left corner of the massive open gift shop area to find the bathrooms. Head inside and go right. You will find the note on the wall in one of the stalls.
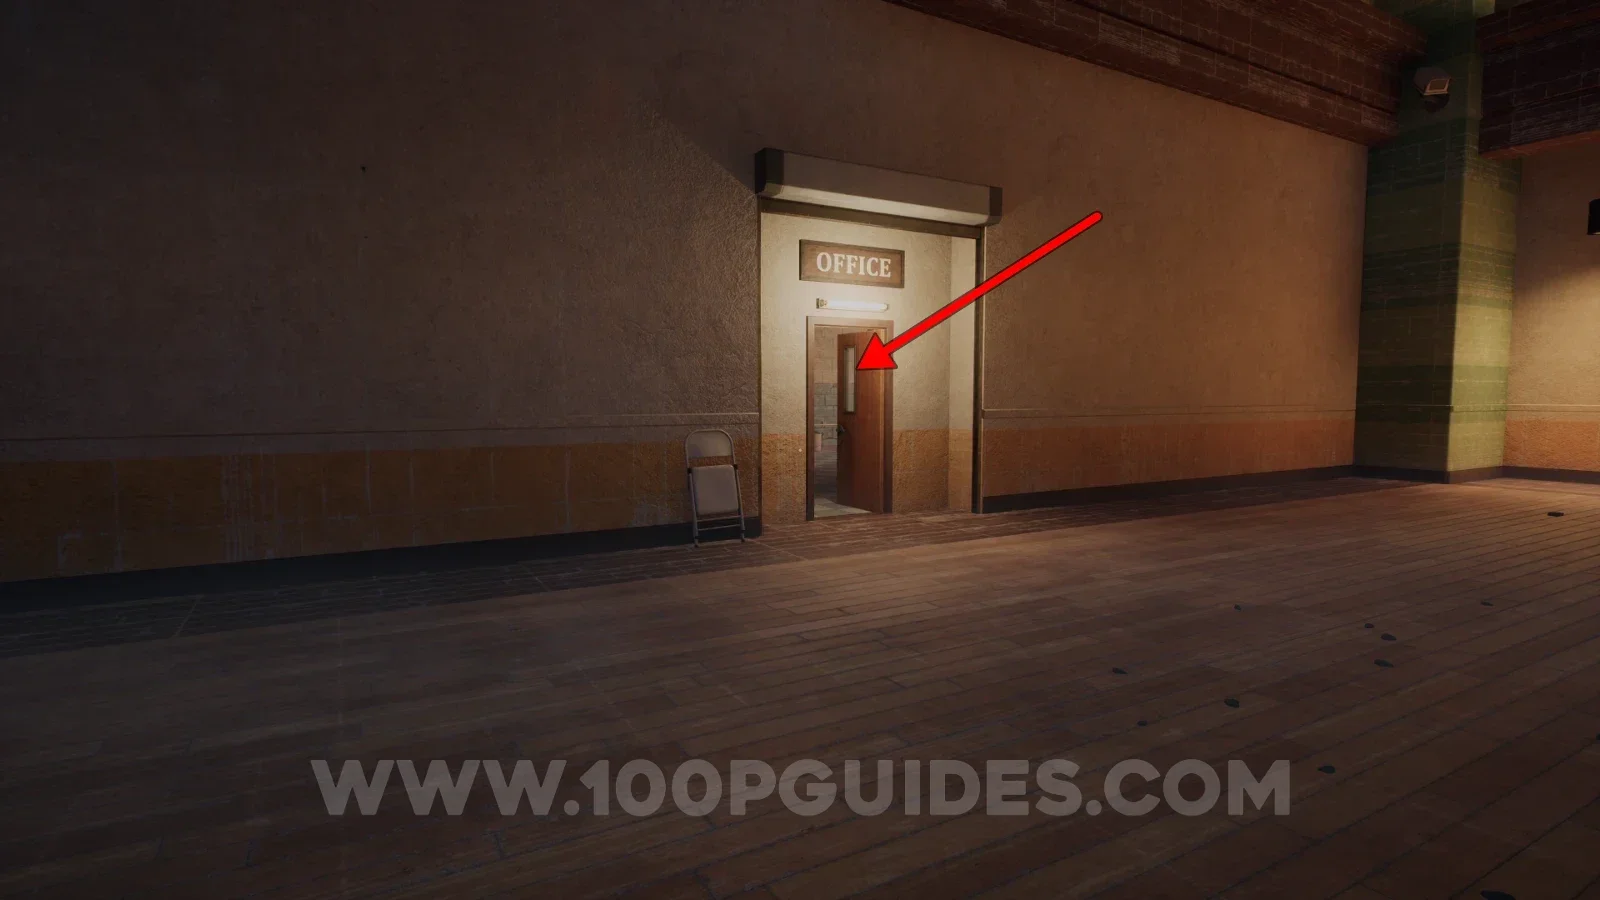
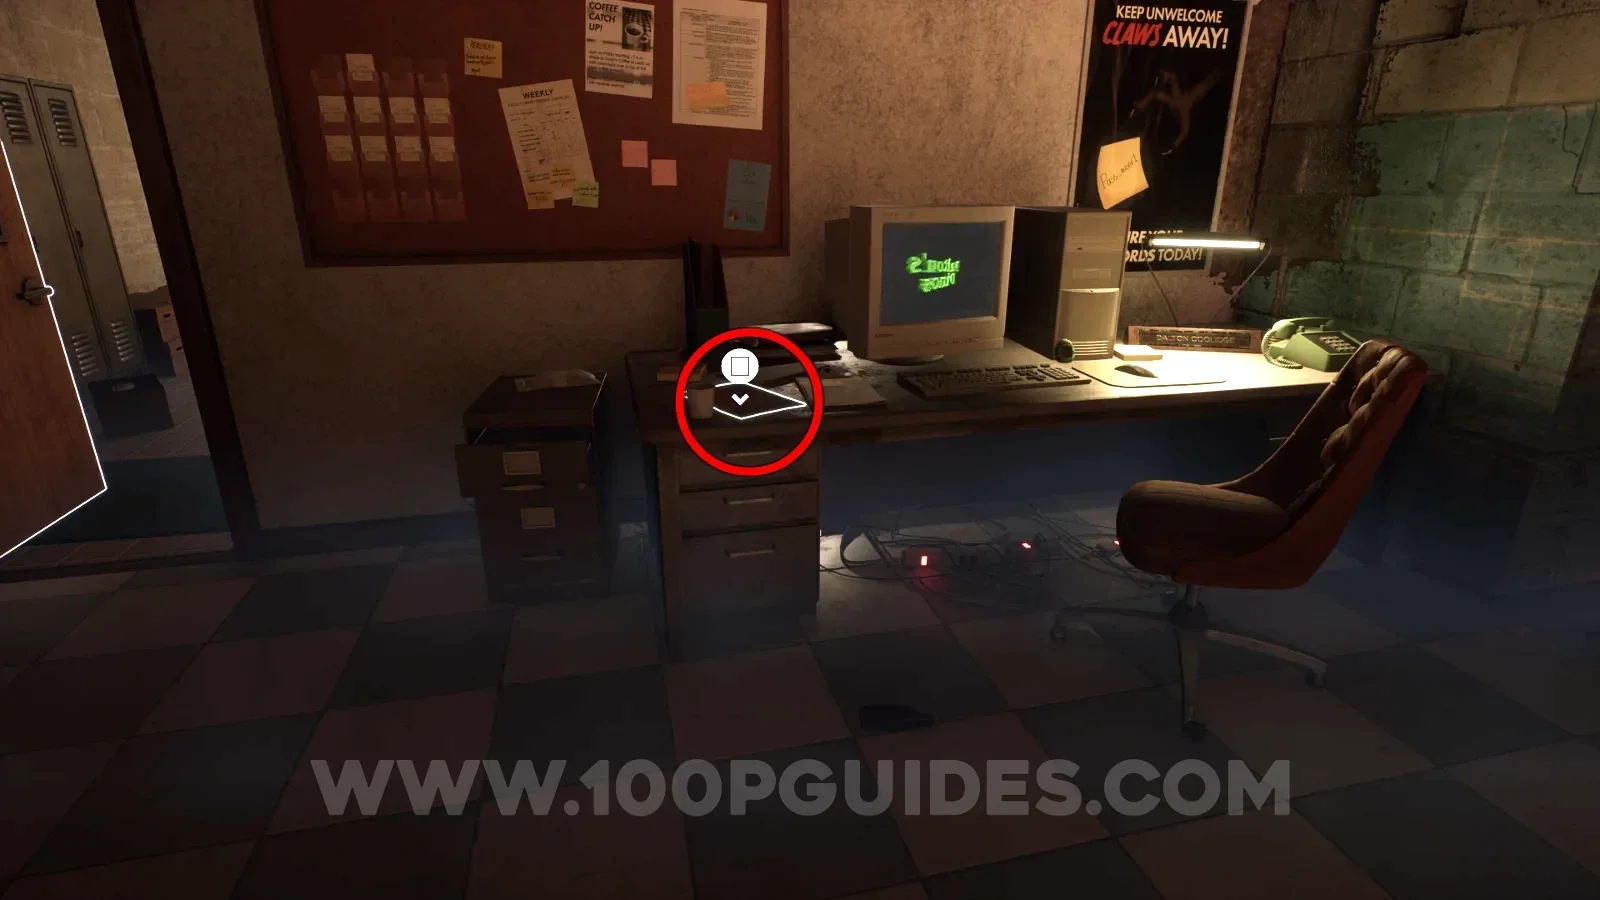
Note - Letter from Elena to Dalton
Head into the office in the far right corner of the massive open gift shop area (the room where you play the VHS to advance the story) to find the note on one of the desks.
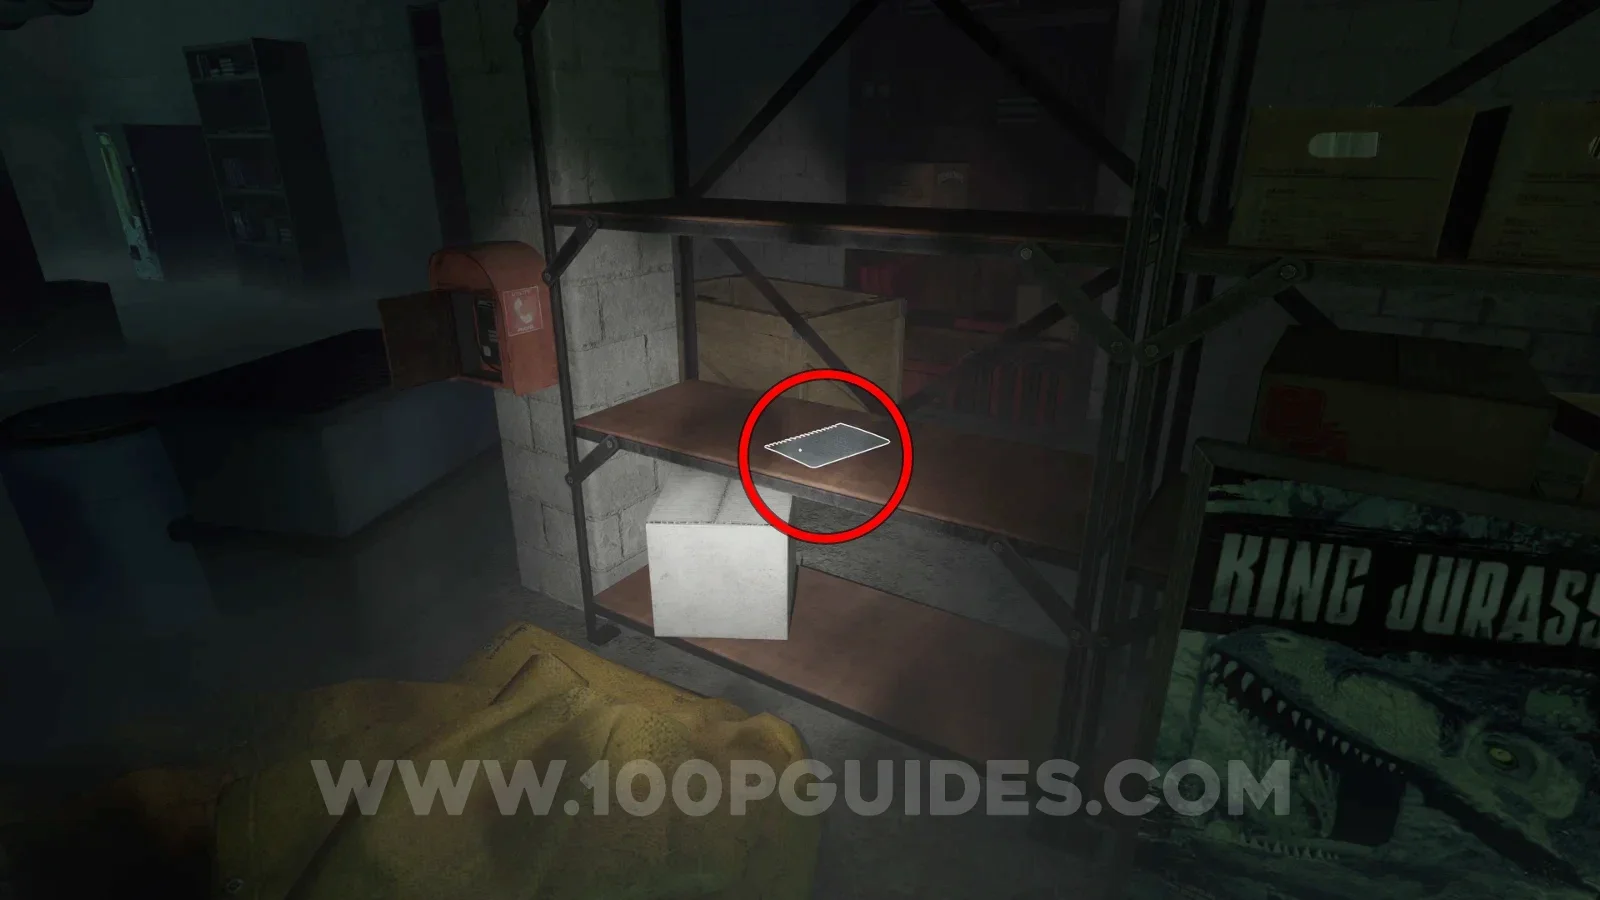
Note - Dalton Journal Entry: March 15 1981
In the basement where you have to pick up all the fuses.
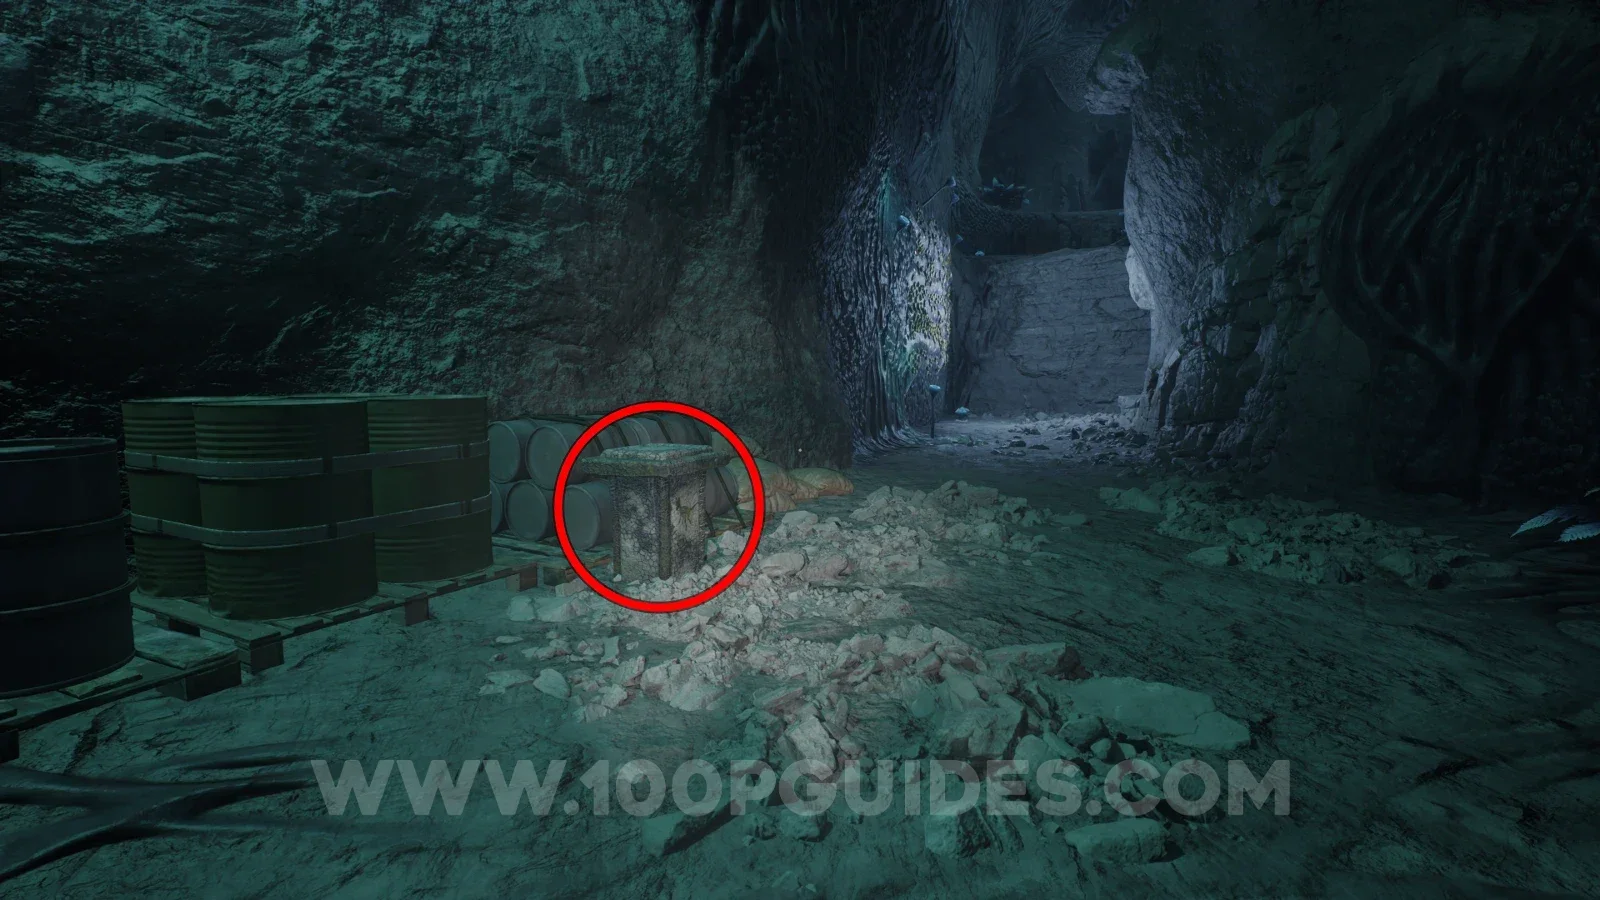
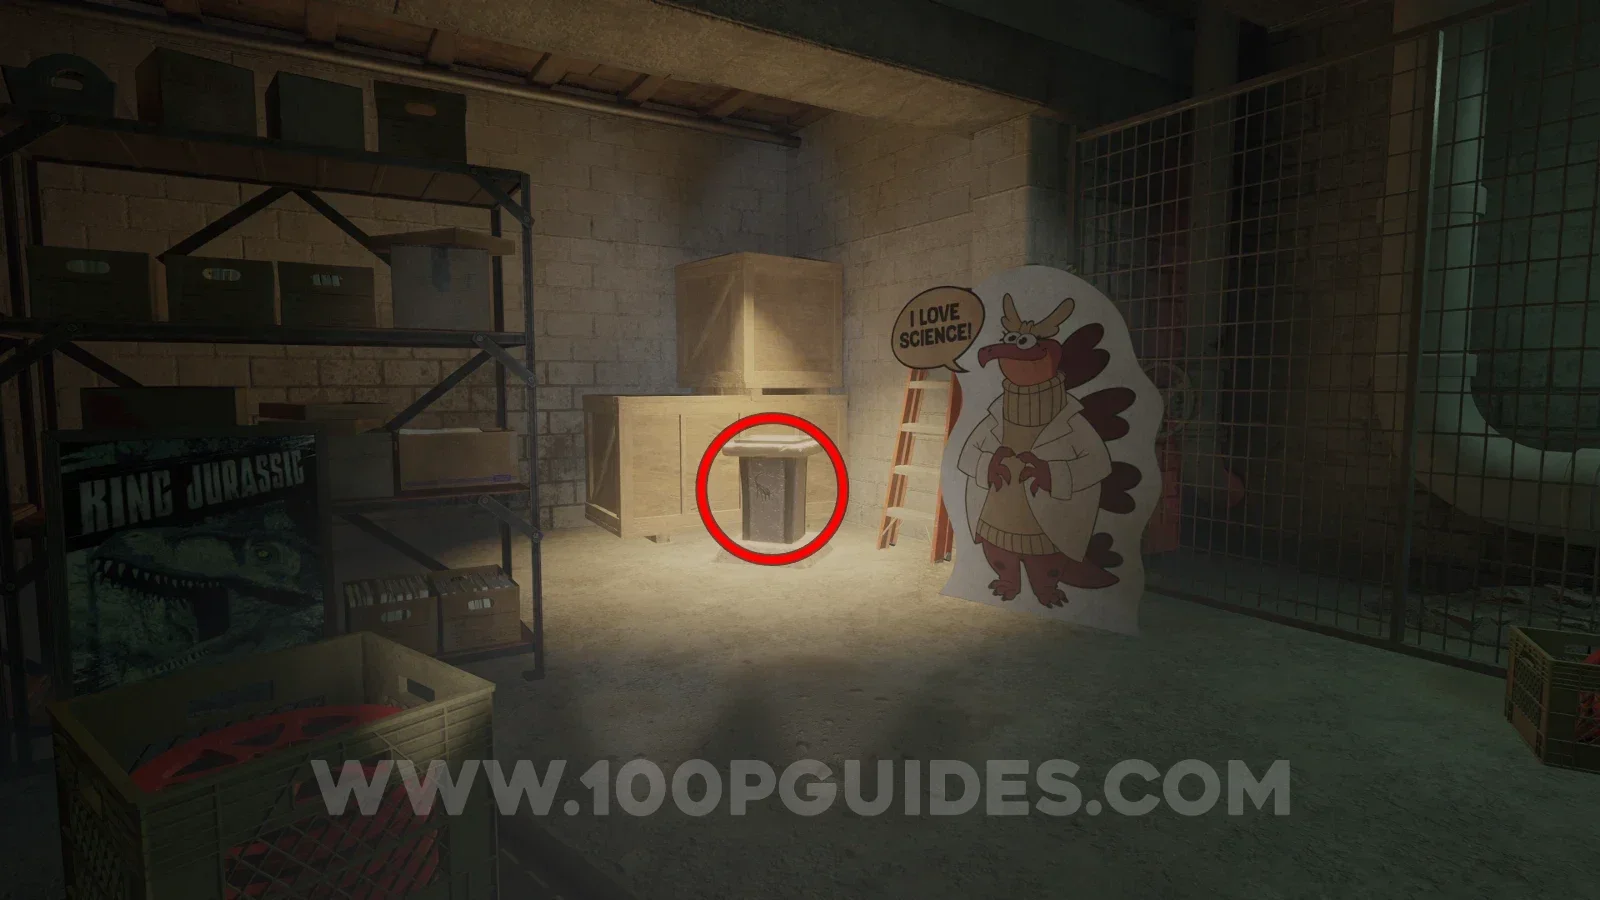
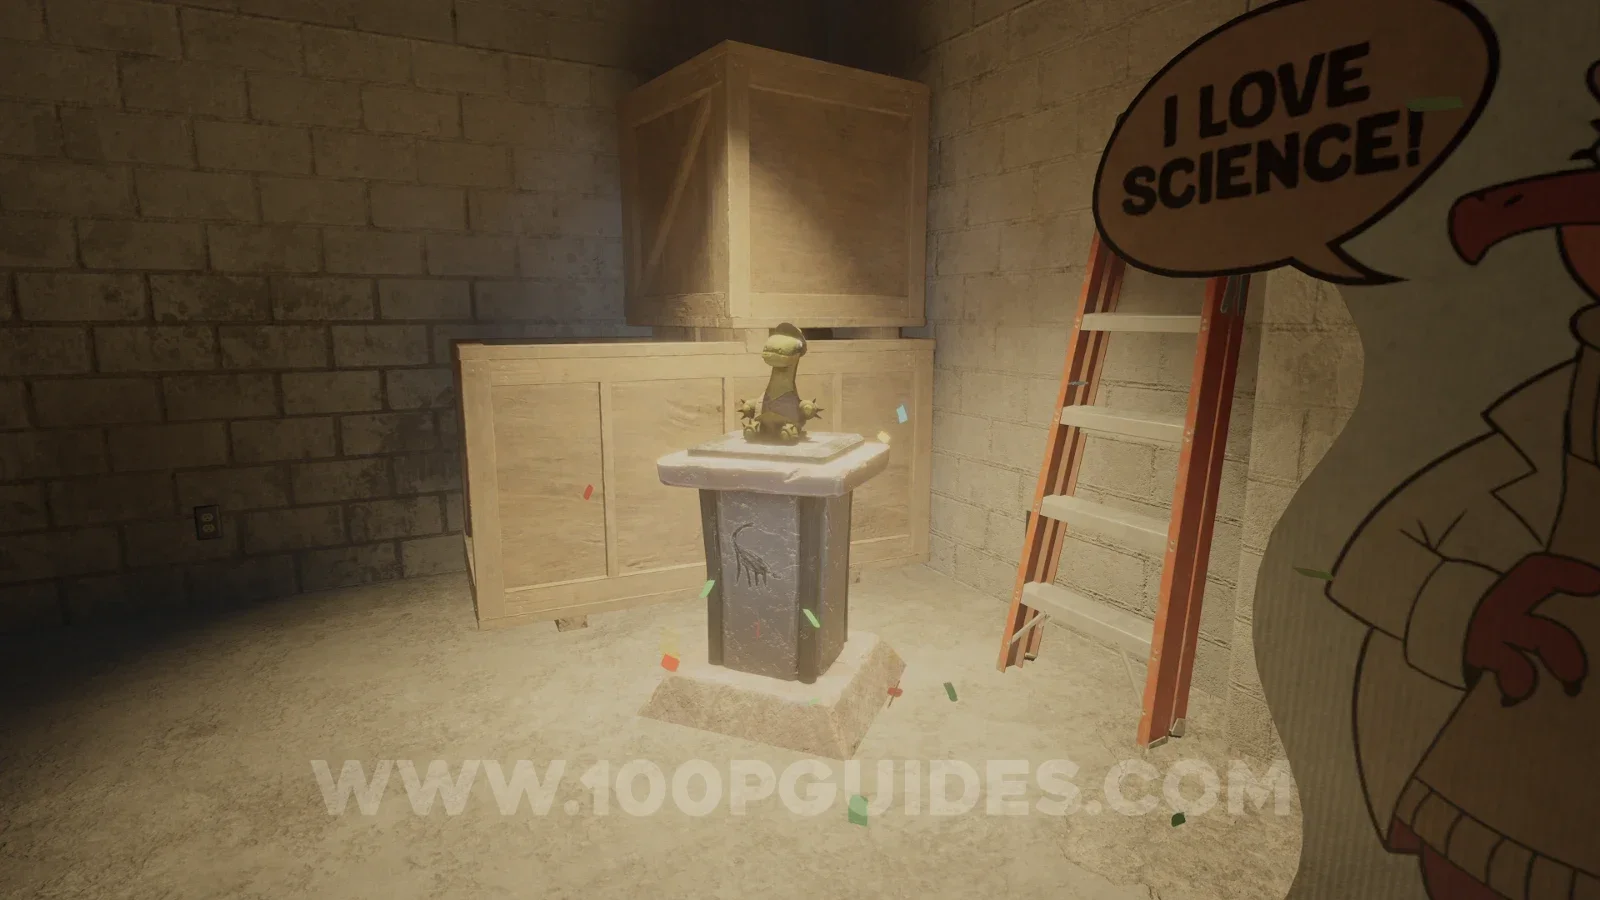
Stuffed Animal Pedestal
Found in the corner of the basement where you pick up the fuses. If you haven't died since you picked up the stuffed animal at the start of the level, you can place it on the pedestal.
Sample - Amber Specimen 04
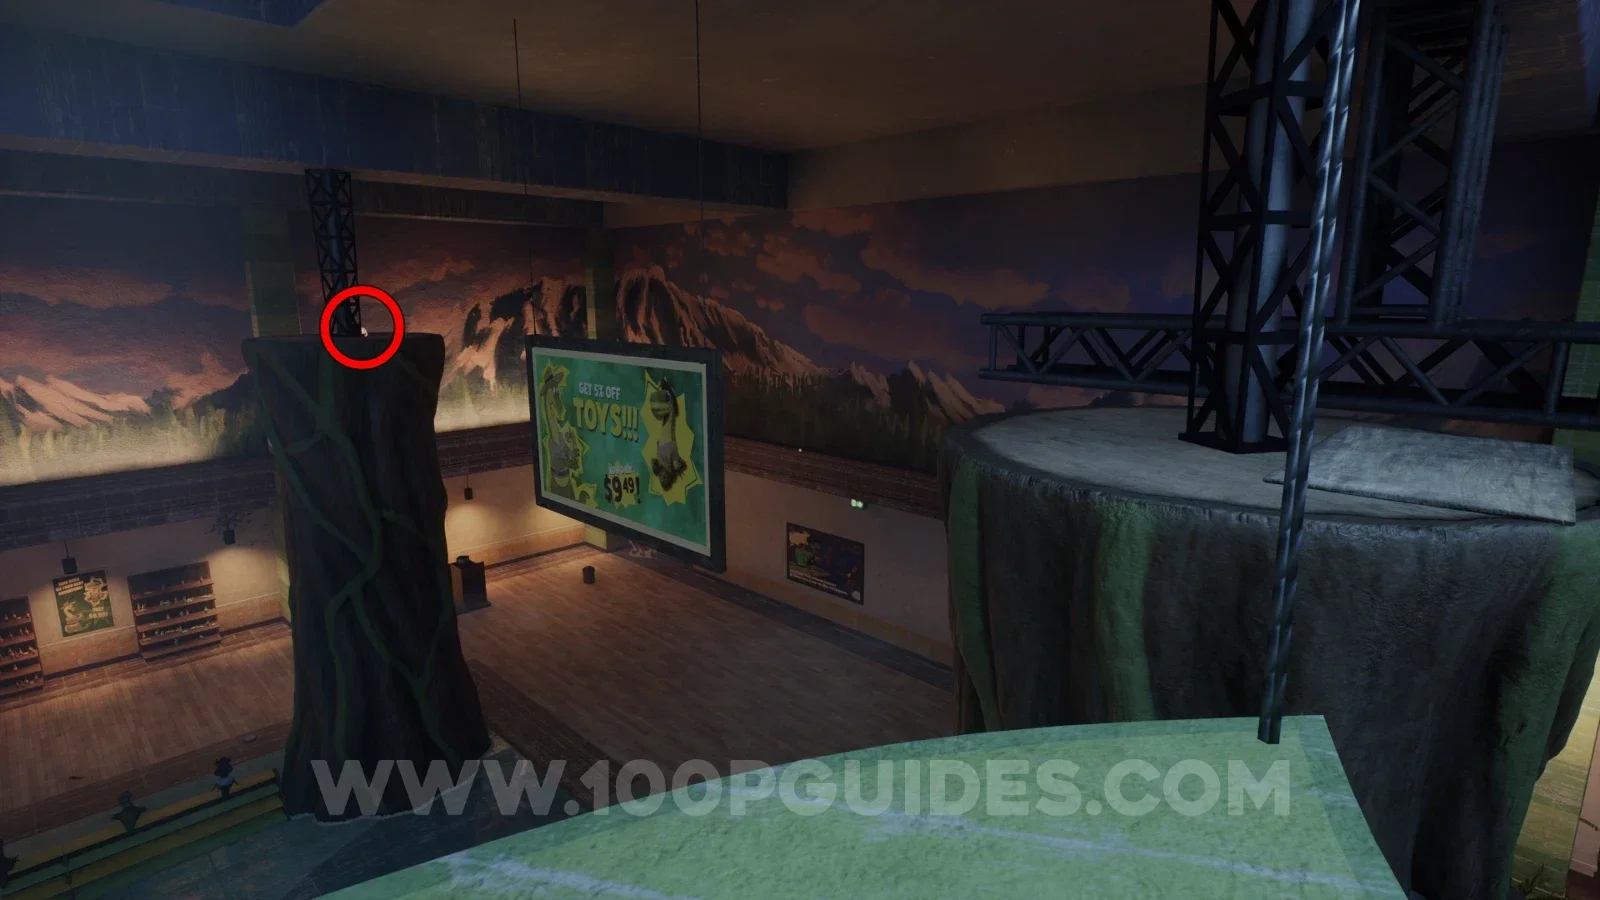
During the section where you have to jump around the top part of the massive open gift shop area with the large monster roaming around below, instead of heading right towards the second plug (main objective), head left to find the collectible on the circular platform.
Chapter 2
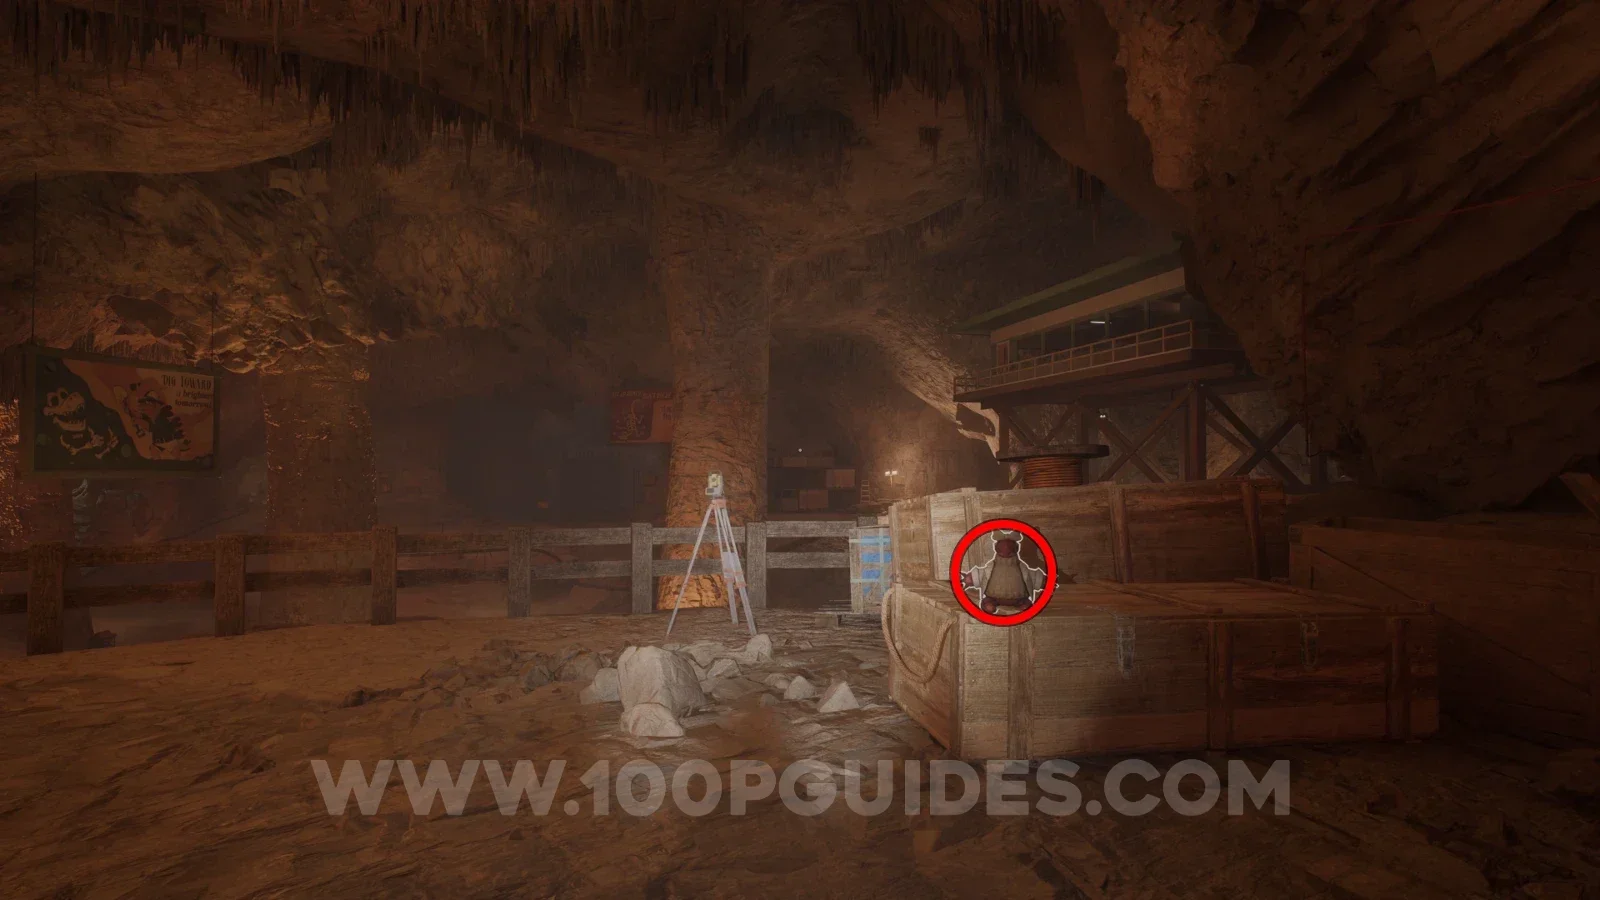
Stuffed Animal
On the boxes on your right at the start of the chapter. Take it to the pedestal at the end of the level without dying.
Note - Comms System Relay Audit
From the stuffed animal, head down the slope on your left. As you descend it, you will see a blue box on your right. Here, go right to find the note on the comms machine.
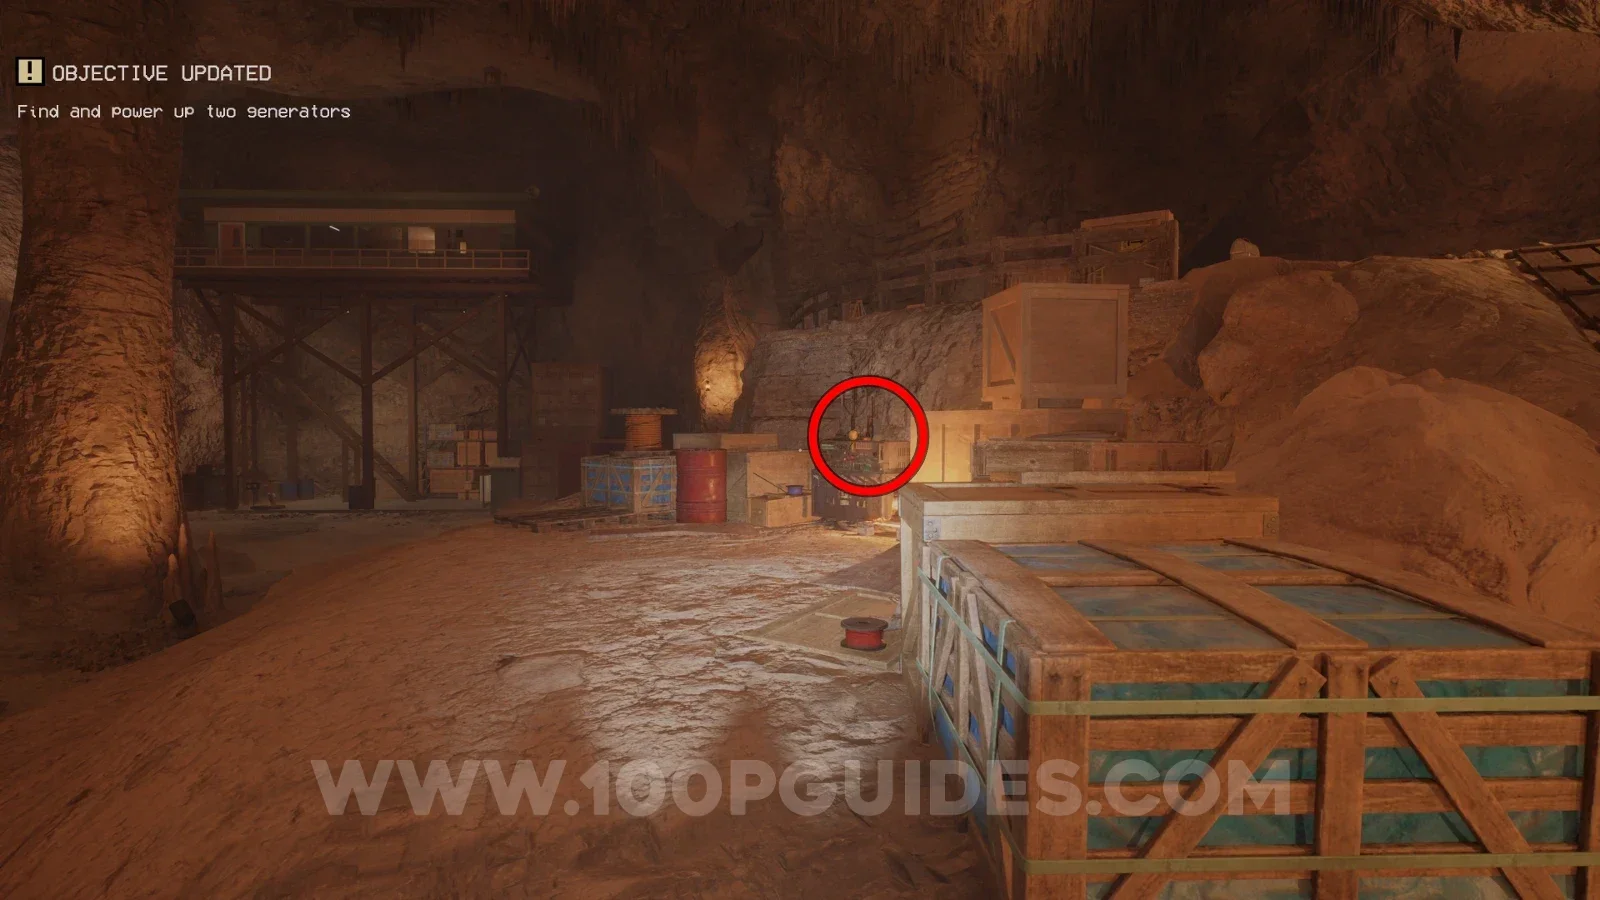
Note - Dalton Journal Entry: Feb 3 1986
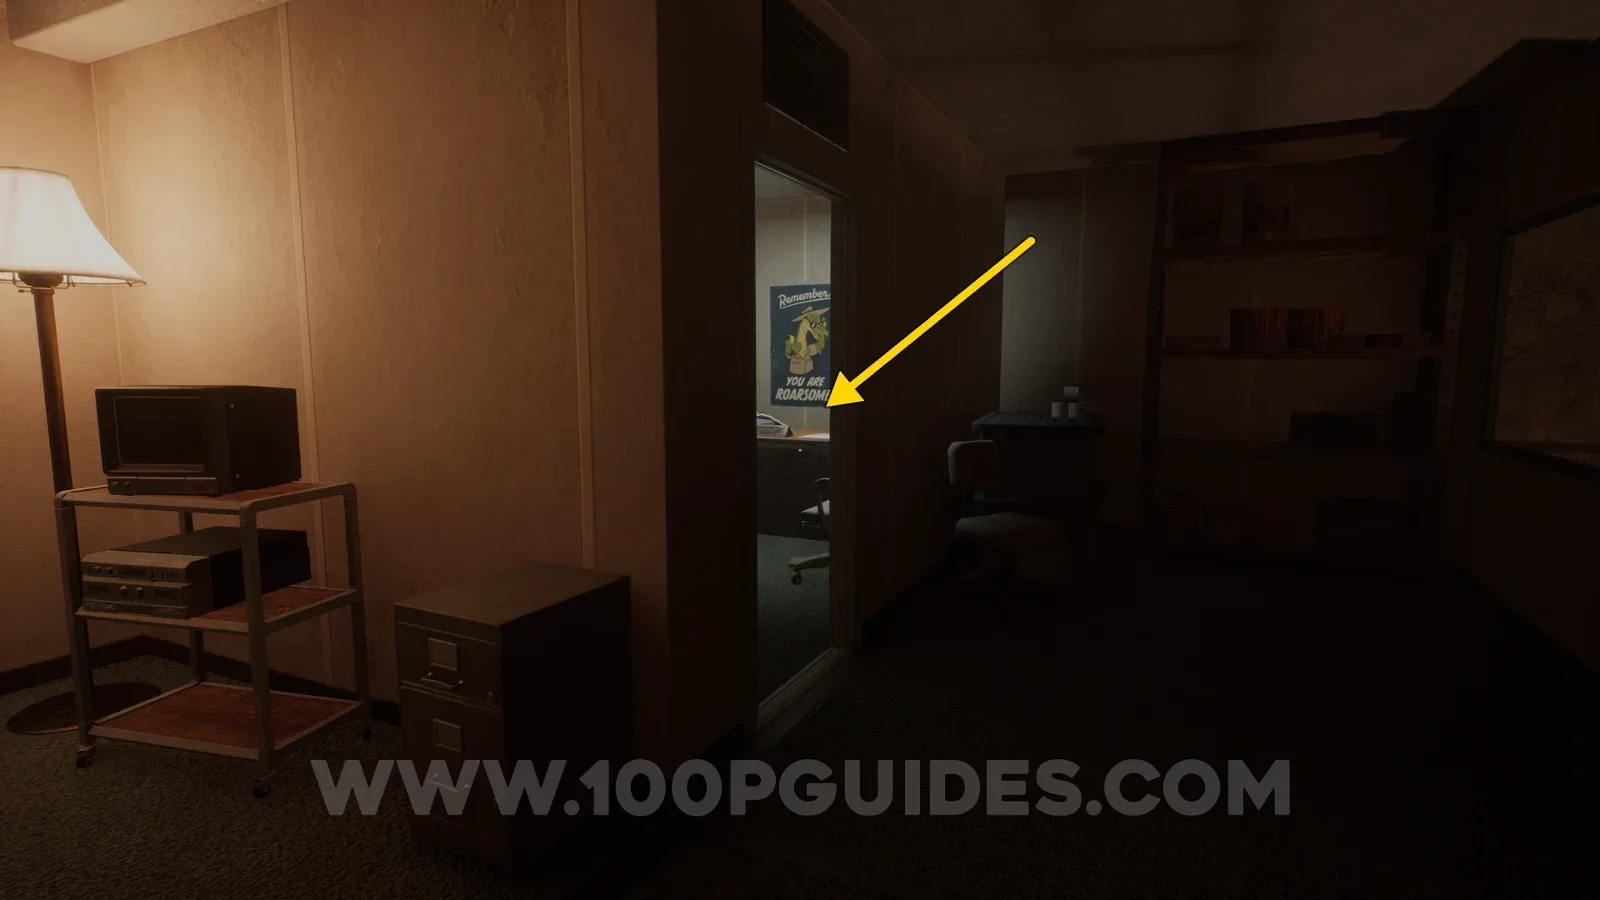
In the first open area at the start of the chapter, climb the wooden stairs up to the office on the right side. Inside, go through to the small room at the back and pick up the note from the desk.
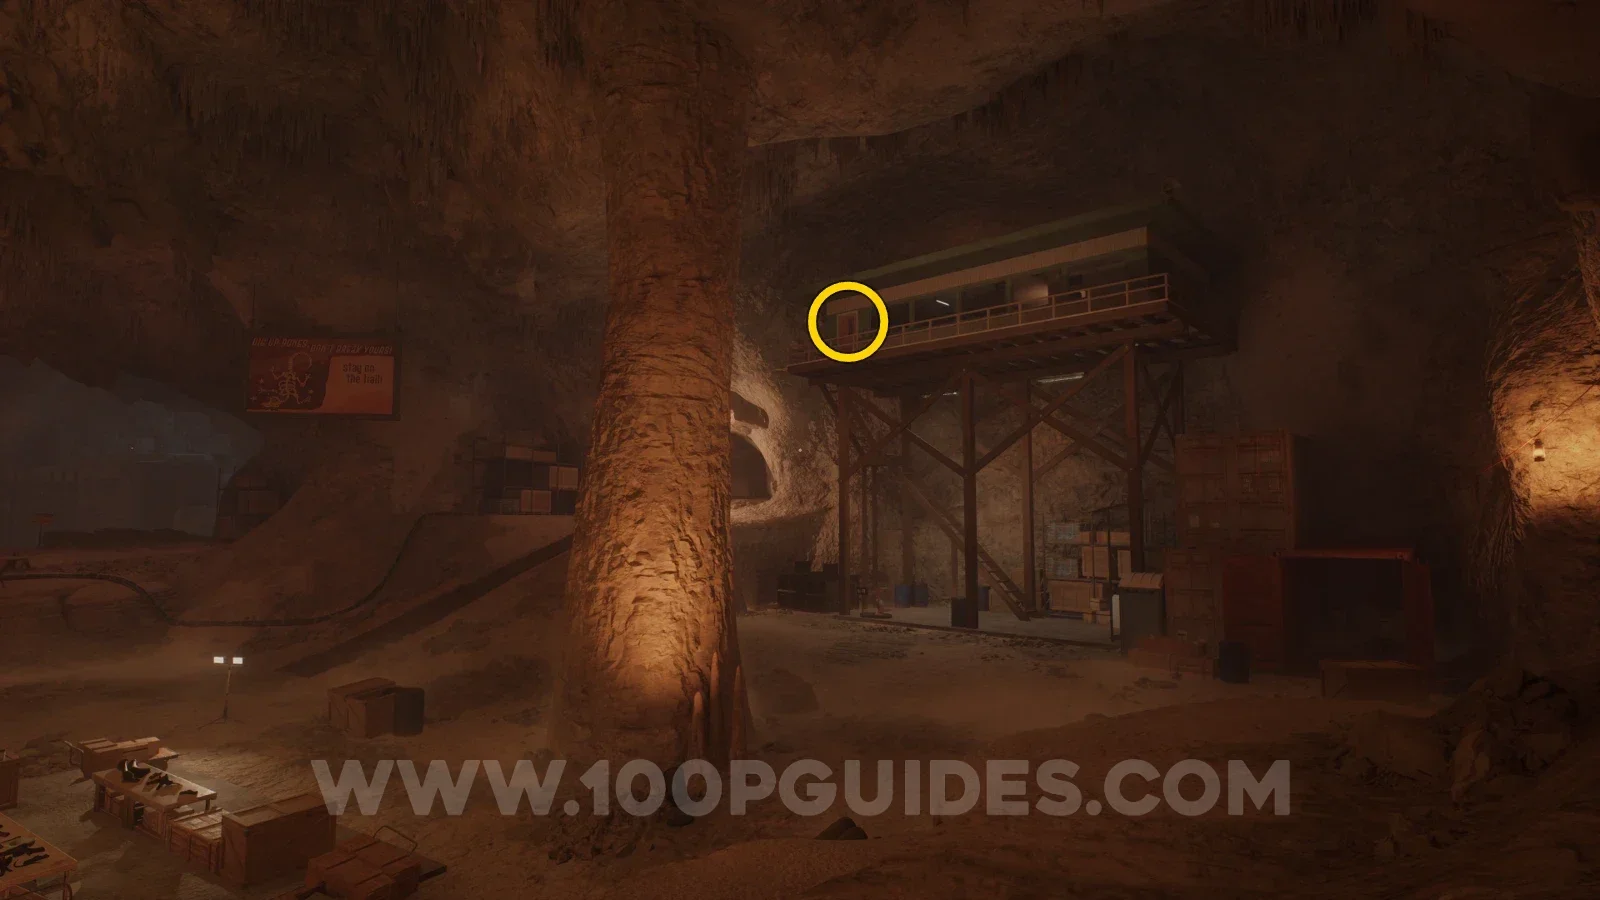
Note - Power Saver Doors
Next to the red button where you get the "Indy Doors" tutorial on the left side of the first open area.
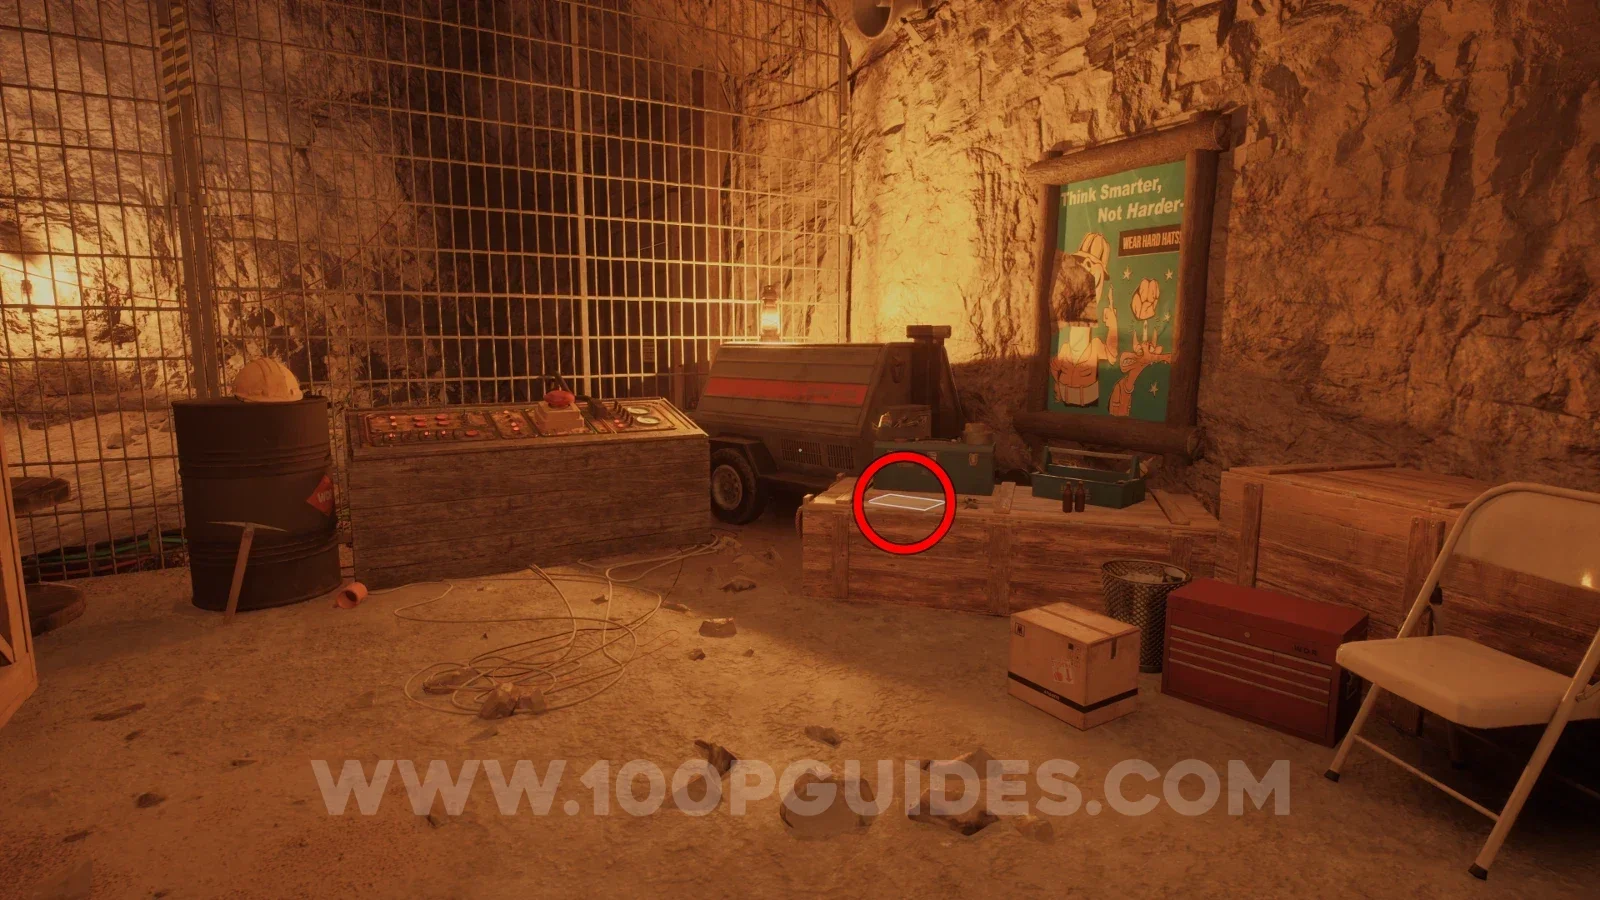
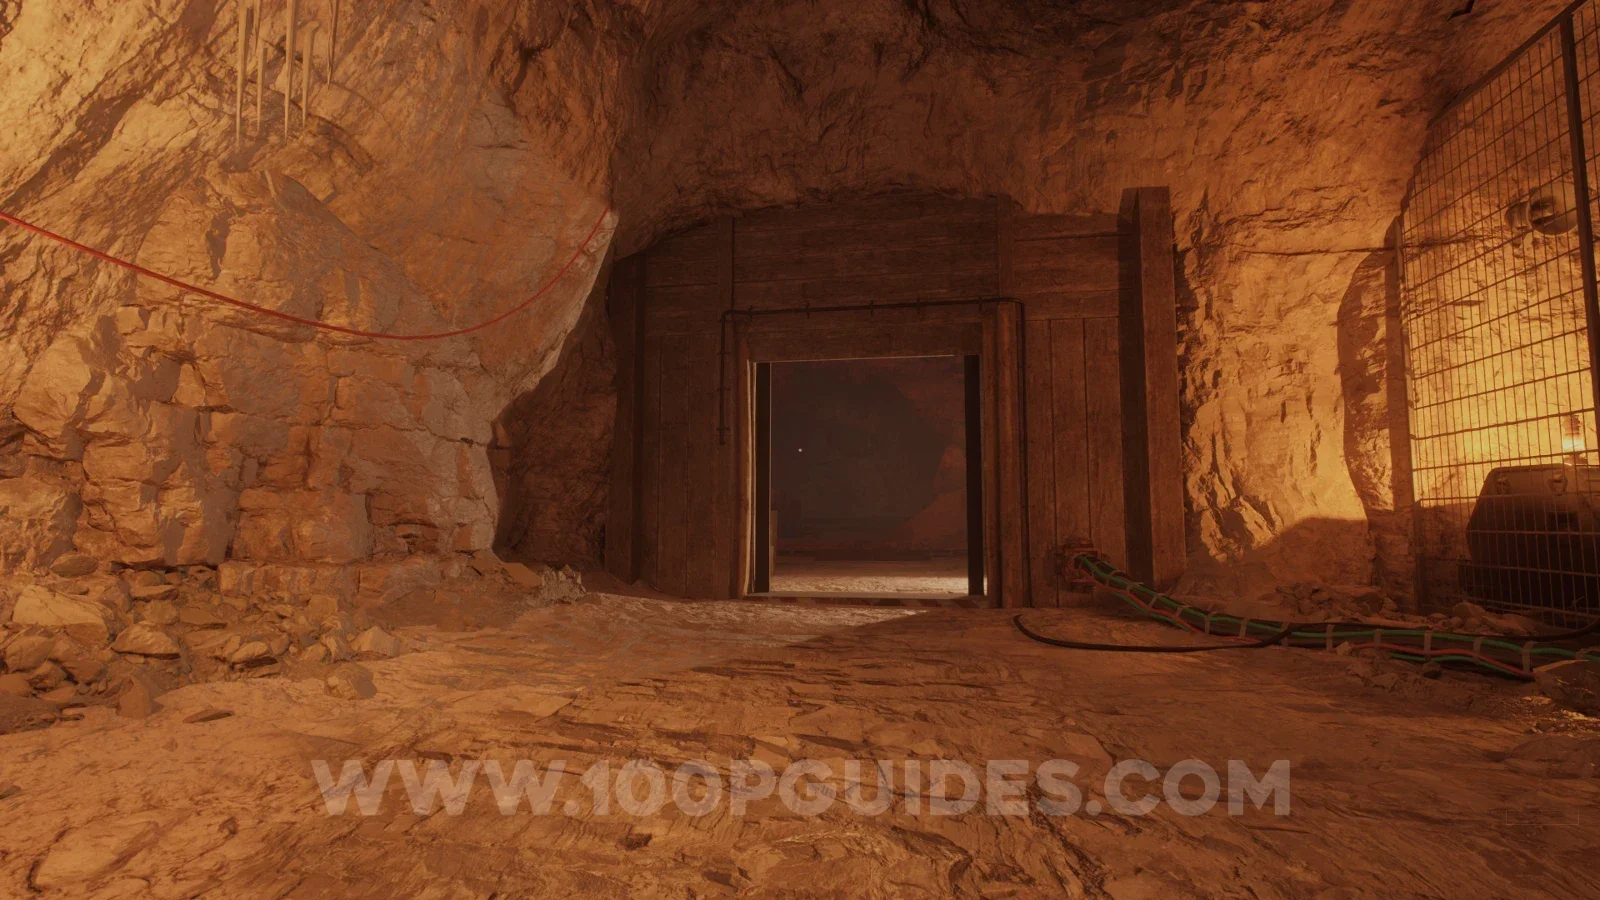
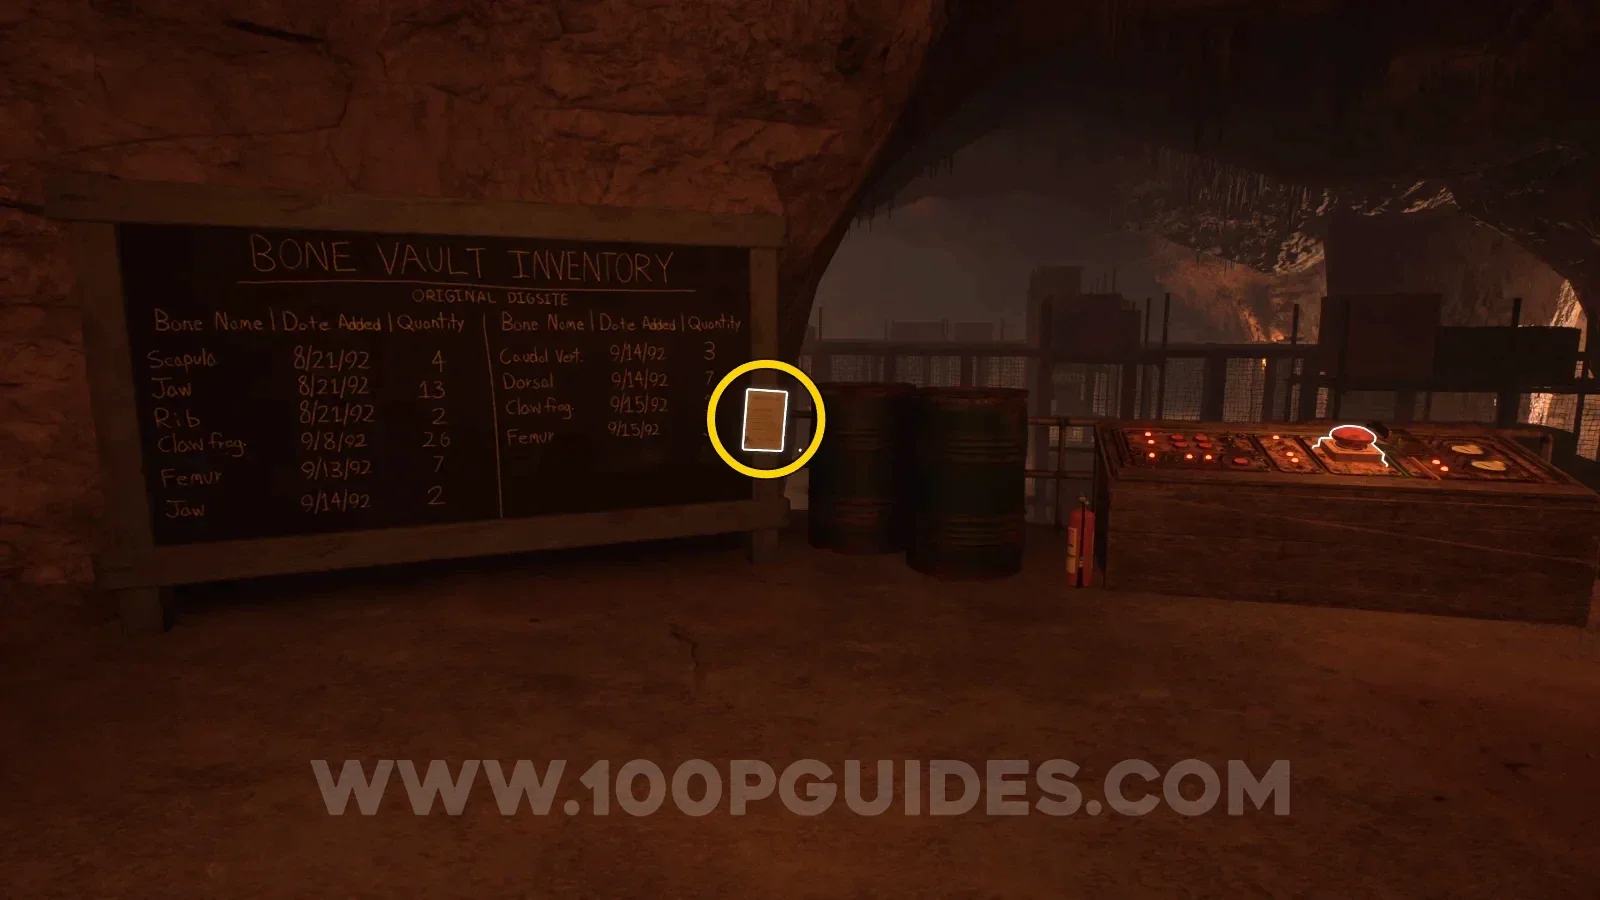
Note - Bone Vault Records
Press the button next to the previous note and run through the door before it closes. Then, as you advance through the next corridor, you will see the note on your left next to the board.
Tape - Dalton Coolidge: The "Propaganda"
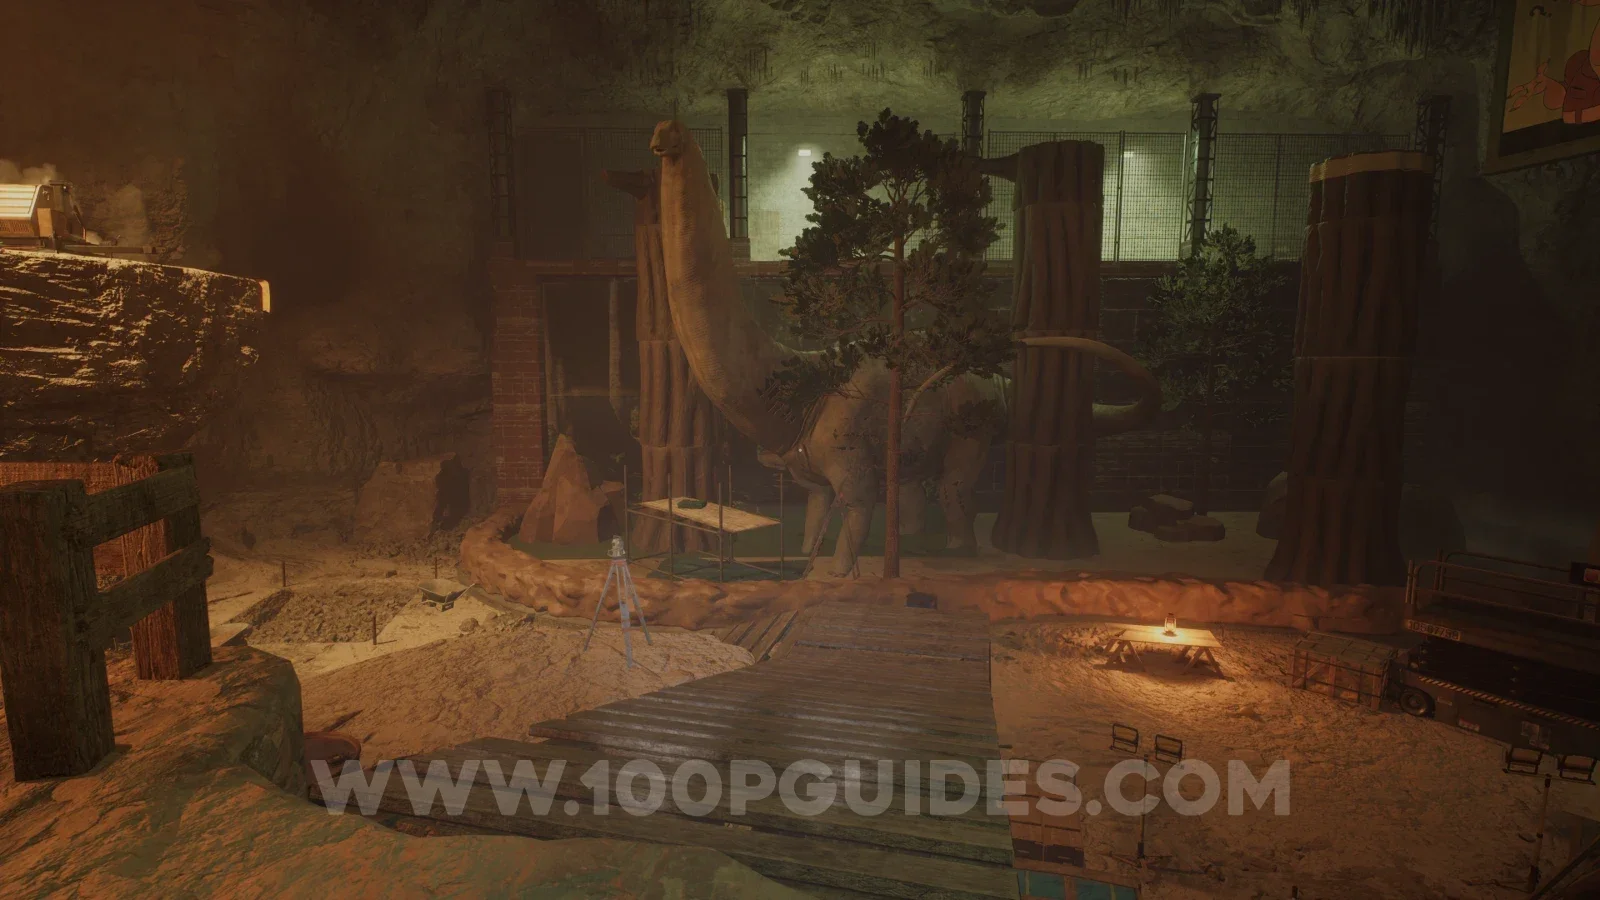
Once you return to the open area at the start of the chapter, head through the mining tunnel to the left of the office where you used the code at the start of the chapter. Once you come out the other side, head down the wooden ramp and, at the bottom, look left to find the tape.
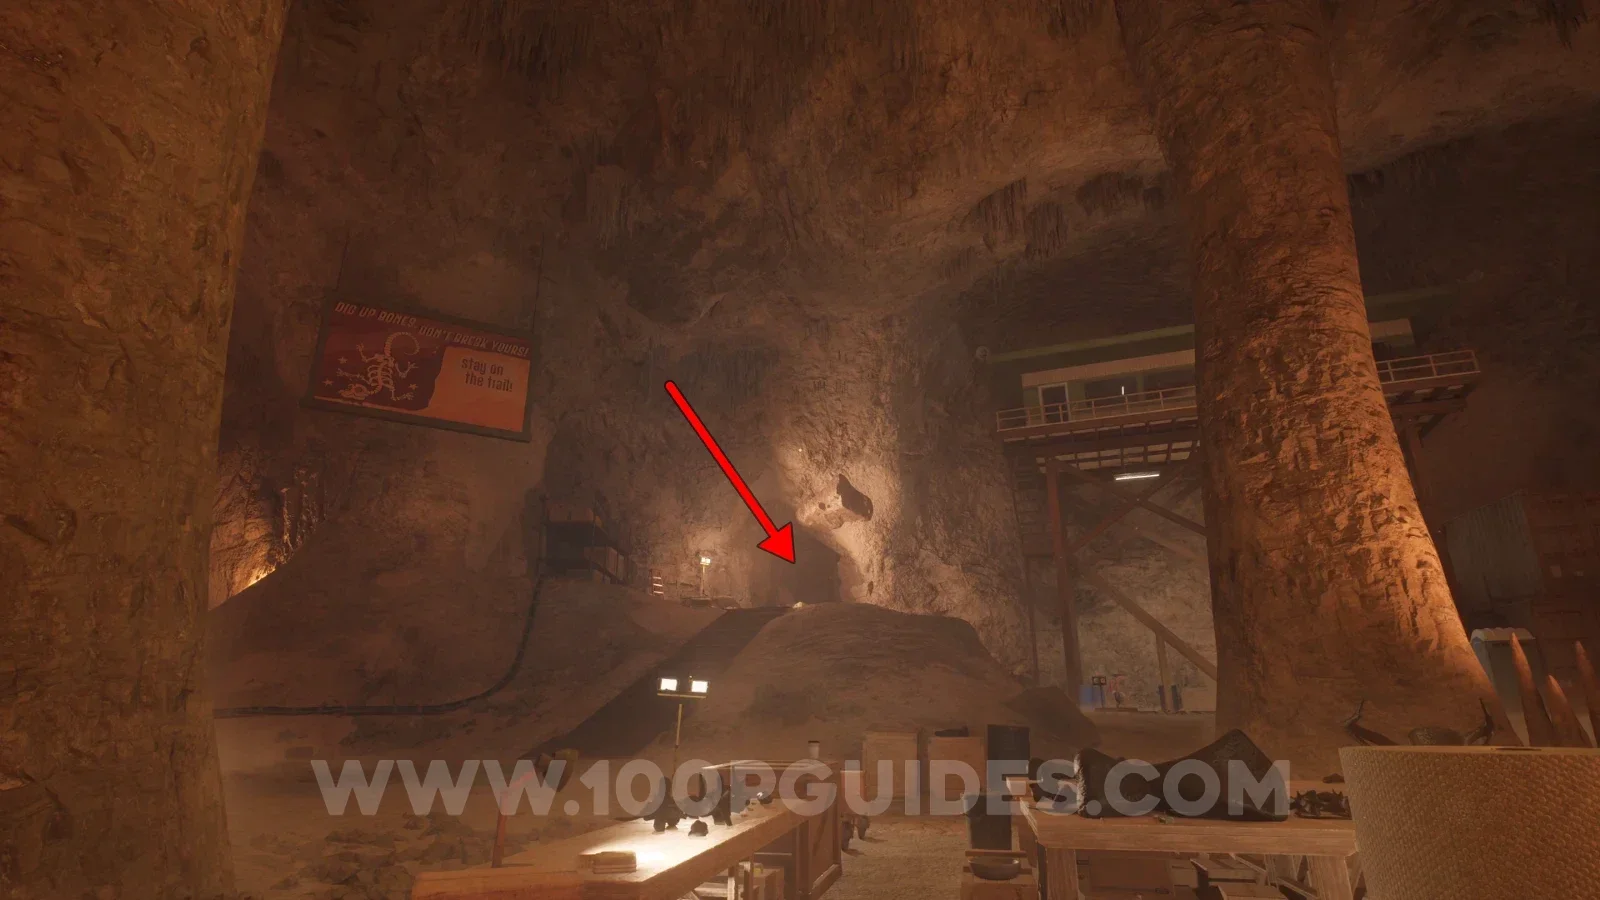
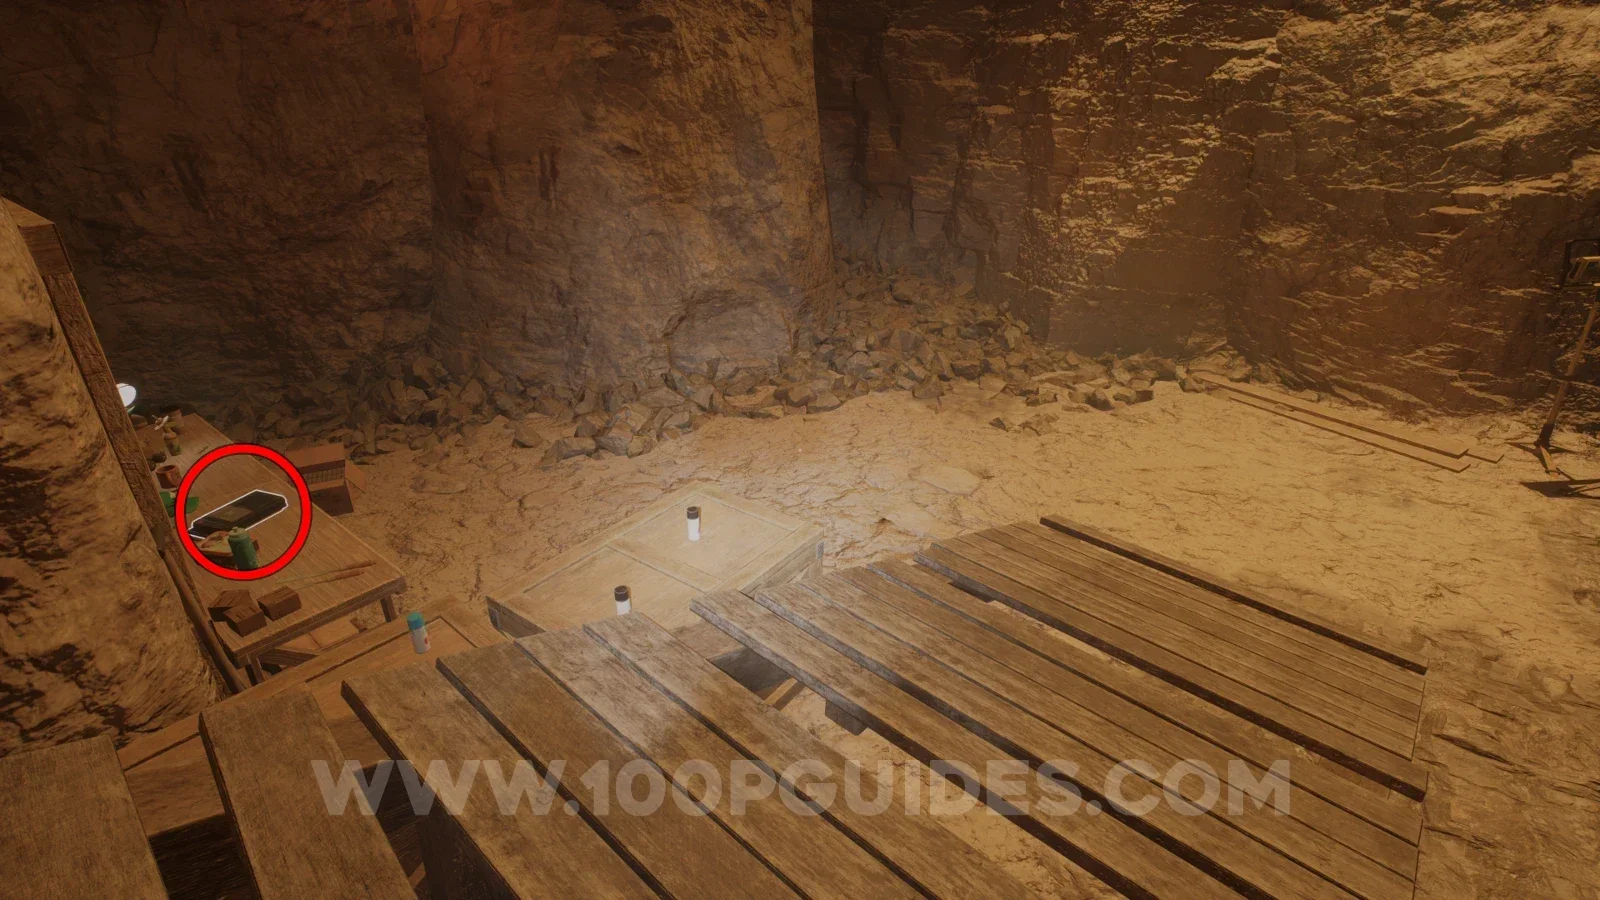
Sample - Amber Specimen 05
In the same room as the previous tape, look for a platform you can stand on with a red button on it. The amber can be found on top of the sign above it. To reach it, press the button and climb around the back of the stone pillar behind the sign with the amber on it. Once you come around the other side, stand on the tree trunk and jump to the top of the sign.
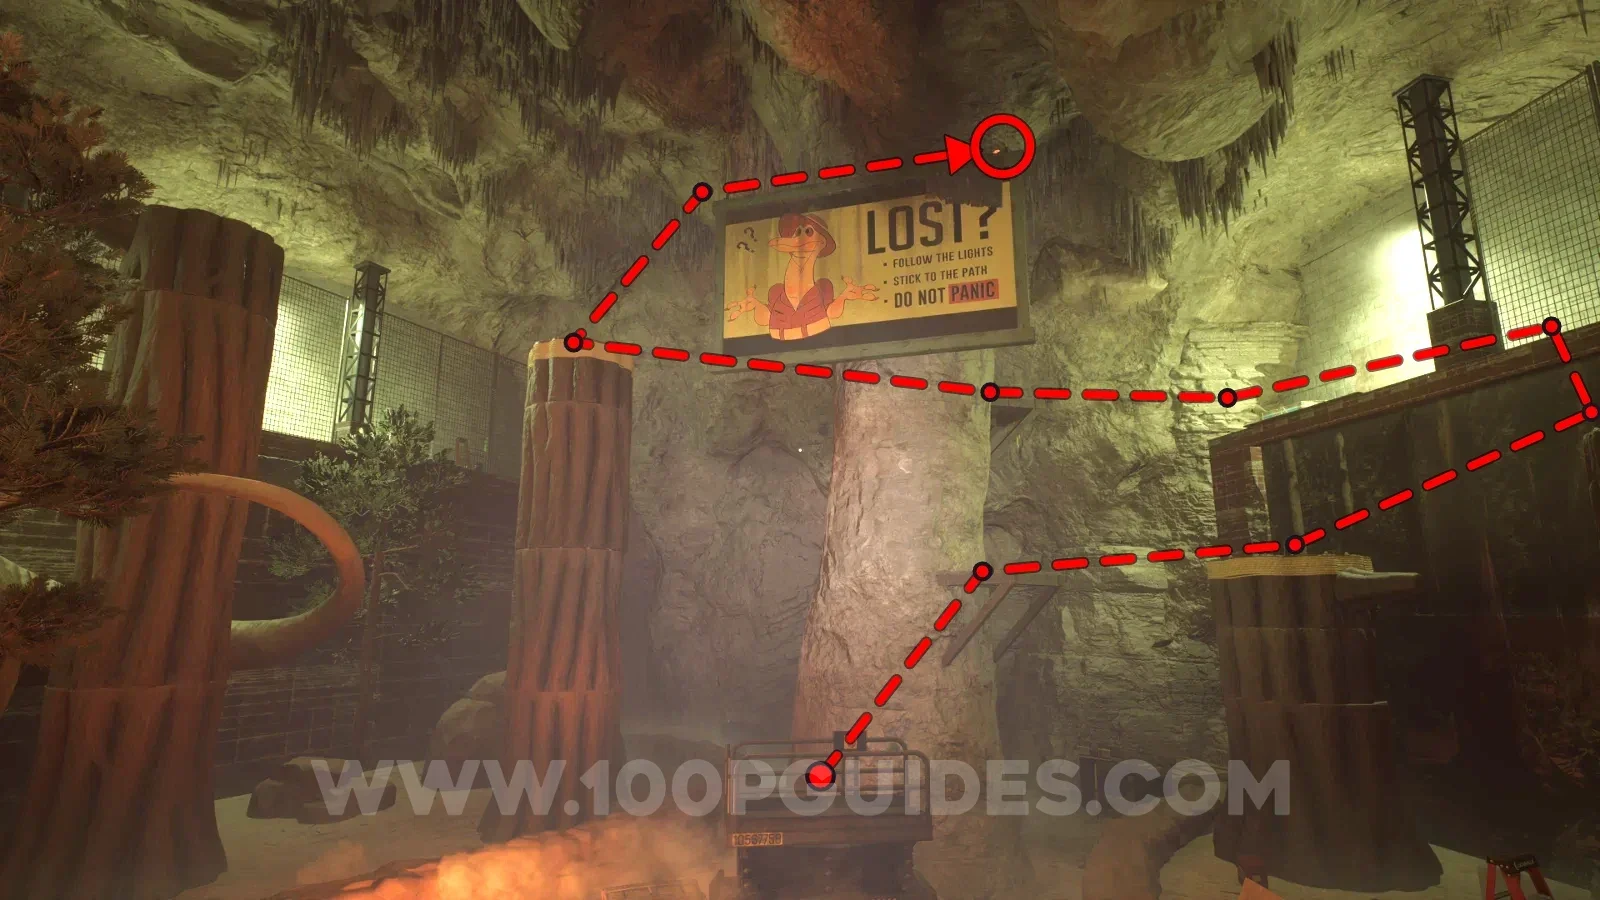
Note - Break Room
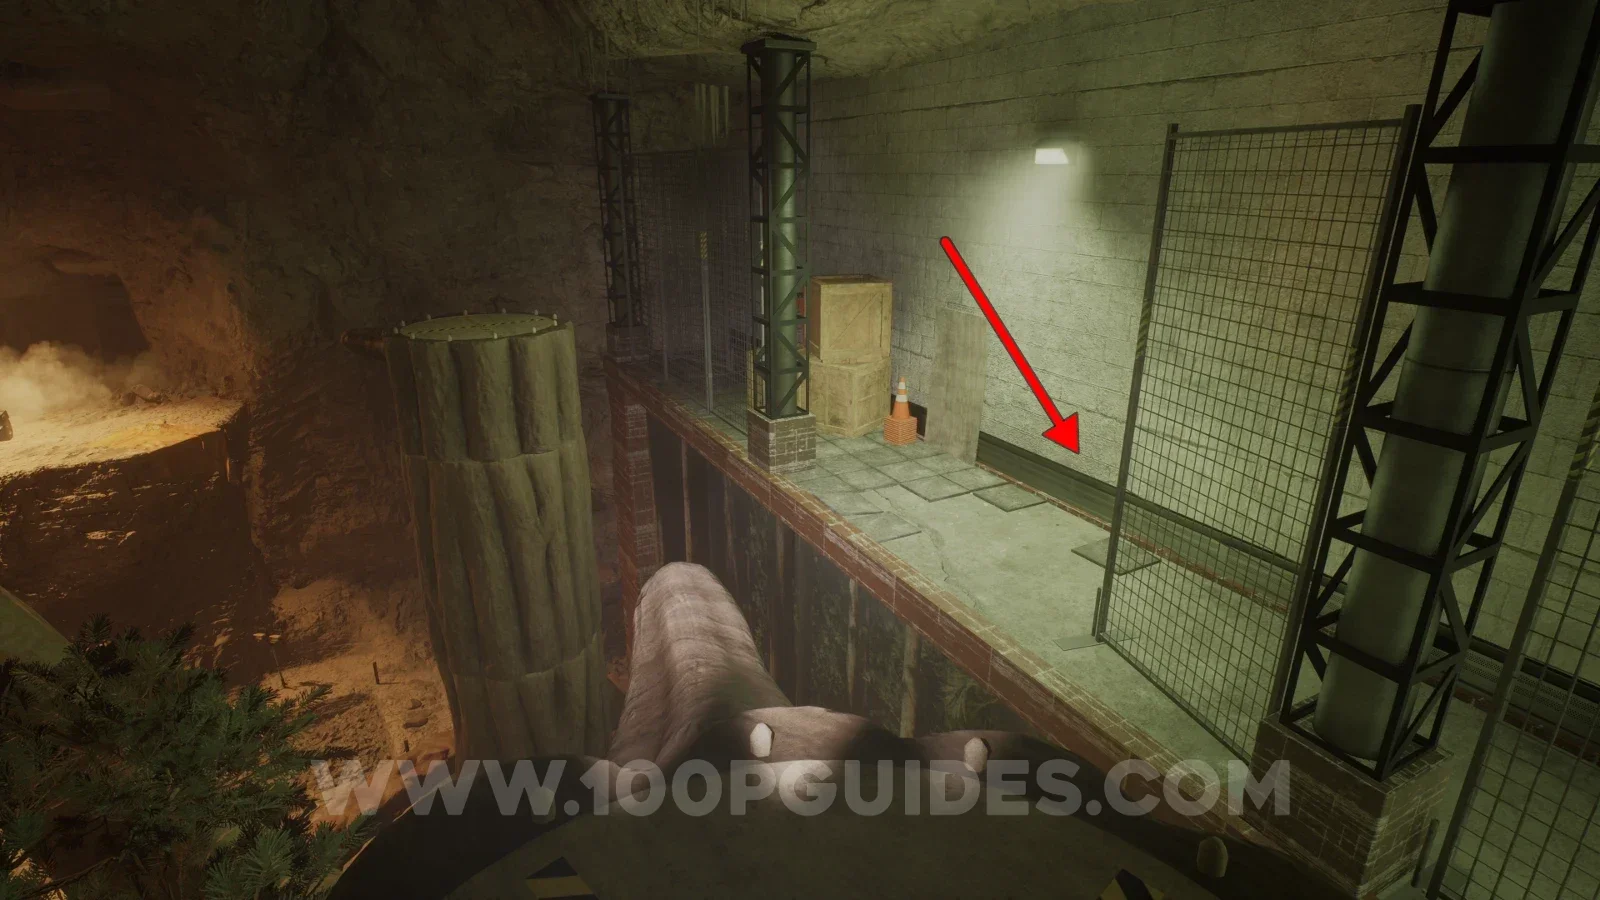
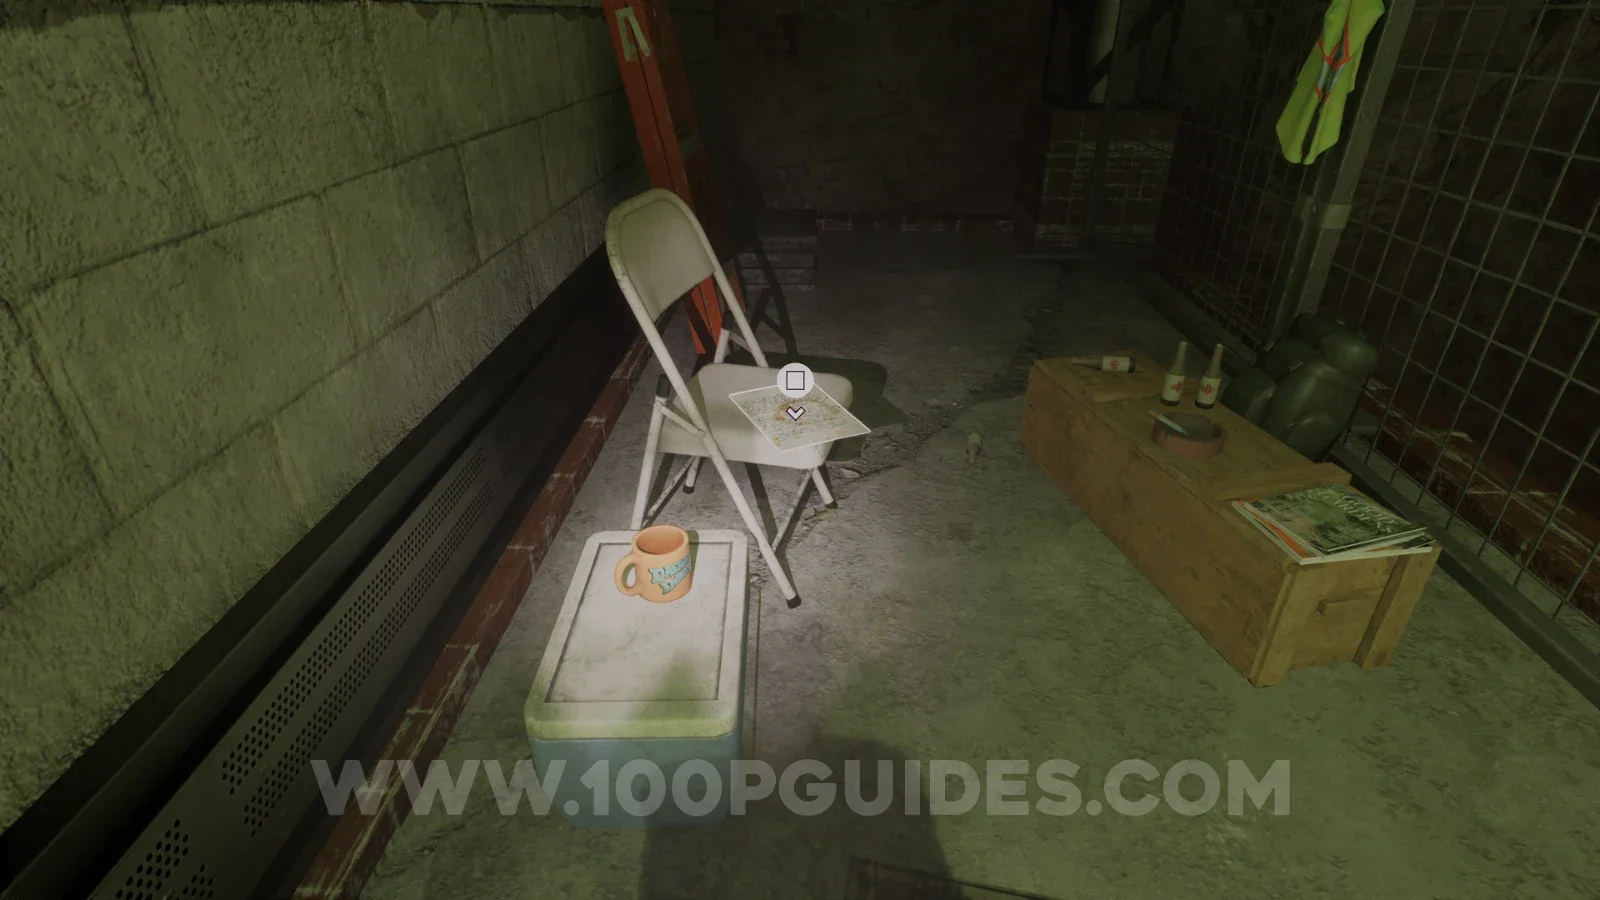
Return to the tree trunk you jumped from to reach the sign with the amber on it and jump to the next trunk. Here, jump to the path on your right and go right to see the note on the chair at the end.
Note - Stella's Journal Entry: Special Digsite
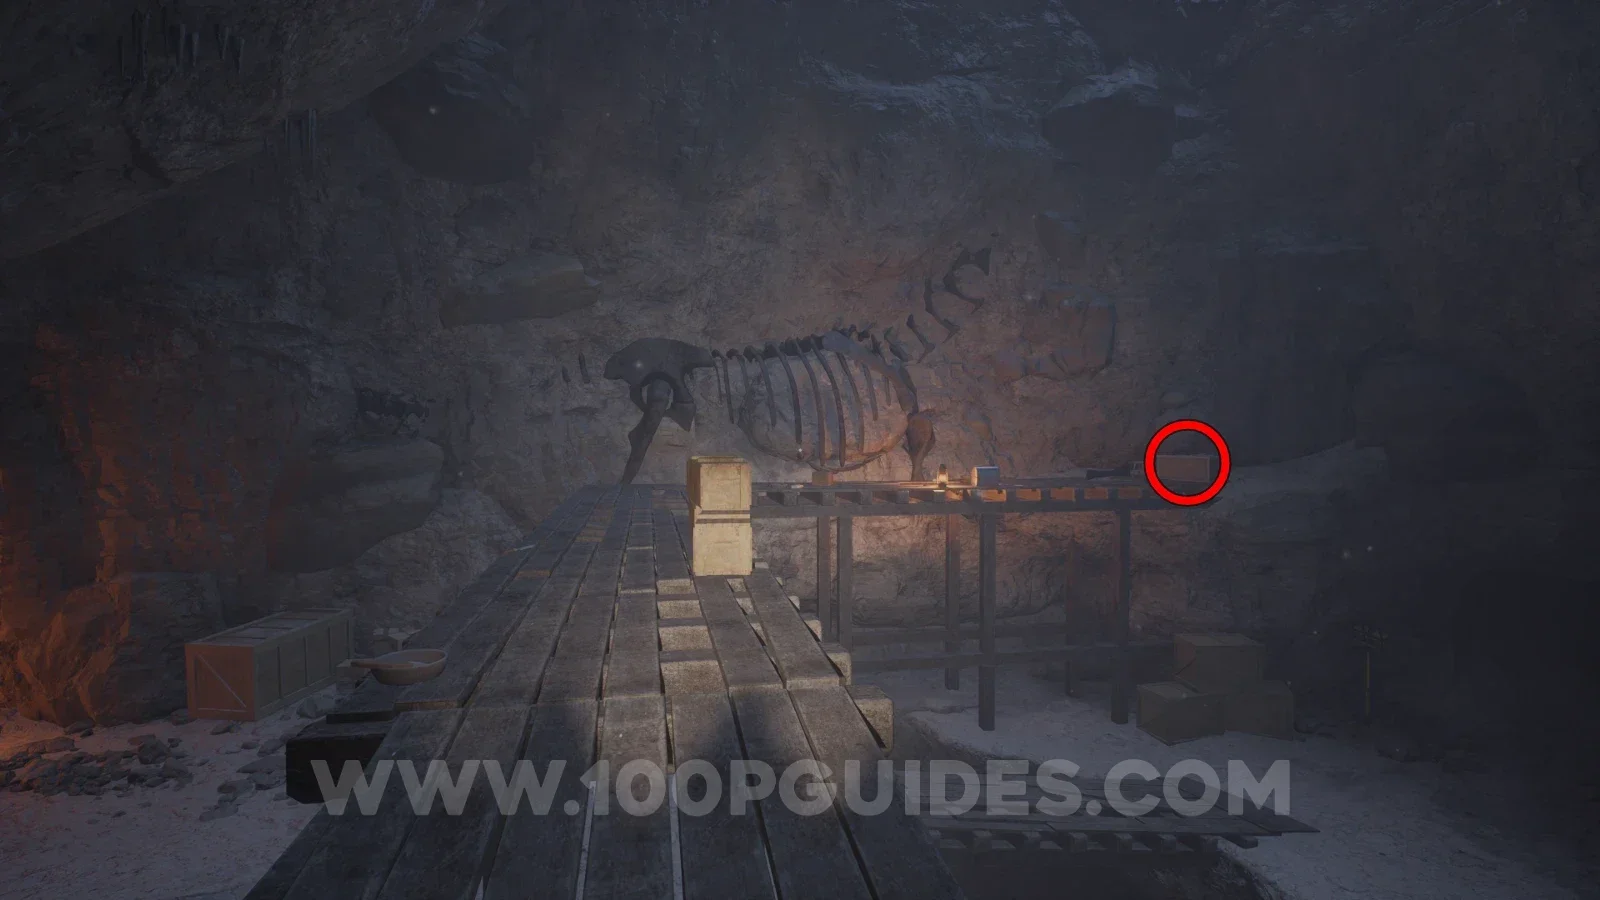
After activating both generators and using the button in the tall office to open the main door, go through it and continue until you get to a room with large dinosaur bones in the wall in front of you. The note can be found on a crate under the bones.
Note - Eyes in the dark
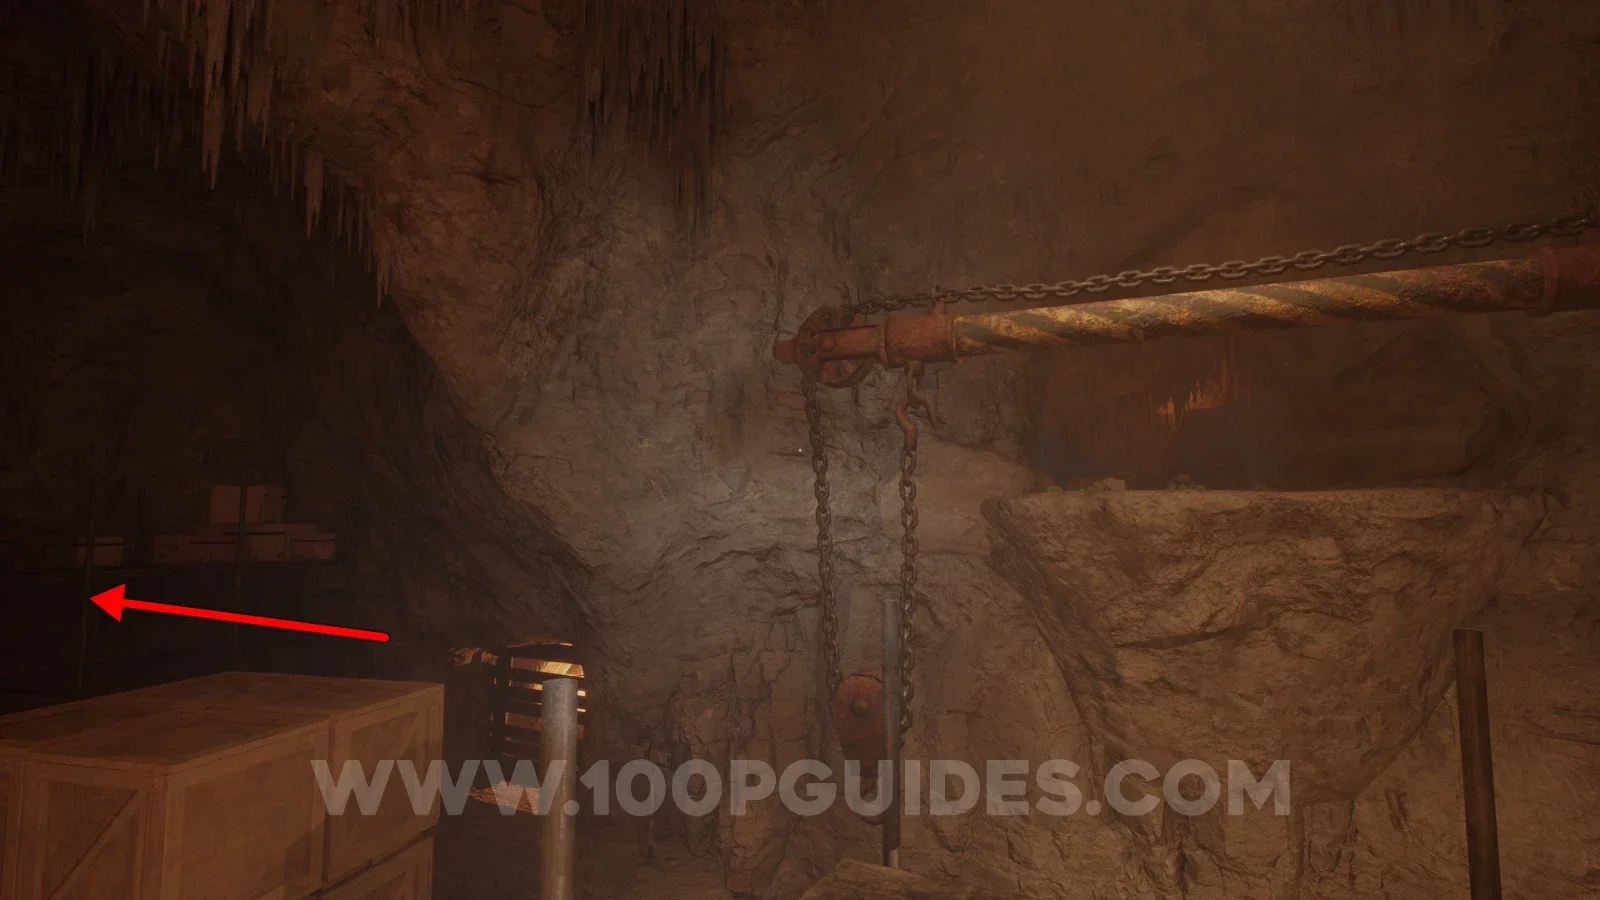
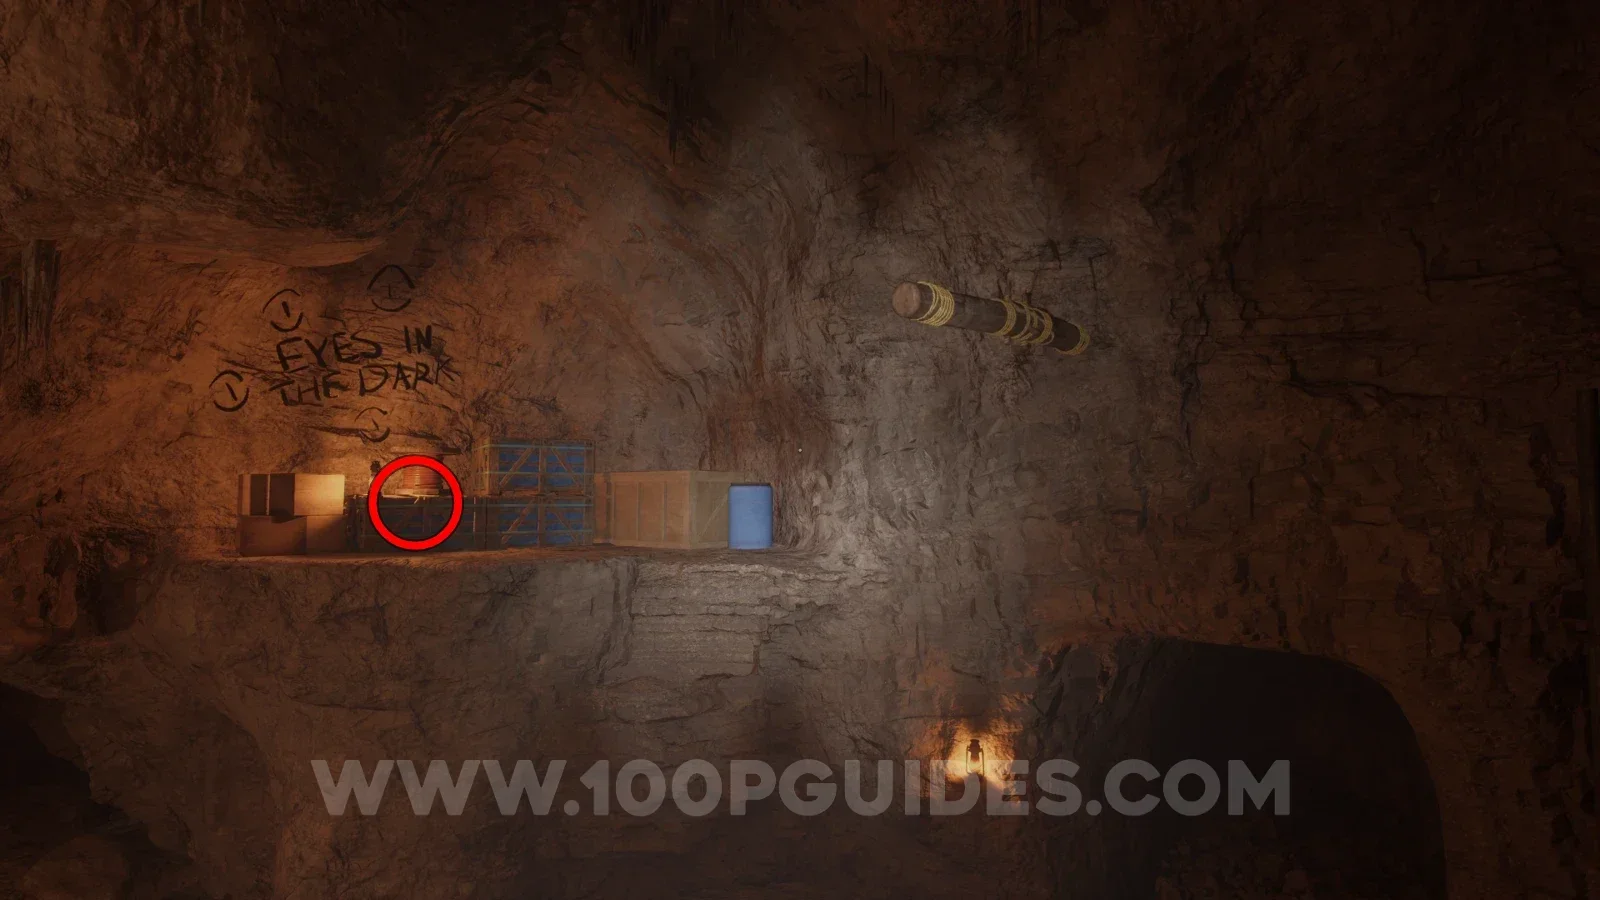
Continue on the main path until you reach a room where you have to swing on a crane arm. Before jumping to the crane arm, go left and jump across the boxes to another platform. From here, jump and swing across to the platform in the corner to find the note.
Trophy - Kick the Rock
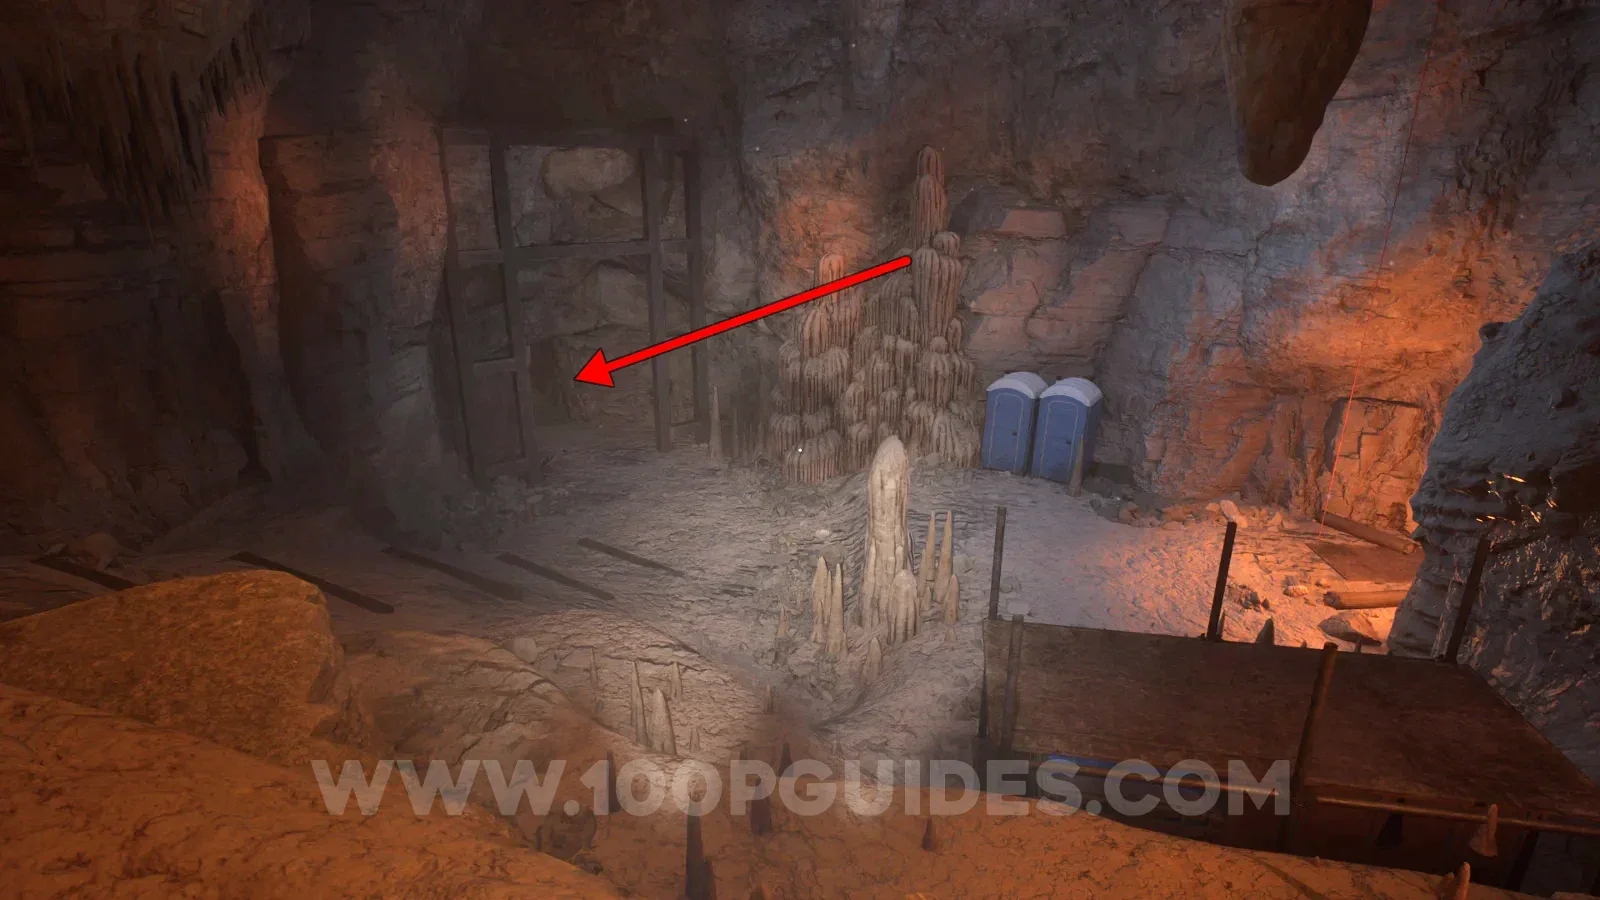
After swinging on the crane arm and getting to the next room, you will see a cave heading left and a small hole heading right. Head down the cave on the left and a short cutscene will play in which you kick a rock off a cliff. The trophy will then pop.
Note - Adrenaline Junkie: Hired
Continue on the main path until you get to an area where you swing on a metal bar to cross a gap with water below you. Then, in the next area, head through the gap on the left instead of climbing up the platforms on the right to find the note on a box.
Note - Movable Platforms
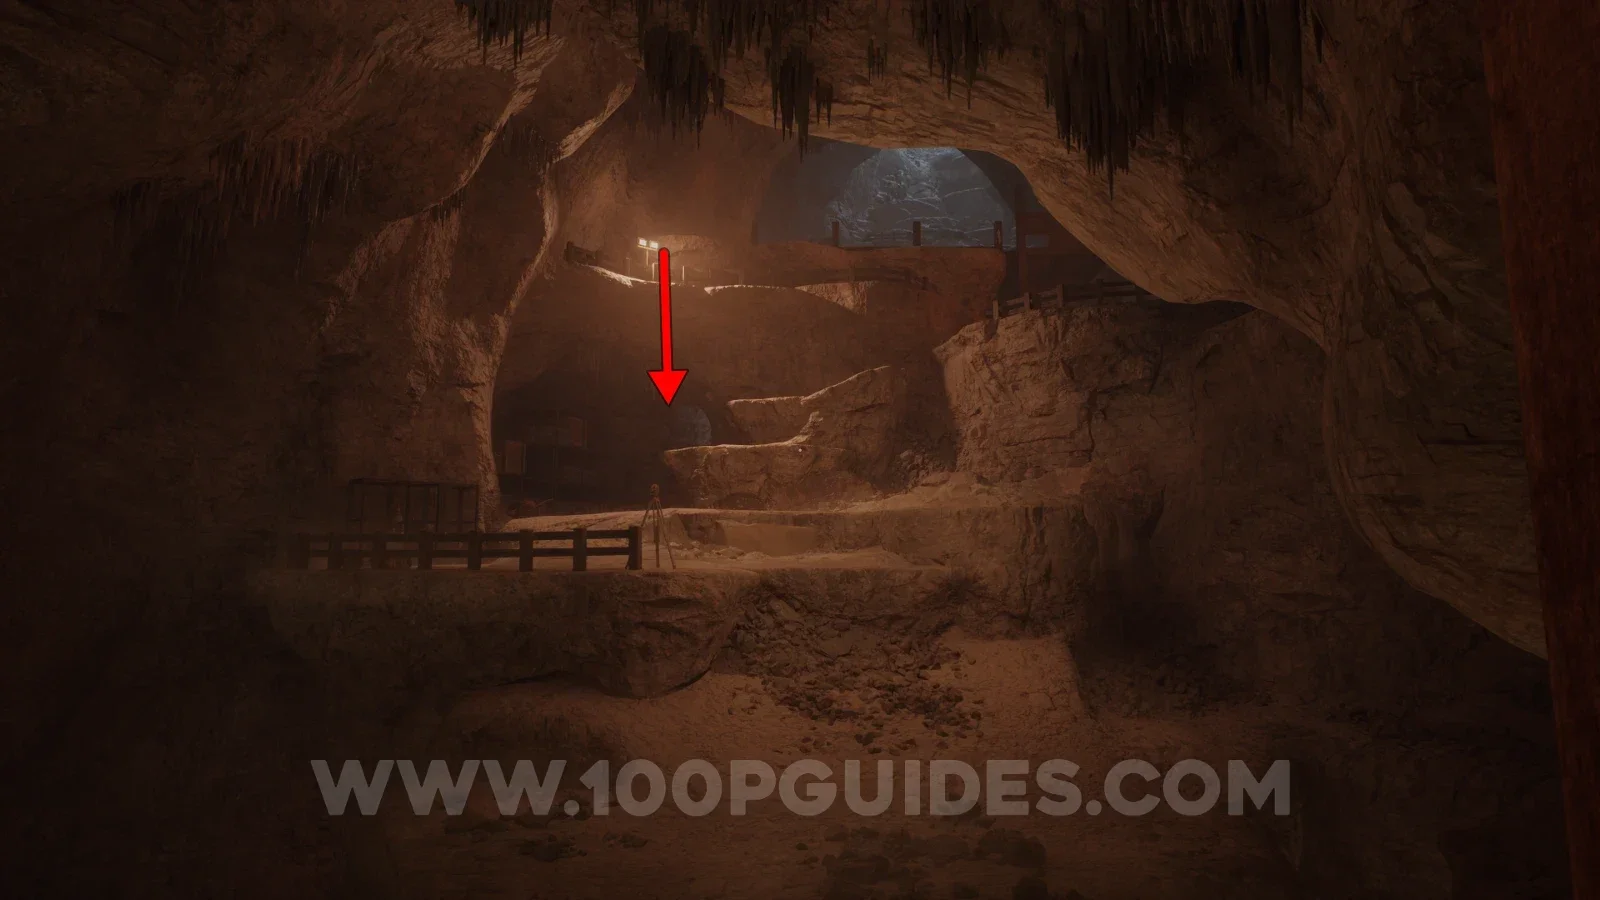
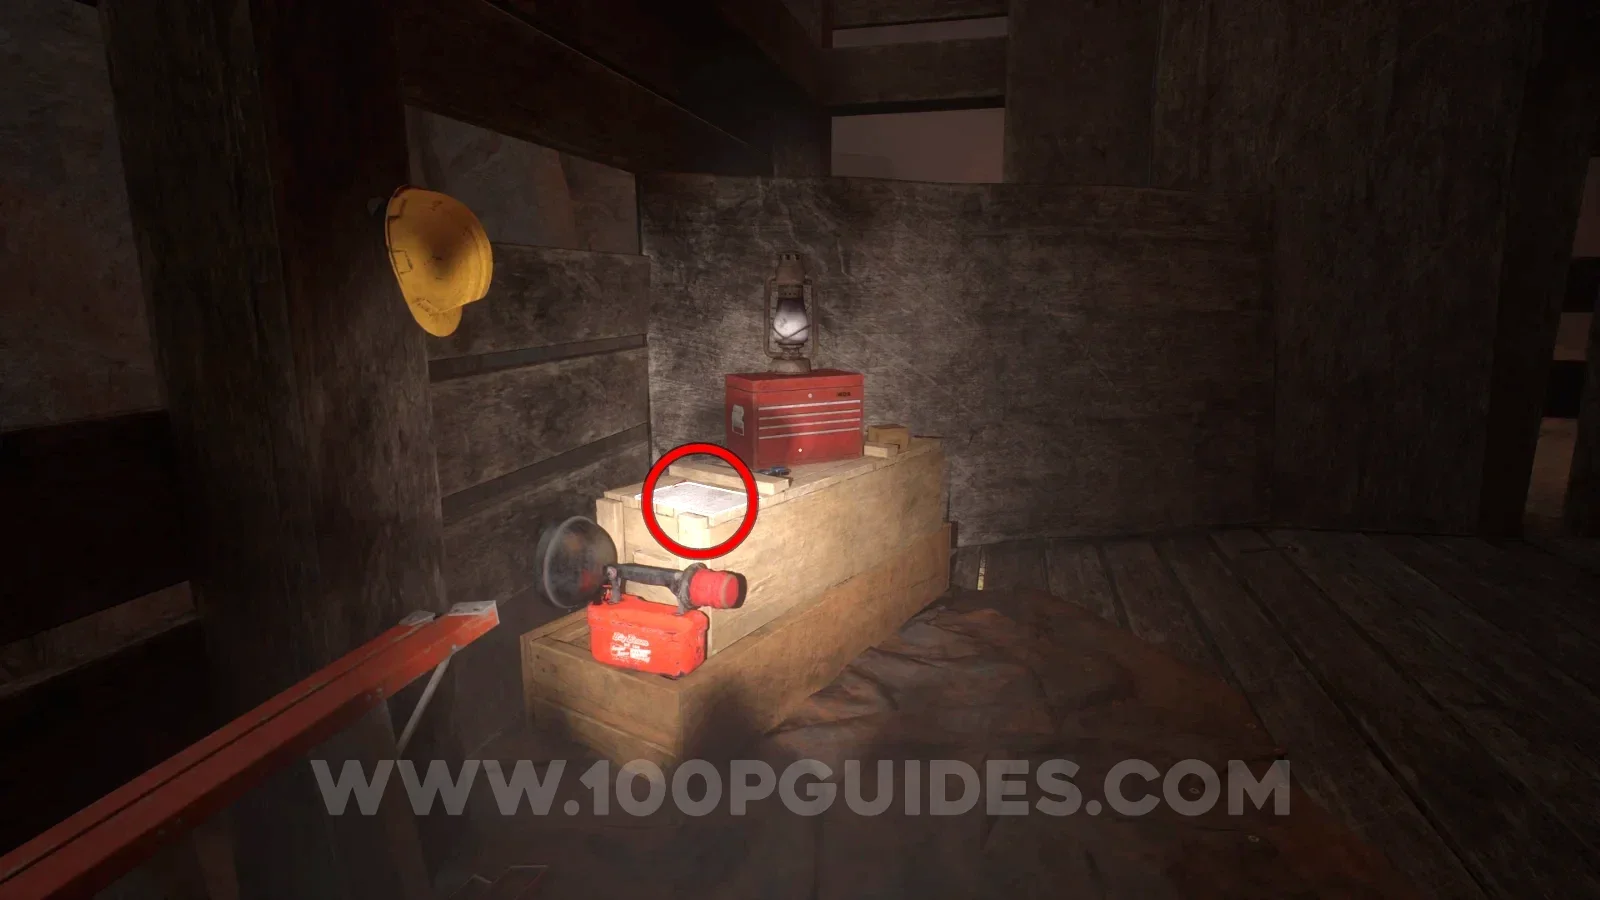
After the chase scene with the Bronto, shimmy through the narrow gap and then in the next room look for the note next to the tools on the wall.
Tape - DES Site Managers: Inner Circle Discussion
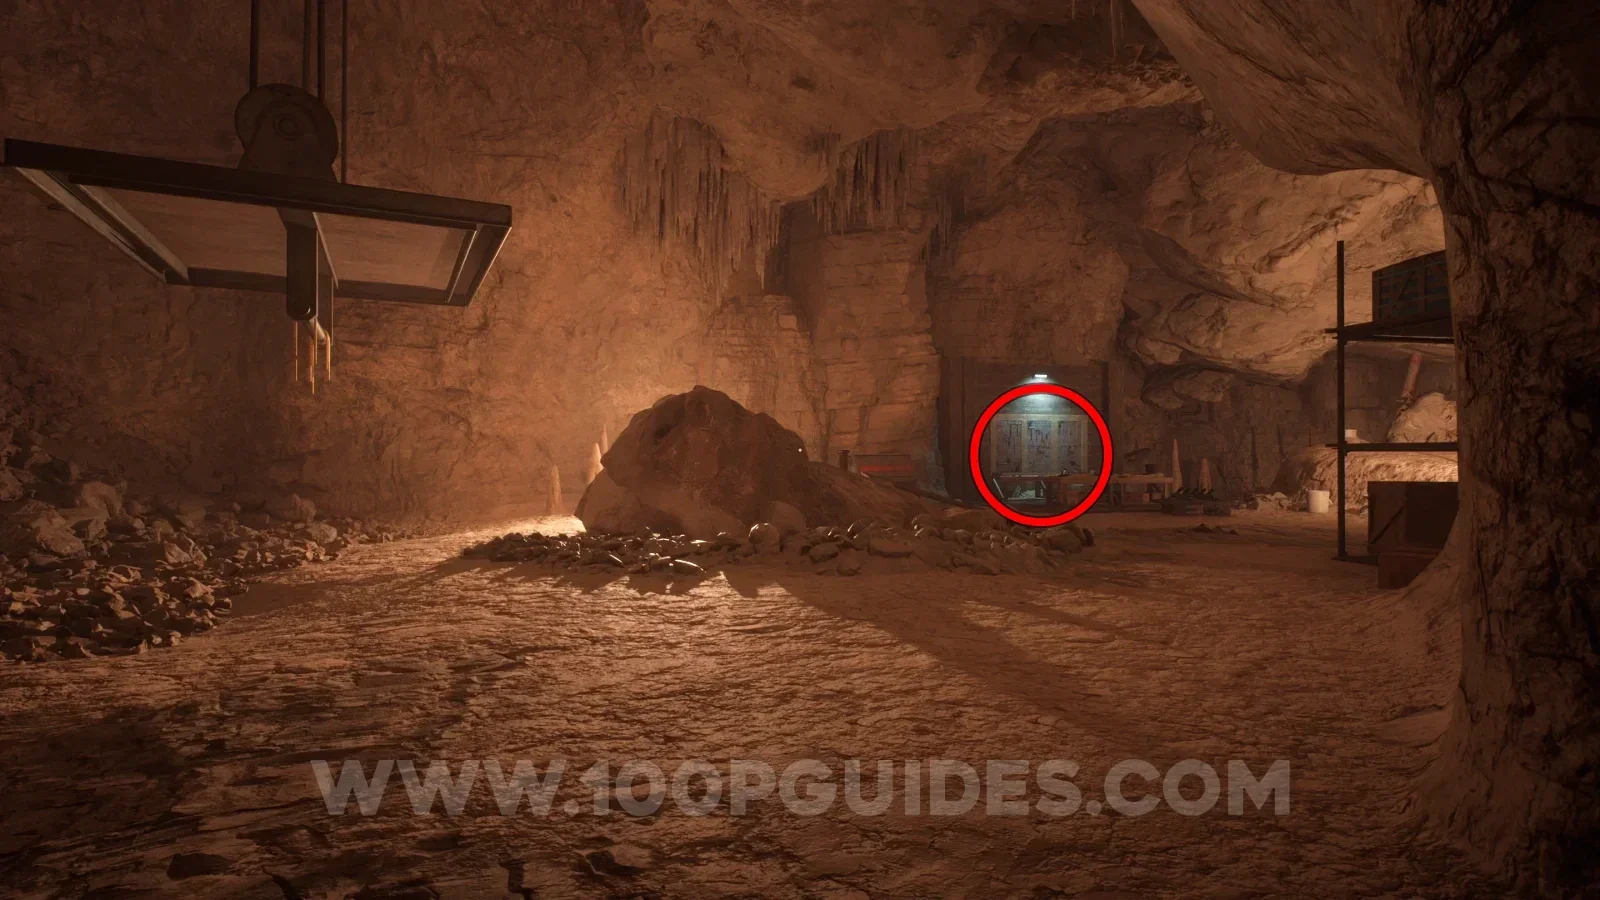
Use the hanging platform where the previous note was to reach an area with an empty lift shaft in the middle. Here, look for the tape on a box to the right.
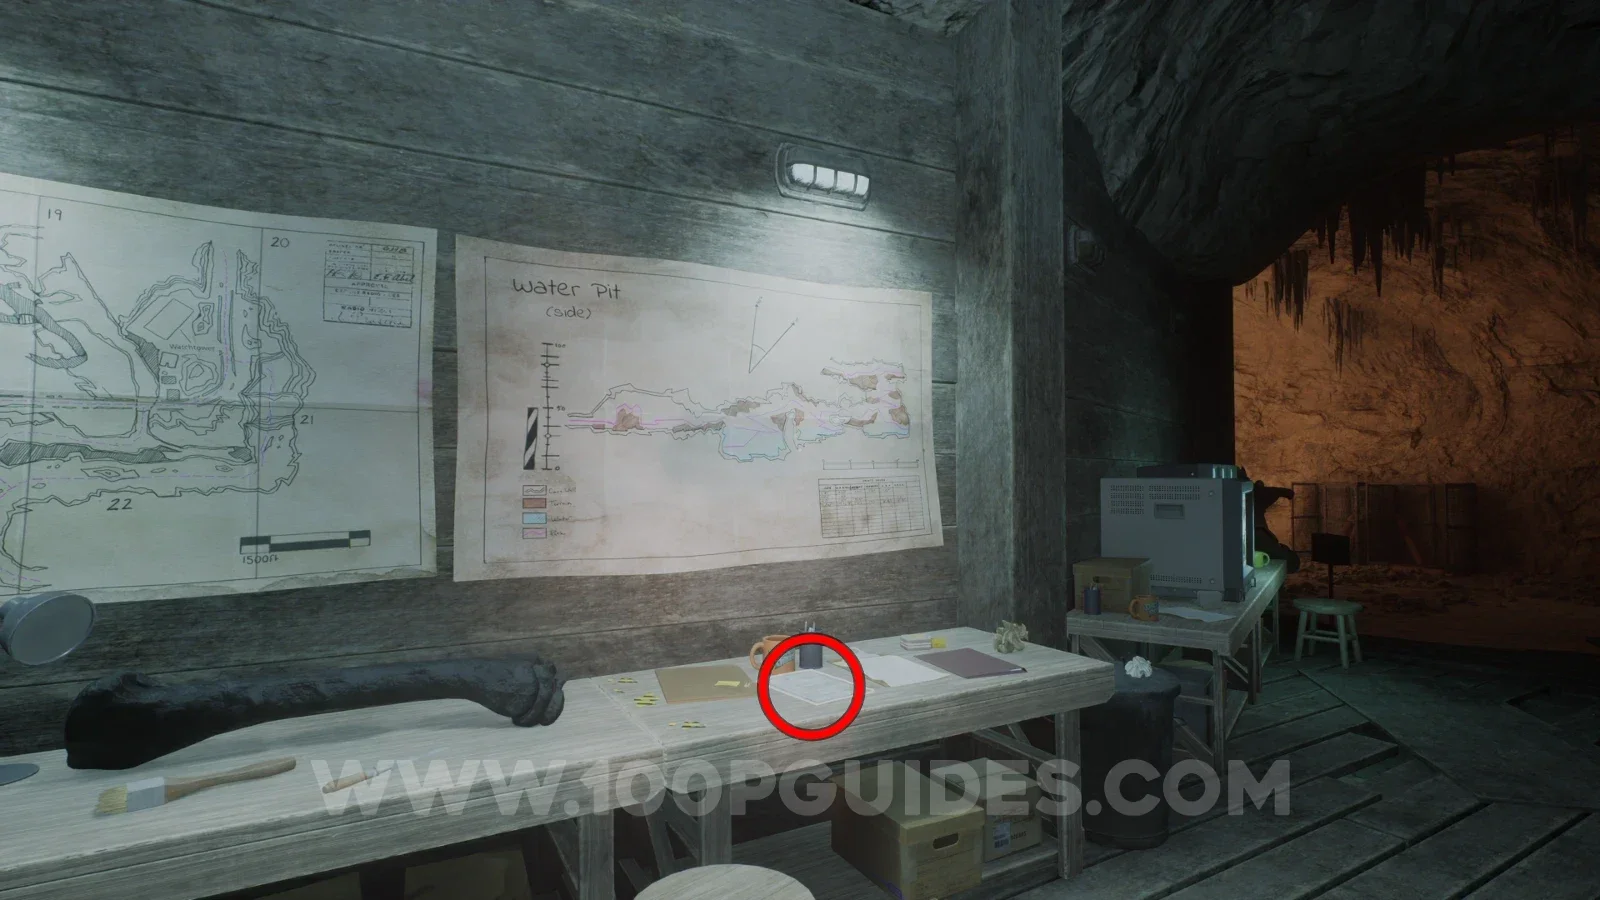
Note - Digsite Report
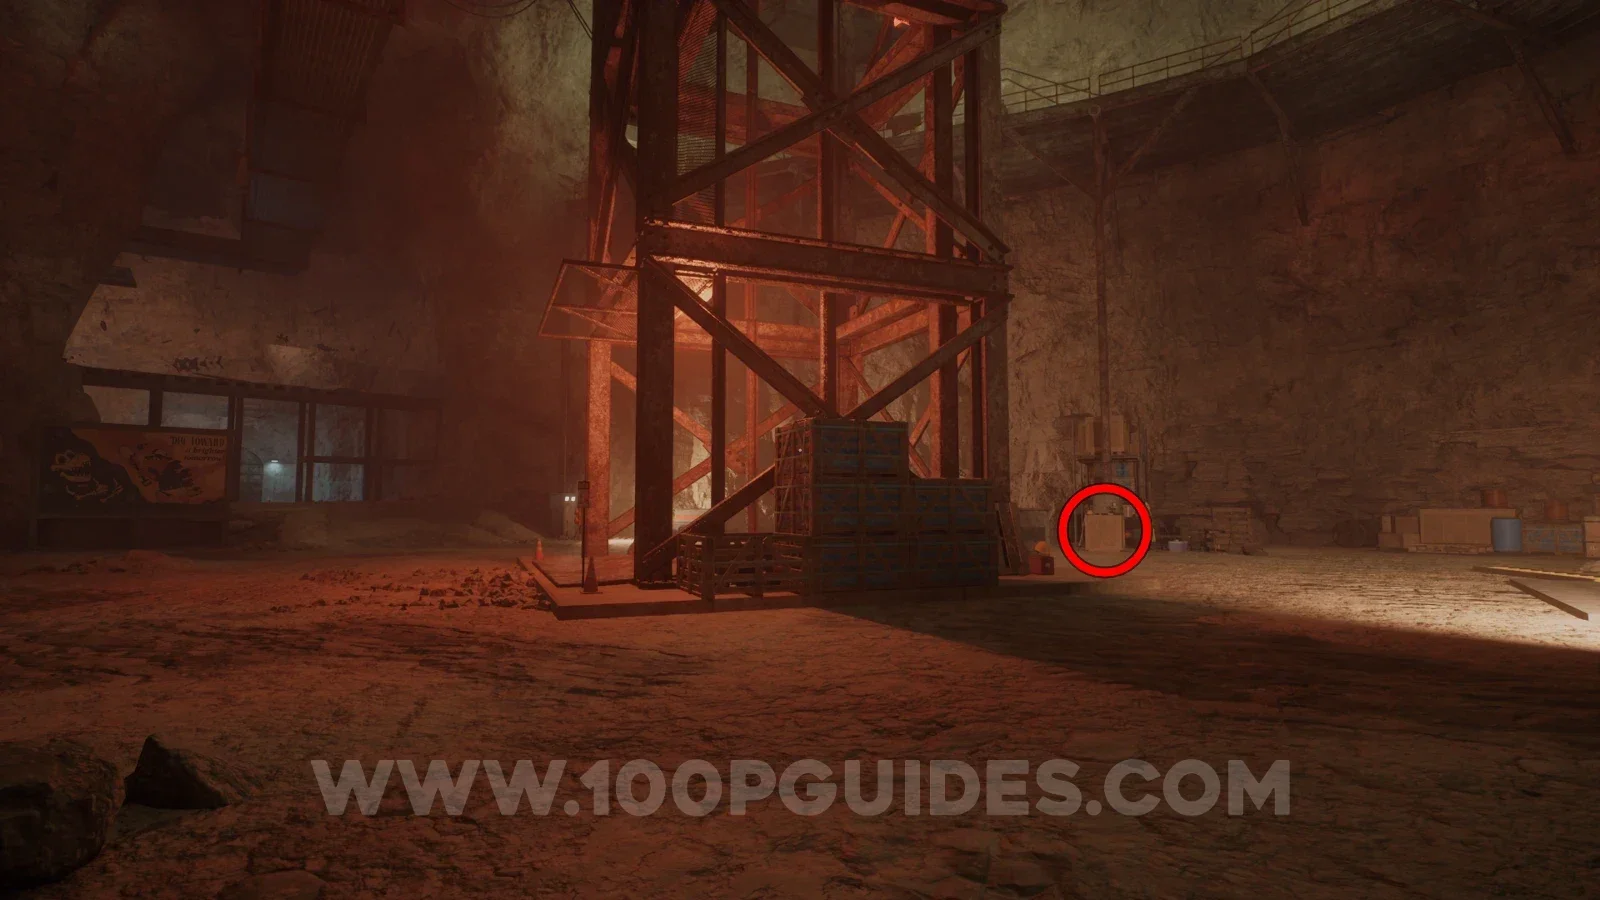
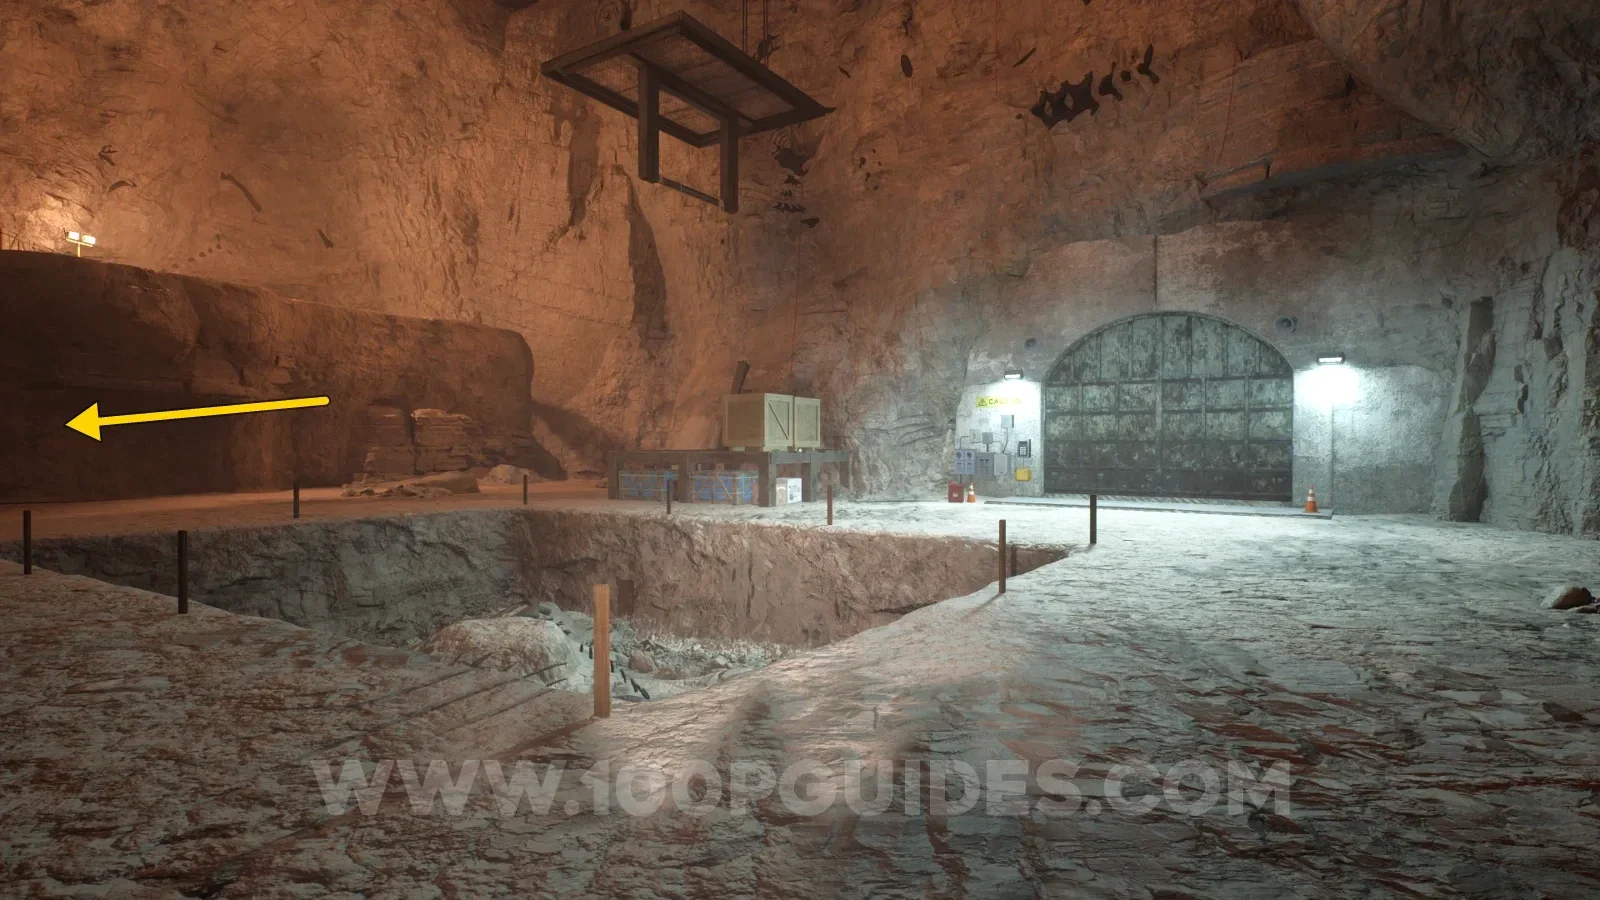
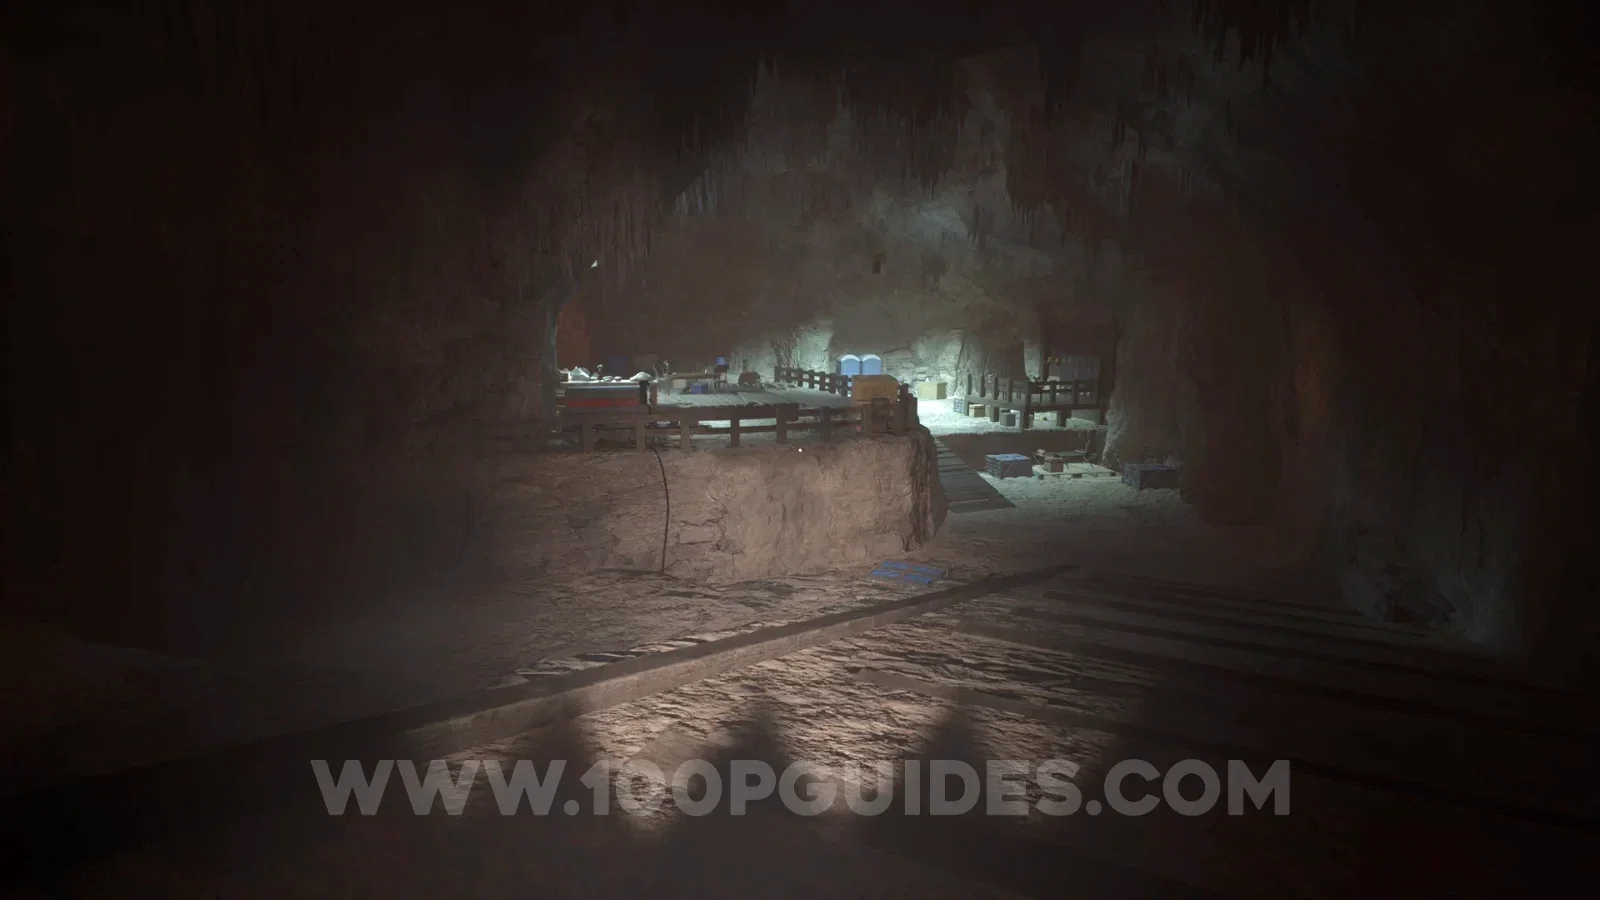
After the lift shaft you will reach a large metal door. Here, head left into the cave with all the equipment. You will find the note on one of the tables on the left side.
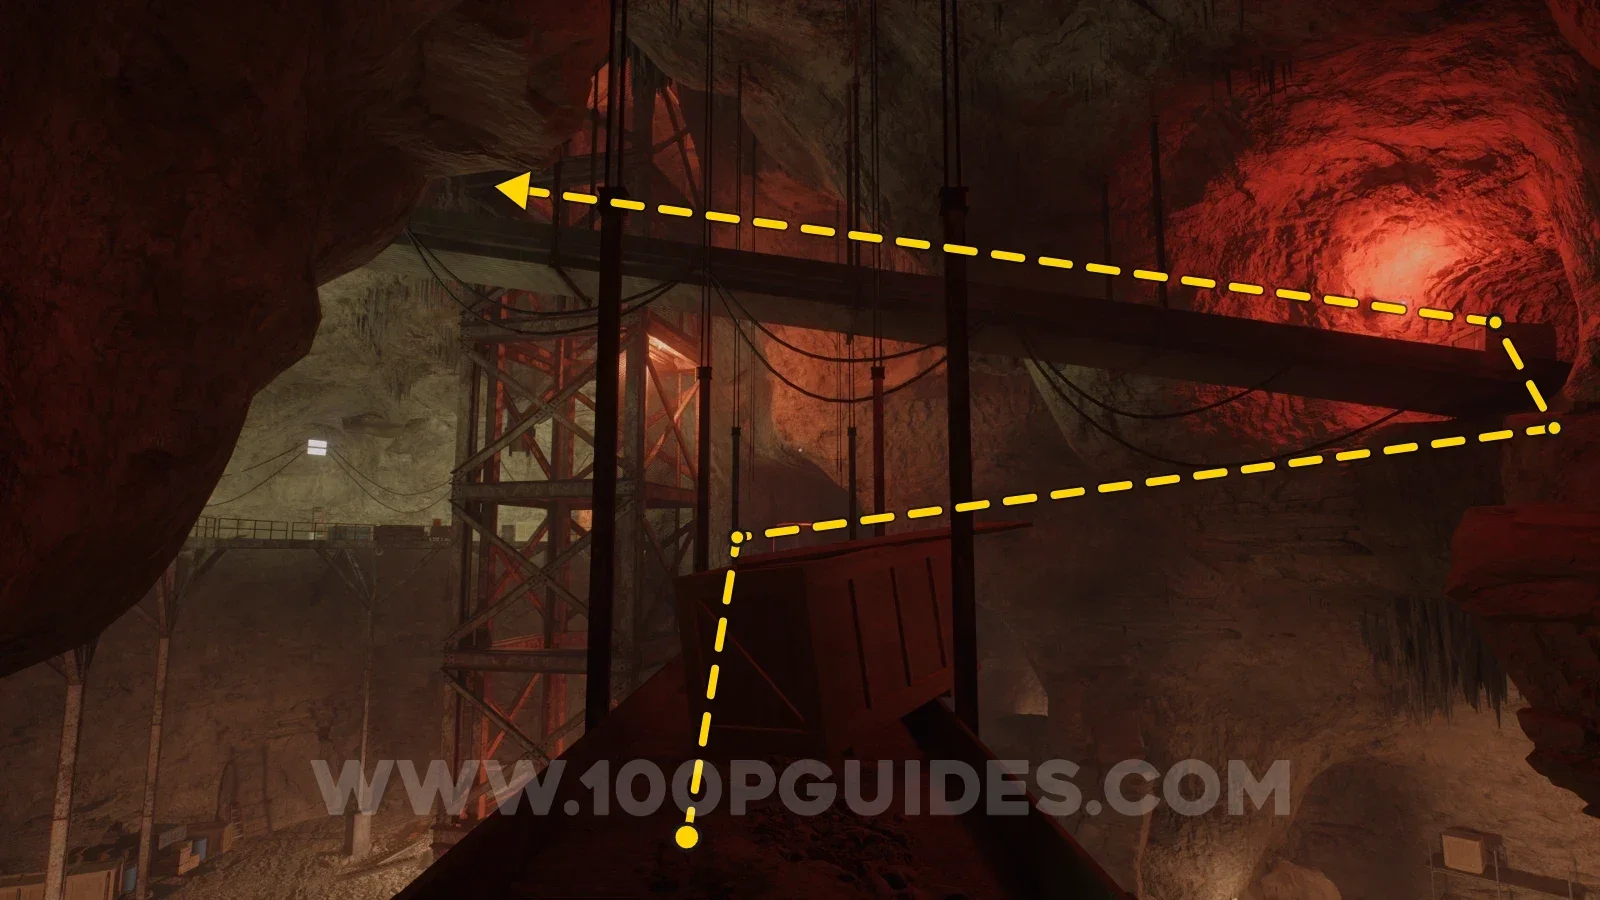
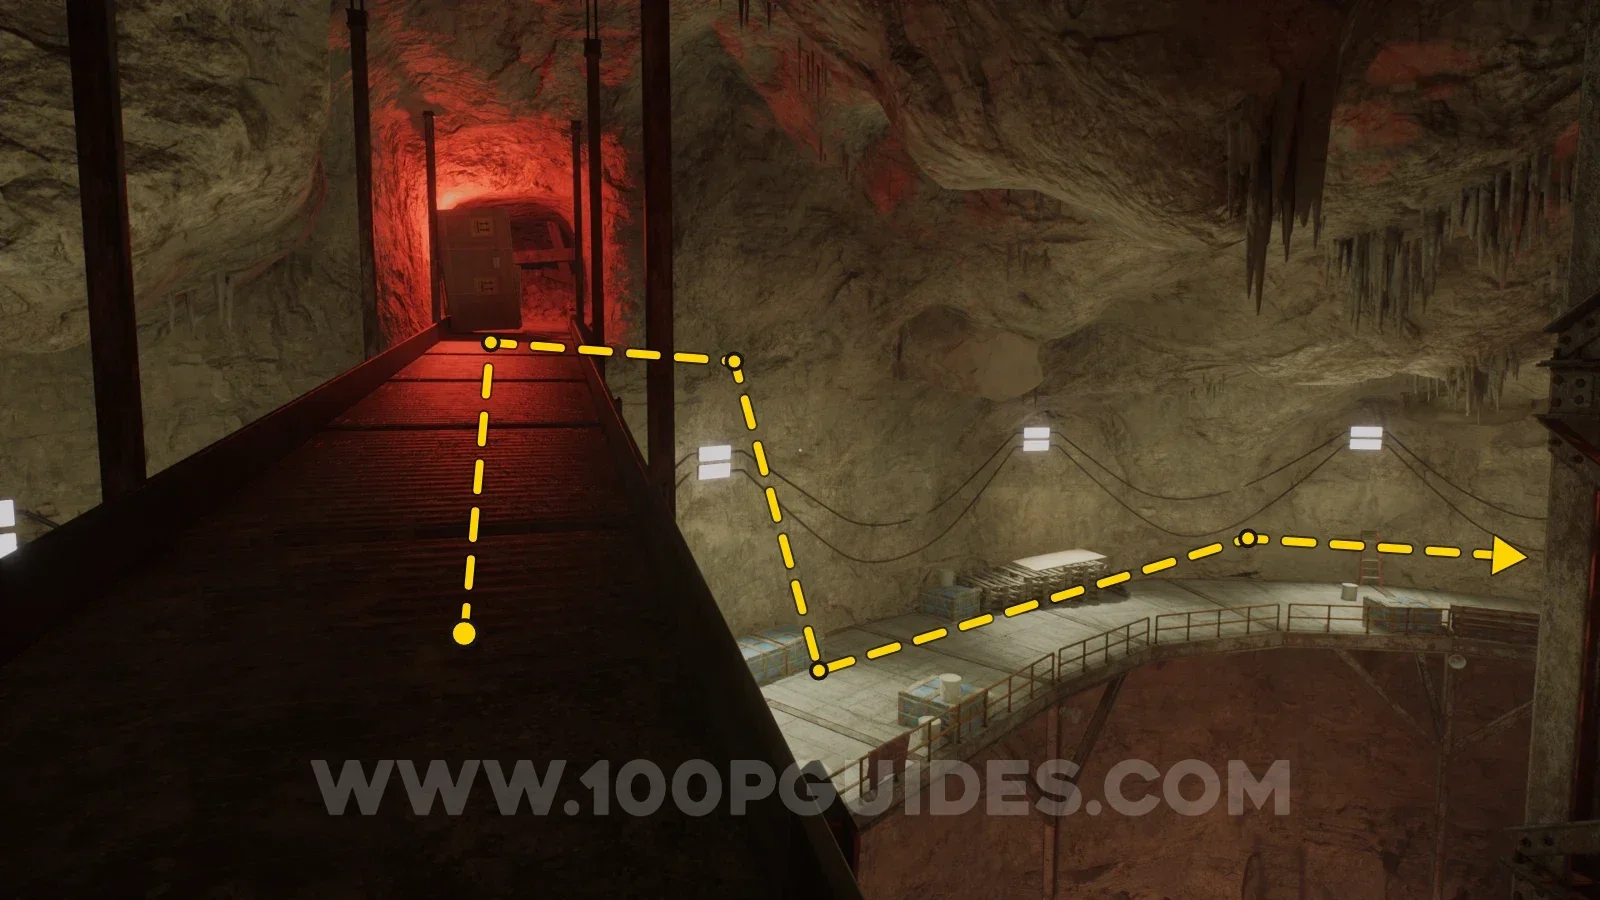
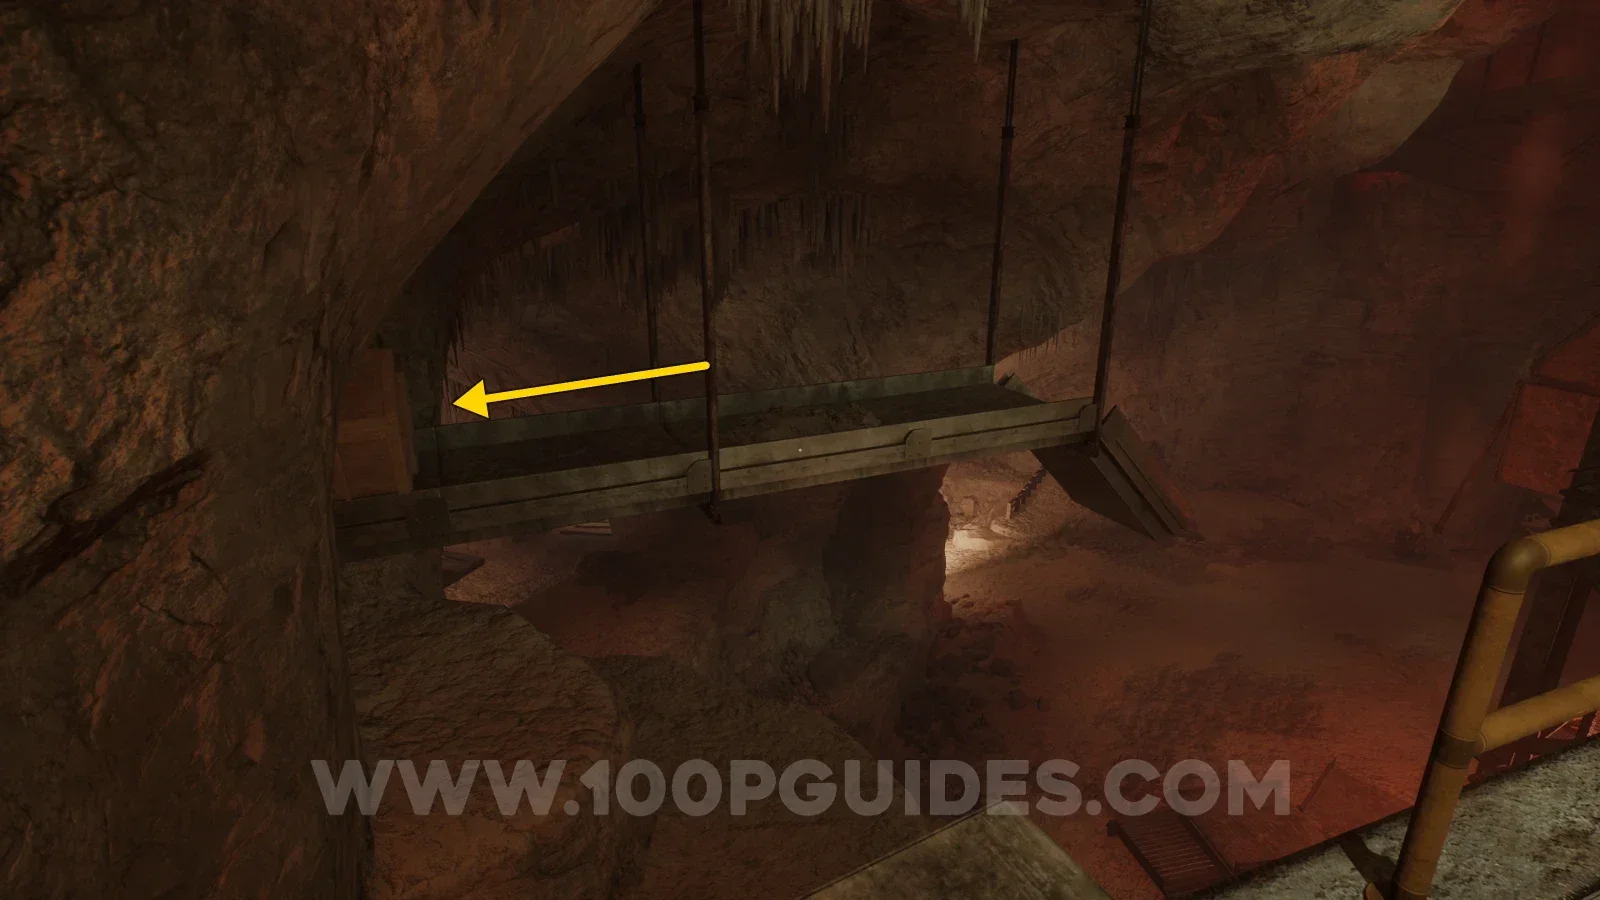
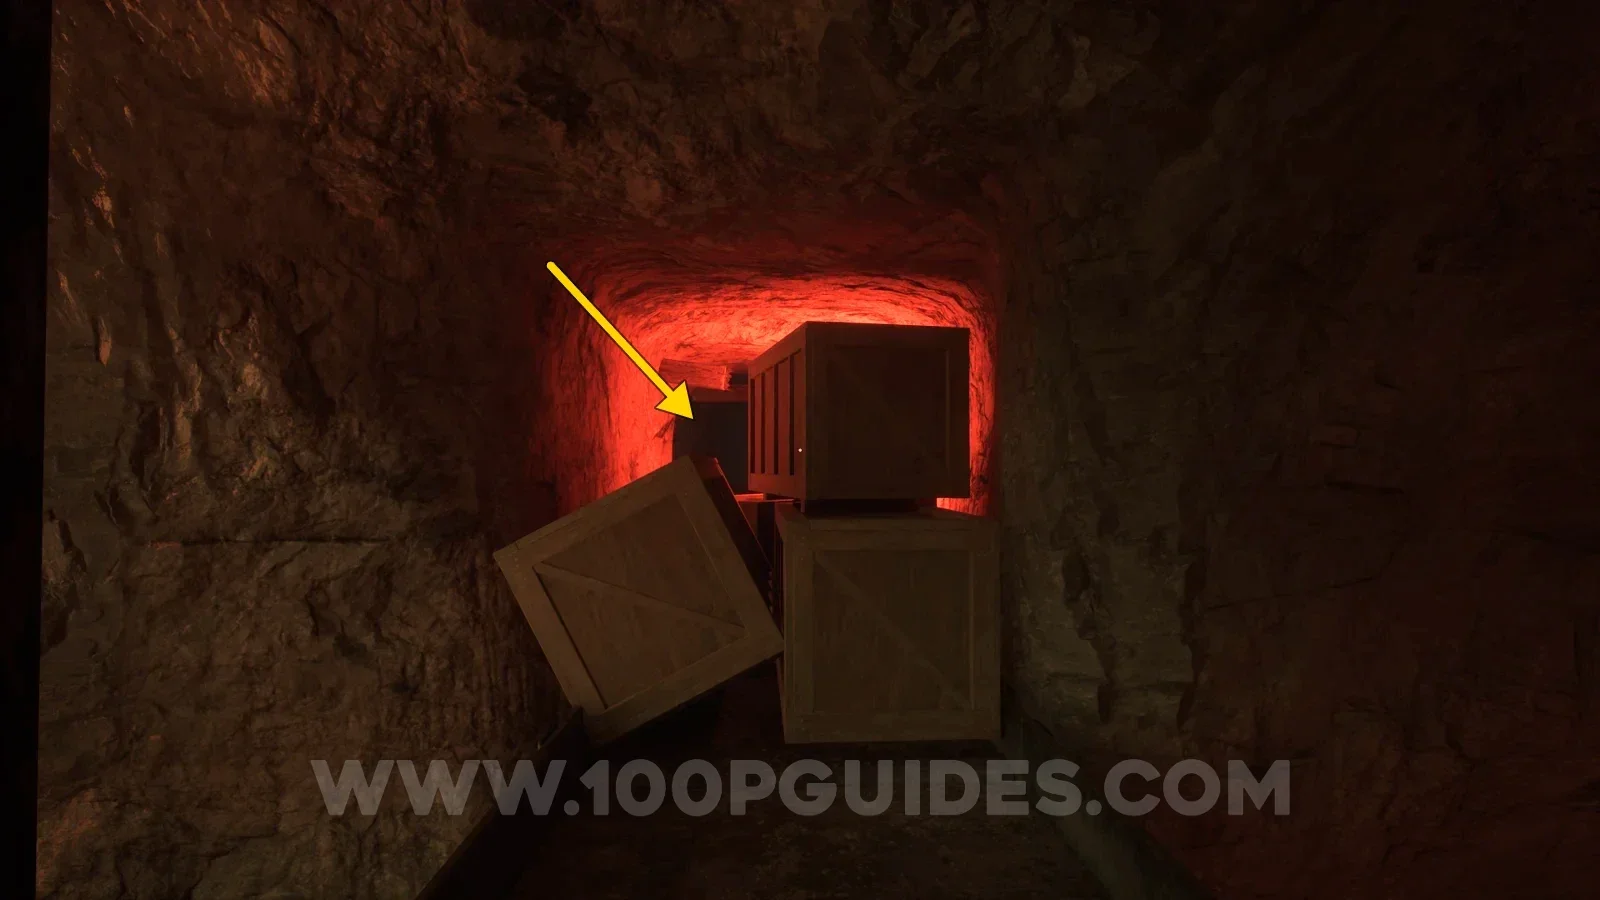
Sample - Amber Specimen 06
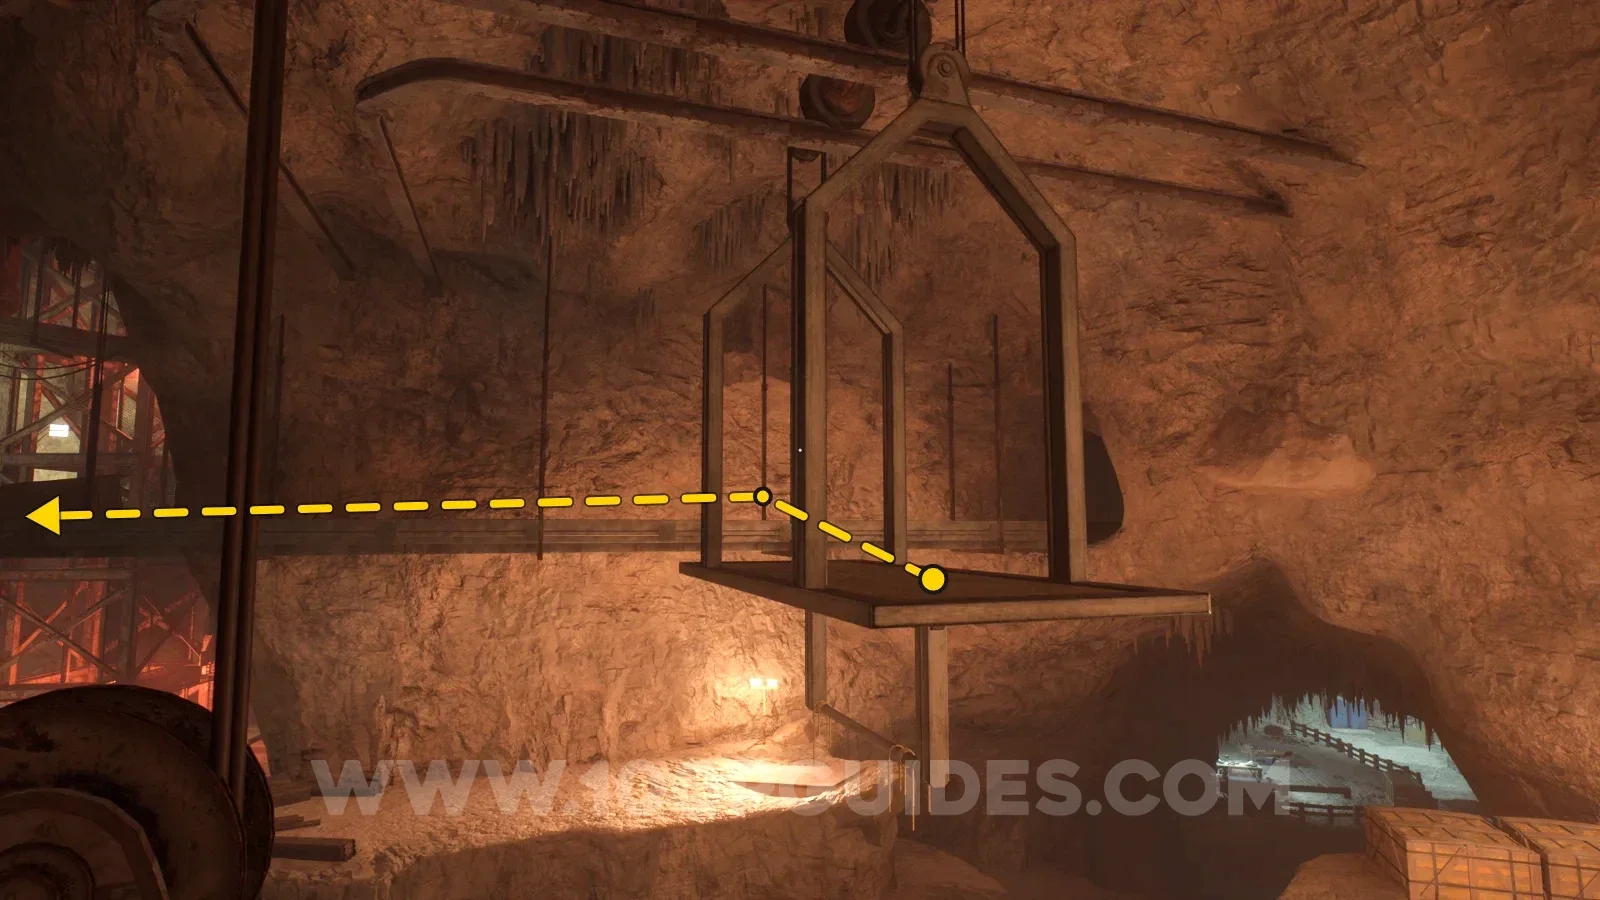
After hanging on the metal platforms to lower them, allowing you to climb up to the long hanging metal path, head around the corner on your left and then jump right and follow the next metal ramp up. Near the top, drop down onto the platform below and head to the left end. Here, look right and jump down onto the other end of the original metal path. From there, look left to see a cave blocked by boxes. The amber can be found behind these boxes.
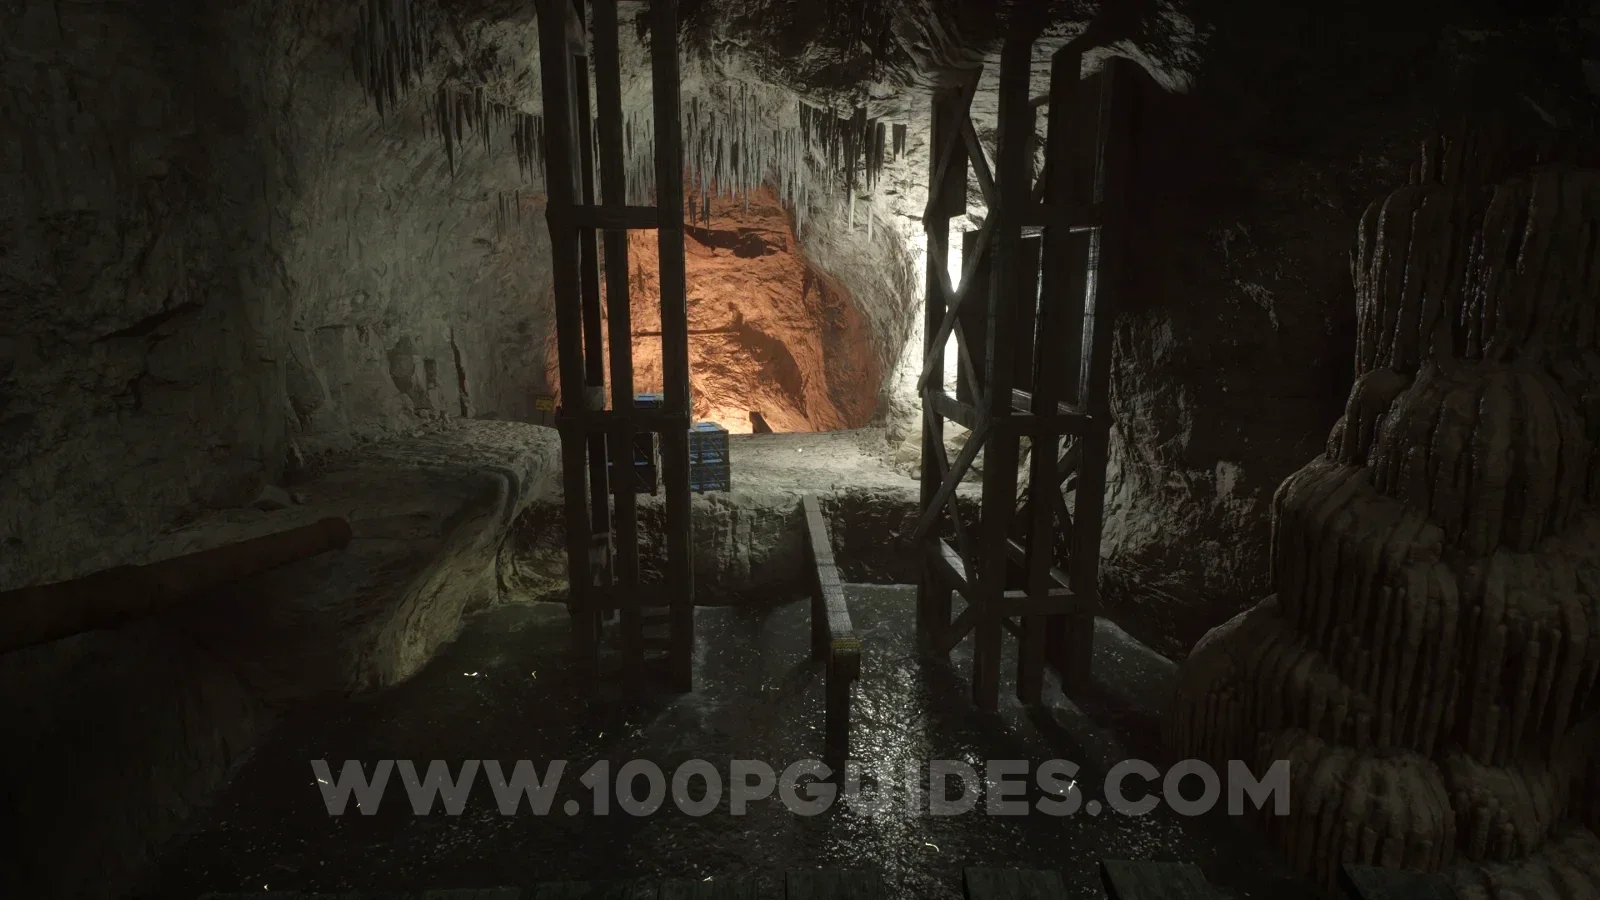
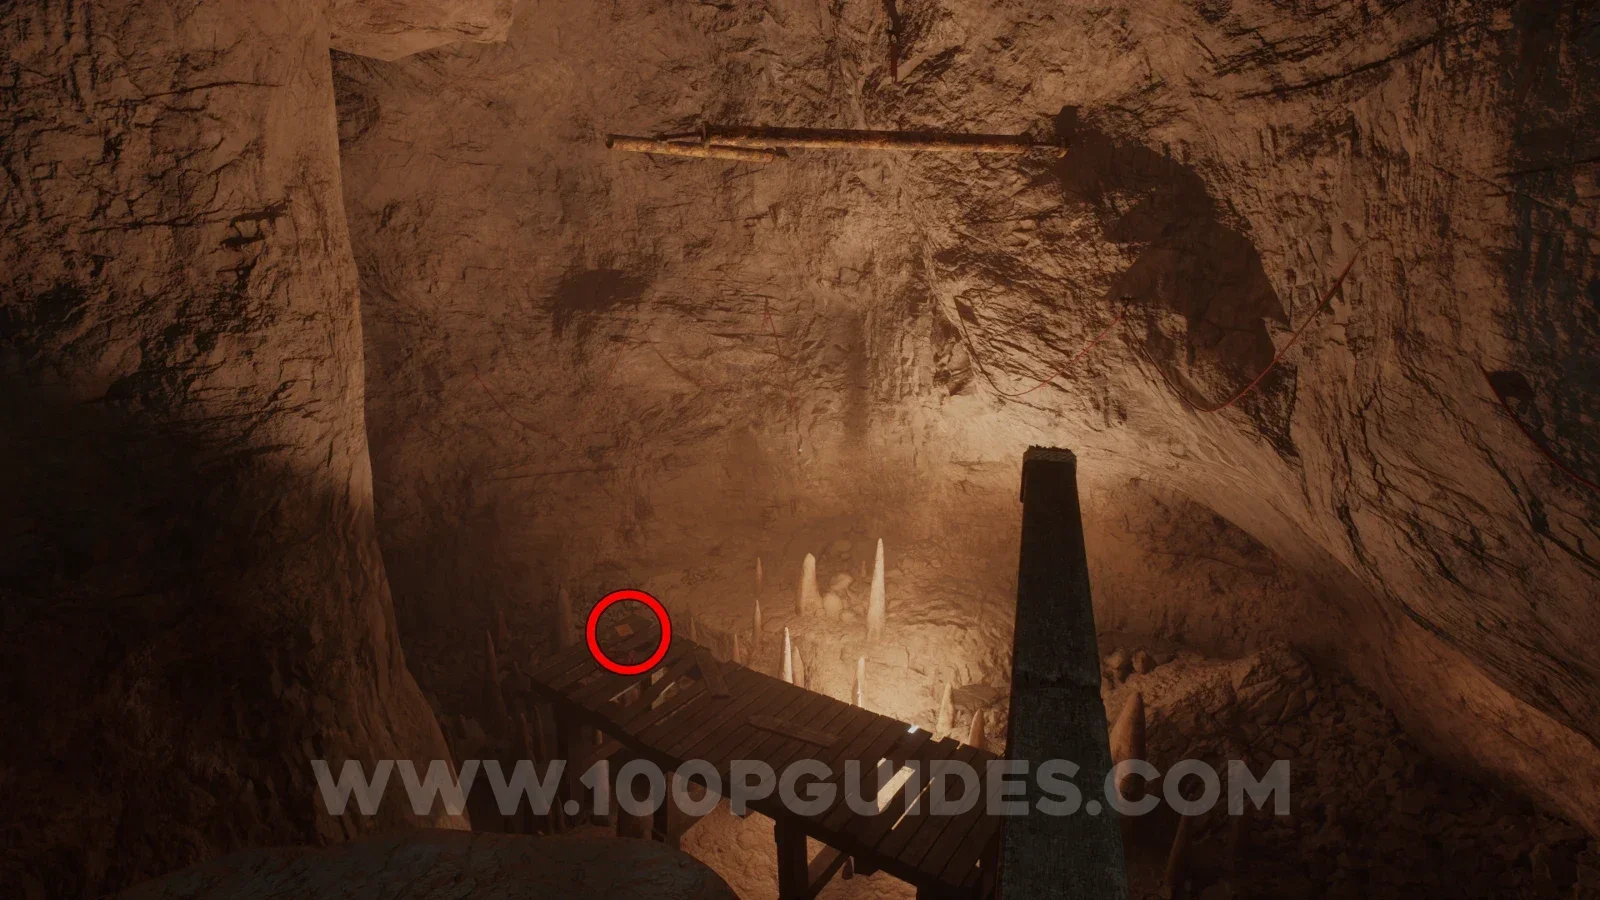
Note - Goo?
After going through a section where you have to balance on beams to cross an area filled with electrified water, you will get to a well-lit cave with metal poles that you have to use to swing through to the next area. Before doing that, look down to see the note on the wooden walkway.
Note - Outpost Report
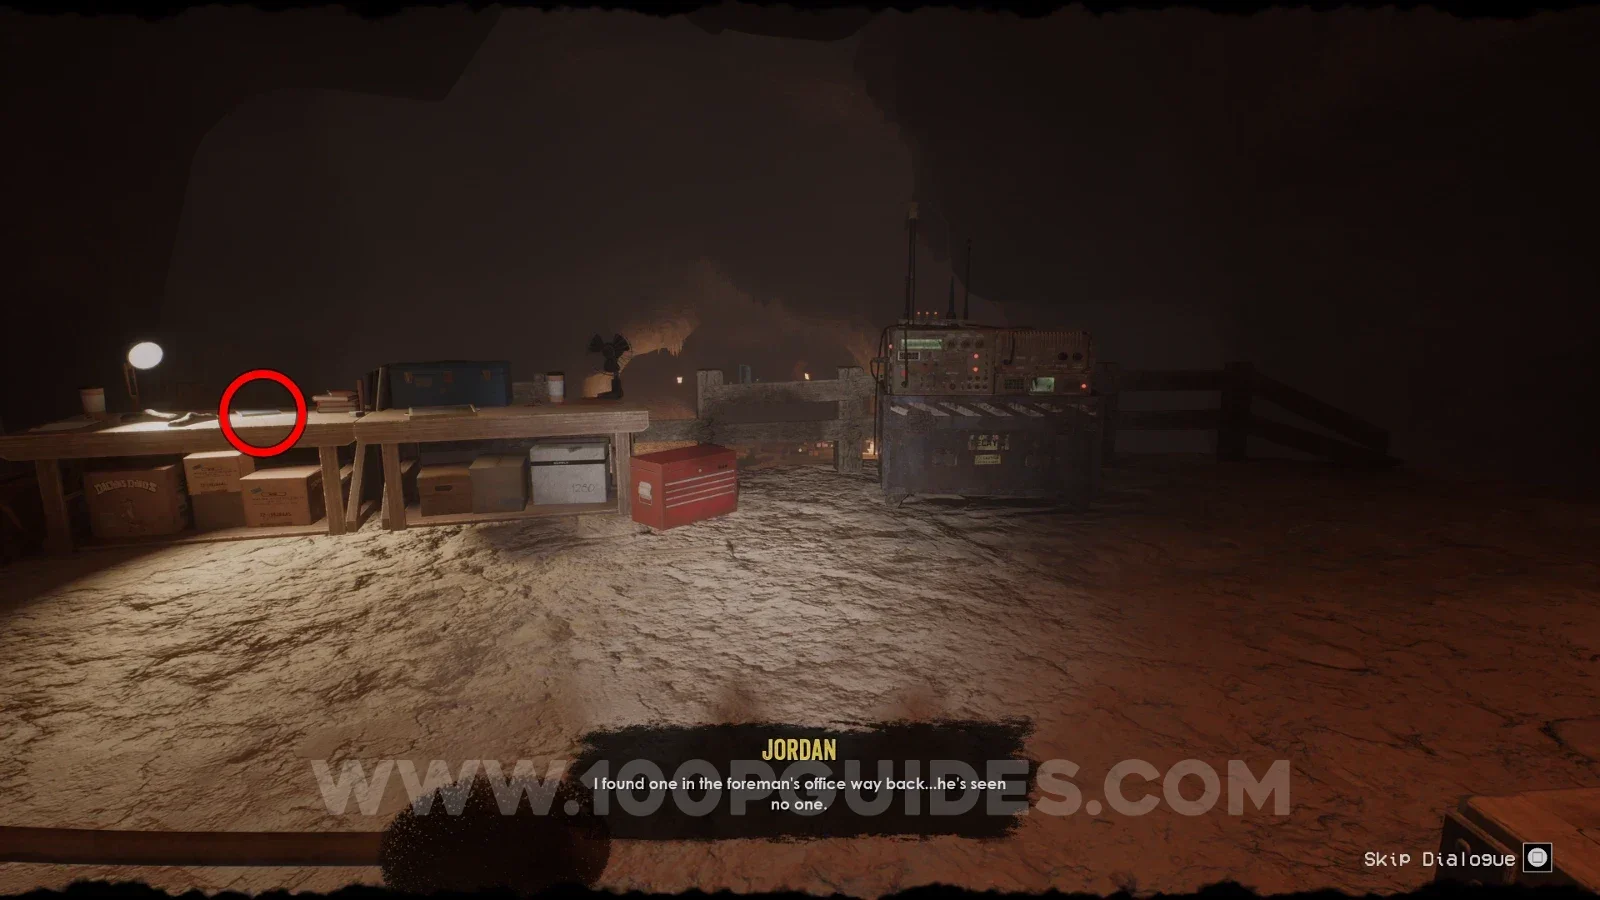
Continue through the level until you talk to Stella through the comms. Here, look left to find the note on the table beside the comms machine.
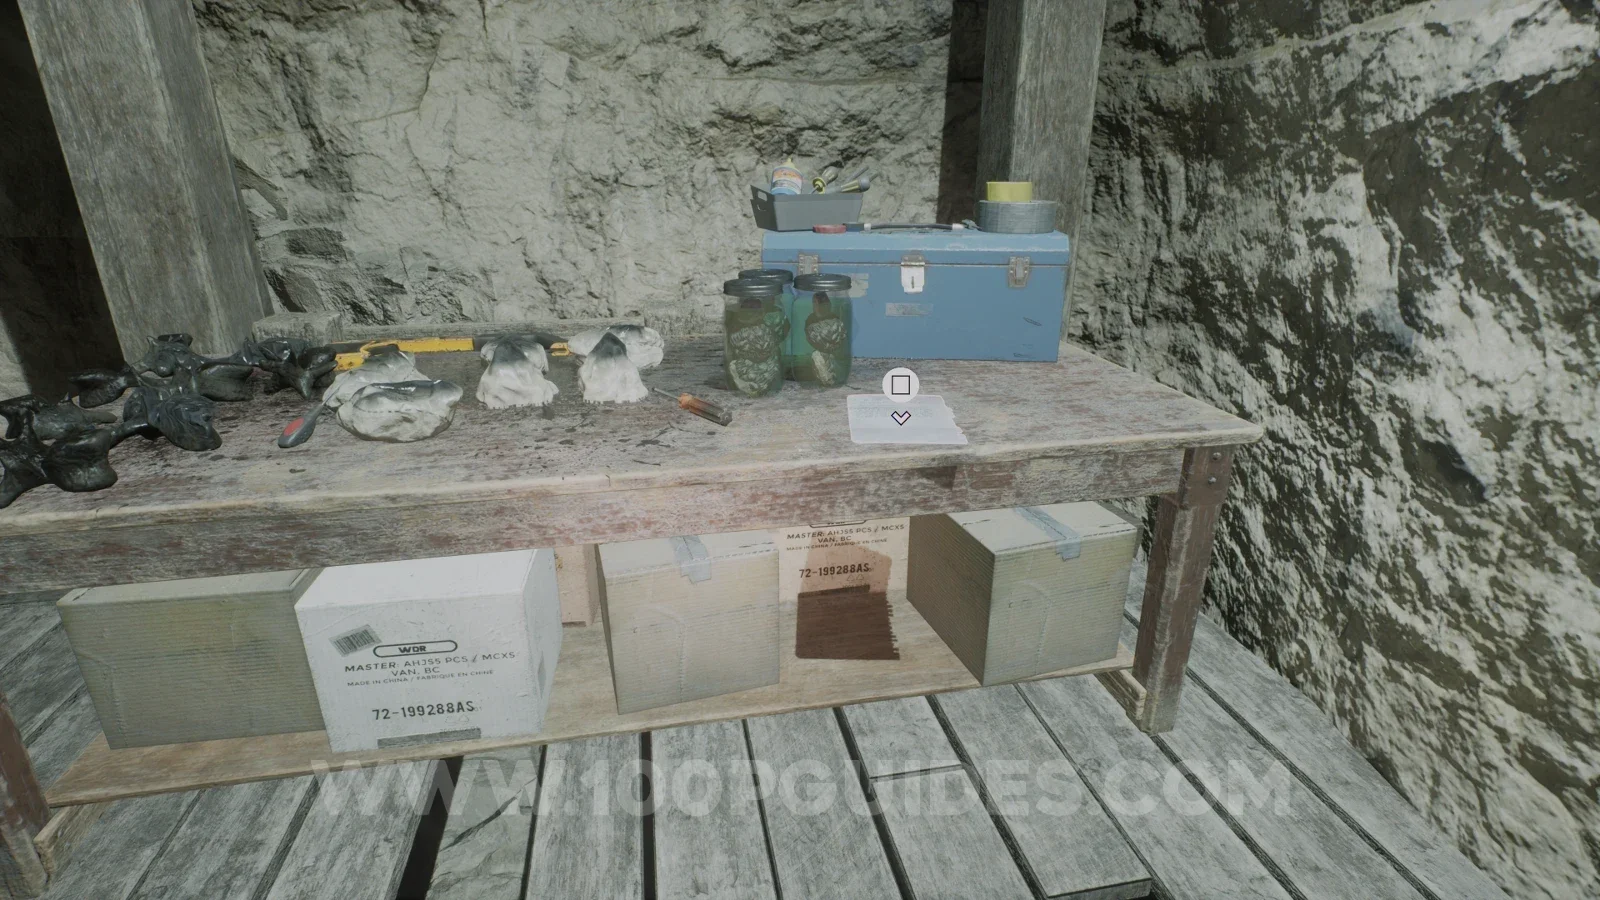
Note - Stella's Journal Entry: Jan 10 1989
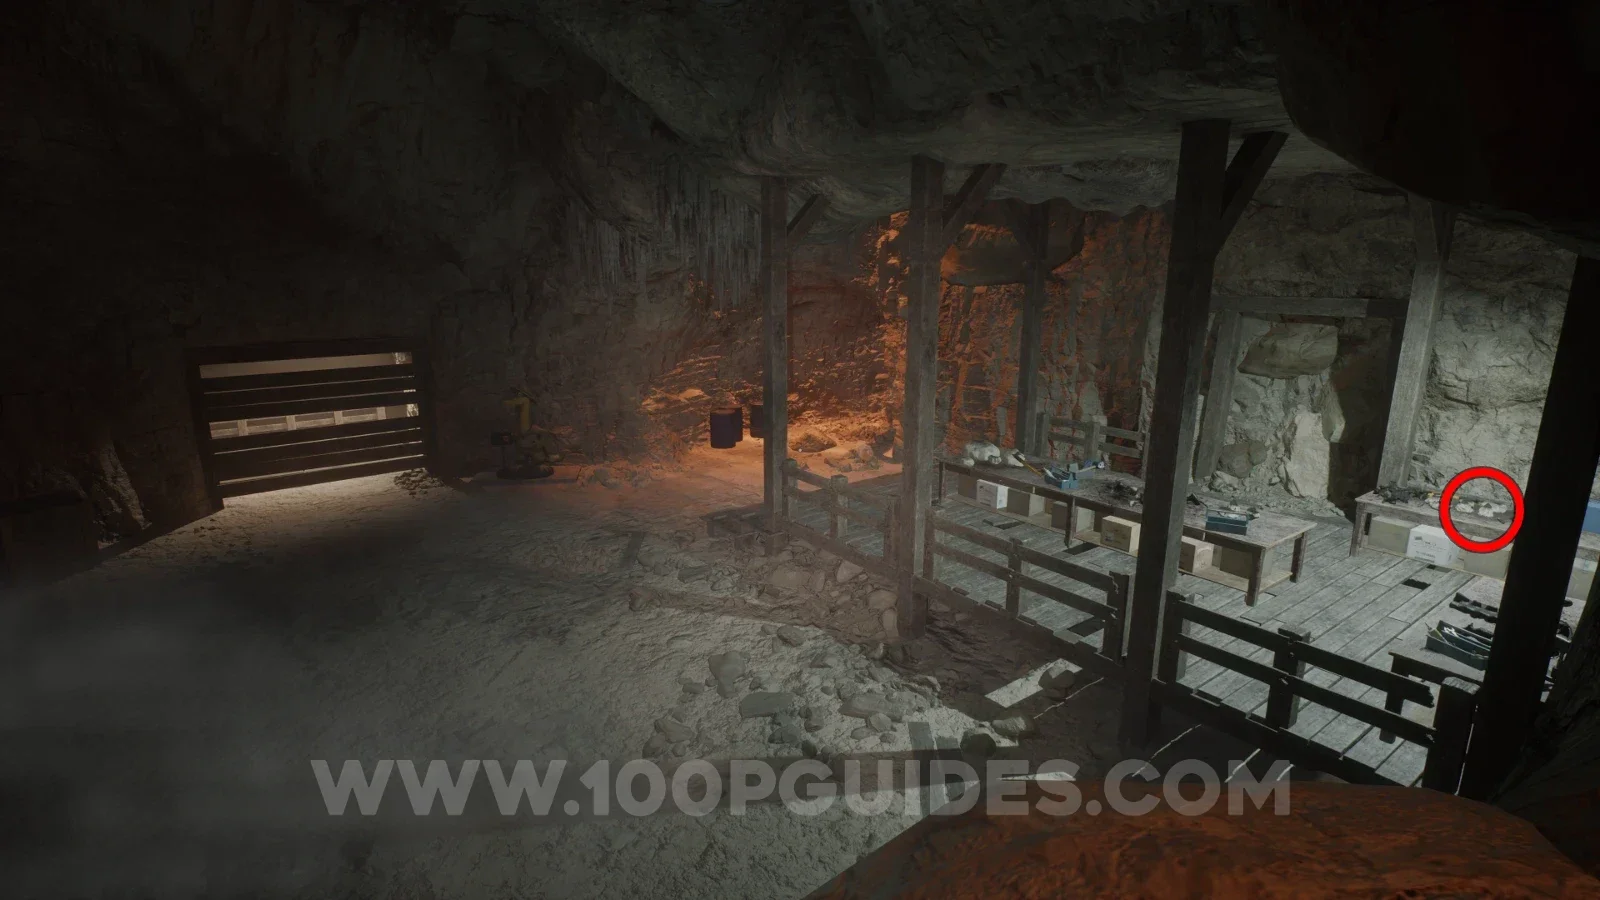
Continue through the level until you reach an area with a Paleo Pal in front of you and a lit-up workstation area on your right. Here, you will find the note on a table.
Tape - Crewmen: Campfire Fun
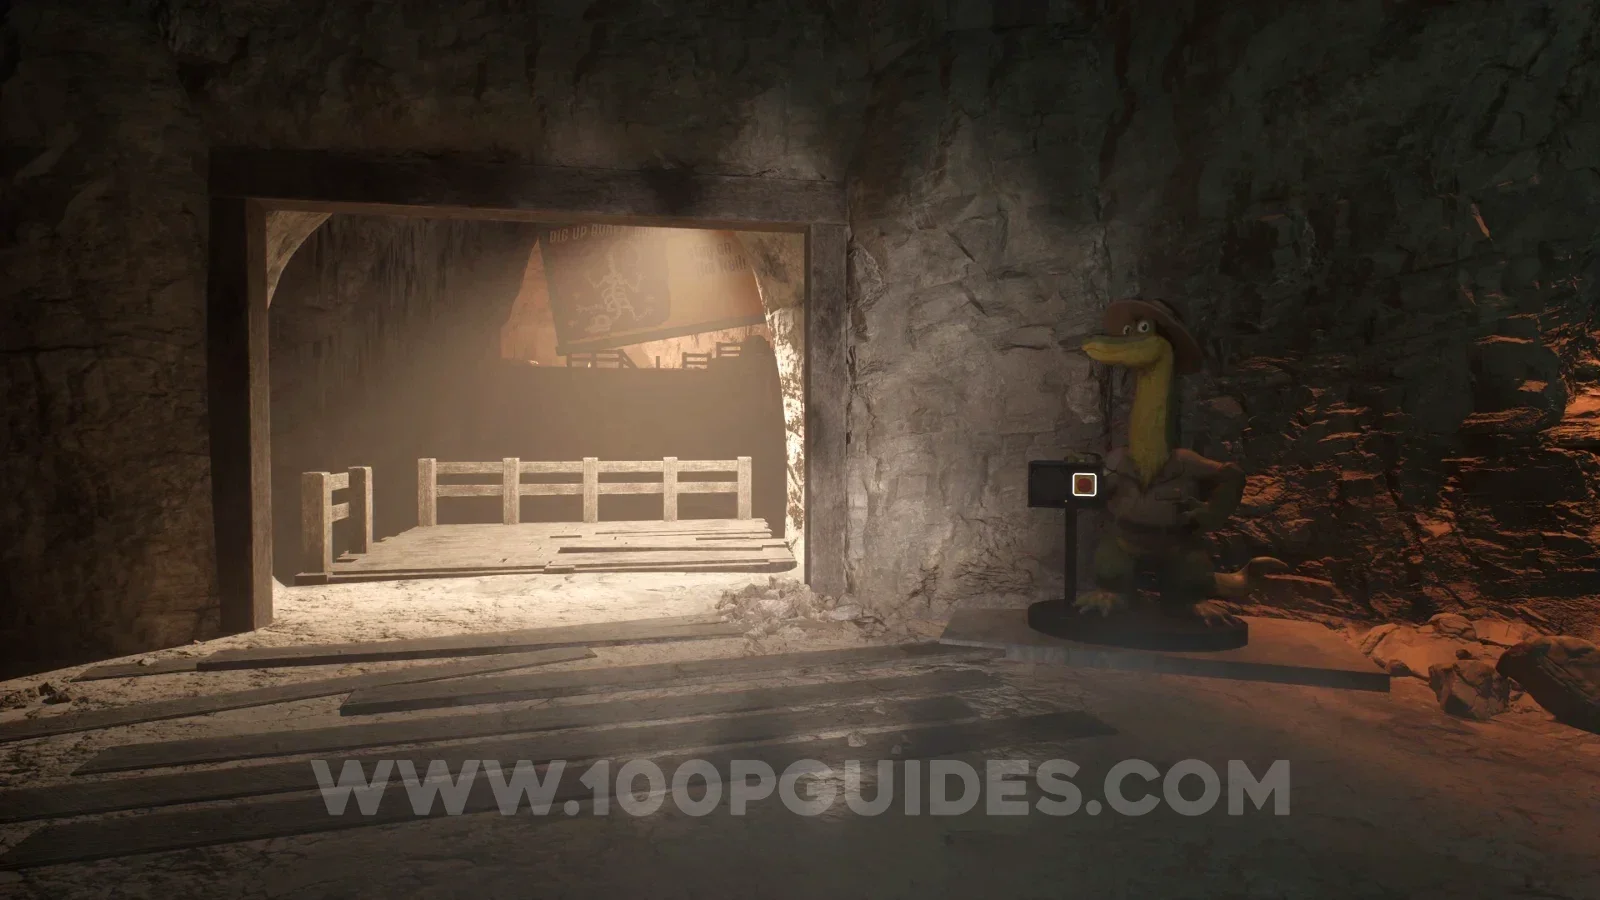
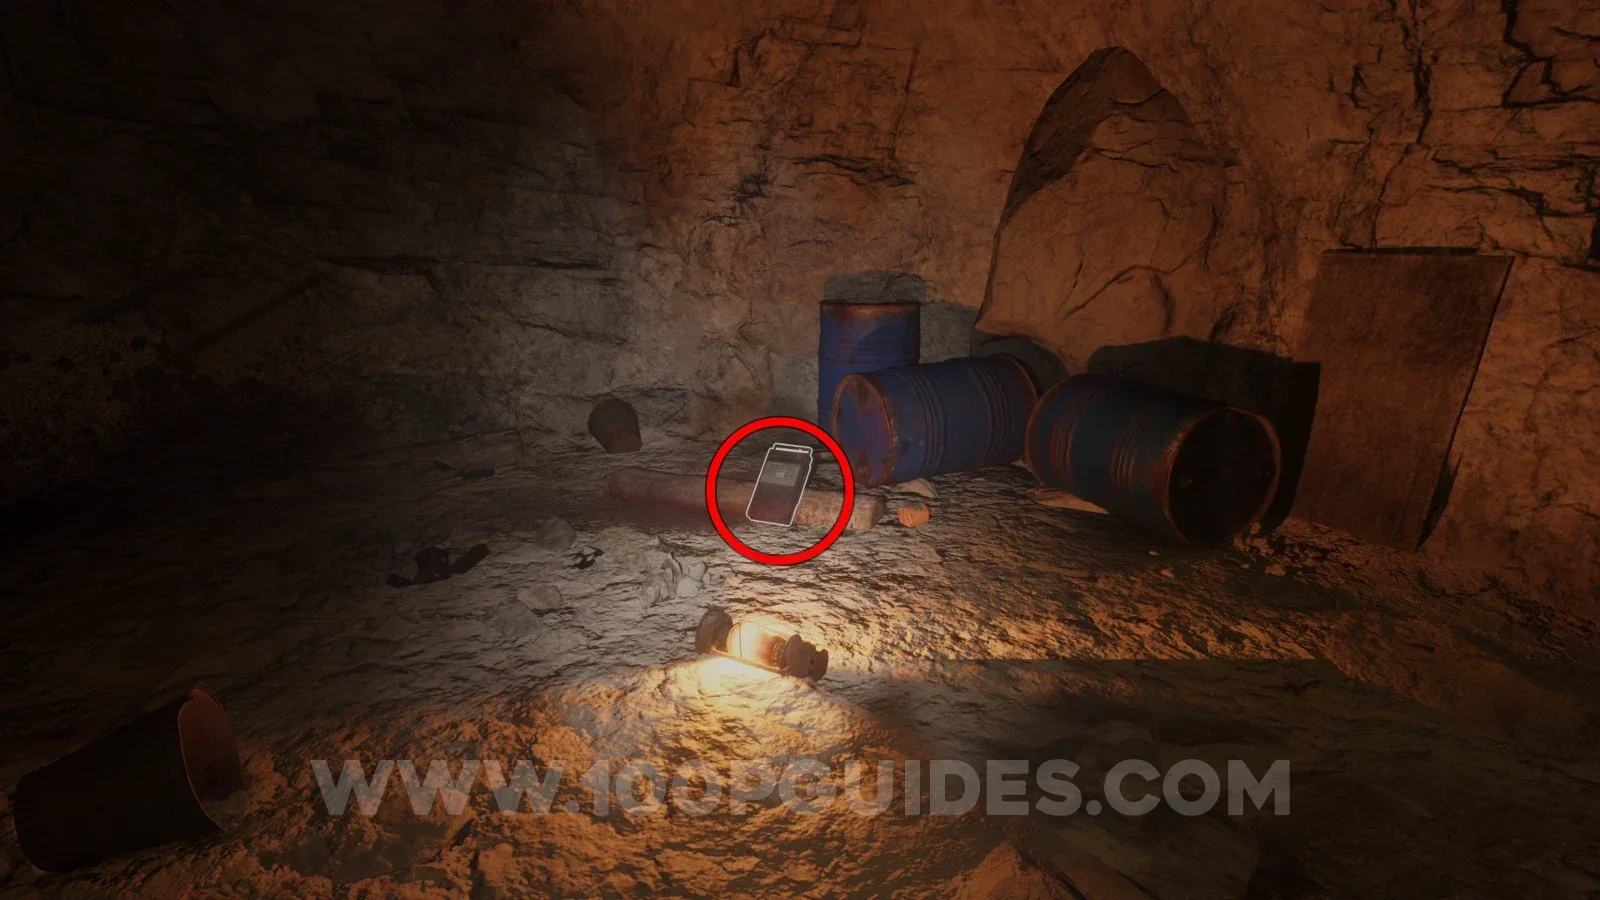
After crawling through the hole (and coming back out) in the area where the previous collectible was, the door next to the Paleo Pal statue will be open. Head through and look left to find the tape next to some blue barrels.
Note - Note Left Behind
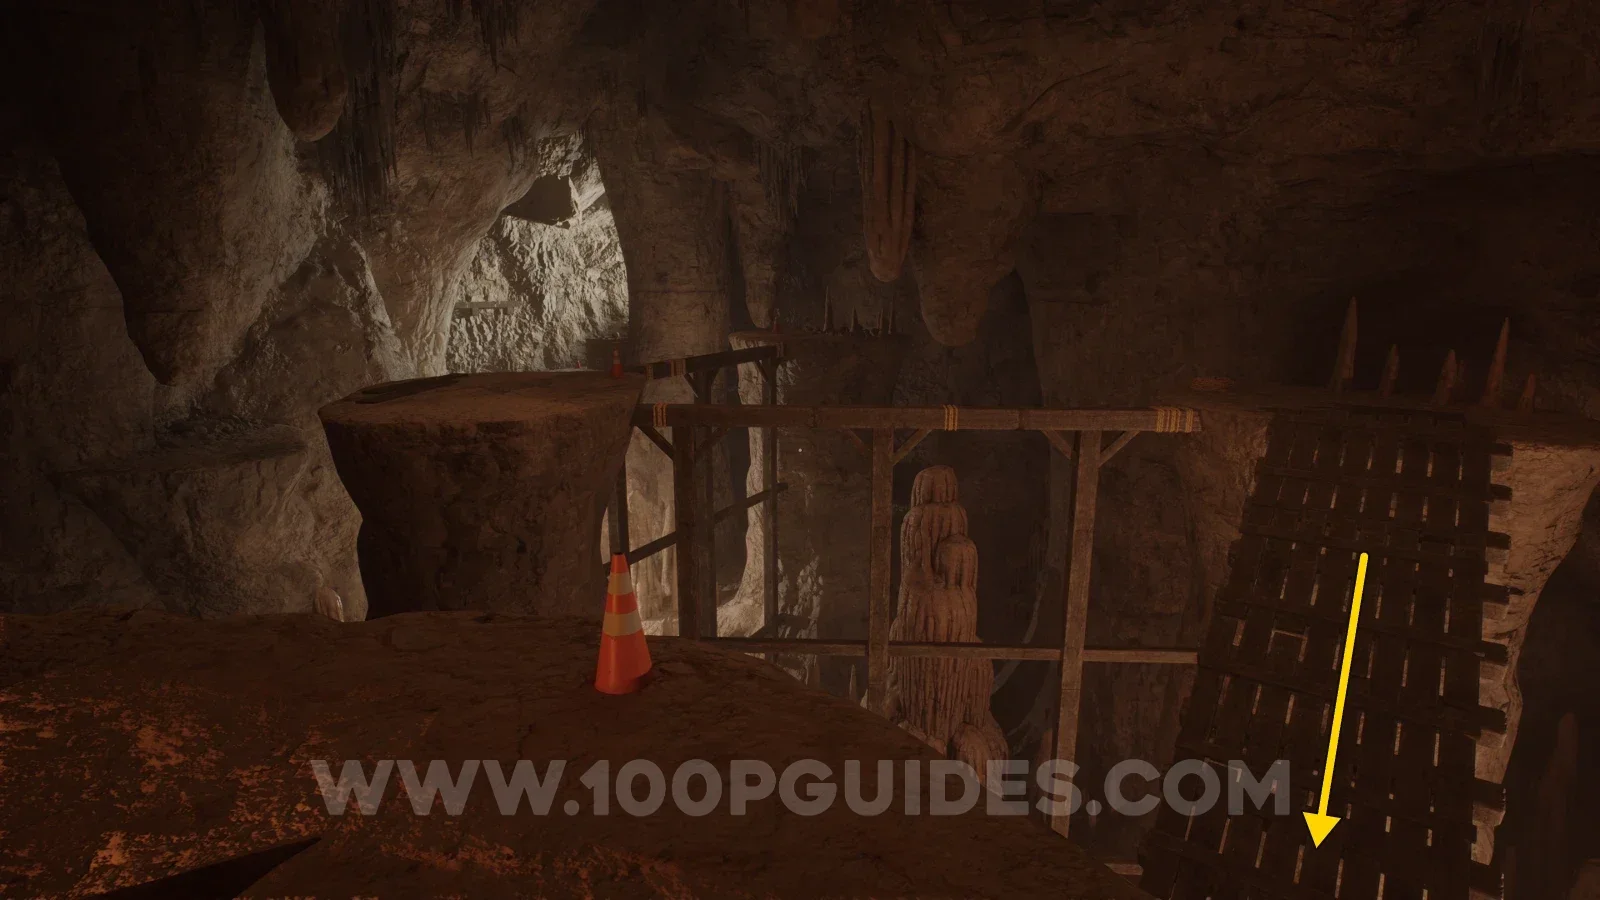
Advance through the level until you reach a room with tall pillars connected with narrow wooden beams and a wooden ramp going down on your right. Head down the wooden ramp and at the bottom look for a small cave on your left. The note will be inside.
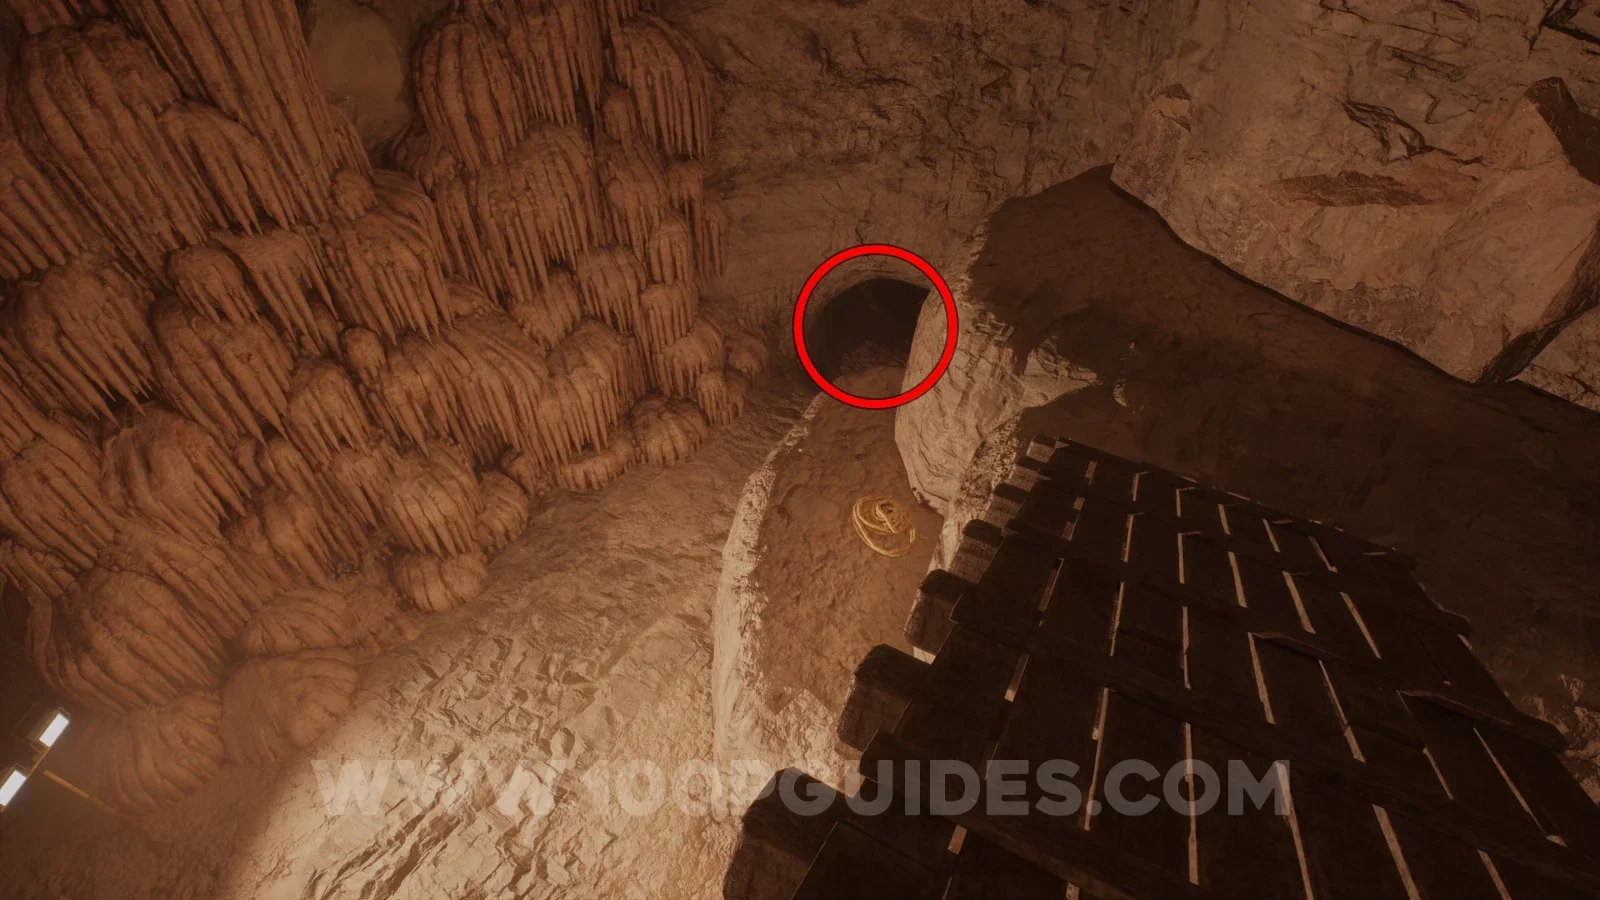
Note - Flooding?
At the end of the area where the previous collectible was, you will have to climb through a cave by hanging on to wooden beams. After that, you will see some boxes on your right. Head past them into the small cave to find the note.
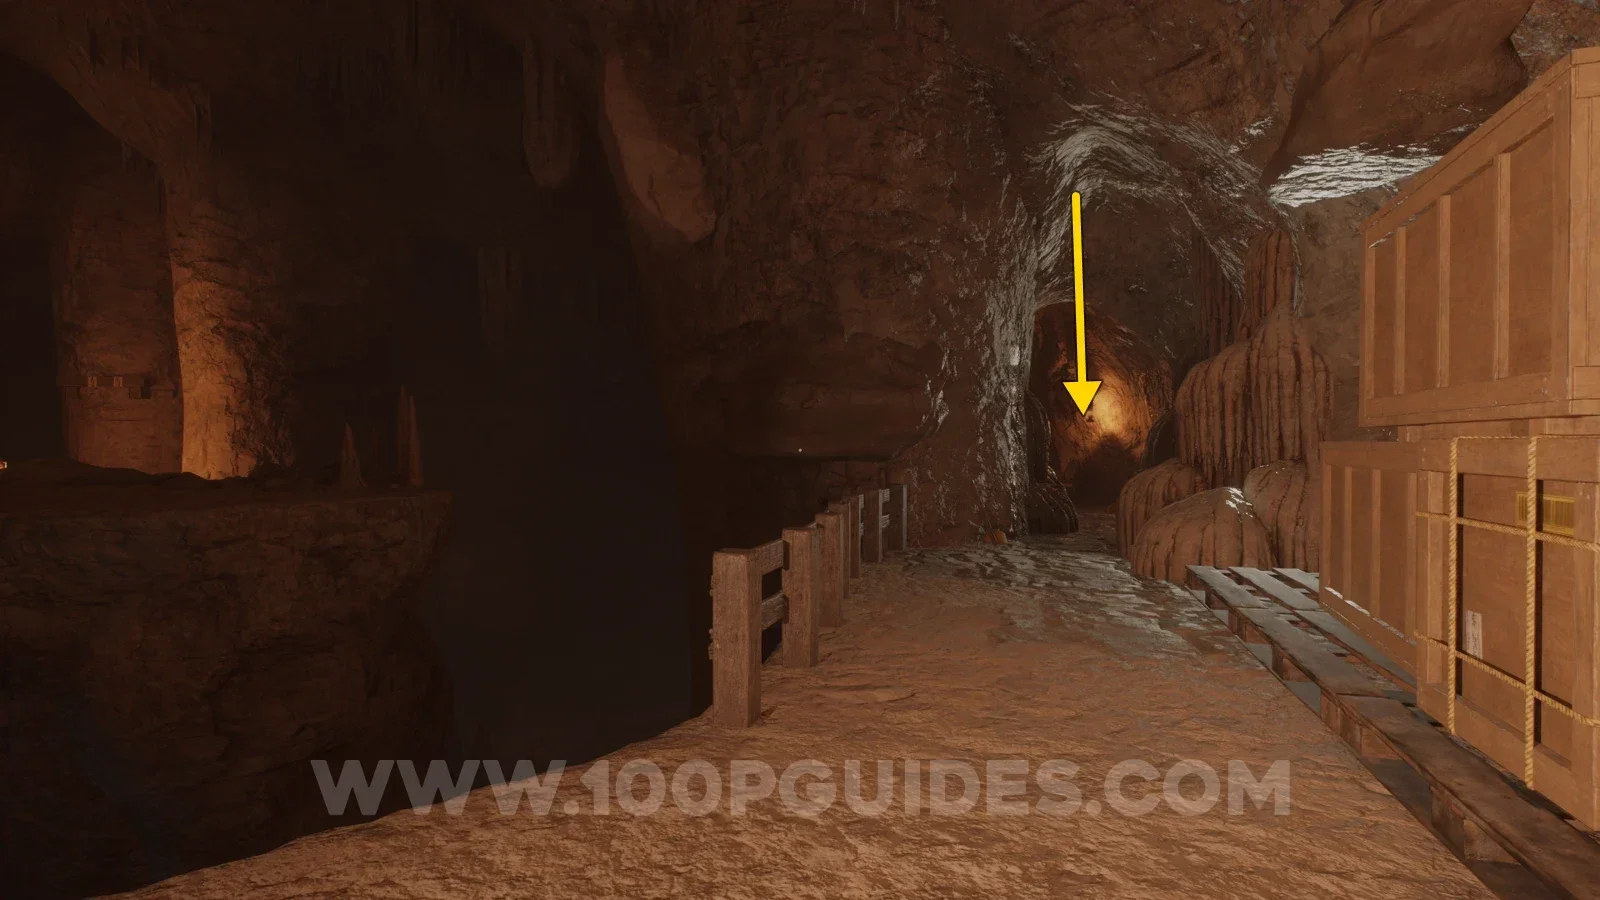
Note - Note from The Broker to Dalton
A little further through the level you will get to a big open area. Here, look for a ladder on a wooden structure you can climb on the right side. Climb it and then at the top go around the small building on your left. Jump on top of the comms machine and then onto the roof. Jump through the hole to get inside and pick up the note.
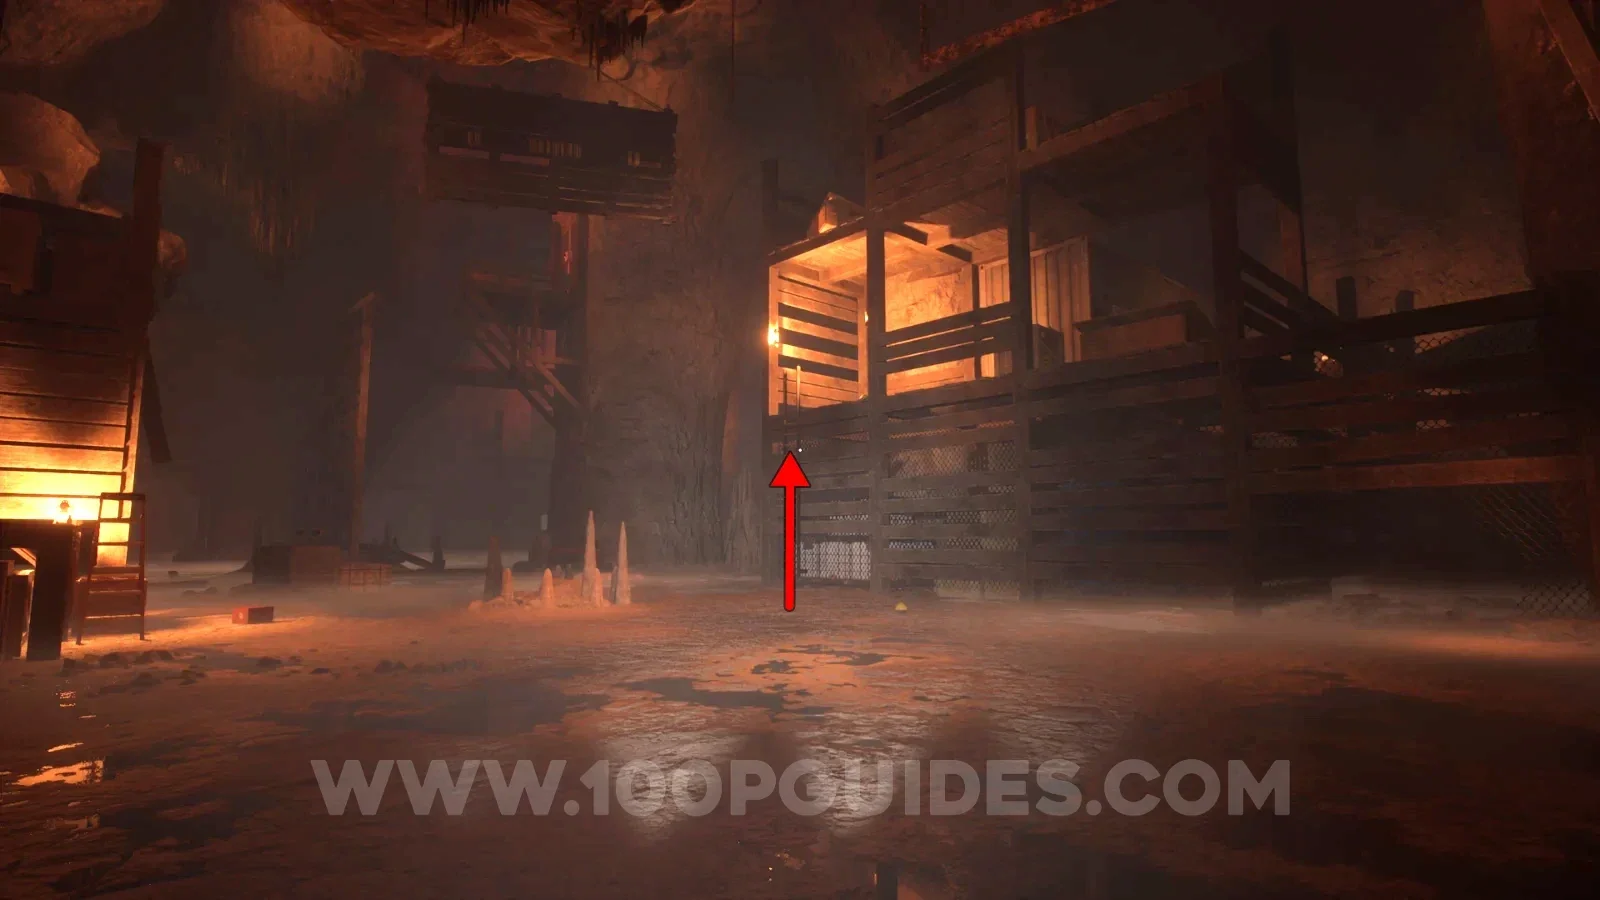
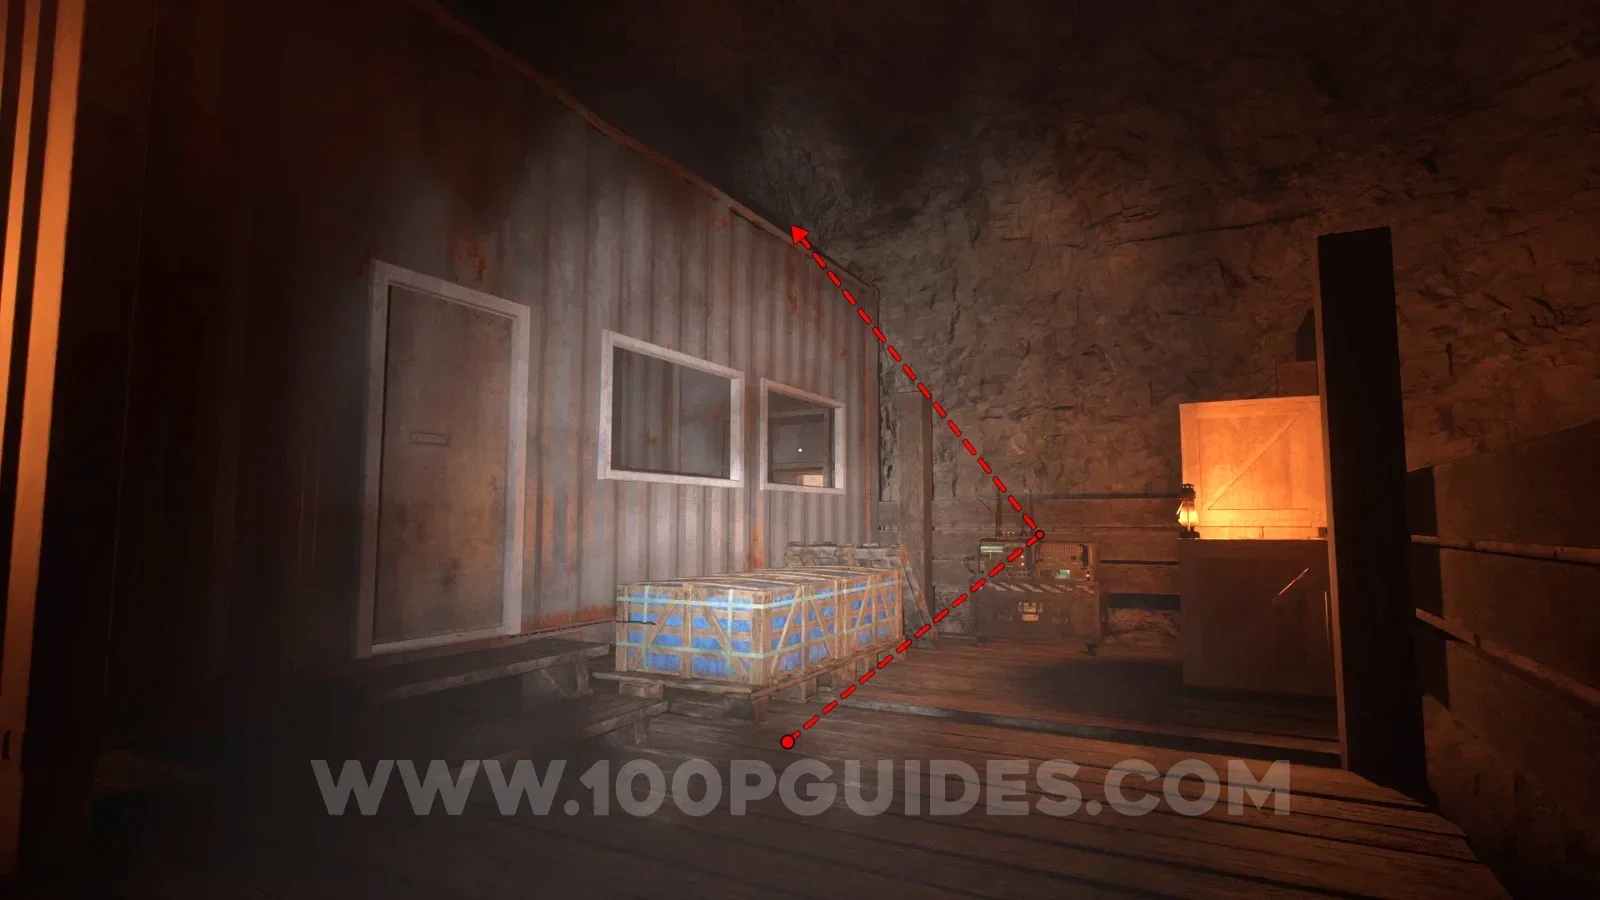
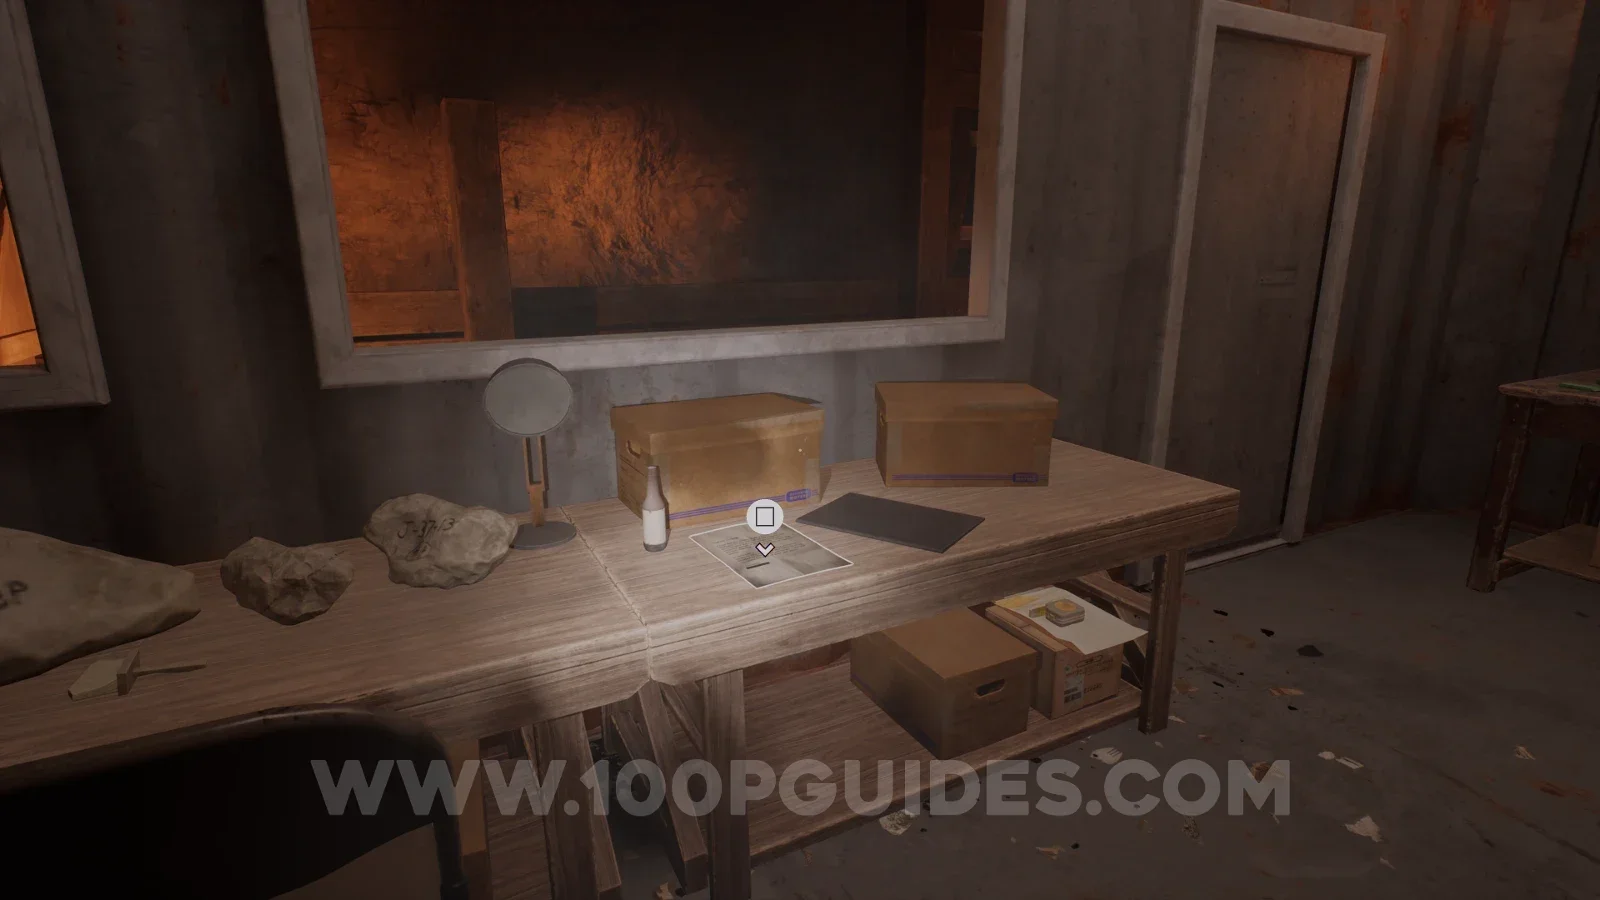
Note - Dalton Jr. Journal Entry: Mama's Gone
After escaping from the monster and leaving the large room, continue through the level and you will soon get to a room that you climb to the top of by swinging on a pole connected to a hanging metal box. In the next area, after swinging once, look down to find a small bed under some wooden pallets. The note will be on the bed.
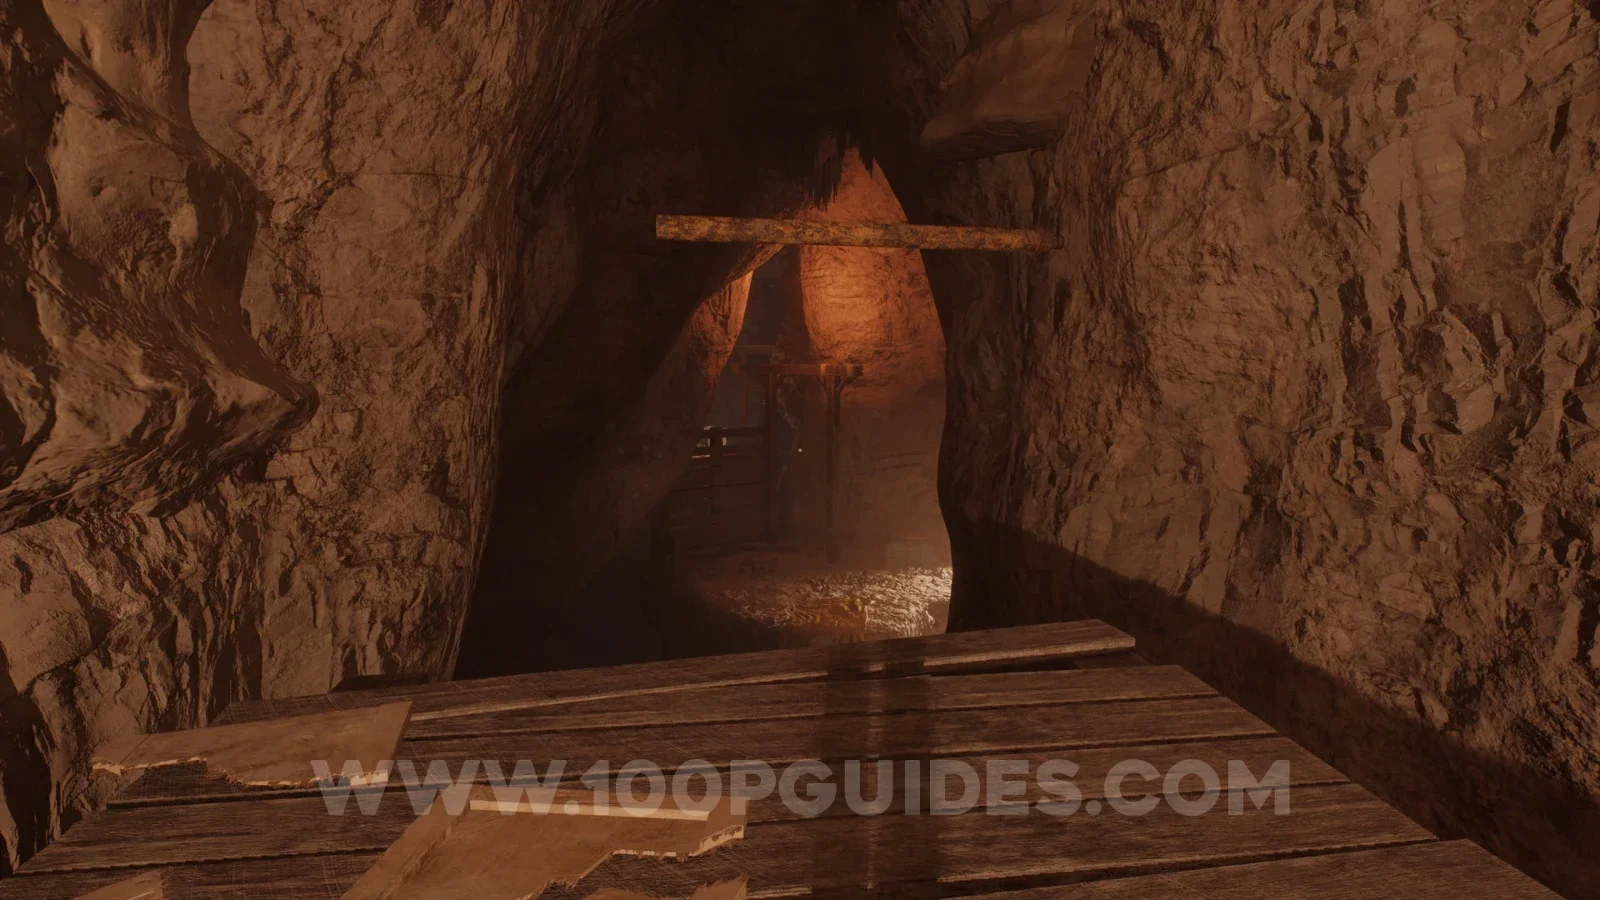
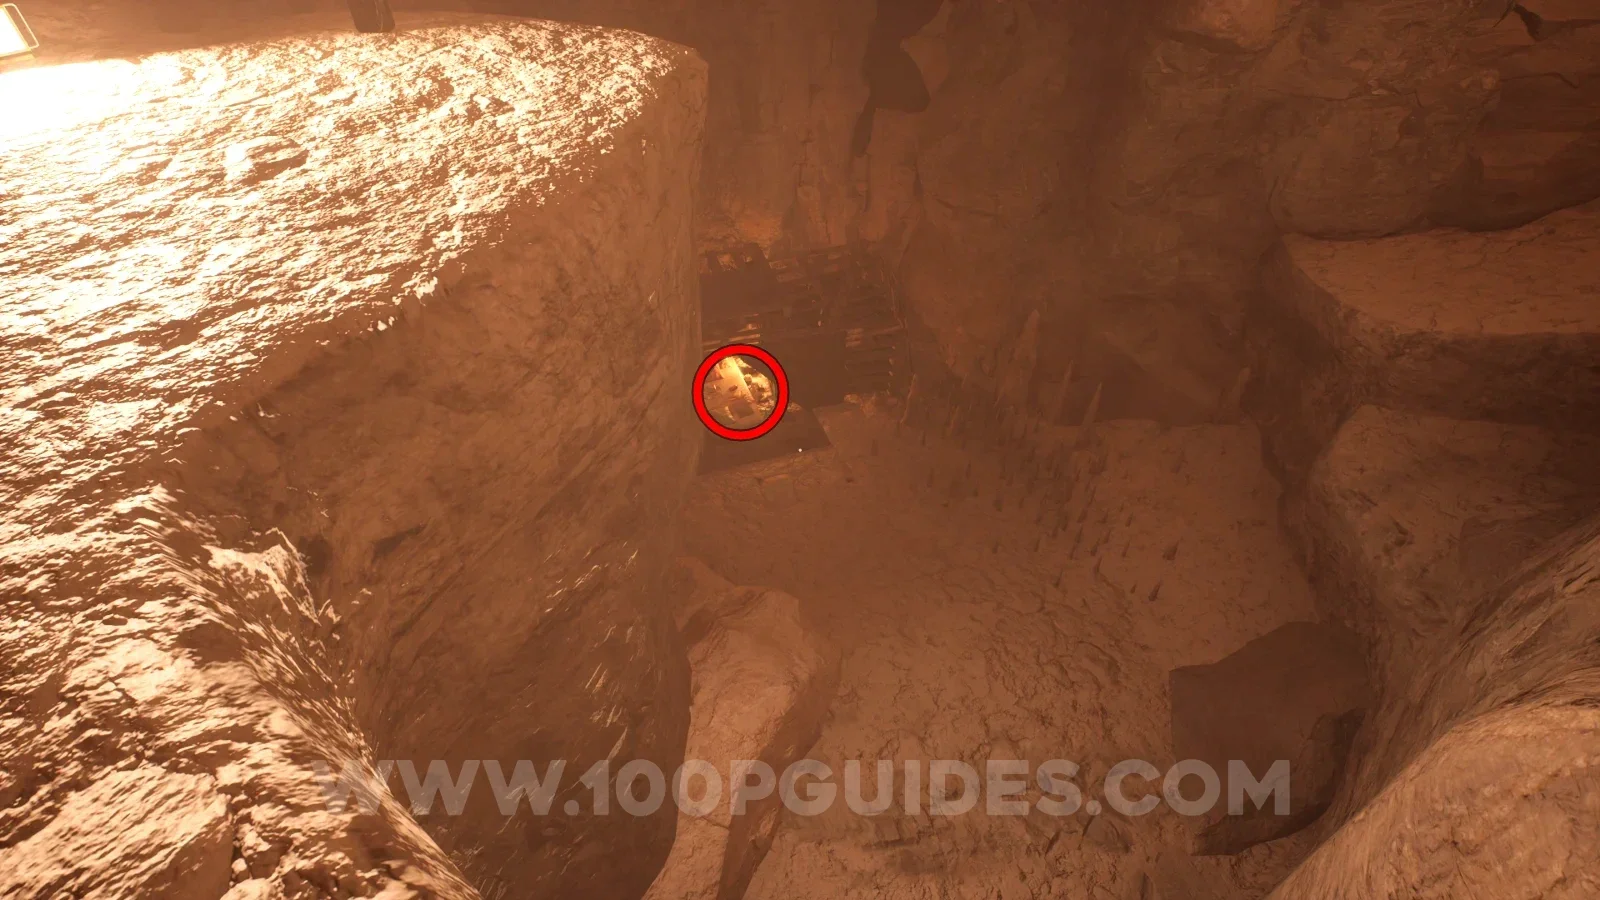
Sample - Amber Specimen 07
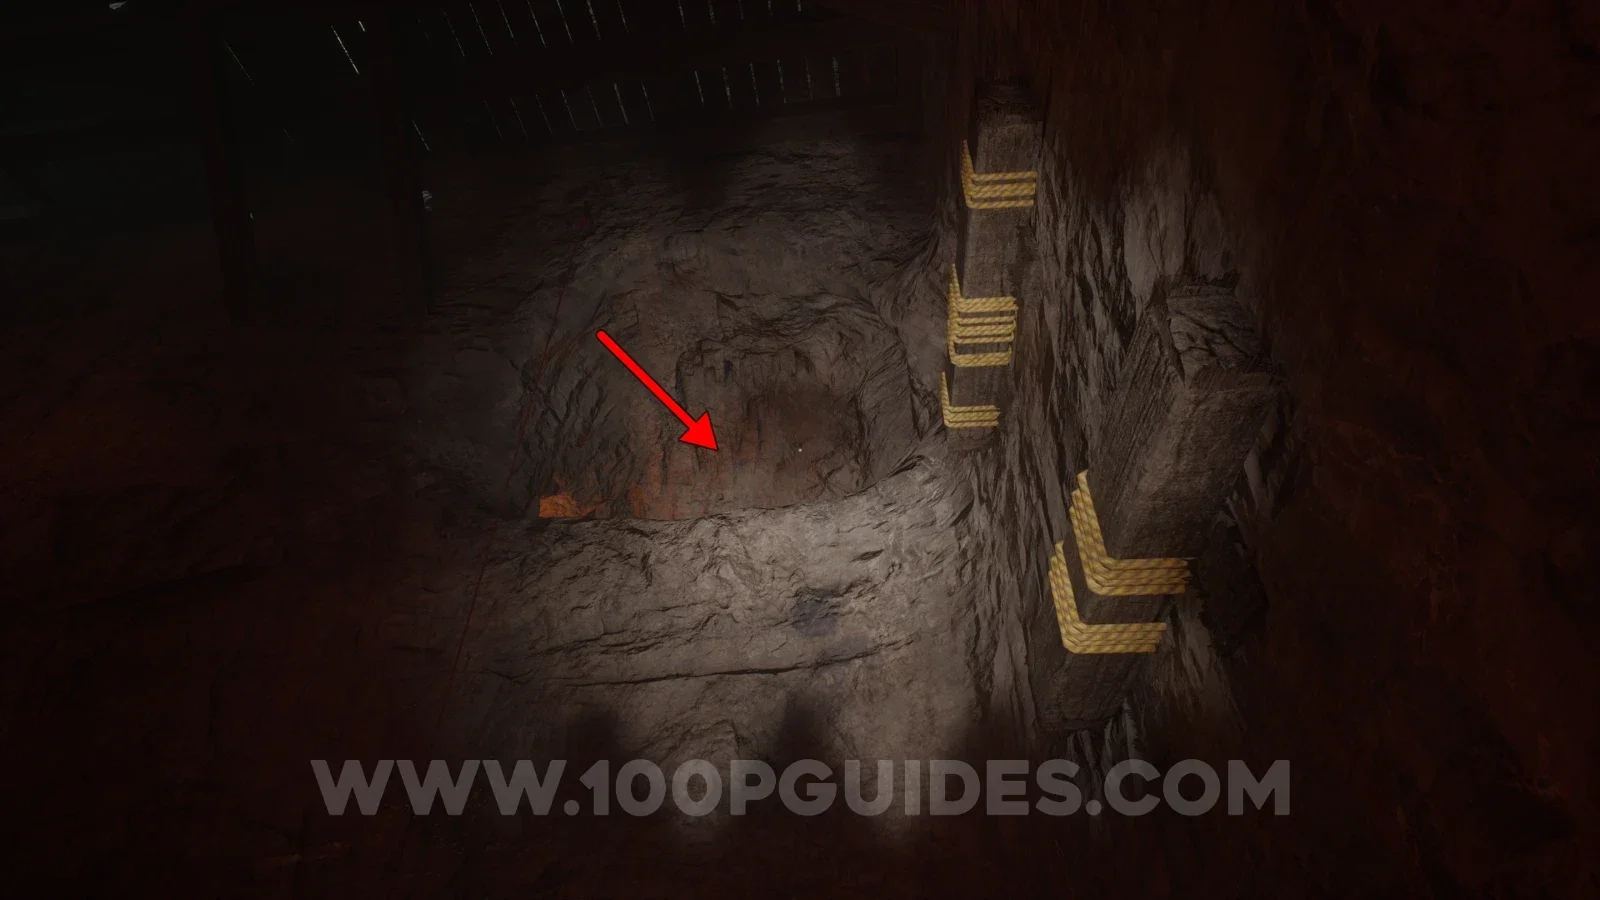
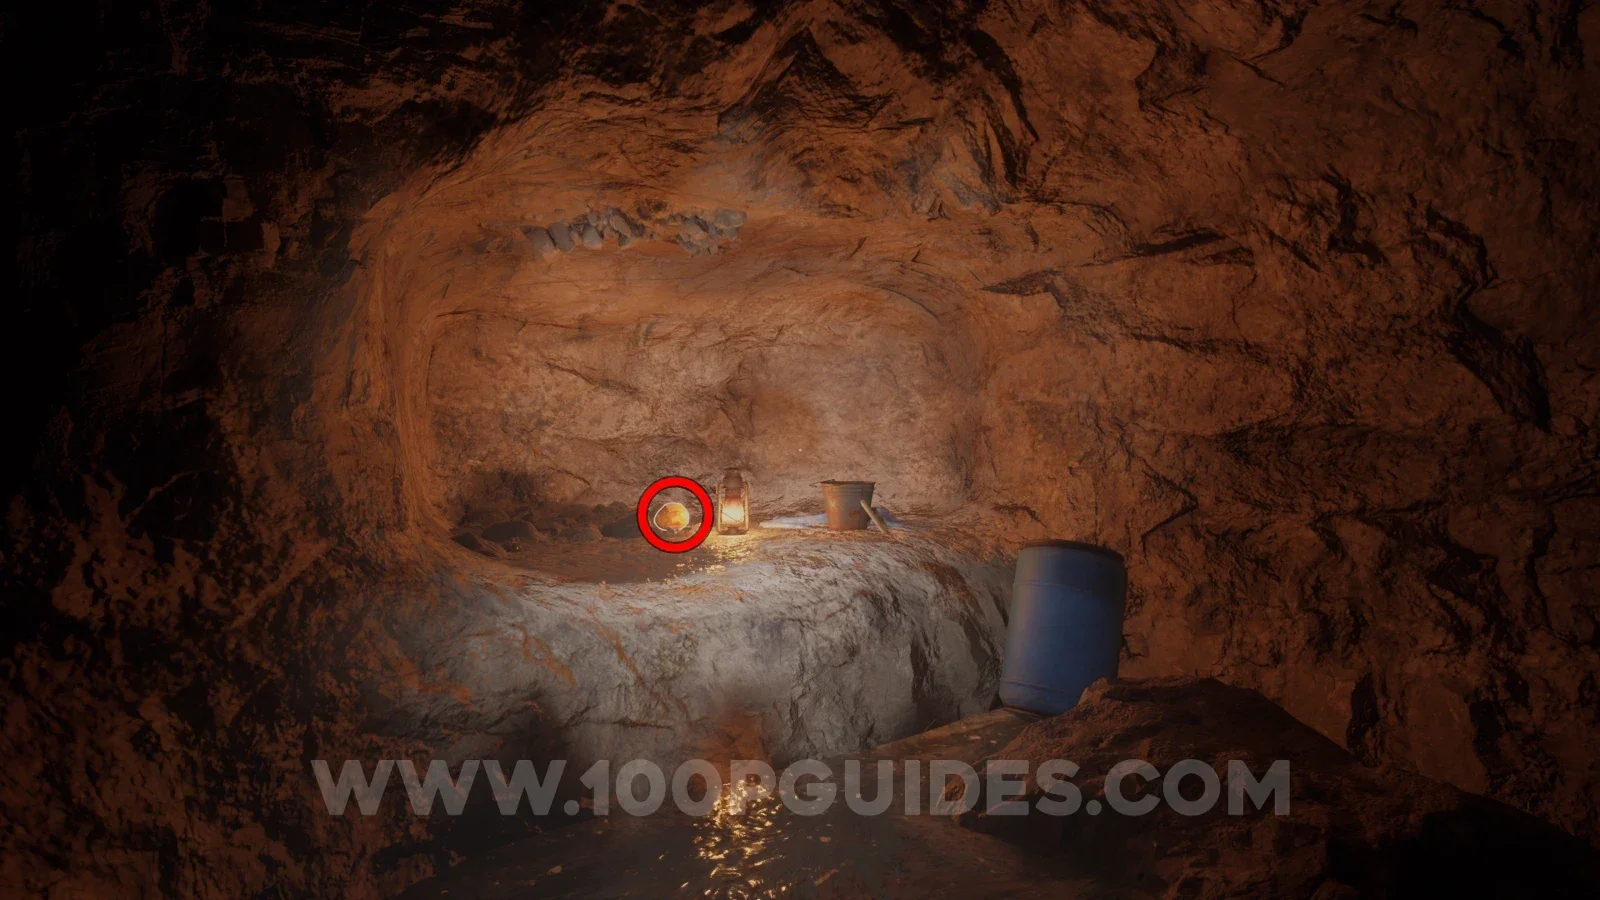
After reaching the large lift shaft and talking to Stella again, head through the door on the left by inserting the code and then start climbing down around the shaft. Eventually, you will reach a wooden platform that is hanging at an angle with some barrels on it. After that, you will see some wooden blocks on the wall heading left. Use them to climb into the small cave with the amber inside.
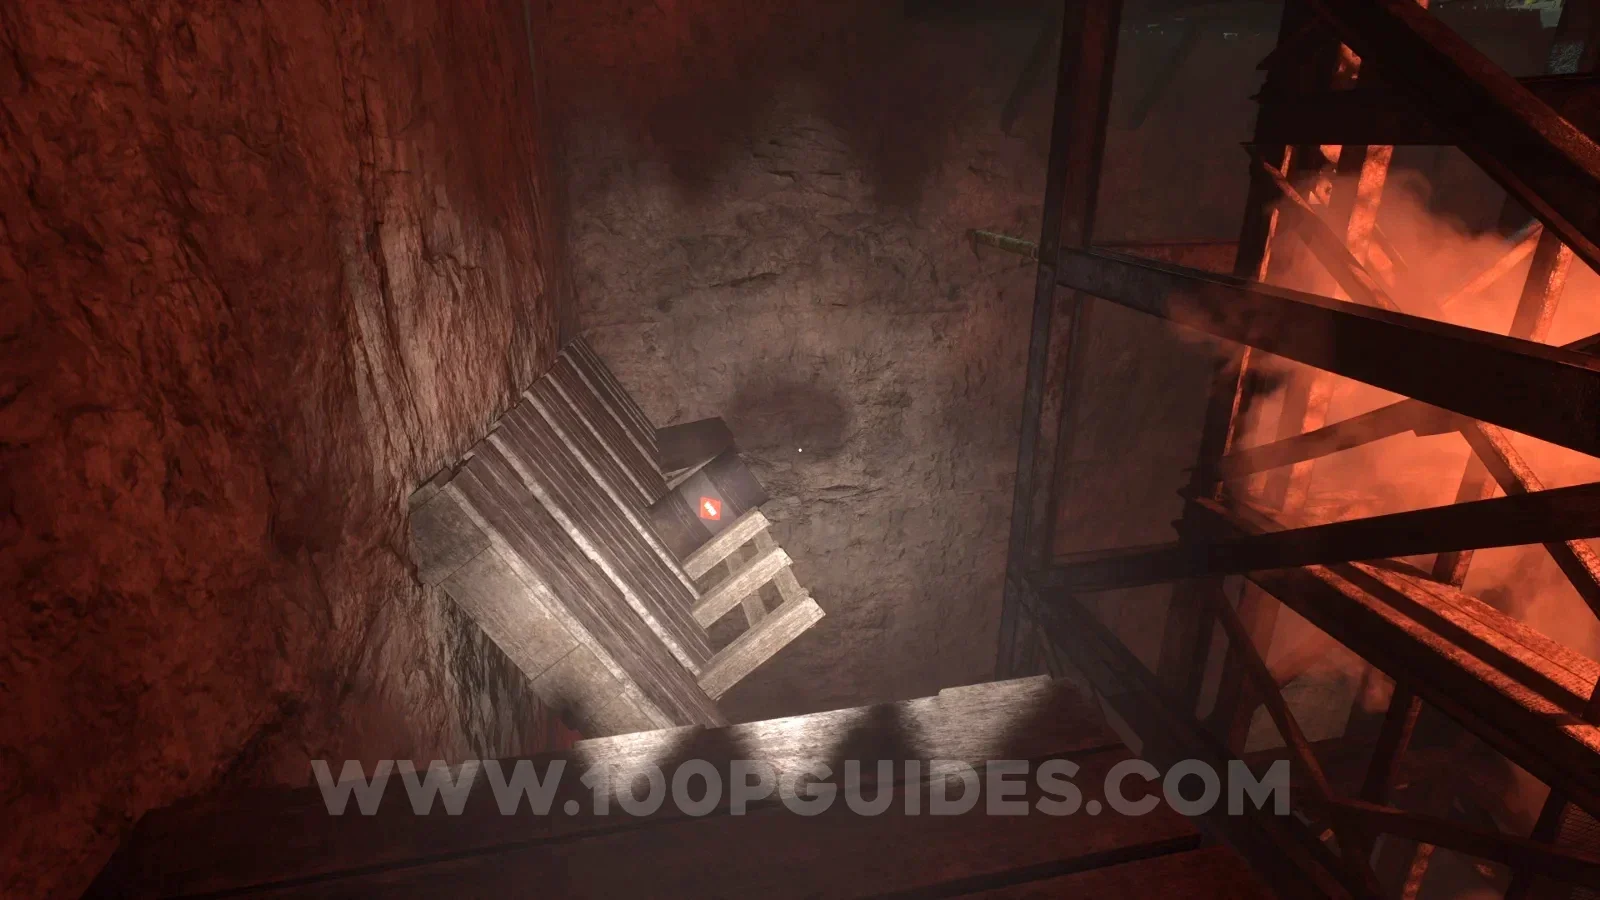
Tape - Dalton Coolidge: Selling the Fossils
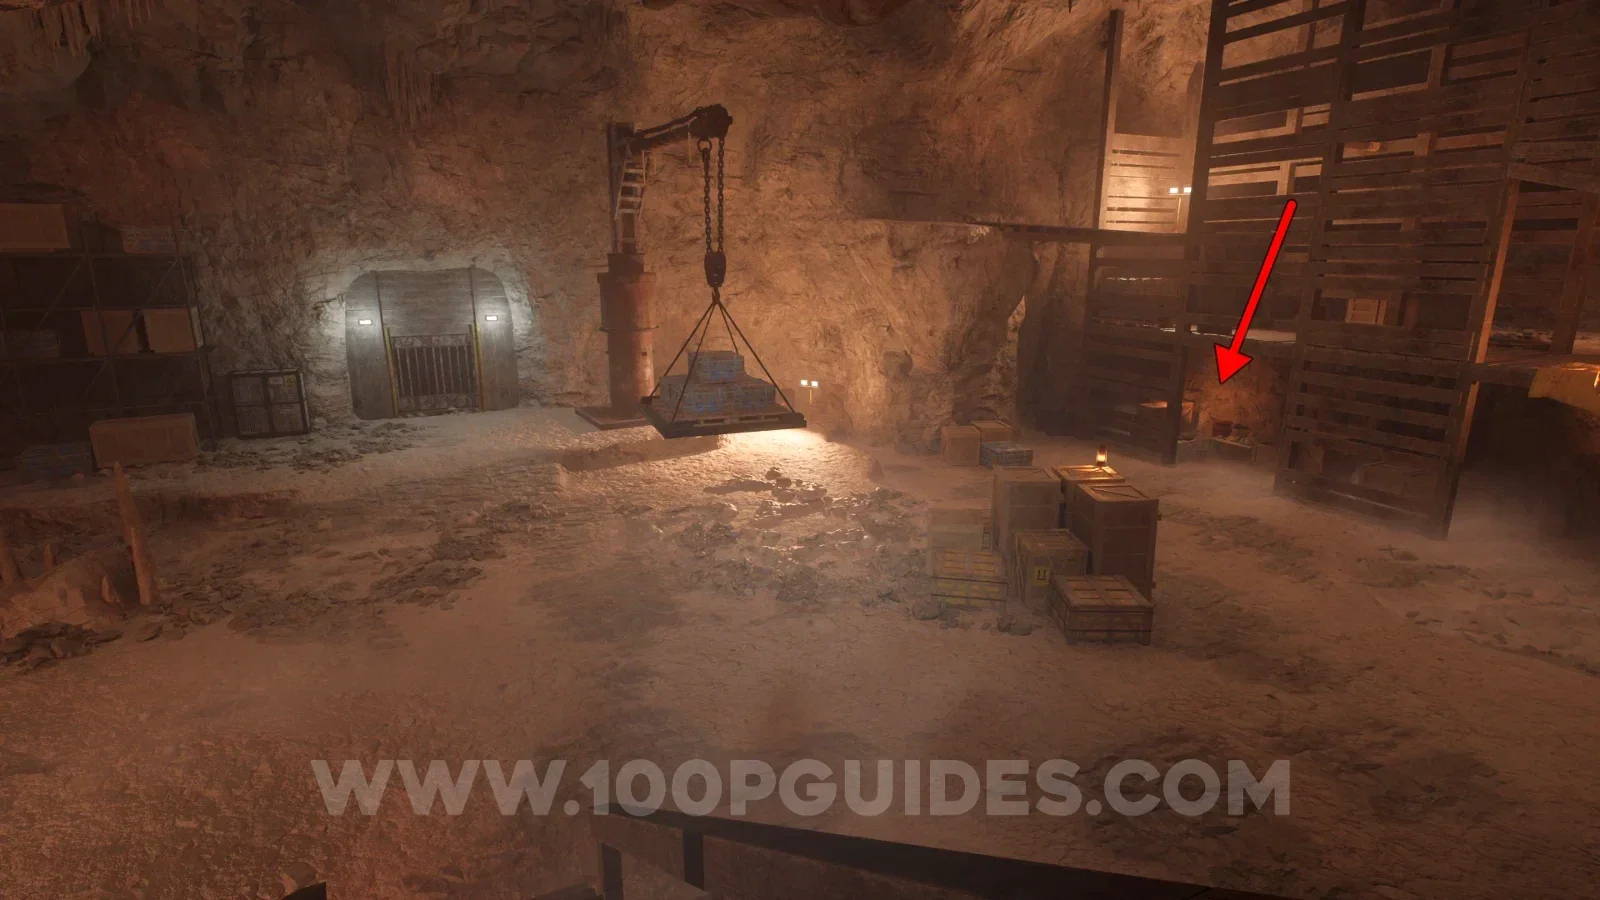
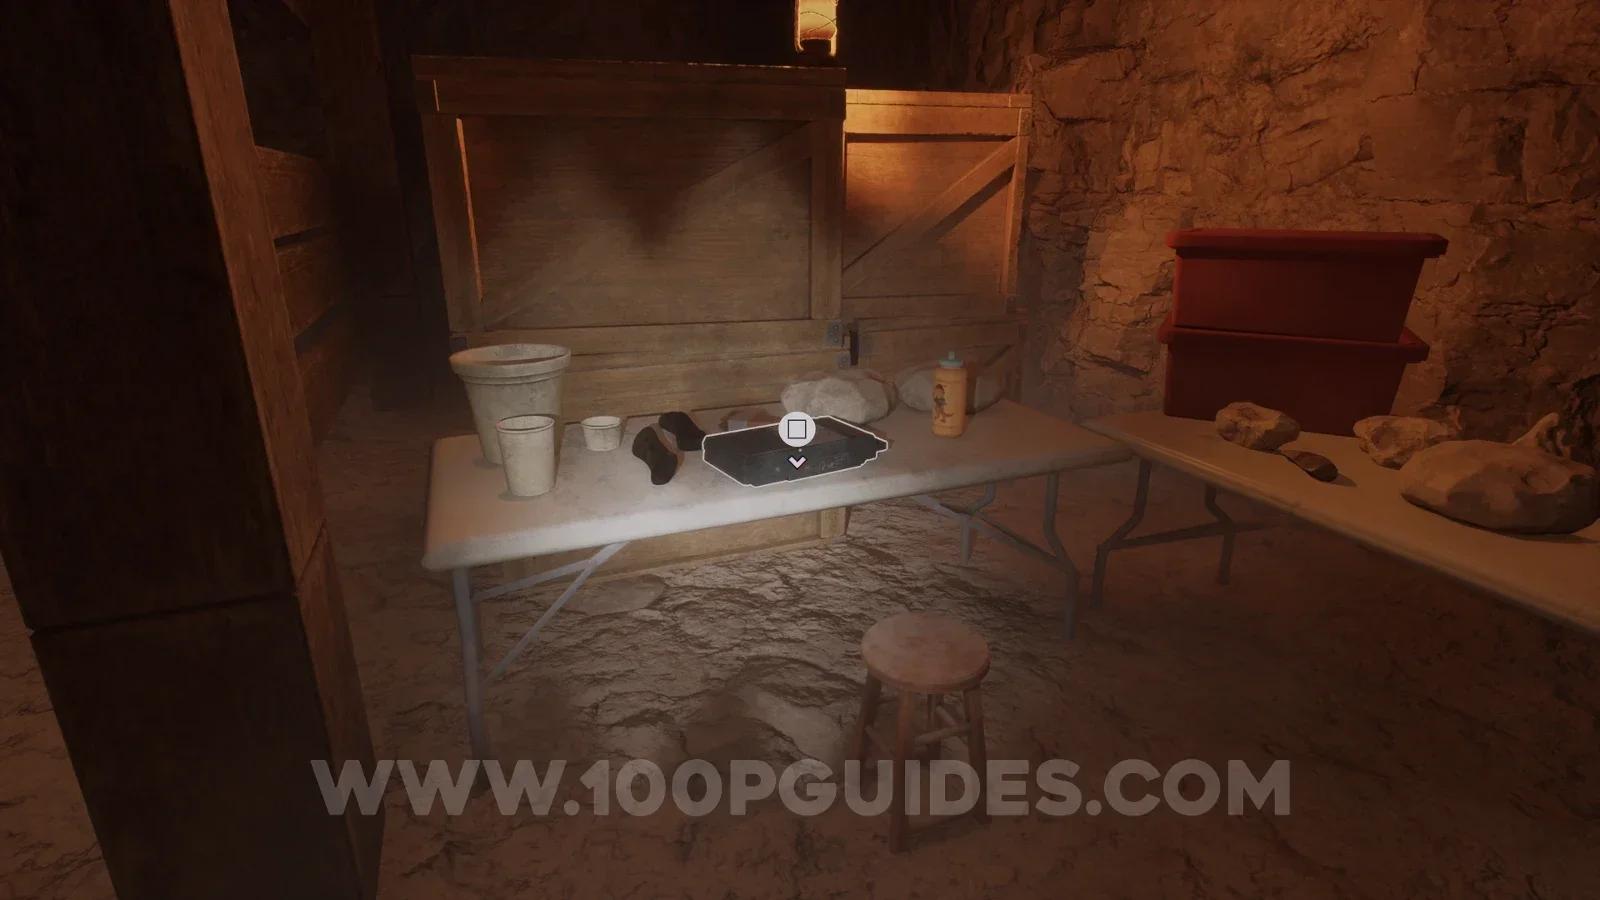
Once you reach the bottom of the shaft, you can find the tape in the wooden structure on your right.
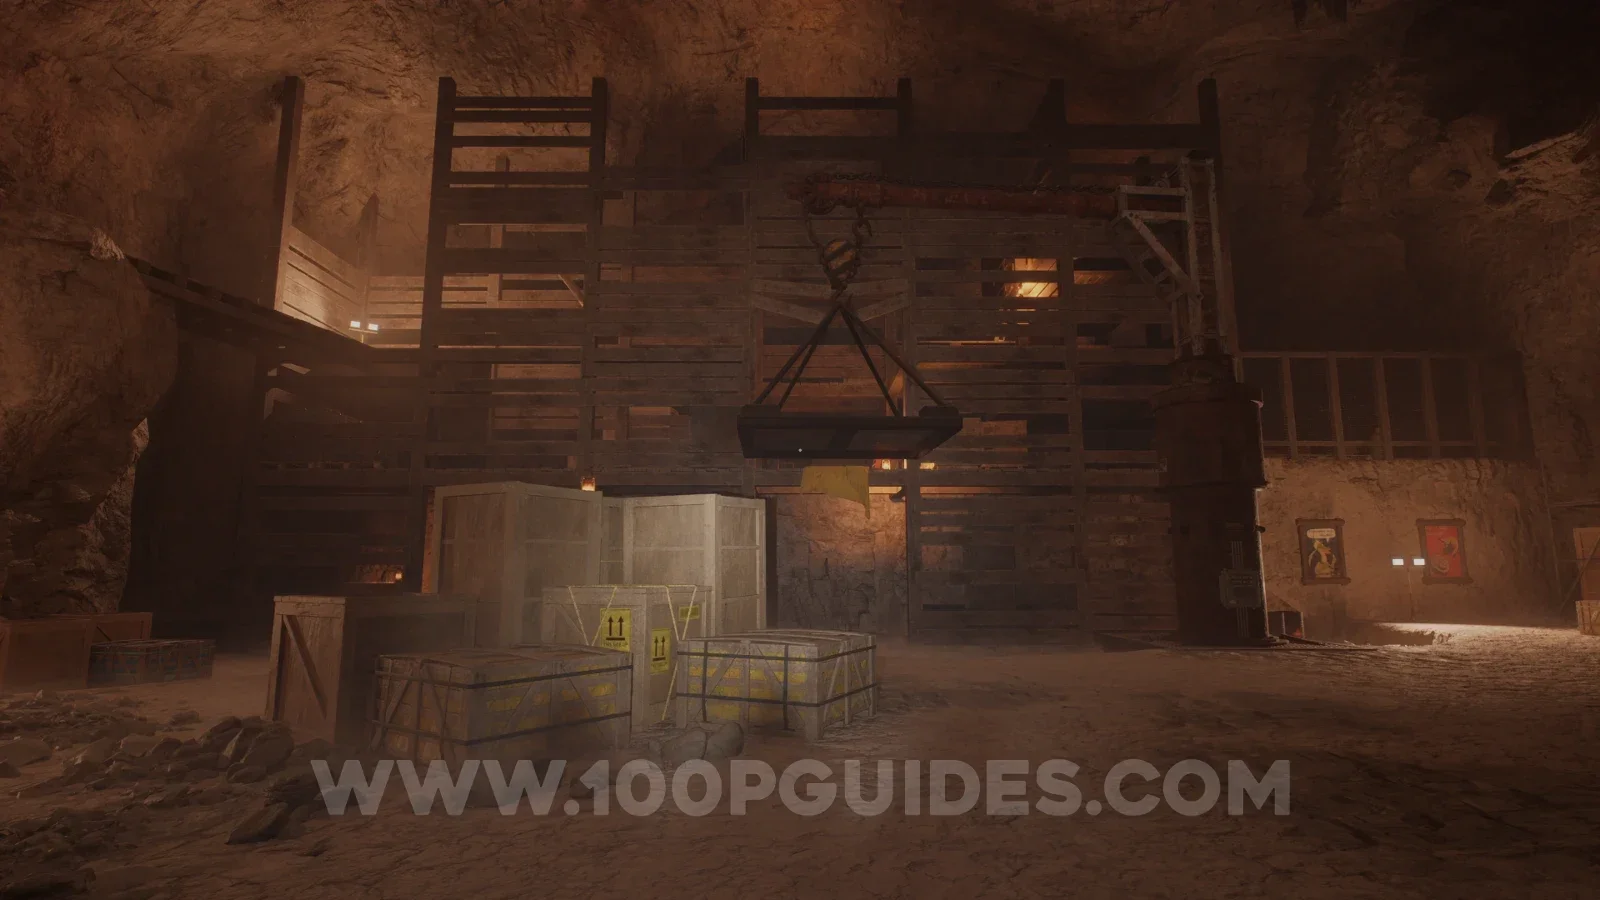
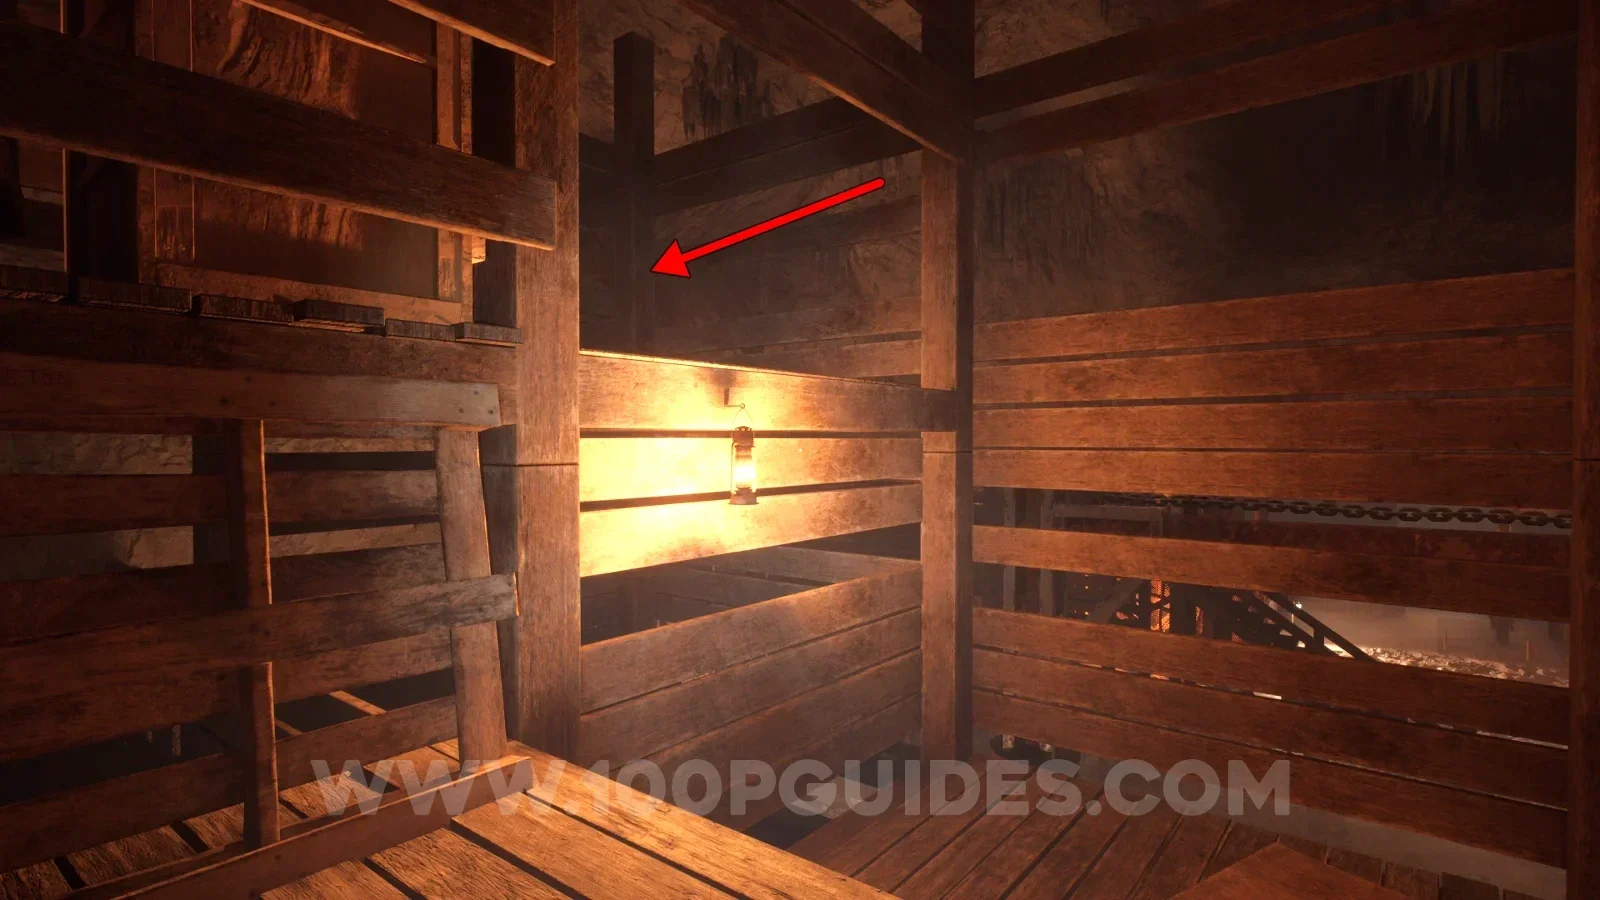
Note - Gondola Hater
After using the fuse, use the platform to climb to the second floor of the wooden structure where the previous collectible was and then climb the short ladder. At the top, climb the box on your left and then jump through the gap on the left to find the note.
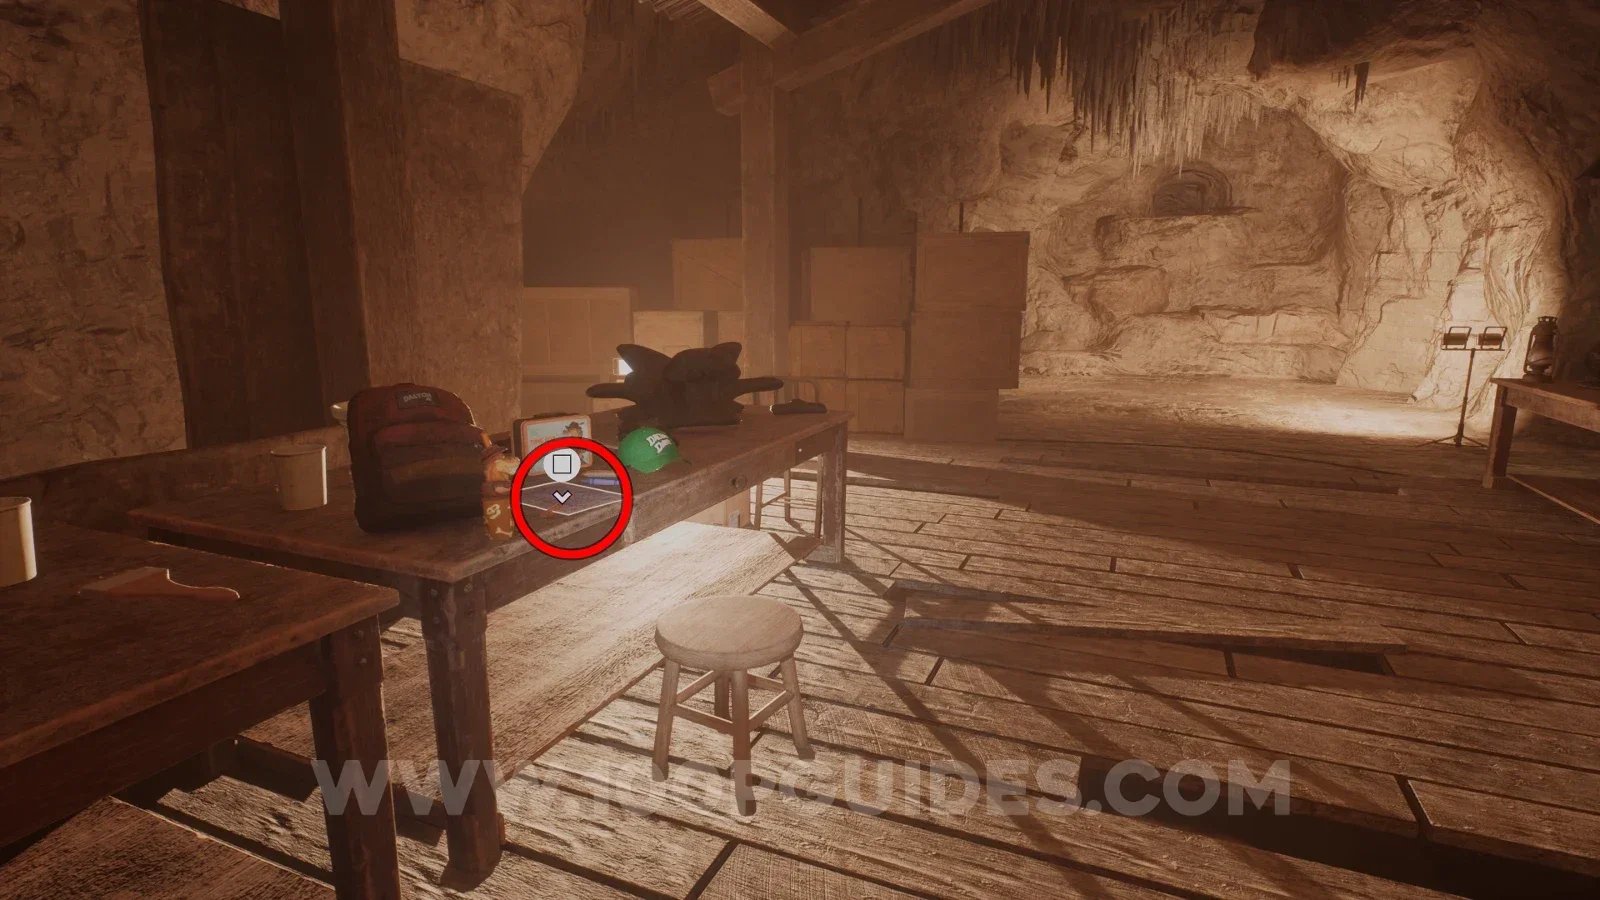
Note - Dalton Jr. Journal Entry: DJ's thoughts
After swinging on another metal platform and breaking open a door, advance through it and you will enter a room with the small "dinosaur" creature in the middle. After it runs off, pick up the note from the table in the middle of the room.
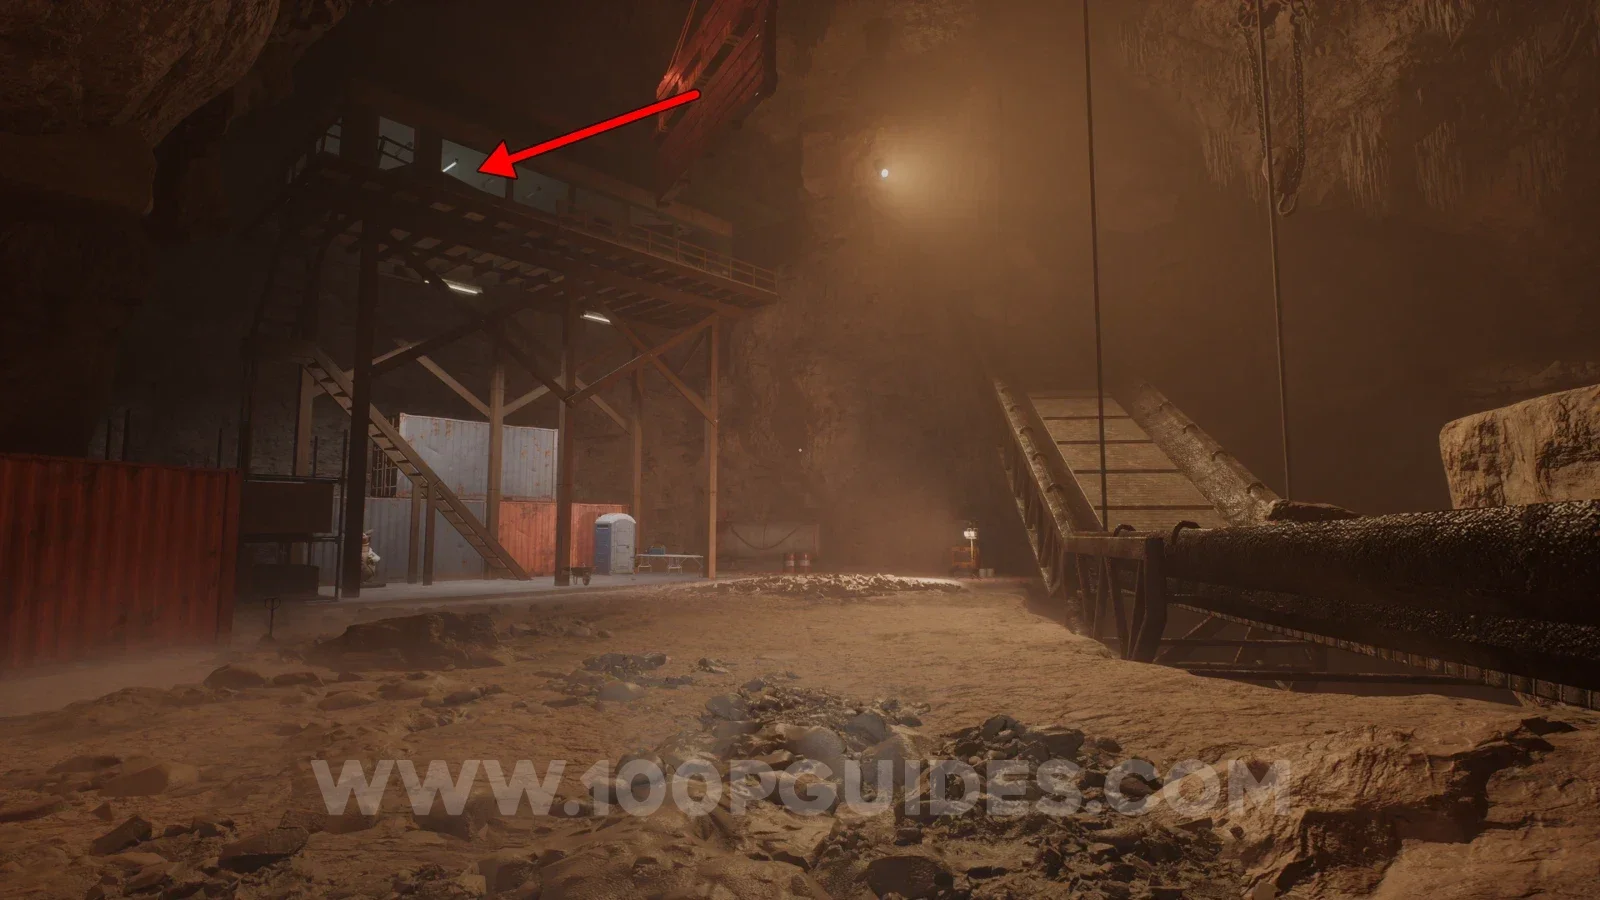
Note - Willy's message
After encountering the Bronto again, climb along the stopped conveyor belt and then climb the stairs and enter the building on your left. Inside you will find the note on a table.
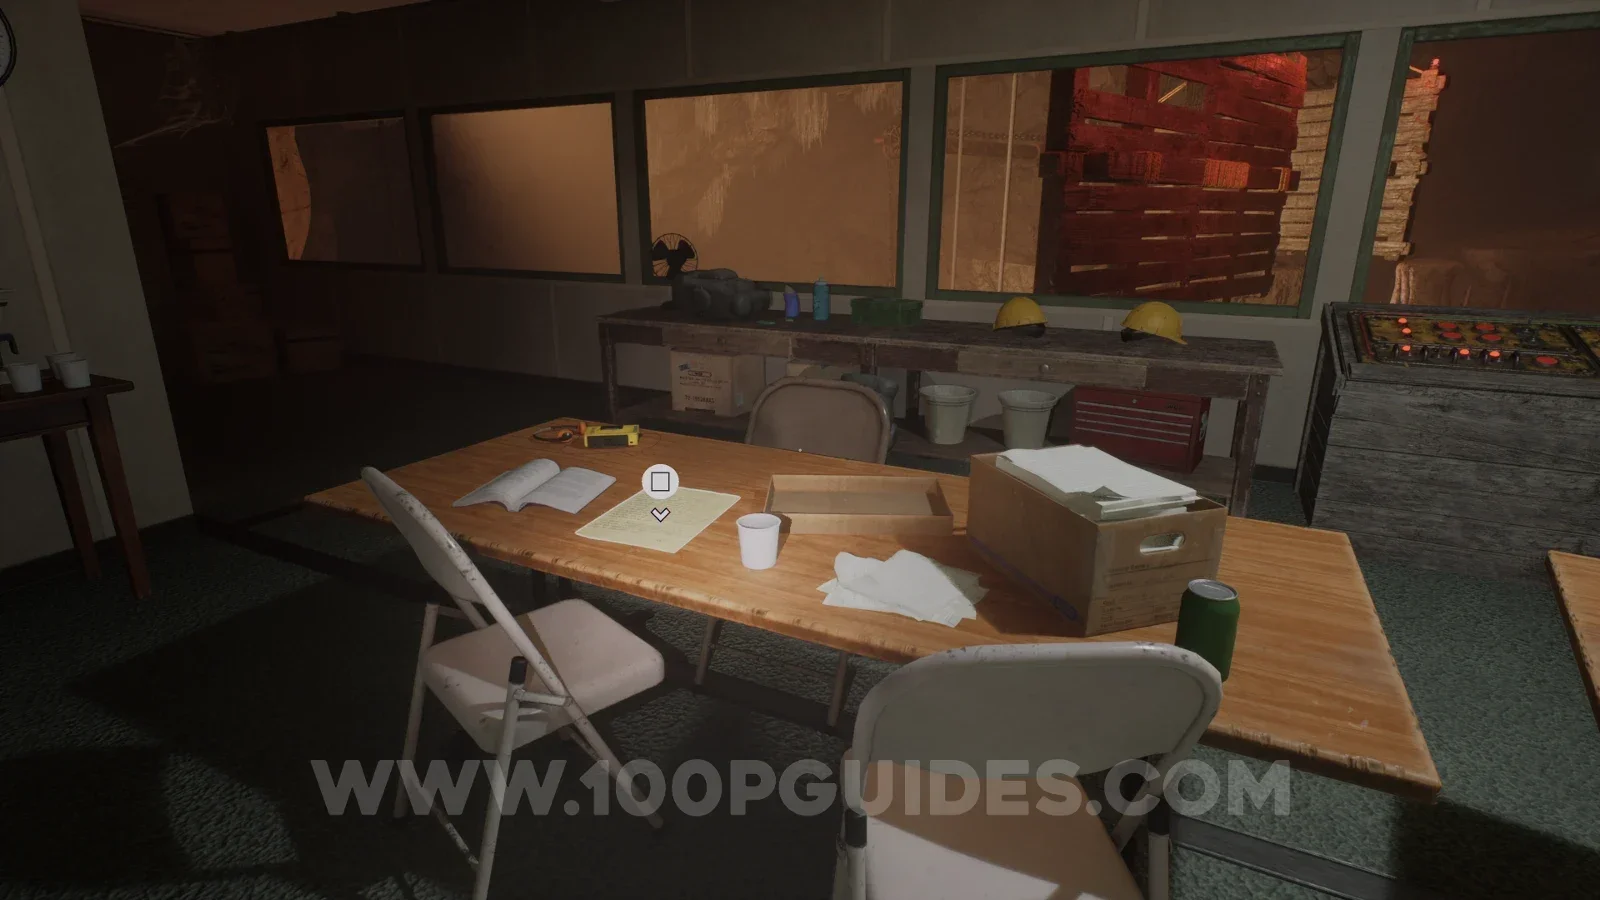
Tape - The Broker: Take Warning
Found in the small back room of the building where the previous collectible was.
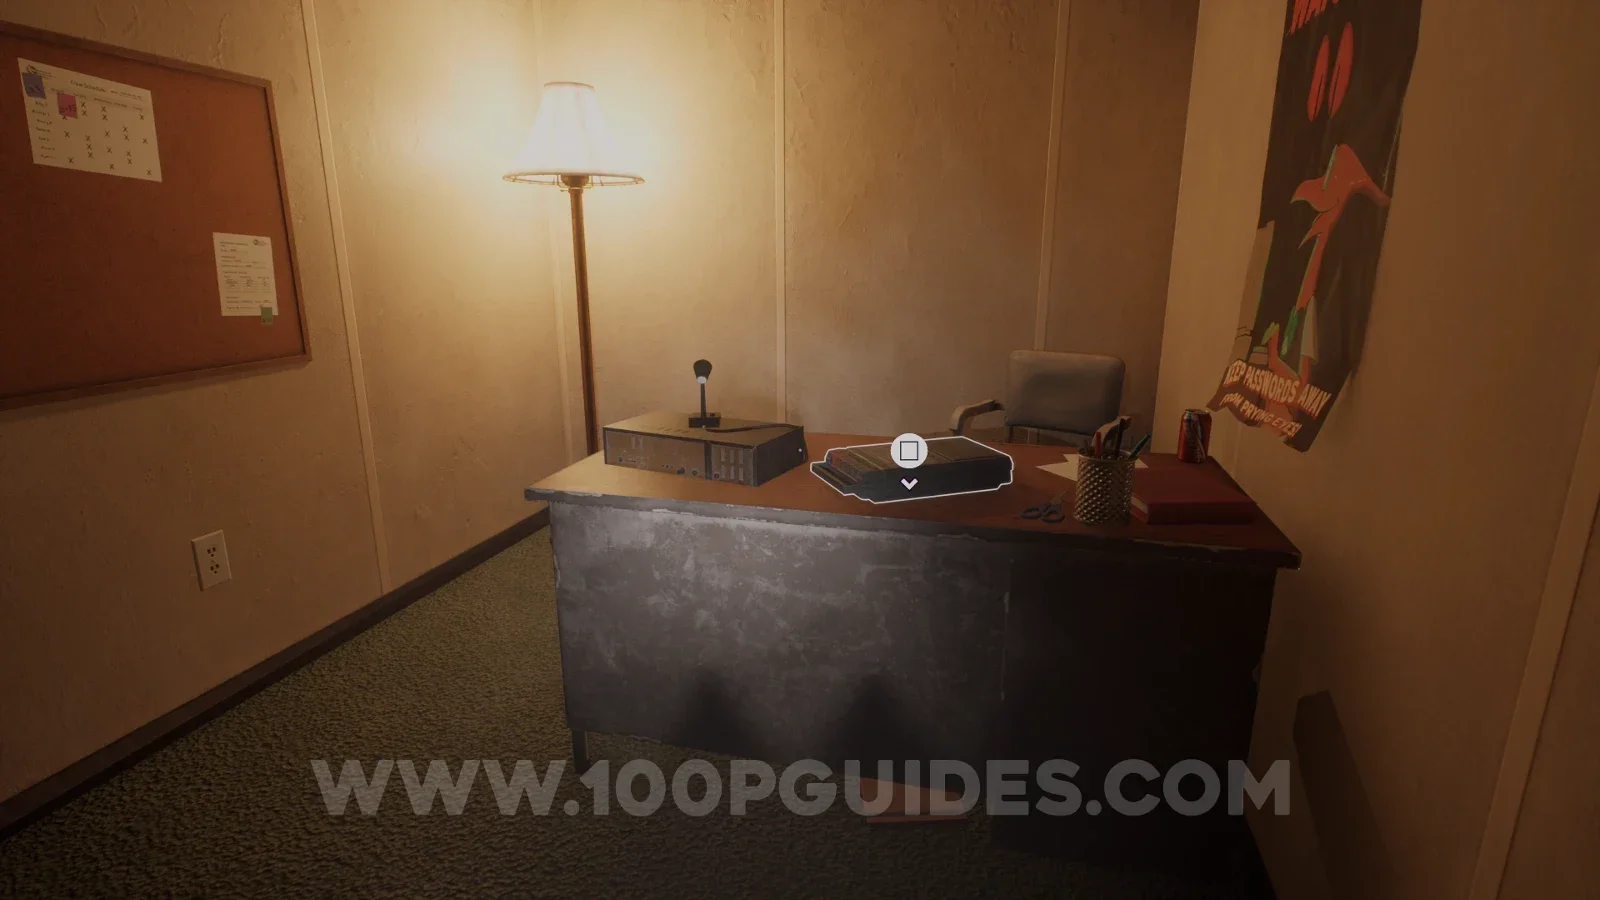
Note - Adrenaline Junkie: The End
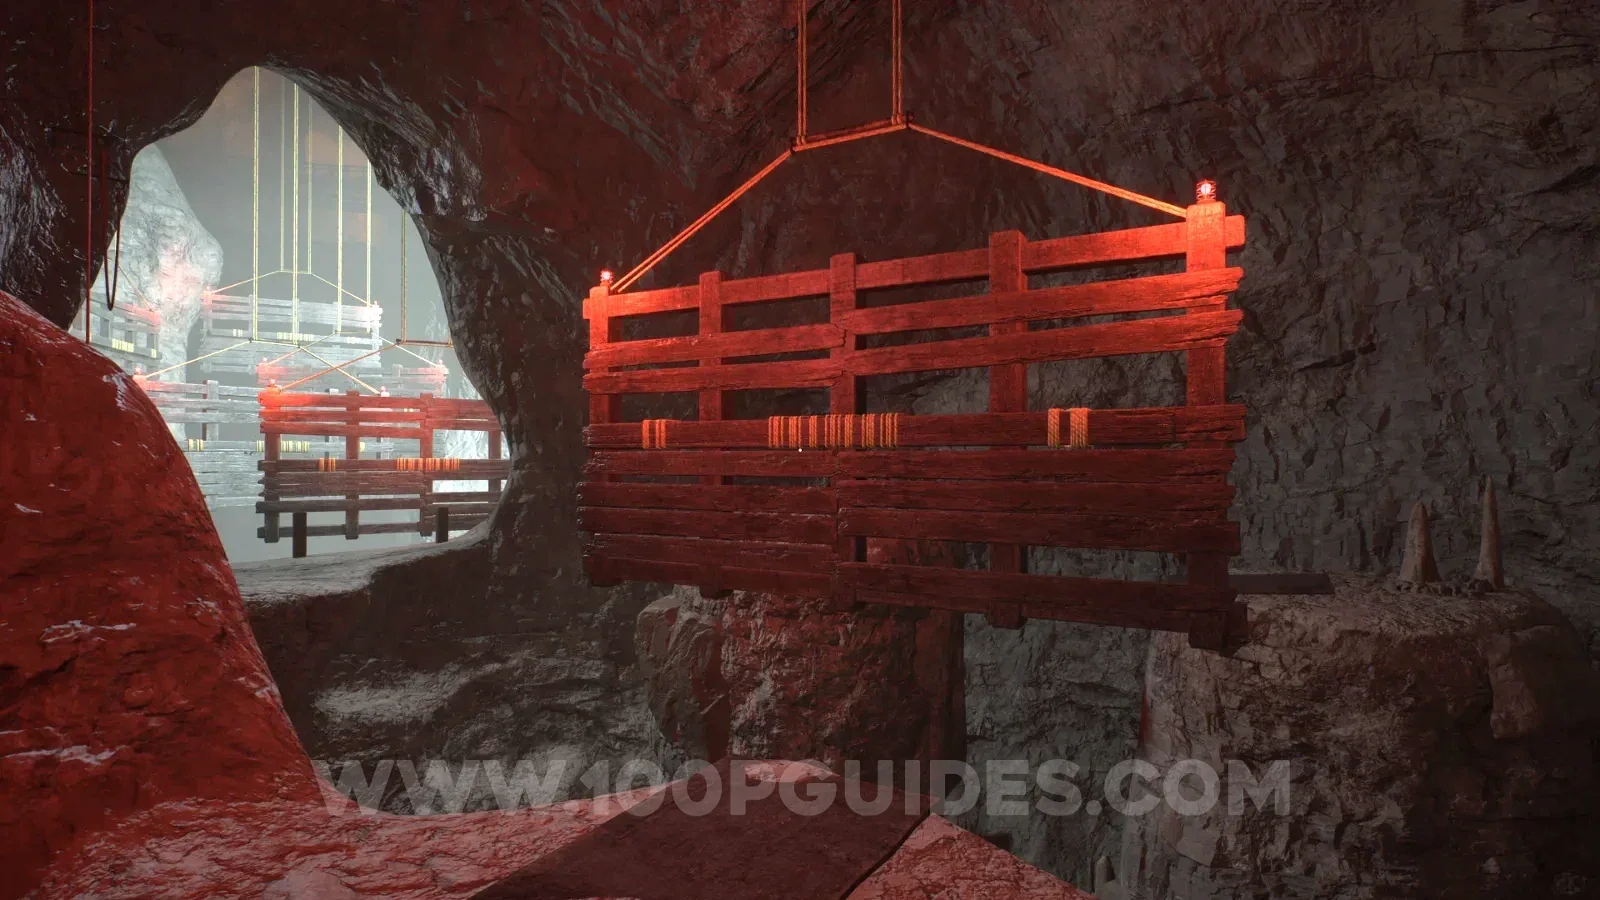
Press the button in the building where the previous collectibles were and race through the door before it closes. After going through it, you will slide down a slope. At the bottom, head left and jump over the gap, and you will reach a hanging plank of wood with a red light. The note can be found on one of the stone pillars behind this plank of wood.
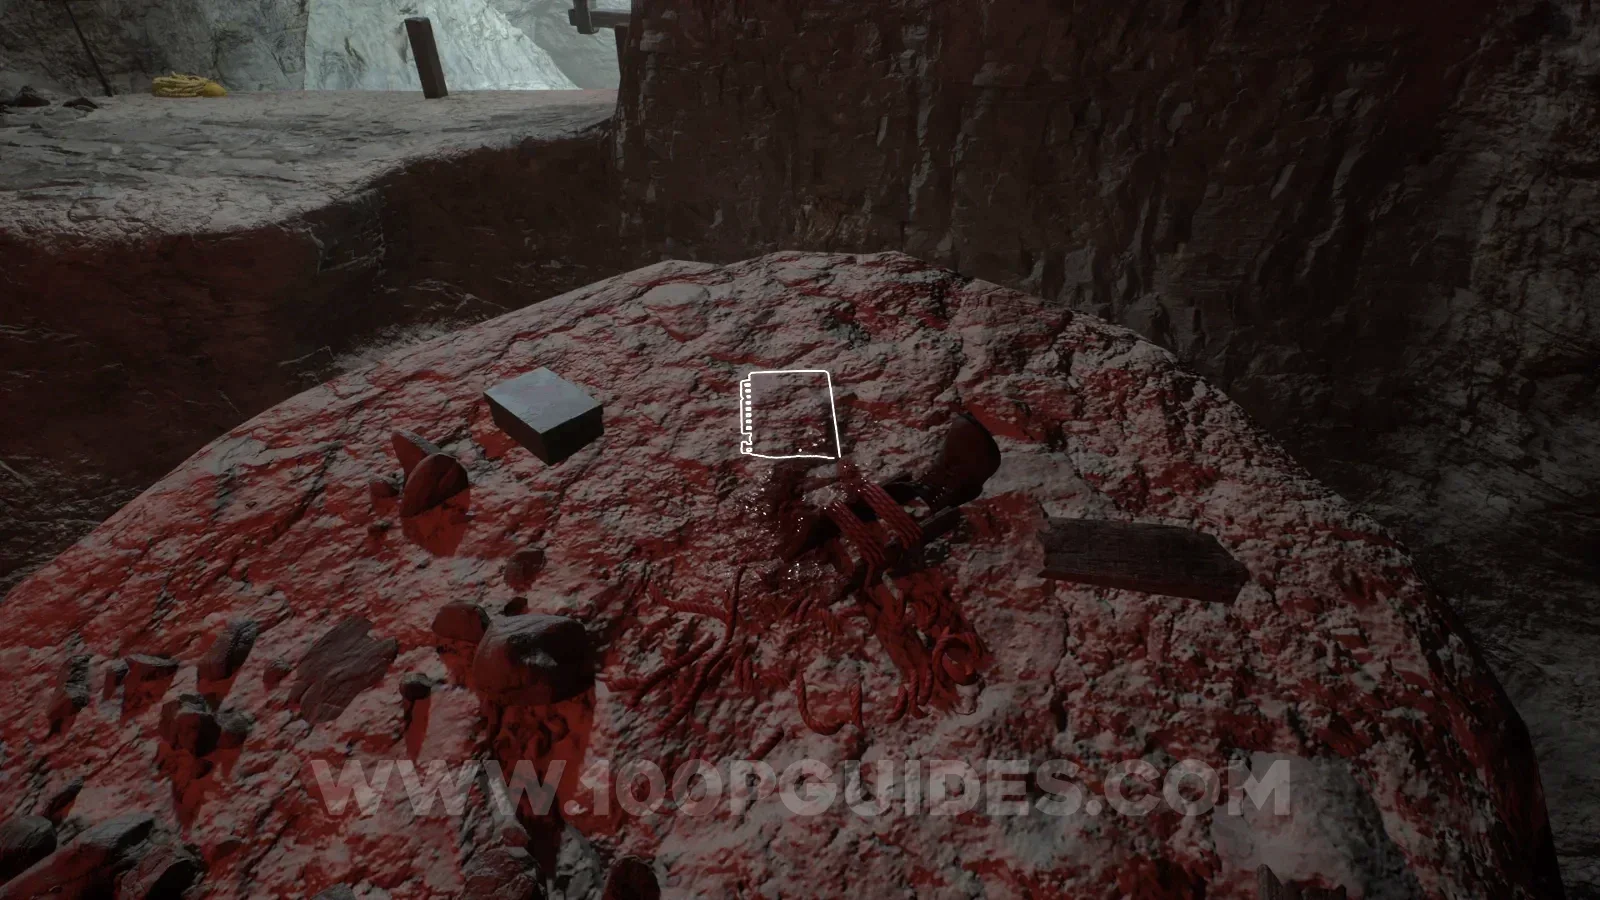
Note - The Other Digsite
Continue through the level until you talk to Stella again. In this area, the note will be on a table under the wooden structure.
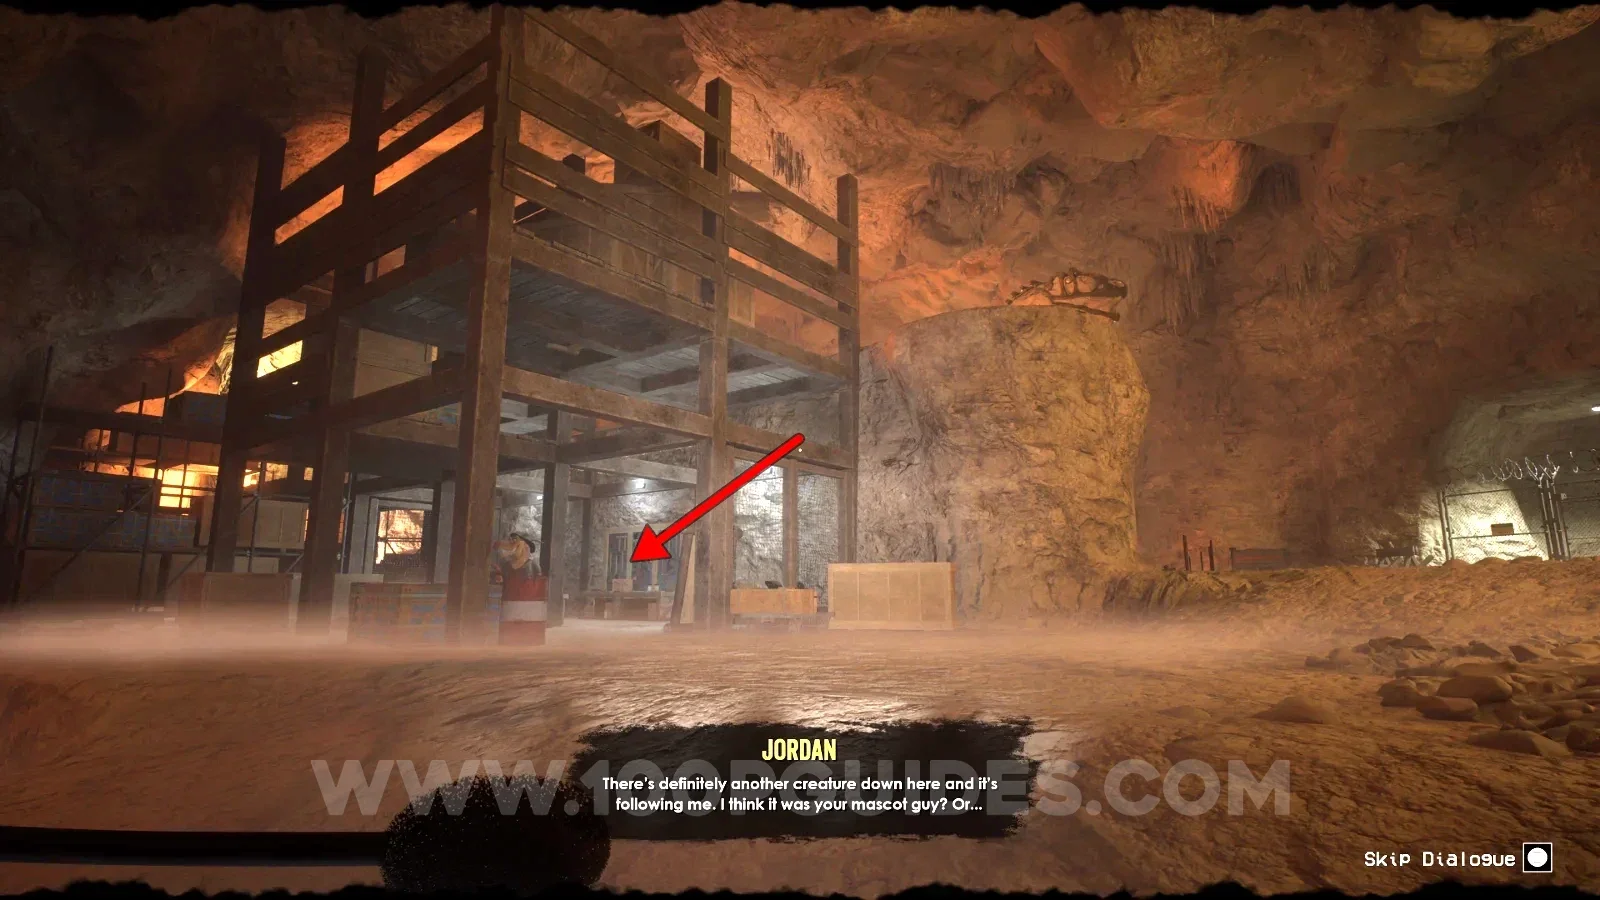
Note - The Alpha Digsite
Next to the dinosaur bones above the wooden structure where the previous collectible was. You can reach it by going around the rock pillar in the middle of the room and then climbing up.
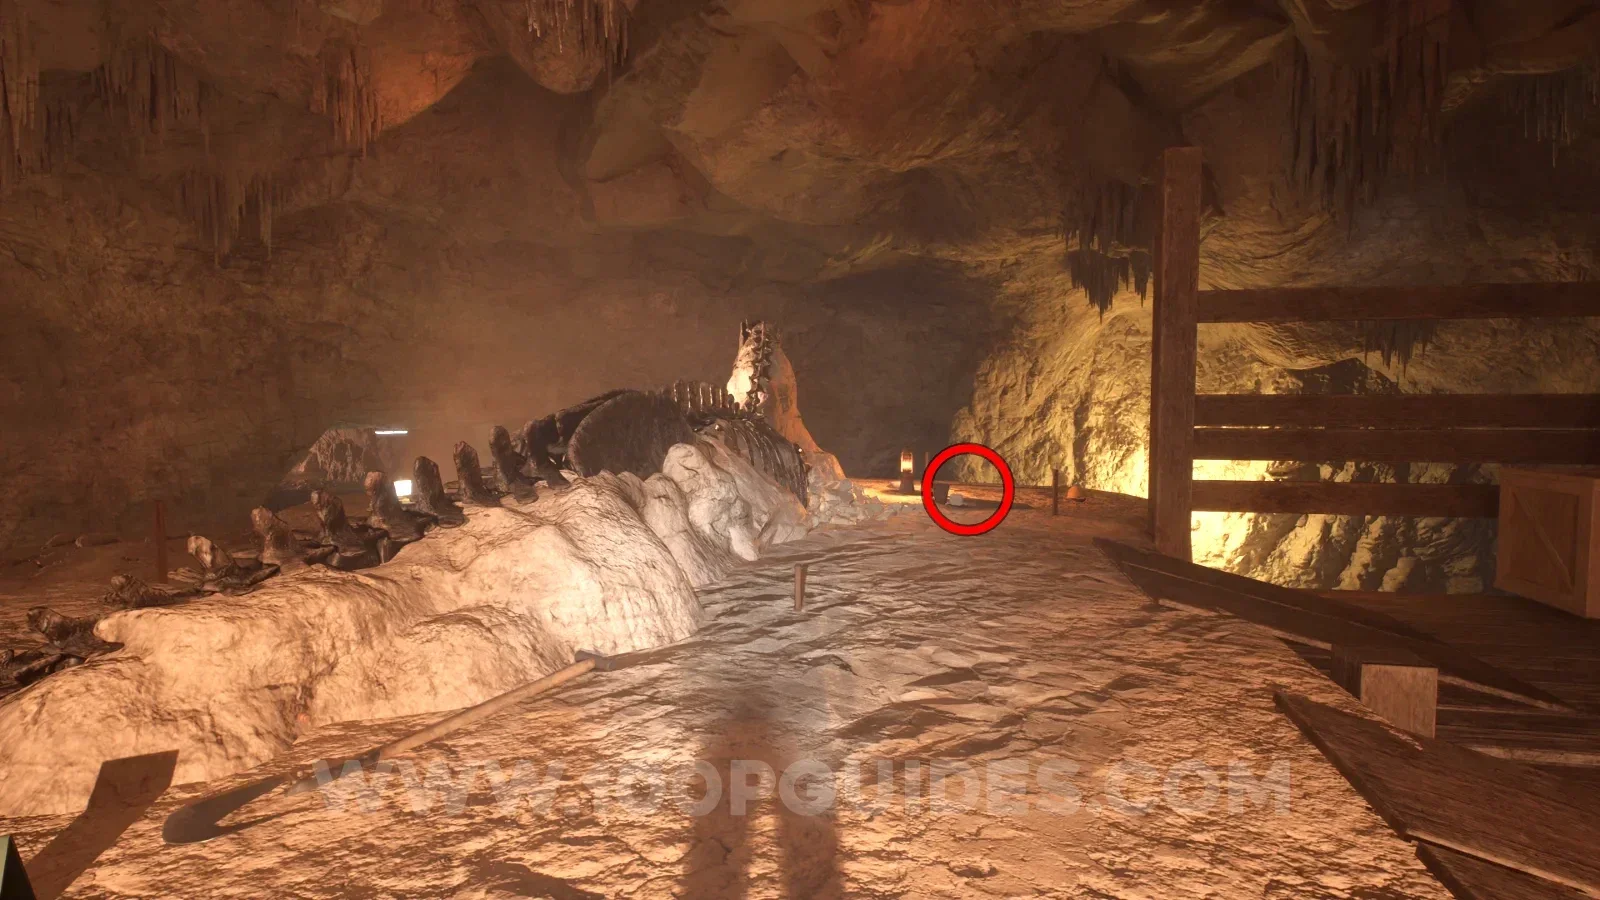
Sample - Amber Specimen 08
In the same area as the previous collectibles you will see a gondola. The amber can be found on top of the metal structure where the gondola cables connect. Use the wooden box on the left and simply walk up to it.
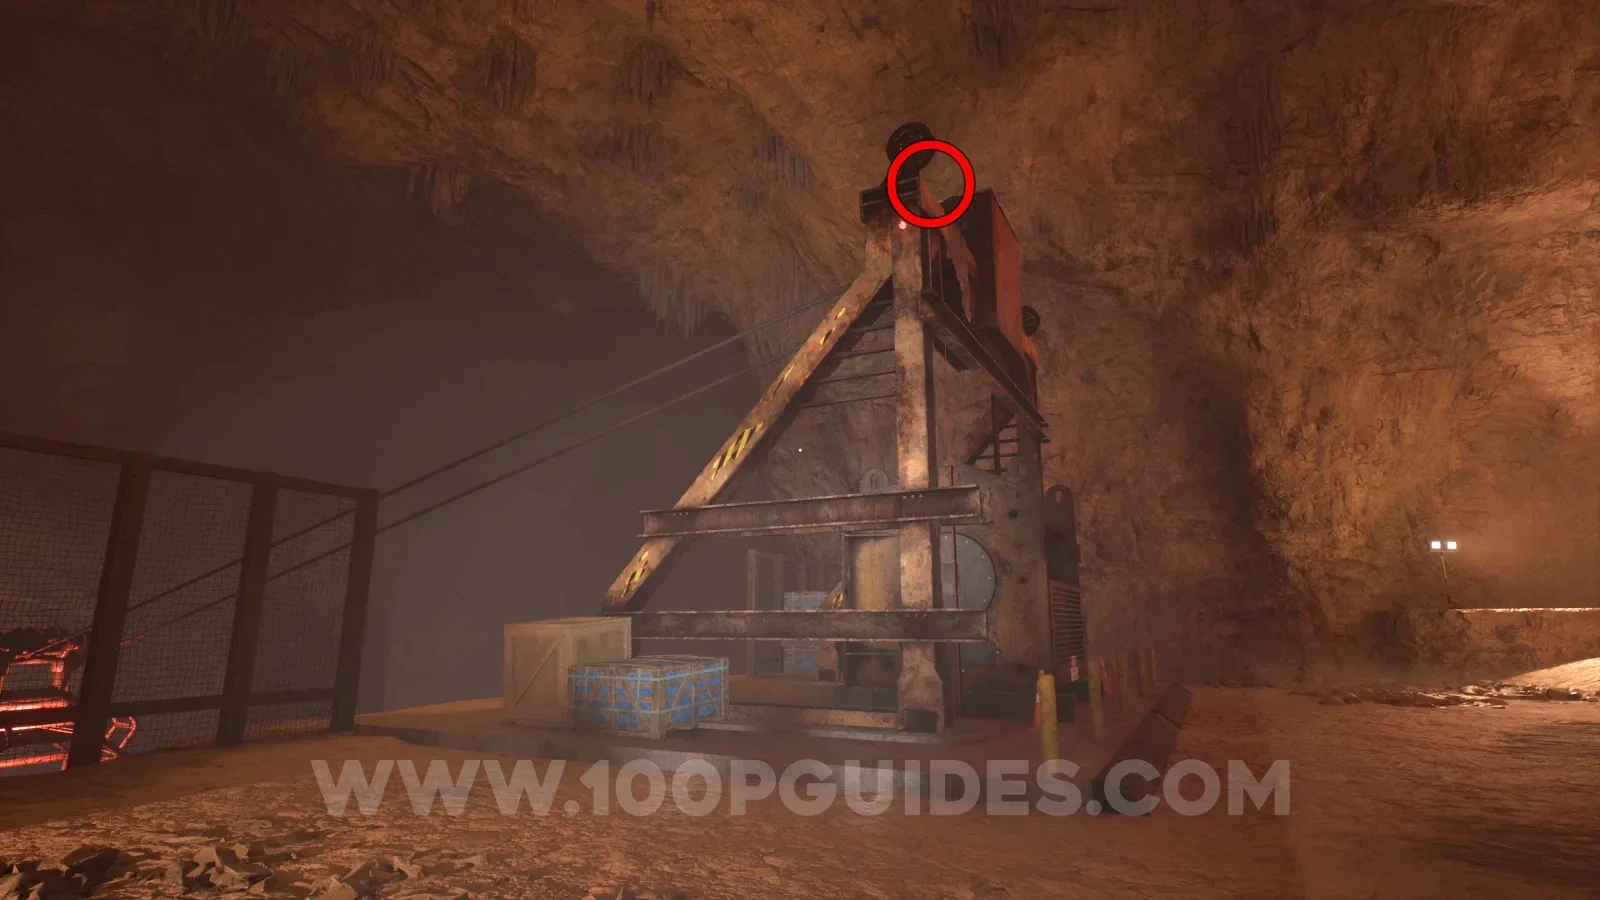
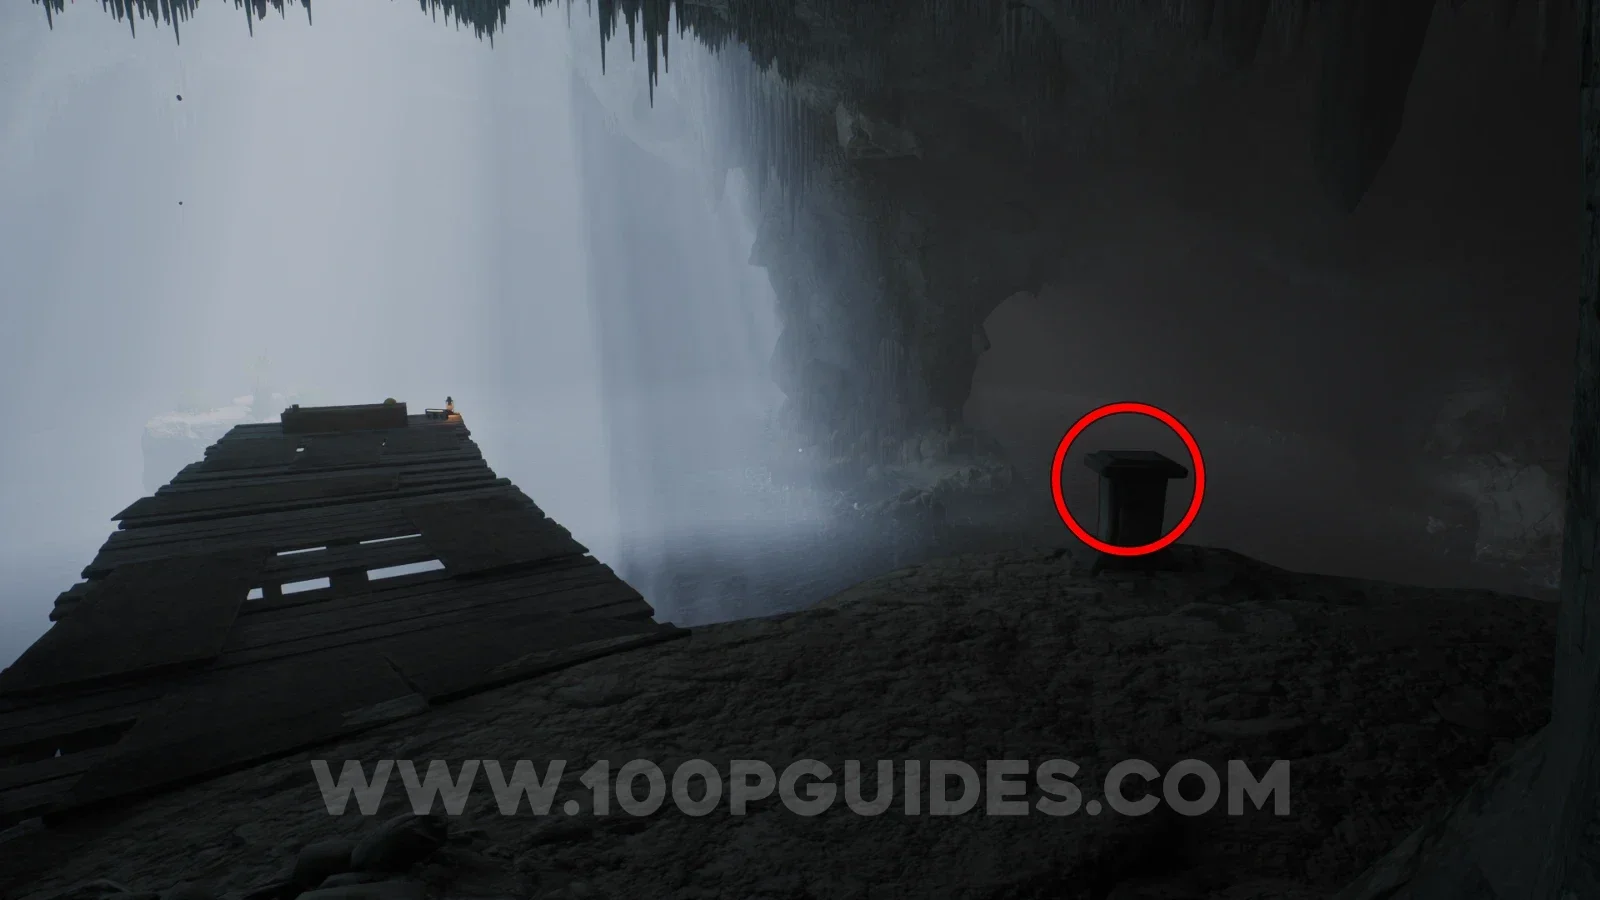
Stuffed Animal Pedestal
After getting the key from the gondola and using it to open the small gate you will see a small cave on your right. Head through to find the pedestal in the large open cave with water in it.
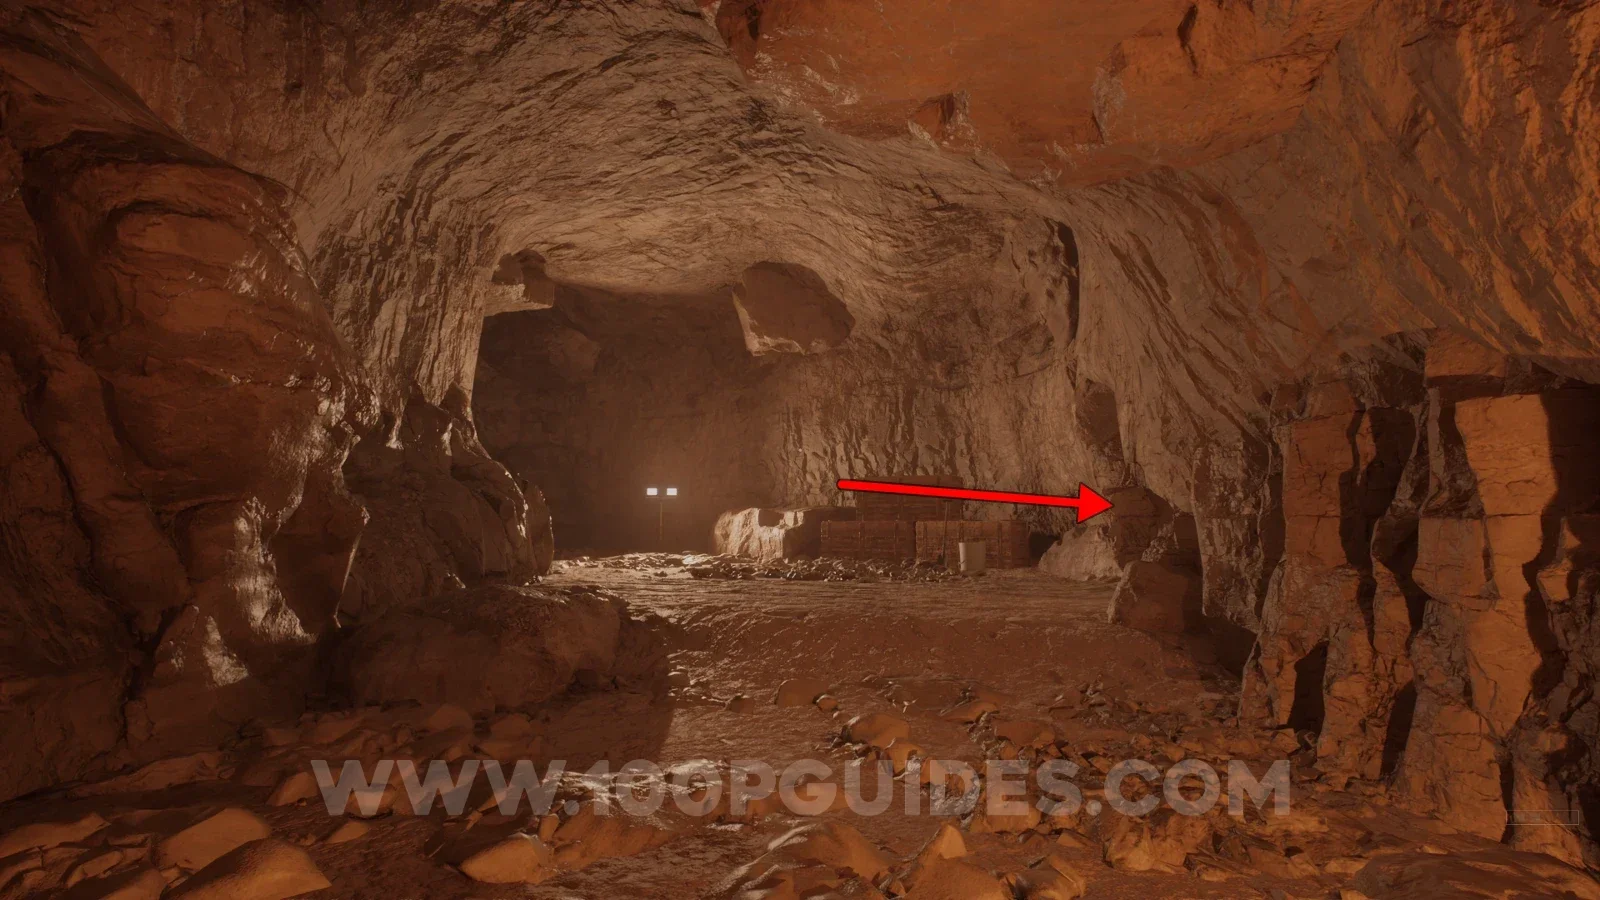
Chapter 3
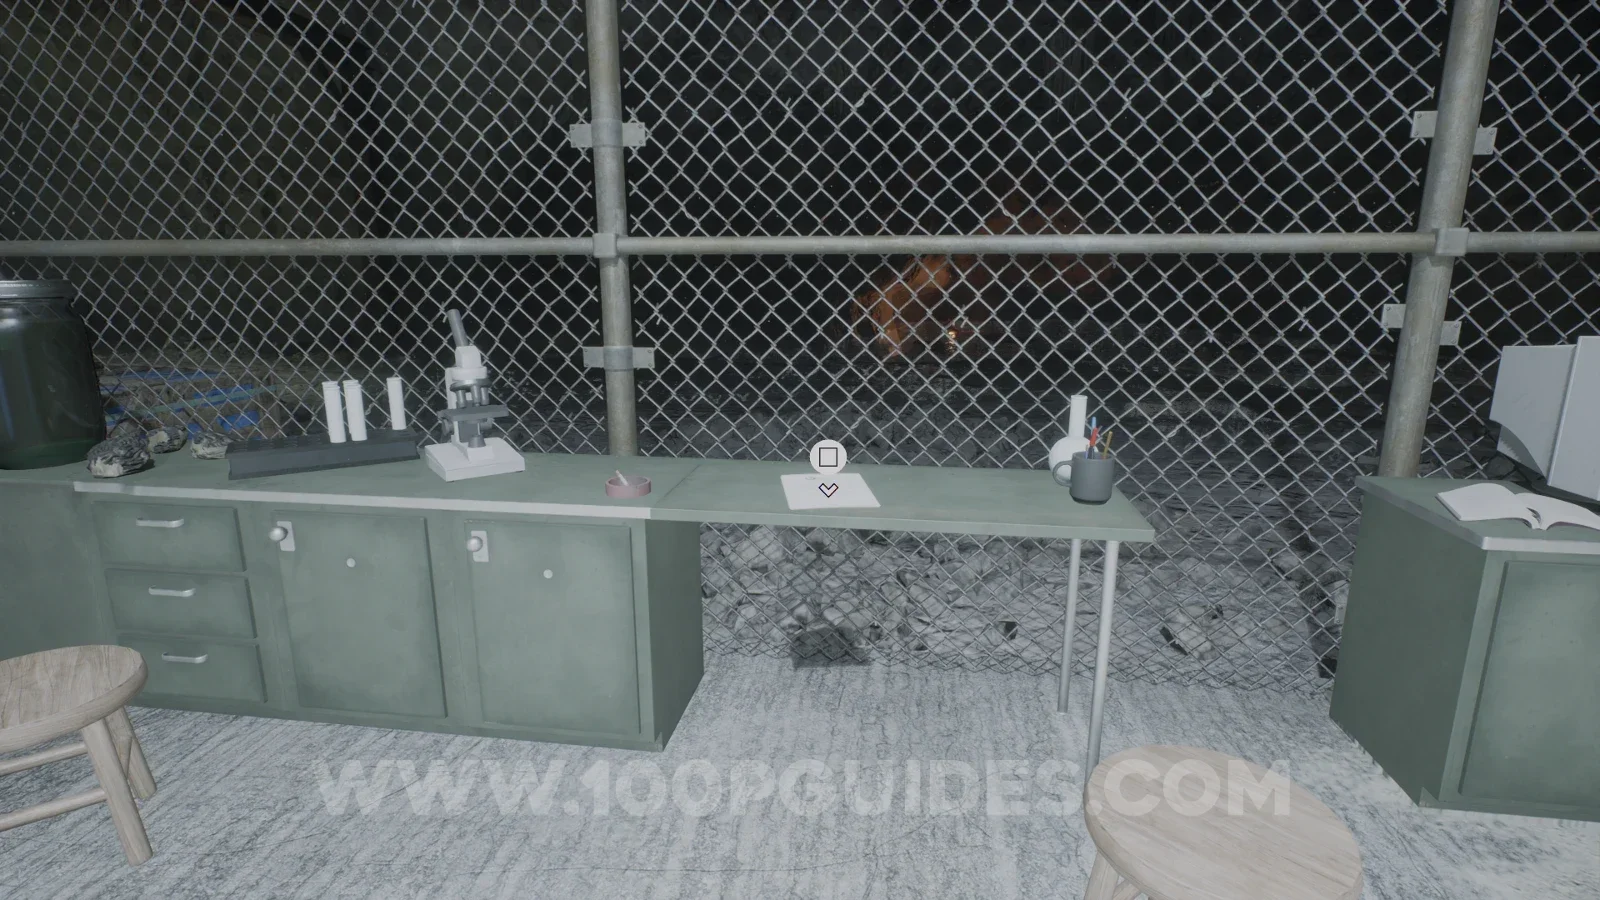
Note - Water Issues
Very close to the start of the level you will see a gated off area on your left. The note is on a table inside.
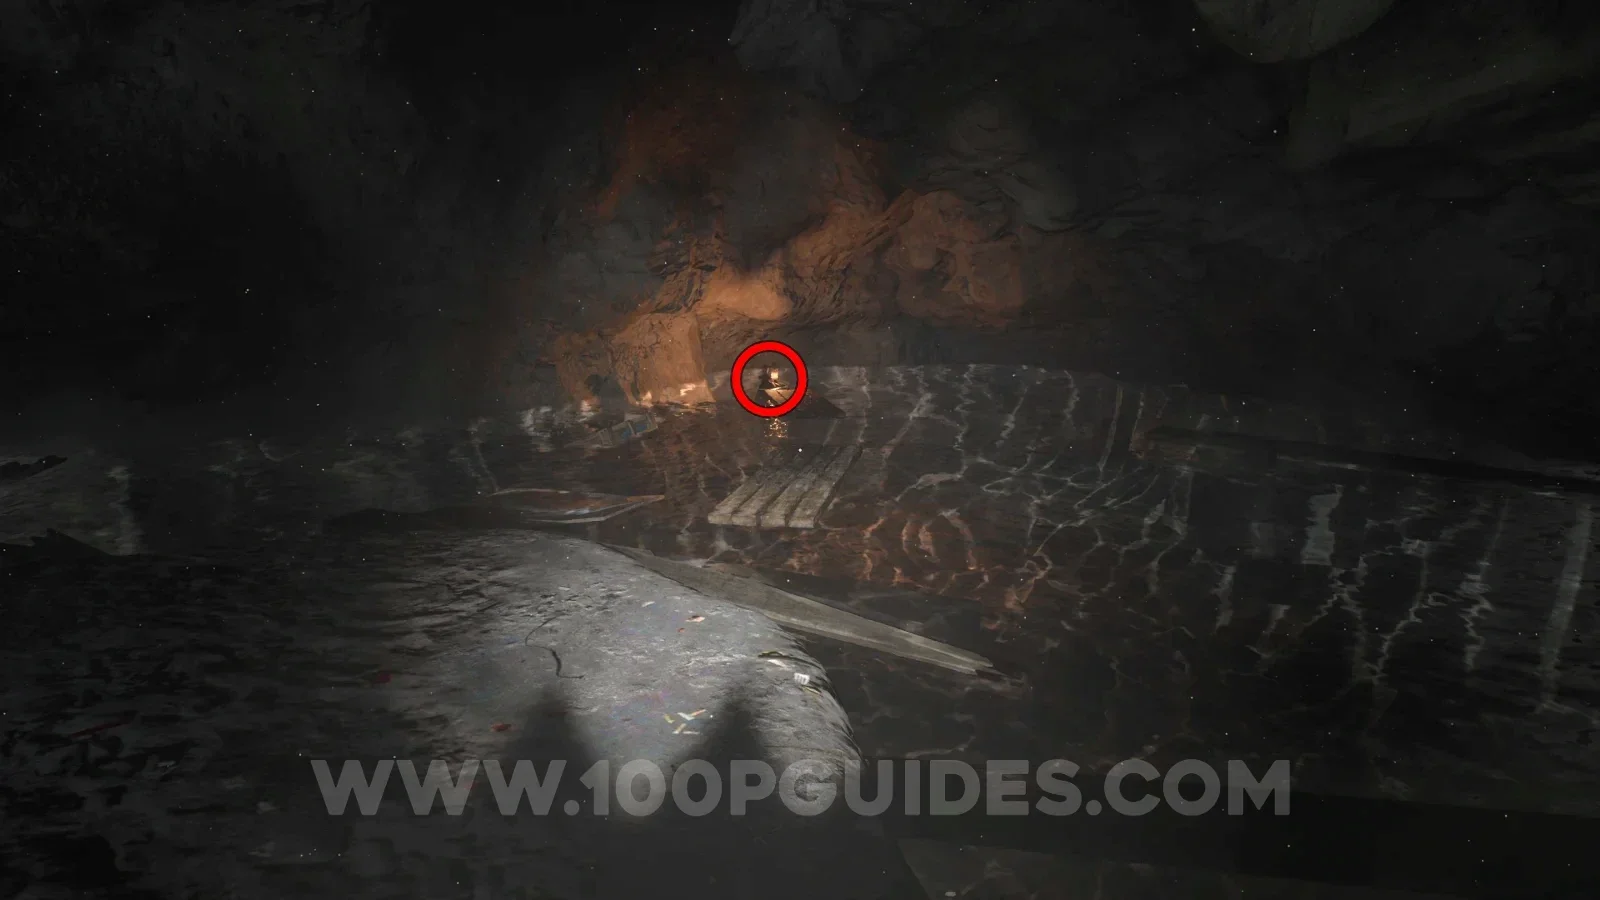
Stuffed Animal
In the same area as the previous collectible, jump across the wooden planks floating in the water to find the stuffed animal at the end. Take it to the pedestal at the end of the level without dying.
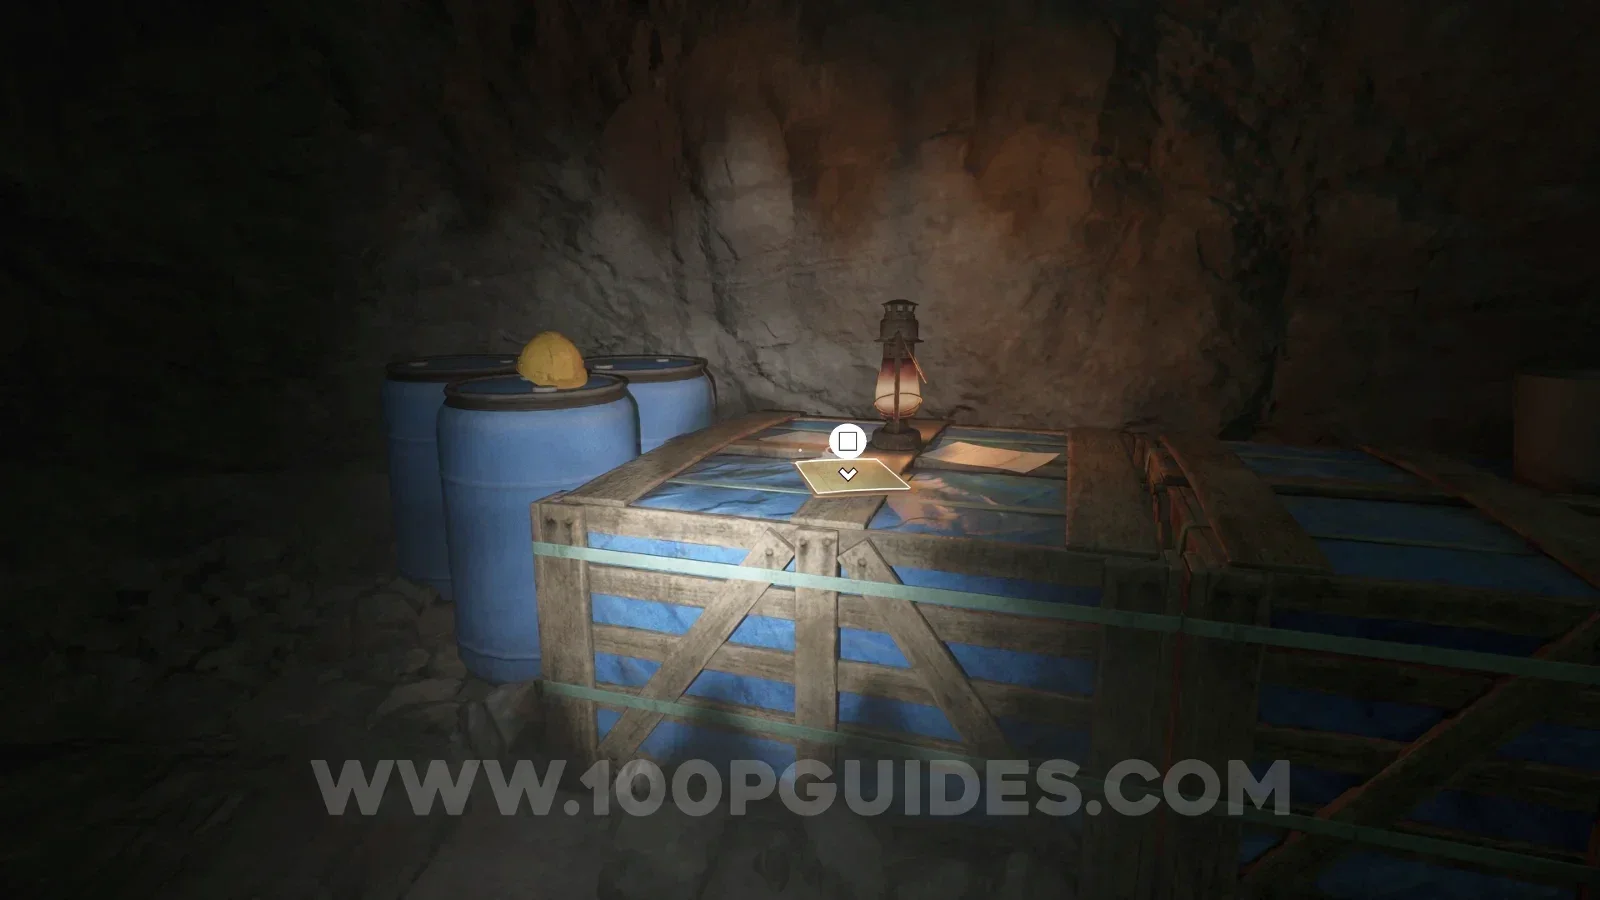
Note - Evacuation Notice at Site 4B
In the same area where the cutscene triggers and you see the new dinosaur monster.
Tape - Dalton Coolidge: The Quota
After following the dinosaur into the next area where you talk to Stella, head up to the tall building on the other side to find the tape inside.
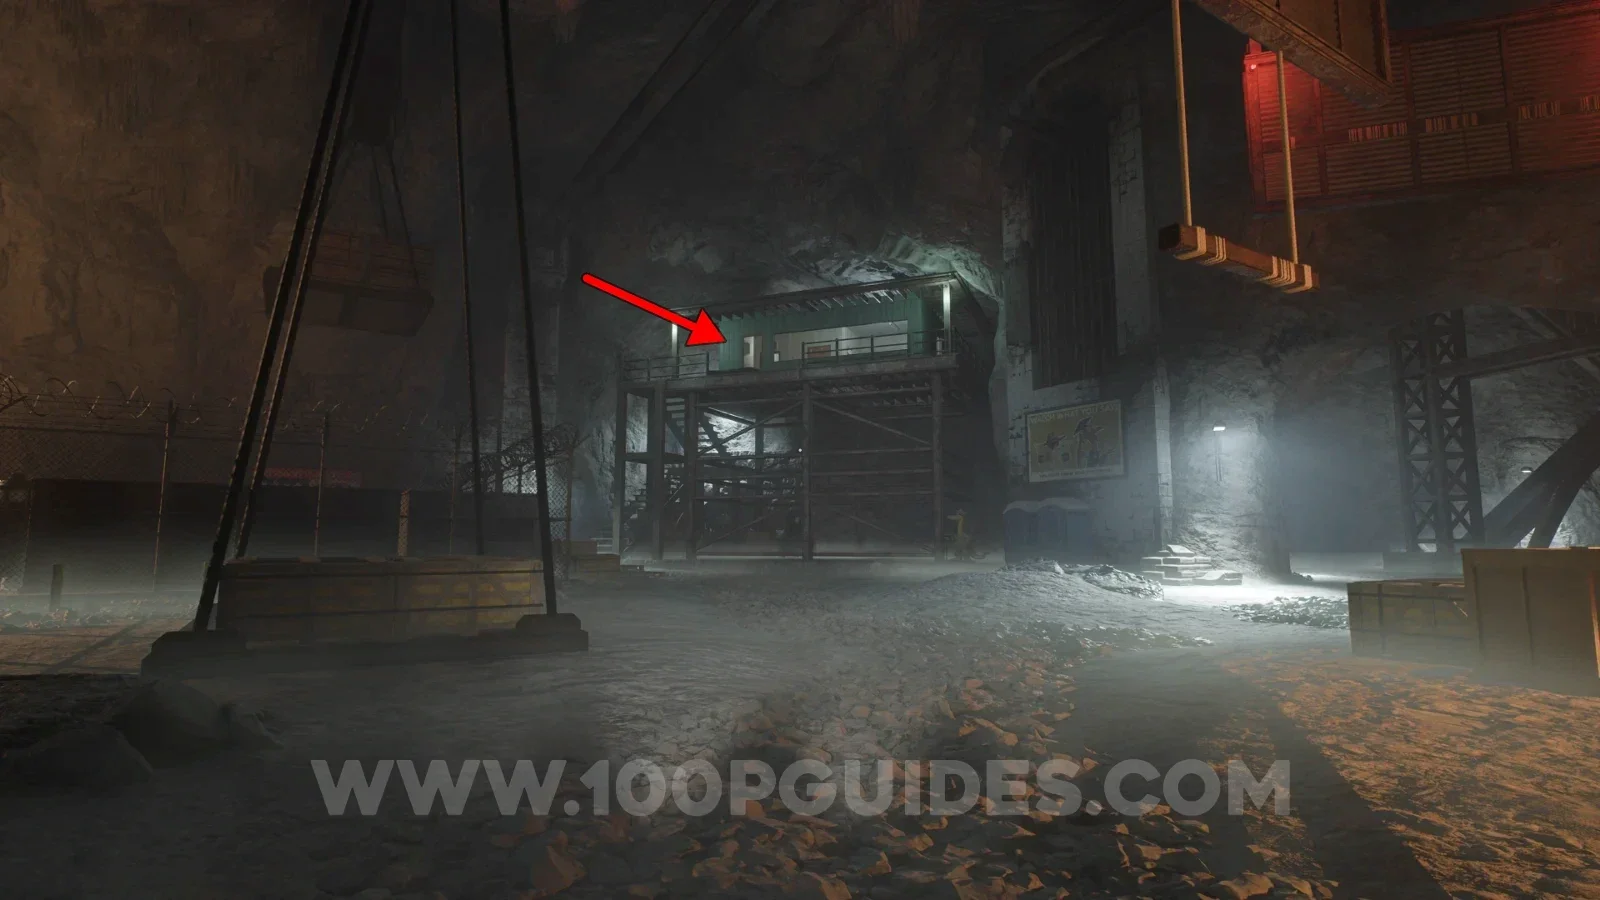
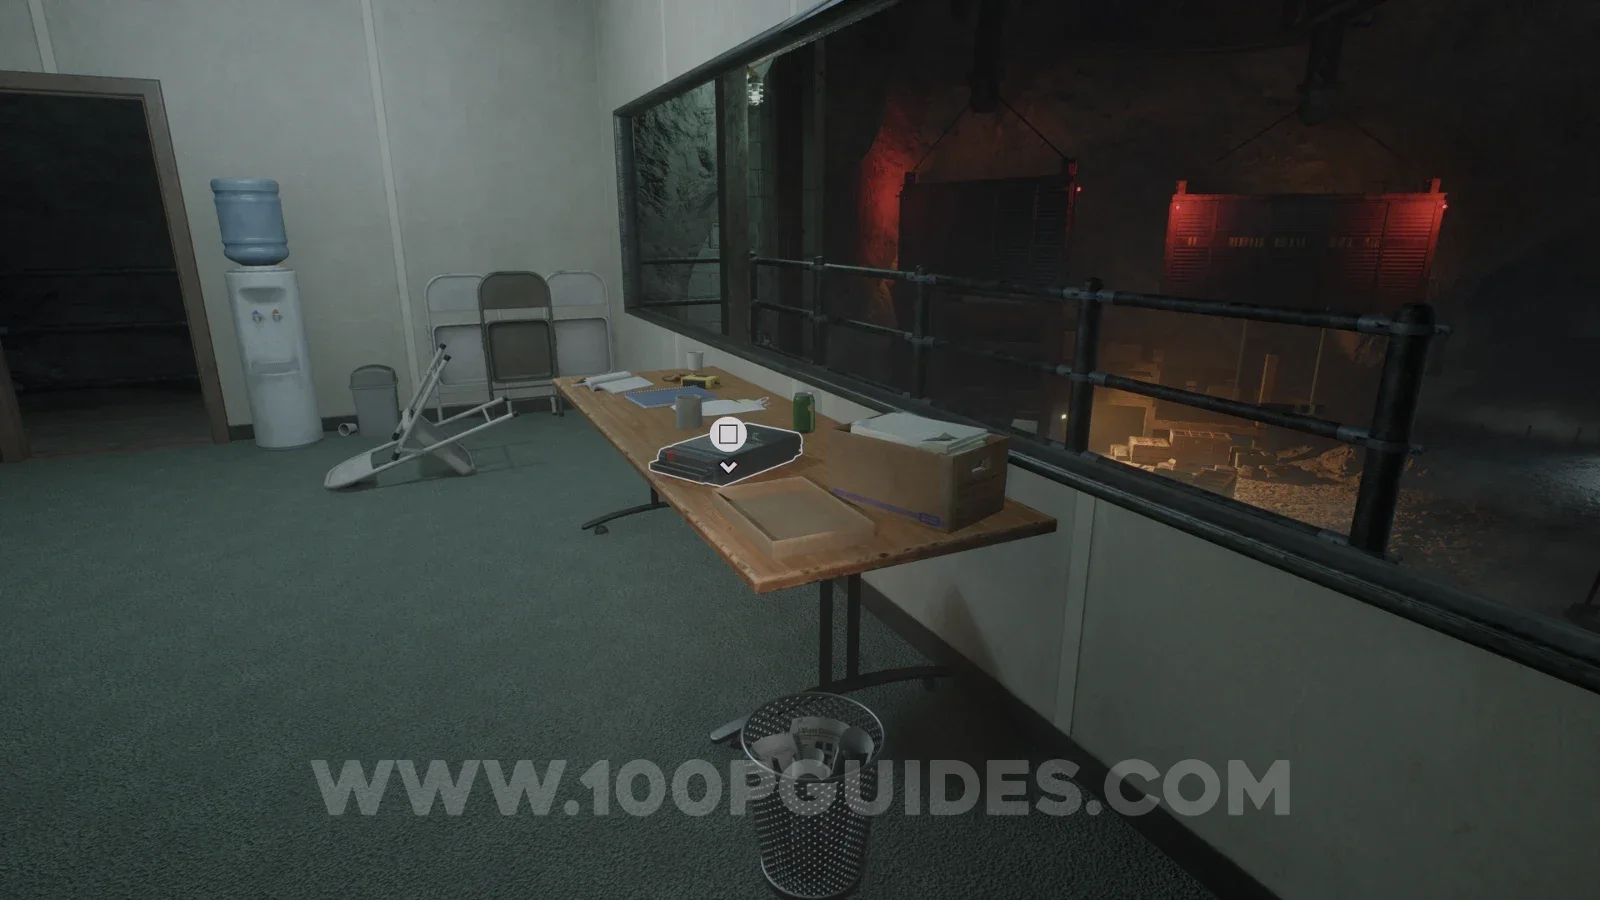
Sample - Amber Specimen 09
On the metal structure to the right of the building where the previous collectible was.
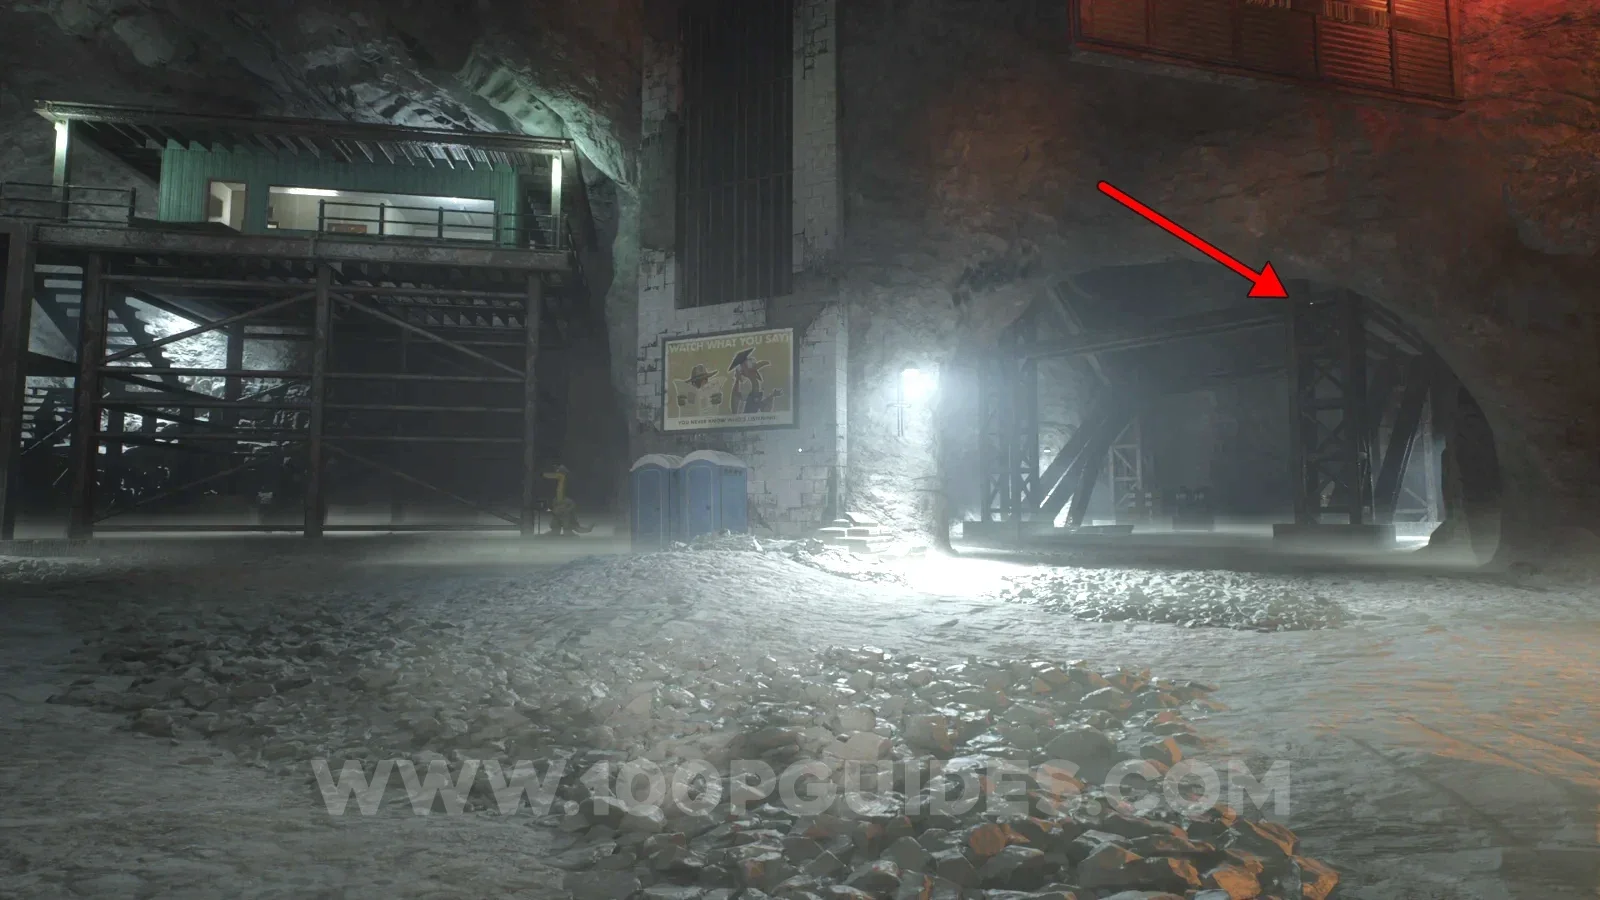
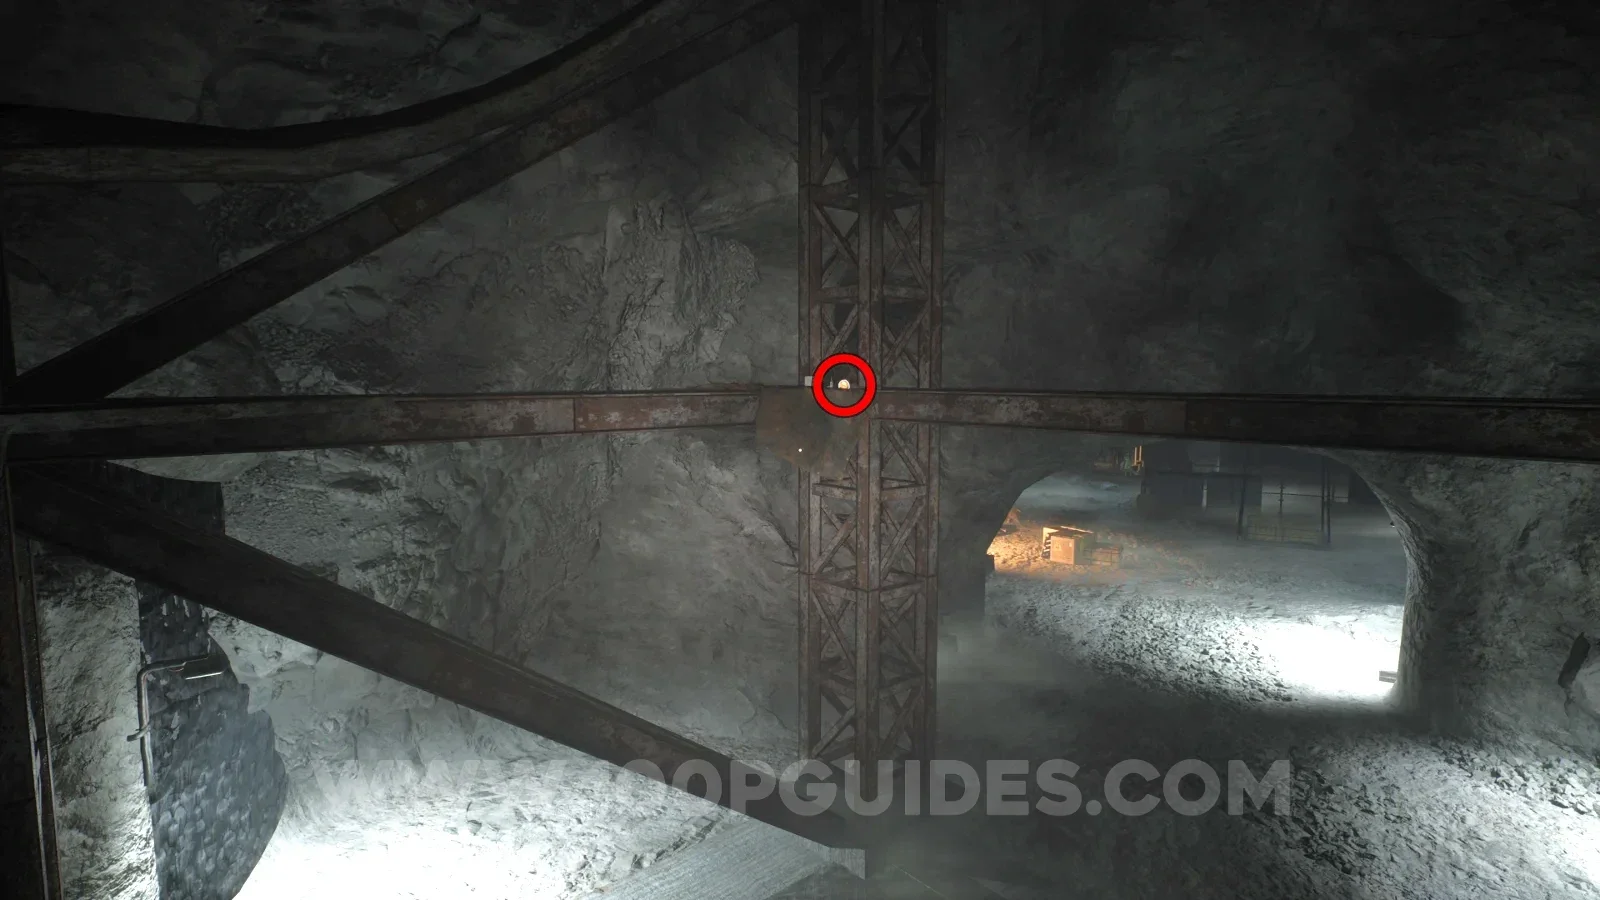
Tape - Crewmen: Birds vs Lizards
Continue through the level until you have to climb a ladder. At the top of the ladder, head left and follow the conveyor belt. At the end, crawl through the gap under the red light to find the tape.
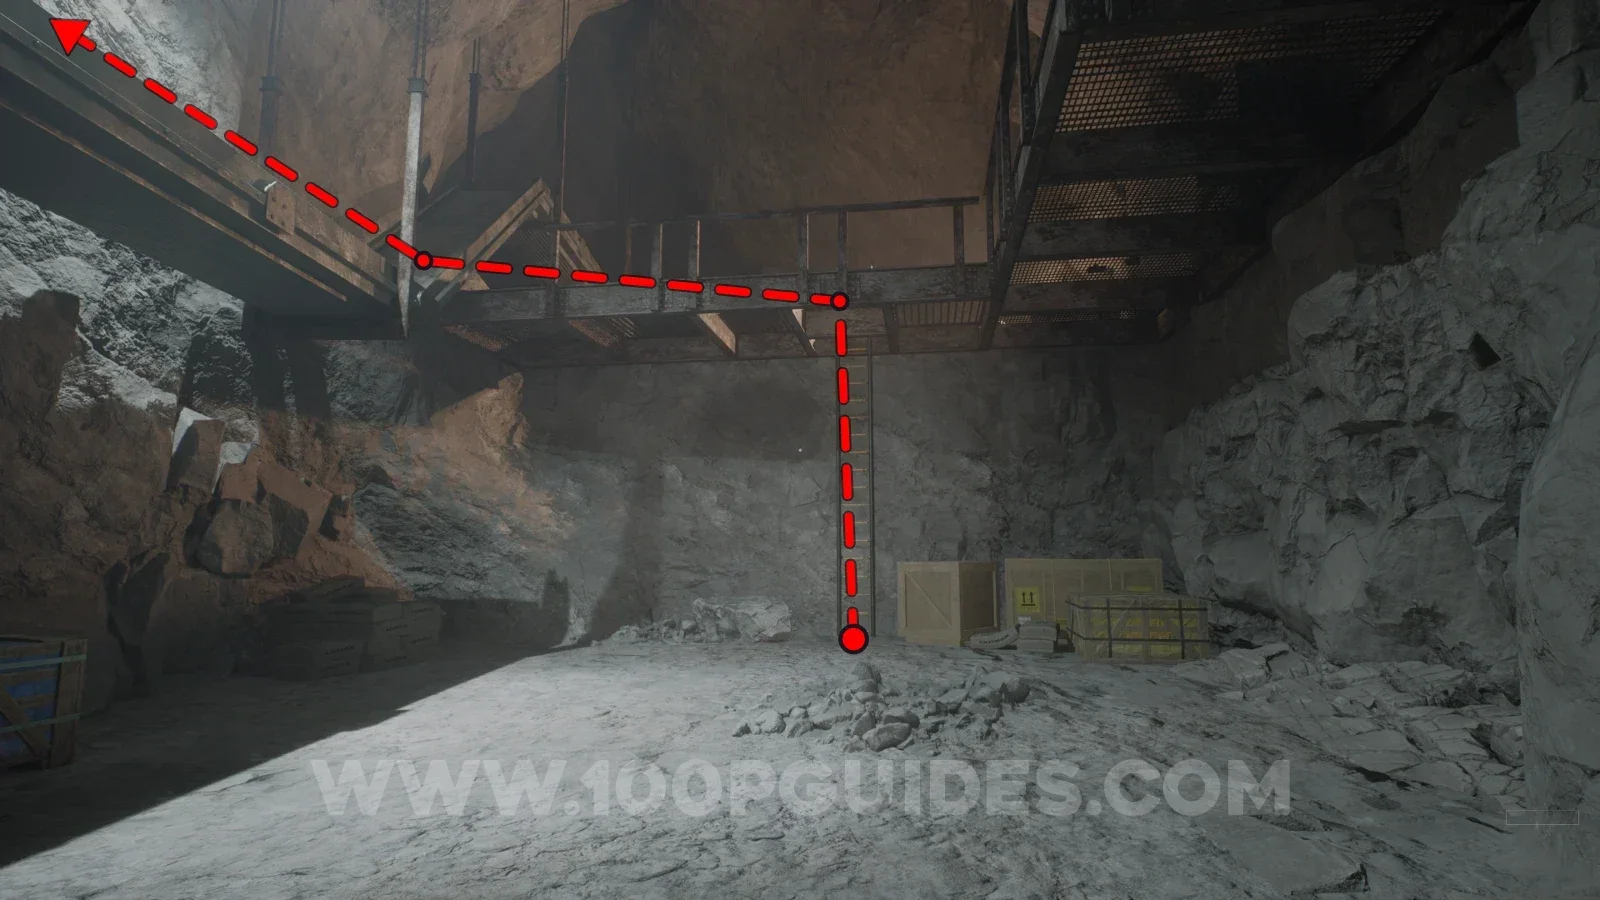
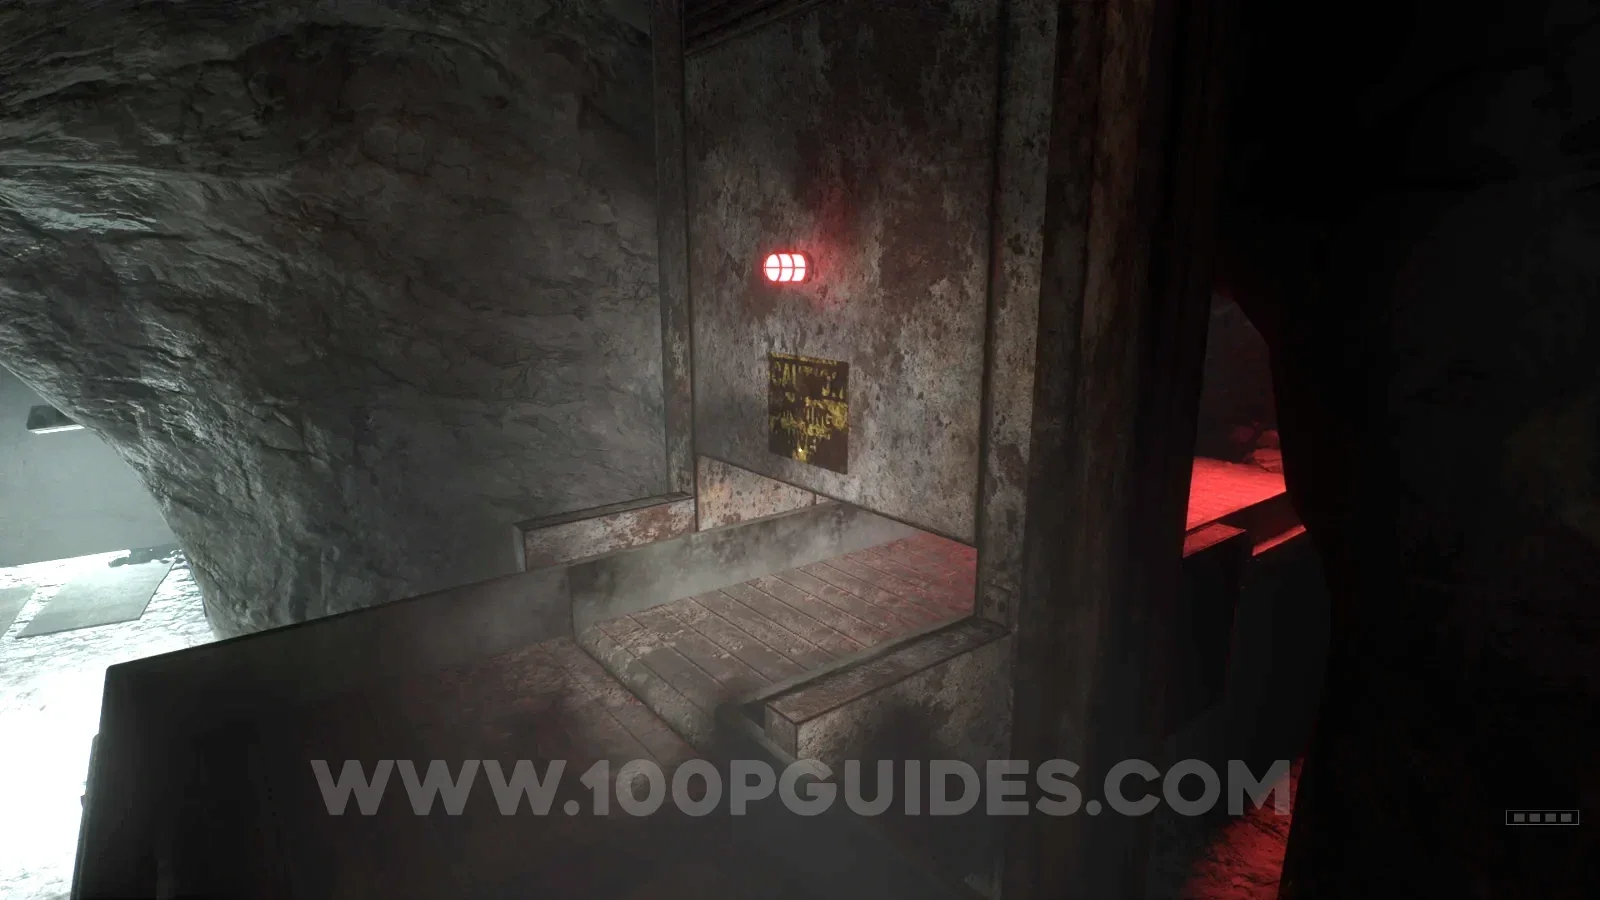
Note - Substance Field Report: Elastic
Once you get to the area with the bouncy goo, you will see a small area to the right with lab equipment. The note will be on one of the tables.
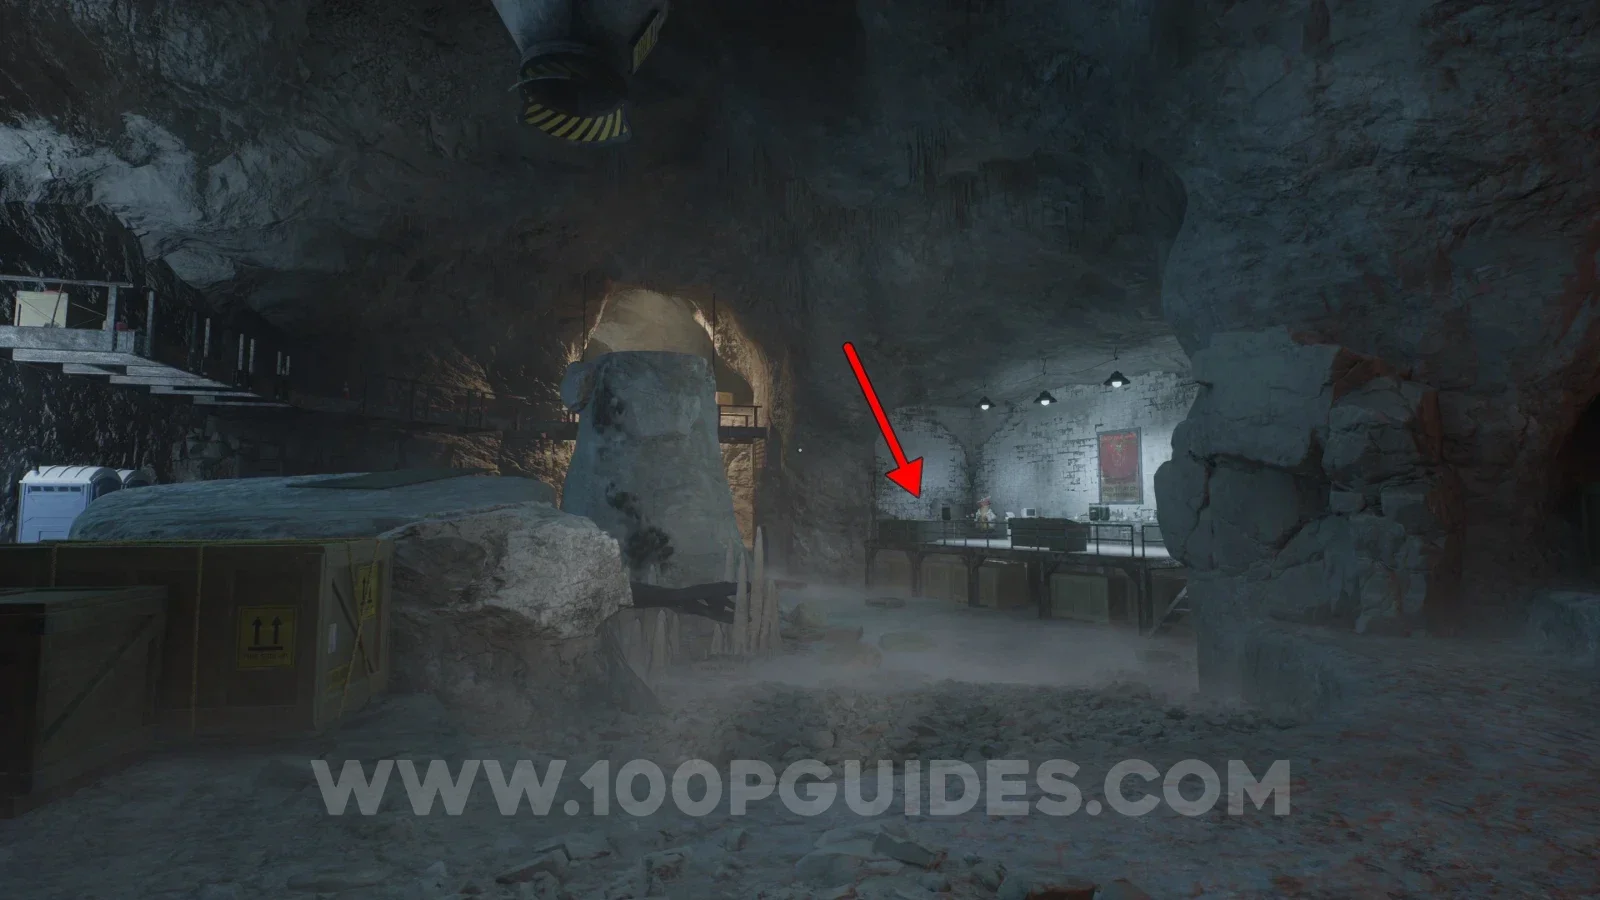
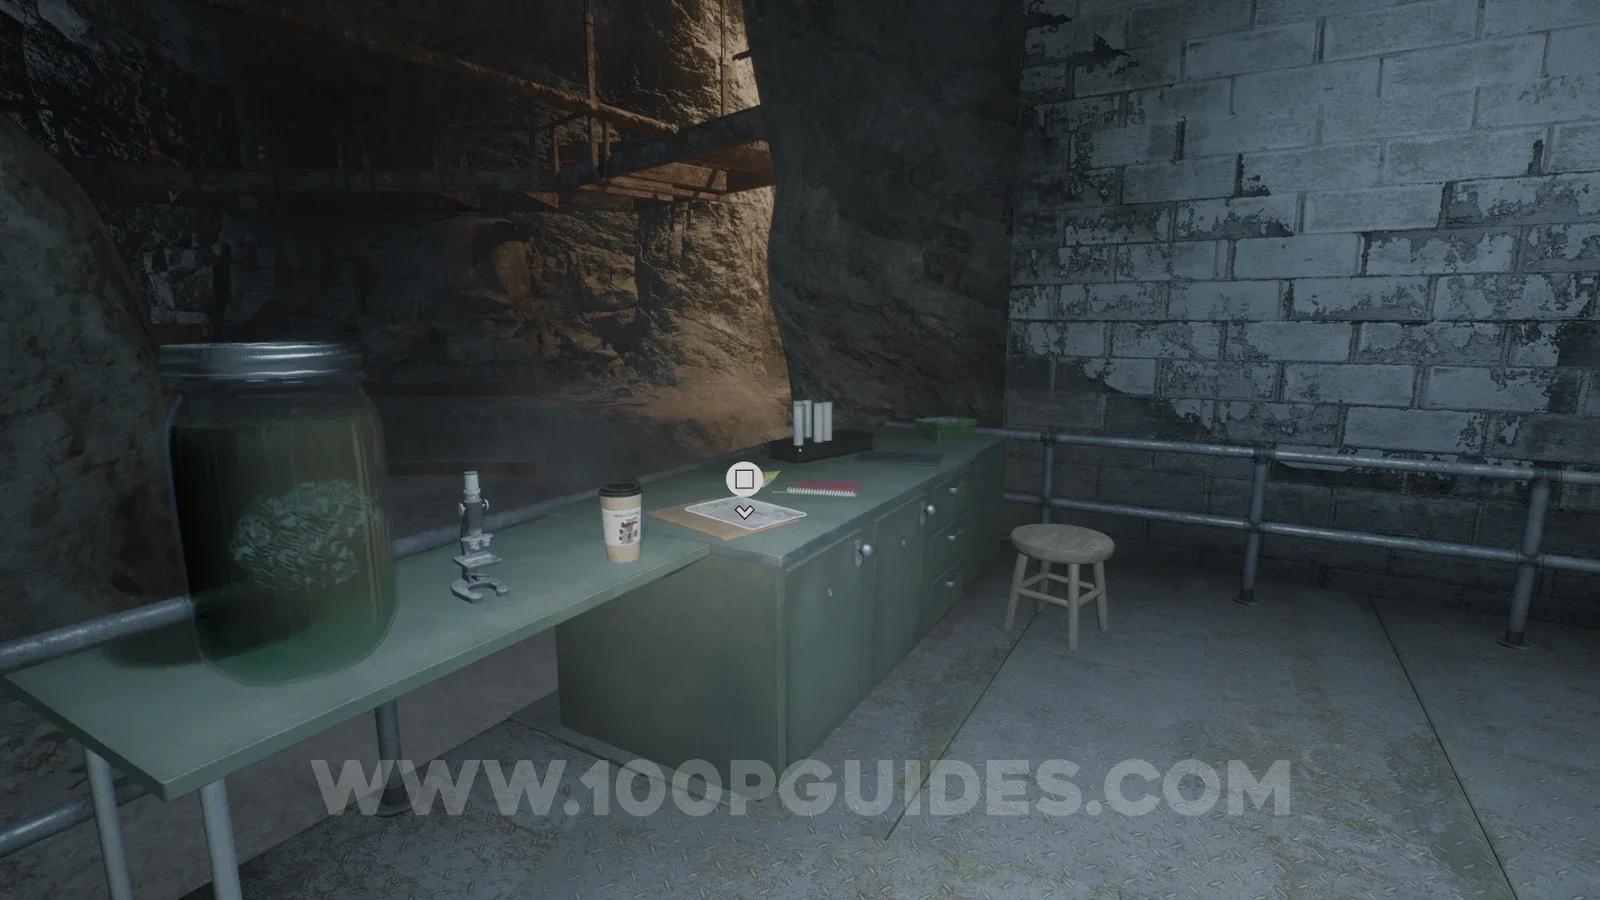
Note - Memo to DC
After using the first load of bouncy goo platforms to advance, you will soon get to another area with equipment and a billboard with a dinosaur on it. The note can be found on a table in this area.
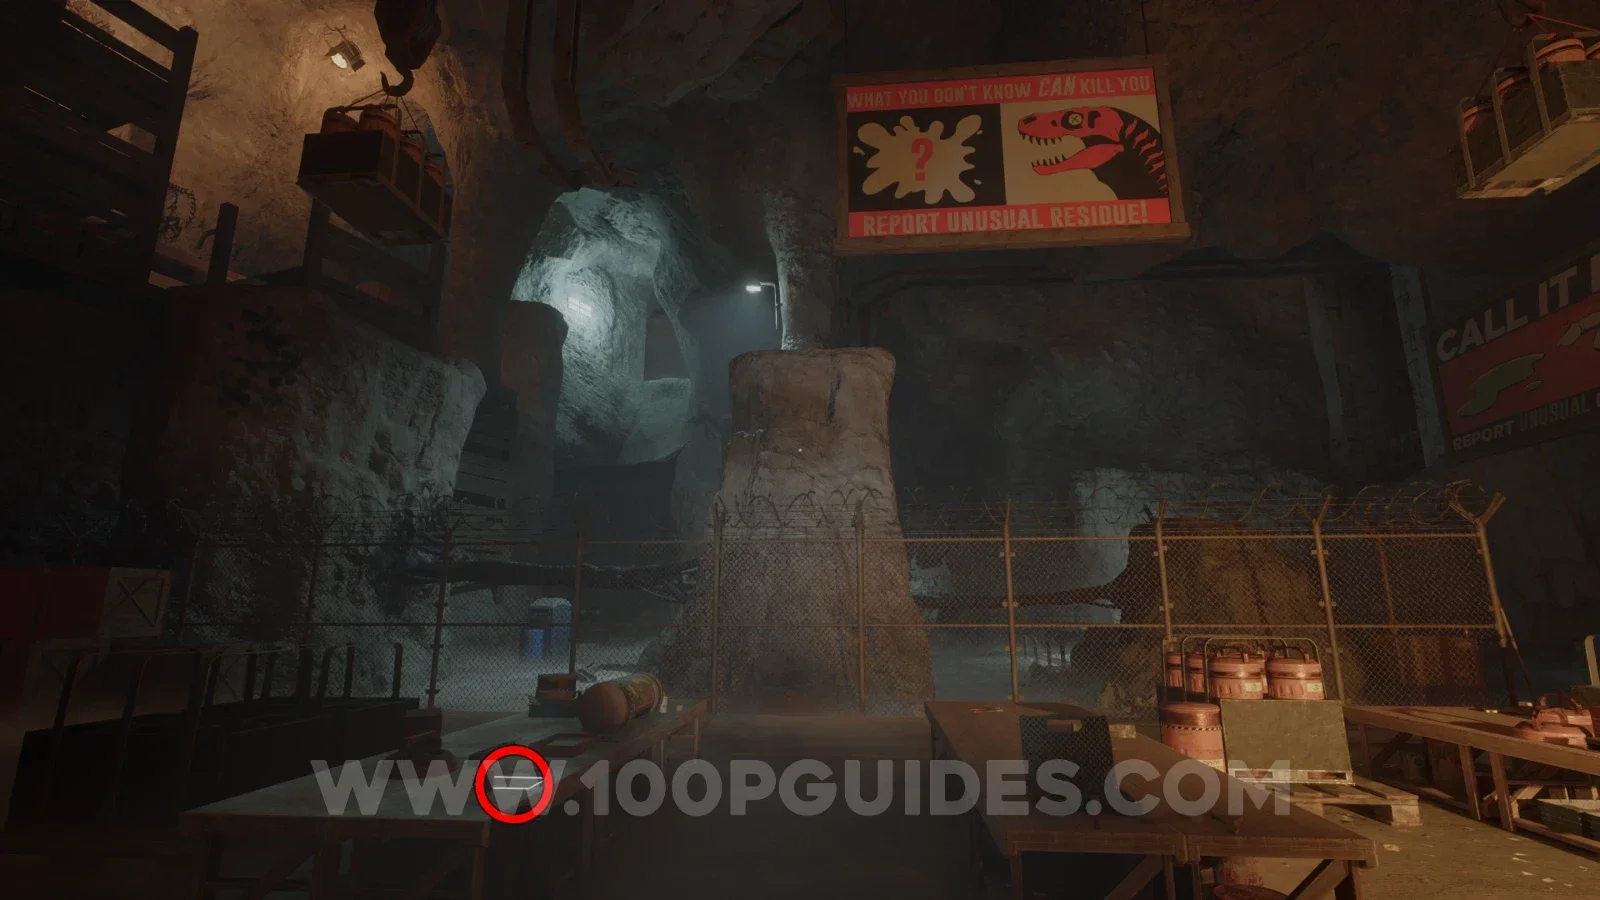
Tape - Connor McDonald: Is This a Good Idea?
In a locker on the right side of the same area as the previous collectible.
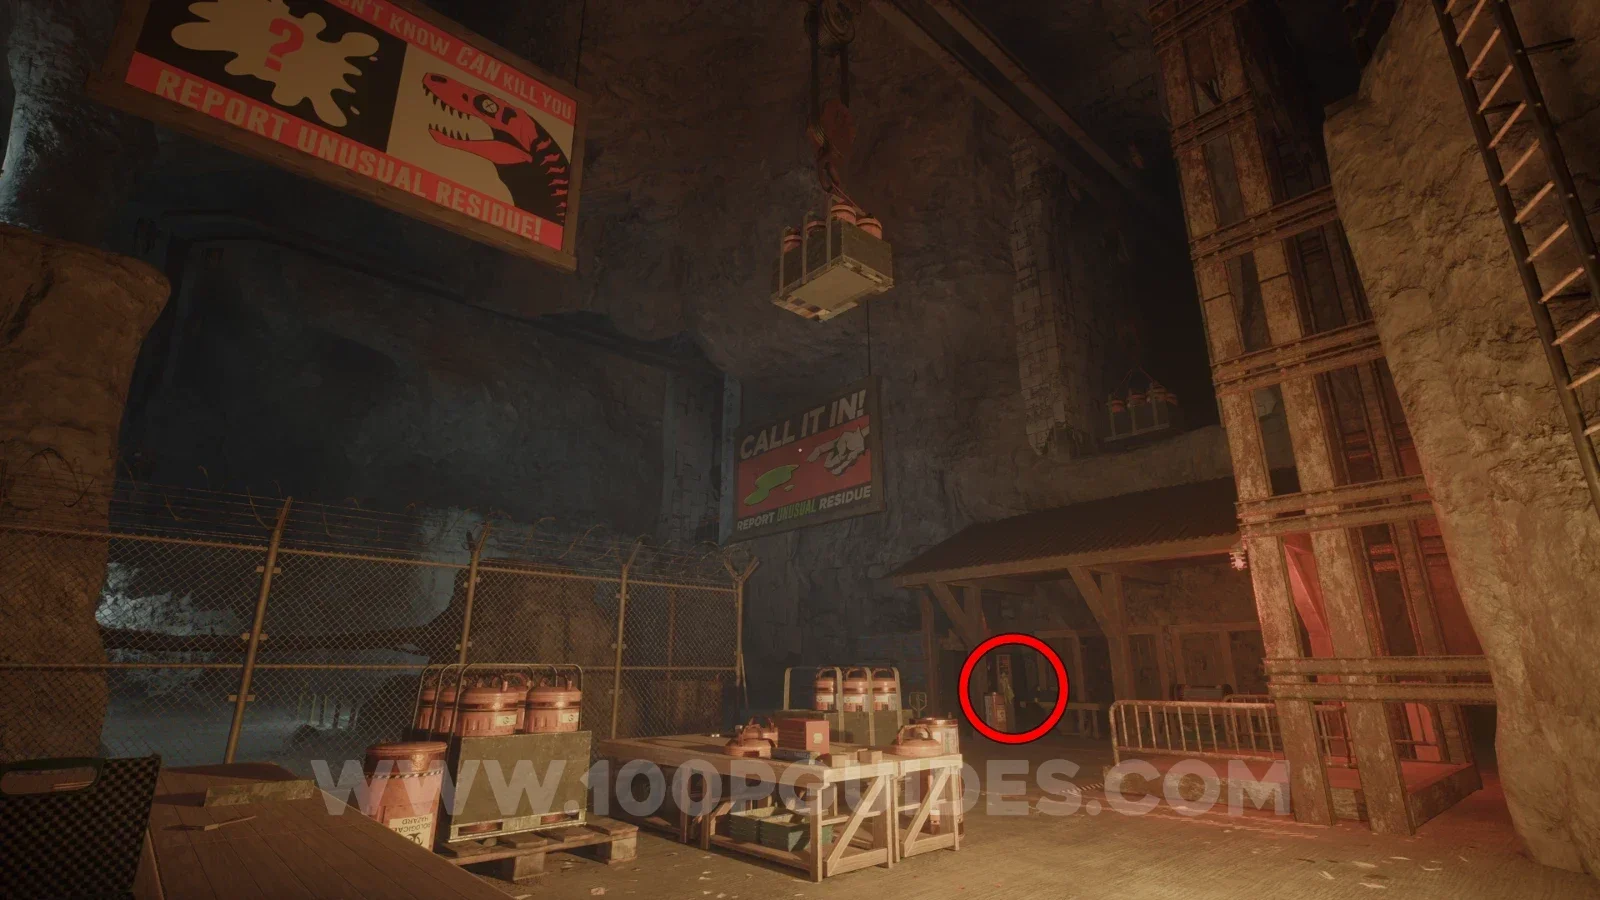
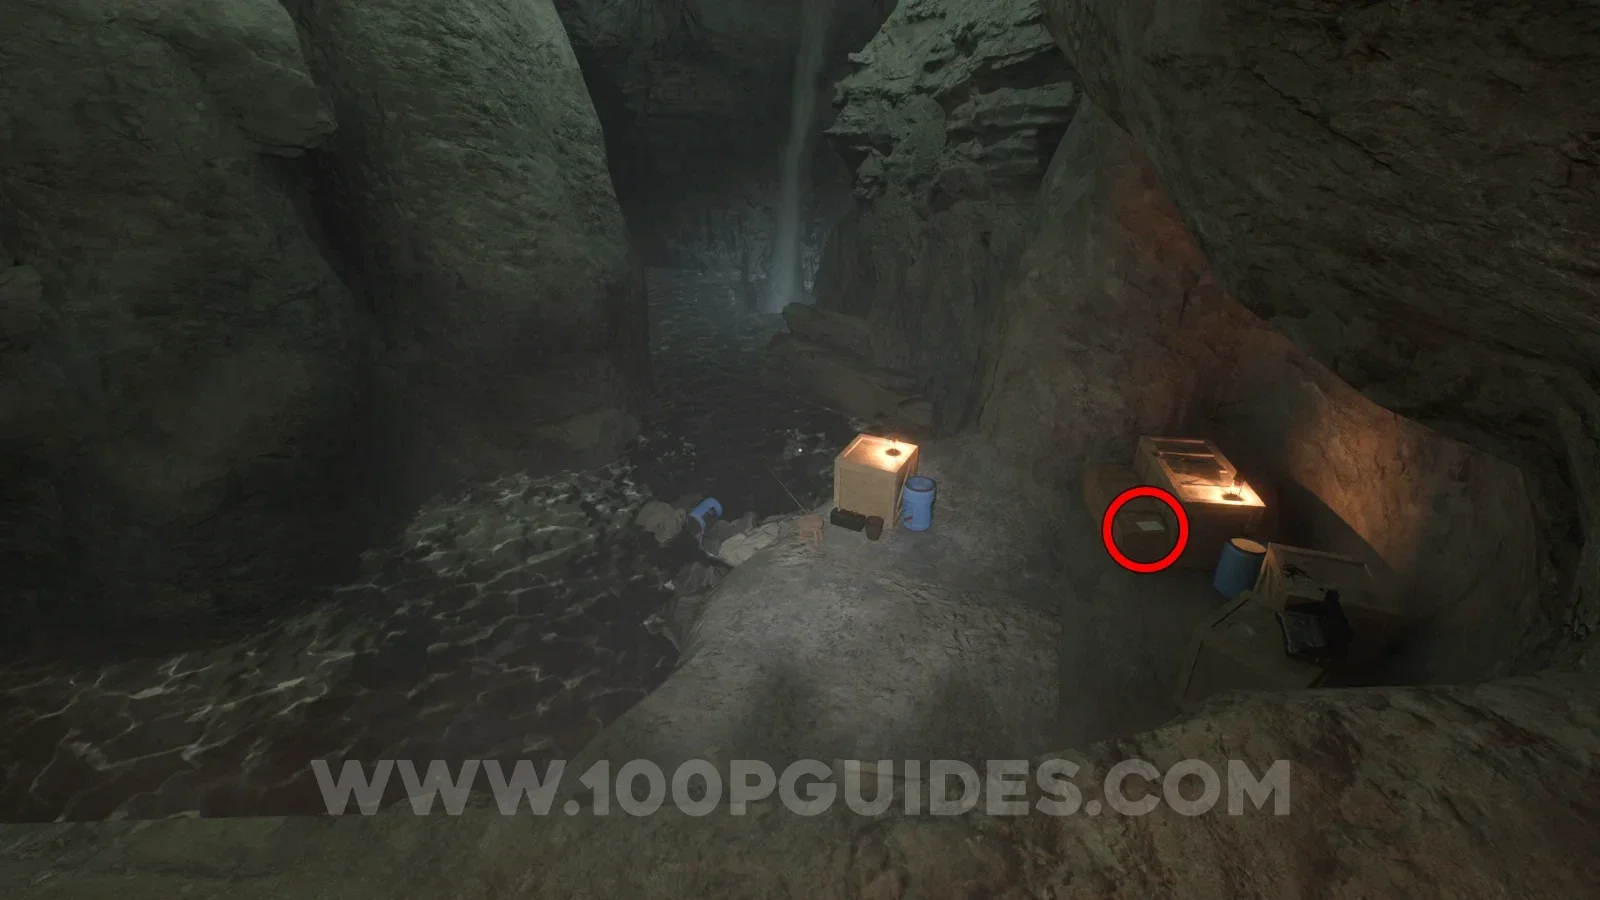
Note - Fishing in the caves
After using the bouncy goo to leave the area where the previous collectibles were, you will get to an area with water below you that you have to cross. Before doing this, look right and drop down to the area with boxes and barrels to find the note.
Note - PROMOTED! ...Oh wait.
After going through the timed door, you will have to use some bouncy goo to reach a higher area. As soon as you land, go around to the boxes on your left to find the note.
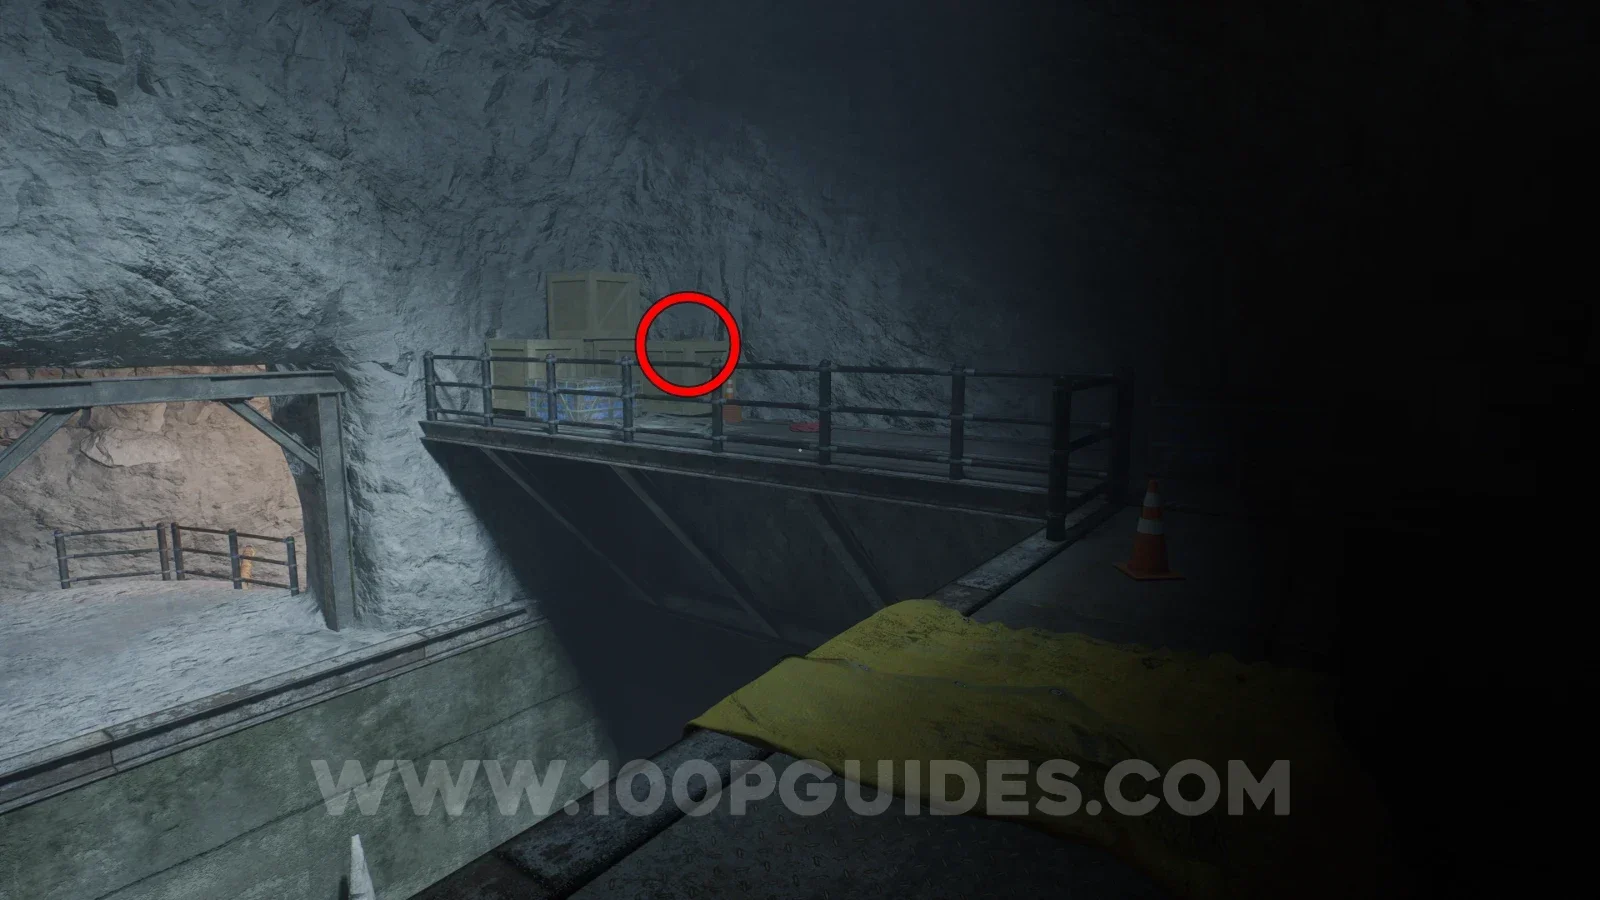
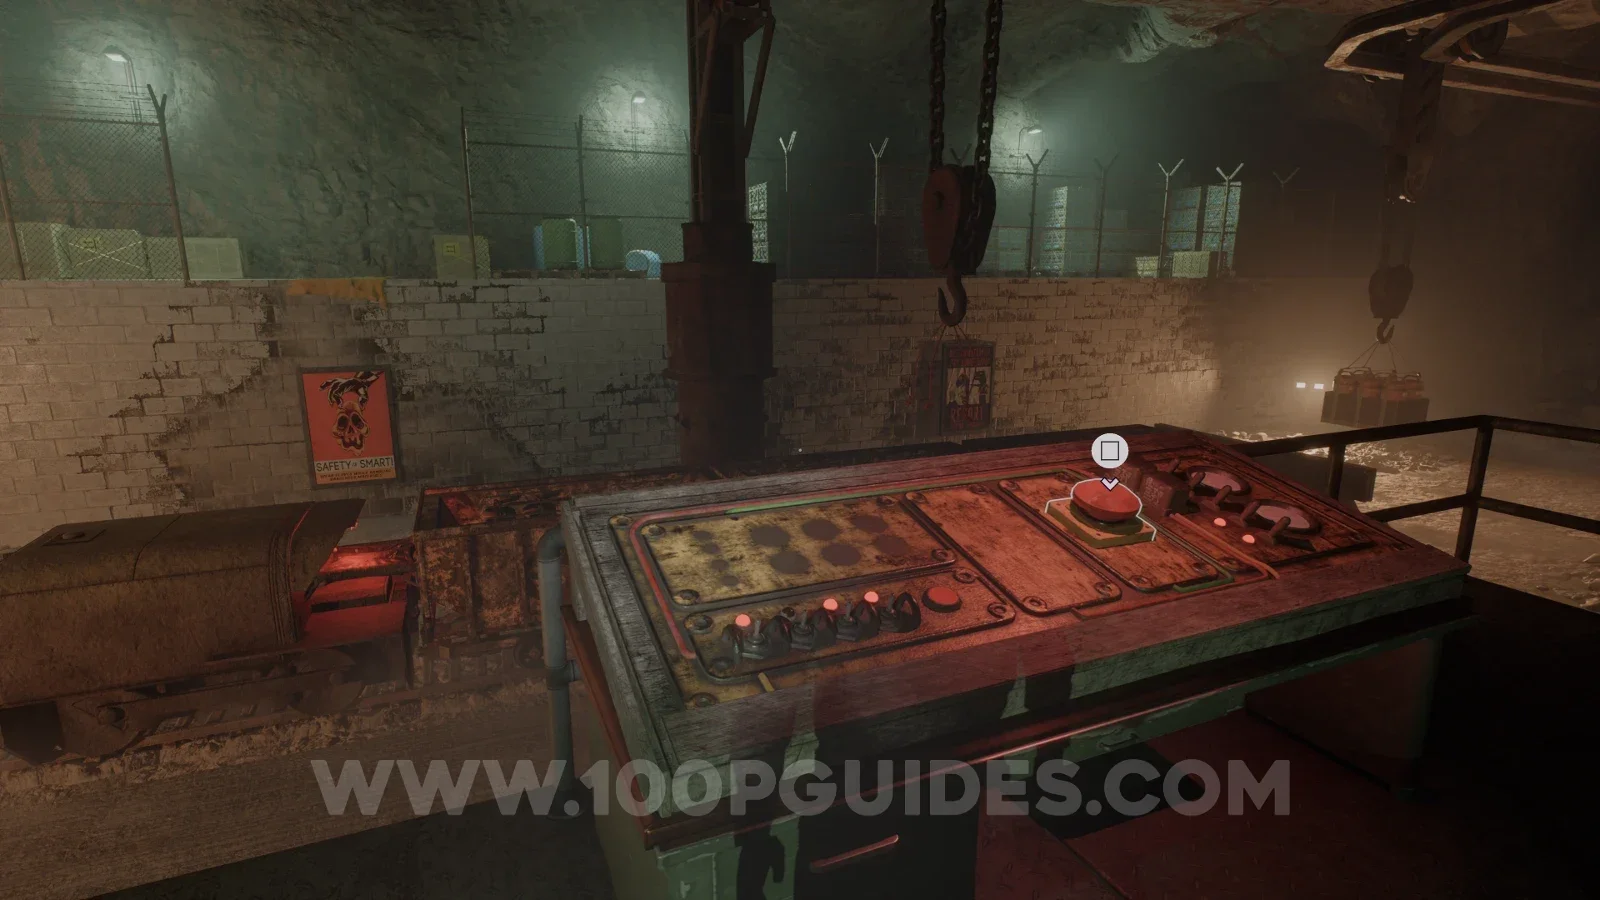
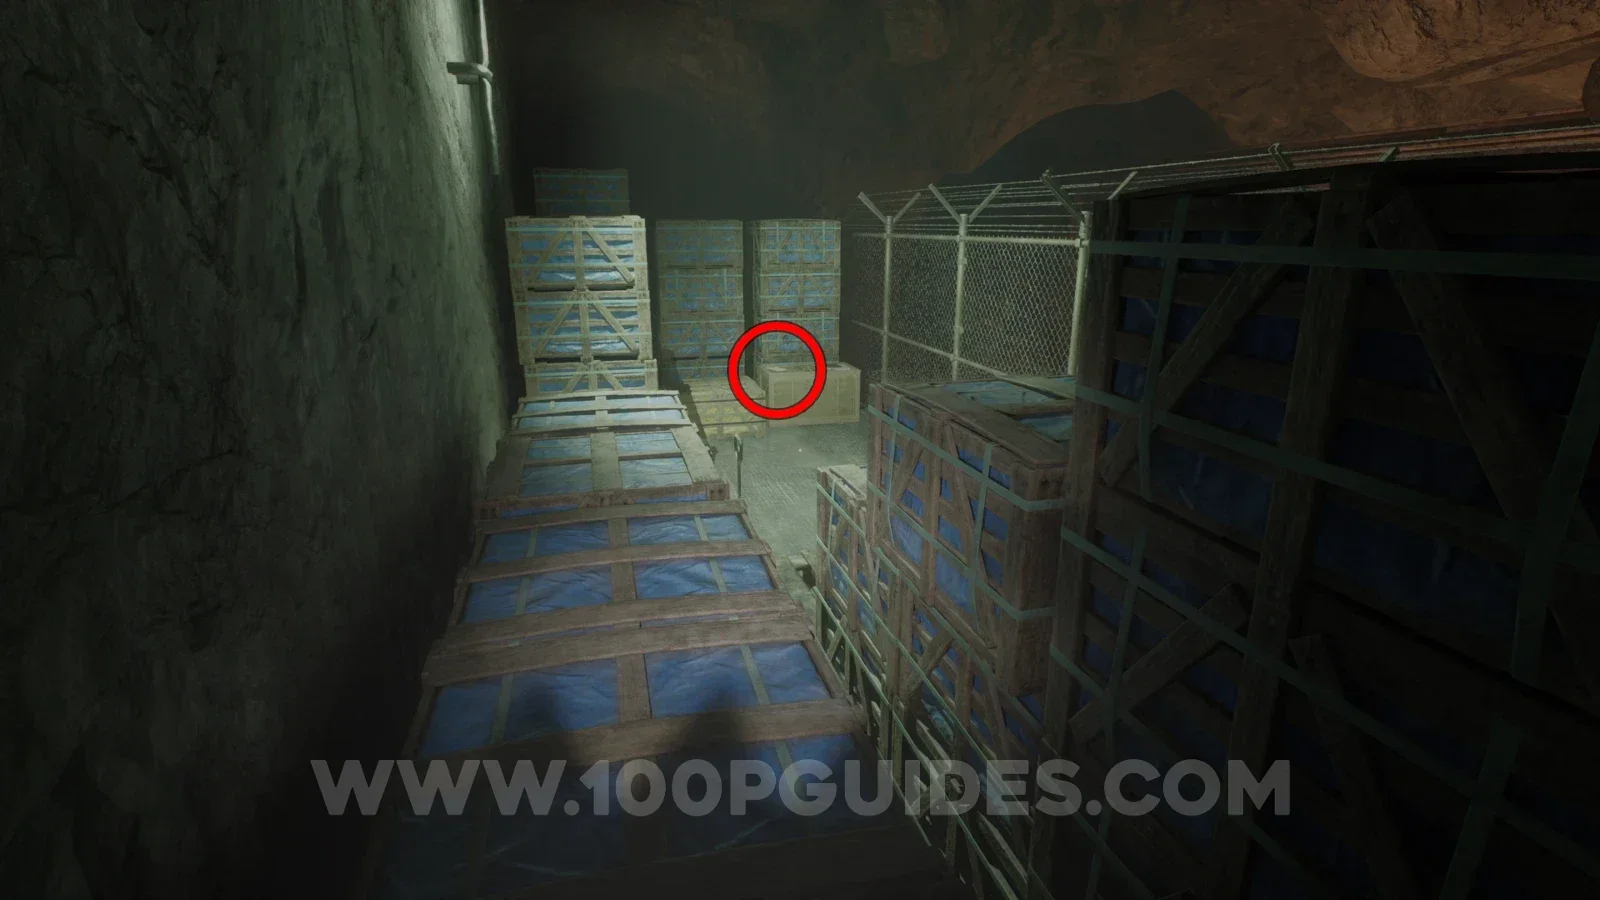
Note - The auditor
Advance through the level until you get to an area with a train in the middle. Press the button and the front part of the train will move and reveal some bouncy goo. Use it to get to the other side and, as soon as you land, head right and climb over the blue boxes to find the note.
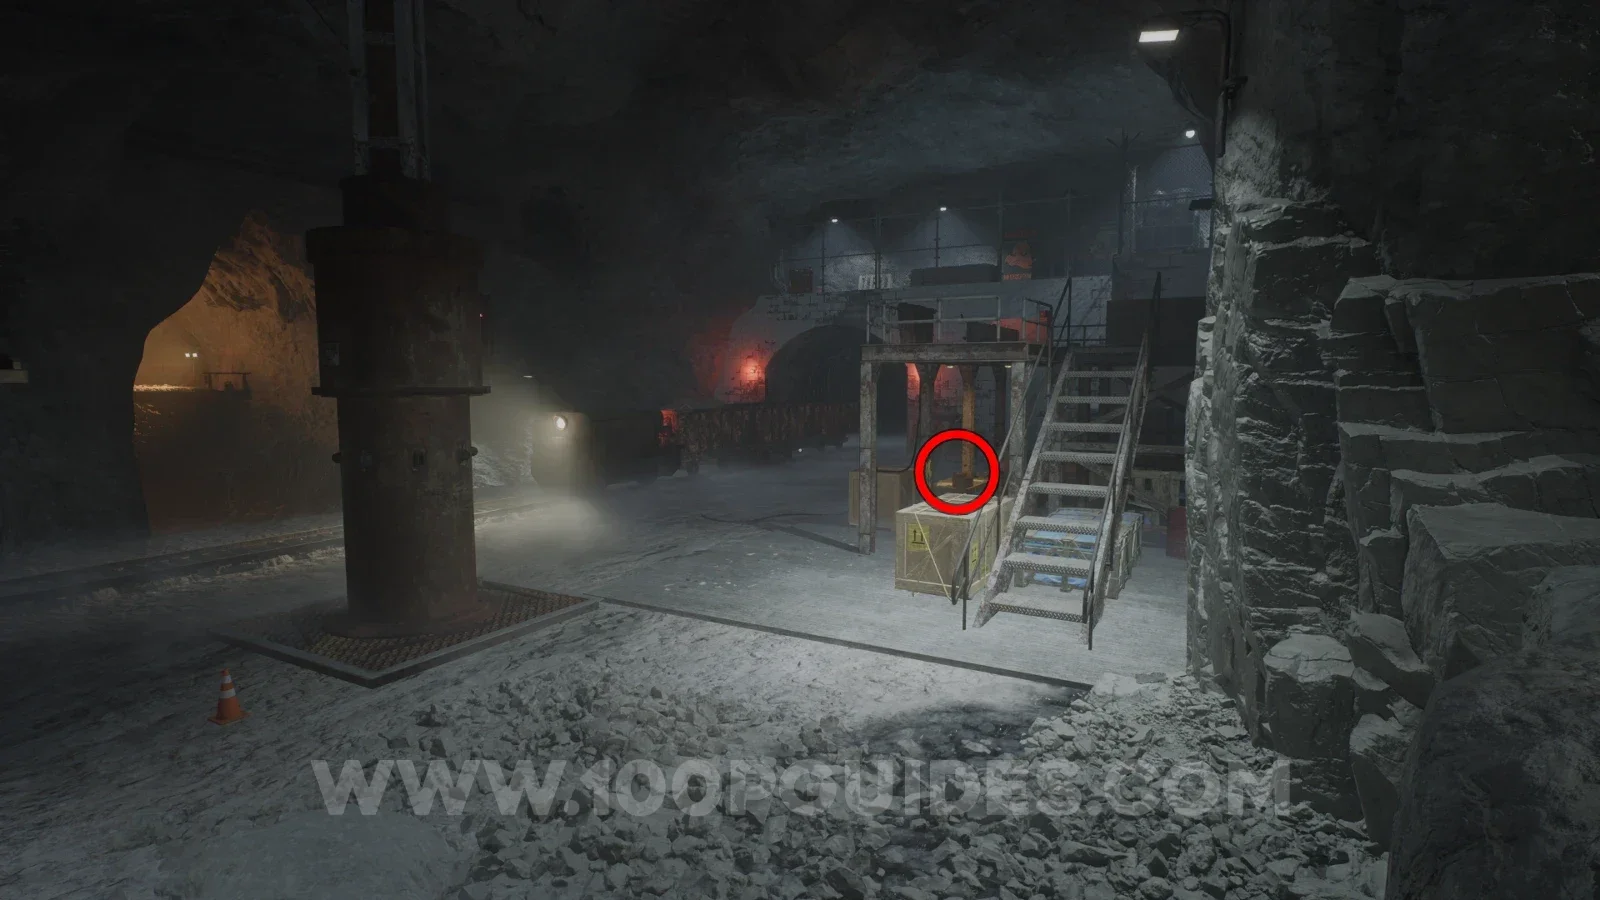
Note - Motherlode Discovery
Continue through the level until you get to another train. You can find the note on the table under the platform with the metallic stairs.
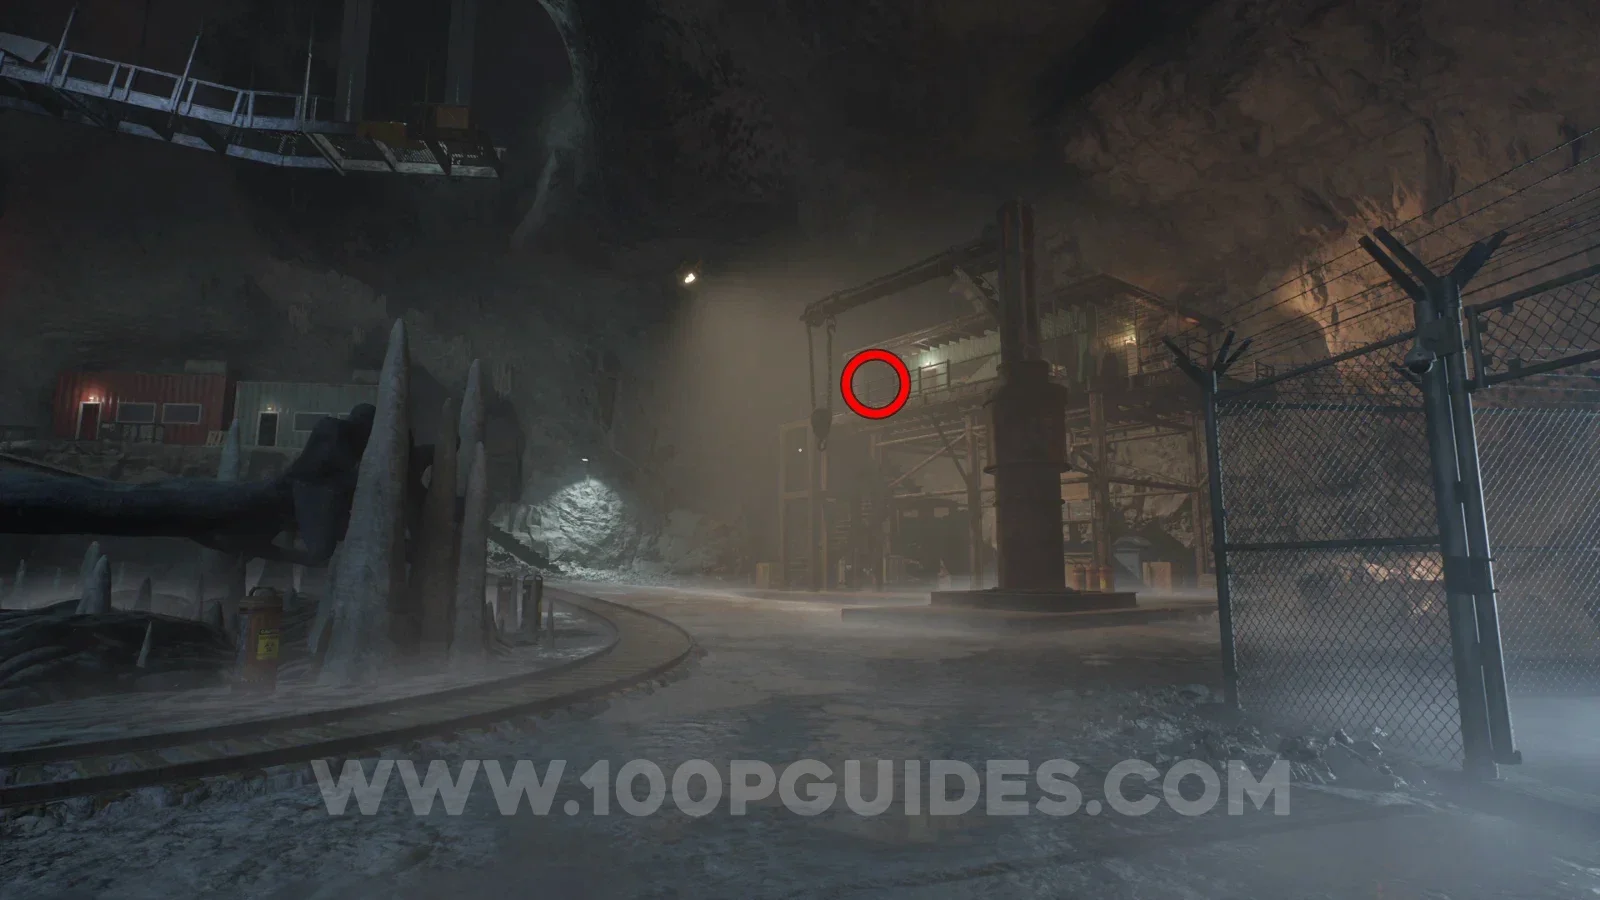
Note - A note from The Broker
Once you reach the large open area where Stella talks to you and you have to restore power, head up to the tall building on the metal beams to find the note in the small room at the back.
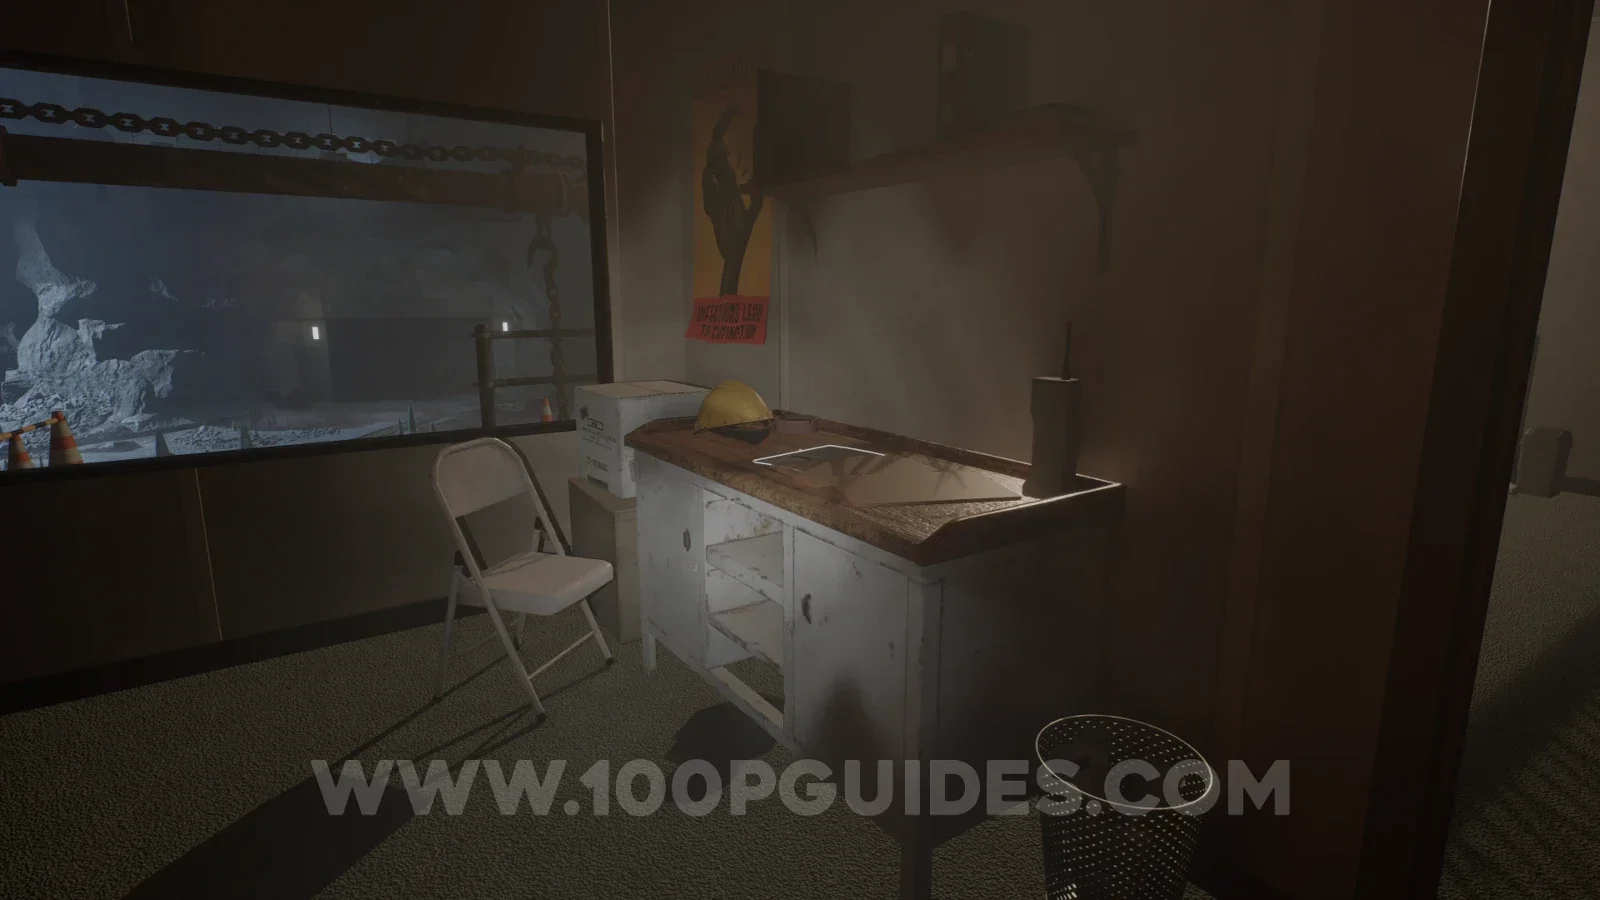
Note - Dalton's memo to the digsite
After using the dynamite to open up a hole in the metal door, head through it and walk straight ahead to find the note.
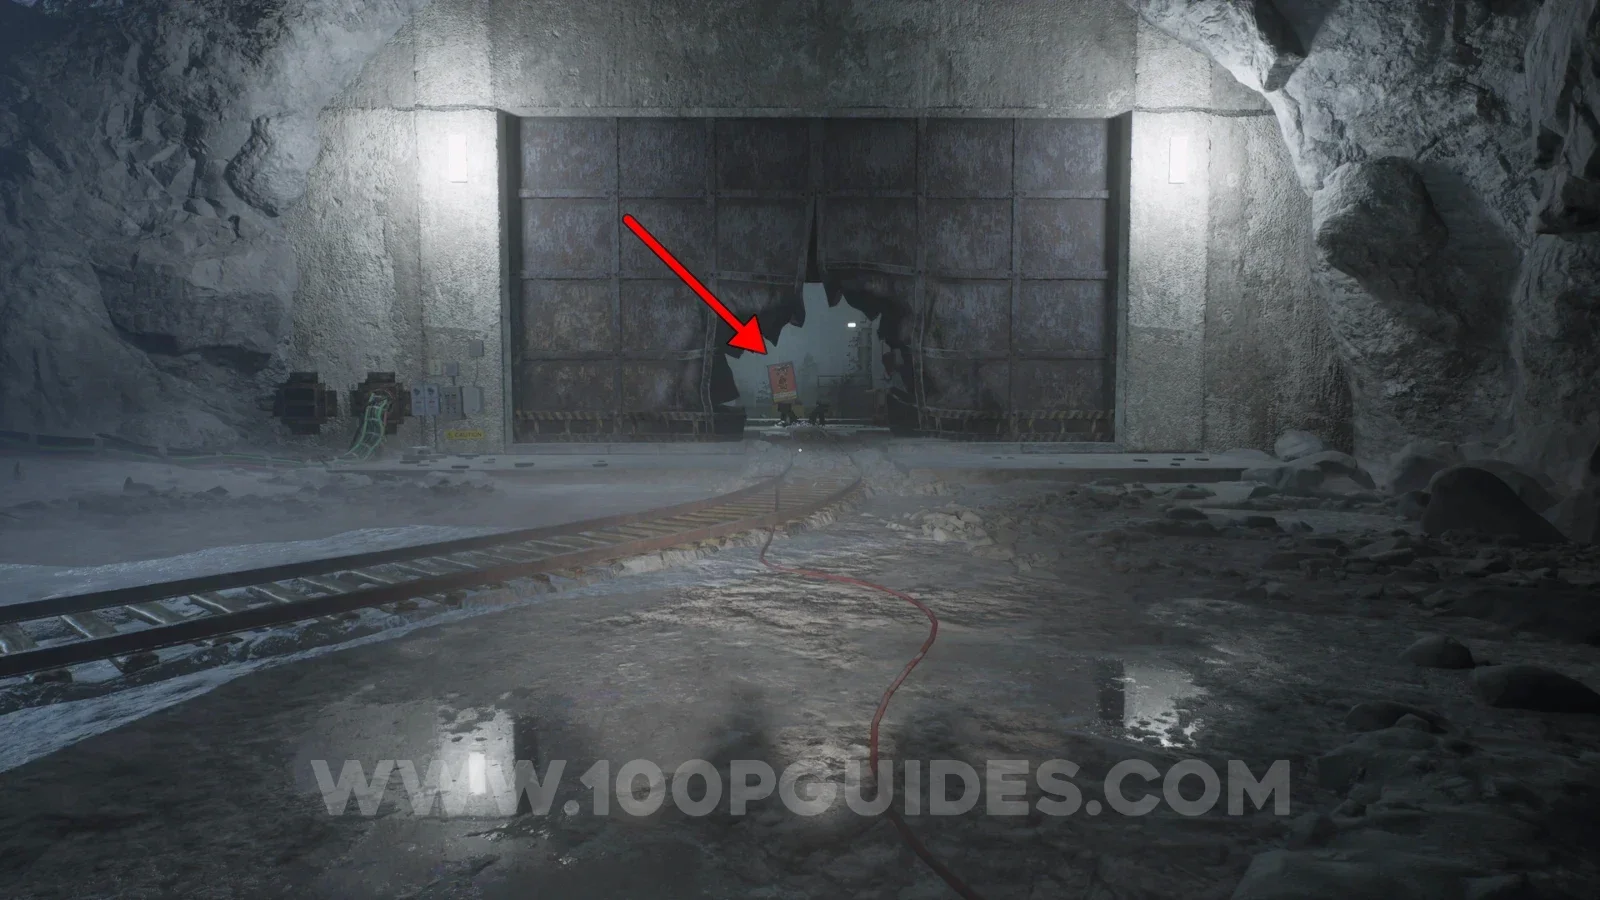
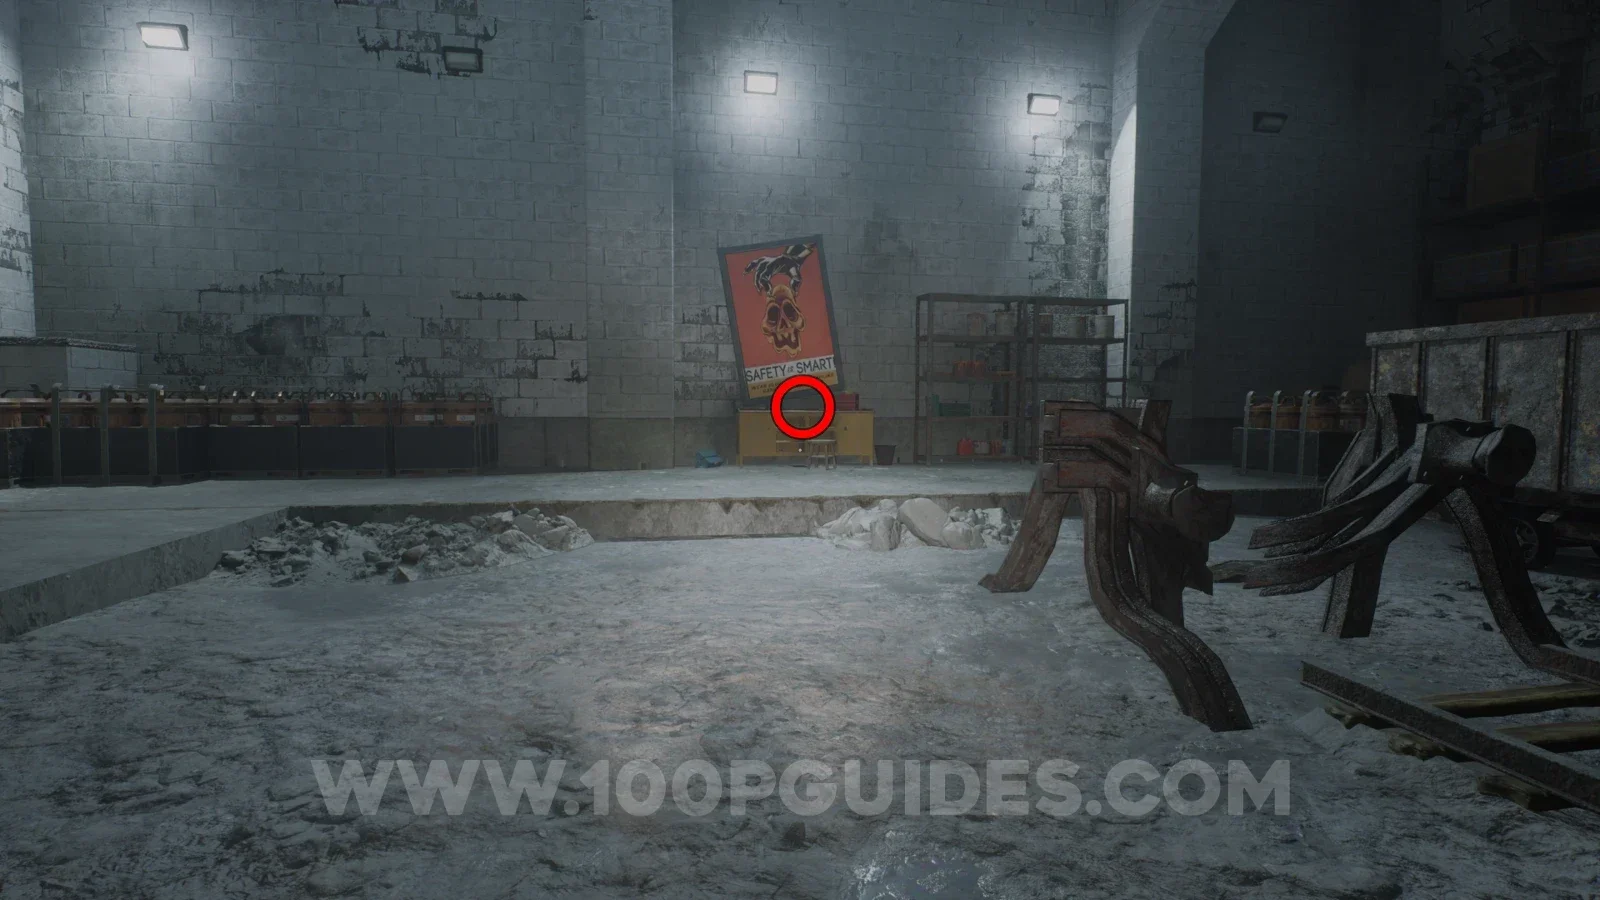
Tape - Jacob Hewitt: I See It
Soon after the previous collectible you will go through some steaming pipes. After coming out the other end, head up the metallic stairs to find the tape at the top.
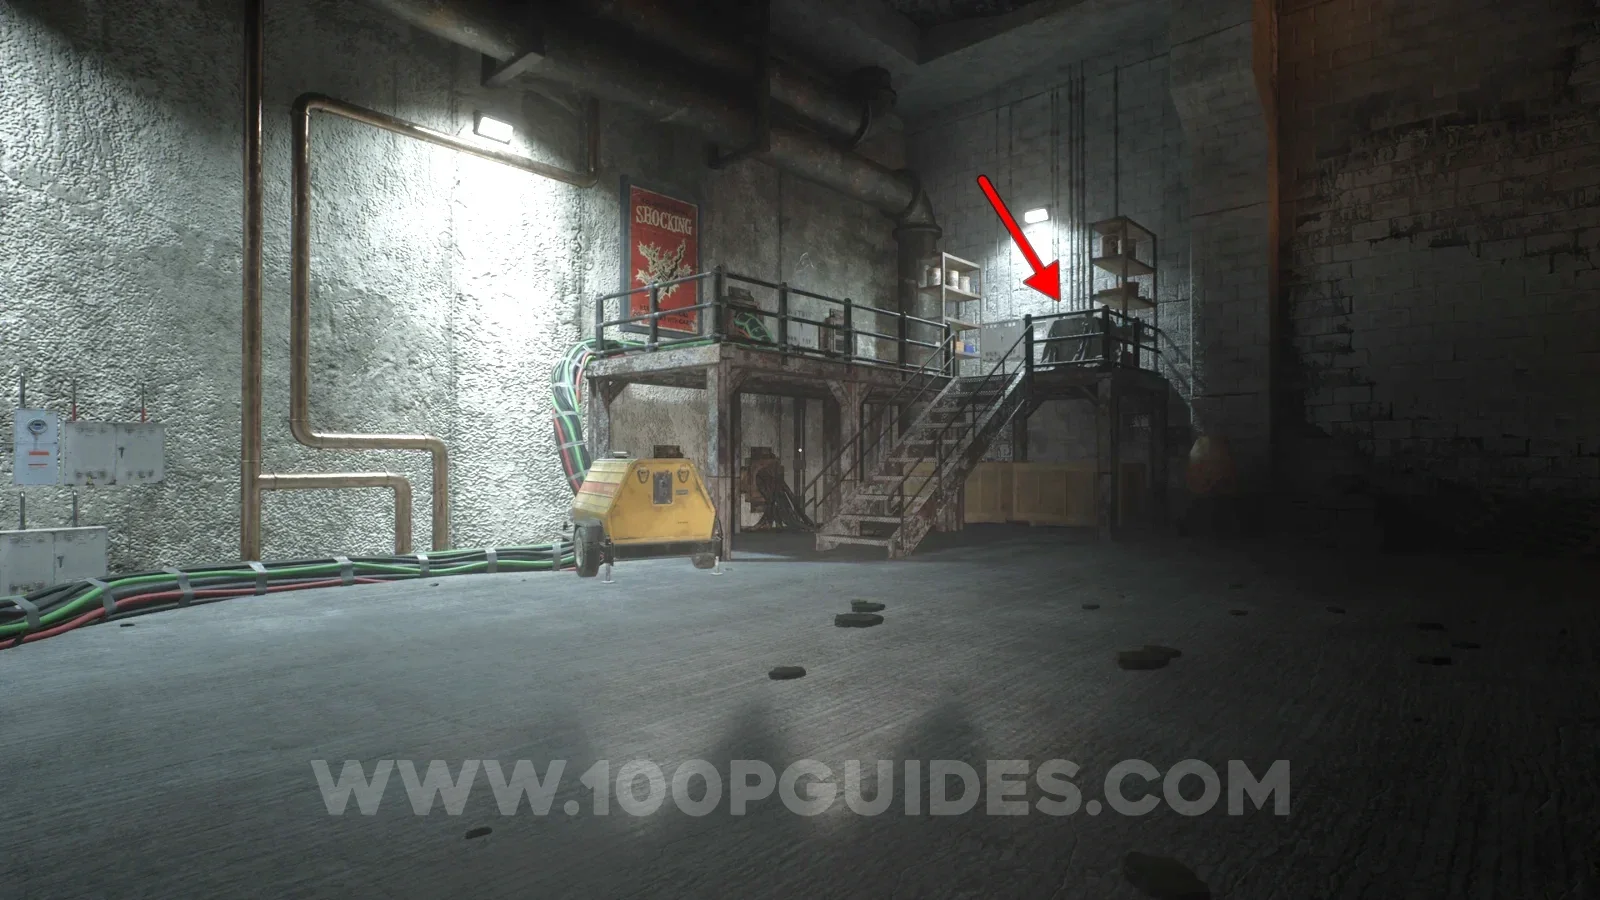
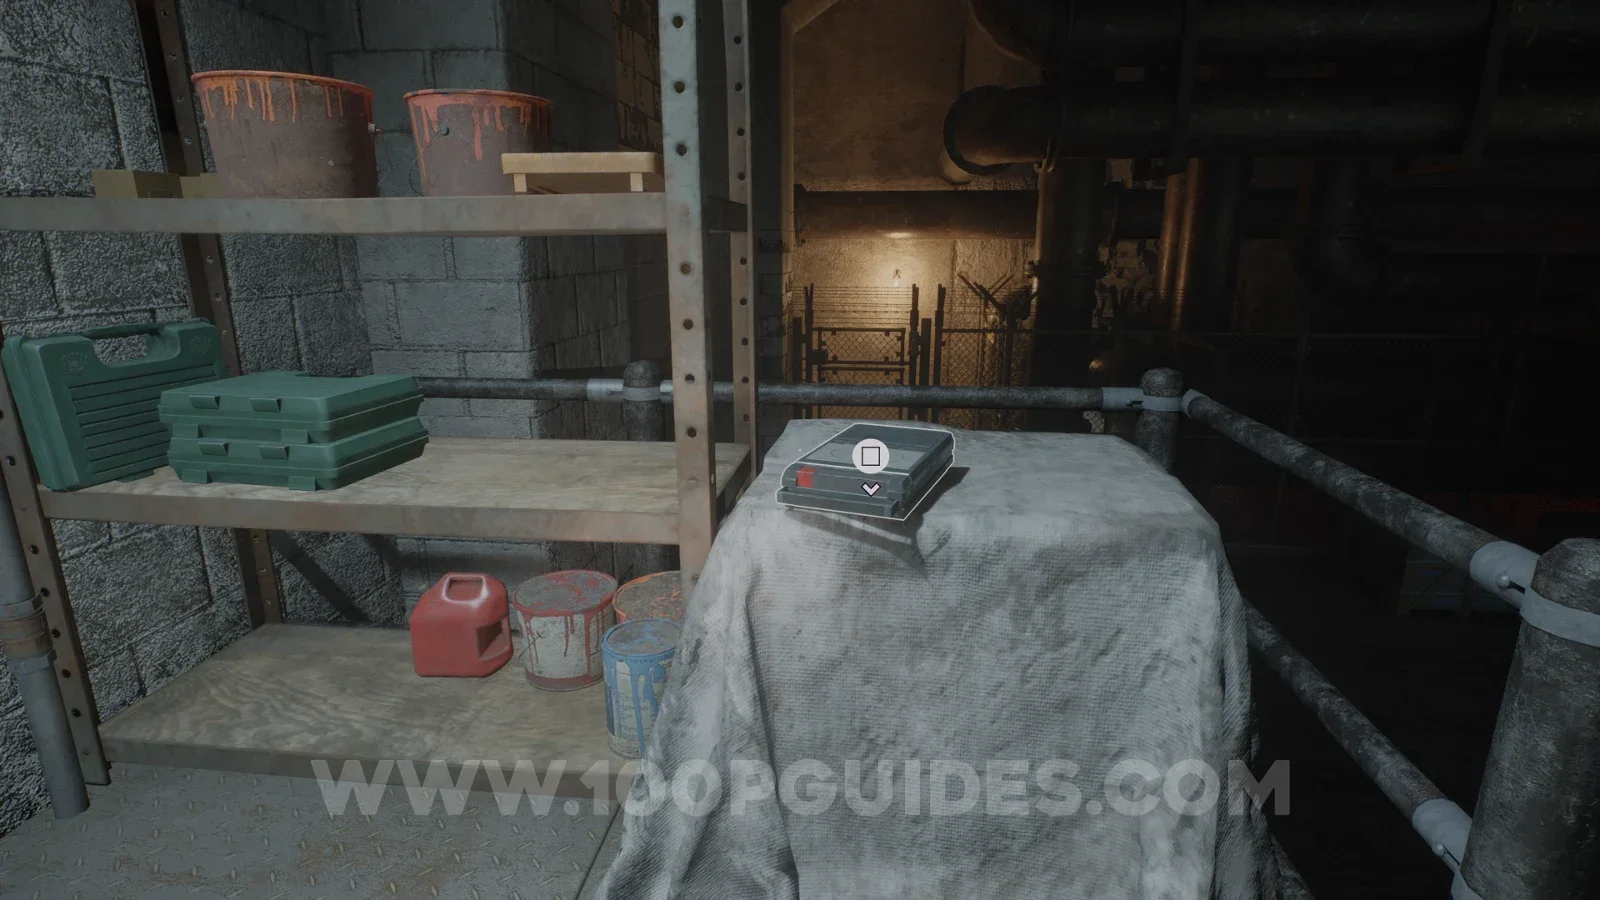
Note - A letter home
After turning on the panel that moves the train and leaving the large area by parkouring across the upper catwalks, you will see two small buildings in front of you. The note can be found on the top floor of the red one.
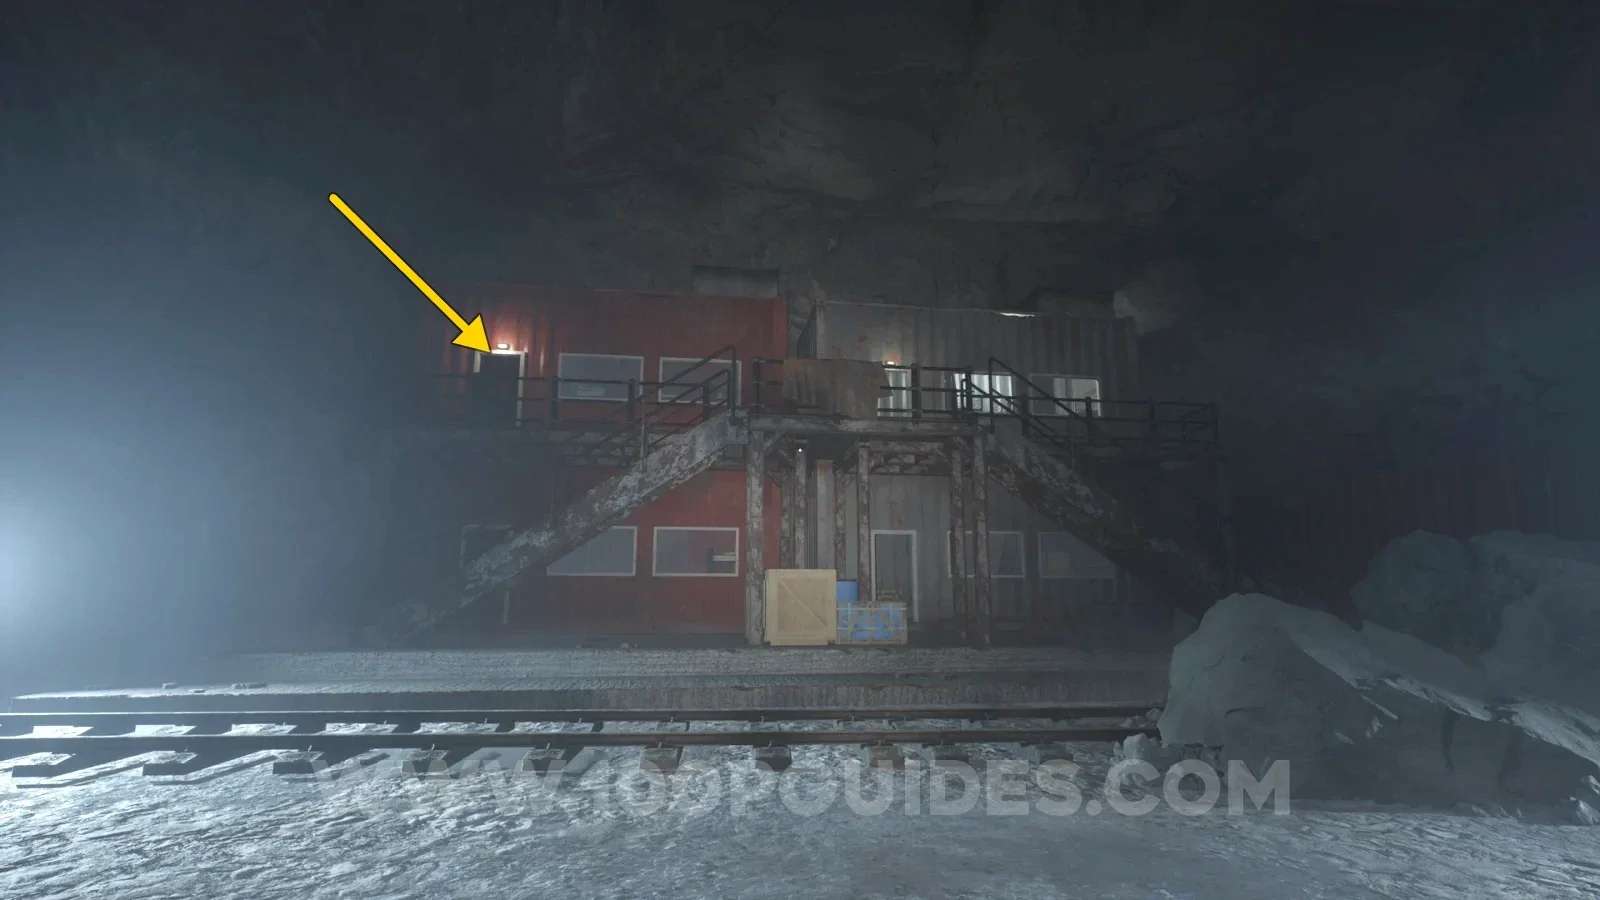
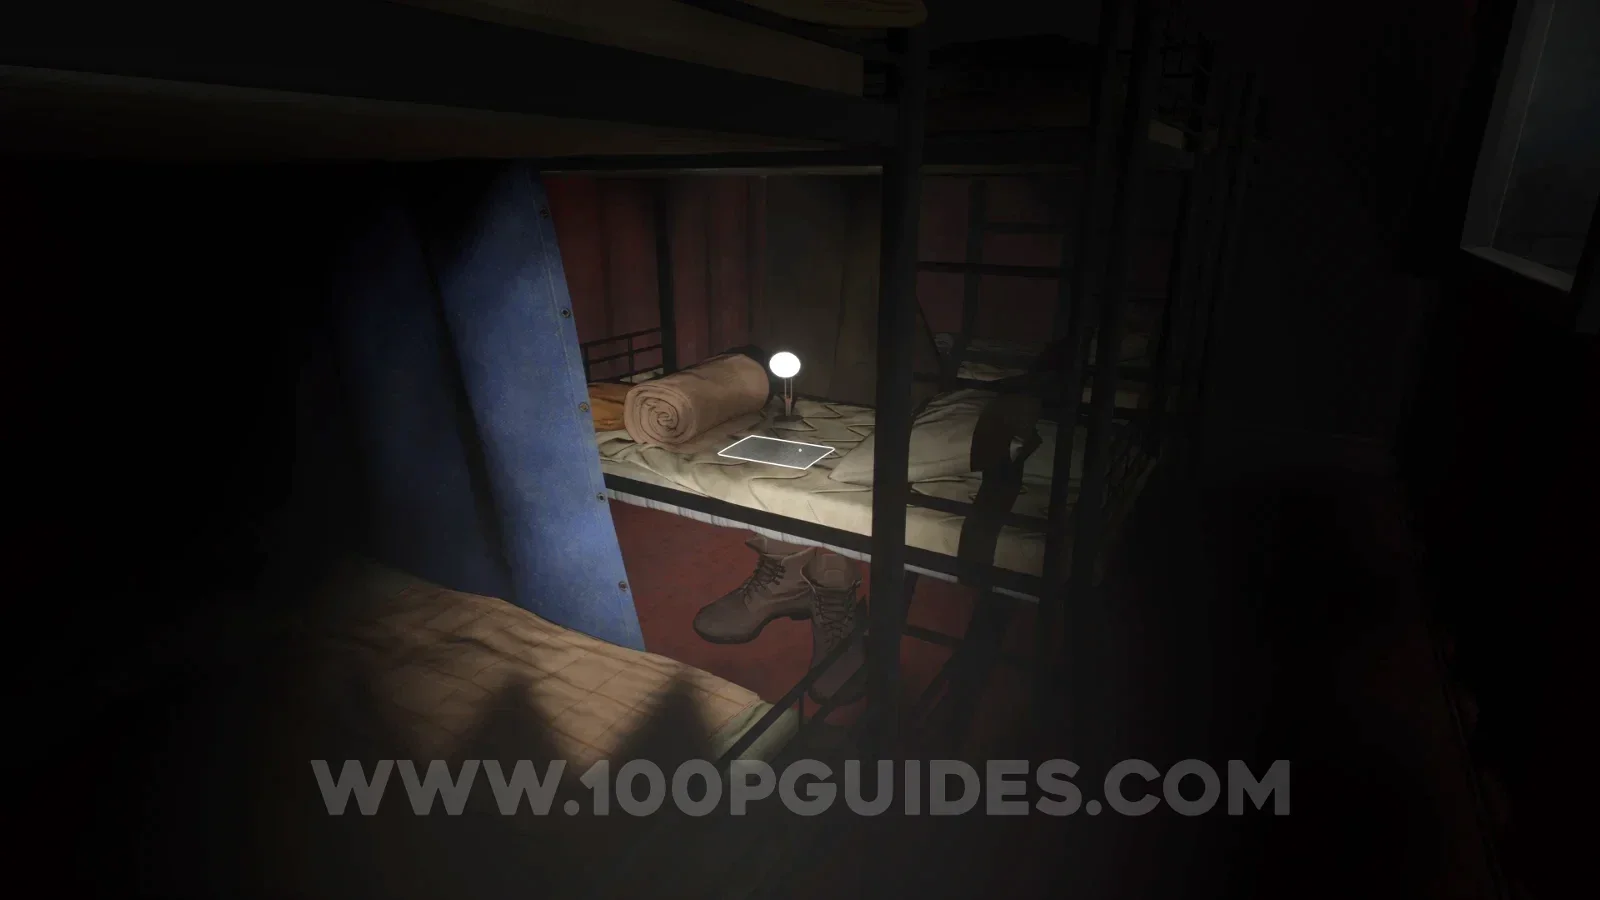
Note - Hastily written note
Head into the tunnel with the red lights at the end, to the left of the buildings where the previous collectible was, to find the note on the ground.
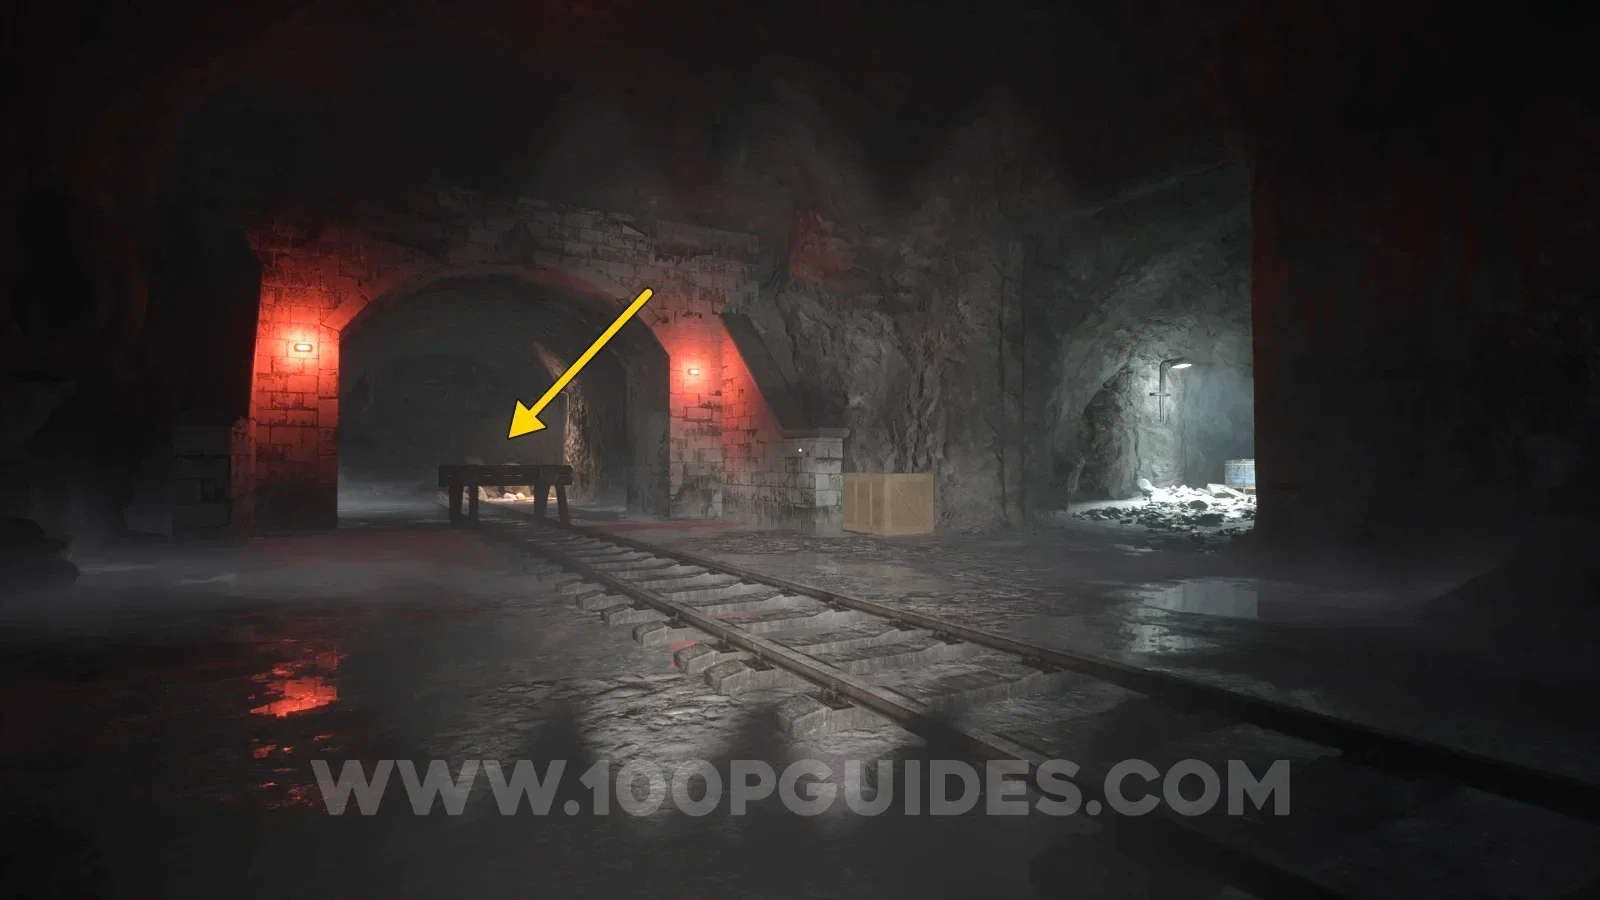
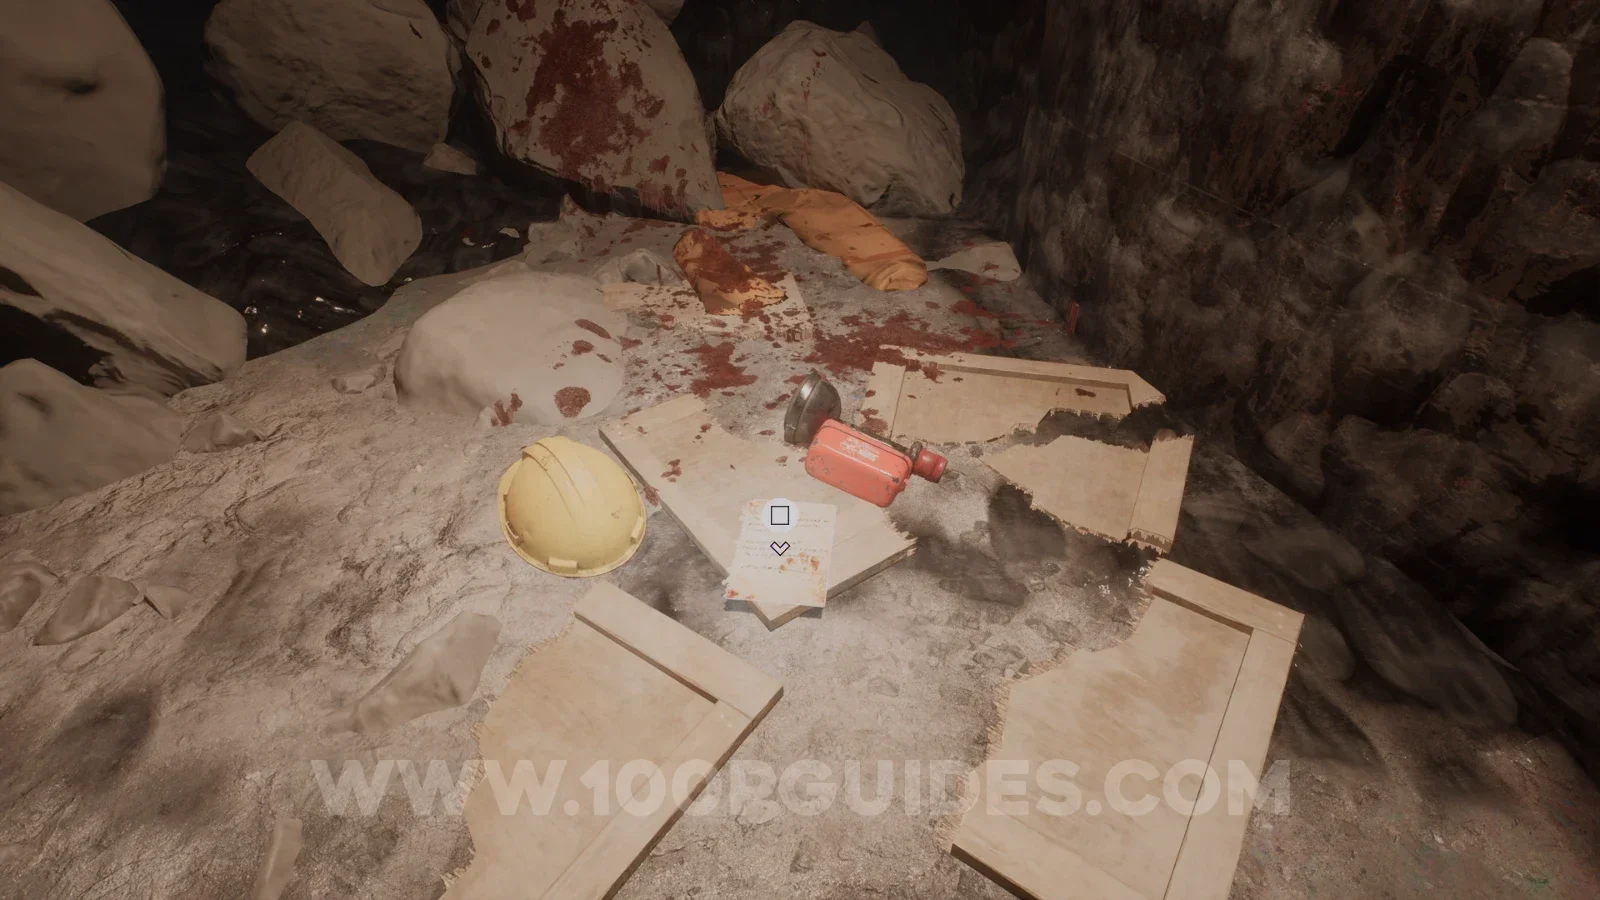
Note - We're on the menu
In a turned over box as soon as you take the path to the right of the tunnel where the previous collectible was.
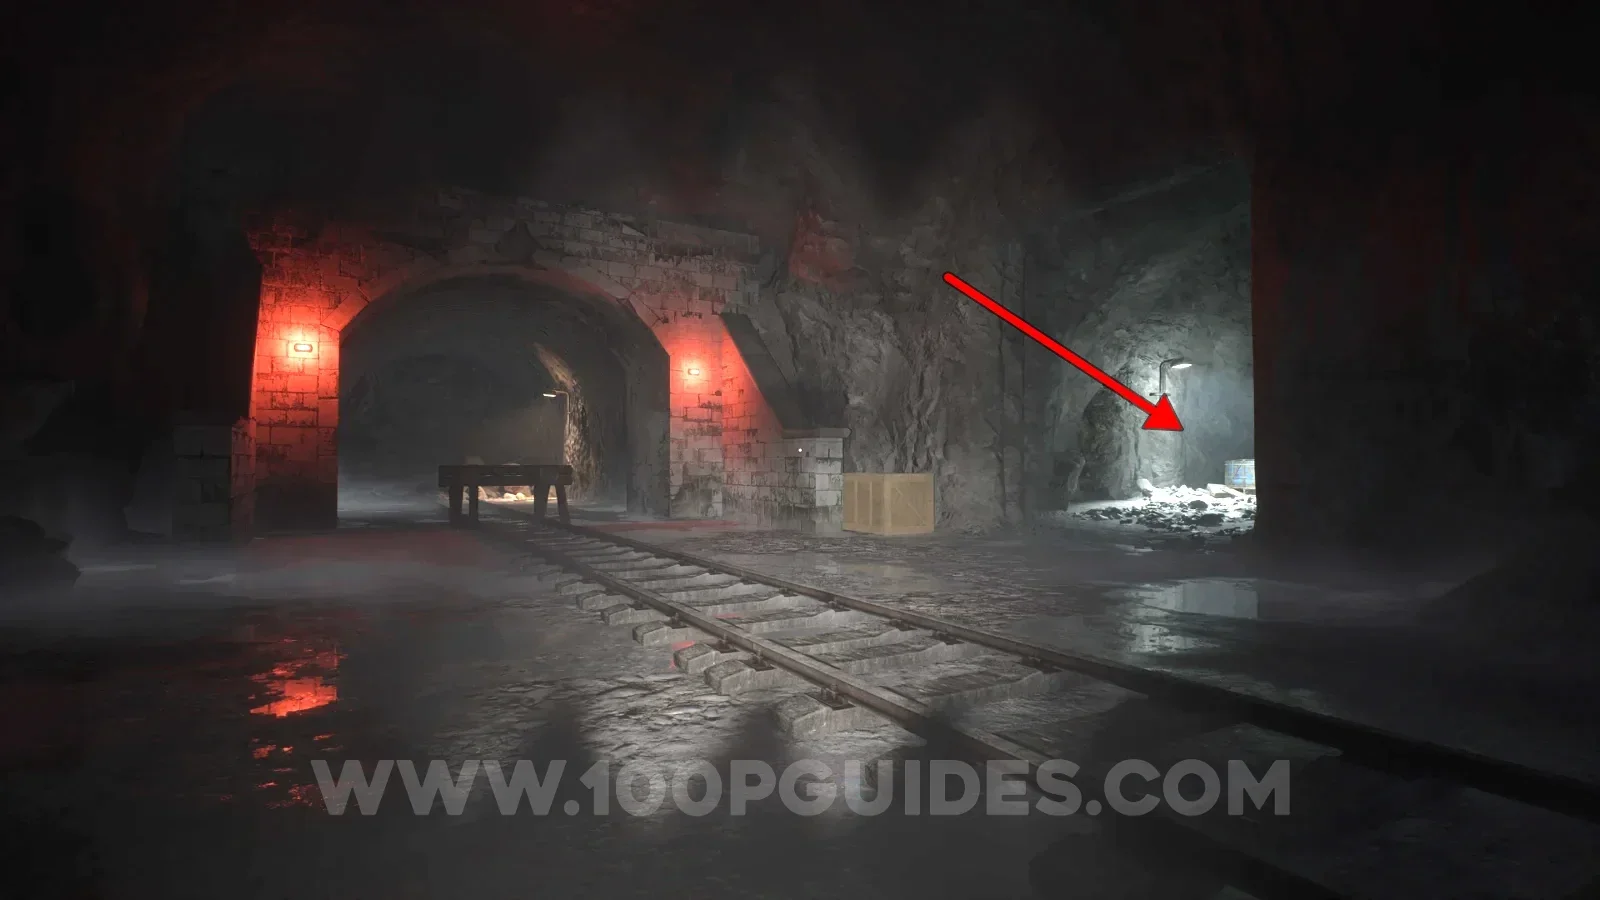
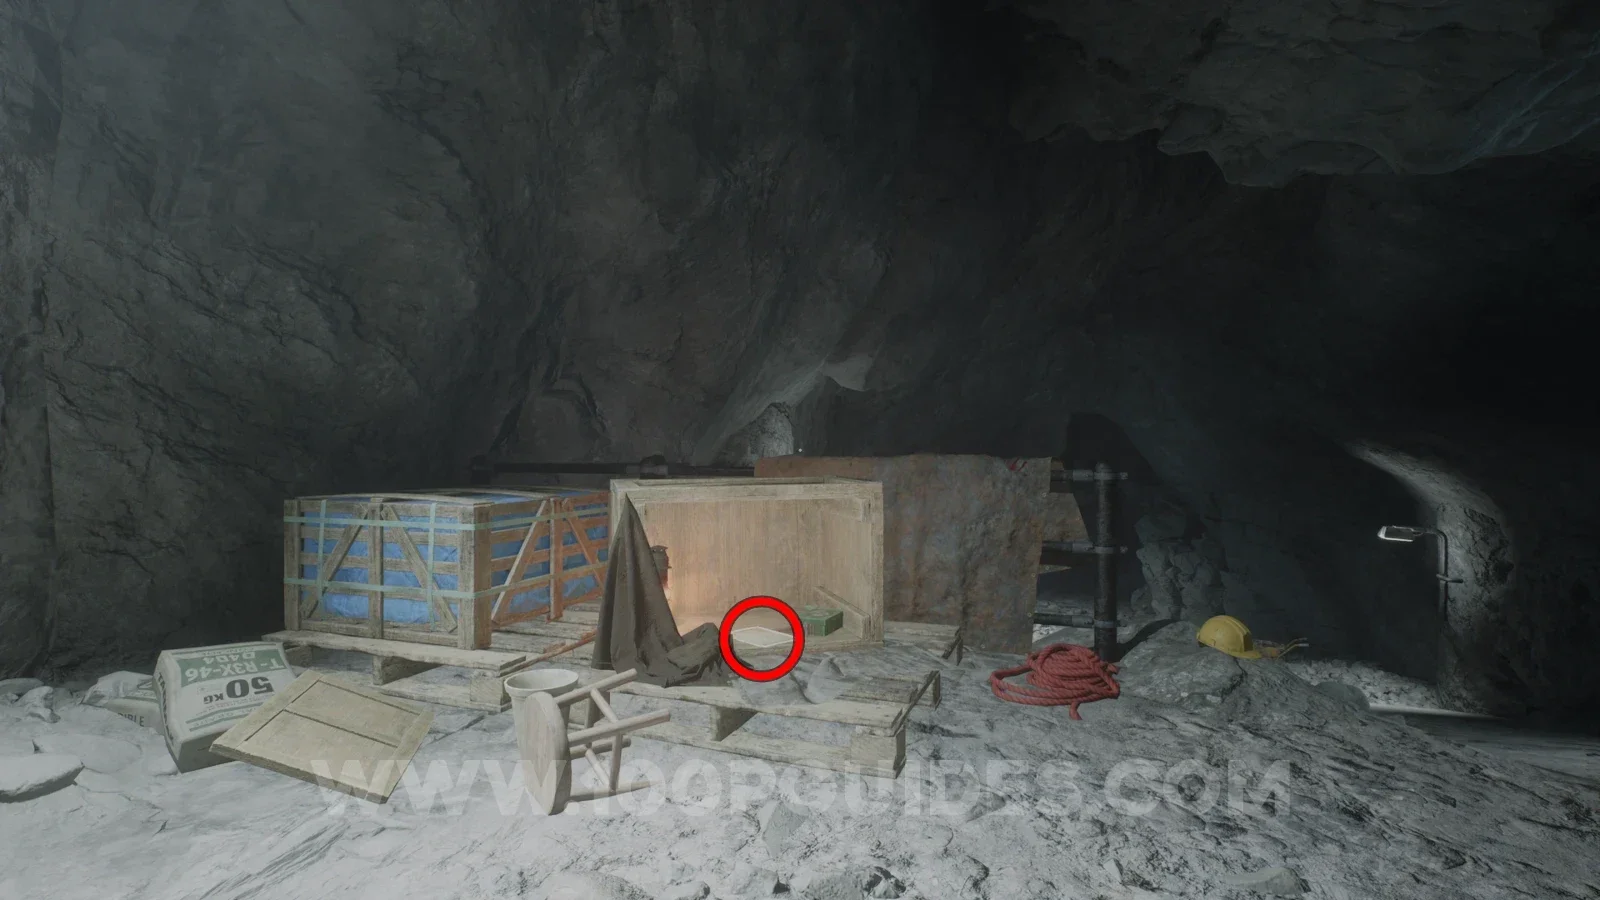
Note - The Allo has rules
After escaping from the dinosaur for the first time and falling through the wooden floor, look down to the area below you to find the note on a wooden box.
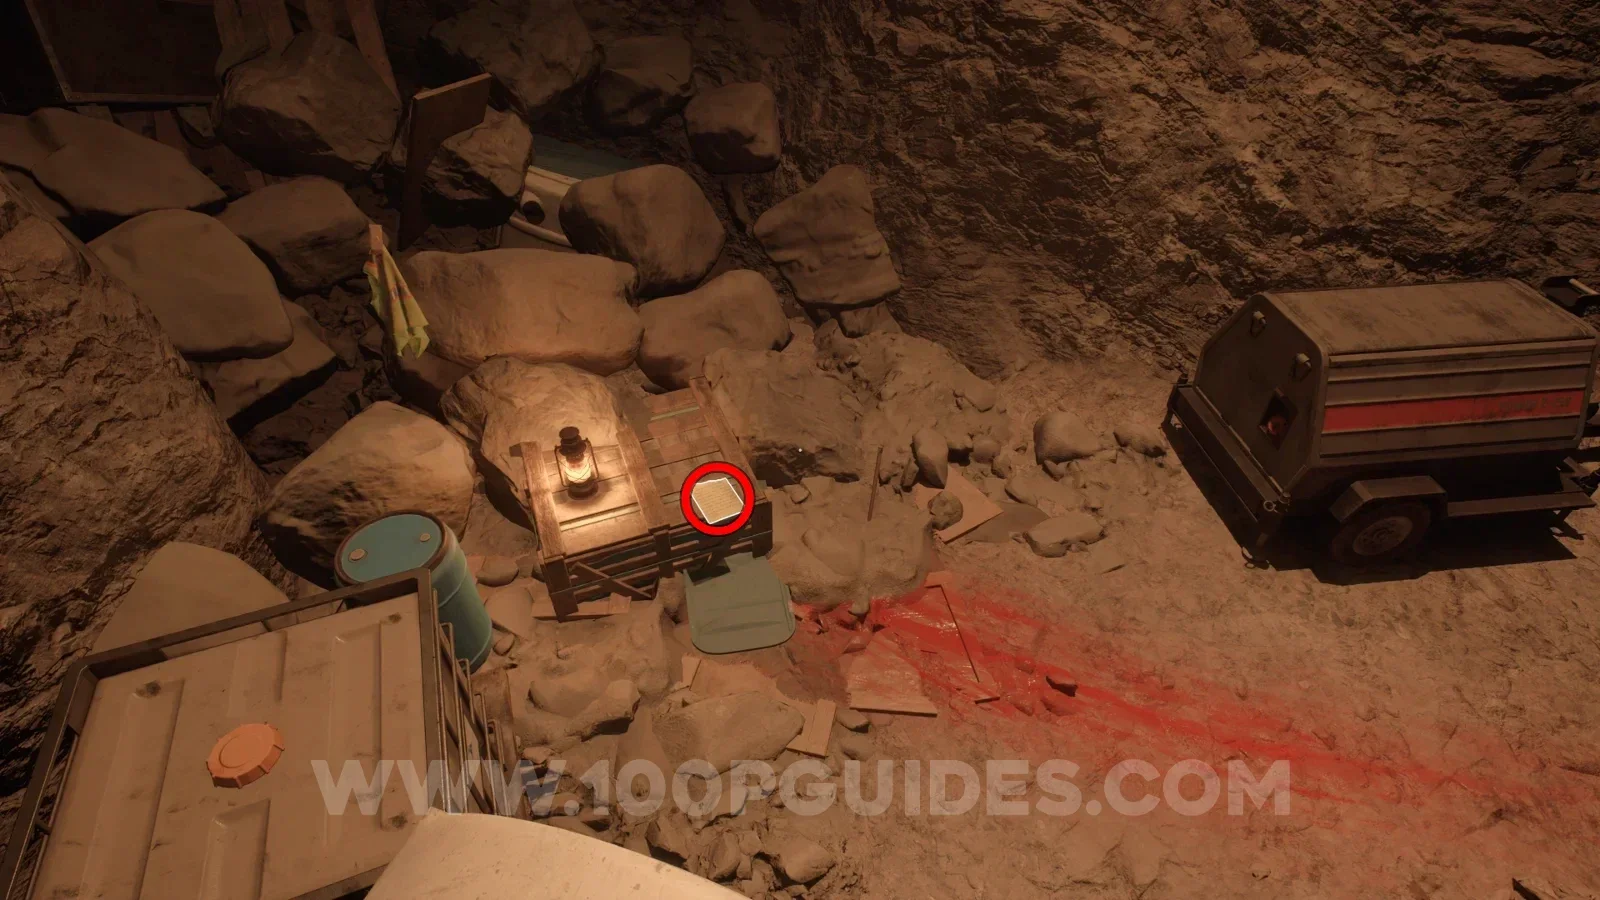
Note - Water never plays nice, does it?
After following the arrows and escaping from the dinosaur for the second time, you will go through a small hole to lose the dinosaur. As soon as you emerge from this hole, you will see the note on the table to the left.
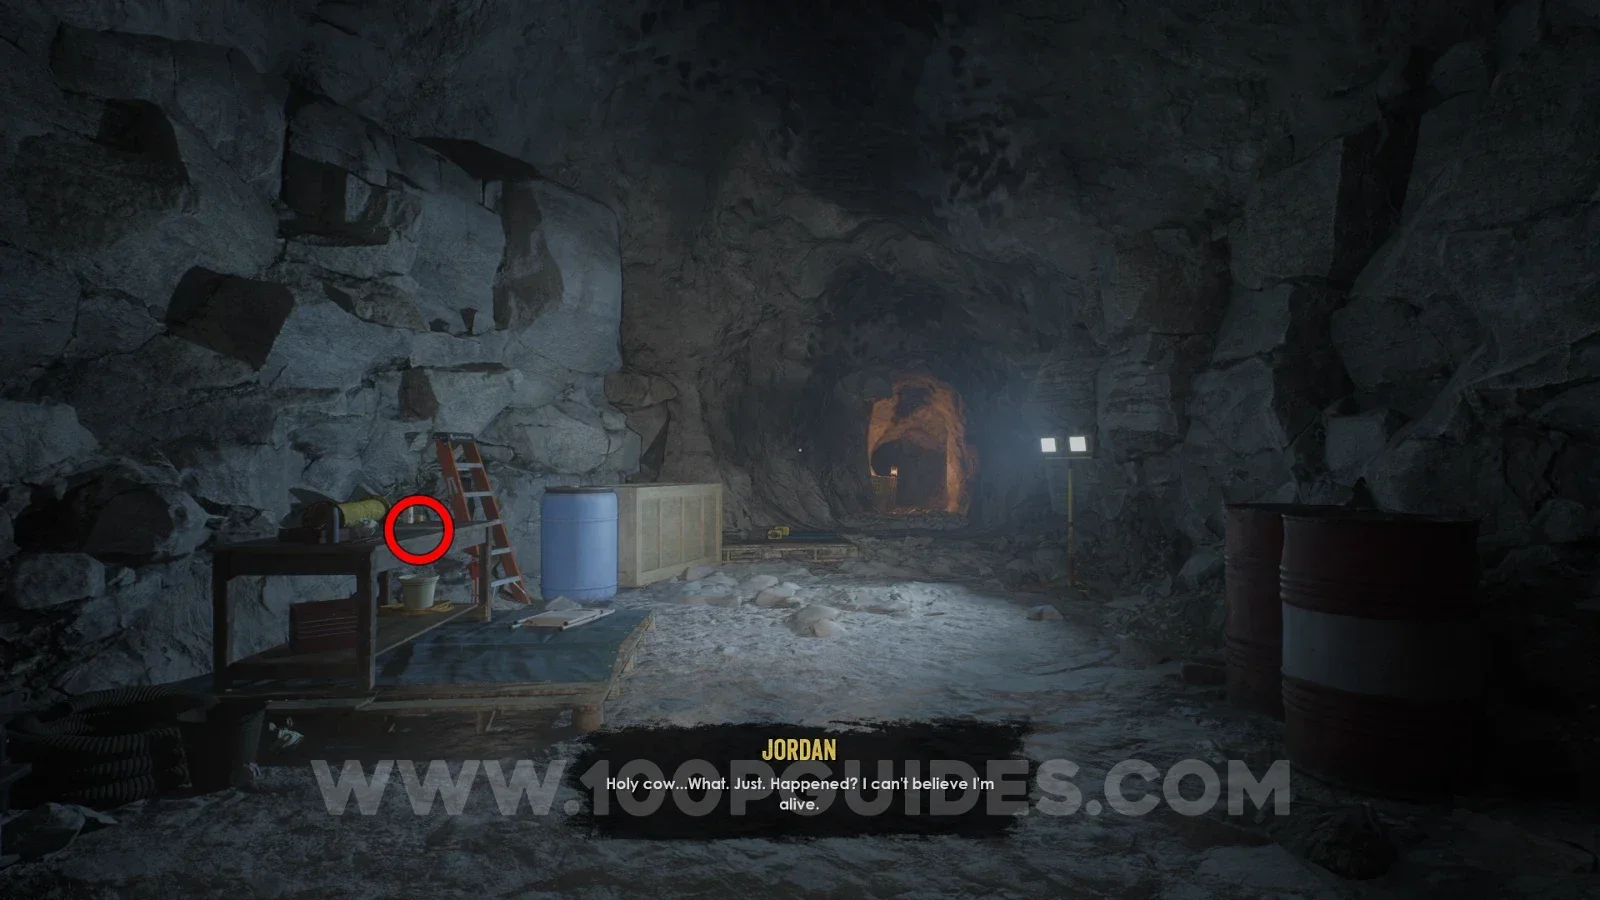
Note - Substance Expansion
After the chase scene where the caves are flooding, you will be in an area with loads of boxes. Look for the note on one of the boxes on the right side.
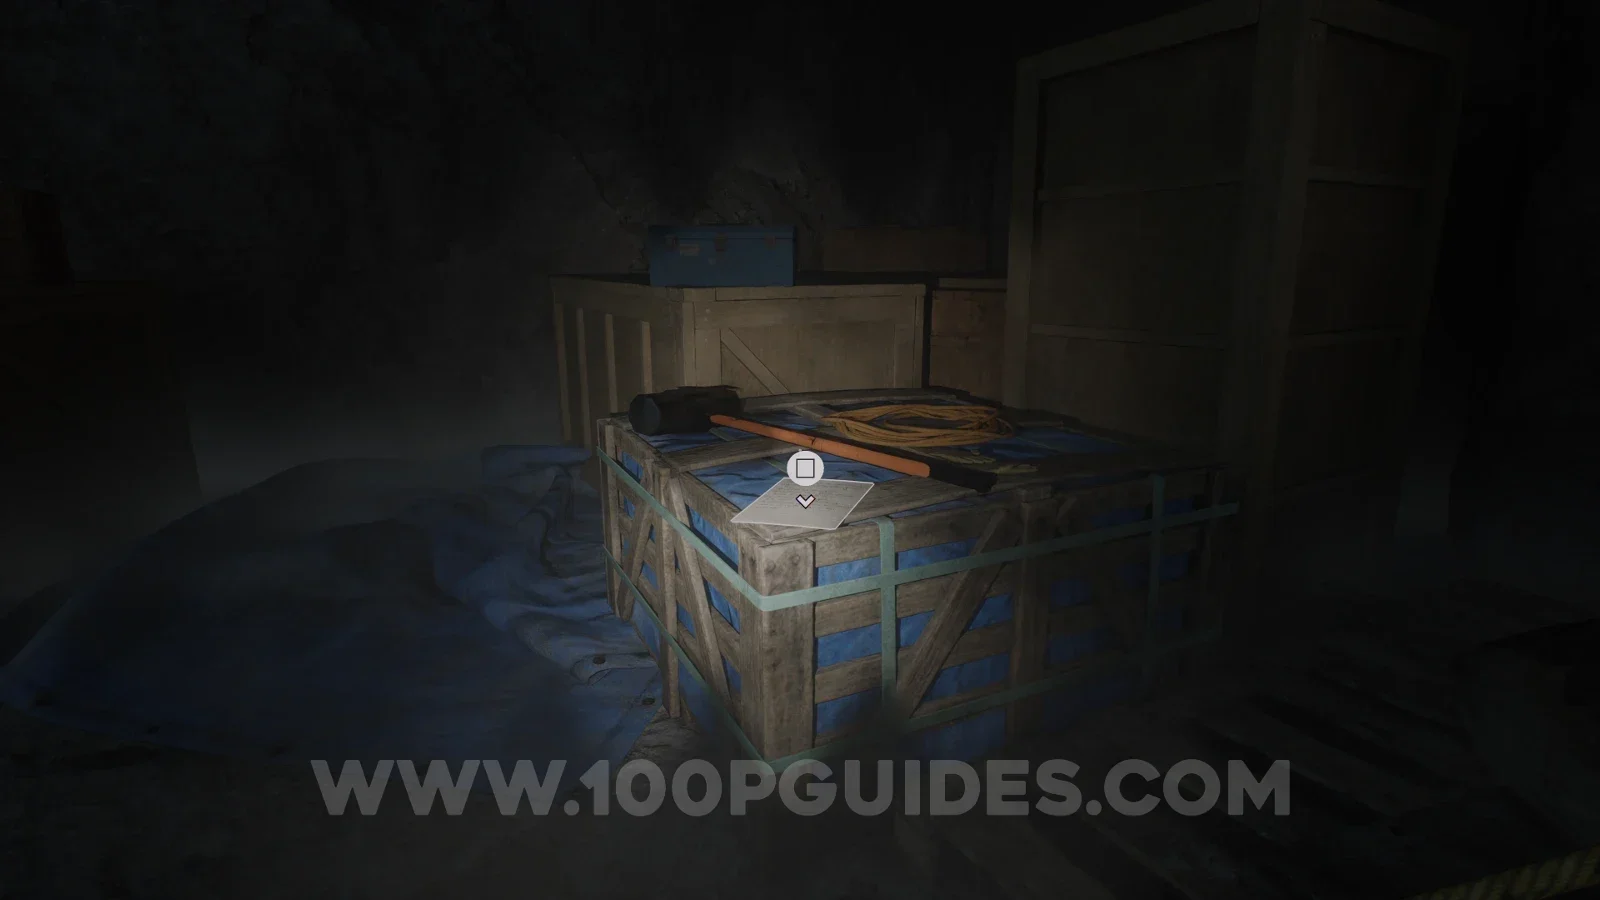
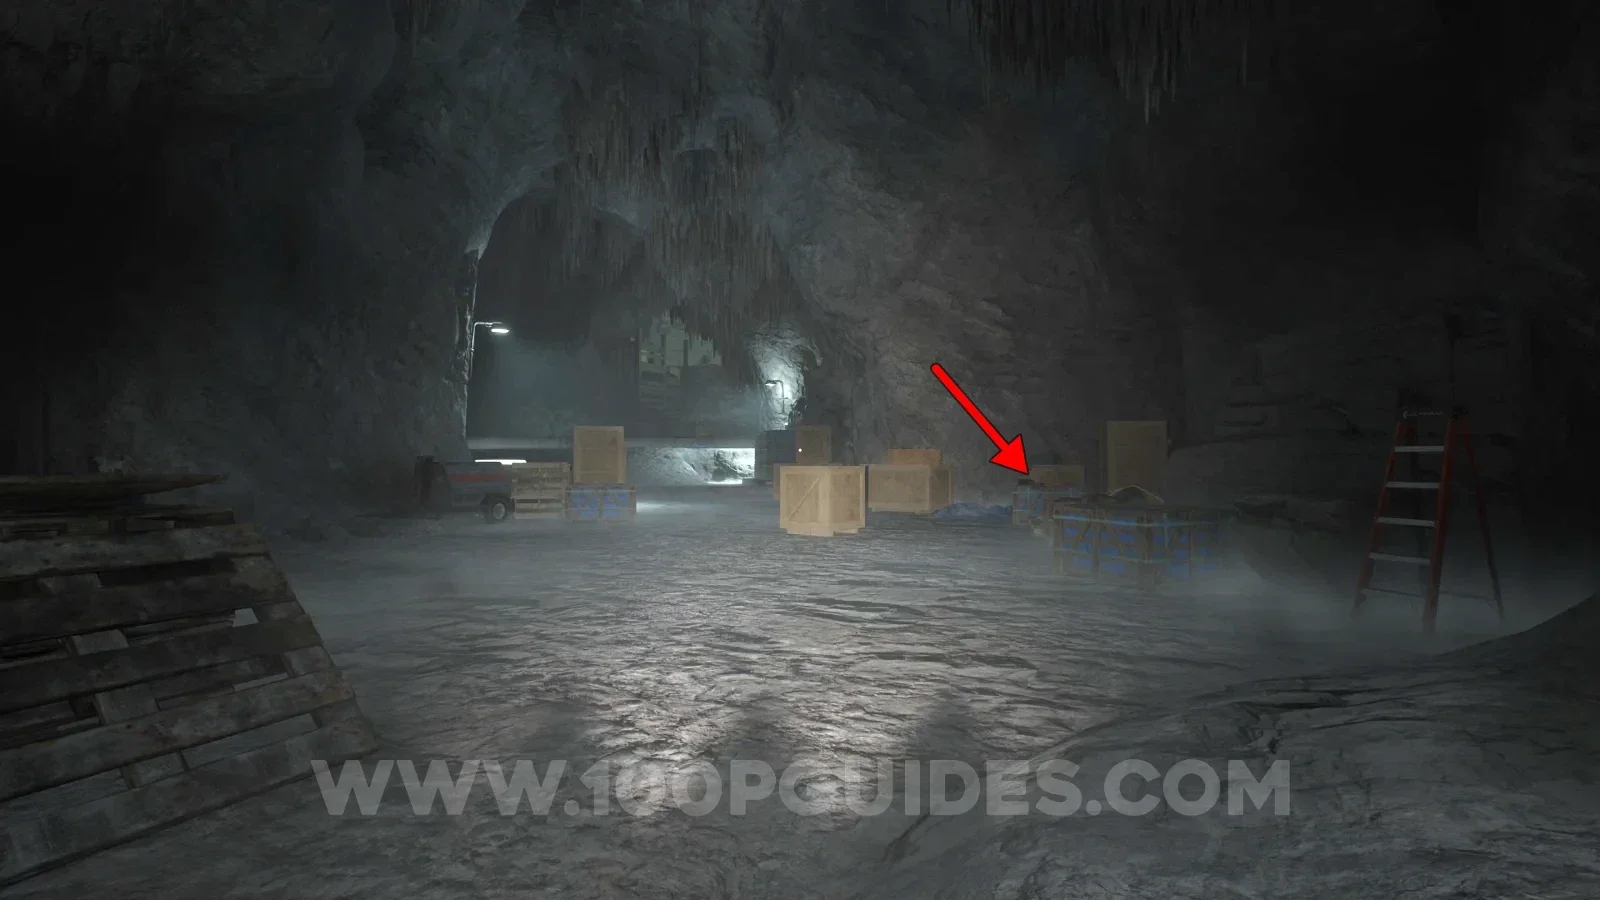
Note - Best way to go
After the previous collectible you will jump over a stream of water below you. Once you get to the other side, head right and drop down to the area below the red billboard to find the note.
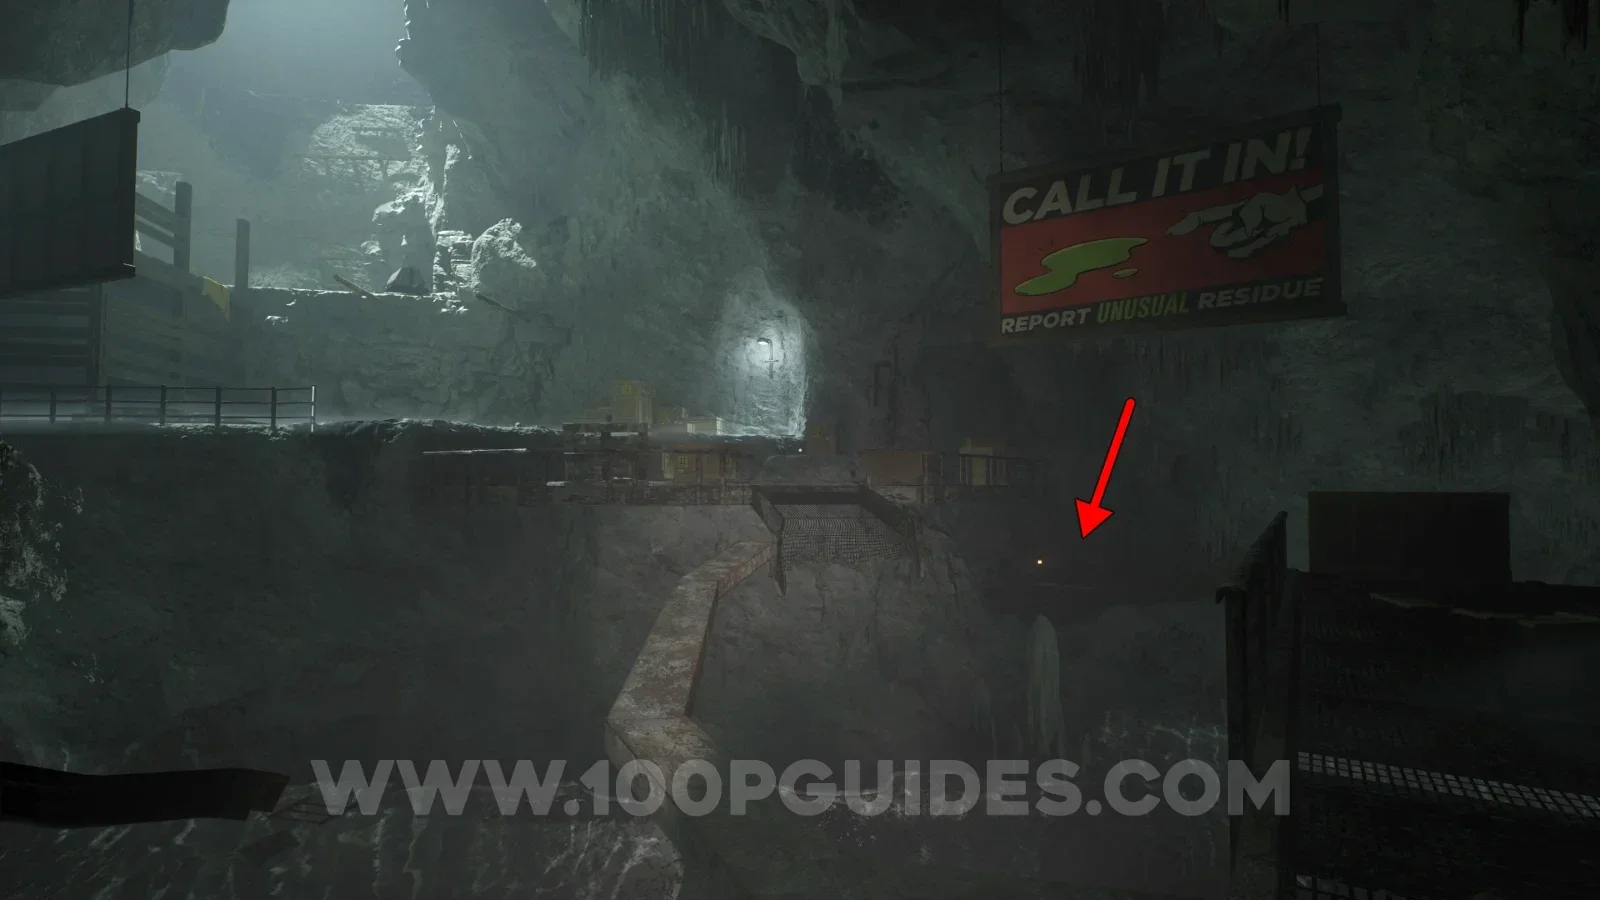
Note - Substance Field Report: Adhesion
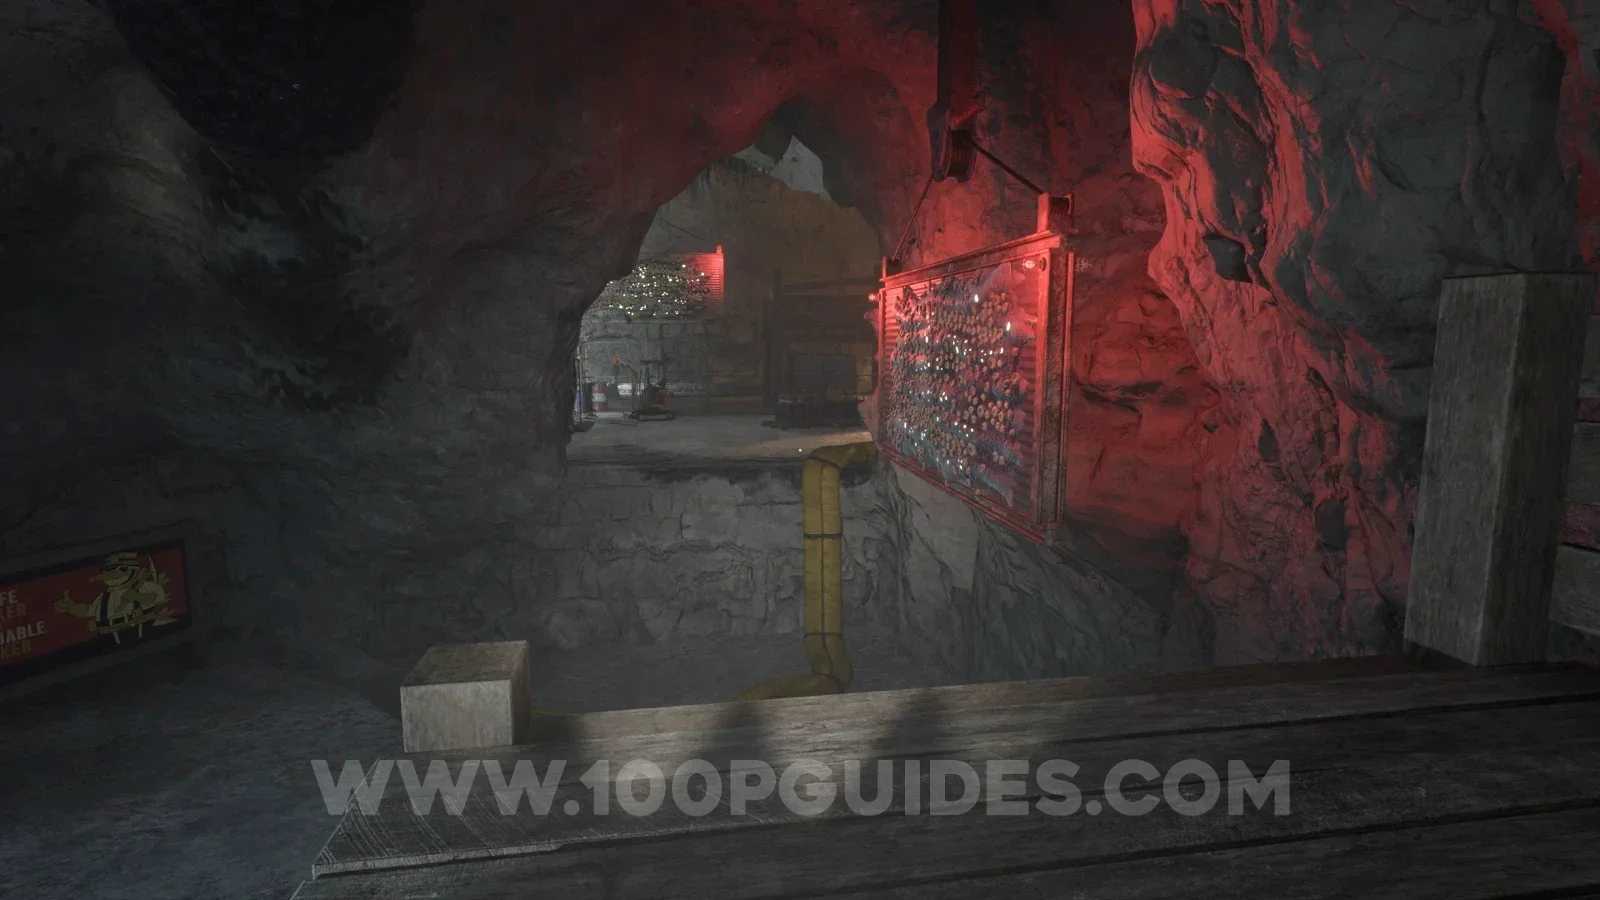
Continue through the level by using the bouncy goo until you wallrun across a hanging wall with red lights and the main objective updates to "Use wall running to progress through the caverns". As soon as it does, you will see the note on the table to your right.
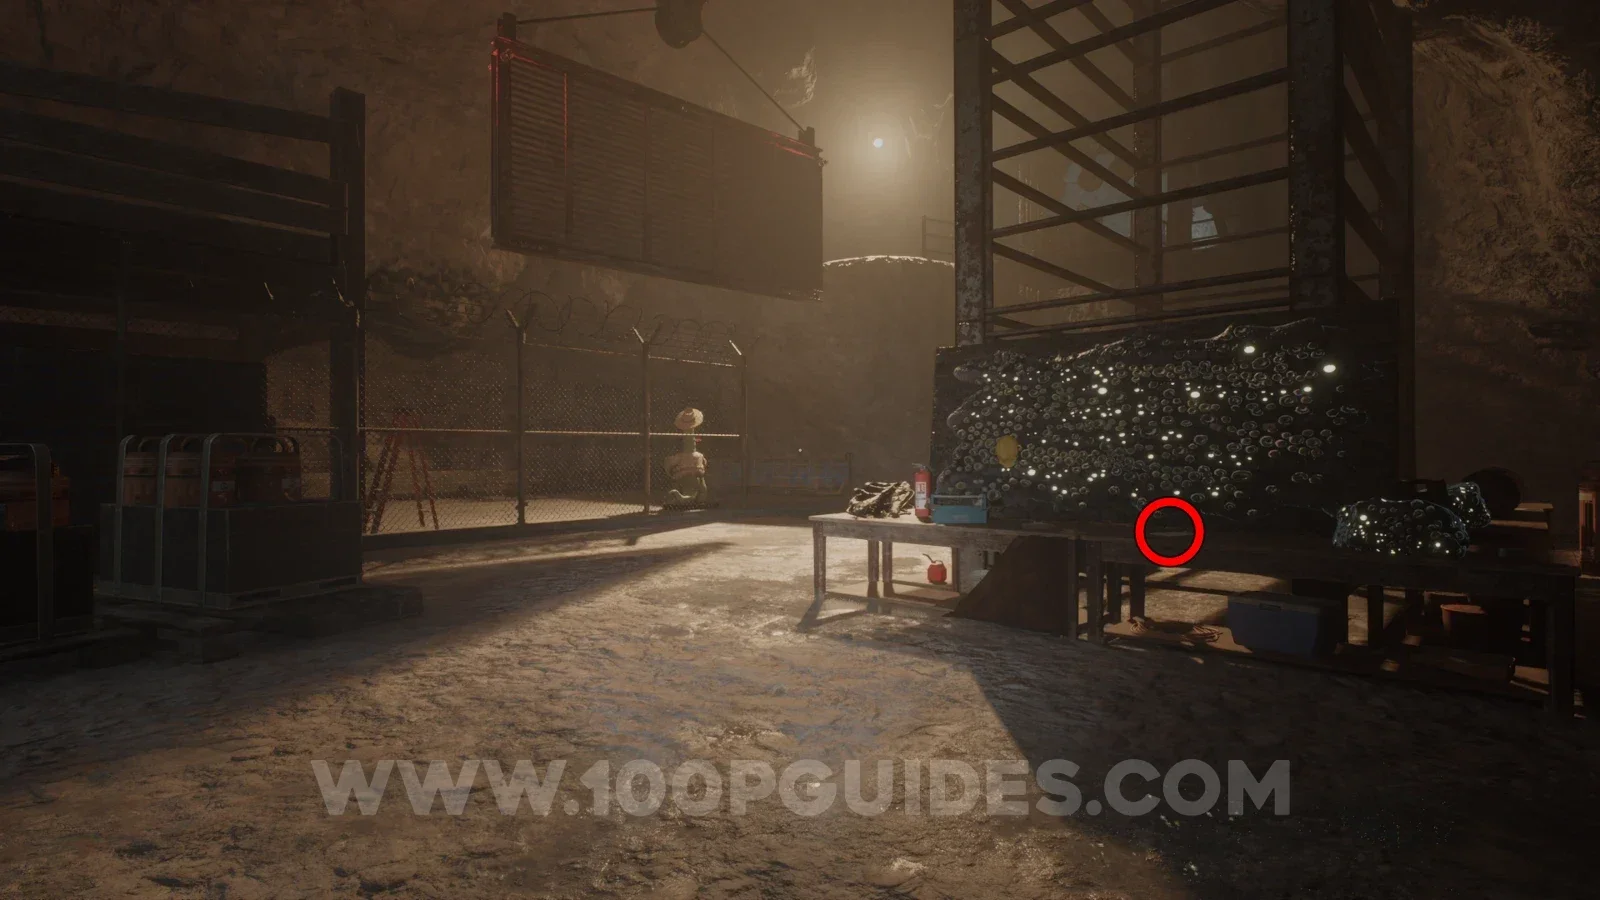
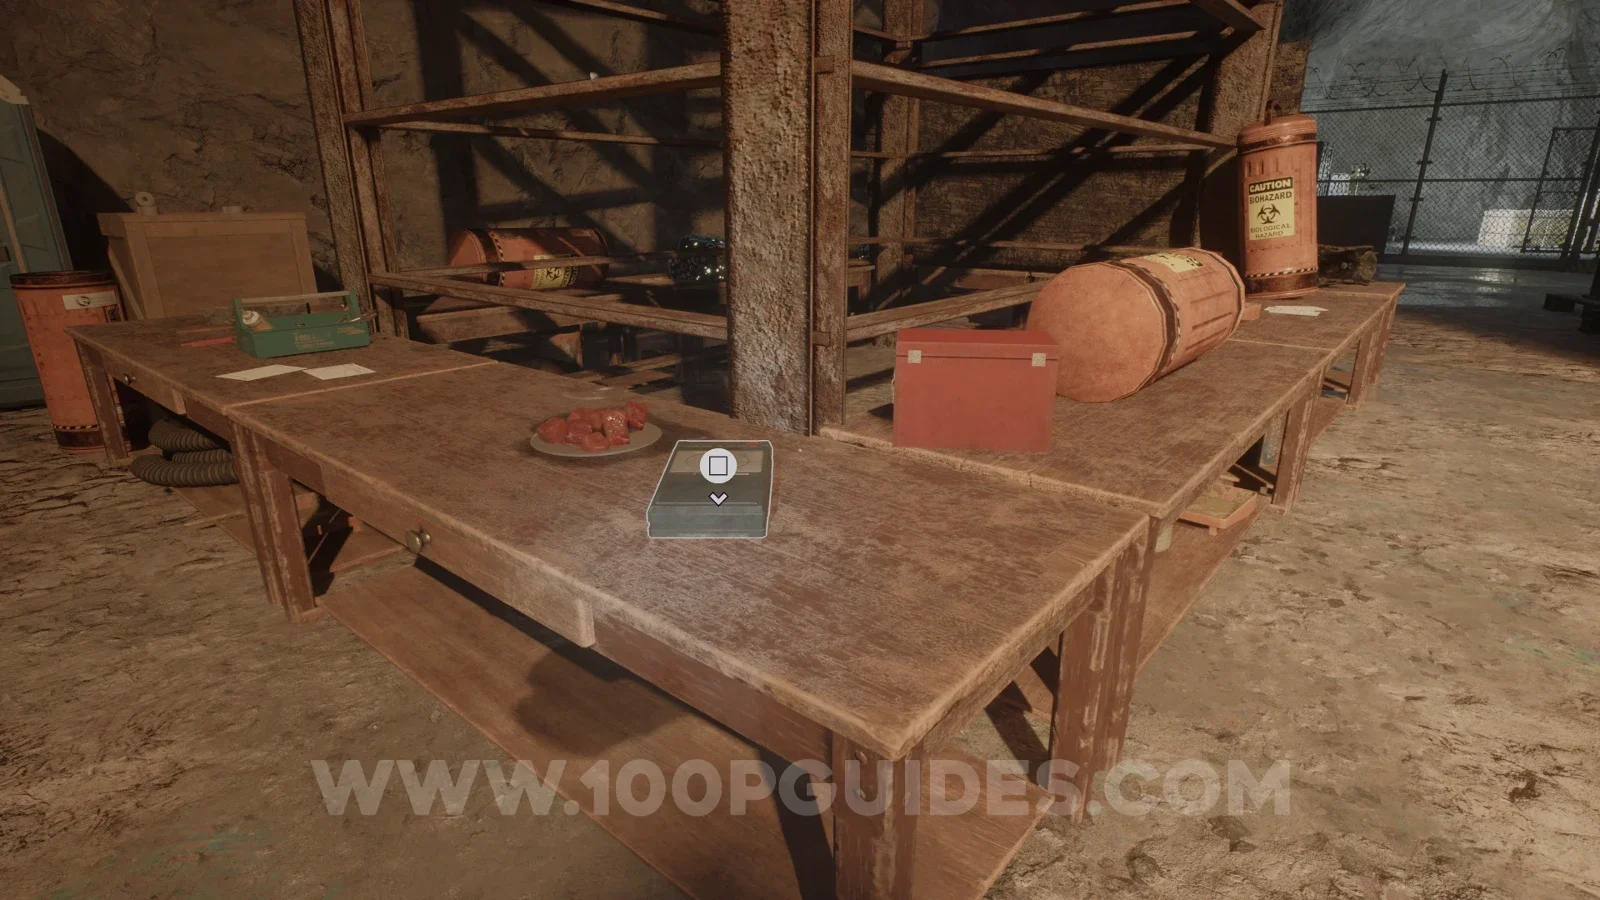
Tape - James Cook: A Message Home
In the same area as the previous collectible on the opposite end of the tables.
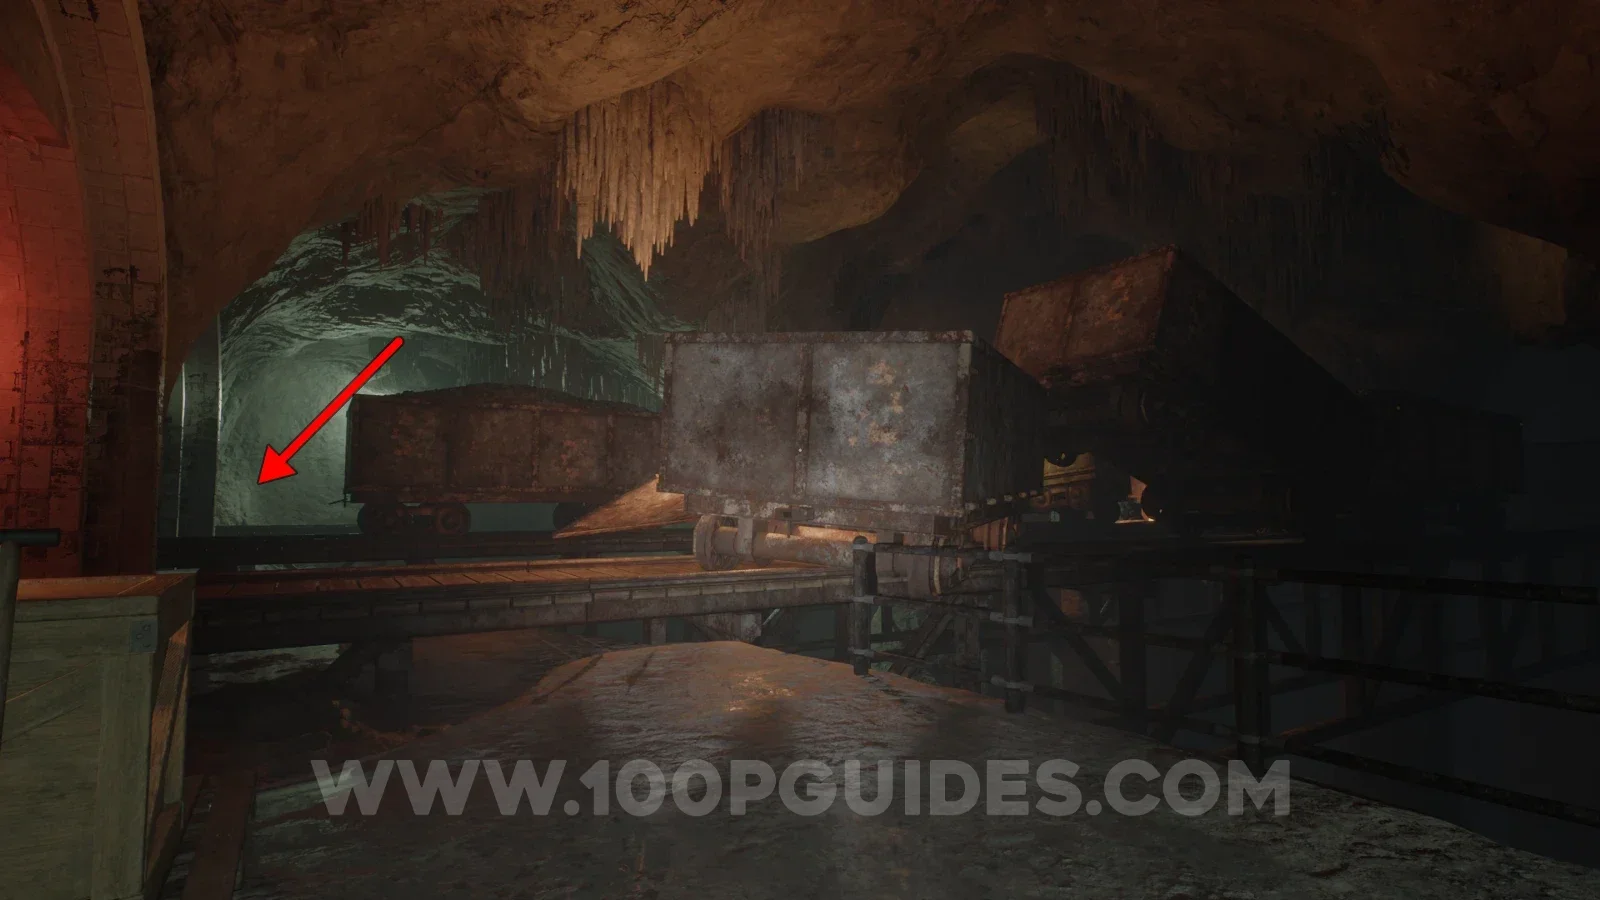
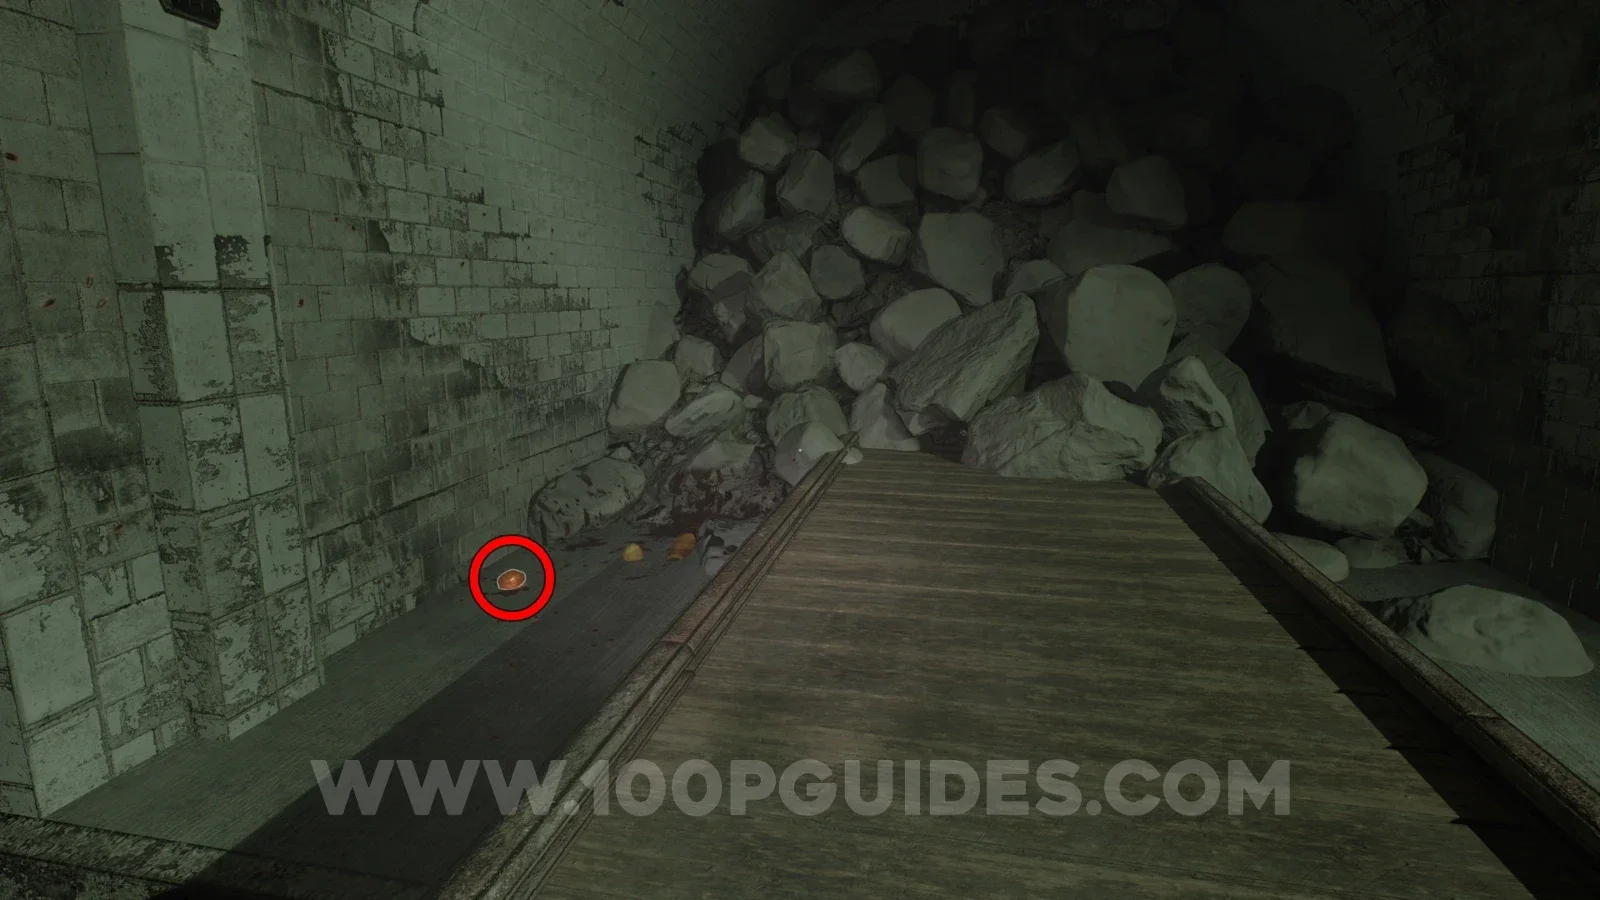
Sample - Amber Specimen 10
Continue through the level until you reach an area with loads of train carts. Here, jump across the tracks on your left and, once you get to the last one, look left into the tunnel to find the amber.
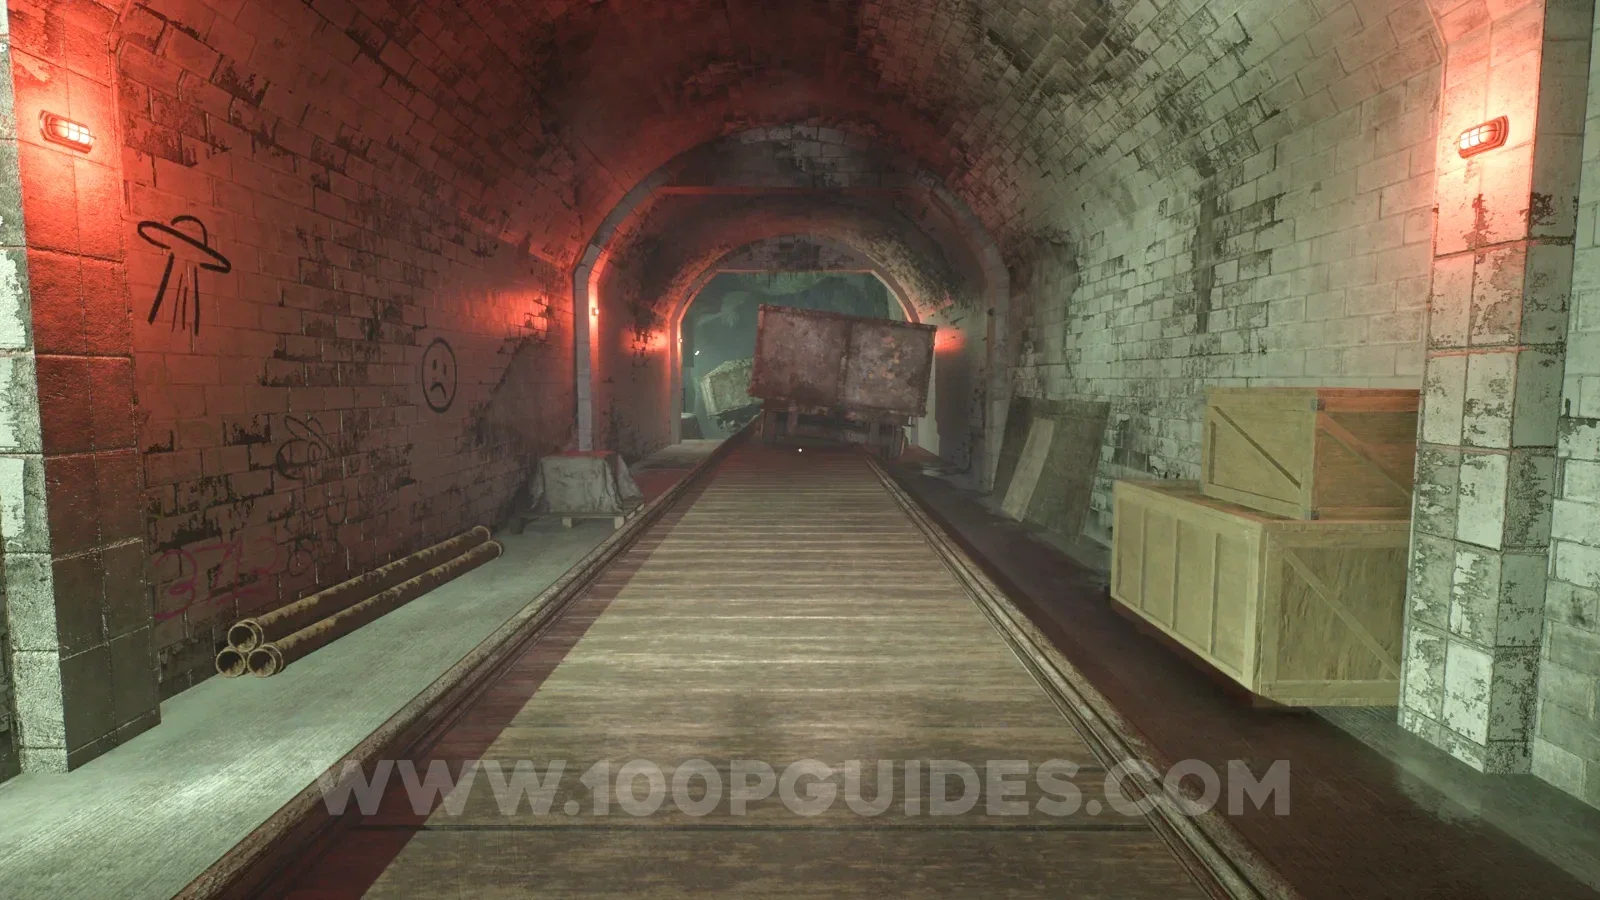
Note - Trains
Soon after the previous collectible you will go through a tunnel. As soon as you come out the other end, look left to find the note on a toolbox.
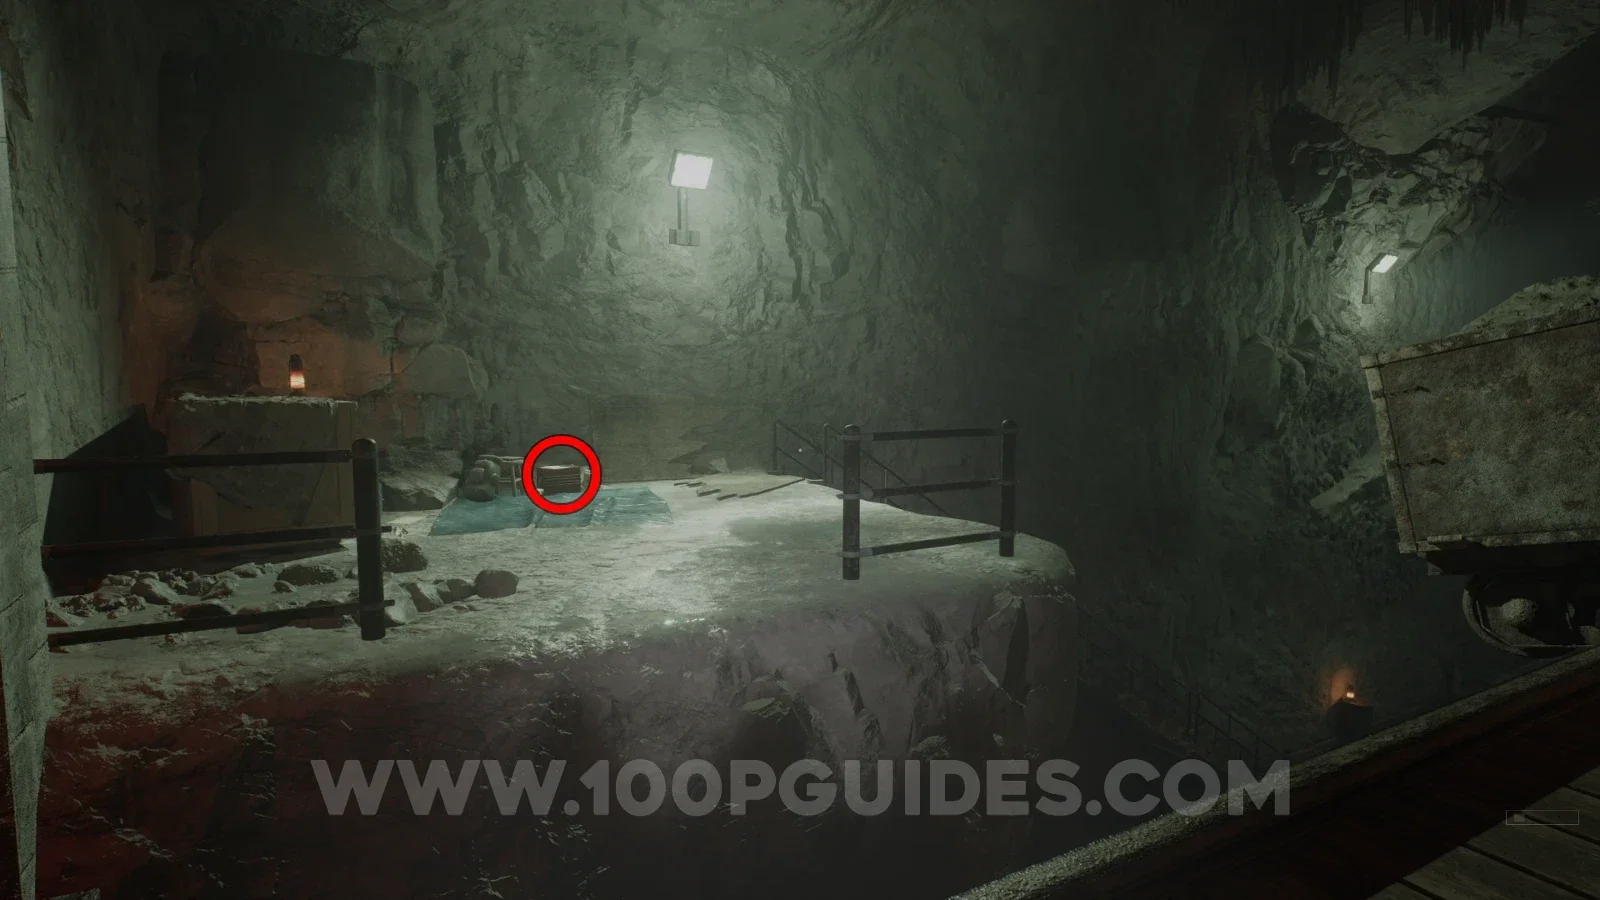
Note - Dalton's Journal Entry: Paranoid
Head down the stairs to the right of the previous collectible and go all the way to the end of the metal catwalk to find the note at the end.
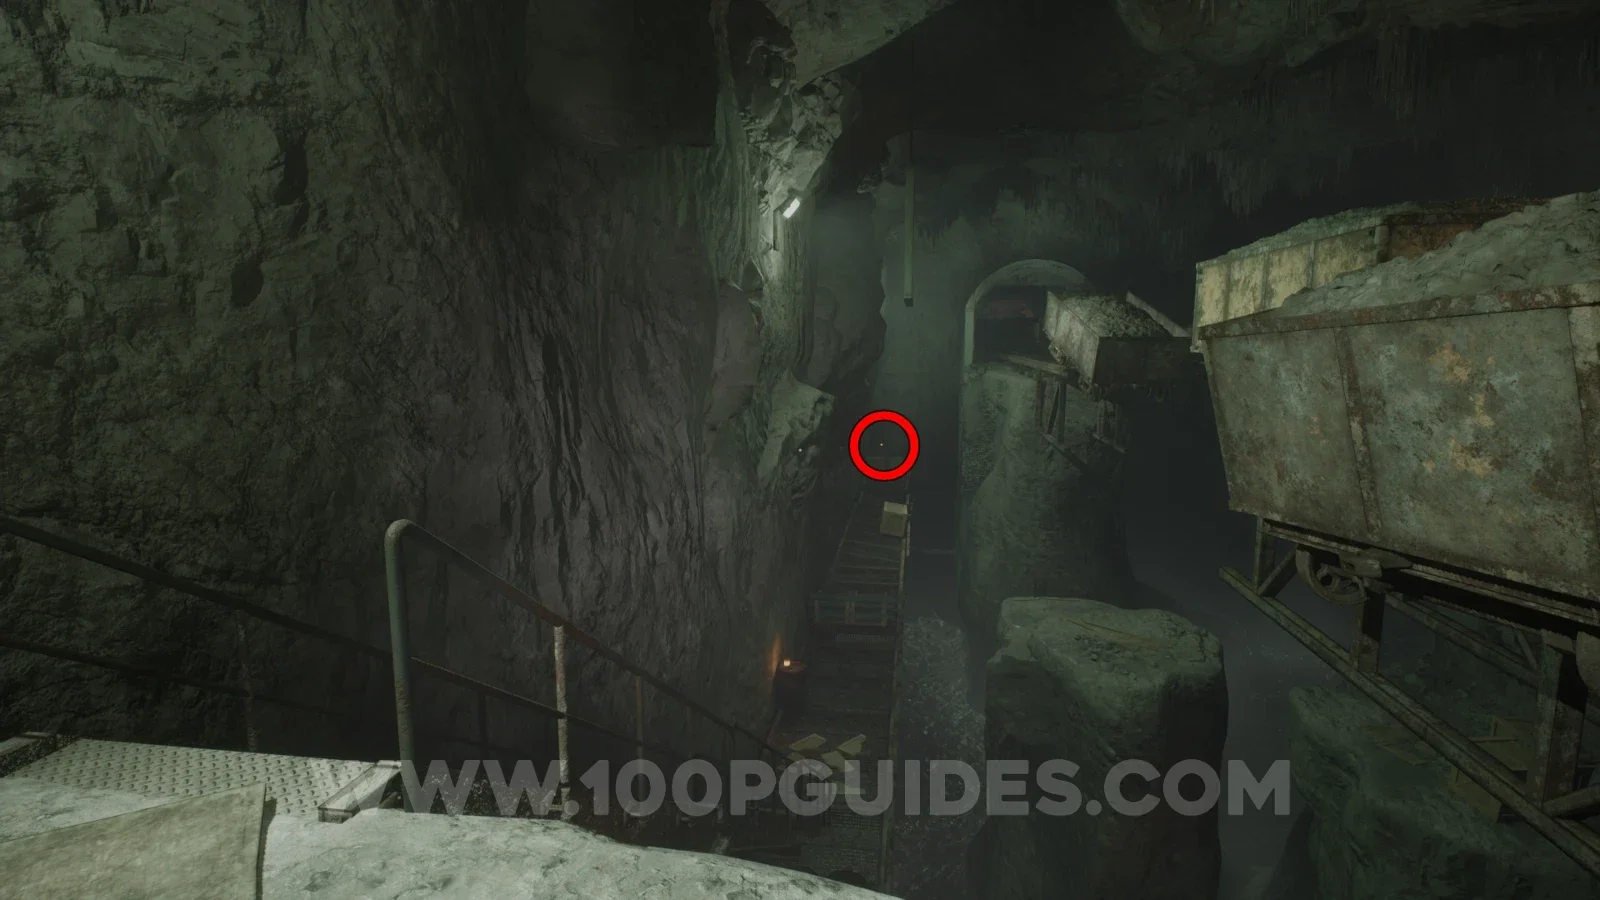
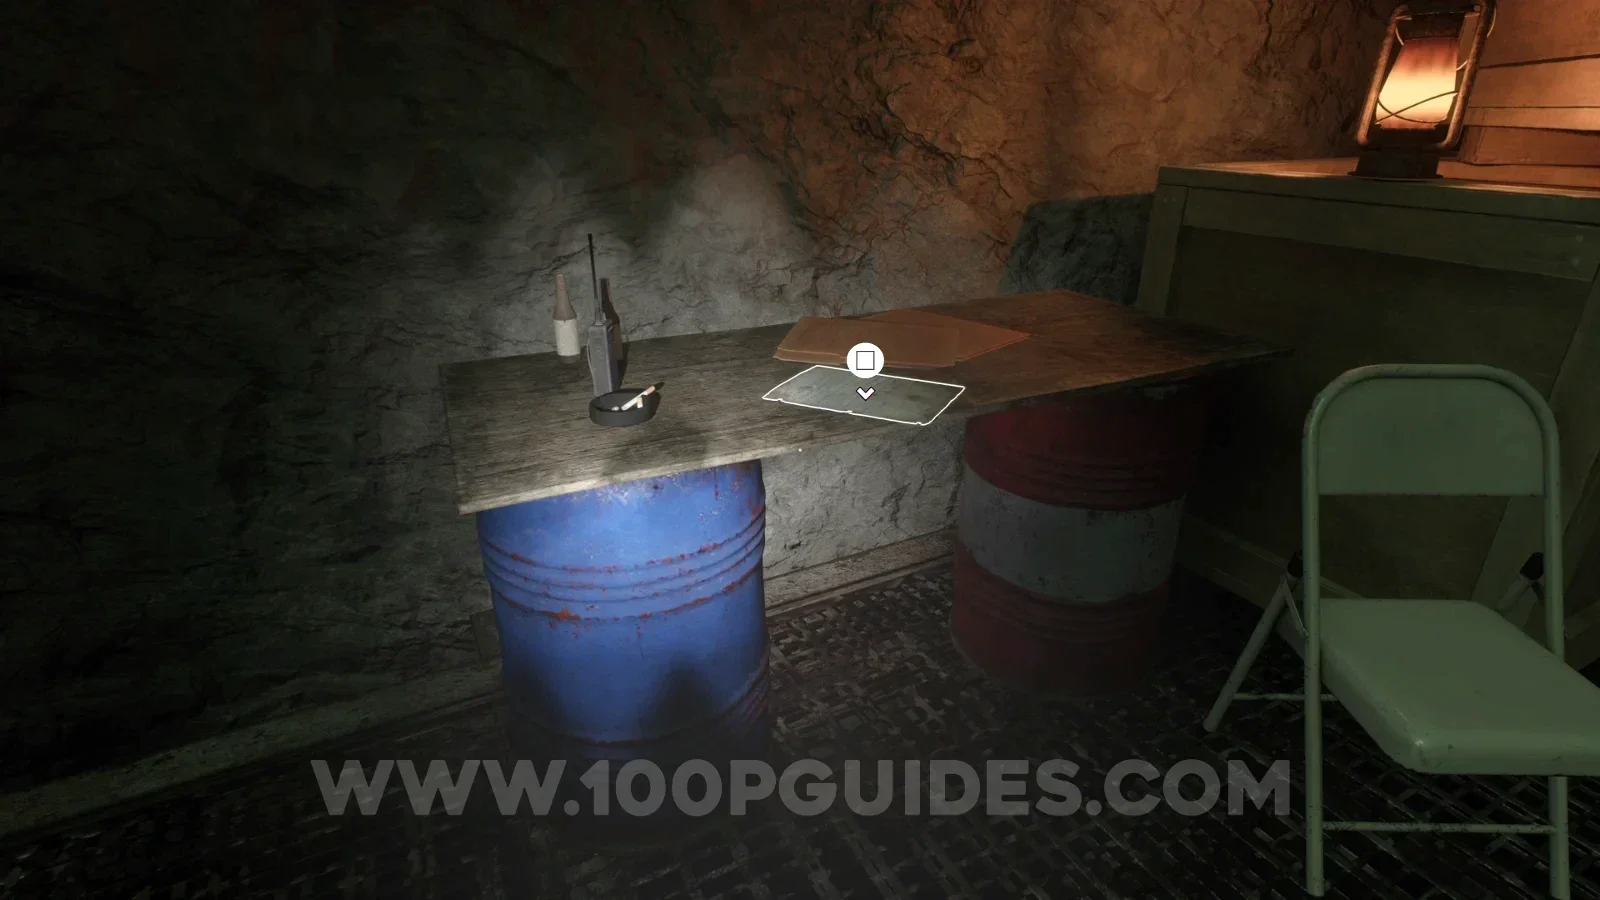
Note - Site Phoenix
Continue playing through the level until you have to open a small gate with a key. The note is in the small back room in the same building as the key.
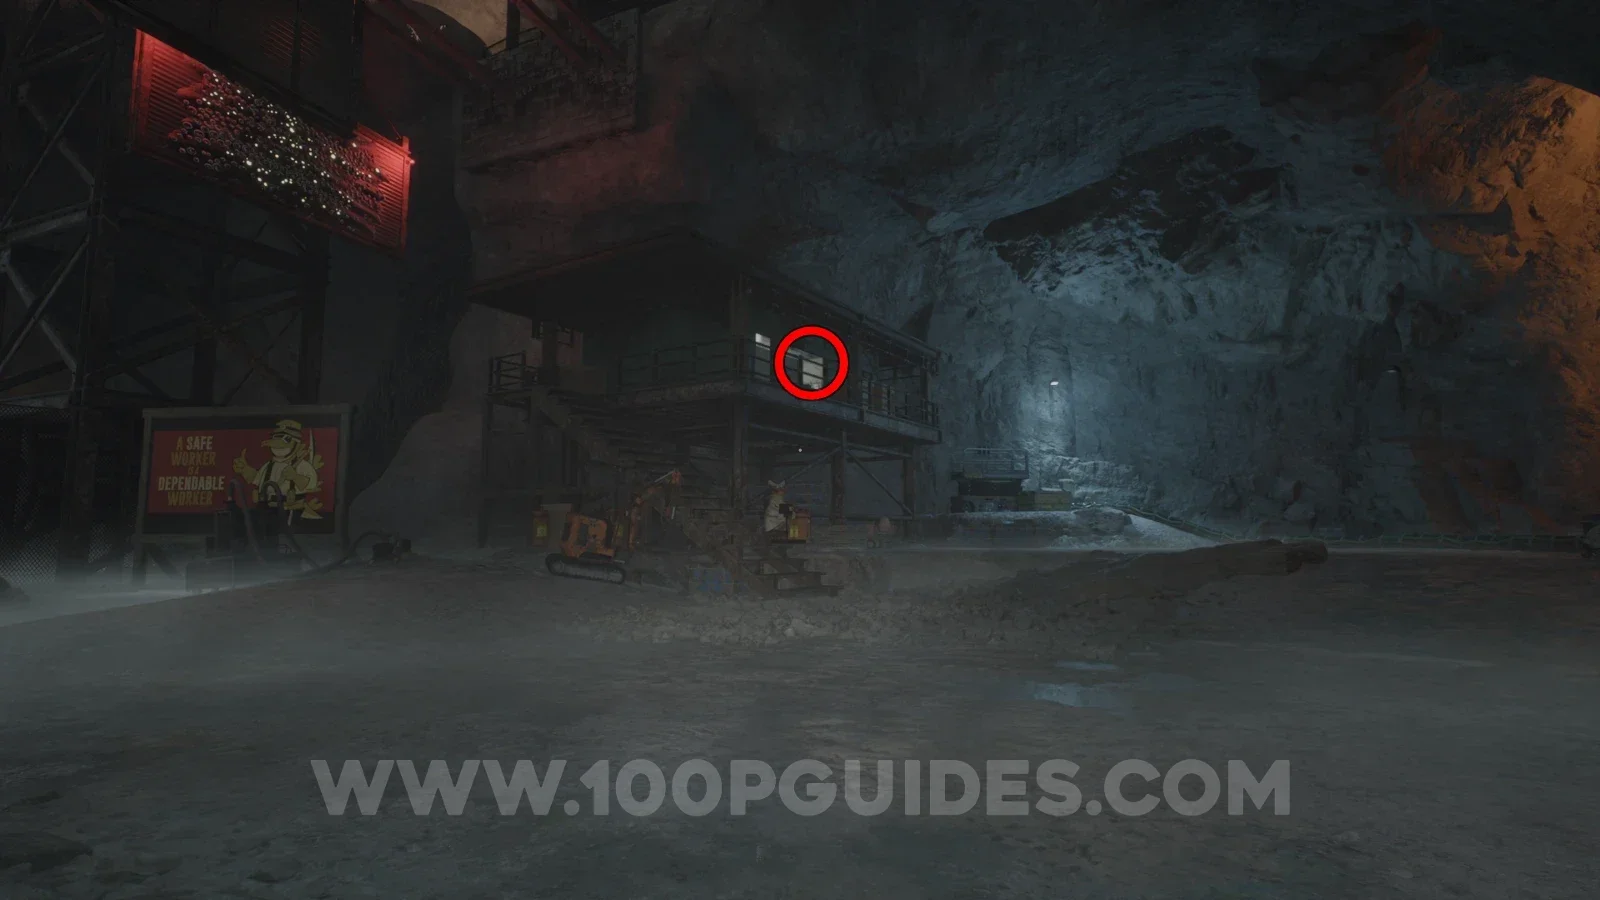
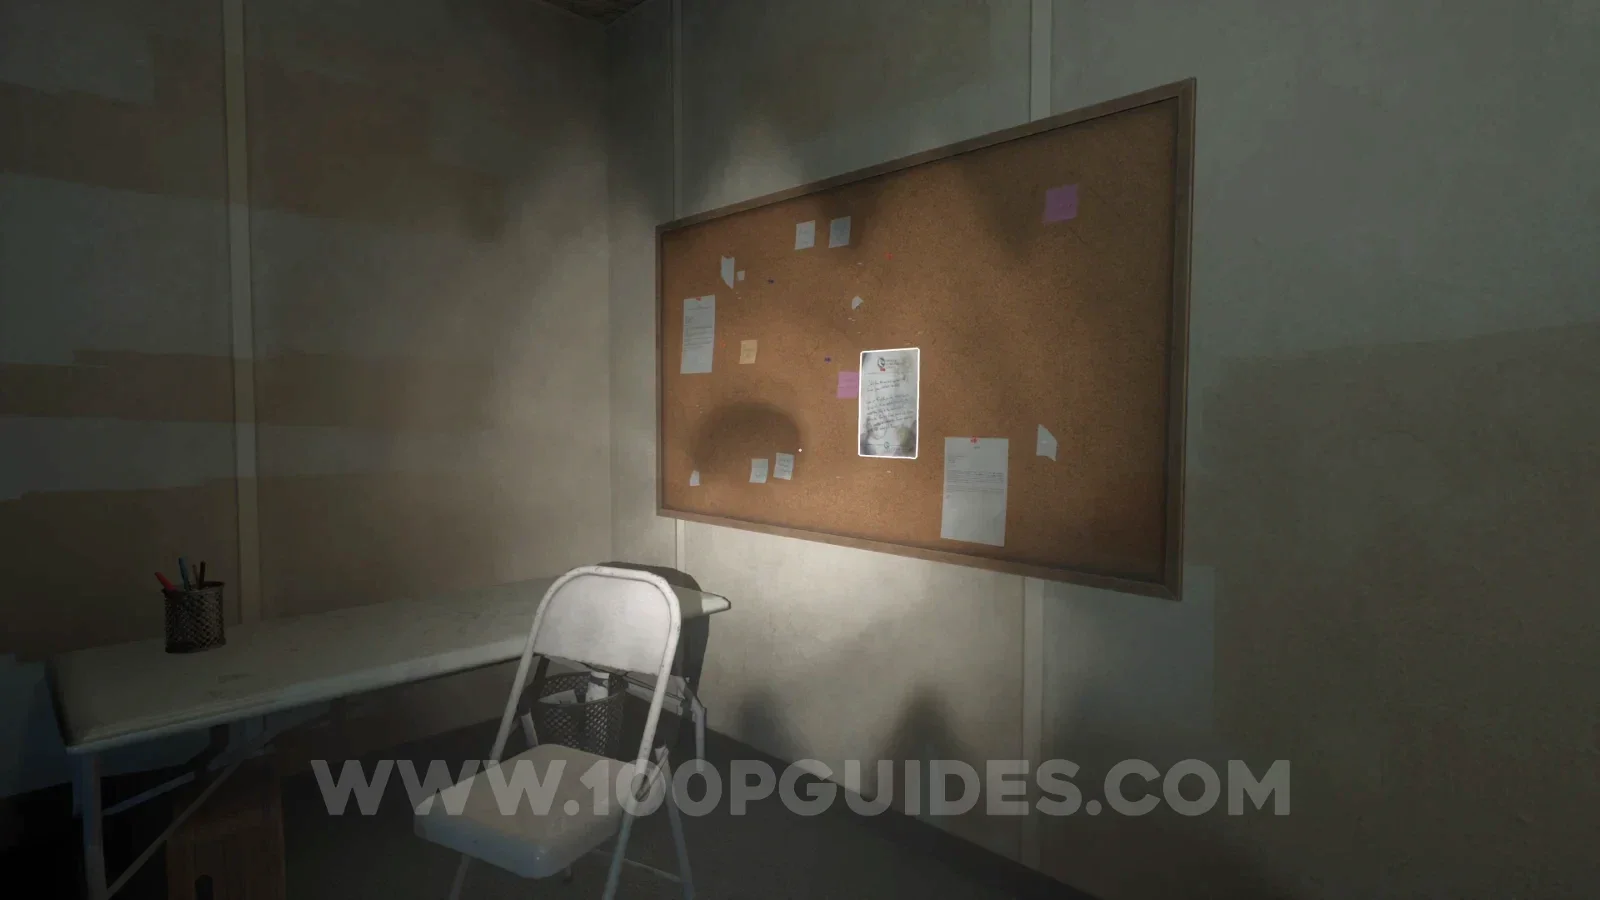
Tape - Mark & Leonard: Where does the goo go?
In the same area as the building with the key and the previous collectible. Look for a train in a tunnel on the left of this area. The tape will be on a box nearby.
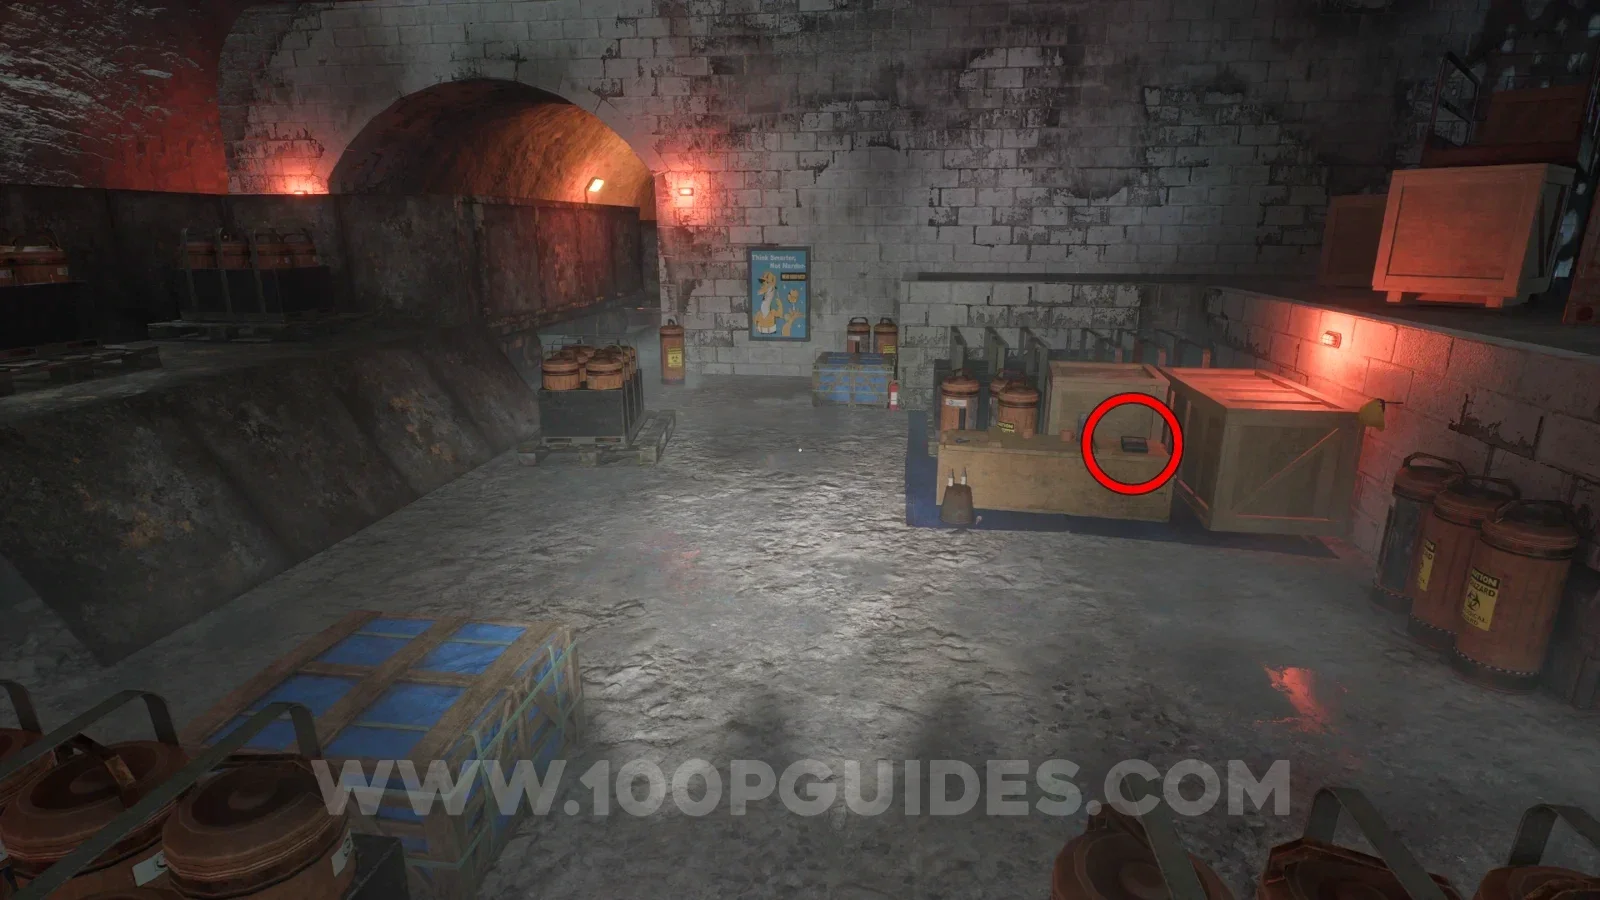
Sample - Amber Specimen 11
In the same area as the previous collectibles. To the right of the tape, wallrun up the containers and hang on the hanging panel. From there, turn around and jump to the top of the red container to find the amber.
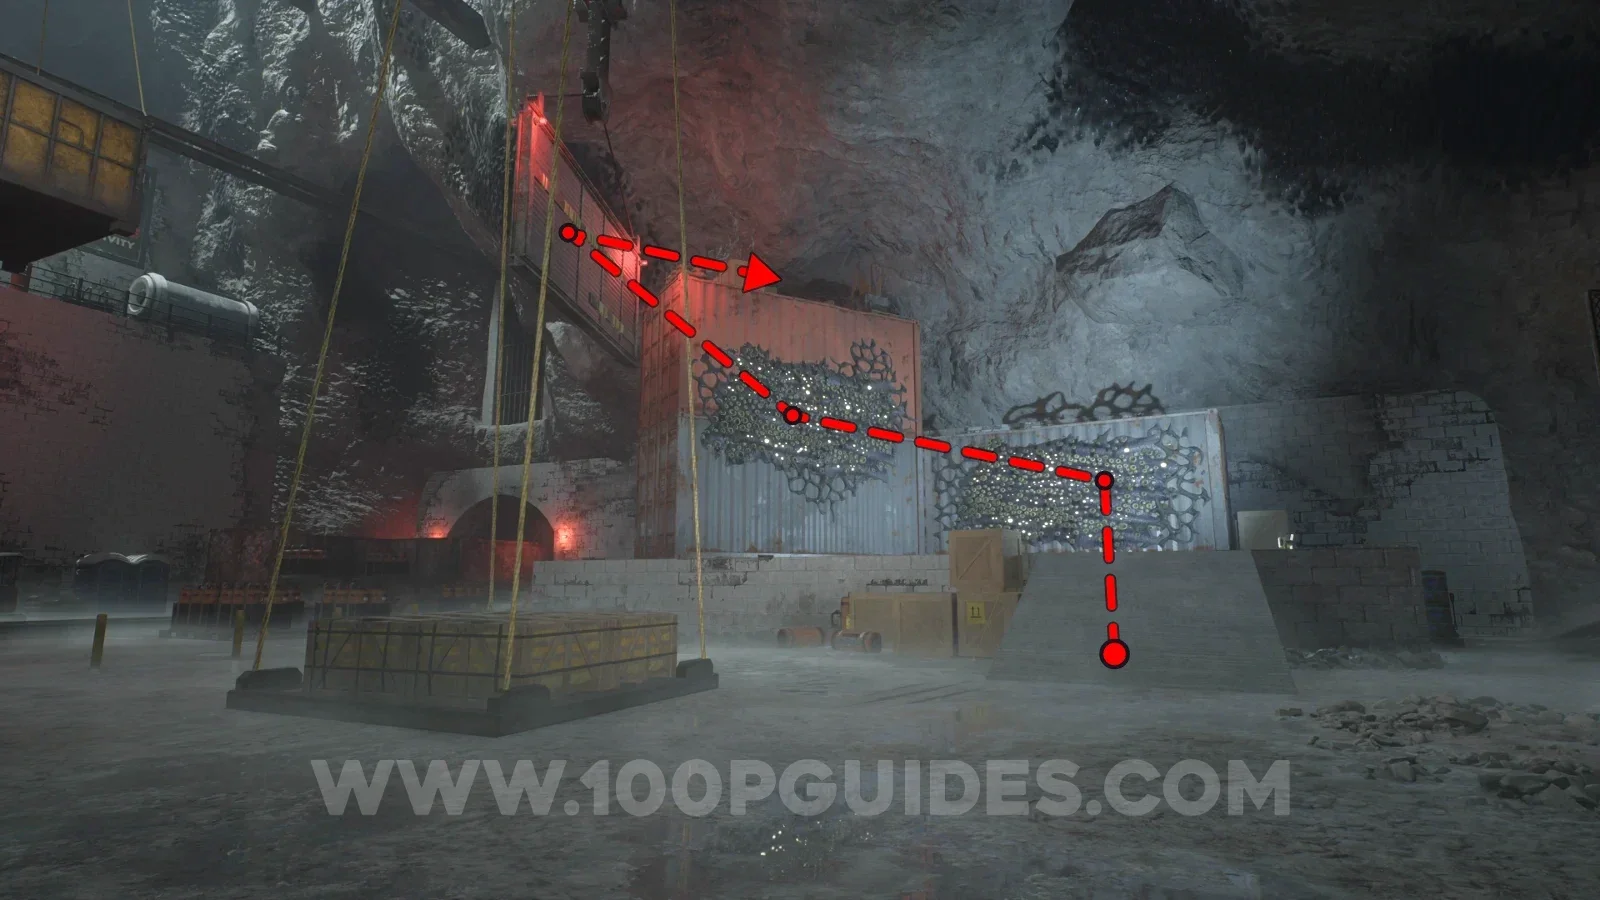
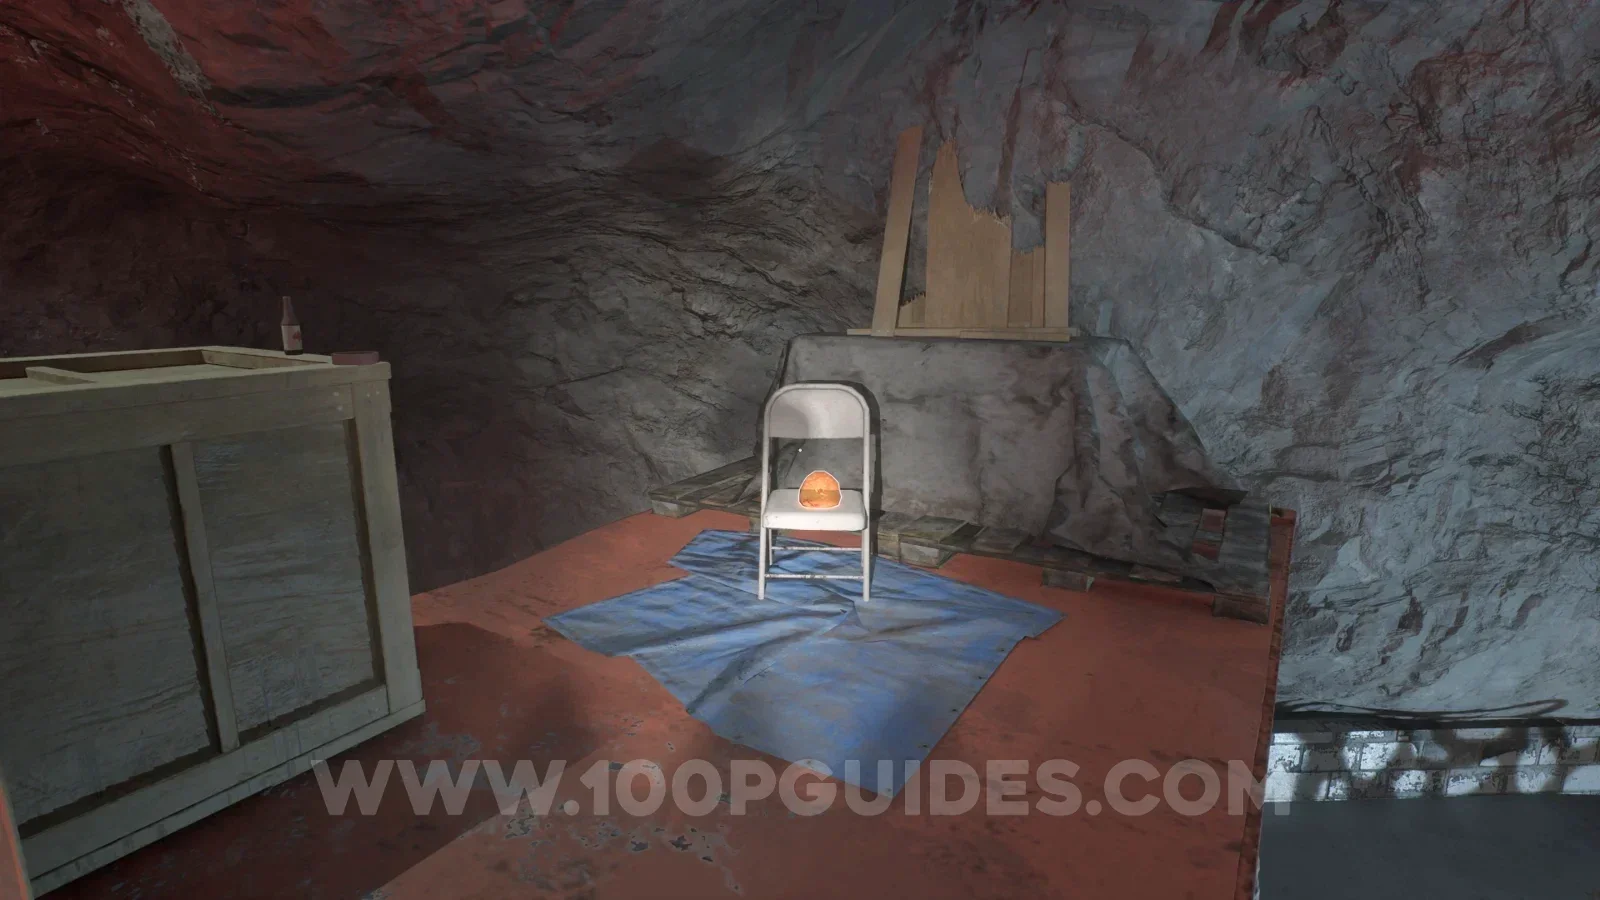
Note - The optimist
Just after blowing a hole into the metal door with dynamite in the area where the previous collectibles were, you will have to activate a generator. The note is on a crate to the left of this generator.
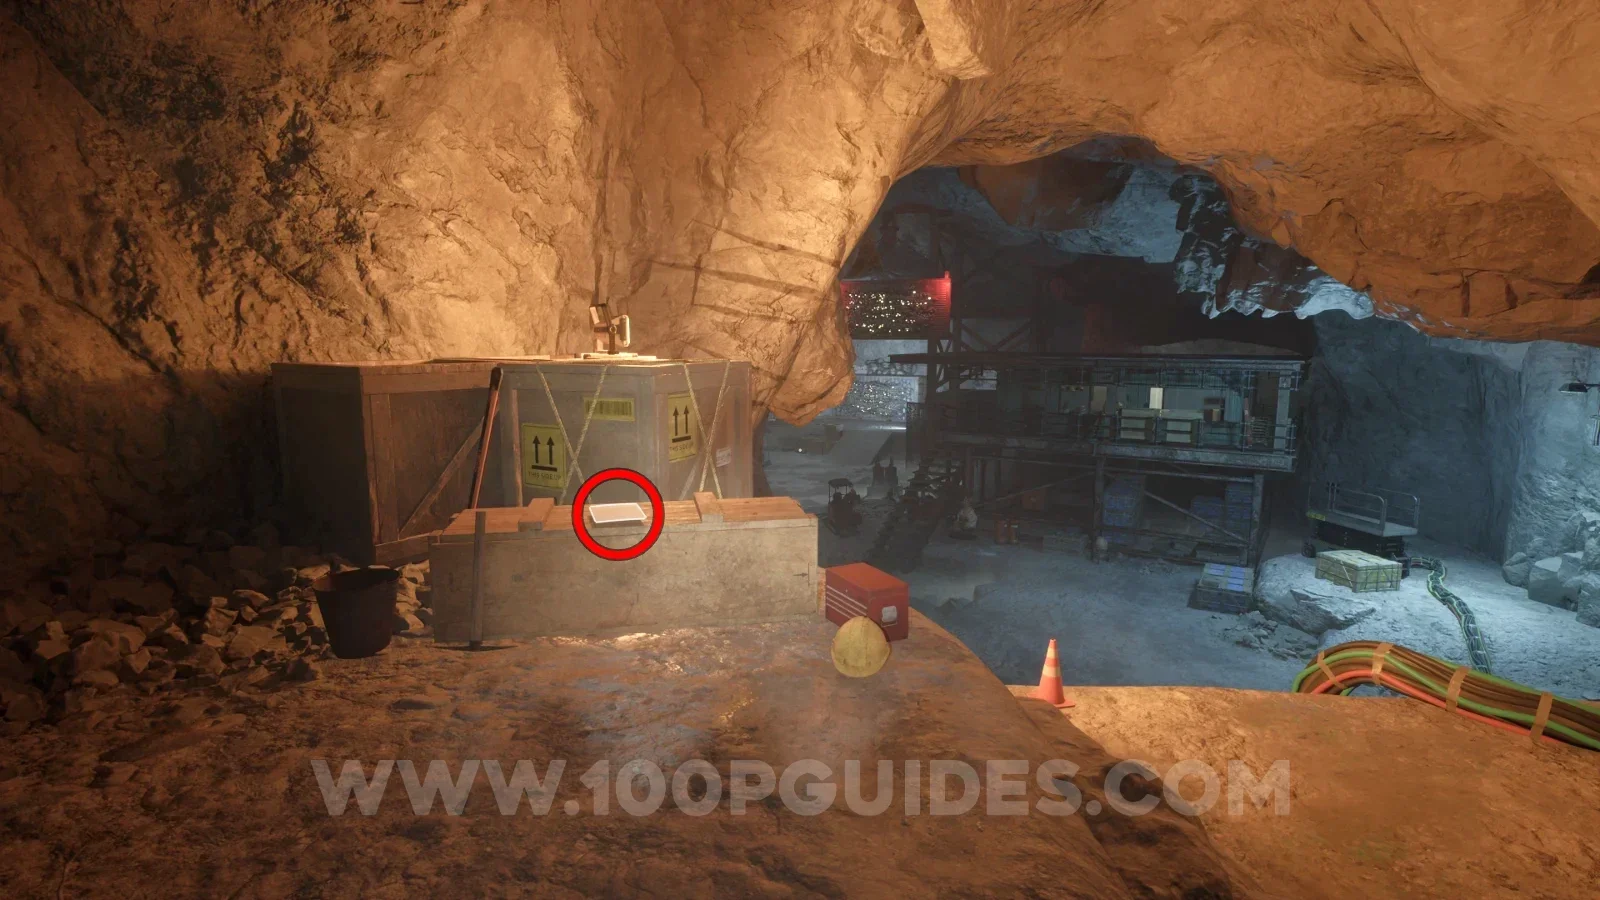
Note - No more music
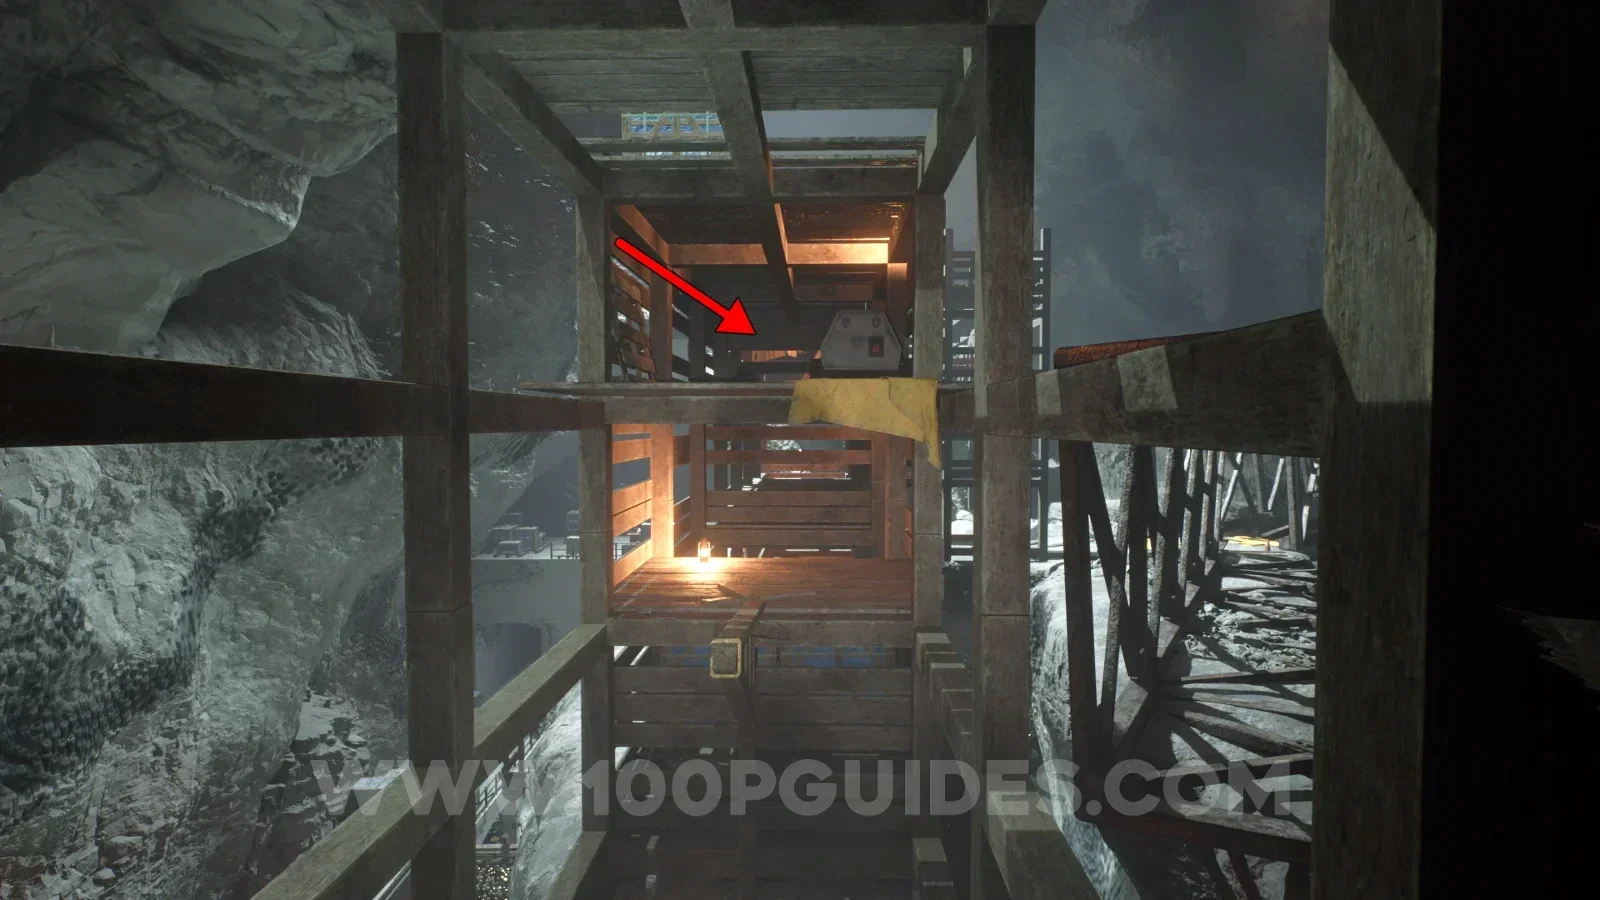
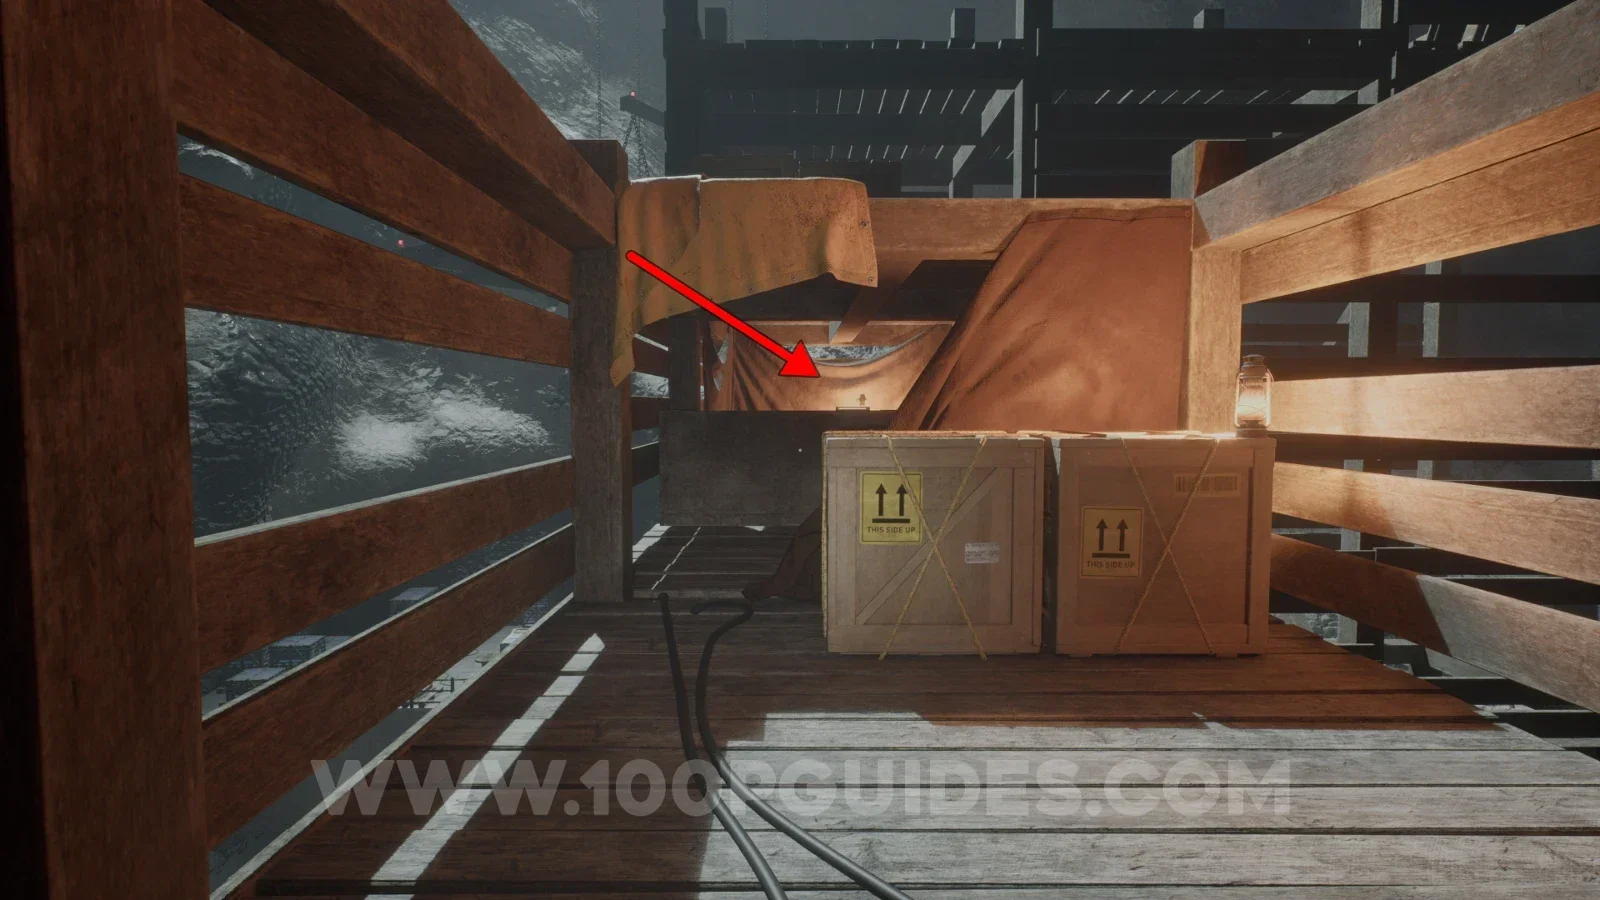
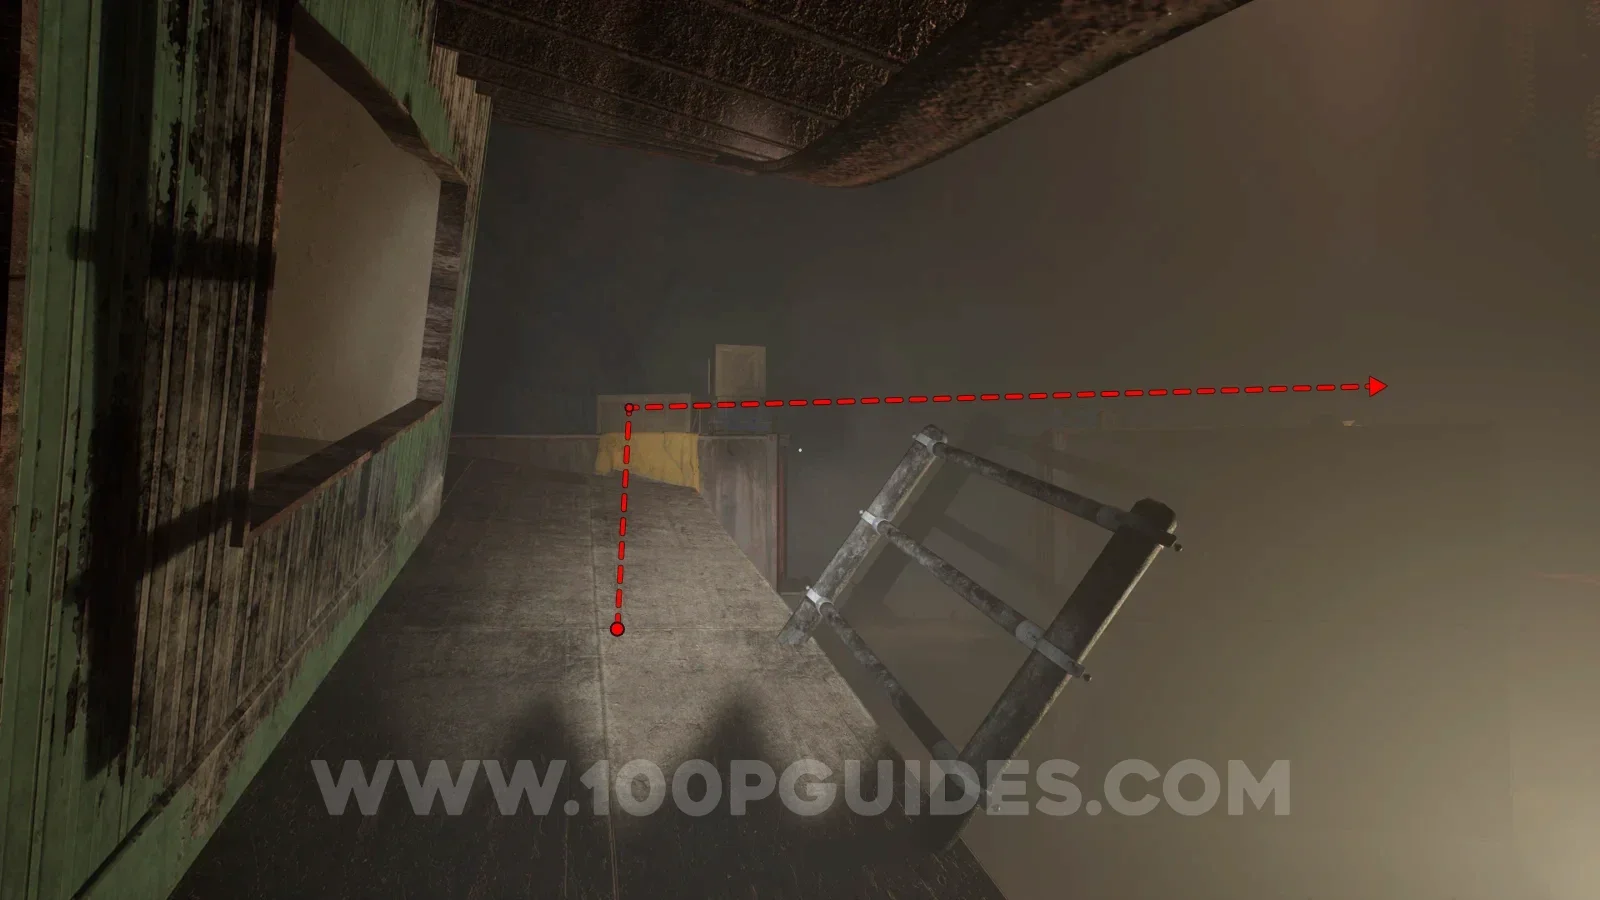
After climbing around the top of the previous area you will press a button and jump onto a large platform that takes you up. After this you will jump across a destroyed metal bridge and enter a wooden structure. In this structure, after turning around and jumping up to a ledge with a yellow cloth, walk straight past the generator and over the boxes to find the note.
Note - Dalton's letter goodbye
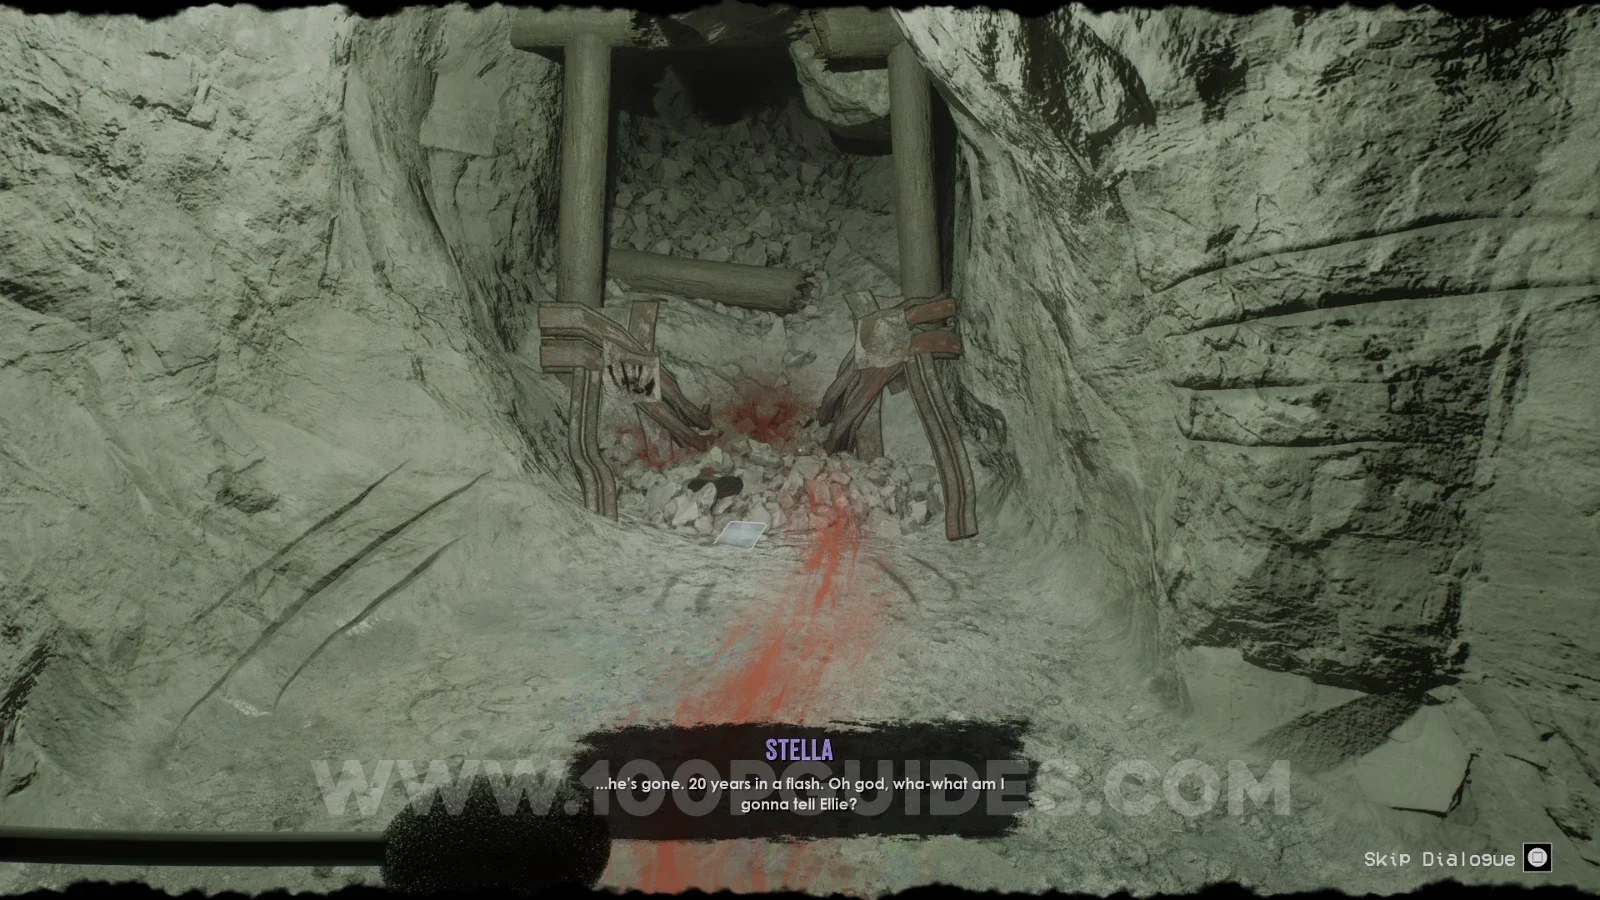
Soon after finding Dalton's belongings you will drop down to a cave with a flashing light and a blood trail on the ground. Here, head left to find the note.
Note - Demon Cave Monsters
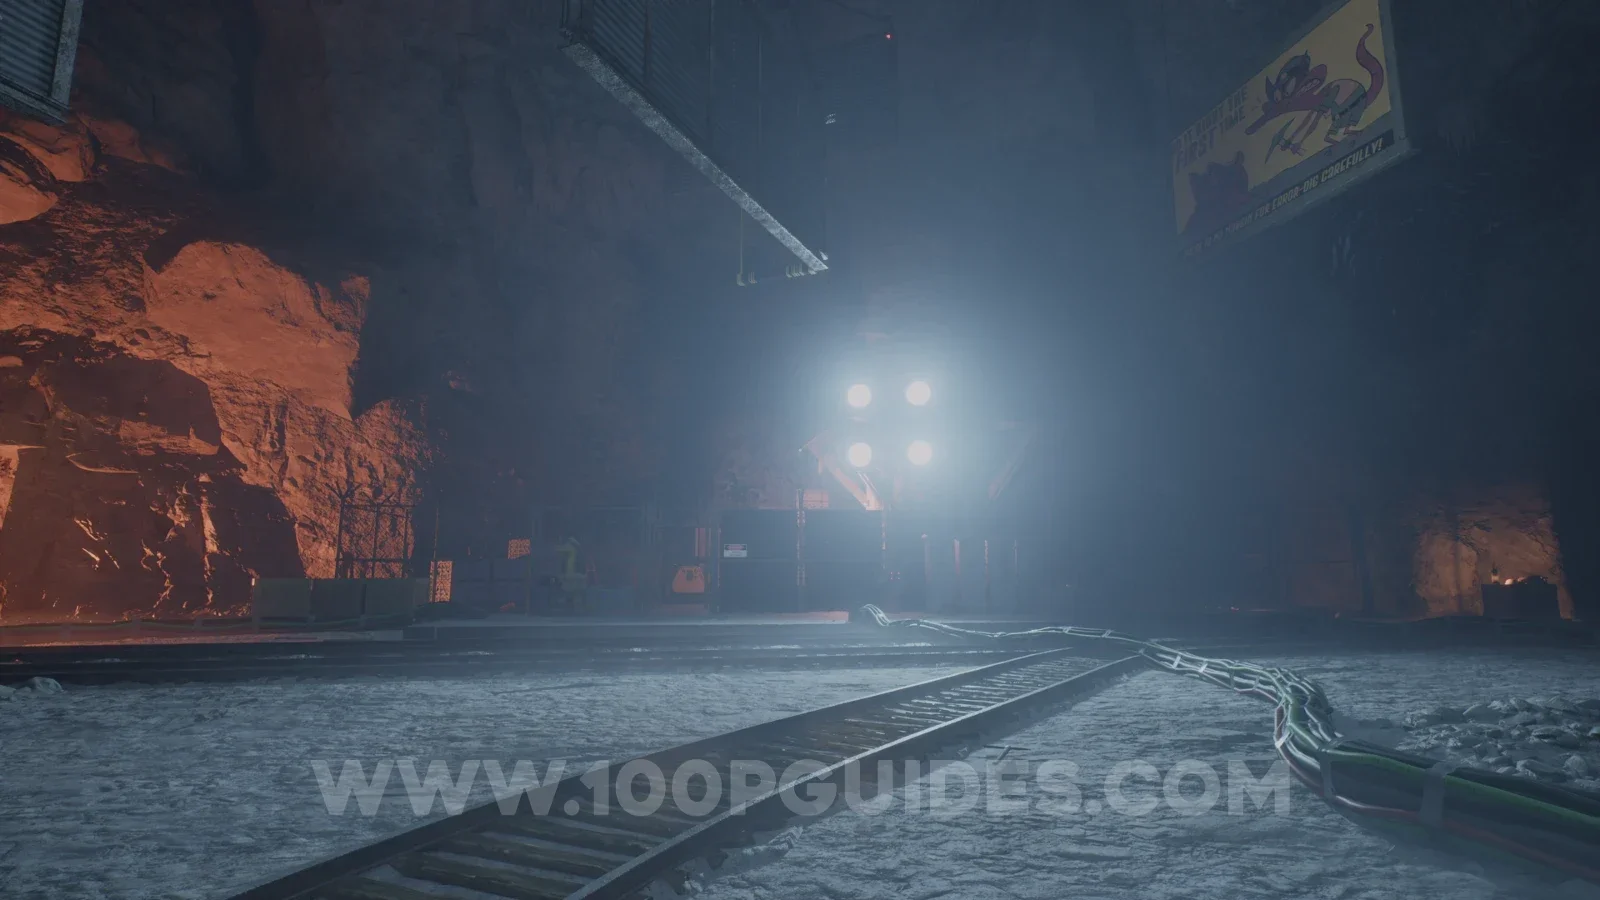
Once you reach the large open area where you have to turn on the power, head all the way to the opposite end to find a gated off section with fog lights. The note is inside (same area as where you find one of the generators).
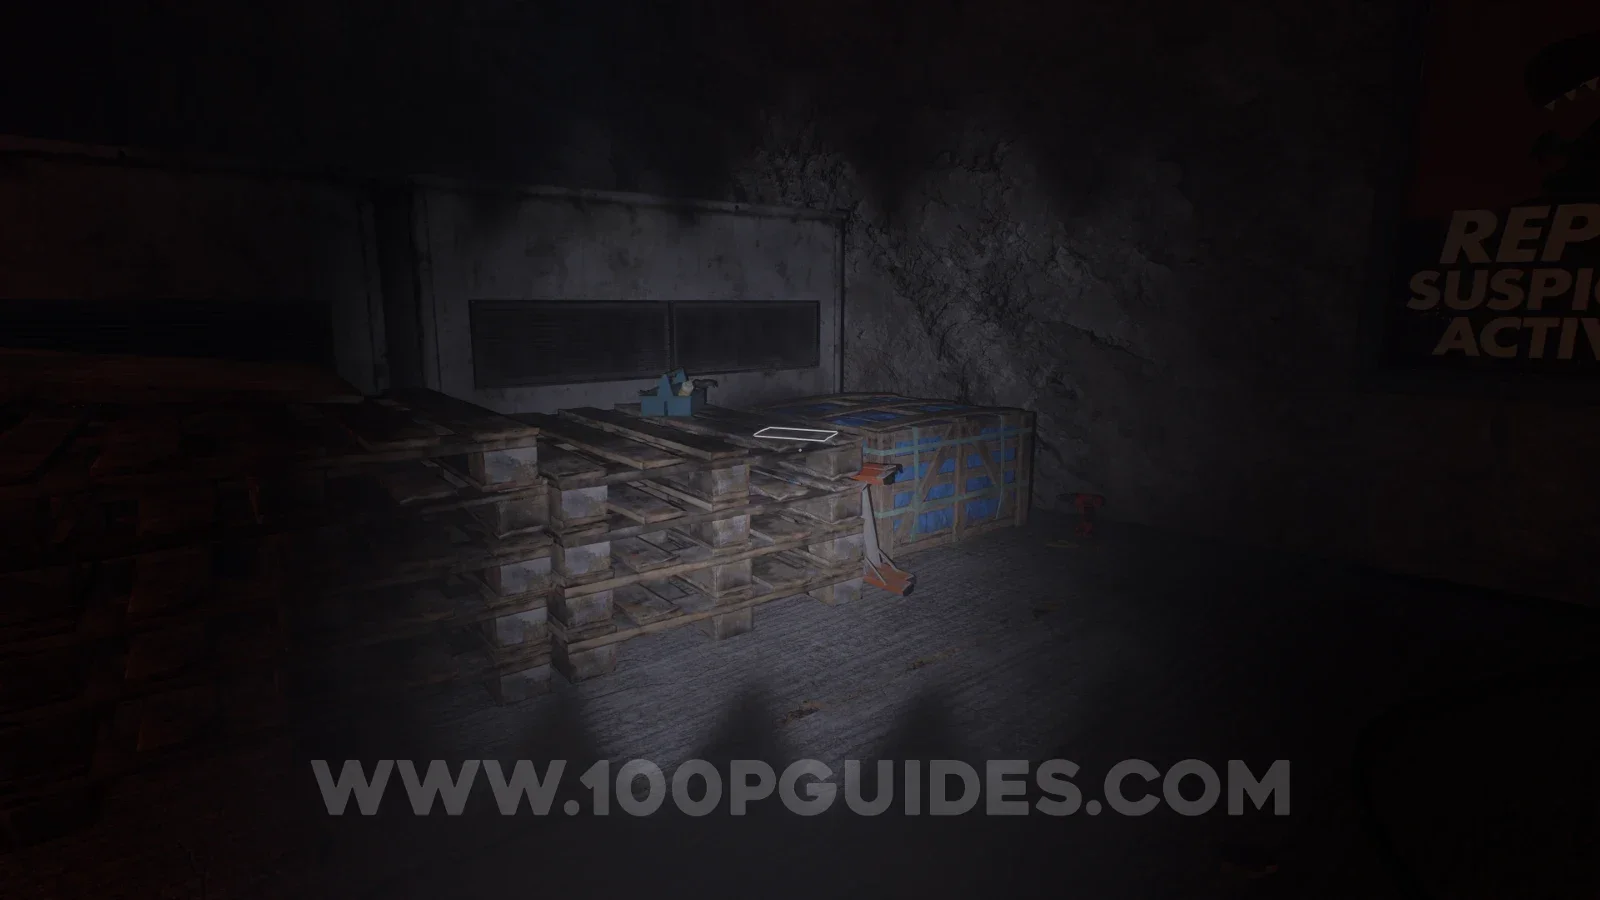
Note - Motherlode Mobilization
Climb the boxes in the gated off section where the previous collectible was and parkour to the roof. From the roof, you can go right or left. Head left and wallrun to the platform where you can get a fuse from the fusebox on the wall. The note will be on the table next to it.
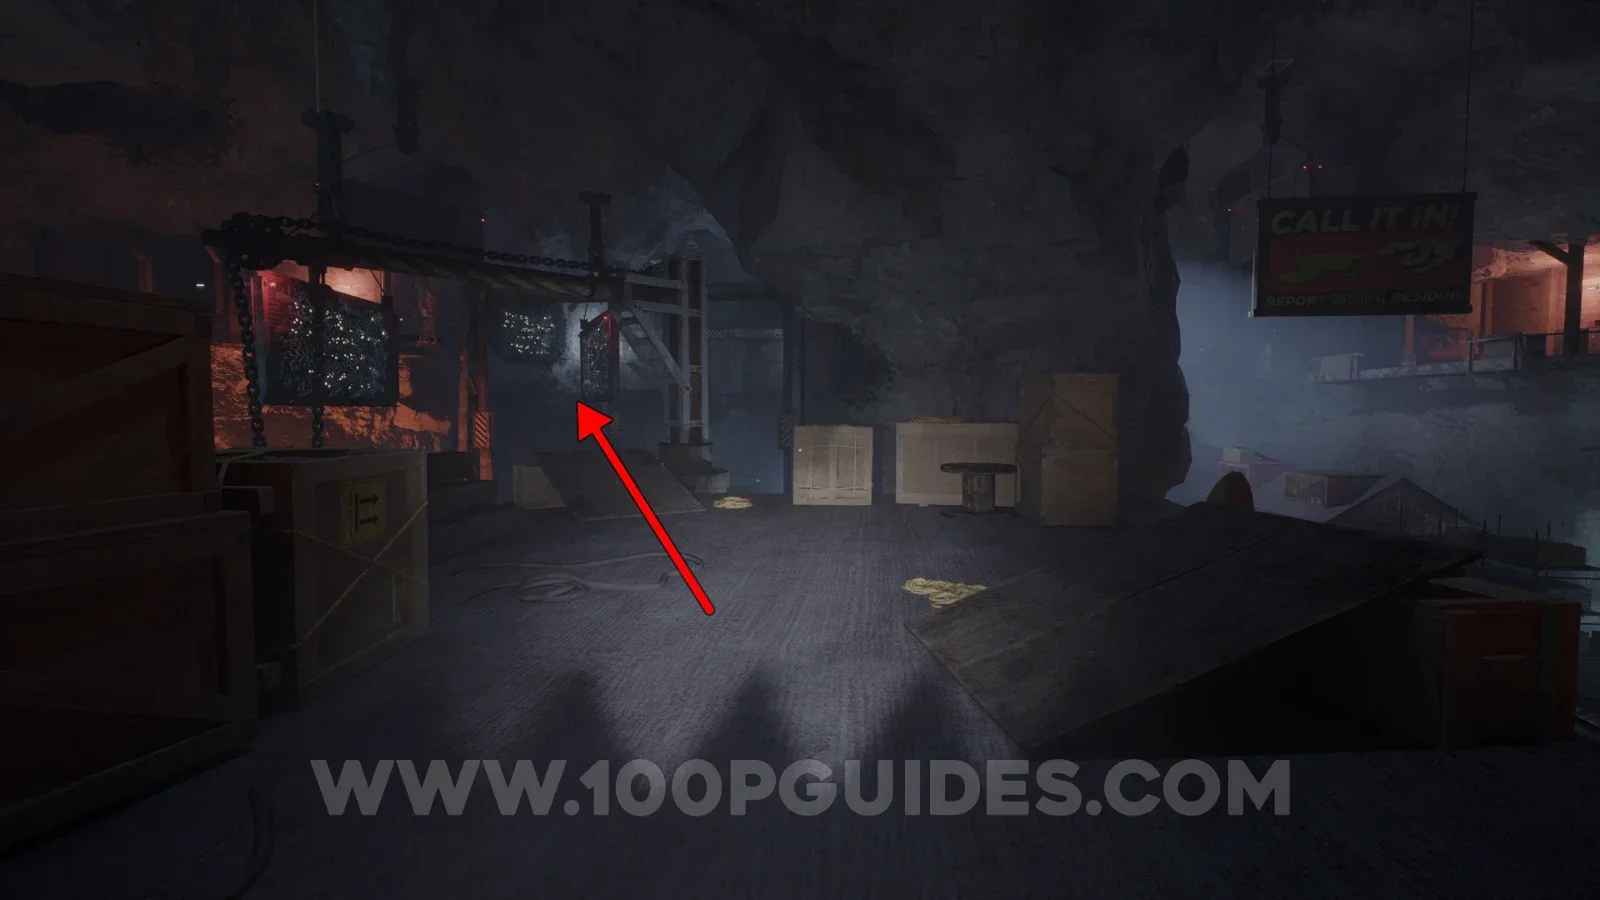
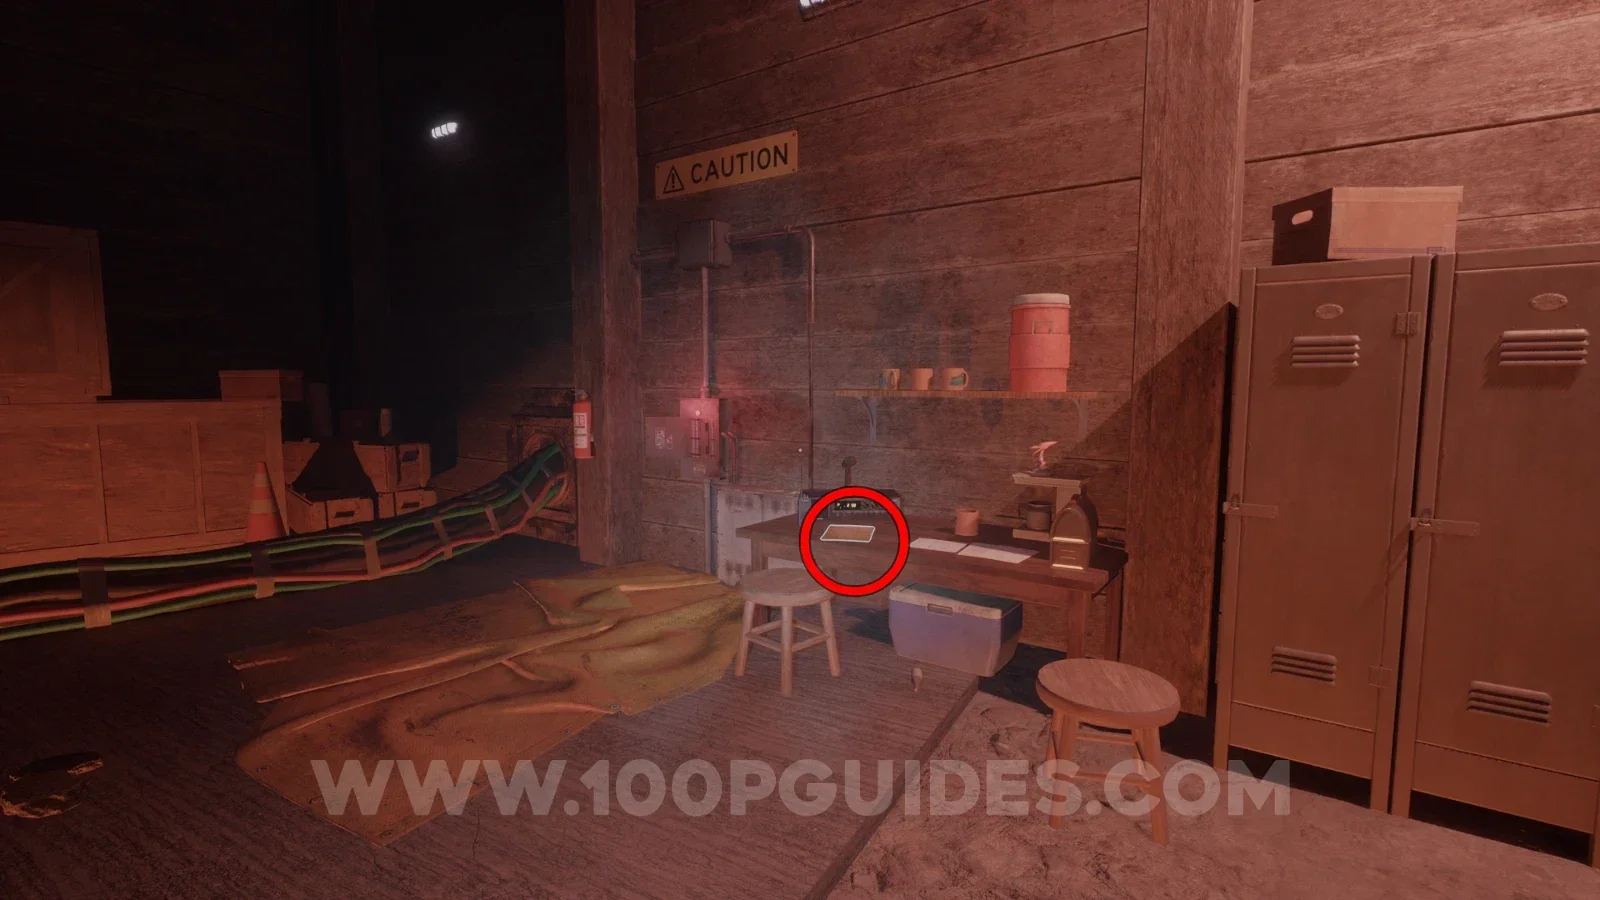
Tape - Crewmen: Worksite Attack
Continue through the level until you get to a large underground area with a metal structure on your right. Here, head to the opposite end to find a destroyed building. The tape is inside.
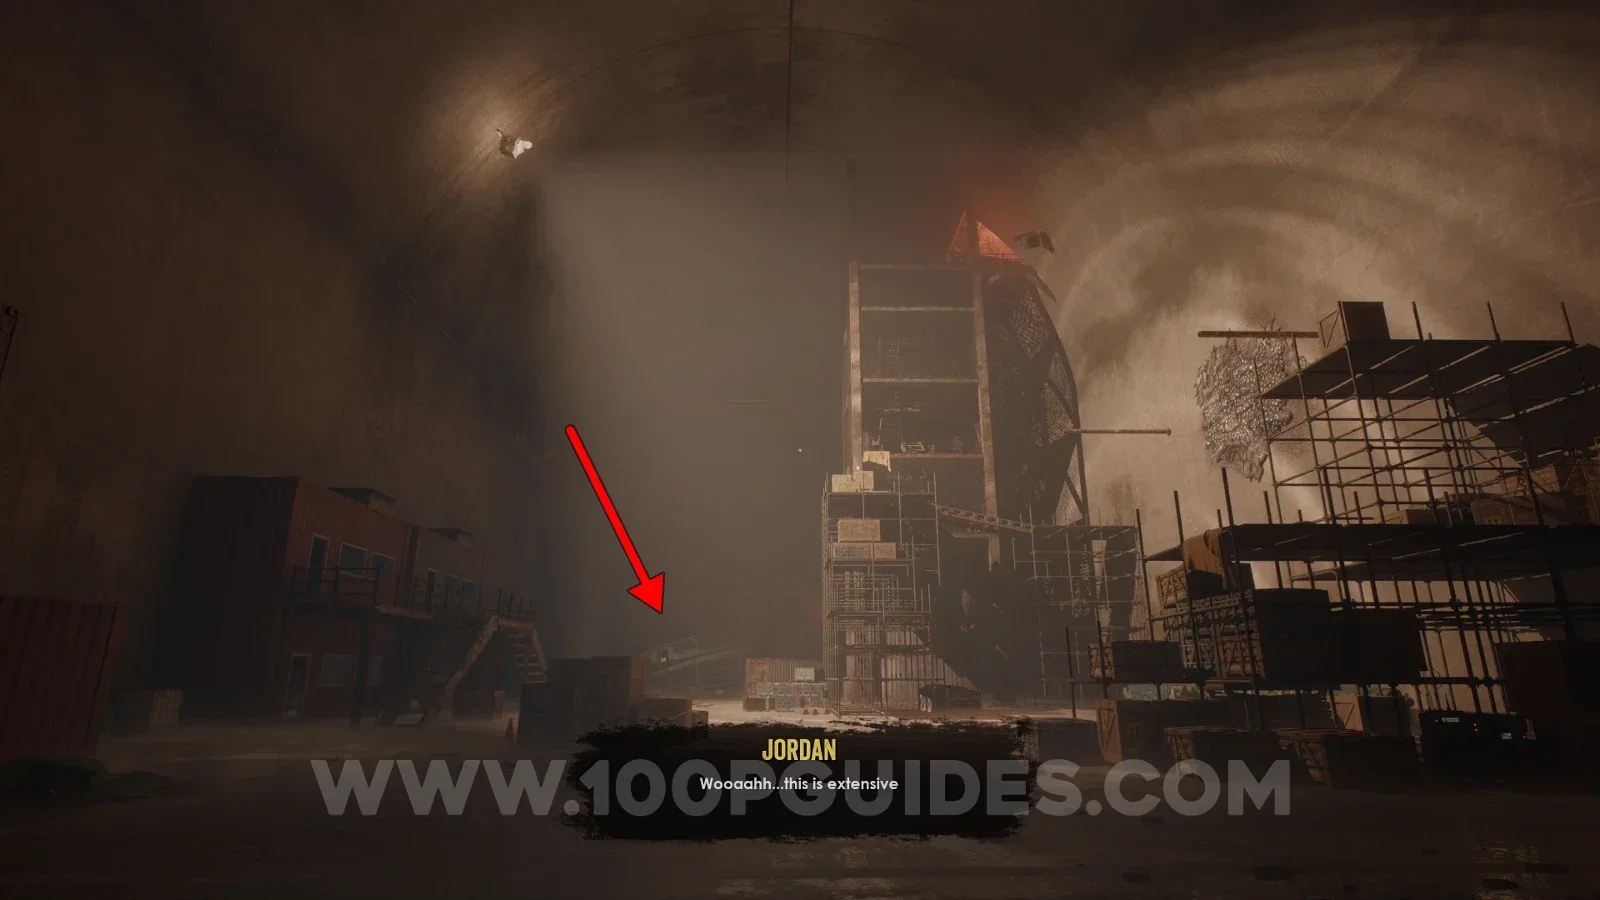
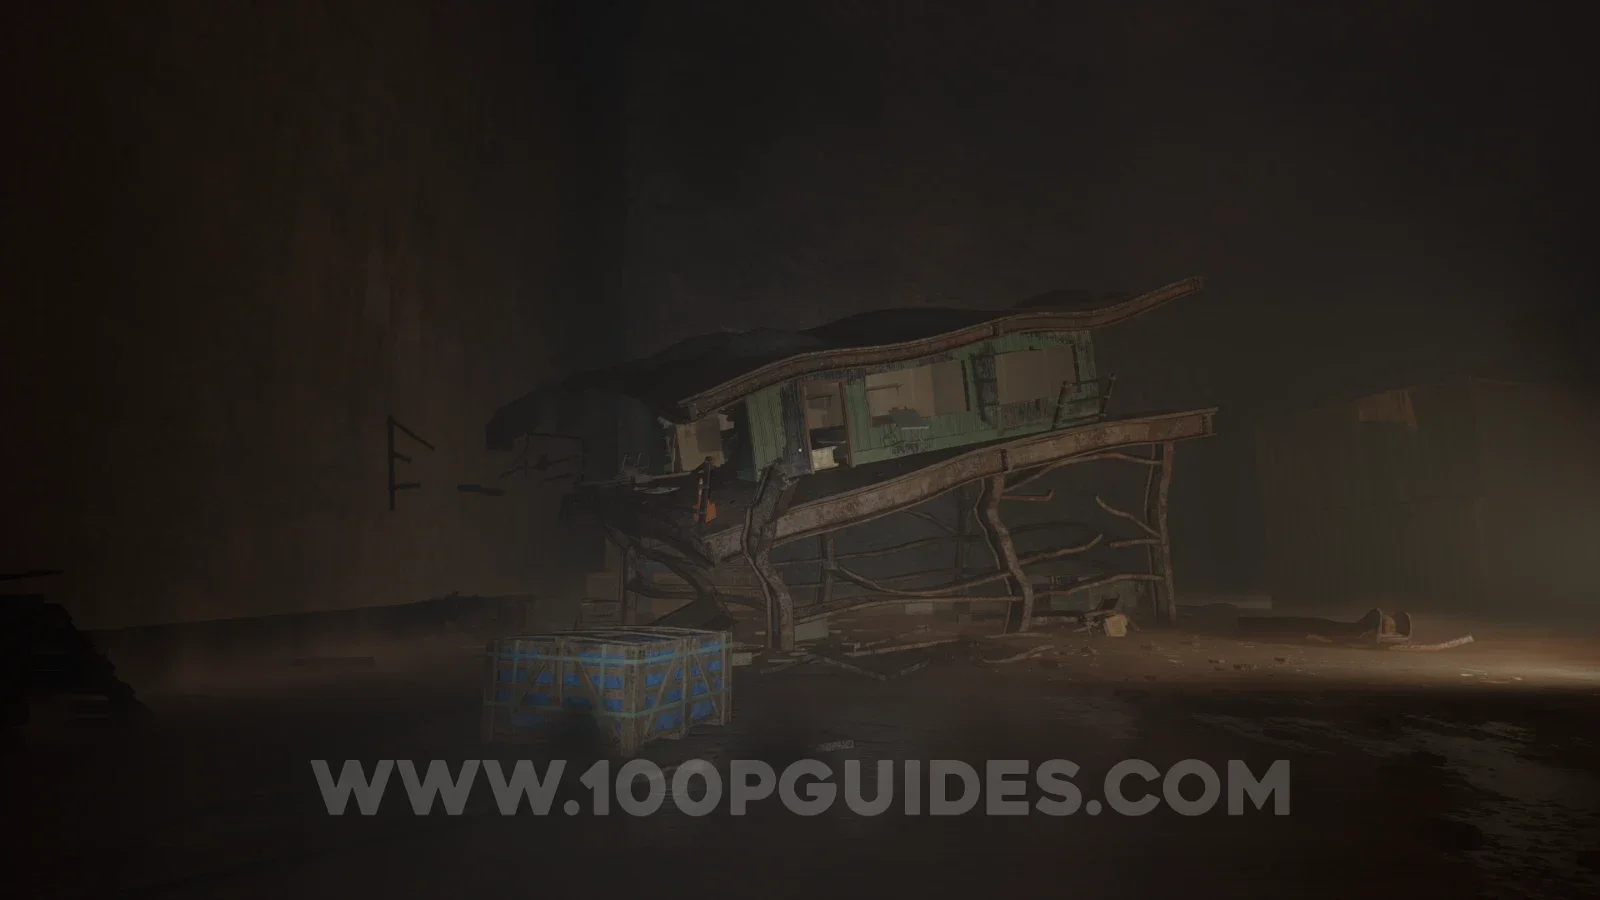
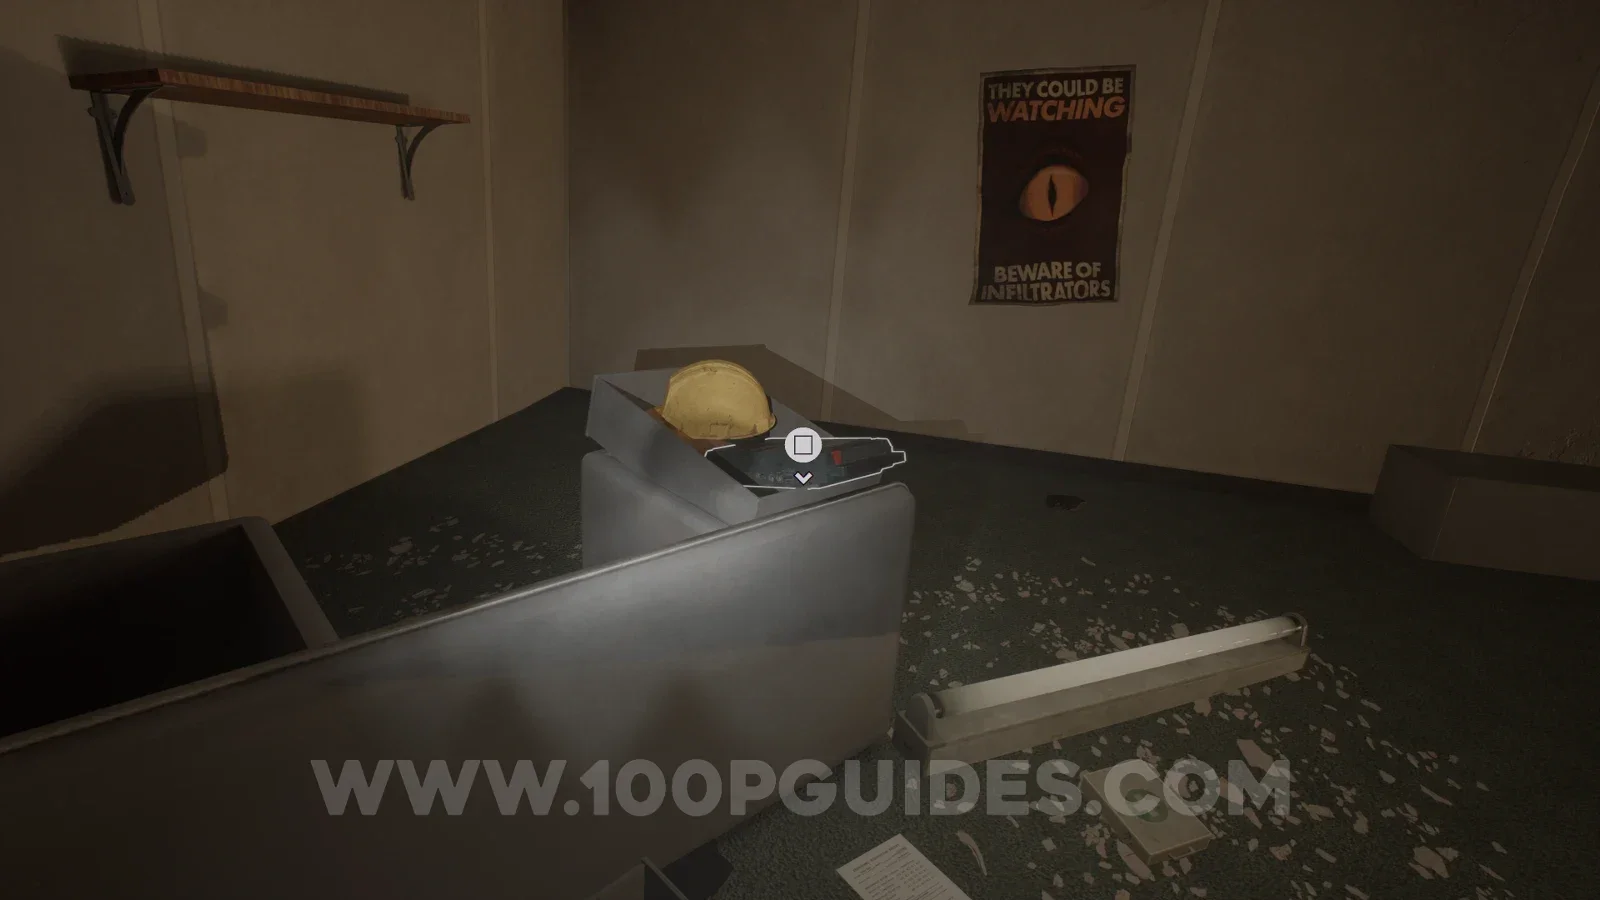
Sample - Amber Specimen 12
From the outside of the destroyed building where the previous collectible was, jump to the containers. Then, after the wallrun, jump to the container straight ahead to find the amber.
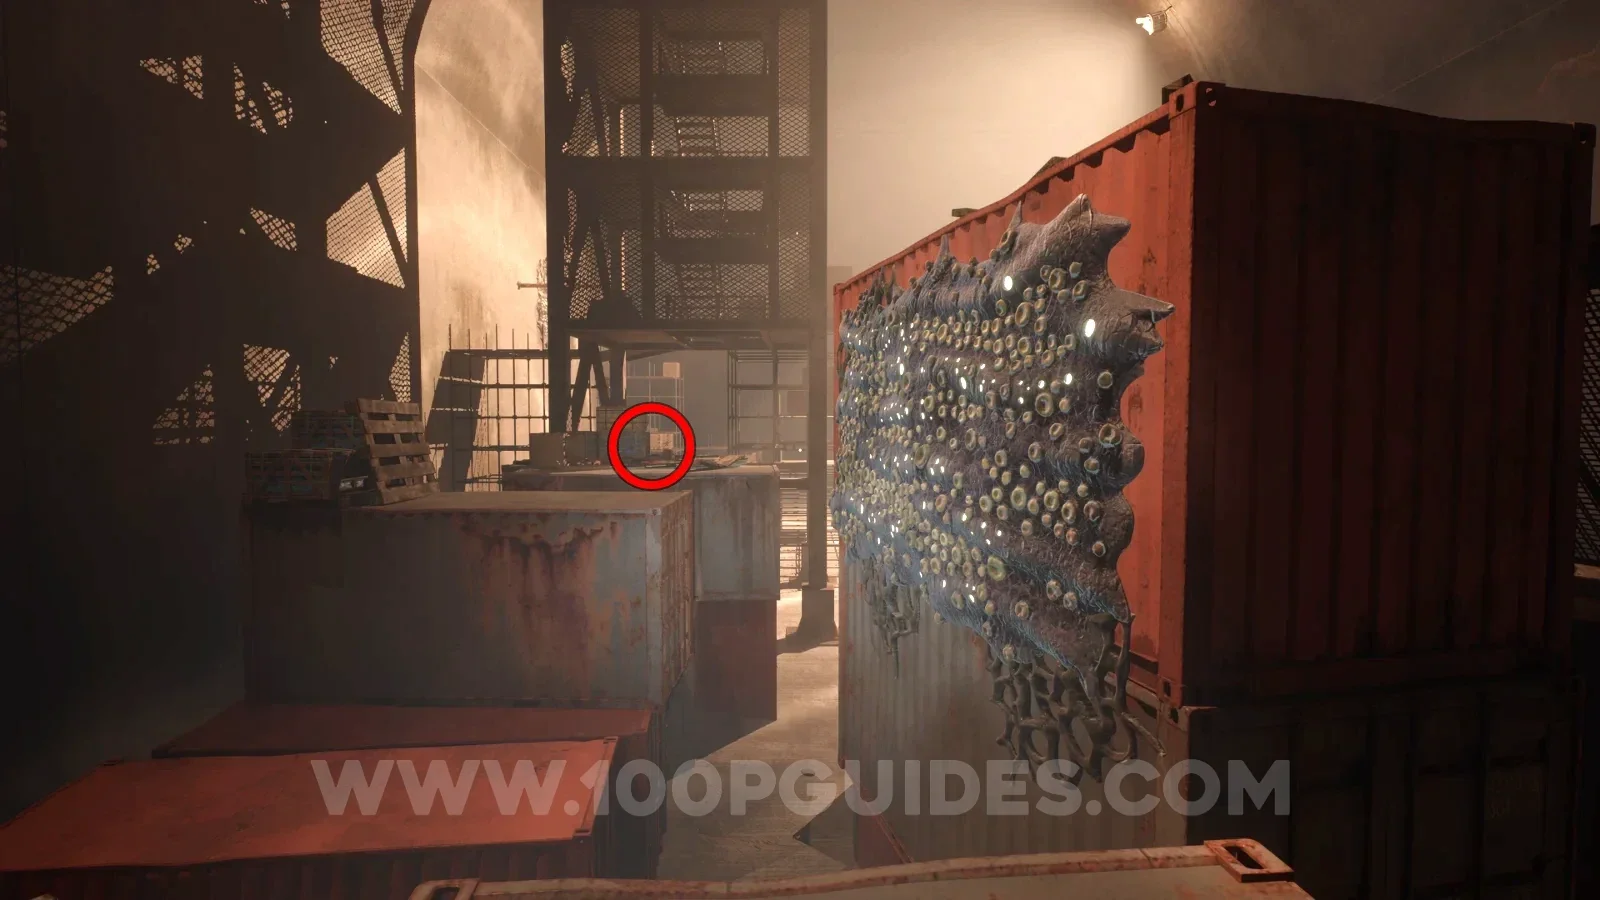
Note - Motherlode Blasting
Head back to the start of the large underground area and climb into the large metal structure. Once inside, instead of heading up the stairs, head down to find the note on a box.
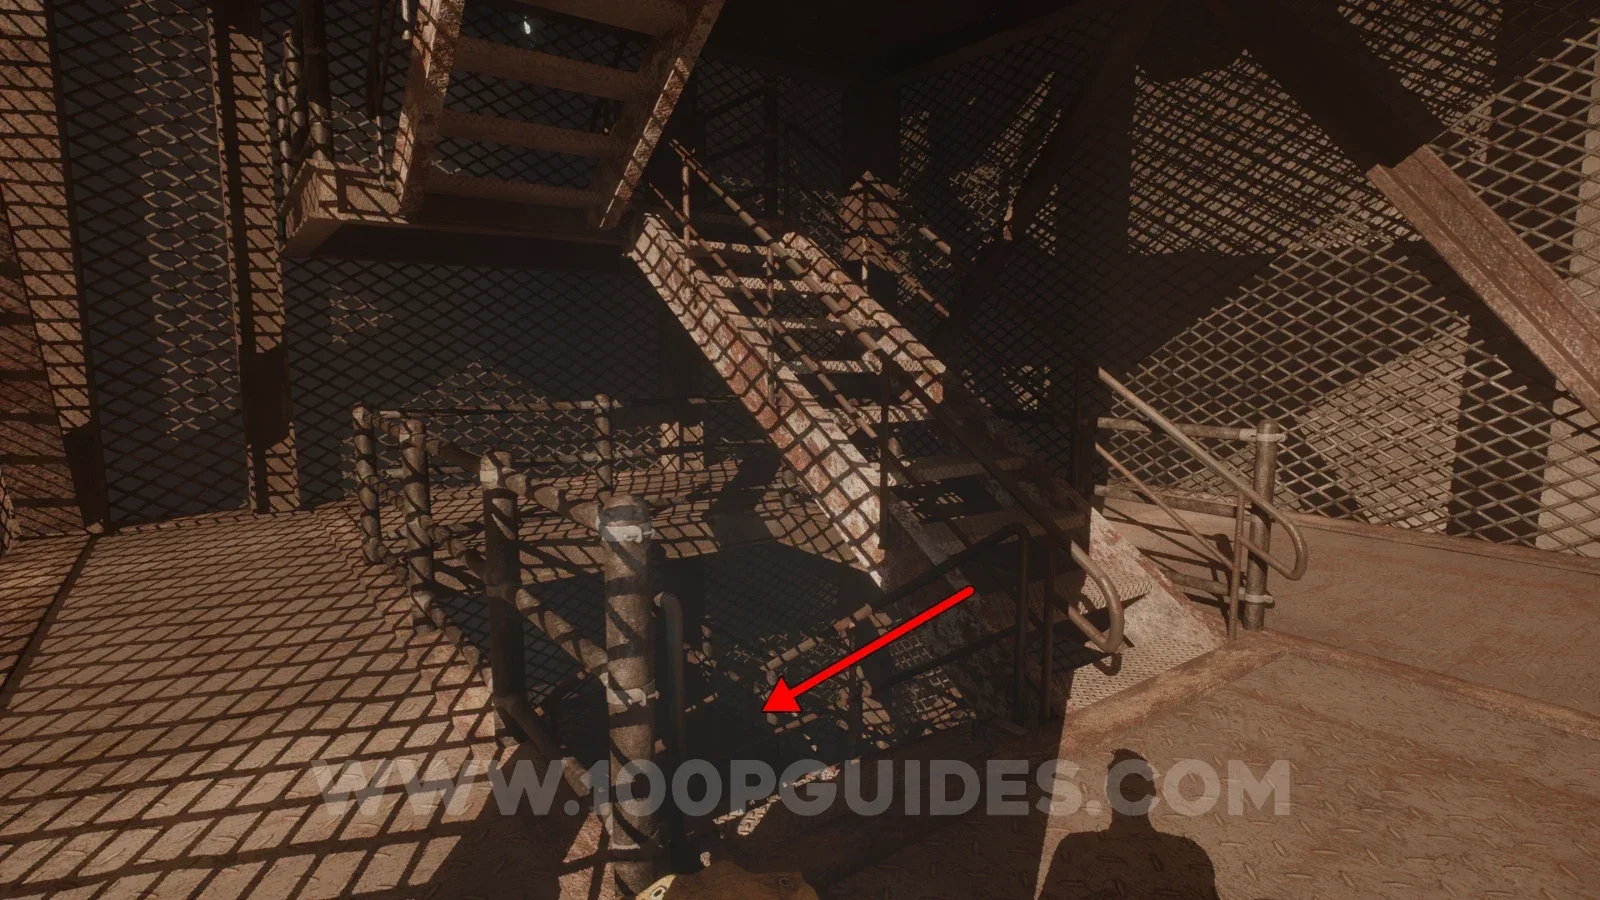
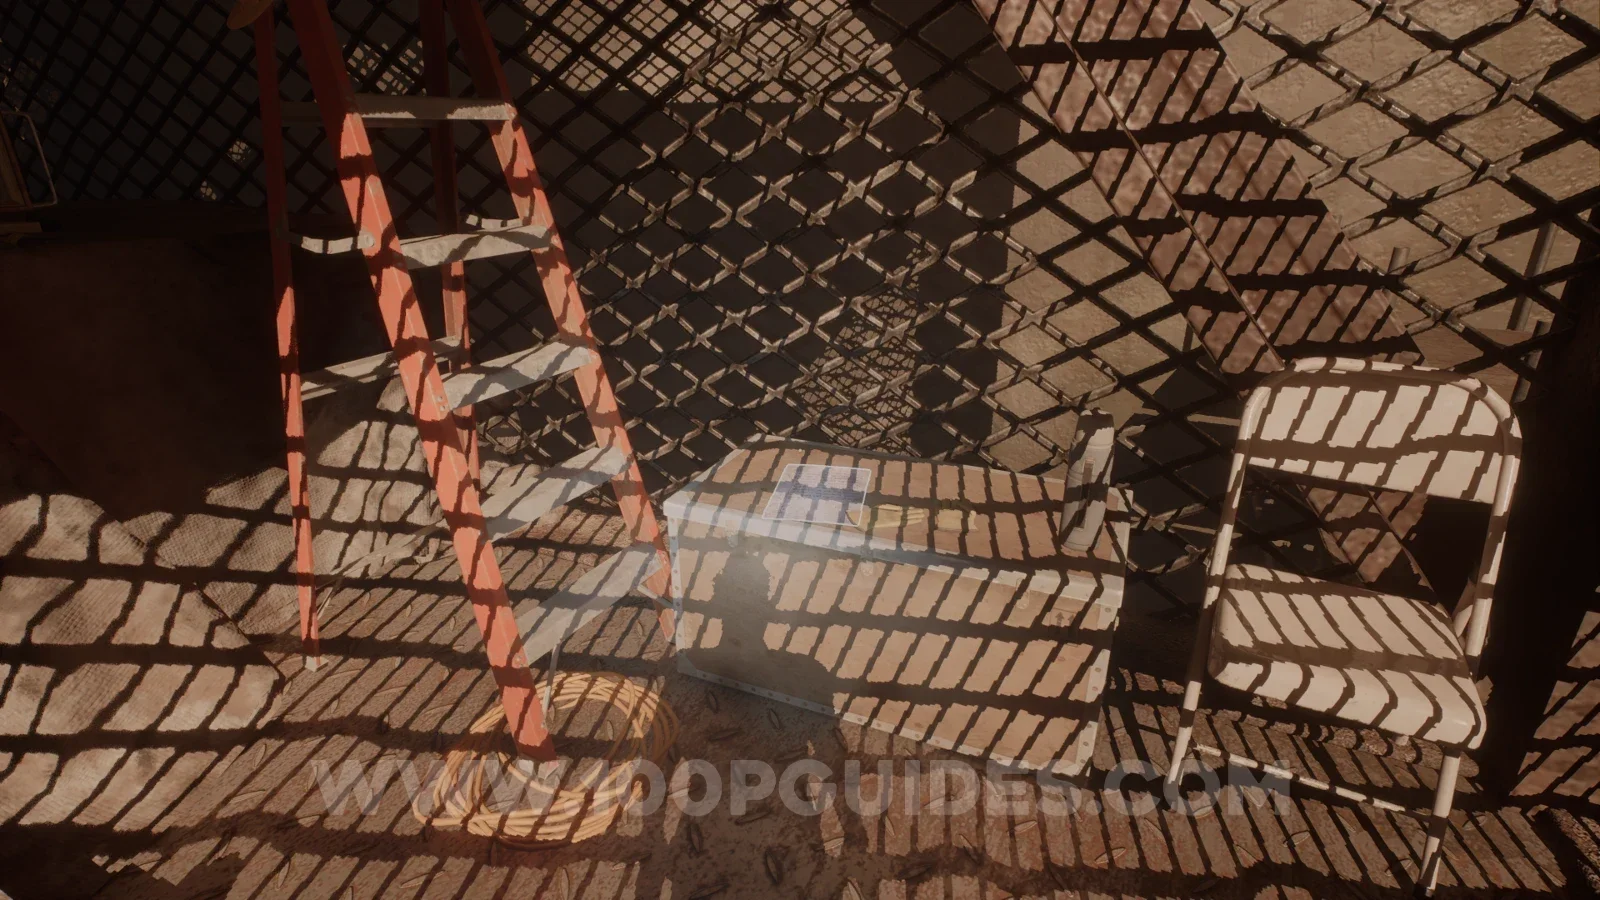
Stuffed Animal Pedestal
After climbing the metal structure, you will get to an area with a slope-shaped building. The pedestal can be found on the left.
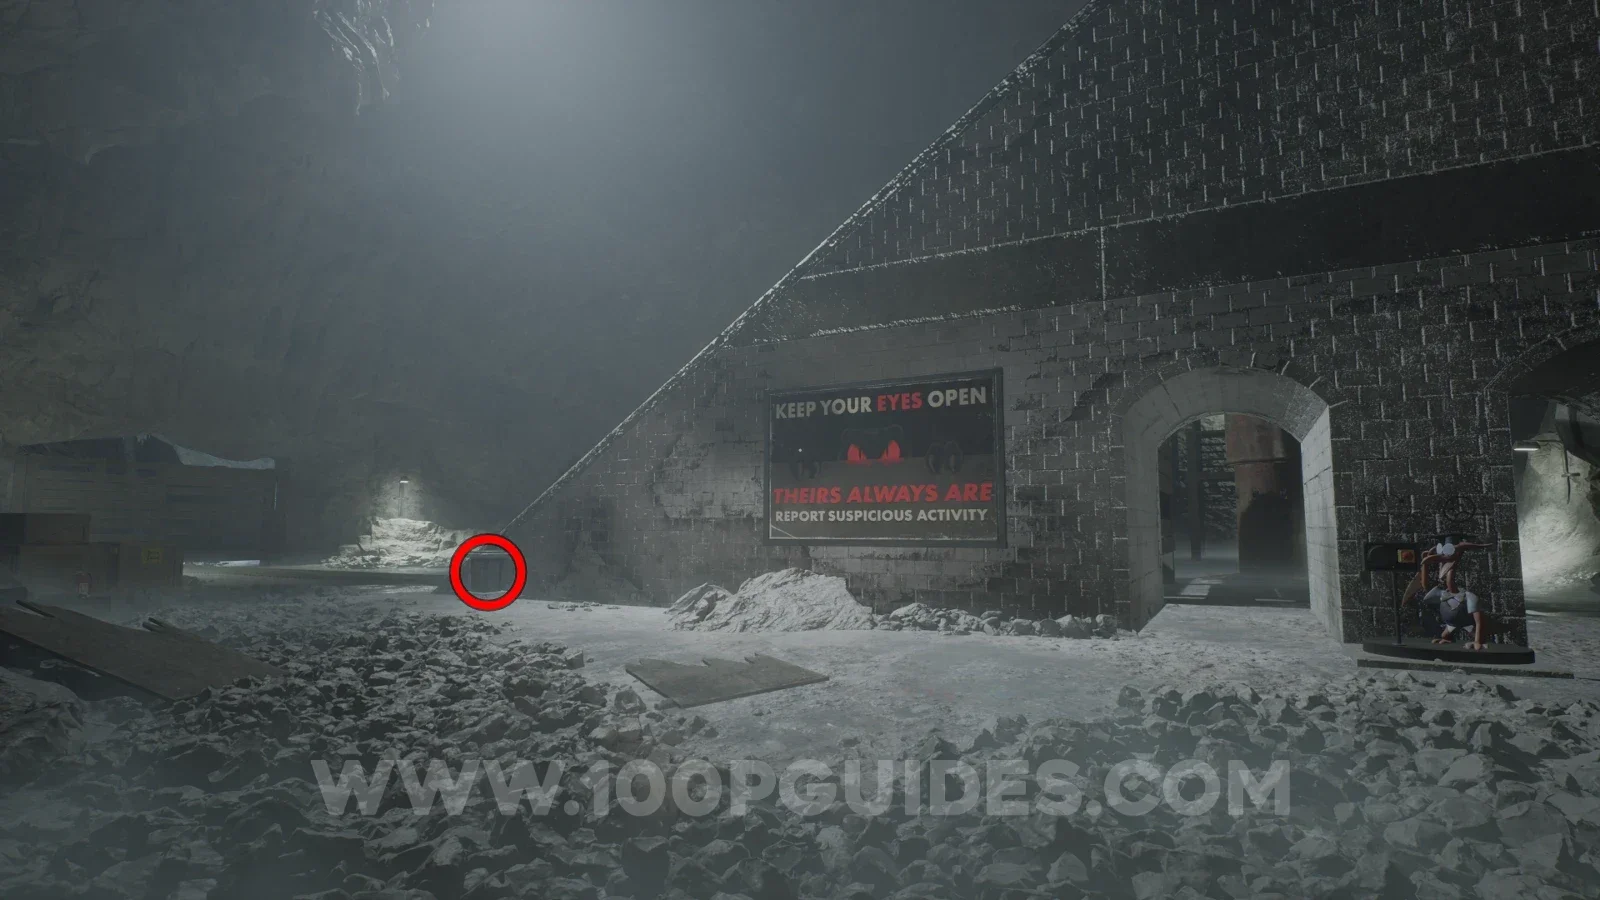
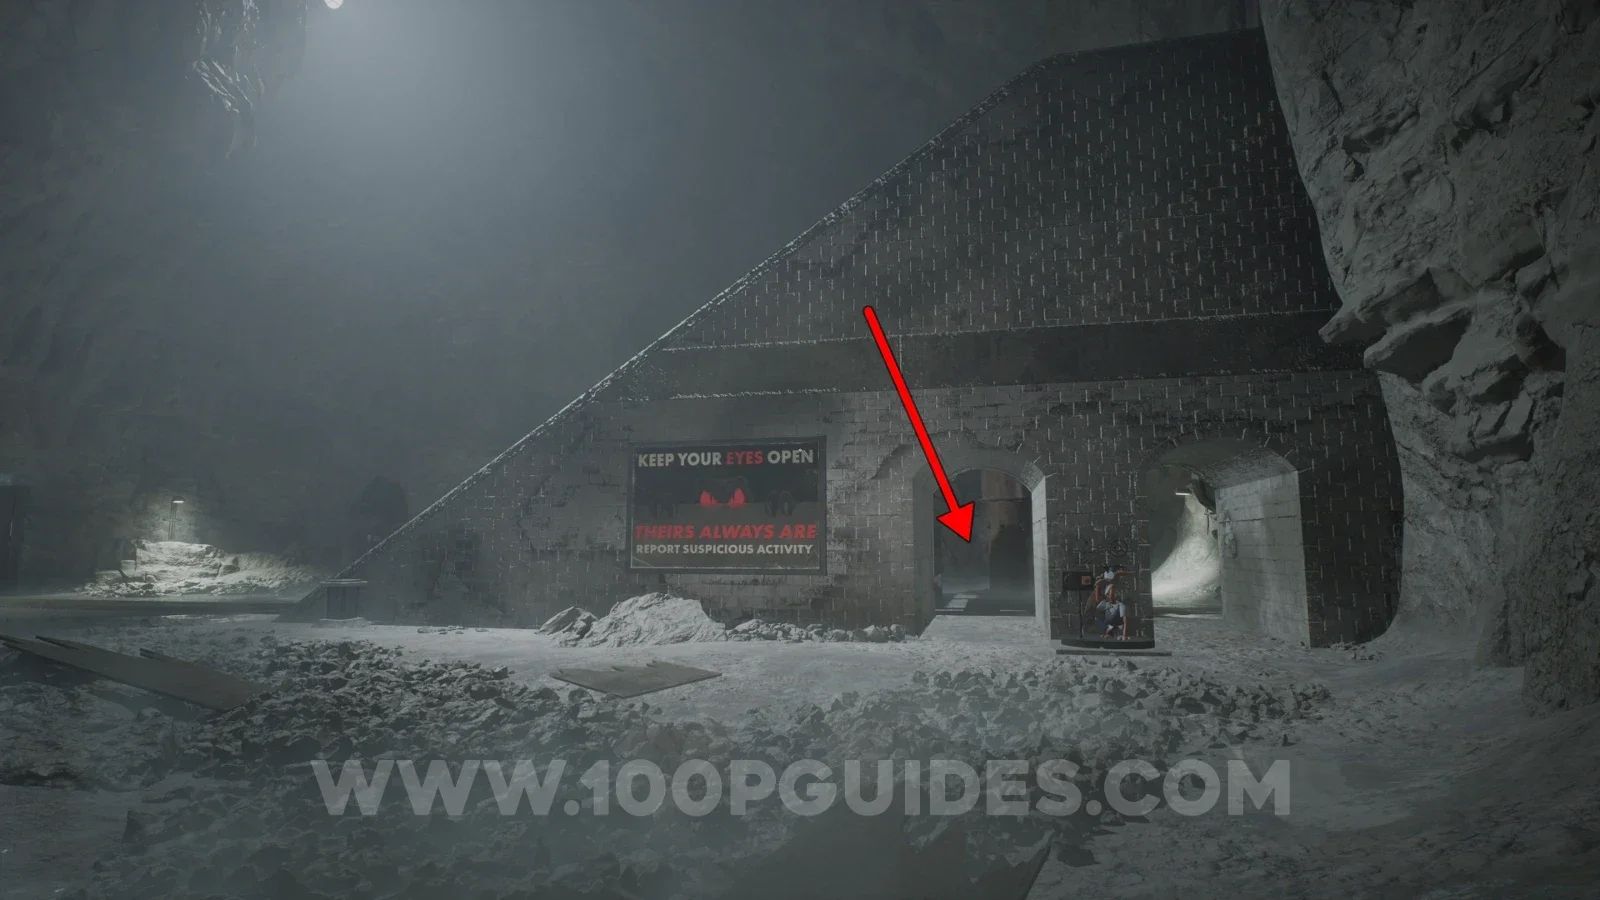
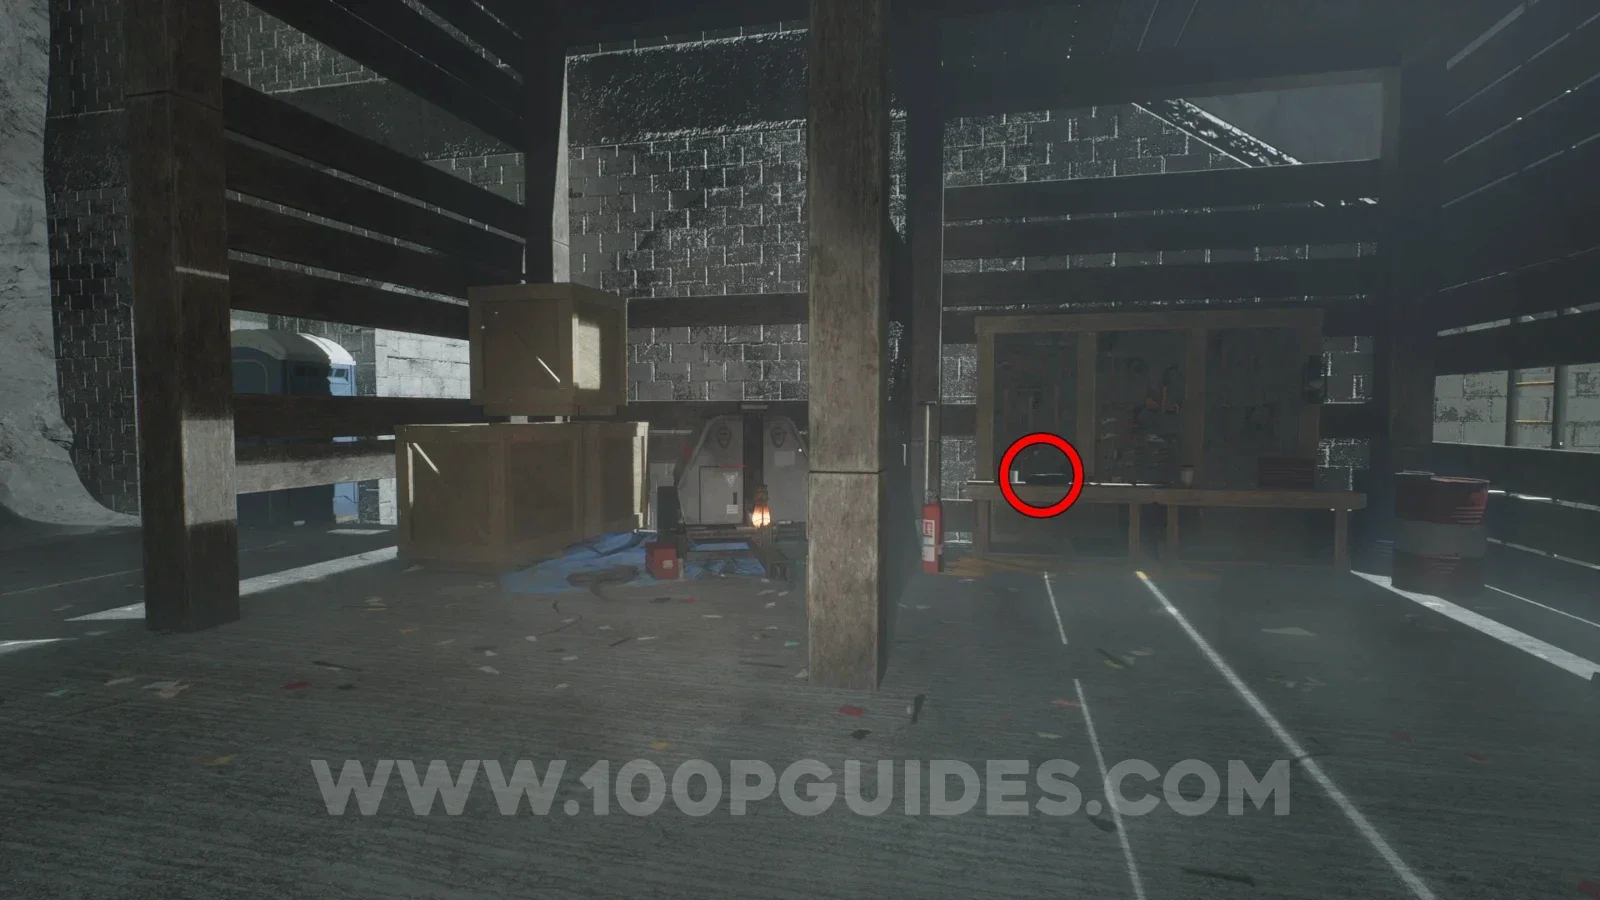
Tape - Dalton Coolidge: The Motherlobe
Head through to the other side of the slope-shaped building and find the tape on the table close to a generator.
Chapter 4
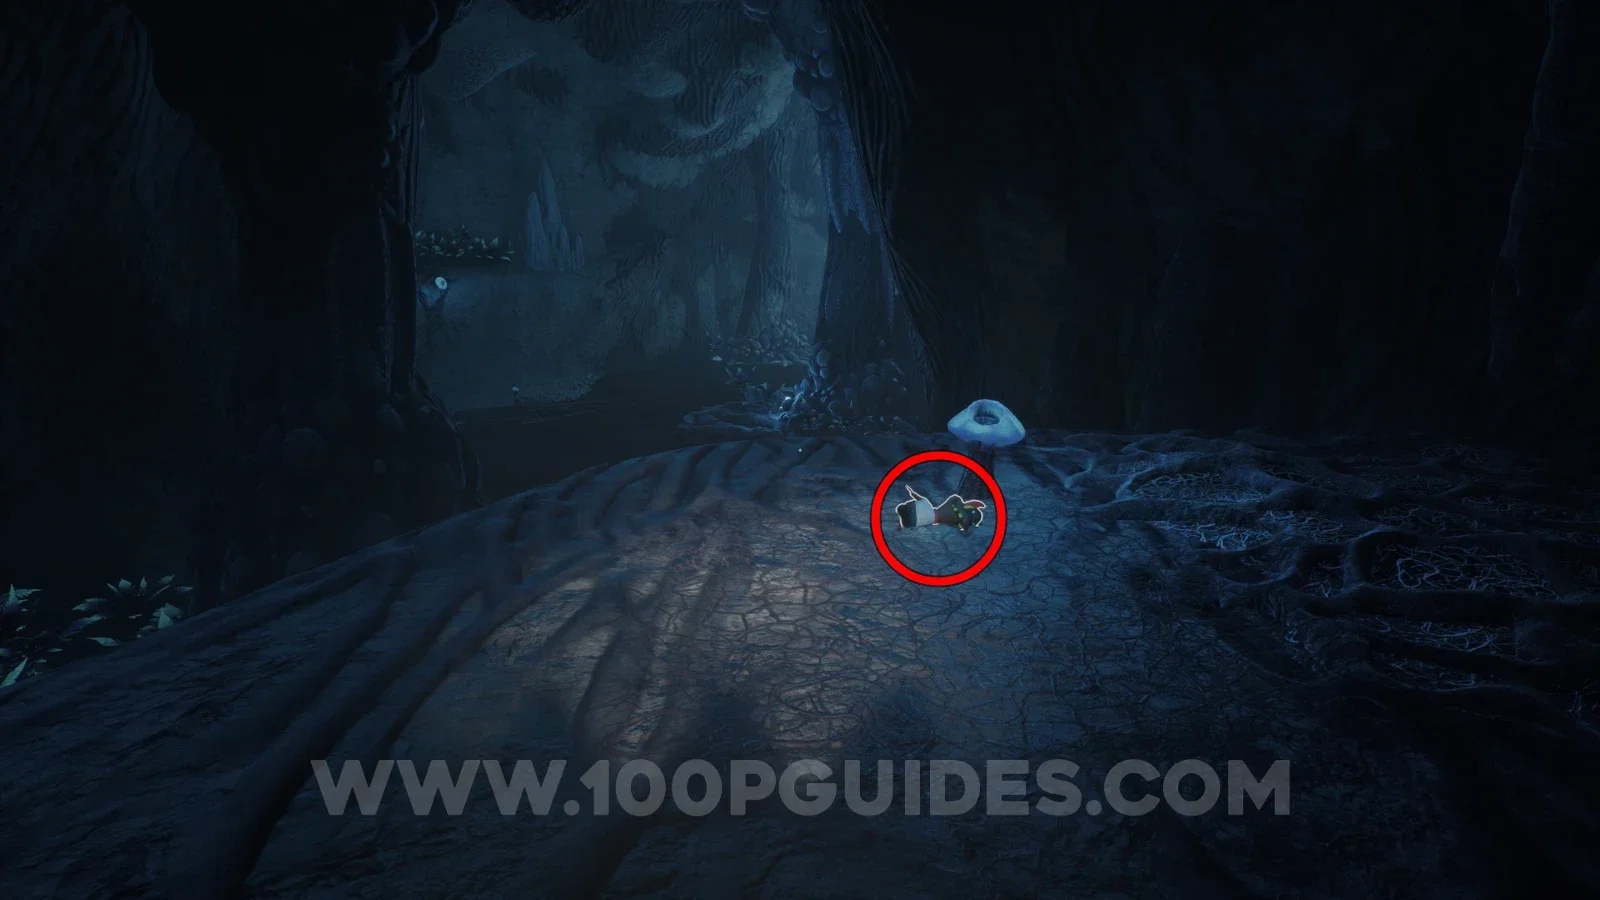
Stuffed Animal
On the ground in plain sight as soon as you regain control of Jordan after the chase scene at the start of the chapter. Take it to the pedestal at the end of the level.
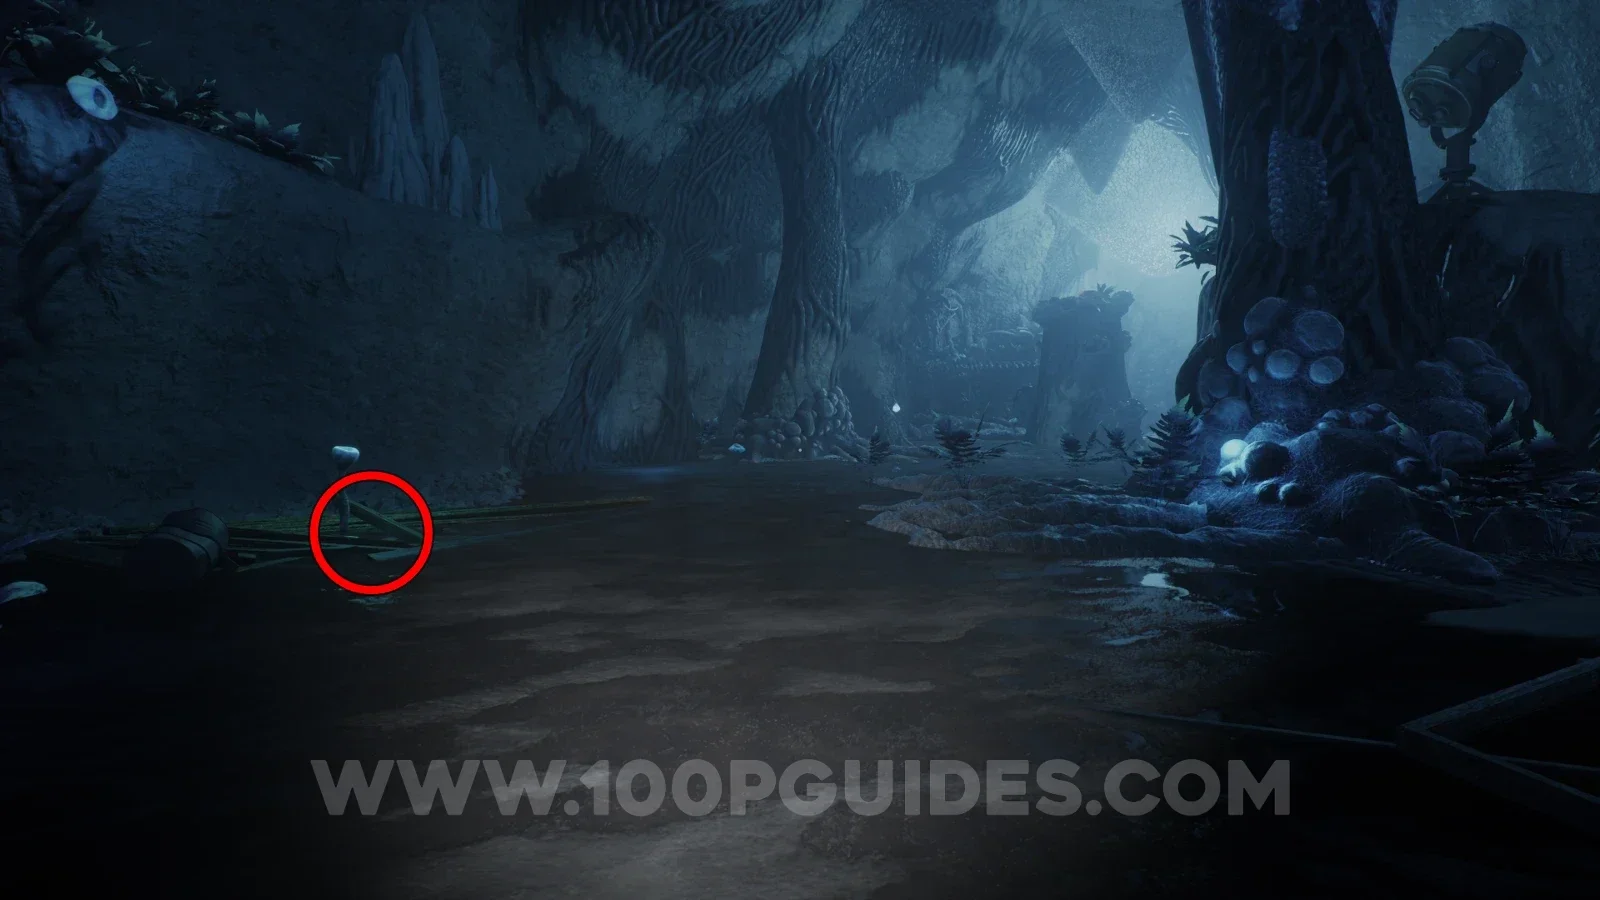
Note - It's everywhere
After the chase scene at the start of the chapter with the dinosaur, you can find the note on some planks of wood on your left.
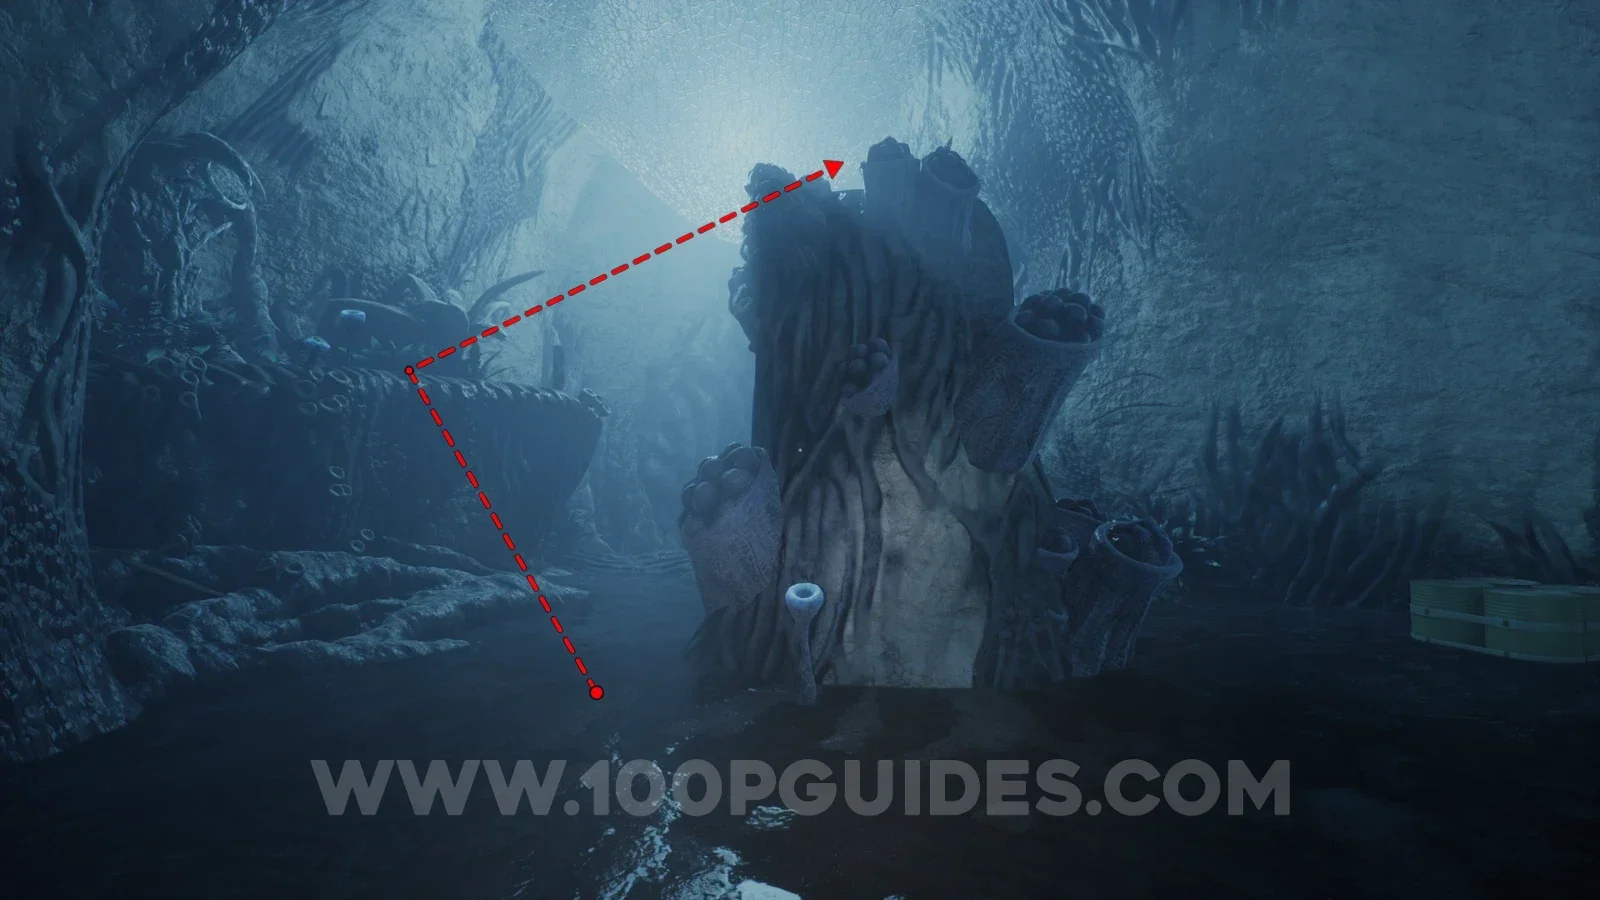
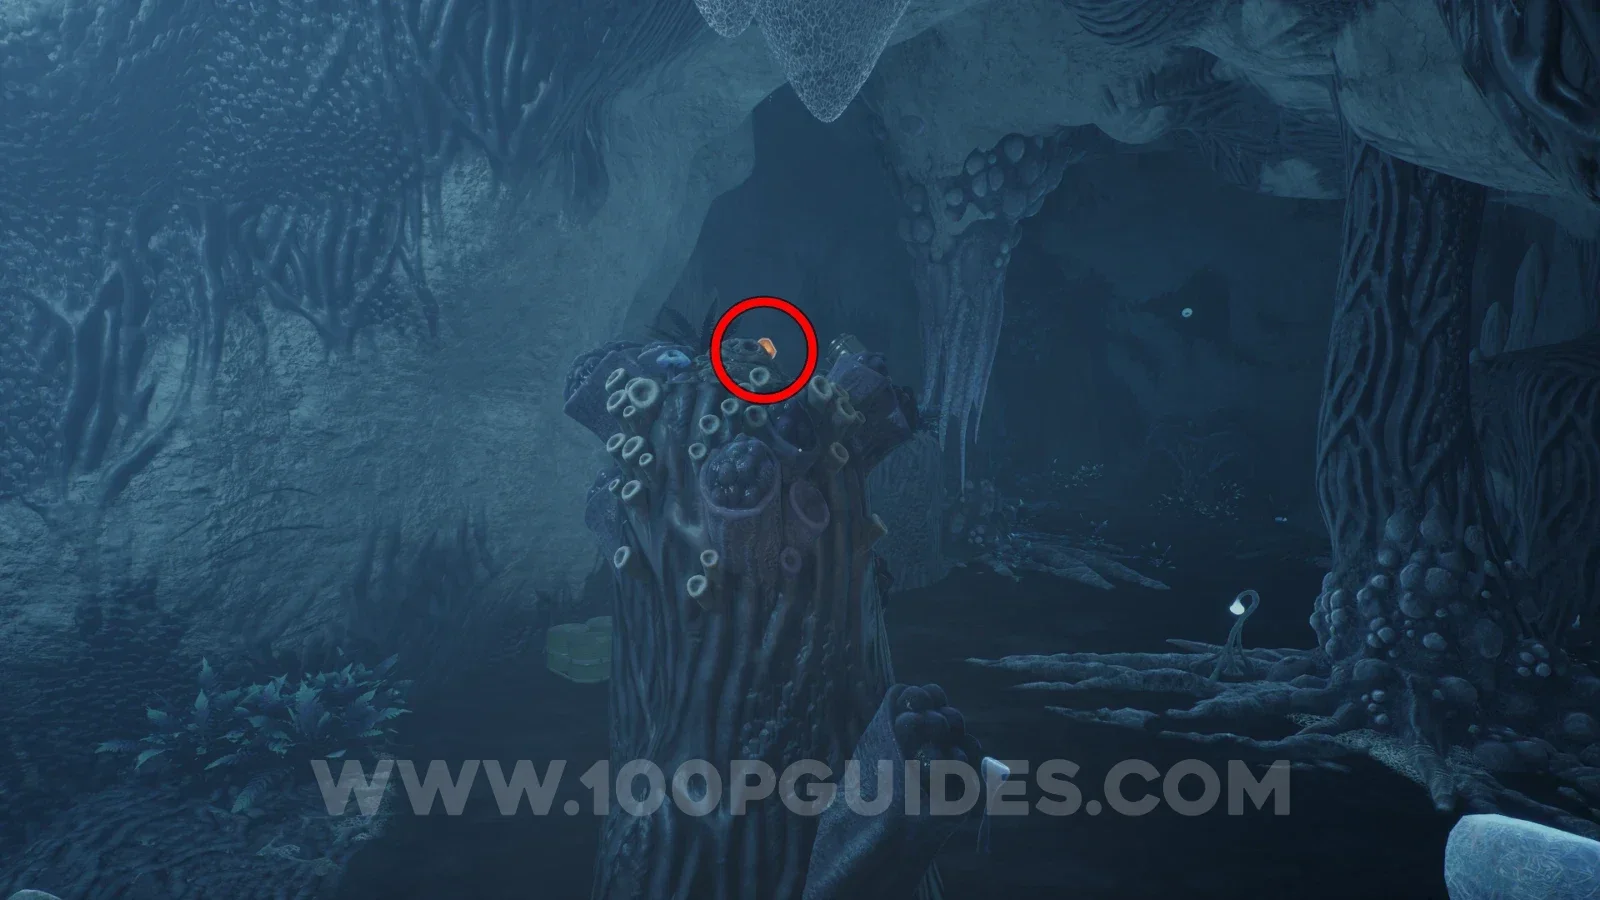
Sample - Amber Specimen 13
In the same area as the previous collectible. Just after the note you will see a pillar in the middle of the path. Use the platform on the left to jump onto it to find the amber.
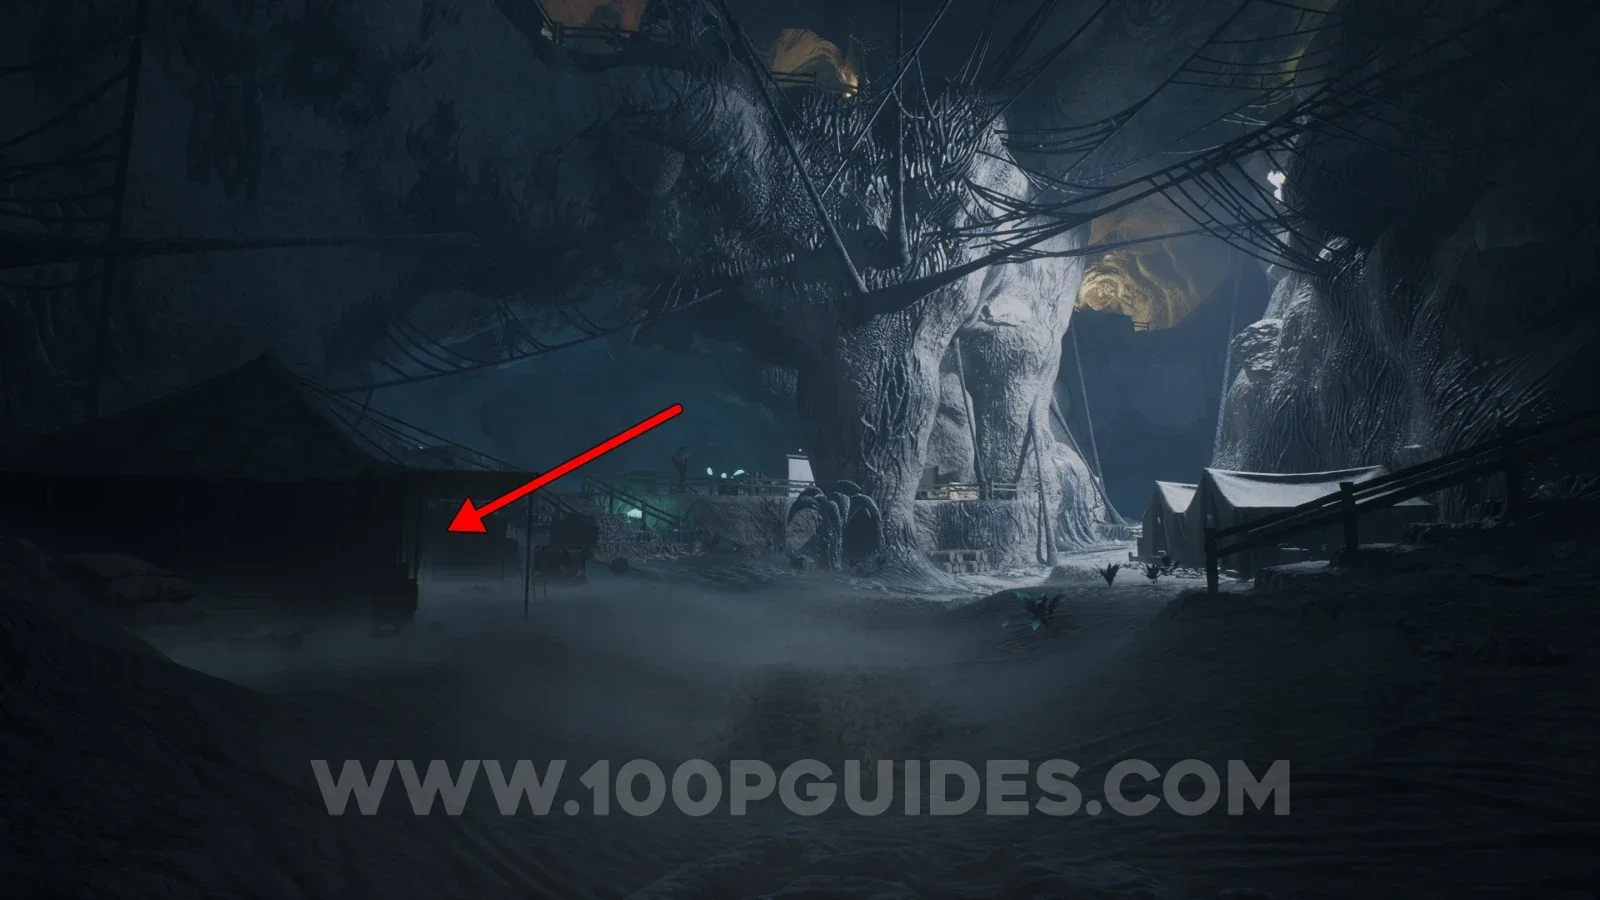
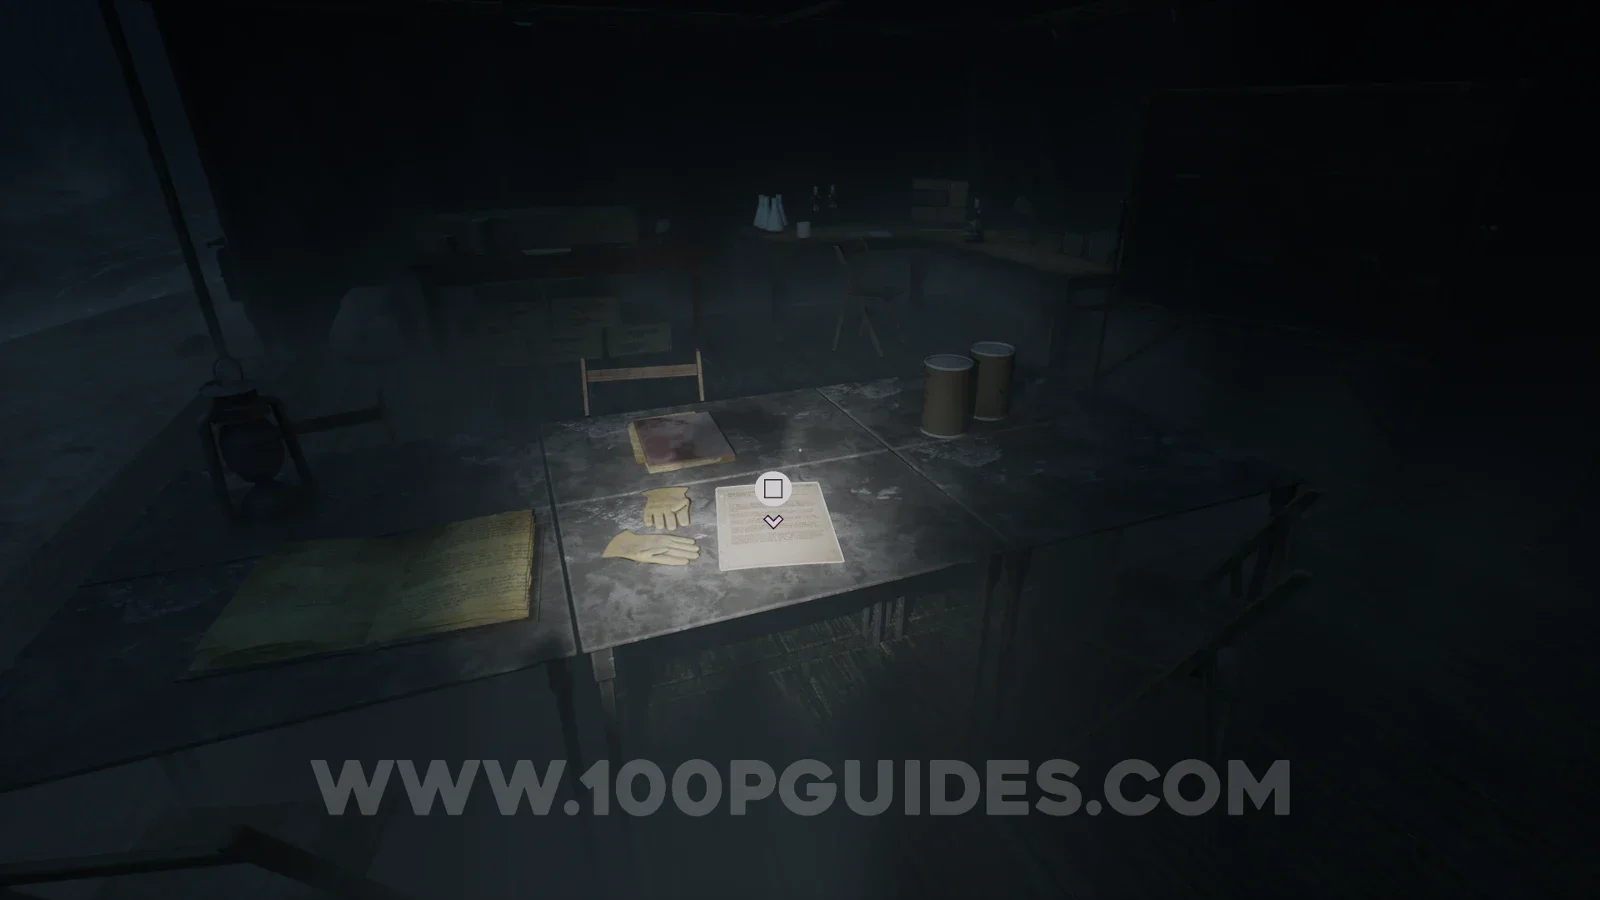
Note - Dr. Jane Hicks: Research Report
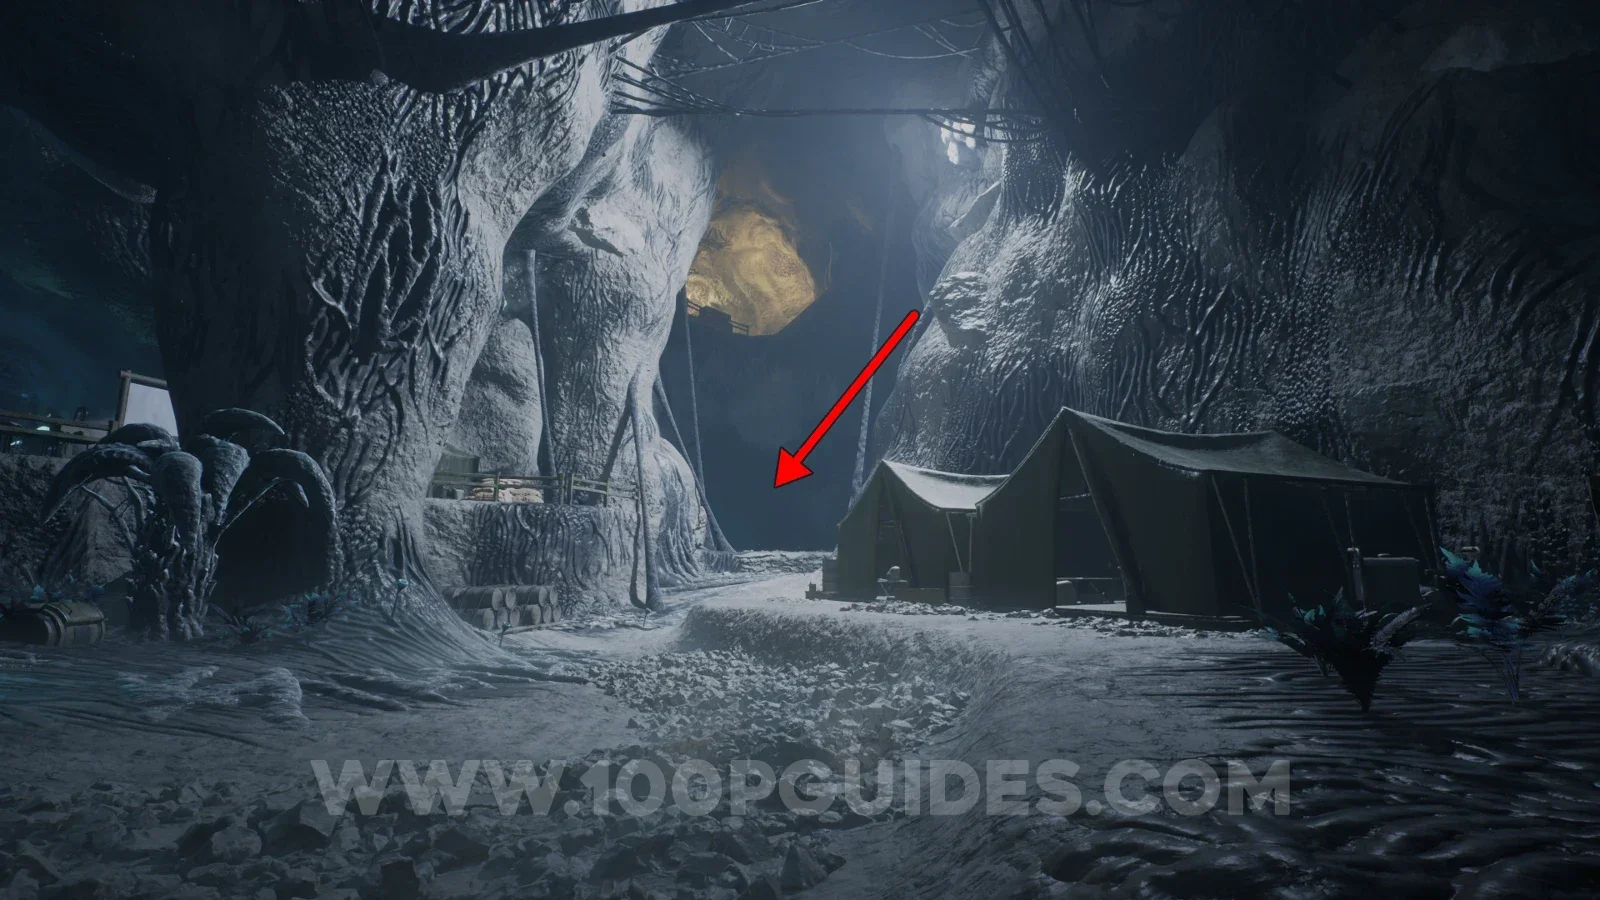
Just after the previous collectible you will reach an area with tents. The note can be found in the first tent on the left.
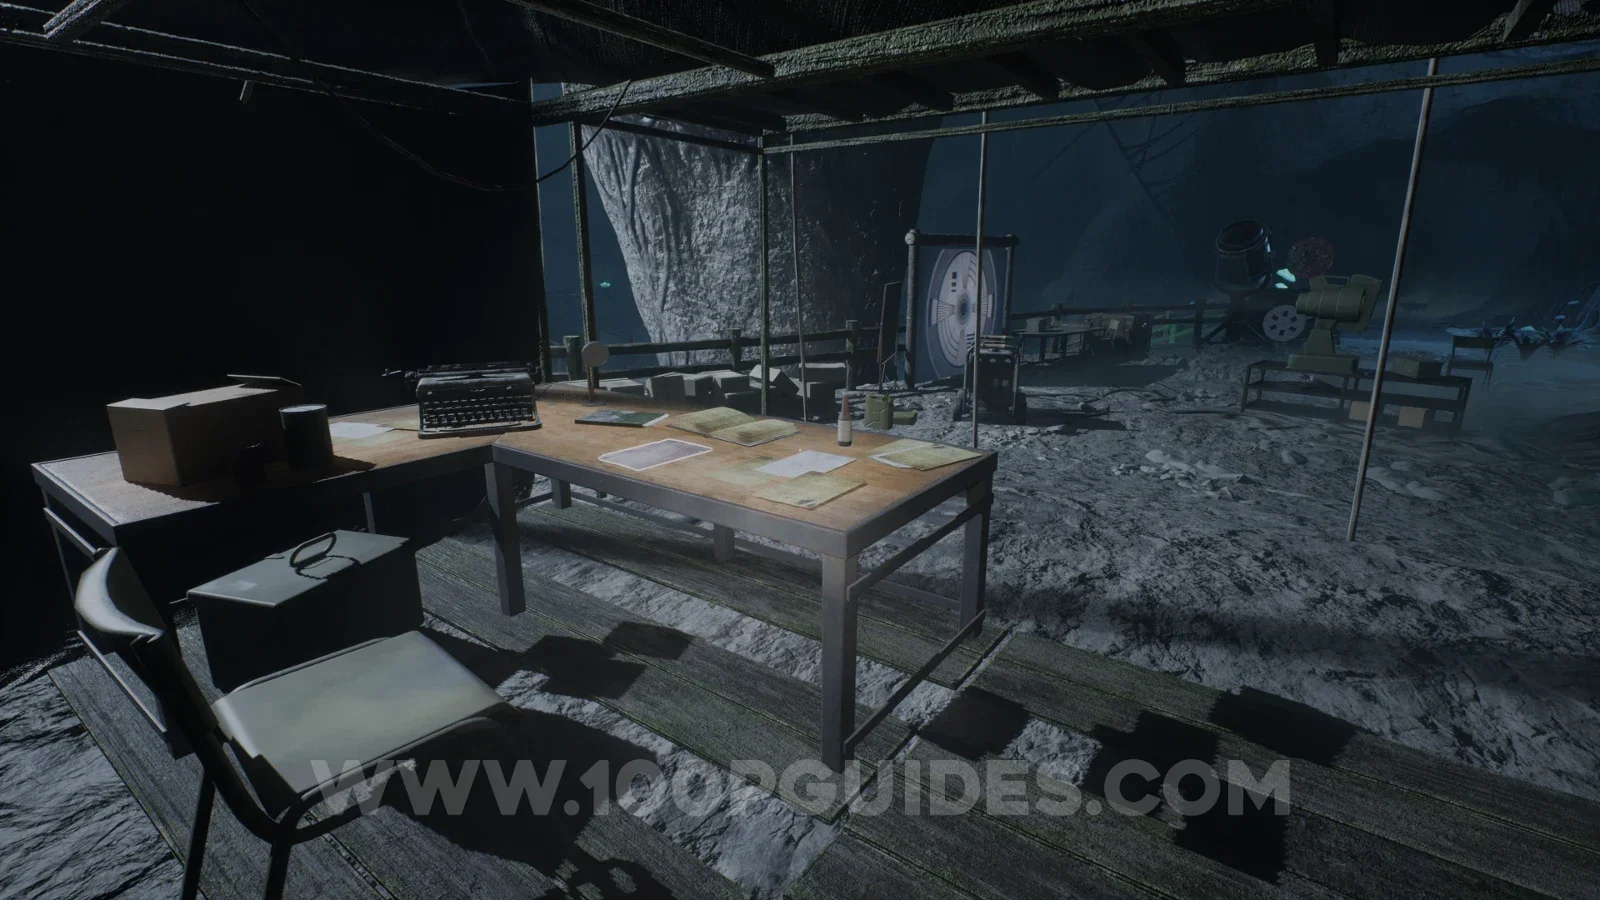
Note - Missing man
In the tent to the left of the projector found in the same tent area as the previous collectible.
Tape - Commander Ridgewater: Expedition Setup
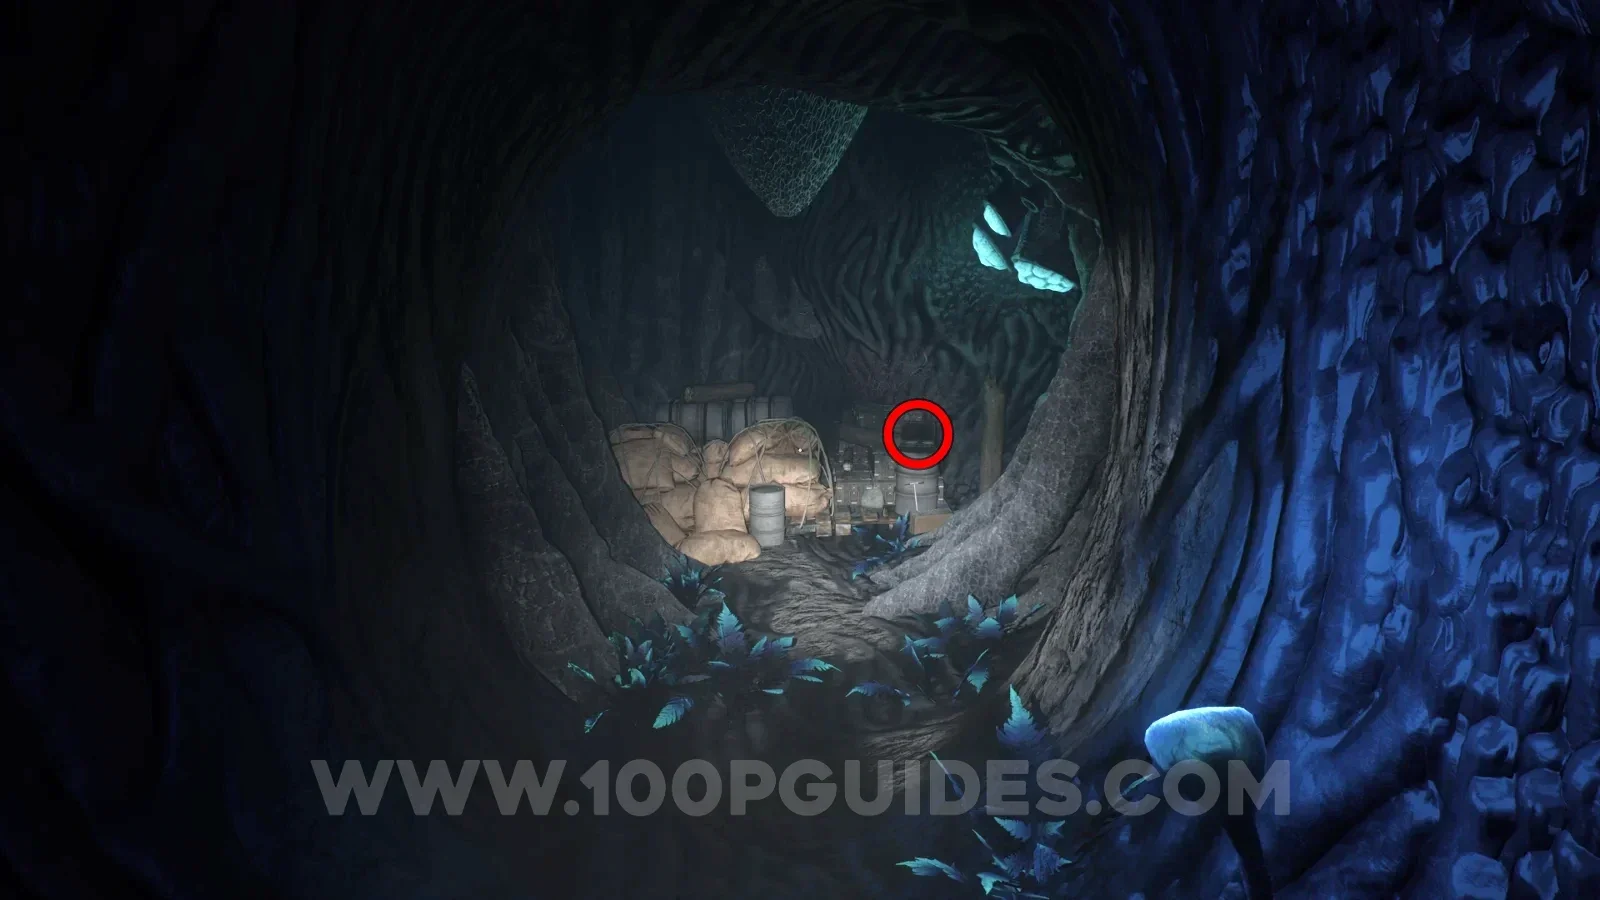
In the tent area where the previous collectibles were, head down the path under the yellow light (straight ahead from where you entered). The tape will be at the end.
Note - Been through it
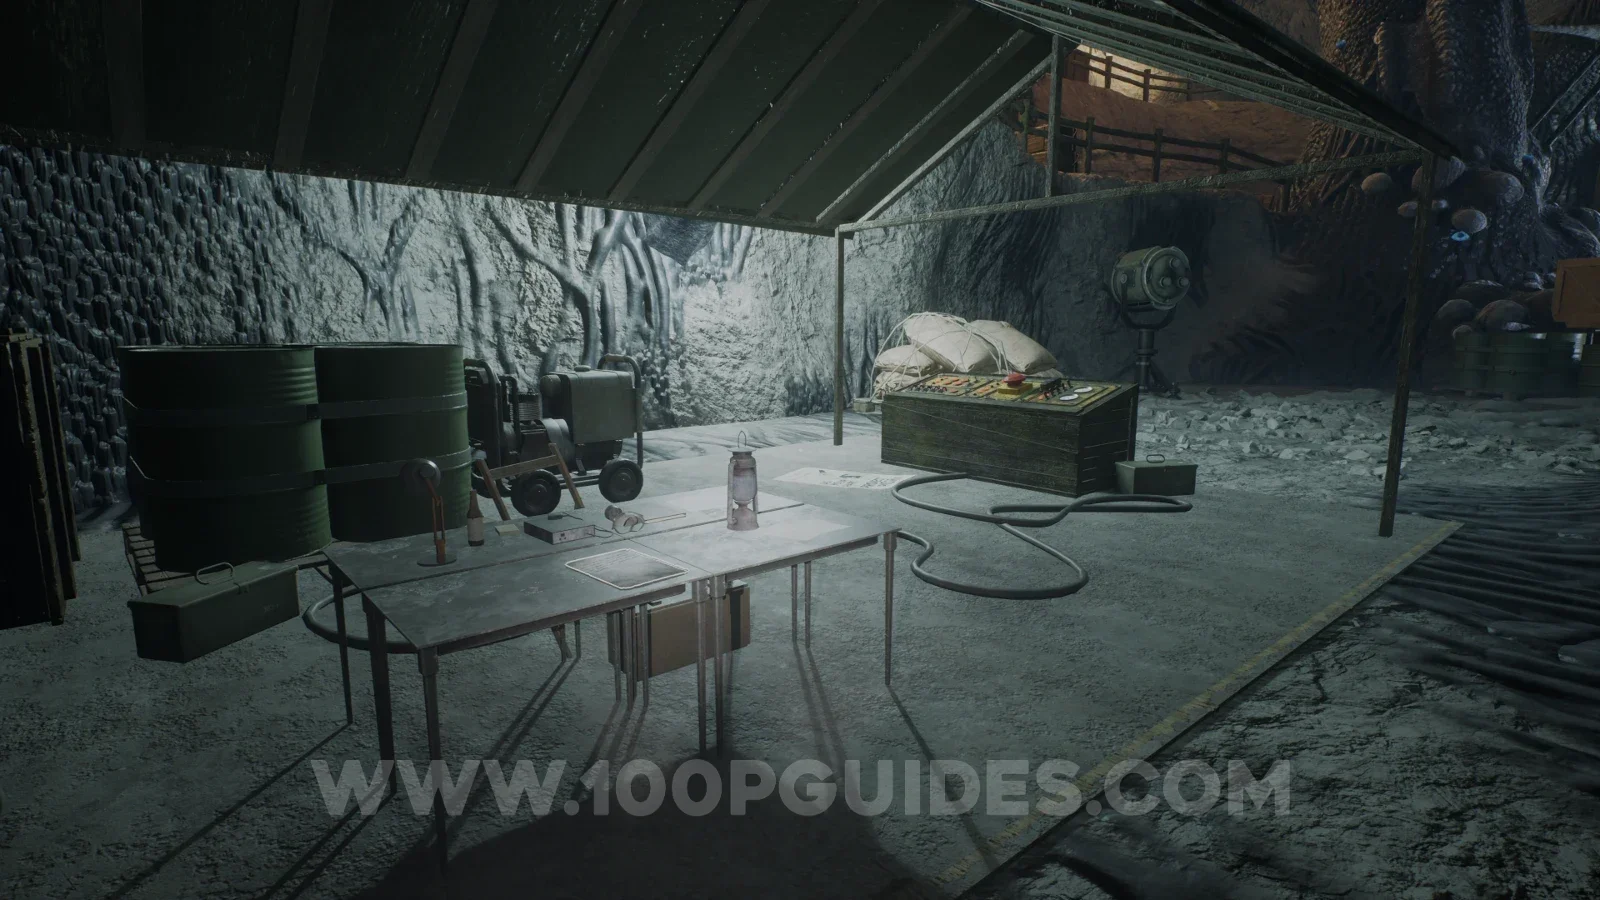
Continue through the level until you get to a button that brings down the counterweight. The note will be on the table next to the button.
Note - Hybrid survivor
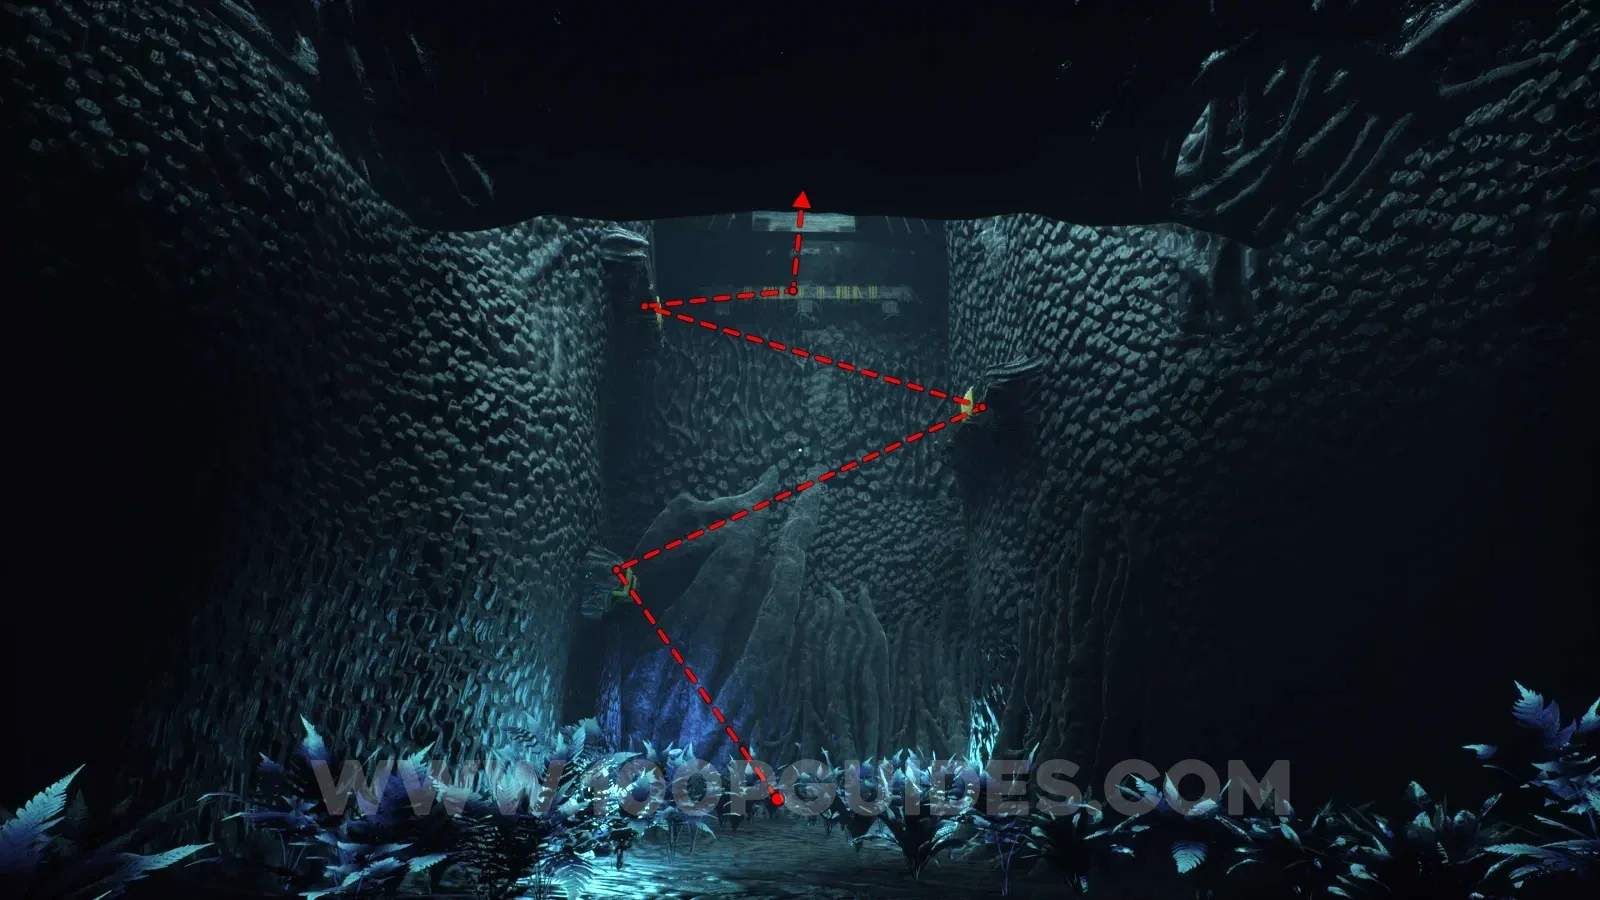
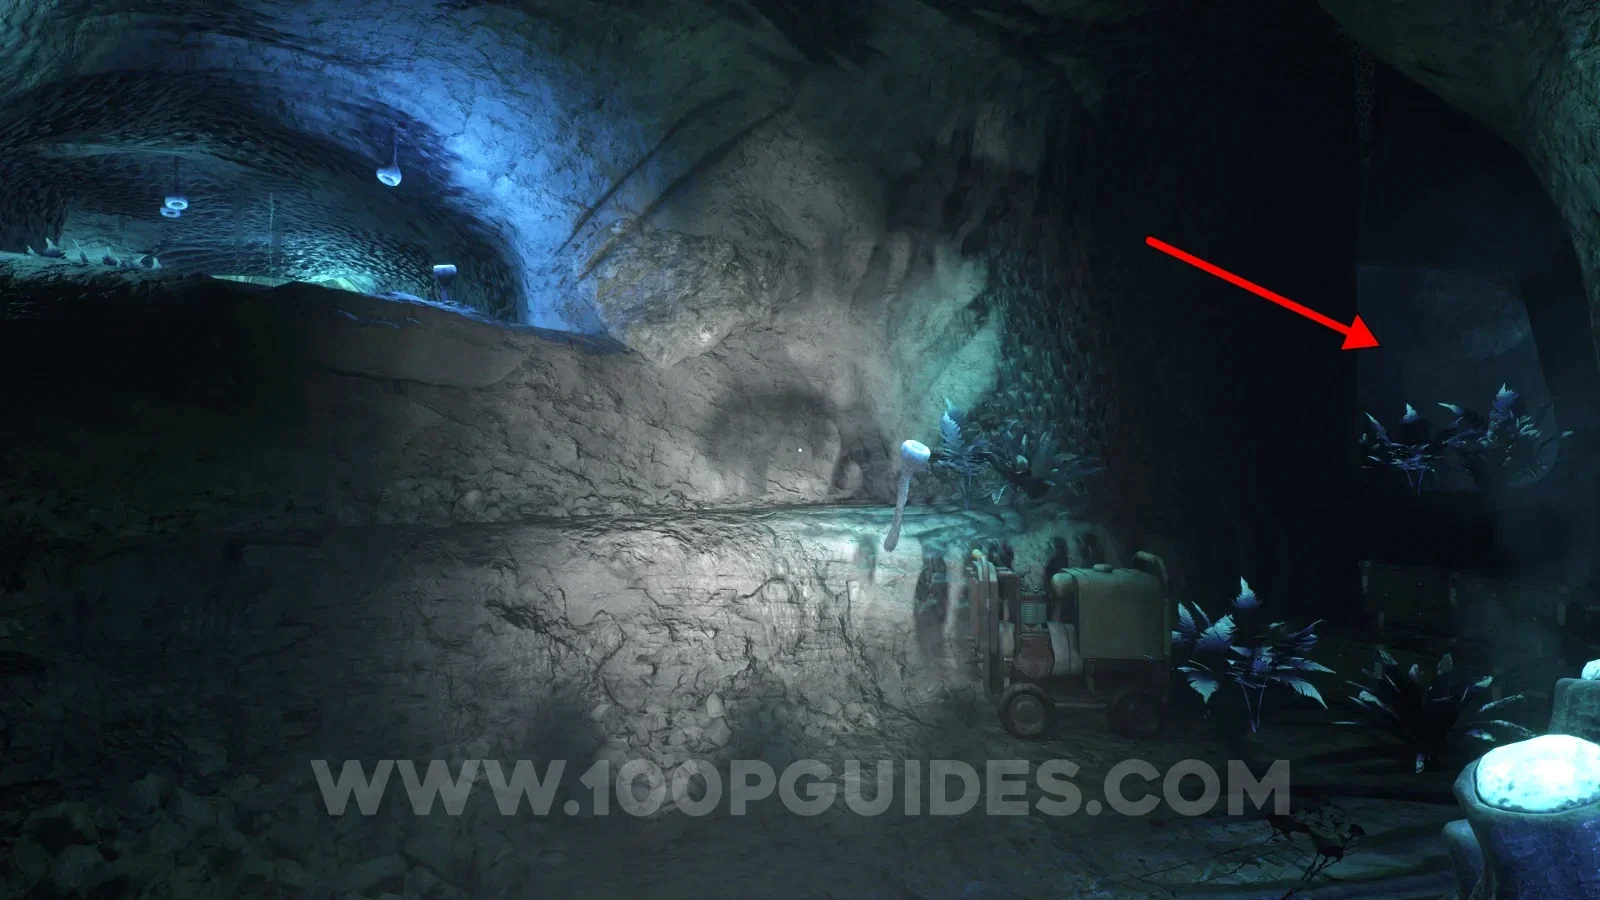
Continue through the level until you climb a section by jumping from wall to wall with yellow grabbing points. Soon after that, you will get to a small area with a generator, some step-like platforms and a hole on your right. Go through the hole on the right next to the generator and then, on the other side, climb up to your left to find the note below you.
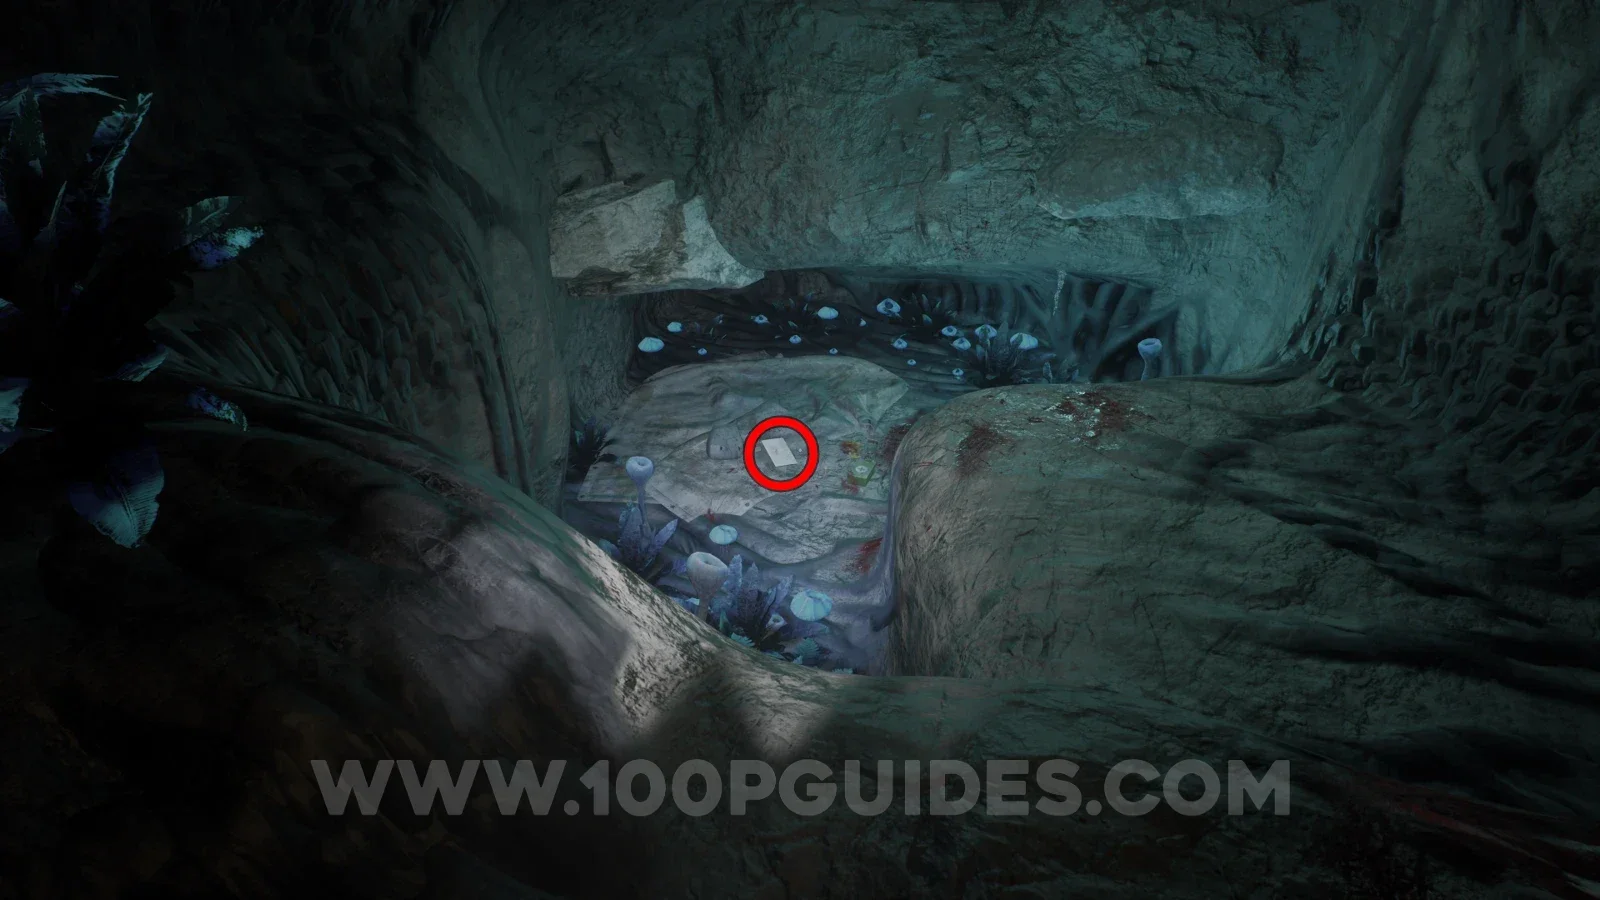
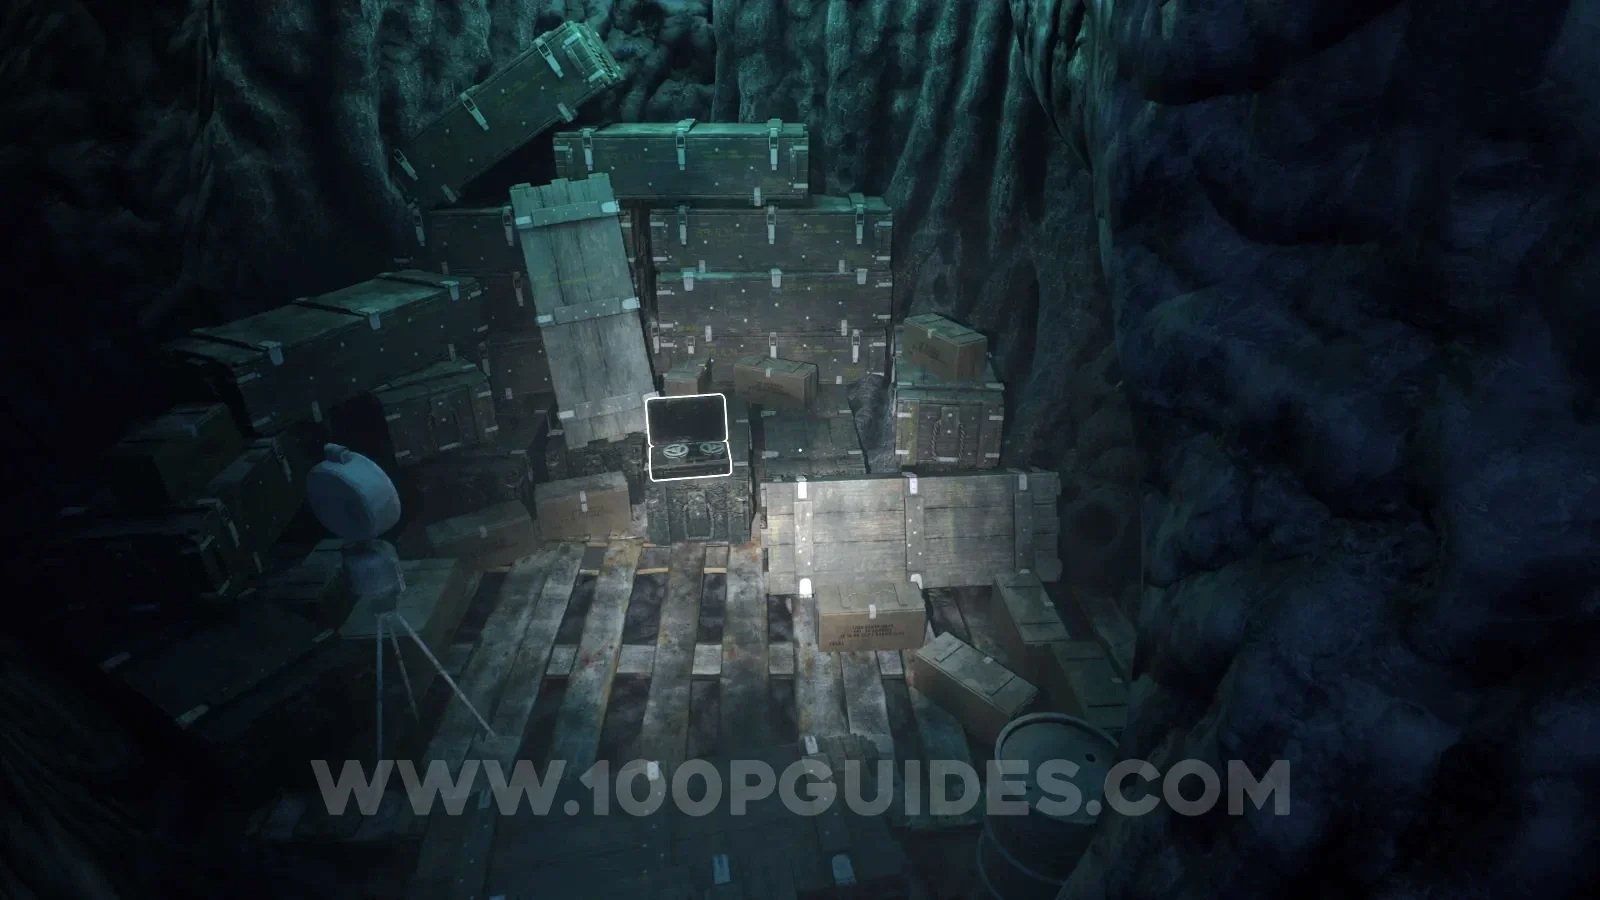
Tape - Lt. Maxwell: After Action Report
In the same area as the previous collectible. From the note, turn around, climb up and head left to find it next to some boxes.
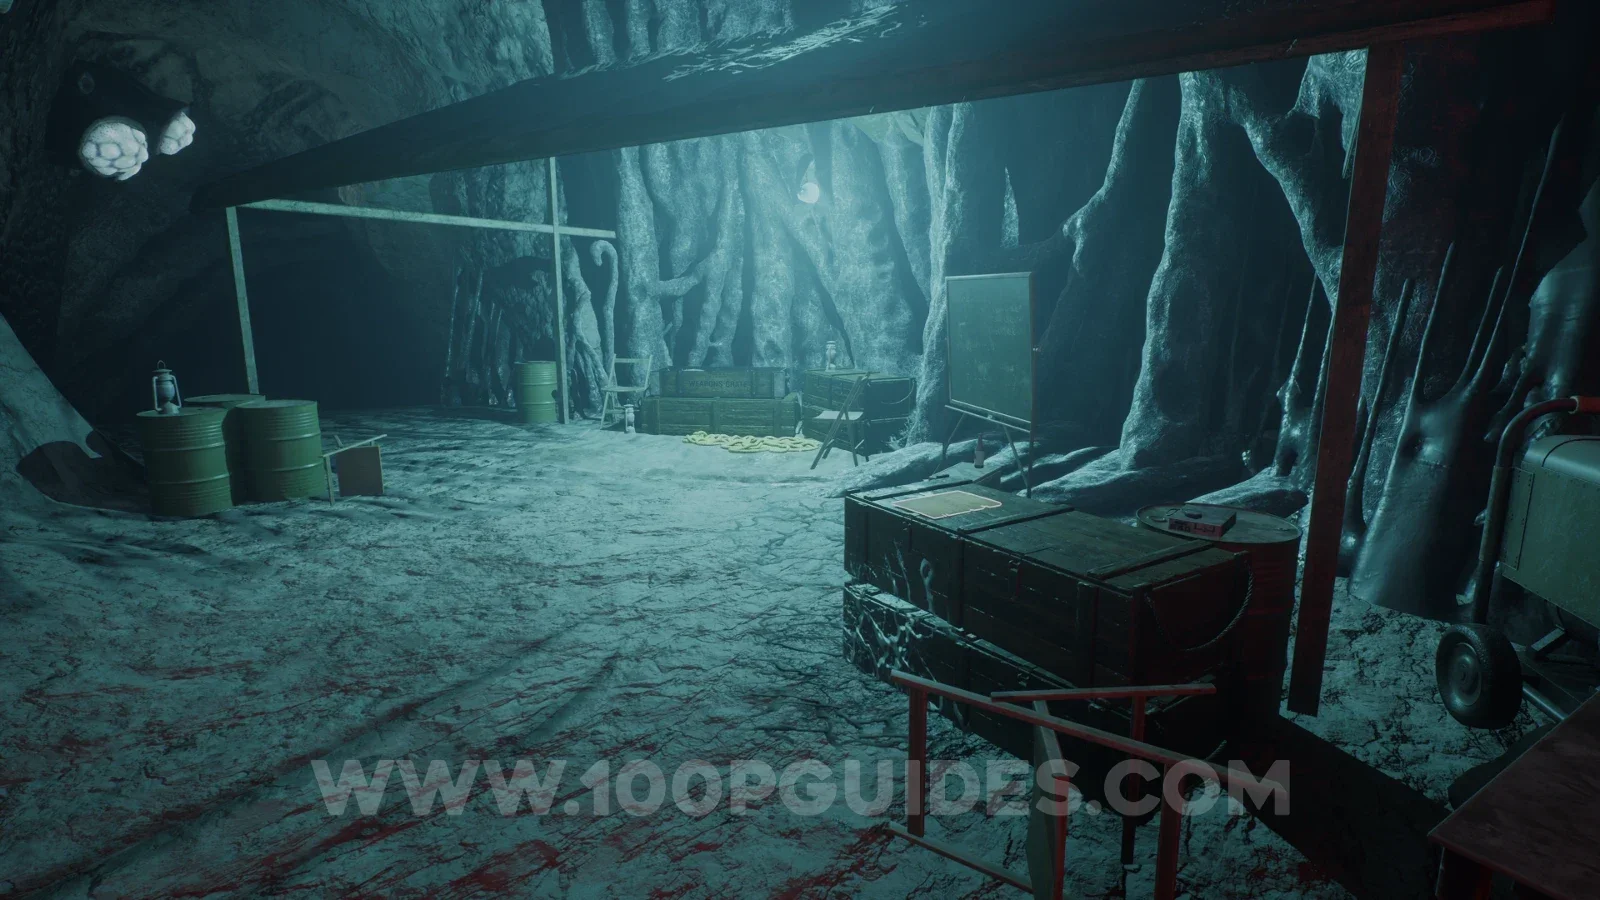
Note - Tommy Guns
Continue on the main path and you will see this note in plain sight as you go through the next small camp where you get the tommy gun.
Note - Shooting at ghosts
On your right as soon as you slide down after the previous note.
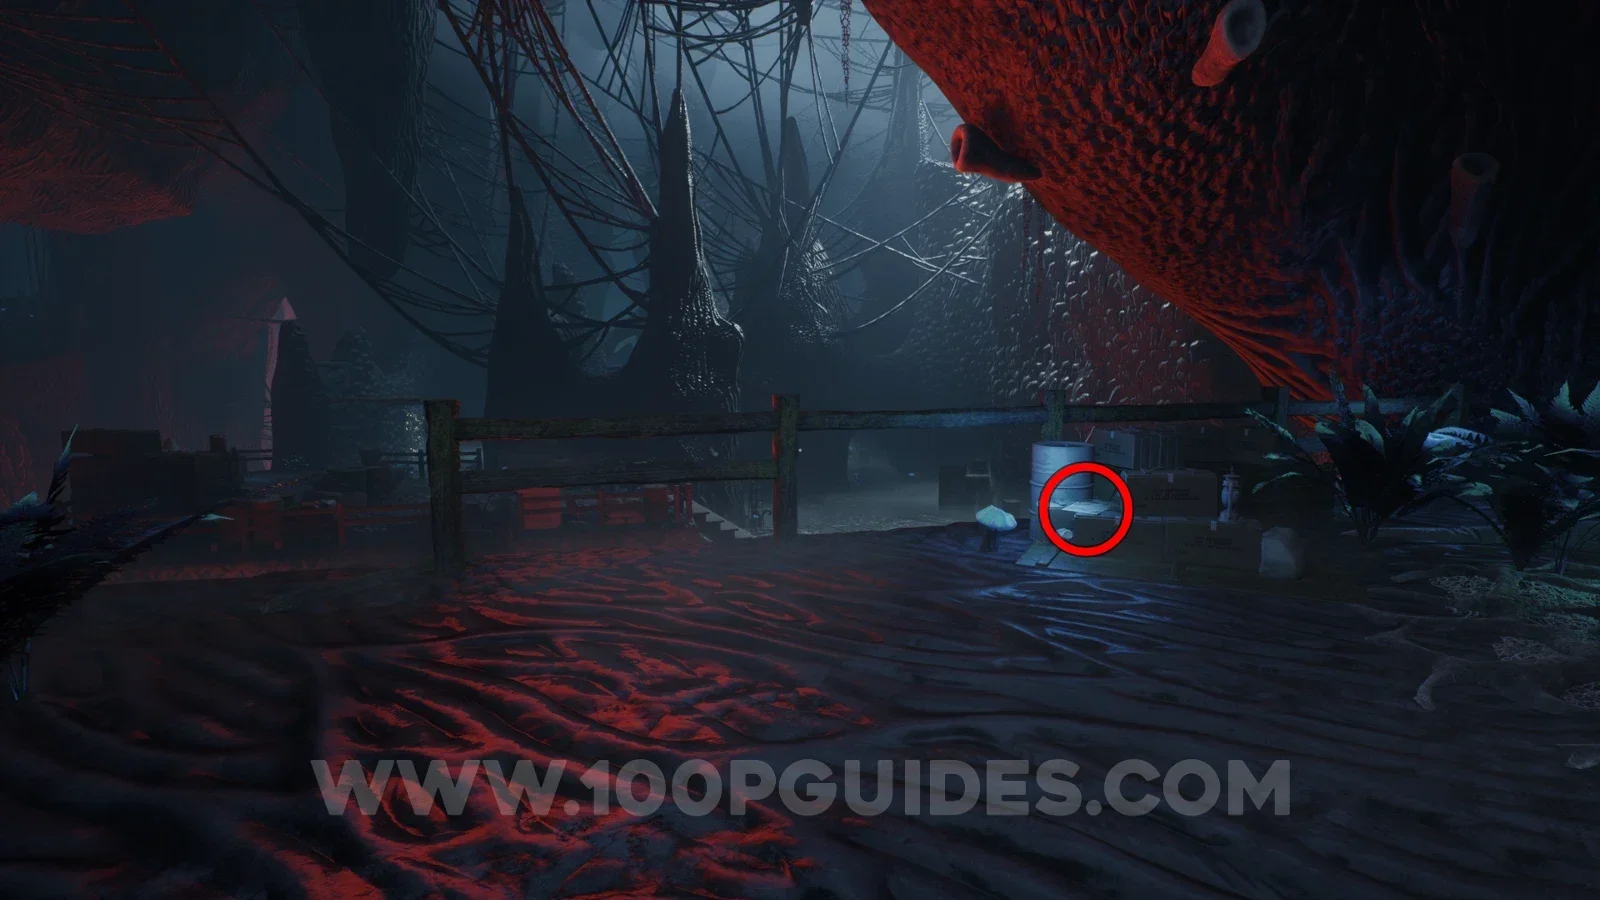
Note - Sustained volume of Fire
After meeting the boy, swing across to the right and you will then see the note on your right.
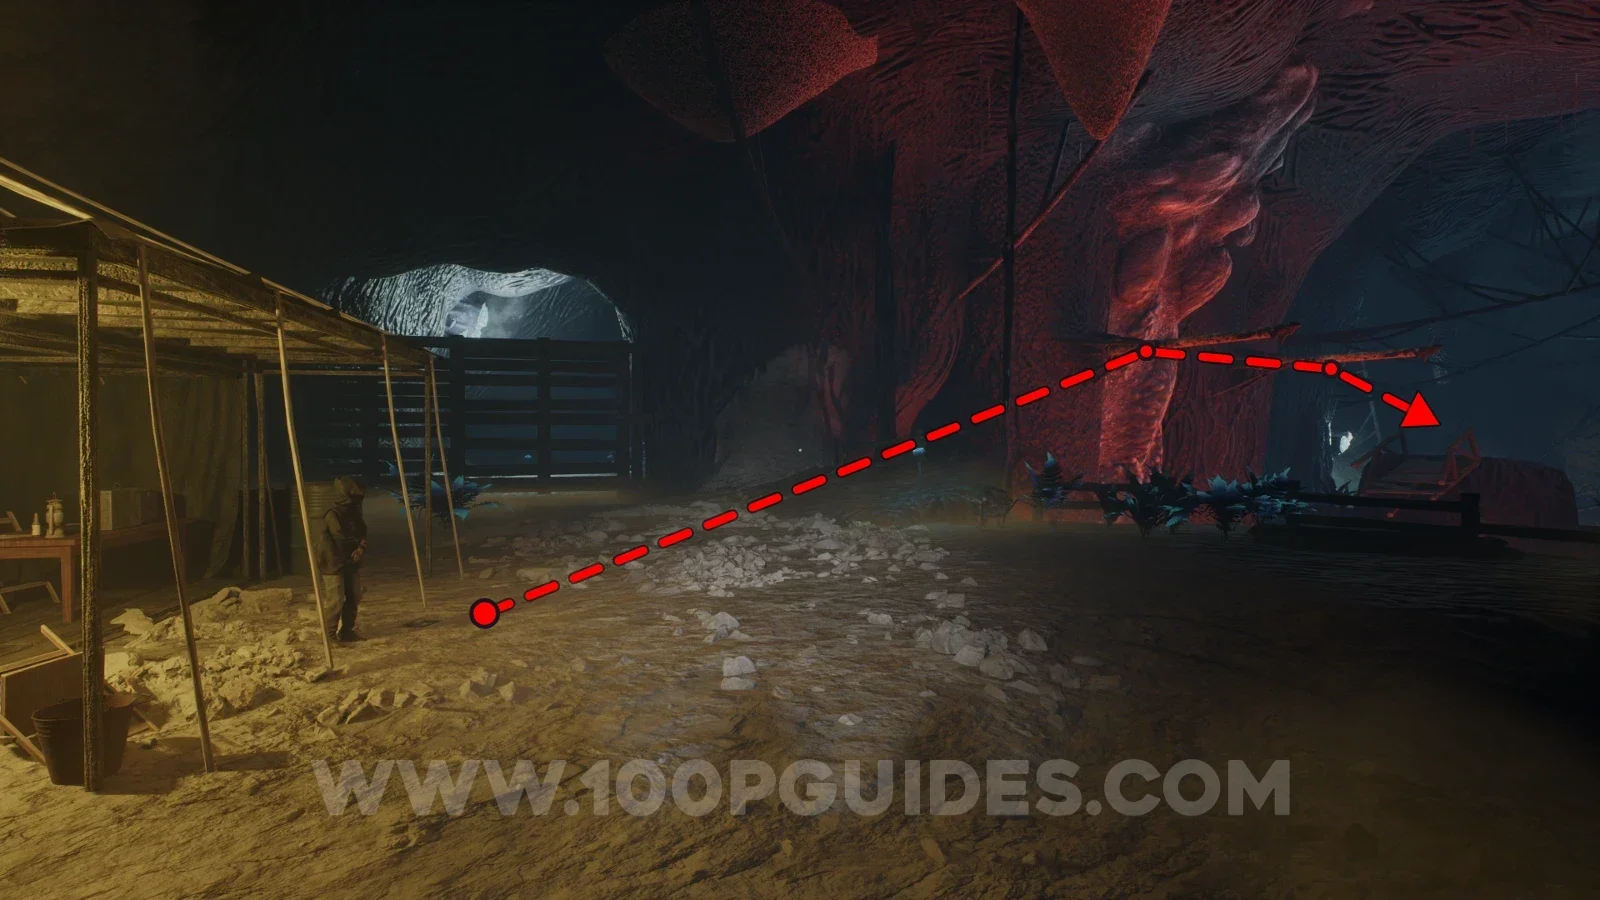
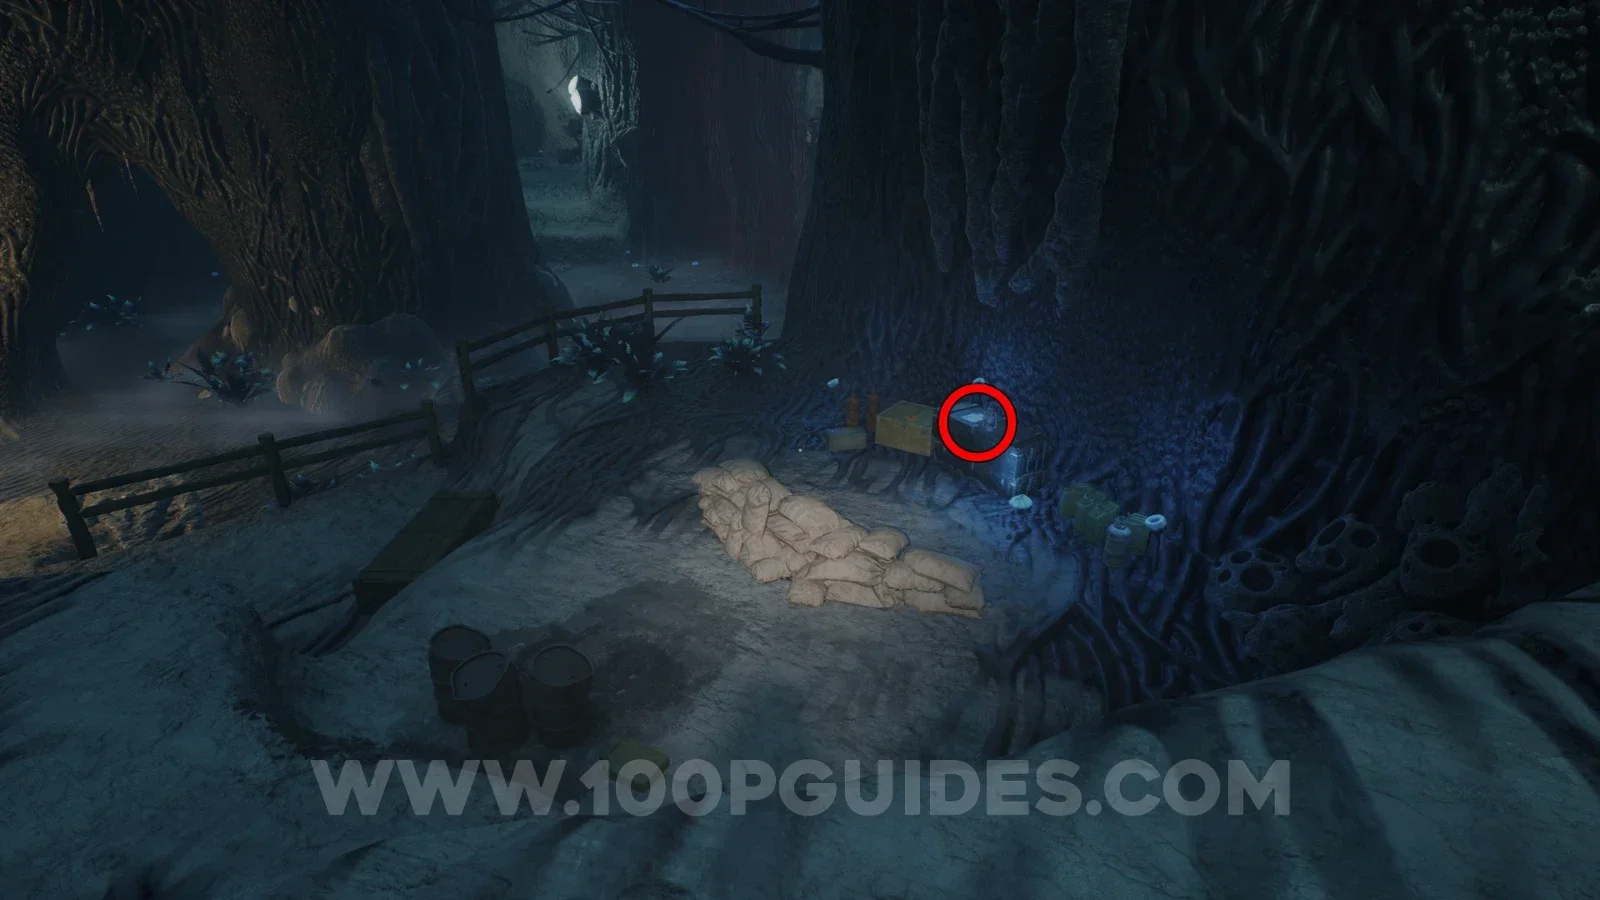
Note - Hunting Commies
In the large open area where you have to find the working tommy gun, head up the stairs just outside the room where you pick up the claw and then watch the video on the recorder. The note will be on a box.
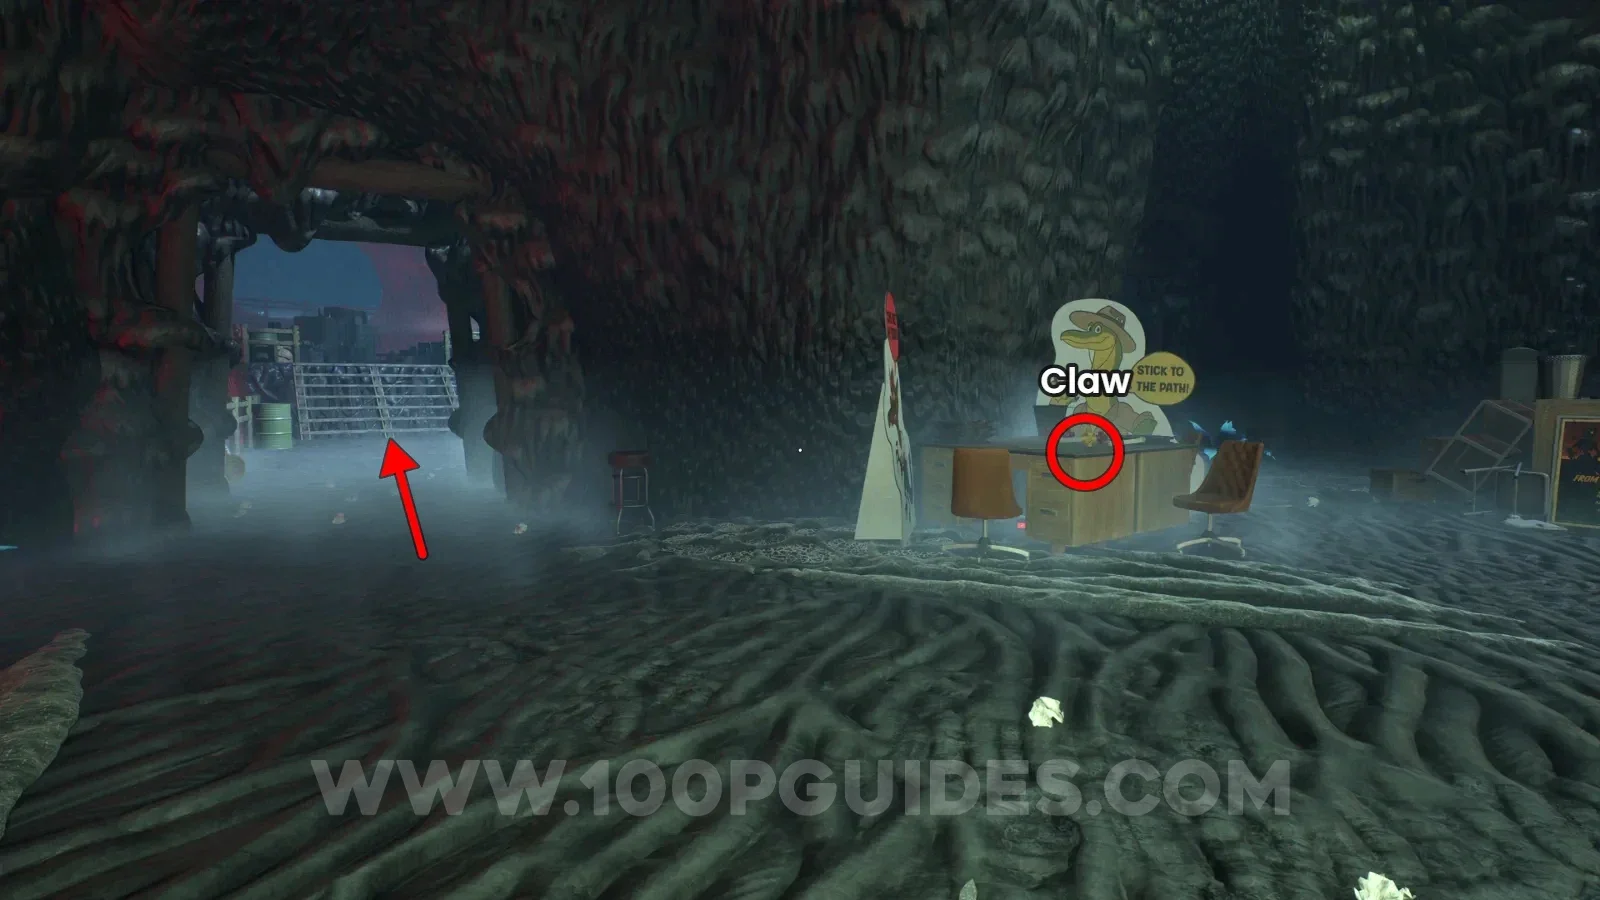
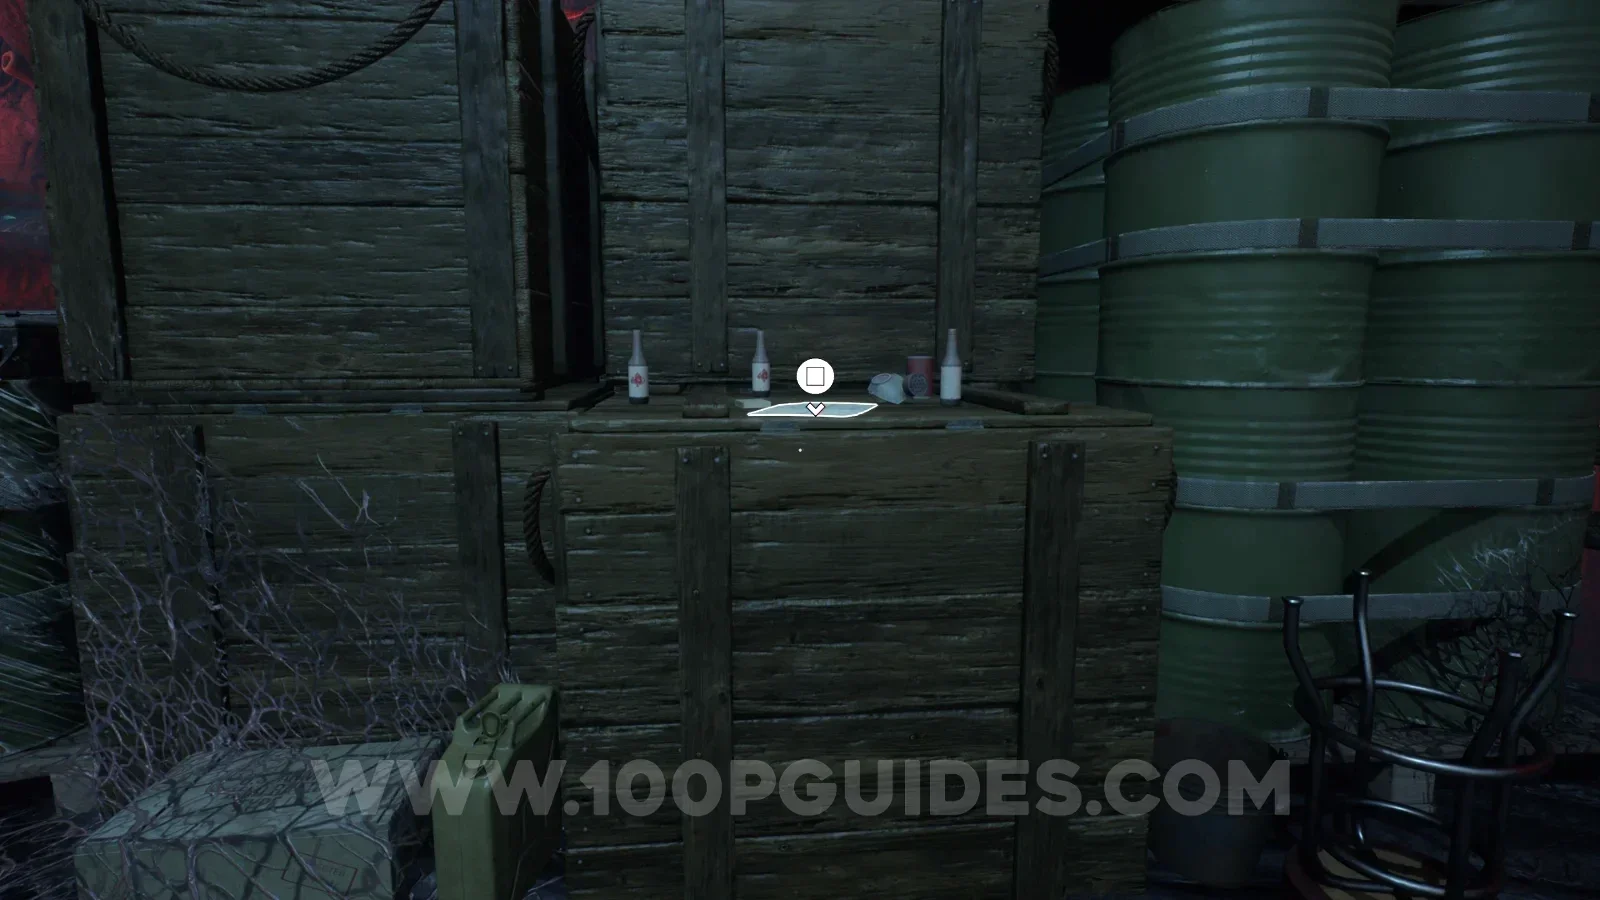
Note - Soldier's letter home
After the next chase scene you will be in another camp. The note can be found in the tent on the right.
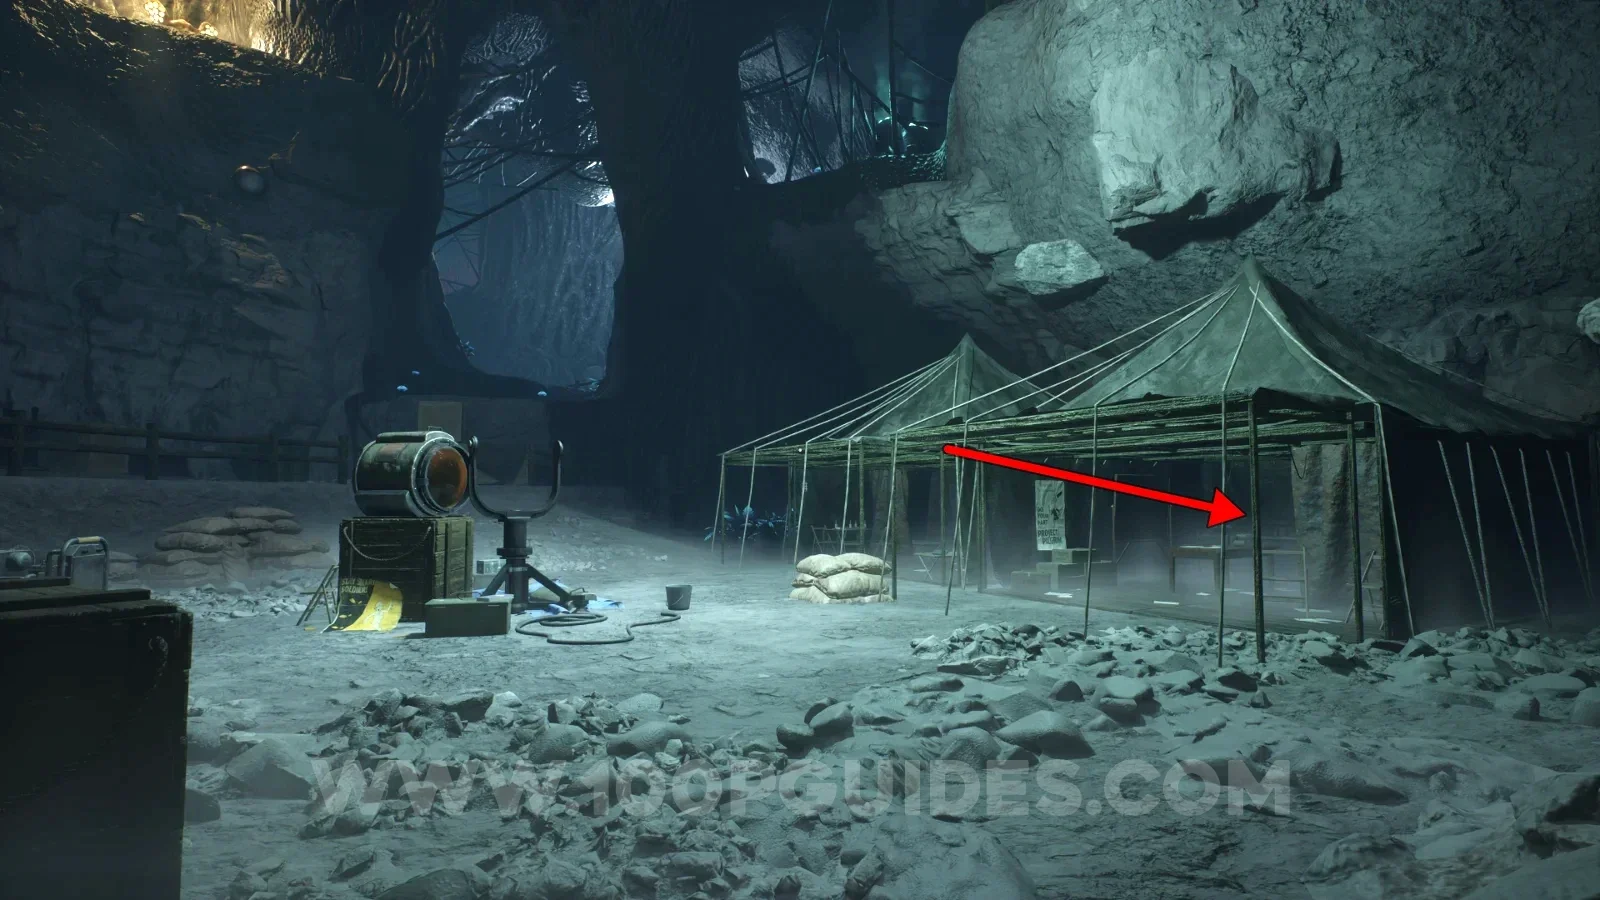
Tape - Commander Ridgewater: The Special Light Spectrum
On the left side of the same camp as the previous collectible.
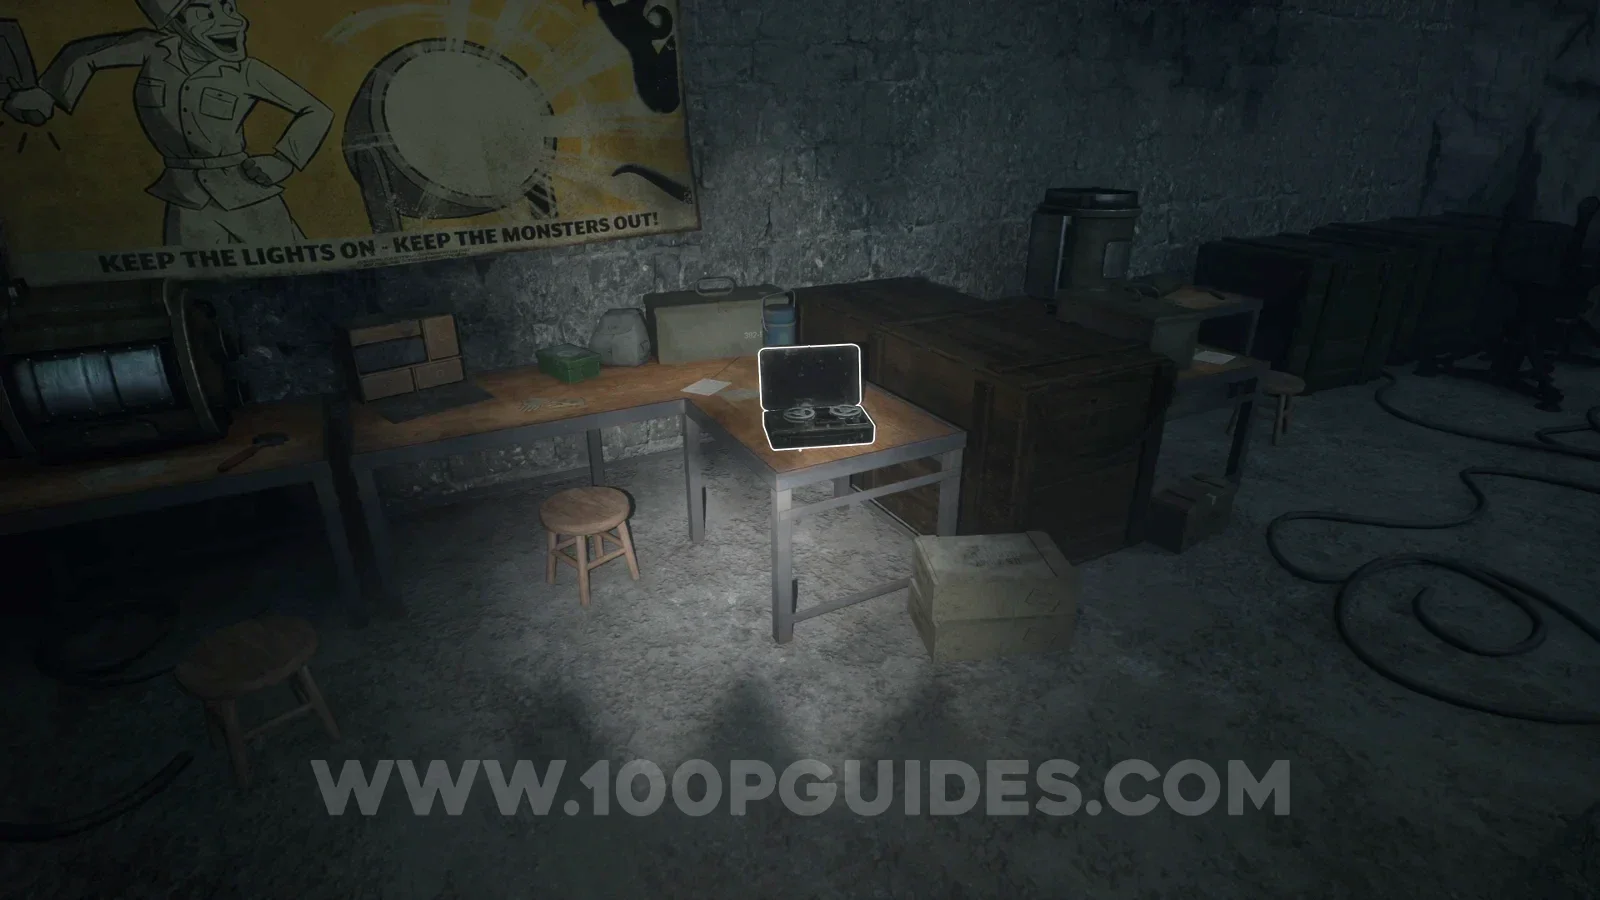
Sample - Amber Specimen 14
Just after the camp where the previous collectibles were, you will use some bouncy goo to get over a red void. Then, swing across two yellow poles. As soon as you land after the yellow poles, look down the hole on your left to find the amber.
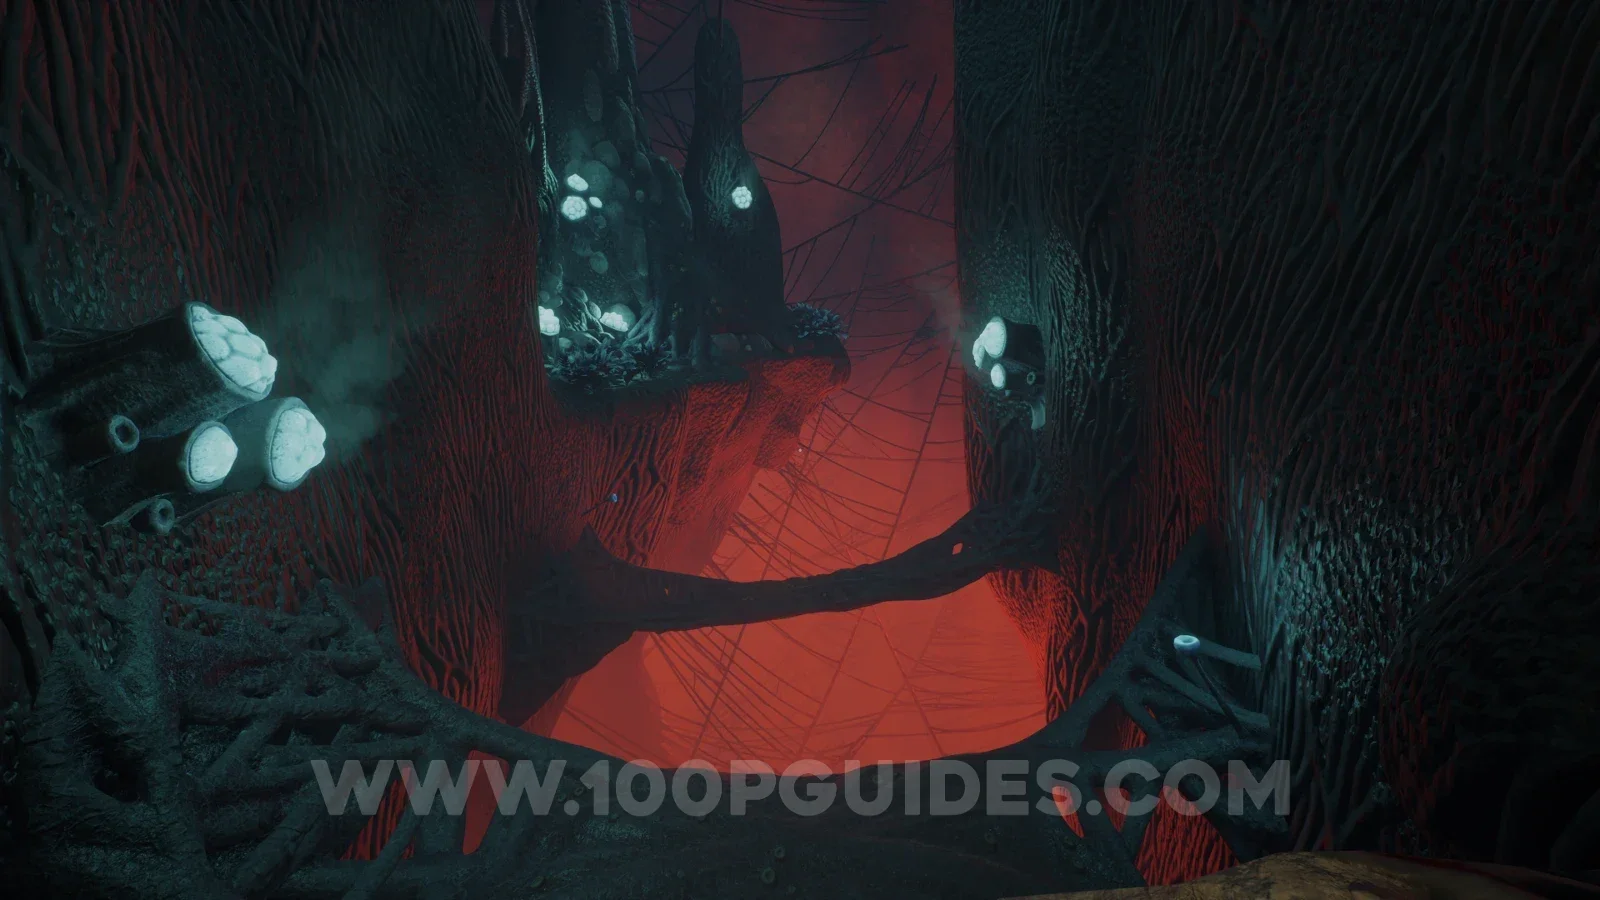
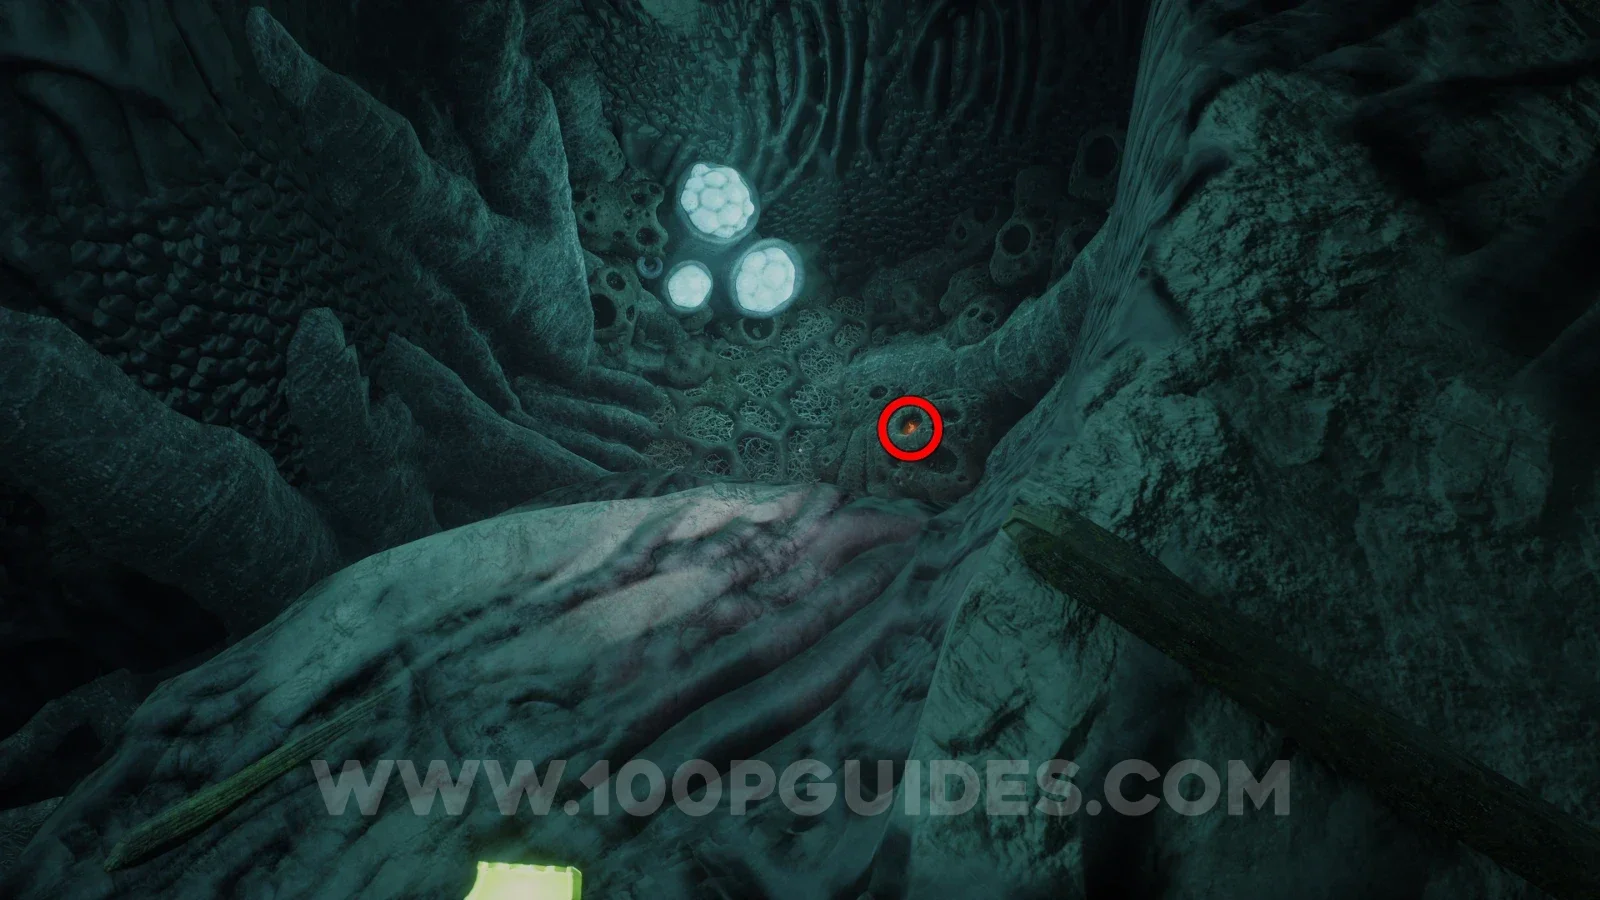
Note - Missing fossils
After continuing through the level a little more, you will bounce on another bouncy goo and then see a tent on your right. The note can be found here on a table.
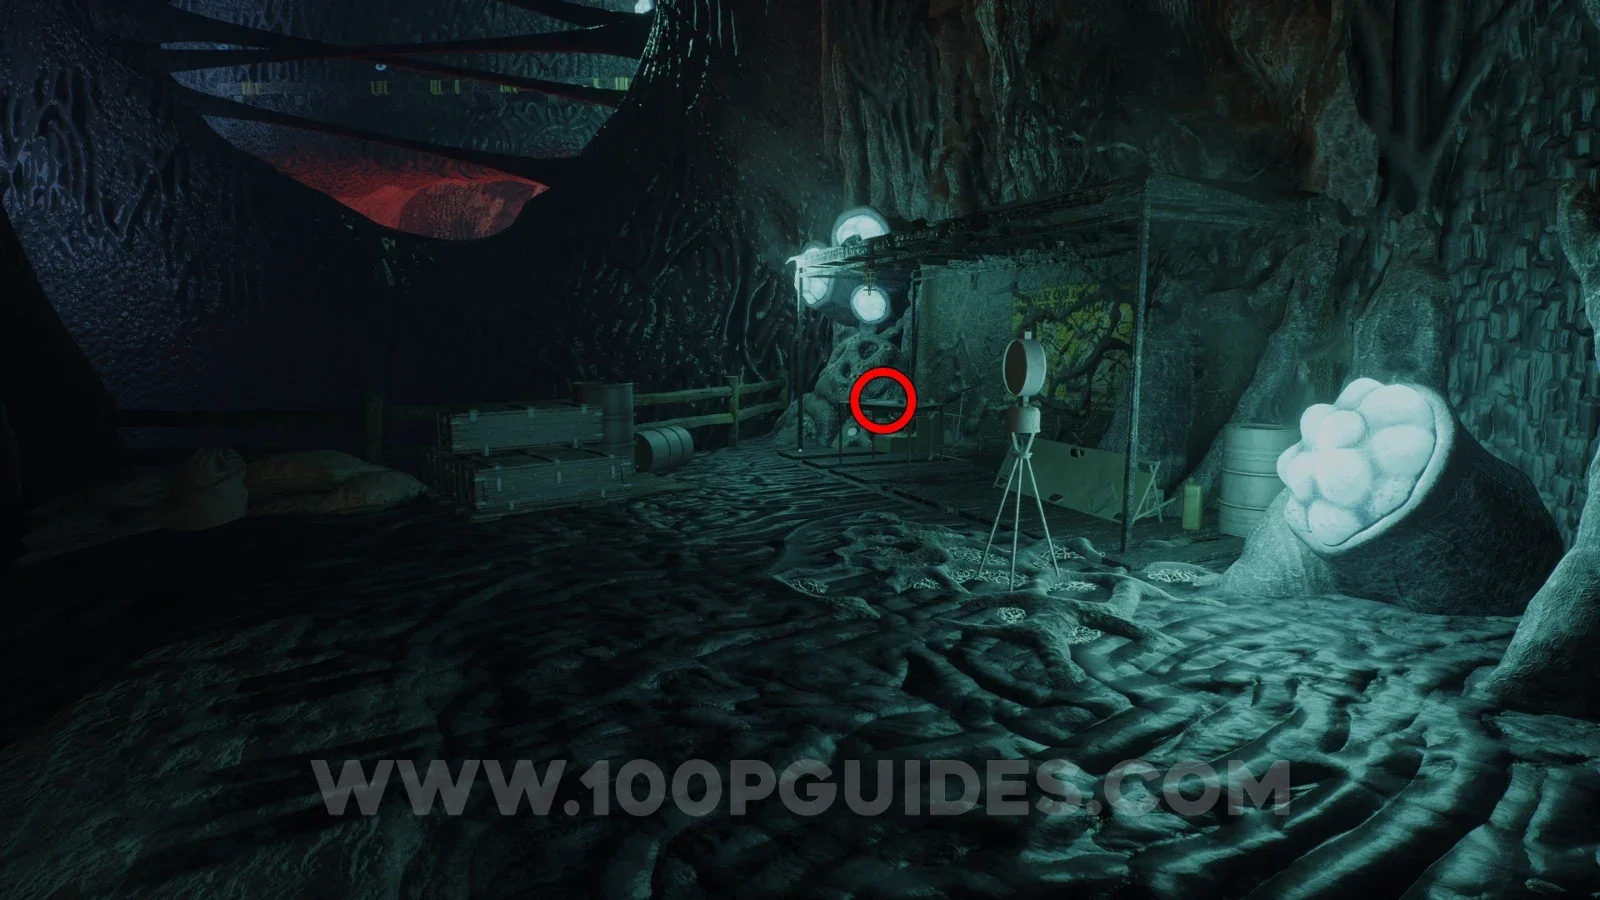
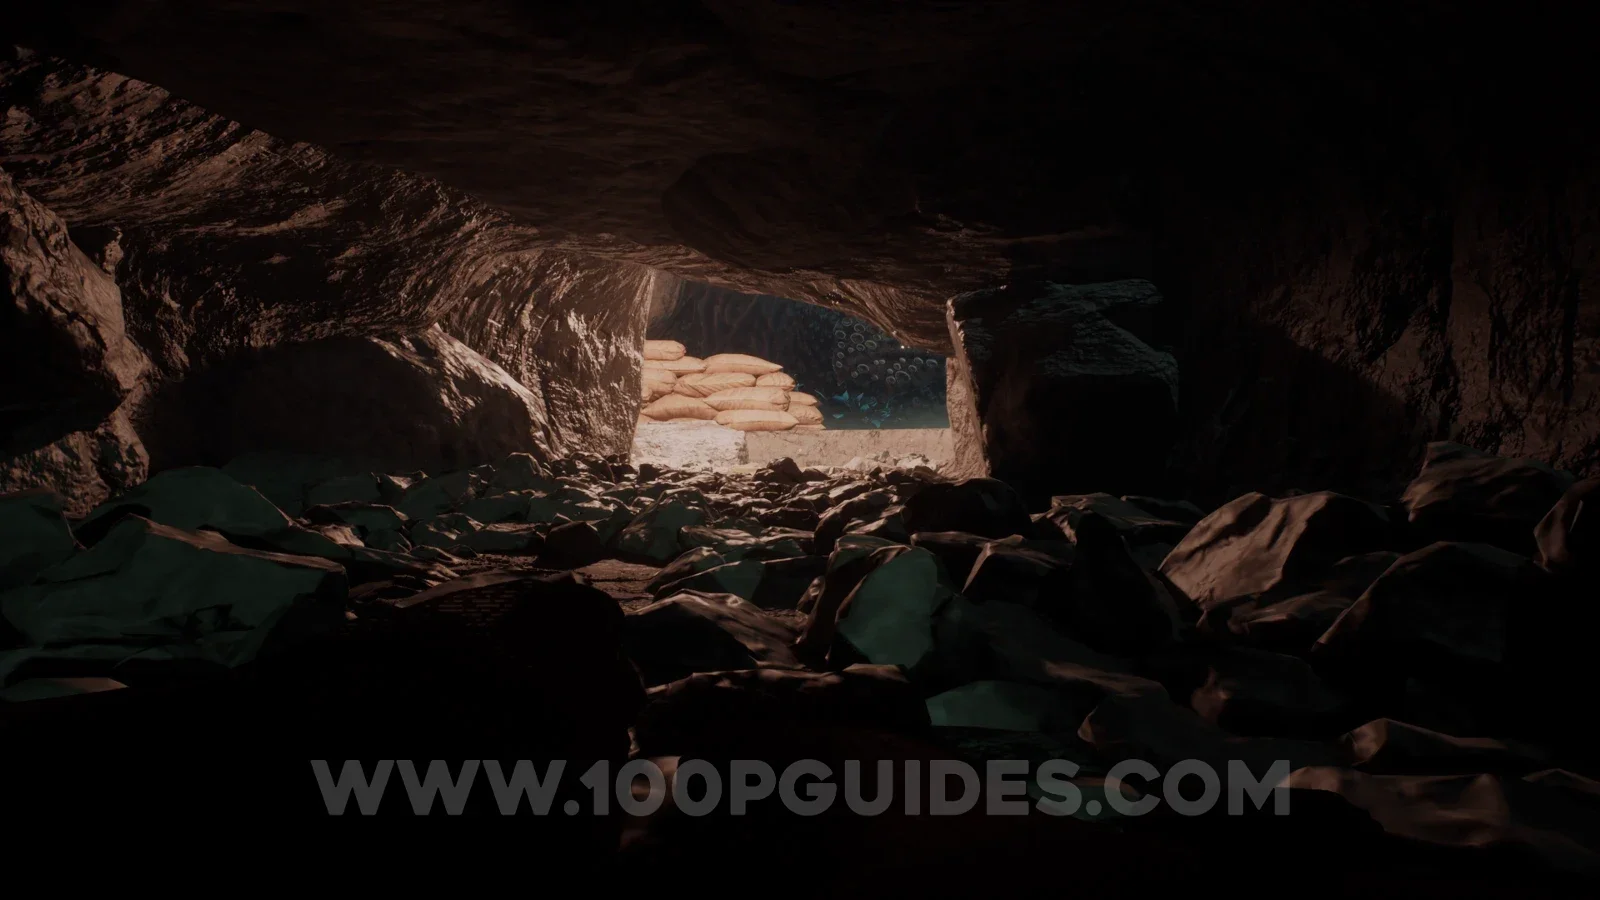
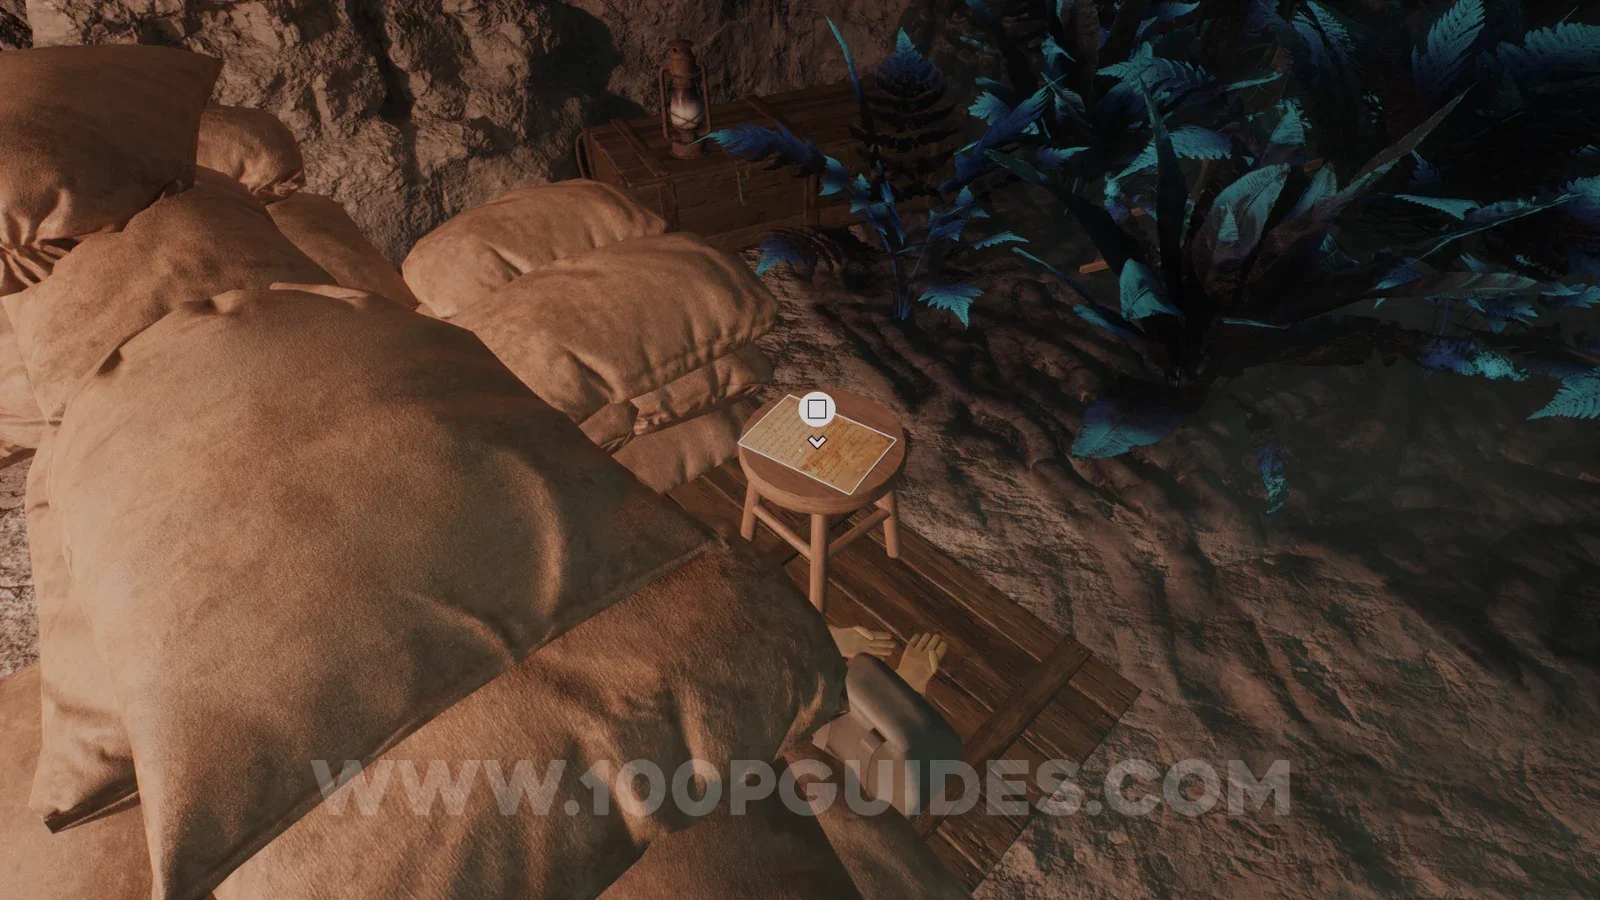
Note - Dinosaurs!?!?
Continue until you crawl through a tight tunnel. As soon as you come out the other end you will see the note behind the sandbags.
Note - Patriotism
Once you reach the large open area with loads of cars and tents, you can find the note in the car on the wooden ramp.
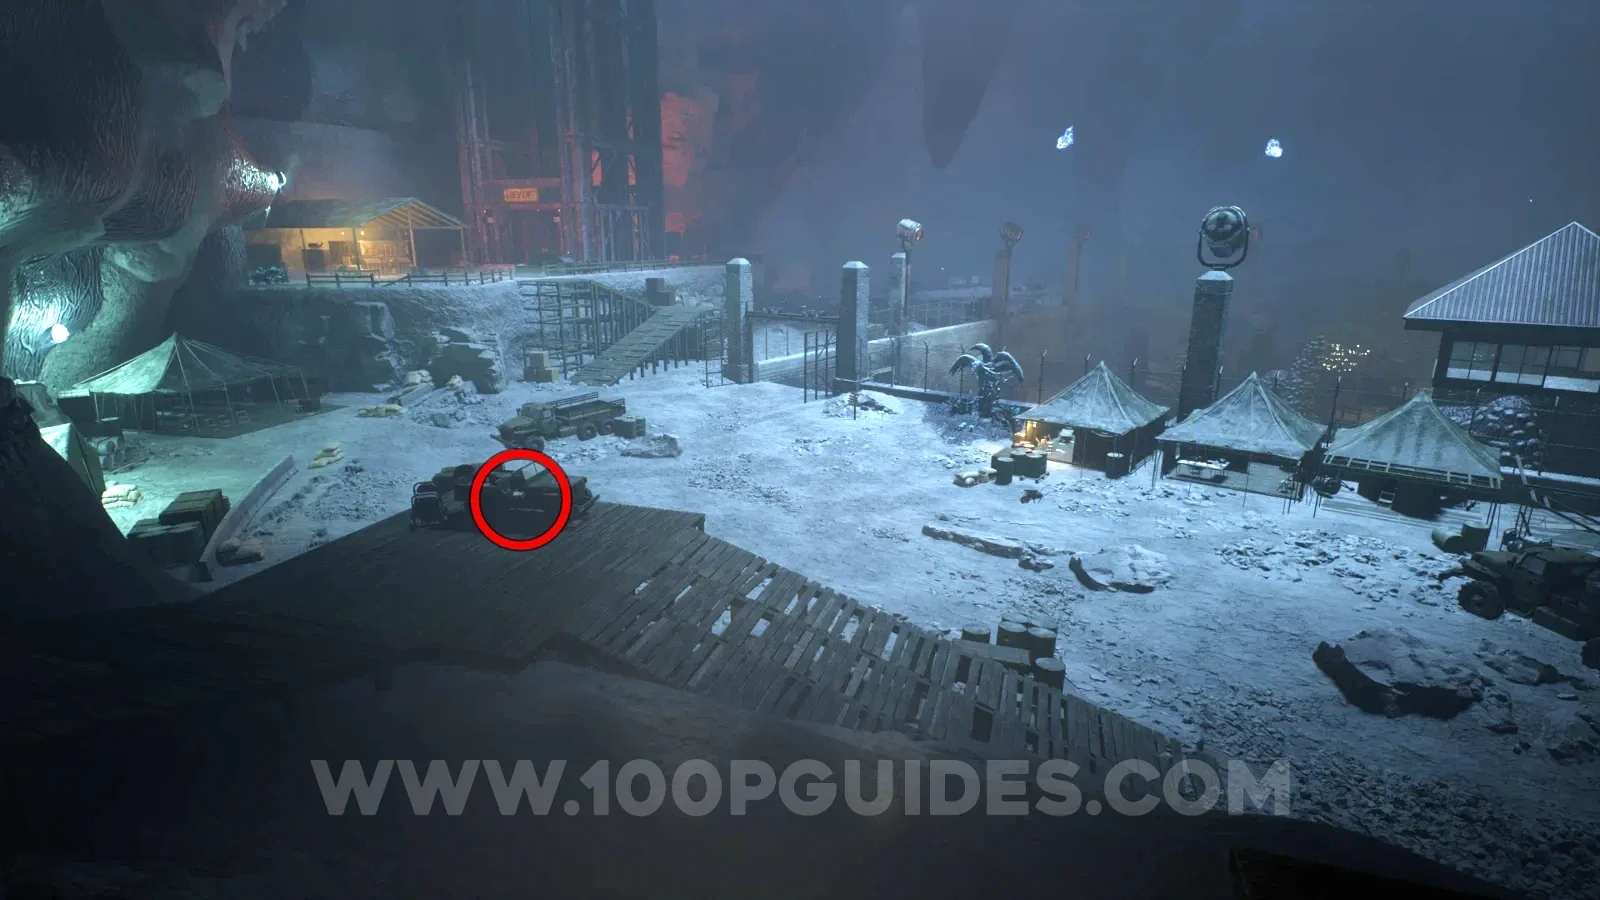
Note - Sitewide Memo
In the tent to the left of the car where the previous collectible was.
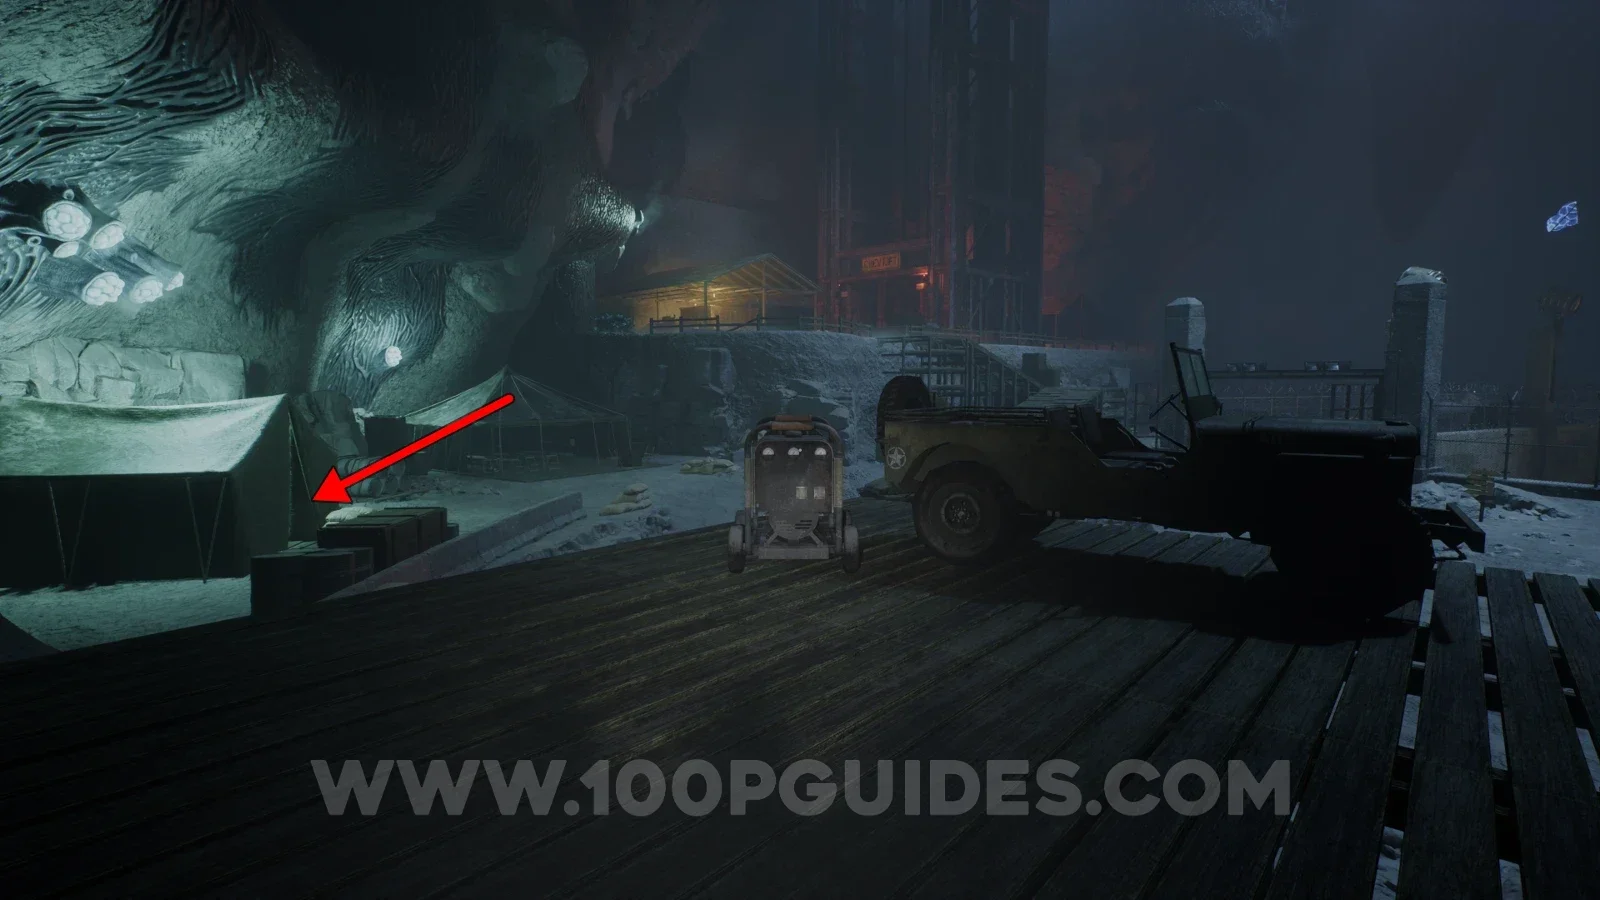
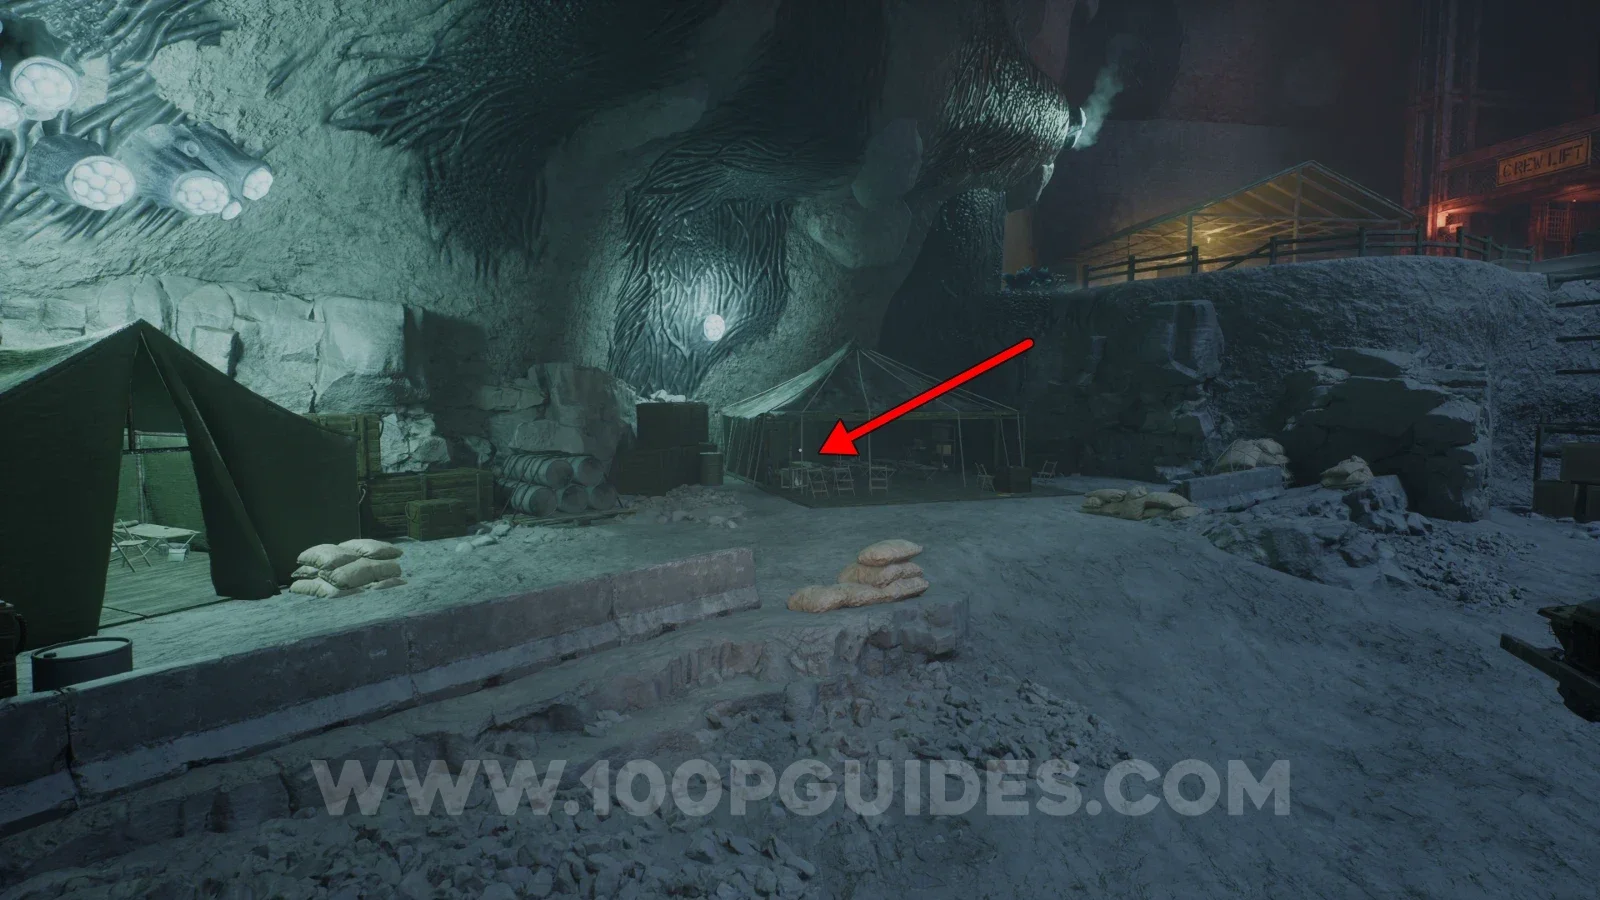
Note - Don't eat it
In the next tent along from the one where the previous collectible was.
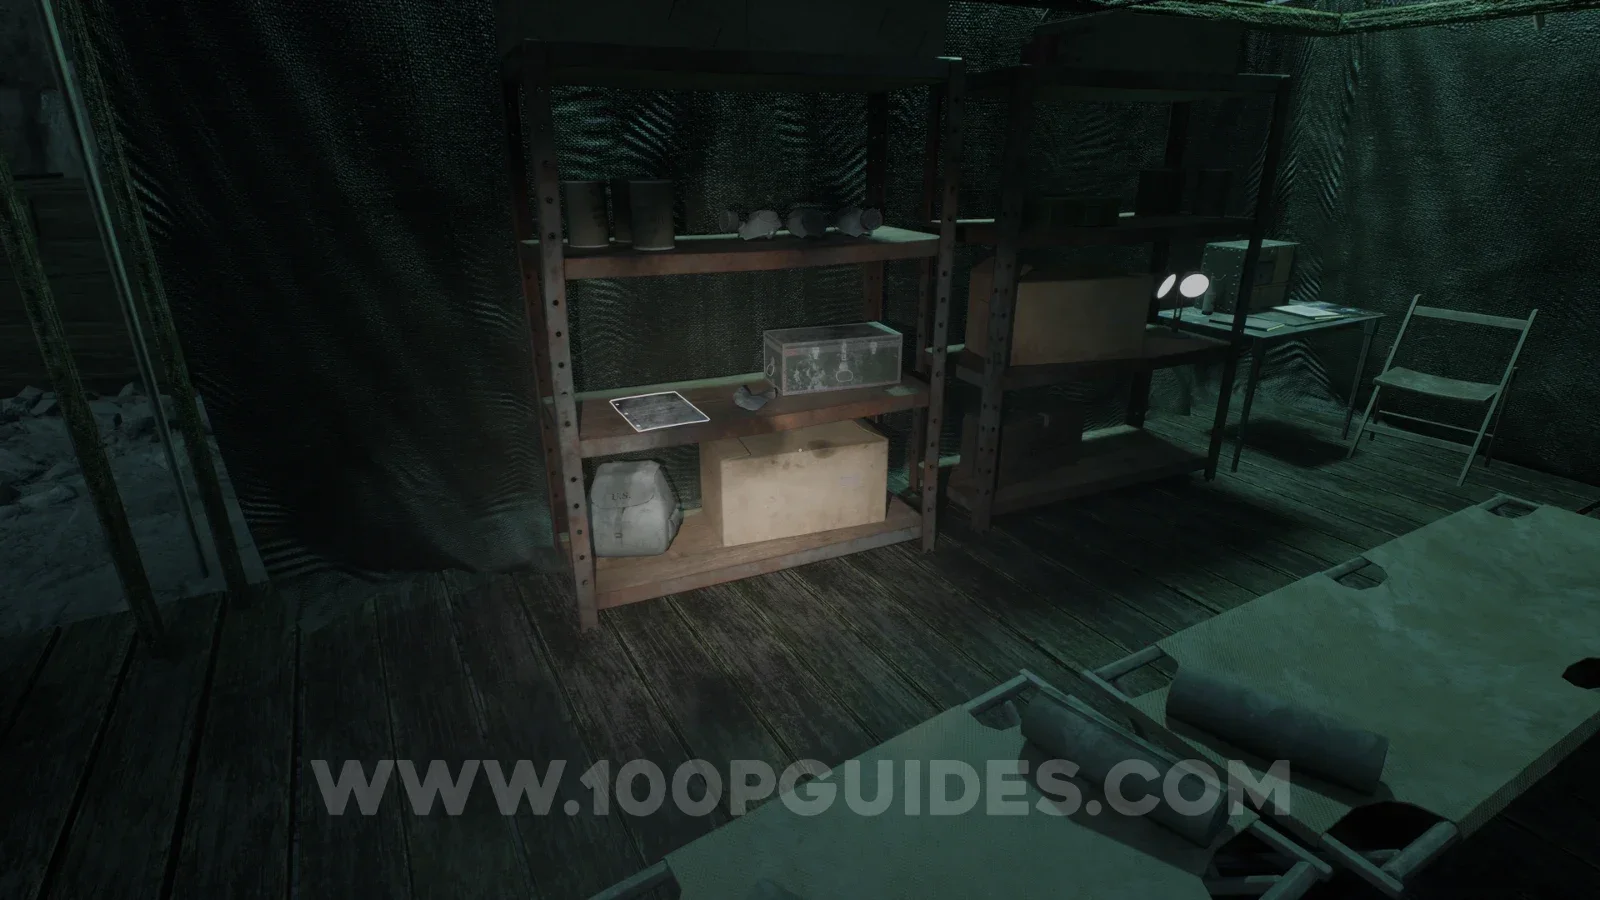
Note - Evacuation plans
On a table next to the massive tall lift shaft in the large open area.
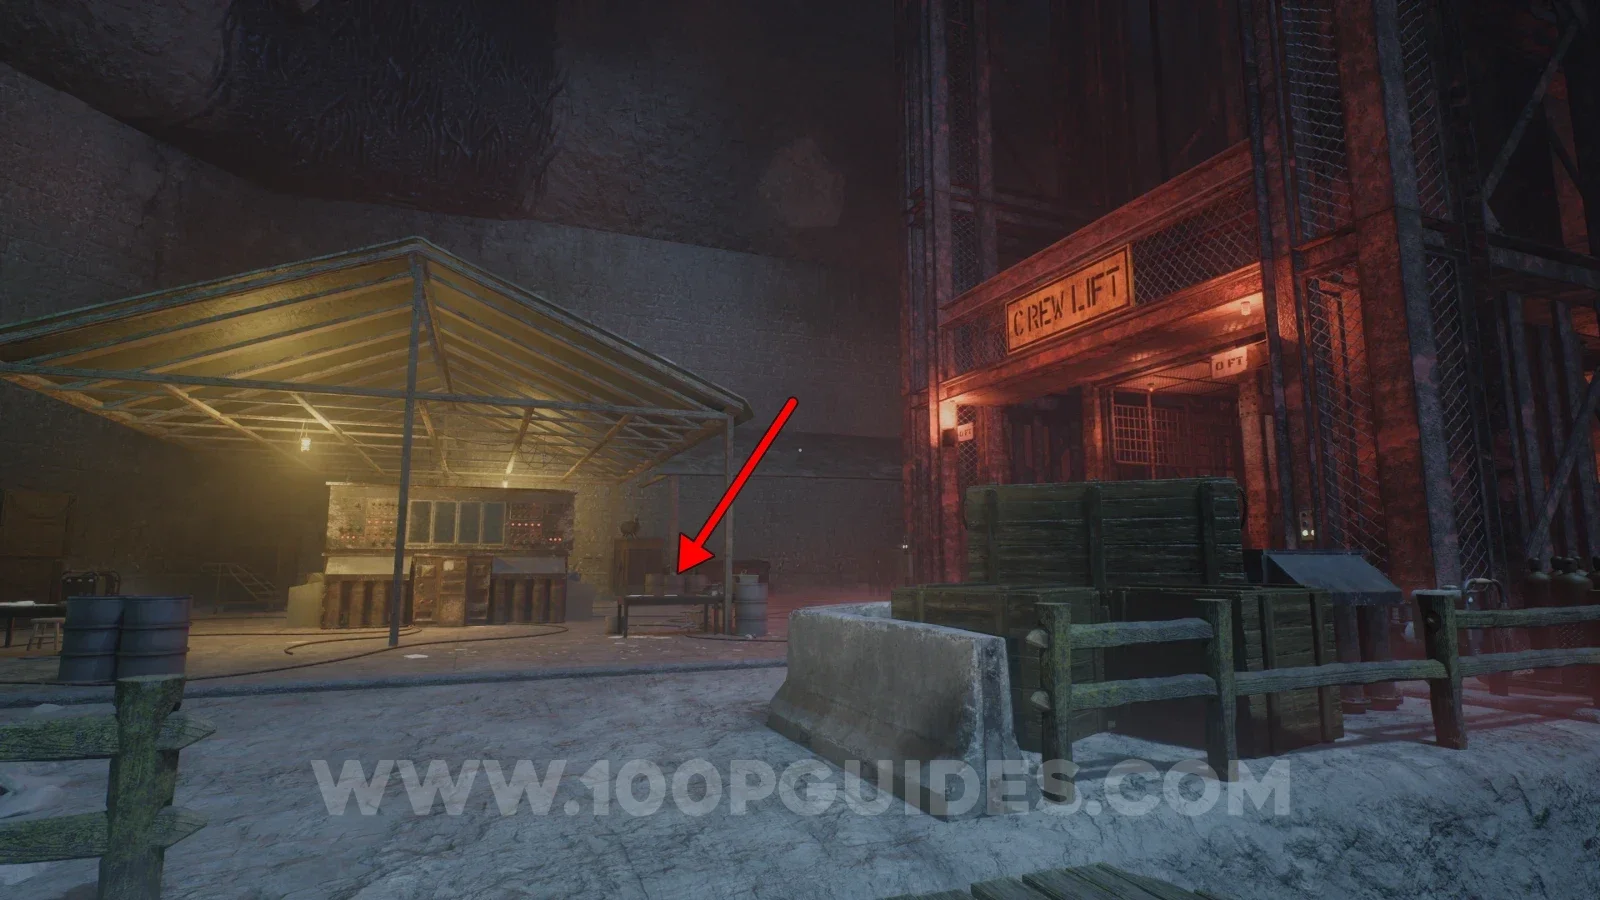
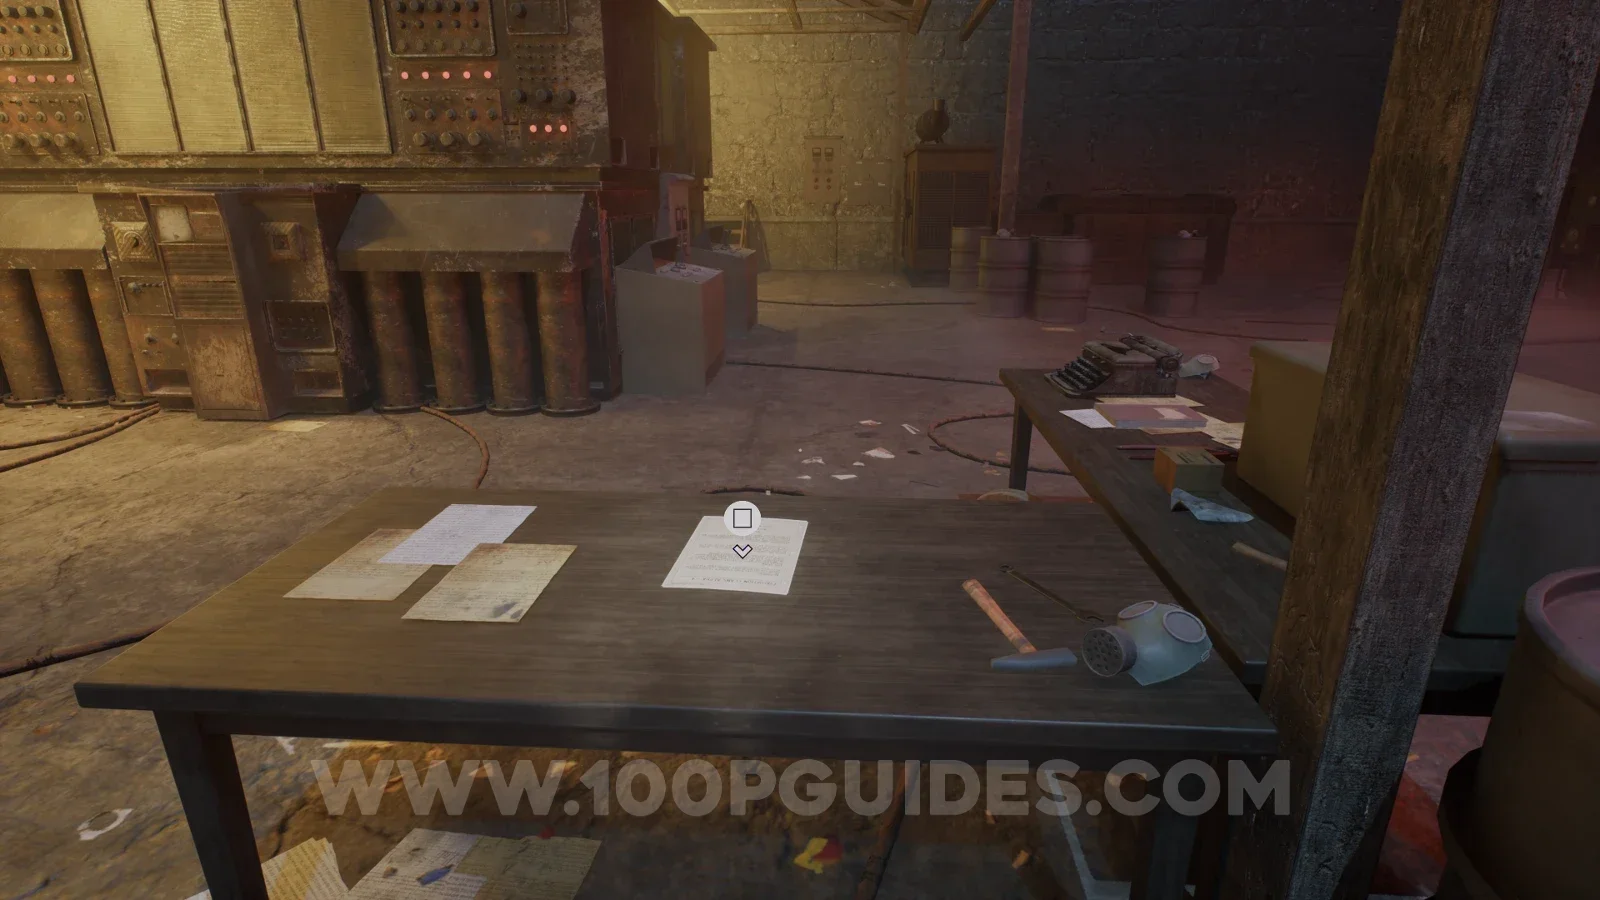
Tape - Jim & Bob: The Key
From the lift shaft, drop back down to the area below and continue around the left of the gated off area in the middle. At the end you will see a ramp heading up on your left. Go up it and look left to find the tape on one of the tables under the covered area.
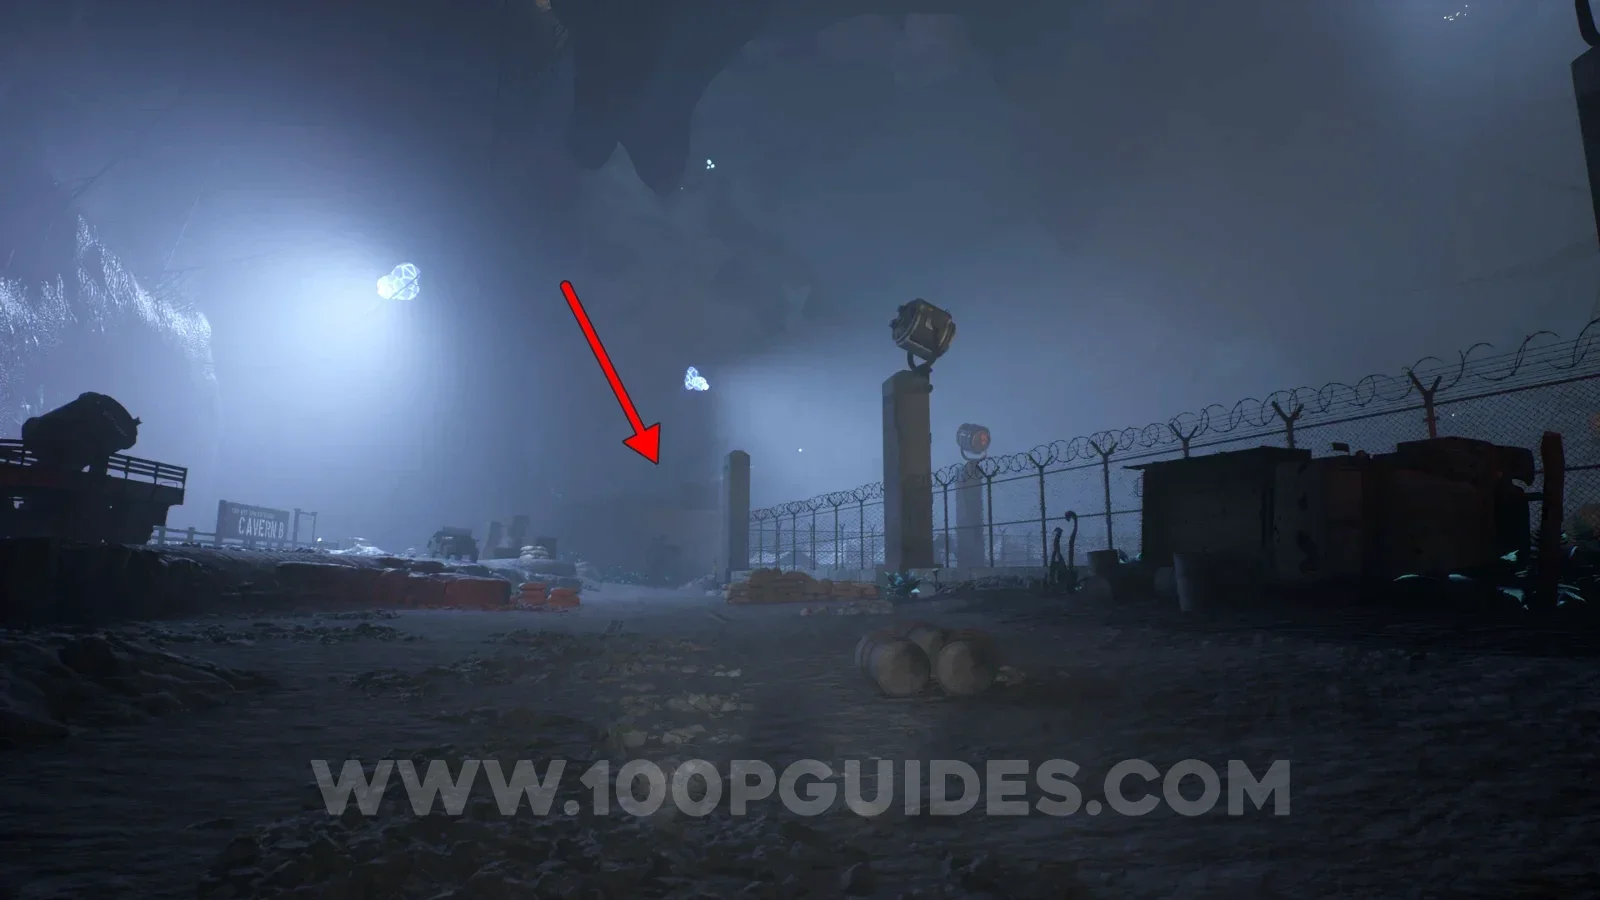
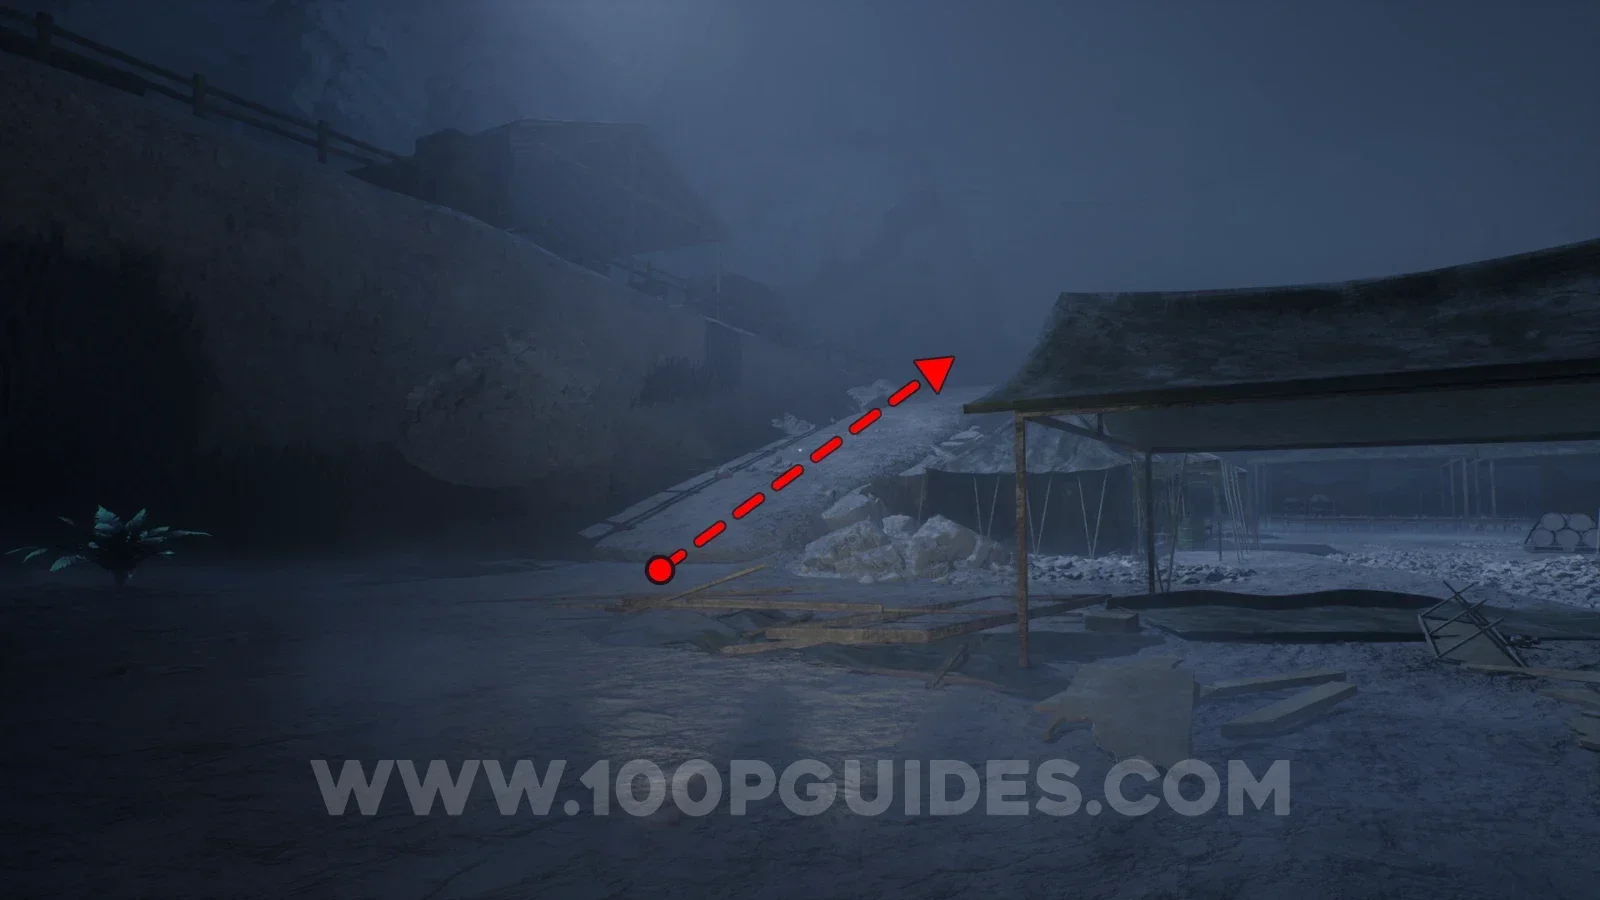
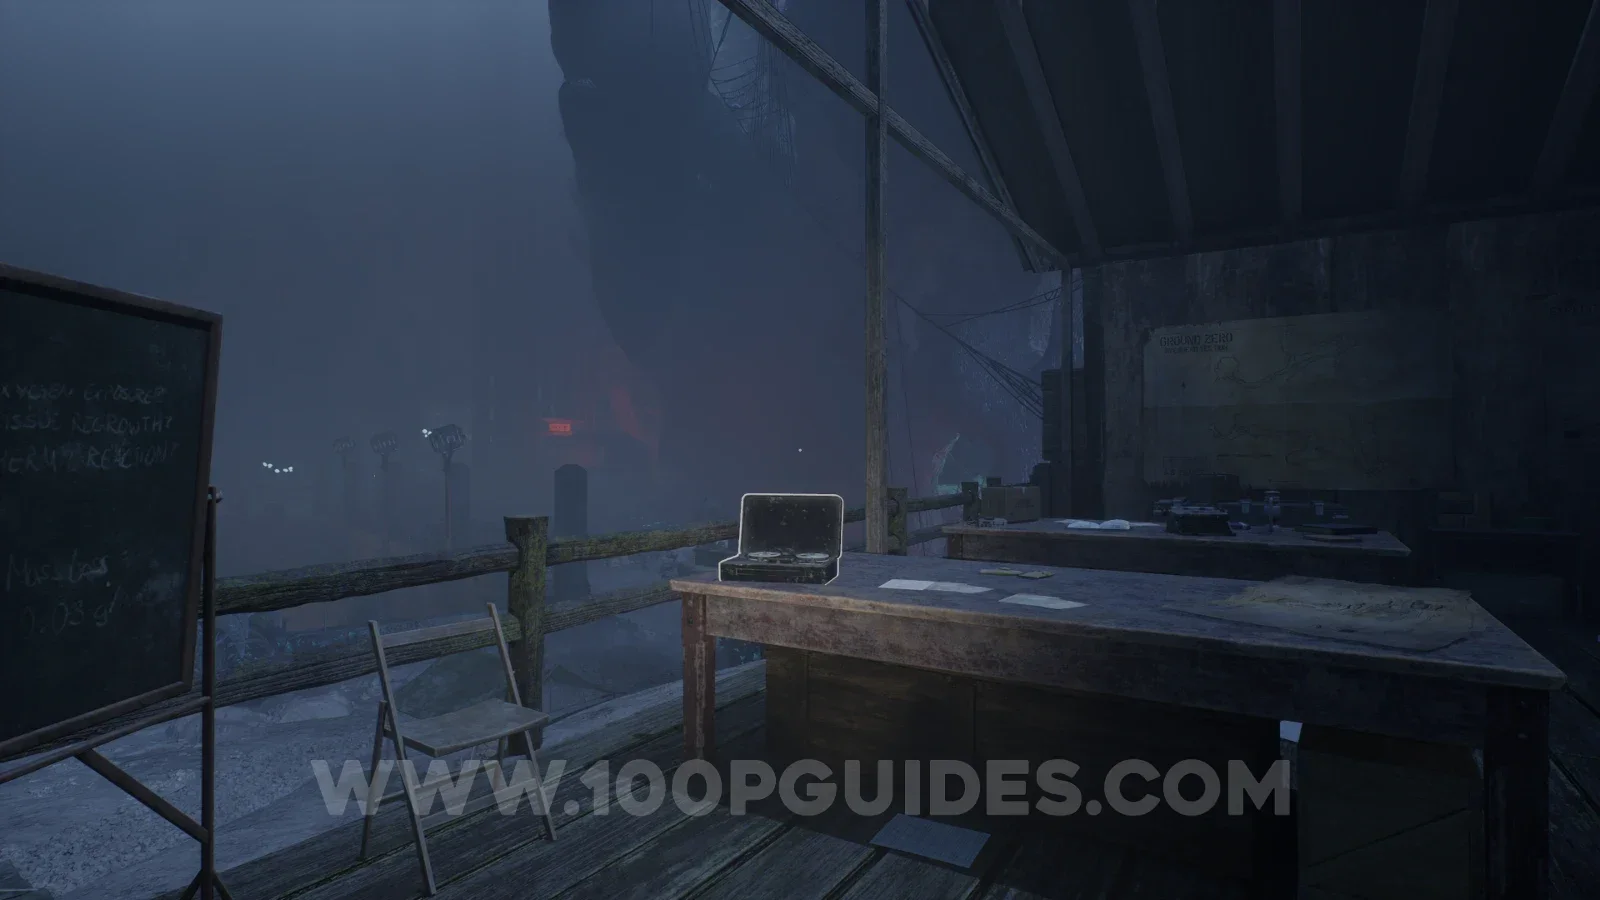
Note - It's Commander Ridgewater
In the tent at the end of the same upper area as the previous collectible.
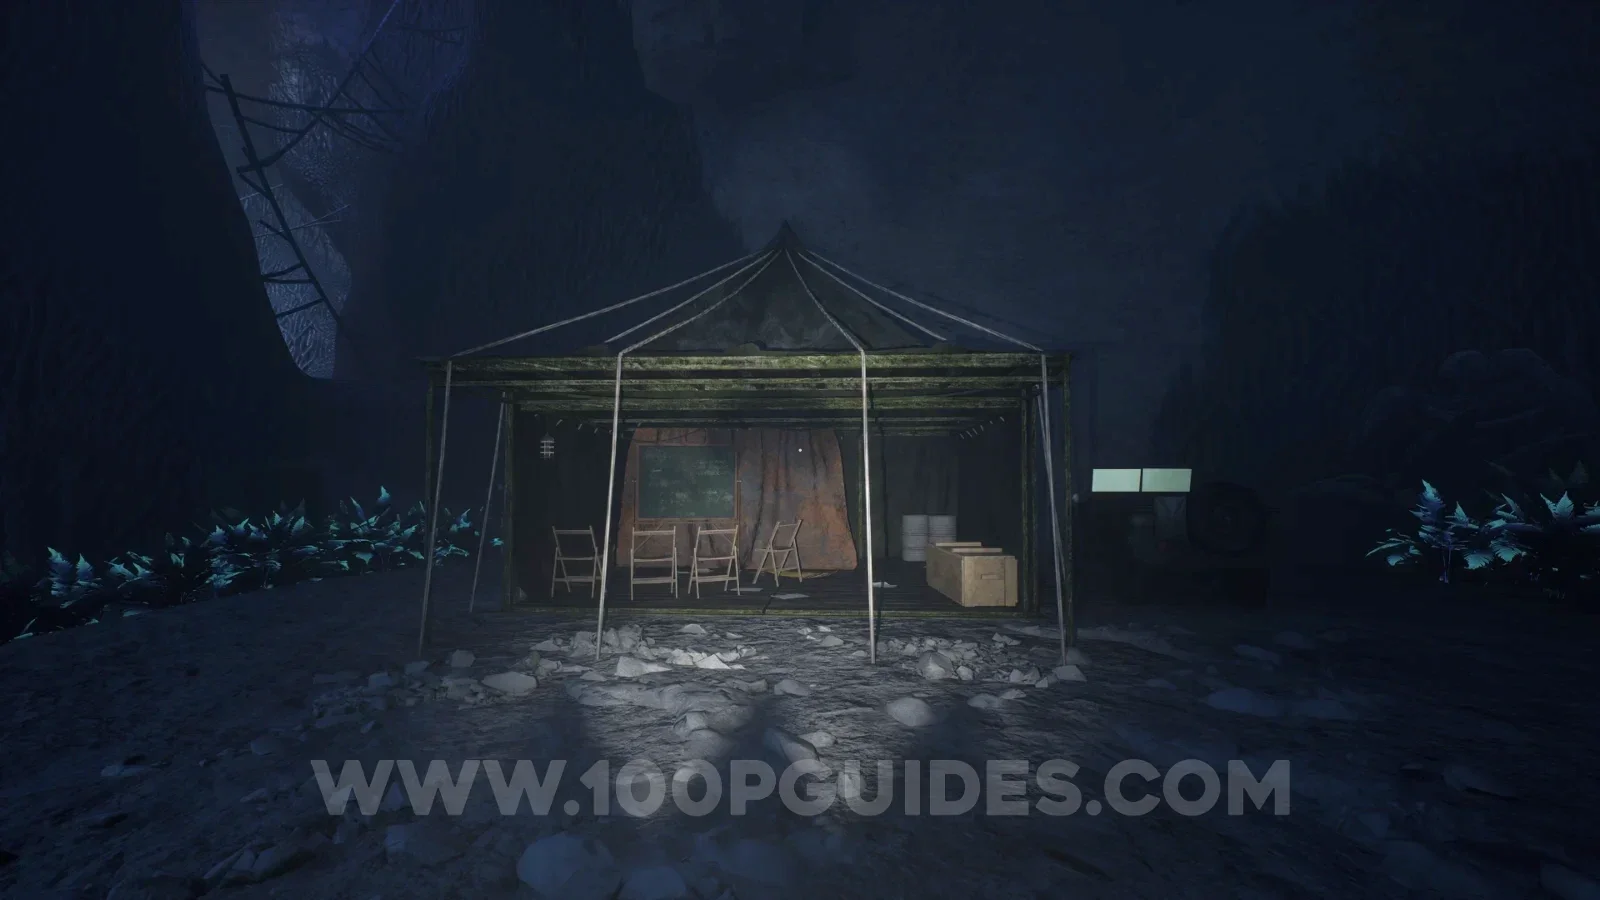
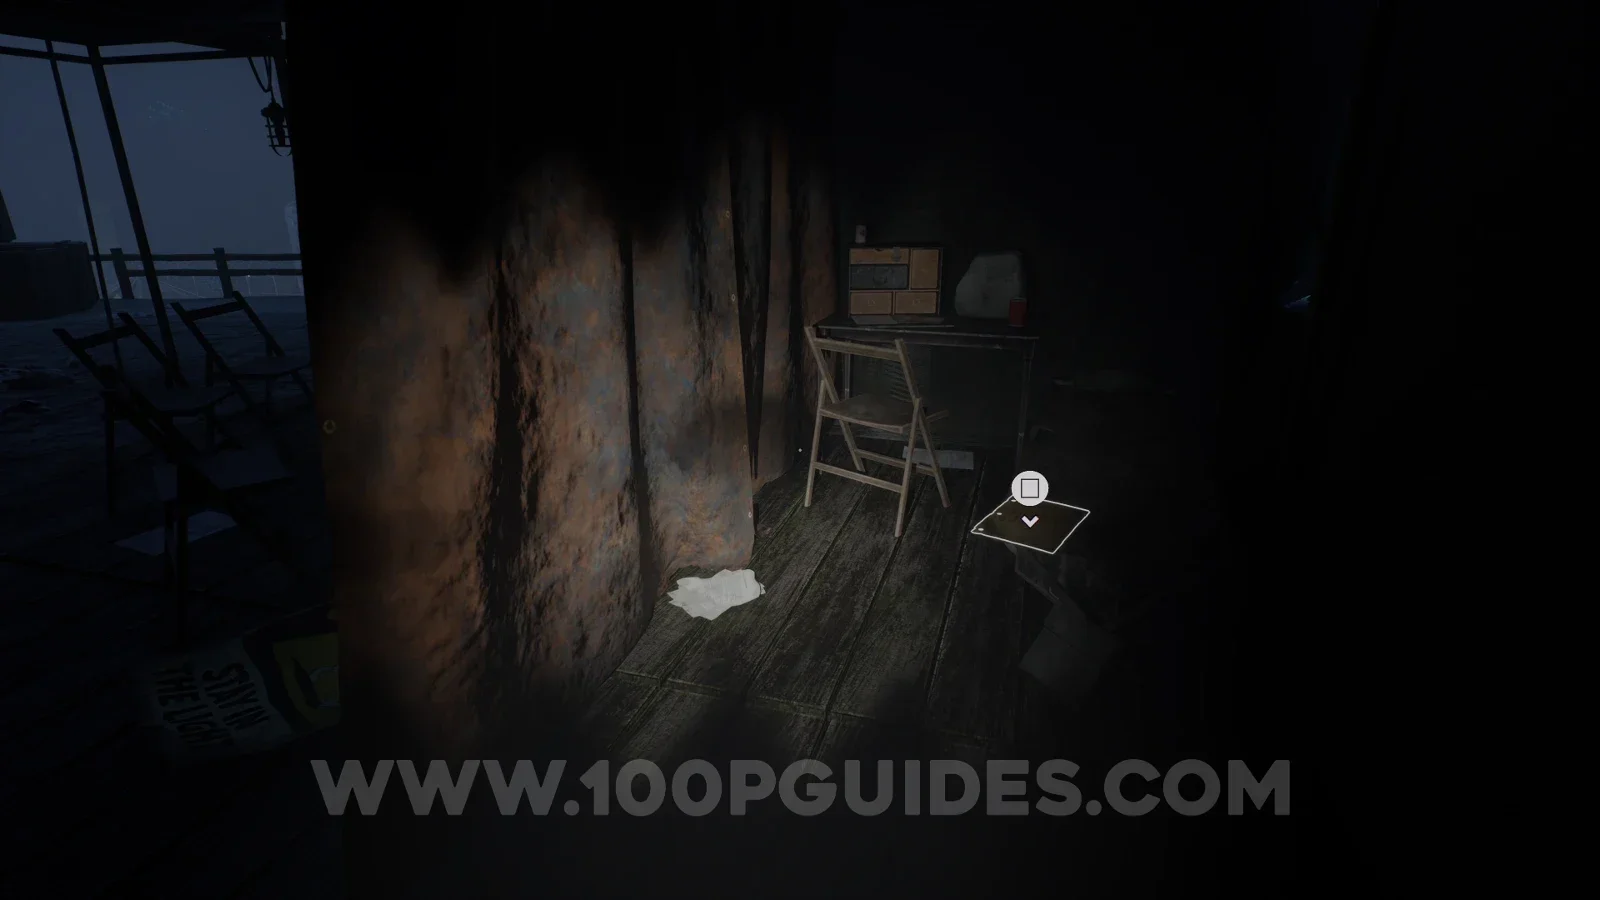
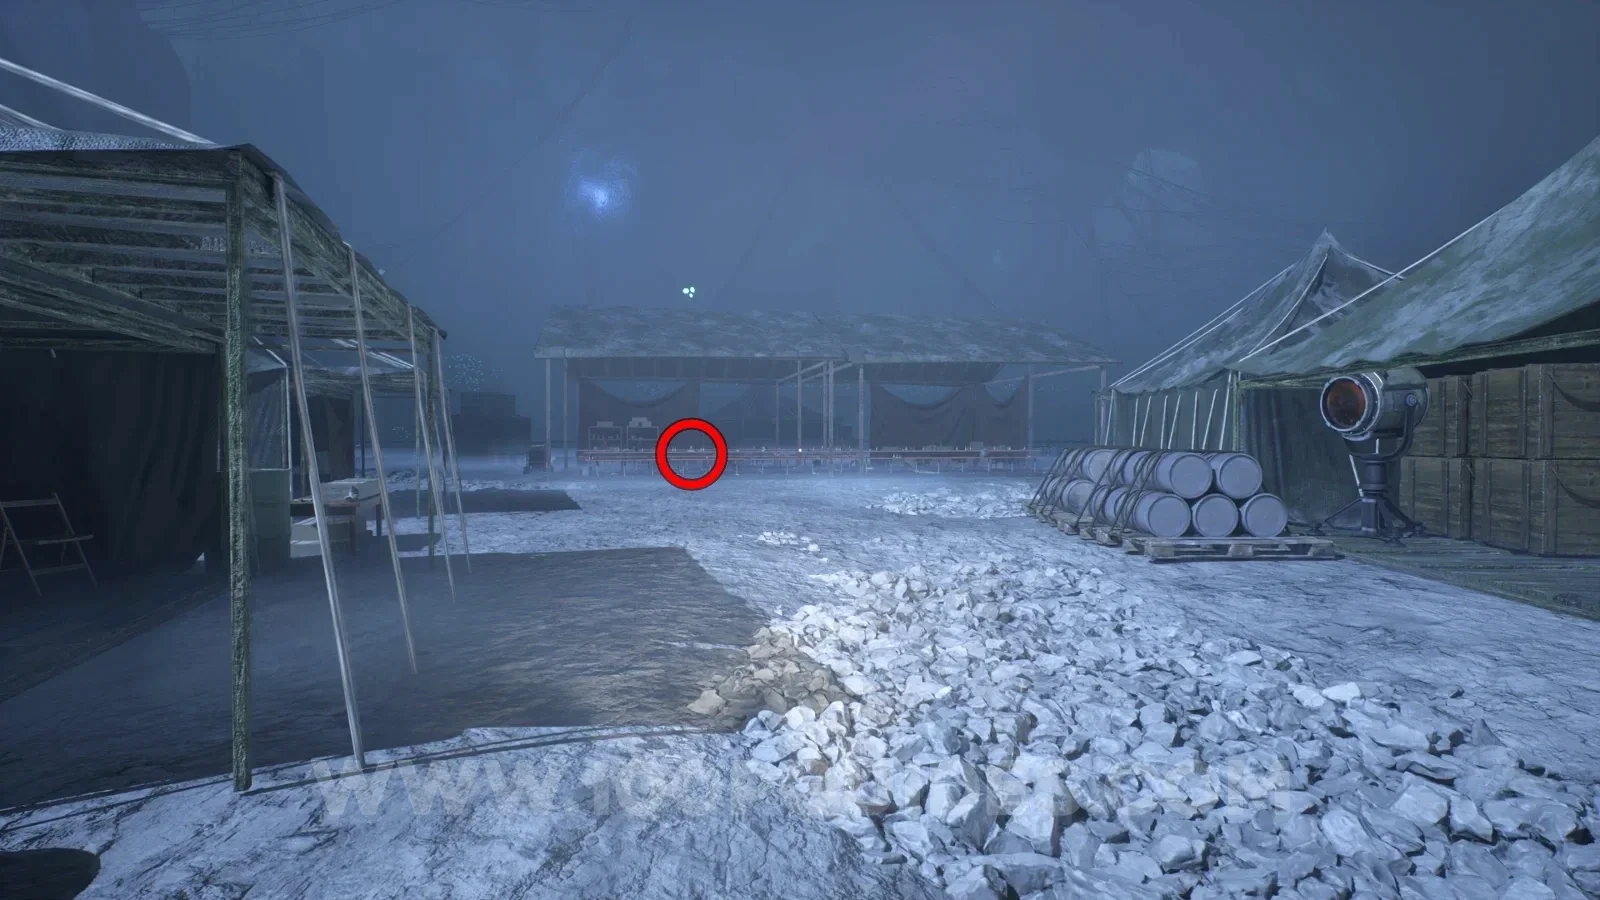
Note - Personnel clash
Now, head back down the ramp and go left to continue to the area with lots of tents. The note can be found on one of the many tables under the covered area.
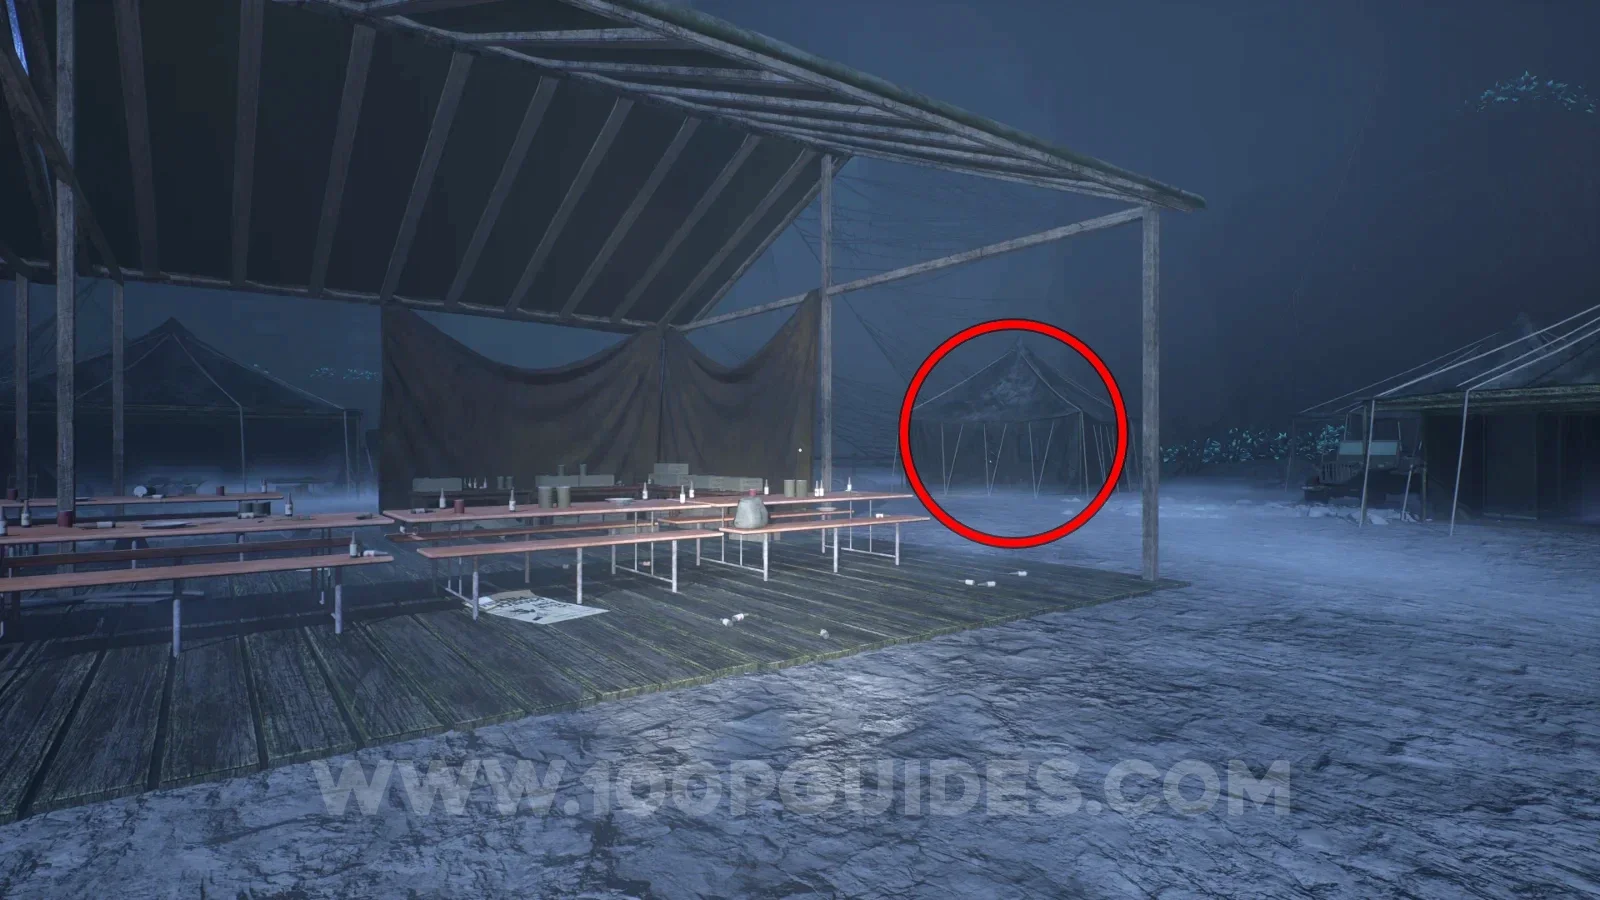
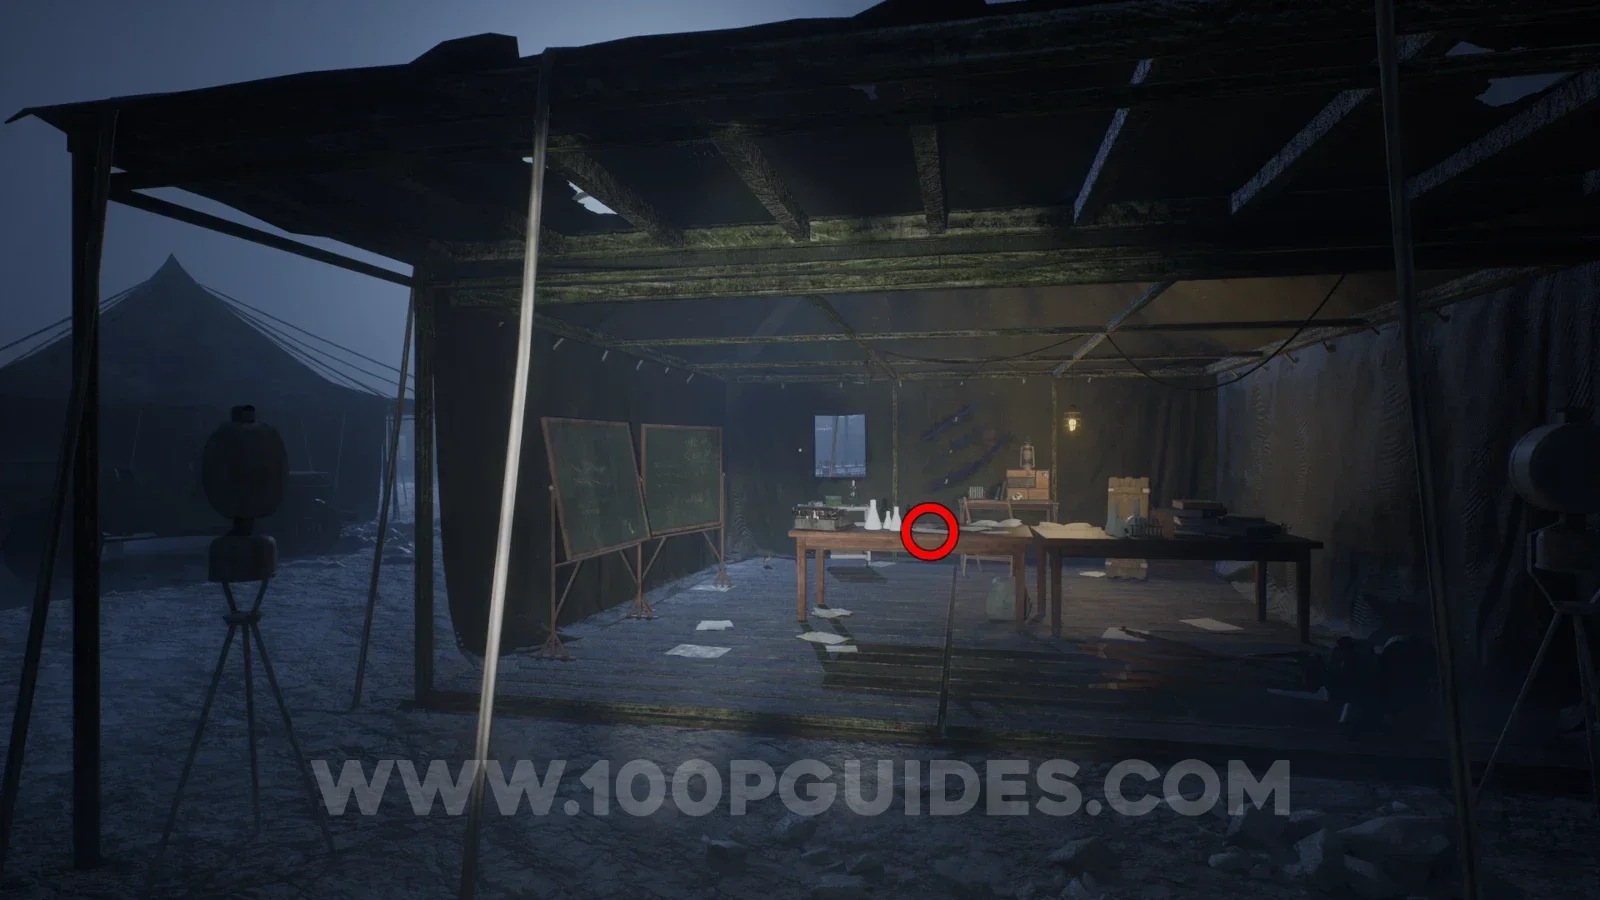
Note - Material analysis
In the tent in the corner to the right of the previous collectible. You will have to go around to the other side of it to go inside.
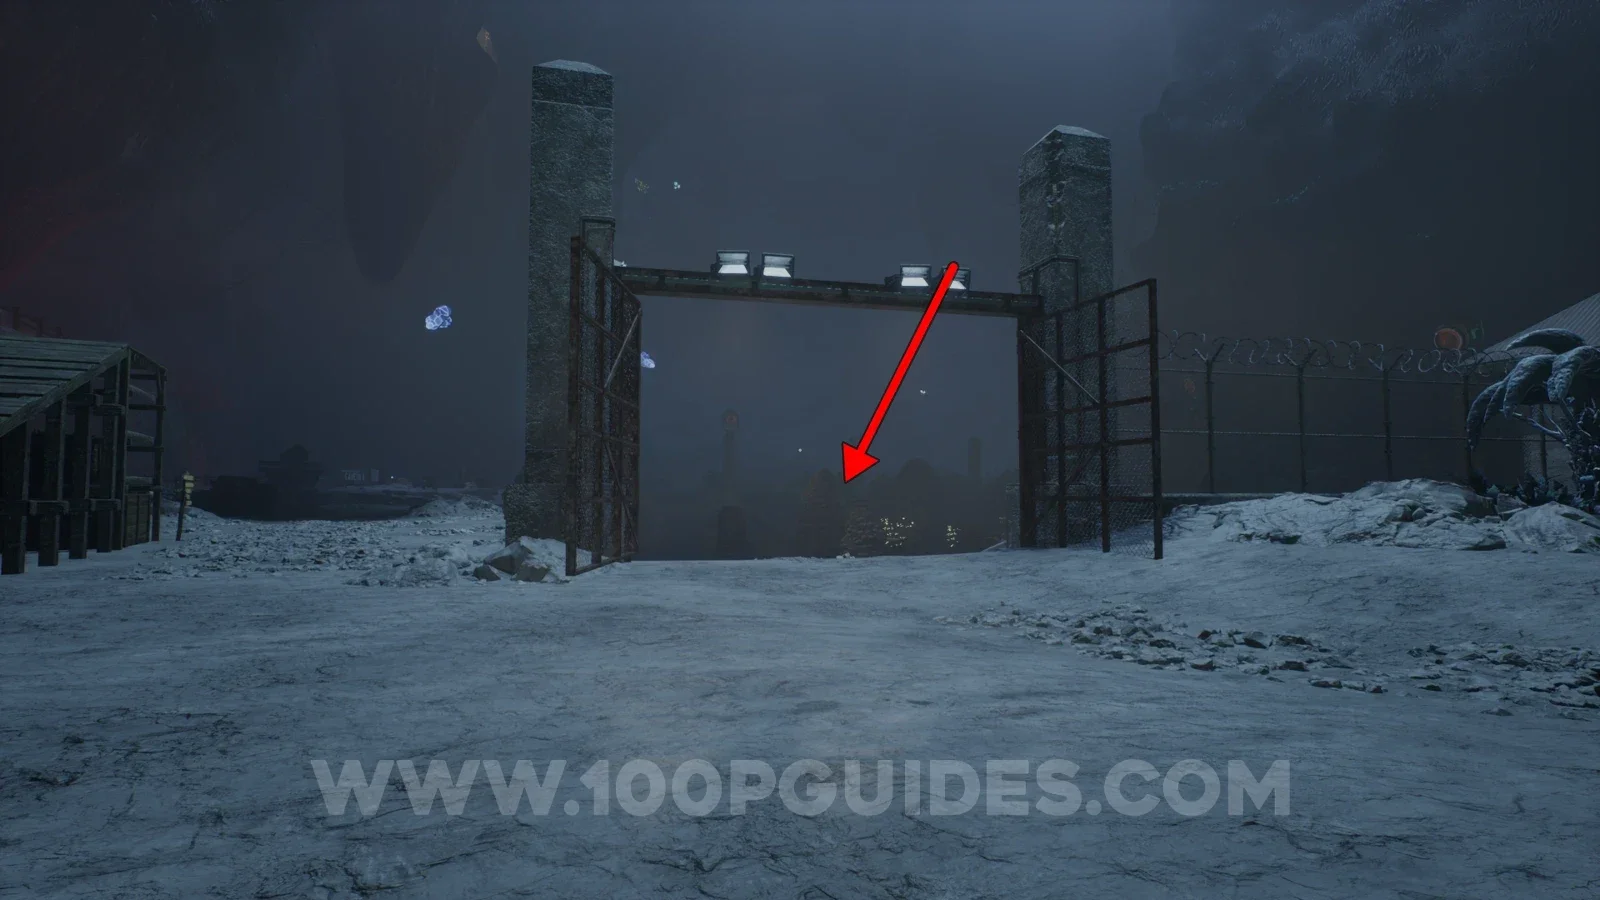
Note - The special light
Next, head back to the start of the large open area and head down the ramp into the large gated off area. Then head all the way right to trigger the scene with DJ. The note can be found in the corner of the same tent where you talk to him.
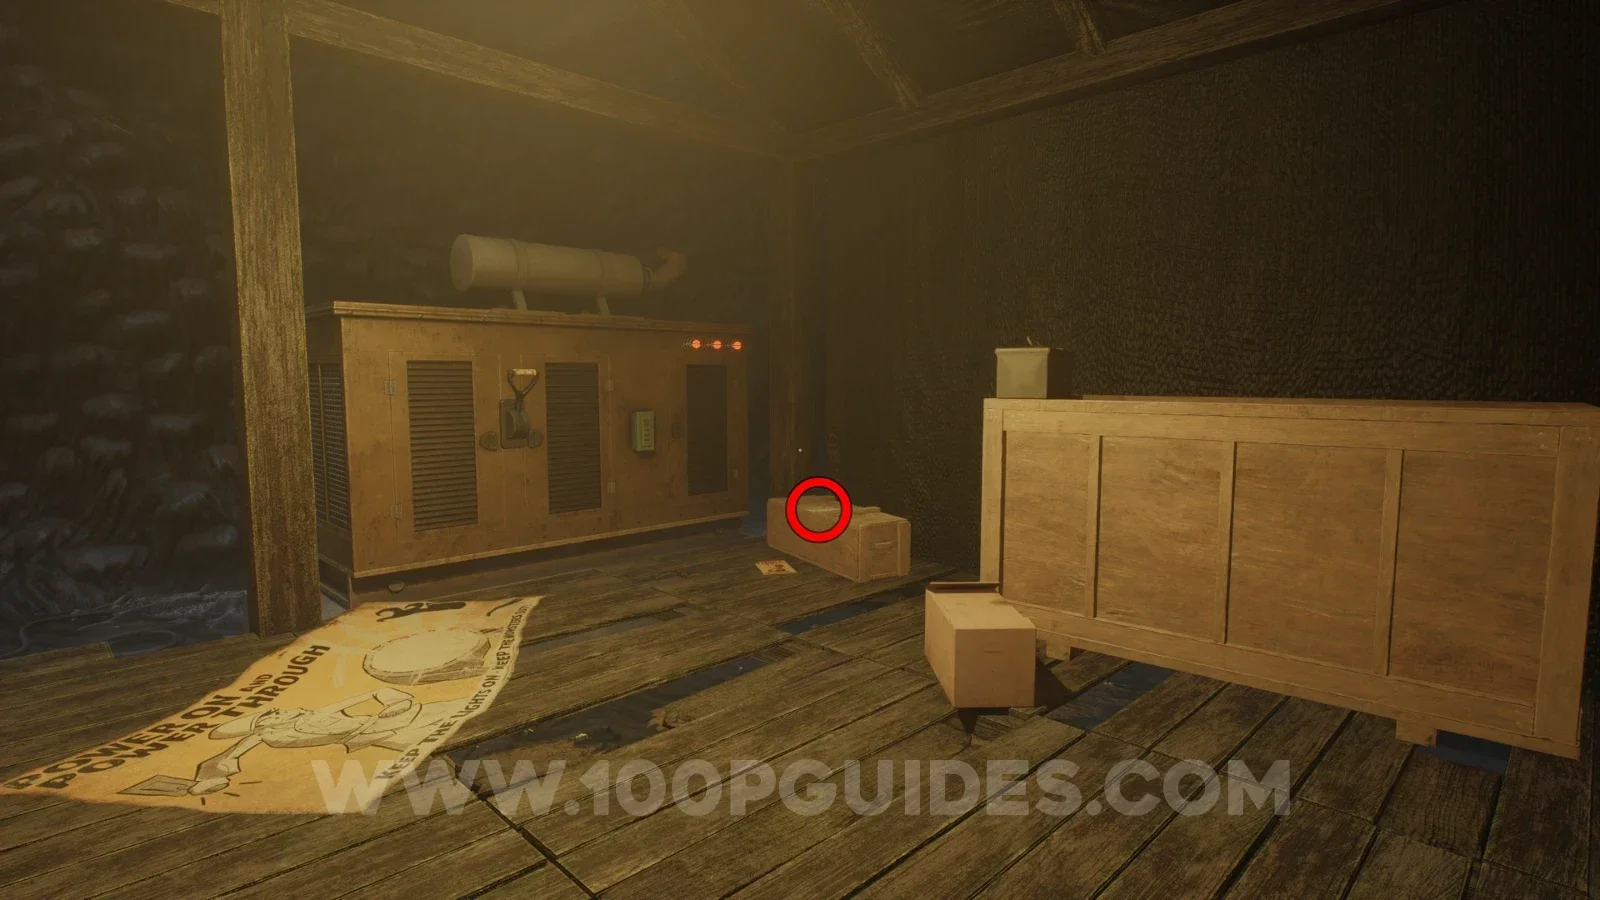
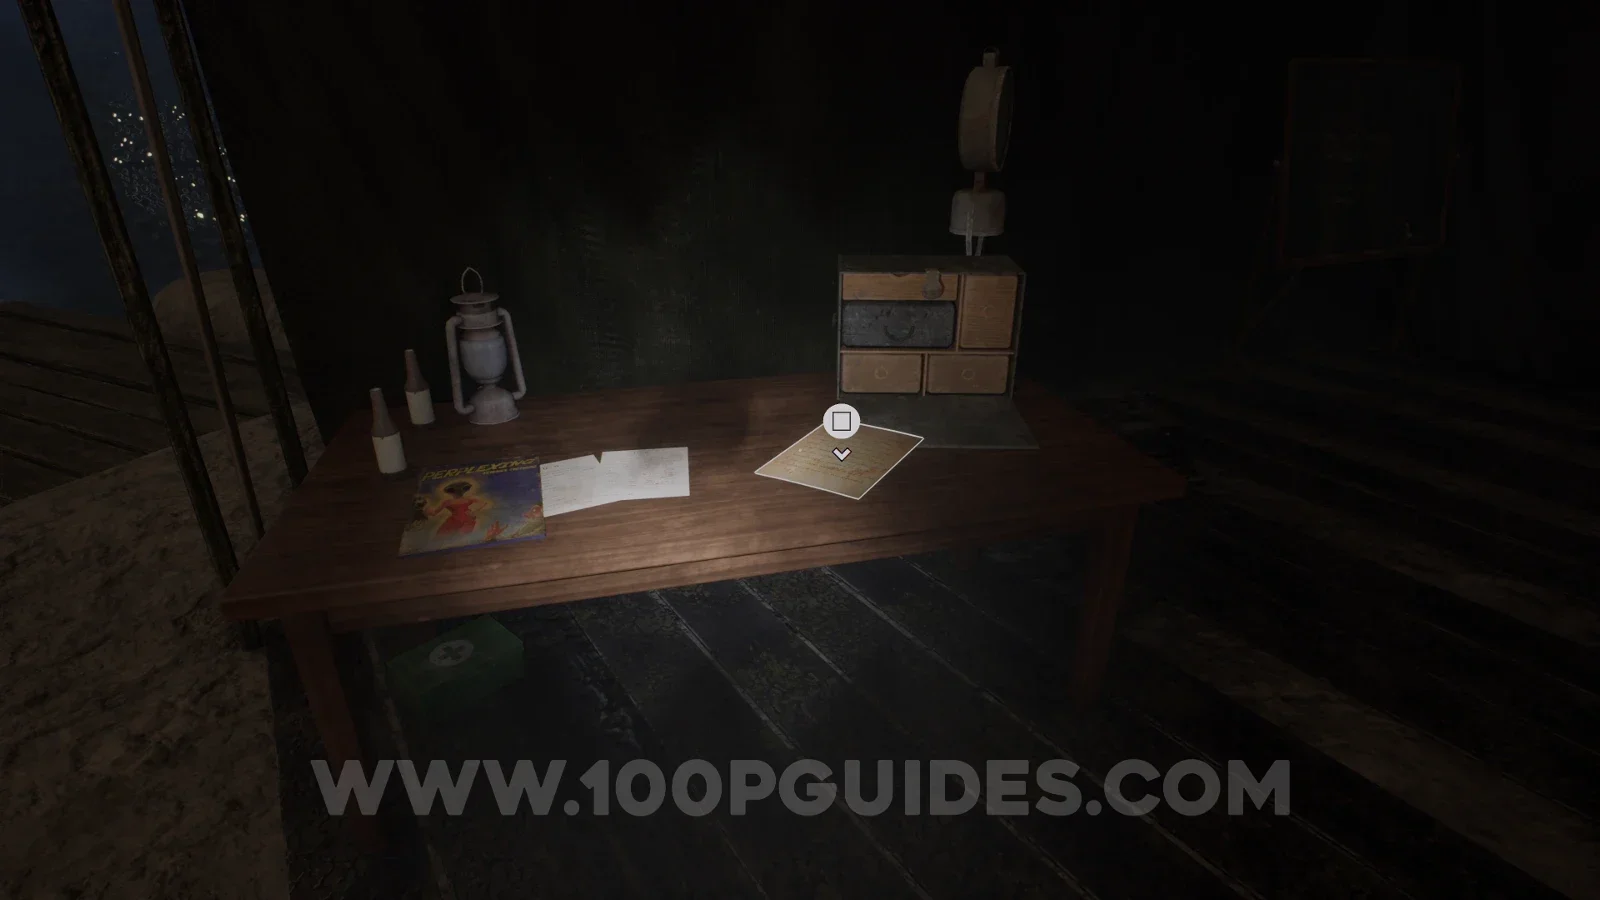
Note - Uh oh
Continue around the gated off area anti-clockwise while sticking to the outer walls. You will soon get to the first switch you have to press for the main objective. To the left of the switch, you will find the note in the tent.
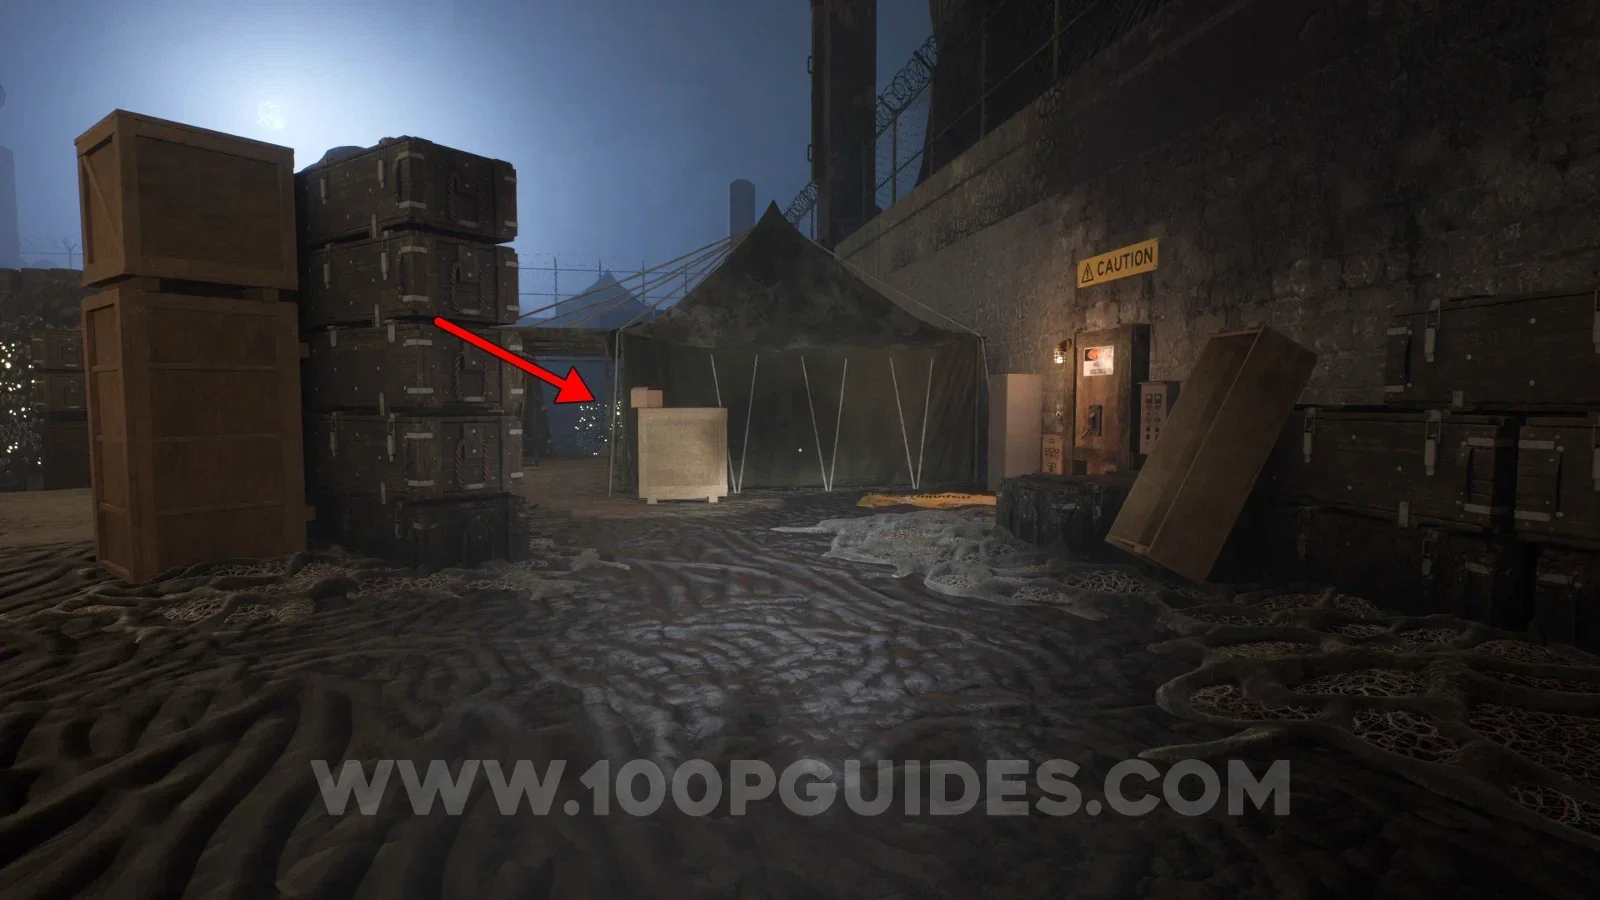
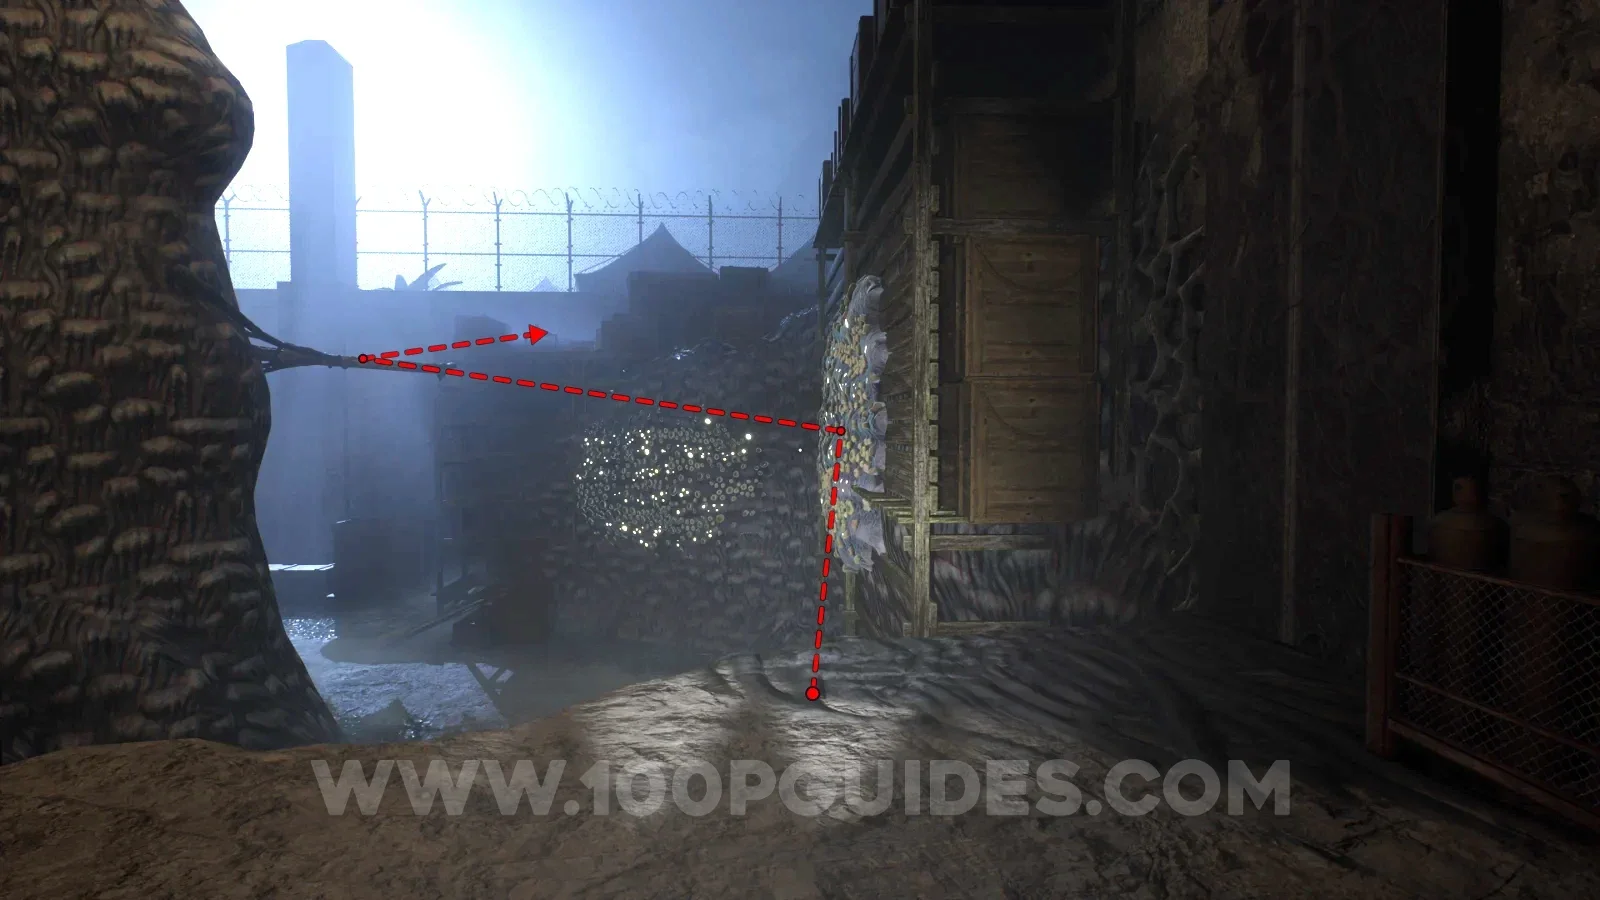
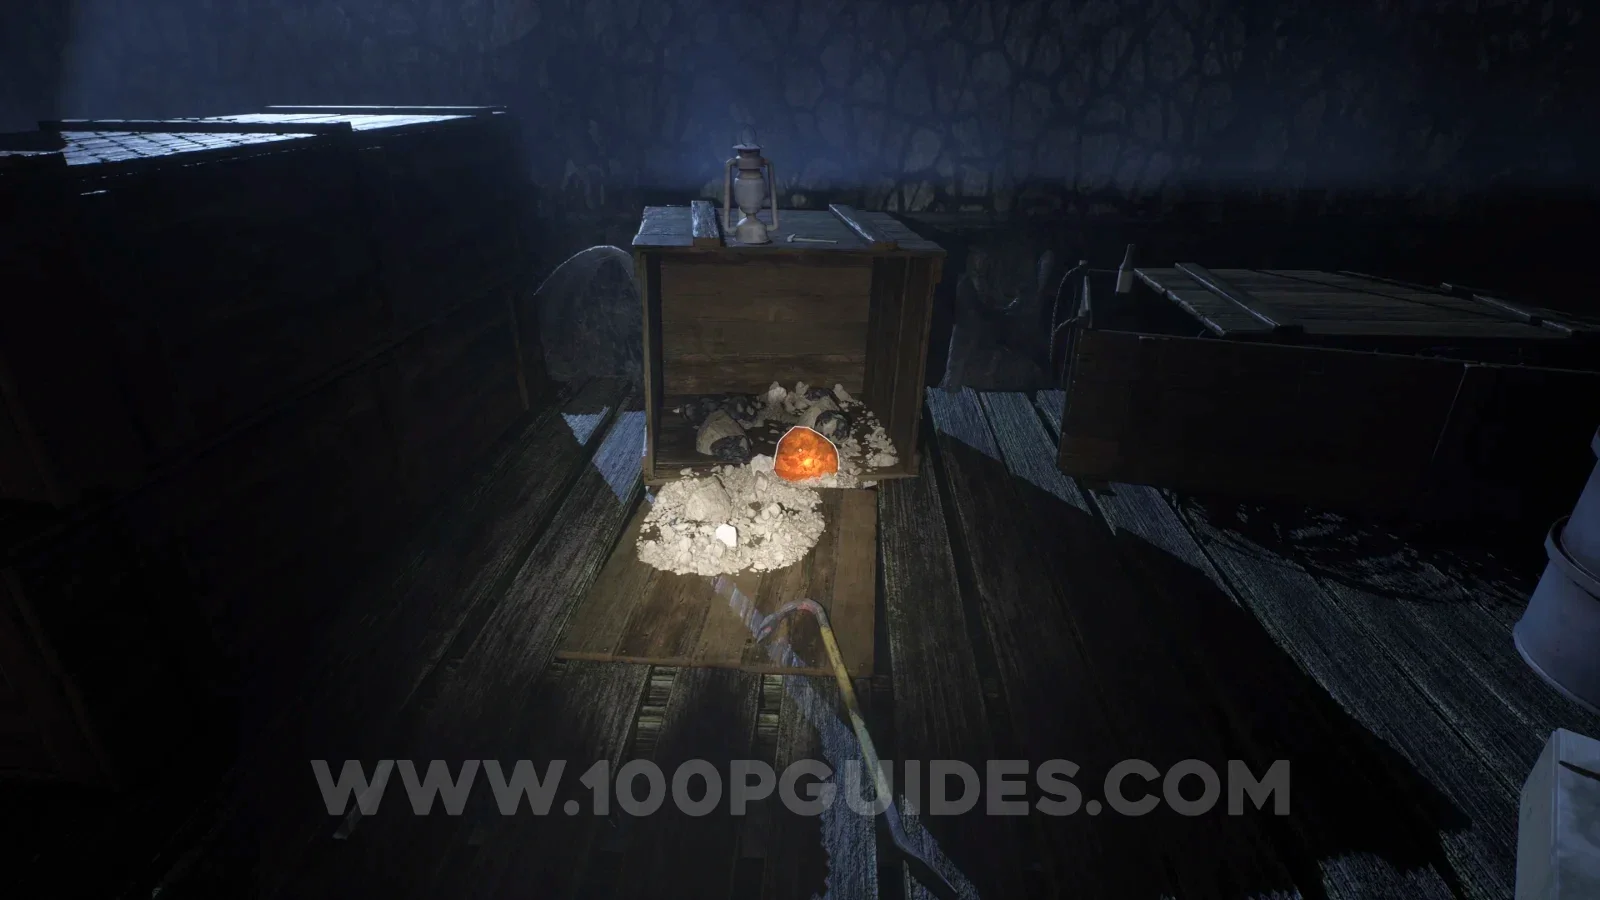
Sample - Amber Specimen 15
On the other side of the tent where you found the previous note, wallrun along the first wall and then jump to the pole. From here, swing to the platform on the right to find the sample.
Note - A mutiny
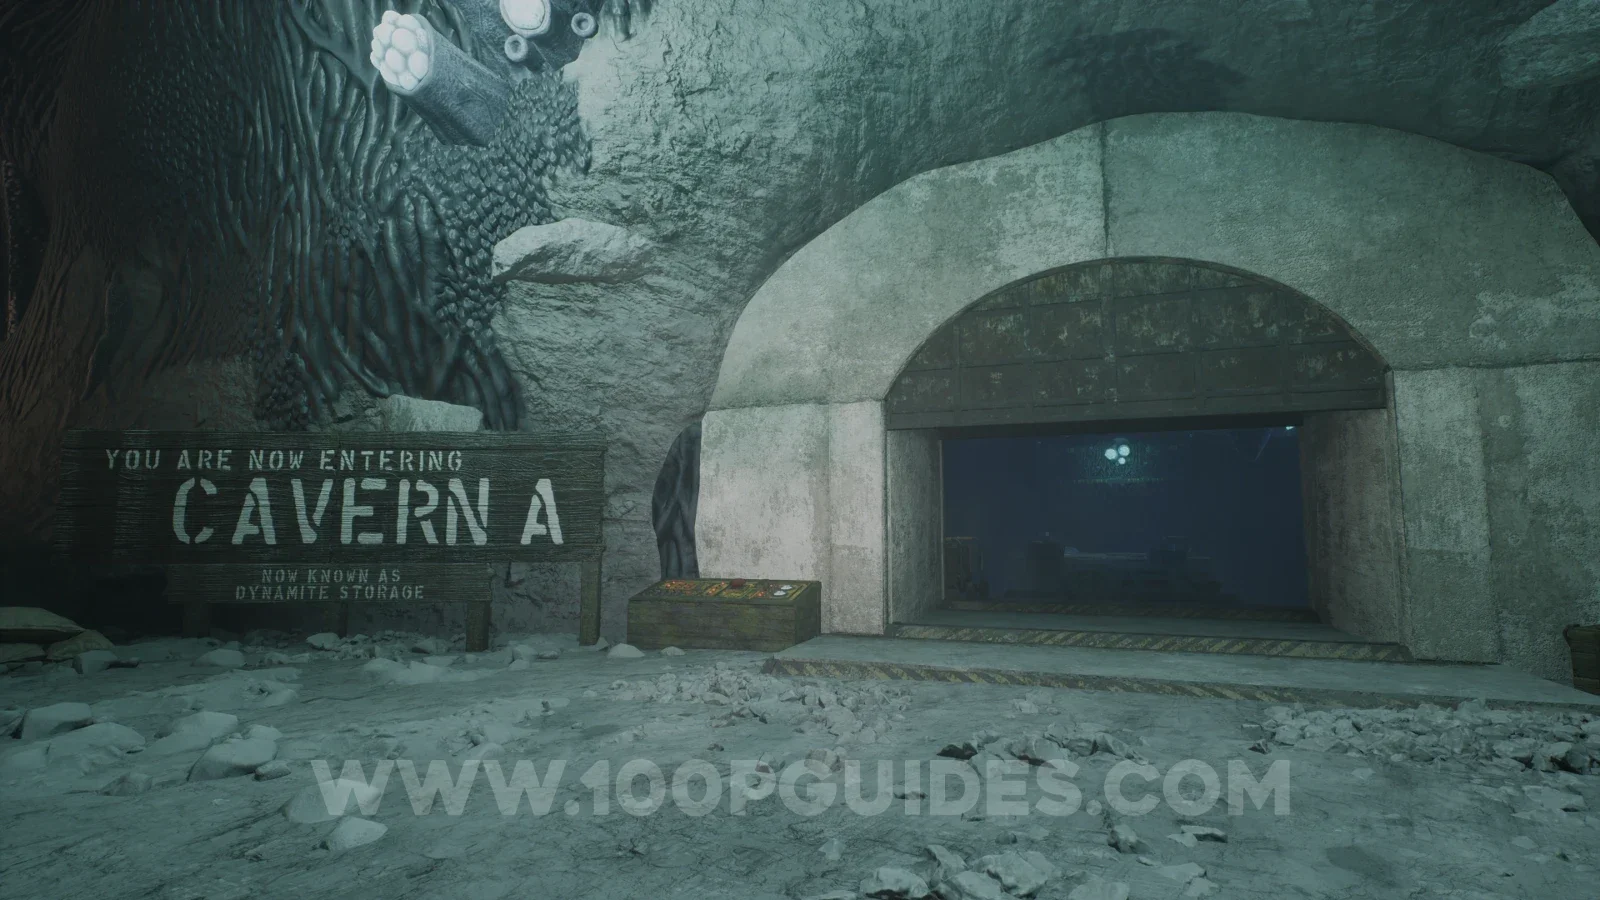
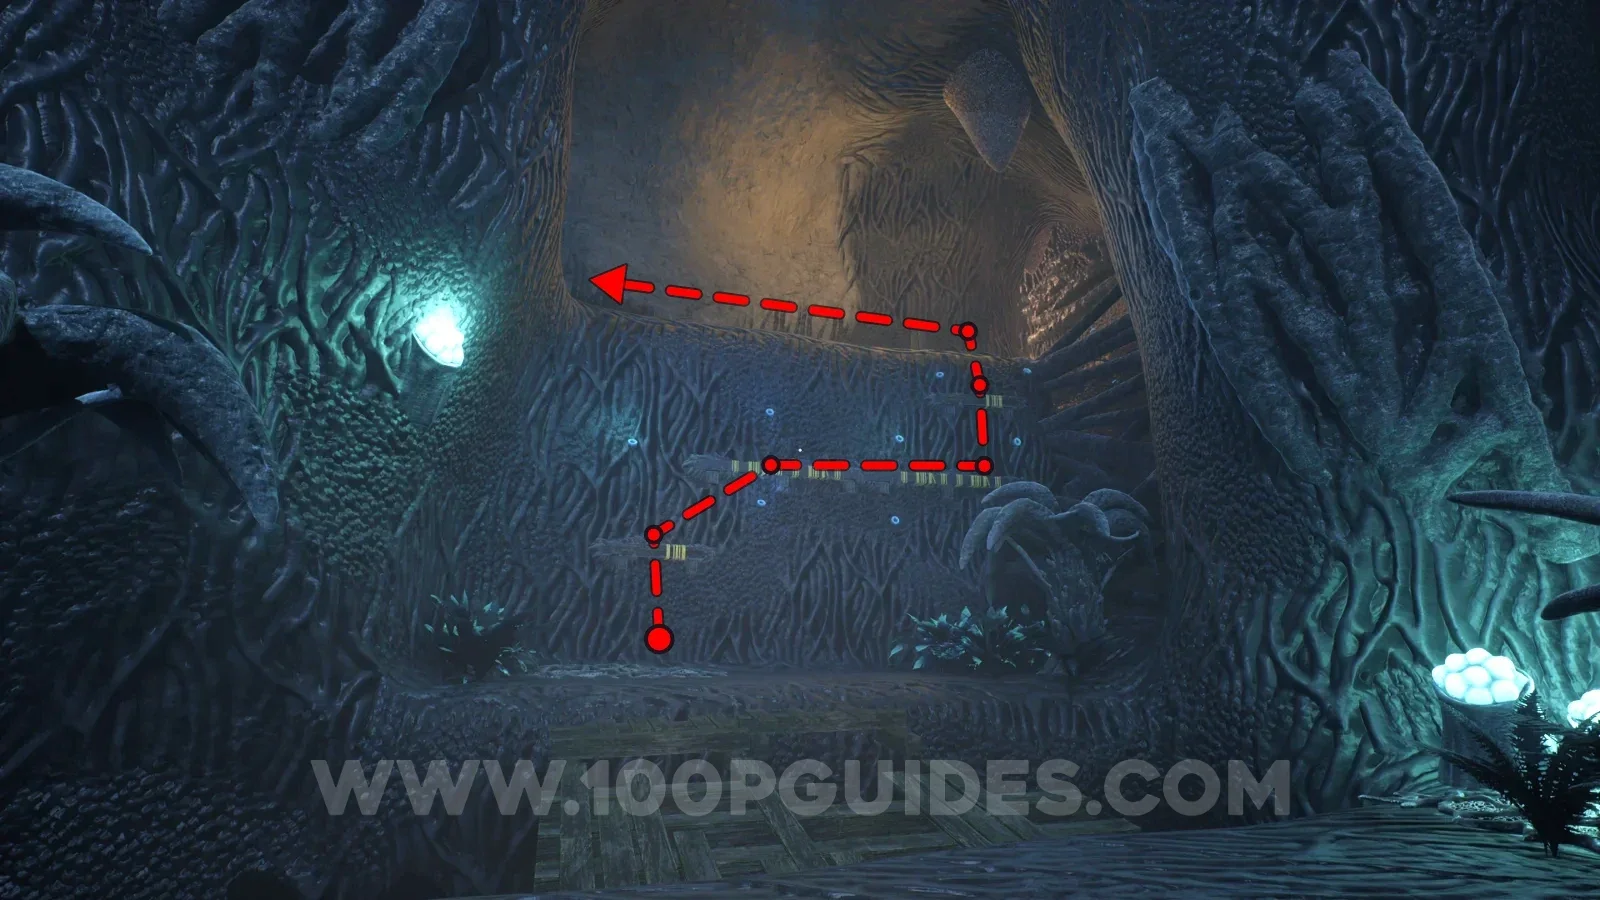
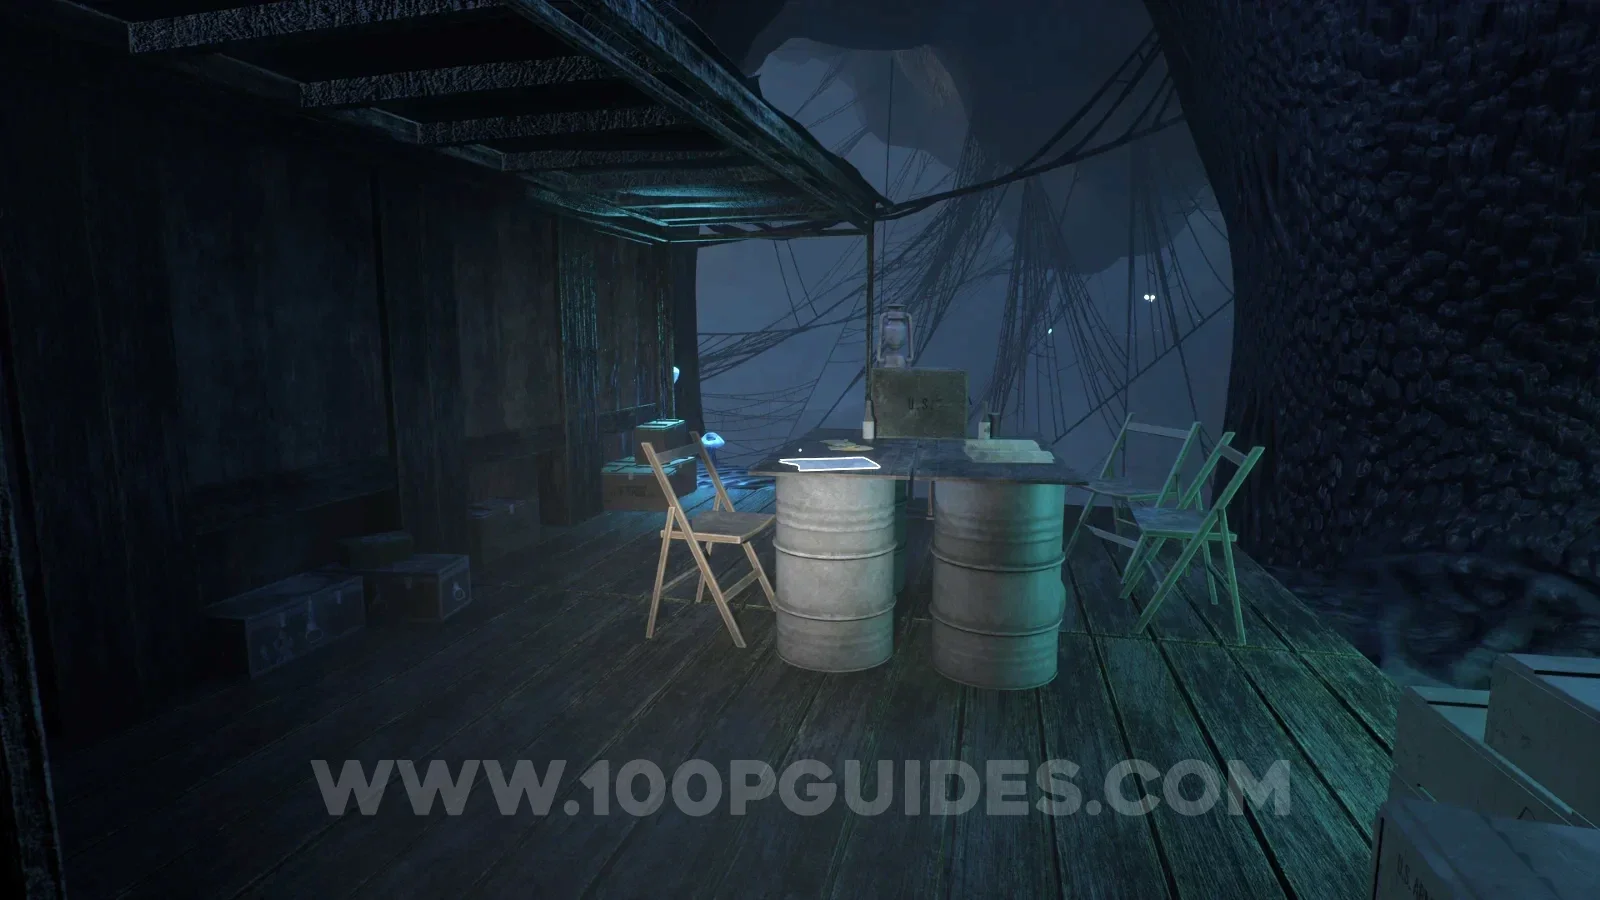
After heading into Cavern A and climbing a wall, head left to find the note on a table under a small tent.
Note - To-do list
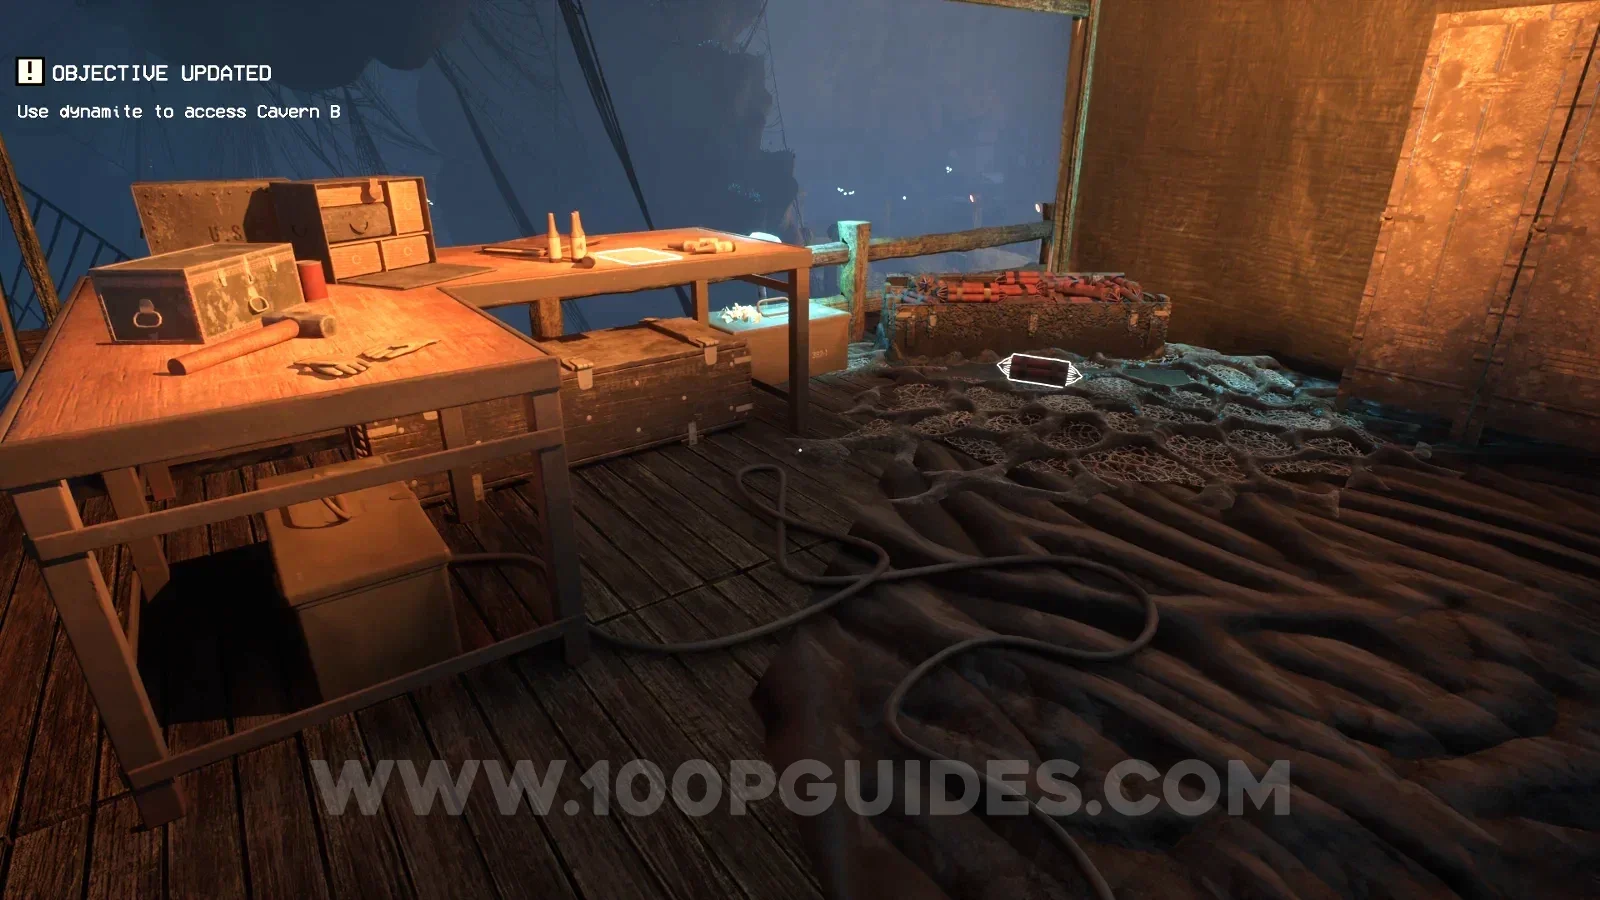
On the table next to the dynamite in Cavern A.
Tape - Dr. Fellows: Troop Movement Observations
Once you enter Cavern B, stick to the bottom path and go all the way to the end to find the tape on a crate.
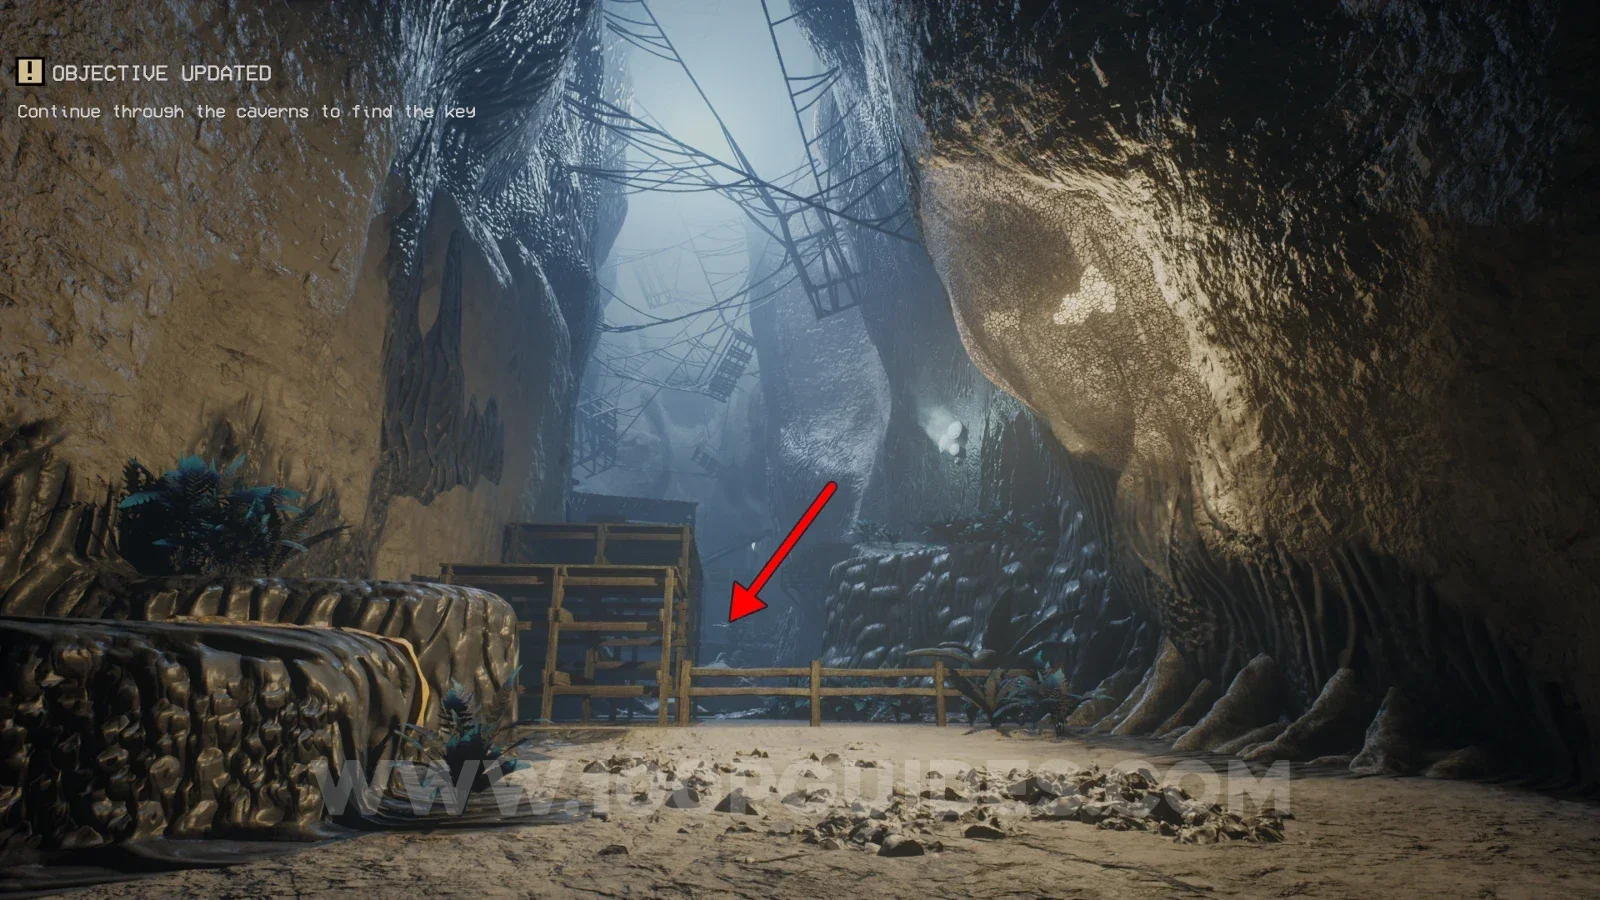
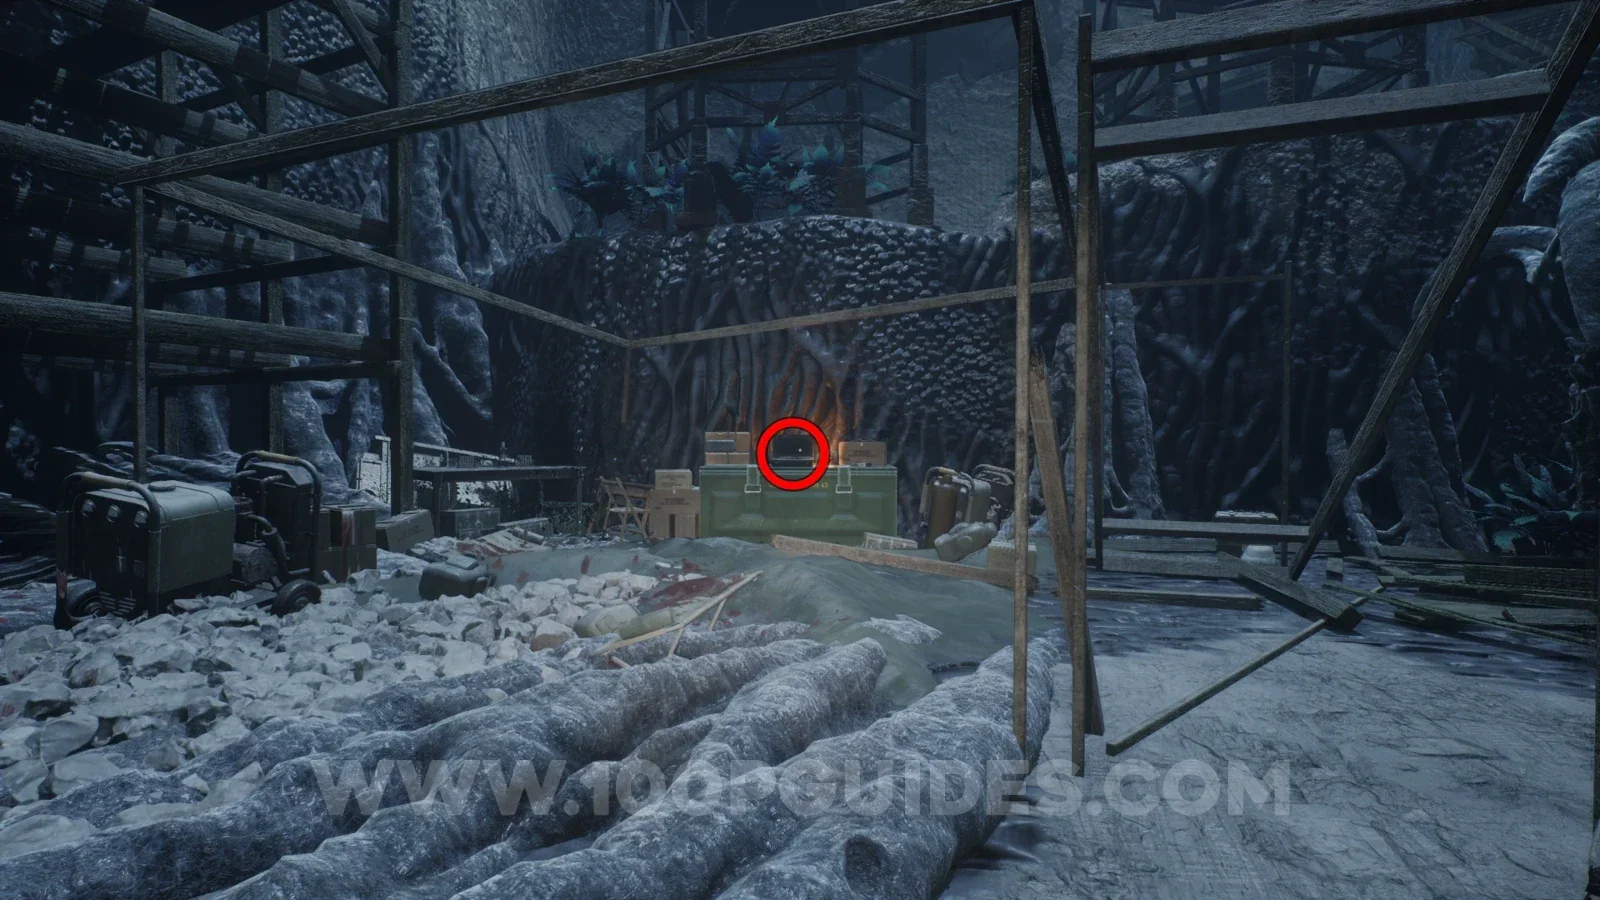
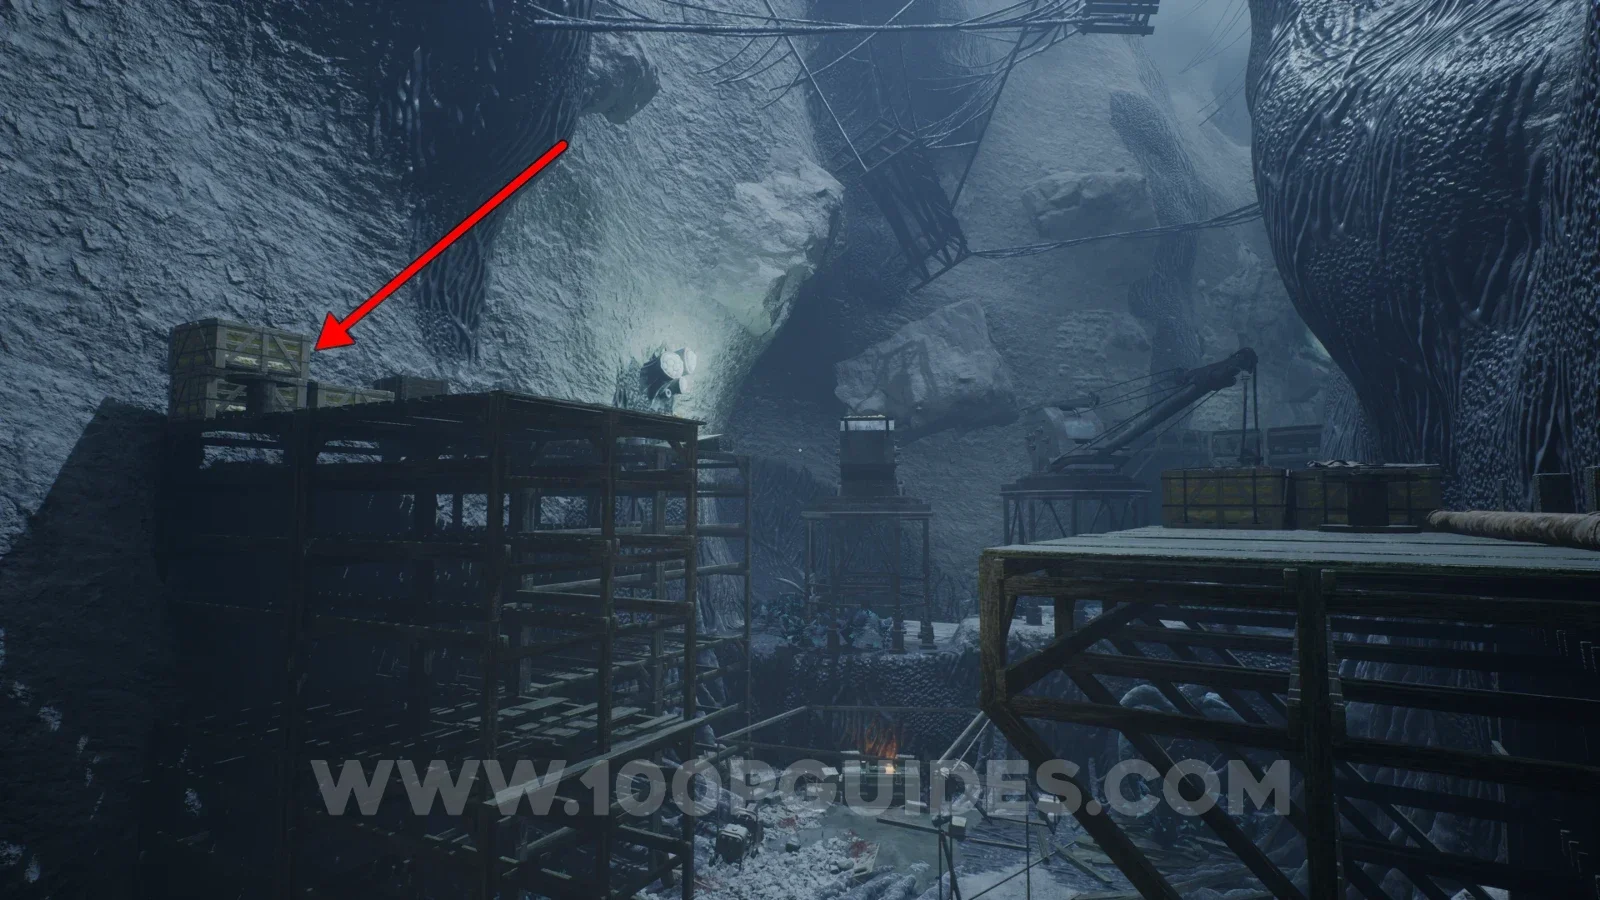
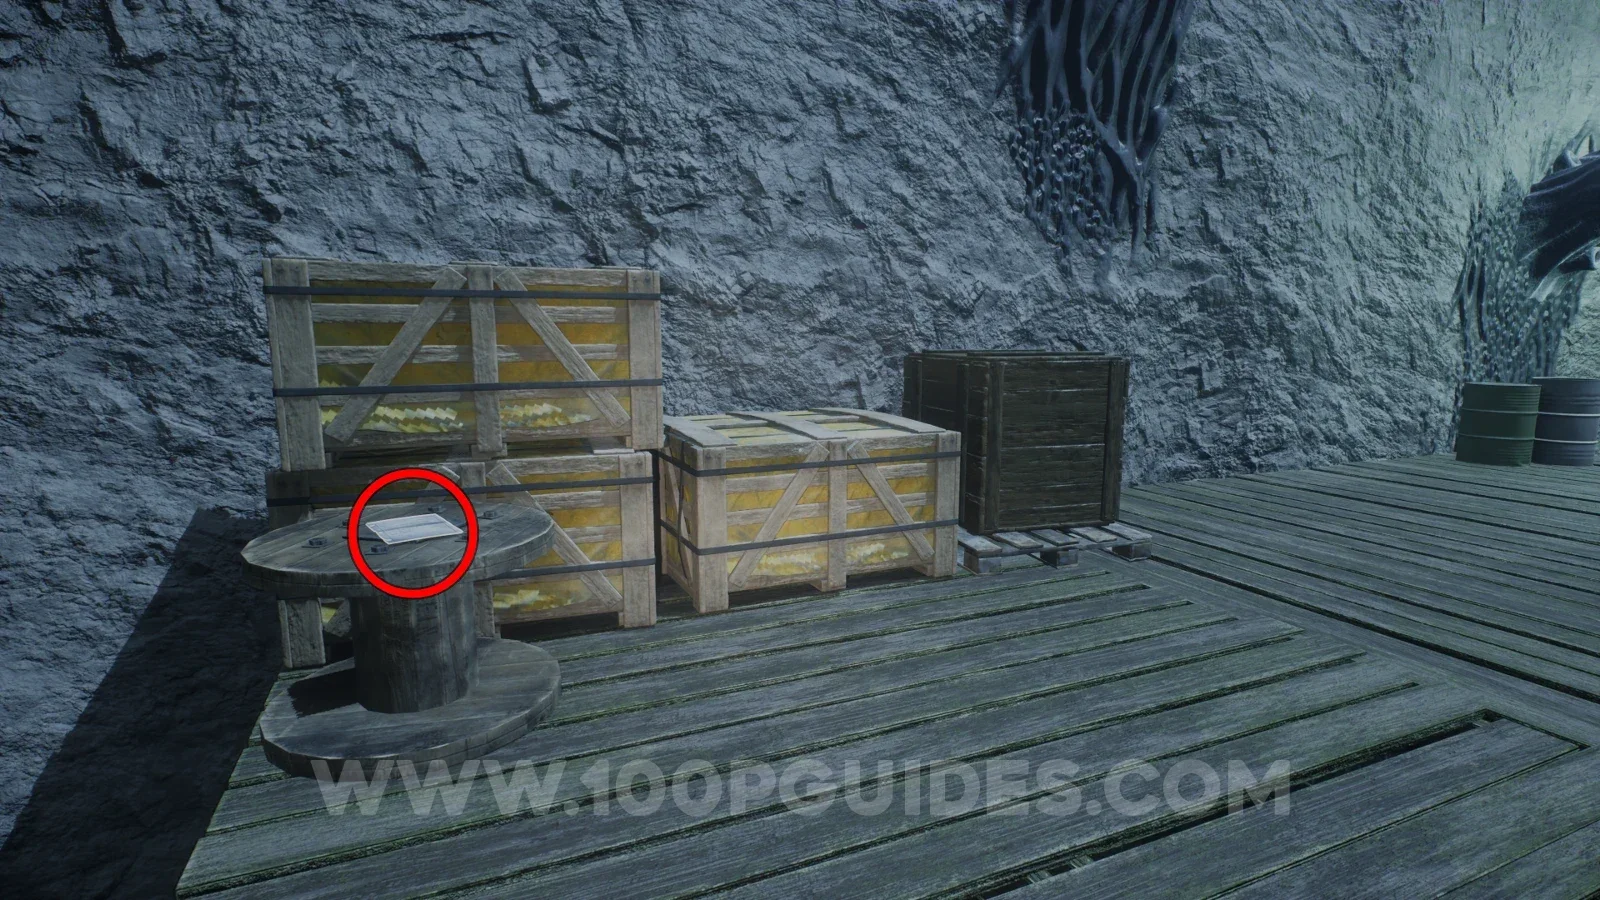
Note - Mission orders
As soon as you start climbing up at the start of Cavern B, you will see it in the corner in plain sight on the third wooden platform.
Tape - Tony Marino: Burned Body
Continue through Cavern B until you get to an area where the goo forms spires. Here, stick to the lower level, go through the middle of the area and past the right side of the spires, and you will see the tape on a wooden crate.
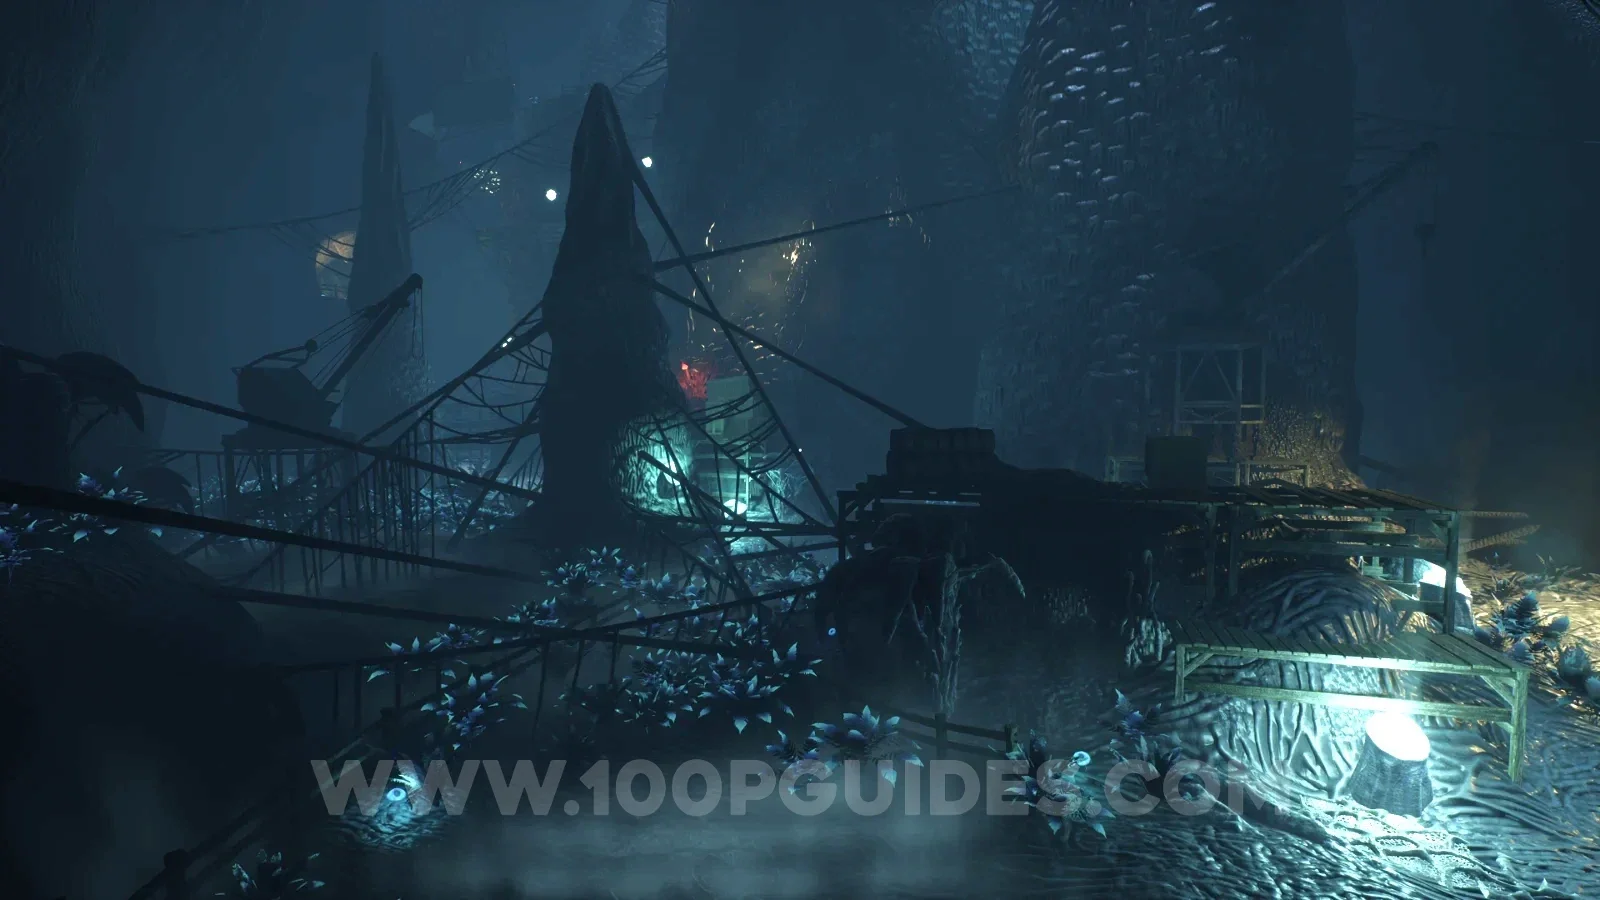
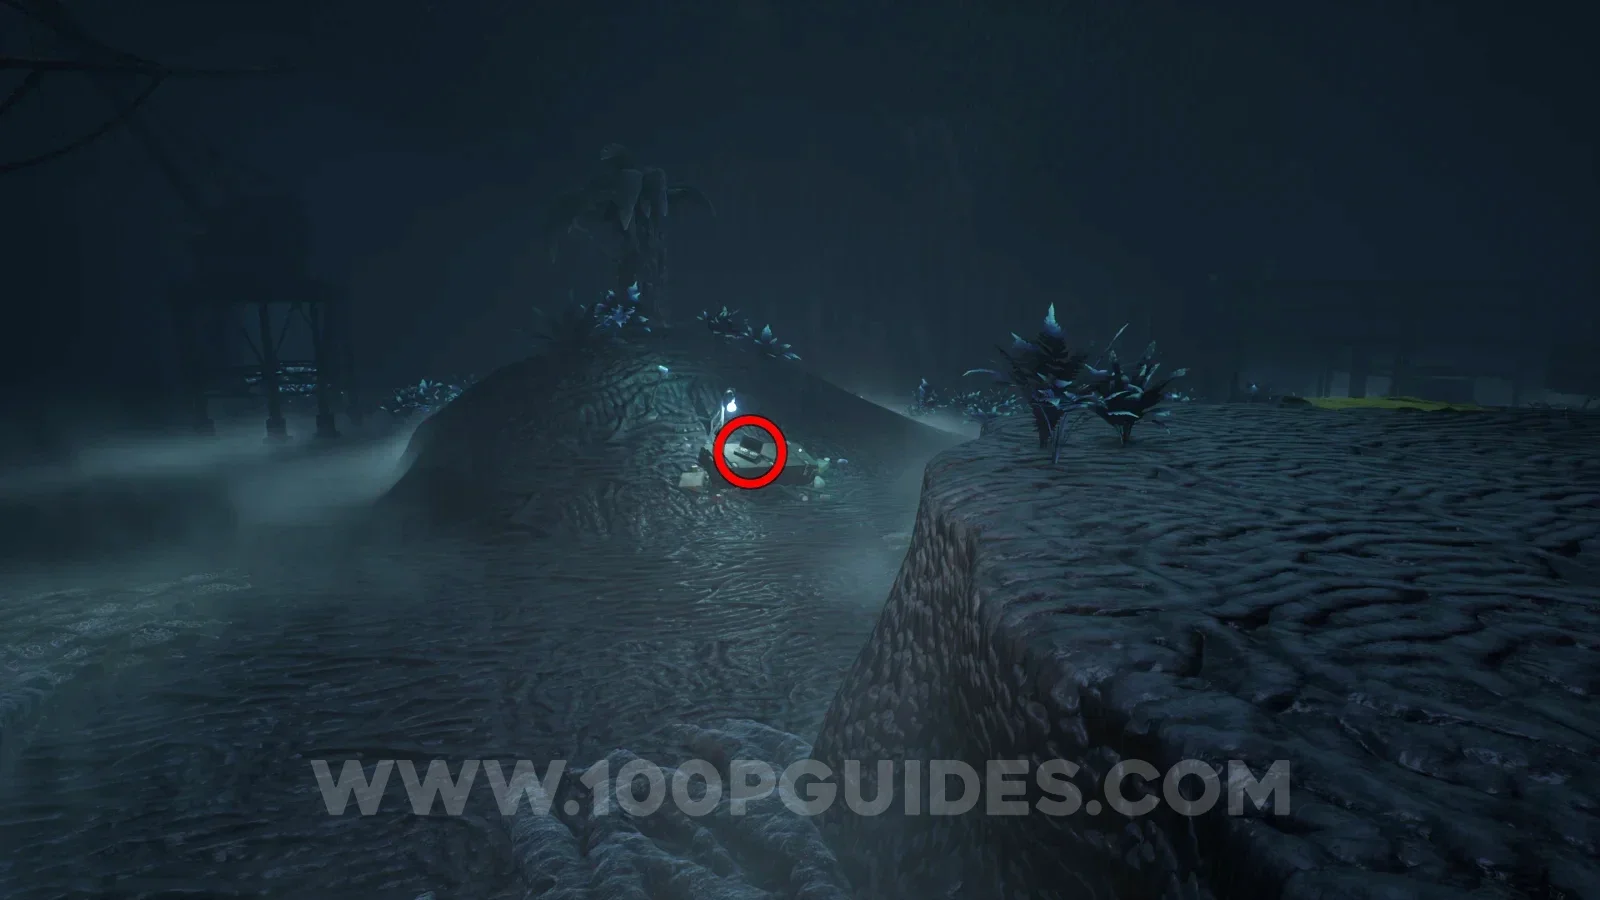
Note - We need the lights!
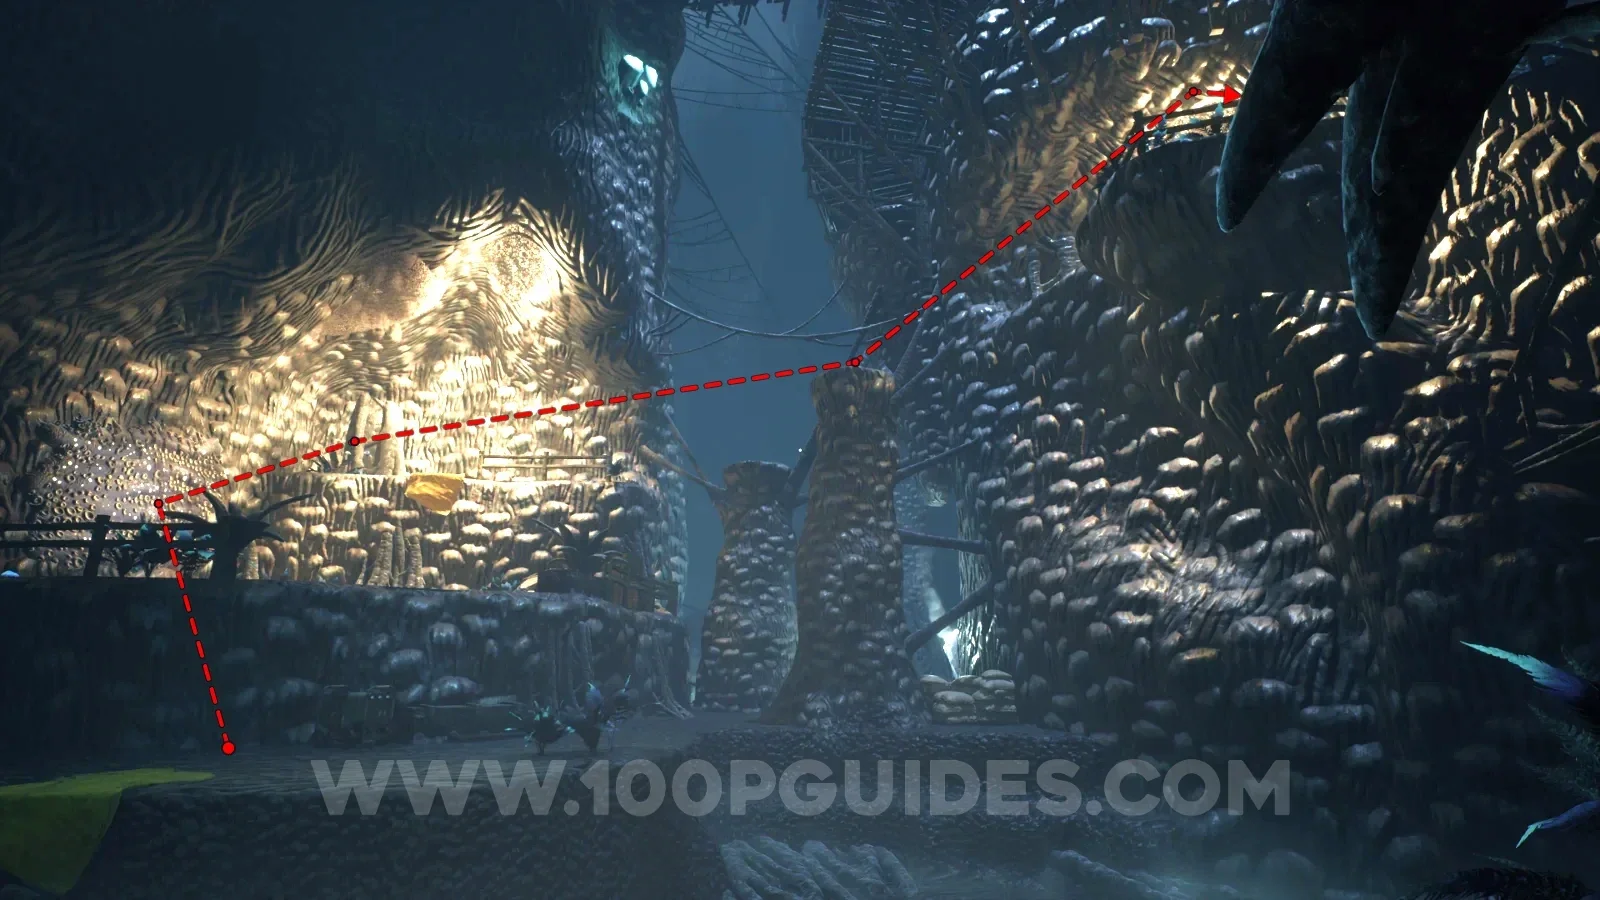
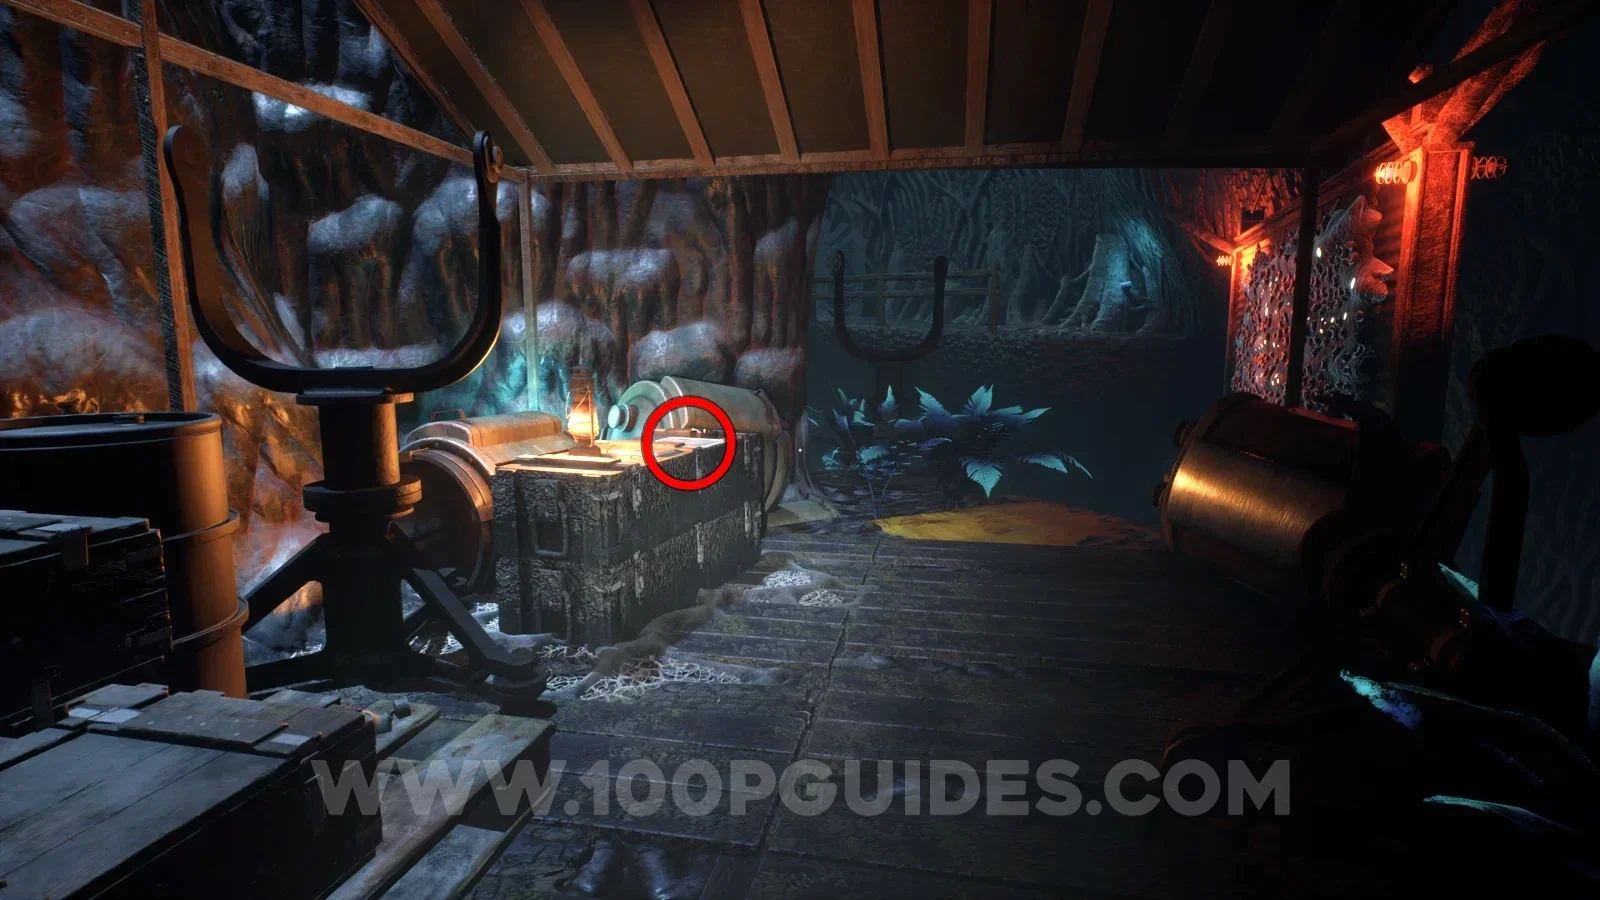
From the previous collectible, turn around and wallrun along the wall on the left to start climbing the spires. Continue climbing and you will go through a tent. The note will be here in plain sight.
Sample - Amber Specimen 16
Continue climbing and you will go past a metal tower. After this, you will wallrun on two hanging planks and get to an area with a thin passage on your left with glowing plants. Before heading through it, look to the right to find the amber.
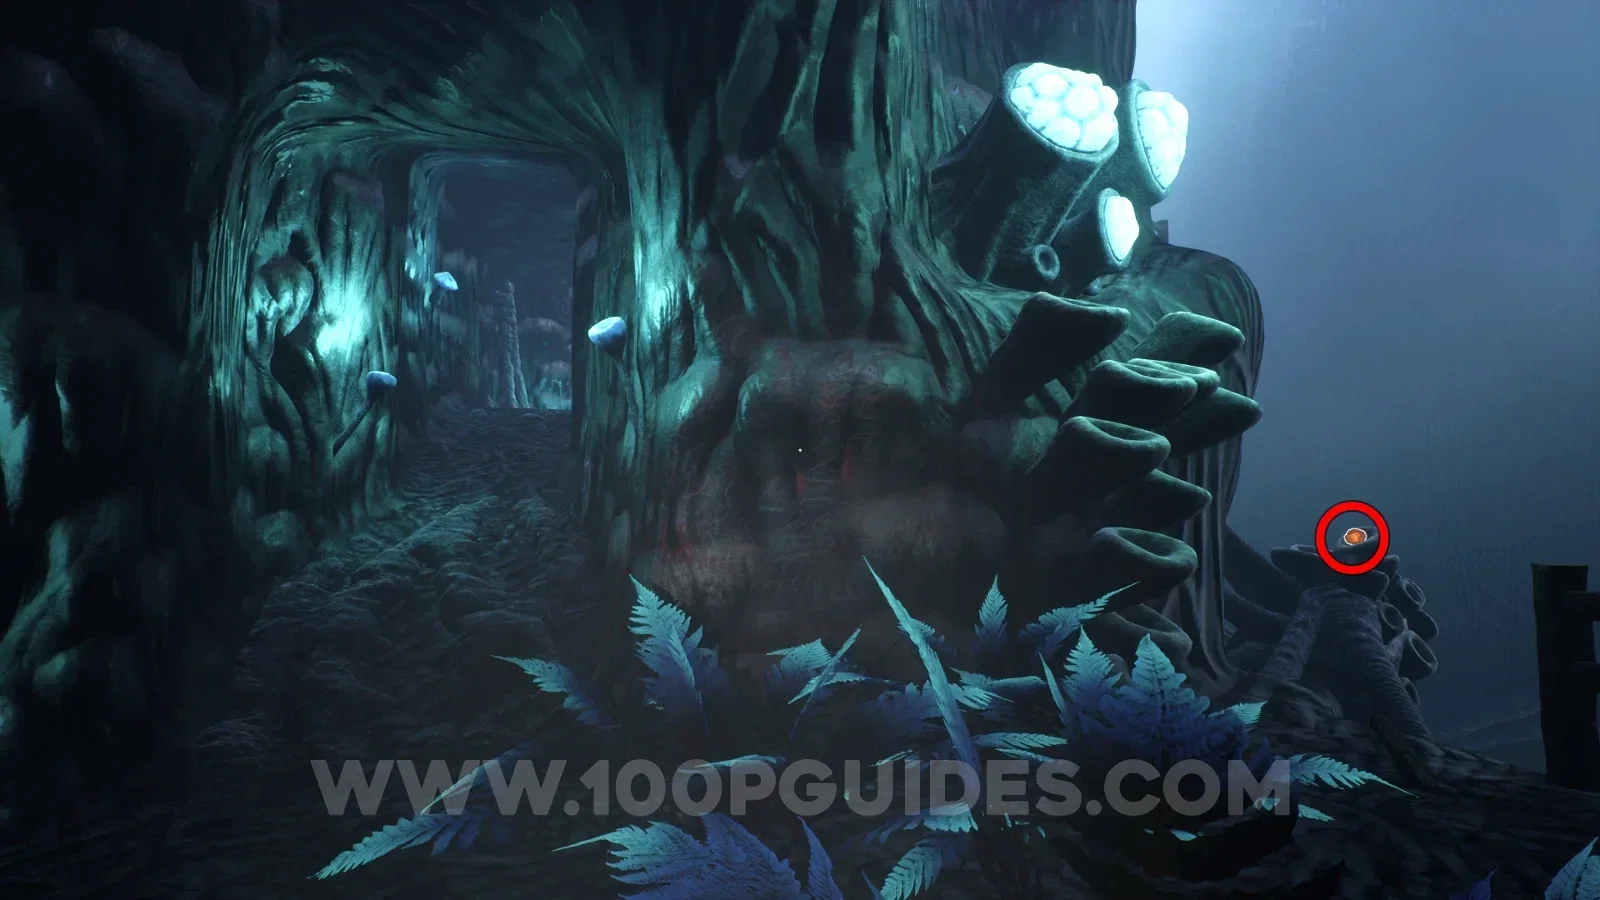
Note - Fellows' last words
Next to the keys in Cavern B.
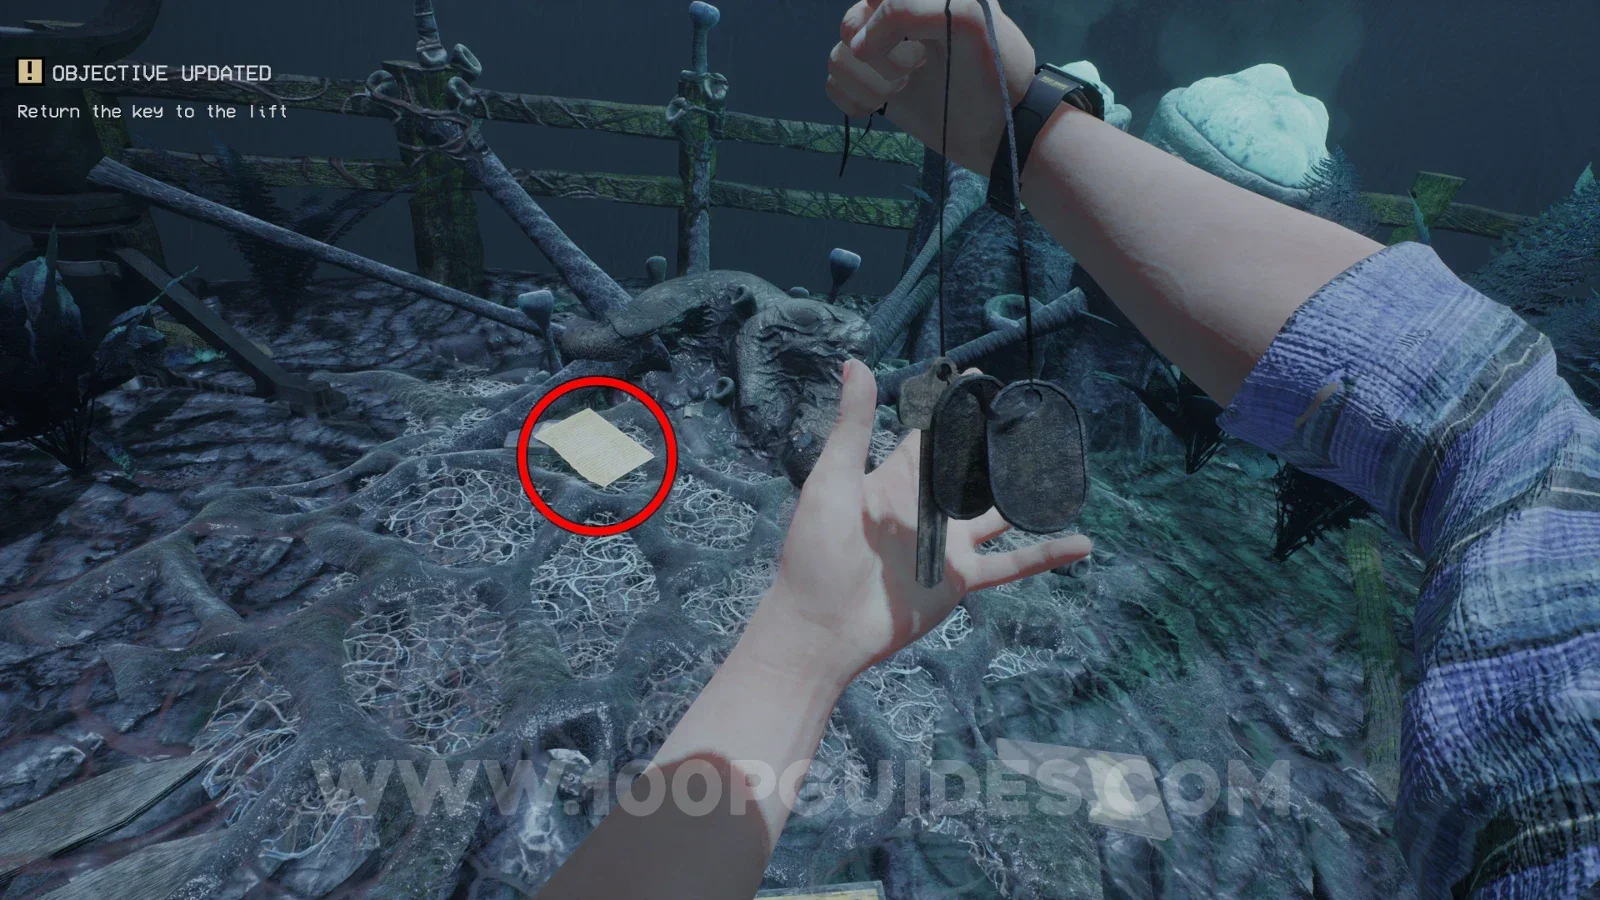
Note - Murderer in the camps?
After getting the keys there will be a chase scene. As soon as the chase scene ends, go through the strands of goo on your left to find the note on a small box.
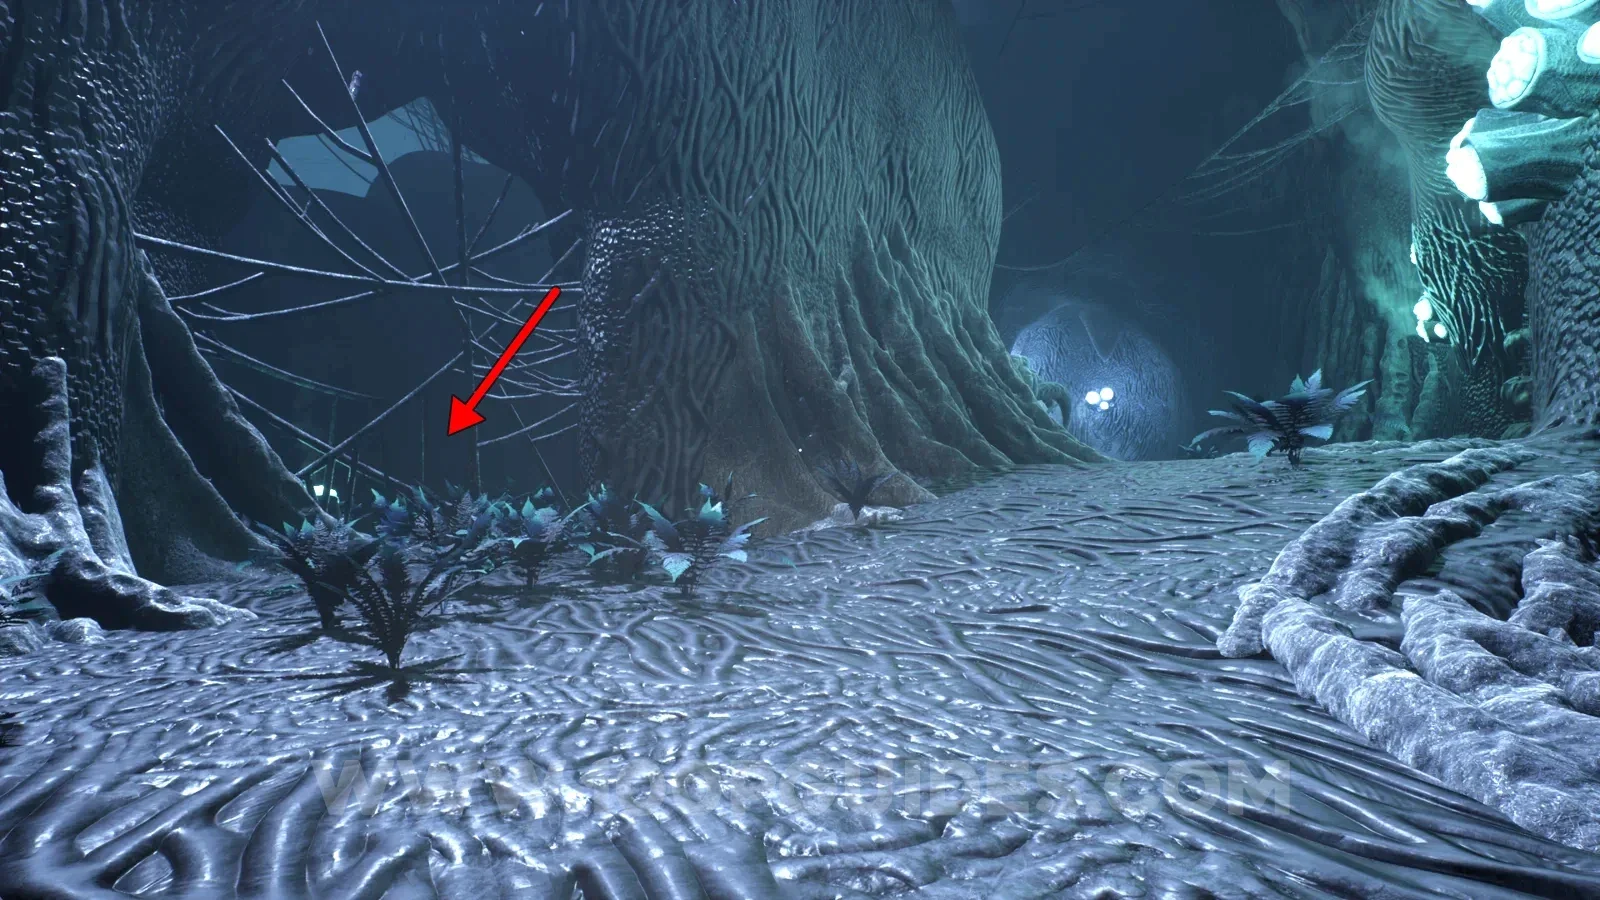
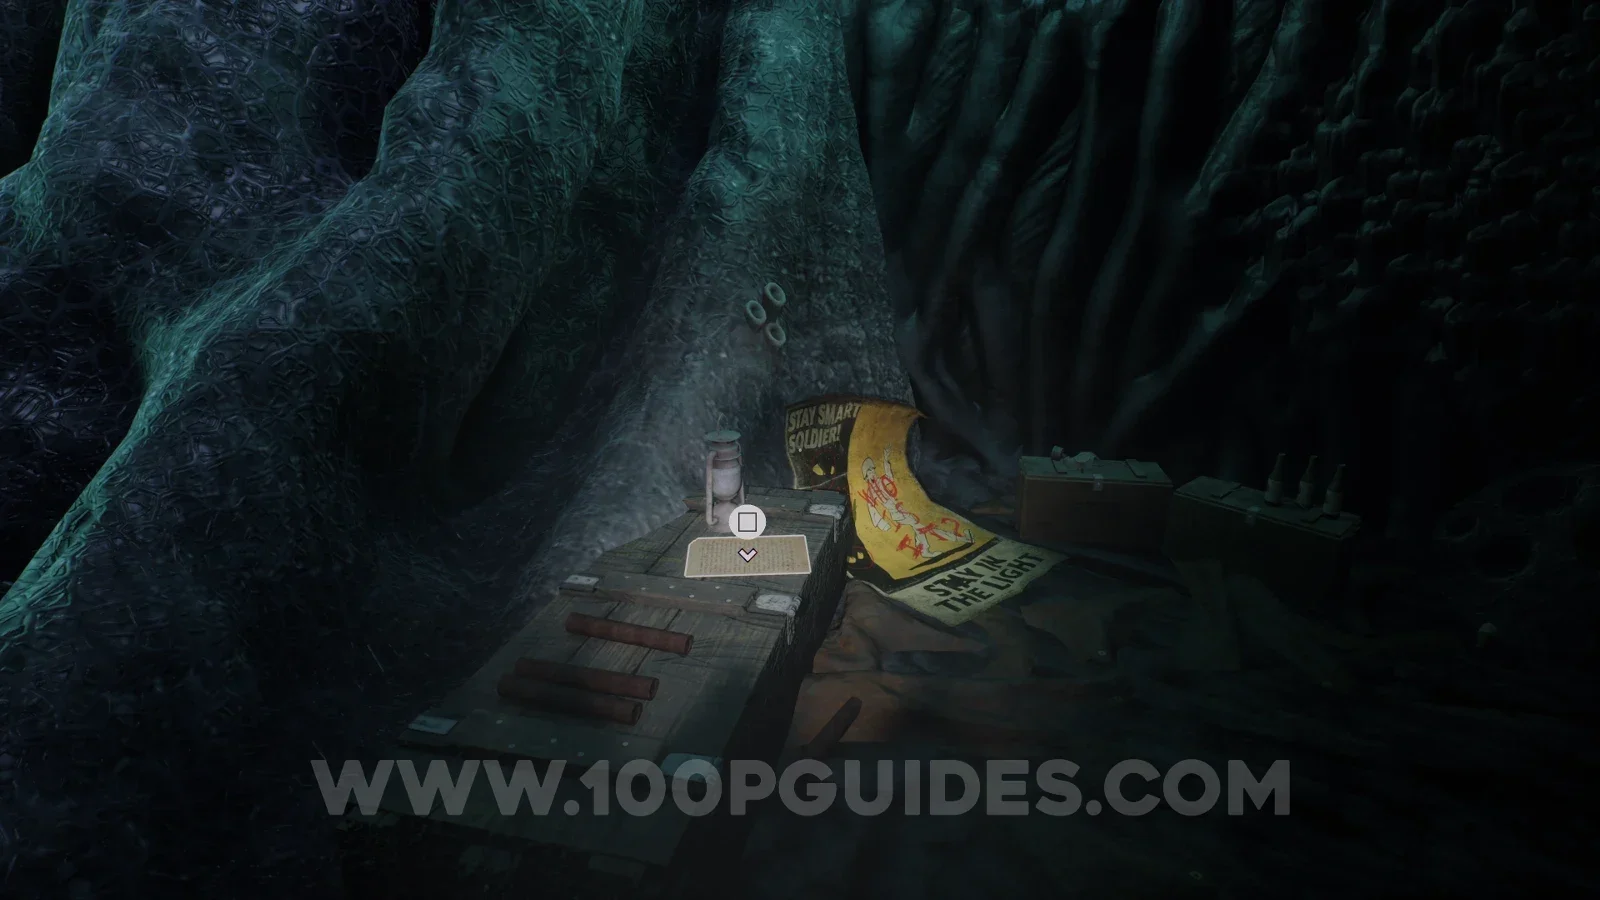
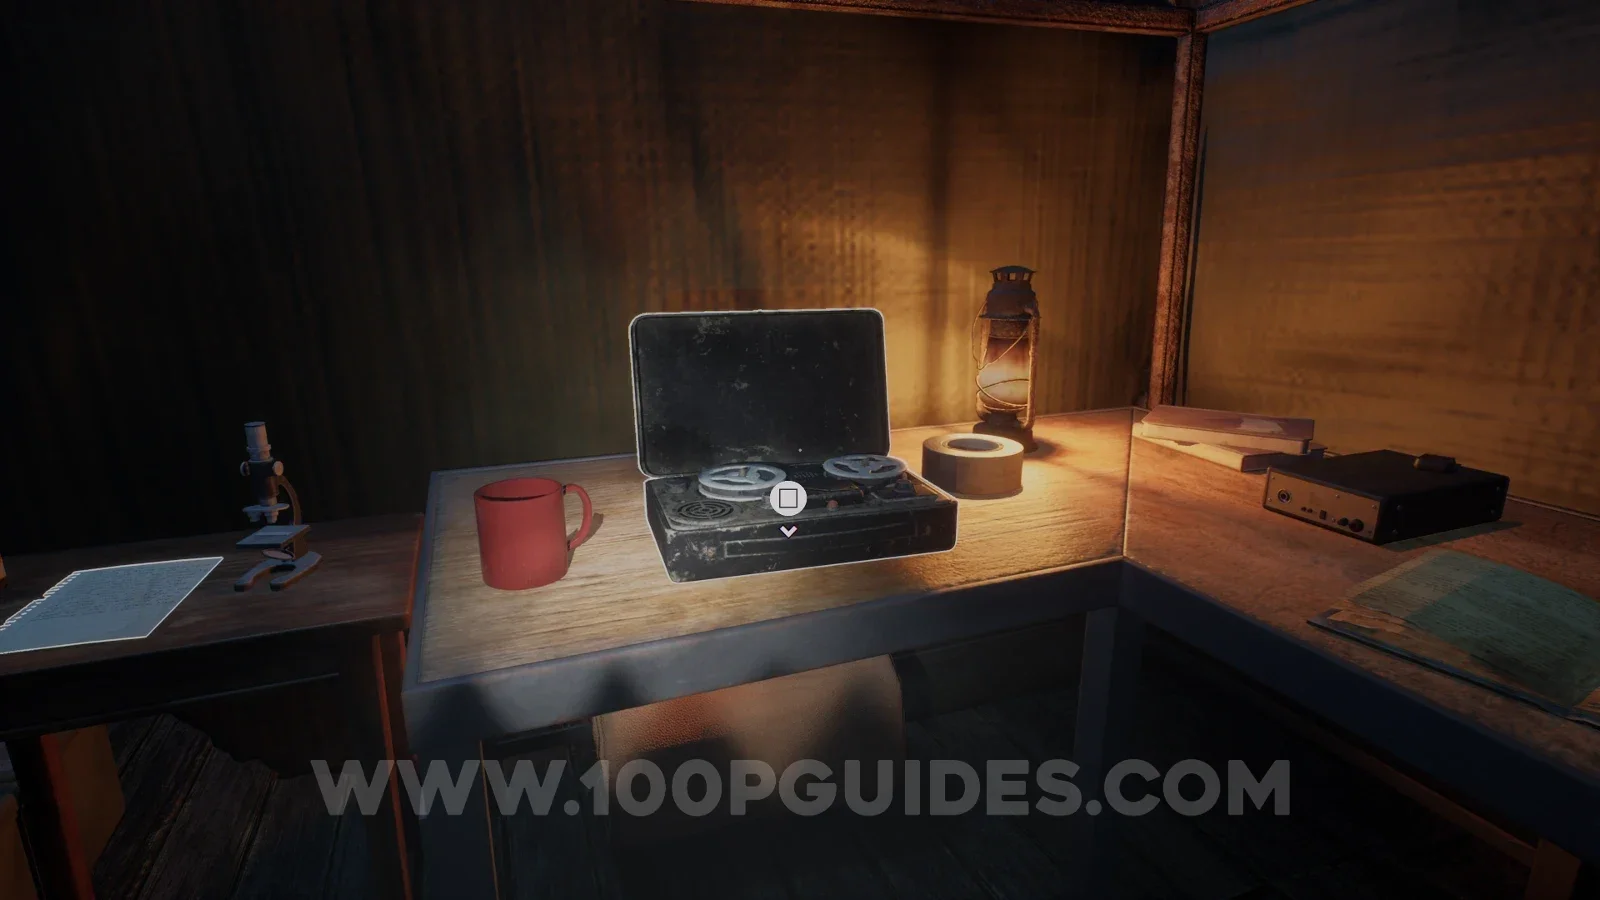
Tape - Dr. Crane: A Request
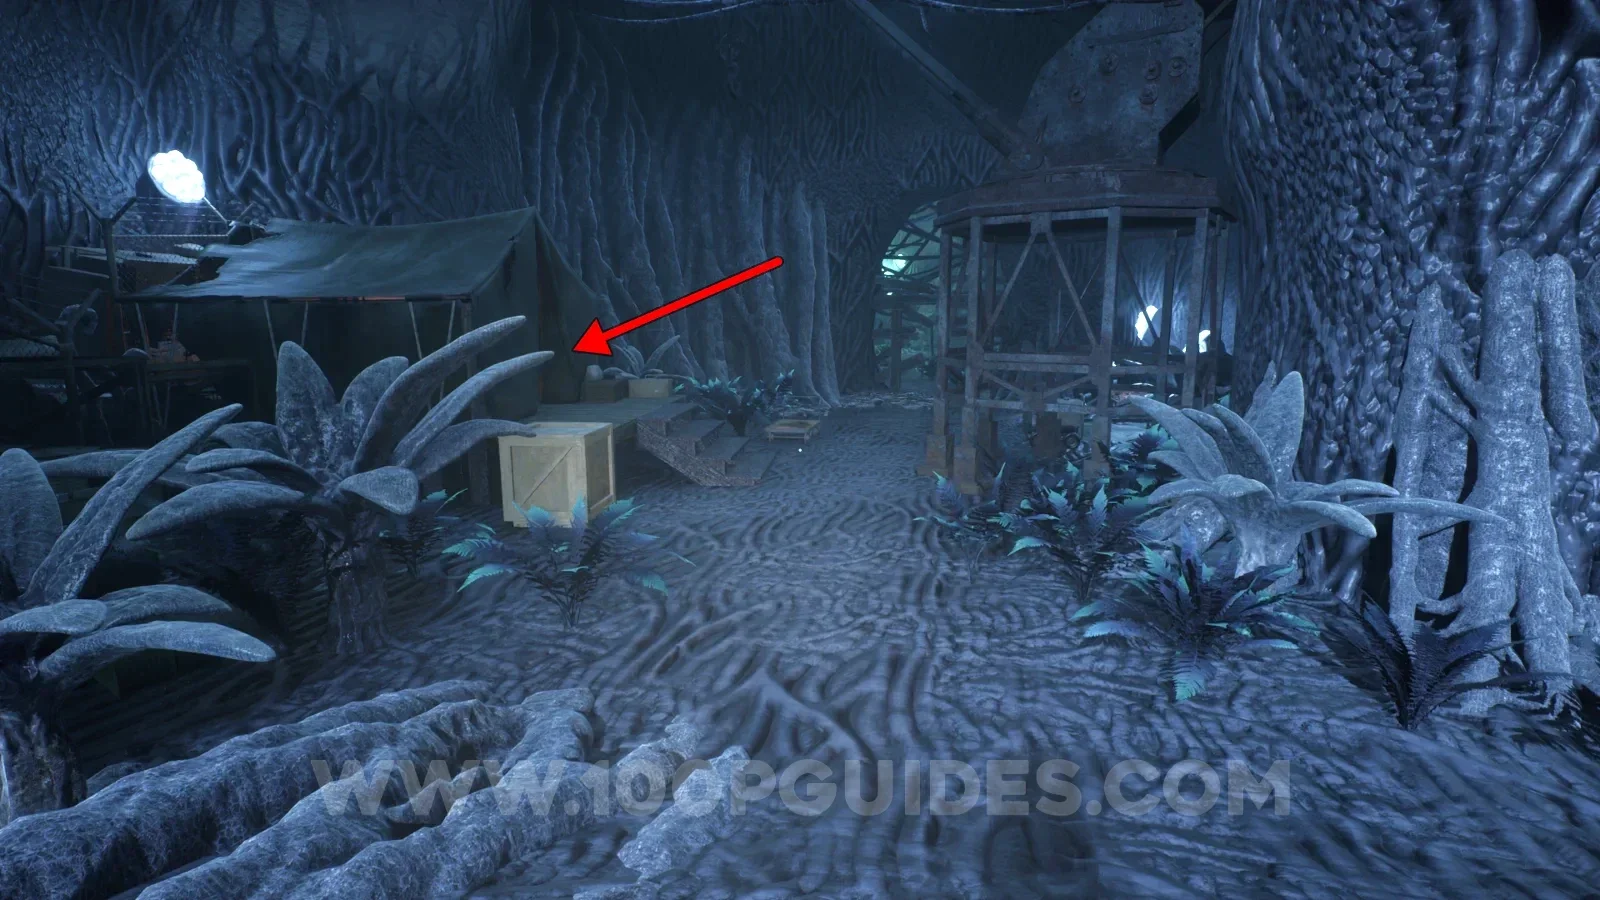
After kicking the dinosaur off the side of the cliff, turn around and enter the tent on the left to find the final tape.
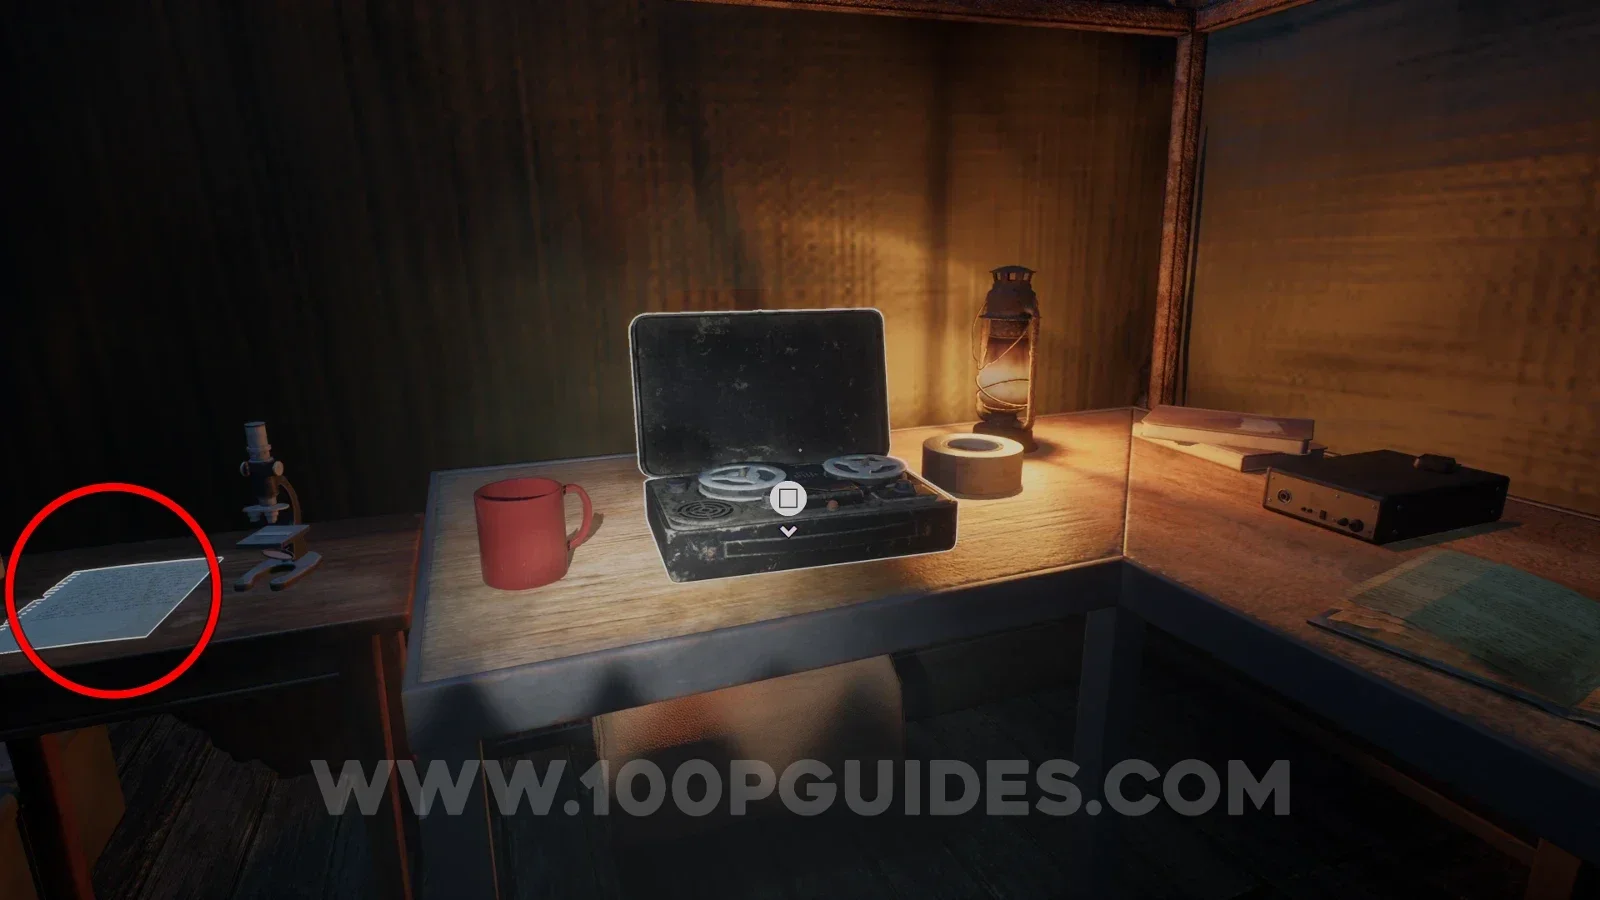
Note - Ground Zero
Next to the previous tape.
Stuffed Animal Pedestal
In plain sight on the left of the path just after blowing a hole through the door with the dynamite.