Welcome to Part 14 of our 100% Walkthrough of Zelda Ocarina of Time Remake. With the Forest Medallion in hand and the Prelude of Light learned, you can now travel back in time whenever you like, and this is the first of two trips back to being a child.
Before you go, there are four quick jobs as an adult: a bigger quiver from the Shooting Gallery in Kakariko Village, two Fairy Thoughts in Hyrule Field that unlock Heart Pieces for the child, and a Gold Skulltula in a grotto you opened back in Part 7.
Then, as a child, you drain the well in Kakariko Village with the Song of Storms and explore the Bottom of the Well for the Lenses of Truth. After that, you clean up five Heart Pieces around Hyrule and buy the last of the Magic Beans.
Kakariko Village (adult)
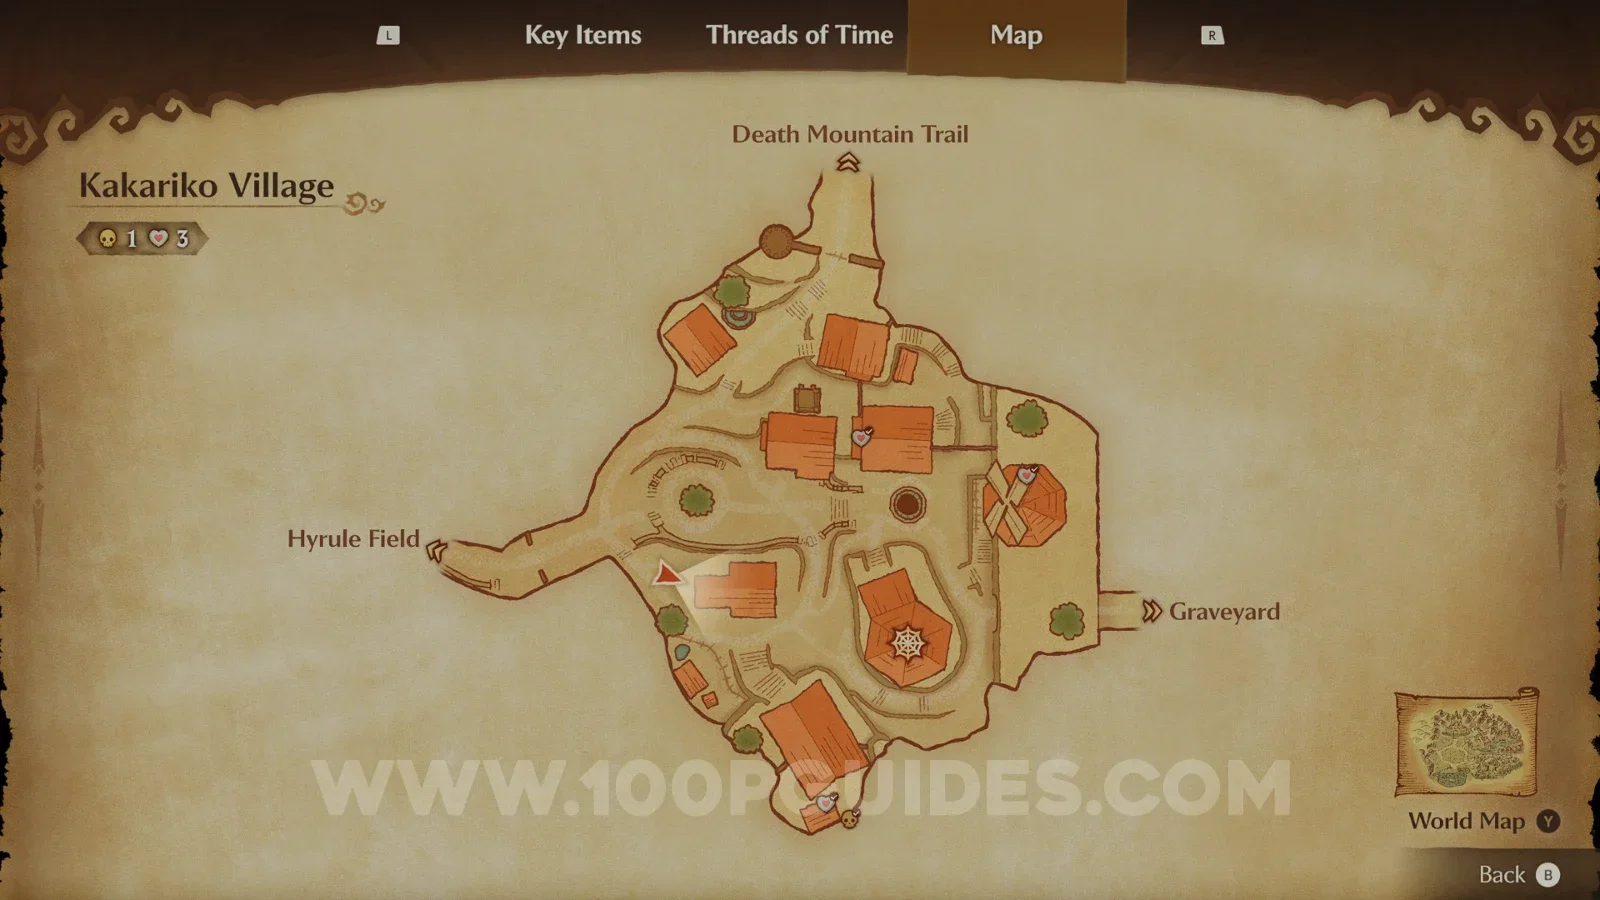
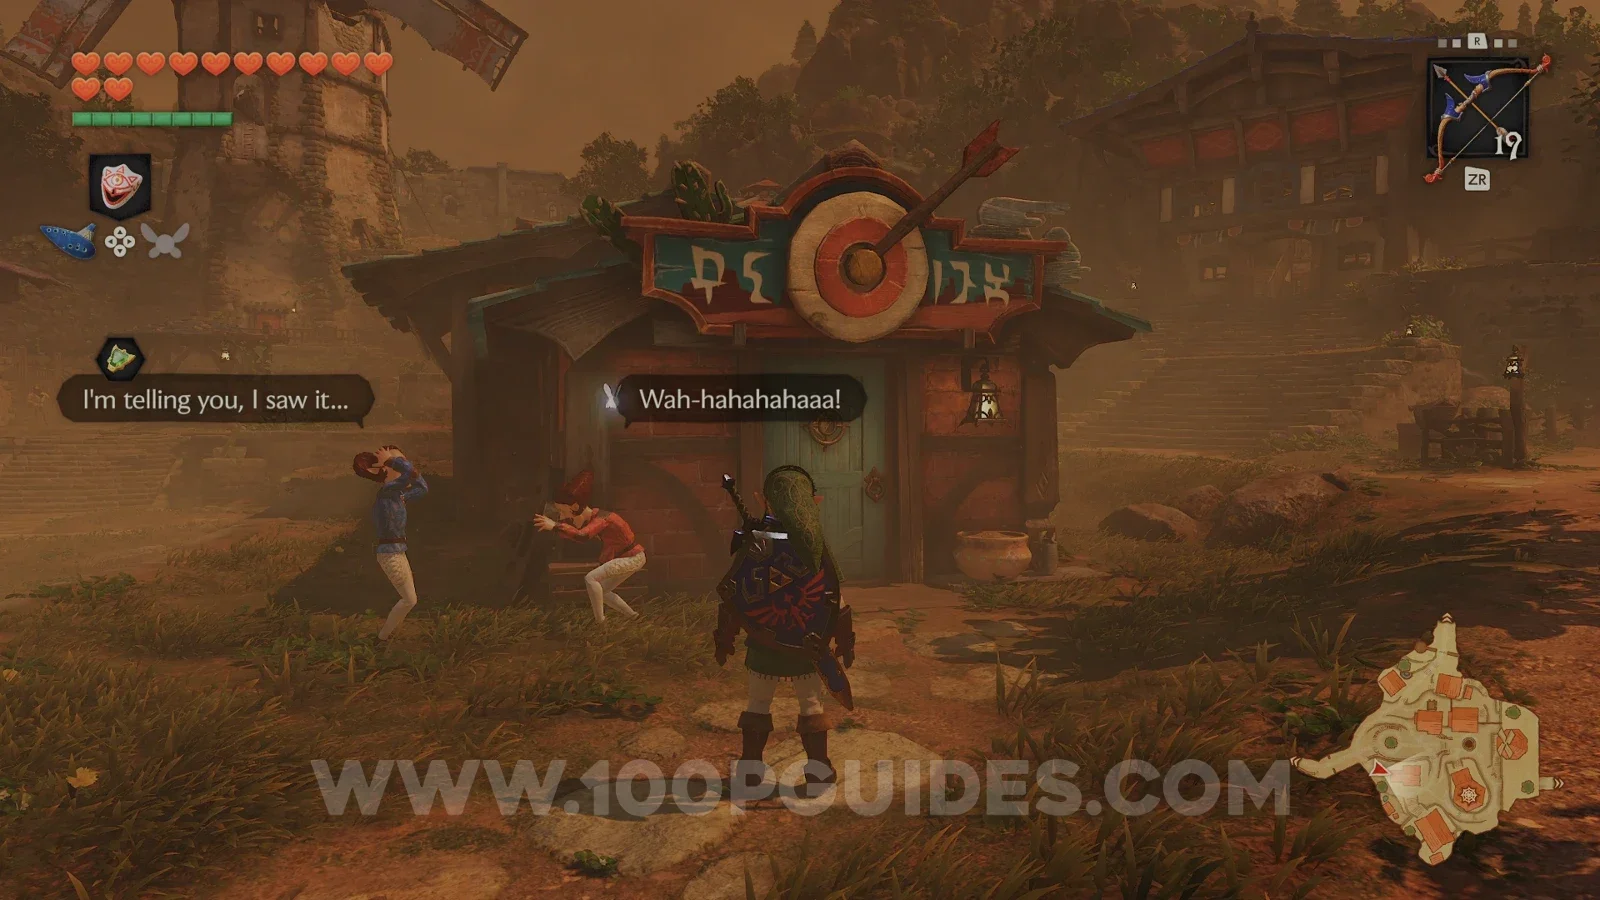
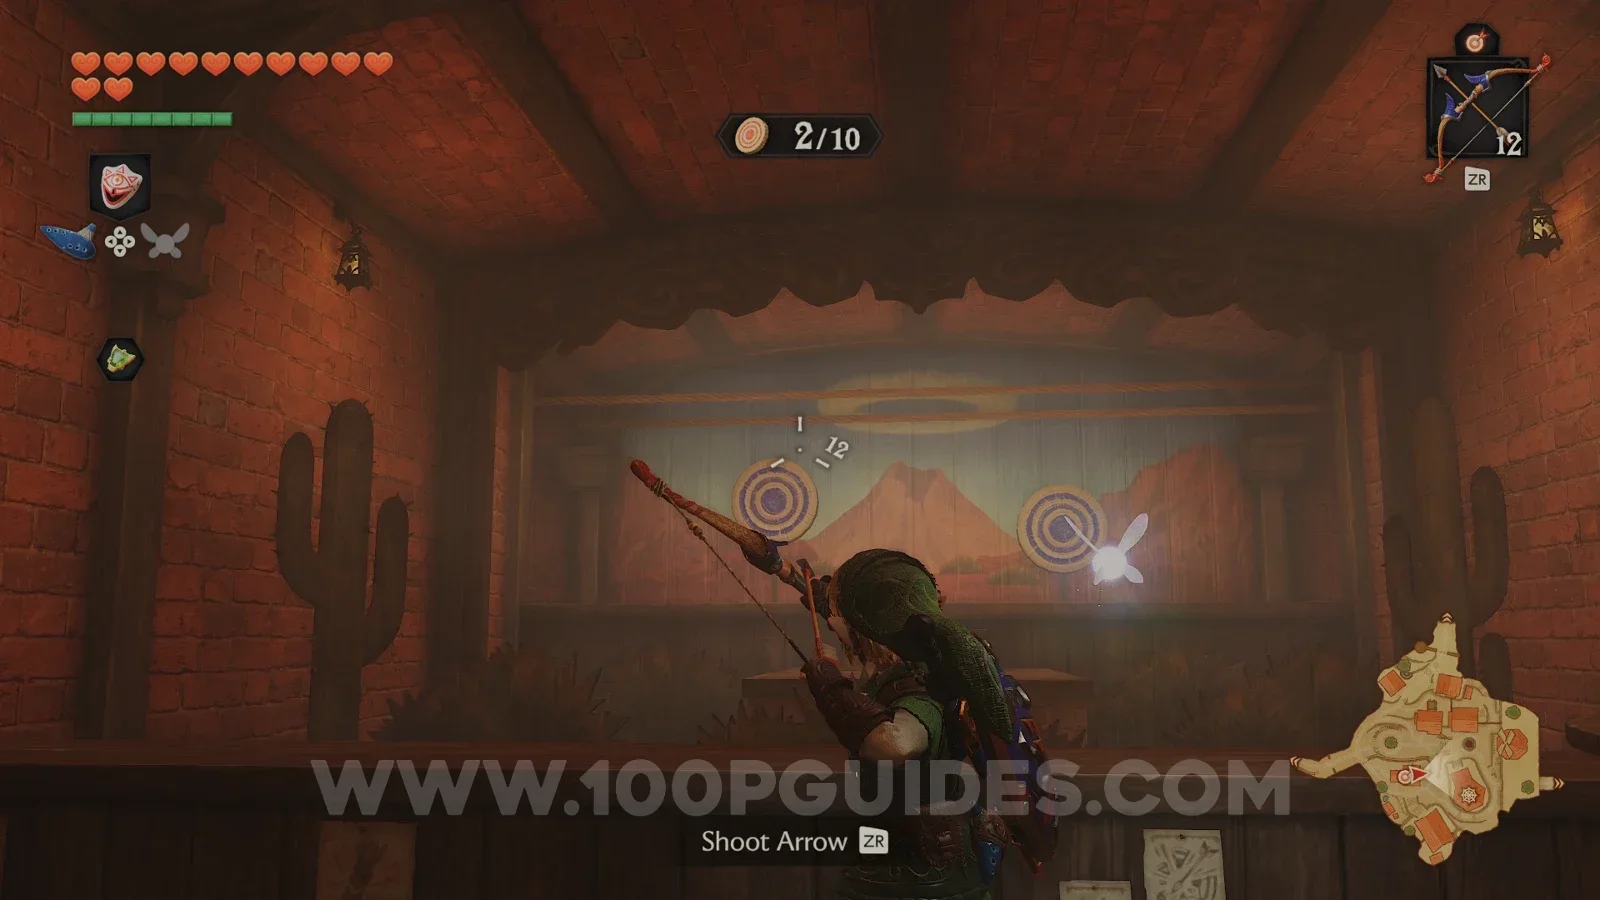
Starting as an adult, head to Kakariko Village and enter the Shooting Gallery, the new building next to the Cucco pen. Pay the 30 rupees and hit all ten targets with your bow (you have 15 arrows) to win the Quiver Upgrade (1/2), allowing you to carry 40 arrows. If you only just miss out, you will get a free retry.
Hyrule Field (adult)
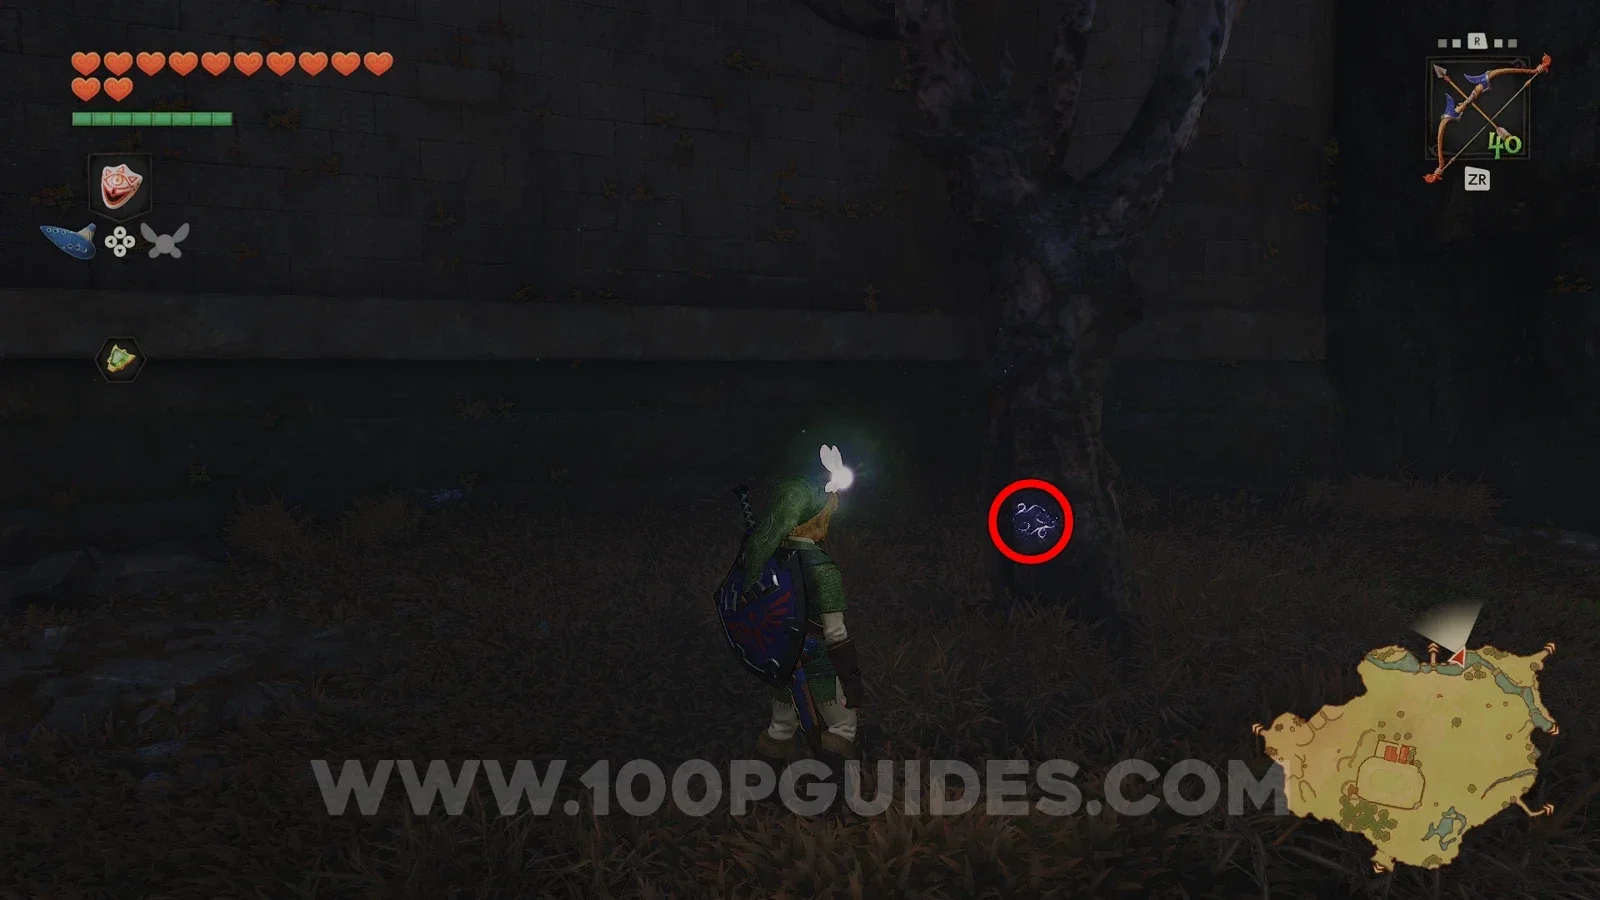
Next, ride to the drawbridge of Hyrule Castle Town and head to the small plot of land on the northern side of the water, to the right of the drawbridge. You will find a glowing symbol on the tree here. This is a Fairy Thought. Interact with it and it will tell you that the password is "Sell Somethin', will ya?". You will need it as a child.
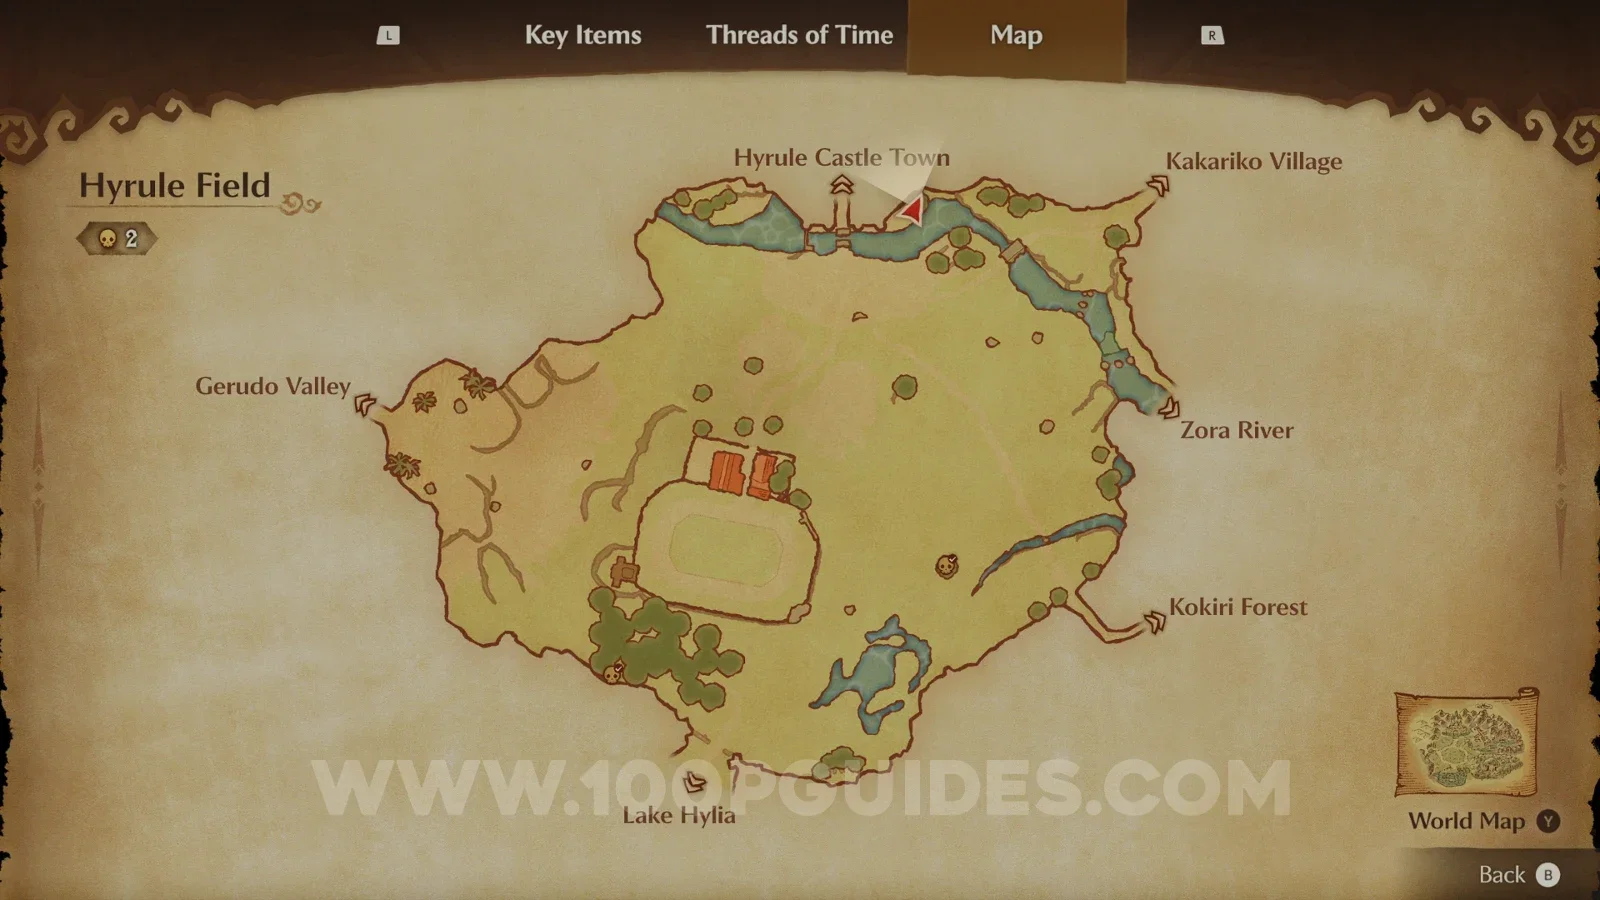
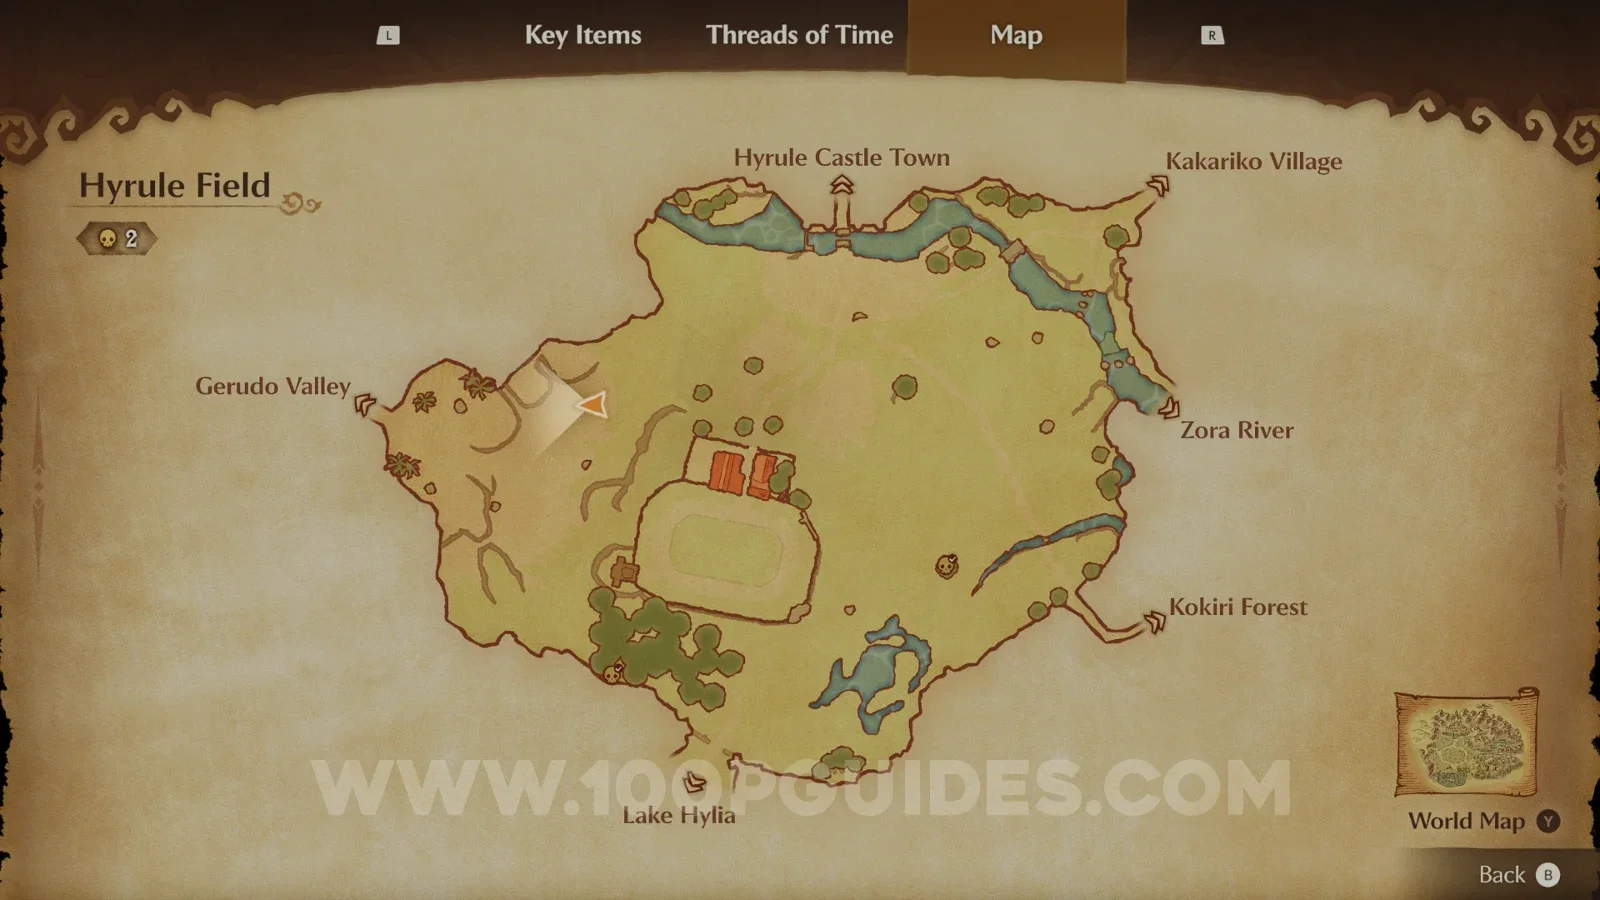
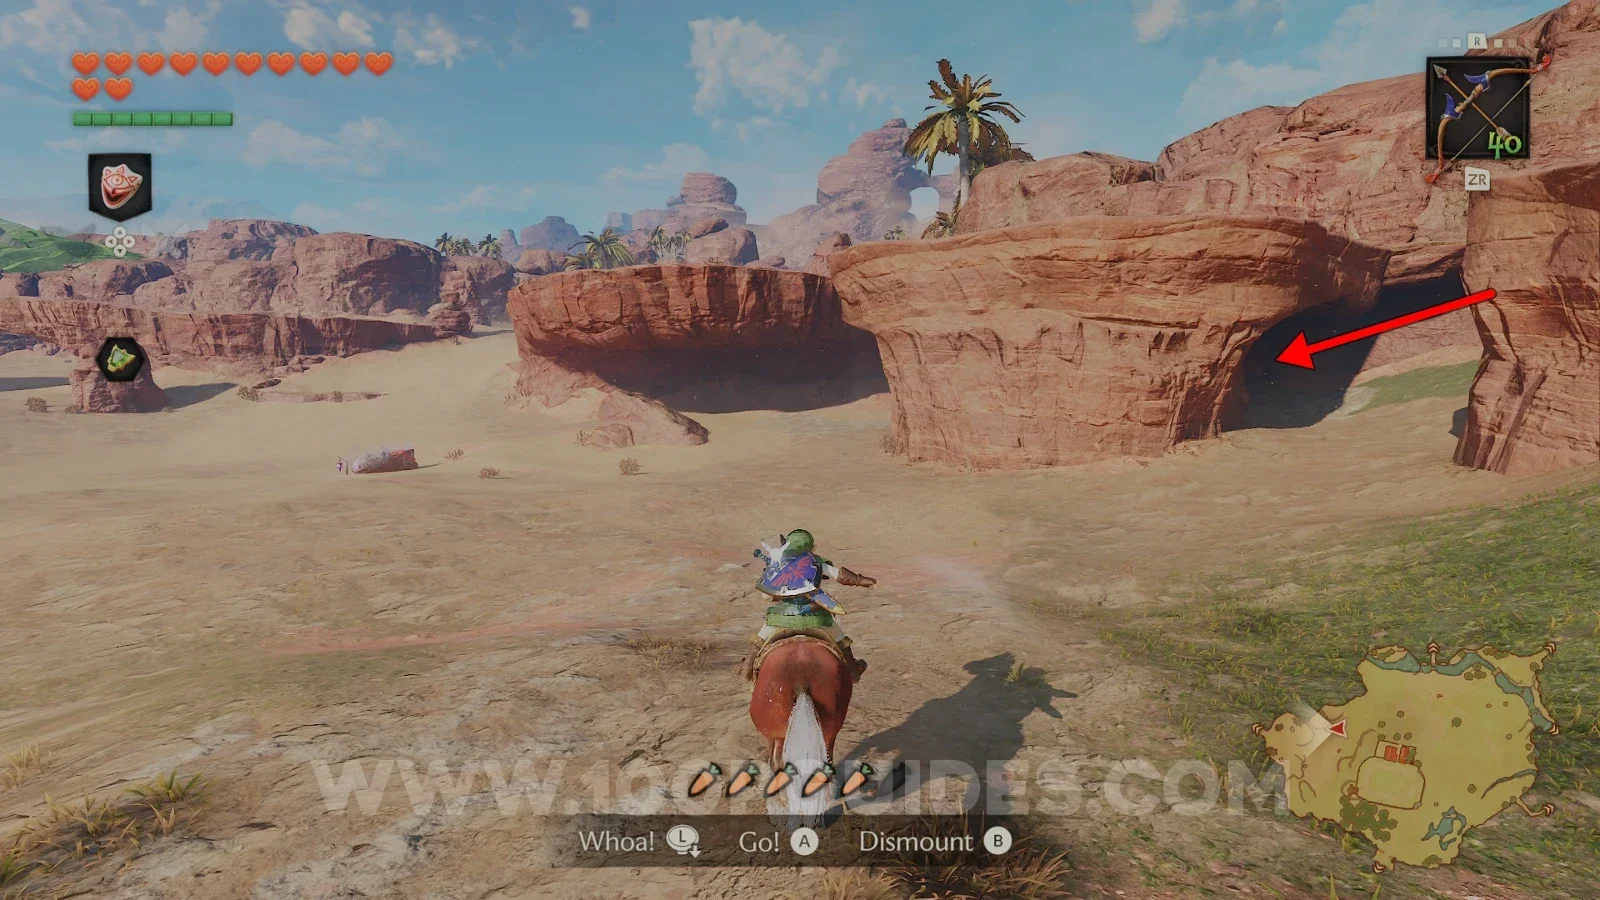
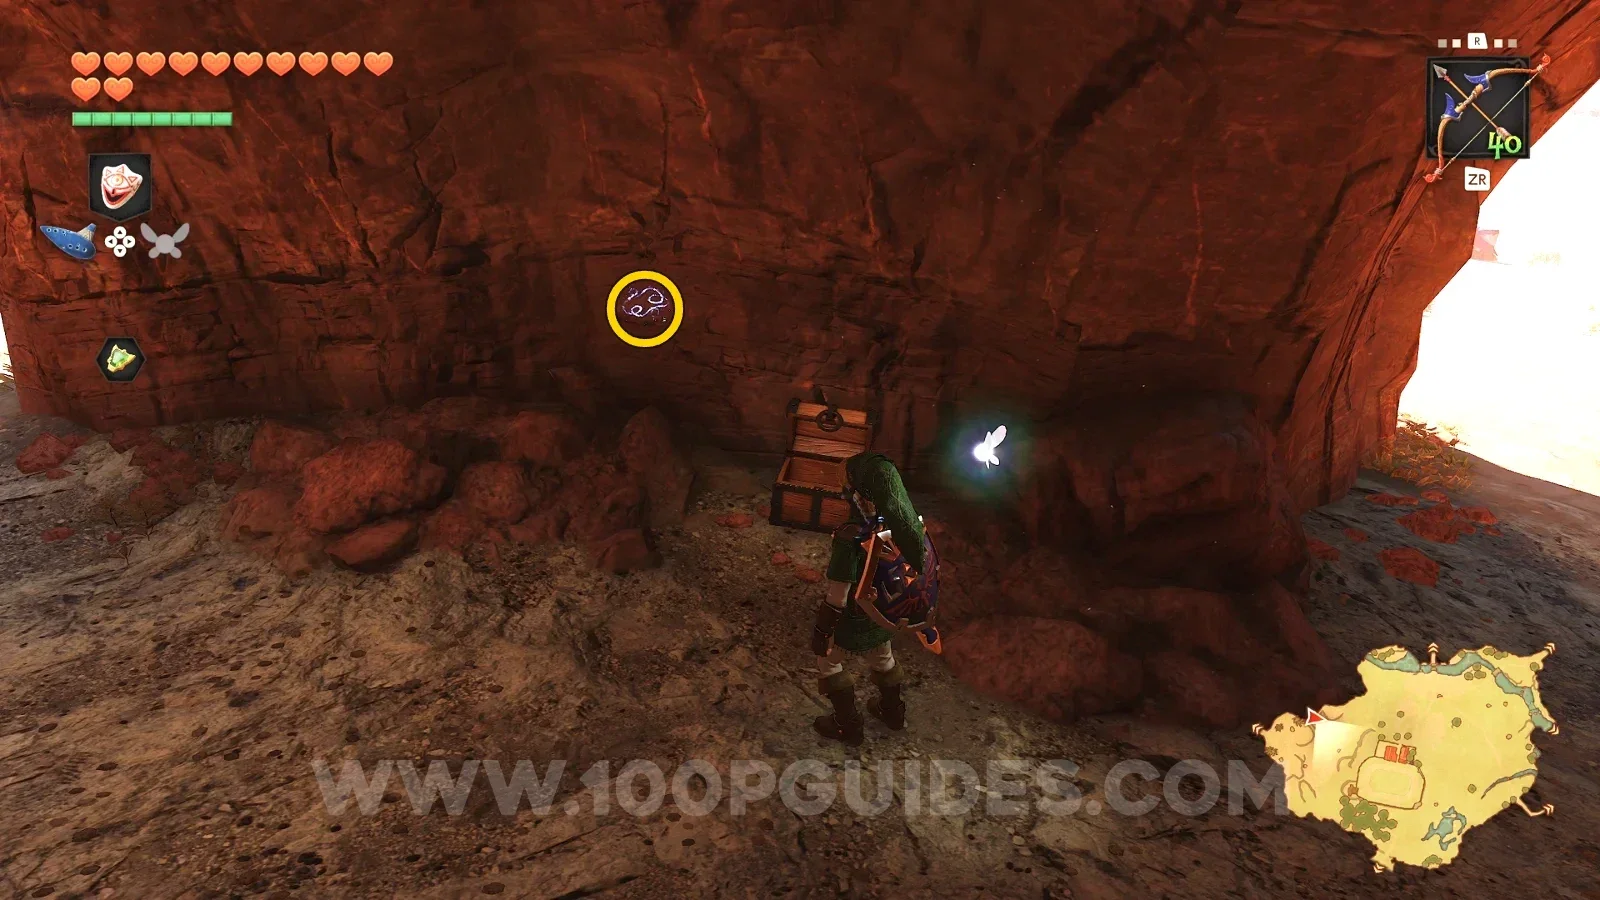
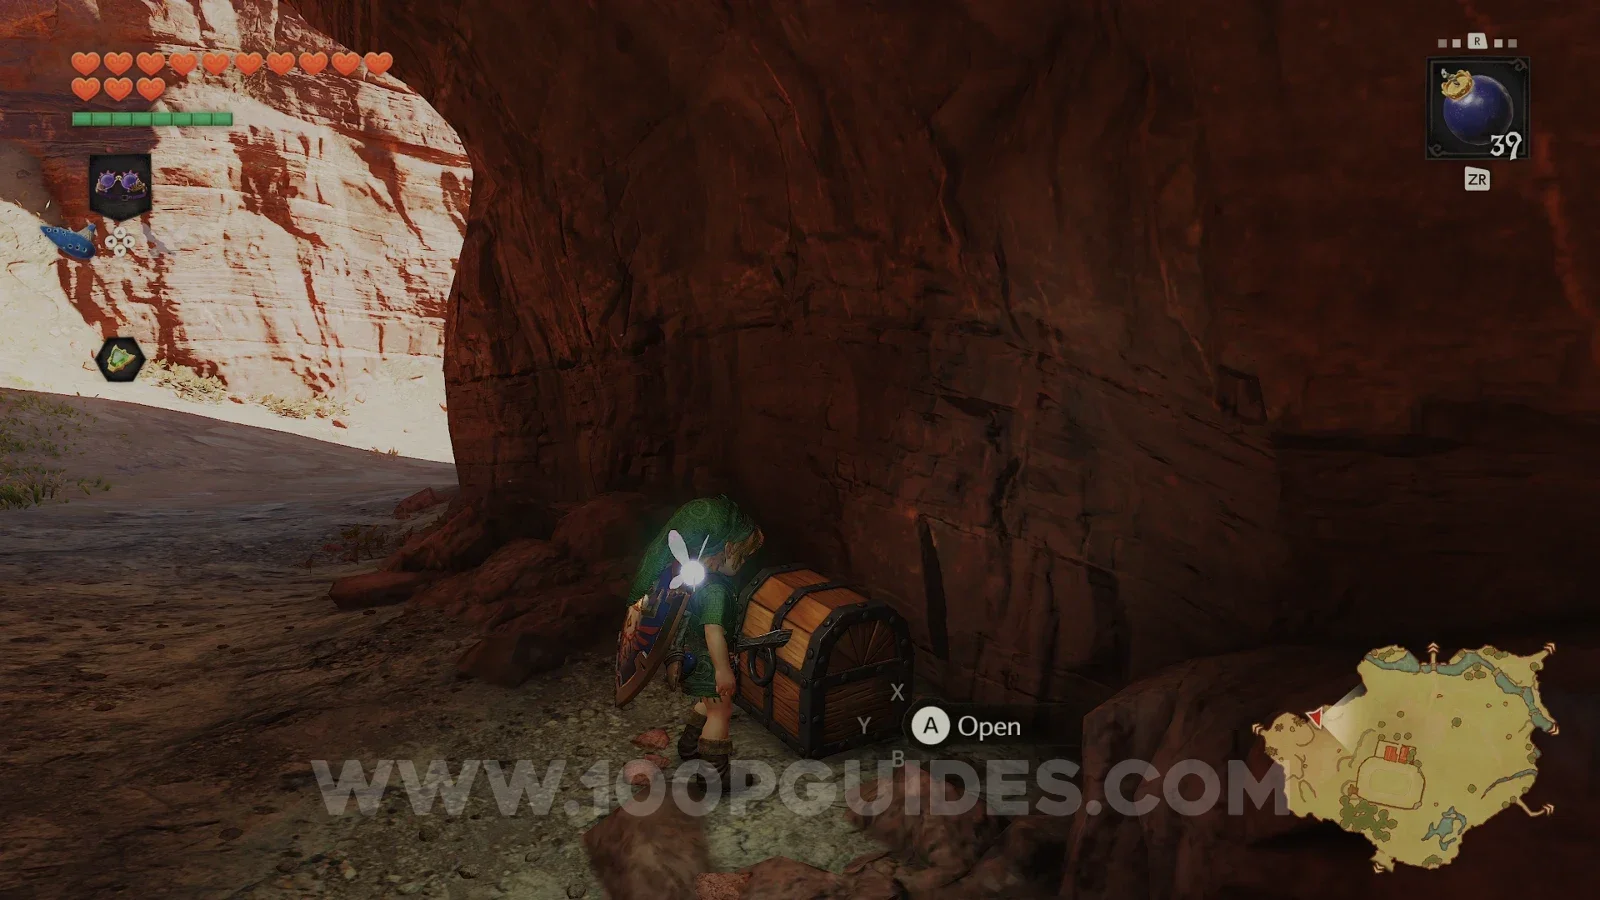
Next, ride towards the western exit that leads to Gerudo Valley. On the way, look for a small chest under a rock outcropping on your right. You will find another Fairy Thought next to it. Read it now, and the chest will open for you when you come back as a child.
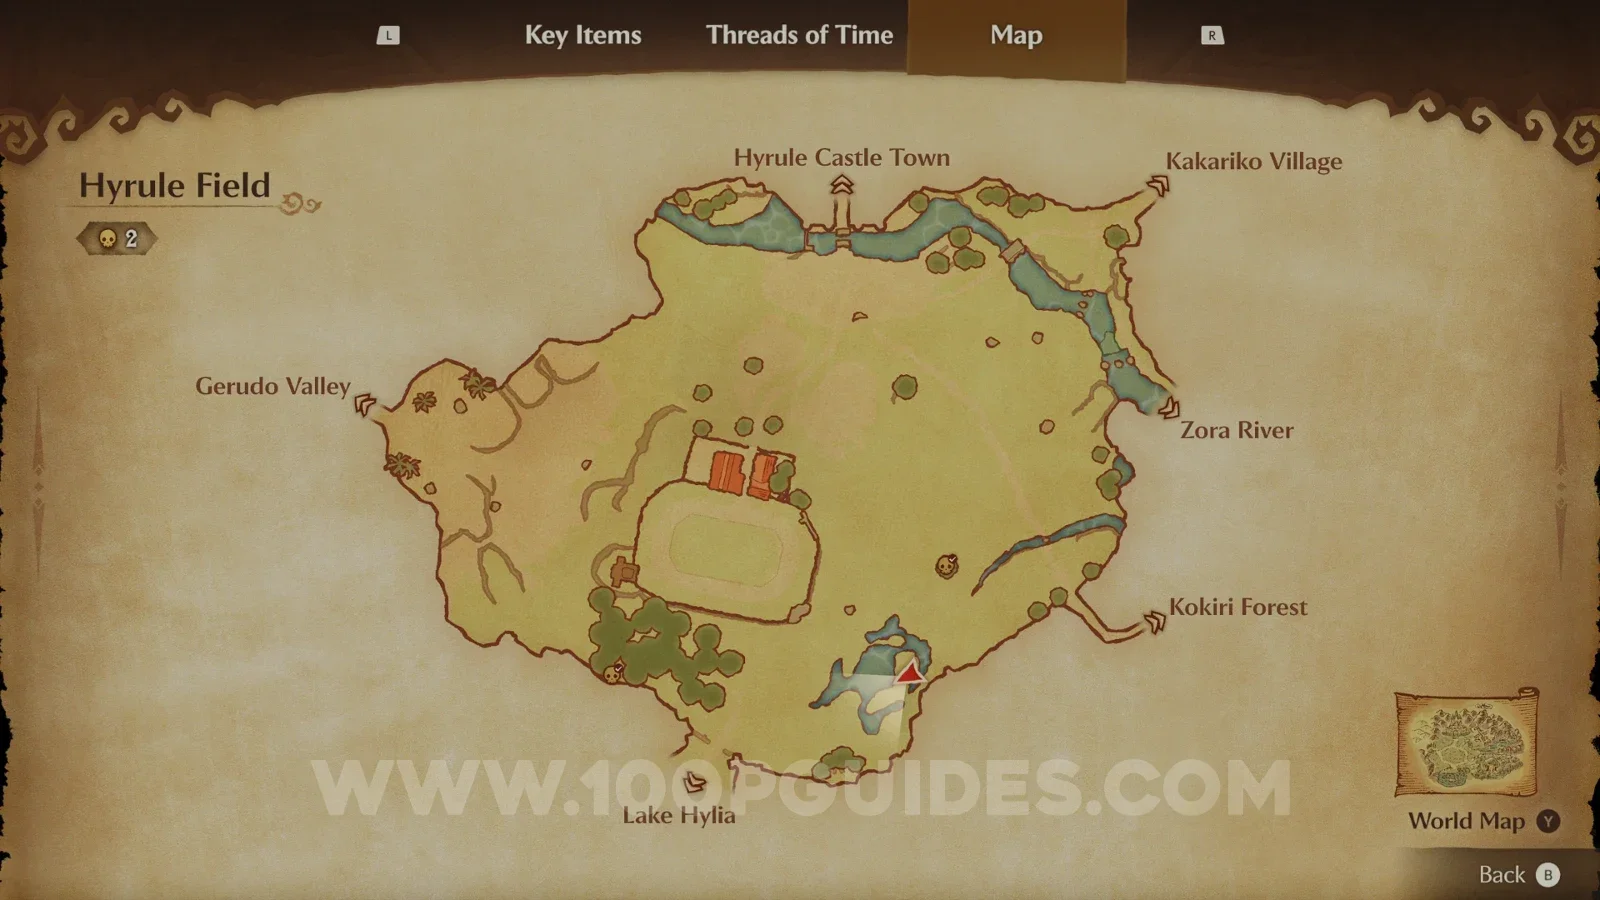
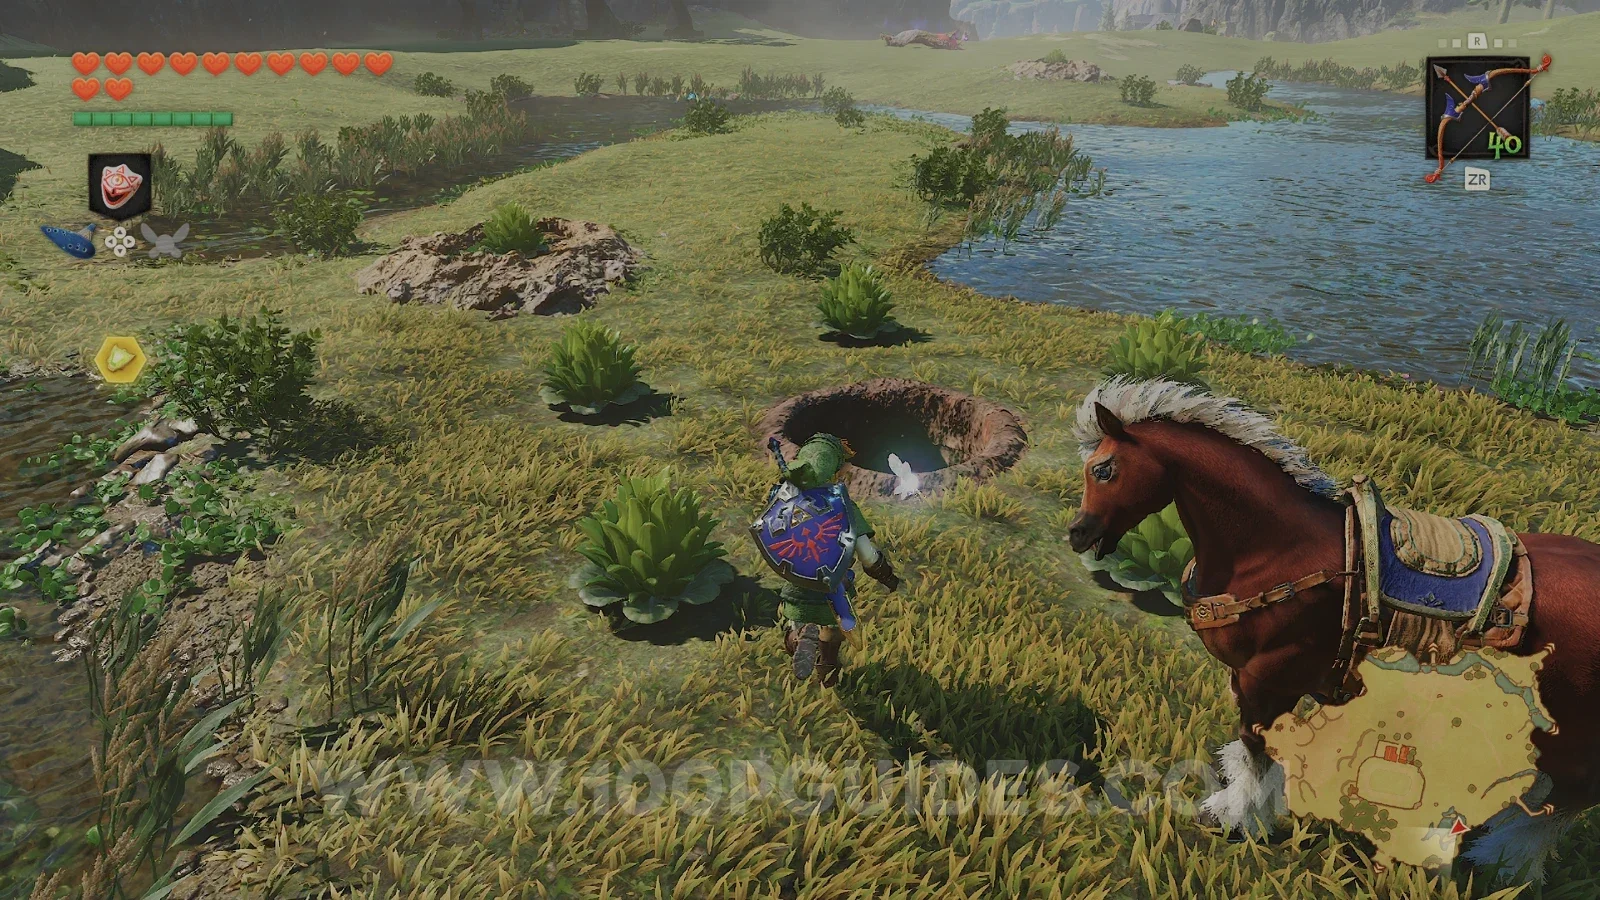
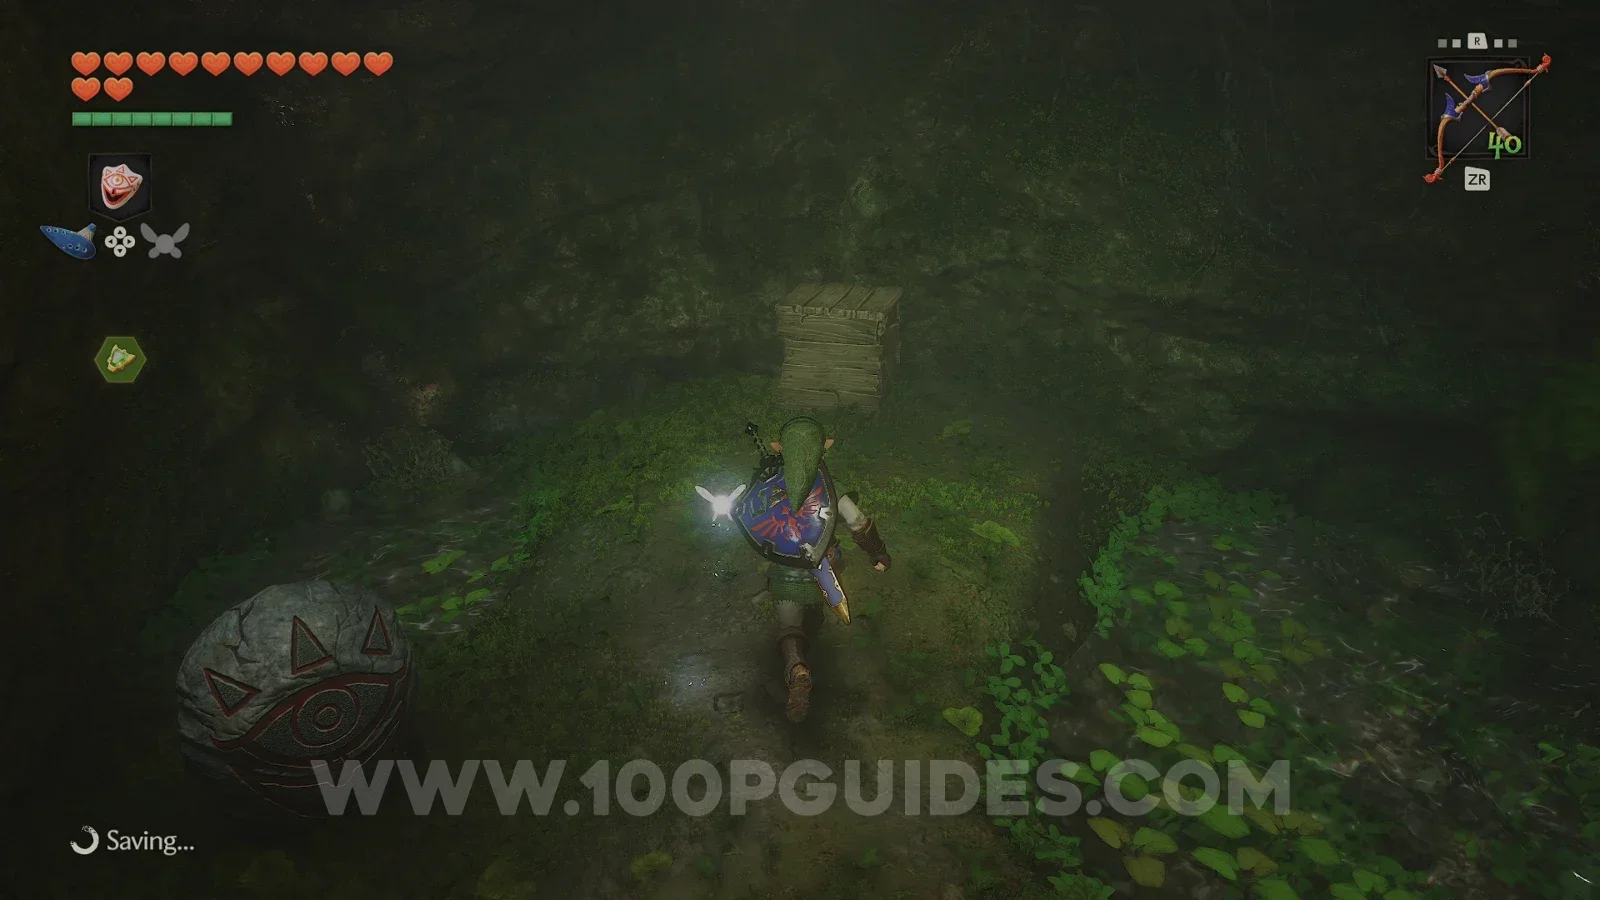
Finally, ride to the grotto next to the water in the southeast corner of Hyrule Field, the one where you defeated the Skulltula on the wall as a child in Part 7. Head inside and roll into the wooden box to reveal a Gold Skulltula (54/100).
Back in time
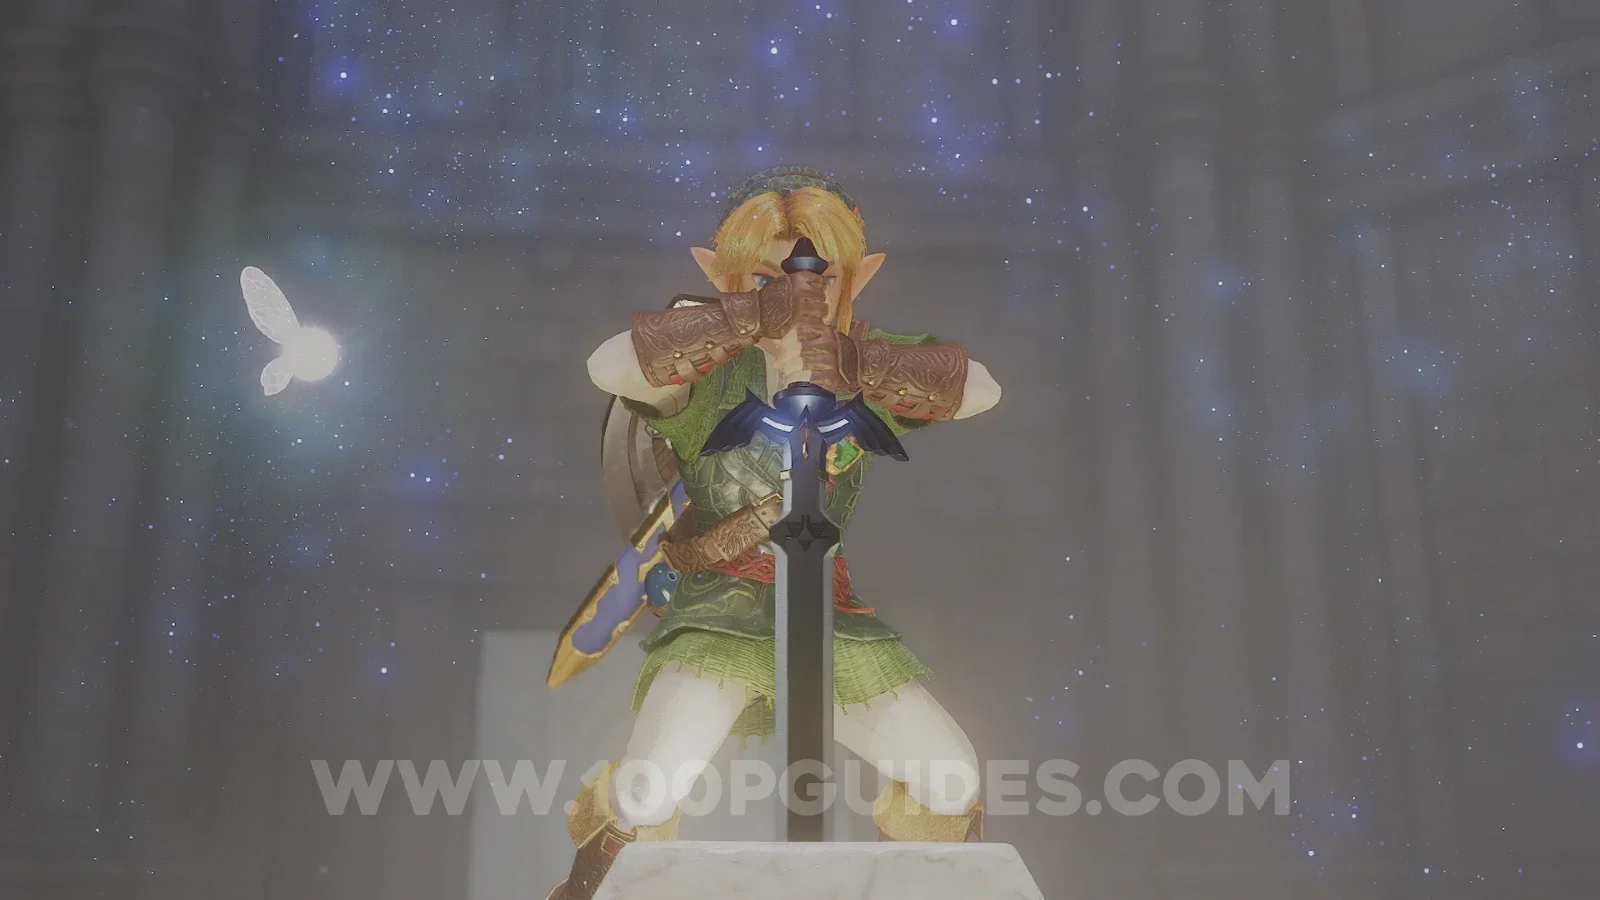
Now play the Prelude of Light to warp to the Temple of Time. Walk up to the pedestal and place the Master Sword back in it to return to being a child.
Bottom of the Well
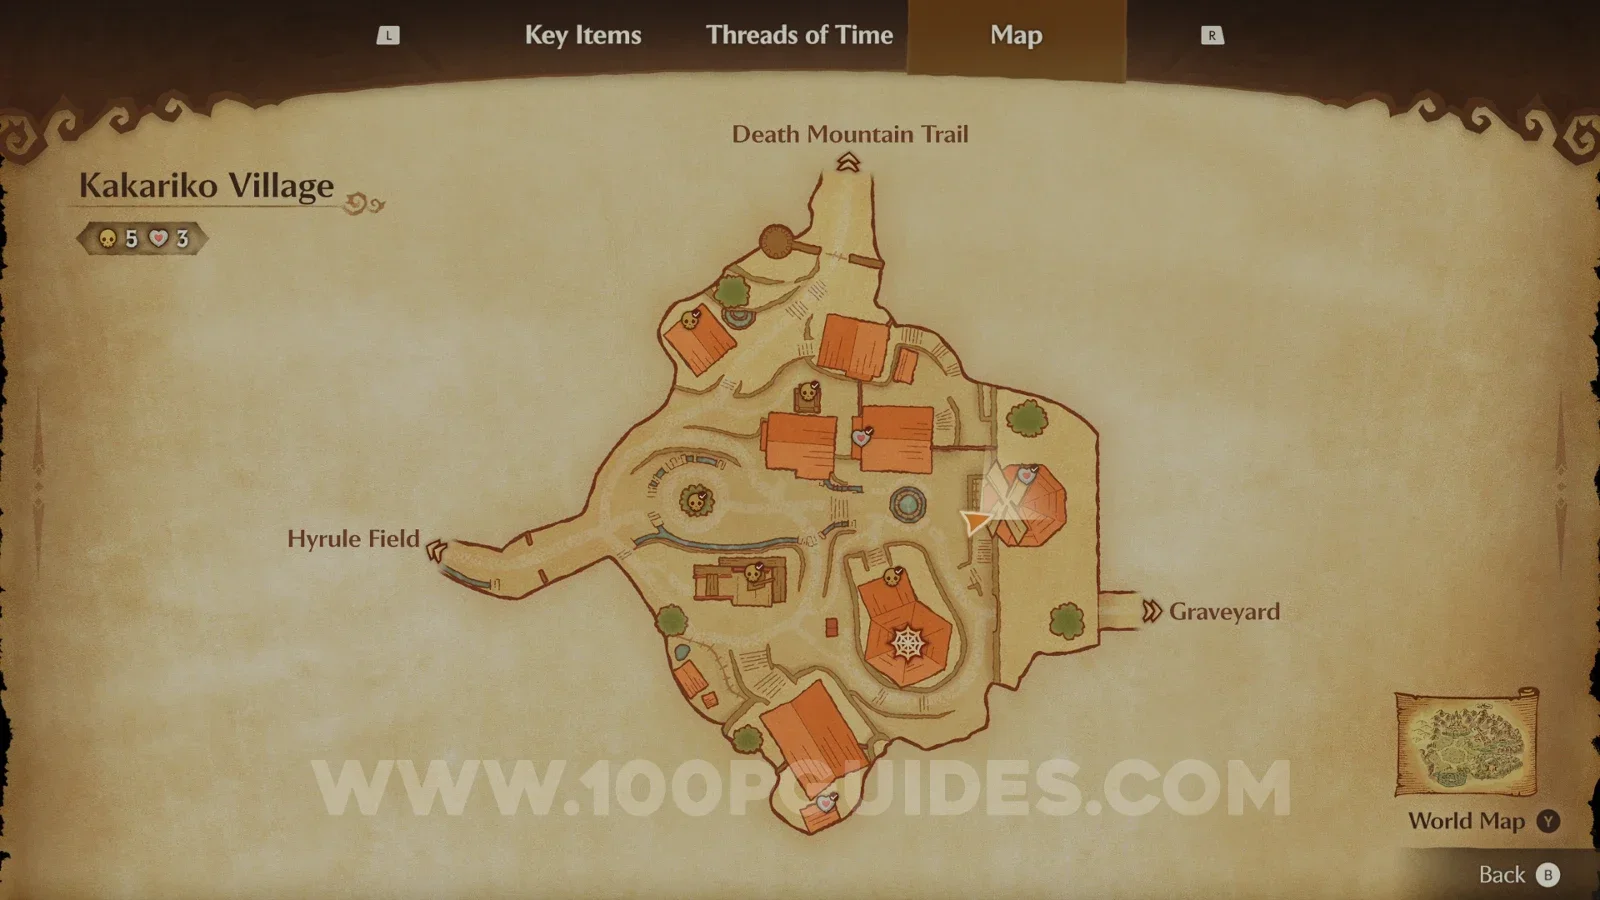
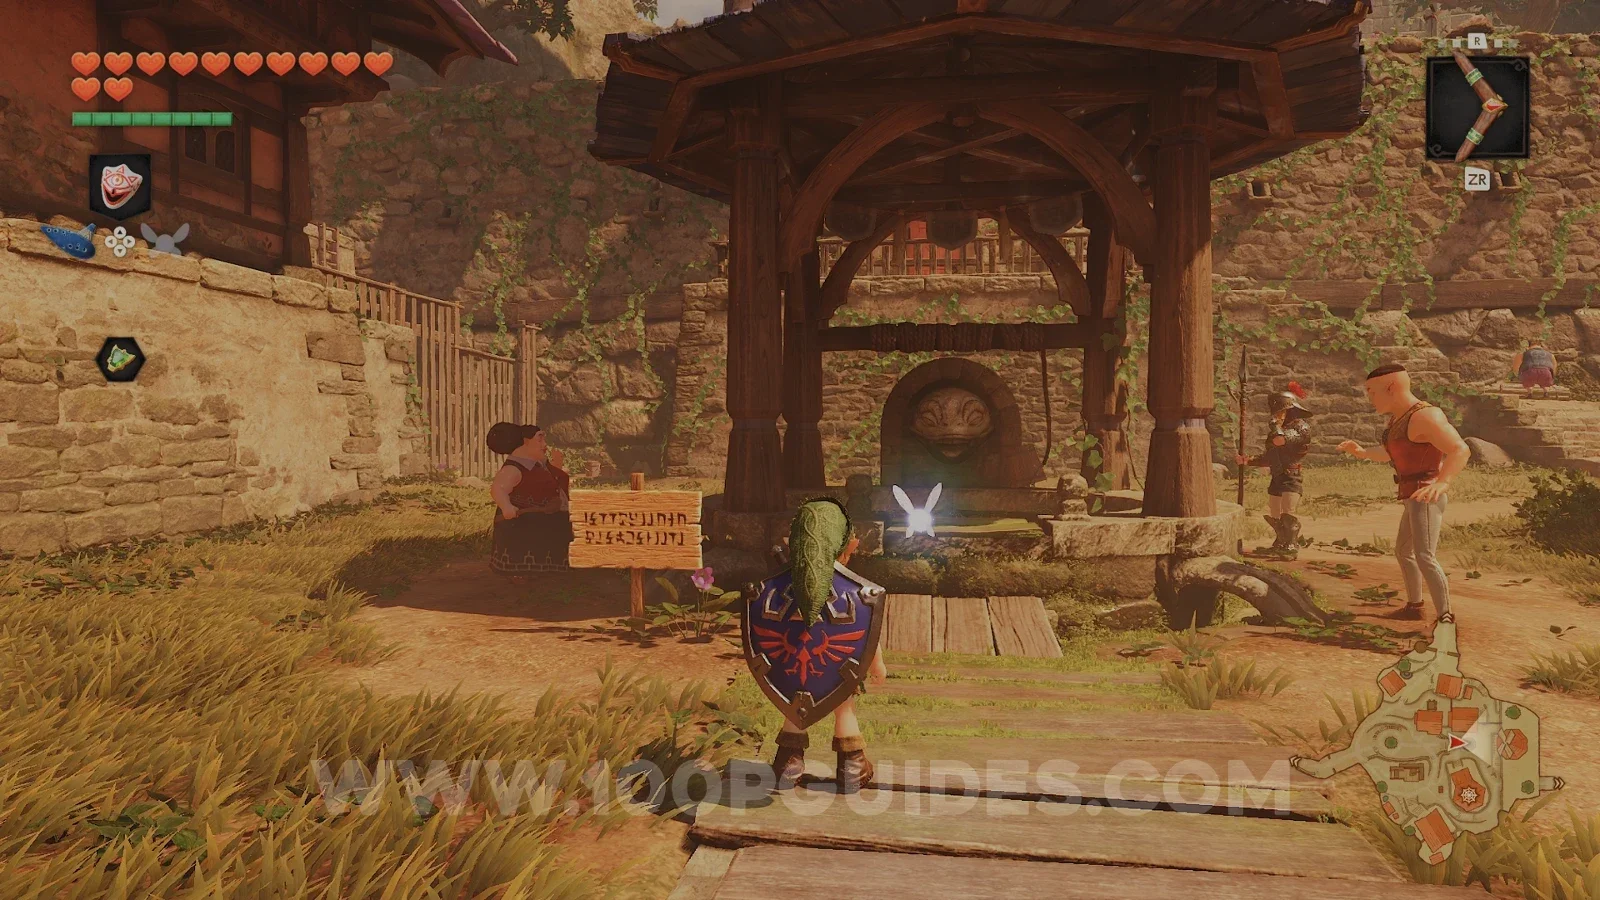
As a child, head to Kakariko Village and enter the windmill. Play the Song of Storms in front of the man with the music box. The windmill will speed up and drain the well outside.
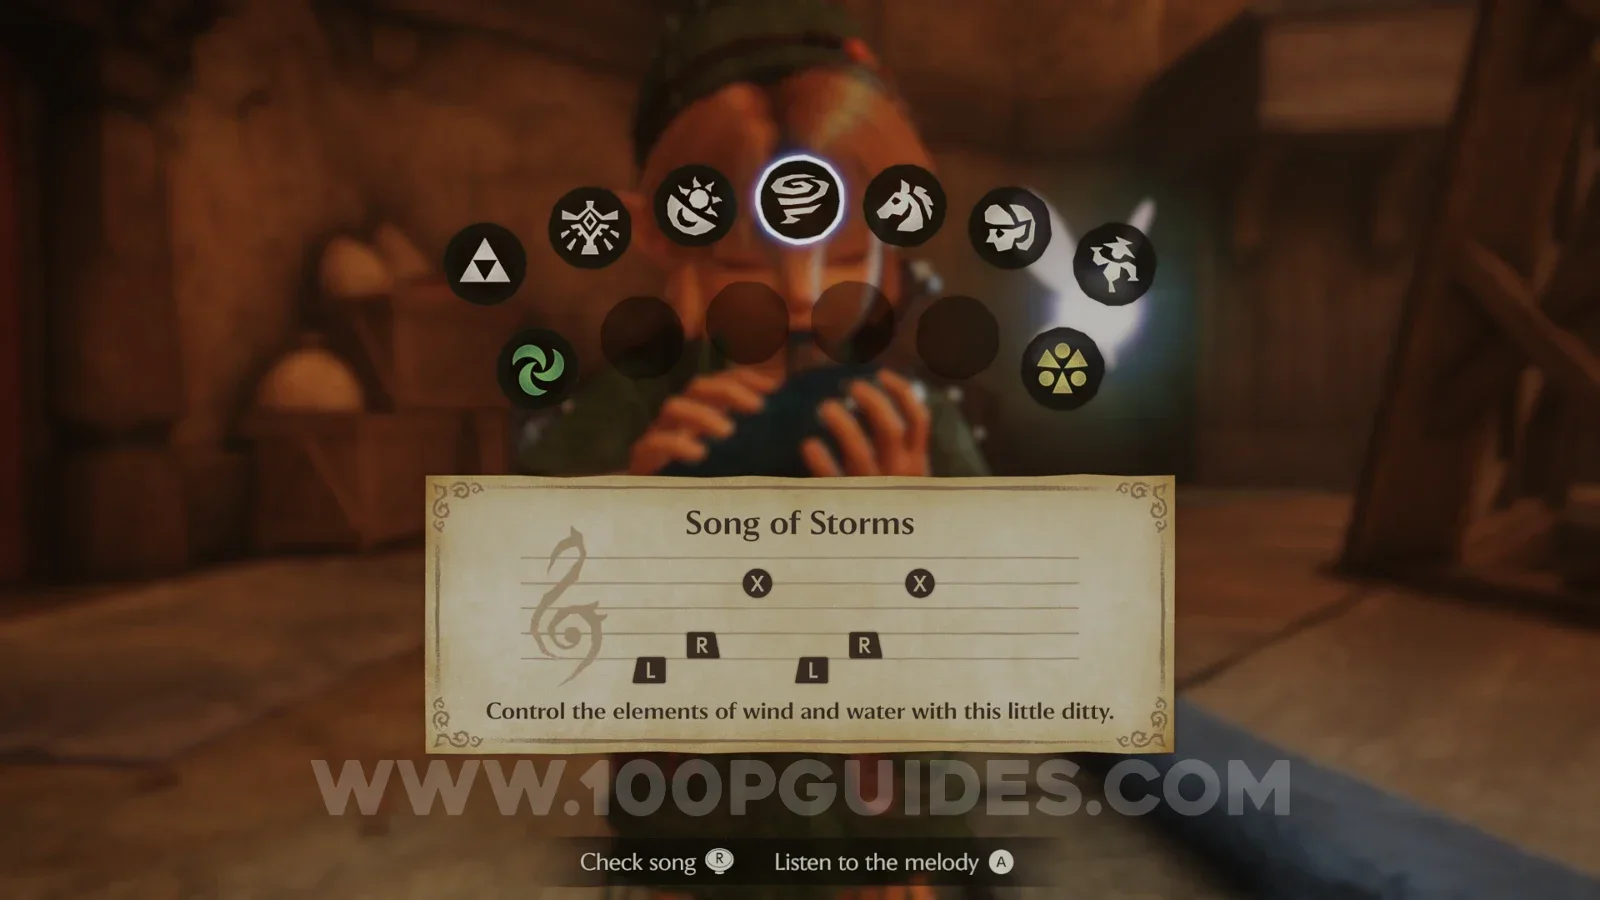
Before climbing down, make sure you have bombs and a few Deku Sticks. Then climb down the ladder inside the well to enter the Bottom of the Well. This is a short mini dungeon with two Small Keys, three Gold Skulltulas and one very useful item.
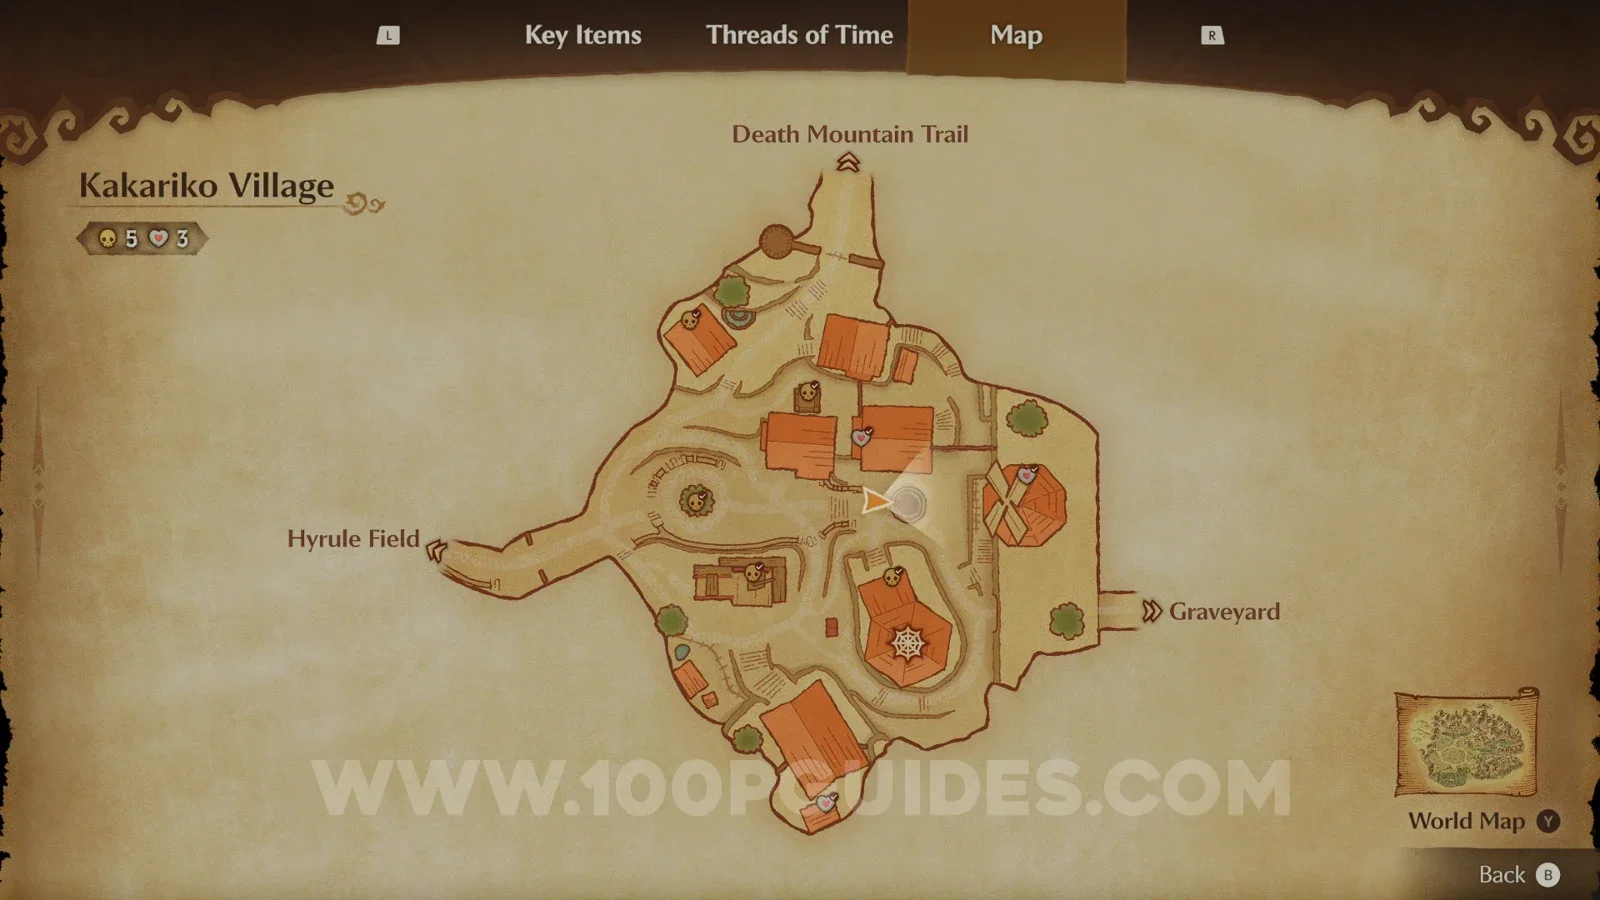
Crawl through the tunnel and climb down past the Skulltula. You will reach what looks like a dead end with a skeleton. The wall in front of you is fake, so just walk straight through it.
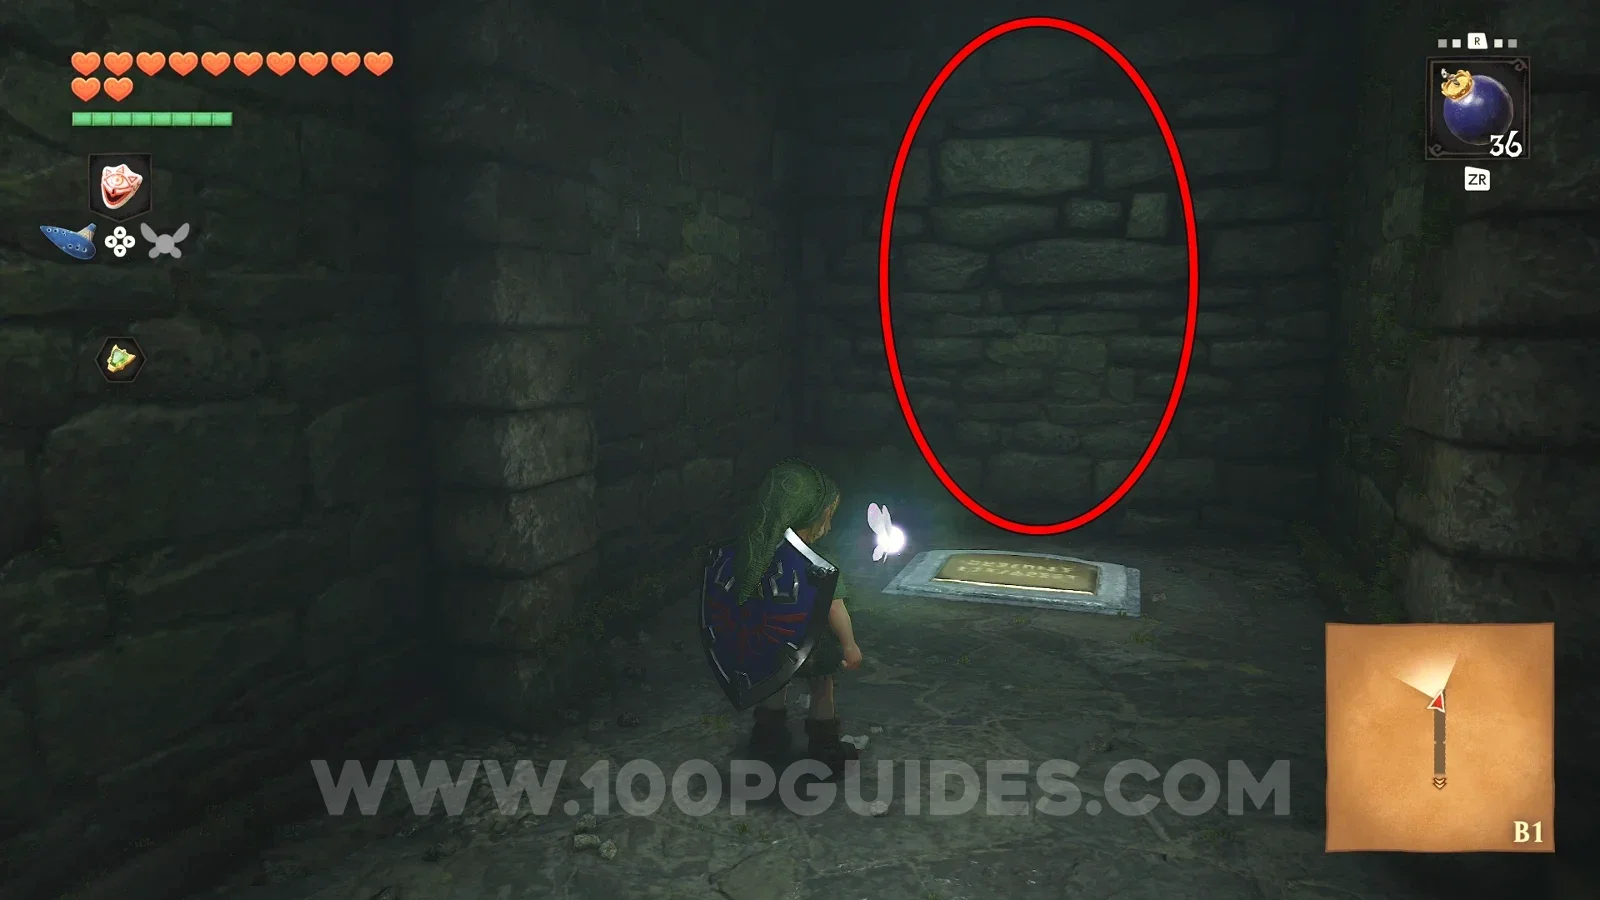
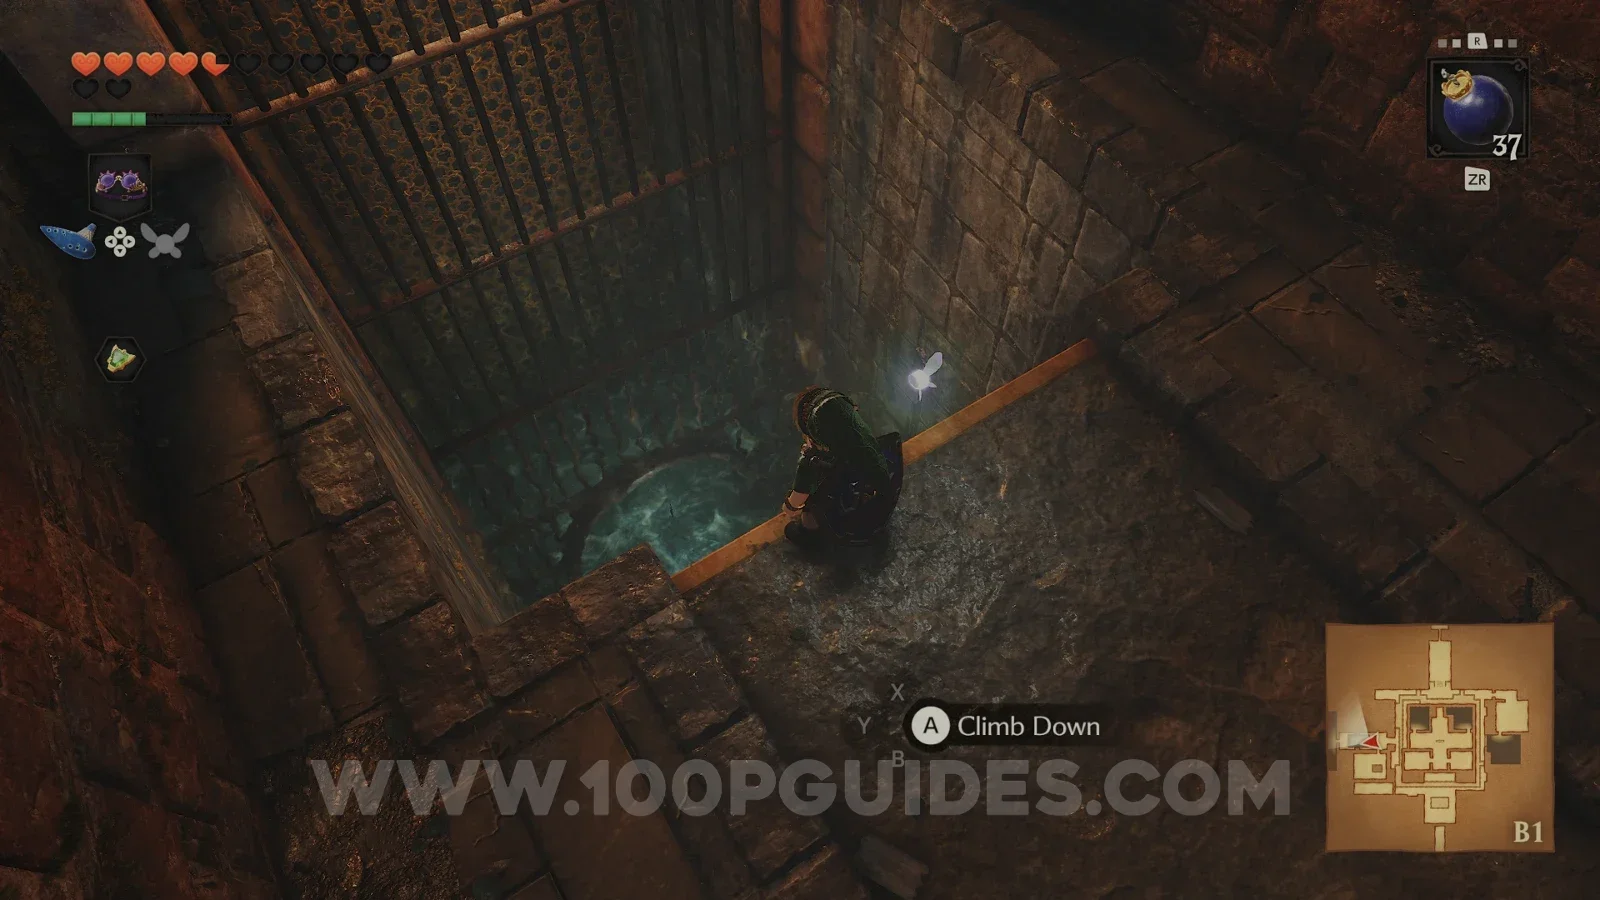
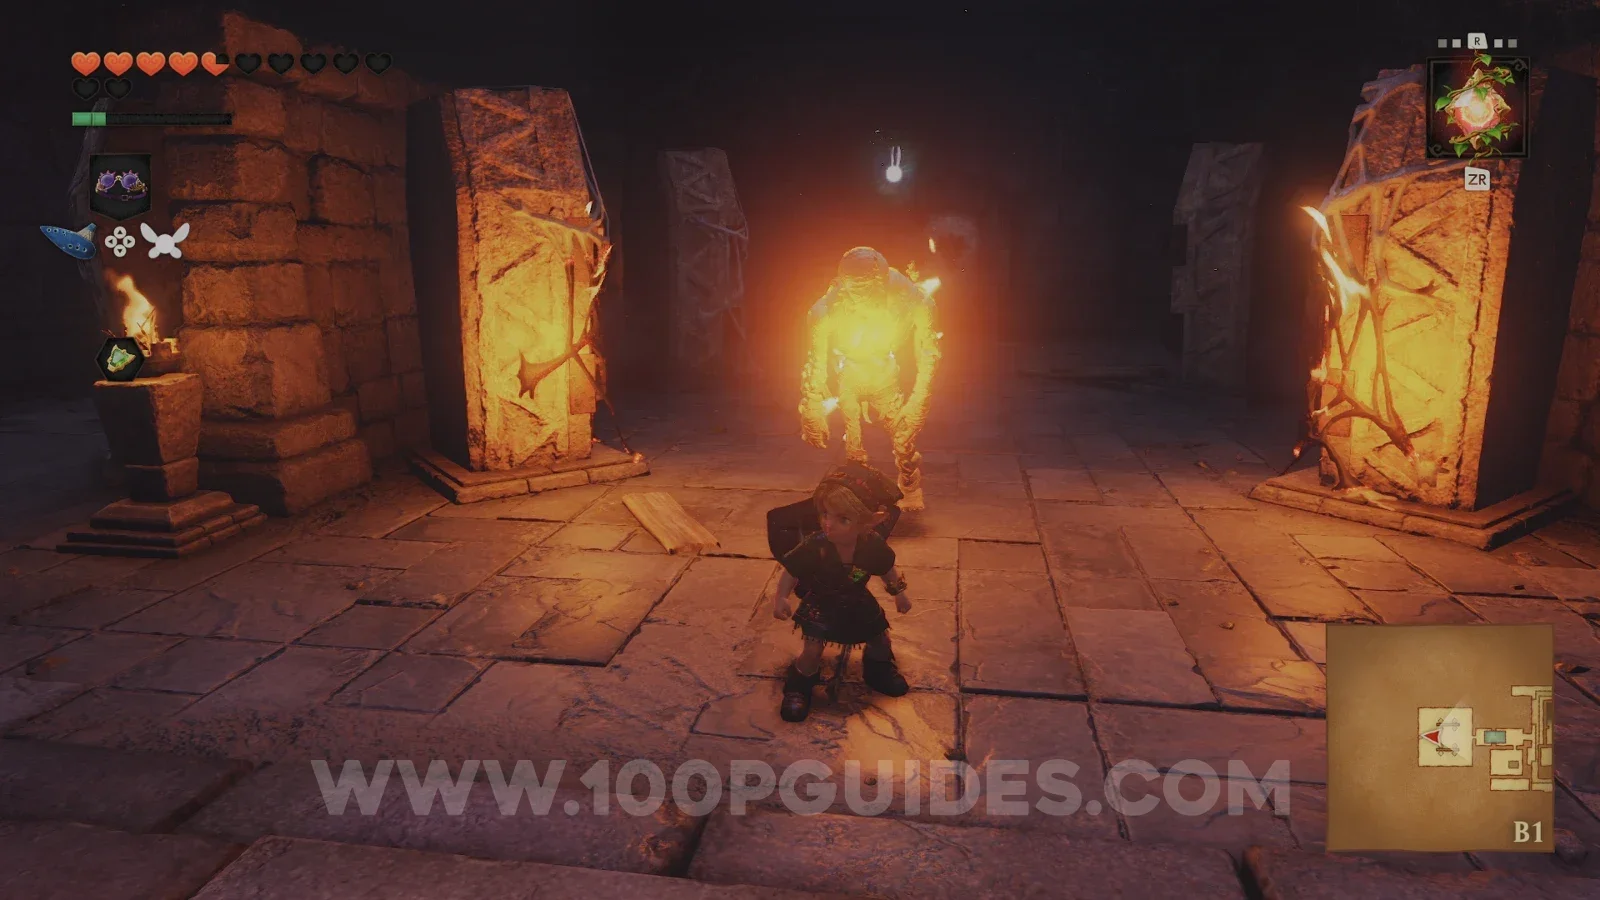
On the other side, you will be in the main room, which has a waterway running around a central area. Follow the waterway anticlockwise (watch out for the Green Bubble) until you reach a sign that tells you to watch your step. Drop through the fake floor just to the left of the sign to land in the basement. There are Redeads down here, so freeze them with the Sun's Song.
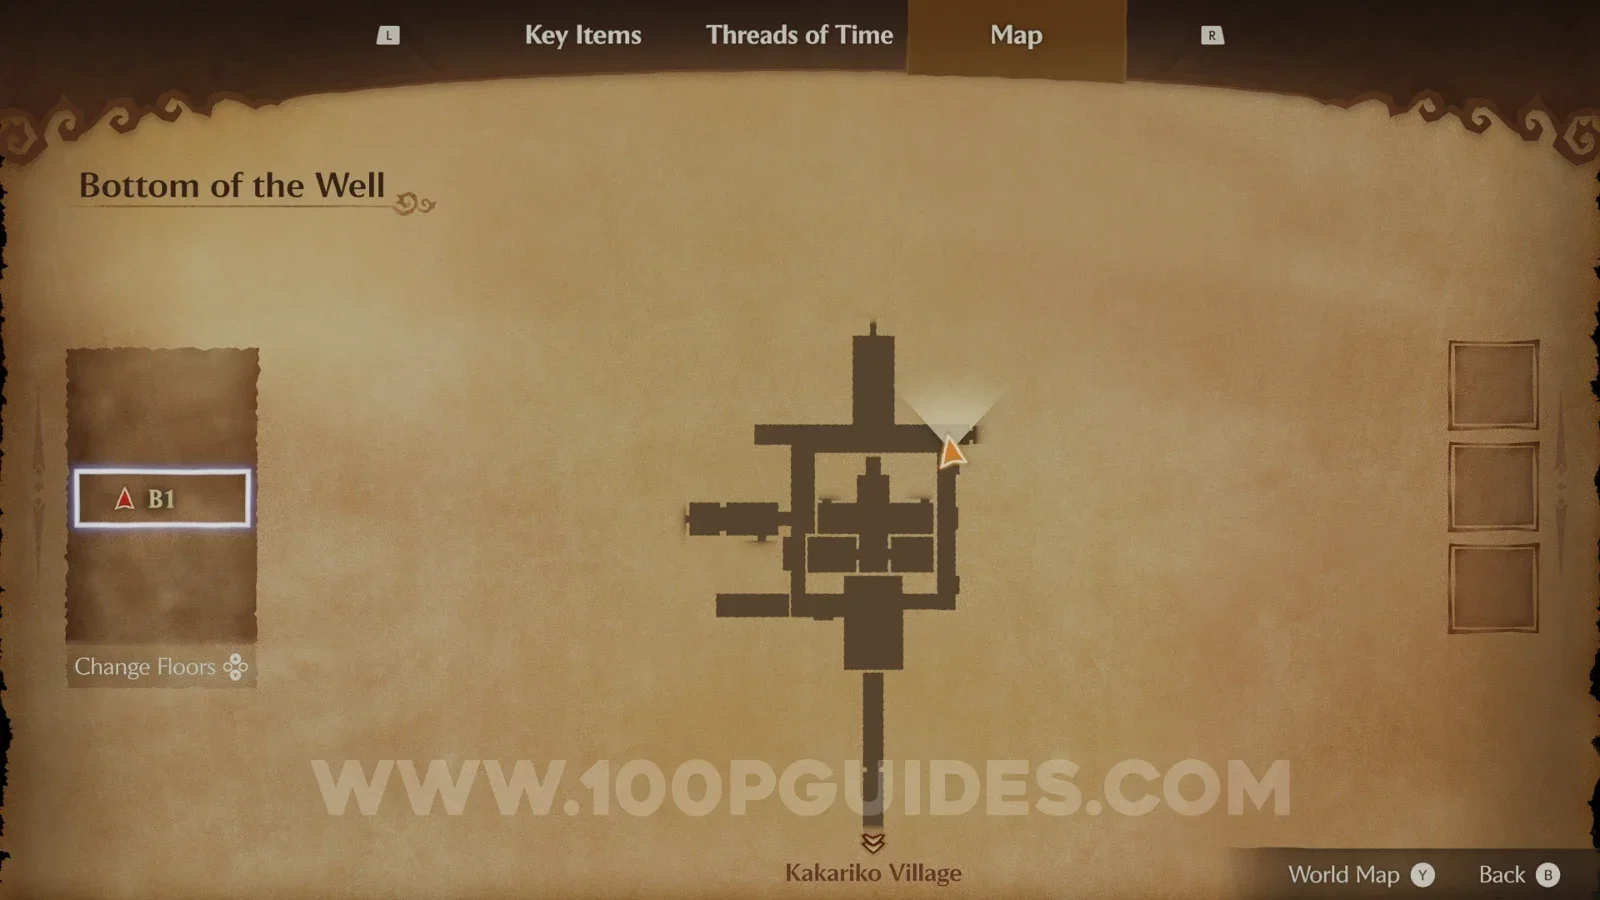
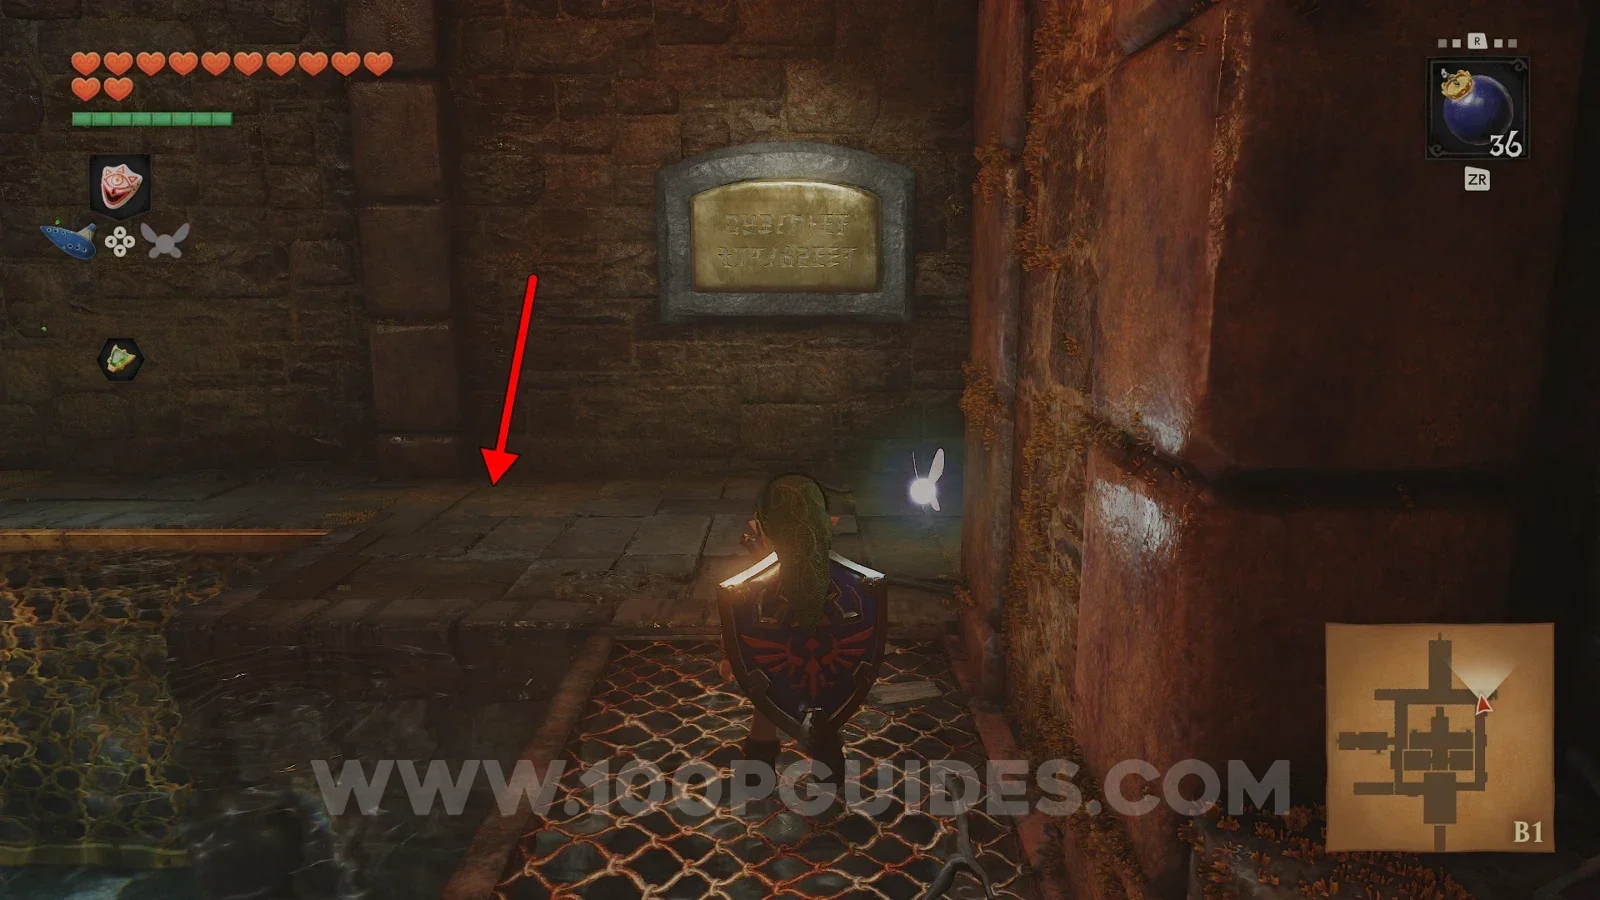
In the basement, pick up the silver rupees in plain sight where the door is, then use bombs to destroy the boulders in the southeast tunnel. Pick up the final silver rupee there and open the chest to get the Dungeon Map.
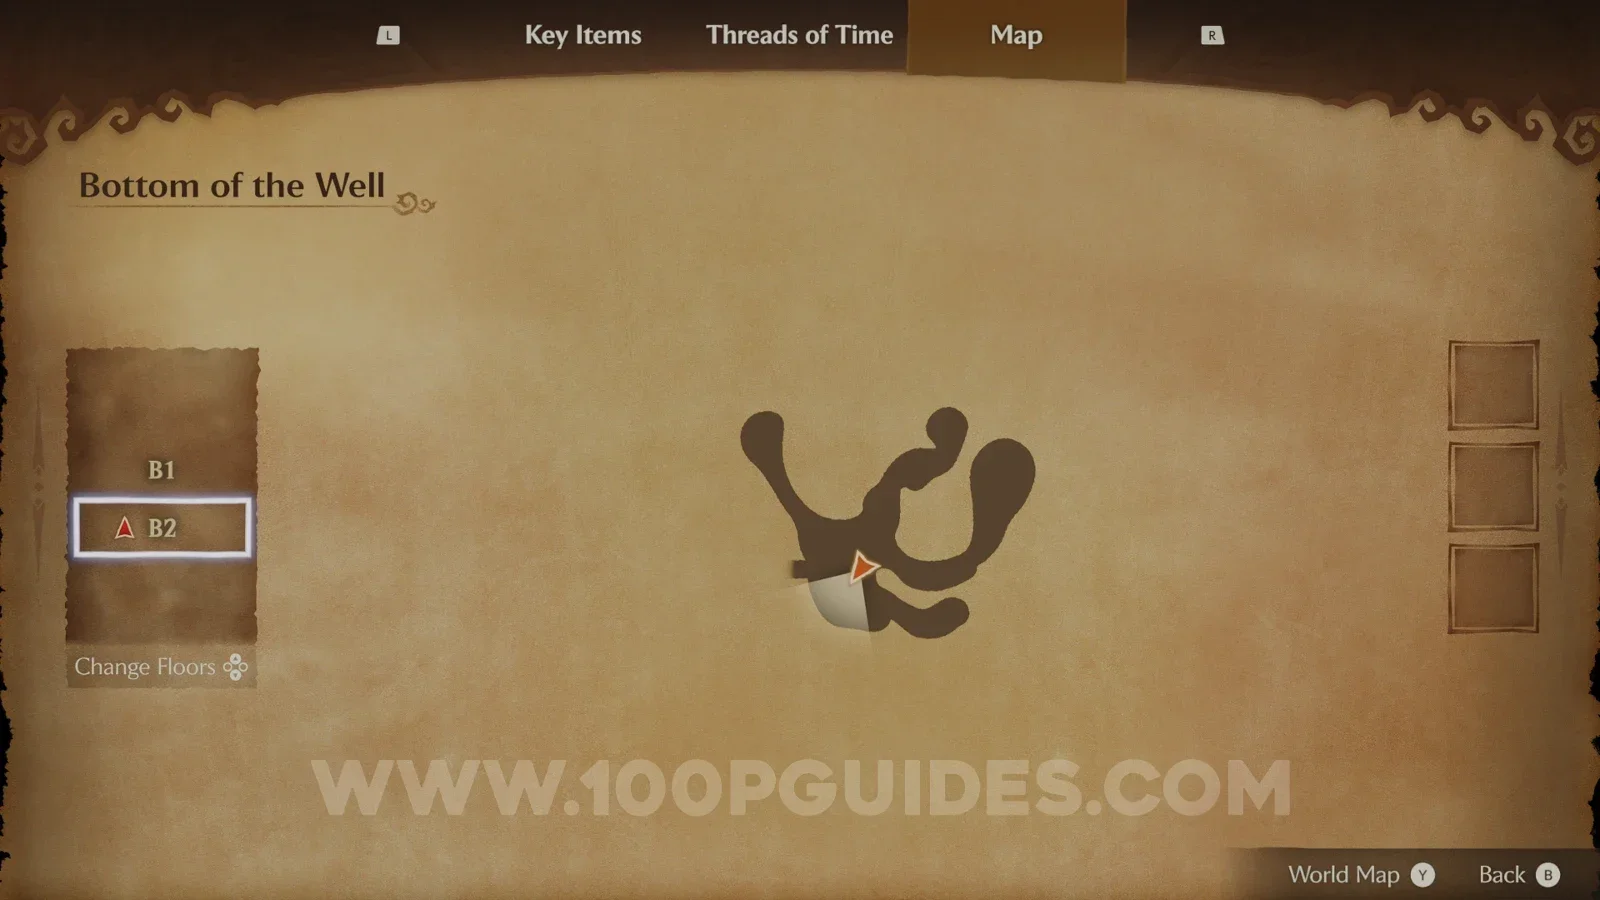
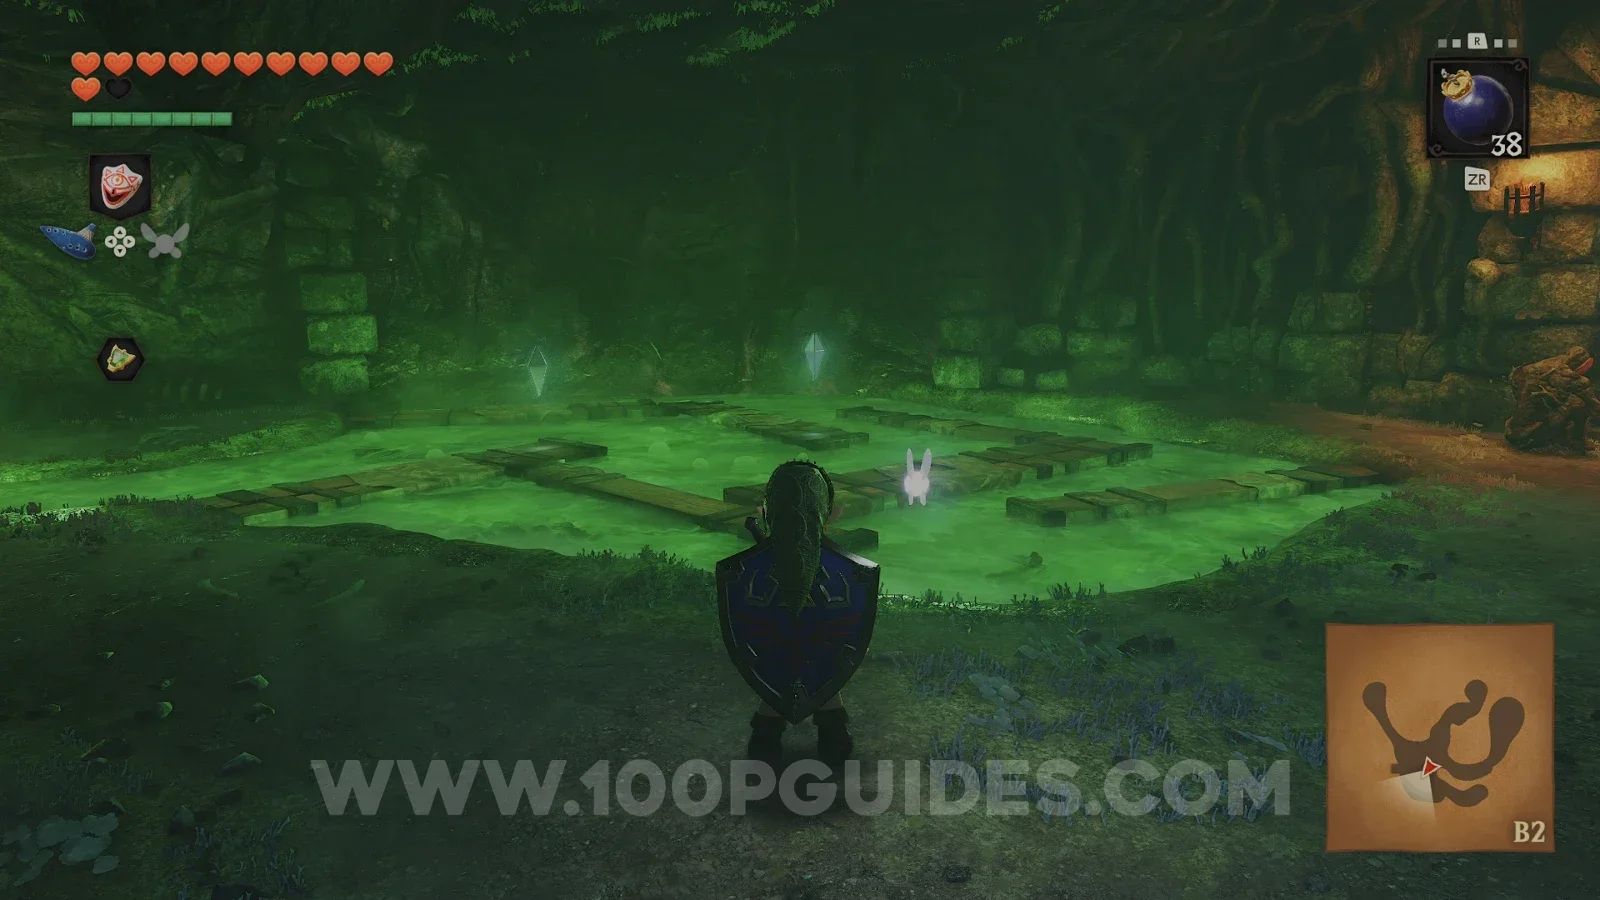
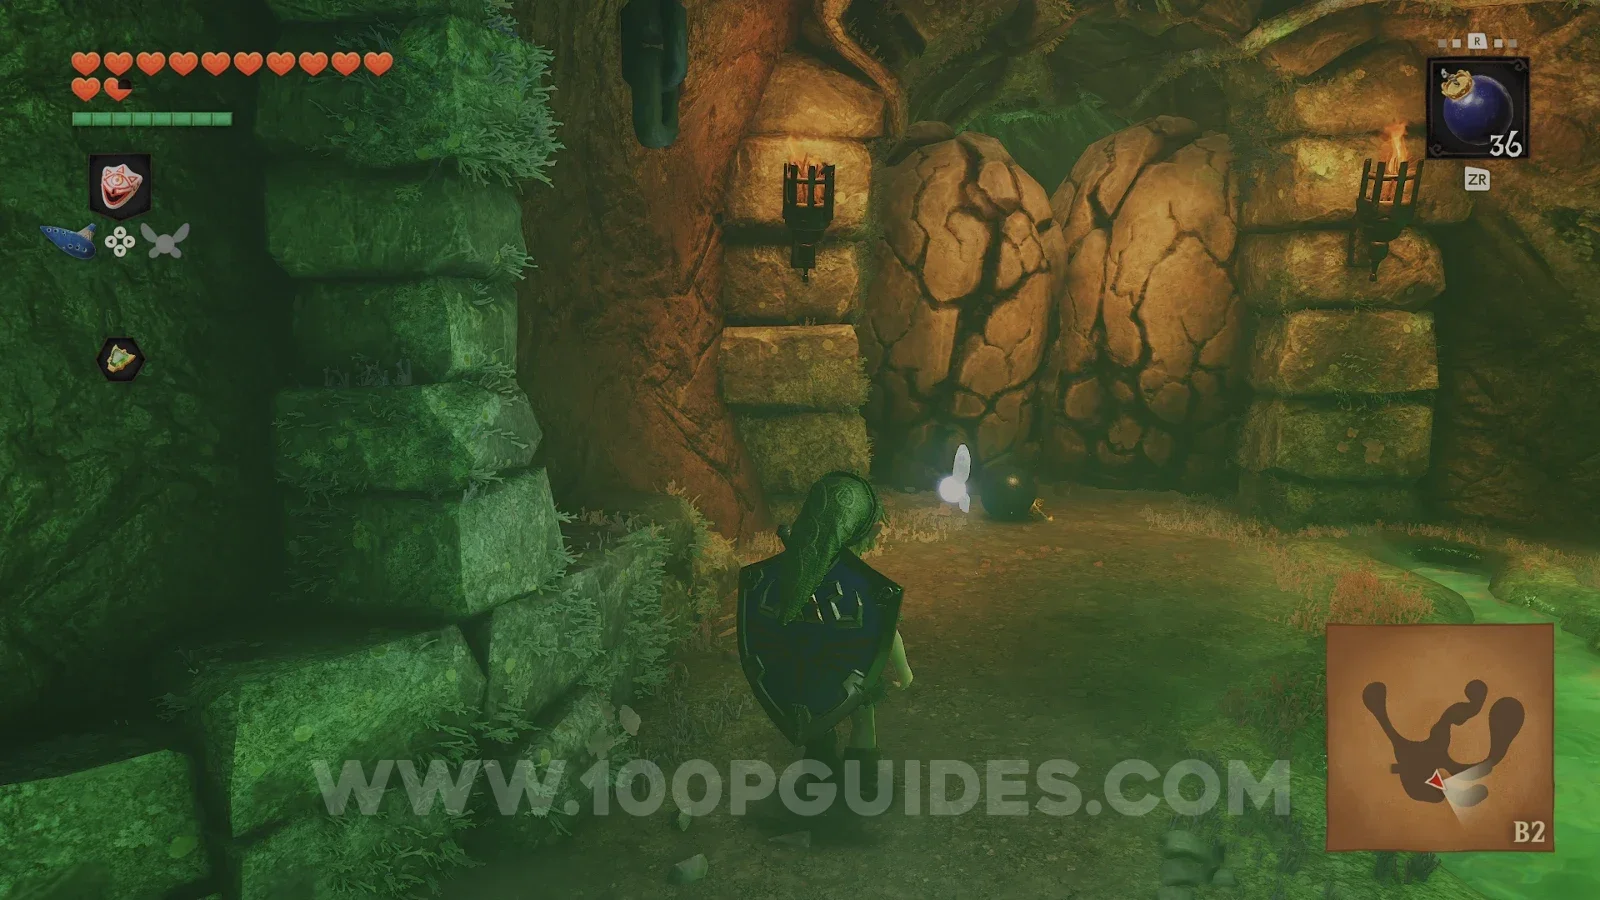
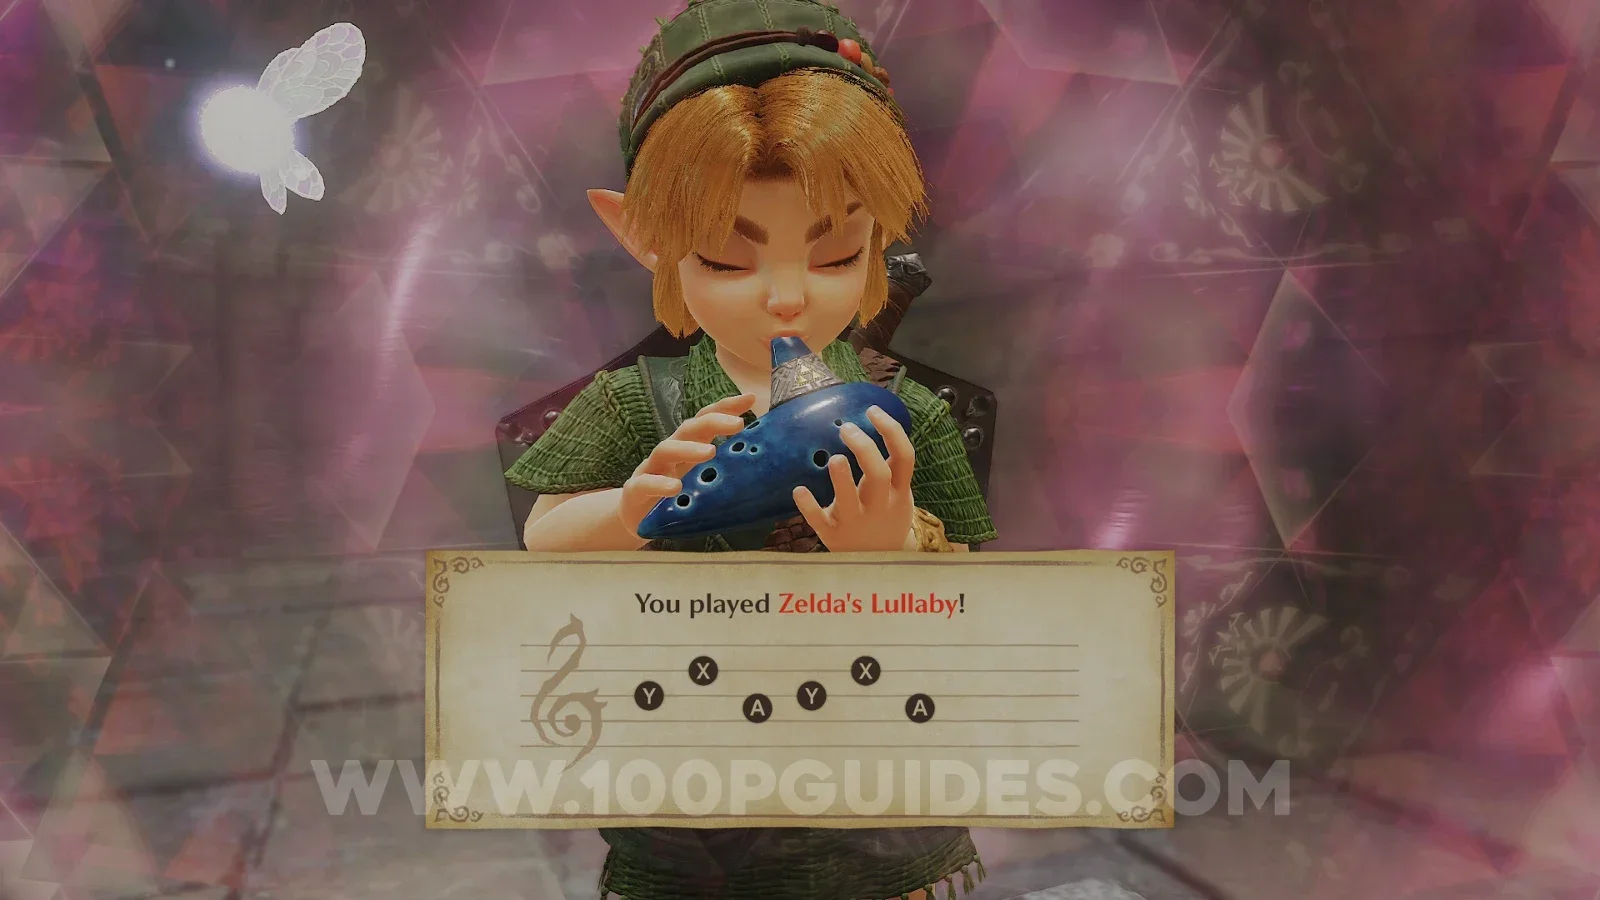
Now, head through the silver rupee door to get back to the main room, then head to the northern side of the waterway and look for the small waterfalls. Stand on the Triforce in front of them and play Zelda's Lullaby. The water will drain away, uncovering a square hole.
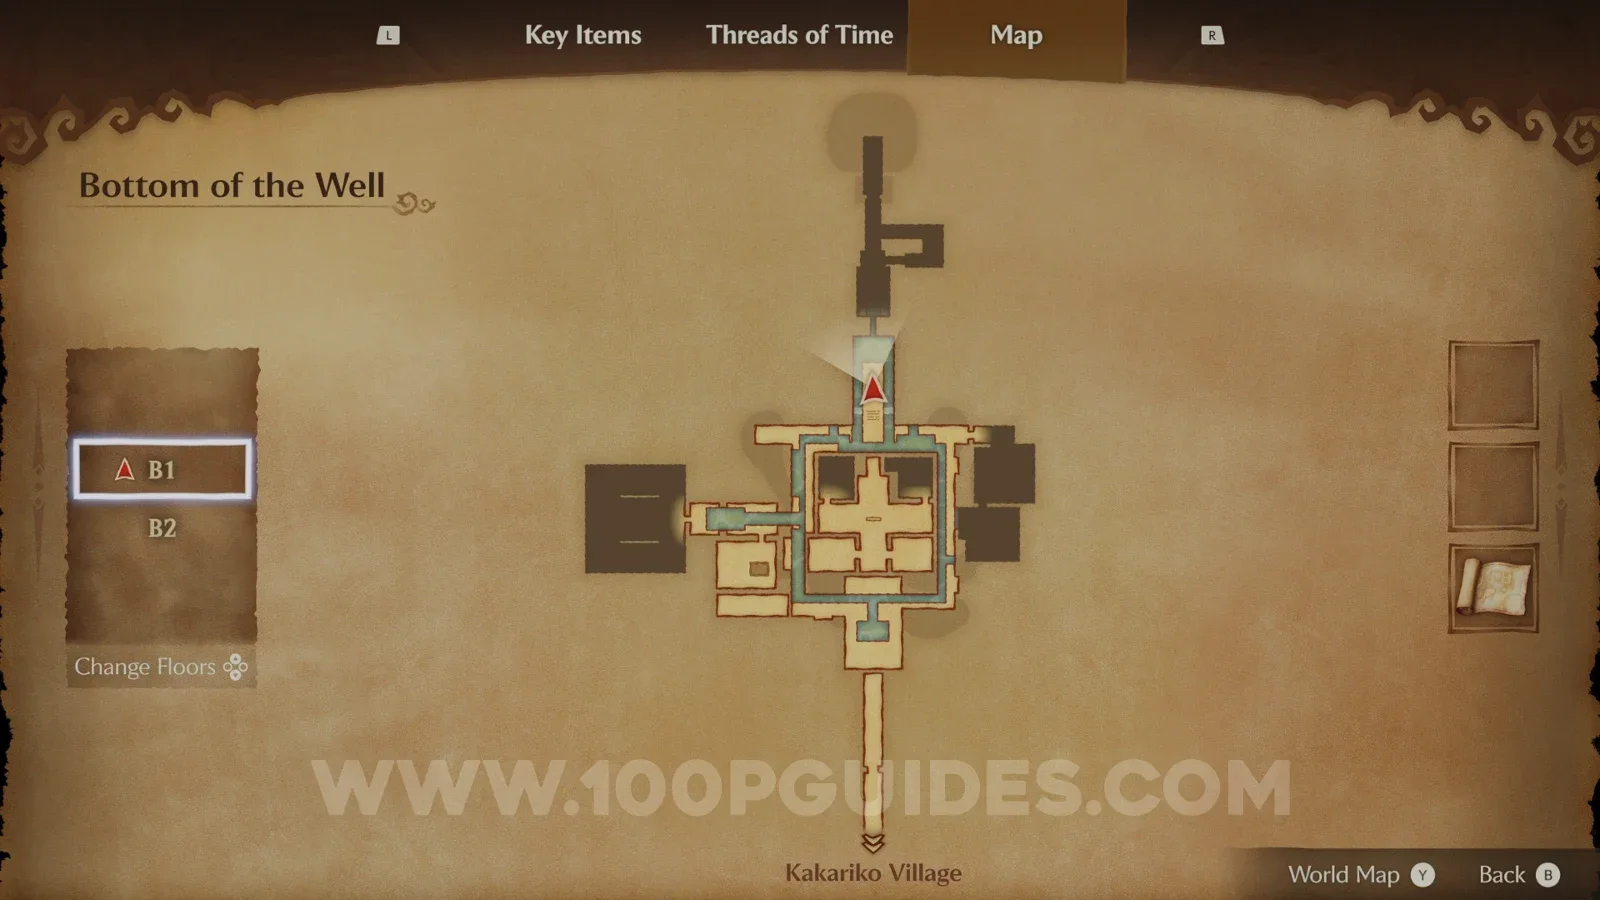
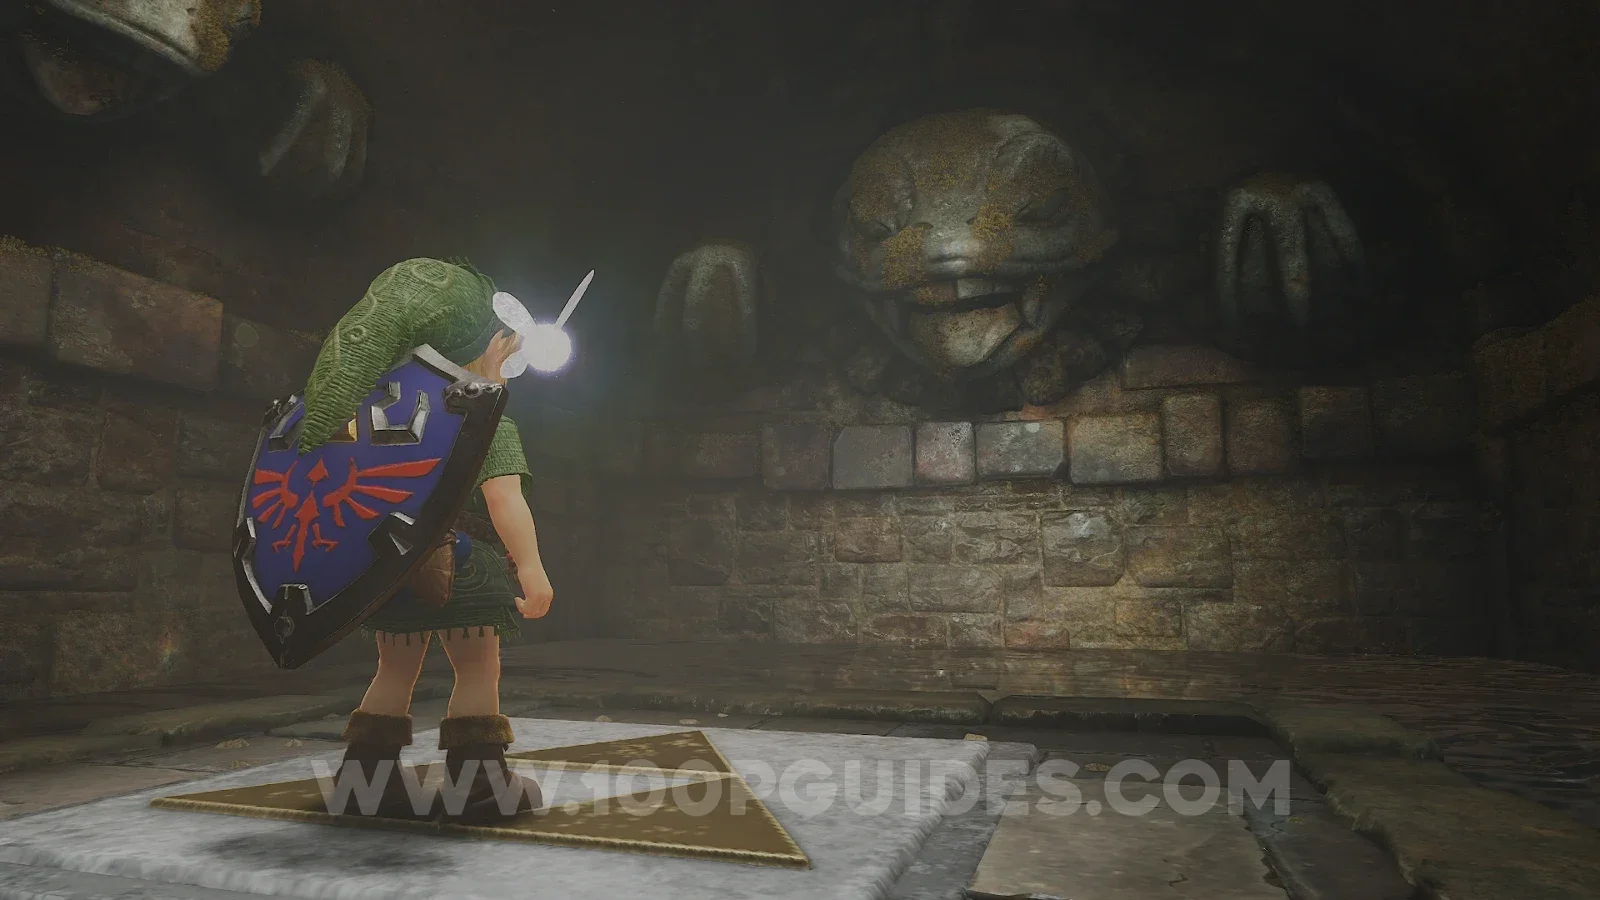
Crawl through the small tunnel and go through the room with the giant Skulltula. Then go through the door behind it. The floor will give way in front of the small chest, but you can jump to it and open it anyway (if not, just come back later) to get a Business Scrub Seed. Then drop down the hole in front of the chest through the fake floor.
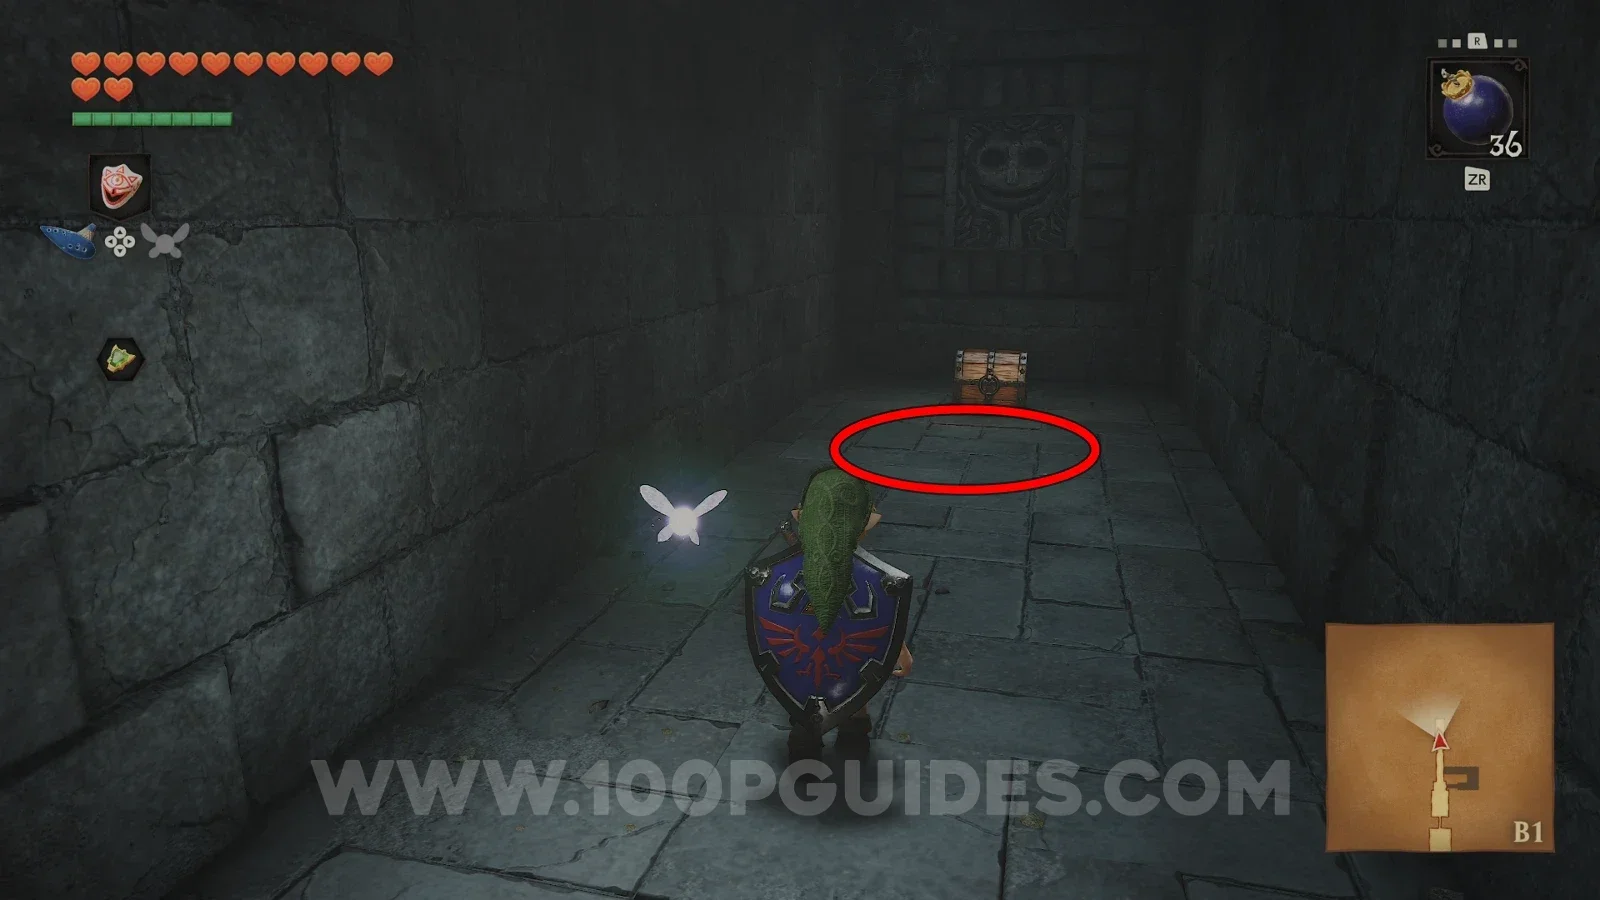
Dead Hand boss fight
This room is full of long white hands sticking out of the ground. Walk into one of them and let it grab you. This makes Dead Hand come out of the ground and walk towards you. Wriggle free by pressing all the buttons, then wait until he lowers his head to bite and hit it with your sword. He will then go back underground, and you repeat the whole thing until he is defeated. Bombchus also work well if you have some.
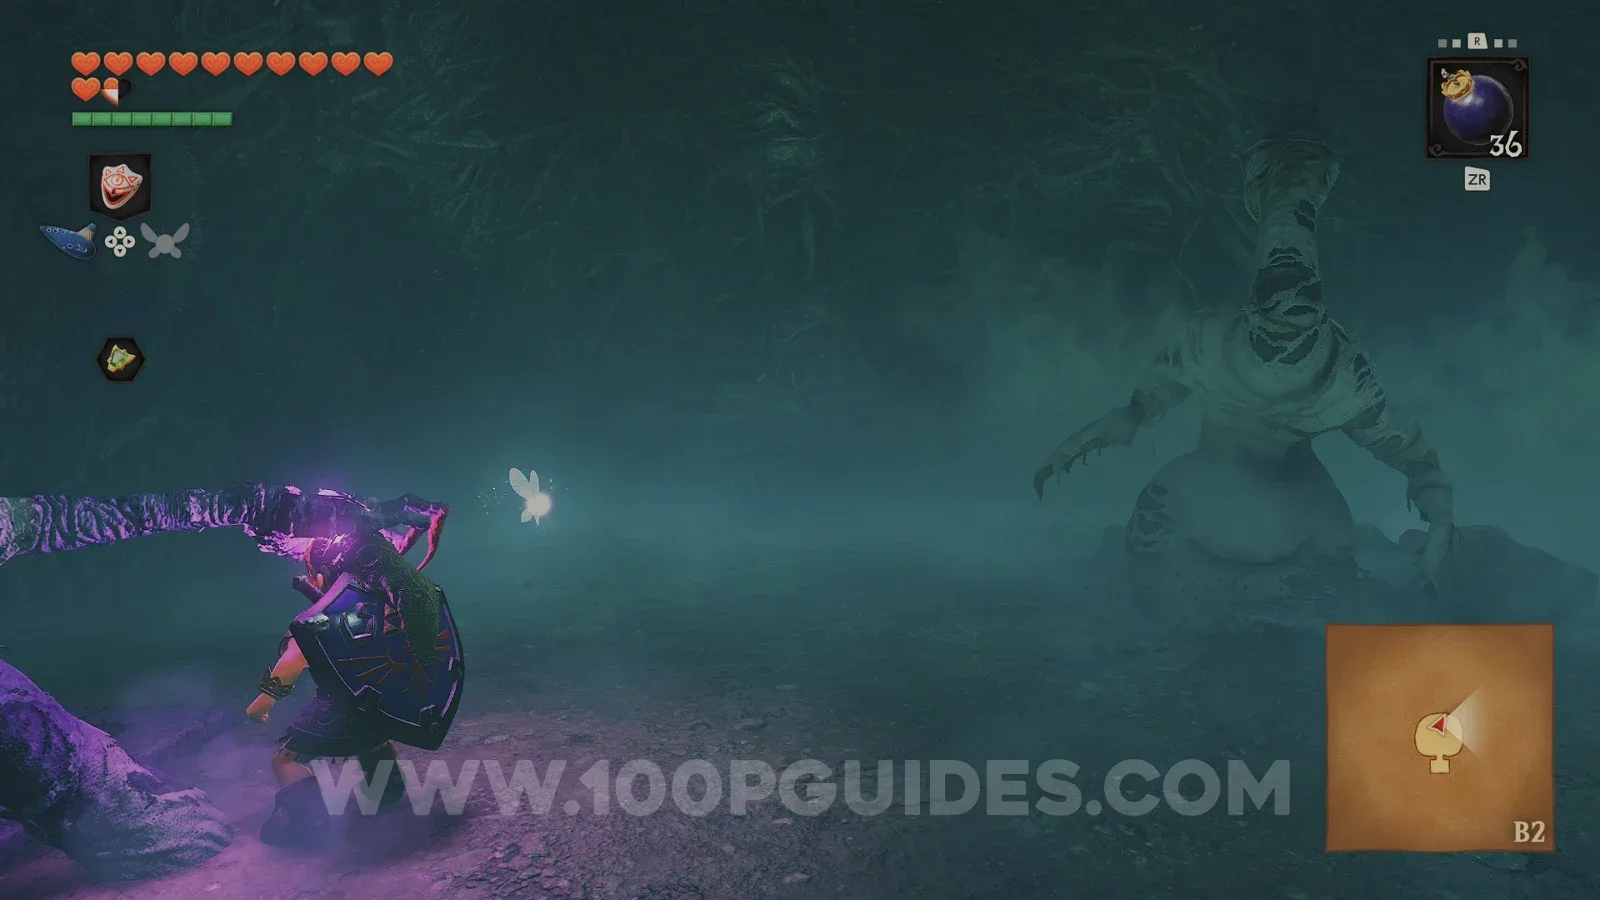
Open the chest that appears after the fight to get the Lenses of Truth. These let you see things that are invisible, like fake walls, hidden chests and holes in the floor. In the remake, you turn them on and off with the D-pad, and they use up magic while they are on.
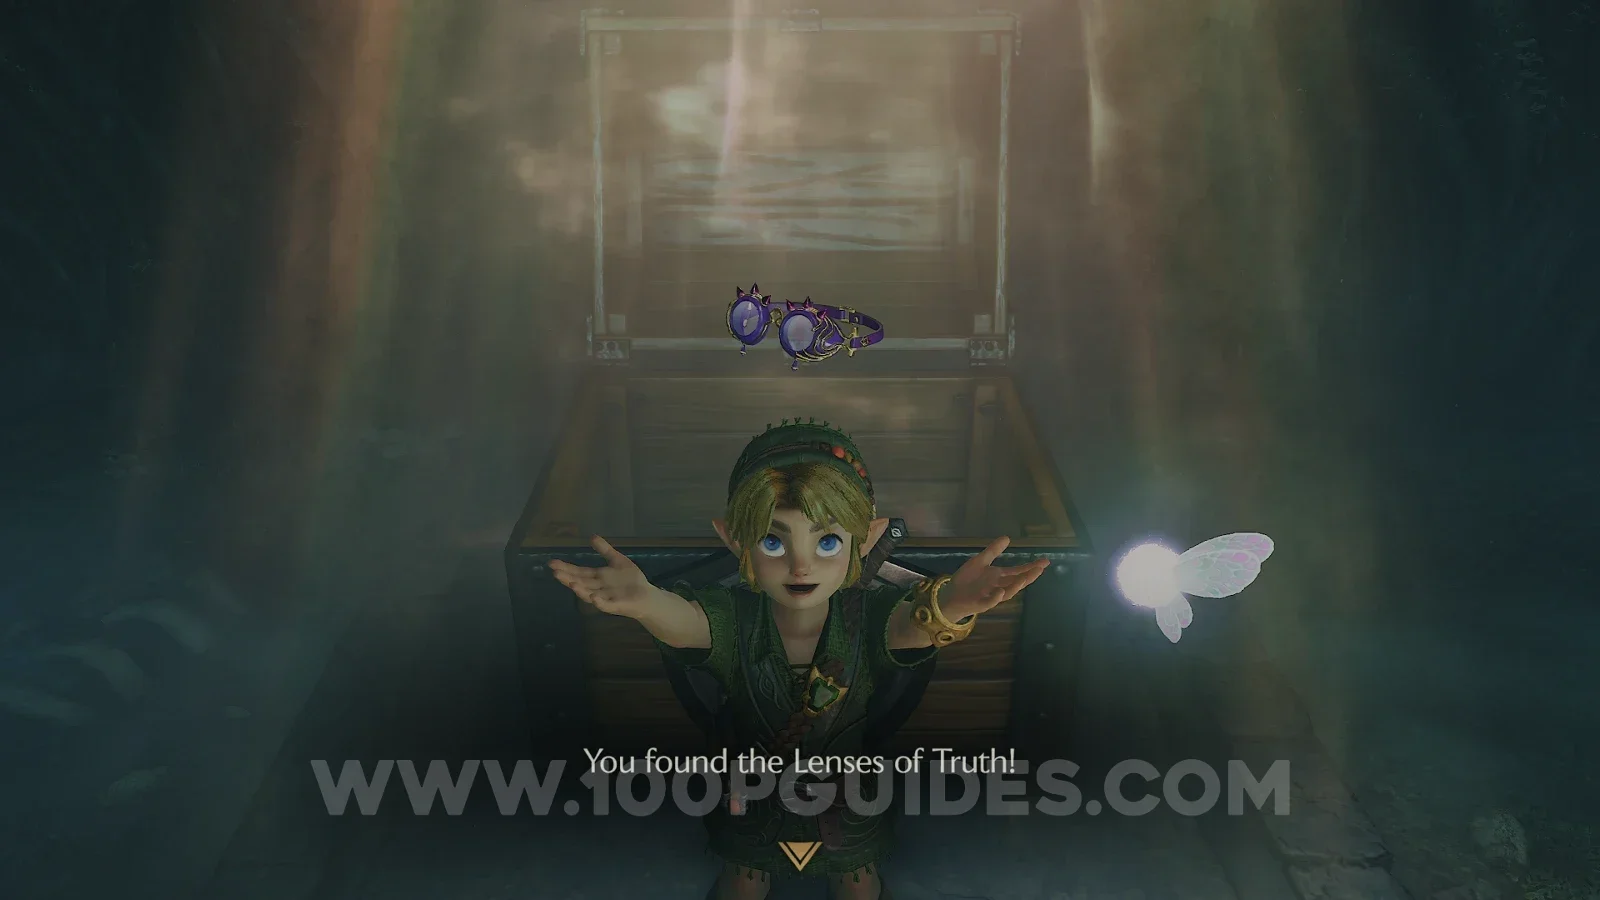
Now you can clean up the rest of the well. First, turn on the lenses on the southern side of this same room to find some hidden ladders. Climb them and use the lenses again to find a chest with a purple rupee.
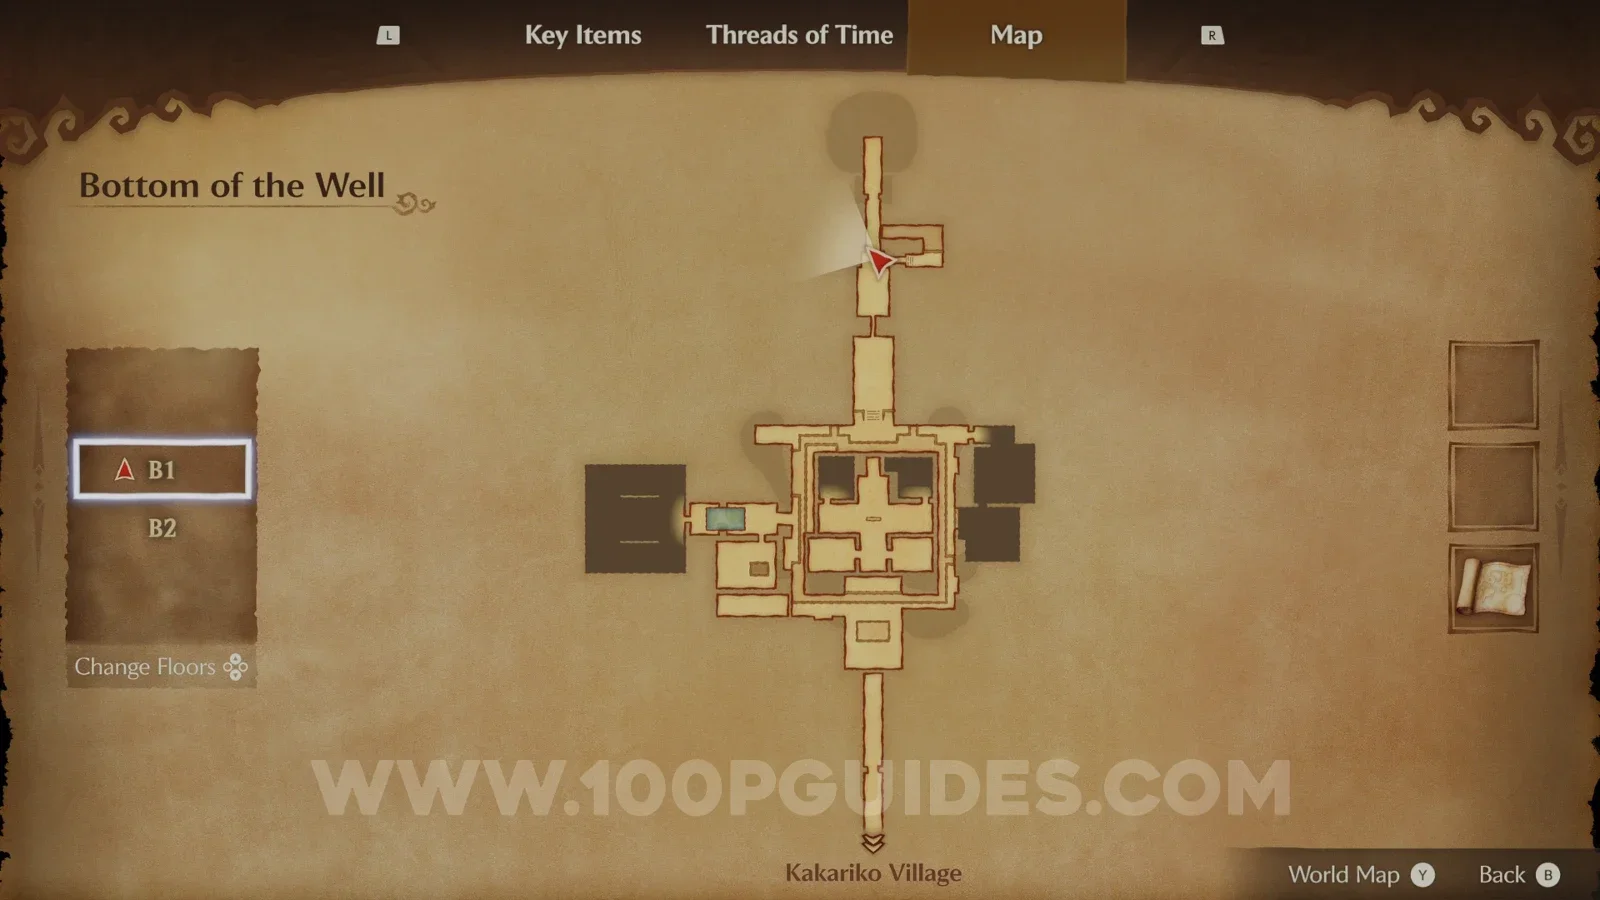
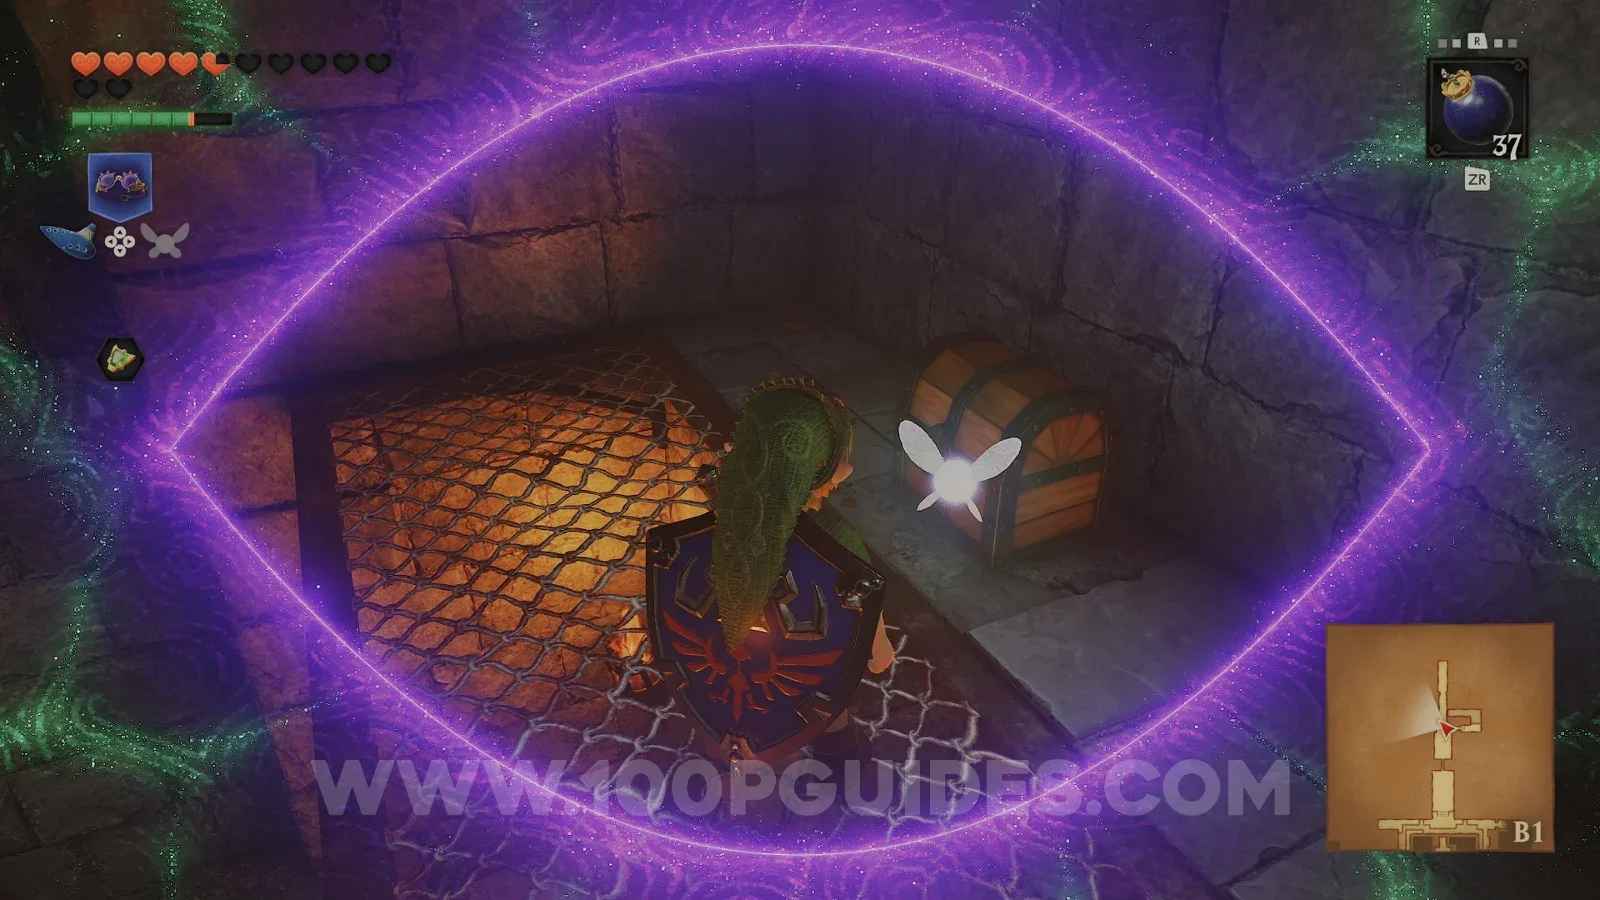
Then drop back down into the room below. If you didn't get the small chest before falling down the hole, turn around and get it. Otherwise, continue back to the main room and head to the northwestern corner. Use the Lenses of Truth to see a chest with a red rupee in it.
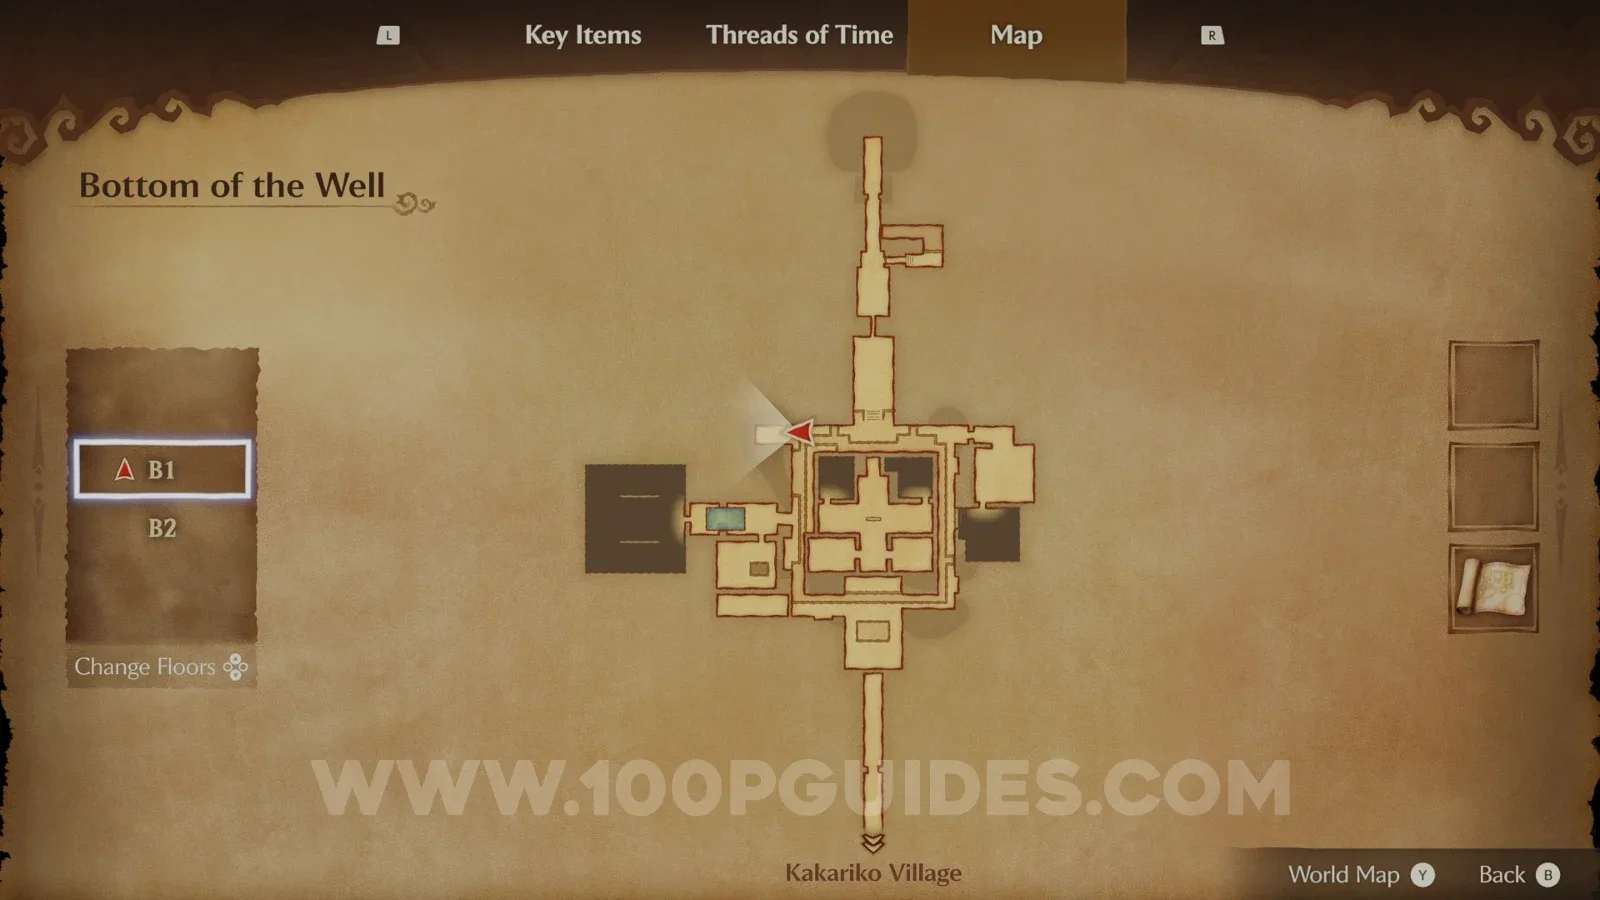
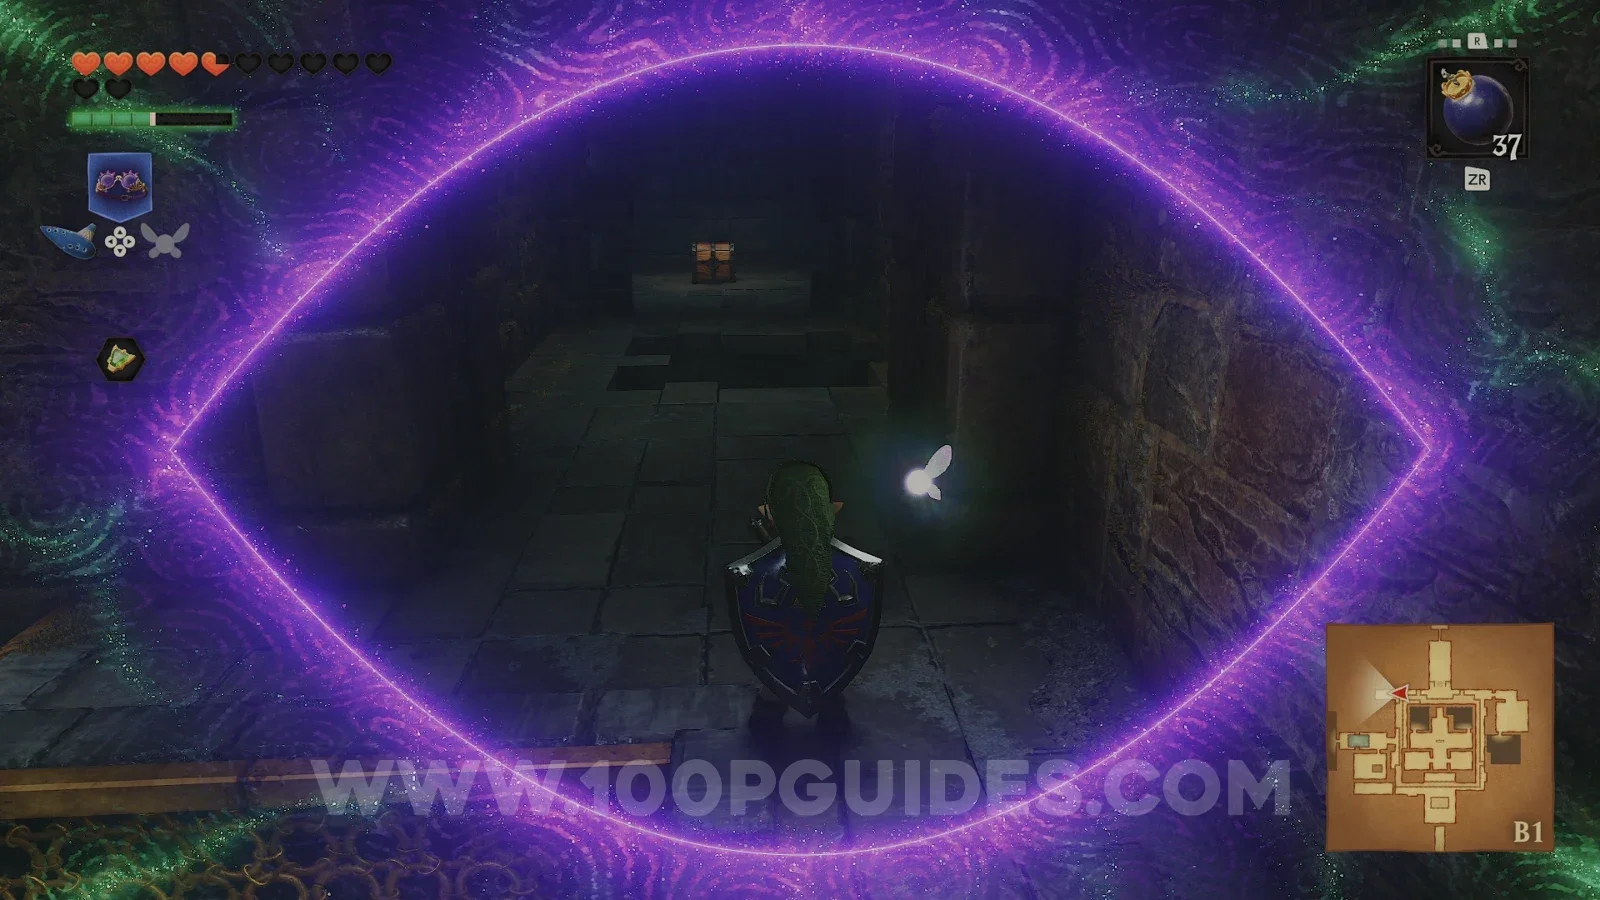
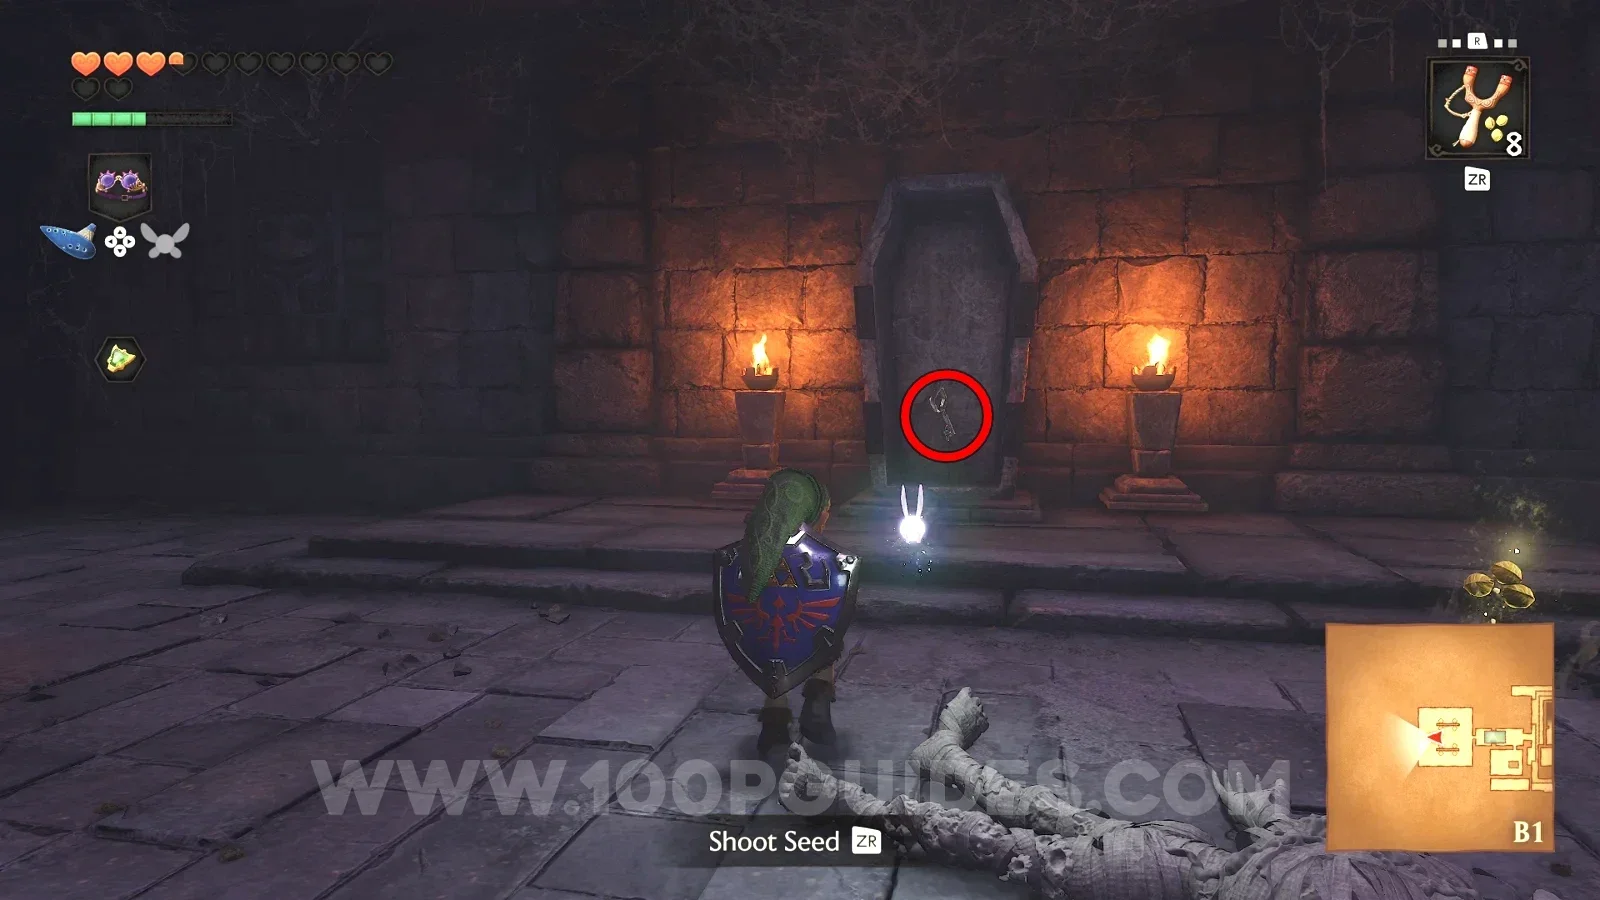
Continue around the main room anticlockwise and go through the western corridor. Here, jump into the water and dive under the metal gate to reach a room with coffins. Use Din's Fire to burn the coffin at the back of the room to find a Small Key.
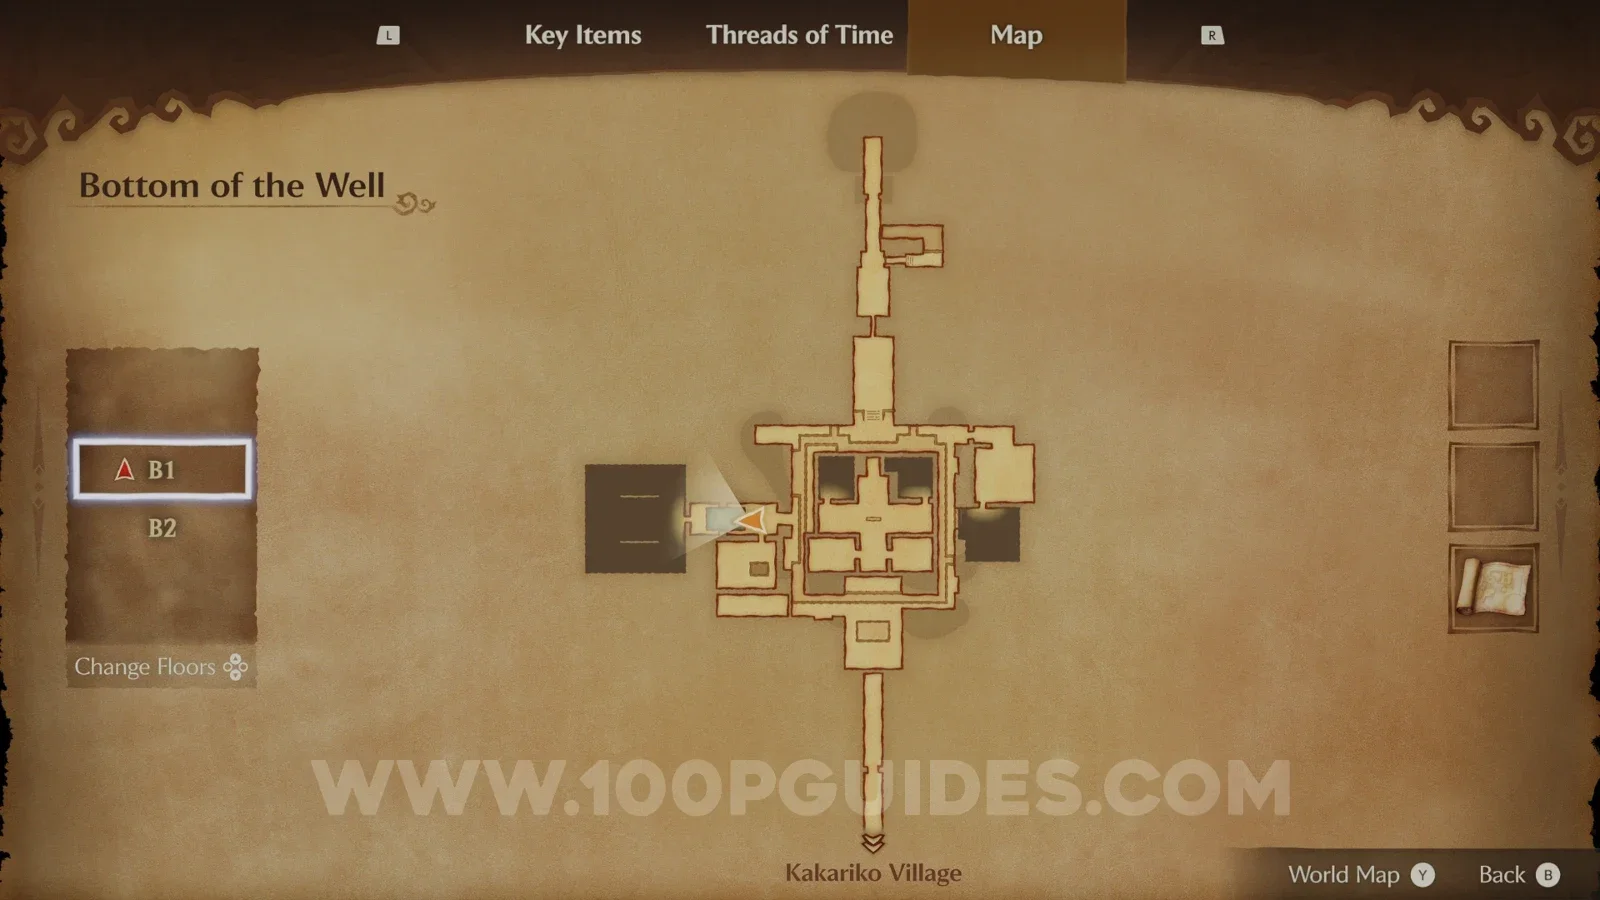
Next, head back to the main central room and move slightly south. Turn on the Lenses of Truth and look towards the middle structure to see an opening with a large chest on the other side. Open it to get the Compass.
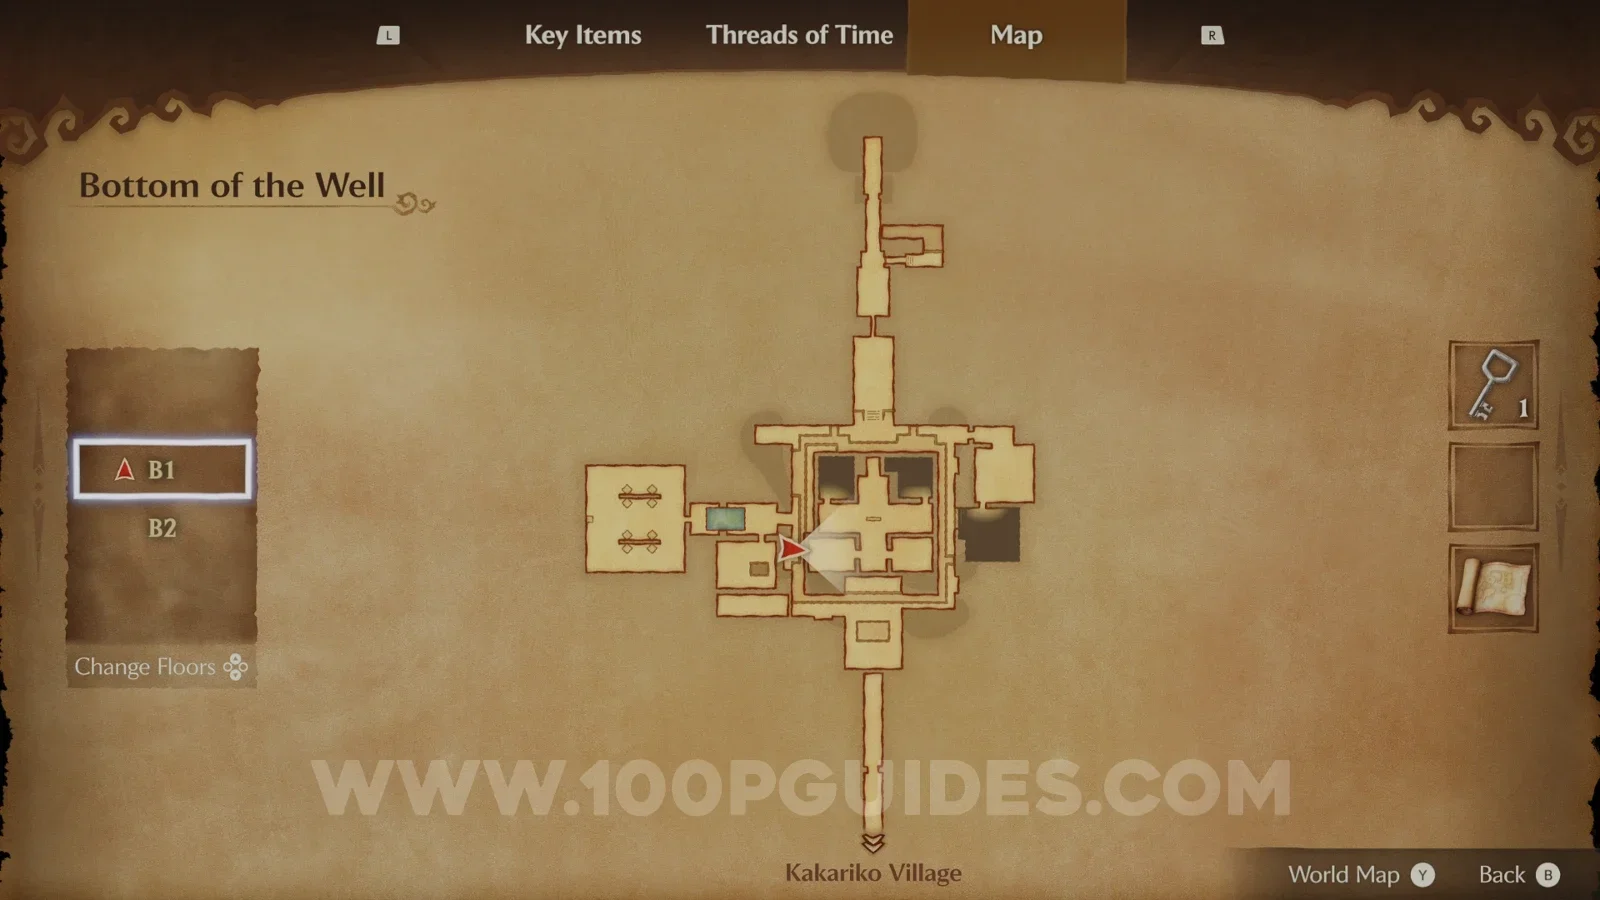
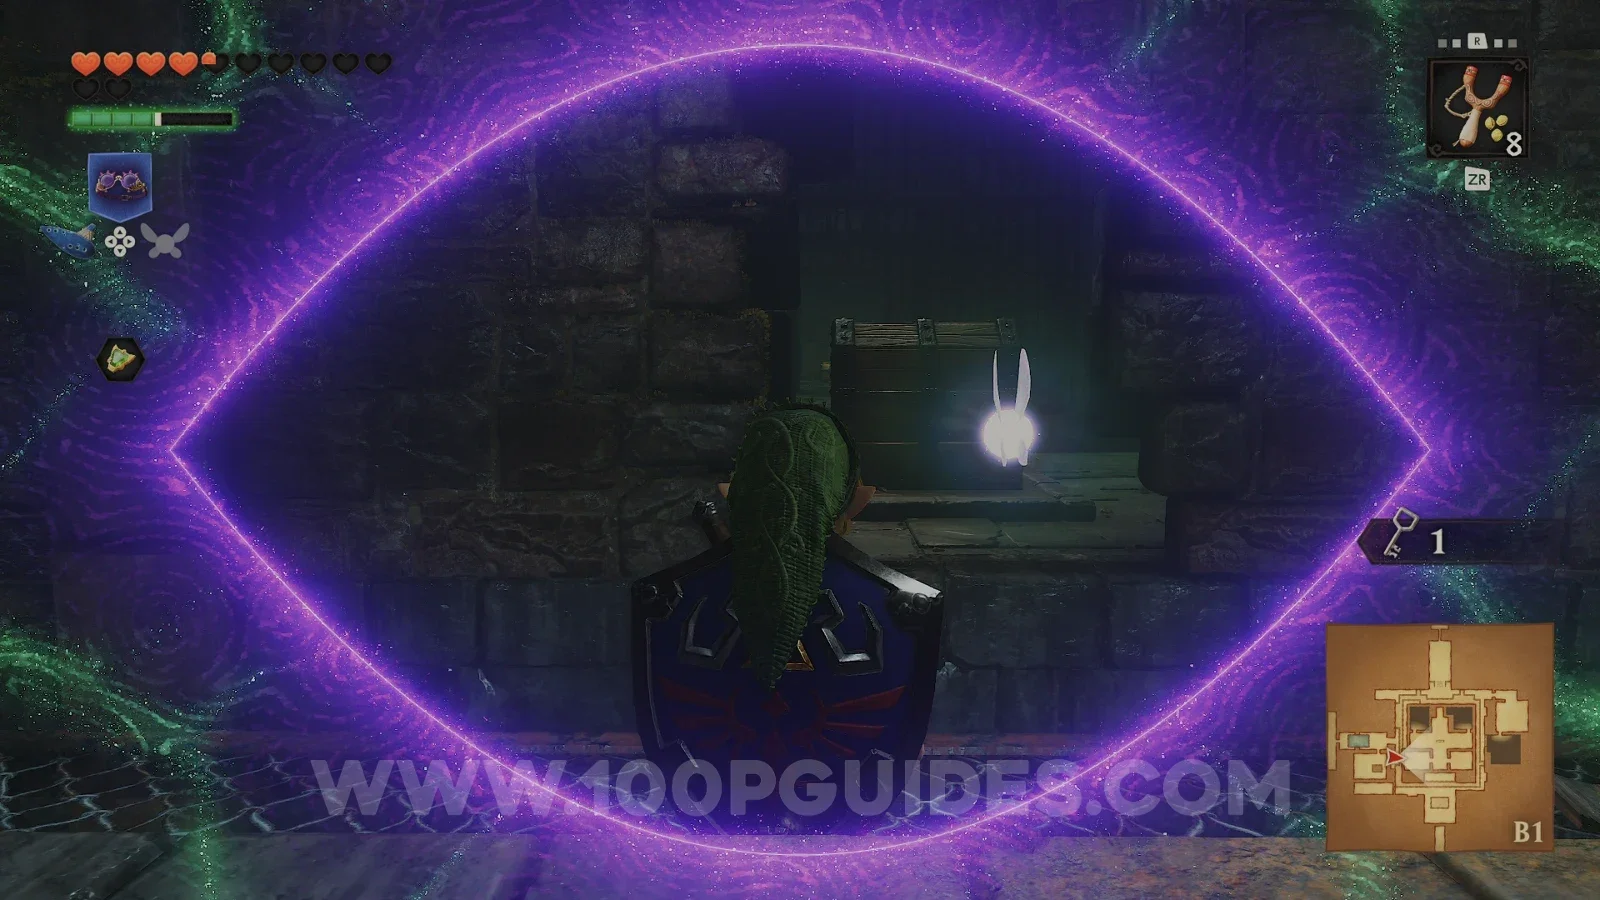
Head back out to the waterway and continue anticlockwise on the lower level until you find a small tunnel you can crawl through on your left. Head through it to find a small chest with a blue rupee inside.
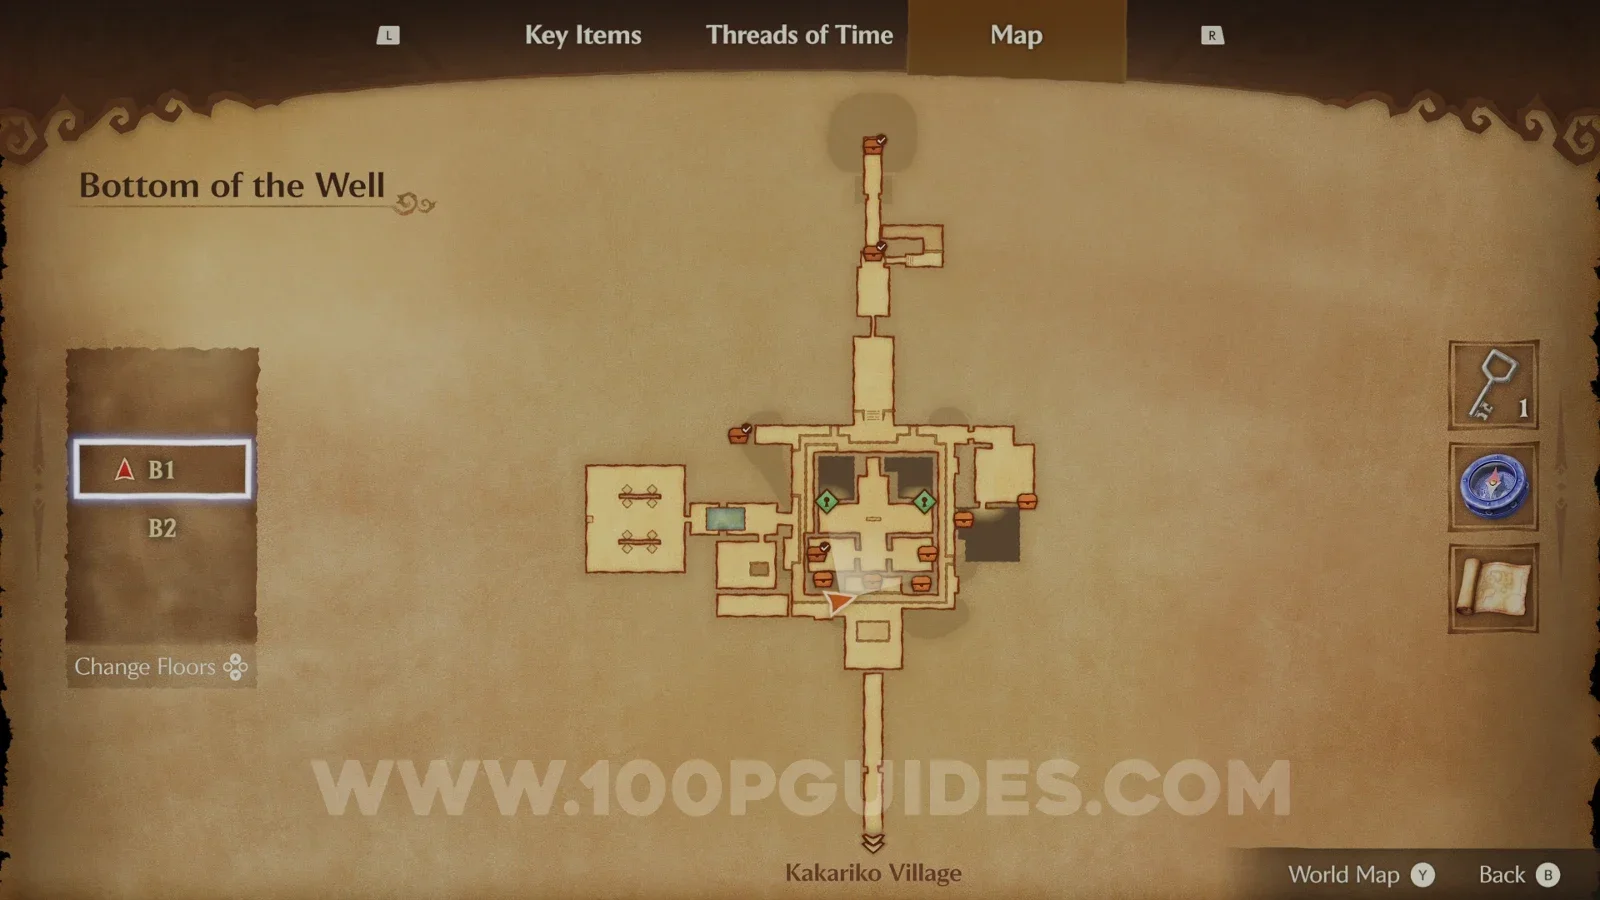
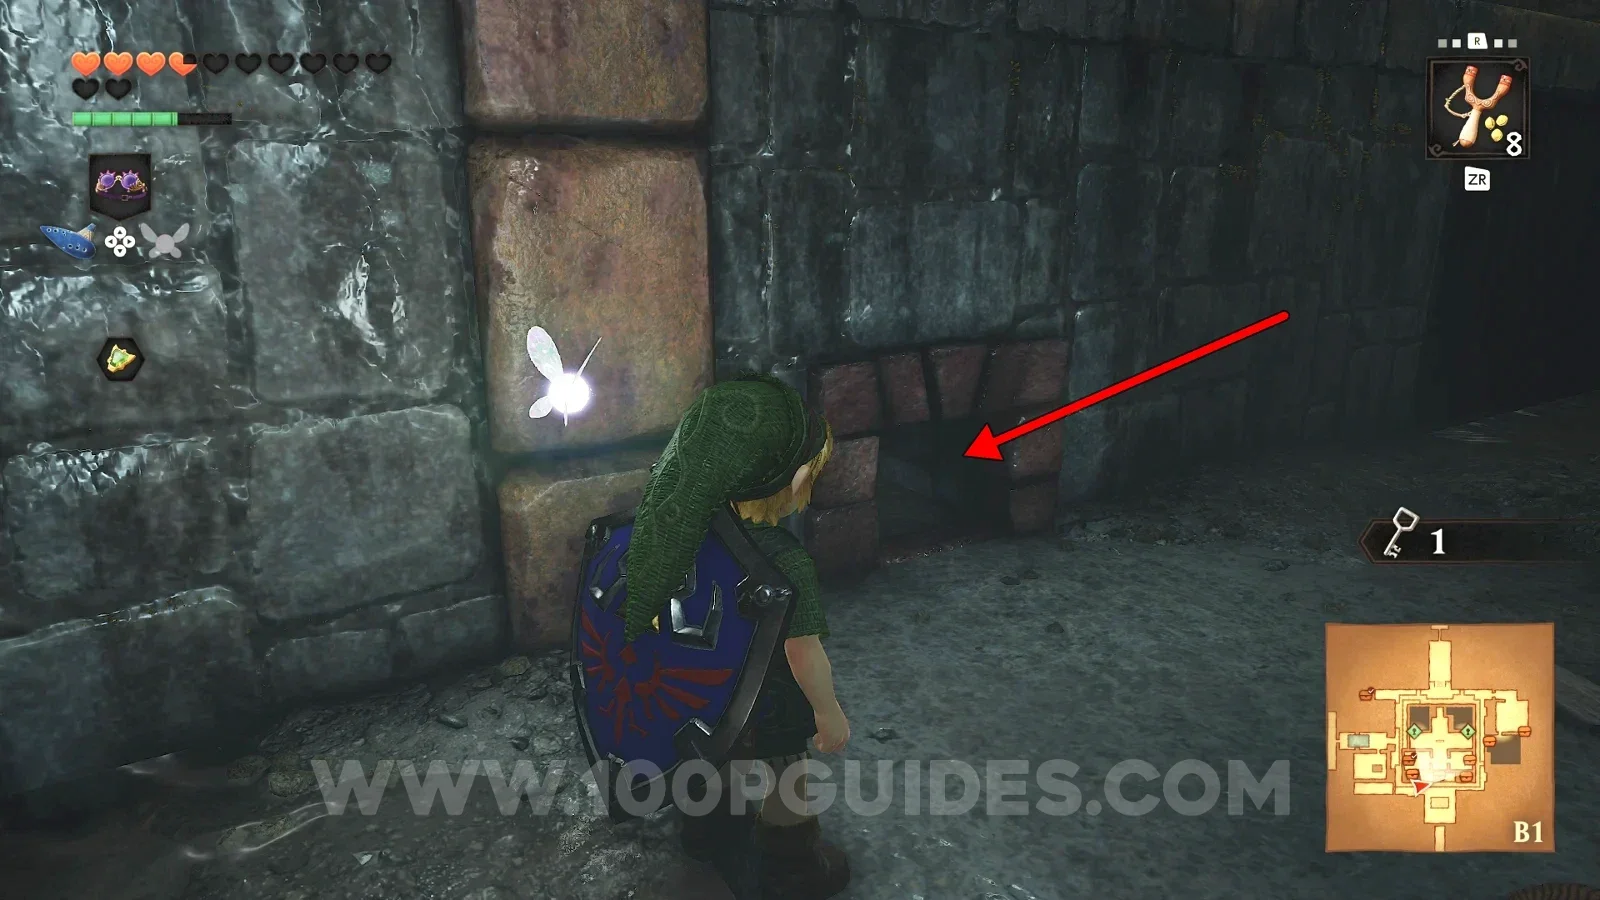
Crawl back out and climb up the mesh, then use the Lenses of Truth to find an opening right above the tunnel you just crawled through. Inside is a small chest with a red rupee.
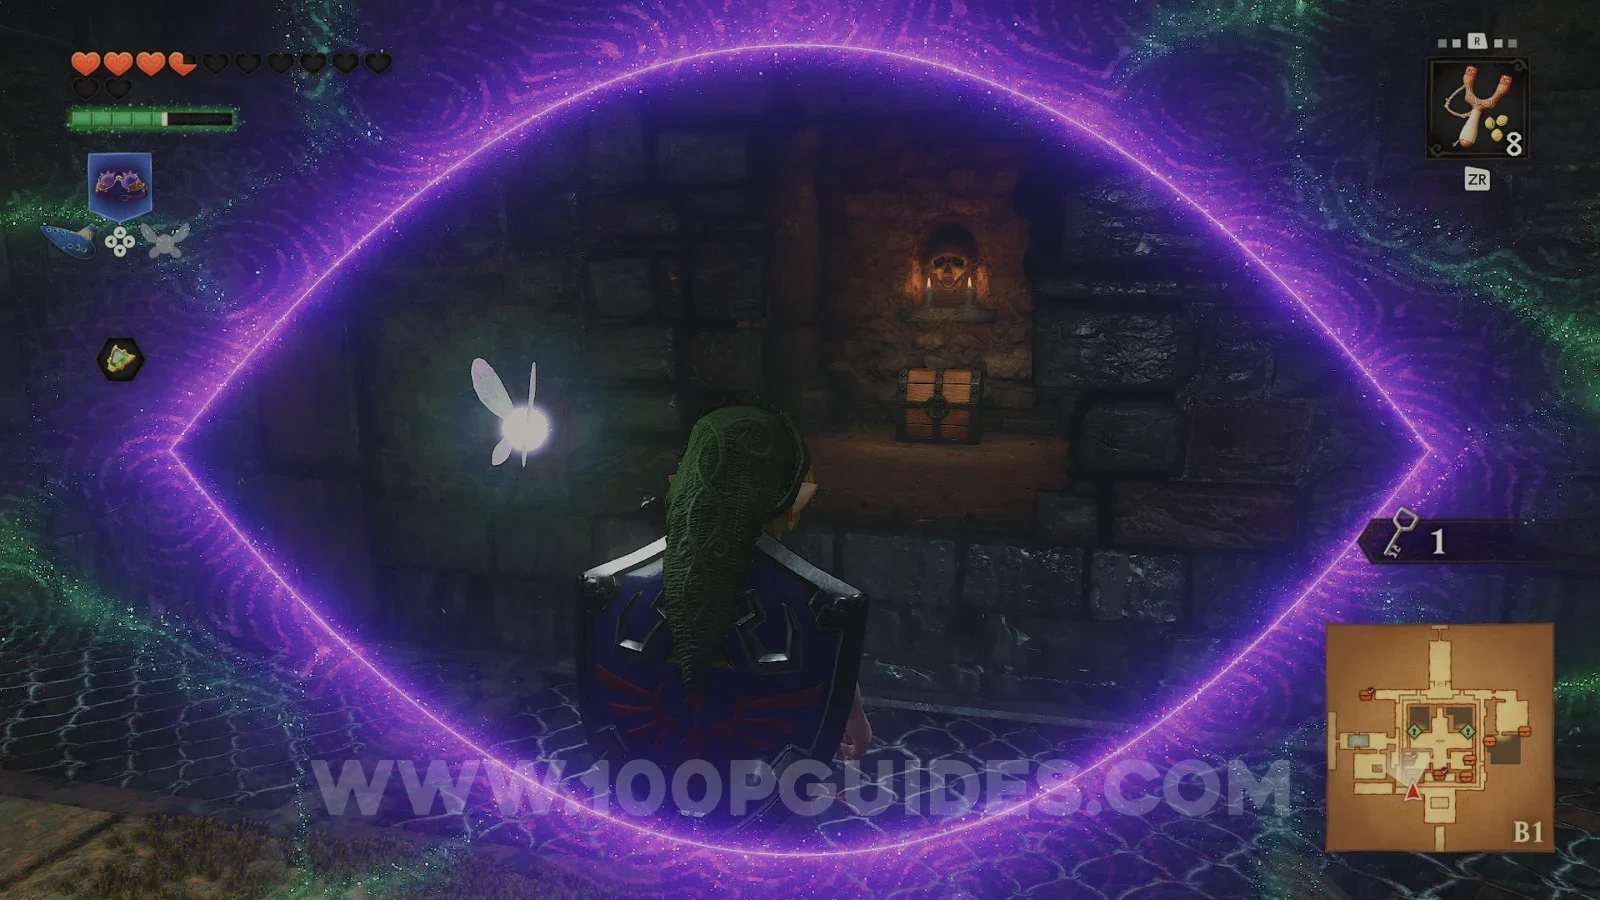
Now head to the southeast corner of the waterway and use the lenses to find a hidden room towards the centre. Inside is the second Small Key.
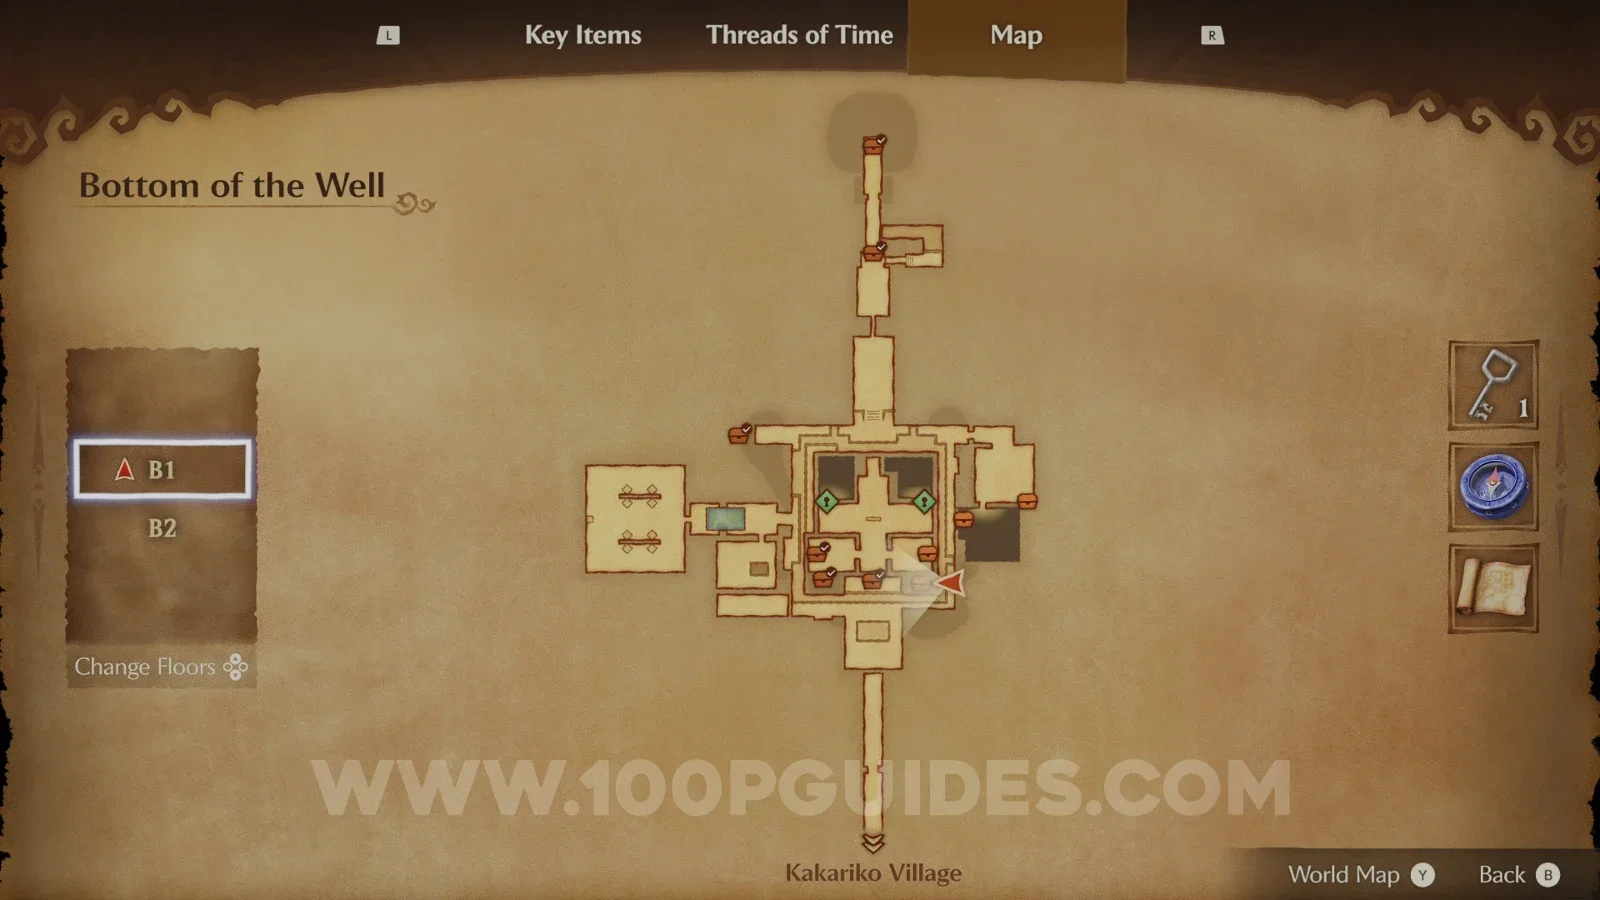
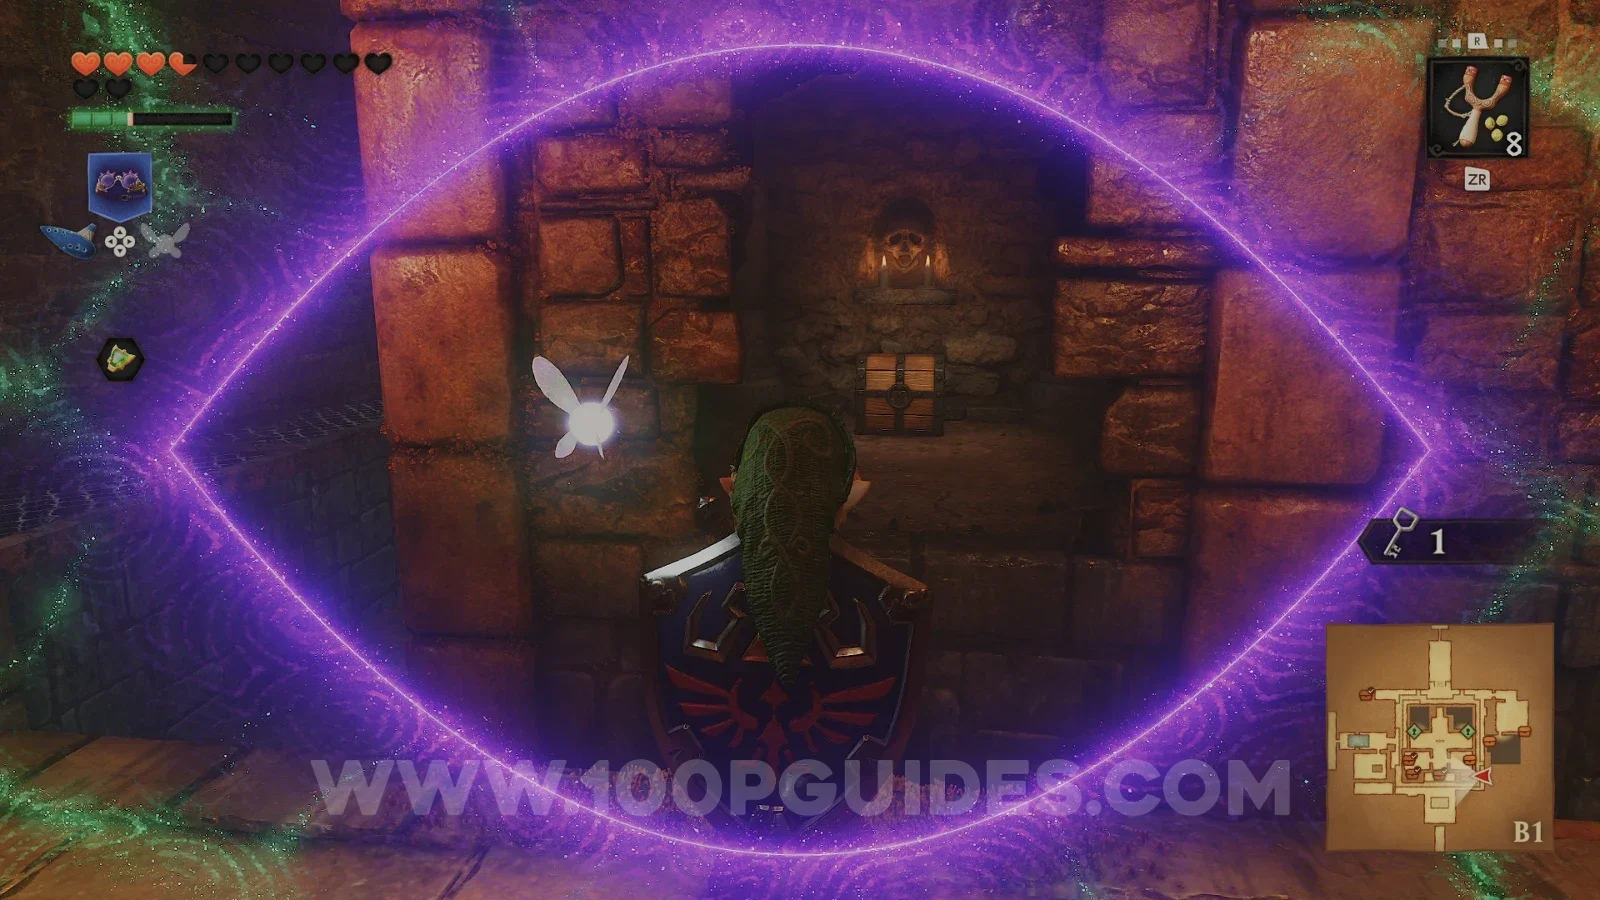
Exit back to the waterway and head a little north around the right side. Here, use the Lenses of Truth to find another gap that lets you enter the central area. Inside, watch out for the Floormaster and open the chest in the southeastern cage behind the Skulltula to get a blue rupee.
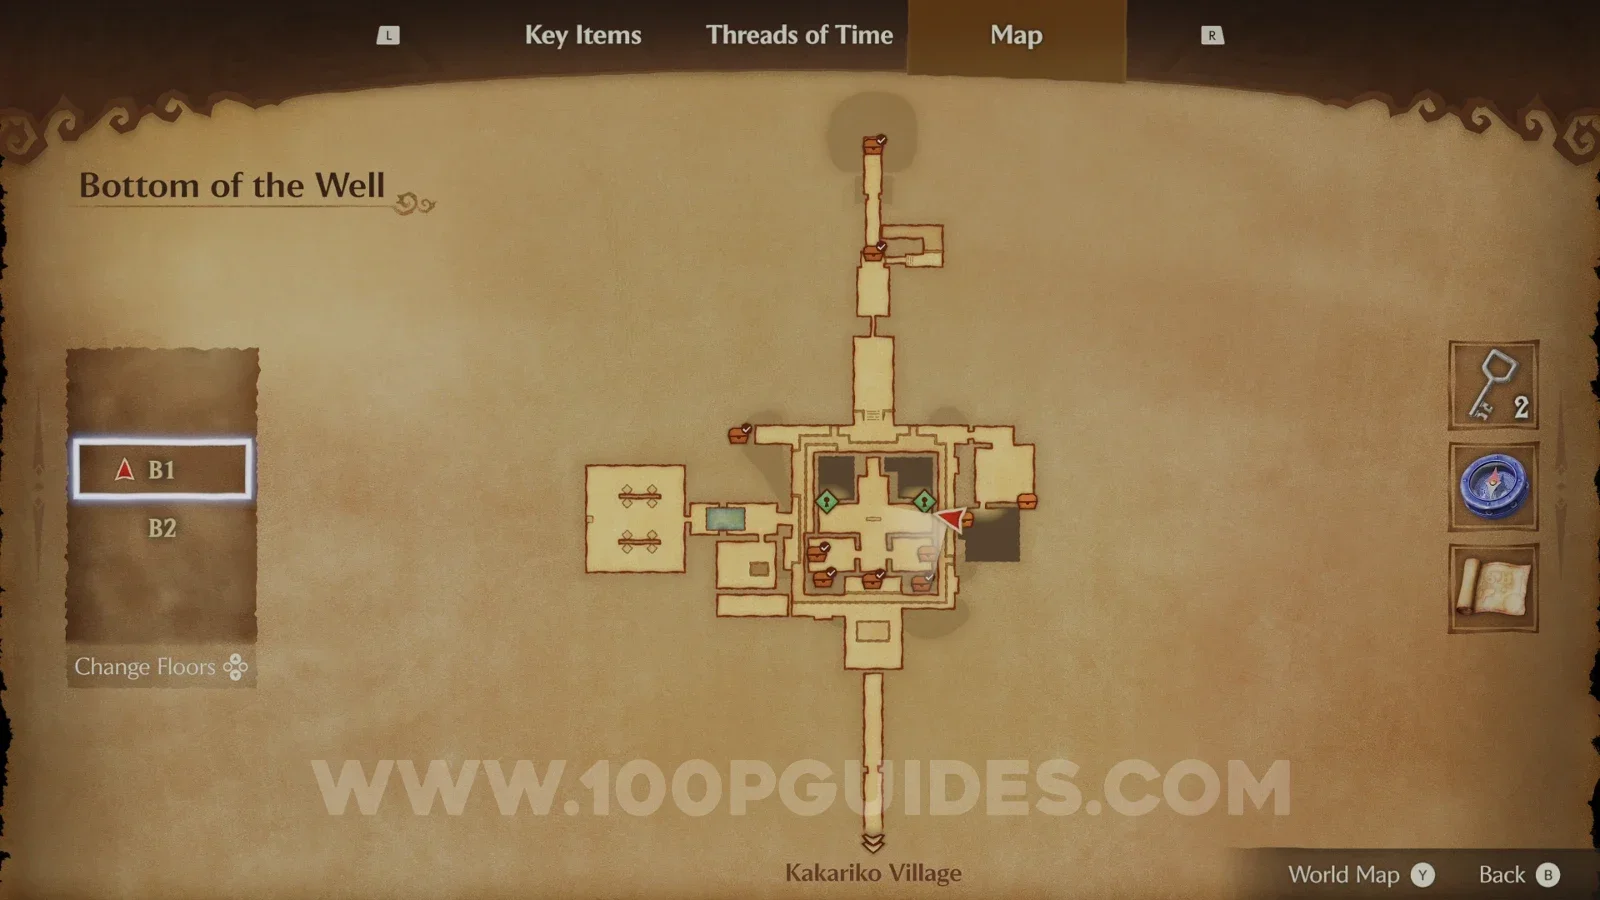
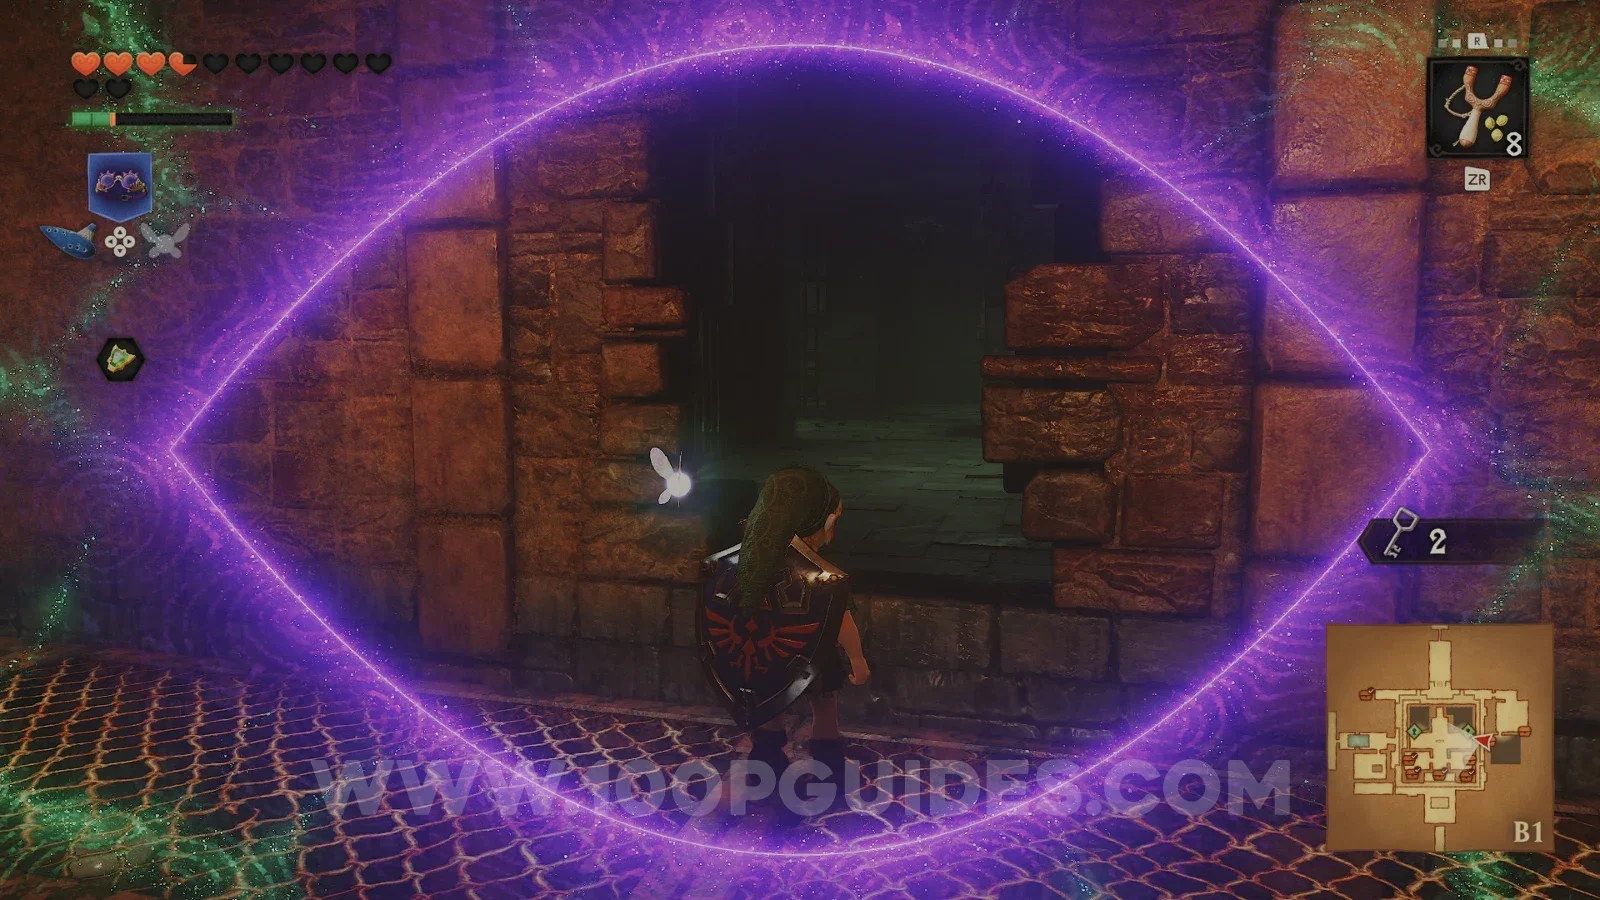
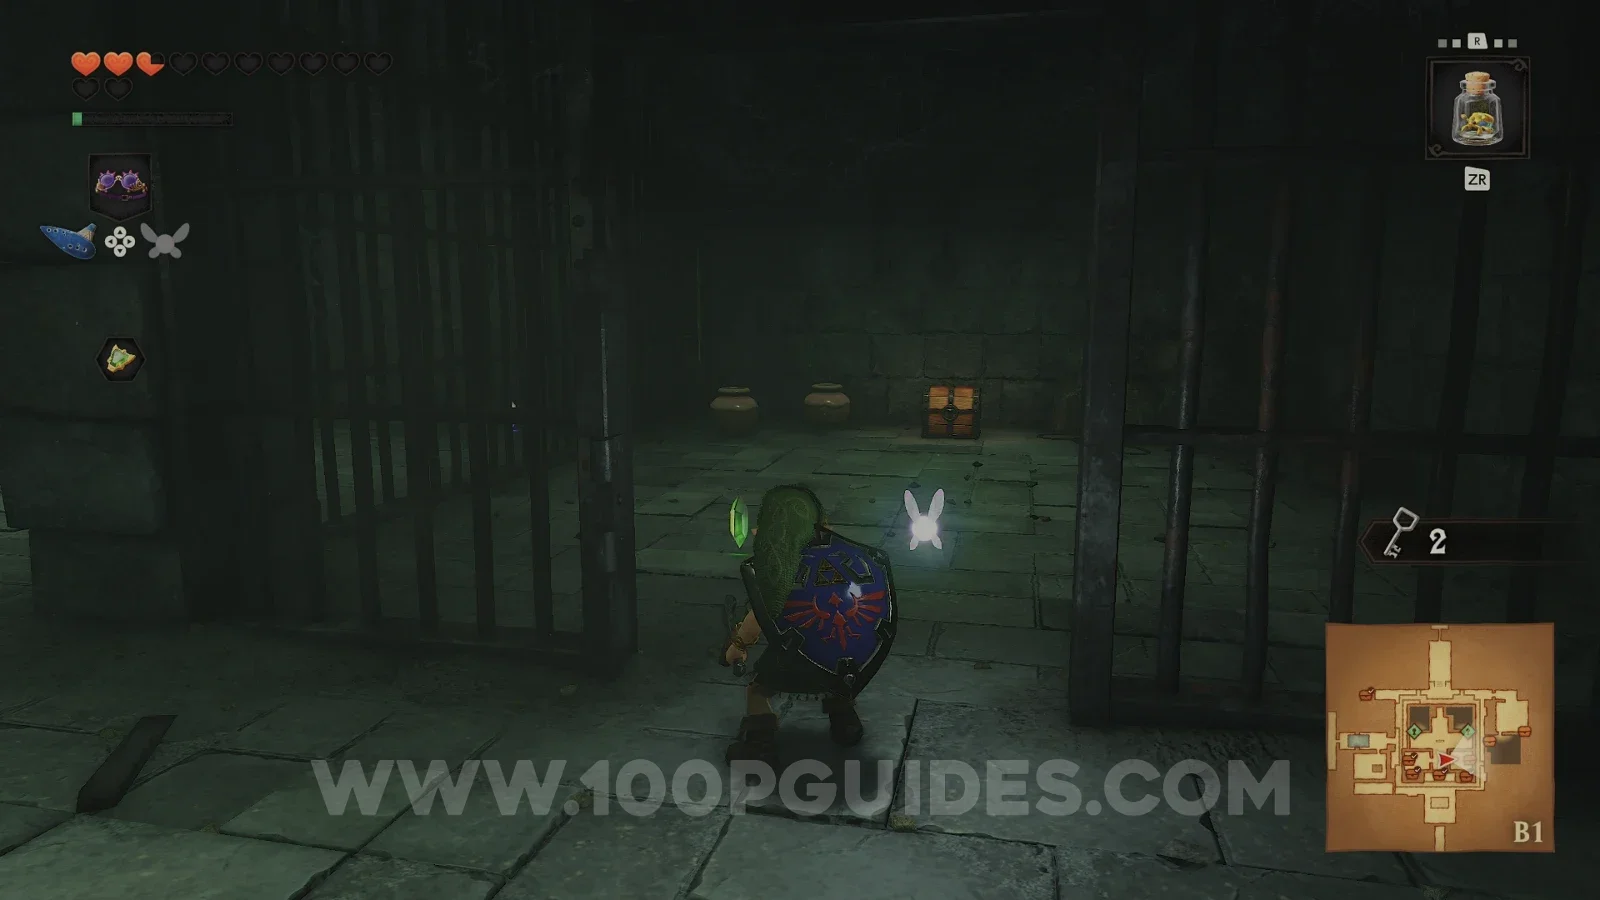
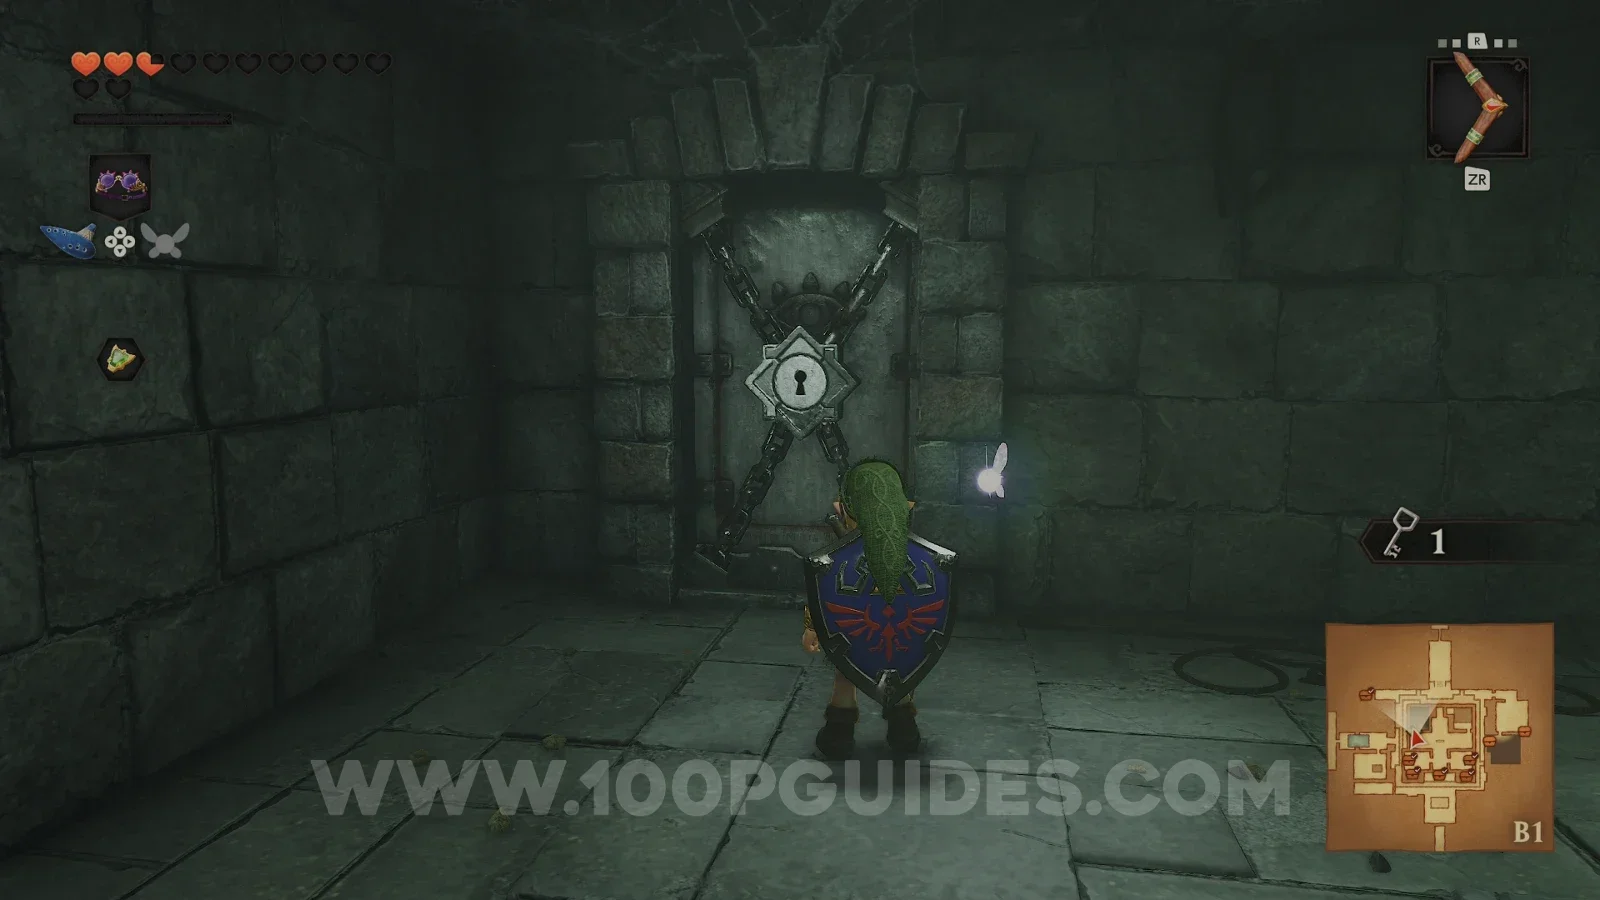
Now for the Gold Skulltulas. Unlock the door on the eastern side of the central area, deal with the bats and use the lenses to find the way to a Gold Skulltula (55/100).
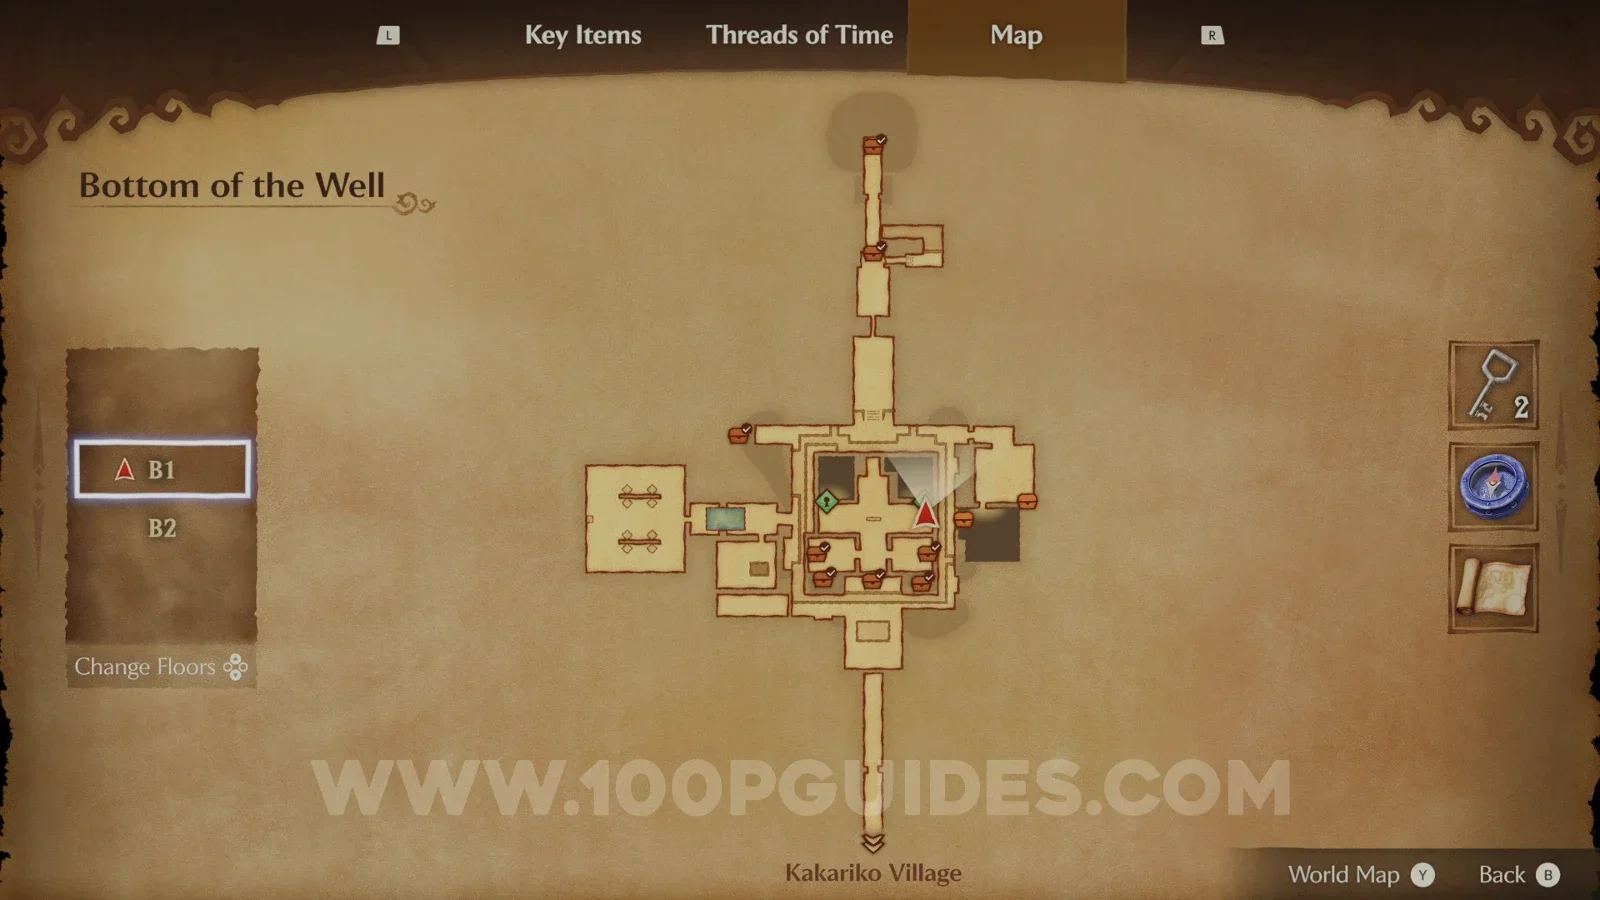
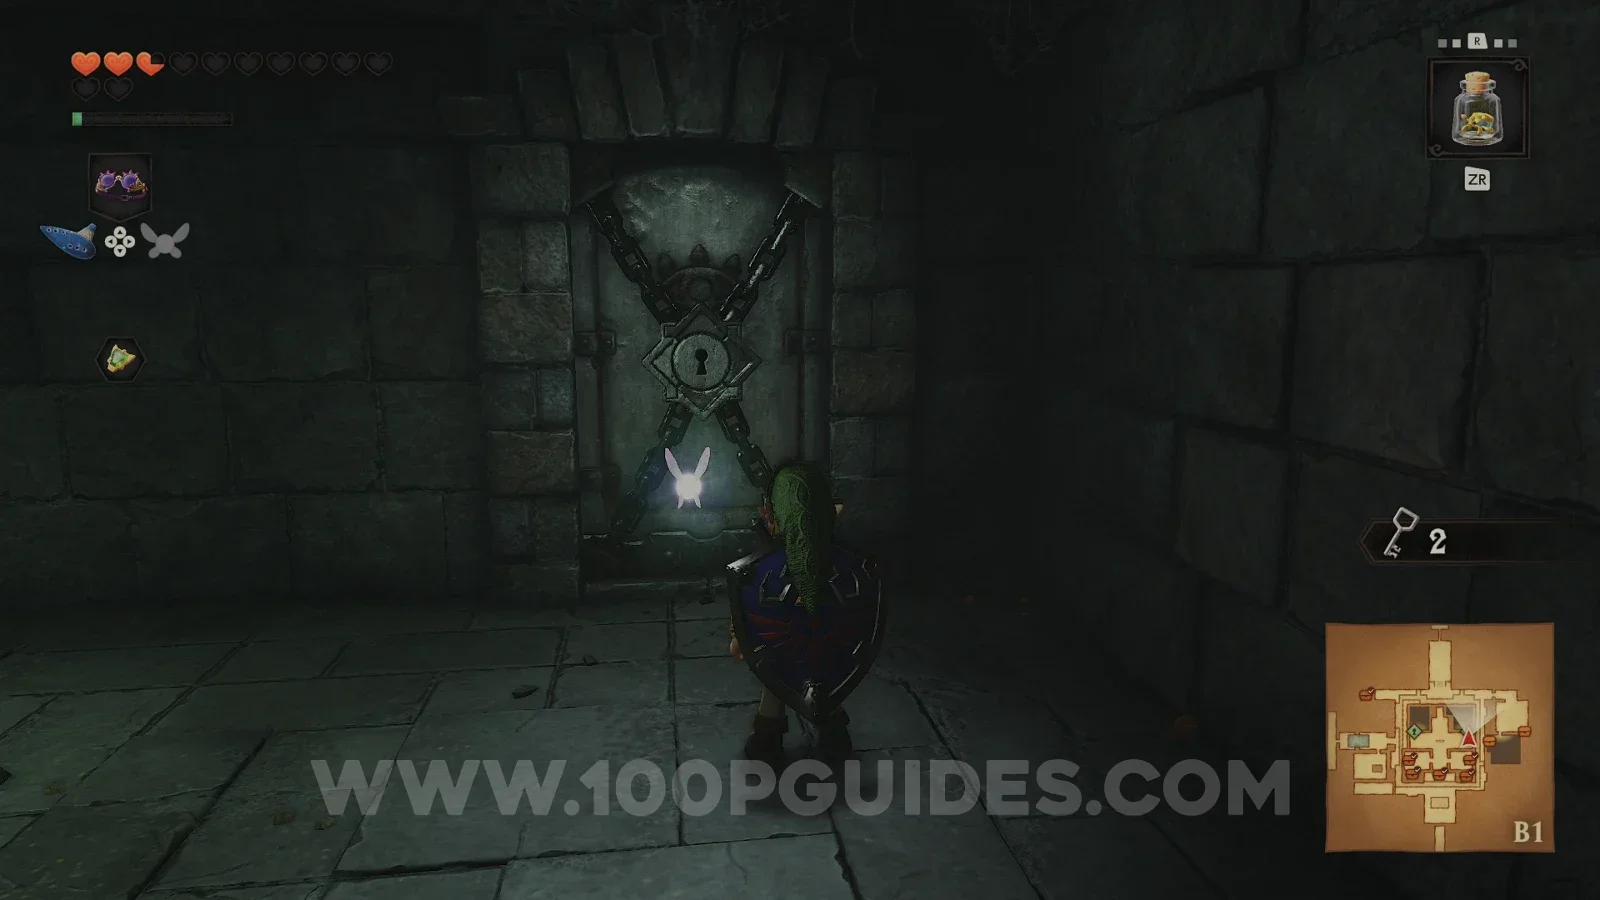
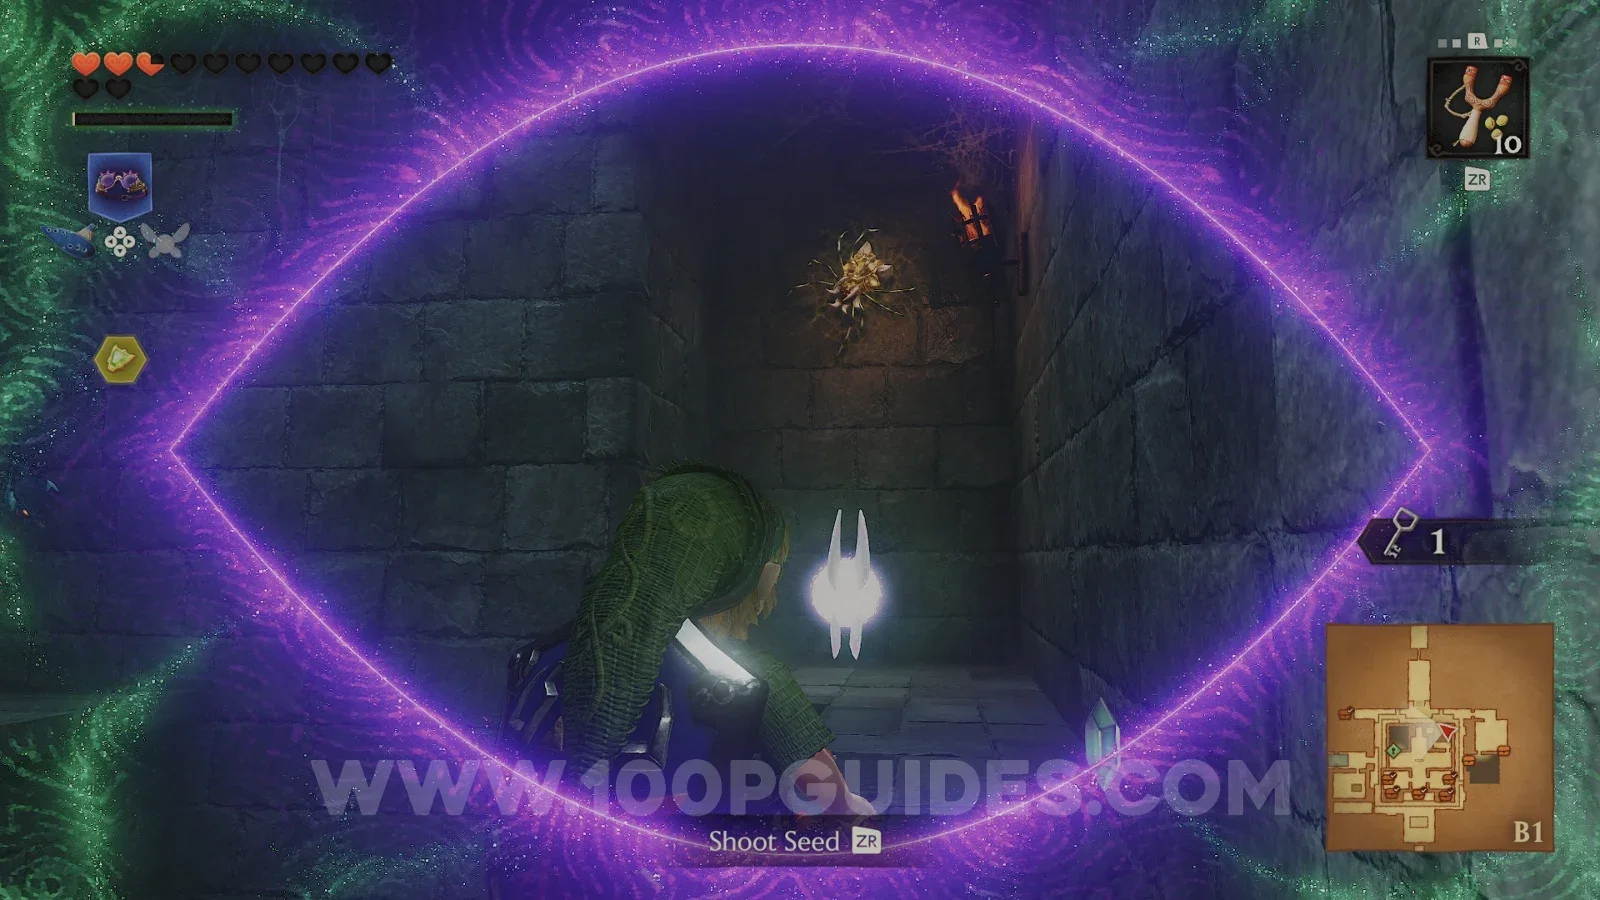
Next, unlock the door on the western side of the central area. In this room you will find a Deku Baba and some flying pots. The Gold Skulltula (56/100) is on the back wall.
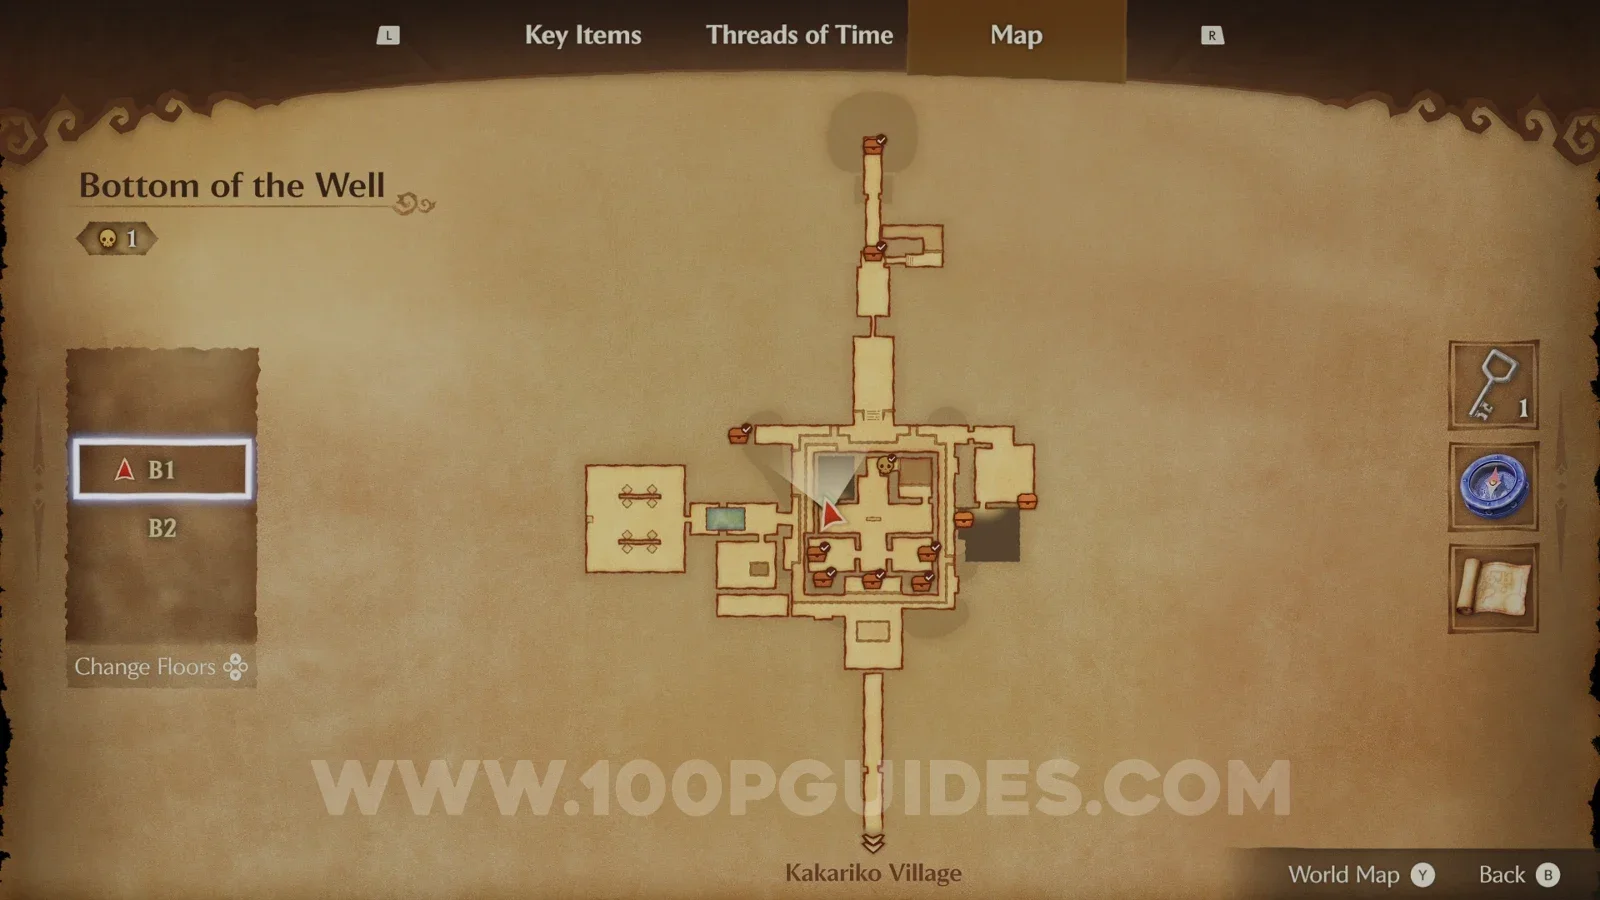
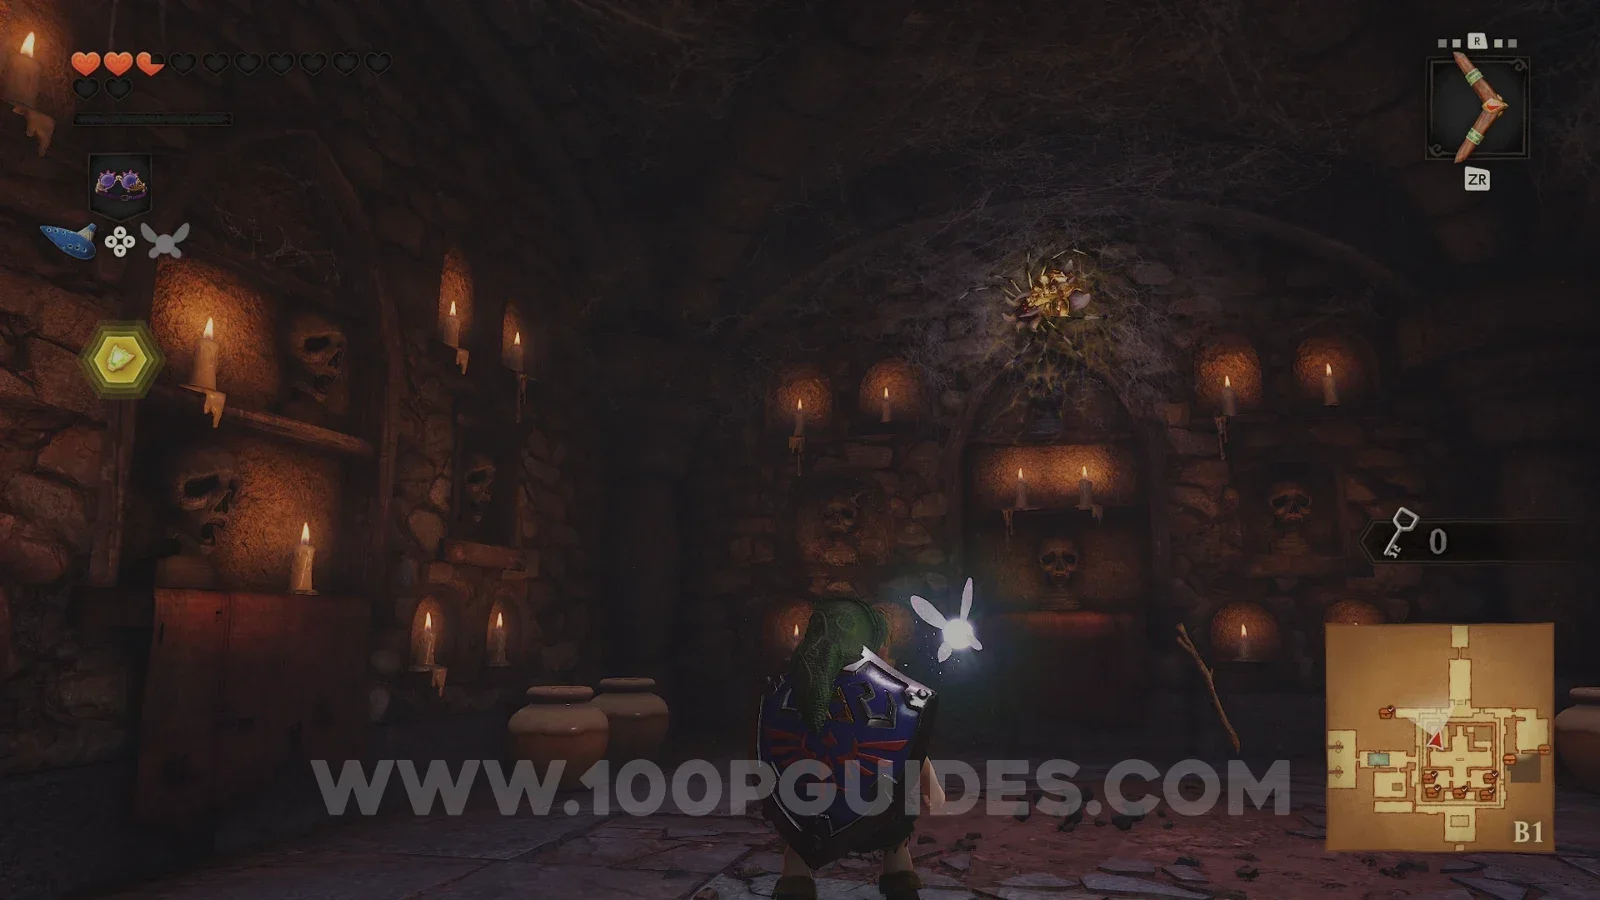
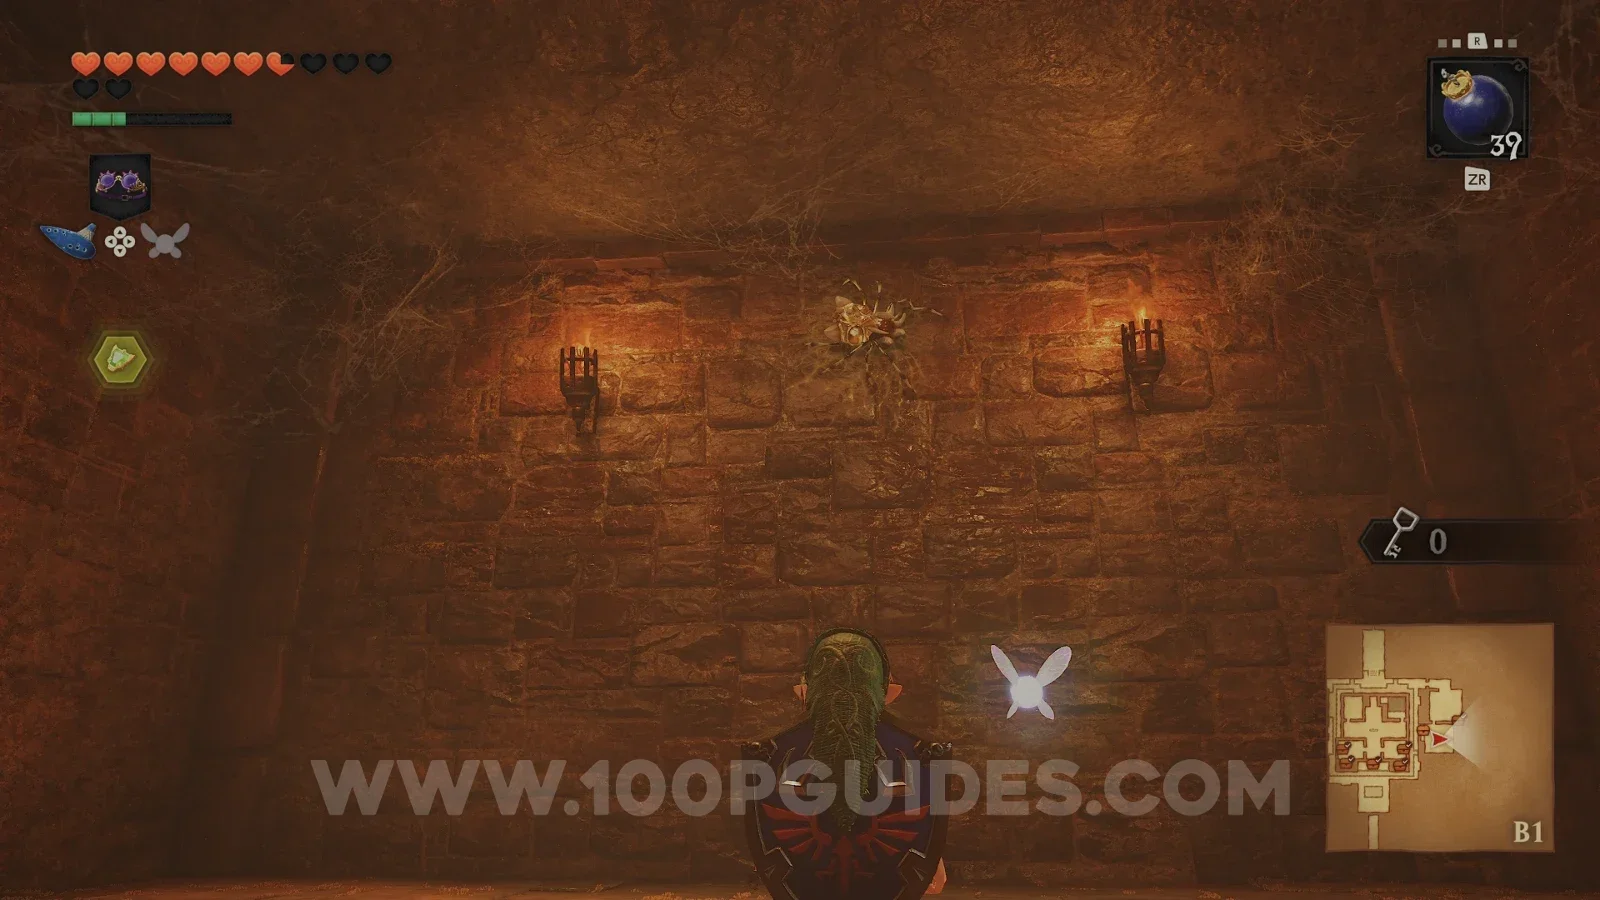
For the last one, head to the room to the northeast of the waterway and open the small chest to find a Deku Shield. Then head south to find a Gold Skulltula (57/100) in the next room.
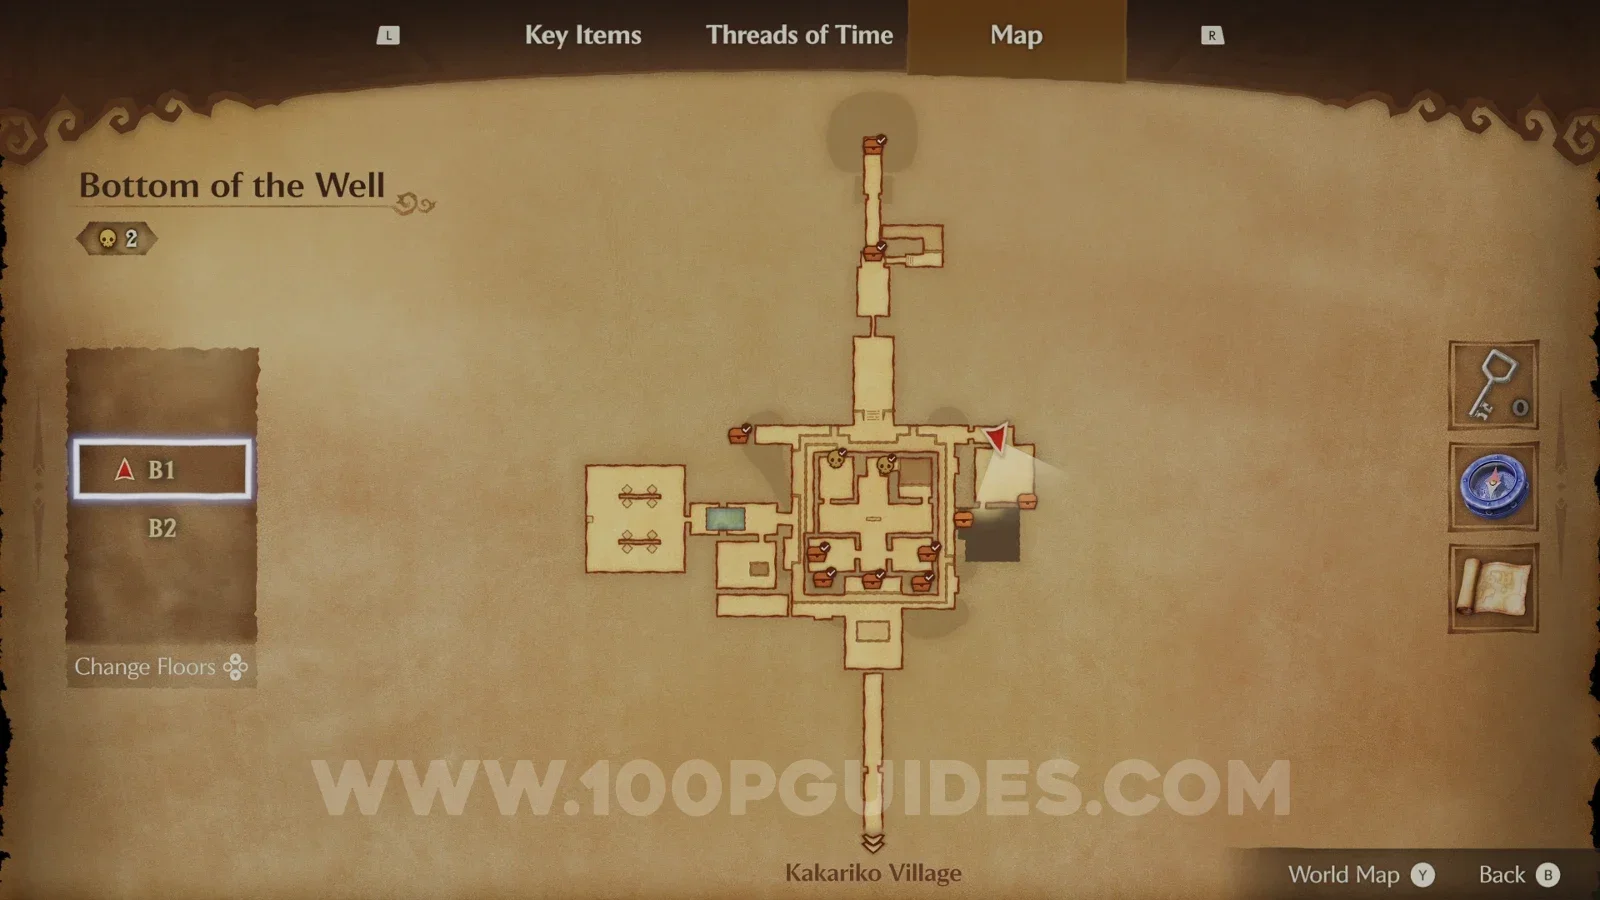
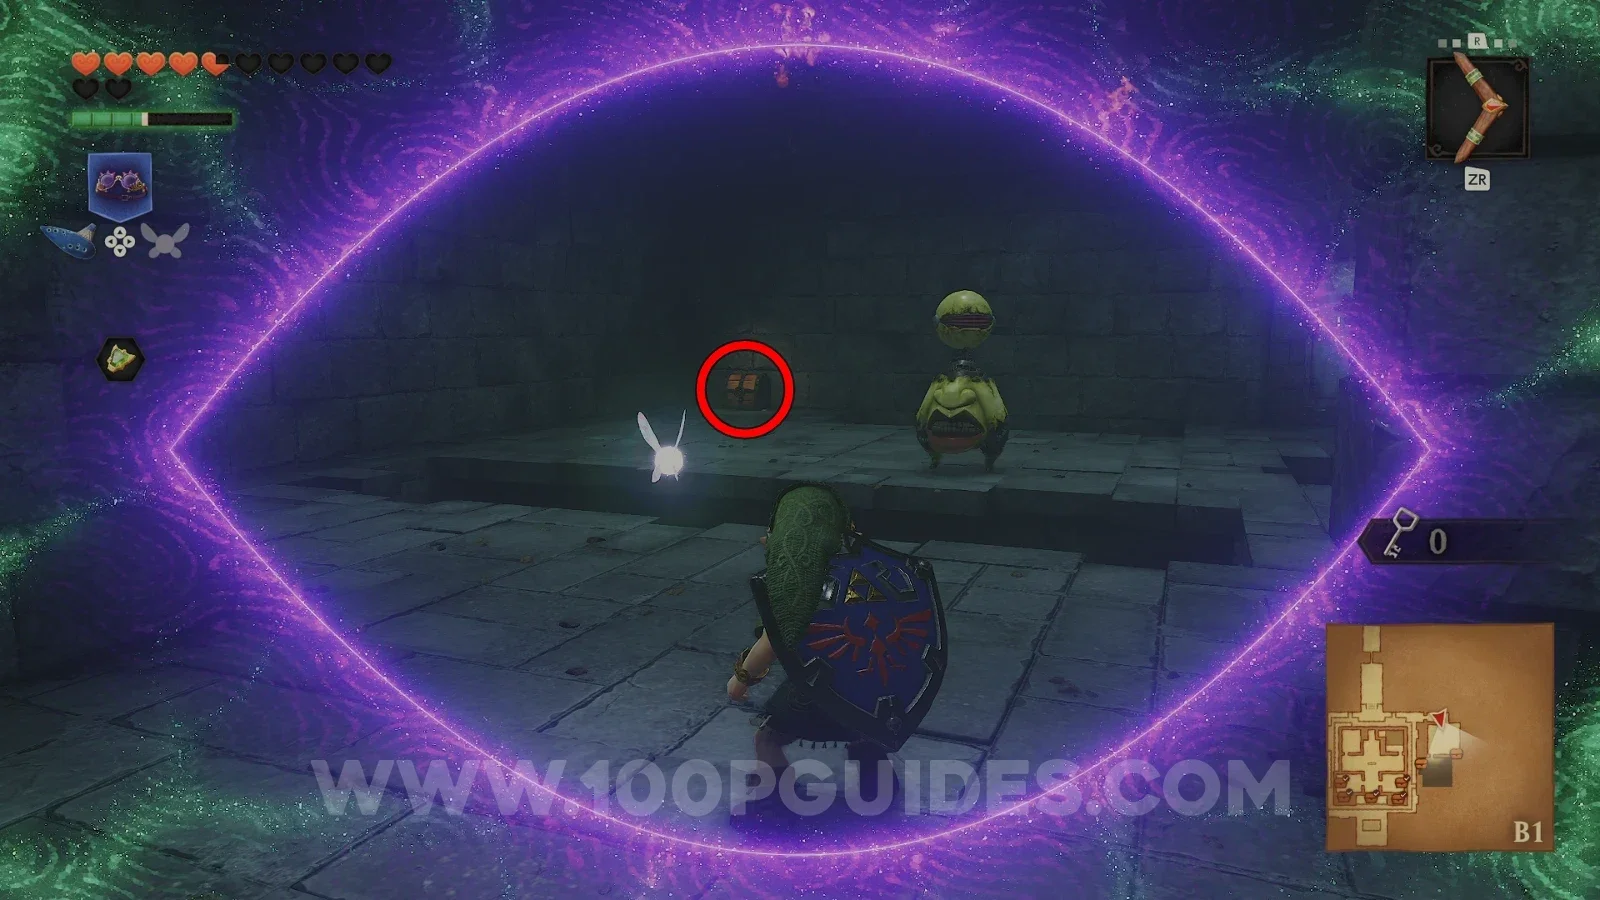
In the same room as the Like Like, climb the ladder and follow the path, then drop down below it to find a chest with a blue rupee.
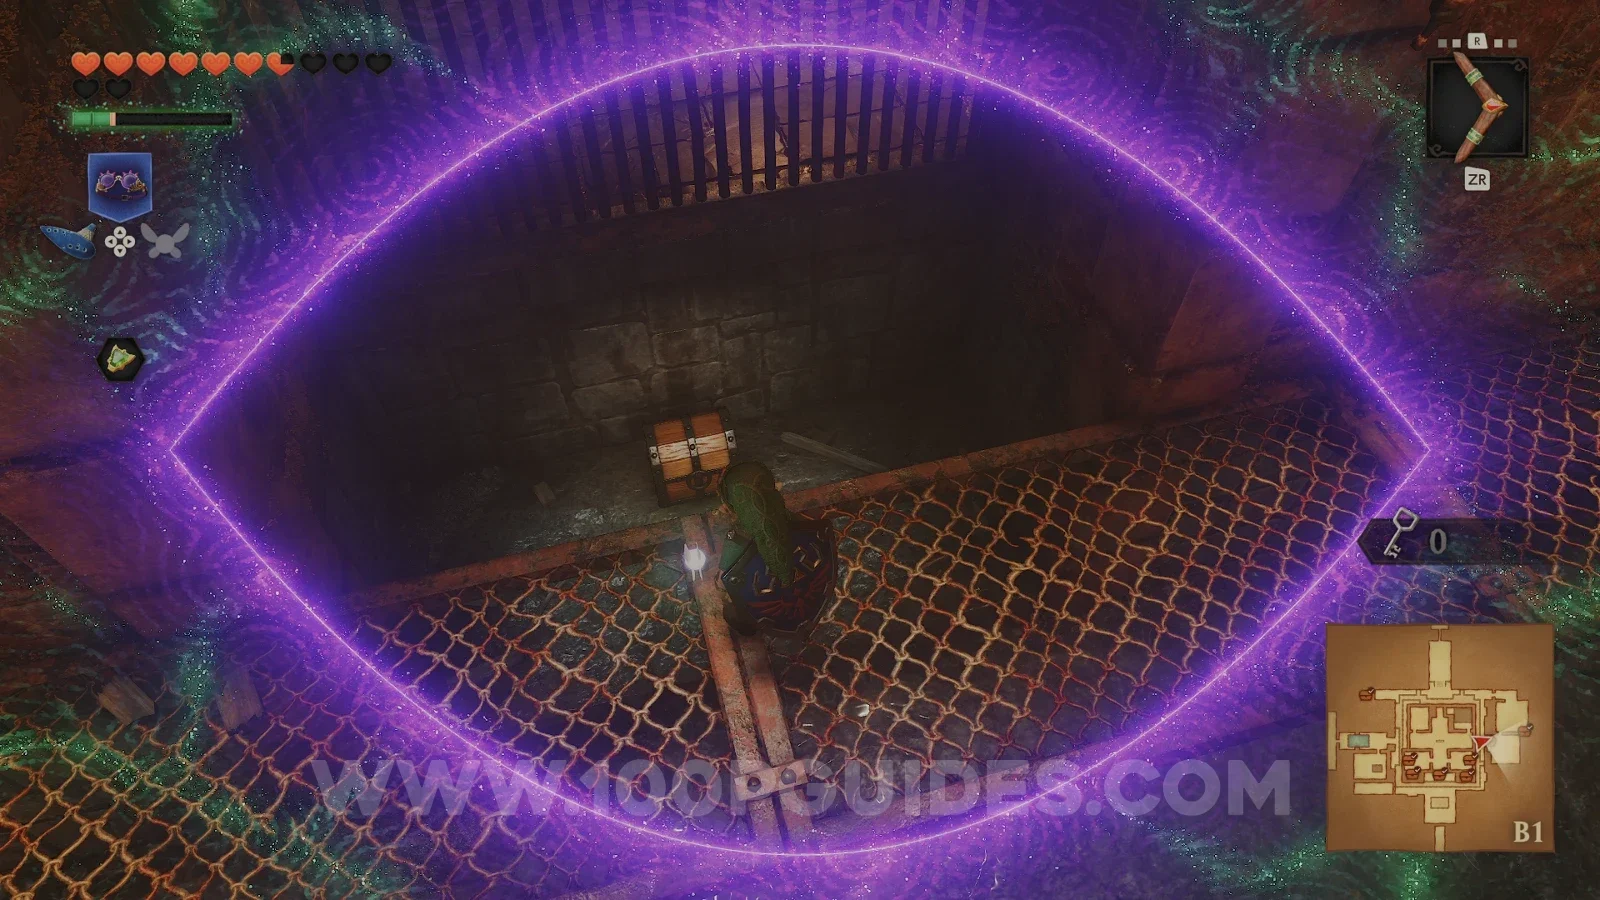
Once you are done, climb back out of the well.
Zora River
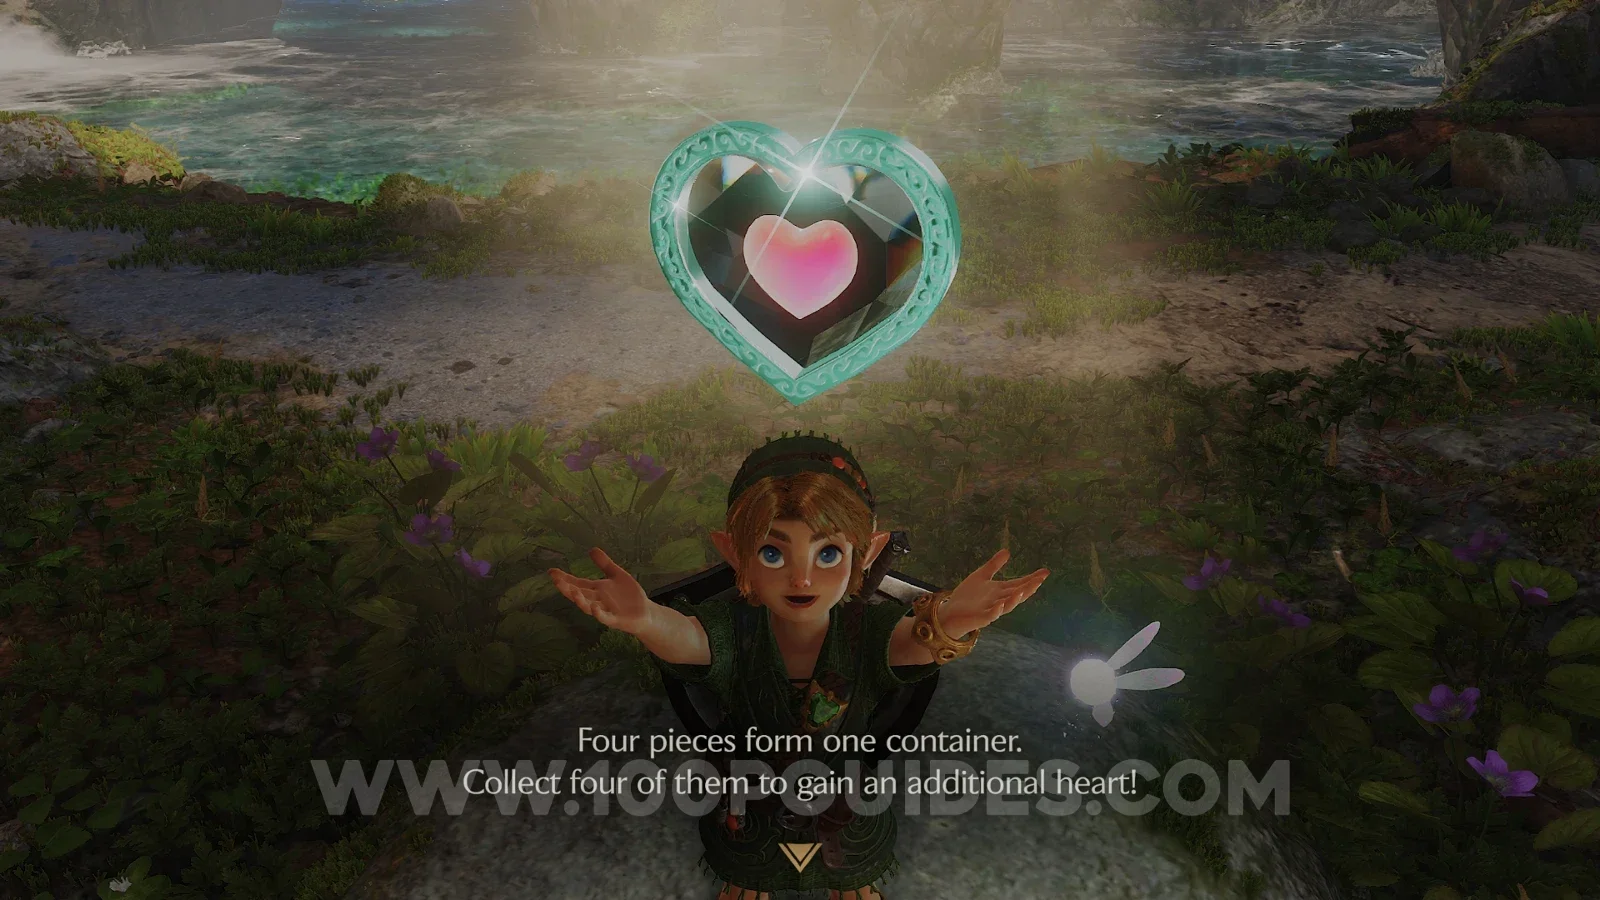
Next, head to Zora River and go to the frogs on the log. Now that you have two more songs, you can finish them off. First, play the Song of Storms and they will give you a Heart Piece (24/36).
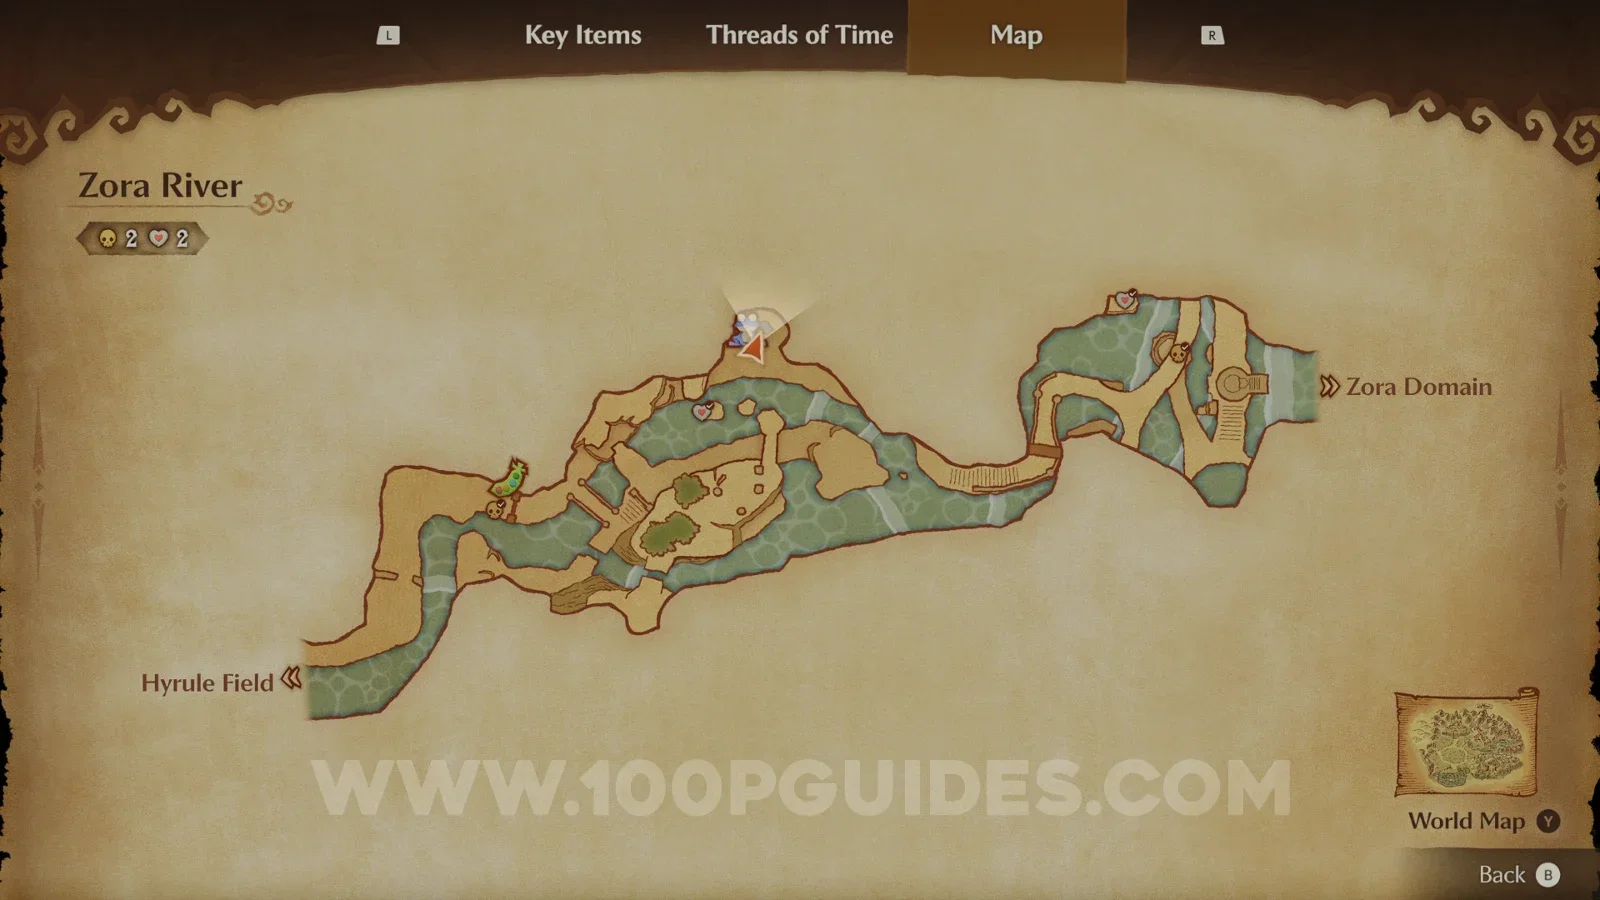
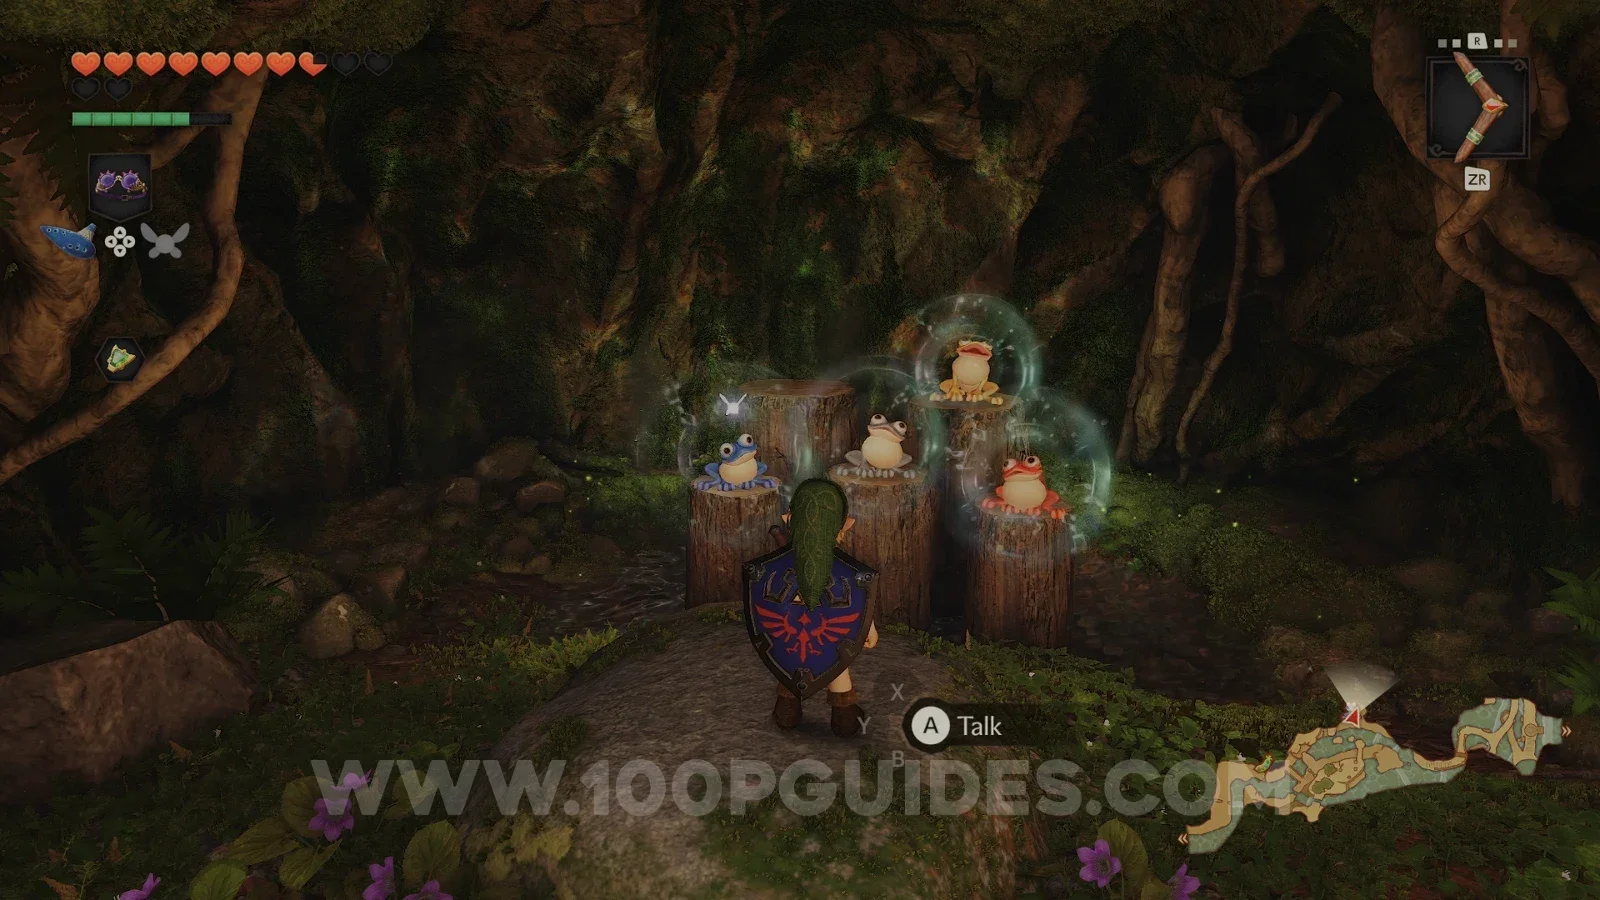
Then play the Song of Time for another 50 rupees. Now that the frogs have heard all six songs, they will start a minigame of their own. A butterfly will fly over the frogs one at a time, and you have to play the note of each frog it lands on. The correct tune is L, Y, A, R, Y, A, R, L, R, L, R, A, Y, L. Finish it without a mistake to get another Heart Piece (25/36).
Next, go back to the Bean Seller at the entrance of Zora River and buy his last three Magic Beans for 80, 90 and 100 rupees, so 270 in total. You will plant one of them in a moment and keep the other two for the next trip back in time.
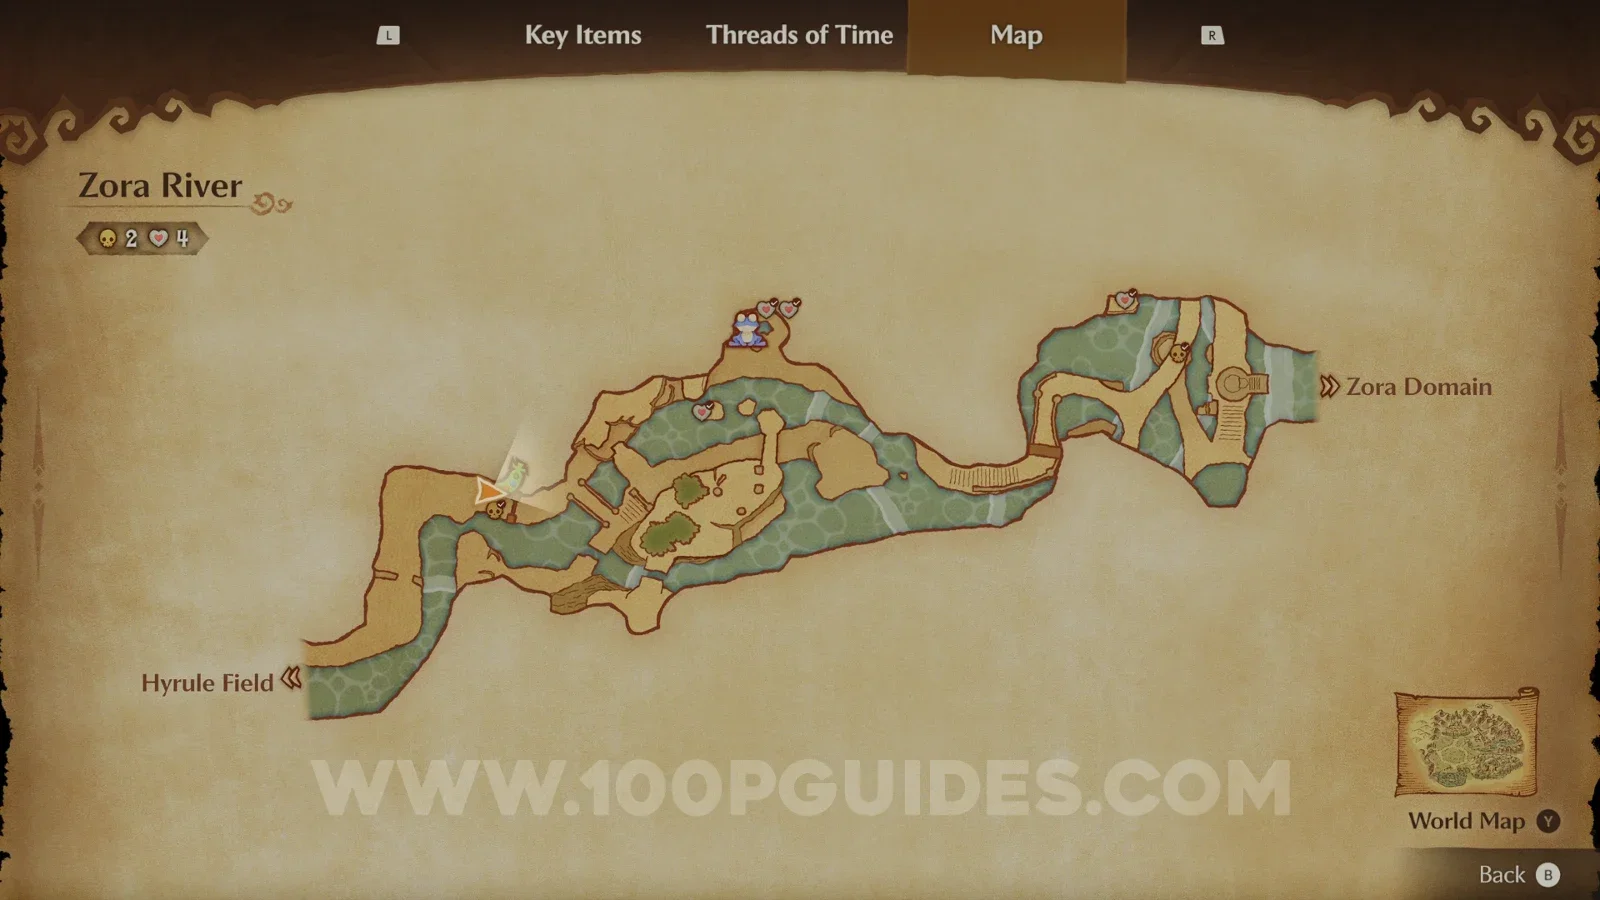
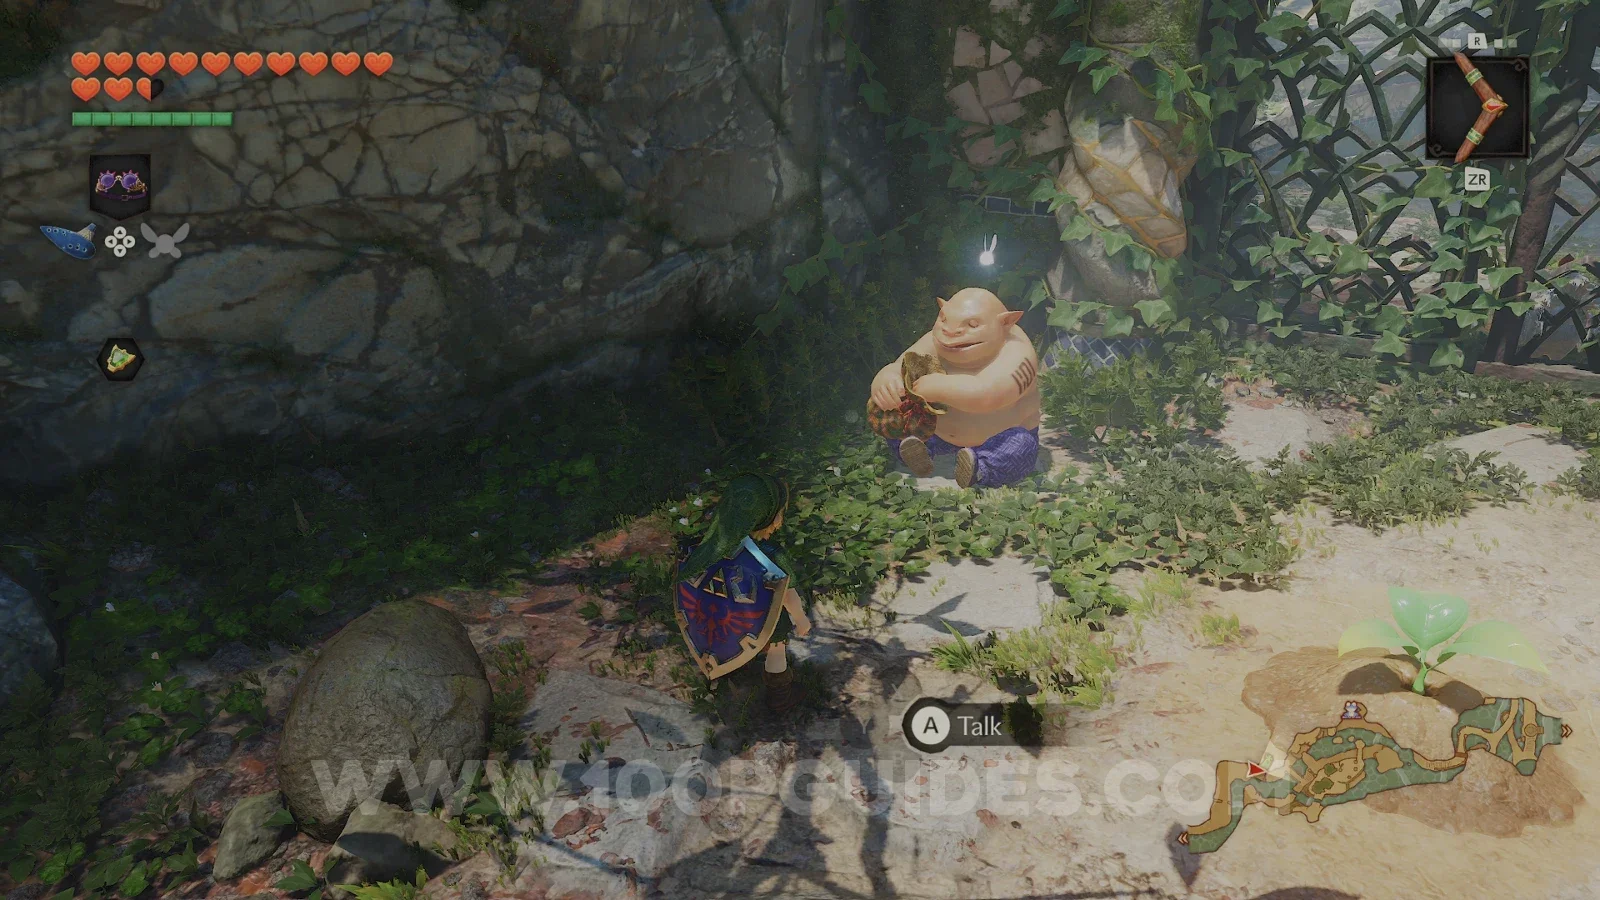
There is also a propeller plant with butterflies around it right next to the Bean Seller. Play the Song of Storms next to it to open a grotto.
Death Mountain Trail
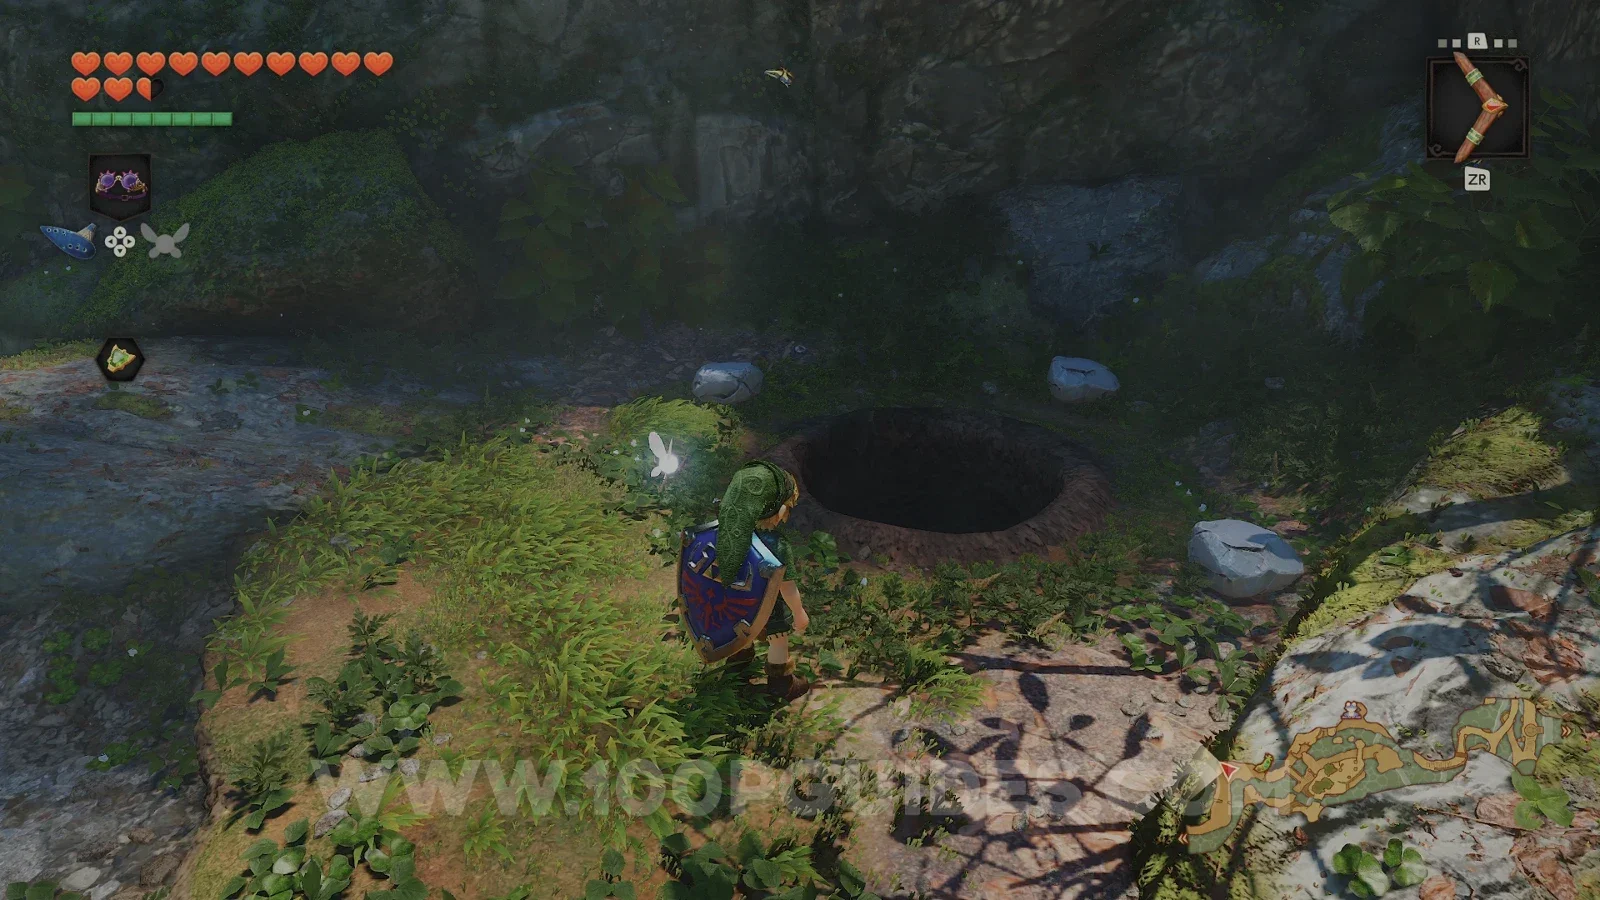
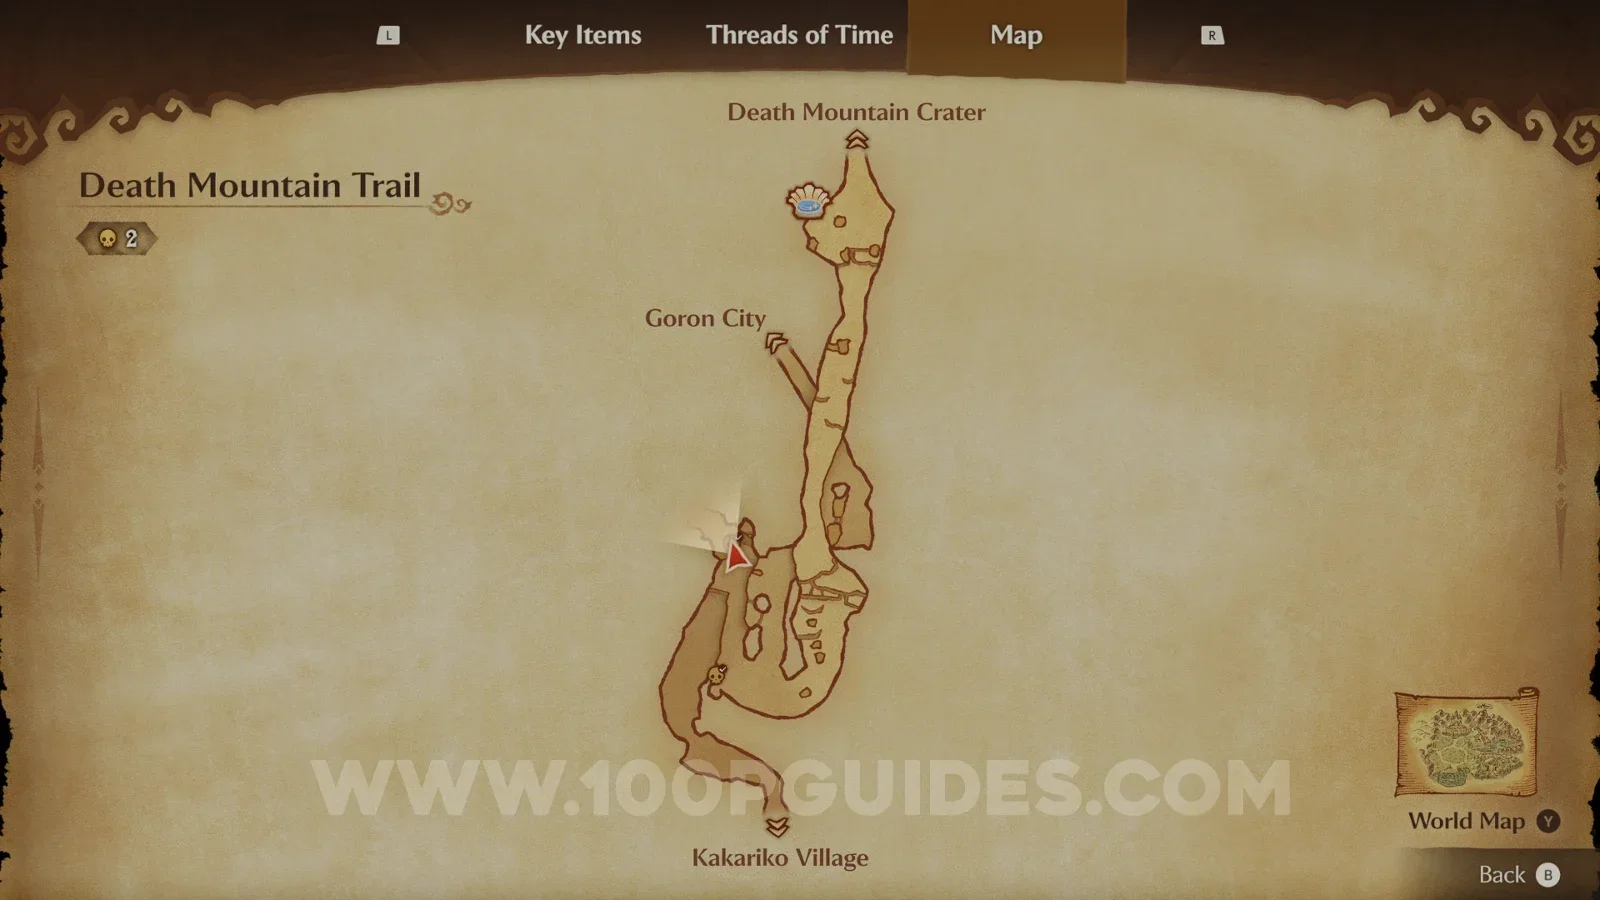
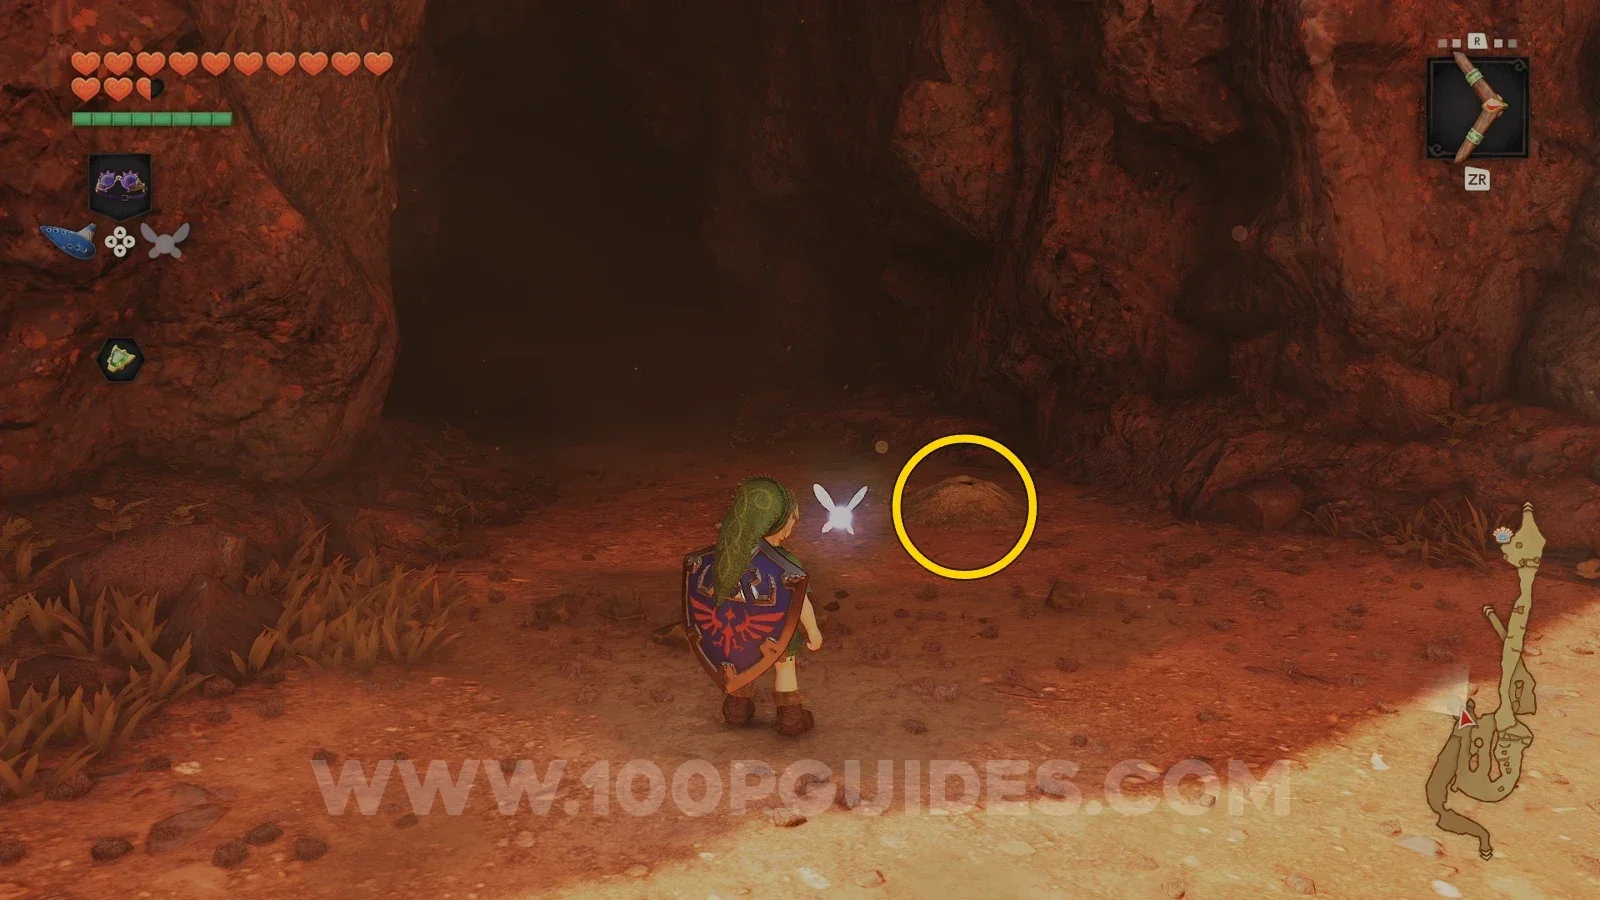
From Zora River, head through Kakariko Village and up Death Mountain Trail to the entrance of Dodongo Cavern. Plant a Magic Bean (8/10) in the patch of soft soil in front of it. As an adult, this plant will take you to a Heart Piece later.
Hyrule Field
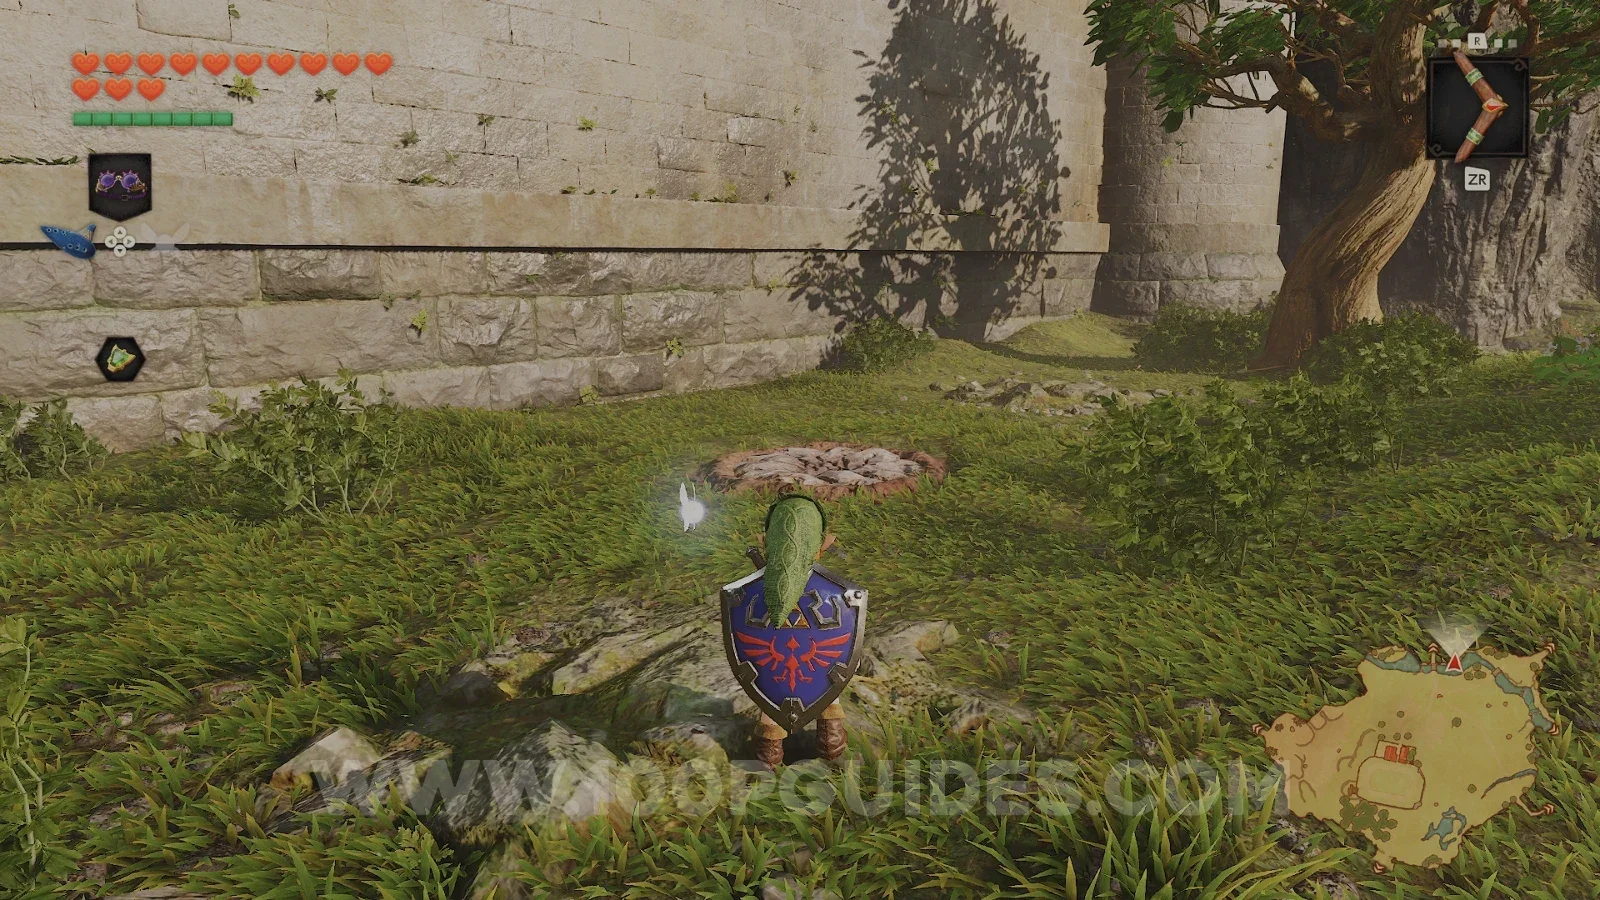
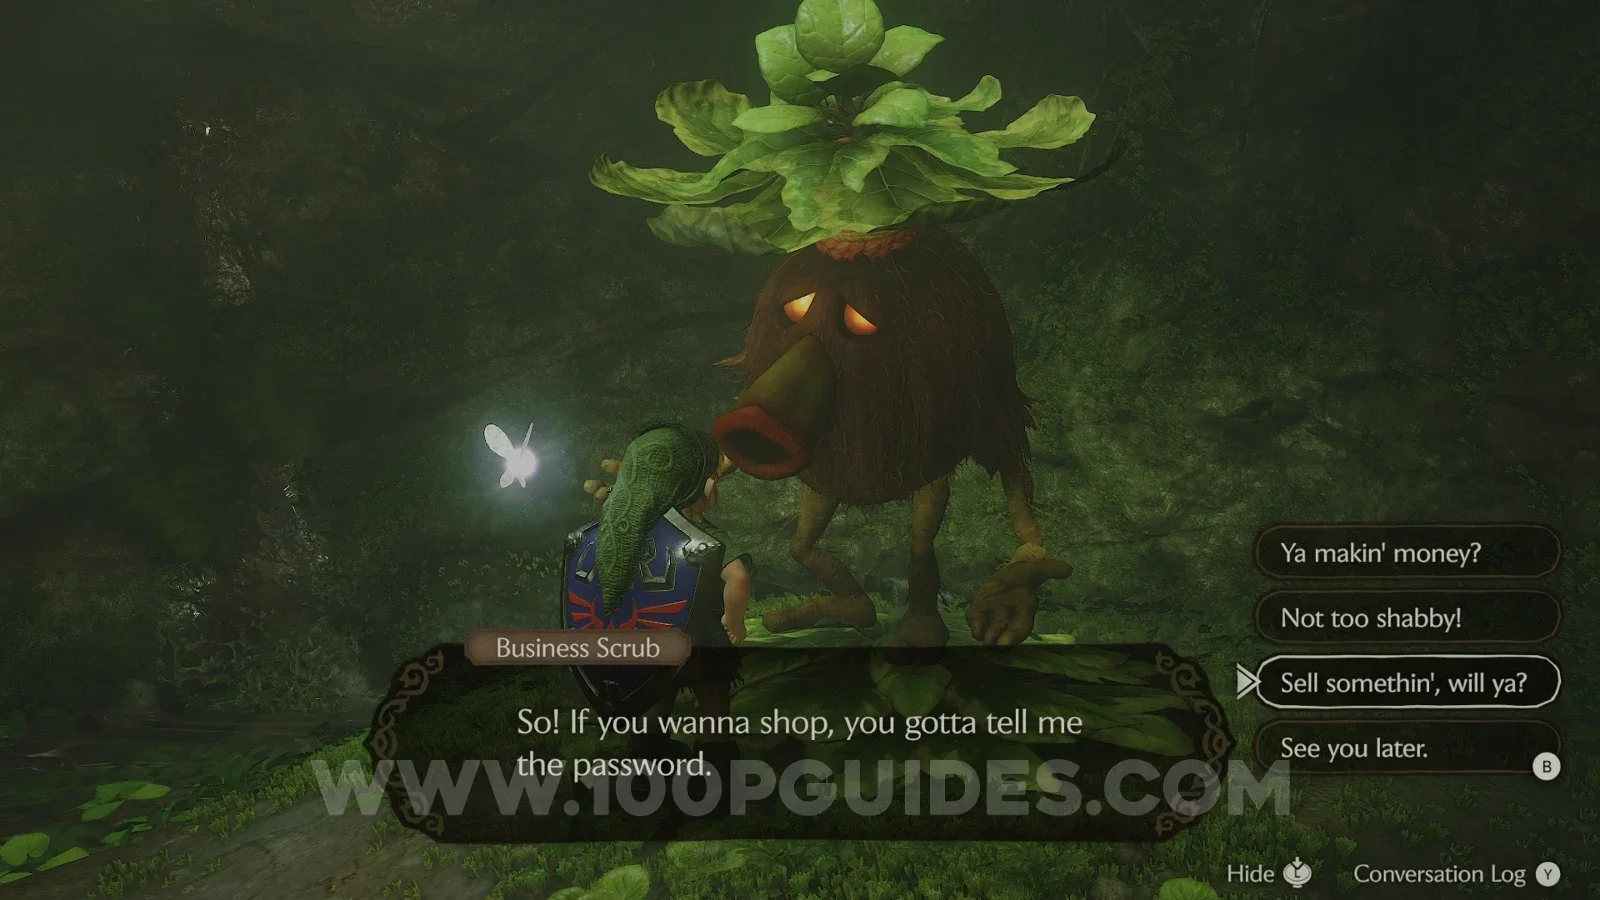
Now head back down to Hyrule Field and go to the small plot of land to the right of the drawbridge, where you read the Fairy Thought on the tree as an adult. Use a bomb on the cracked stone to open a grotto. Inside, talk to the Business Scrub and give him the password, "Sell Somethin', will ya?". He will then sell you a Heart Piece (26/36) for 100 rupees.
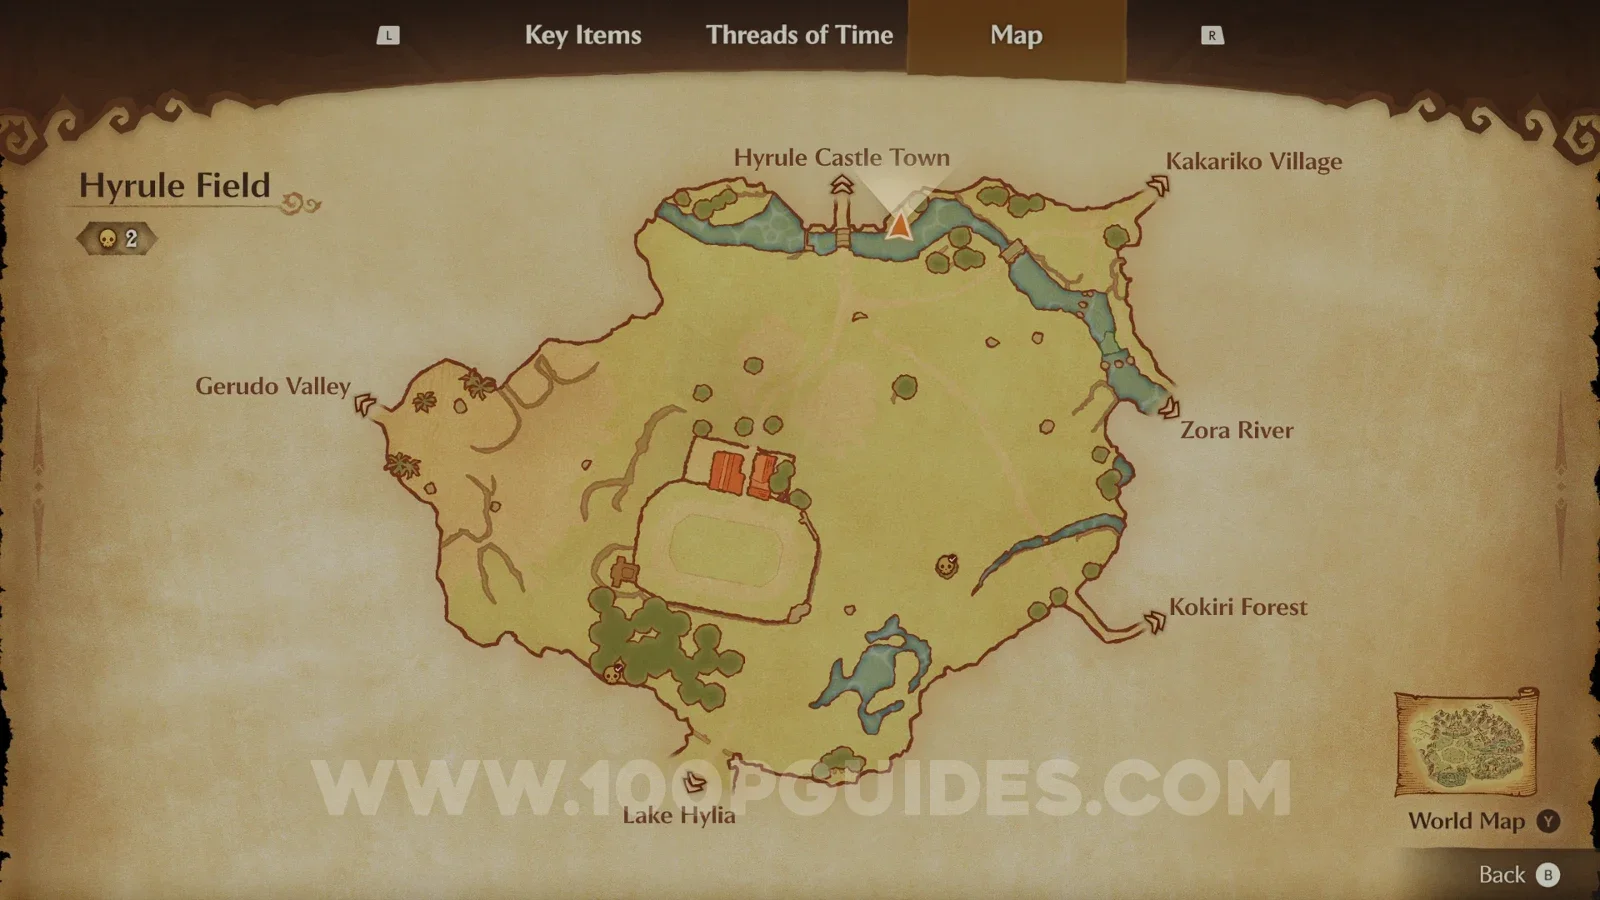
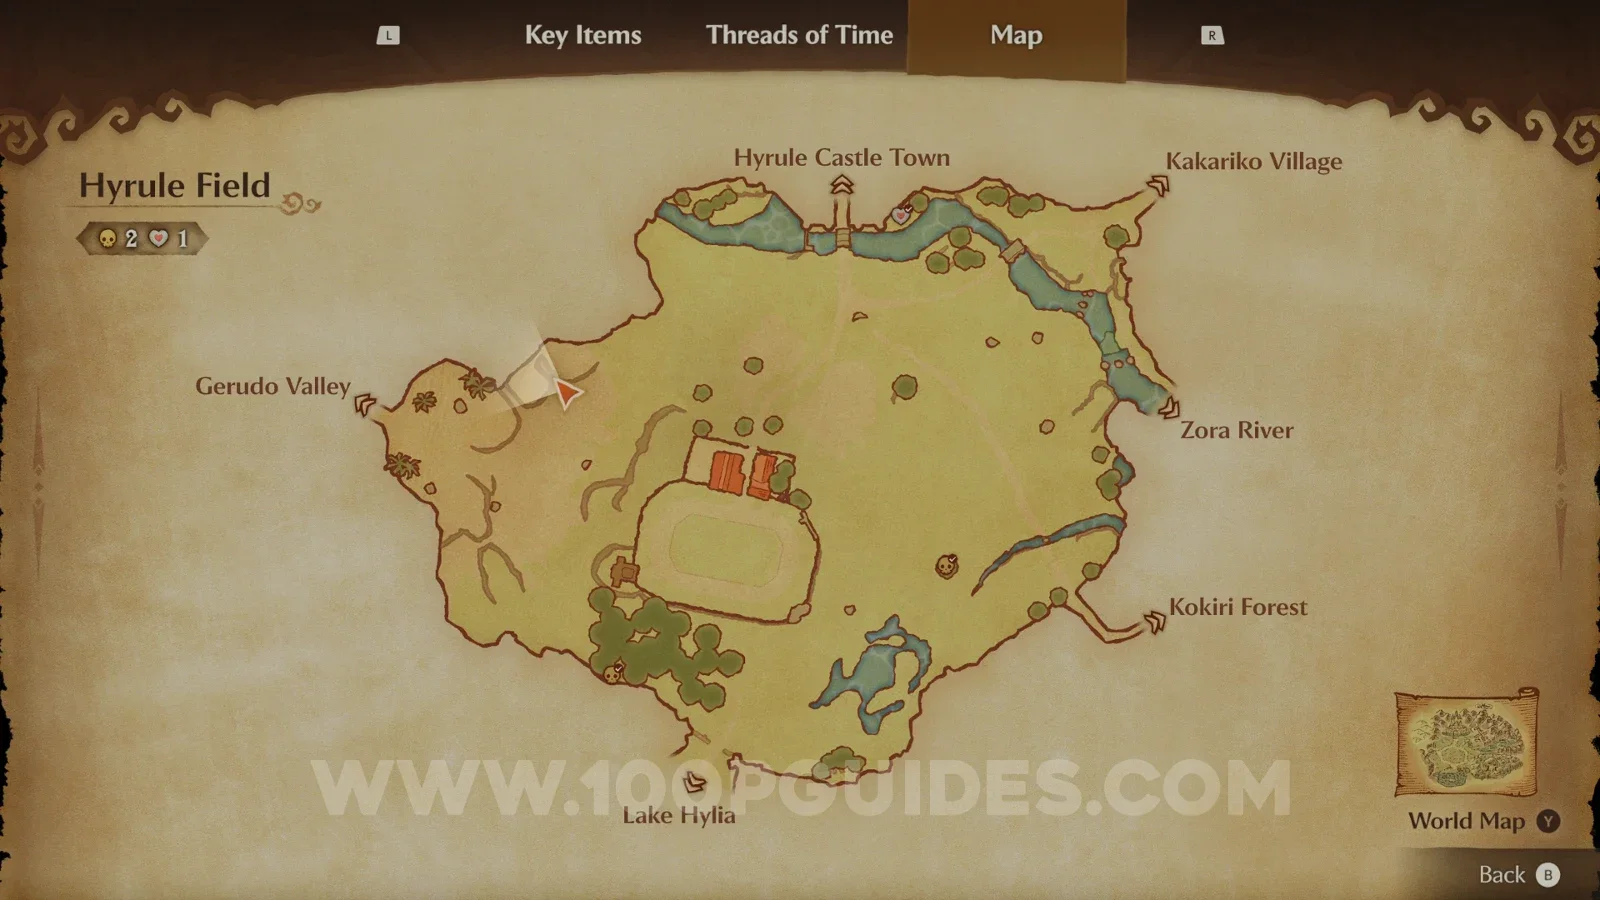
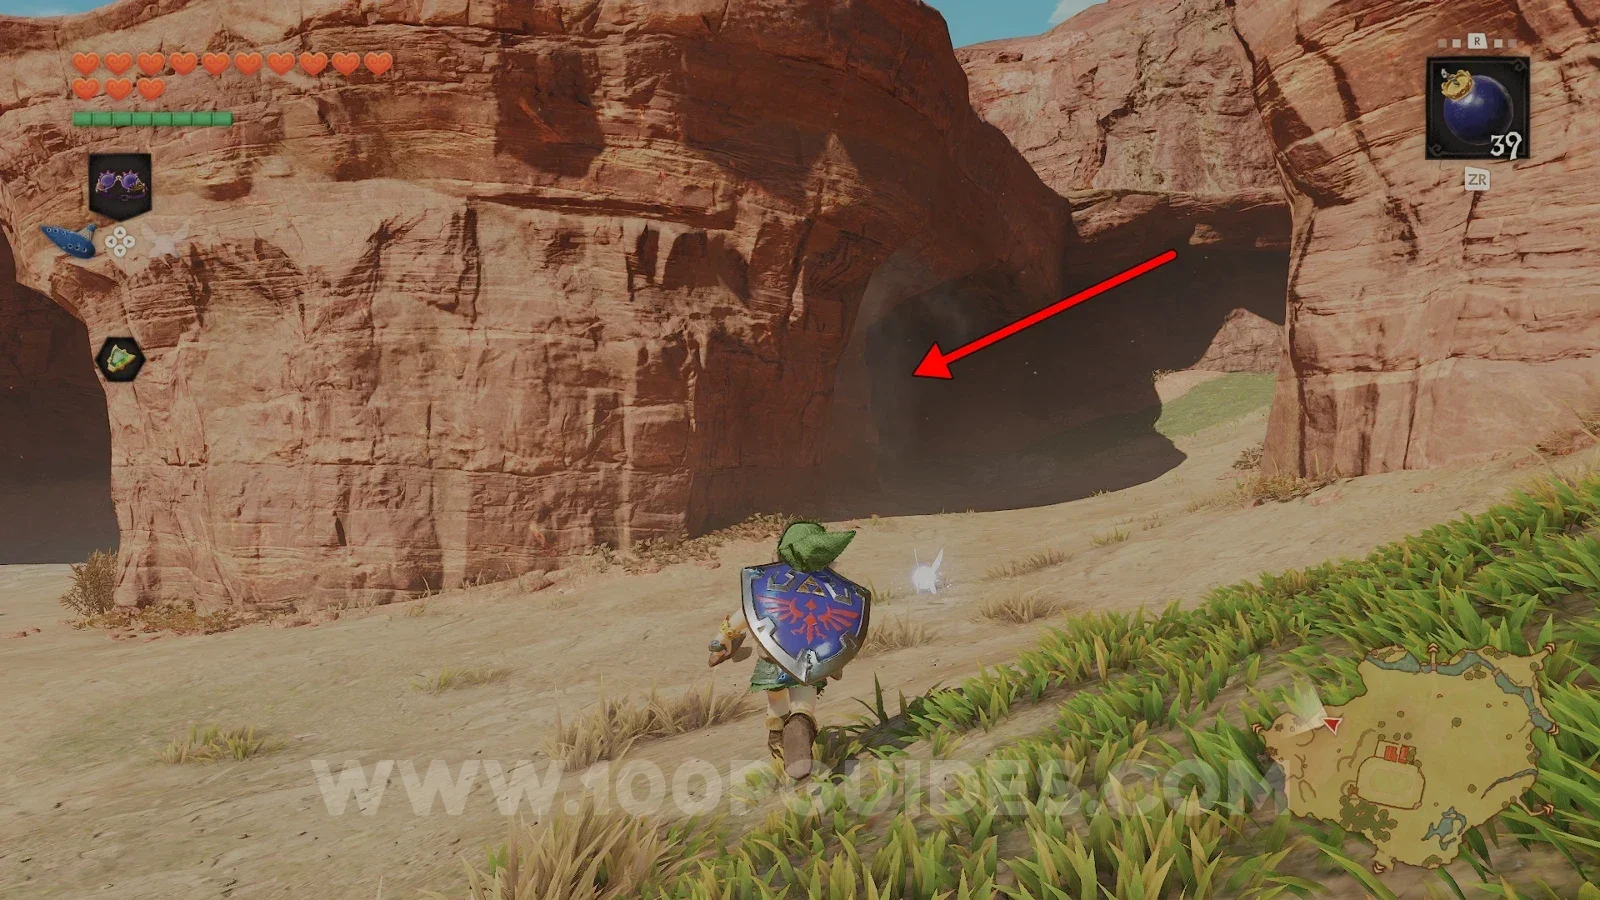
Next, cross the field towards the Gerudo Valley exit and return to the small chest under the rock outcropping. Now that you have read the Fairy Thought as an adult, the chest will open, and inside you will find a Heart Piece (27/36).
Hyrule Castle
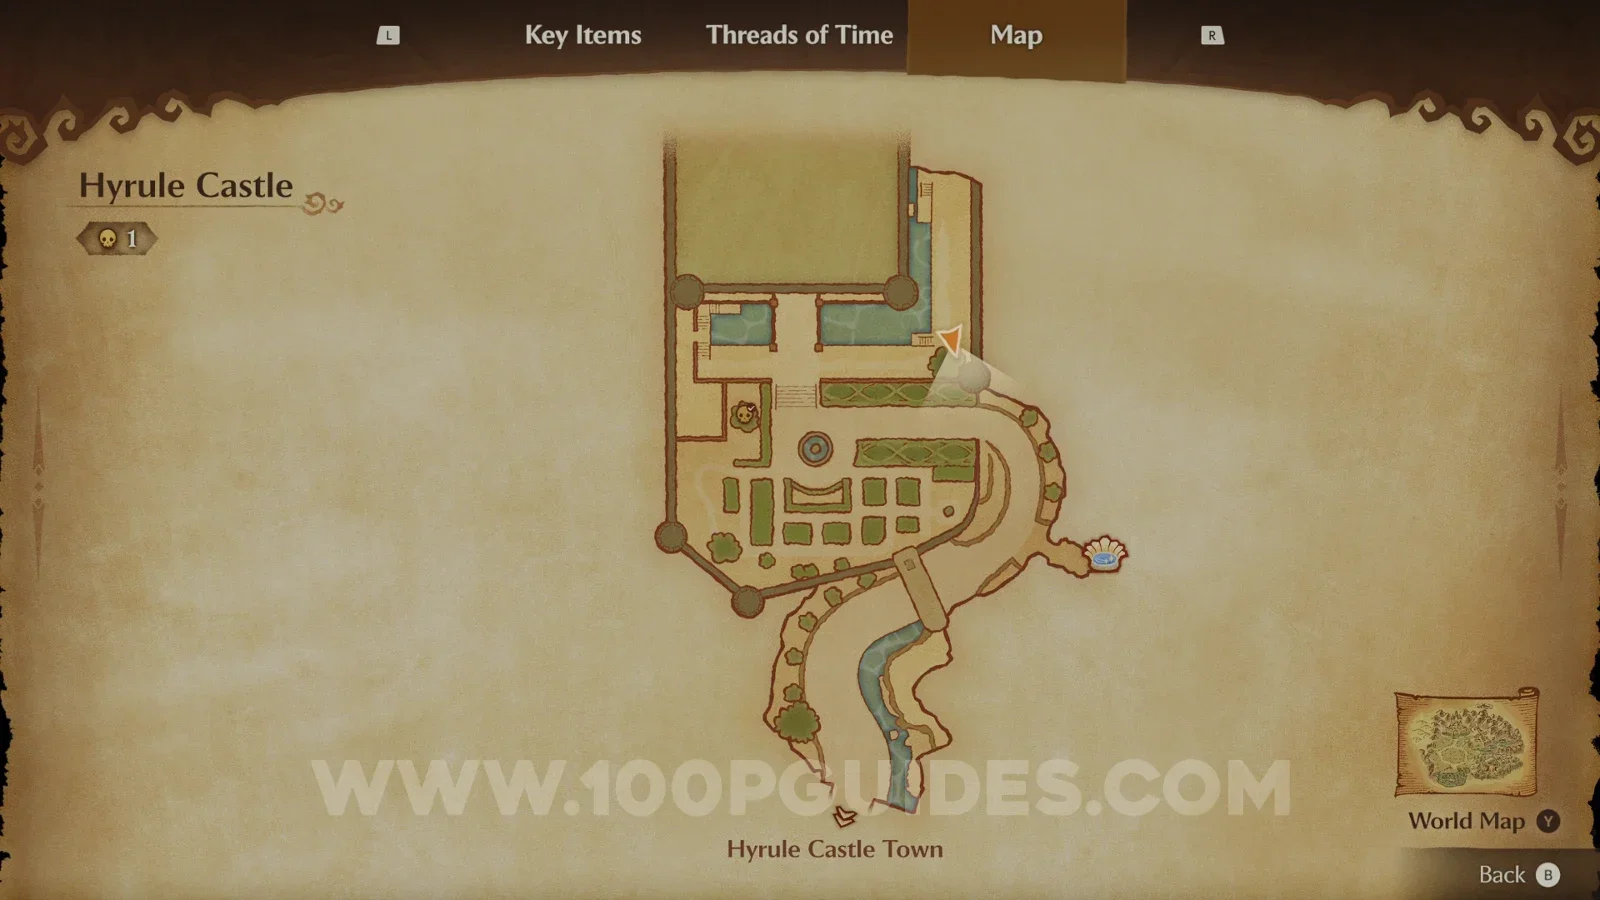
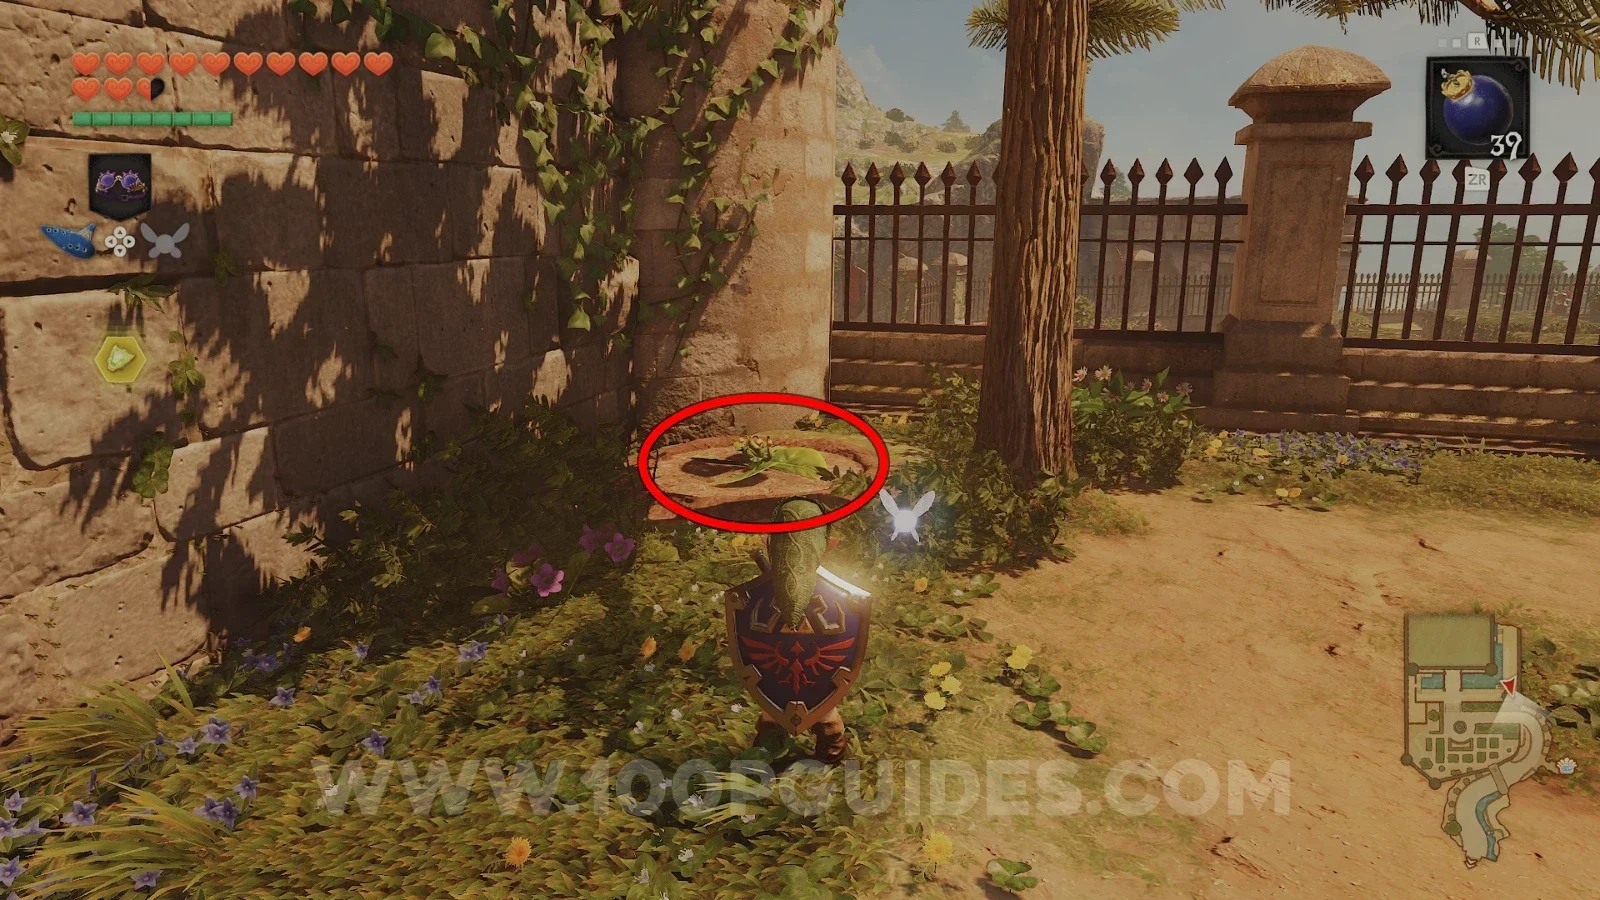
Next, head through Hyrule Castle Town to Hyrule Castle. Look for a propeller plant next to the tall tree by the moat, near where you woke Talon up early in the game. Play the Song of Storms next to it to open a grotto. Inside, use bombs to destroy the cracked walls. You will find a Gold Skulltula (58/100) in a web behind one of them, so use the Boomerang to get the token. There are also a few rupees lying around.
Hyrule Castle Town
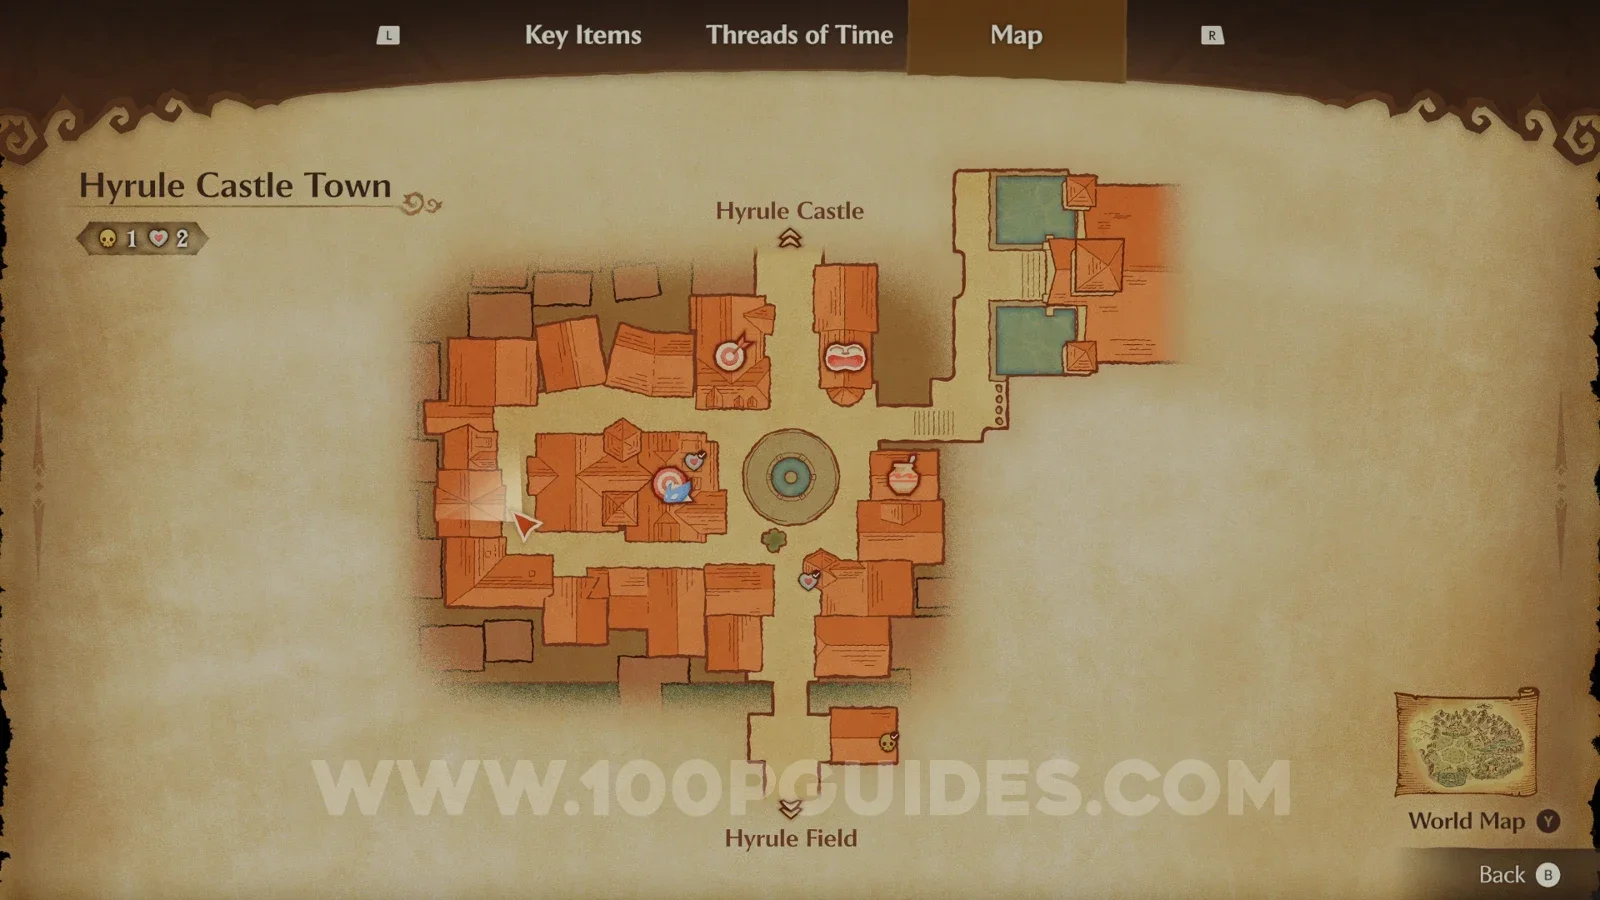
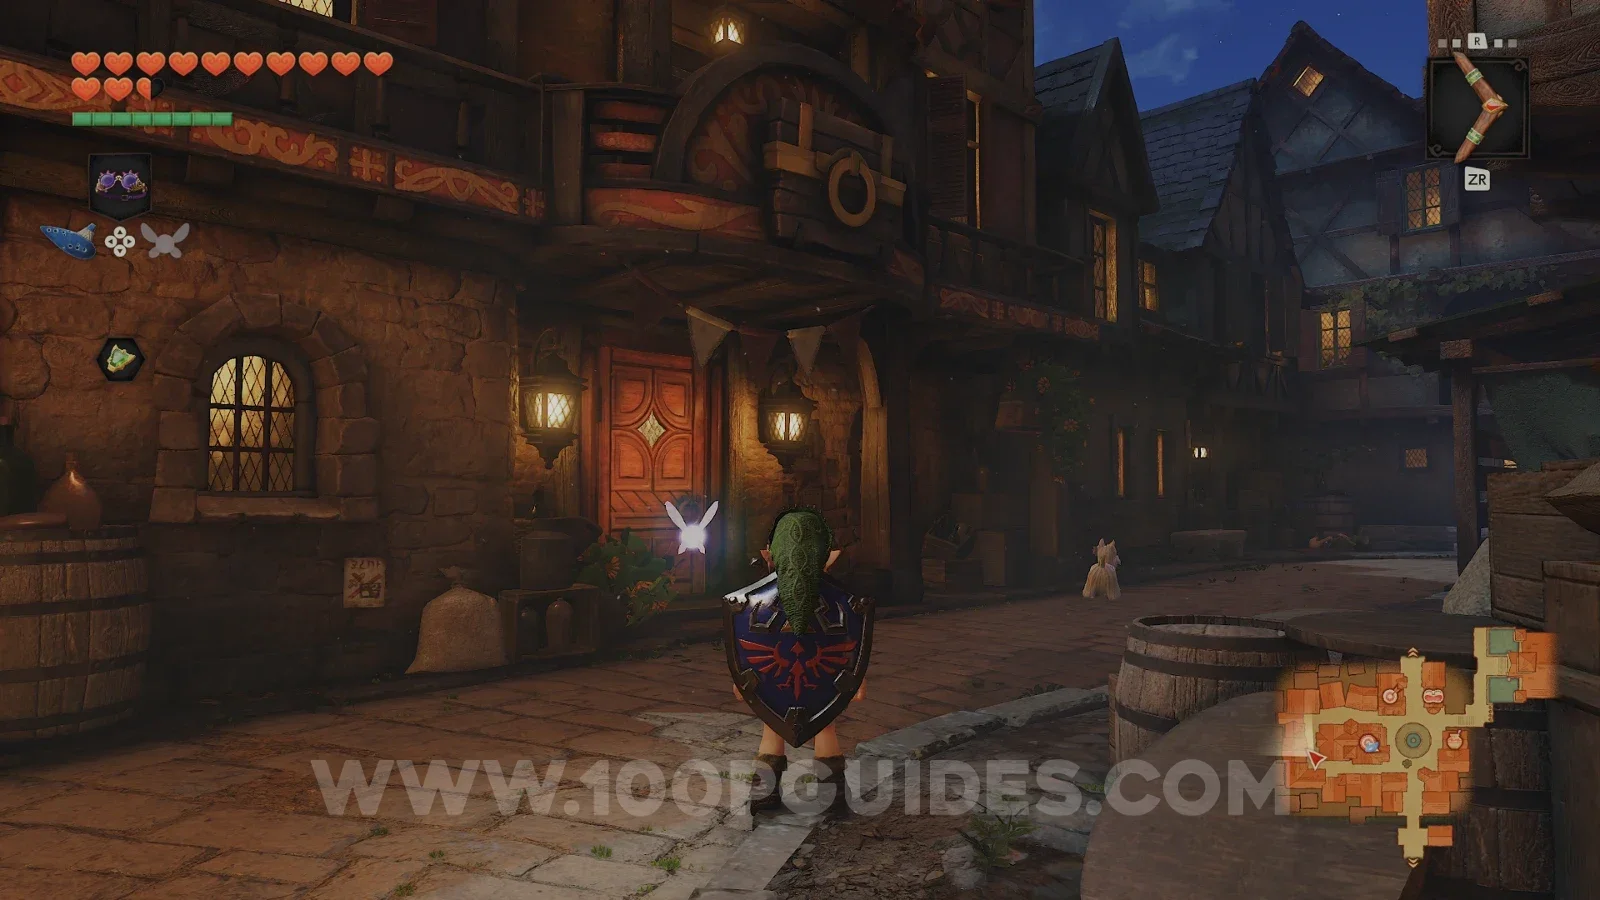
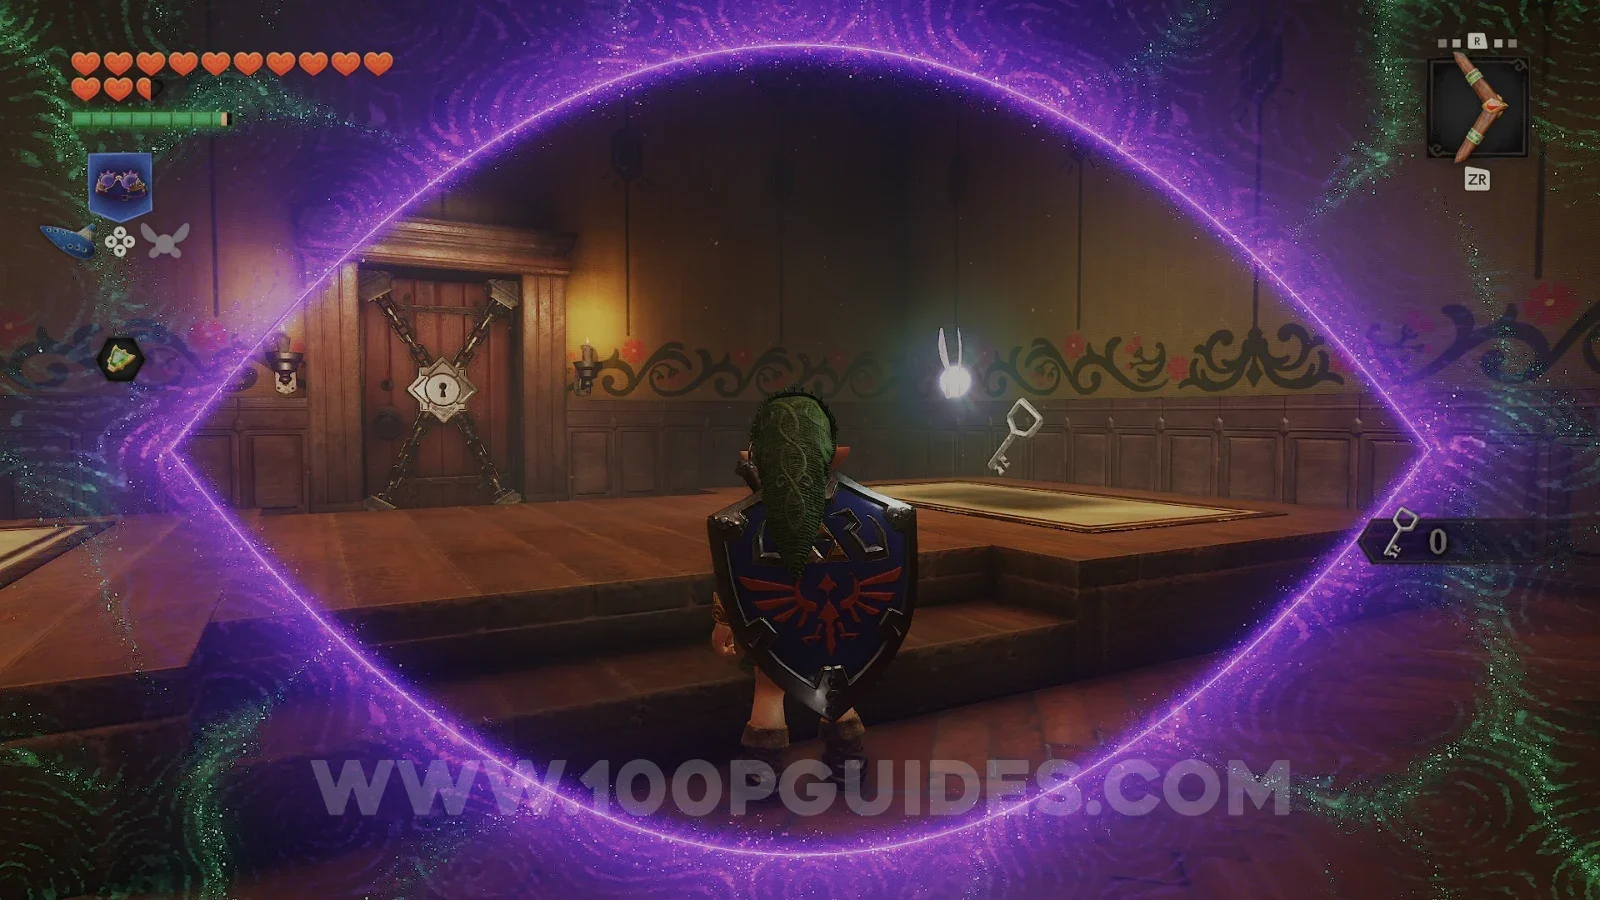
Finally, return to Hyrule Castle Town and play the Sun's Song to make it nighttime. Enter the Treasure Chest Shop found along the western street and pay the 10 rupees to play. In each room you have to pick the one chest out of two that holds the key to the next door, which is normally pure luck. However, with the Lenses of Truth turned on, you can see exactly which chest has the key. Get through all five rooms to win a Heart Piece (28/36).
Back to the future
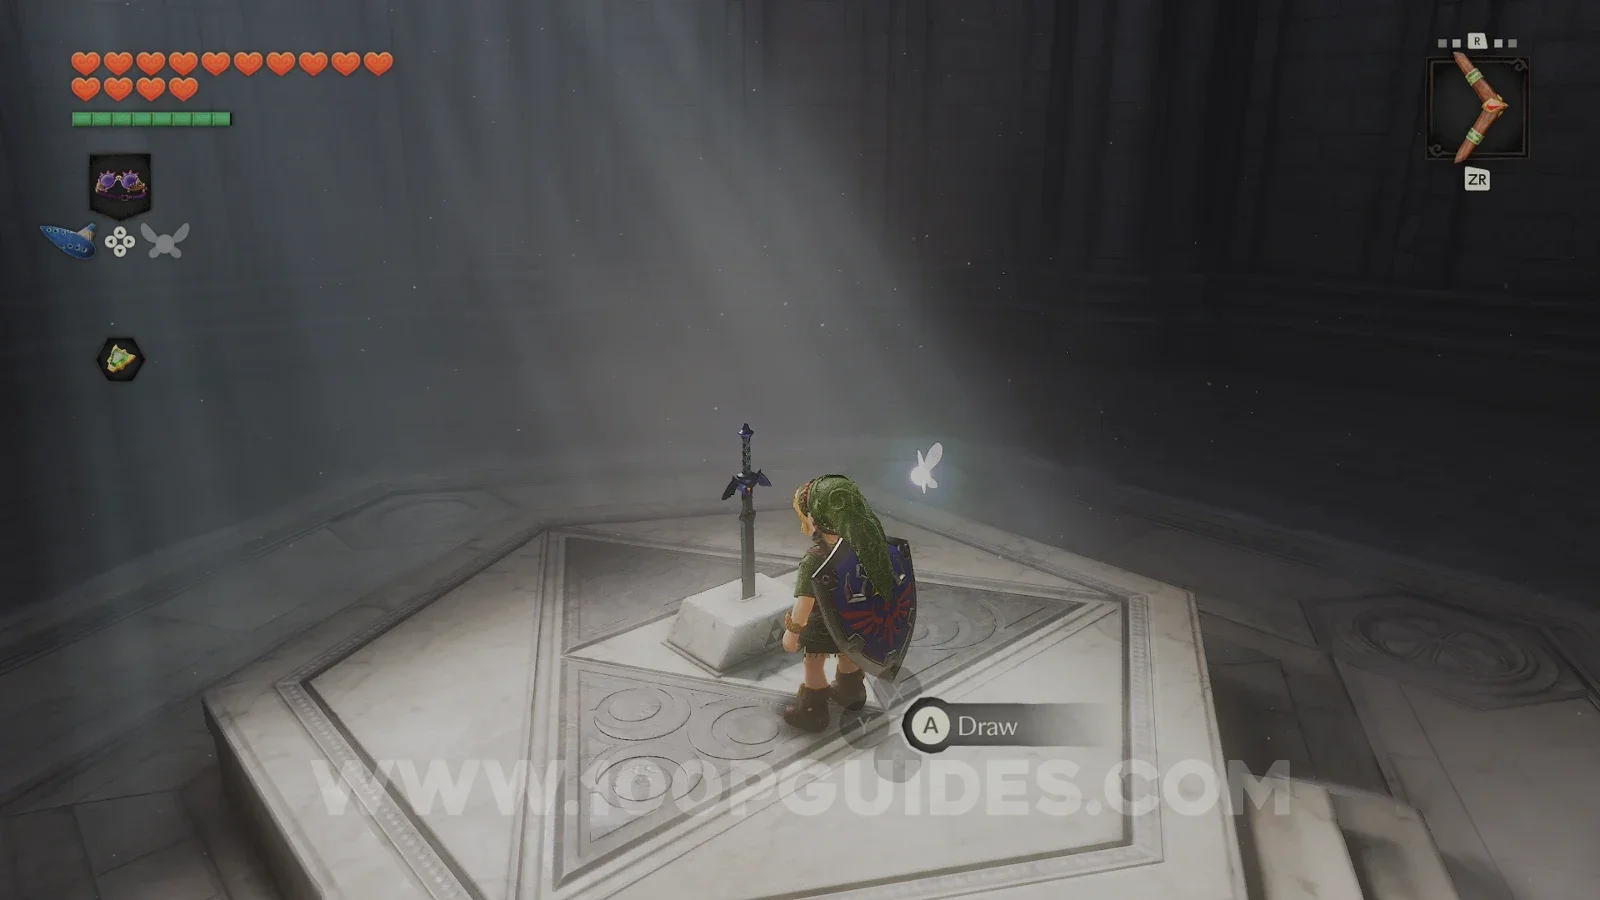
That is everything for this trip. Head to the Temple of Time (or just play the Prelude of Light) and pull the Master Sword out of the pedestal to become an adult again.
In the next part, you will be climbing Death Mountain as an adult to take on the Fire Temple.