Welcome to Part 20 of our 100% Walkthrough of Zelda Ocarina of Time Remake. With five medallions collected, the last temple is out in the desert to the west, and the only way there is through Gerudo Fortress, the hideout of the Gerudo thieves.
First, you rescue the four carpenters locked up in the fortress to earn the Gerudo Pass. With it, the Gerudo let you use their horseback archery range, which has a Heart Piece and the last quiver upgrade, and the Proving Grounds, an optional mini dungeon with eight Small Keys that holds the Ice Arrows.
After that, you cross the Mirage Desert to the Evil Desert Colossus, where you visit your fifth Great Fairy and learn the Requiem of Spirit, the last song of the game.
Quick preparation
There is a lot to pay for in this part, so make sure you bring at least 400 rupees: 300 for the Great Fairy at the end and a few entry fees along the way. You will also want plenty of arrows and a full magic metre.
Gerudo Valley
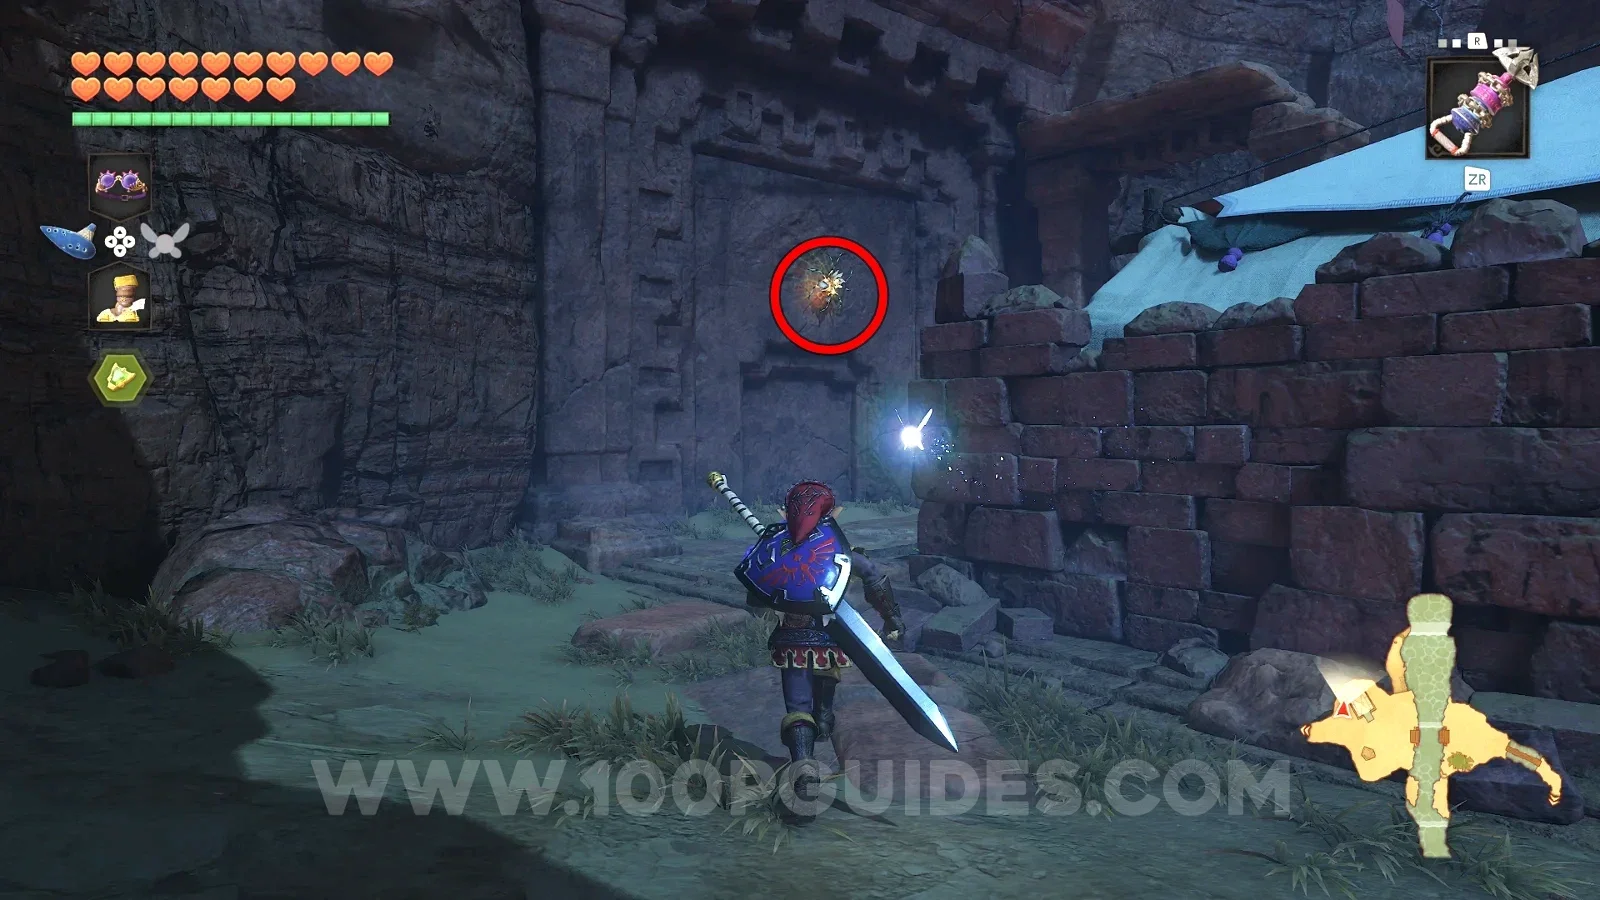
Ride Epona to Gerudo Valley and jump across the broken bridge, just like you did for the Biggoron Sword (you can also use the Longshot on the post on the other side). Play the Sun's Song to make it nighttime. Next to the tent, look at the ruined stone wall to find a Gold Skulltula (86/100) and use the Longshot to get it.
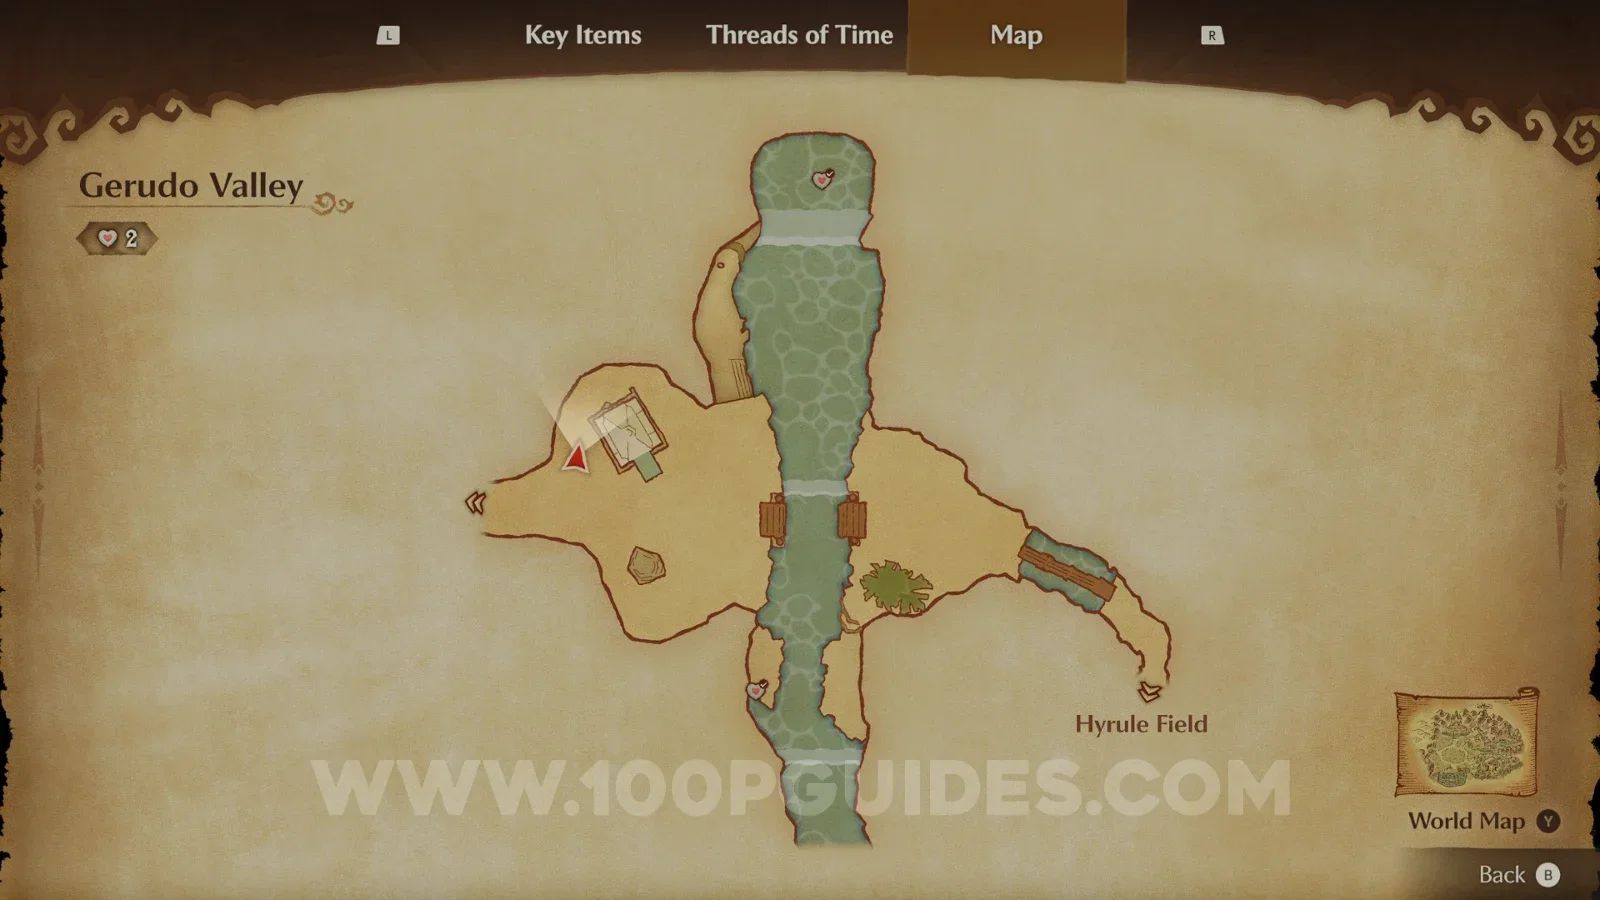
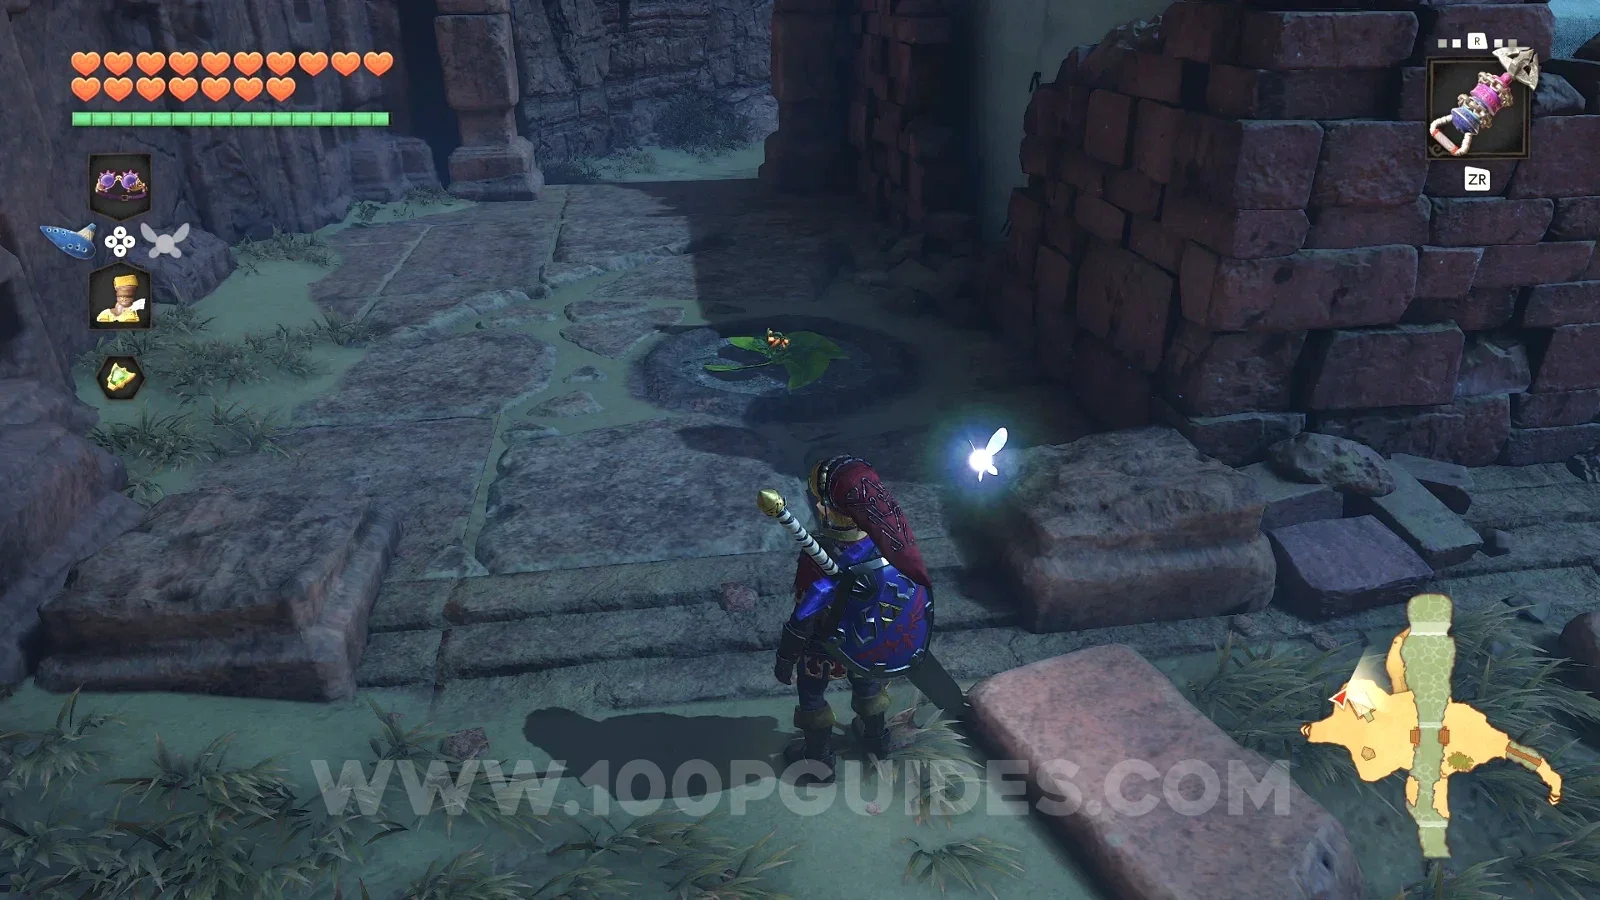
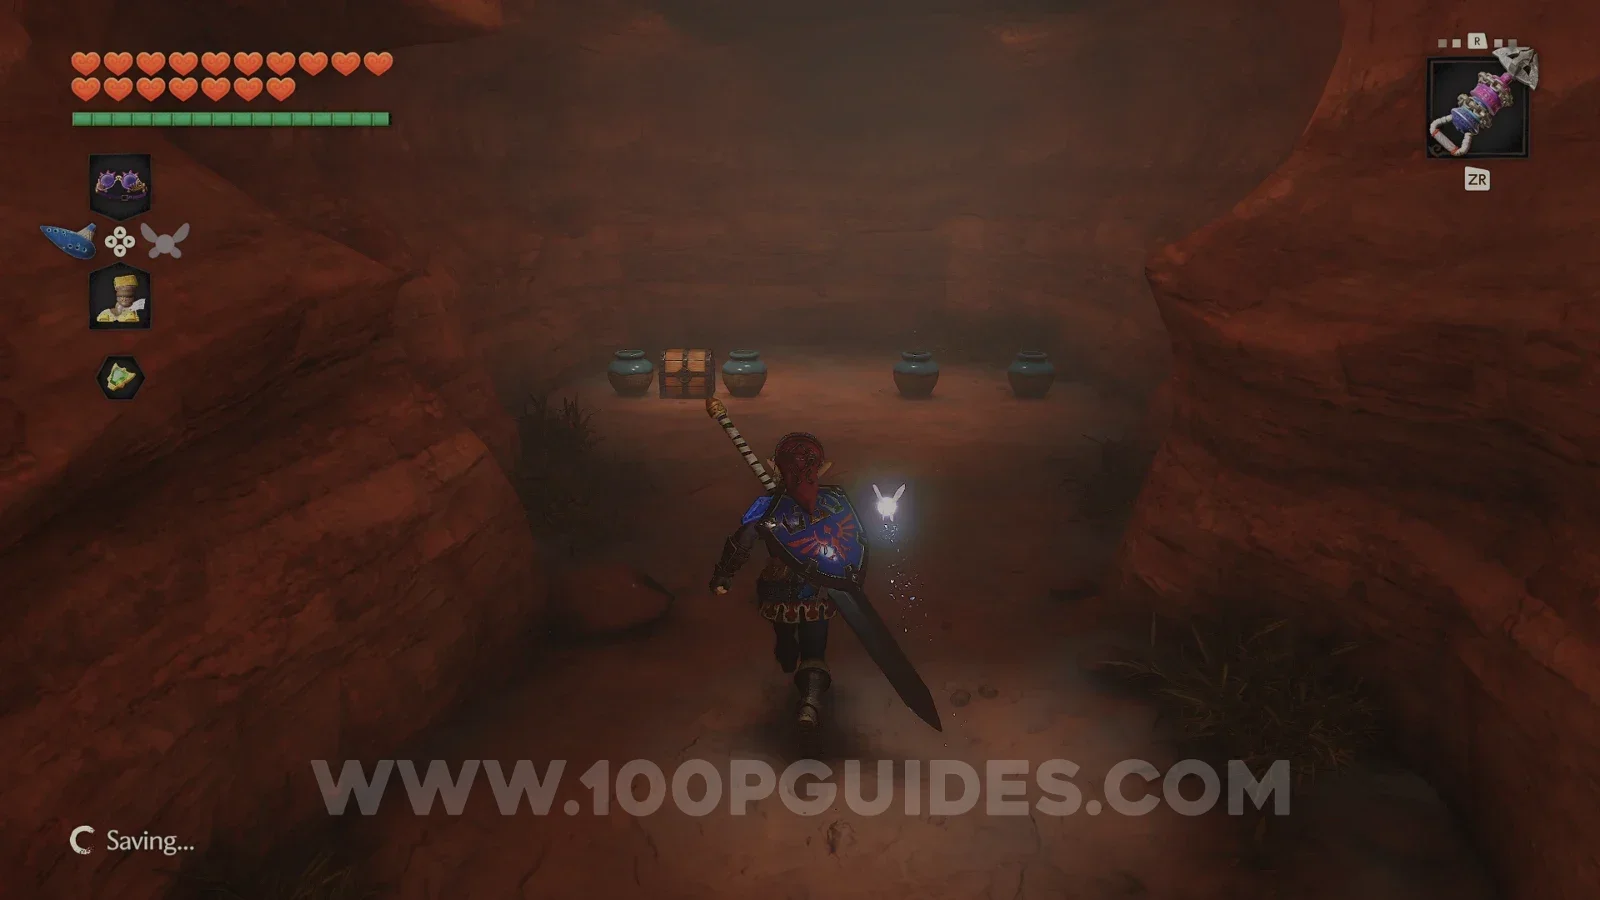
Next to that same tent, you will find a propeller plant. Play the Song of Storms to open a grotto. Inside you can find some pots with rupees and a chest with a red rupee.
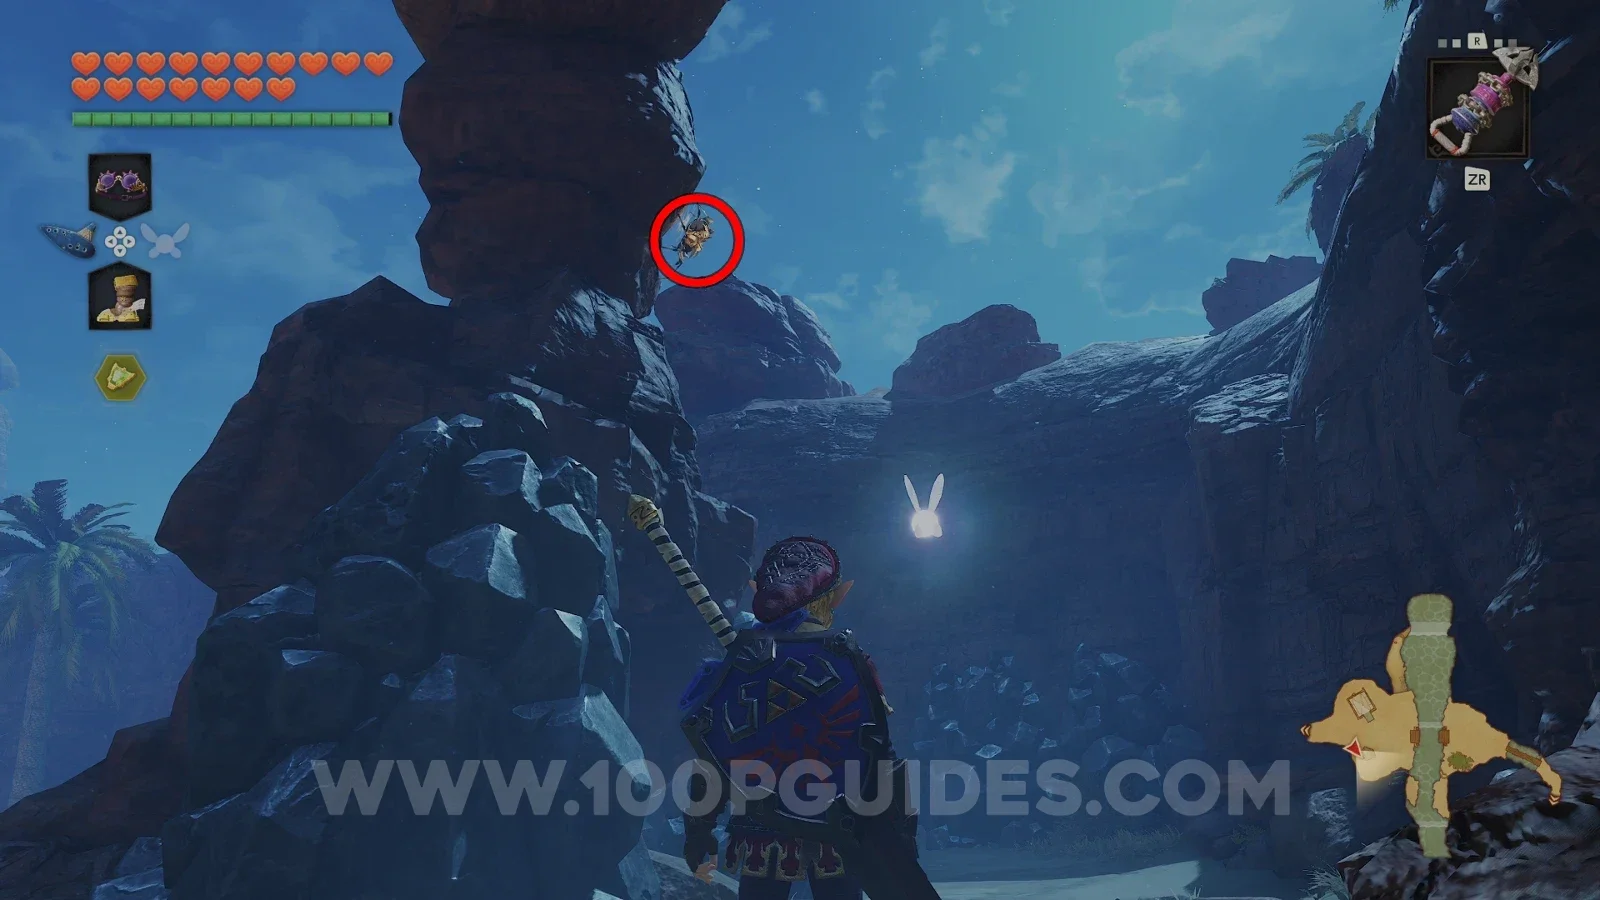
Still at night, look for the rock arch to the south of the tent. Here you will find another Gold Skulltula (87/100). Again, use the Longshot.
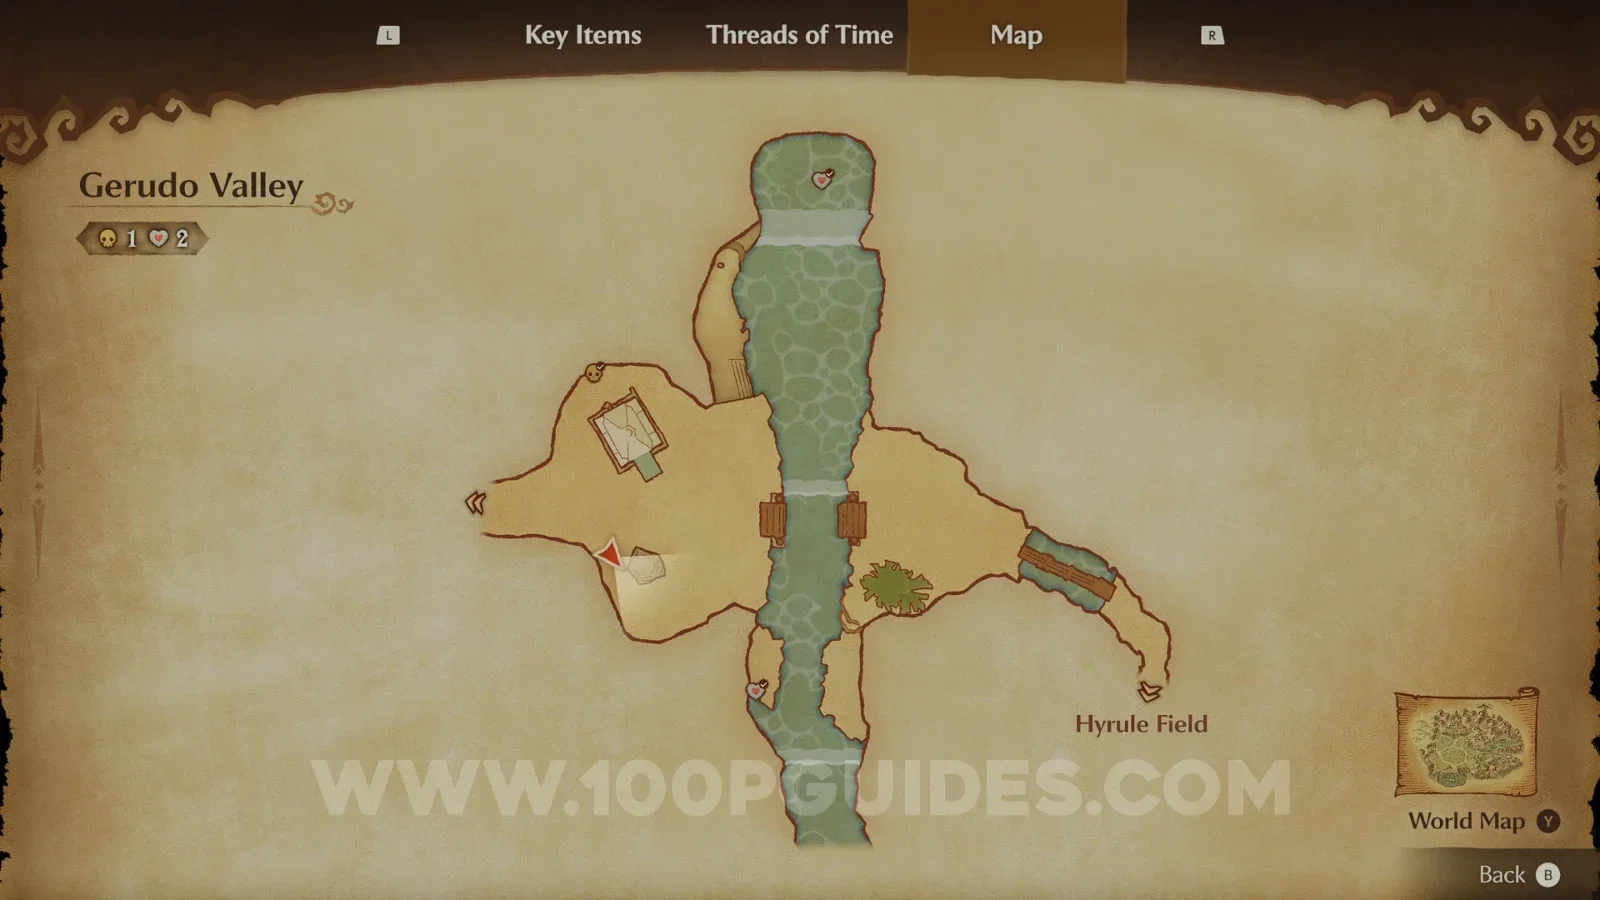
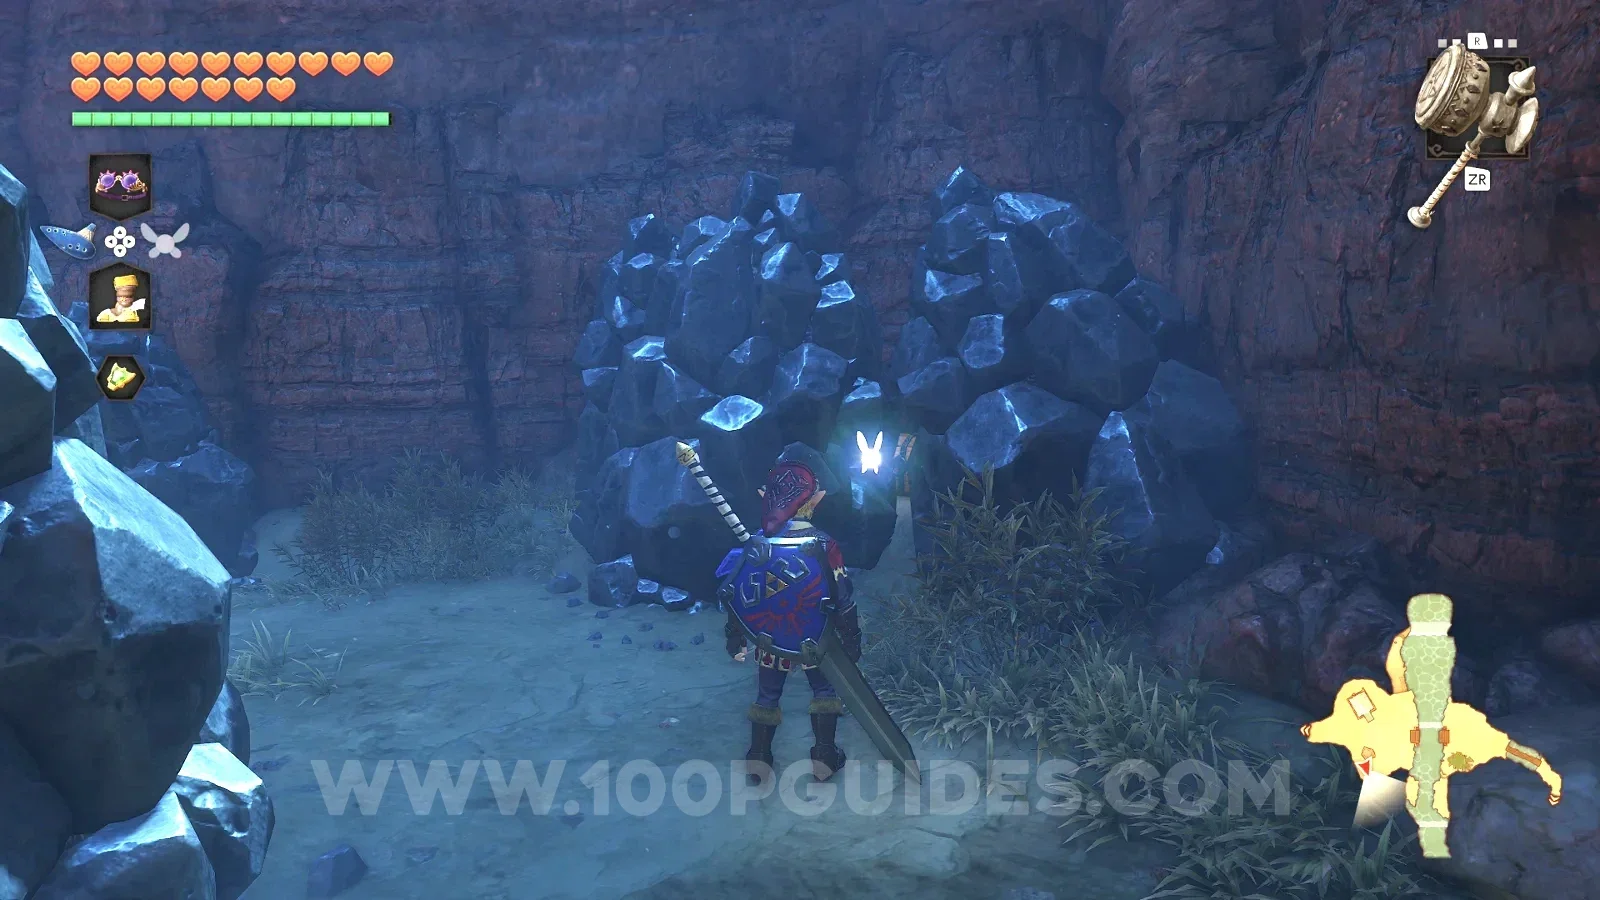
Just south of the previous Gold Skulltula, look for a pile of dark rocks. Smash it with the Megaton Hammer to uncover a chest with another red rupee.
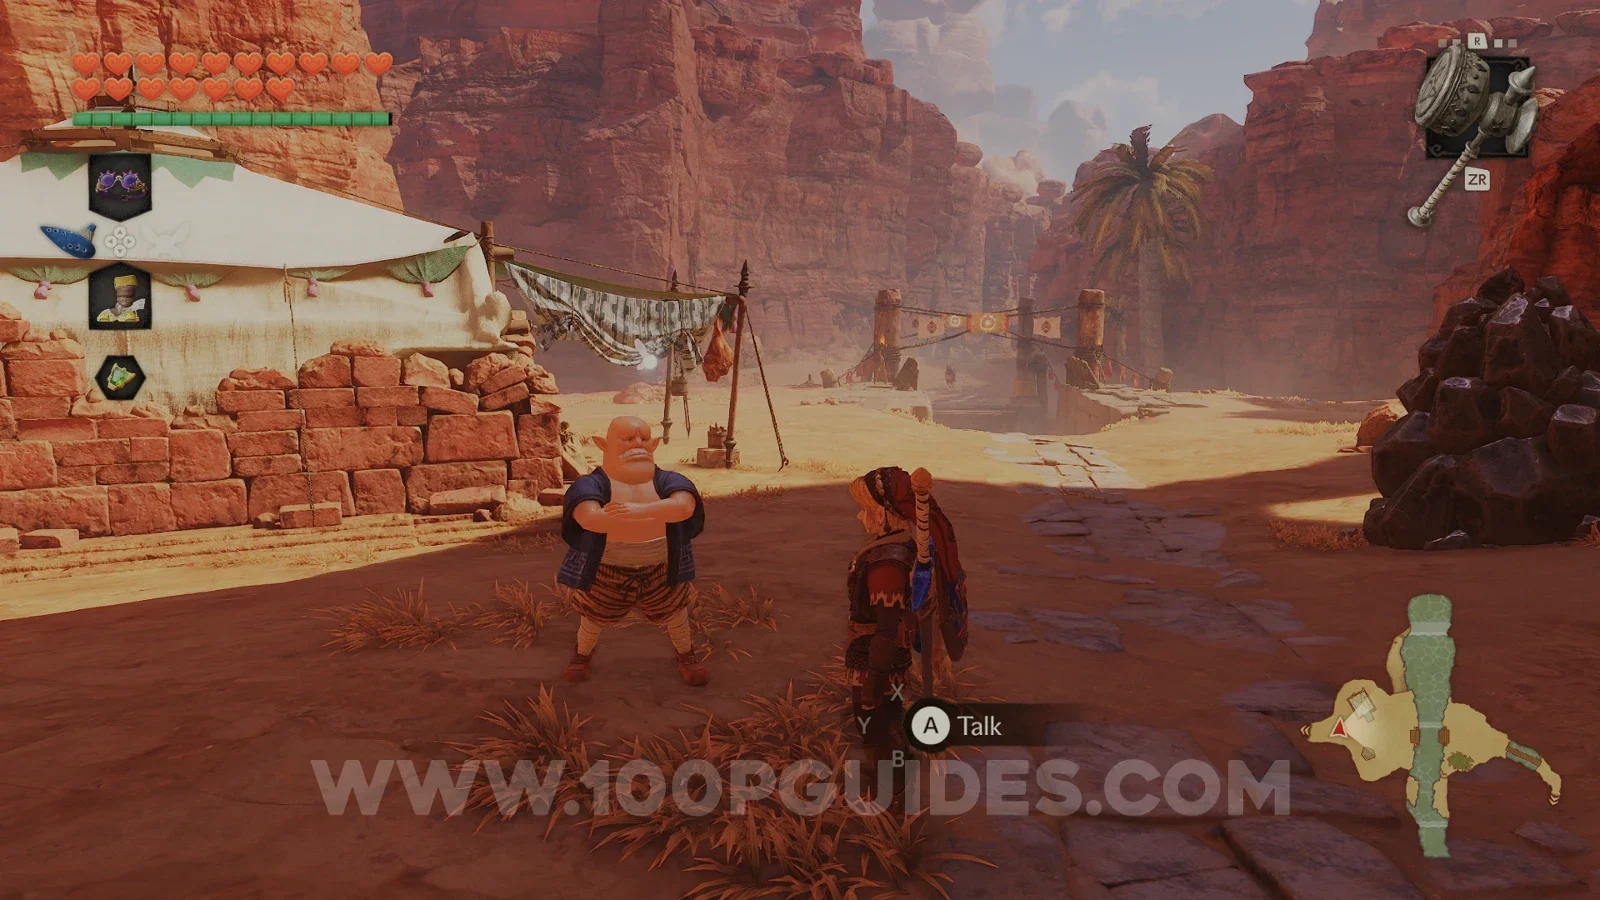
Before moving on, talk to the Master Craftsman next to the tent. He will tell you that his four carpenters went to join the Gerudo and never came back.
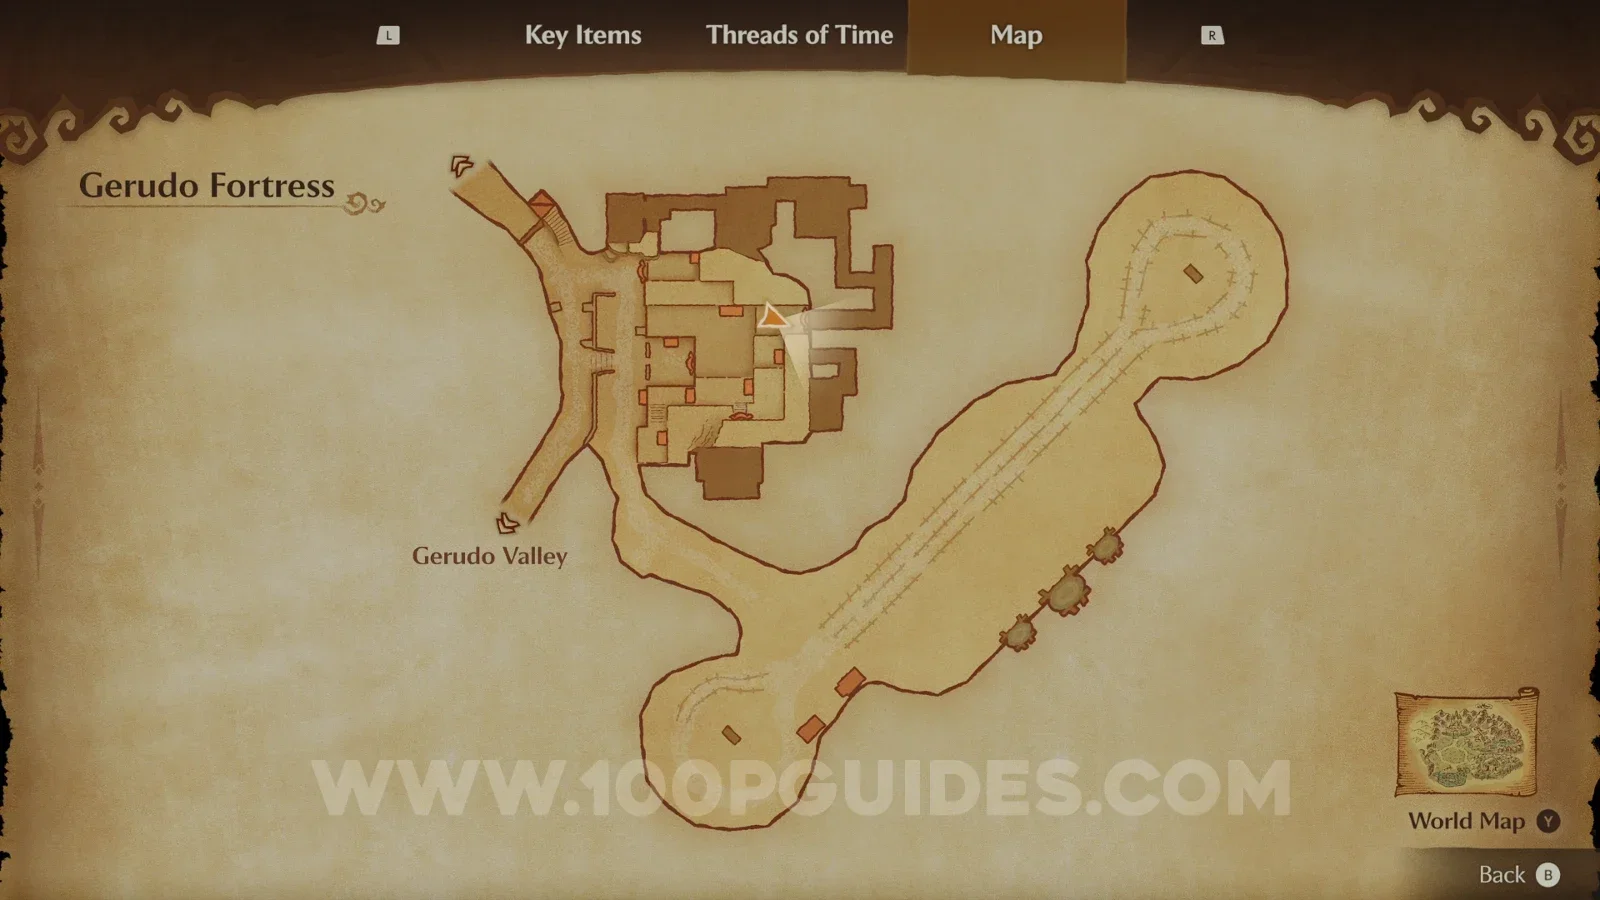
Gerudo Fortress
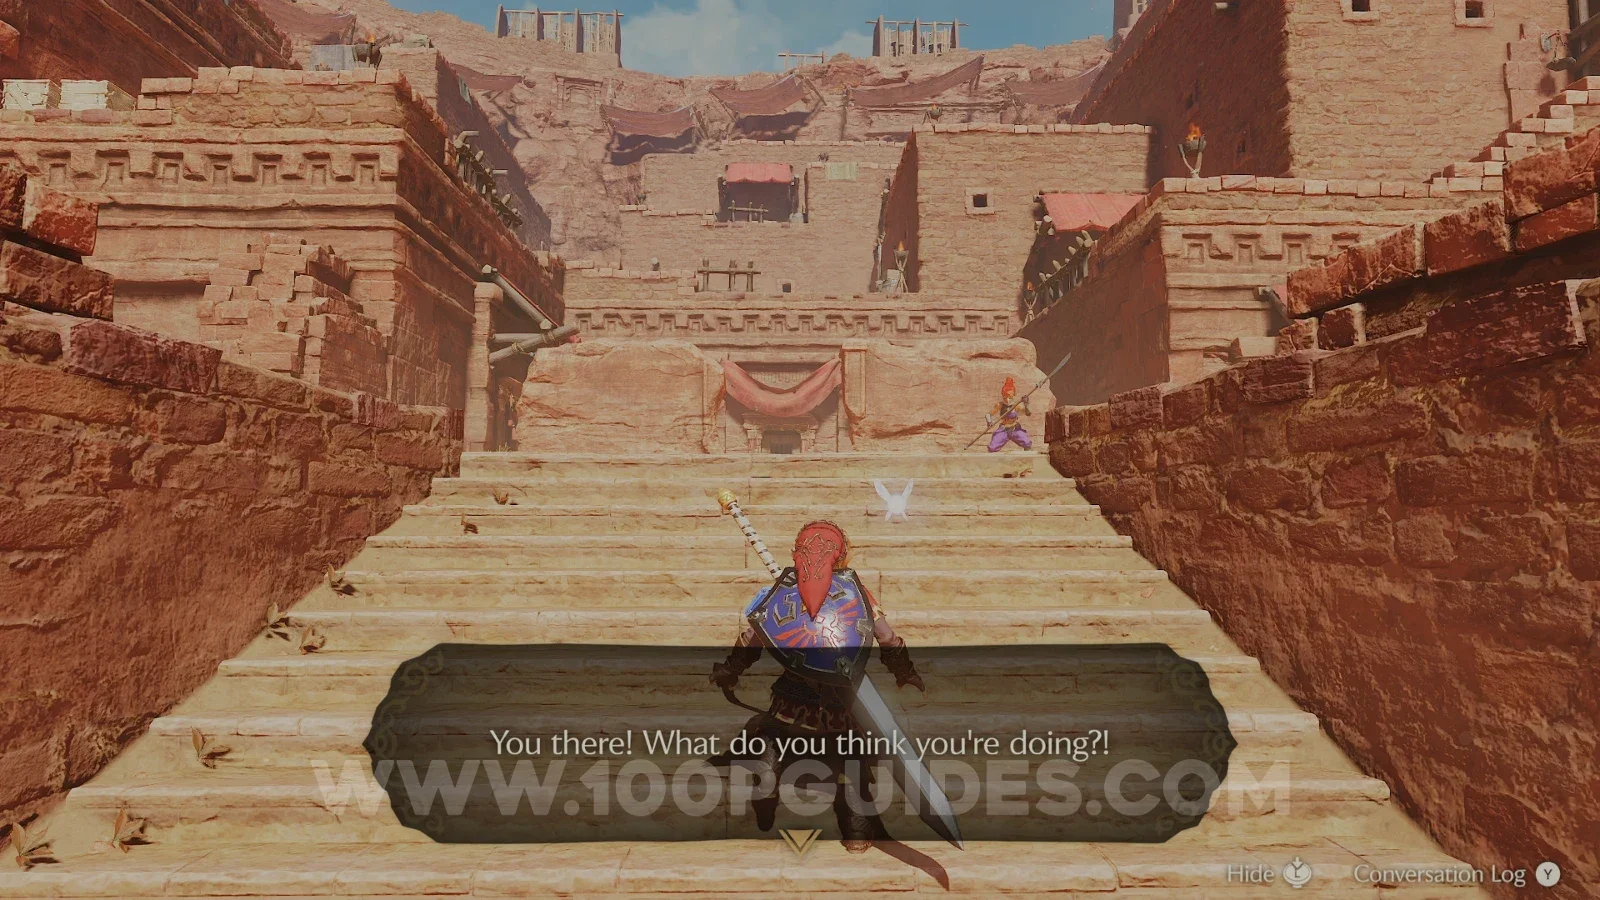
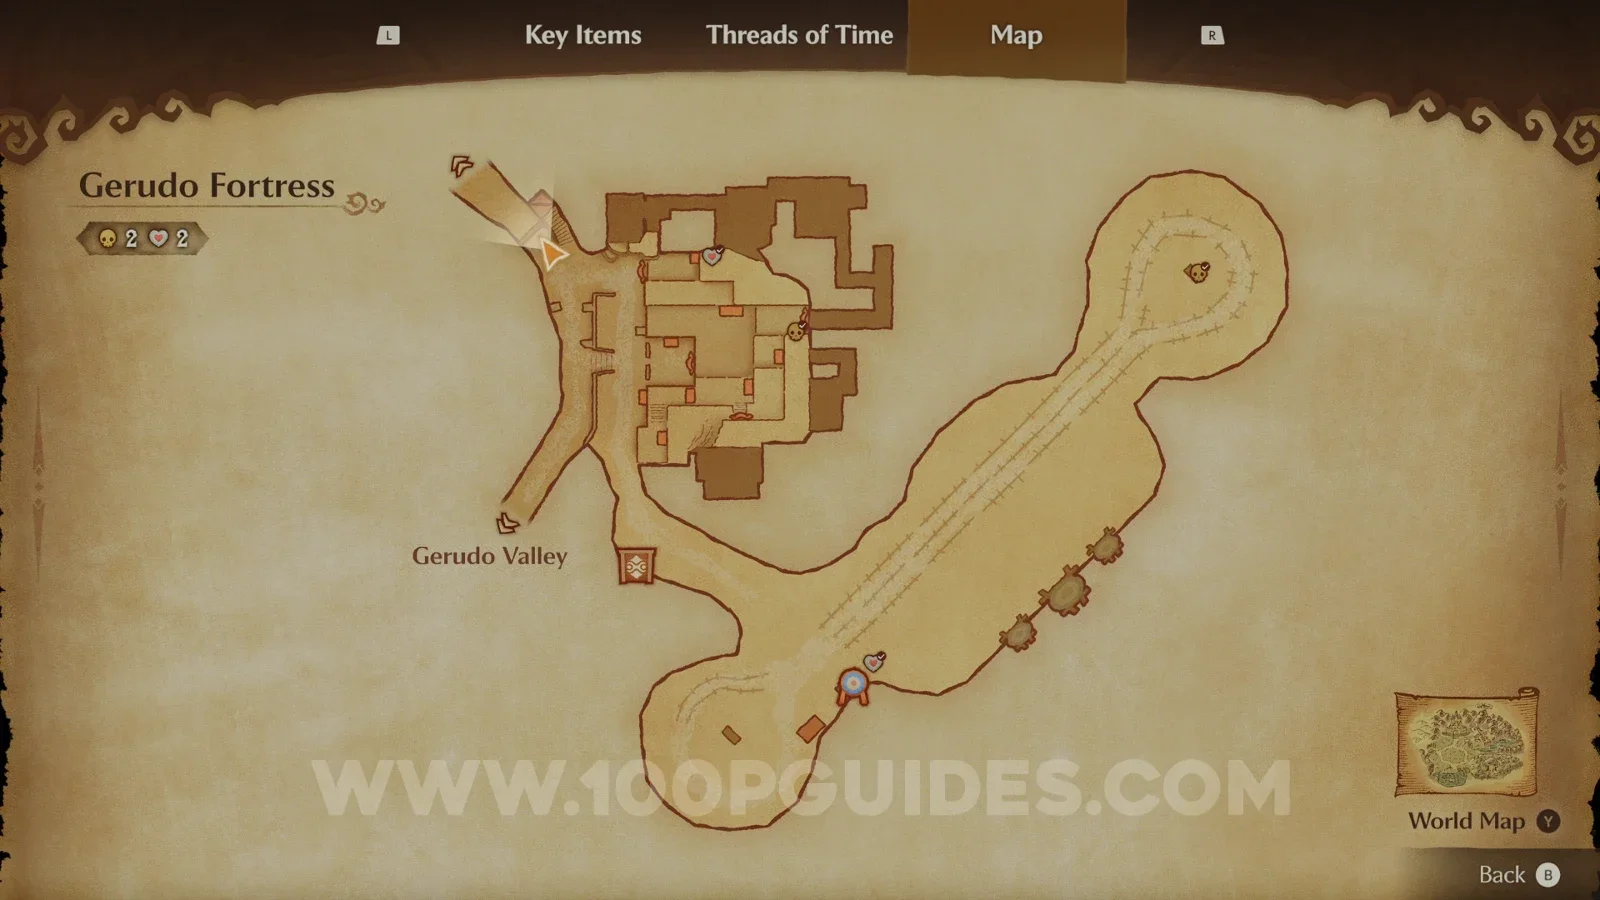
Continue west along the path to reach Gerudo Fortress. The guards here will throw you in a cell if they see you. If that happens, don't worry: just use the Hookshot on the wooden beam above the window of the cell to climb out. You can also stun the guards with arrows or the Hookshot from a distance. The four carpenters are held in four different cells inside the fortress. Every time you talk to a carpenter, a Gerudo guard with two swords will attack you. Keep your shield up, attack after she swings and back away when she starts her spin attack, since that one sends you straight back to the cell. Defeat her and she will drop the key to the cell.
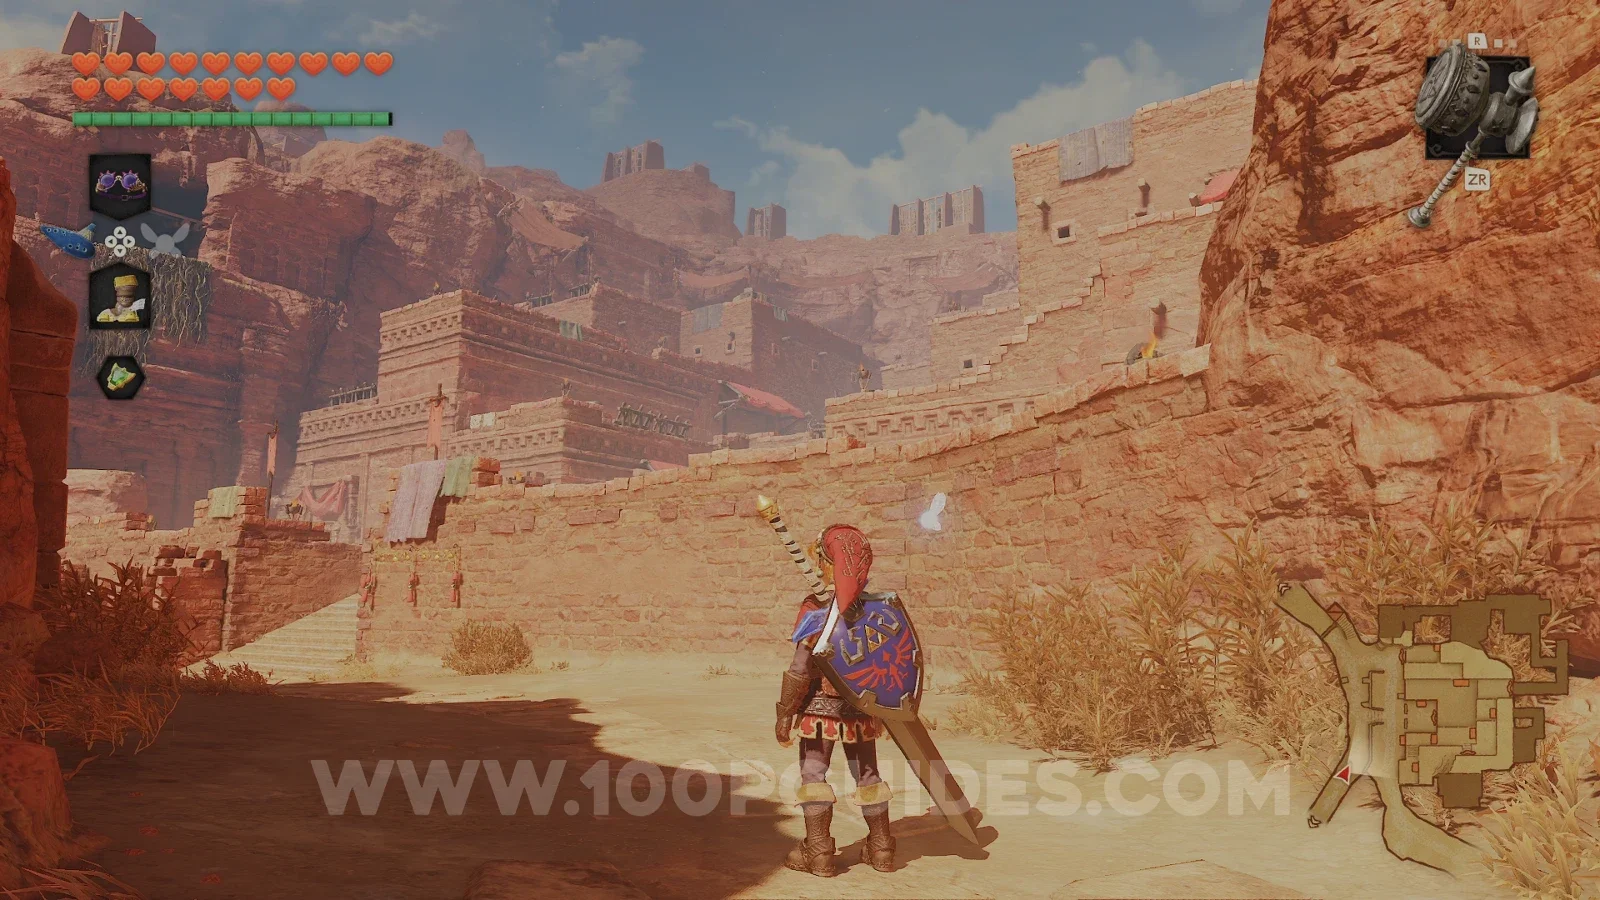
Start off by letting a guard see you so that you get sent to your cell (this actually makes the route from here simple and easy).
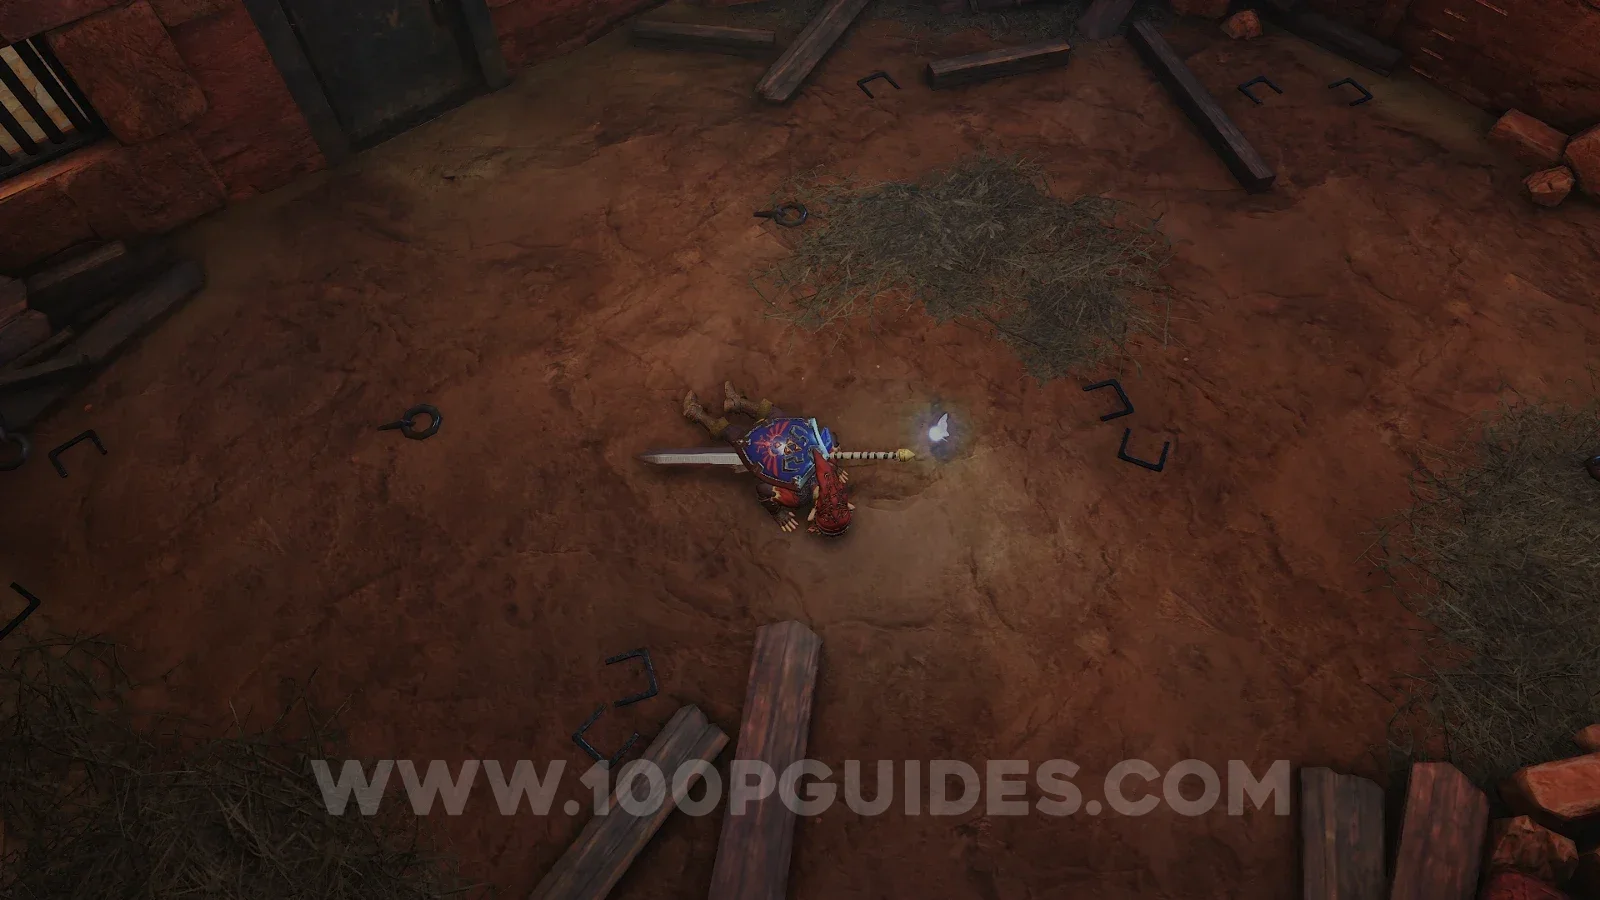
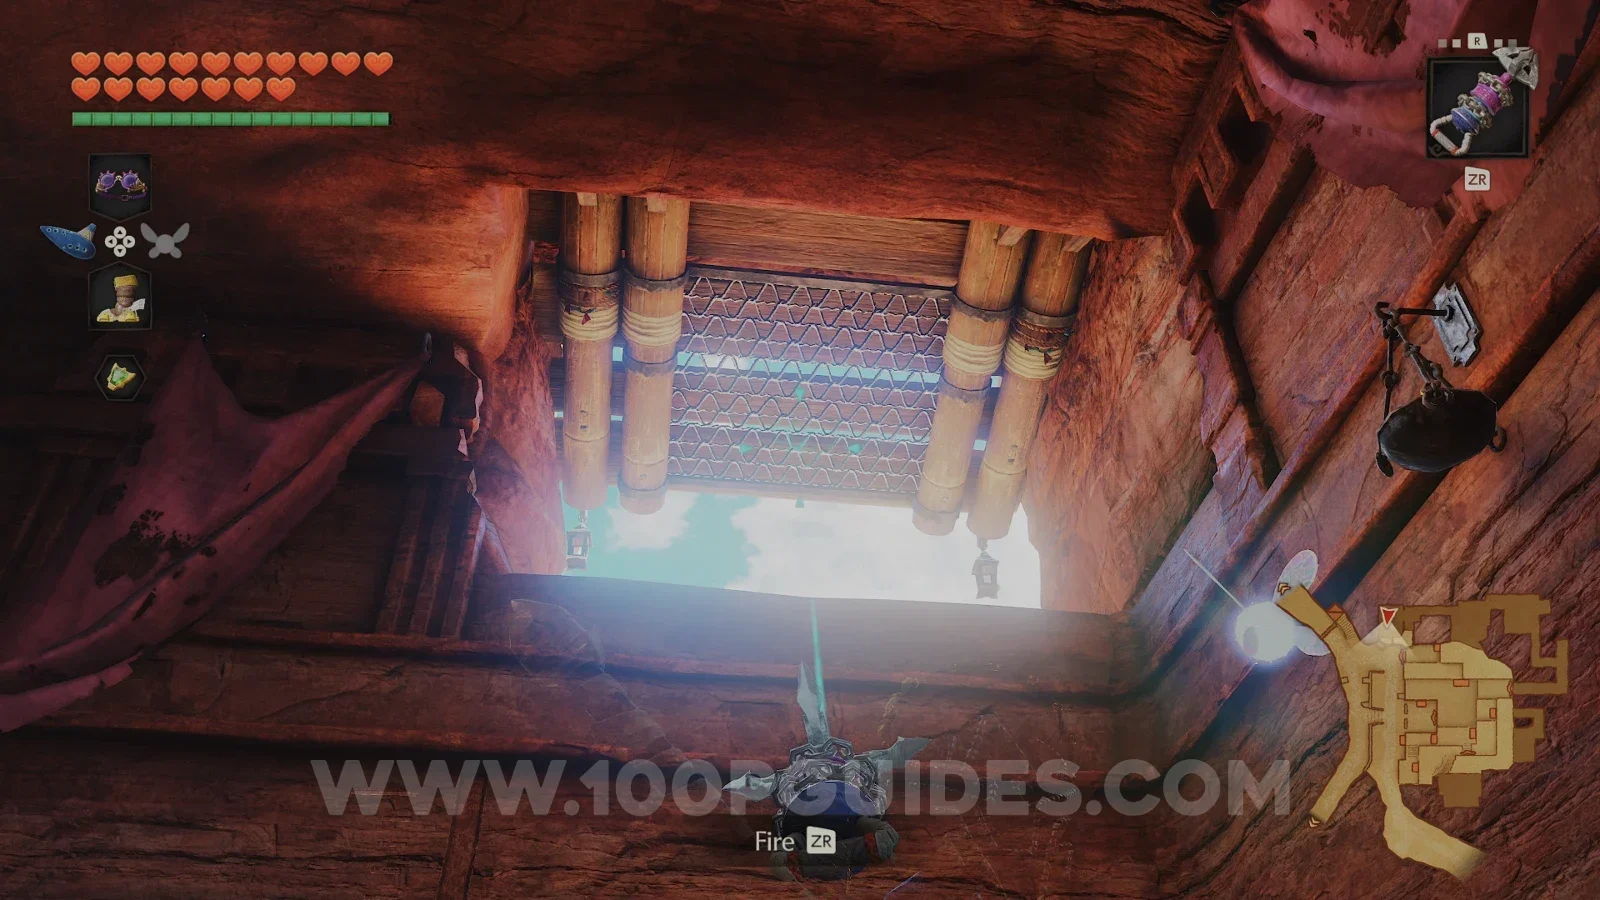
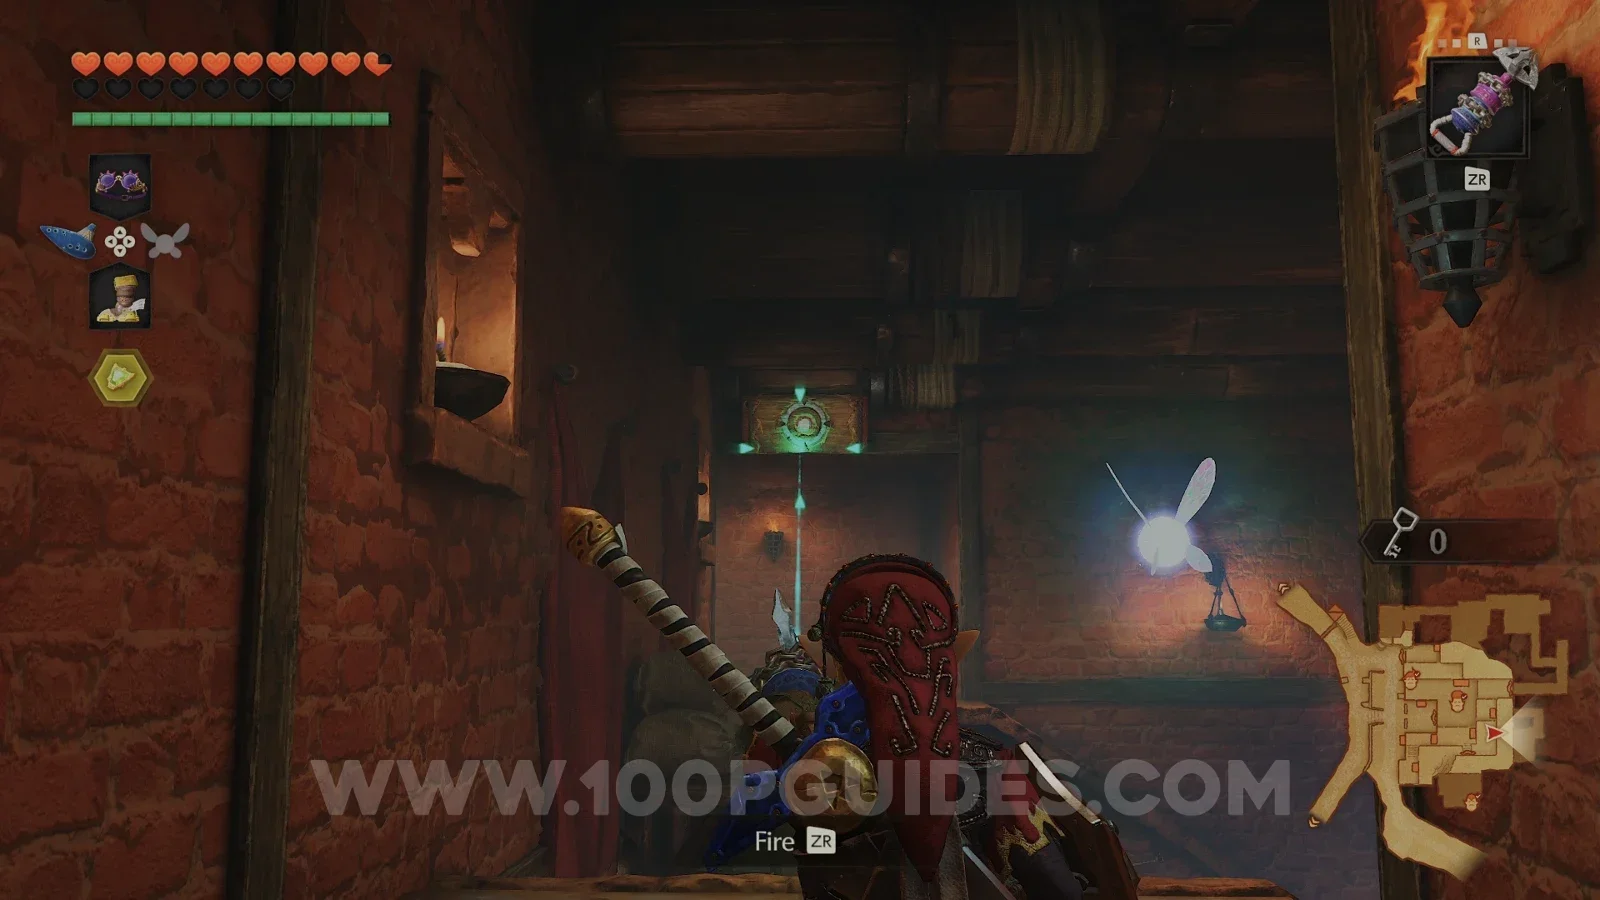
From your cell, use the Hookshot to reach the window. From here, jump down to the upper level with a ladder on your left. Then drop down to the west and go through the door below you. Inside, talk to the first prisoner and the guard will attack you. Defeat her to get the key and rescue the prisoner.
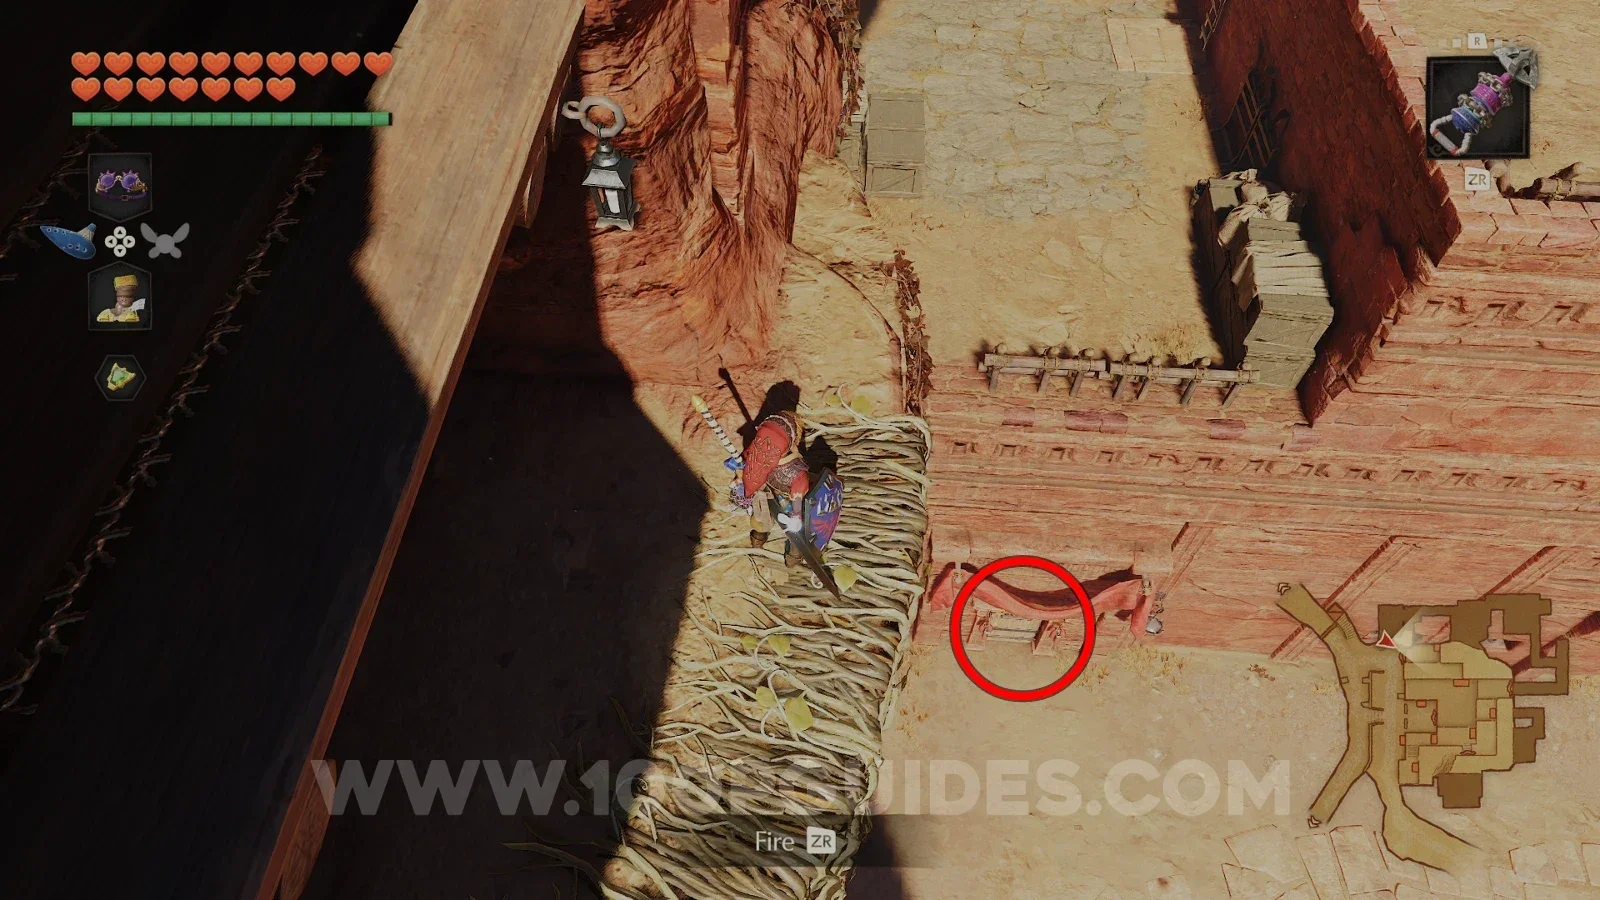
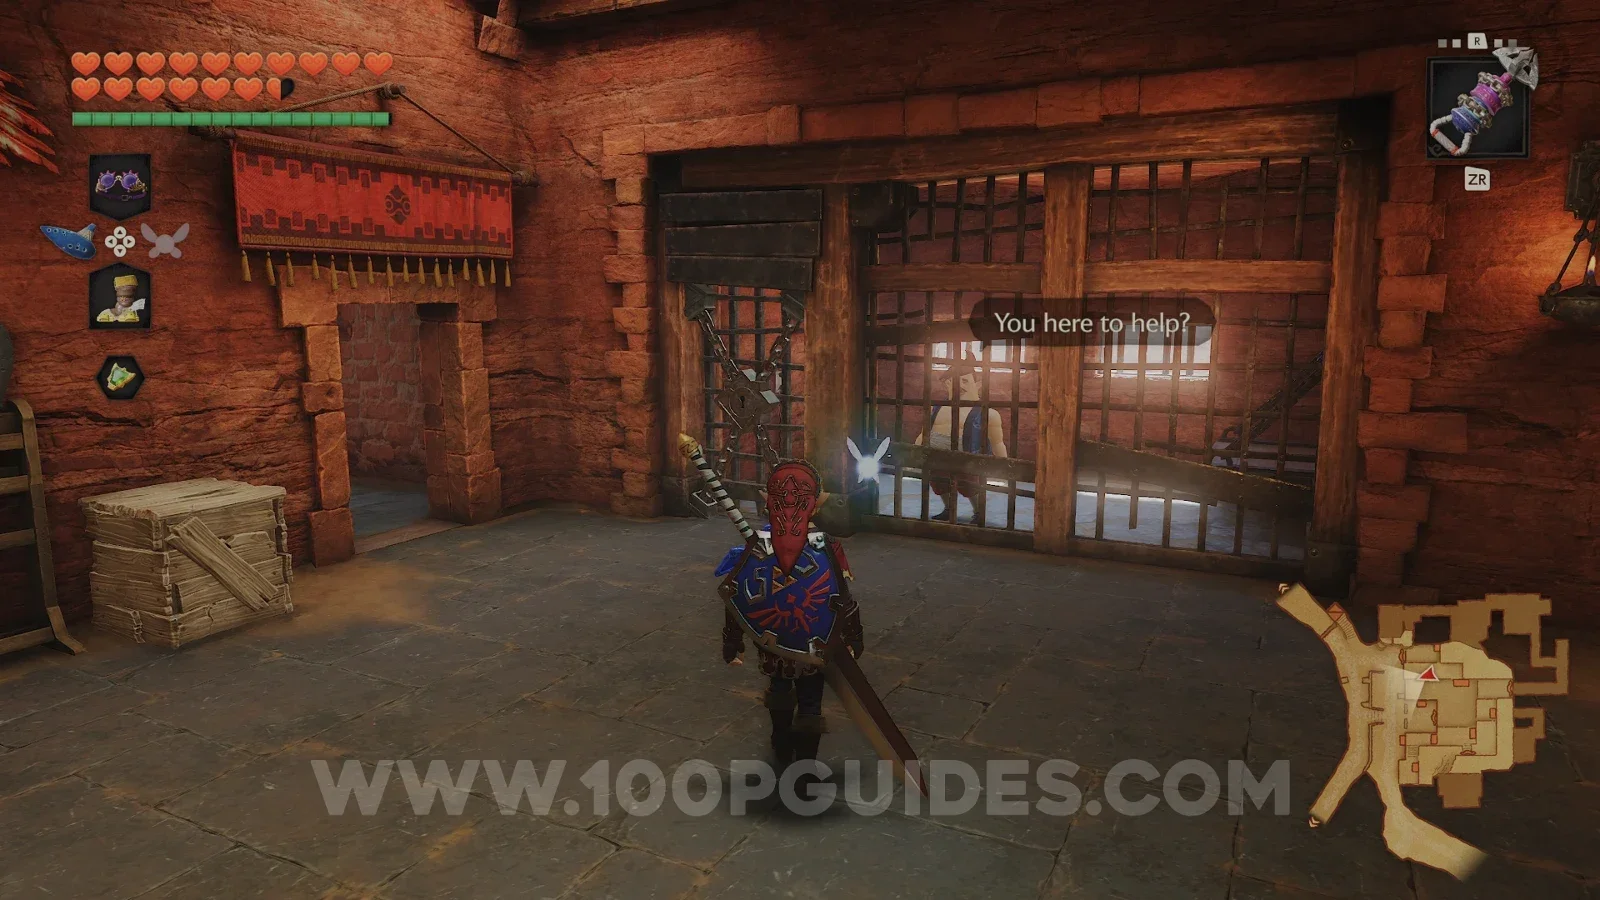
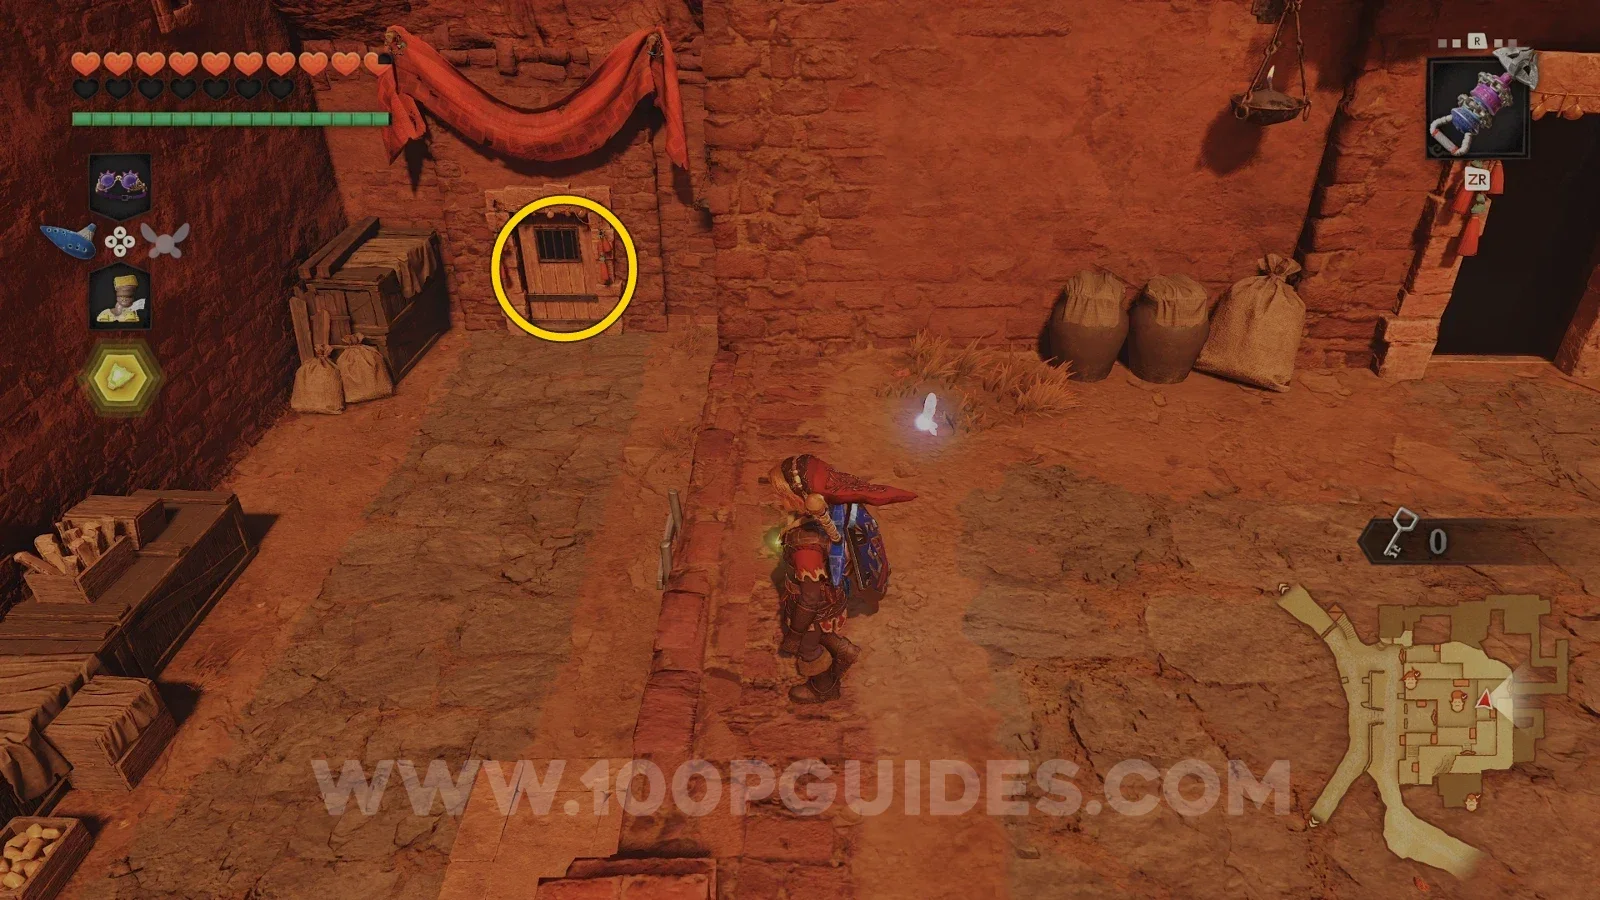
From the first prisoner, head south and, as soon as you get outside, go through the door on your left. Inside, wait until the guard gets to the end of the hall and take the path to the right. Then, back outside, head up the stairs on the left and through the door at the top to find the second prisoner.
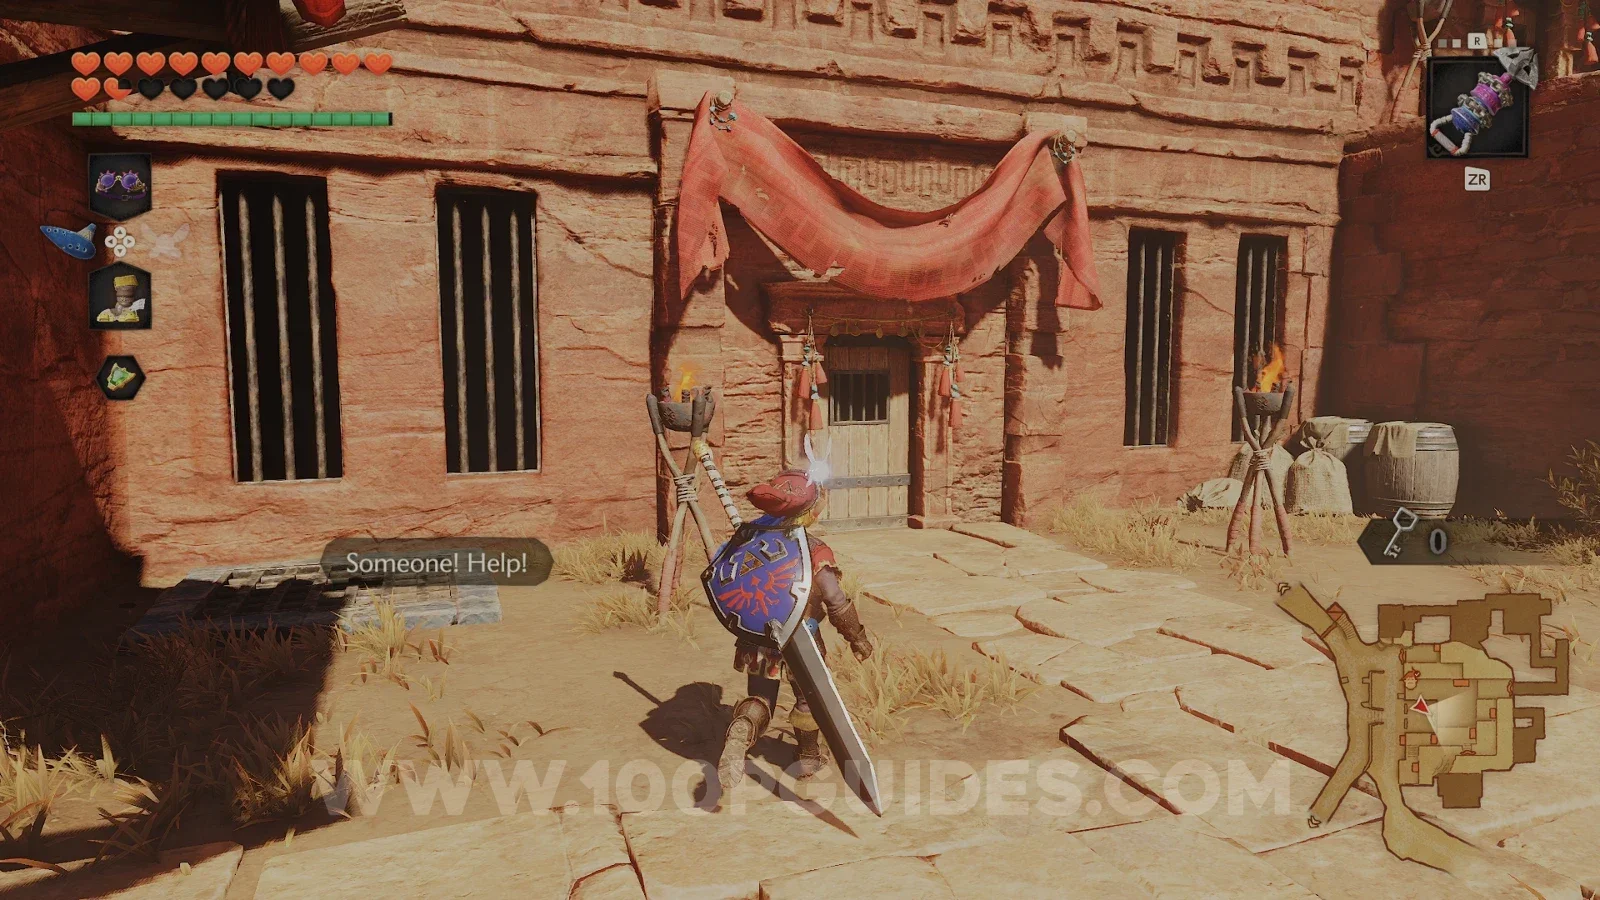
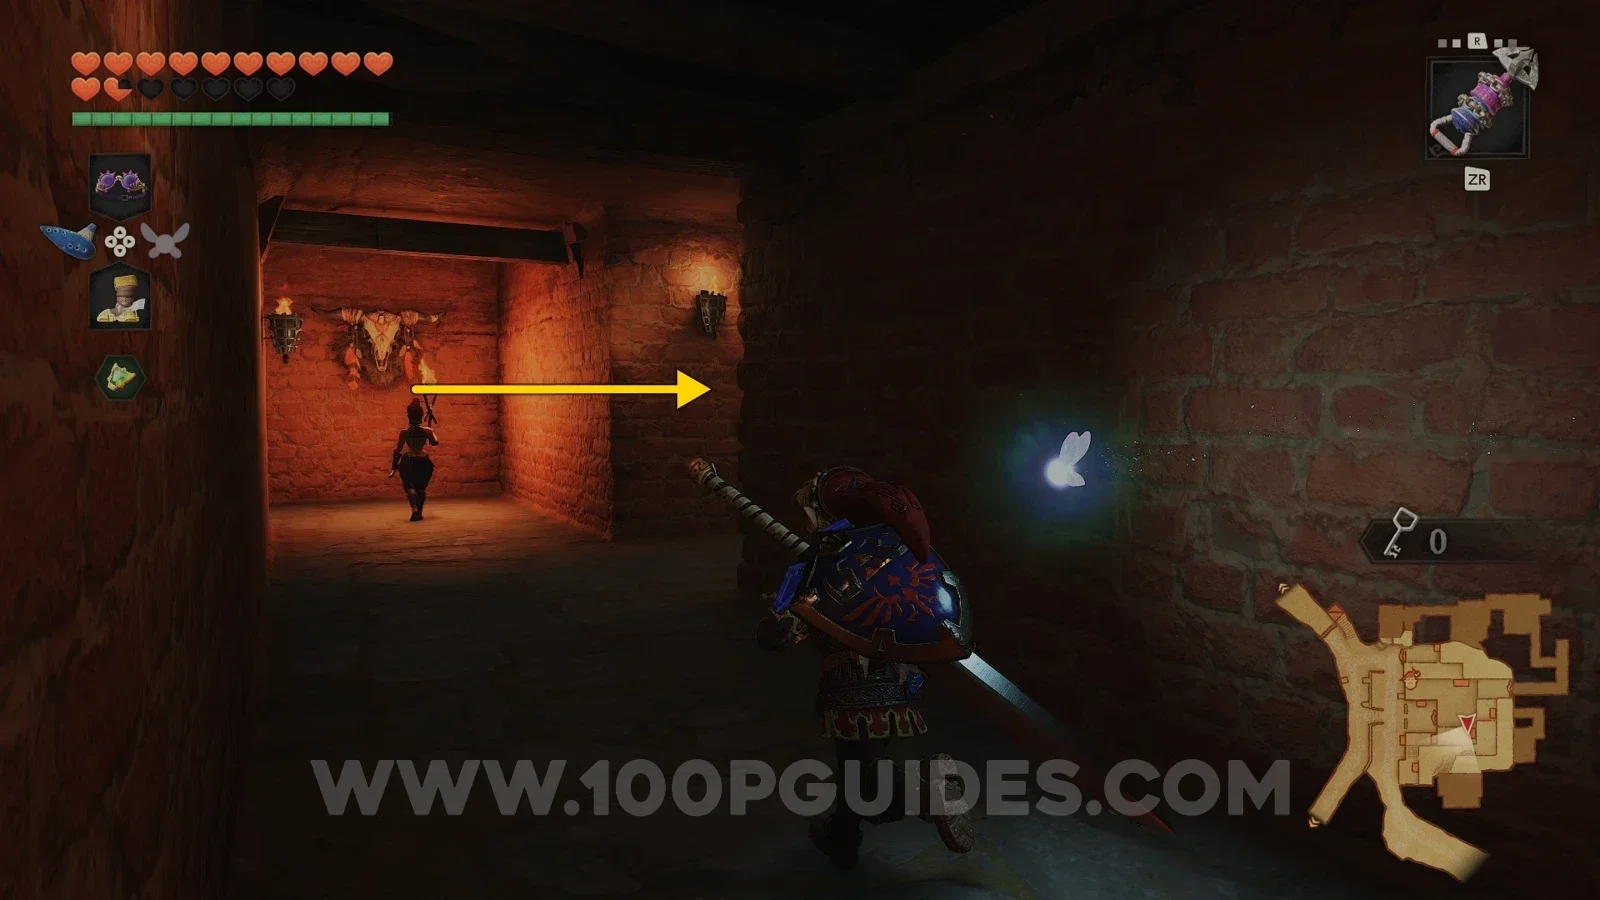
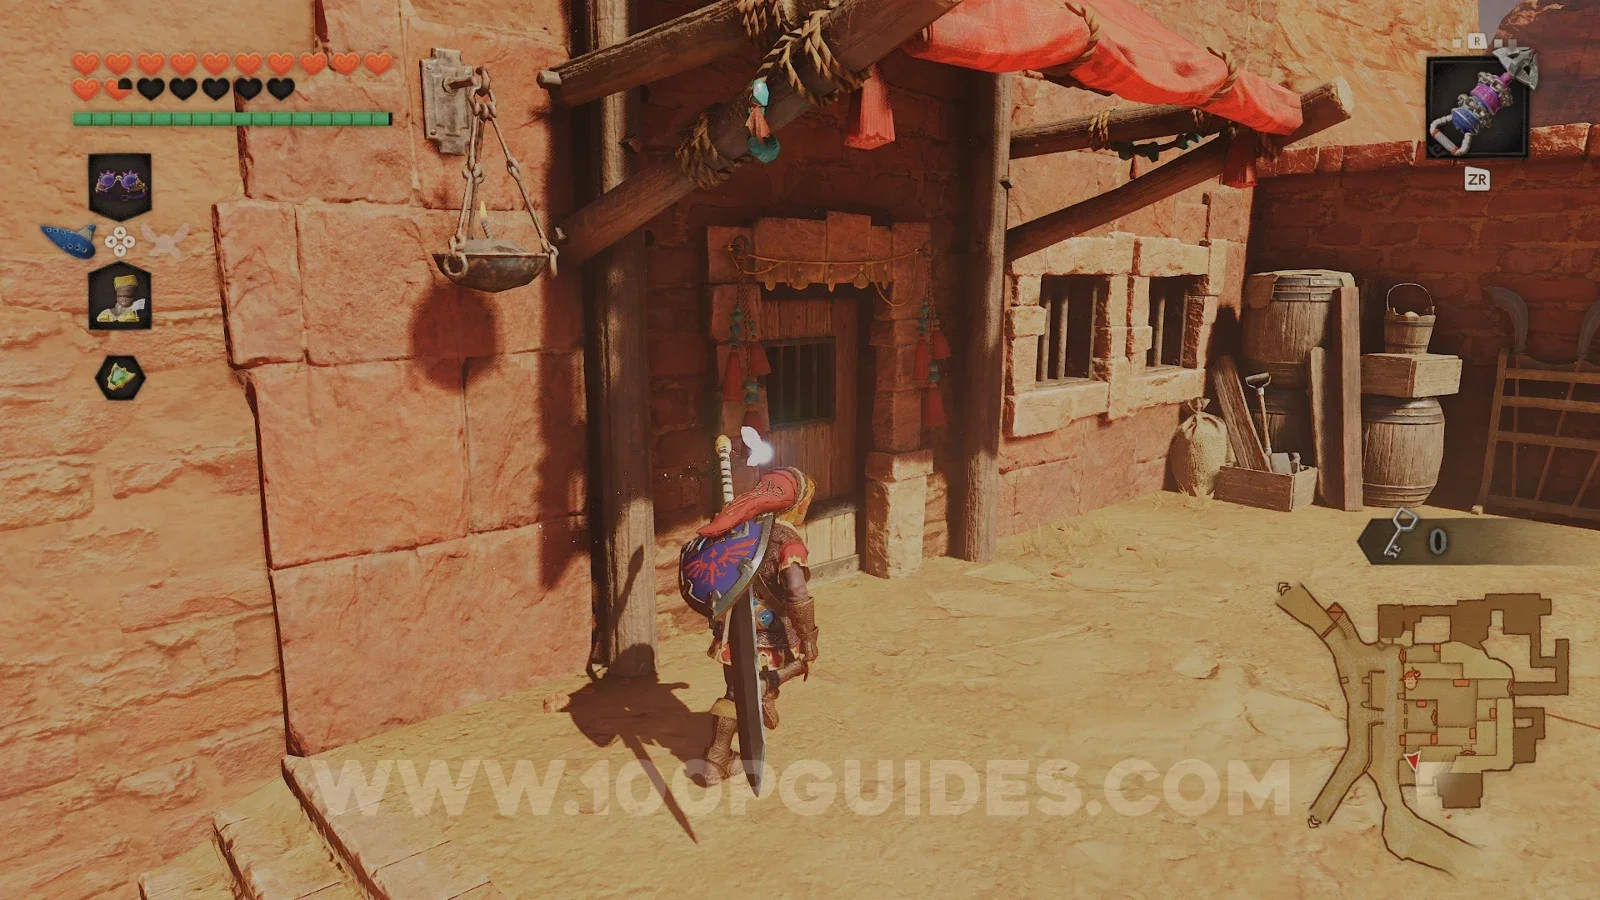
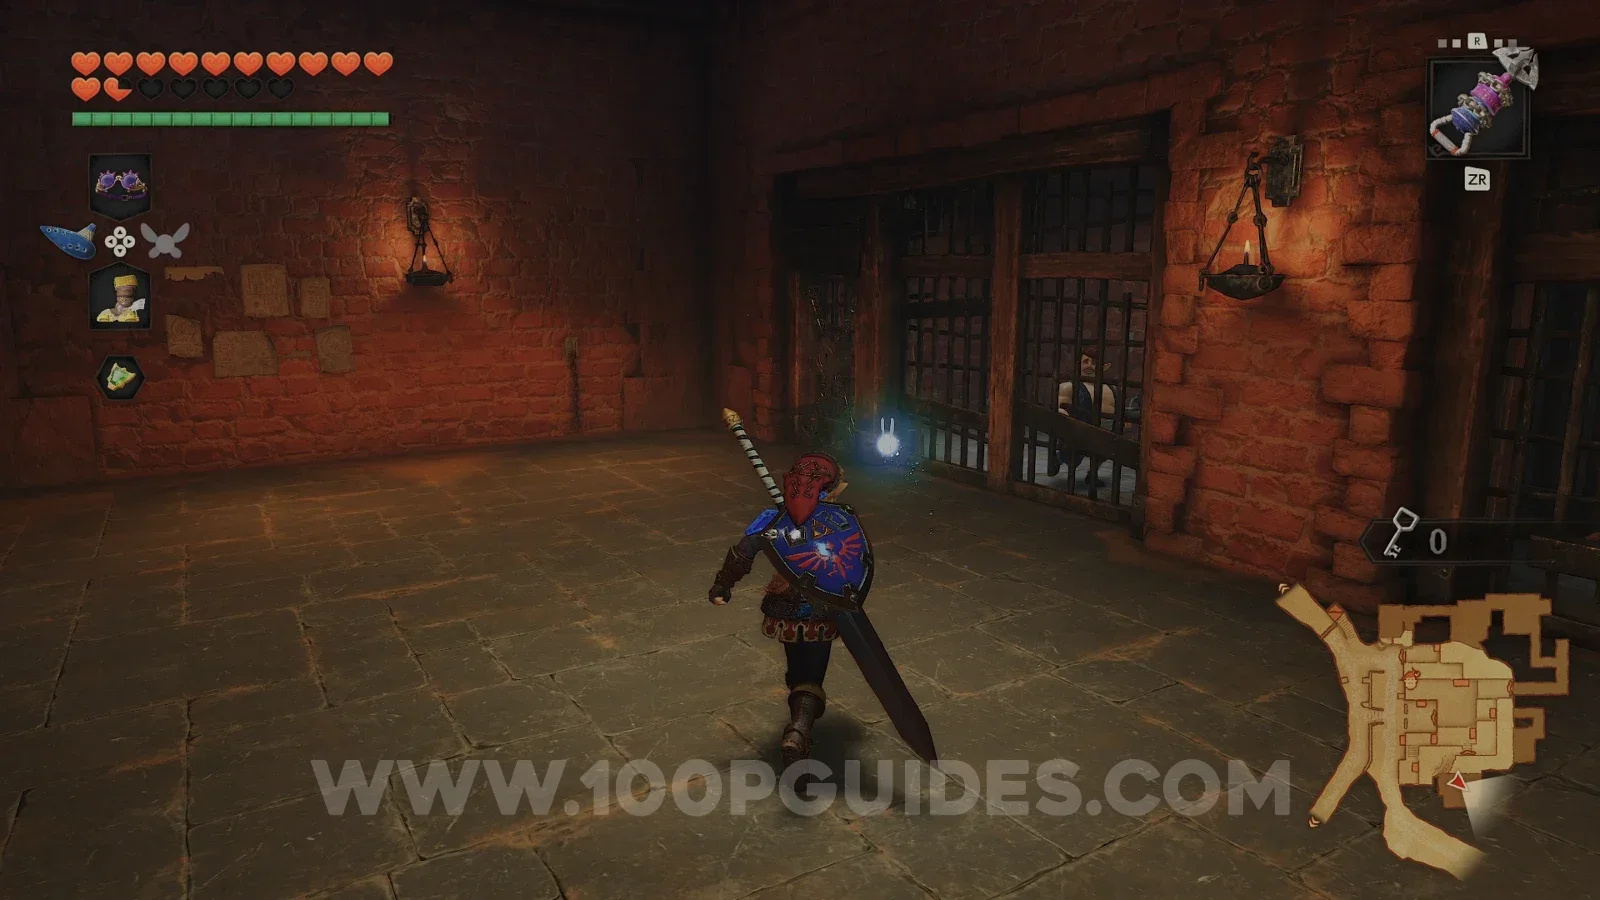
From the second prisoner, exit north and drop down to the area in front of you. Continue through the door to the north to find the next prisoner.
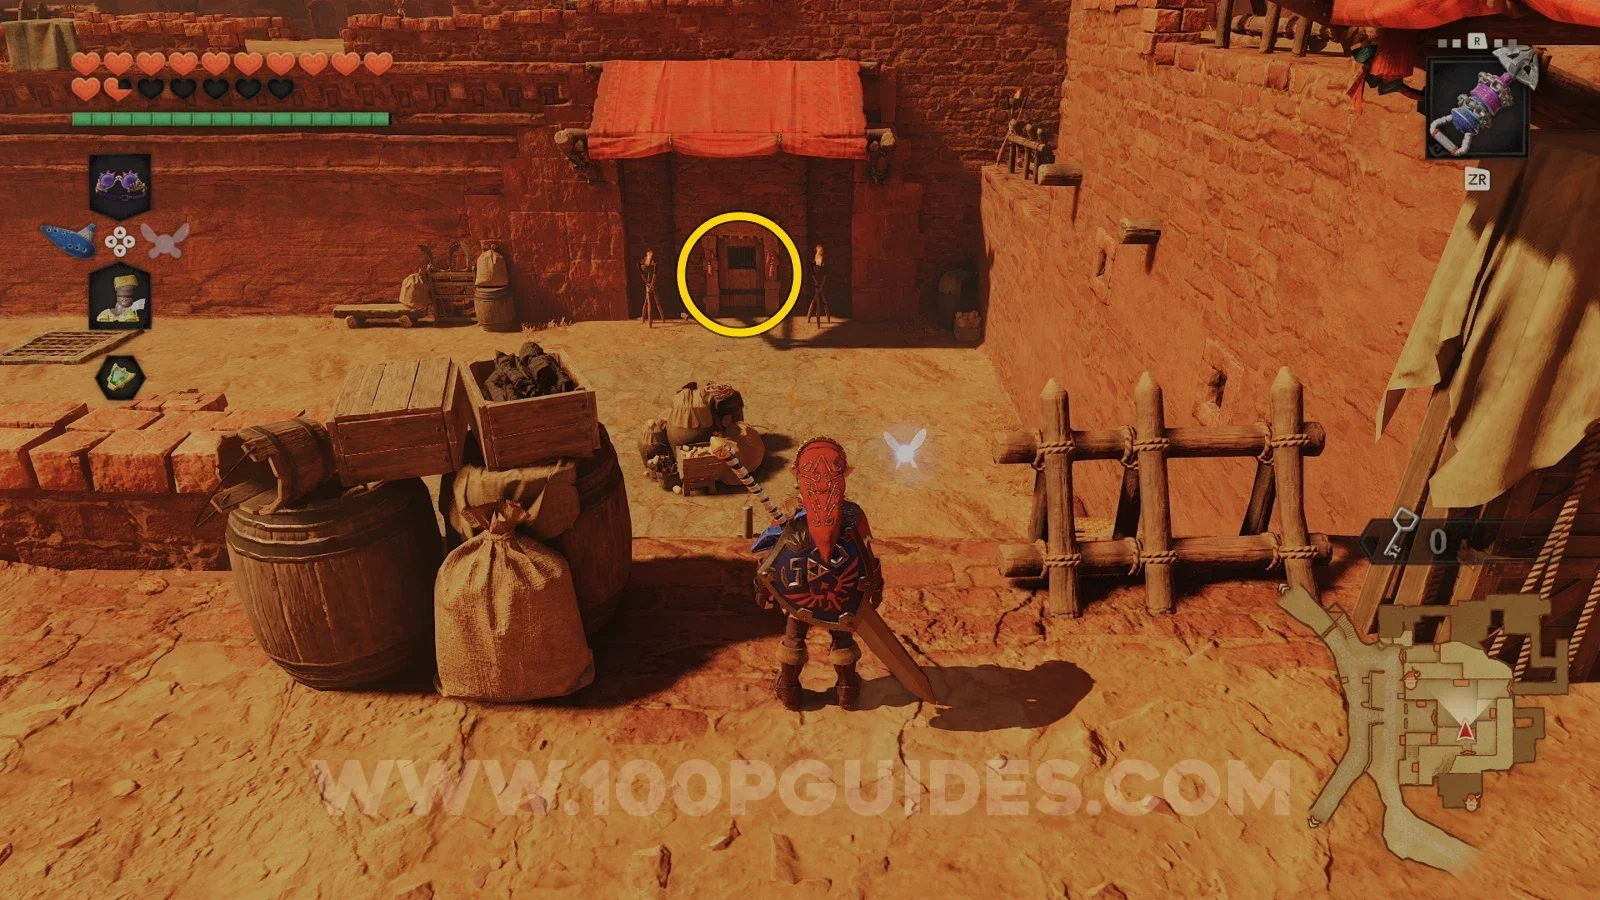
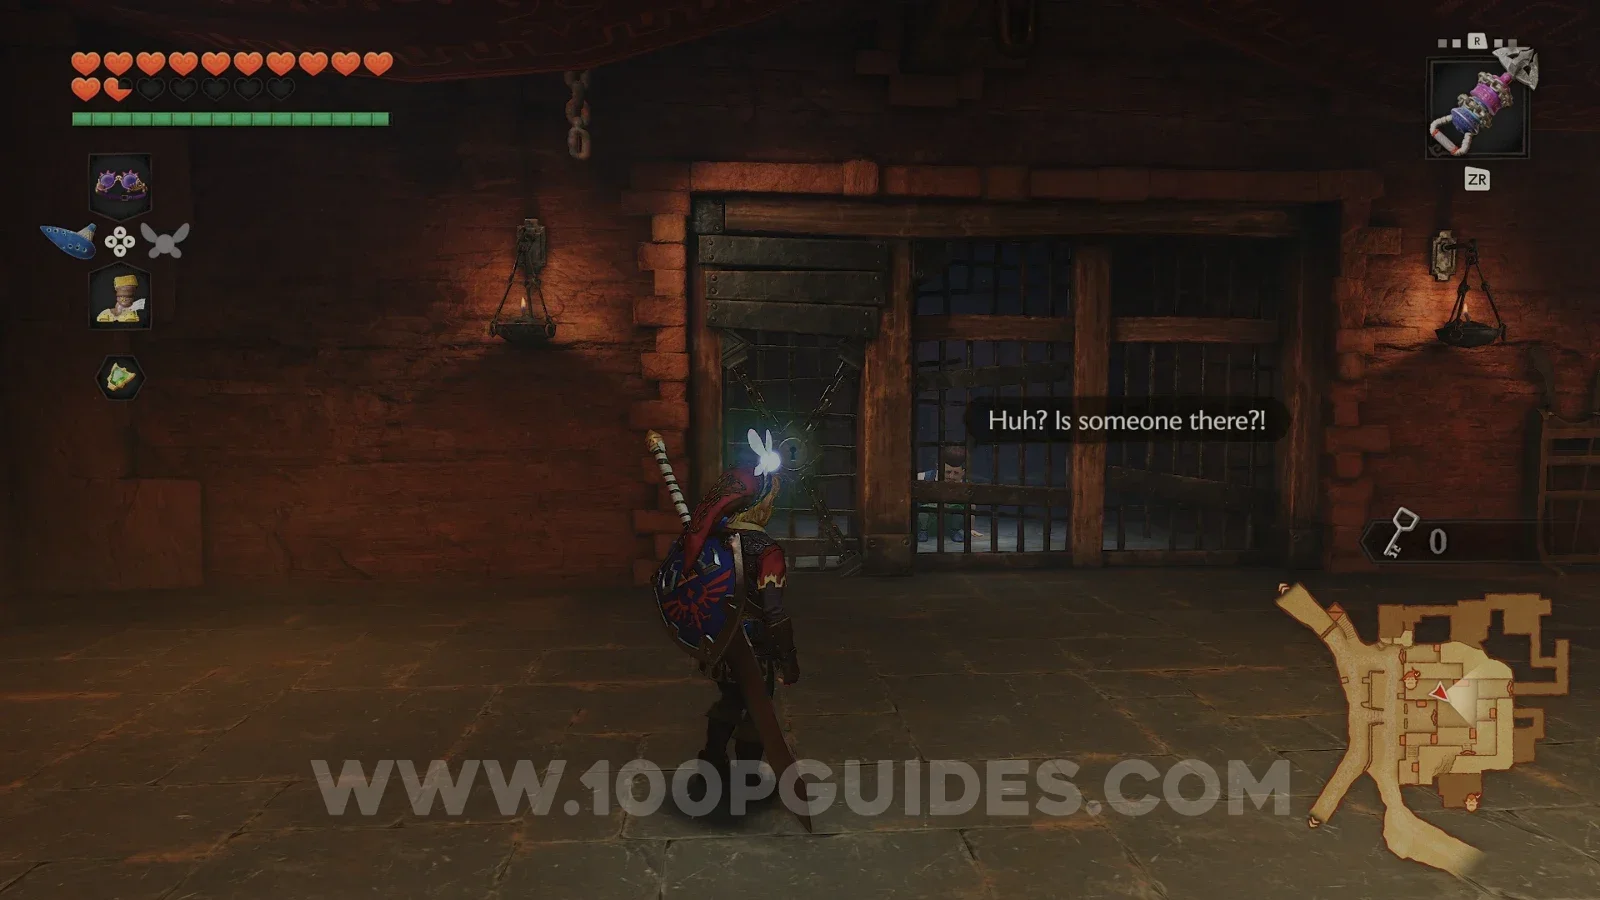
From the third prisoner, exit through the same door you used to get in and climb the ladder in front of you. At the top, head through the door on the left. Then grapple across the gap with the Hookshot. Back outside, drop off the edge to your right and head through the door on the right. Inside, wait until the guard reaches the end and head through the corridor on the left to reach the final prisoner.
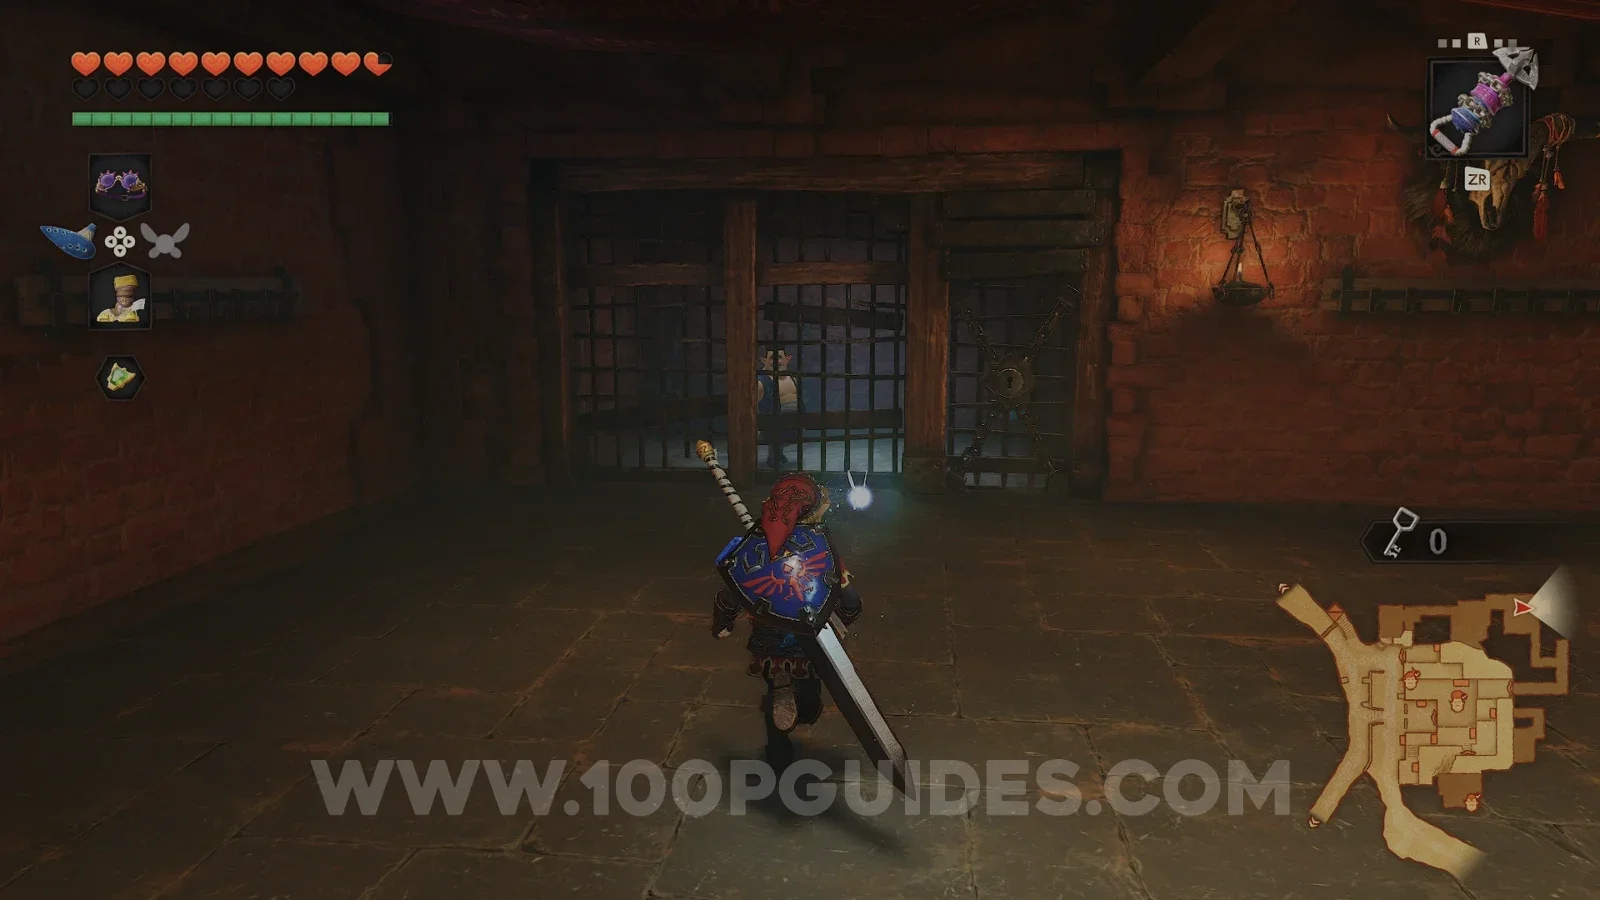
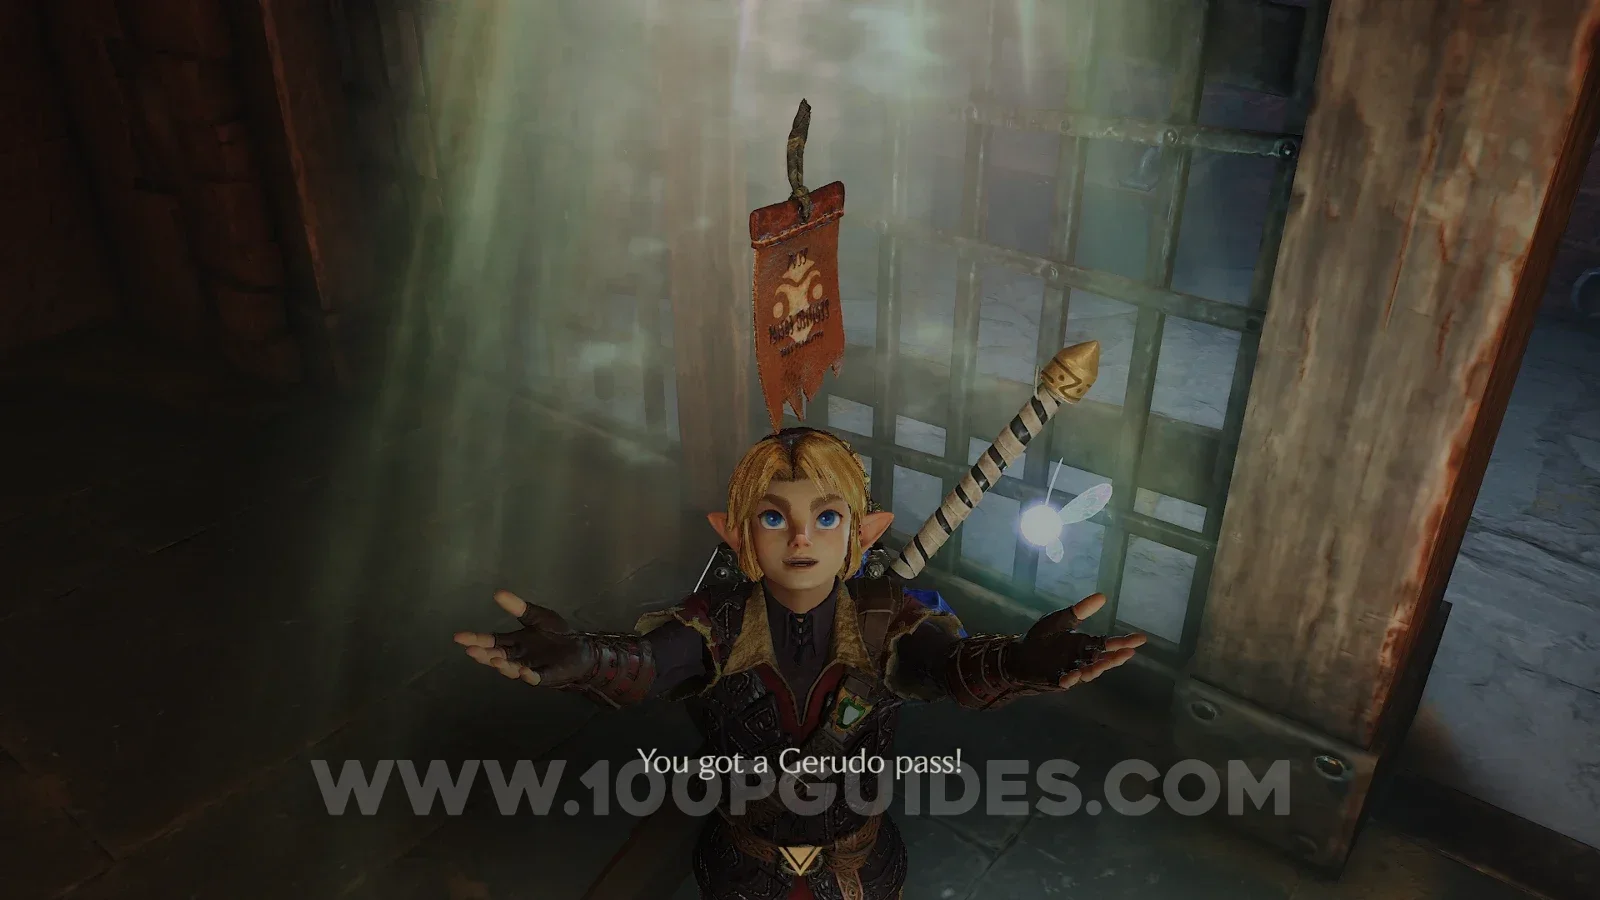
Once all four carpenters are free, the leader of the fortress will be impressed and give you the Gerudo Pass. The guards will now leave you alone, and you are free to explore. The carpenters will also fix the bridge in the valley.
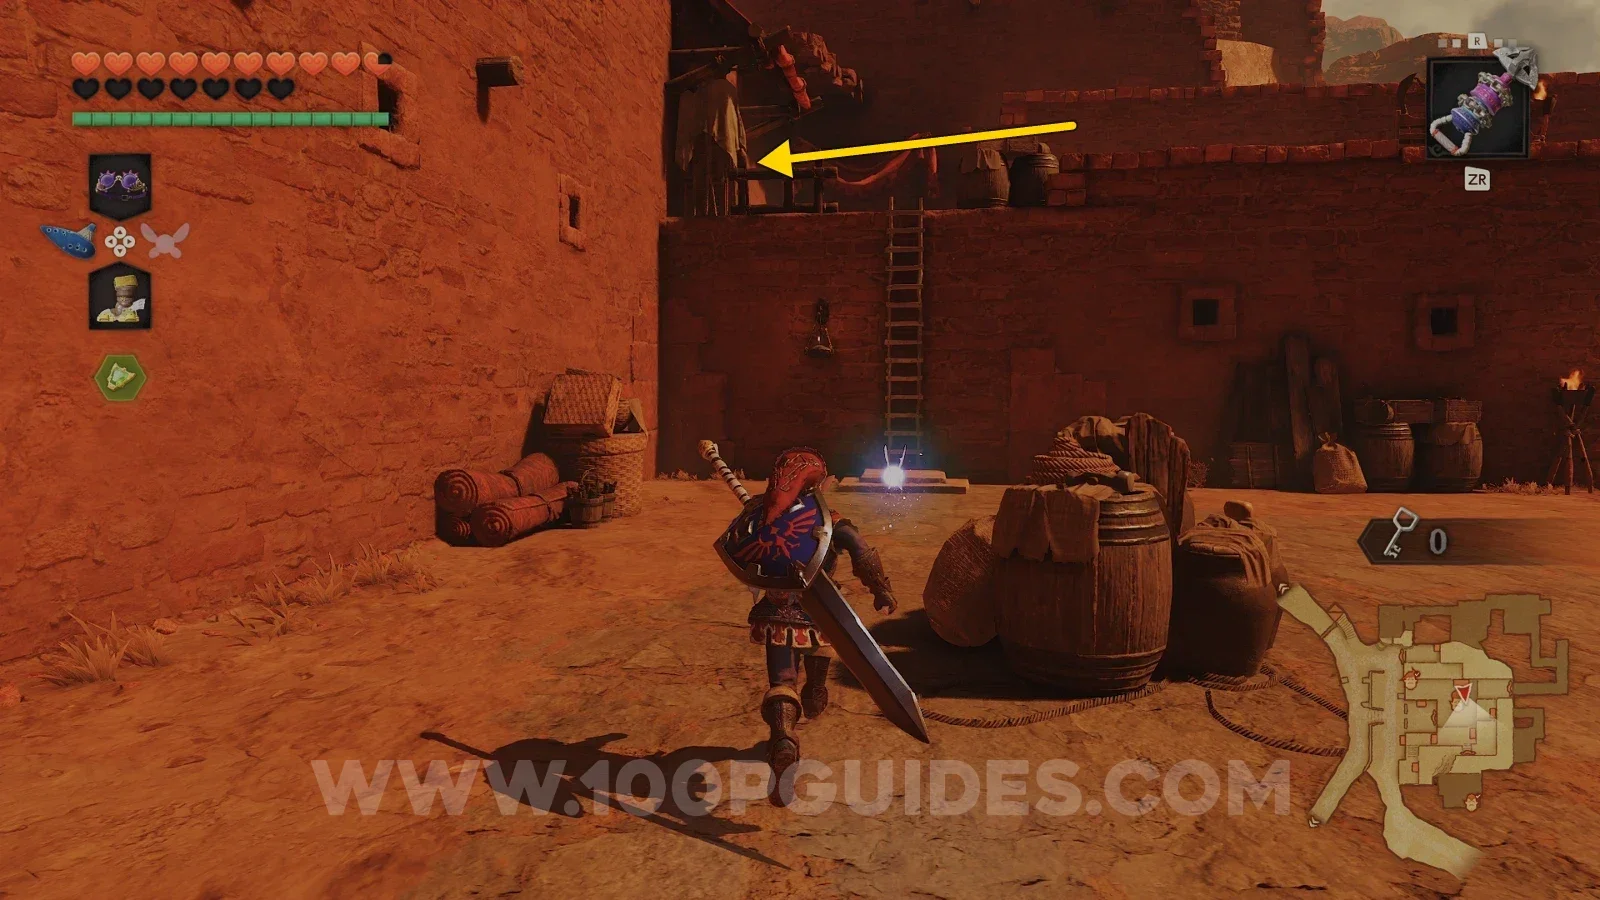
Now that you can walk around freely, play the Sun's Song to make it nighttime. Exit the final prisoner's cell via the same path you took to get there. As soon as you get back outside, look up to the left to find a Gold Skulltula (88/100).
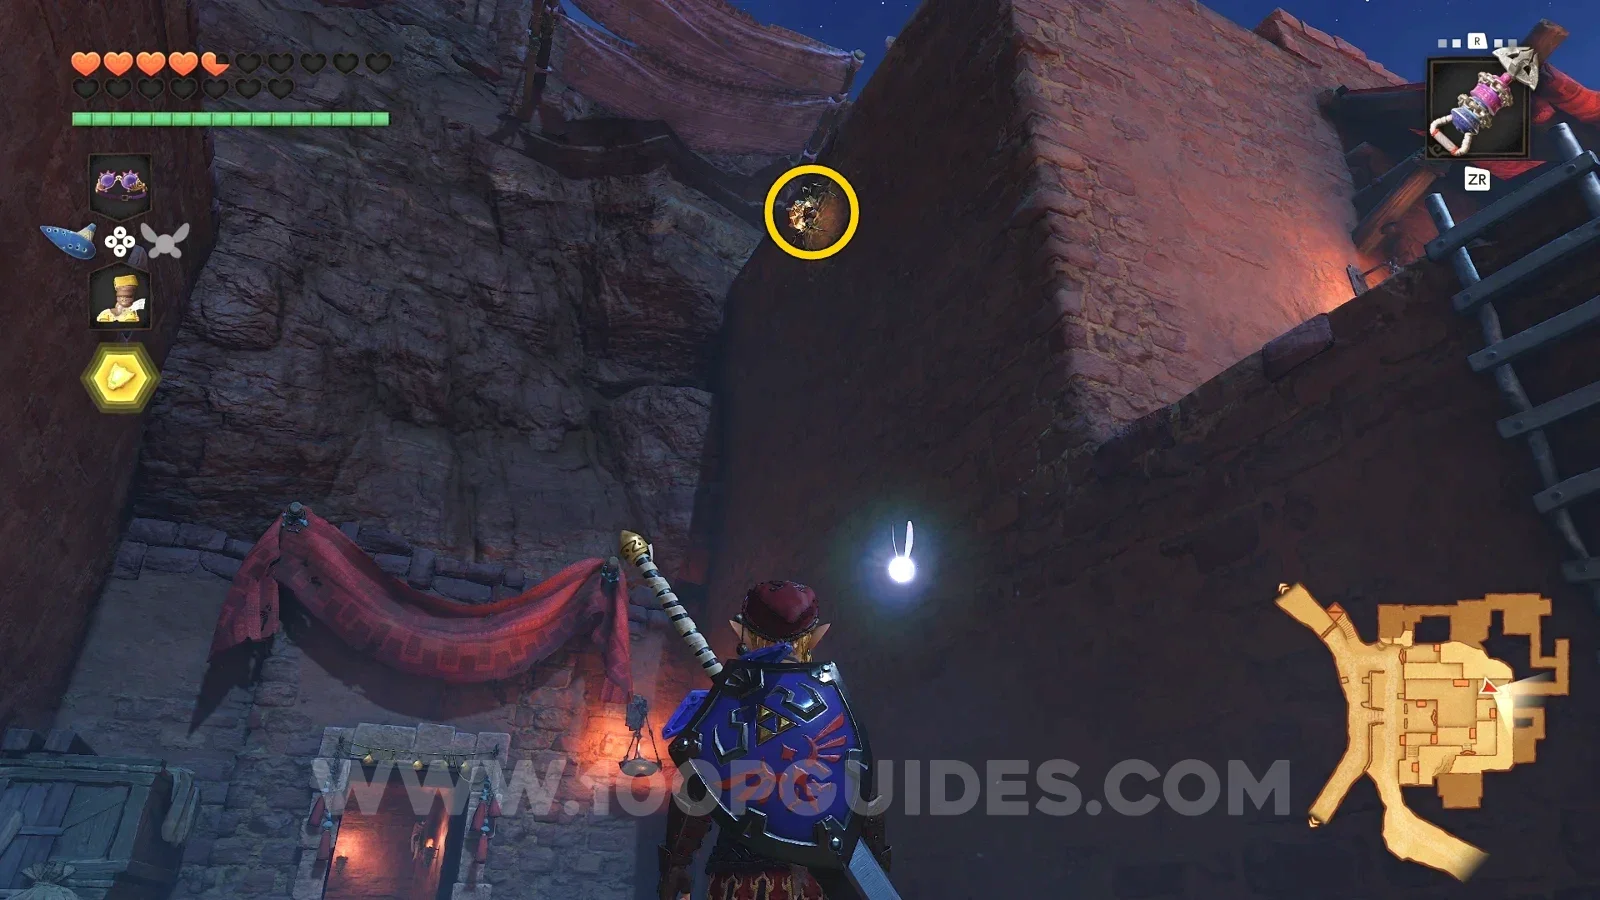
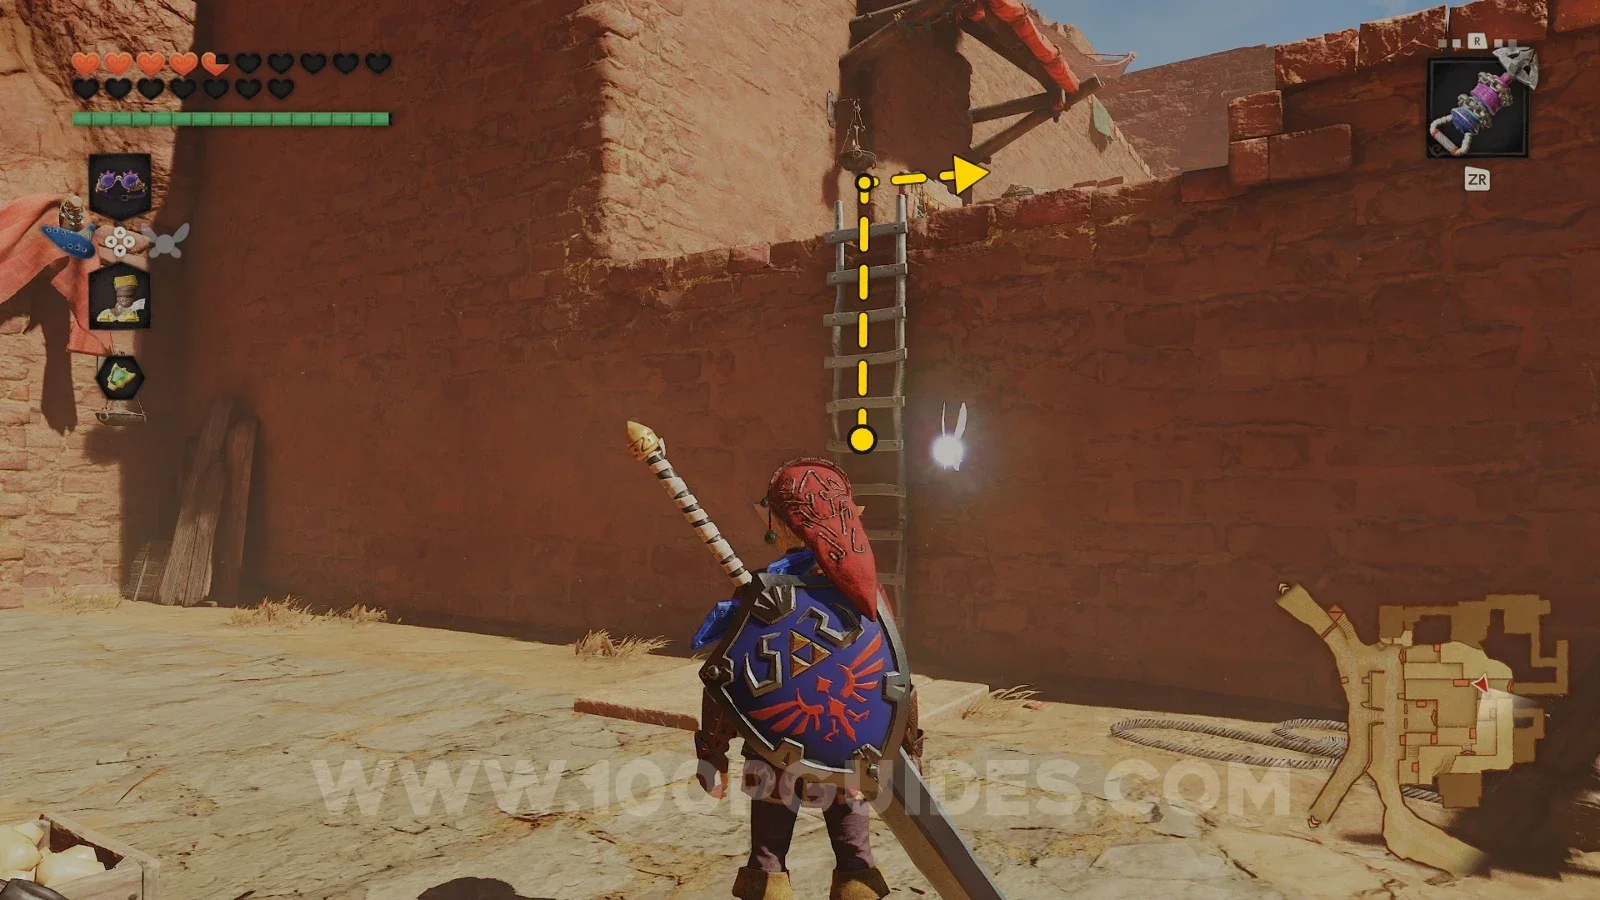
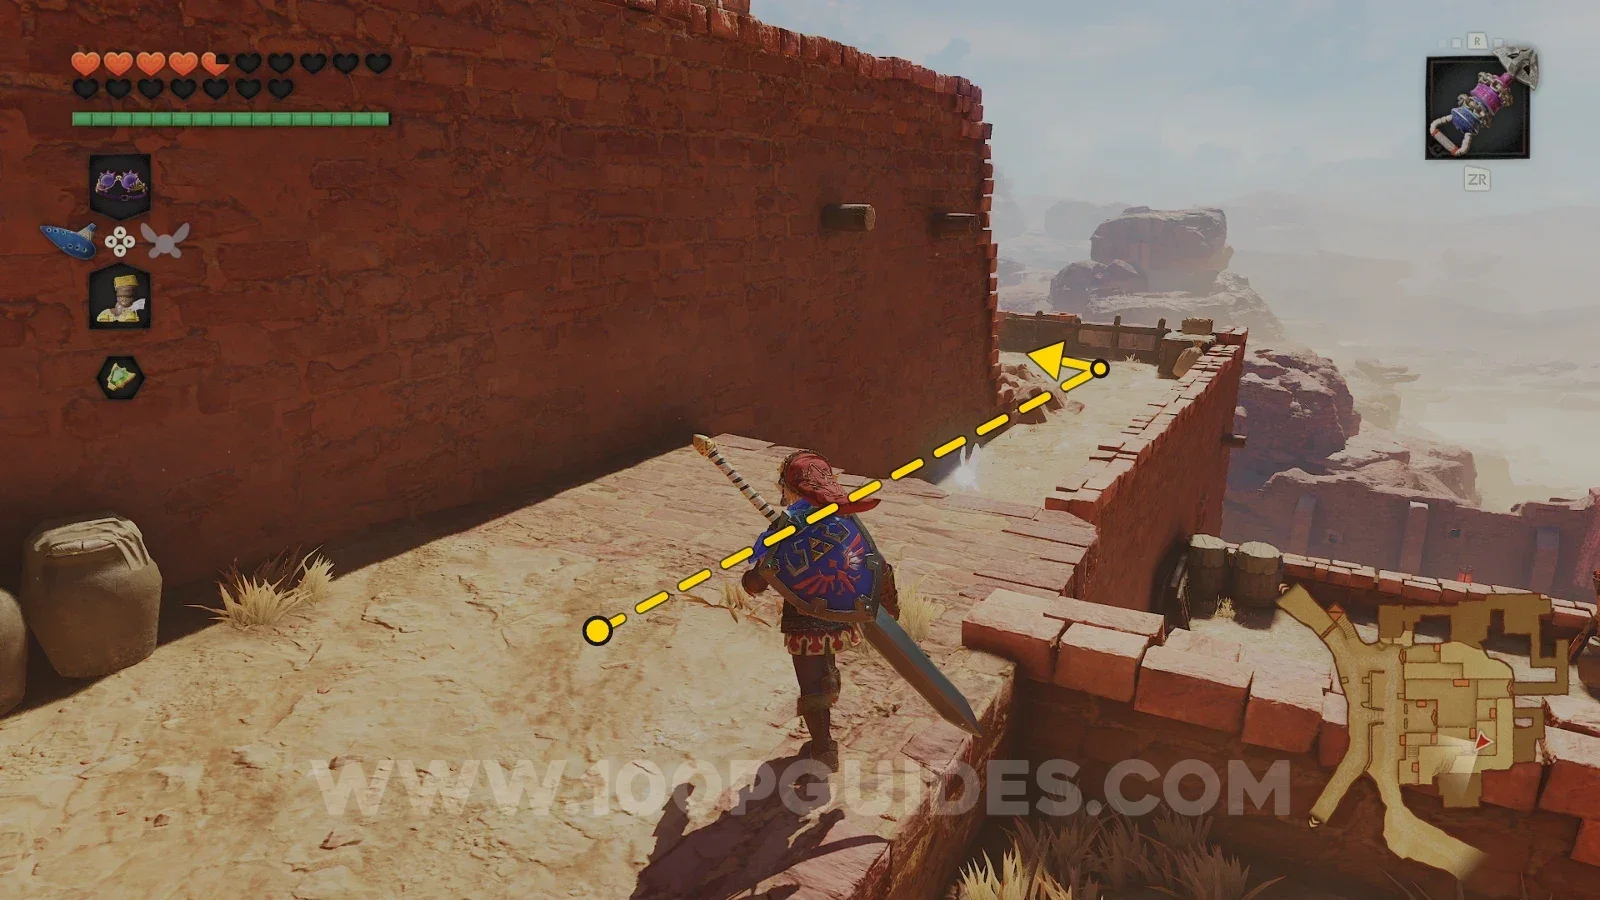
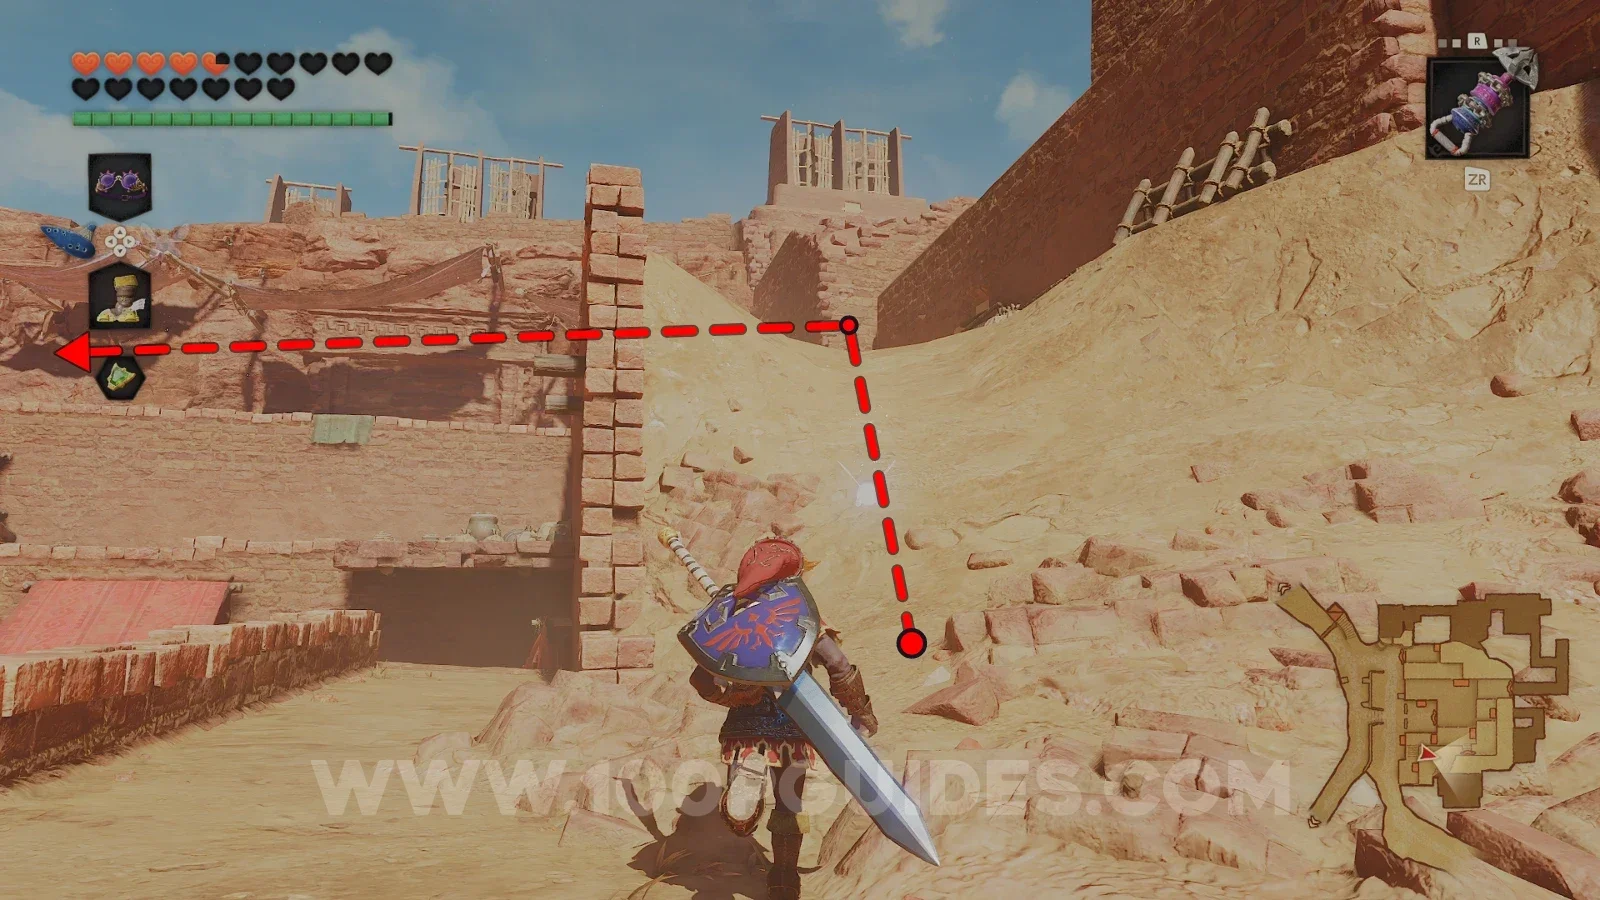
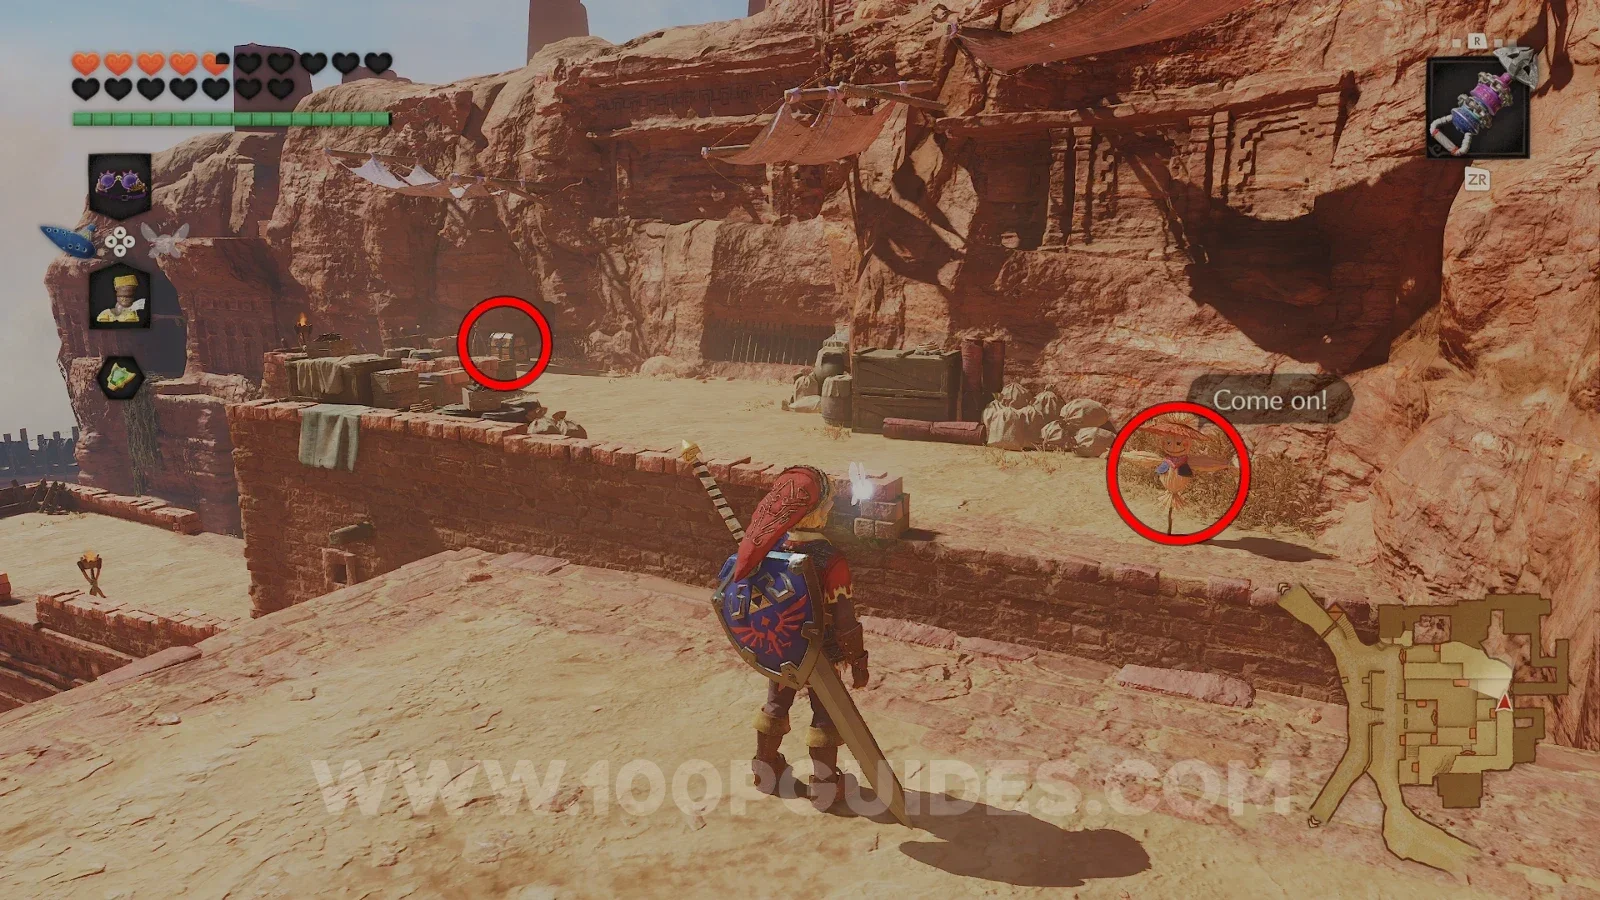
There is also a Heart Piece in the fortress. From the previous Gold Skulltula, climb the ladder and then climb up the ledge in front of you. From here, head straight, then right, and jump across the gap. On the other side, head straight and you will see a slope on your left at the corner. Head up the slope and continue until you see another gap. Here, play the Scarecrow's Song to make a scarecrow appear on the other side of the gap. Hookshot to it to reach the other side, where you will find a chest with a Heart Piece (32/36).
Horseback Archery
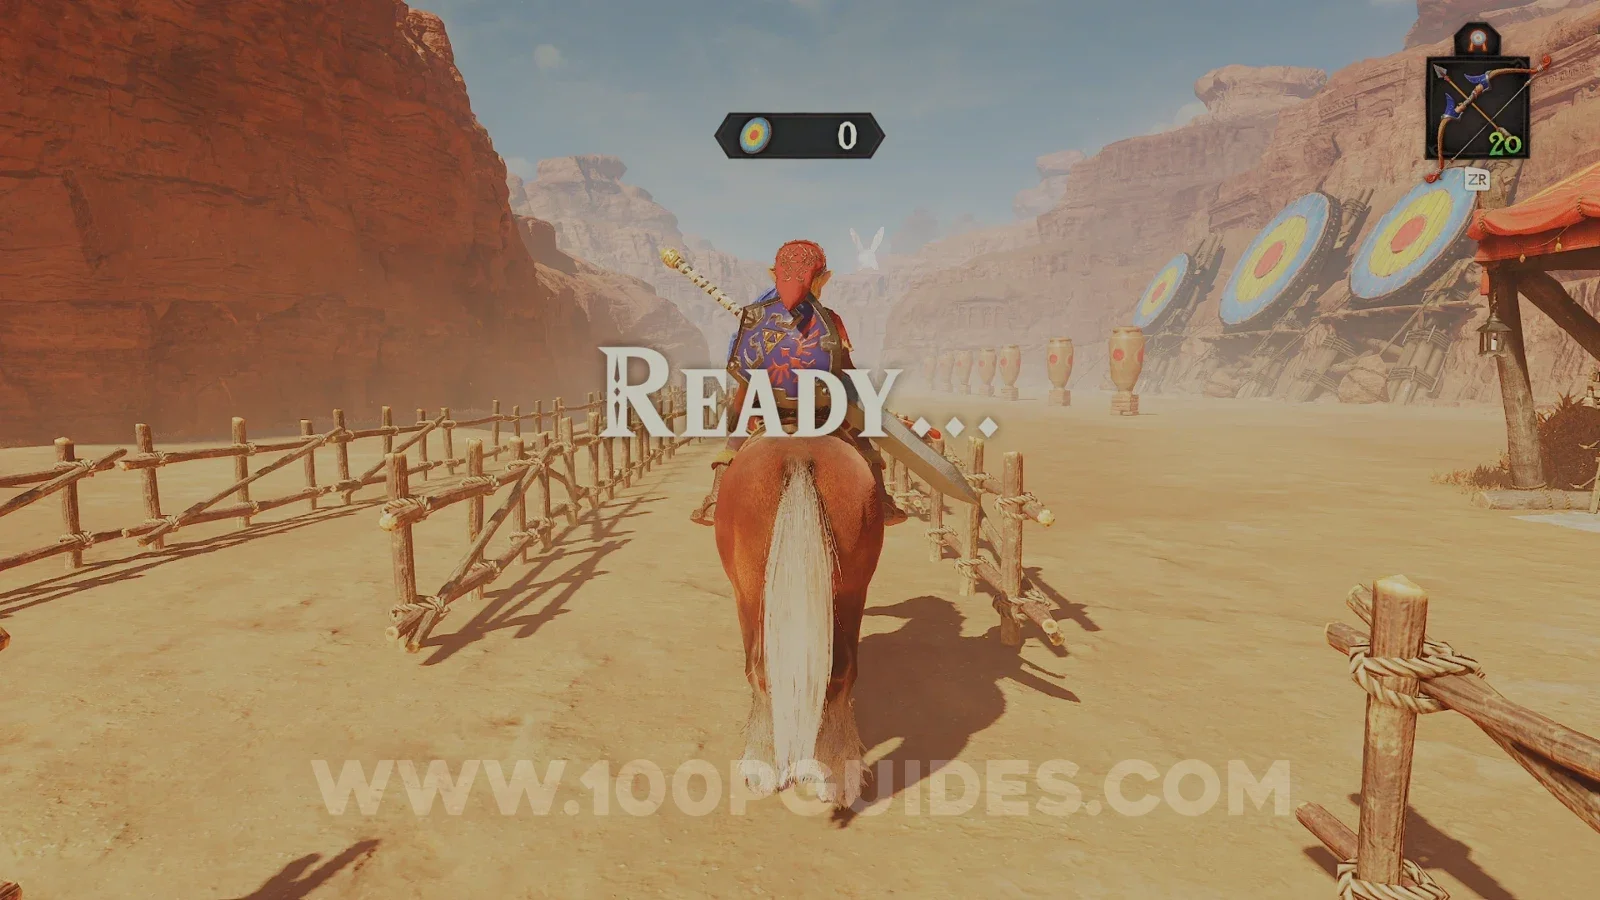
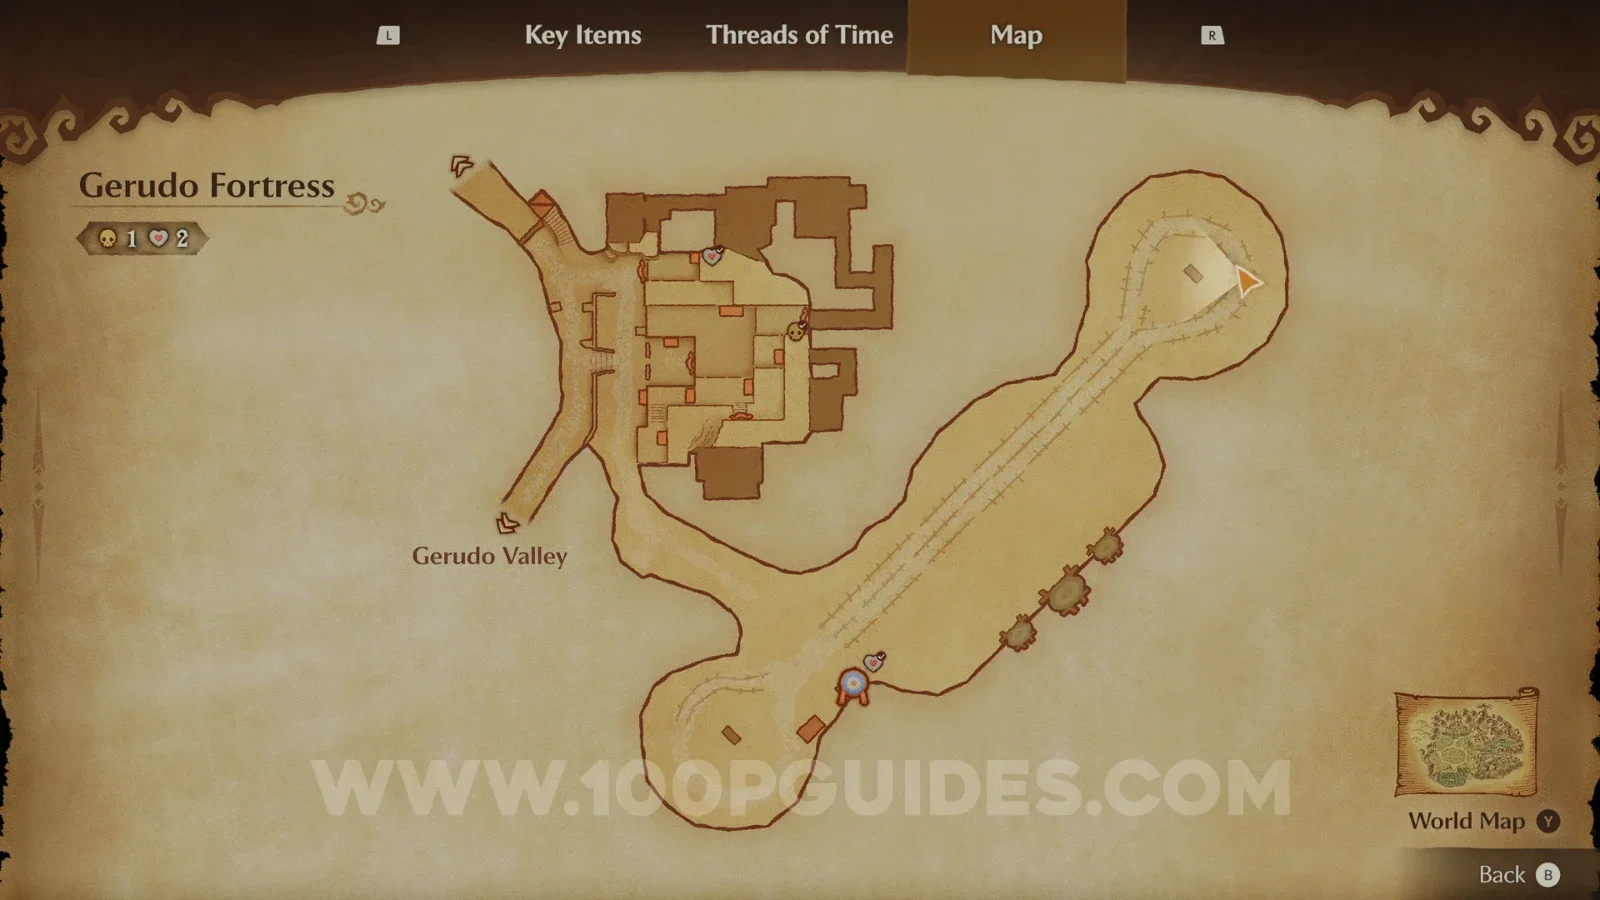
Next, call Epona and ride to the large archery range to the southeast of the fortress. During the day, talk to the Gerudo there while you are riding Epona and pay to start the minigame. You get 20 arrows and have to shoot the targets and the pots as you ride past them. Aim for all the pots on the way out and the centre of the large target on the way back.
Score 700 points to get a Heart Piece (33/36) and 1400 points to get the second and last Quiver Upgrade (2/2), which allows you to carry 50 arrows.
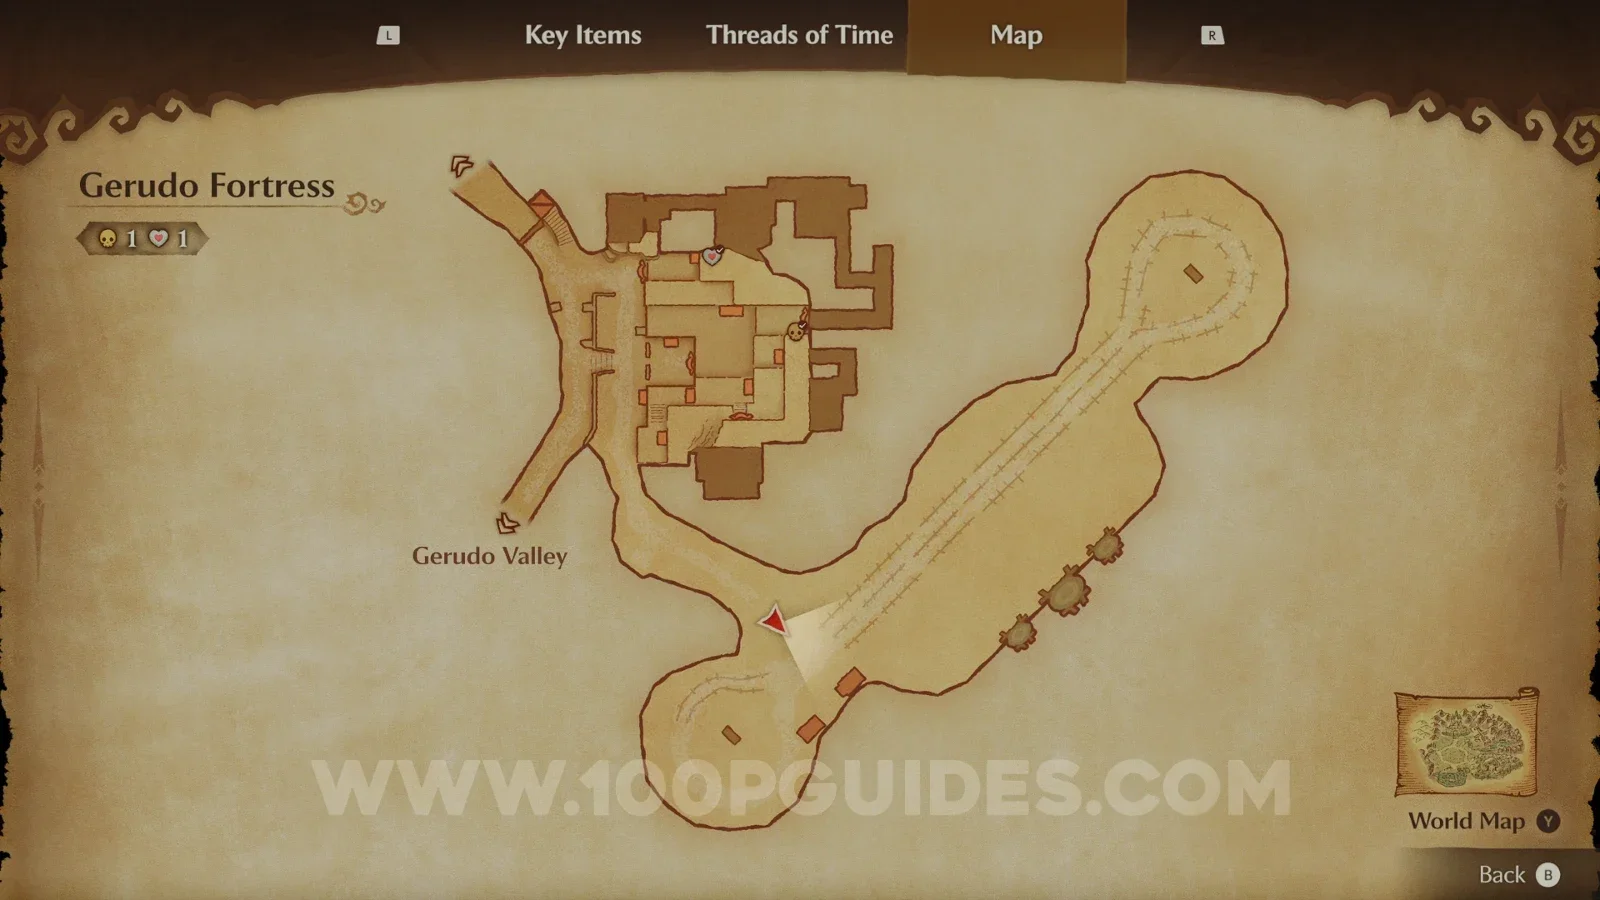
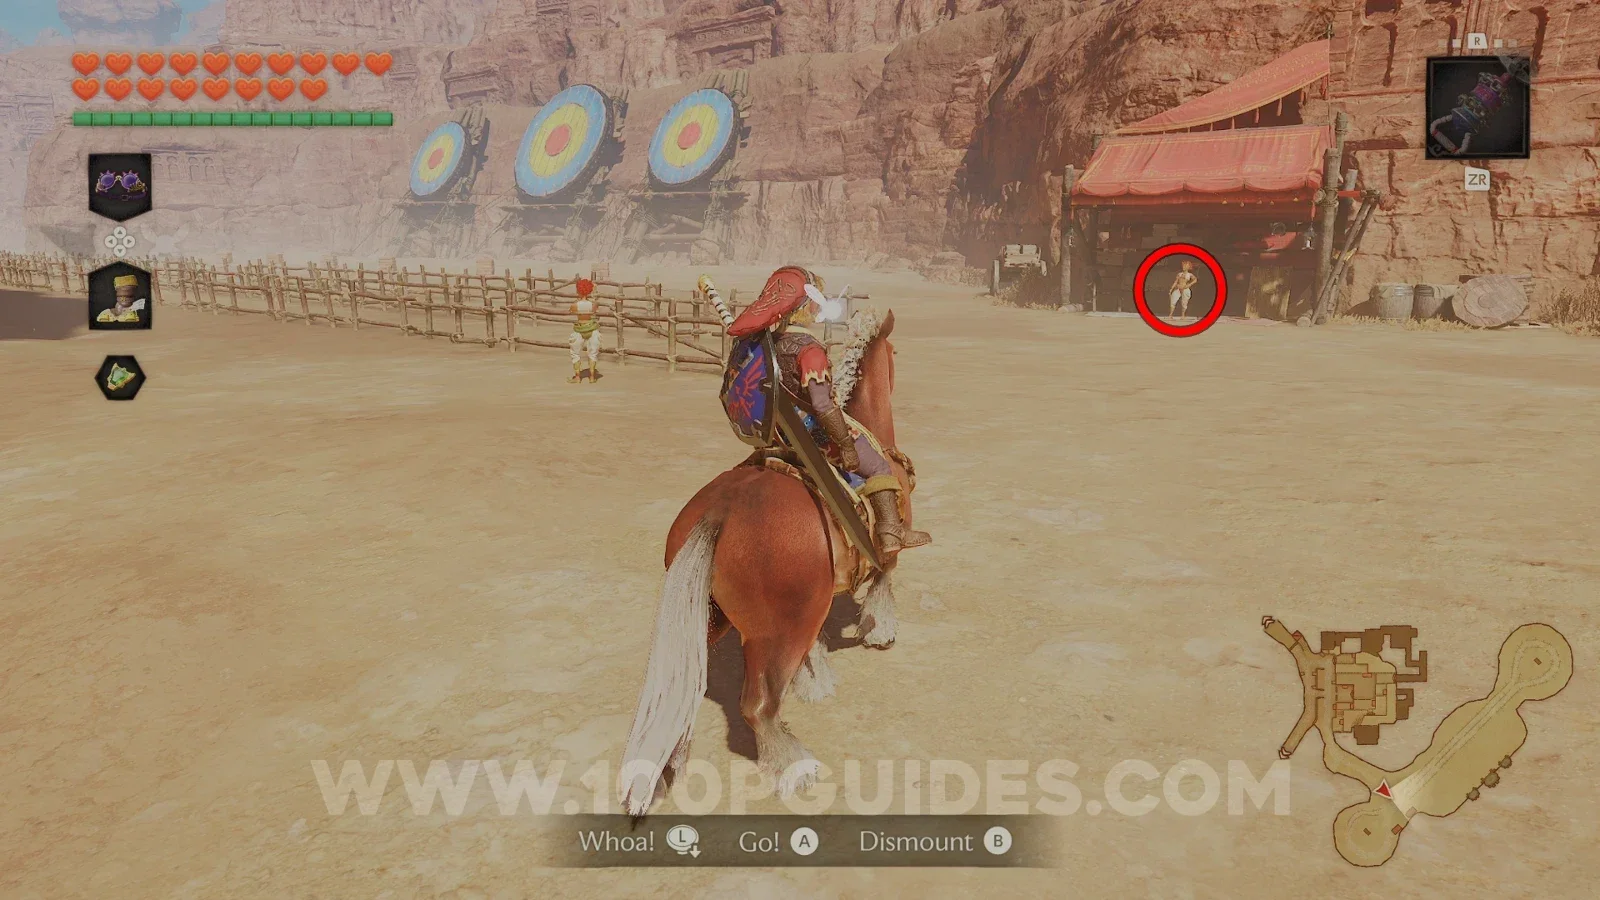
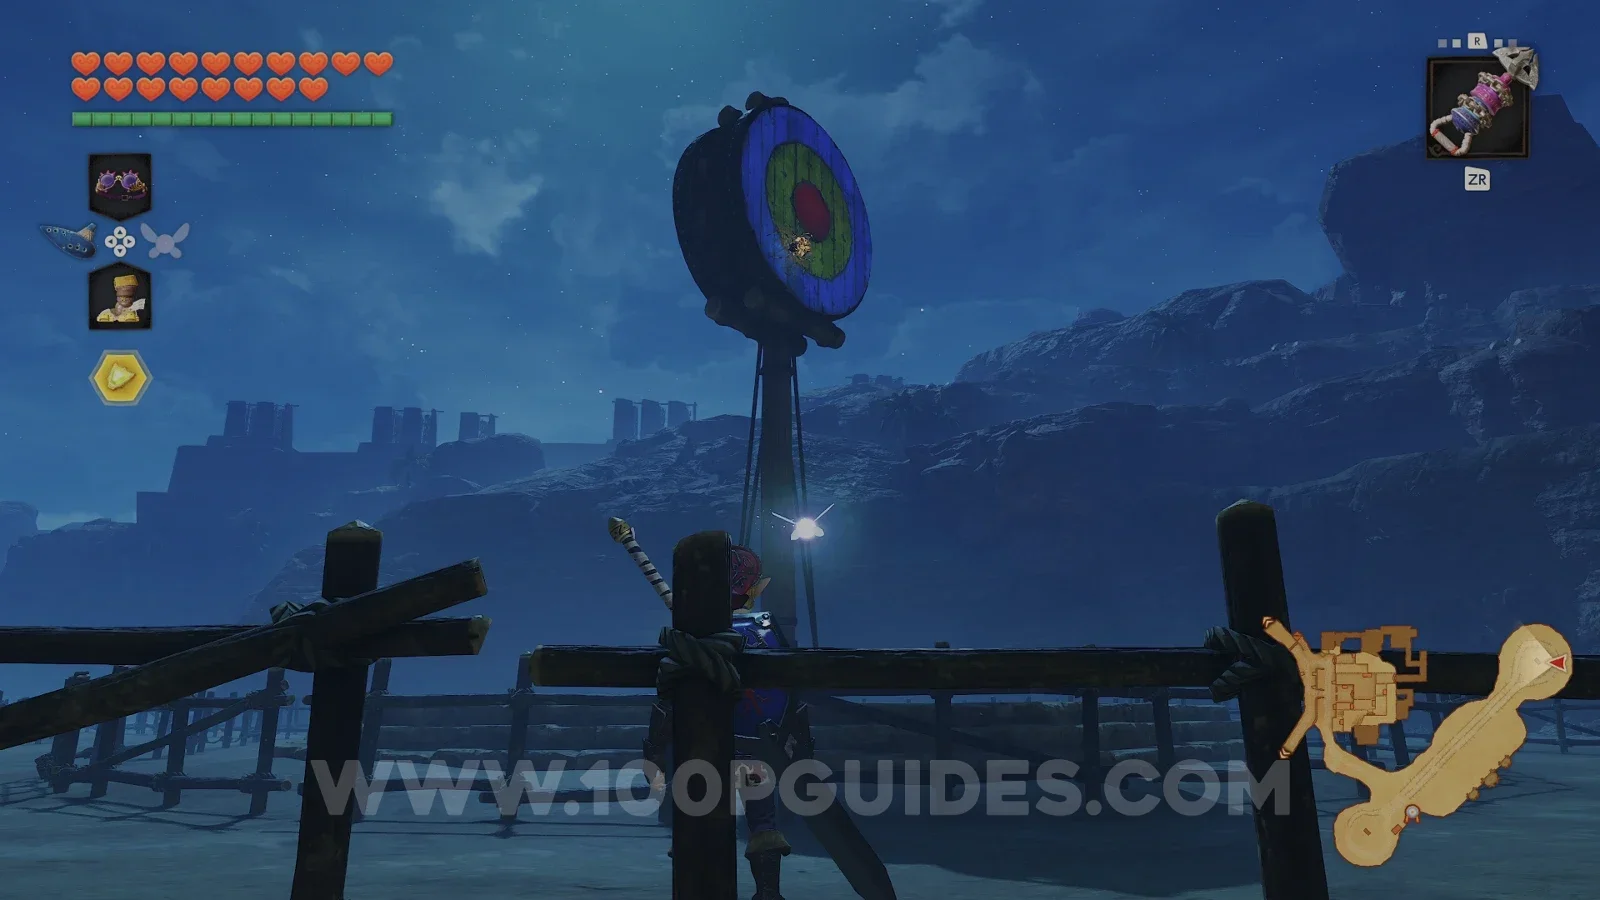
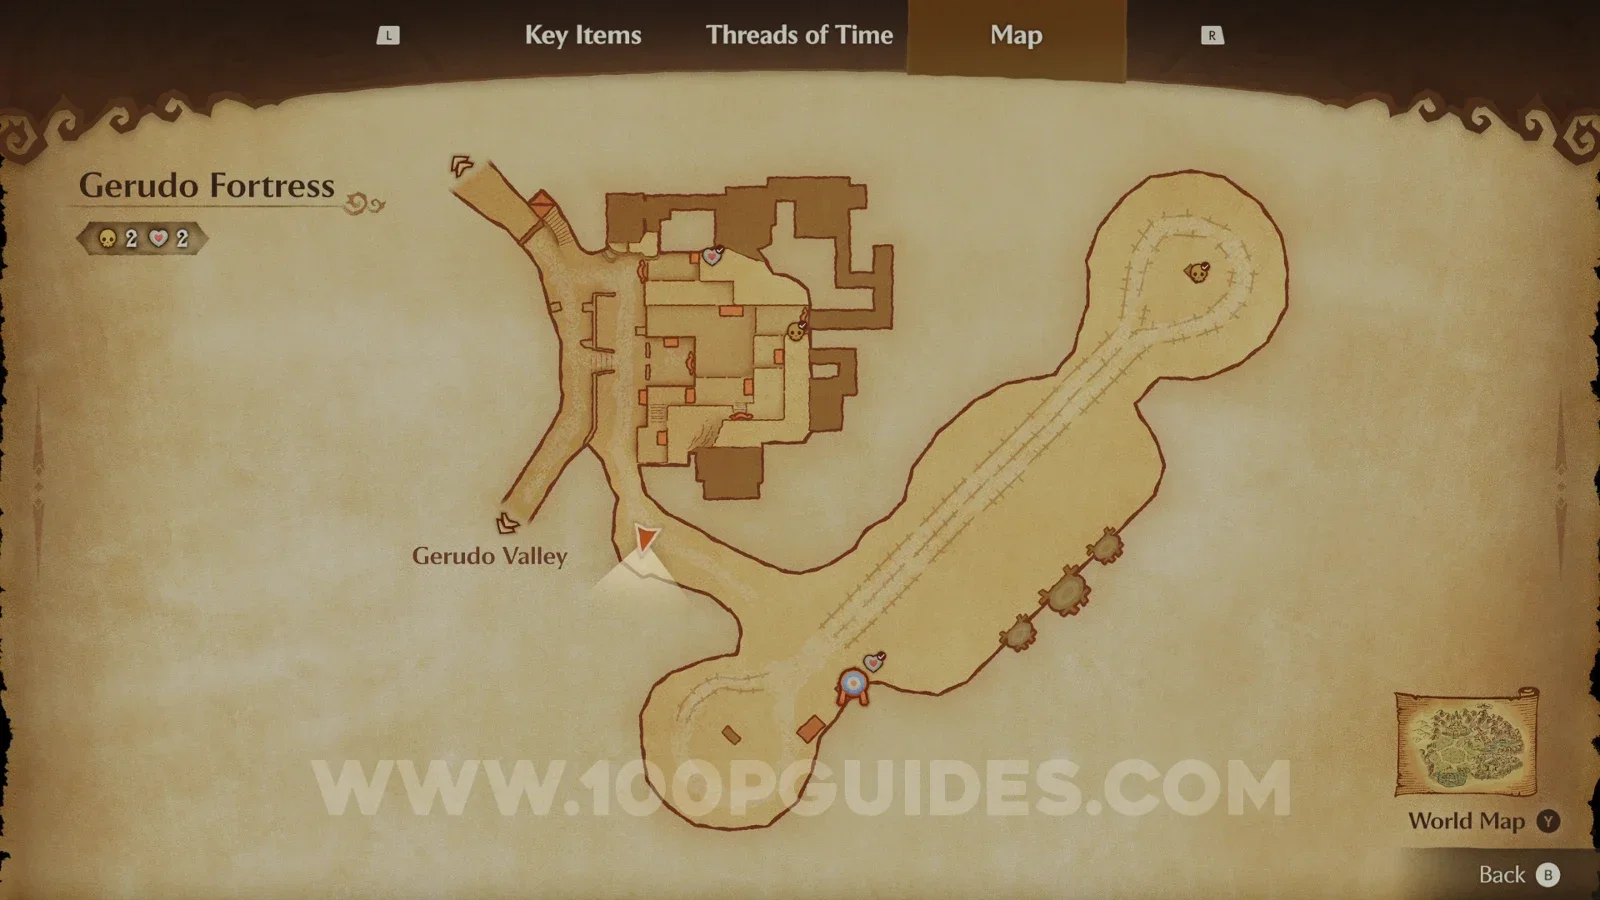
Stay on the range and play the Sun's Song to make it nighttime. You will find a Gold Skulltula (89/100) on the back of the large target at the end of the range.
Gerudo Proving Grounds
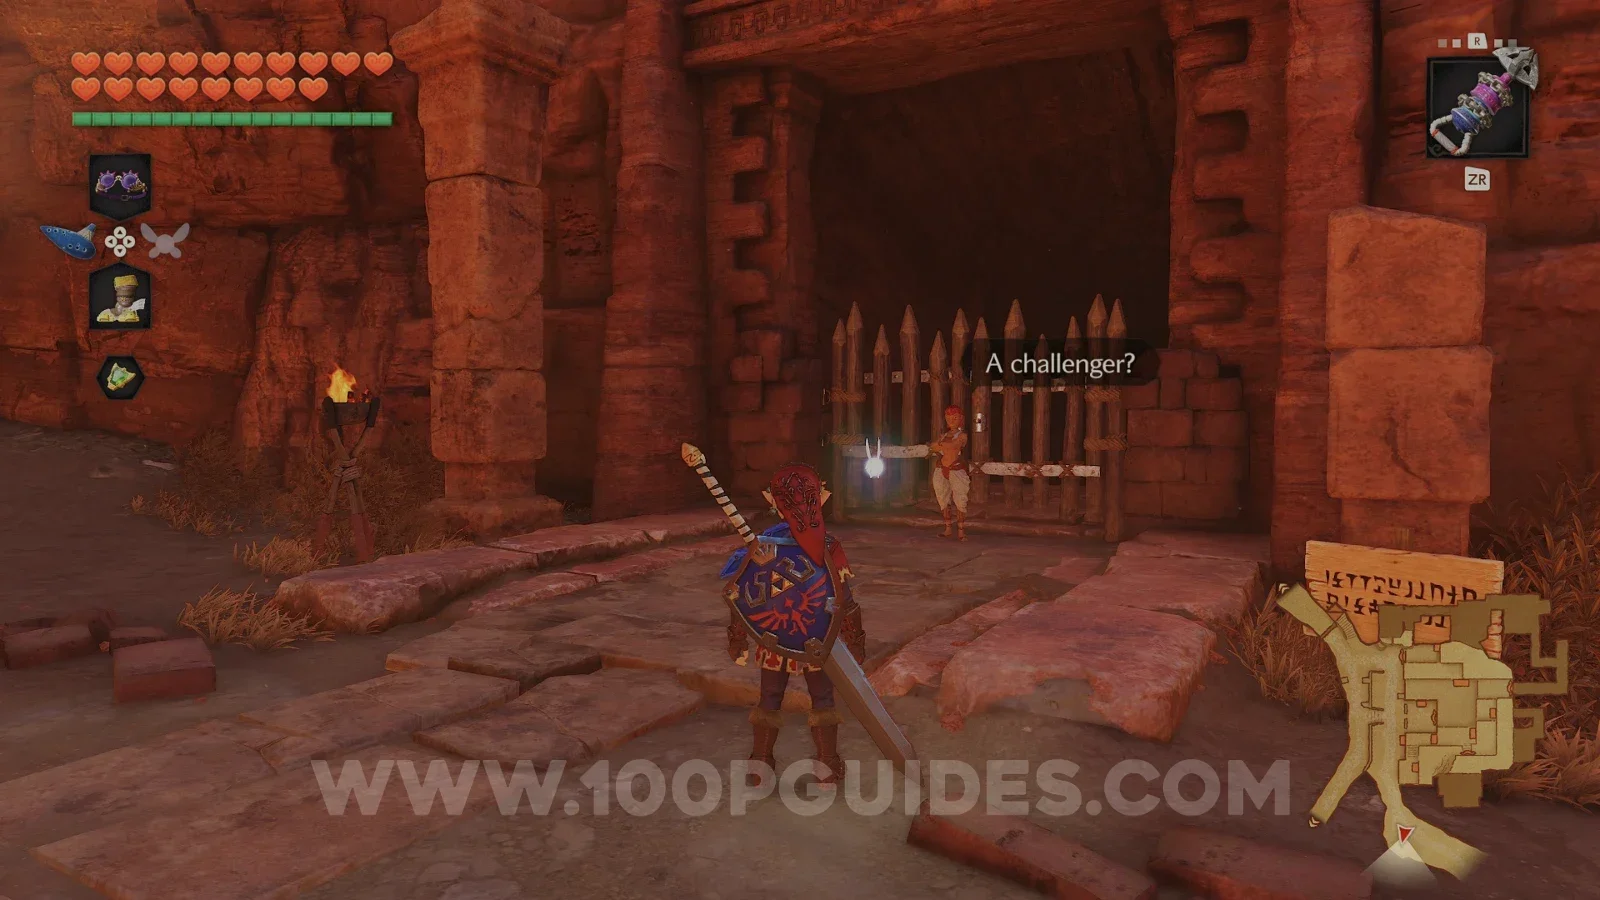
Next up is the Proving Grounds, the remake's version of the Gerudo Training Ground. Talk to the guard at the wooden gate and pay the 30 rupees to enter. If you leave, you can come back and carry on from the last room you reached.
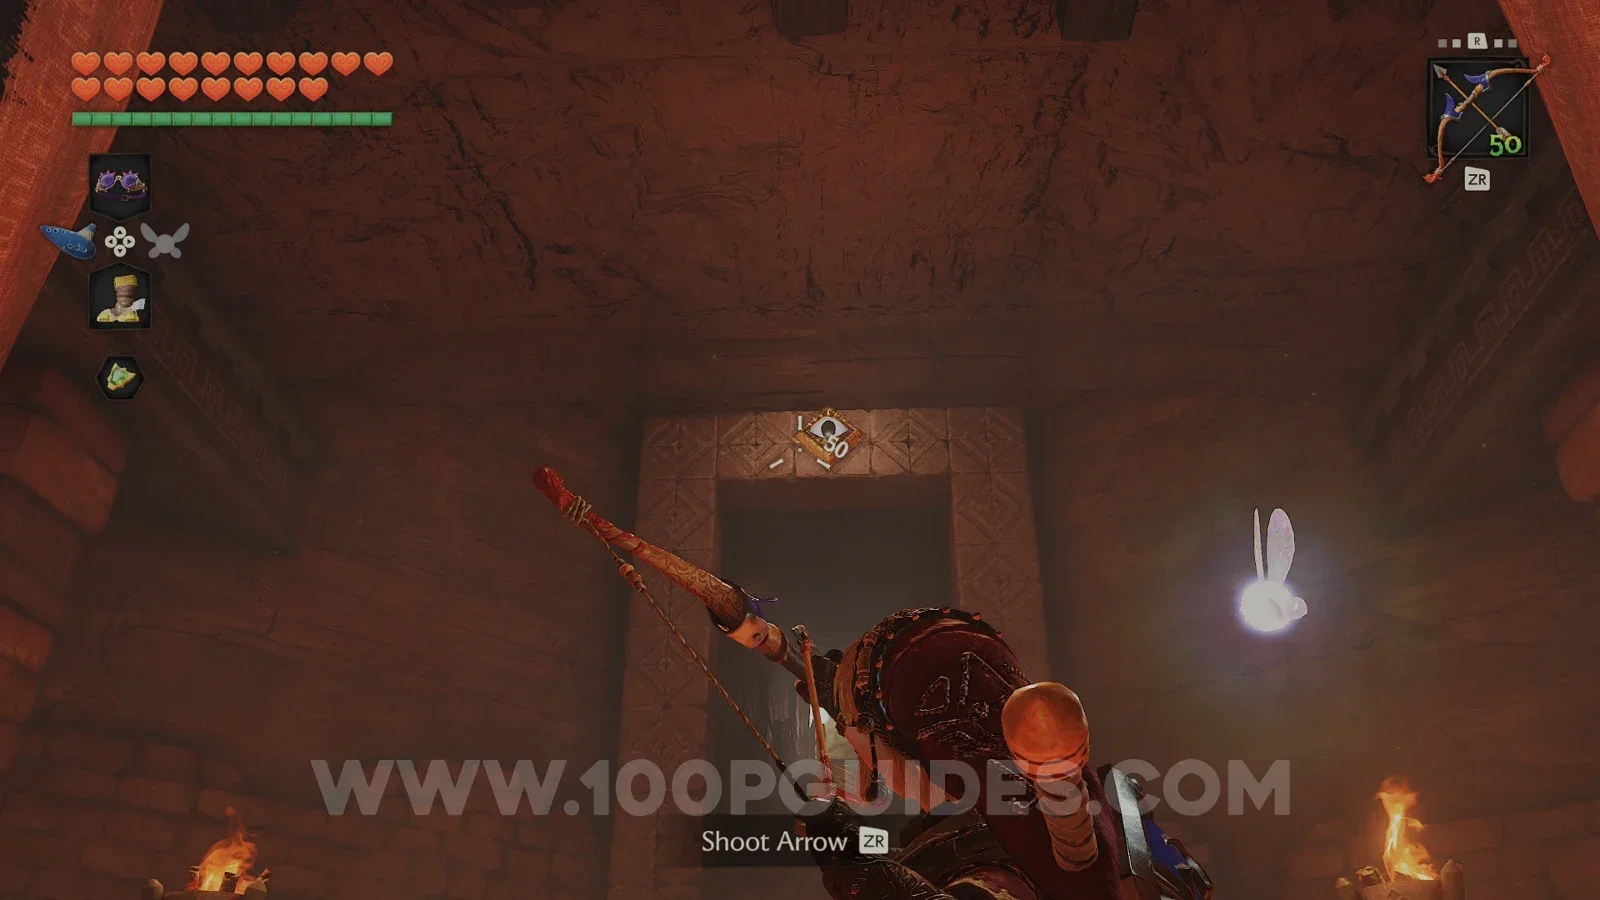
In the first room, turn around and shoot the eye above the door you just walked through to spawn a small chest with a blue rupee in it.
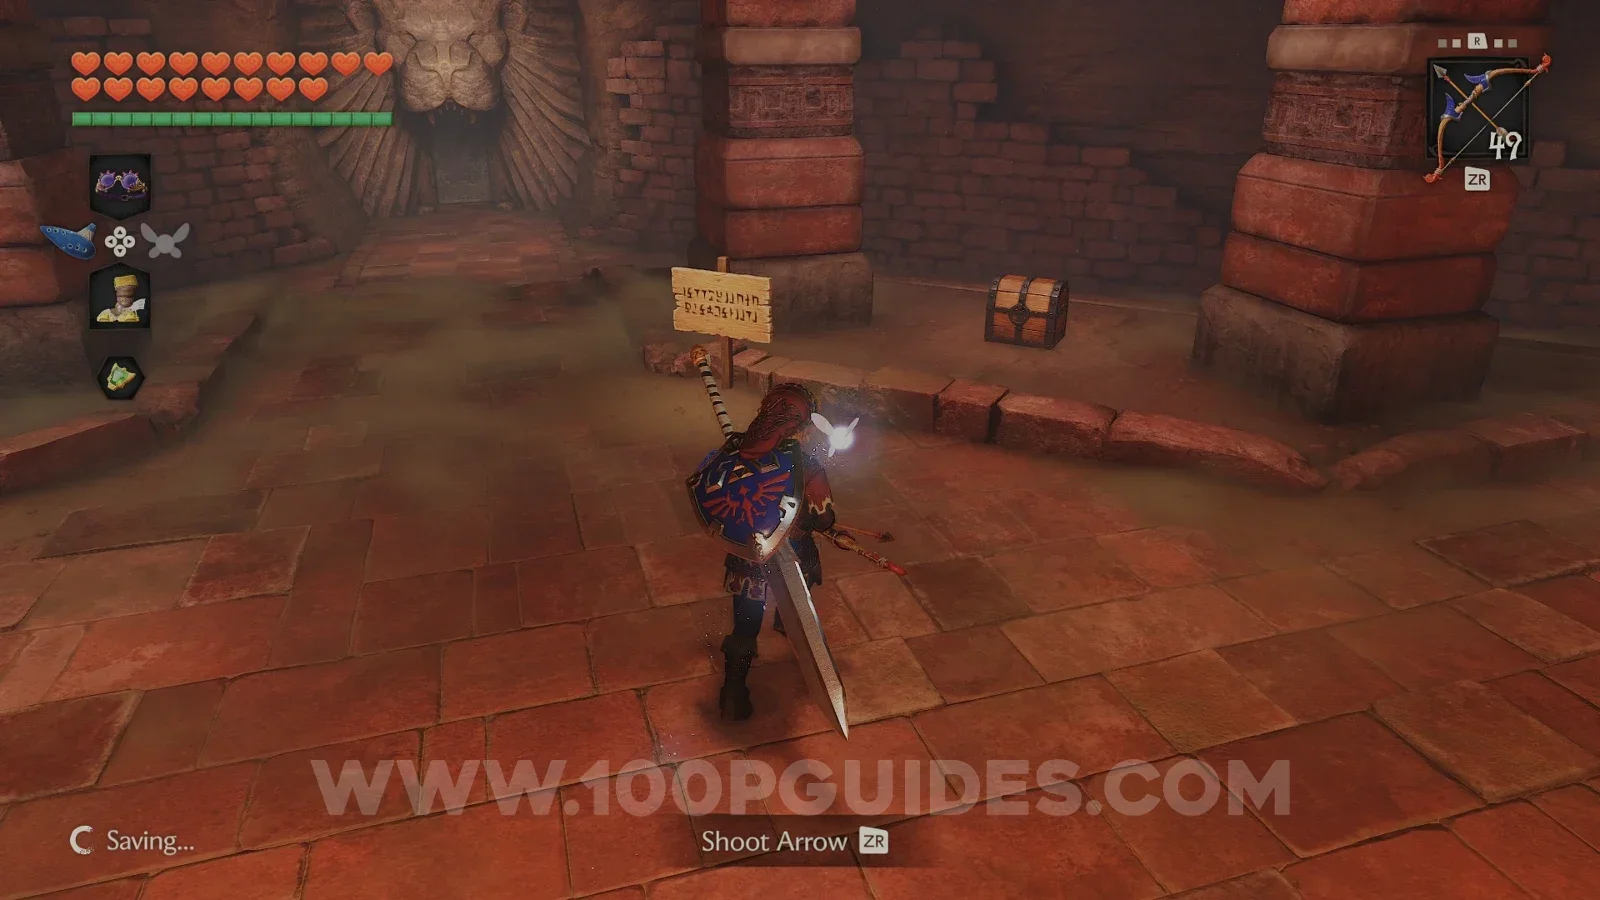
Next, head through the door to the right of the chest and defeat the enemies inside to get the first Small Key.
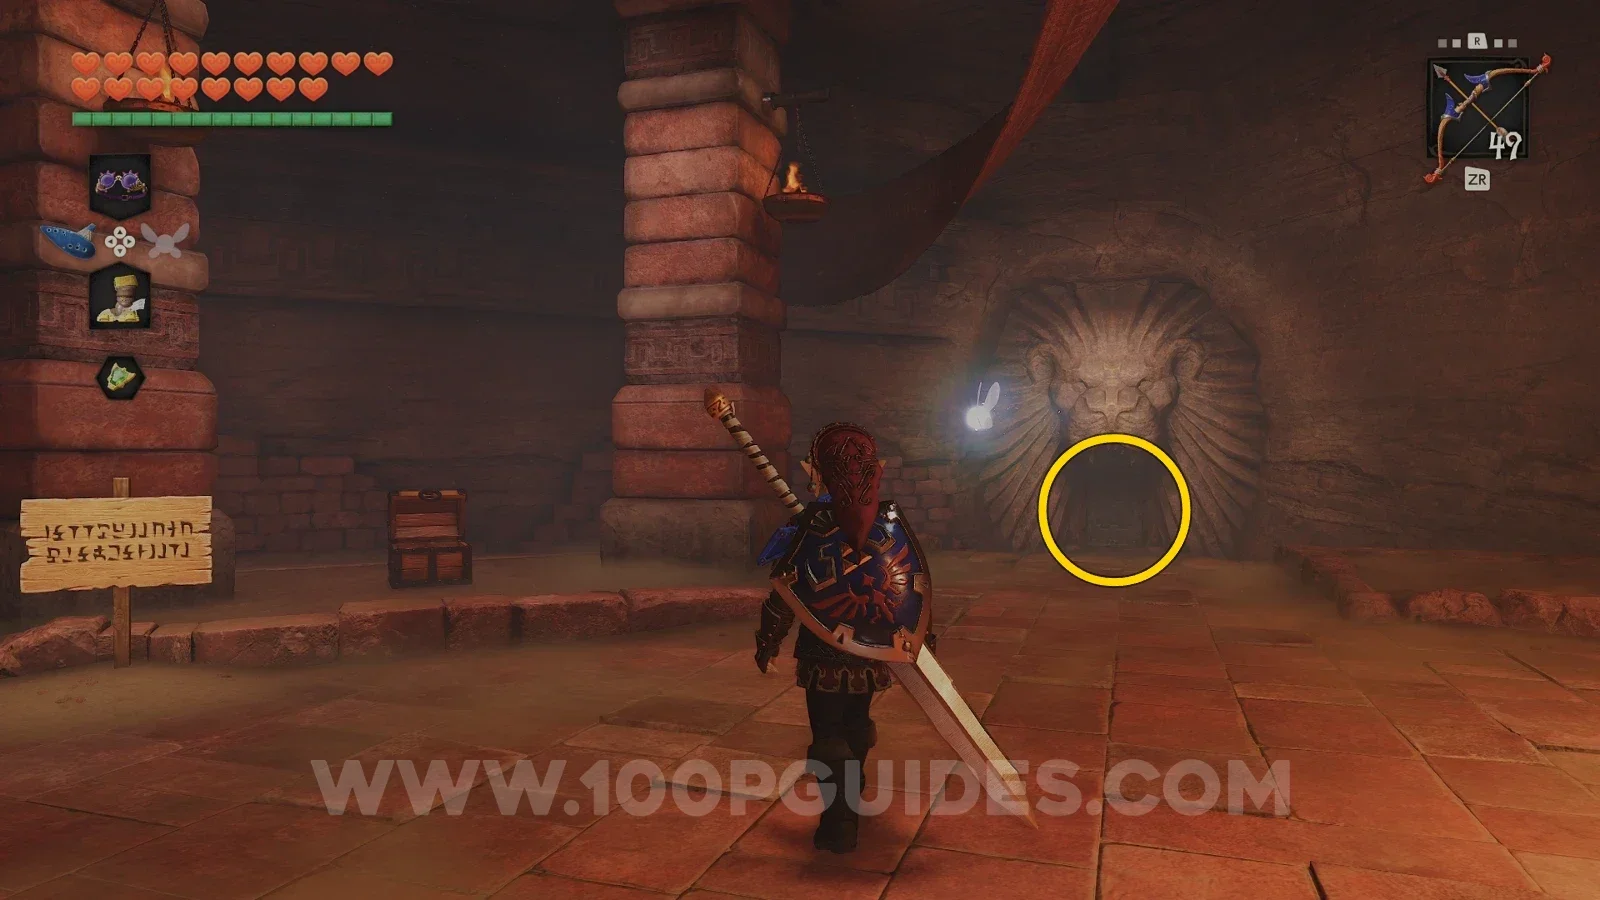
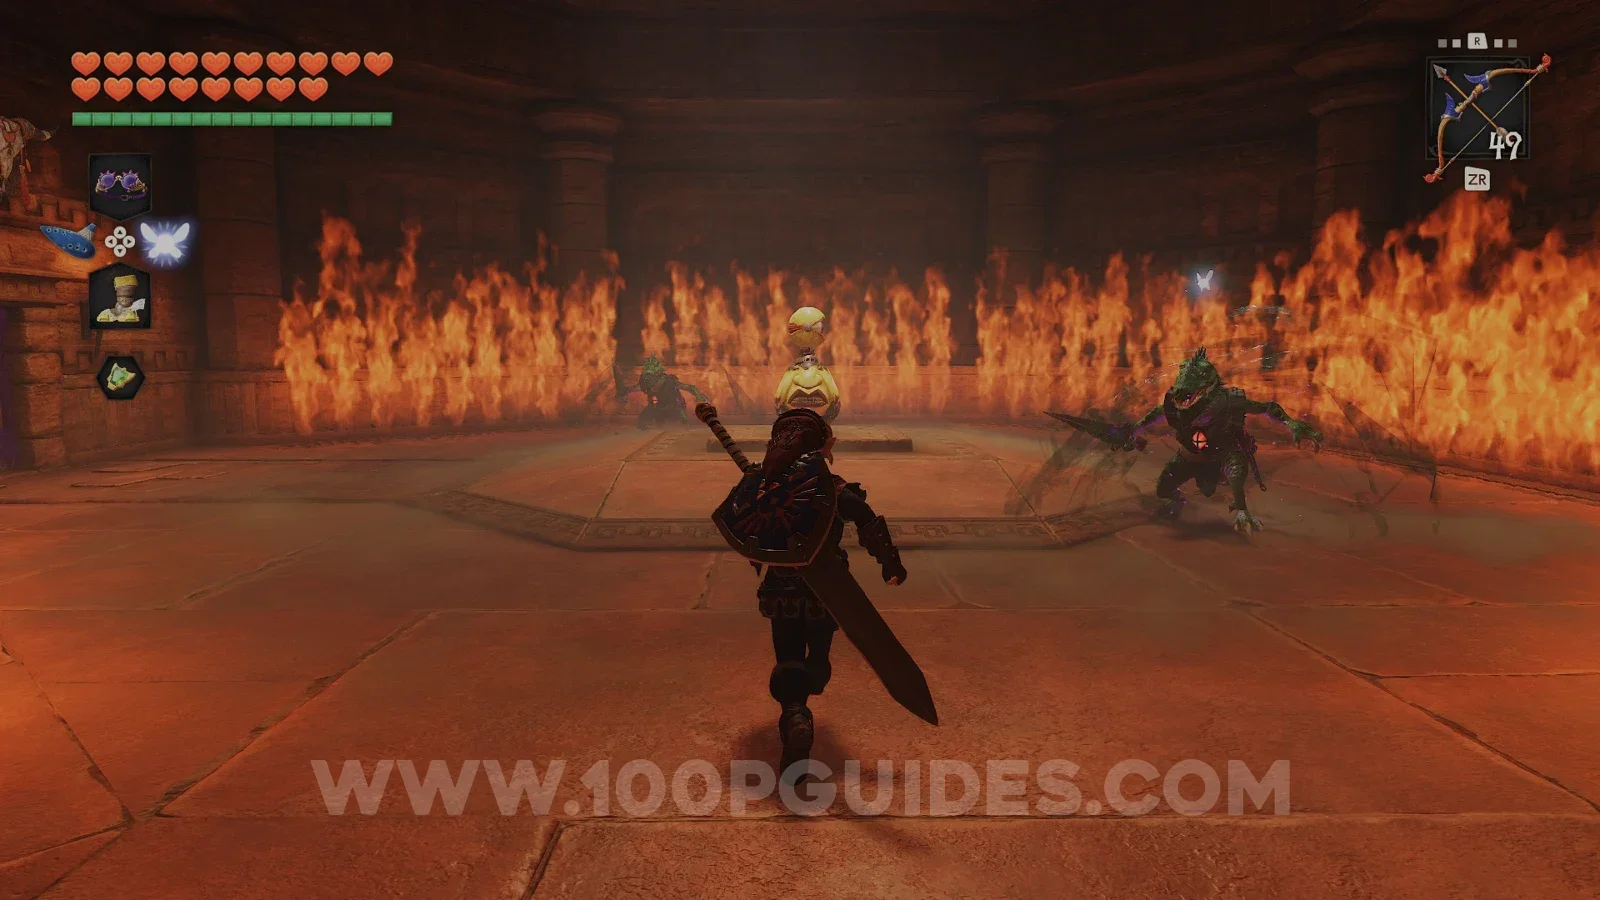
Head through the door behind the chest and make sure you are wearing the Goron Tunic so you don't take damage from the heat. Inside, you have to collect the 5 silver rupees around the room. First, jump to the first platform and play the Song of Time to make the blocks spawn. Then stand on the switch to the right to disable the fire. You can now collect the rupees with the help of the Hookshot and the Hover Boots. Then head through the door that opens once you have the rupees (the one on the opposite side to where the blocks spawned).
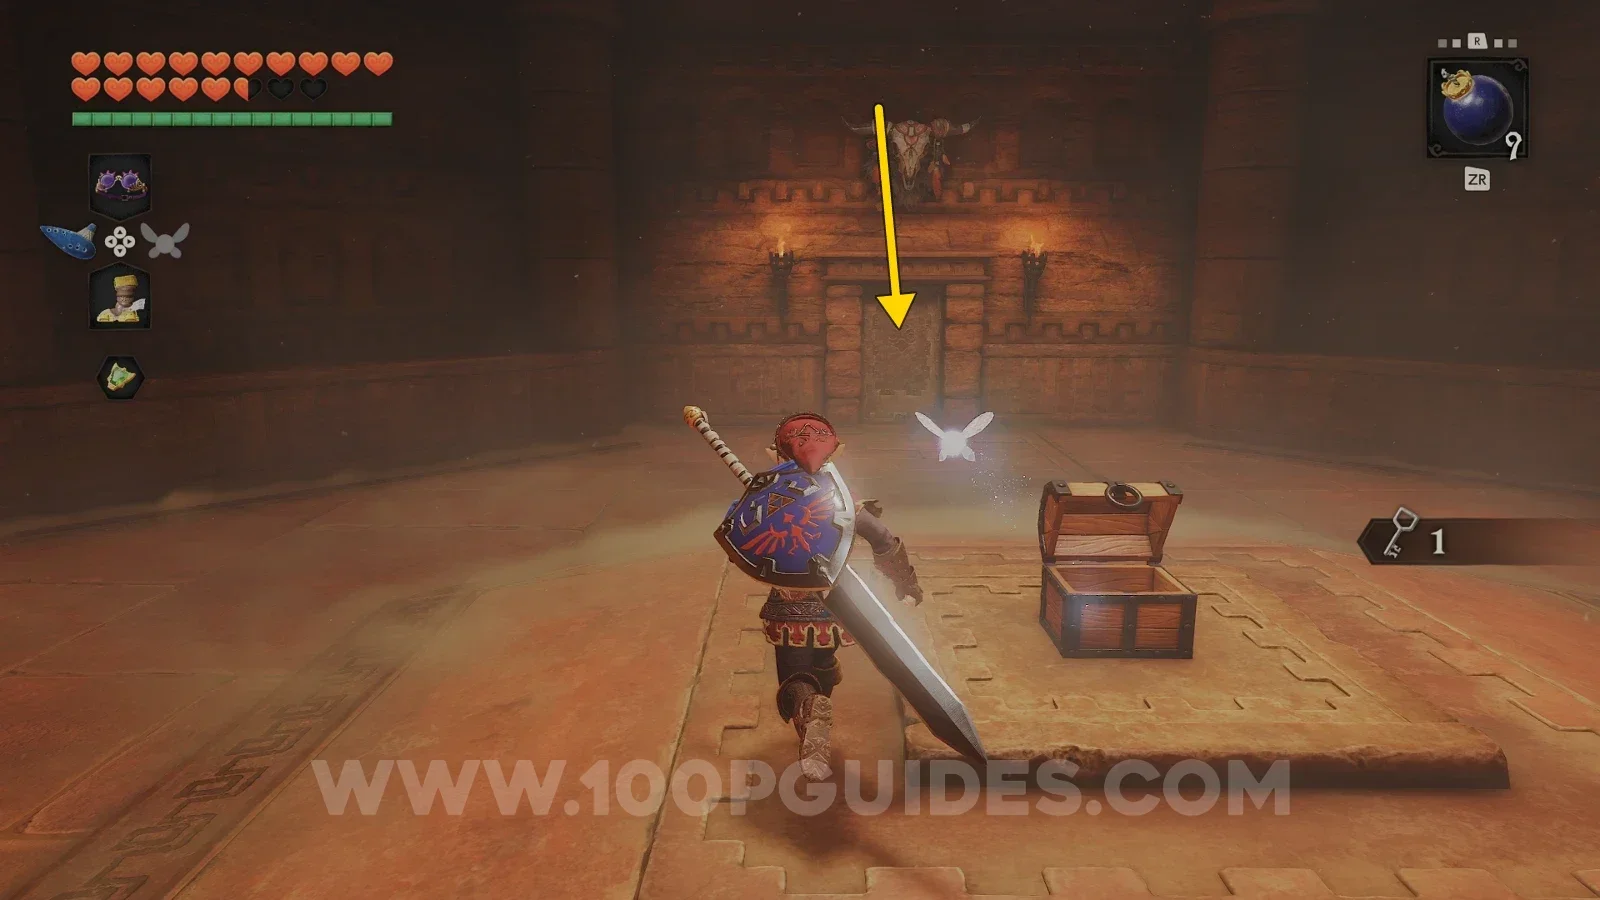
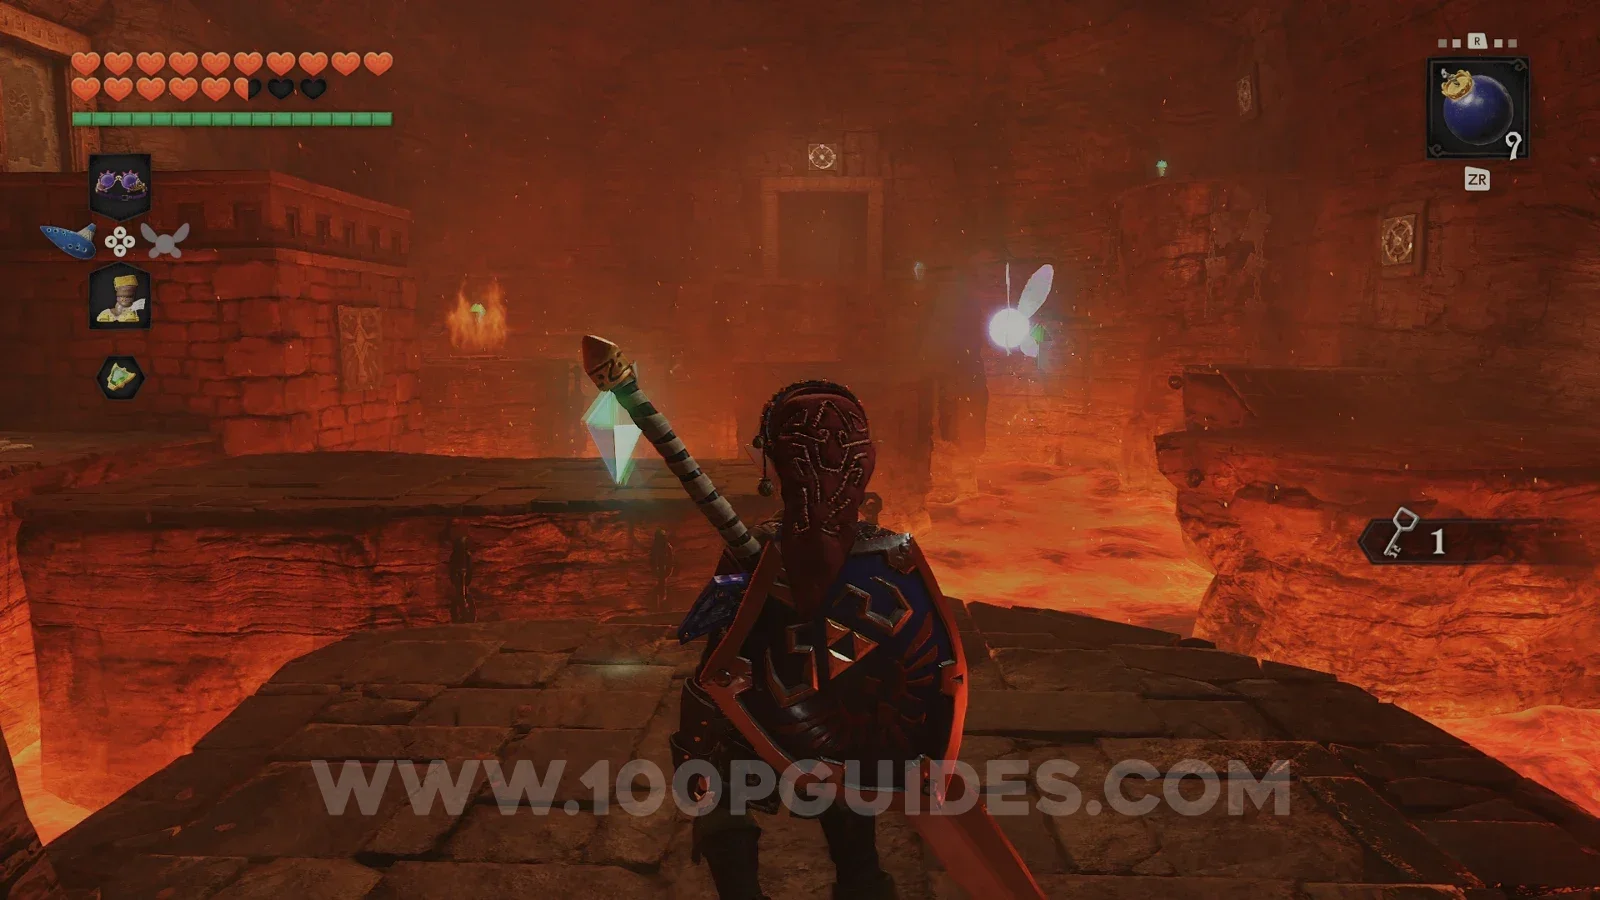
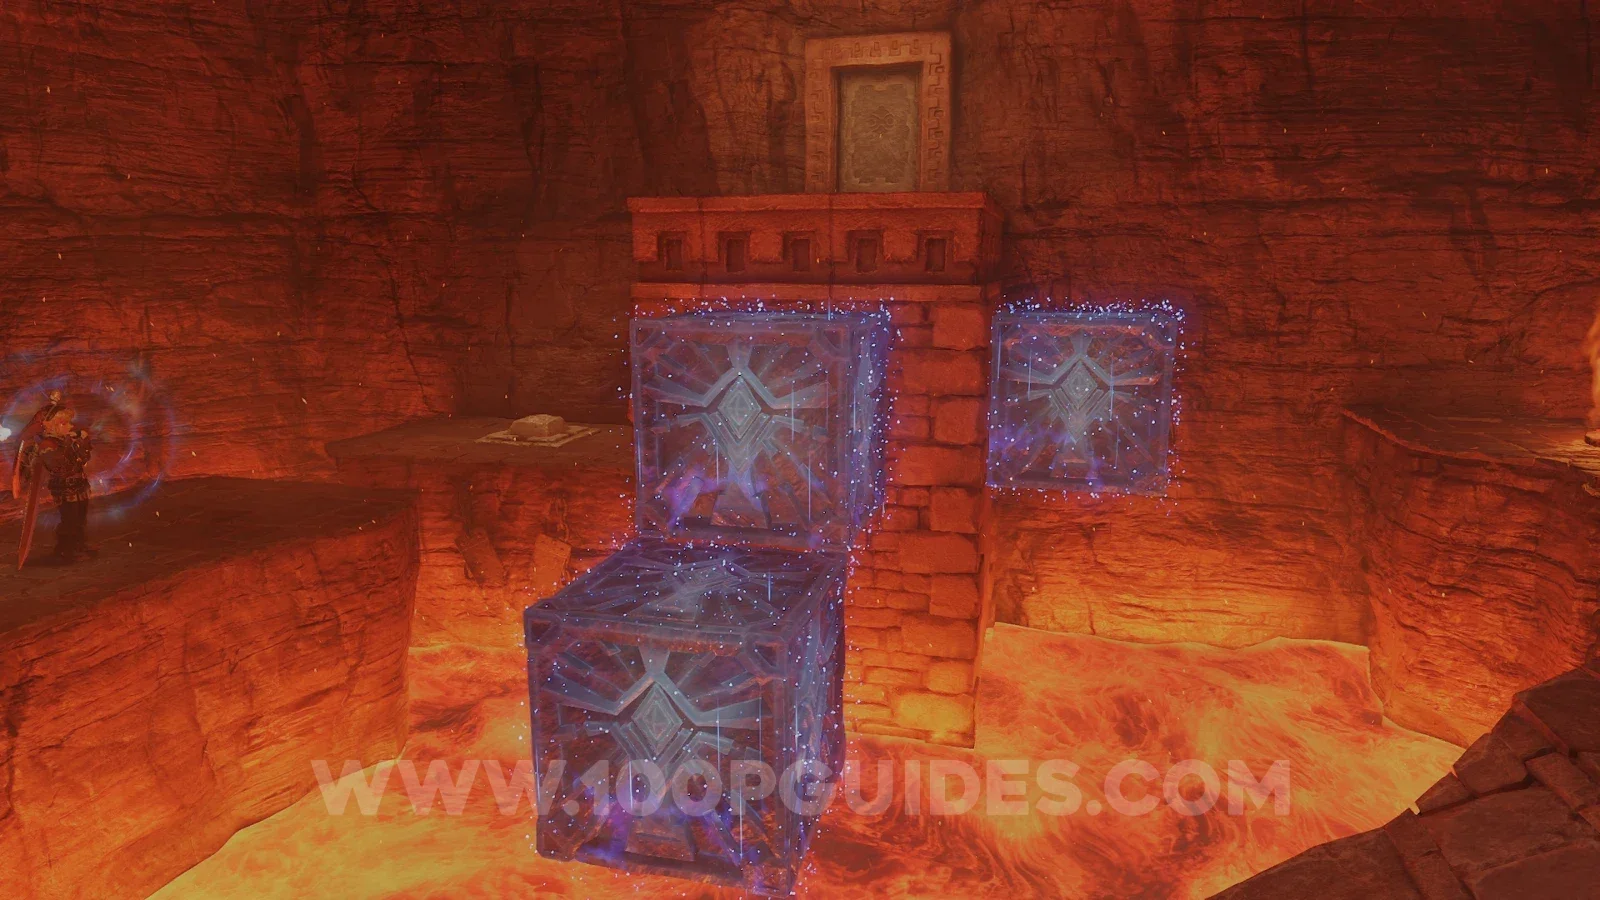
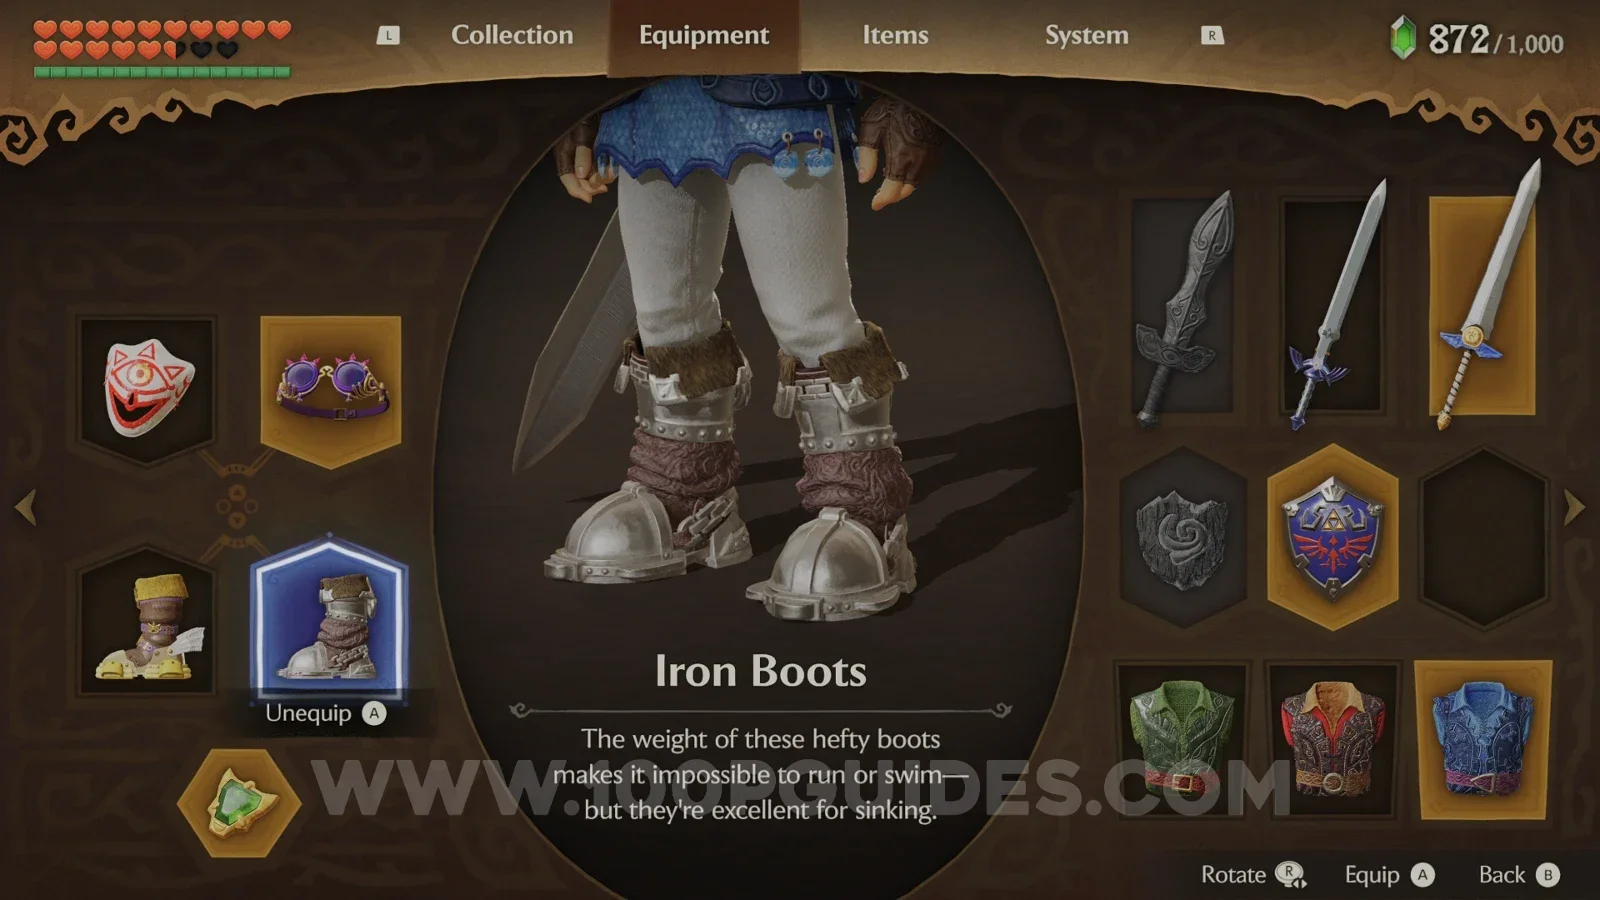
In the next room, equip the Zora Tunic and the Iron Boots, then play the Song of Time to make the blocks disappear. Dive down and collect the 5 silver rupees to open the door at the top, where you can find another Small Key.
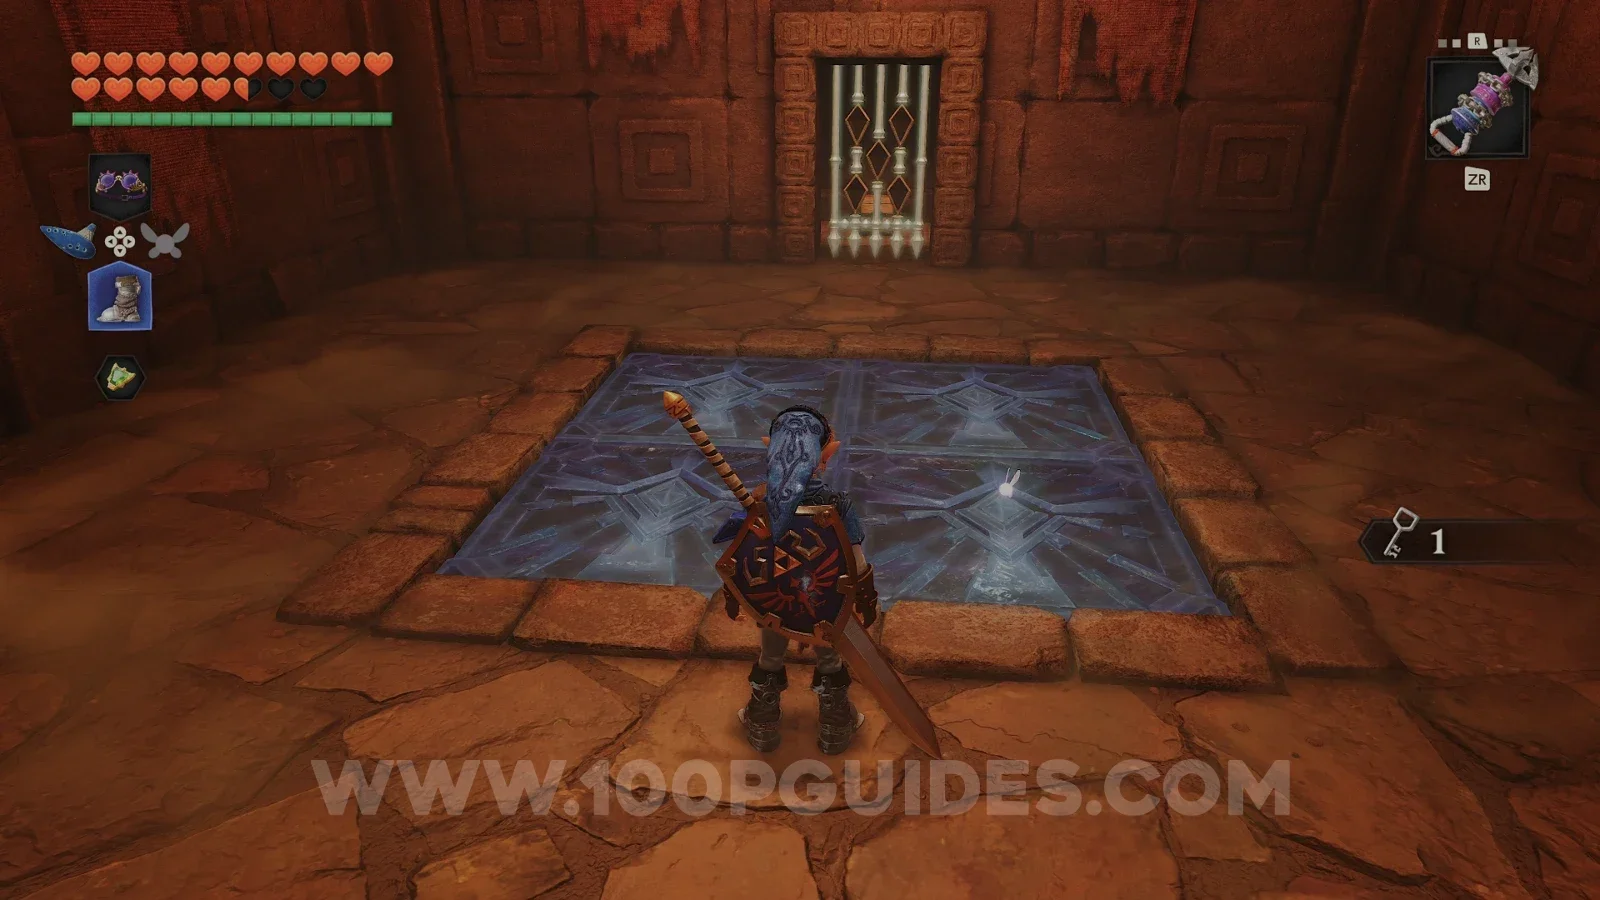
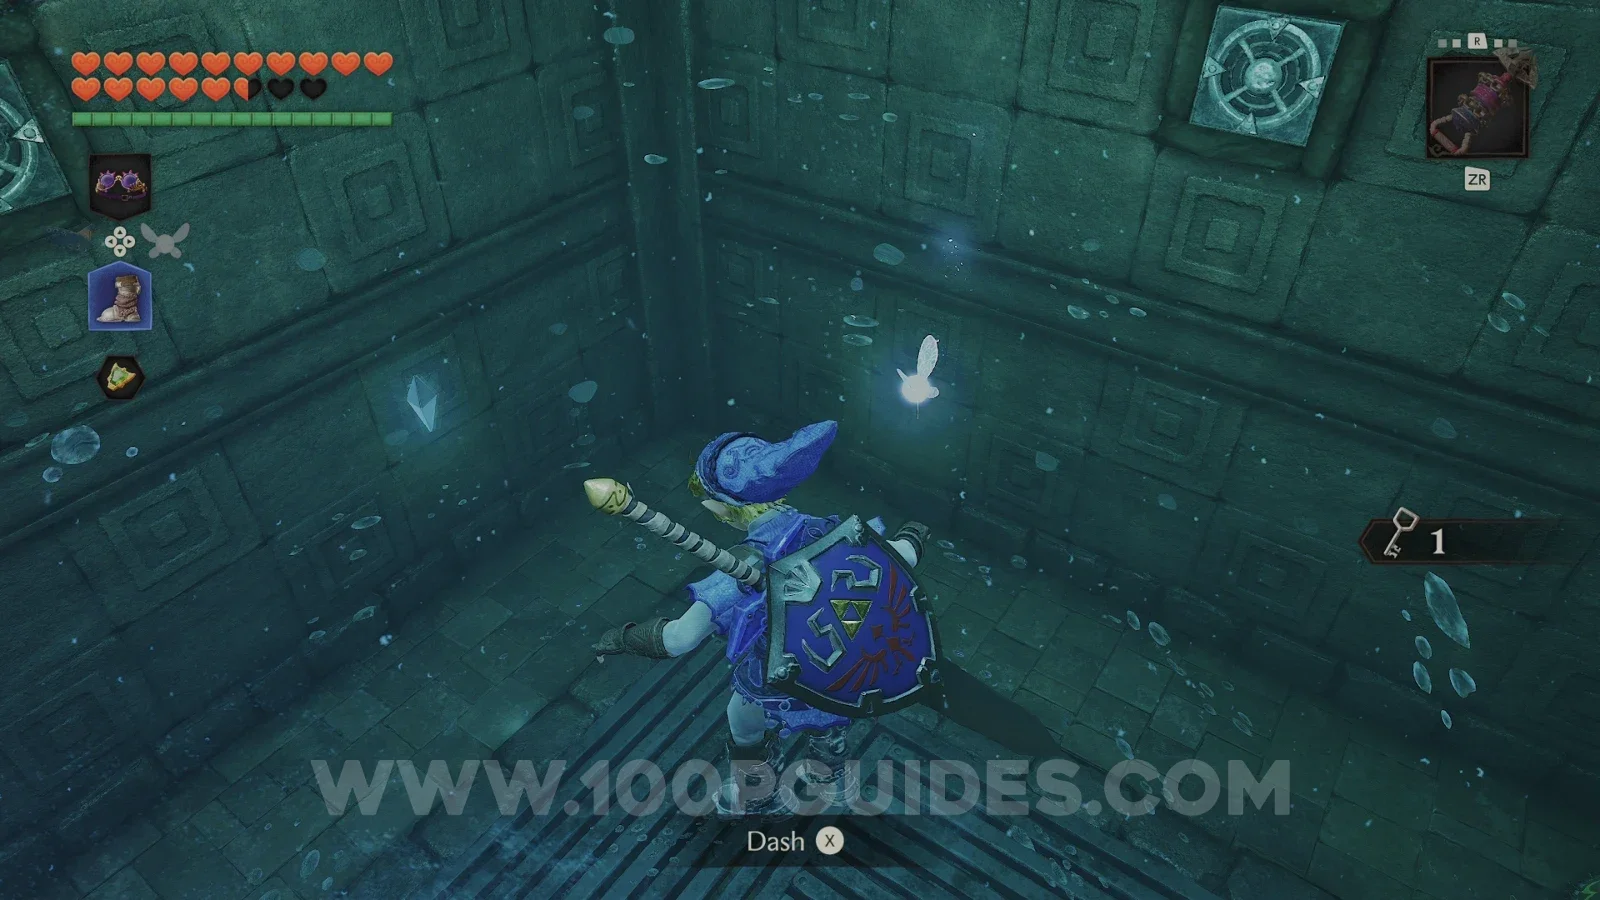
Return to the previous room and go through the door on the opposite side (the one above the blocks). Inside, open the chest to get another Small Key, then open the chest at the back to get some Bombchus and the chest to the right to get some arrows.
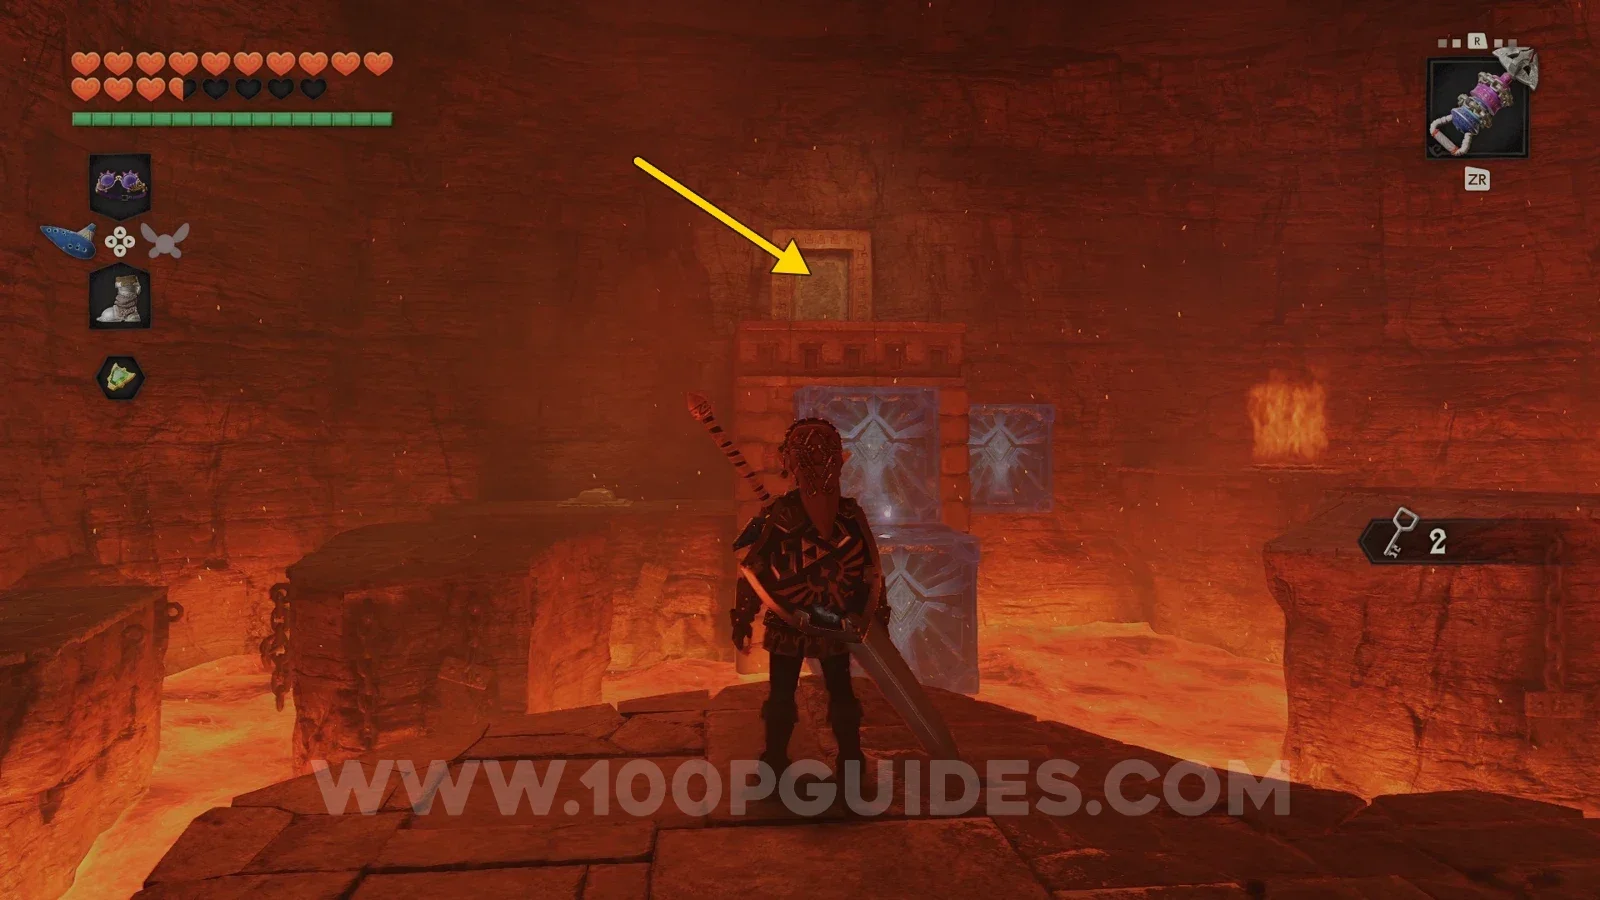
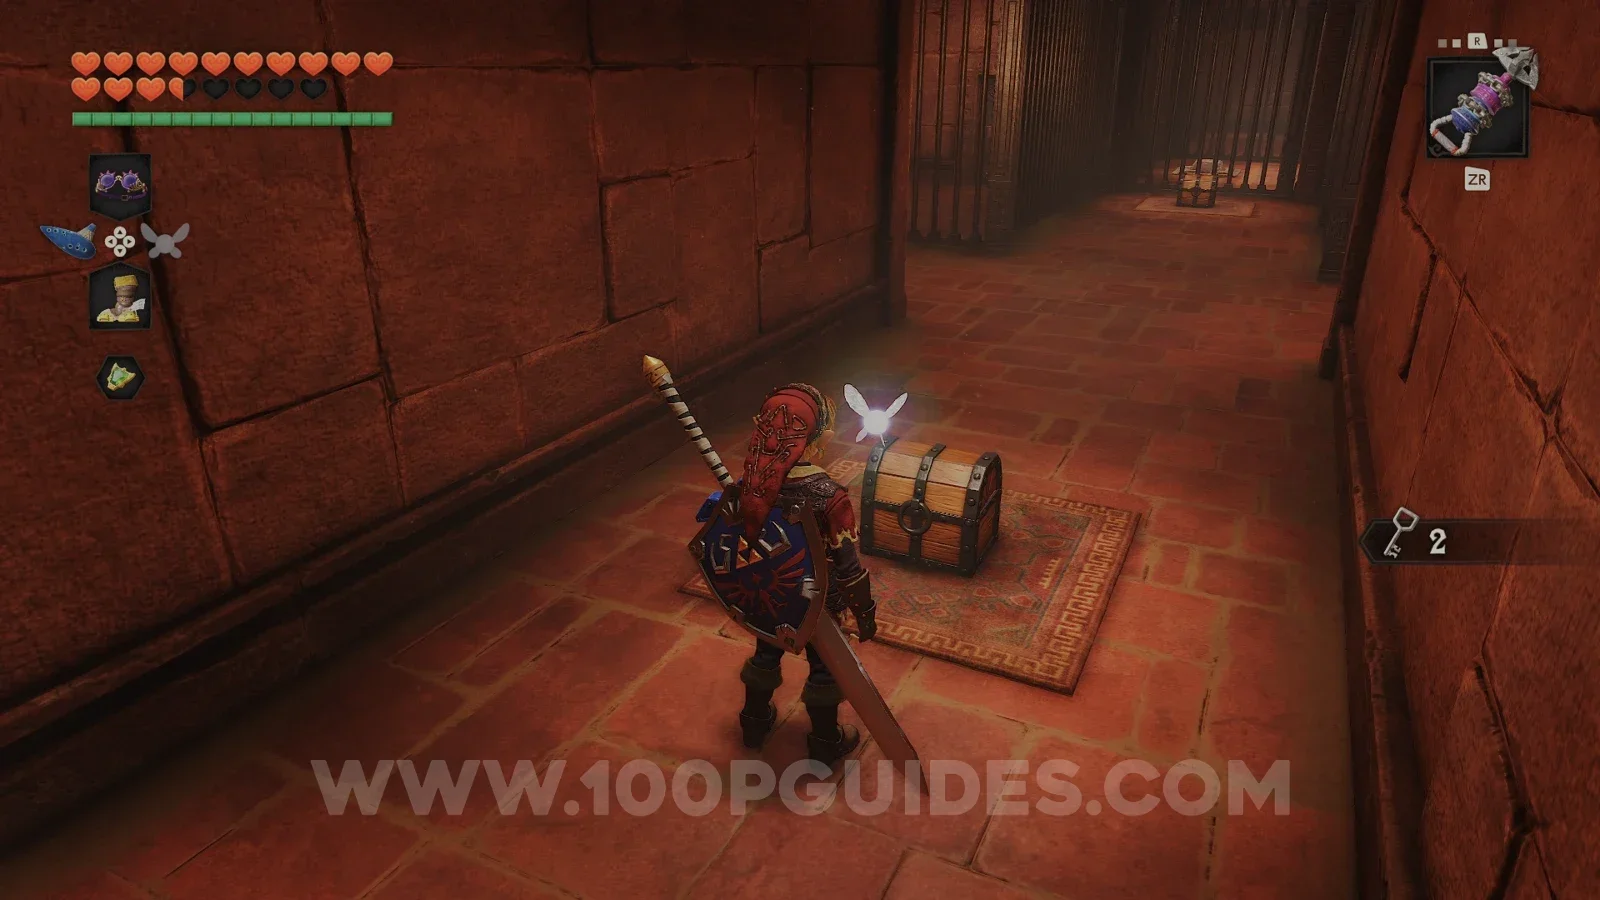
Next, return to the fire room and head through the door on your left. Inside, defeat the enemies, destroy the blocks with the Megaton Hammer, then press the switch and hit the eye. Then open the chests. One has some arrows and the other has another Small Key.
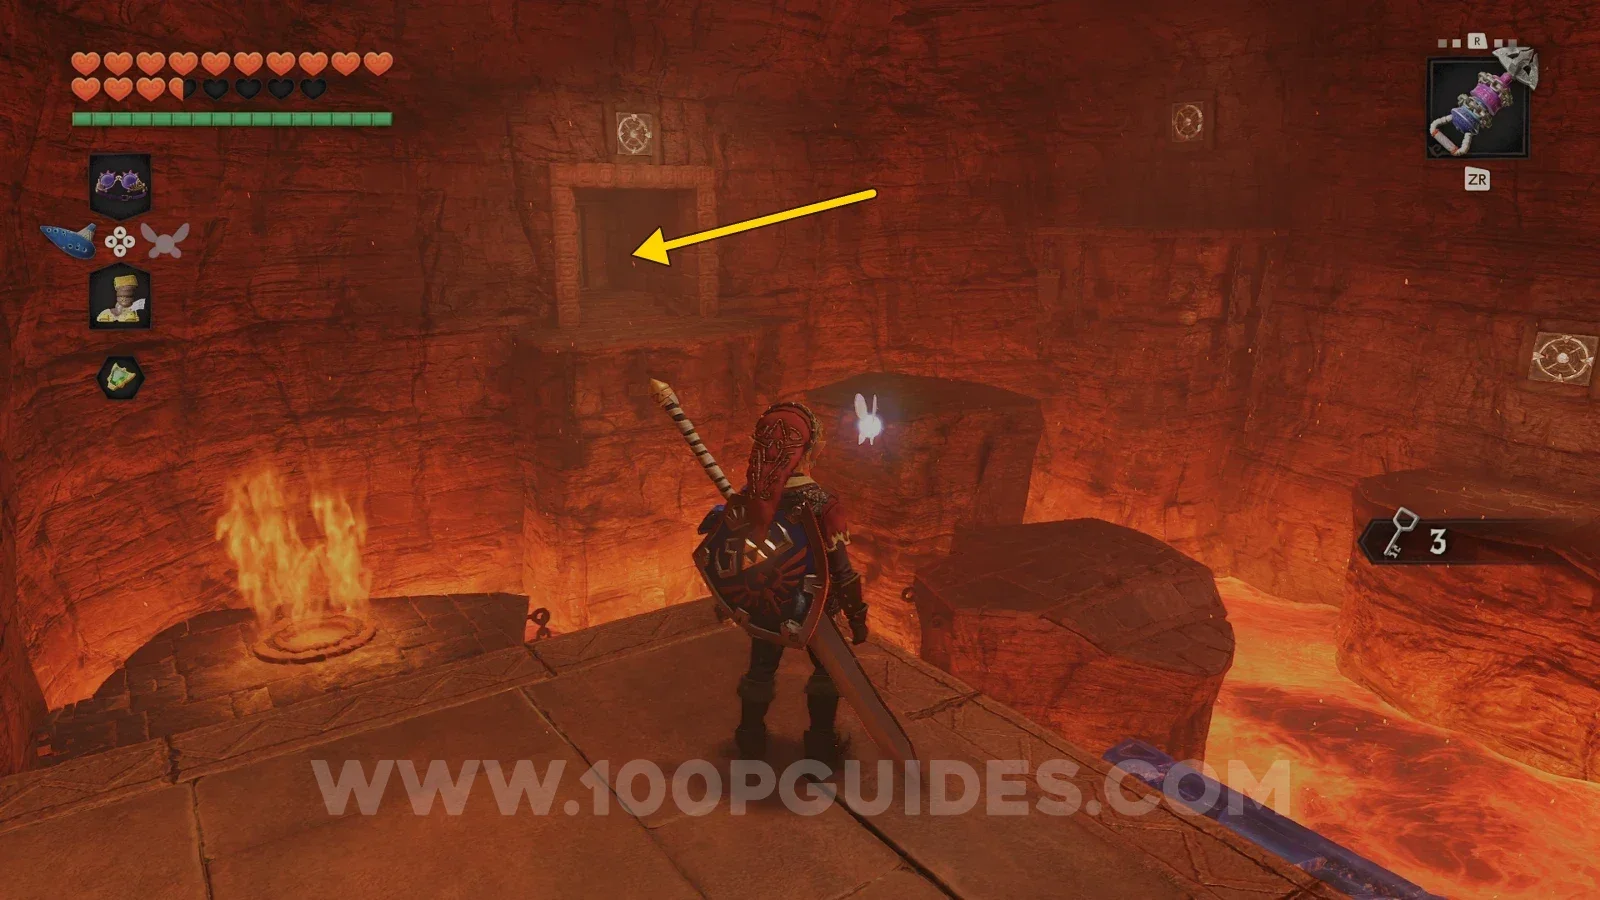
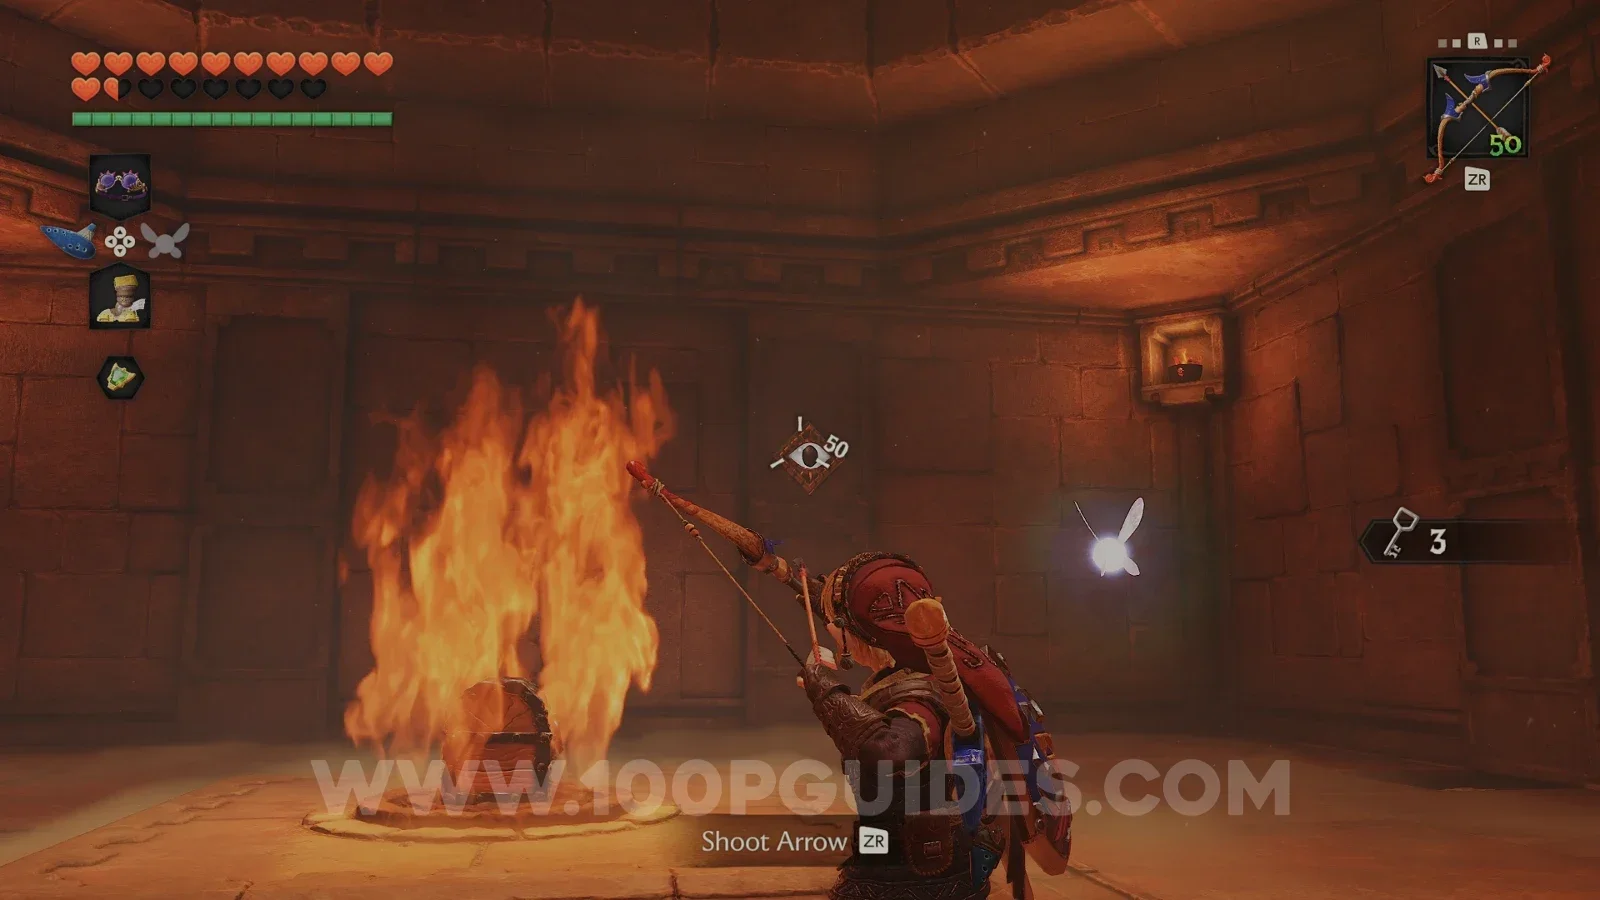
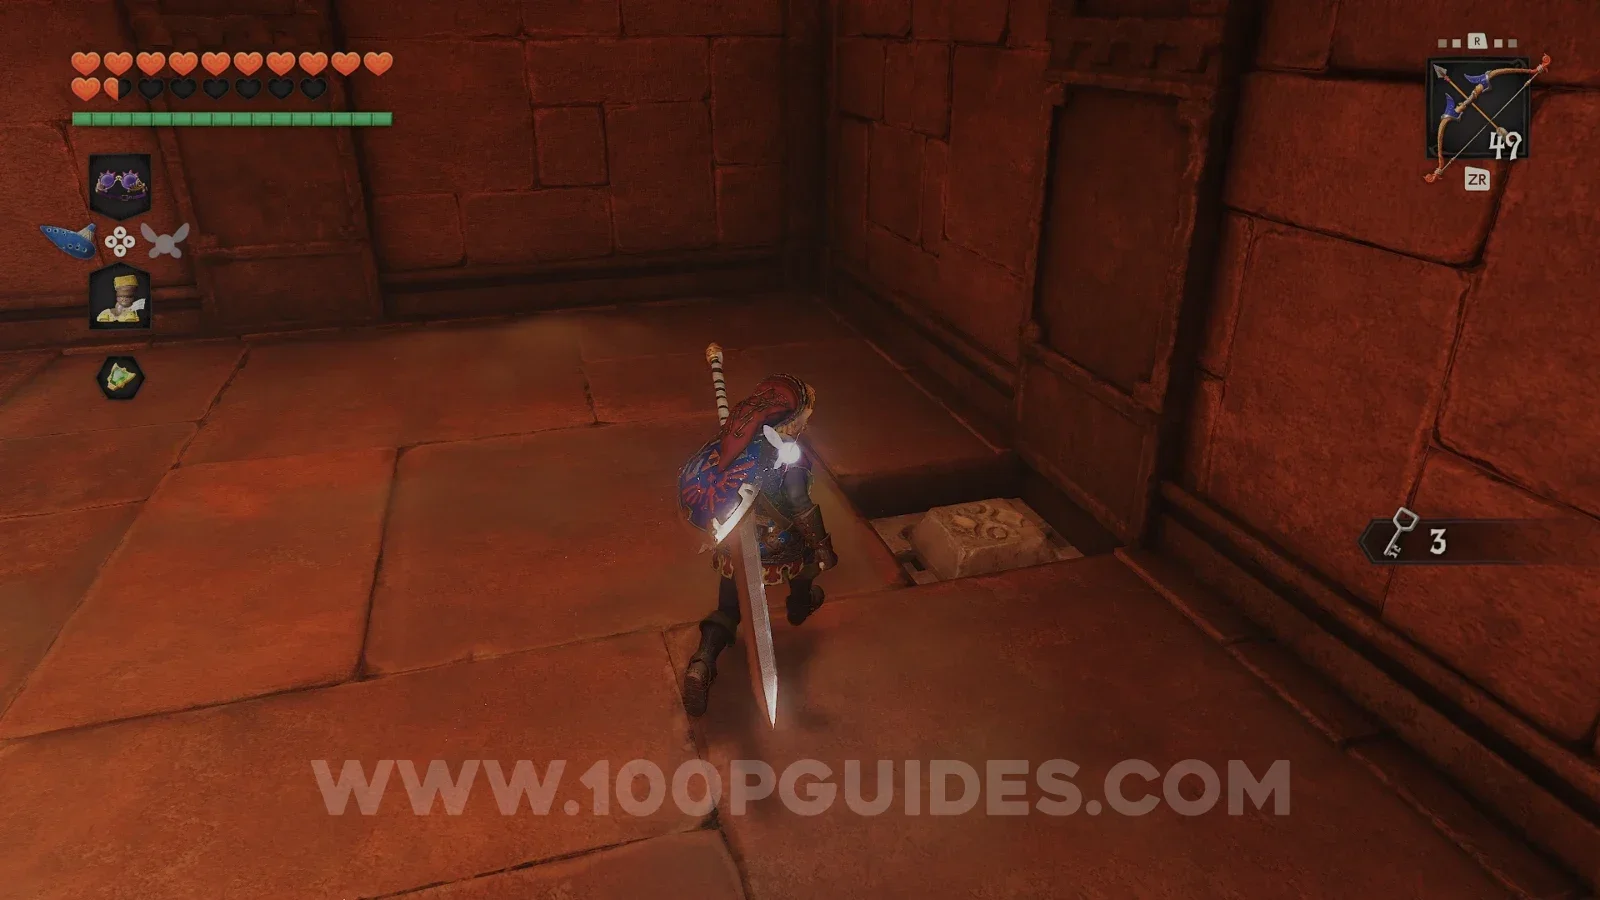
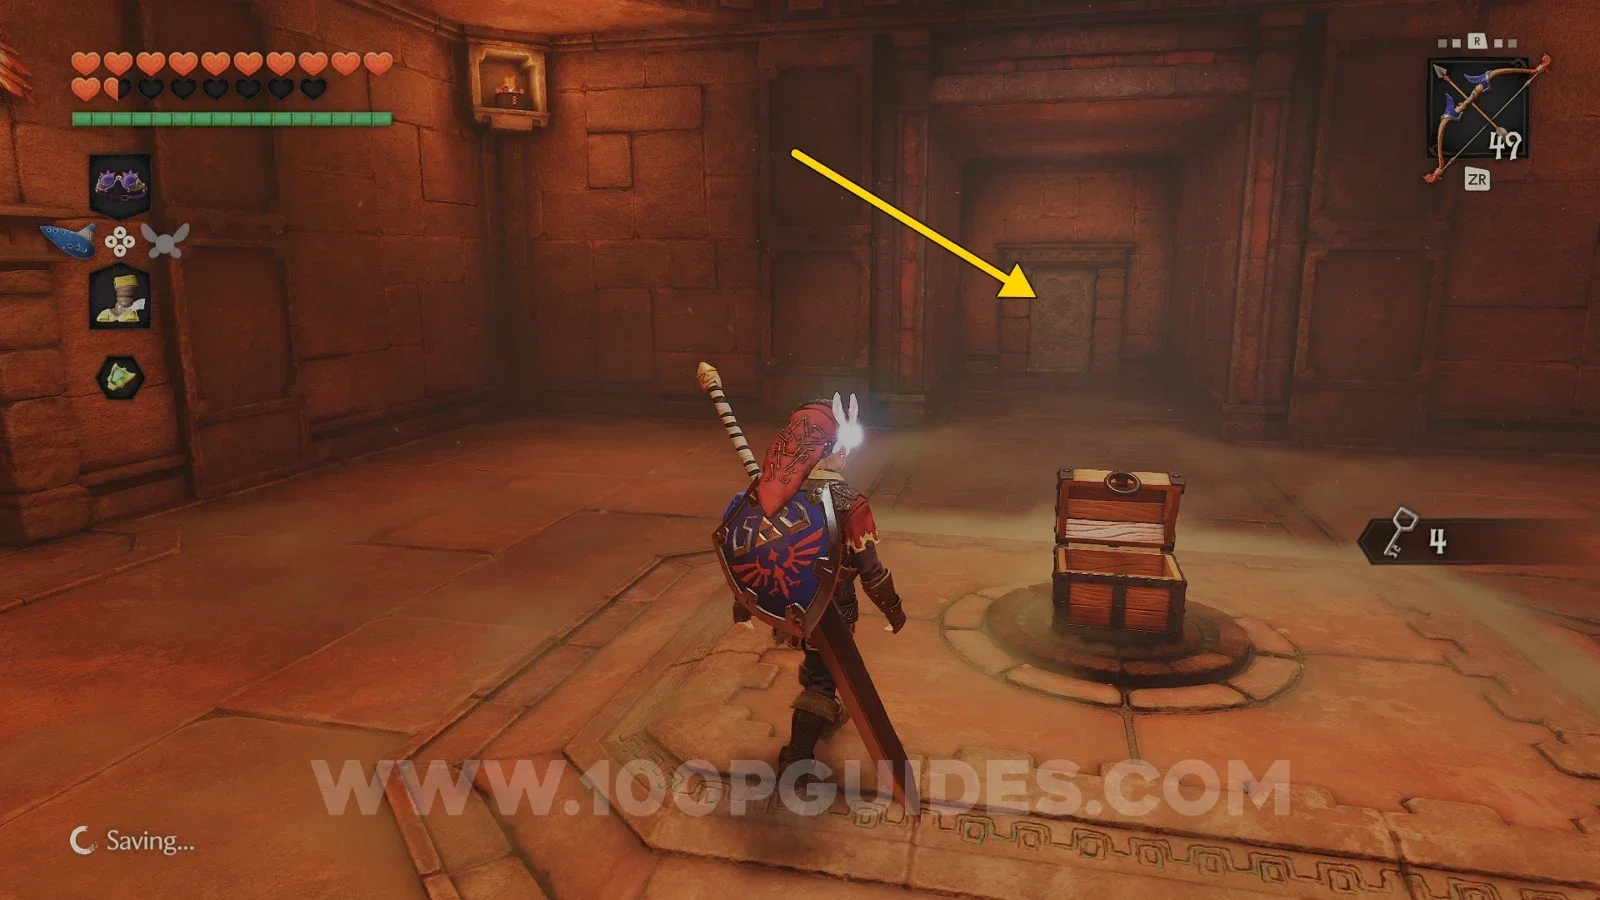
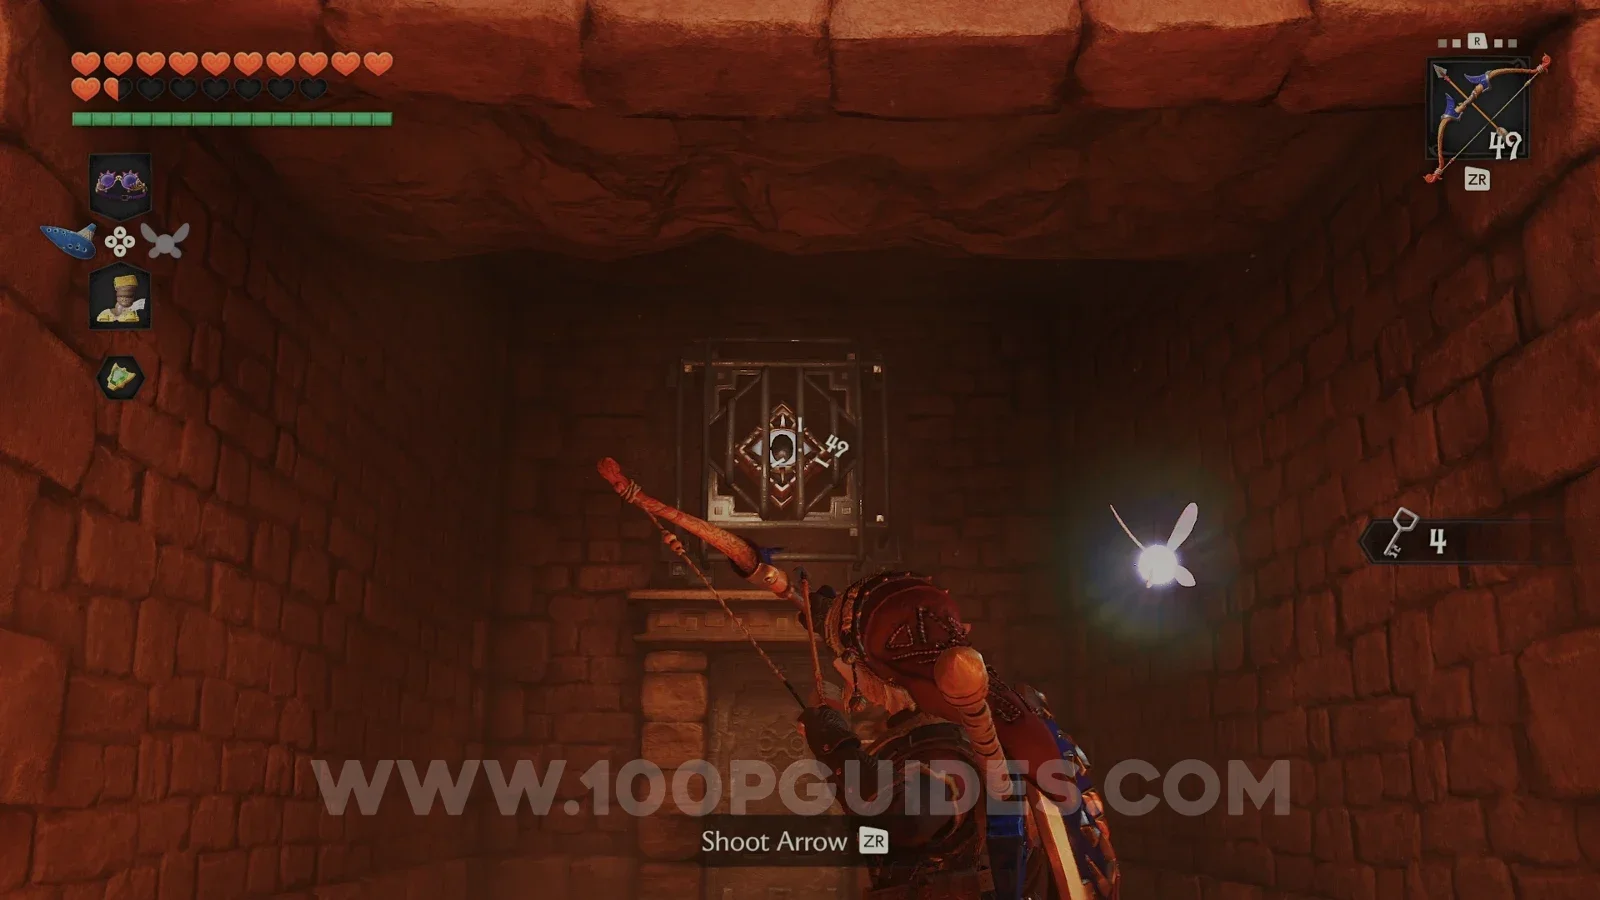
Now head through the door behind the chest in the middle (the one that opened with the eye) and, as soon as you enter the next room, turn around and shoot the eye above the door. Then shoot every eye on the structure in the middle. This makes a chest spawn with another Small Key in it.
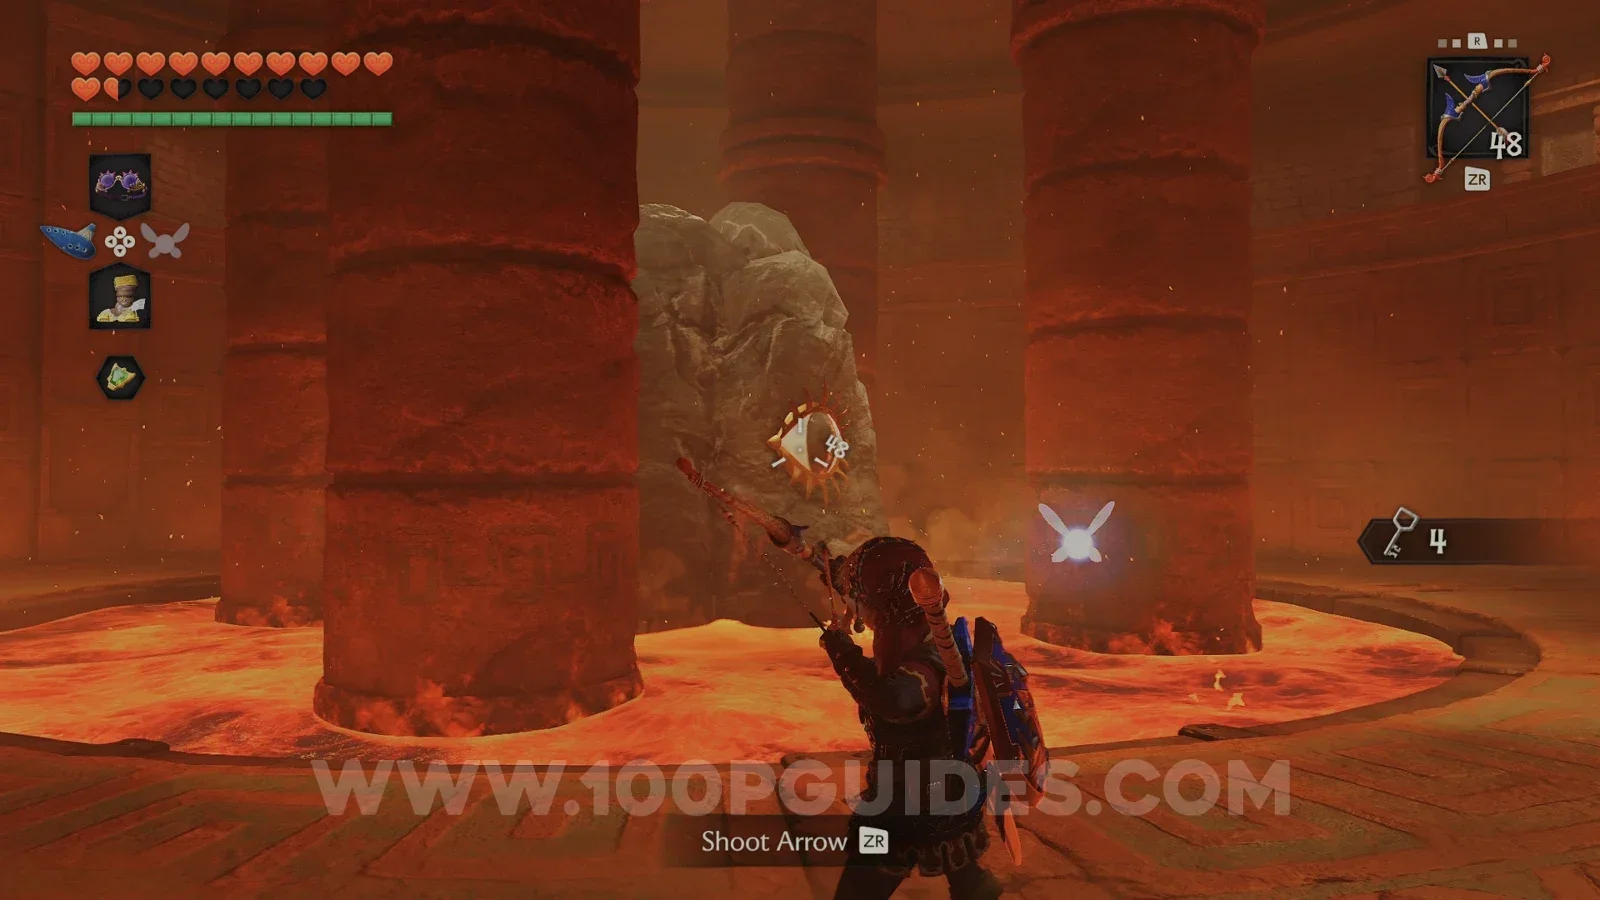
Now play the Scarecrow's Song and grapple up to the scarecrow. Go through the door next to it to find yet another Small Key.
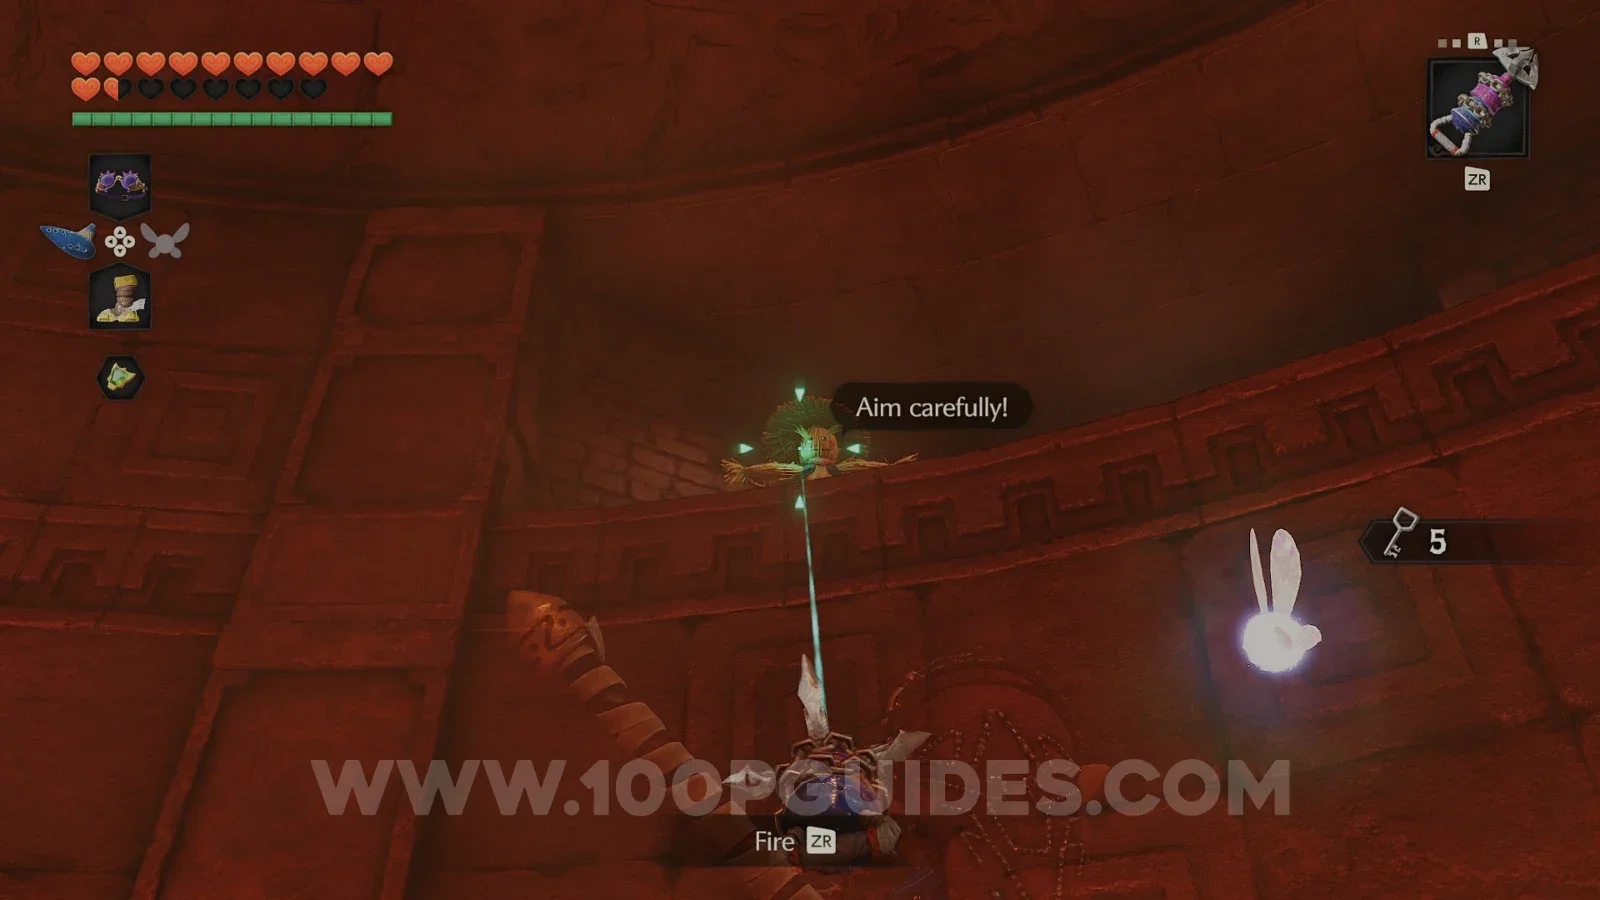
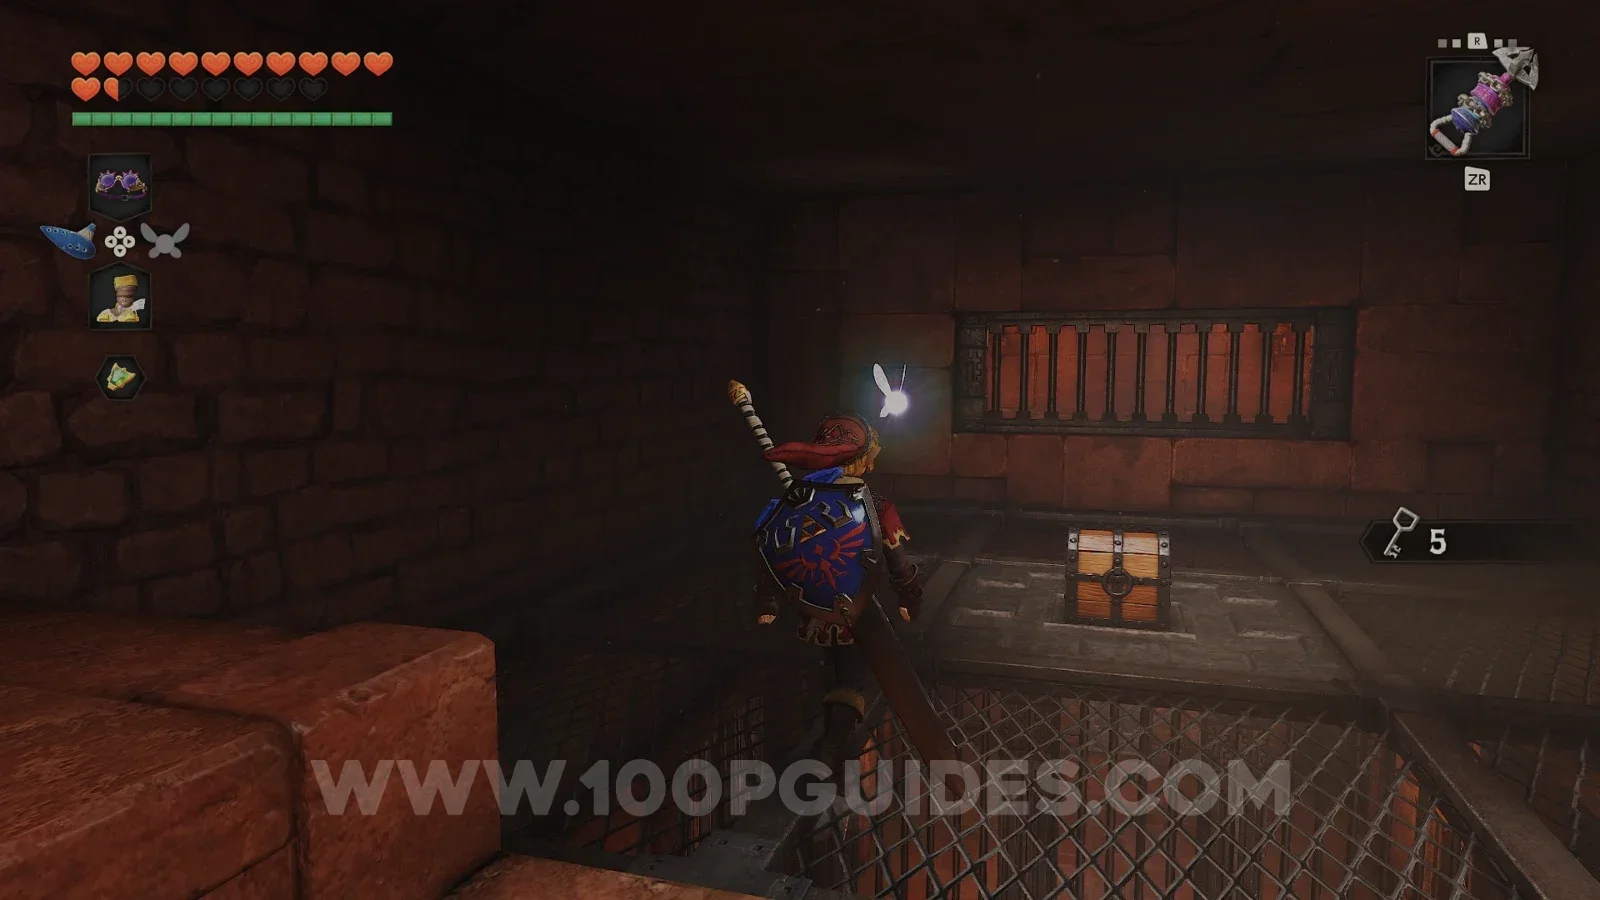
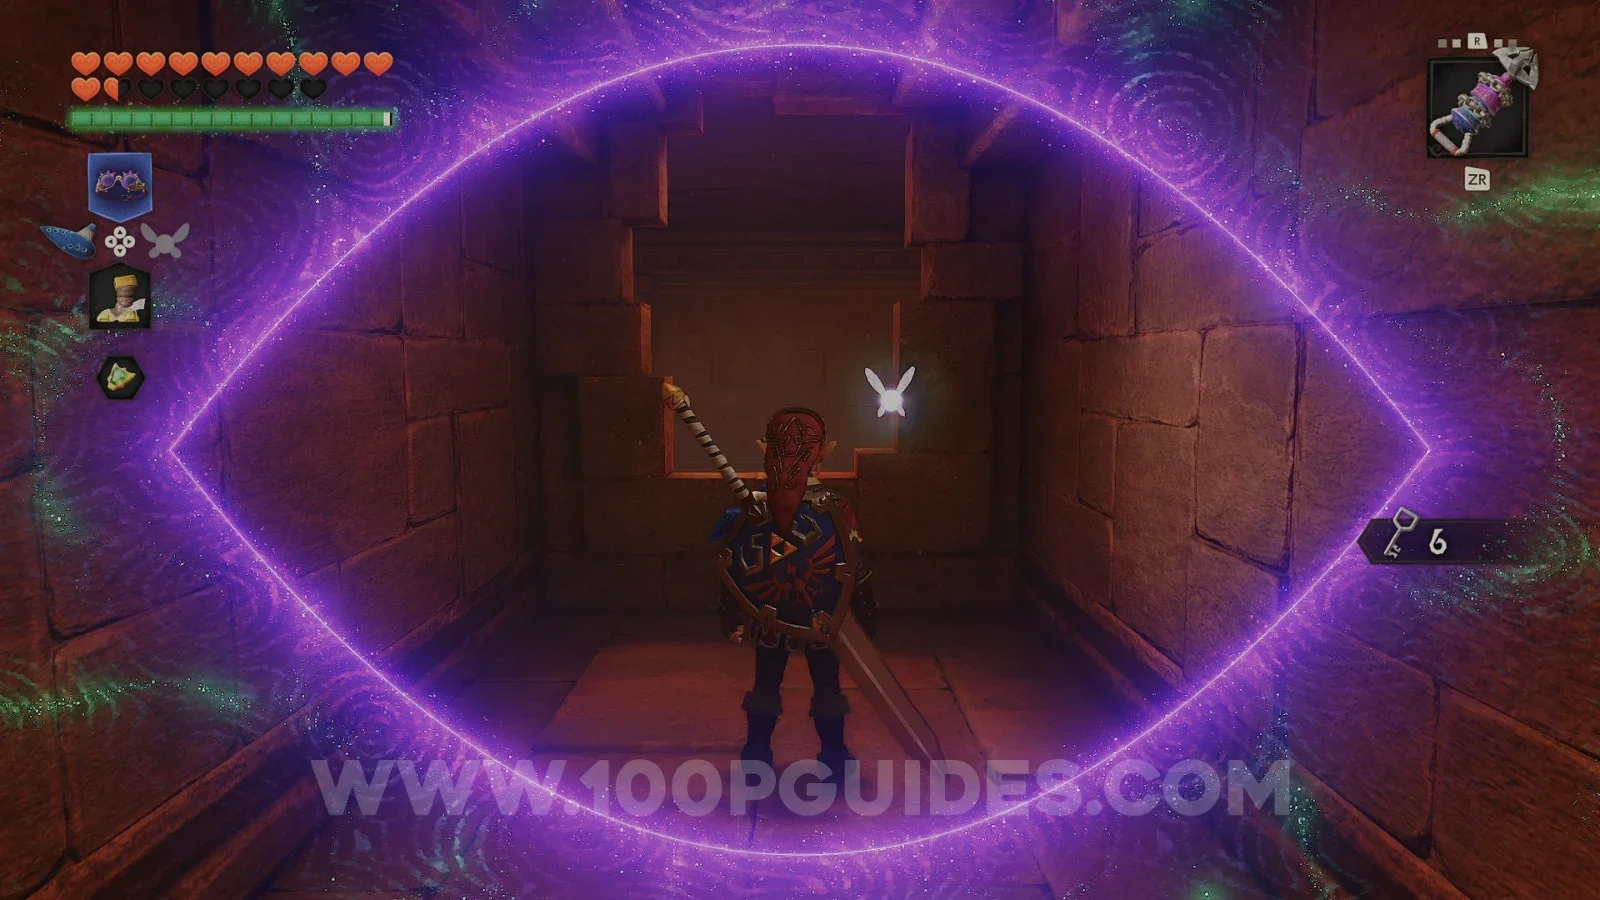
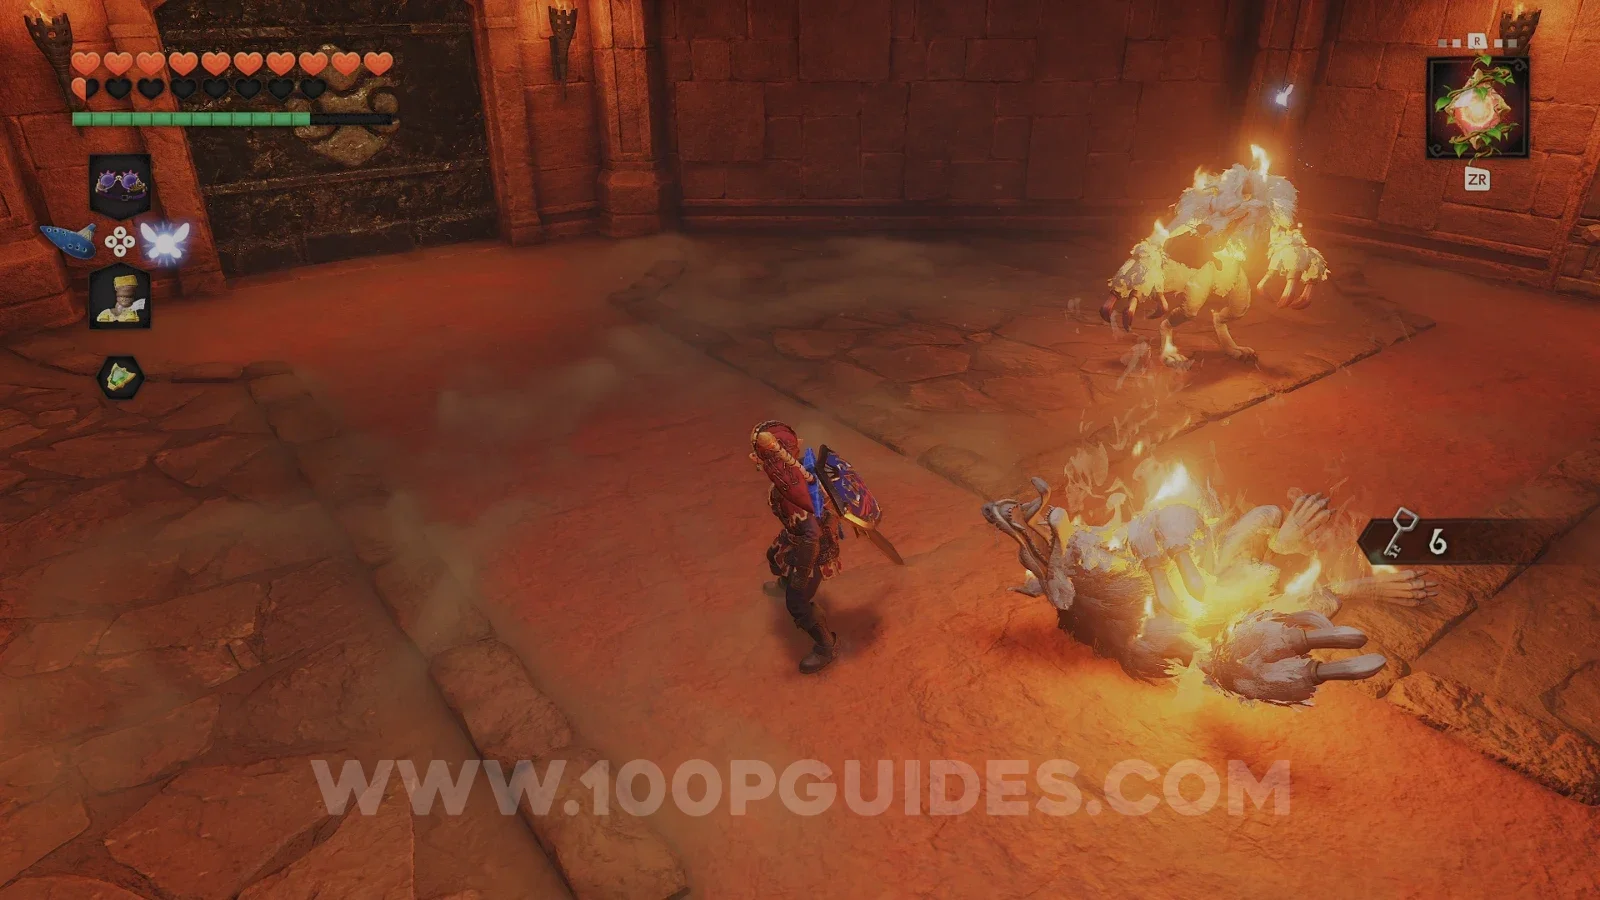
Head back through the door, go left and go through the other door on the upper ledge. On the other side, use the Lenses of Truth to find a fake wall. Go through it and use Din's Fire to quickly get rid of the wolf enemies. Then open the chest to get a blue rupee.
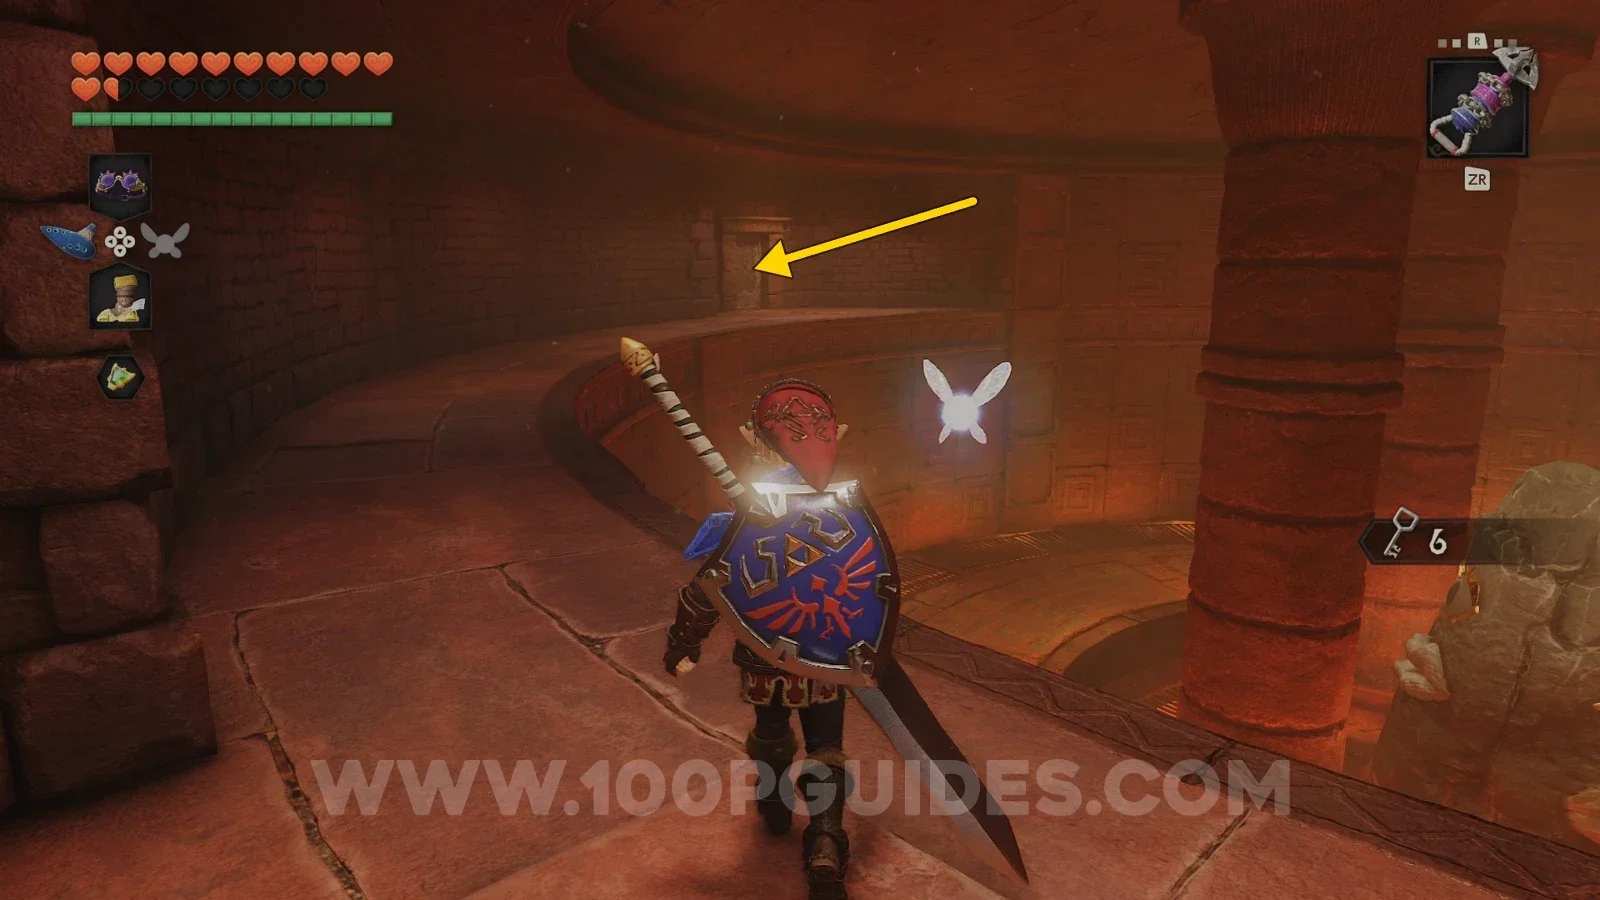
Now head through the small door with the arch above it. In the next room, use your Hookshot to navigate around the room and collect the 5 silver rupees.
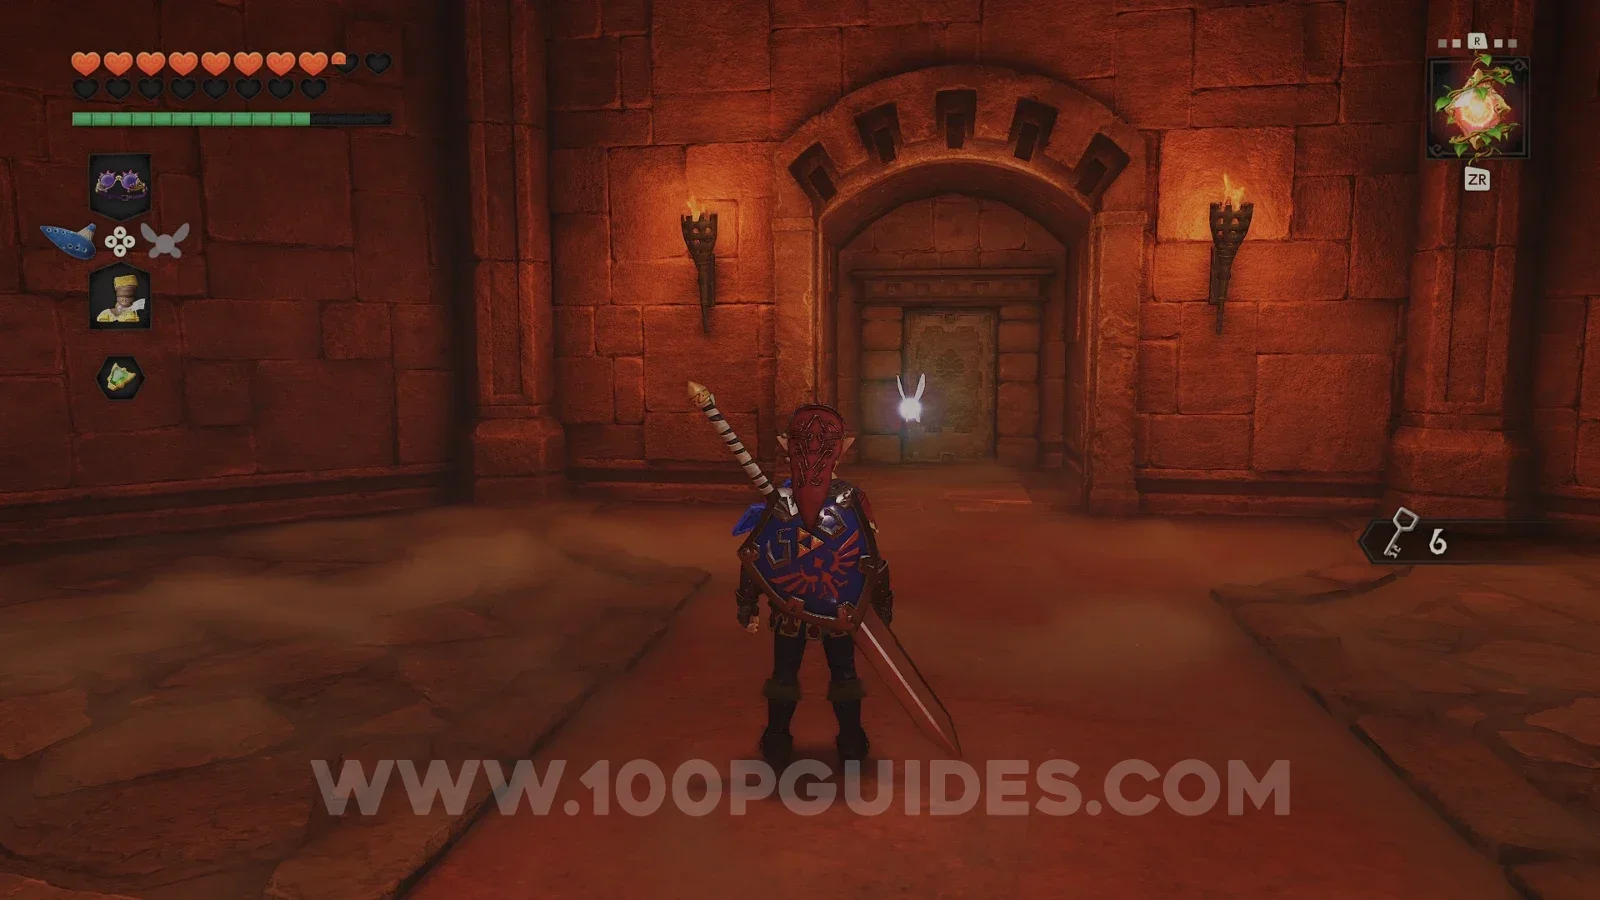
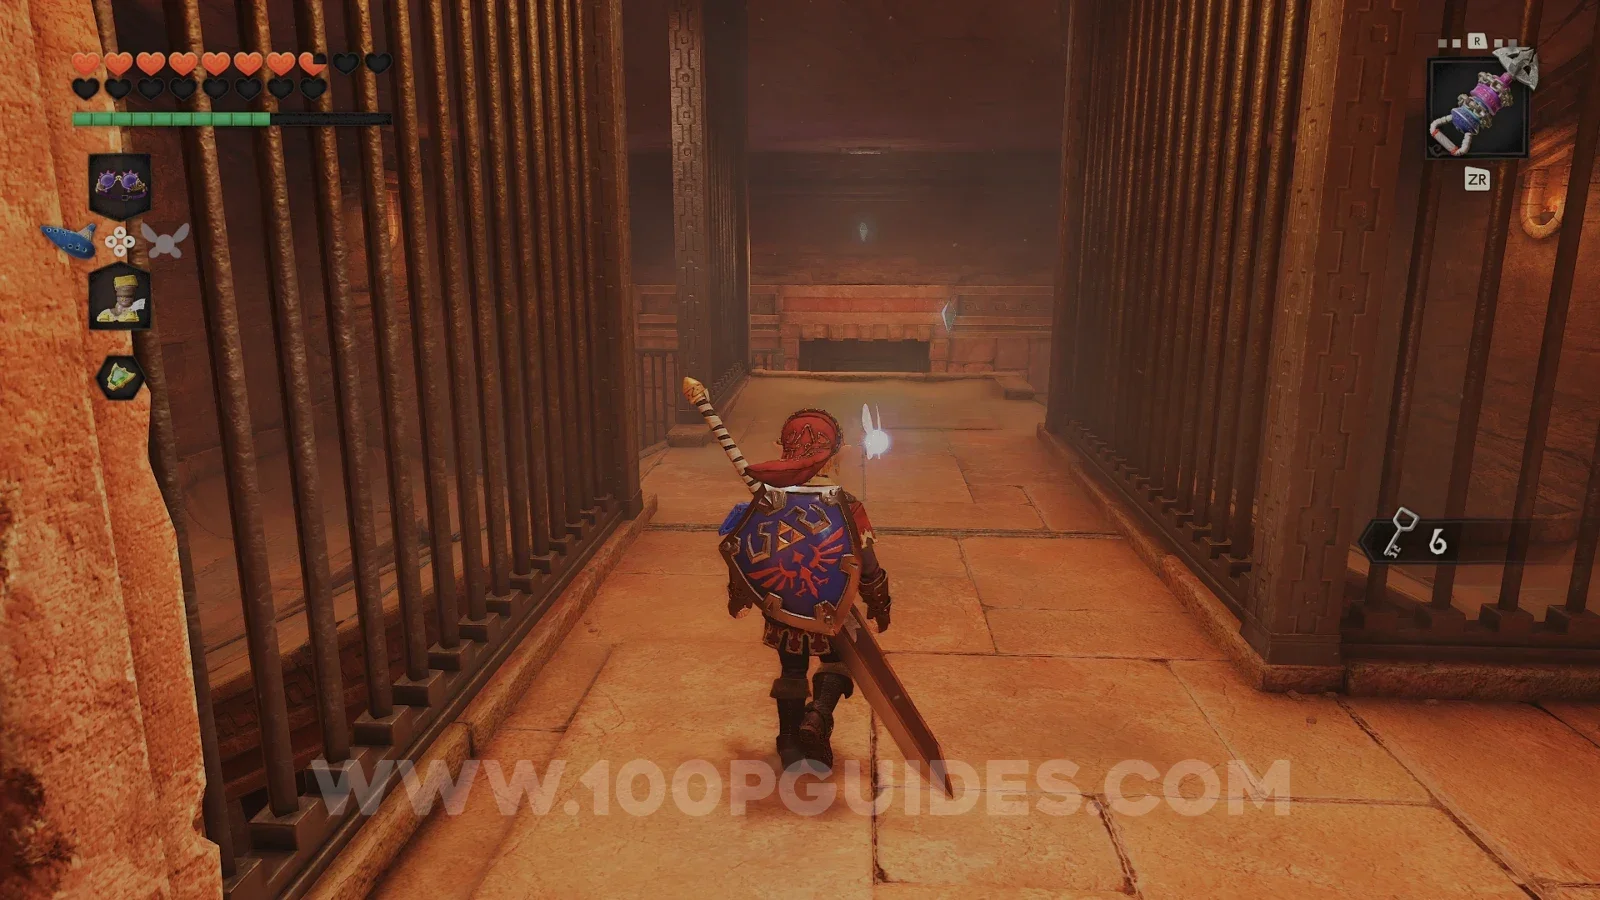
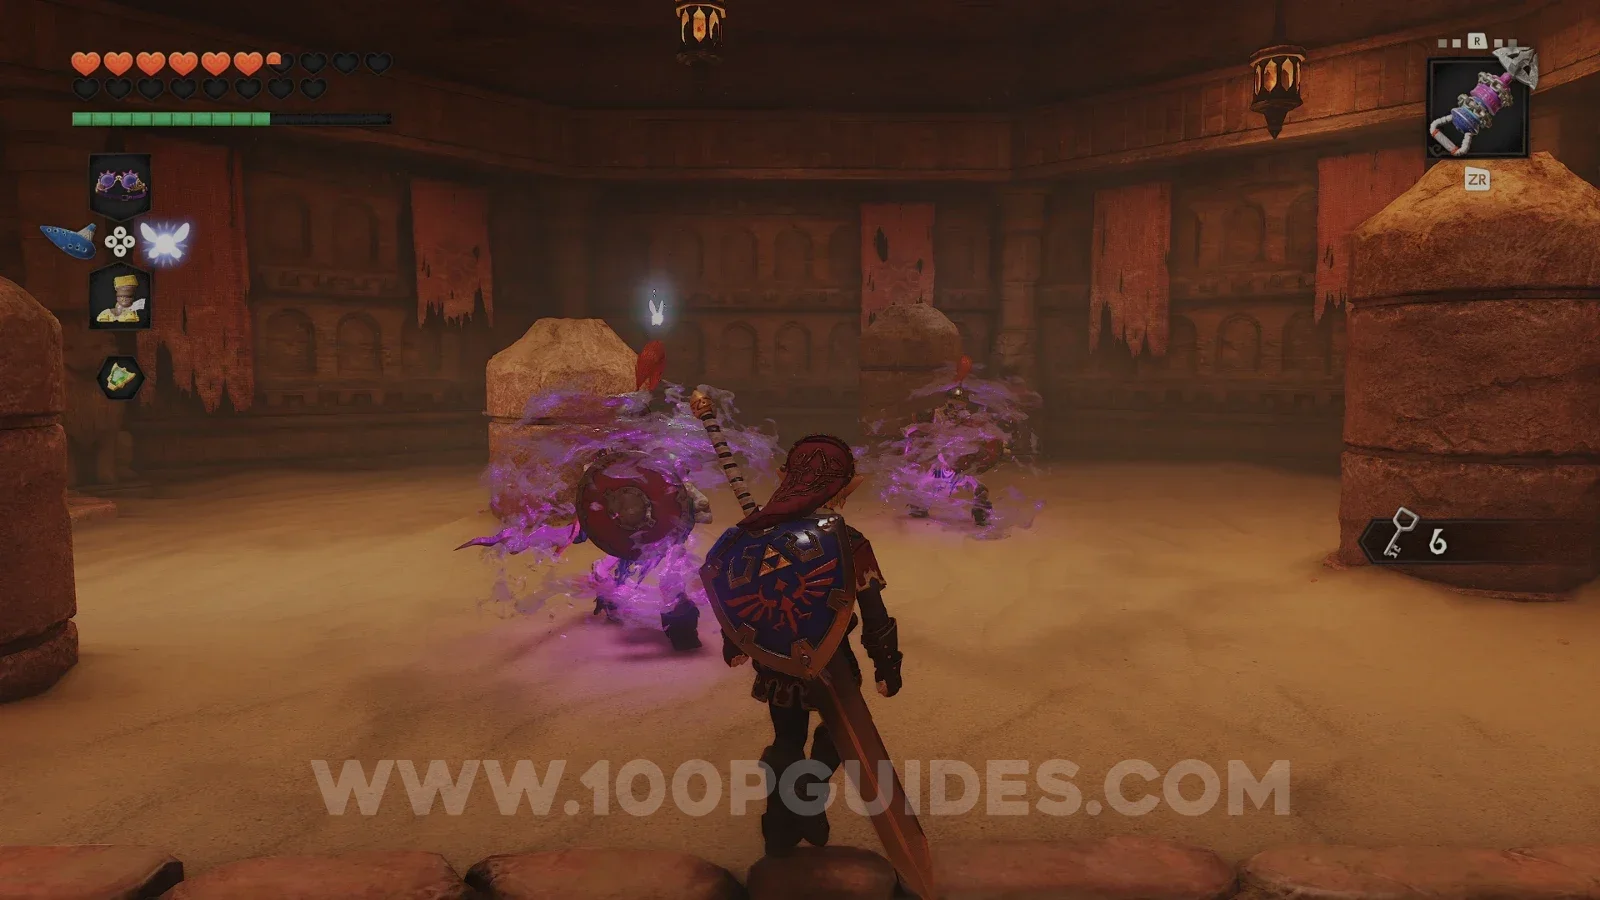
Go through the door that opened when you collected the silver rupees and defeat the two enemies to get another Small Key from the chest.
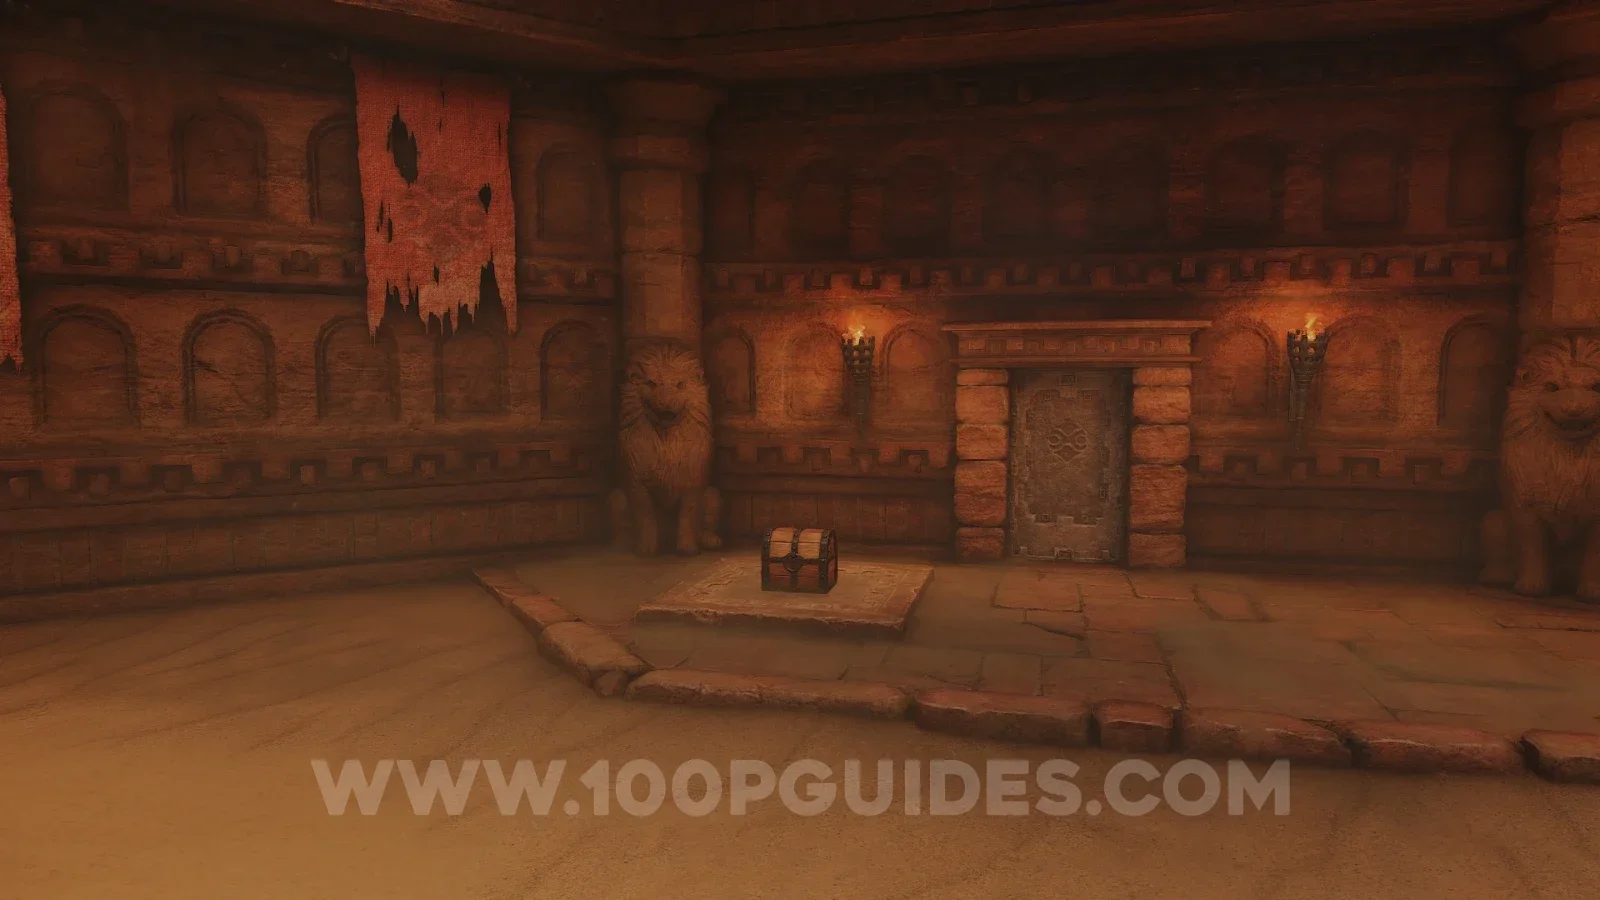
Head through the door with the two standing torches next to it. This takes you back to the first room. Here, head through the door on your left. Inside, open the locked door on the left and follow this path, opening the chests for rupees along the way. At the end, open the large chest to get the Ice Arrows.
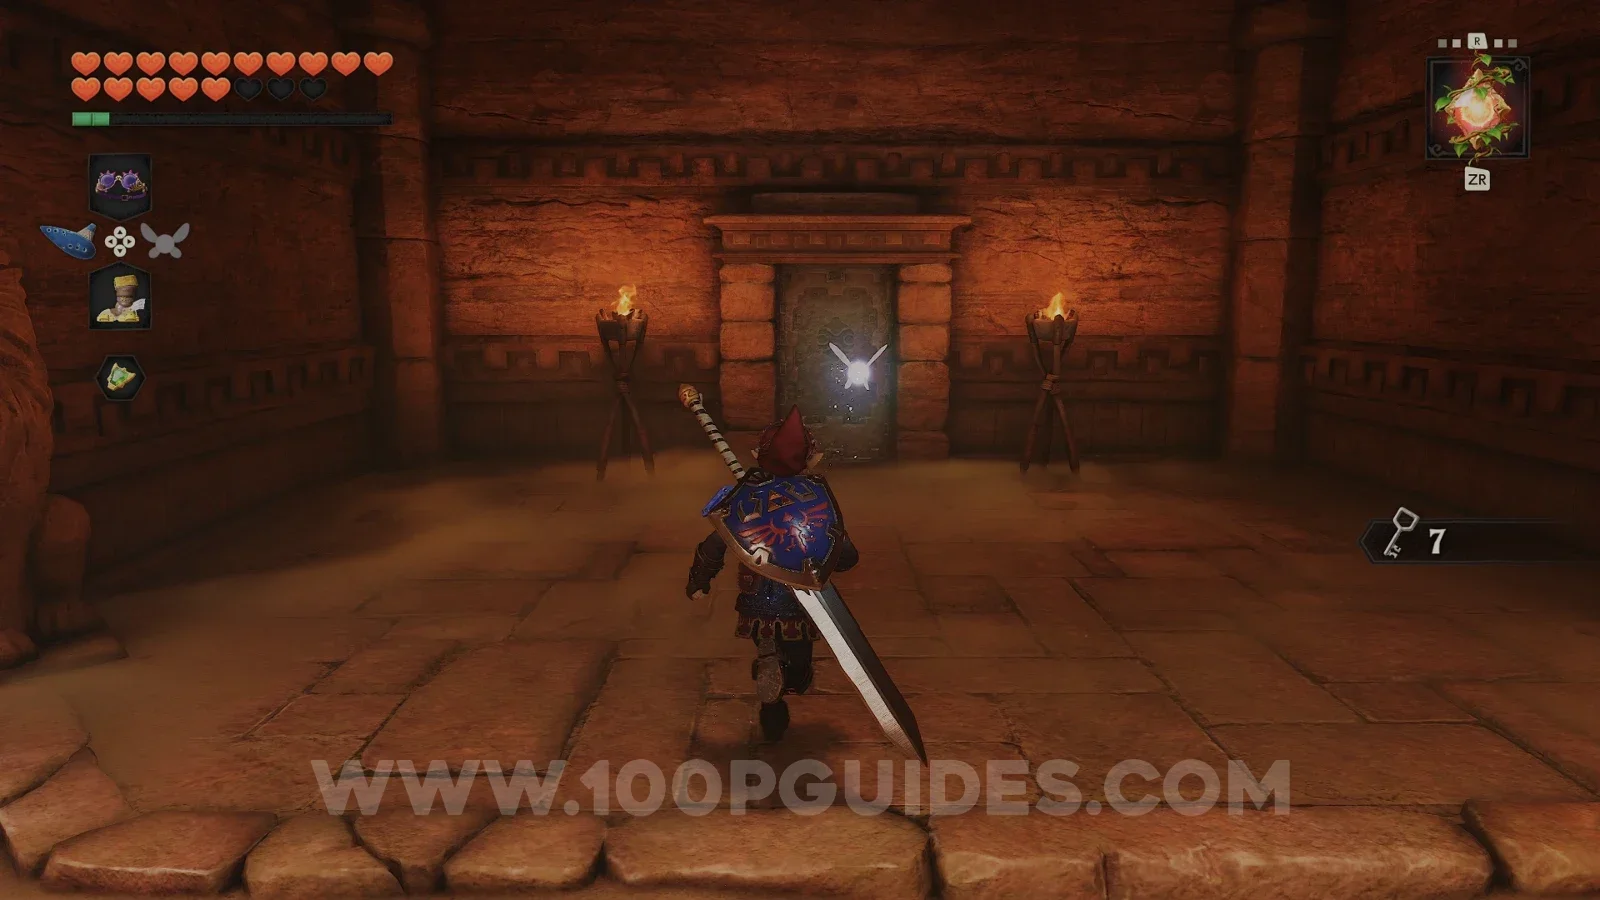
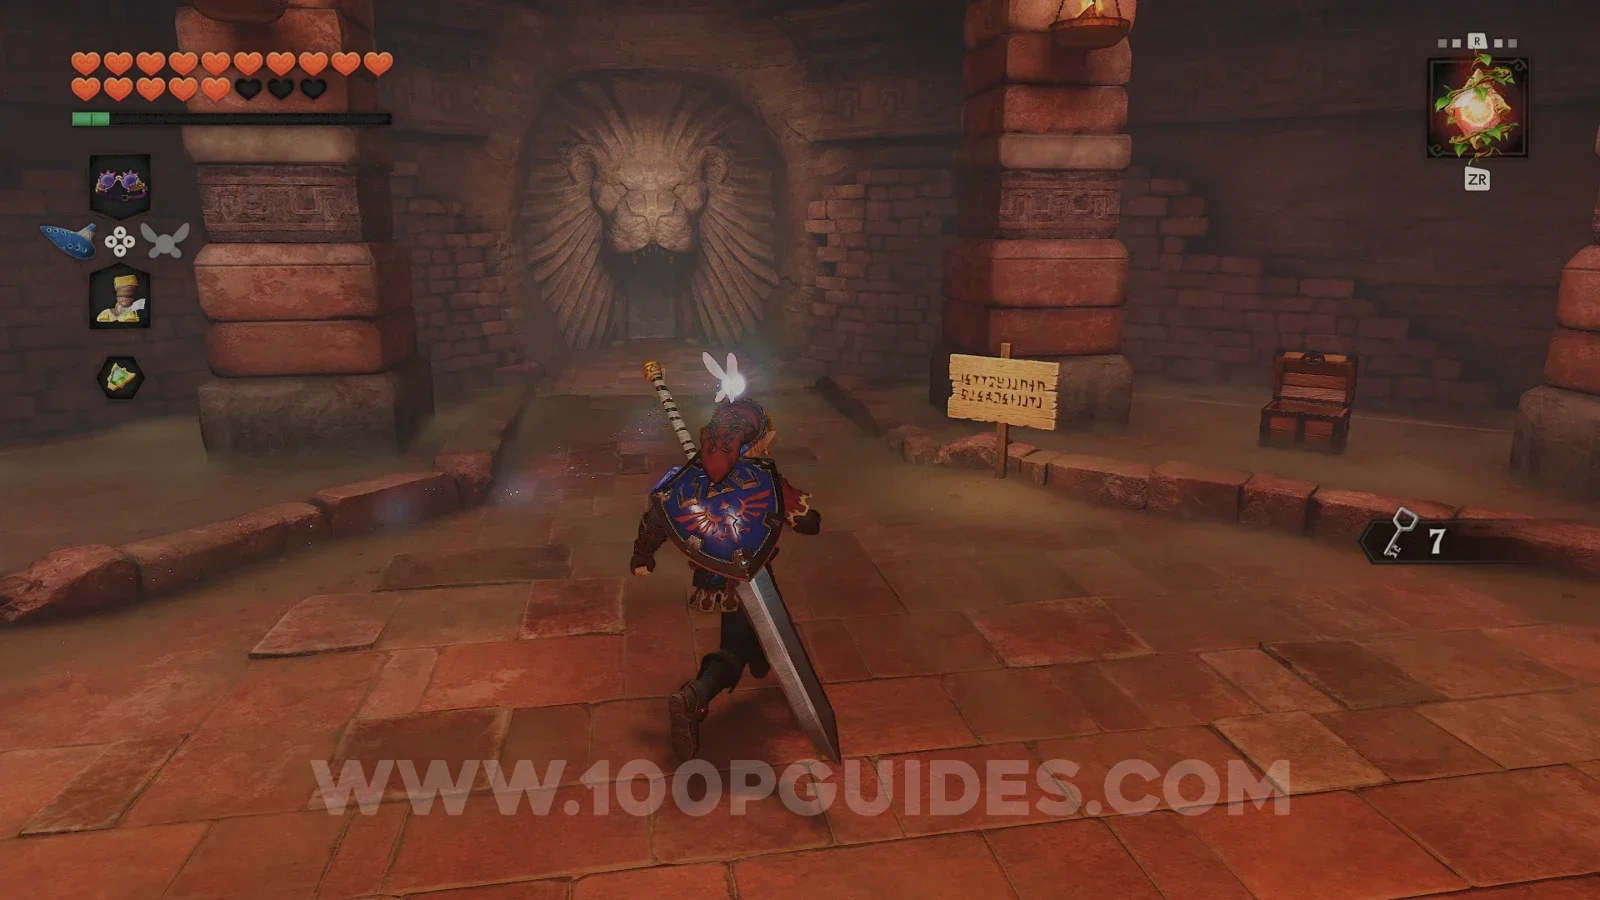
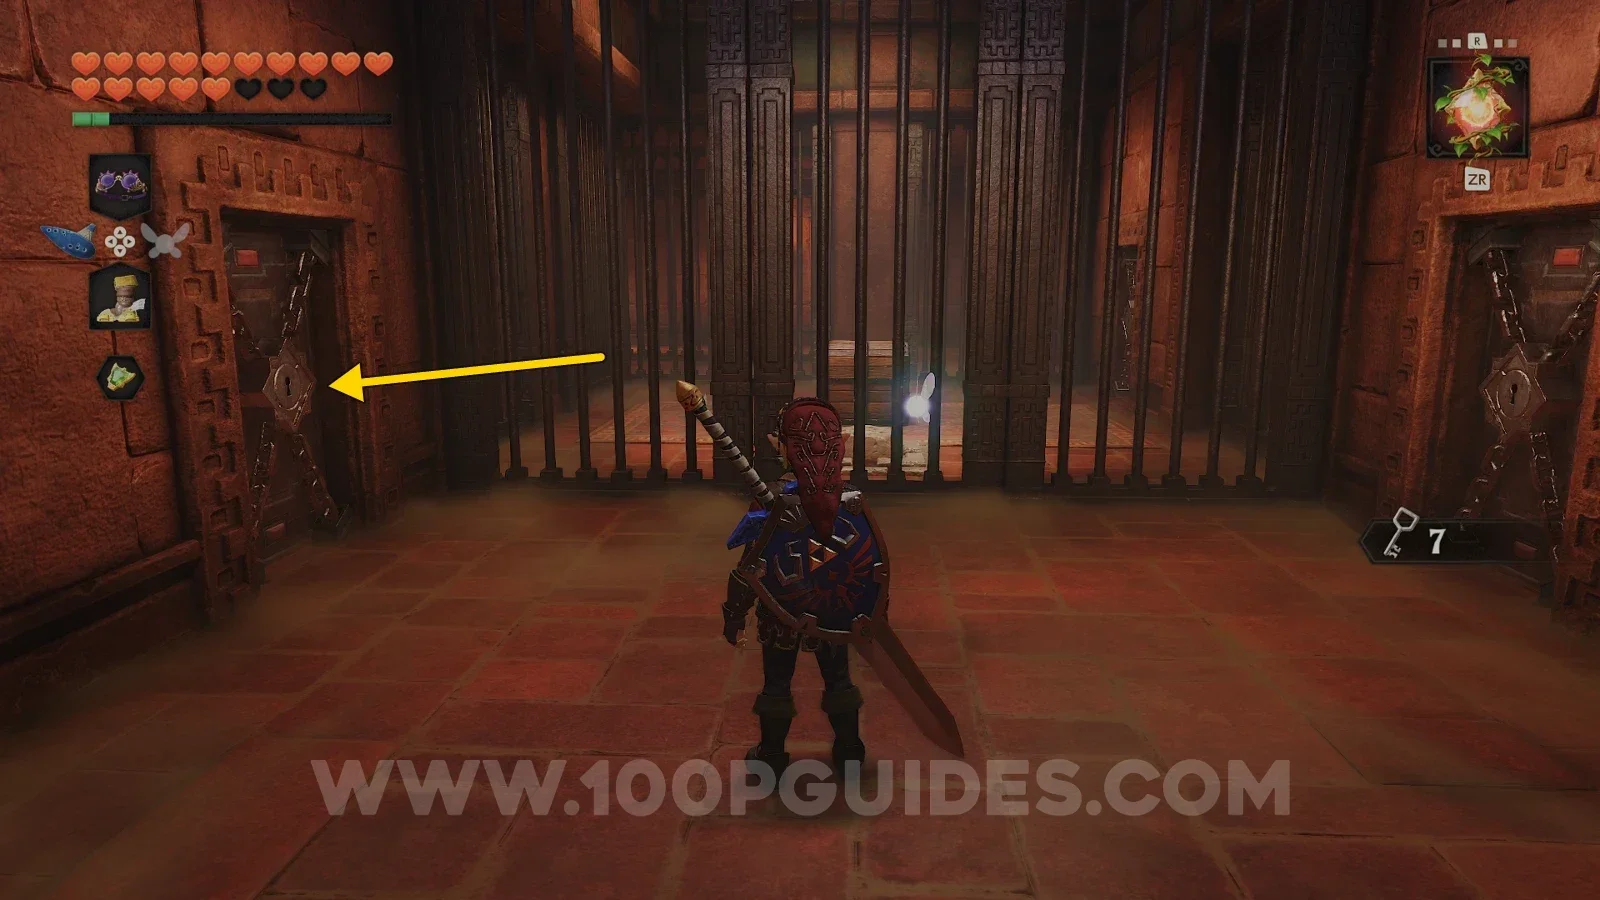
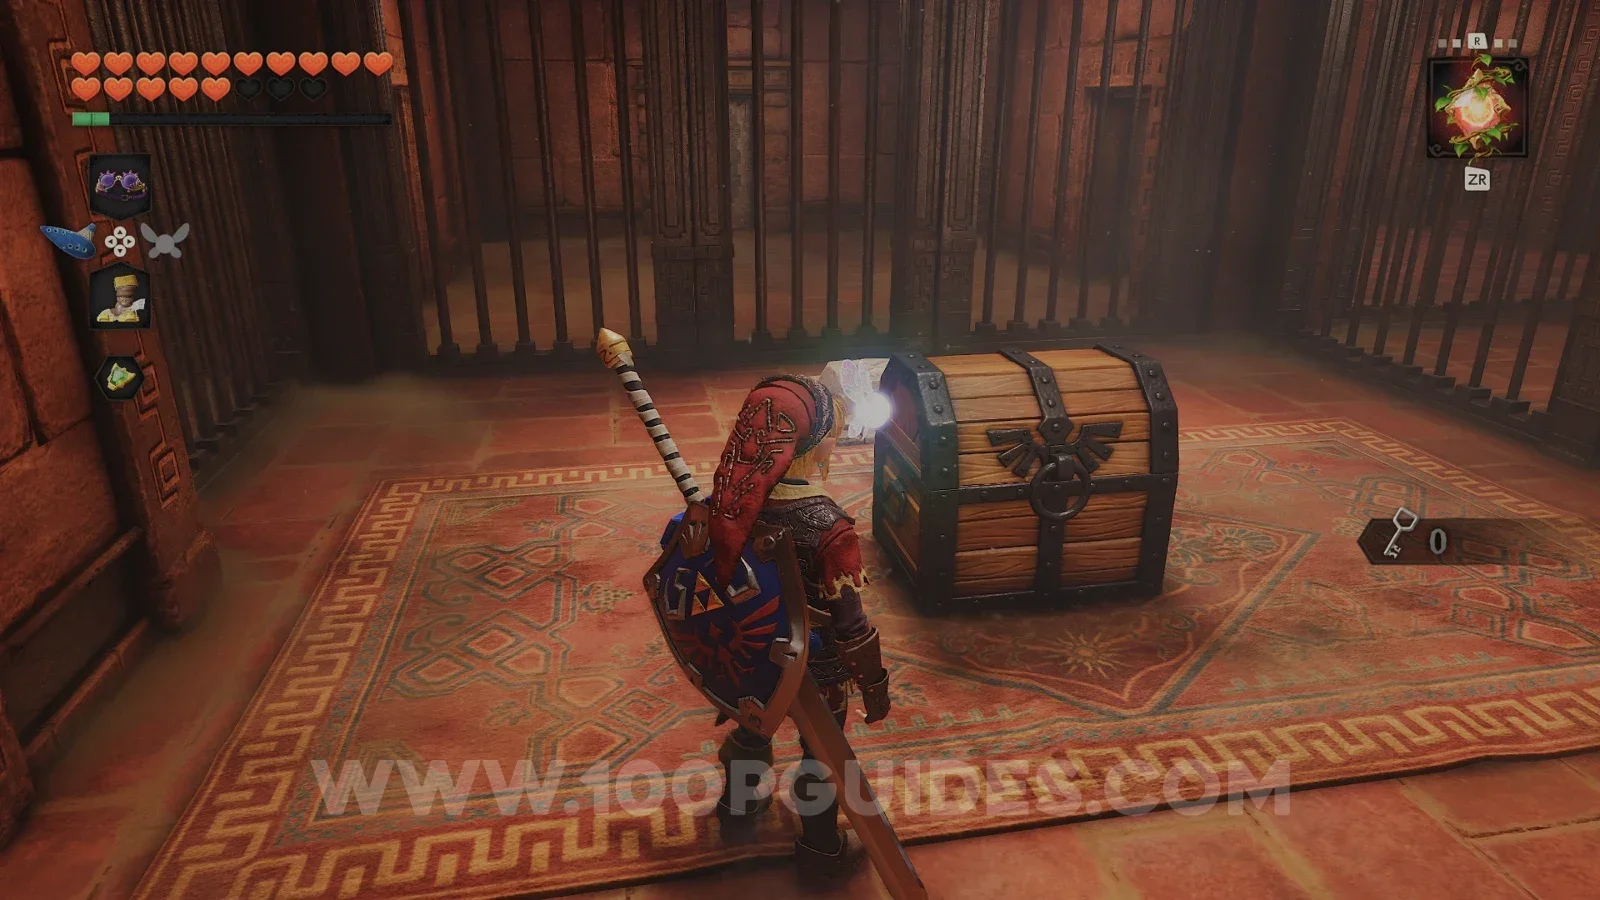
After that, stand on the switch on the floor and exit the Proving Grounds.
Mirage Desert
Back outside, head to the large gate at the northwest exit of the fortress and talk to the Gerudo to open the gate to the Mirage Desert.
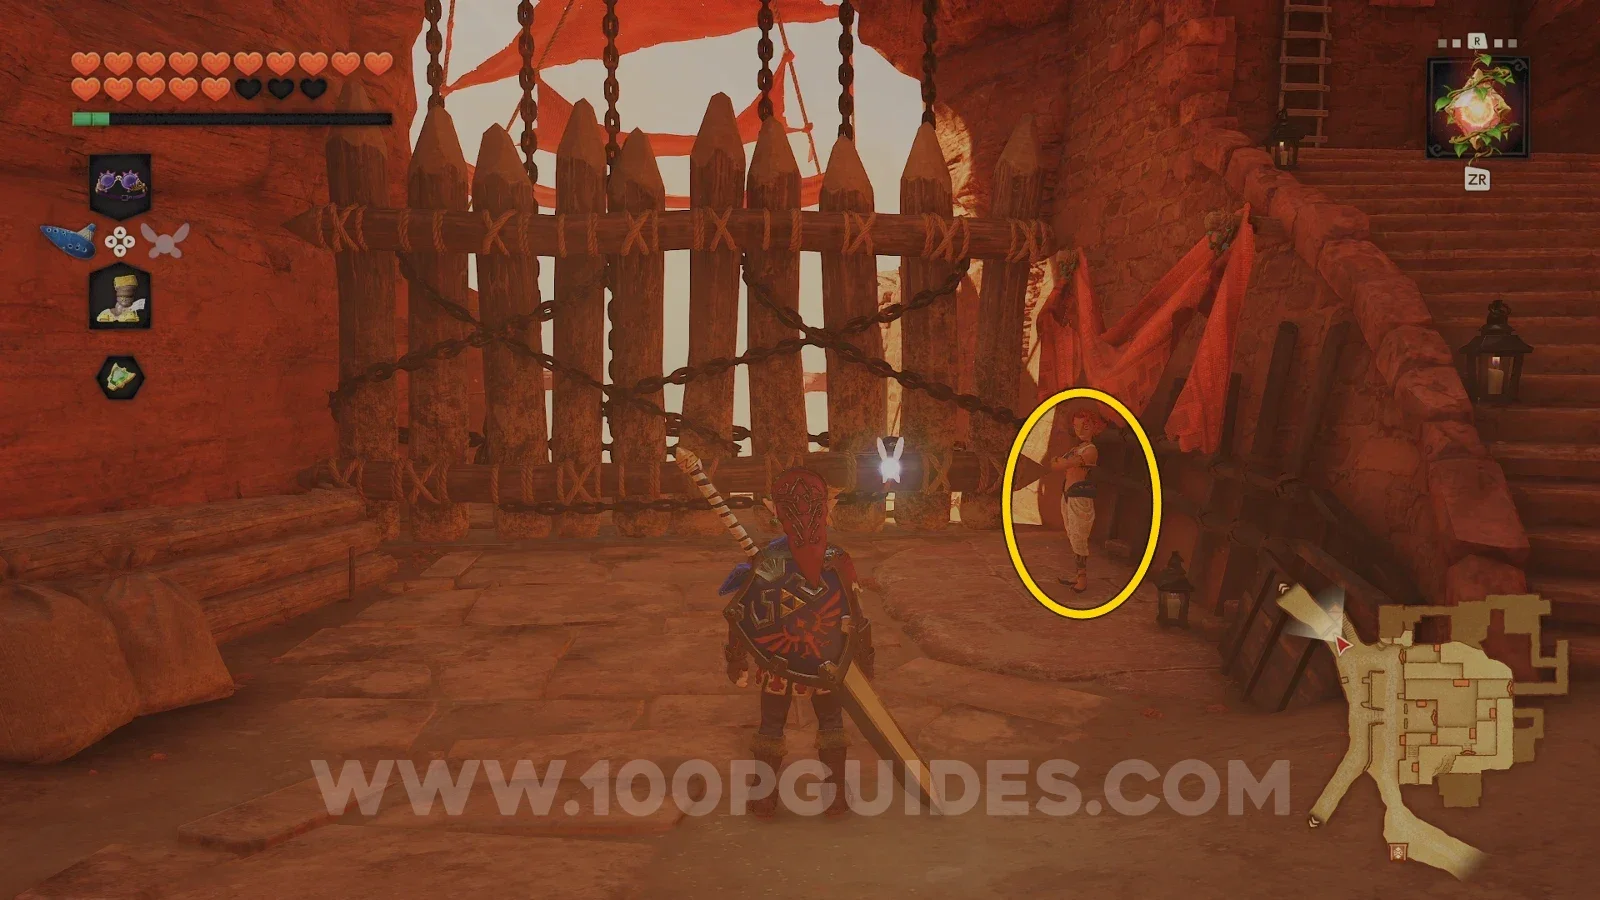
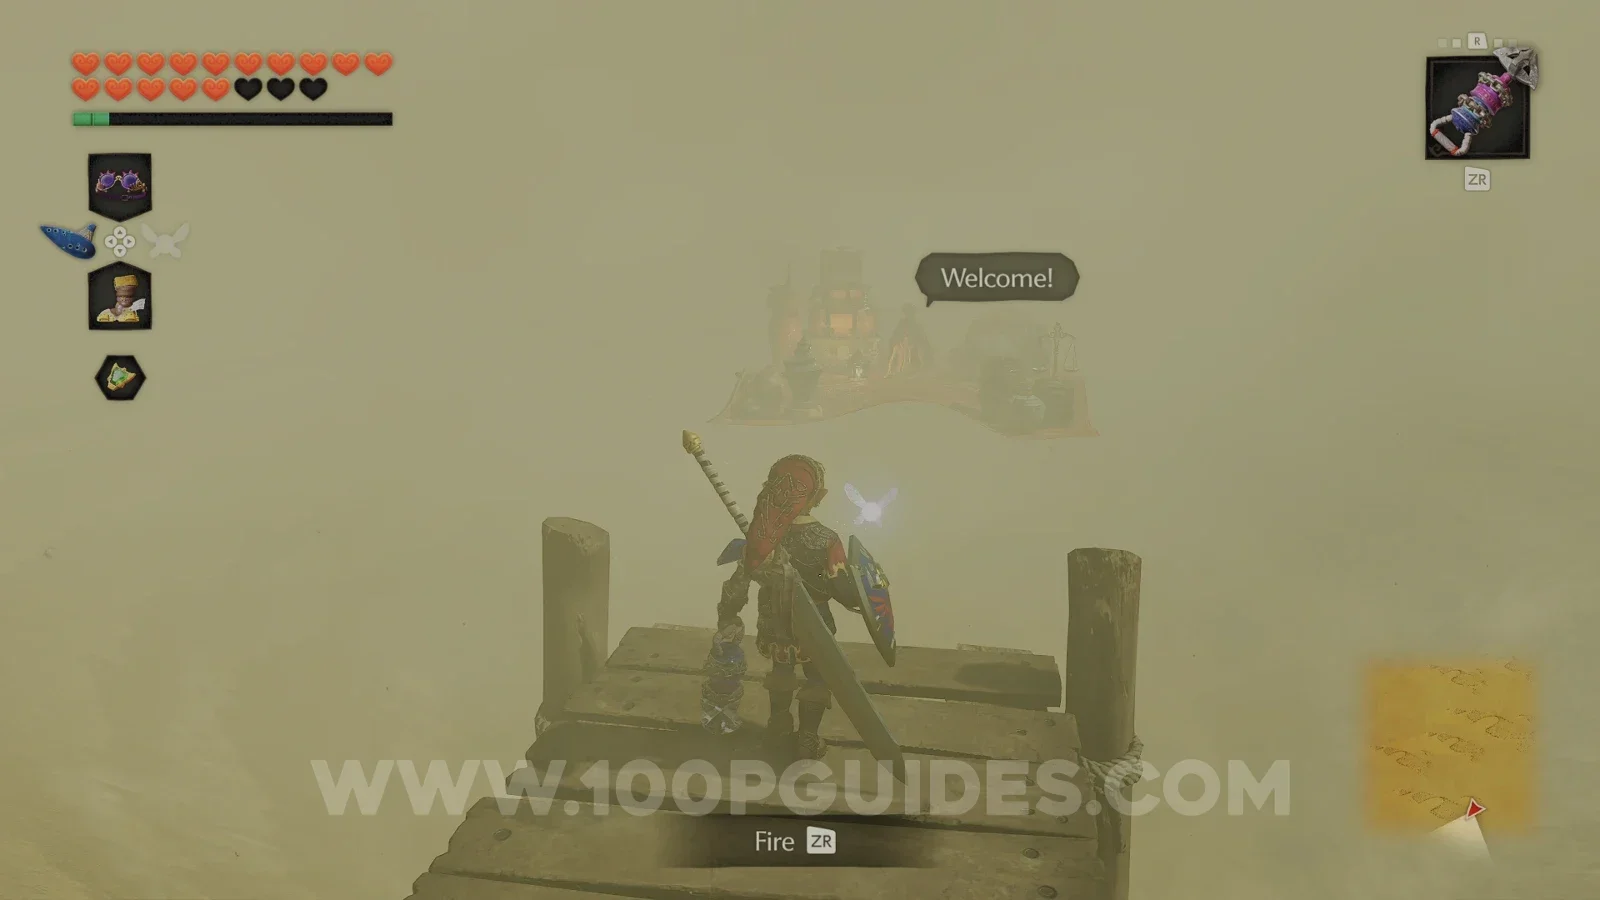
The first obstacle is a river of quicksand. Use the Longshot on the crate on the other side to pull yourself across, or put on the Hover Boots and float over it. First, a cool little secret: a hidden shop. To get to it, stand at the first pole with a flag on it and head left. You will soon see a wooden path and an NPC on a flying carpet. Use your Hover Boots to get to him. He sells Bombchus.
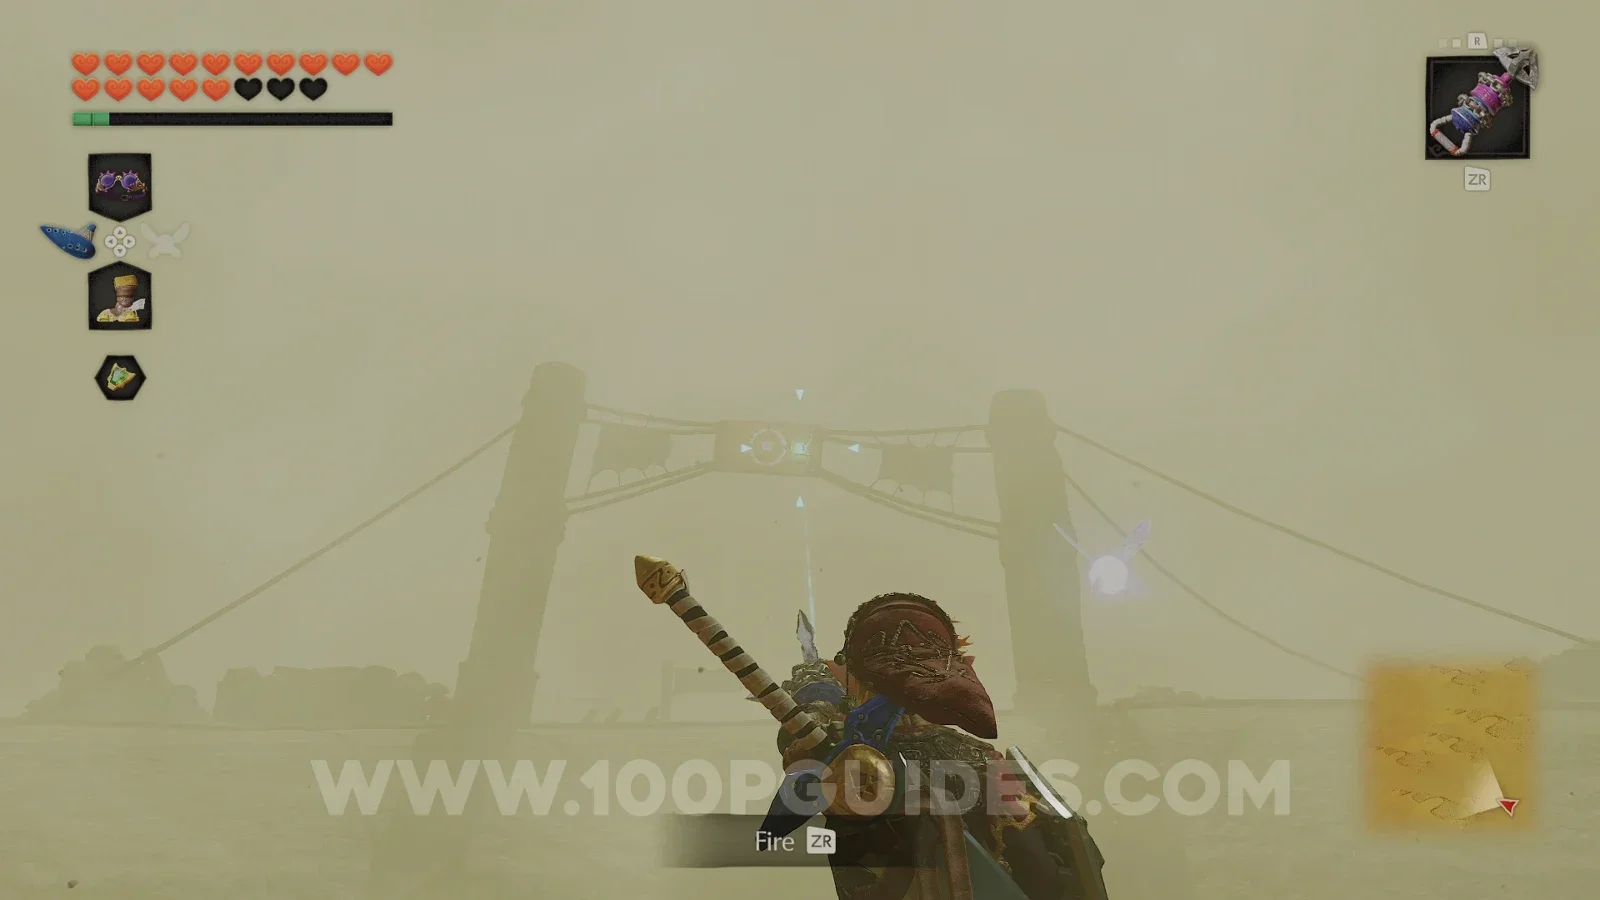
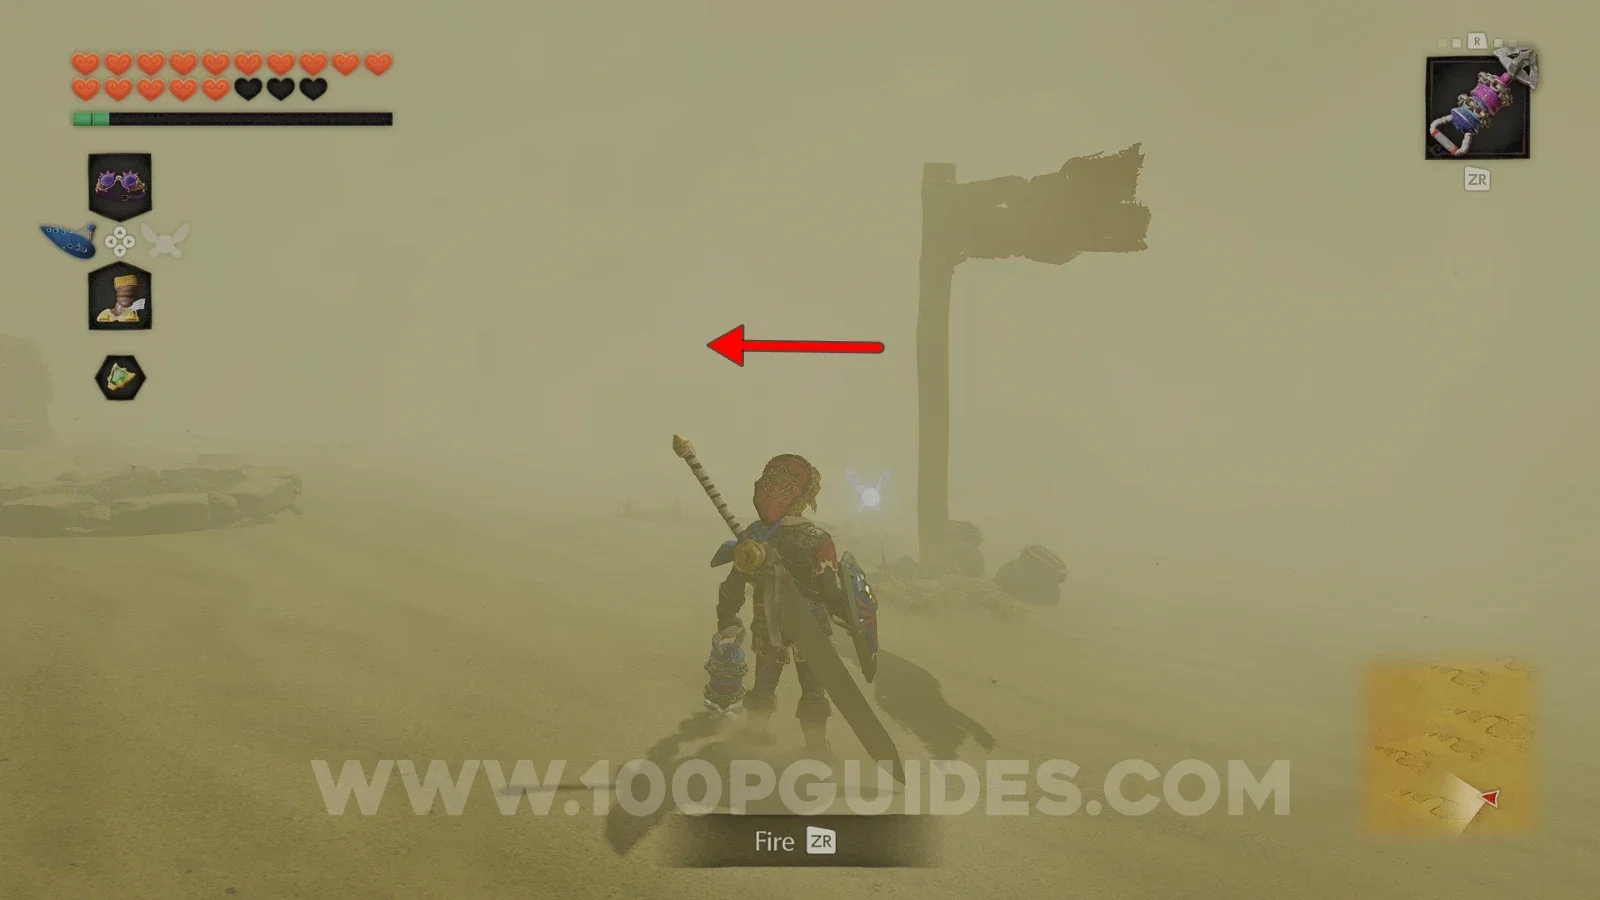
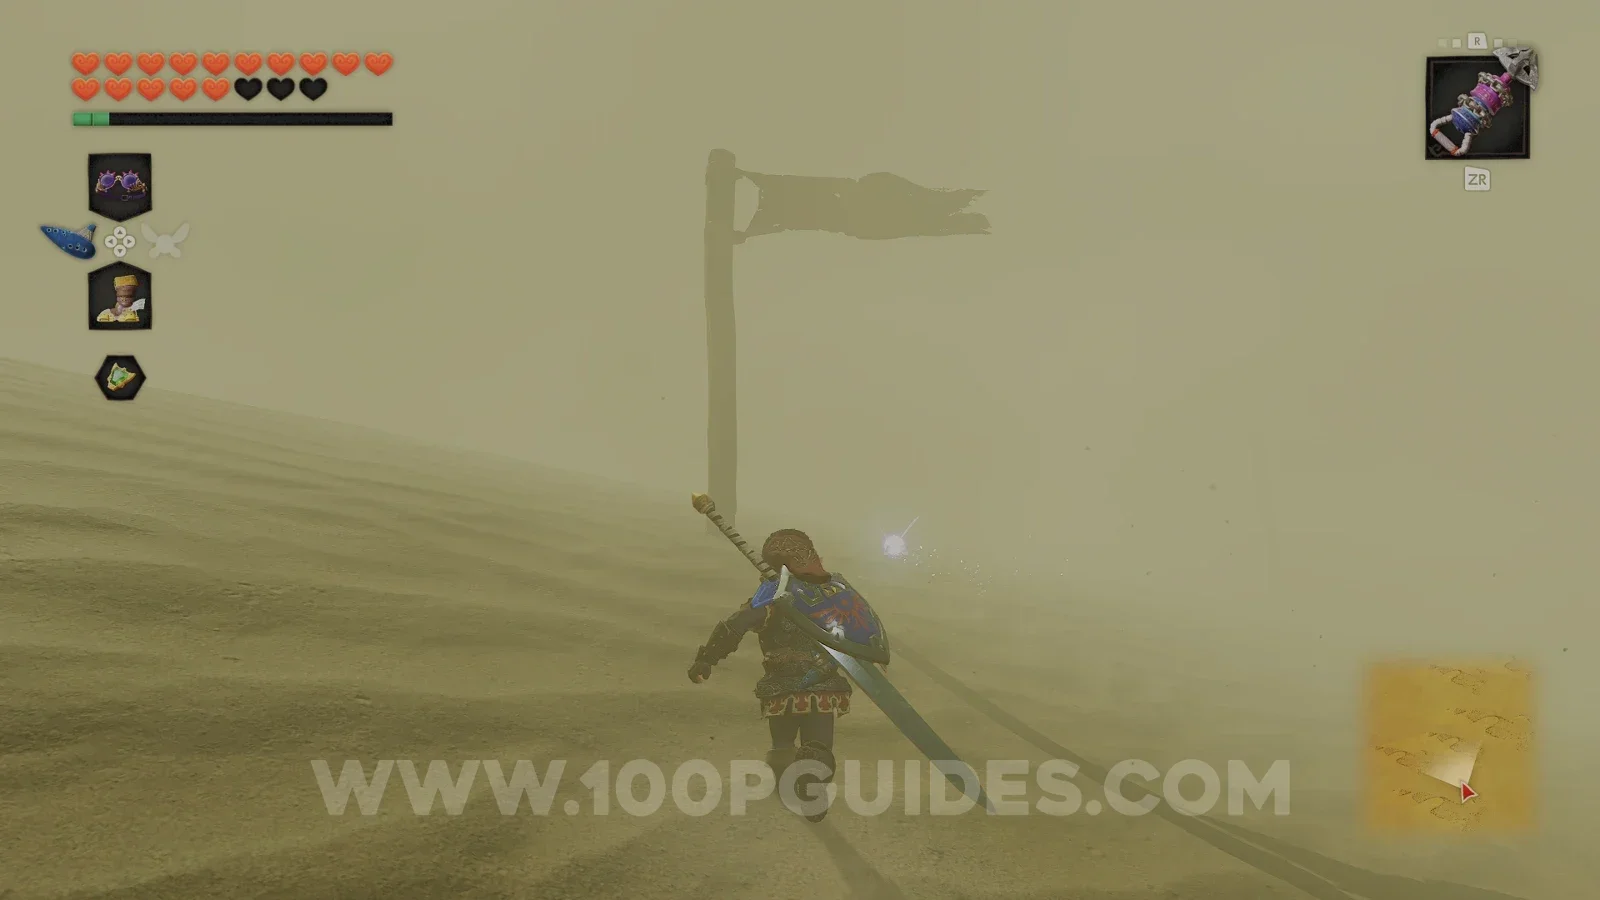
With that out of the way, return to the pole with the flag and keep following these poles until you get to a small square structure.
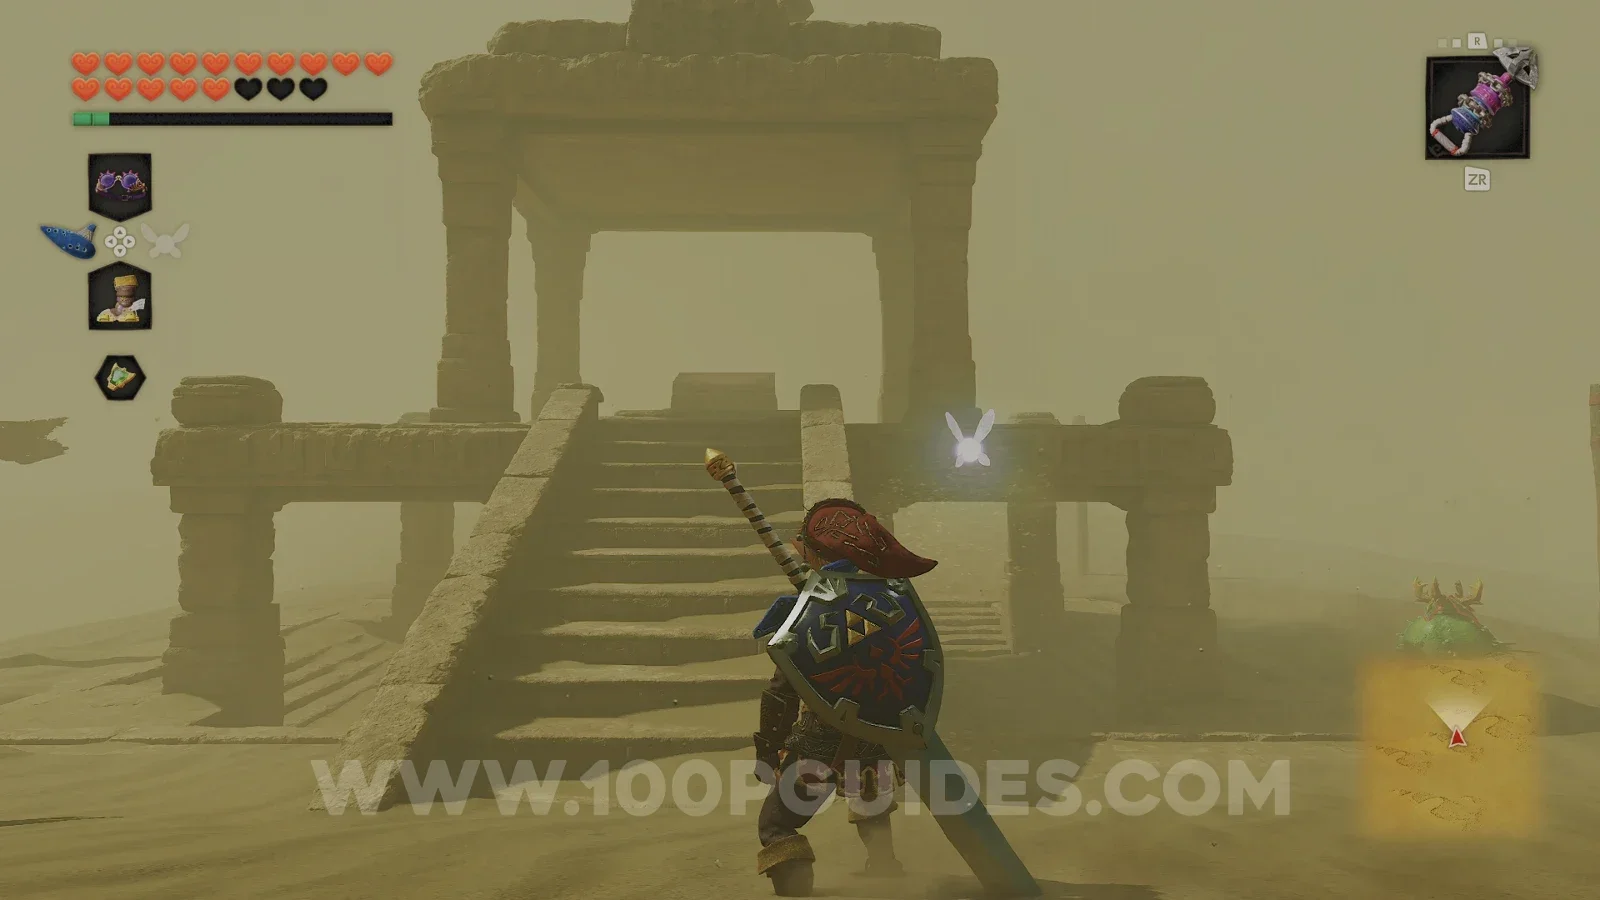
Before climbing onto the ruin, head under it and drop down the hole. Here you will find a Gold Skulltula (90/100) on the wall above the torch. Use the Longshot to get it. There are also some pots with rupees.
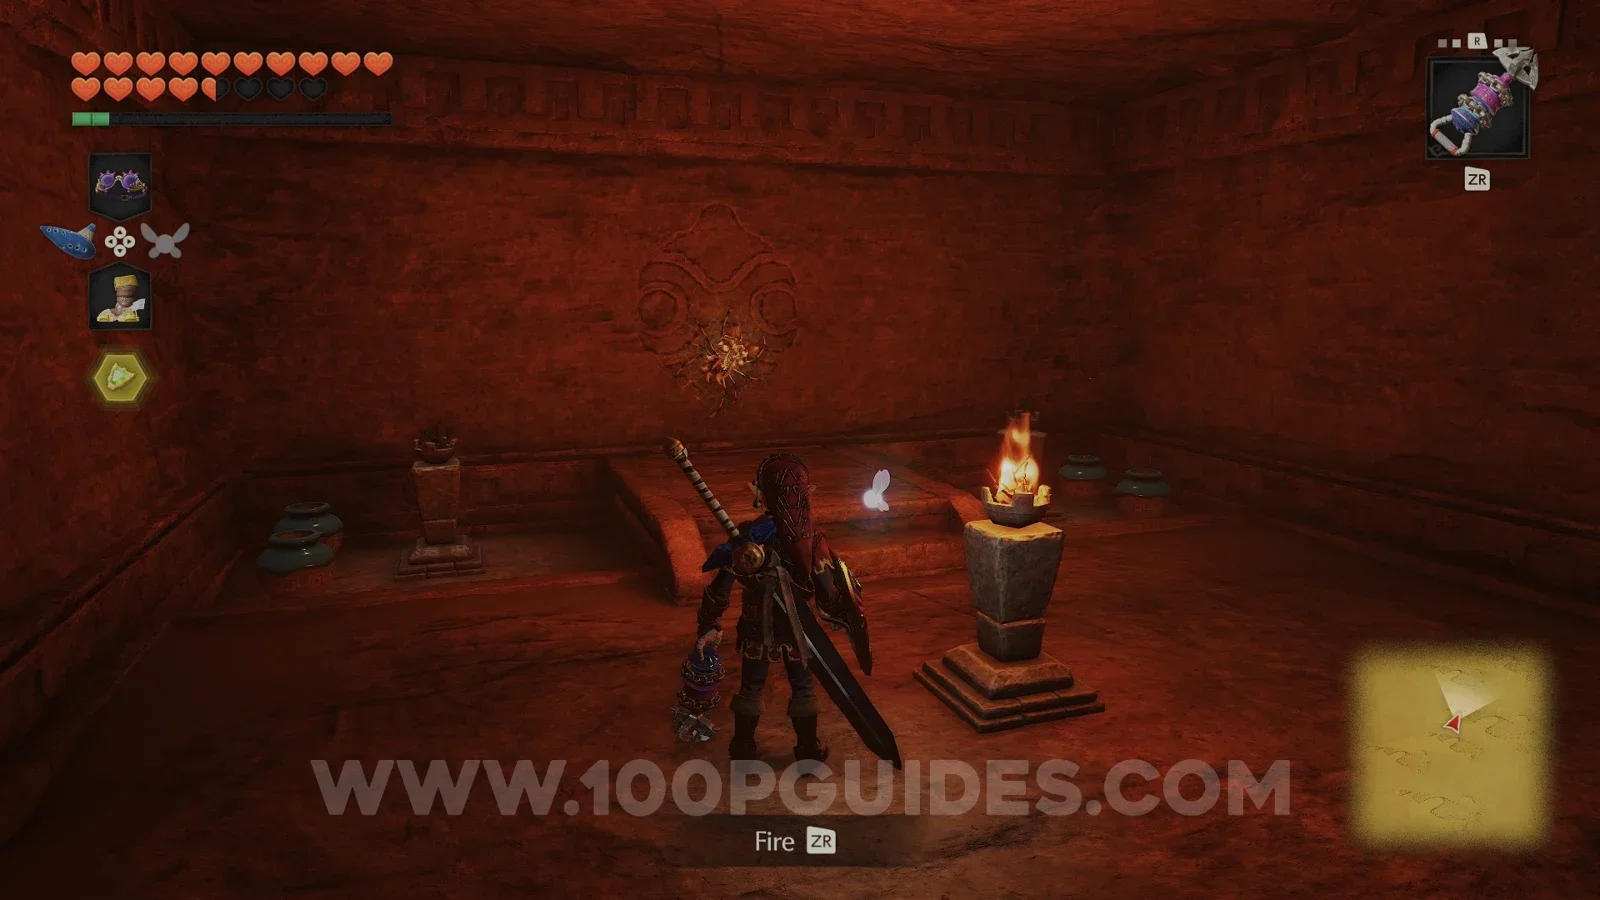
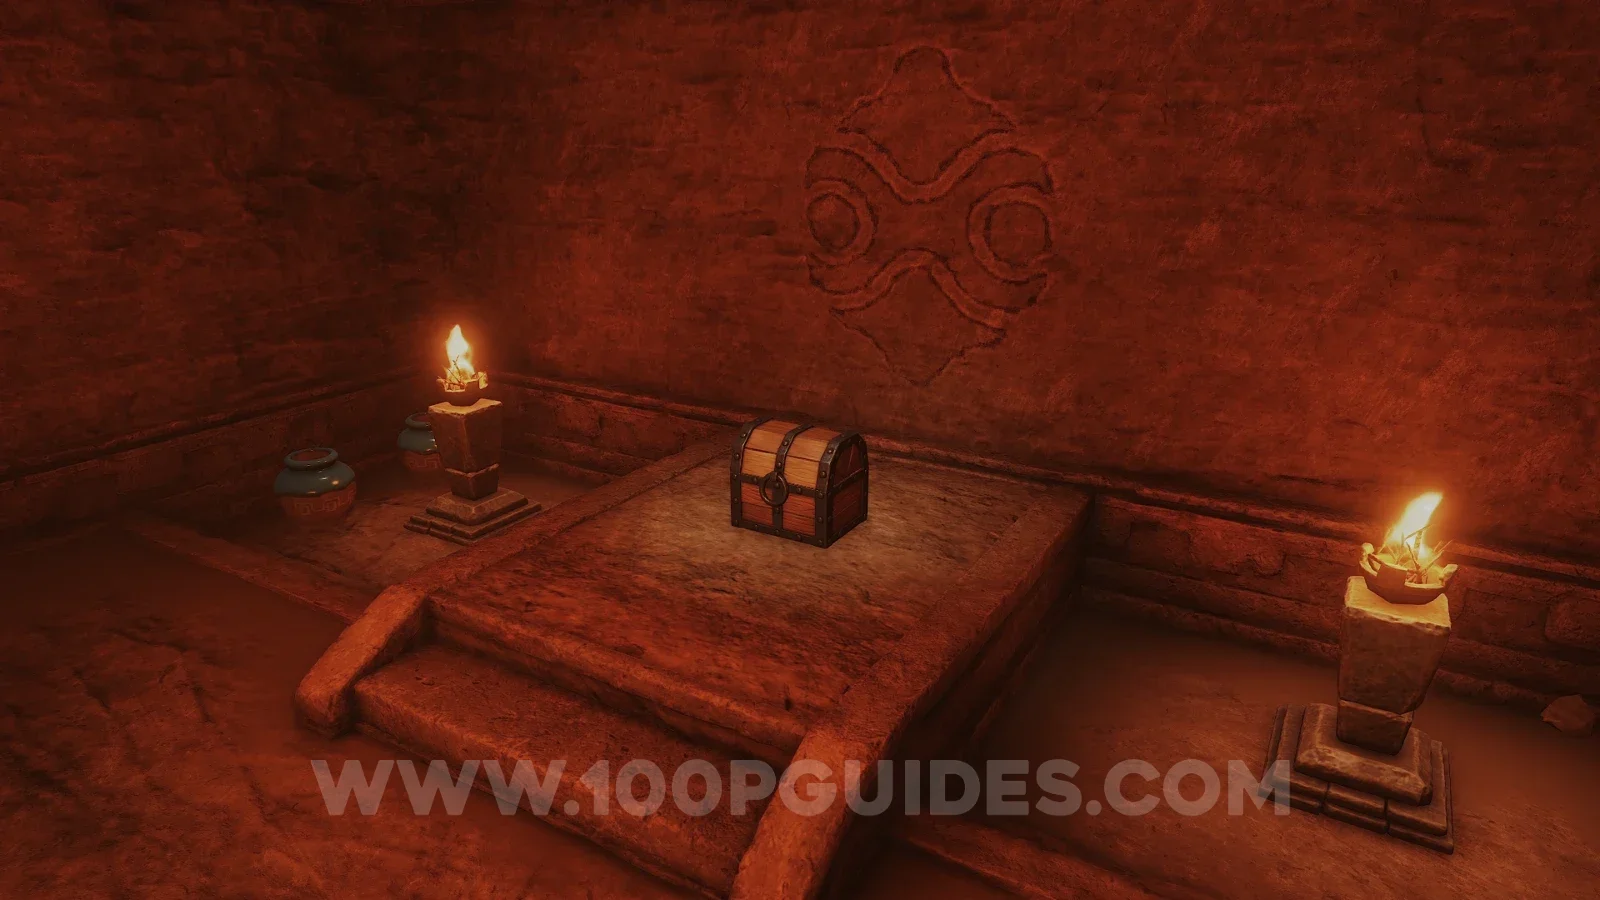
In this same room, light the torches and a chest will appear with a Business Scrub Seed.
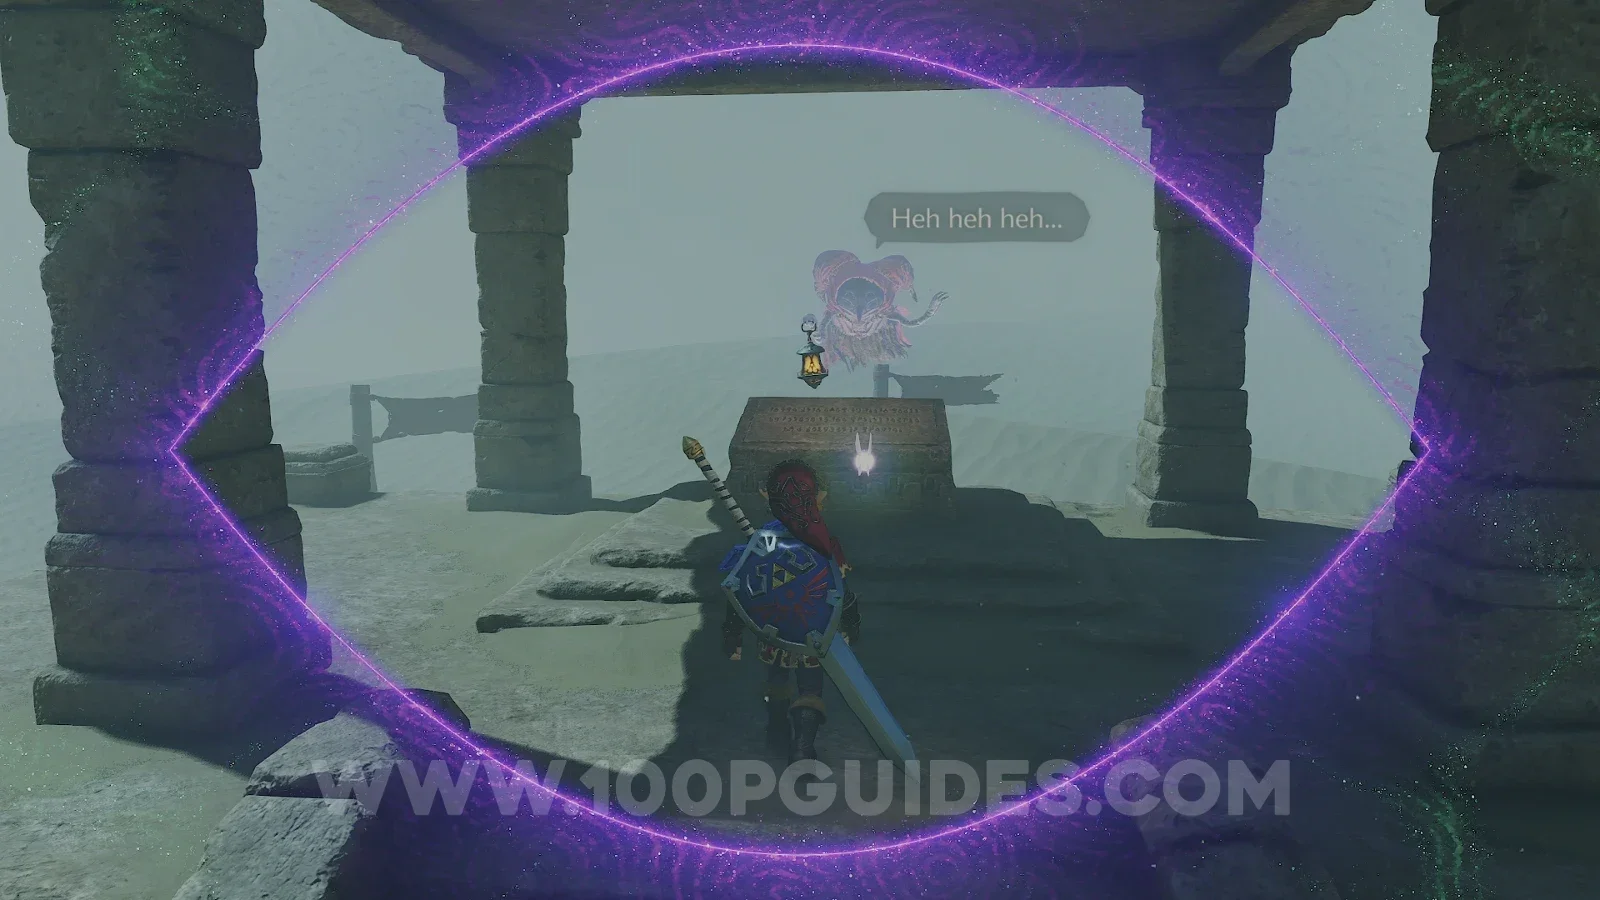
Now climb onto the ruin and read the stone tablet with the Lenses of Truth turned on. You will see a ghost, the Phantom Guide. Tell it you are ready and follow it through the sandstorm with the lenses on. Stay close and it will lead you all the way to the Evil Desert Colossus.
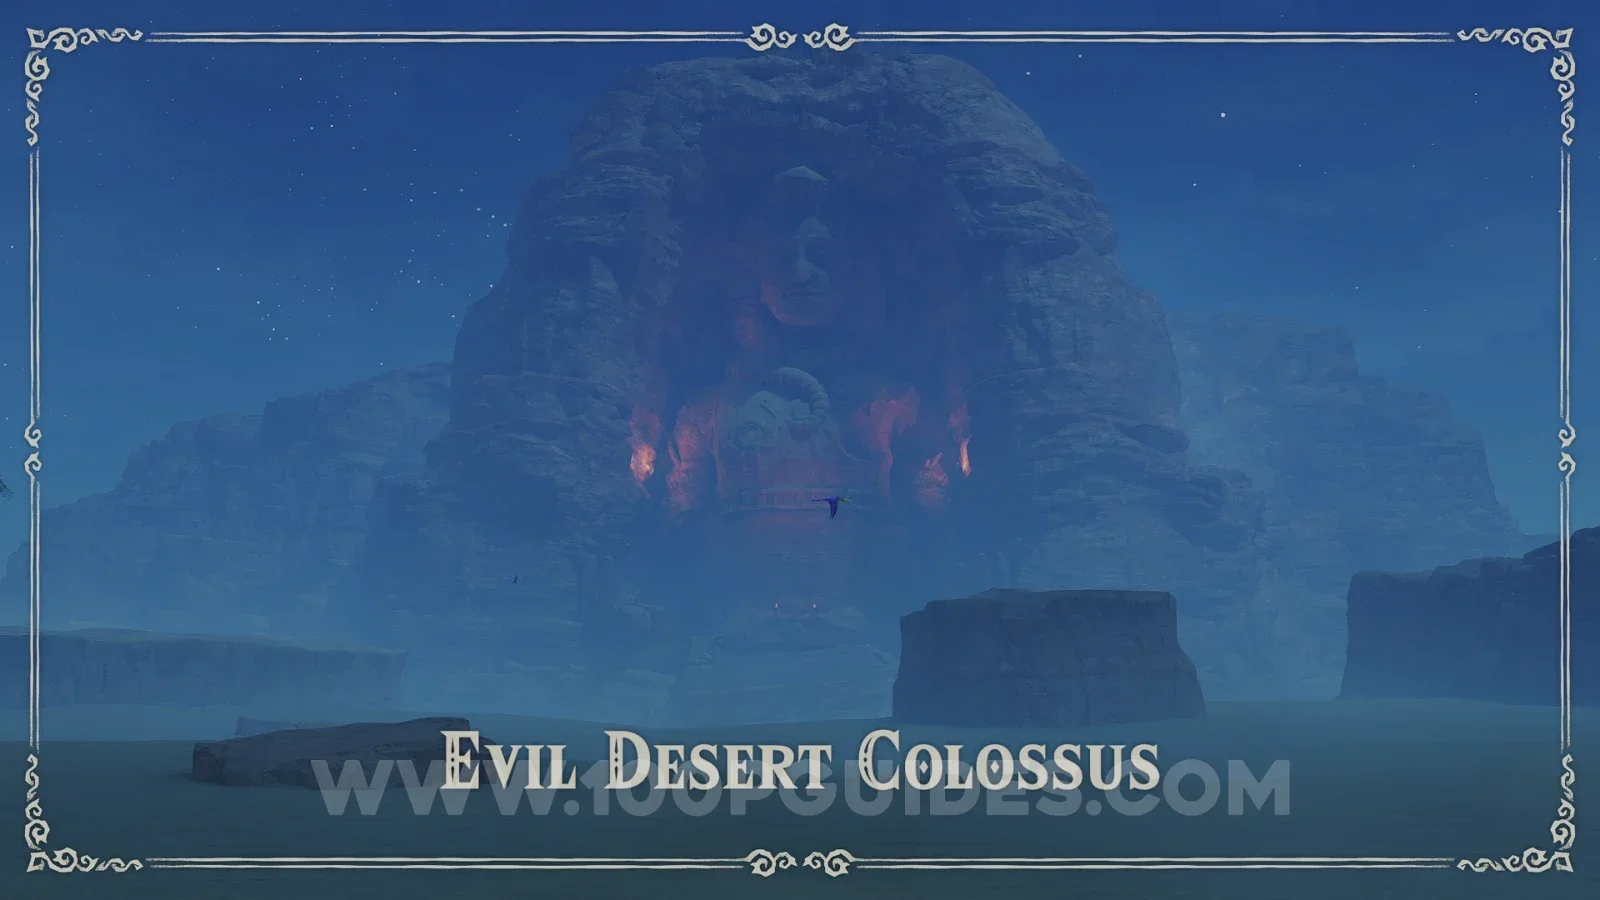
Evil Desert Colossus
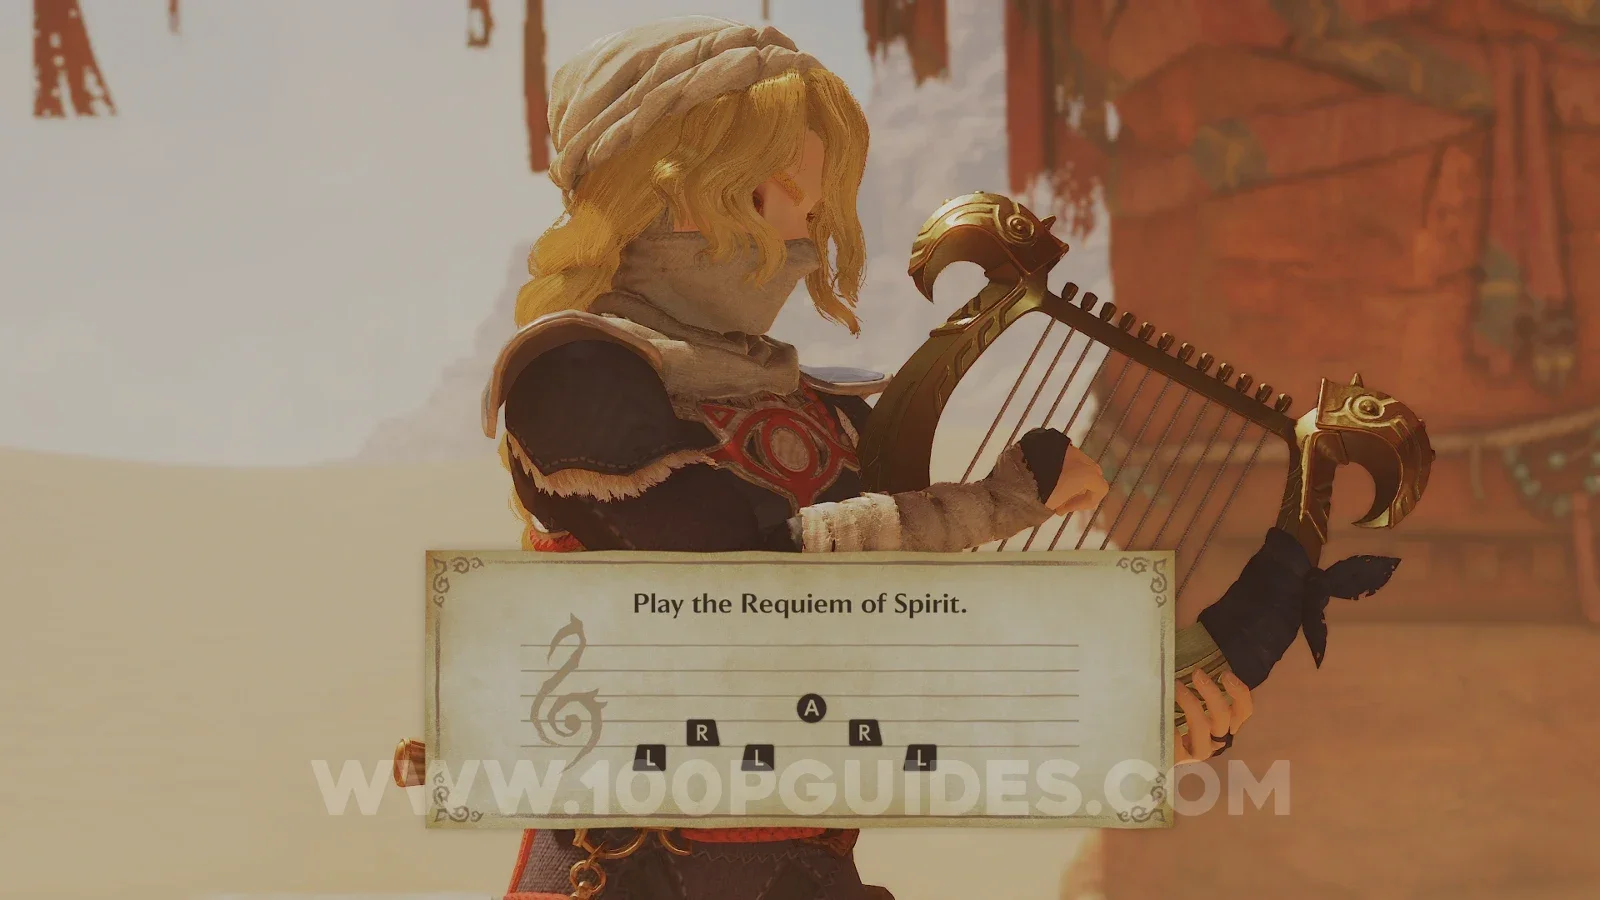
Welcome to the far west of Hyrule. The giant statue in front of you is the Spirit Temple. Walk up to the entrance and Sheik will appear to teach you the Requiem of Spirit (Song 13/13), the last of the warp songs.
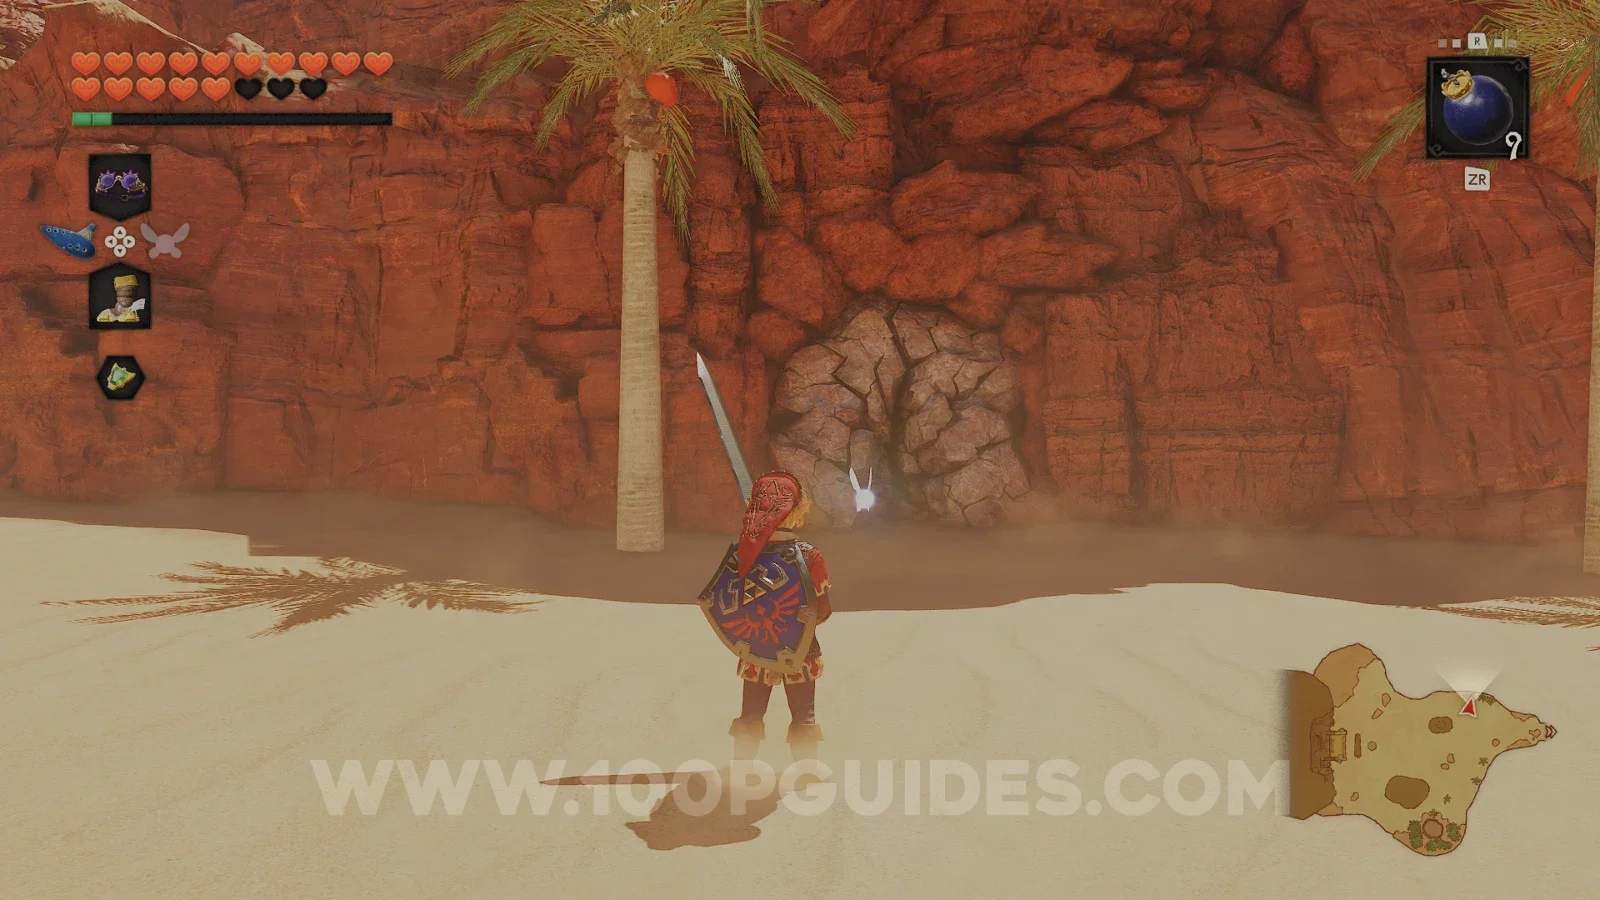
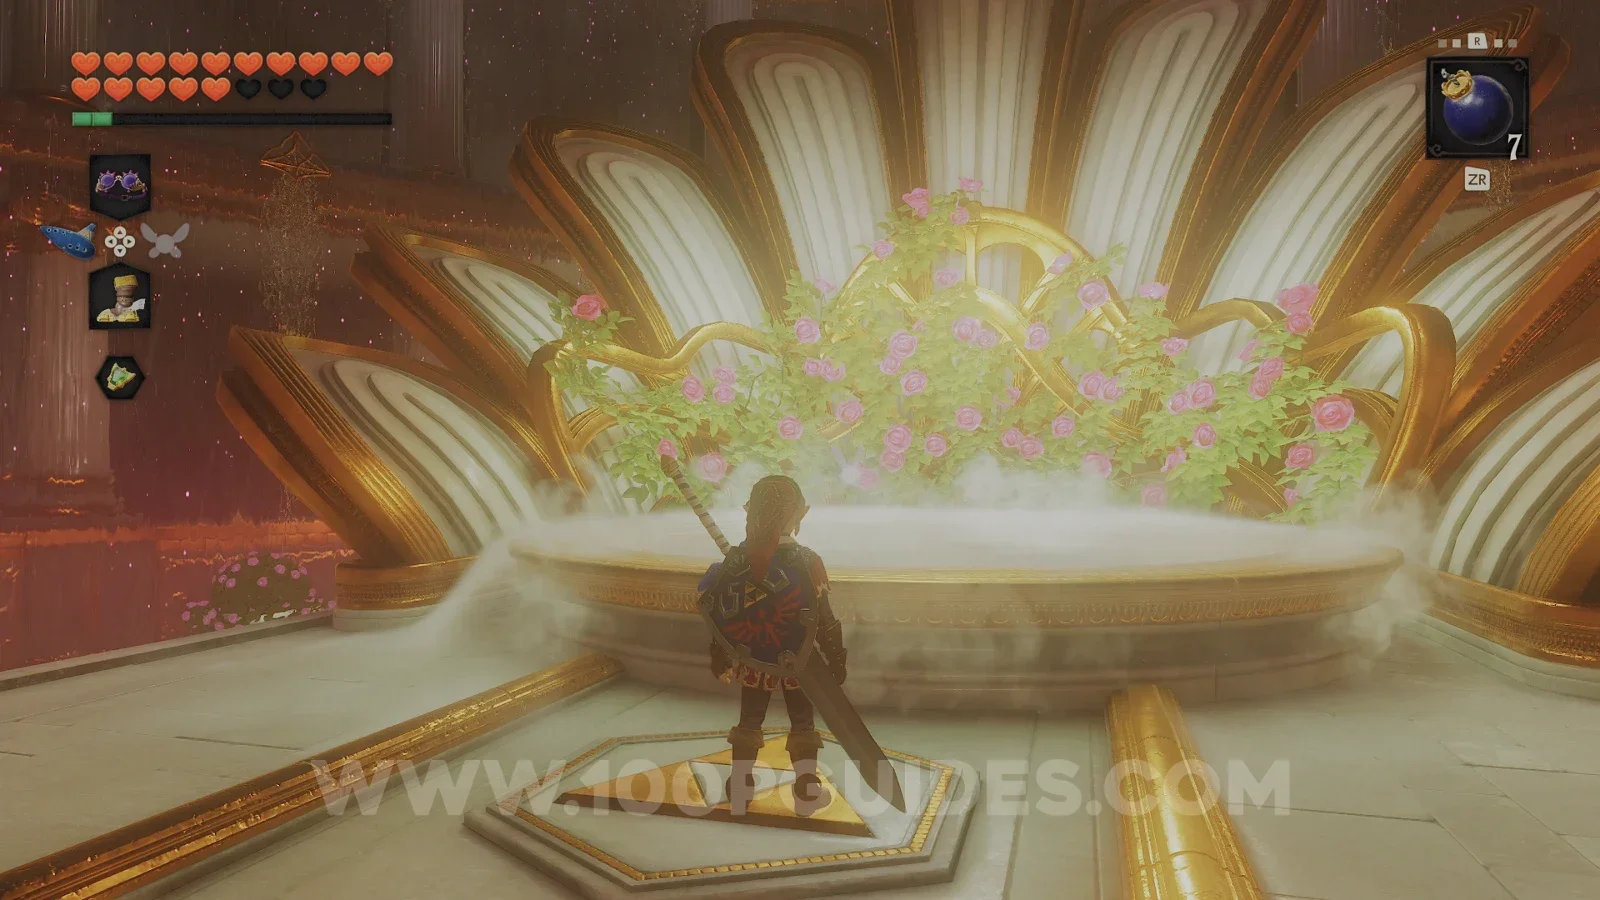
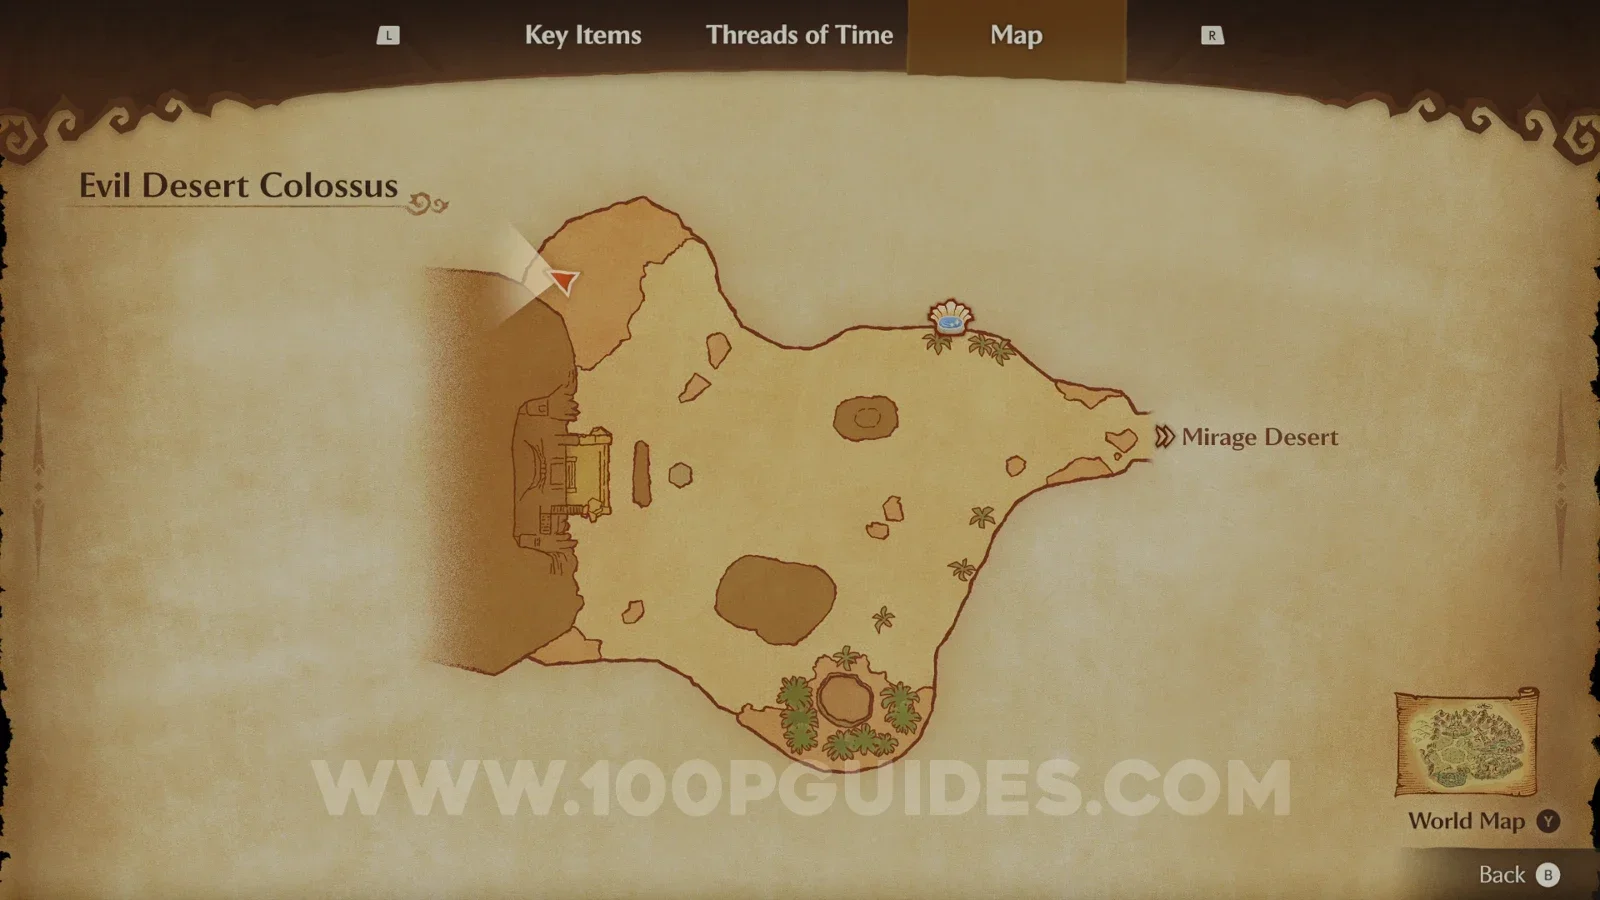
Next, look for the cracked wall to the northeast. Break it with the Megaton Hammer or a bomb and head inside to find another Great Fairy Fountain (5/6). Play Zelda's Lullaby on the Triforce and pay the 300 rupees to learn your last spell, Nayru's Love (3/3 Spells), which makes you invulnerable for a short time.
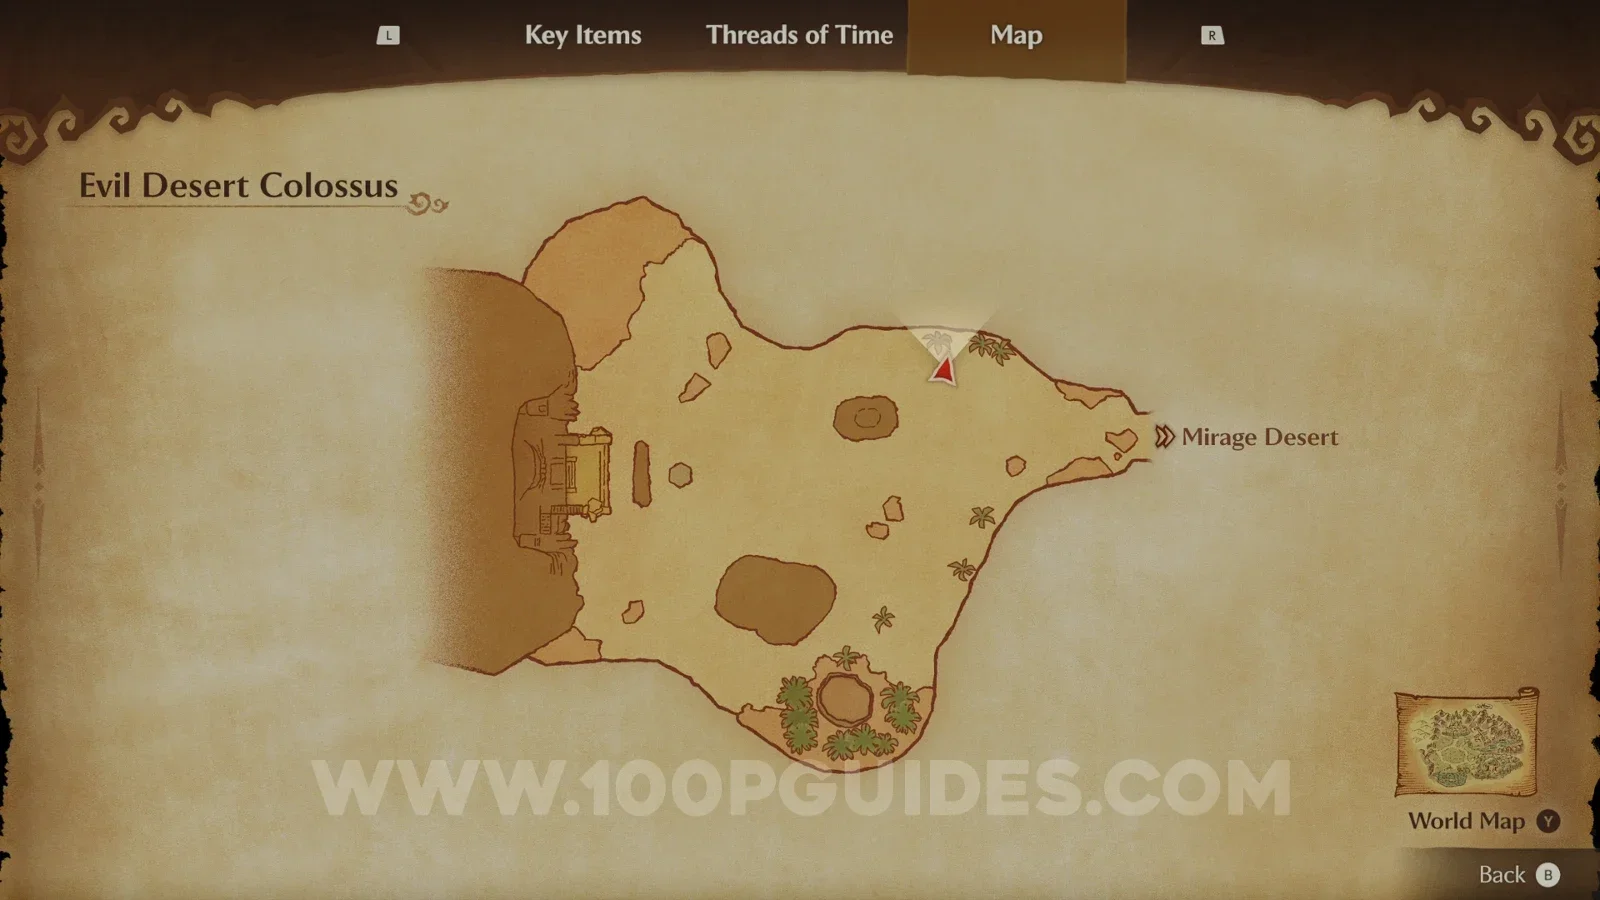
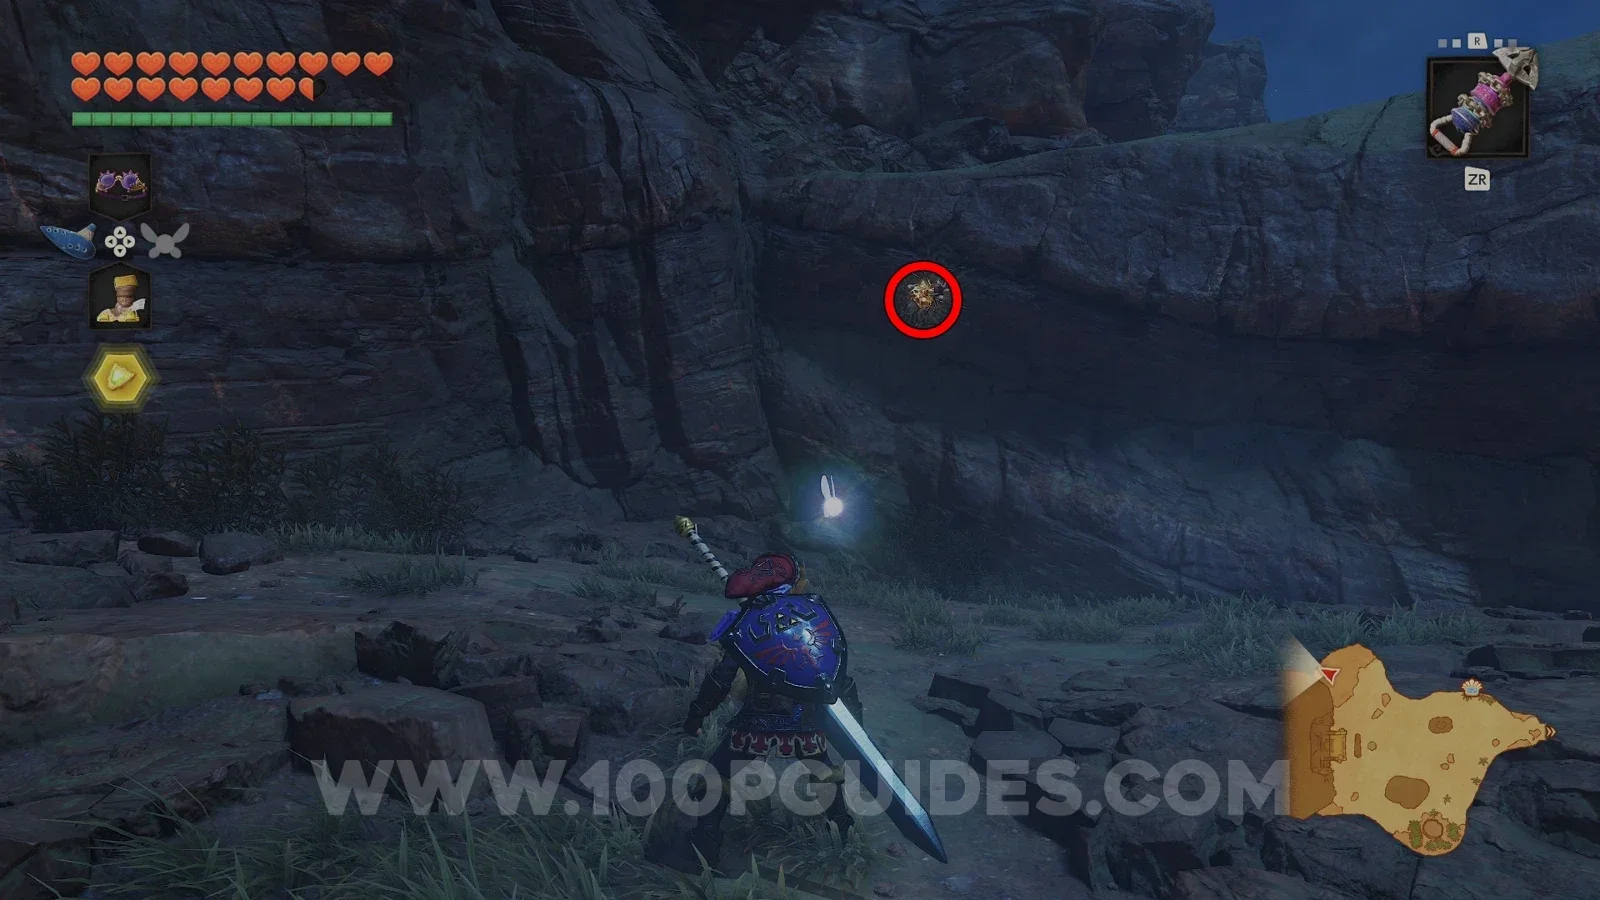
Finally, play the Sun's Song to make it nighttime and you will find a Gold Skulltula (91/100) on the wall to the north of the temple entrance. Longshot to get it.
That's everything you can do out here as an adult for now. The Spirit Temple is a little different from the others, since half of it can only be explored as a child. So in the next part, you will be making your second and last trip back in time.