Welcome to Part 22 of our 100% Walkthrough of Zelda Ocarina of Time Remake. Back as an adult and with the Silver Gauntlets on your arms, you return to the Evil Desert Colossus to finish the Spirit Temple, the last of the five temples.
After the temple, you can collect the last of the Gold Skulltulas and all but one of the Heart Pieces.
Spirit Temple (adult)
Play the Requiem of Spirit to warp to the Evil Desert Colossus and head inside the Spirit Temple. In the first hall, push the huge silver block on the eastern side out of the way. The Silver Gauntlets you picked up as a child make this possible.
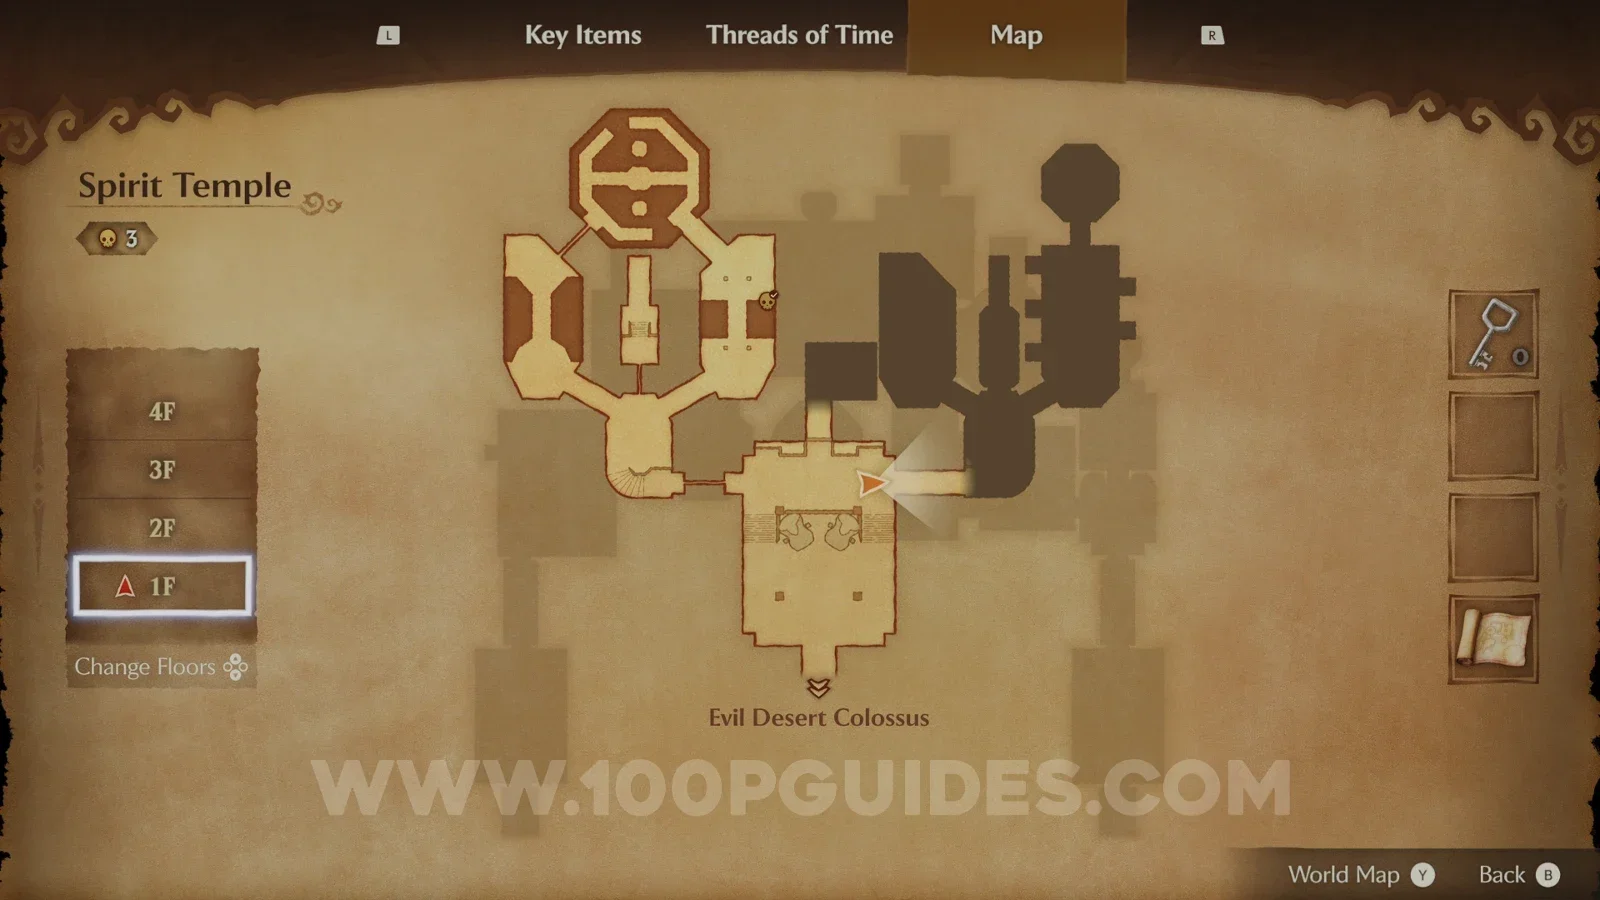
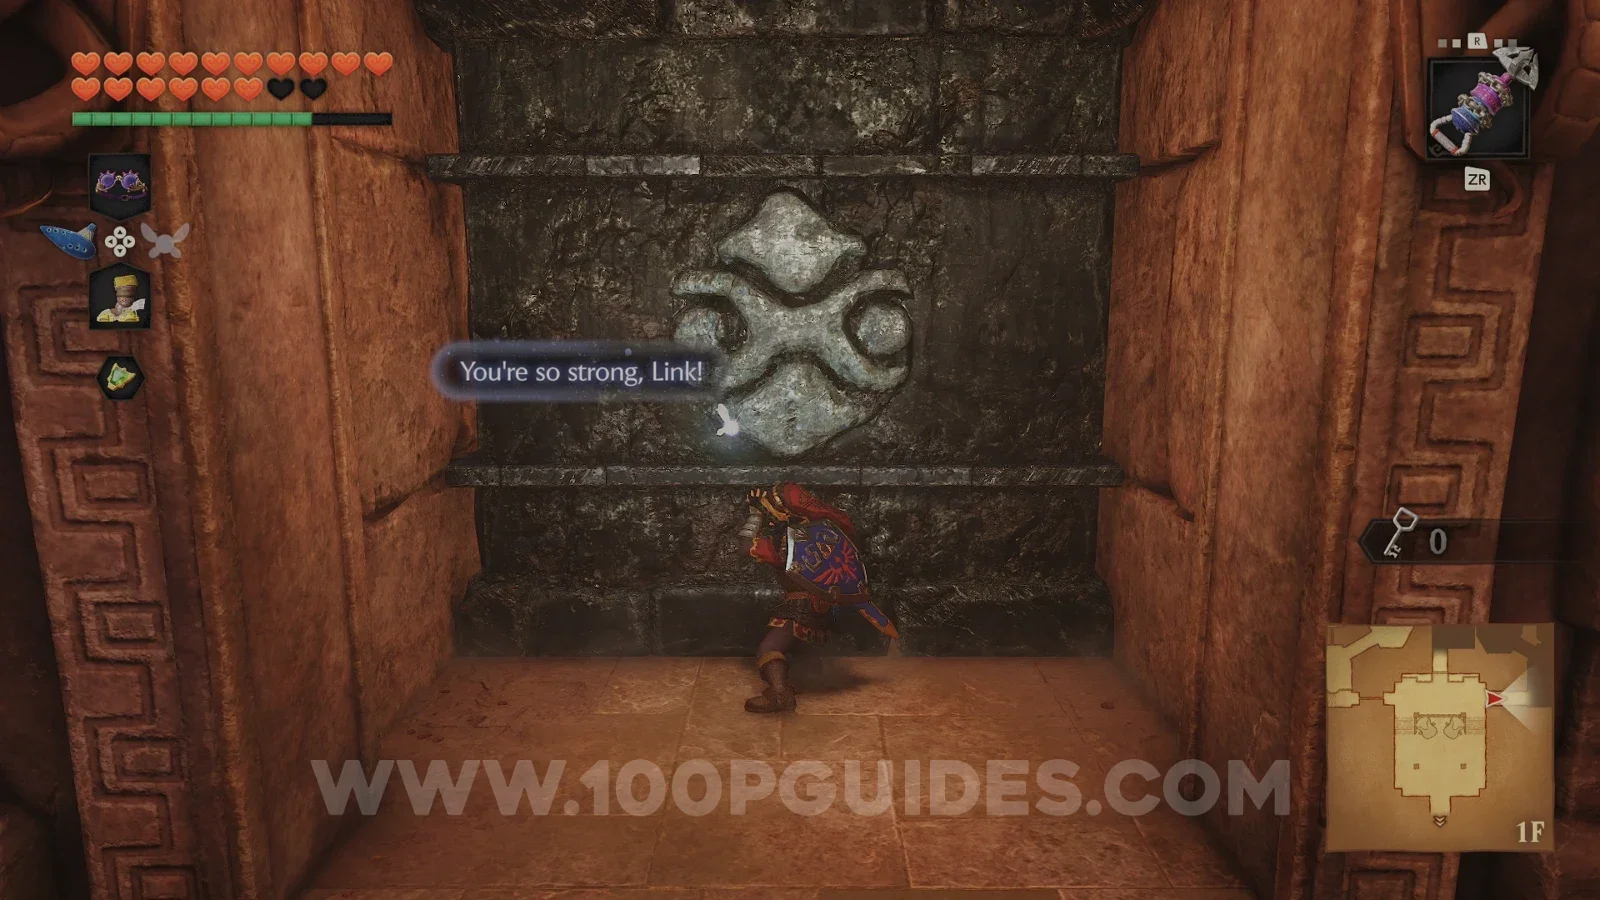
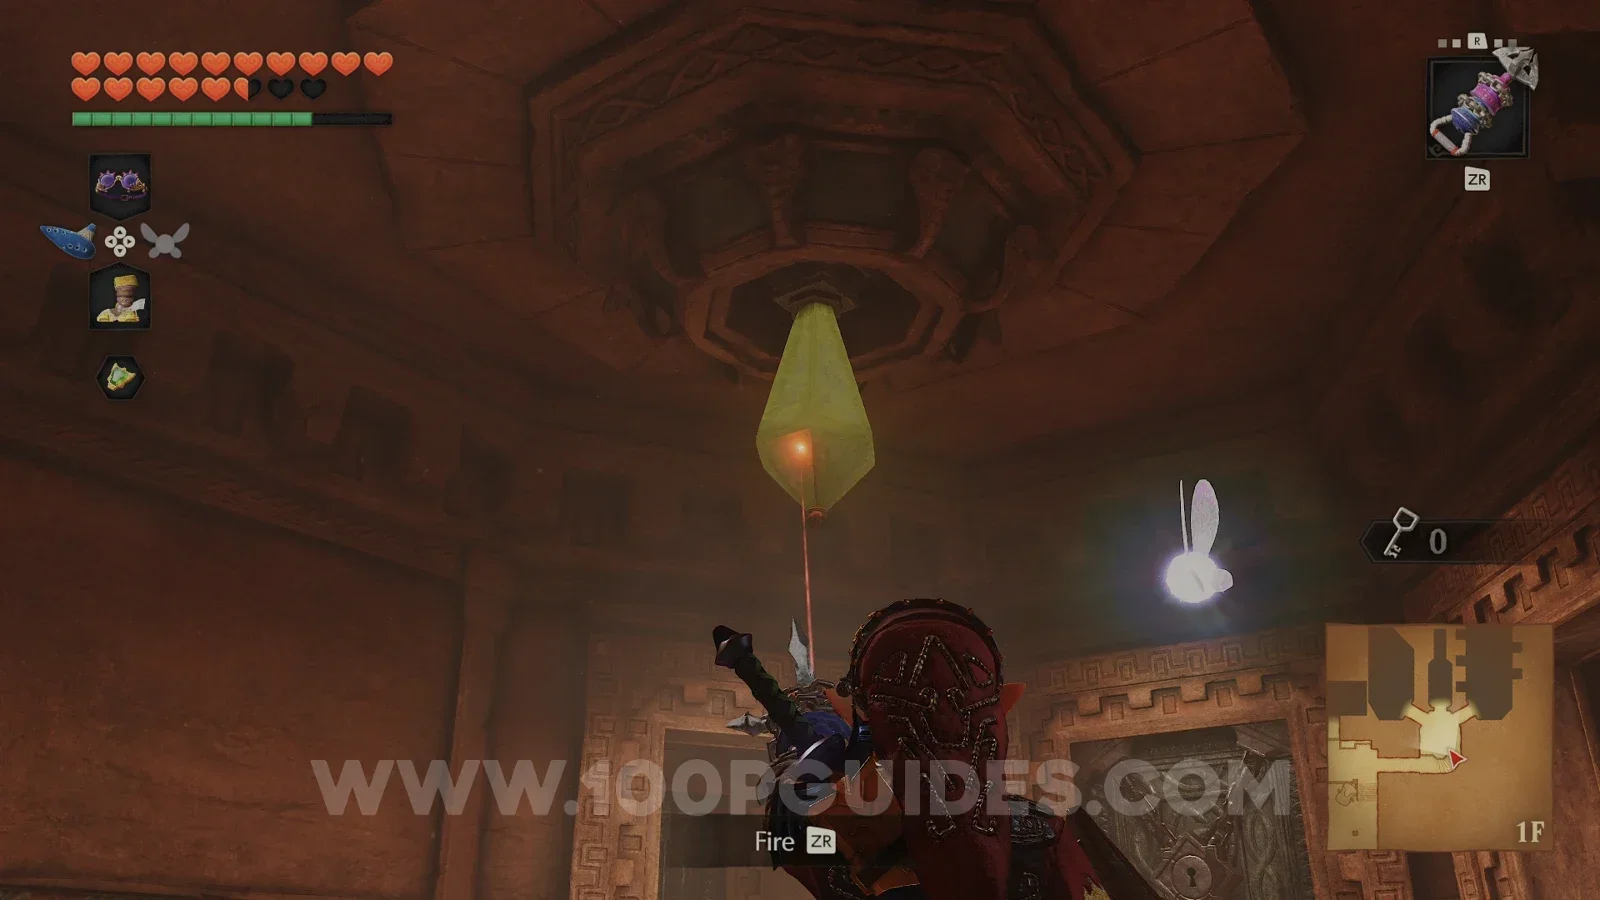
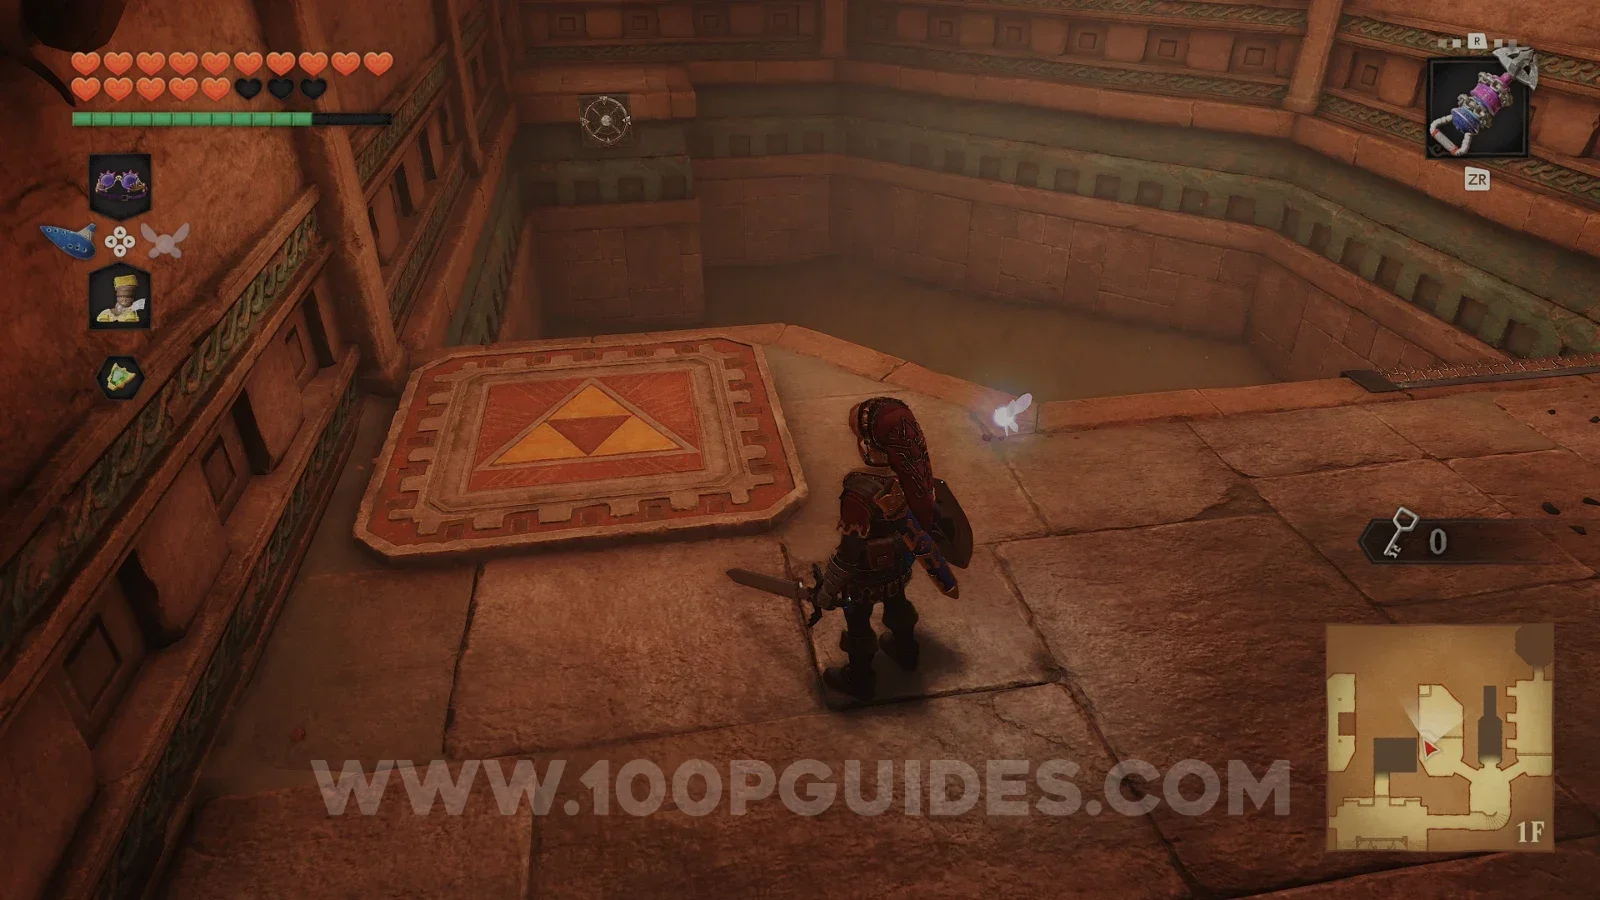
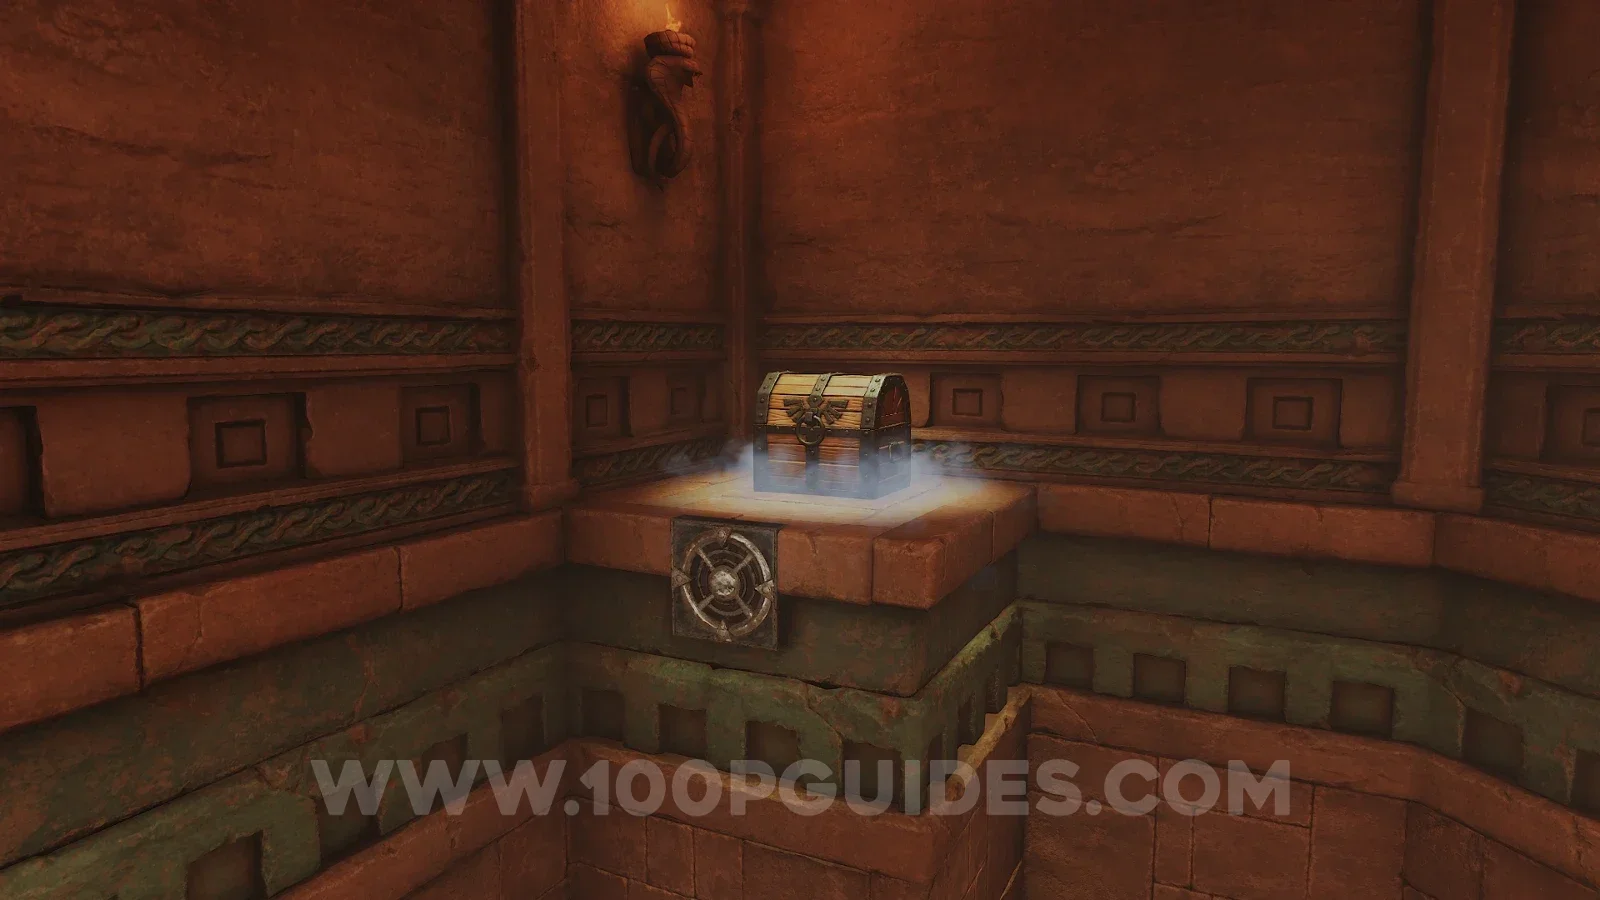
In the next room, hit the switch on the ceiling and head through the left door. Here, you will find a triforce on a red carpet. Stand on it and play Zelda's Lullaby to make a chest with the Compass appear a little further on.
Now return to the room with the switch and head through the door on the right. Here, collect the 5 silver rupees to open the door (there is one hidden behind the block that you move with the Song of Time).
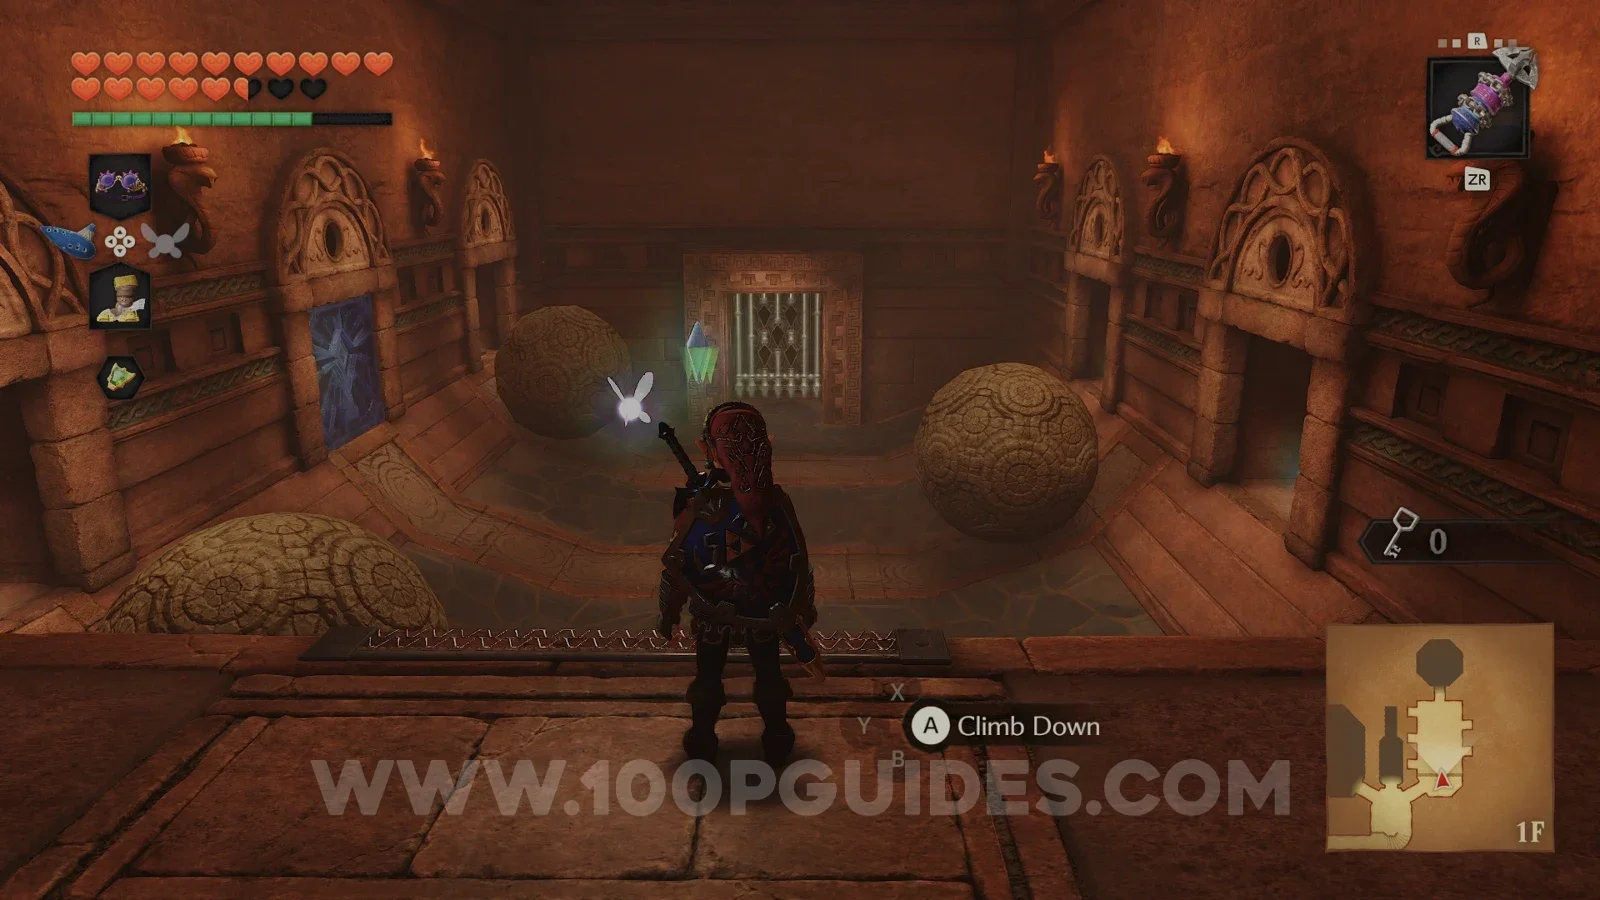
You can find a Gold Skulltula (97/100) in the same room as the rupees, in the last crevice on the left (if you moved the block, you will have to play the Song of Time again to move it back).
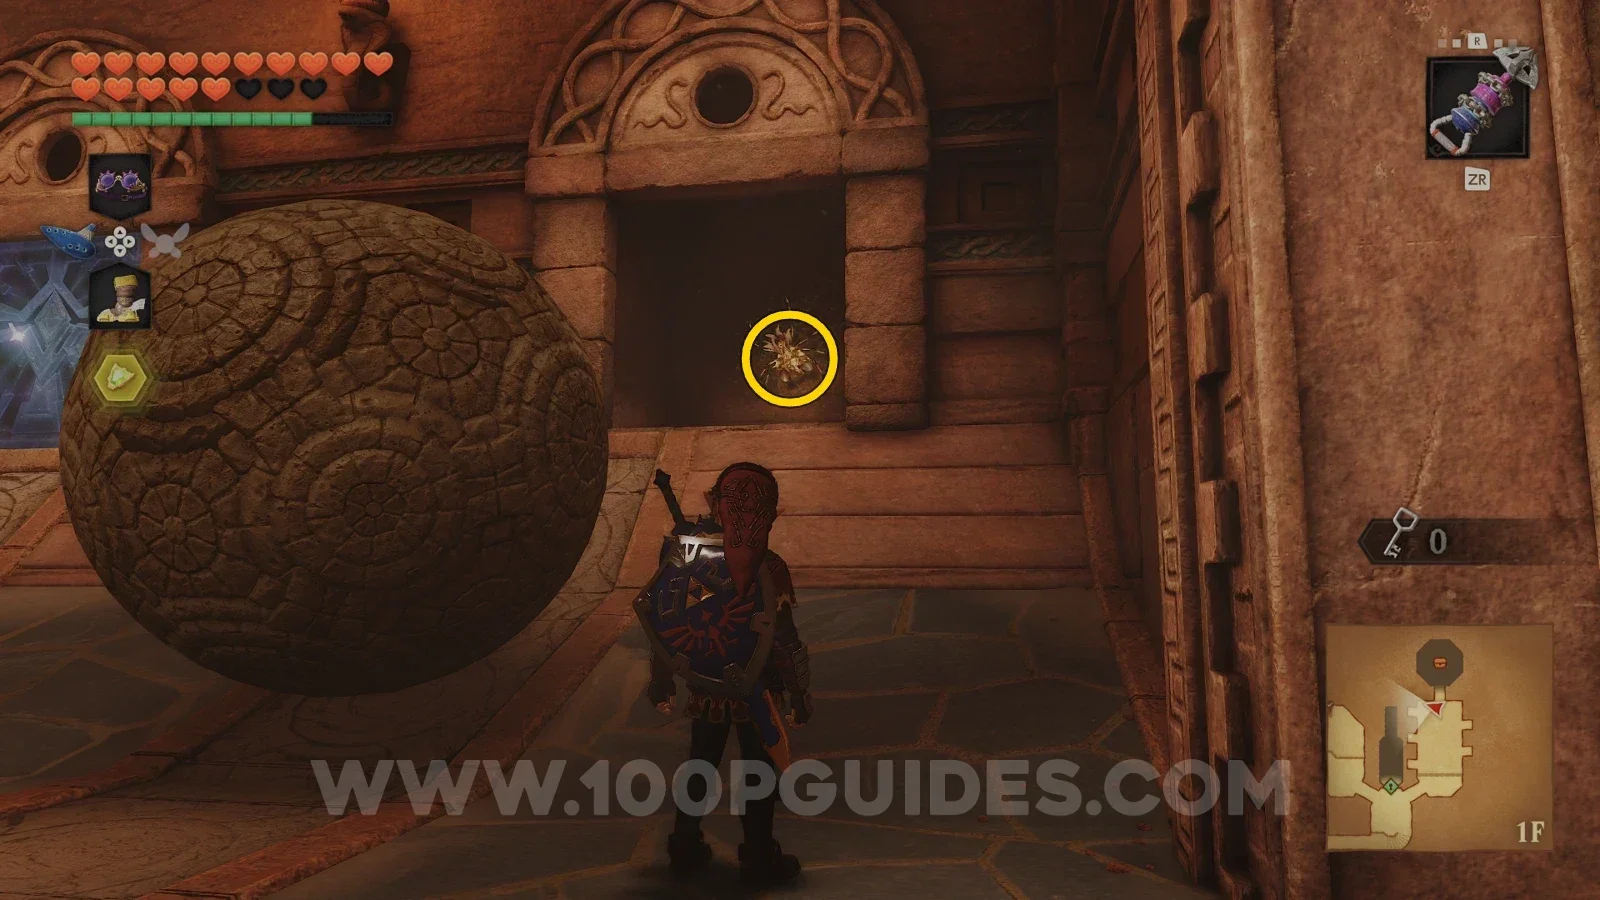
Continue north through the door that opened when you collected the silver rupees, and open the chest to get a Small Key.
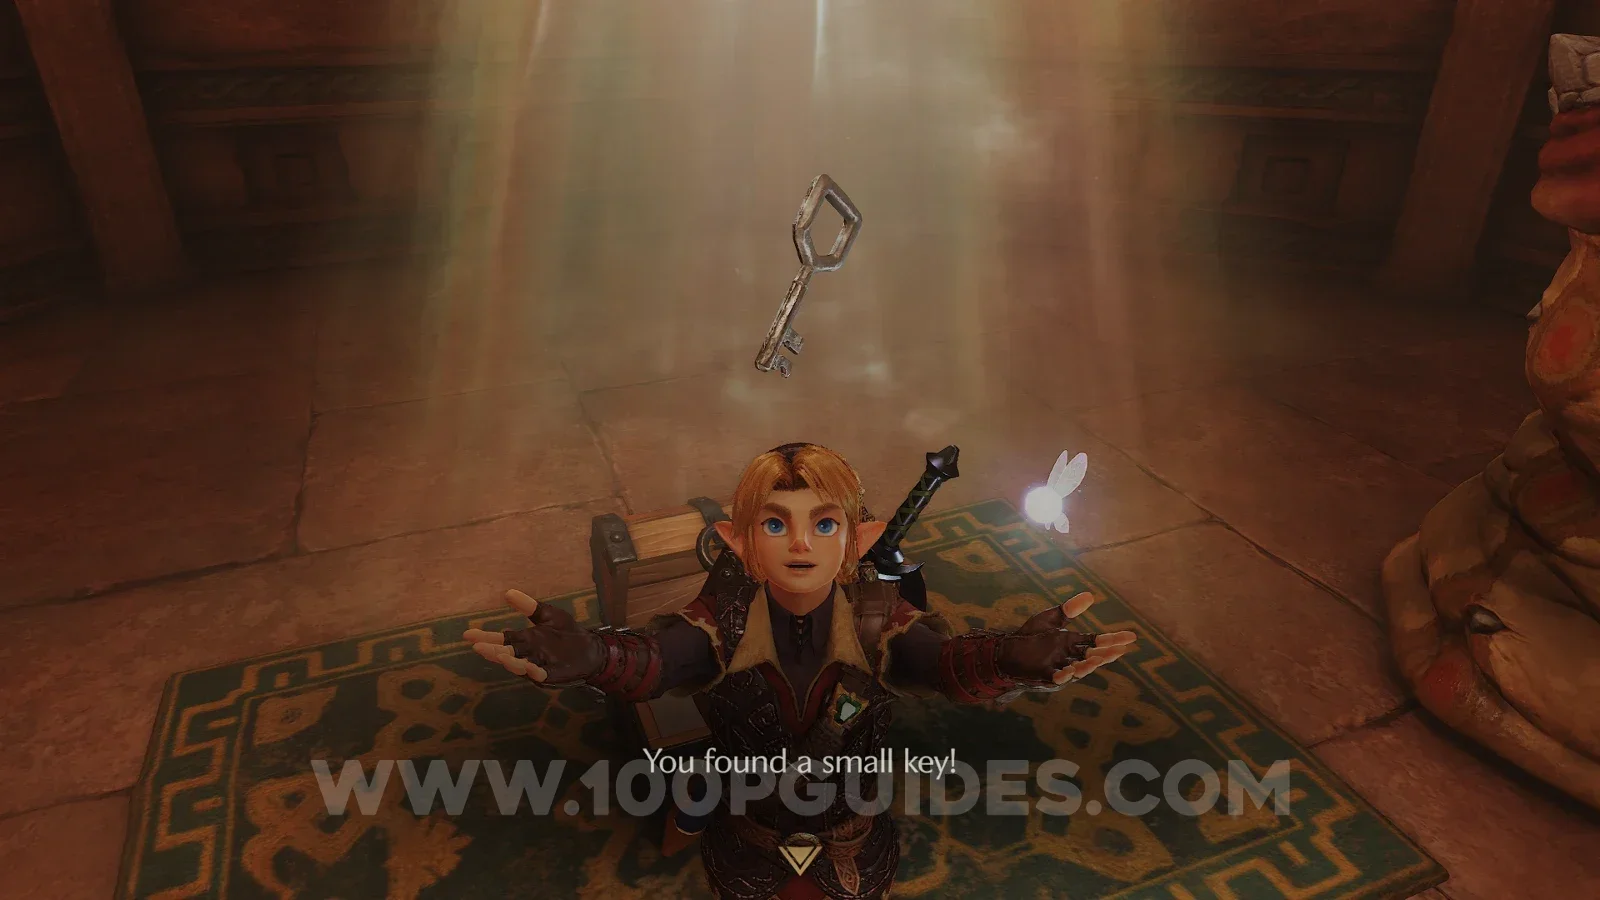
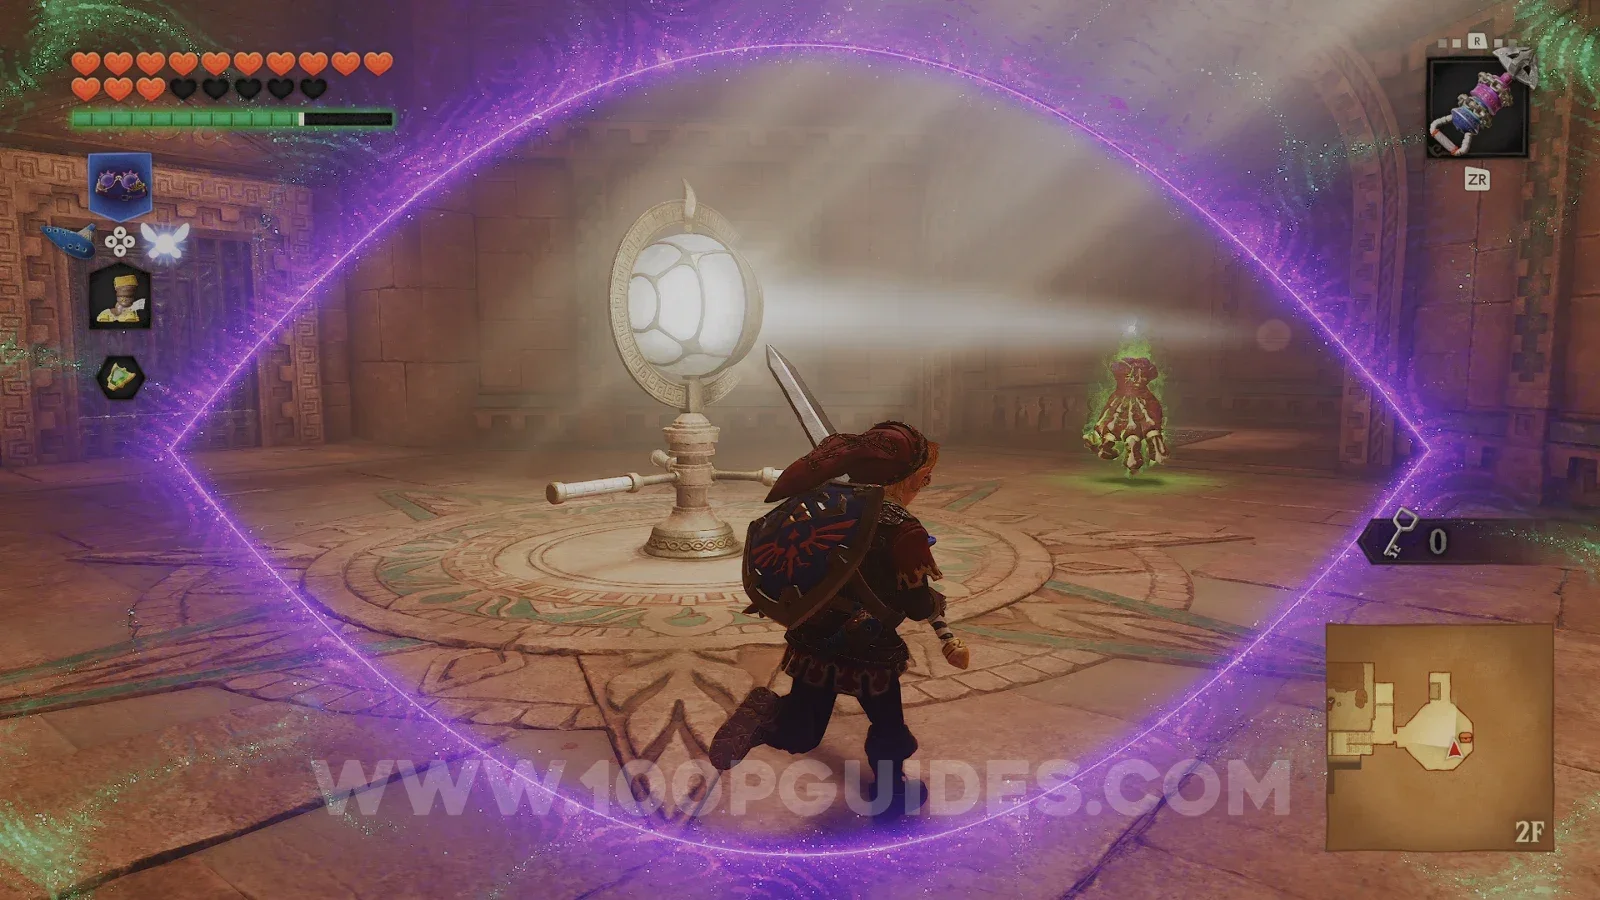
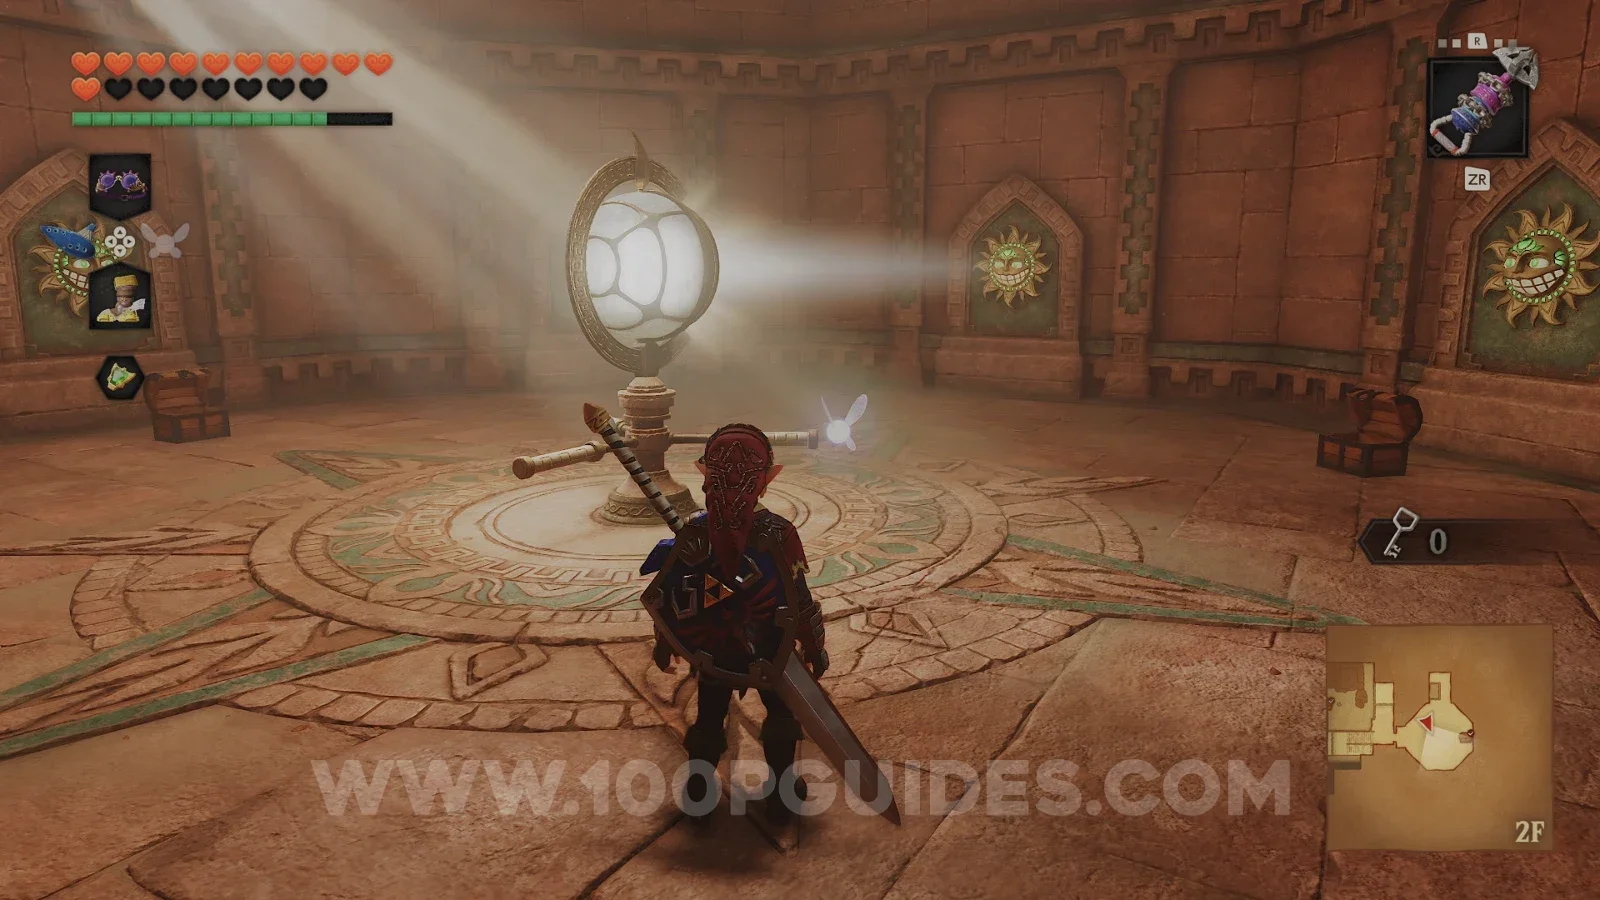
Return to the room where you hit the switch on the ceiling and head through the locked door to get to 2F. Here you will reach a round hall with a lamp in the middle and an invisible enemy (use the Lenses of Truth). Spin the lamp clockwise until it hits the first sun on the wall to get a chest with some bombs. Then spin it anticlockwise until it hits the second sun from the right to open the door (the rightmost sun will spawn a chest, but it's a trap). If you hit the second sun from the left, it will spawn an enemy.
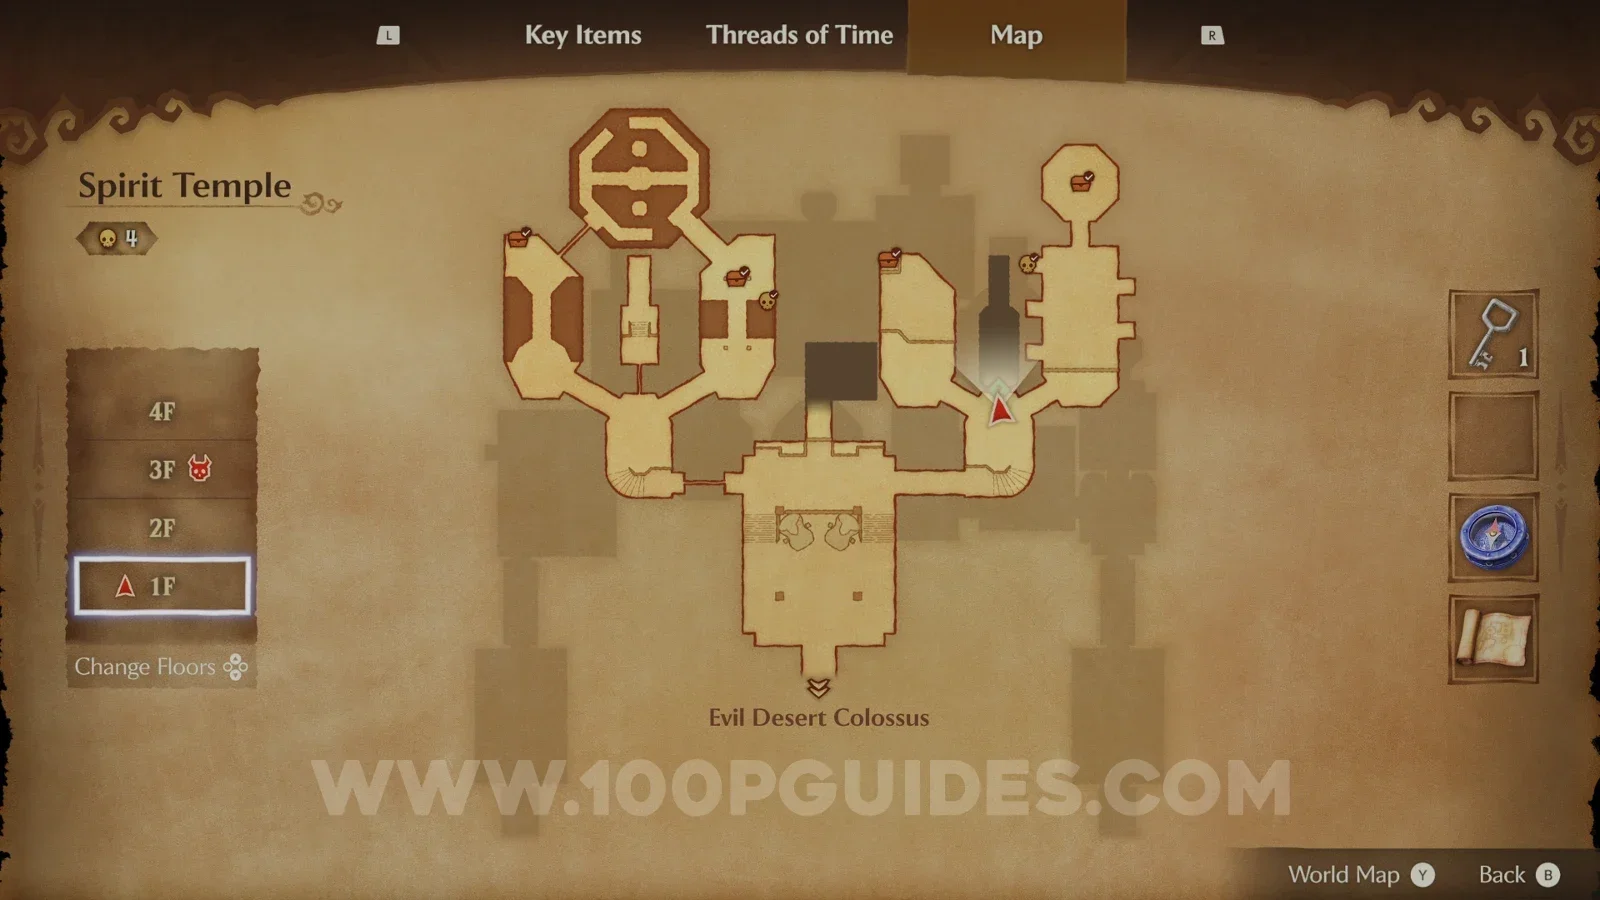
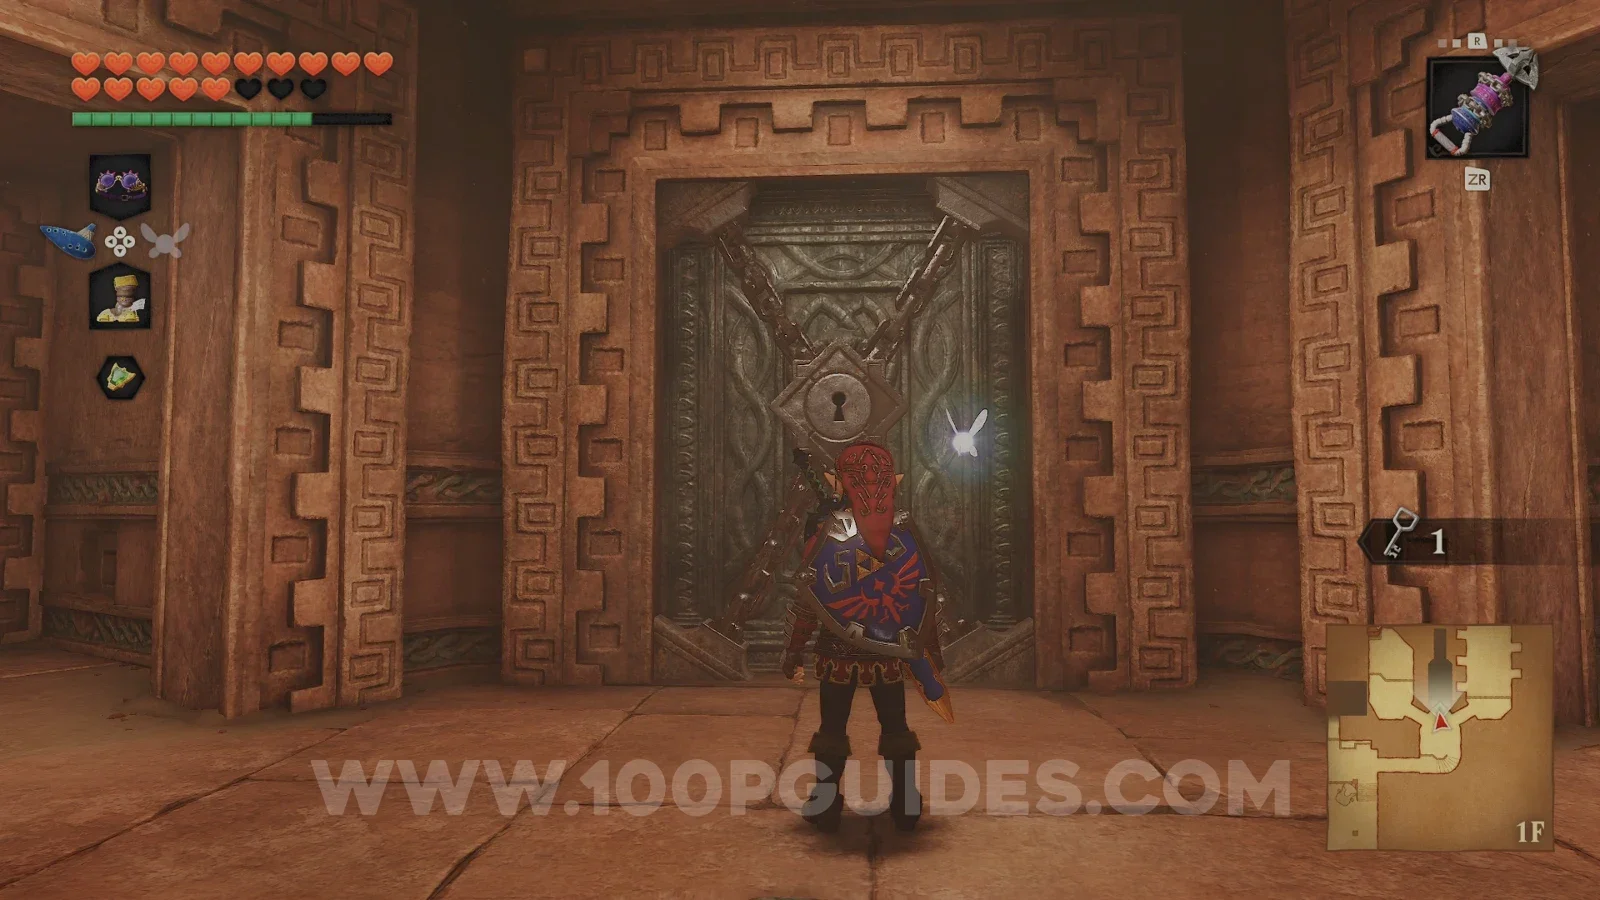
Head through the door to the west to get to the main hall of the temple, the one with the giant statue. Head up the stairs and, at the top, look for a triforce symbol on one of the hands. Jump down to it, play Zelda's Lullaby and a chest will spawn with a Small Key inside. Use the hookshot to reach it.
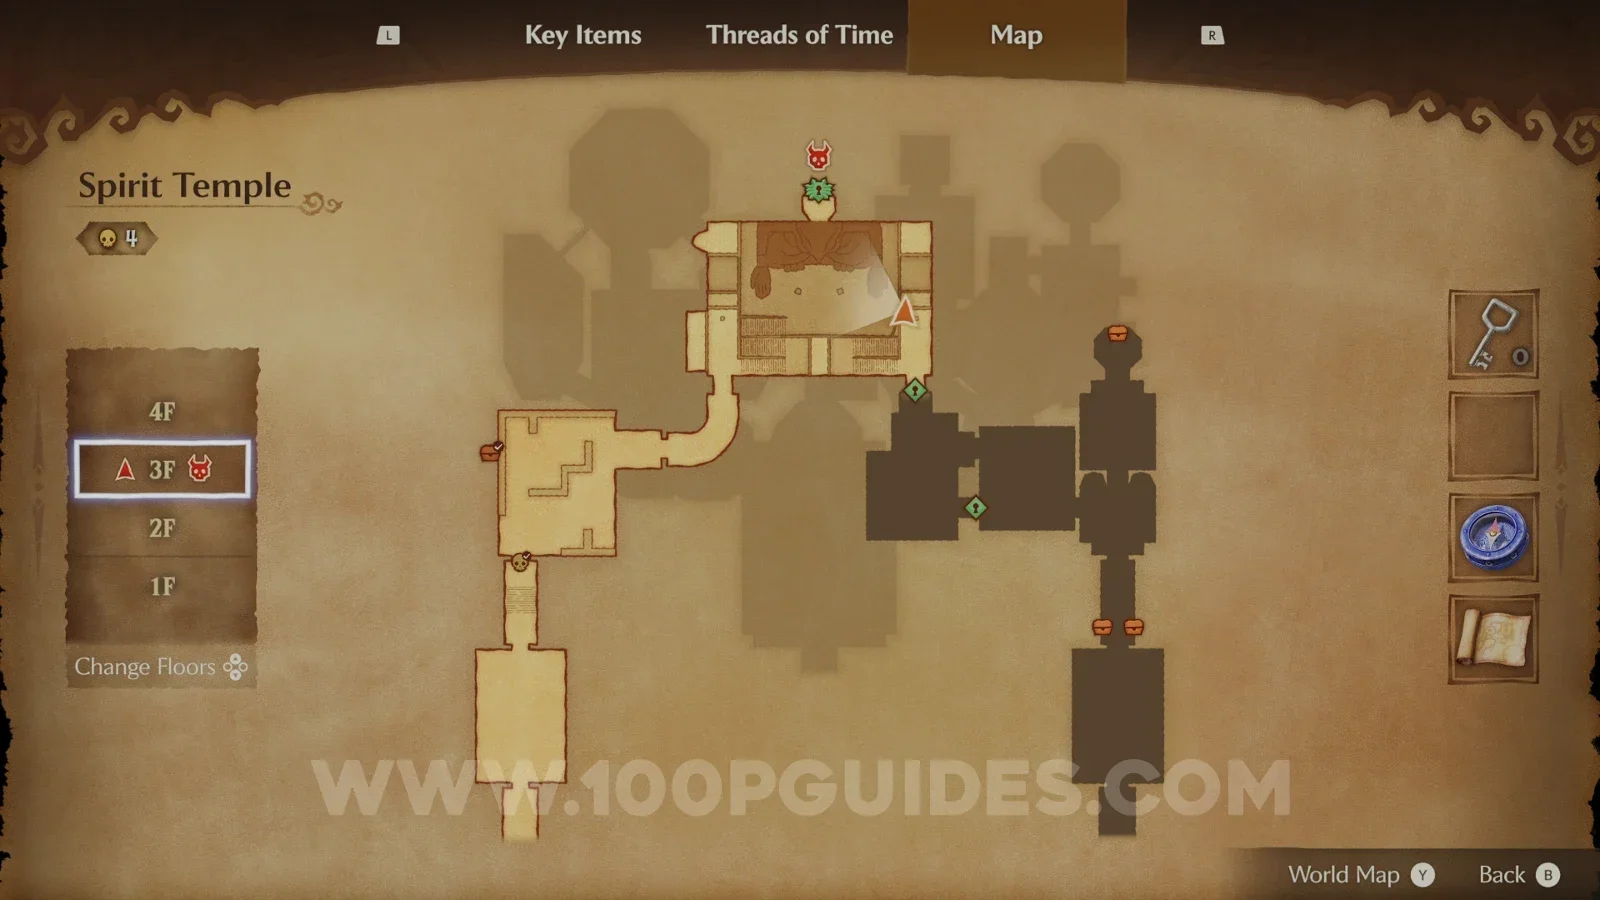
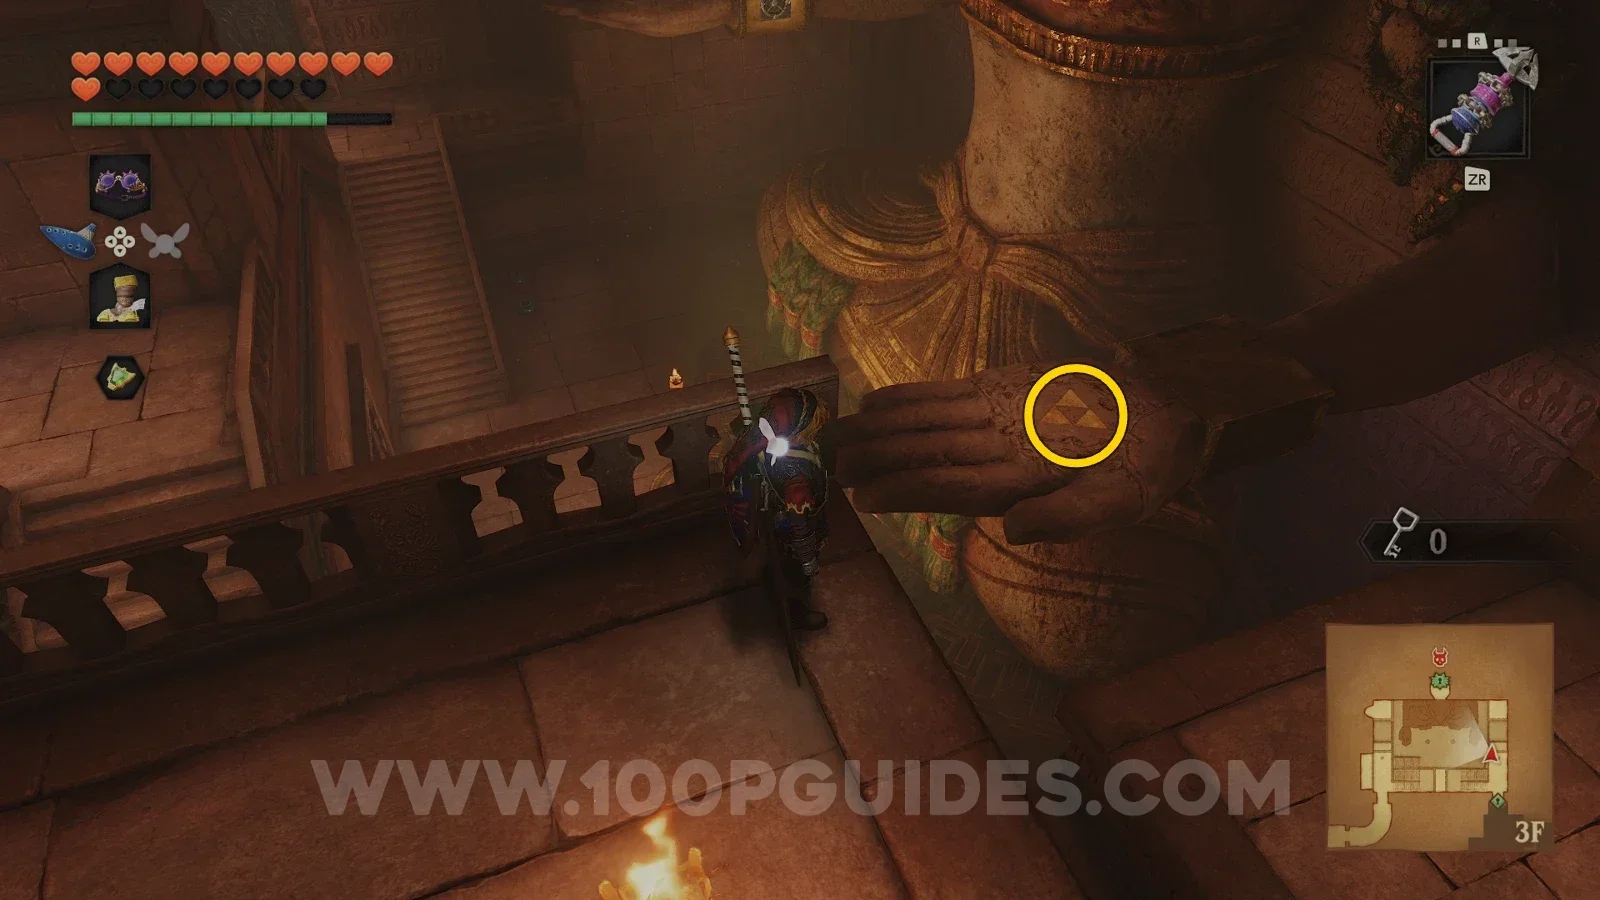
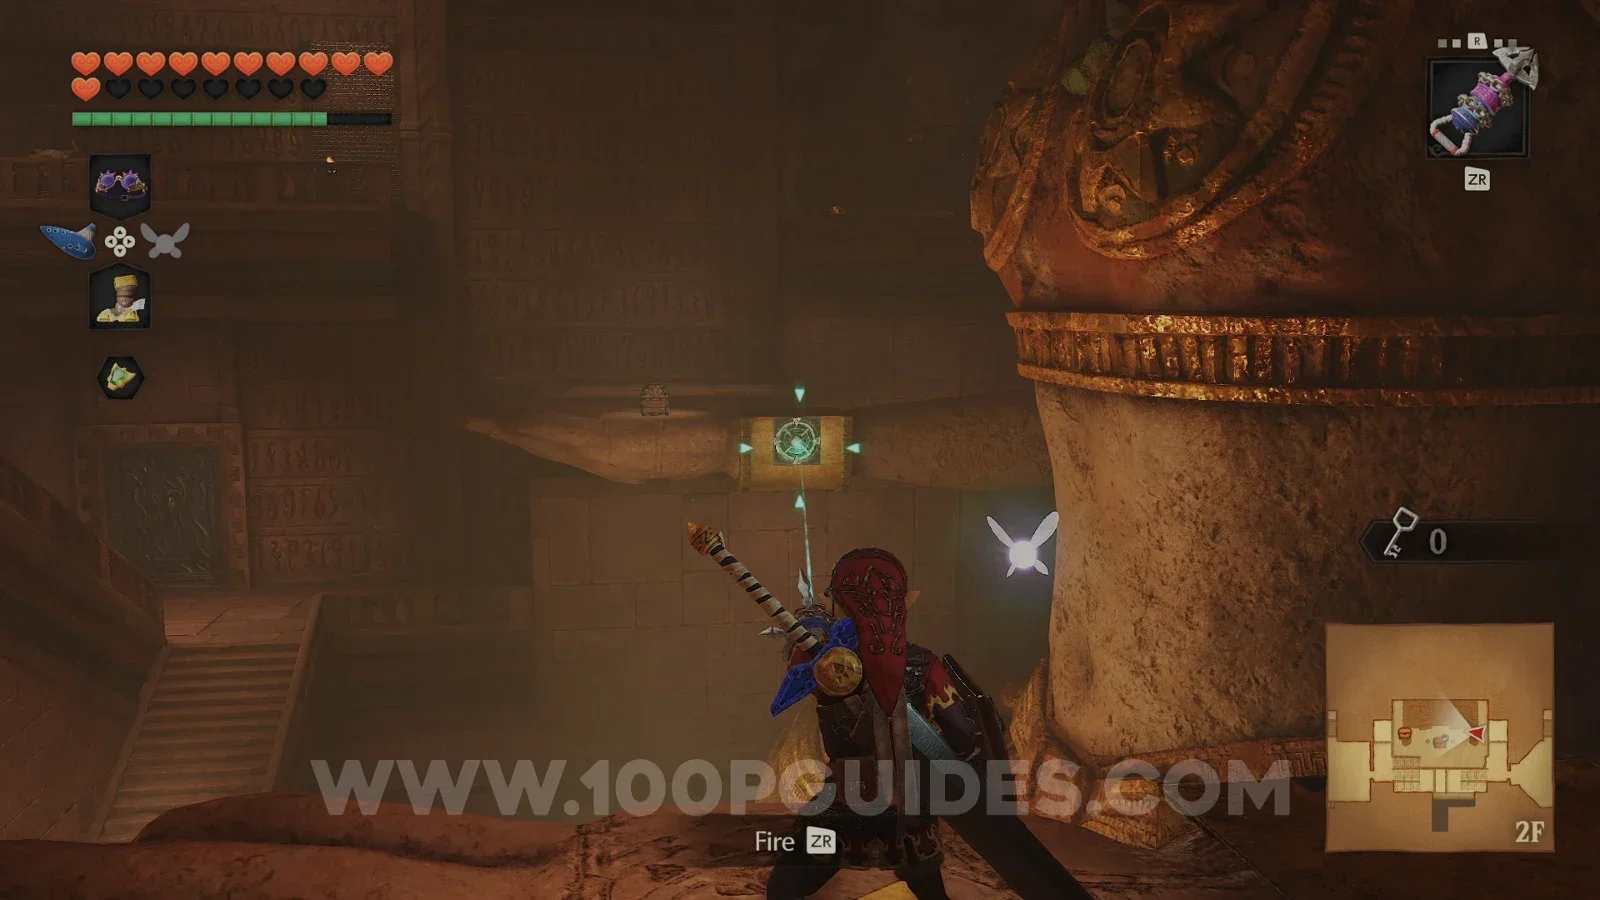
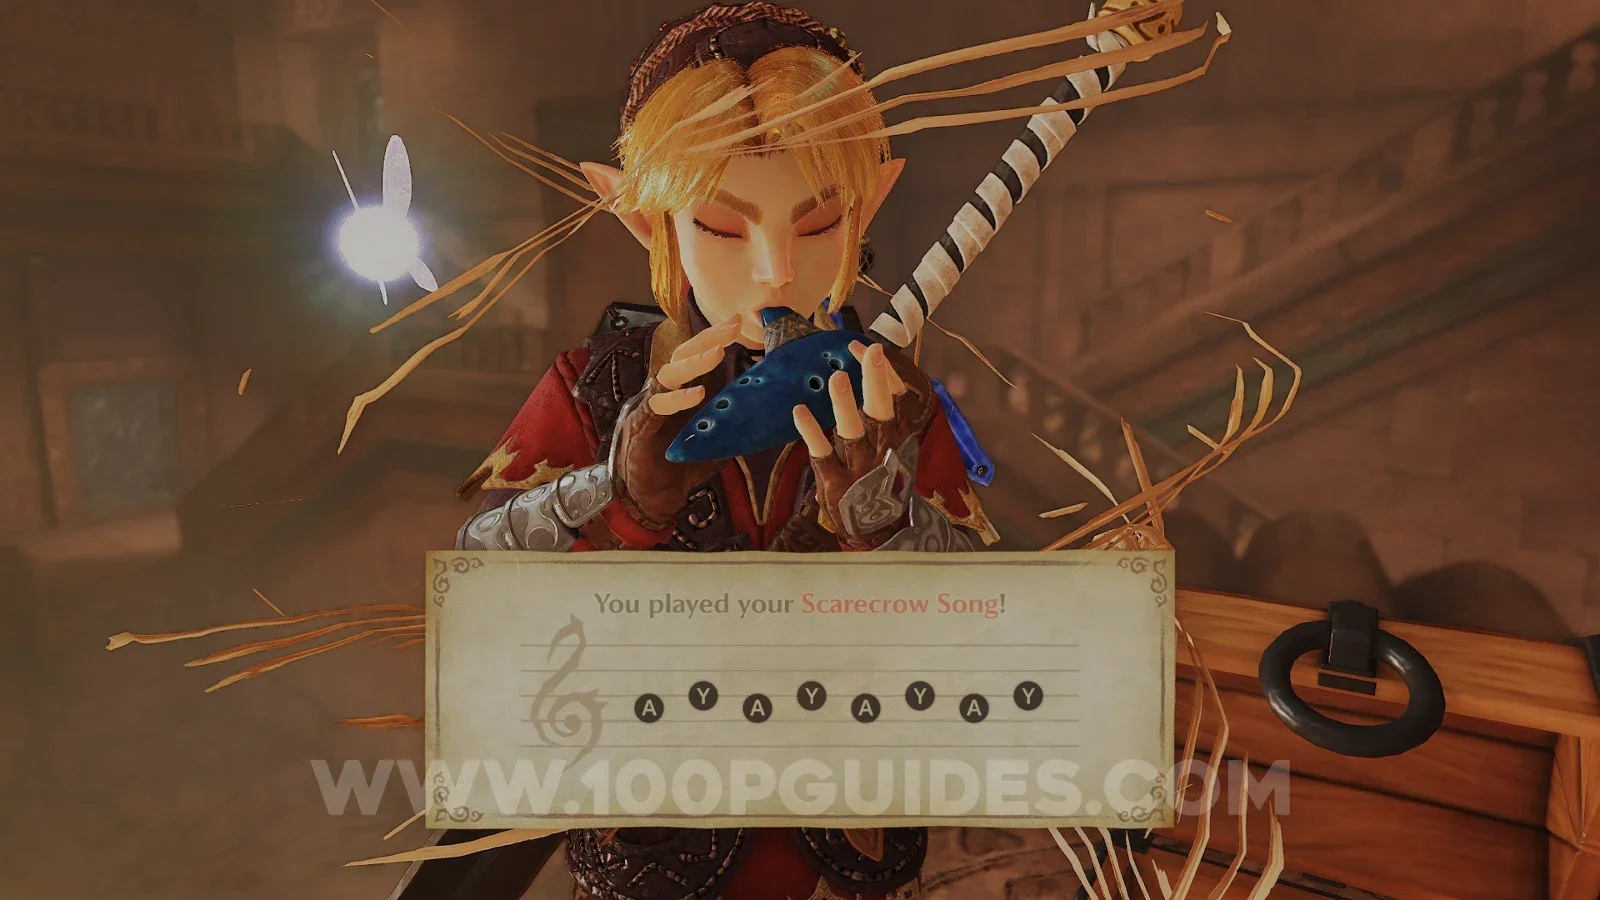
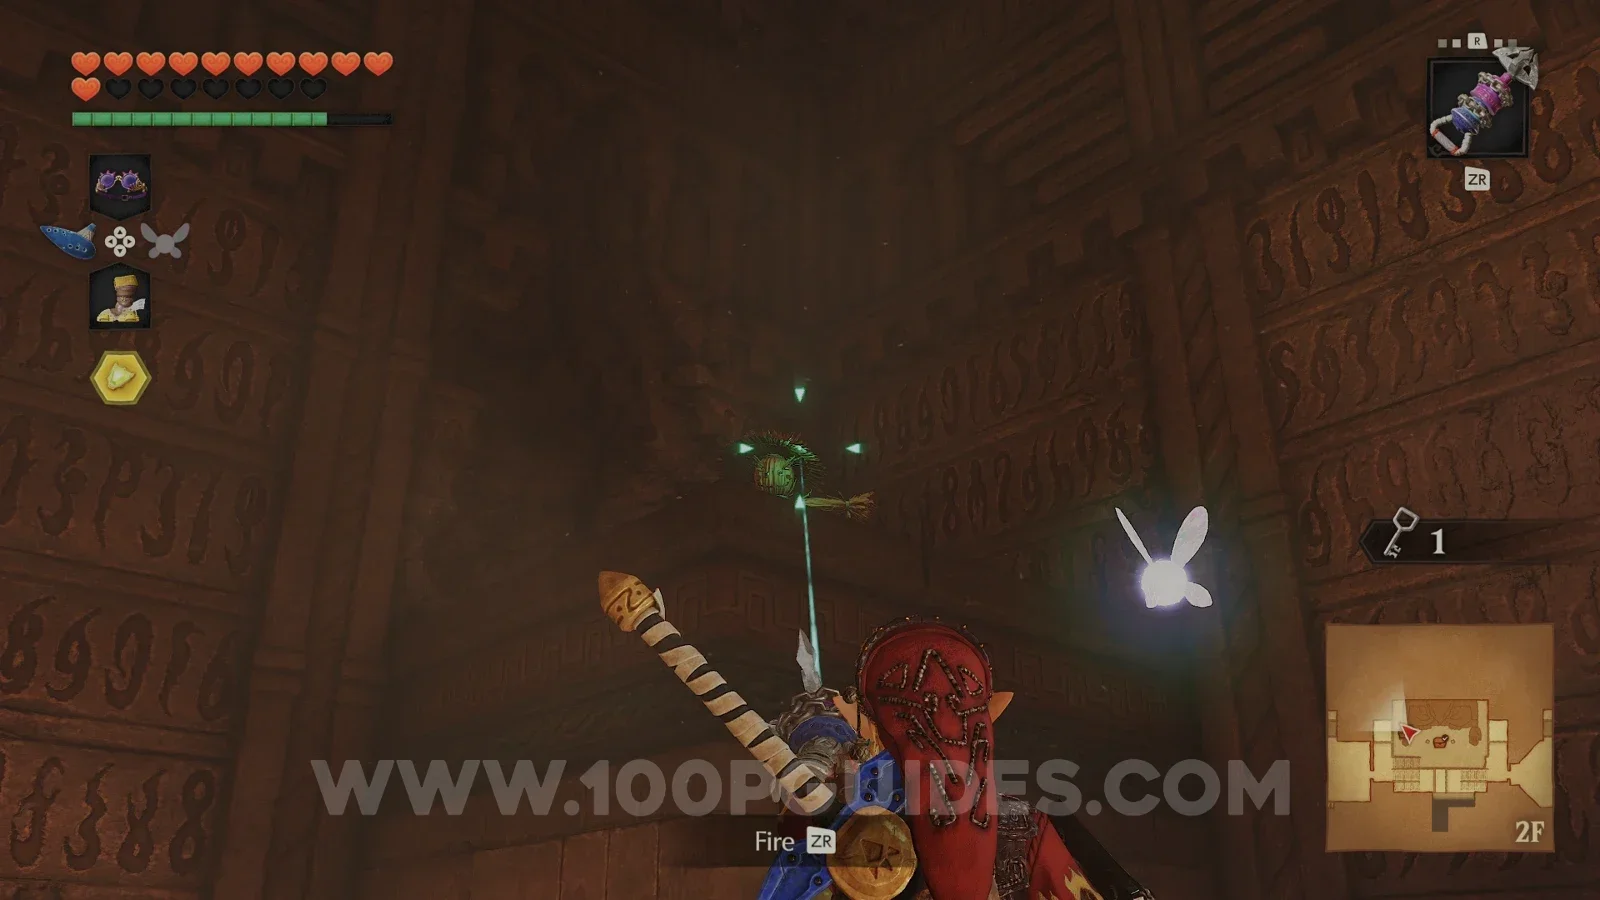
While still standing on the hand where you got the small key, play the Scarecrow's Song. Then use the Longshot to reach the scarecrow, and you will find a Gold Skulltula (98/100) on the small platform.
Before heading through the locked door on 3F, go to the northeast corner and hit the switch with the Megaton Hammer. This will open the gate at the bottom. If you go through it and push the blocks, you will open a shortcut back to the first room.
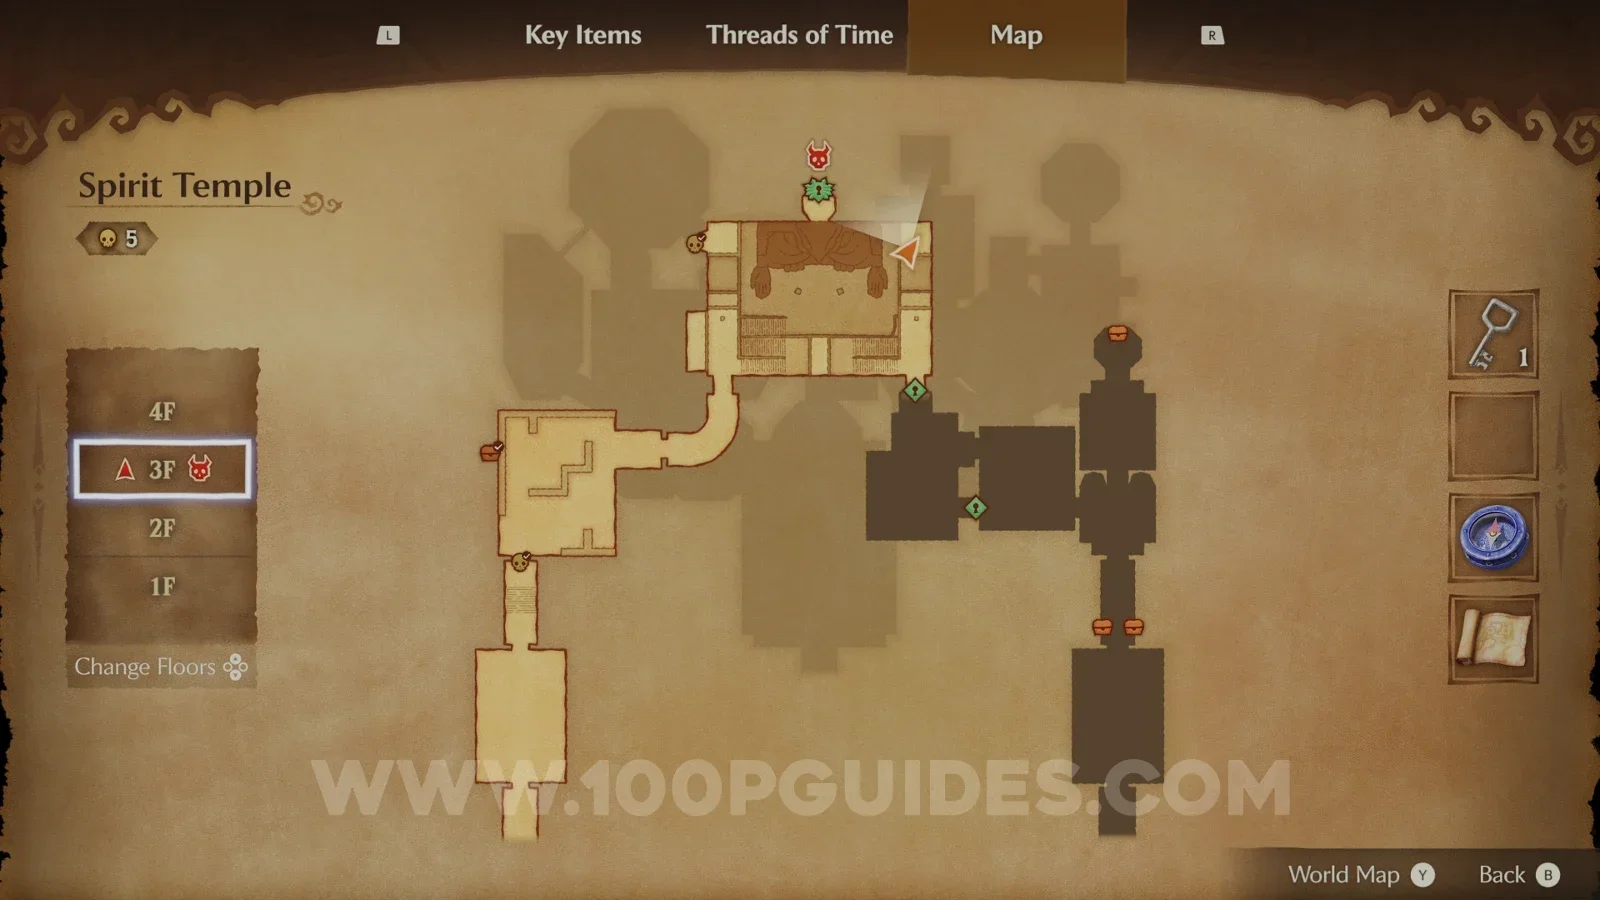
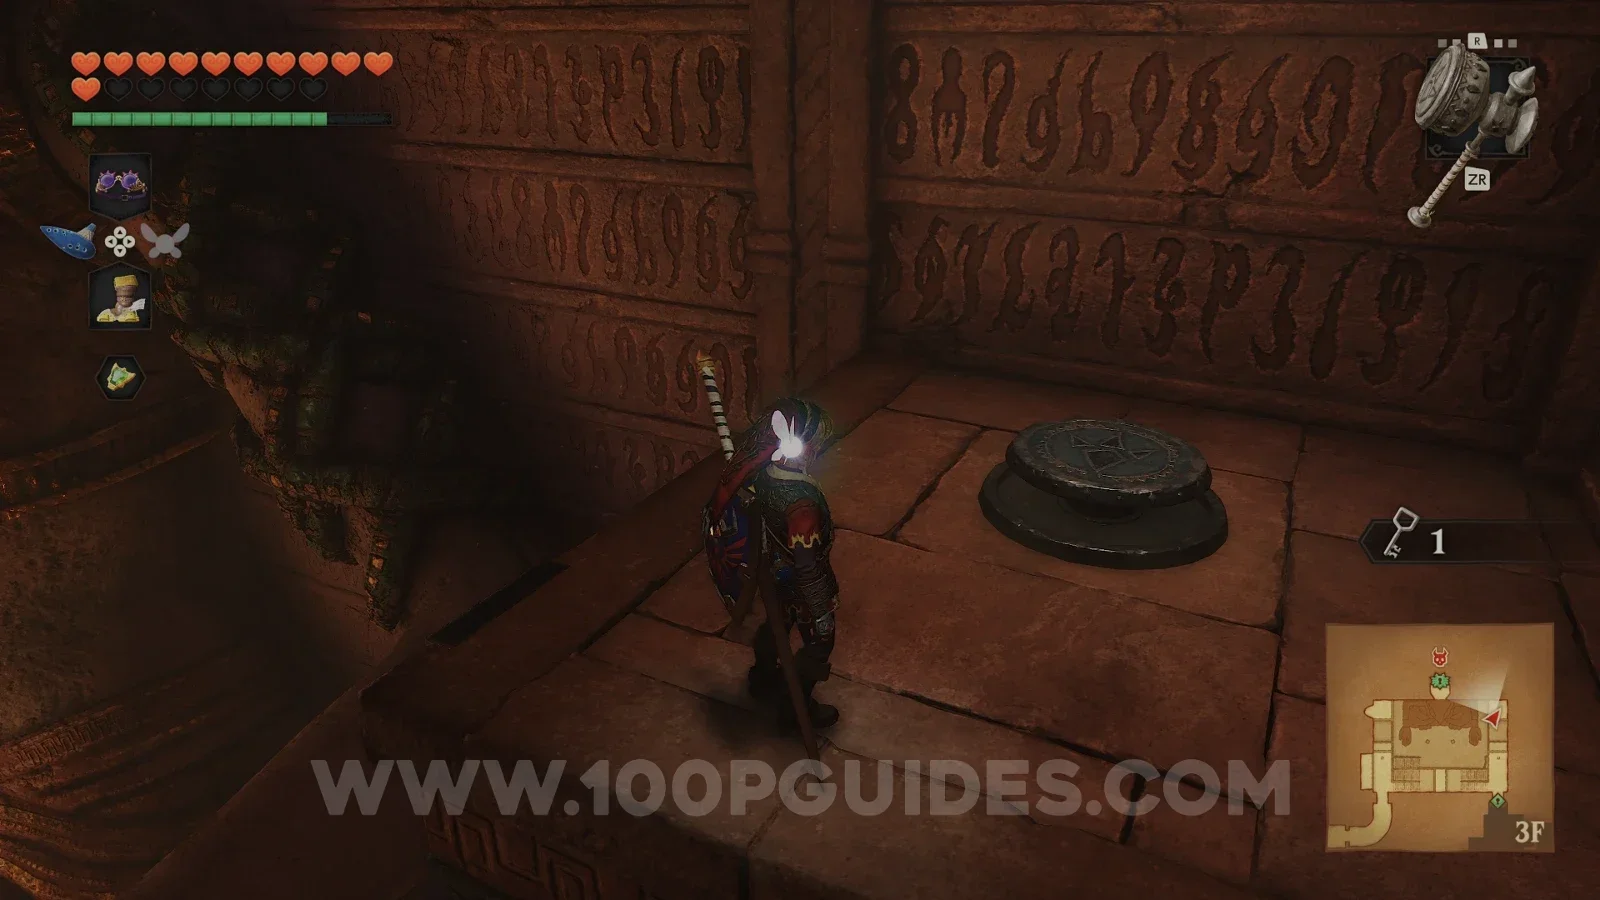
Now head through the locked door to the southeast on 3F to reach a room with multiple anubis enemies that mimic you. First, jump across to the right and play the Song of Time close to the small symbol on the wall. This will spawn a block that allows you to circle around the room anticlockwise and press the switch on the floor. After that, move around and lure all 3 anubis into the flames. Once all the enemies are gone, the door will open.
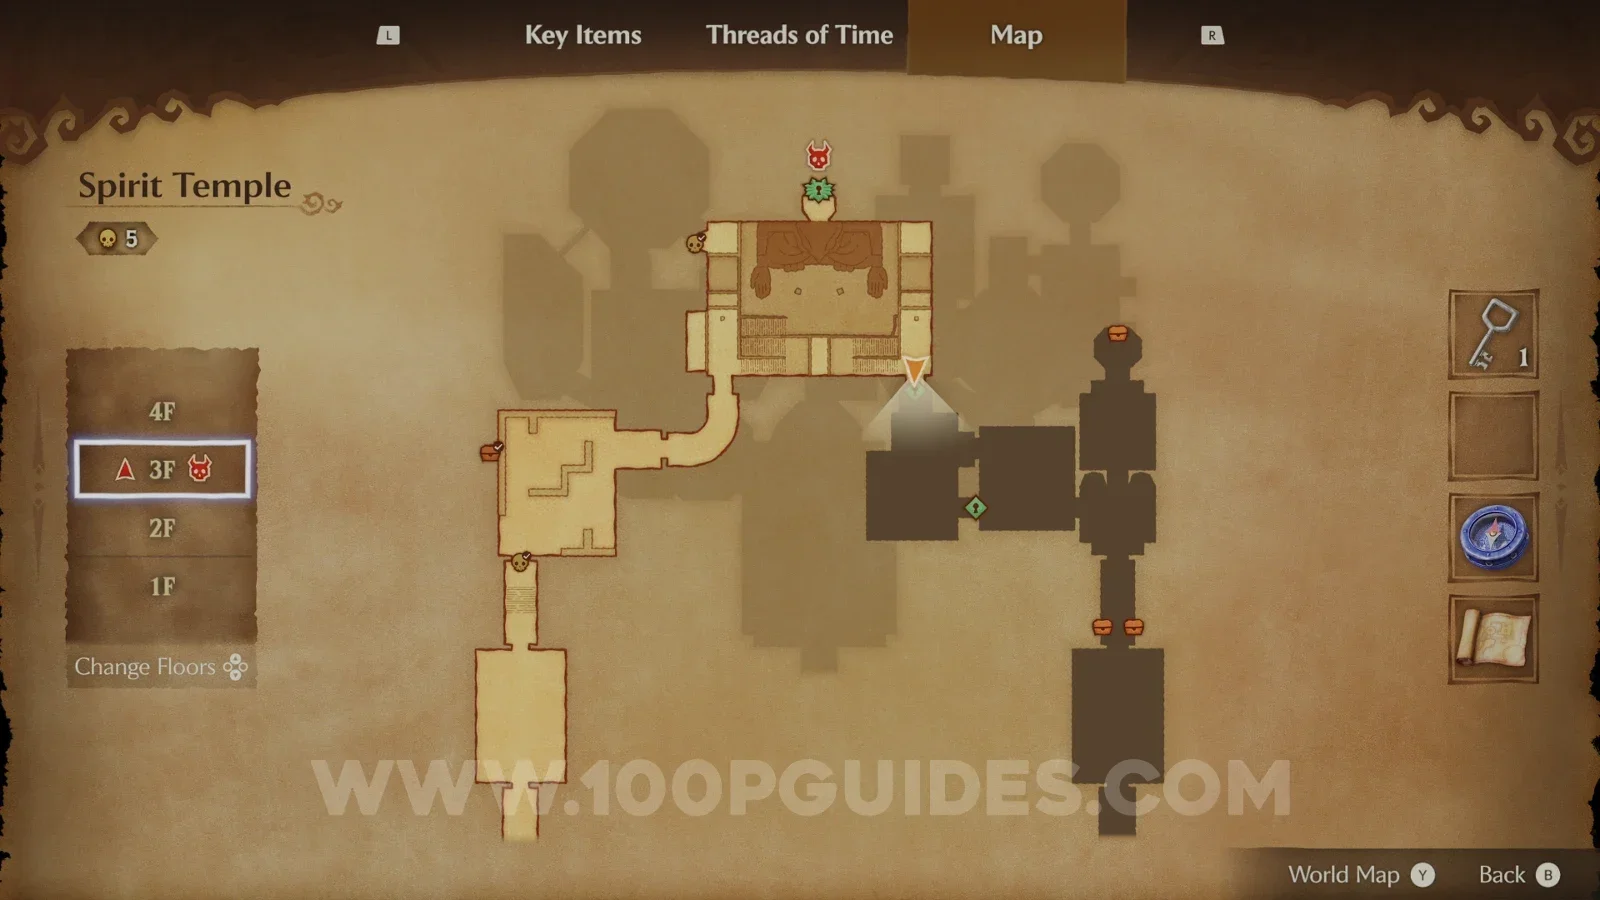
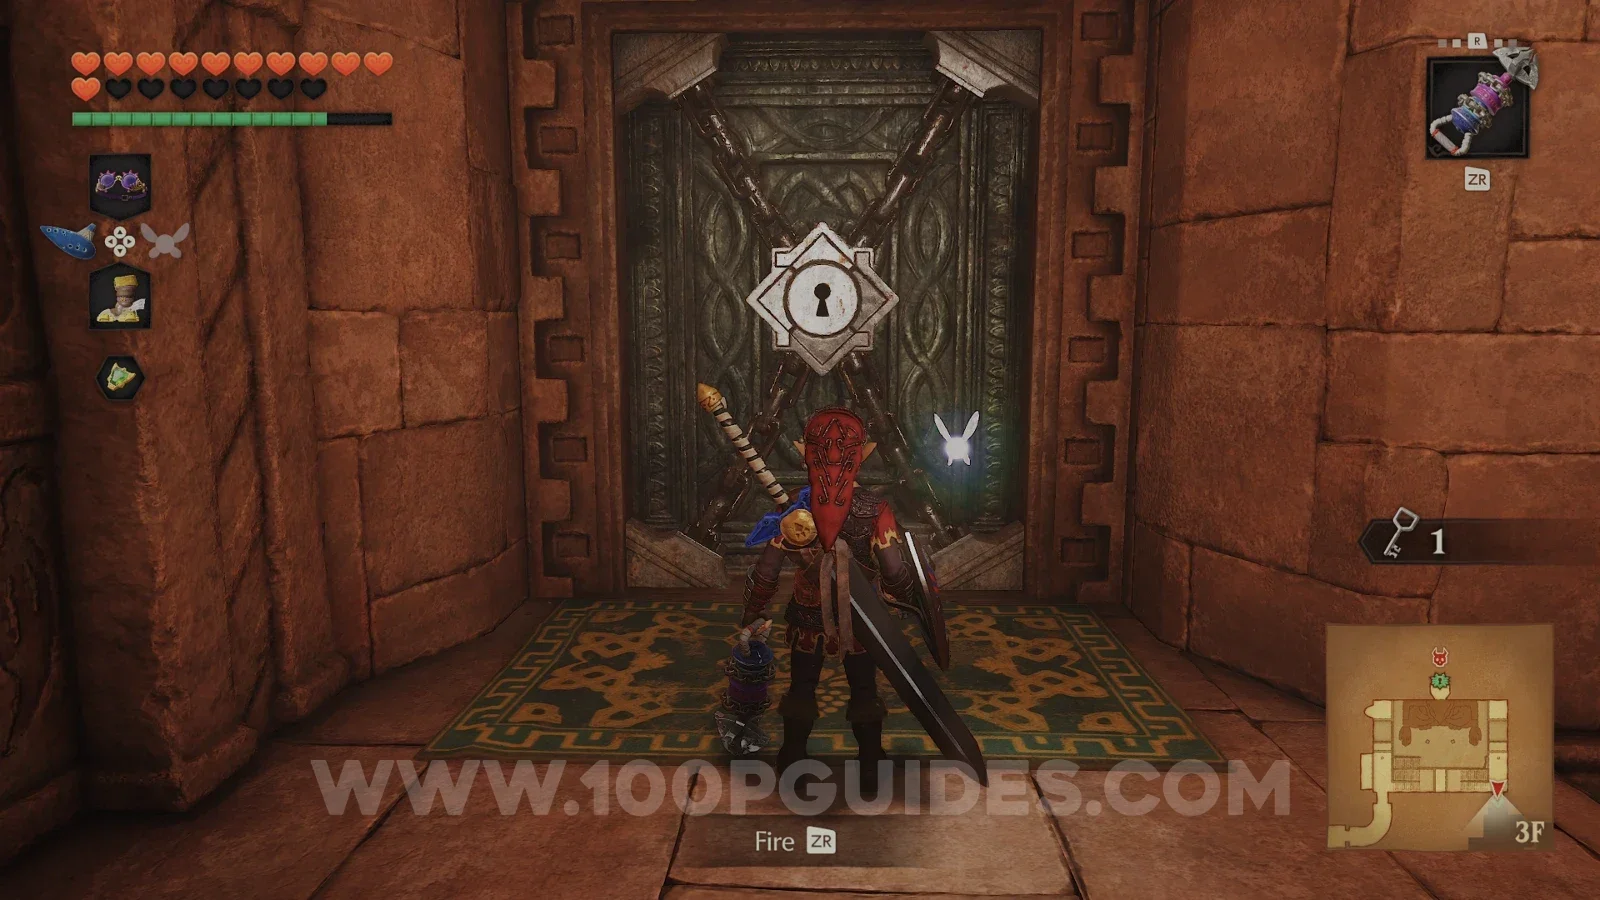
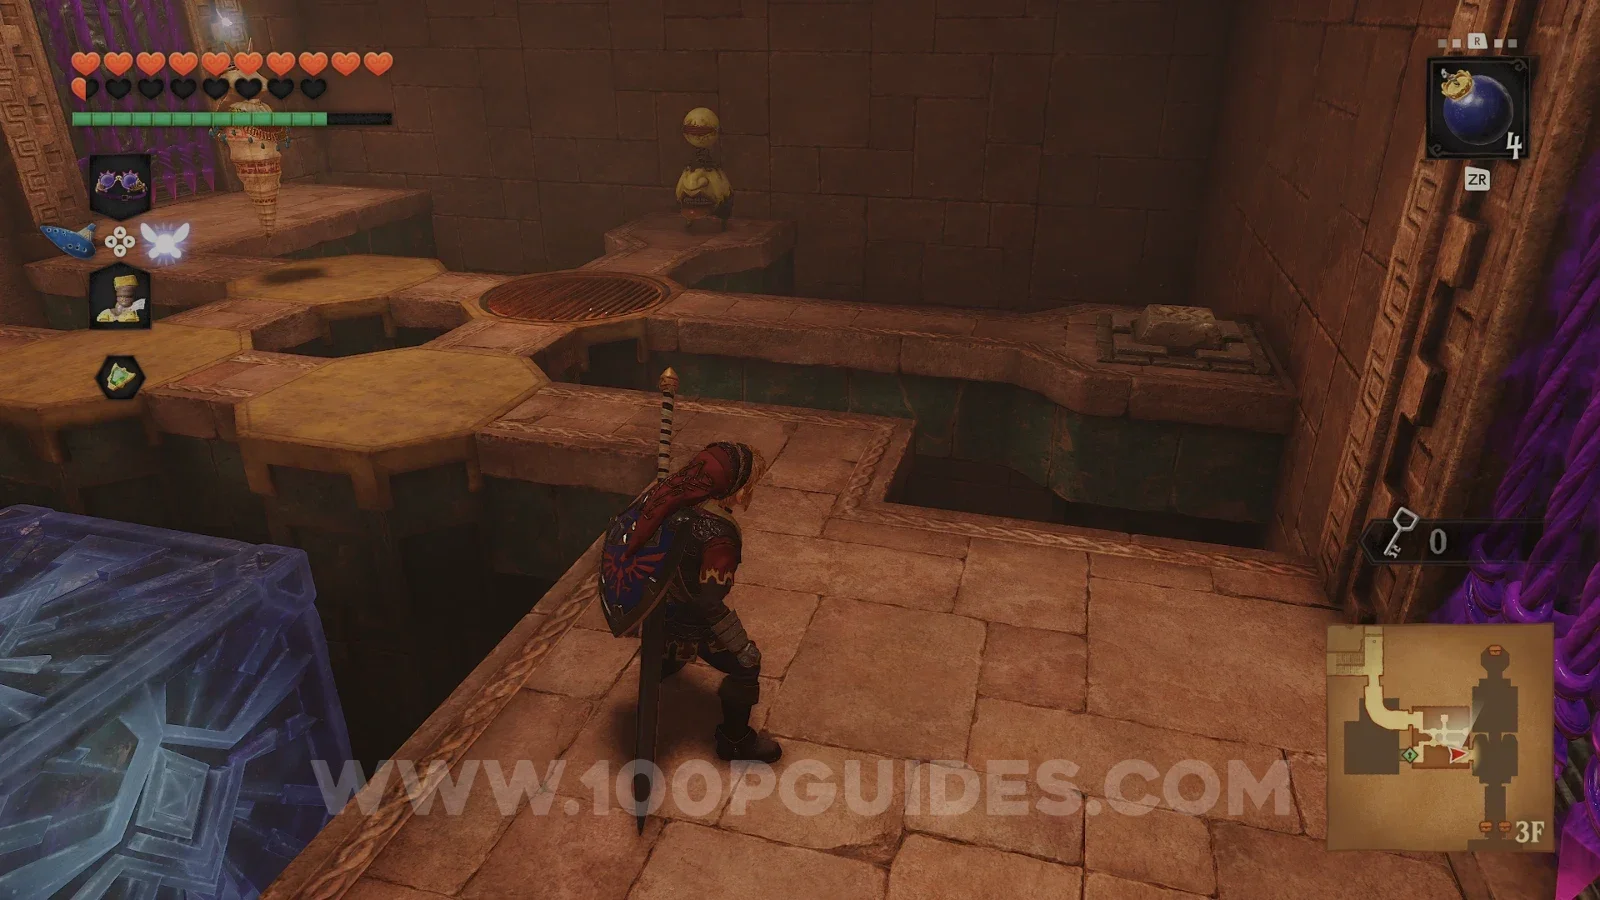
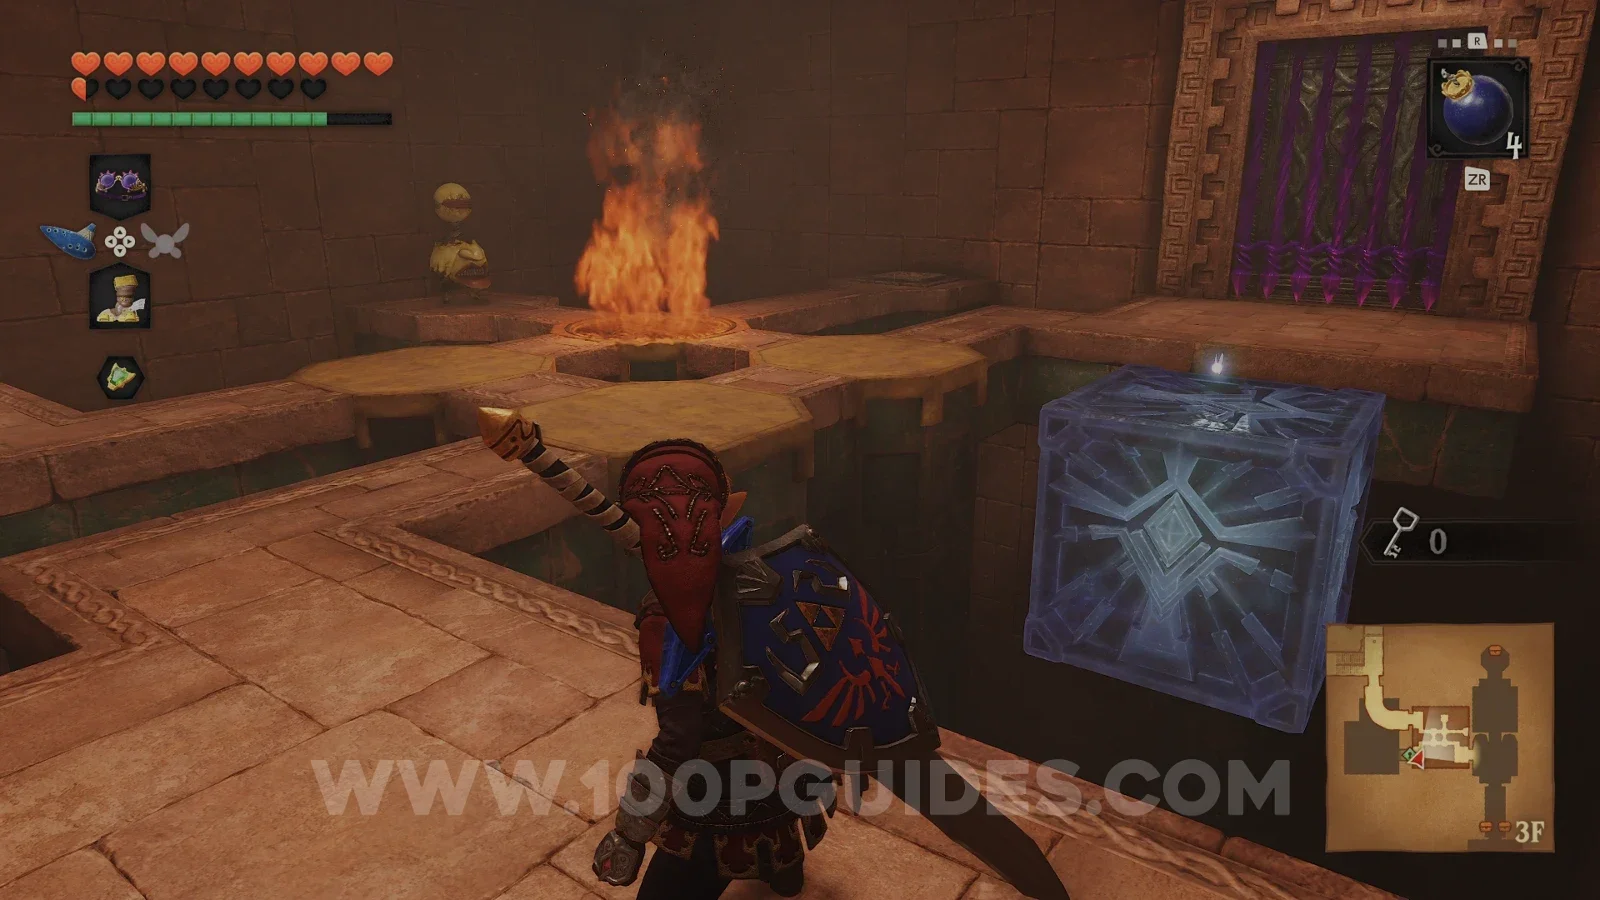
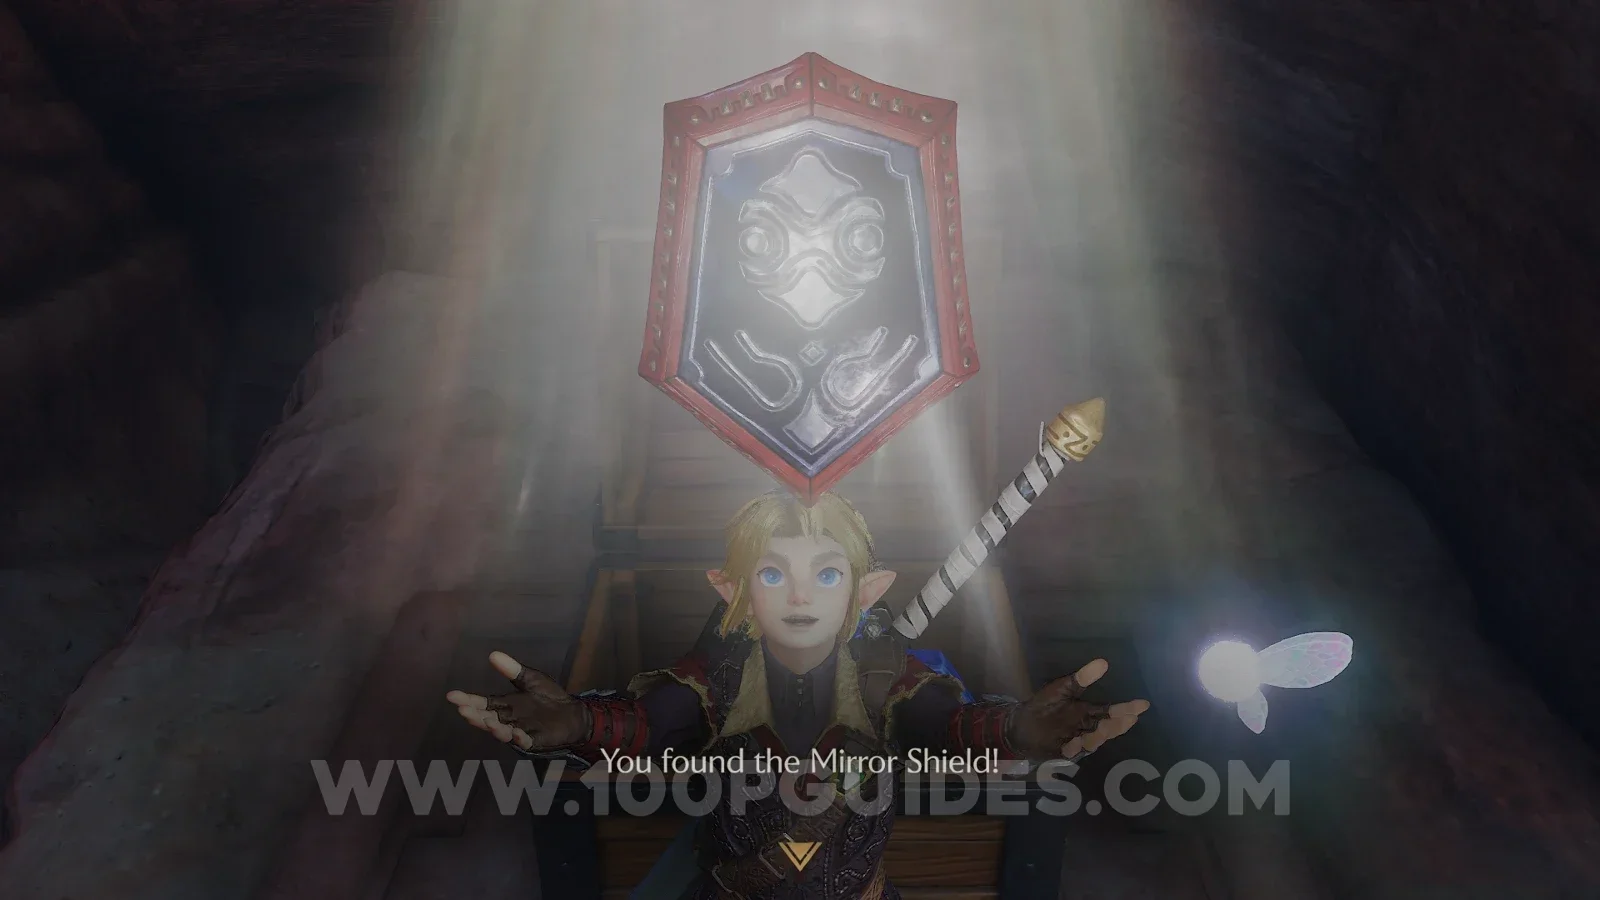
Head through the door to the east and then lure the statue into the hole with the switch. Then head south and defeat the mini boss (you can also find 2 invisible small chests with rupees just before heading through the door). After defeating the boss, head south, press the switch and open the chest to get the Mirror Shield.
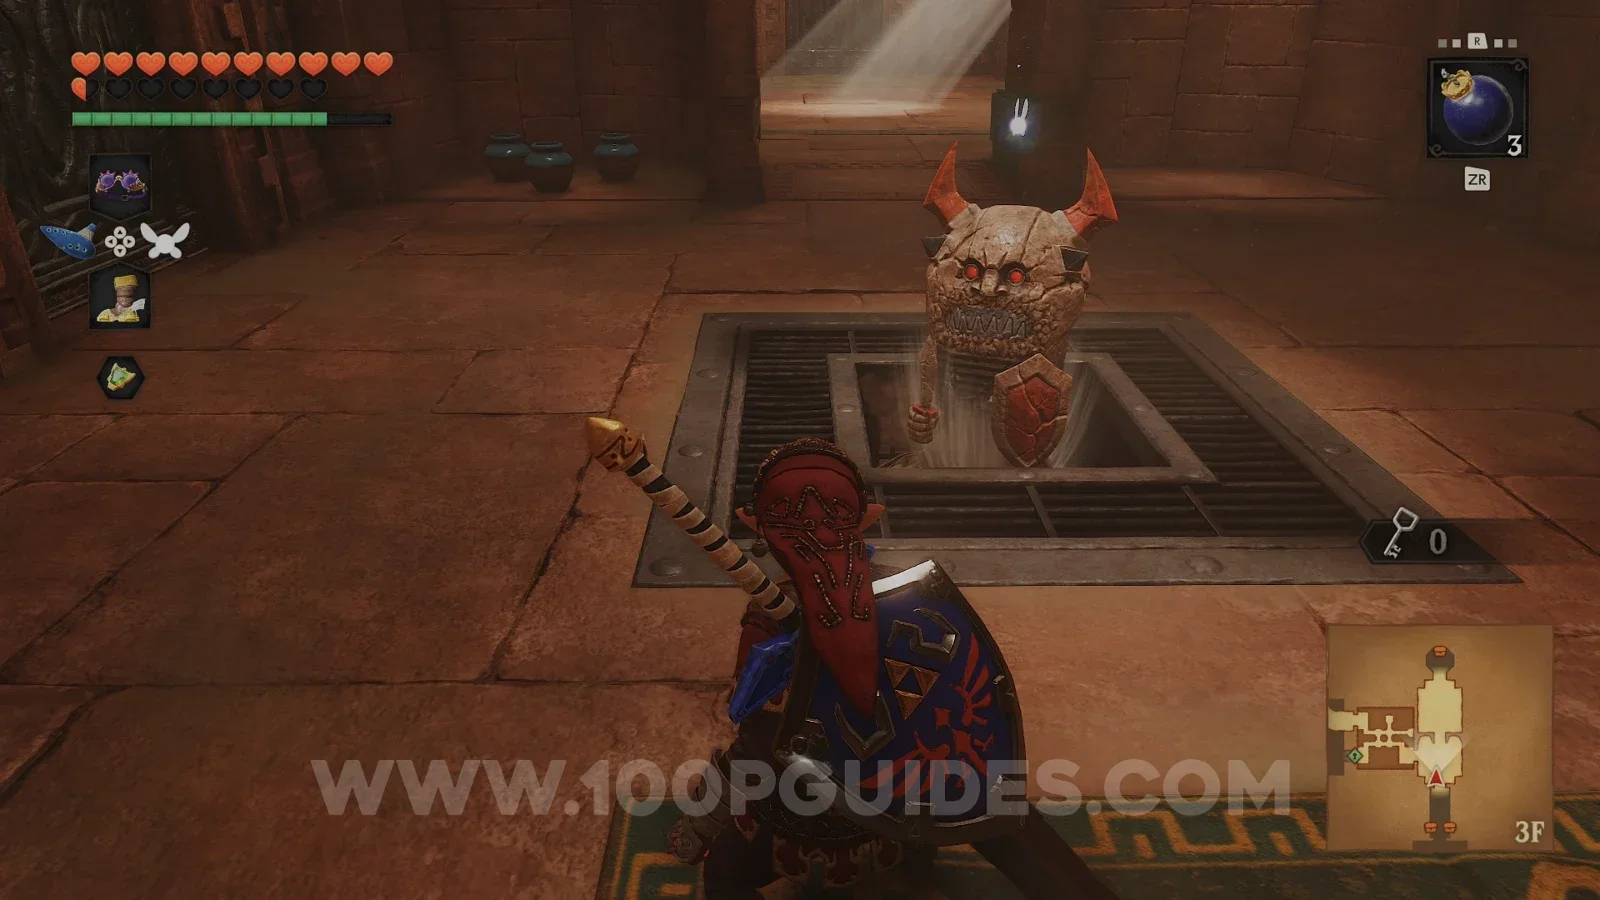
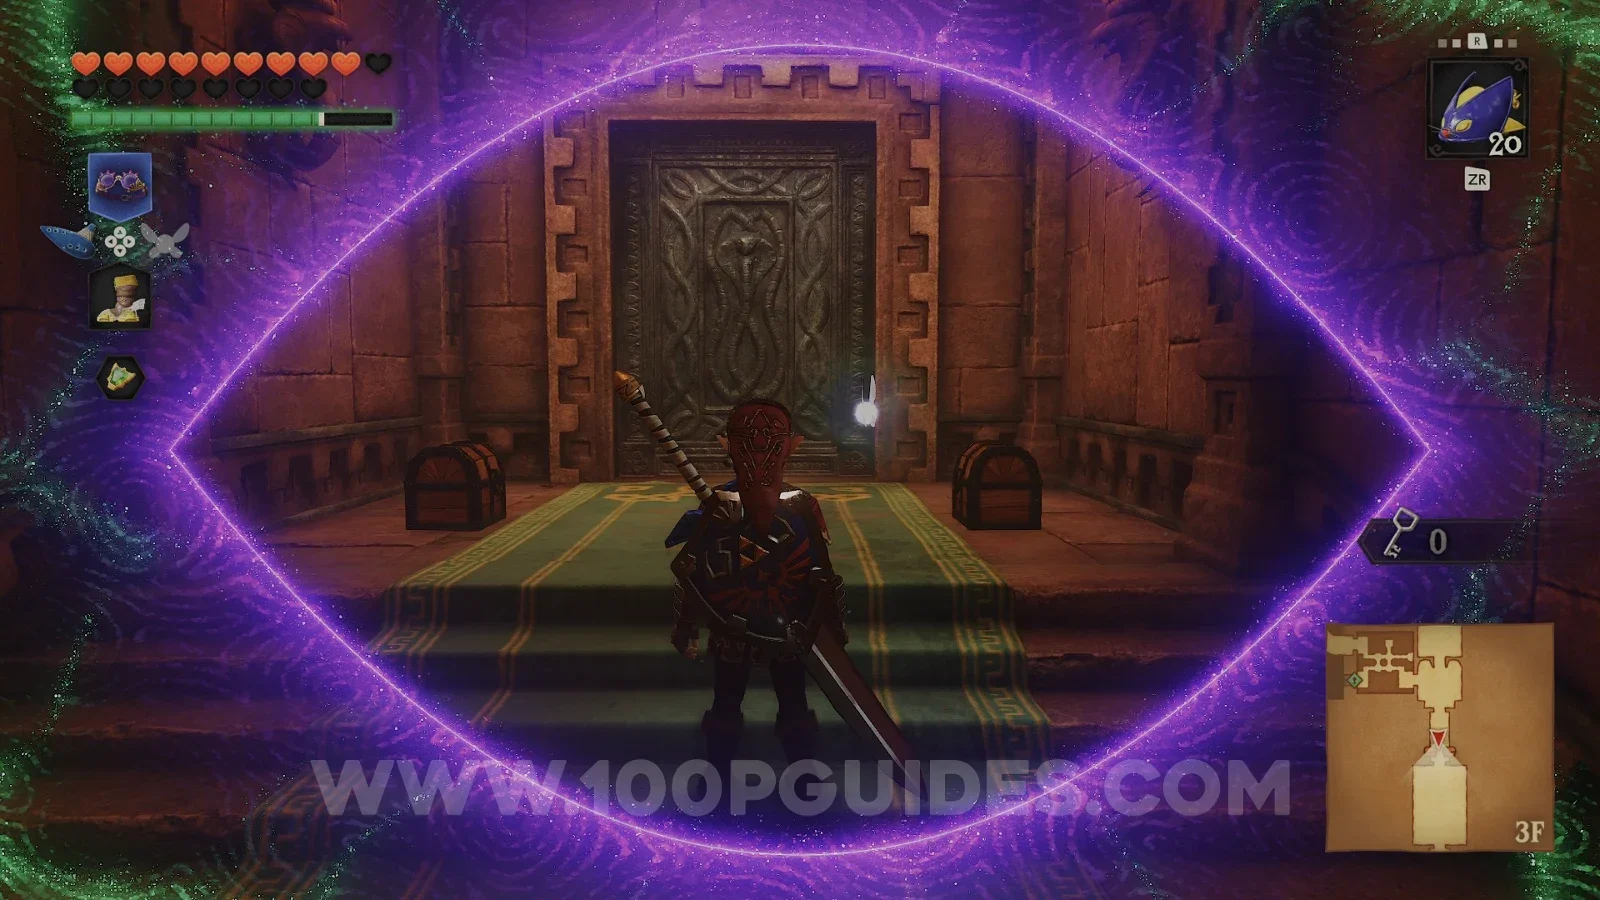
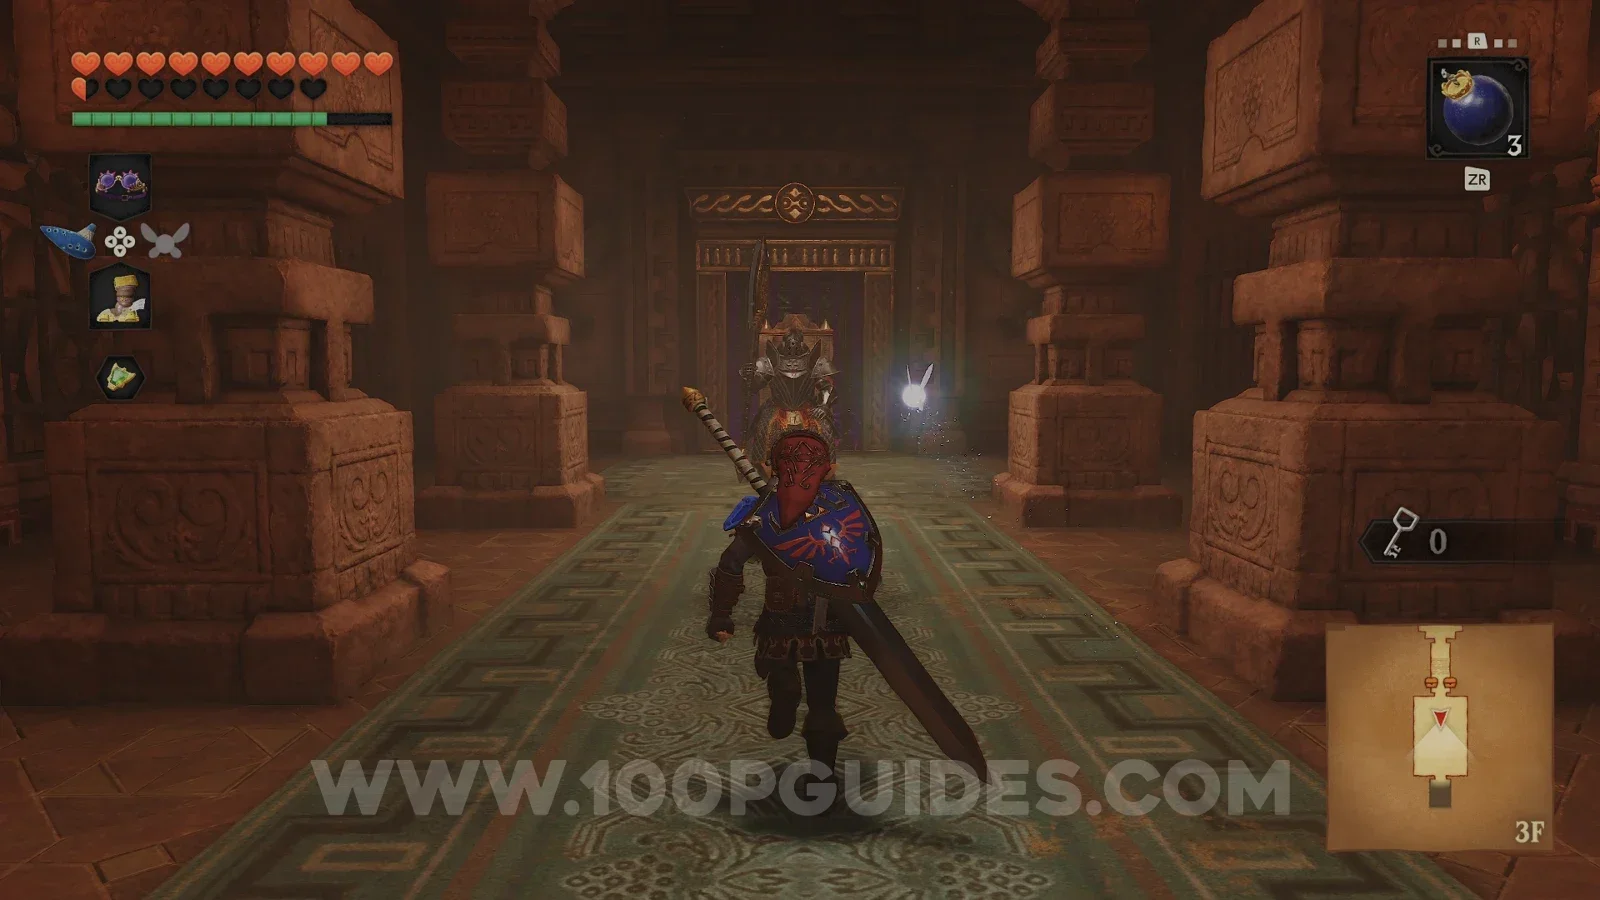
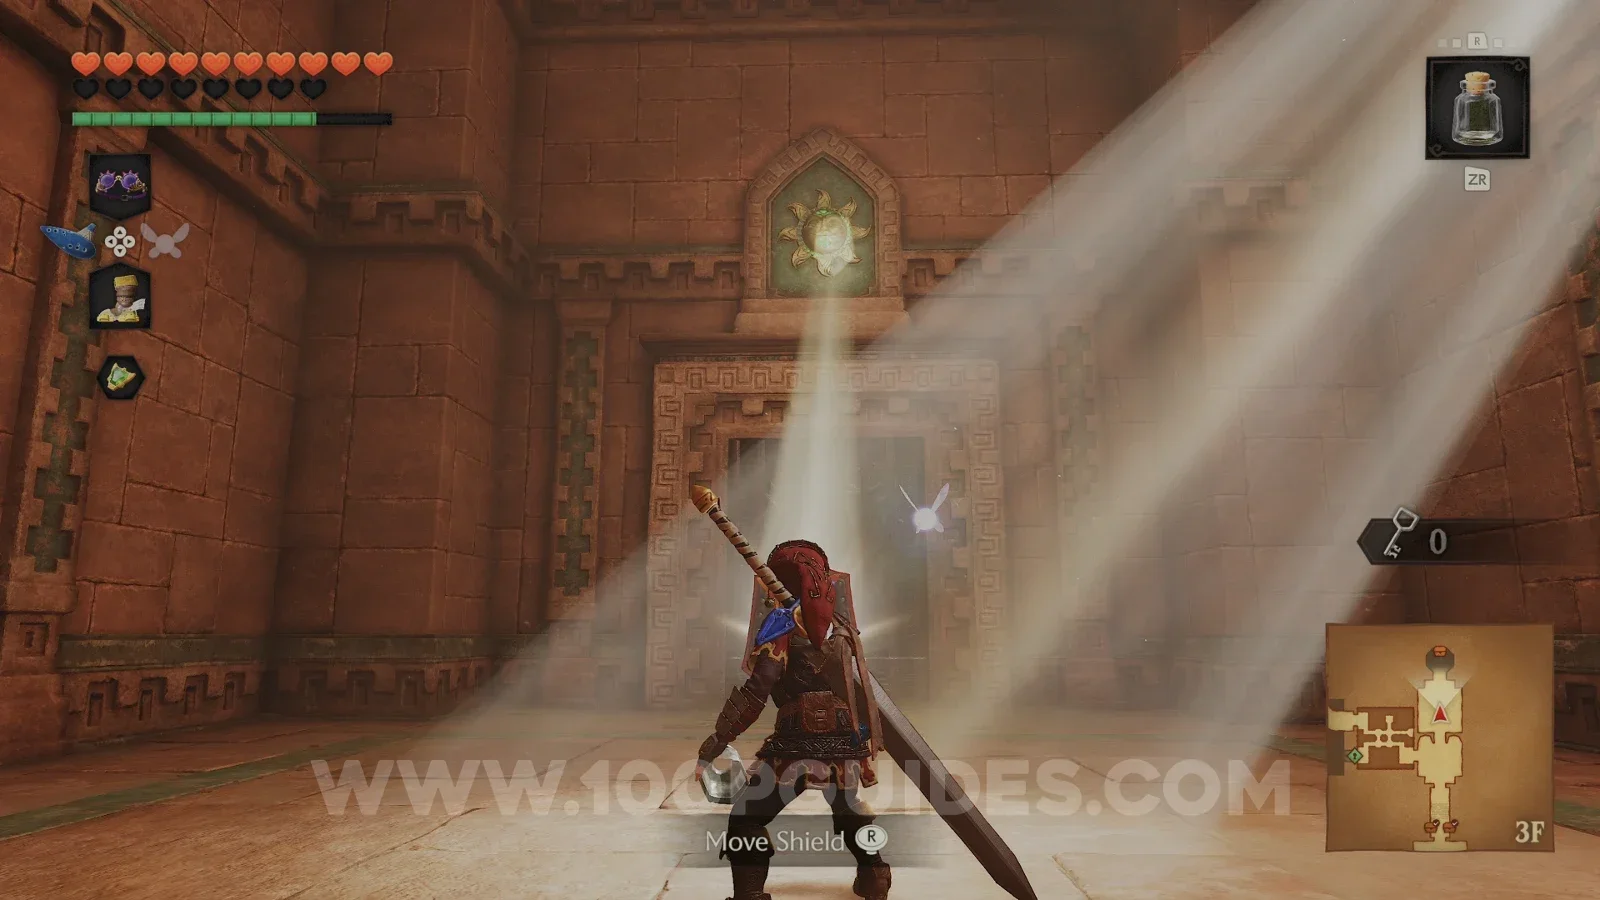
Head back to the room where you lured the statue onto the switch in the hole and head north. Here, use your new shield to reflect the sunlight onto the sun on the wall above the door. Once the door is open, head through to get another Small Key.
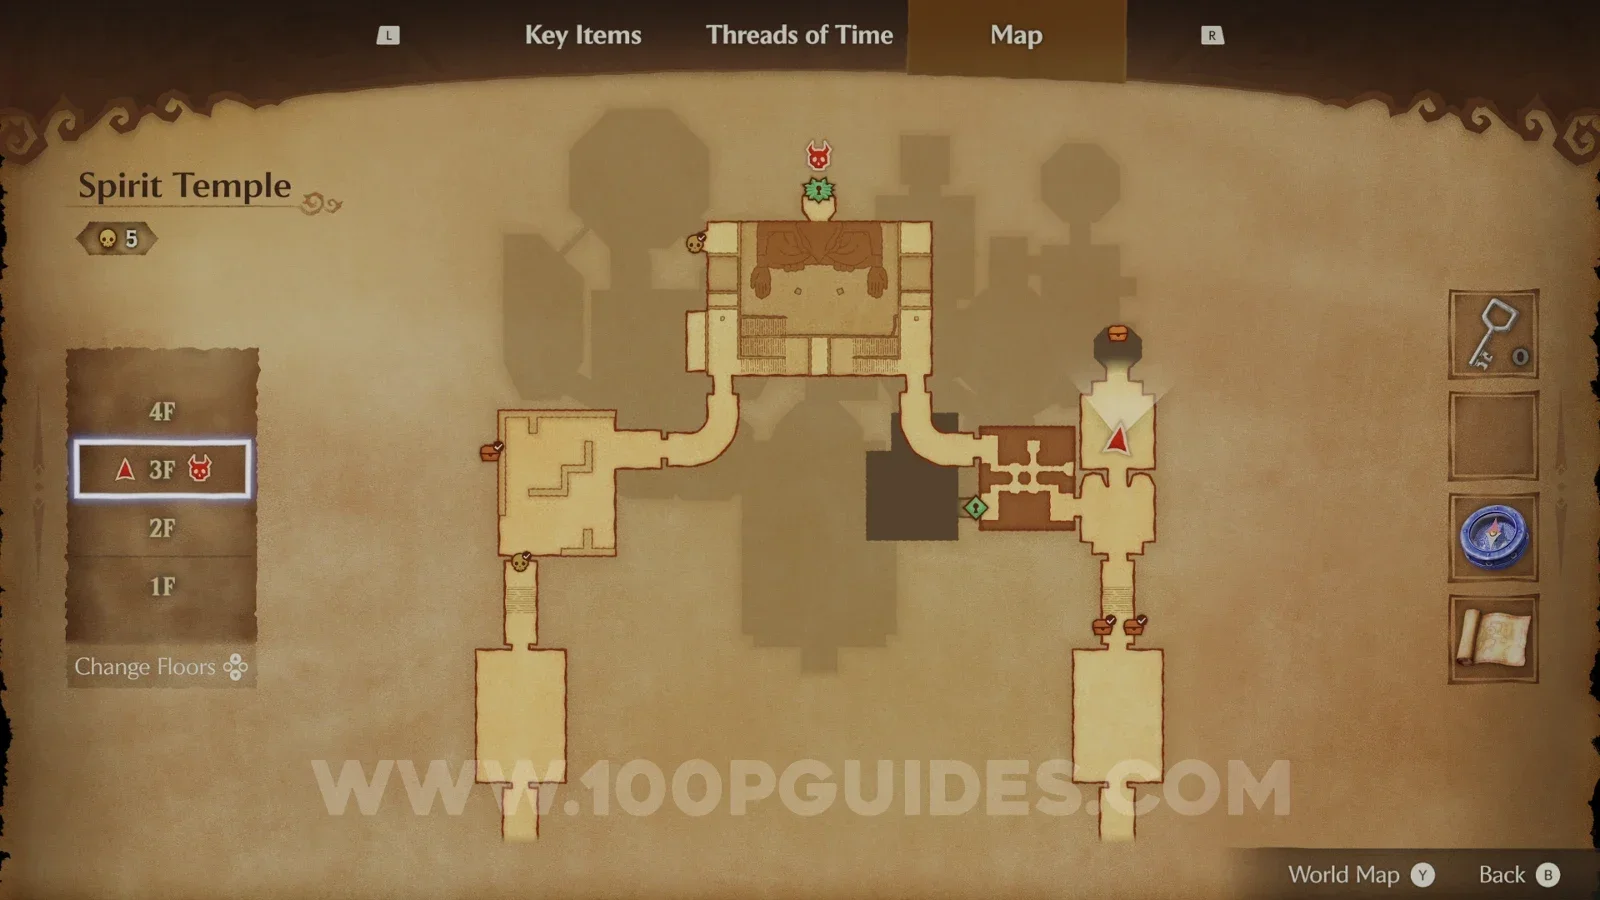
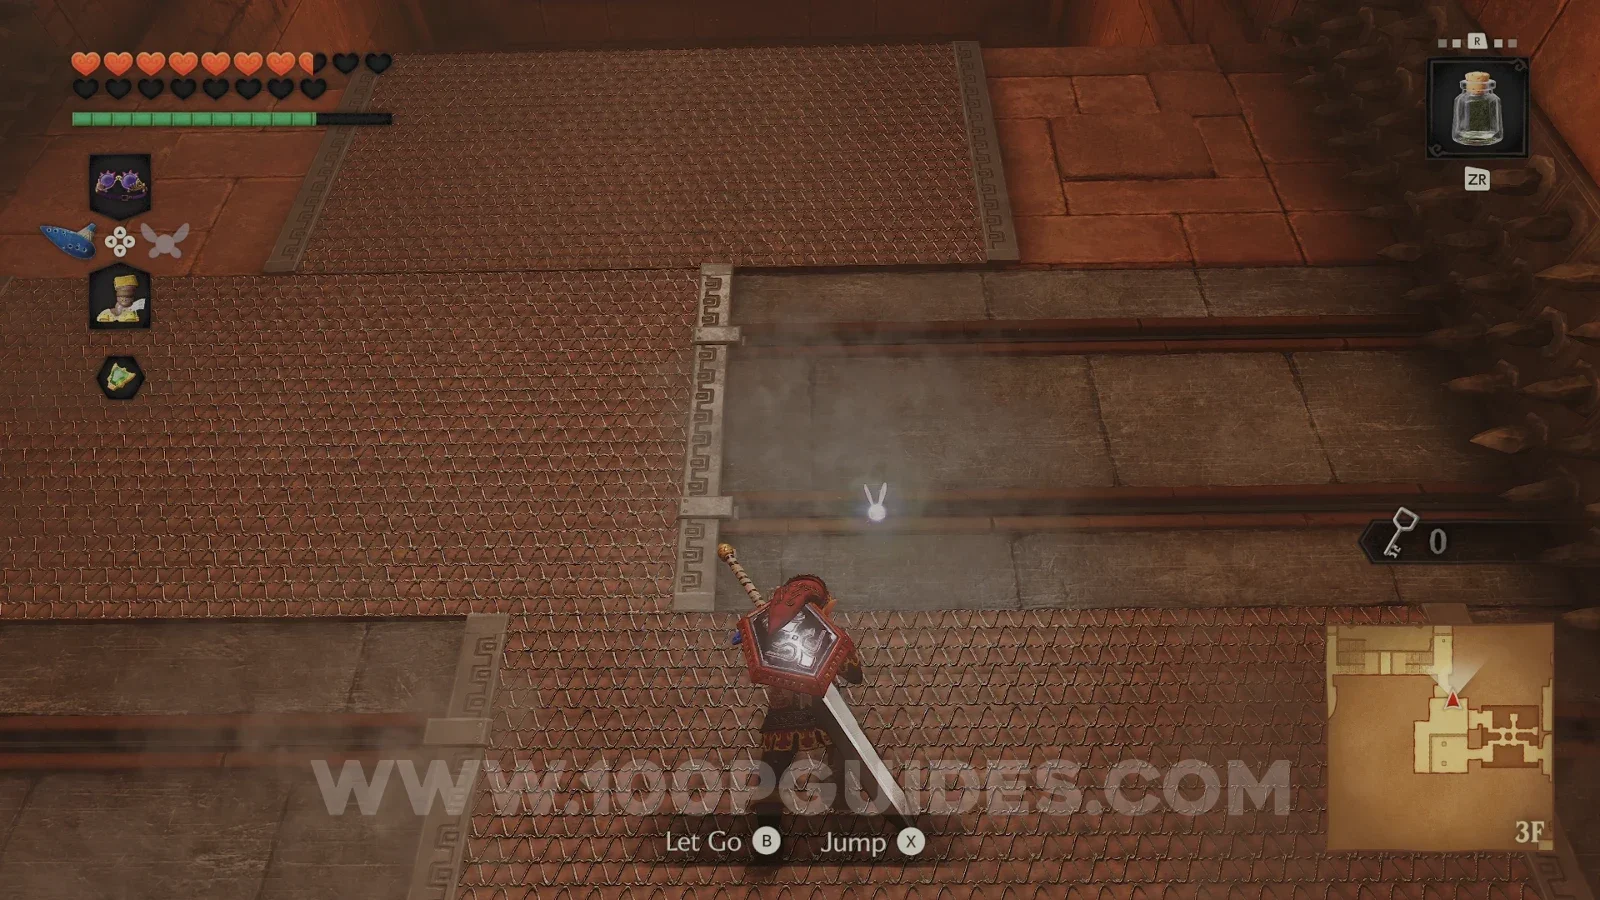
Next, head back to the room where you defeated the multiple anubis mimic enemies and head through the locked door. In the next area, defeat the enemies and climb the moving mesh to the top.
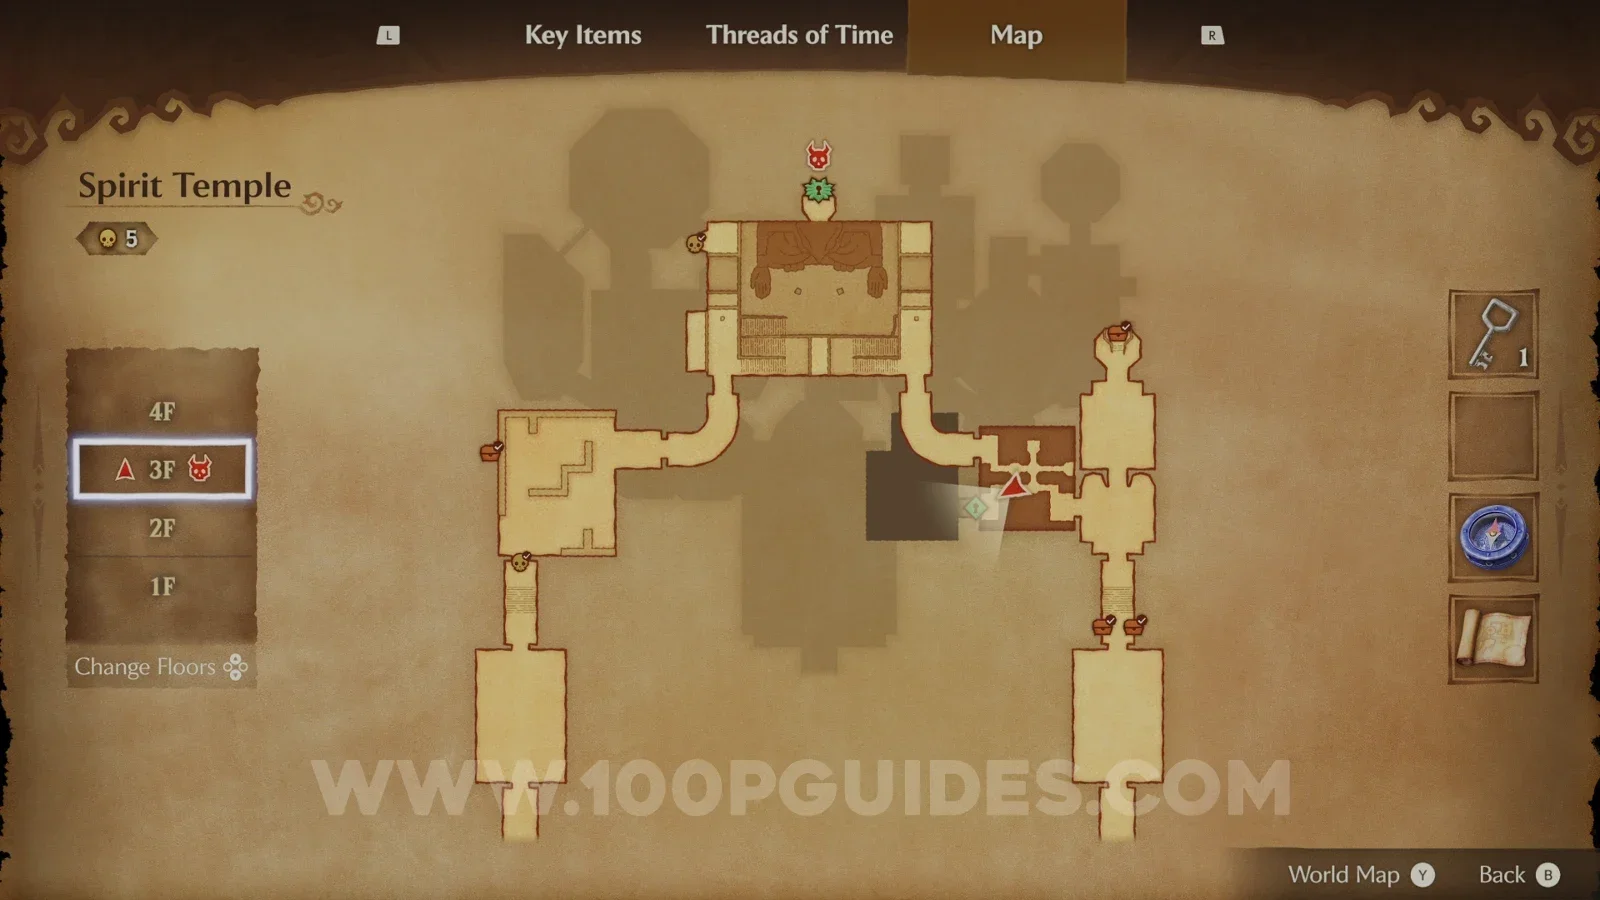
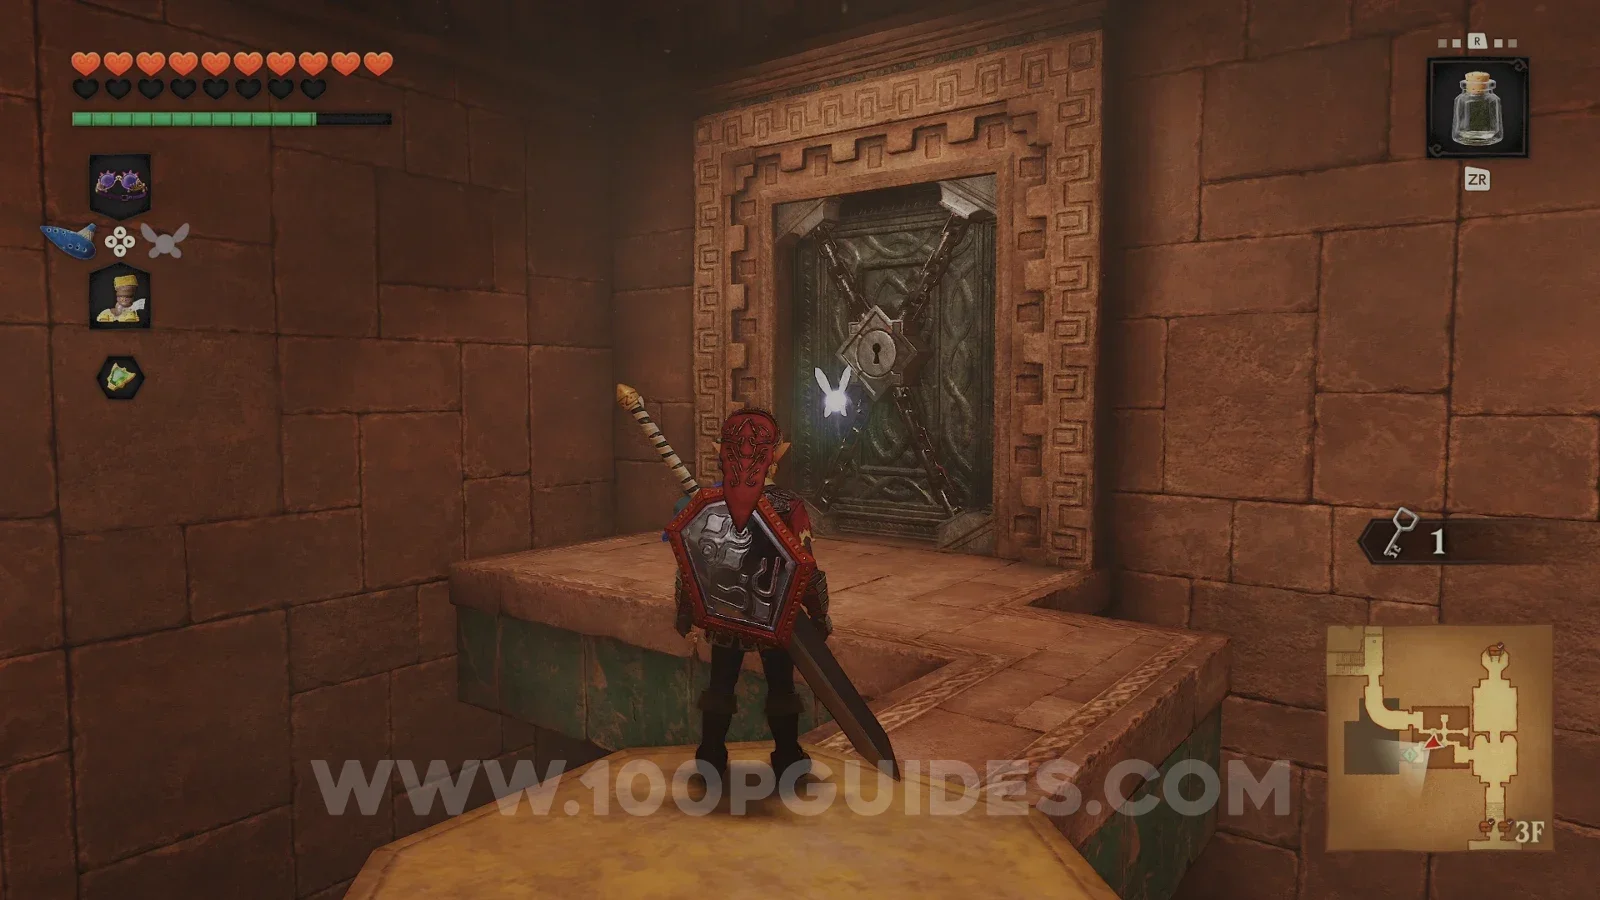
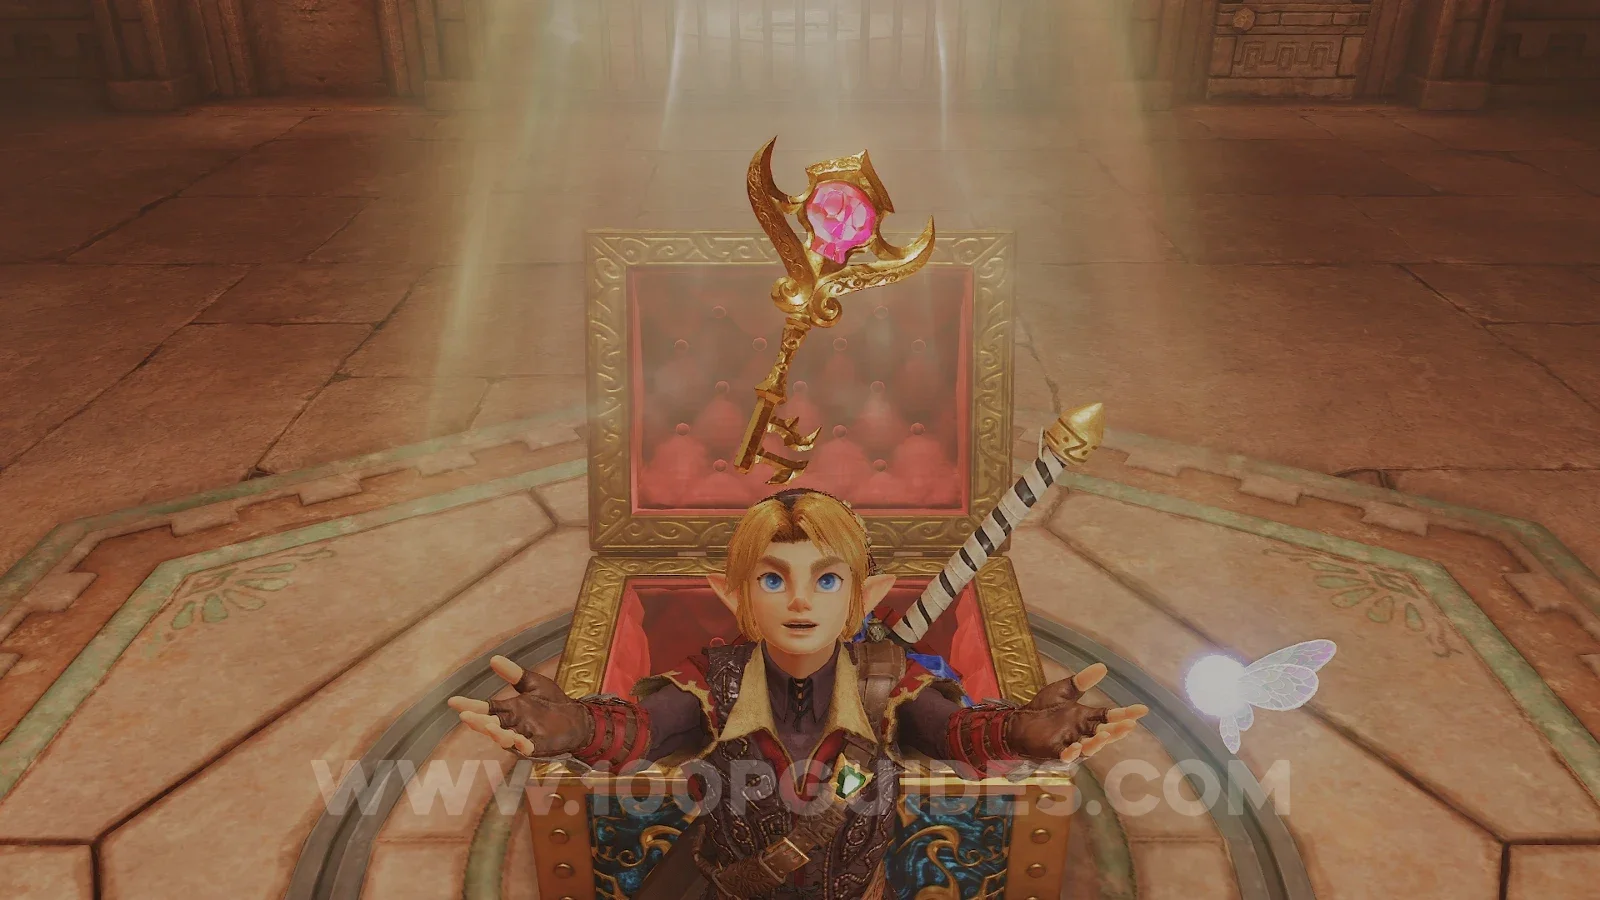
After going through the door at the top, stand on the red carpet with the triforce and play Zelda's Lullaby. This will open the gate and let you through to the room with the large chest containing the boss key. To open it, blow up the fake door to the northwest and hit the eye. This will allow you to reach the switch on the other side of the mesh that disables the flames, so you can open the chest and get the Boss Key.
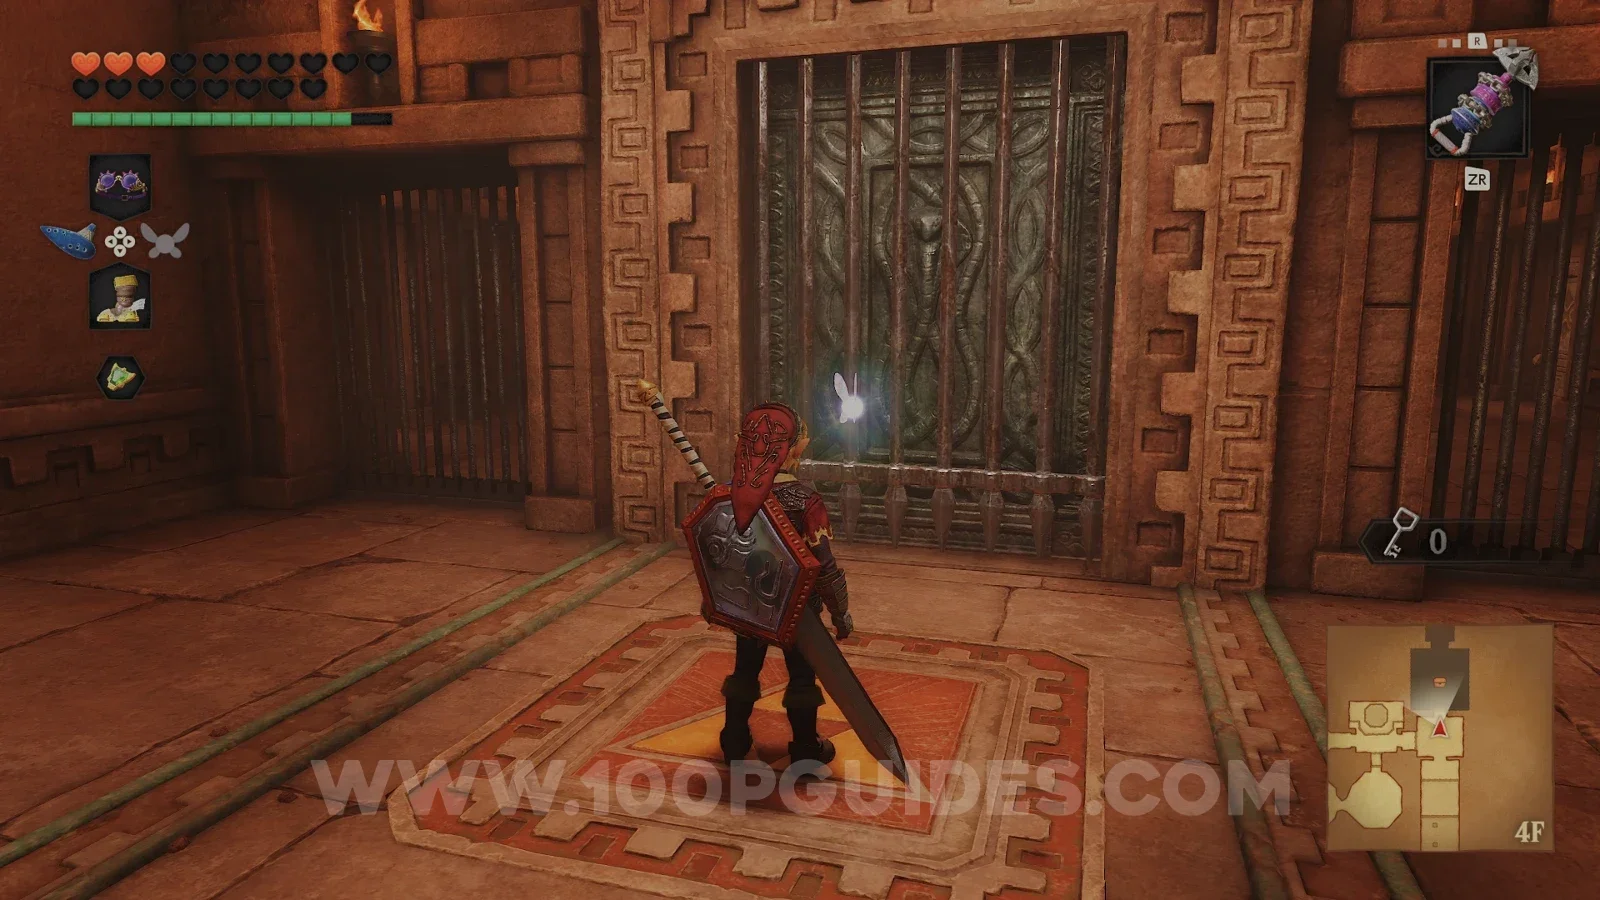
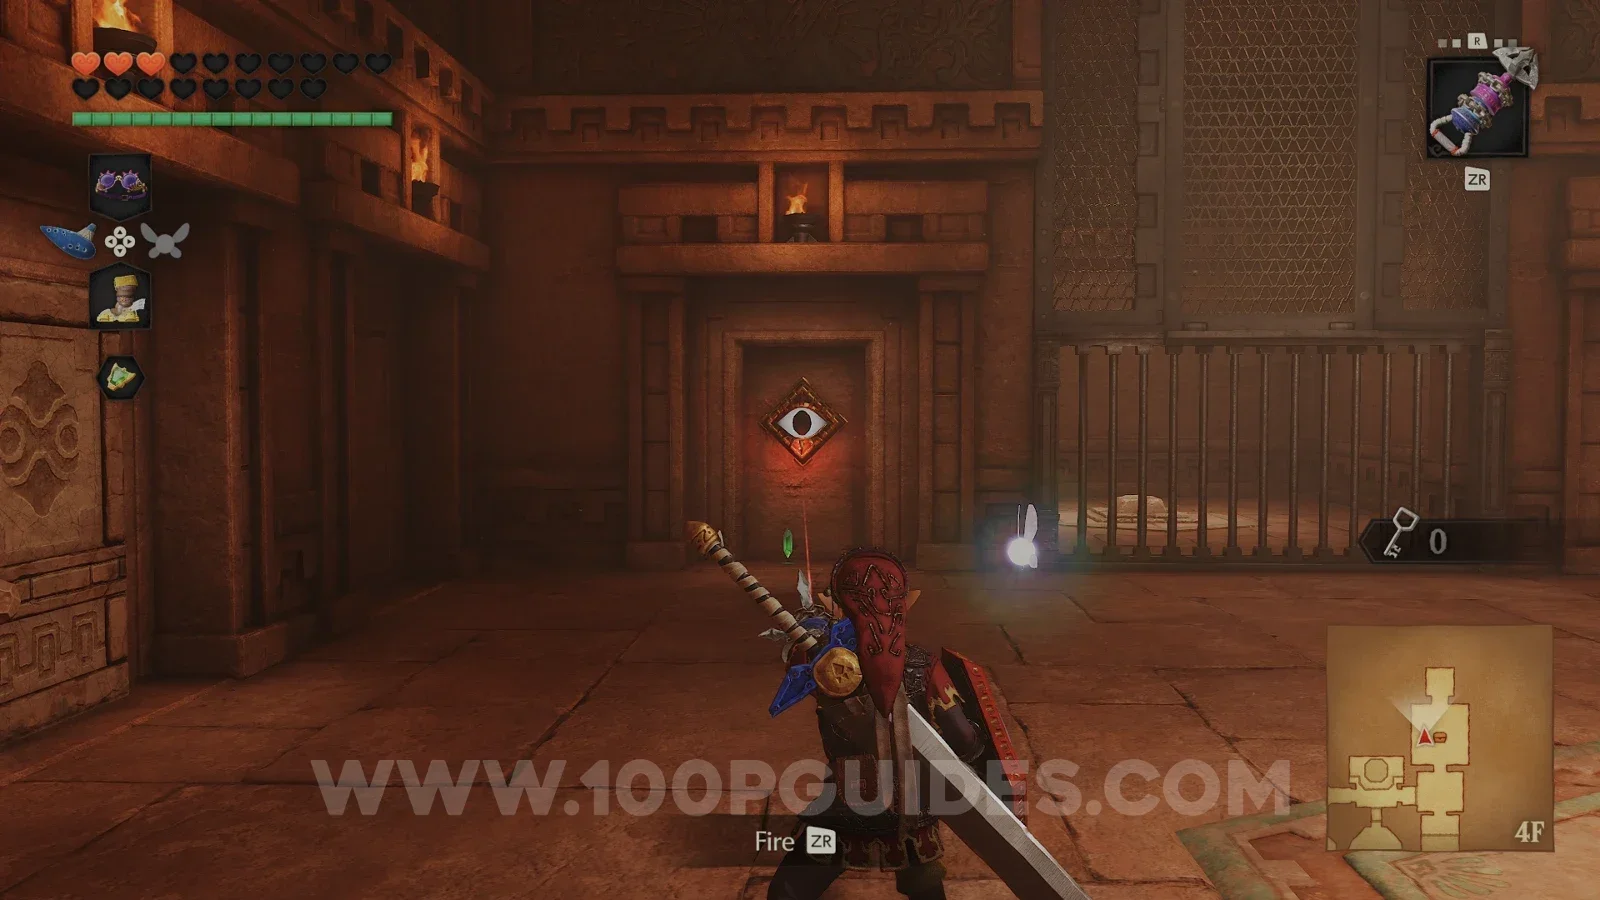
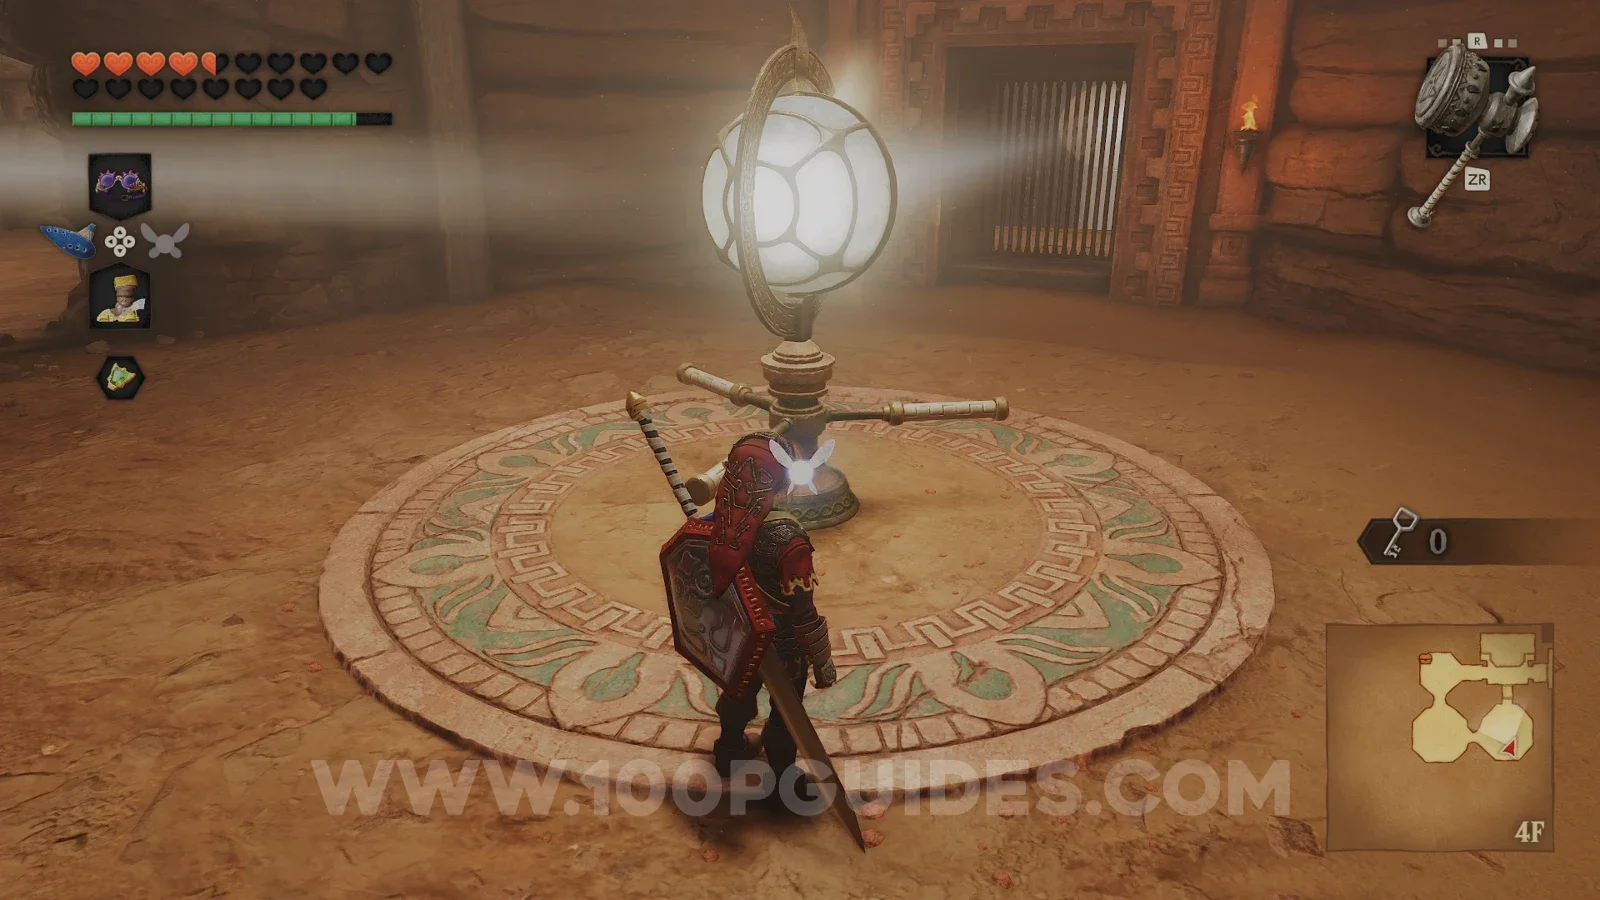
Next, return to the red carpet, head up the mesh and go through the door. In the next room, drop down to the right below the large mirror and hit the switch to open the next door. Head through it and continue until you reach a lamp. The objective is to shine the light through the caves anticlockwise until it reaches the large mirror where the switch was. You can also shine the first lamp back into the previous room and aim the light at the sun to spawn a small chest with bombs. Once the light has reached the large mirror above the switch, use your shield to reflect the light onto the sun. This will take the lift down and leave you in front of the large statue. Finally, shine the light at the sun on her face to reveal the boss door.
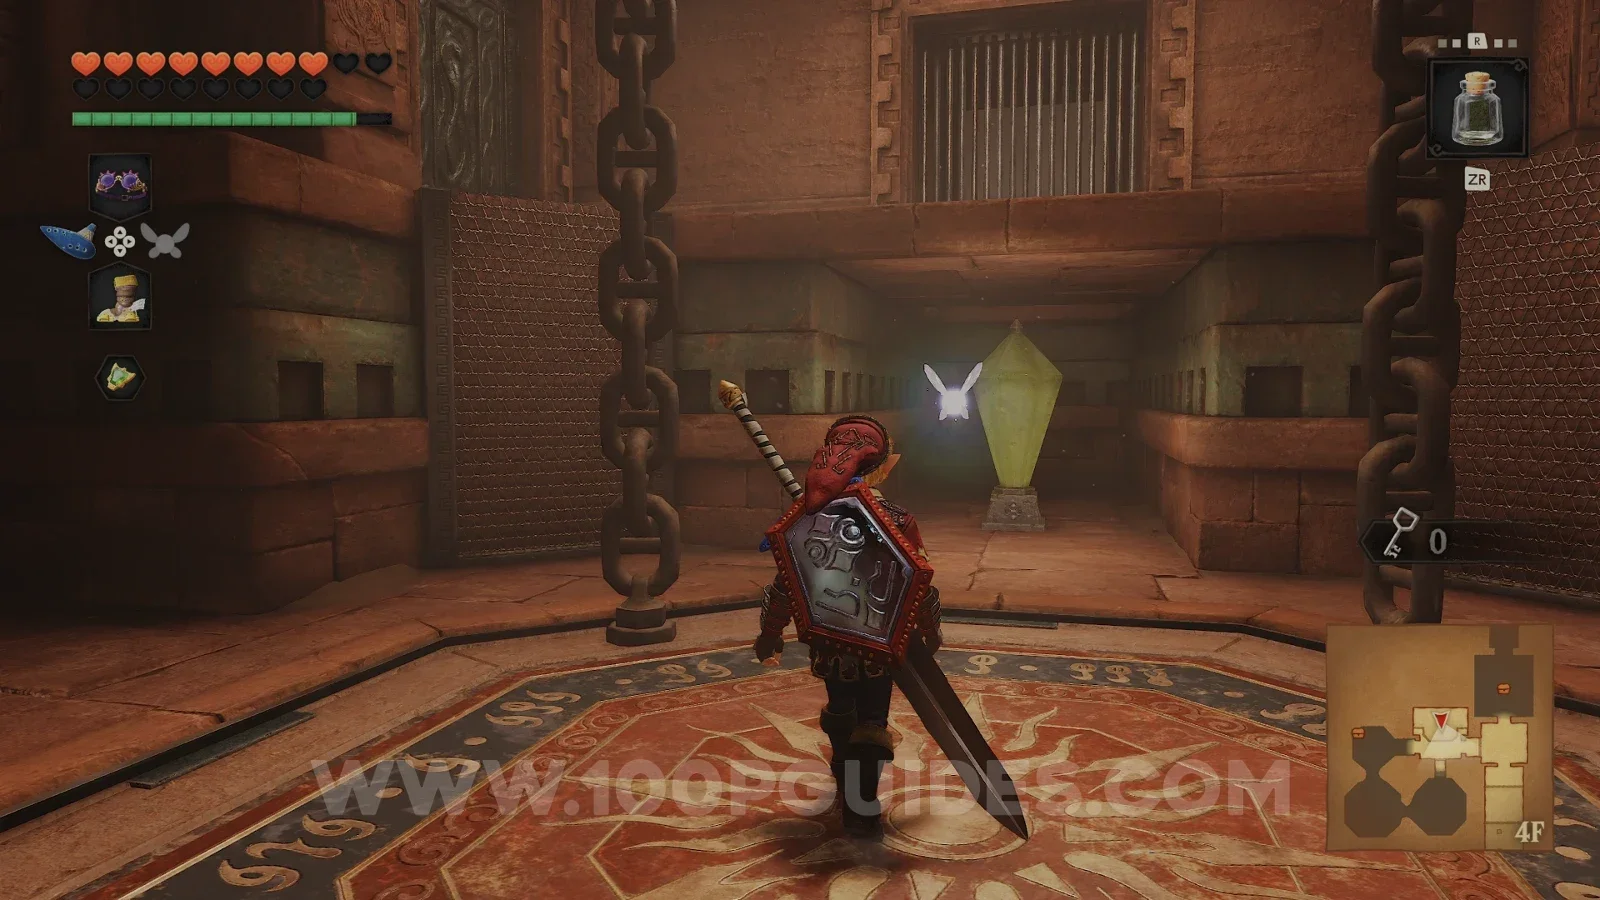
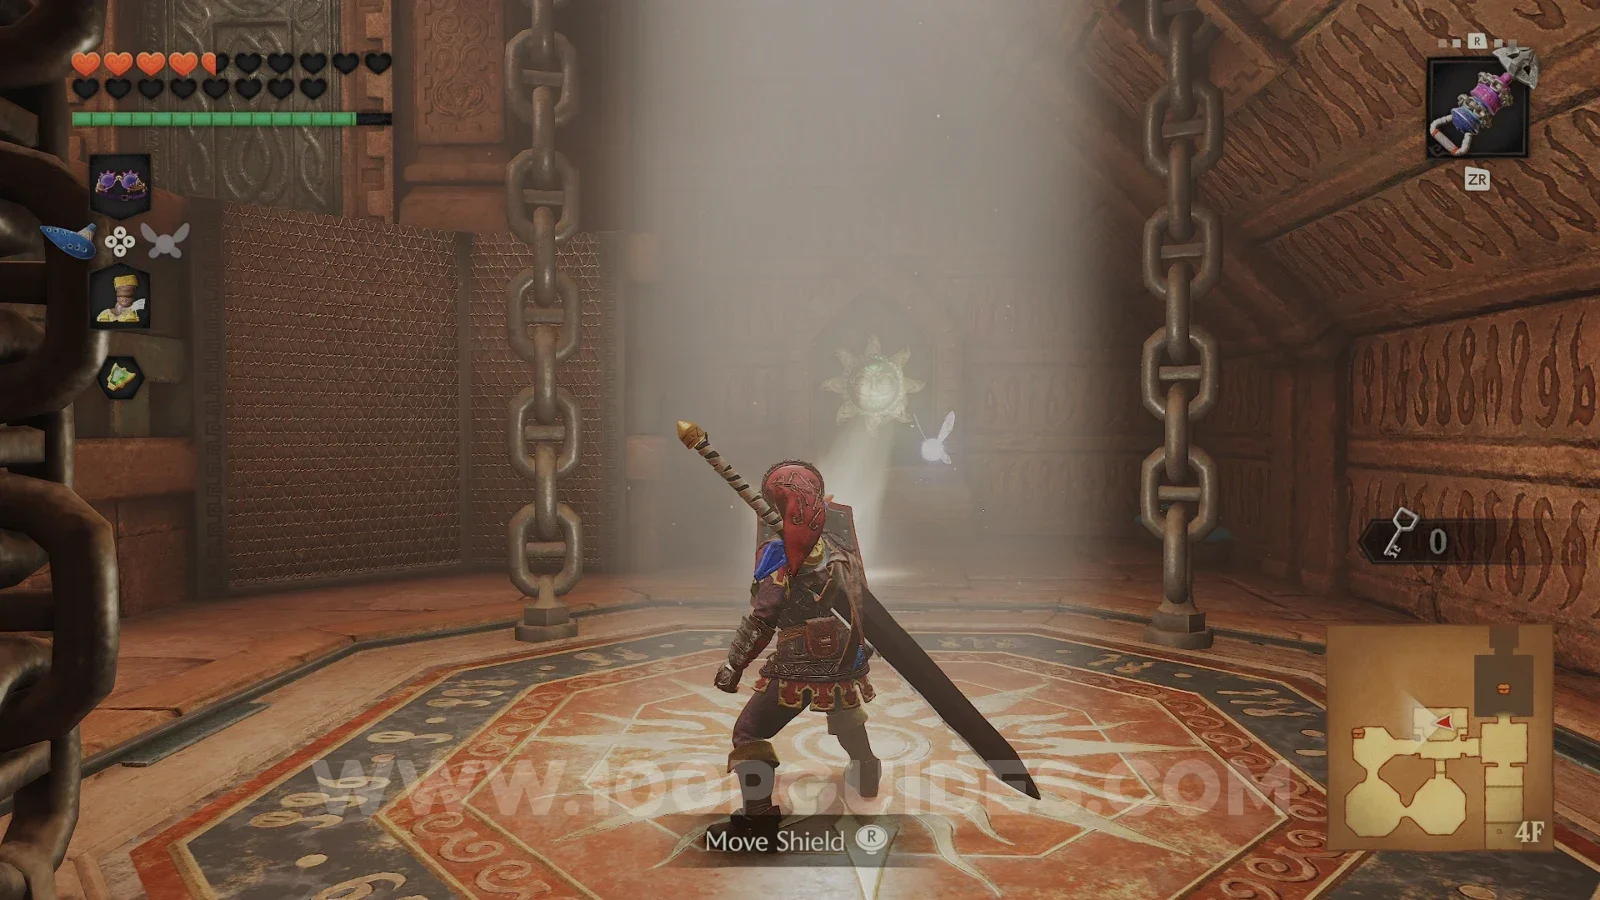
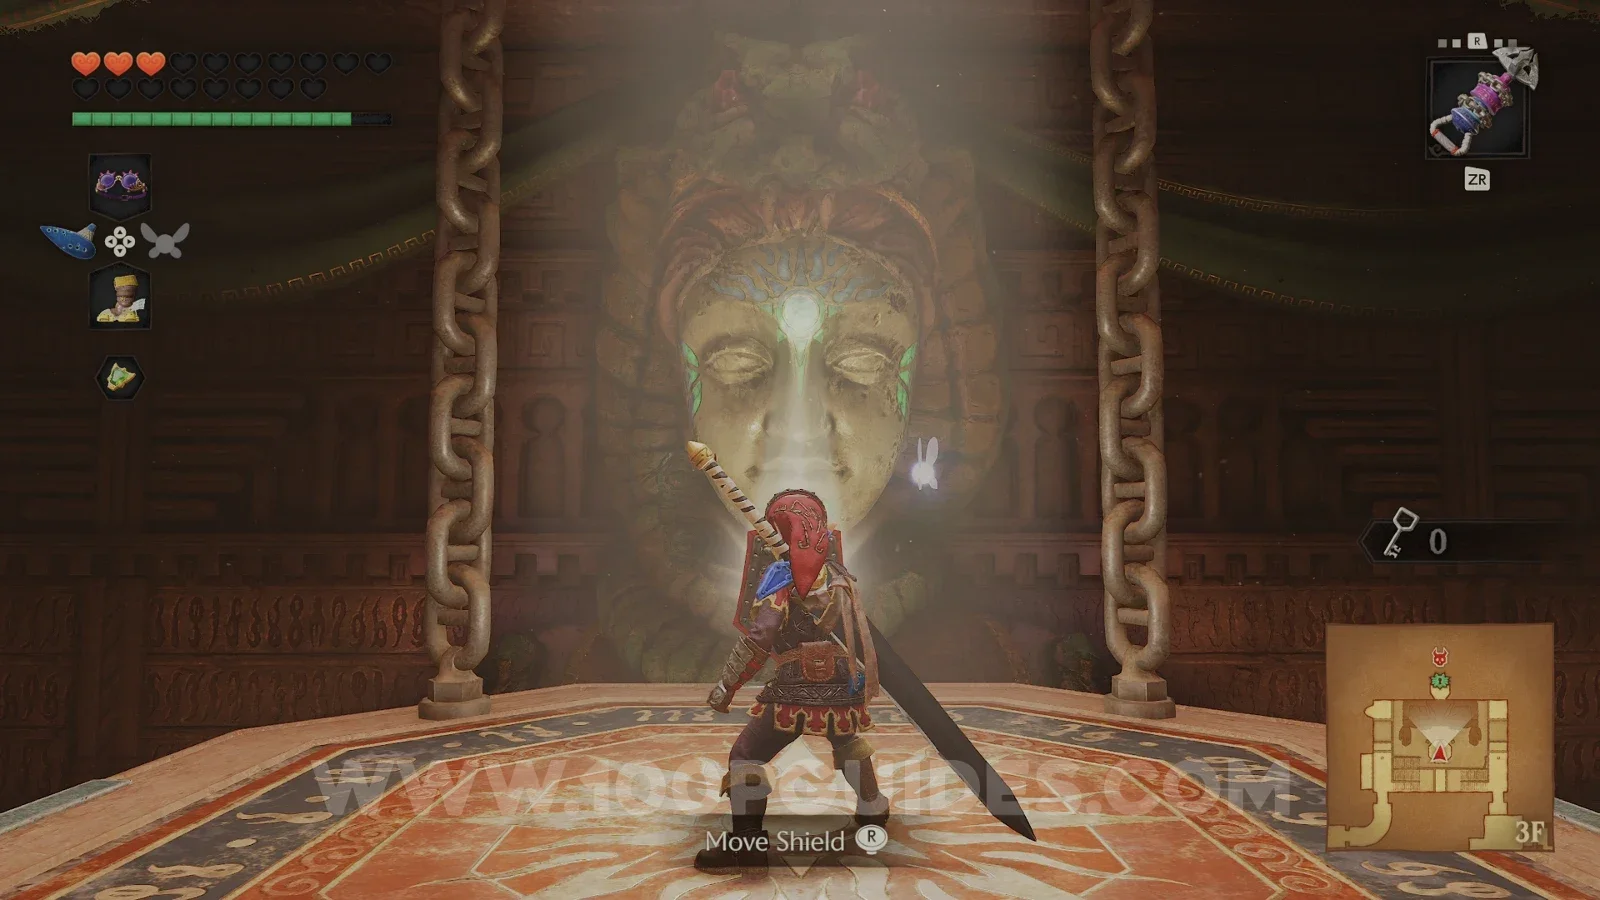
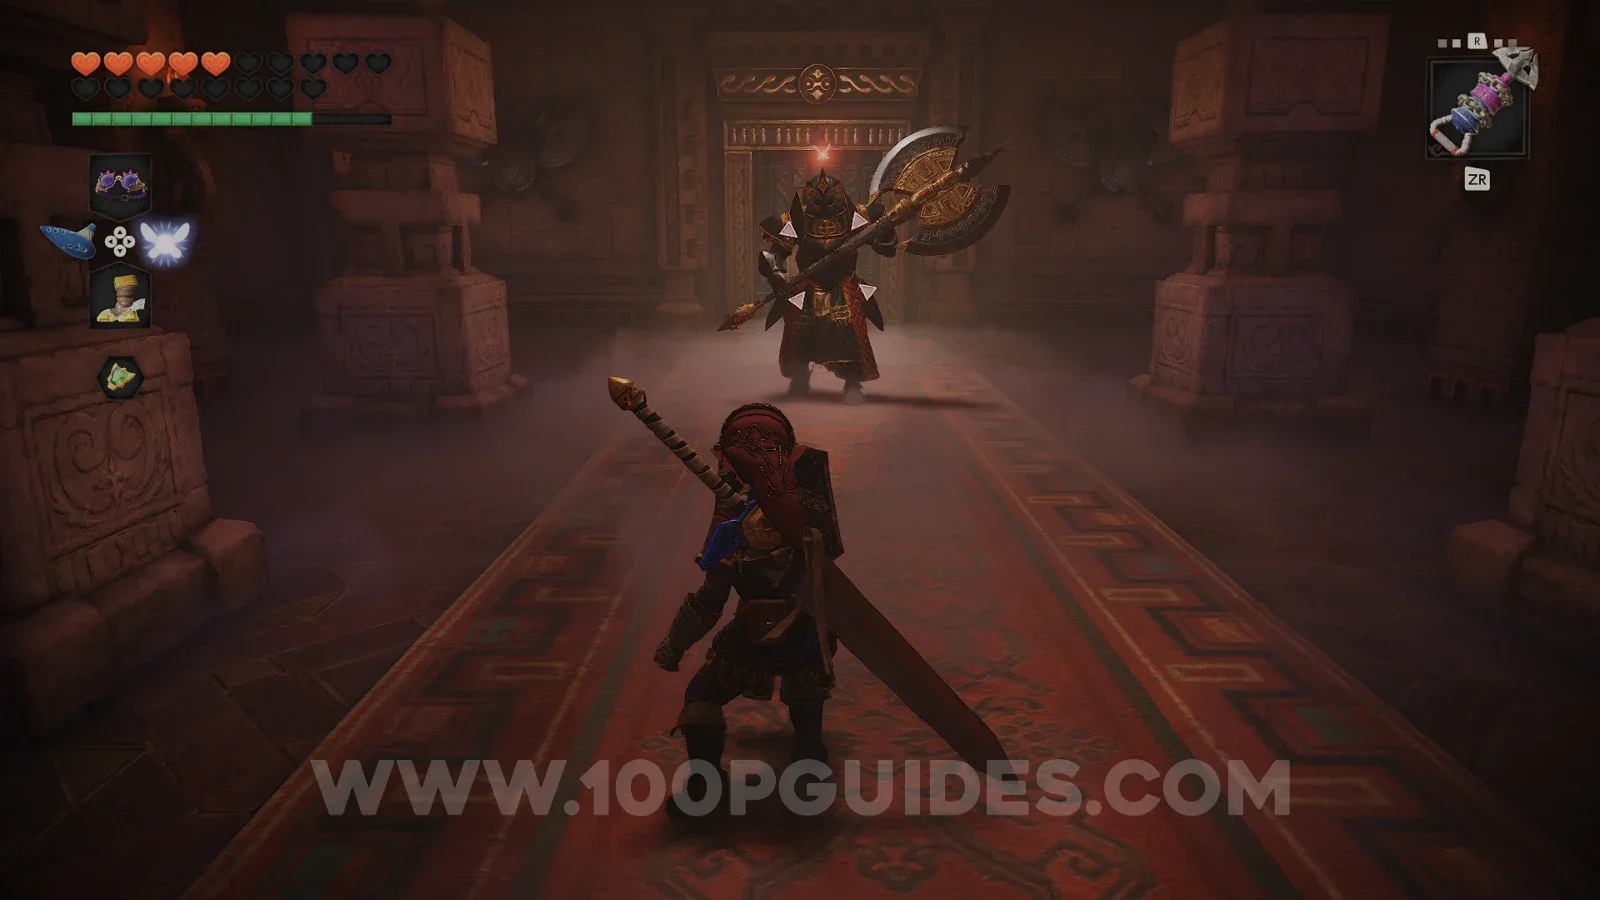
Grapple across and open the boss door. You will then have to fight another mini boss before fighting the real boss. Defeat it and then head through the next door to the boss fight.
Twinrova boss fight
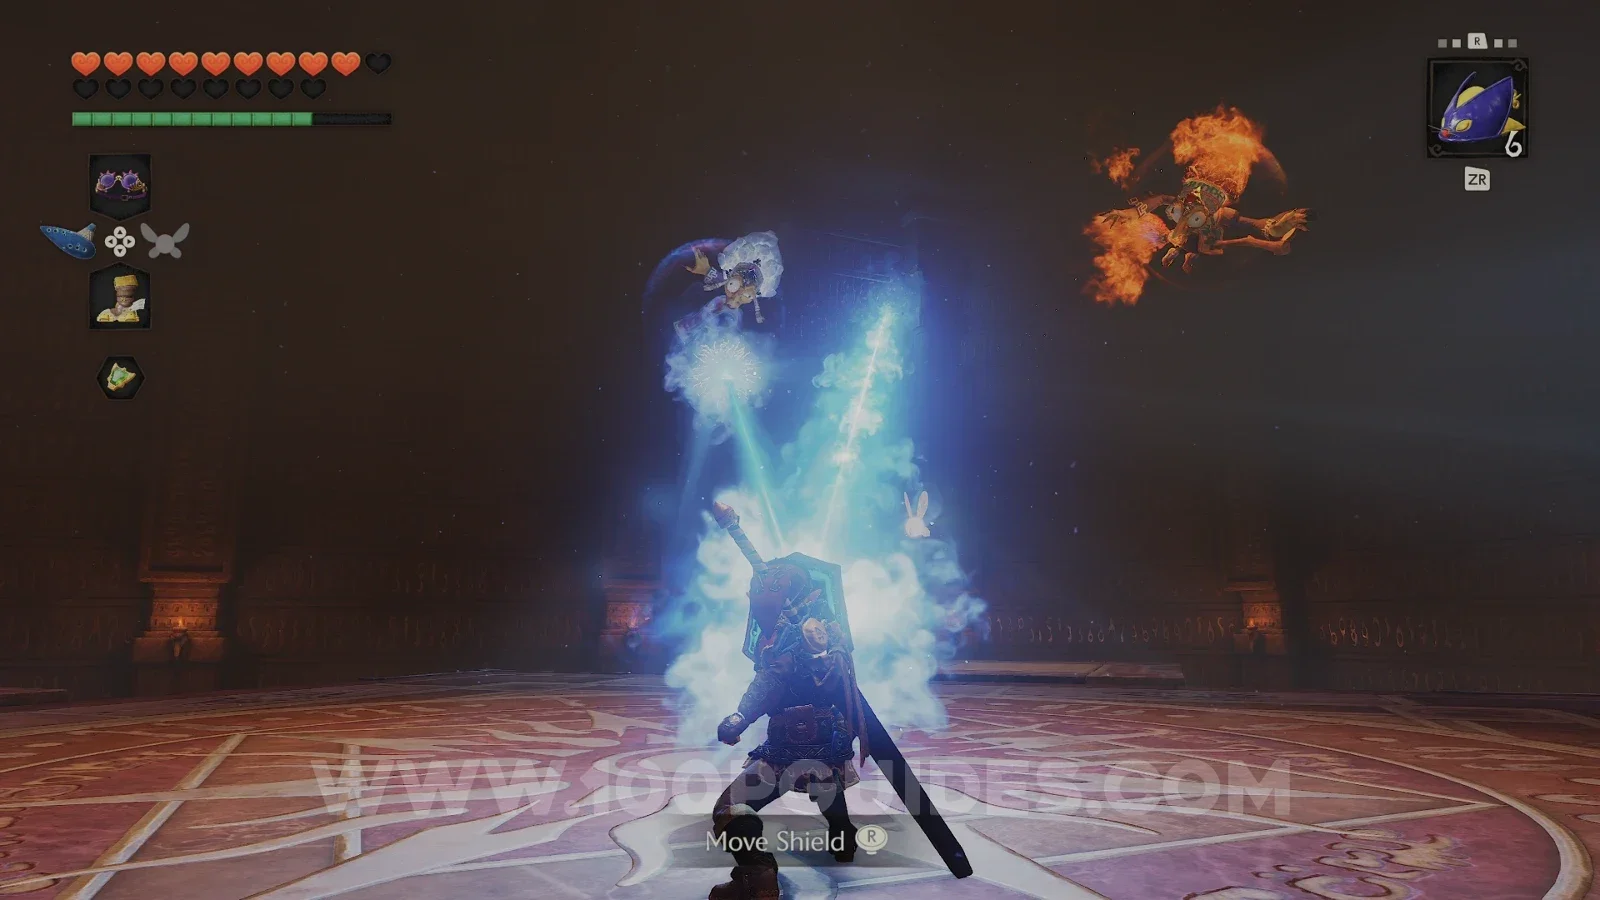
In the first phase, the two witches fly around the room on their brooms. Koume shoots fire and Kotake shoots ice. Lock on to whichever one is about to attack, hold up the Mirror Shield with ZL and aim the reflected beam at the other sister. Fire hurts the ice witch and ice hurts the fire witch. Hit each of them a few times.
In the second phase, they join together into Twinrova. Now you have to absorb her attacks with the Mirror Shield. Catch three attacks of the same type in a row (three fire or three ice) and the shield will fire it all back at her. If you catch a different type, the charge is lost and you start again. Once she is hit, she falls to one of the platforms, so run over and attack her with your sword. Repeat this until she is defeated.
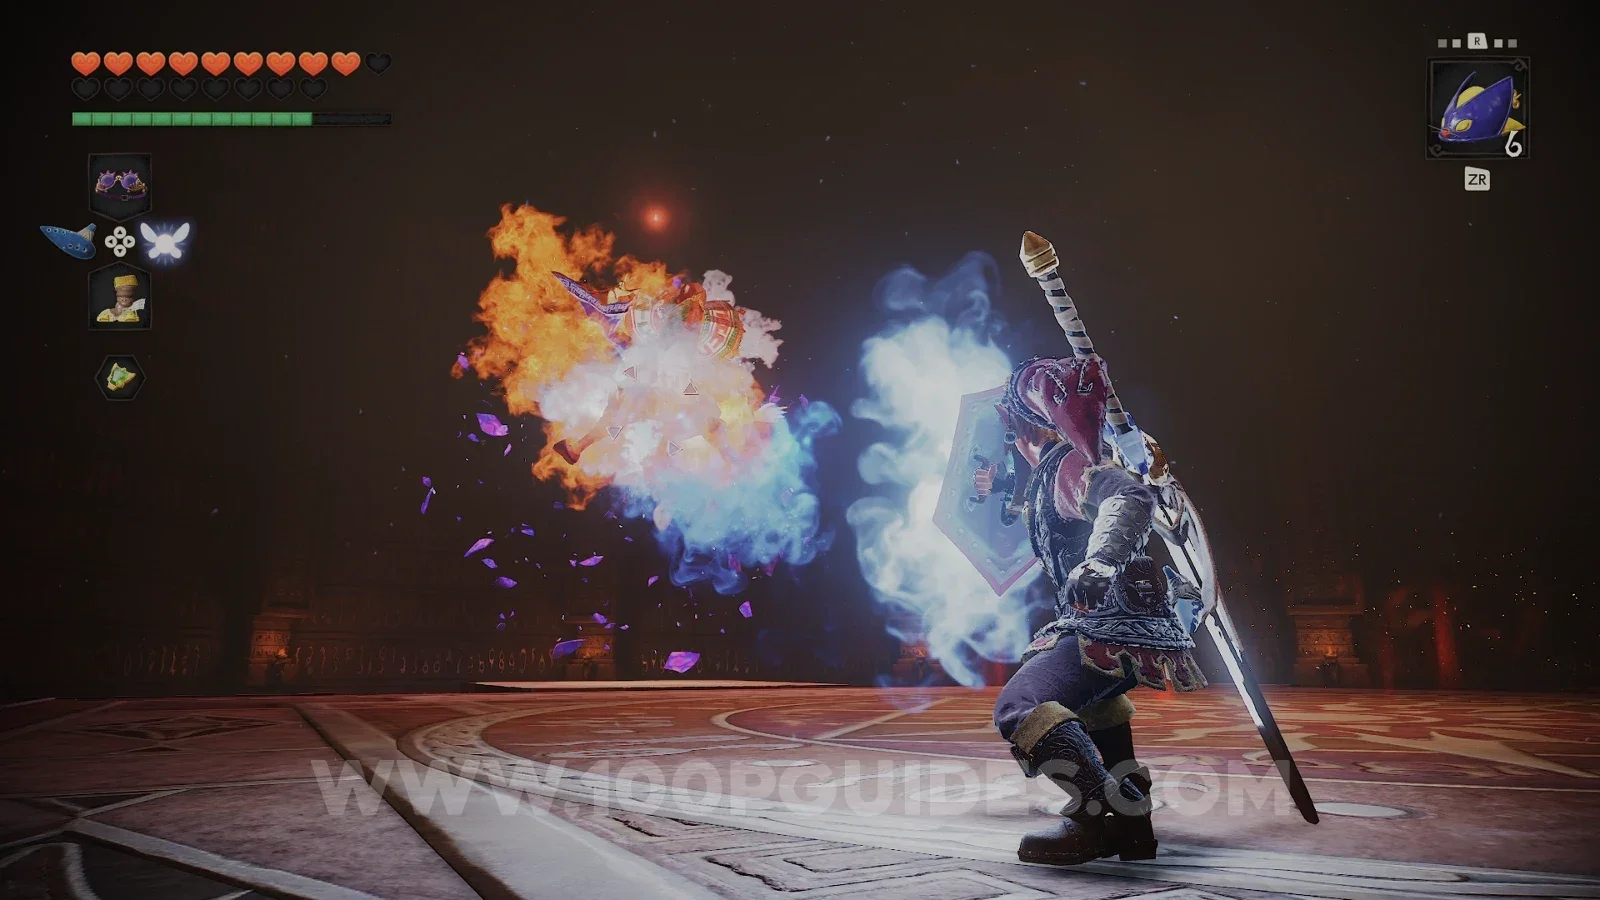
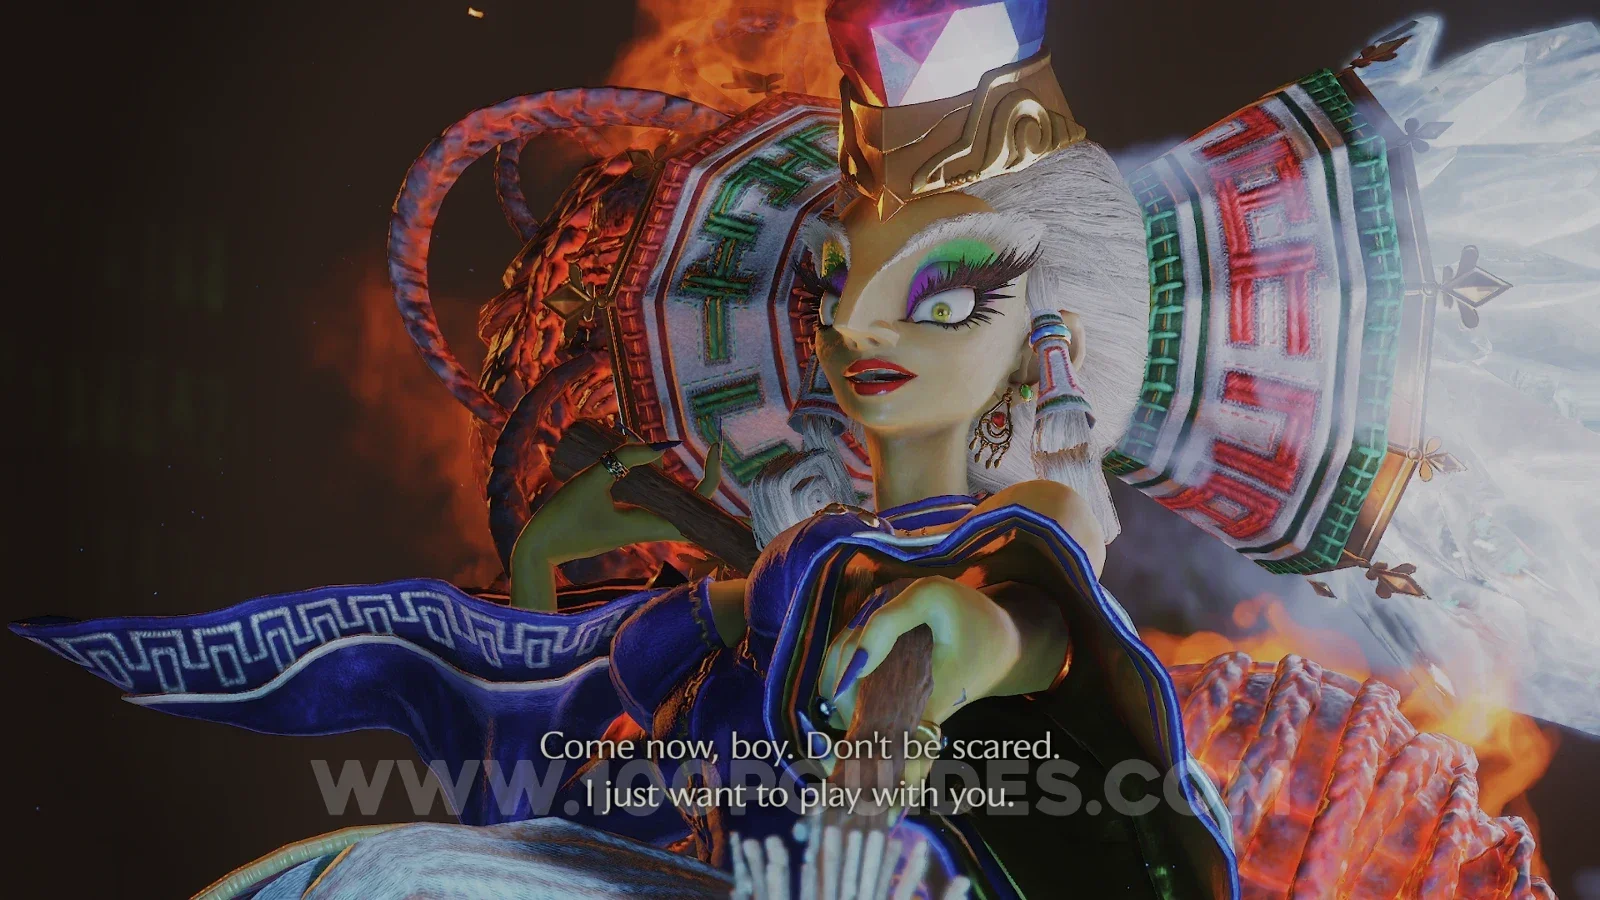
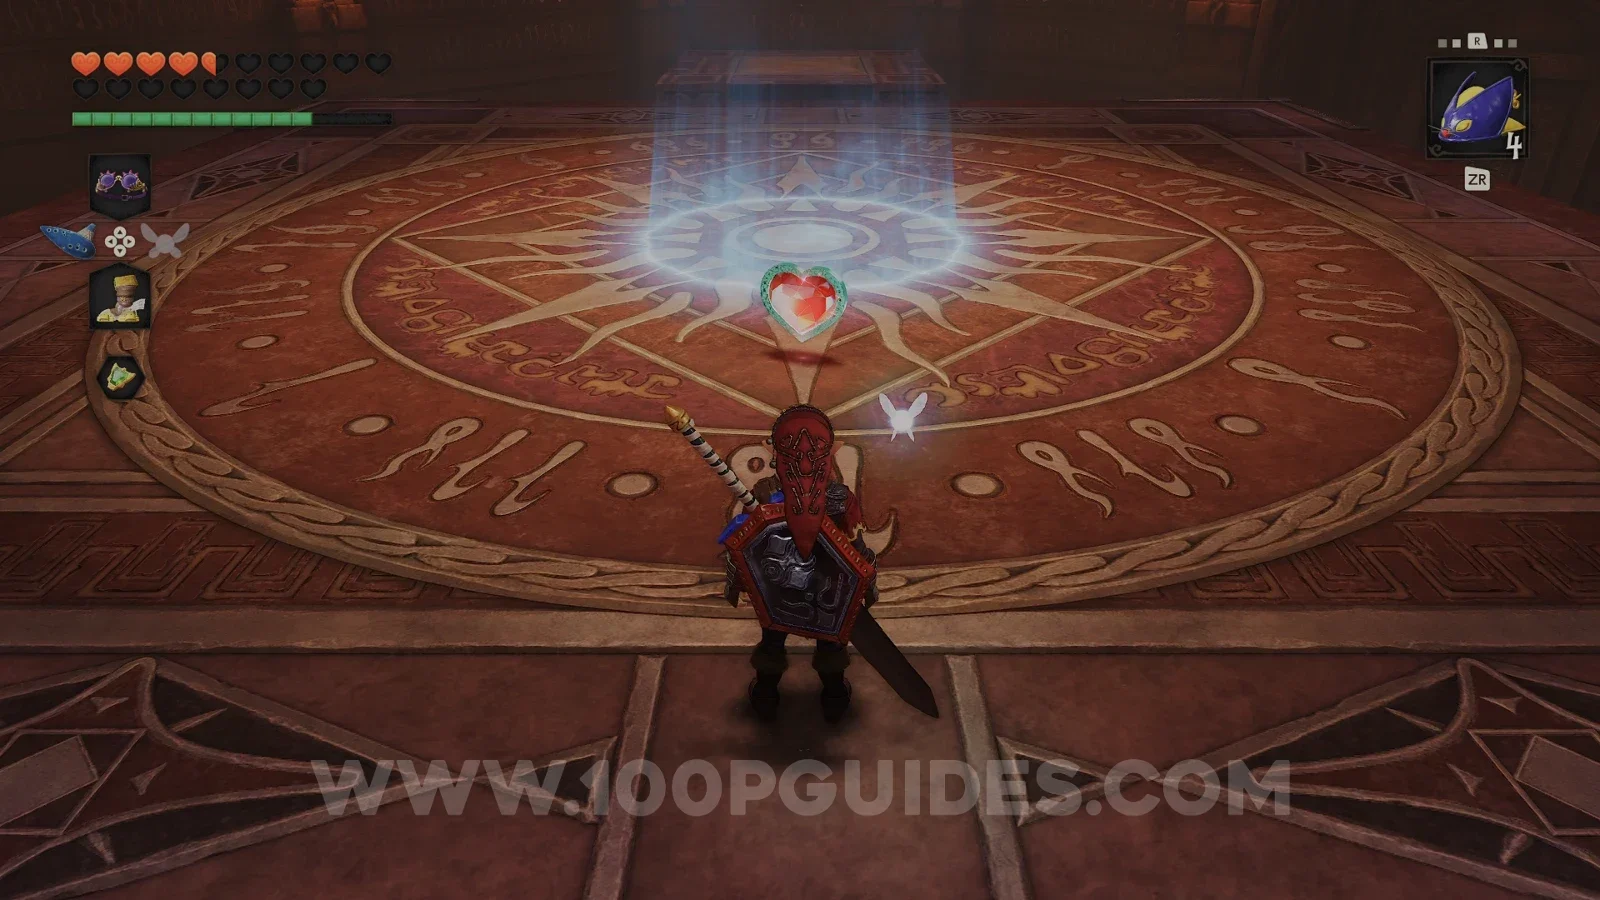
After the fight, pick up the last Heart Container of the game and step into the blue light. Nabooru will then give you the Spirit Medallion.
Evil Desert Colossus
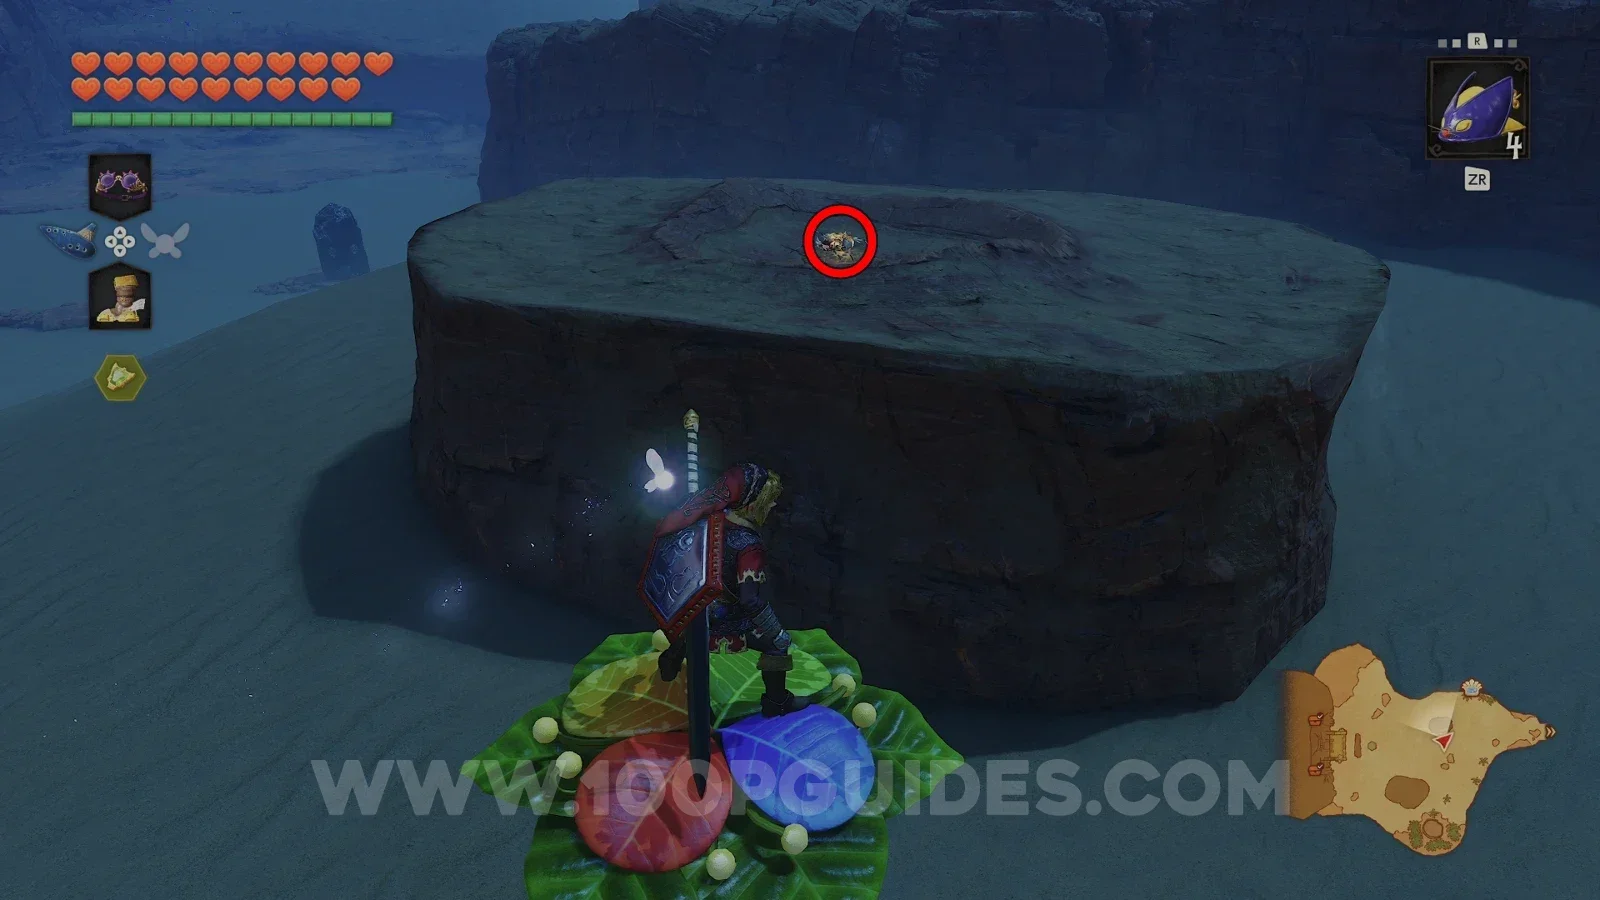
You will come out in front of the temple. The bean you planted here as a child has grown, so first play the Sun's Song to make it nighttime. Ride the plant across the sand towards the flat rock pillar. While you are still standing on the plant, look at the top edge of the pillar to find a Gold Skulltula (99/100) and use the Longshot to get it.
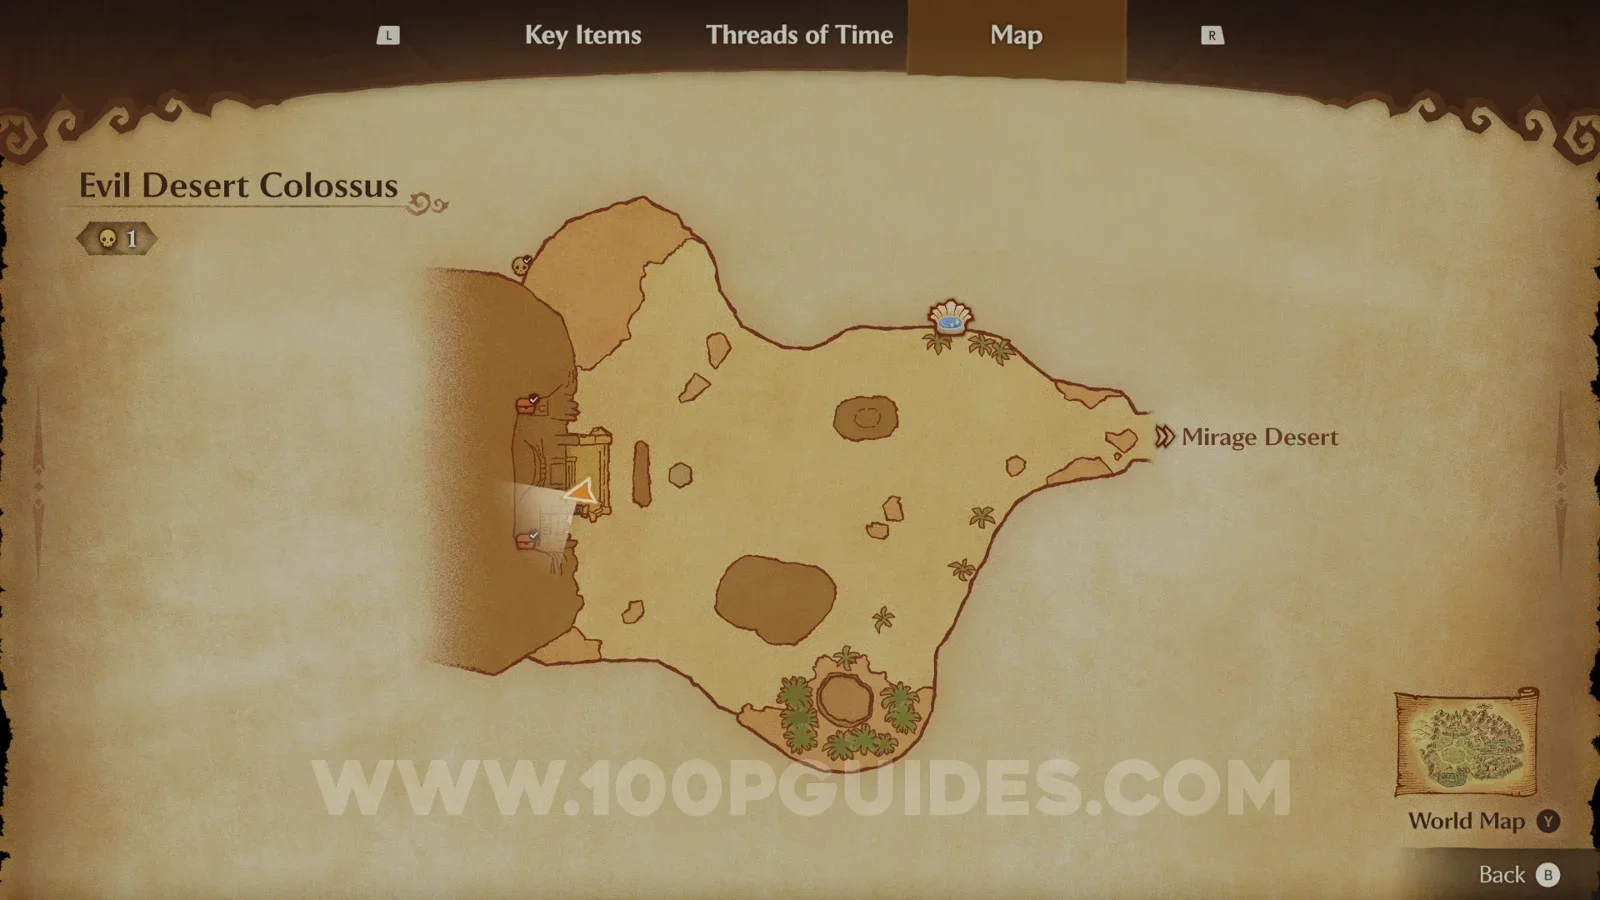
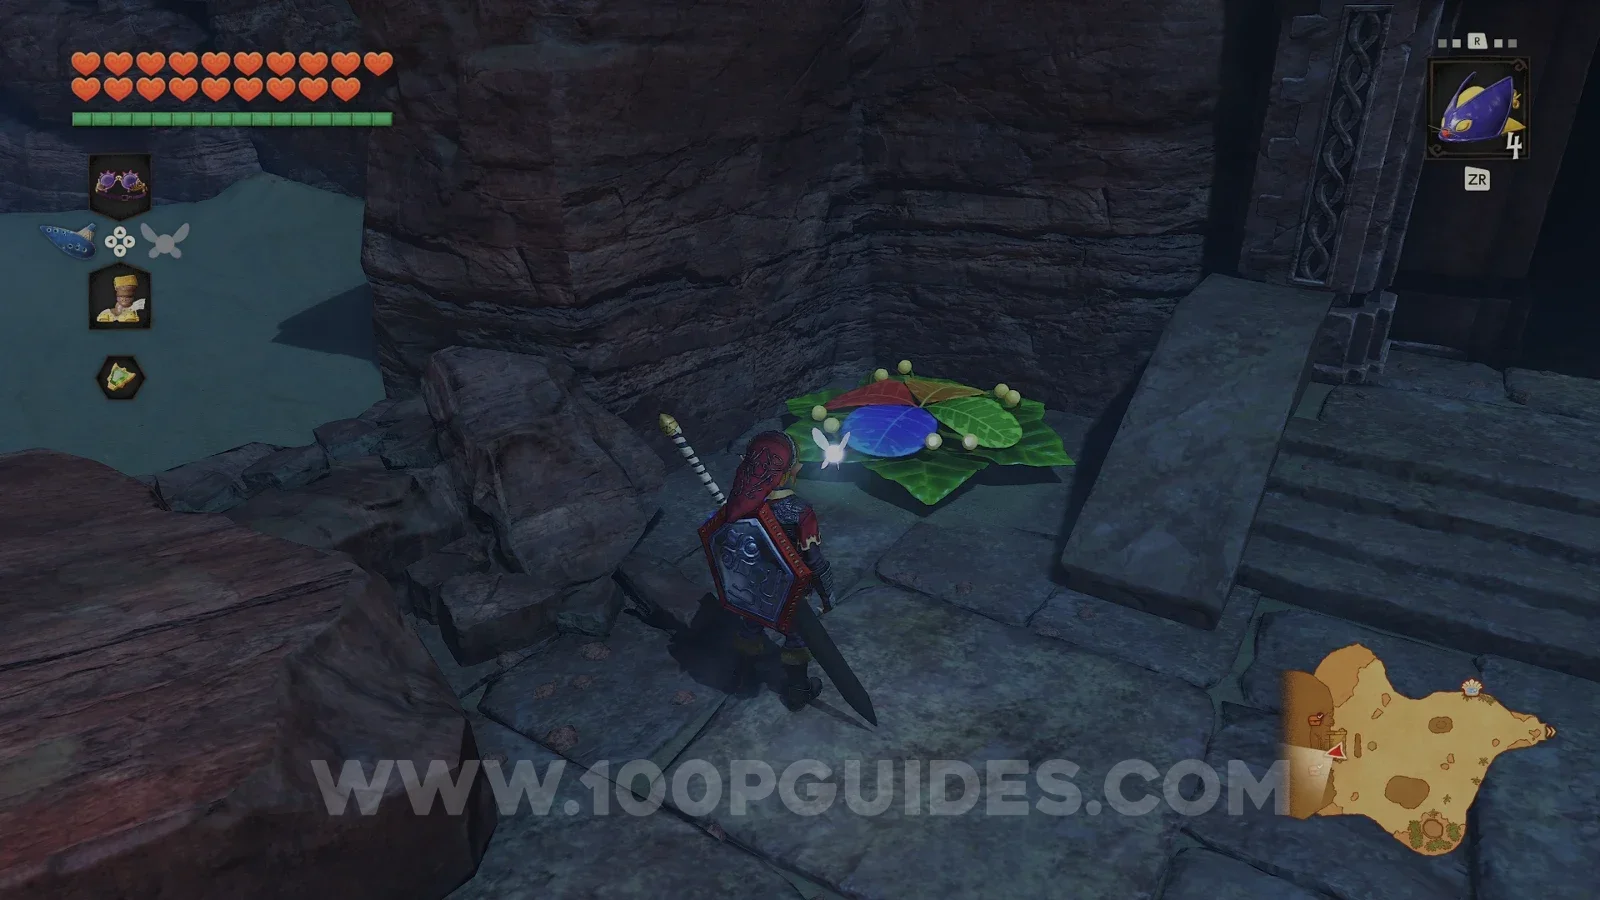
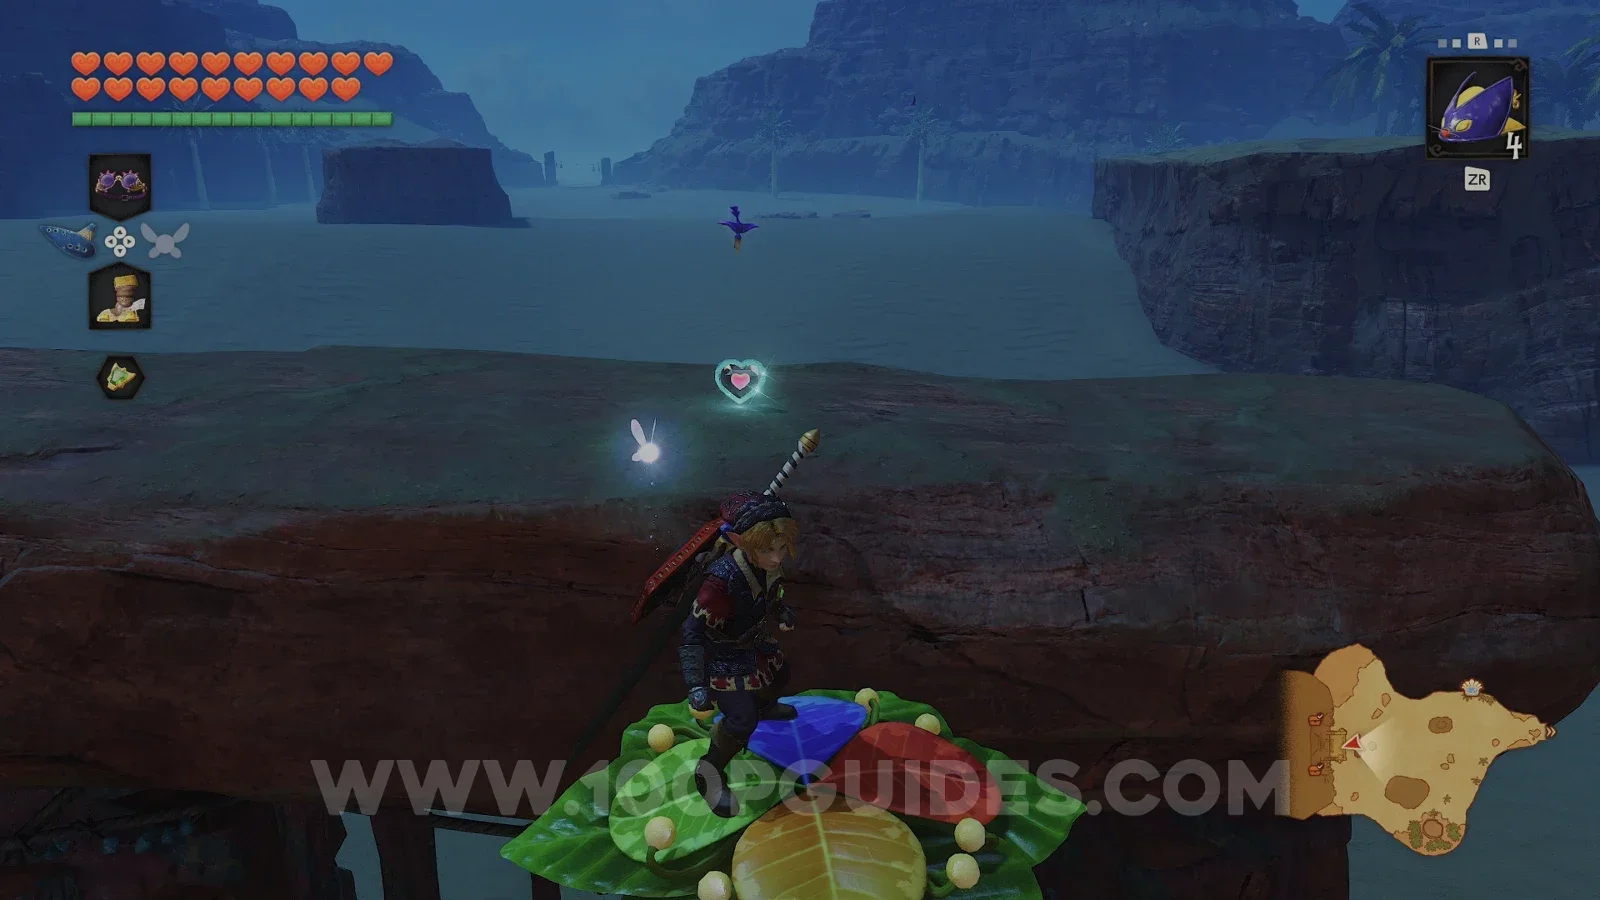
Now ride the plant again (or jump back on if you have time after getting the Gold Skulltula). This time, stay on while it goes under the stone arch and then step off onto the arch to find a Heart Piece (34/36).
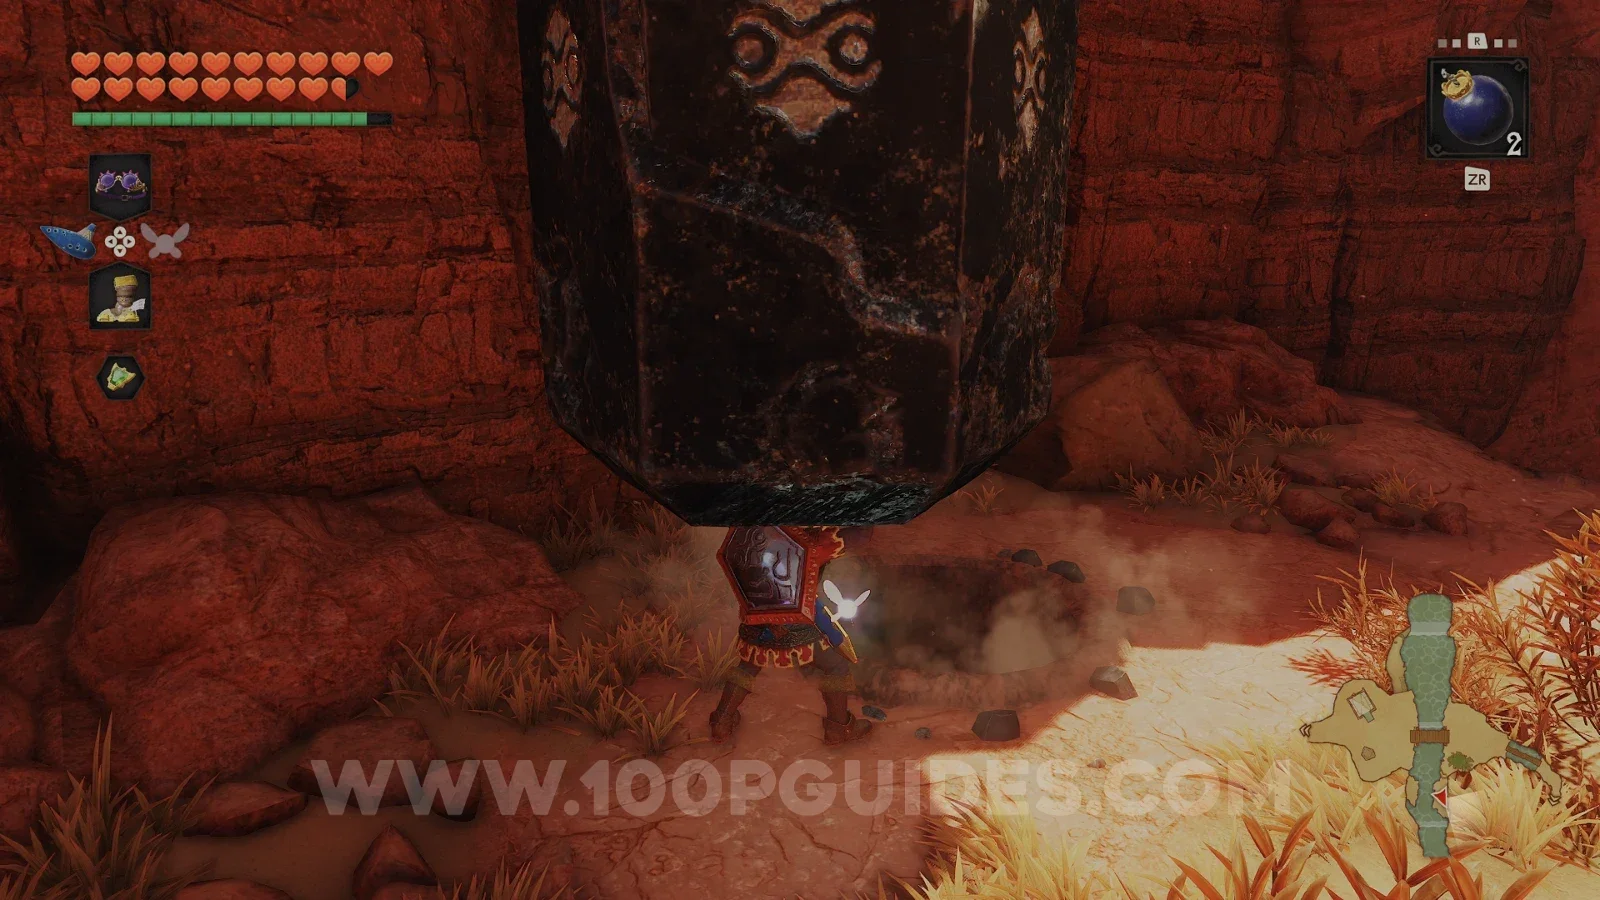
You can also find a grotto in the area outside of the temple under the large rock that you can now pick up with the gauntlets. Defeat the enemies inside to get a purple rupee.
Zora Fountain
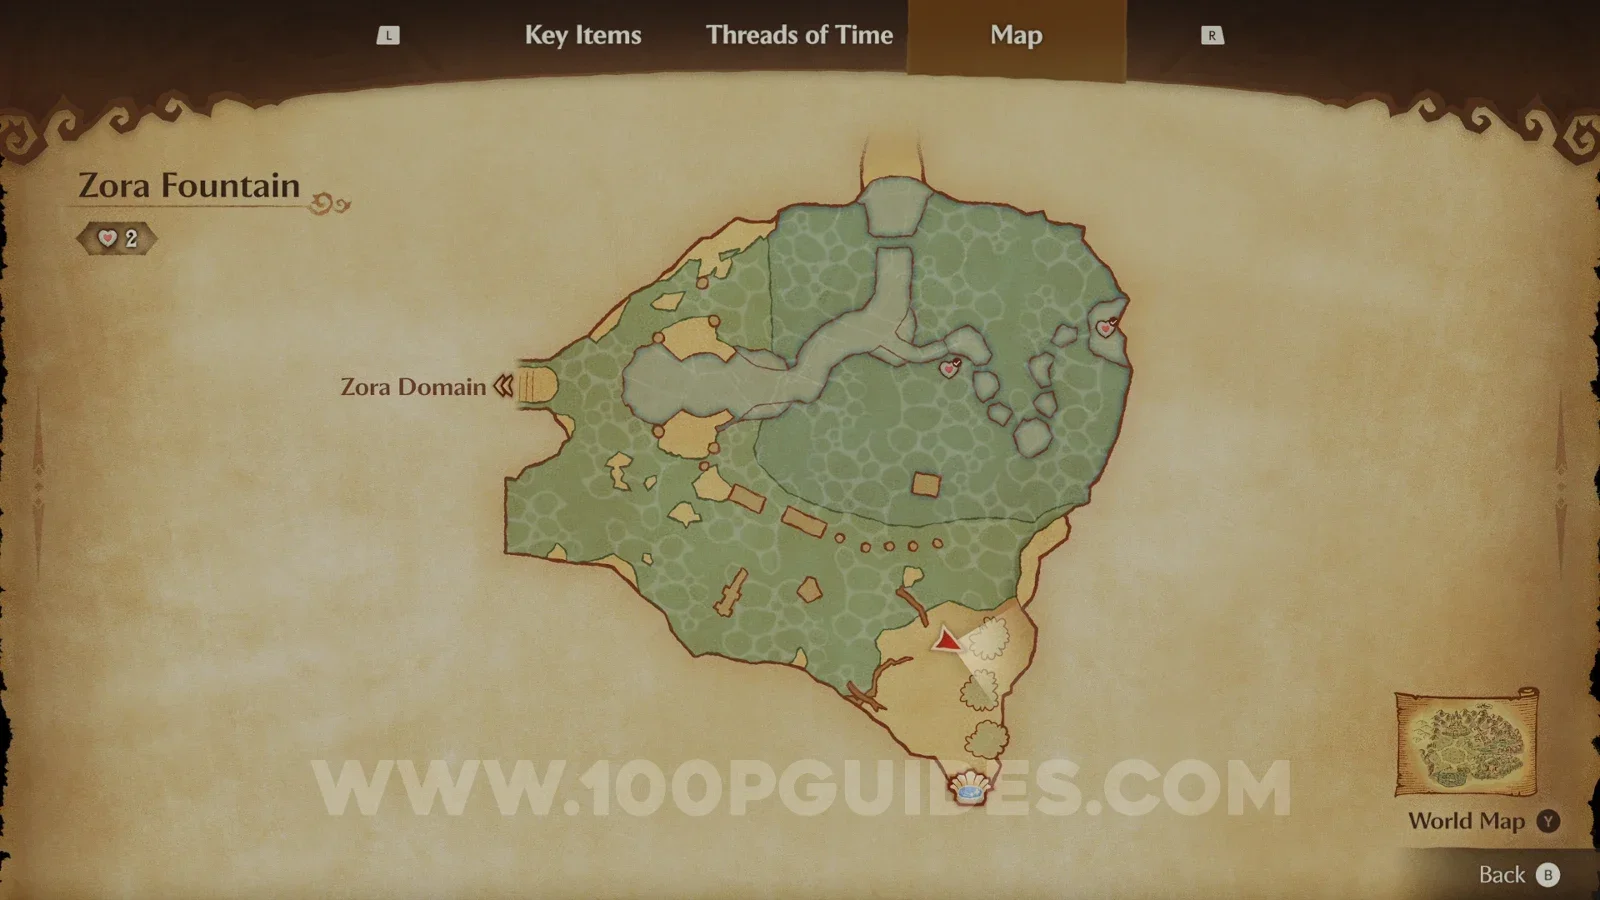
Next, head to Zora Fountain (the quickest way is to warp to Lake Hylia with the Serenade of Water and take the underwater shortcut to Zora's Domain). Cross the frozen lake to the trees to the south where the Fairy Fountain is and move the large rocks. Enter the cave behind them and avoid the invisible skulltulas by using the Lenses of Truth. Climb the vines and, as you come out the other side, turn around to find the final Gold Skulltula (100/100) (it must be nighttime).
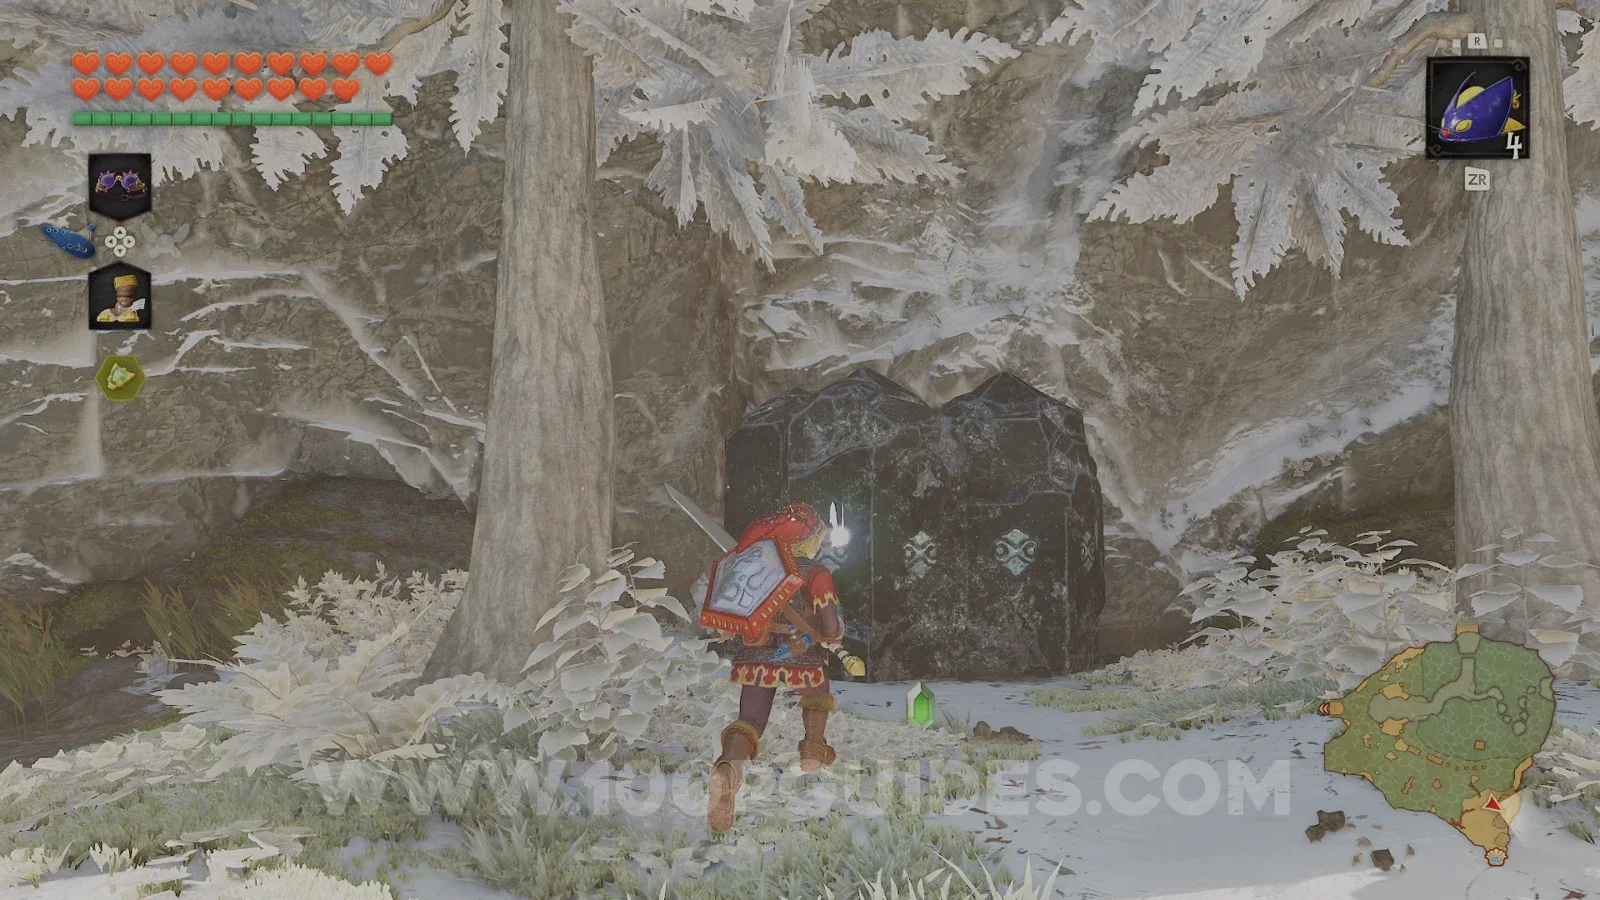
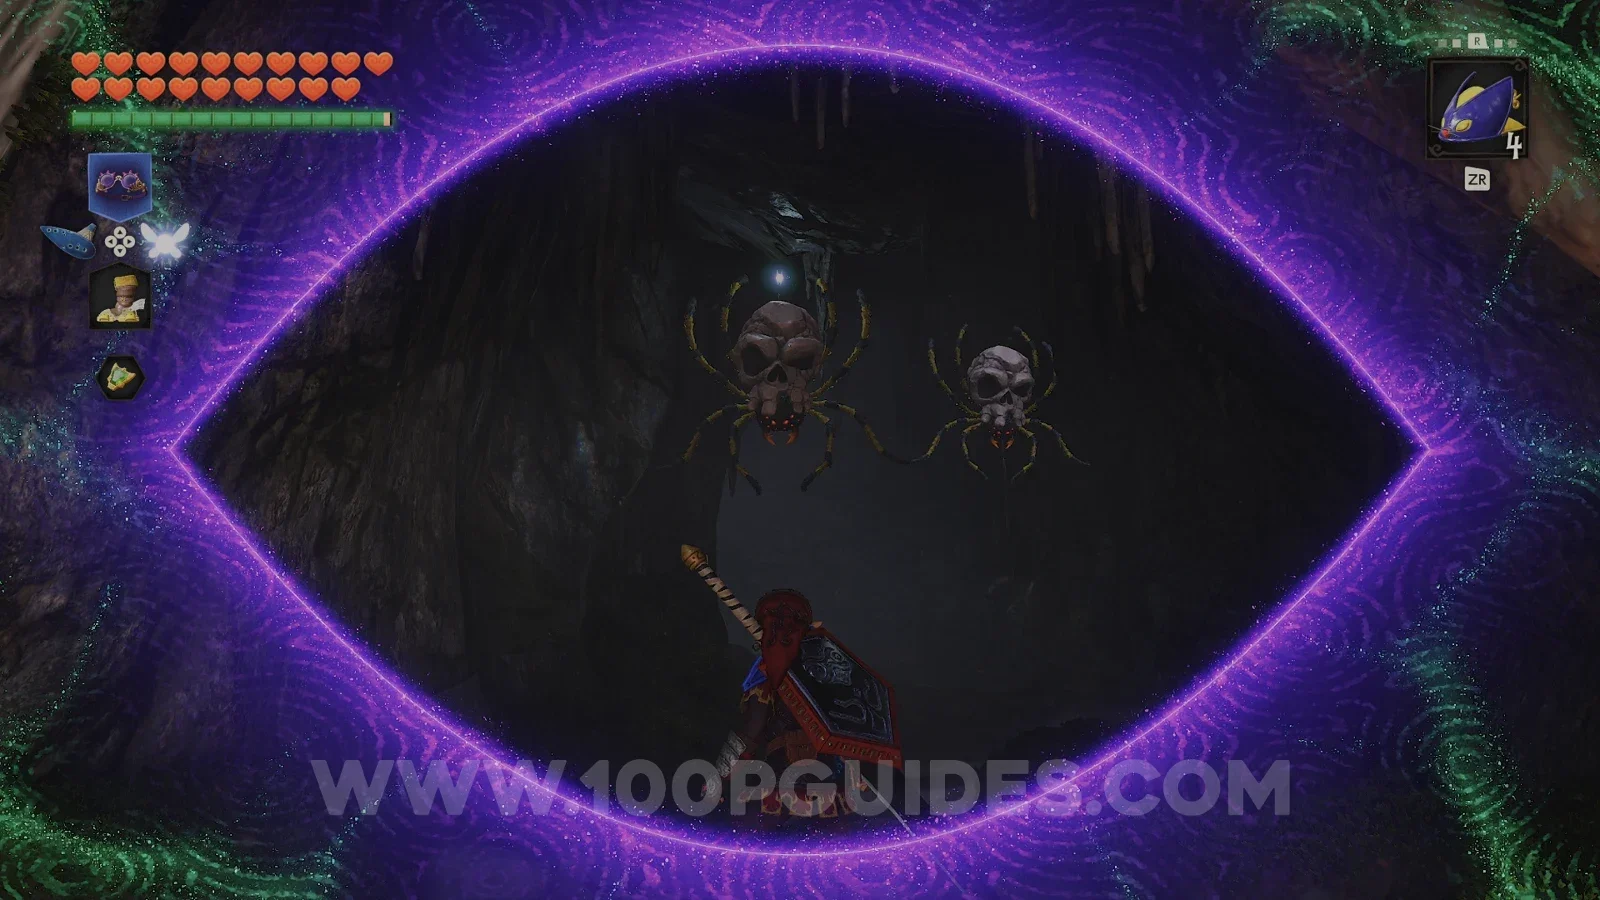
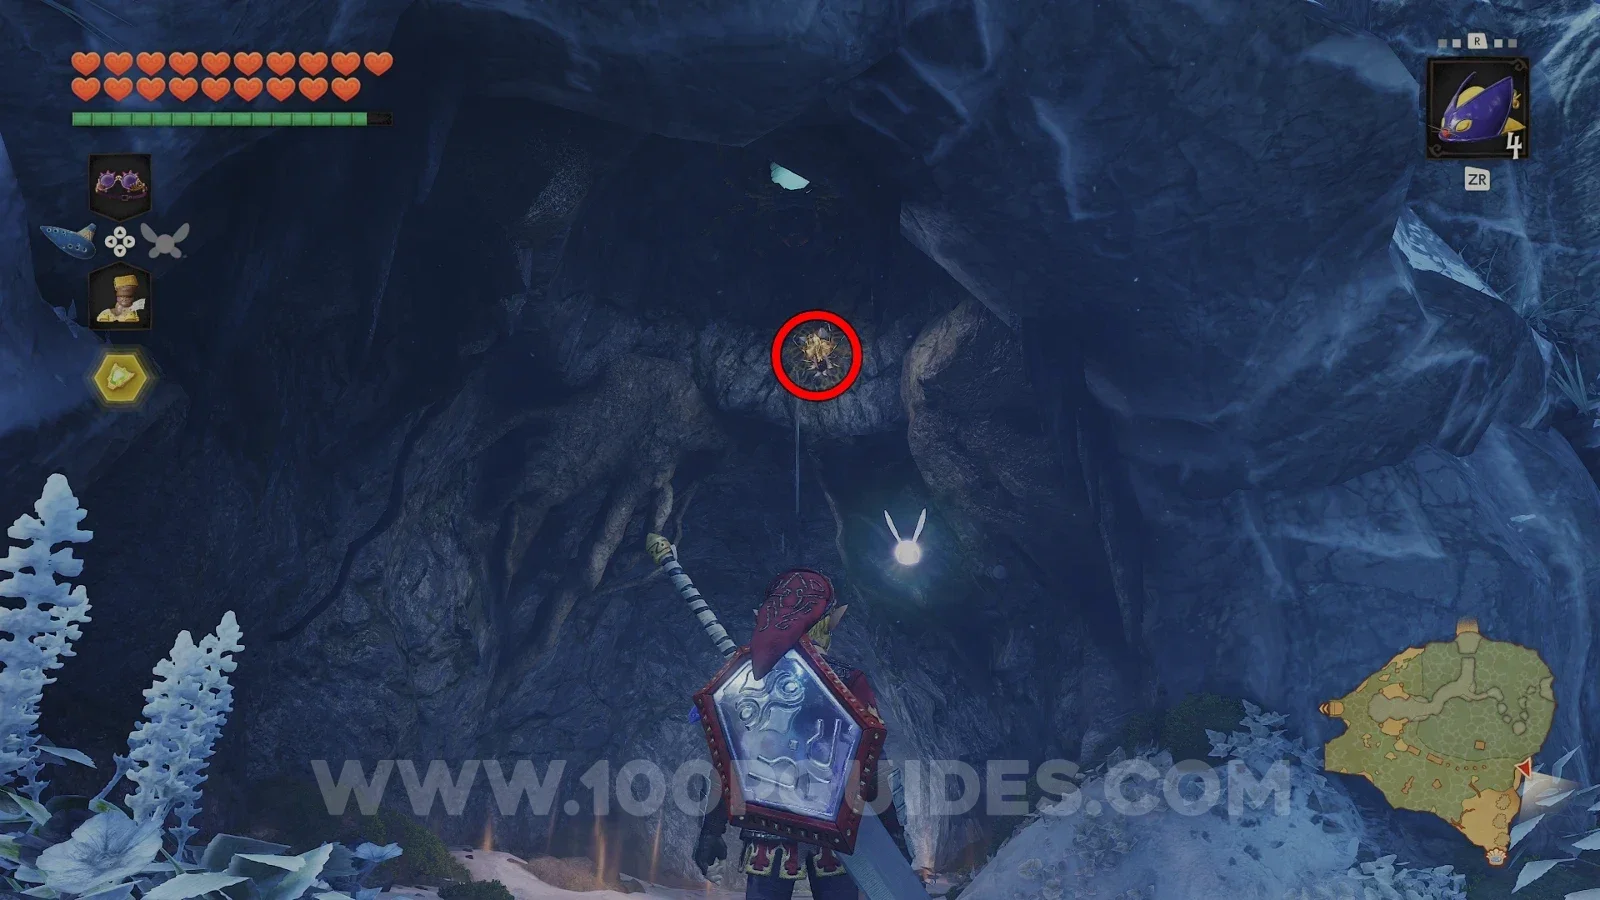
Death Mountain Crater
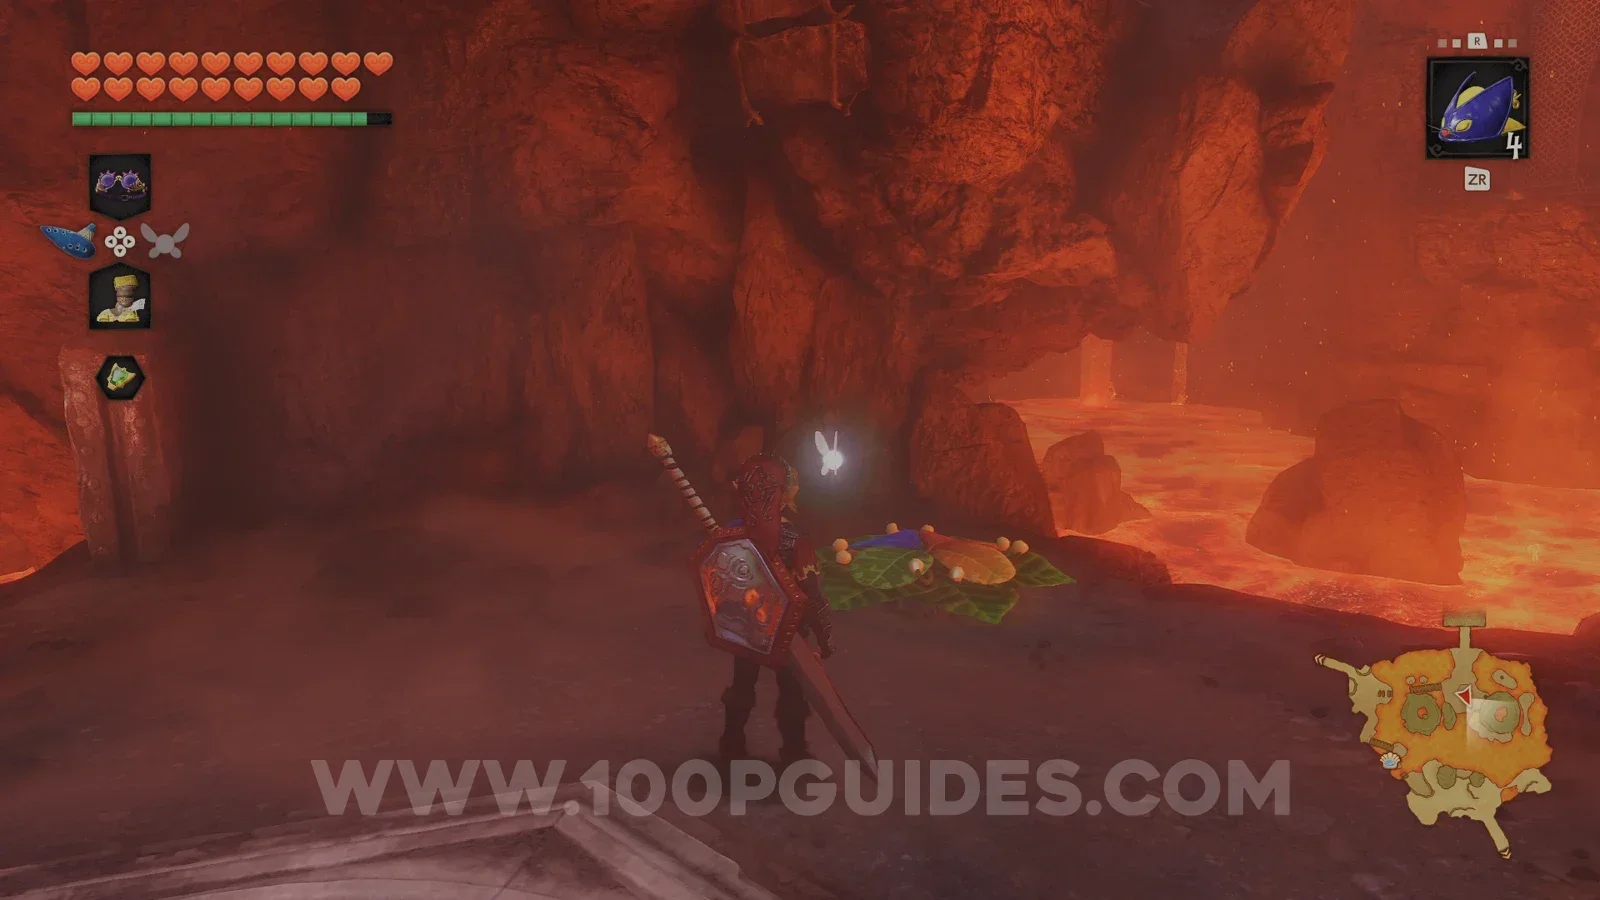
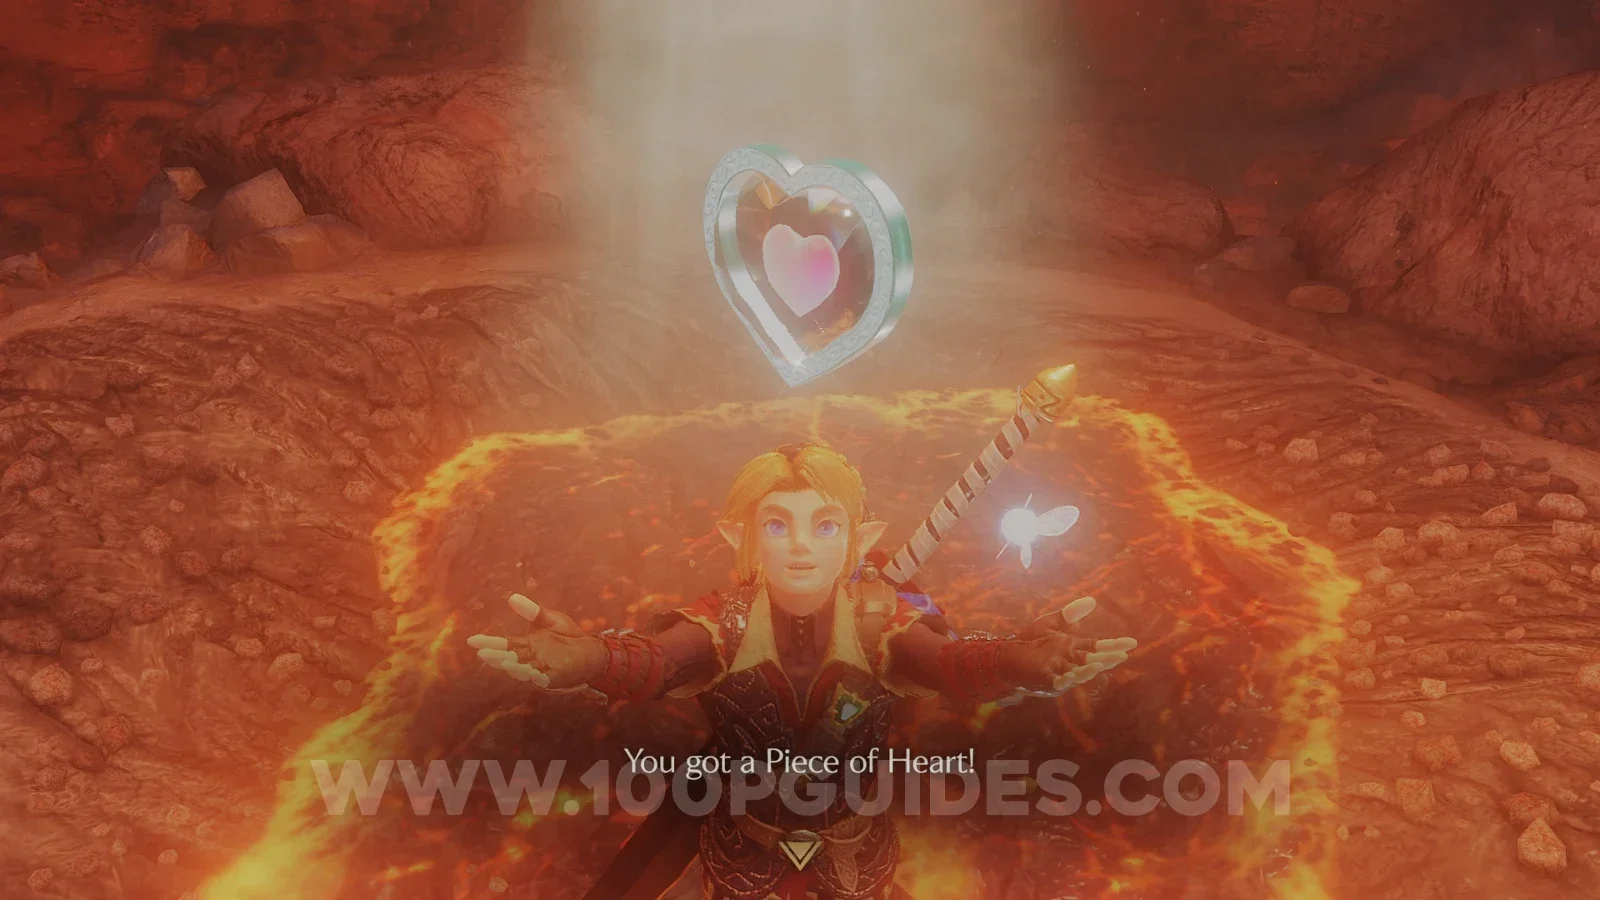
For the last bean ride, put on the Goron Tunic and play the Bolero of Fire to warp to Death Mountain Crater. Ride the bean plant next to where you land up to the top of the smoking rock pillar to find a Heart Piece (35/36).
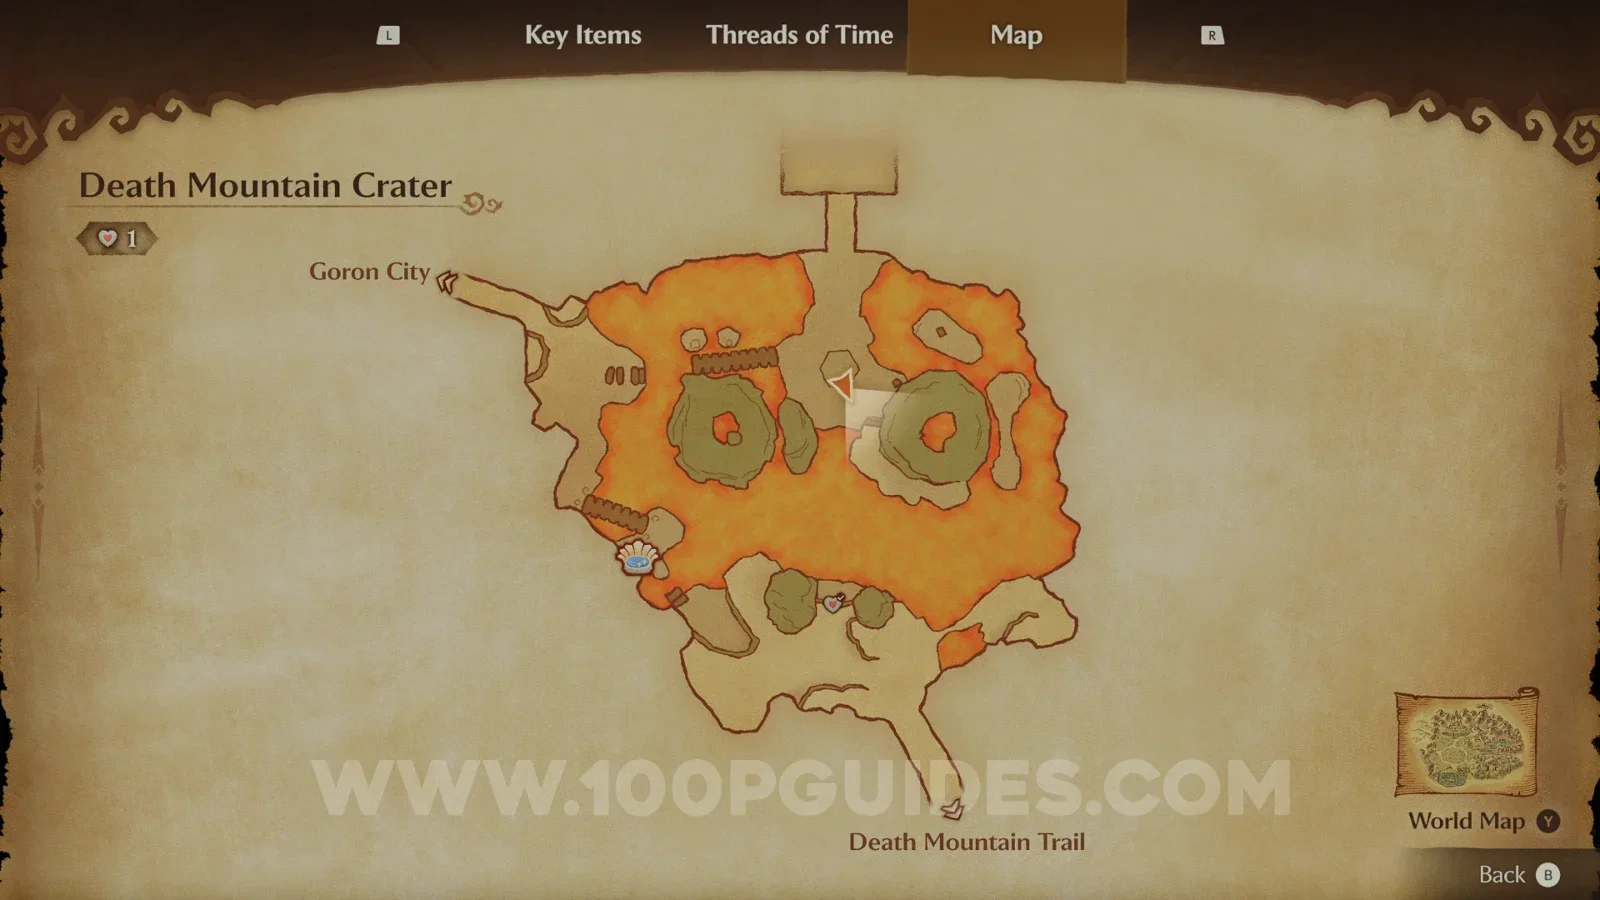
Gerudo Valley
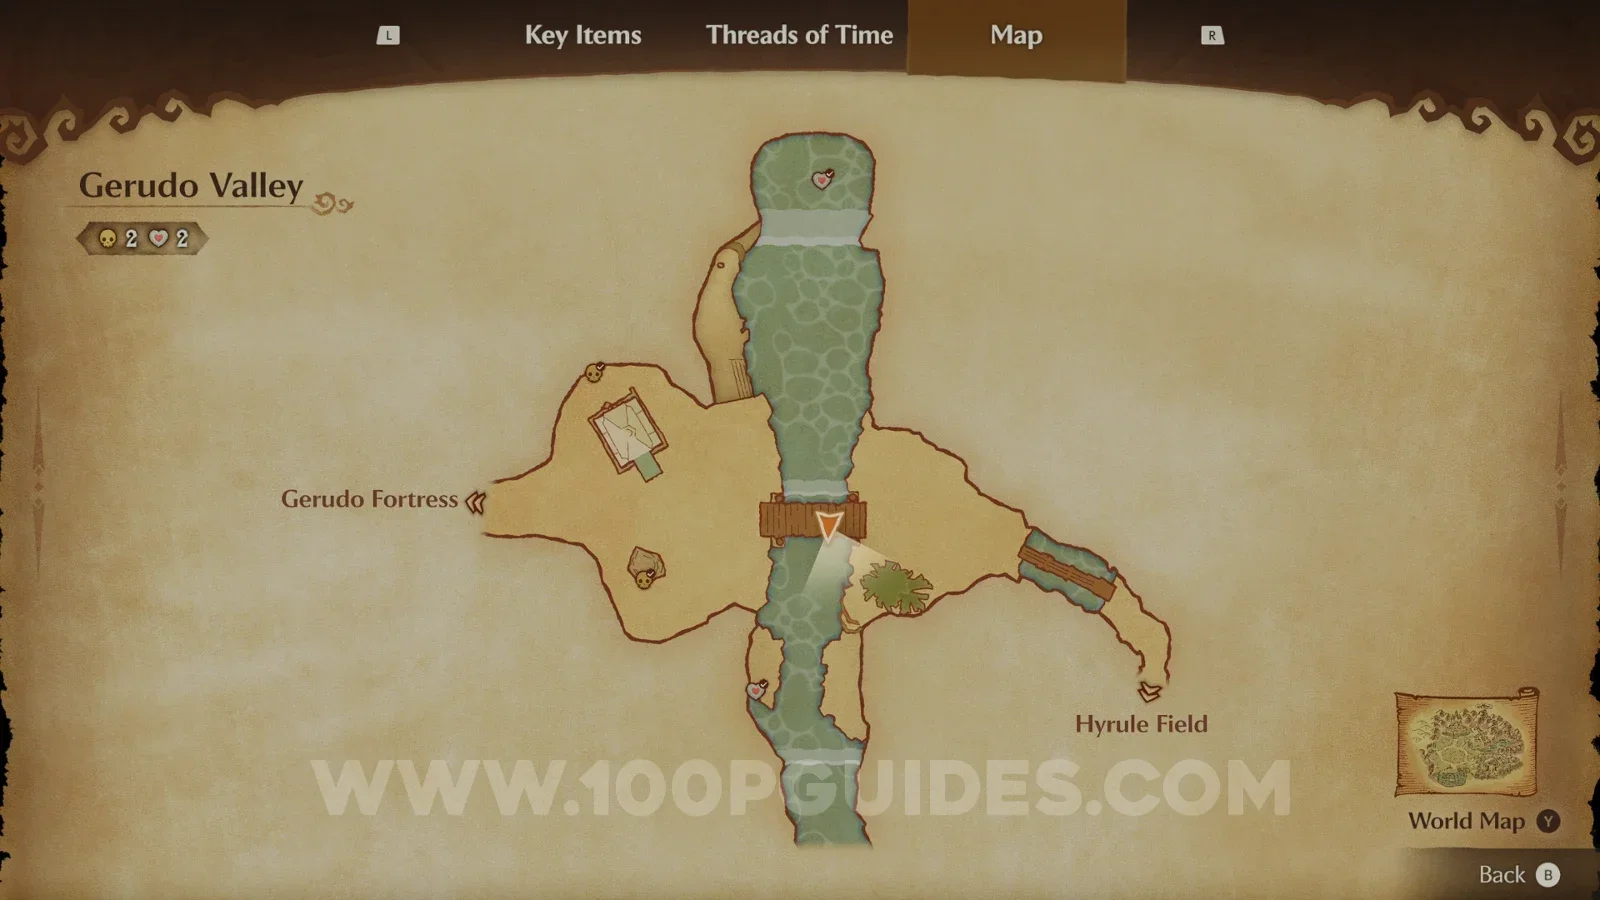
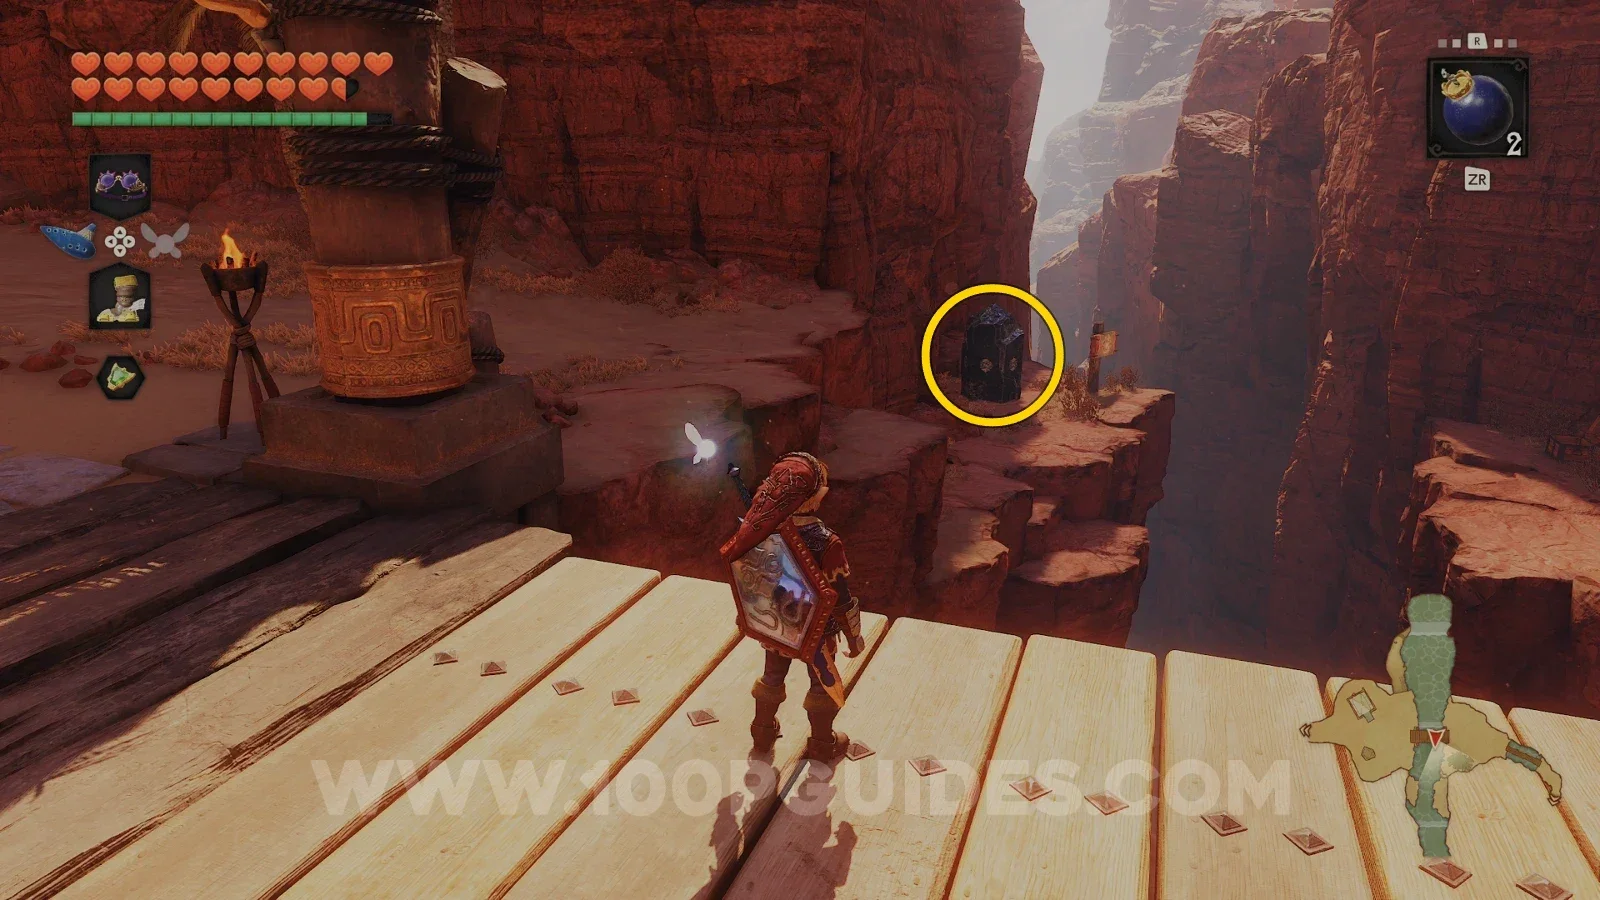
There is one last optional stop for the Silver Gauntlets, in Gerudo Valley. Stand on the bridge at the entrance from Hyrule Field and look left to see a rock that you can only lift with the gauntlets. Move it to reveal a grotto that has a Business Scrub Seed in a chest (use the iron boots to reach it).
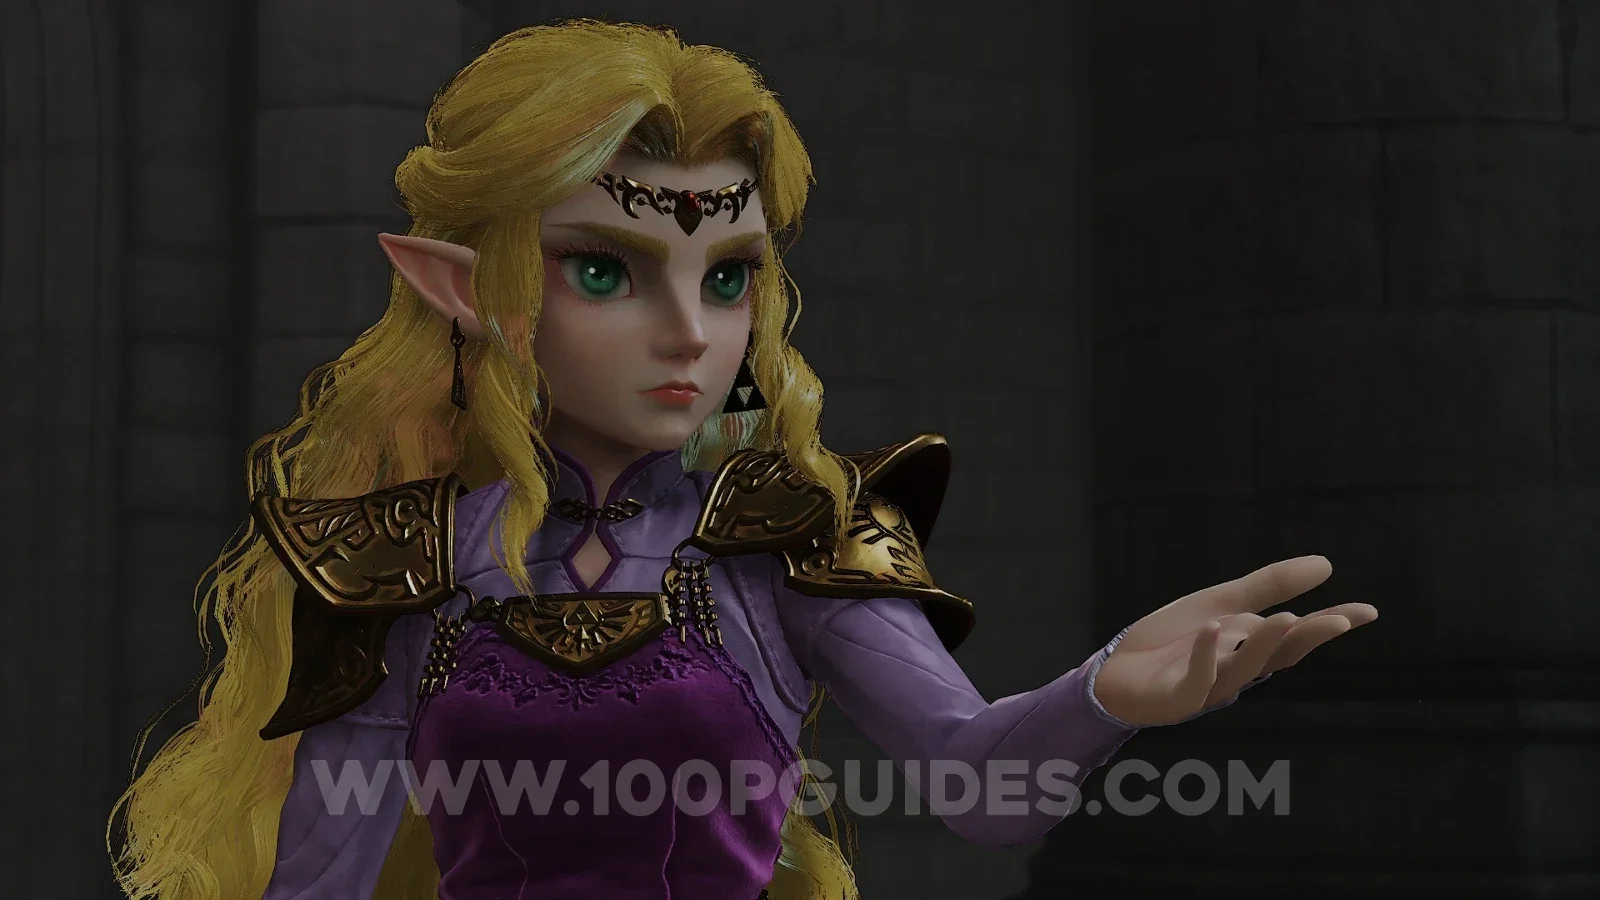
Finally, head back to the Temple of Time for a cutscene with Zelda. Here you will also get the Light Arrows.
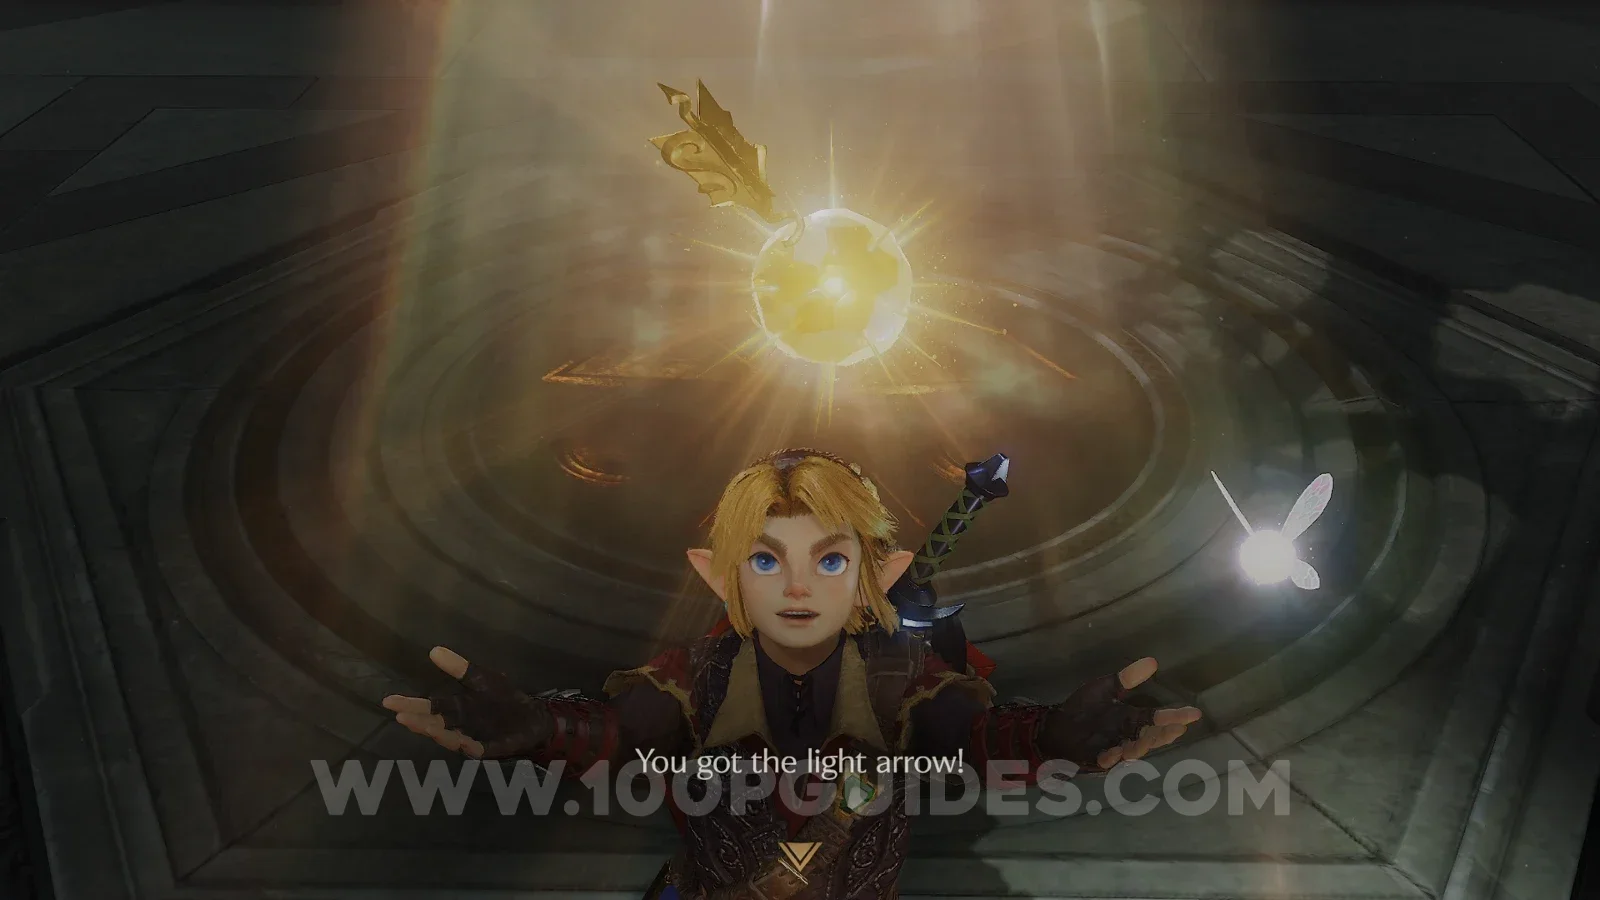
You now have all 100 Gold Skulltula tokens and 35 of the 36 Heart Pieces. In the next part, you will be cashing in those tokens, hunting Big Poes for the last bottle and tying up every other loose end before the final dungeon.