Welcome to Part 6 of our 100% Walkthrough of Zelda Ocarina of Time Remake. With the Death Mountain gate open, you climb the trail above Kakariko Village to Goron City, home of the Gorons and their leader Darunia, and then head into Dodongo Cavern, the second dungeon of the game.
Your main goal is the Goron’s Ruby, the second Spiritual Stone. Darunia only listens to you once you play him Saria’s Song, and he rewards you with the Goron's Bracelet so you can lift the bomb flowers and blast your way into the cavern. Inside you find the Bomb Bag and four Gold Skulltulas before you take on King Dodongo for a Heart Container and the Ruby.
Once you have bombs, the whole mountain opens up.
Quick preparation
Before you head up the mountain, there are a few things I recommend doing in preparation. First, leave Kakariko Village and return to Hyrule Field. Then fill all three of your empty bottles with bugs by cutting the plants on the right close to the mountain (the same place we mentioned at the start of Part 4).
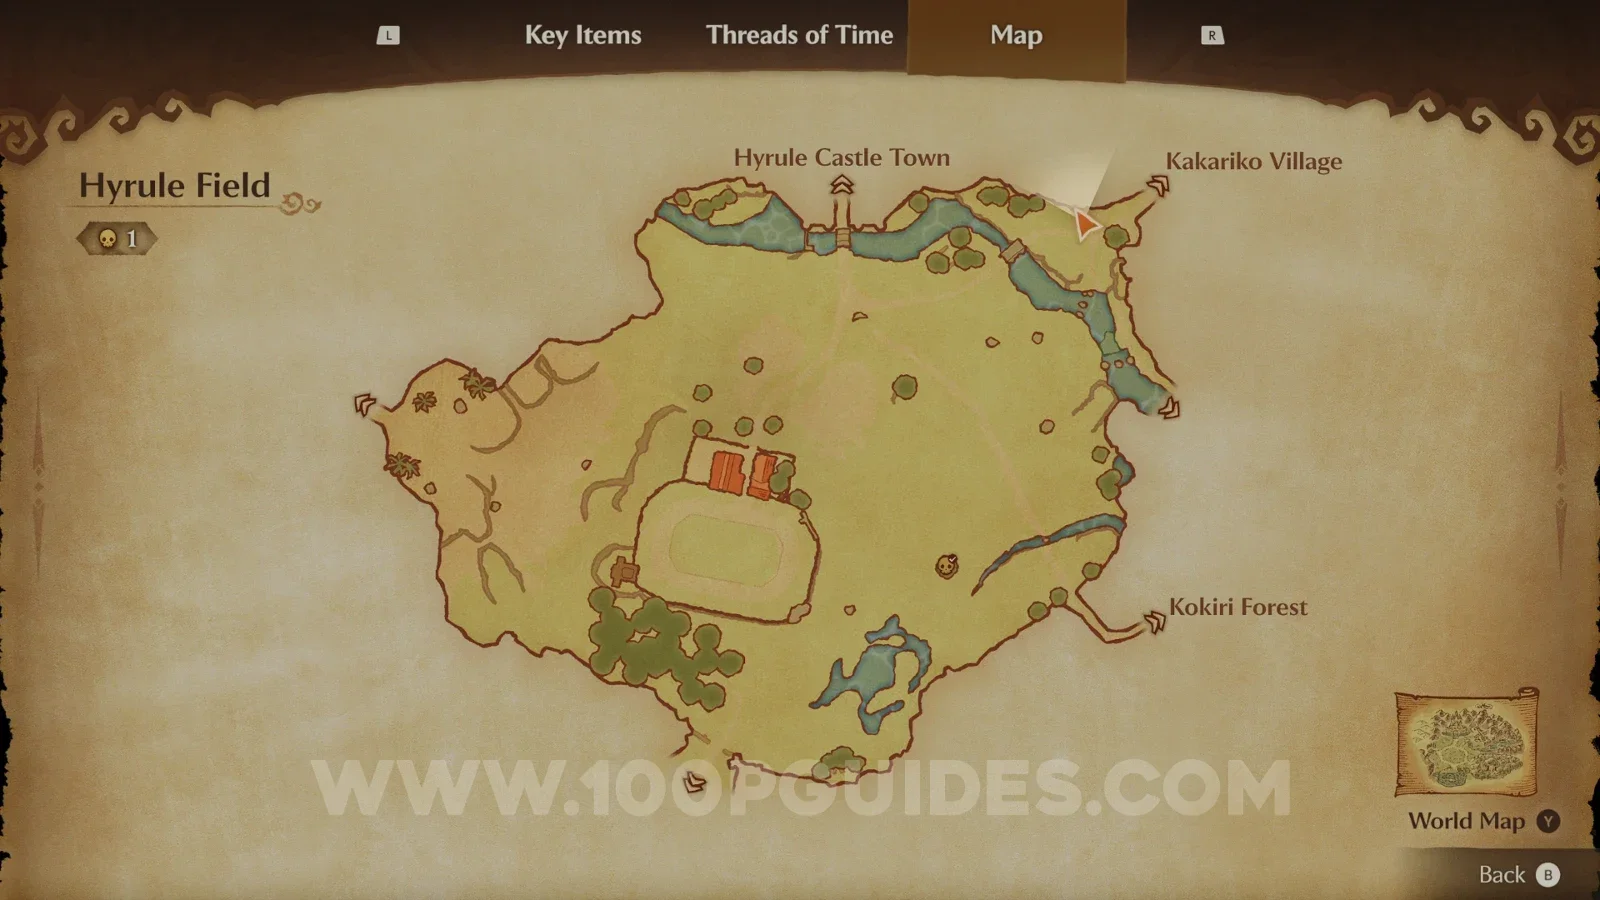
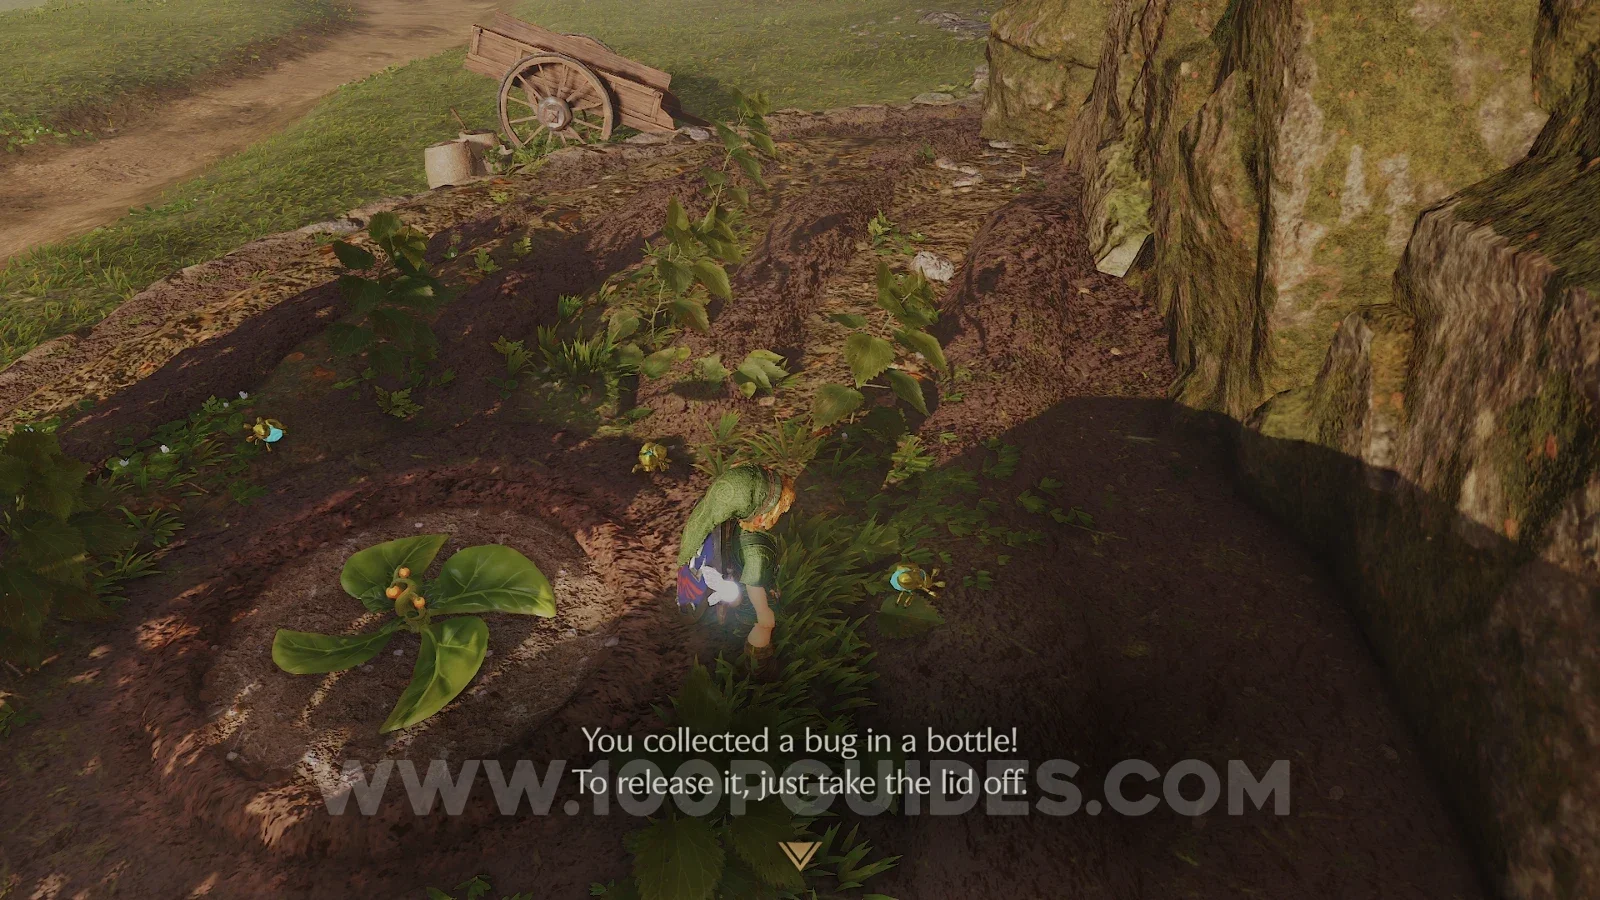
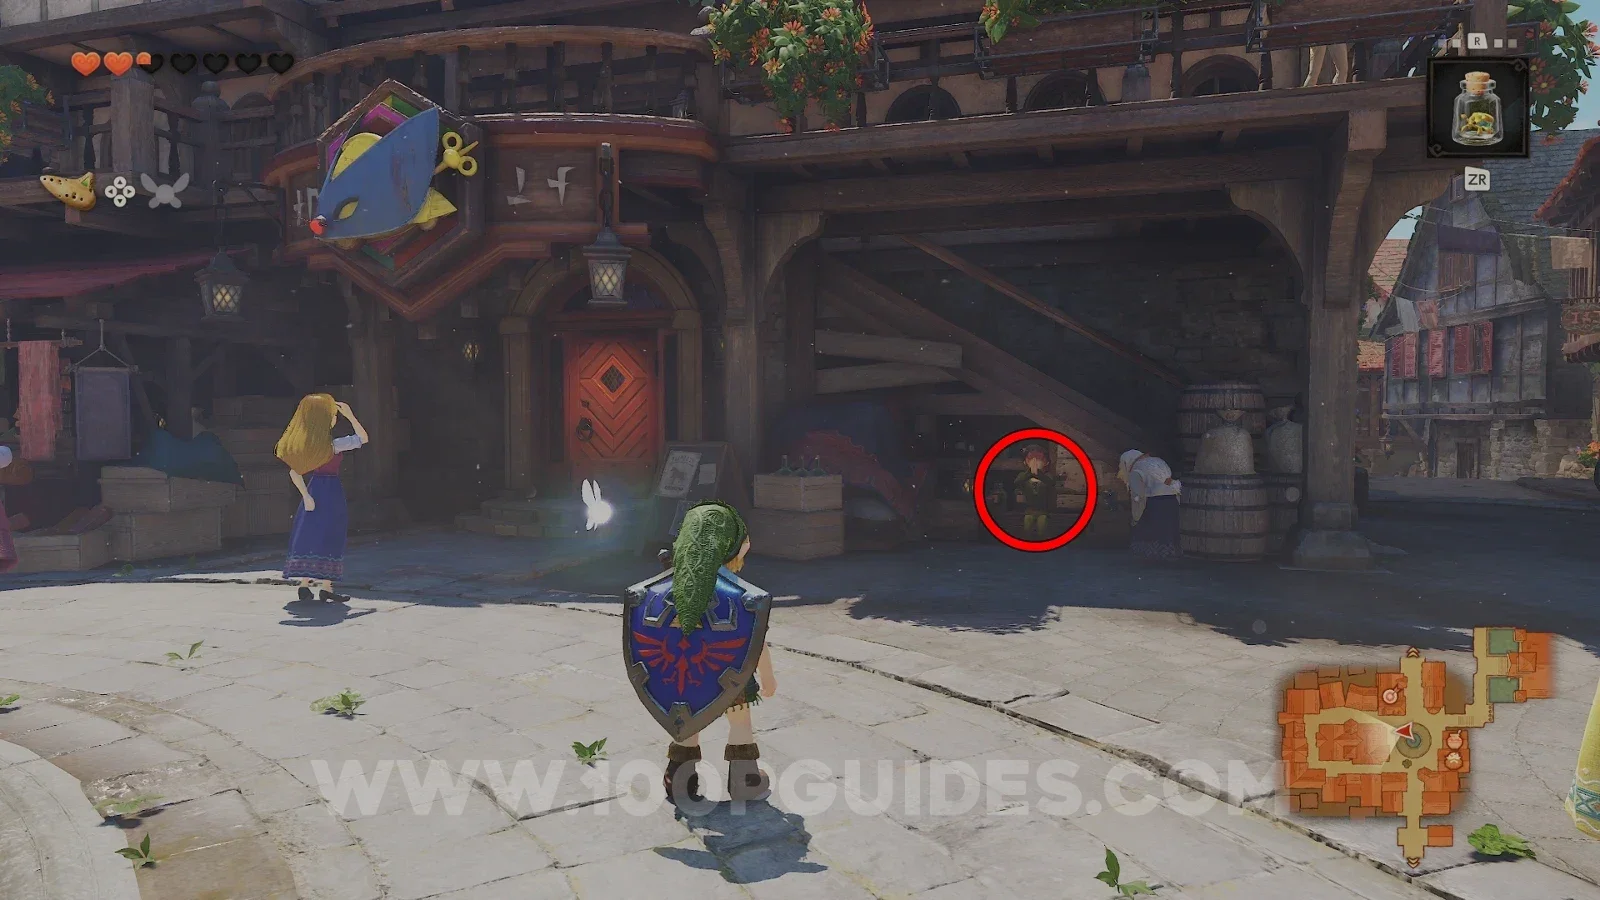
Then head back to Hyrule Castle Town and sell all 3 bugs to the NPC to the right of the Bombchu minigame building. He will give you a total of 80 rupees (20 for each). Since you need a good amount of rupees close to the end of this part of the walkthrough, it's better to get that out of the way now than to walk all the way down the mountain and then back up again. You can repeat this as many times as you like to farm rupees, but just one trip should be enough for now.
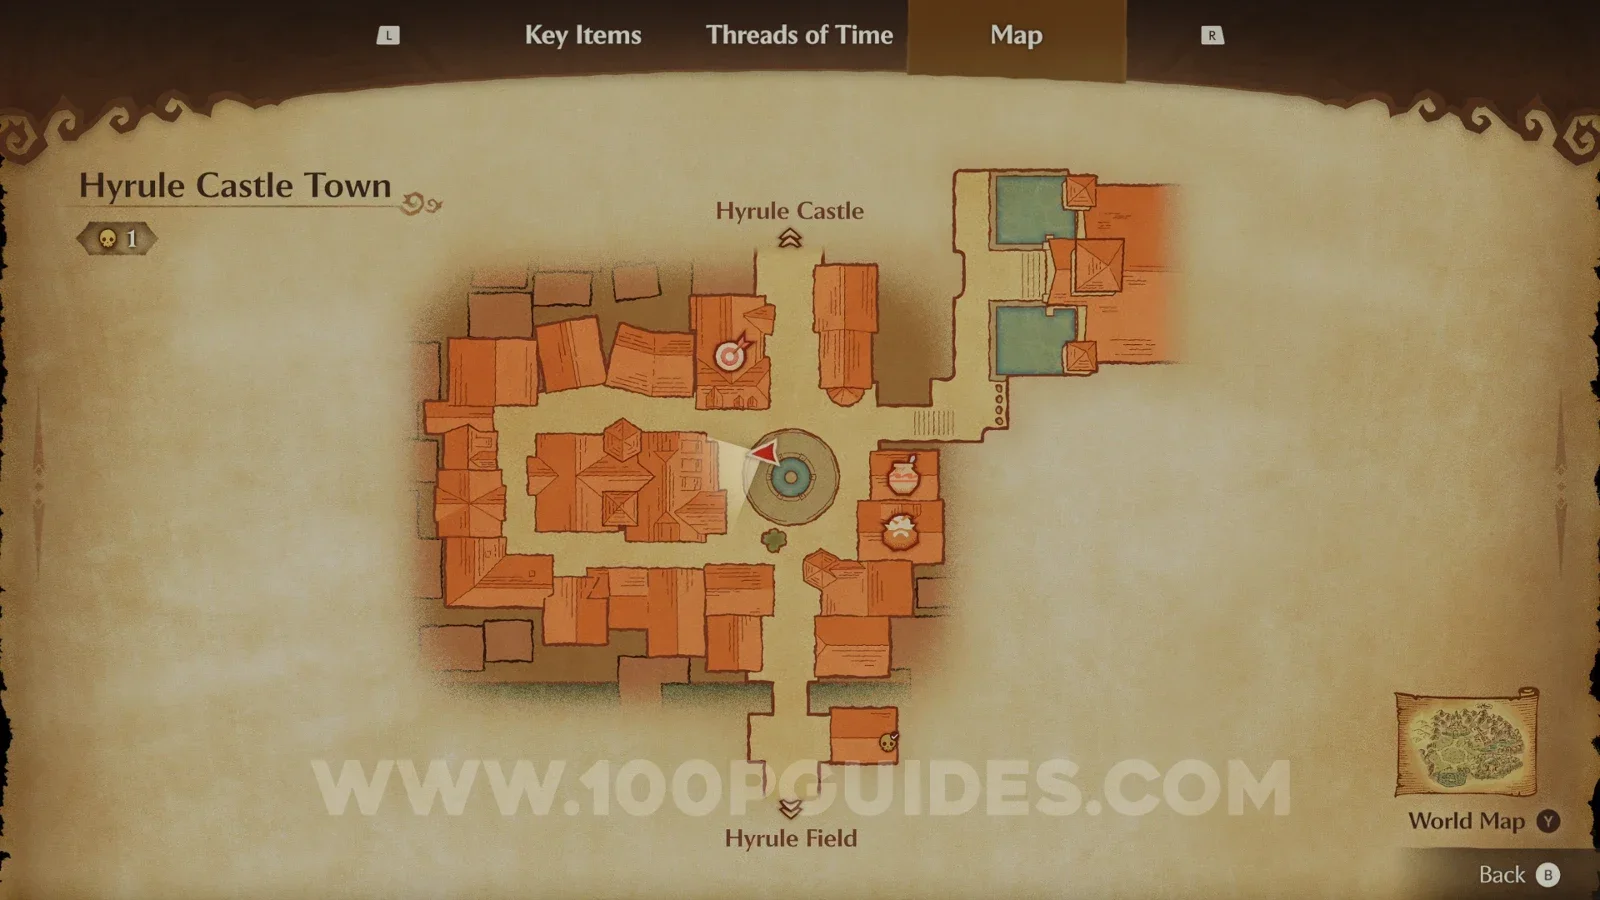
After that, head back to Kakariko Village, but make sure to get at least ONE MORE BUG in a bottle on your way back. You will need it later for a Gold Skulltula in some soil.
Death Mountain Trail
Once you're ready, head through the northern gate in Kakariko Village.
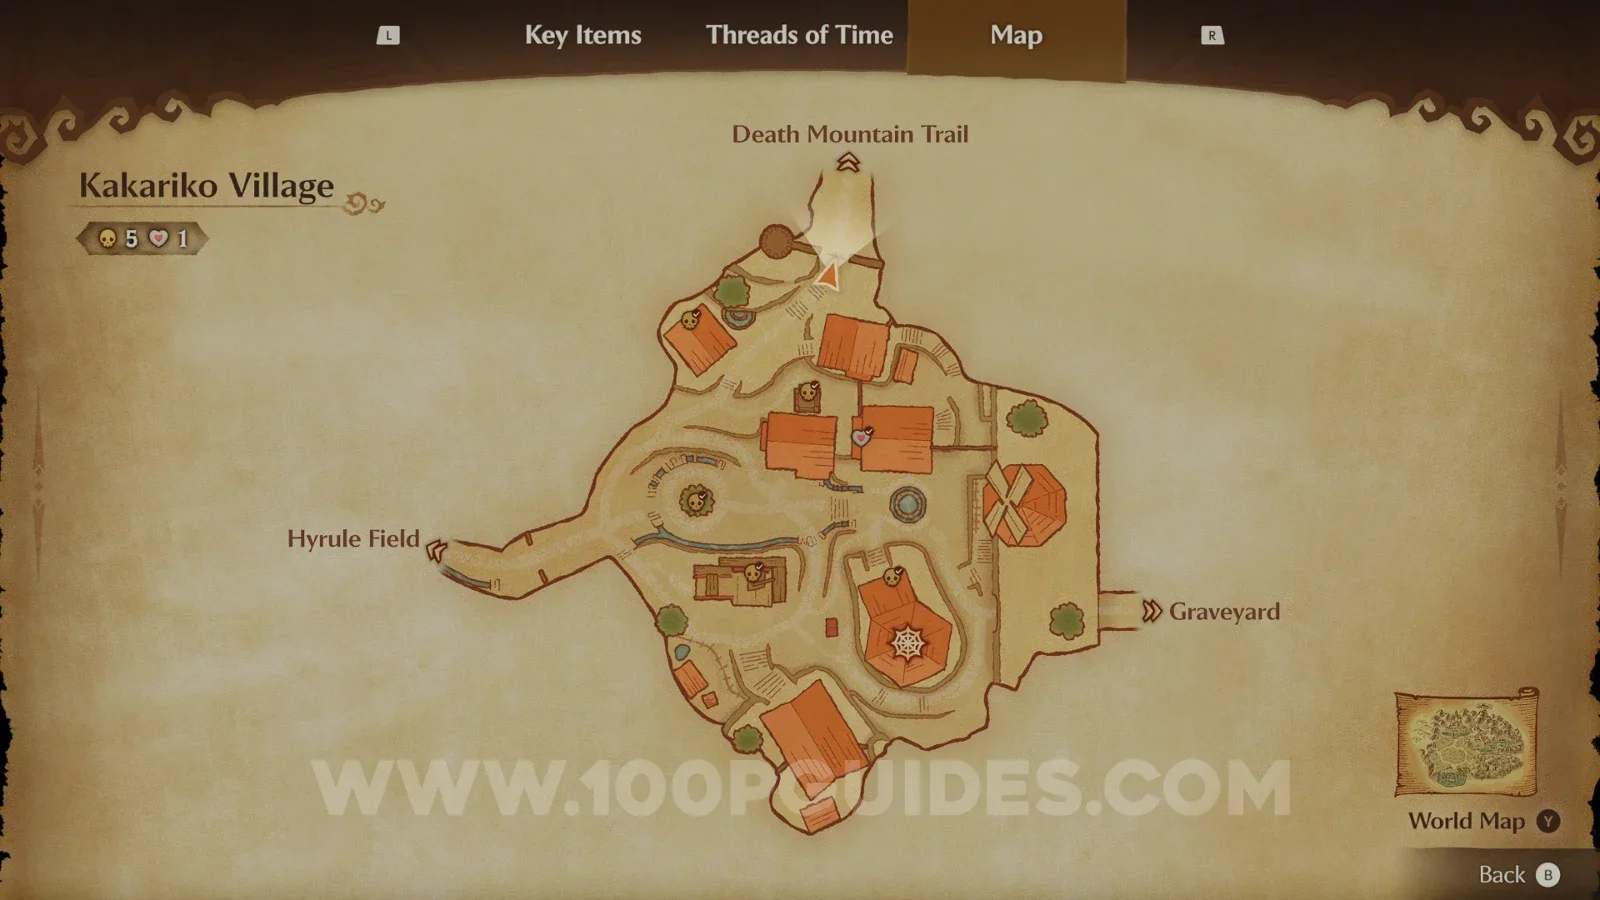
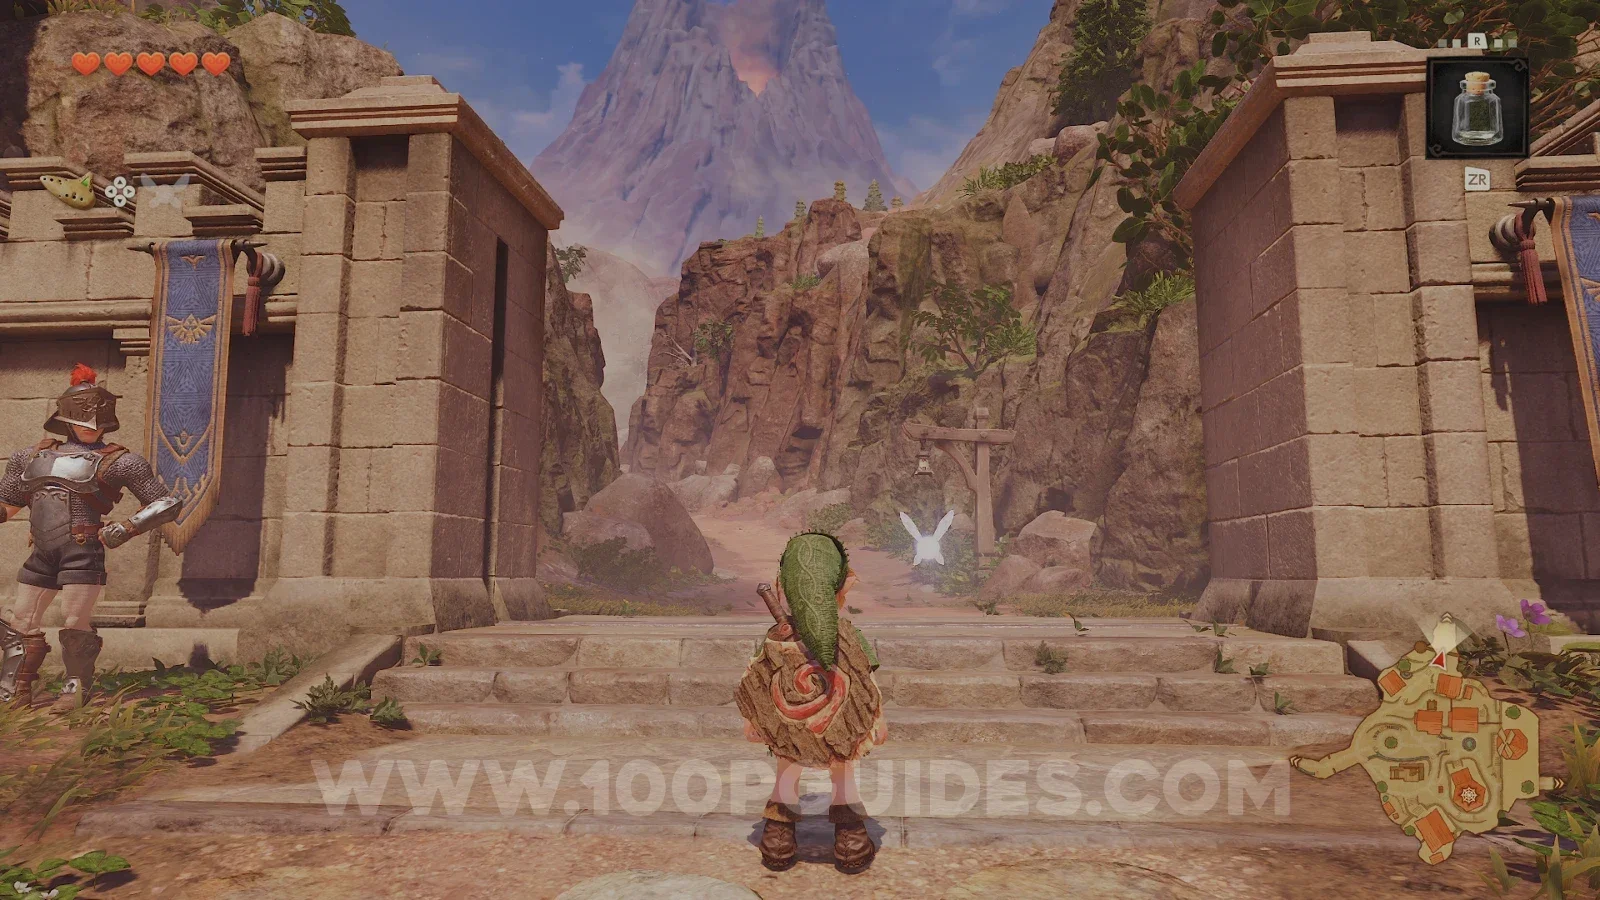
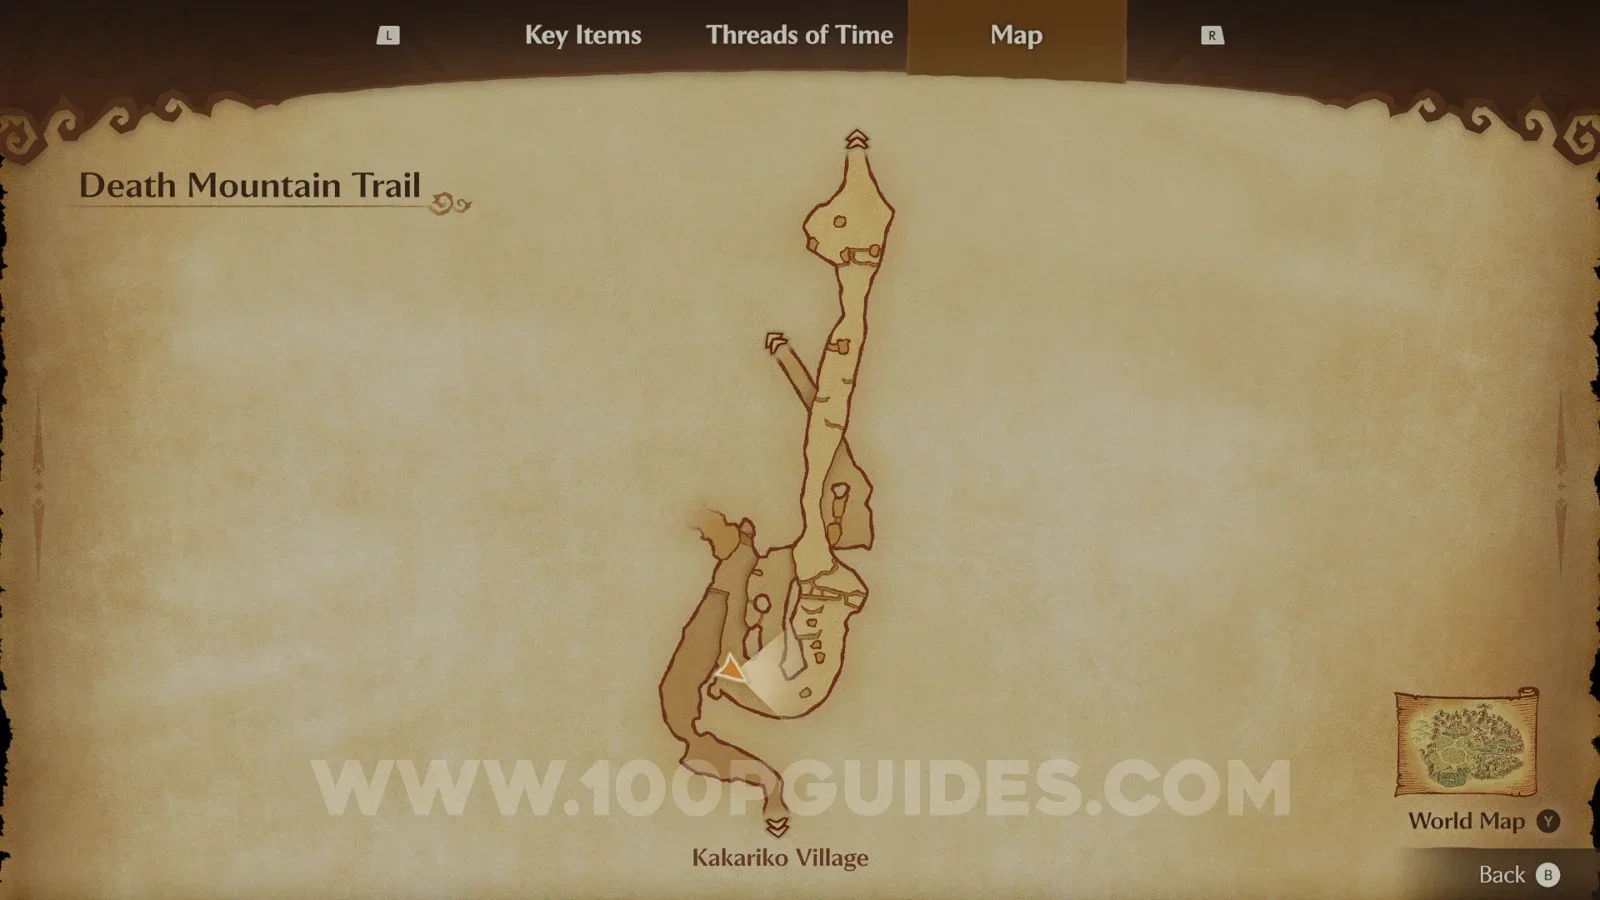
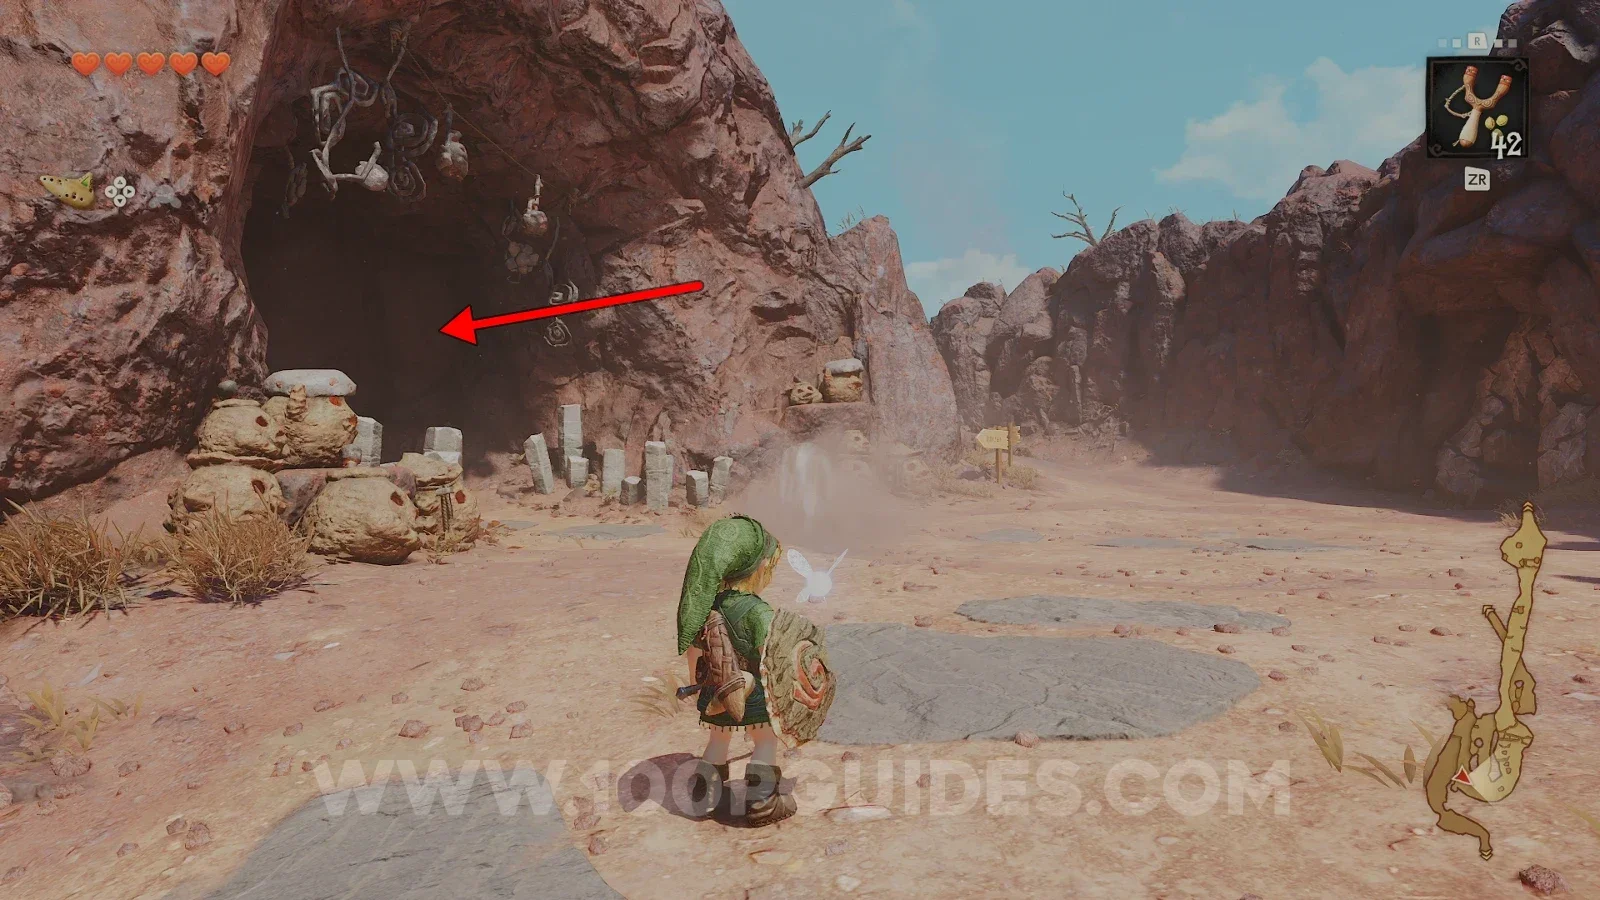
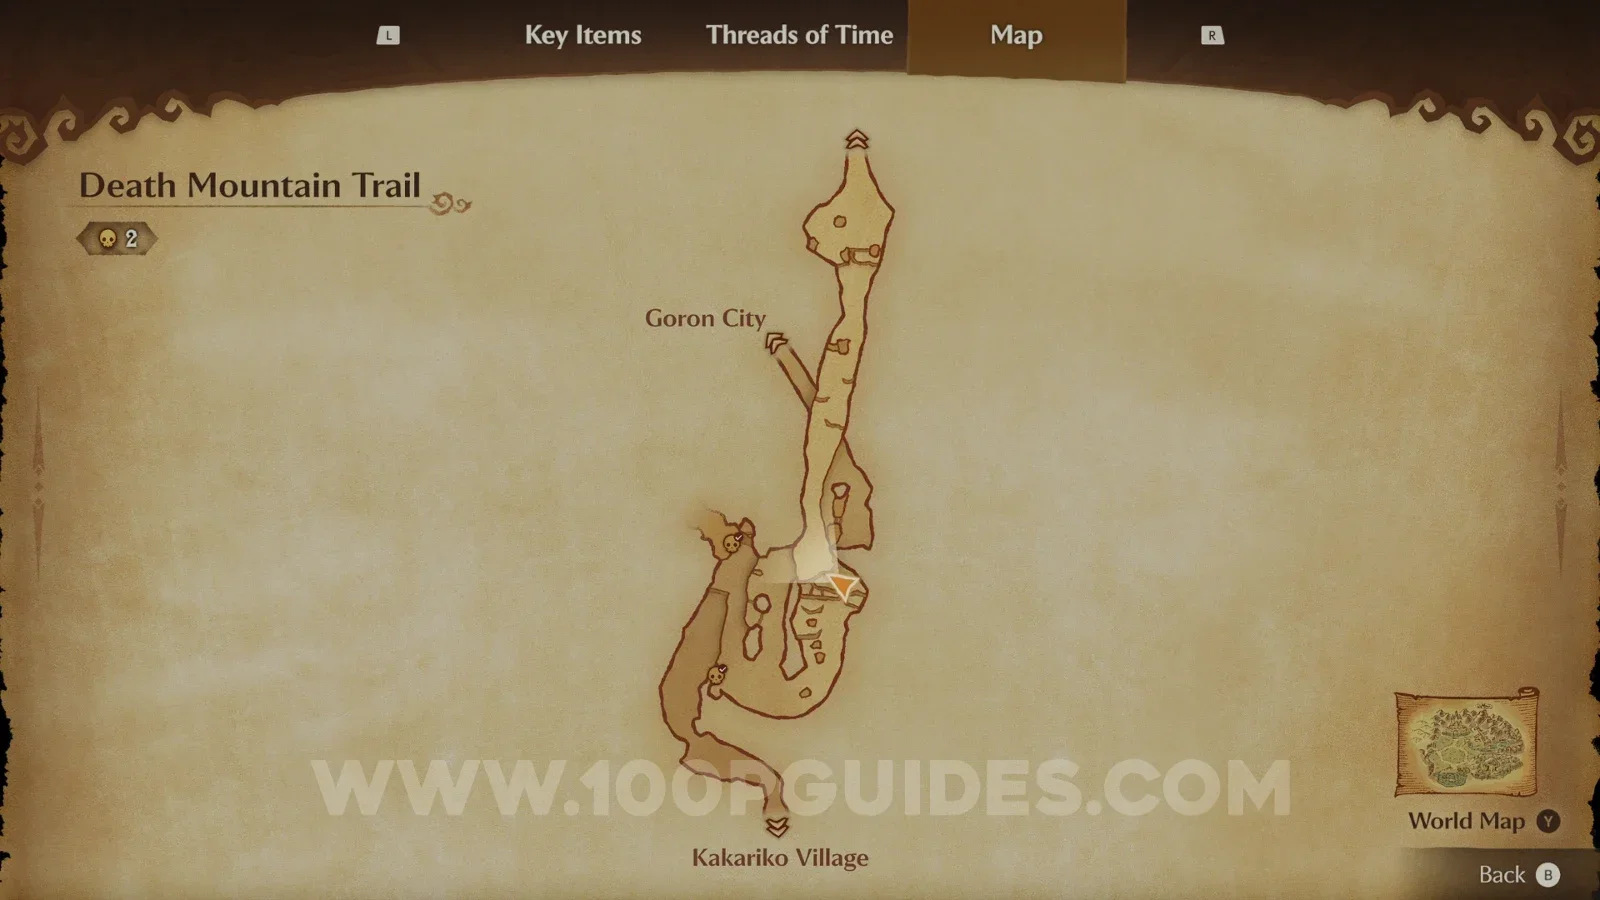
For now, climb the mountain past the first hairpin corner to the right until you see a fork in the path. First, head into the cave on the left to reach Goron City.
Goron City
Once inside Goron City, drop down to the bottom floor and head north to find a locked door with a triforce on the floor in front of it. Stand on the triforce and play Zelda's Lullaby to open the door.
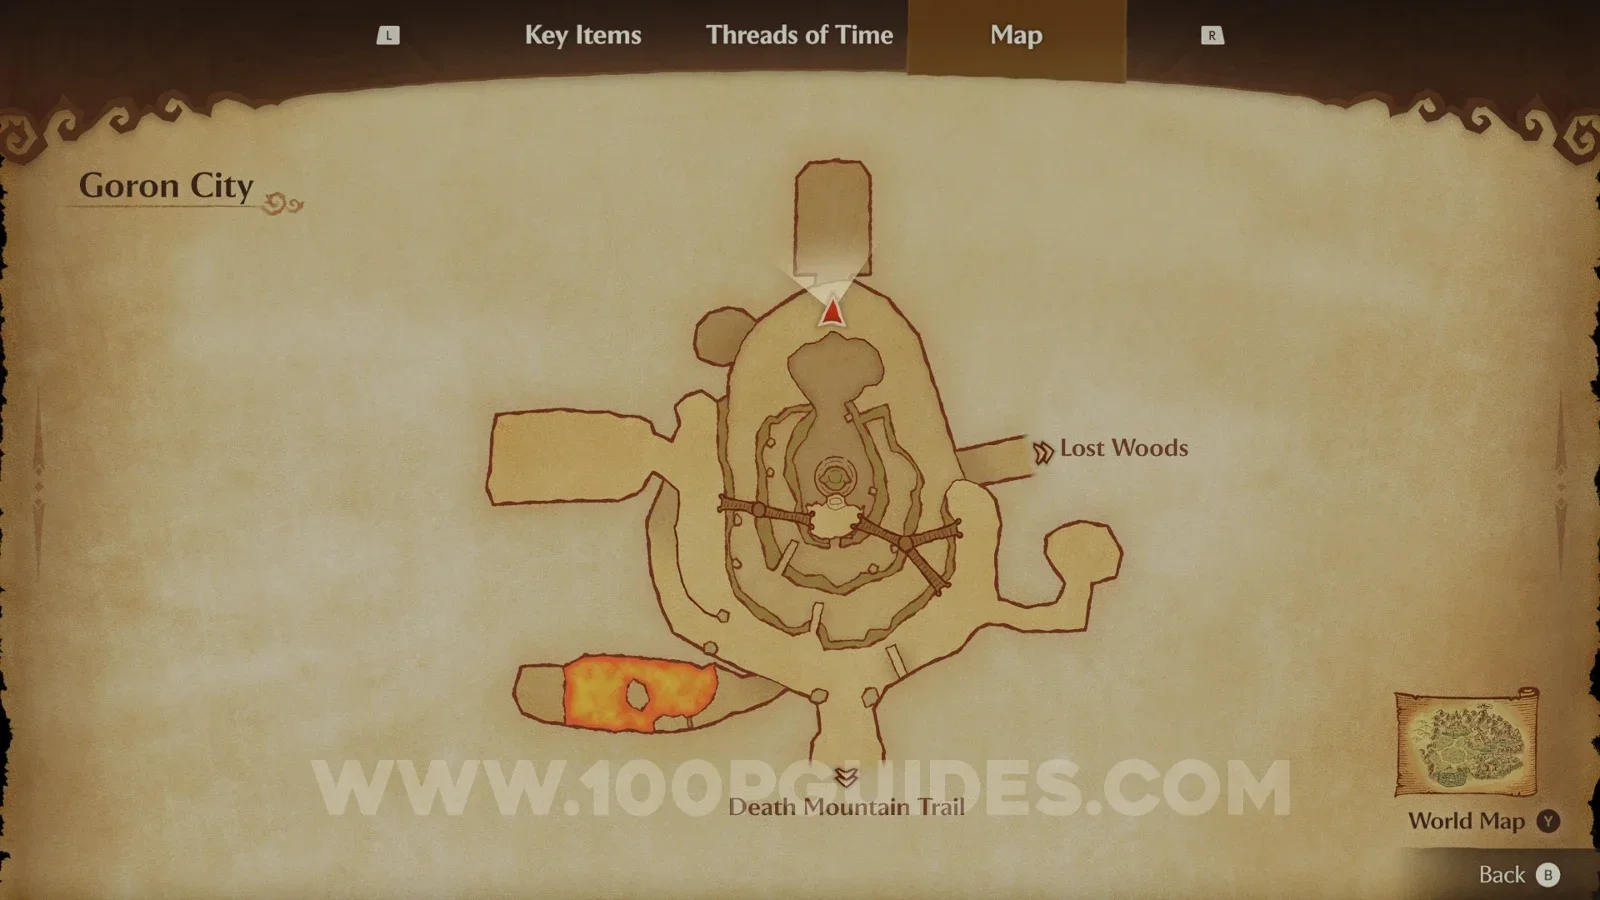
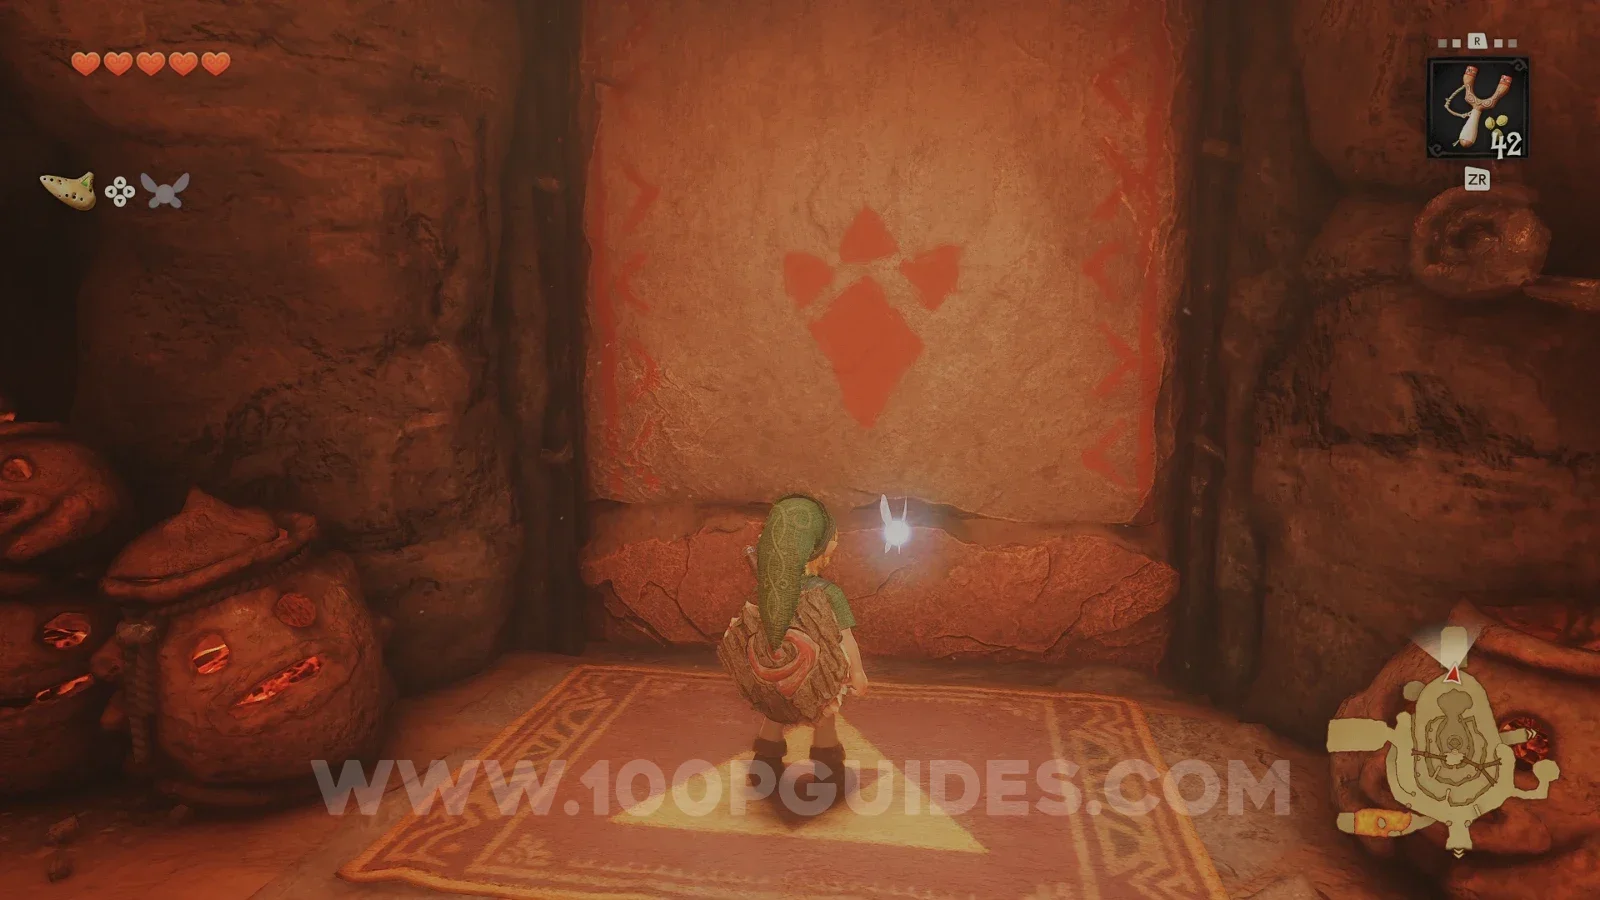
On the other side of the door you will meet Darunia. After talking to him, pull out your ocarina and play Saria's Song. He will then cheer up and give you the Goron's Bracelet that will allow you to pick up bomb flowers.
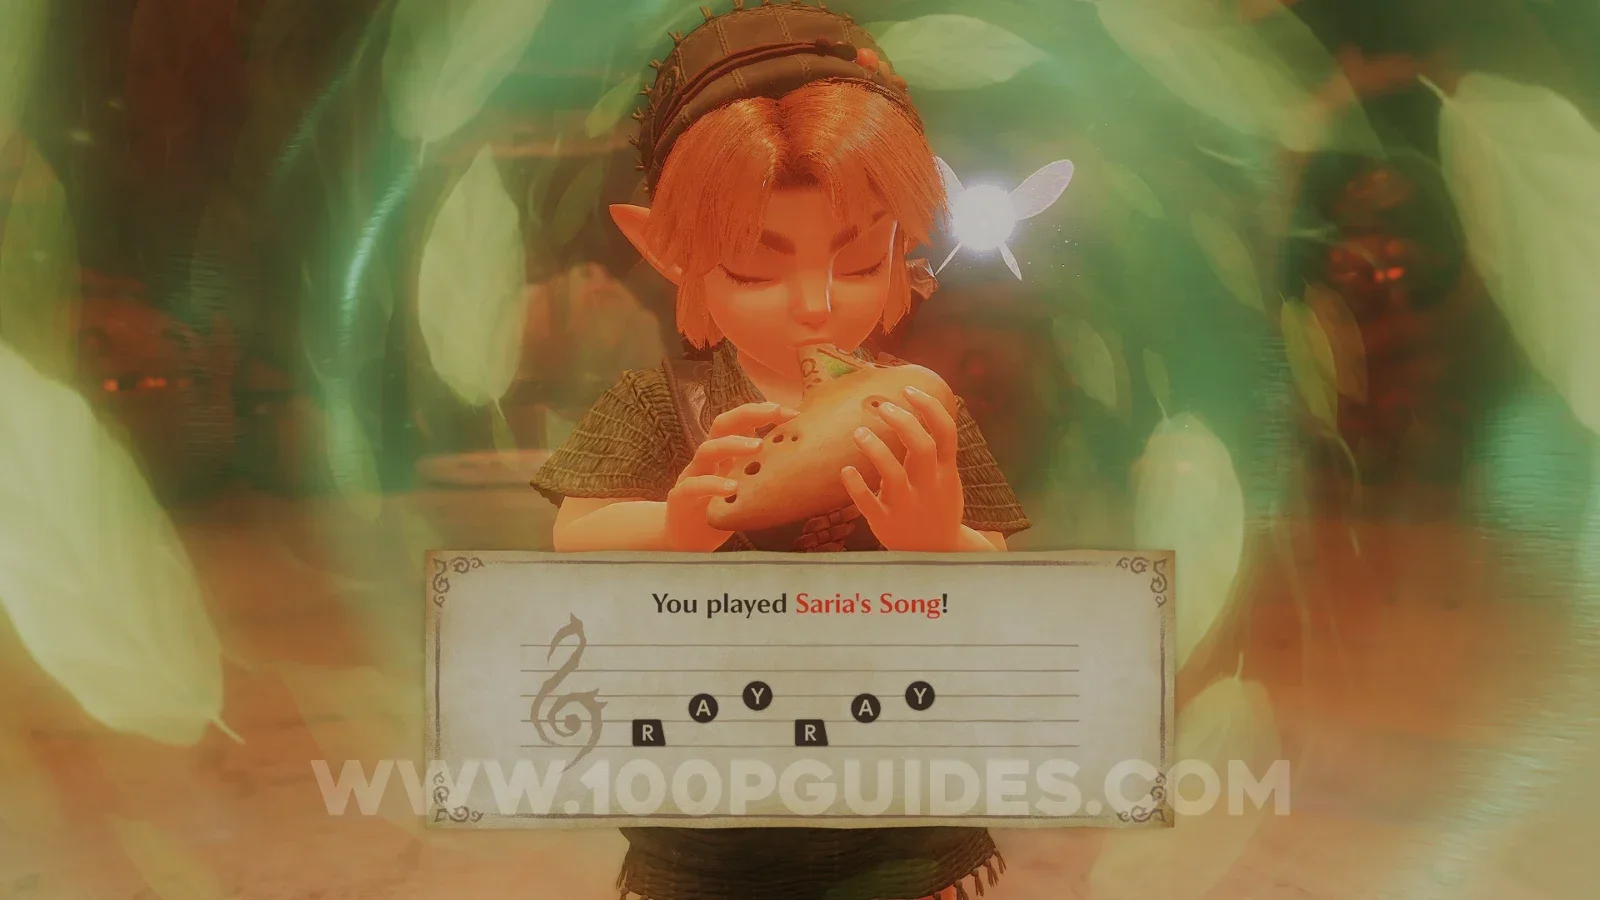
With the Goron's Bracelet you can now access Dodongo Cavern, but first, grab a quick Heart Piece before leaving.
First, light a stick on fire with one of the torches next to Darunia and go to the large pot in the middle of the bottom floor. Here, light the torches around the room to get the pot spinning. Now climb up to the next floor and go to the small alcove on the western side to find a bomb flower on the right of the slope heading up. You will need to time this: pick up the bomb just as the pot is getting to its closest point to you, then run up and throw it into the pot. If done correctly, the pot will spit out a Heart Piece (7/36) and a few rupees.
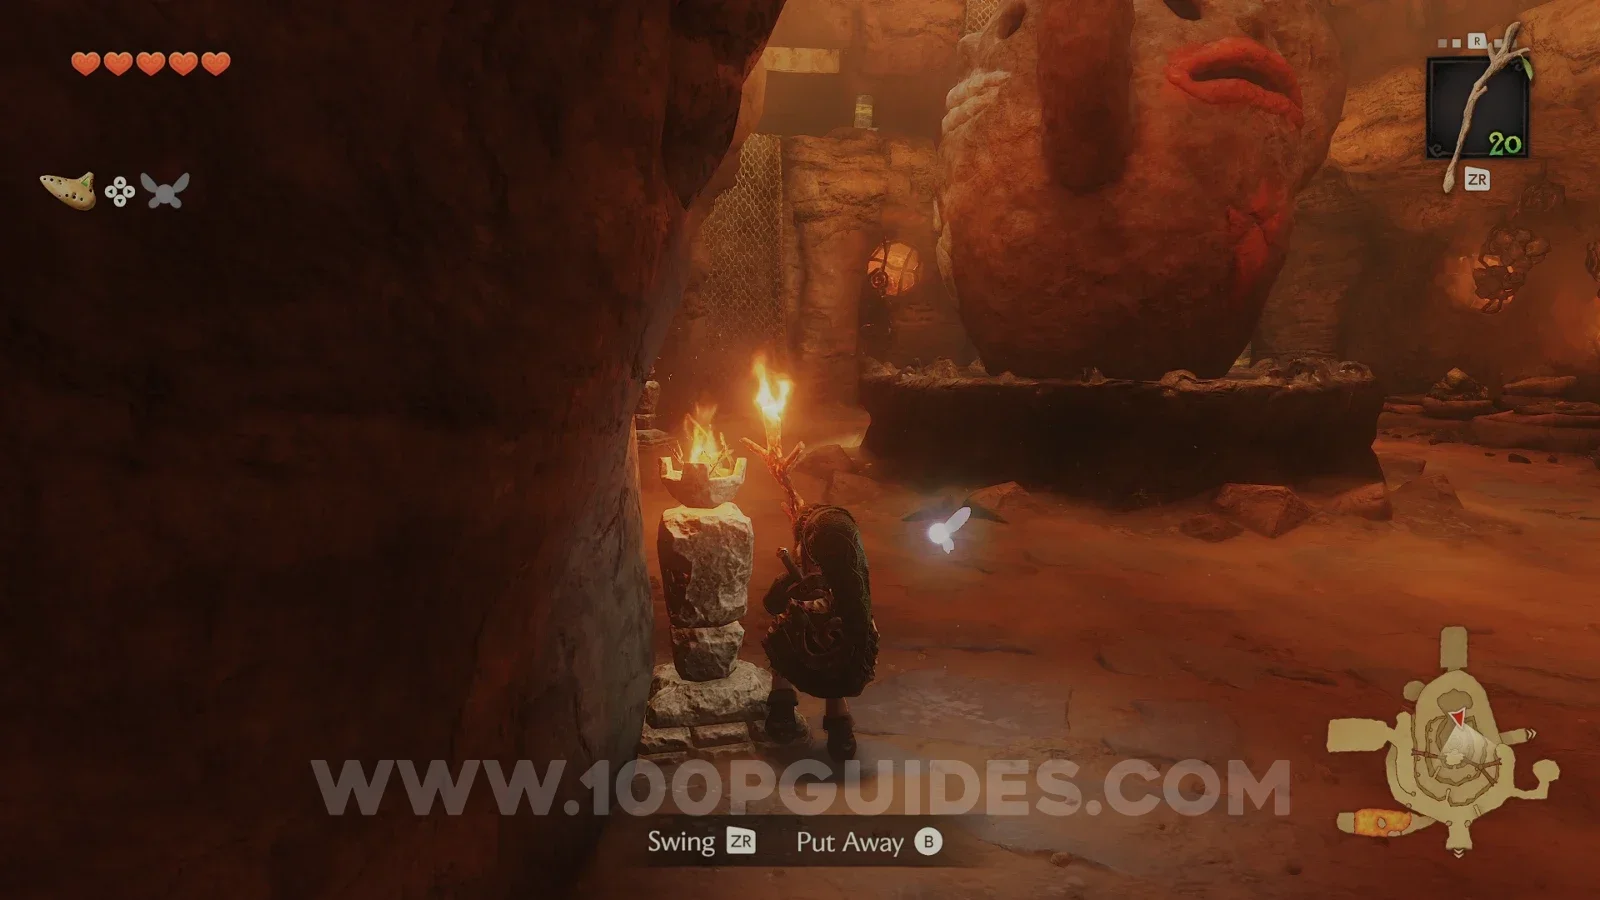
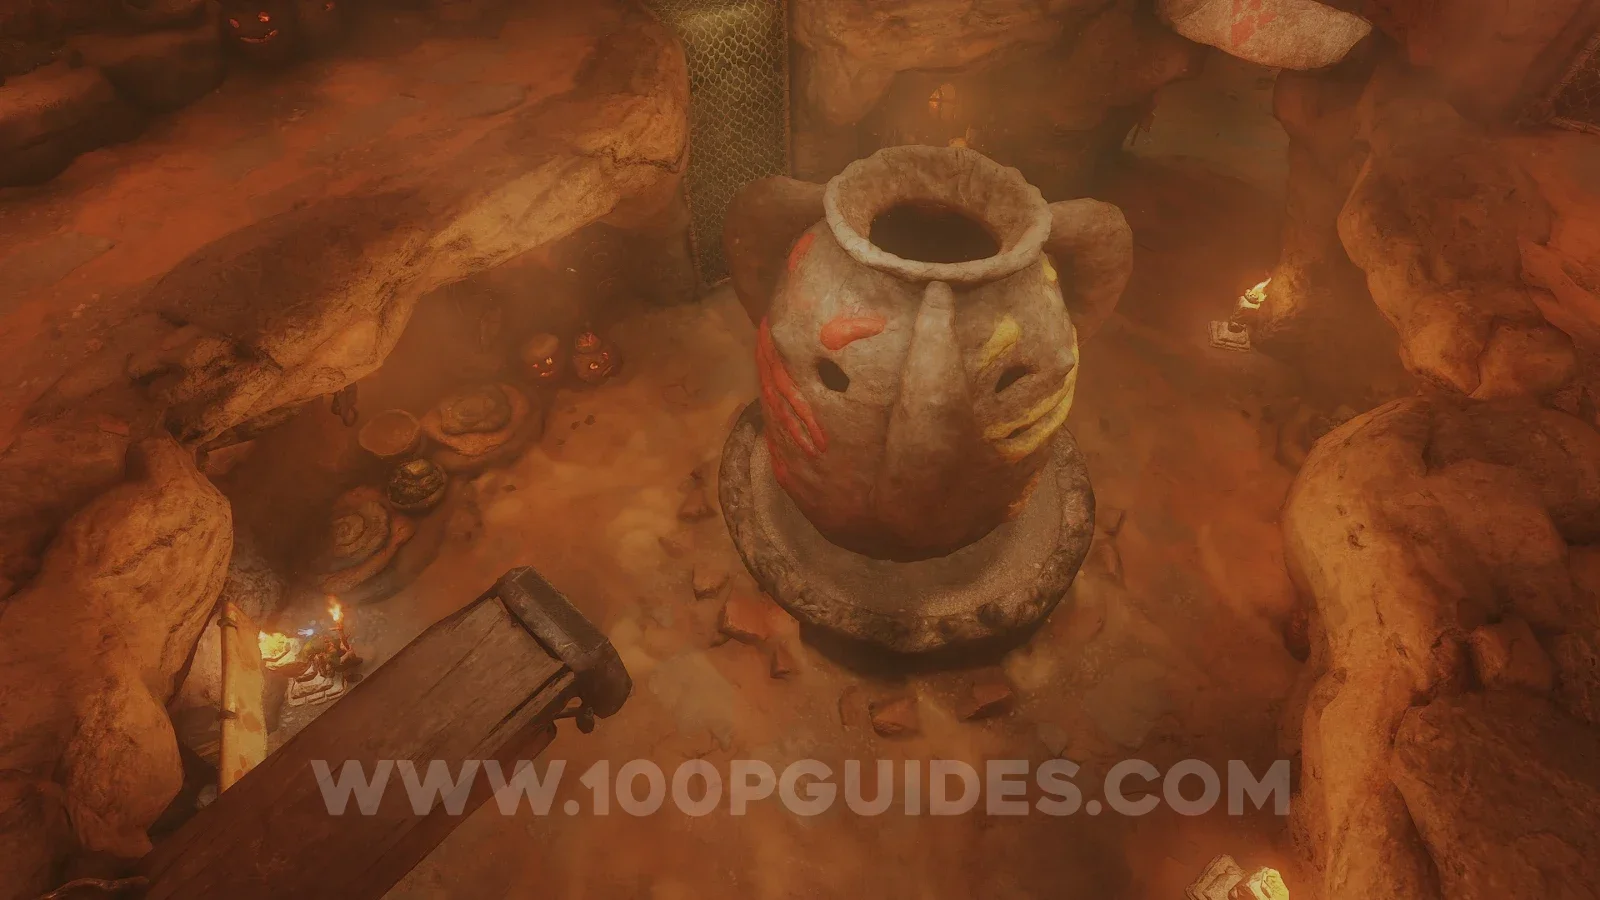
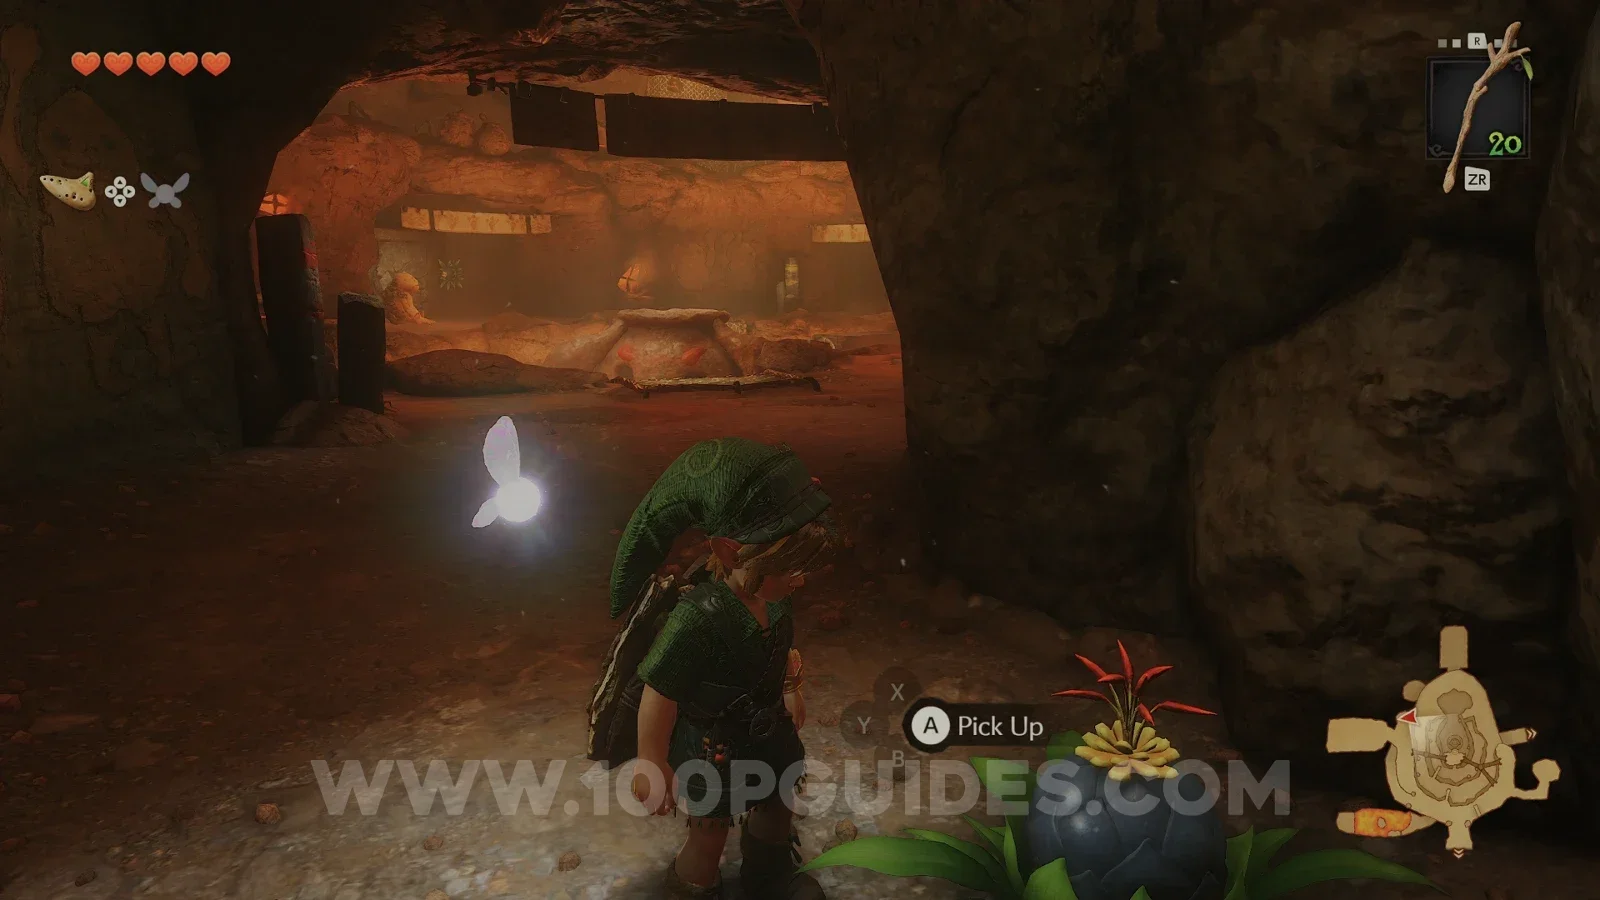
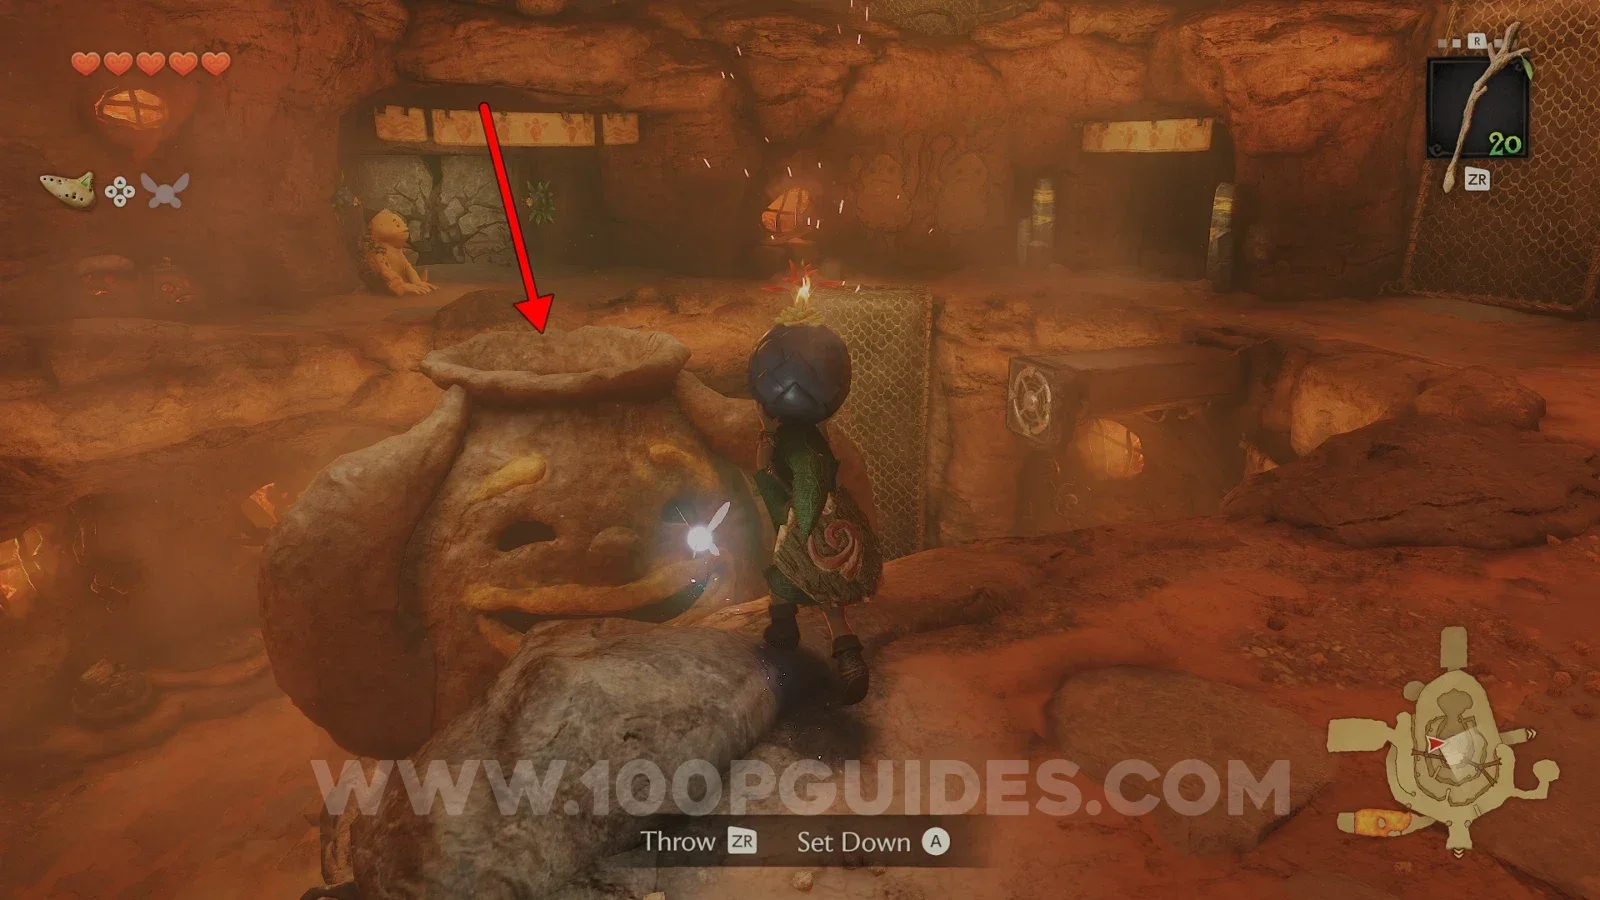
After that, you are pretty much done in Goron City for now. You will come back later once you have real bombs, since what's left will be much easier then.
So for now, leave Goron City through the same entrance you used to come in.
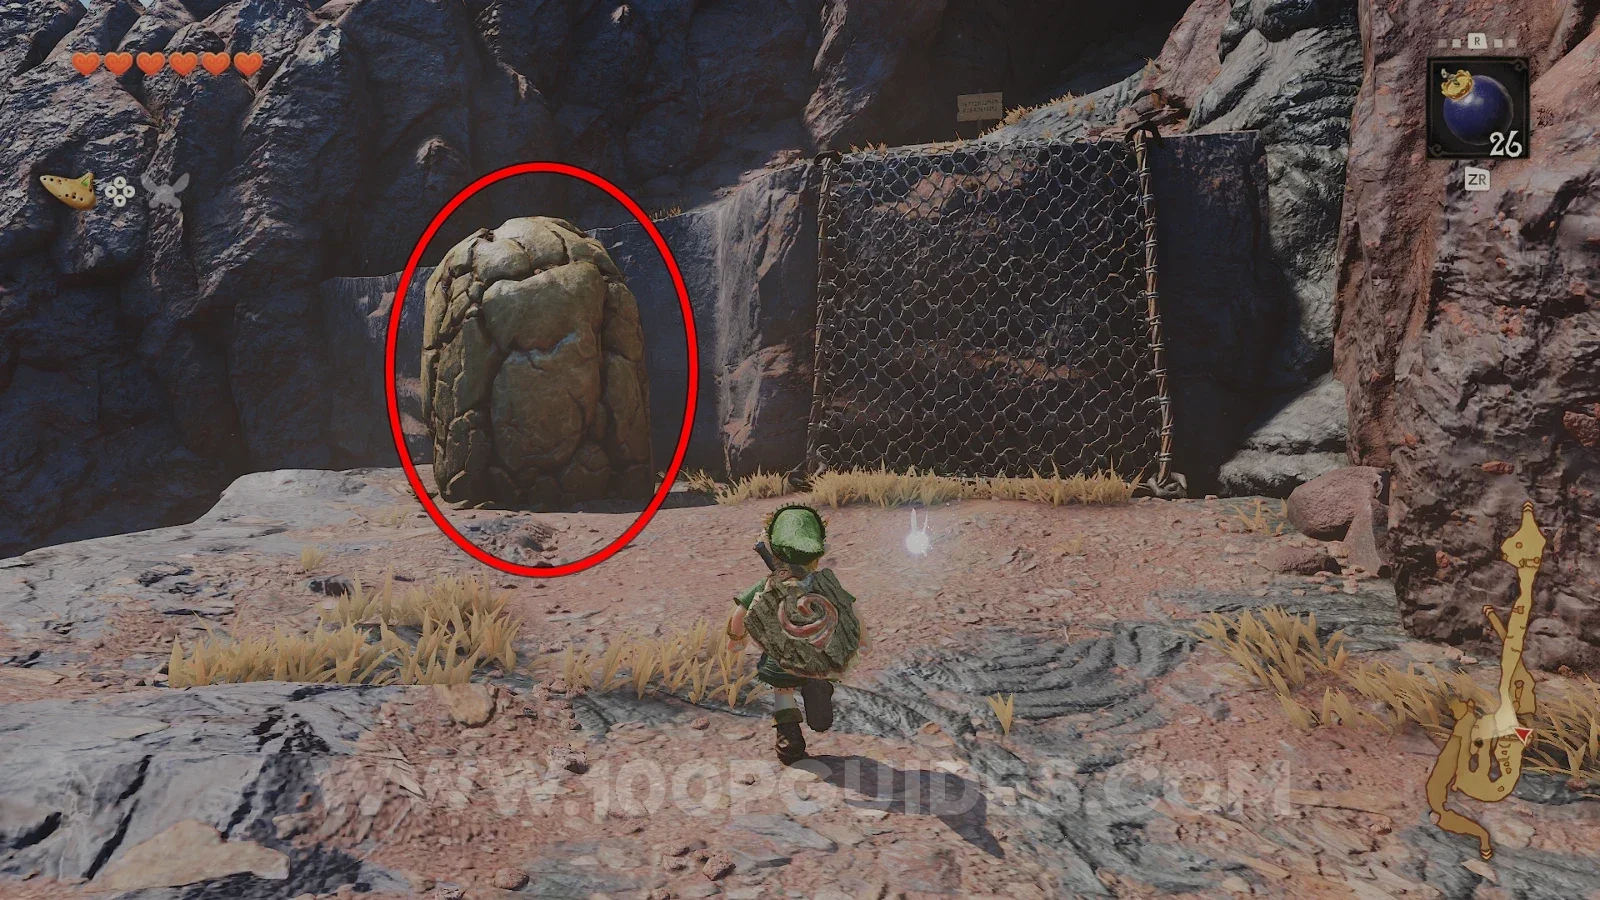
Just after leaving, you will notice a bomb flower on your right next to a metal railing. Grab it and throw it over the railing. It should land right in front of the large rock blocking the entrance to Dodongo Cavern, blowing it up and allowing you to enter.
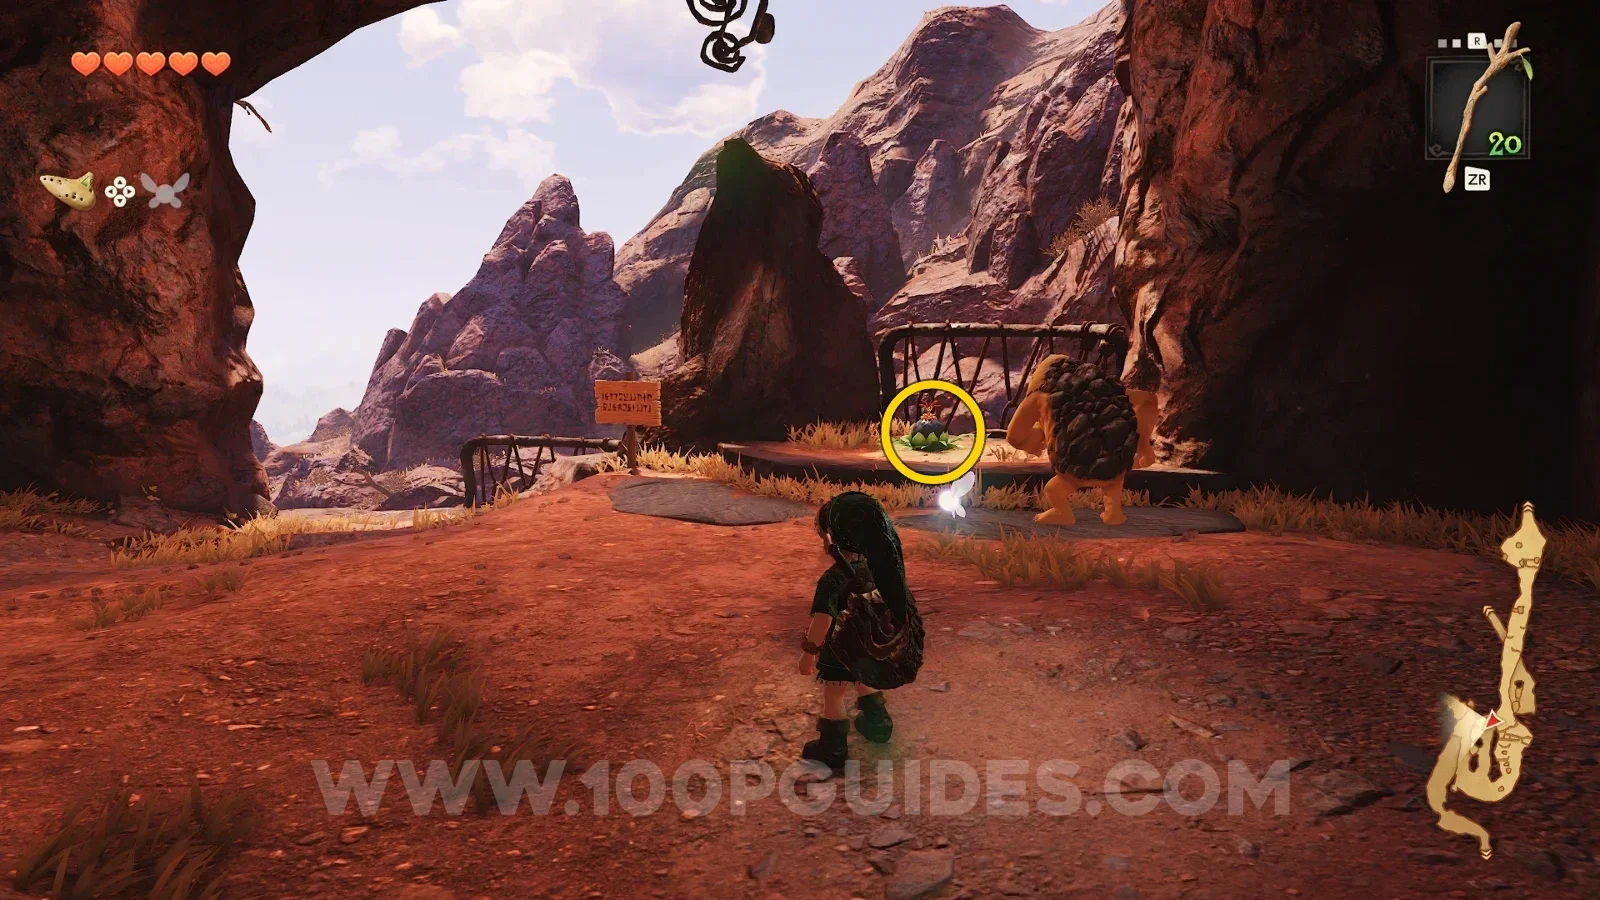
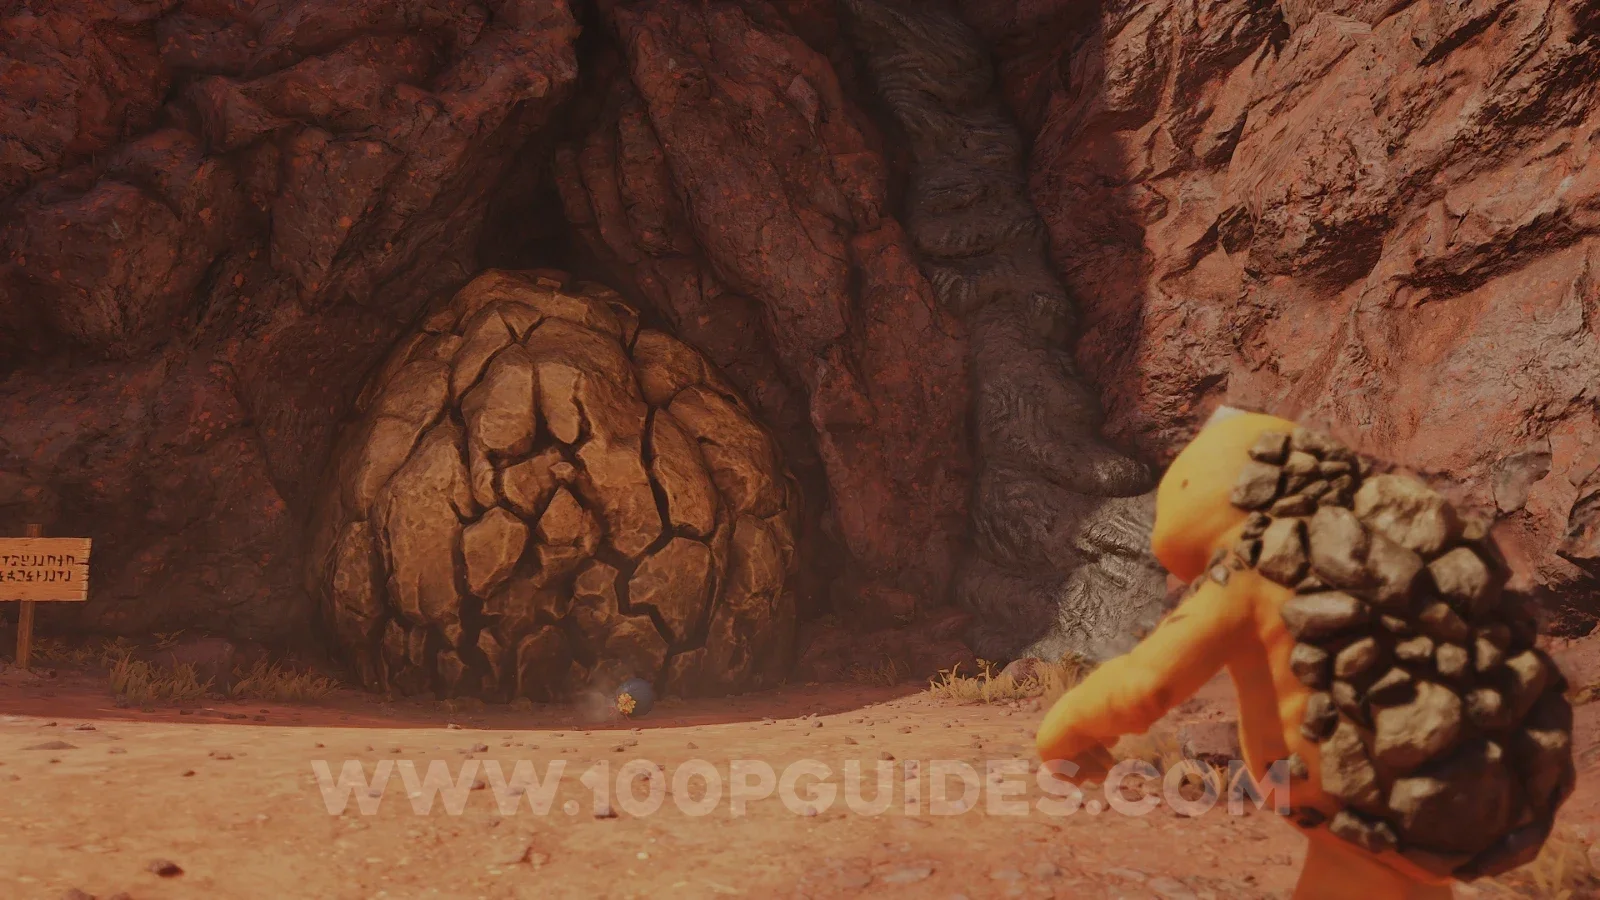
So head back down the hill to where the rock was. Before heading inside, plant a bug in the soft soil that was under the rock to get a Gold Skulltula (19/100).
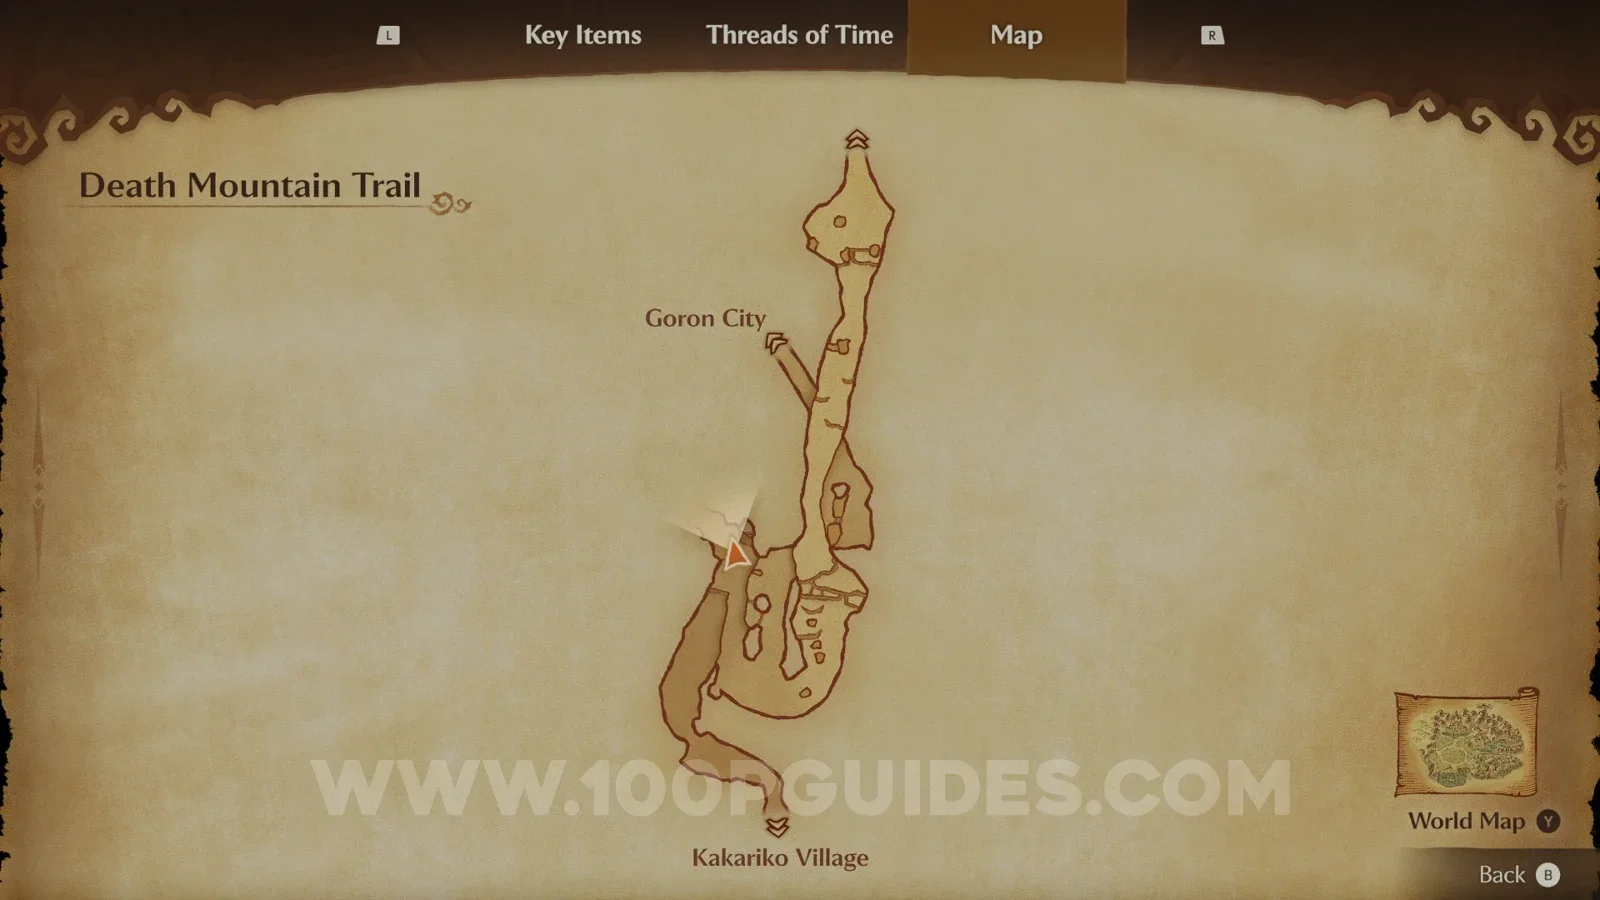
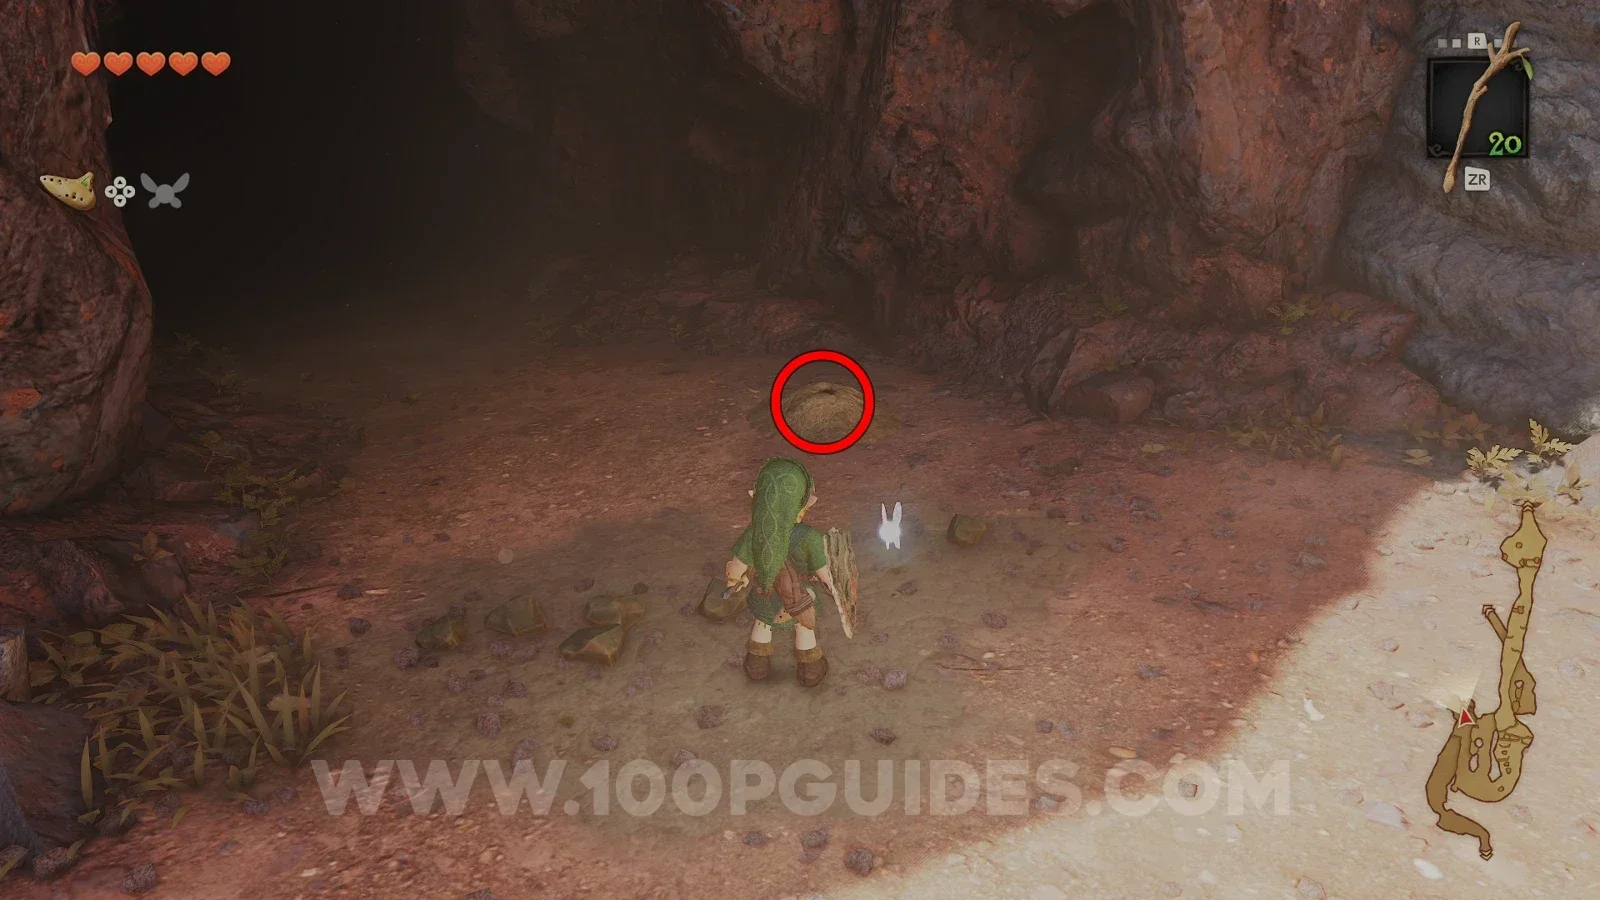
After that, head inside.
Dodongo Cavern
In the first room, grab the bomb flower and use it to blow up the cracked rock.
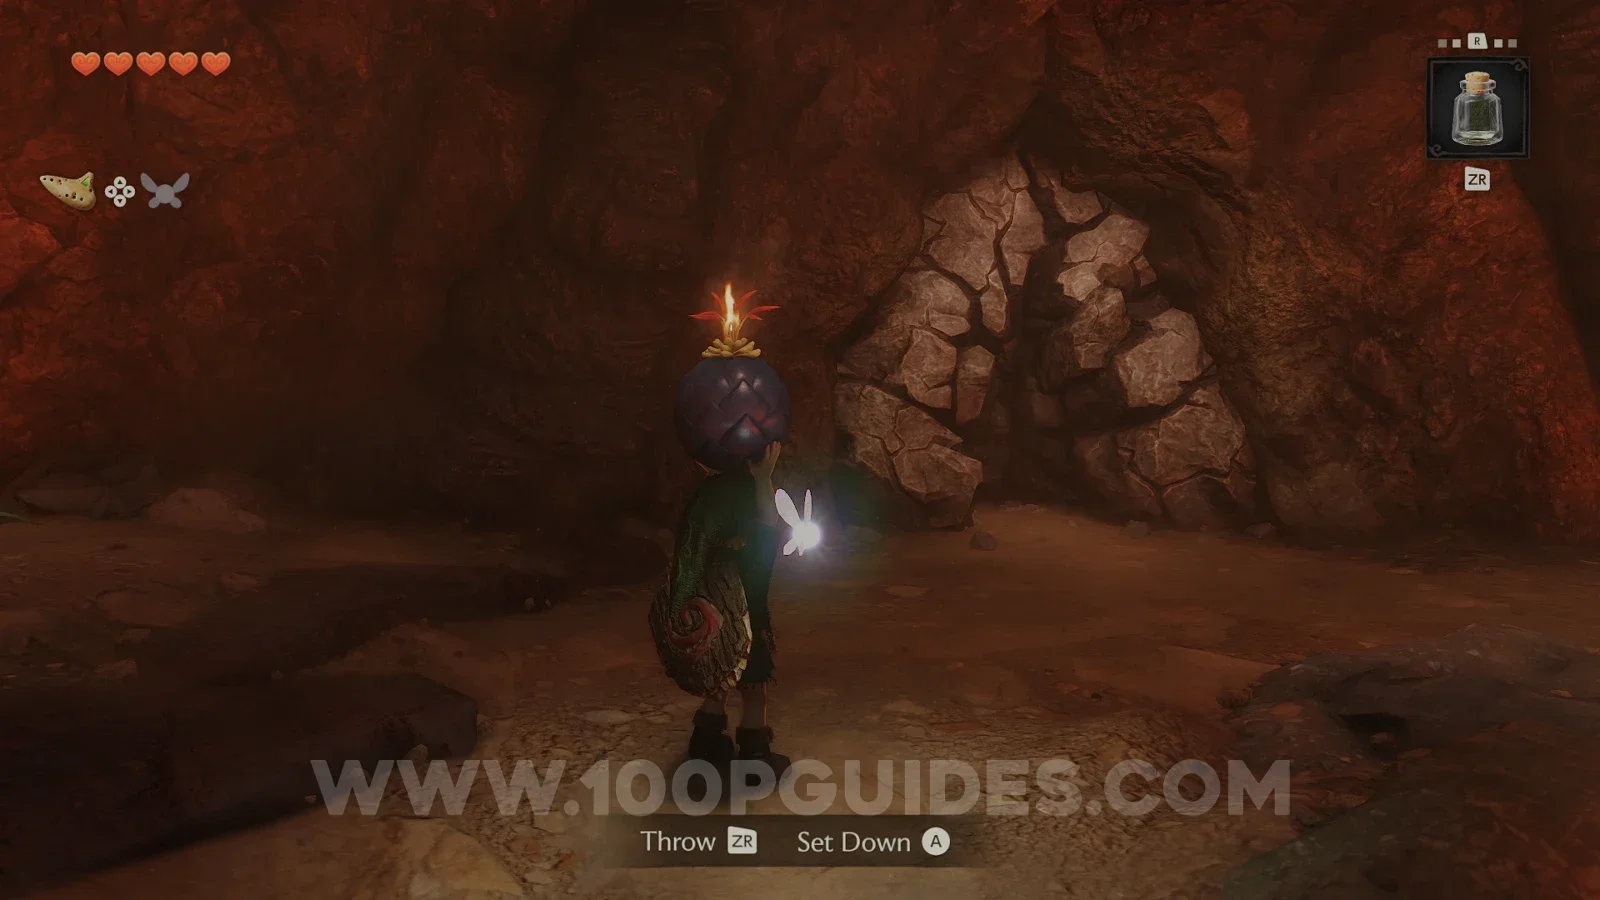
The next room is the main central room of the dungeon. First, hop to the middle platform where the spinning laser enemy is (you can only defeat these enemies with bombs/bomb flowers) and hop over to the left. Grab the bomb flower to destroy the enemies, then grab it again to blow up the cracked rock to the northwest of the room. You will find the dungeon map behind it.
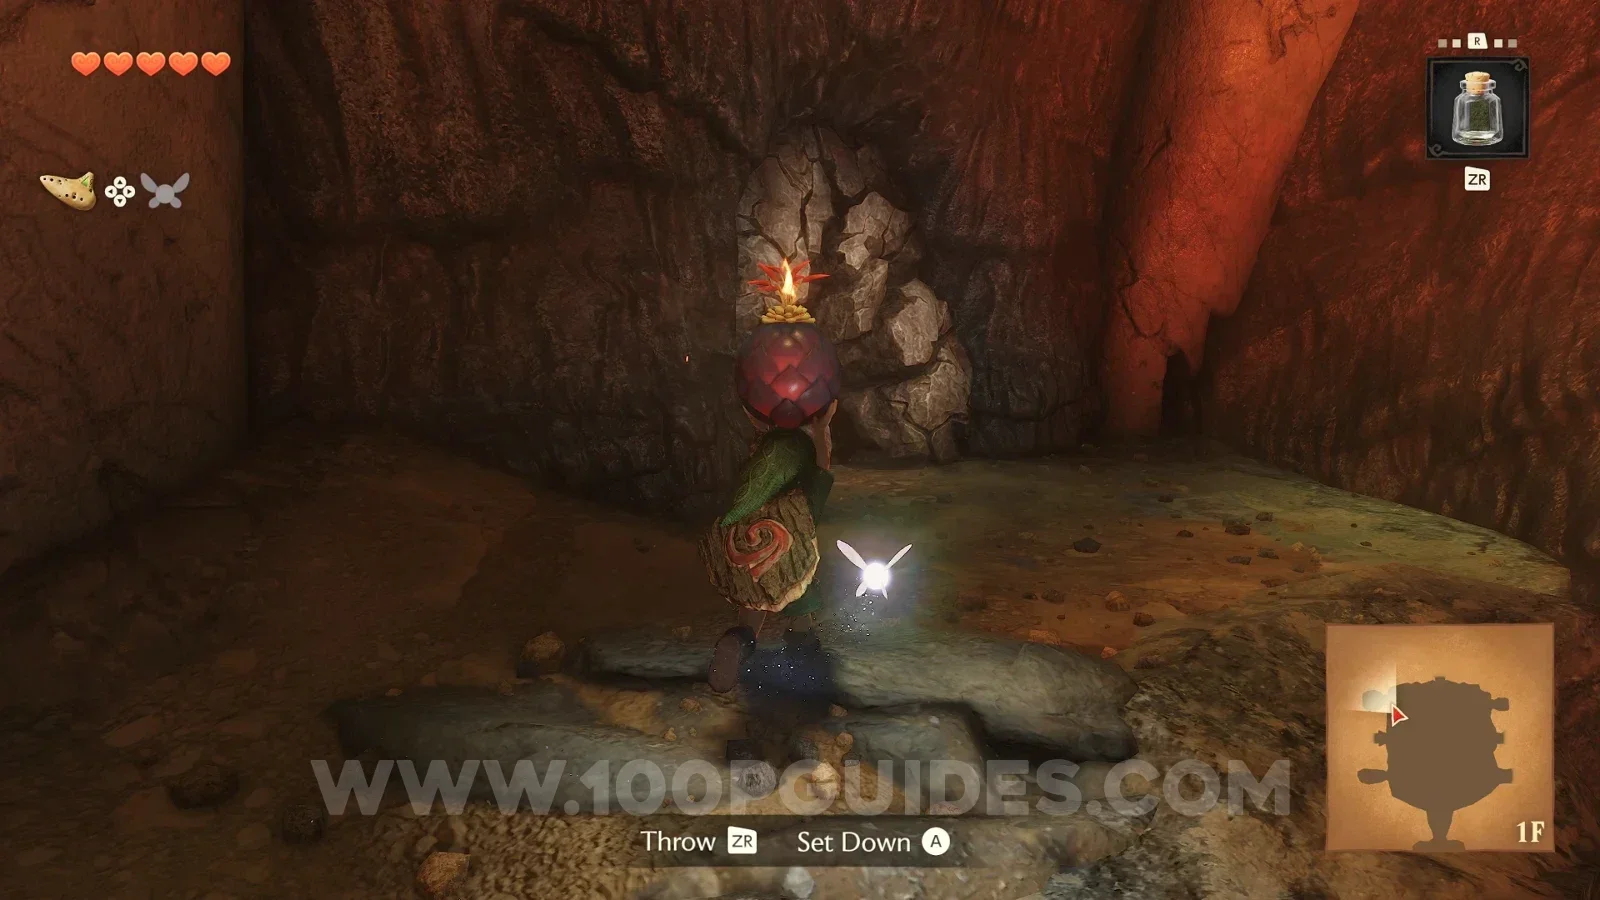
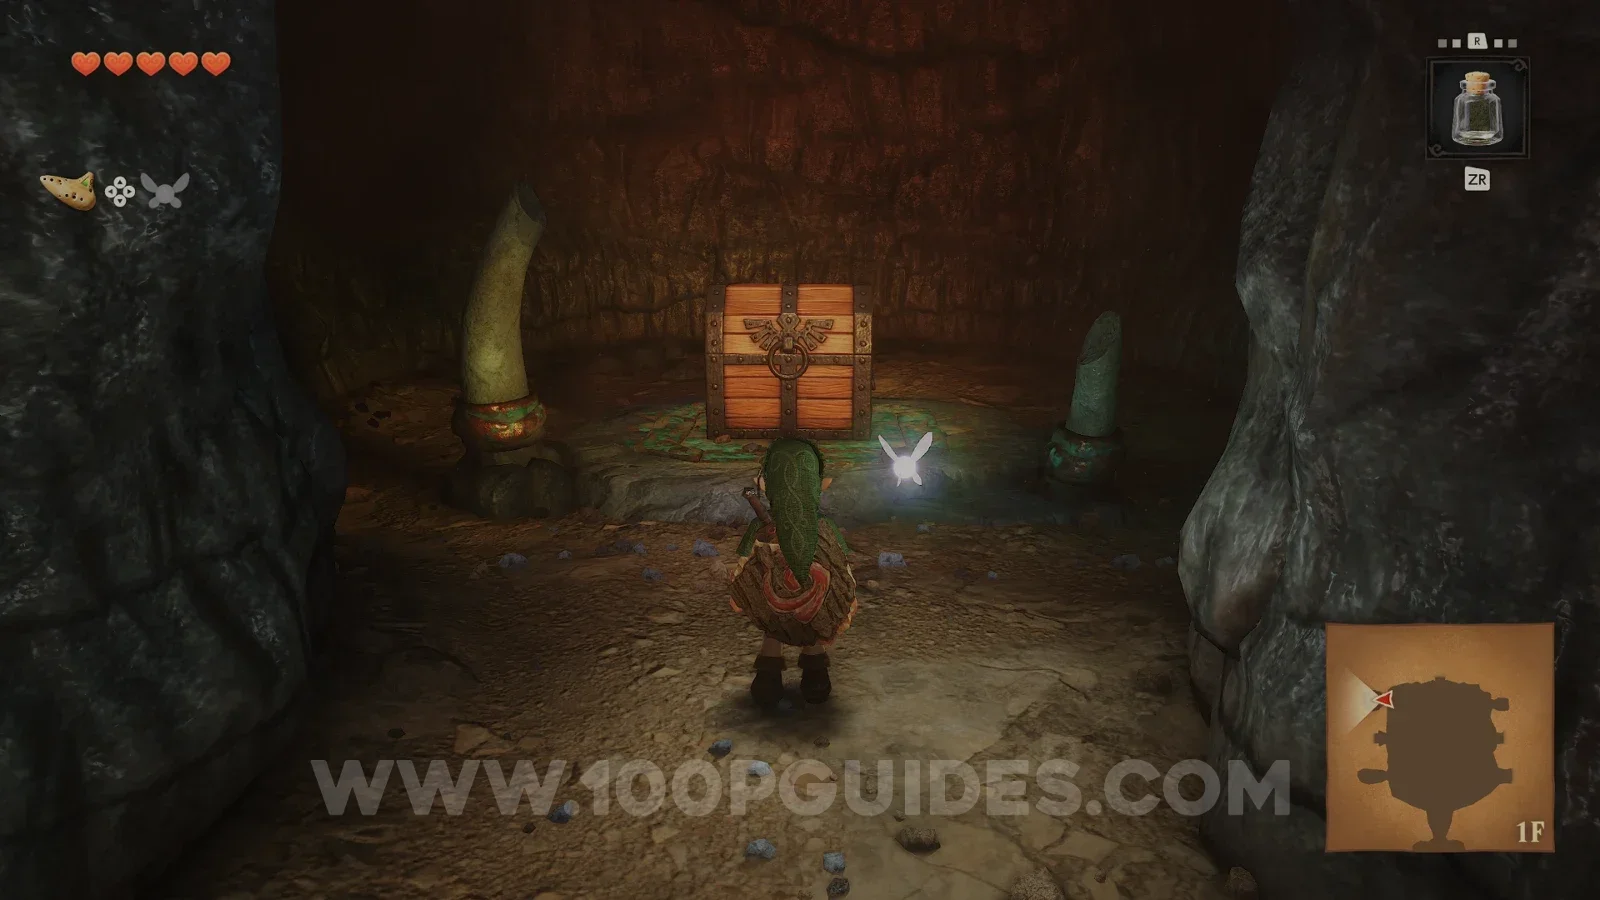
Next, grab the same bomb flower again and destroy the cracked rock in the southwest corner to find a small chest with a blue rupee in it.
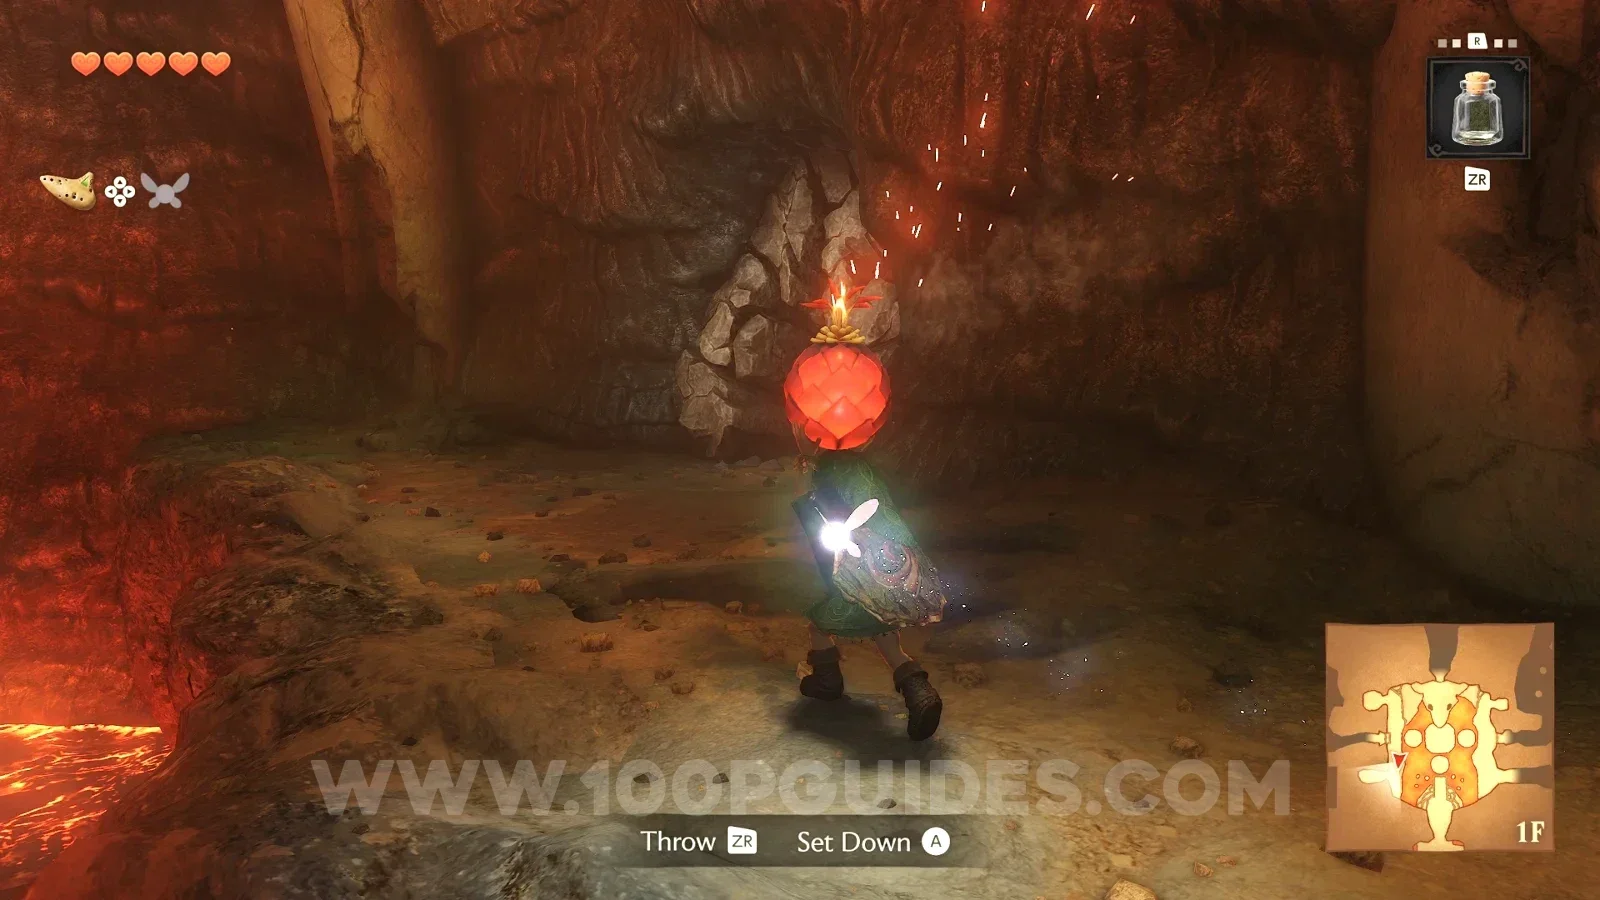
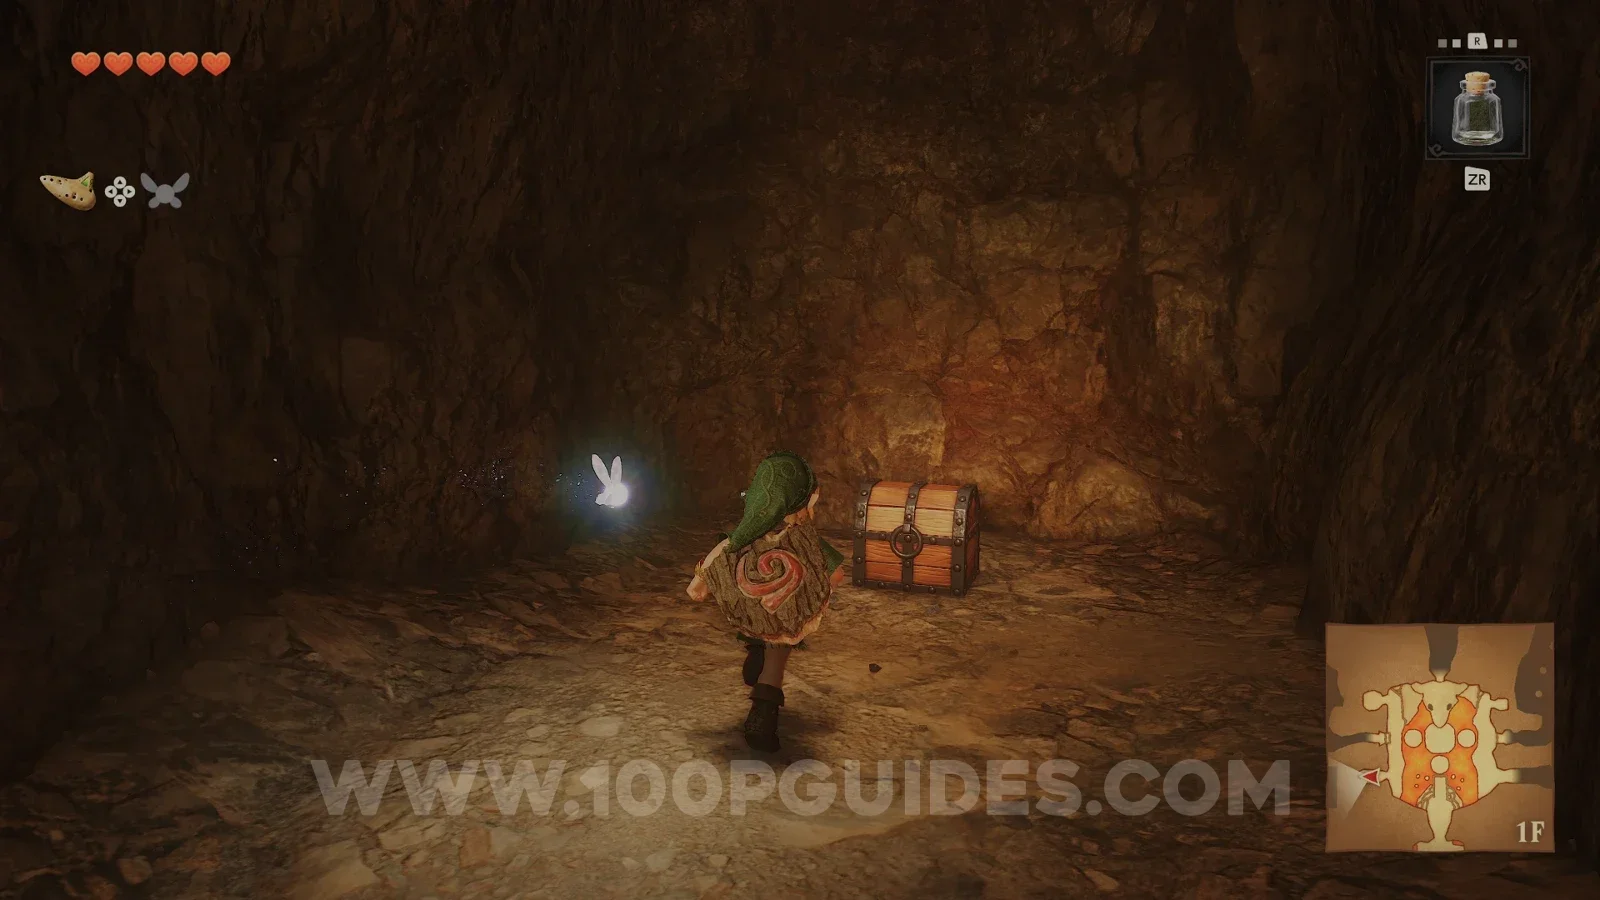
Next, hop across to the eastern side of the central room and use the bomb flower to destroy the cracked rock in the southeastern corner.
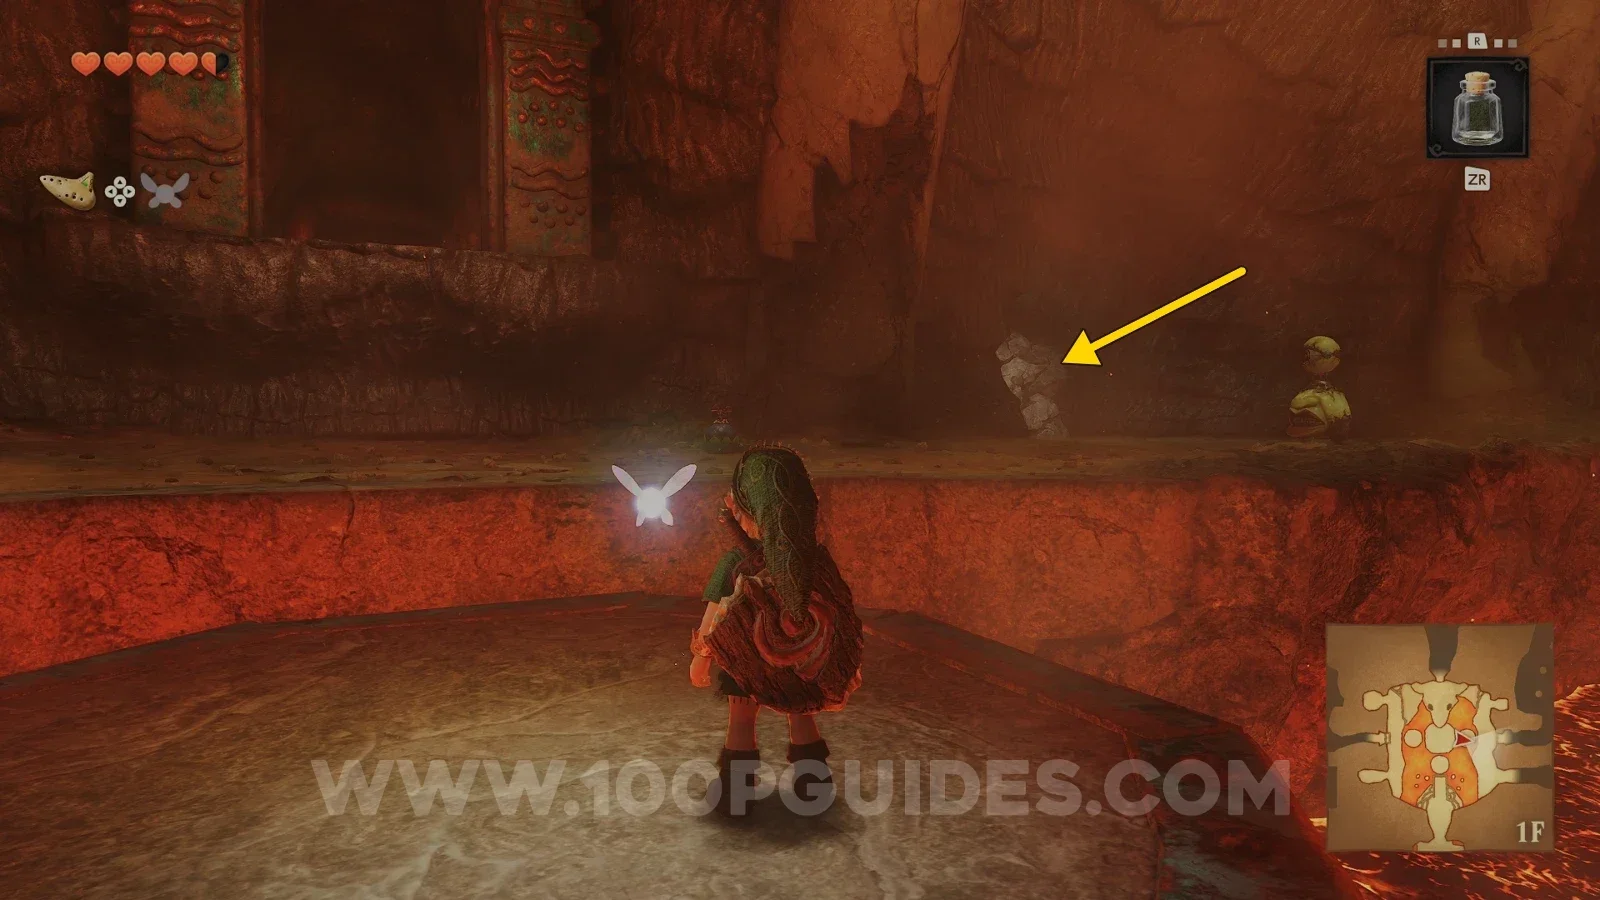
Then continue through the hall and you will be attacked by some lizards. These will blow up after you defeat them. Before defeating them all, look for a cracked rock on the southern side of the hall. Lure one to that rock and defeat it there so it blows the rock up, allowing you to go through. On the other side of the rock, you will find a Gold Skulltula (20/100). If you are having trouble, don't worry; you can come back later once you have normal bombs.
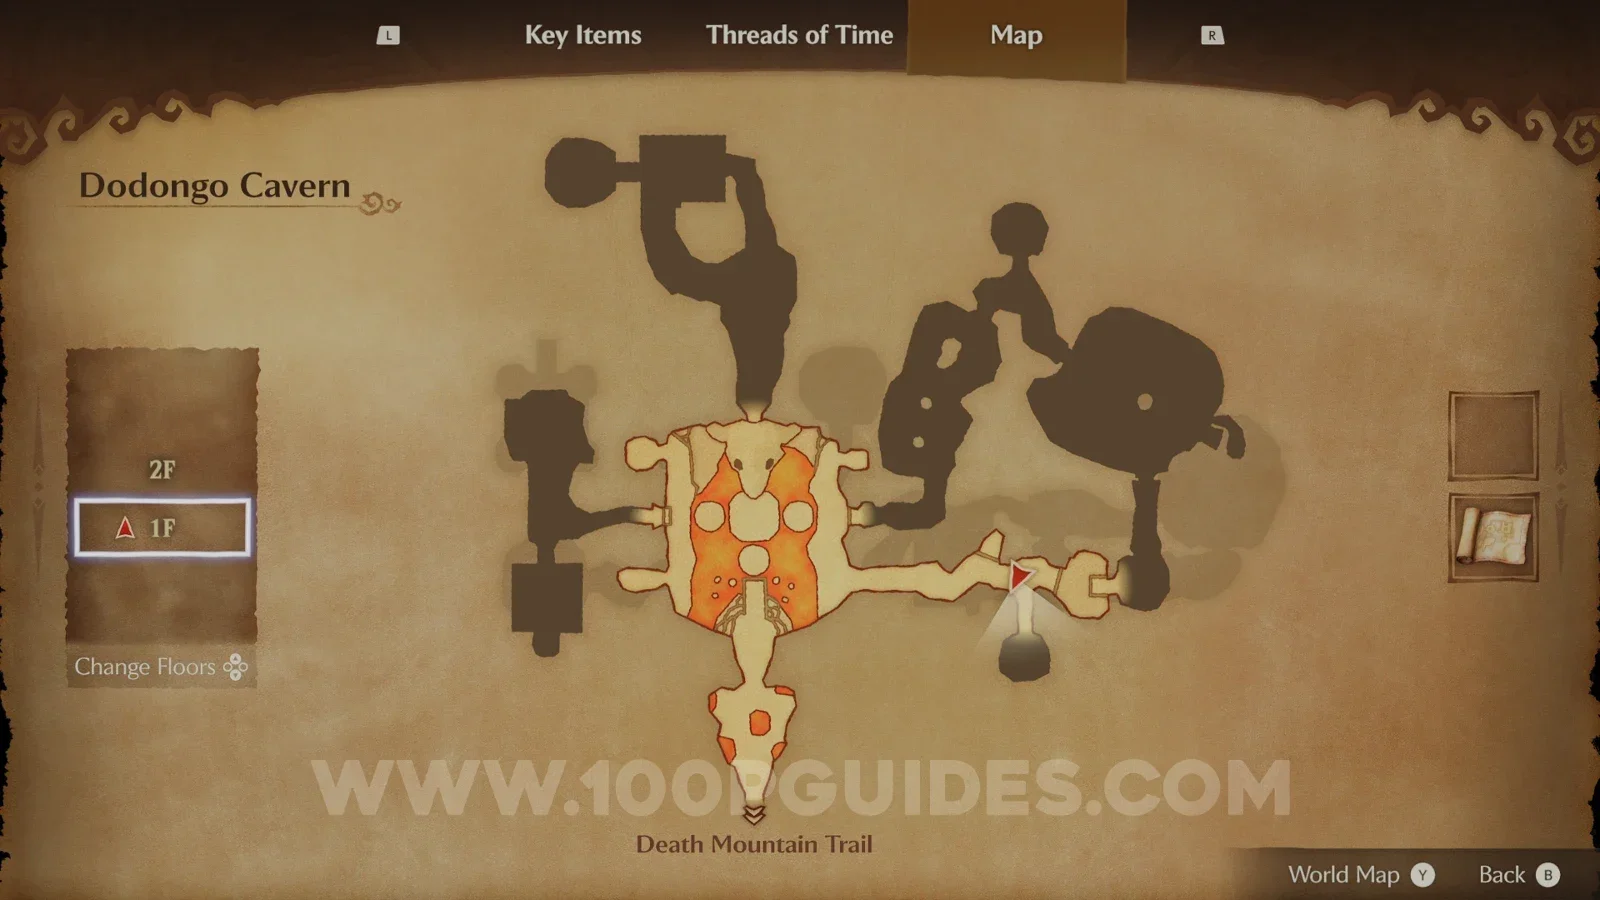
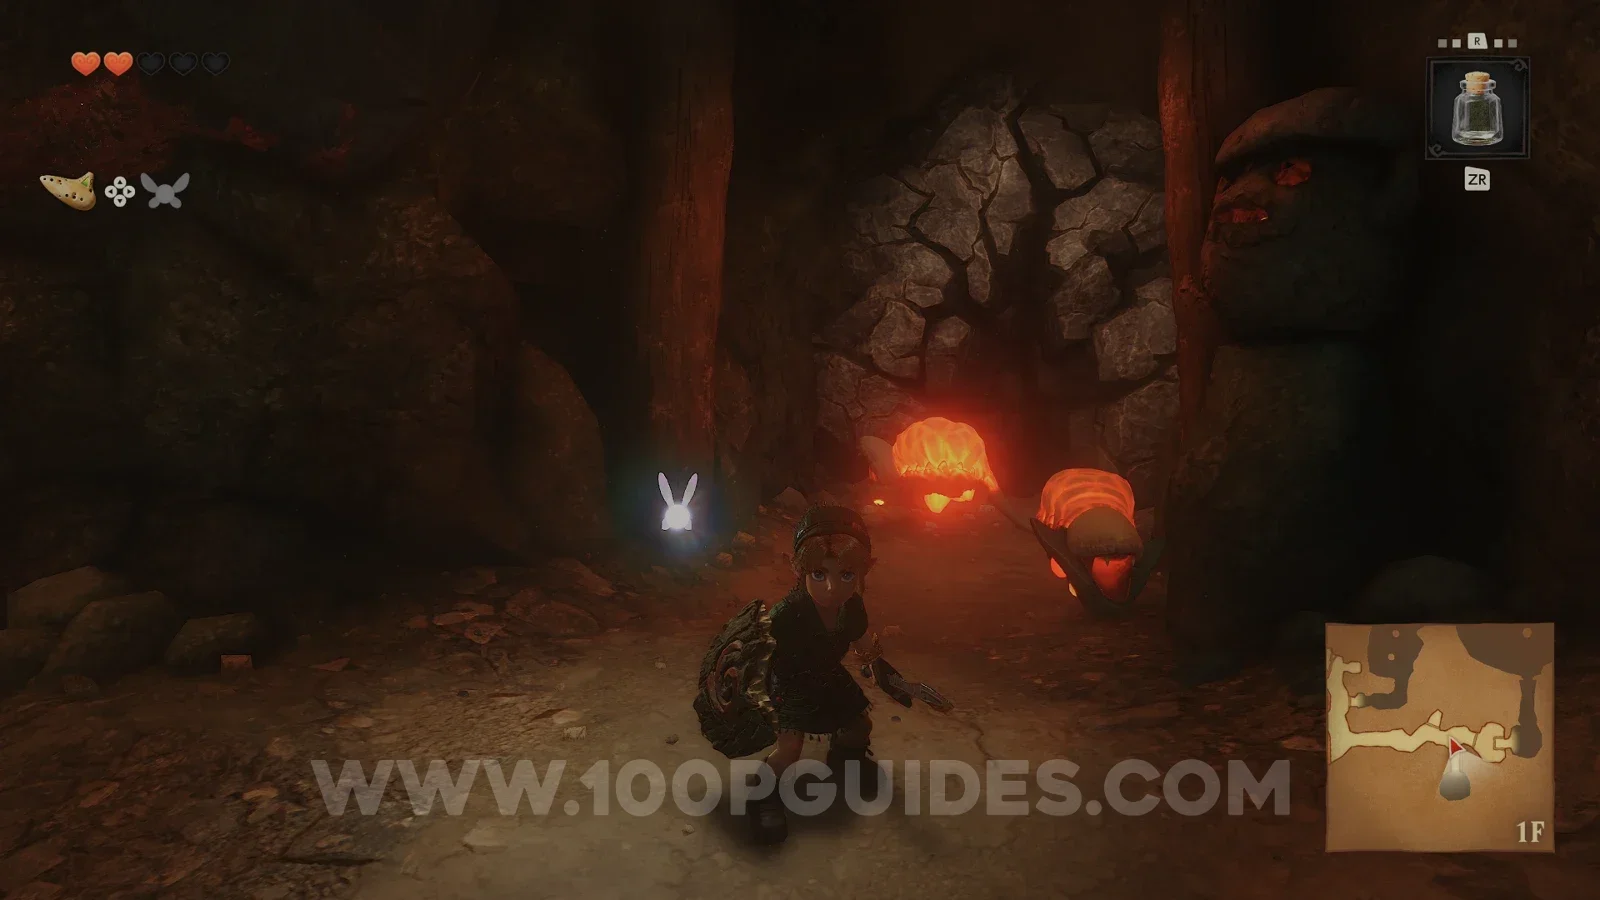
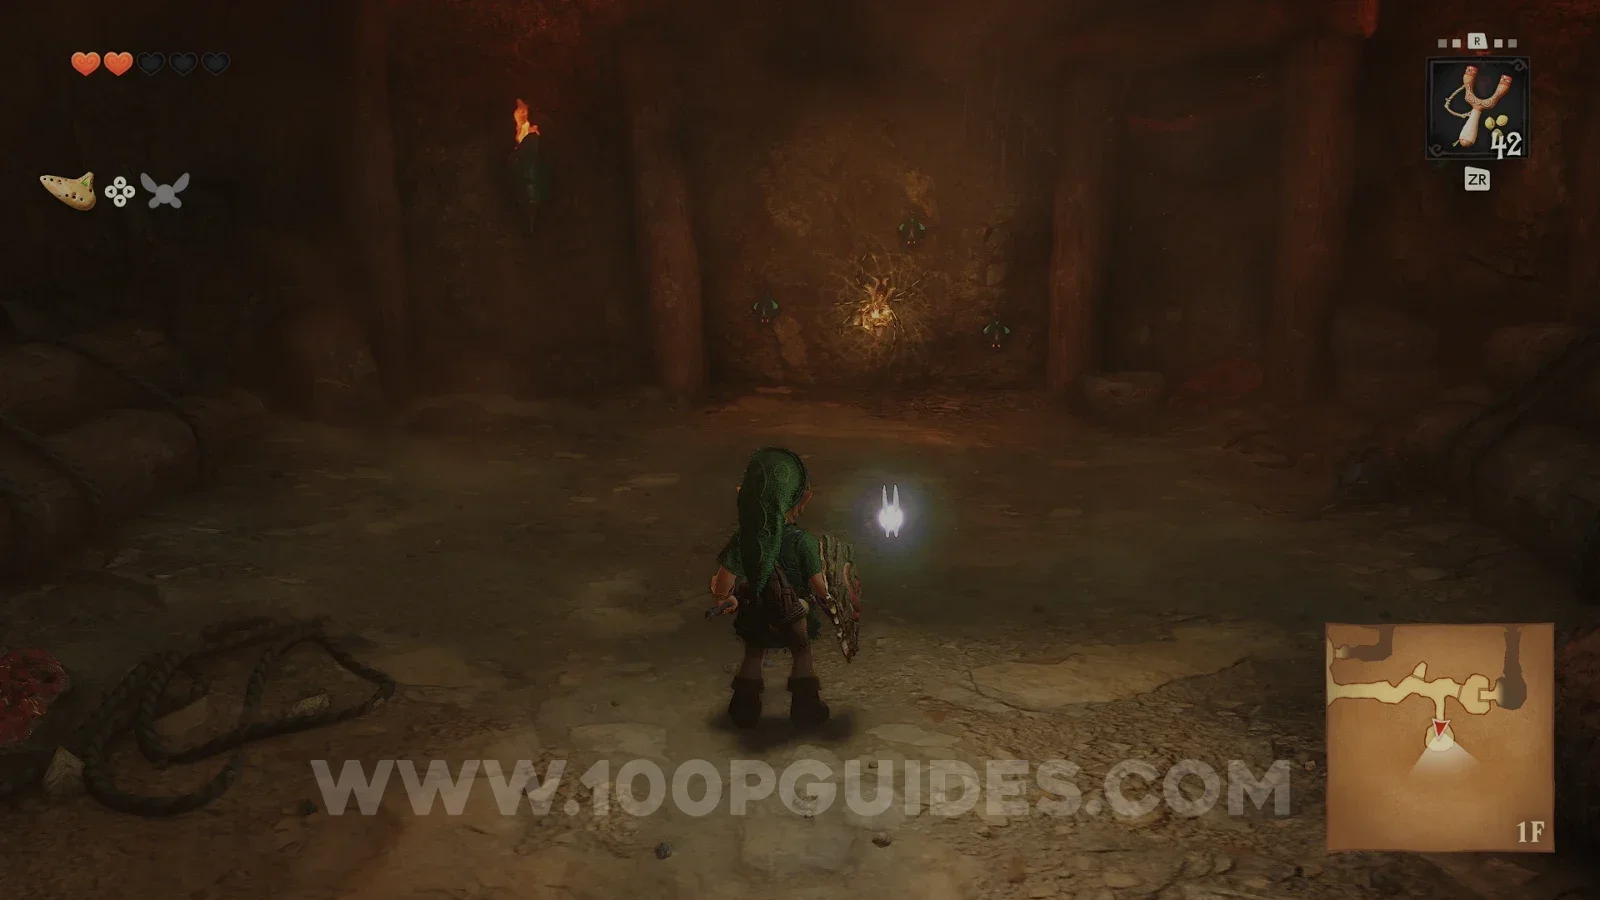
Continue east by pushing or pulling one of the statues onto the switch, and you will soon reach a large room where two lizard enemies take turns attacking you. Just be patient, dodge sideways and attack back. Once they are defeated, the doors will open and a chest with a red rupee will spawn. As a bonus, you can also smash the pots behind the lava waterfall to the east of this room to find a fairy and some rupees.
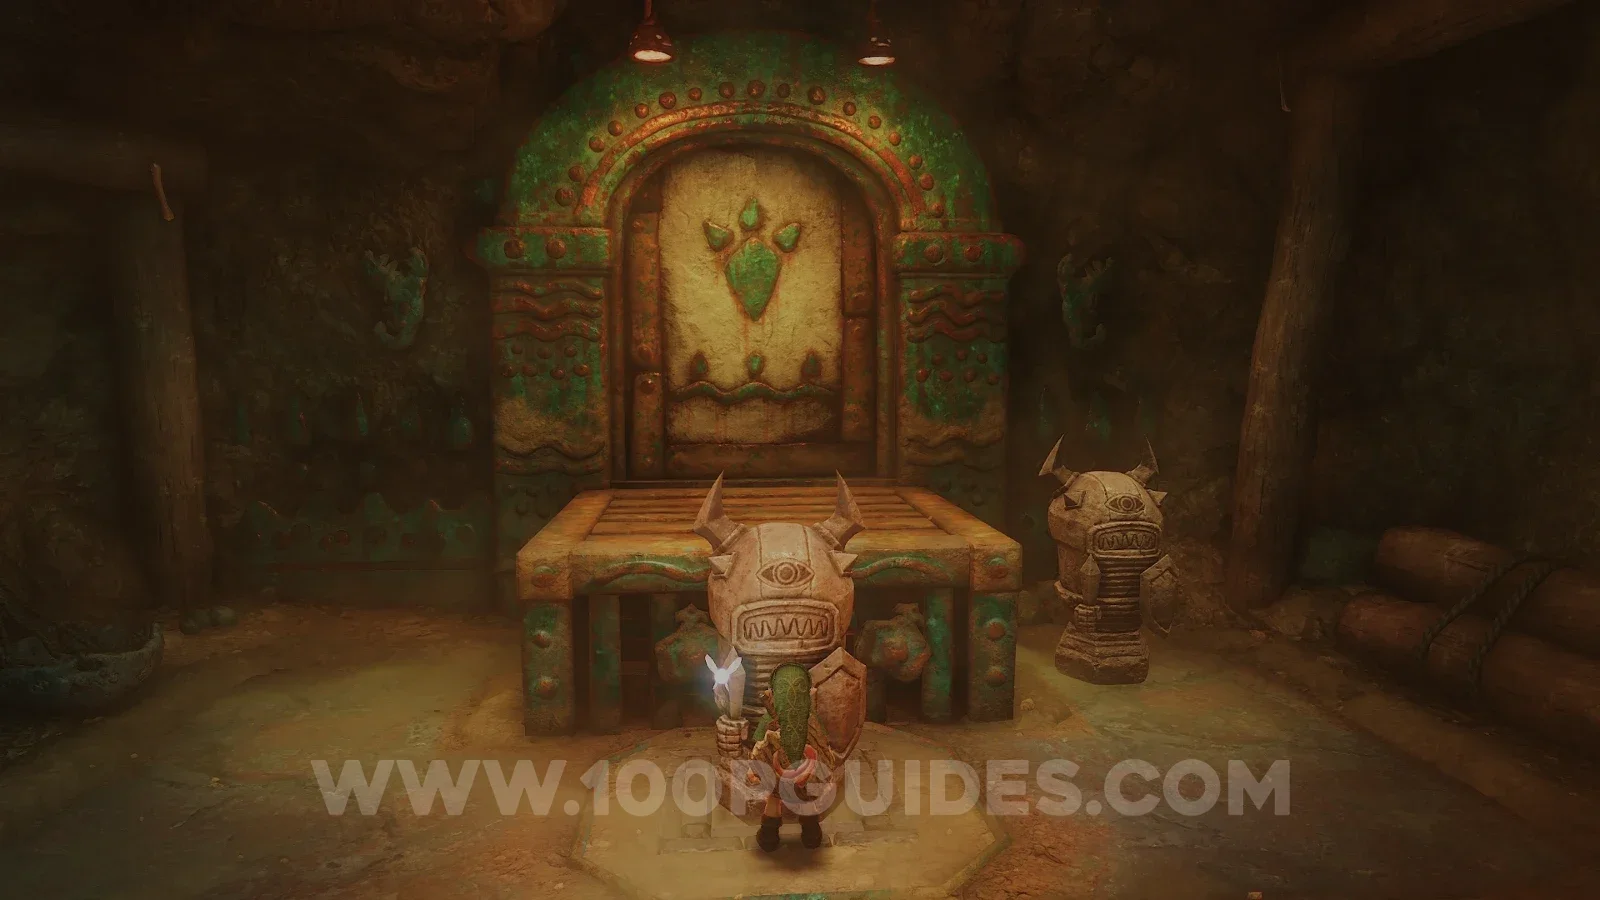
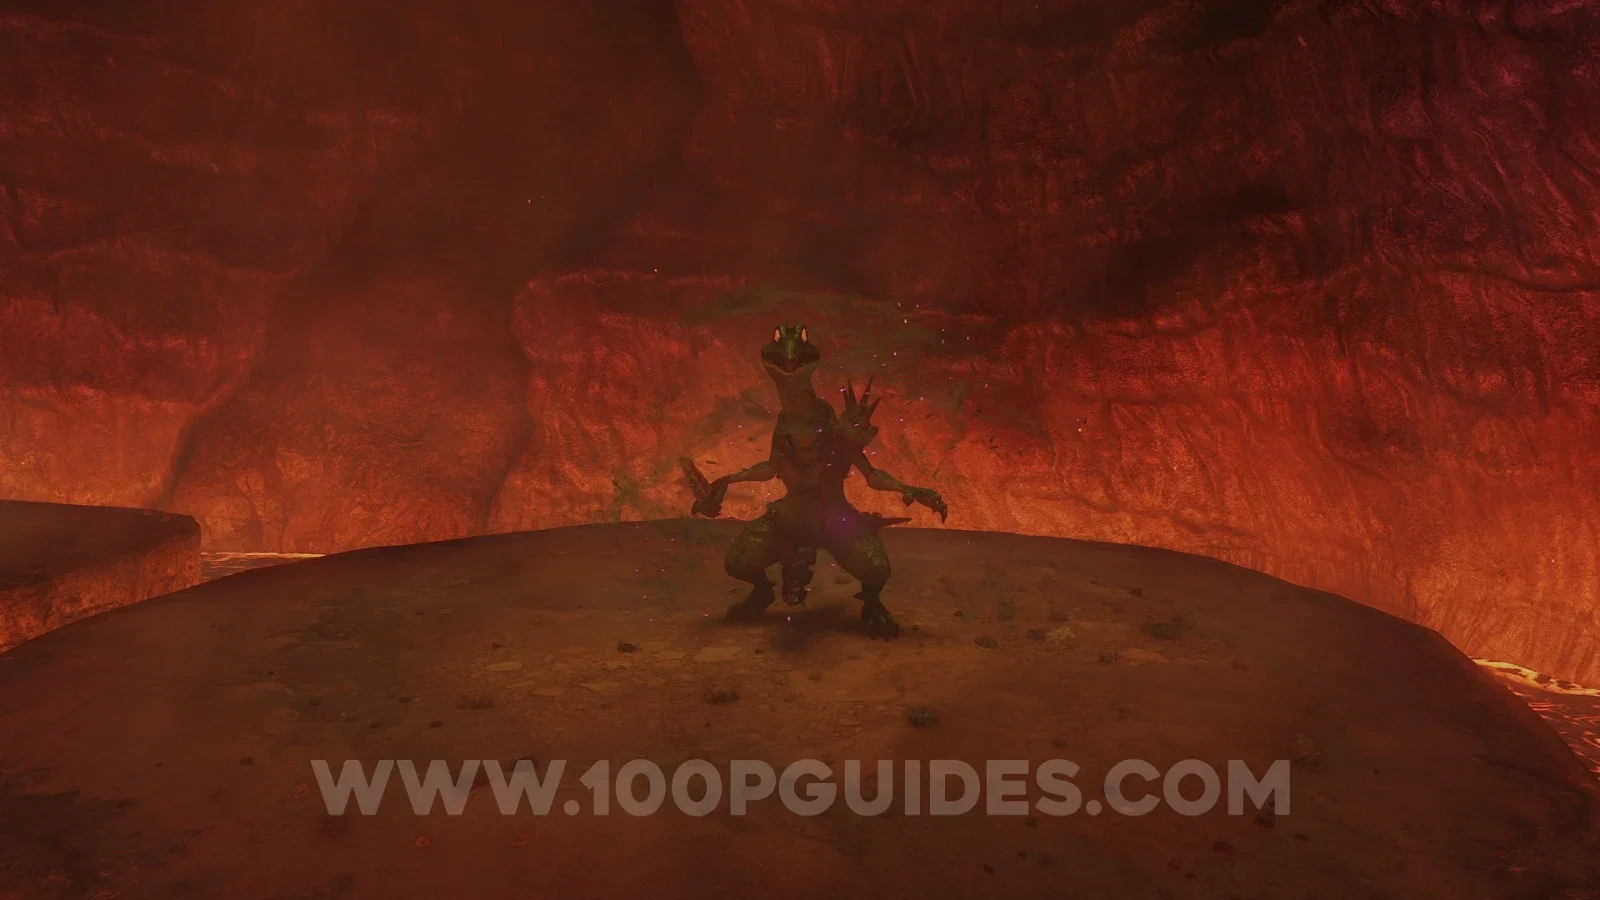
Continue north. Then in the next room, if you use the bomb flower to destroy the cracked rock on your right, you can find a Business Scrub that will sell you Deku Nuts and Deku Seeds.
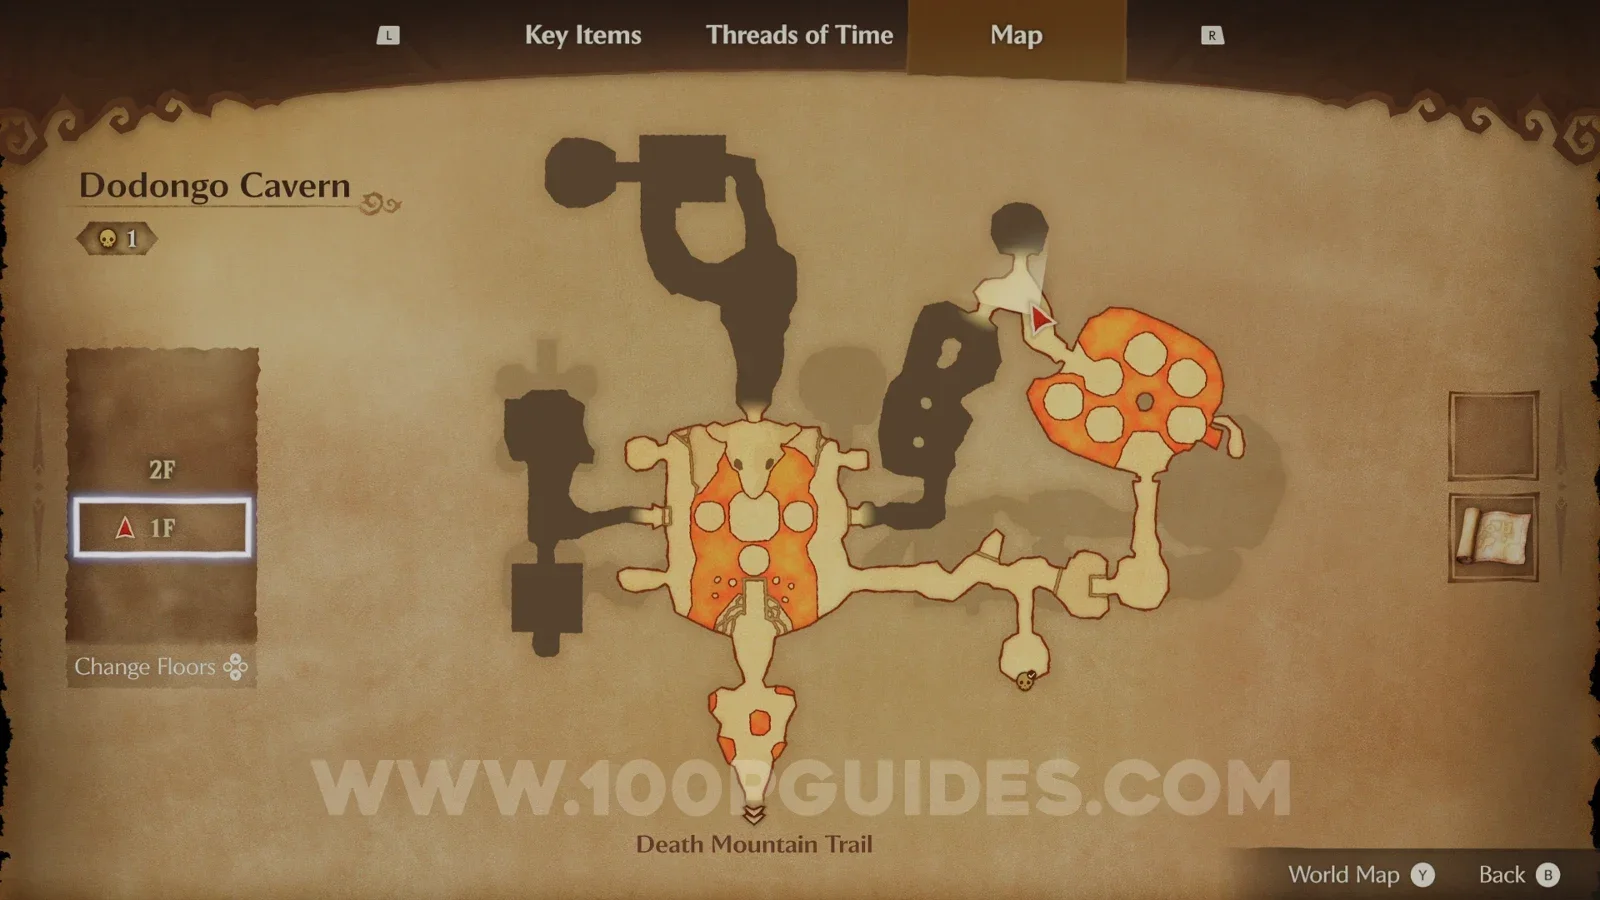
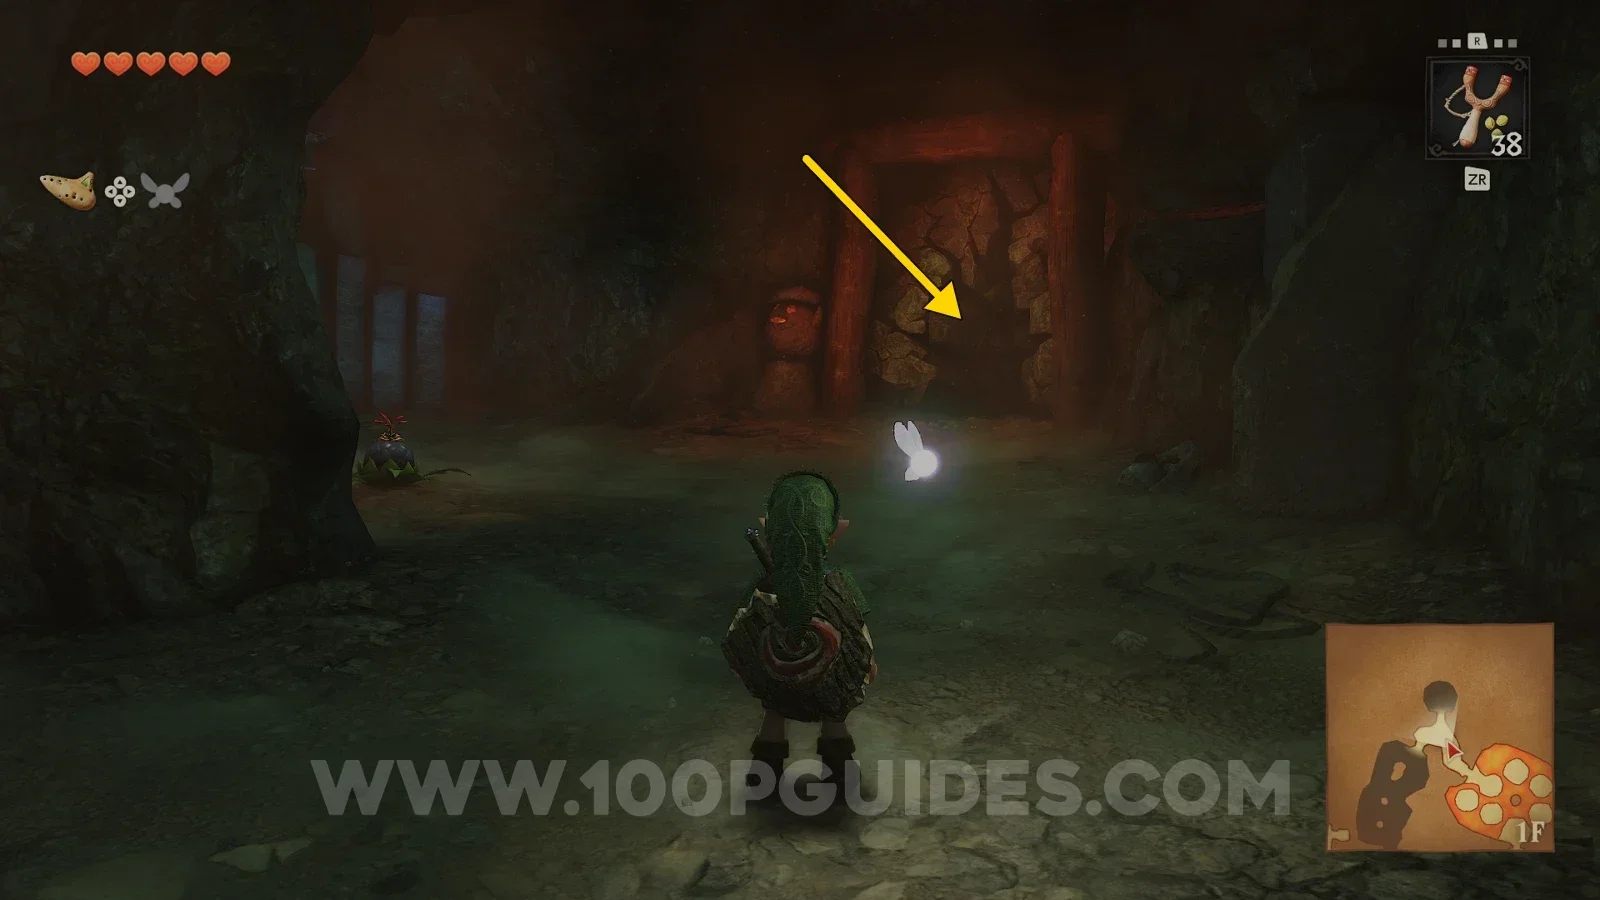
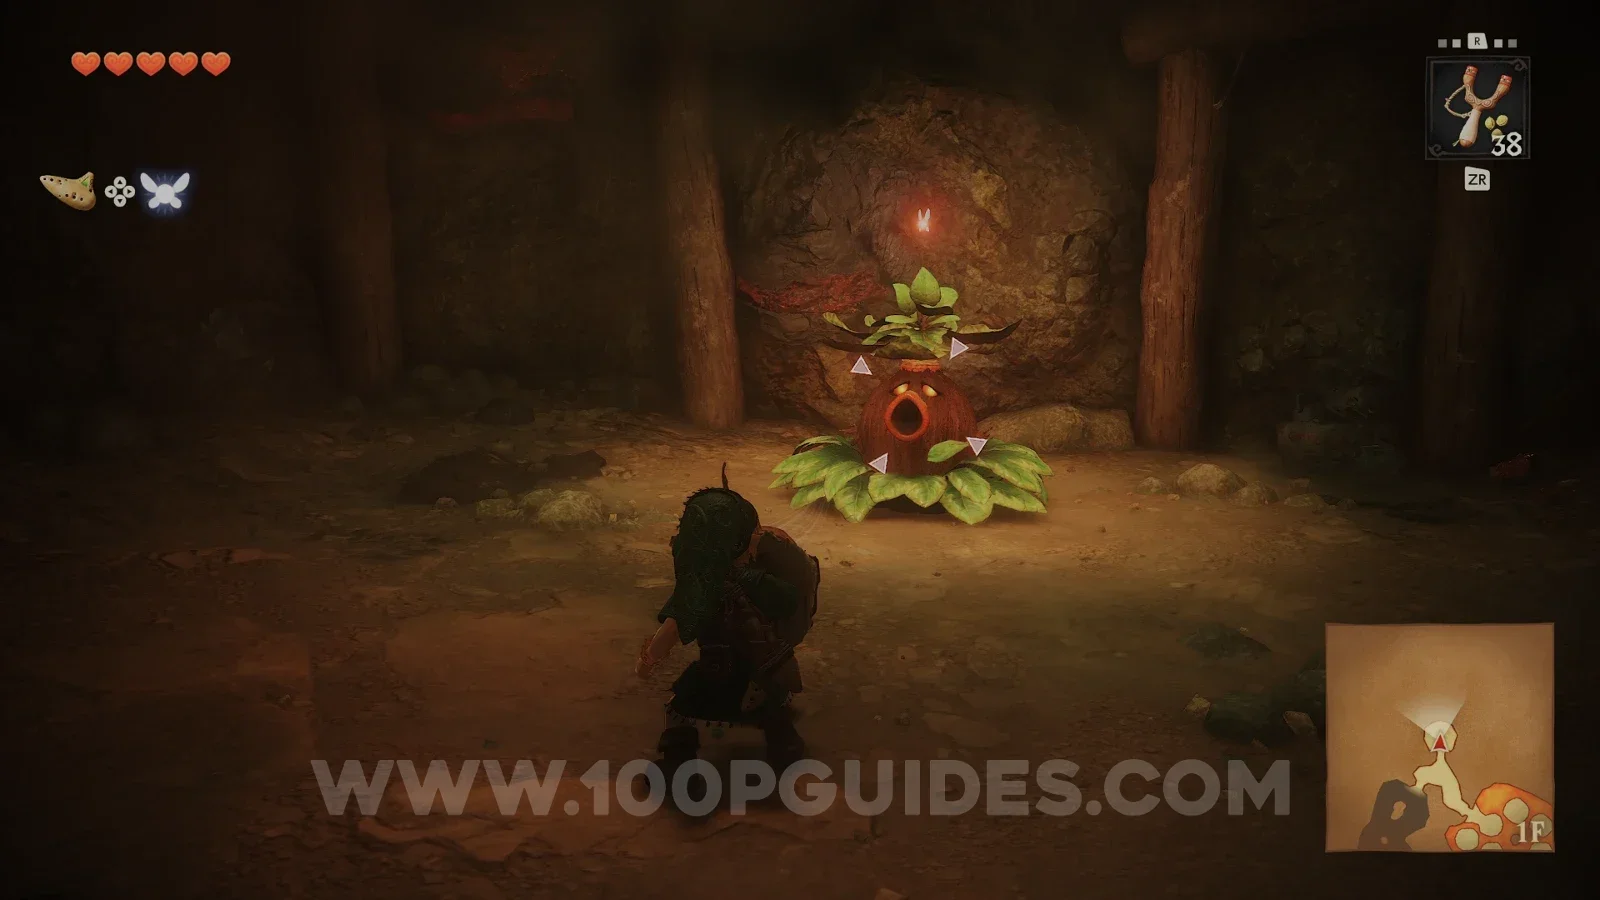
Now continue through the caves and you will encounter a new type of enemy. These rock lizards (baby Dodongos) can be defeated by waiting until they breathe fire at you, then getting behind them and hitting their tail. Just watch out, as they will blow up as they die.
In this room, light a stick with the lit torch and then light the other three torches around the room to open the door and continue.
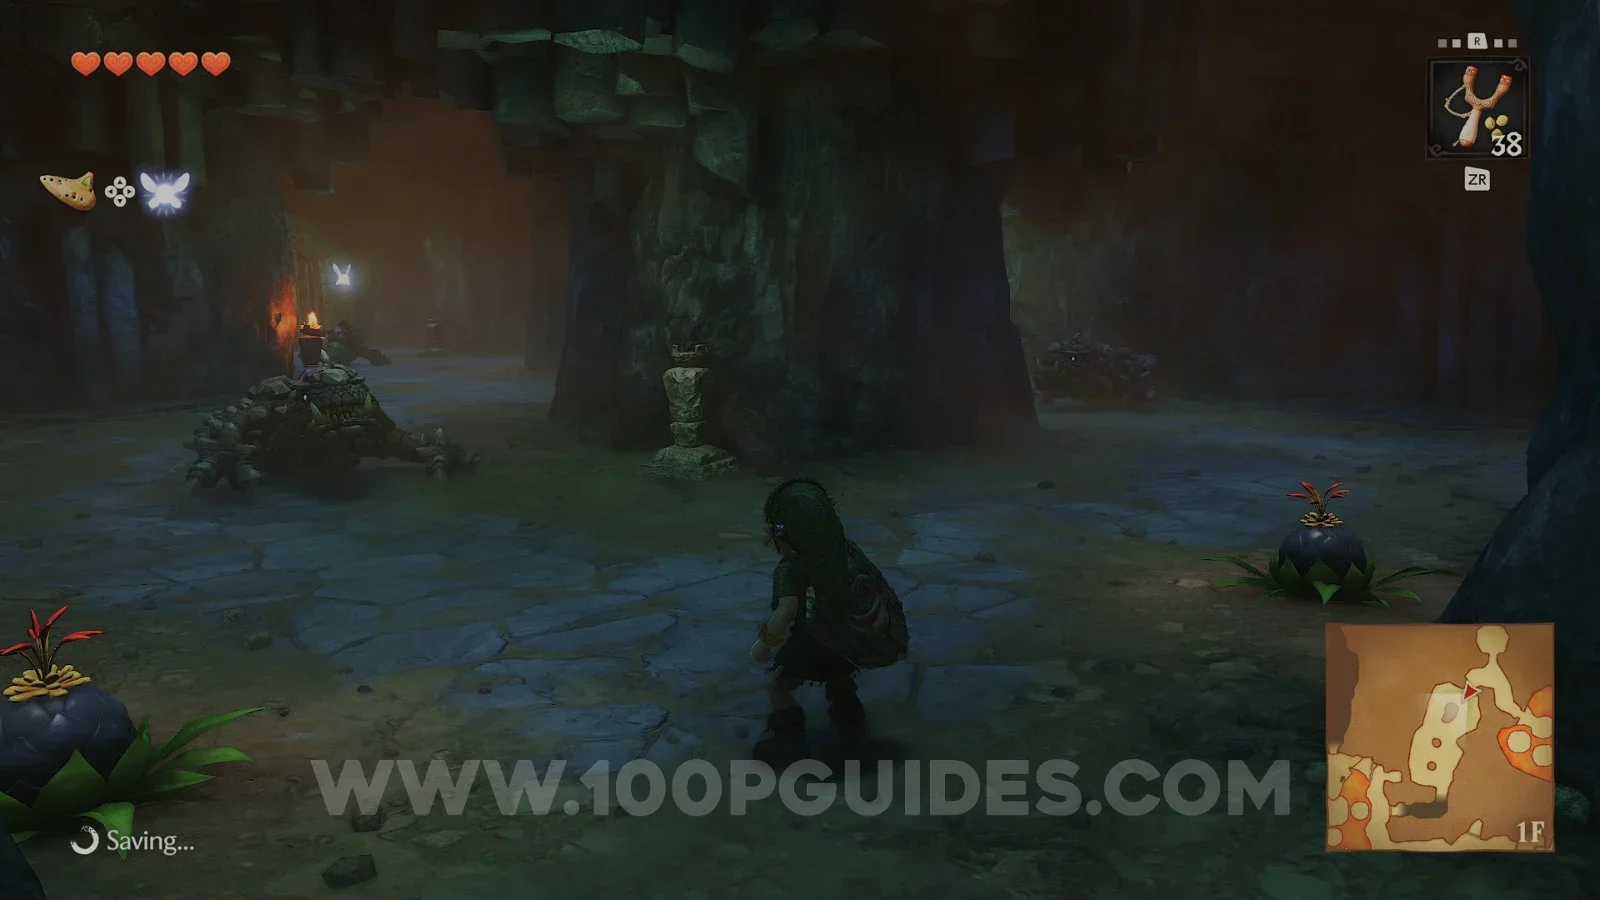
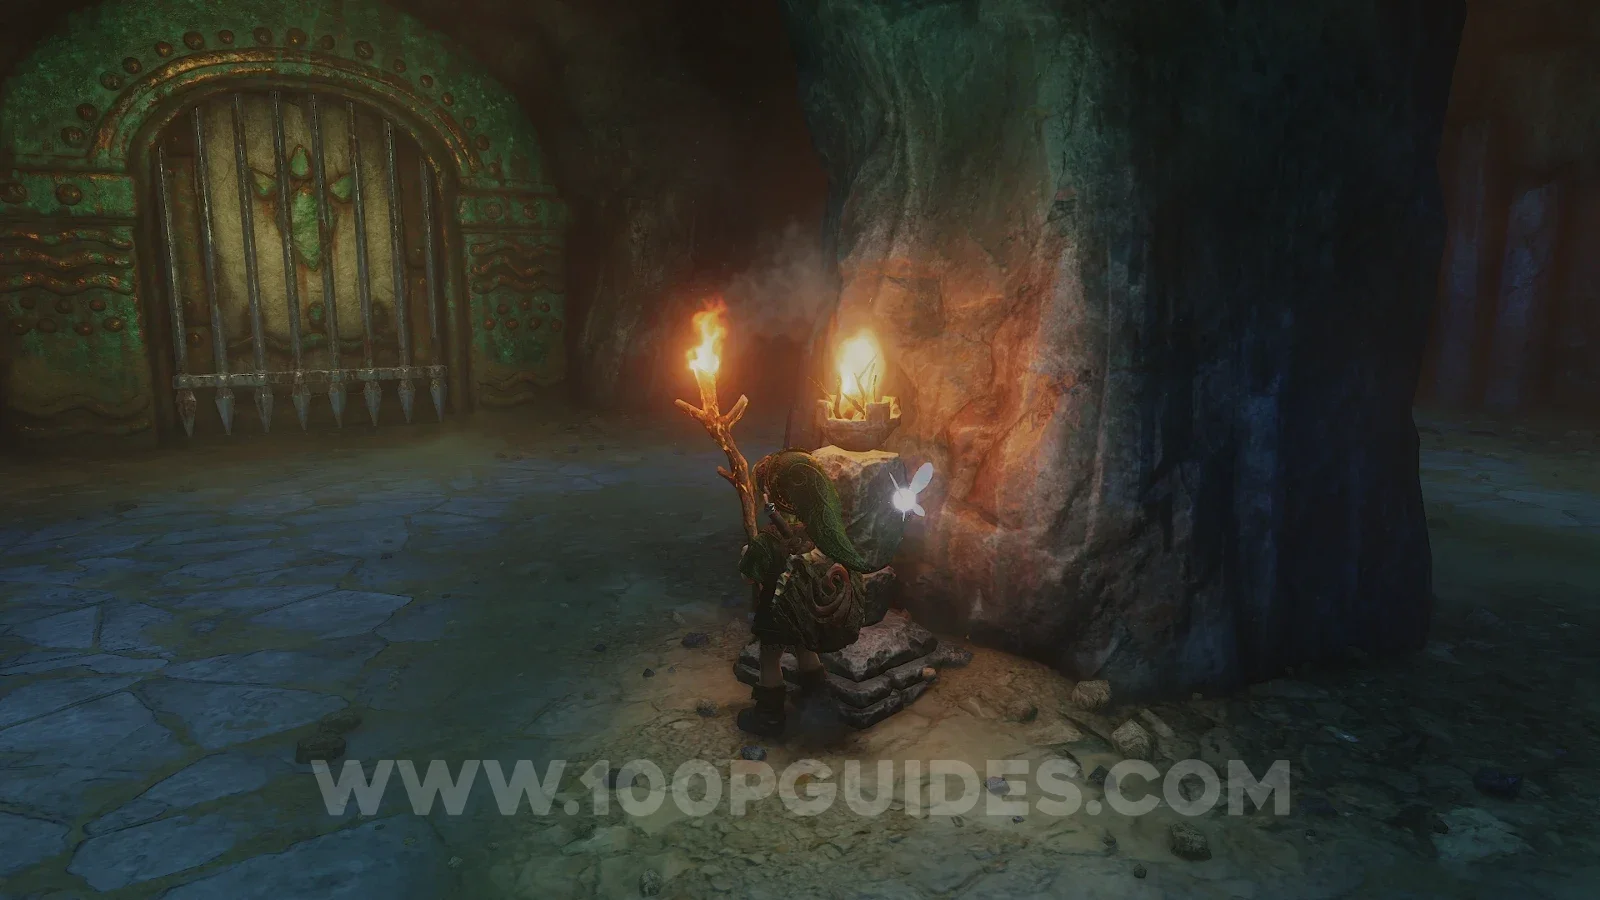
You will now emerge back into the main central room of the dungeon, but slightly higher. Press the switch to open the gated door on the western side of the bottom floor, then jump down and go through it.
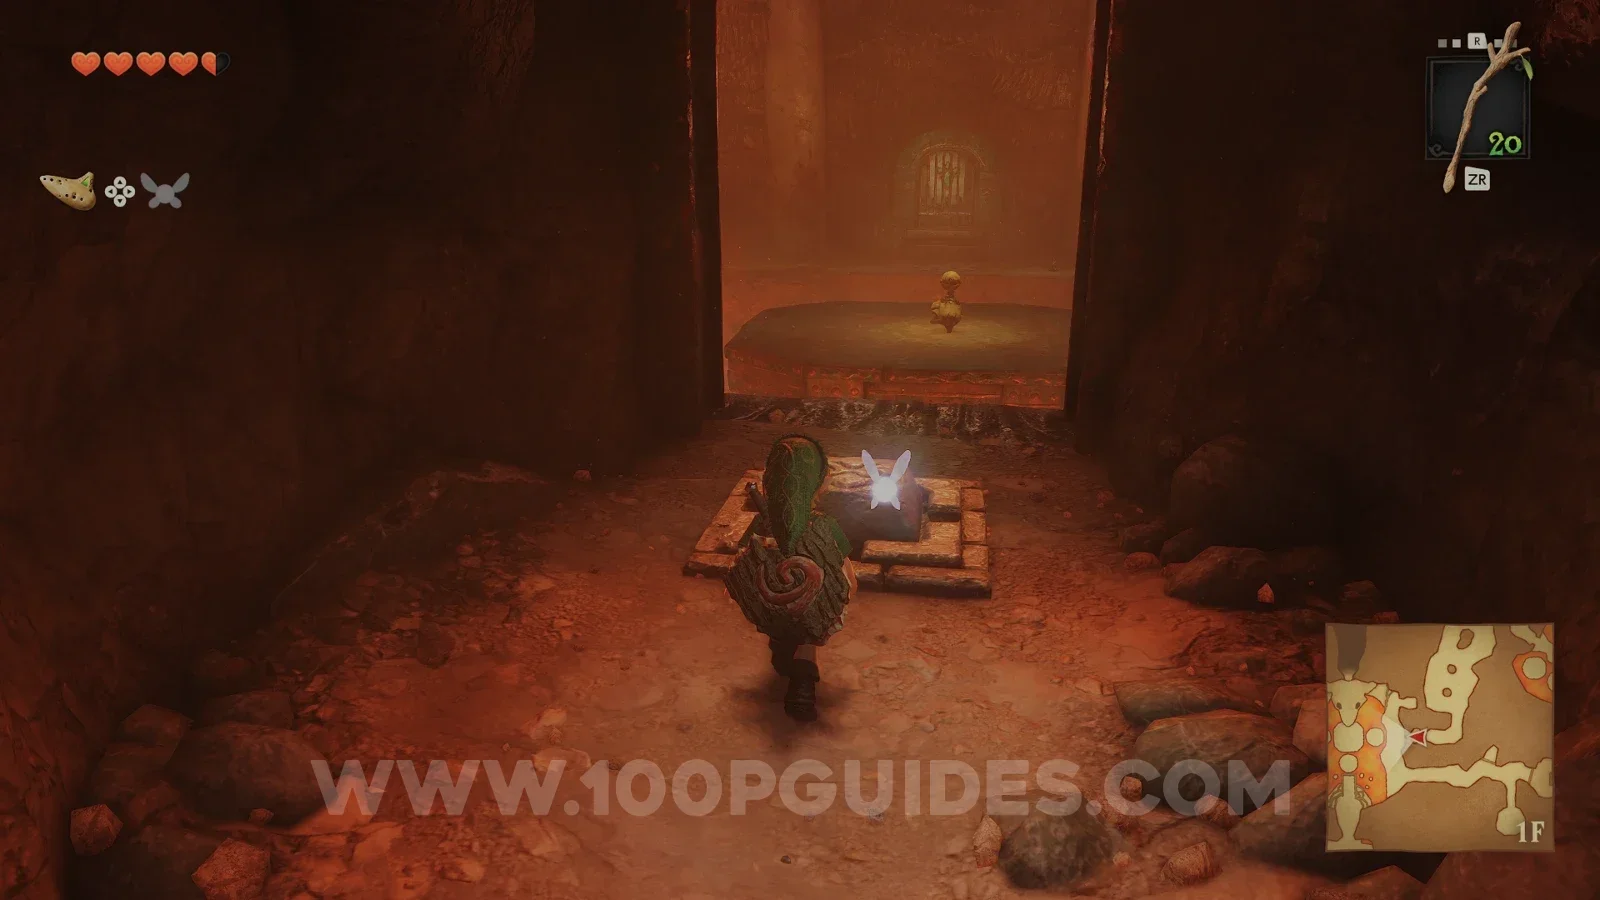
On the other side of the door, pick up a bomb flower and destroy the cracked rock to the south. Then, on the other side, bait the statue enemy away from the ladder and climb up to find the compass in the chest (you can also defeat the statue enemy with the bomb flowers if you want, but it only drops 1 rupee).
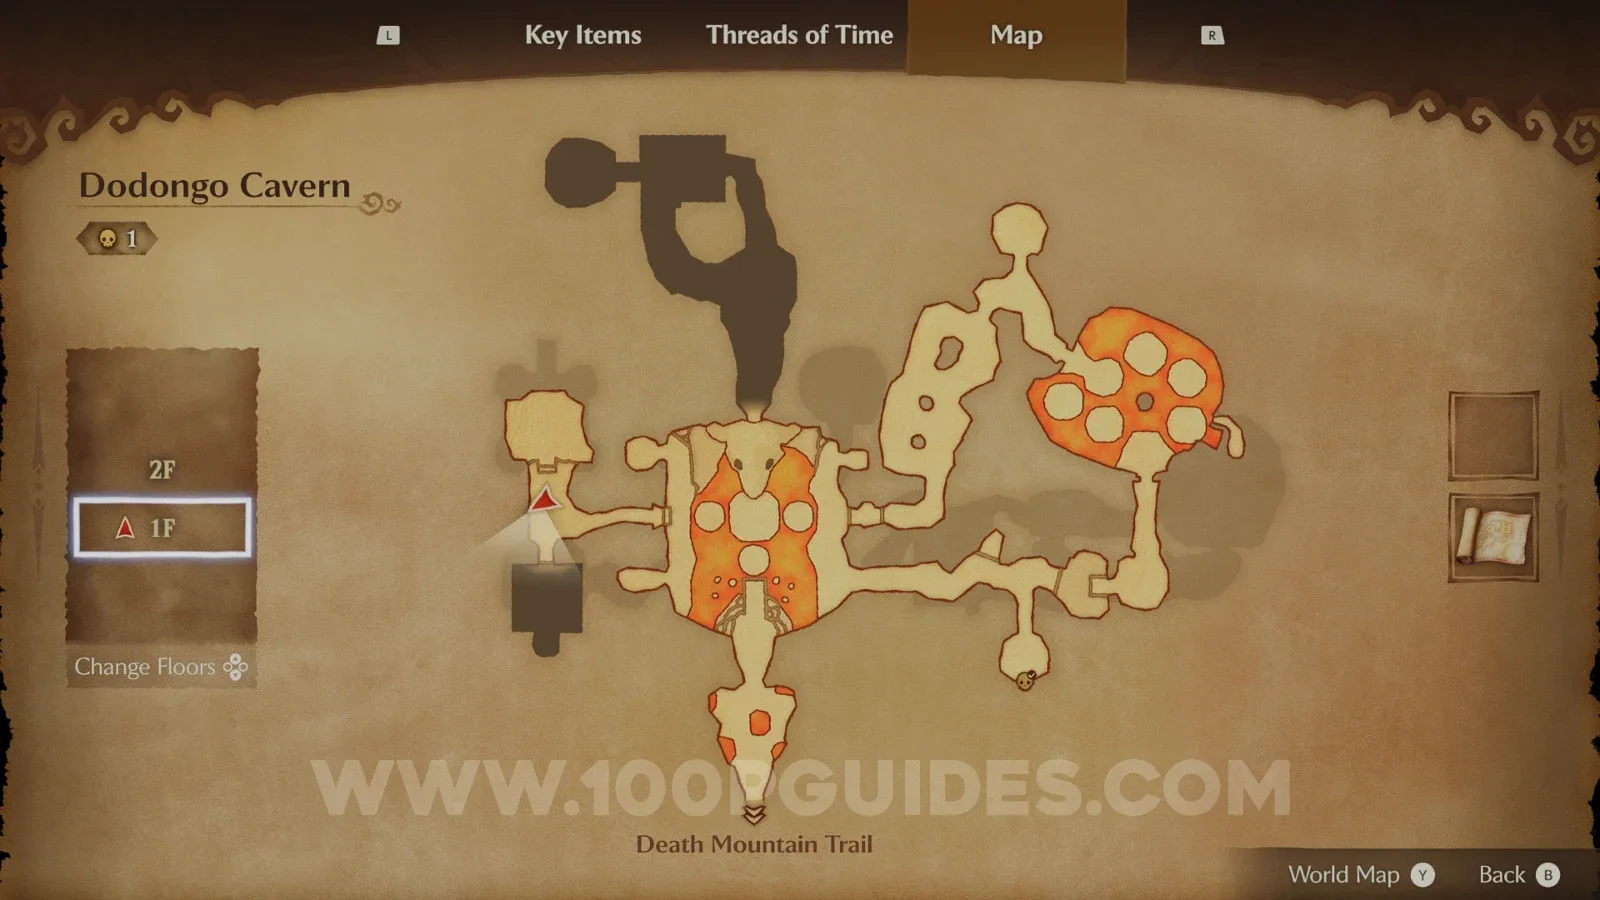
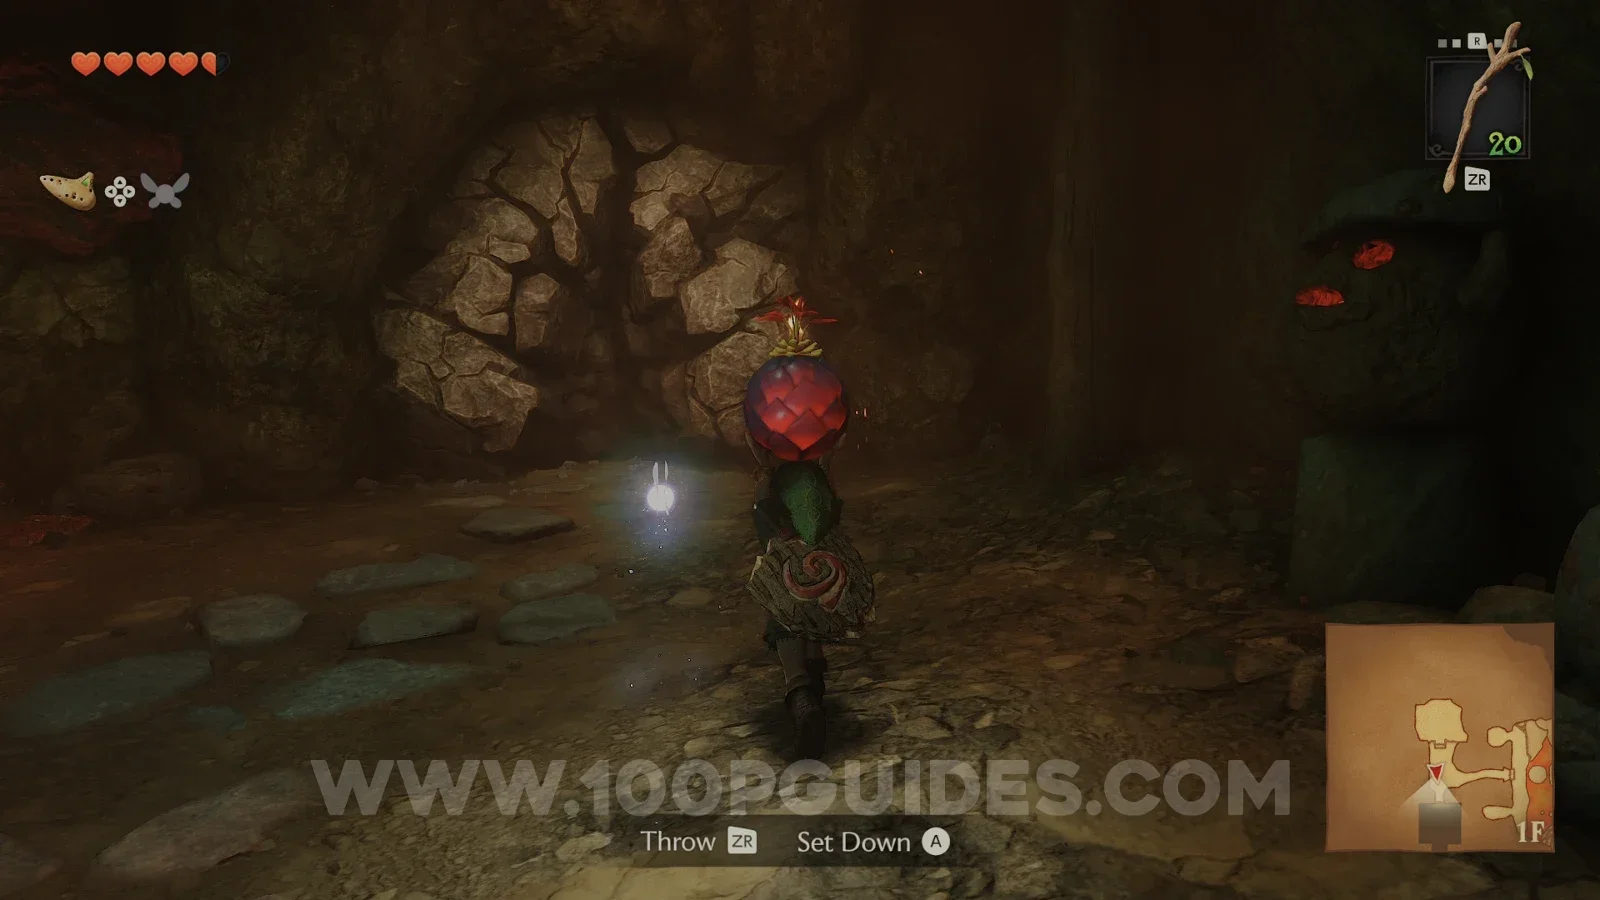
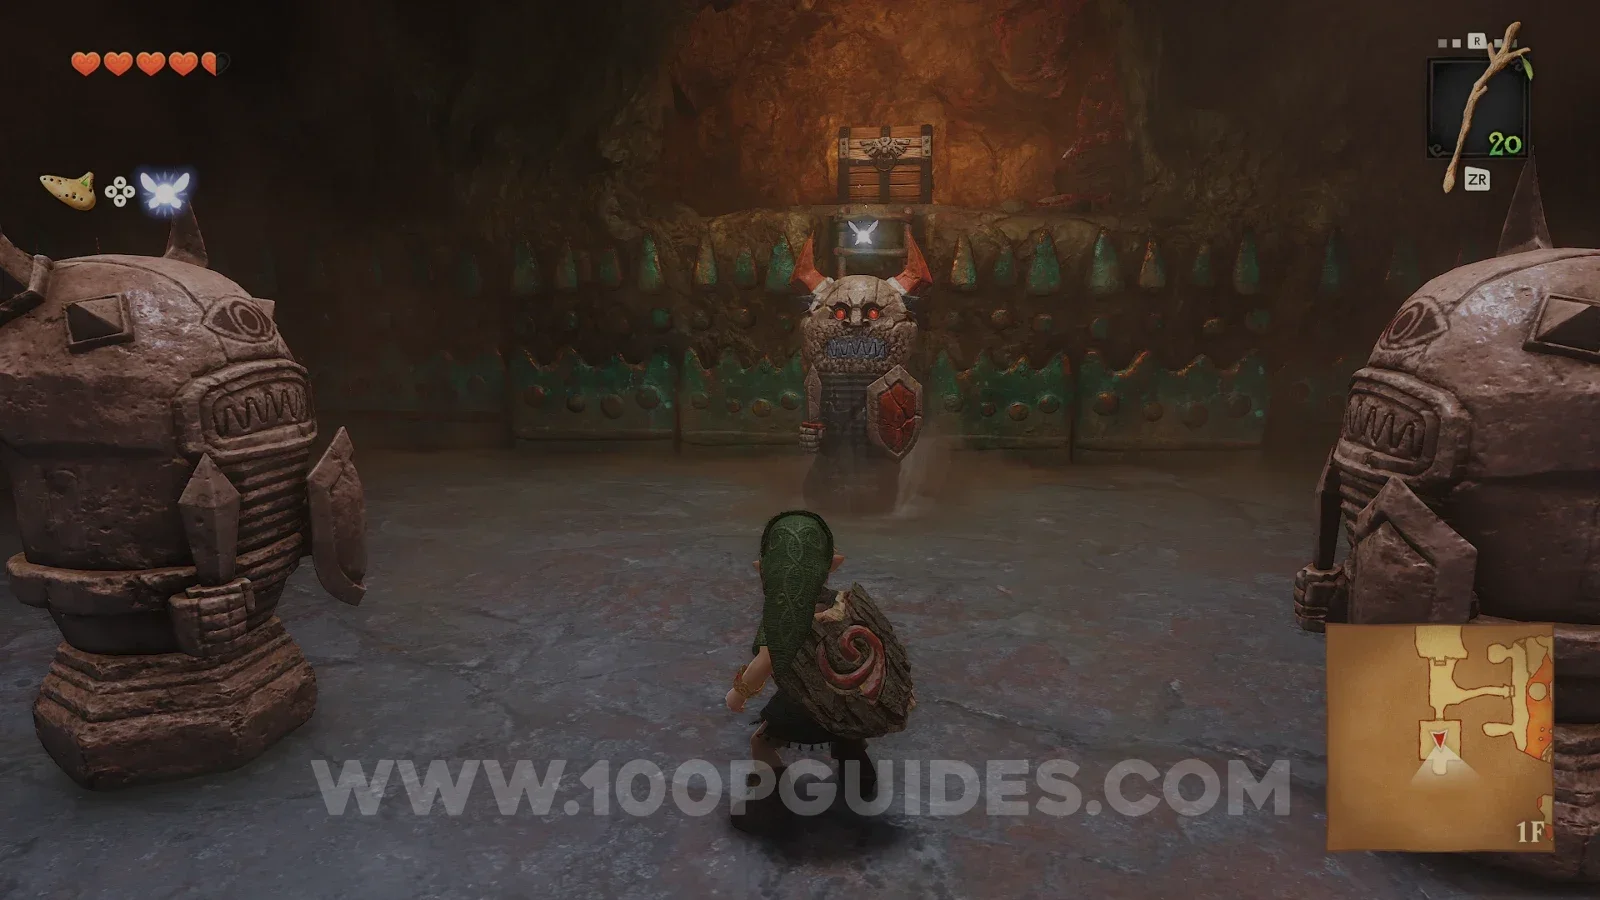
From the compass, head north to find some large raised metal stairs. To bring them down, grab the bomb flower and place it in the middle of the two rows of bombs that go around either side of the stairs. If both sides explode simultaneously, the stairs will come down.
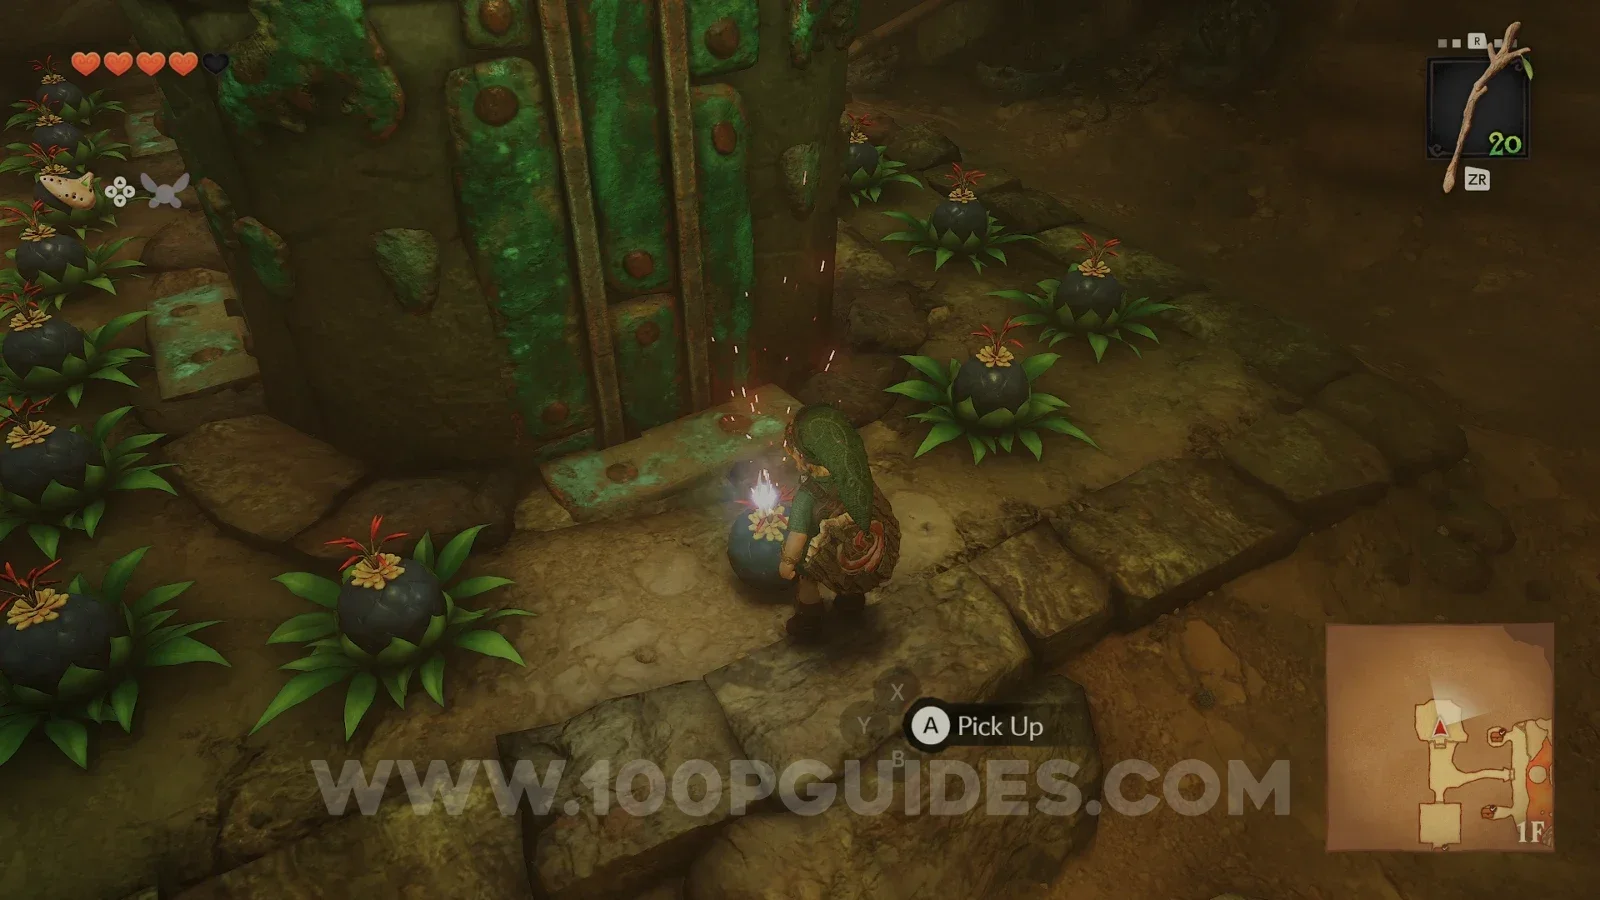
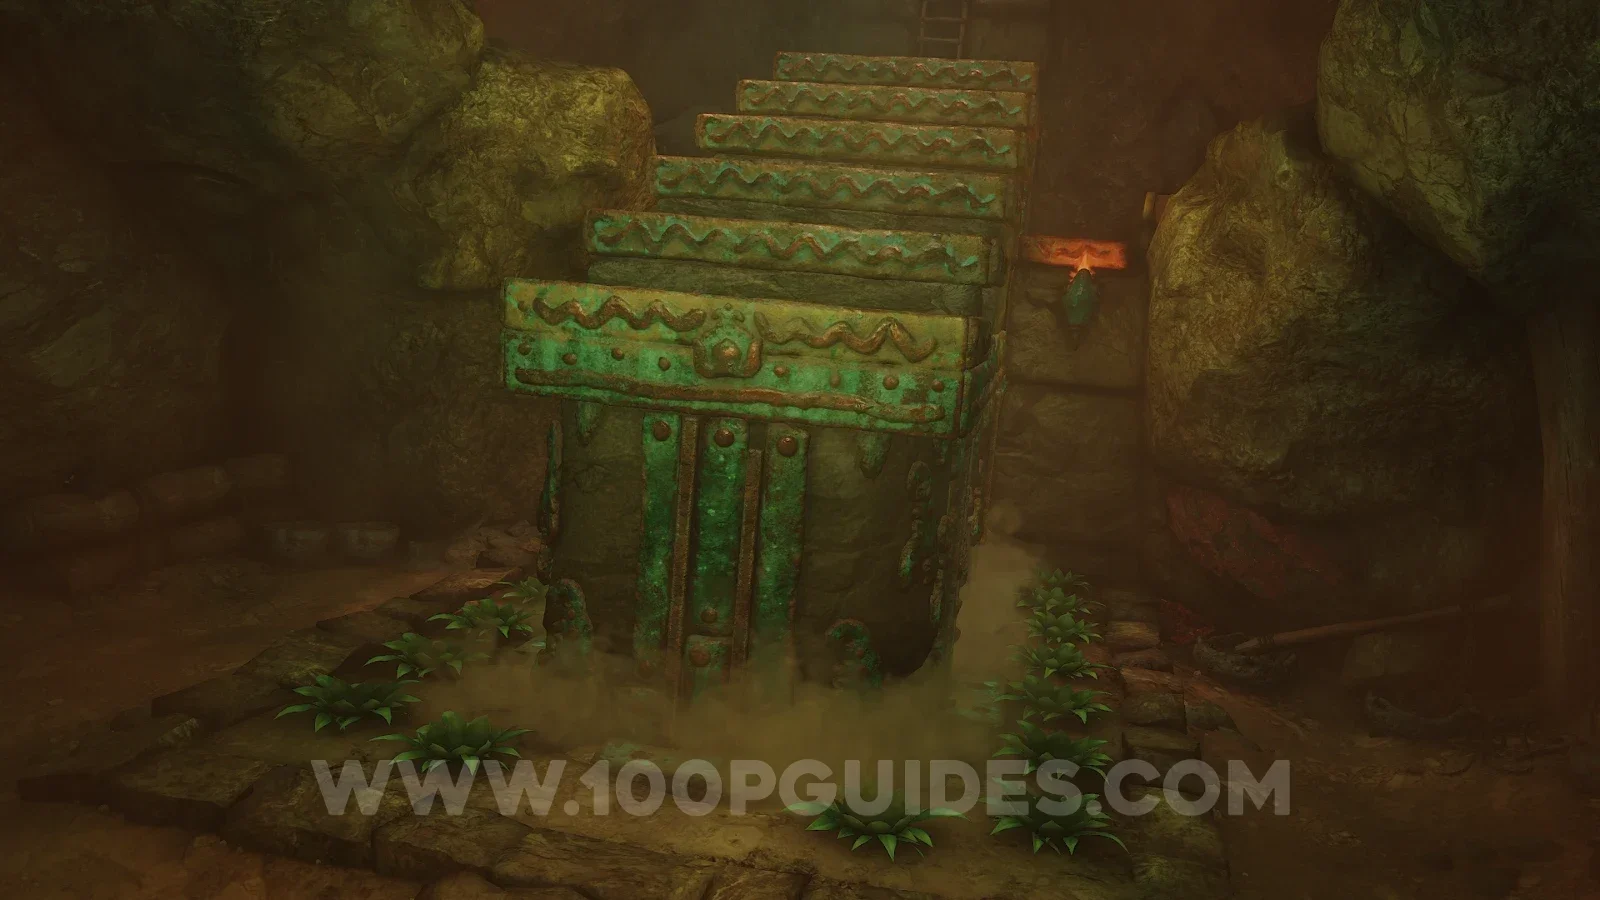
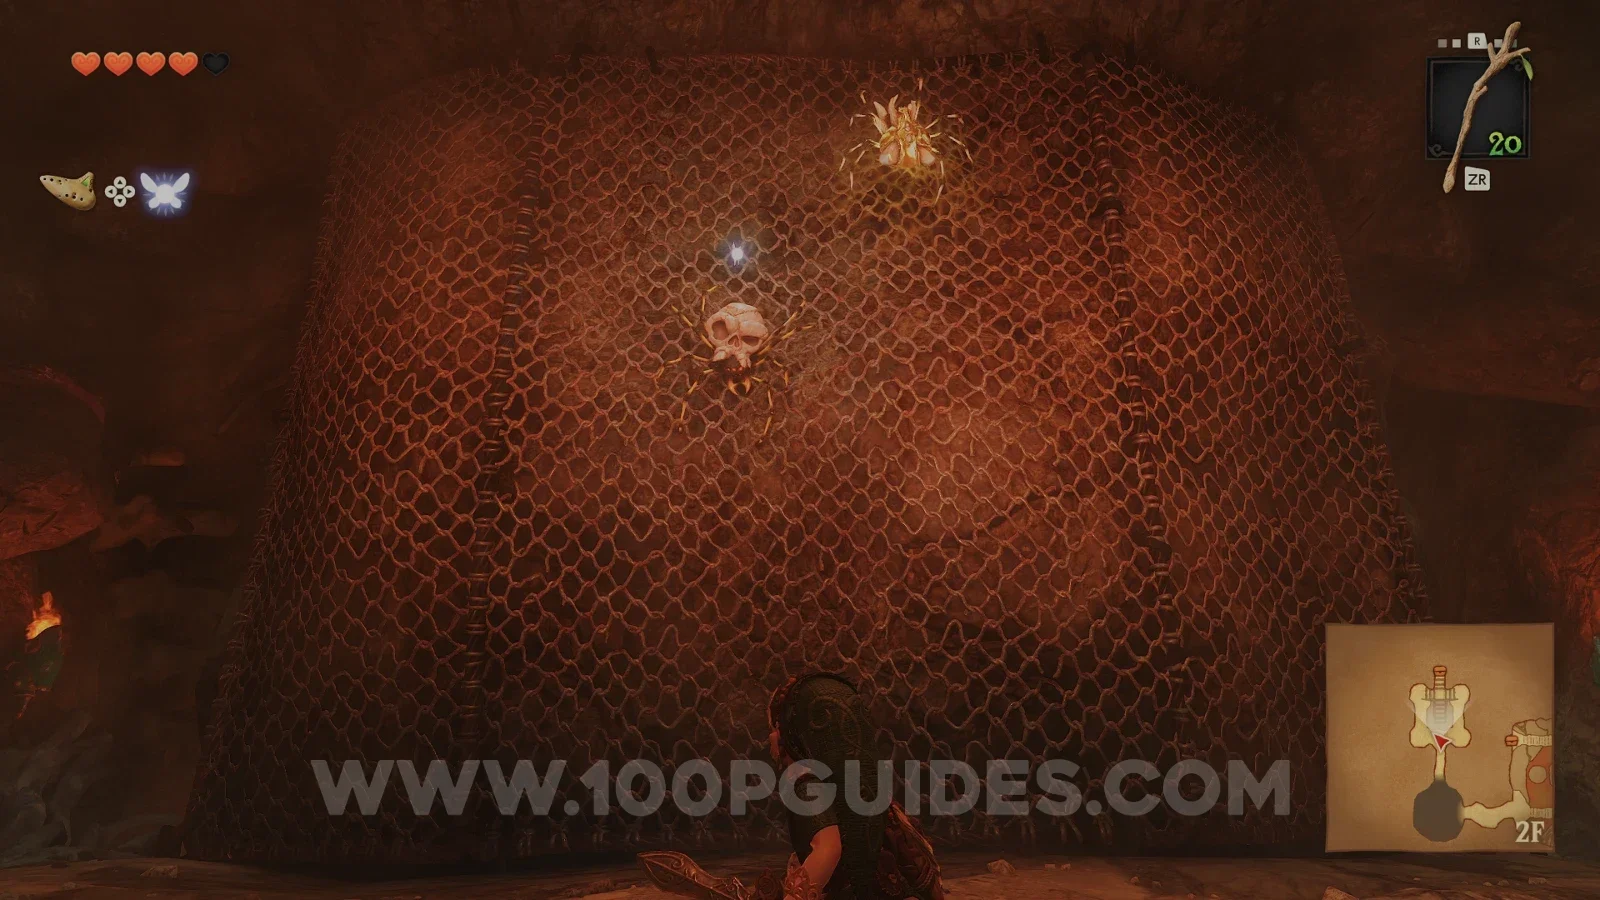
Climb the metal stairs and then turn around and go up the slope on either side. Before heading through the next door, turn around to find another Gold Skulltula (21/100) on the netting.
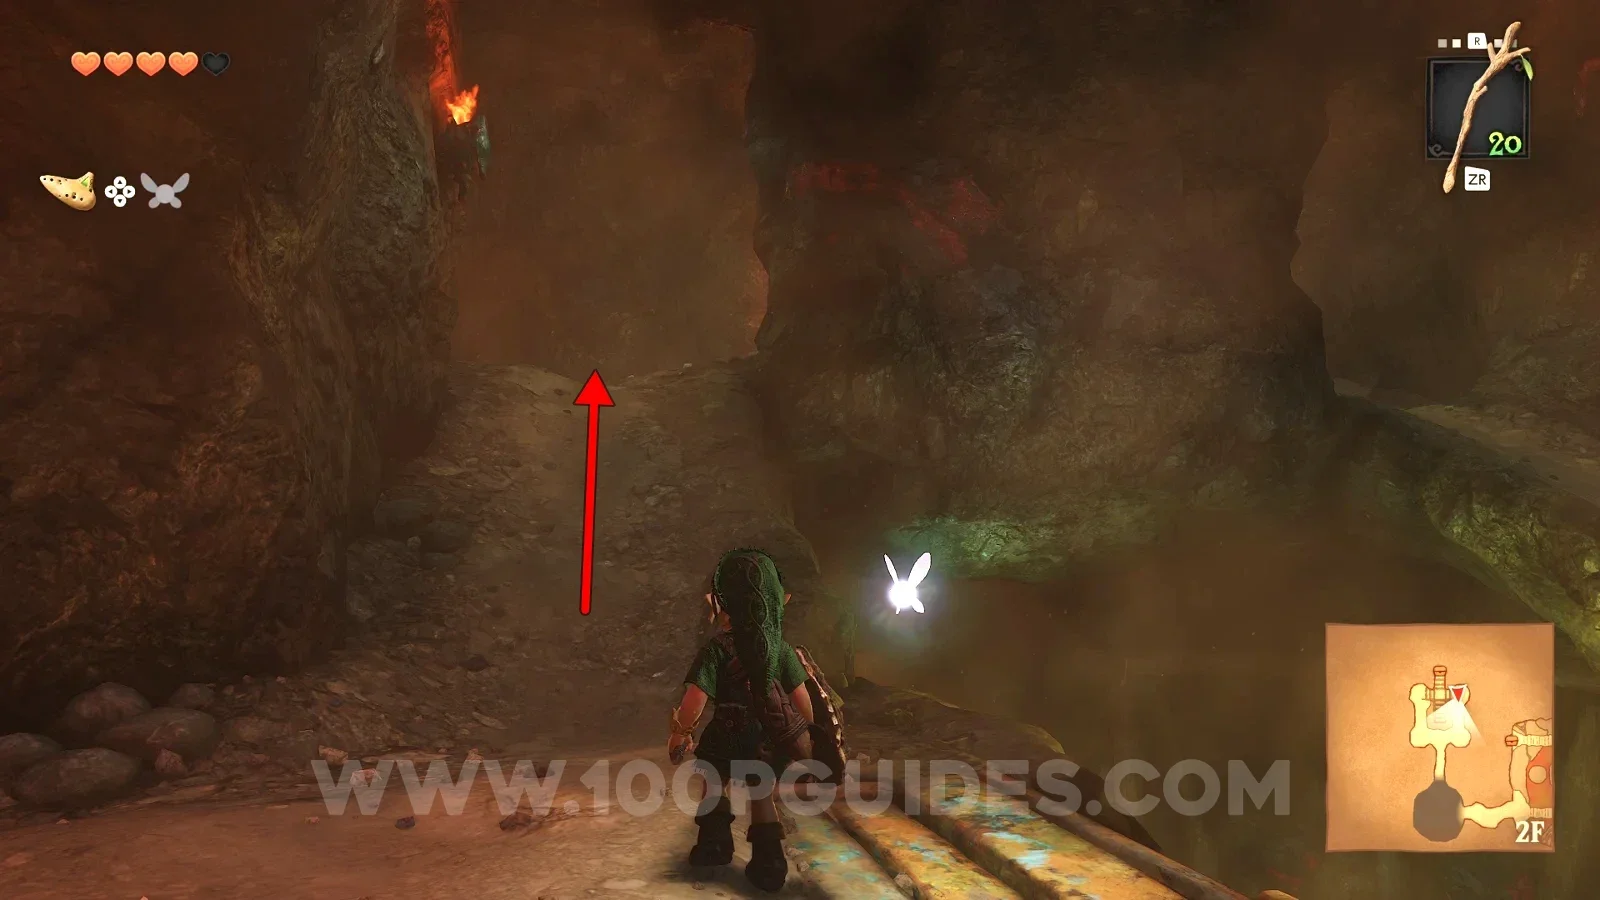
In the next room, pull the southern statue away from the central platform, then climb the ladder and press the switch to open the door to the next room.
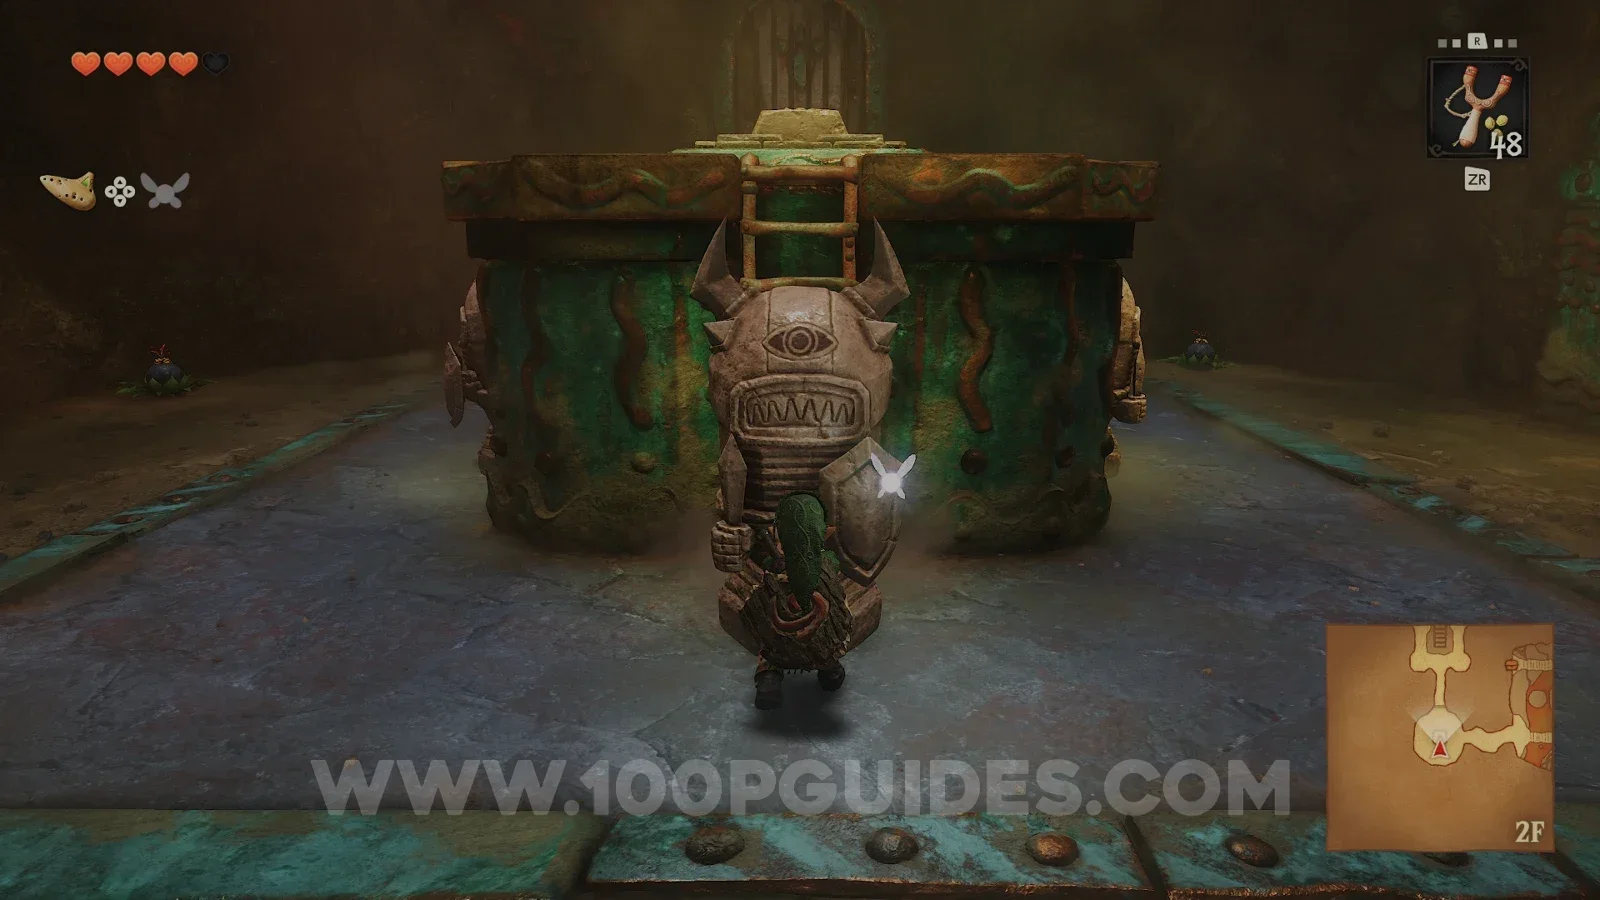
Go through the door to emerge back into the central room, but this time on 2F.
Cross over the bridge (watch out for the holes) and enter the room to the east. Watch out for the moving spikes and use the block in the southeast corner of the room to climb to the chest on the platforms. It contains a few Deku Seeds.
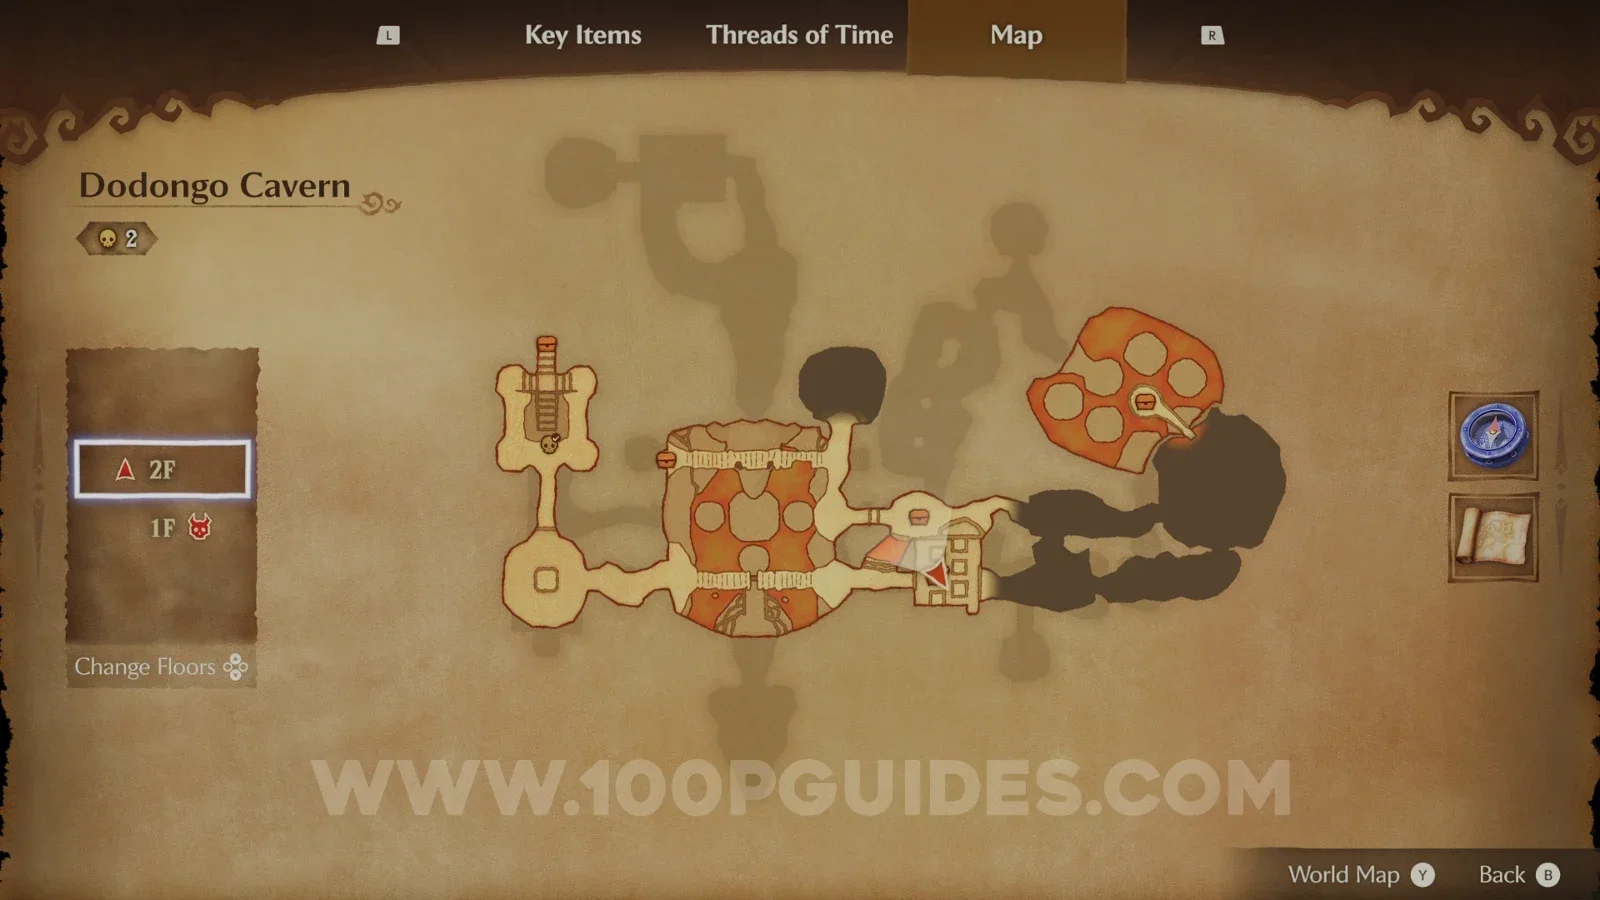
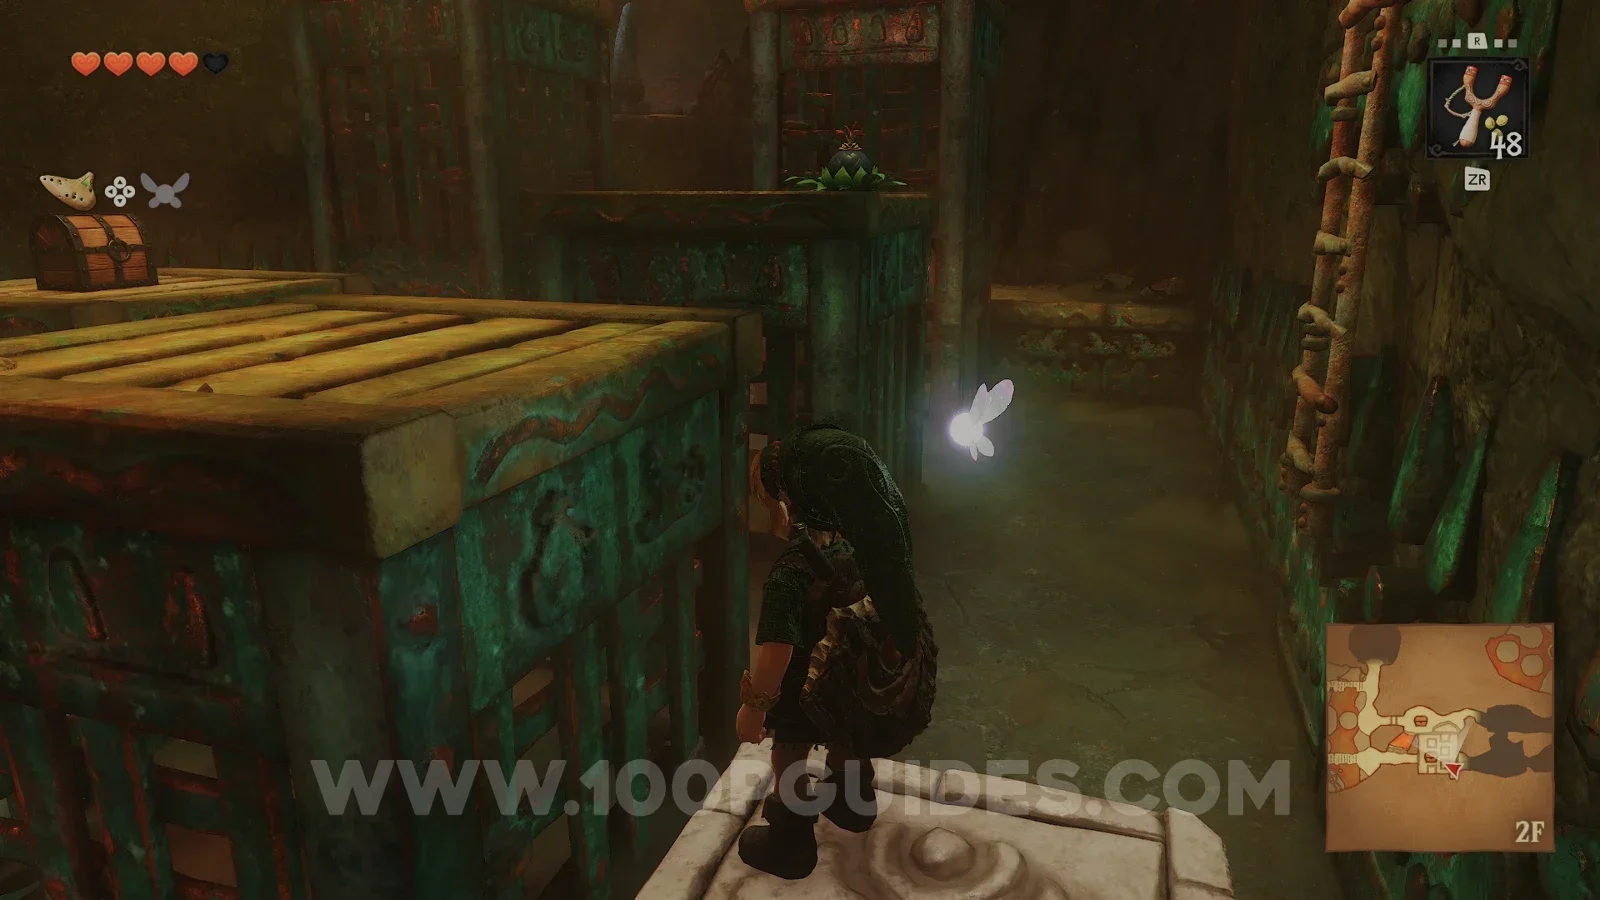
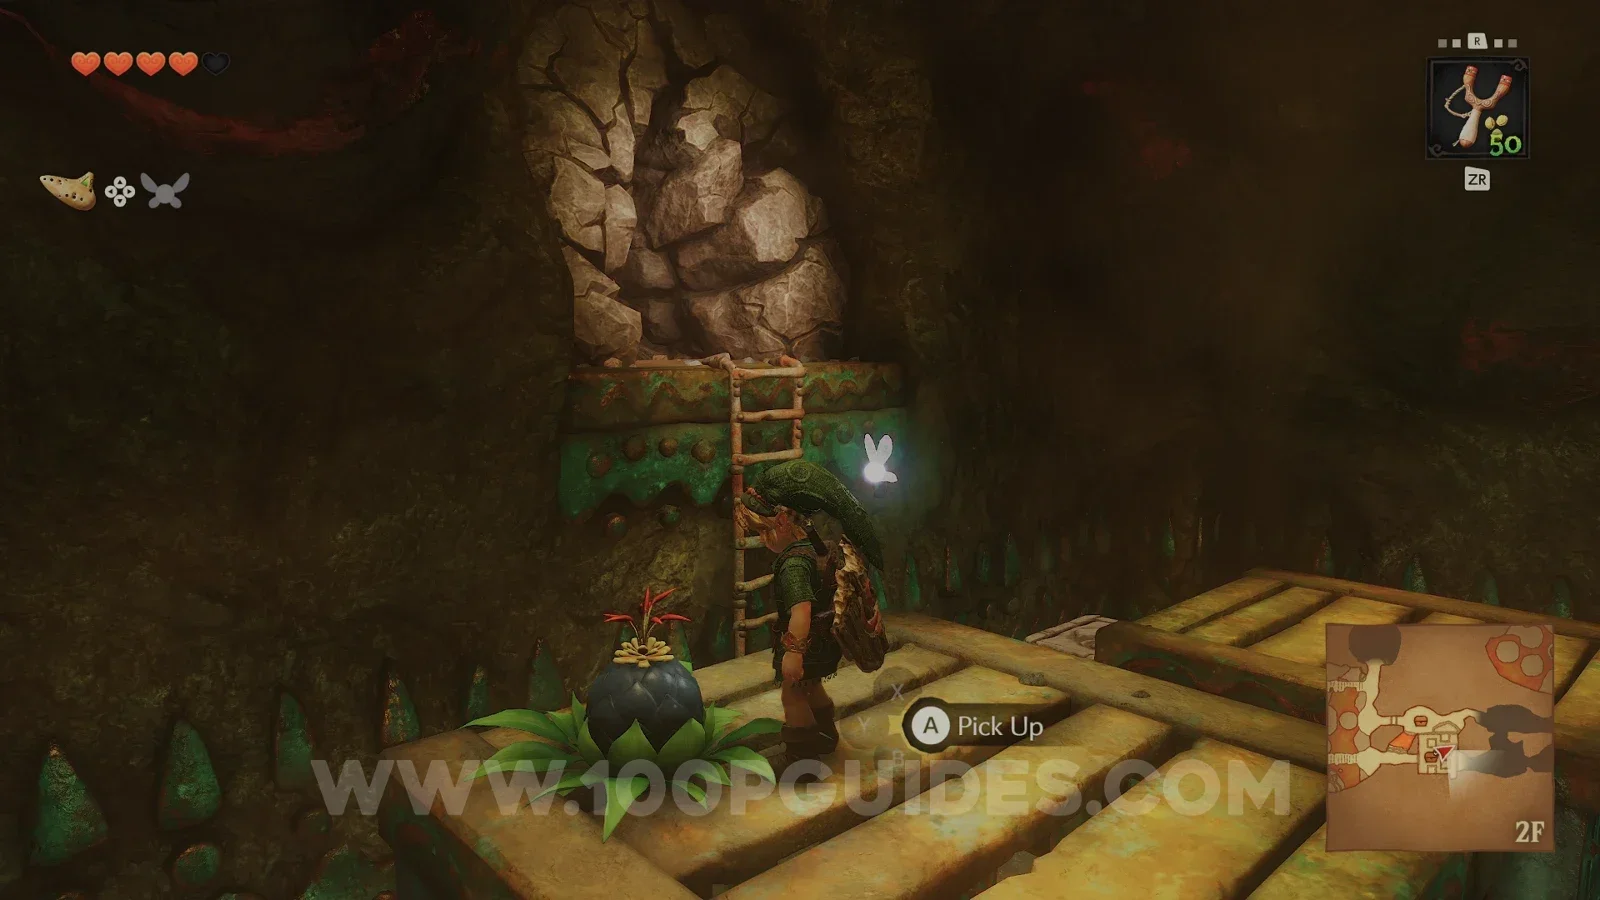
Next, use the bomb flower on the slightly higher platform and throw it at the cracked rock blocking the eastern exit. Then use the block to climb the ladder and continue east by hitting the eye above the door with your slingshot.
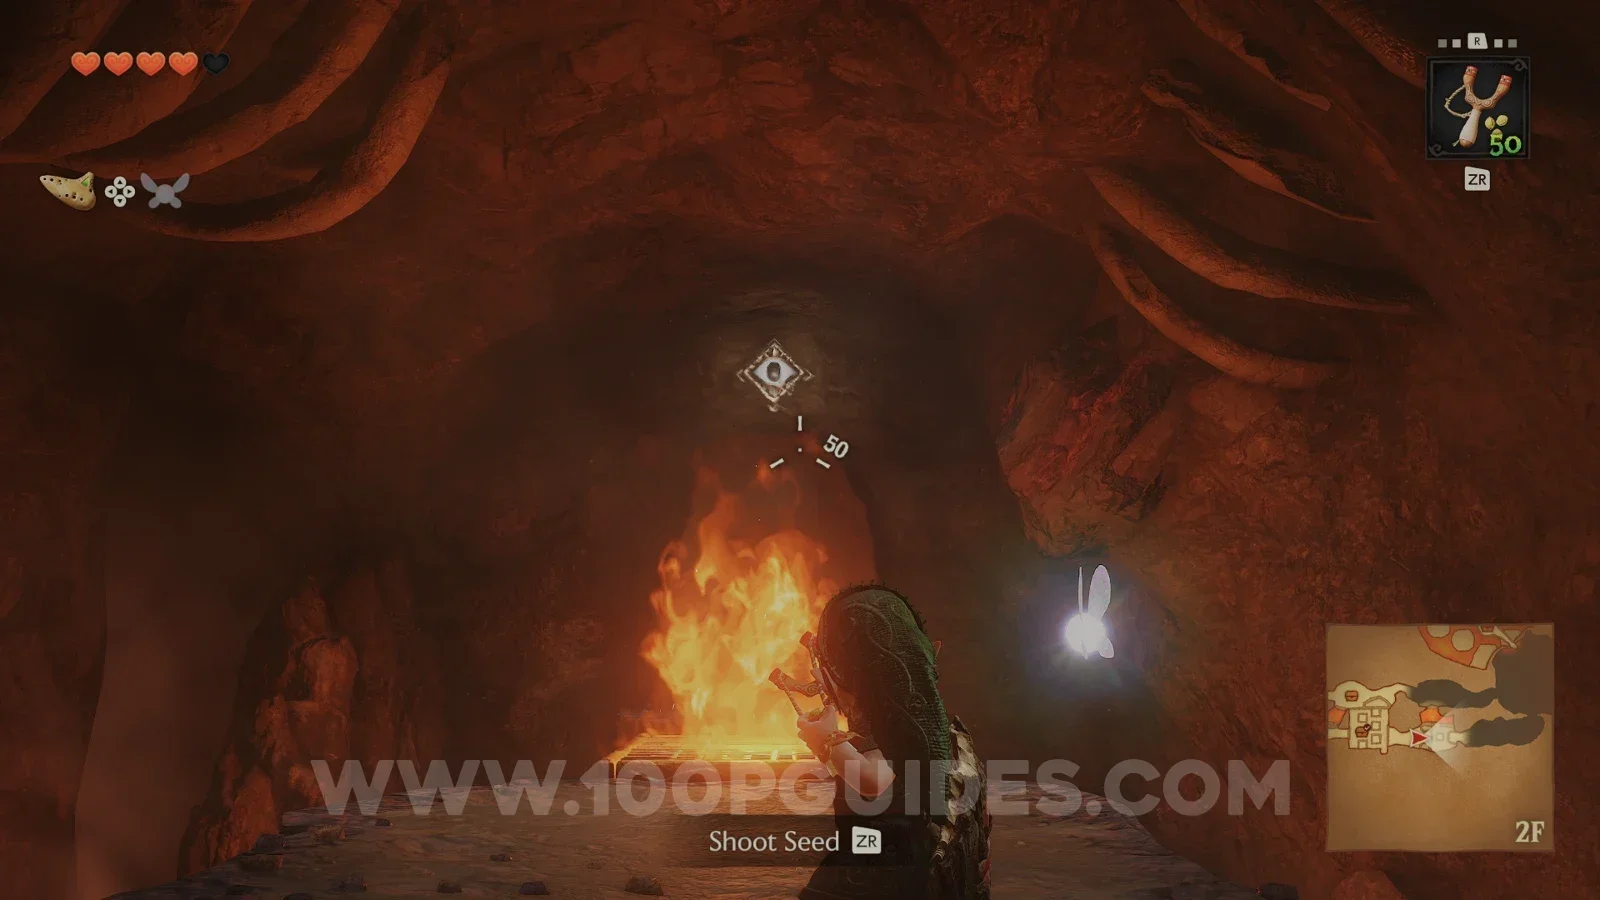
After going through a room filled with lava, you will reach another large room where you have to defeat another two lizard enemies. Defeat them and then open the small chest that appears to the north to get a Business Scrub Seed. This is a new item in the remake, and it can be used to summon a Business Scrub shop to your location at any time if you are short of potions, seeds, etc.
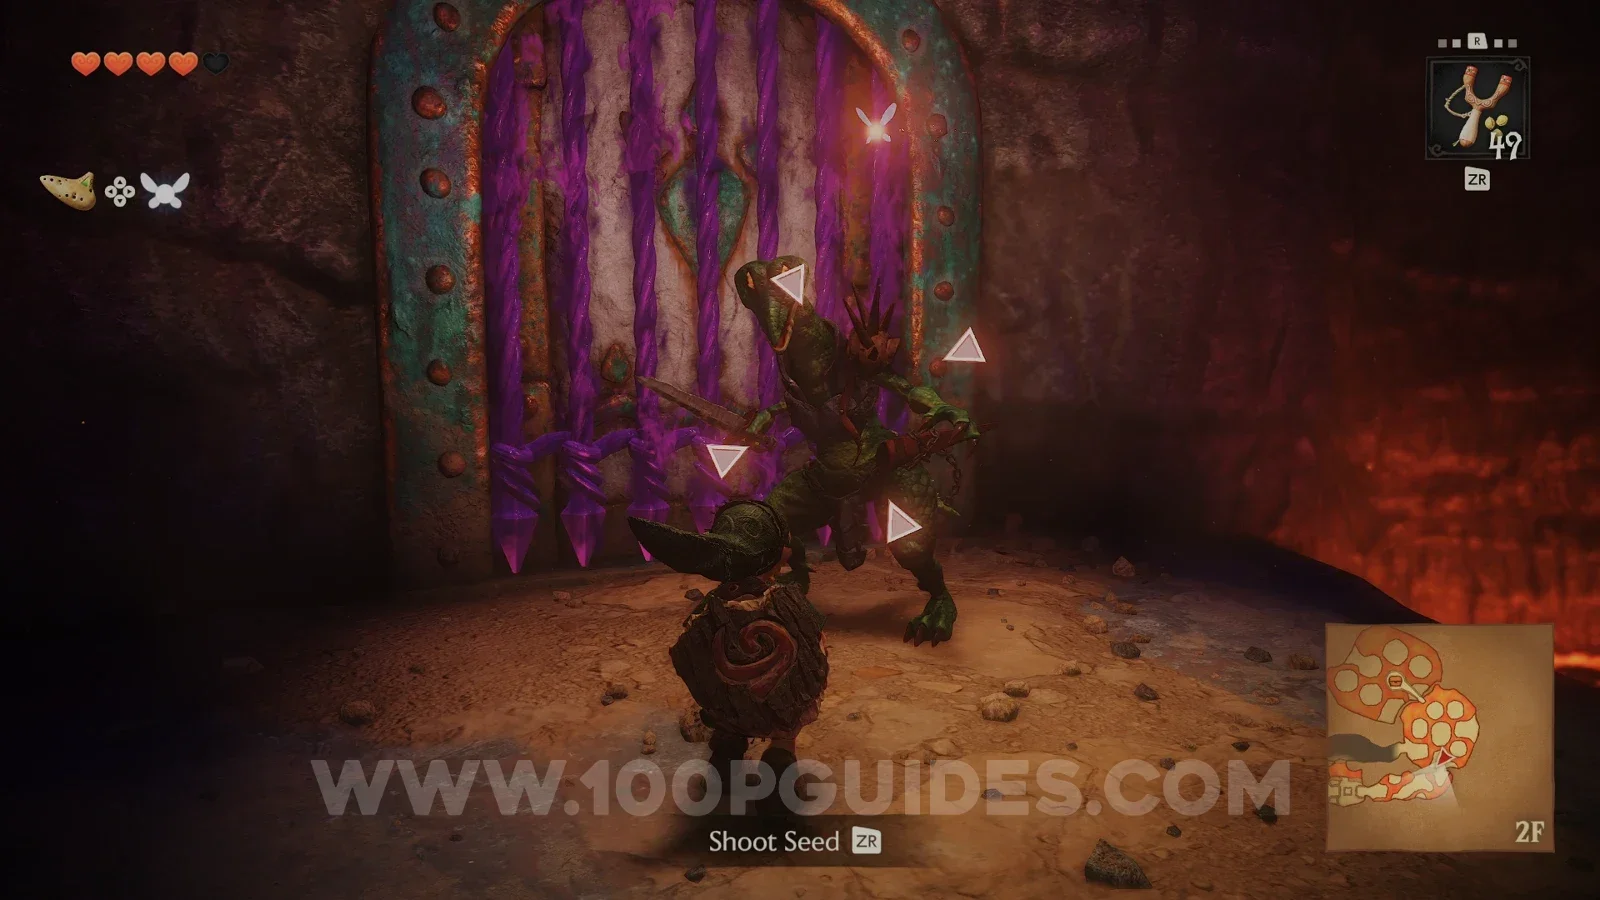
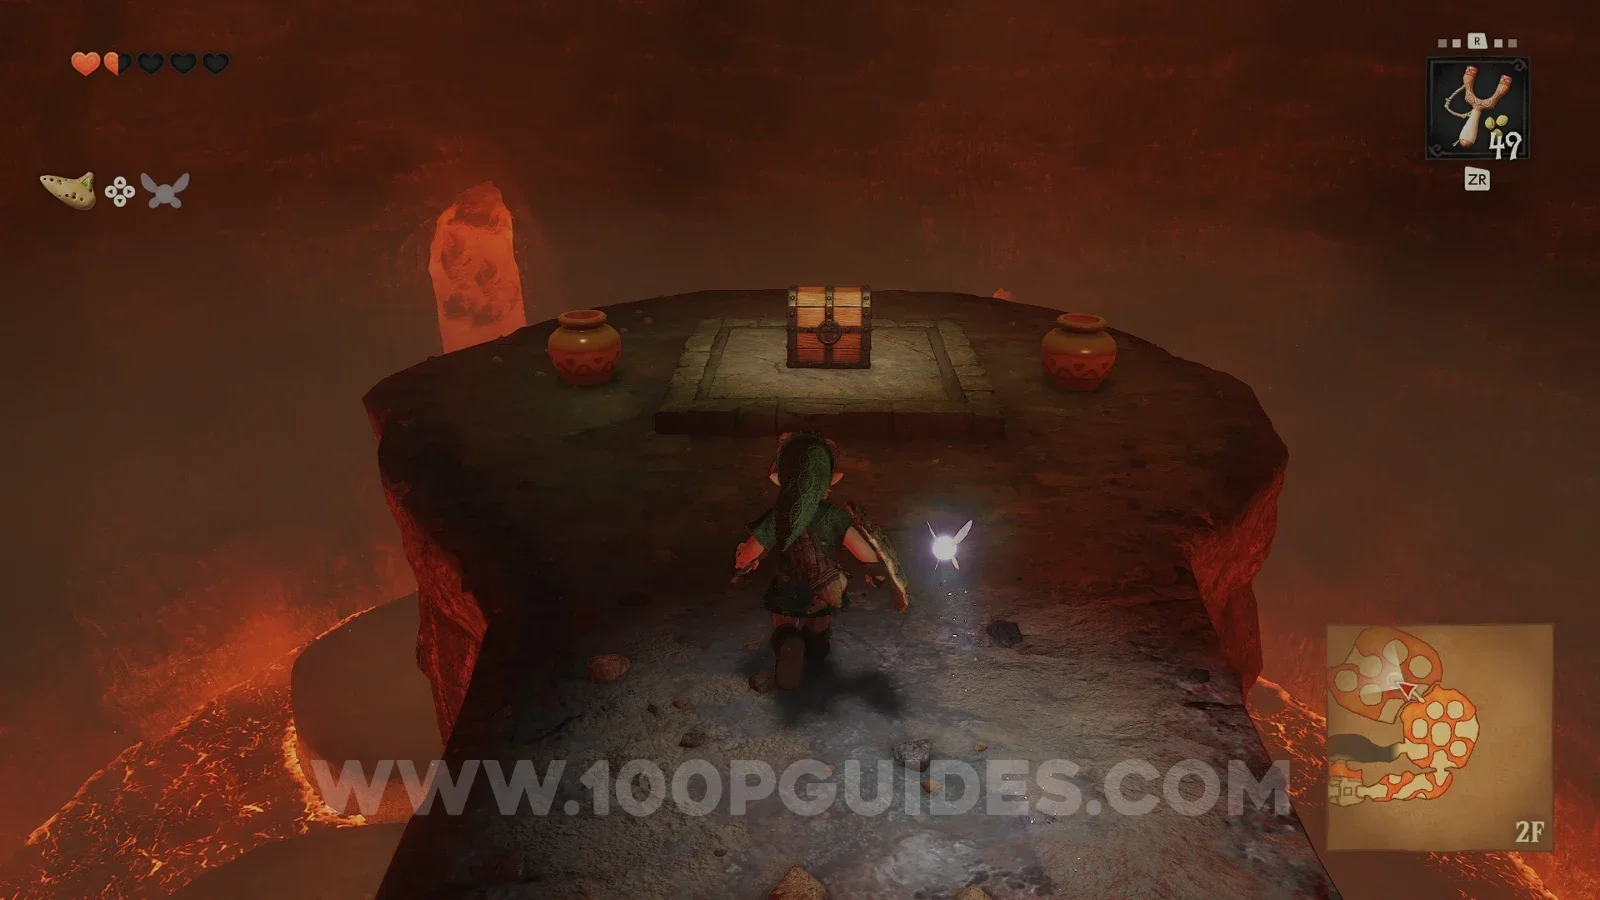
Now continue through the door to the west of the room where the two lizard enemies attacked you. Then in the next room, shoot the eye above the door, jump to the first platform, look left and shoot the next eye, then continue west to find a large chest containing the Bombs.
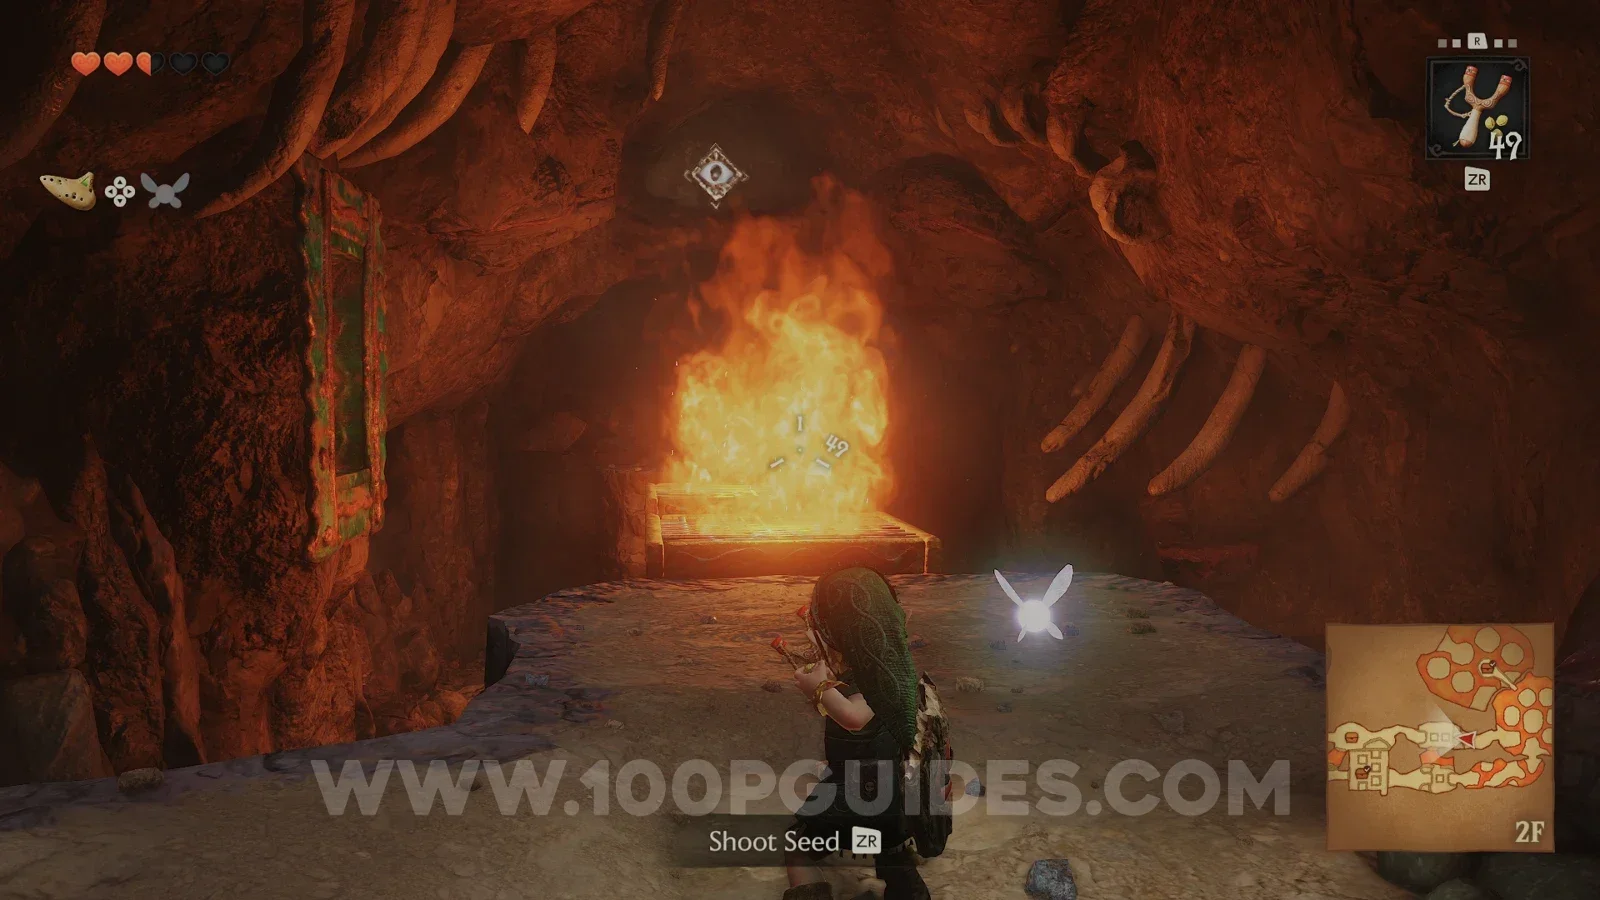
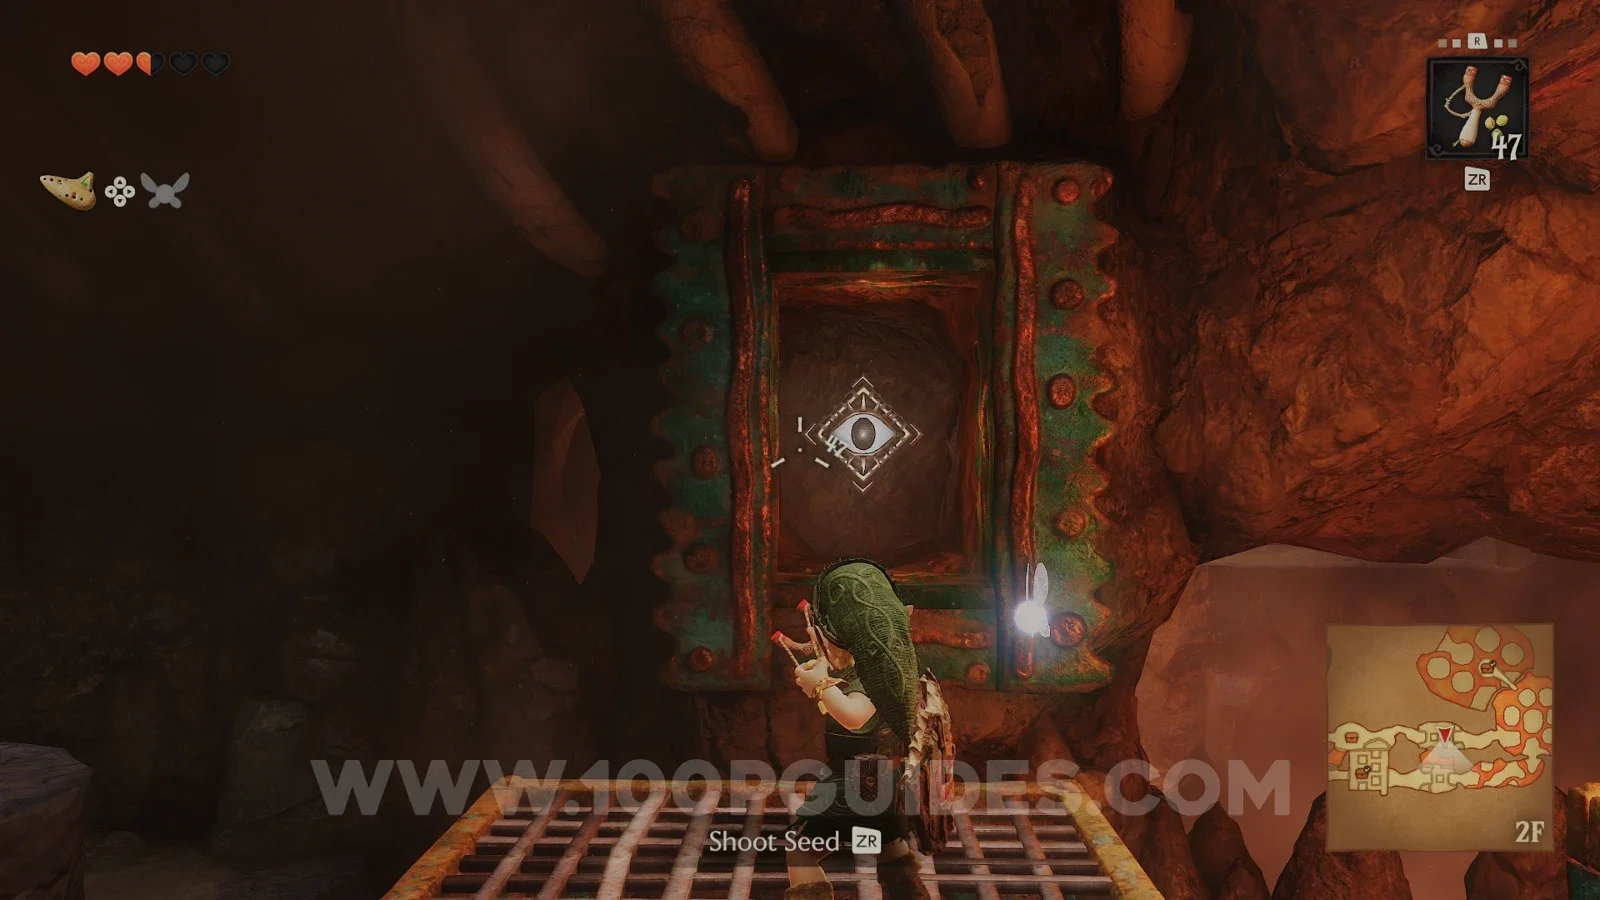
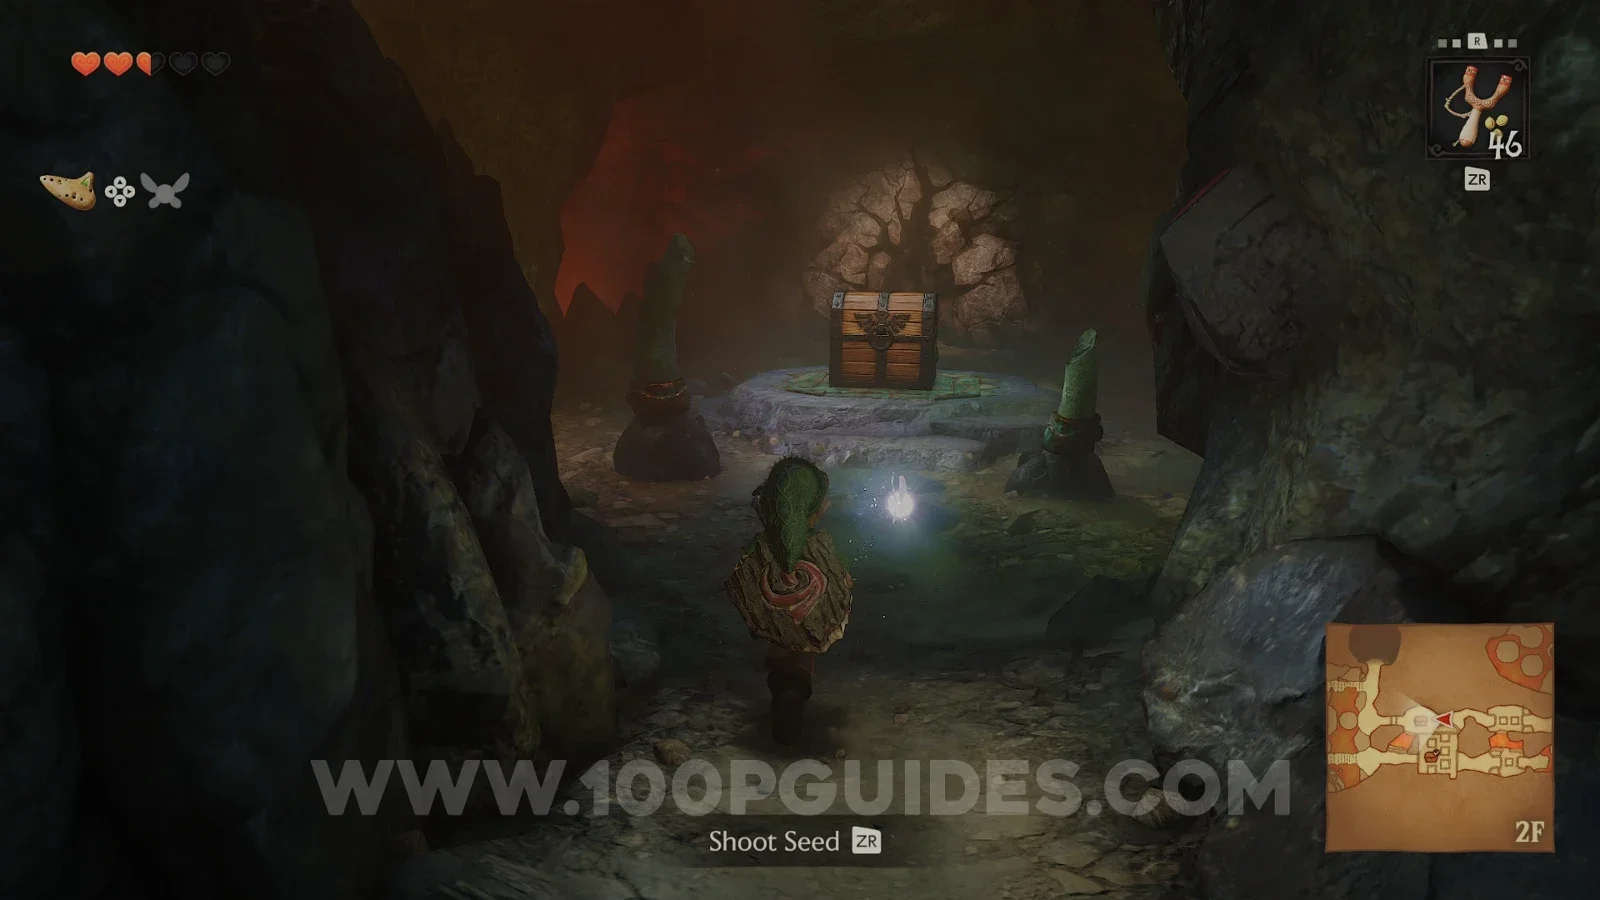
Now that you can freely use bombs, use one to destroy the wall behind the chest and continue west. Here, press the switch so that the platform in the central room moves up and down, allowing you to quickly reach the top floor from the bottom whenever you want.
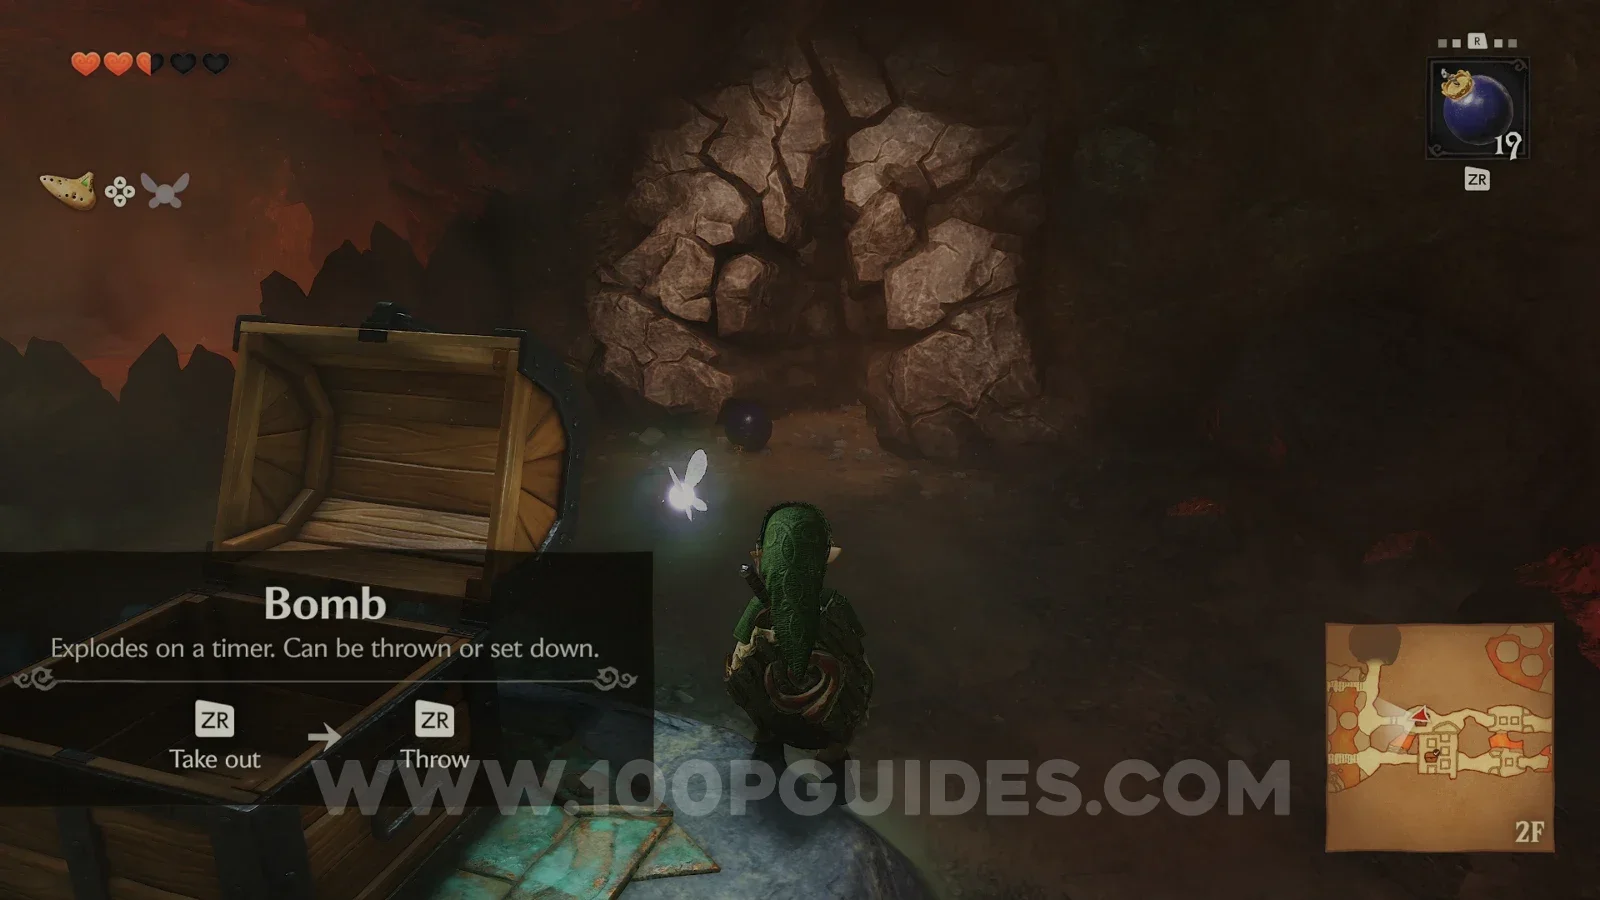
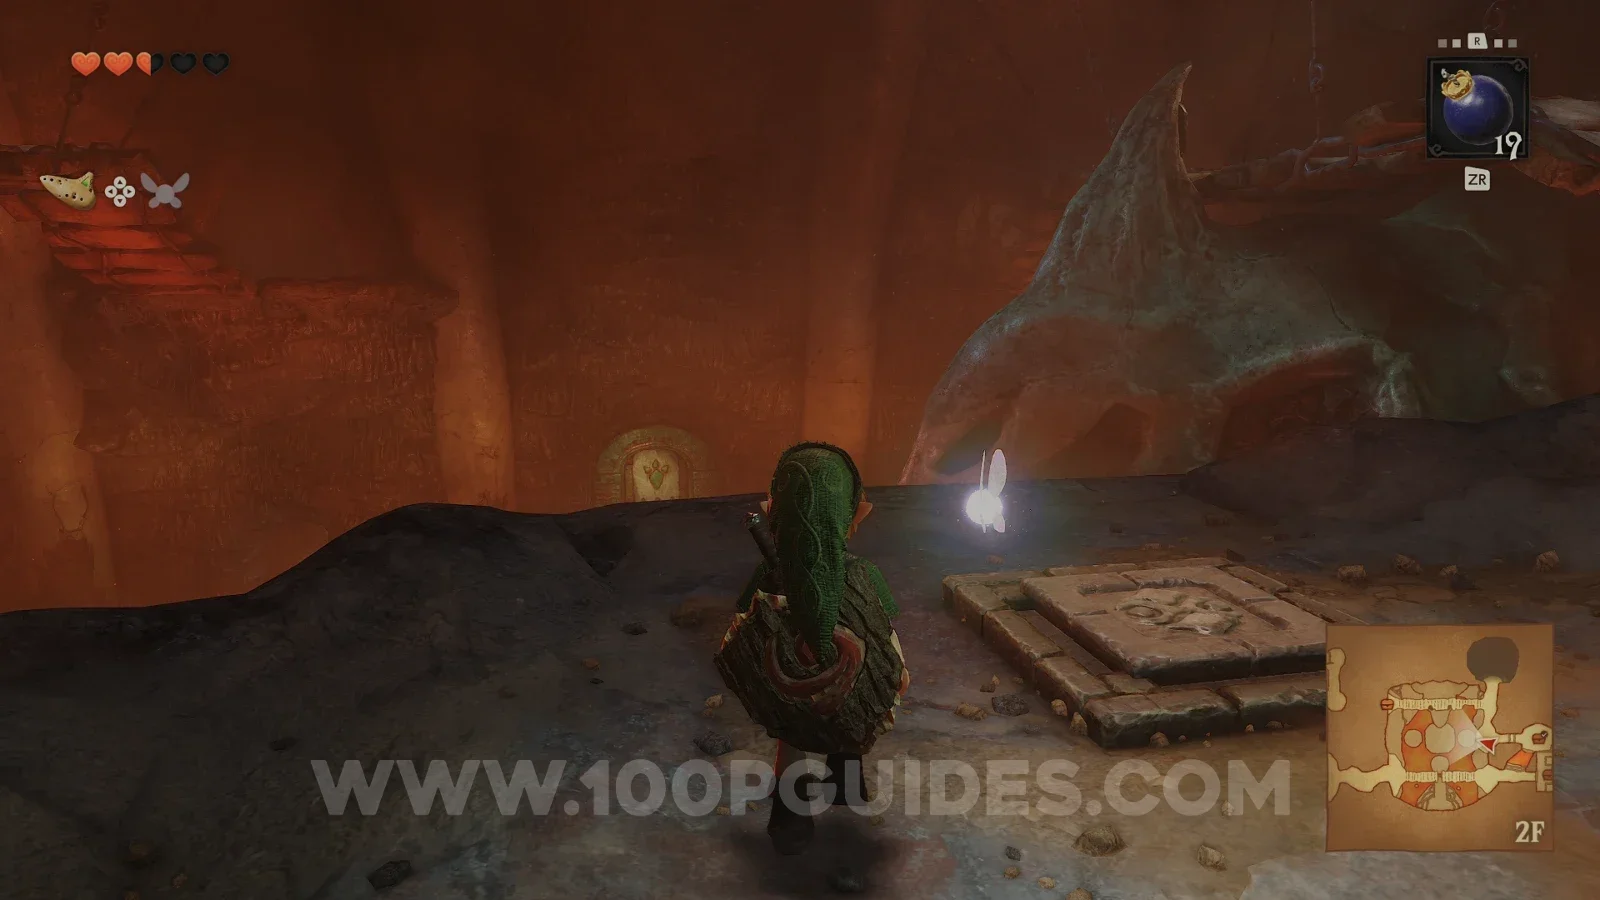
From the switch, turn right and use a bomb to blow up the cracked rock. In the room behind it you will find a Gold Skulltula (22/100) on the back of the rock next to the lizard enemies.
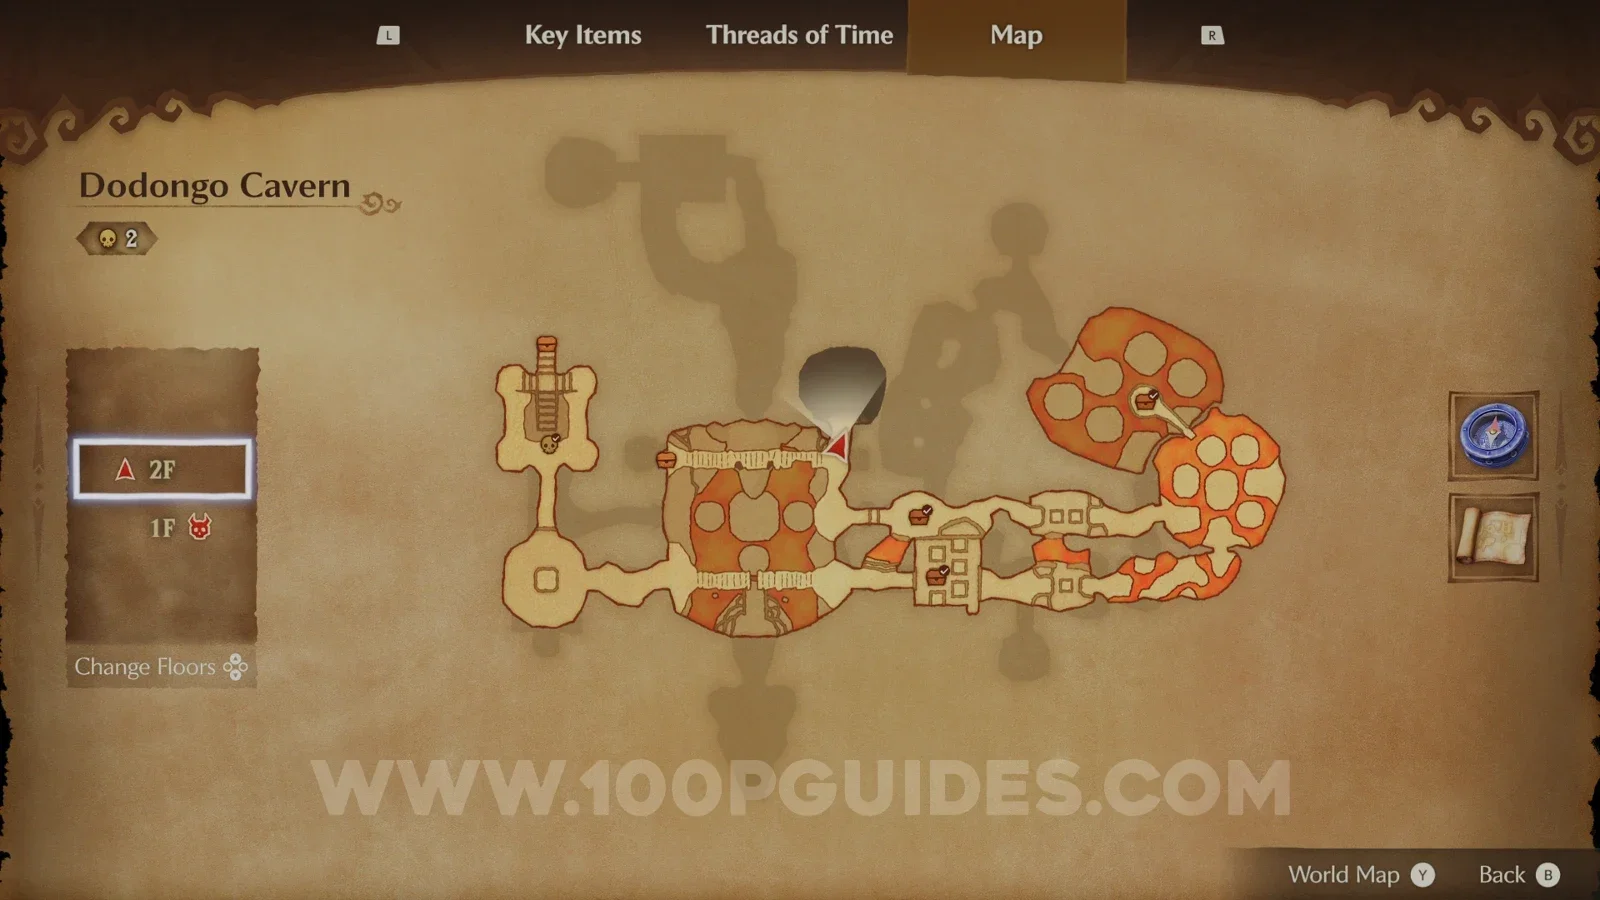
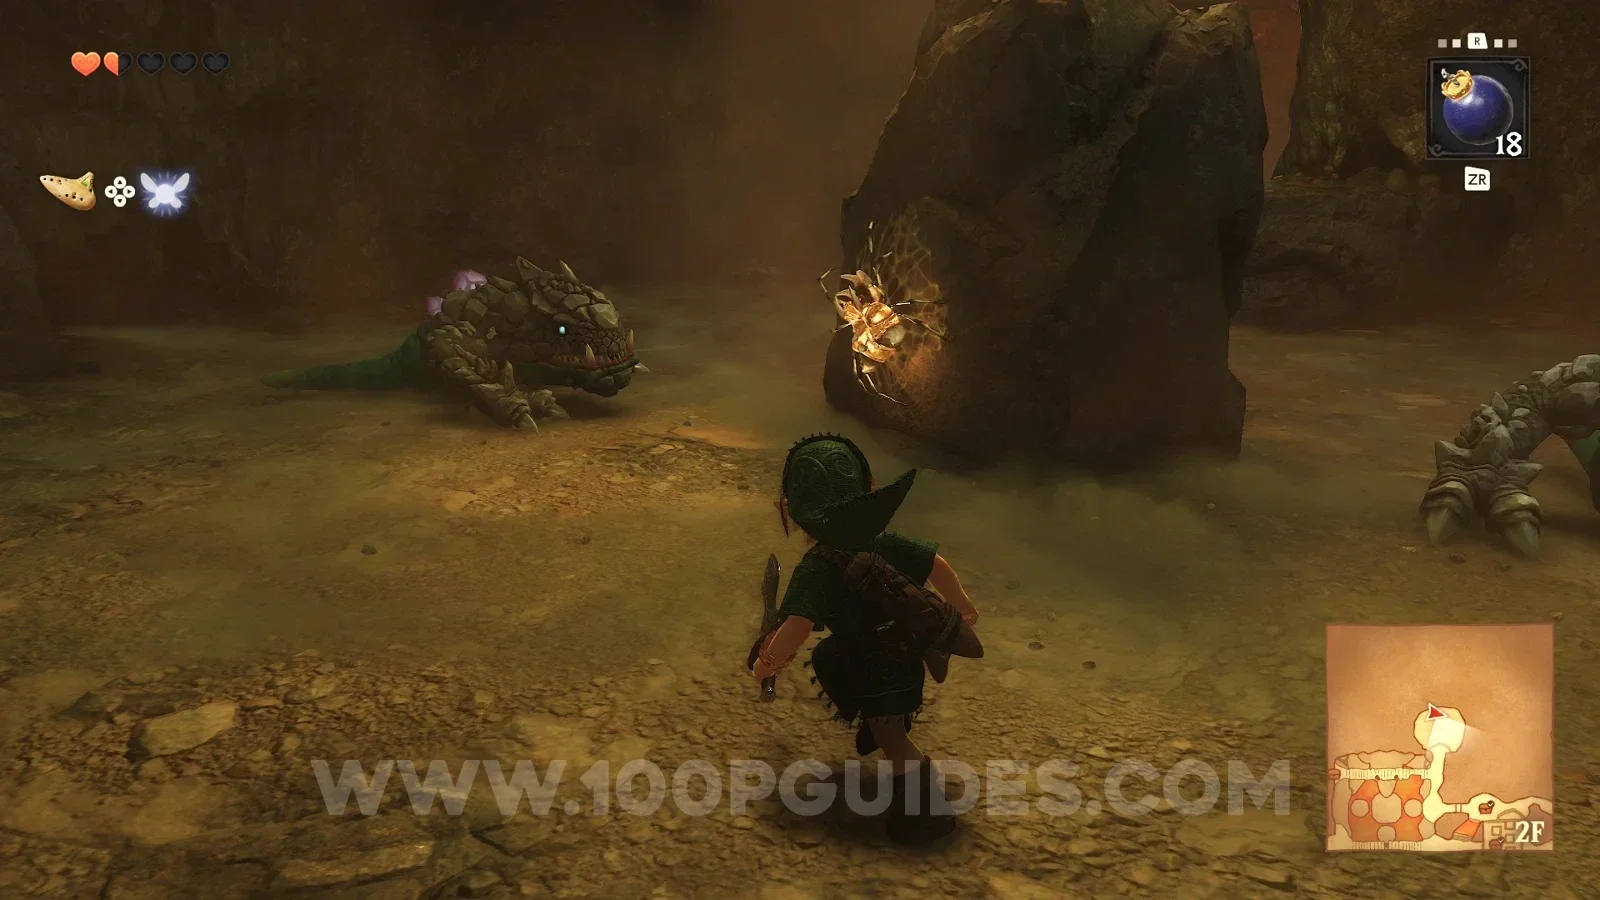
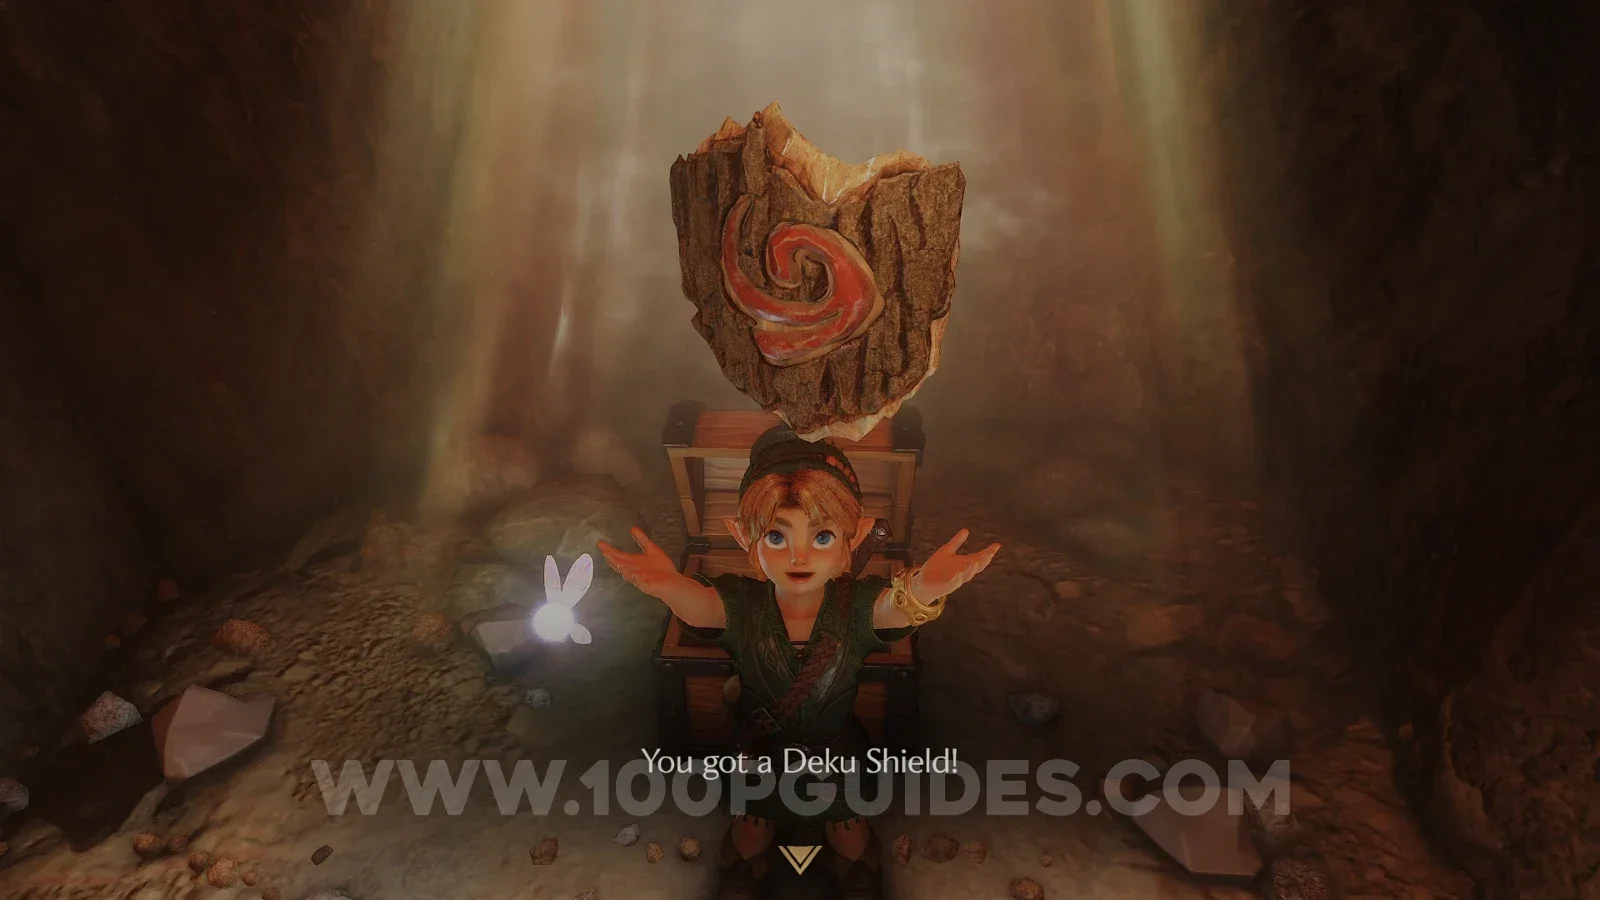
Return to the central area and cross the northern bridge. Destroy the cracked rock at the end and open the chest to find another Deku Shield (useful if your previous one burned up).
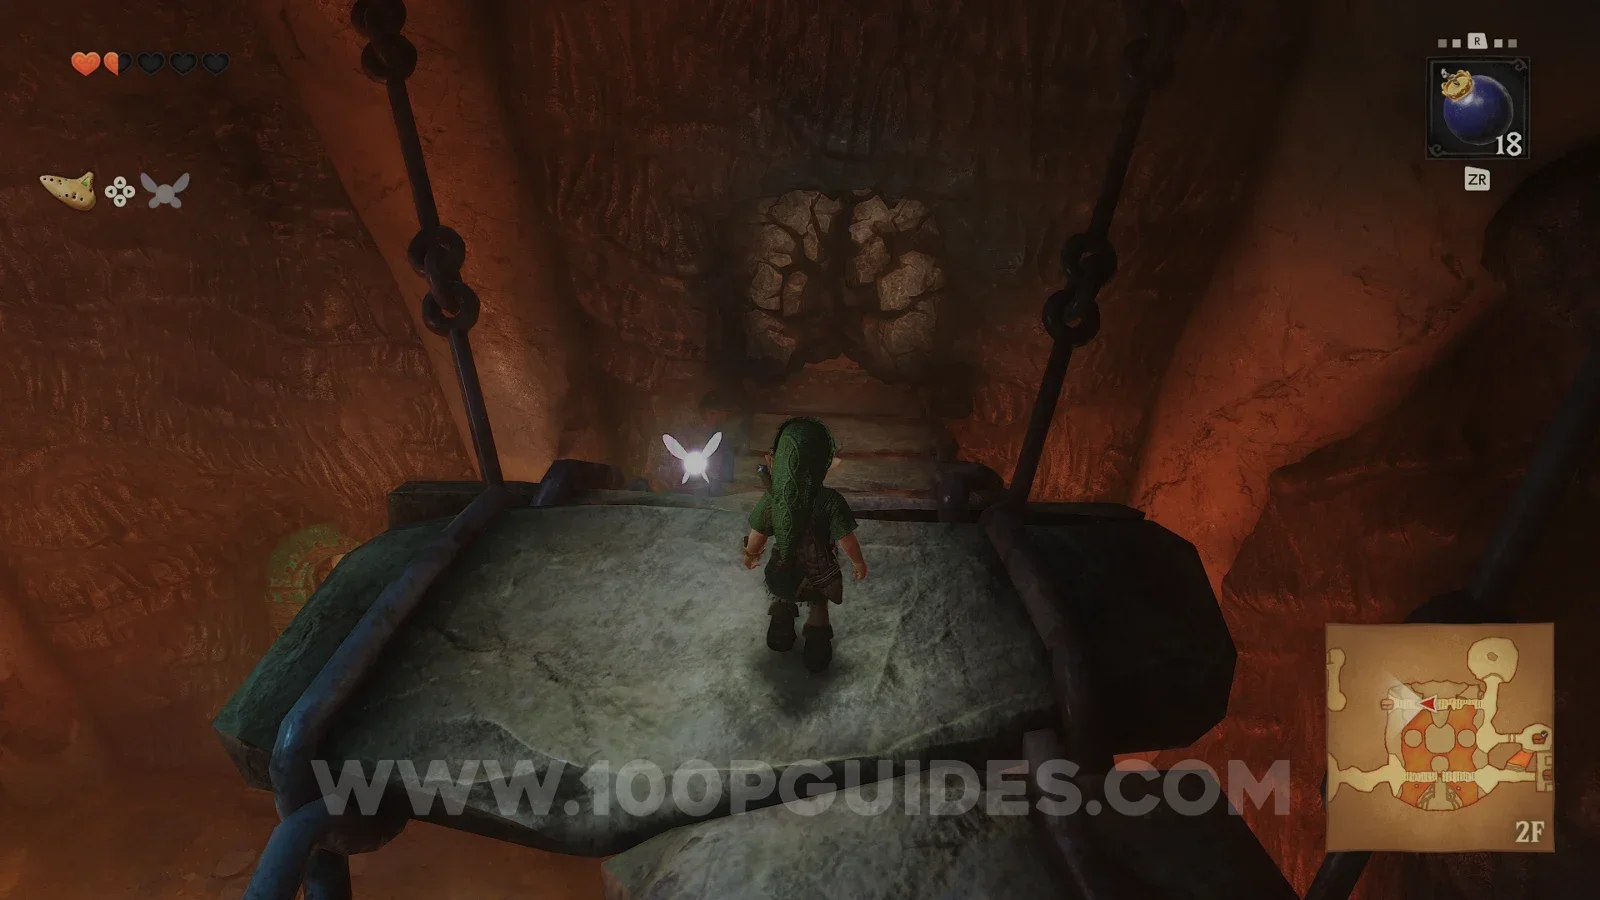
Next, look for two holes in the northern bridge above the massive skull in the central room. Drop a bomb through each hole so that they explode in the eye holes. This will open the mouth of the skull, allowing you to reach the next area from the bottom floor.
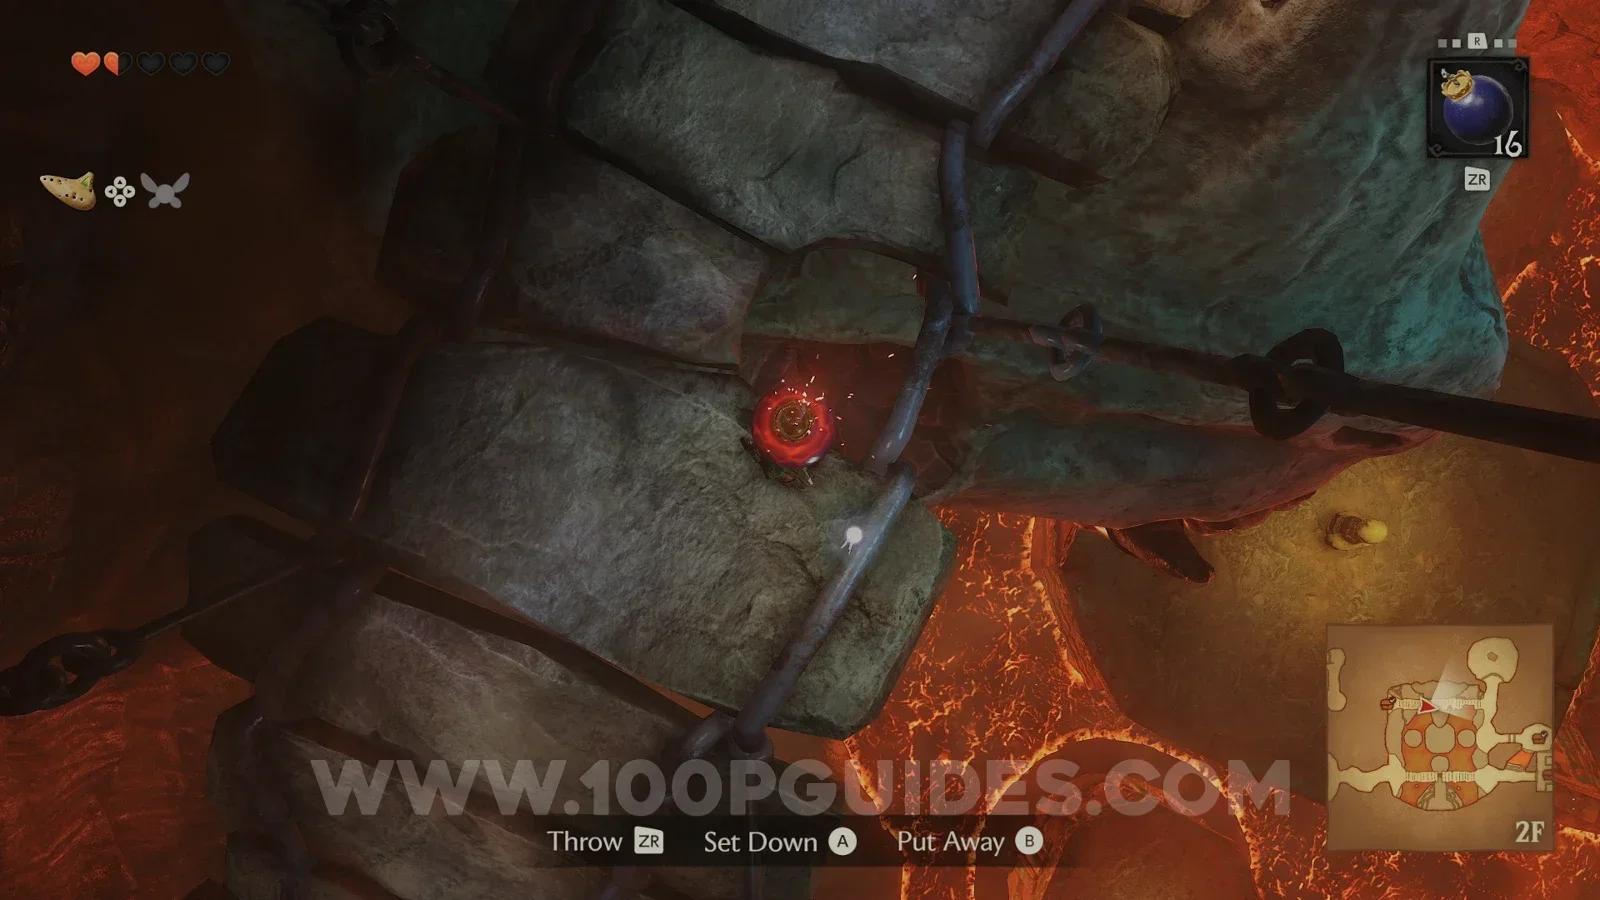
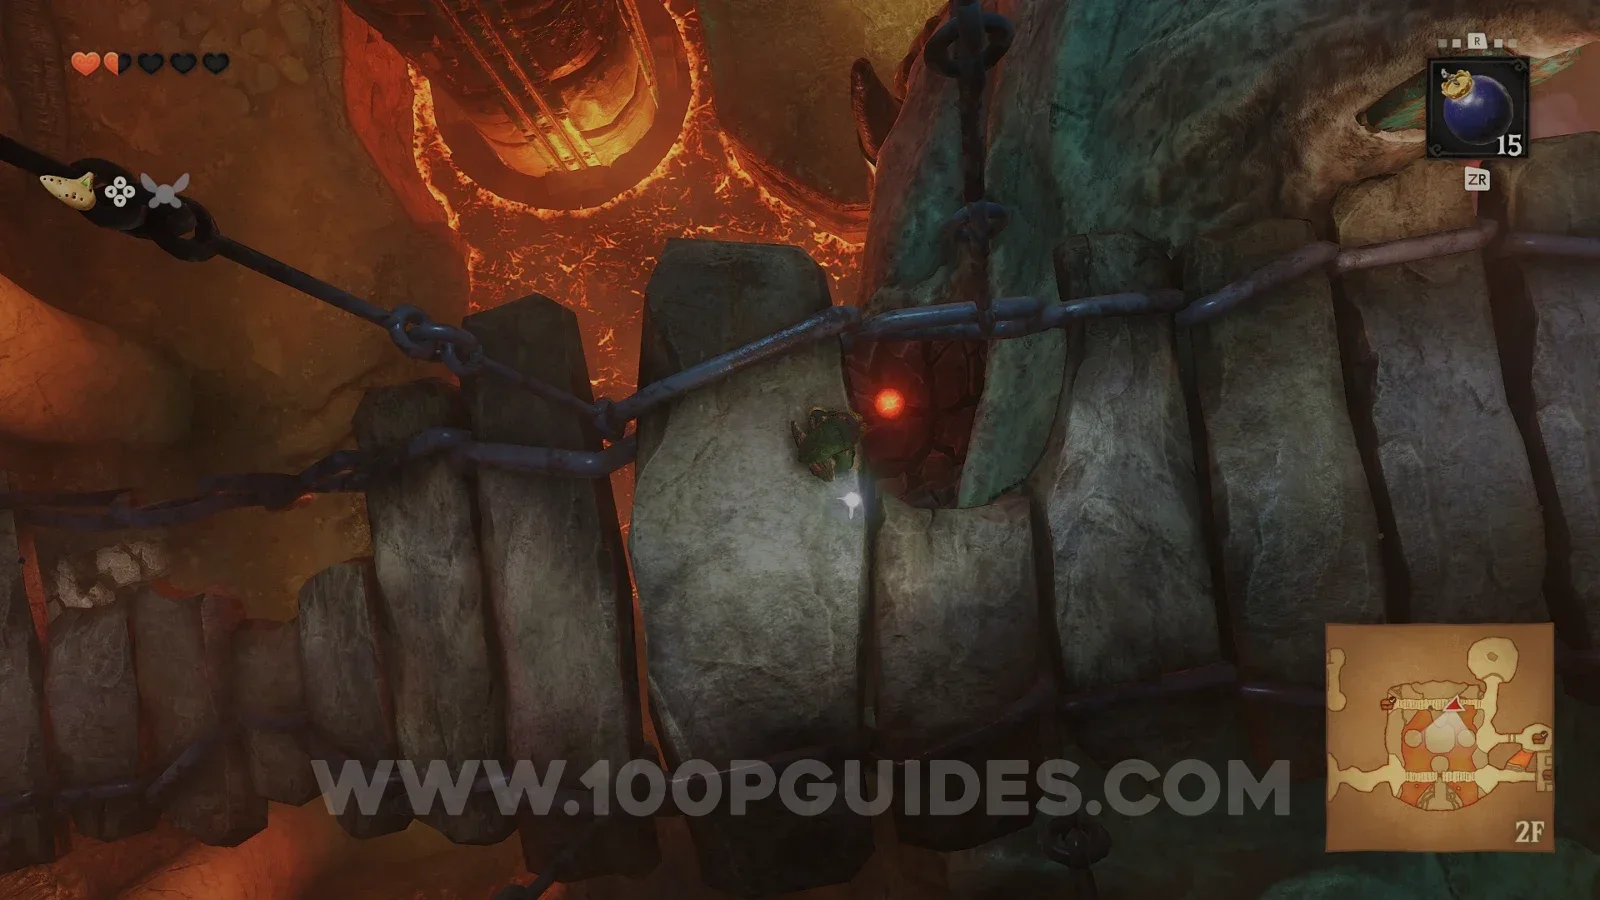
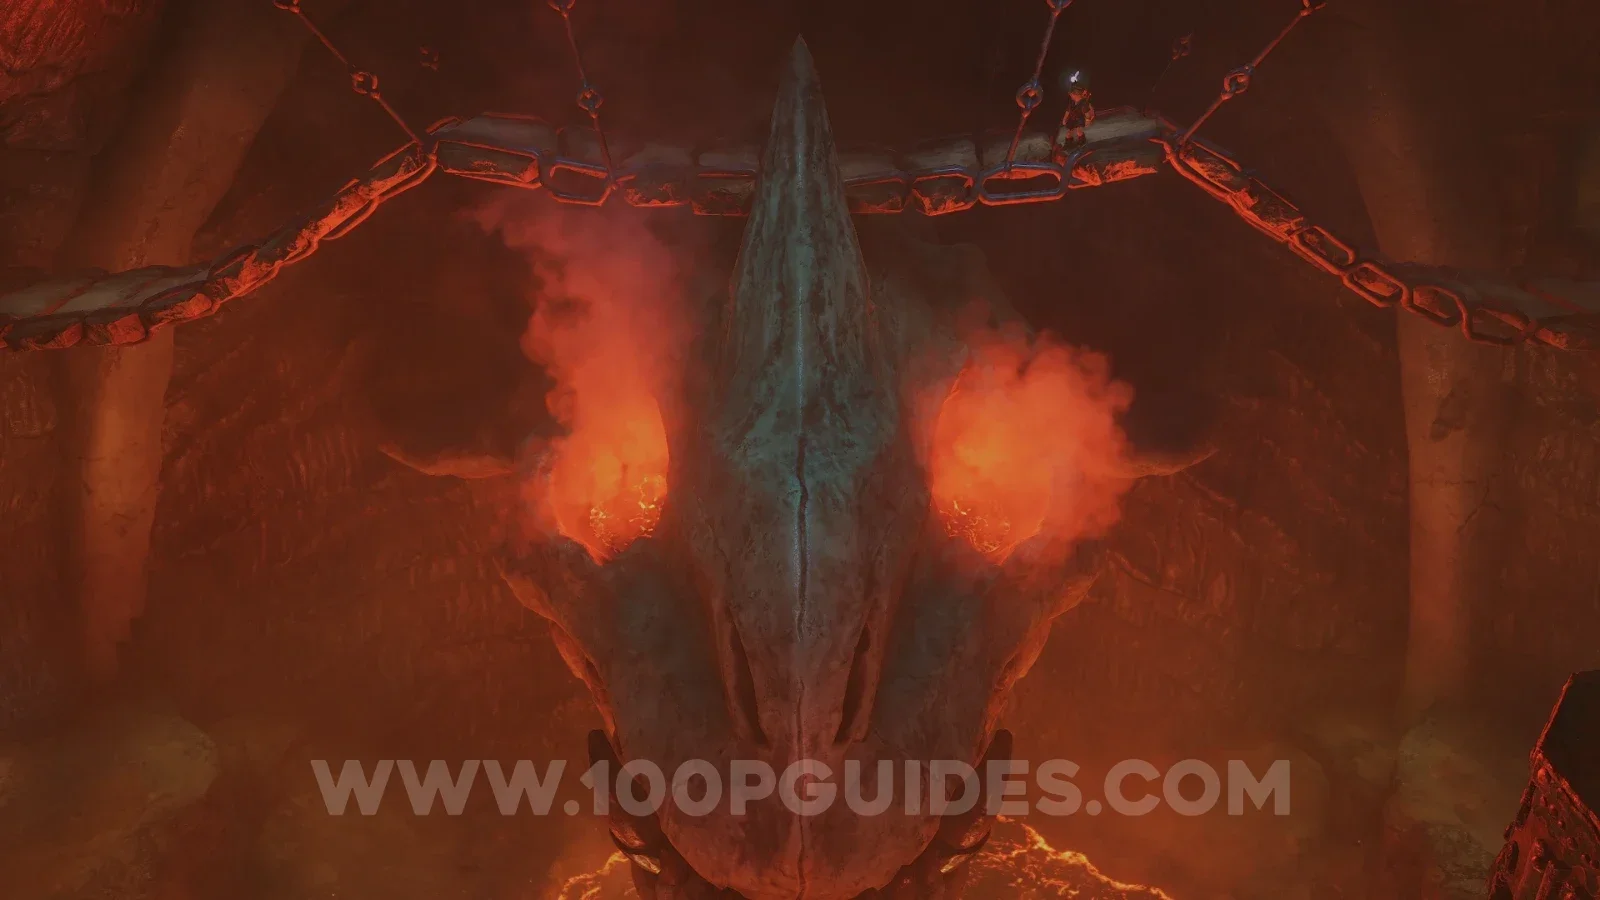
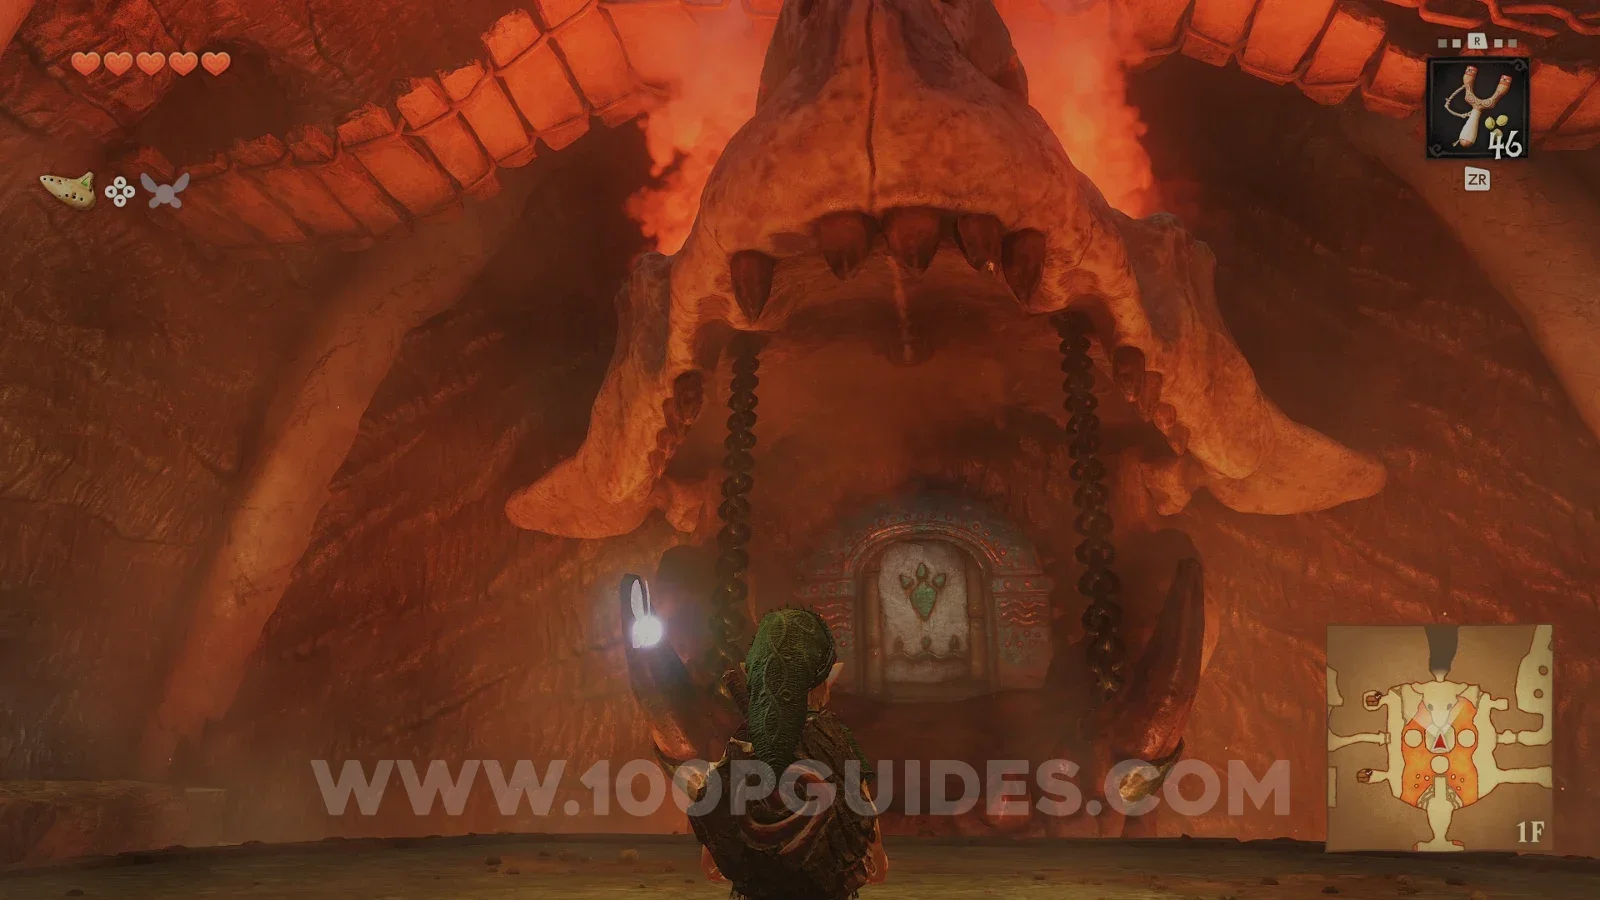
Ride the moving platform down to the bottom floor of the central area and go through the mouth of the skull. Then in the next area, push the block so that it's directly below the one on the higher ledge, allowing you to push that one down to the area below.
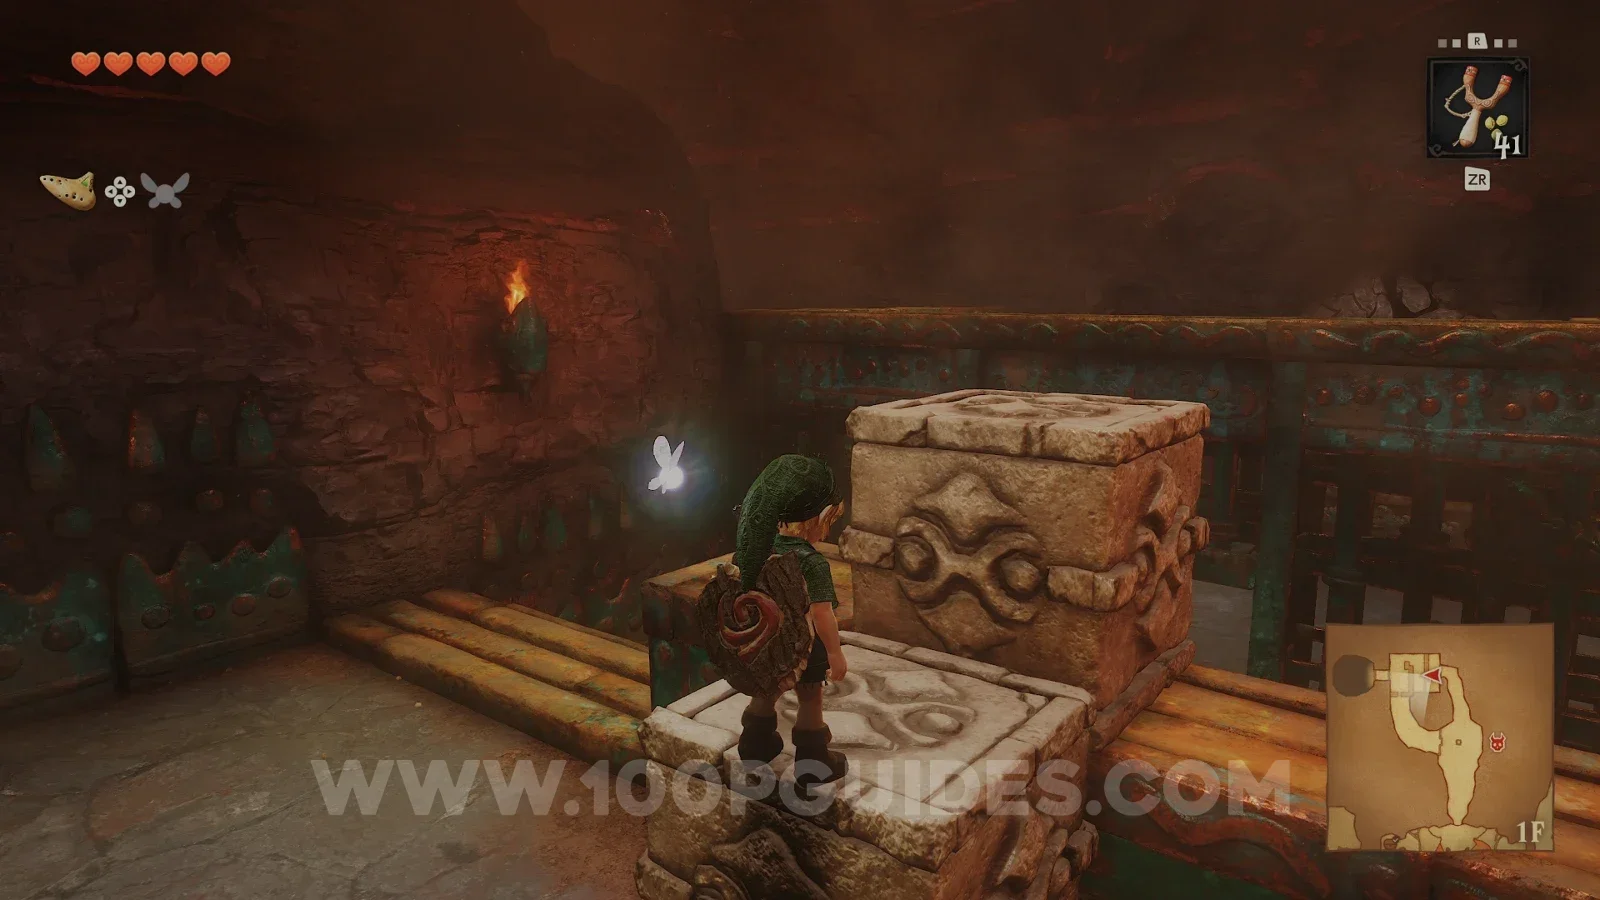
Next, push the block around the lower level up against the western cracked wall and then blow it up with a bomb. Go through to find a Gold Skulltula (23/100) behind a statue enemy you can blow up.
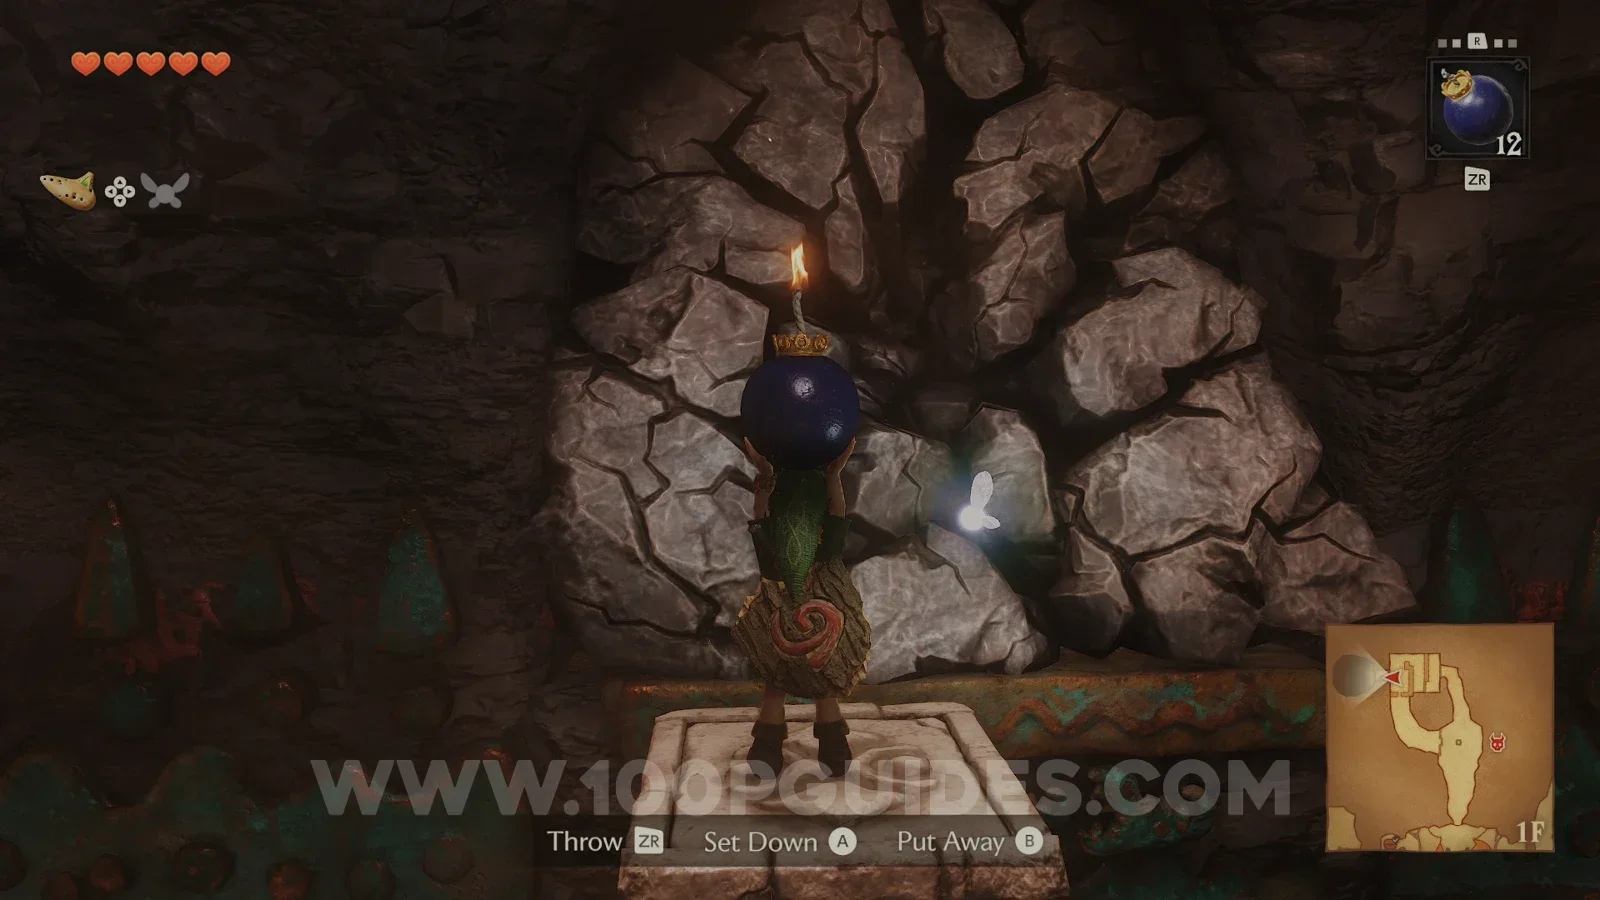
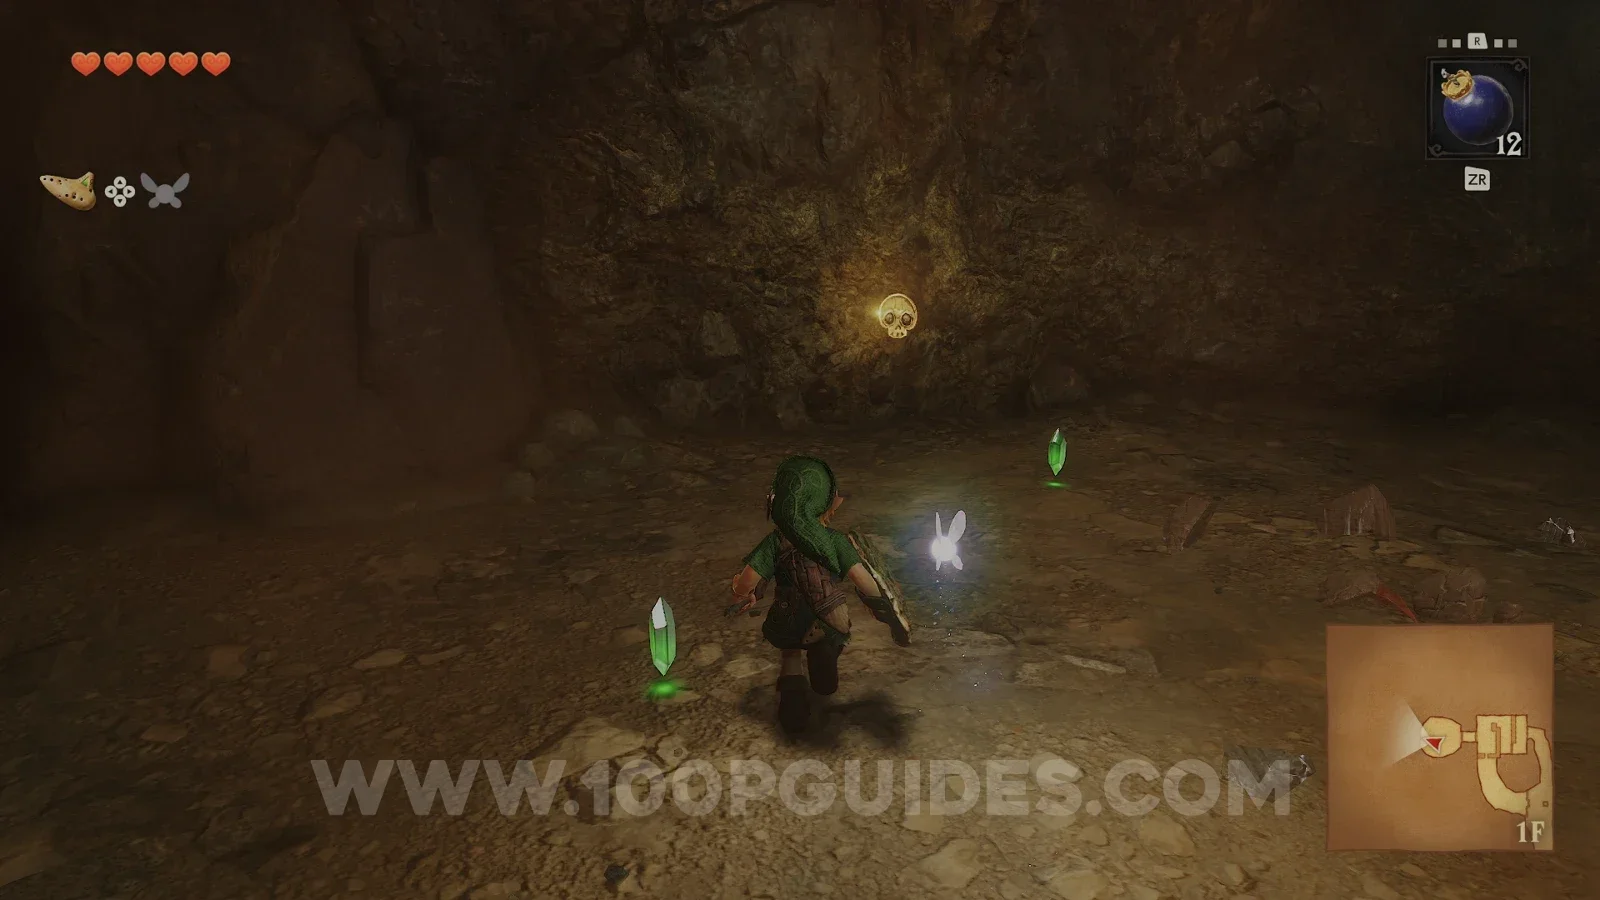
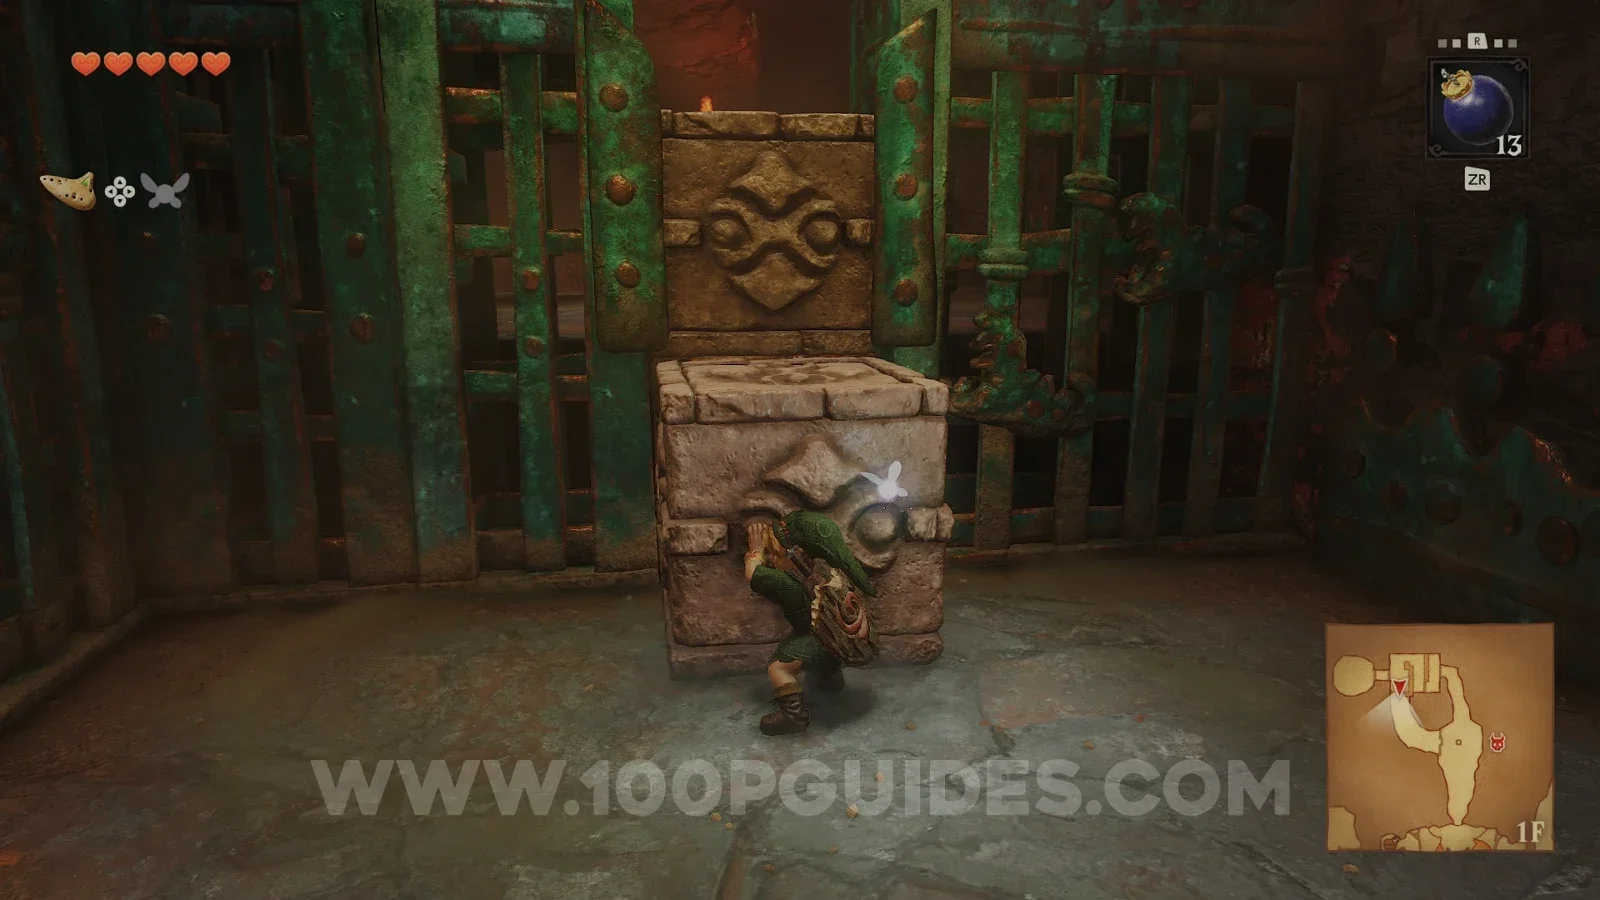
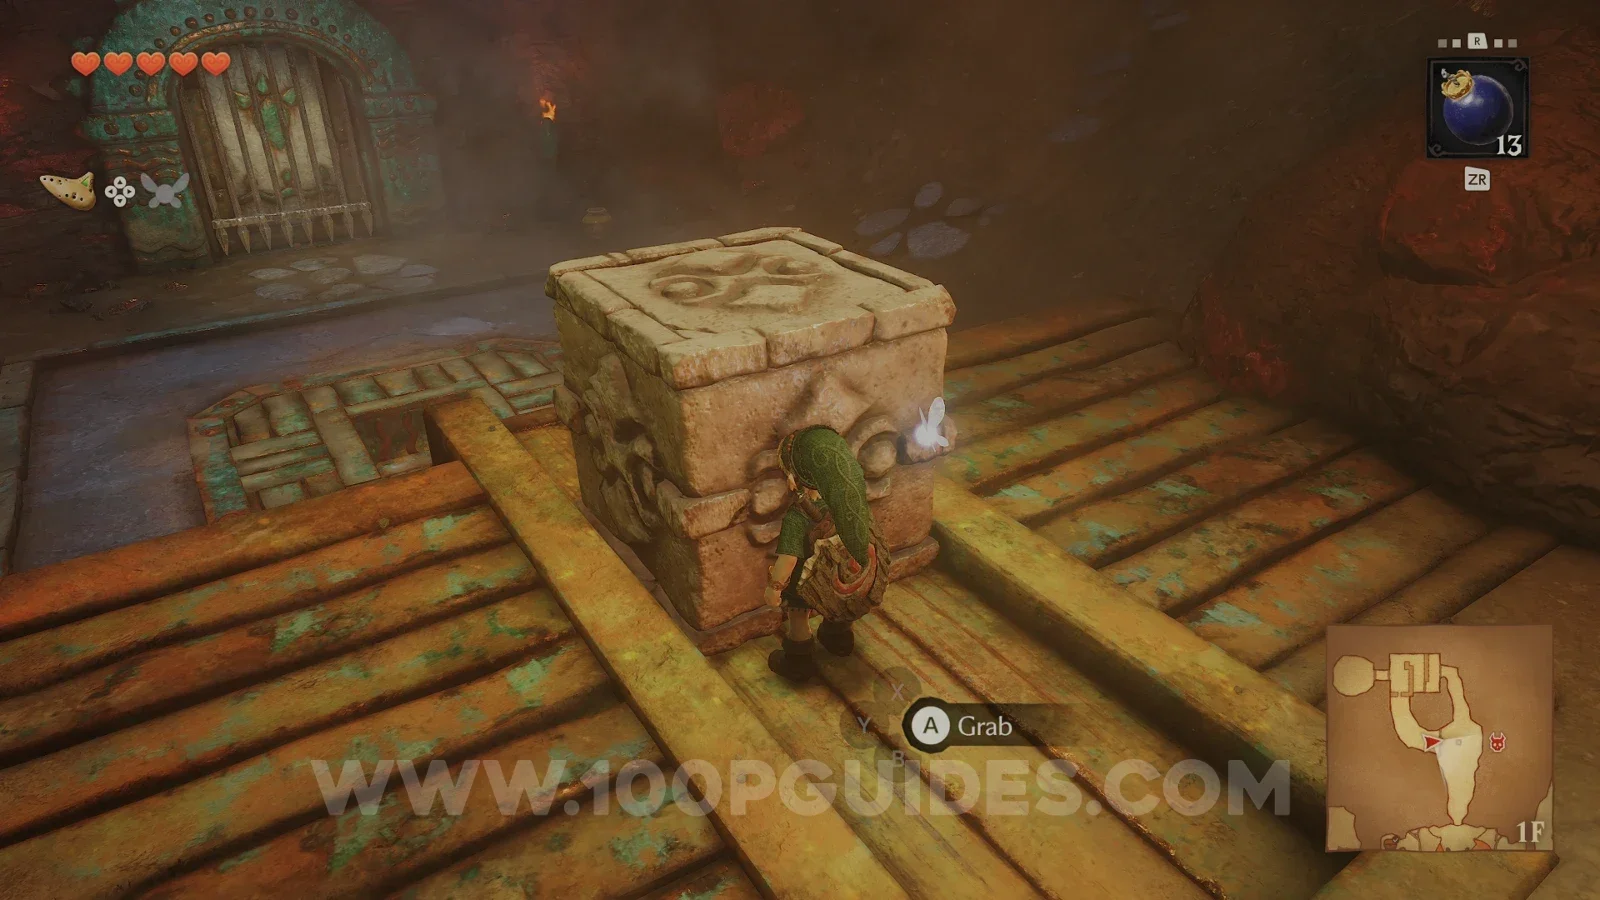
Return to the room with the blocks and push the block up against the metal structure so it's directly below the block above, allowing you to push that one out of the way and continue south, where you will find another block. Push this one off the side and then into the hole in front of the boss door to open it. On the other side of the door, use a bomb to blow up the floor and drop down into the boss room.
Dodongo boss fight
To defeat this boss, wait until it opens its mouth and starts inhaling. When it does this, throw a bomb into its mouth, then once it falls to the ground with its tongue out, hit it with your sword. After this, run away until it stops rolling and then repeat. Do this three times to end the fight.
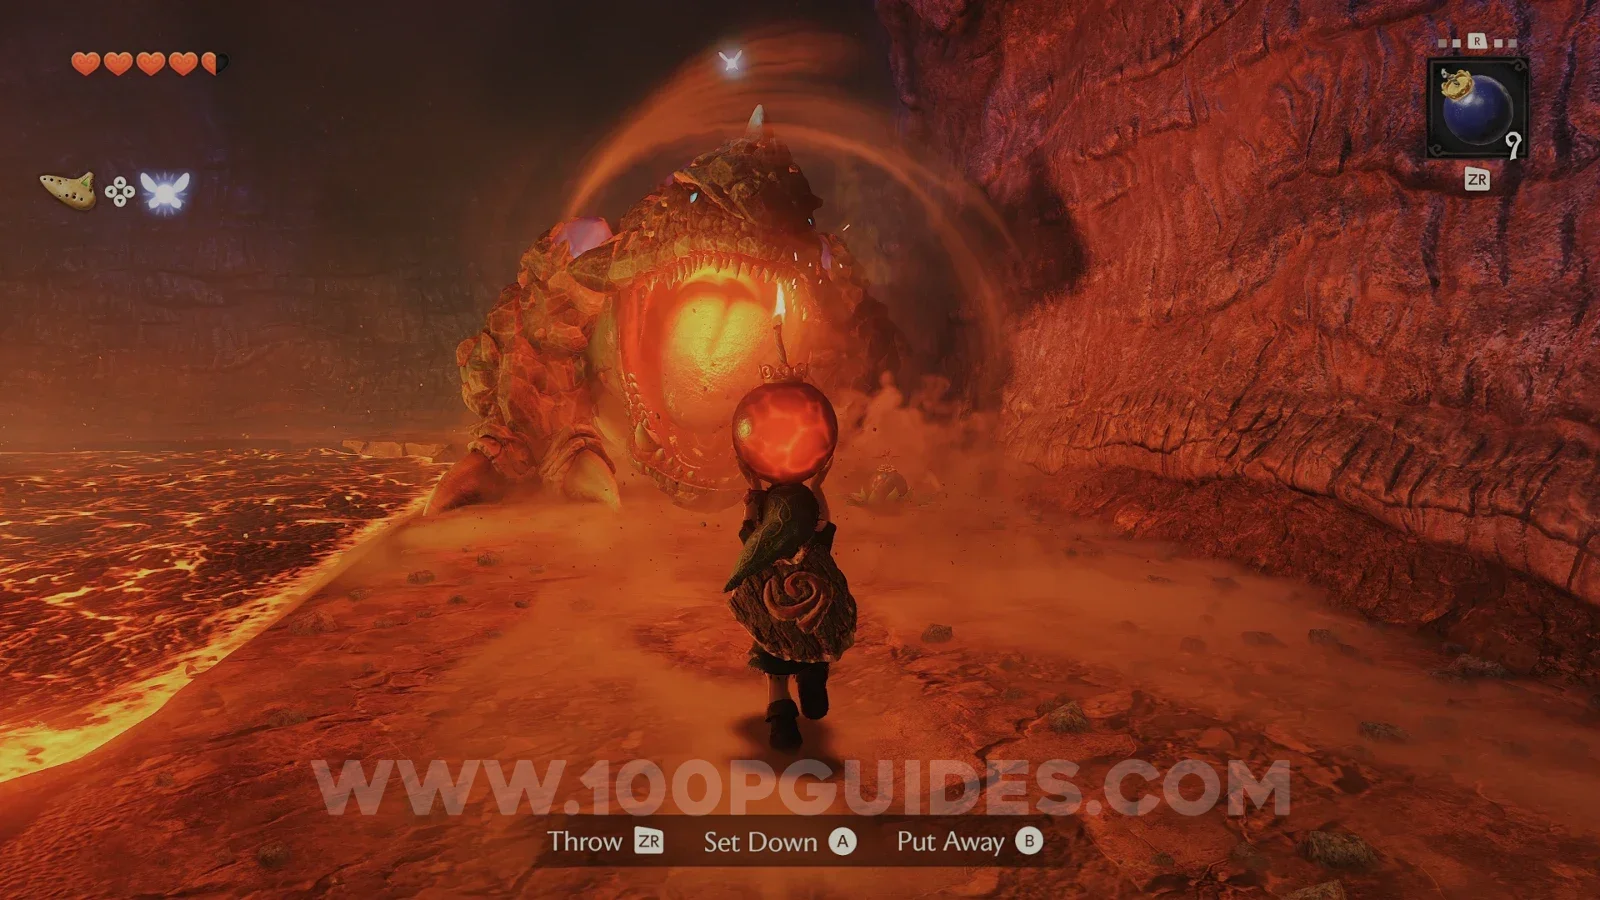
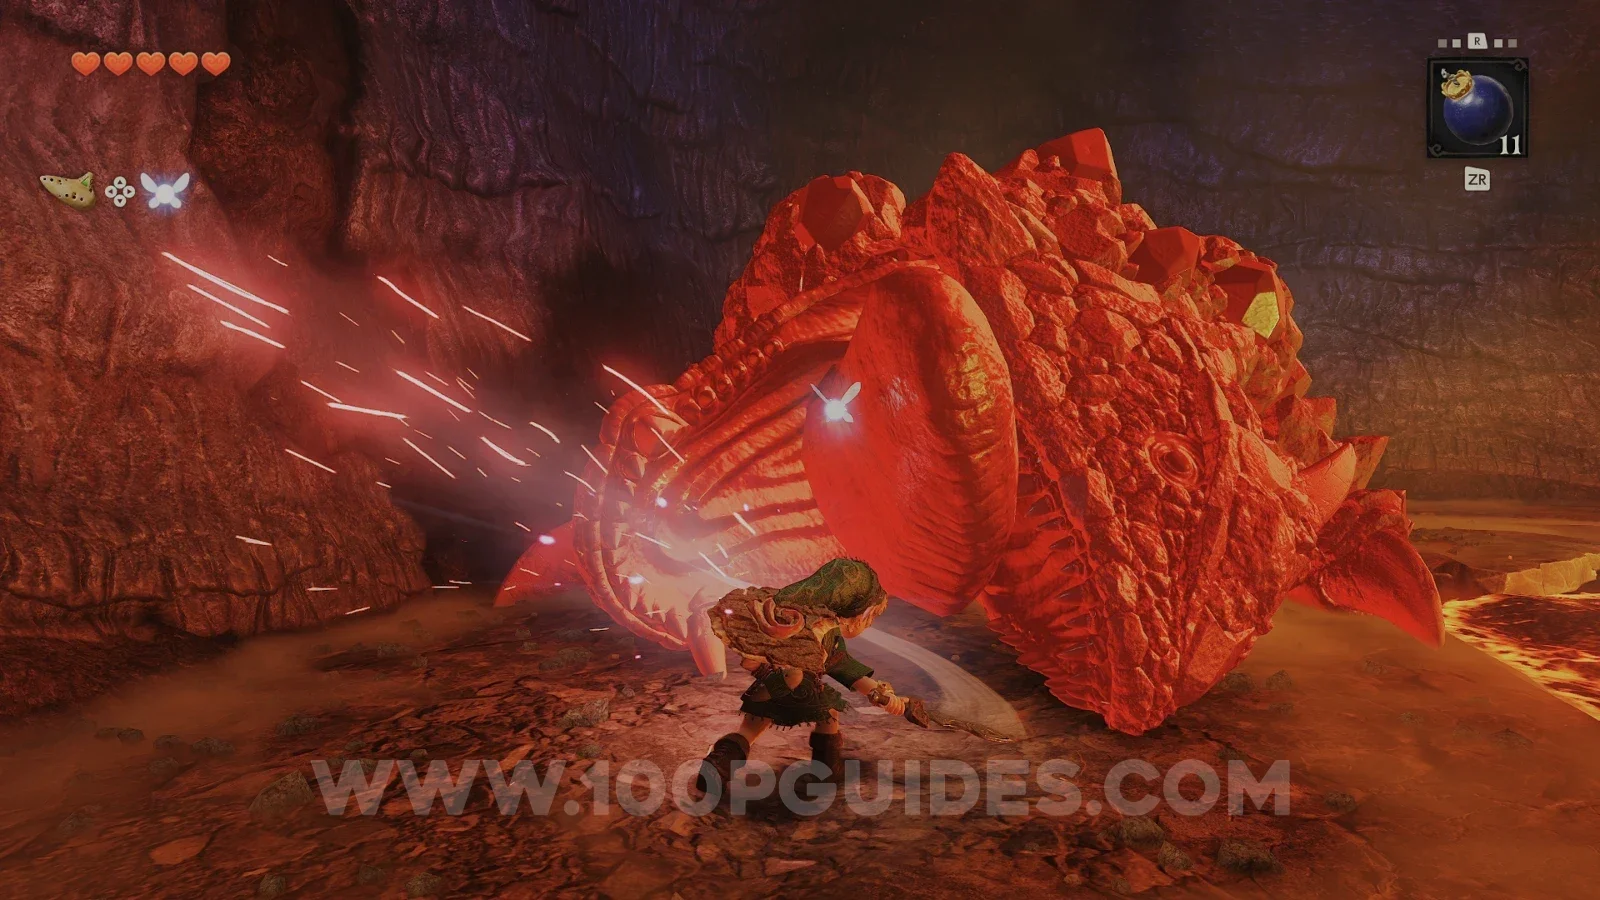
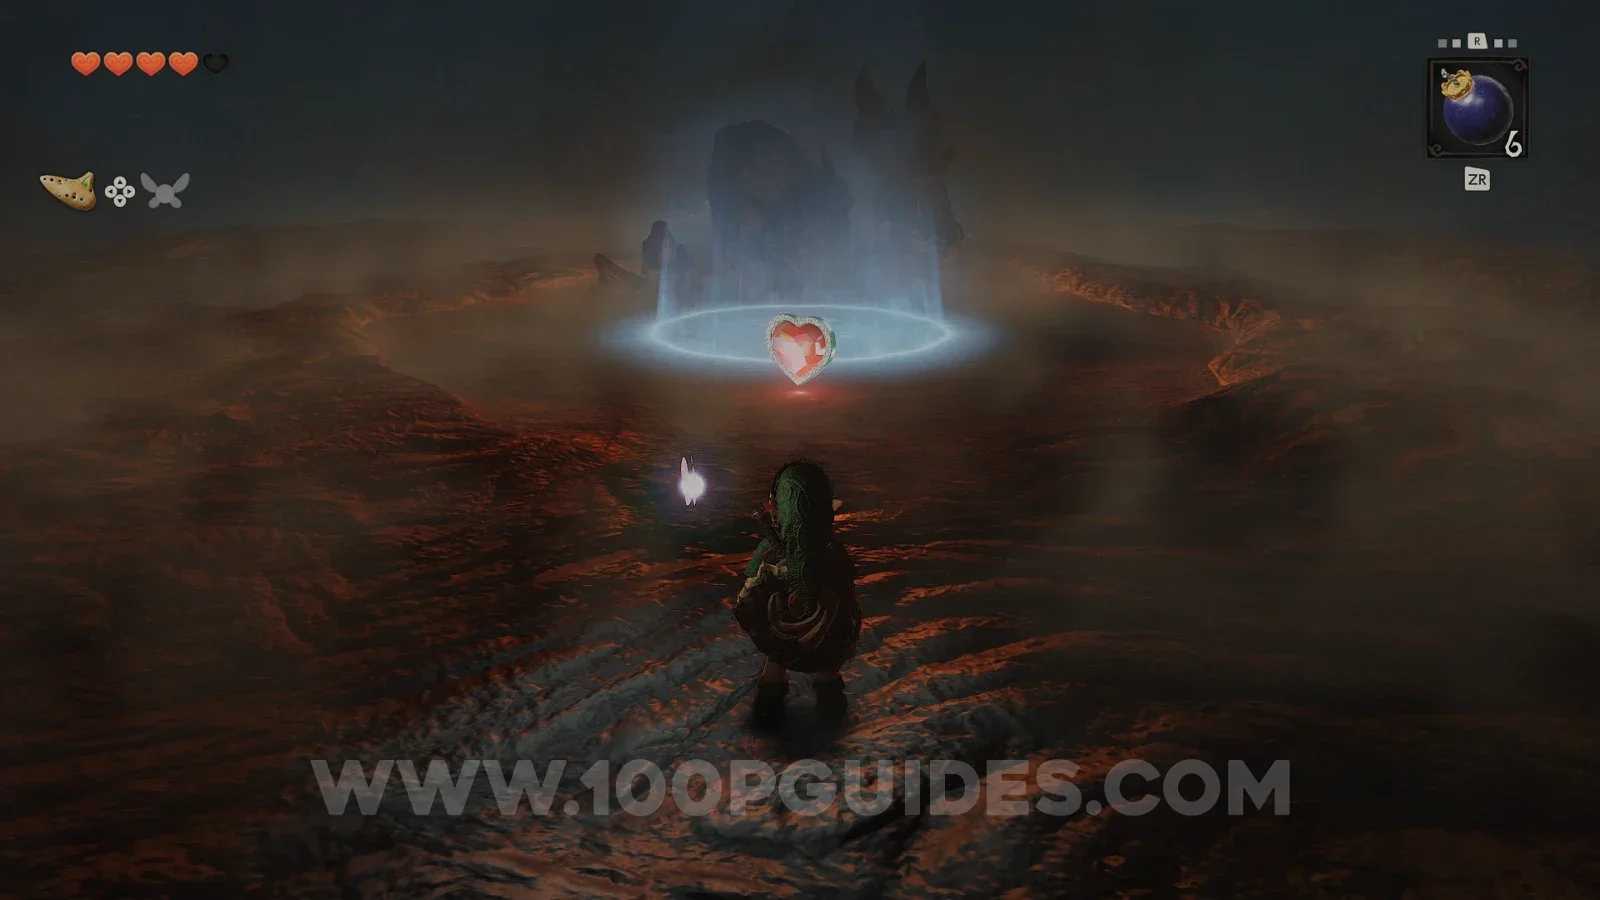
After defeating the boss, pick up the Heart Container and touch the blue light to leave. Once you are outside, you will get the second Spiritual Stone.
Goron City (with bombs)
Now that you have bombs, there are a few things you can clean up before leaving the mountain. First, head into Goron City again.
As soon as you enter Goron City, head left and use a bomb to destroy the rocks on the top floor. Then head into the large room filled with rocks on your left. Inside, bomb the rock on the right, then the northern rock, then the rock on your left, then the rock on your right (north). At the end you will find two chests with rupees and a Gold Skulltula (24/100) in a box.
Note: If you run out of bombs, you can purchase more from the shop in Goron City, found by blowing up the rocks with bomb flowers to the left of where you played Zelda's Lullaby to open the door to Darunia.
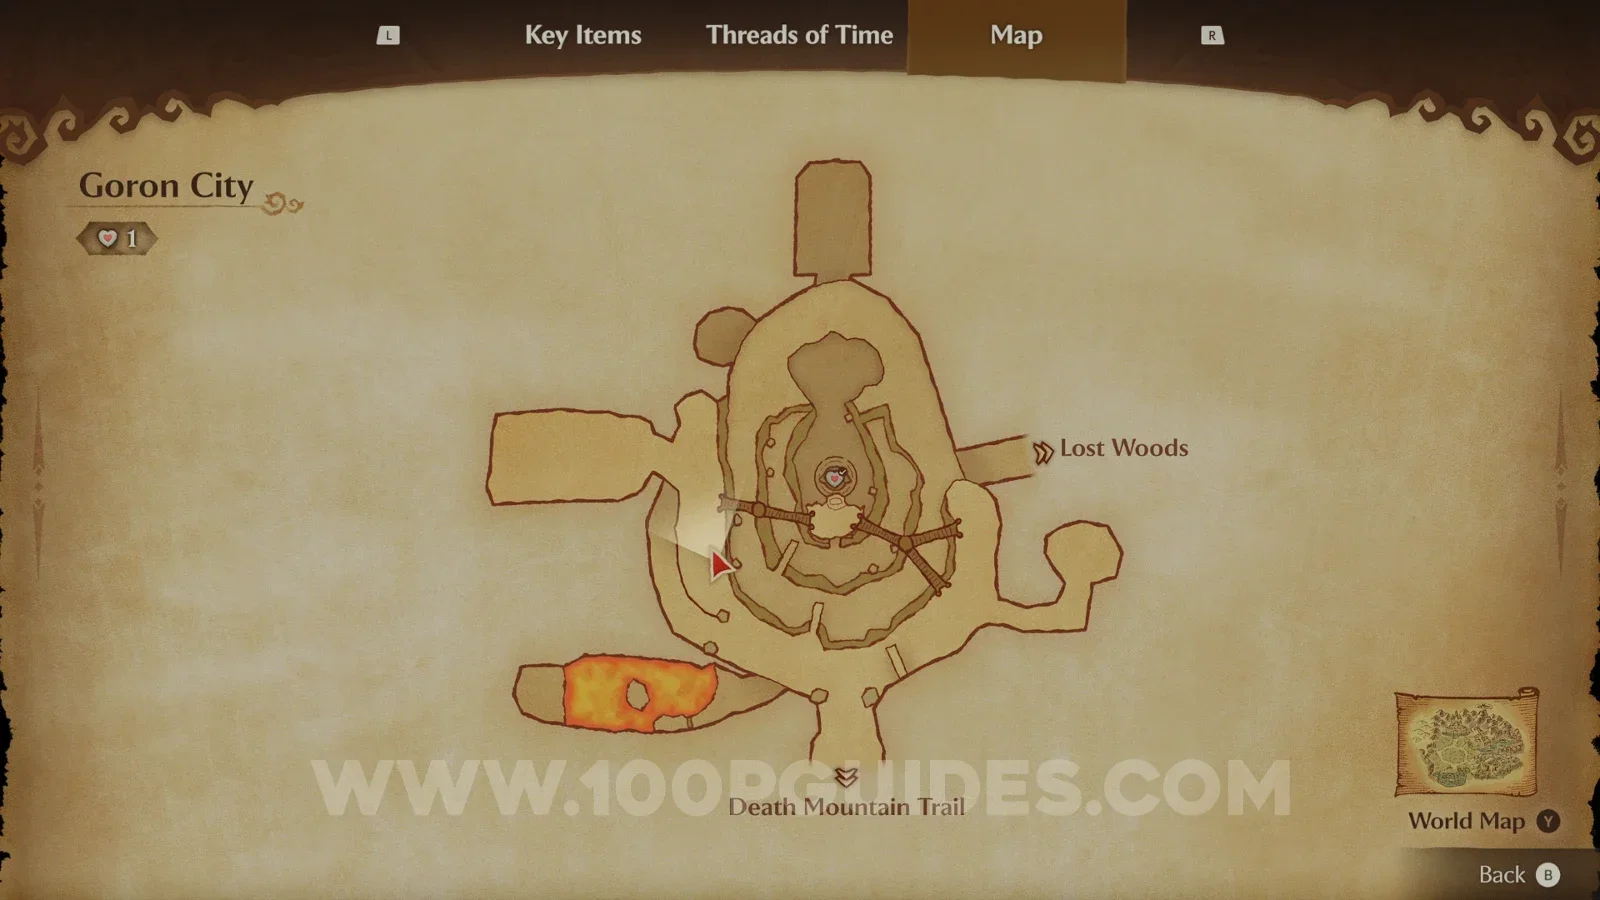
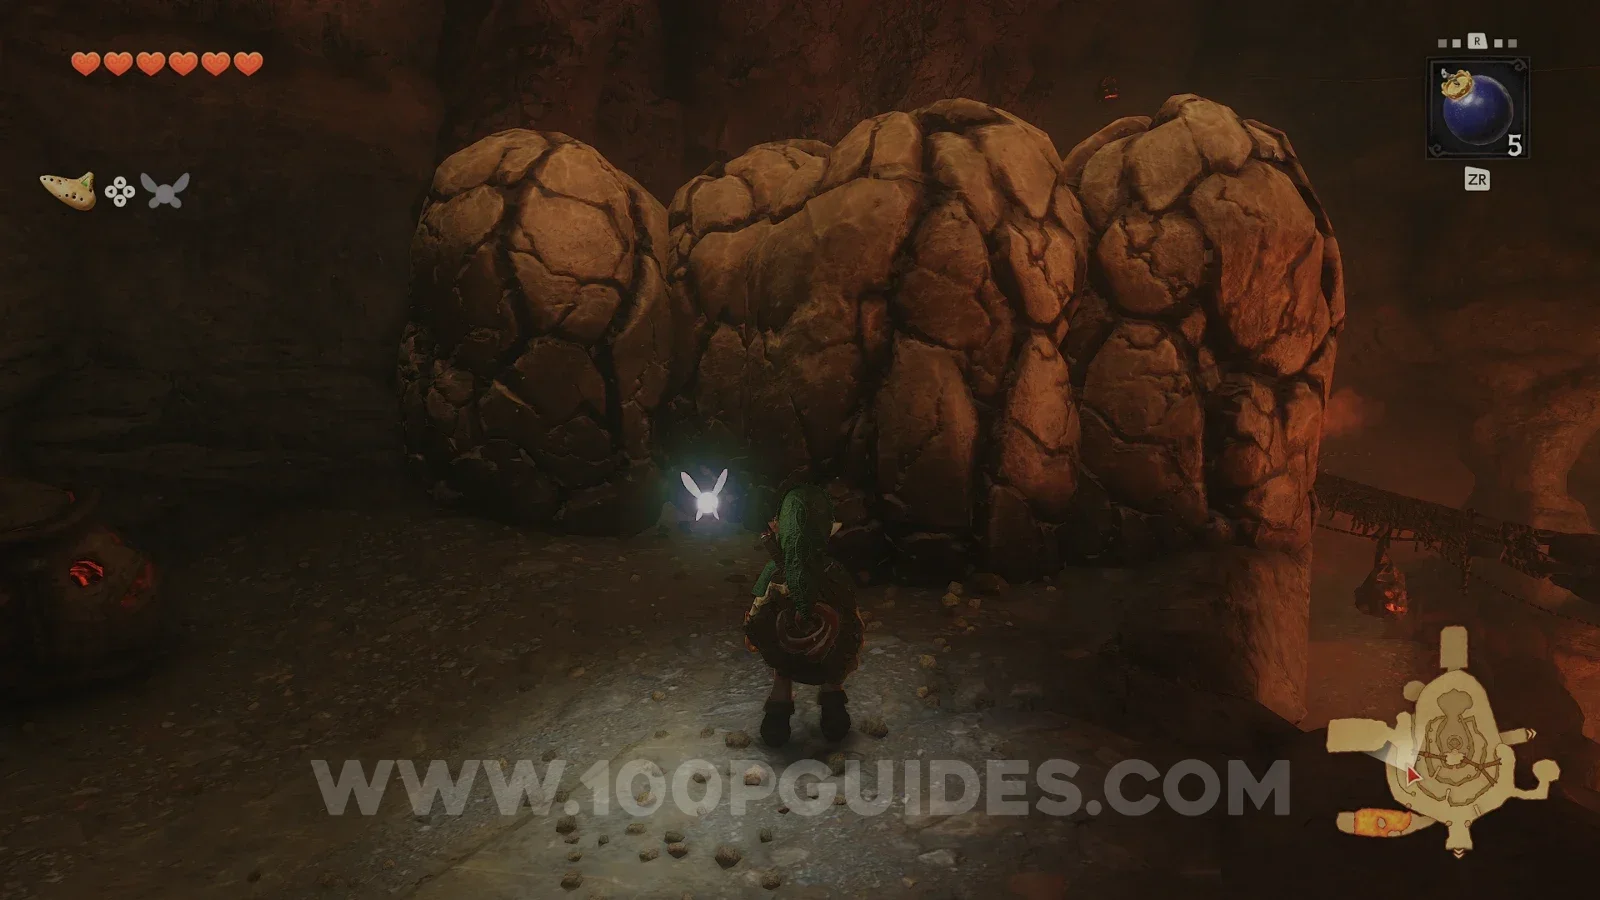
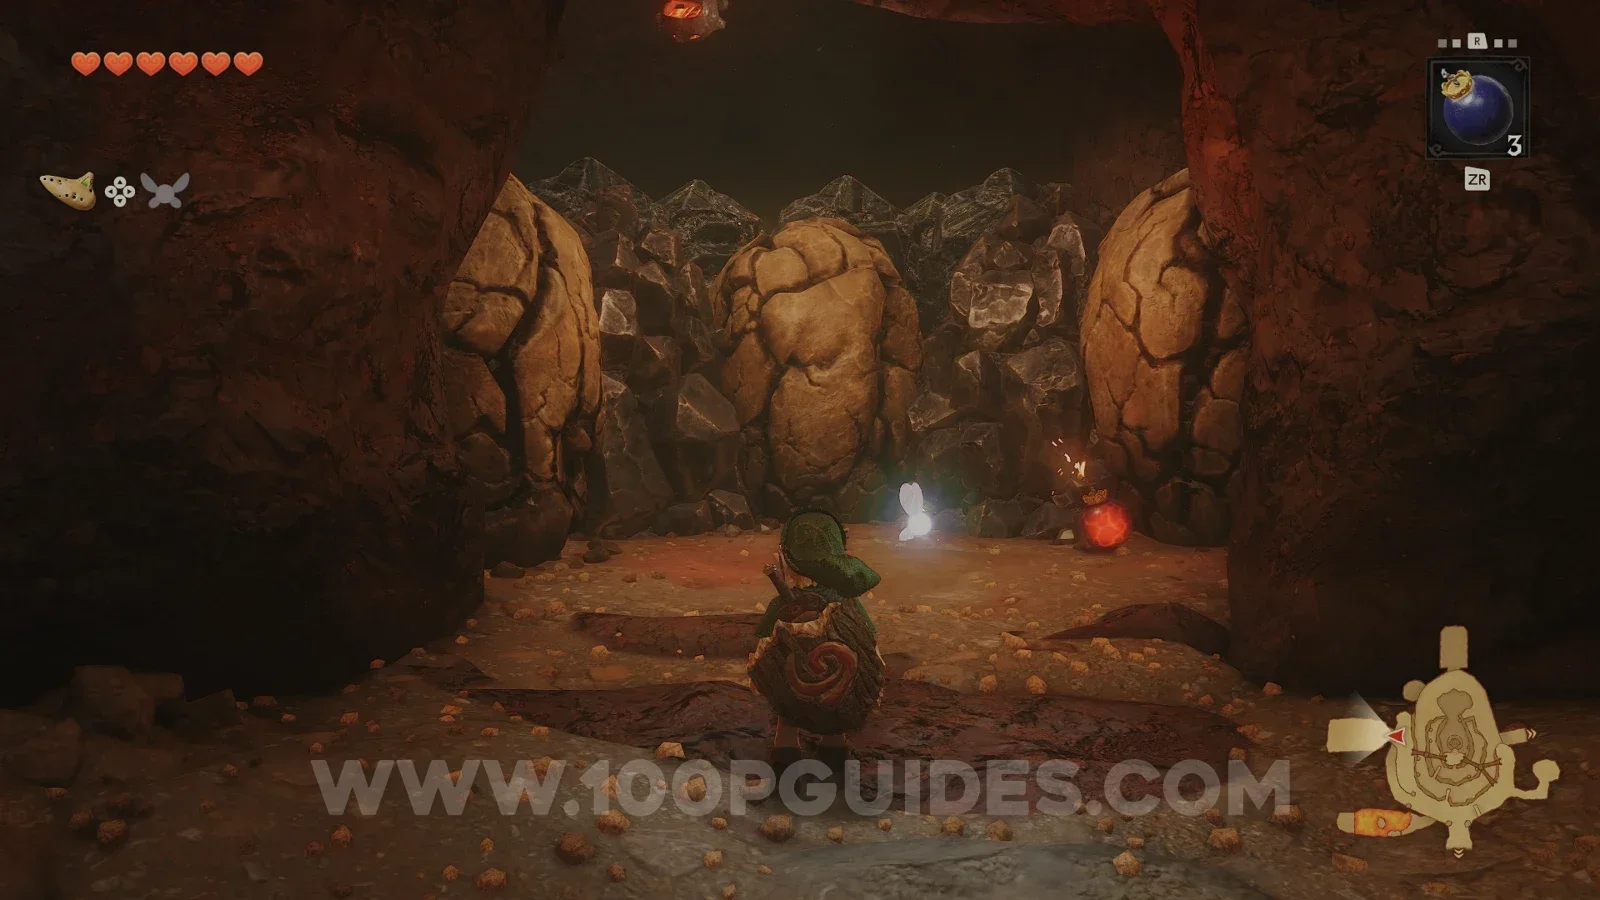
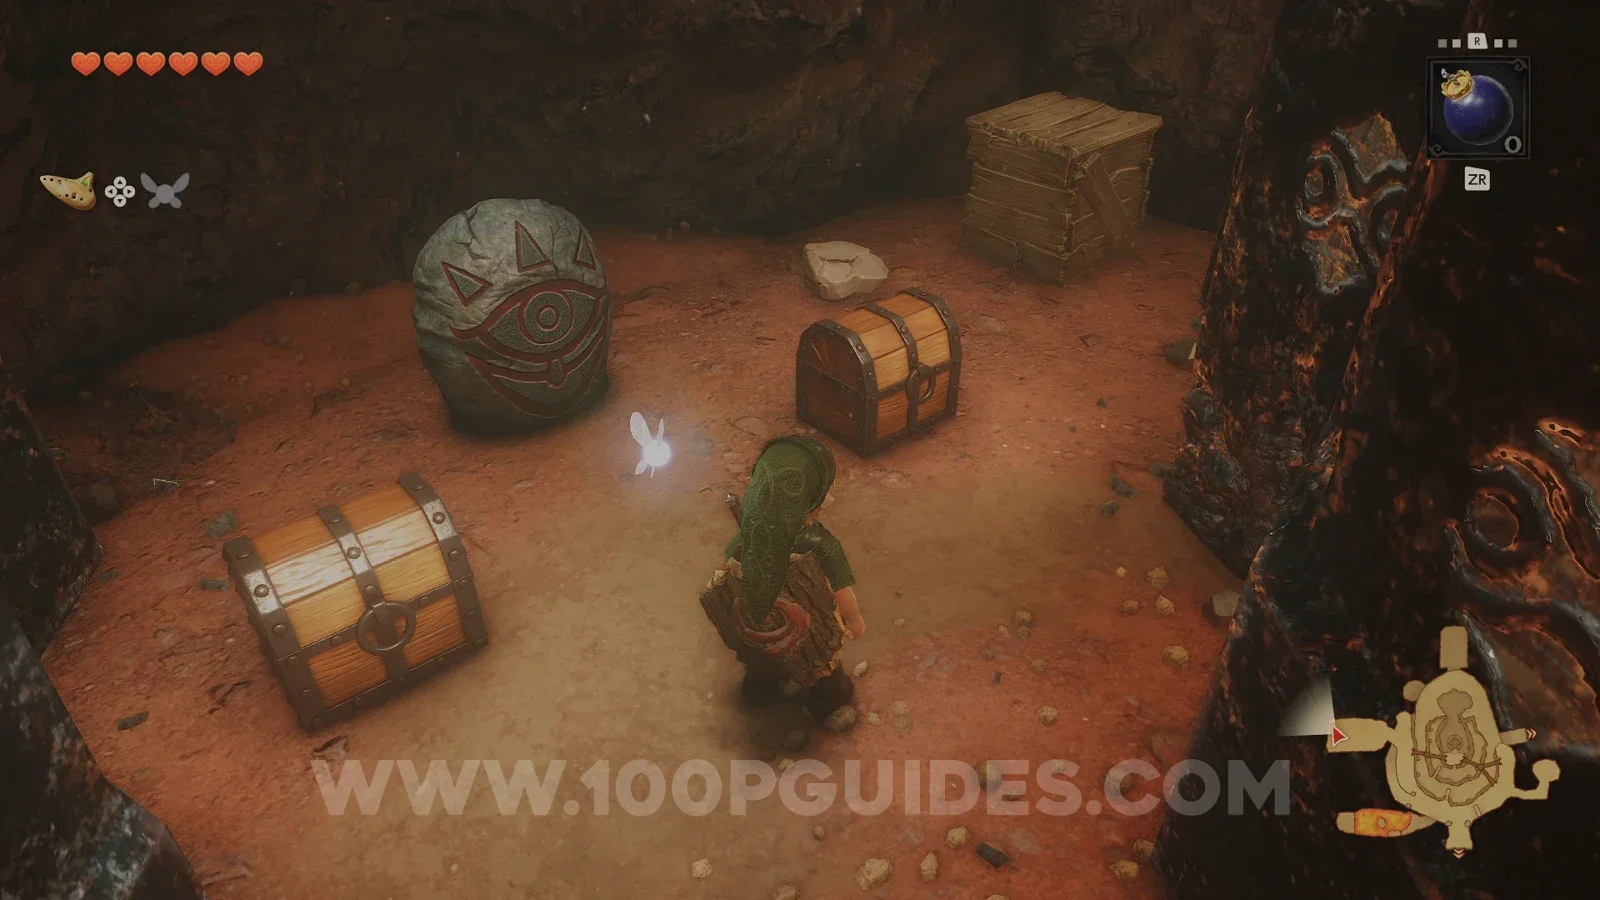
Next, head down one floor to find a Goron rolling in circles around it. First, head to the northern covered part of this floor to find a wooden sign. You will have to stop the rolling Goron right here. To do so, time a bomb so that it hits him. Talk to him and he will give you a Bomb Bag Upgrade (1/2). This will allow you to carry 30 bombs.
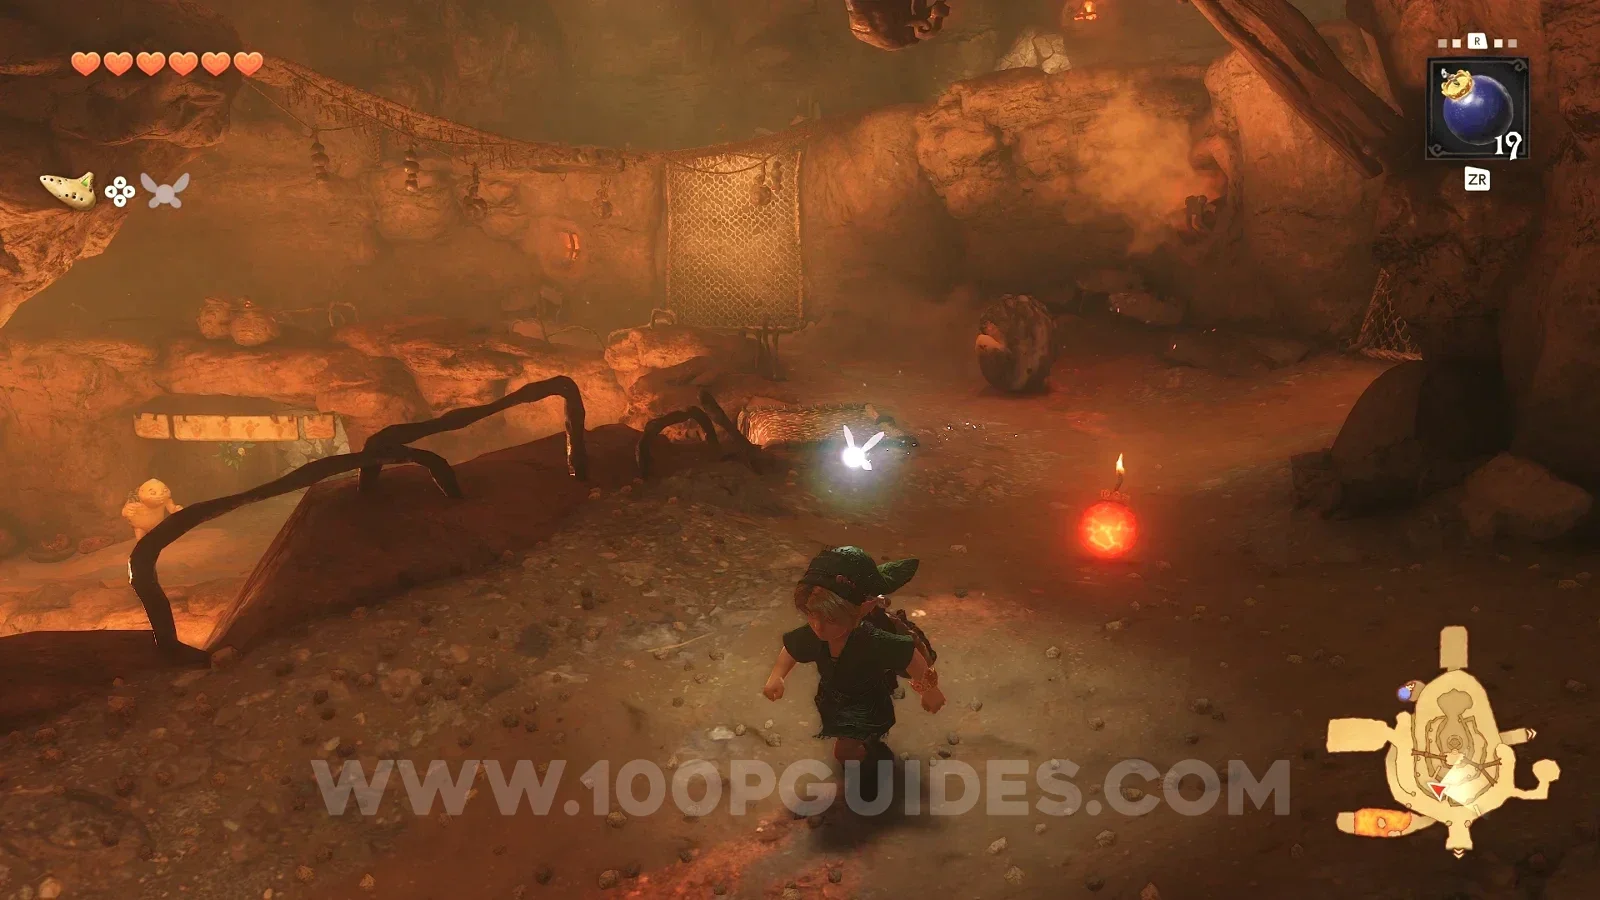
You have now cleaned up everything you can in Goron City for the time being, so exit south again, back to the Trail.
Death Mountain Trail (with bombs)
First, head down the hill, just past the Dodongo Cavern entrance, to find a cracked rock on your left. Use a bomb to destroy it and you will find a Gold Skulltula (25/100) on the other side.
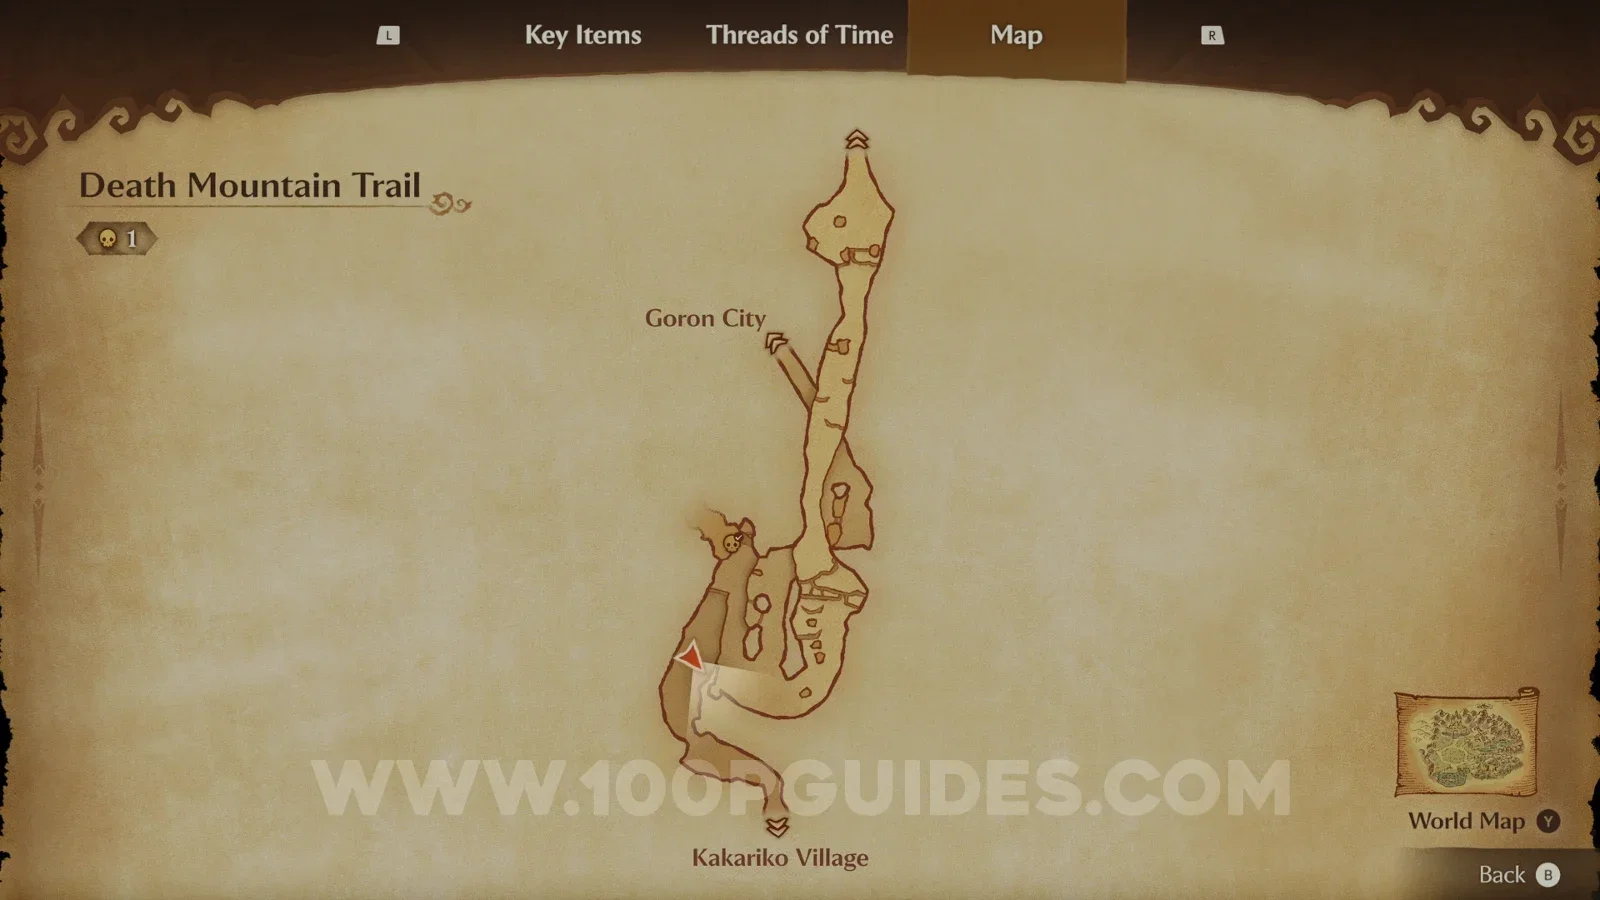
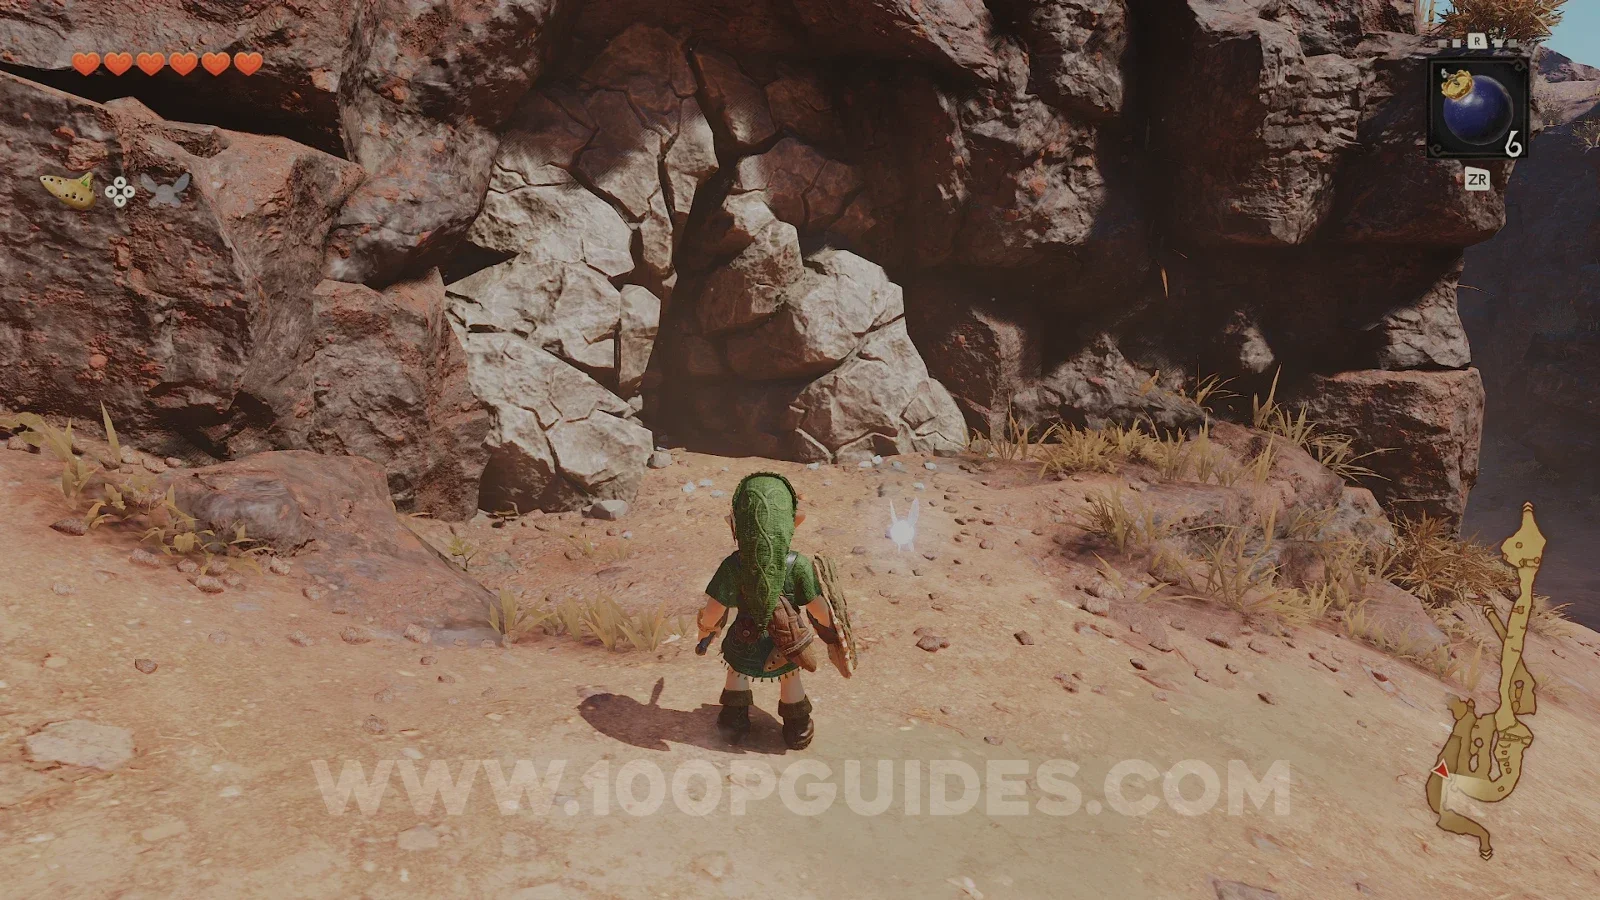
Now ascend the Trail again until you see a cracked wall on your right (just before the path on your right that would take you to Goron City). Destroy it to find another Business Scrub Seed in a small chest.
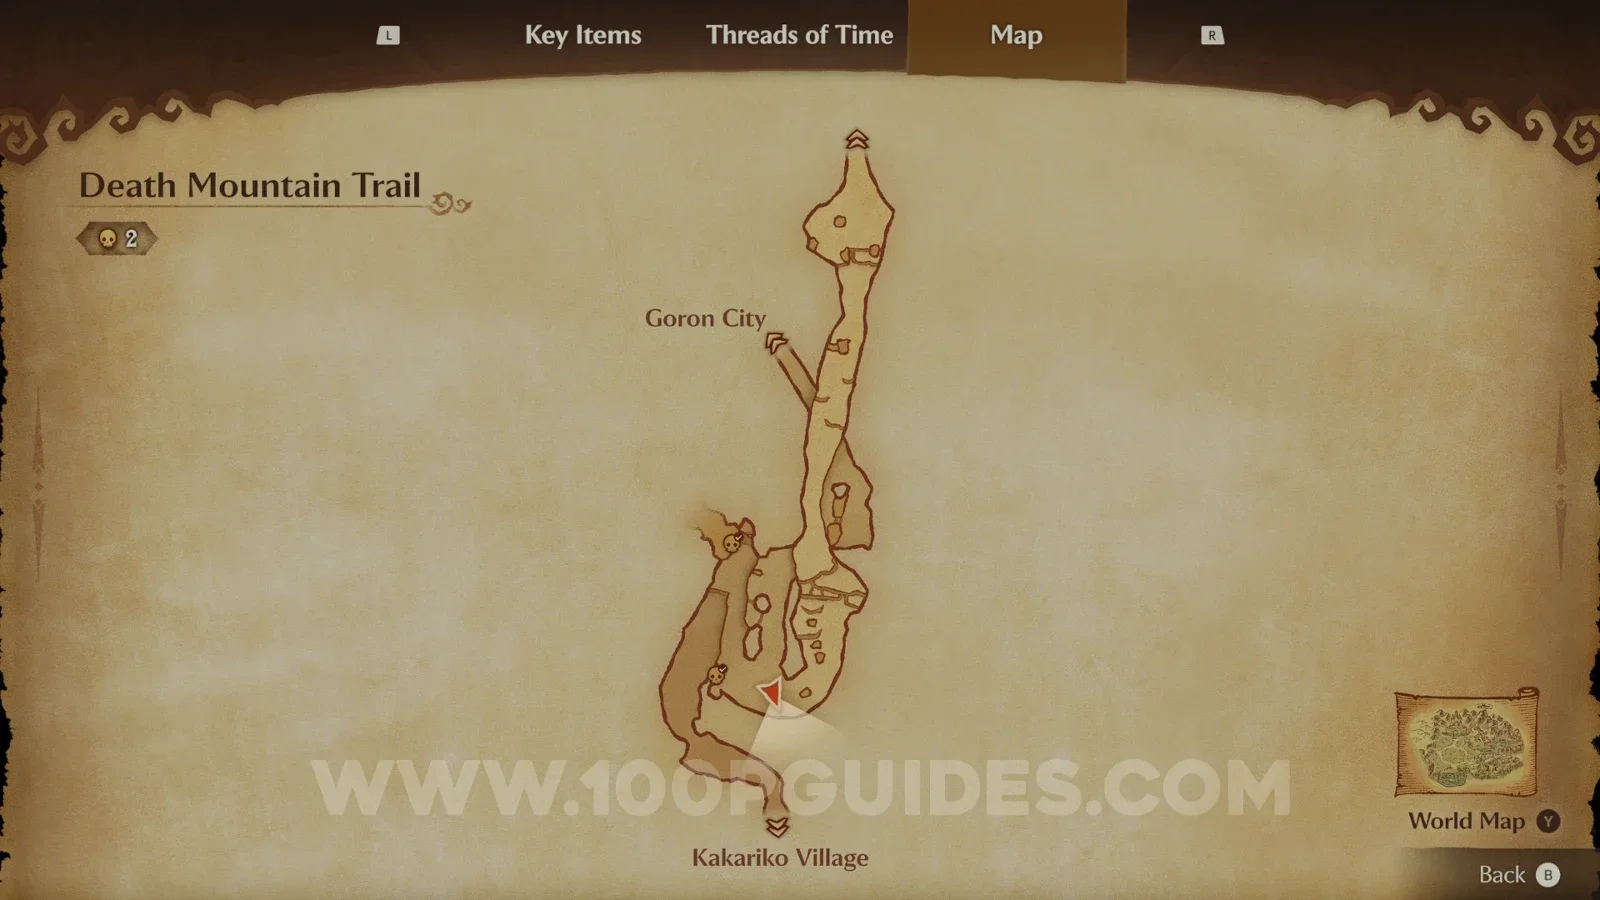
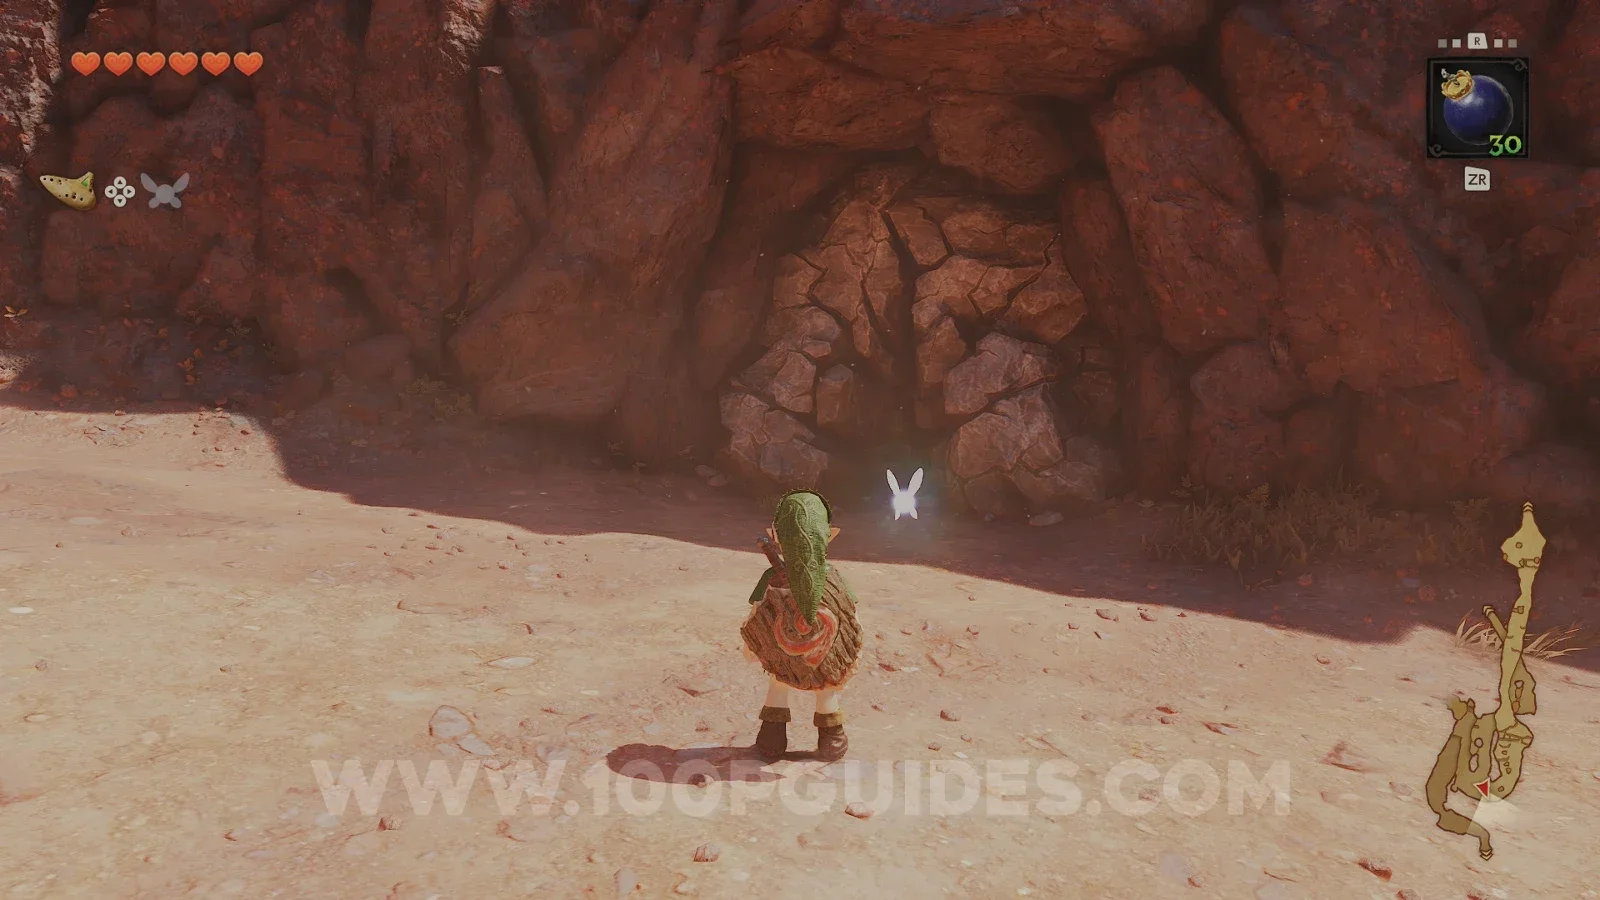
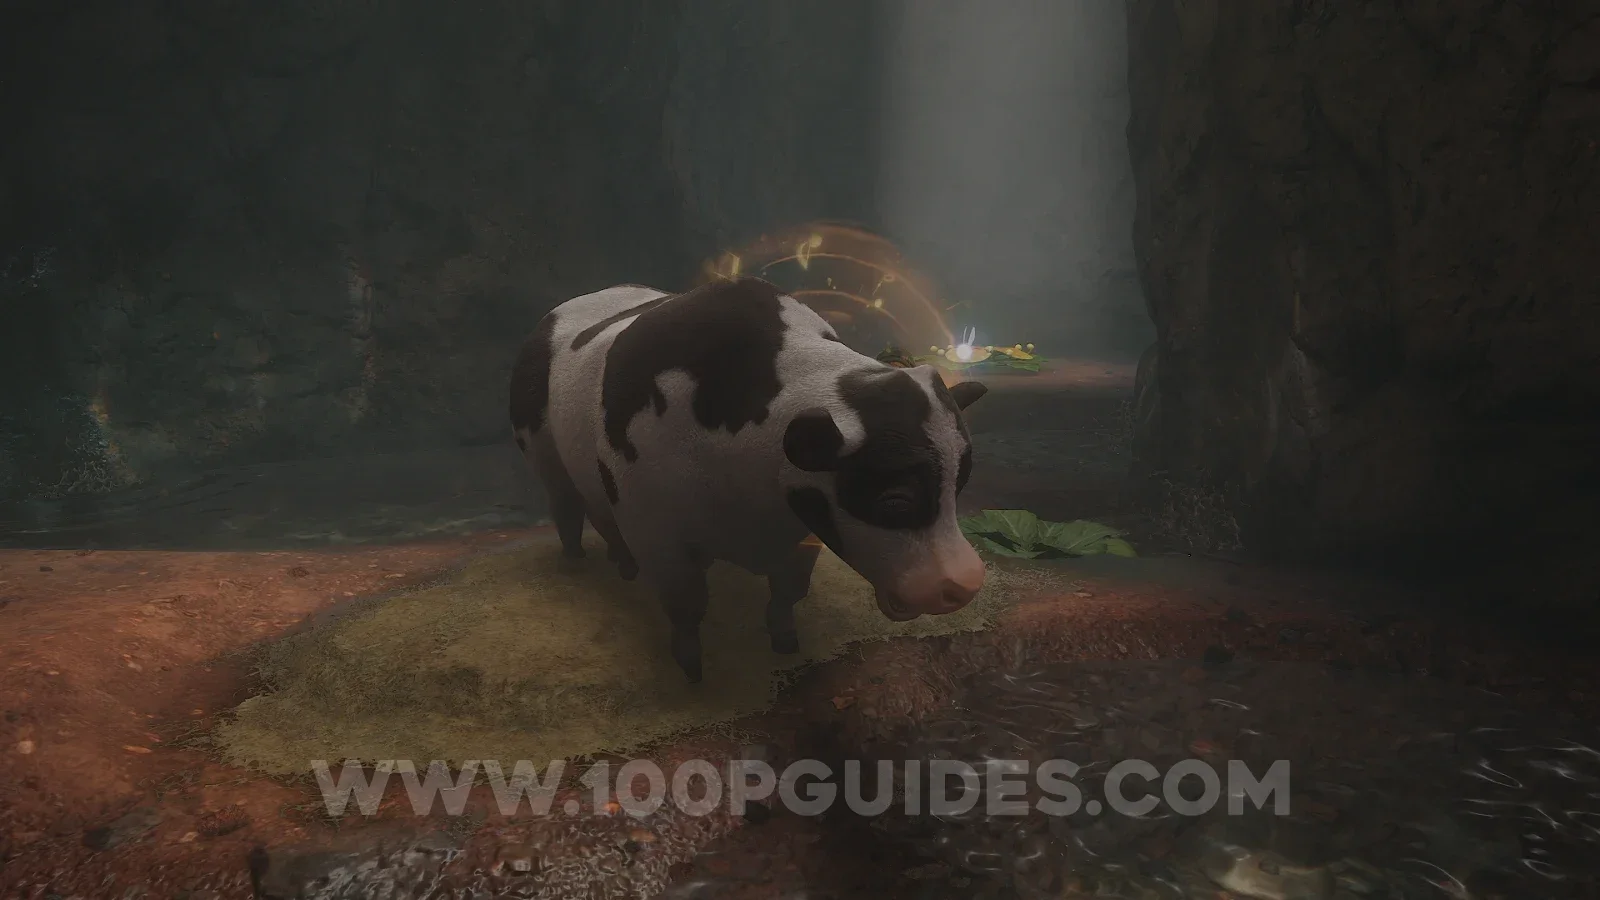
Continue climbing by destroying the rocks on the zigzag path, and you will then see some mesh you can climb. Before doing so, destroy the rock on the left with a bomb to reveal a secret grotto. Inside you will find a cow. Play Epona's Song and it will fill one of your empty bottles with milk.
Leave the grotto and continue climbing to the top. I recommend you unequip your Deku Shield if you still have one, since getting hit by the flying rocks on the last stretch to the top will burn and destroy it.
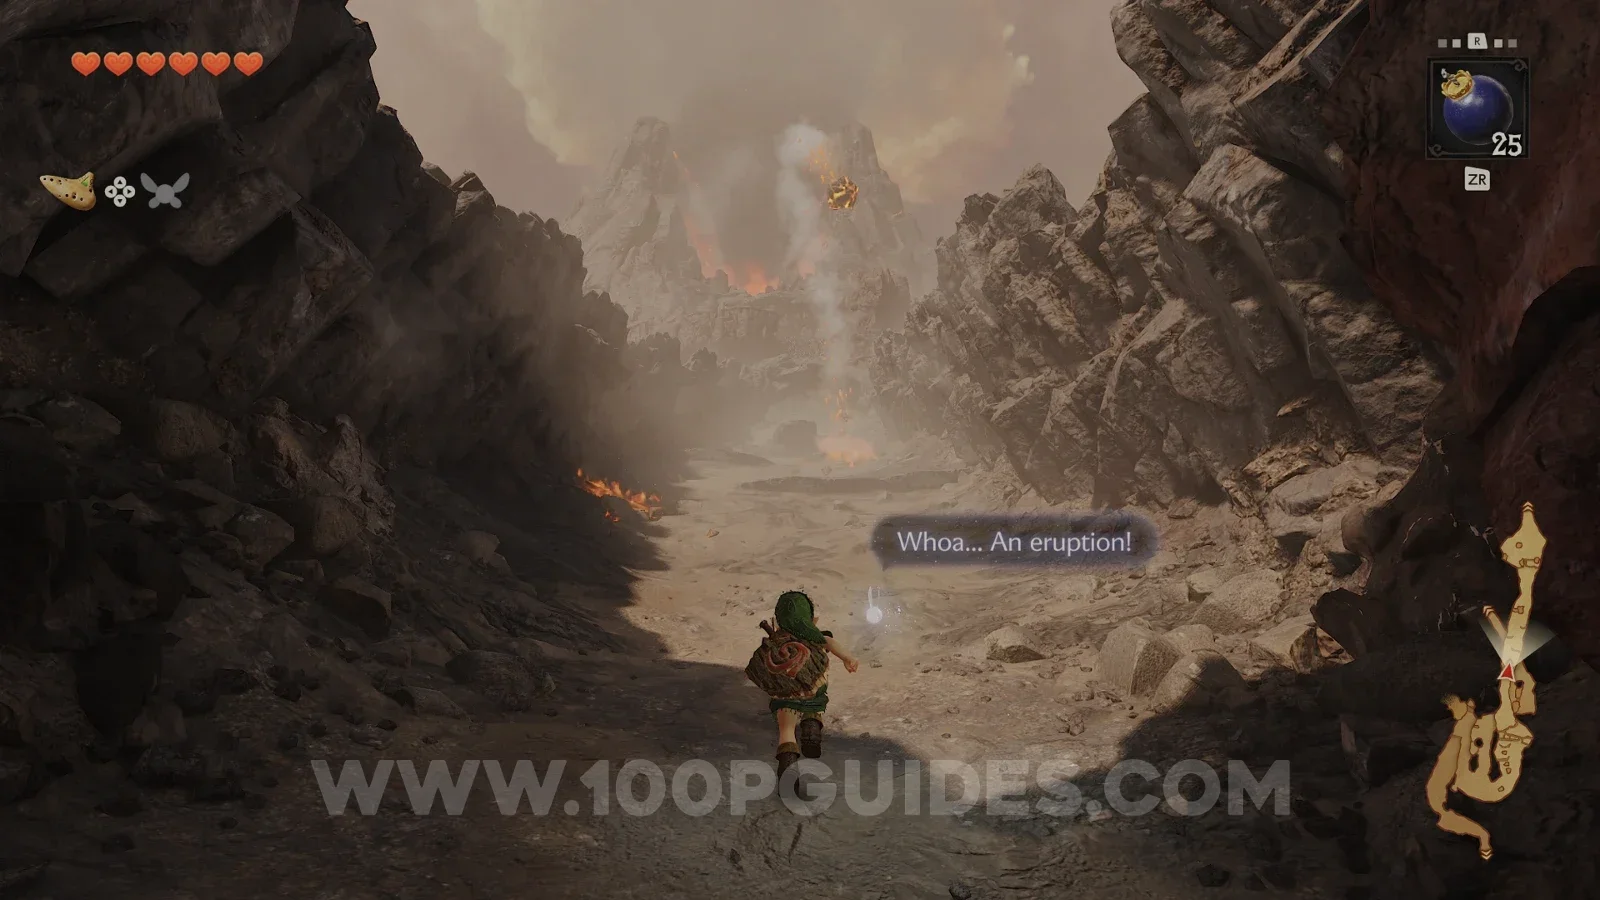
At the very top, destroy the cracked wall on the left with a bomb and go through to find your first Great Fairy Fountain (1/6). Inside, stand on the triforce and play Zelda's Lullaby, then pay the fairy 25 rupees to get your first magic spell, Din's Fire (1/3 Spells) and unlock your magic metre.
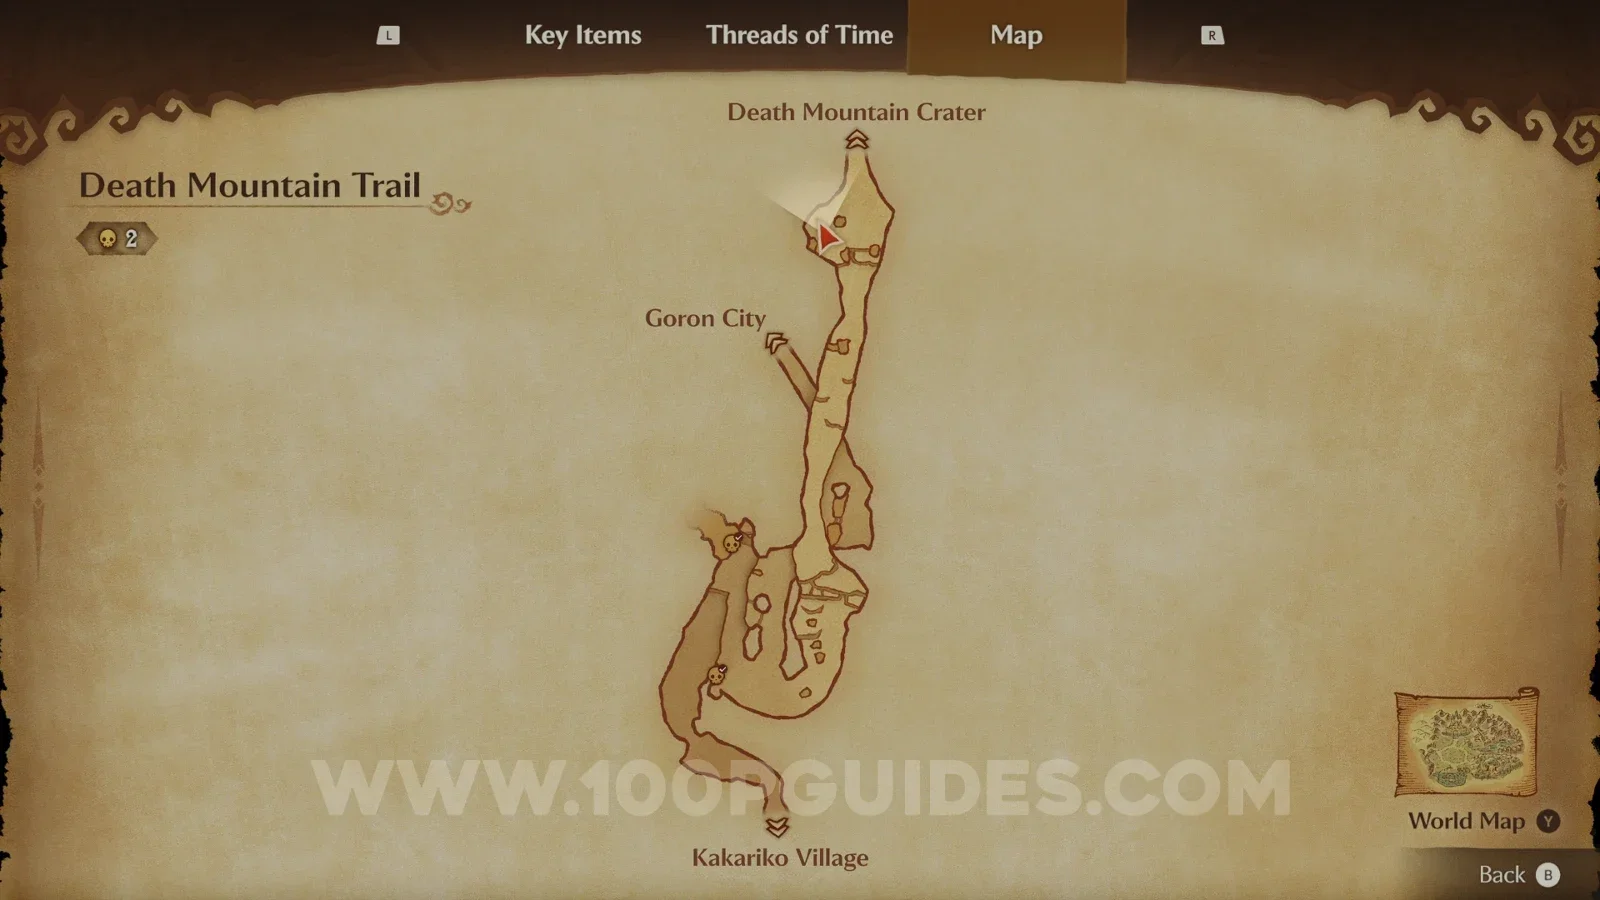
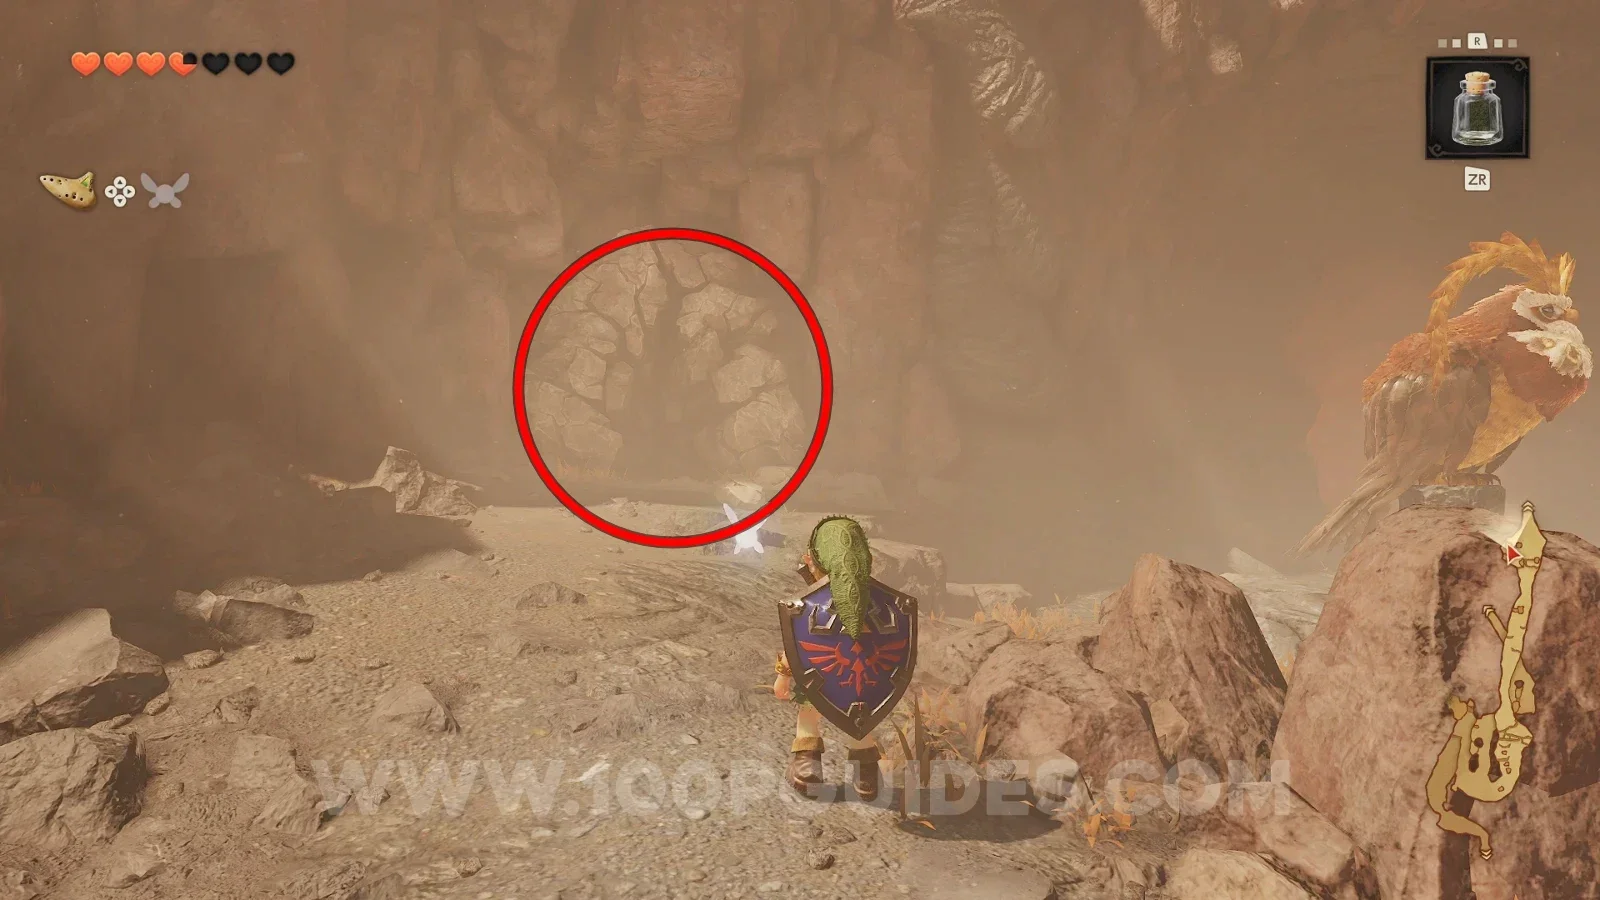
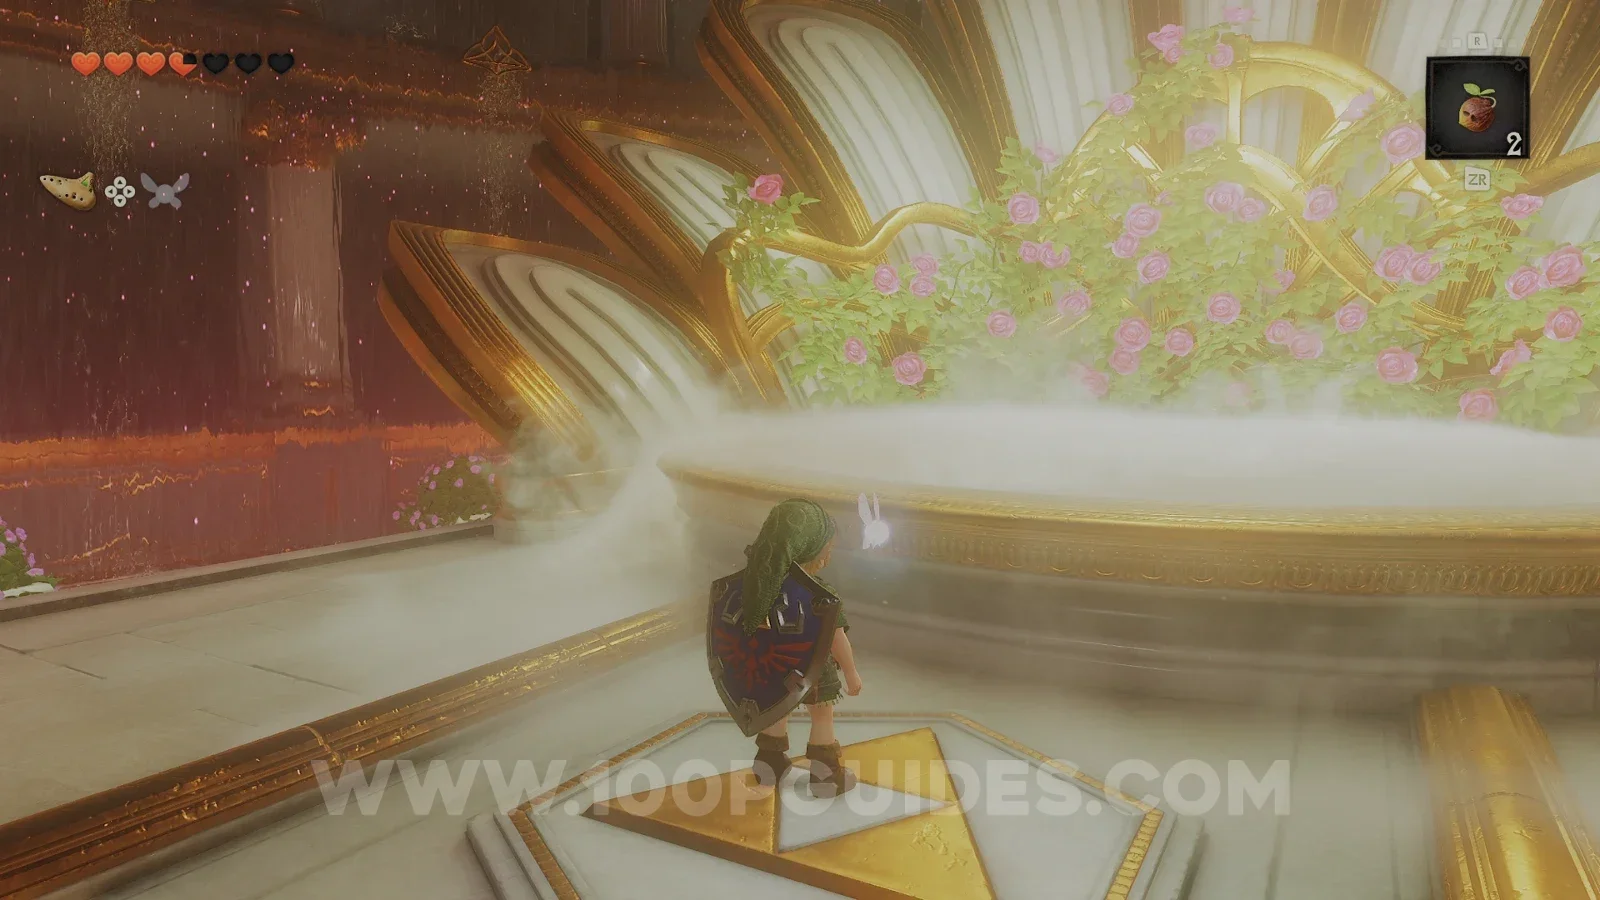
After that, leave the fountain and enter the crater by taking the northern path at the summit.
Death Mountain Crater
Inside, after 4 seconds you will start to take damage, so make sure you have healing drinks on hand, like the milk from the cow. Luckily, there are only three things you want to pick up here, and they are all next to the entrance. Also, most rocks, pots and other things you can destroy here will give you hearts.
The first is a Gold Skulltula (26/100) that can be found in one of the two boxes on your left as soon as you enter.
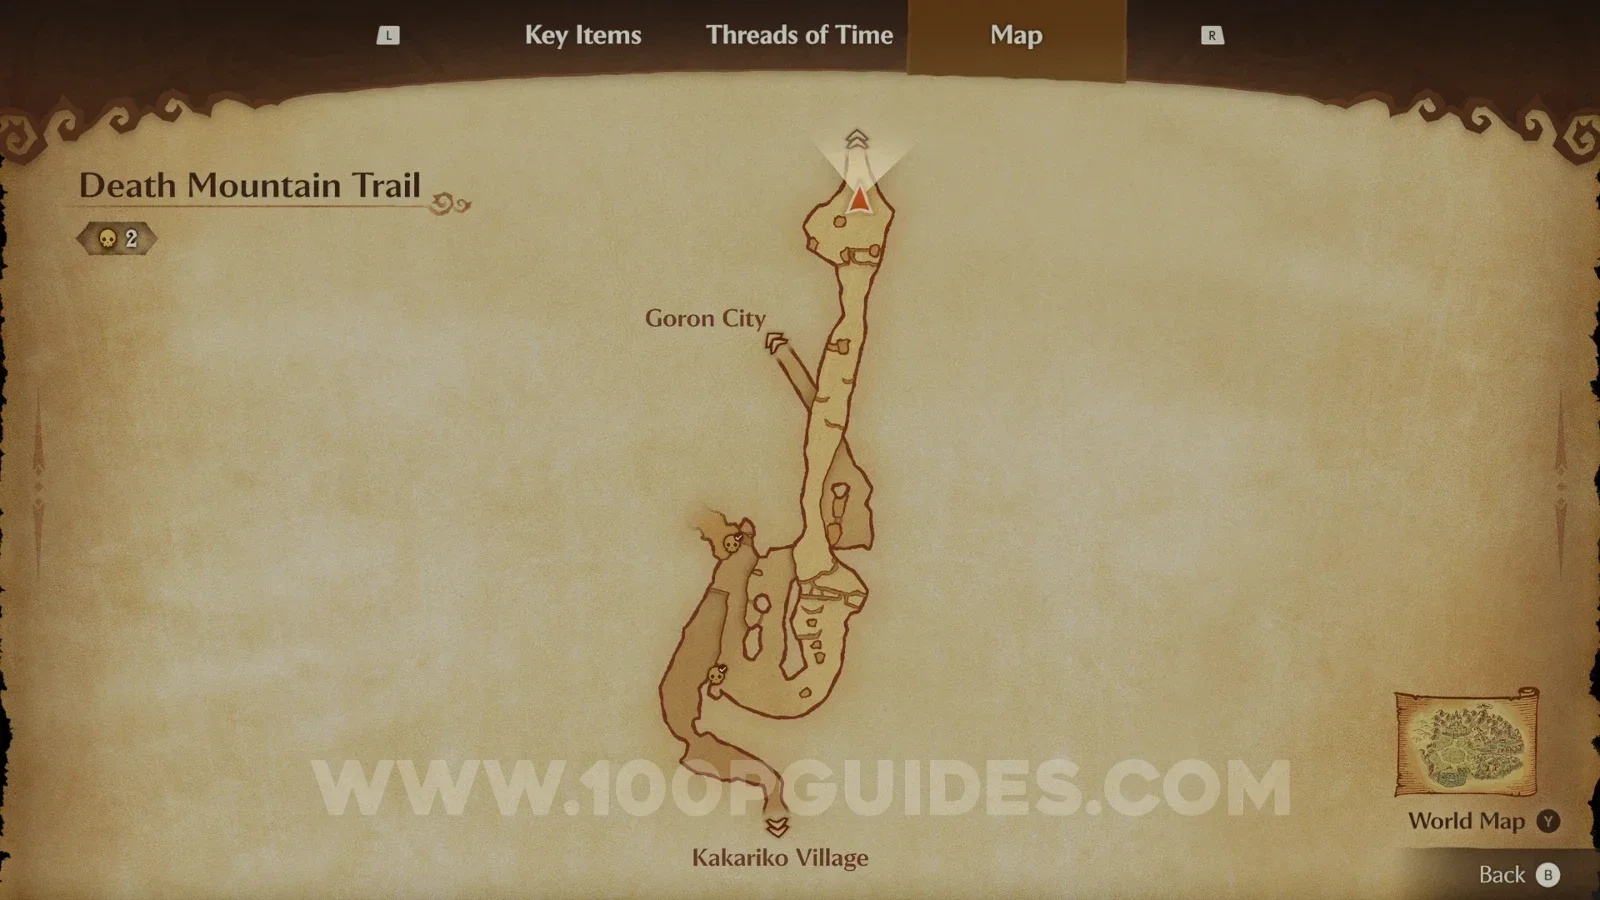
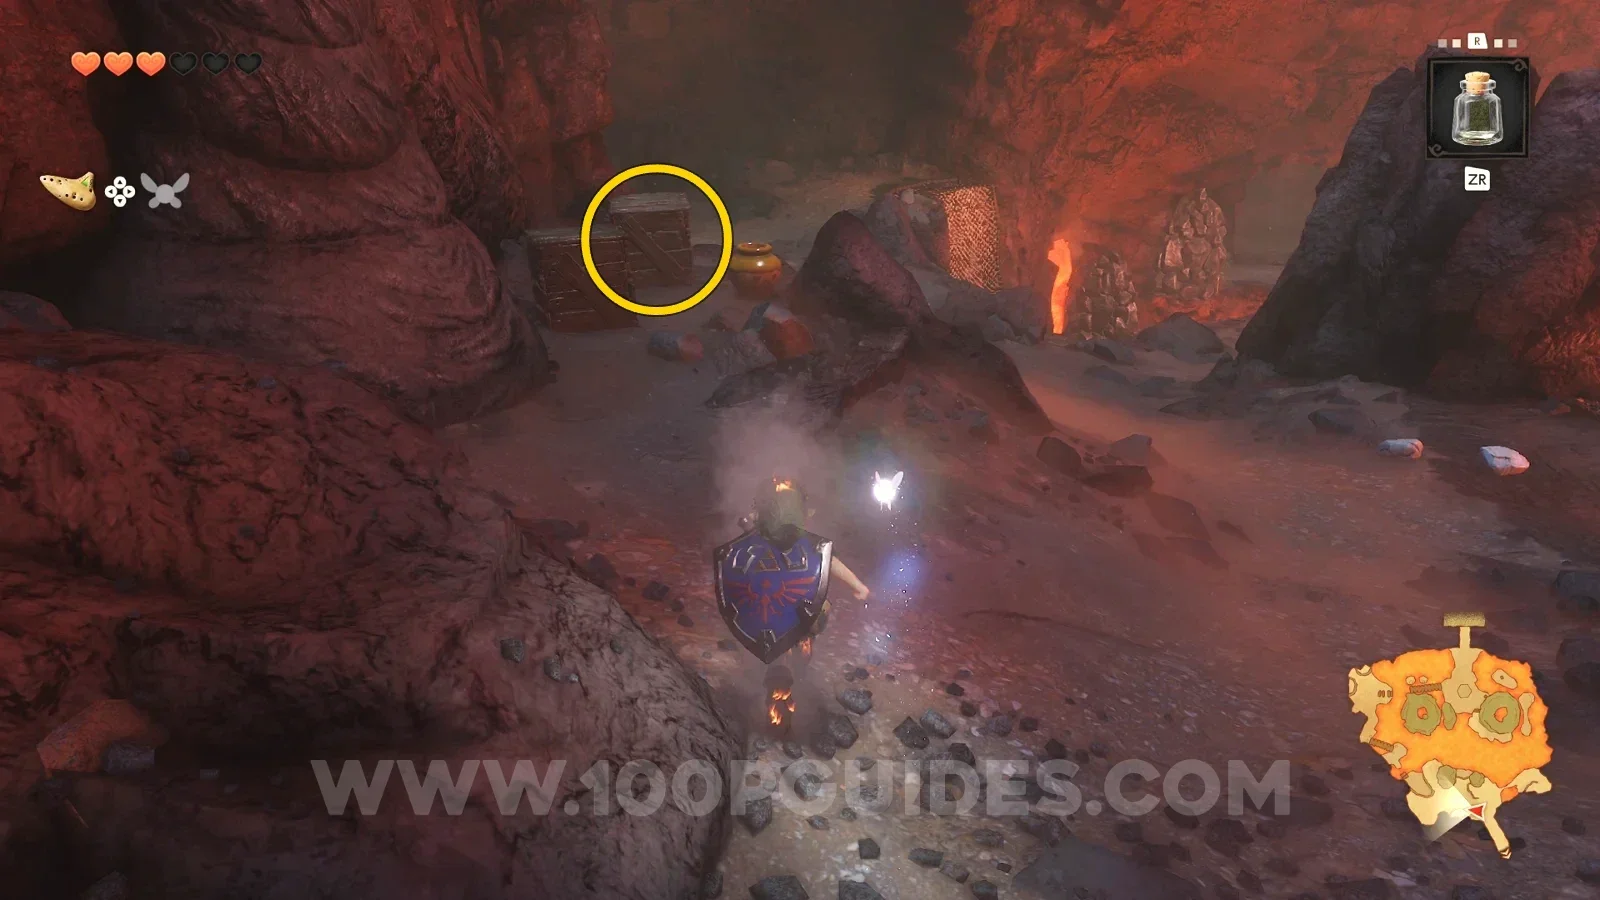
Next is a Heart Piece (8/36) found by dropping off where the mesh is to the right of the boxes where the previous Gold Skulltula was (this will fully heal you, giving you more time).
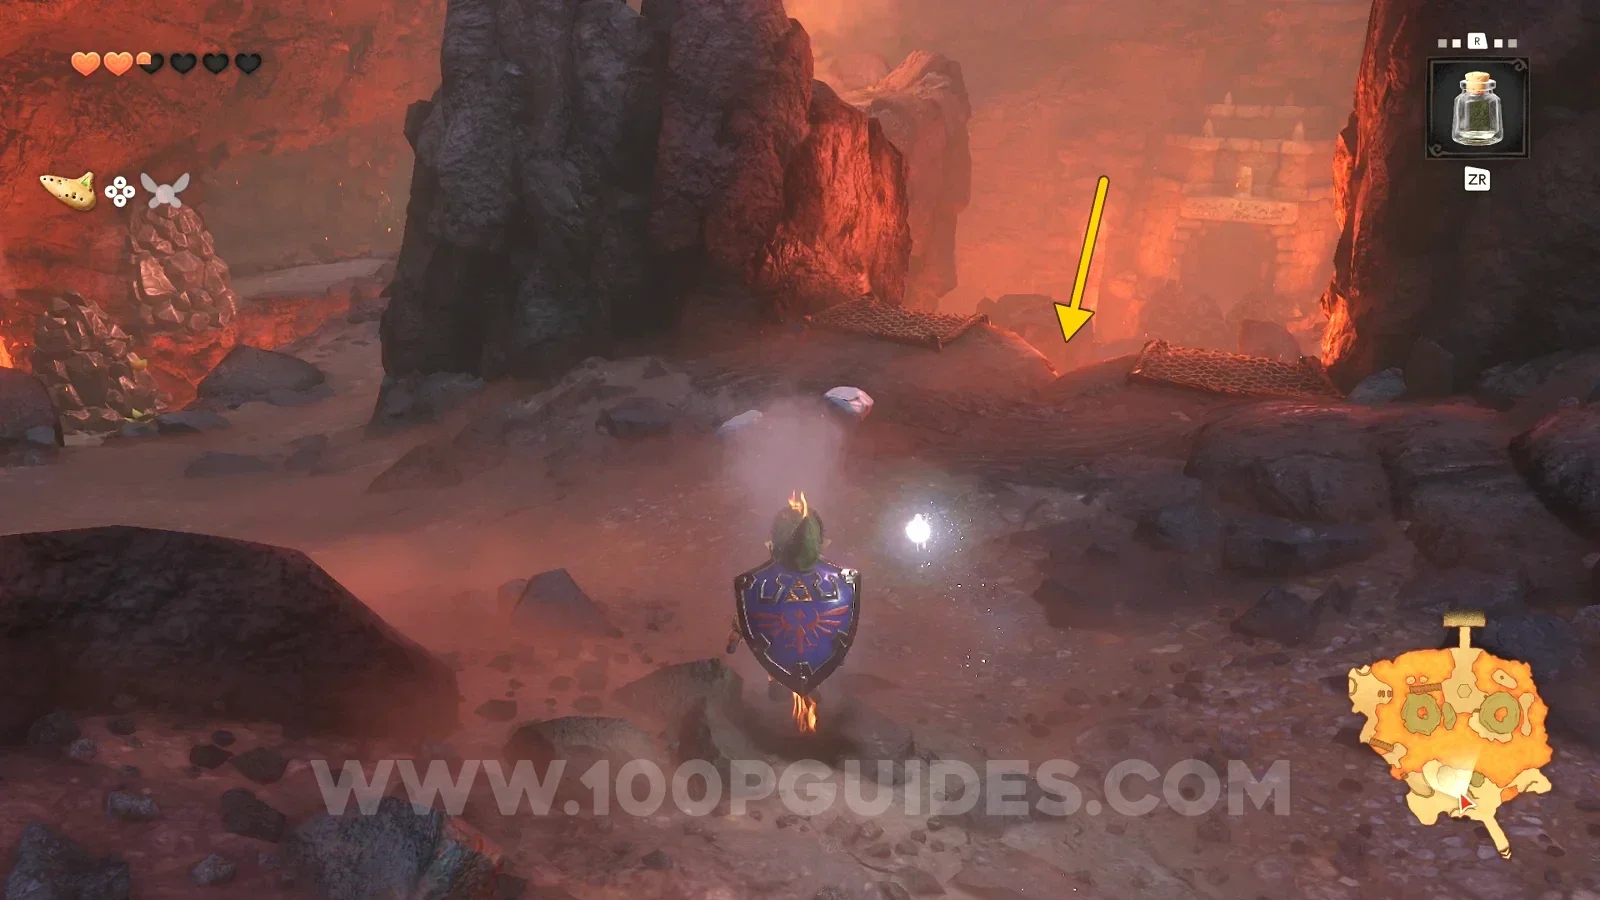
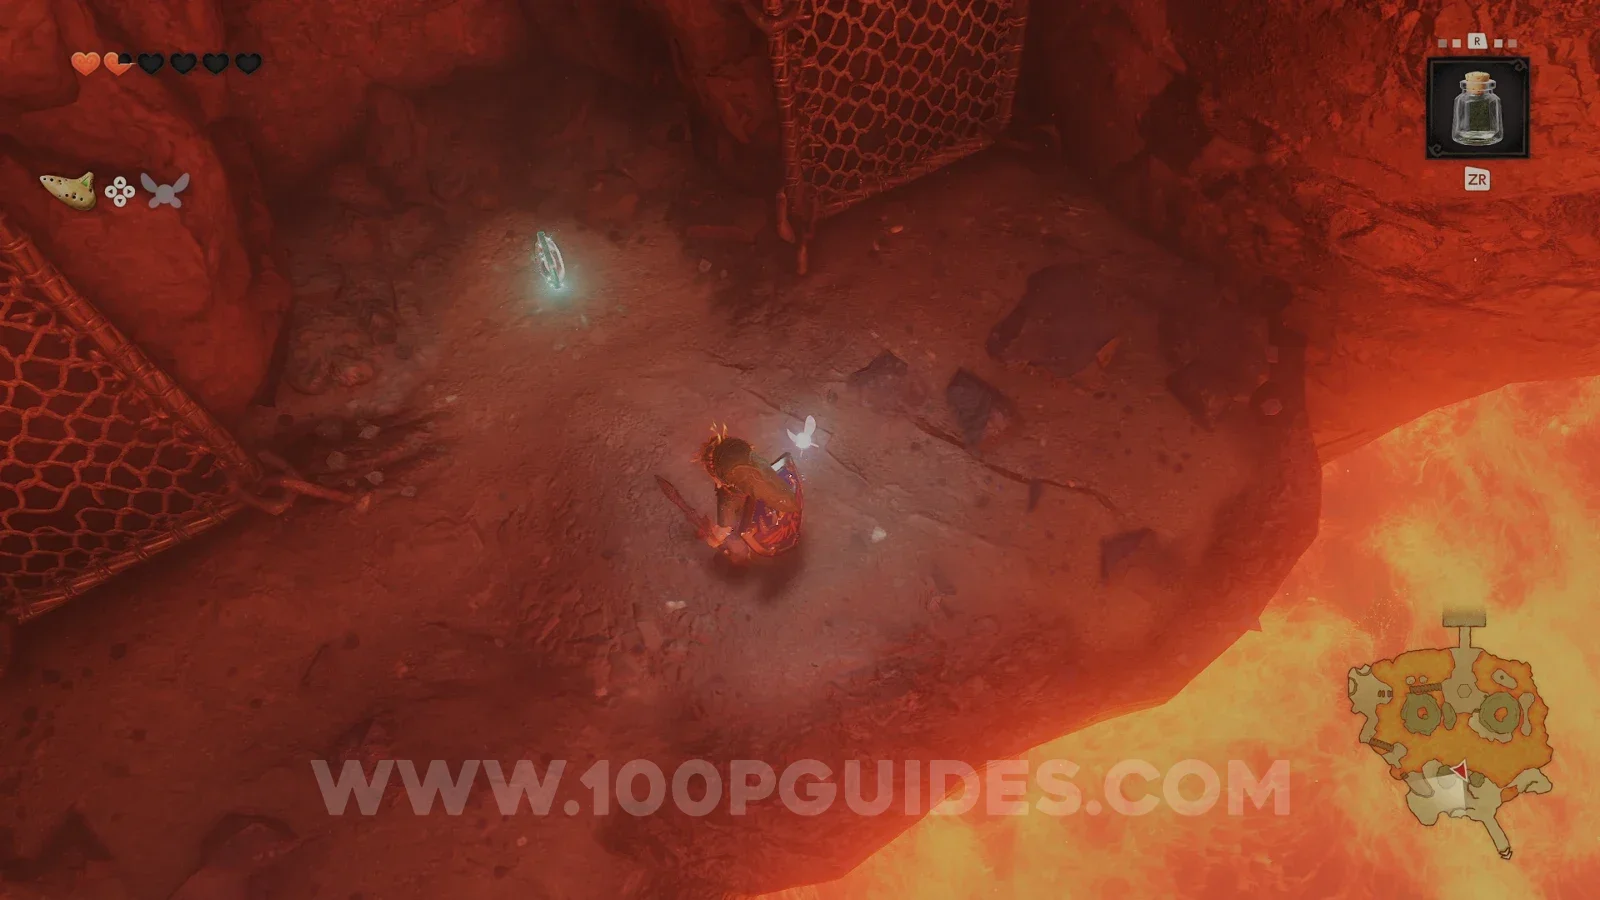
From the Heart Piece, climb back up the mesh and continue down the hill to the west. Almost immediately you will see some more mesh going down on your left and a Business Scrub at the bottom. Stand still and lock on to it. If you have the Hylian Shield you got from the graveyard in Kakariko equipped, it will bounce the nut back at the scrub and he will sell you a Heart Piece (9/36) for 100 rupees.
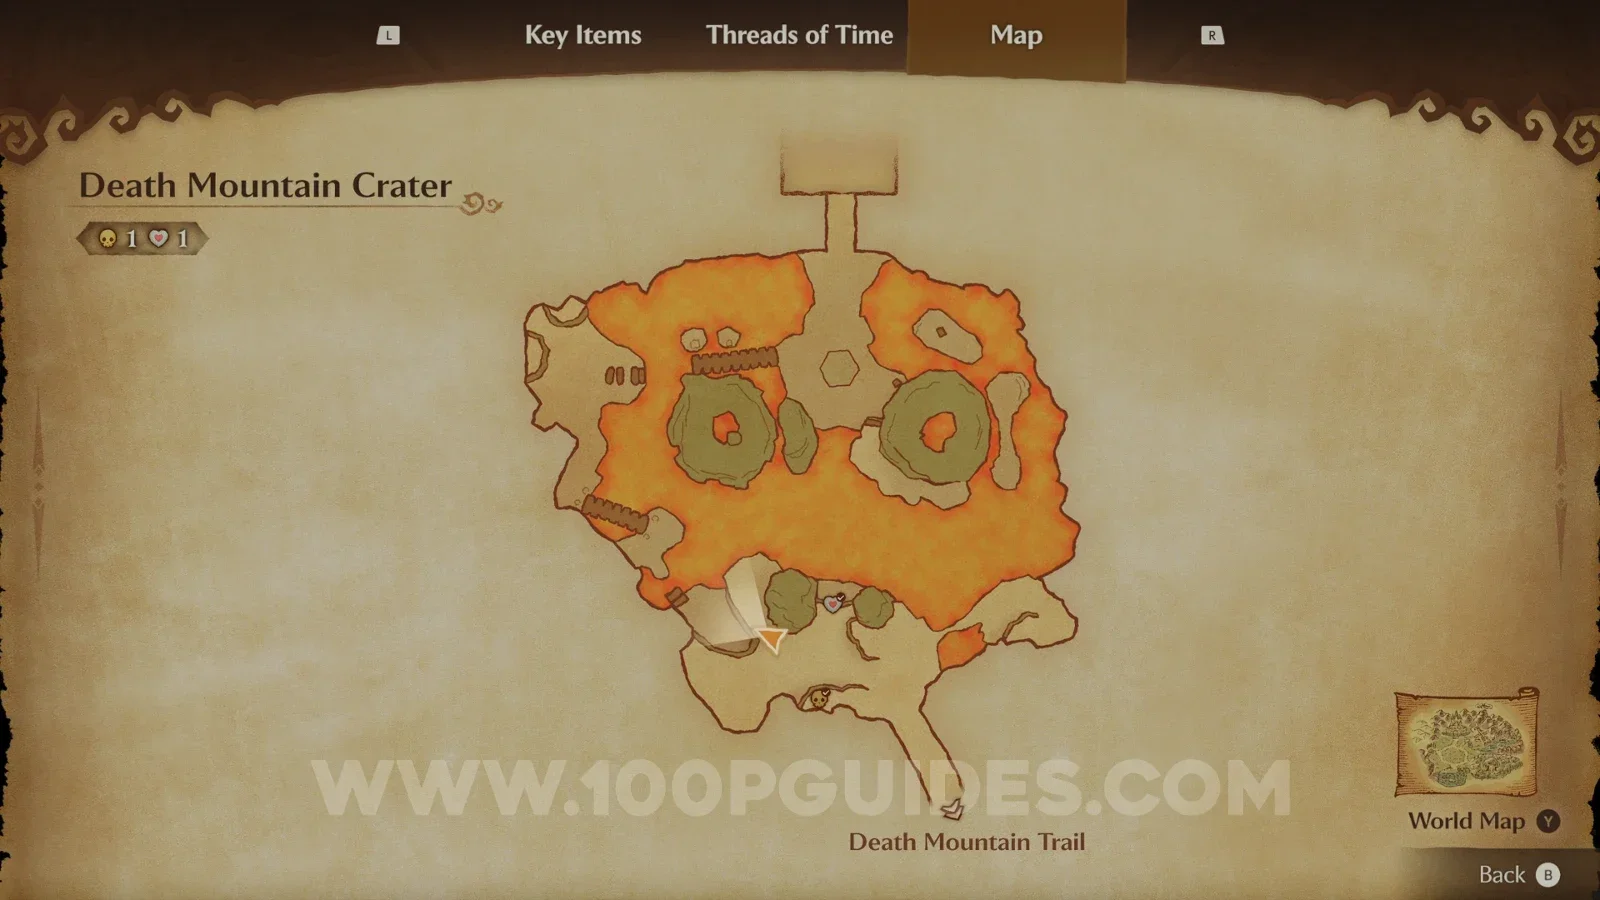
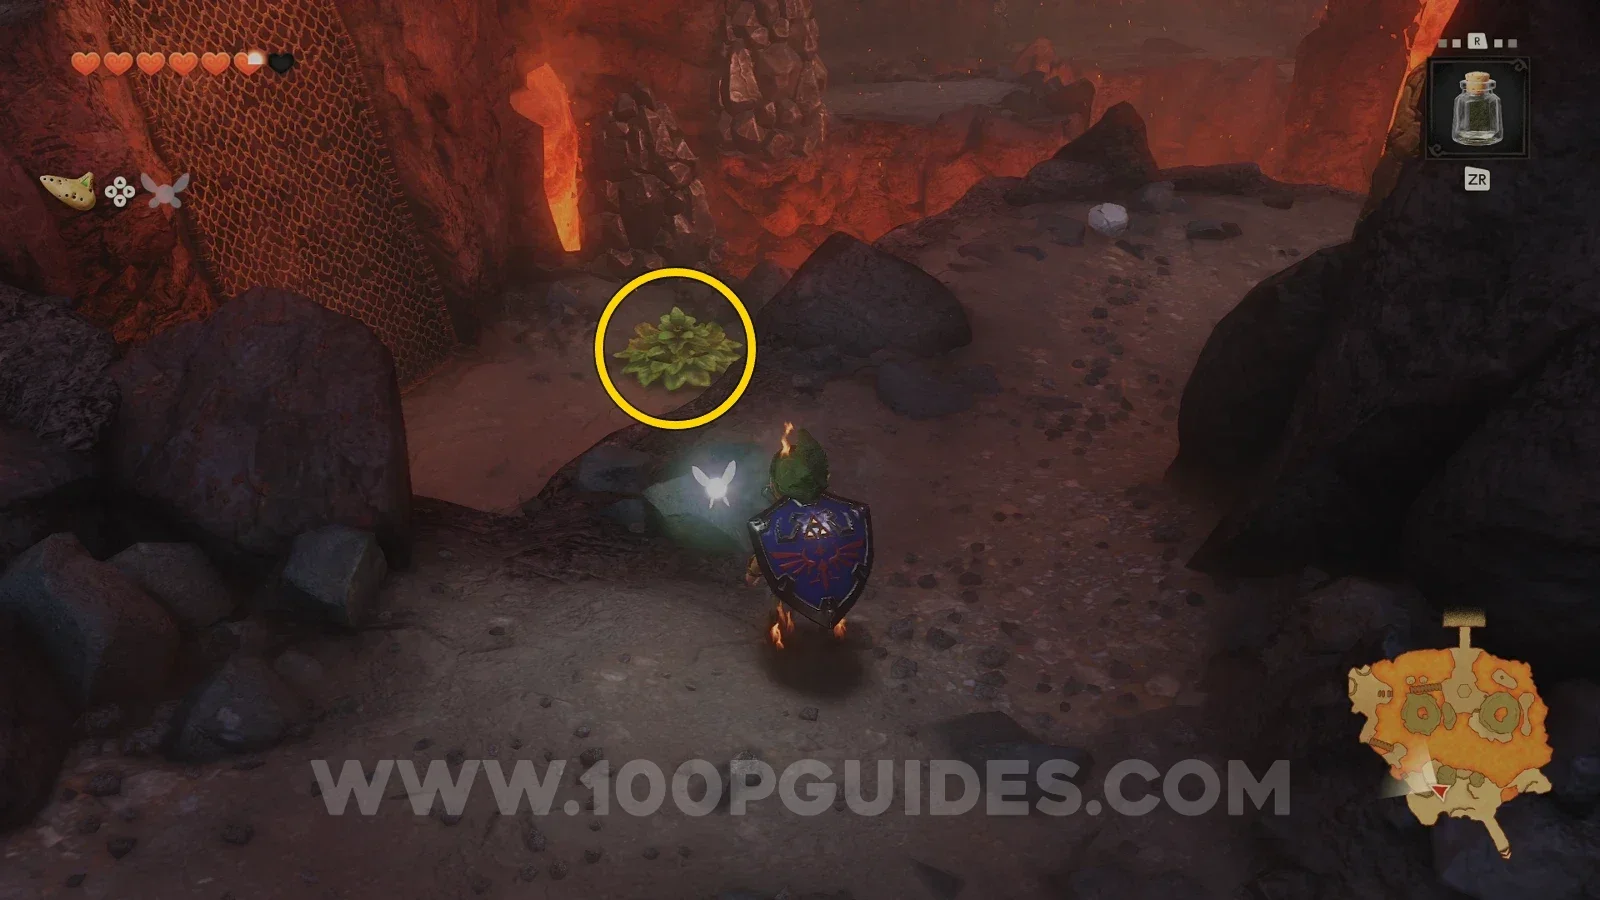
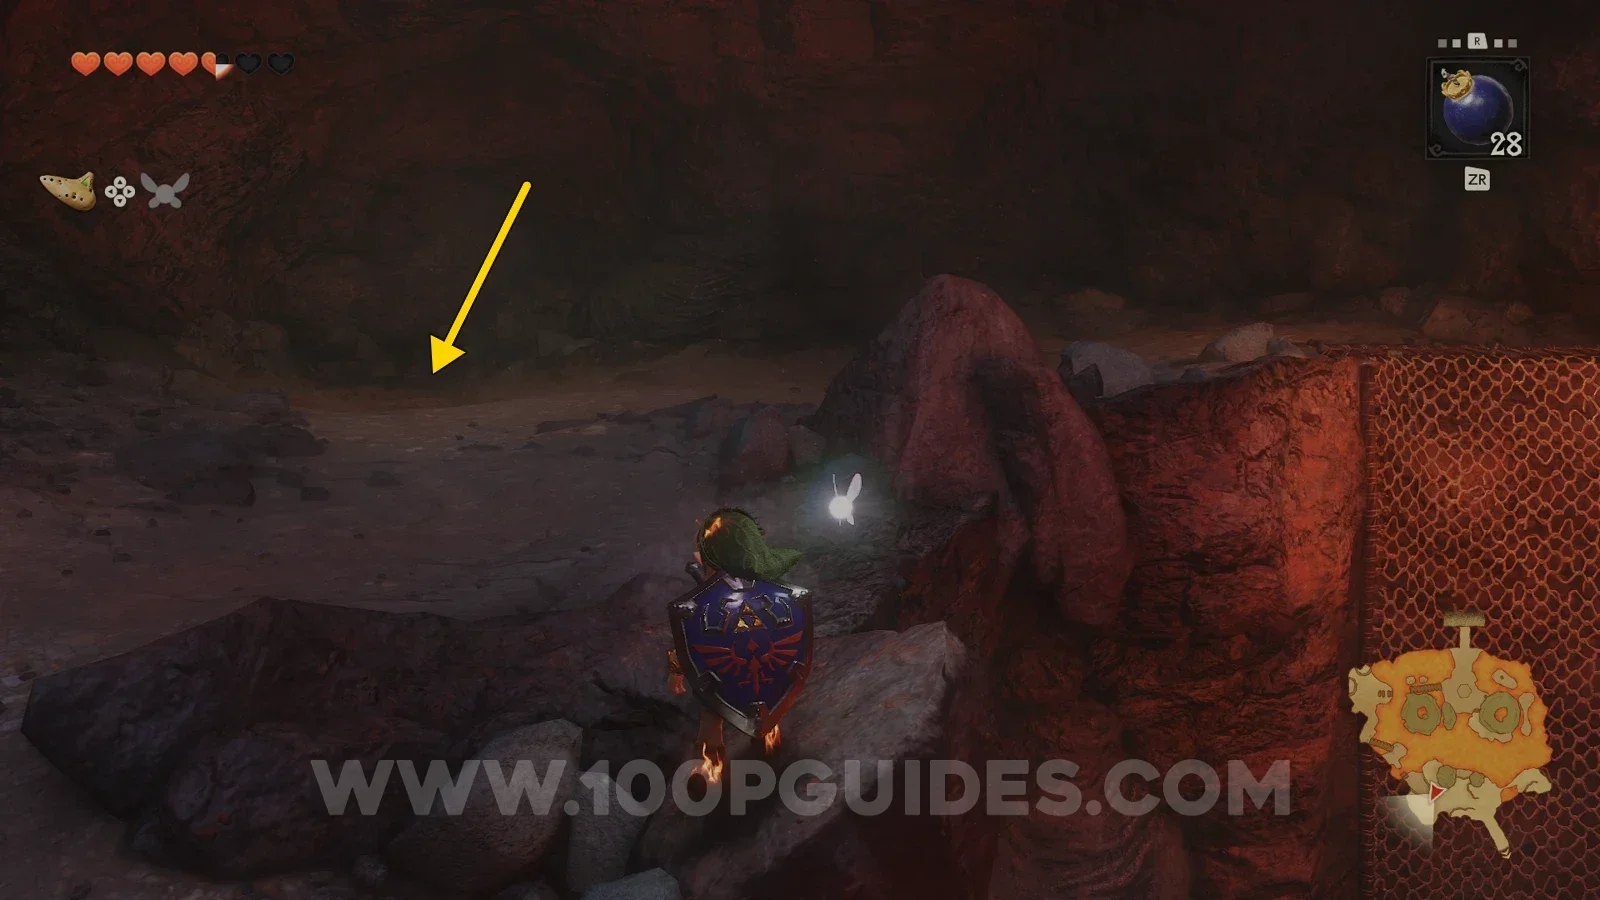
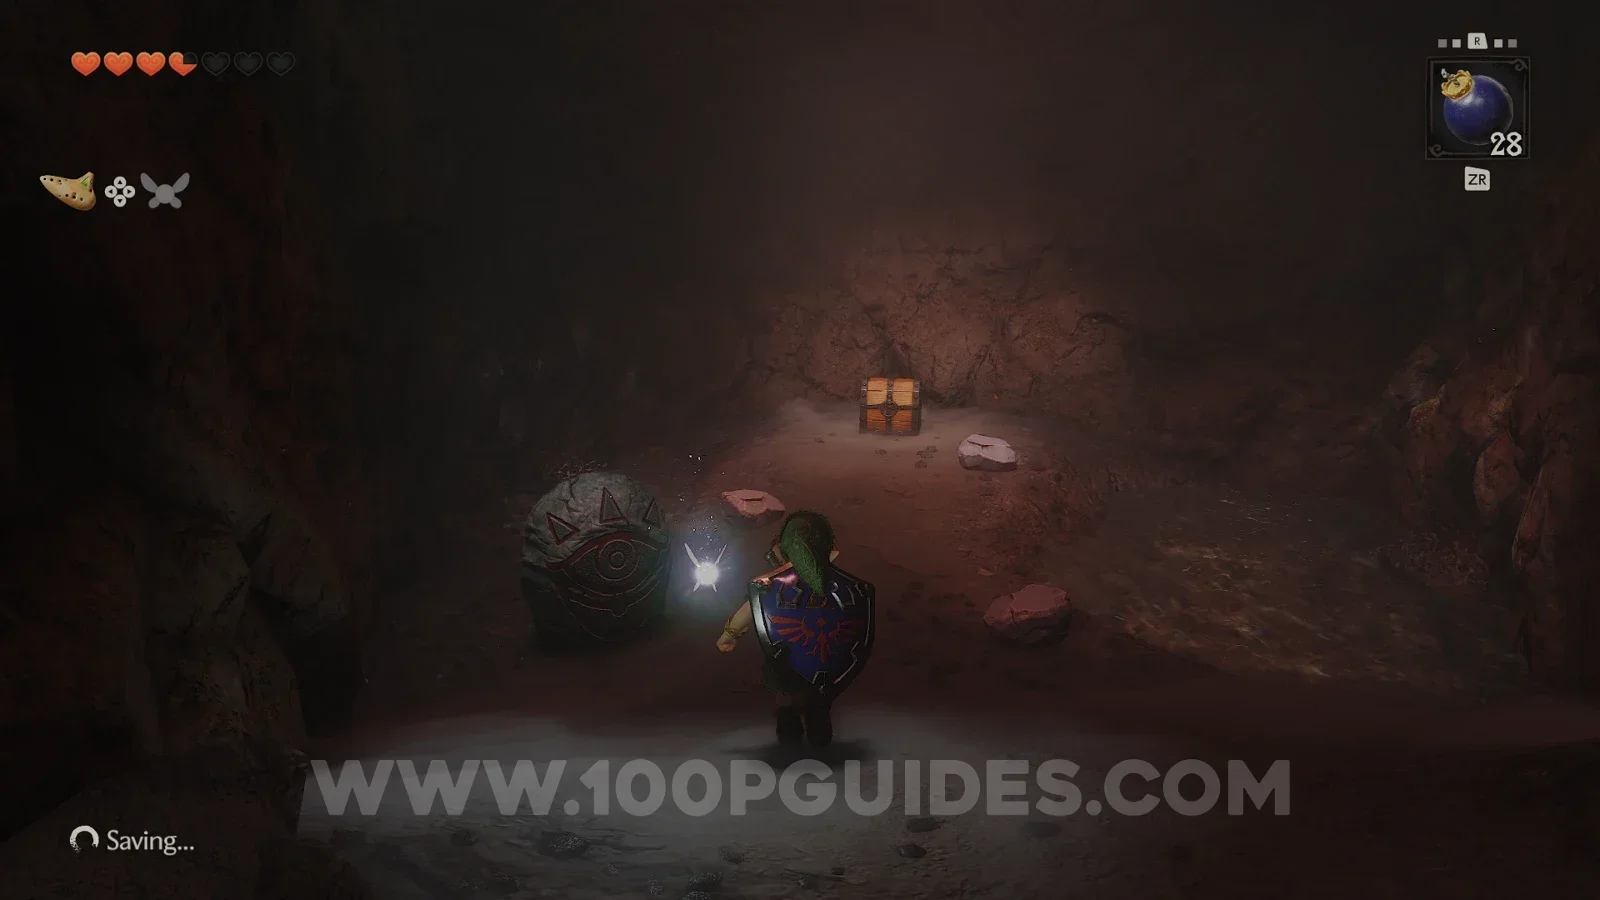
After getting the Heart Piece, climb the mesh and destroy the rock to the southwest with a bomb to reveal another grotto. Inside you can find a chest with another Business Scrub Seed in it.
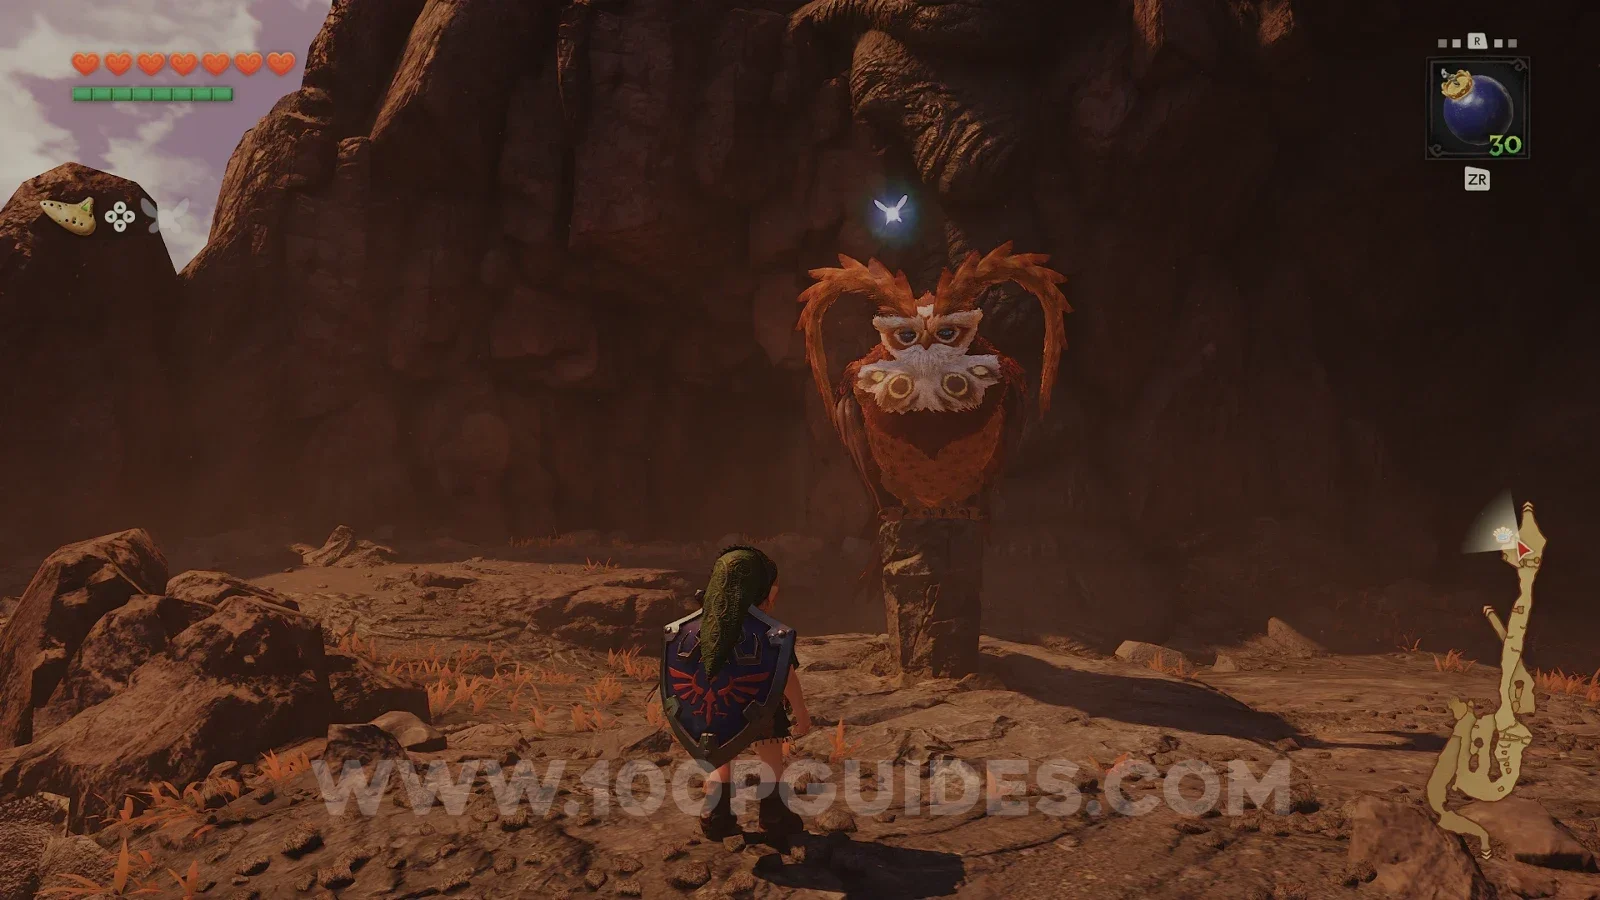
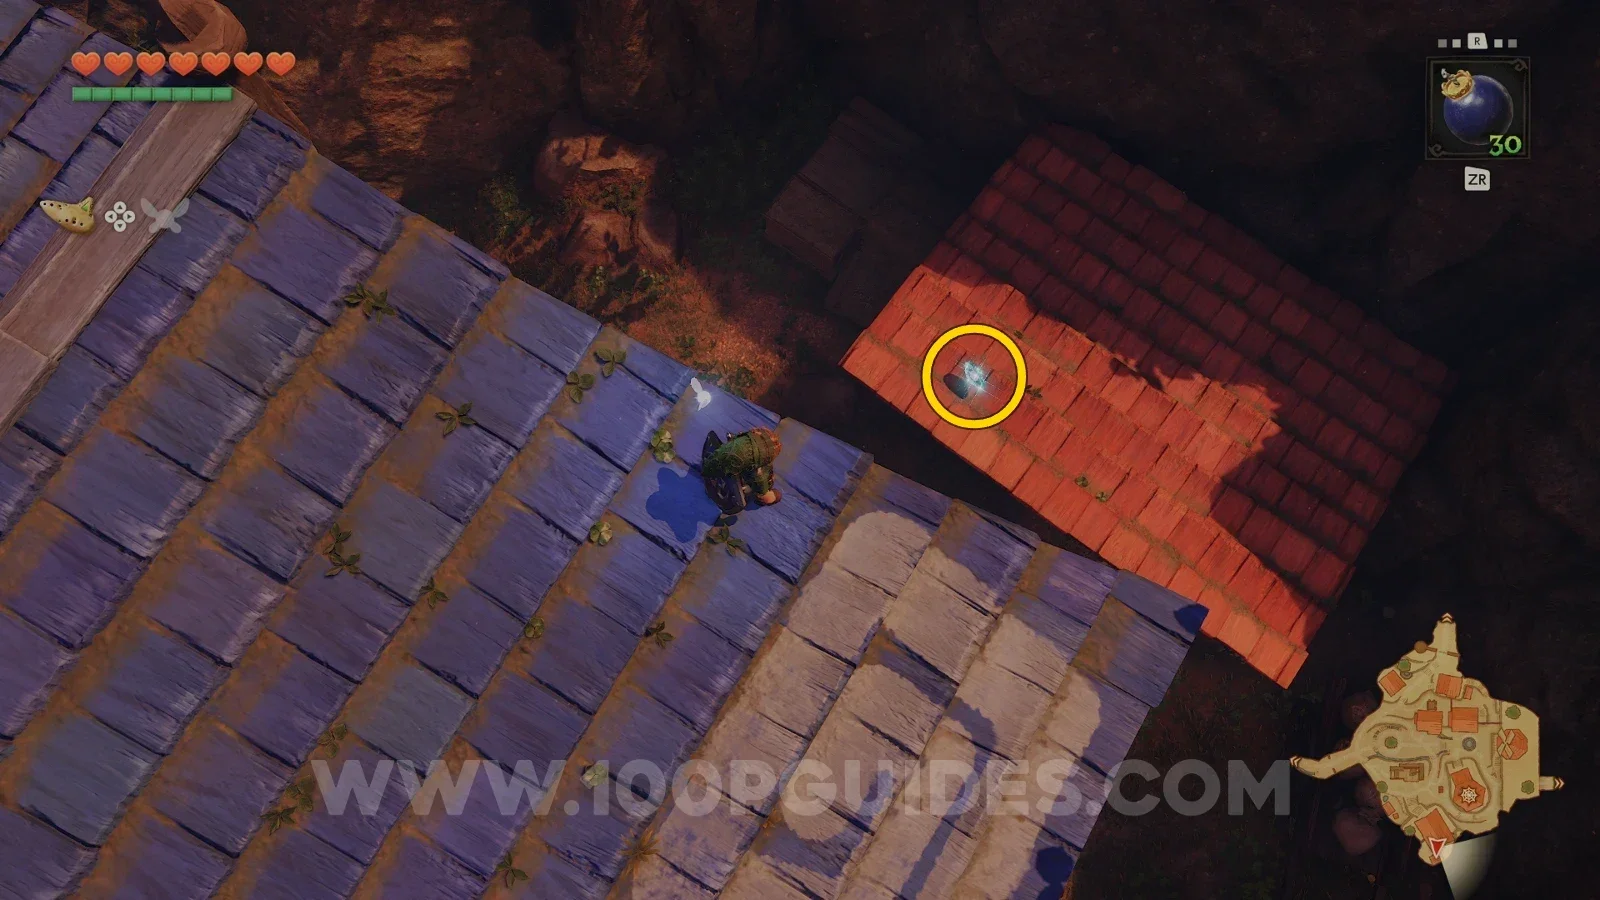
Finally, exit the crater back to the summit and talk to the owl. He will then fly you back down to Kakariko Village and leave you on a rooftop. From here, you can jump down to the smaller roof to the south to find a Heart Piece (10/36). If you don't pick it up here, you can return when you are an adult and have the hookshot.