Castlevania: Belmont’s Curse All Relic Locations

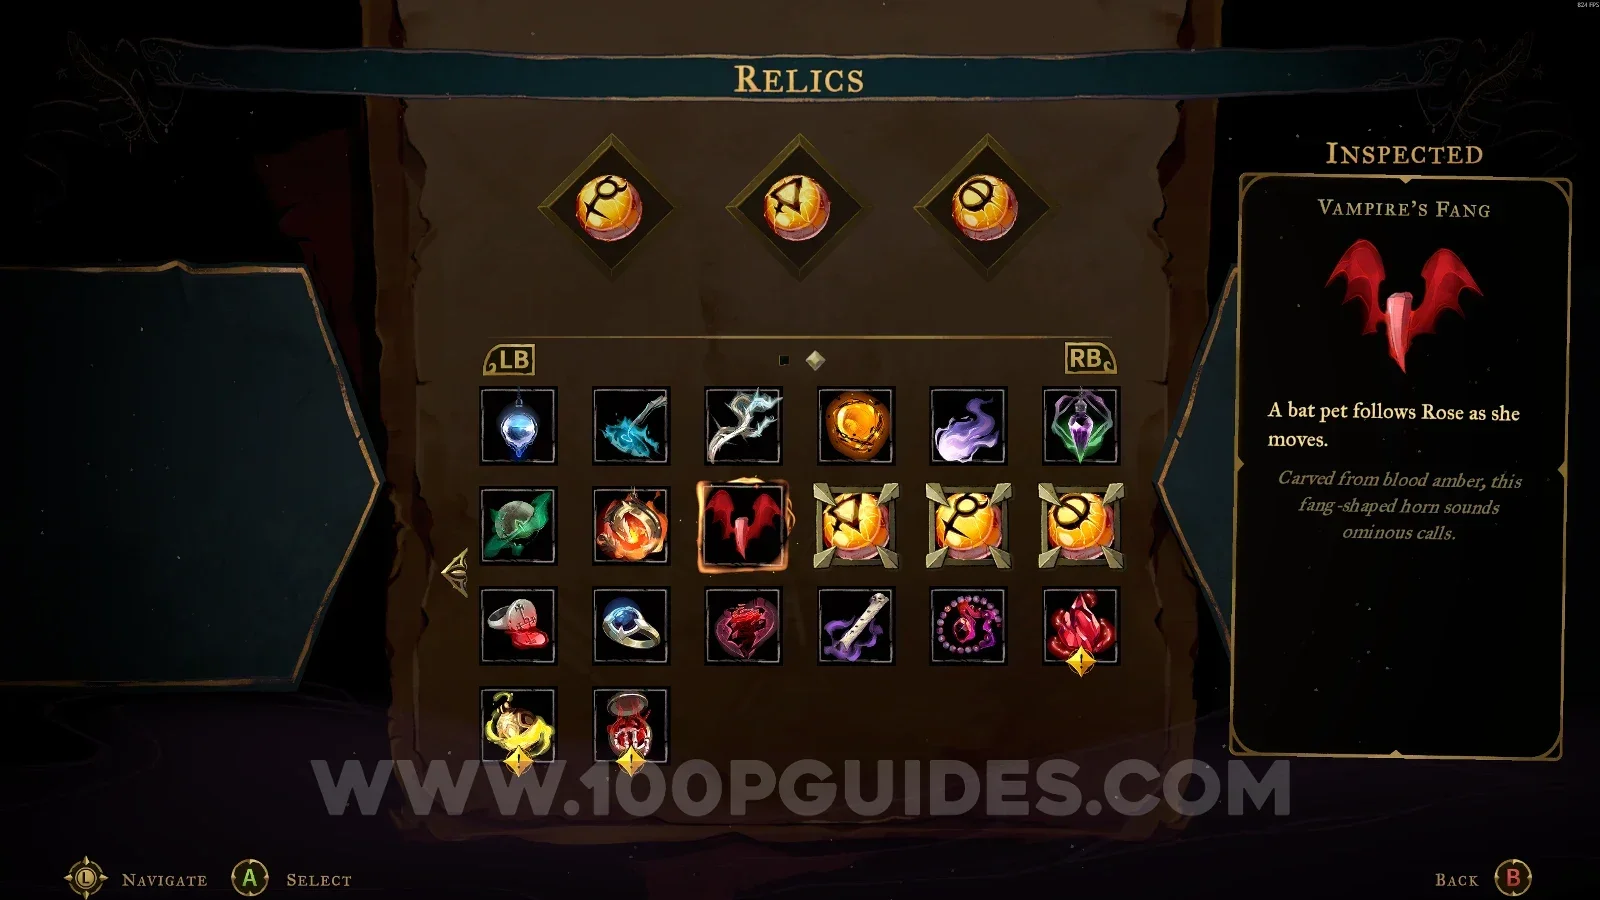
This guide will show you the location of all relics in Castlevania: Belmont's Curse.

Getting all the relics is required for 100% completion of the game.

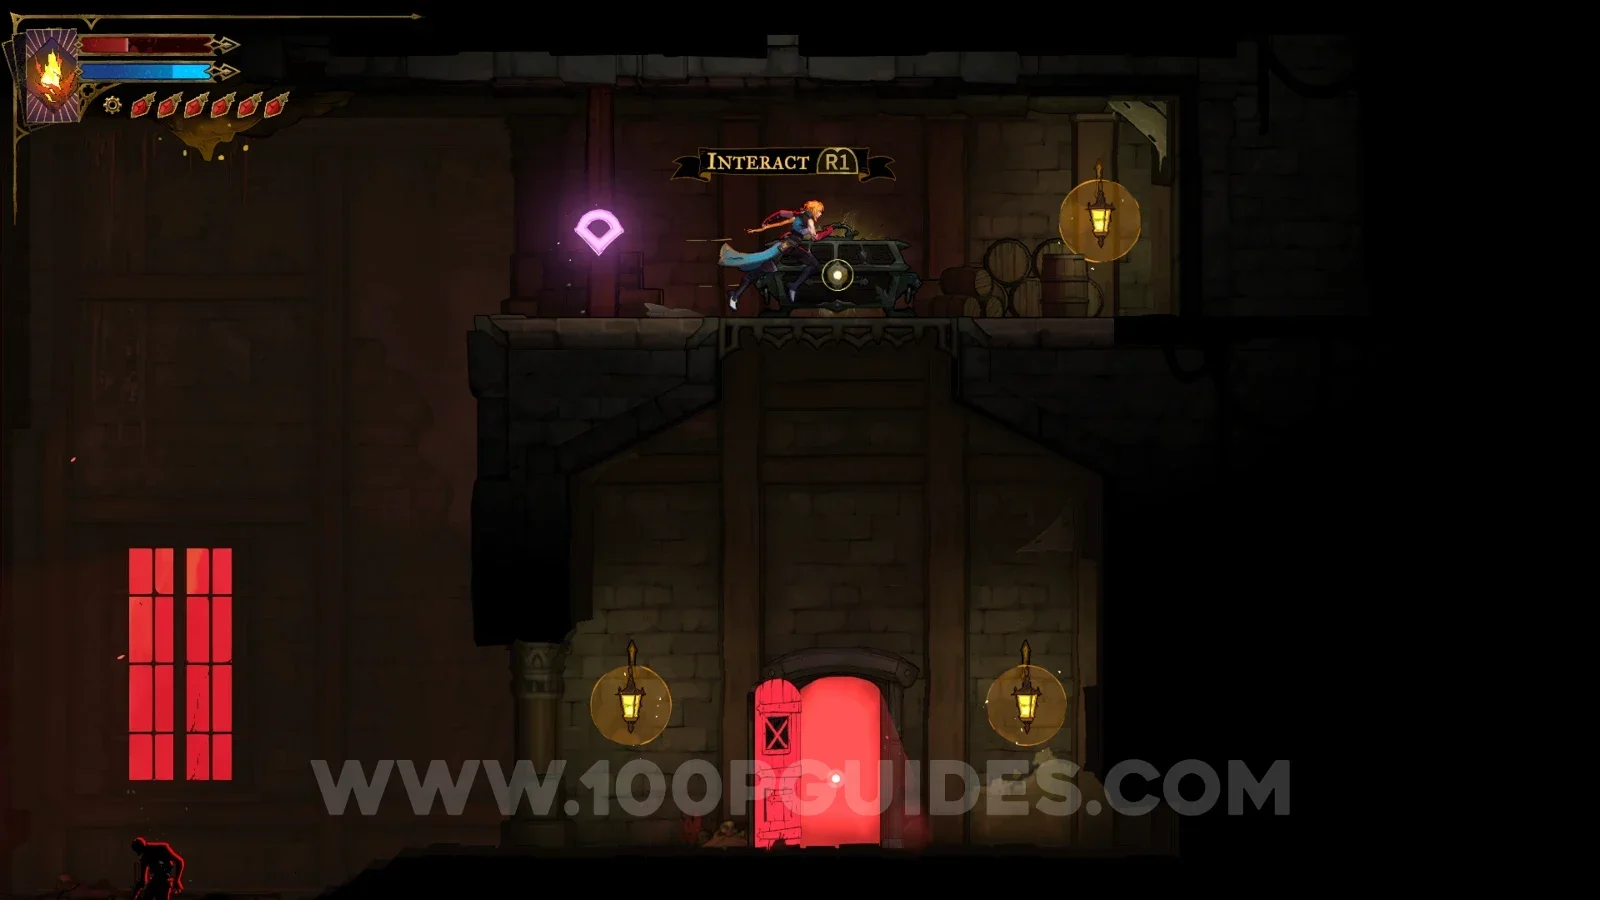
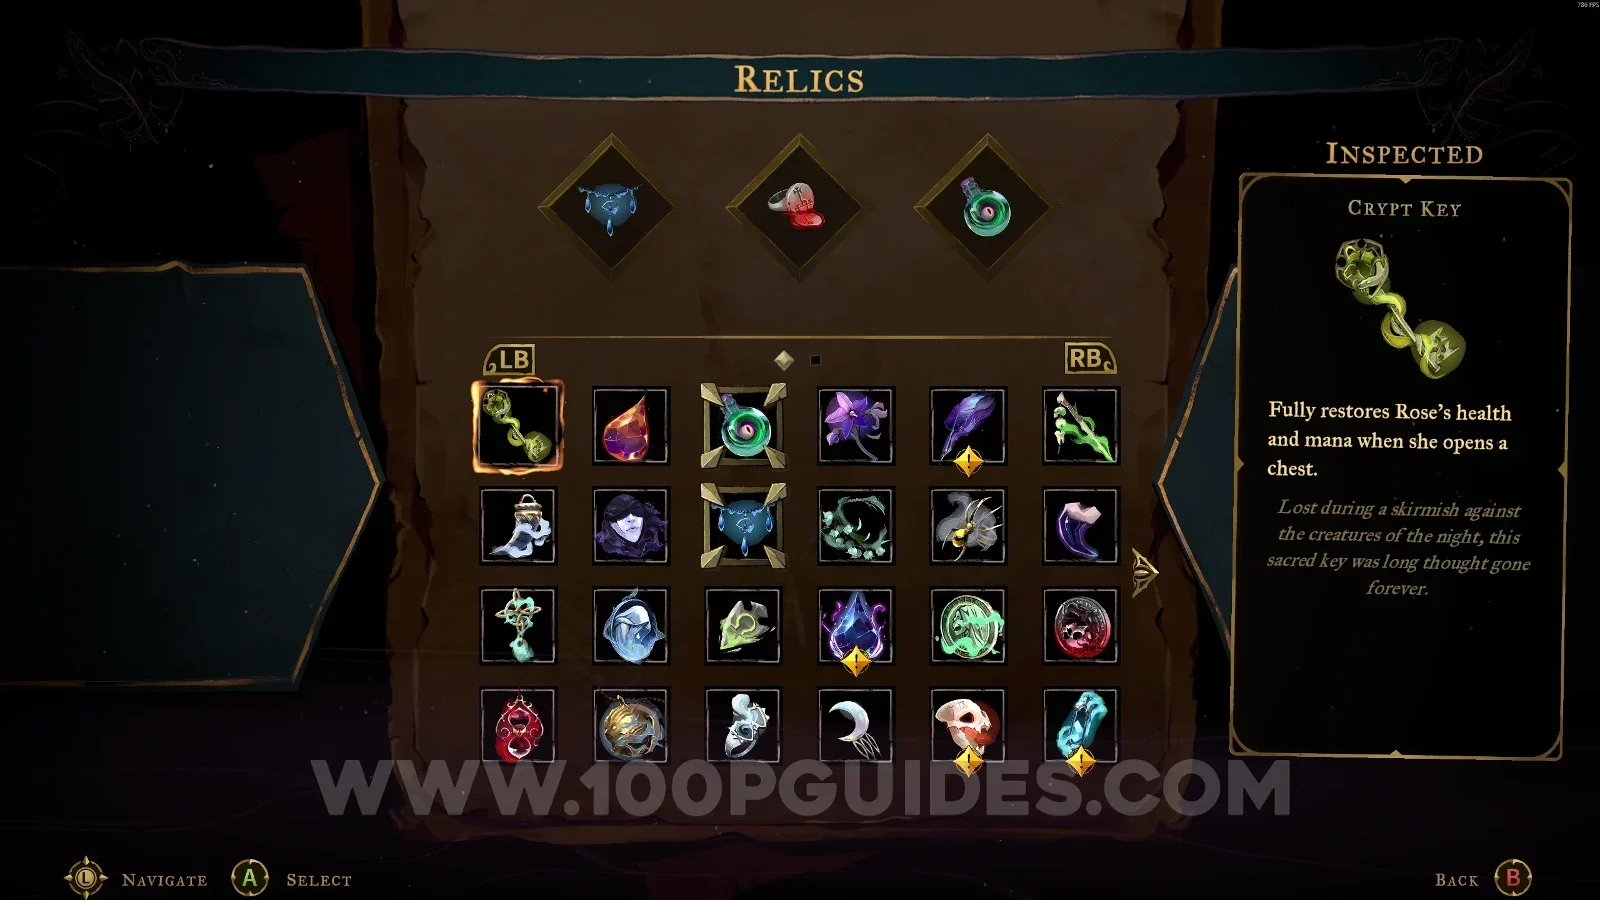
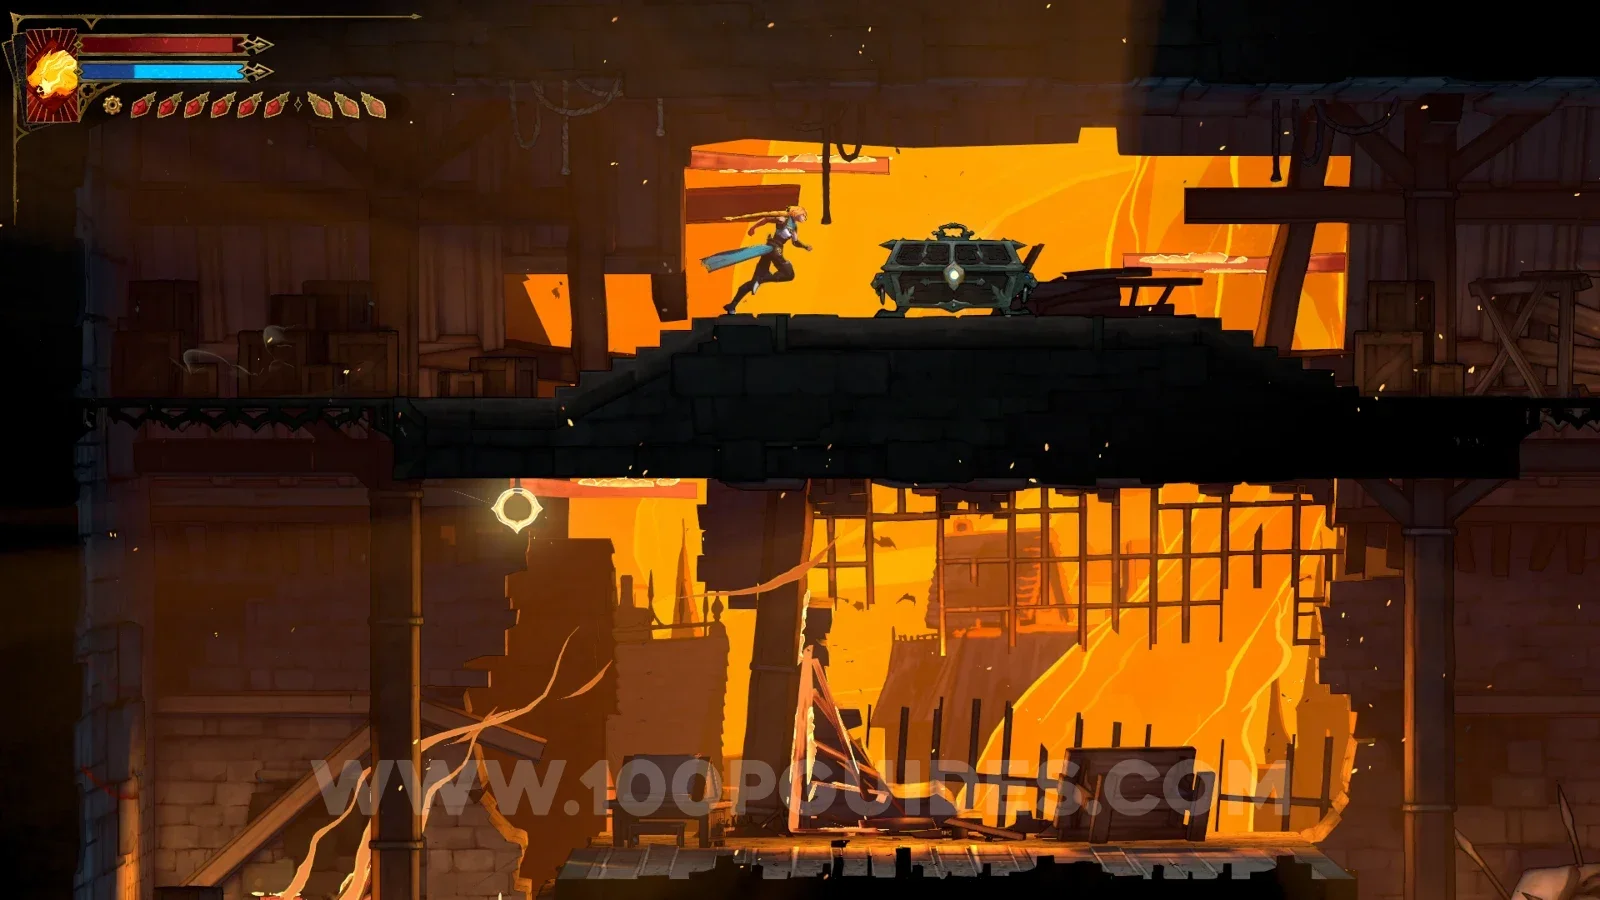
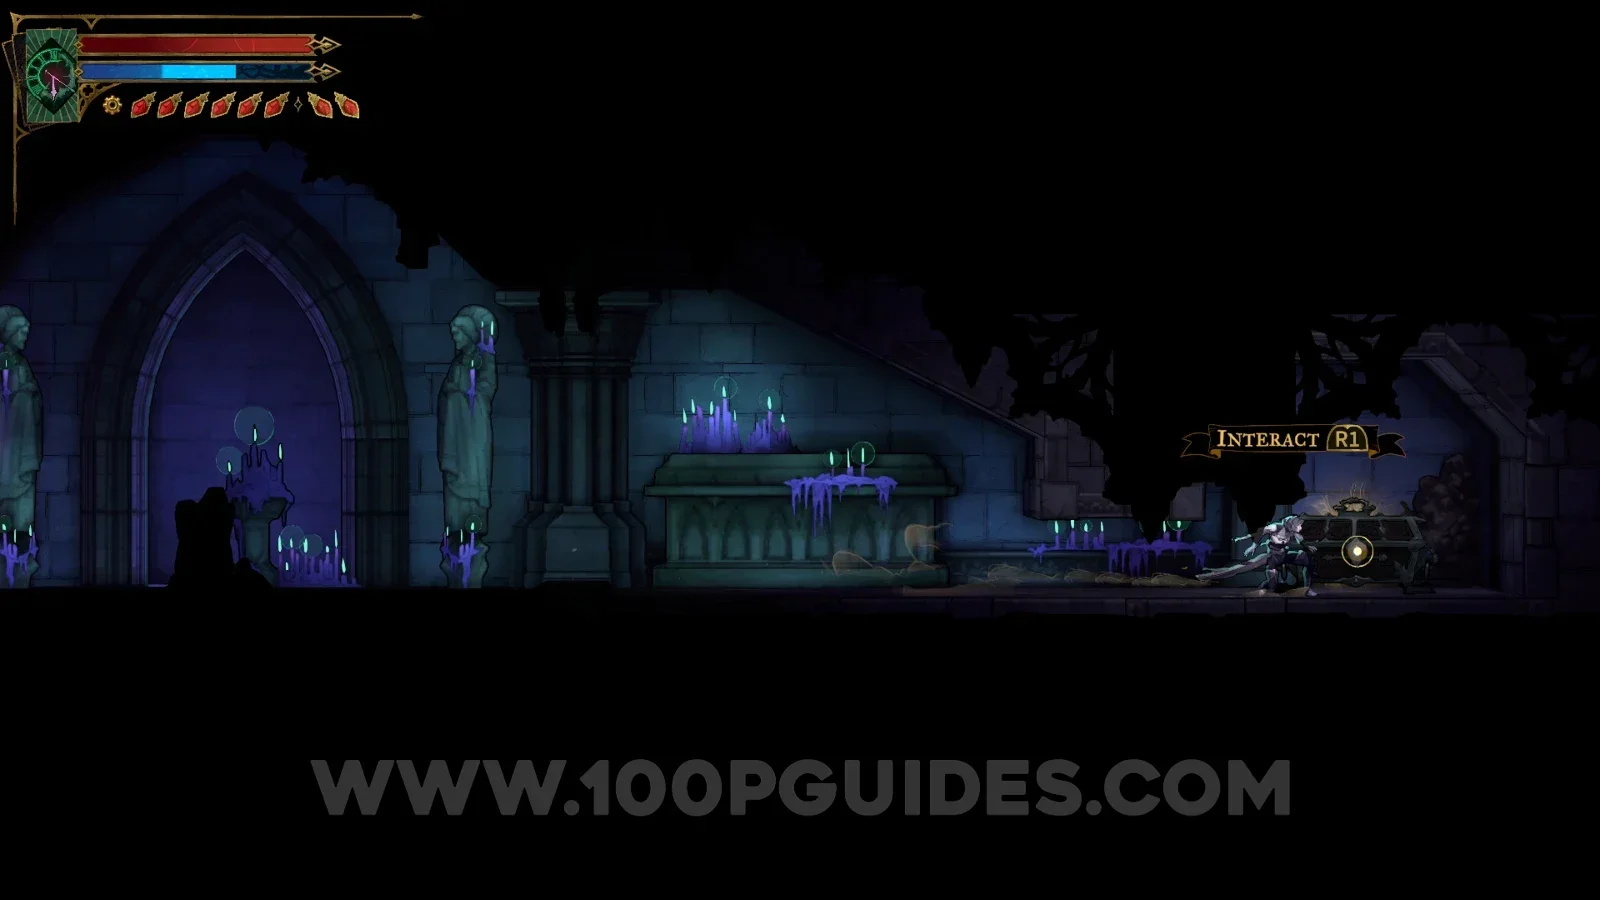
Crypt Key

Paris Streets > Burned District

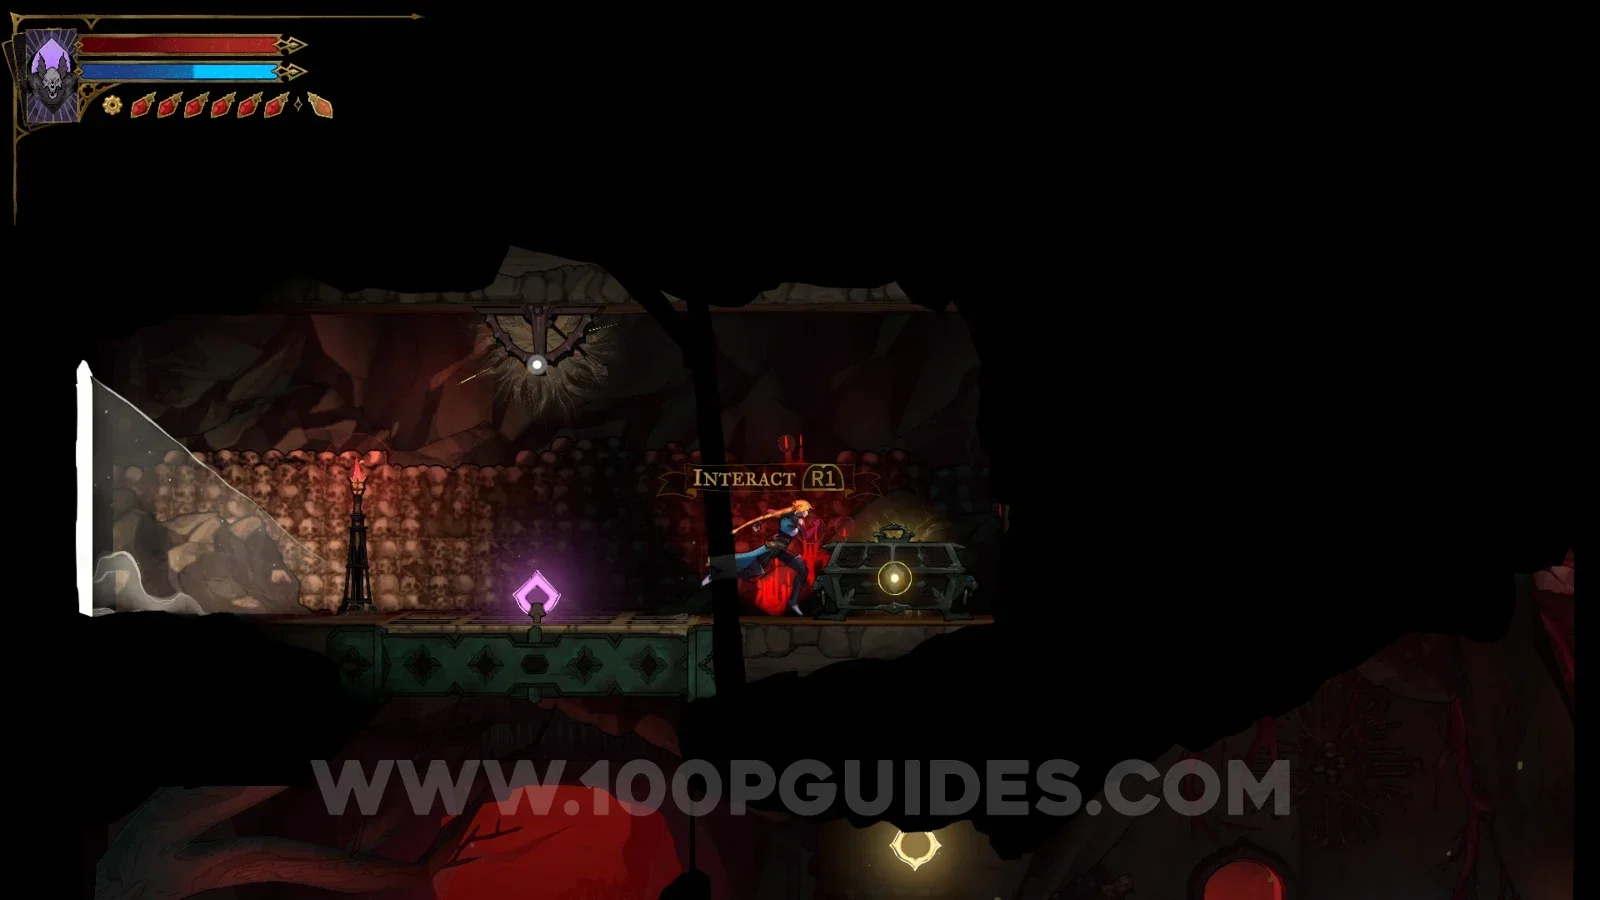
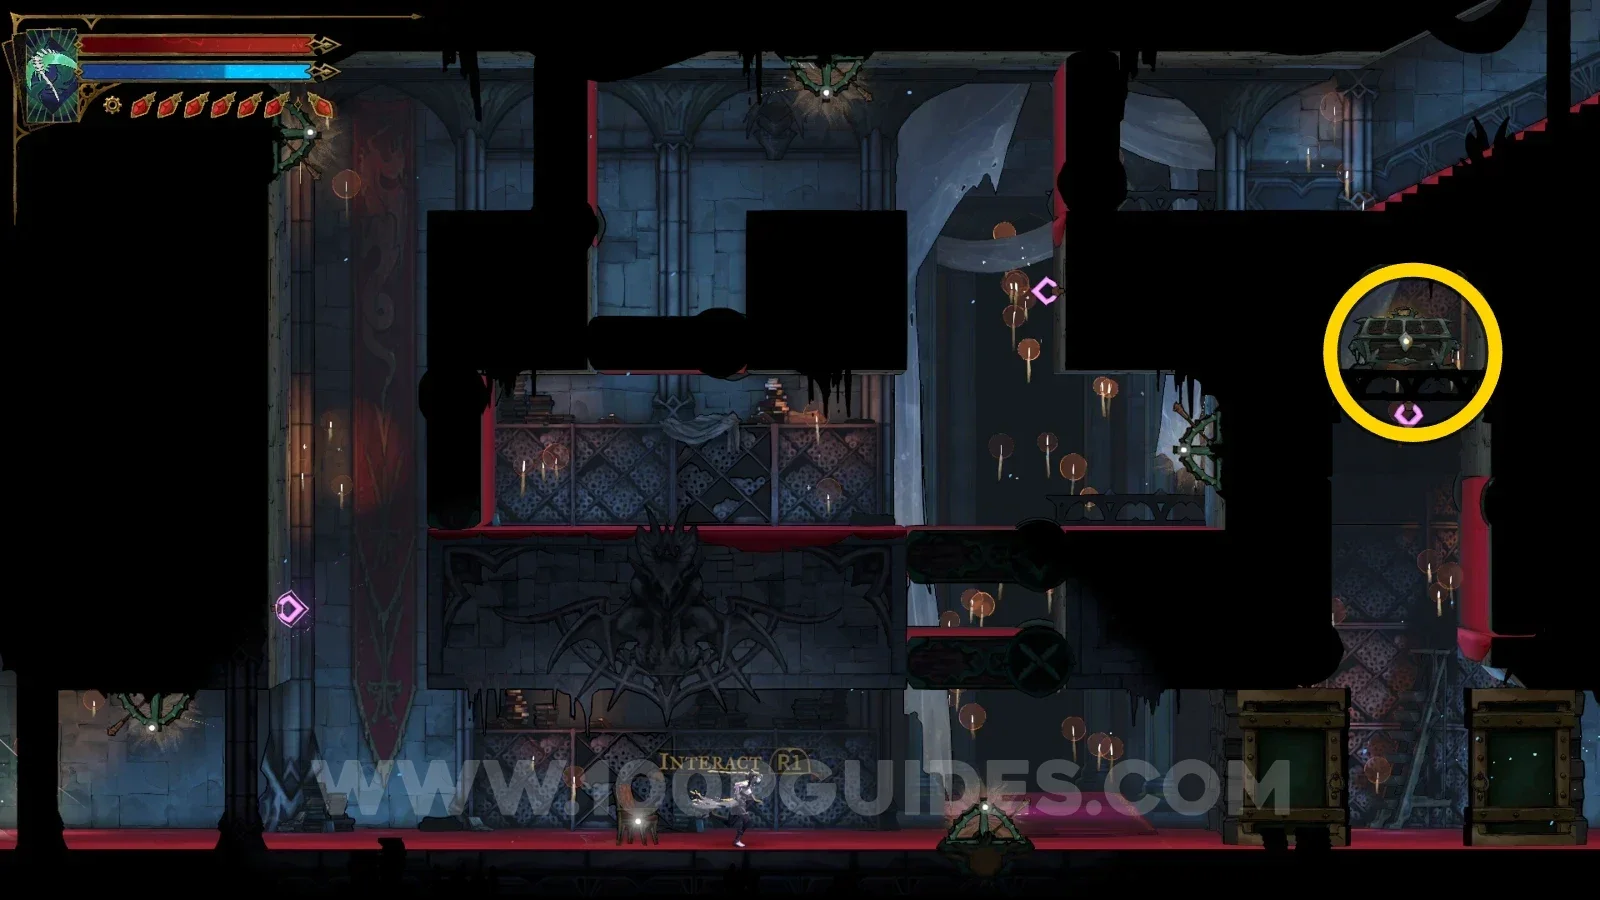
Inside the Seer's Hovel room, you'll find this relic inside a chest.
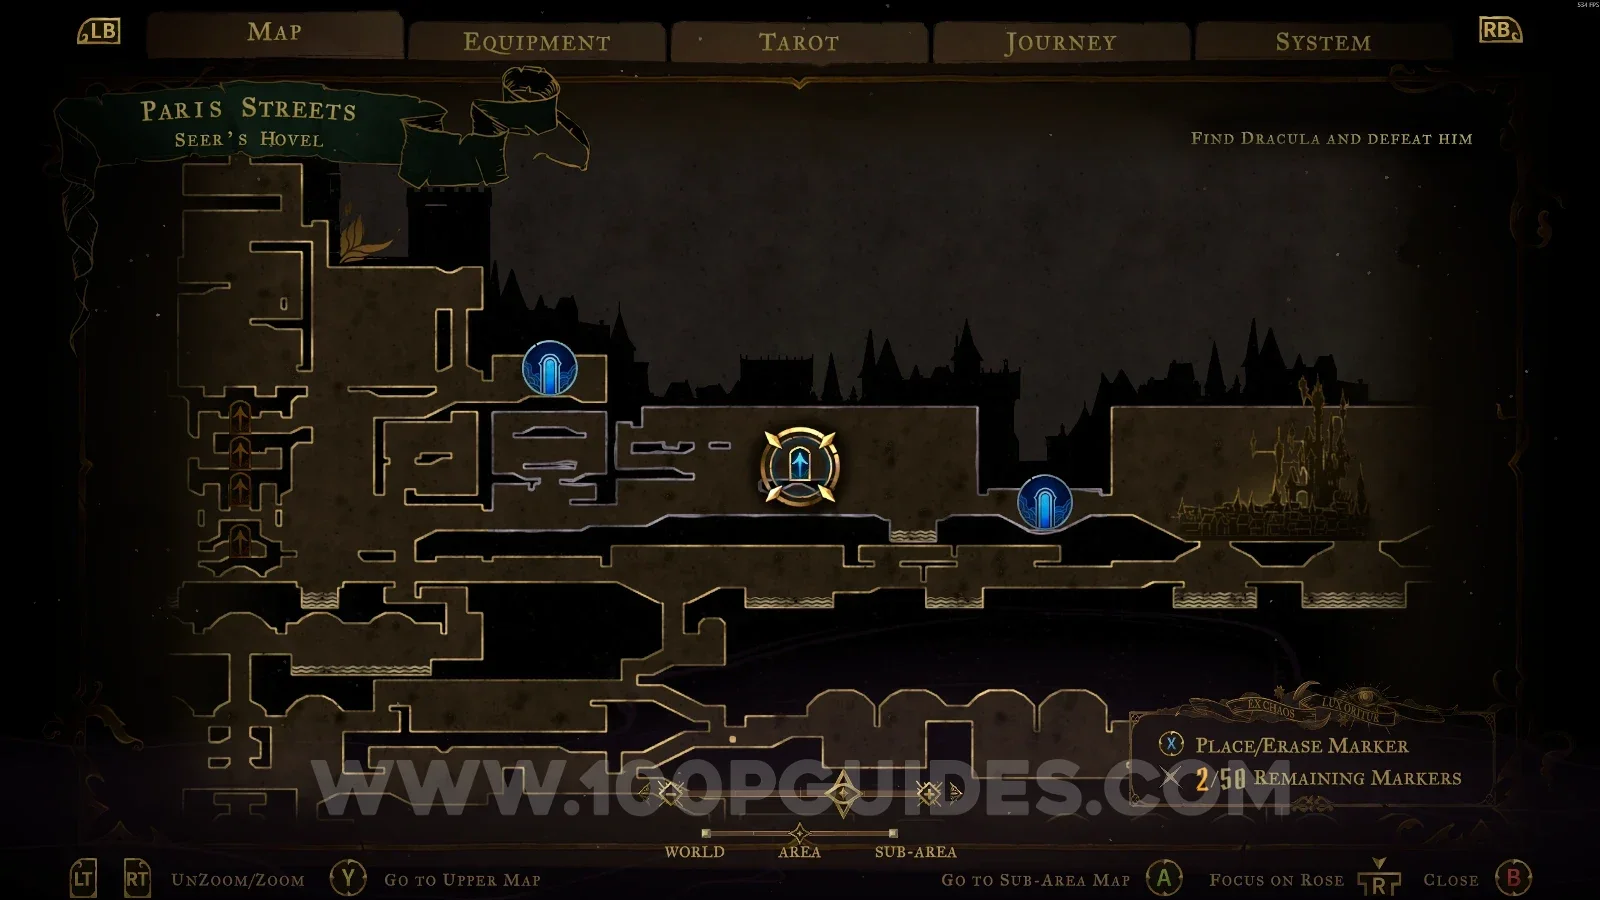
Castlevania Belmonts Curse Burned District map showing the Seer's Hovel room with the Crypt Key relic Castlevania Belmonts Curse: inside the Seer's Hovel room in the Burned District of Paris Streets Castlevania Belmonts Curse: the chest holding the Crypt Key relic inside the Seer's Hovel

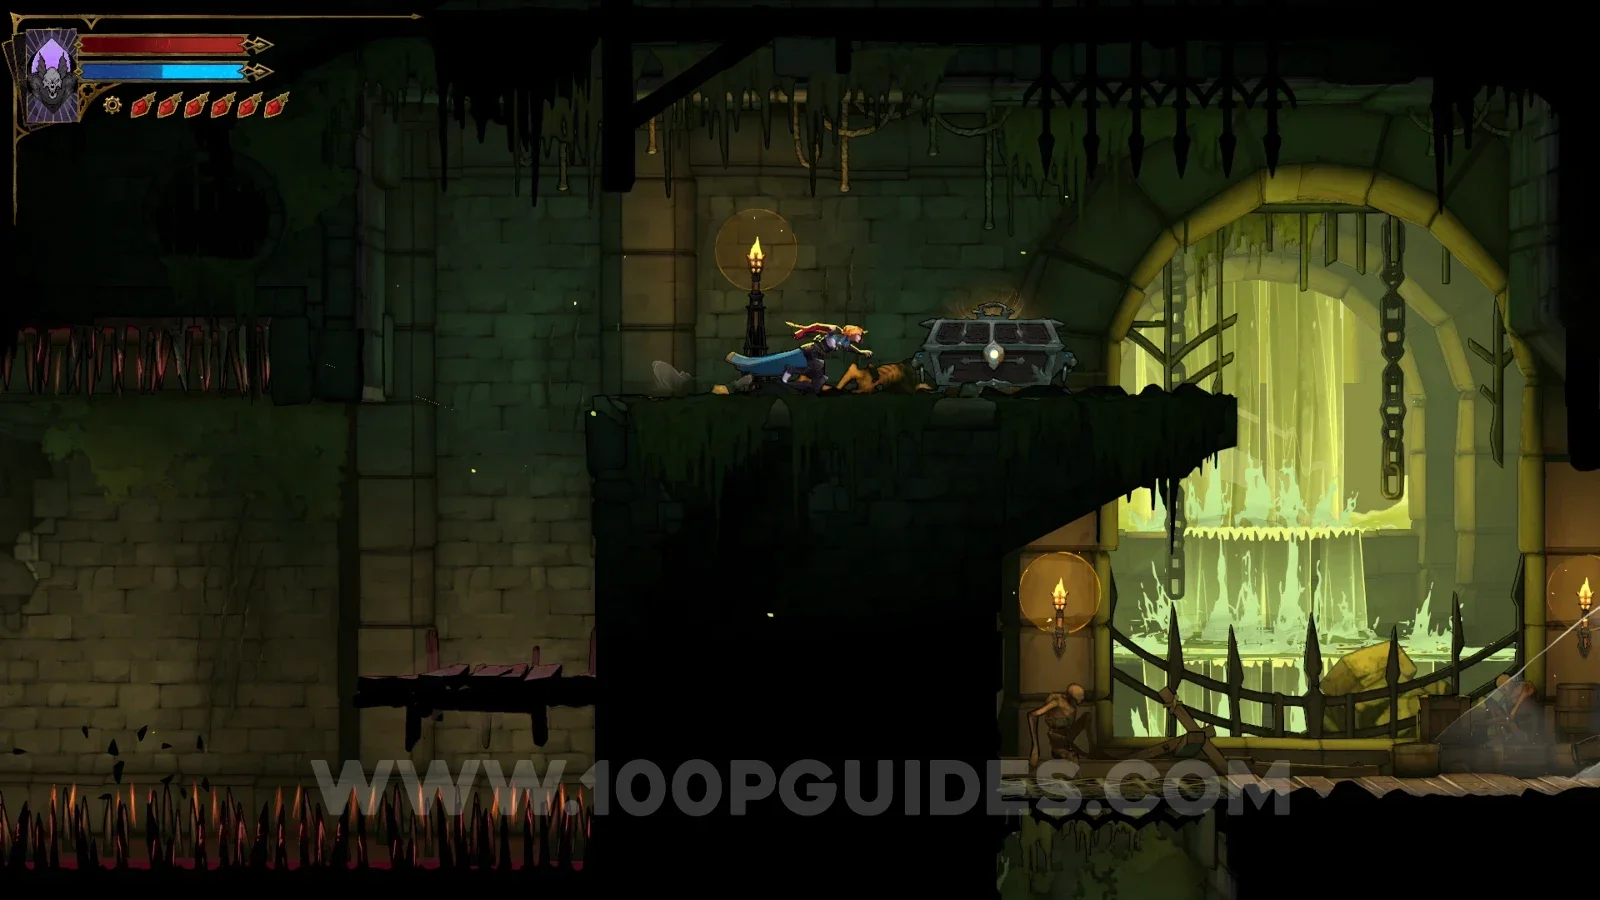
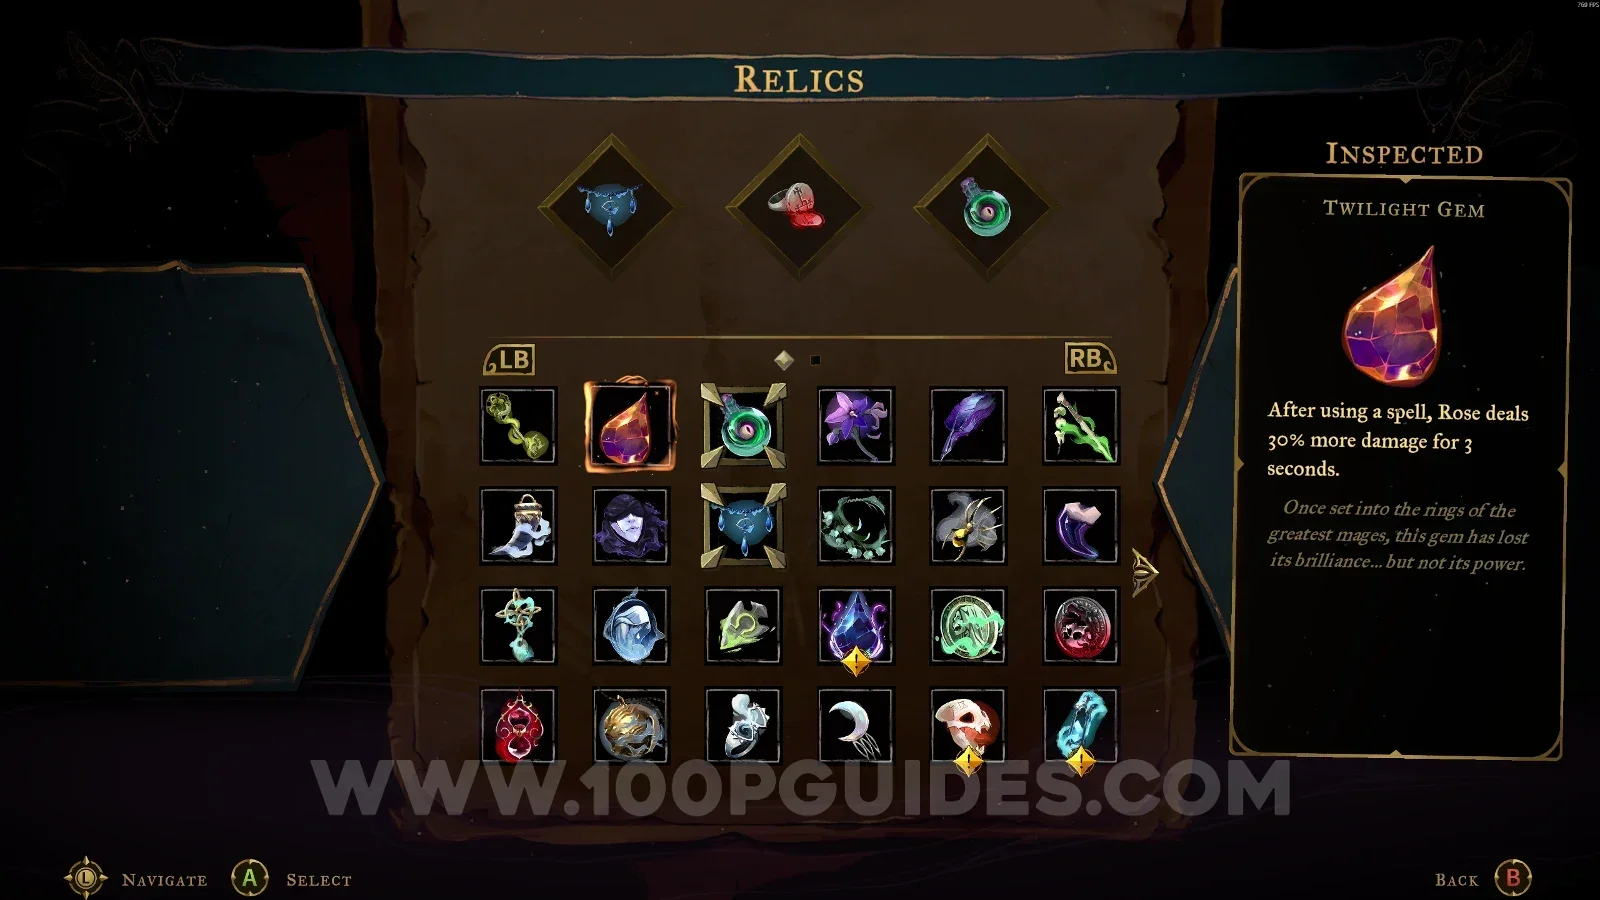
Twilight Gem

Paris Streets > Central Sewer Drain

Go around the area past the water wheels to reach this chest containing the relic.
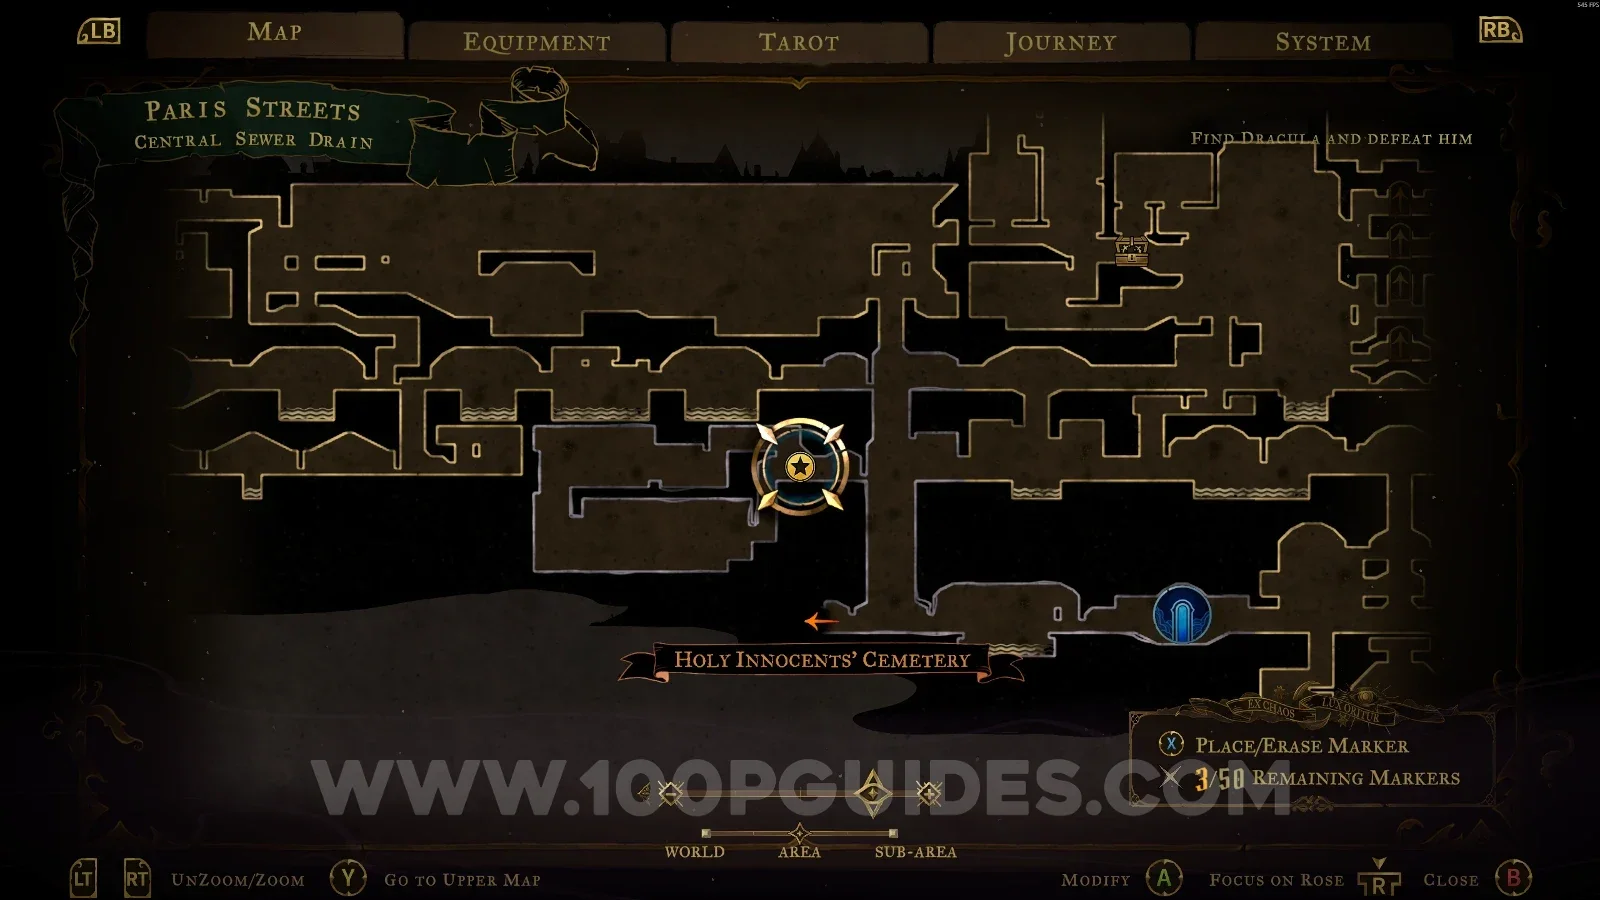
Castlevania Belmonts Curse Central Sewer Drain map marking the Twilight Gem relic location Castlevania Belmonts Curse Central Sewer Drain: going around the area past the water wheels Castlevania Belmonts Curse: the chest with the Twilight Gem relic beyond the water wheels

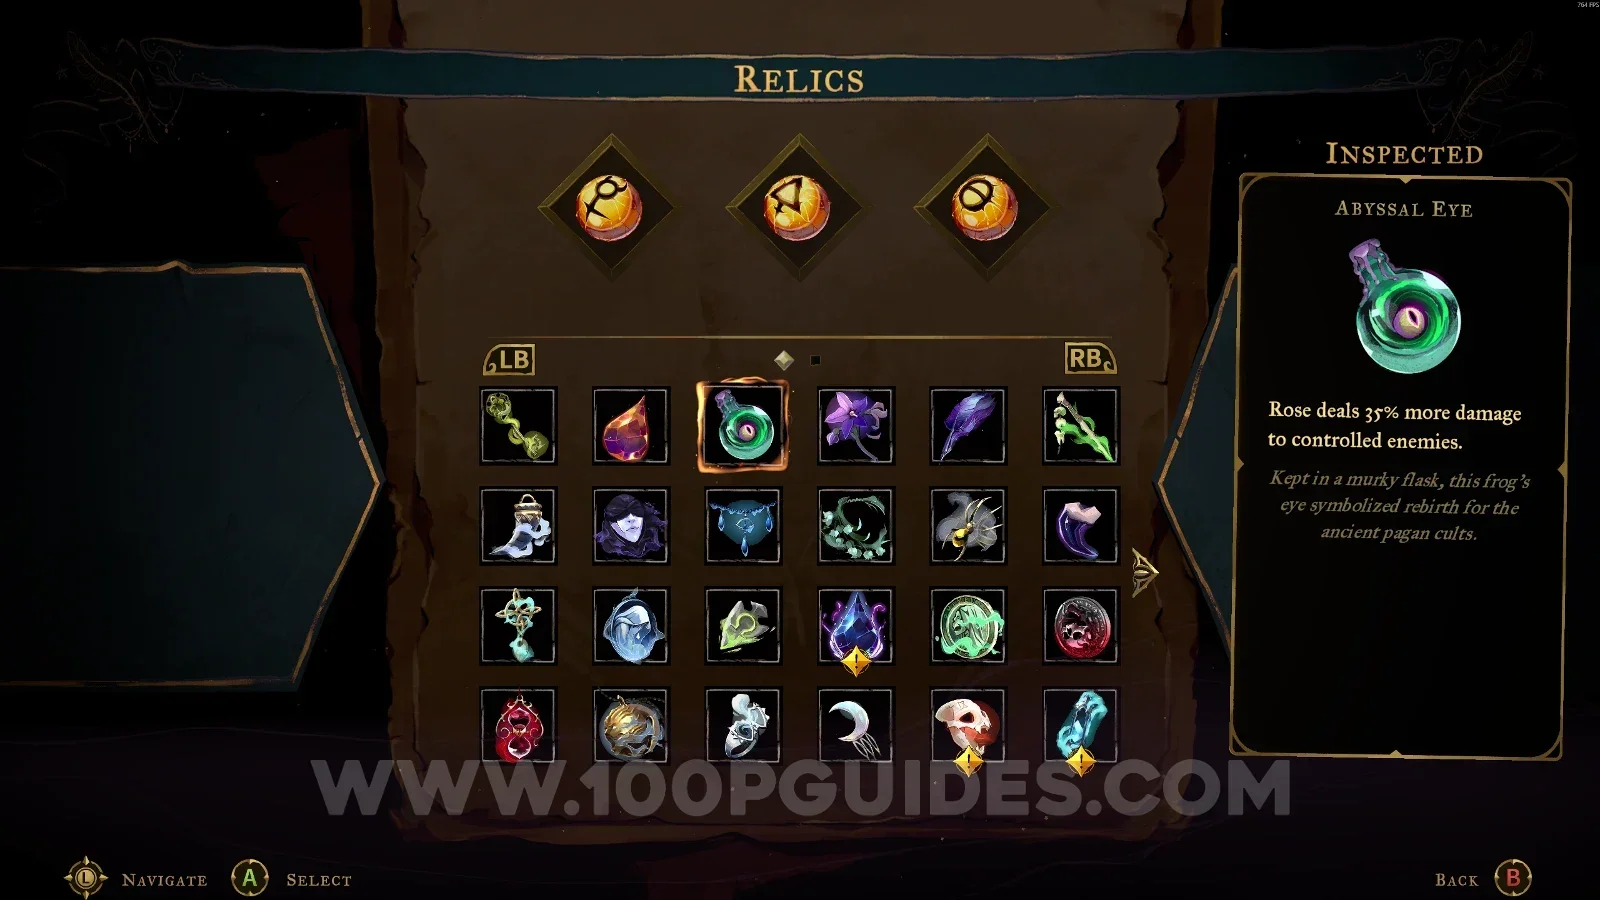
Abyssal Eye

Holy Innocents' Cemetery > Cemetery Entrance

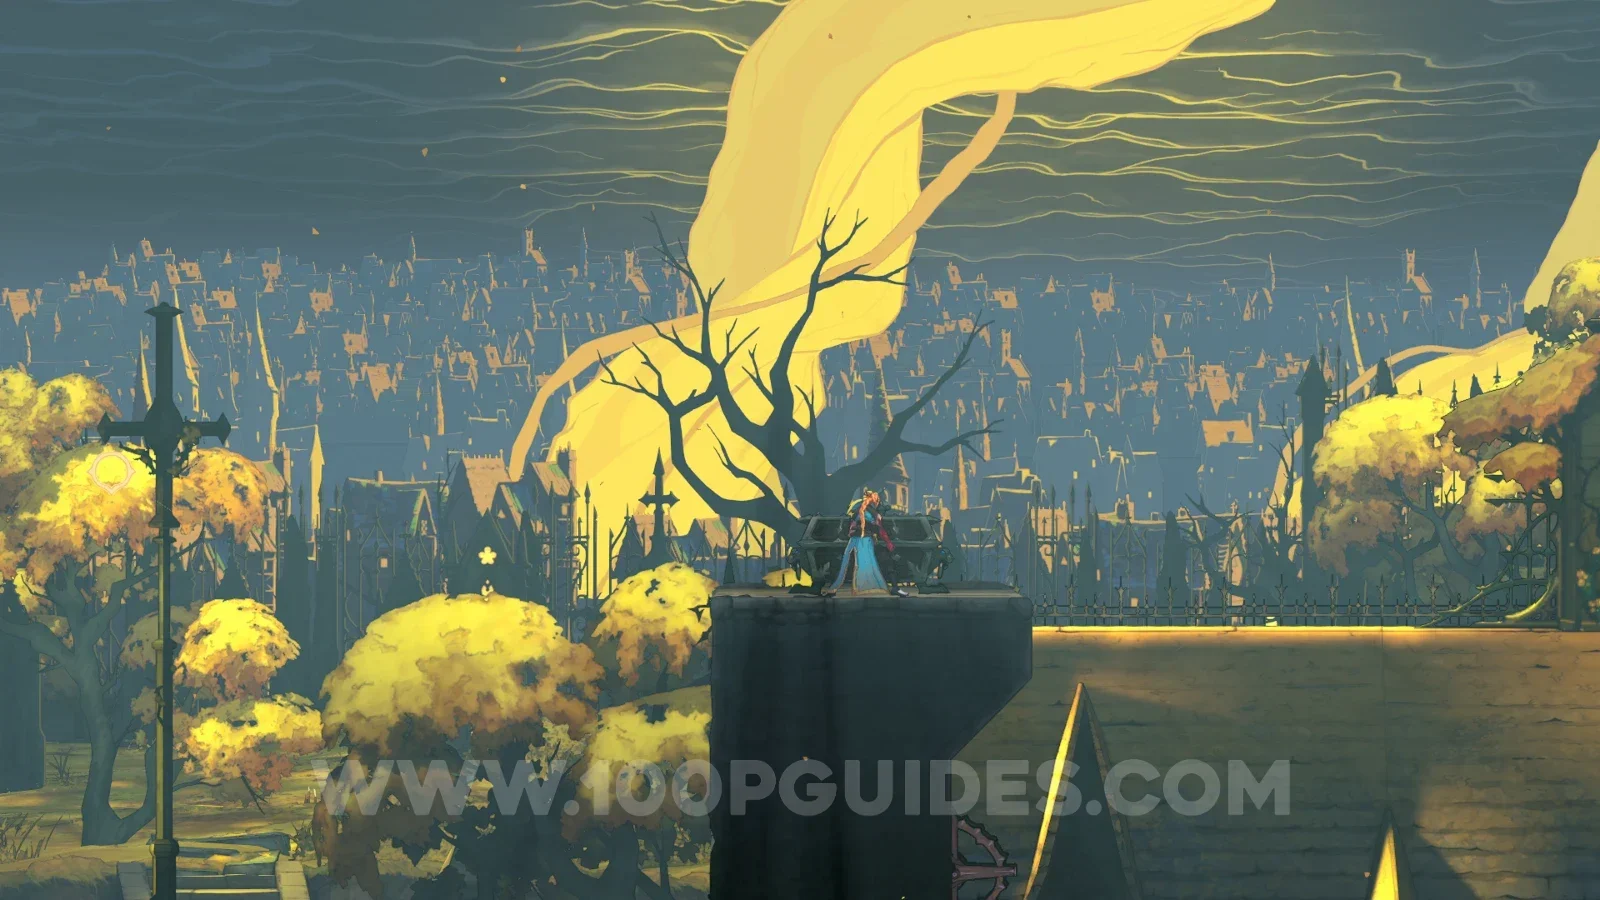
Use your Arcane Whip to reach the top, where the chest is.
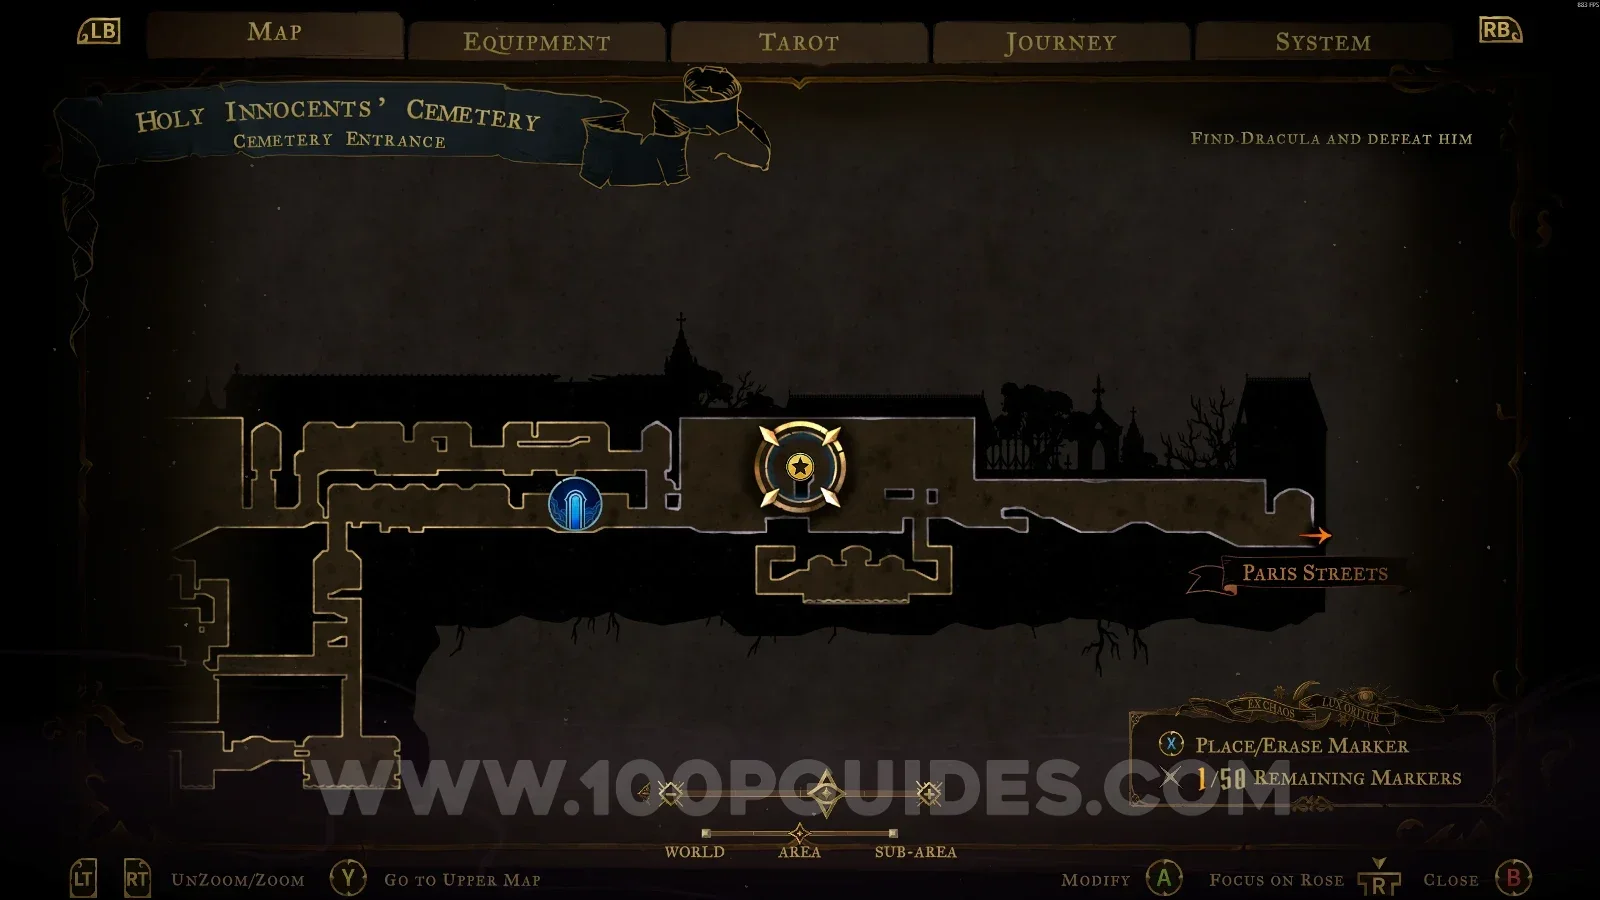
Castlevania Belmonts Curse Cemetery Entrance map marking the Abyssal Eye relic location Castlevania Belmonts Curse Cemetery Entrance: using the Arcane Whip to climb to the top Castlevania Belmonts Curse: the chest with the Abyssal Eye relic at the top of the Cemetery Entrance

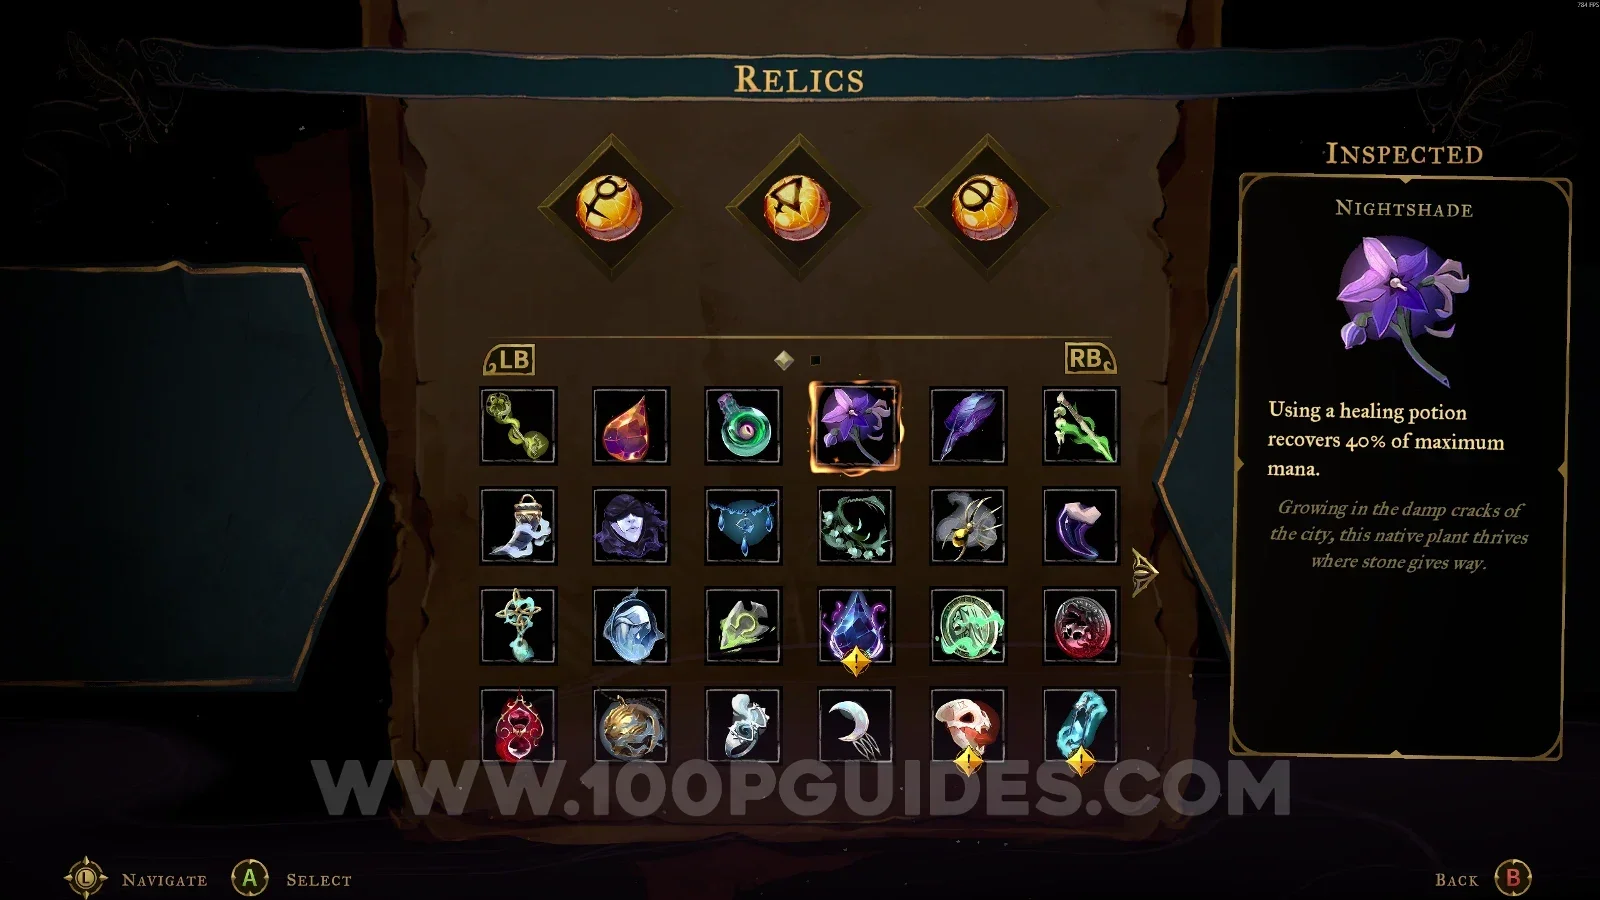
Nightshade

Holy Innocents' Cemetery > Pillaged Tombs

To access this area, you'll need the Smash arcane power. Then break the Haunted Coffin, and the chest with the relic will be on your right.
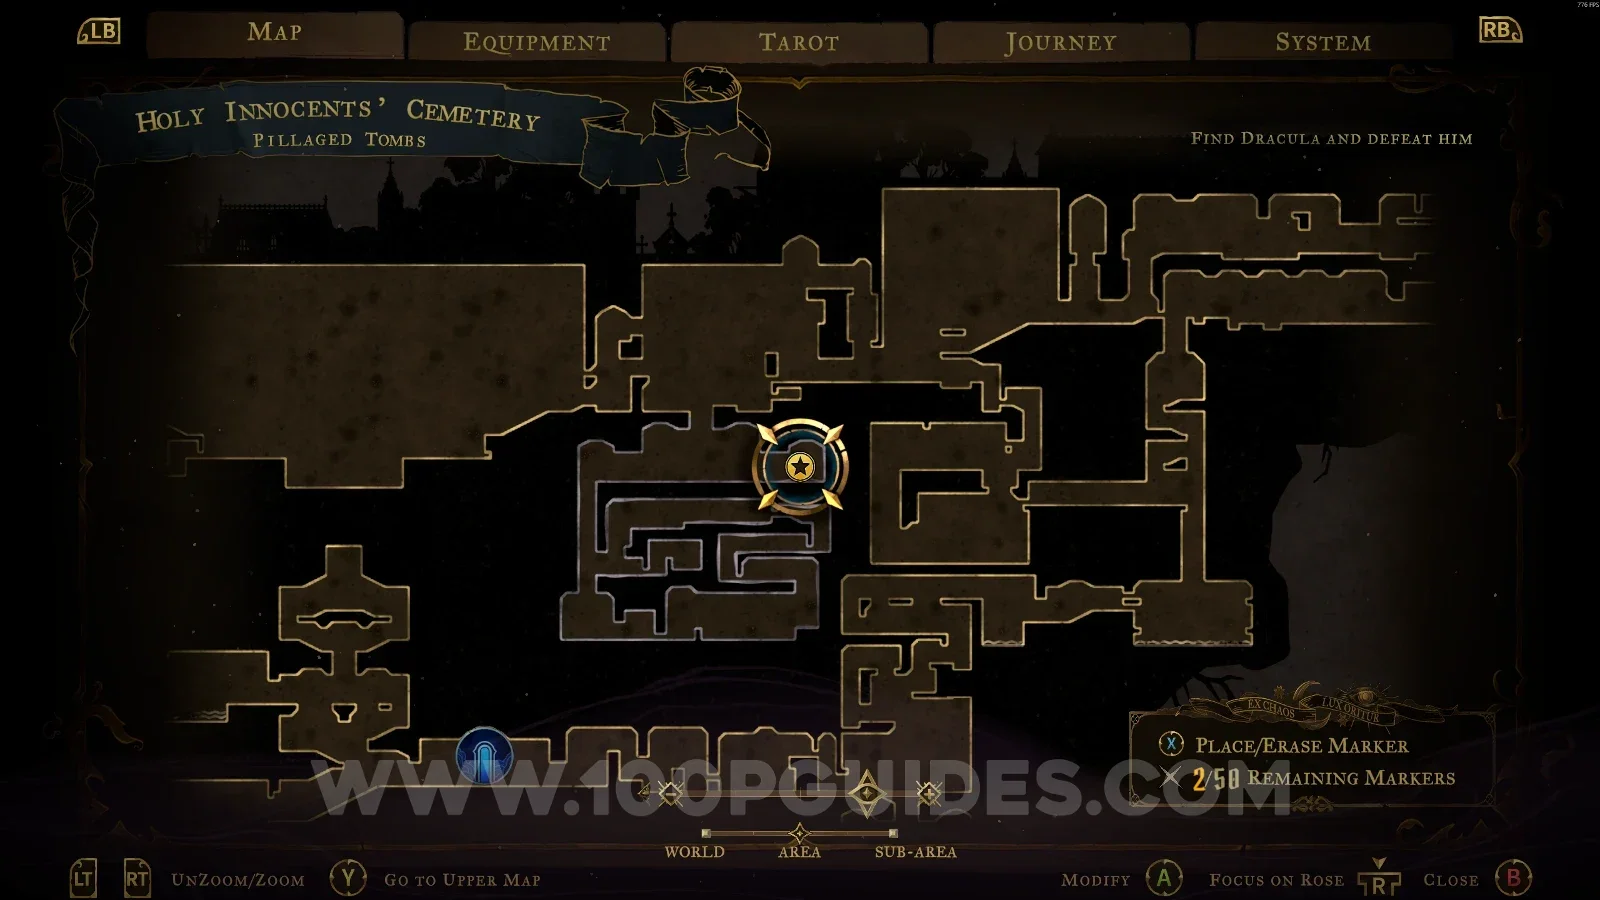
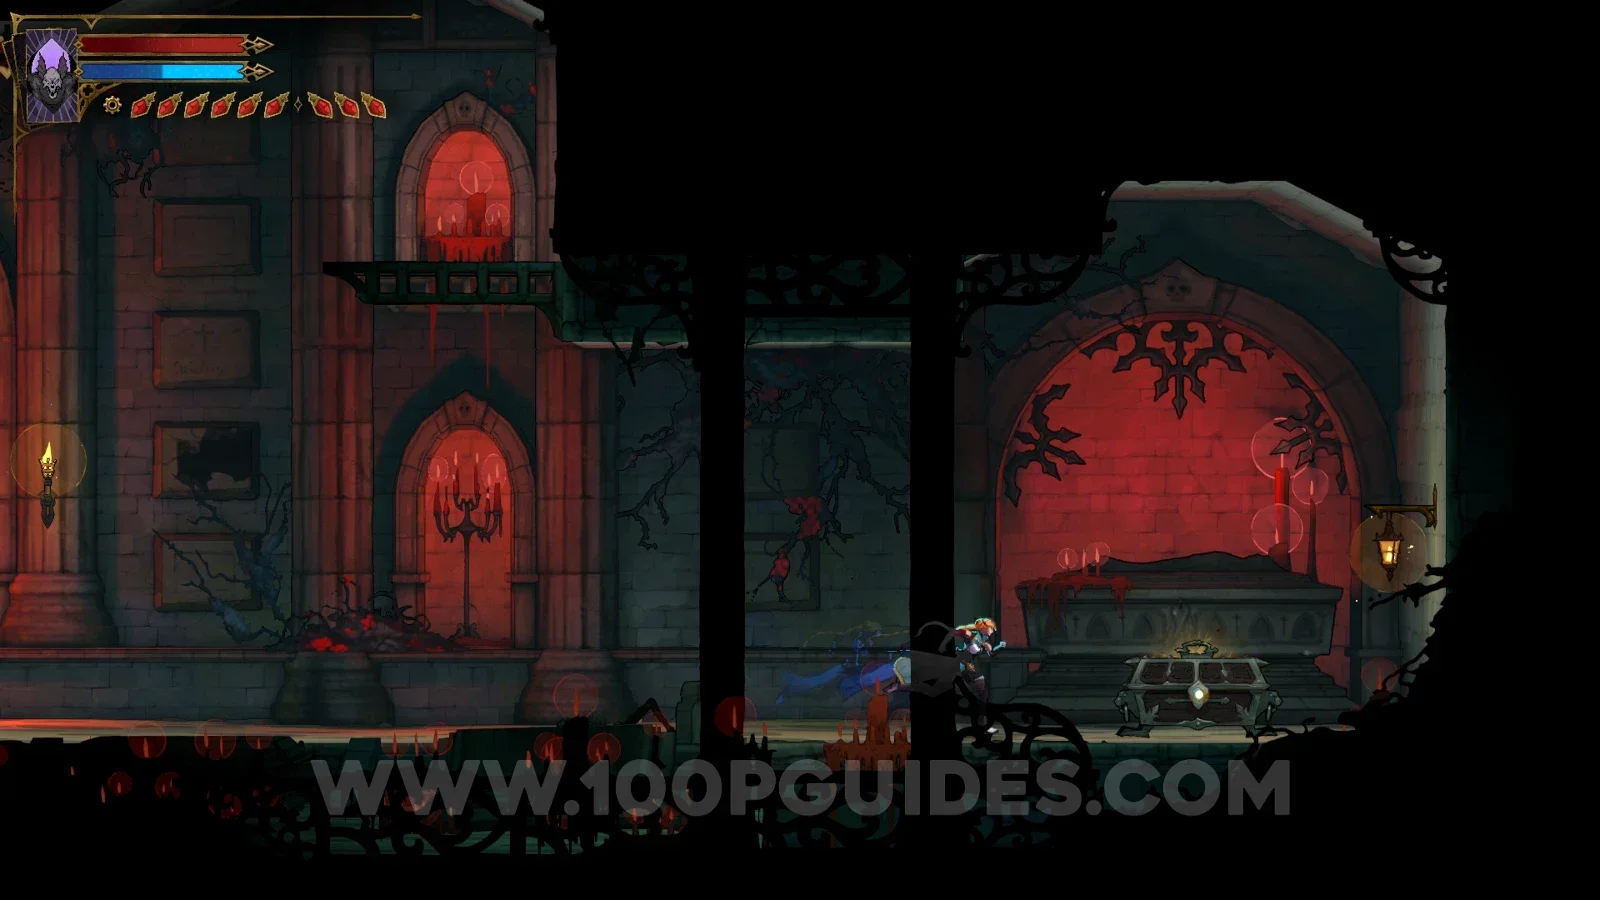
Castlevania Belmonts Curse Pillaged Tombs map marking the Nightshade relic location Castlevania Belmonts Curse Pillaged Tombs: breaking the Haunted Coffin with the Smash arcane power Castlevania Belmonts Curse: the Nightshade relic chest on the right of the Haunted Coffin

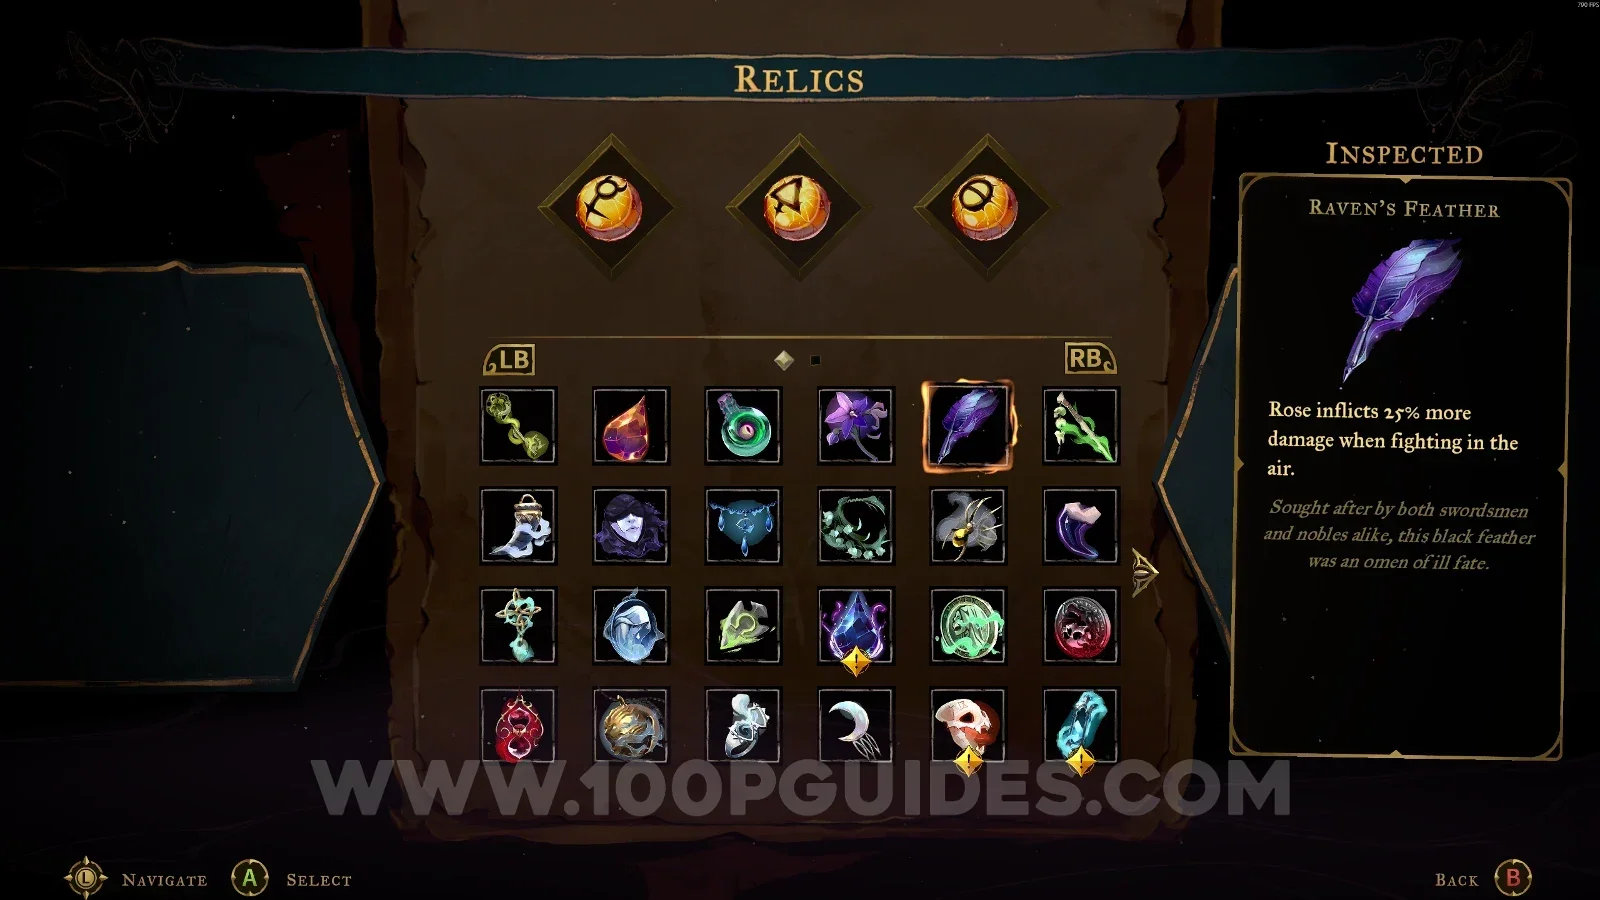
Raven's Feather

Holy Innocents' Cemetery > Roman Baths

From the area marked on the map, head left and break the wall. Then destroy the Haunted Coffin and use the slide on the left side to reach the chest.
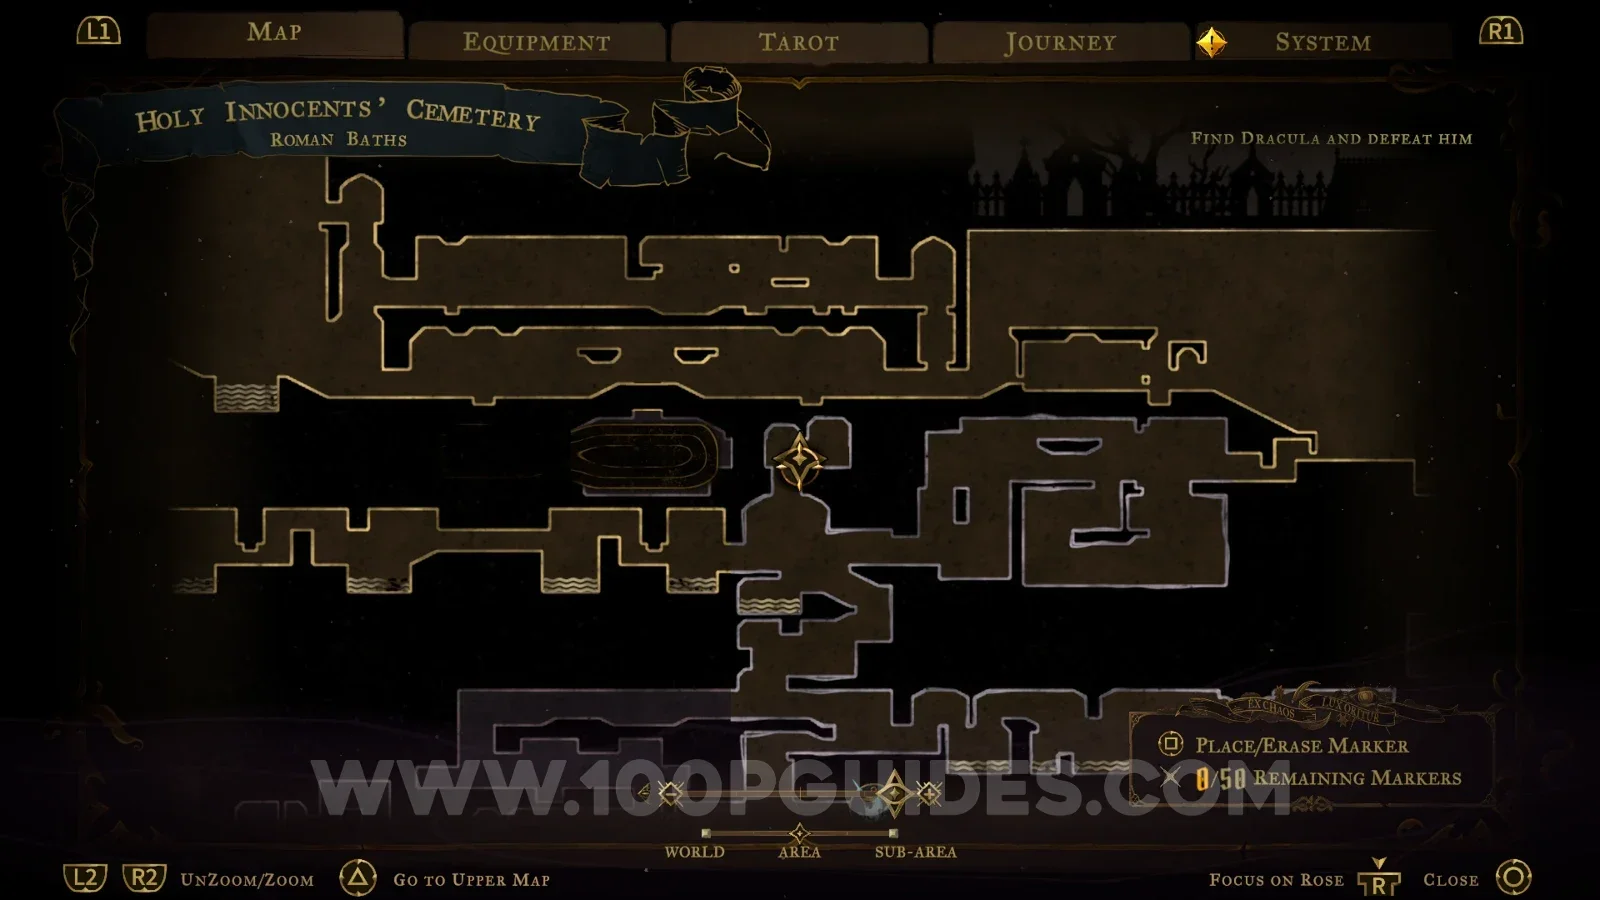
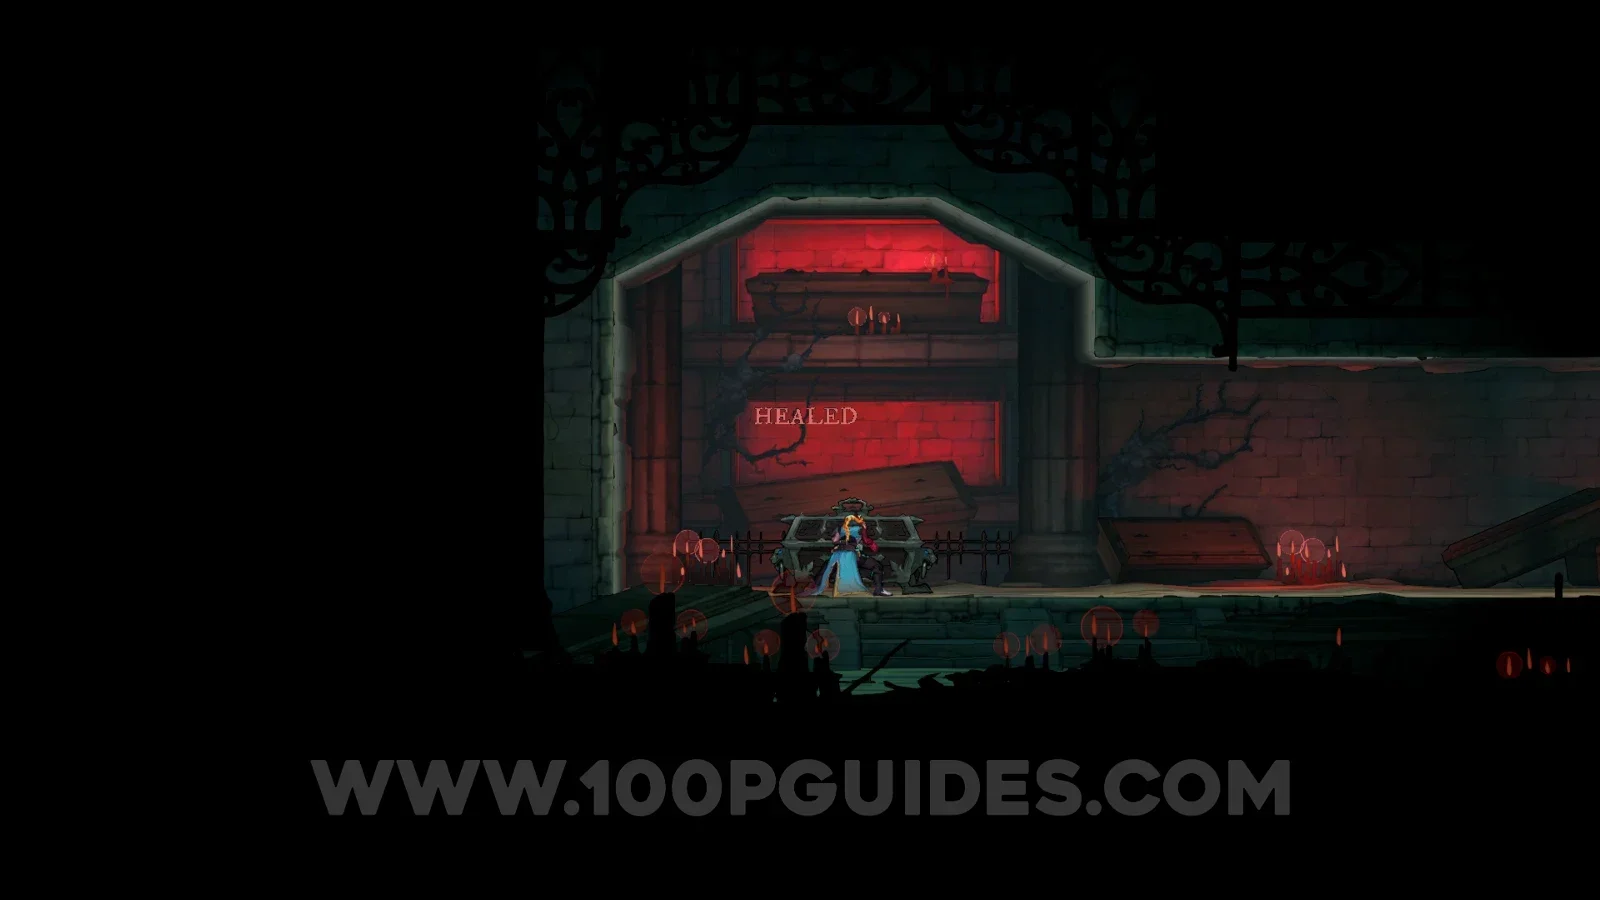
Castlevania Belmonts Curse Roman Baths map marking where to start for the Raven's Feather relic Castlevania Belmonts Curse Roman Baths: breaking the wall on the left and the Haunted Coffin Castlevania Belmonts Curse: sliding on the left side to reach the Raven's Feather relic chest

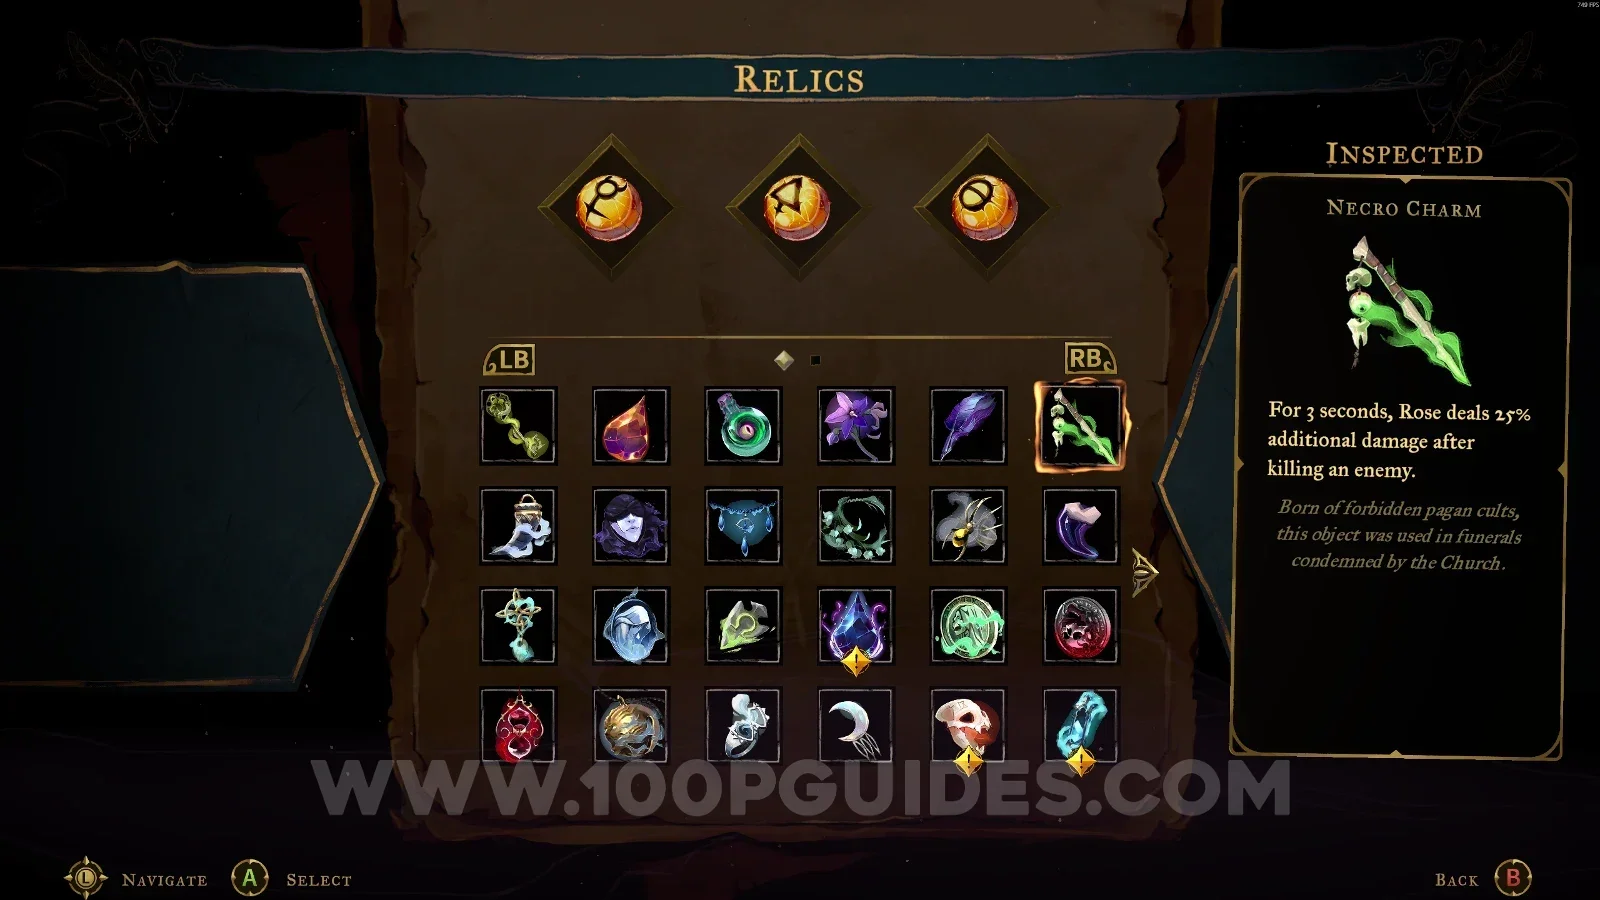
Necro Charm

Catacombs Of Paris > Jaws Of Limbo

In the area marked on the map, you'll have to go around the area past the saws. At the end, you'll find this chest.
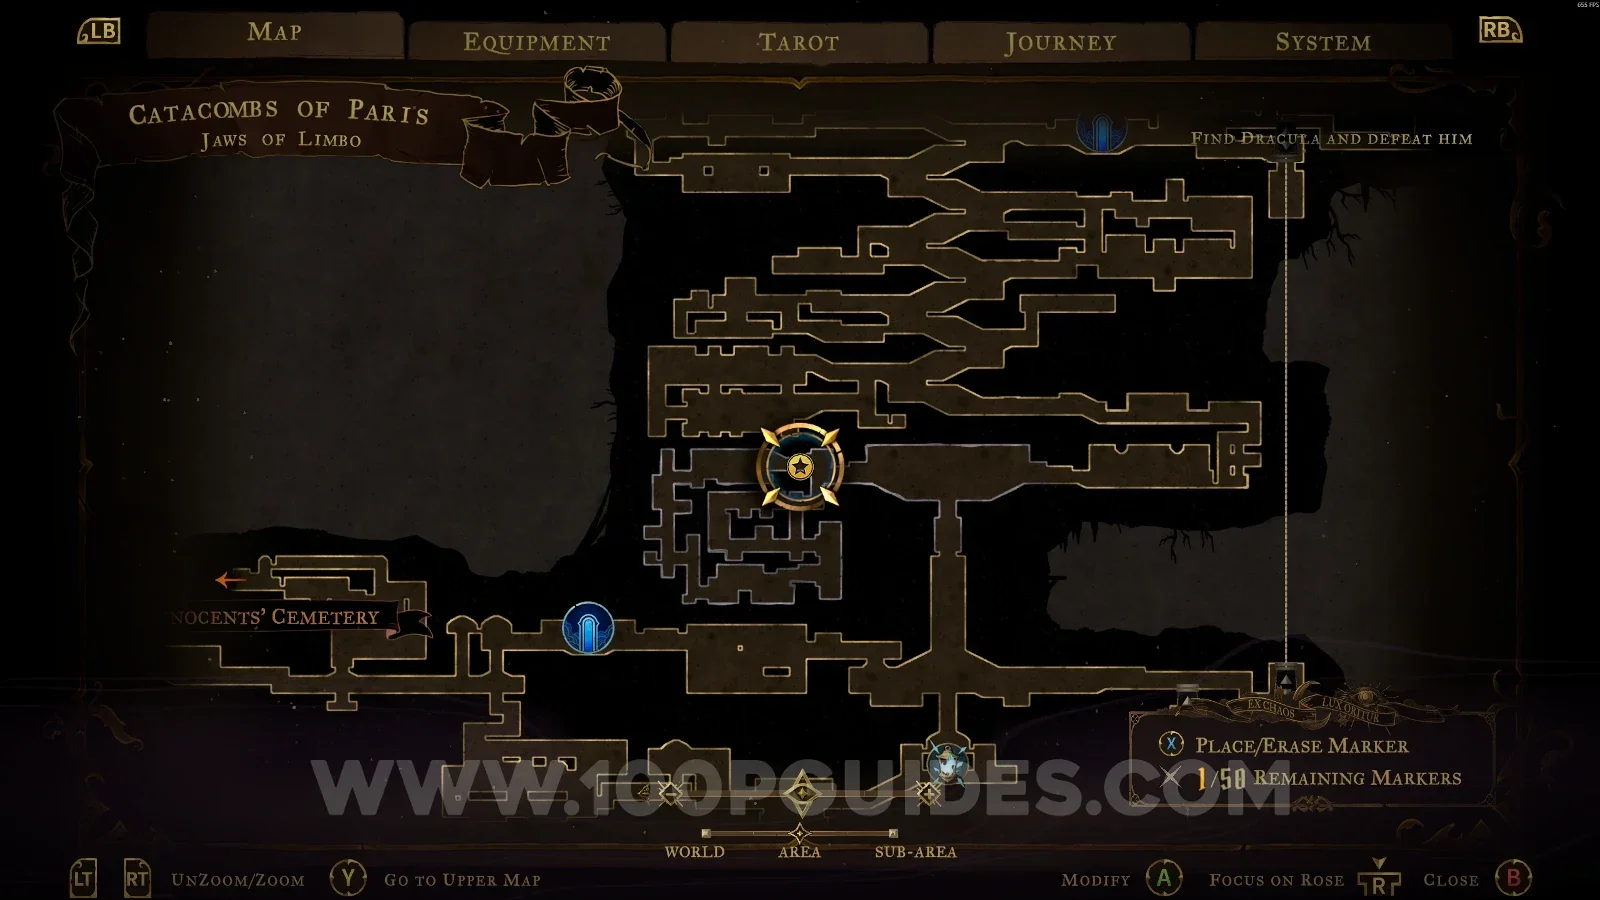
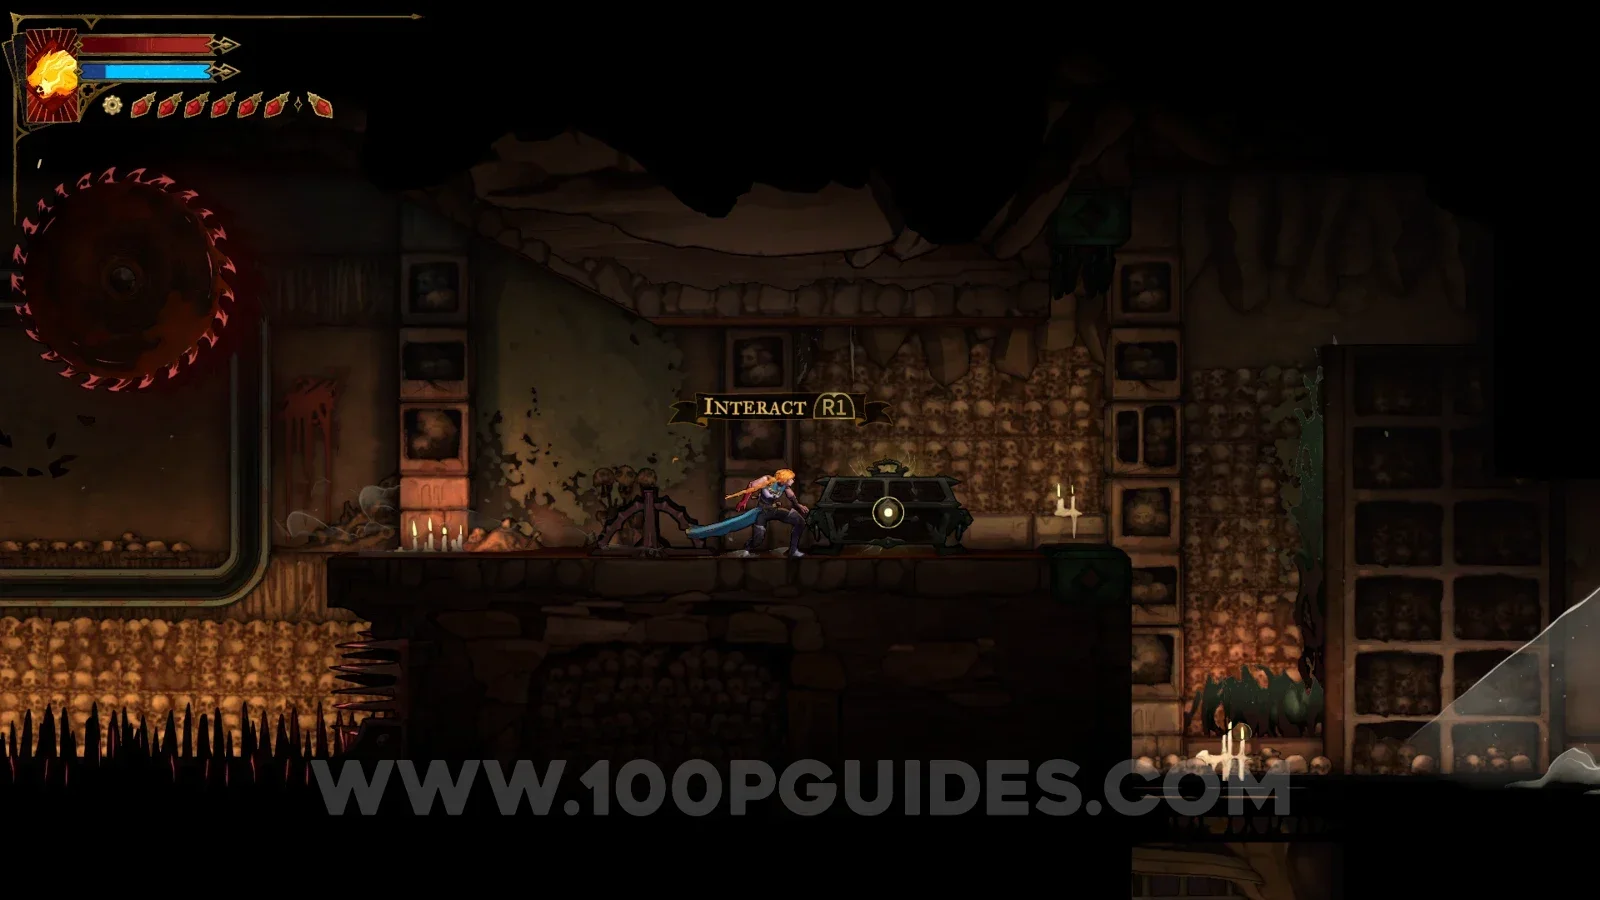
Castlevania Belmonts Curse Jaws Of Limbo map marking the Necro Charm relic area Castlevania Belmonts Curse Jaws Of Limbo: going around the area past the saws Castlevania Belmonts Curse: the chest with the Necro Charm relic at the end of the saw path

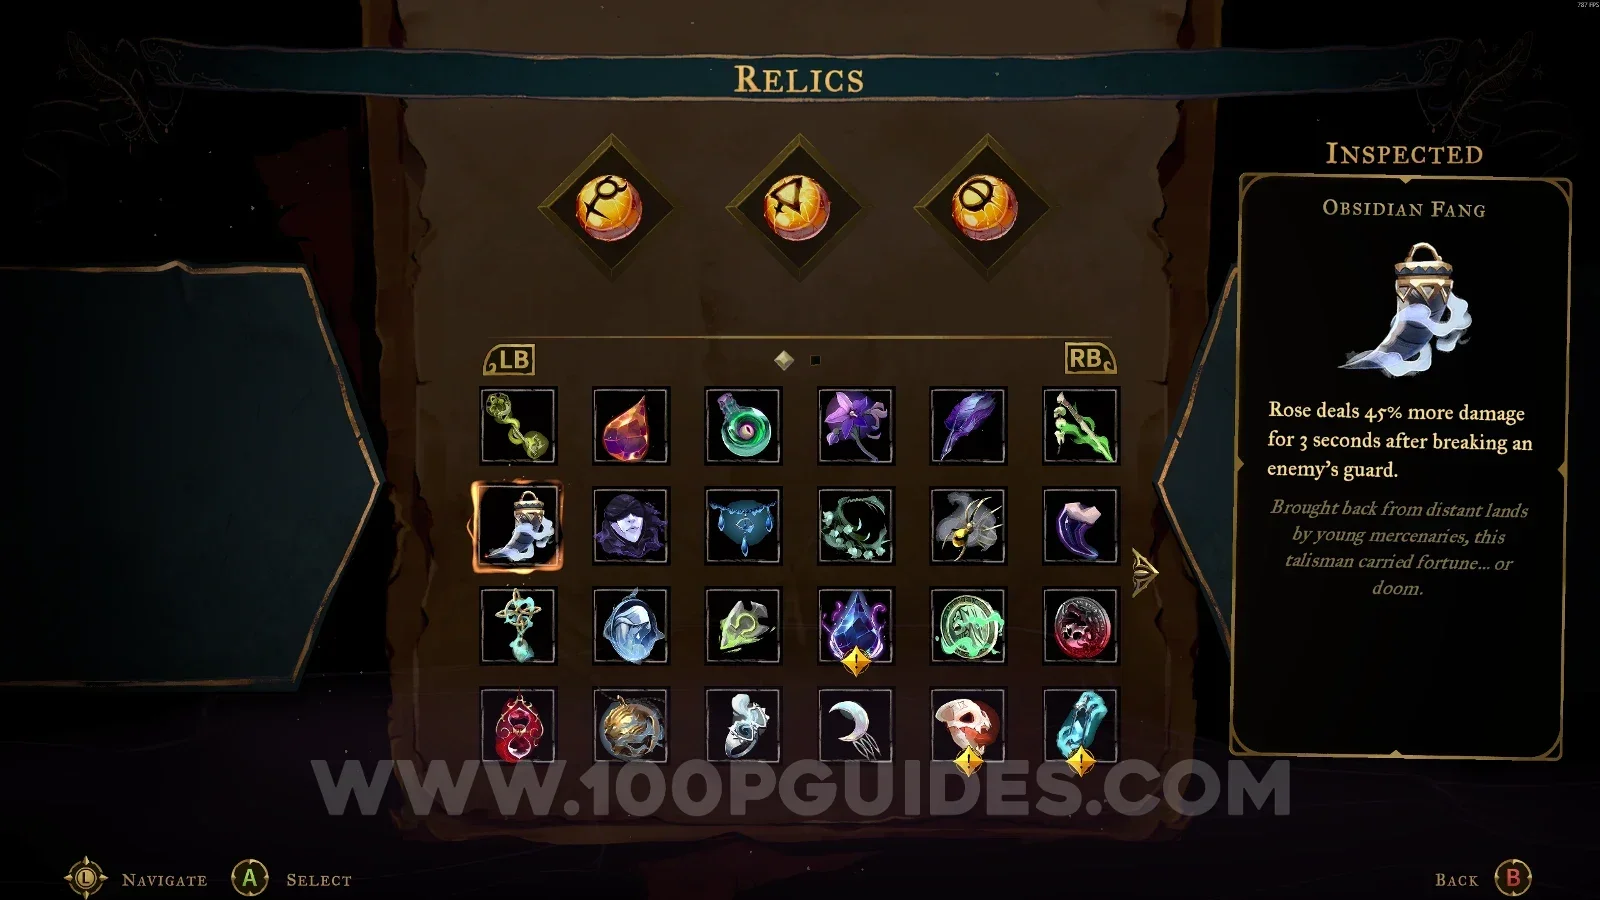
Obsidian Fang

Paris Streets > Prison Tower

Inside the Guard Level room. After going through the door, you’ll already see the chest on your left. Head right, go down, then head left all the way to the end. Drop down the ledge and go around the area on the left to reach the chest.
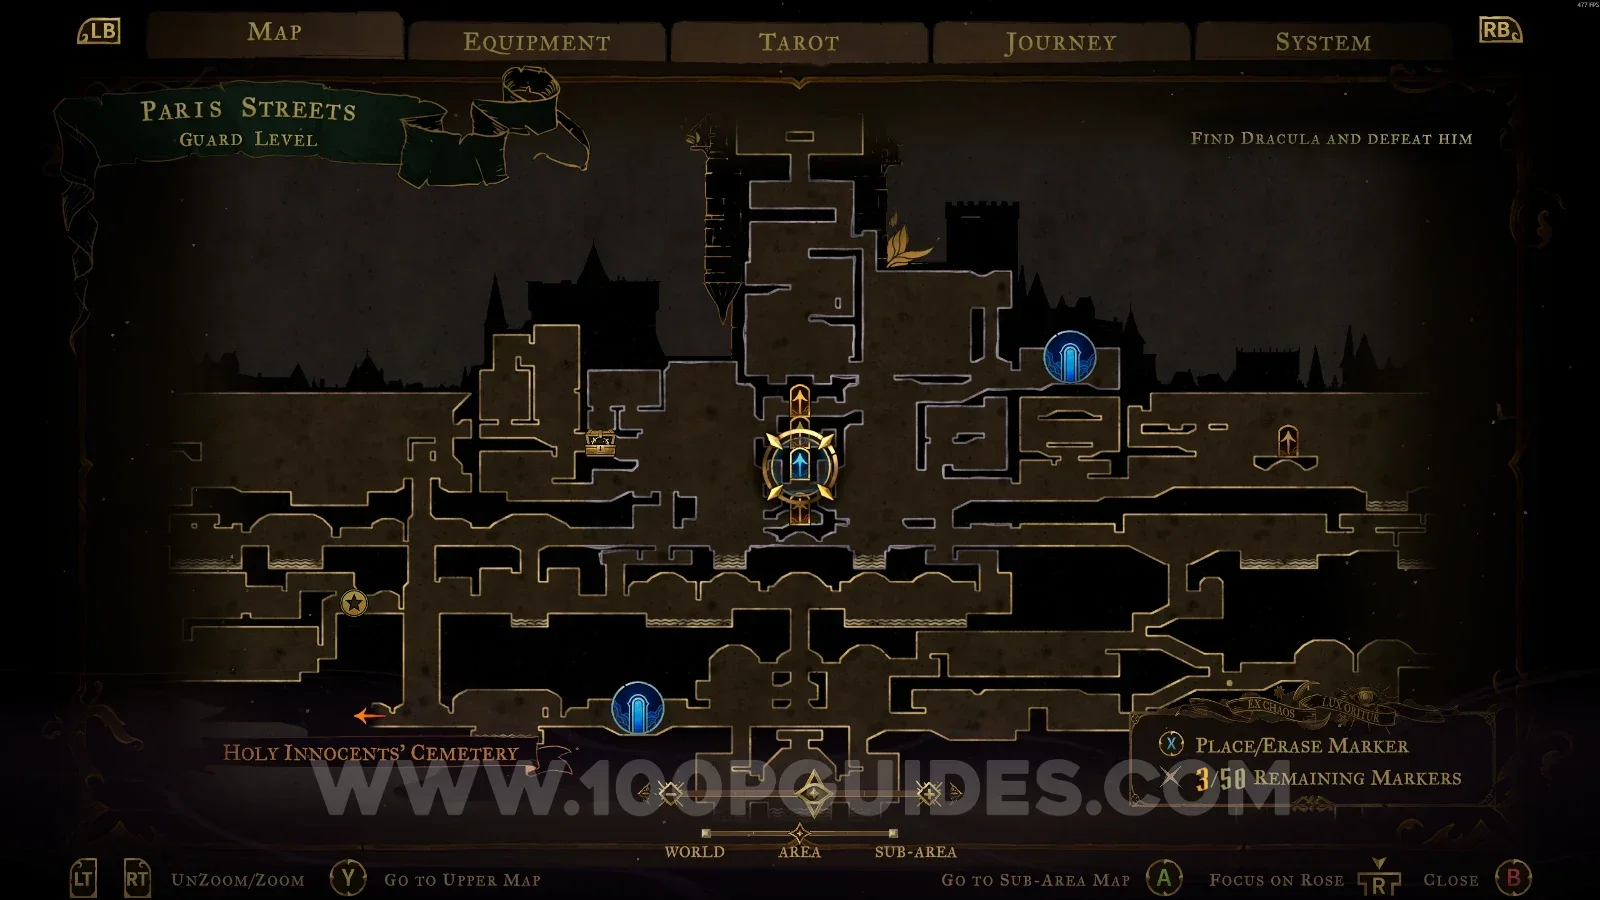
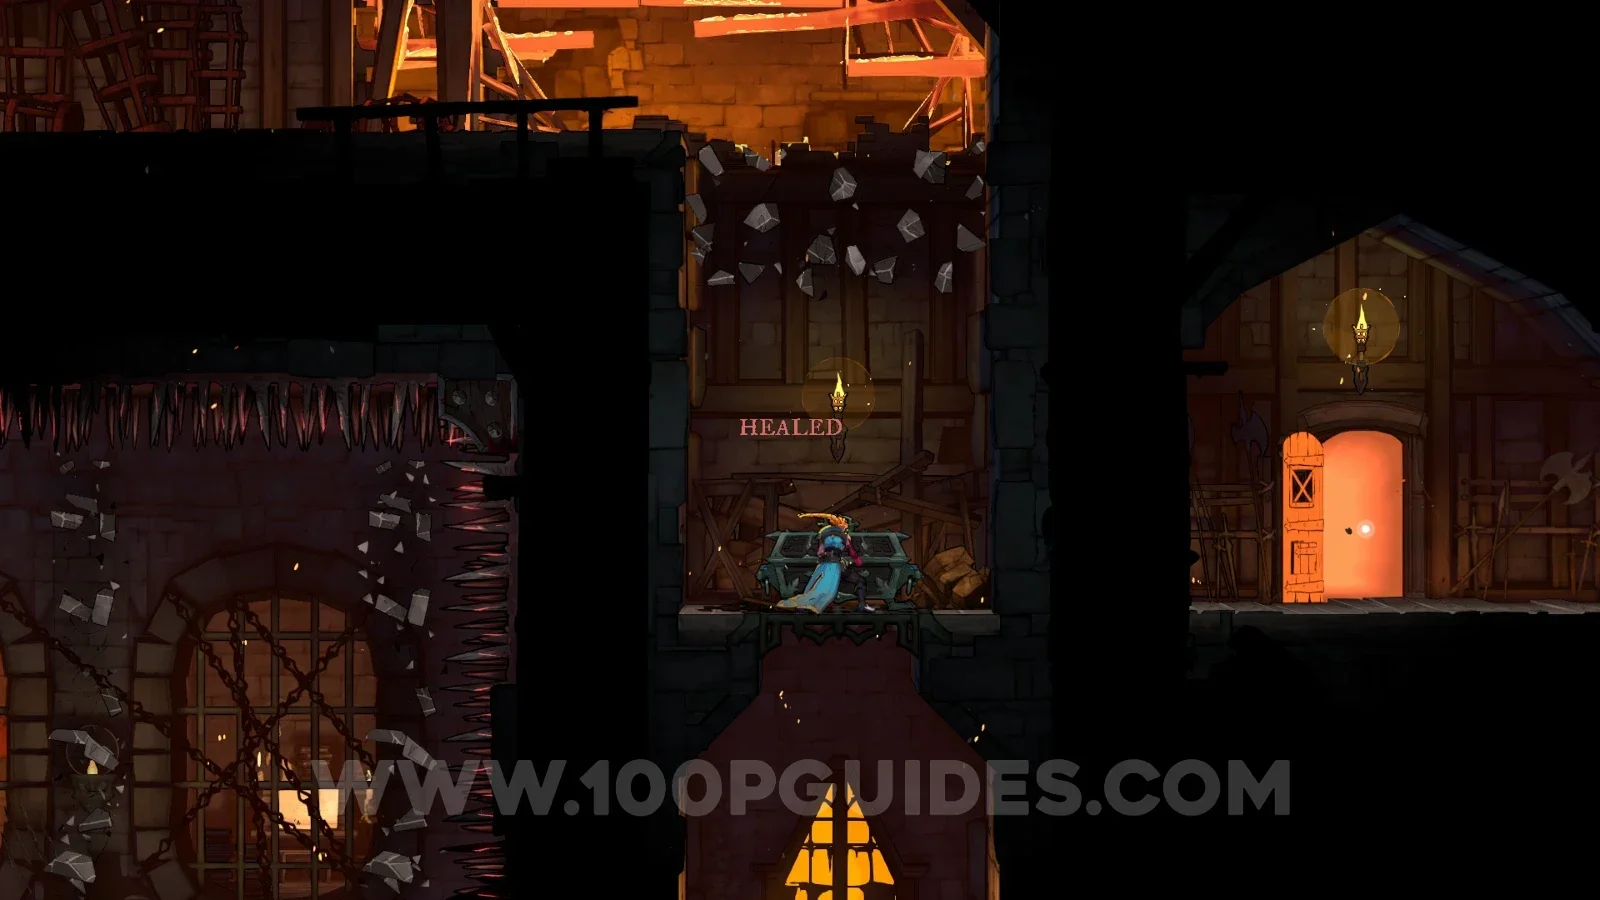
Castlevania Belmonts Curse Prison Tower map showing the Guard Level room with the Obsidian Fang Castlevania Belmonts Curse Guard Level: the chest seen on the left after going through the door Castlevania Belmonts Curse: reaching the Obsidian Fang relic chest after dropping down the ledge

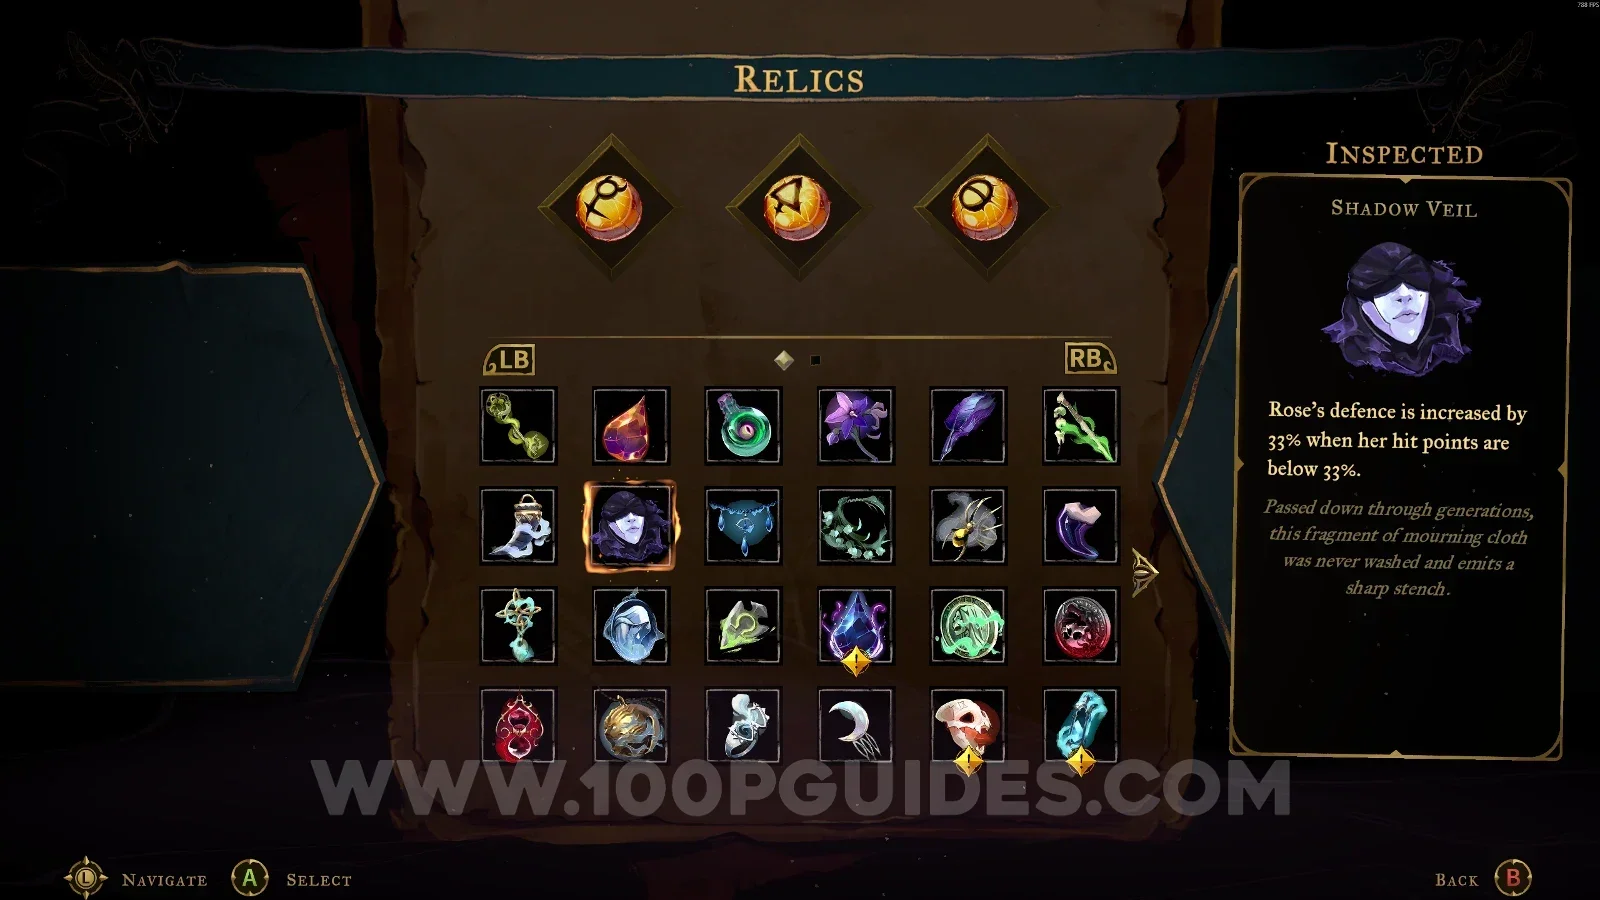
Shadow Veil

Paris Streets > Burned District

At the top of the area, after defeating some enemies.
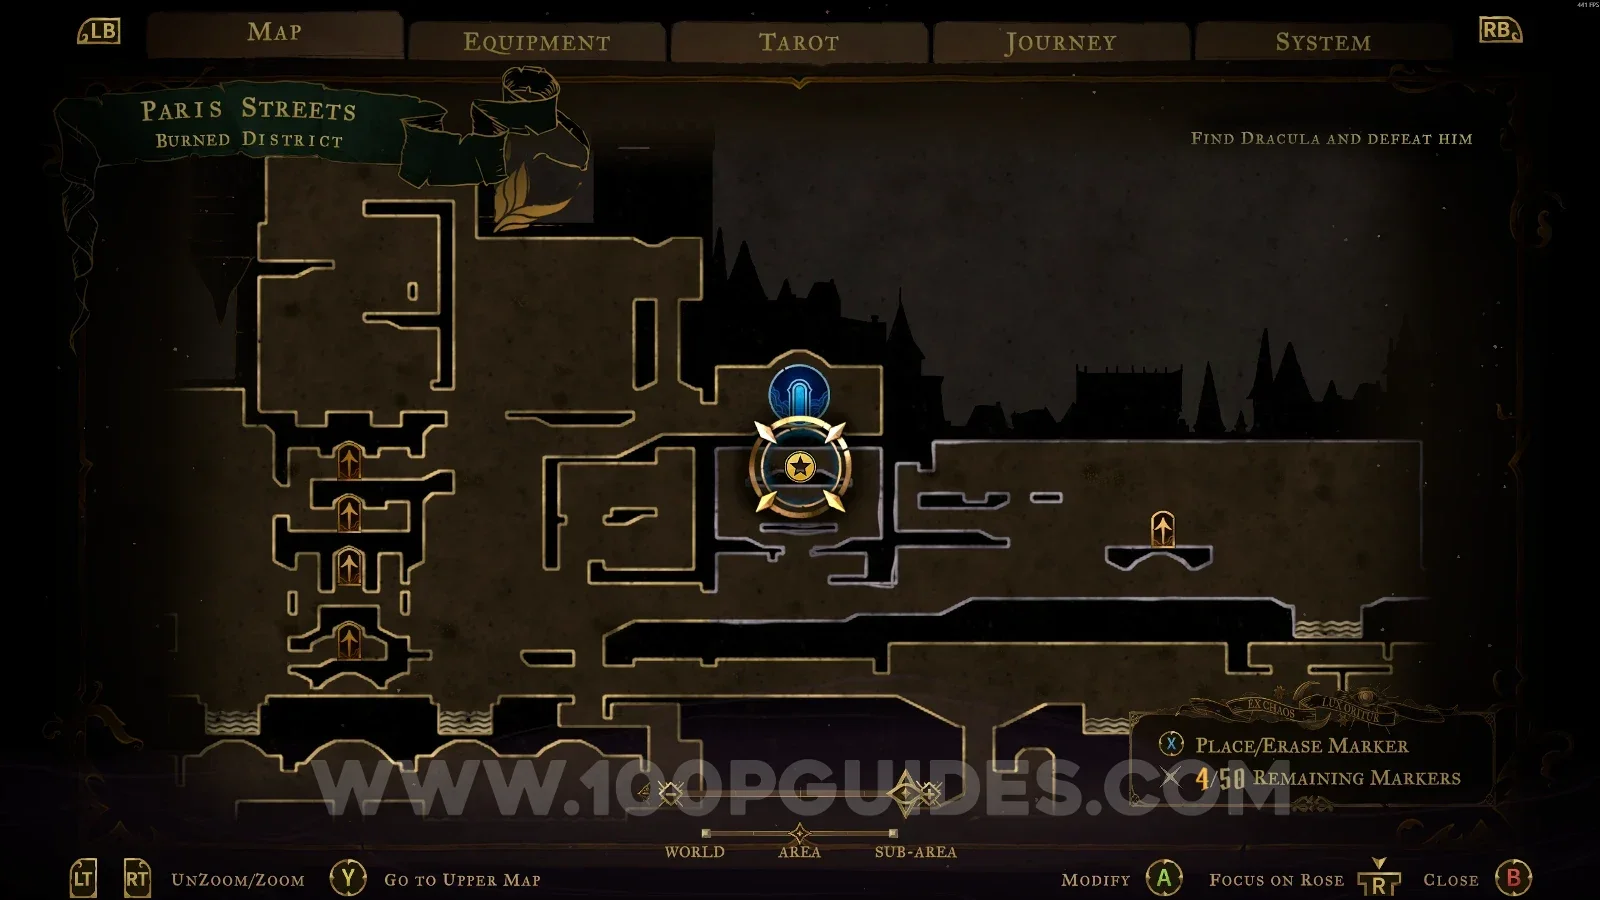
Castlevania Belmonts Curse Burned District map marking the Shadow Veil relic at the top Castlevania Belmonts Curse Burned District: defeating enemies at the top of the area Castlevania Belmonts Curse: the Shadow Veil relic chest at the top of the Burned District

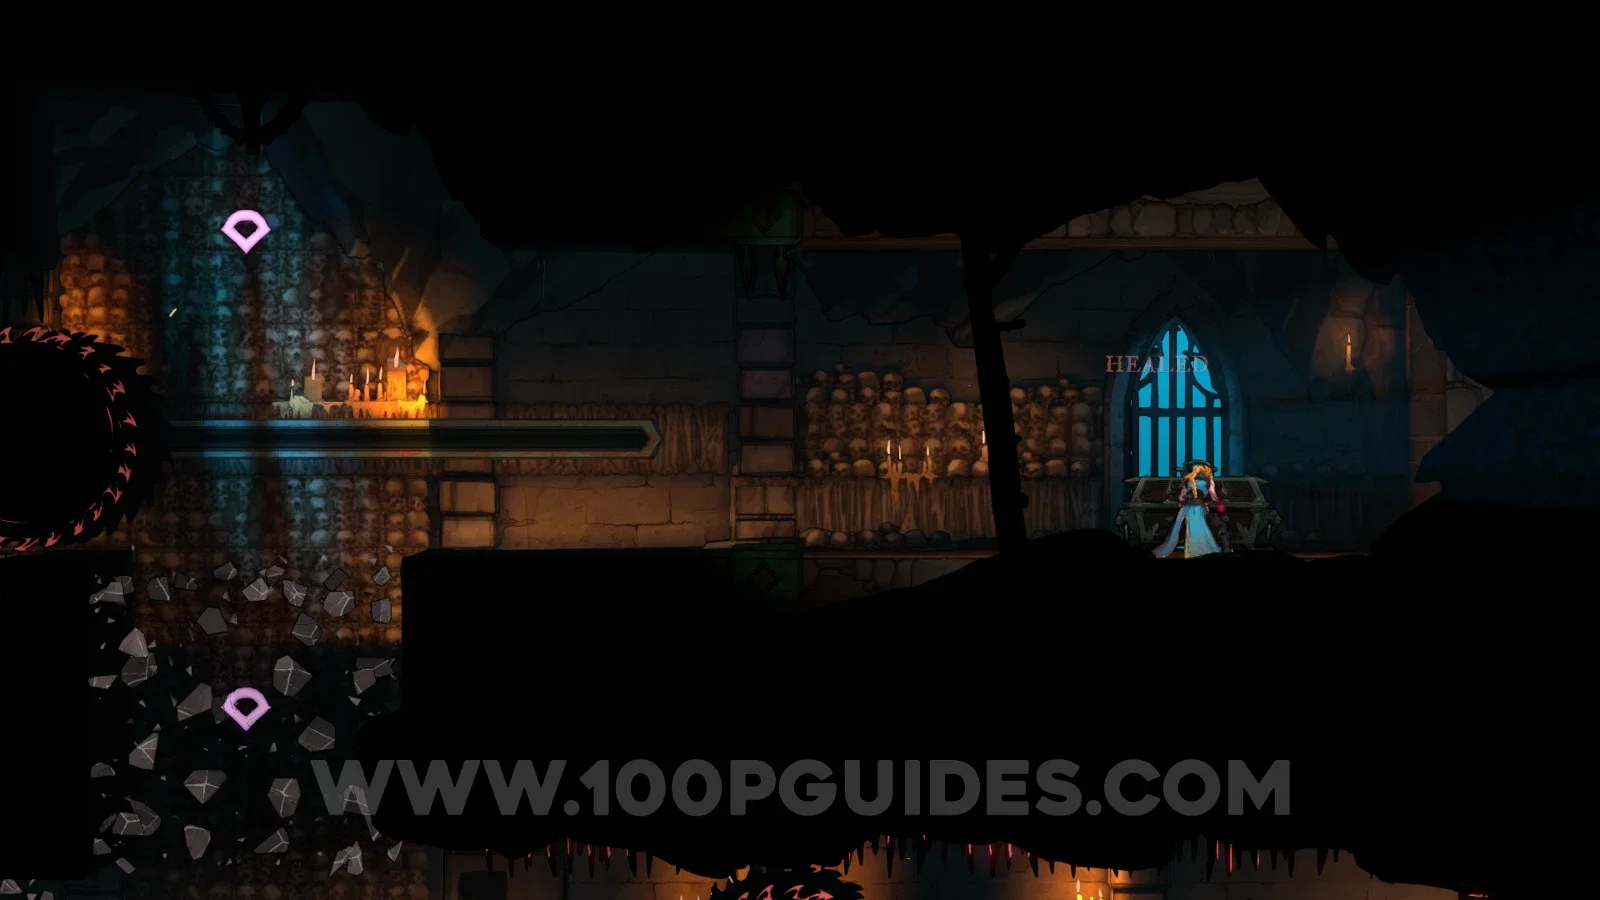
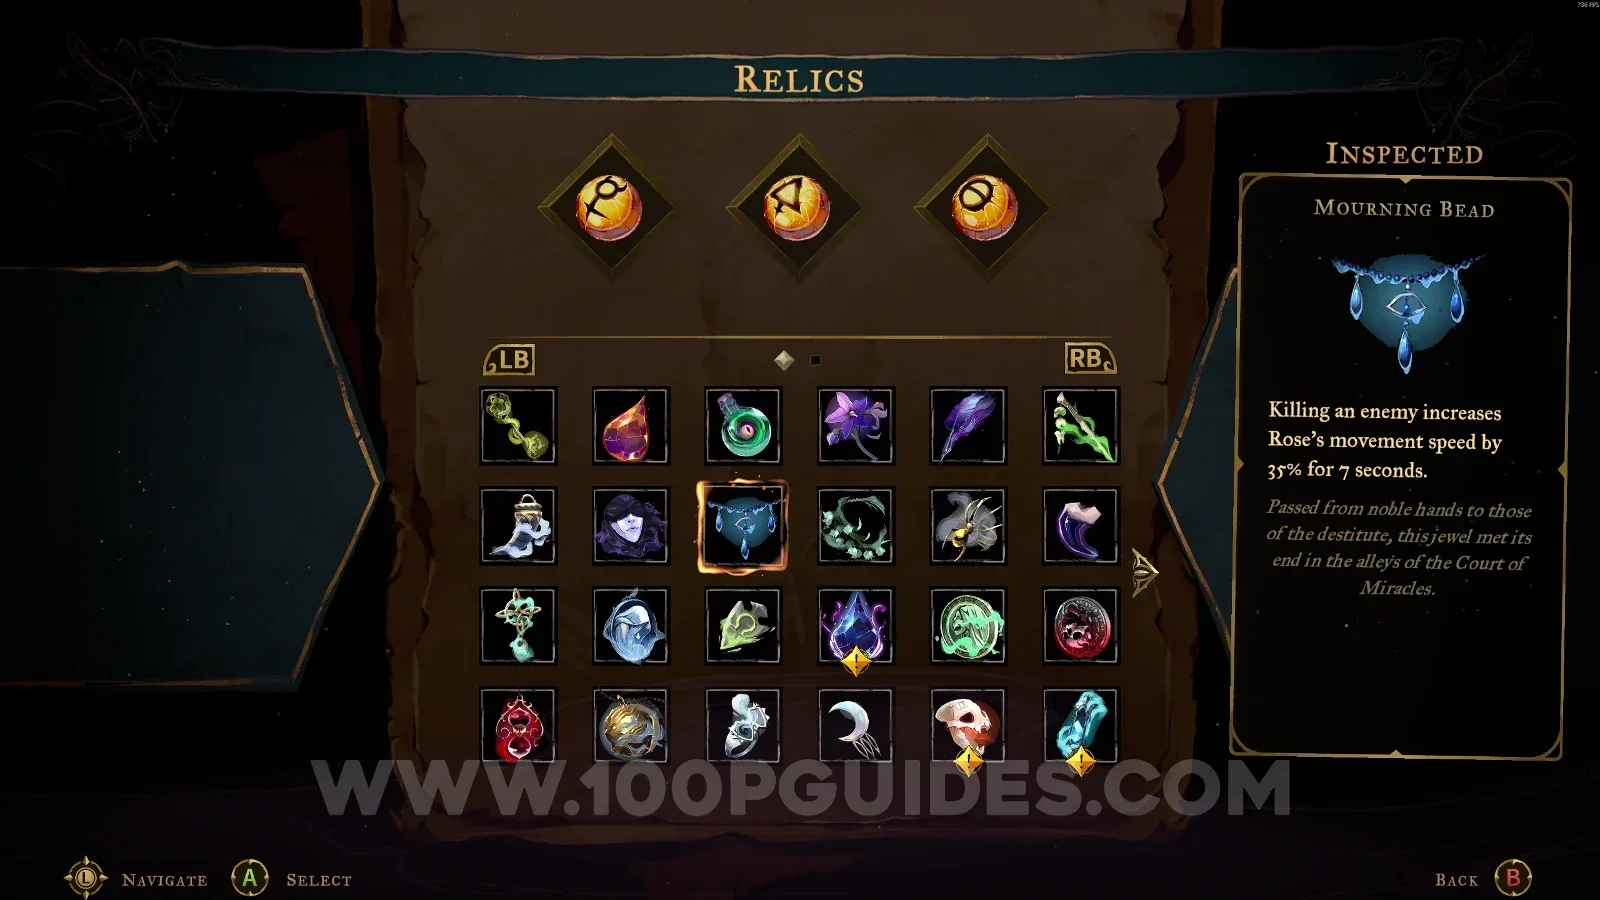
Mourning Bead

Catacombs Of Paris > Path Of The Abyss

At the top of the area, after getting past some saws.
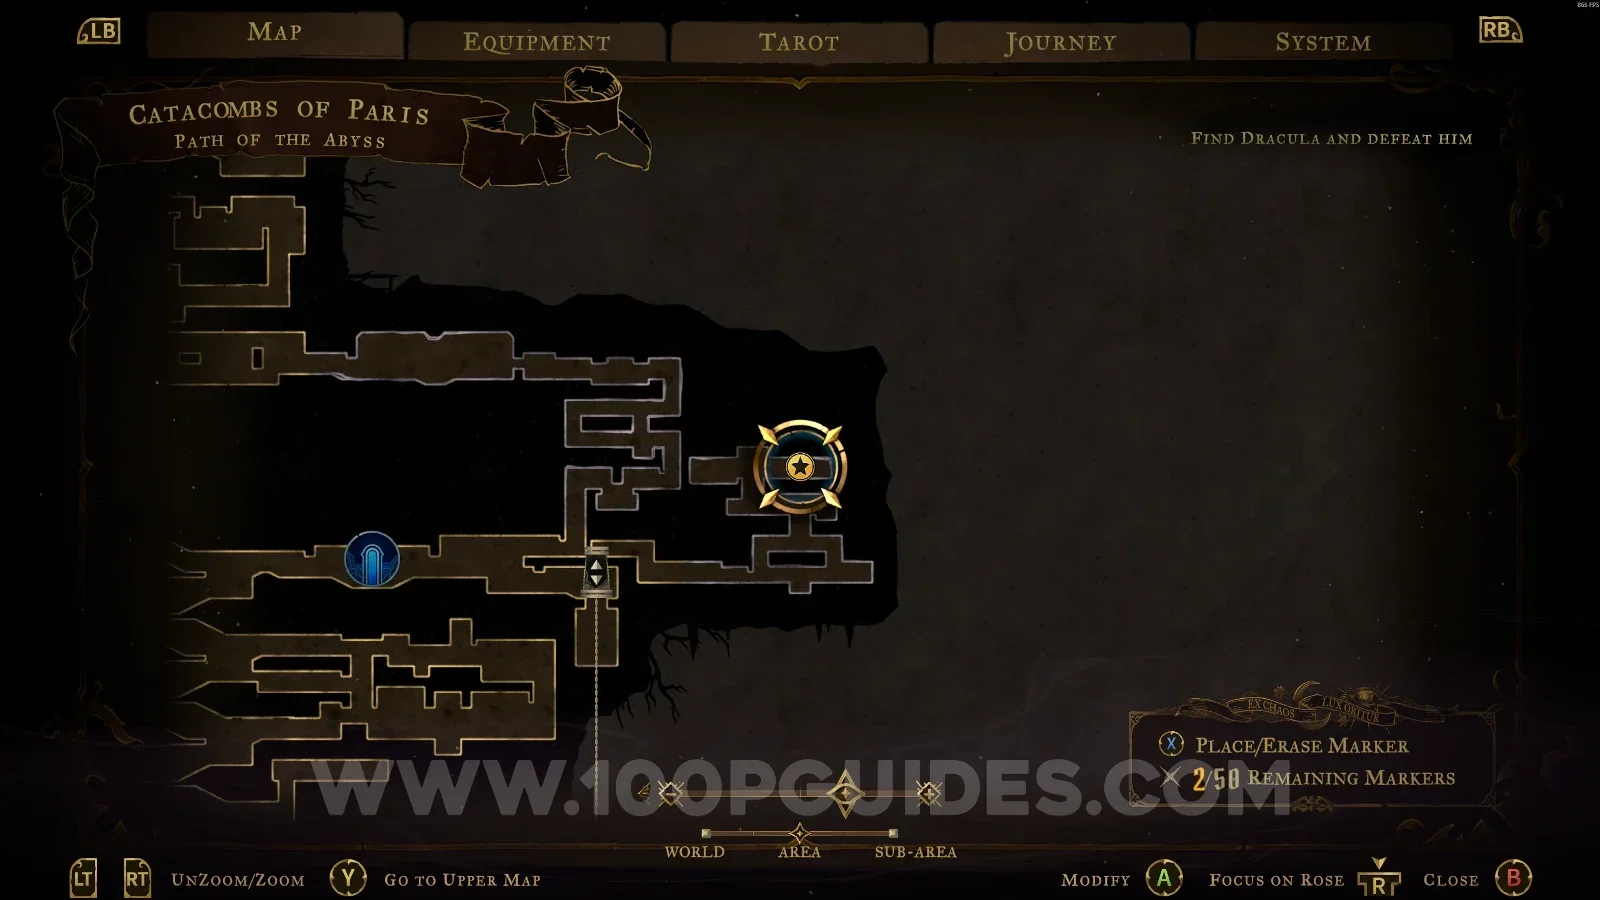
Castlevania Belmonts Curse Path Of The Abyss map marking the Mourning Bead relic at the top Castlevania Belmonts Curse Path Of The Abyss: getting past the saws on the way to the top Castlevania Belmonts Curse: the Mourning Bead relic chest at the top of the Path Of The Abyss

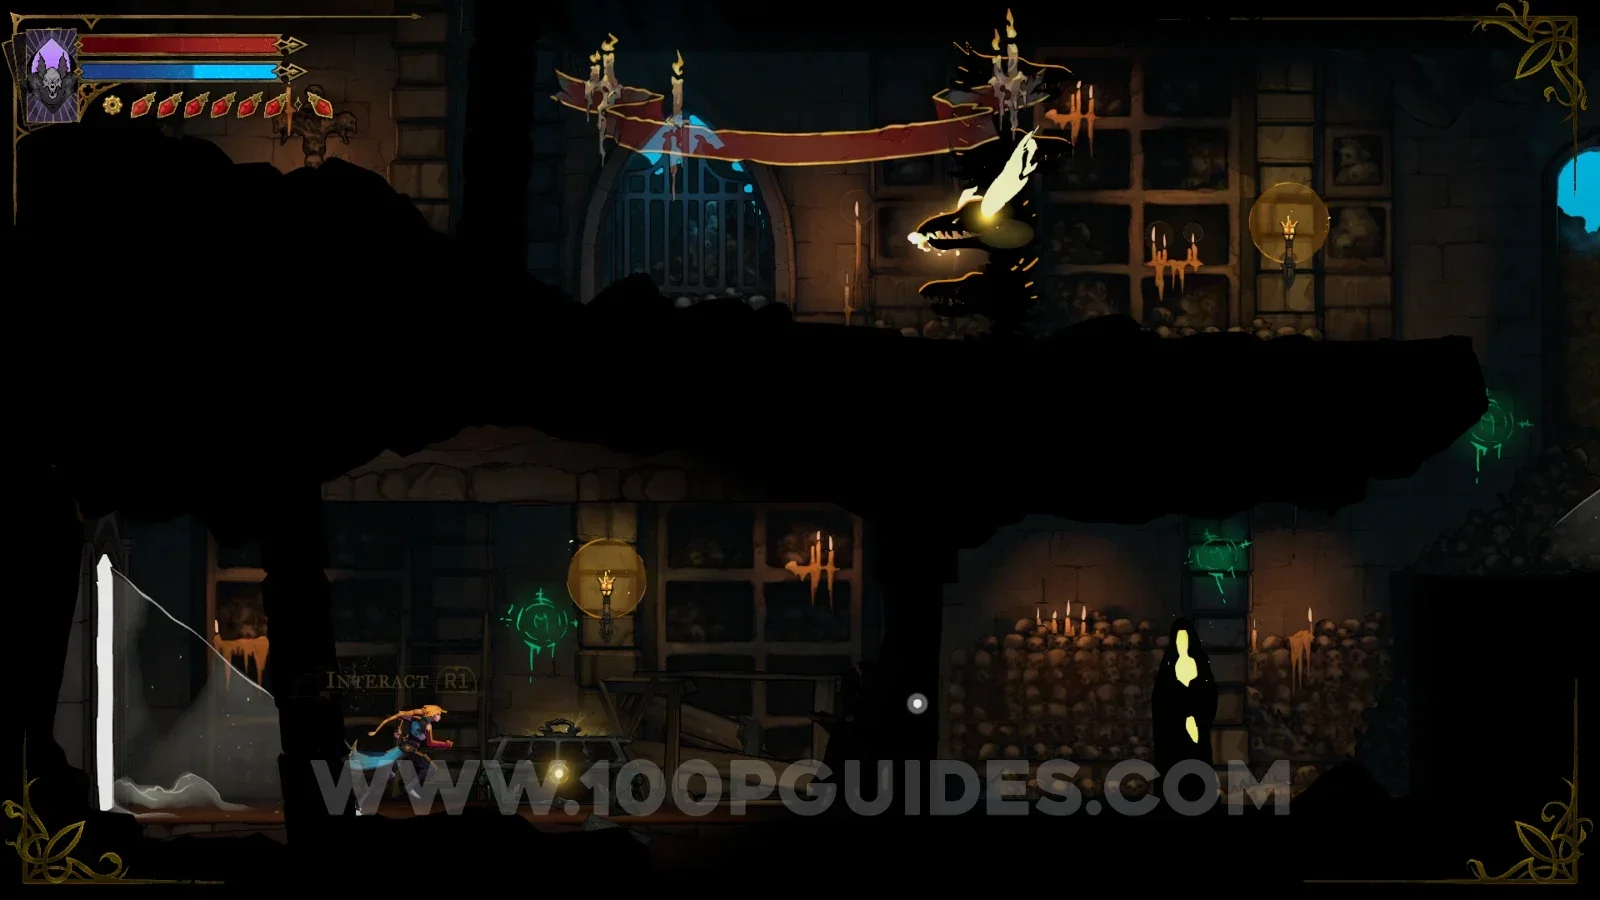
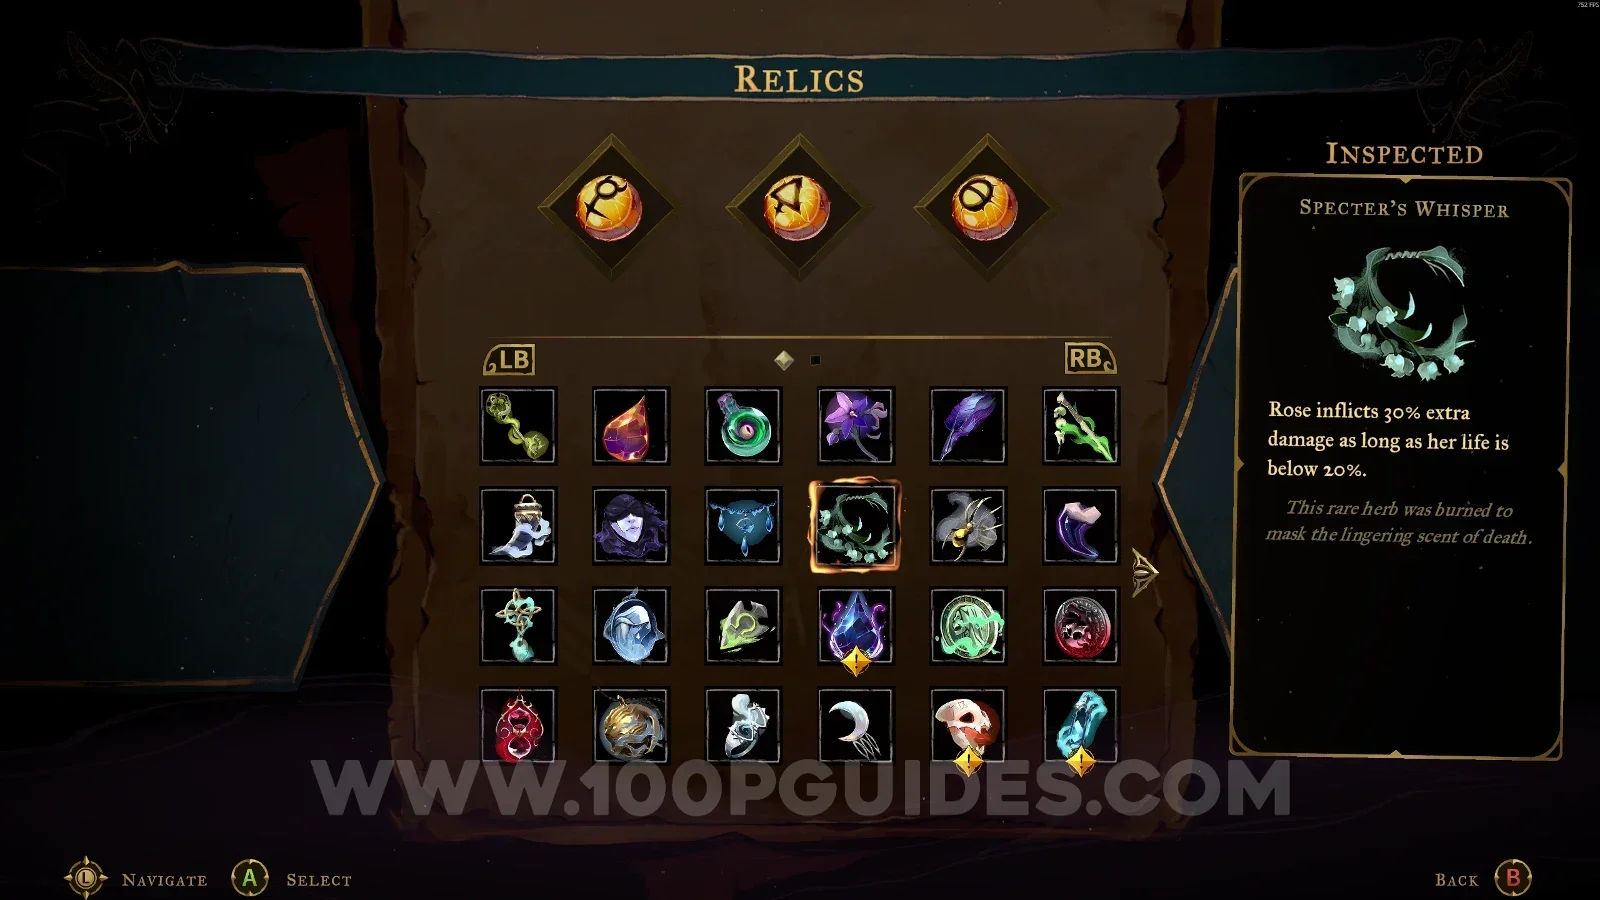
Specter's Whisper

Catacombs Of Paris > Catacomb Entrance

In the area marked on the map.
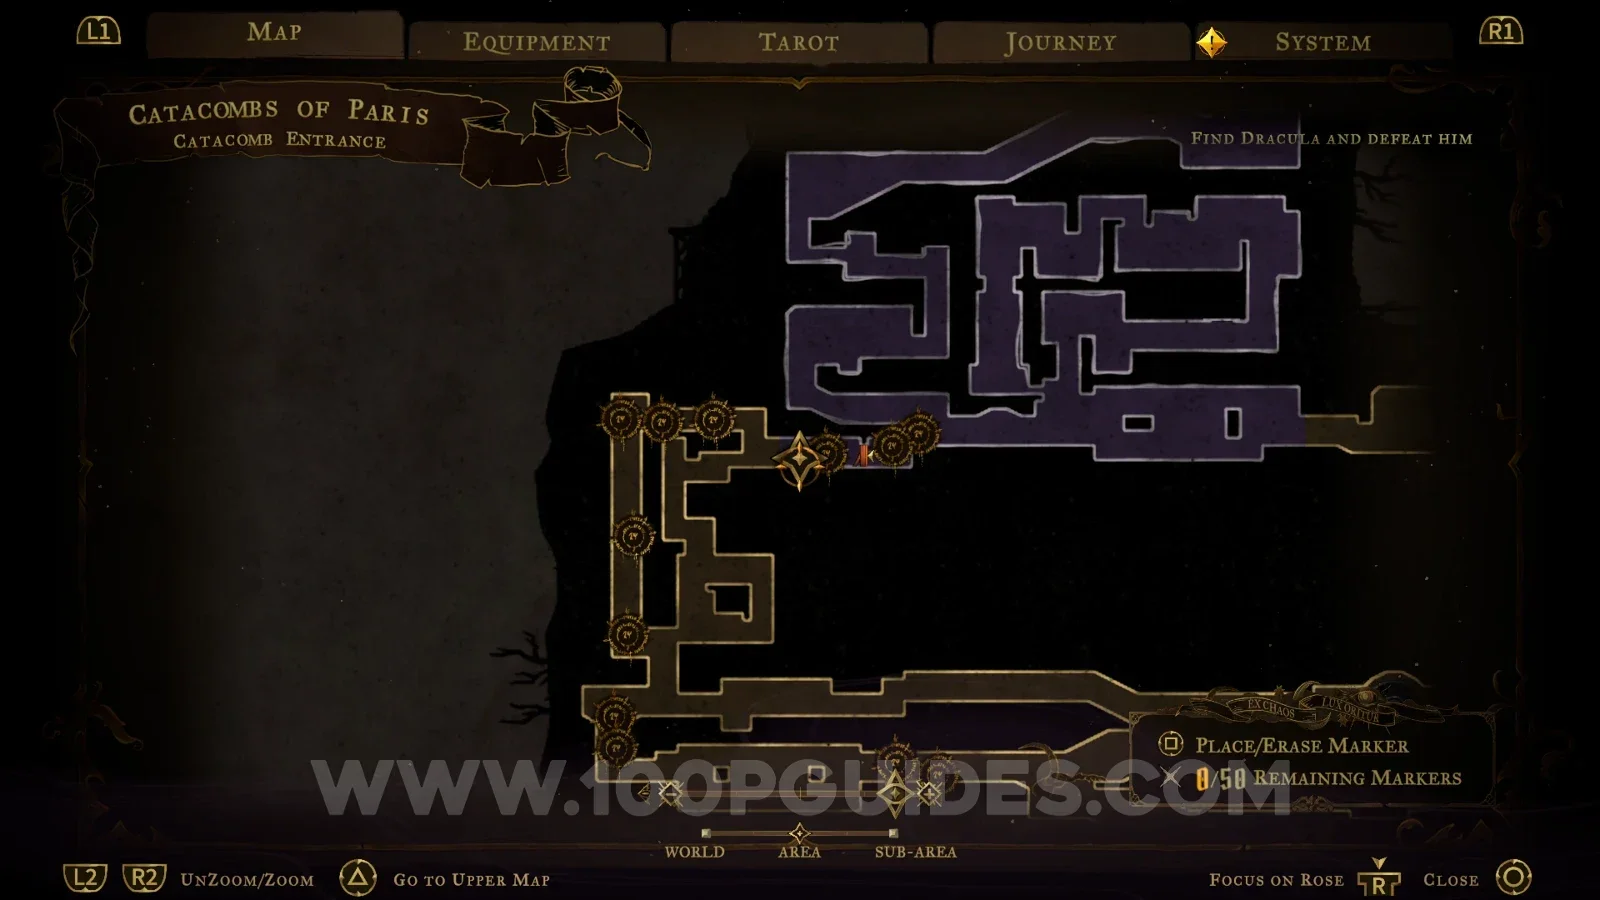
Castlevania Belmonts Curse Catacomb Entrance map marking the Specter's Whisper relic location Castlevania Belmonts Curse Catacomb Entrance: the marked spot holding the Specter's Whisper Castlevania Belmonts Curse: the Specter's Whisper relic chest in the Catacomb Entrance

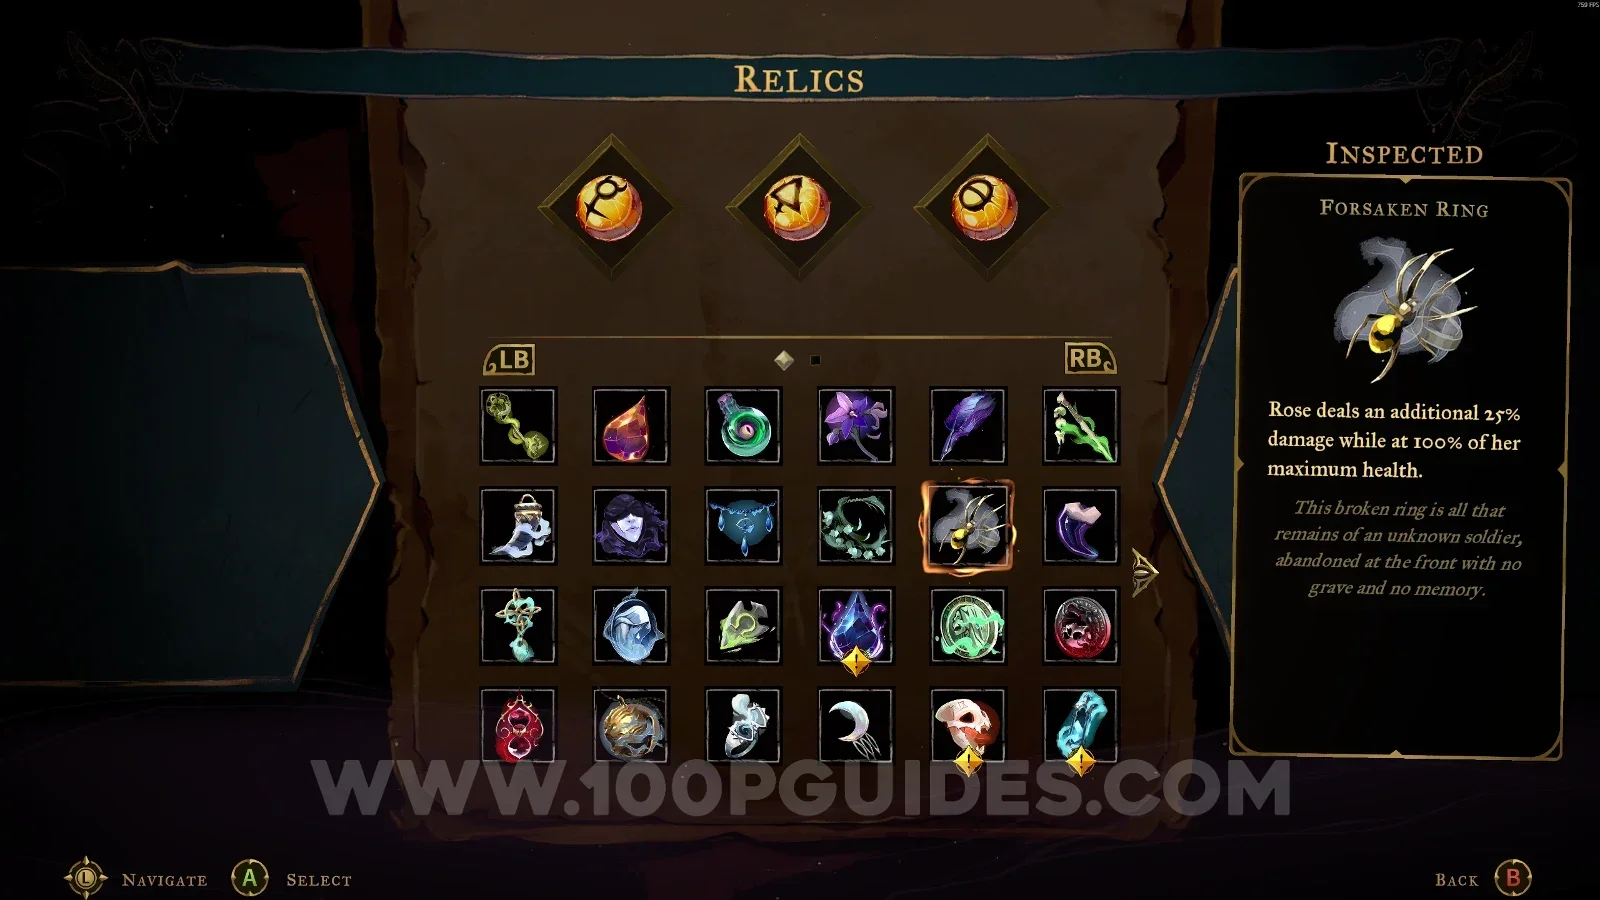
Forsaken Ring

Catacombs Of Paris > Antechamber Of Sin

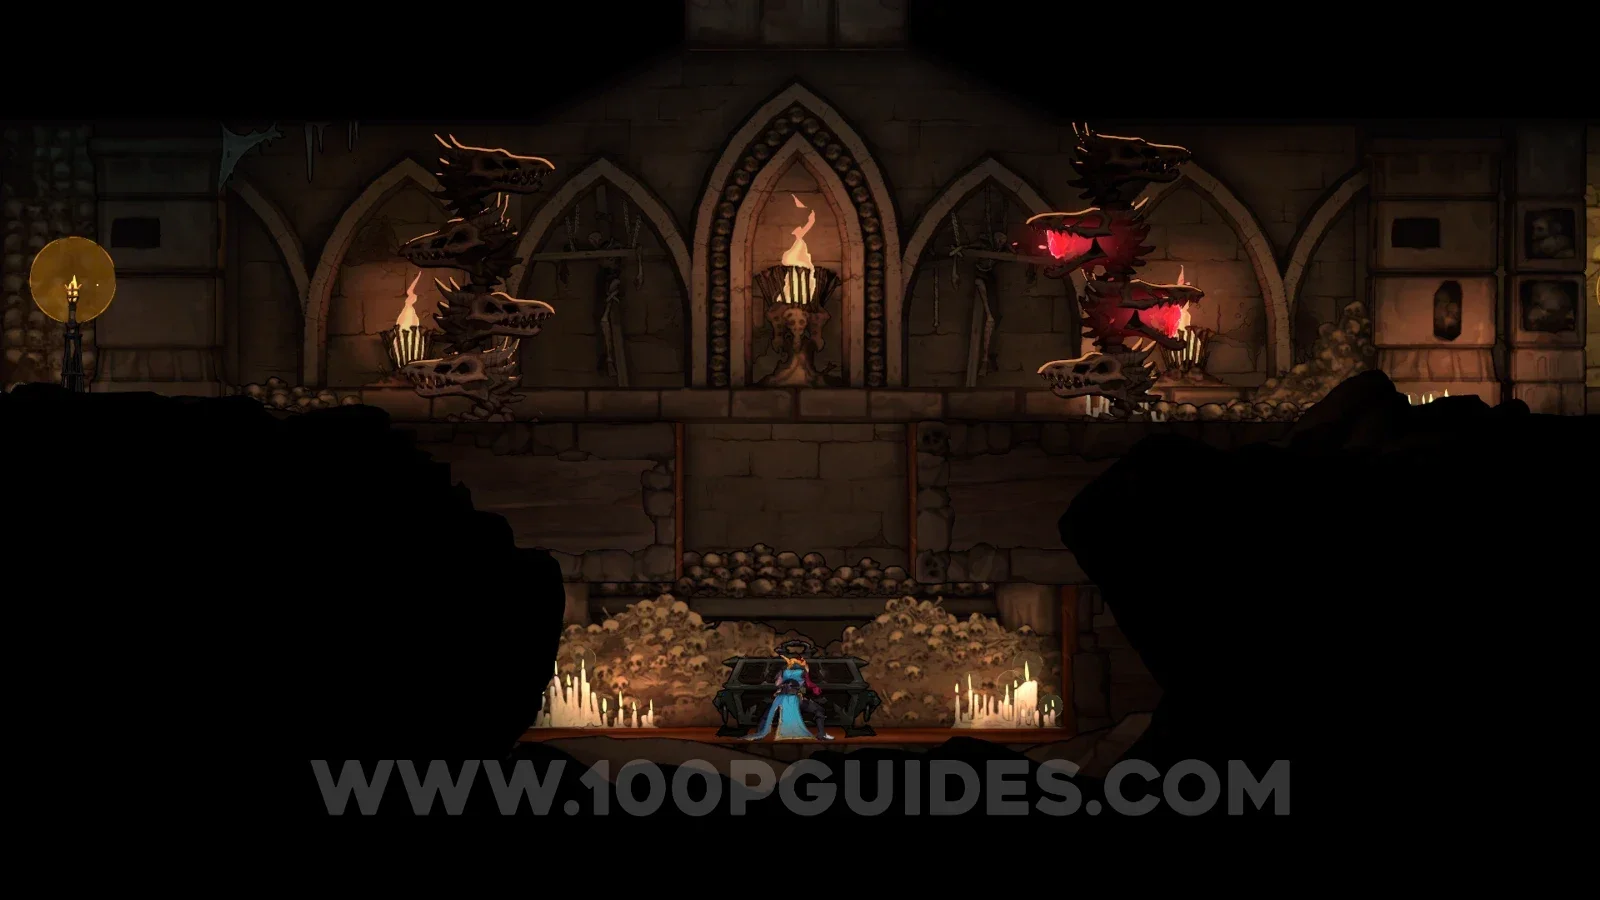
This area can only be accessed from Holy Innocents' Cemetery. Follow the single path once you reach the area, and you'll break the floor holding the chest.
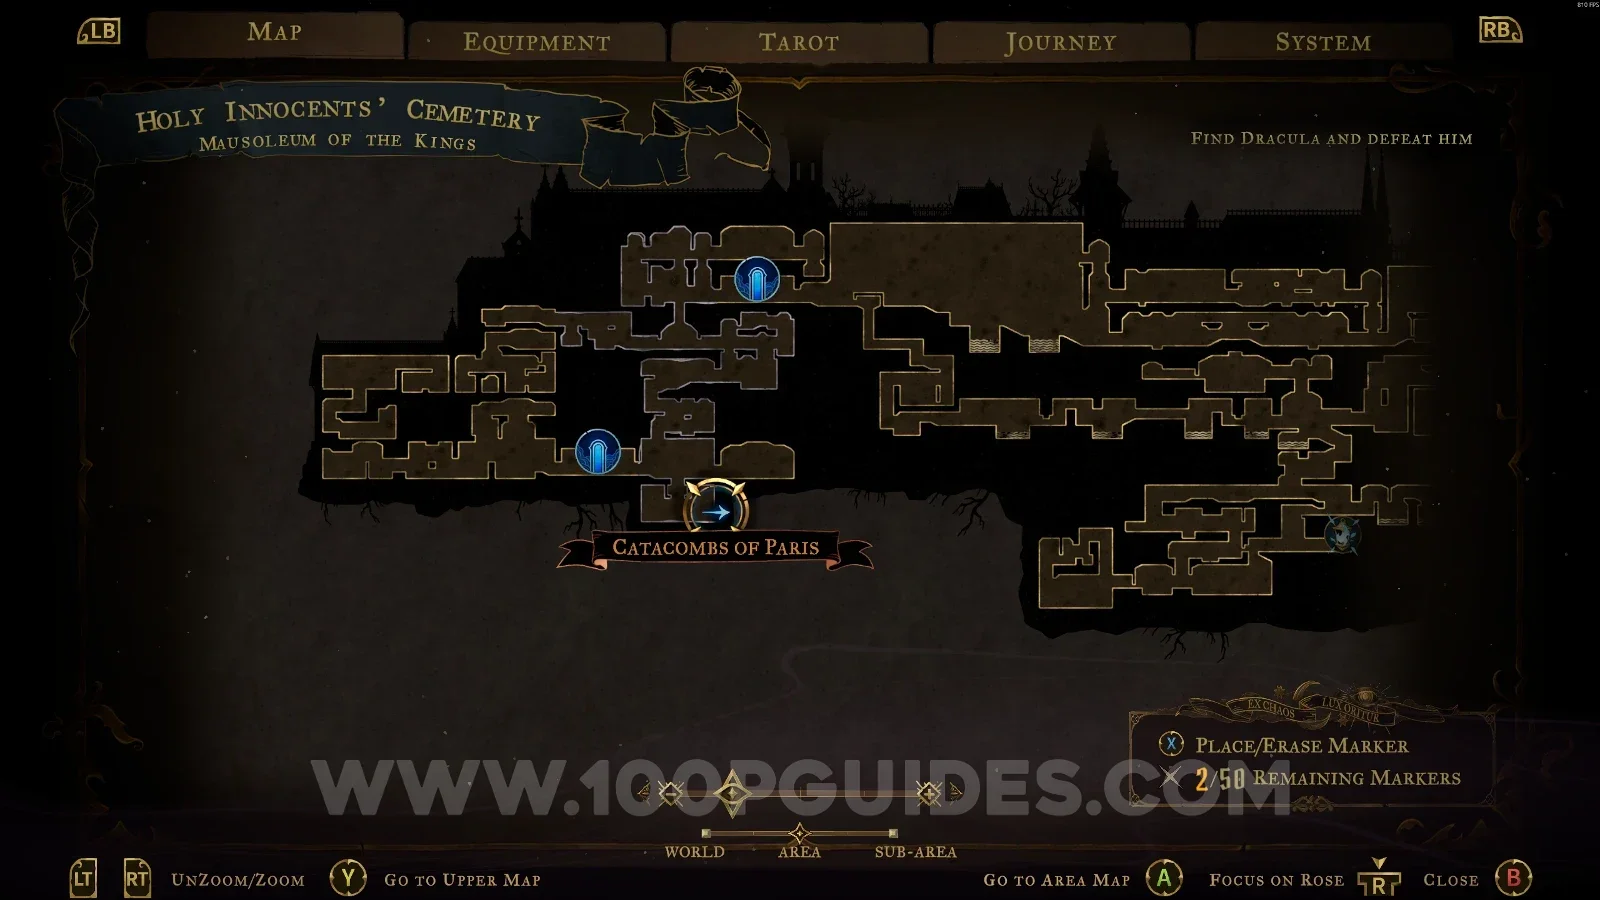
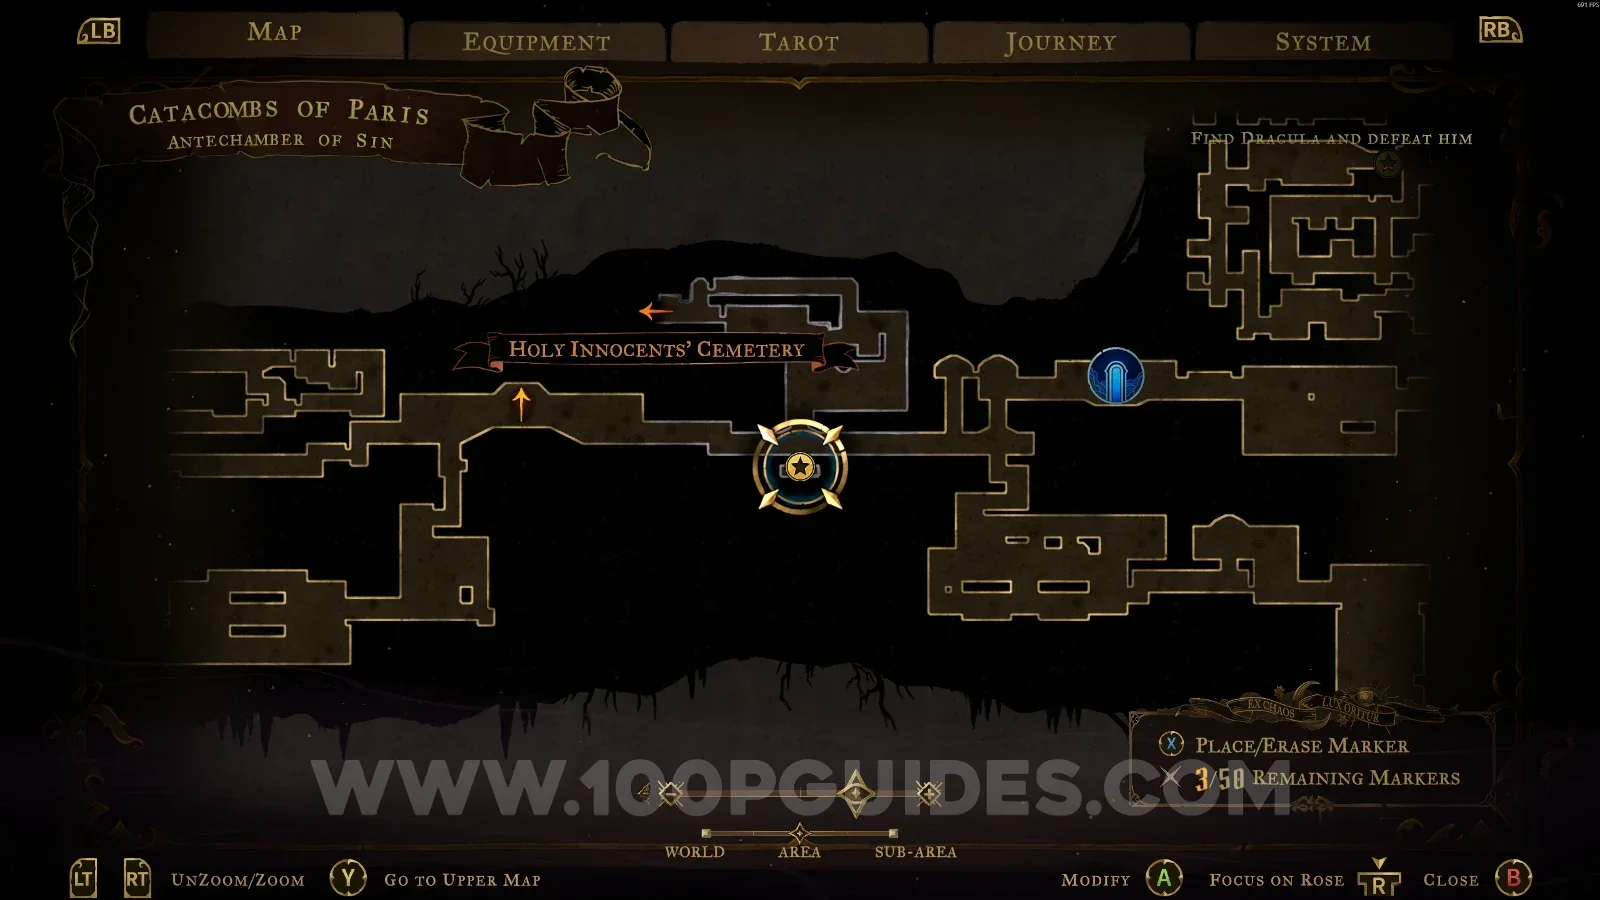
Castlevania Belmonts Curse Antechamber Of Sin map, reached from Holy Innocents' Cemetery Castlevania Belmonts Curse Antechamber Of Sin: following the single path toward the Forsaken Ring Castlevania Belmonts Curse Antechamber Of Sin: breaking the floor that holds the relic chest Castlevania Belmonts Curse: the chest with the Forsaken Ring relic in the Antechamber Of Sin

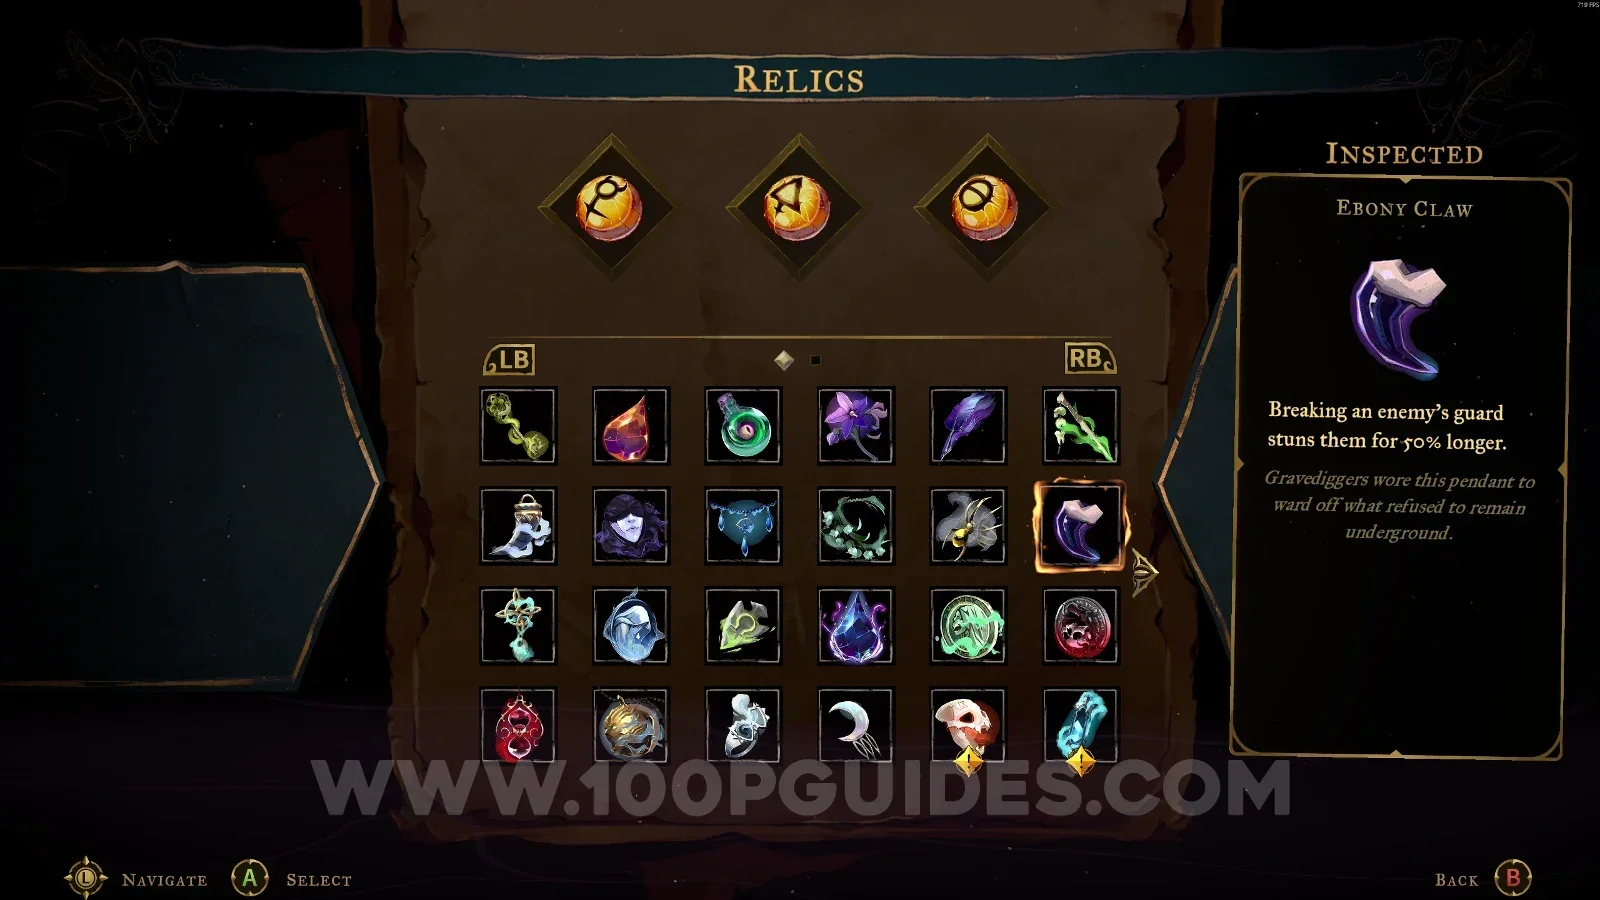
Ebony Claw

Catacombs Of Paris > Throat Of Hell

In the area marked on the map.
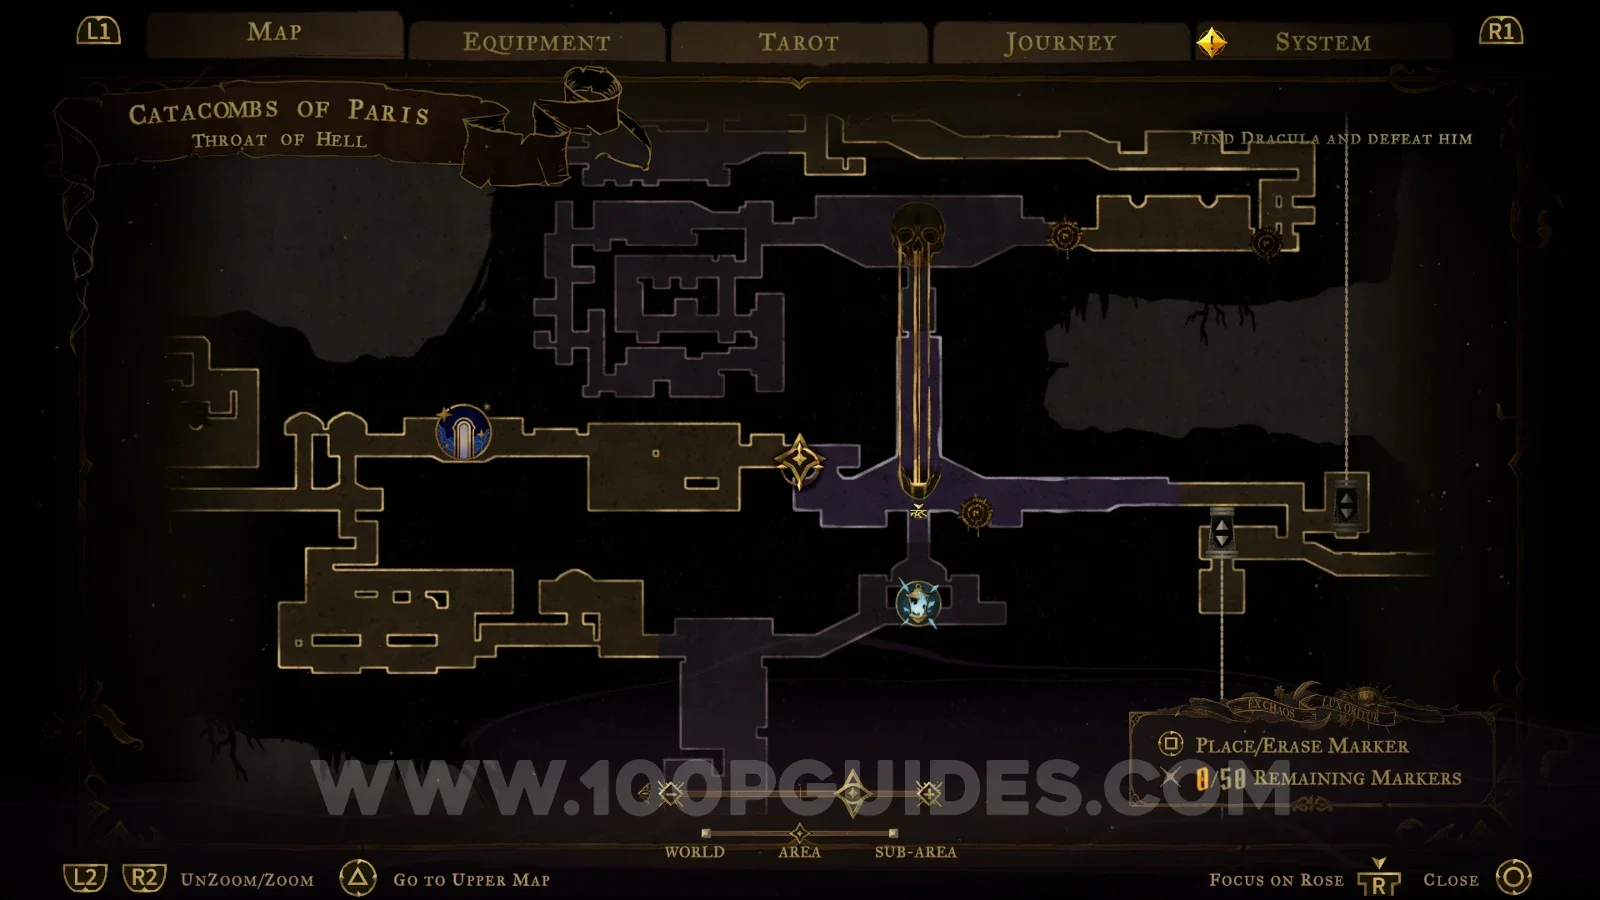
Castlevania Belmonts Curse Throat Of Hell map marking the Ebony Claw relic location Castlevania Belmonts Curse Throat Of Hell: the marked spot holding the Ebony Claw relic Castlevania Belmonts Curse: the Ebony Claw relic chest in the Throat Of Hell, Catacombs Of Paris

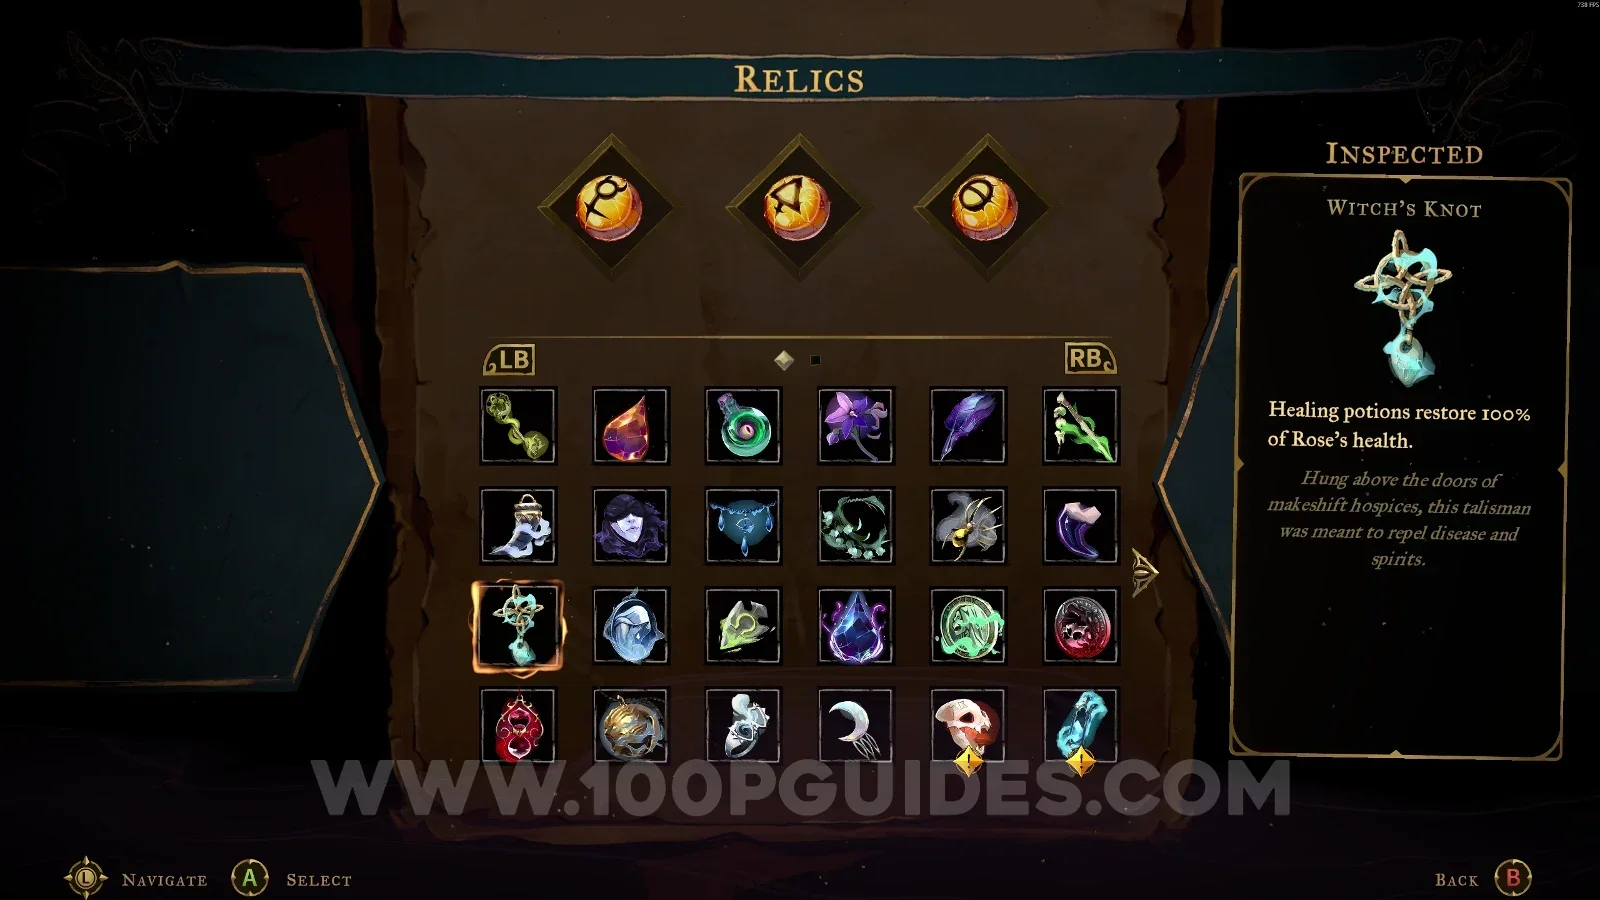
Witch's Knot

Main Hall > West Hall

In the area marked on the map, you have to go around the area using the painting to reach the chest.
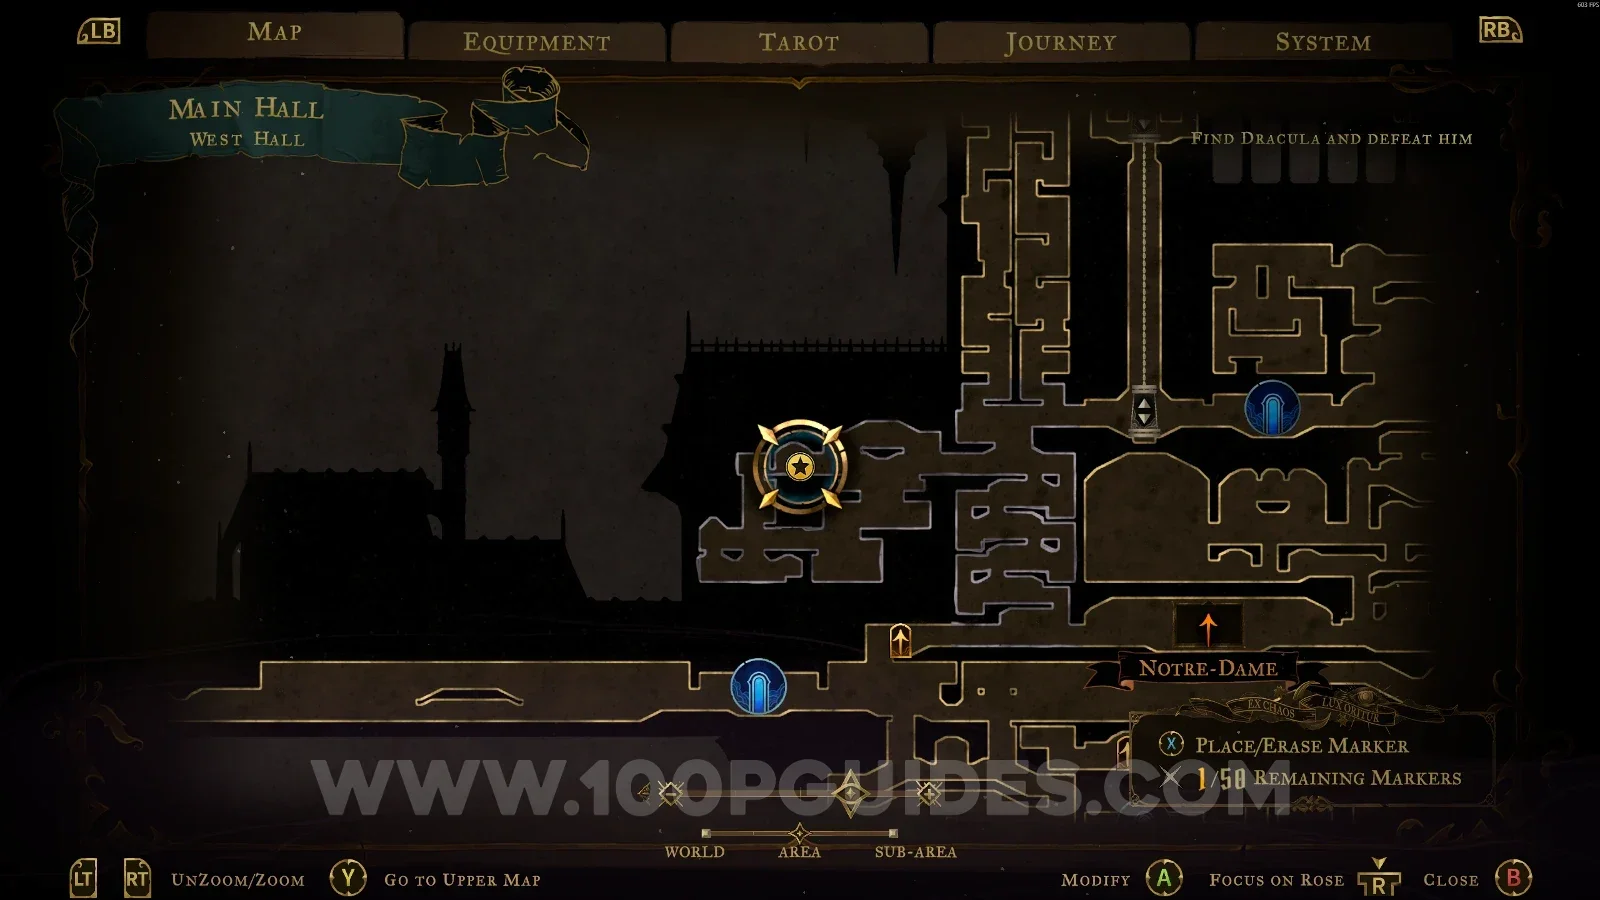
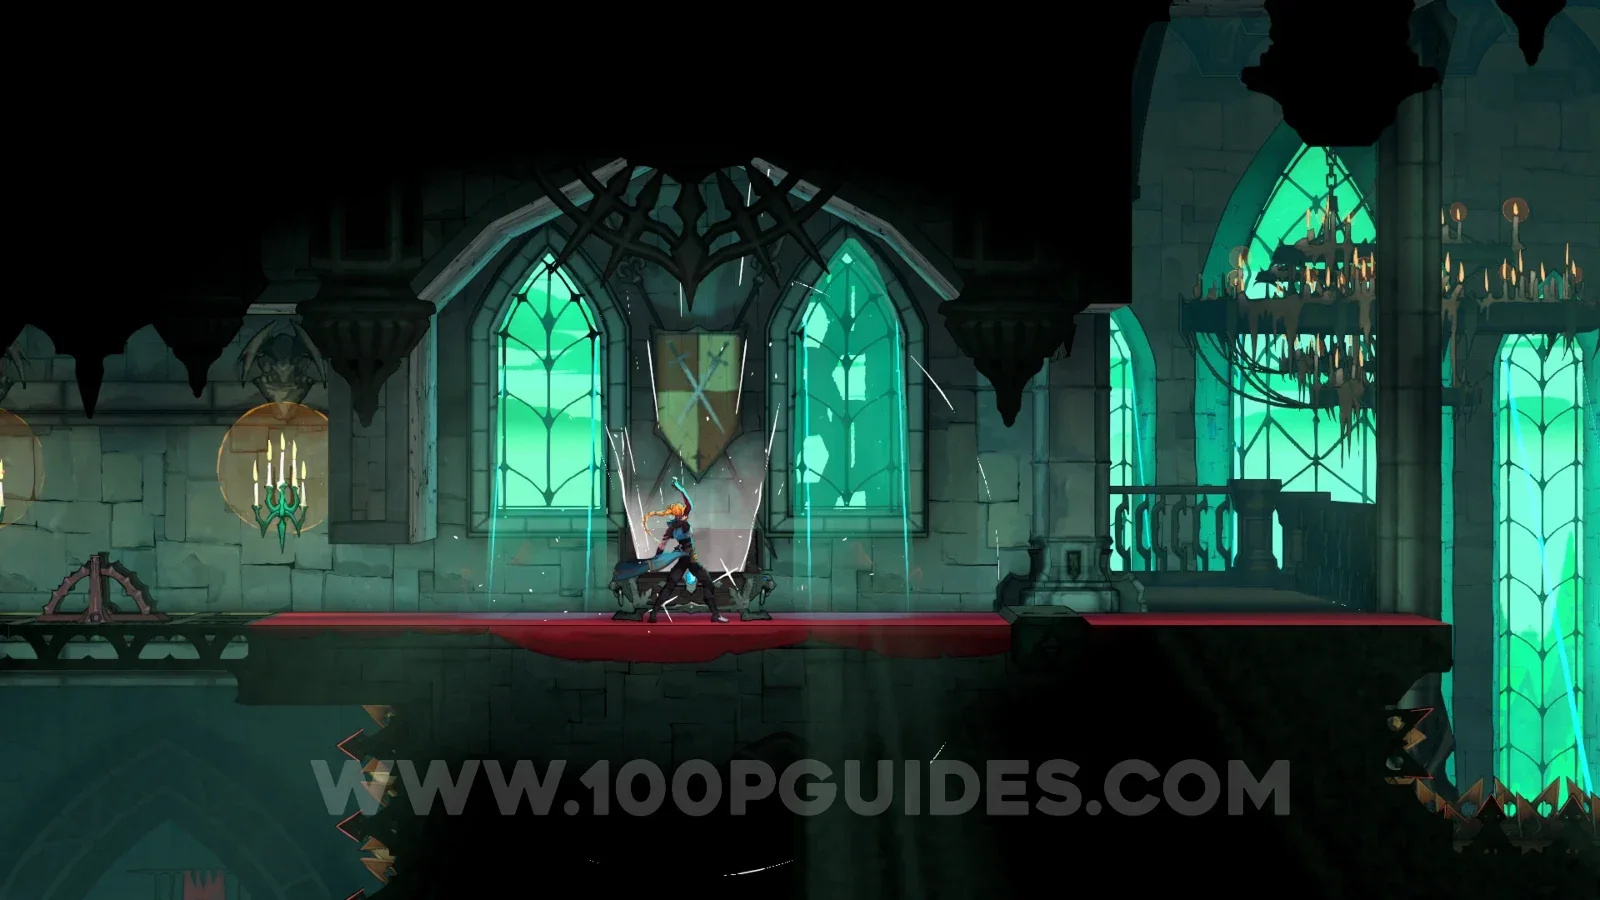
Castlevania Belmonts Curse West Hall map marking the Witch's Knot relic area in the Main Hall Castlevania Belmonts Curse West Hall: going around the area using the painting Castlevania Belmonts Curse: the chest with the Witch's Knot relic in the West Hall

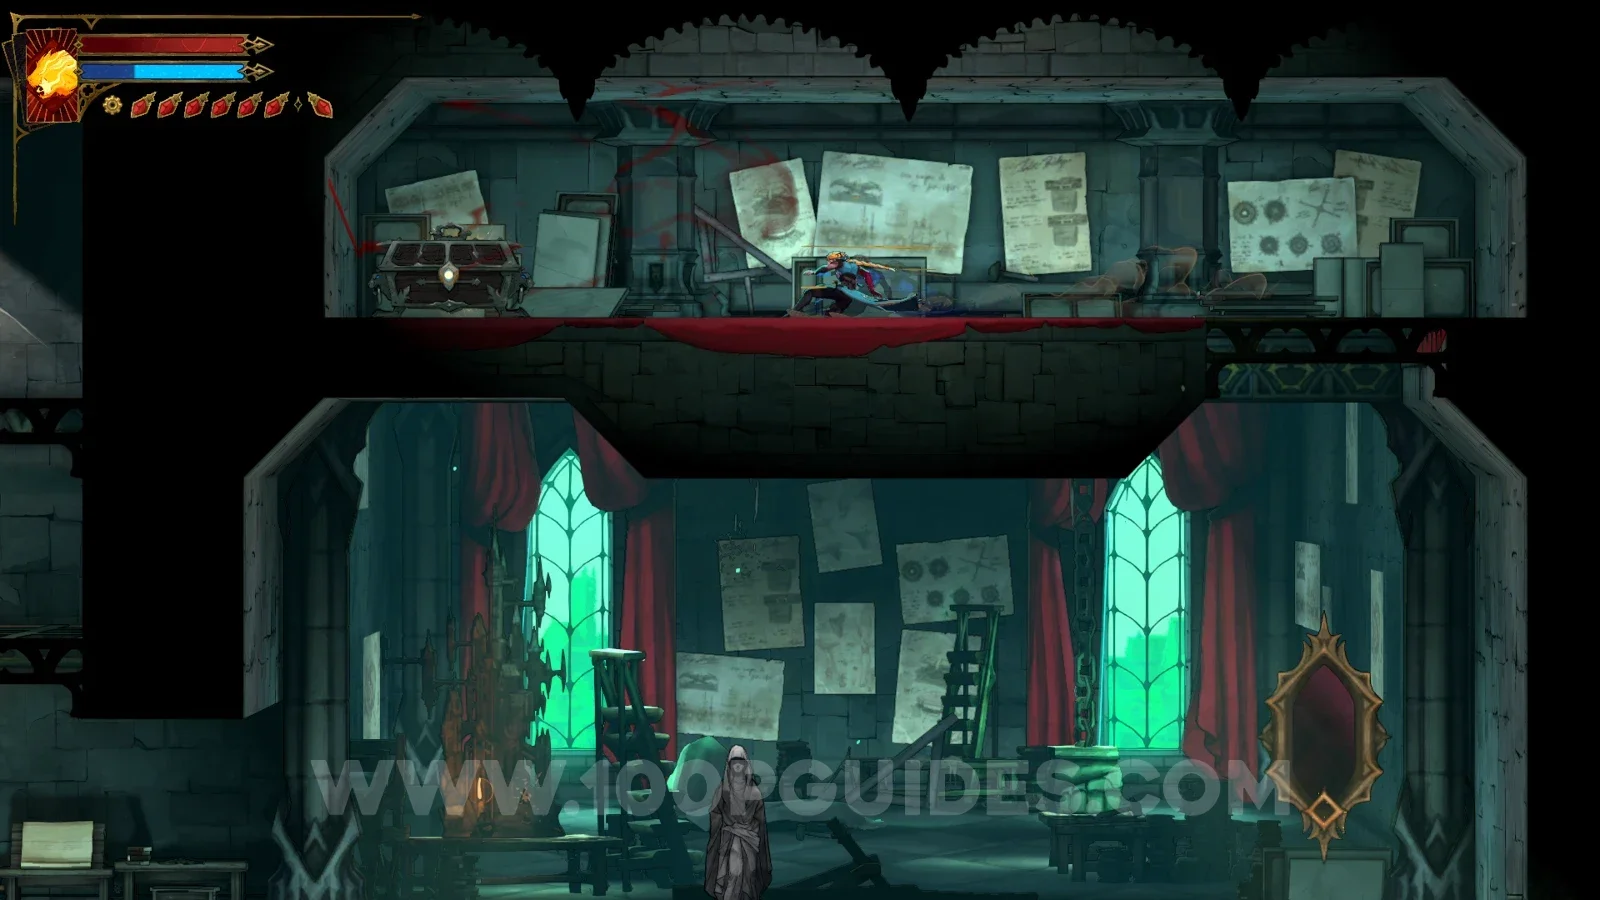
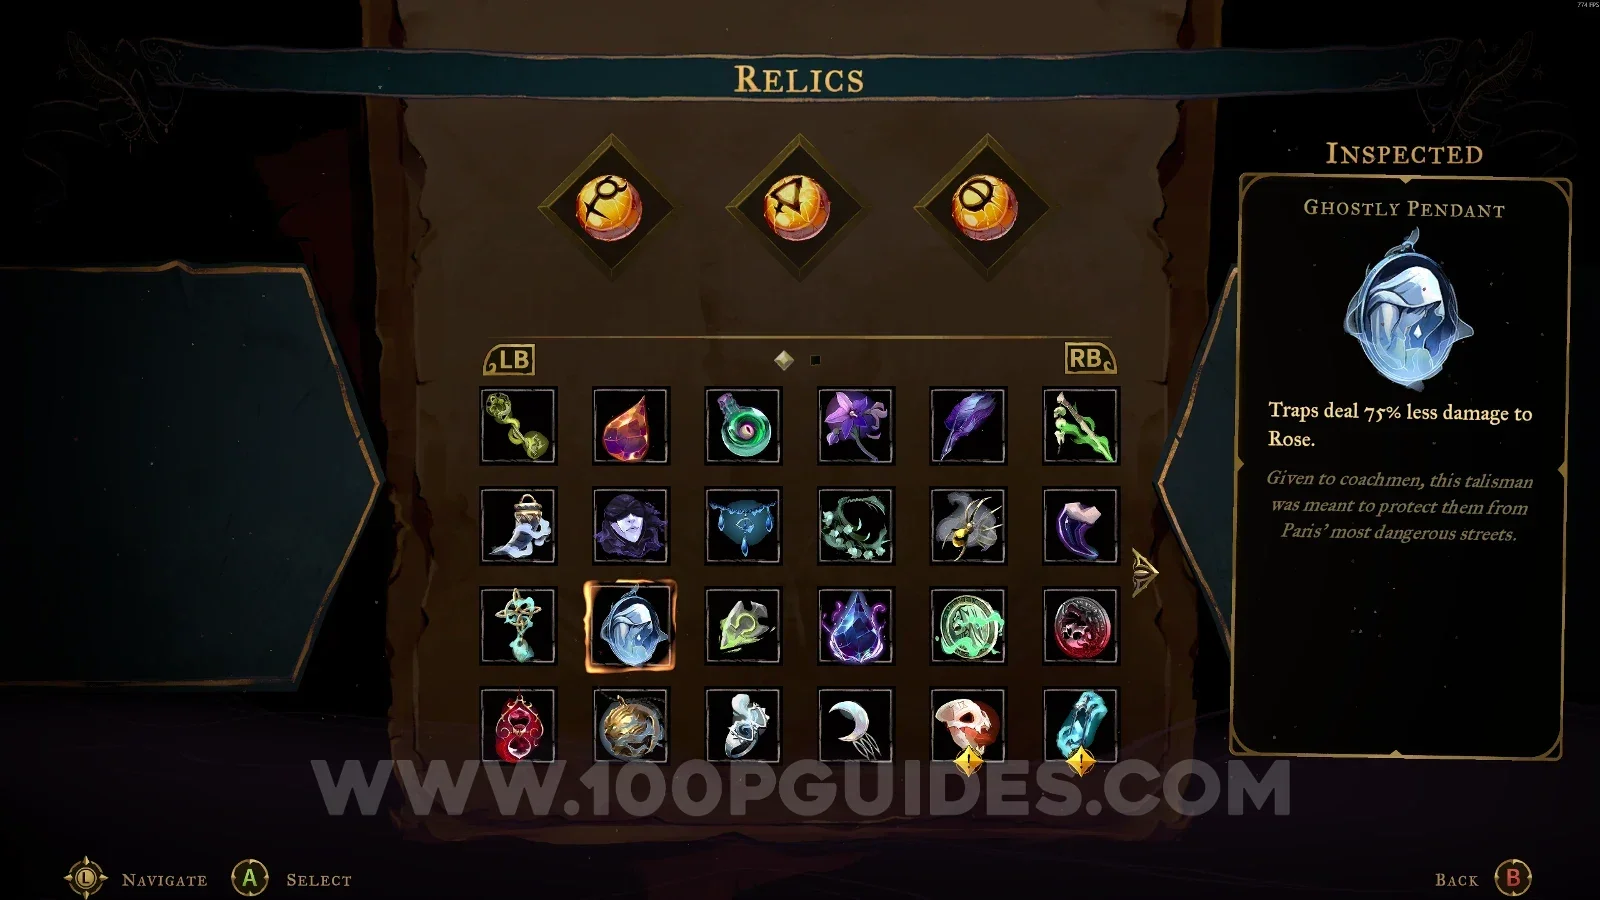
Ghostly Pendant

Main Hall > Abandoned Workshop

Use the frame to climb to the upper part of the area and reveal a secret room with the chest.
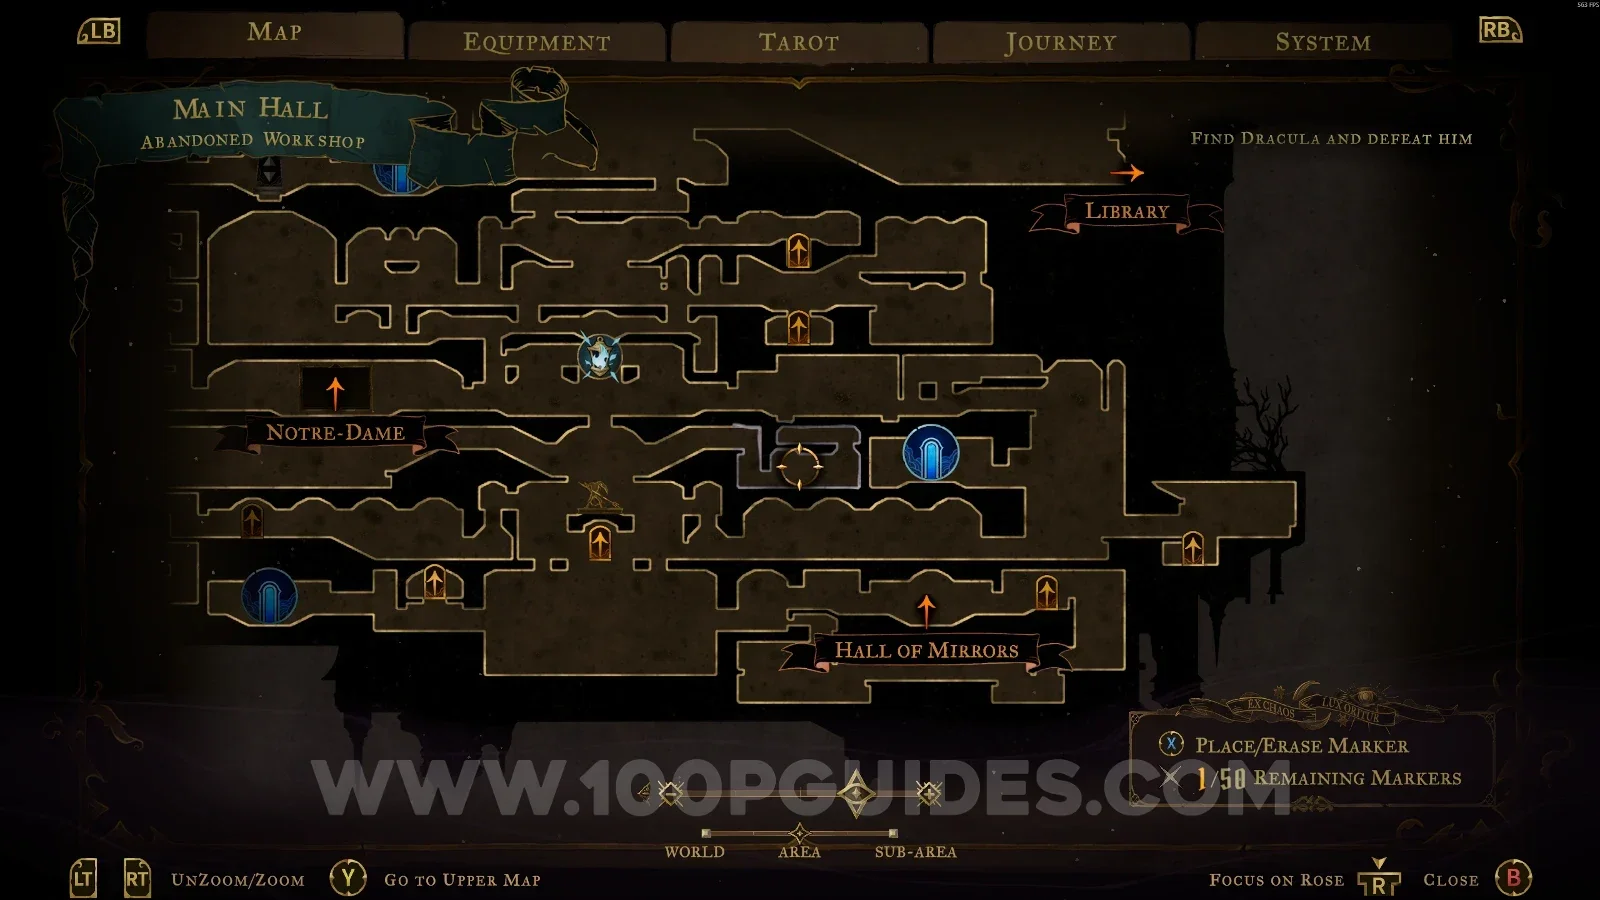
Castlevania Belmonts Curse Abandoned Workshop map marking the Ghostly Pendant relic location Castlevania Belmonts Curse Abandoned Workshop: using the frame to climb to the upper part Castlevania Belmonts Curse: the Ghostly Pendant chest in the secret room of the Abandoned Workshop

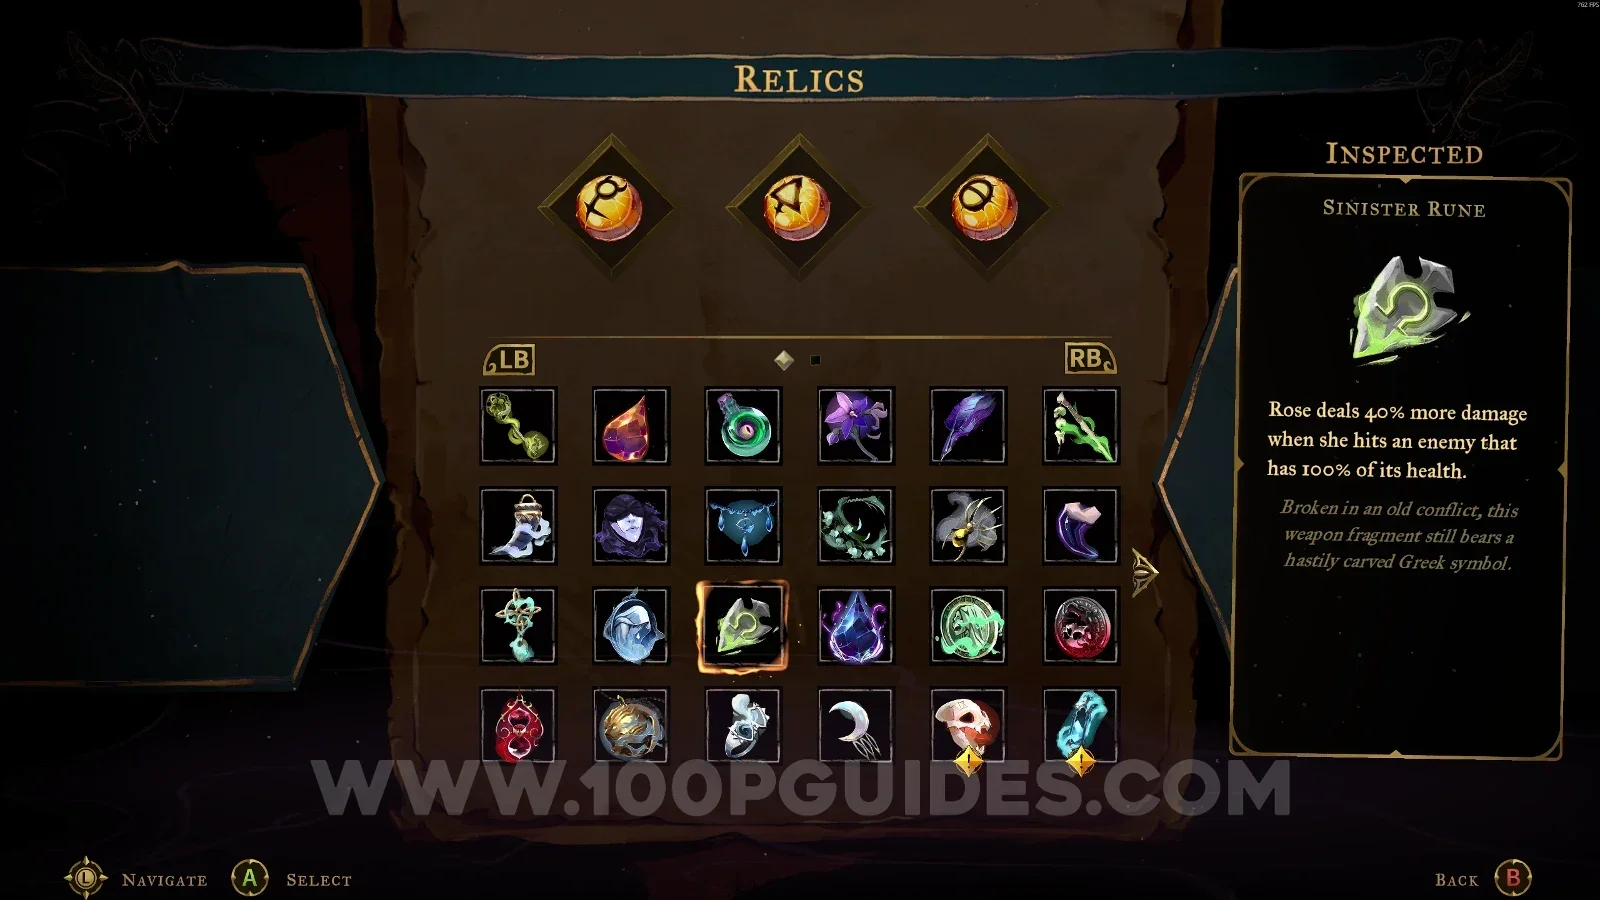
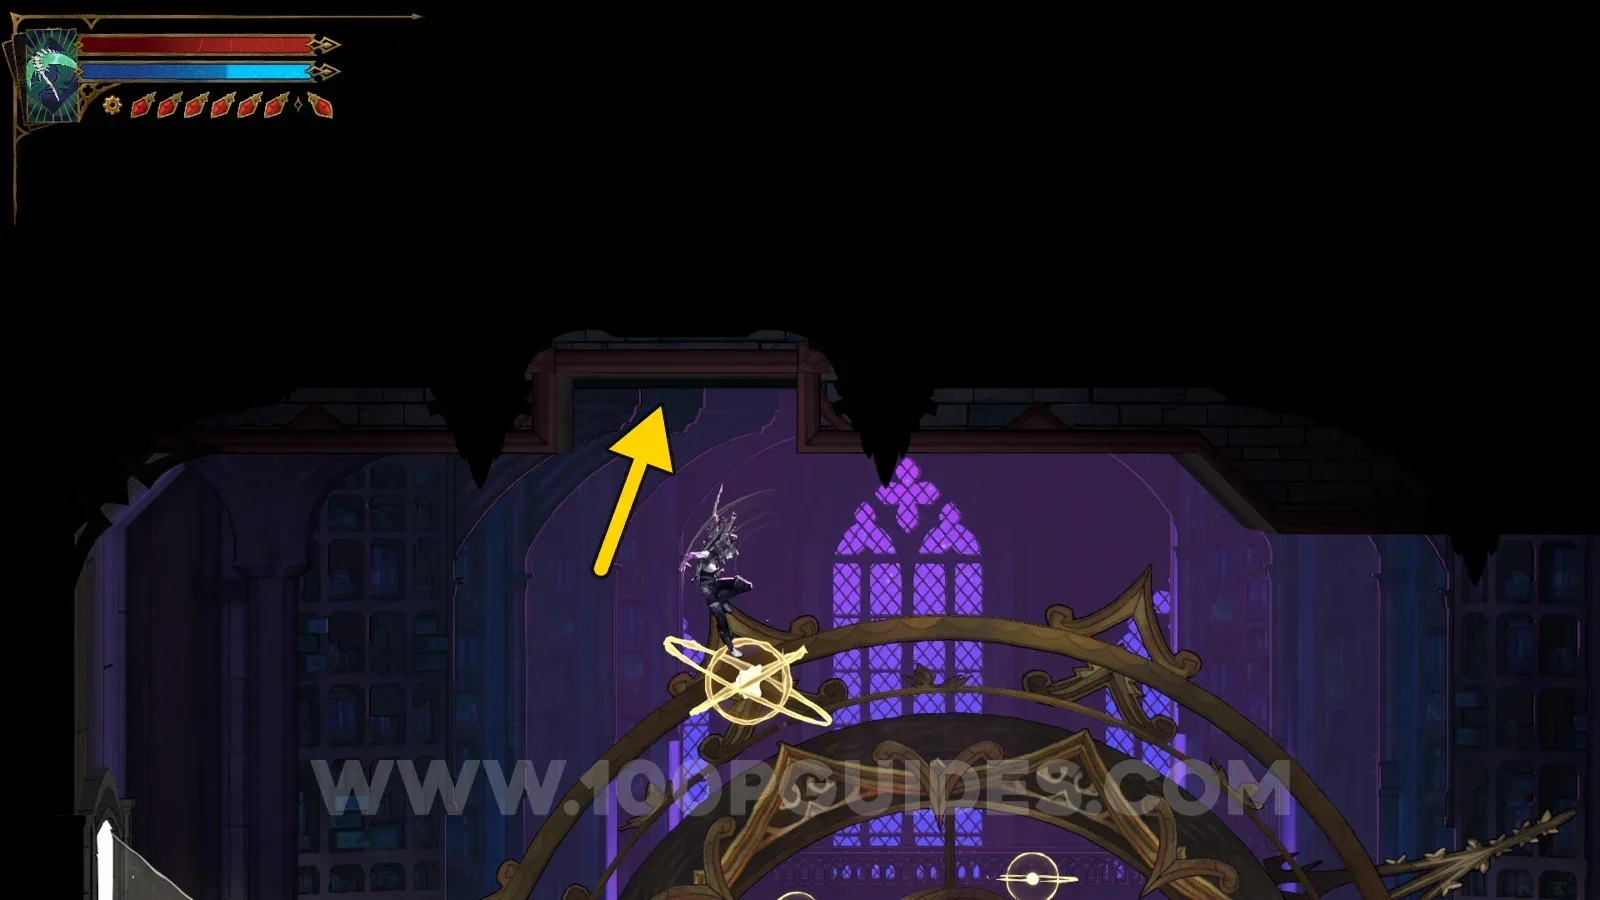
Sinister Rune

Clock Tower > Eastern Access Shaft

In the area marked on the map, use the slide to reveal a secret room. Then follow the path to the top, and the chest will be on the left side.
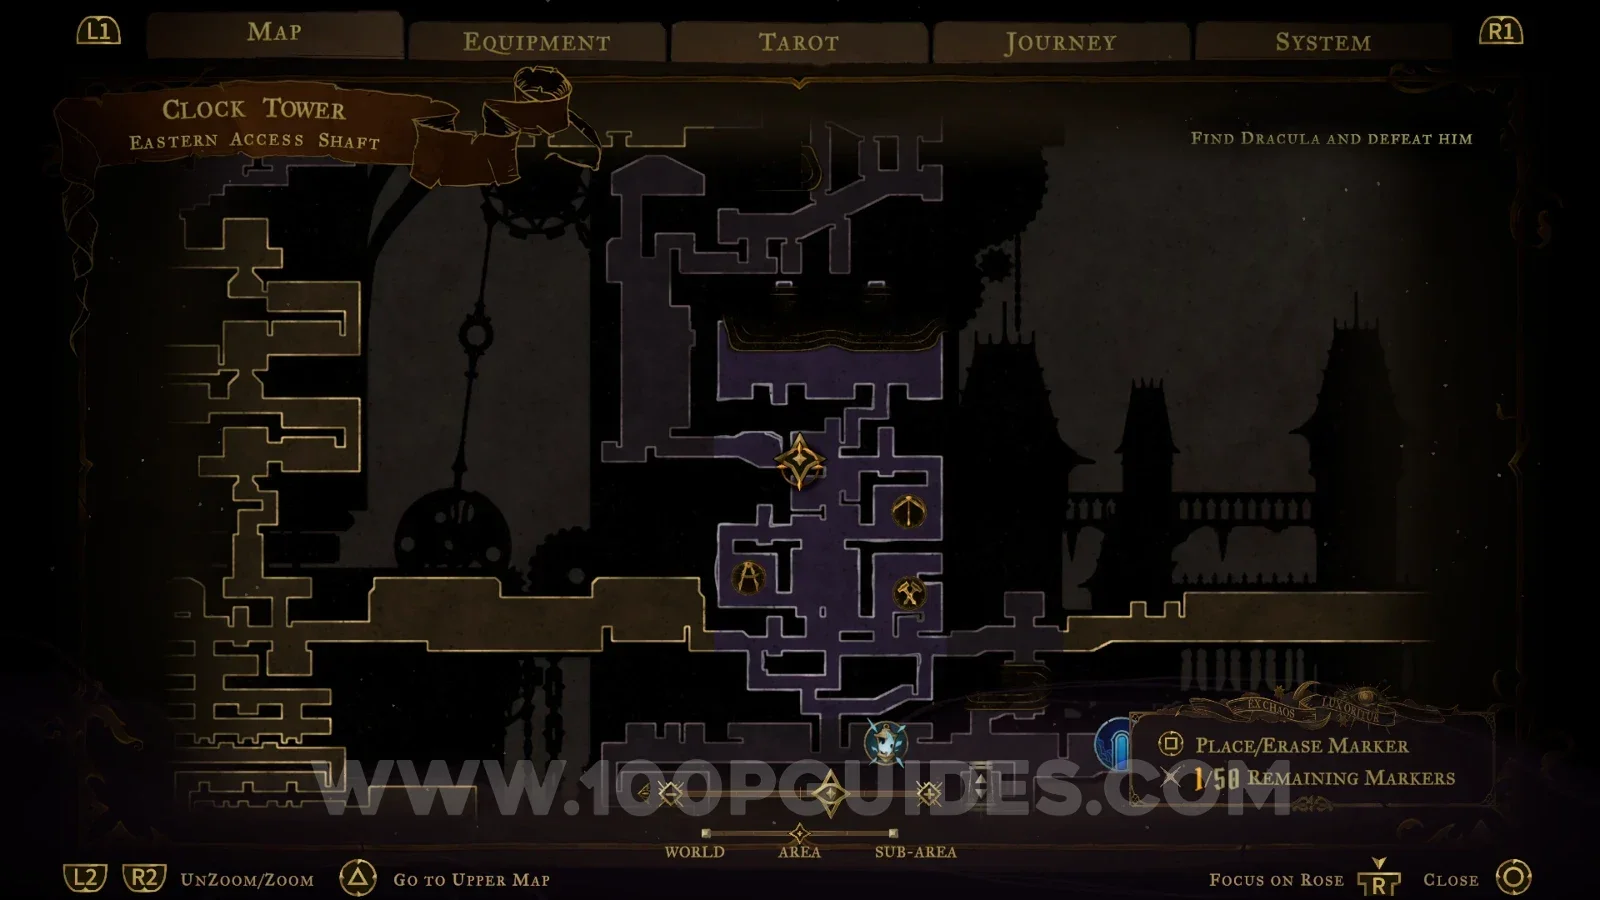
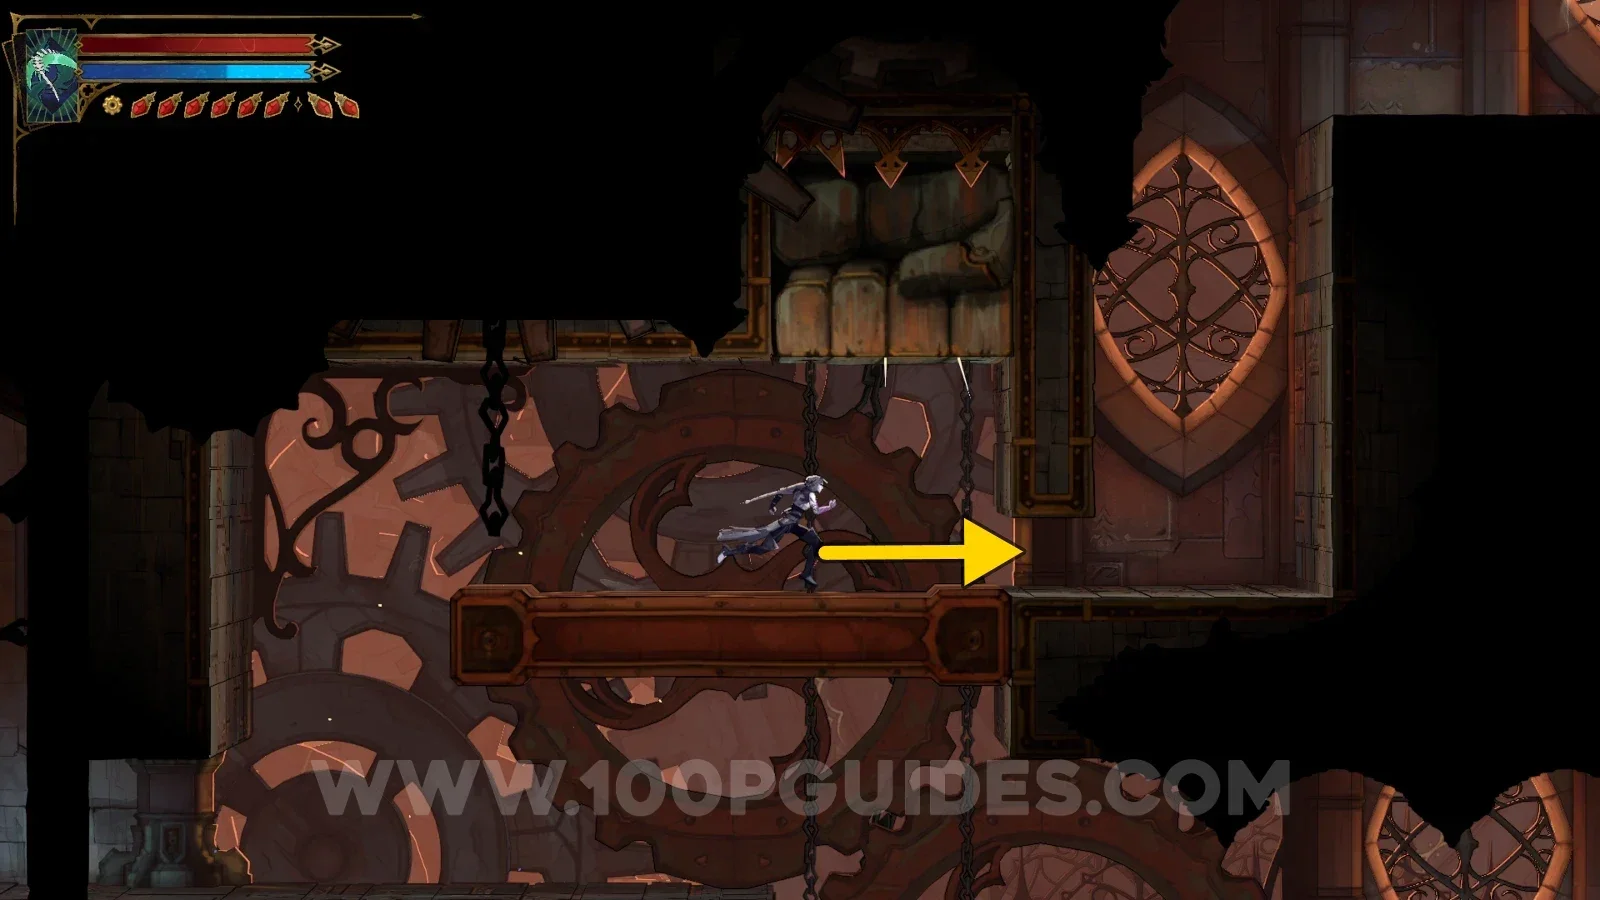
Castlevania Belmonts Curse Eastern Access Shaft map marking the Sinister Rune relic area Castlevania Belmonts Curse Eastern Access Shaft: using the slide to reveal a secret room Castlevania Belmonts Curse Eastern Access Shaft: following the secret room path to the top Castlevania Belmonts Curse: the Sinister Rune relic chest on the left side at the top

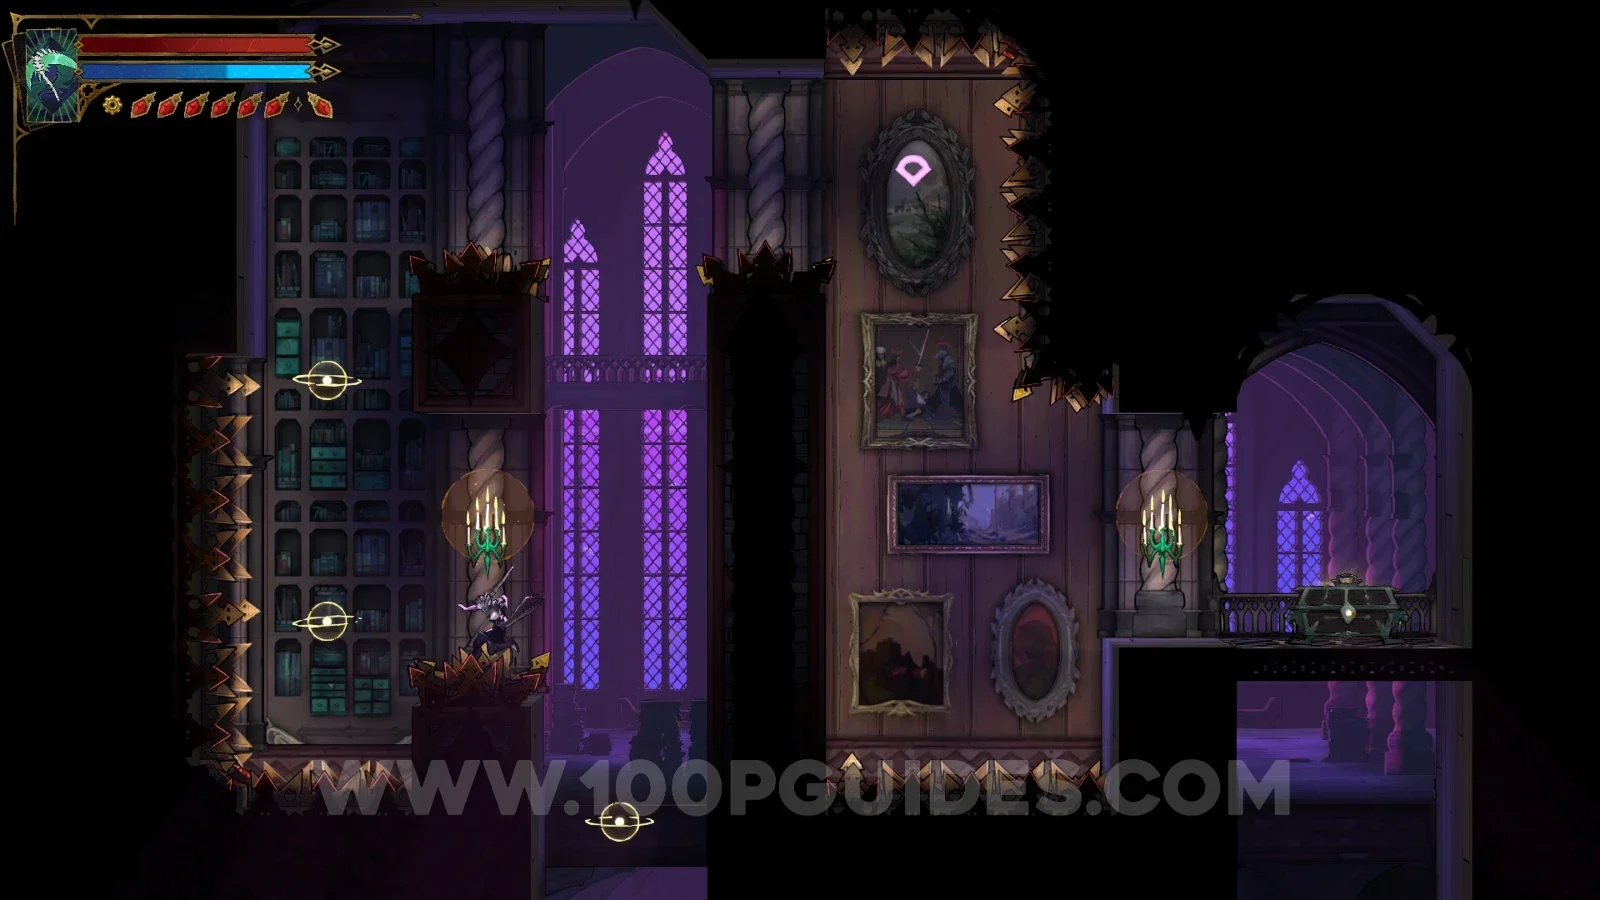
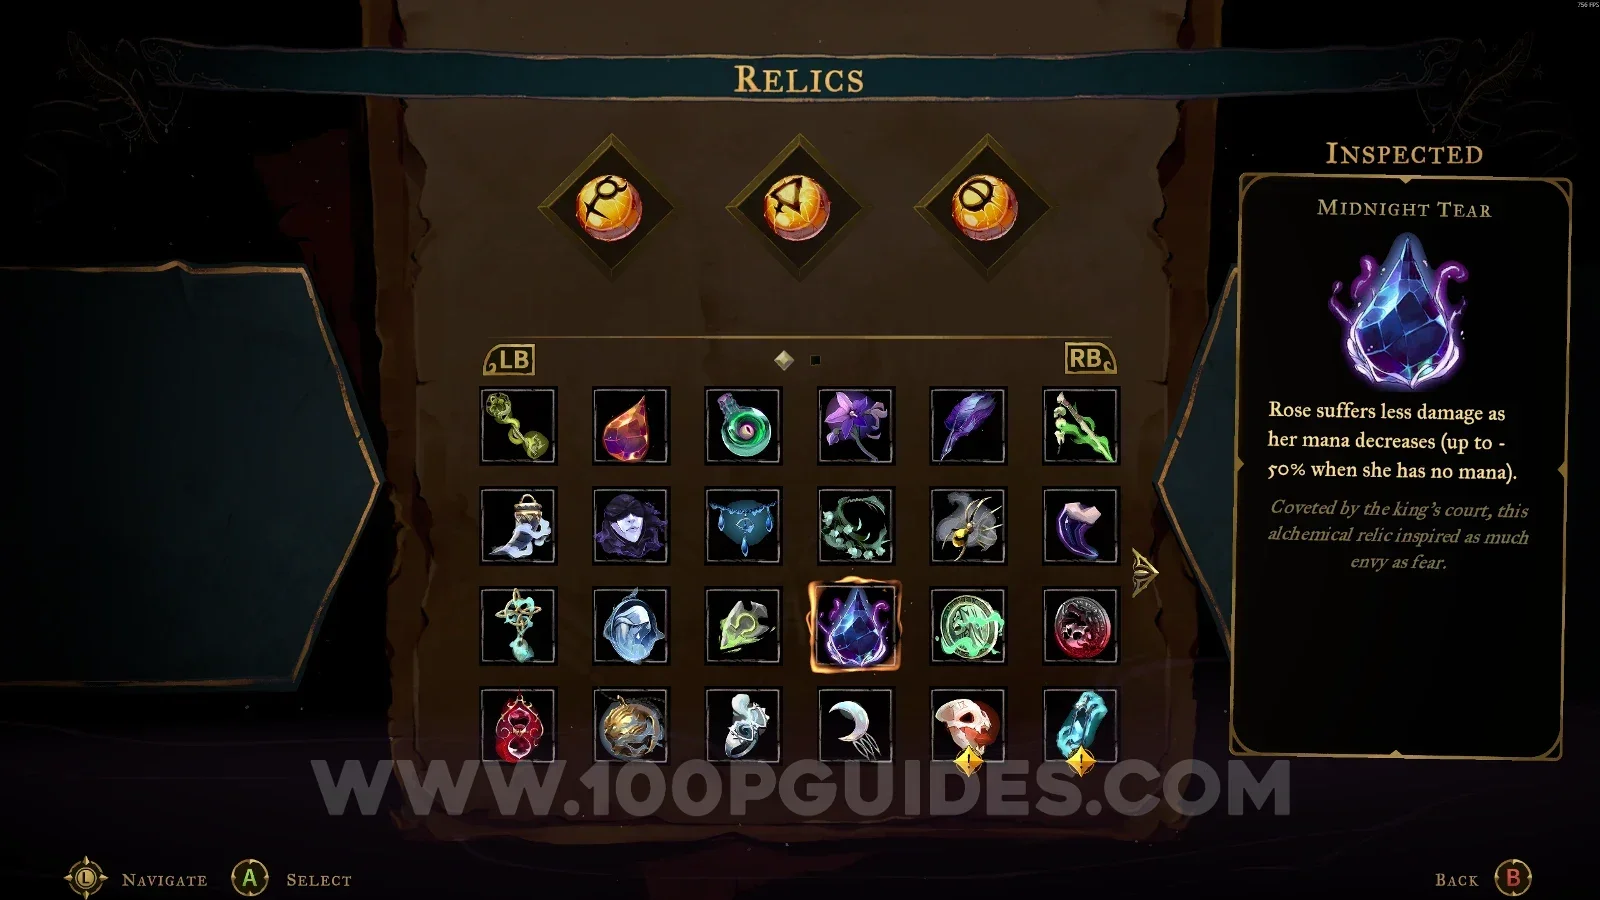
Midnight Tear

Library > Rhetoric Shelves

Climb to the upper part using the orbs to reveal the secret room containing the chest.
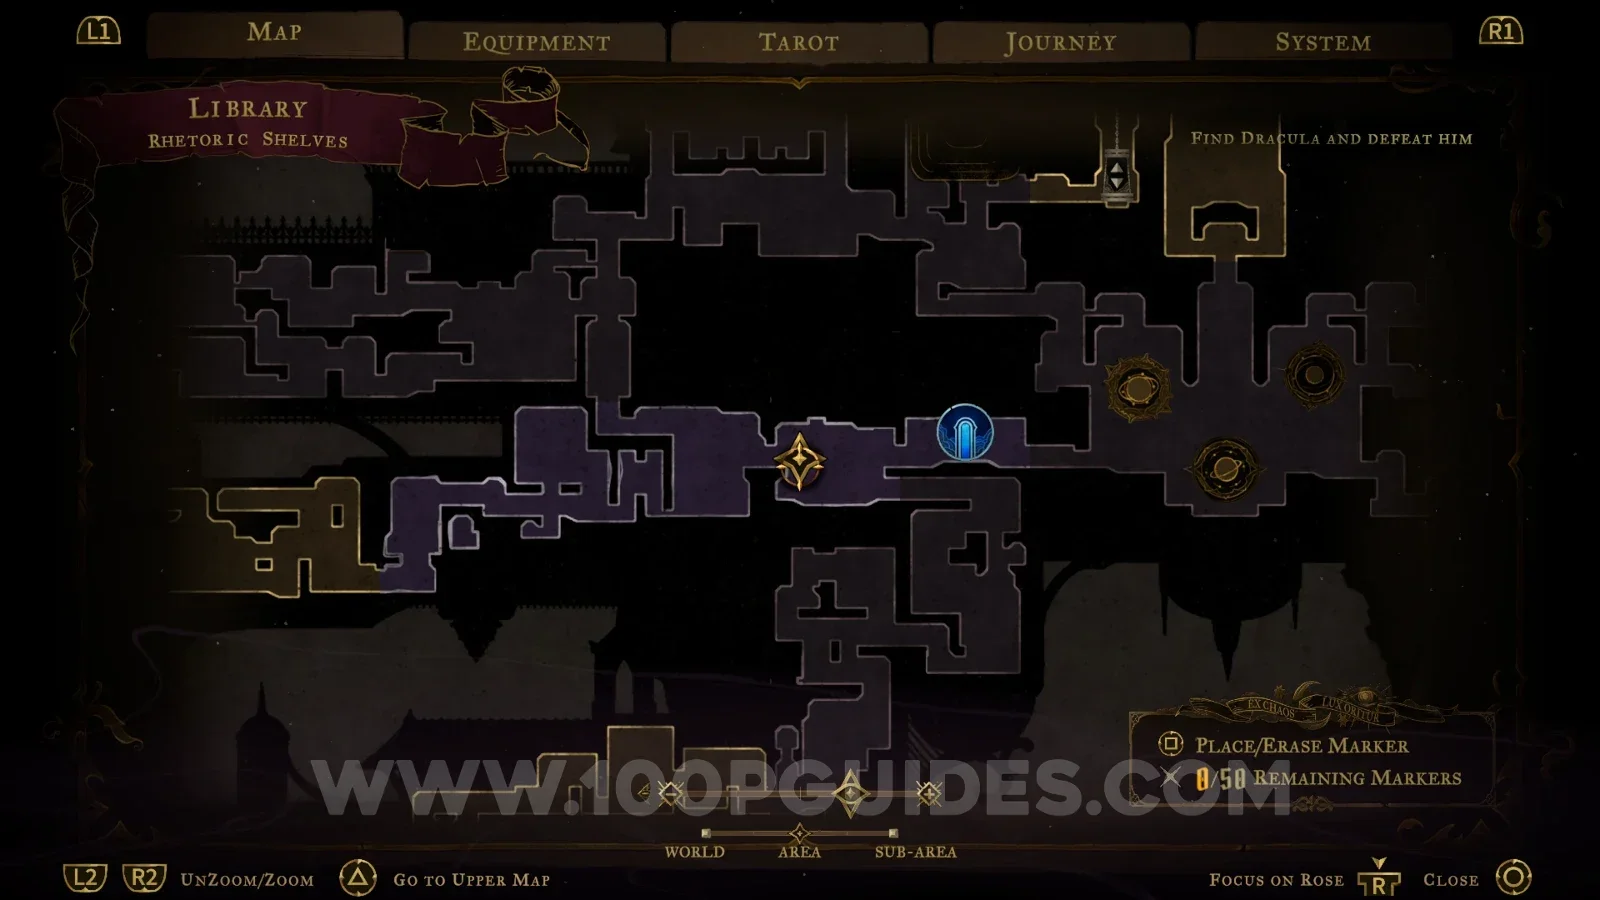
Castlevania Belmonts Curse Rhetoric Shelves map marking the Midnight Tear relic in the Library Castlevania Belmonts Curse Rhetoric Shelves: using the orbs to climb to the upper part Castlevania Belmonts Curse Rhetoric Shelves: the secret room revealed in the upper part Castlevania Belmonts Curse: the chest with the Midnight Tear relic in the Rhetoric Shelves secret room

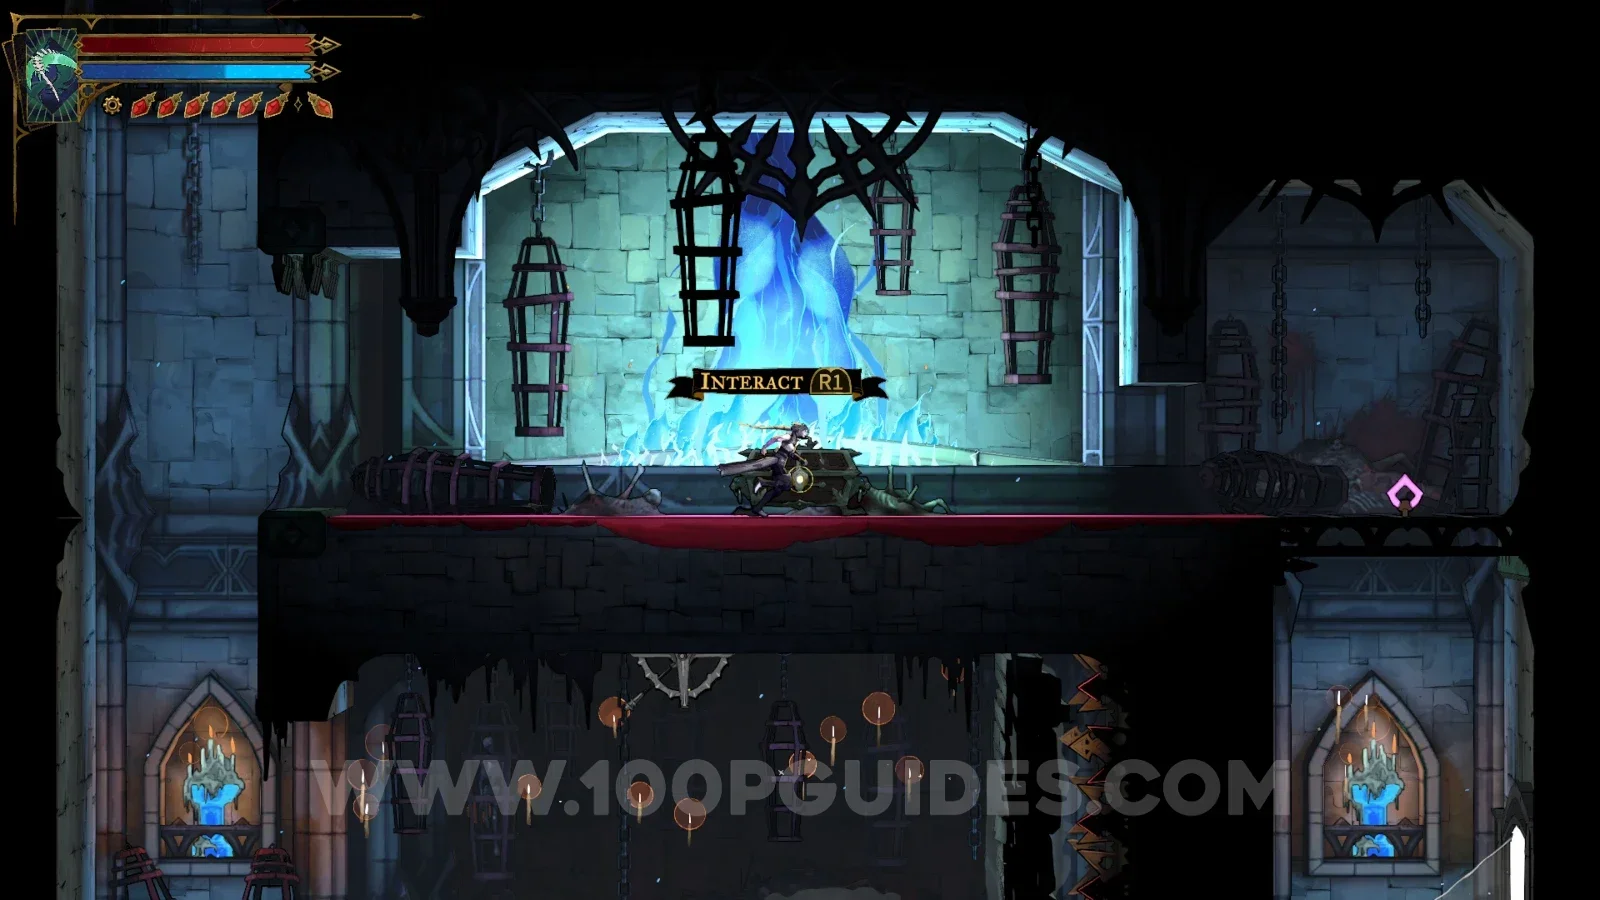
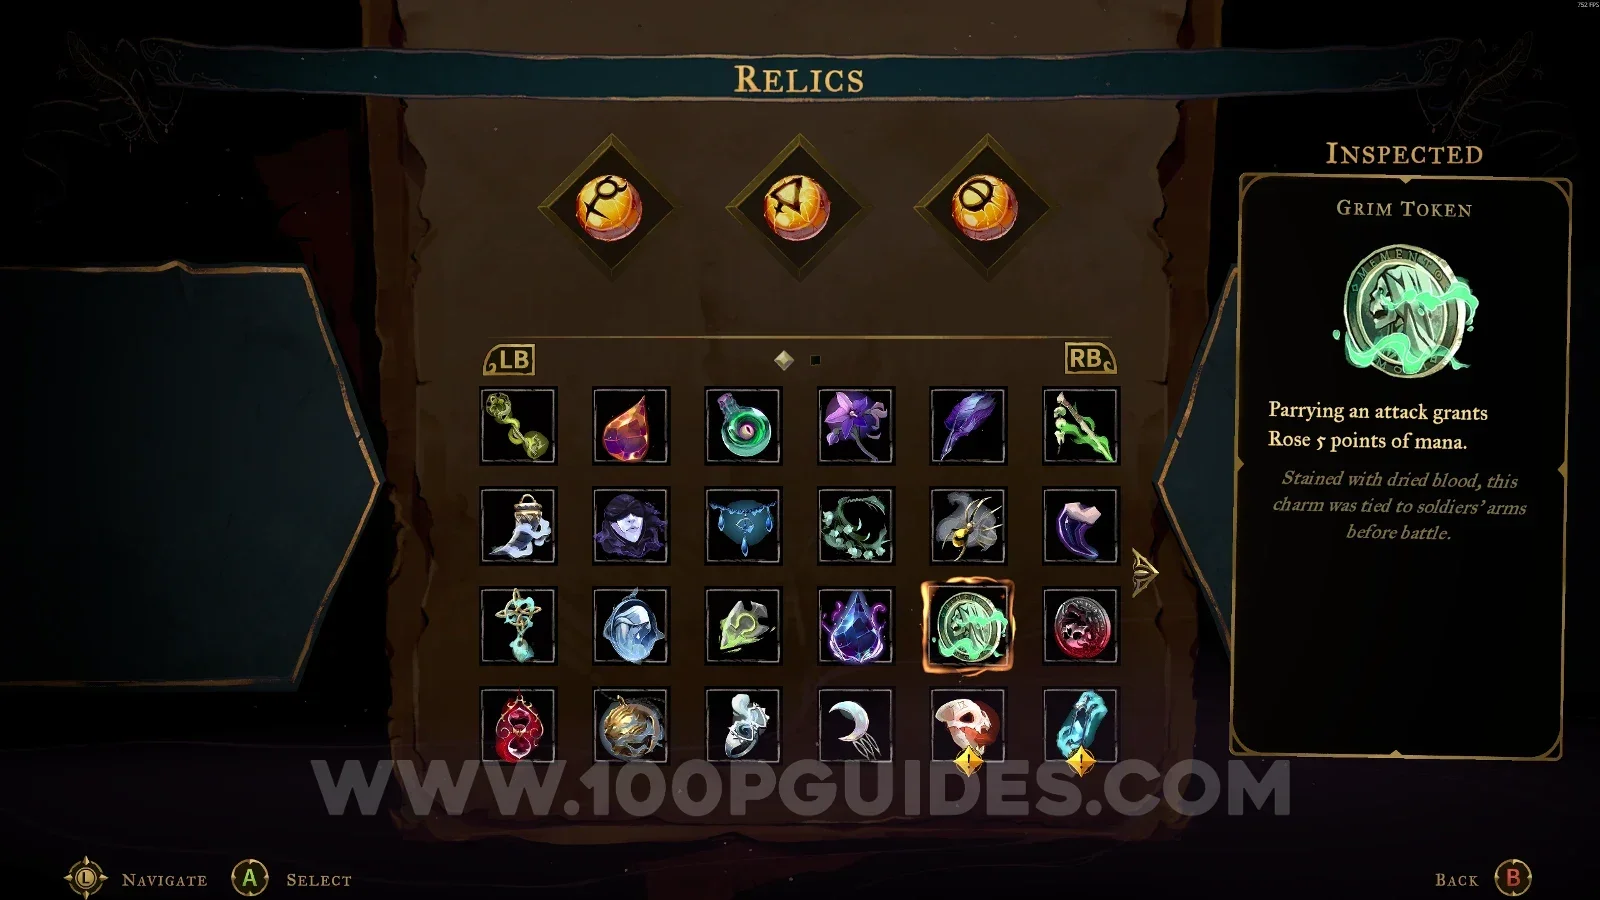
Grim Token

Main Hall > Crematorium

In the middle of the room, next to the blue flame.
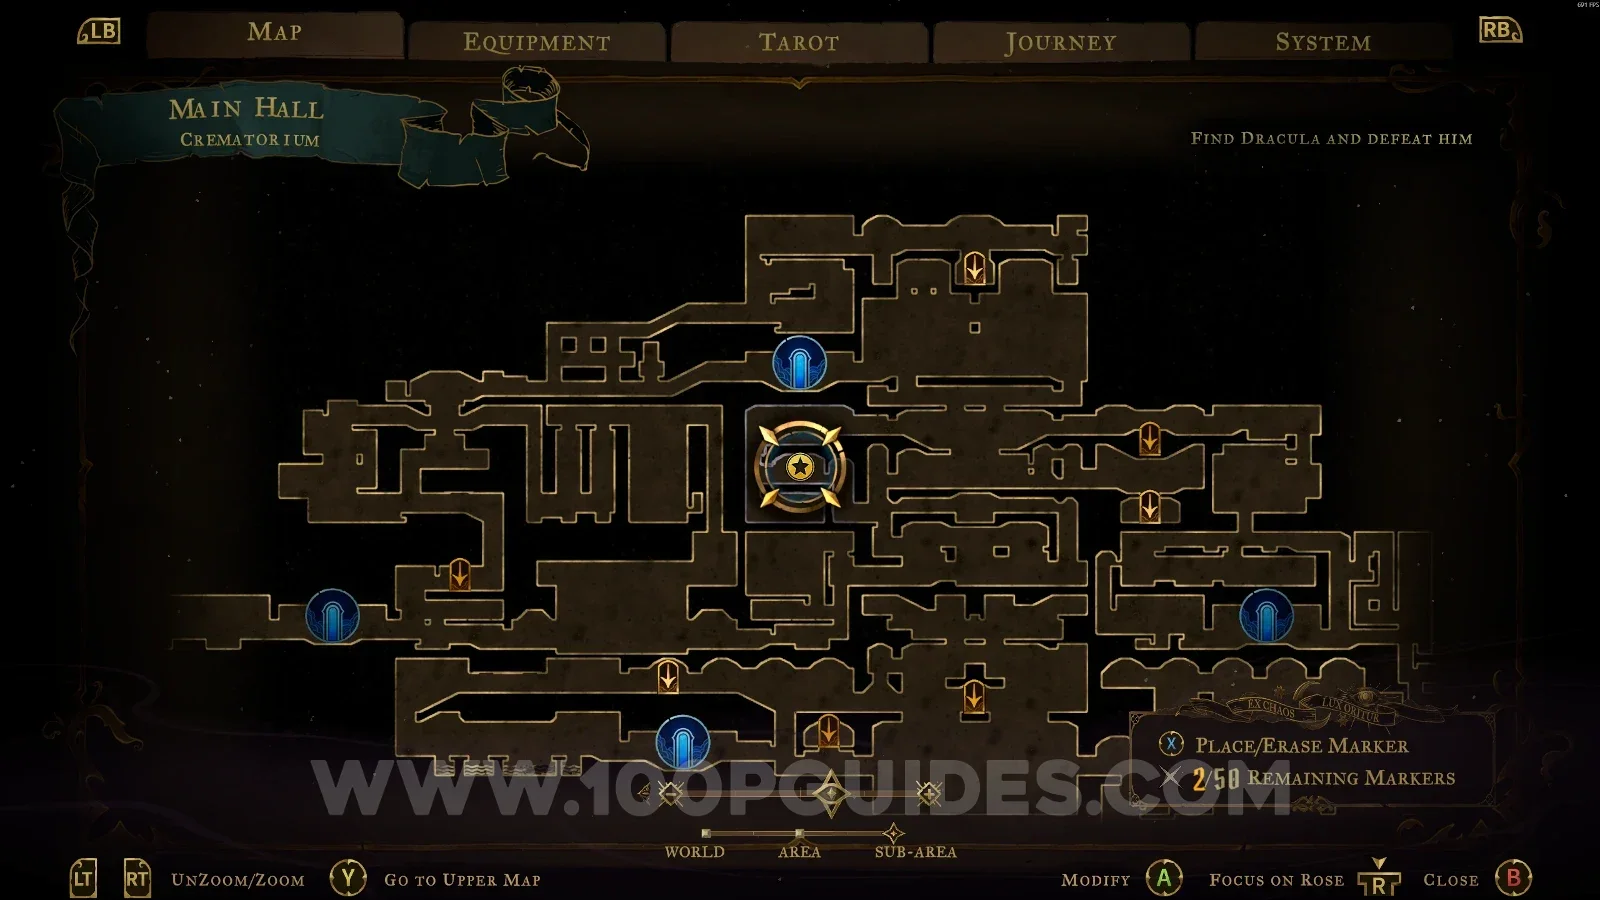
Castlevania Belmonts Curse Crematorium map marking the Grim Token relic in the Main Hall Castlevania Belmonts Curse Crematorium: the middle of the room next to the blue flame Castlevania Belmonts Curse: the Grim Token relic beside the blue flame in the Crematorium

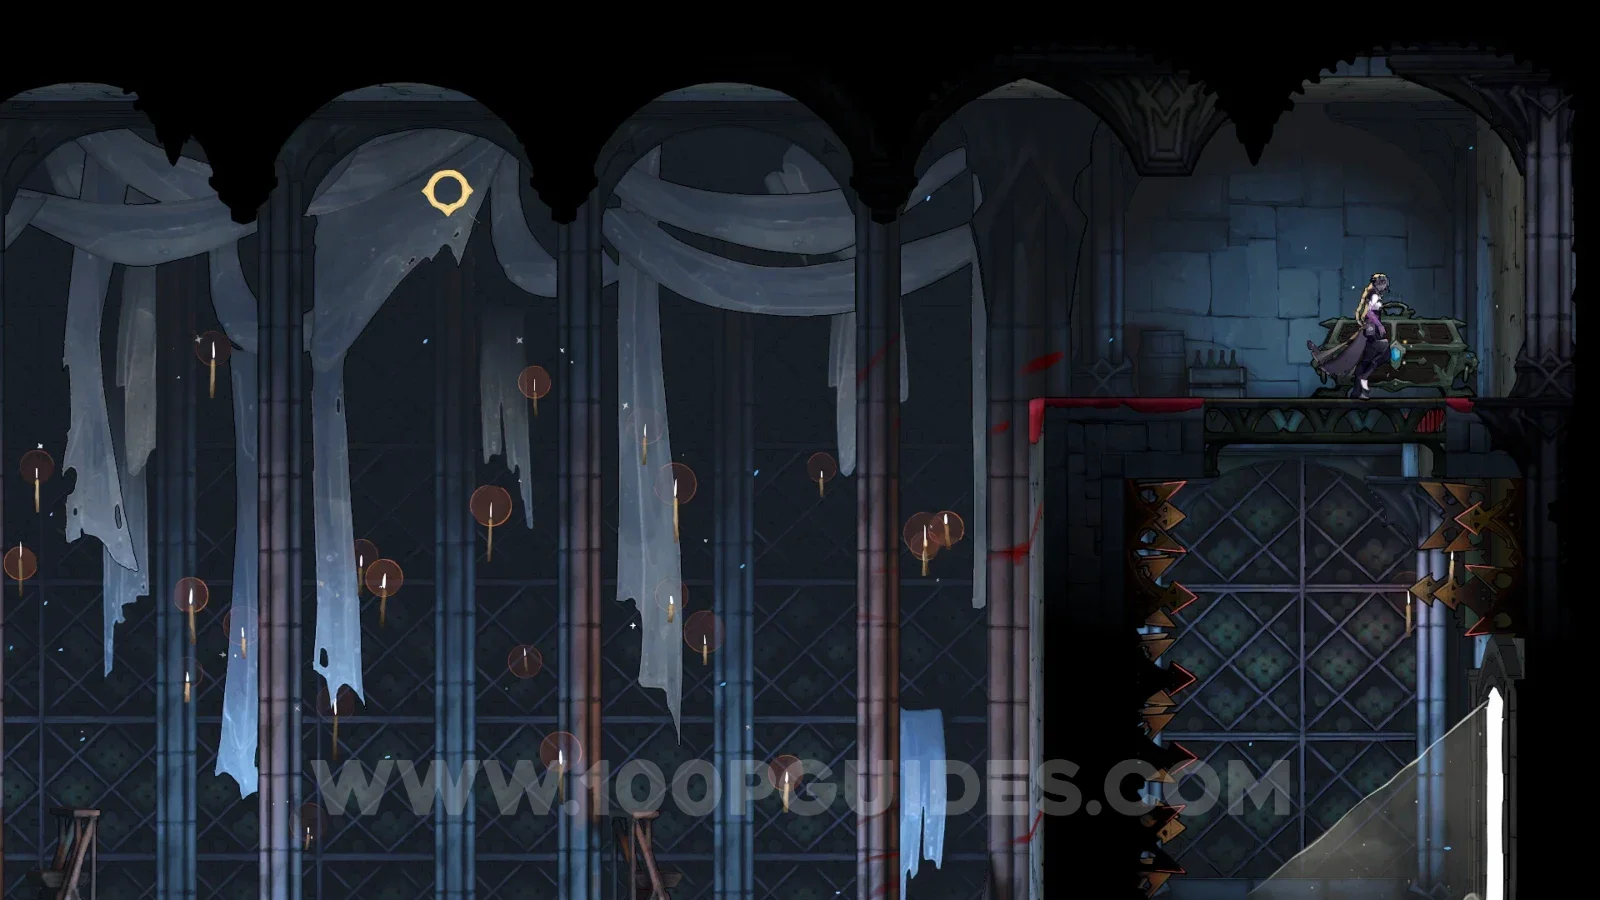
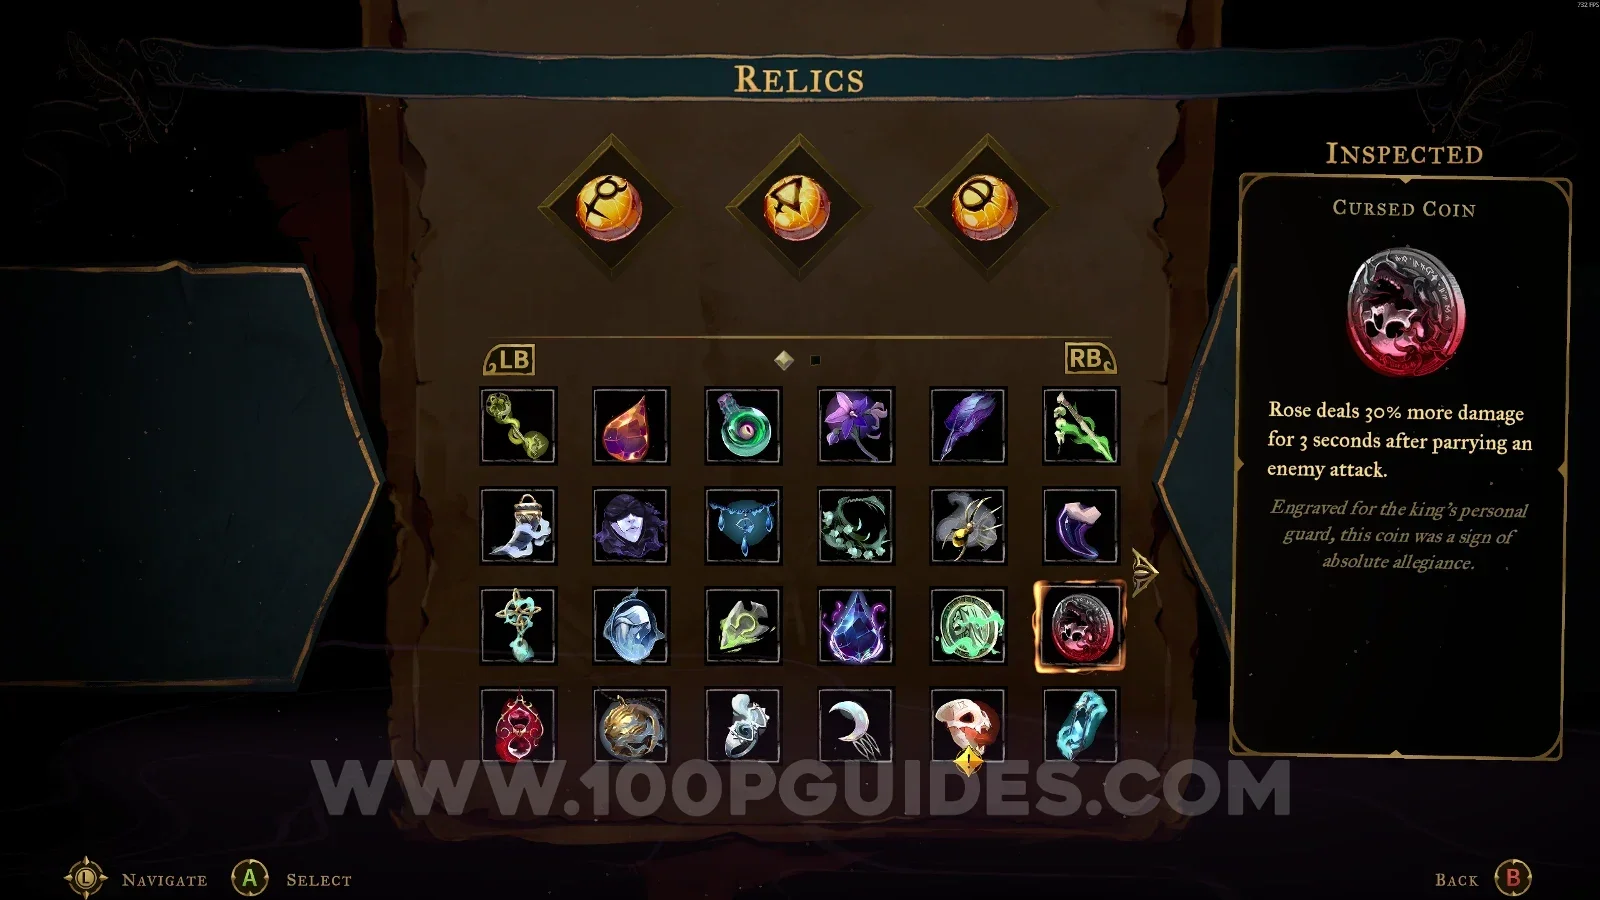
Cursed Coin

Main Hall > Wine Cellar

In the area marked on the map, you have to break a wall to reveal the secret area, then climb up using the Arcane Whip to reach the chest.
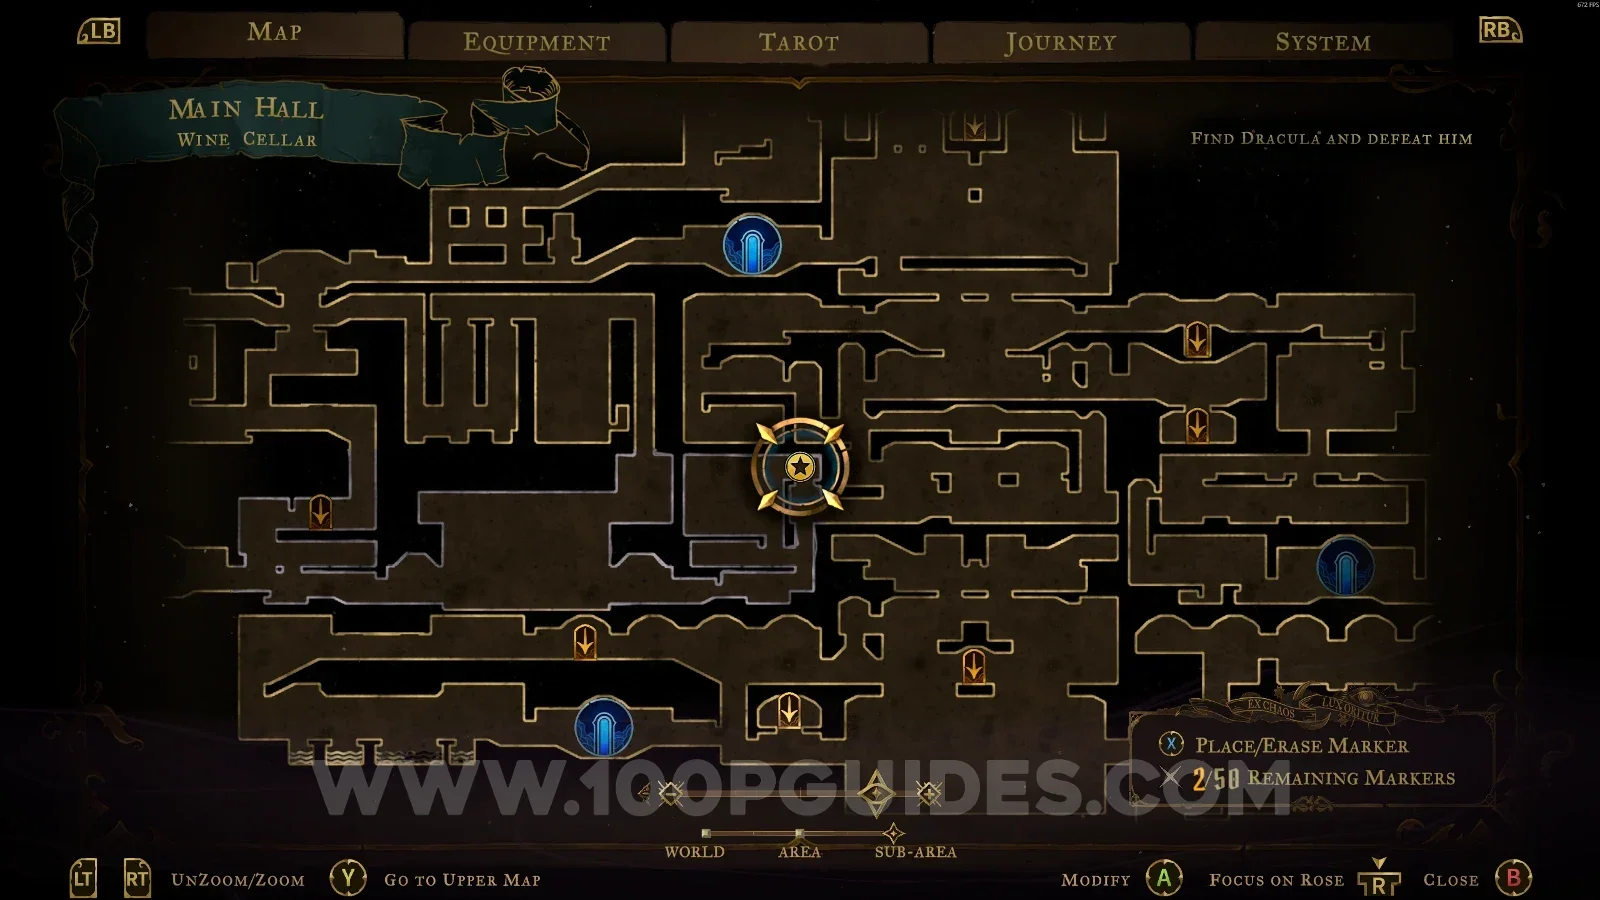
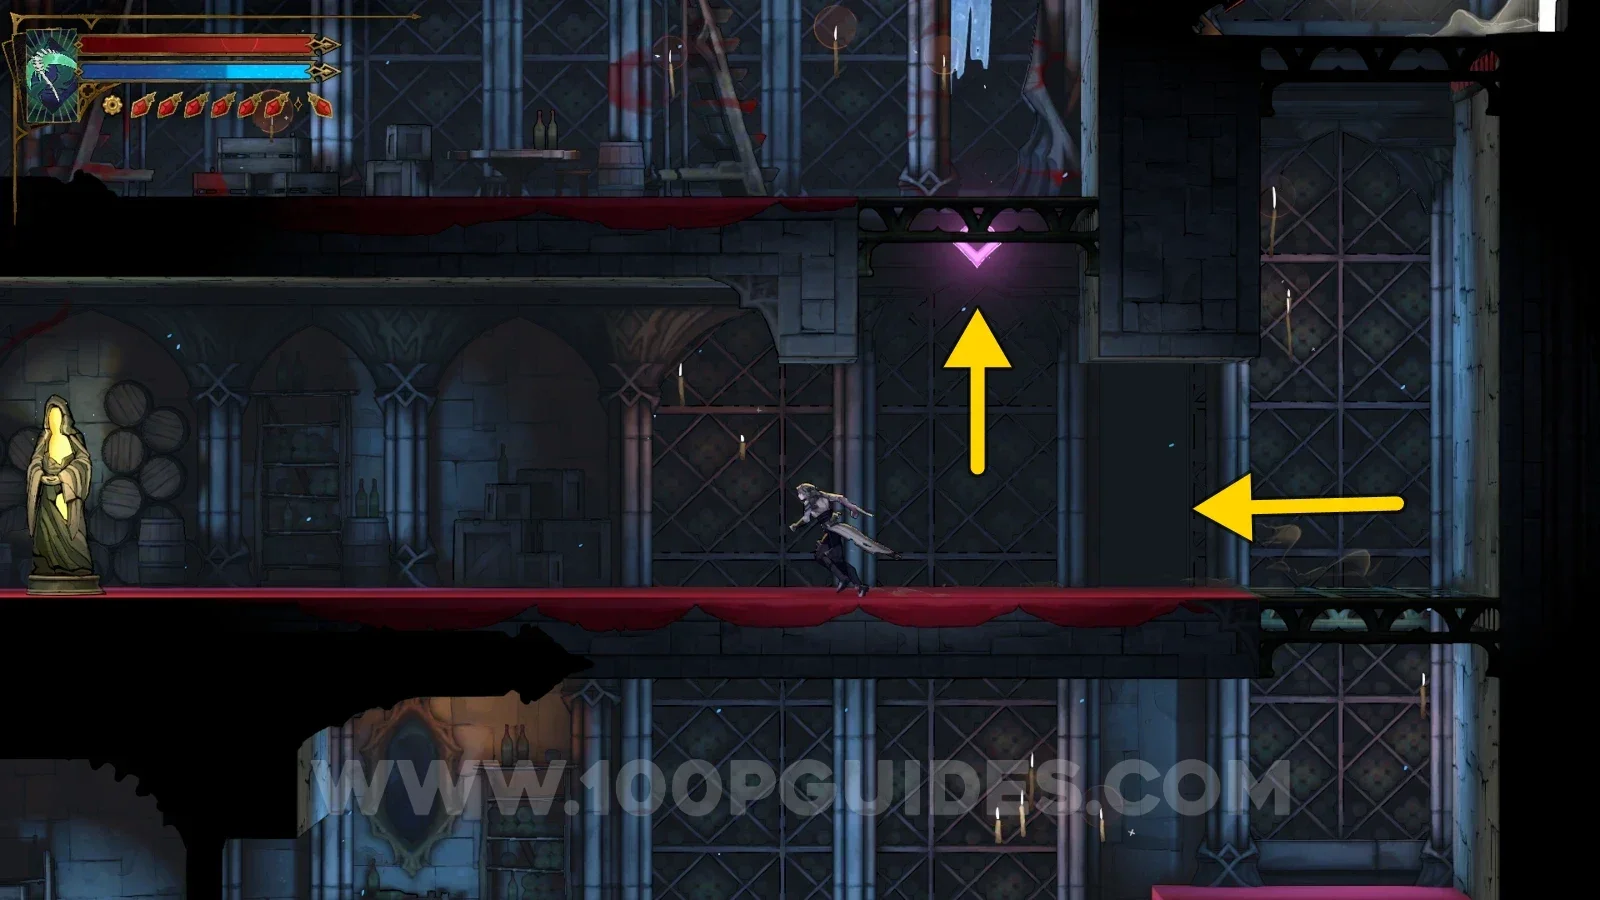
Castlevania Belmonts Curse Wine Cellar map marking the Cursed Coin relic area in the Main Hall Castlevania Belmonts Curse Wine Cellar: breaking a wall to reveal the secret area Castlevania Belmonts Curse Wine Cellar: climbing up the secret area with the Arcane Whip Castlevania Belmonts Curse: the chest with the Cursed Coin relic in the Wine Cellar secret area

Blood Vial

Main Hall > Archives

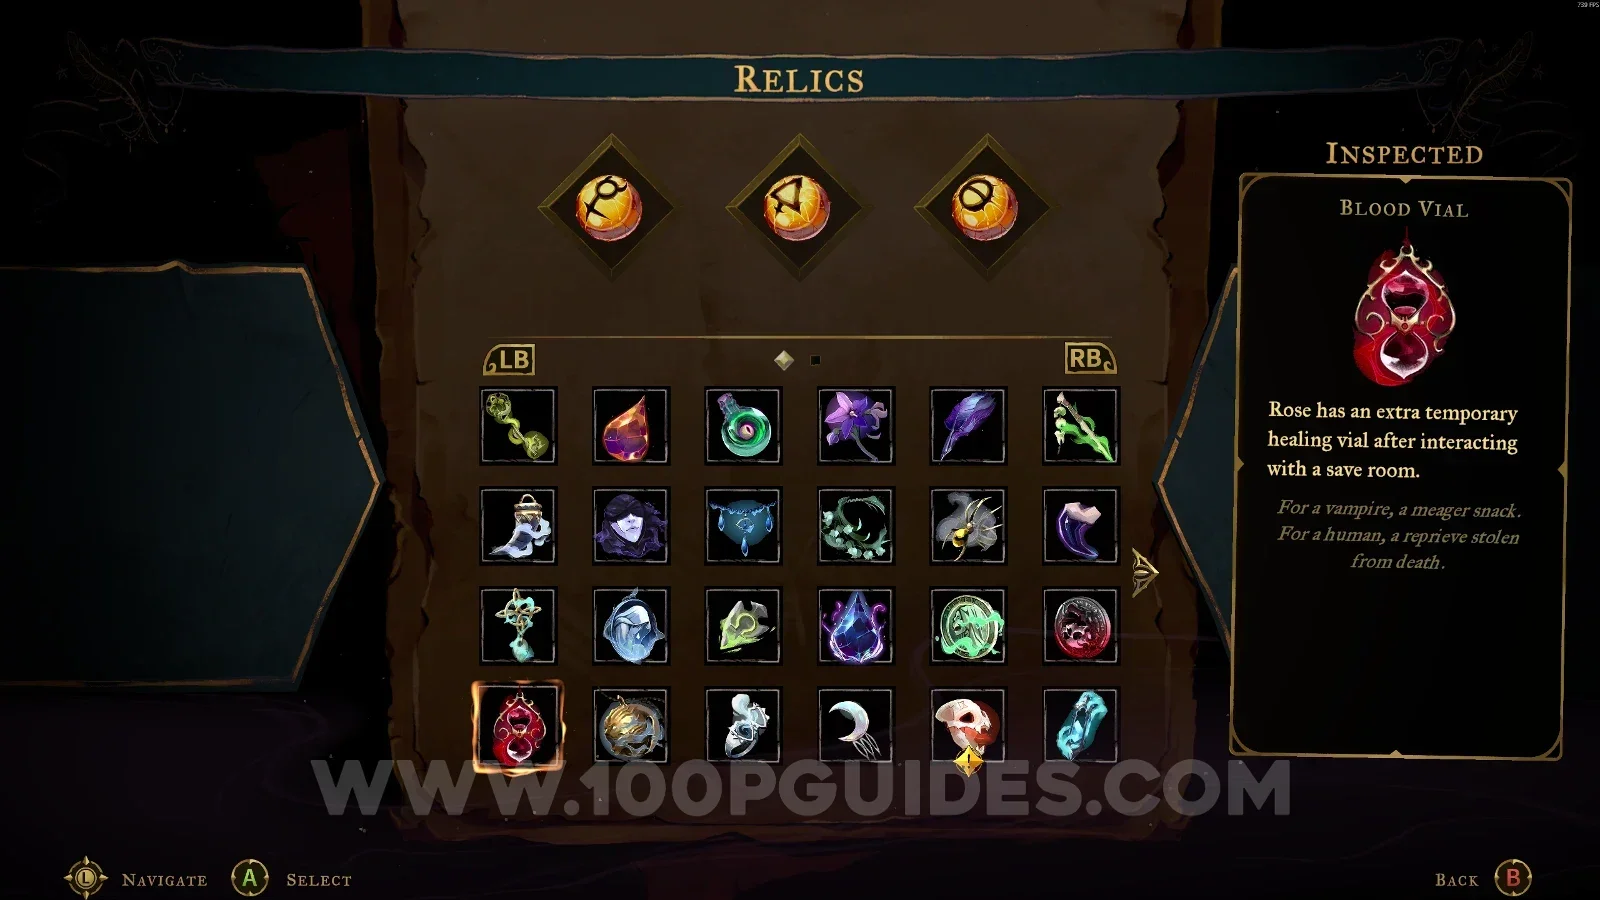
To reach the chest, you have to open the way by interacting with the levers.
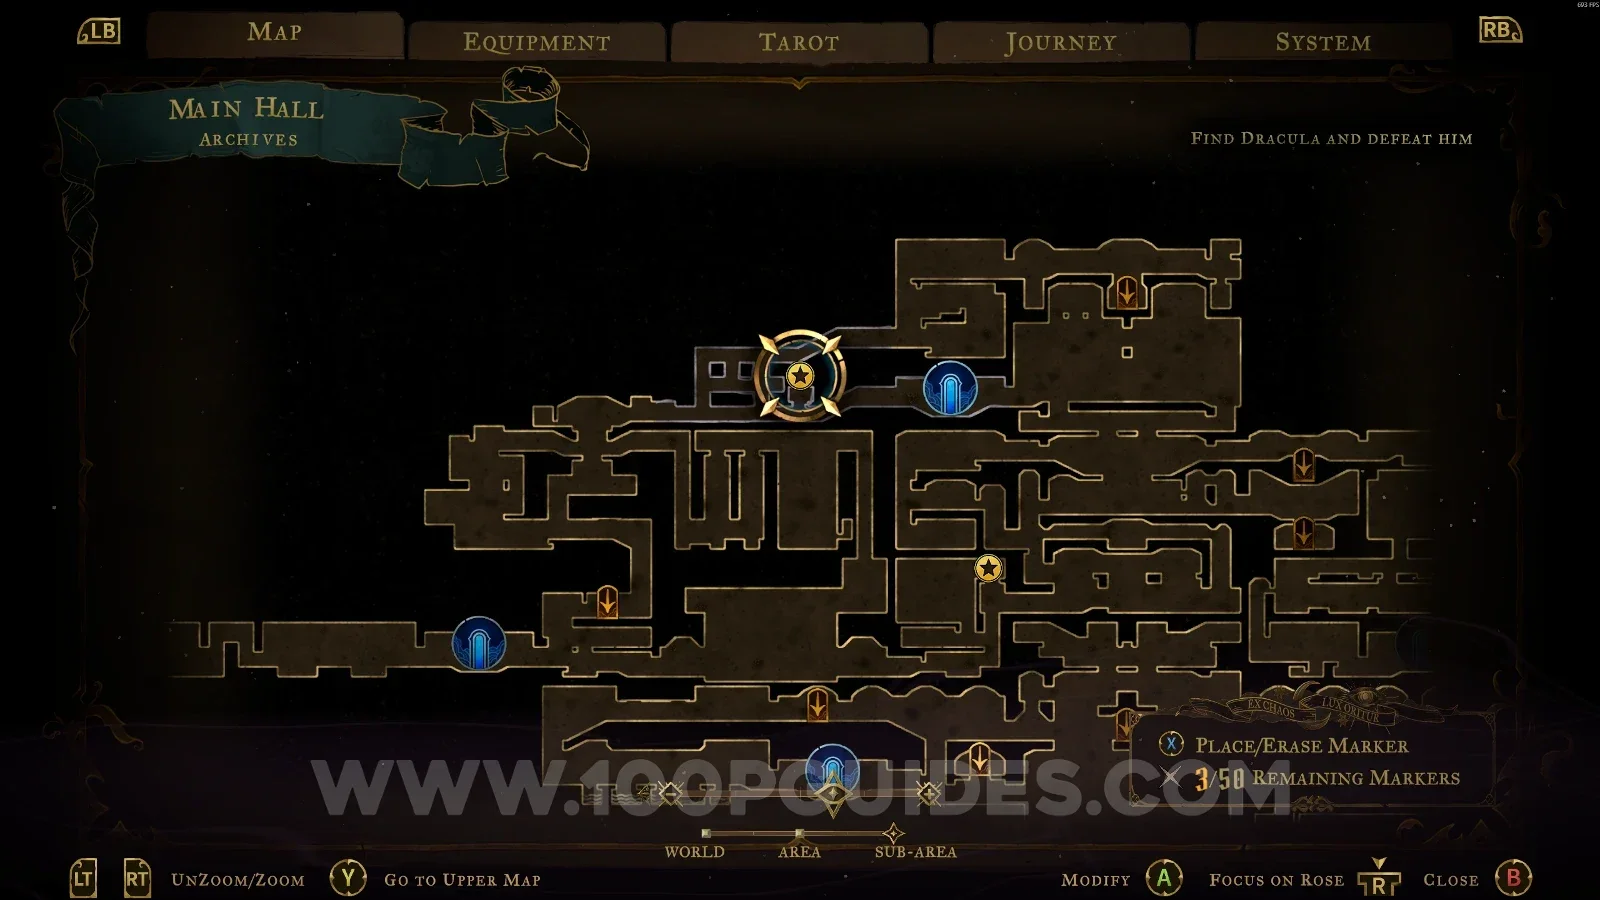
Castlevania Belmonts Curse Archives map marking the Blood Vial relic location in the Main Hall Castlevania Belmonts Curse Archives: interacting with the levers to open the way to the chest Castlevania Belmonts Curse: the chest with the Blood Vial relic in the Archives

Banshee's Wail

Main Hall > Servants' Quarters

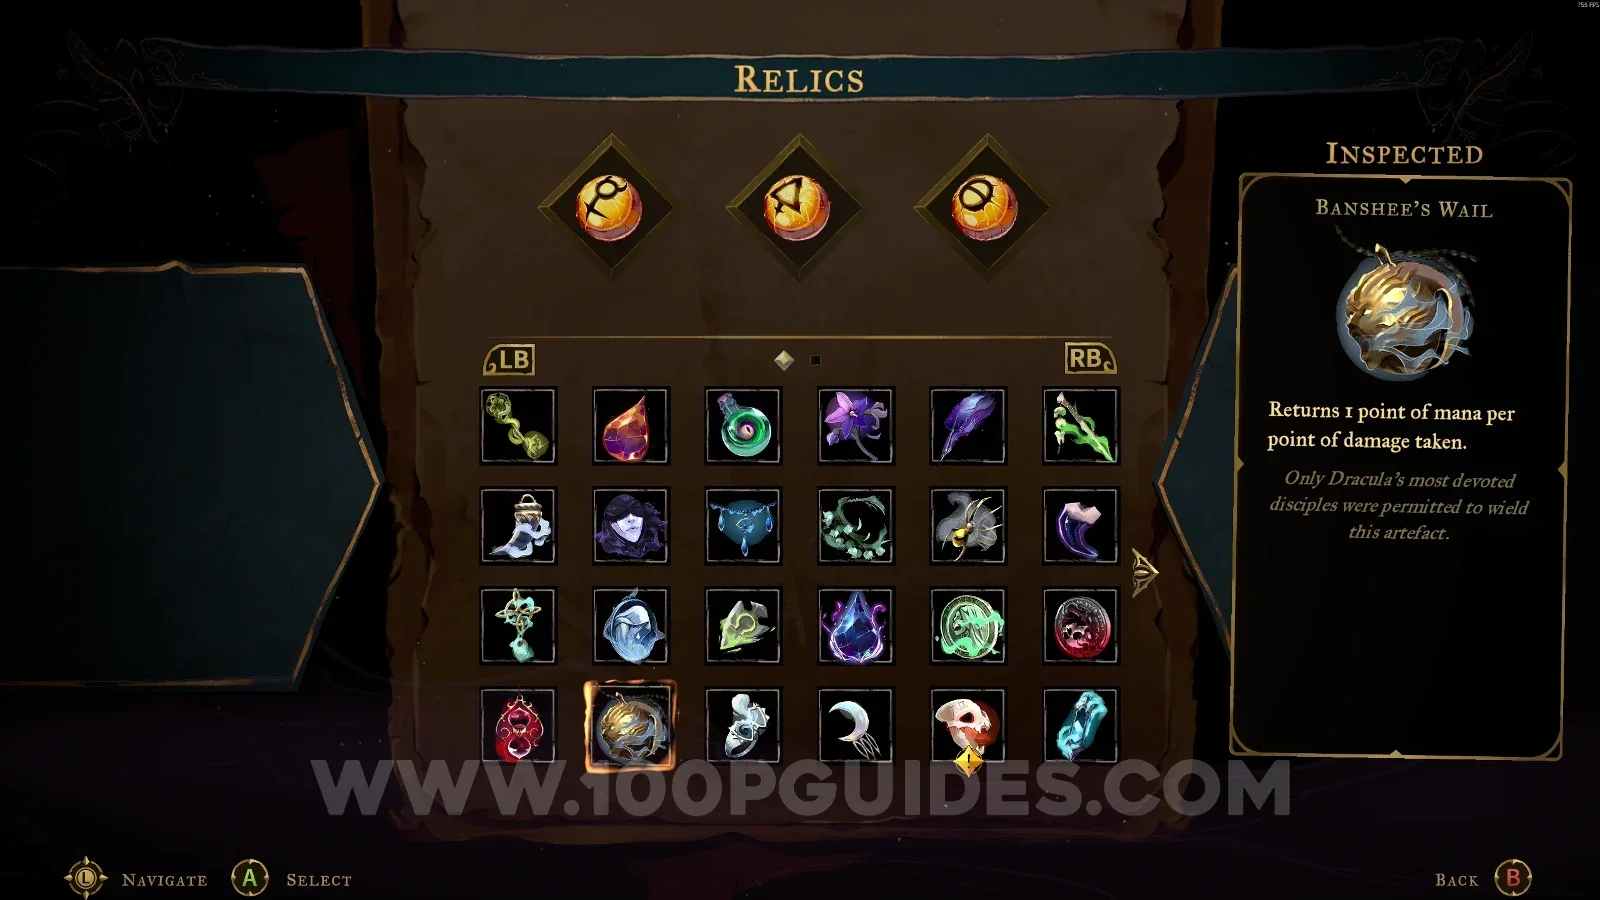
In the area marked on the map, you have to go around on the right to reach this room again, but this time through the closed-off area on the left side that contains the chest.
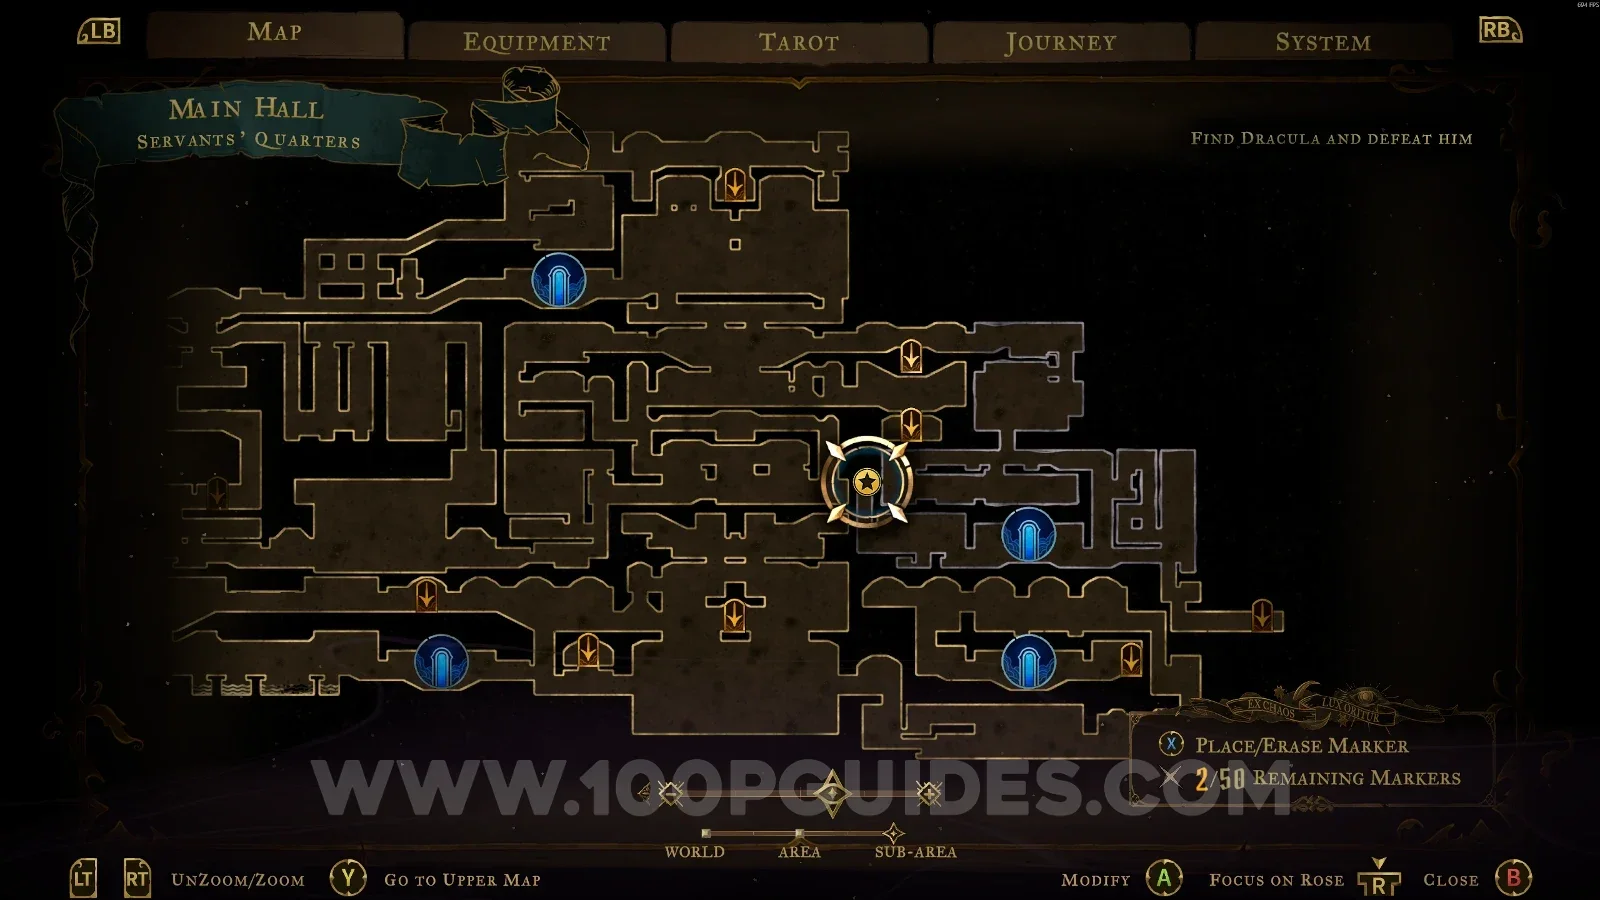
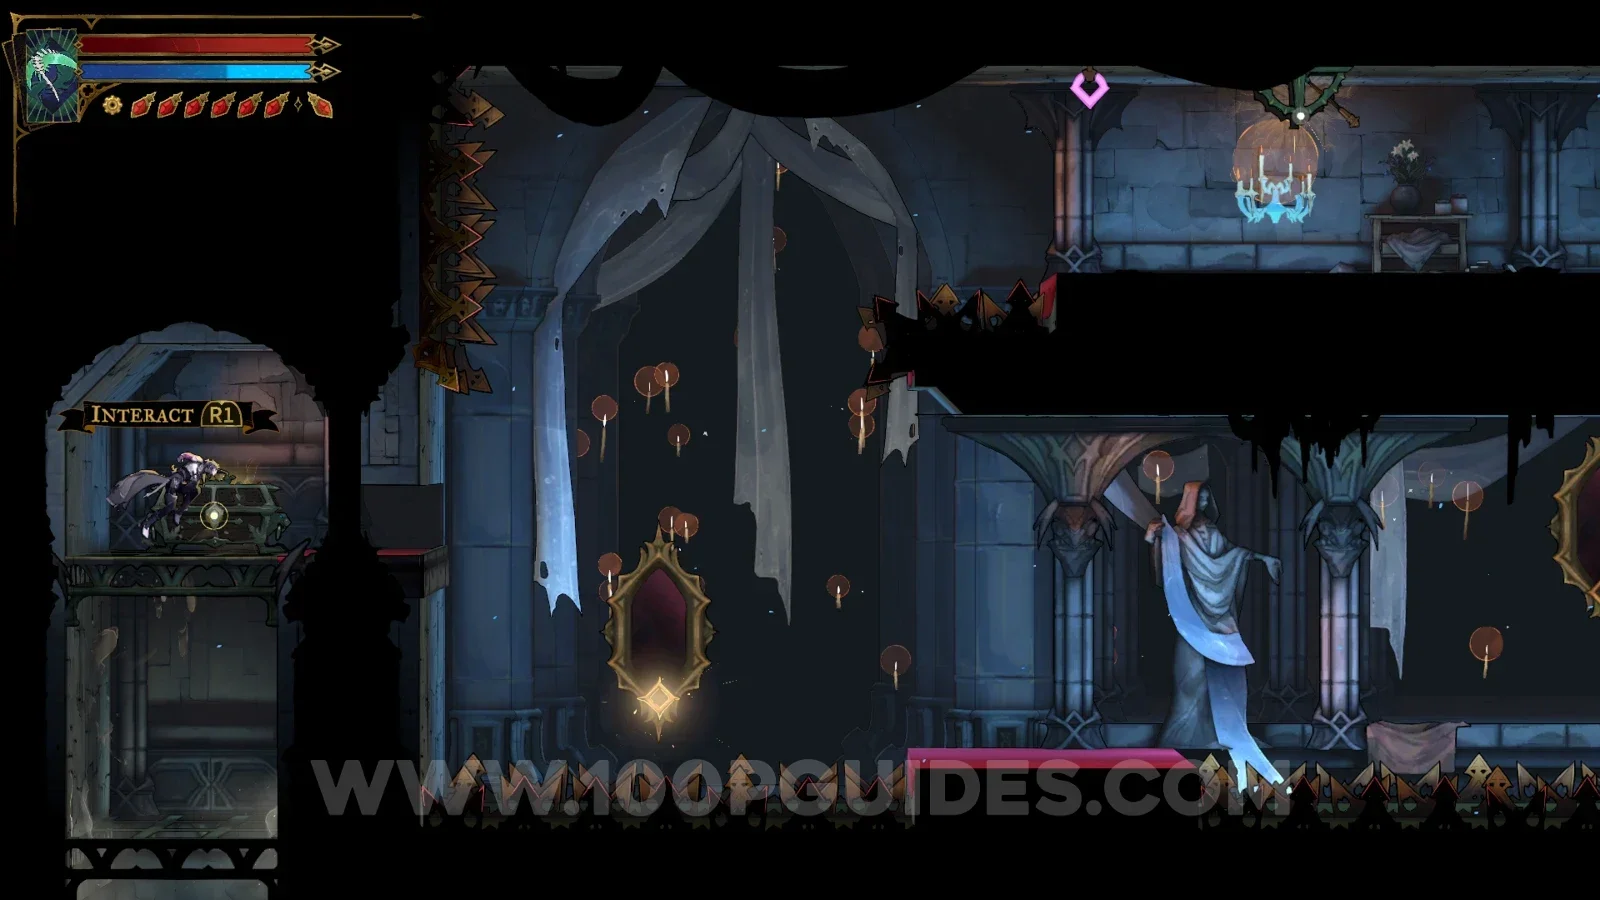
Castlevania Belmonts Curse Servants' Quarters map marking the Banshee's Wail relic area Castlevania Belmonts Curse Servants' Quarters: going around on the right to reenter the room Castlevania Belmonts Curse: the Banshee's Wail chest in the closed-off area on the left side

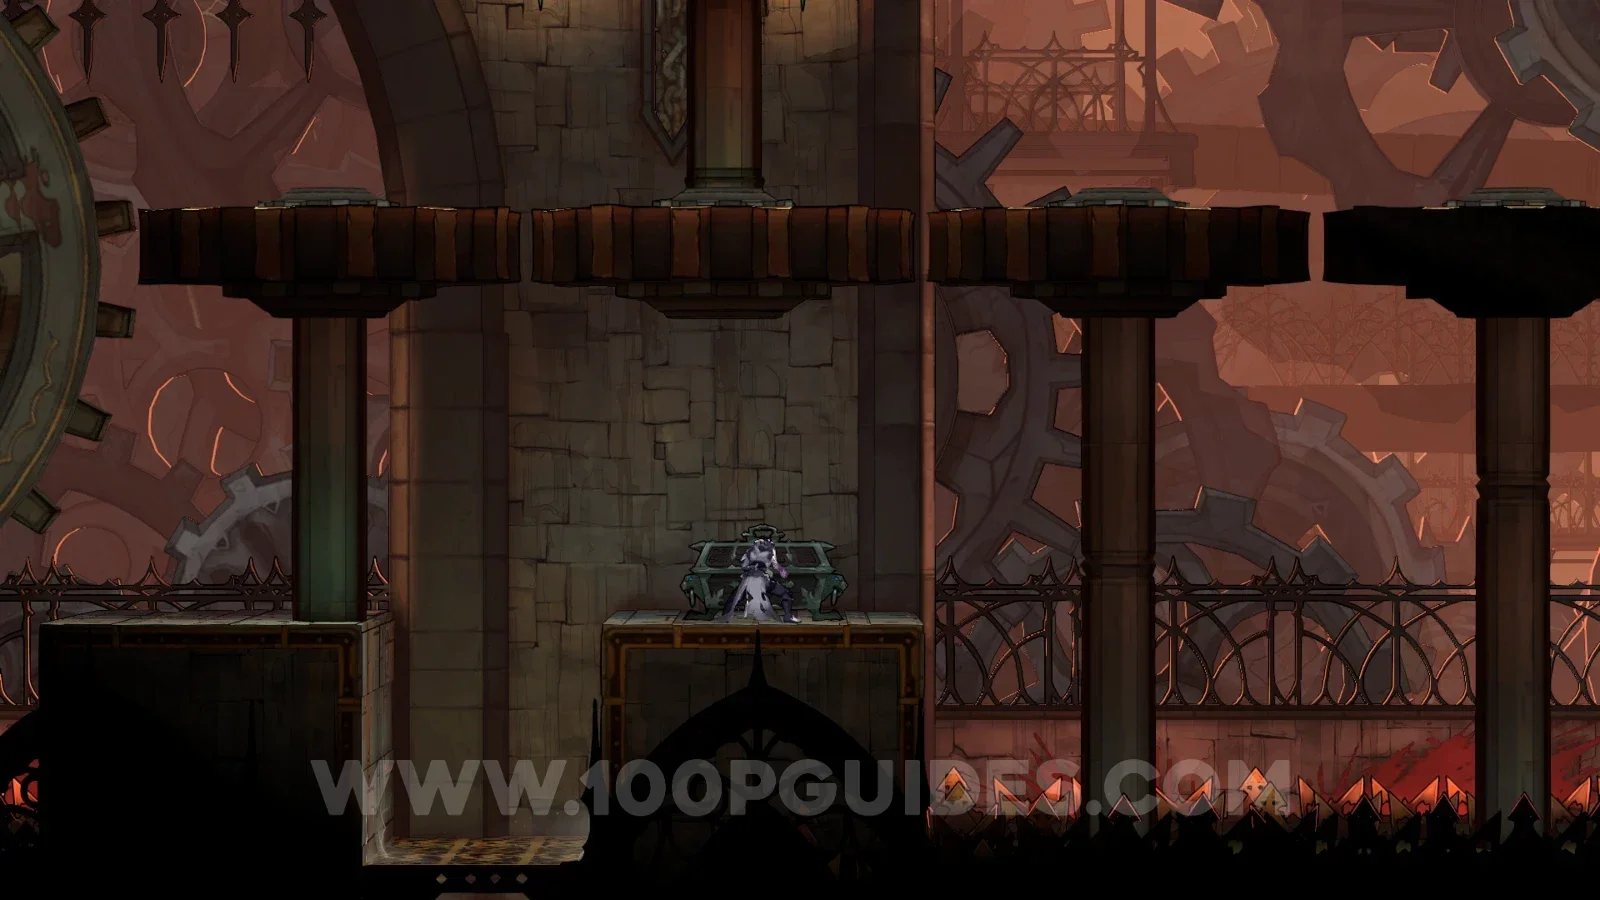
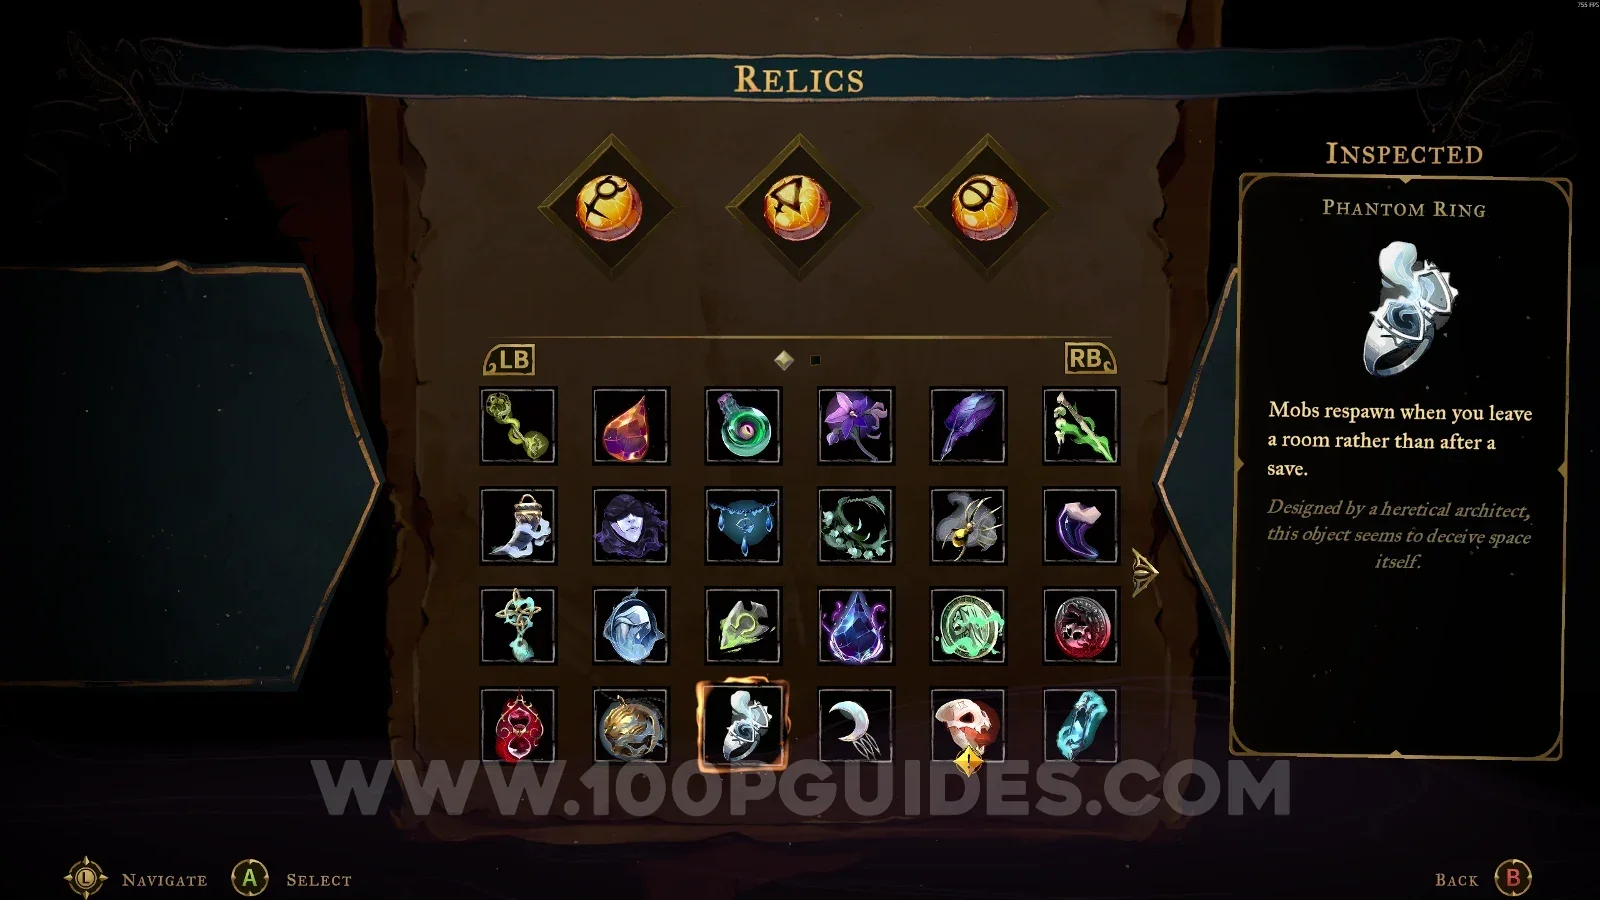
Phantom Ring

Clock Tower > Western Ascent

On the left side of the area. You'll need to use the Smash arcane power to move the platforms.
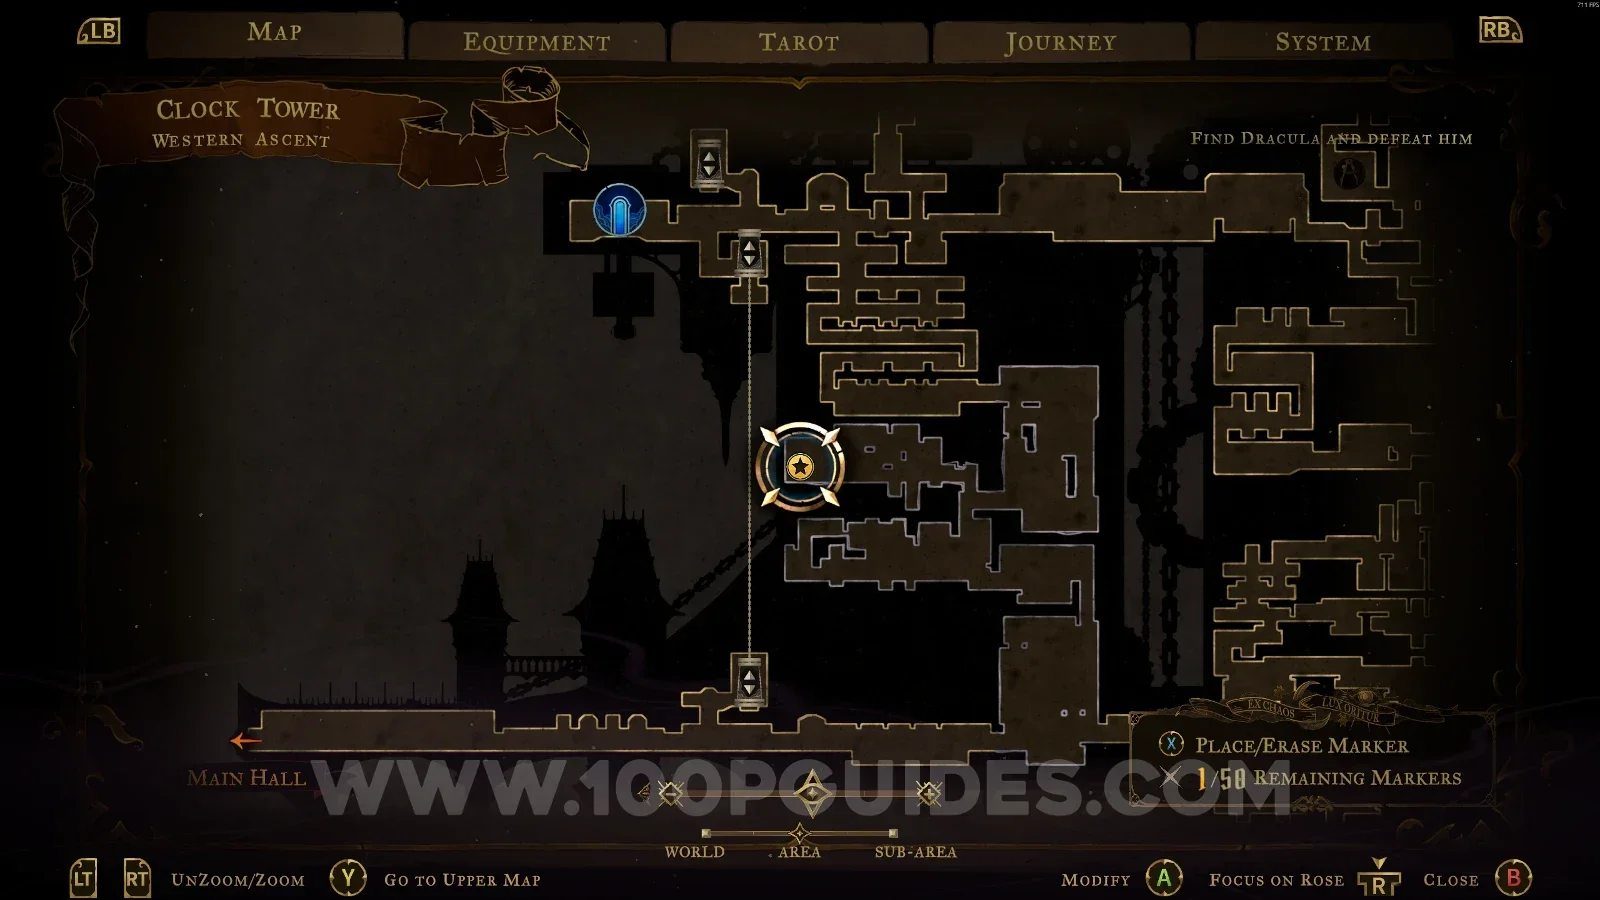
Castlevania Belmonts Curse Western Ascent map marking the Phantom Ring relic on the left side Castlevania Belmonts Curse Western Ascent: using the Smash arcane power to move the platforms Castlevania Belmonts Curse: the Phantom Ring relic chest on the left side of the Western Ascent

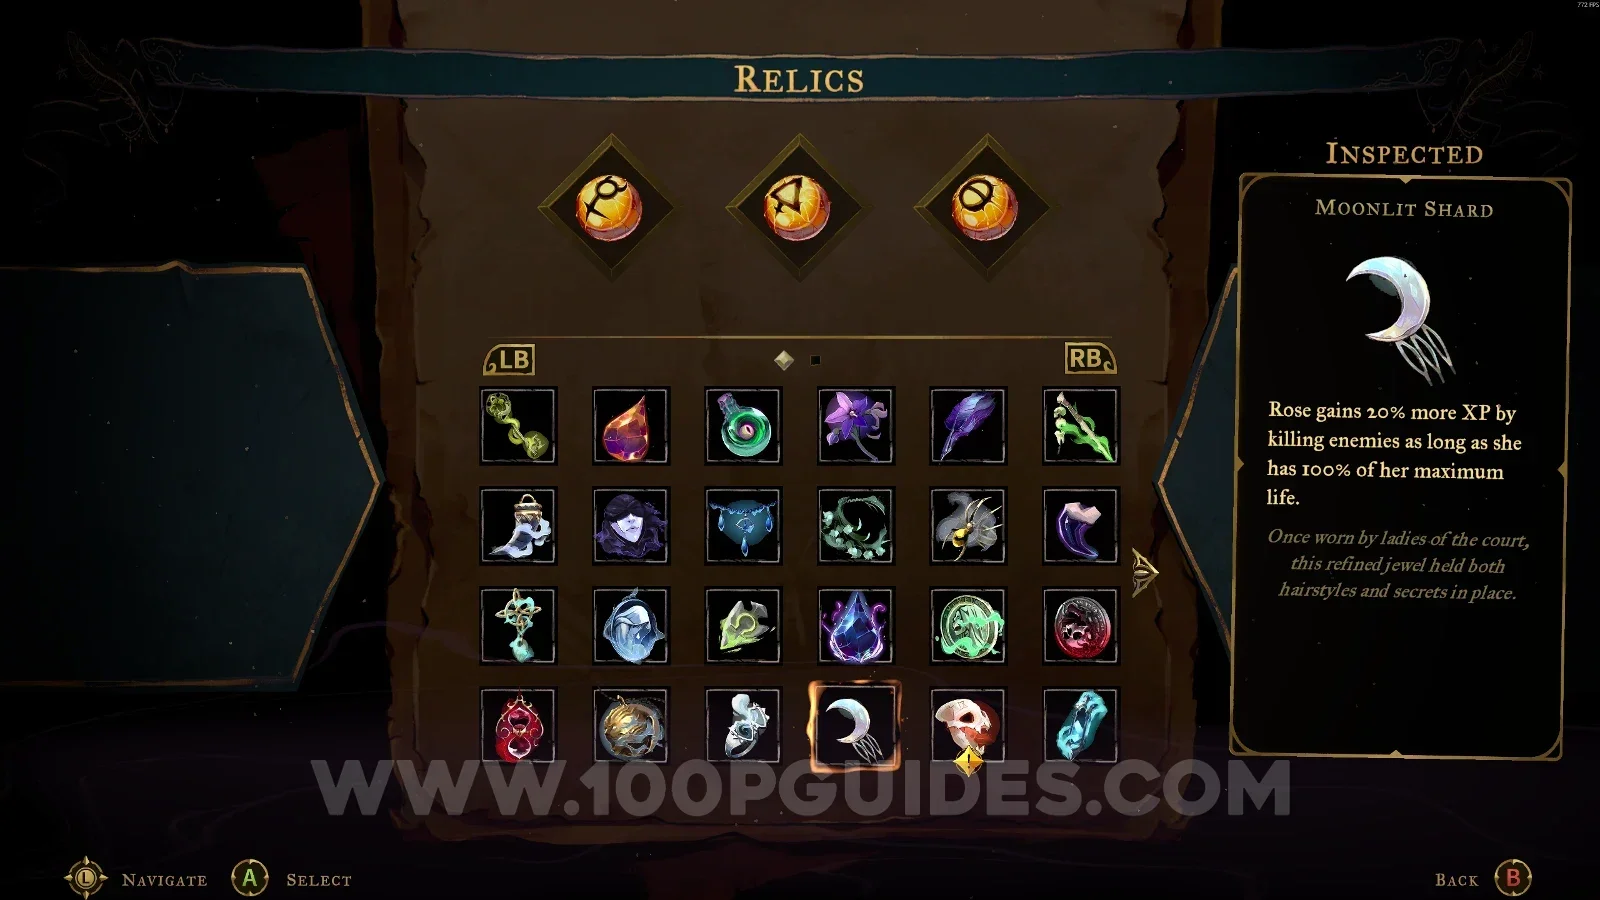
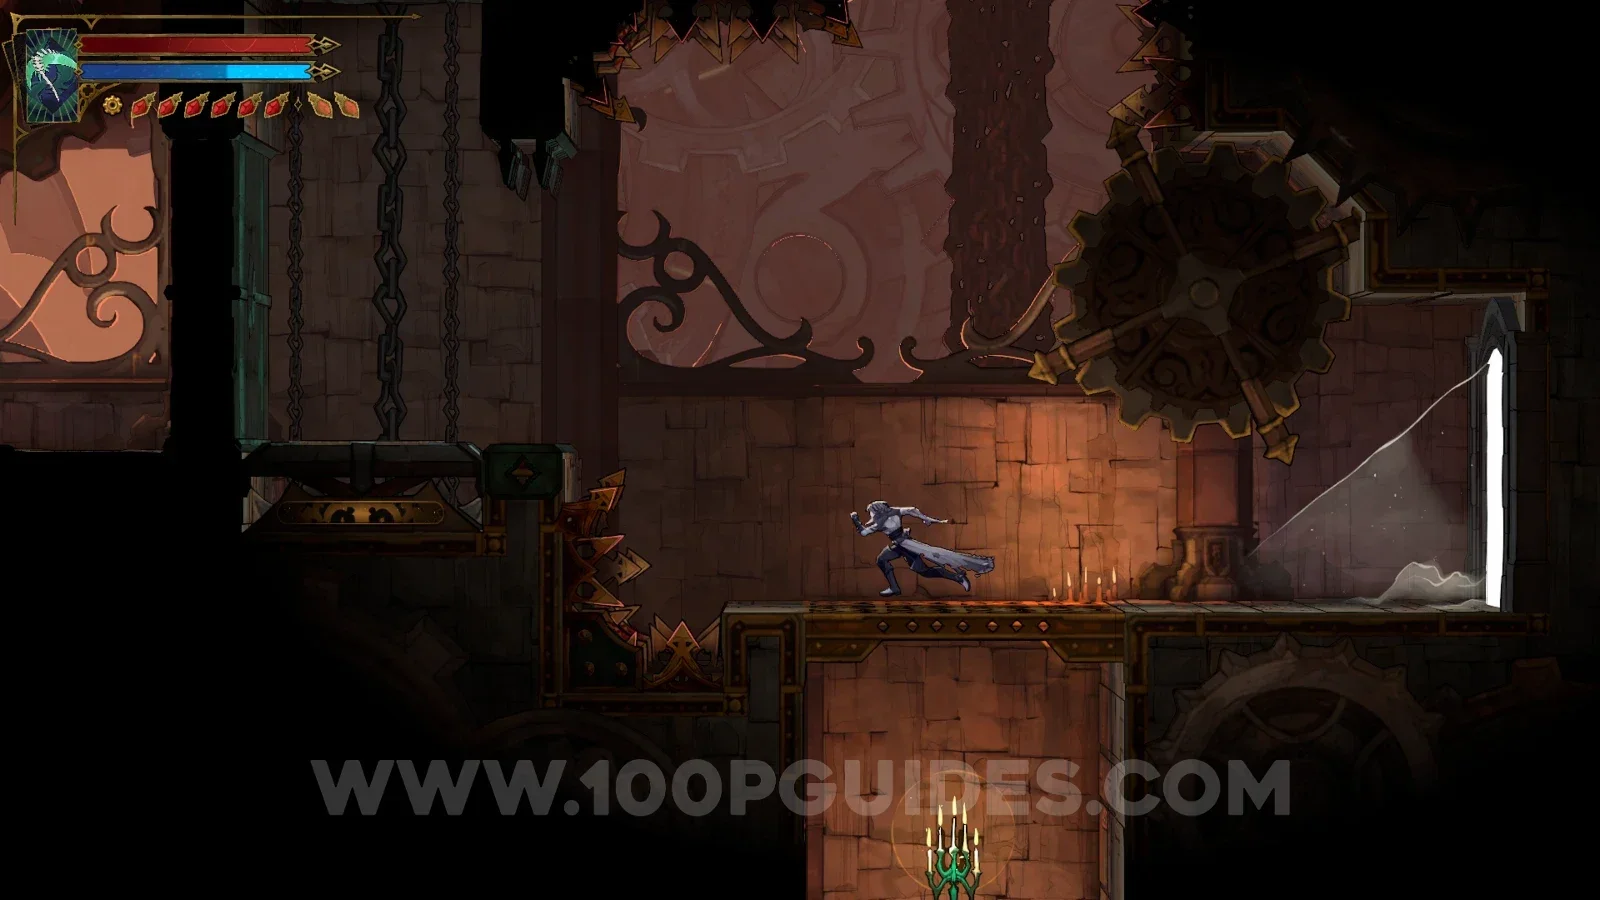
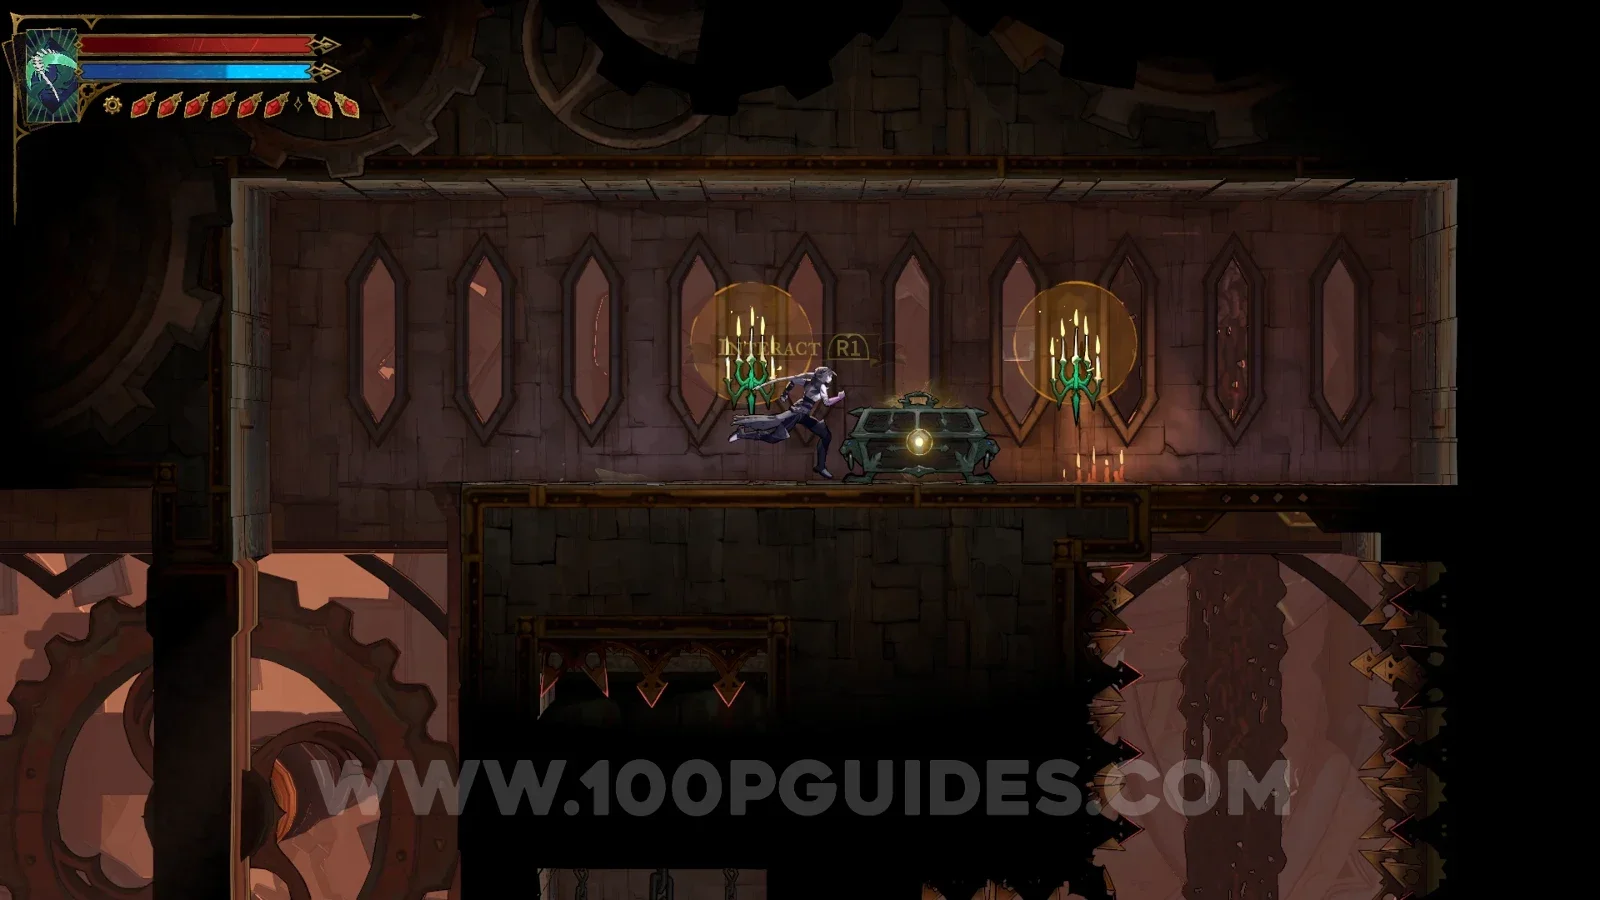
Moonlit Shard

Clock Tower > Path Of The Builder

In the area marked on the map, wait for the block to drop and then climb up on the right side. At the end of the single path, you'll find this chest with the relic.
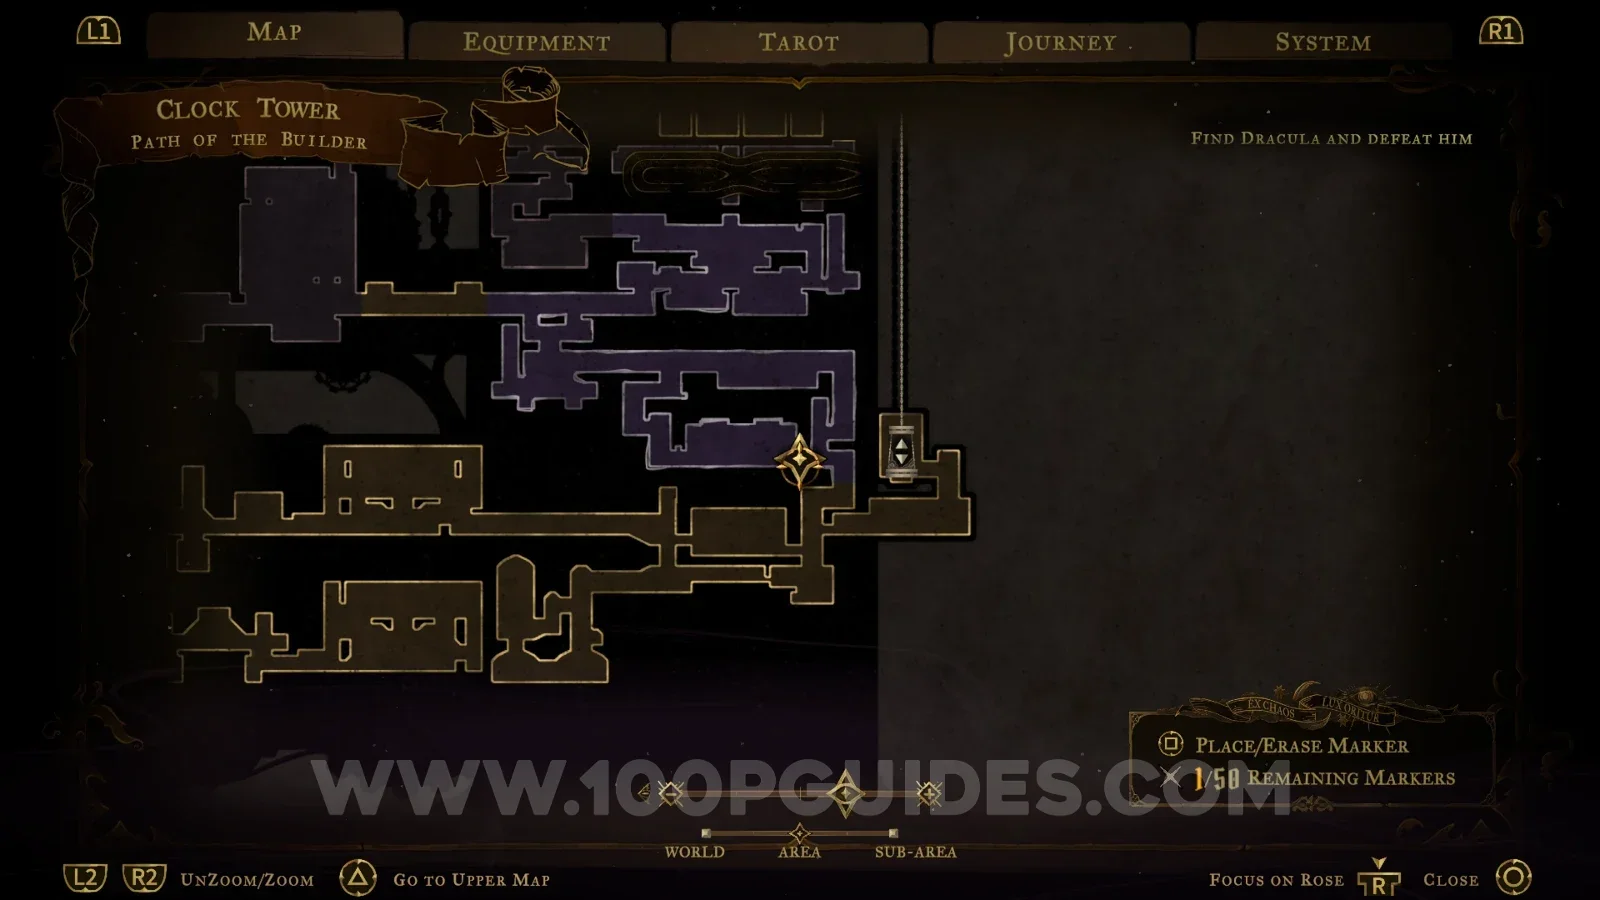
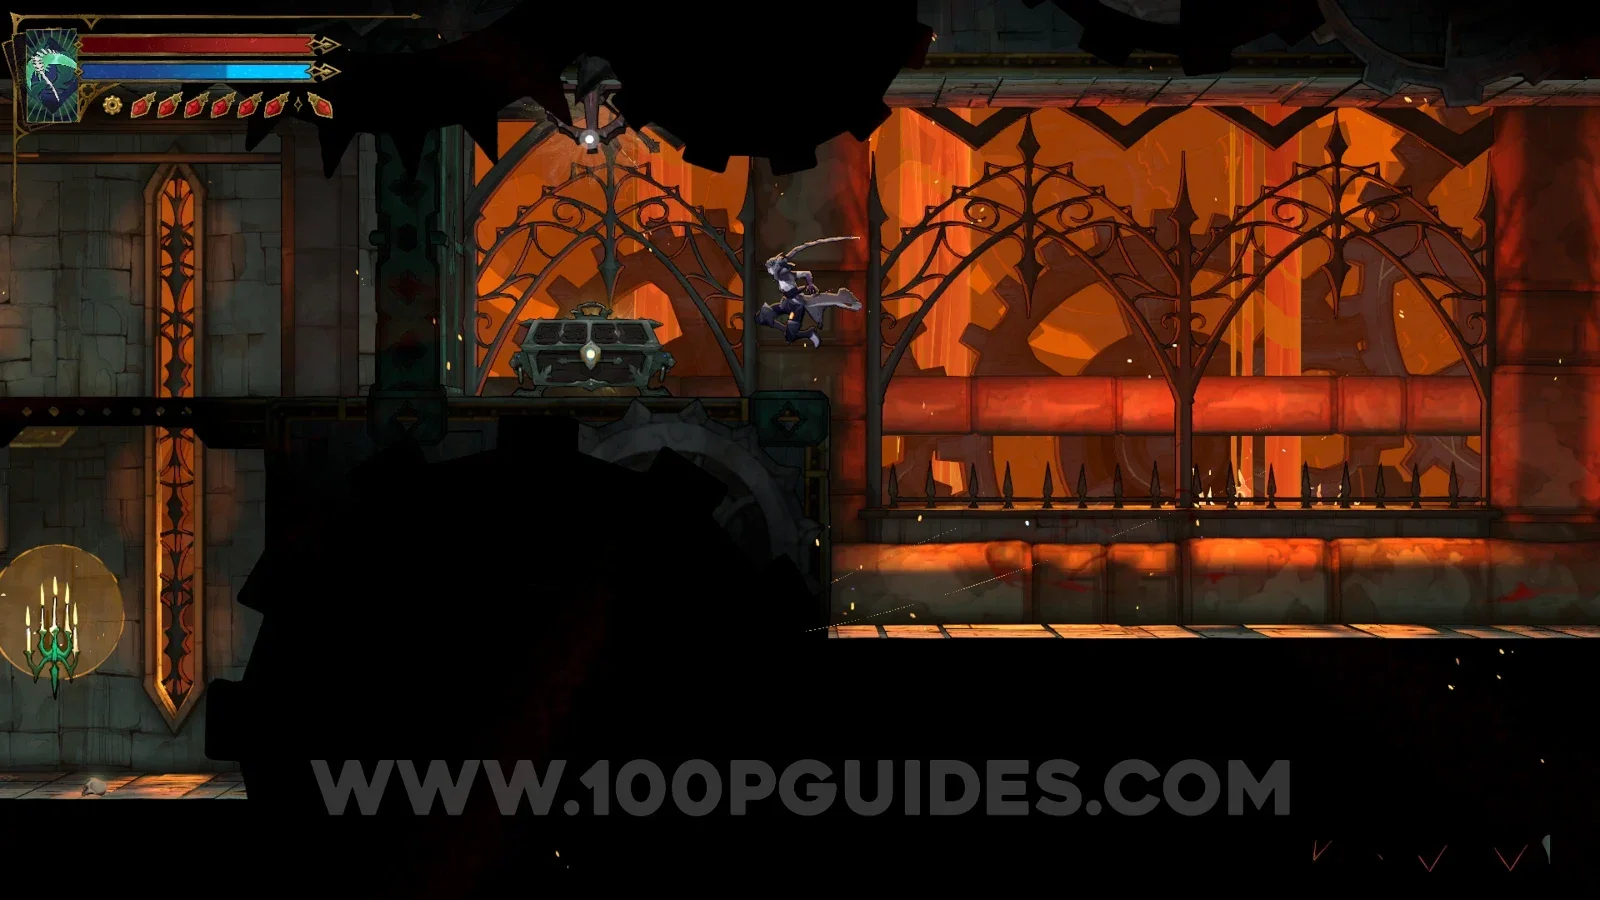
Castlevania Belmonts Curse Path Of The Builder map marking the Moonlit Shard relic area Castlevania Belmonts Curse Path Of The Builder: climbing up on the right after the block drops Castlevania Belmonts Curse: the Moonlit Shard relic chest at the end of the single path

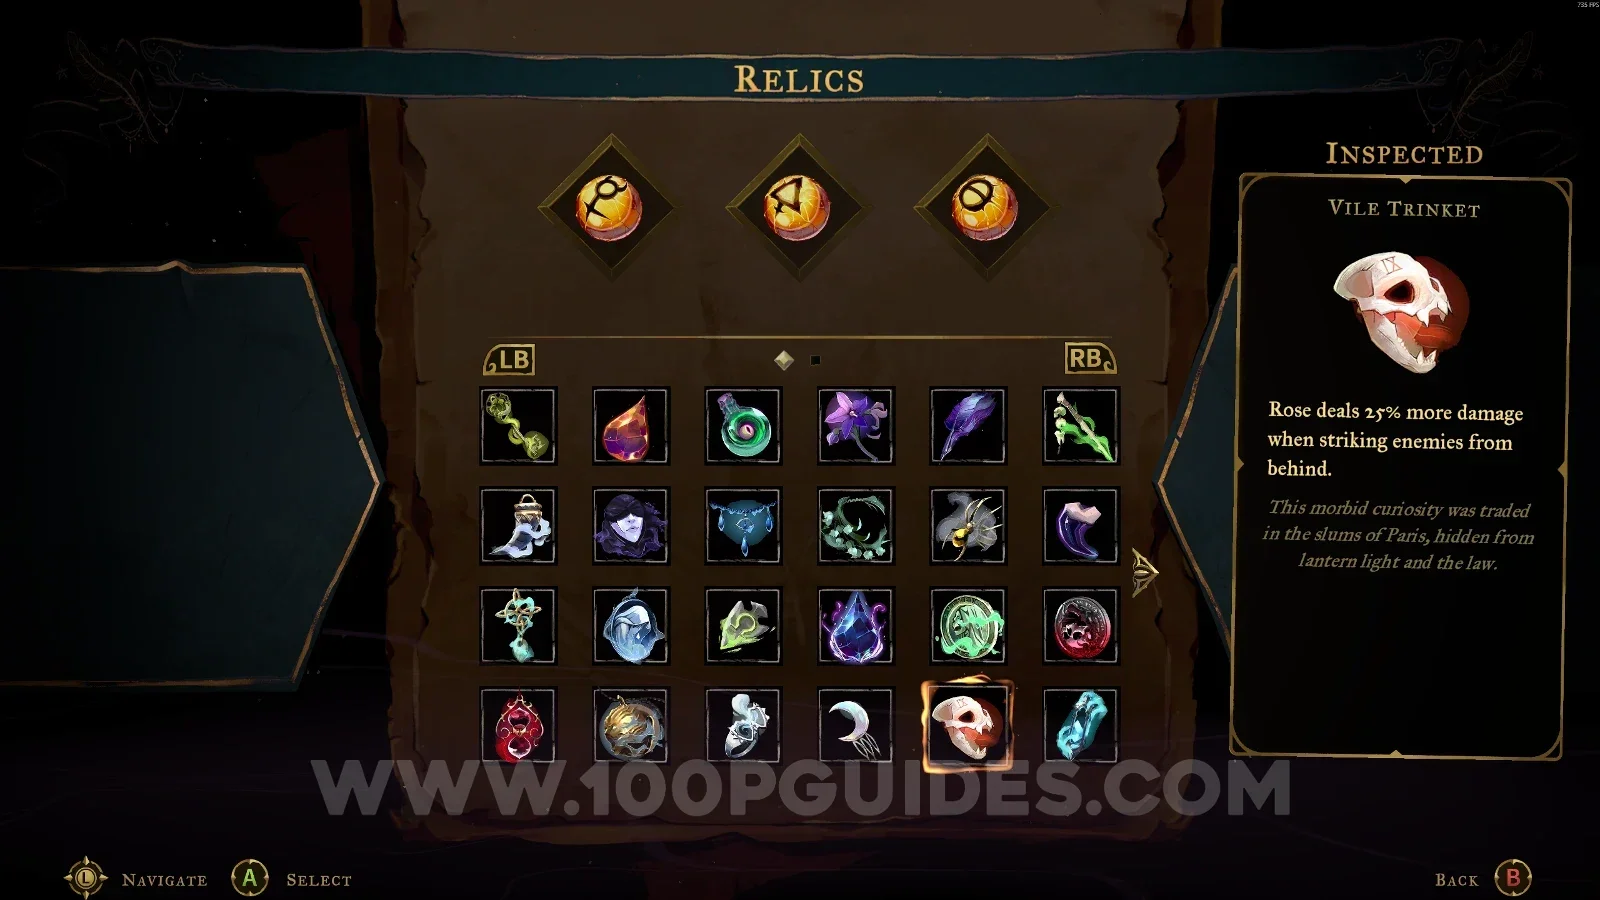
Vile Trinket

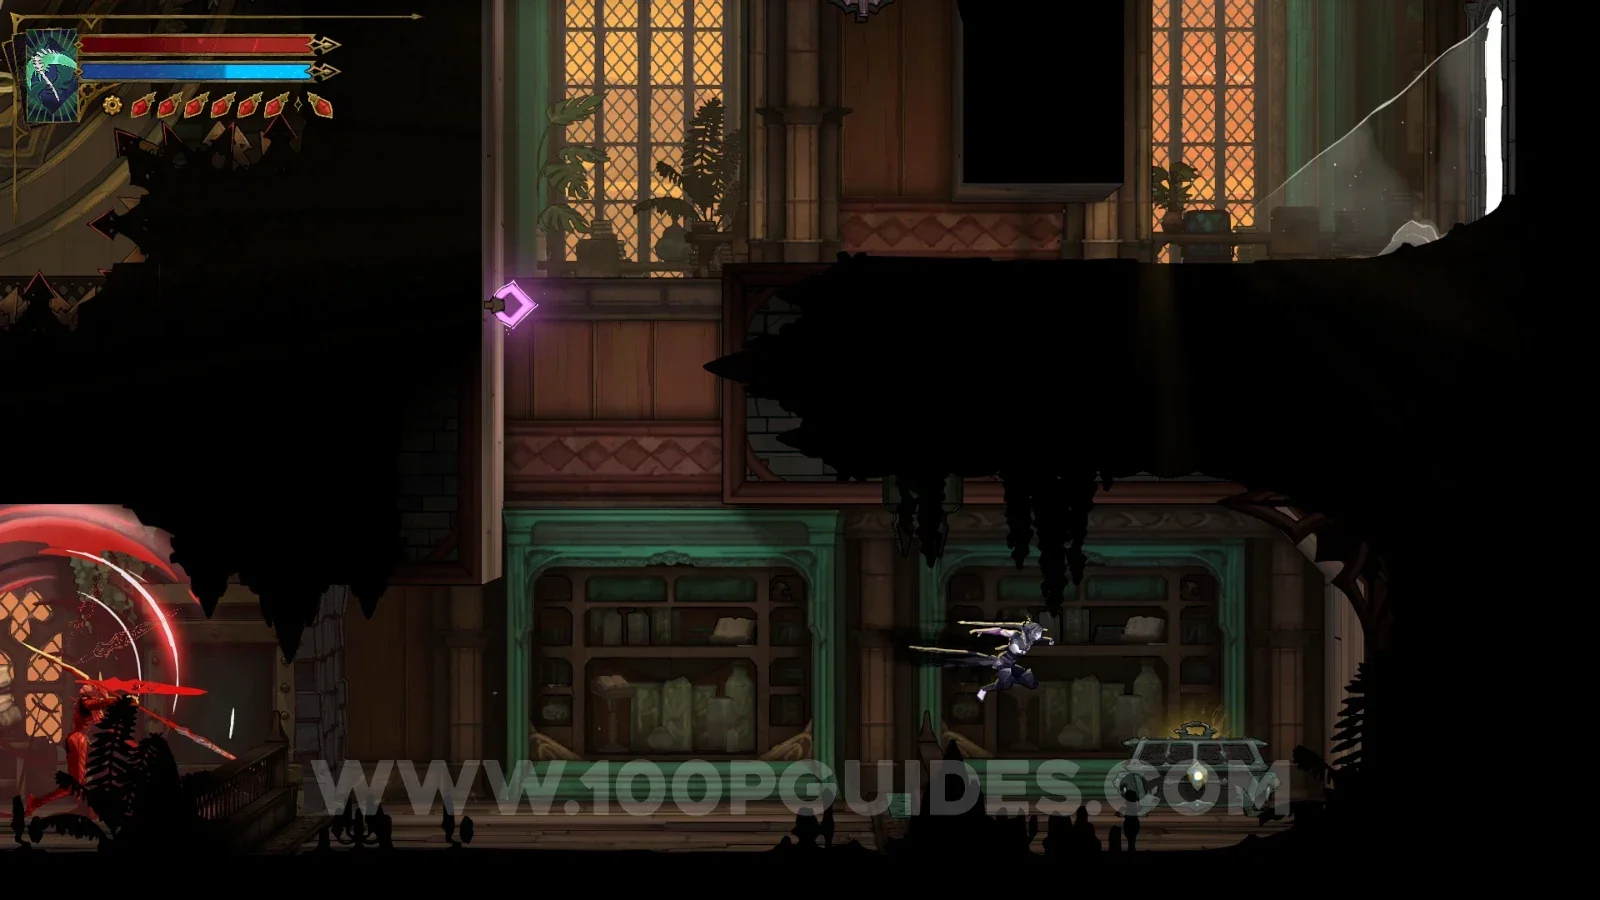
Clock Tower > Daedalus Crossing

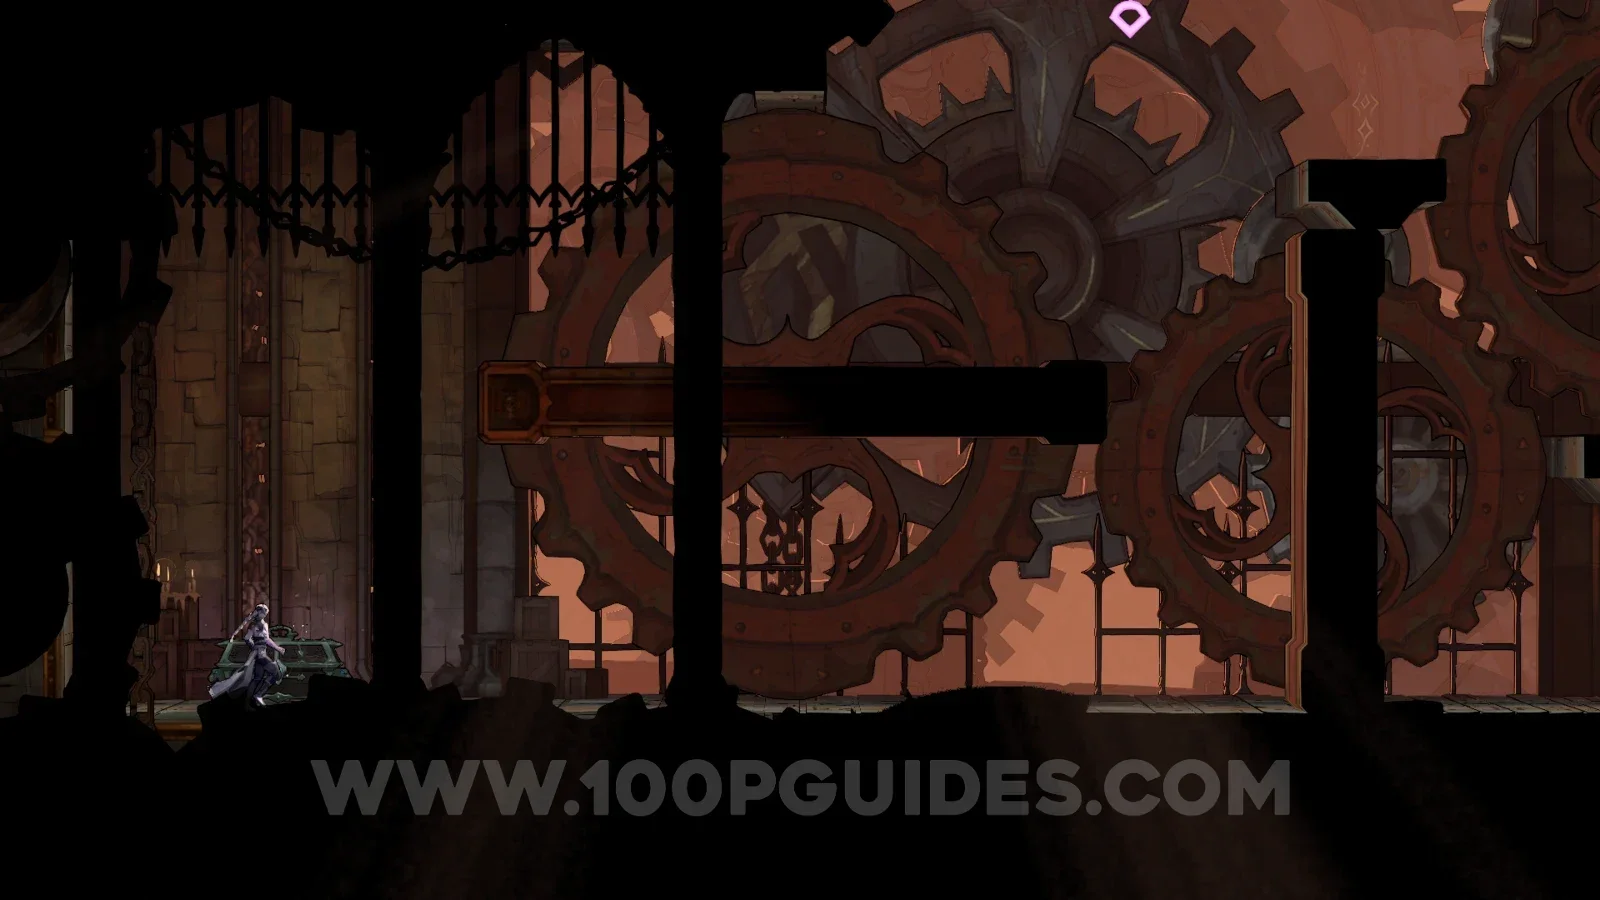
At the top of the area. To reach it, you have to hit the gear first.
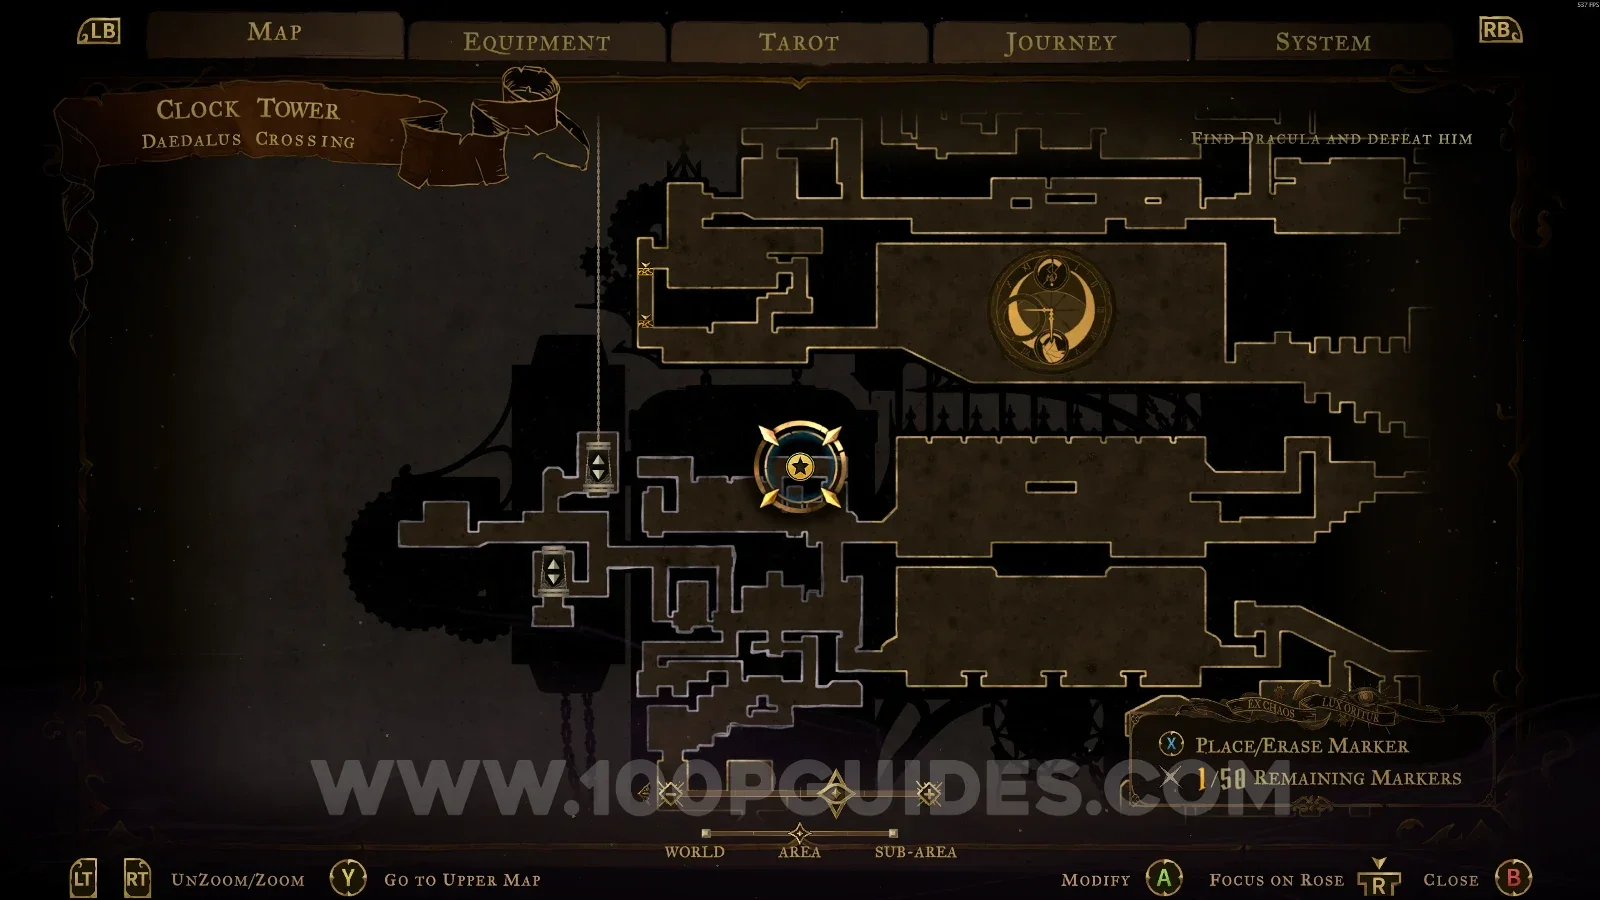
Castlevania Belmonts Curse Daedalus Crossing map marking the Vile Trinket relic at the top Castlevania Belmonts Curse Daedalus Crossing: hitting the gear to open the way up Castlevania Belmonts Curse Daedalus Crossing: heading to the top of the area after the gear Castlevania Belmonts Curse: the Vile Trinket relic chest at the top of Daedalus Crossing

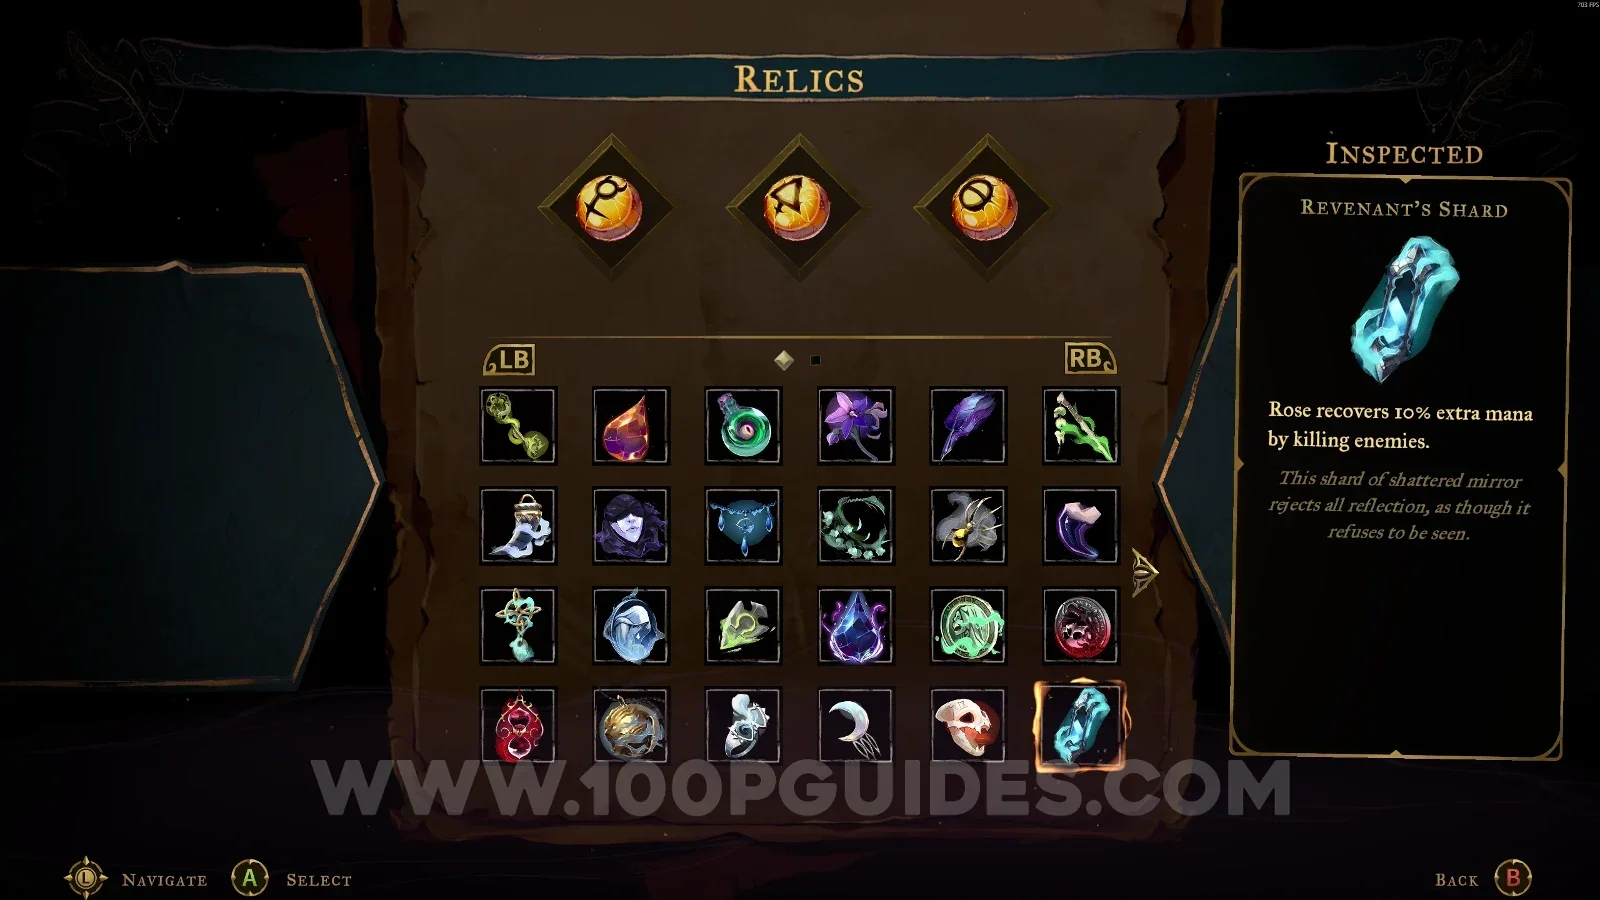
Revenant's Shard

Library > Curiosity Cabinet

Interact with the lever, then climb to the upper part and break the floor. Drop down, head left, and interact with the lever. Then go back to the chest on the right side and open it to get the relic.
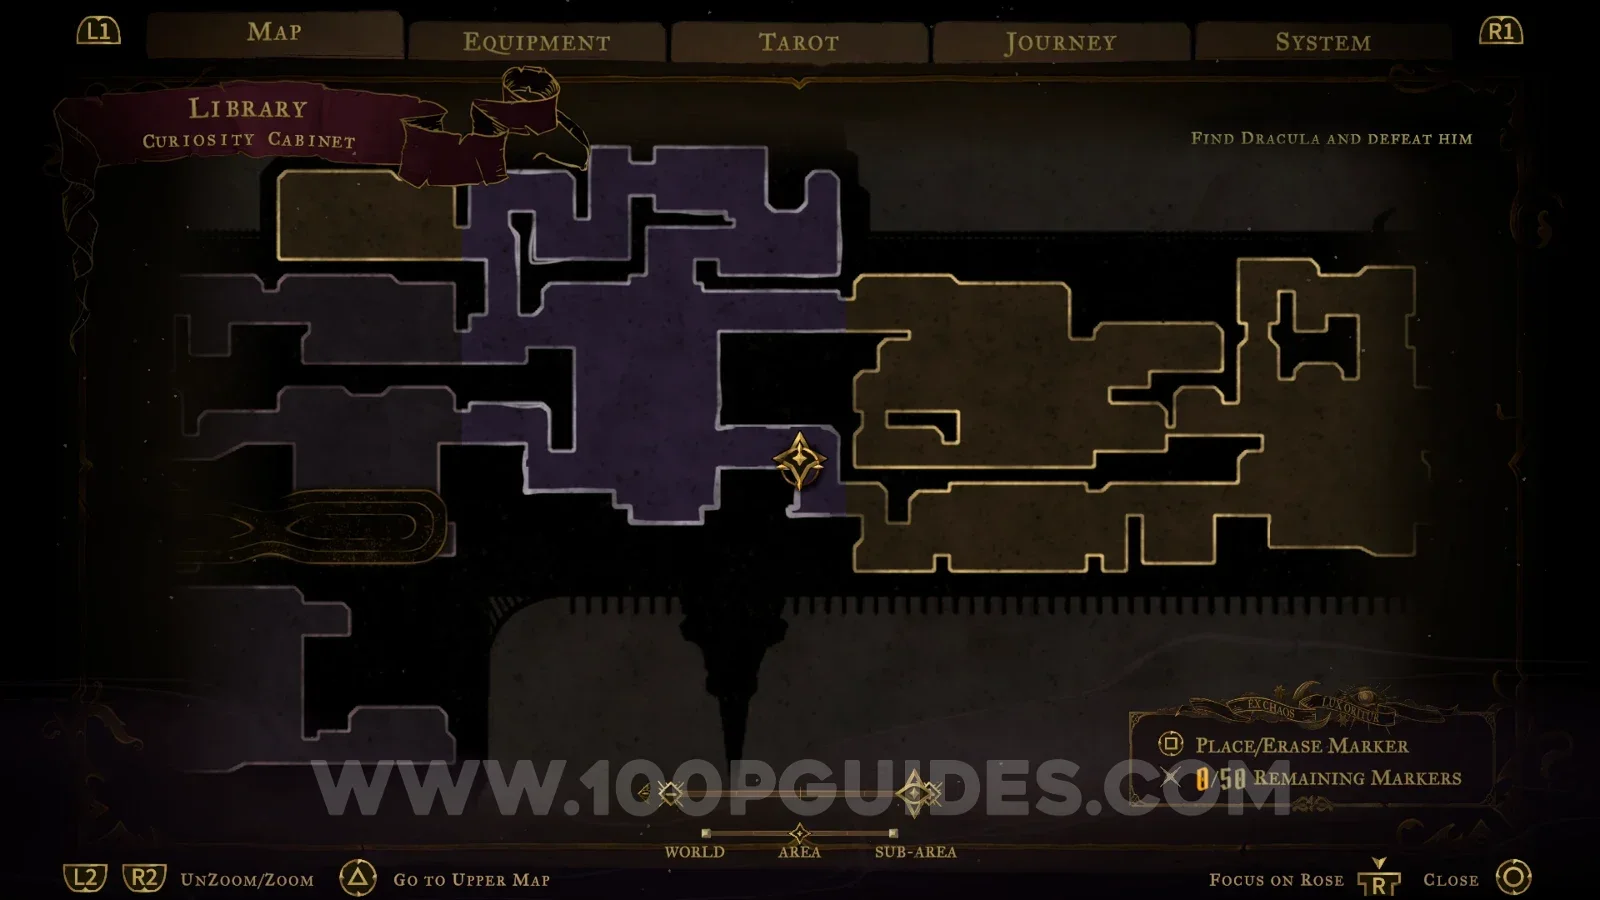
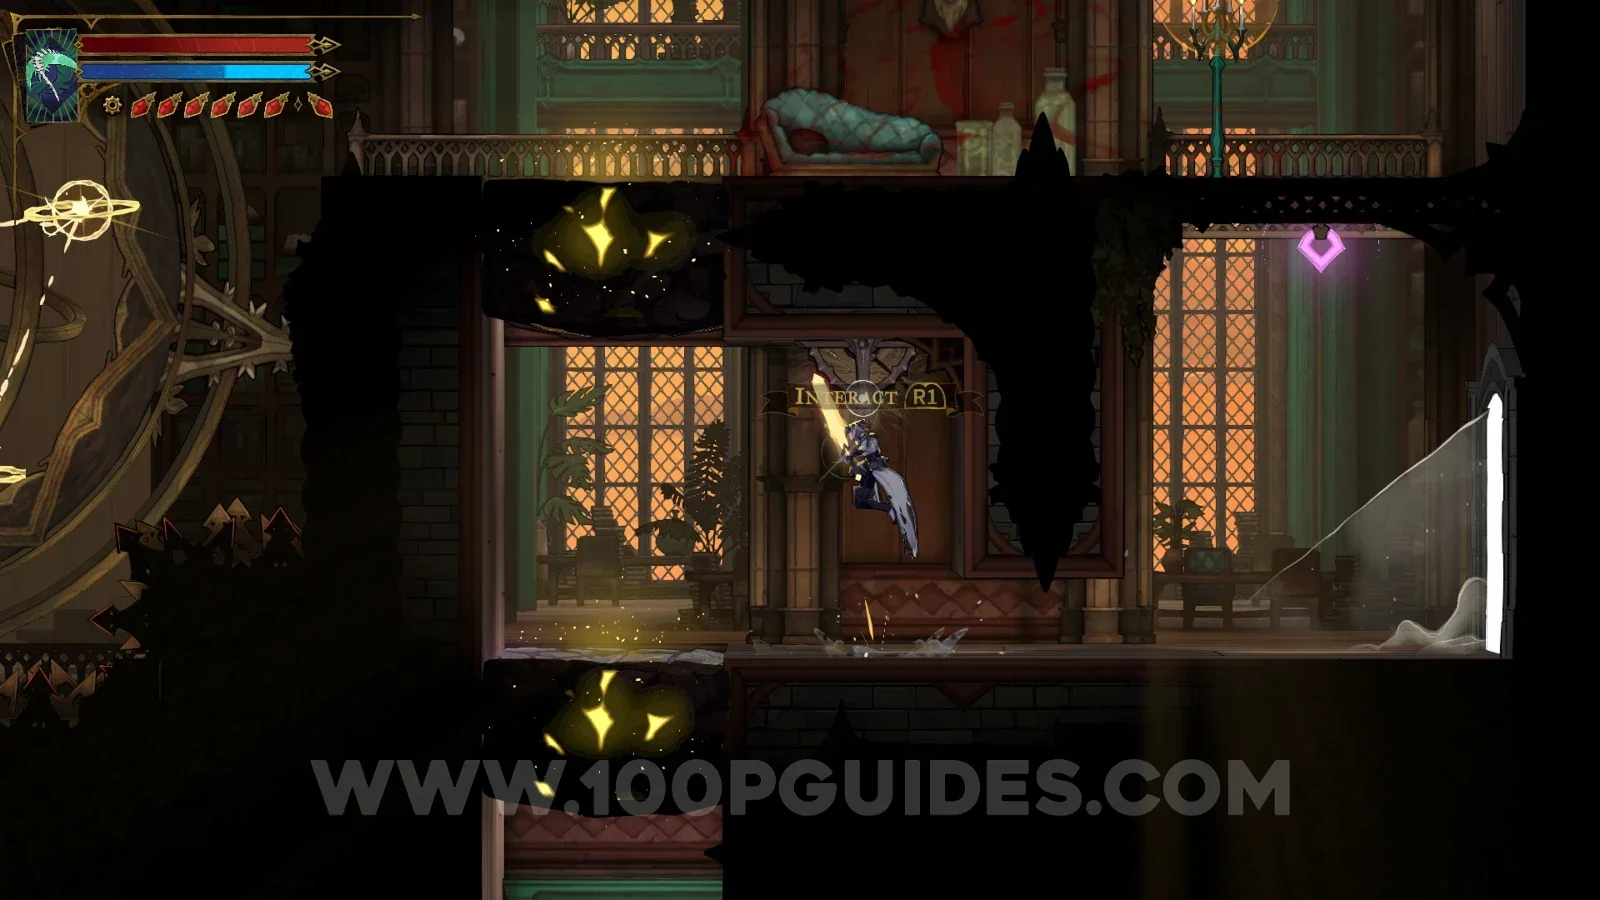
Castlevania Belmonts Curse Curiosity Cabinet: interacting with the first lever in the Library Castlevania Belmonts Curse Curiosity Cabinet: breaking the floor in the upper part Castlevania Belmonts Curse Curiosity Cabinet: dropping down and using the lever on the left Castlevania Belmonts Curse: opening the Revenant's Shard relic chest on the right side

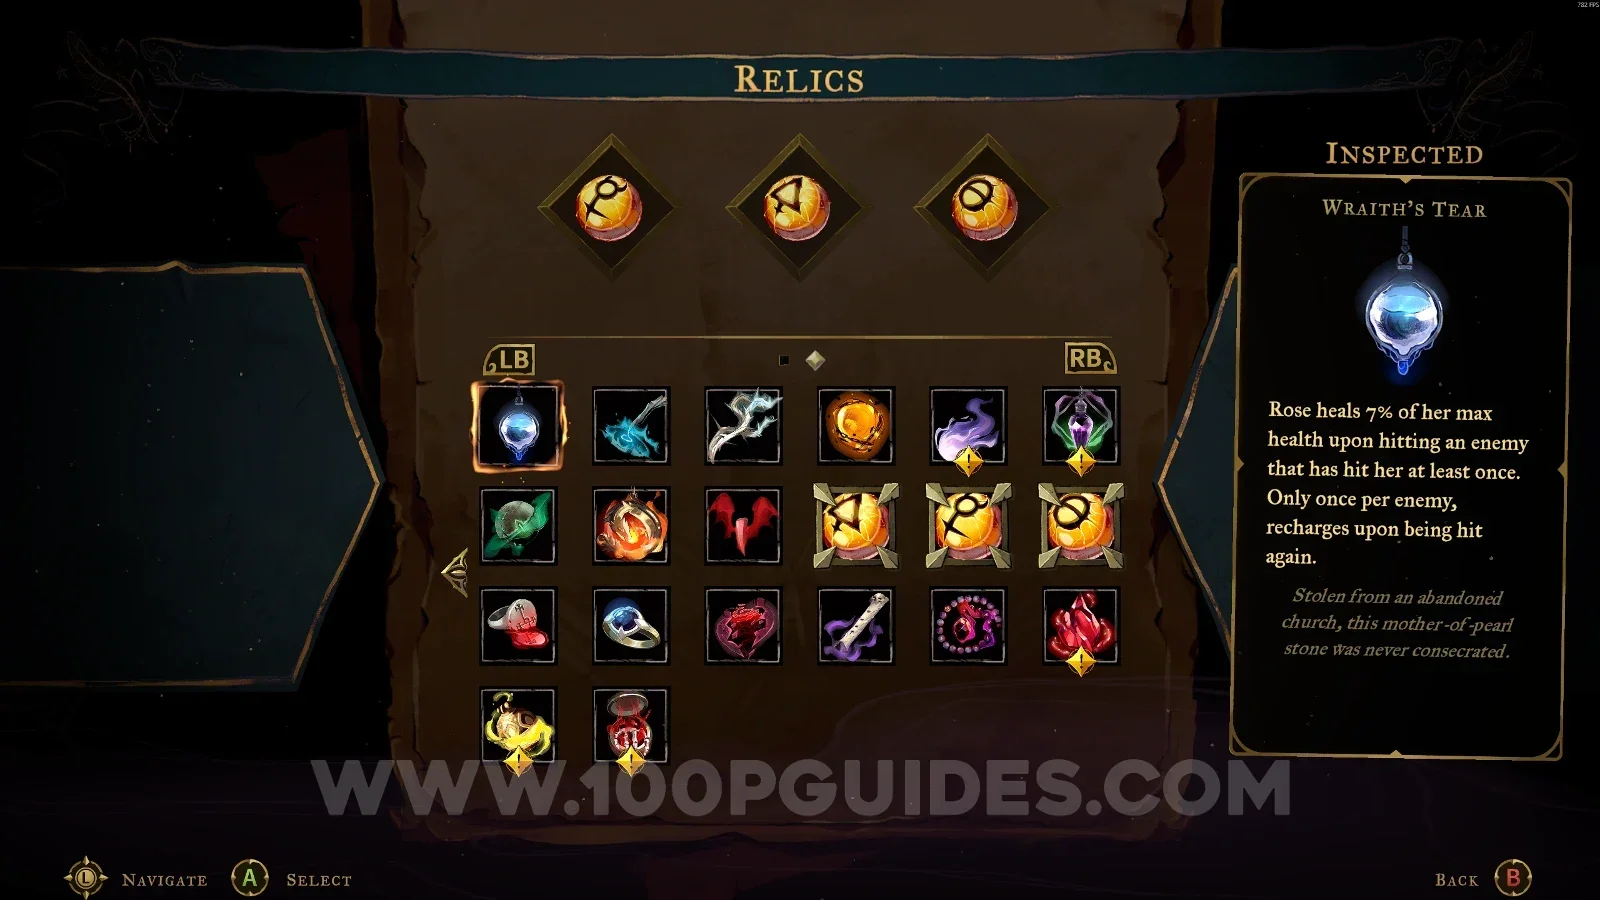
Wraith's Tear

Library > Study Room

At the top of the area, use the Arcane Whip to access the secret room, then follow the single path to the chest.
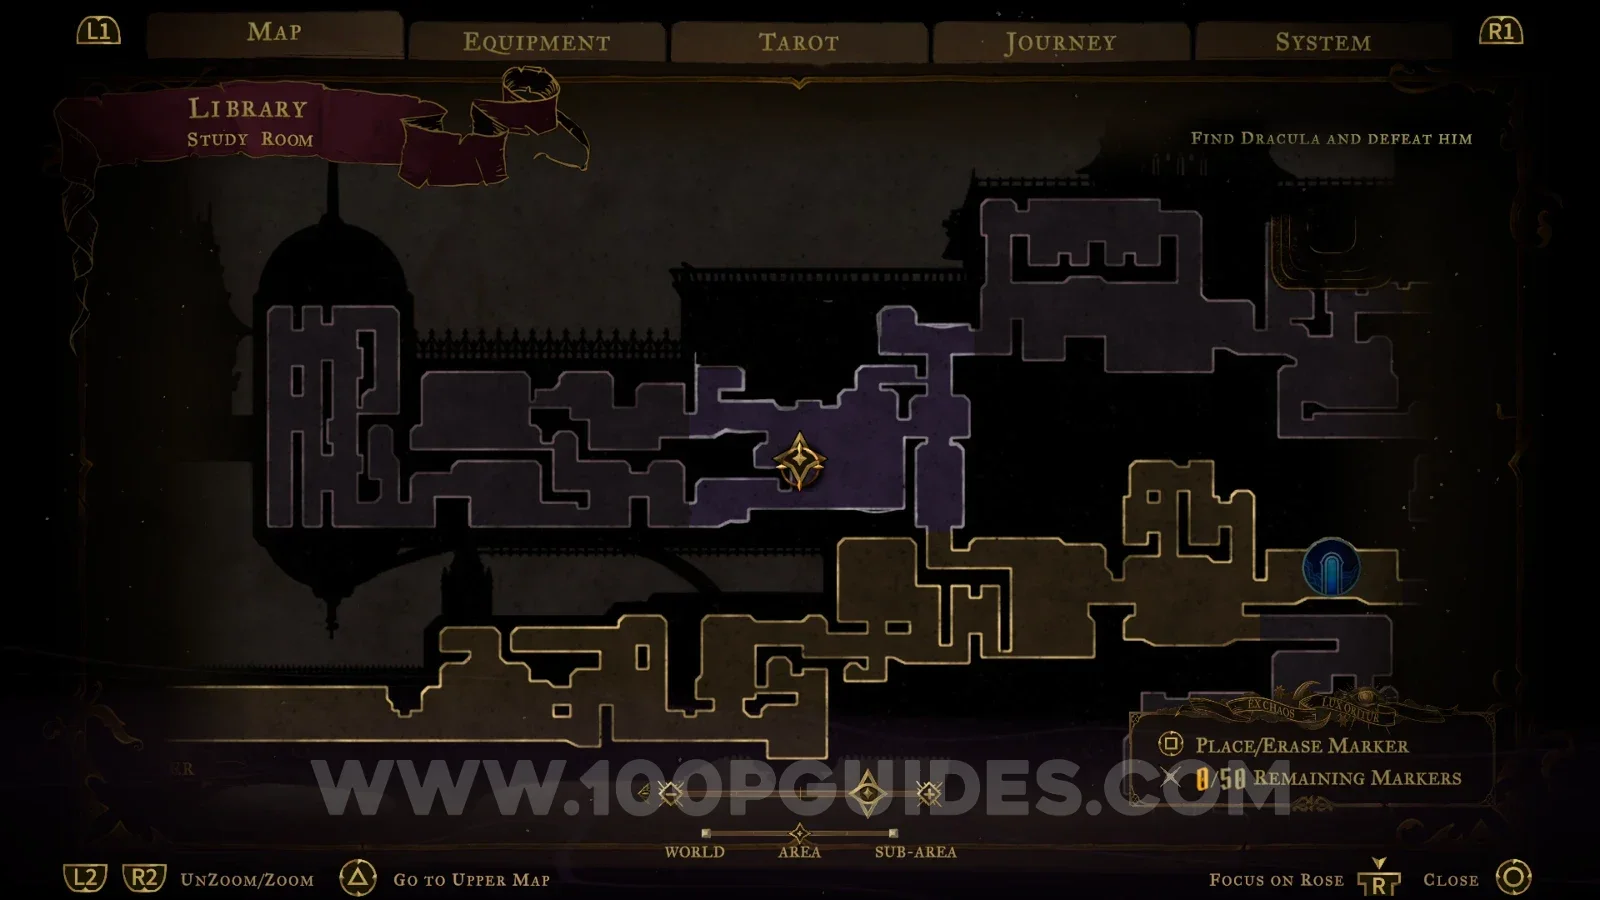
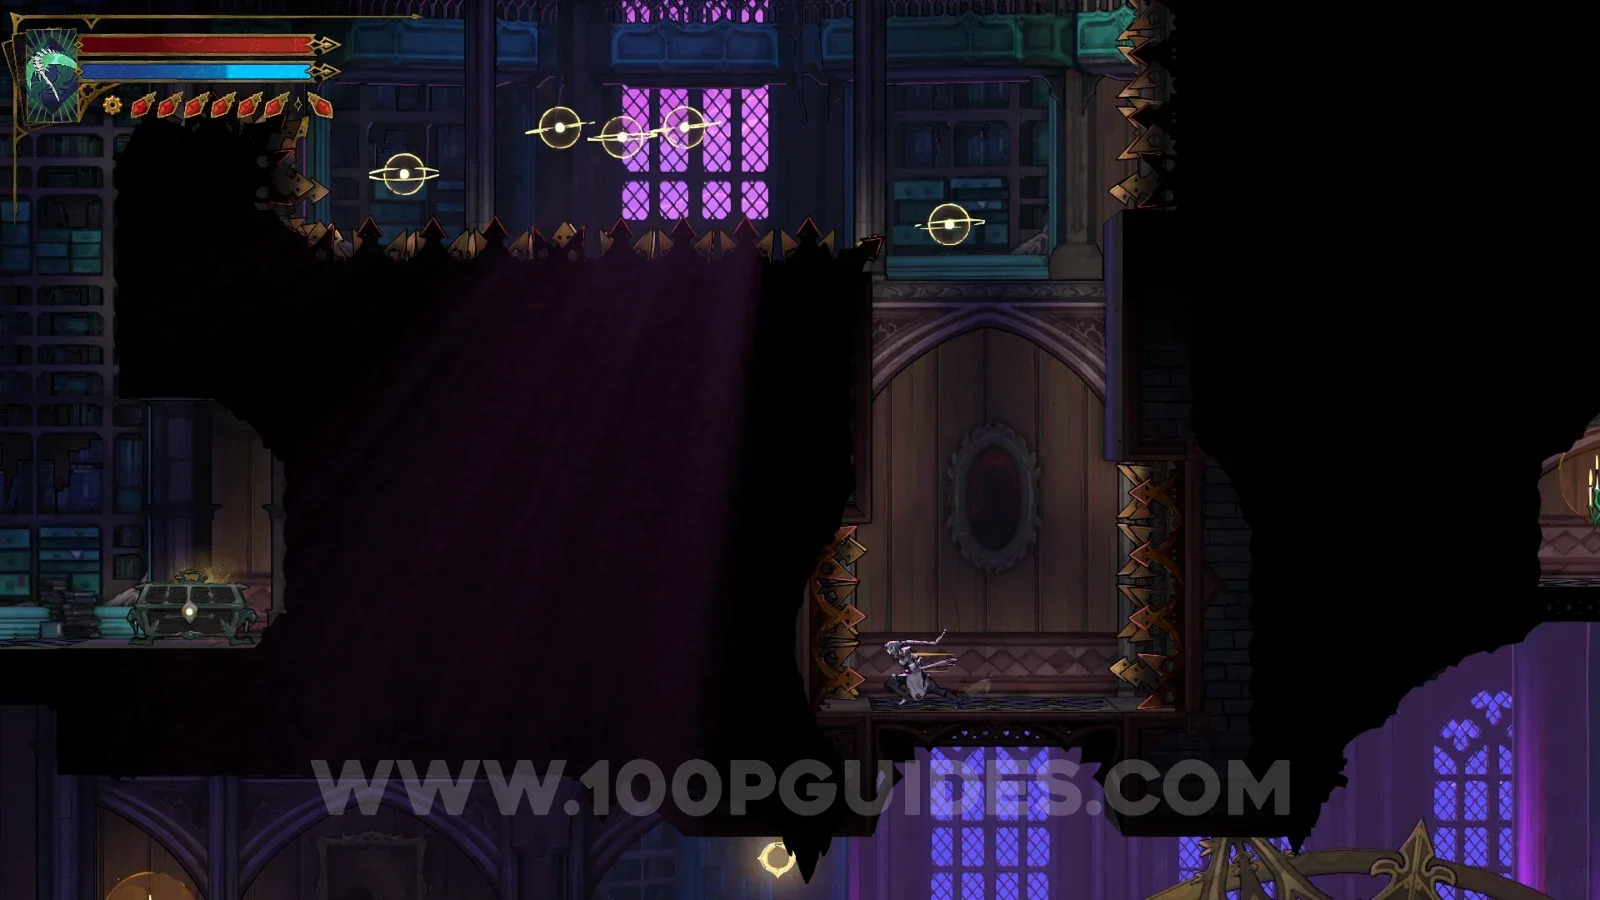
Castlevania Belmonts Curse Study Room map marking the Wraith's Tear relic in the Library Castlevania Belmonts Curse Study Room: using the Arcane Whip at the top to access the secret room Castlevania Belmonts Curse: the Wraith's Tear relic chest at the end of the secret room path

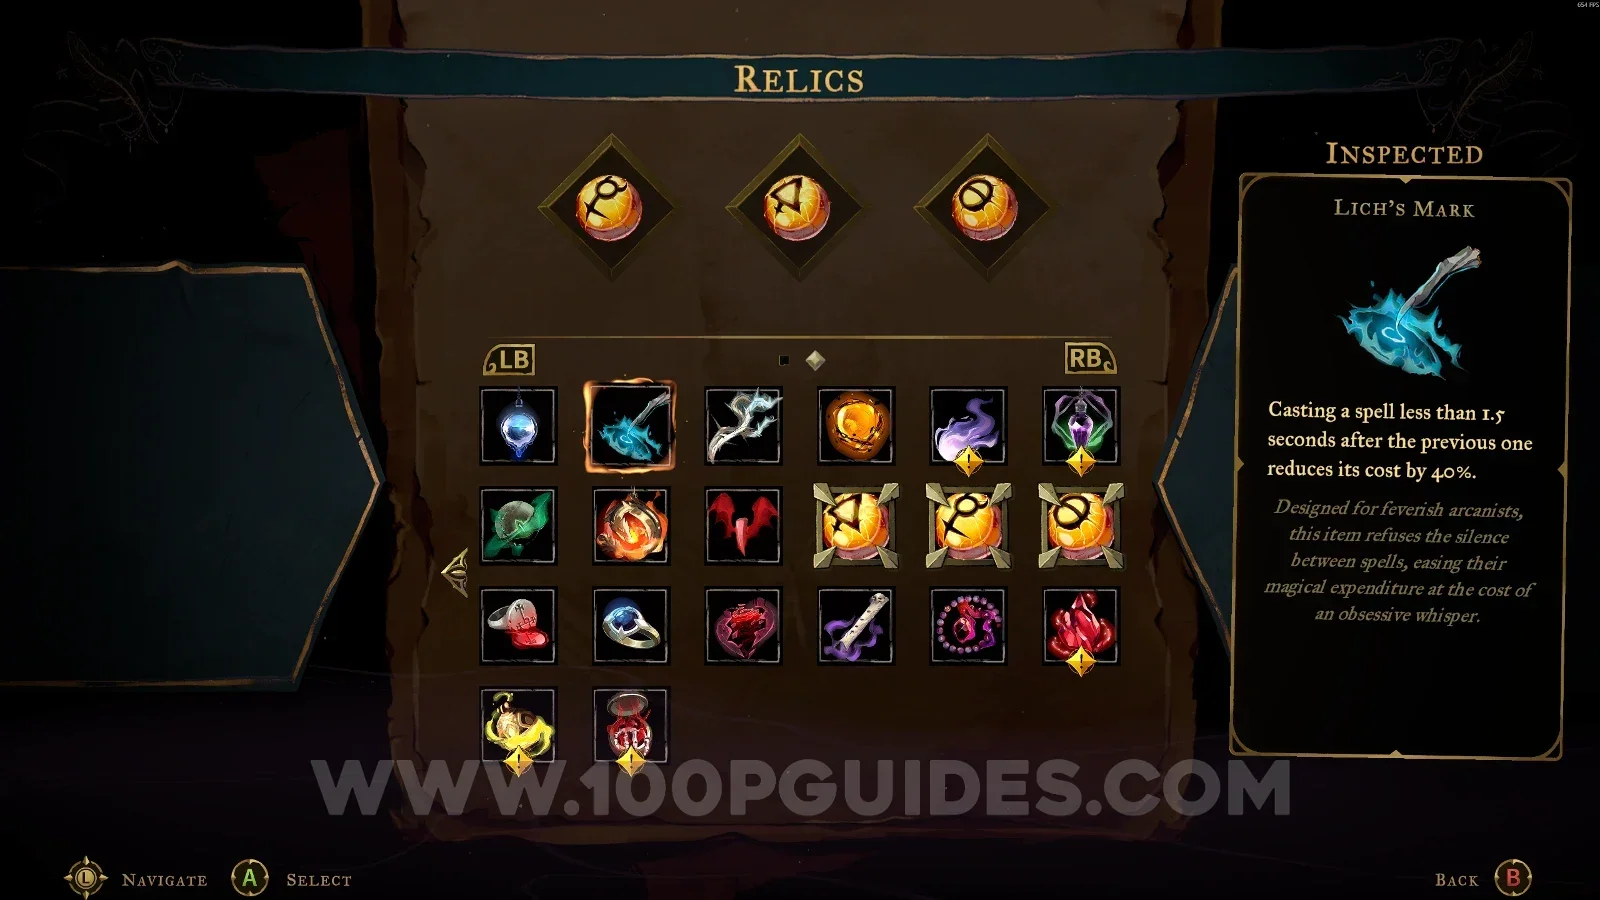
Lich's Mark

Library > Rhetoric Shelves

In the area marked on the map, use the orbs to launch yourself to the upper part, where the chest is.
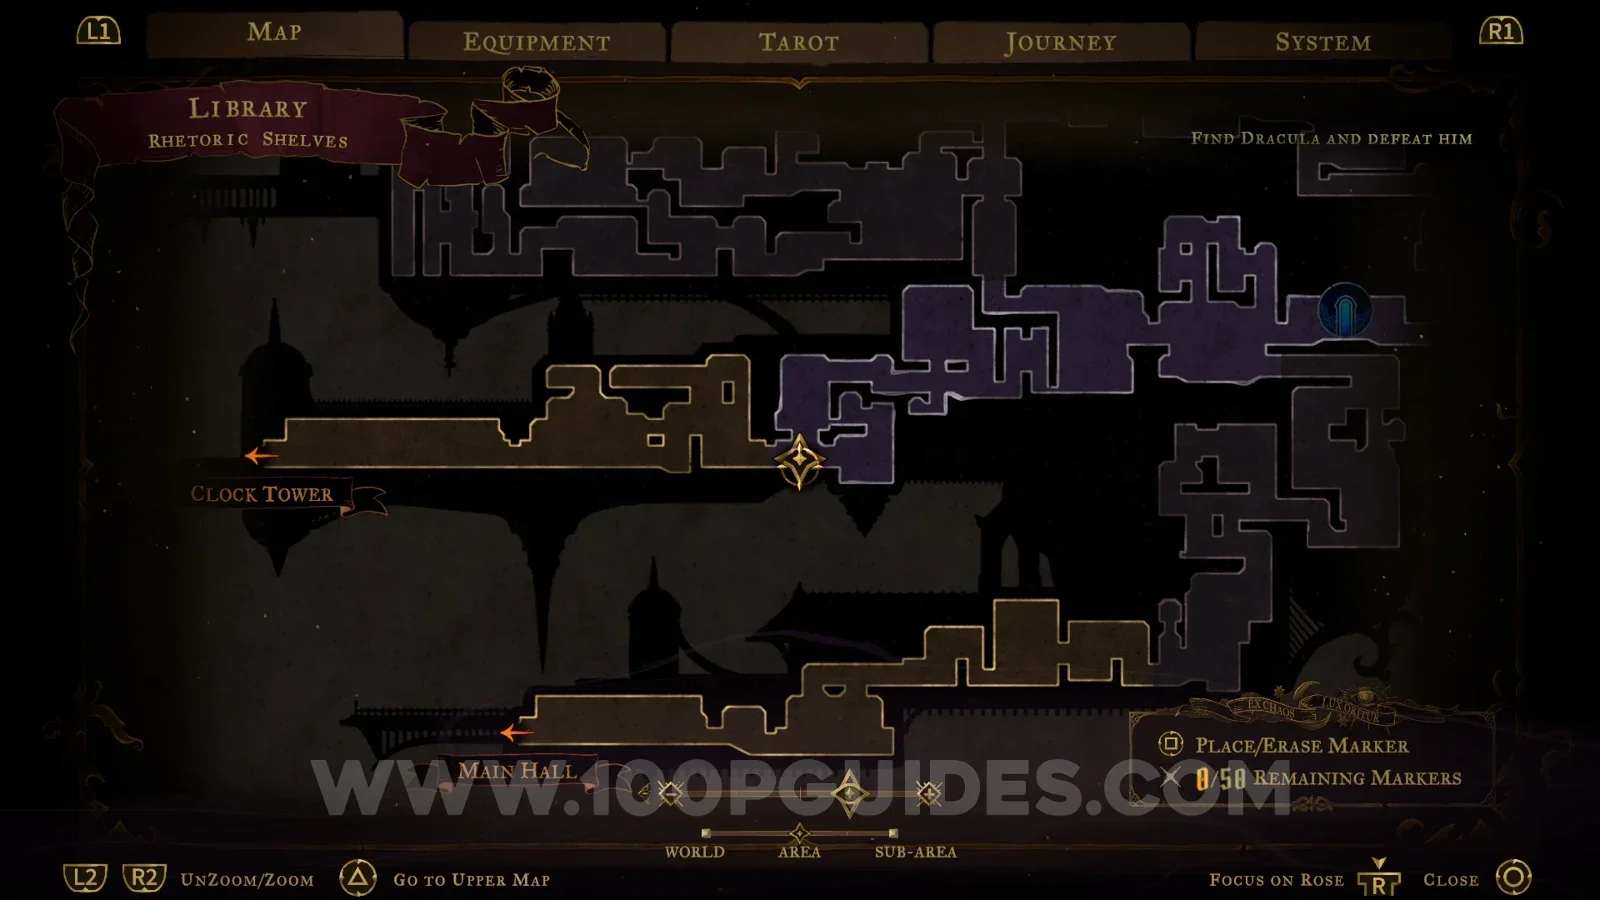
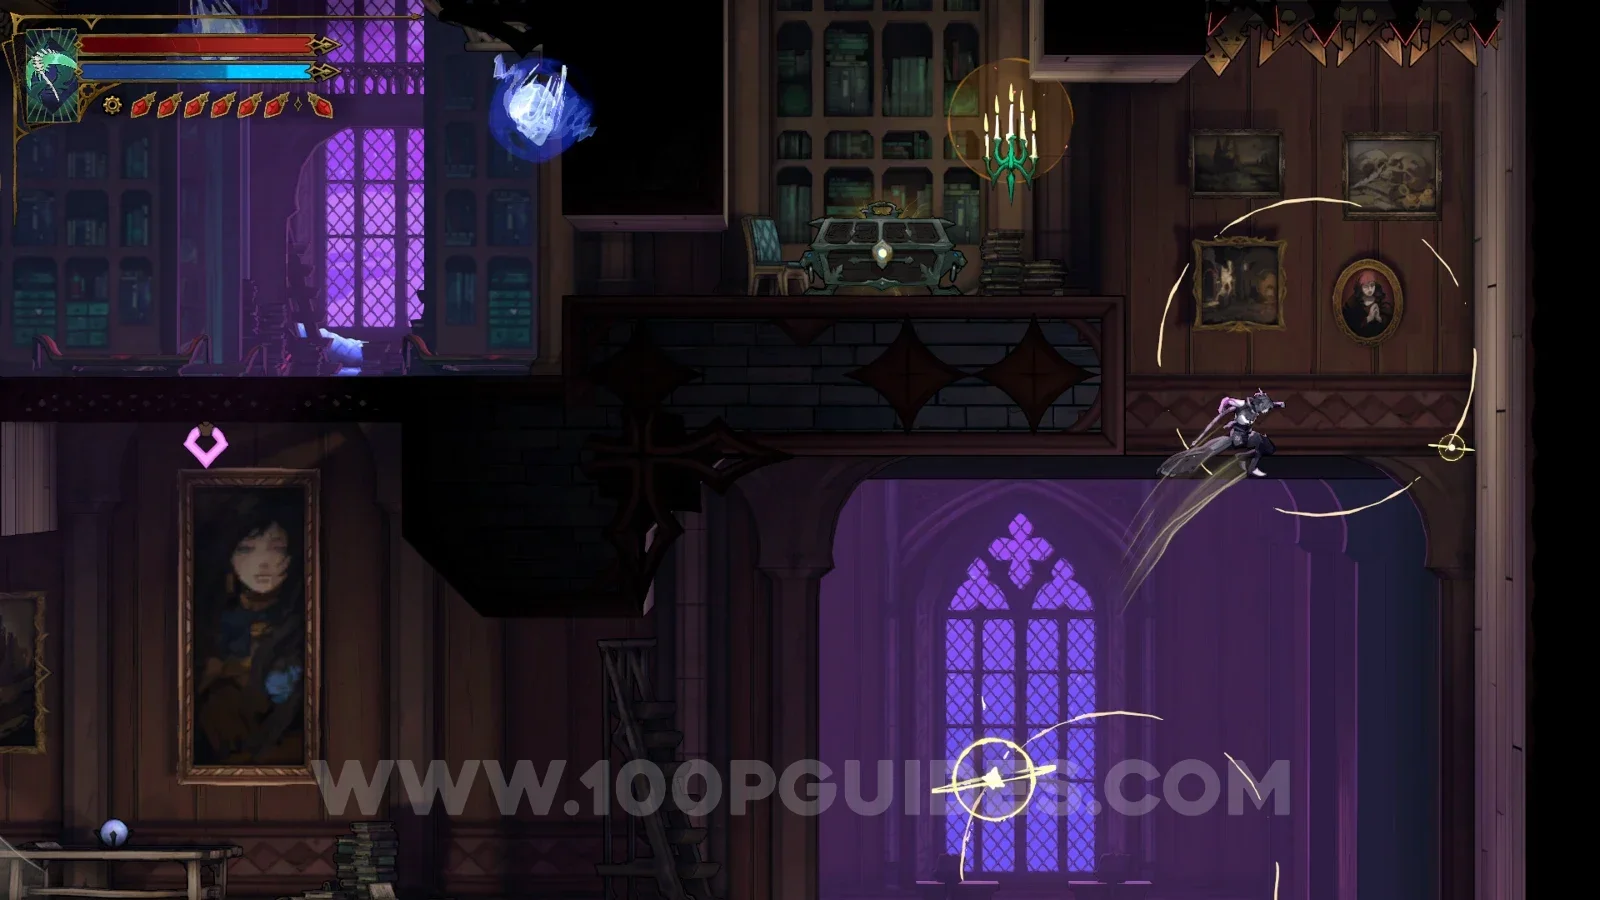
Castlevania Belmonts Curse Rhetoric Shelves map marking the Lich's Mark relic area Castlevania Belmonts Curse Rhetoric Shelves: using the orbs to launch to the upper part Castlevania Belmonts Curse: the Lich's Mark relic chest in the upper part of the Rhetoric Shelves

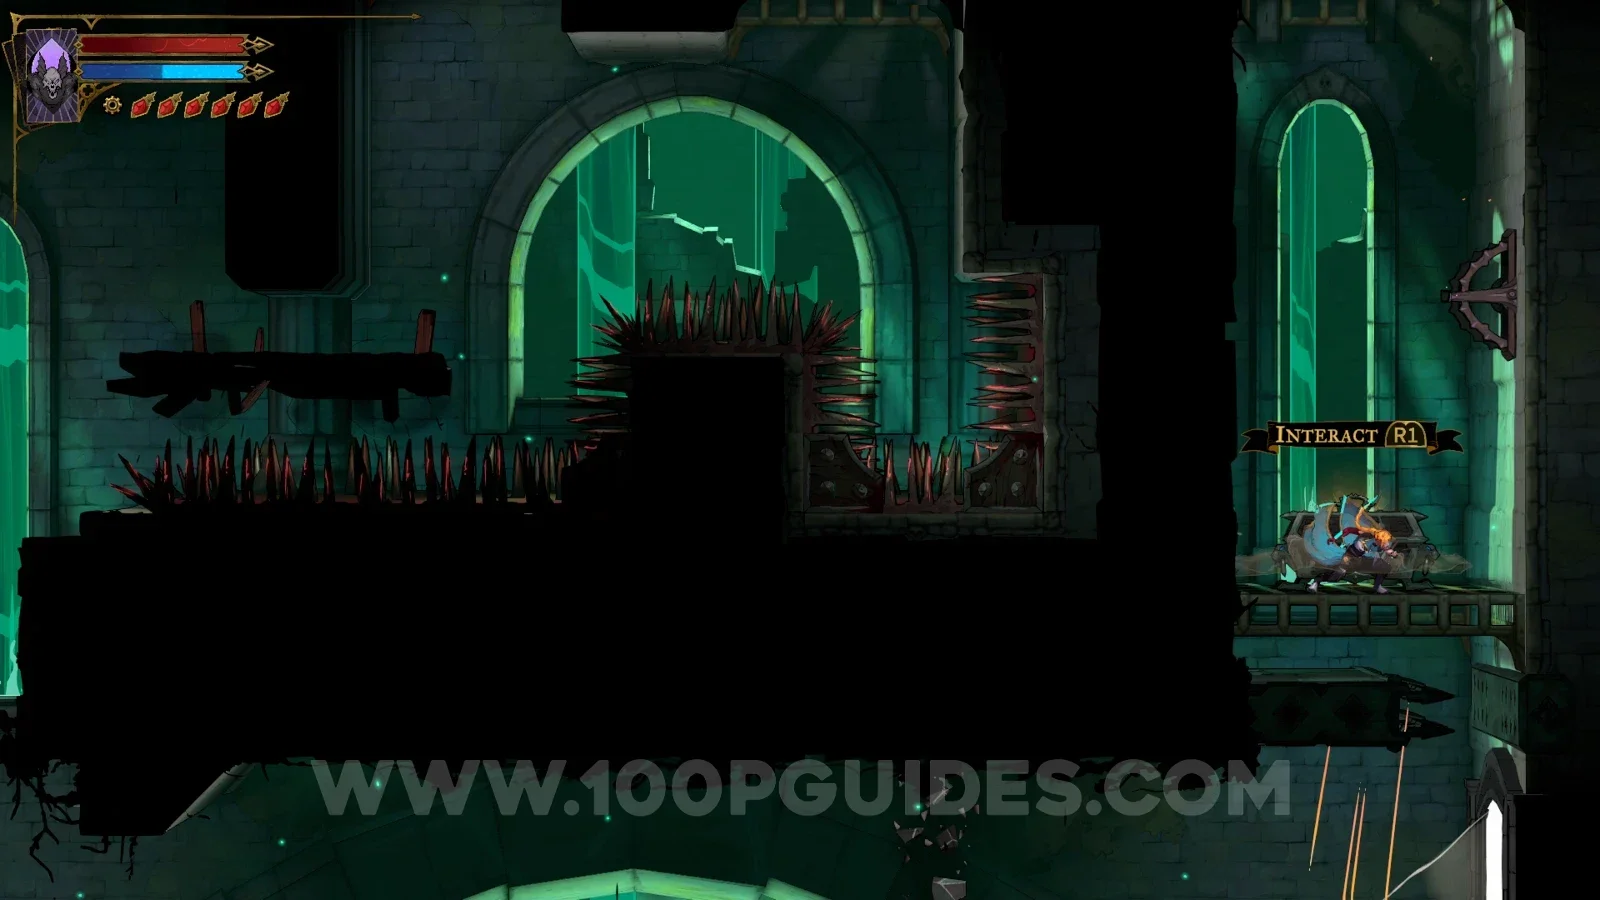
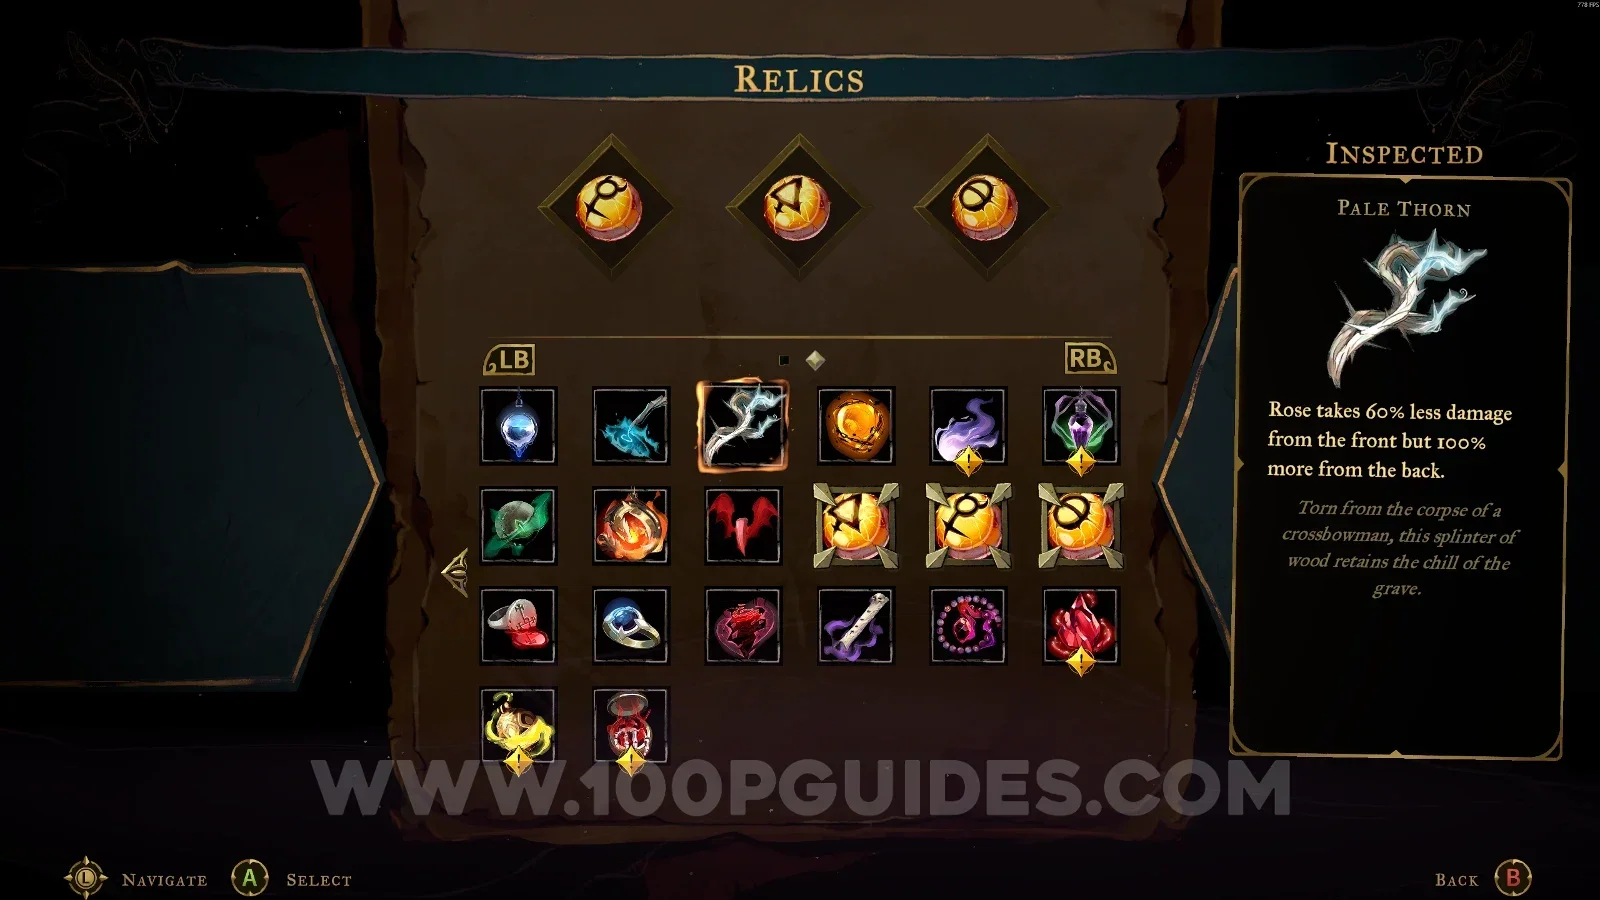
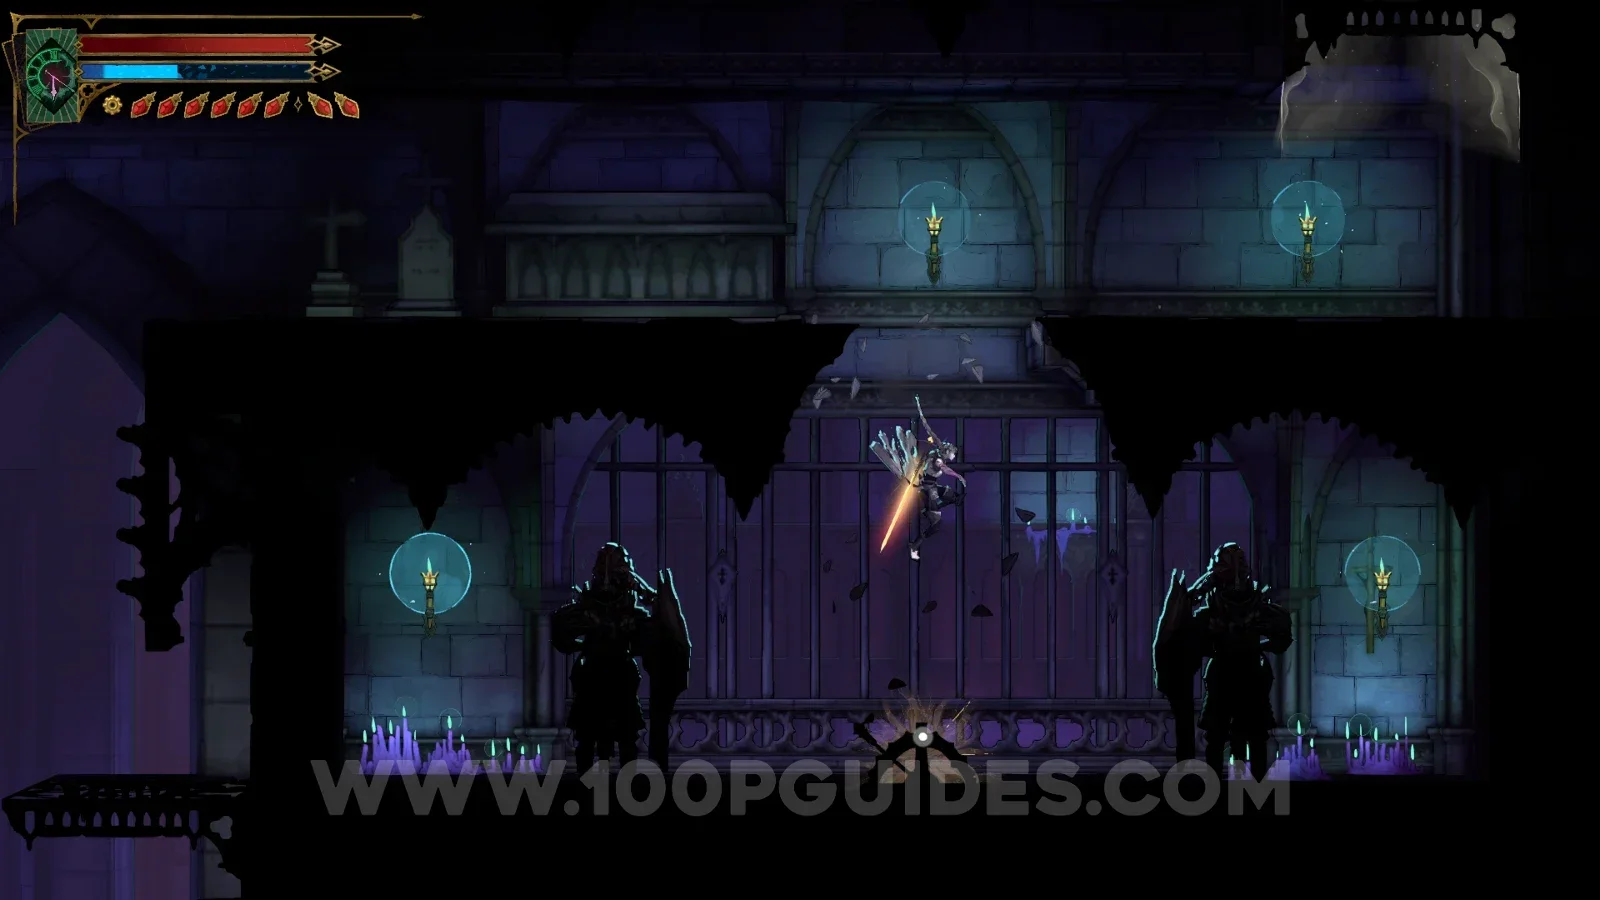
Pale Thorn

Holy Innocents' Cemetery > Hot Springs

In the area with the saws, you have to use the slide in the bottom left corner of the room to reveal another secret room. In this new room, go around the area to the chest.
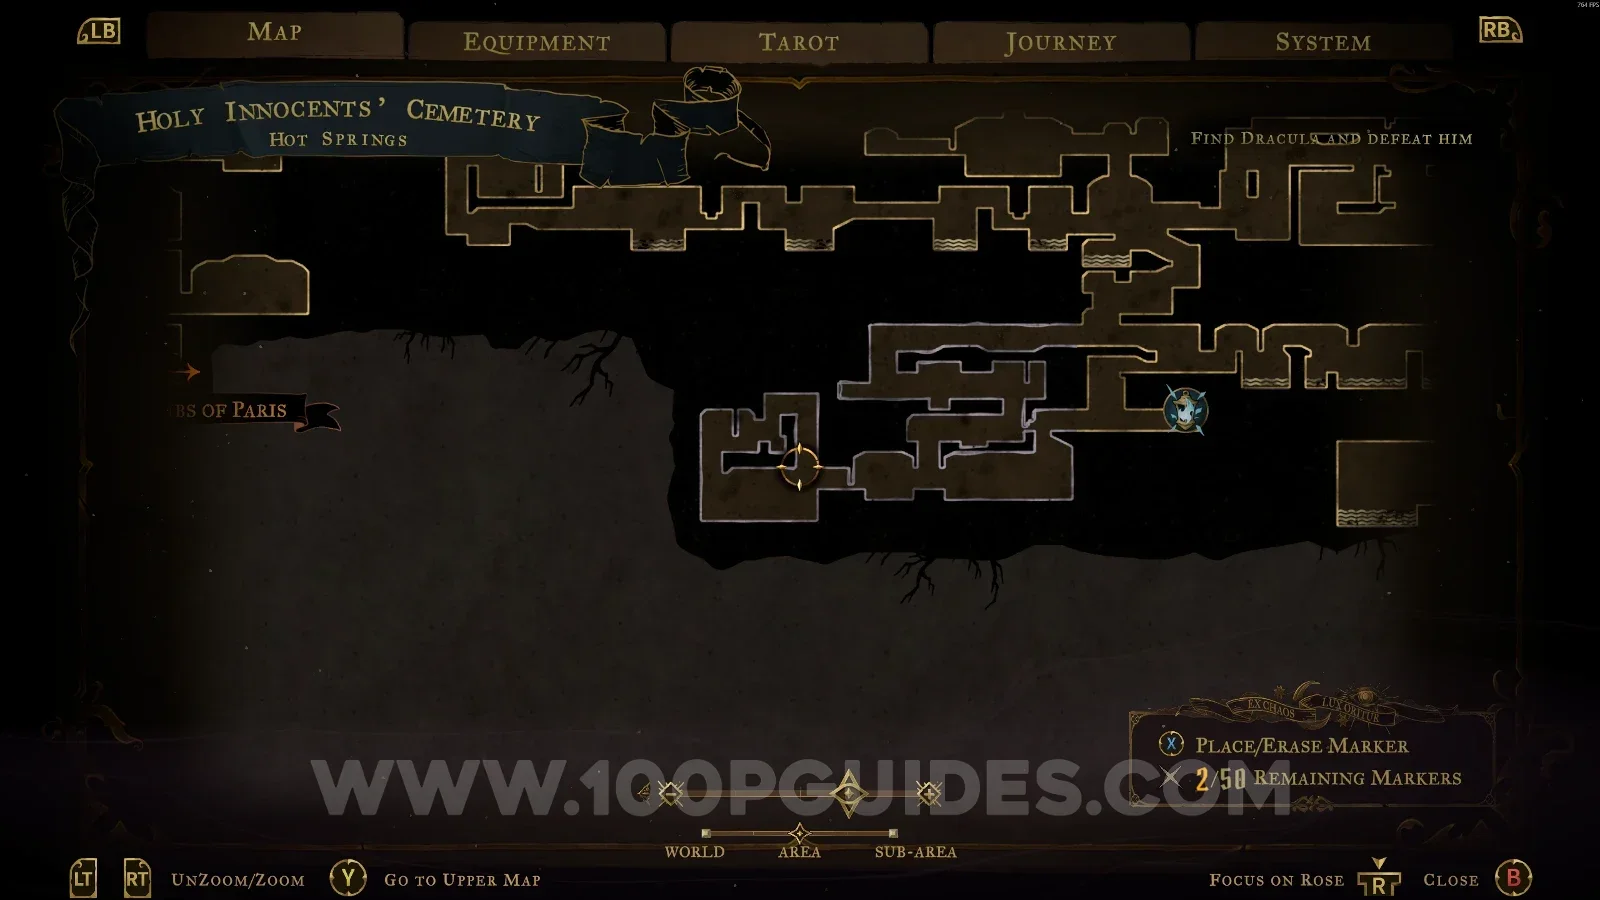
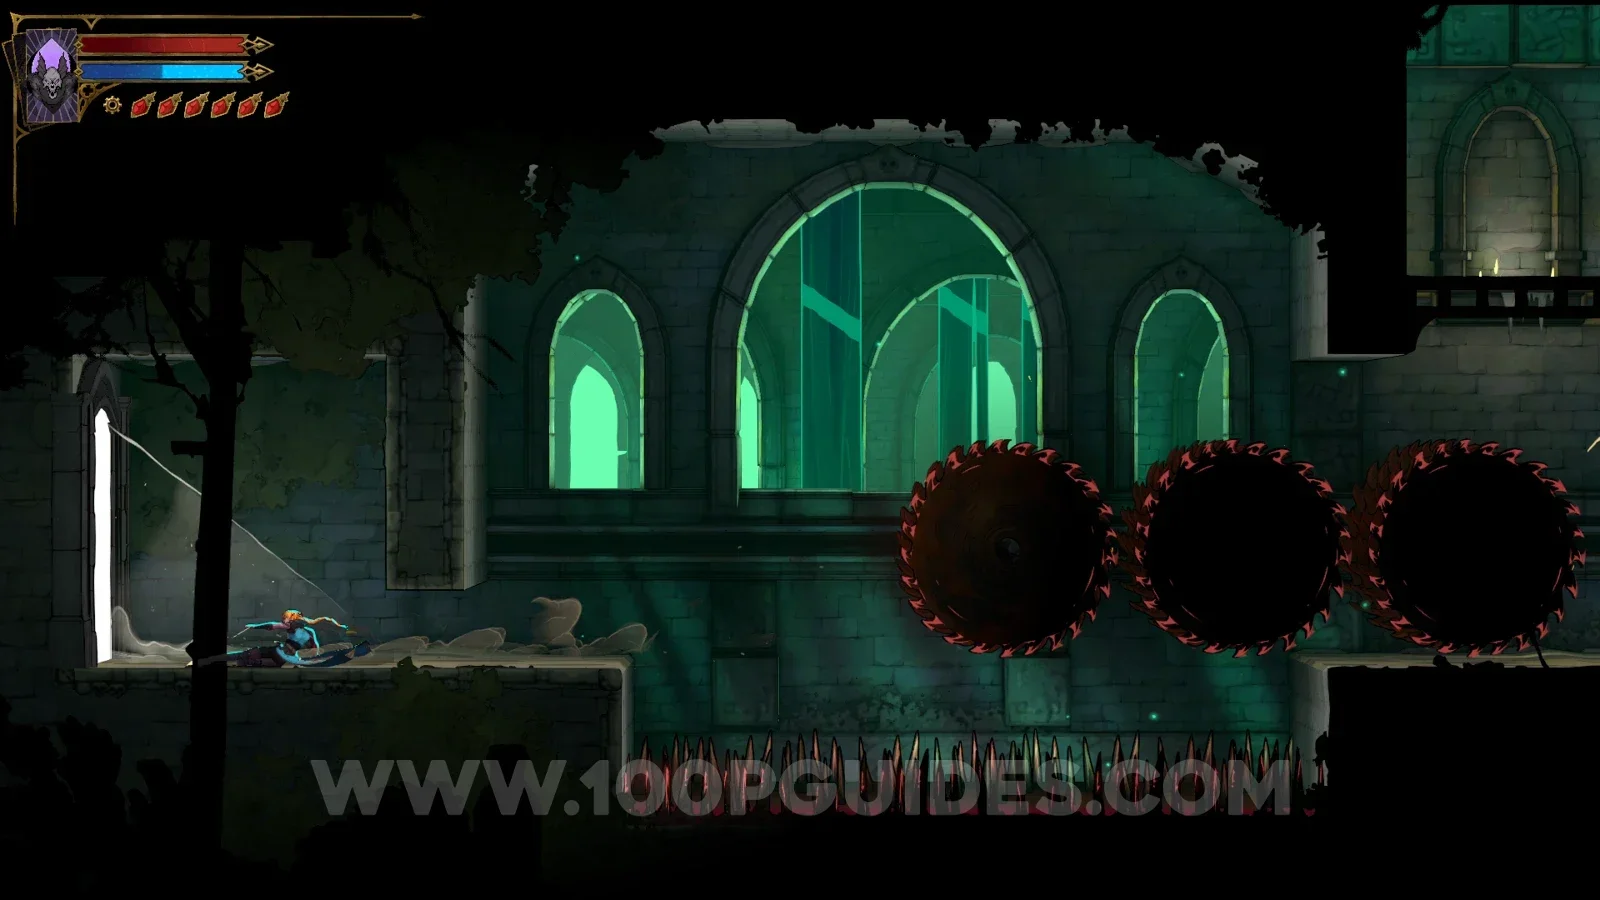
Castlevania Belmonts Curse Hot Springs map marking the saw room with the Pale Thorn relic Castlevania Belmonts Curse Hot Springs: sliding in the bottom left corner of the saw room Castlevania Belmonts Curse Hot Springs: going around the newly revealed secret room Castlevania Belmonts Curse: the Pale Thorn relic chest in the Hot Springs secret room

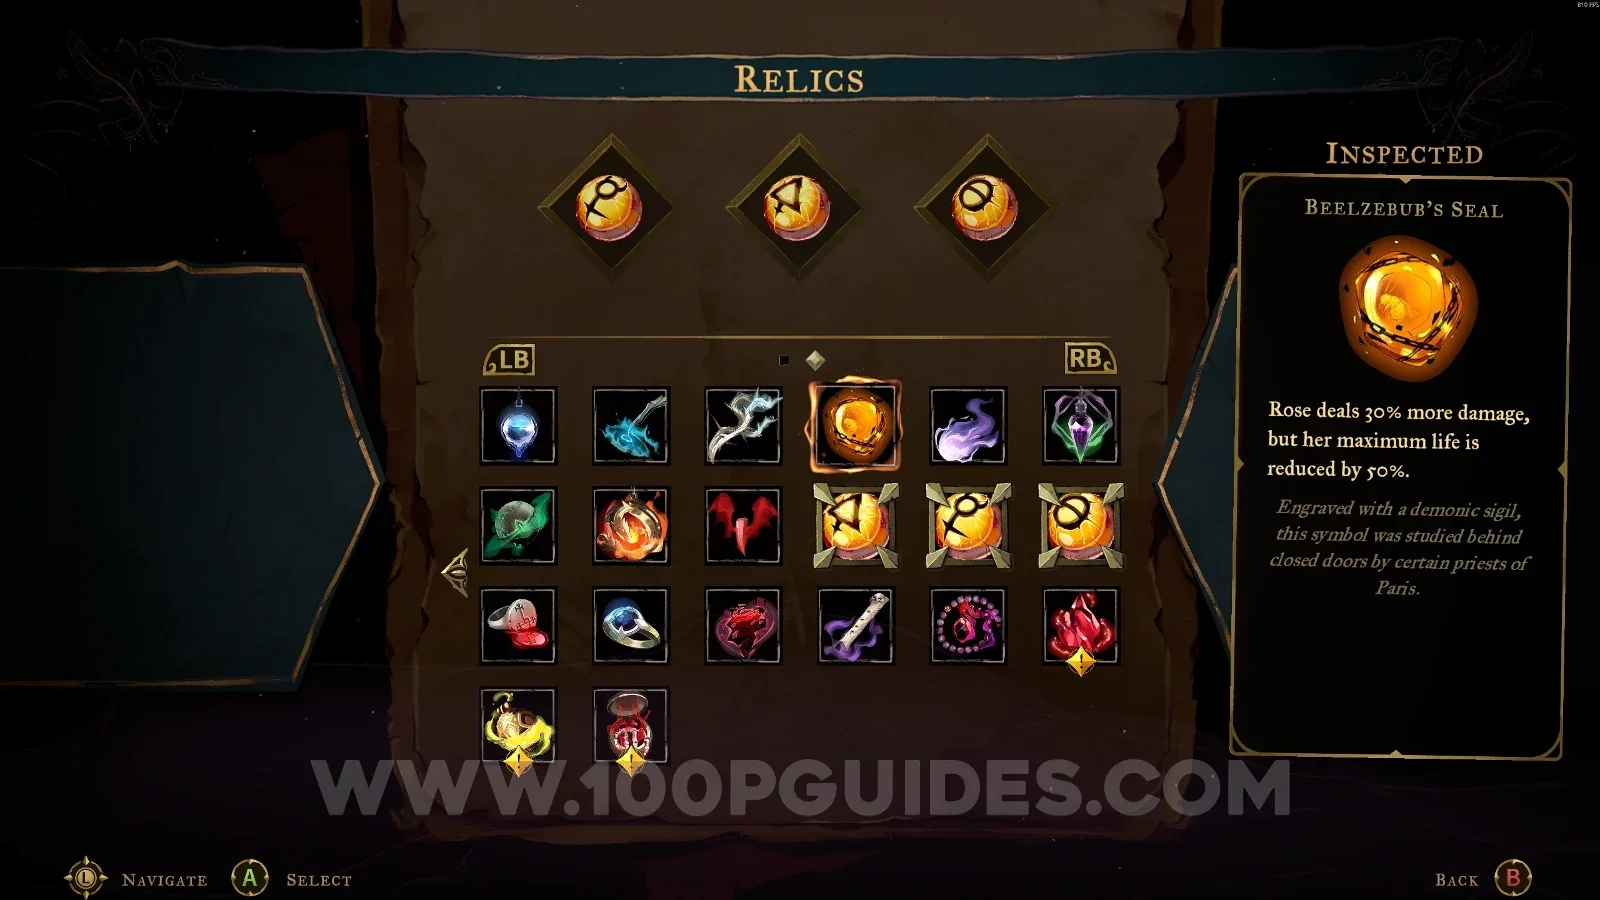
Beelzebub's Seal

Notre-Dame > Chapel Of Patience

Interact with the lever and defeat the enemies, then head left to find the chest.
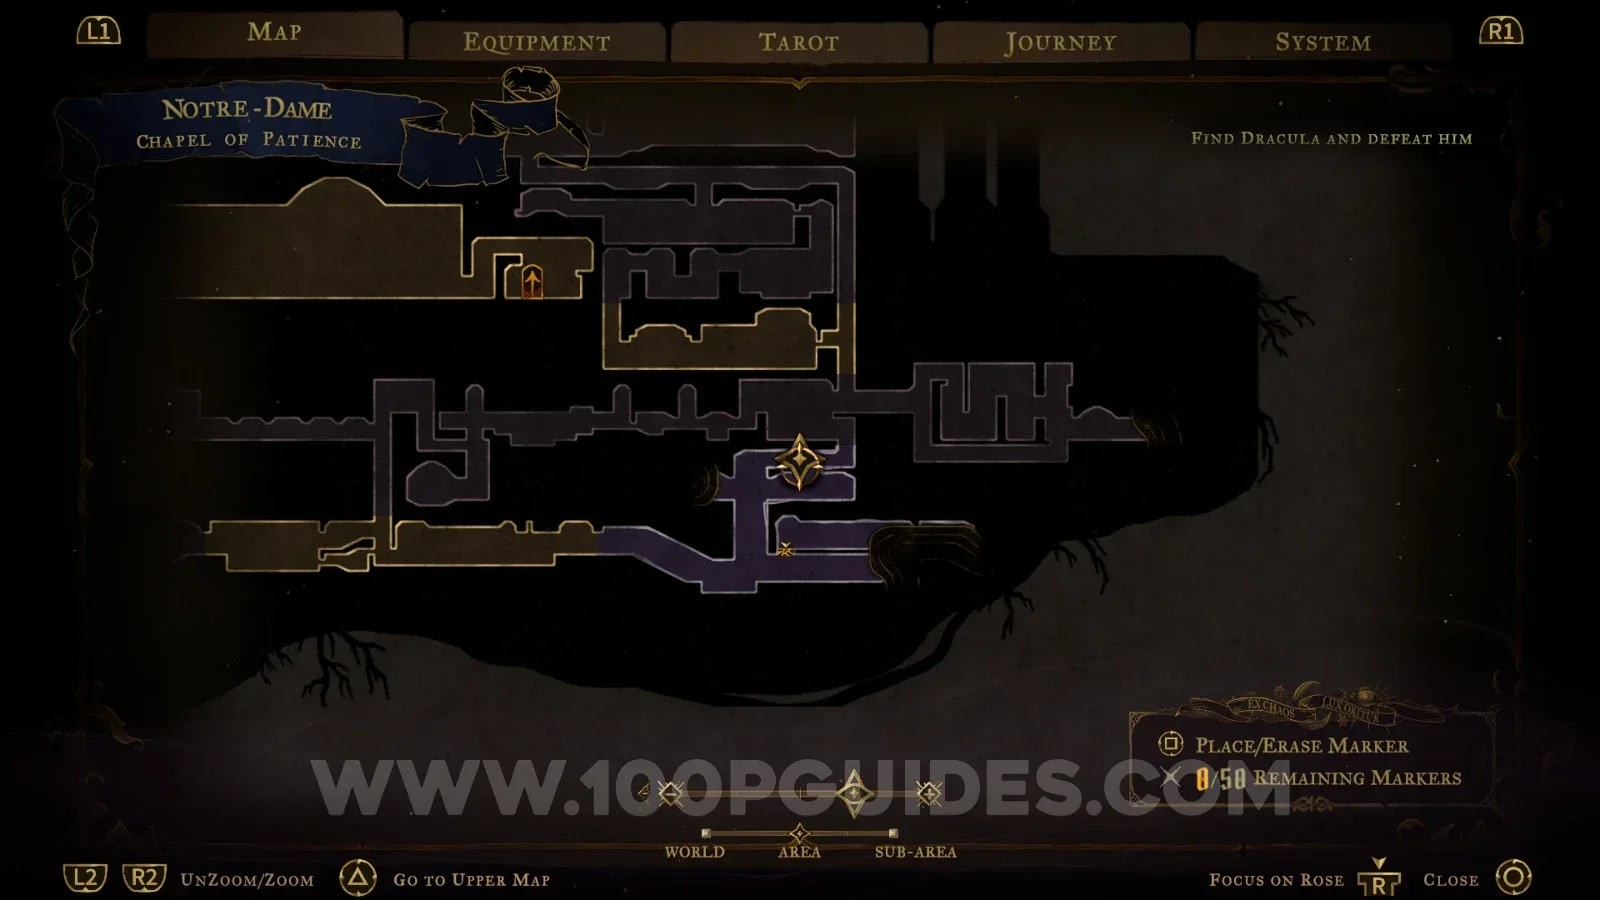
Castlevania Belmonts Curse Chapel Of Patience in Notre-Dame, location of the Beelzebub's Seal relic Castlevania Belmonts Curse Chapel Of Patience: interacting with the lever Castlevania Belmonts Curse Chapel Of Patience: defeating the enemies before heading left Castlevania Belmonts Curse: the chest with the Beelzebub's Seal relic on the left of the chapel

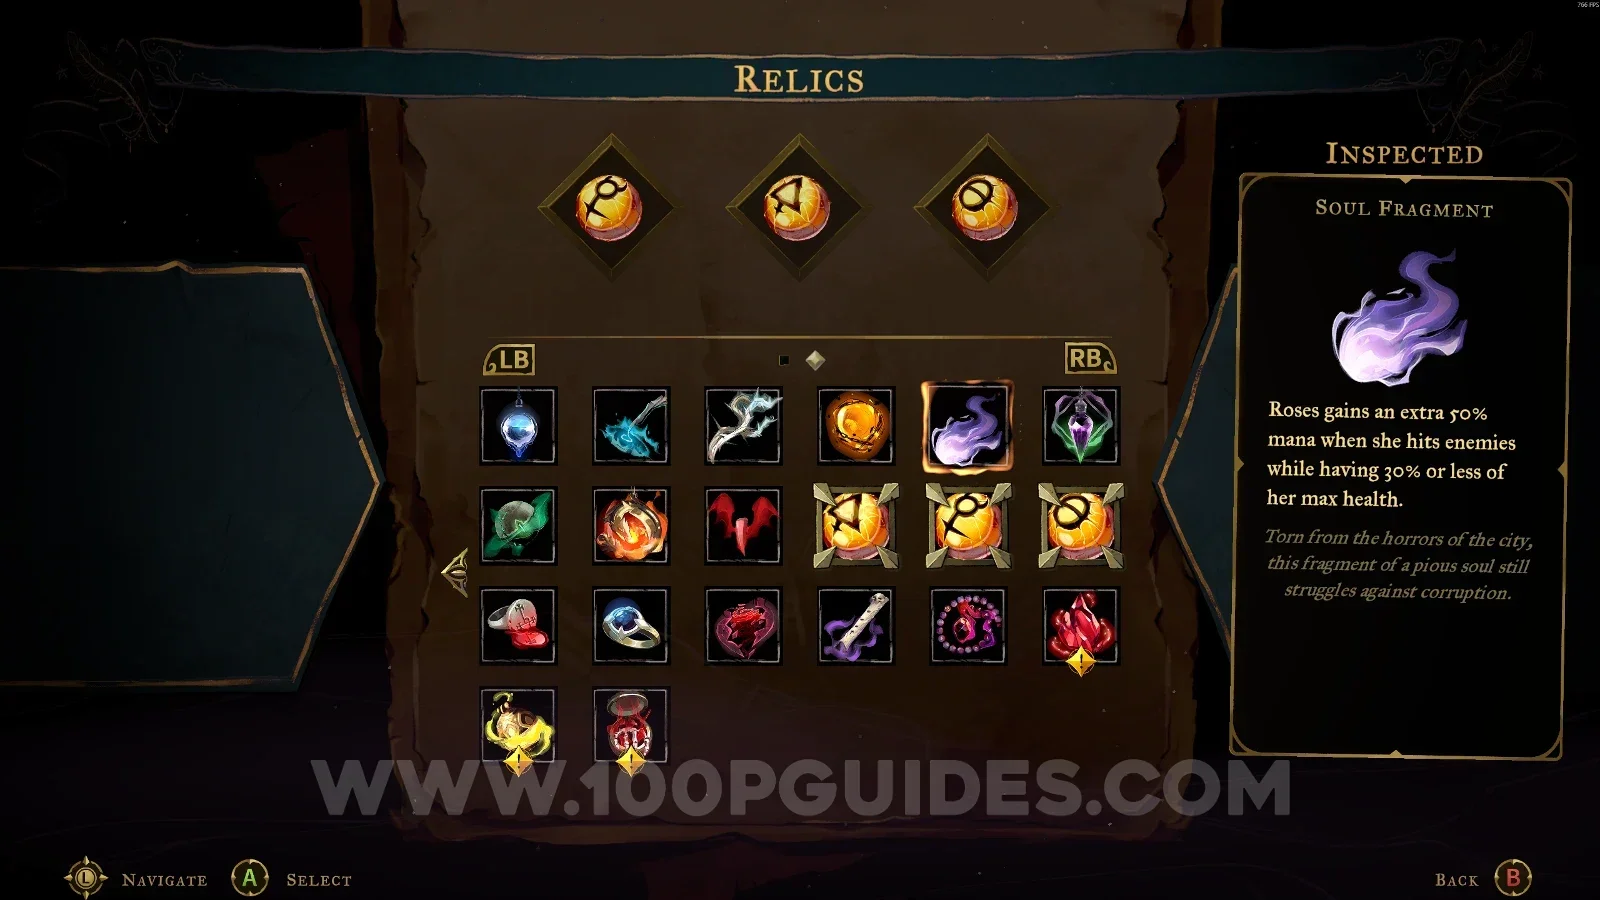
Soul Fragment

Notre-Dame > Nave

At the top of the area marked on the map. You reach this area from the lower part of the map.
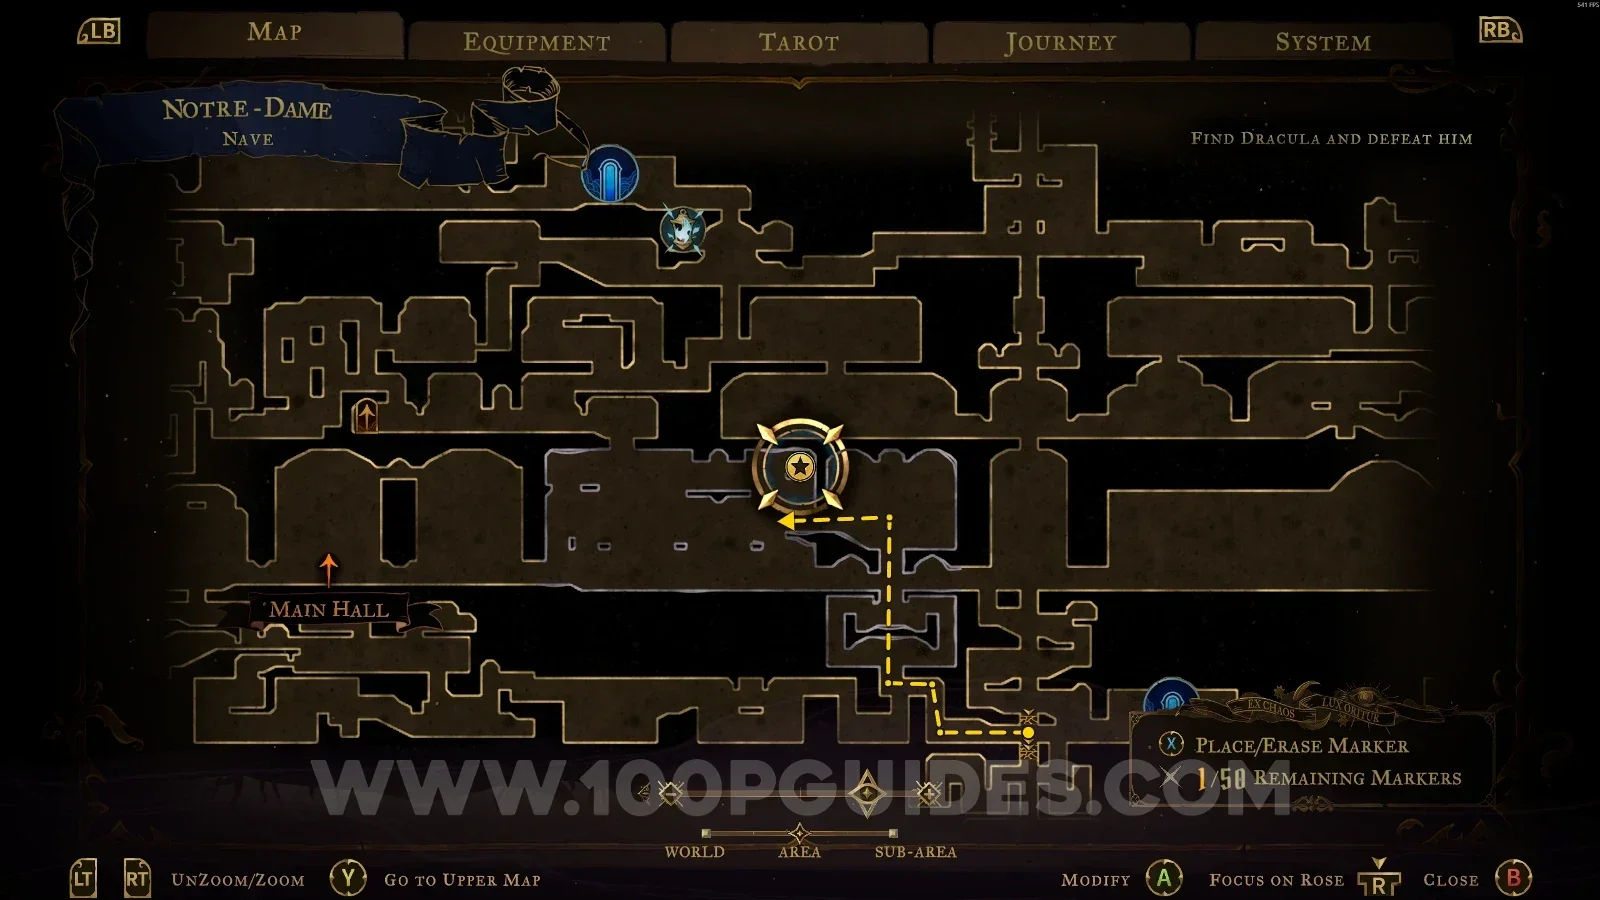
Castlevania Belmonts Curse Notre-Dame Nave map marking the Soul Fragment relic at the top Castlevania Belmonts Curse Nave: reaching the marked area from the lower part of the map Castlevania Belmonts Curse: the Soul Fragment relic chest at the top of the Nave area

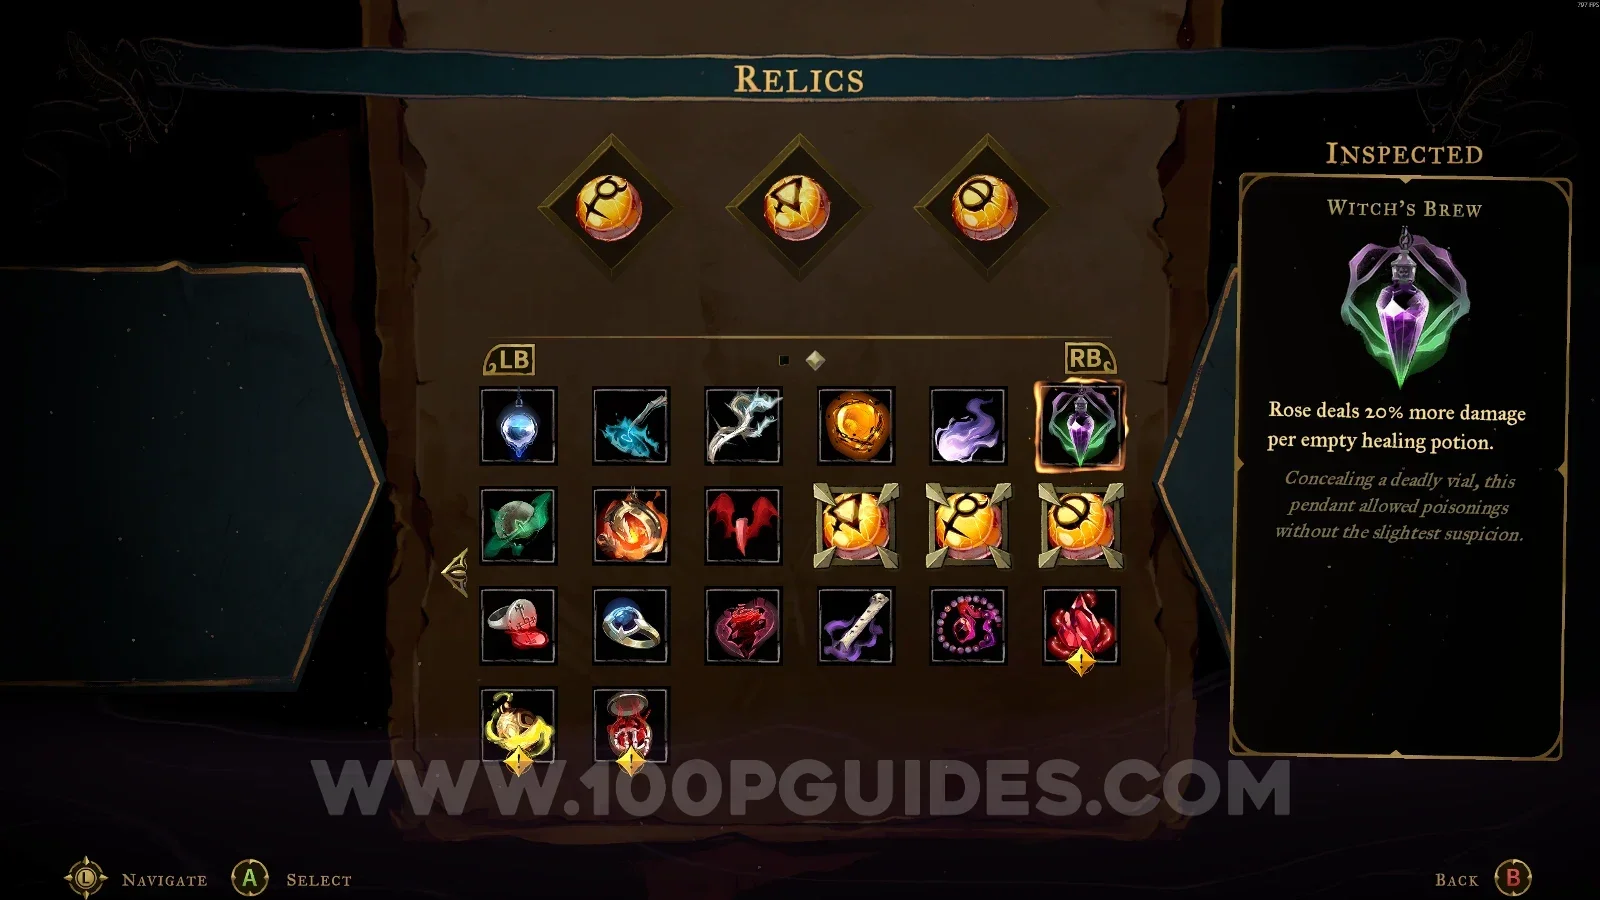
Witch's Brew

Notre-Dame > Transept

You reach this area from the area called La Flèche. Drop down and quickly dash to the platform, then break the wall on the left side.
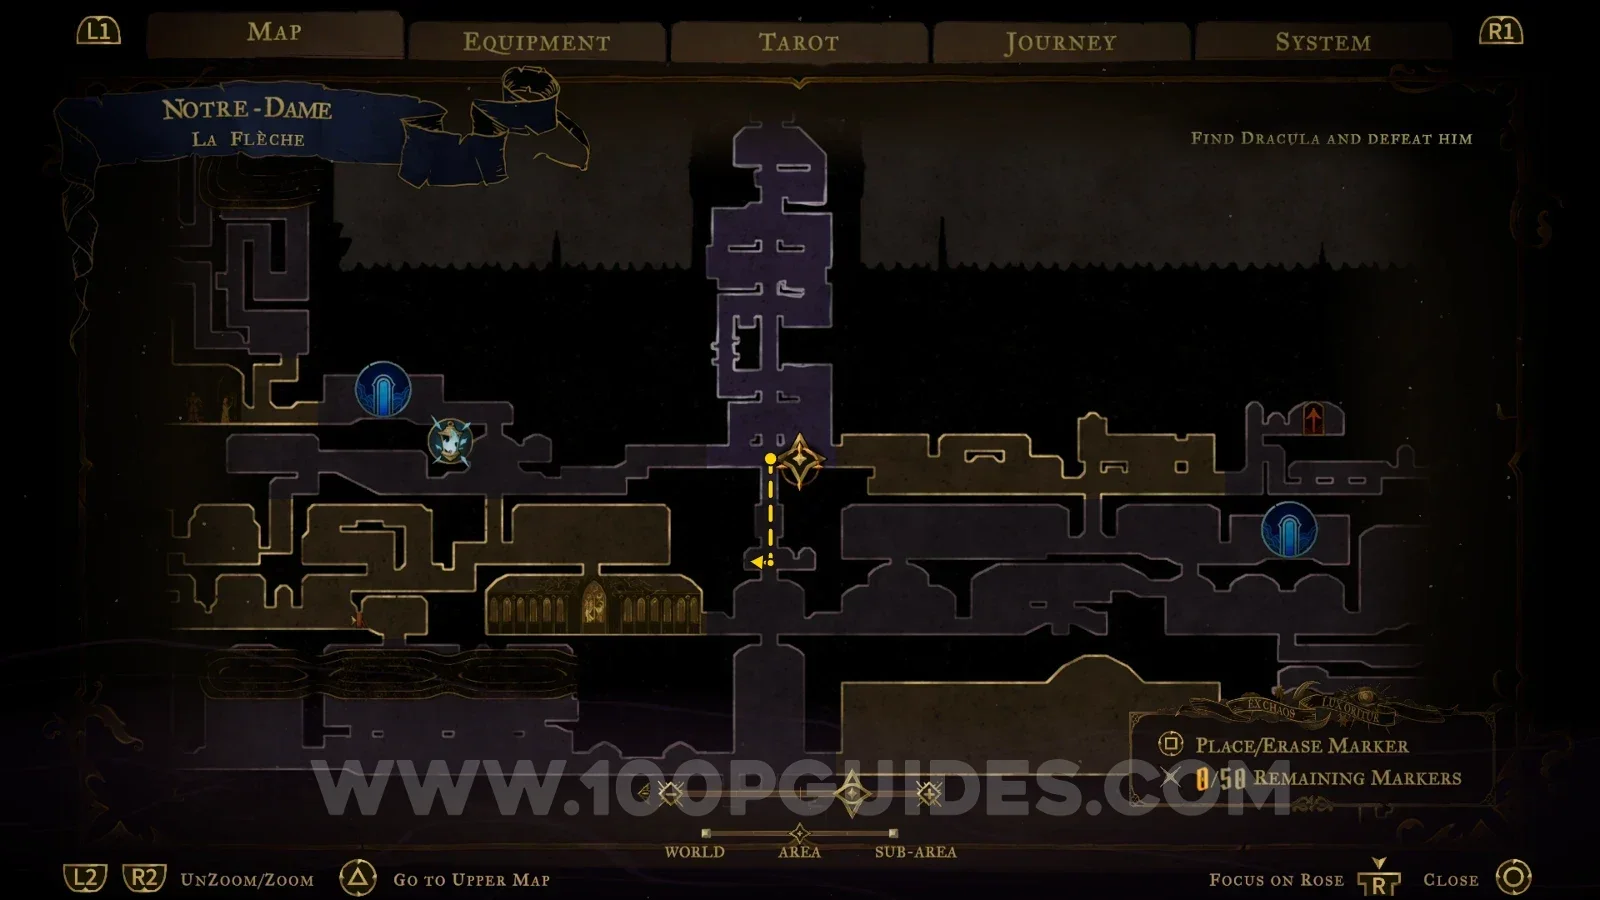
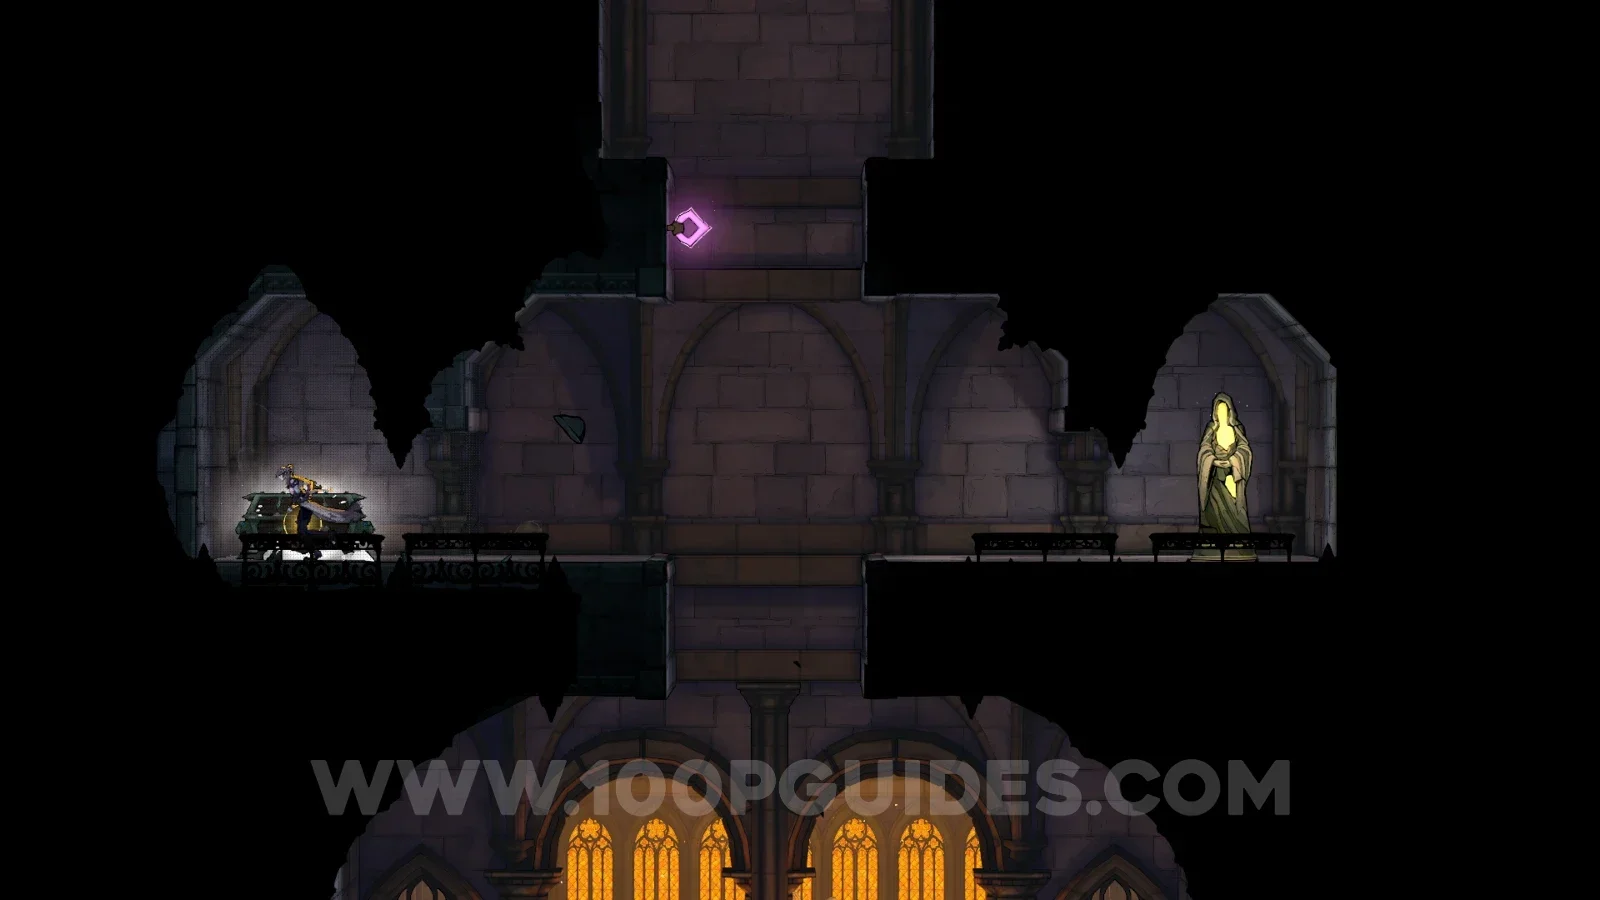
Castlevania Belmonts Curse Transept: dropping down from La Flèche toward the Witch's Brew relic Castlevania Belmonts Curse Transept: quickly dashing to the platform after dropping down Castlevania Belmonts Curse Transept: breaking the left wall to reach the Witch's Brew relic

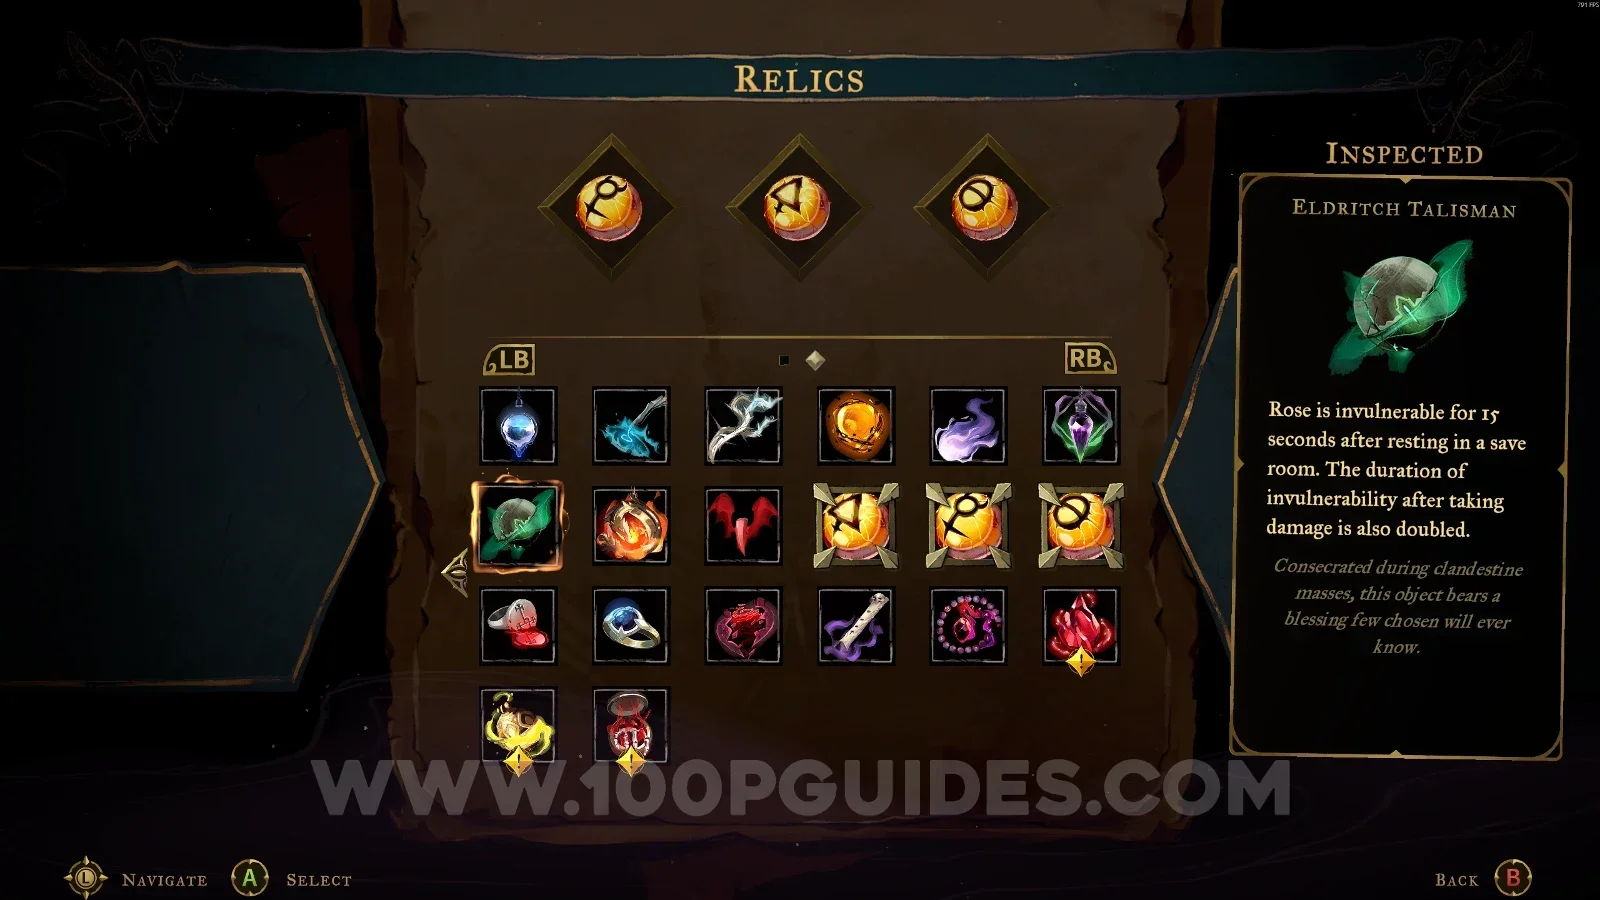
Eldritch Talisman

Notre-Dame > East Gallery

Use the Arcane Whip to launch yourself upward, then use the Smash arcane power to break the floor holding the chest.
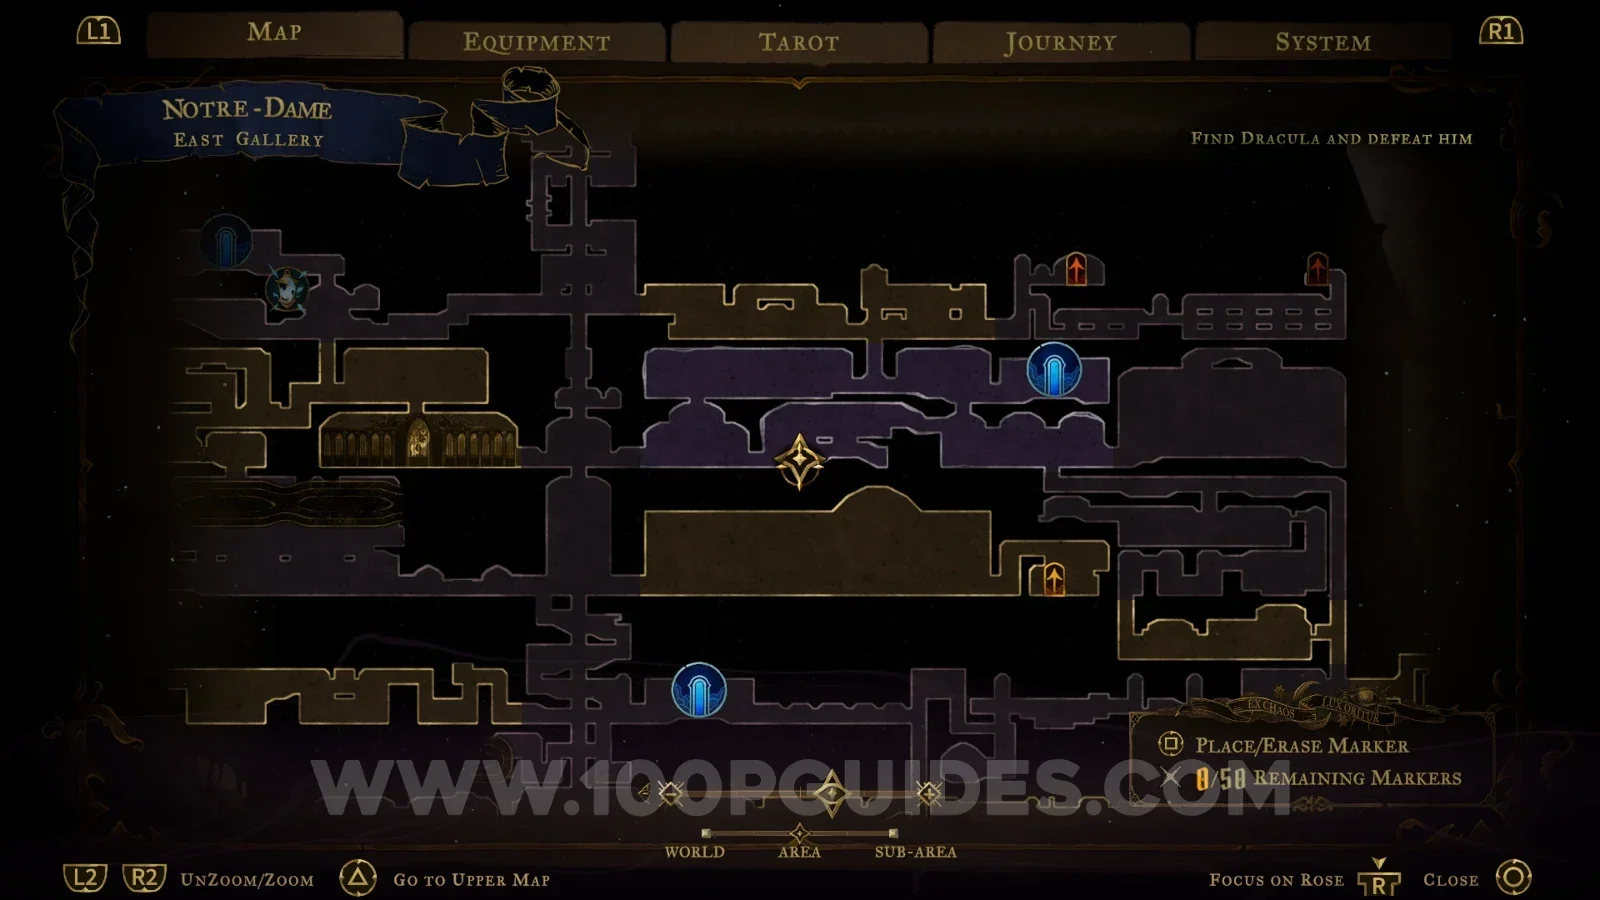
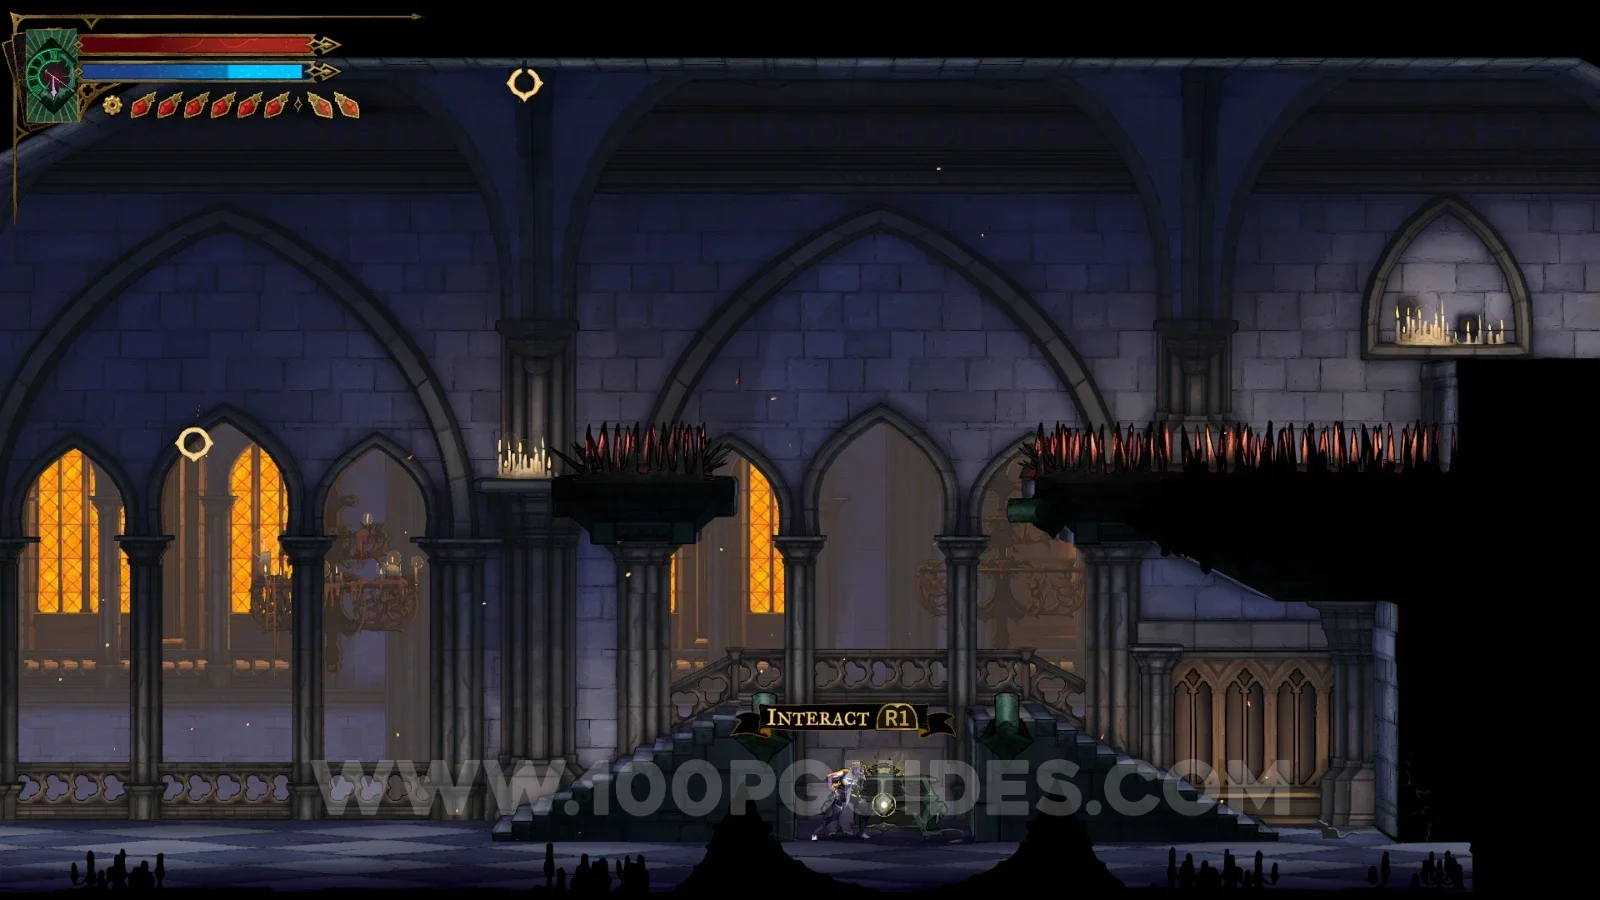
Castlevania Belmonts Curse East Gallery: using the Arcane Whip to launch upward in Notre-Dame Castlevania Belmonts Curse East Gallery: using the Smash arcane power to break the floor Castlevania Belmonts Curse: the chest with the Eldritch Talisman relic in the East Gallery

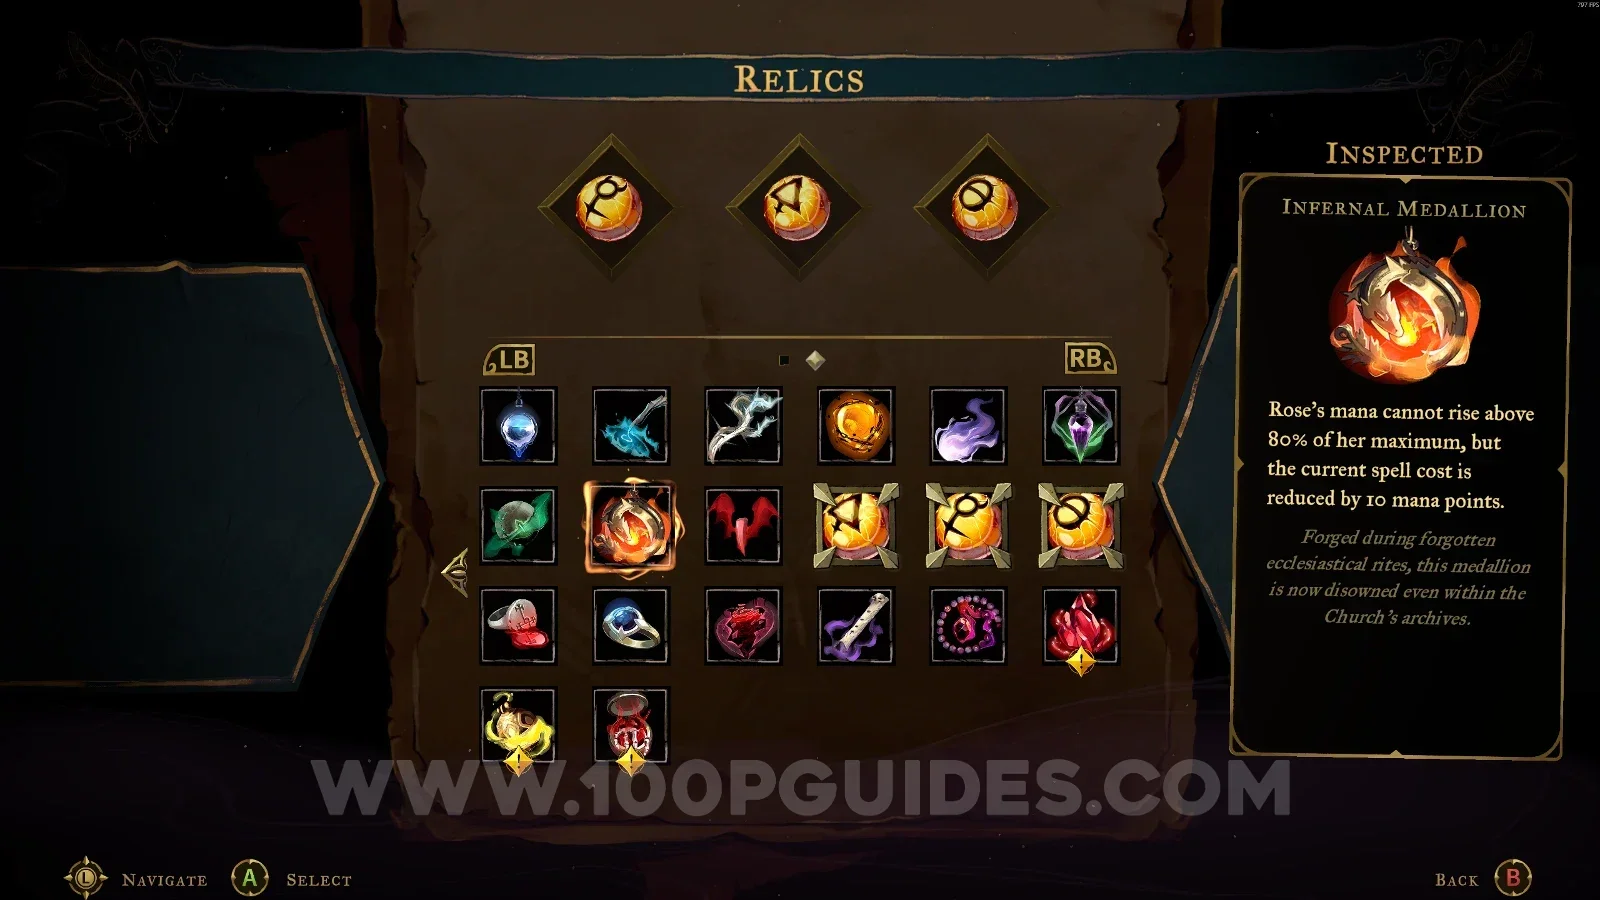
Infernal Medallion

Notre-Dame > Reliquary

In the area marked on the map, you'll have to press the pressure plate on the wall to open a gate on the right side that contains the chest.
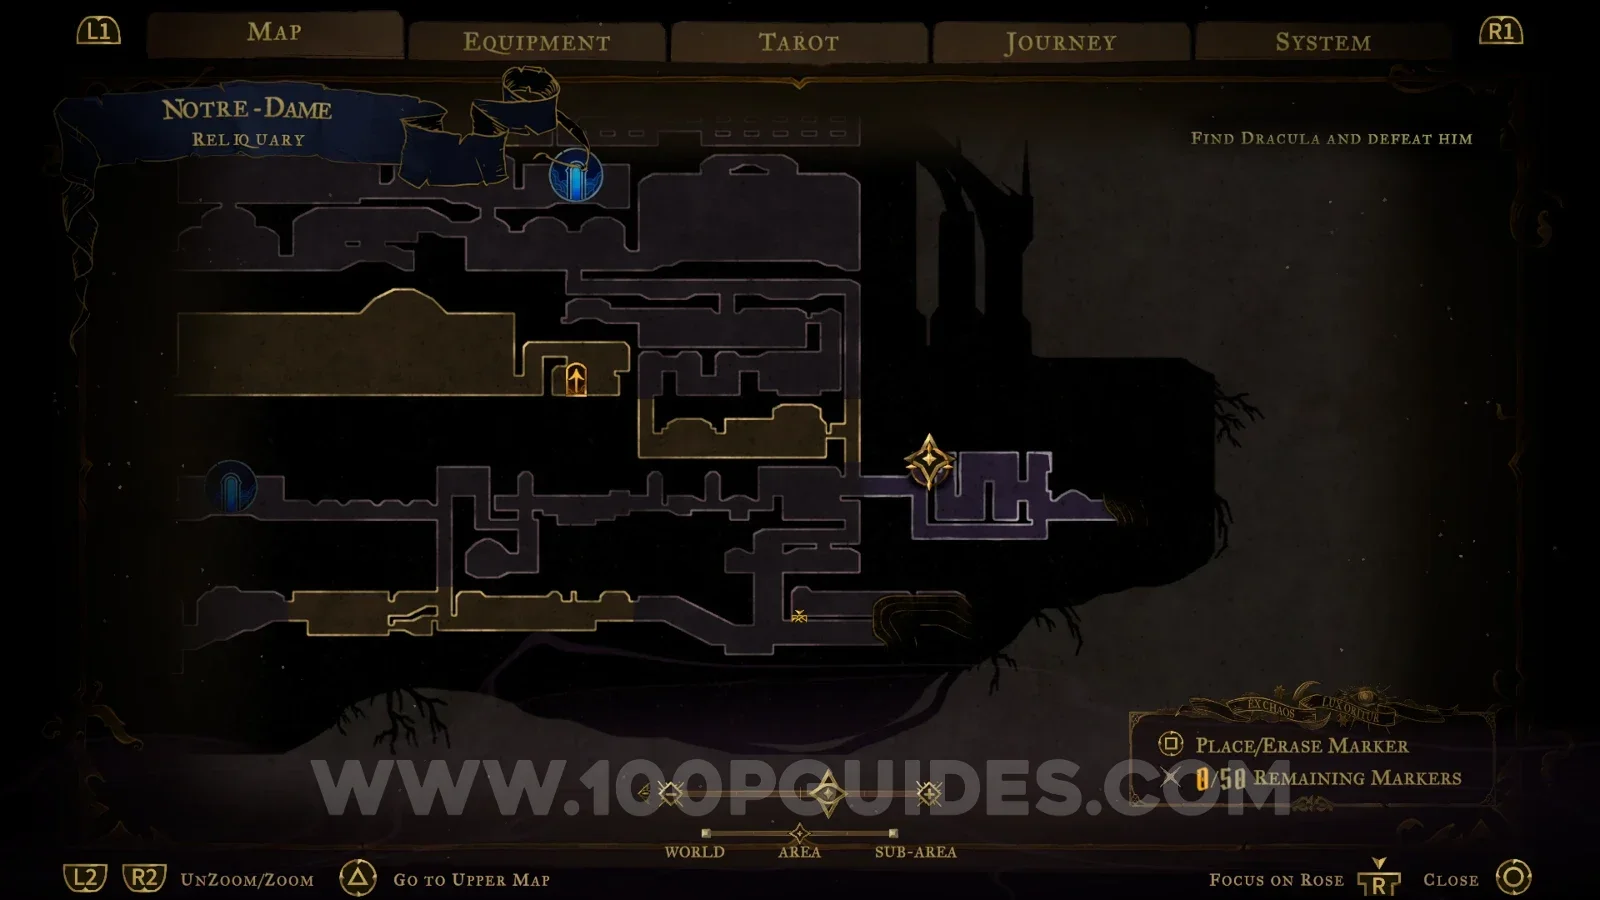
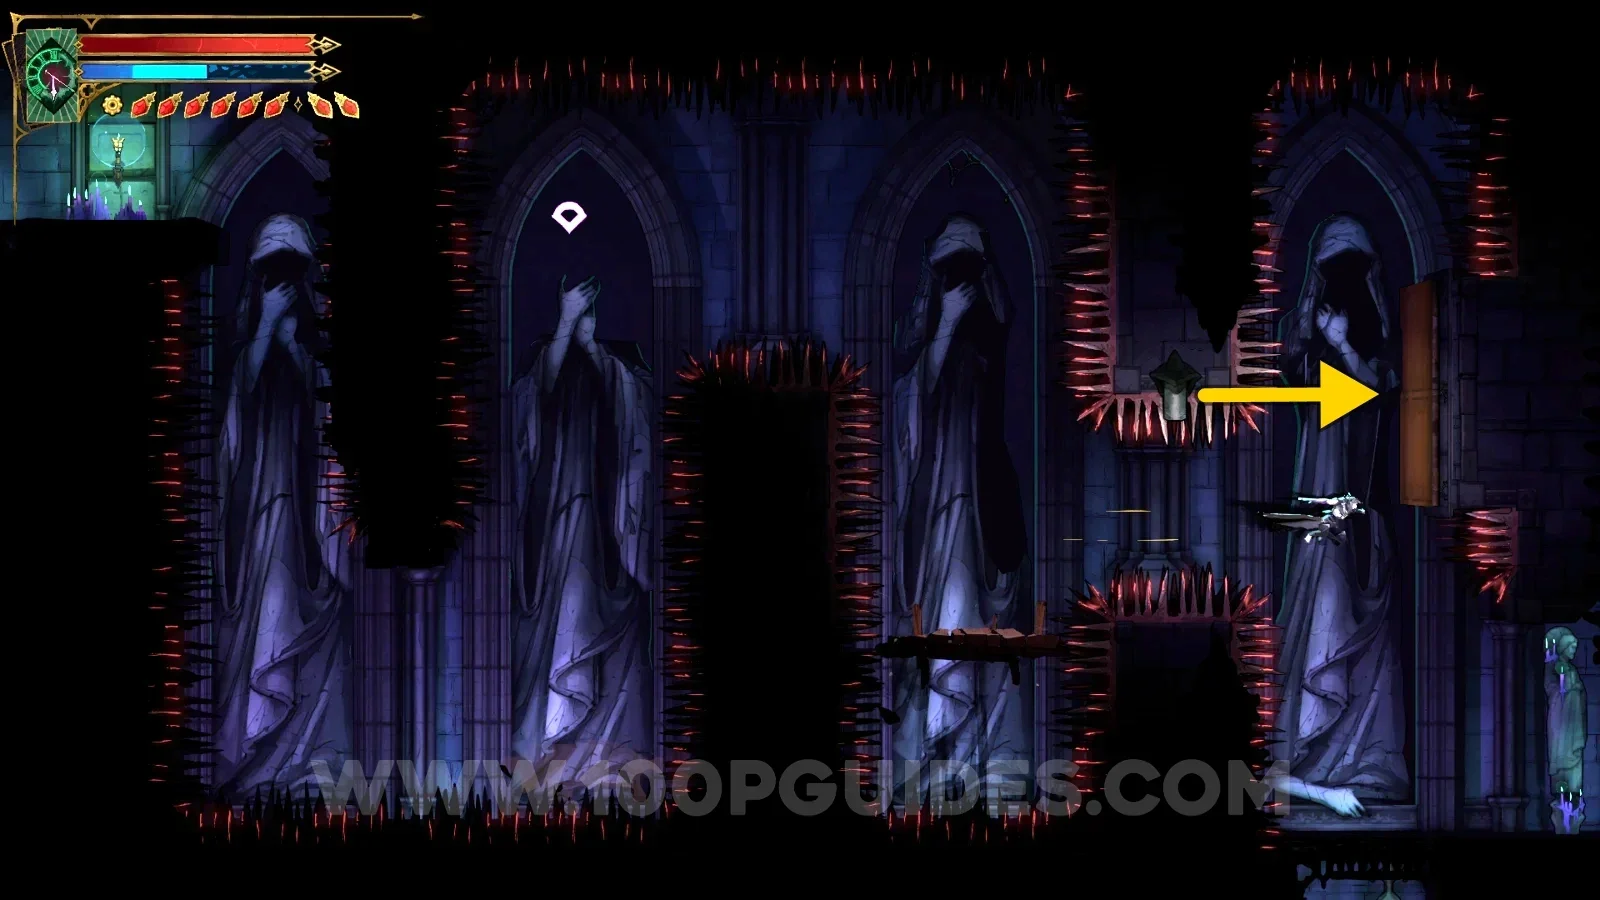
Castlevania Belmonts Curse Reliquary map marking the Infernal Medallion relic area in Notre-Dame Castlevania Belmonts Curse Reliquary: pressing the pressure plate on the wall Castlevania Belmonts Curse Reliquary: the gate on the right side opened by the pressure plate Castlevania Belmonts Curse: the Infernal Medallion relic chest behind the right side gate

Vampire's Fang

Holy Innocents' Cemetery > Serpents' Lair

Can be obtained from the chest in the center of the room after destroying the 5 Haunted Coffins scattered around Holy Innocents' Cemetery.
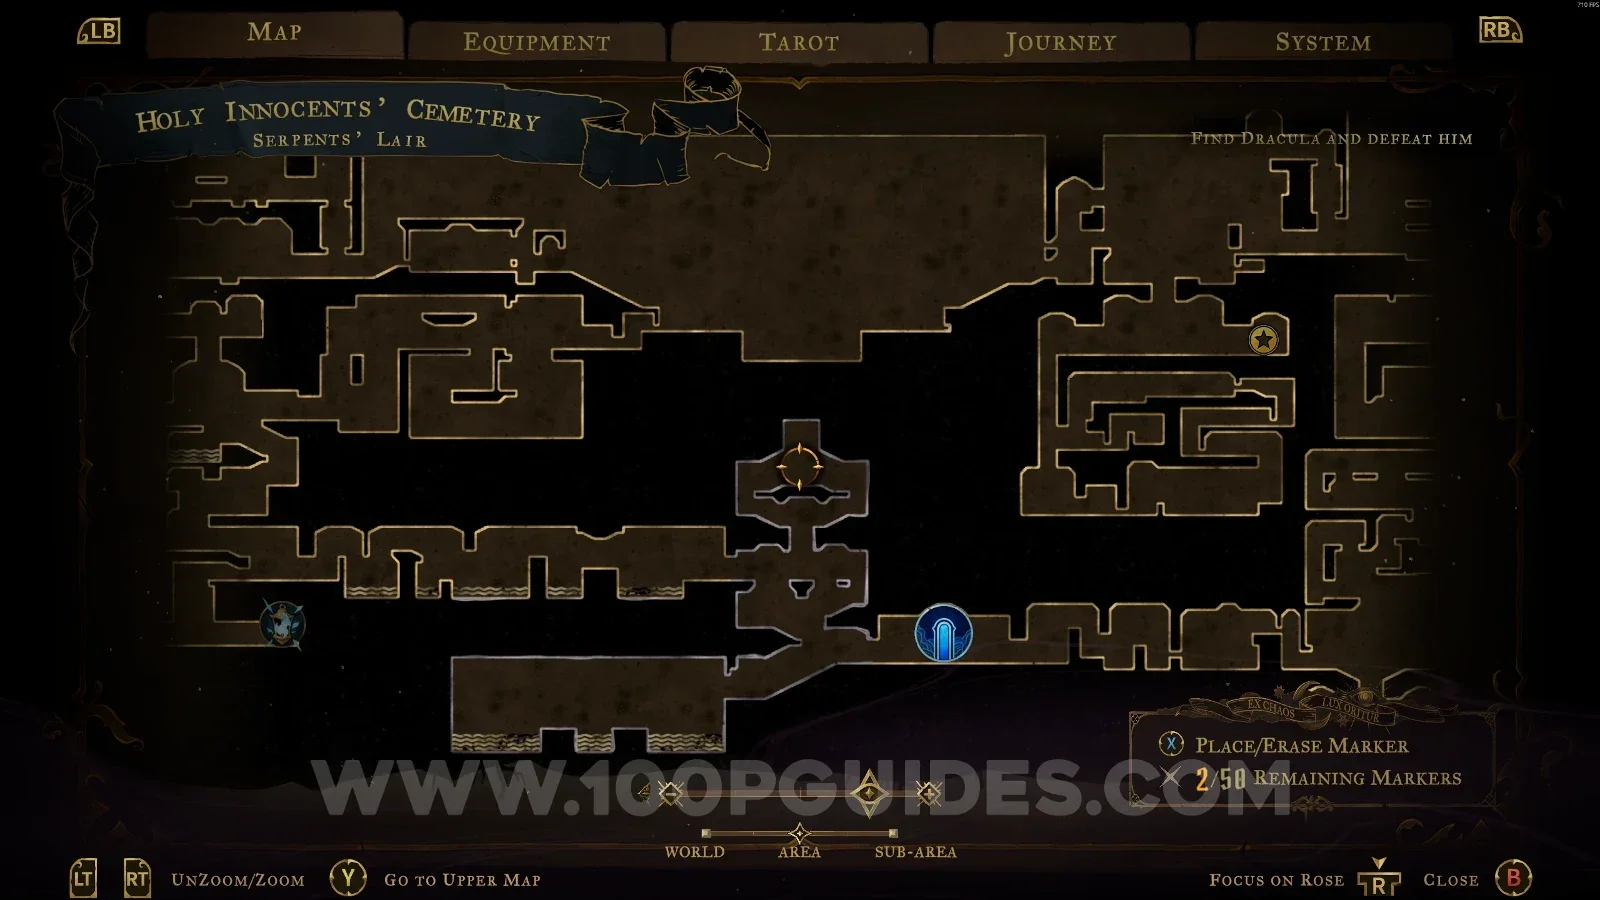
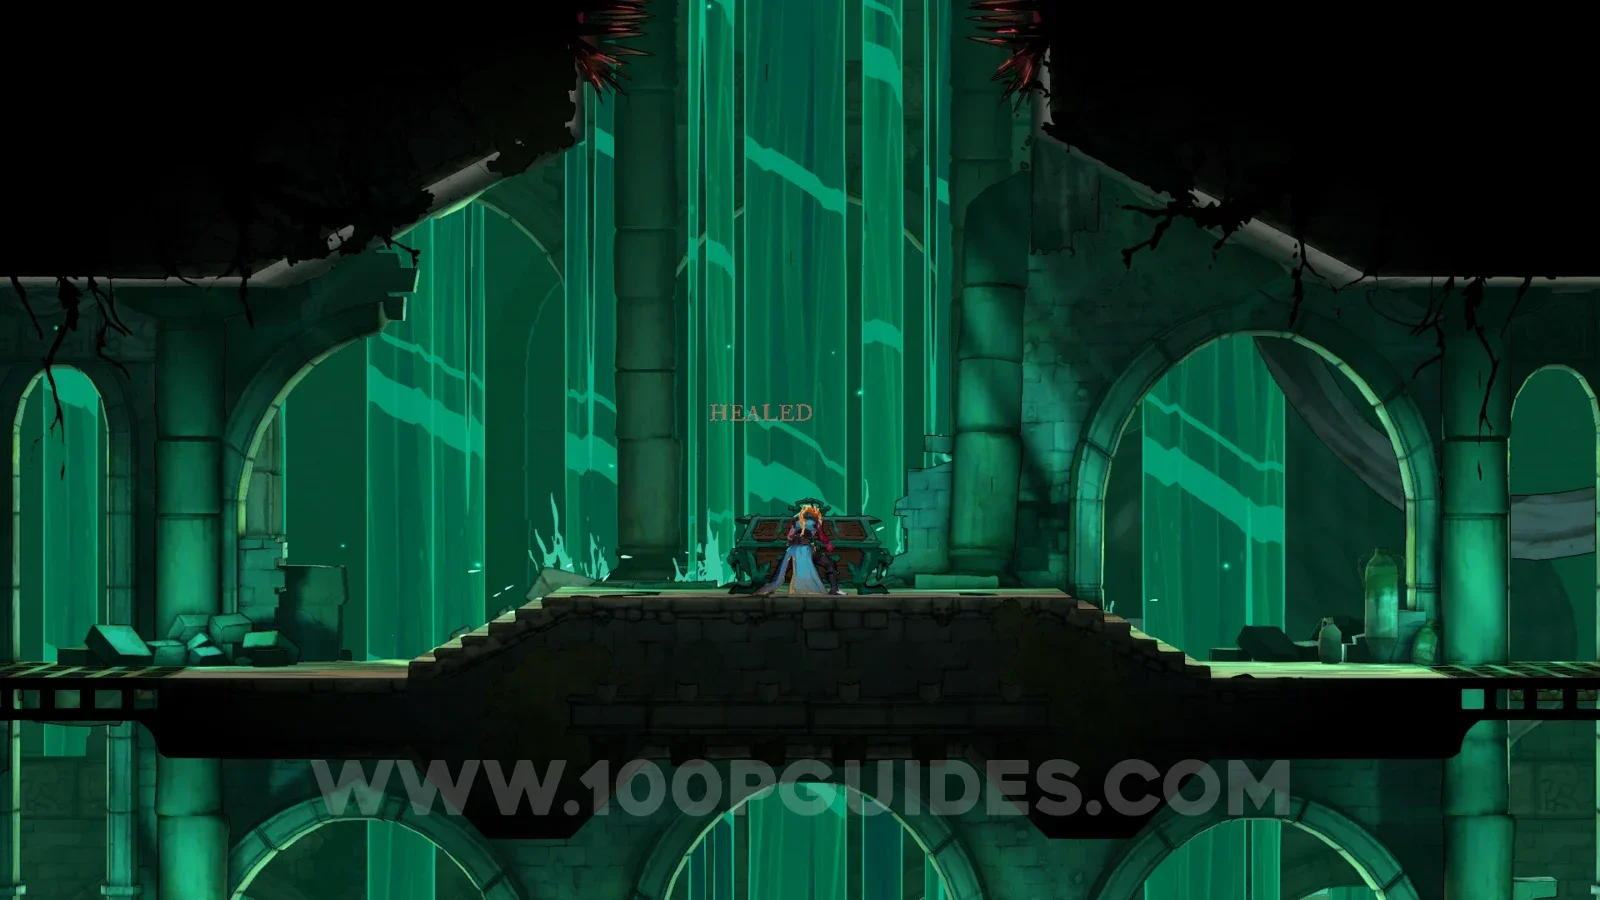
Castlevania Belmonts Curse Serpents' Lair map marking the Vampire's Fang relic room Castlevania Belmonts Curse Serpents' Lair: the room opened after destroying the 5 Haunted Coffins Castlevania Belmonts Curse: the Vampire's Fang relic chest in the center of the Serpents' Lair

Haunted Coffin #1

Break the floor to reach the area with the coffin.
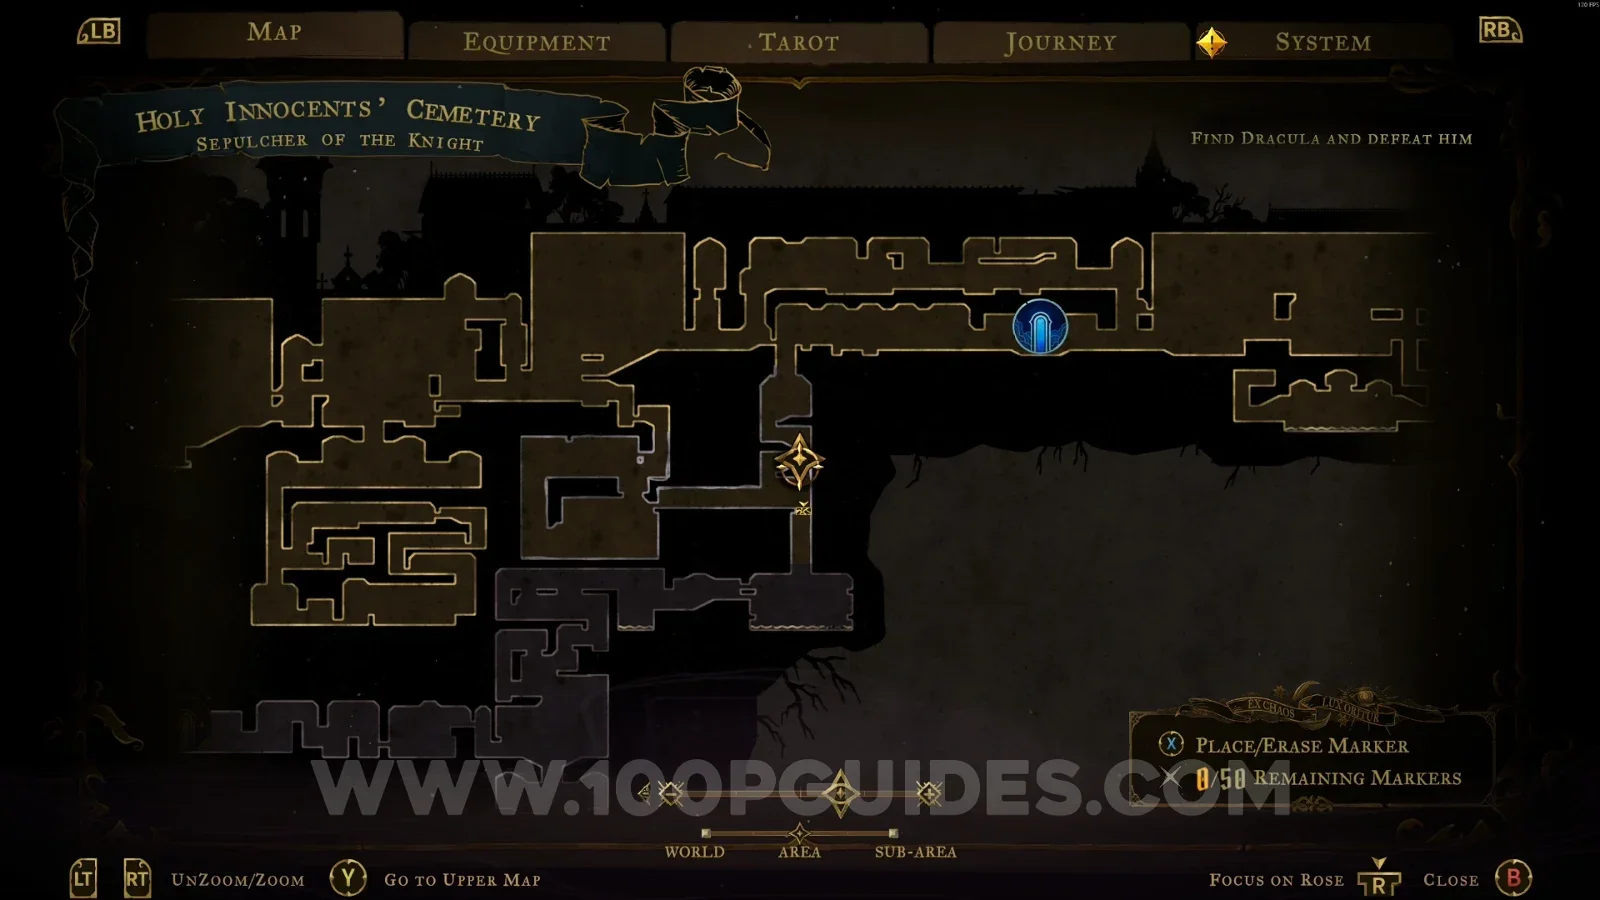
Castlevania Belmonts Curse Haunted Coffin #1: breaking the floor to reach the coffin area Castlevania Belmonts Curse: Haunted Coffin #1 below the broken floor in Holy Innocents' Cemetery

Haunted Coffin #2

Break the wall on the left side to find this coffin.
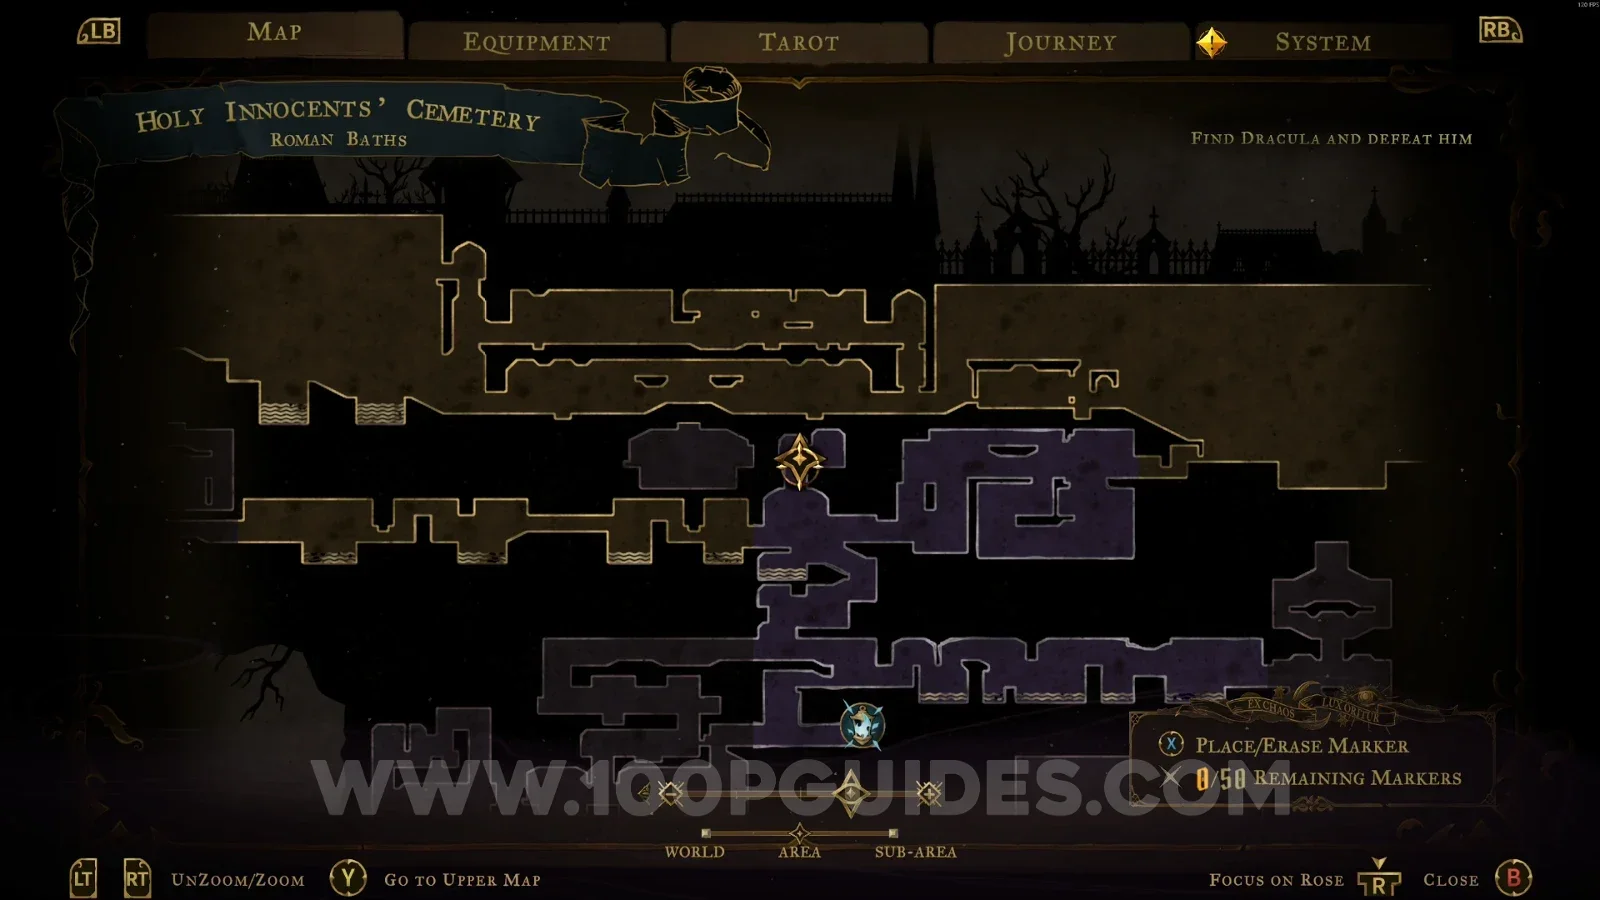
Castlevania Belmonts Curse Haunted Coffin #2: breaking the wall on the left side Castlevania Belmonts Curse: Haunted Coffin #2 behind the broken left wall in the cemetery

Haunted Coffin #3

In the area marked on the map.
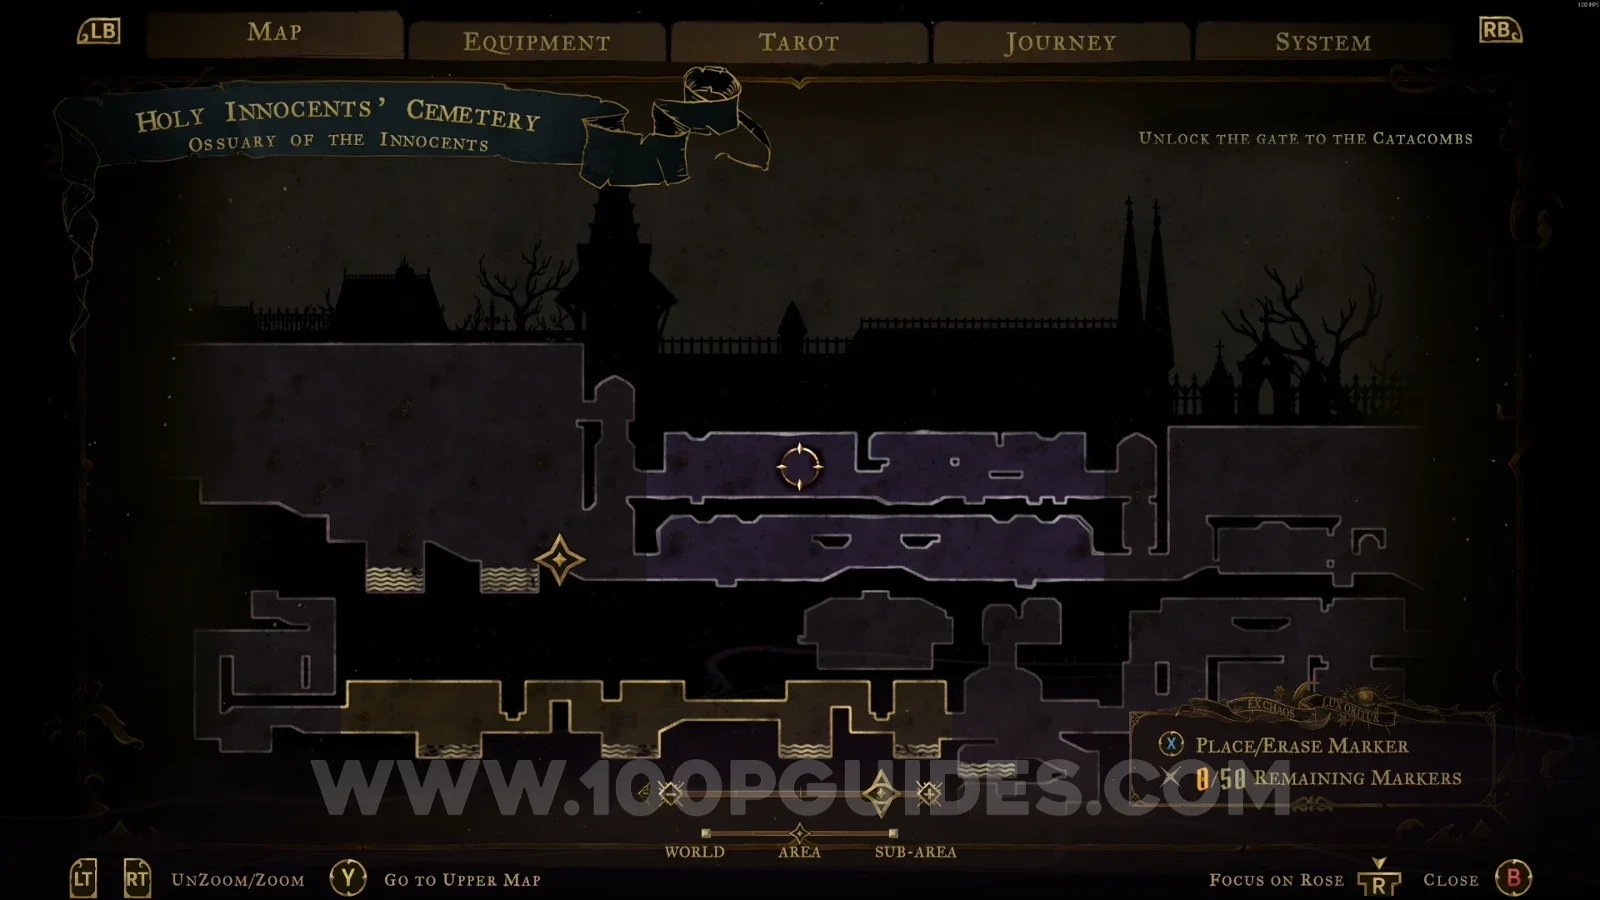
Castlevania Belmonts Curse Holy Innocents' Cemetery map marking the Haunted Coffin #3 location Castlevania Belmonts Curse: Haunted Coffin #3 in the marked area of Holy Innocents' Cemetery

Haunted Coffin #4

Interact with the lever on the right side, then go down to find this coffin.
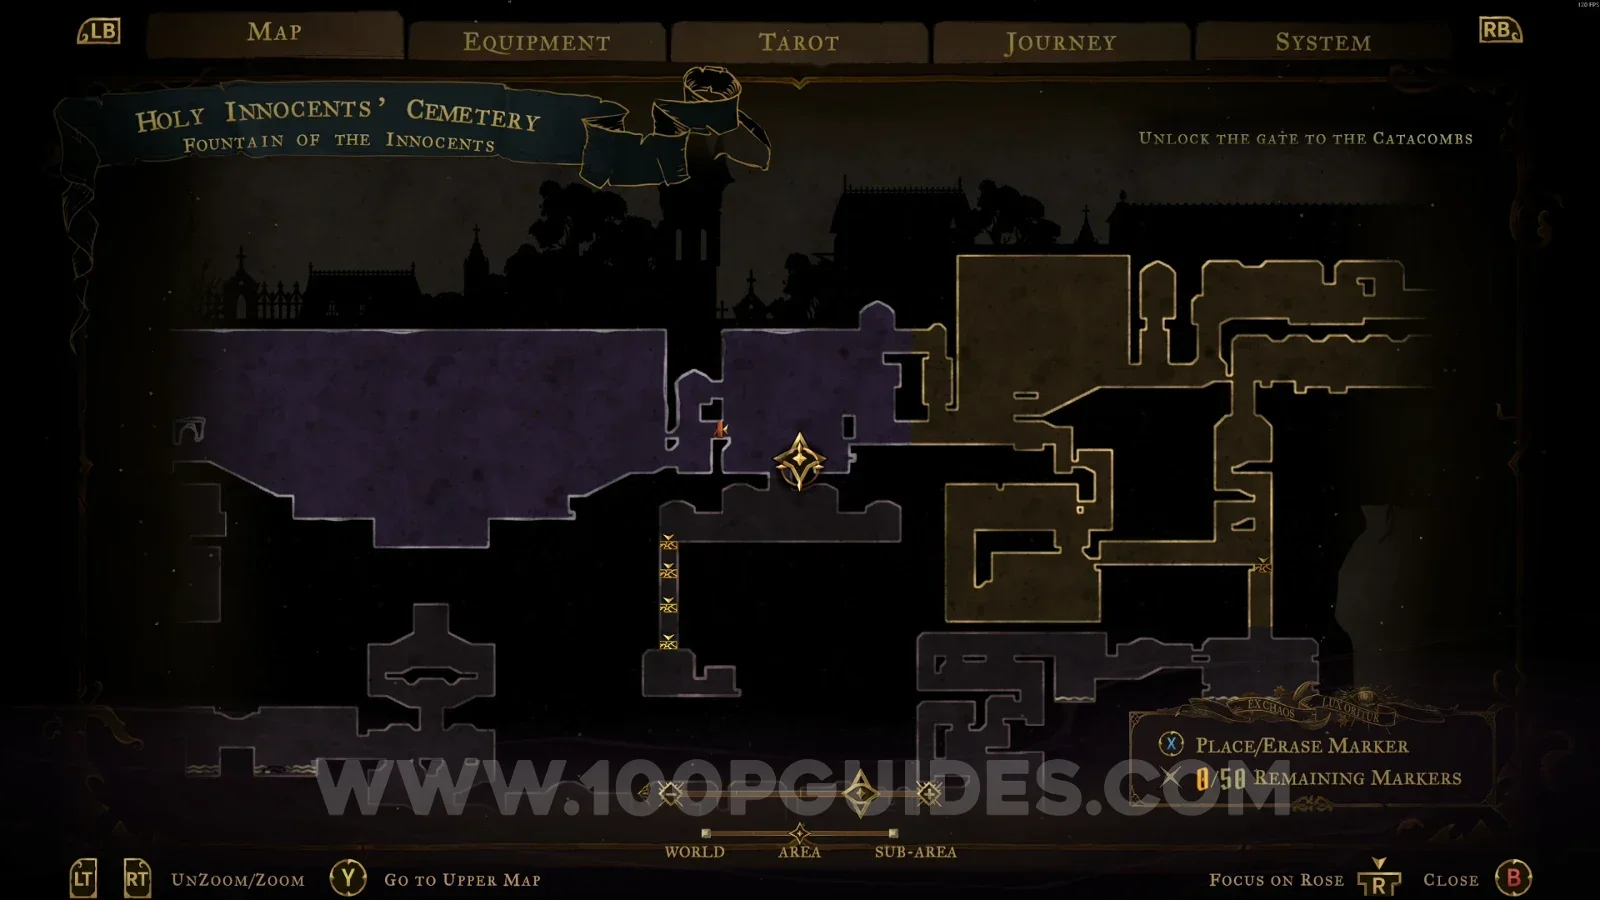
Castlevania Belmonts Curse Haunted Coffin #4: interacting with the lever on the right side Castlevania Belmonts Curse Haunted Coffin #4: going down after pulling the lever Castlevania Belmonts Curse: Haunted Coffin #4 found below the lever in Holy Innocents' Cemetery

Haunted Coffin #5

In the area marked on the map.
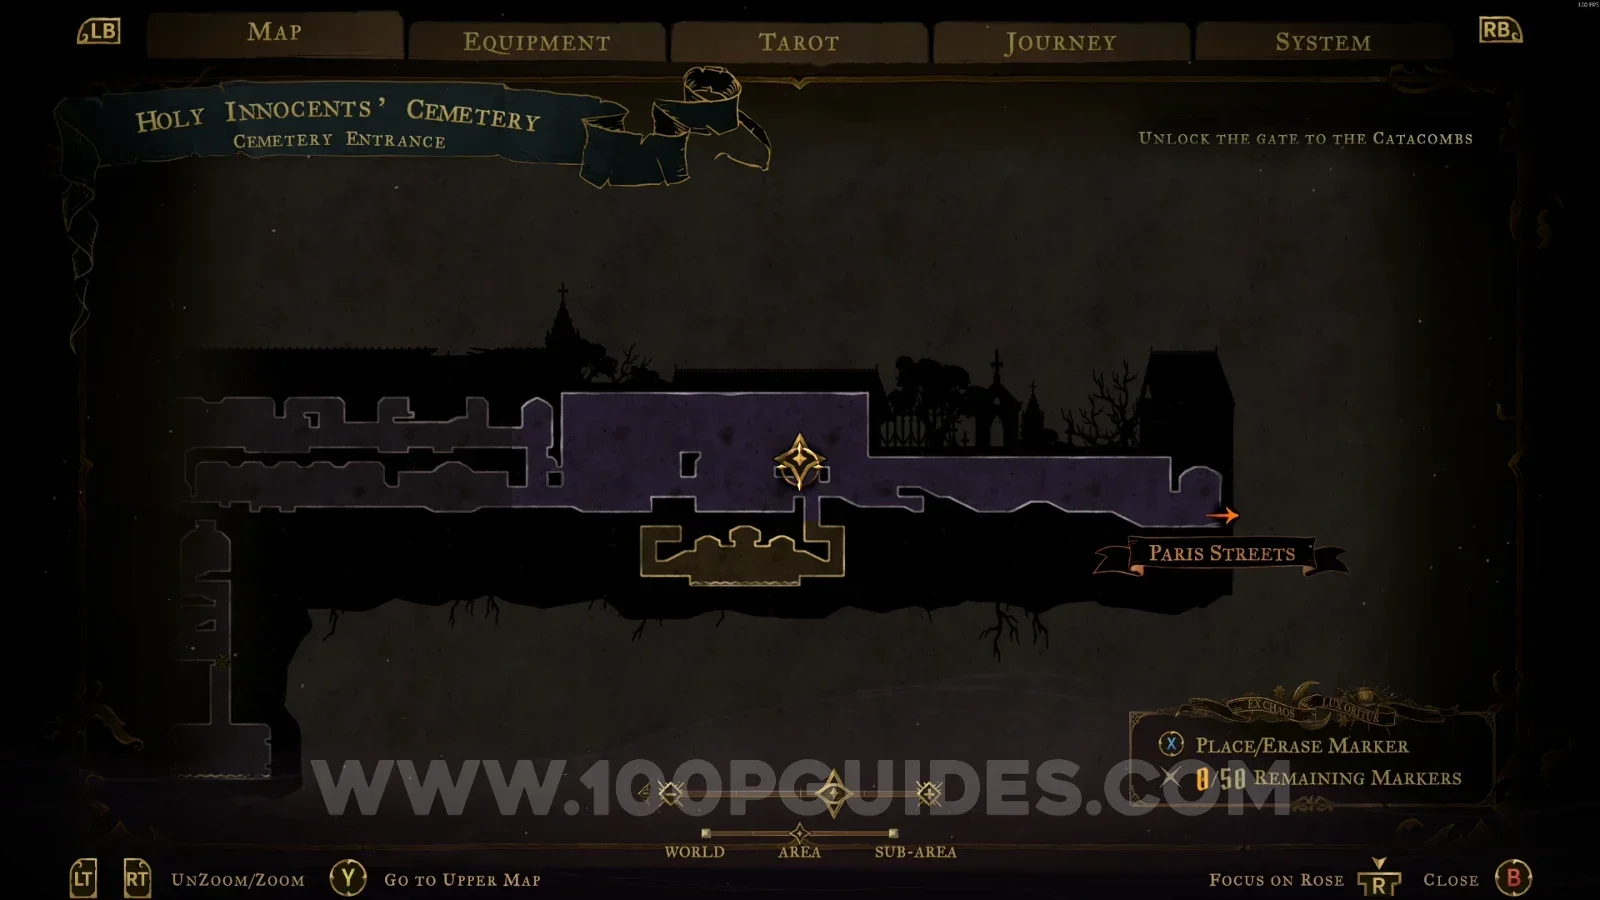
Castlevania Belmonts Curse Holy Innocents' Cemetery map marking the Haunted Coffin #5 location Castlevania Belmonts Curse: Haunted Coffin #5 in the marked area of Holy Innocents' Cemetery

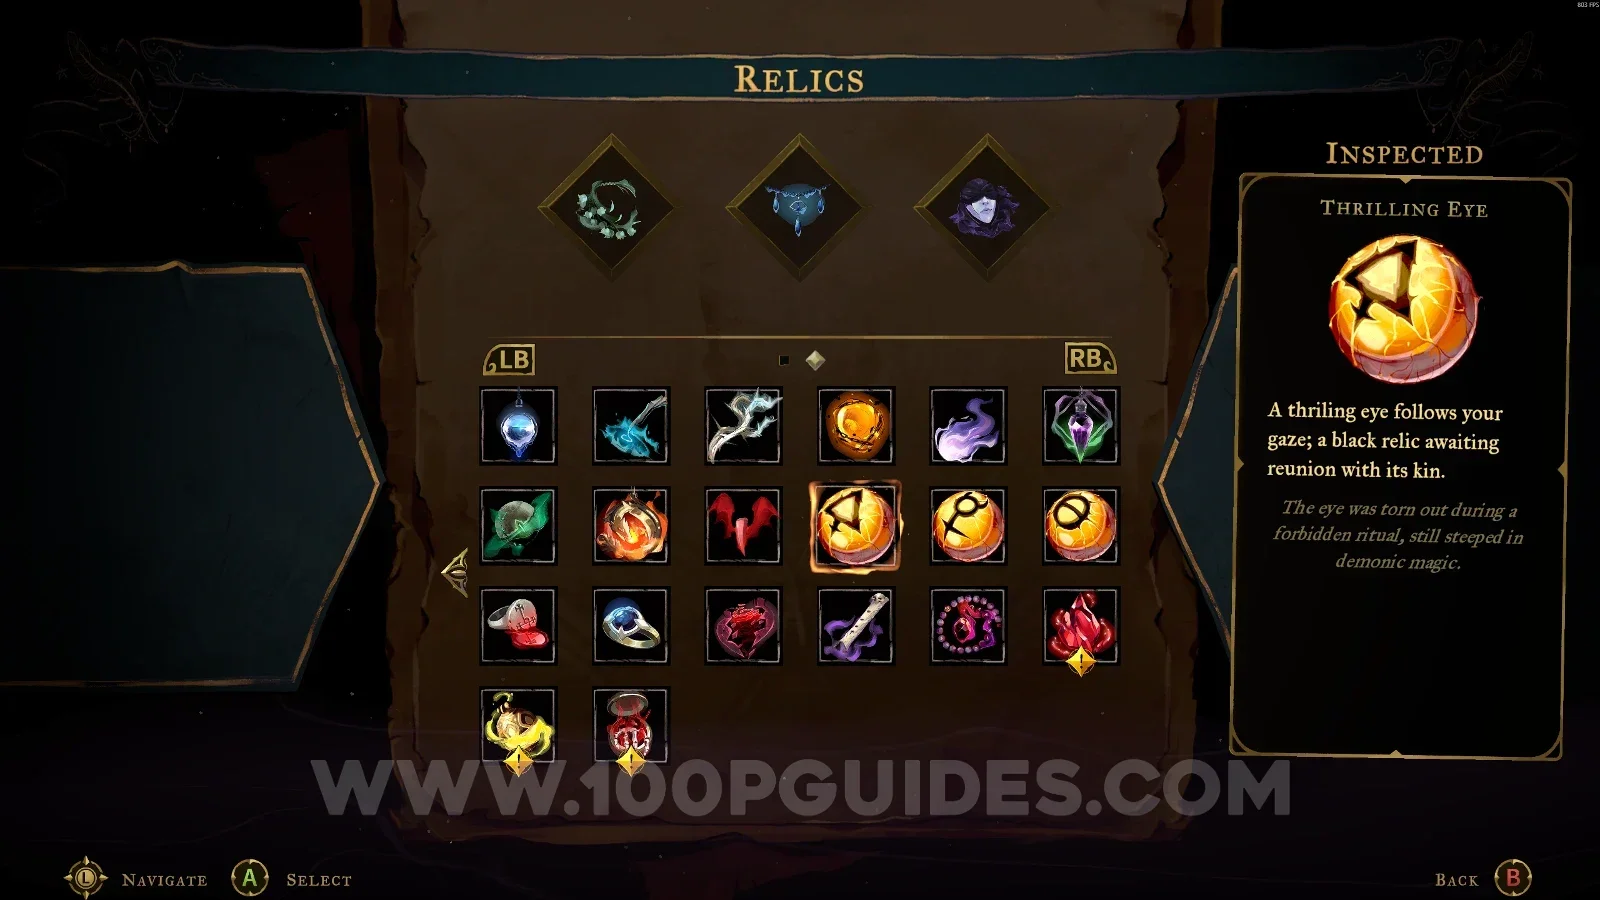
Thrilling Eye

Paris Streets > Street Of The Tomb Masons

Inside the hospital, go to the lower area to find this relic.
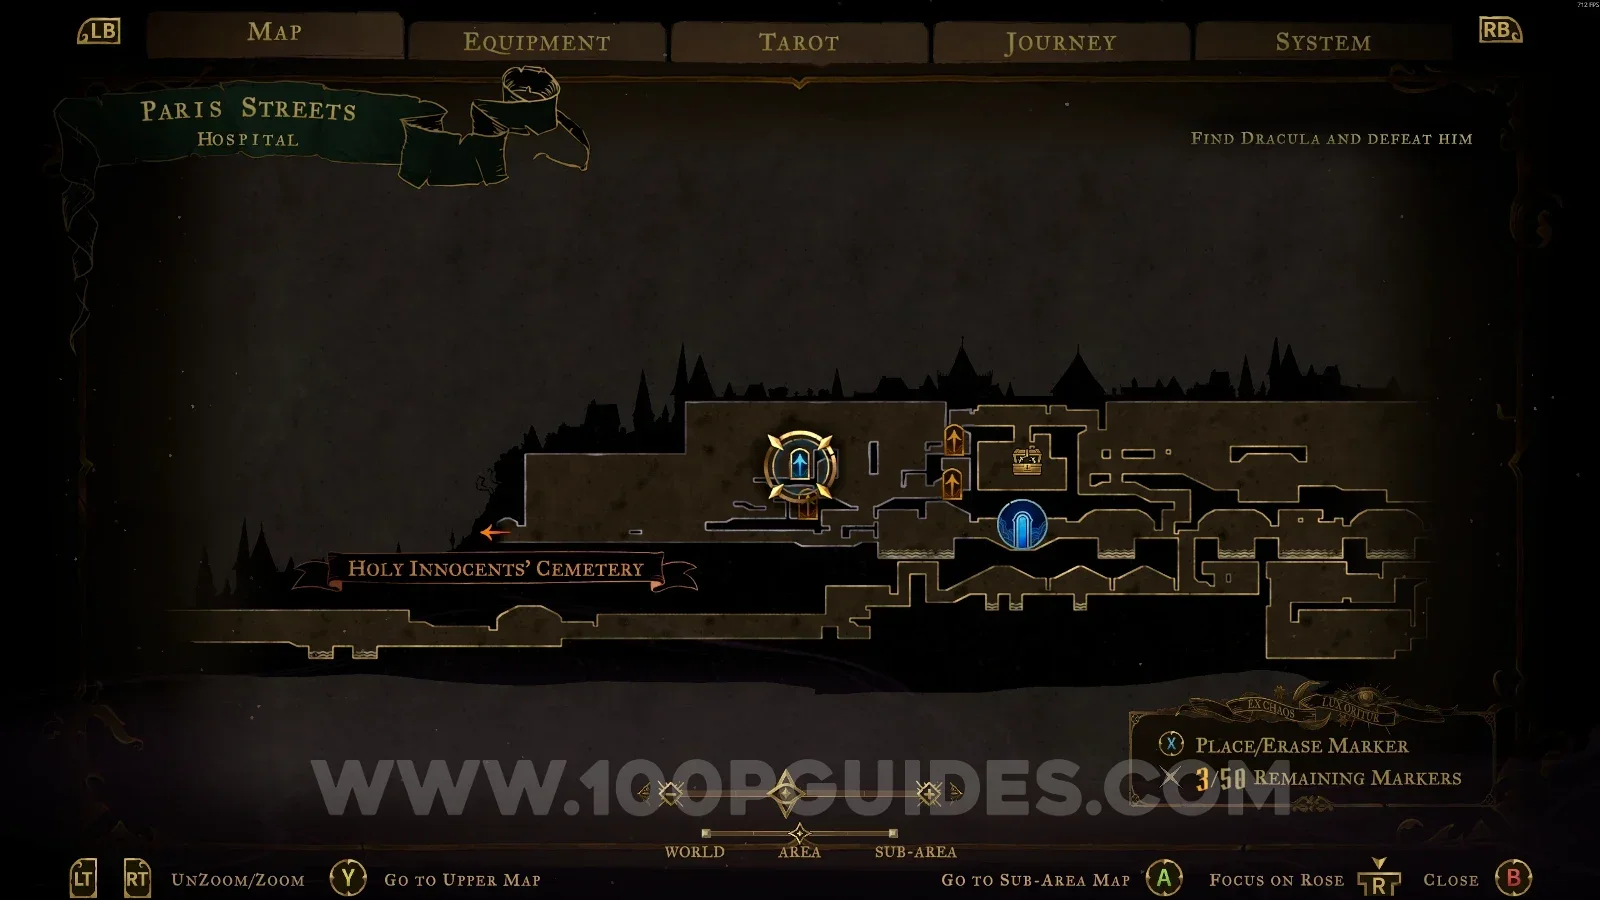
Castlevania Belmonts Curse Street Of The Tomb Masons map marking the hospital with the Thrilling Eye Castlevania Belmonts Curse Street Of The Tomb Masons: heading to the lower area inside the hospital Castlevania Belmonts Curse: the Thrilling Eye relic in the lower area of the hospital

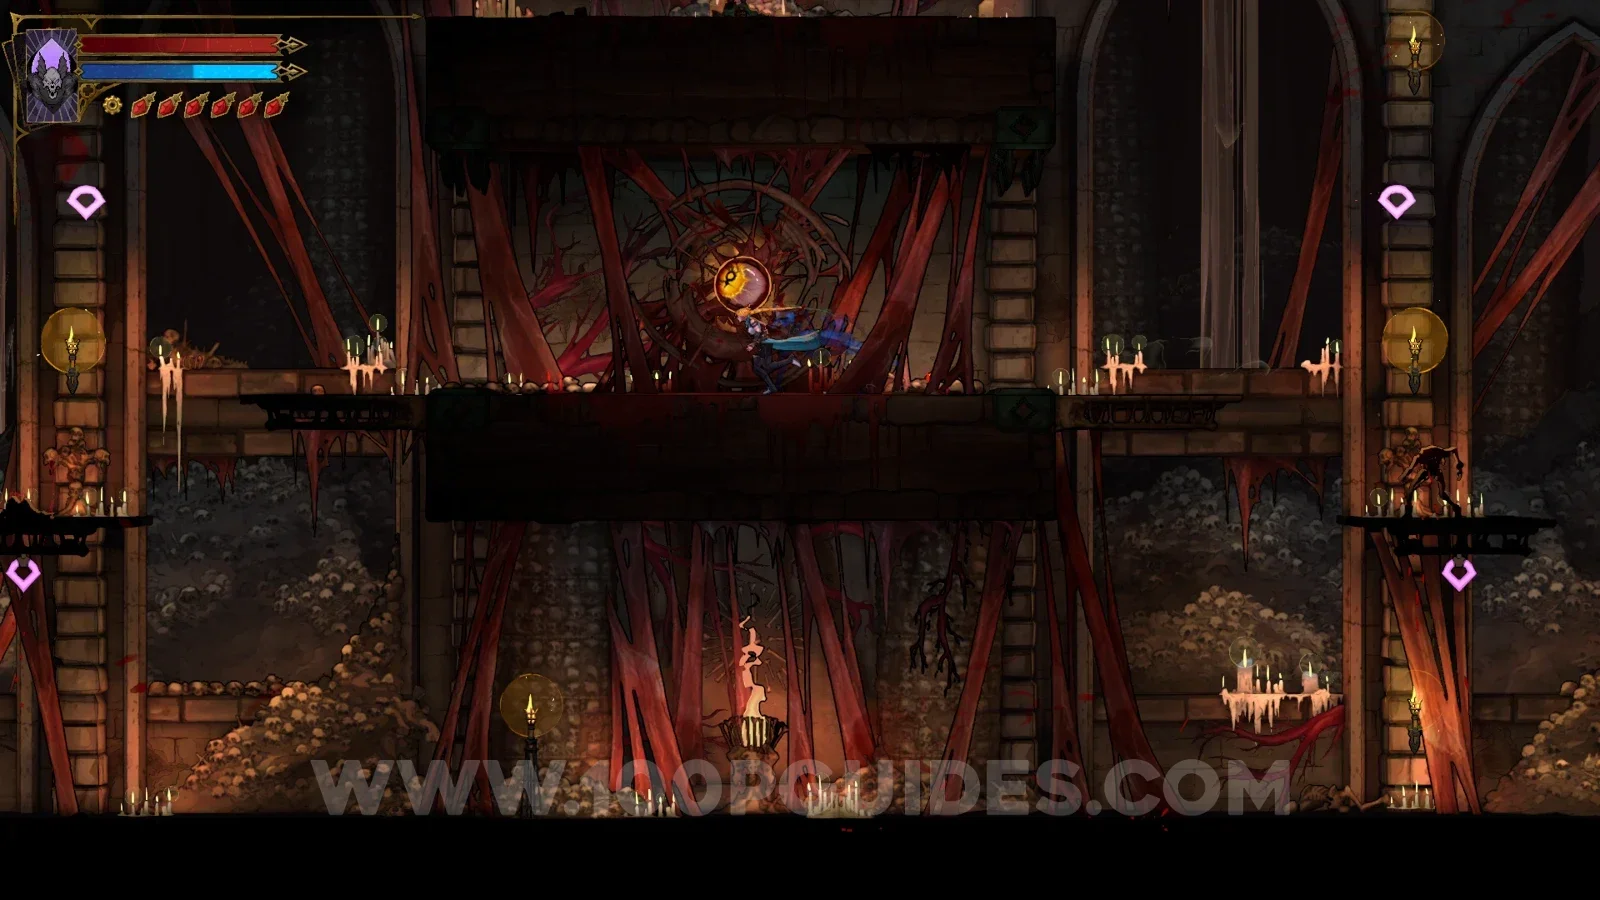
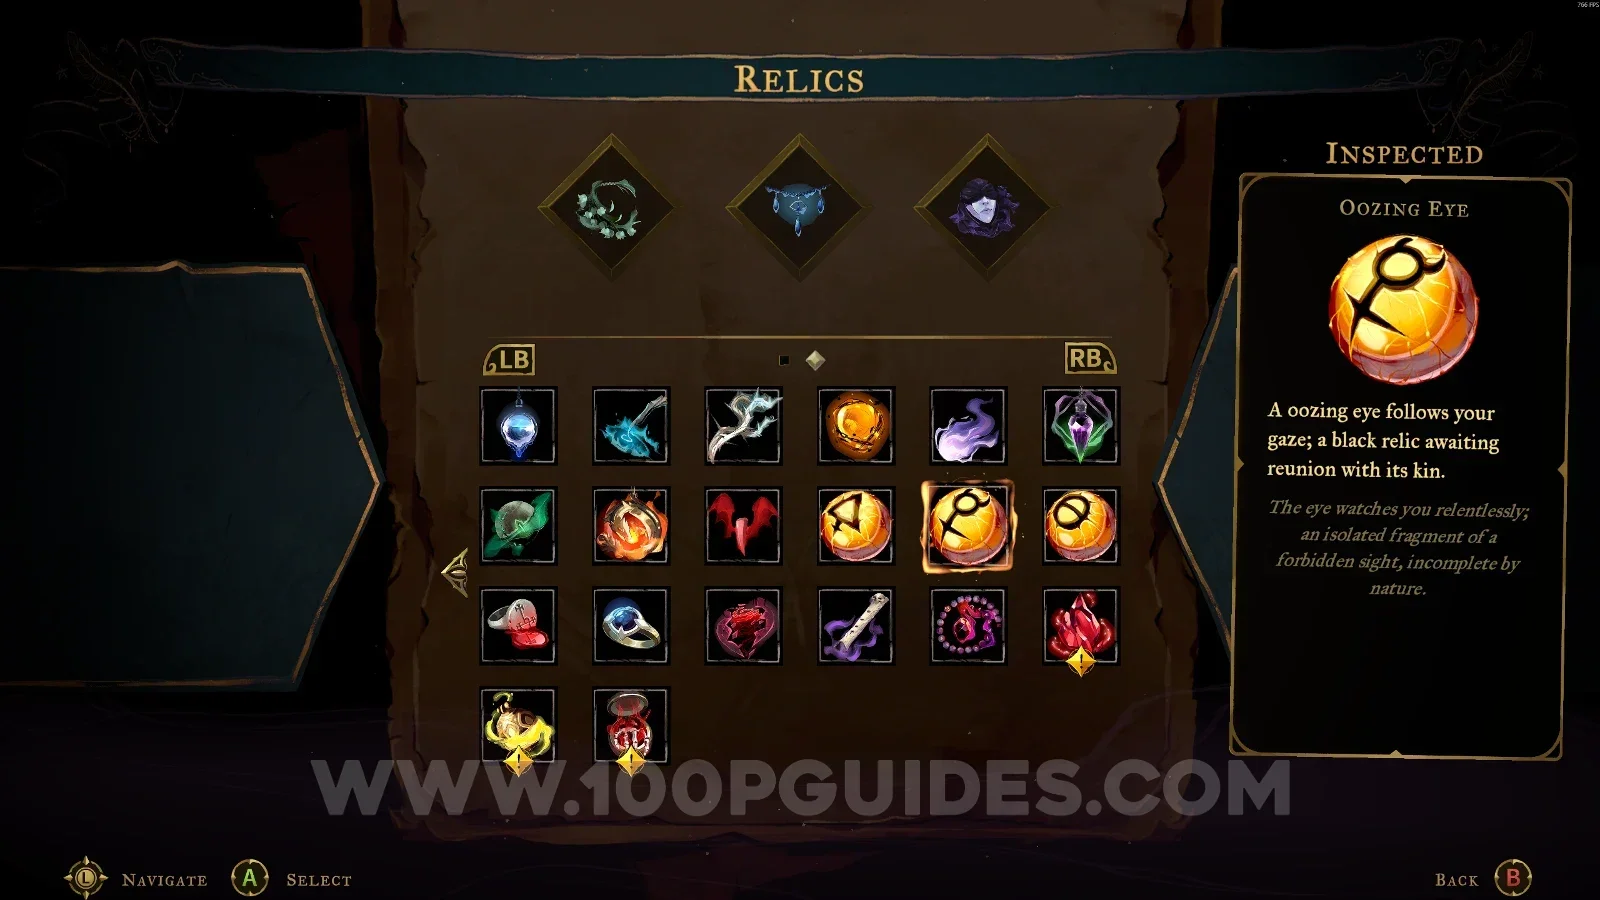
Oozing Eye

Catacombs Of Paris > Circle Of Greed

In the area marked on the map.
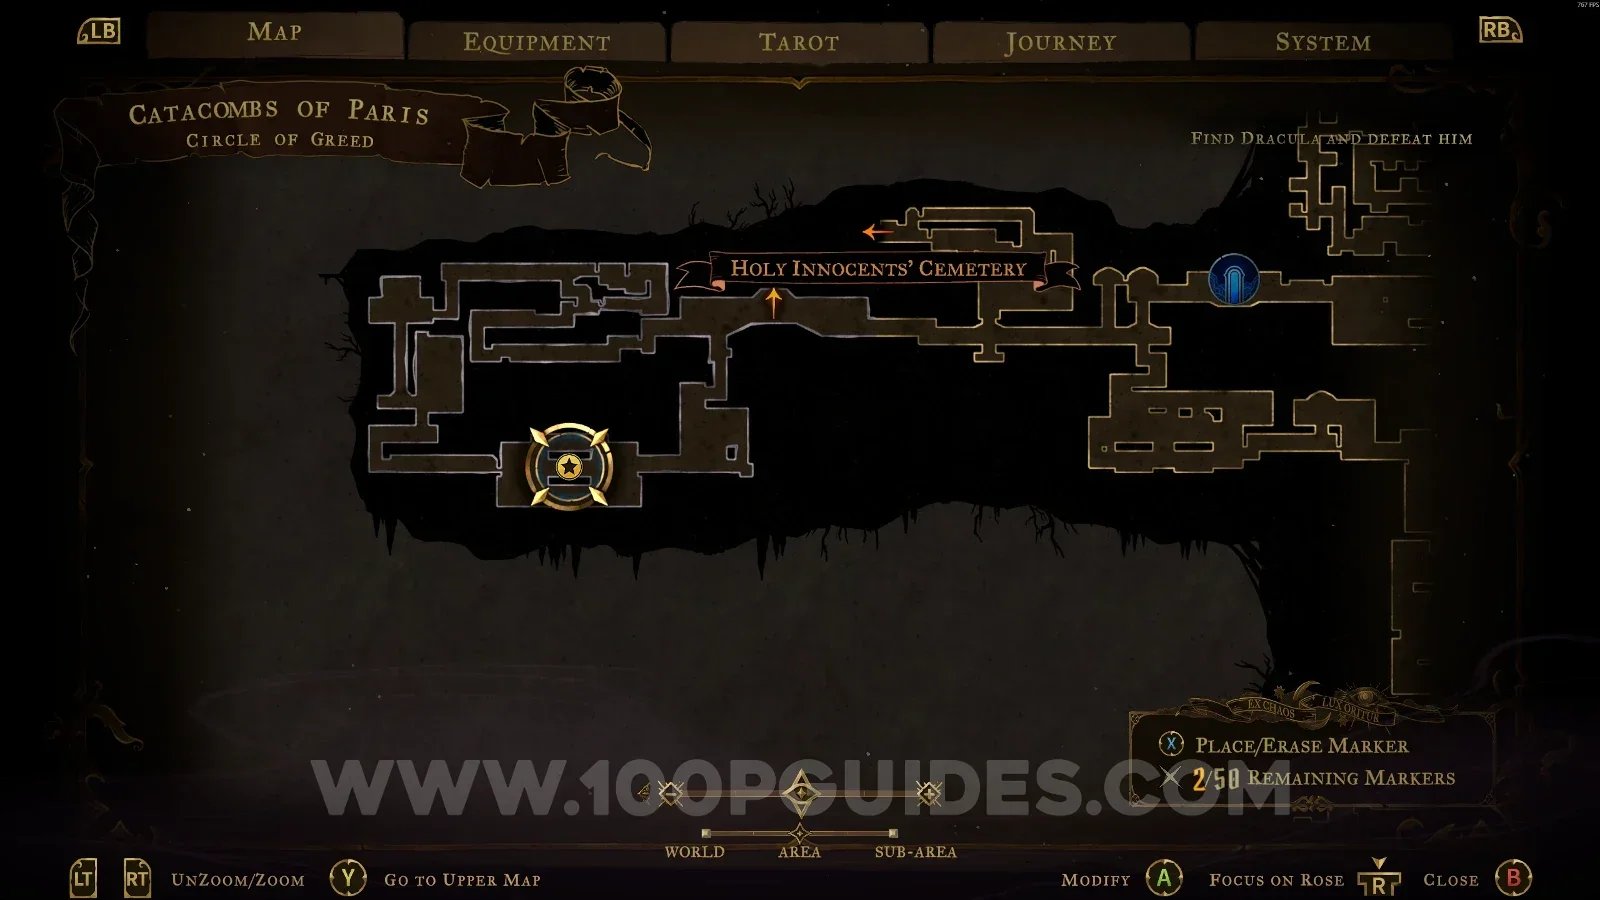
Castlevania Belmonts Curse Circle Of Greed map marking the Oozing Eye relic location Castlevania Belmonts Curse Circle Of Greed: the marked spot holding the Oozing Eye relic Castlevania Belmonts Curse: the Oozing Eye relic in the Circle Of Greed, Catacombs Of Paris

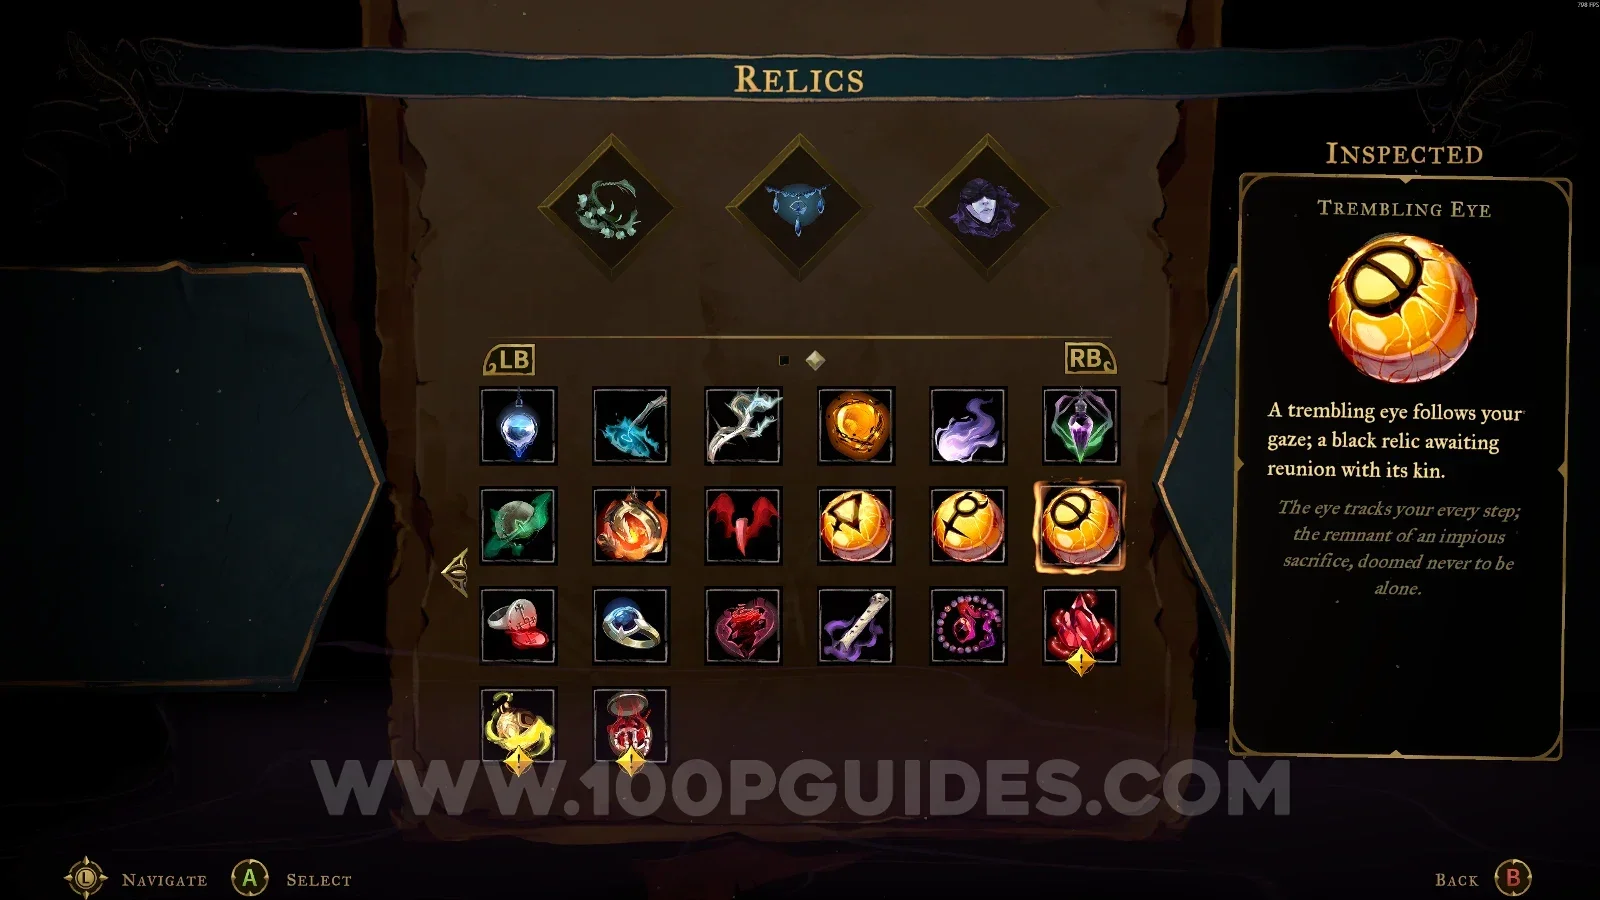
Trembling Eye

Holy Innocents' Cemetery > Pillaged Tombs

In the area marked on the map. To reach it, you'll have to interact with the lever on the right side of the area (this is the same area you enter to destroy a Haunted Coffin).
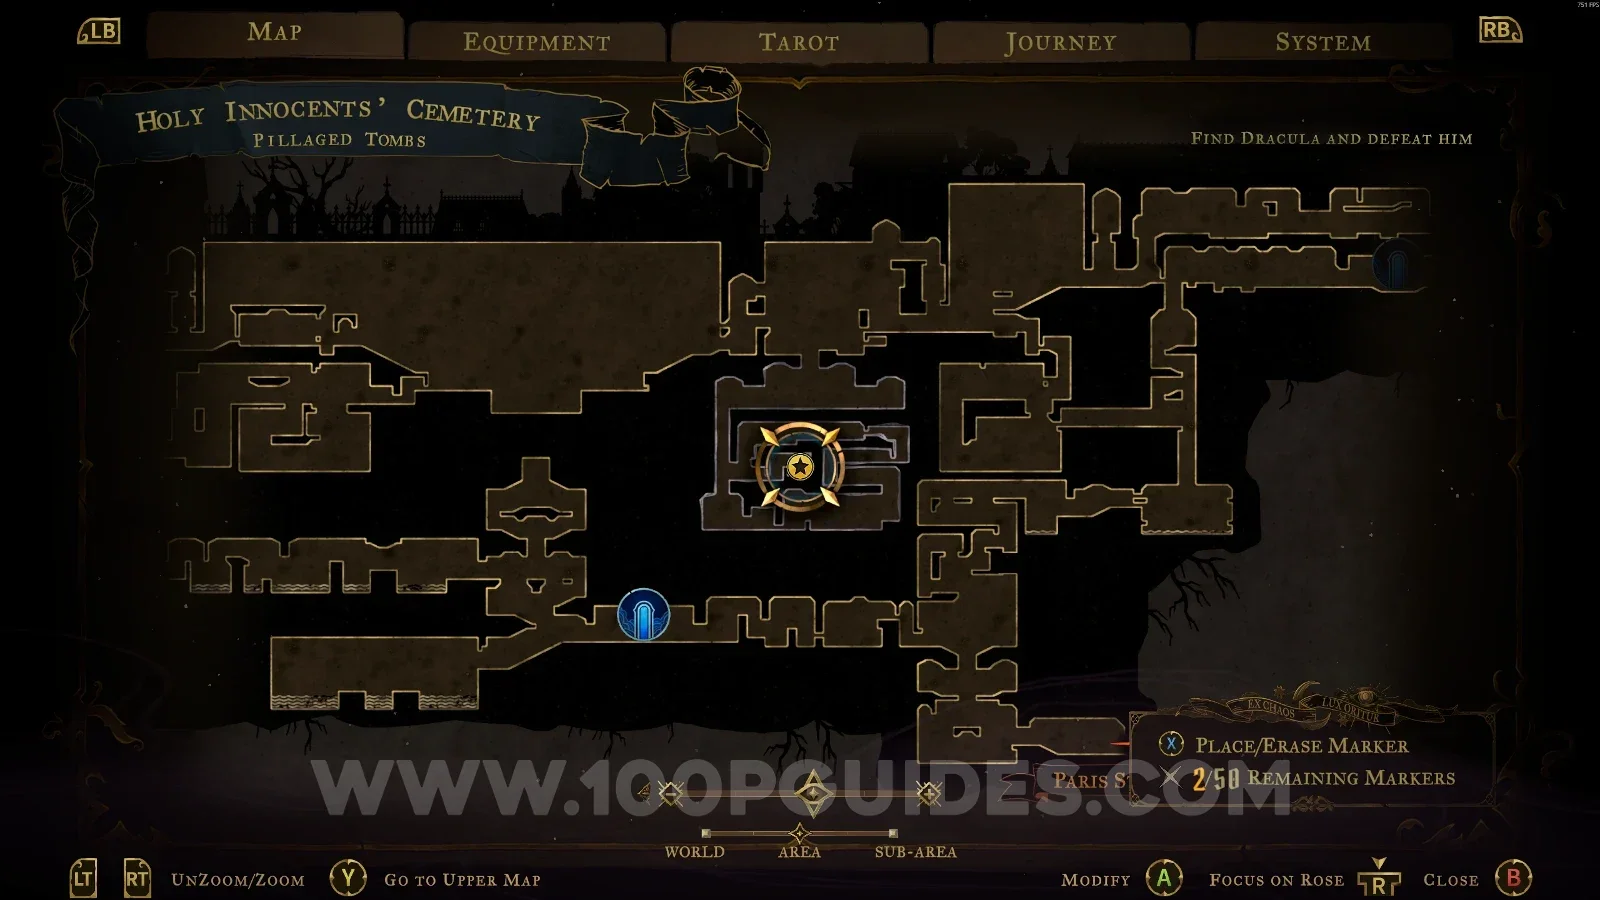
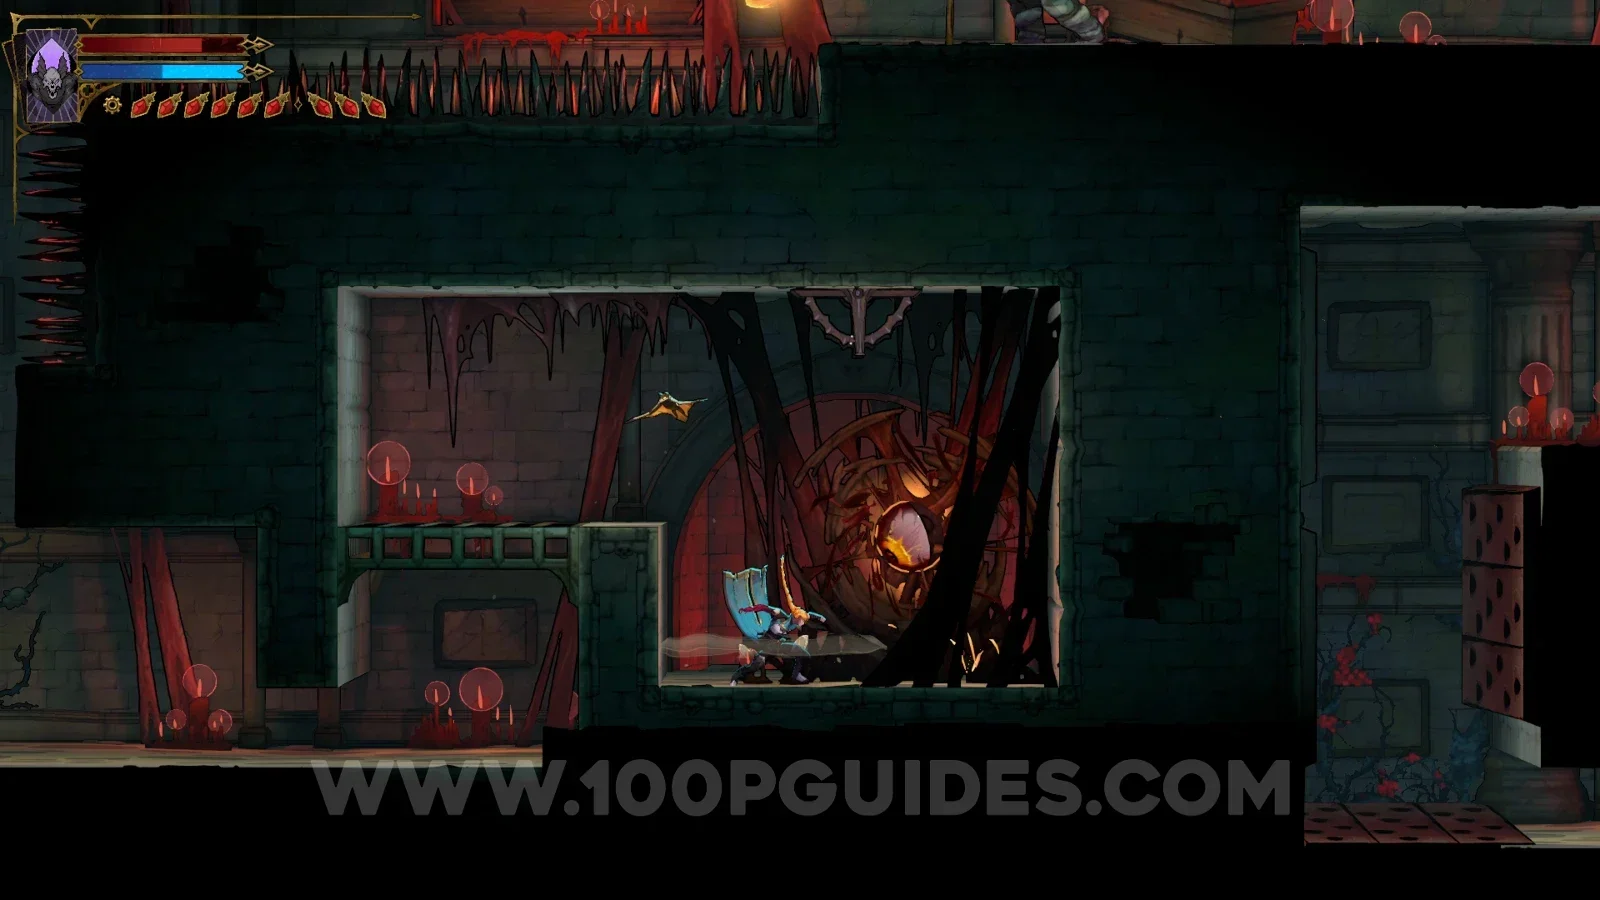
Castlevania Belmonts Curse Pillaged Tombs map marking the Trembling Eye relic location Castlevania Belmonts Curse Pillaged Tombs: interacting with the lever on the right side Castlevania Belmonts Curse: the Trembling Eye relic chest in the Pillaged Tombs

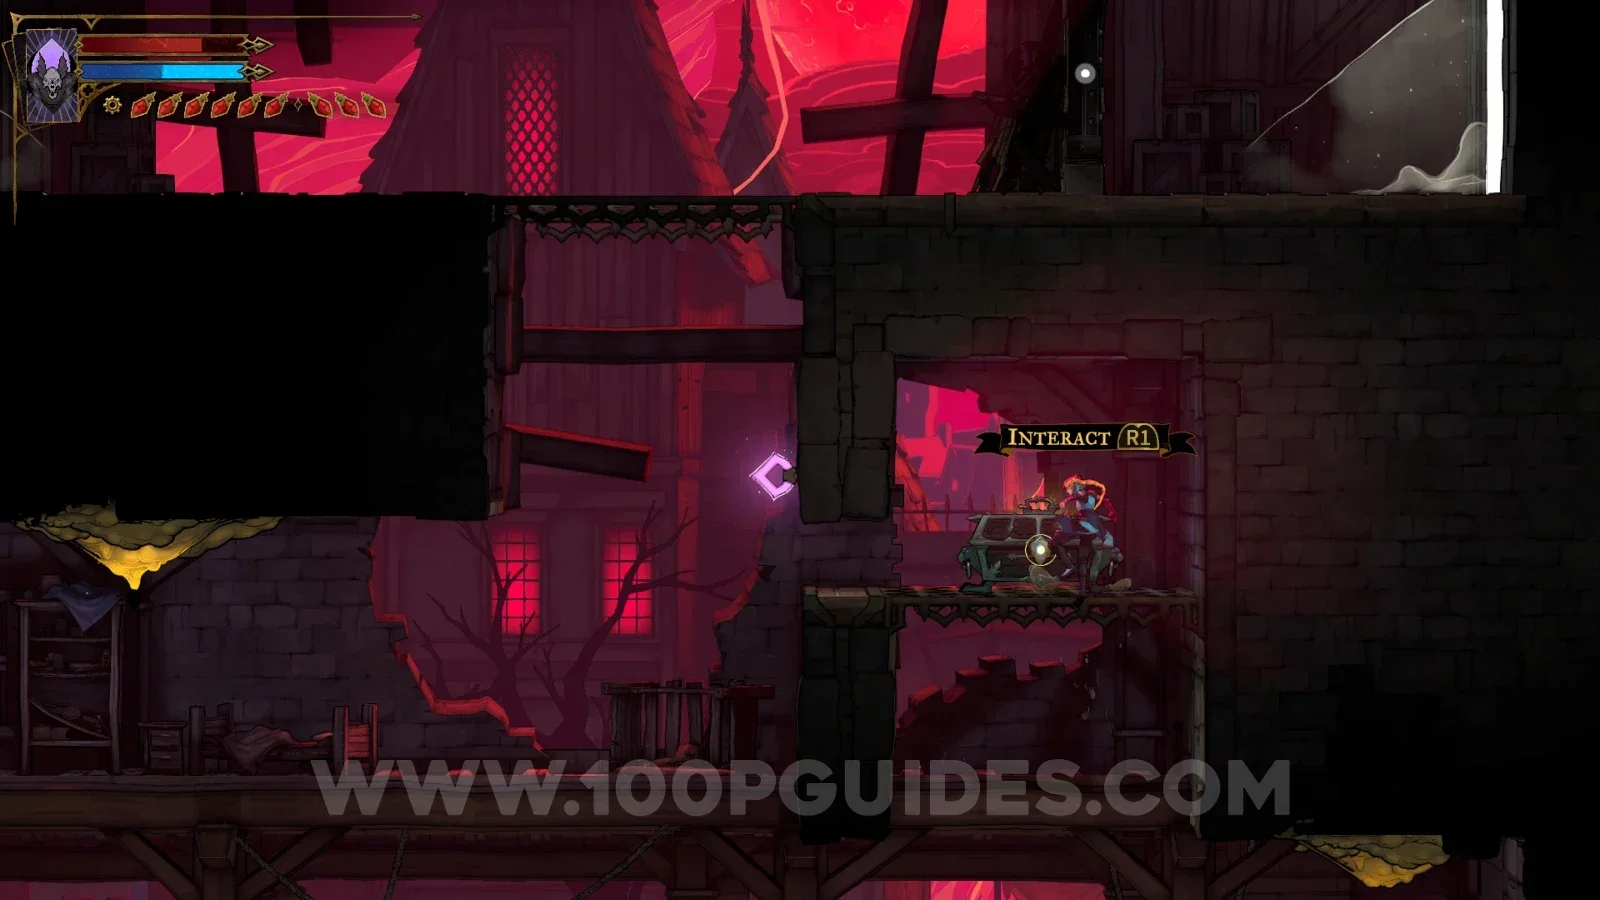
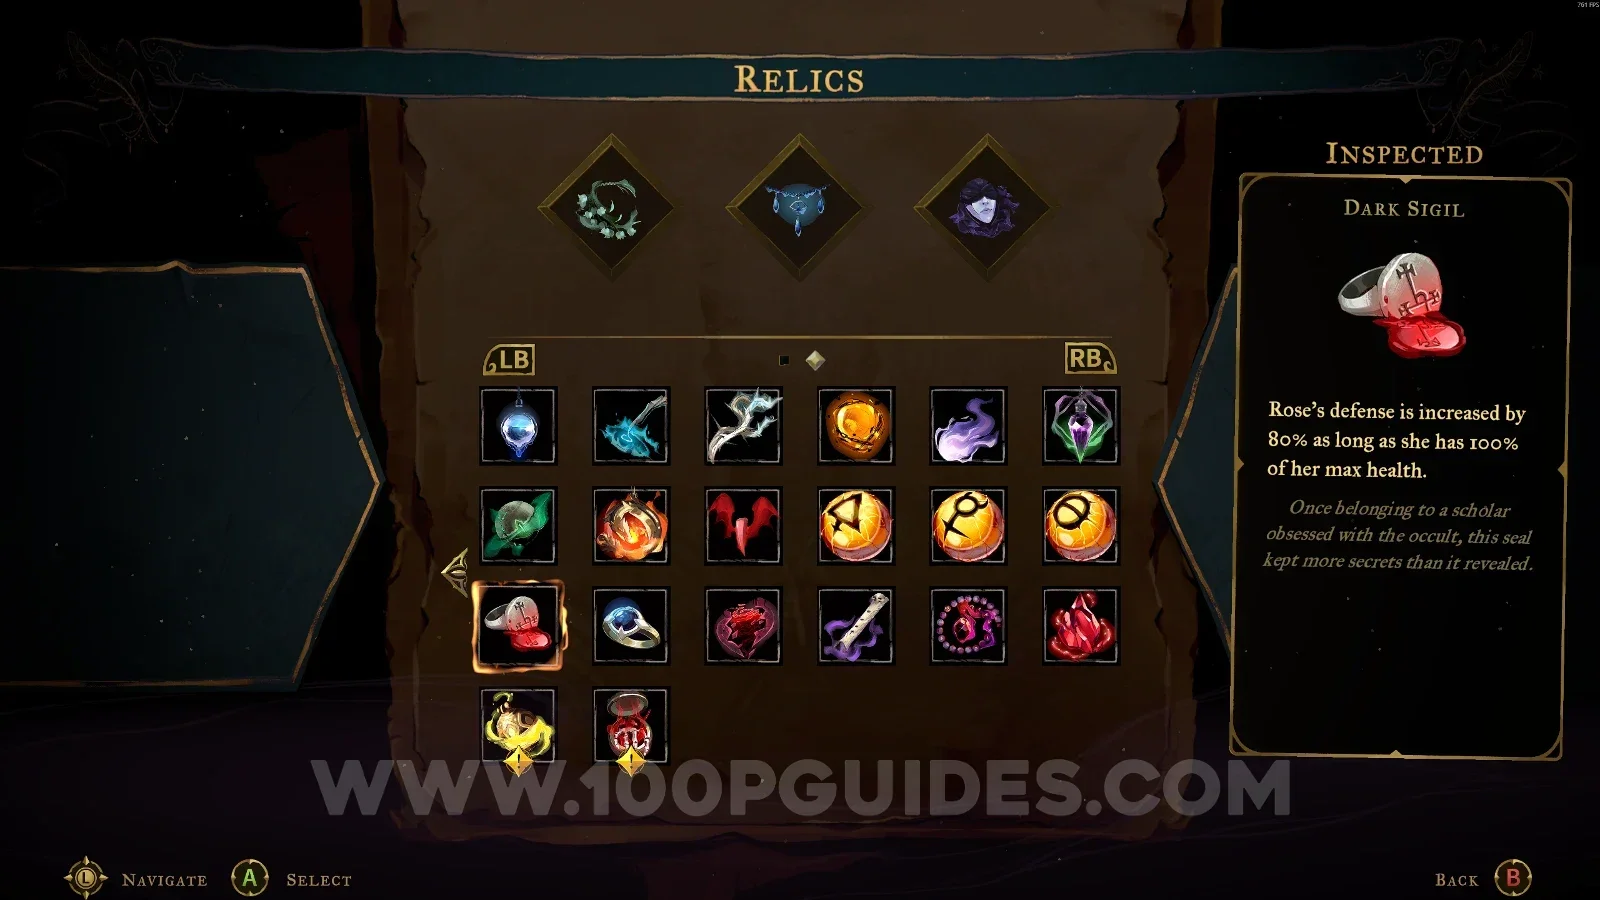
Dark Sigil

Paris Streets > Ruined Market

In the area marked on the map.
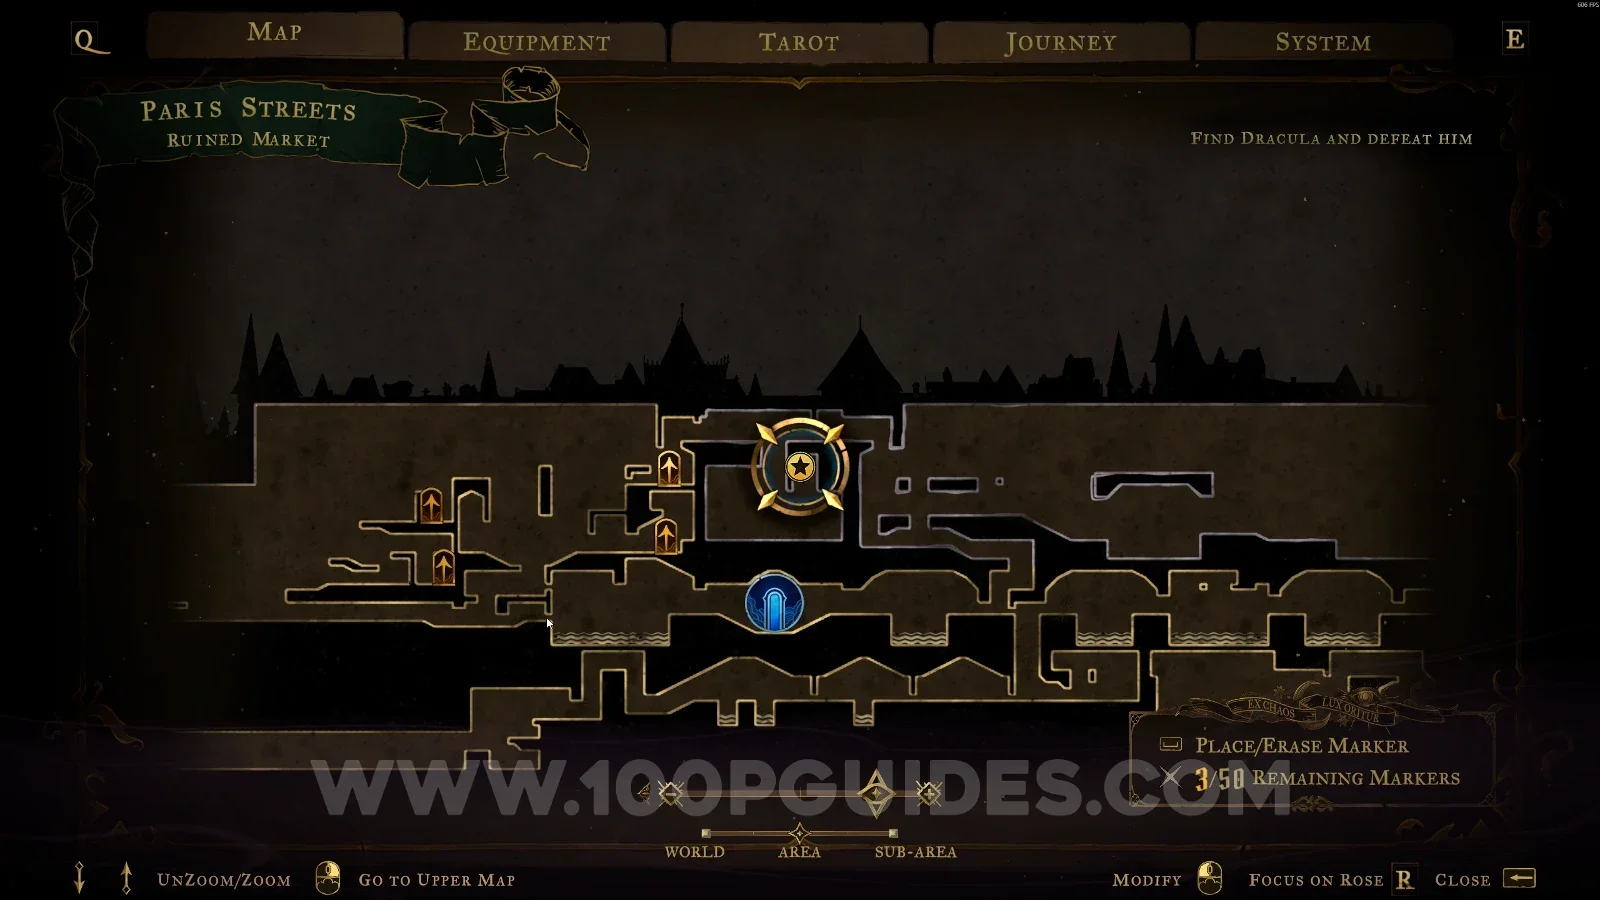
Castlevania Belmonts Curse Ruined Market map marking the Dark Sigil relic in Paris Streets Castlevania Belmonts Curse Ruined Market: the marked spot holding the Dark Sigil relic Castlevania Belmonts Curse: the Dark Sigil relic in the Ruined Market of Paris Streets

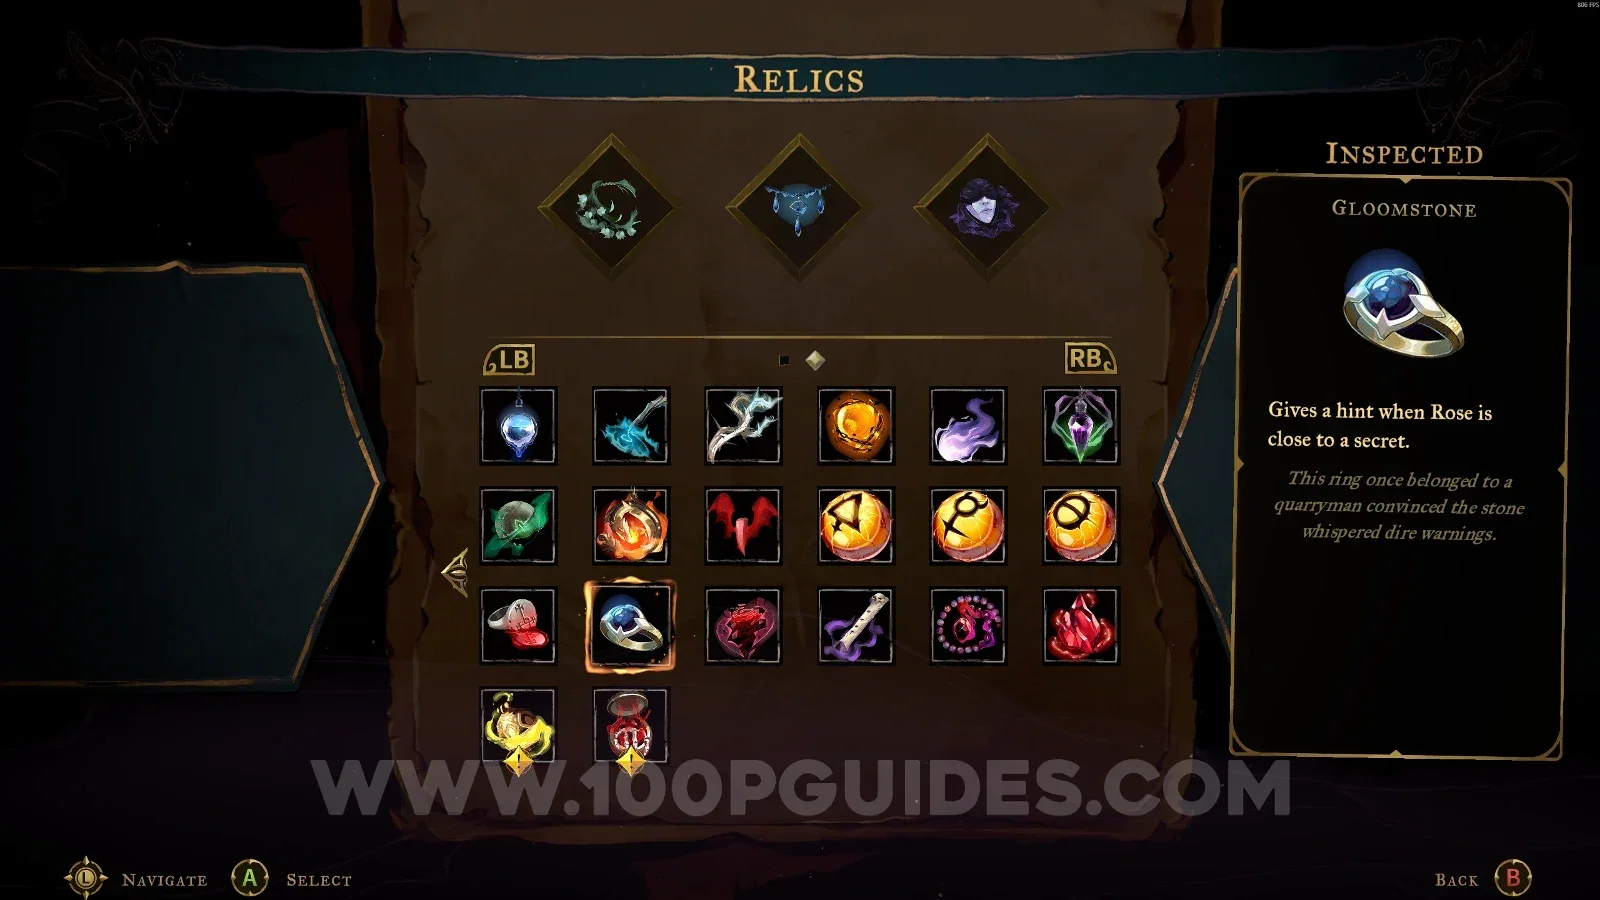
Gloomstone

Master's Quarters > Sanctuary Of Solitude

You have to interact with two levers at the top of the area to open the two gates that give access to the chest.
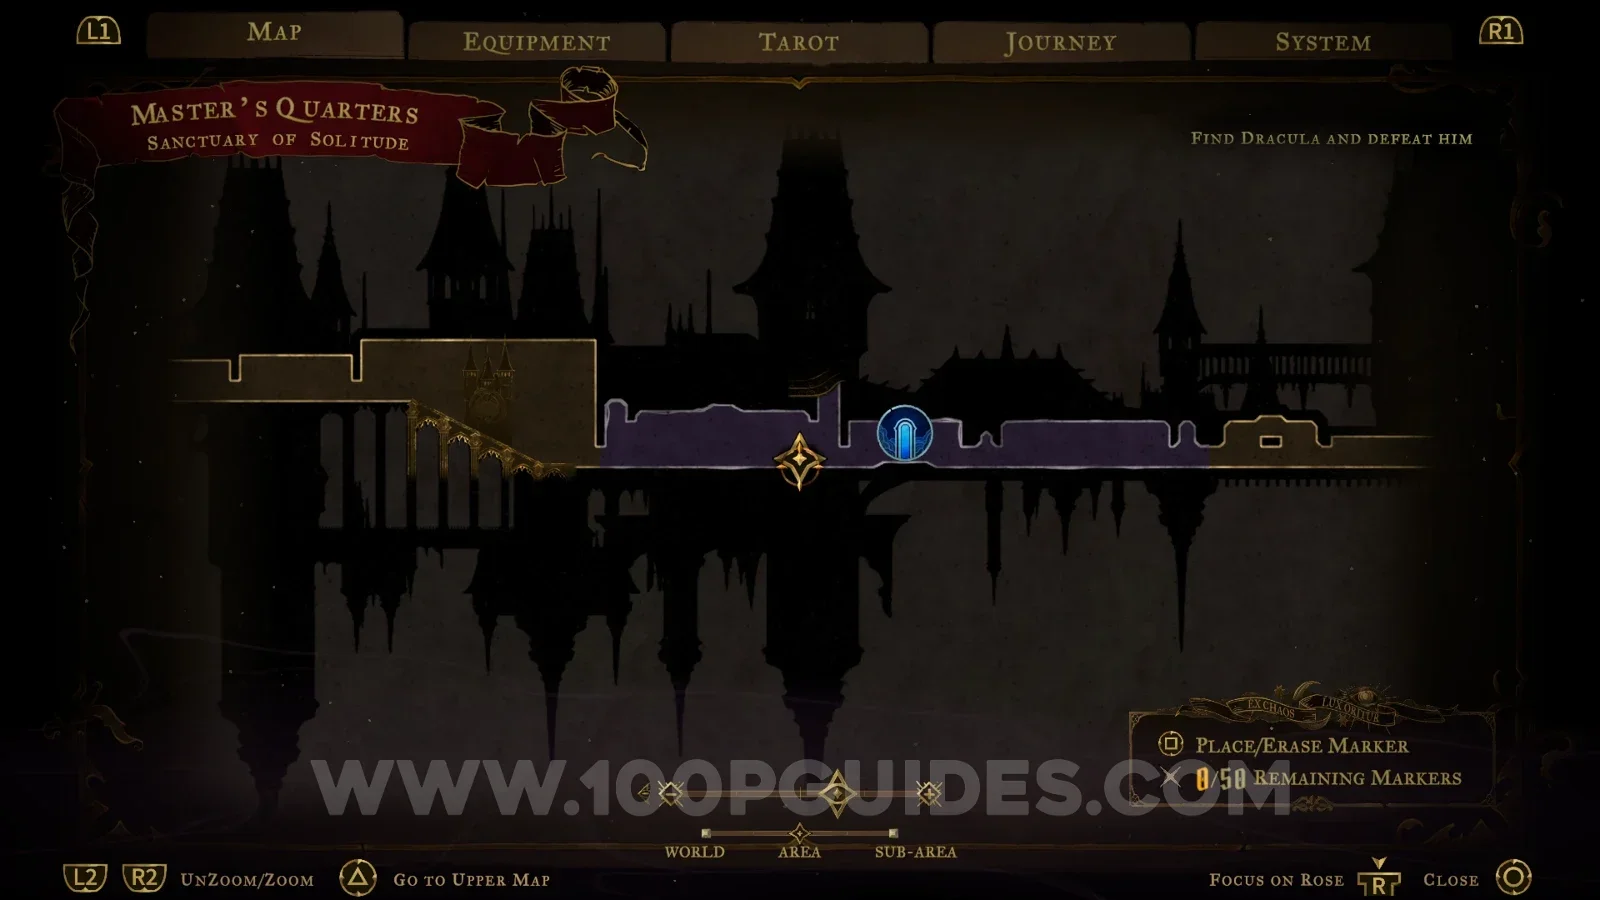
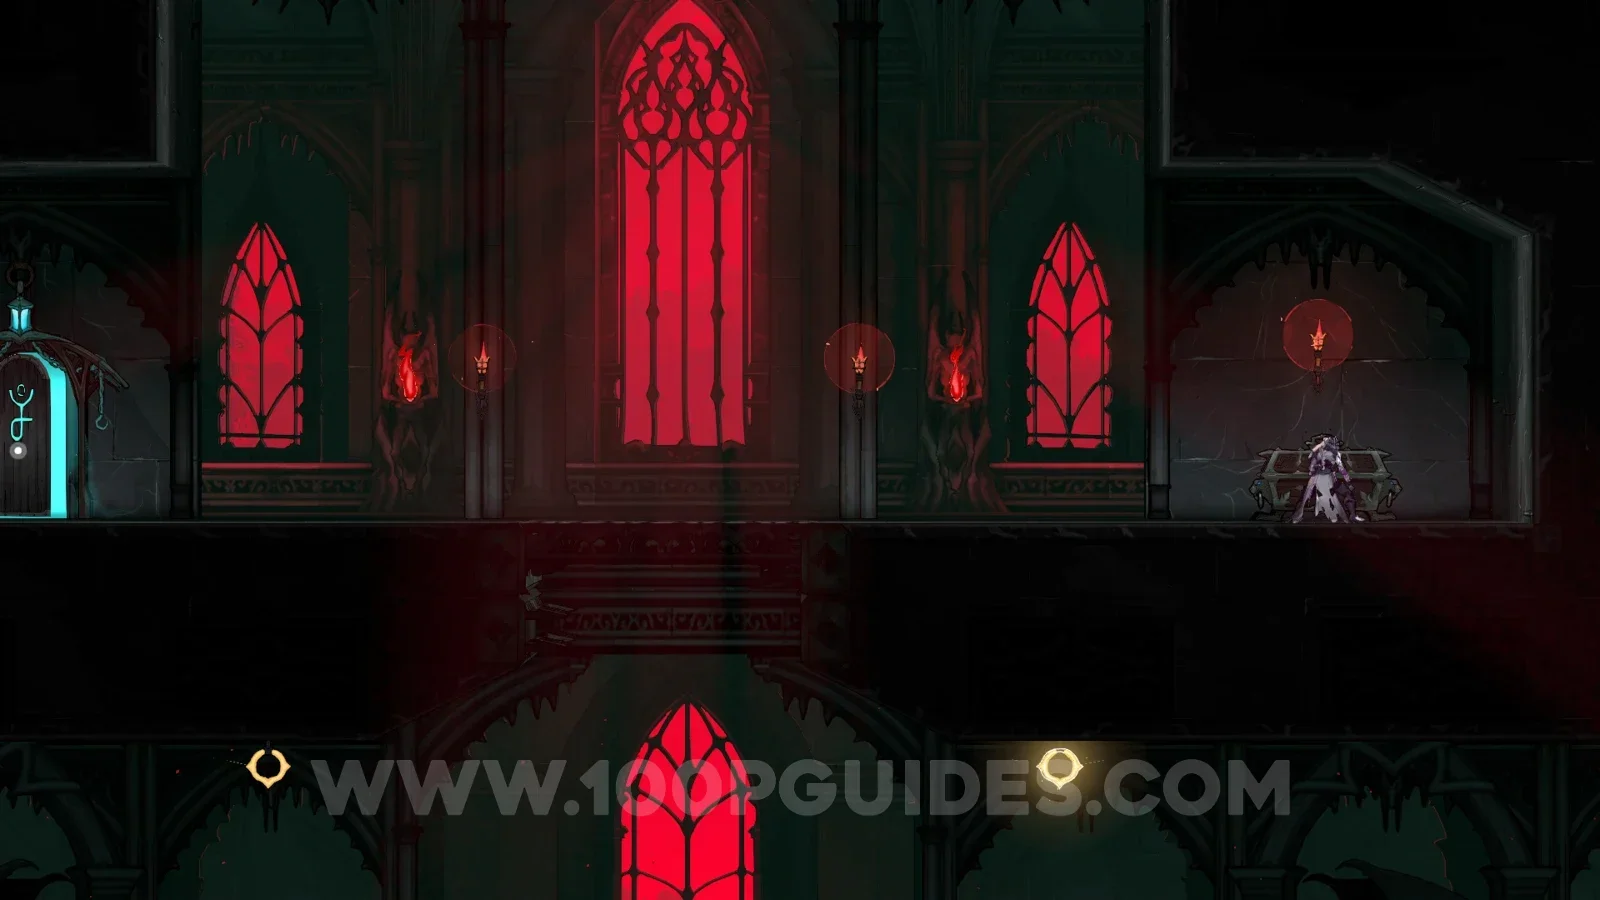
Castlevania Belmonts Curse Sanctuary Of Solitude map marking the Gloomstone relic area Castlevania Belmonts Curse Sanctuary Of Solitude: interacting with the two levers at the top Castlevania Belmonts Curse: the Gloomstone relic chest behind the two opened gates

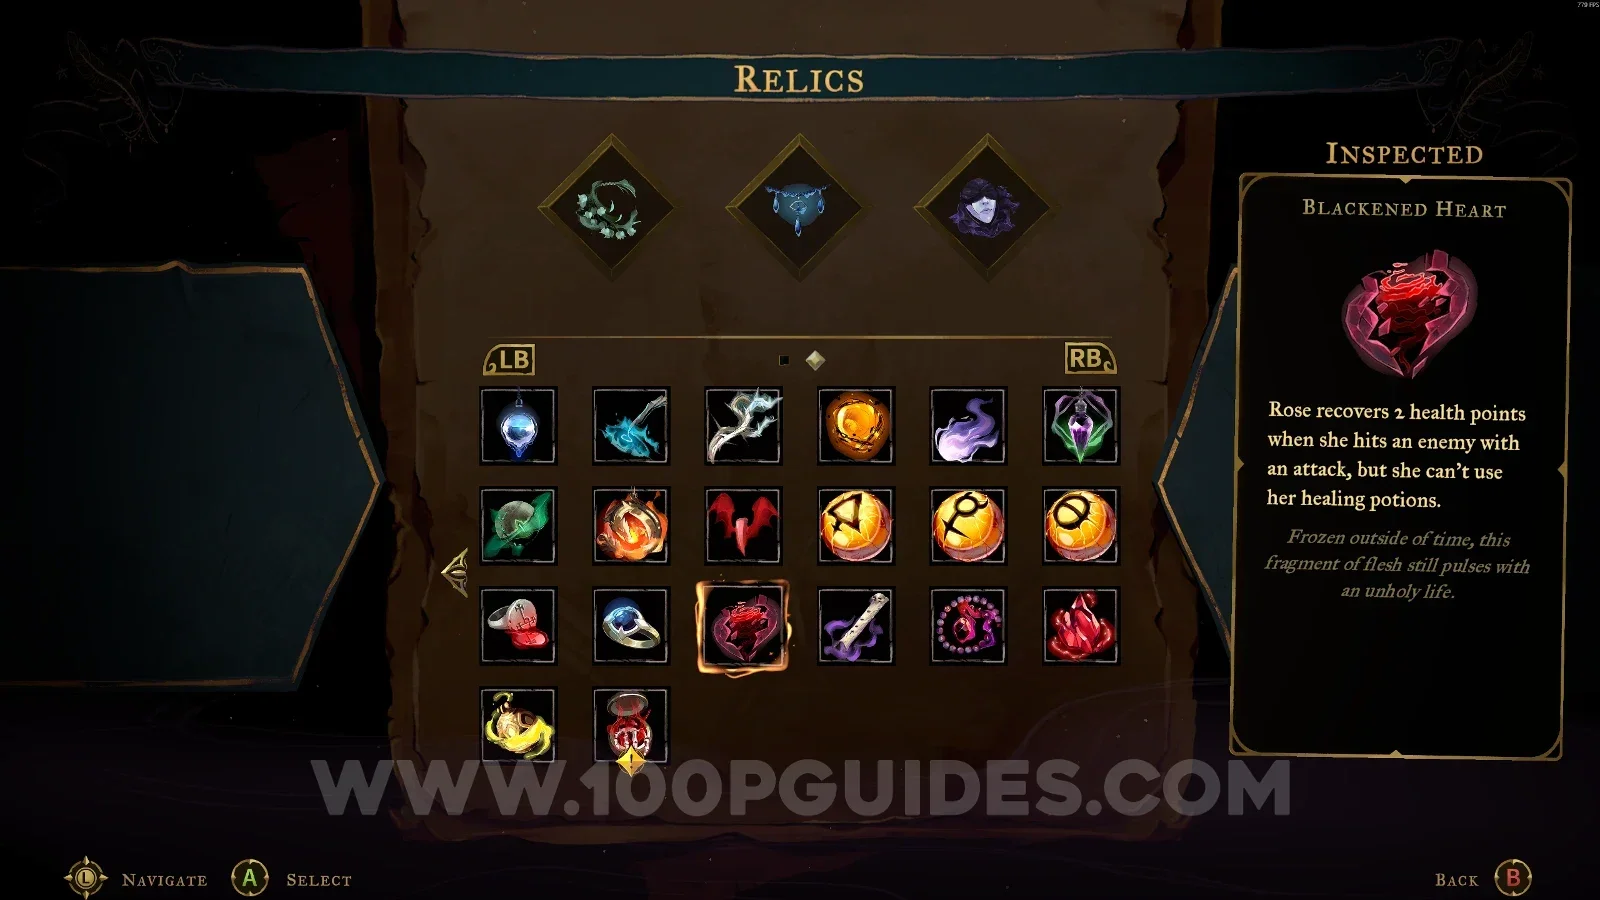
Blackened Heart

Main Hall > Abandoned Staircase

In the area marked on the map, you have to go around the area to interact with a lever, then climb to the upper part where the chest is.
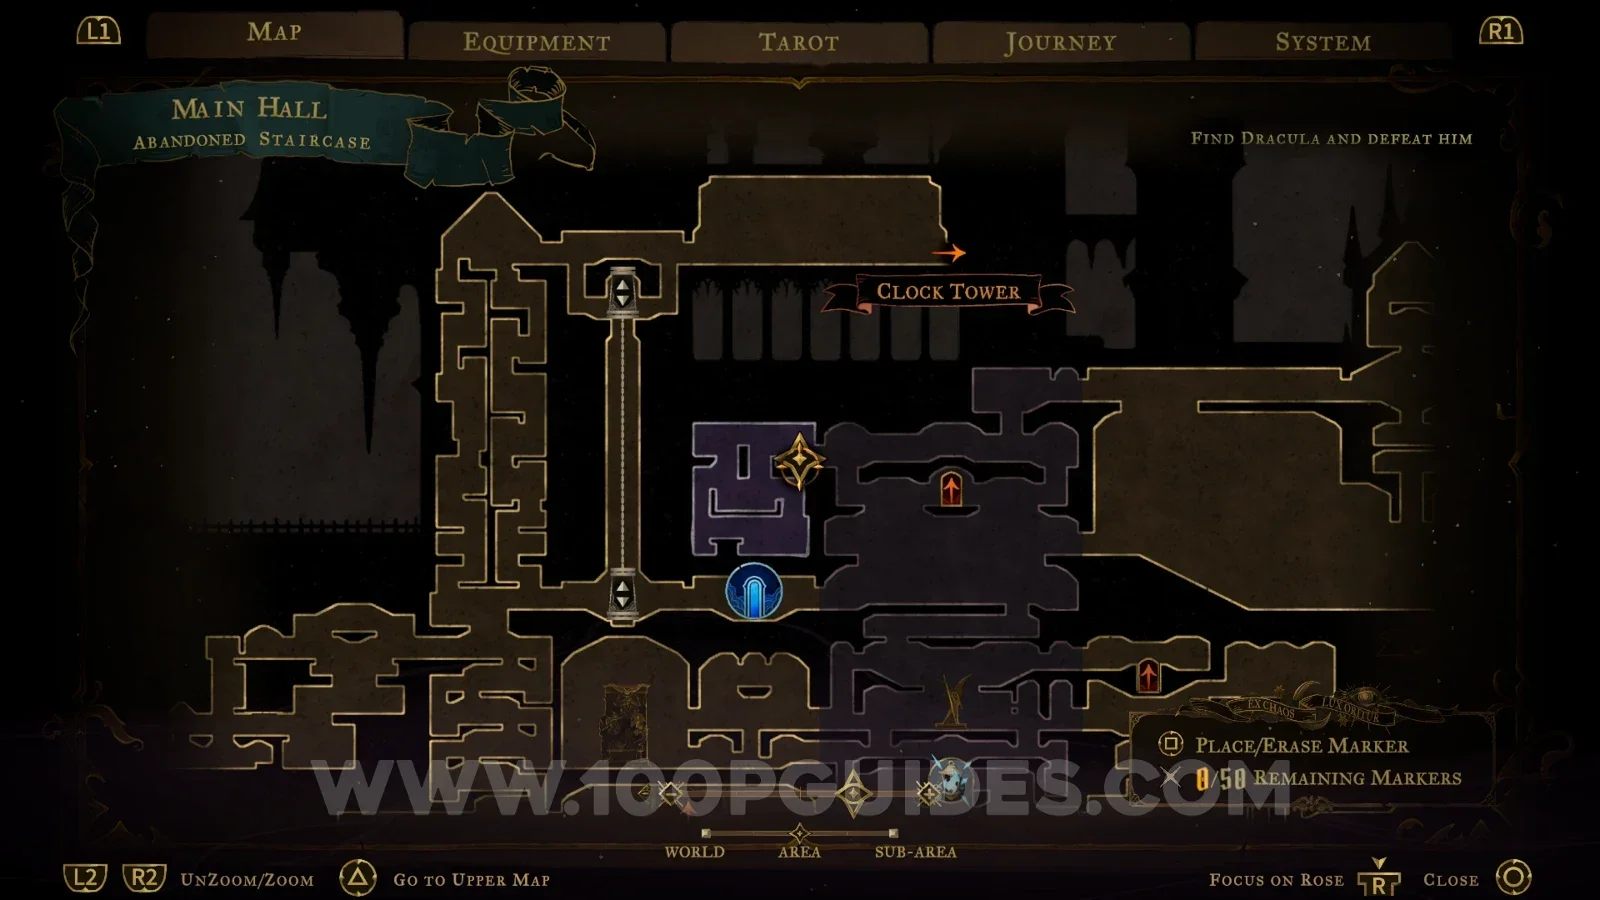
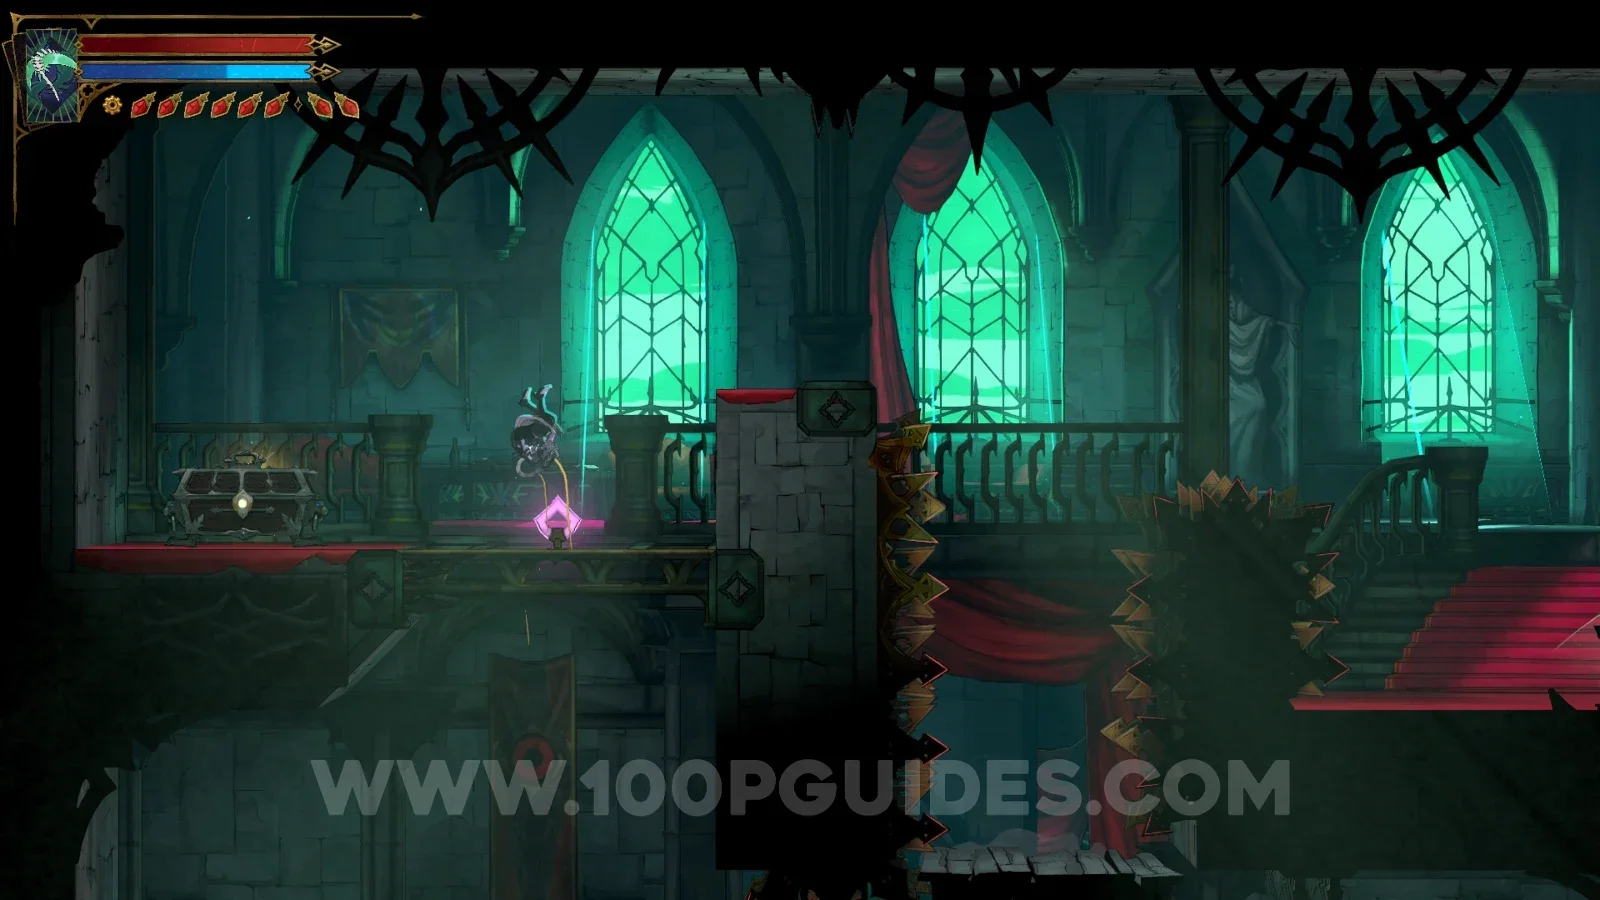
Castlevania Belmonts Curse Abandoned Staircase map marking the Blackened Heart relic area Castlevania Belmonts Curse Abandoned Staircase: going around the area to interact with the lever Castlevania Belmonts Curse: the Blackened Heart relic chest in the upper part of the staircase

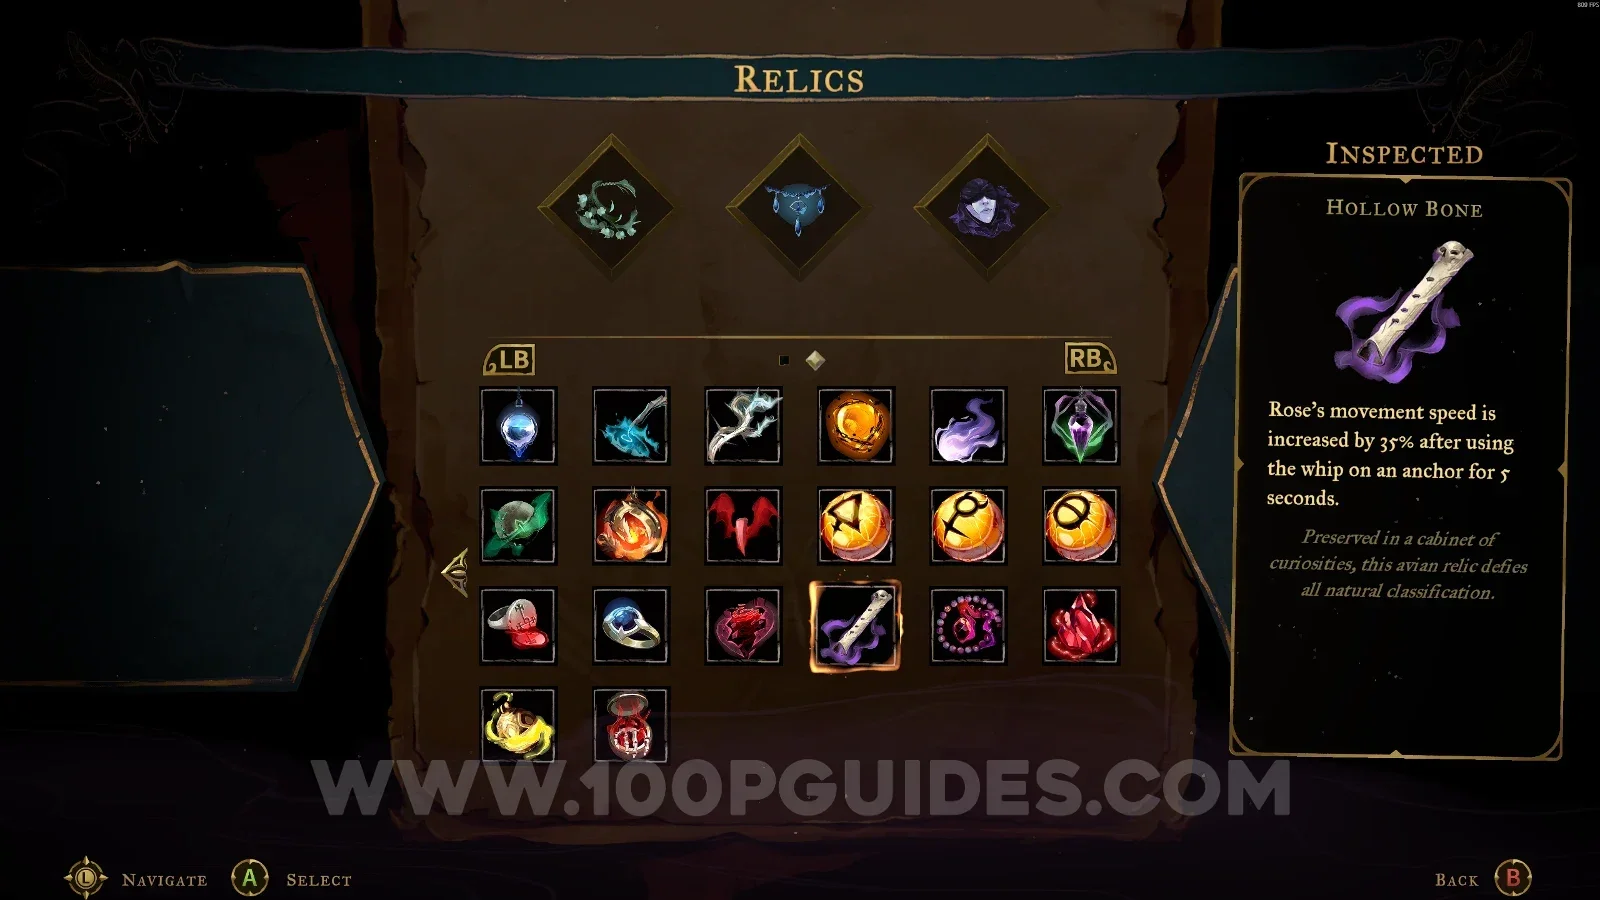
Hollow Bone

Clock Tower > Daedalus Crossing

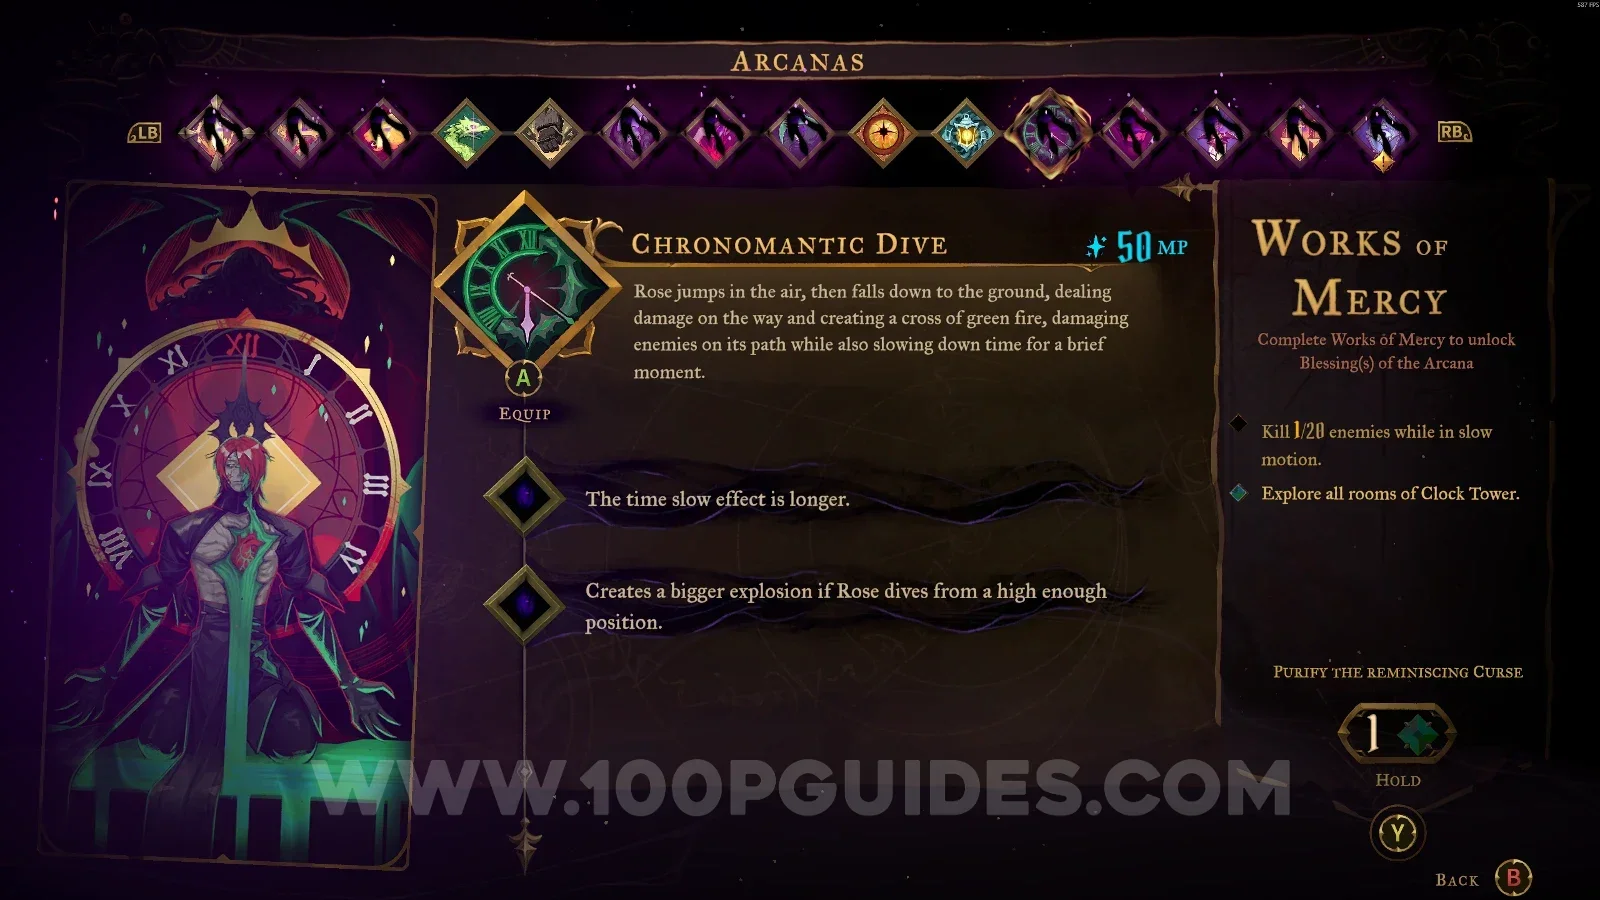
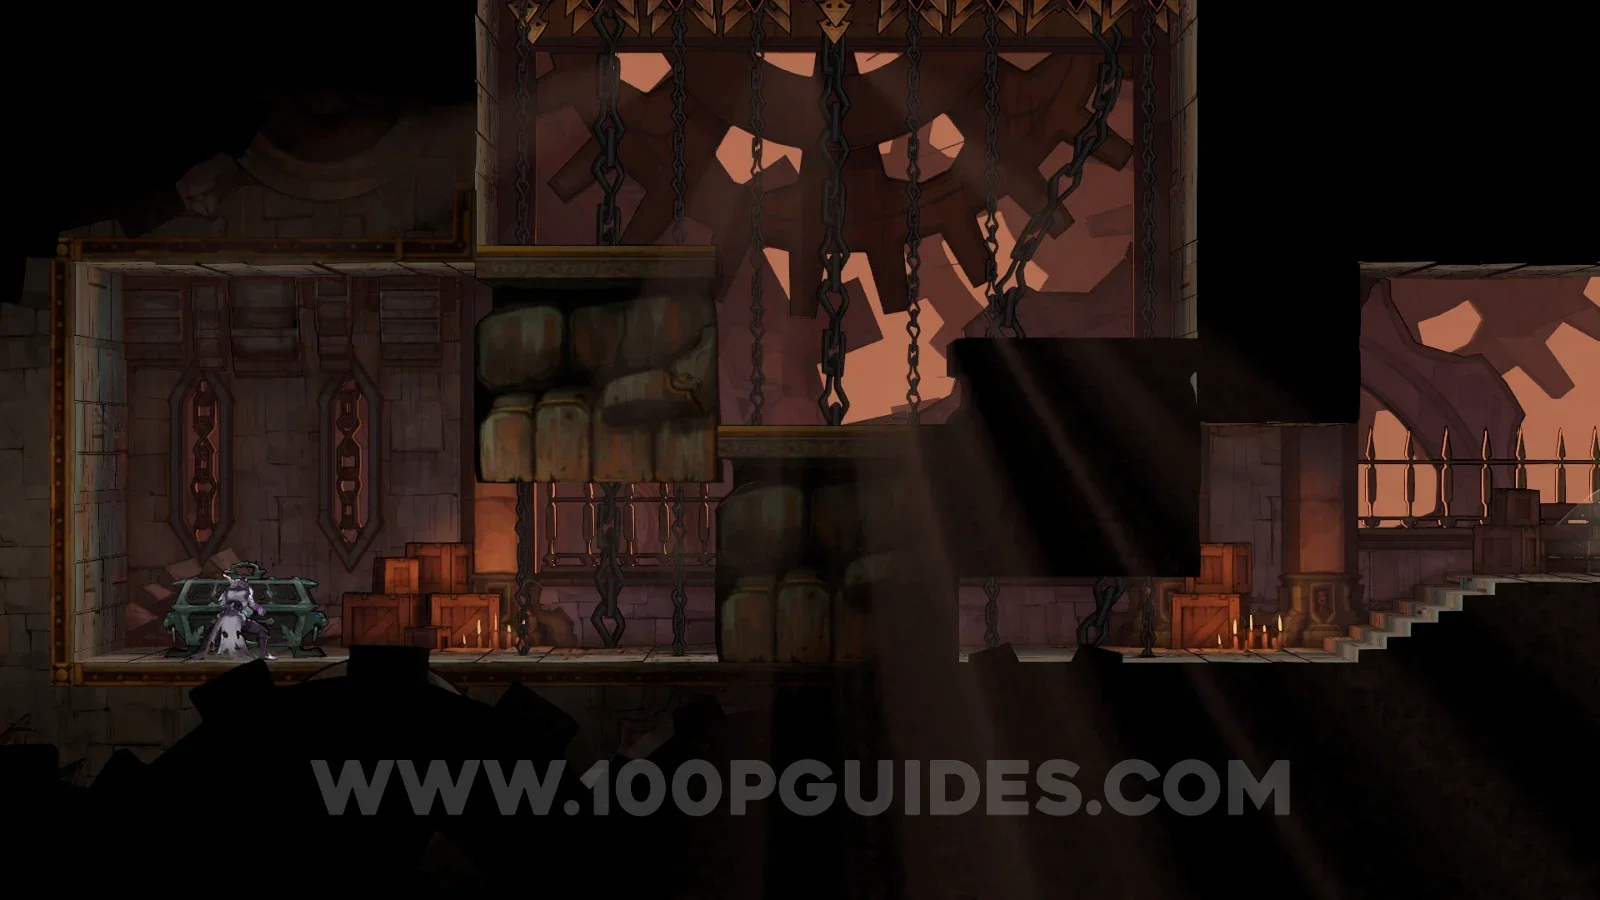
In the area marked on the map. To reach the chest, you need the Chronomantic Dive arcana.
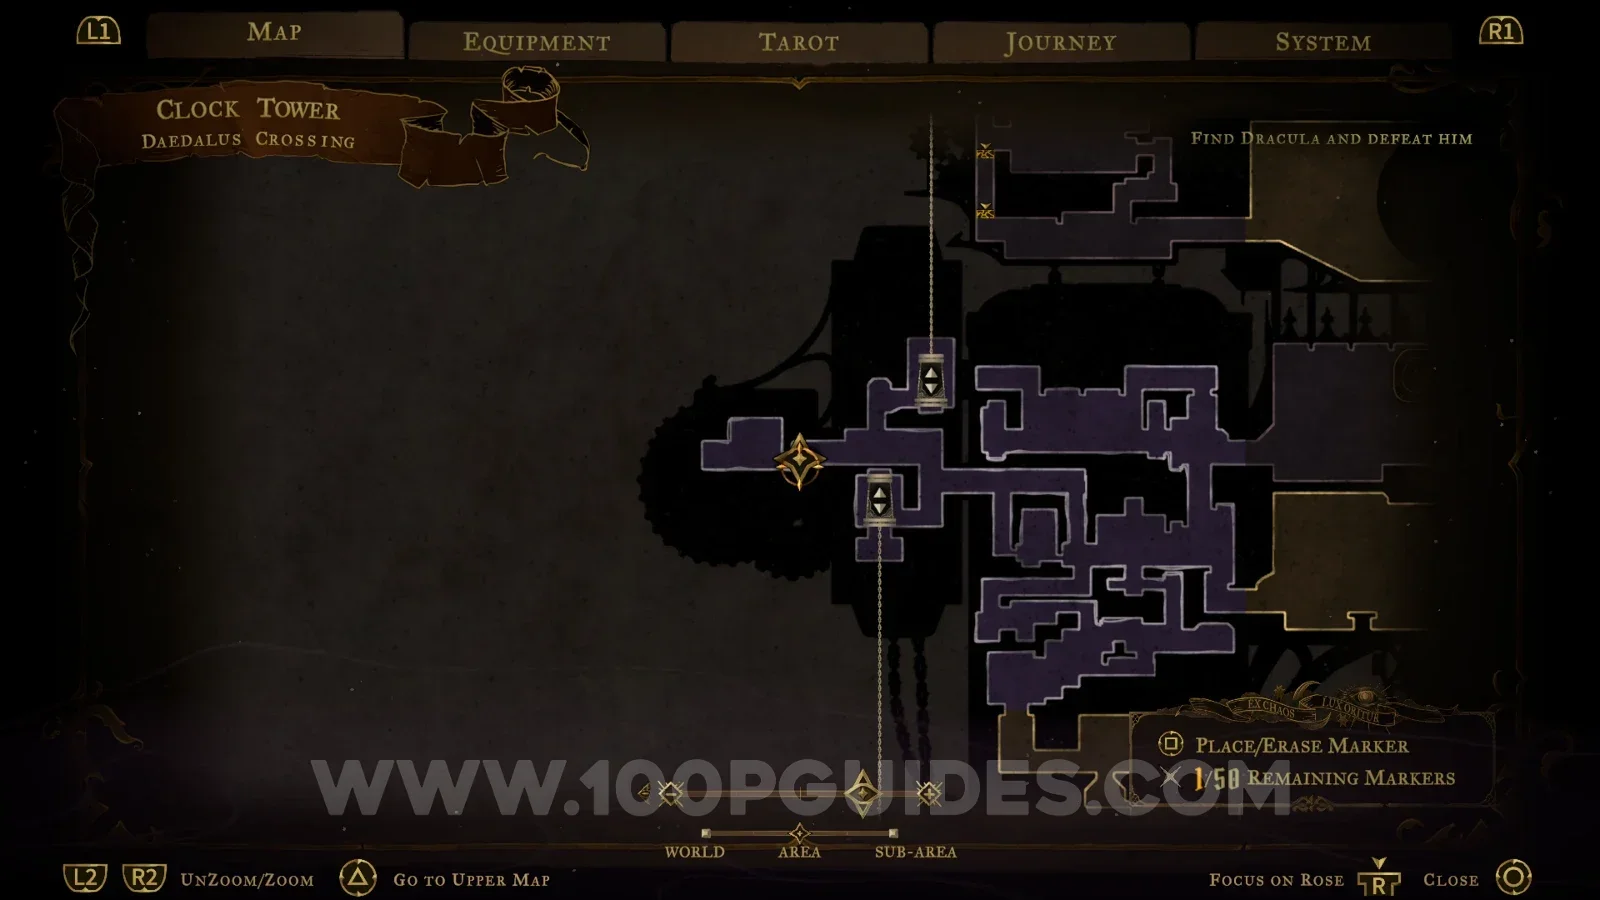
Castlevania Belmonts Curse Daedalus Crossing map marking the Hollow Bone relic location Castlevania Belmonts Curse Daedalus Crossing: the marked area leading to the Hollow Bone chest Castlevania Belmonts Curse Daedalus Crossing: using the Chronomantic Dive arcana to reach the chest Castlevania Belmonts Curse: the chest with the Hollow Bone relic in Daedalus Crossing

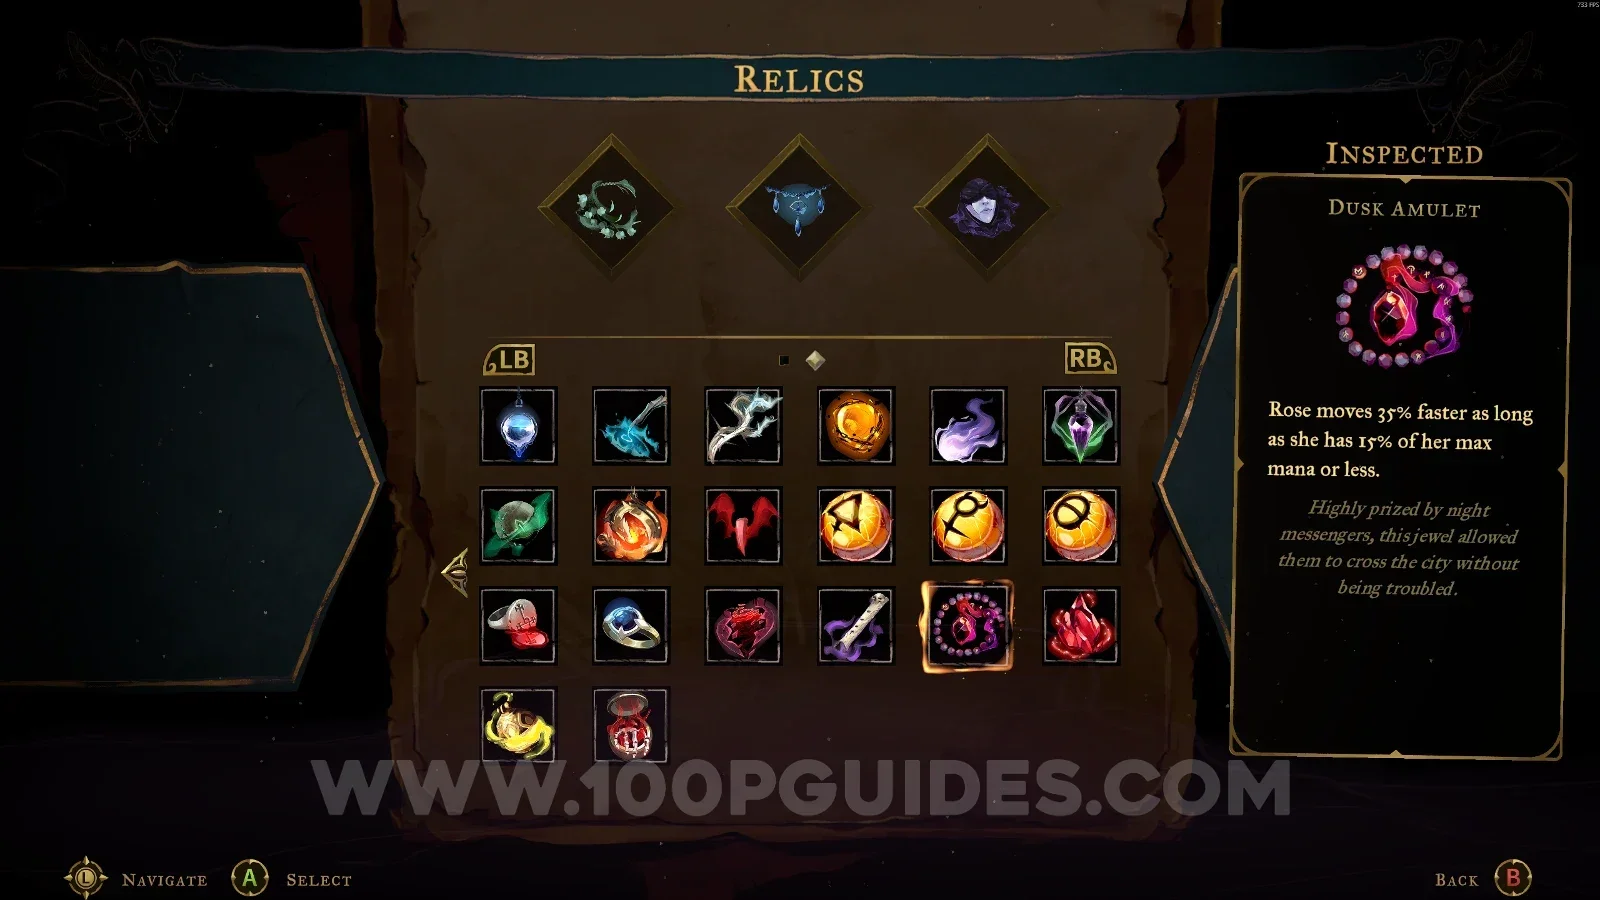
Dusk Amulet

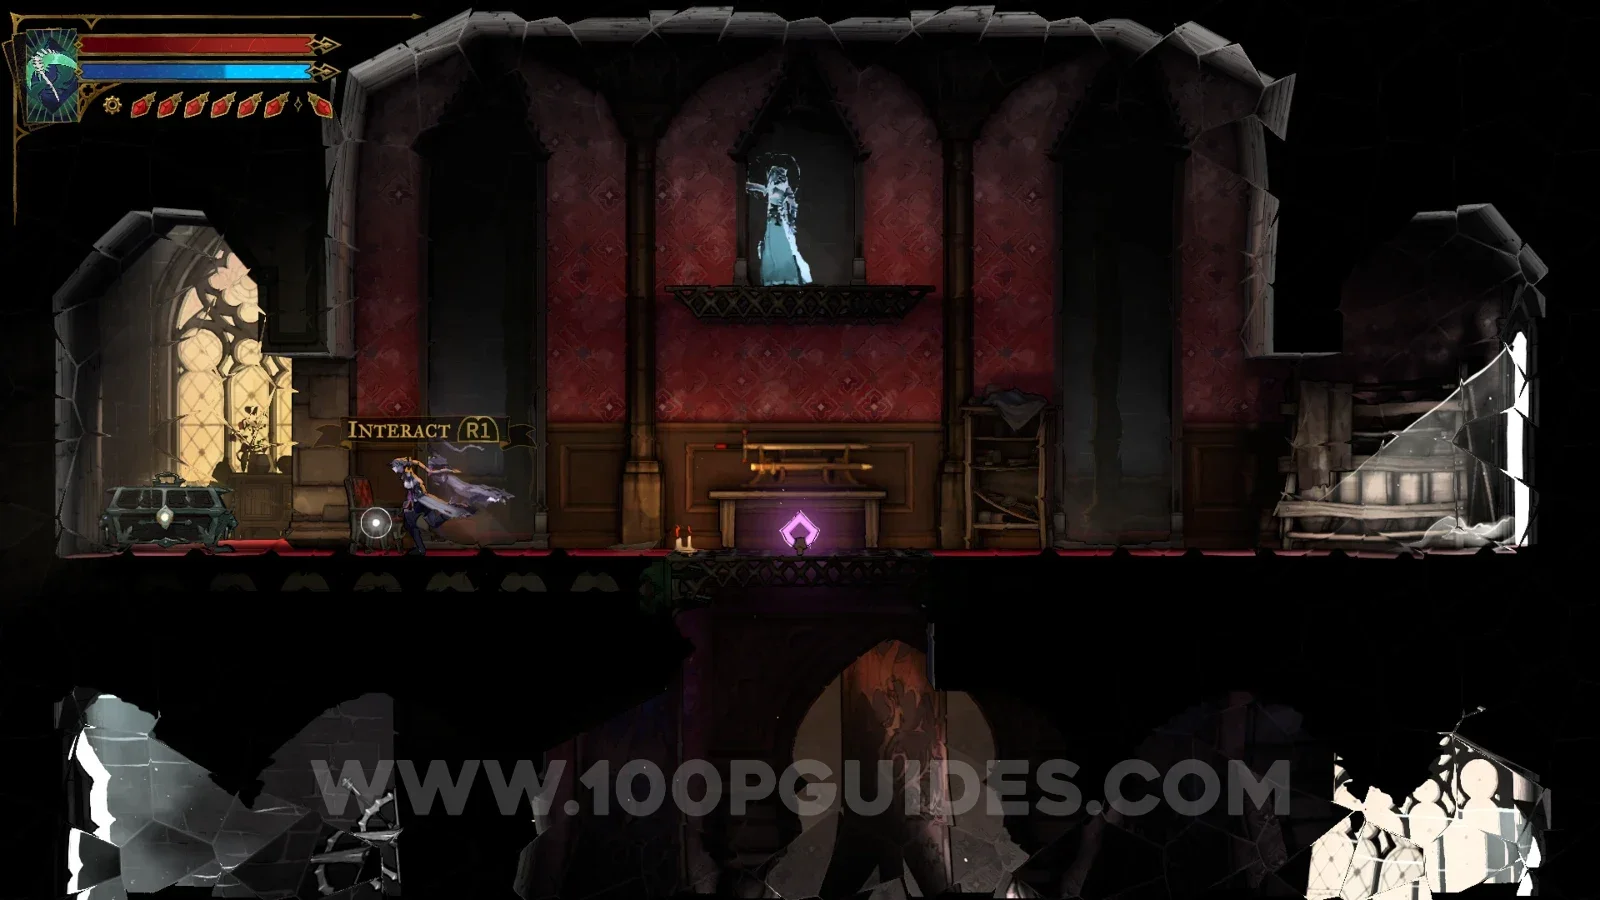
Hall Of Mirrors > Delived Level

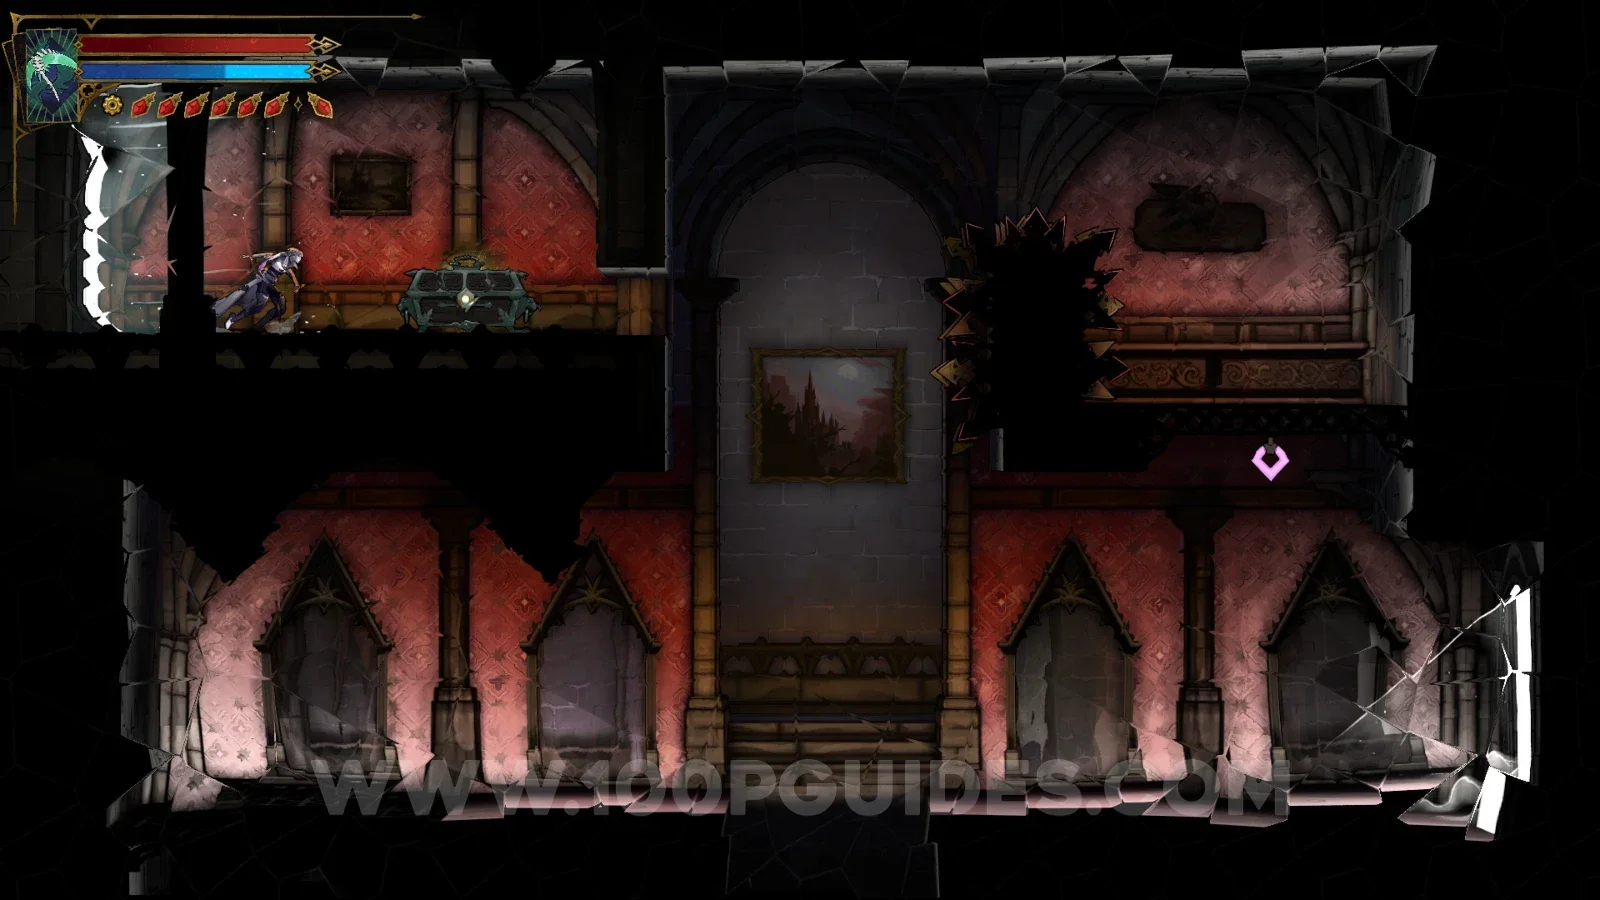
You need to break the floor and then use the portal on the right side to reach the chest.
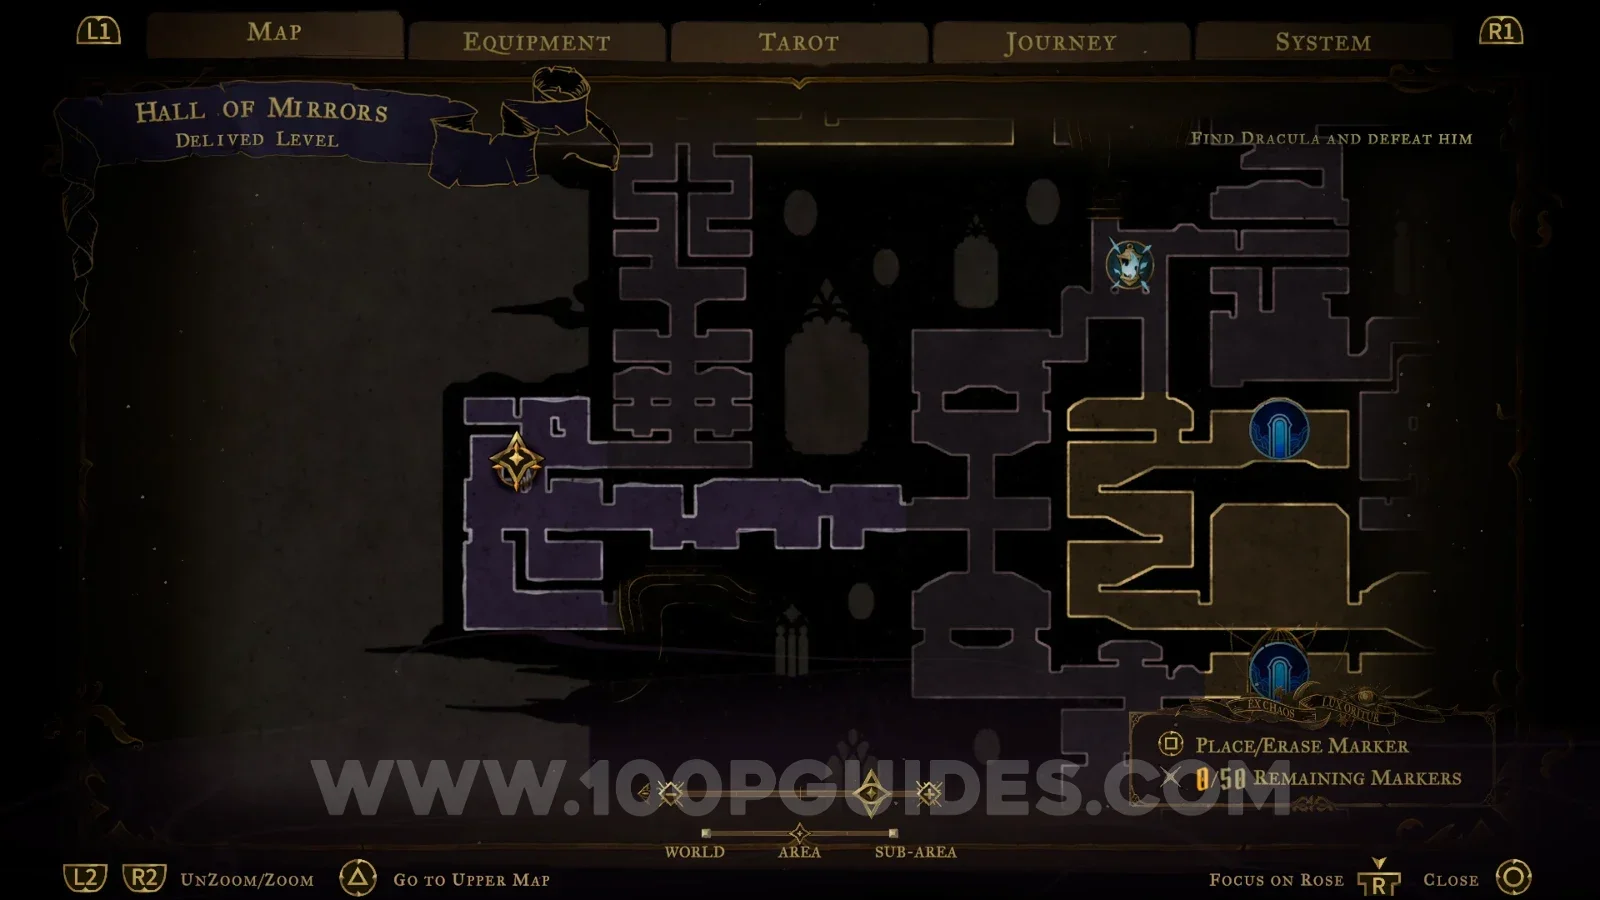
Castlevania Belmonts Curse Delived Level: breaking the floor in the Hall Of Mirrors Castlevania Belmonts Curse Delived Level: using the portal on the right side Castlevania Belmonts Curse: the chest with the Dusk Amulet relic reached through the portal

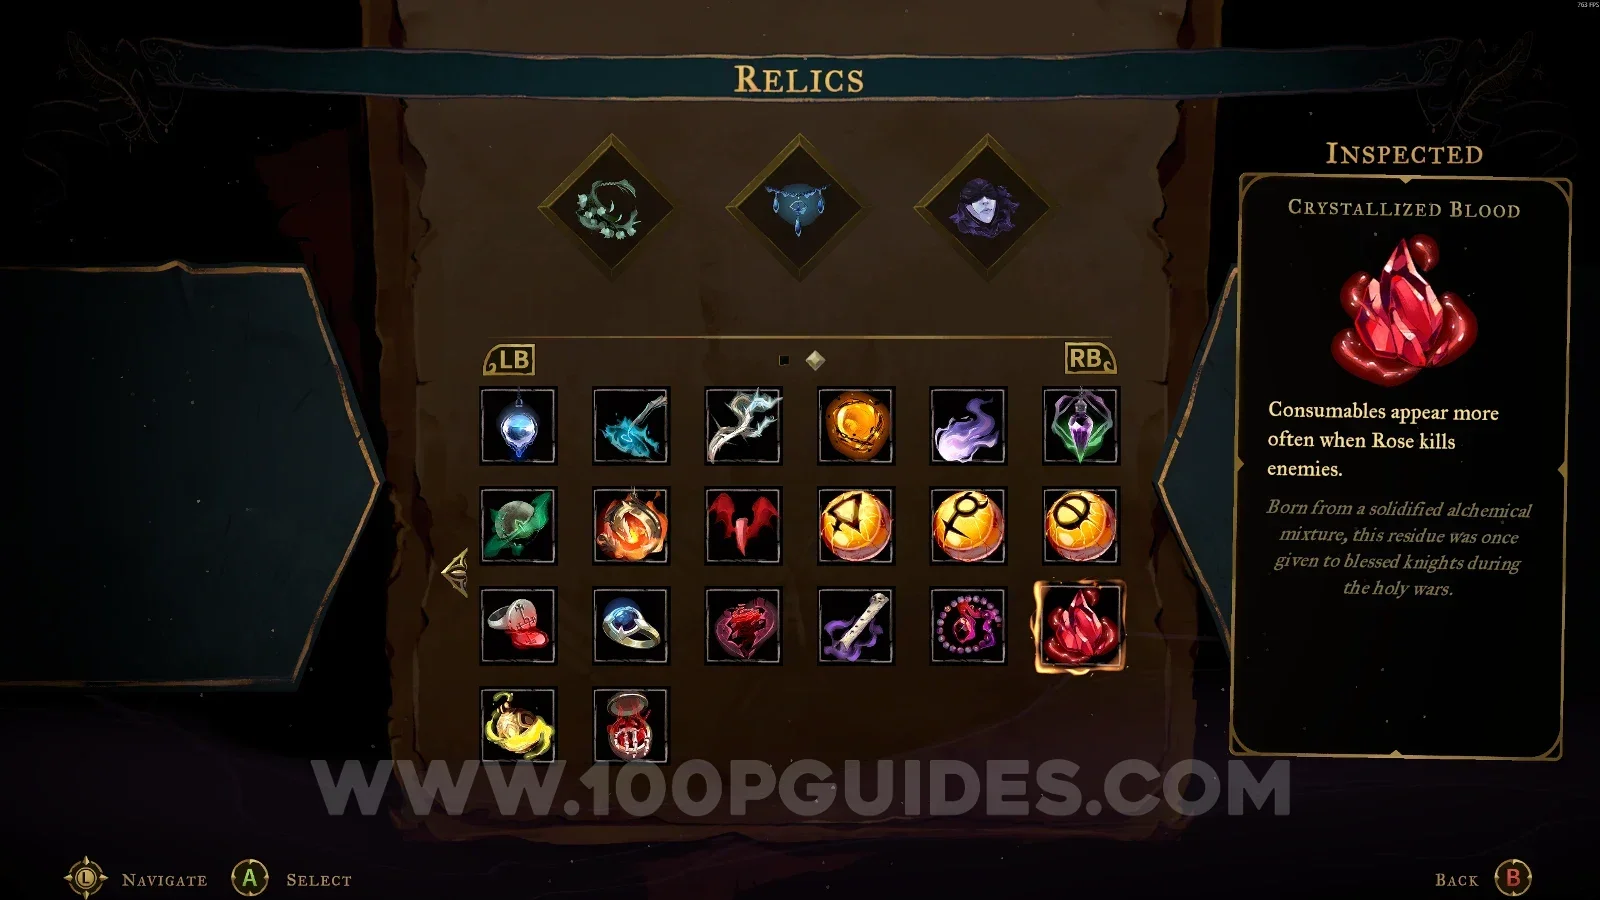
Crystallized Blood

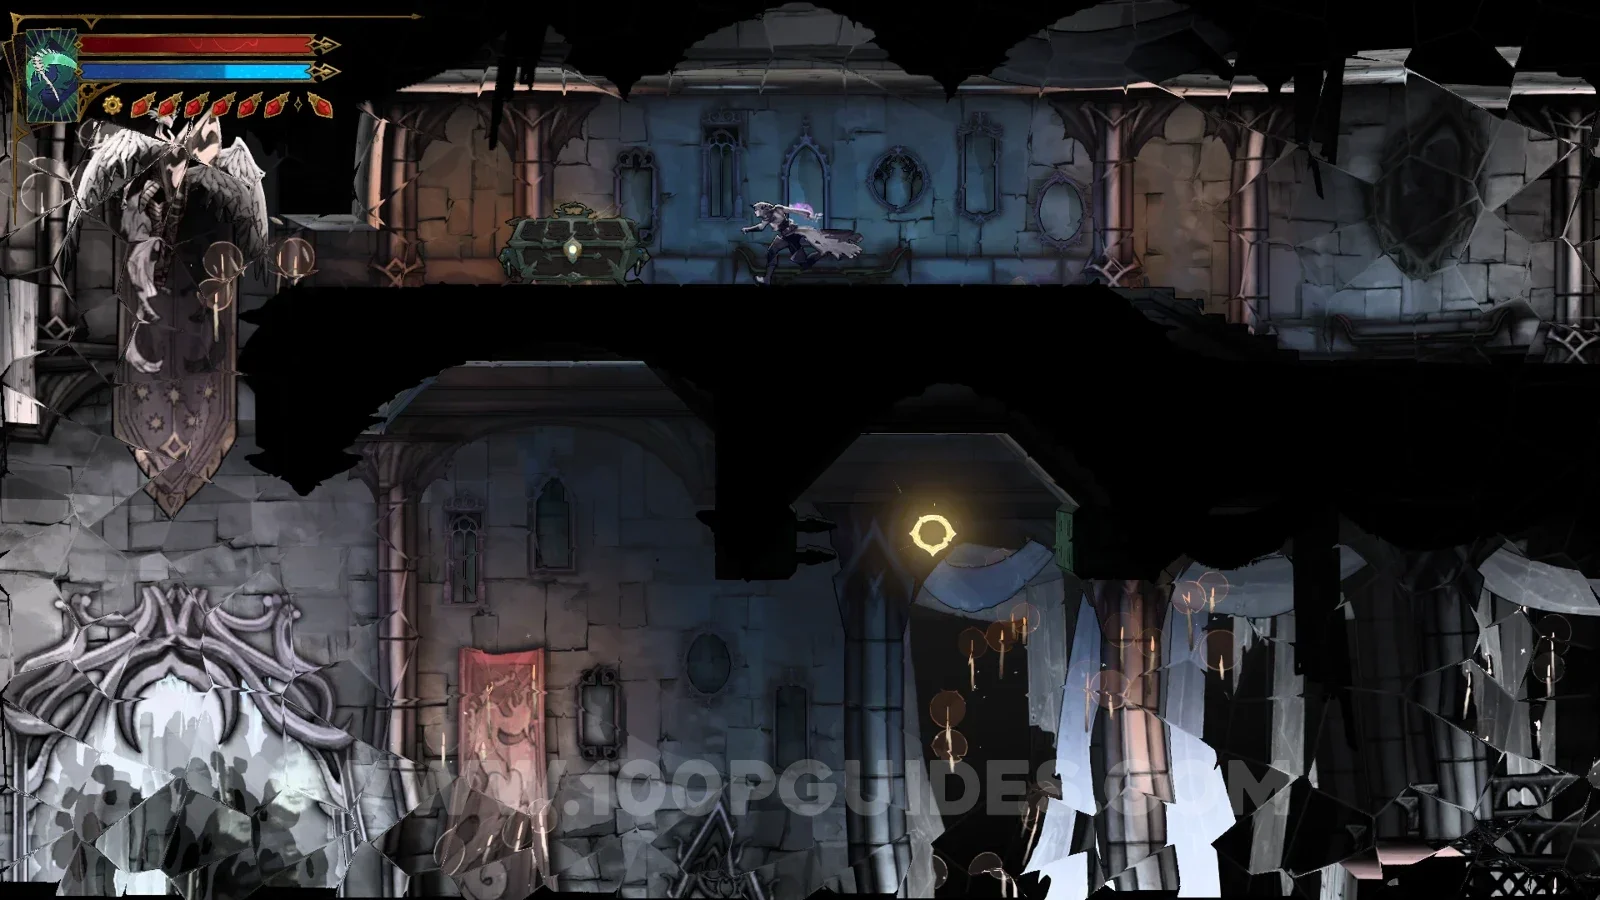
Hall Of Mirrors > Dead-End Tower

At the top of the area, after interacting with the lever and using the portal.
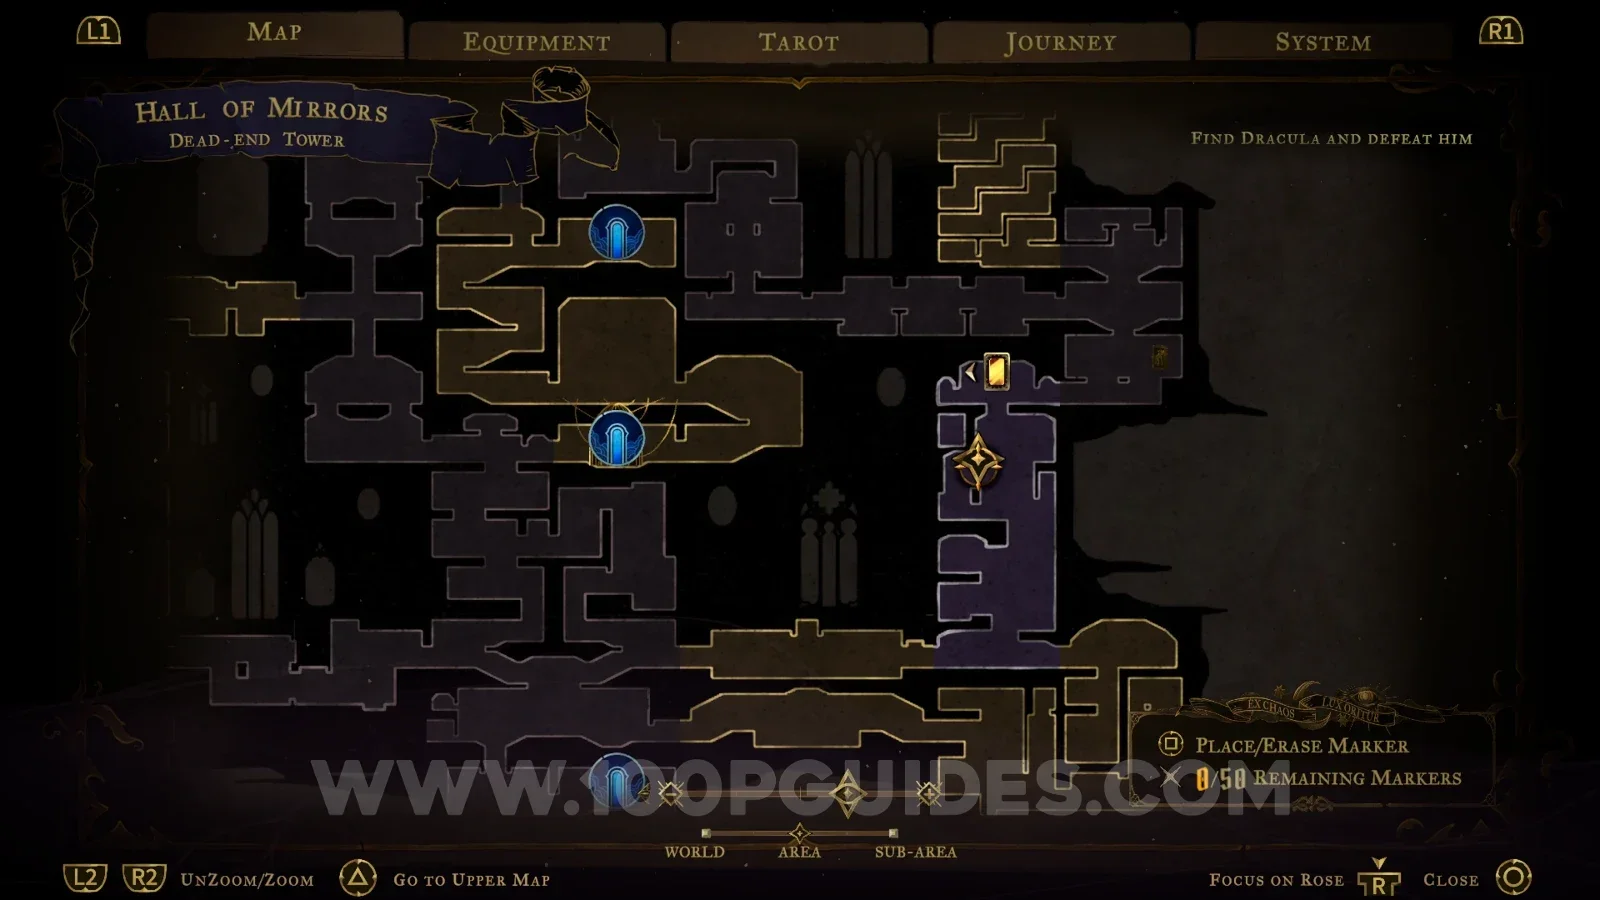
Castlevania Belmonts Curse Dead-End Tower: interacting with the lever in the Hall Of Mirrors Castlevania Belmonts Curse Dead-End Tower: using the portal to reach the top of the area Castlevania Belmonts Curse: the Crystallized Blood relic chest at the top of the Dead-End Tower

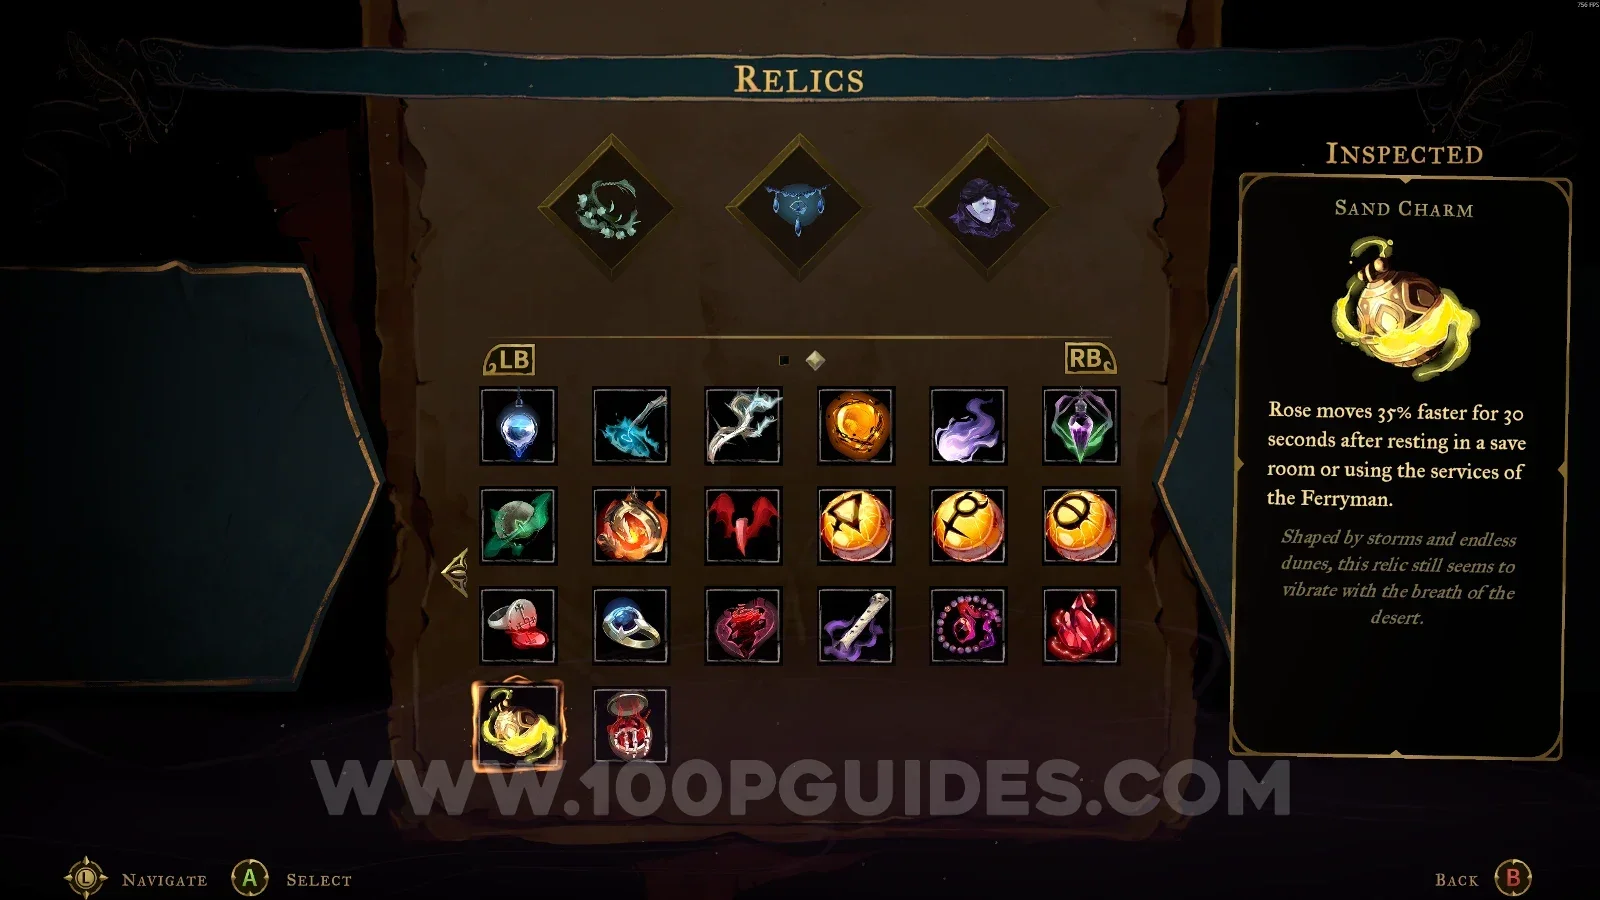
Sand Charm

Hall Of Mirrors > Looping Hallways

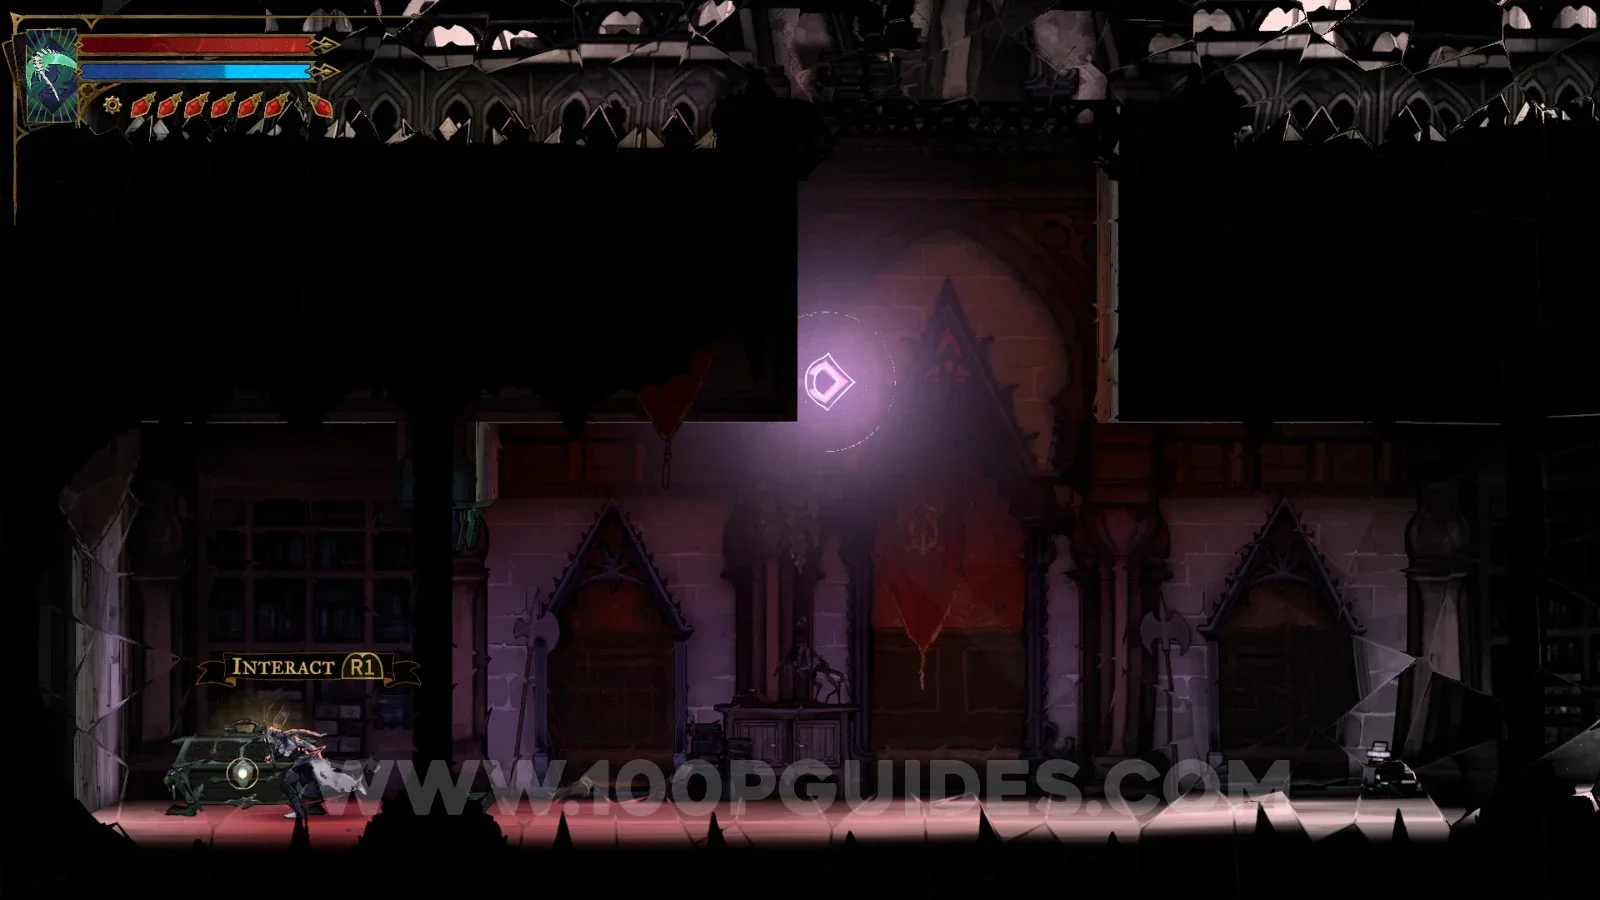
From the area shown on the map, head right and interact with the lever. Then use the Arcane Whip to climb to the upper part and use the portal on the left to reach the chest.
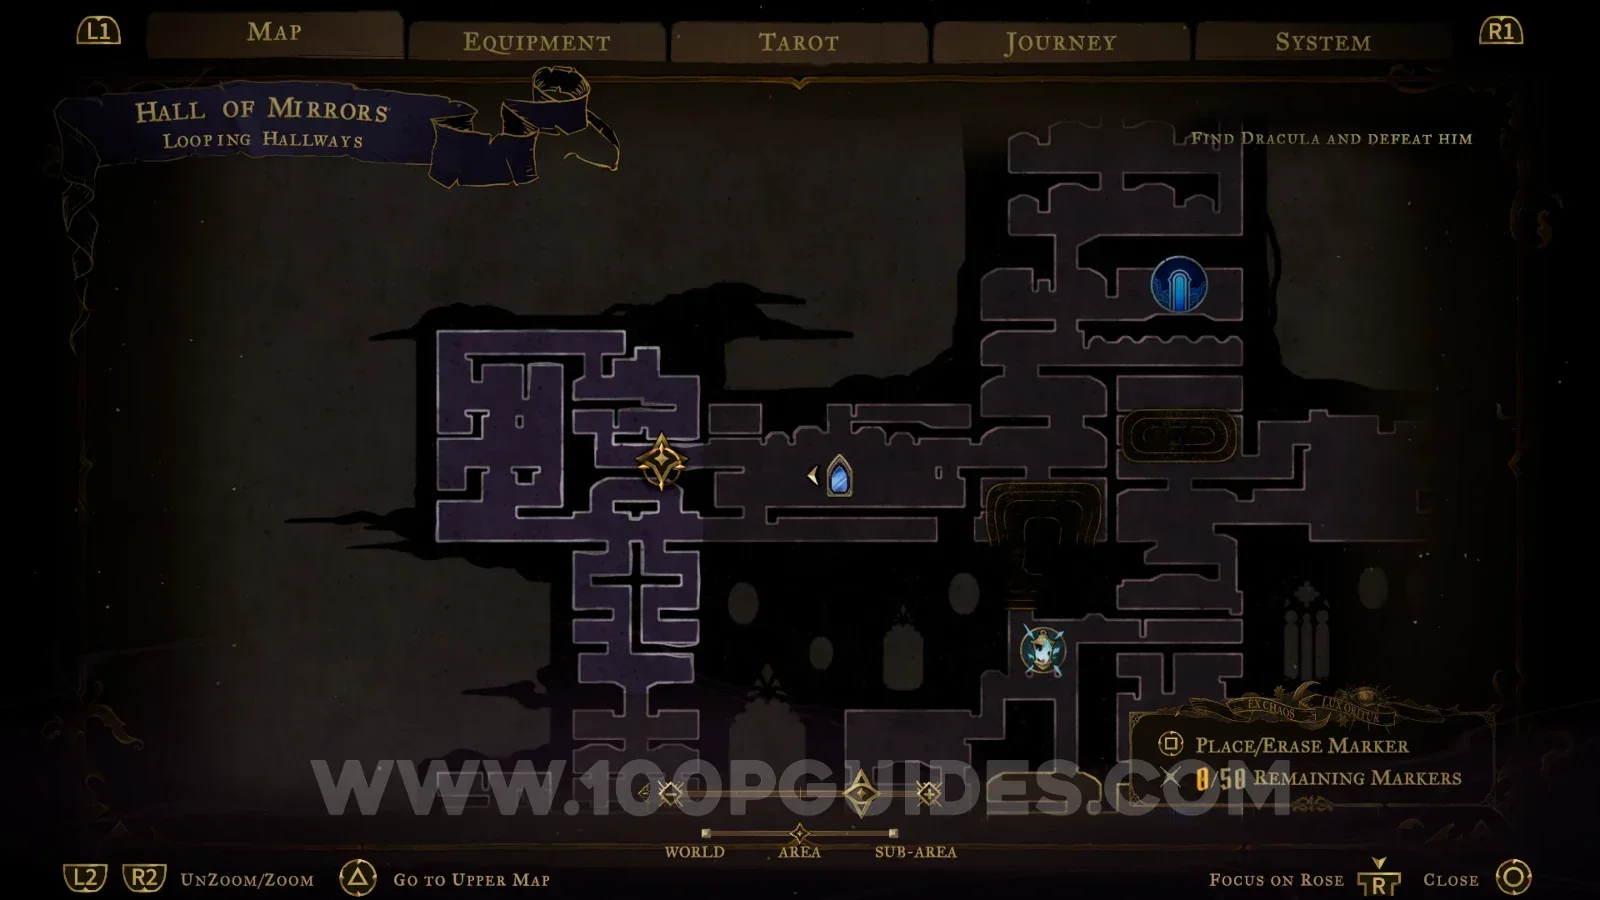
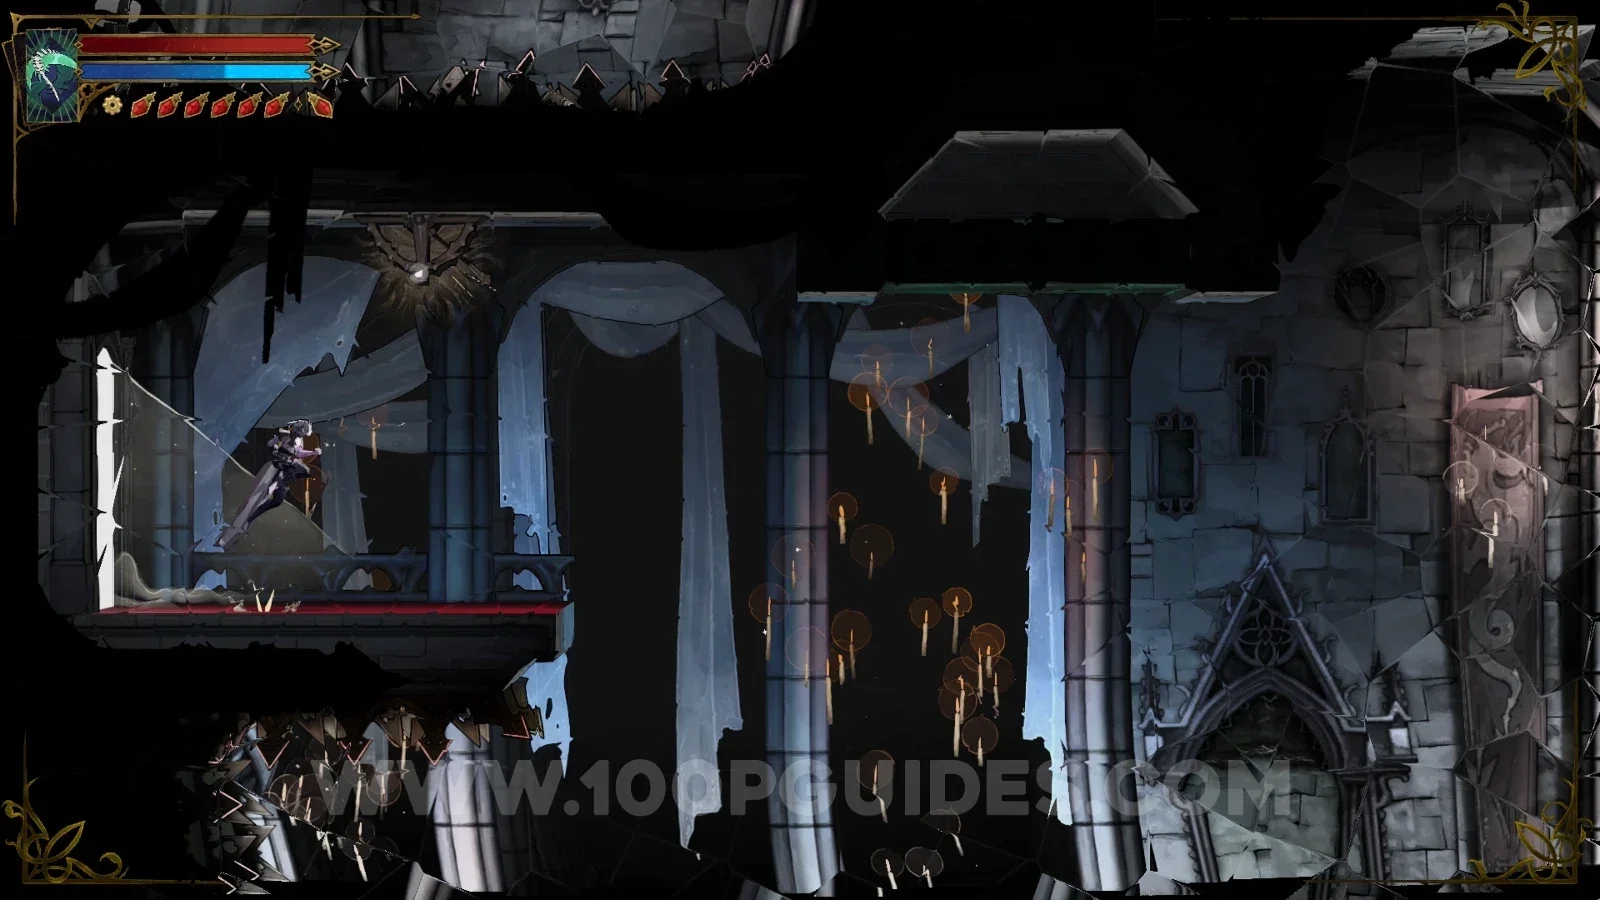
Castlevania Belmonts Curse Looping Hallways map showing the start point for the Sand Charm relic Castlevania Belmonts Curse Looping Hallways: heading right to interact with the lever Castlevania Belmonts Curse Looping Hallways: climbing to the upper part with the Arcane Whip Castlevania Belmonts Curse: the Sand Charm relic chest reached through the portal on the left

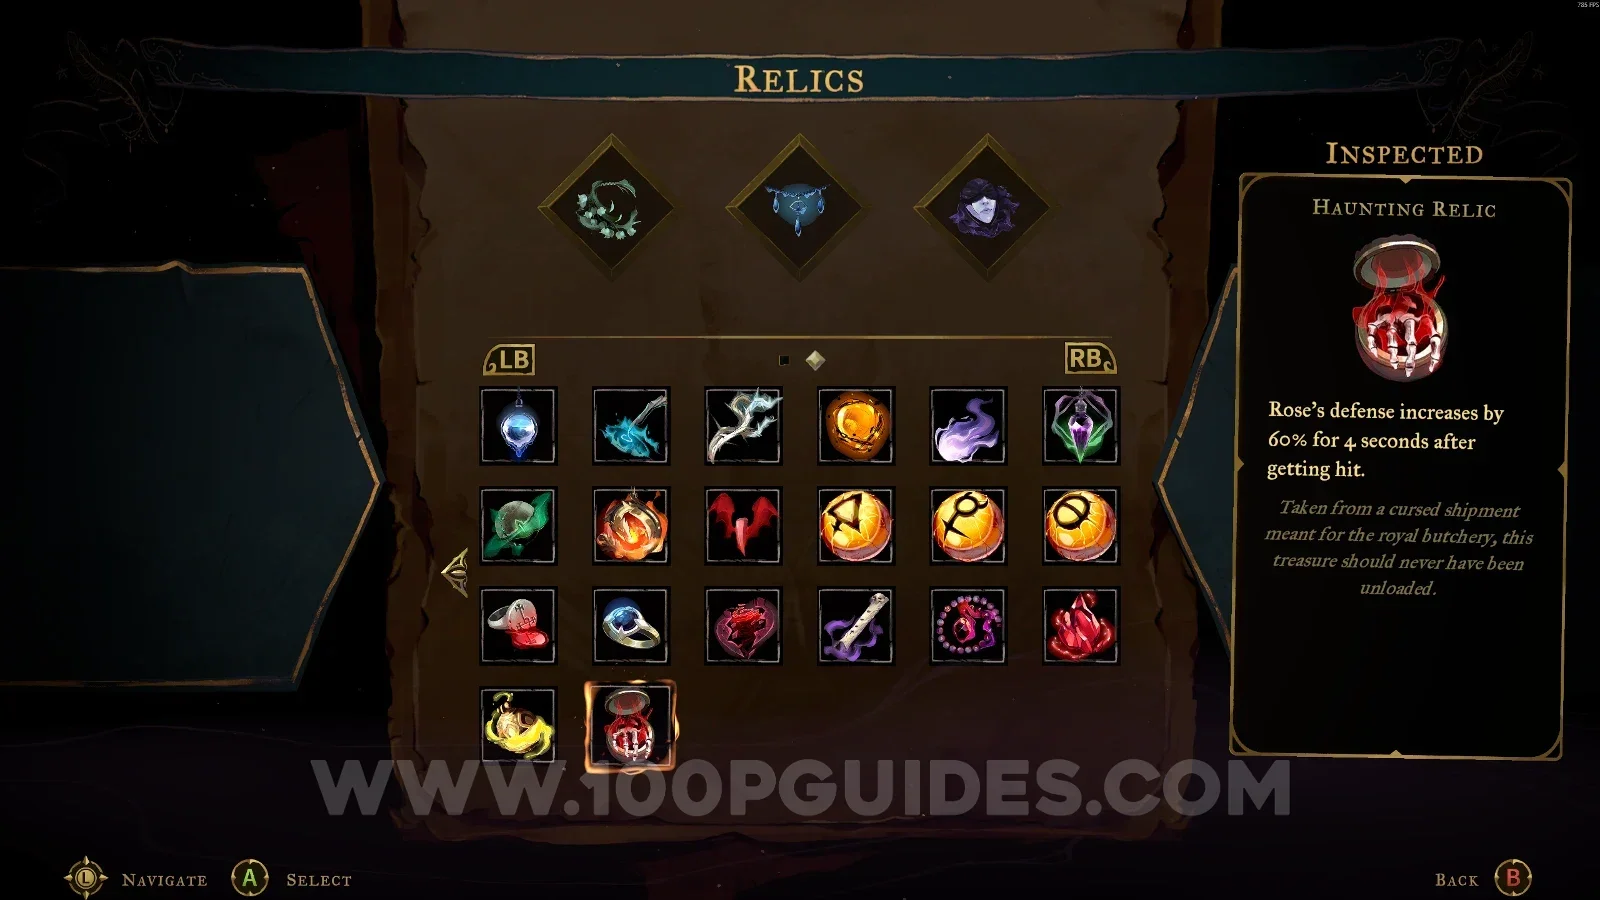
Haunting Relic

Hall Of Mirrors > Steps Of Misdirection

In the area marked on the map, interact with the lever, complete the challenge, then go down and open the chest.
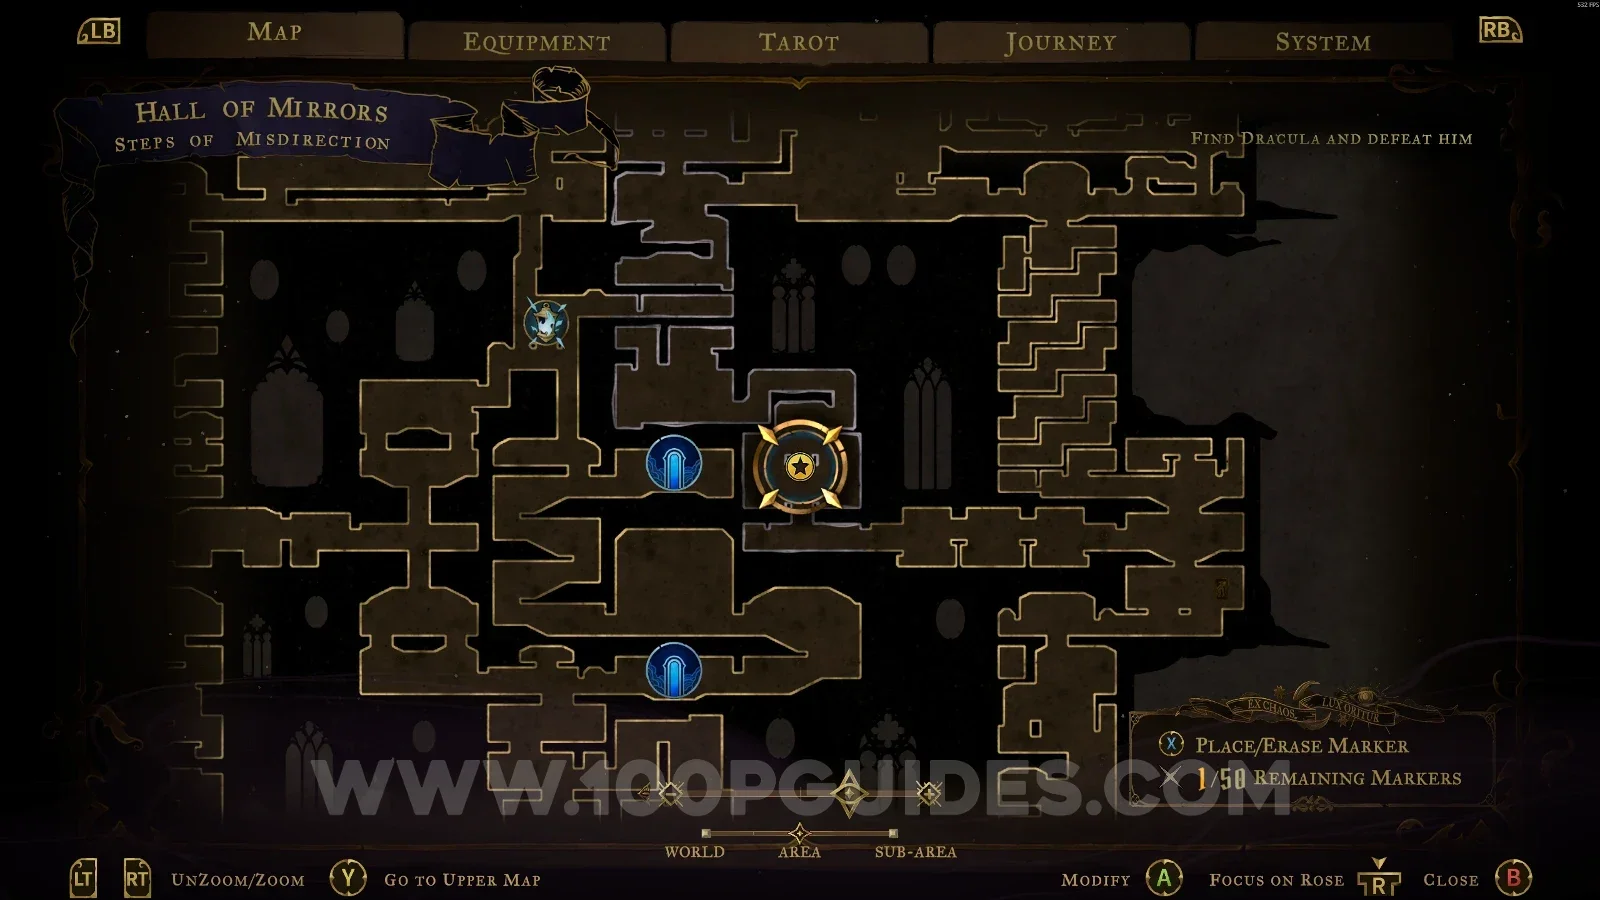
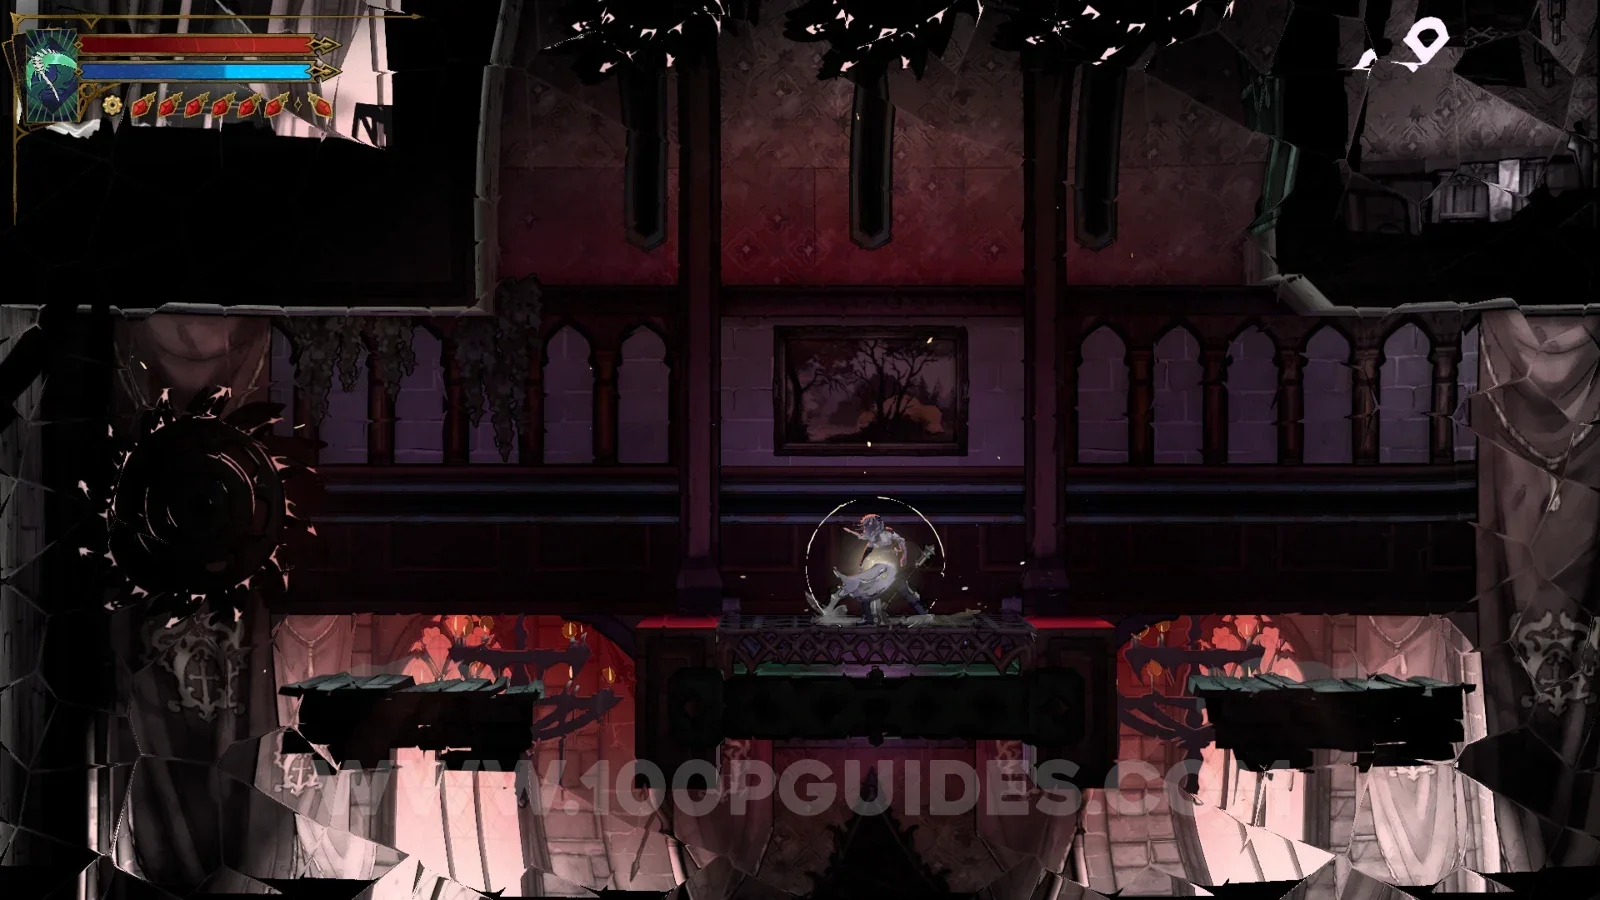
Castlevania Belmonts Curse Steps Of Misdirection map marking the Haunting Relic area Castlevania Belmonts Curse Steps Of Misdirection: interacting with the lever to start the challenge Castlevania Belmonts Curse Steps Of Misdirection: completing the challenge before going down Castlevania Belmonts Curse: opening the Haunting Relic chest below the Steps Of Misdirection challenge

These are all the relics that can be found in Castlevania: Belmont's Curse.

Video Guide

Previous
Previous

Castlevania: Belmont’s Curse All Mirrors of Life Locations

Next
Next

Castlevania: Belmont’s Curse All Weapon Locations