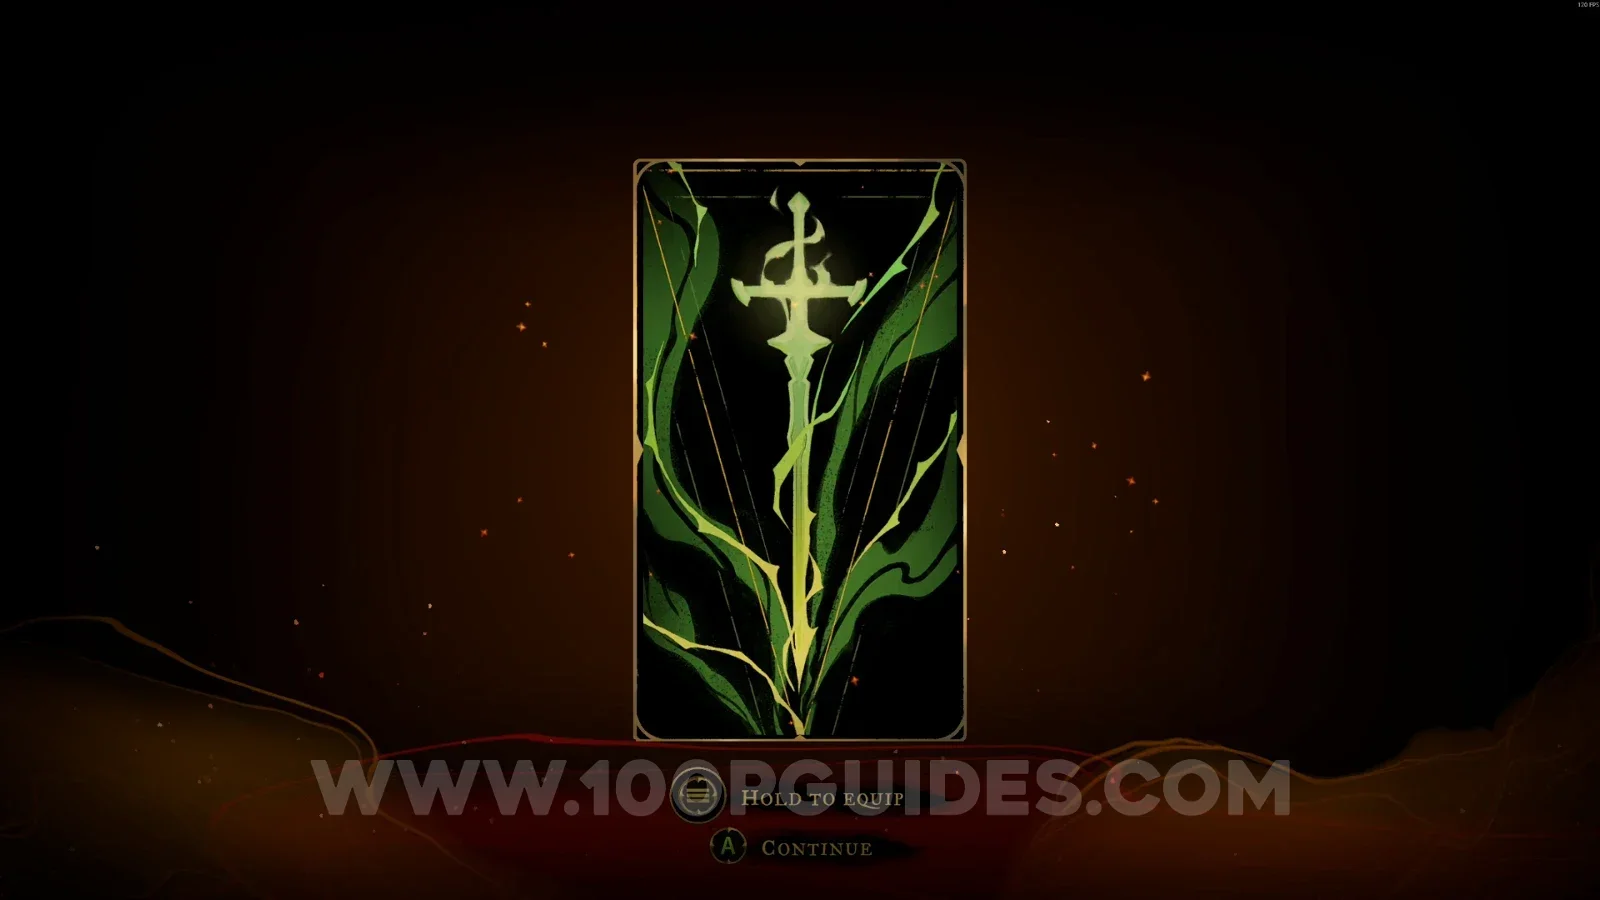
Castlevania: Belmont’s Curse All Weapon Locations

This guide will show you the location of all weapons in Castlevania: Belmont's Curse.

Collecting all 28 weapons is required to get the Armed to the Fangs Trophy / Achievement.

Paris Streets

Weapon #1: Longsword

Obtained automatically when you start the game.
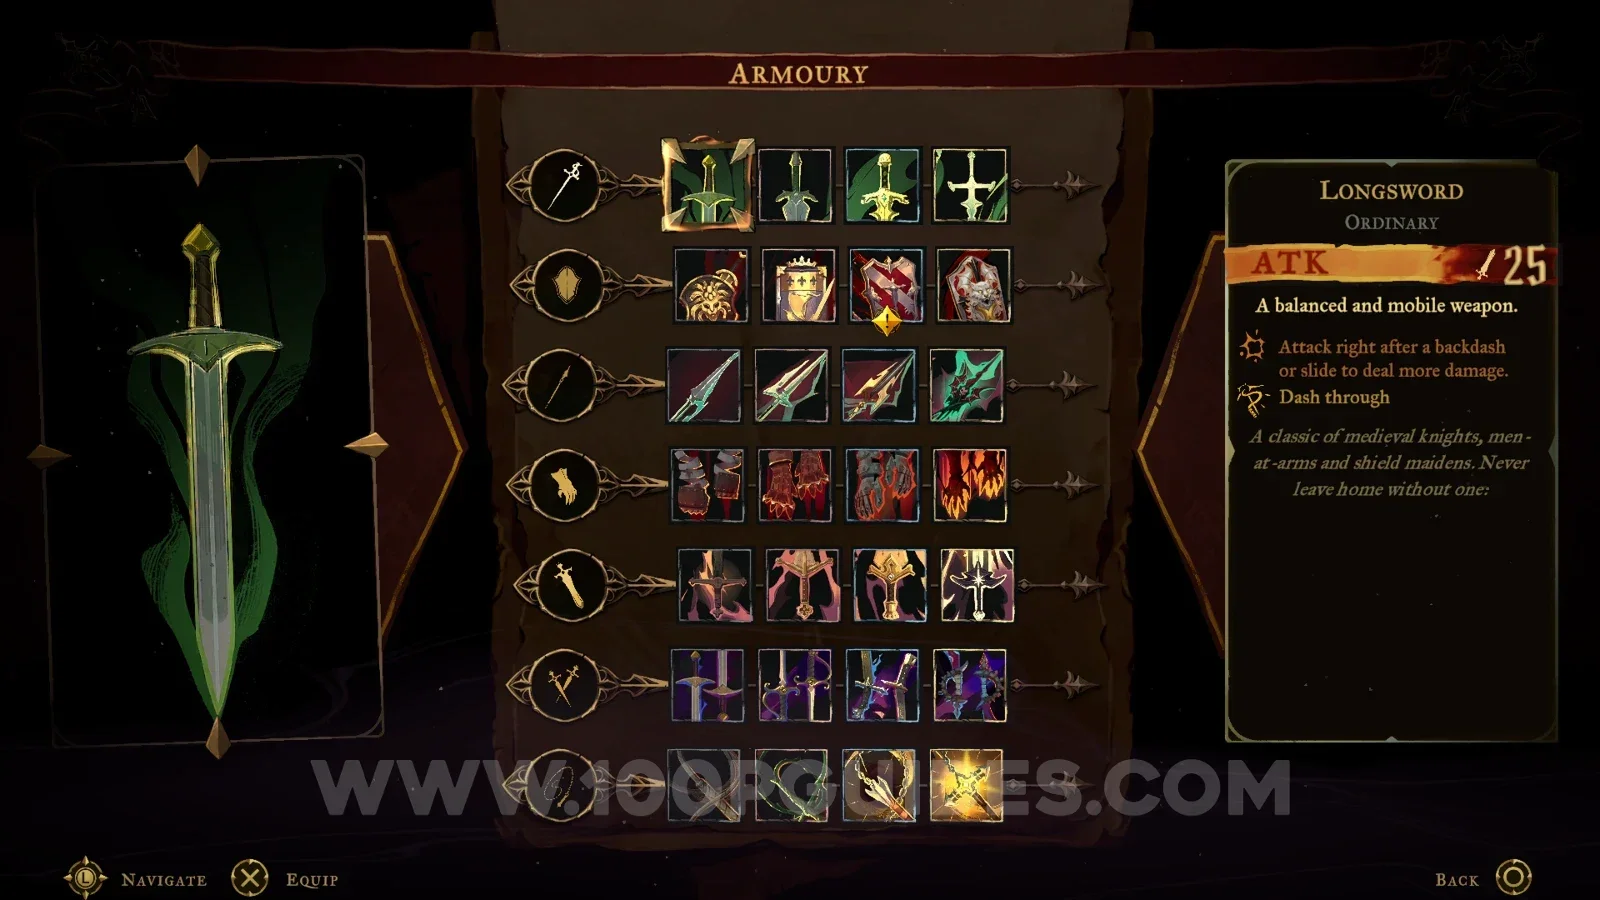
Castlevania Belmonts Curse Paris Streets: the Longsword, weapon #1, obtained automatically at the start

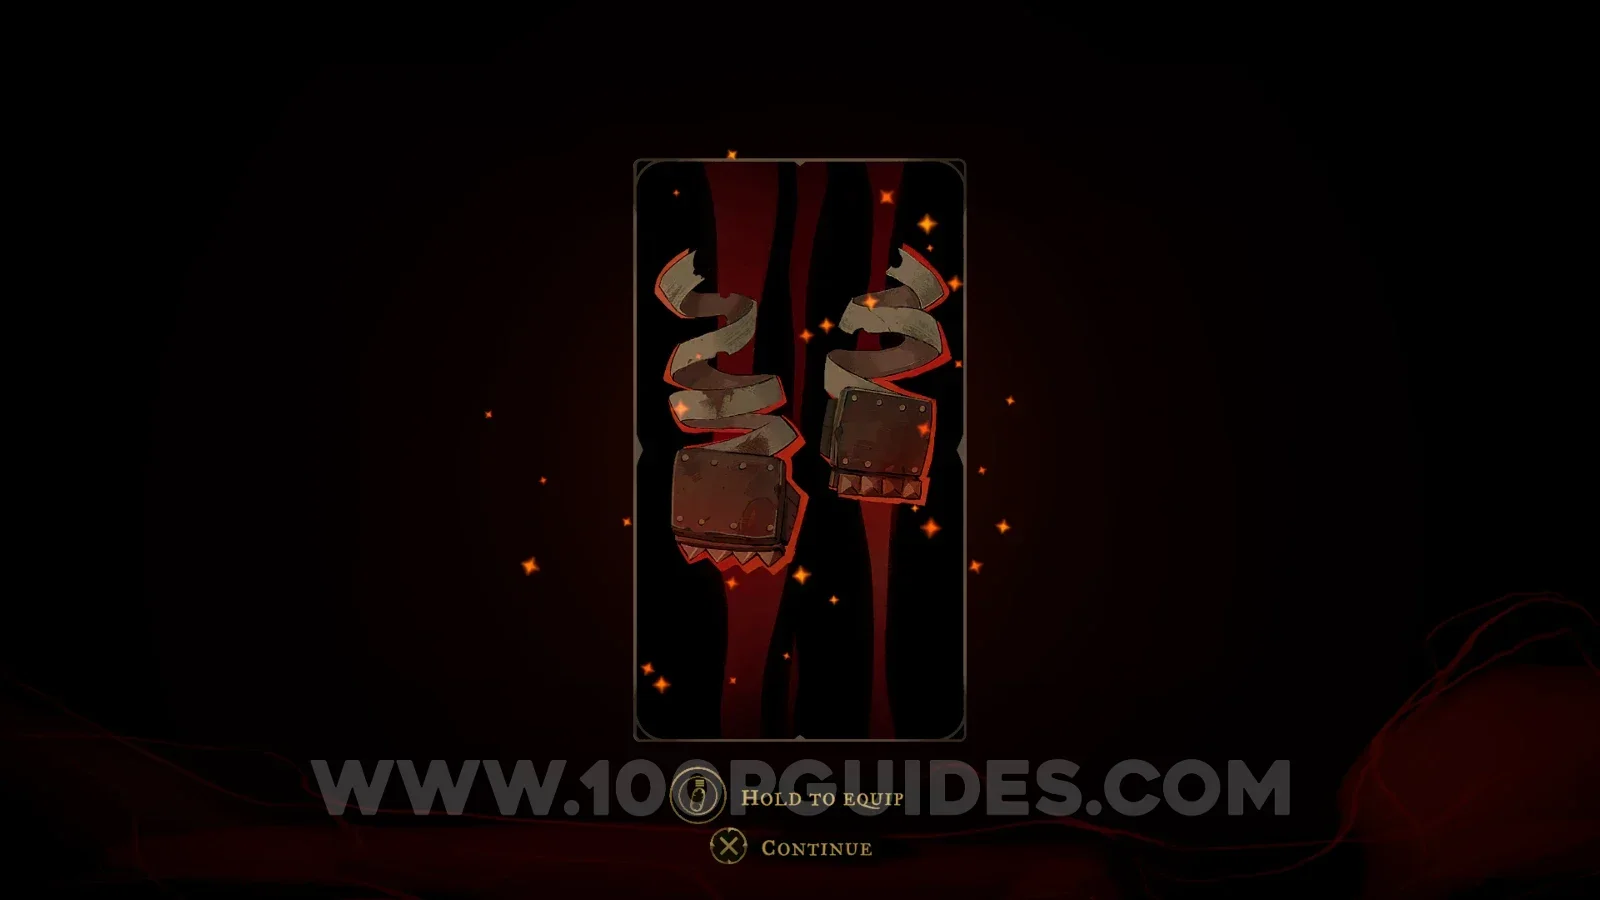
Weapon #2: Cestus

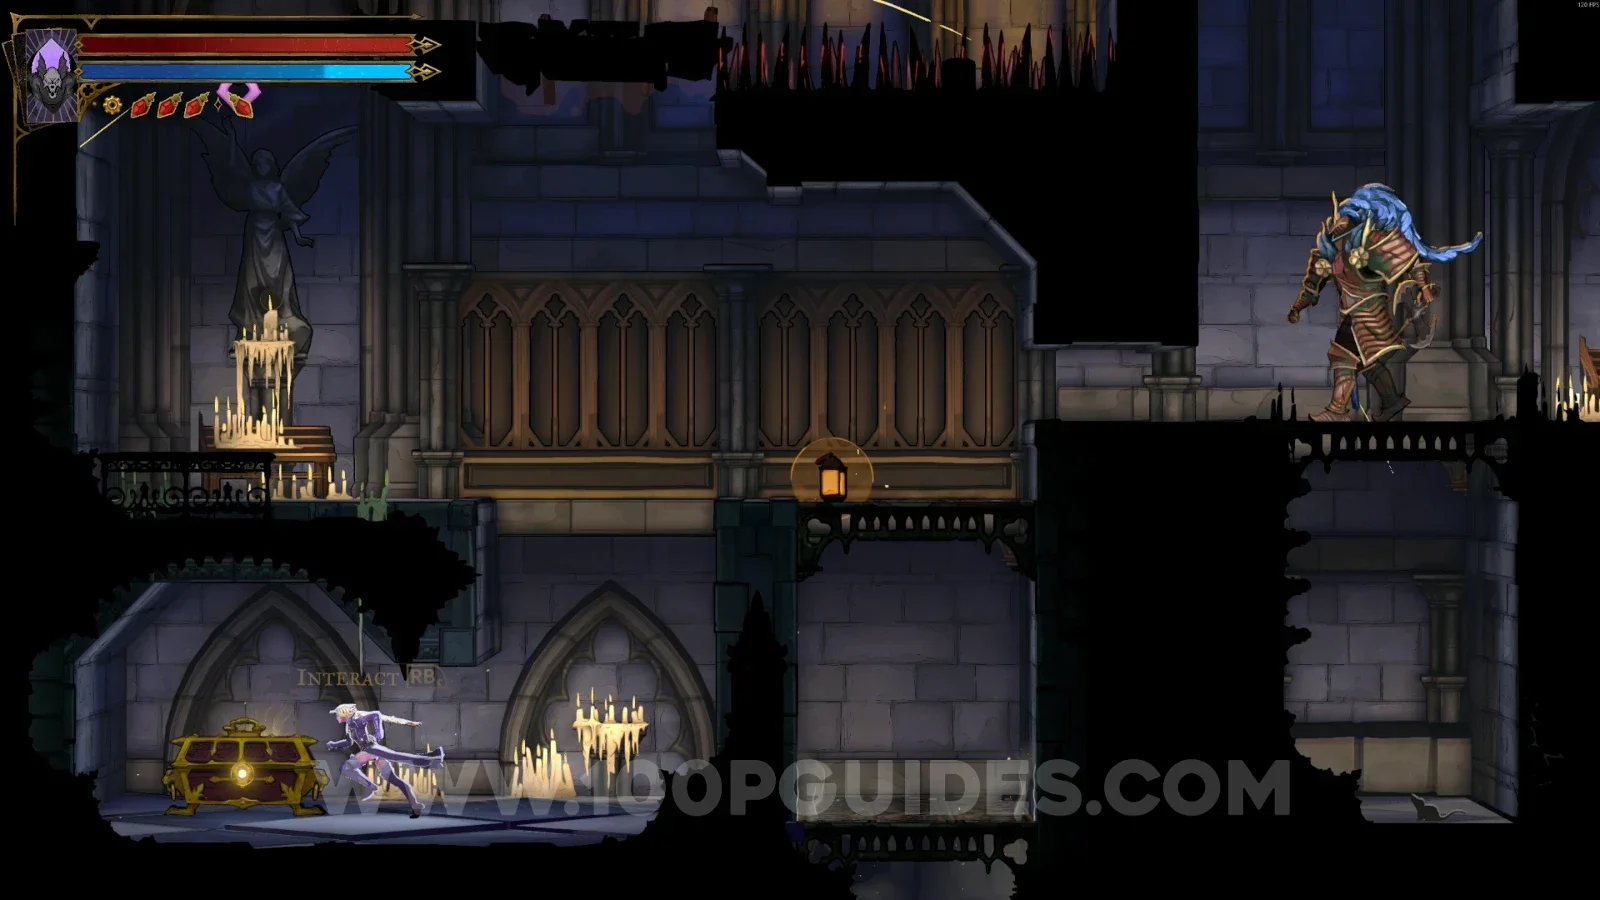
In the area marked on the map, go down from the platform and head left to find it in a chest in the middle of the area.
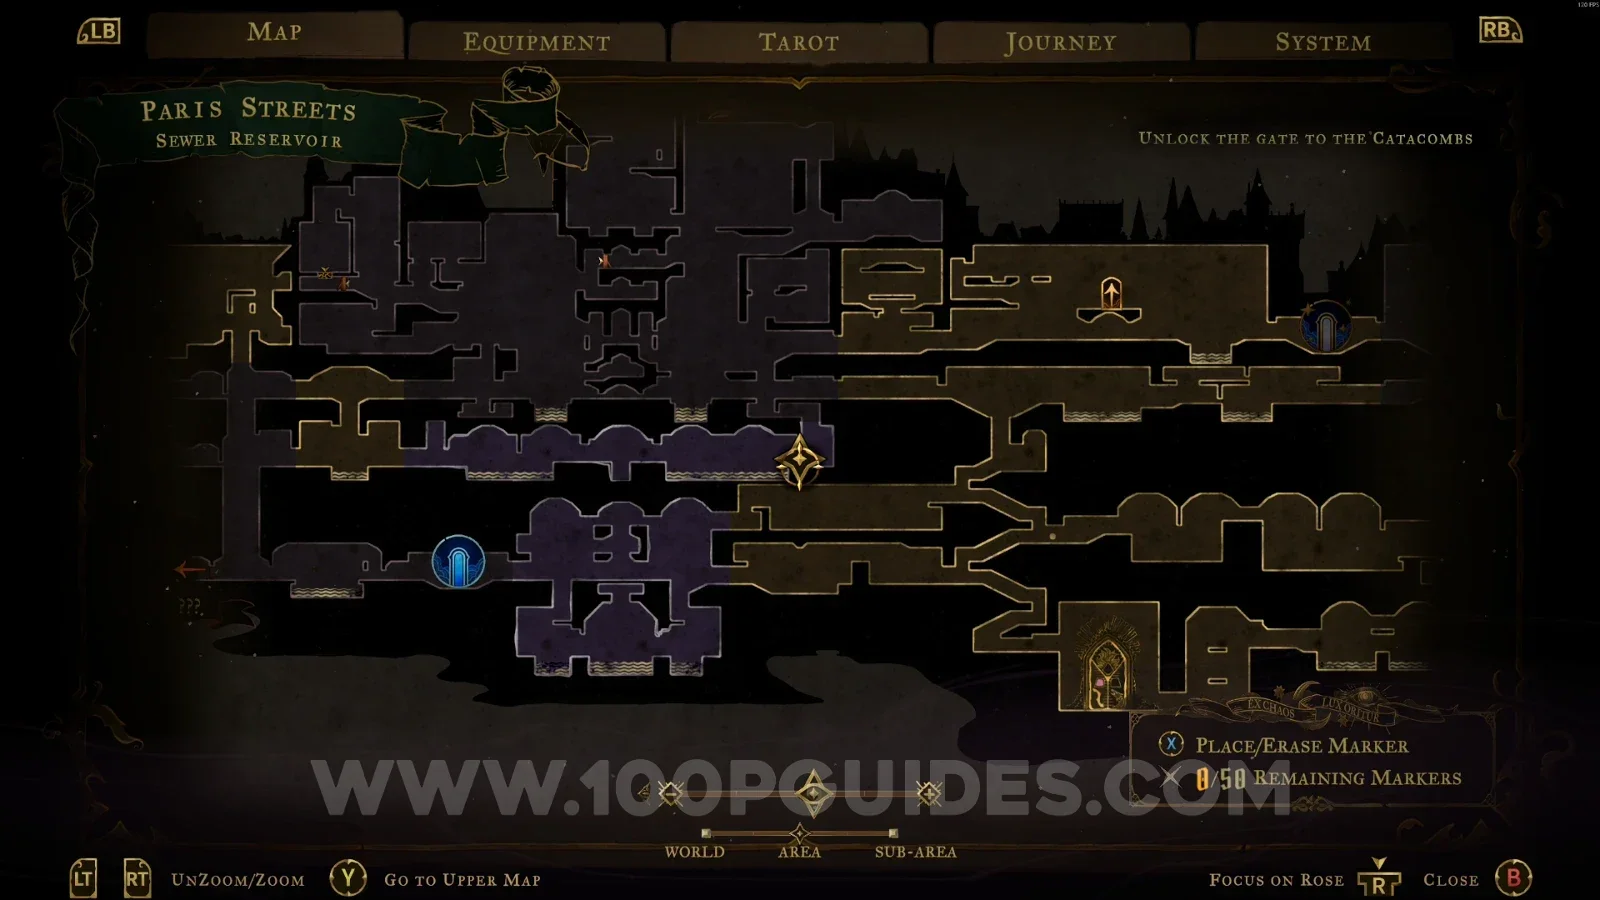
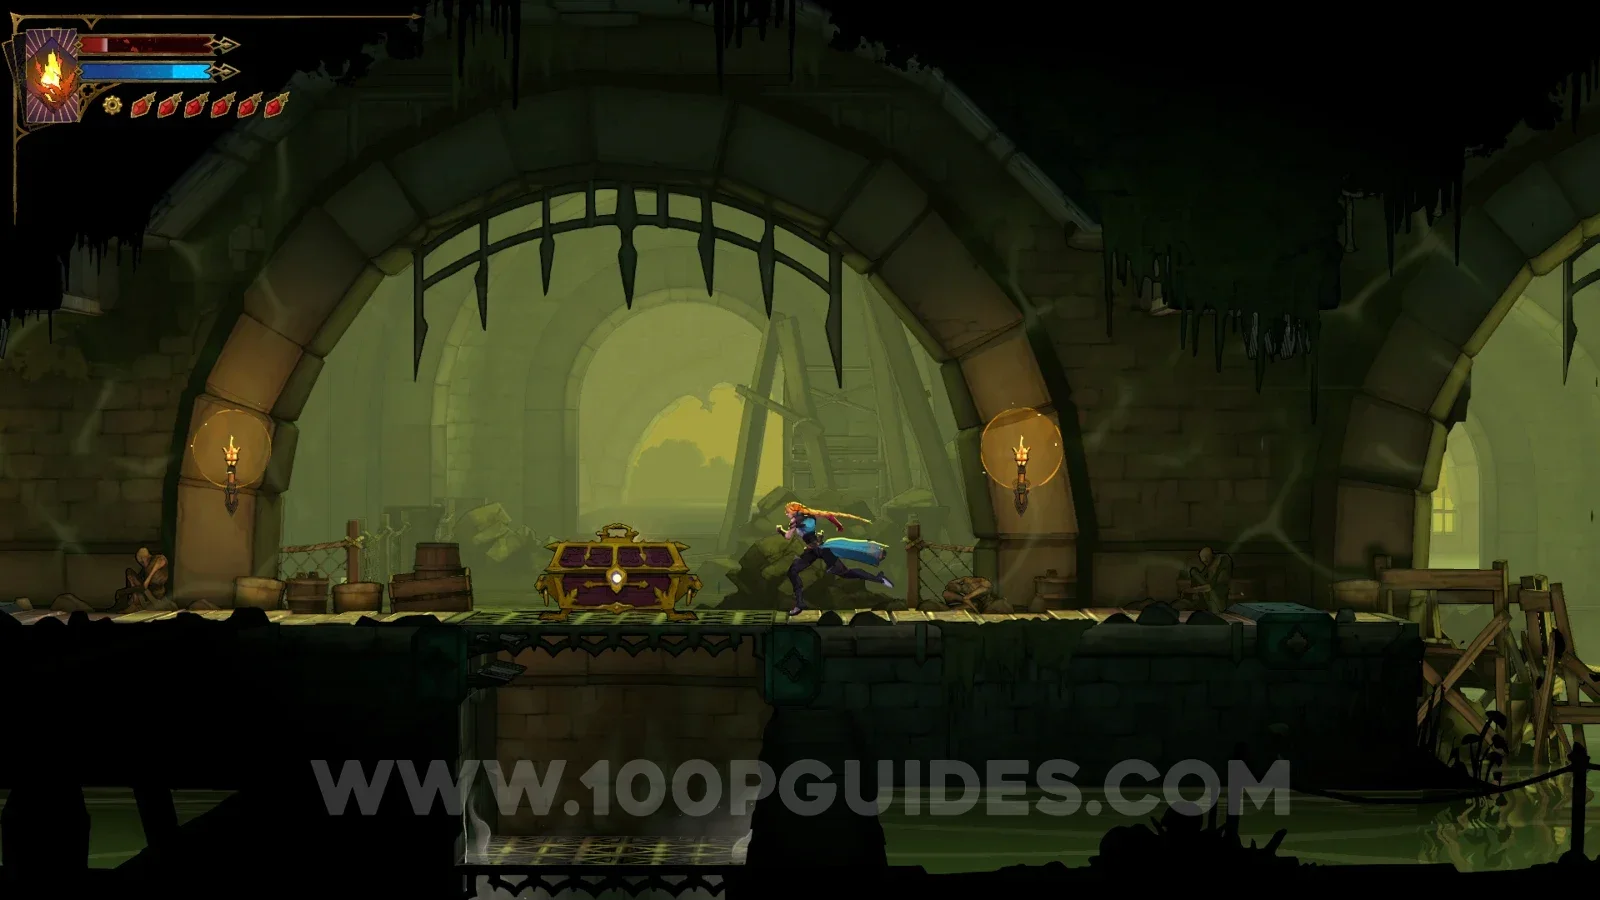
Castlevania Belmonts Curse Paris Streets: map marking the area with the Cestus chest Castlevania Belmonts Curse Paris Streets: going down the platform and heading left toward the Cestus Castlevania Belmonts Curse Paris Streets: the chest holding the Cestus in the middle of the area

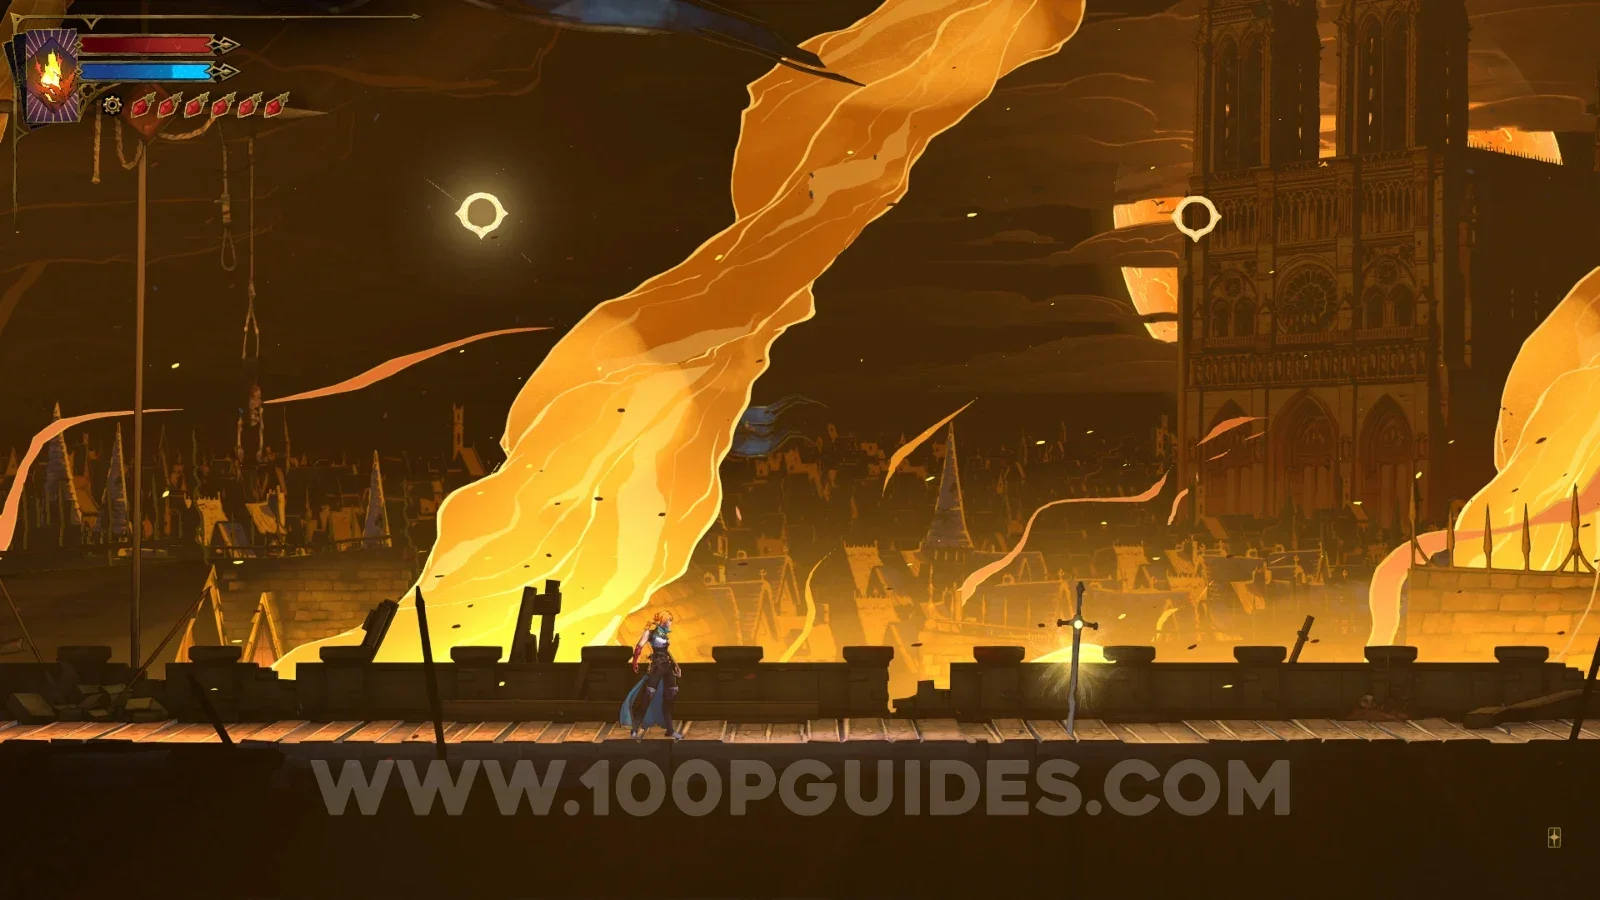
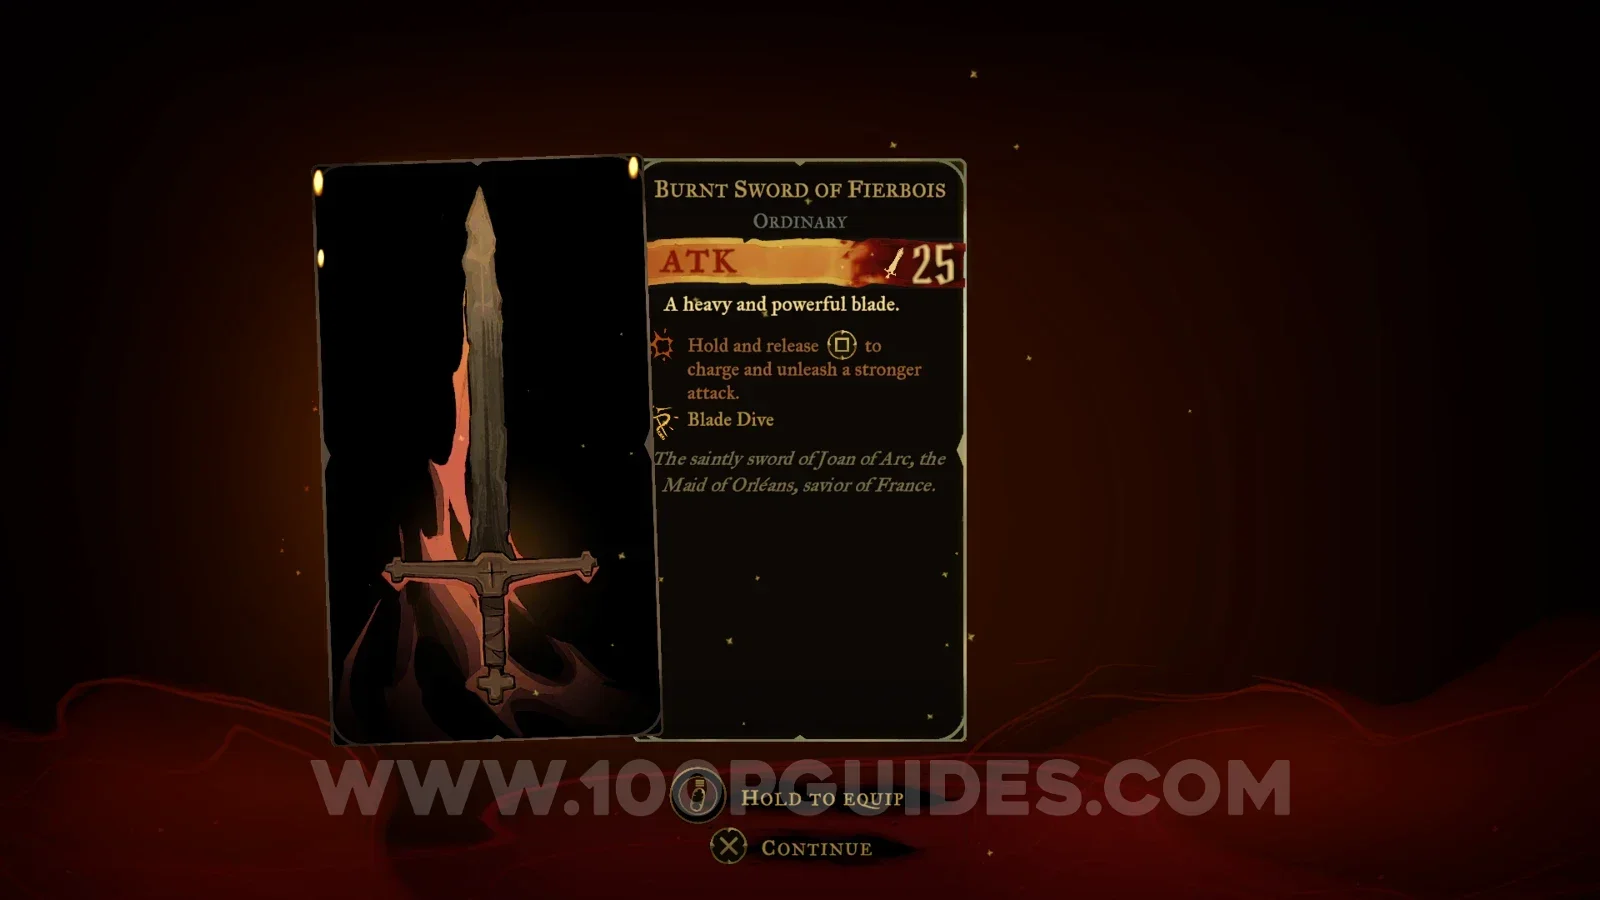
Weapon #3: Burnt Sword Of Fierbois

After defeating Joan (The Warrior), the weapon will be on the ground.
Castlevania Belmonts Curse Paris Streets: boss fight against Joan (The Warrior) Castlevania Belmonts Curse Paris Streets: Burnt Sword Of Fierbois on the ground after defeating Joan Castlevania Belmonts Curse Paris Streets: picking up the Burnt Sword Of Fierbois weapon

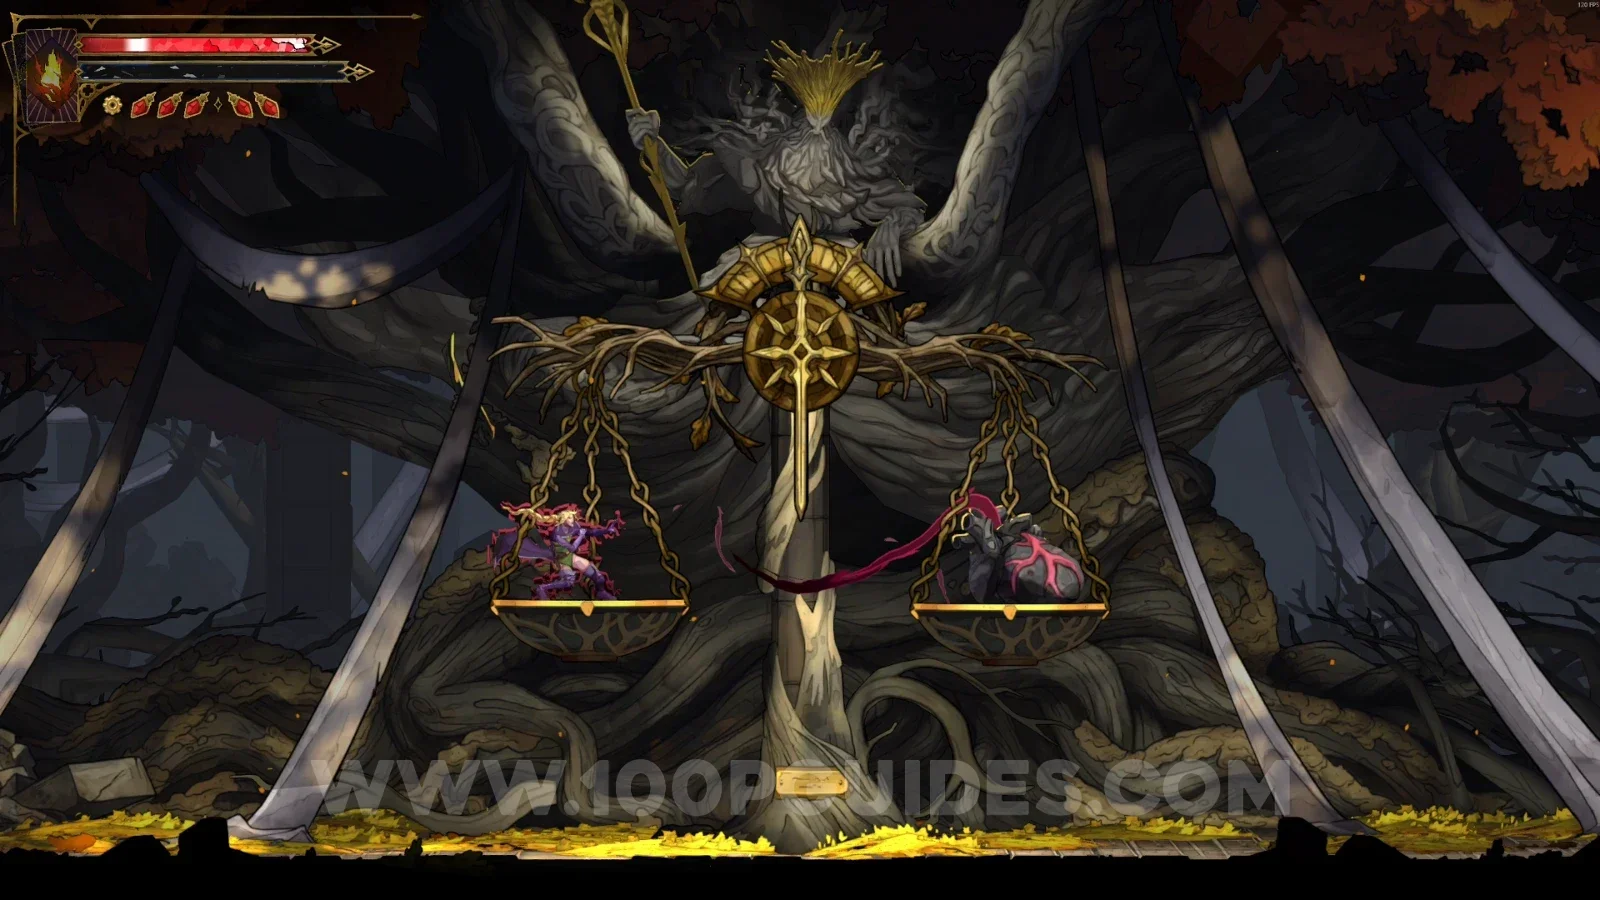
Weapon #4: Valmanway

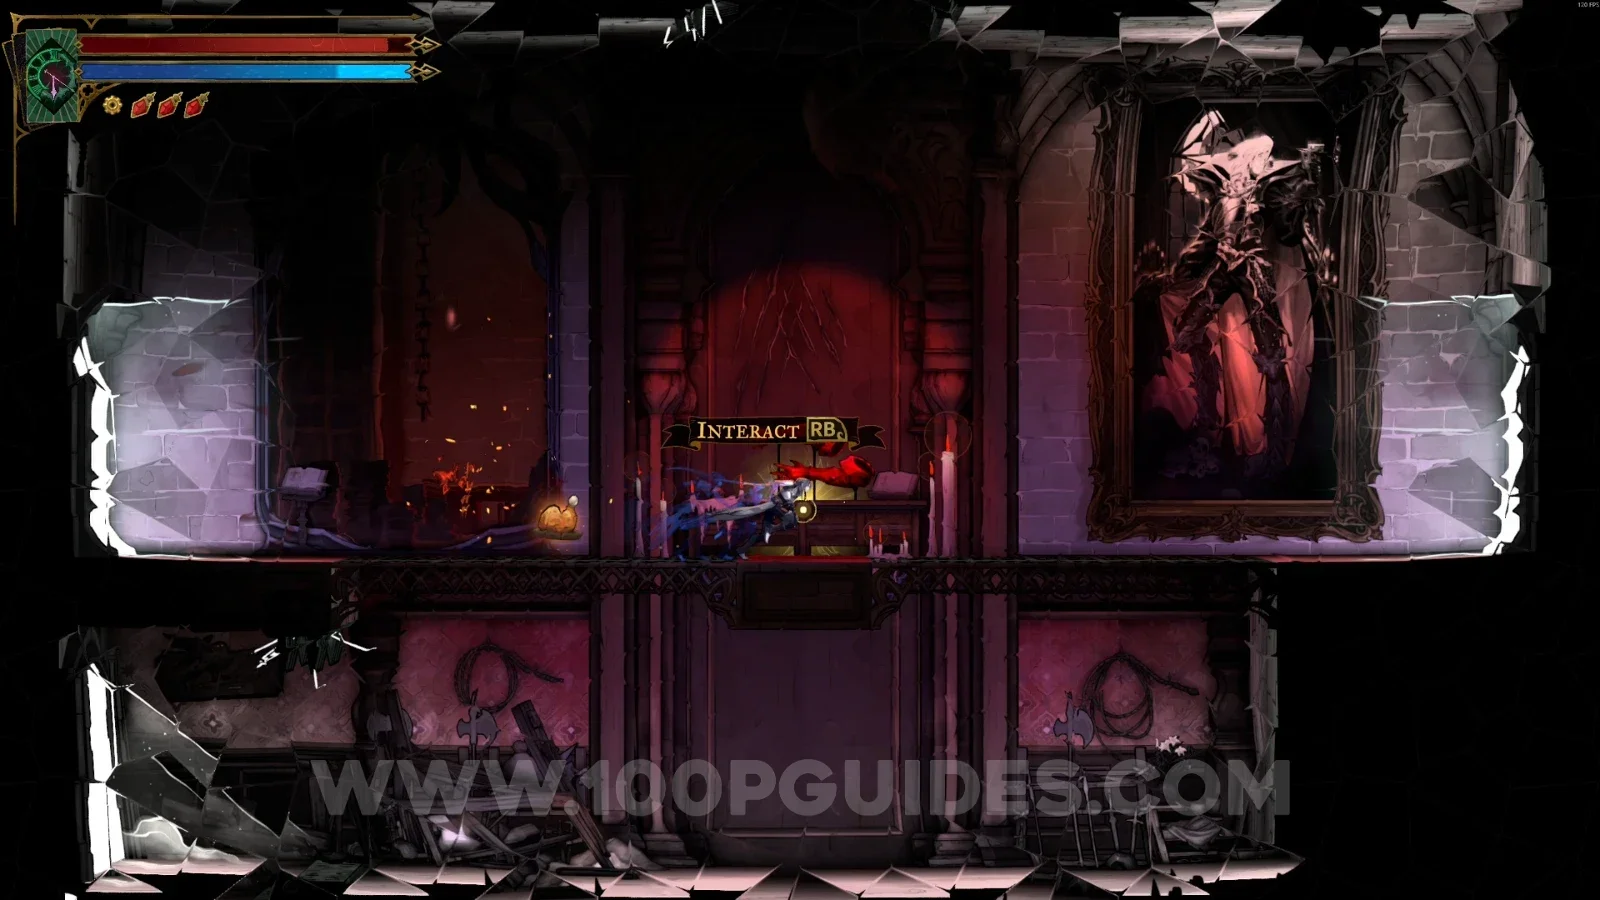
To get this weapon, you'll need at least half of all the Health / Mana upgrades (see our guide with the location of all upgrades). After that, talk to The Judge and interact with the scale to start draining your health and mana. Once it drains enough, you'll receive the weapon as a reward.
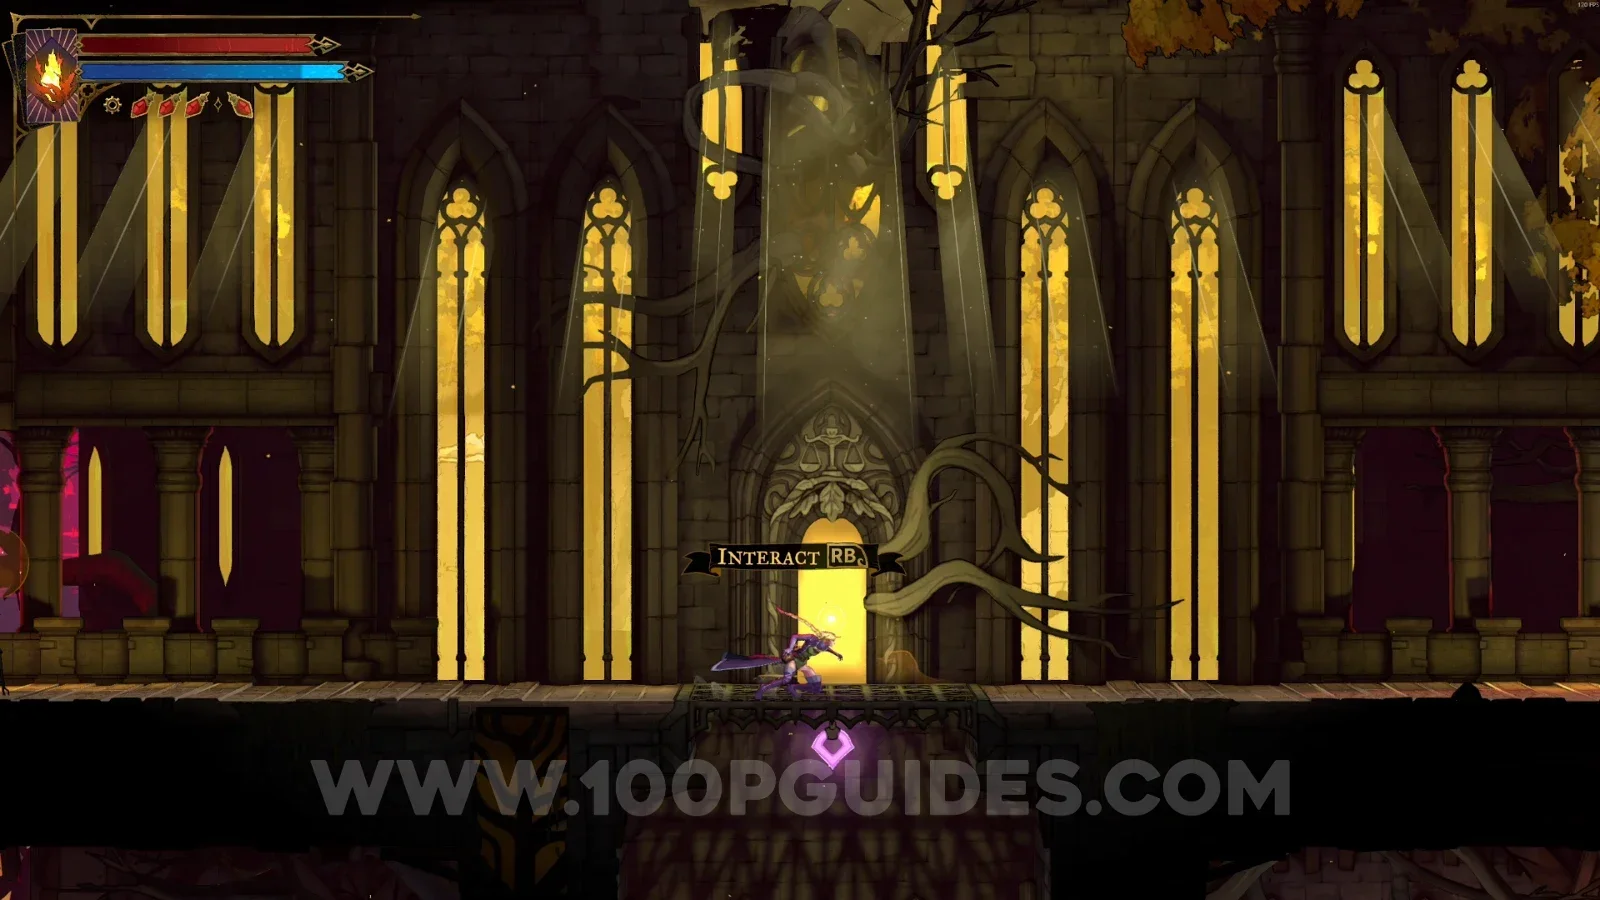
Castlevania Belmonts Curse Paris Streets: talking to The Judge to get the Valmanway weapon Castlevania Belmonts Curse Paris Streets: interacting with The Judge's scale to drain health and mana Castlevania Belmonts Curse Paris Streets: the scale draining health and mana for the Valmanway reward Castlevania Belmonts Curse Paris Streets: Valmanway weapon received as a reward from The Judge

Weapon #5: Bastard Sword

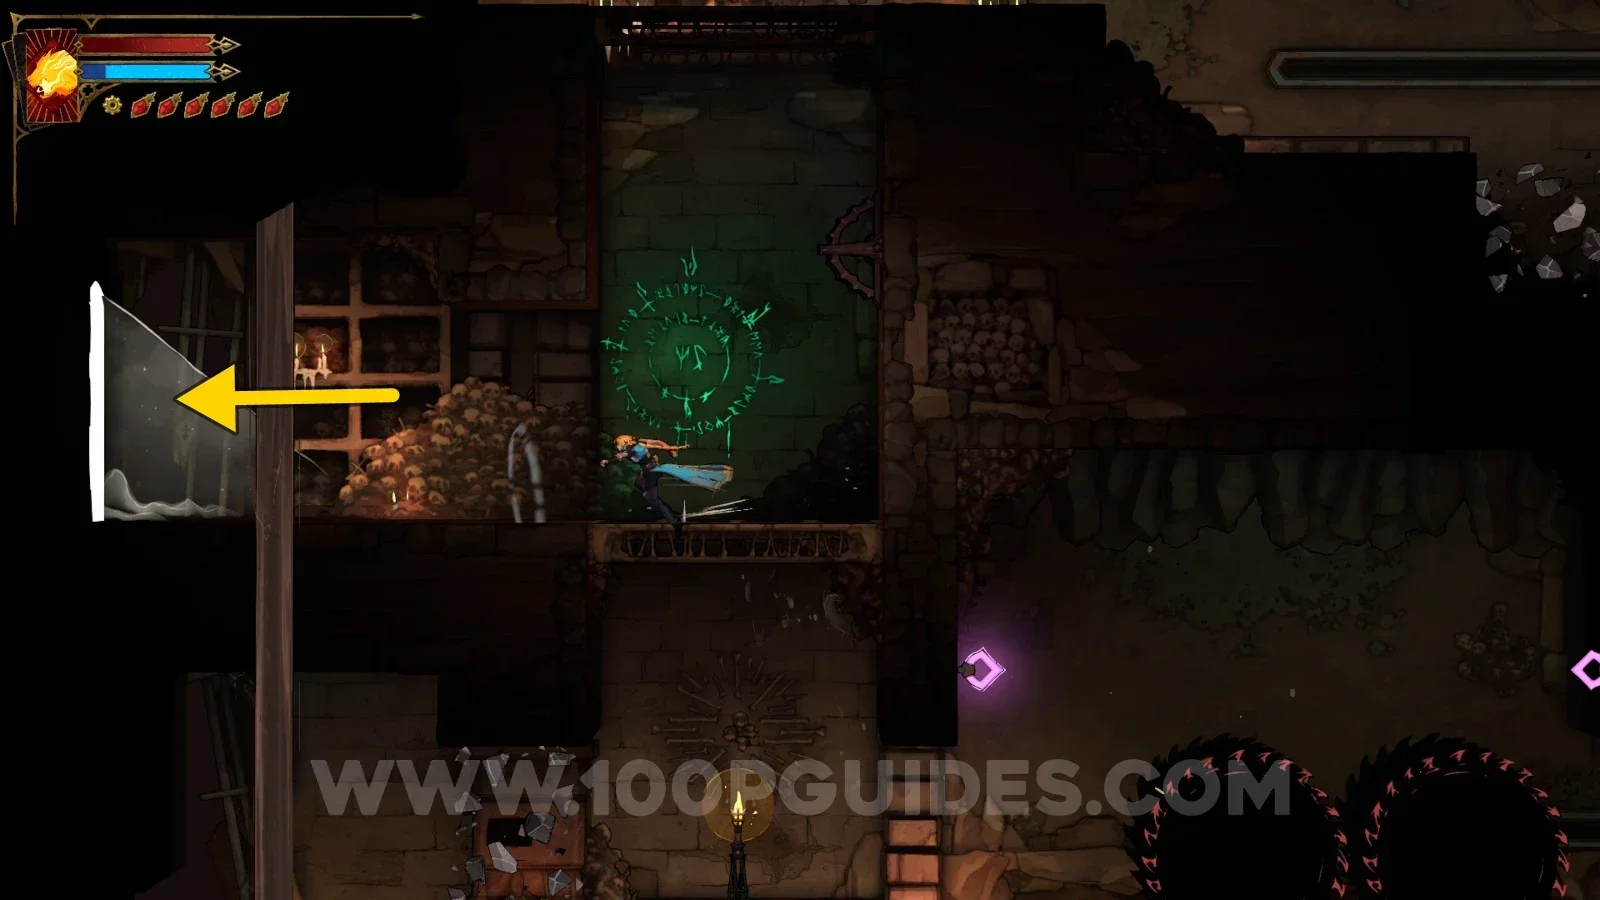
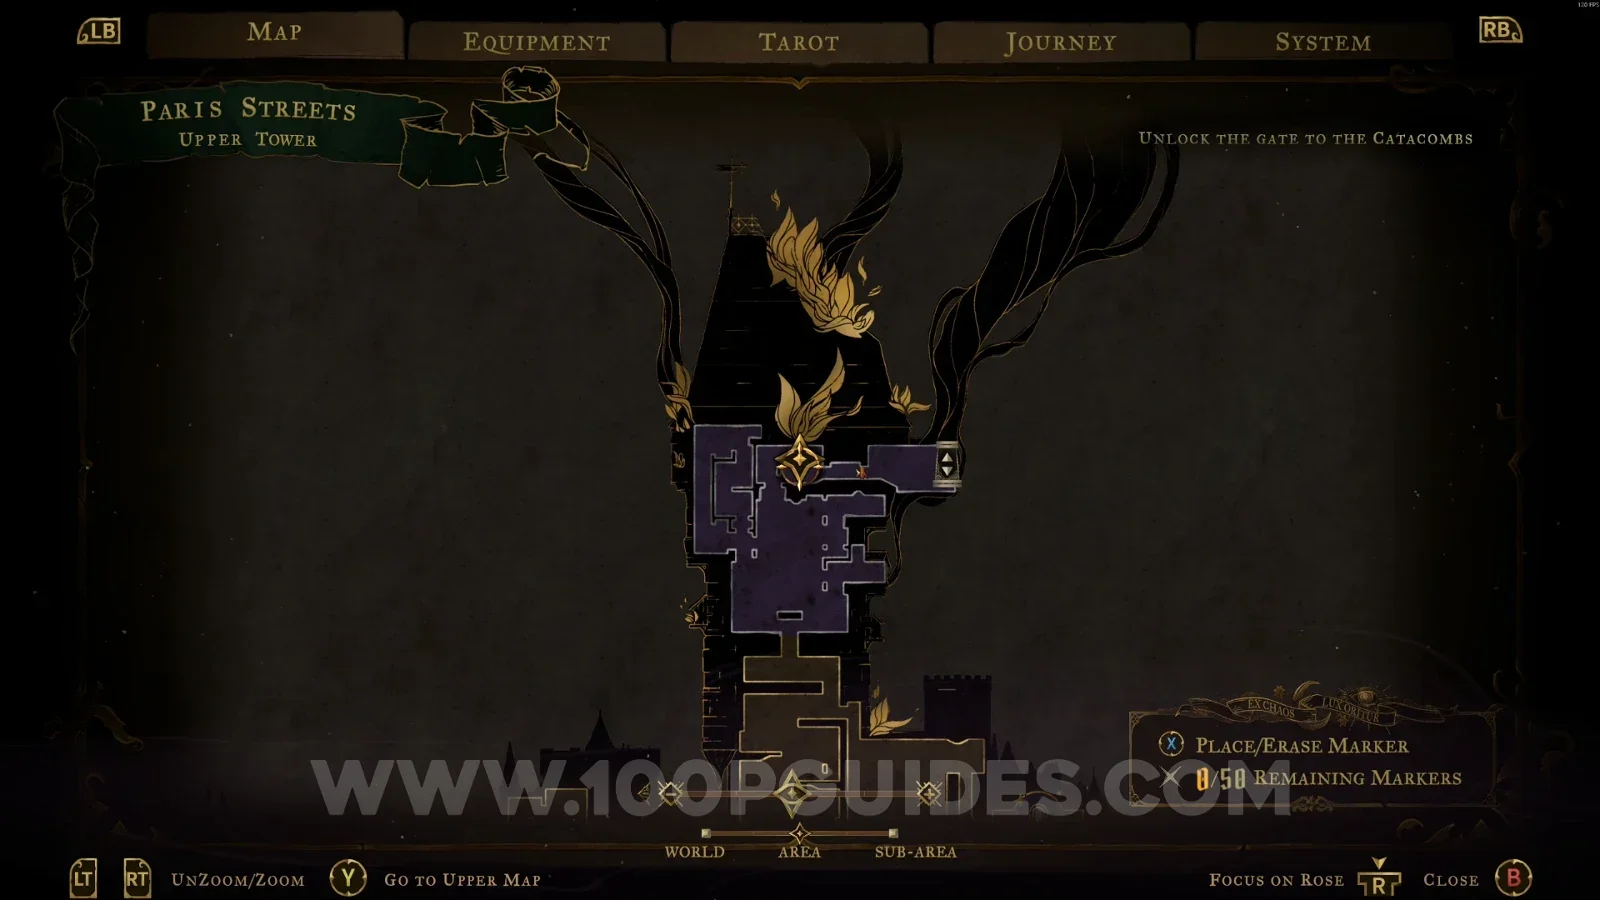
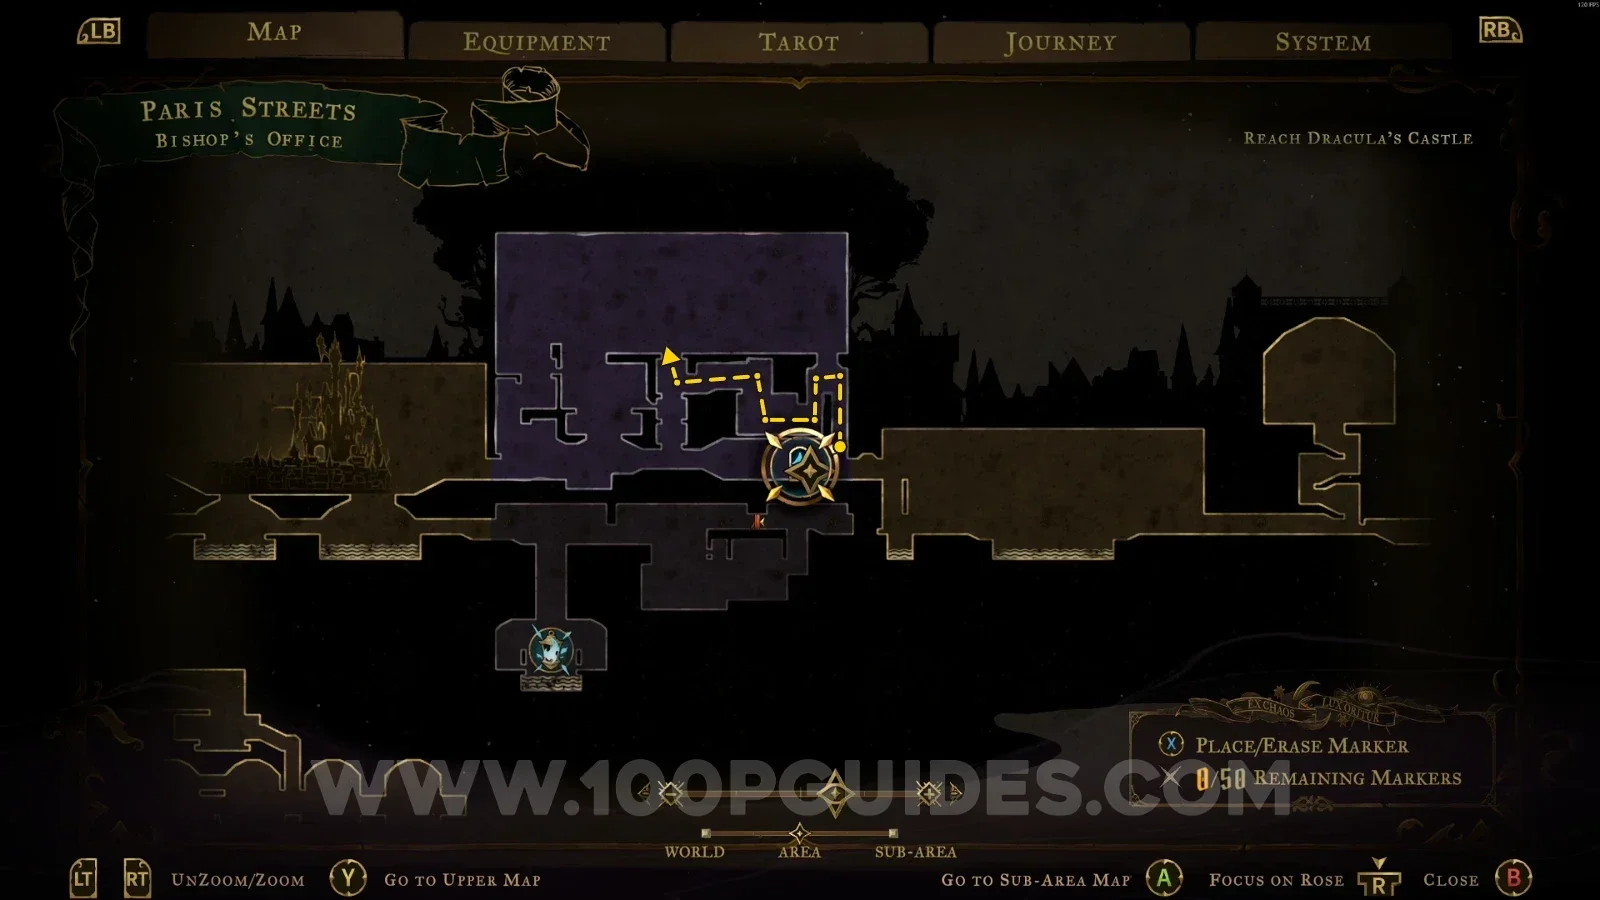
In the area marked on the map, use the slide on the wall on the left to reveal a secret passage. In the next area, go around through the lower part until you reach the chest containing the weapon.
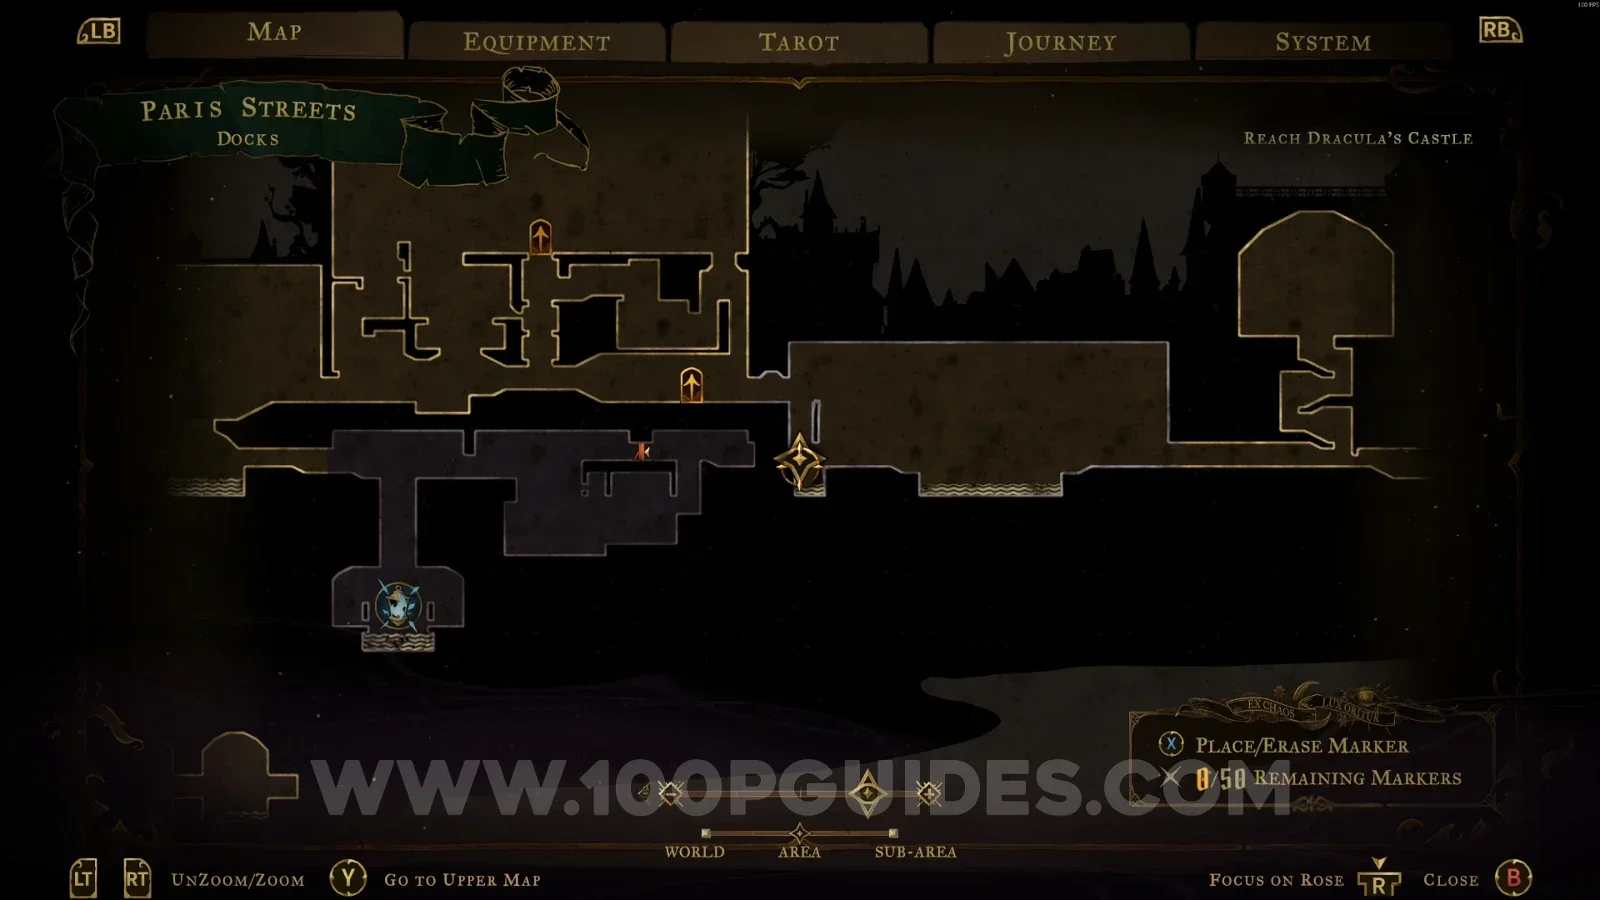
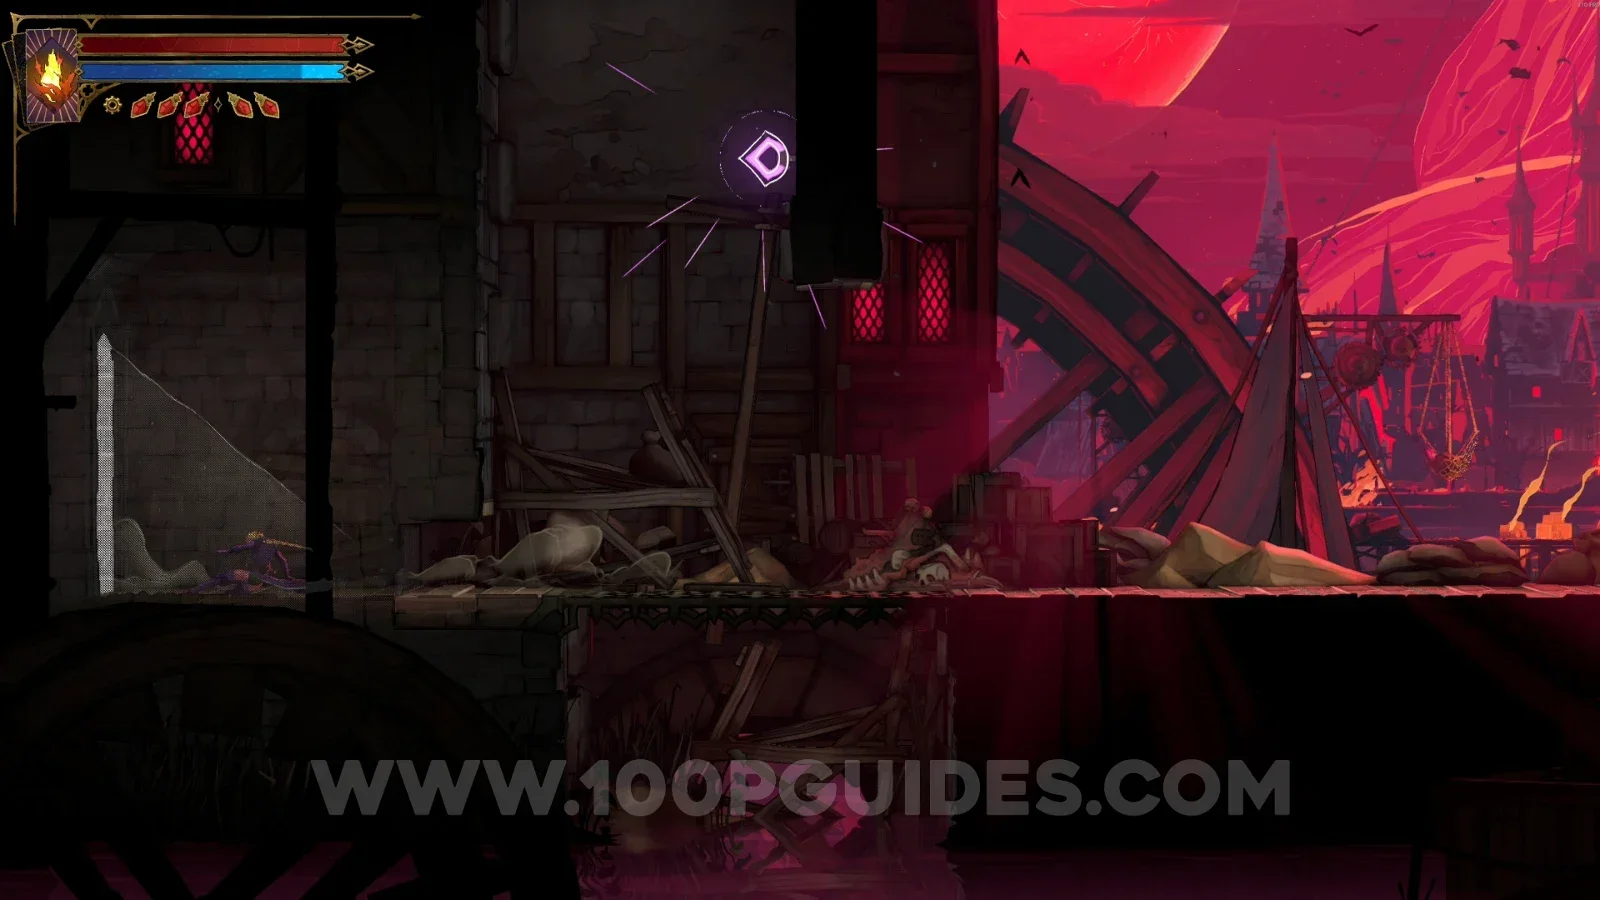
Castlevania Belmonts Curse Paris Streets: map marking the area with the Bastard Sword secret passage Castlevania Belmonts Curse Paris Streets: sliding at the wall on the left to reveal a secret passage Castlevania Belmonts Curse Paris Streets: the chest containing the Bastard Sword past the lower part

Holy Innocents' Cemetery

Weapon #6: Almace And Hauteclaire

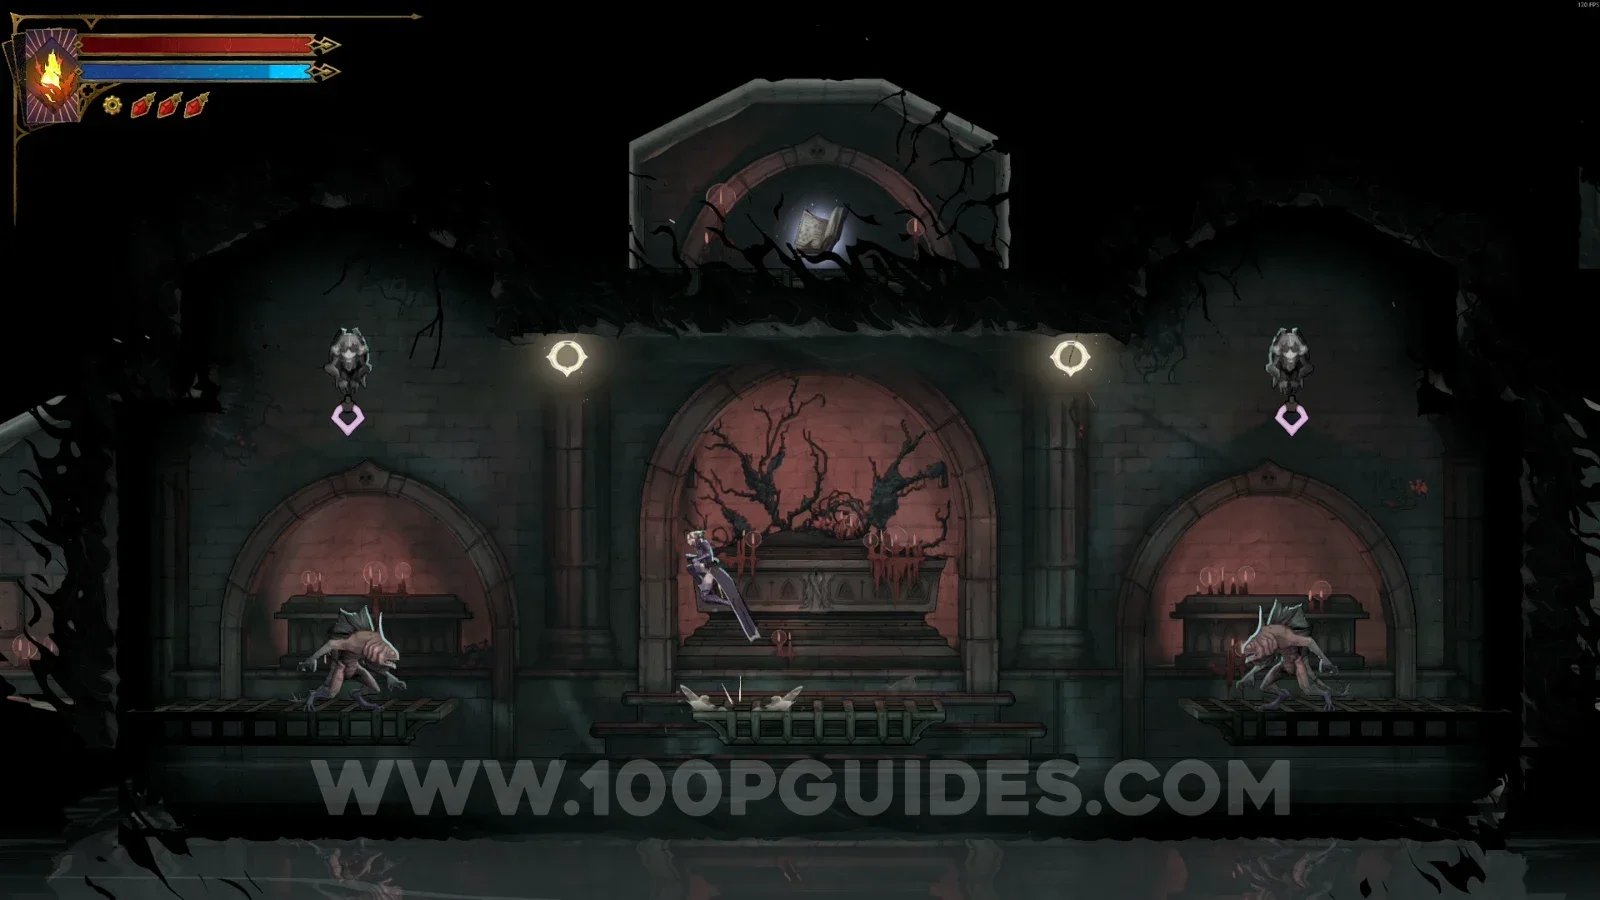
Use the Smash arcane power to break the floor and go down the platforms. After defeating the enemies, head left to find a chest at the top, and open it to get the weapon.

Castlevania Belmonts Curse Holy Innocents' Cemetery: using the Smash arcane power to break the floor Castlevania Belmonts Curse Holy Innocents' Cemetery: going down the platforms and fighting enemies Castlevania Belmonts Curse Holy Innocents' Cemetery: chest at the top left with Almace And Hauteclaire

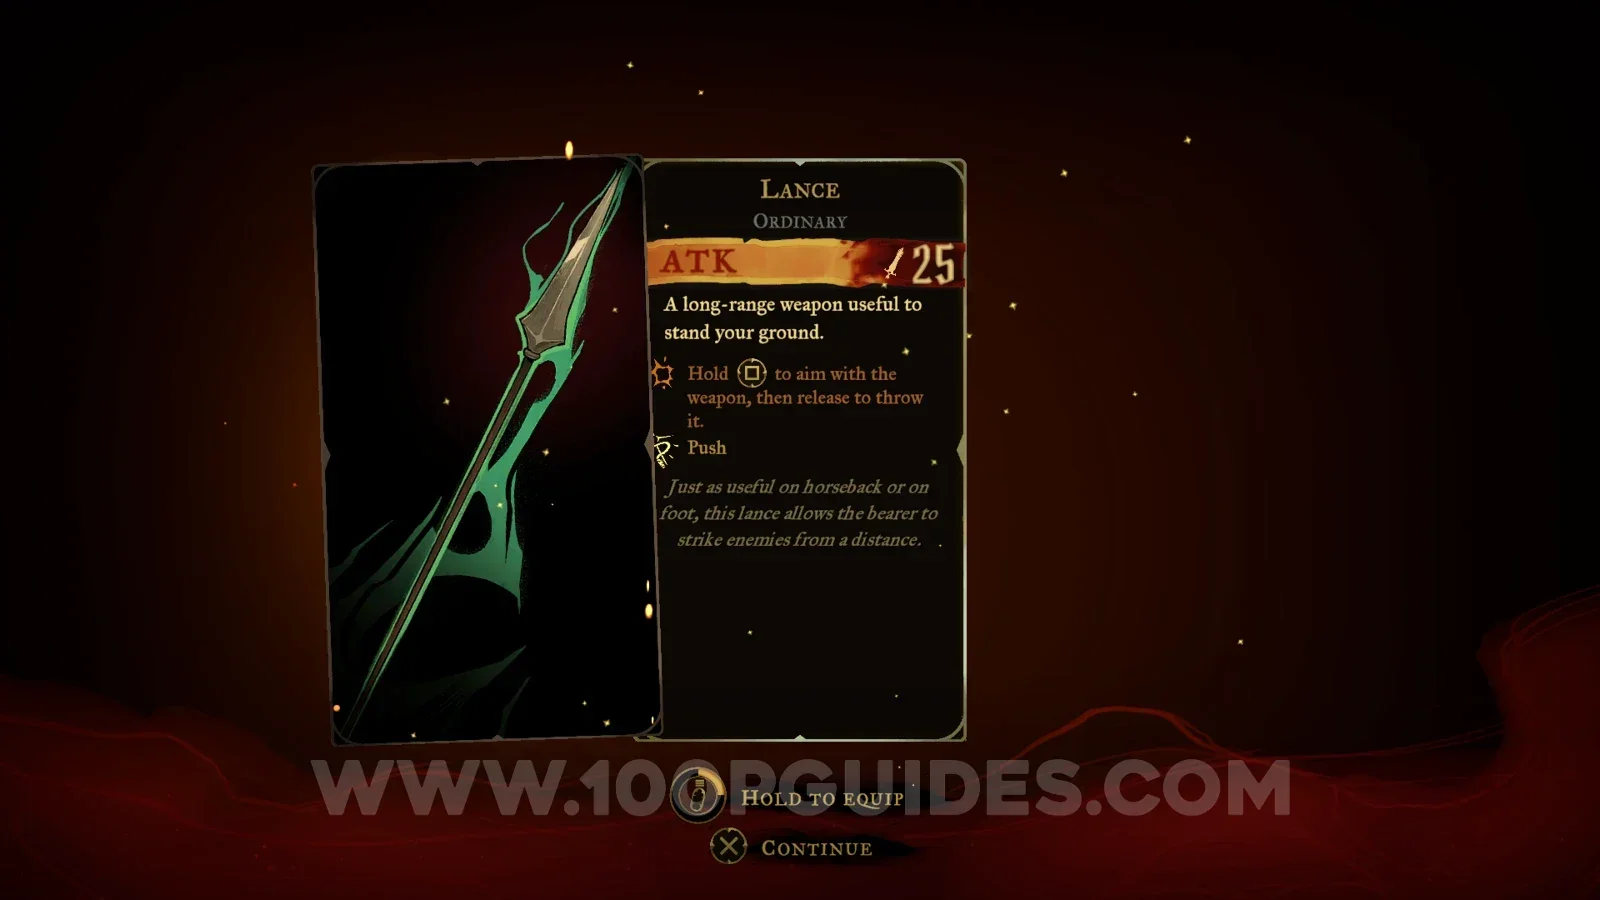
Weapon #7: Lance

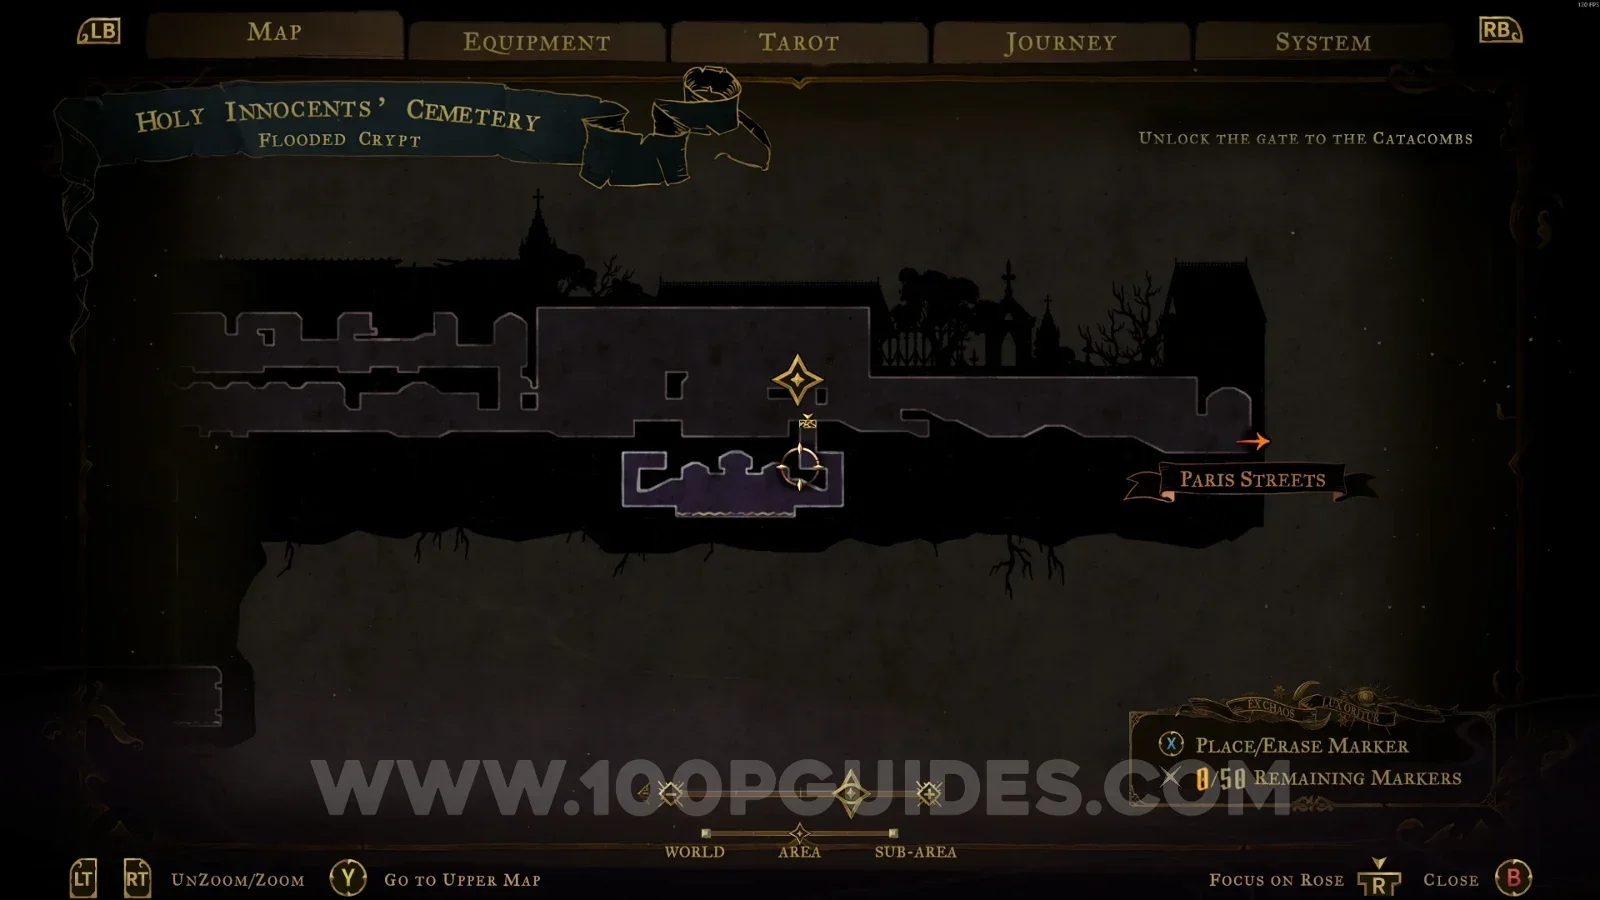
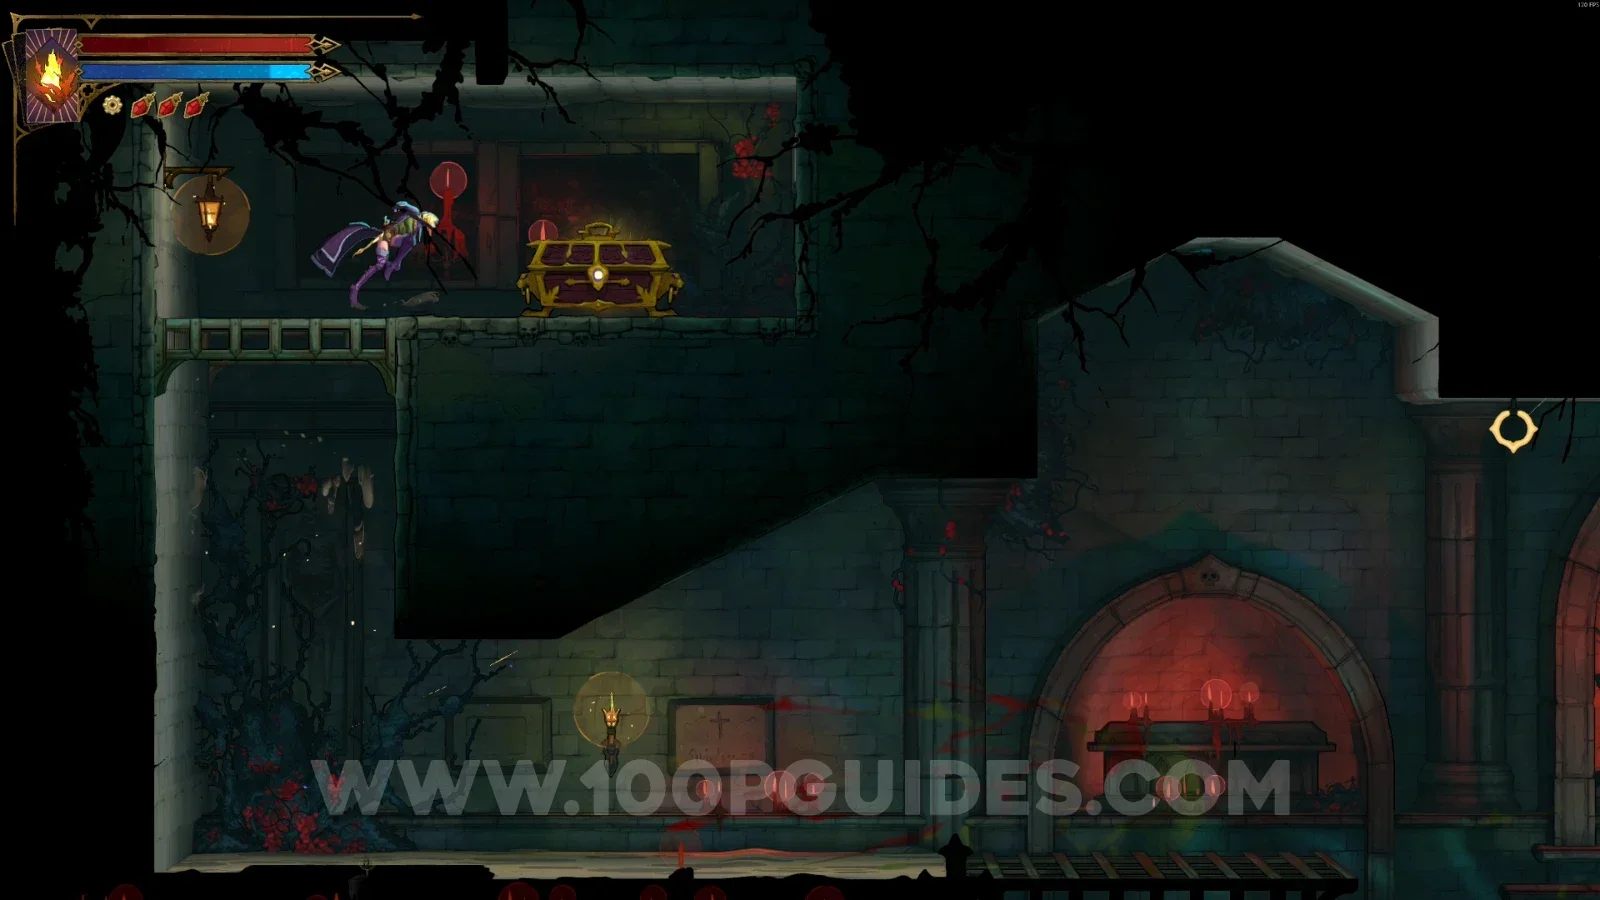
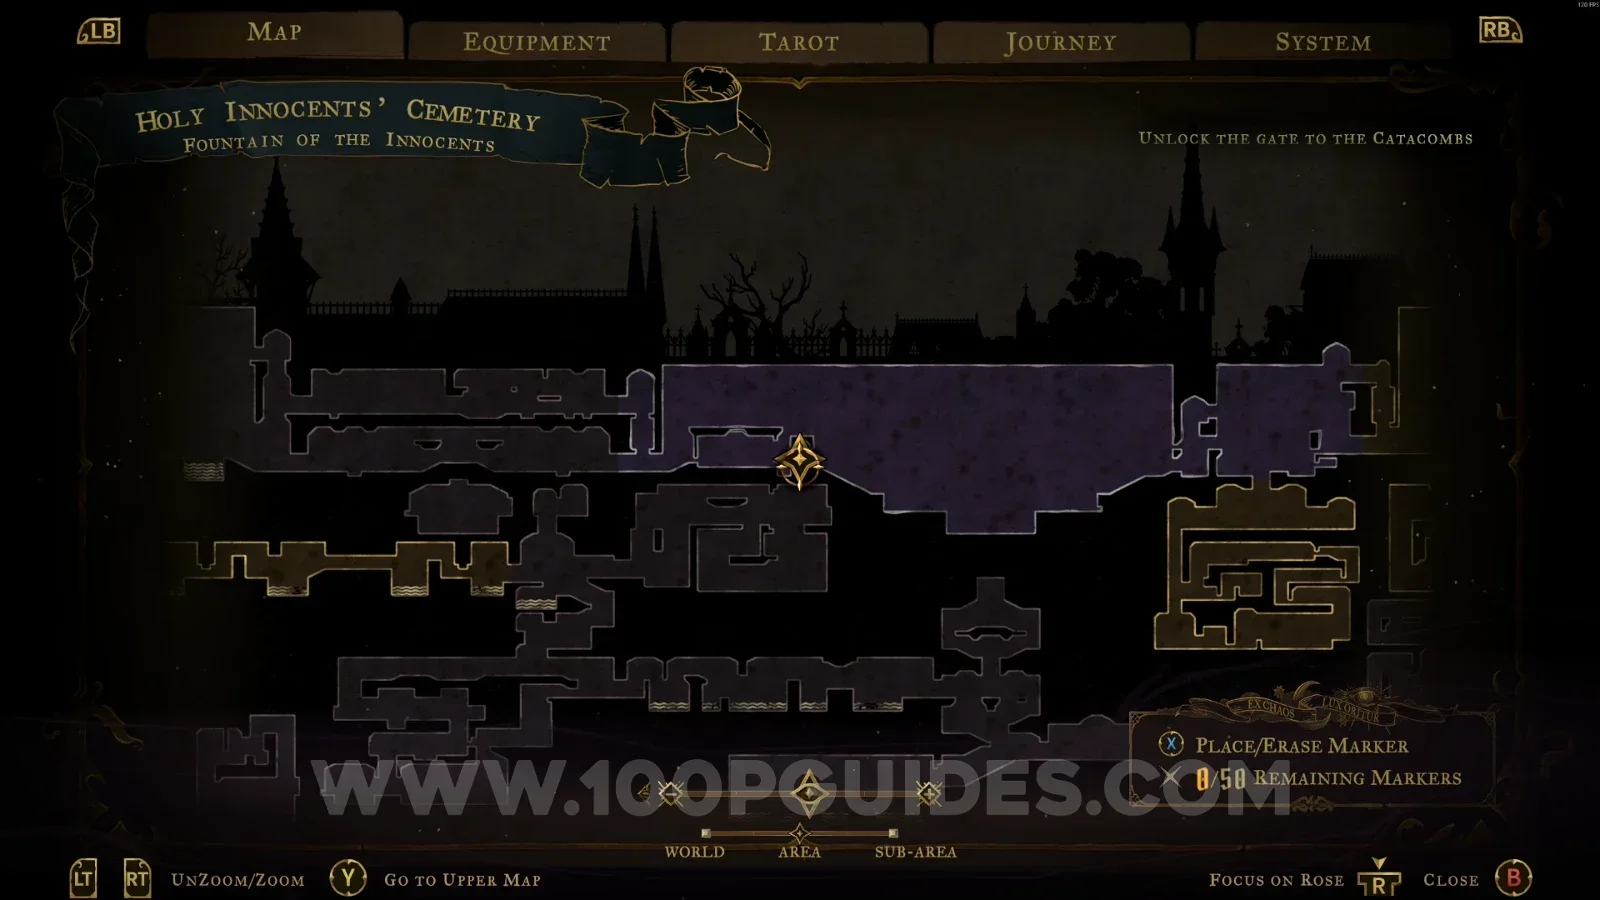
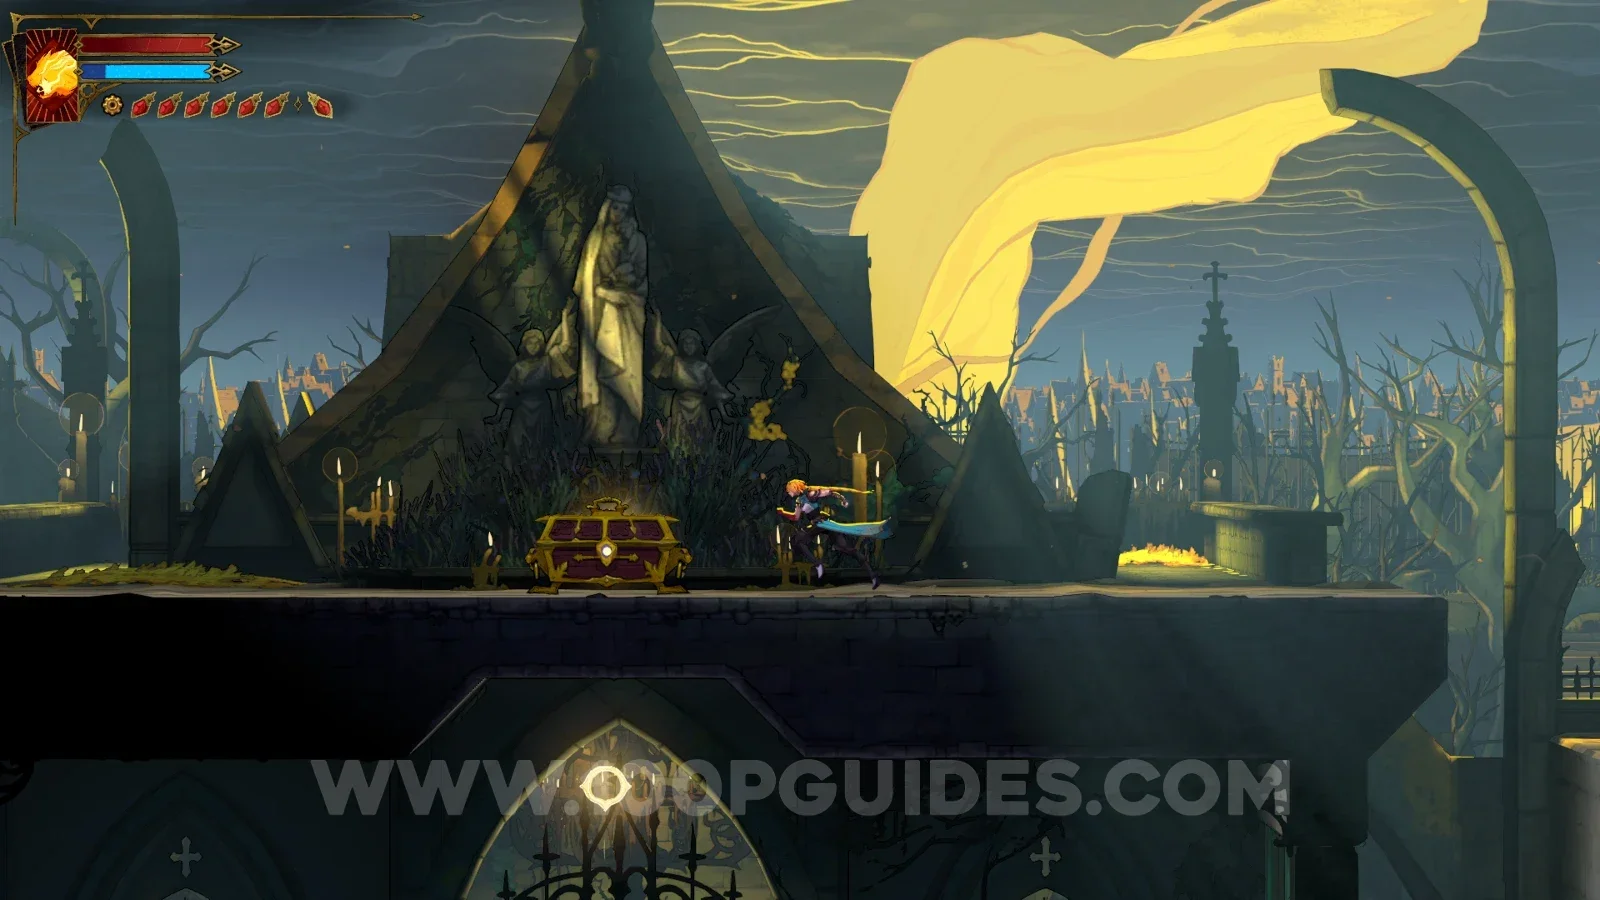
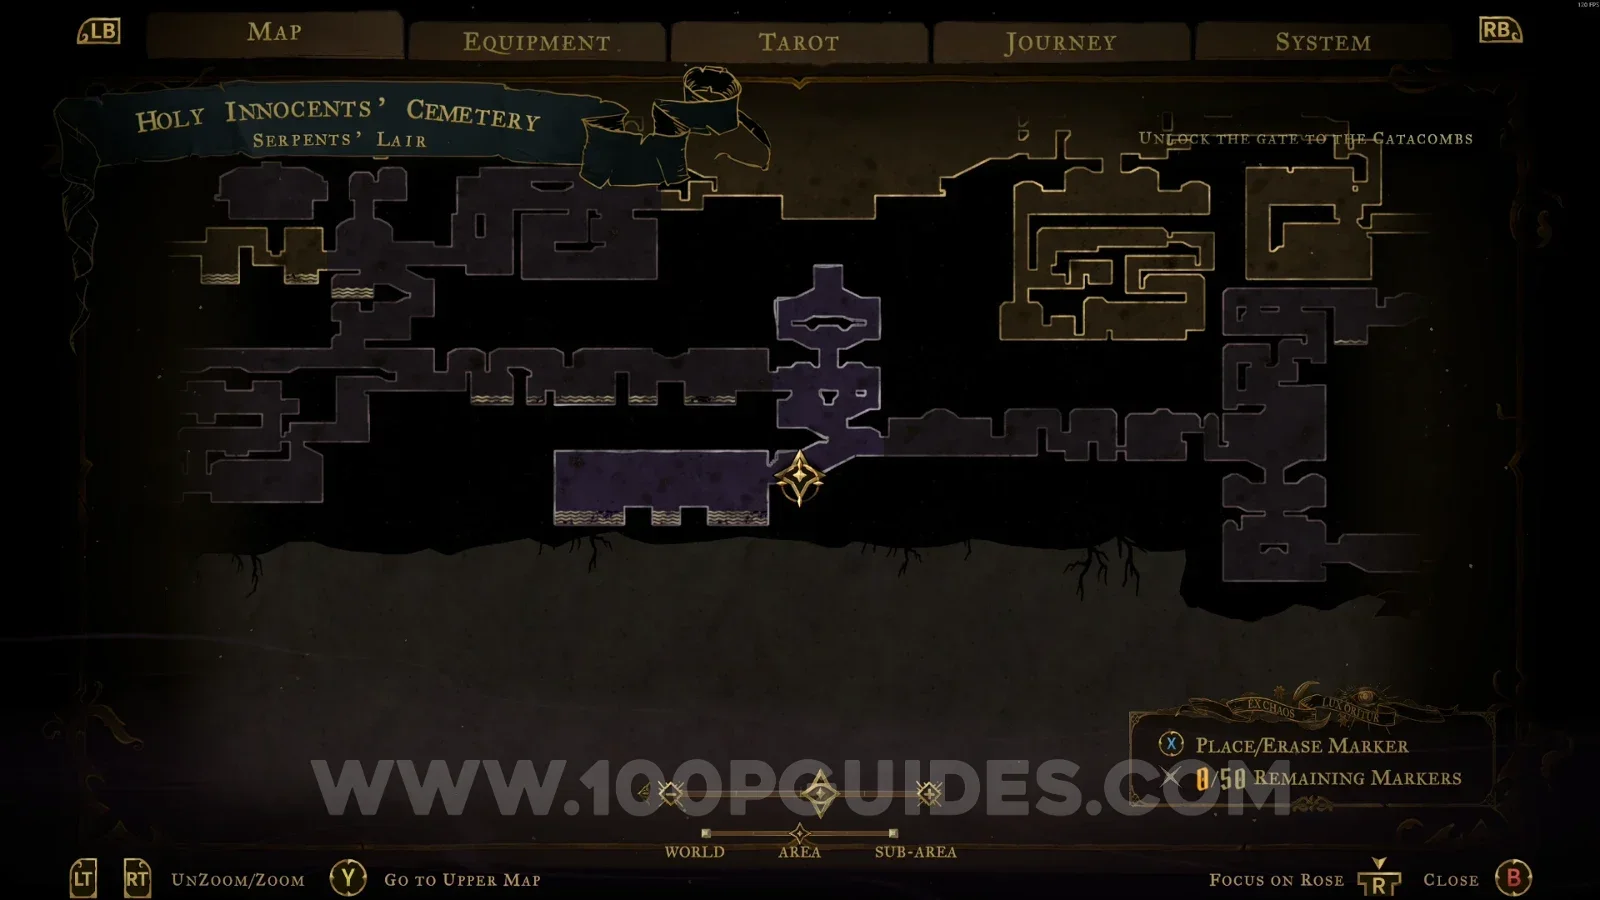
In the area marked on the map, climb to the upper part of the area to find it inside a chest.

Castlevania Belmonts Curse Holy Innocents' Cemetery: map marking the area with the Lance chest Castlevania Belmonts Curse Holy Innocents' Cemetery: climbing to the upper part toward the Lance Castlevania Belmonts Curse Holy Innocents' Cemetery: the chest containing the Lance up top

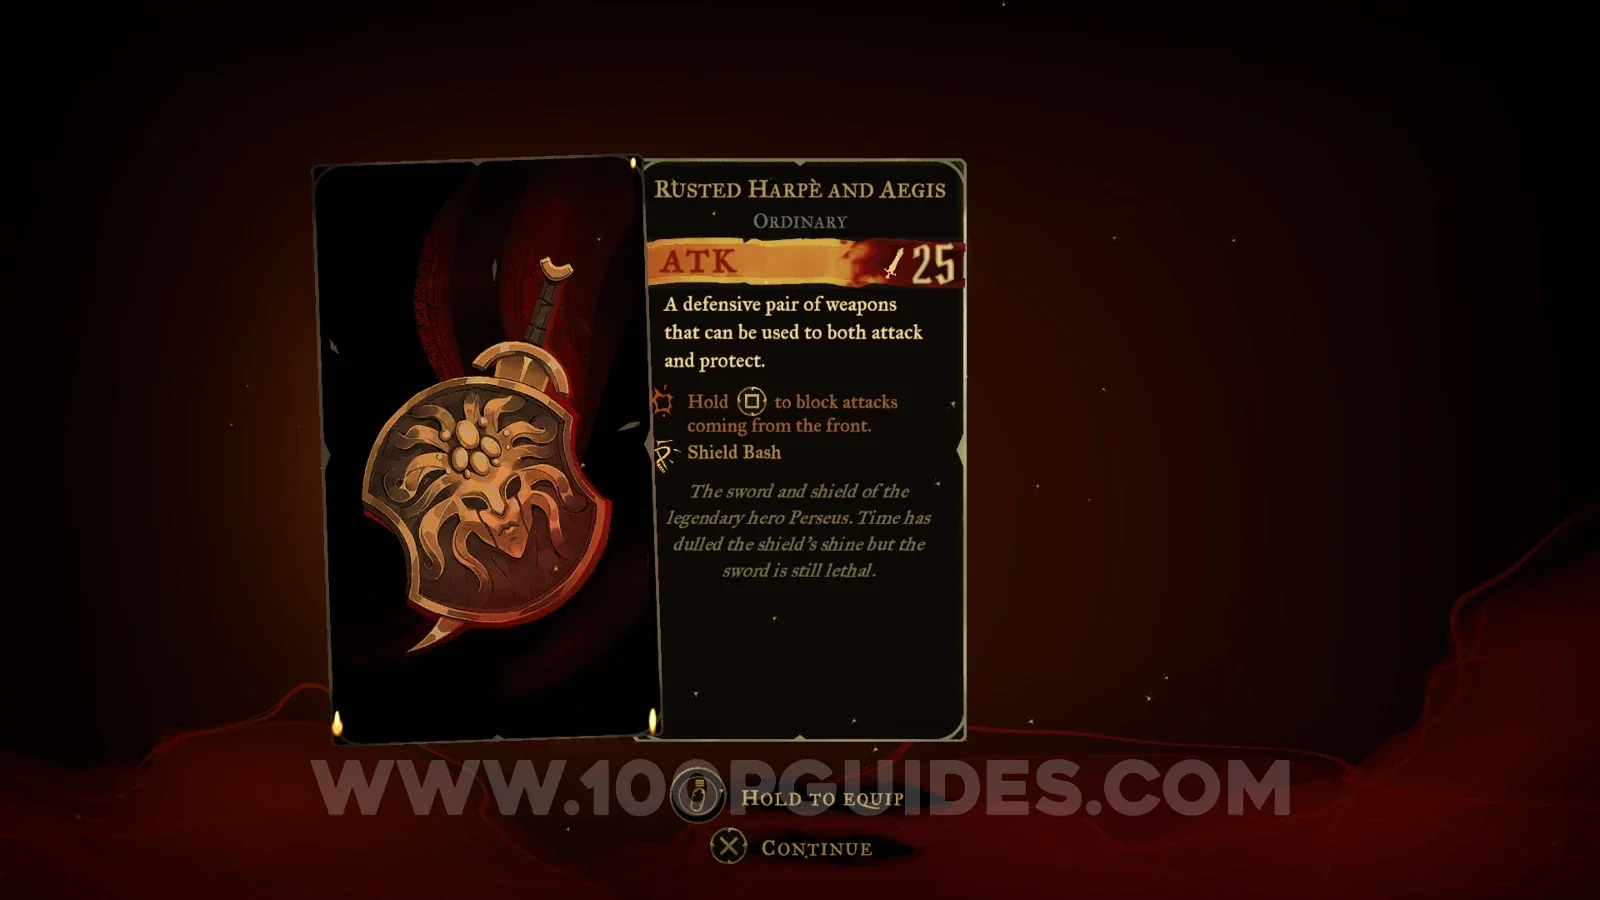
Weapon #8: Rusted Harpe And Aegis

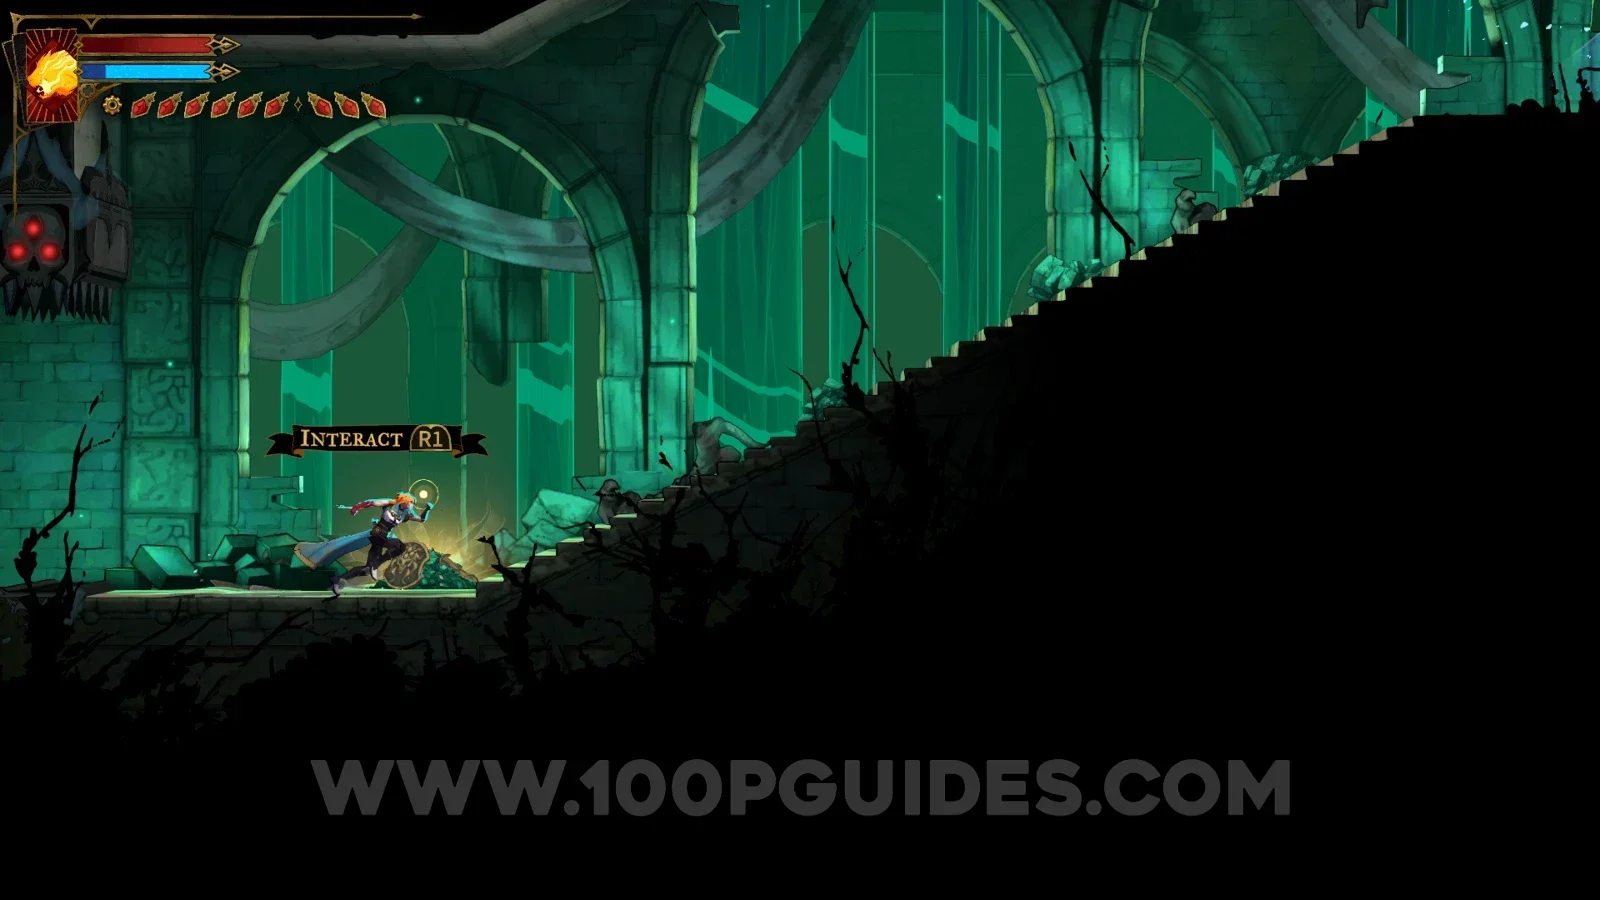
After defeating Medusa, the weapon will be by the boss fight door.

Castlevania Belmonts Curse Holy Innocents' Cemetery: boss fight against Medusa Castlevania Belmonts Curse Holy Innocents' Cemetery: Rusted Harpe And Aegis at the boss fight door Castlevania Belmonts Curse Holy Innocents' Cemetery: picking up the Rusted Harpe And Aegis weapon

Catacombs Of Paris

Weapon #9: Pair Of Longswords

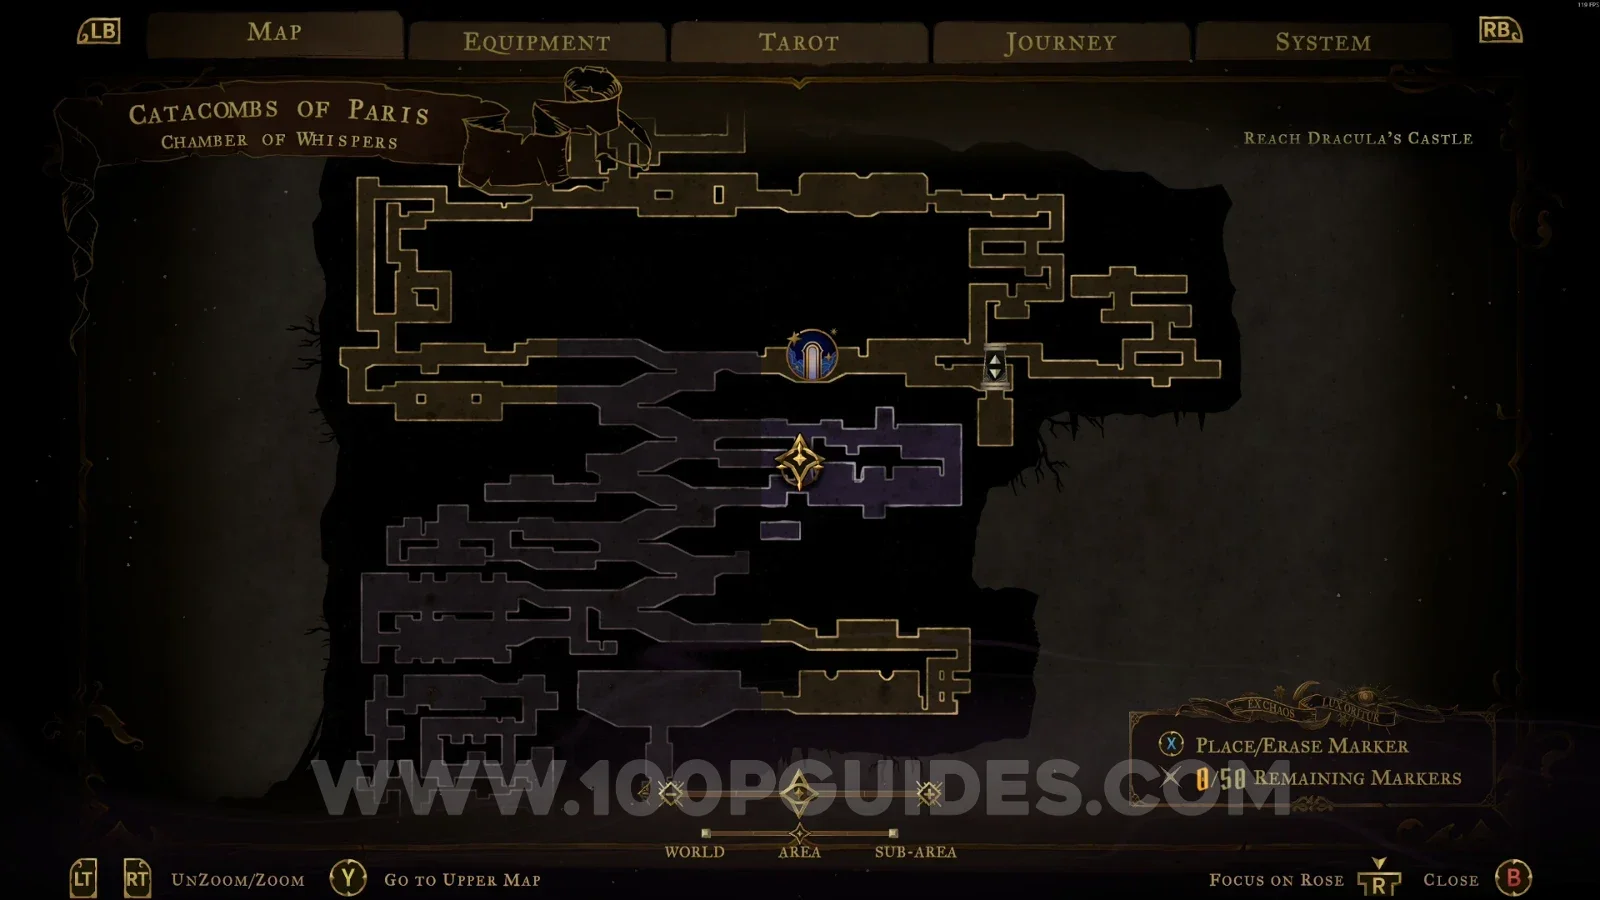
From the Chamber of Whispers area, climb the platforms and enter the room on the left. In the next room, the chest containing the weapon will be right in front of you.

Castlevania Belmonts Curse Catacombs Of Paris: climbing the platforms in the Chamber of Whispers Castlevania Belmonts Curse Catacombs Of Paris: entering the room on the left of the Chamber of Whispers Castlevania Belmonts Curse Catacombs Of Paris: the chest with the Pair Of Longswords in the next room

Weapon #10: Gungnir

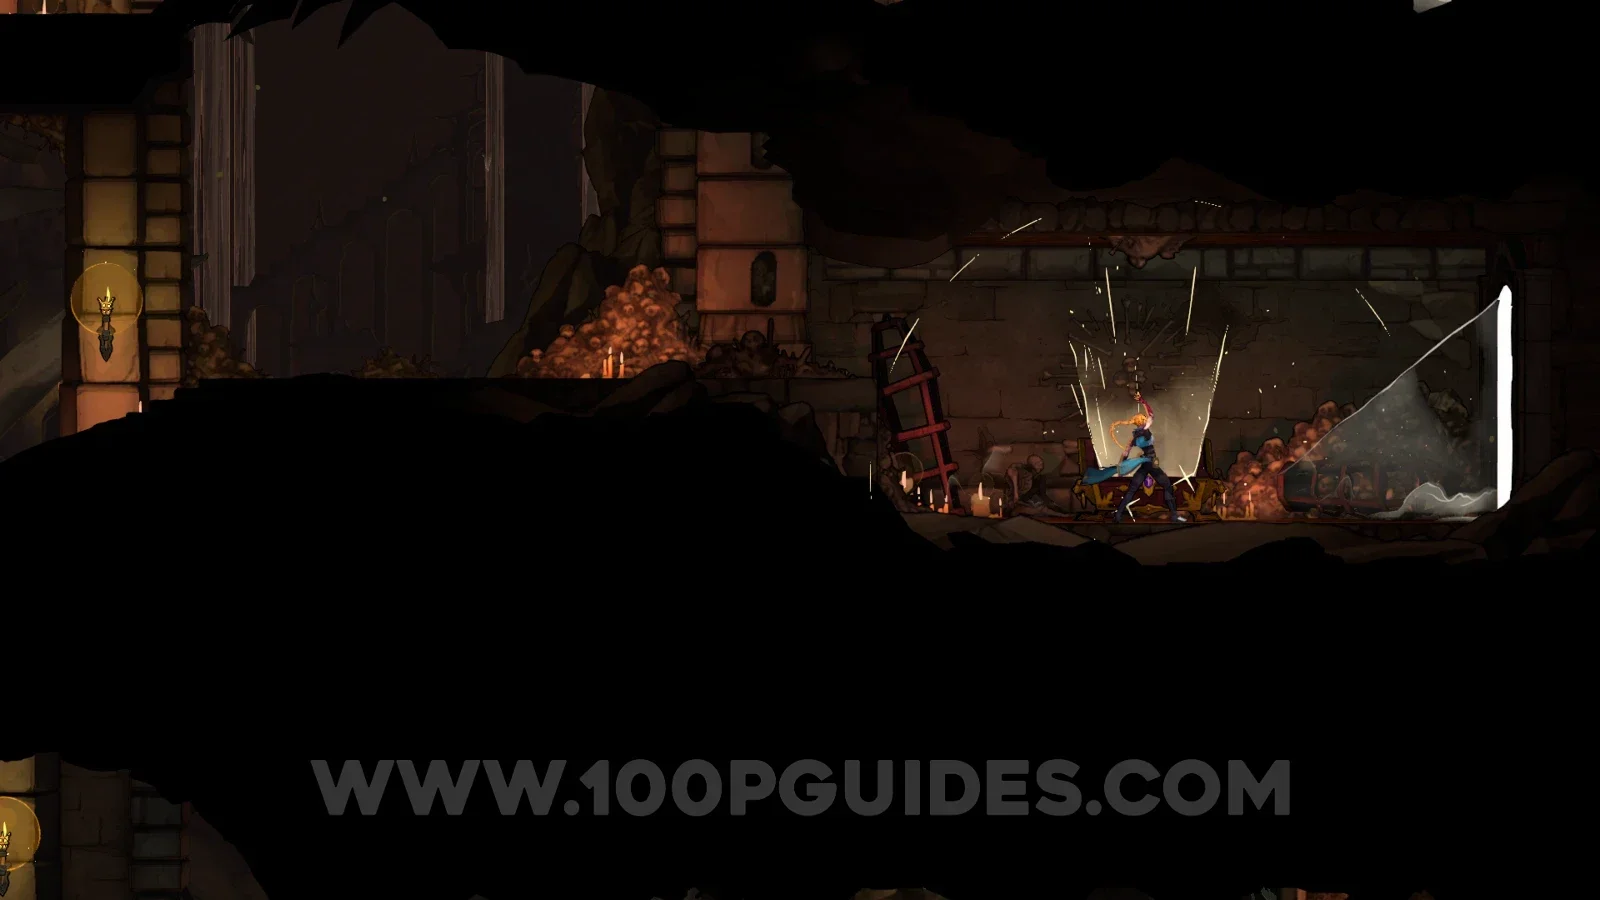
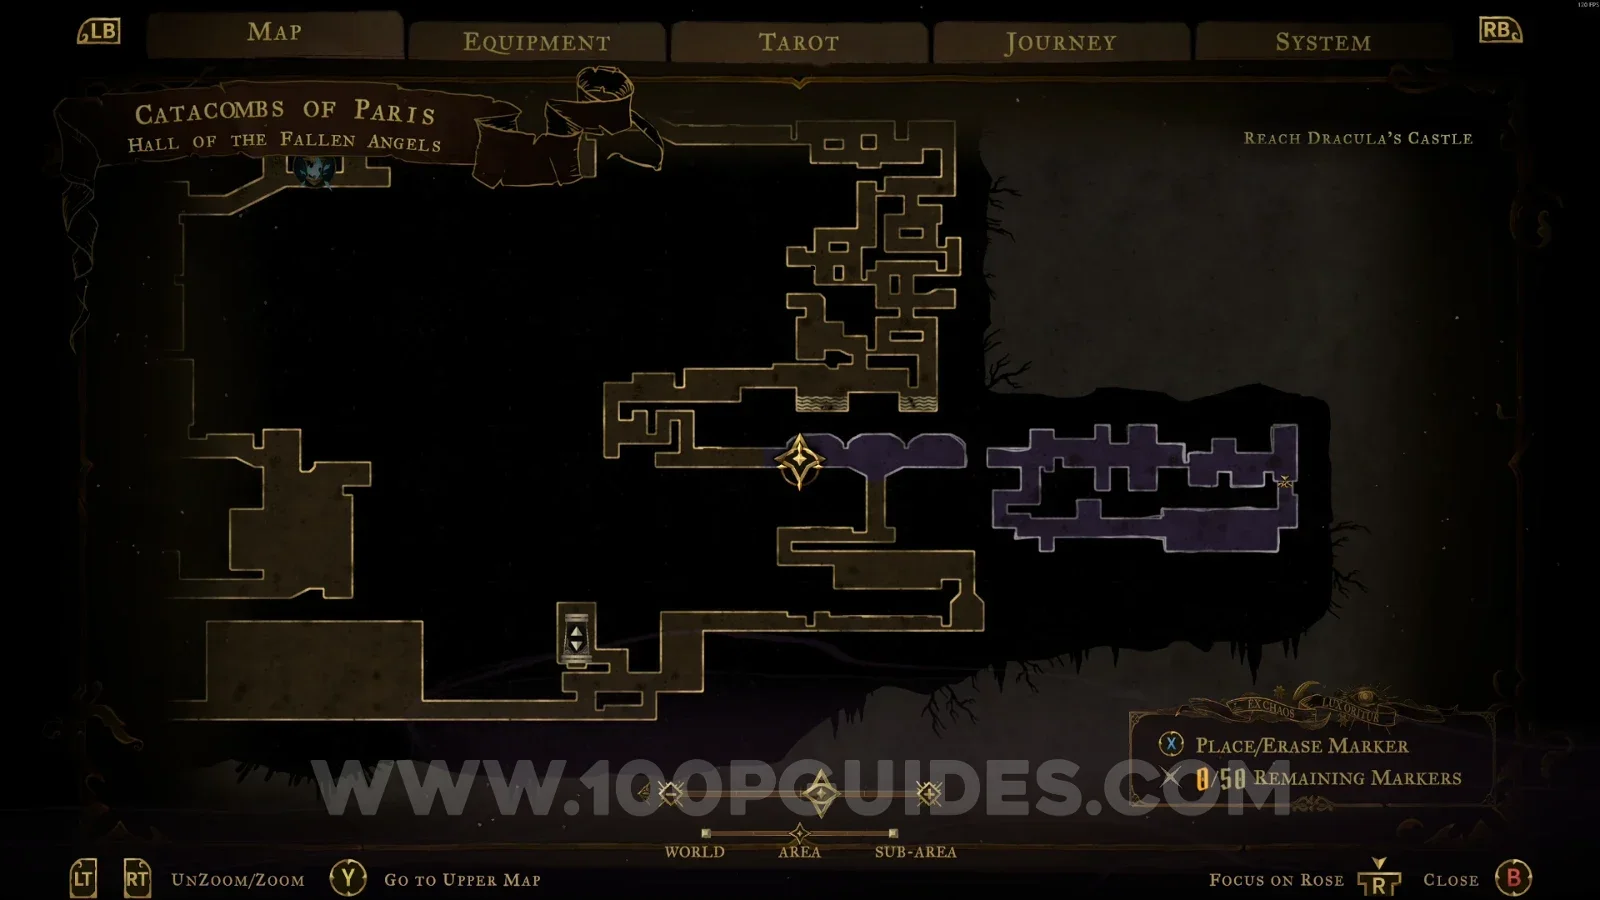
At the location marked on the map, break the floor to reach the chest with the weapon.

Castlevania Belmonts Curse Catacombs Of Paris: map marking the breakable floor above the Gungnir chest Castlevania Belmonts Curse Catacombs Of Paris: the chest with the Gungnir below the broken floor

Weapon #11: Whip

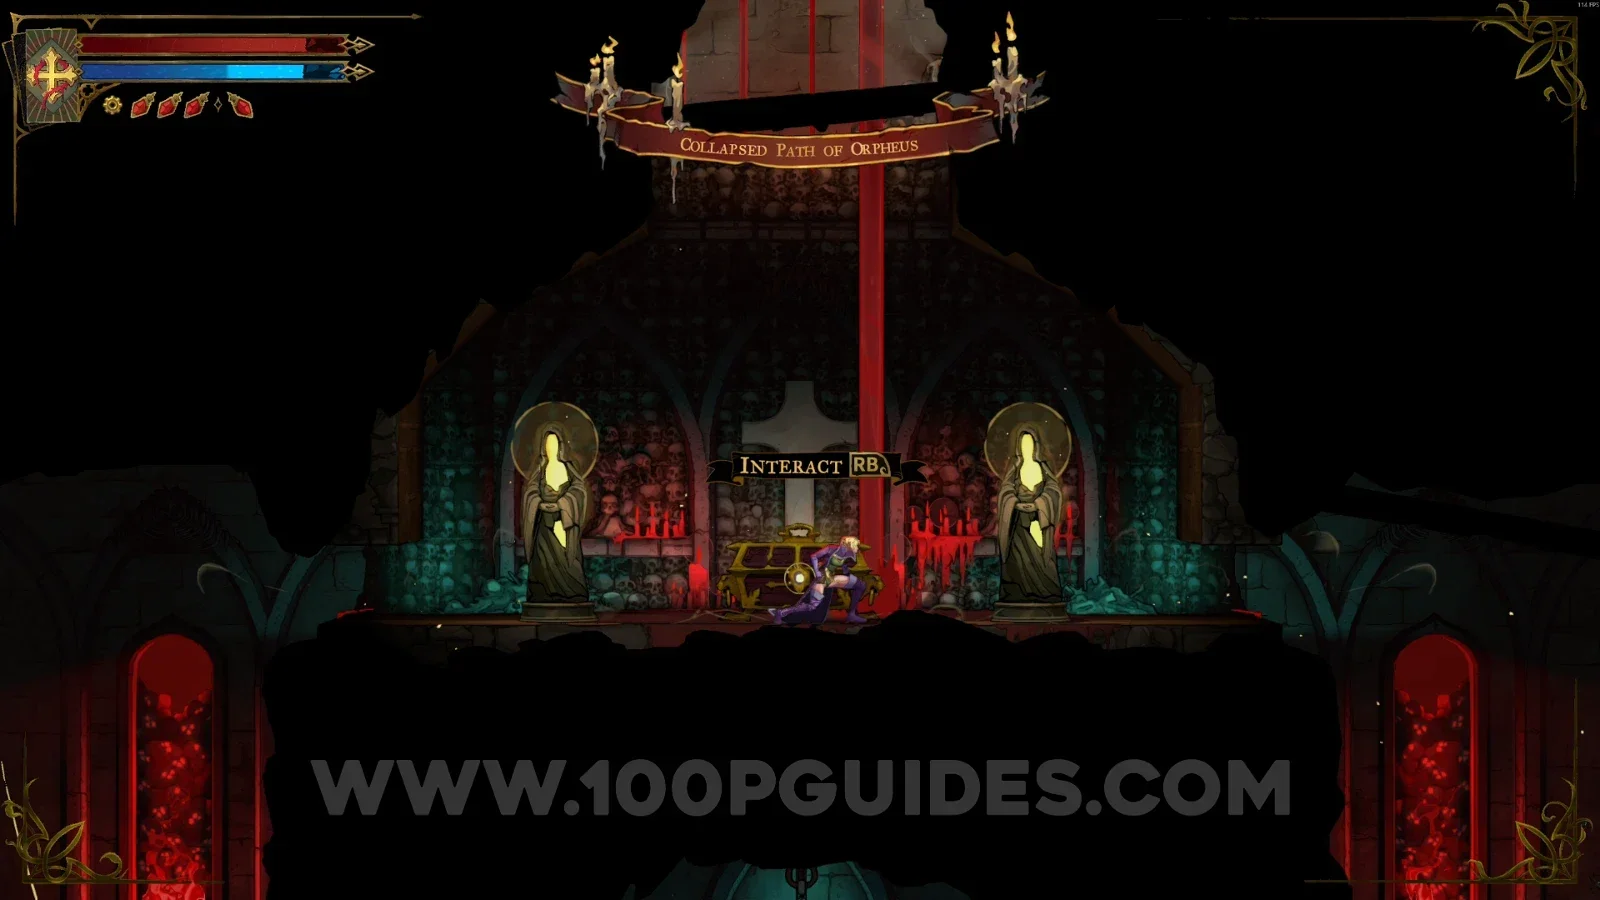
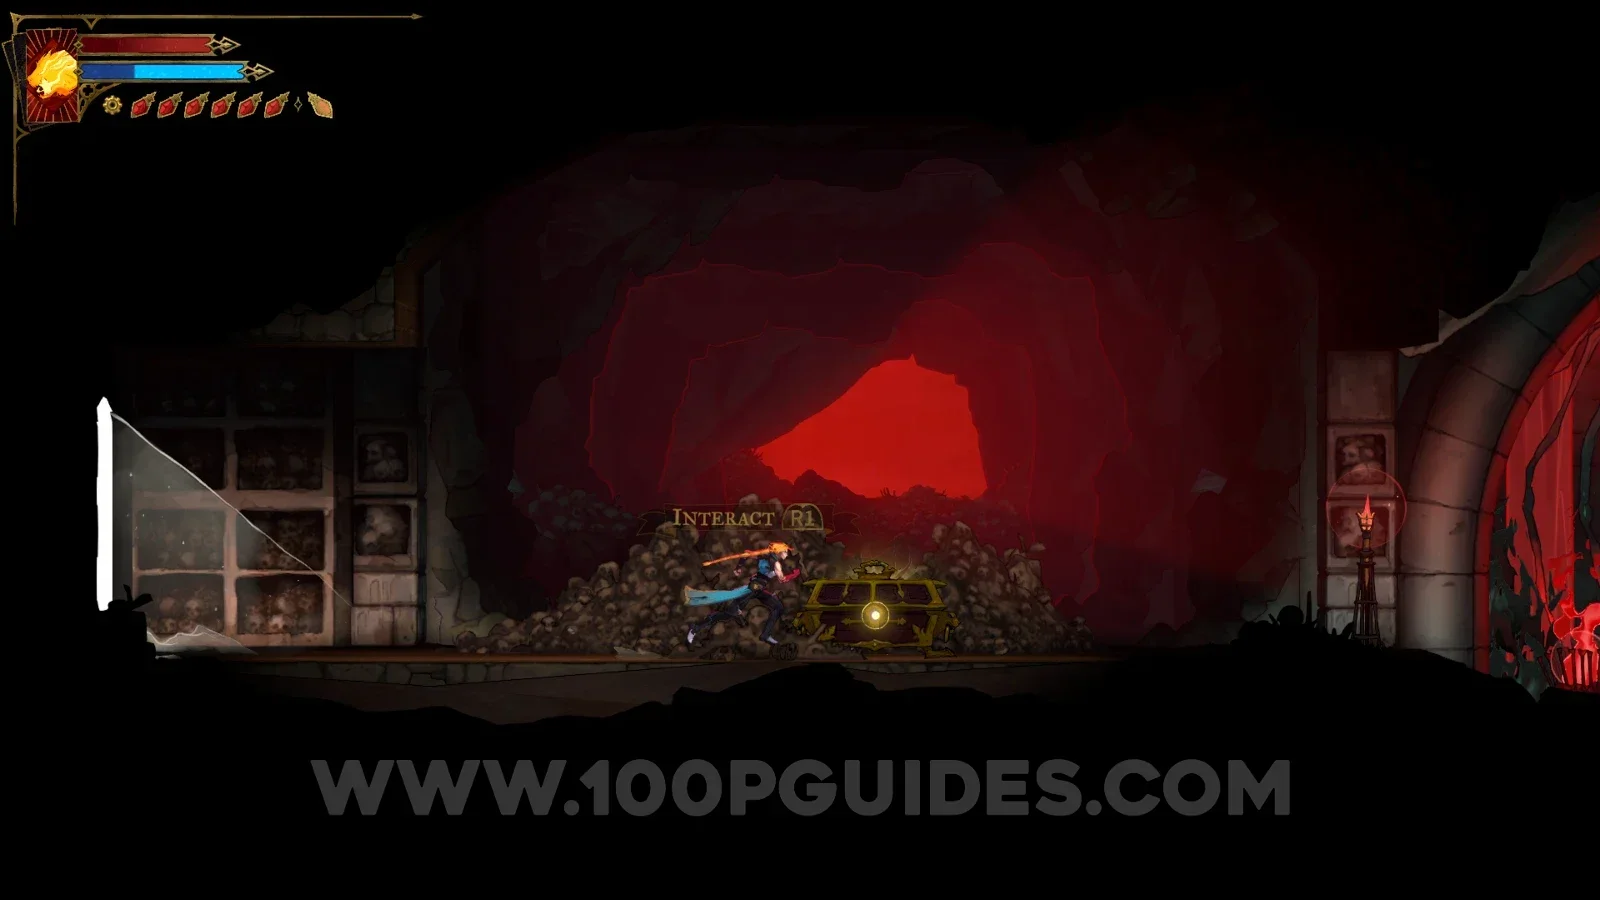
Inside the chest in the area marked on the map.

Castlevania Belmonts Curse Catacombs Of Paris: map marking the area with the Whip chest Castlevania Belmonts Curse Catacombs Of Paris: the chest containing the Whip weapon

Main Hall

Weapon #12: Morning Star

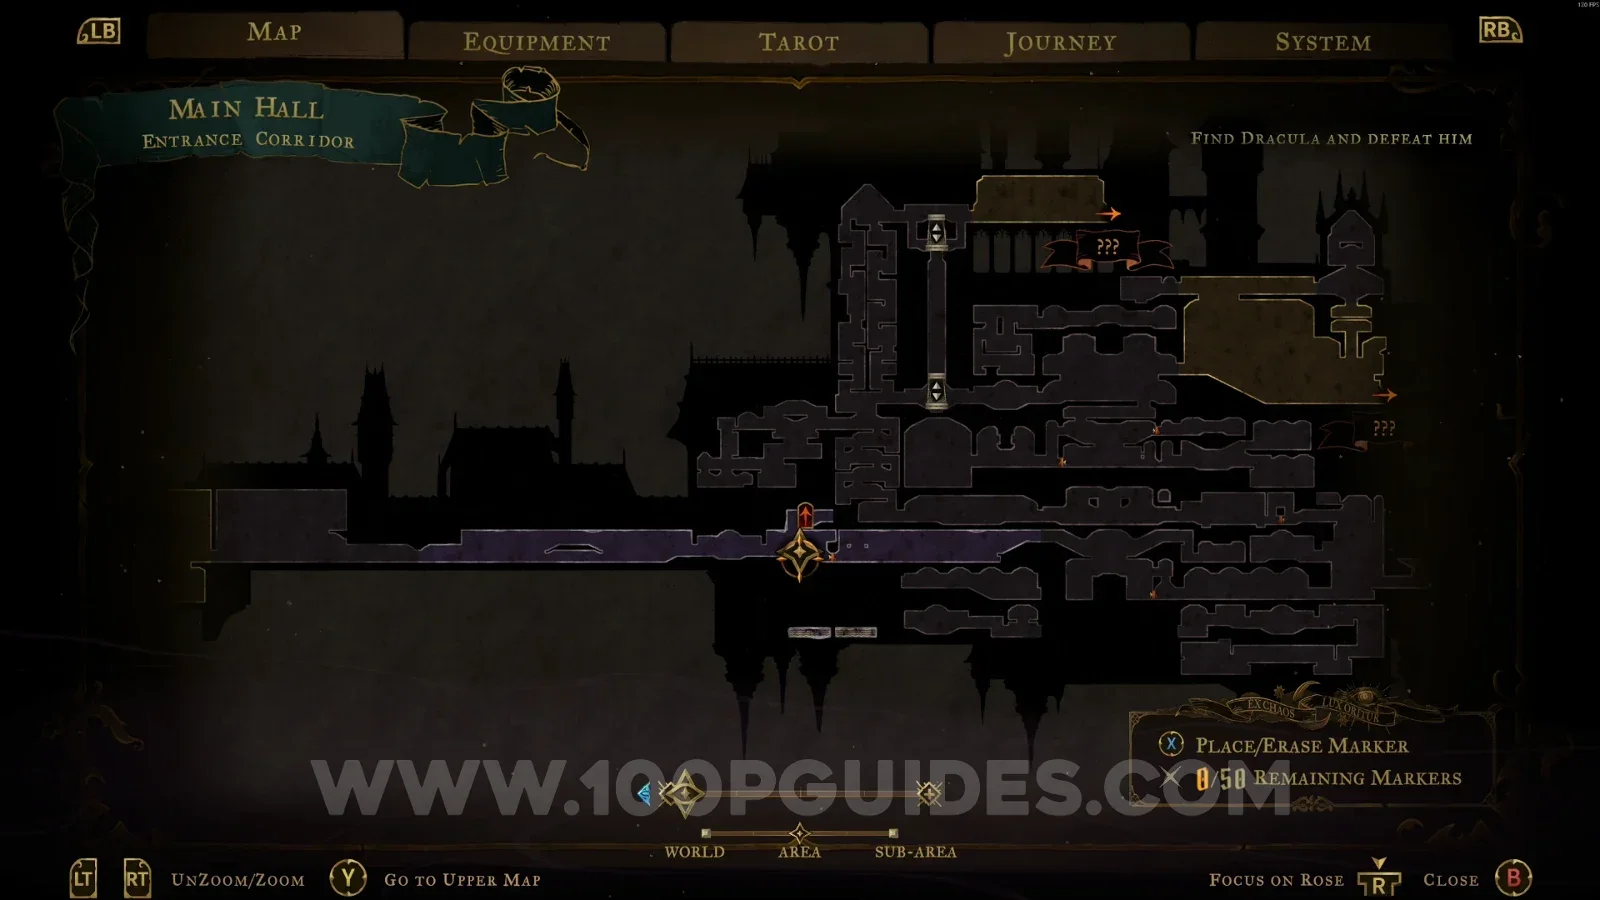
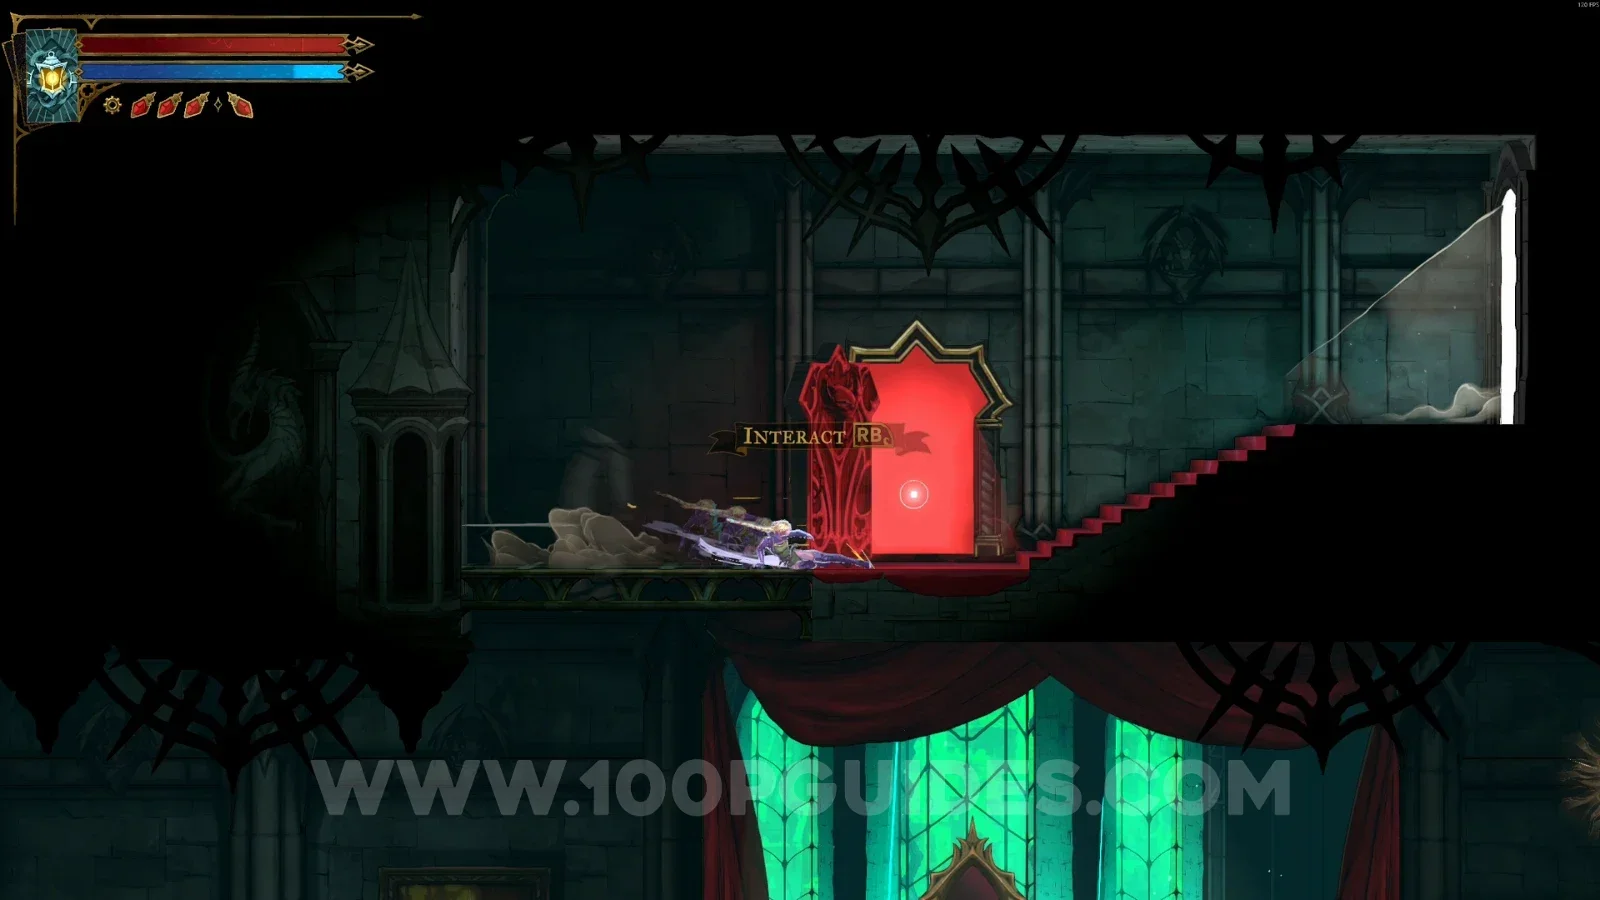
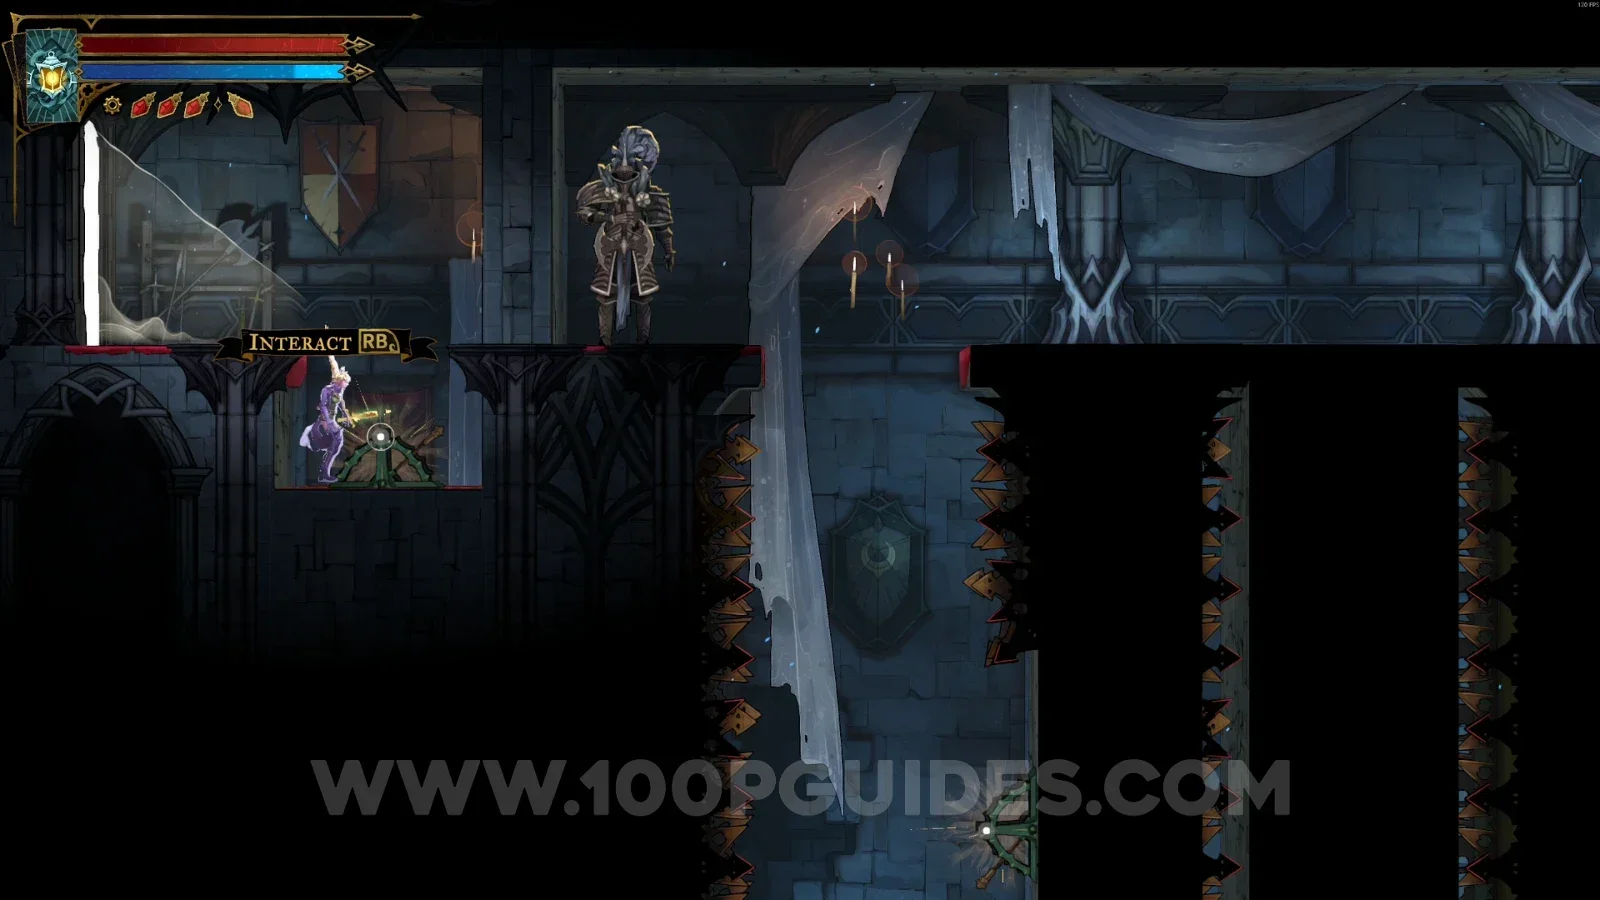
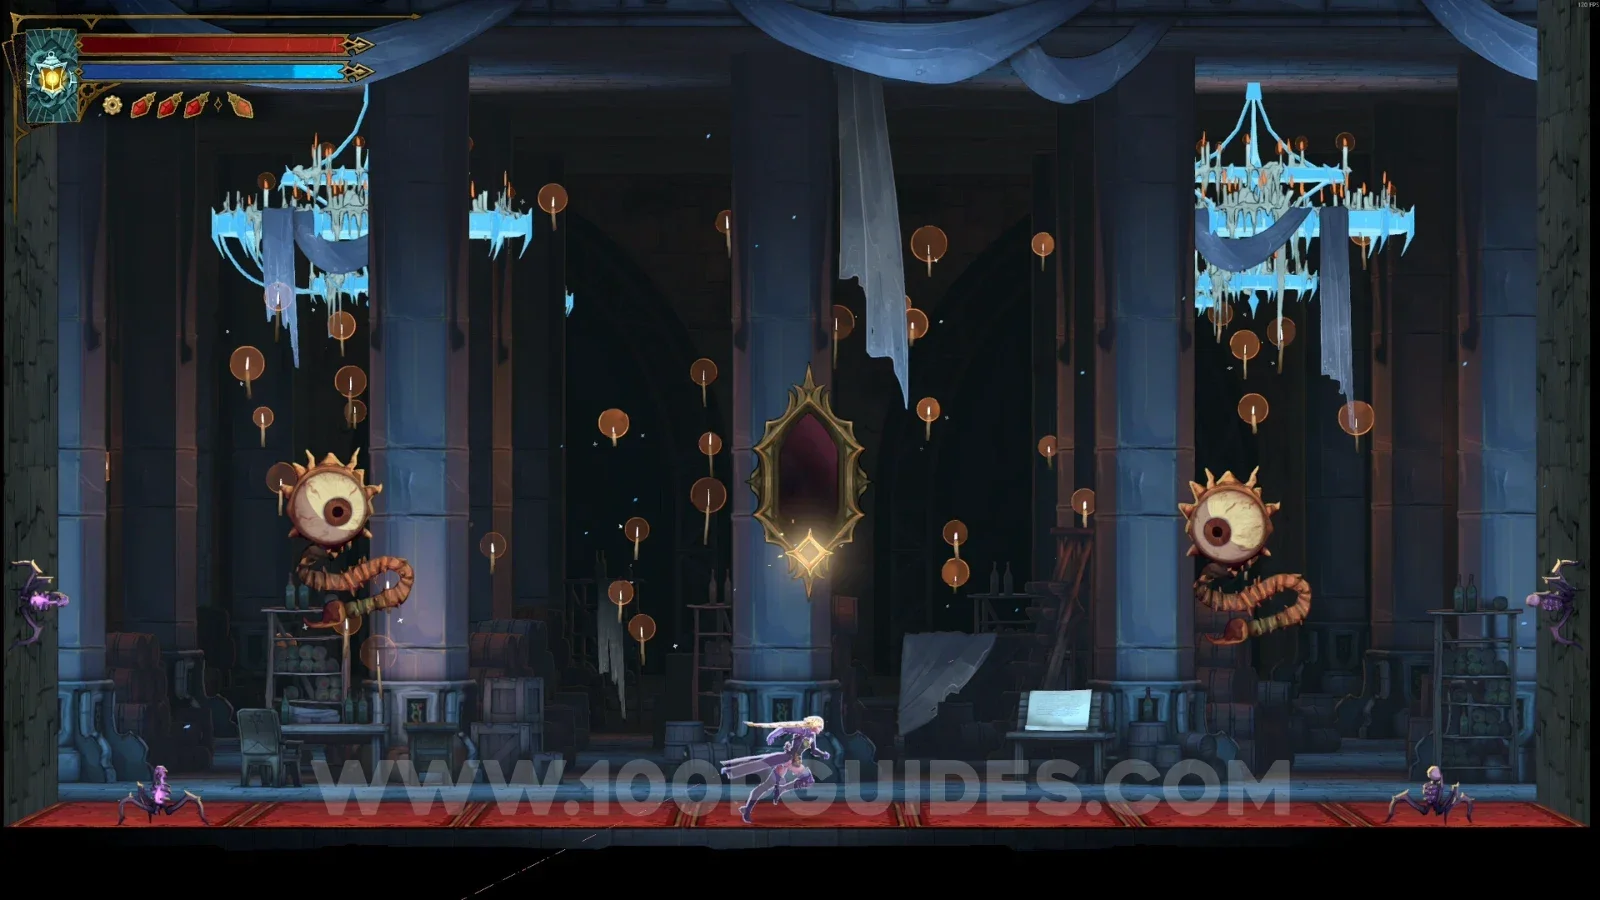
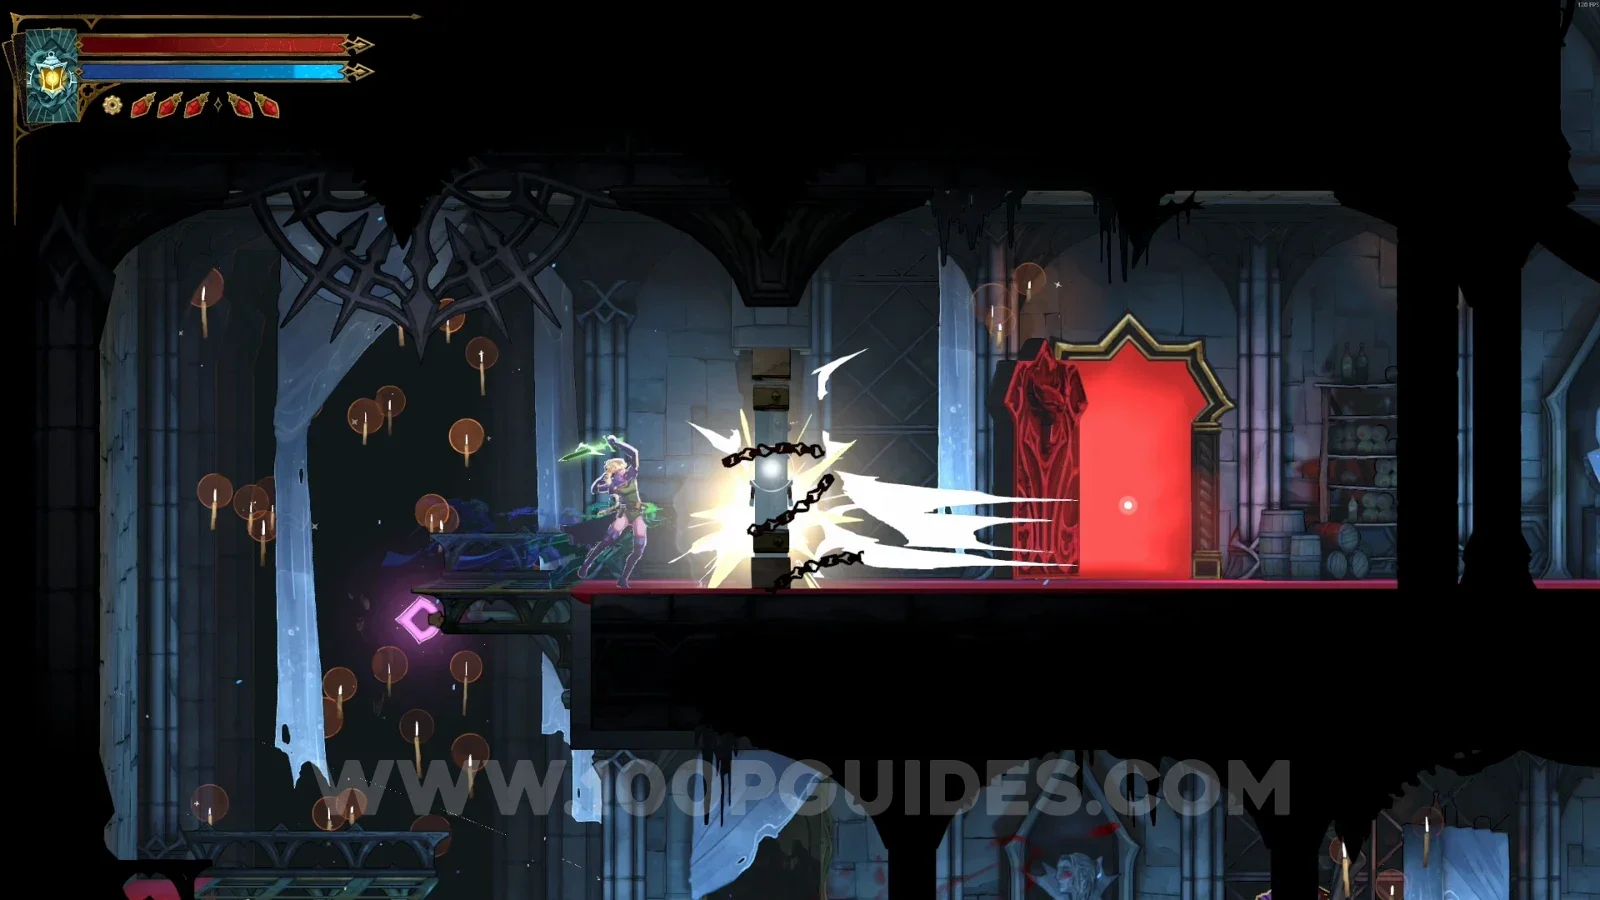
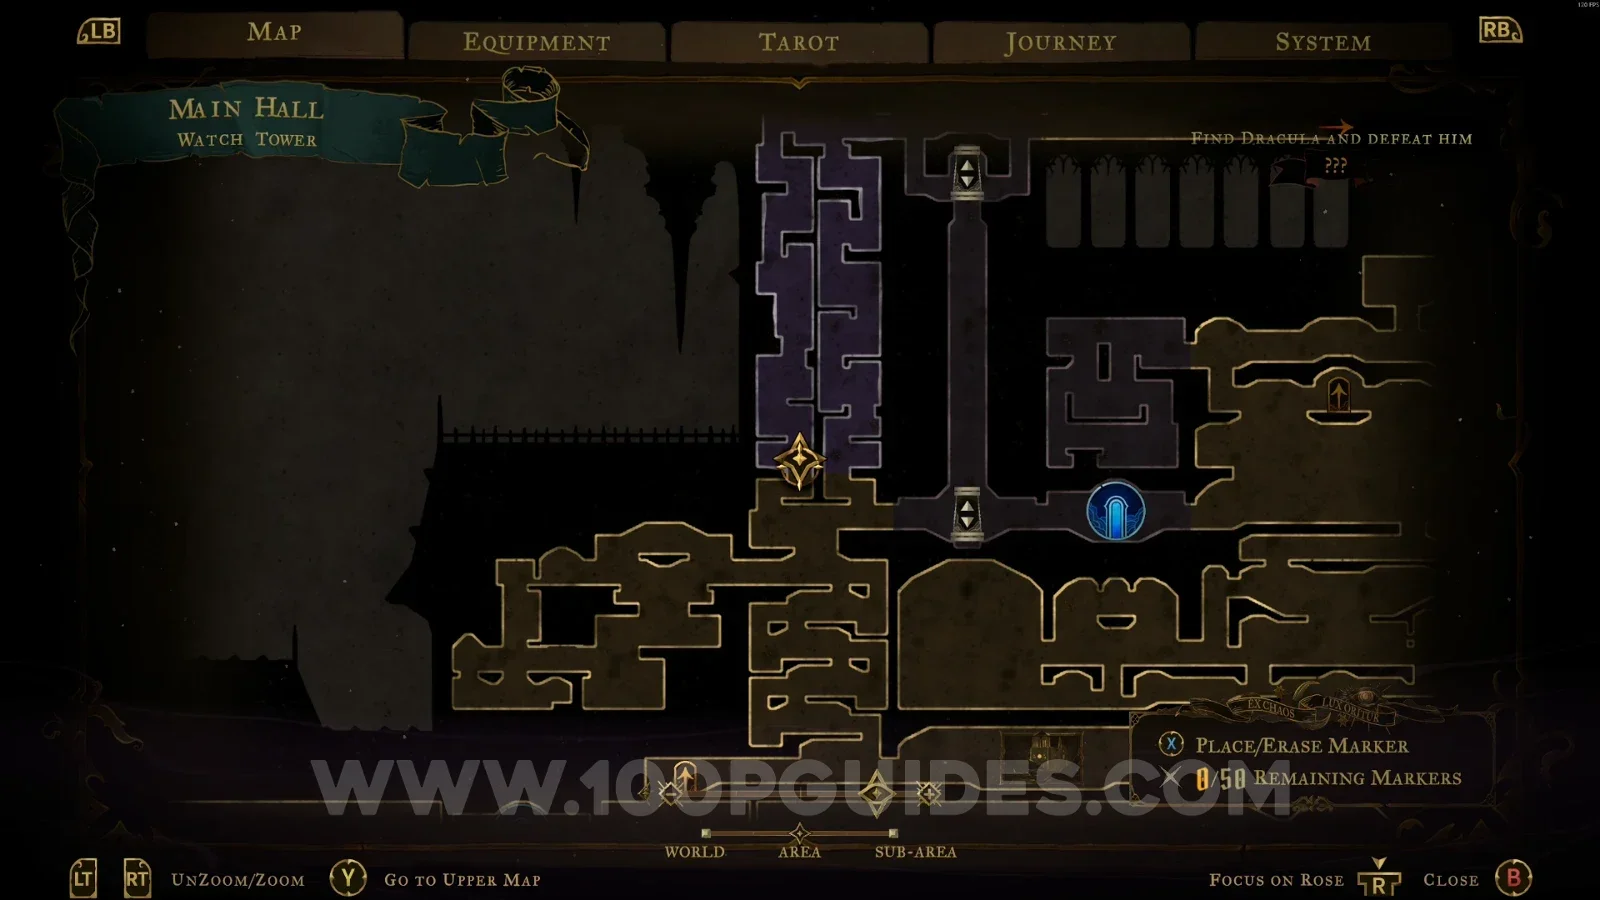
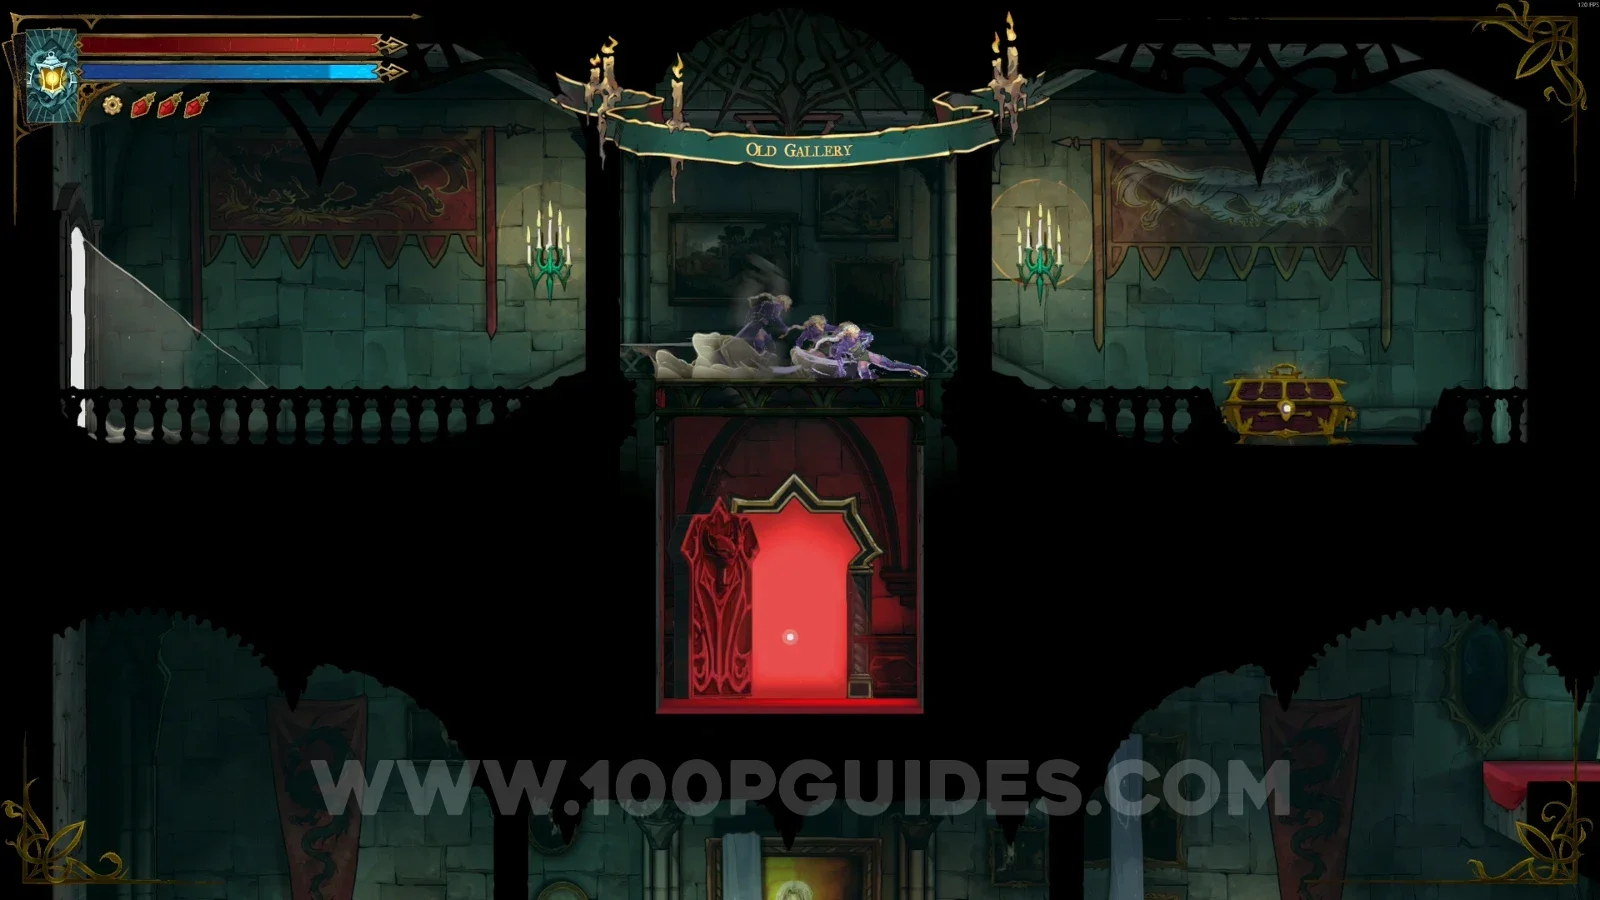
From the Entrance Corridor, use the mirror to reveal a secret area, then go through the red door.

Castlevania Belmonts Curse Main Hall: using the mirror in the Entrance Corridor to reveal a secret area Castlevania Belmonts Curse Main Hall: the red door in the secret area on the way to the Morning Star

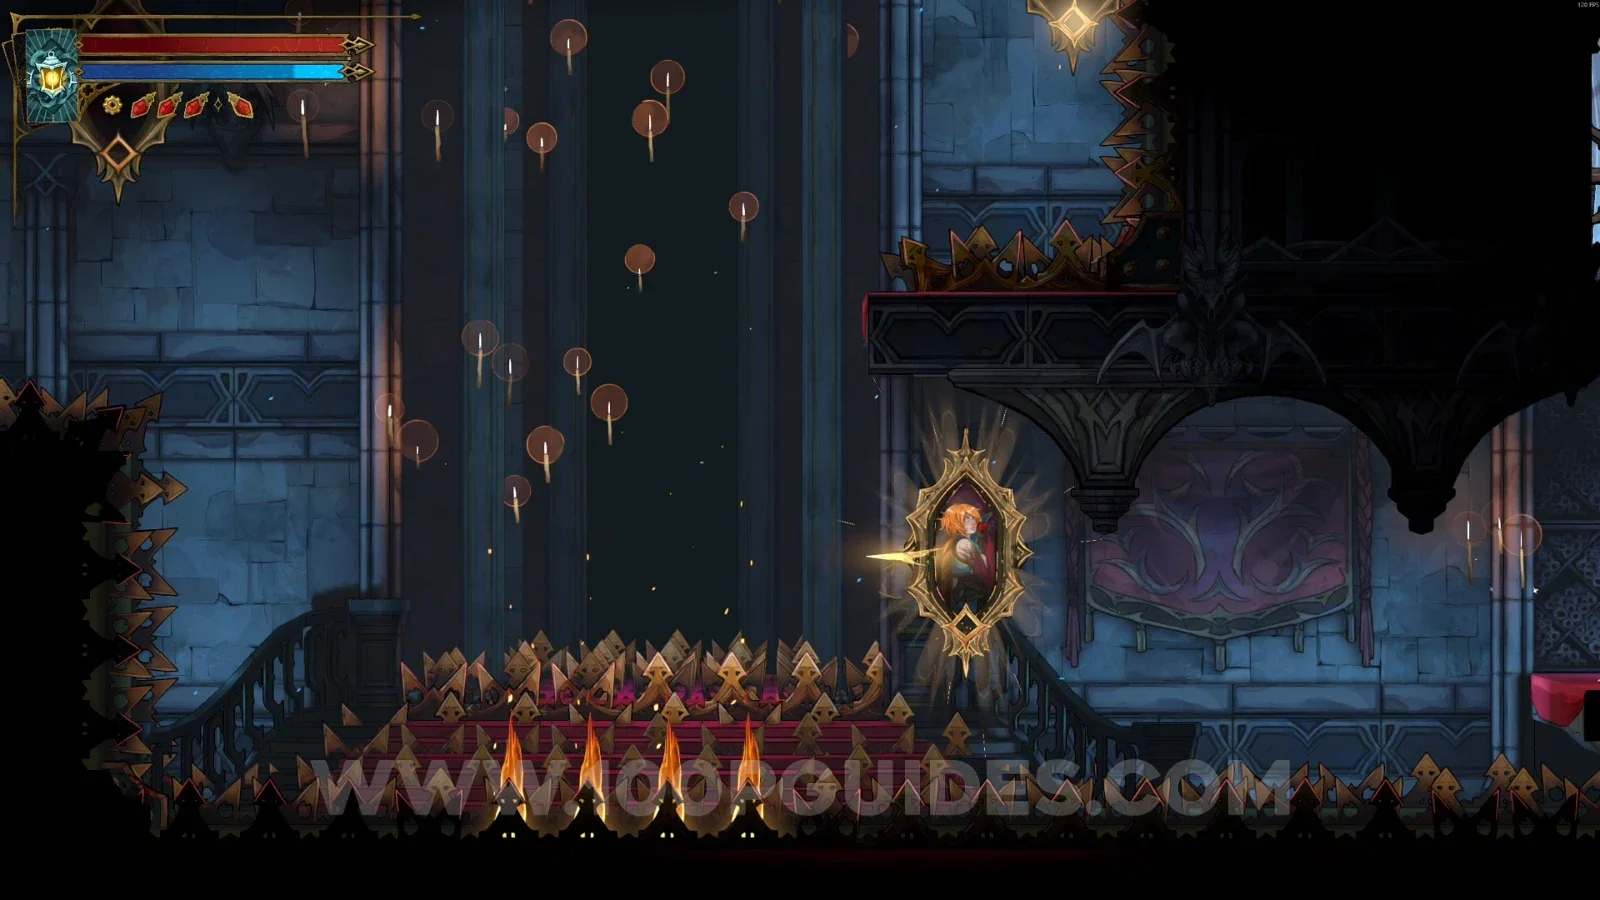
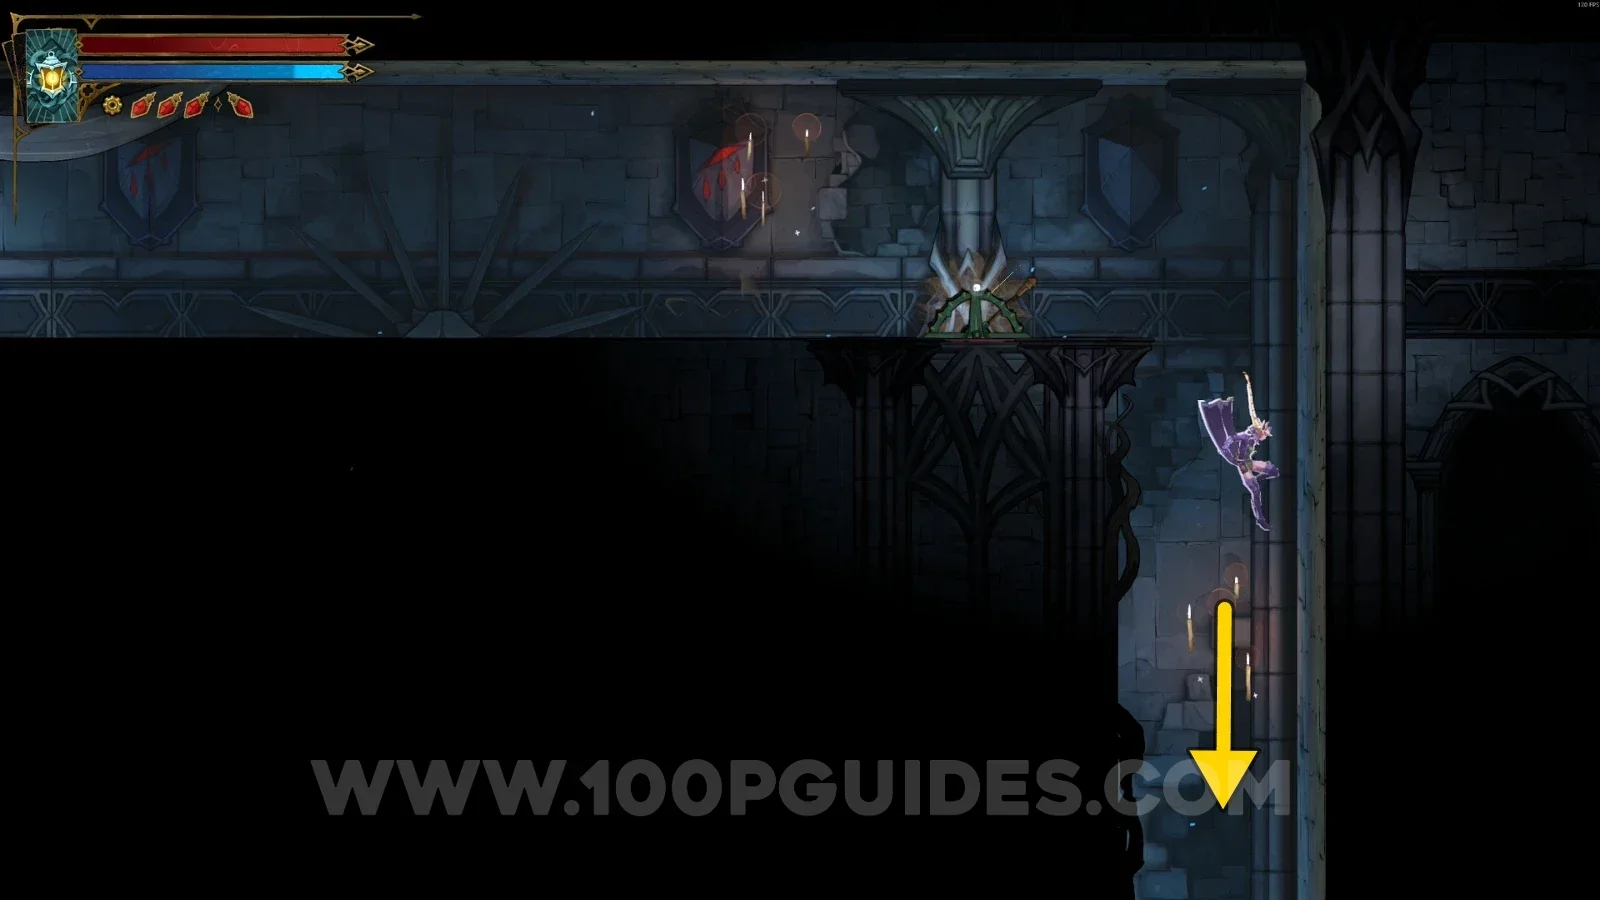
Follow the single path, using the mirror to climb to the upper part of the area. Once you're up there, you'll see two doors. Go through the lower door.

Castlevania Belmonts Curse Main Hall: using the mirror to climb to the upper part of the area Castlevania Belmonts Curse Main Hall: the two doors at the top, going through the lower door

In the next room, use the levers to move the pillars, then go down through the right corner.

Castlevania Belmonts Curse Main Hall: using the levers to move the pillars in the next room Castlevania Belmonts Curse Main Hall: going down through the right corner after moving the pillars

In the next area, defeat the enemies and head left. You can climb some platforms to unlock a shortcut back to the start (the door you came through to get here). Then go back down and go through the door on the left.

Castlevania Belmonts Curse Main Hall: climbing the platforms to unlock the shortcut back to the start Castlevania Belmonts Curse Main Hall: the door on the left after going back down

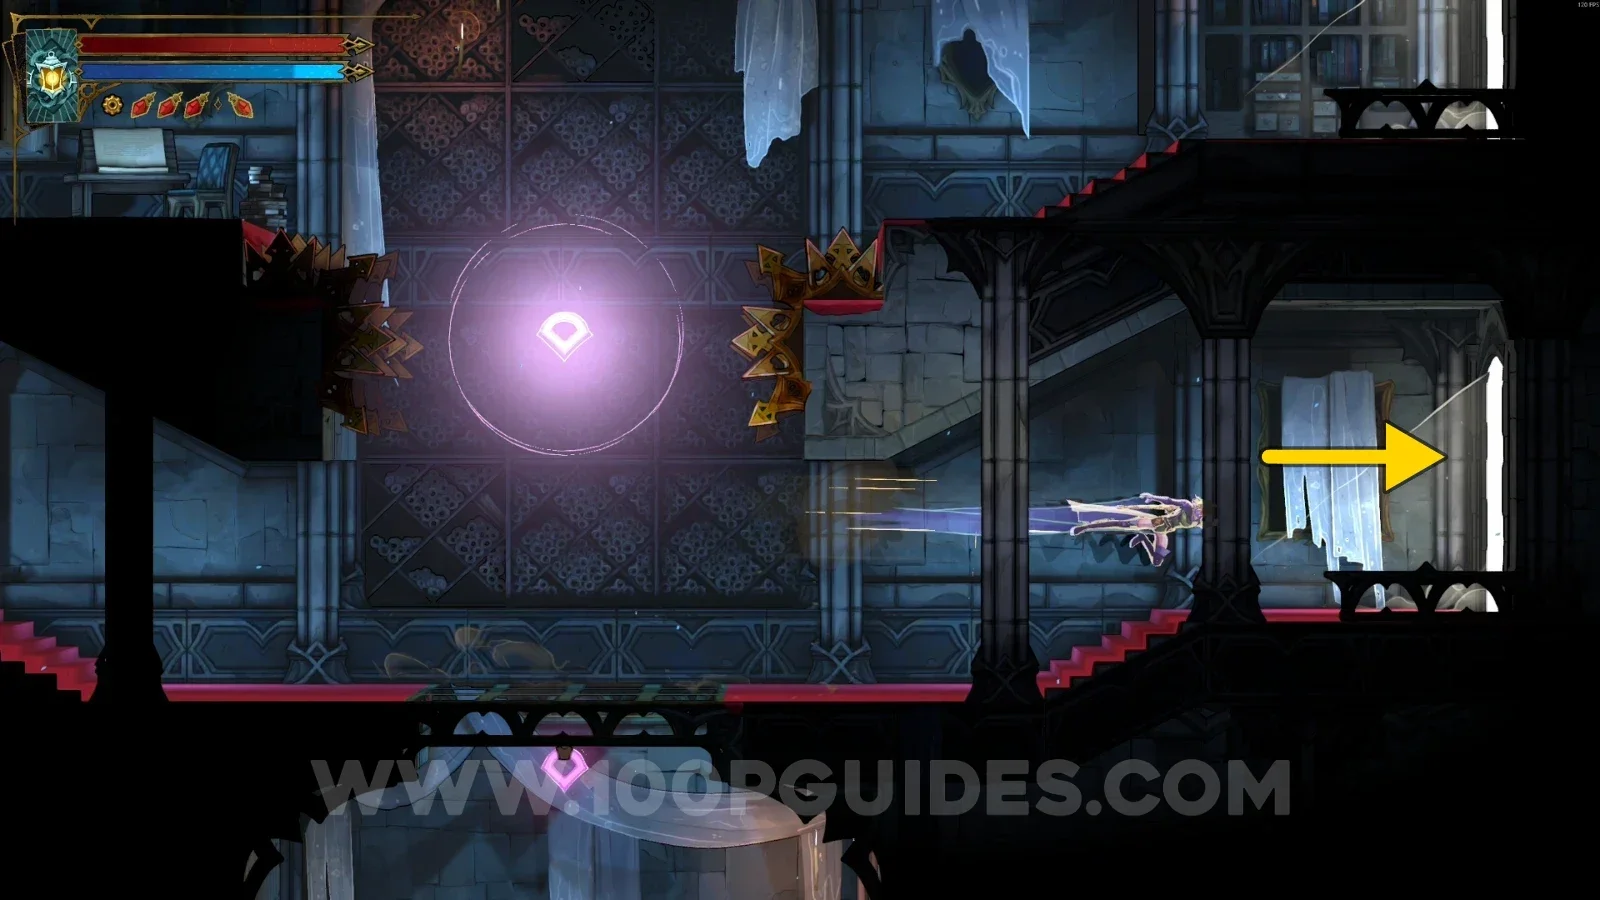
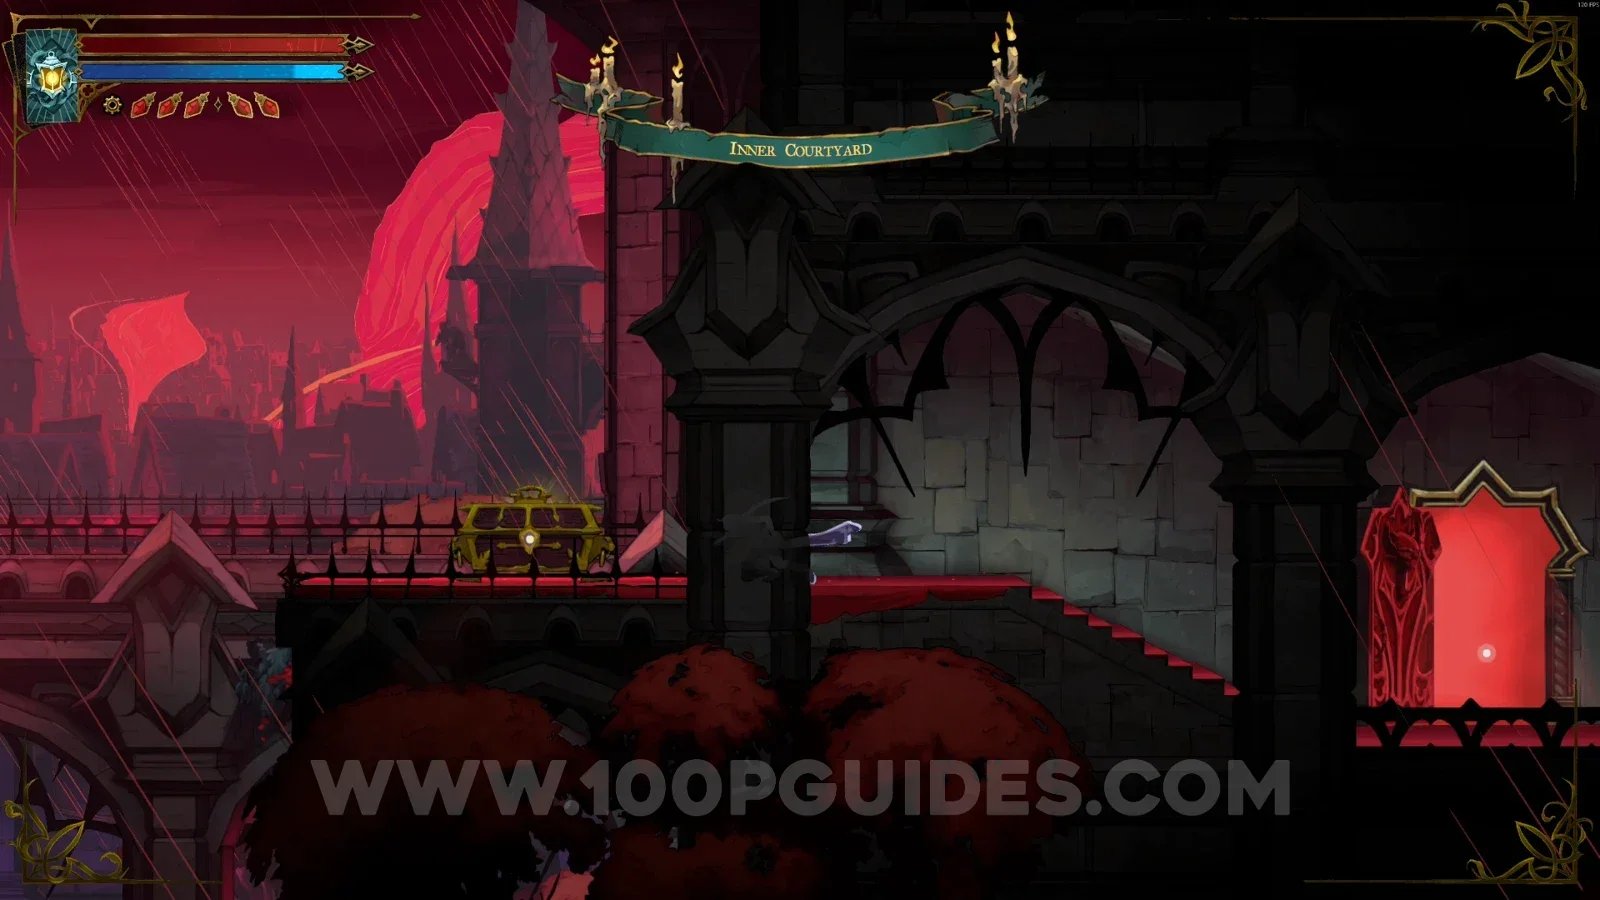
Follow the single path heading left using the mirrors, and go through the door at the end of the area to return to the Inner Courtyard. This time you'll be on the platform with the chest containing the weapon.

Castlevania Belmonts Curse Main Hall: following the path left using the mirrors Castlevania Belmonts Curse Main Hall: the door at the end of the area leading back to the Inner Courtyard Castlevania Belmonts Curse Main Hall Inner Courtyard: the platform with the Morning Star chest

Weapon #13: Rapiers

Interact with the lever and go around the area to reach the chest before time runs out.

Castlevania Belmonts Curse Main Hall: interacting with the lever to start the timed run to the Rapiers Castlevania Belmonts Curse Main Hall: the chest with the Rapiers reached before time runs out

Weapon #14: Jewel Knuckles

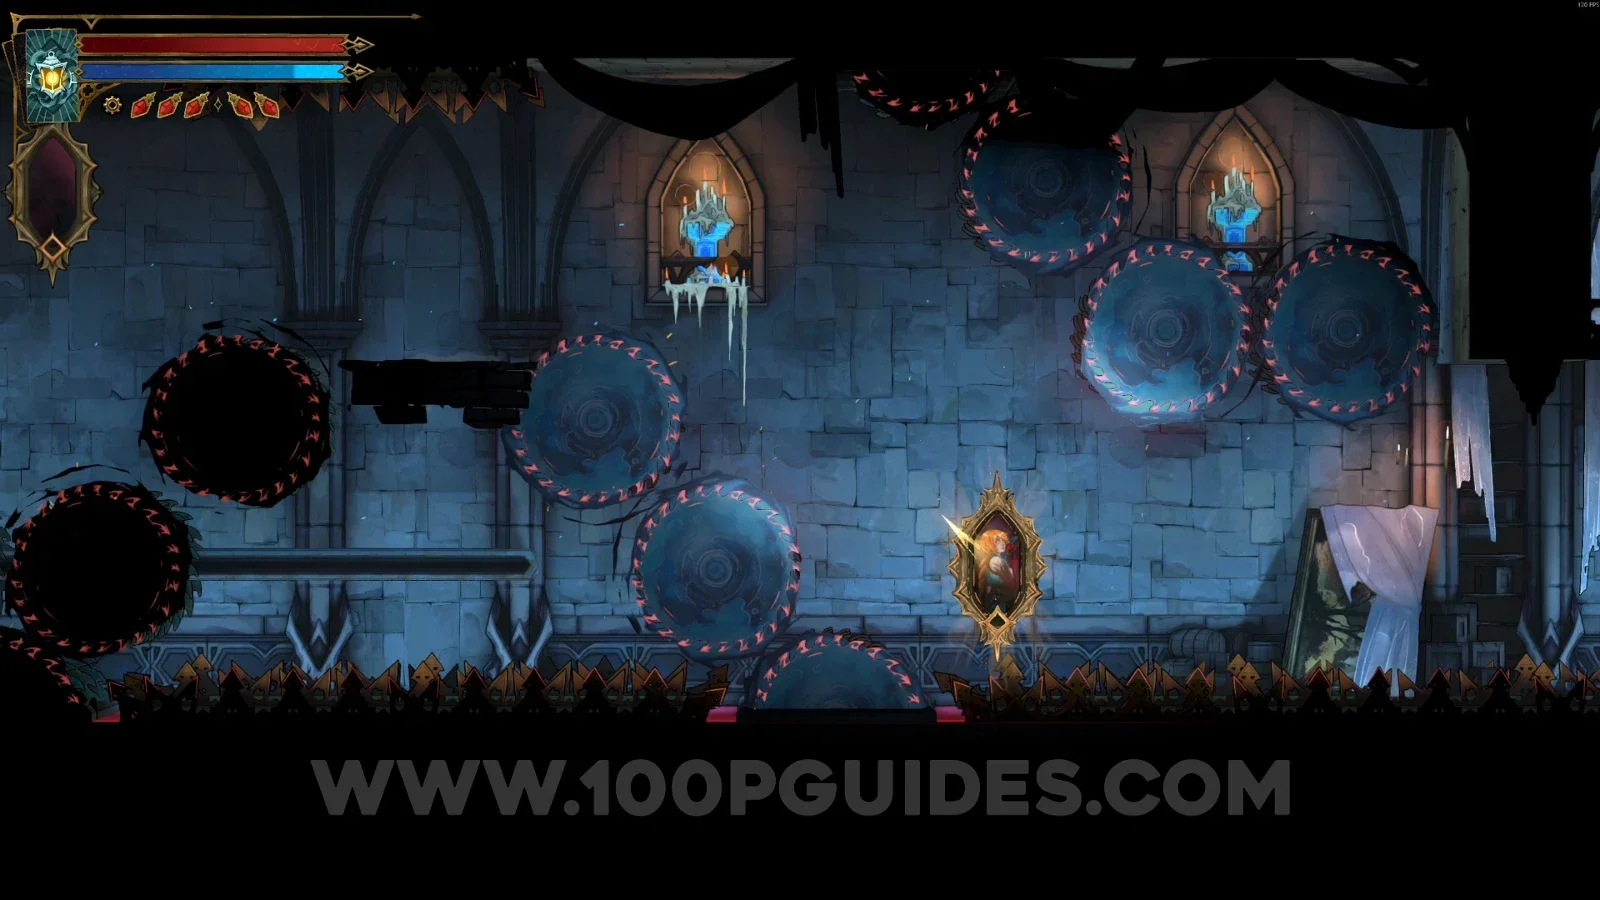
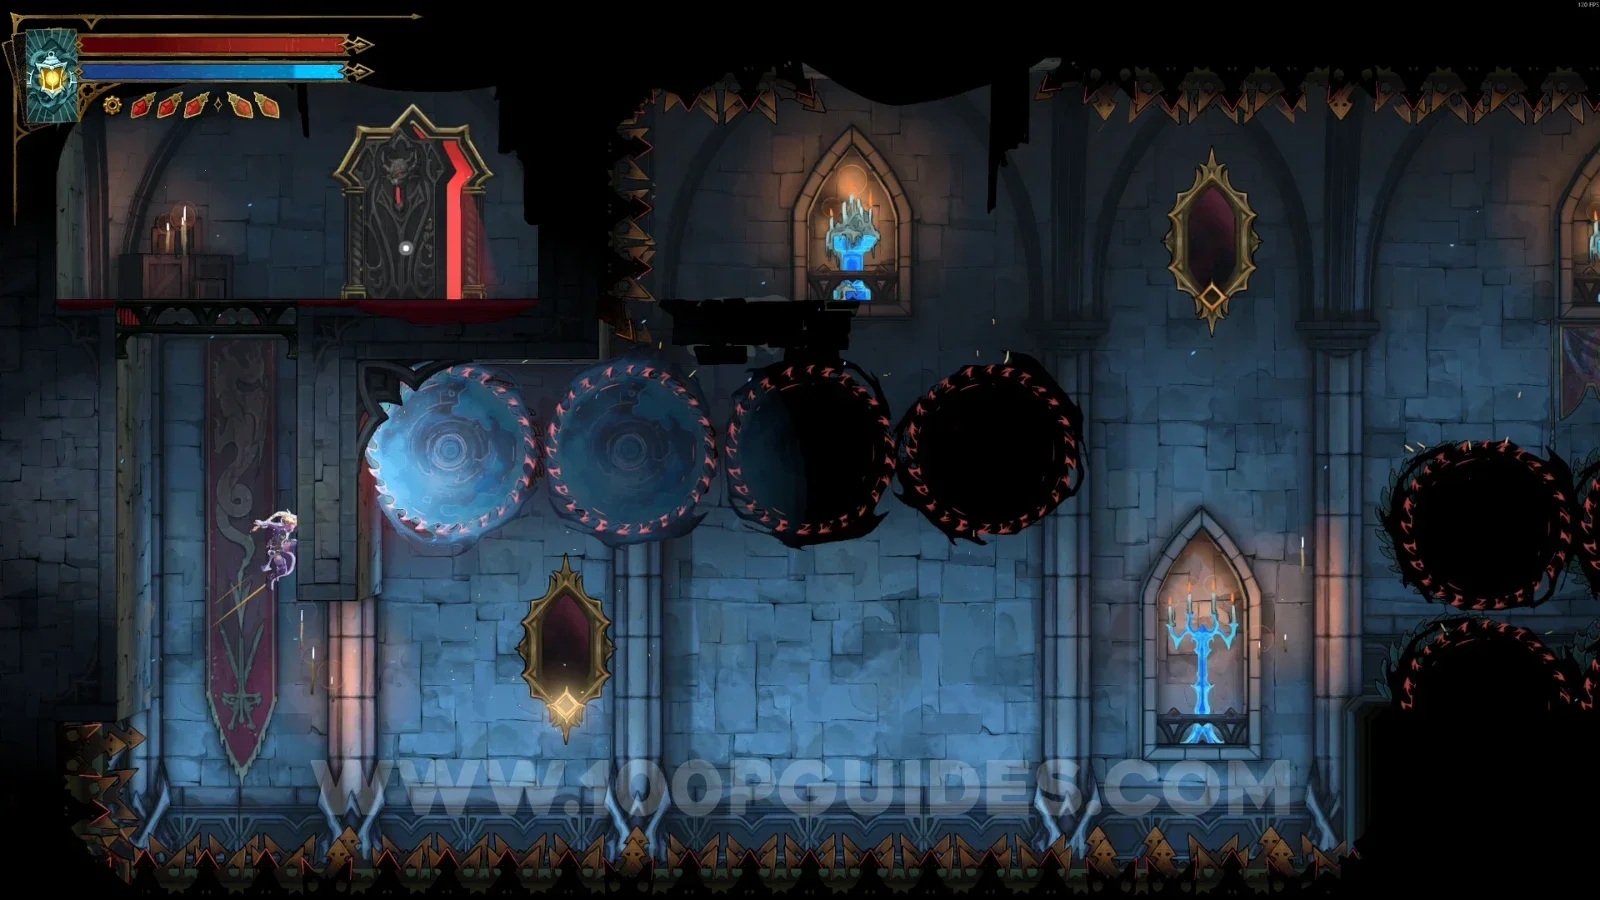
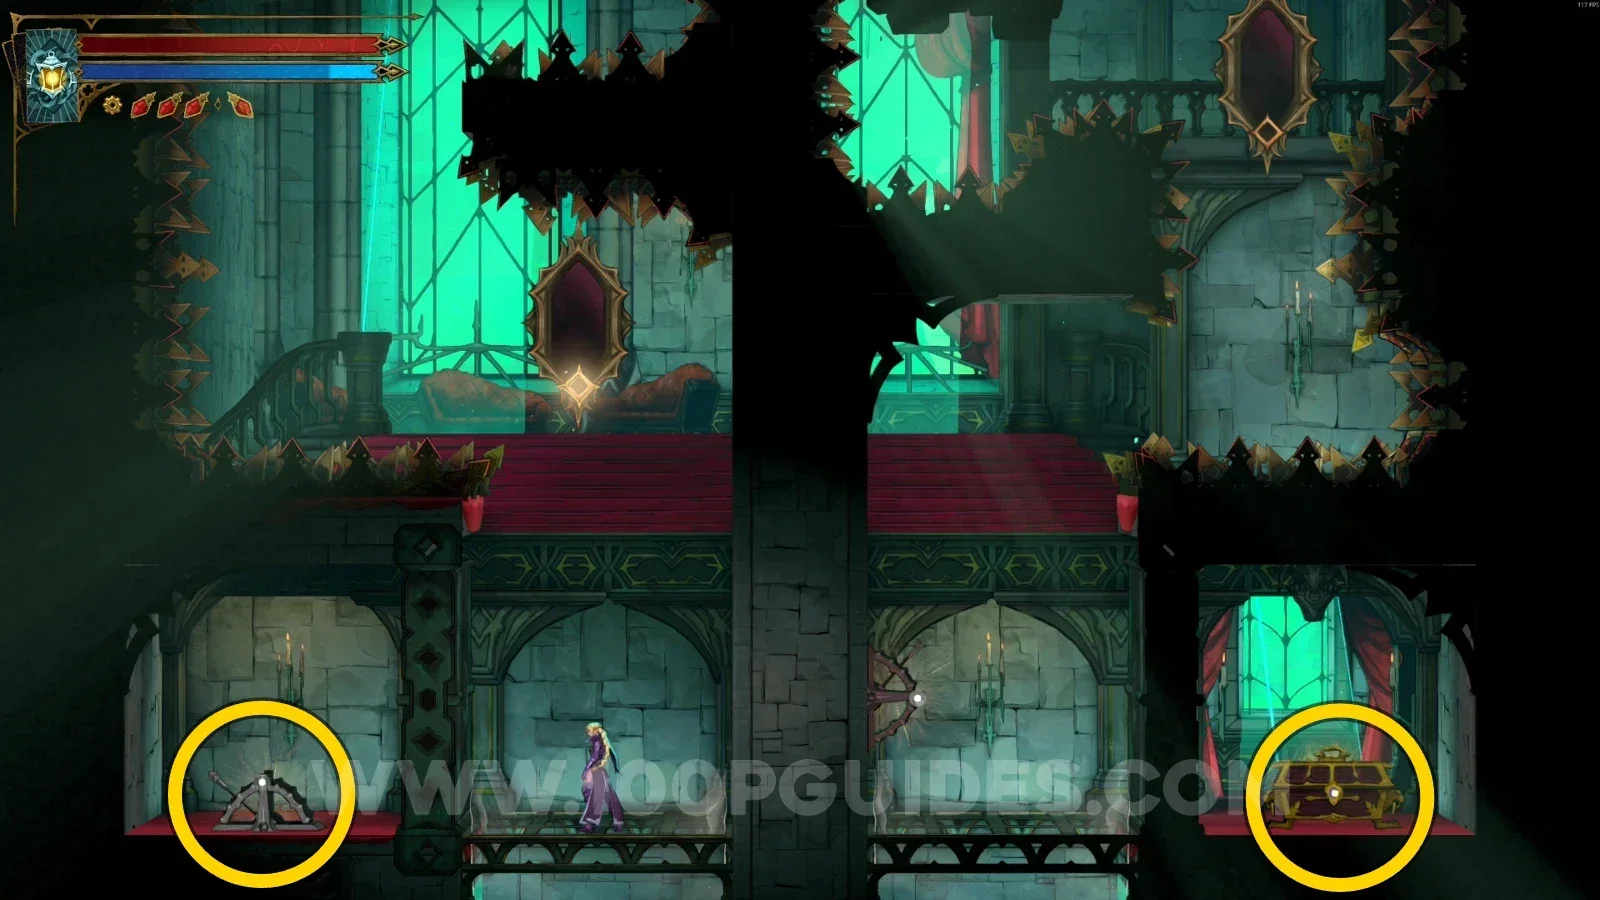
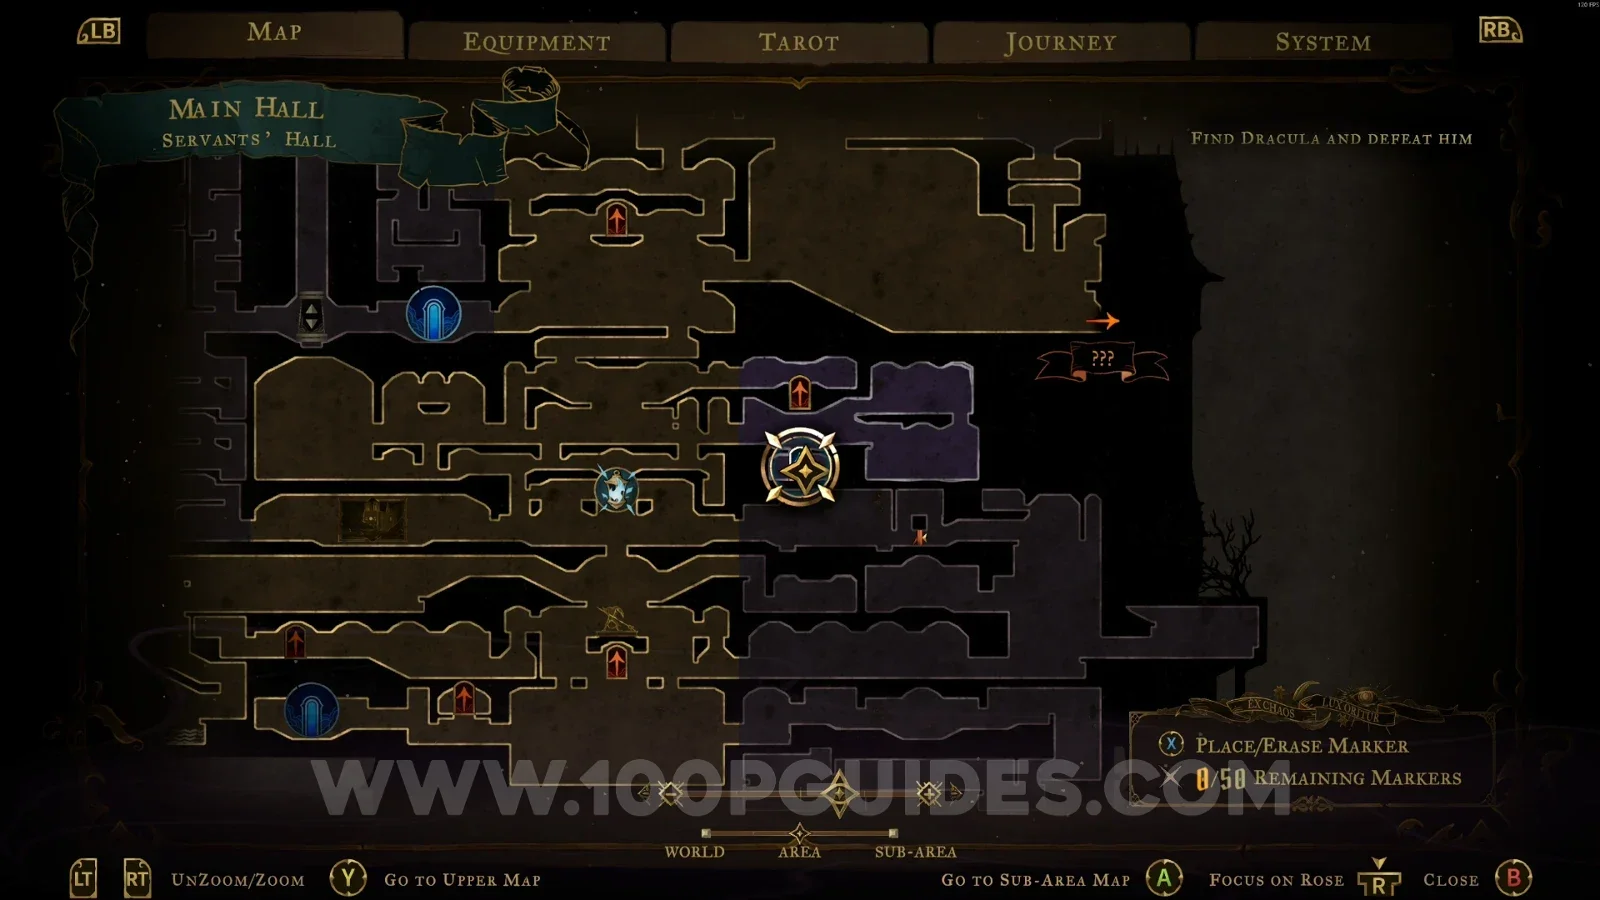
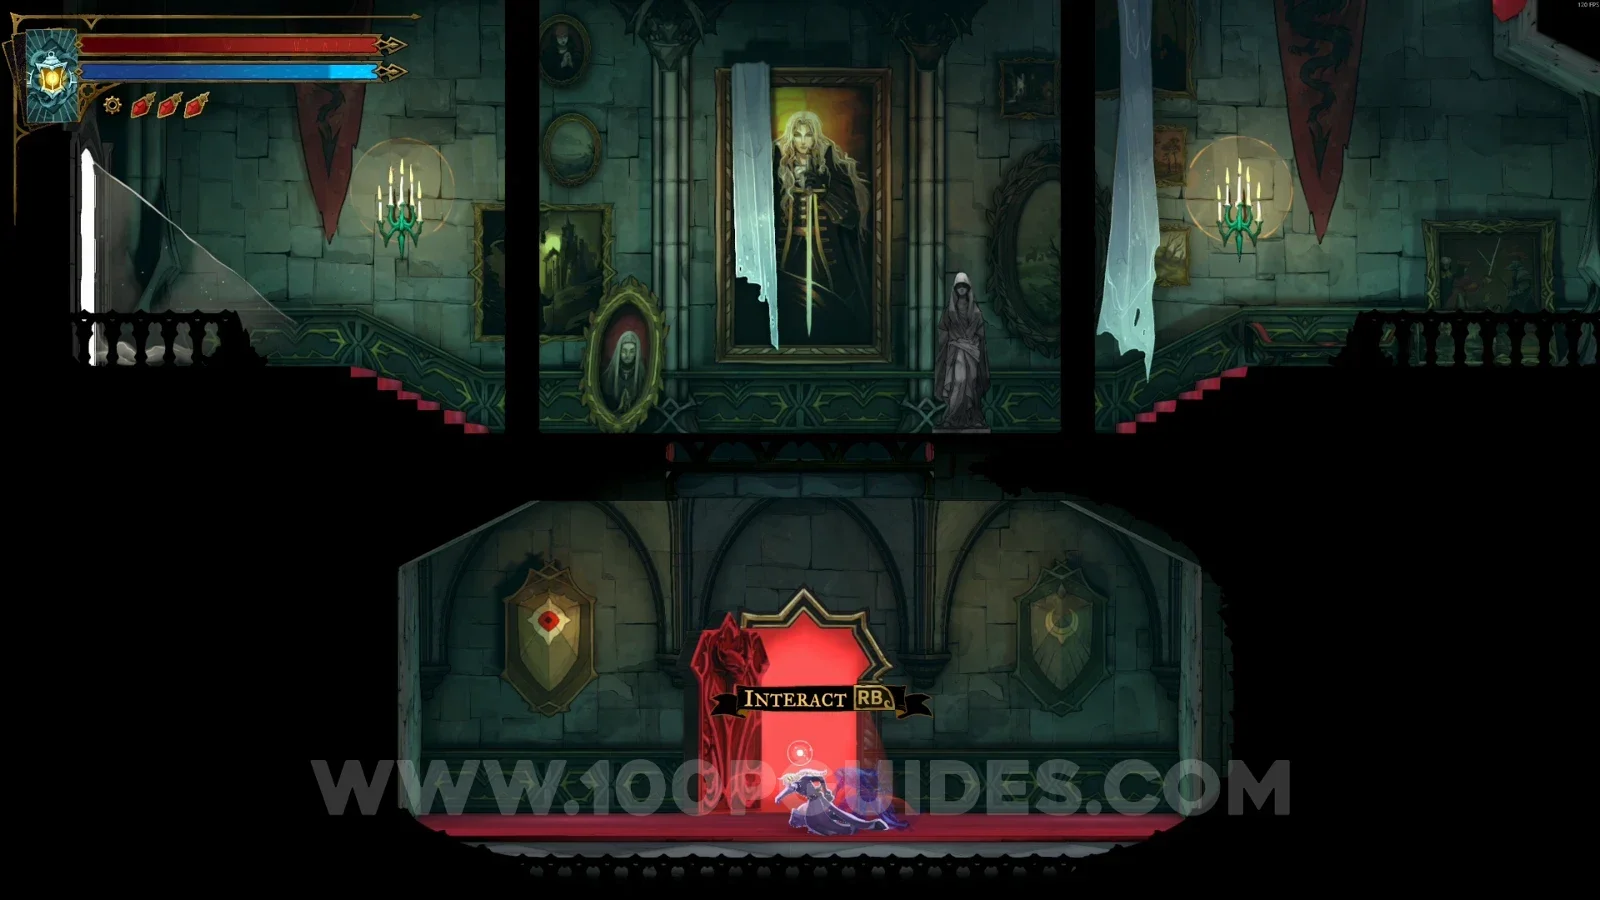
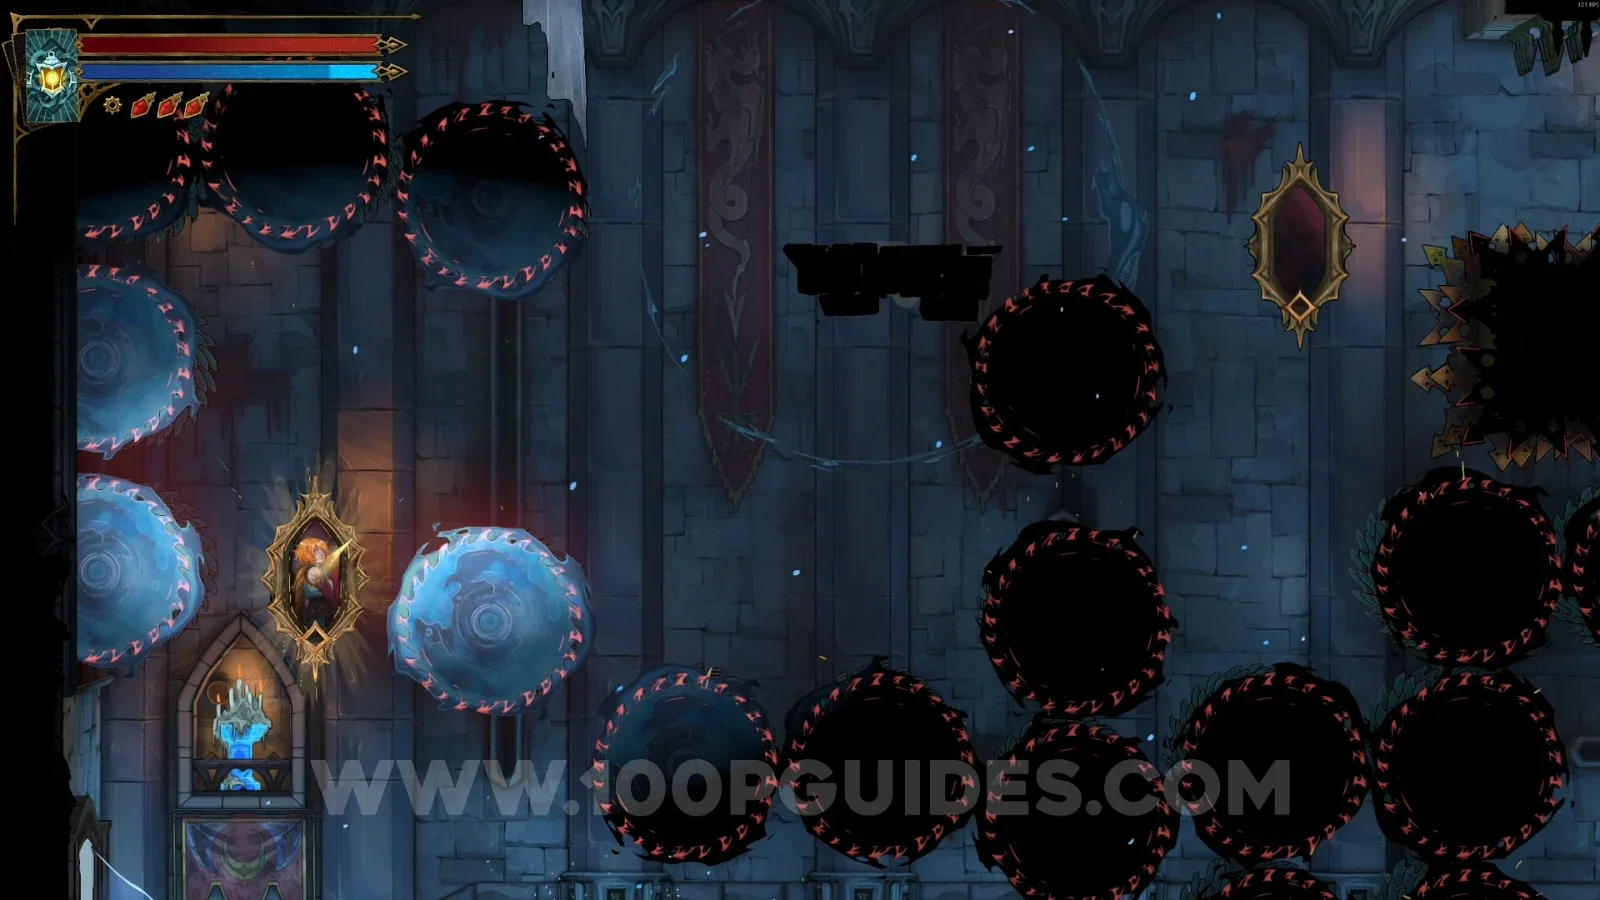
At the location marked on the map, go through the red door, then head left and climb using the paintings. You'll have to go around the area with the spinning saws until you reach the other red door on the right side. Go through that red door and you'll return to the start of the area, but this time at the door above the one you entered earlier. Then open the chest on the right side.

Castlevania Belmonts Curse Main Hall: the red door at the map location for the Jewel Knuckles Castlevania Belmonts Curse Main Hall: climbing the paintings around the spinning saws Castlevania Belmonts Curse Main Hall: the other red door on the right side of the spinning saw area Castlevania Belmonts Curse Main Hall: the chest with the Jewel Knuckles by the upper door

Weapon #15: Alucard's Sword and Shield

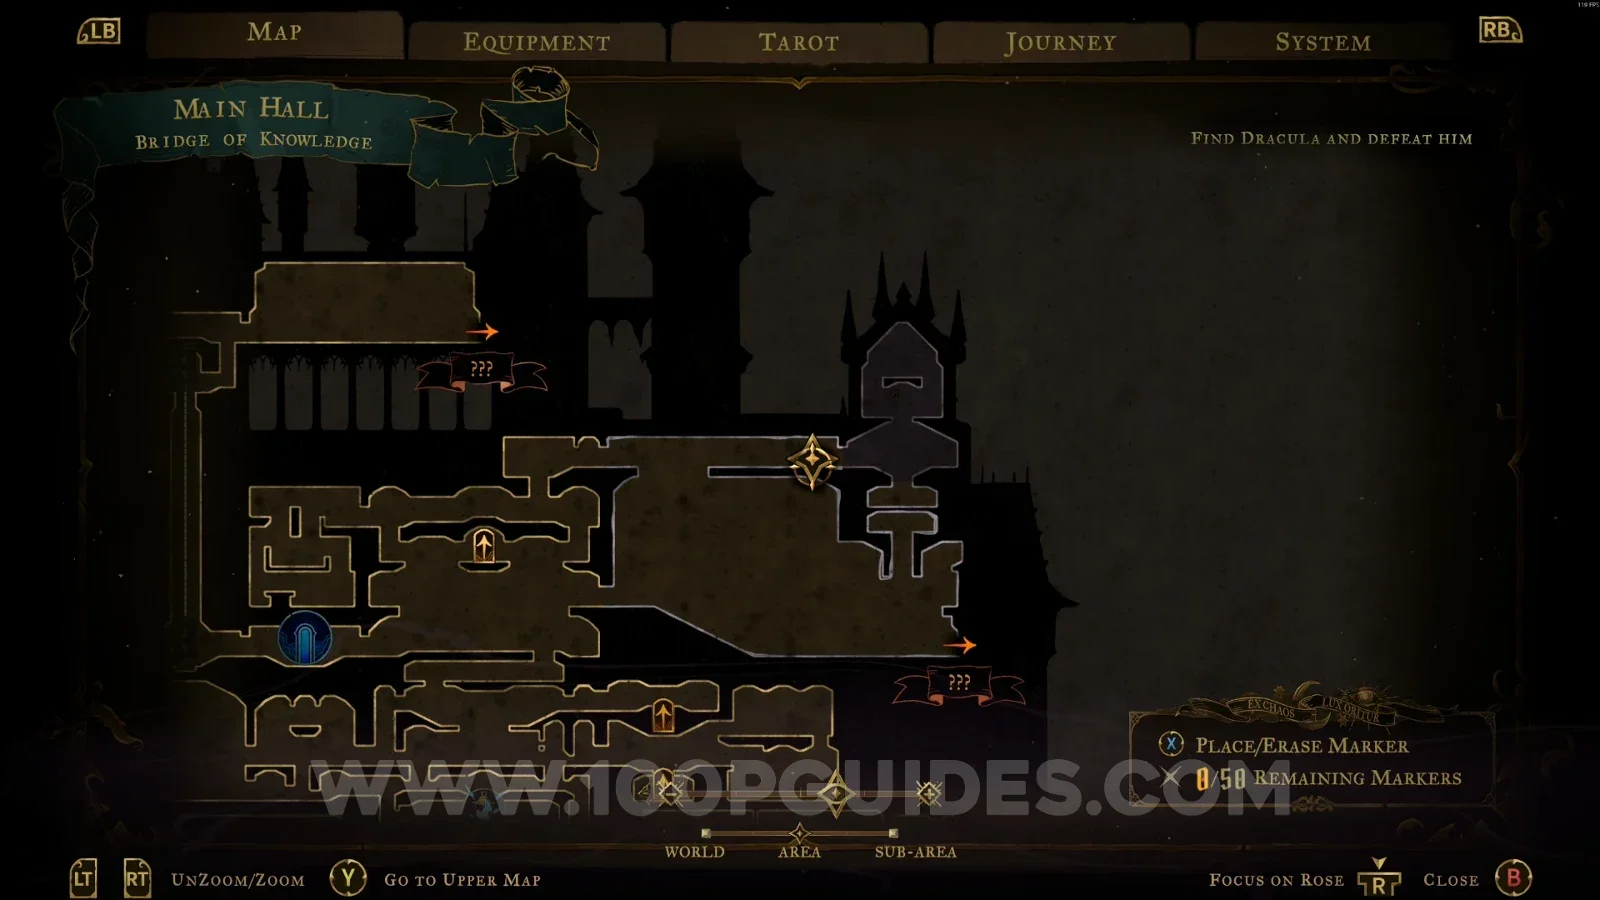
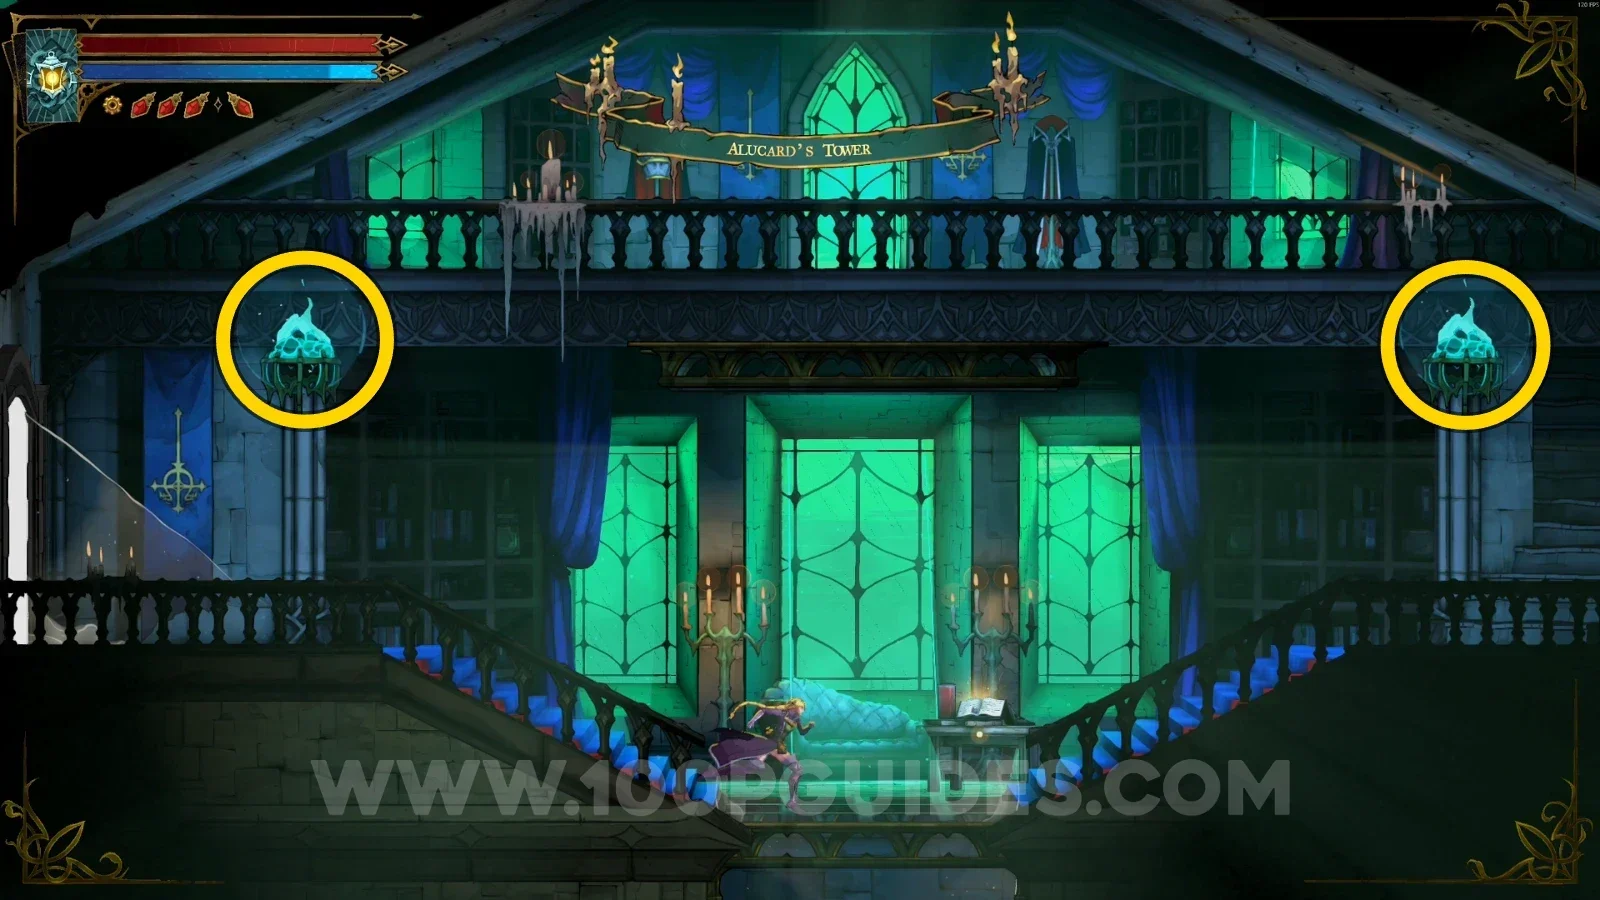
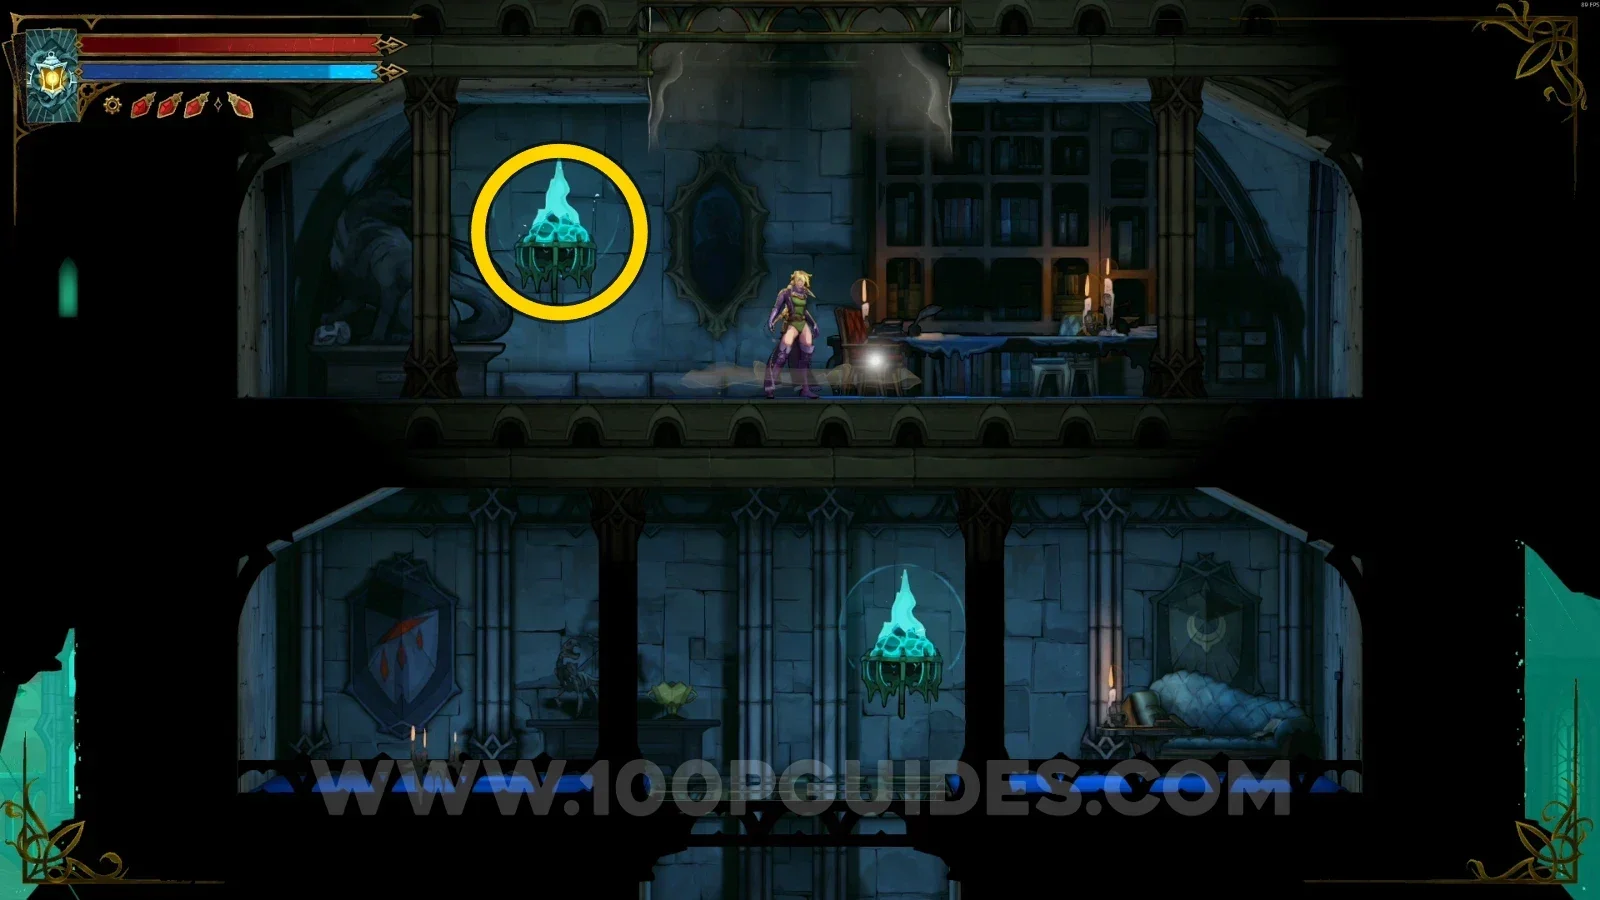
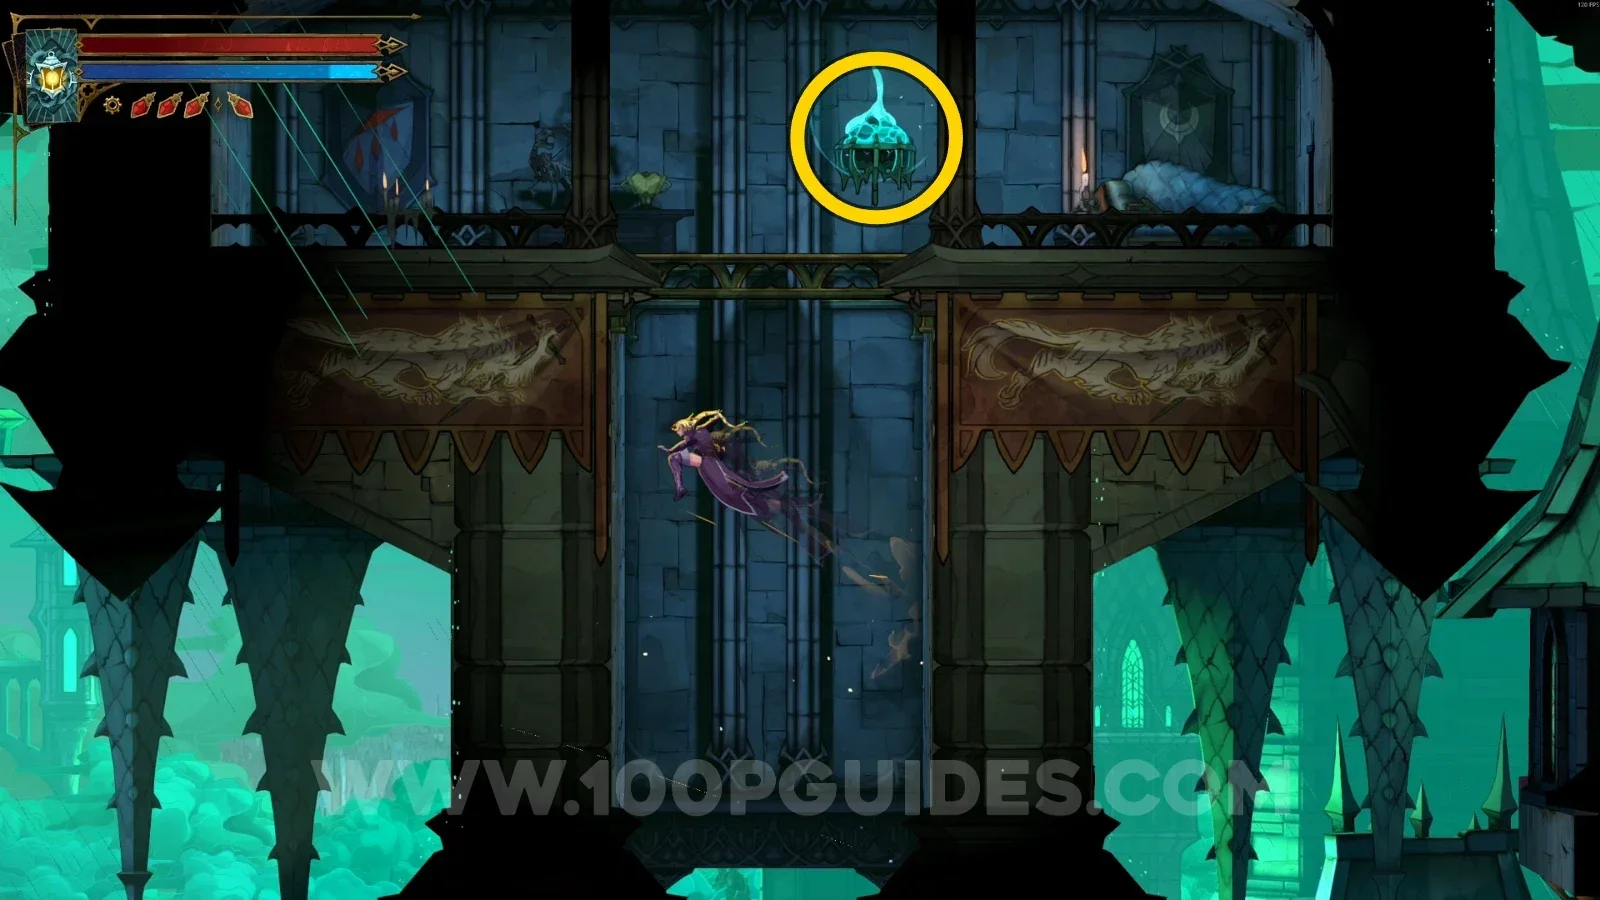
Destroy all 5 blue flames to clear the path and get the weapon. The first 3 are in the weapon room, 2 above and 1 below. You'll find another one as you leave the area, on the bridge next to the door.

Castlevania Belmonts Curse Main Hall: the weapon room with Alucard's Sword and Shield behind blue flames Castlevania Belmonts Curse Main Hall: destroying the two upper blue flames in the weapon room Castlevania Belmonts Curse Main Hall: the blue flame below in the weapon room Castlevania Belmonts Curse Main Hall: the fourth blue flame on the bridge next to the door

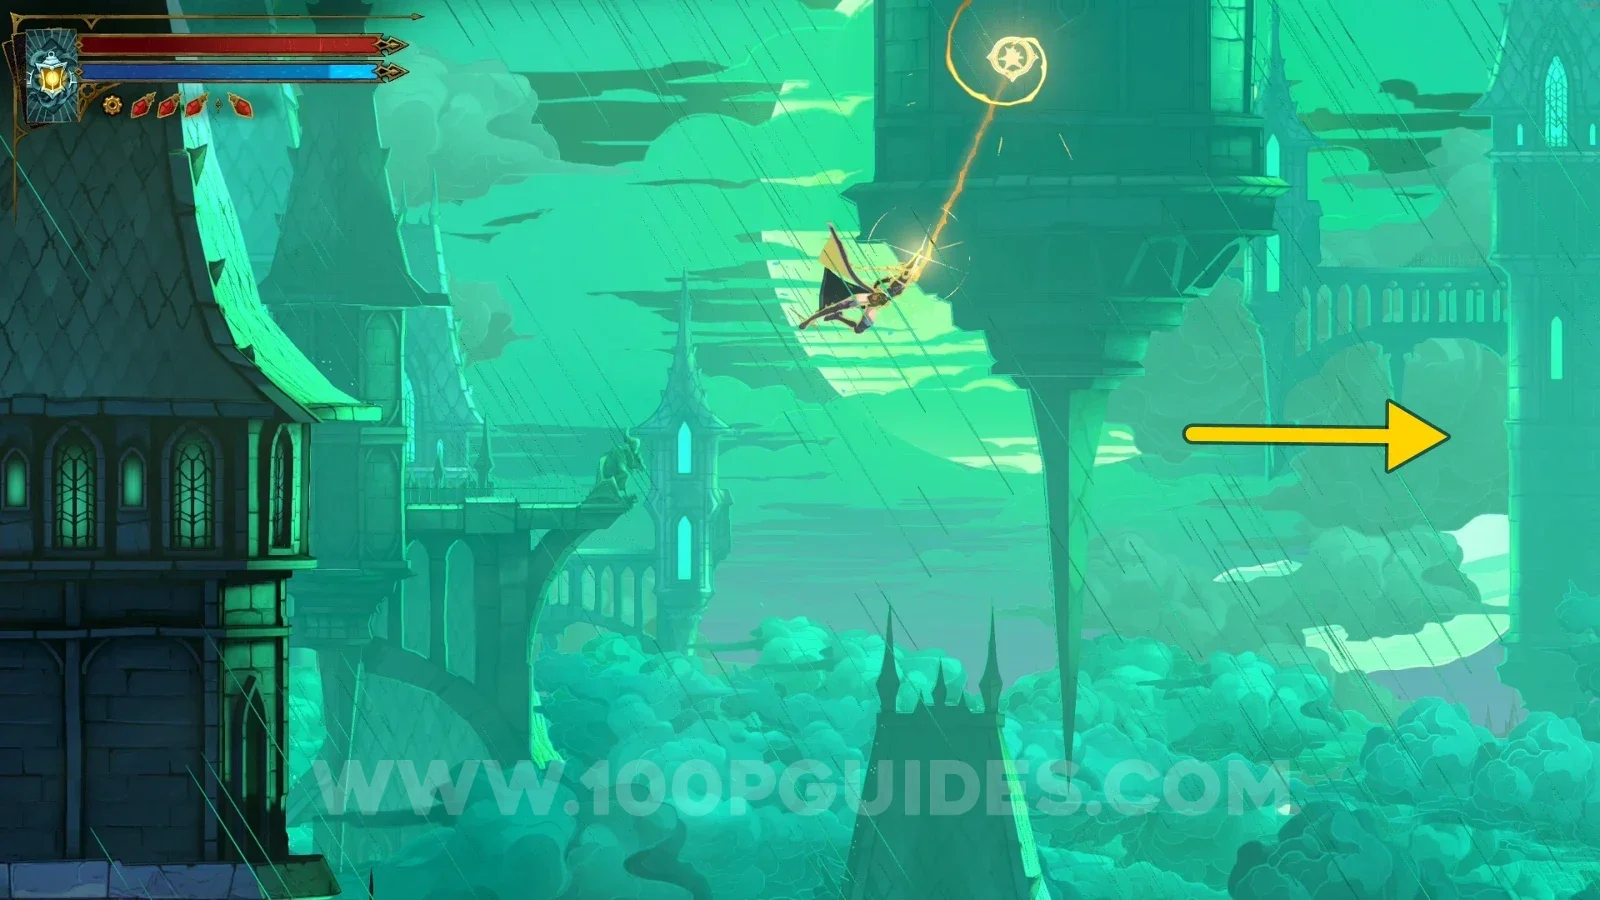
For the last flame, you’ll have to drop off the bridge and head right using your Arcane Whip. You’ll see a ledge you can climb, and you’ll find the last flame inside. After destroying it, go back and grab the weapon.

Castlevania Belmonts Curse Main Hall: dropping off the bridge to reach the last blue flame Castlevania Belmonts Curse Main Hall: heading right with the Arcane Whip toward the climbable ledge Castlevania Belmonts Curse Main Hall: the last blue flame inside past the ledge Castlevania Belmonts Curse Main Hall: grabbing Alucard's Sword and Shield after all flames are destroyed

Library

Weapon #16: Thorn Whip

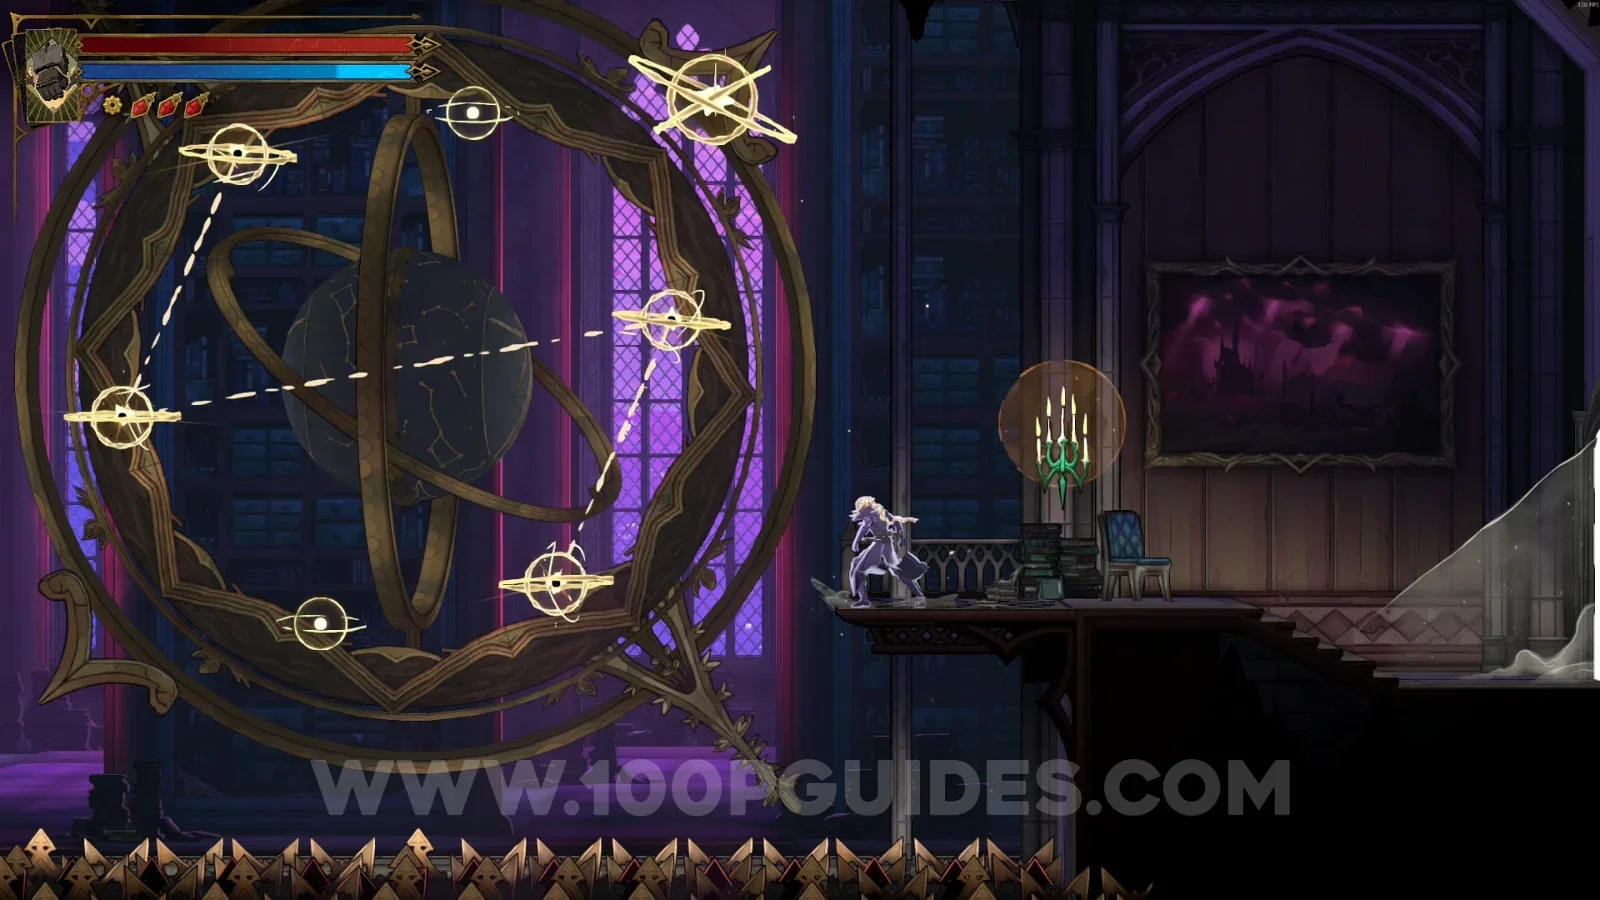
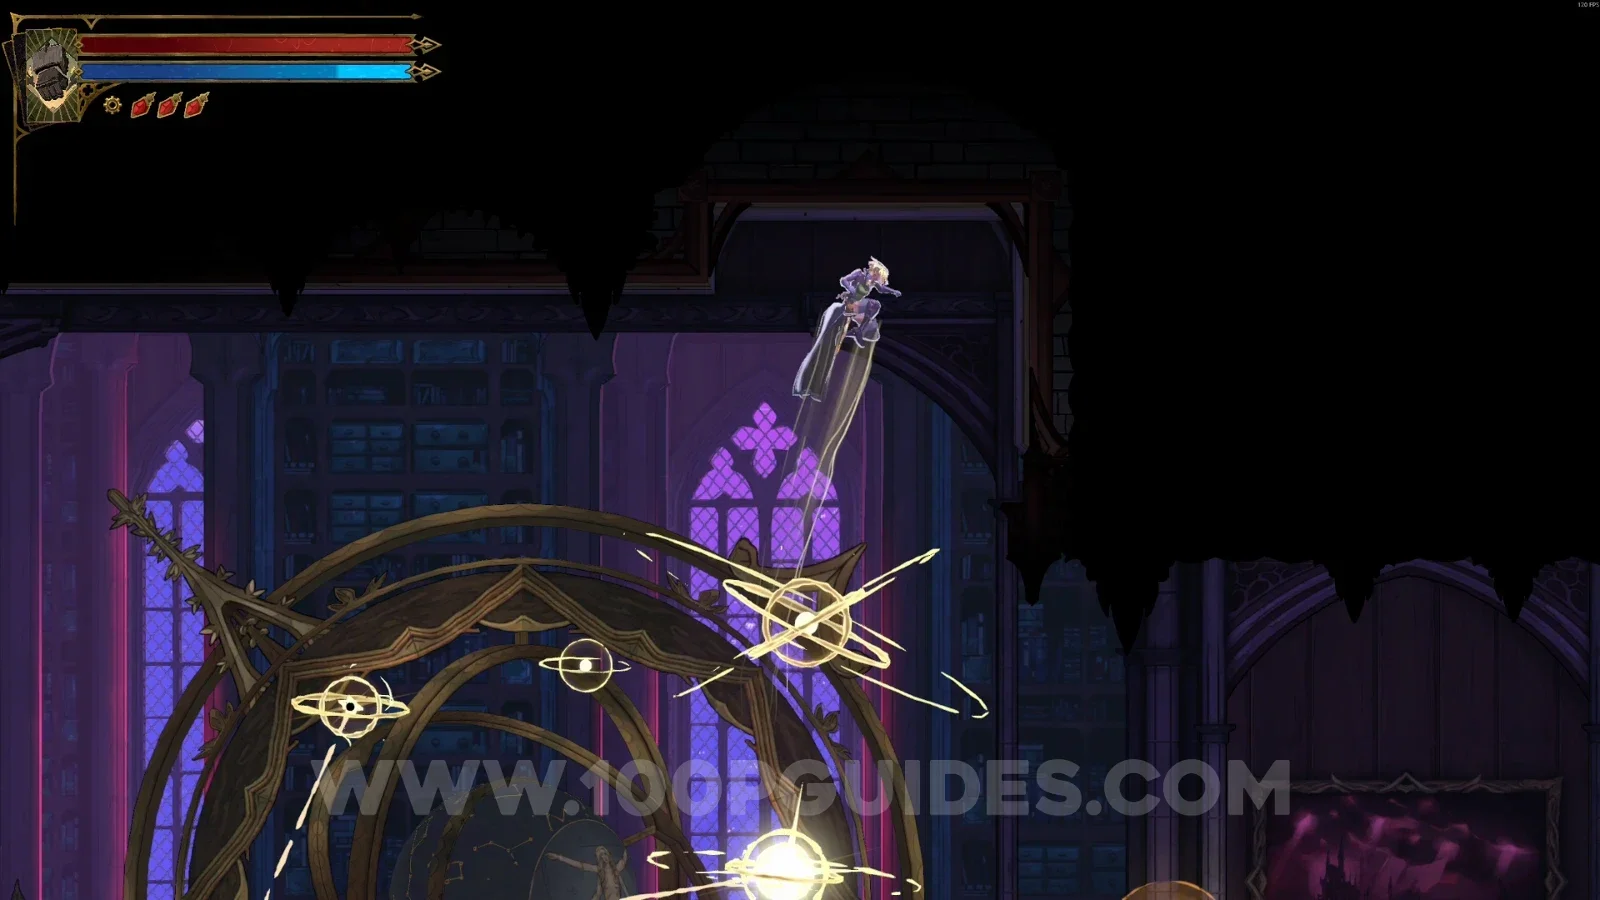
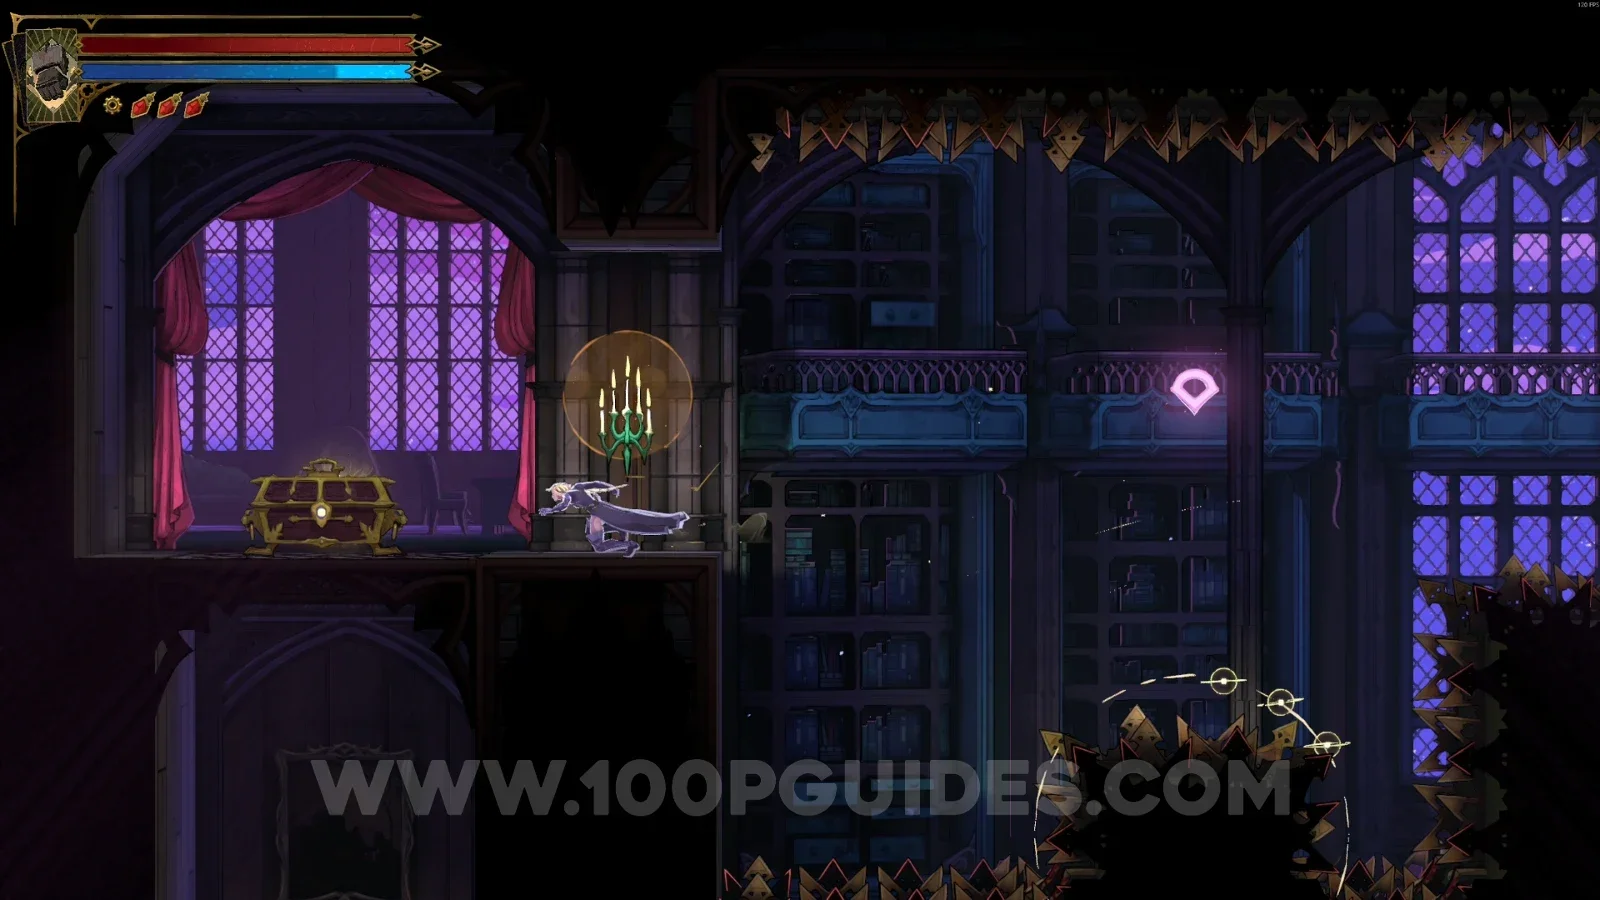
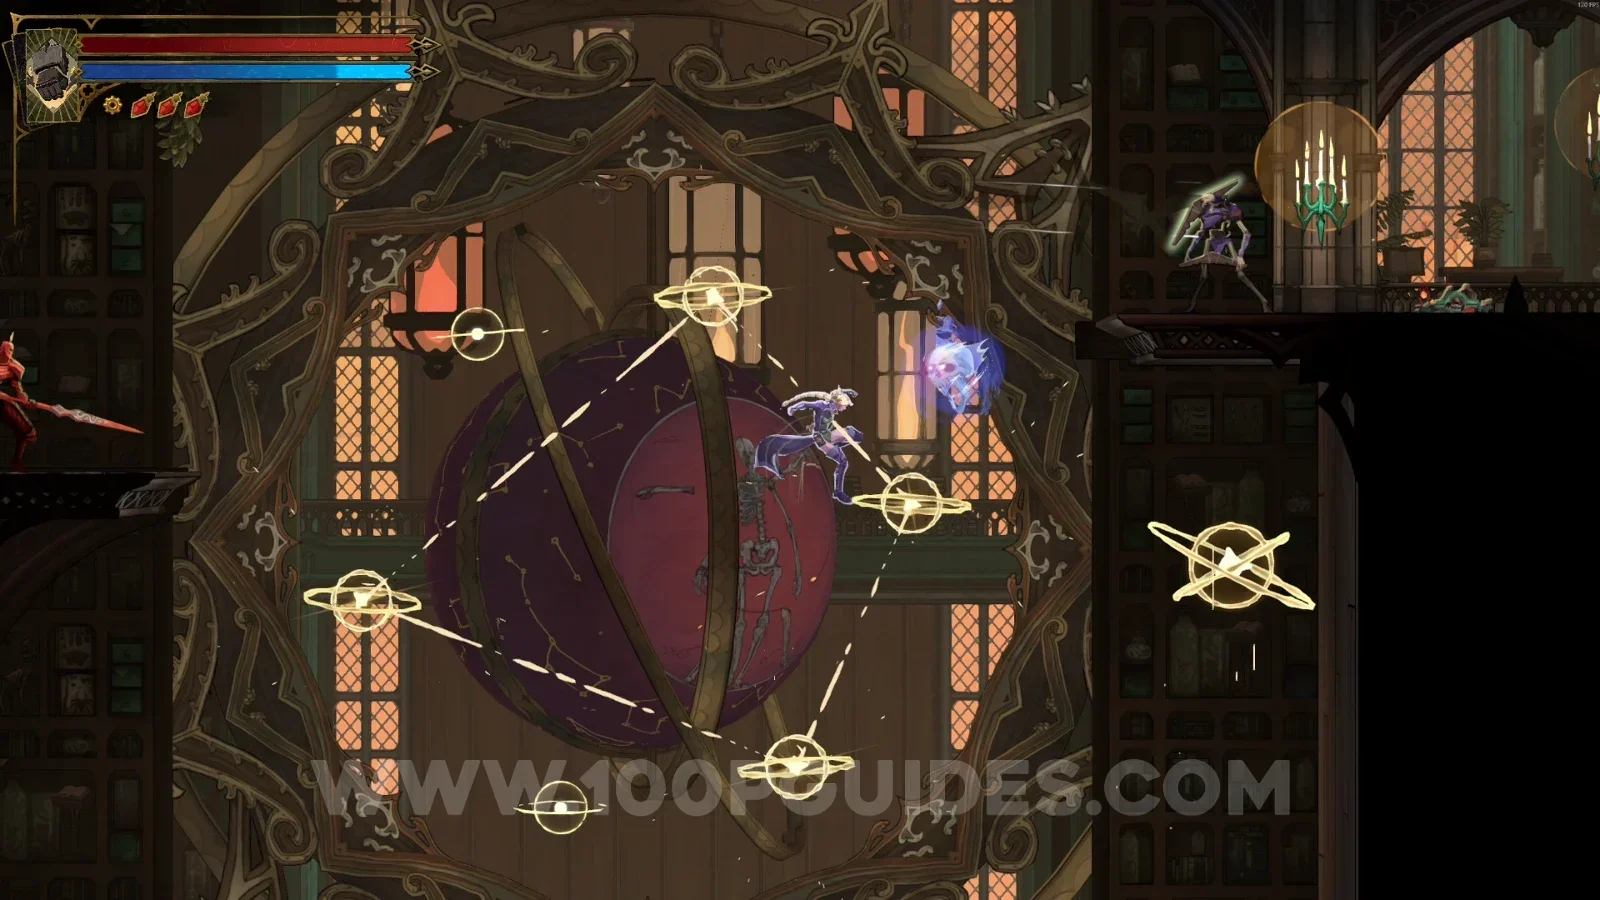
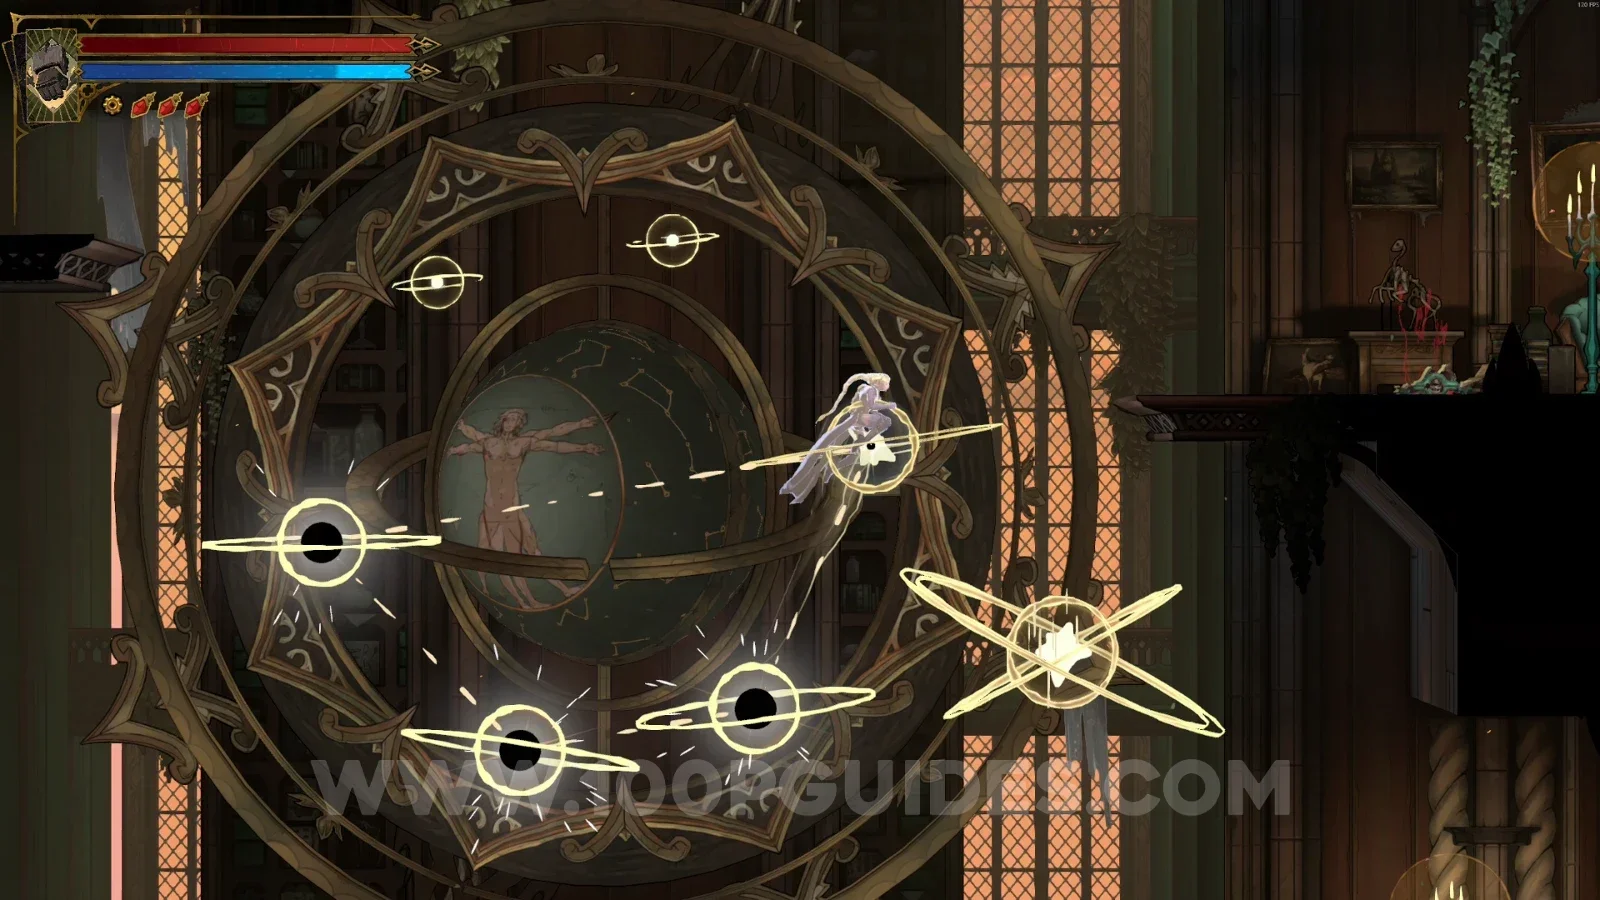
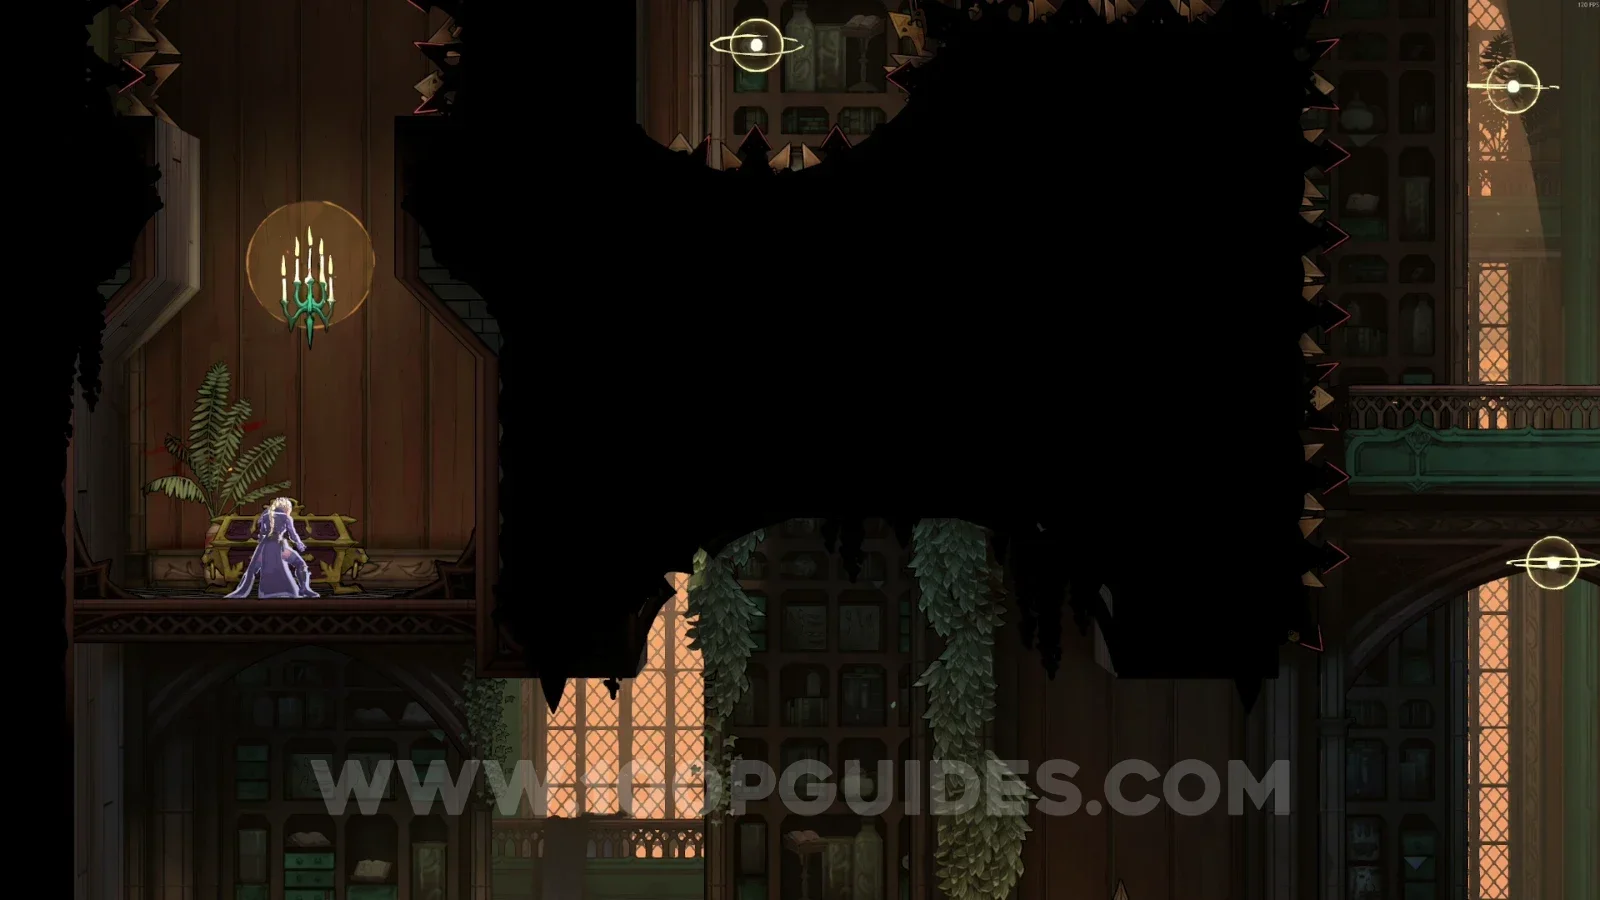
Complete the pattern on the orbs, then climb to the upper part to reveal a secret room. Follow the single path to find the chest with the weapon inside.

Castlevania Belmonts Curse Library: completing the pattern on the orbs for the Thorn Whip Castlevania Belmonts Curse Library: climbing to the upper part to reveal the secret room Castlevania Belmonts Curse Library: following the single path through the secret room Castlevania Belmonts Curse Library: the chest with the Thorn Whip at the end of the path

Weapon #17: Durandal

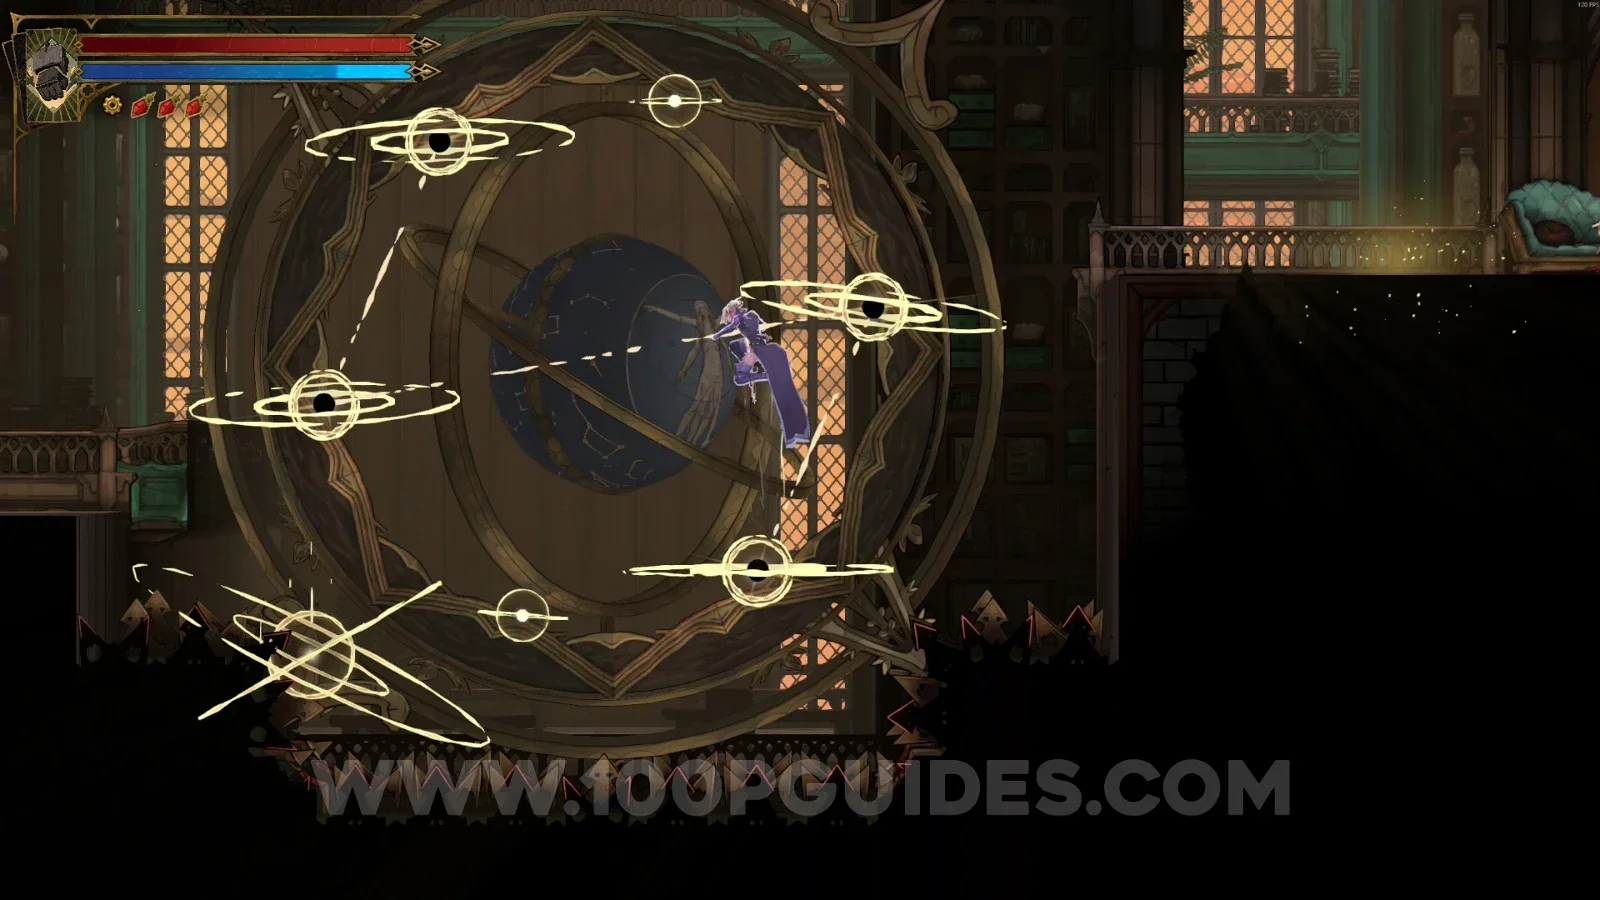
Complete both patterns on the orbs, then climb to the upper part of the area to reveal a secret room. Follow the single path to find the chest with the weapon inside.

Castlevania Belmonts Curse Library: completing both patterns on the orbs for the Durandal Castlevania Belmonts Curse Library: climbing to the upper part of the area to reveal a secret room Castlevania Belmonts Curse Library: following the single path through the Durandal secret room Castlevania Belmonts Curse Library: the chest with the Durandal at the end of the path

Weapon #18: Fleuret and Tower Shield

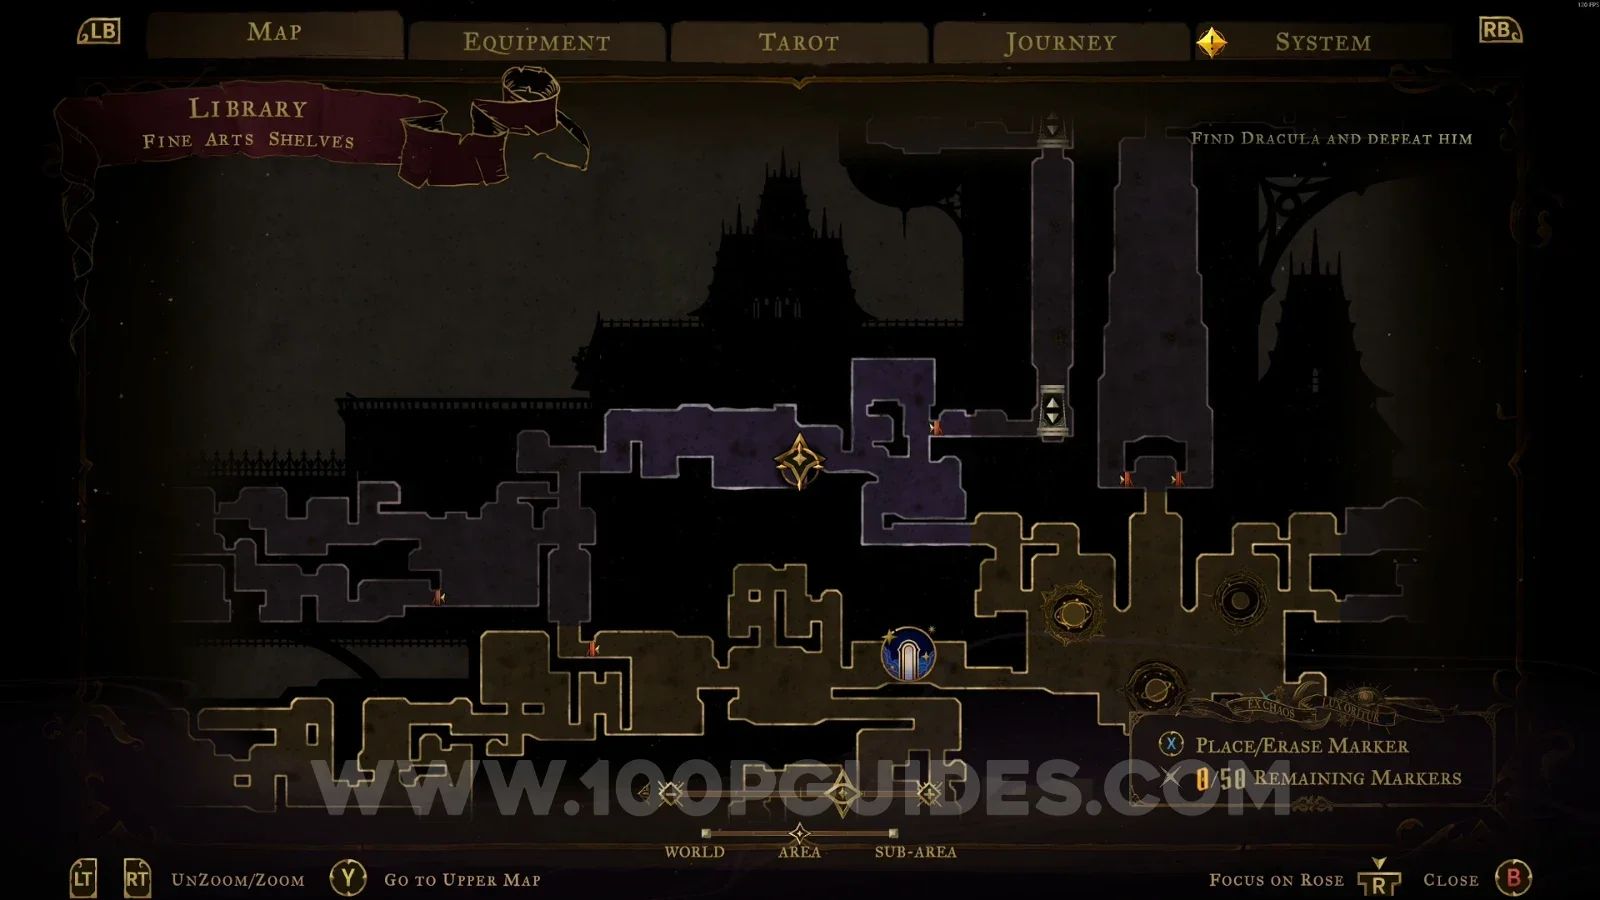
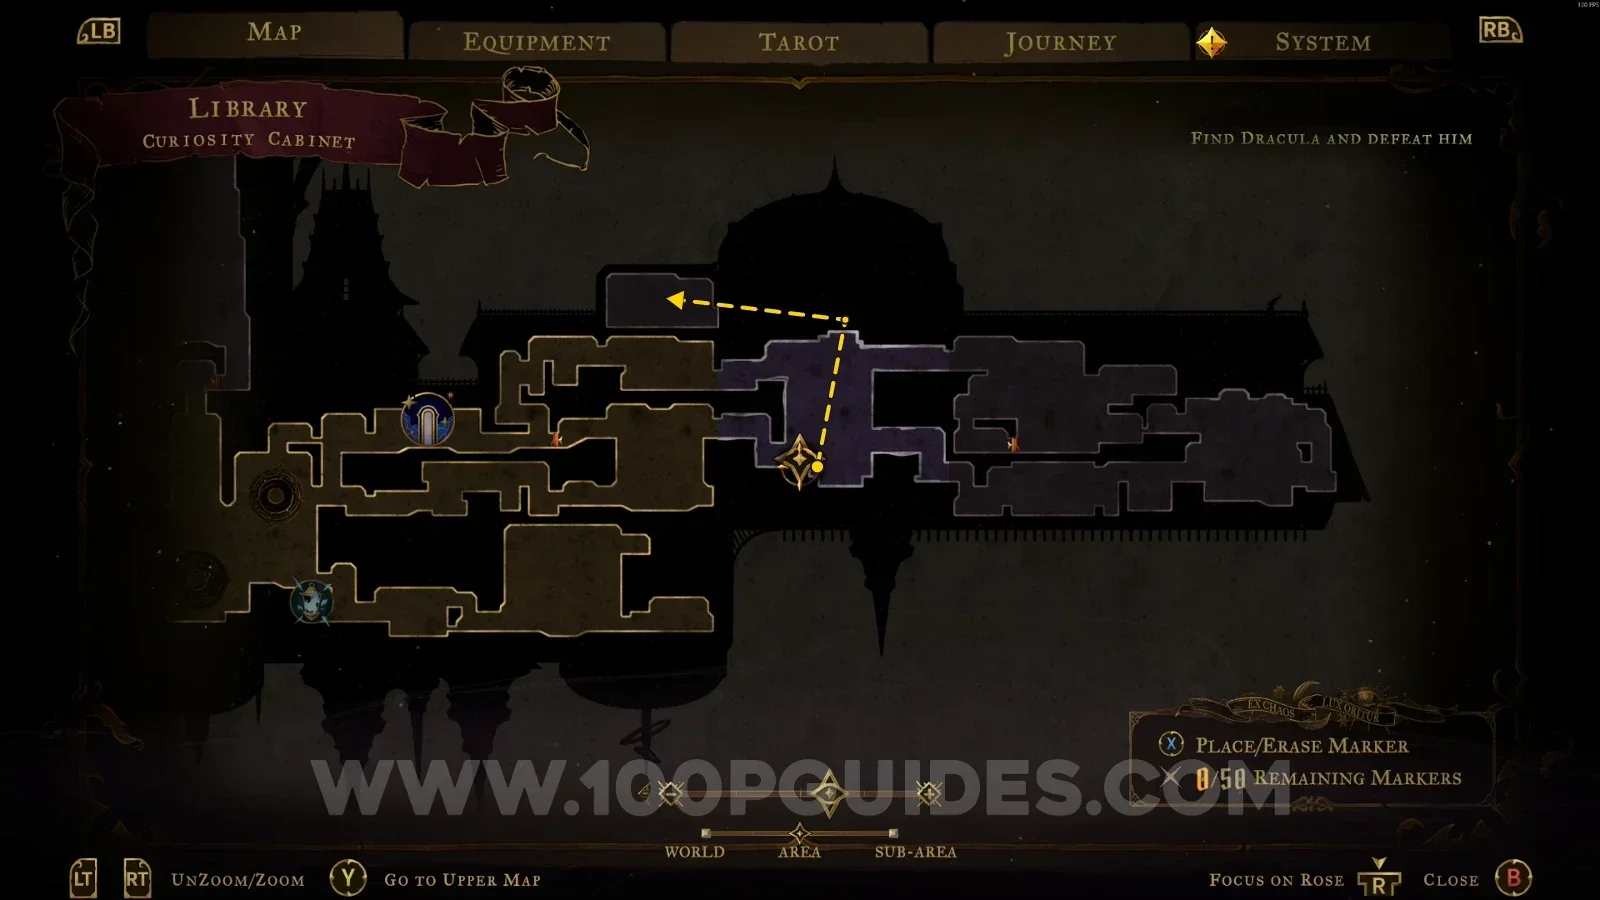
From the area marked on the map, follow the single path until you reach the area with the orbs. Complete the pattern, then climb to the upper part of the area and follow the single path to the chest with the weapon.

Castlevania Belmonts Curse Library: map marking the start of the path to the Fleuret and Tower Shield Castlevania Belmonts Curse Library: completing the orb pattern and climbing to the upper part Castlevania Belmonts Curse Library: the chest with the Fleuret and Tower Shield

Clock Tower

Weapon #19: Fists Of Talos

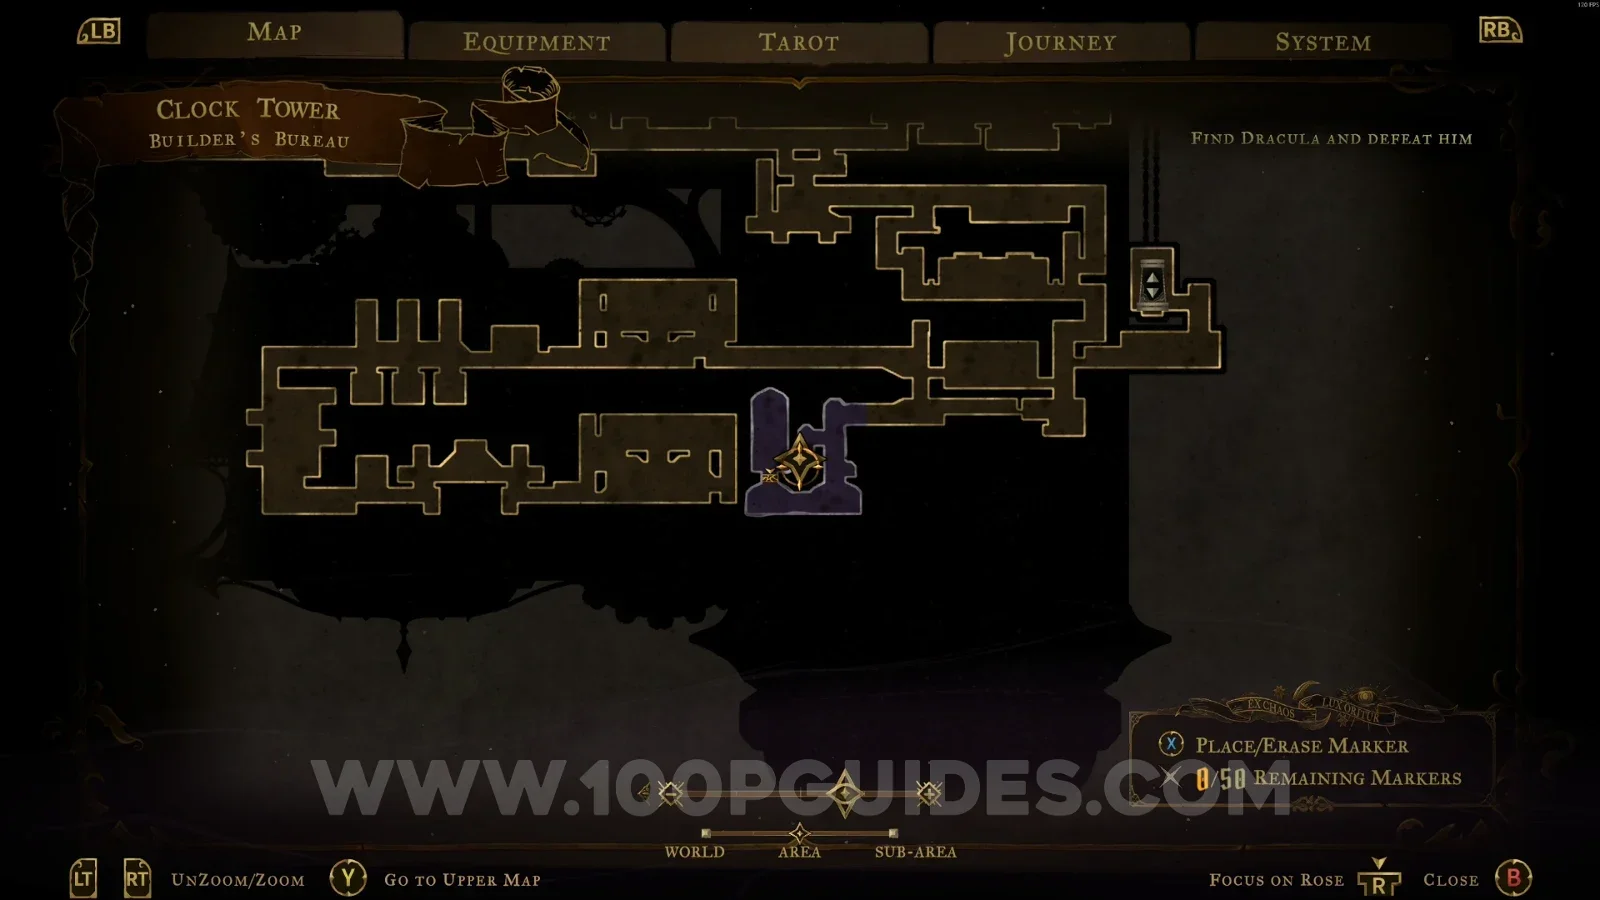
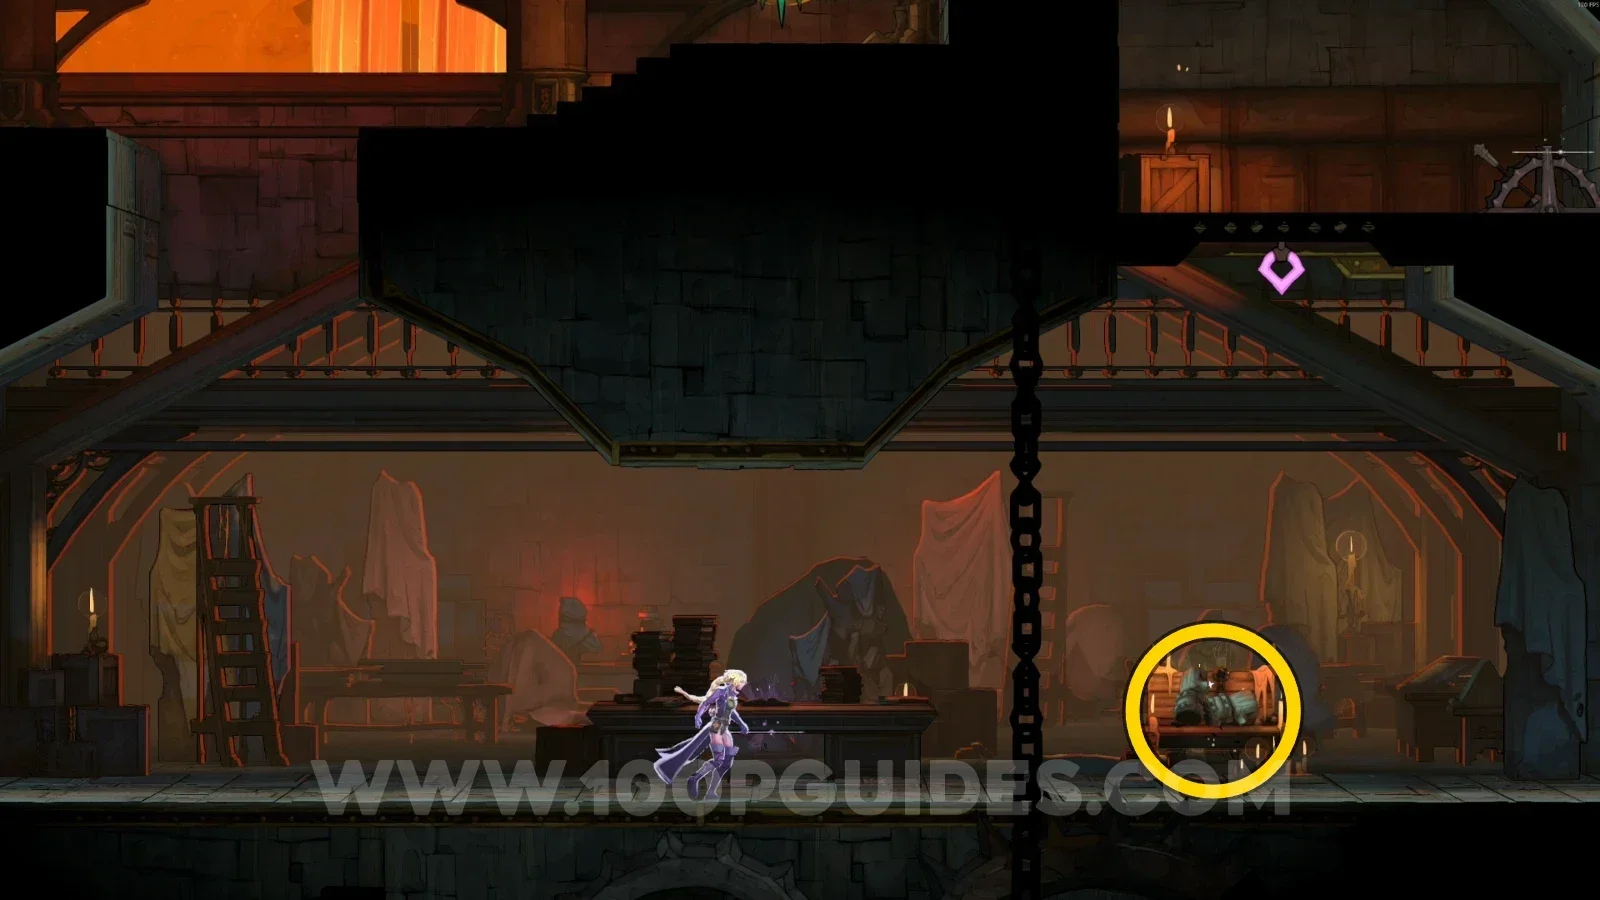
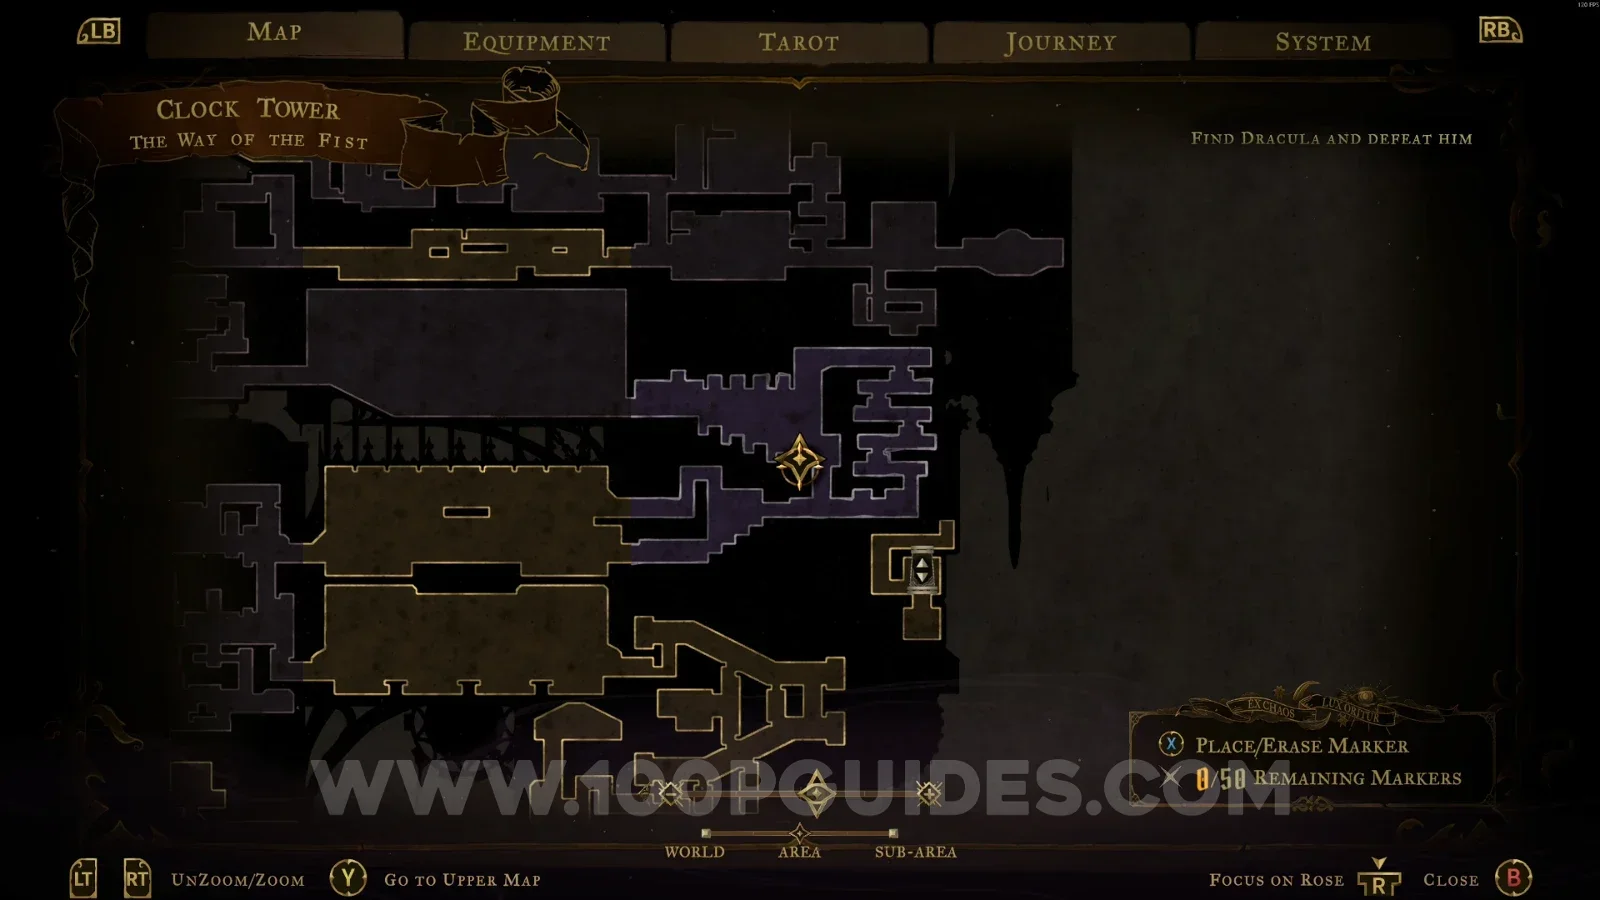
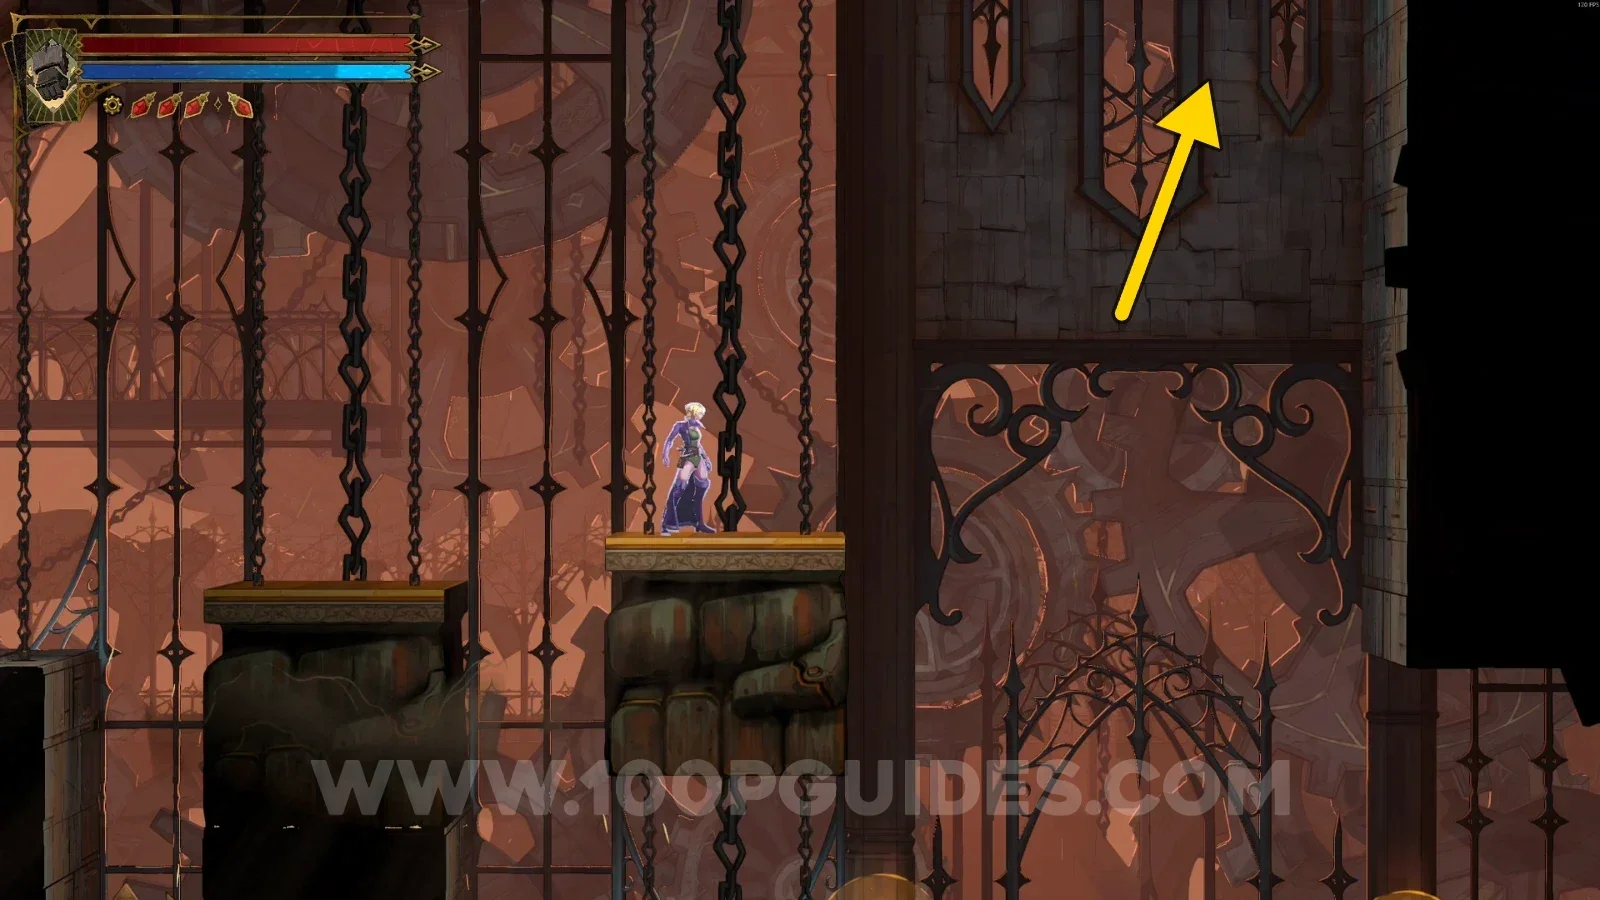
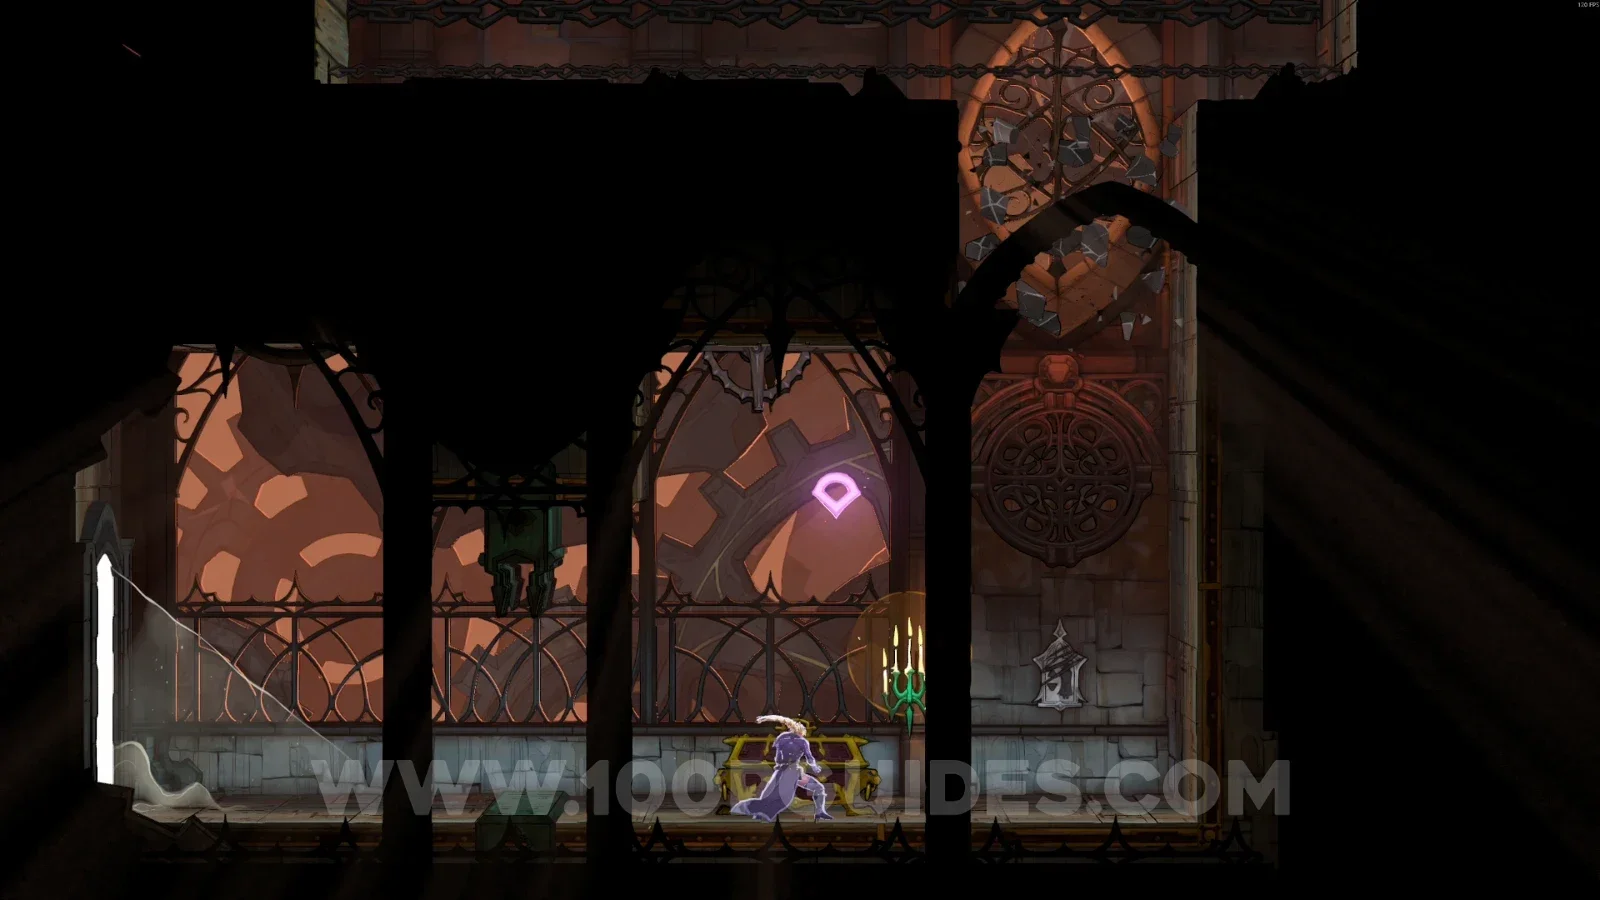
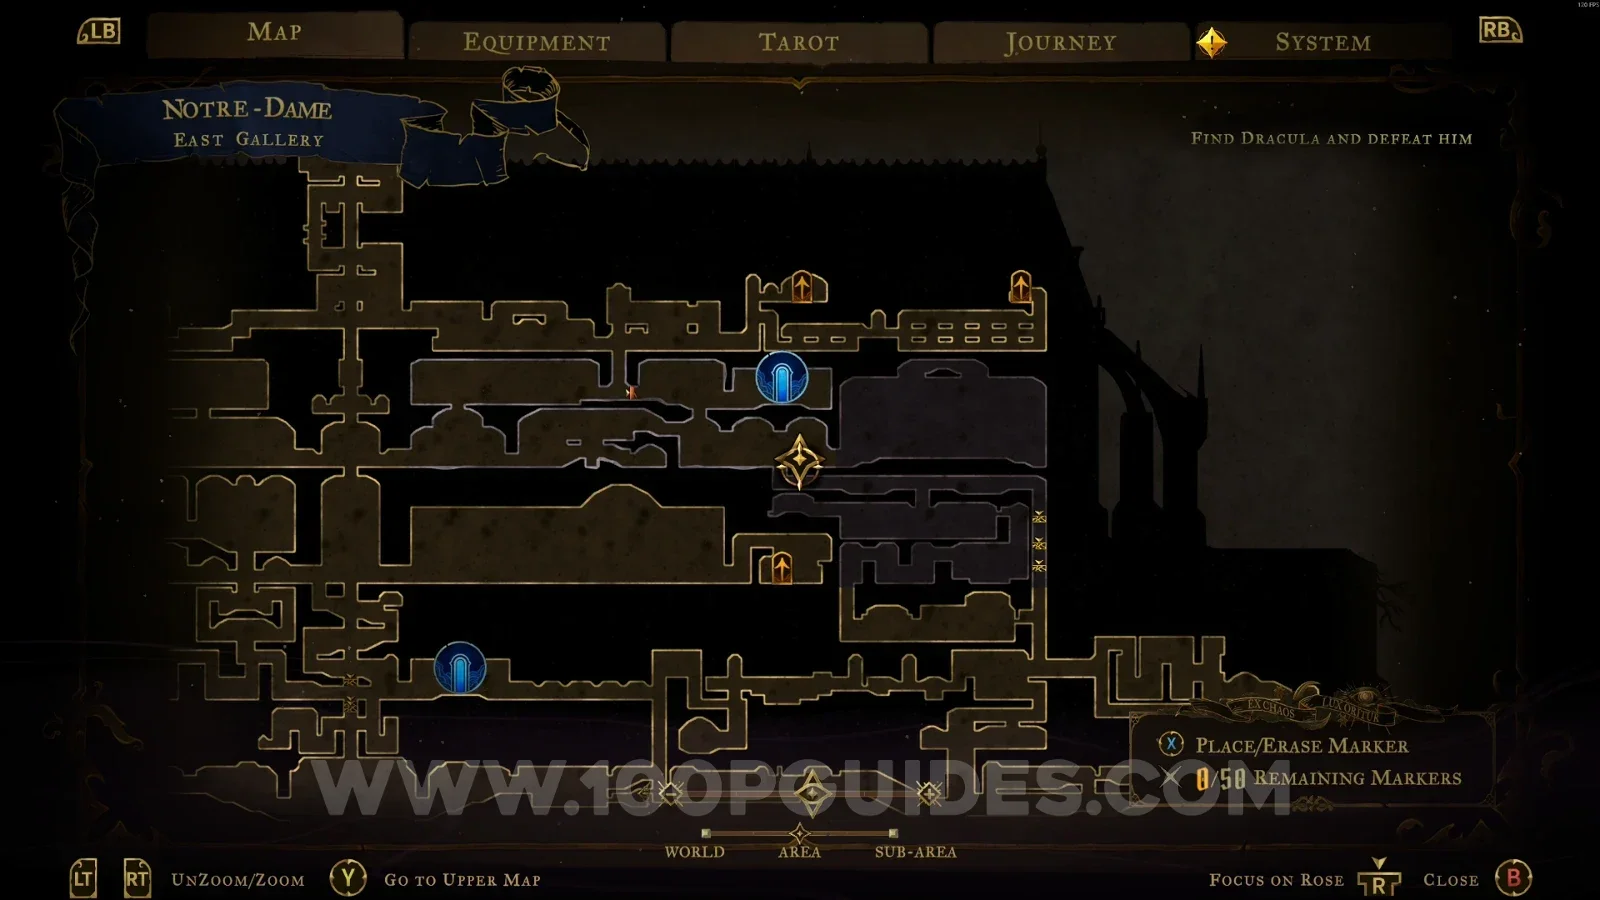
In the area marked on the map, break the floor and the weapon will be right in front of you.

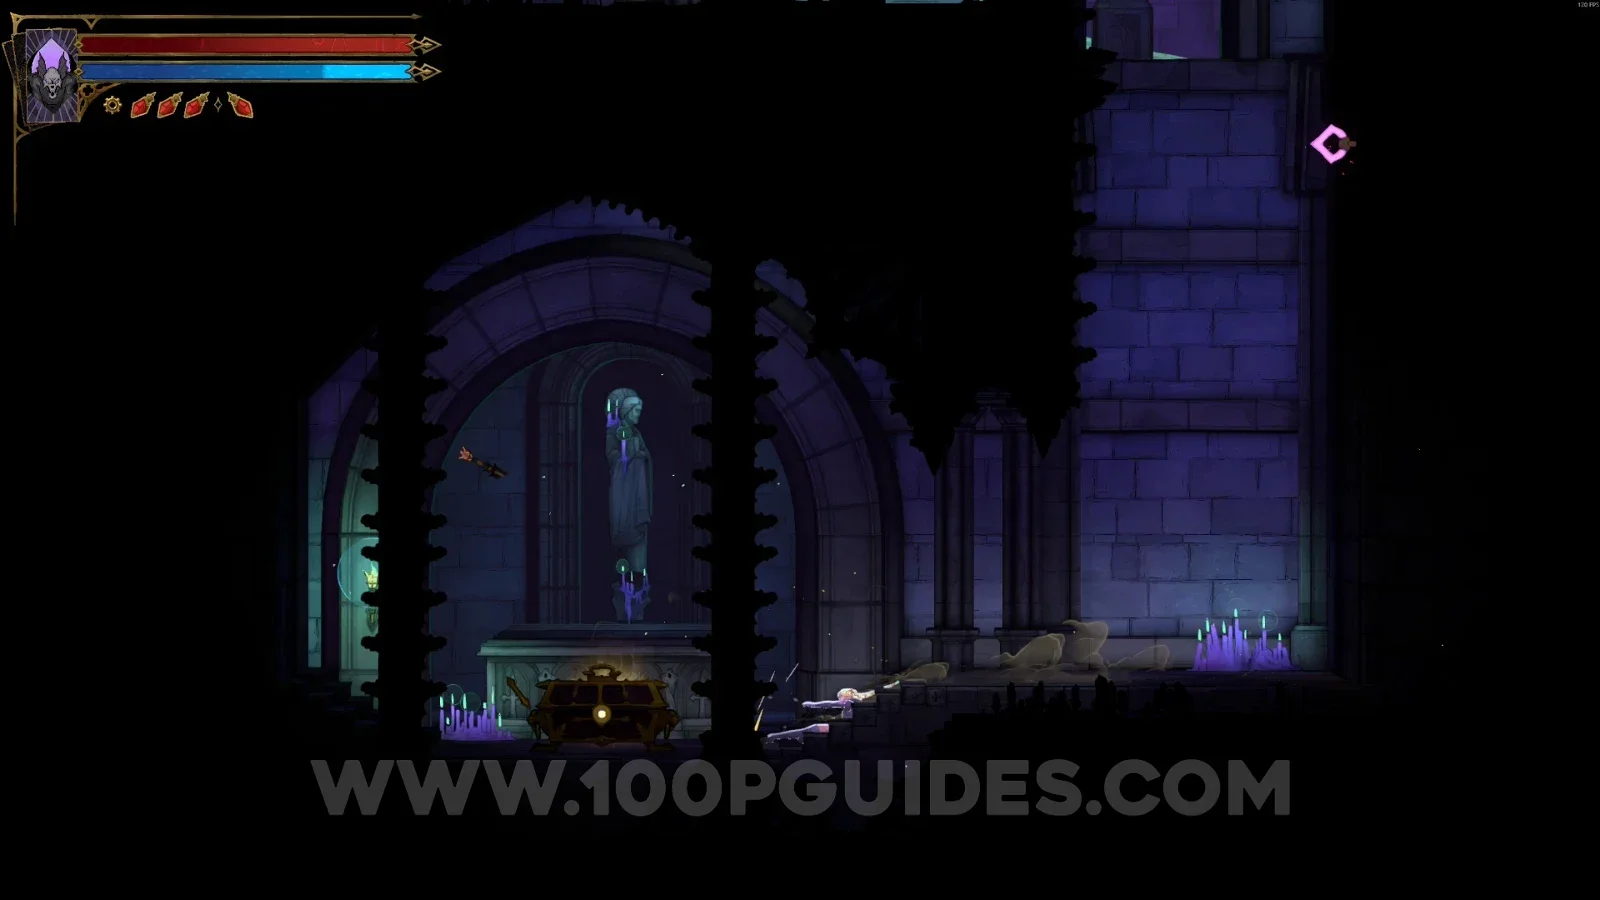
Castlevania Belmonts Curse Clock Tower: map marking the breakable floor for the Fists Of Talos Castlevania Belmonts Curse Clock Tower: the Fists Of Talos right in front after breaking the floor

Weapon #20: Halberd

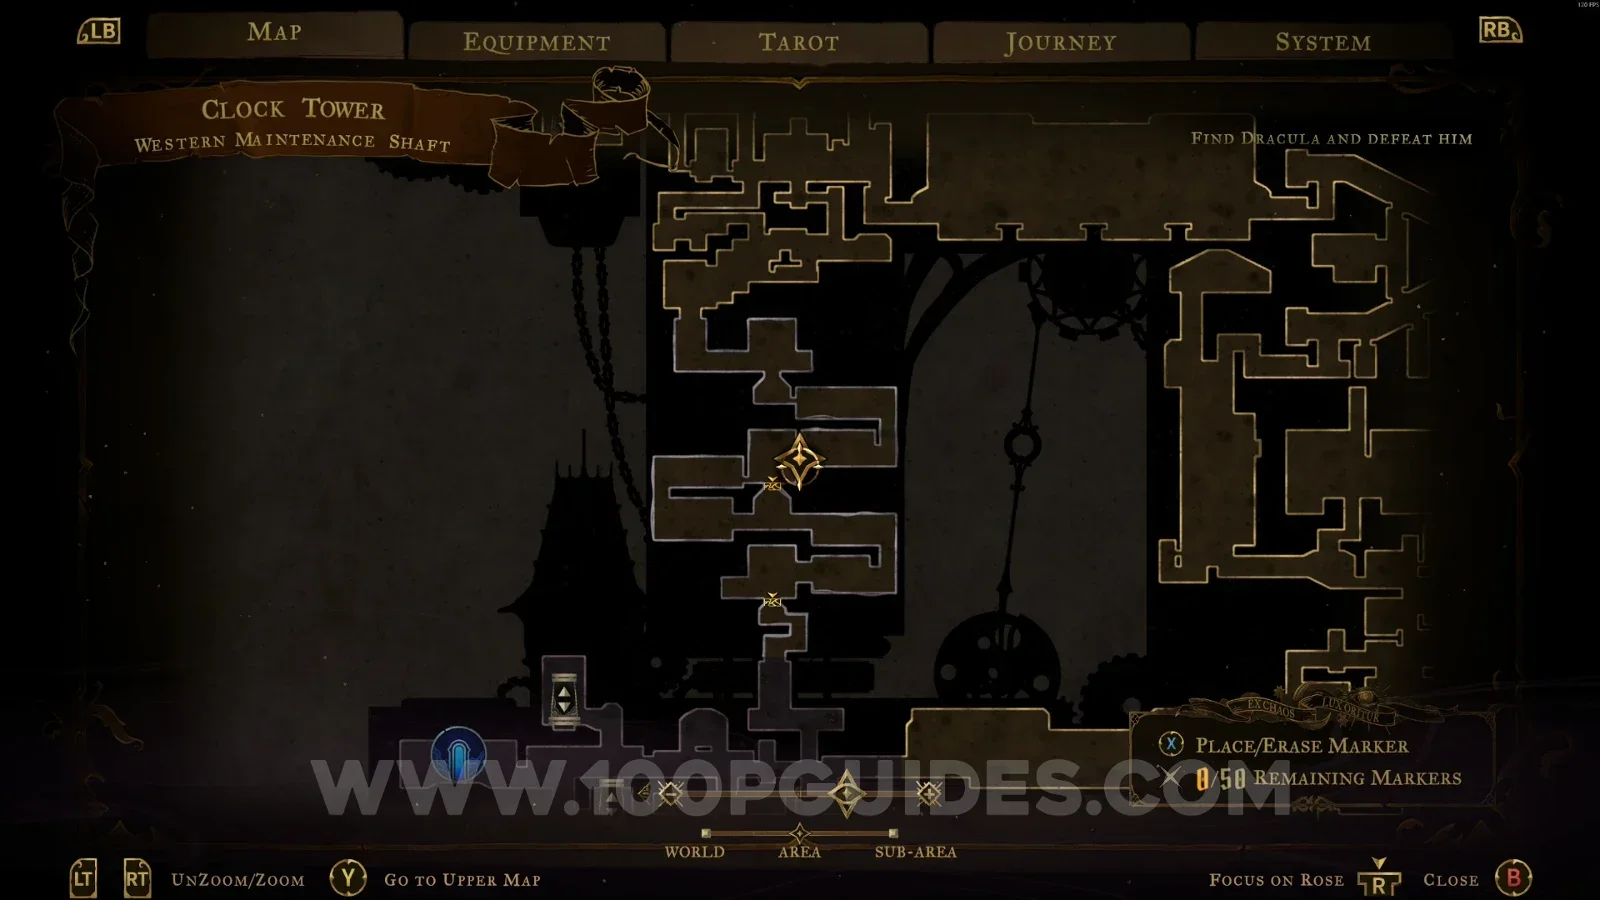
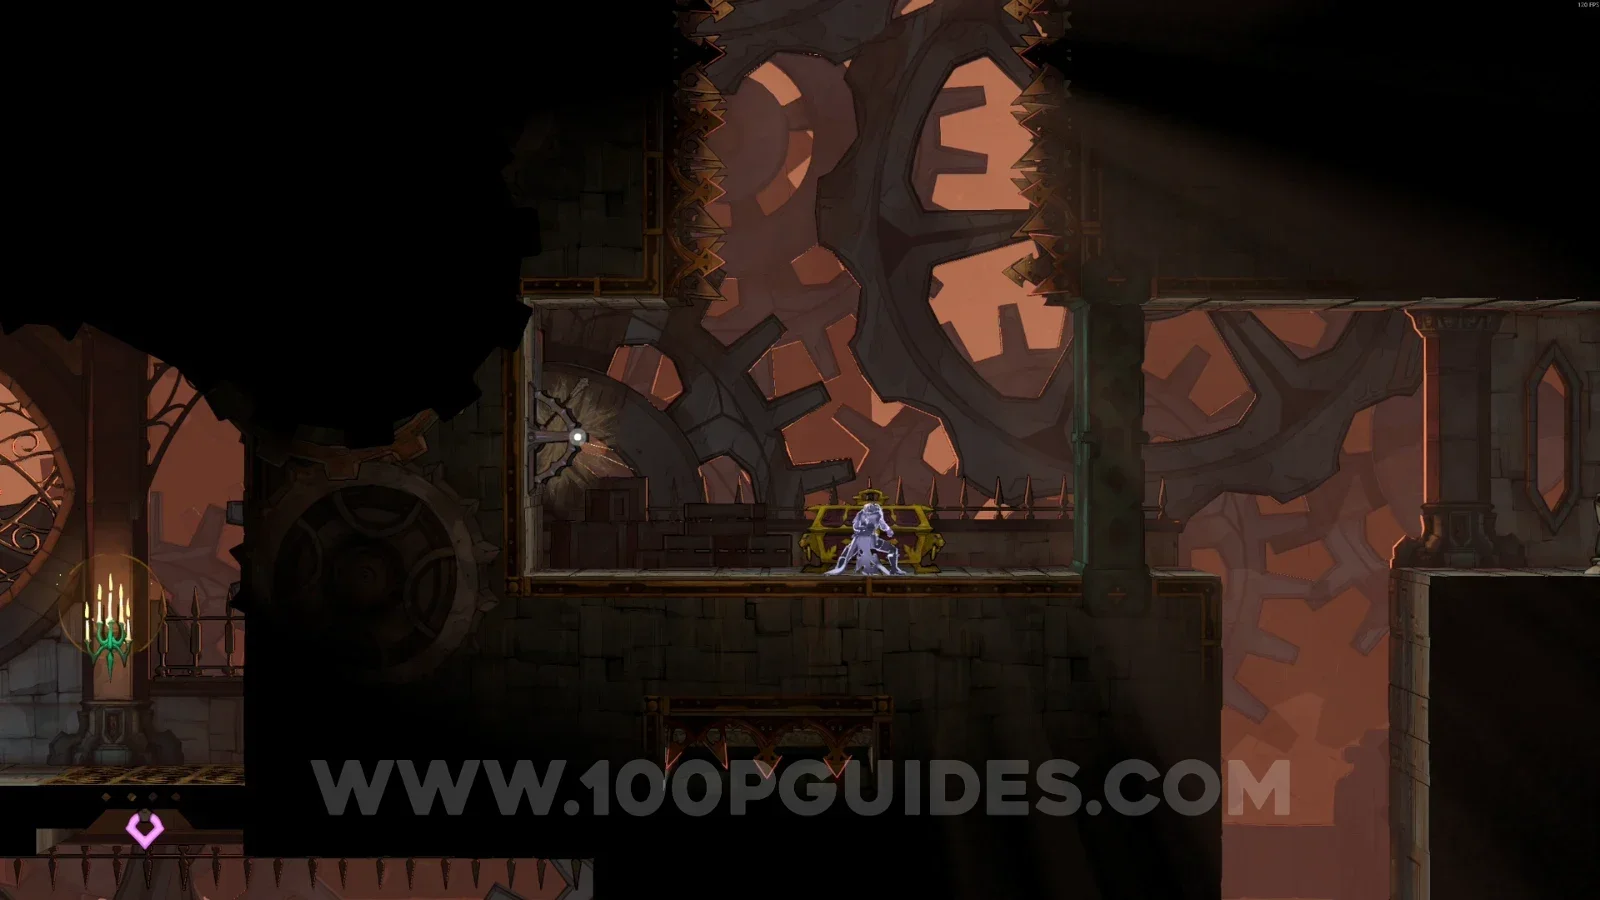
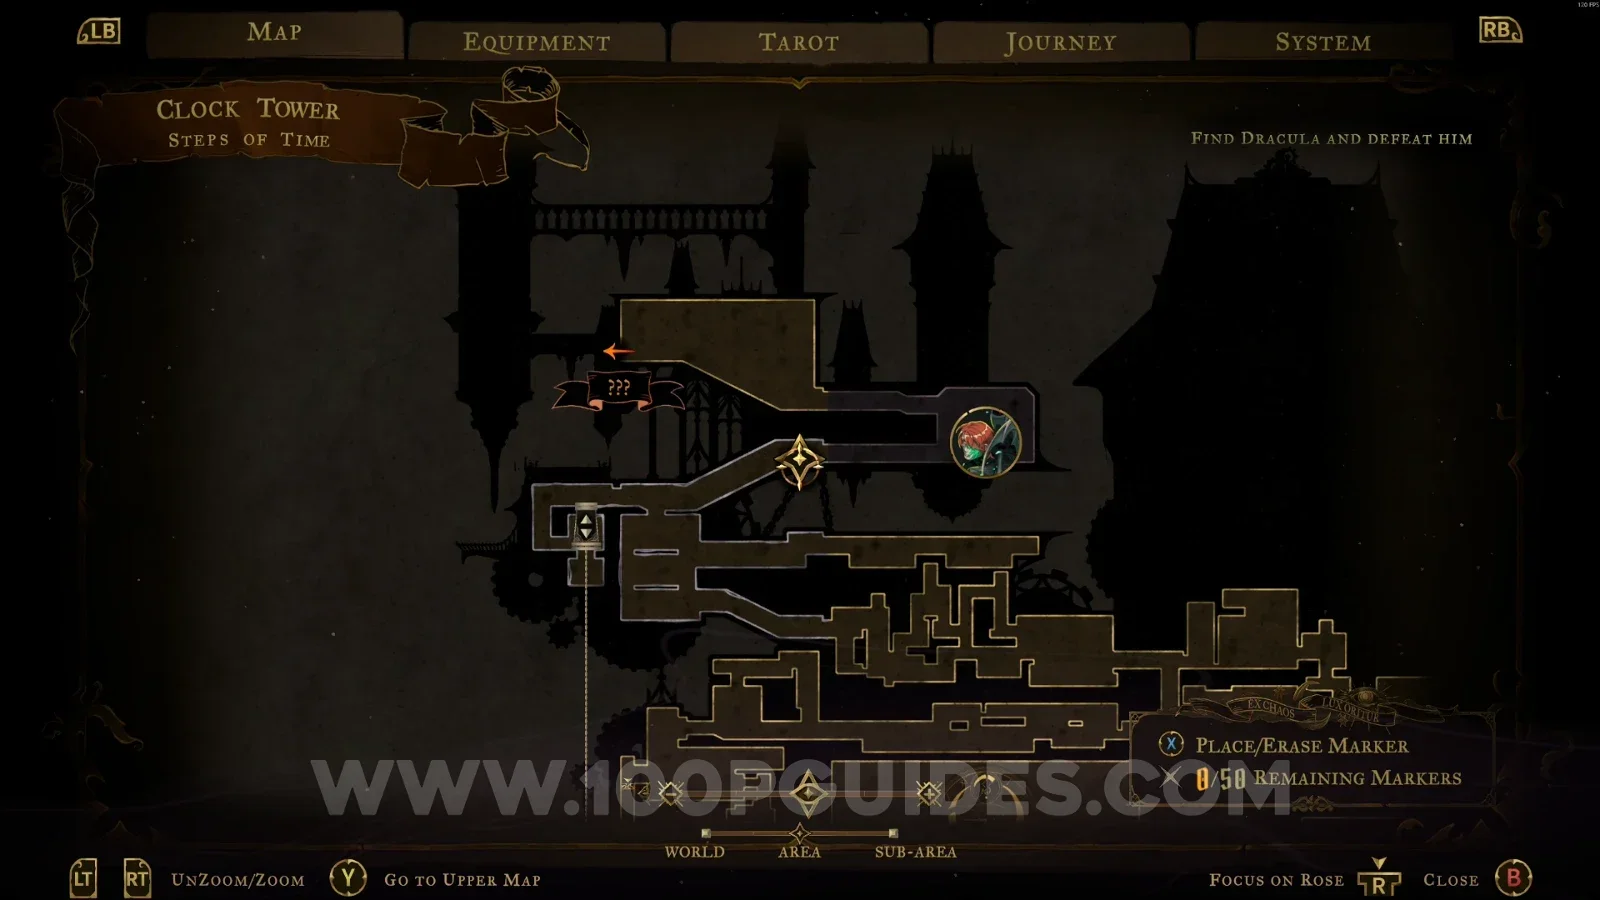
From the area marked on the map, follow the single path to the chest with the weapon.

Castlevania Belmonts Curse Clock Tower: map marking the start of the single path to the Halberd Castlevania Belmonts Curse Clock Tower: the chest with the Halberd at the end of the path

Weapon #21: Claymore

From the area marked on the map, make the block drop, then jump on top of it so it carries you to the top. At the top, jump to the right and go through the door. Then follow the single path past the other blocks to reach the chest containing the weapon.
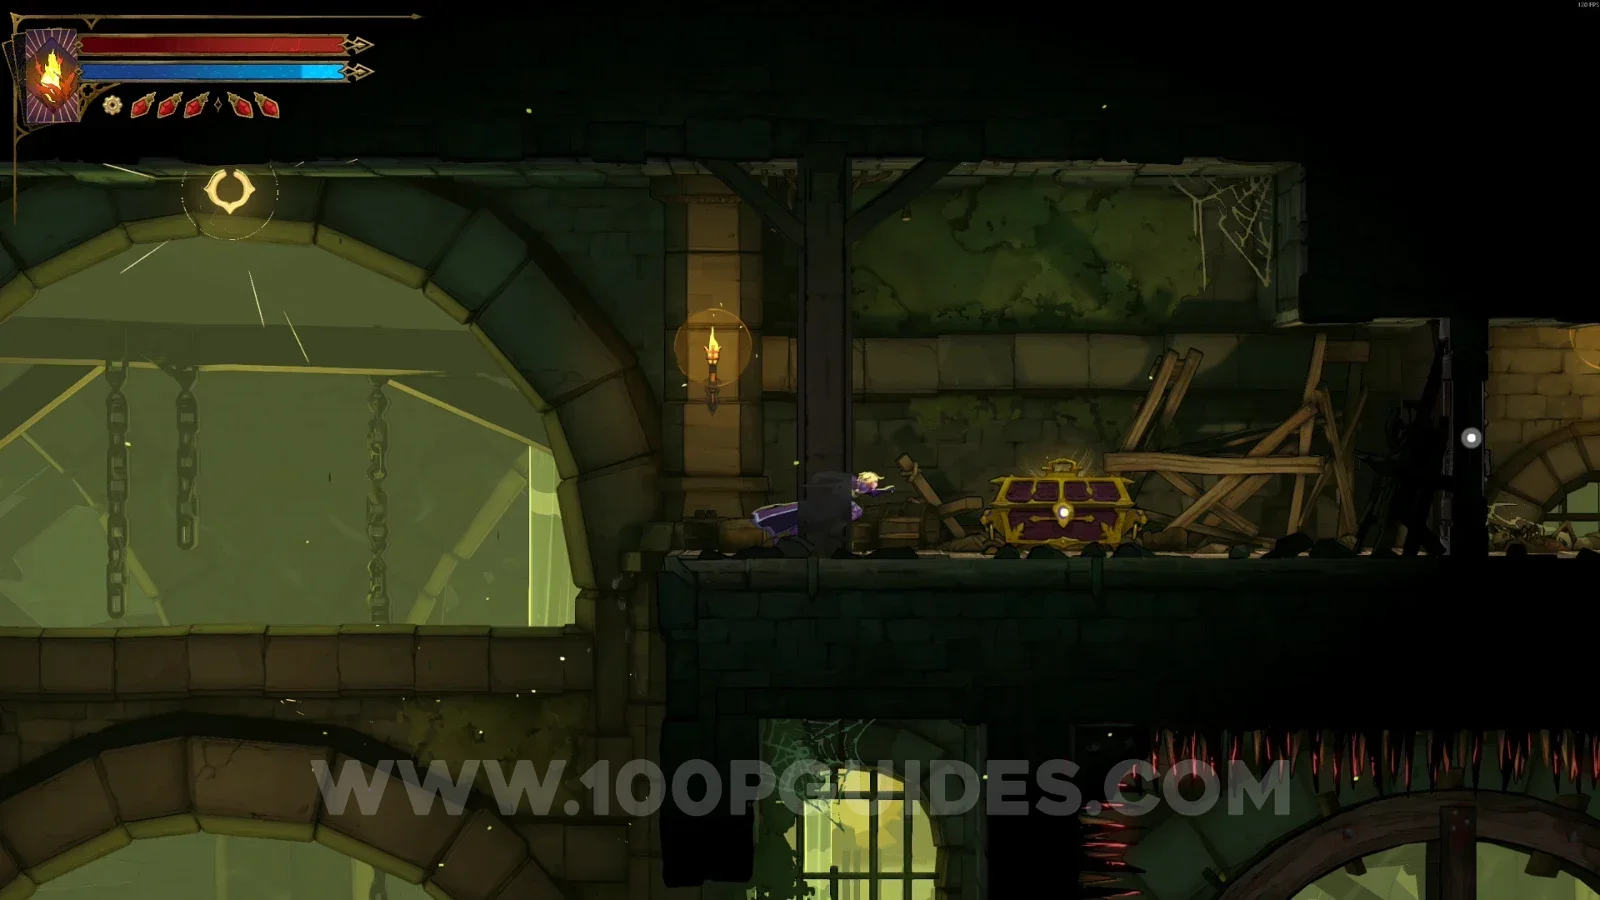
Castlevania Belmonts Curse Clock Tower: riding the dropped block to the top on the way to the Claymore Castlevania Belmonts Curse Clock Tower: jumping right at the top and going through the door Castlevania Belmonts Curse Clock Tower: the chest containing the Claymore past the other blocks

Weapon #22: Chauve-Souris

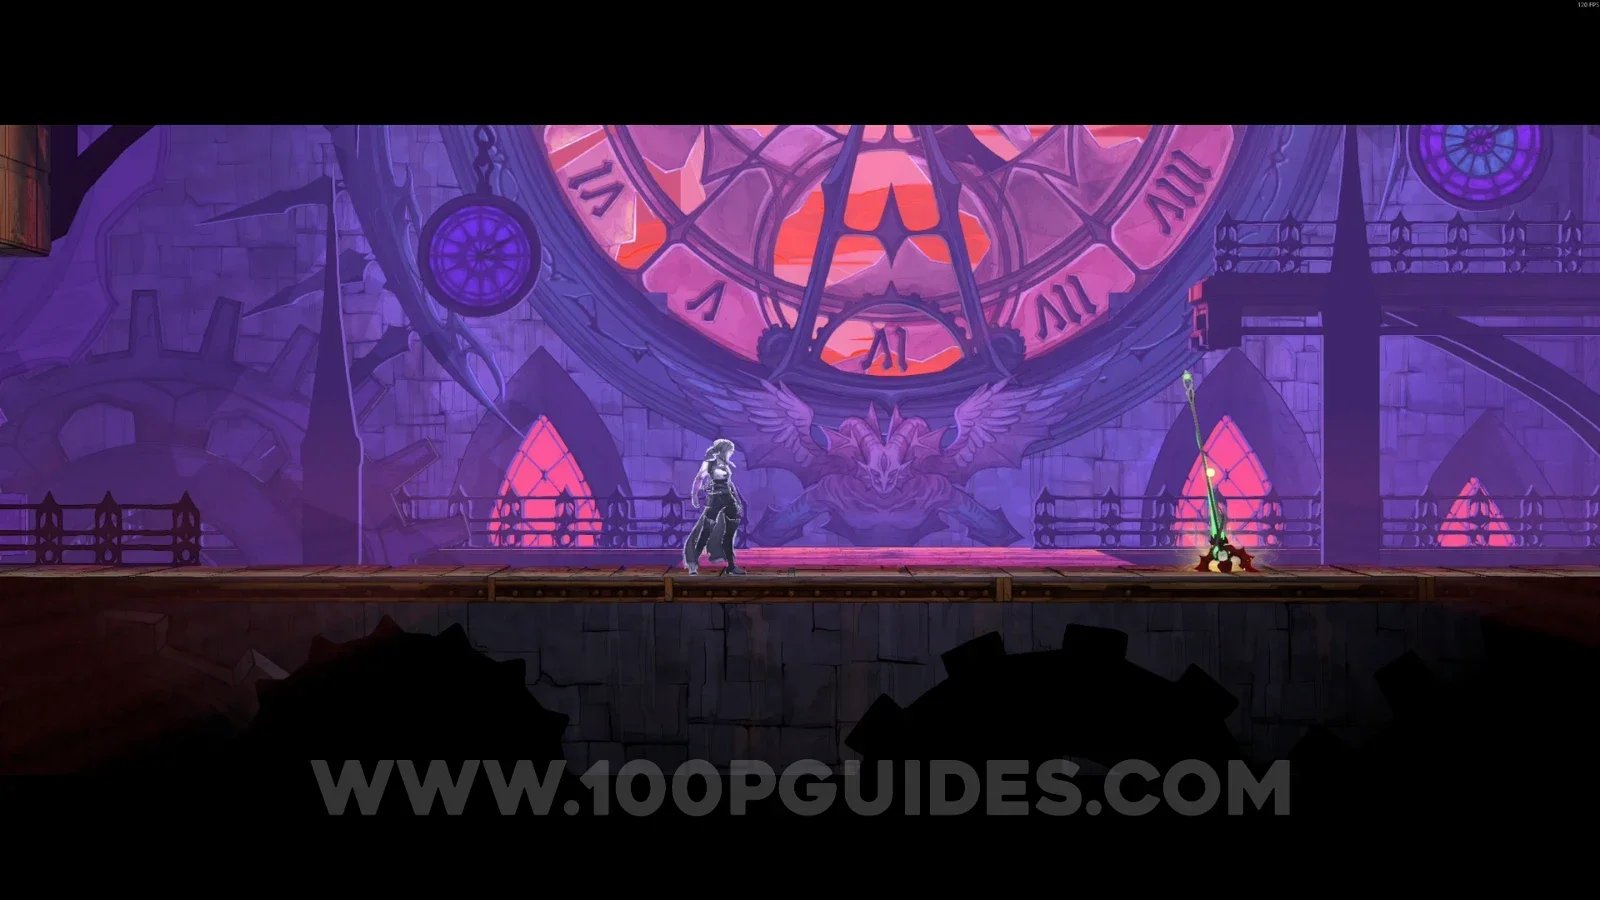
After defeating Isaac (The Zealot), the weapon will be on the ground.

Castlevania Belmonts Curse Clock Tower: boss fight against Isaac (The Zealot) Castlevania Belmonts Curse Clock Tower: the Chauve-Souris on the ground after defeating Isaac

Weapon #23: War and Famine

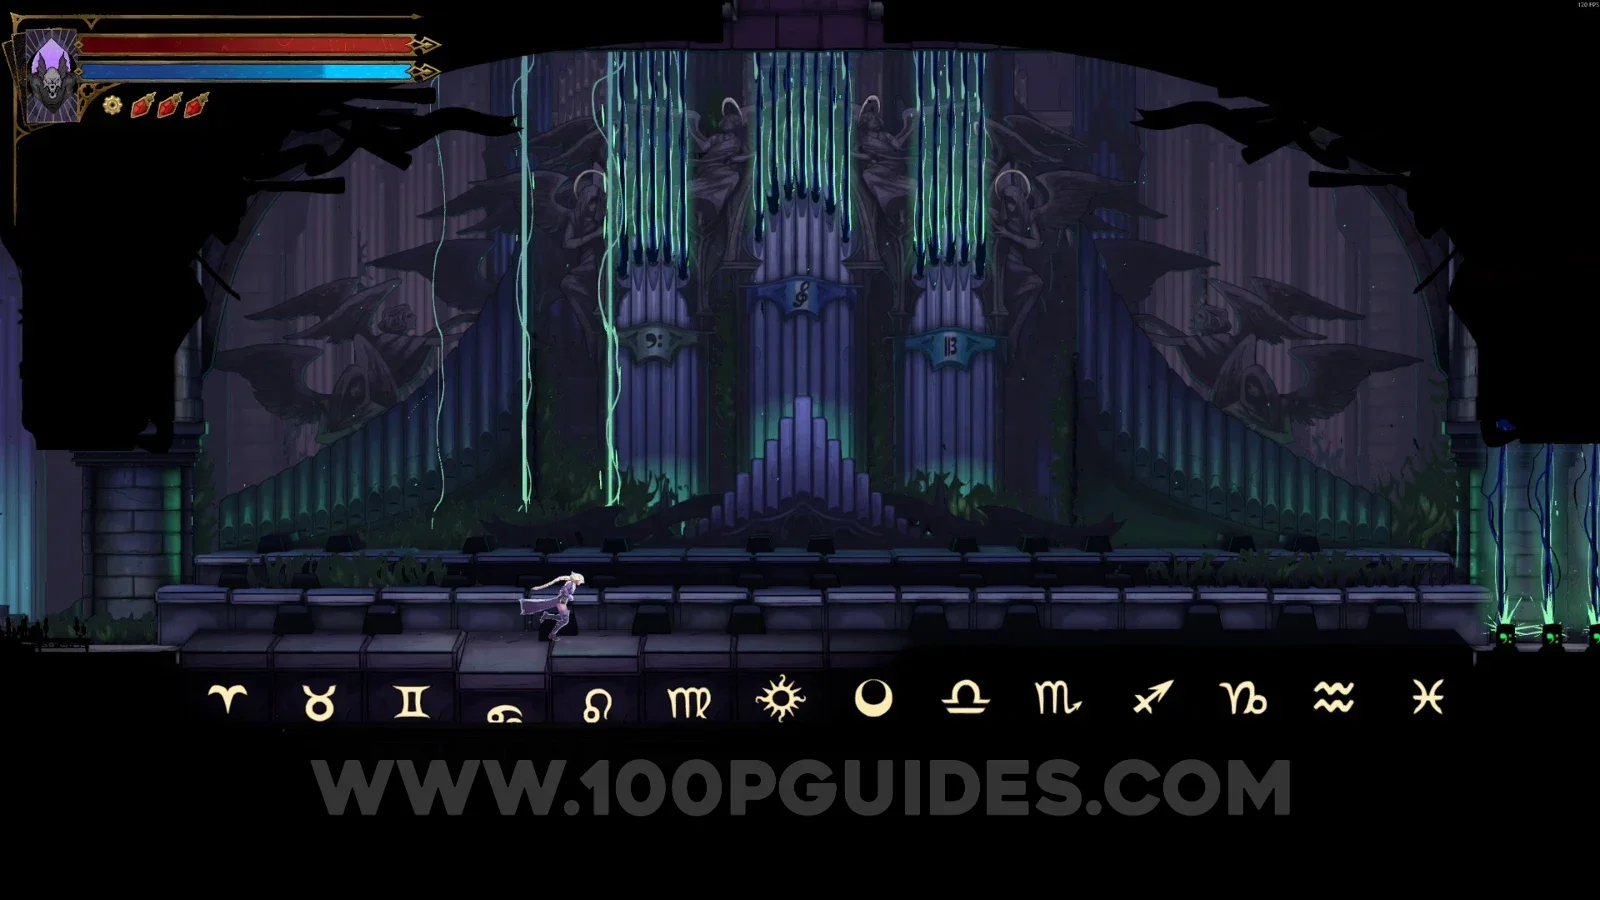
Jump on the Great Organ's keys in the following order: ⭘ ♎︎ ♏︎ ♒︎ ♑︎ ♍︎ ☼︎ ♌︎ ♋︎ ♈︎. This will reveal a secret passage on the left side of the area. Go down the platform and follow the single path to the end to get the weapon.

Castlevania Belmonts Curse Clock Tower: jumping on the Great Organ's keys in the given order Castlevania Belmonts Curse Clock Tower: the secret passage revealed on the left side of the area Castlevania Belmonts Curse Clock Tower: going down the platform and following the single path Castlevania Belmonts Curse Clock Tower: the War and Famine weapon at the end of the secret path

Weapon #24: Joyeuse

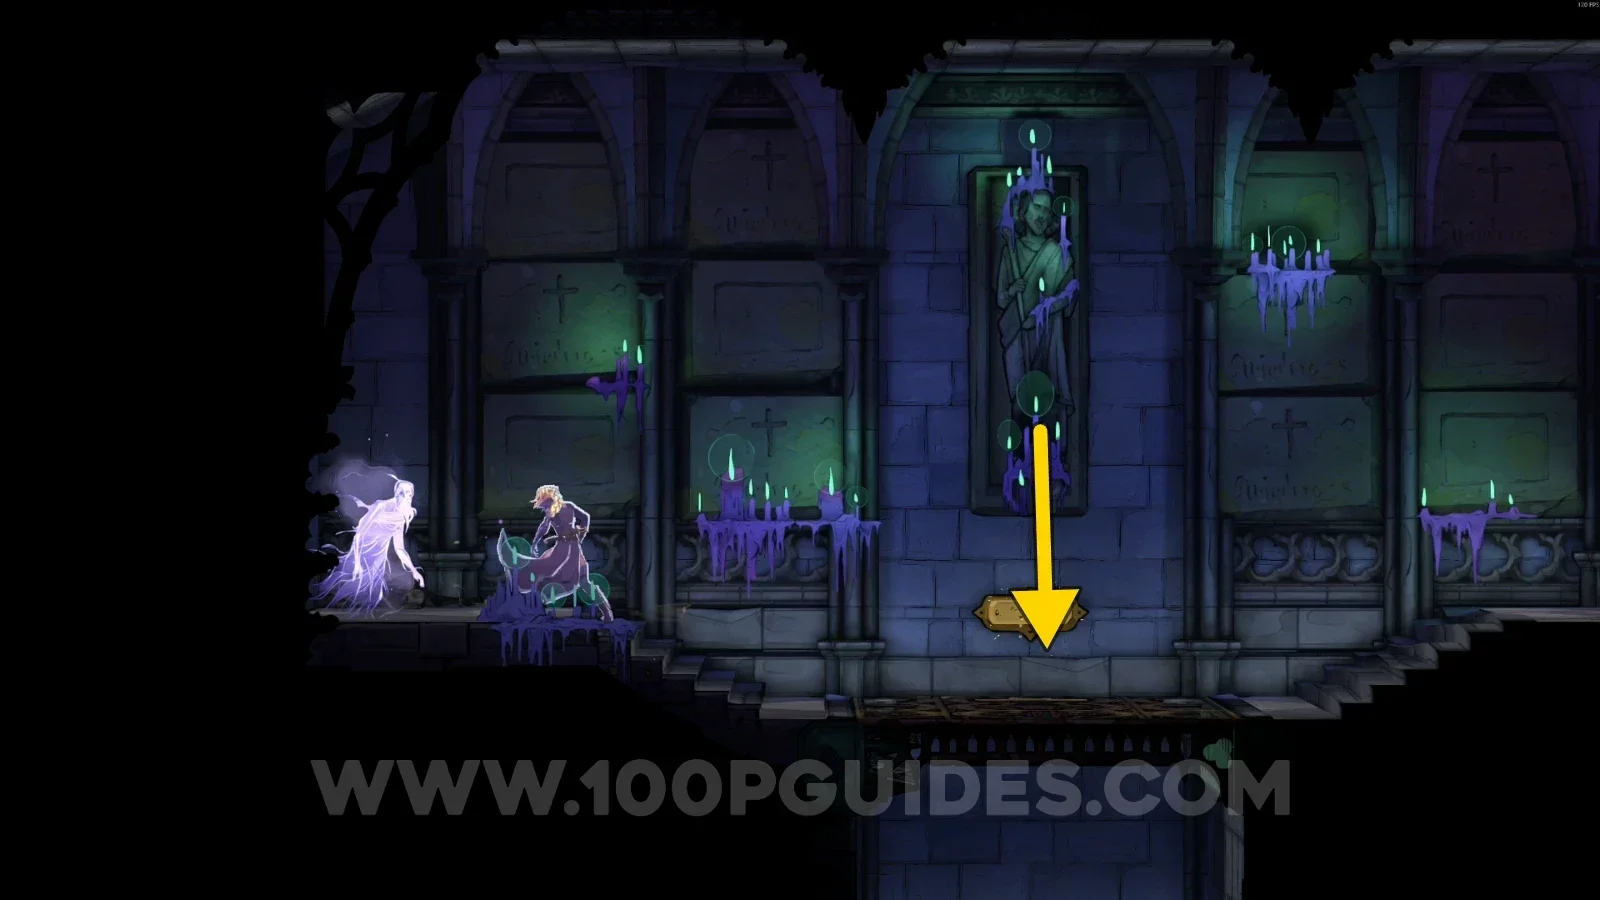
Interact with the lever, then go to the end of the corridor and break the floor. Drop down and open the chest to get the weapon.

Castlevania Belmonts Curse Clock Tower: interacting with the lever on the way to the Joyeuse Castlevania Belmonts Curse Clock Tower: the breakable floor at the end of the corridor Castlevania Belmonts Curse Clock Tower: breaking the floor and dropping down to the chest Castlevania Belmonts Curse Clock Tower: opening the chest containing the Joyeuse

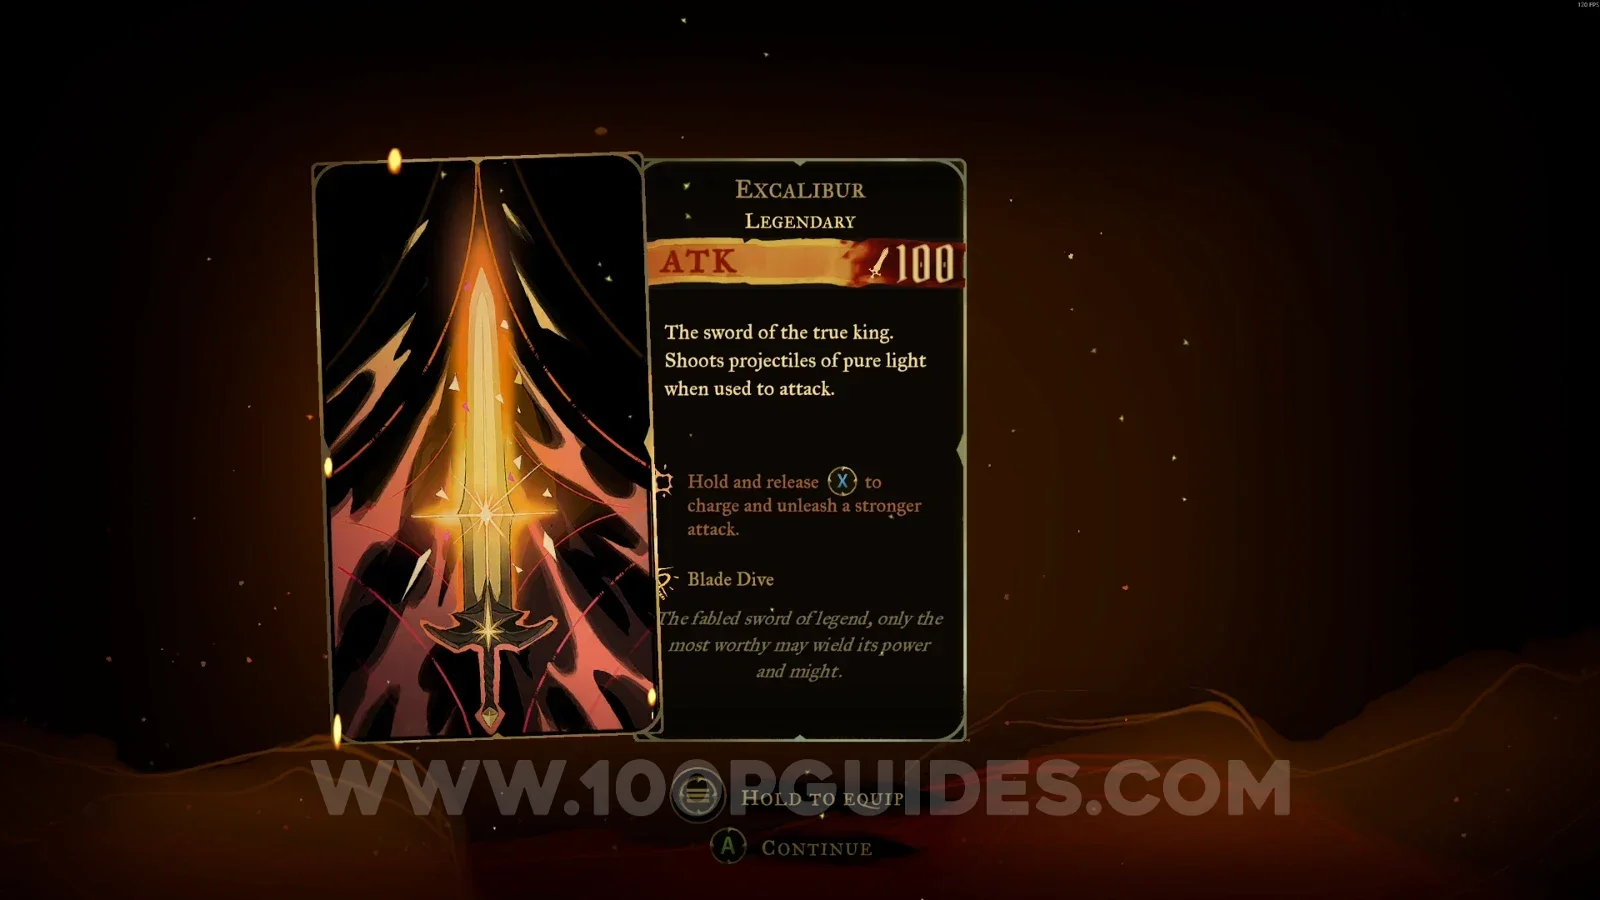
Weapon #25: Excalibur

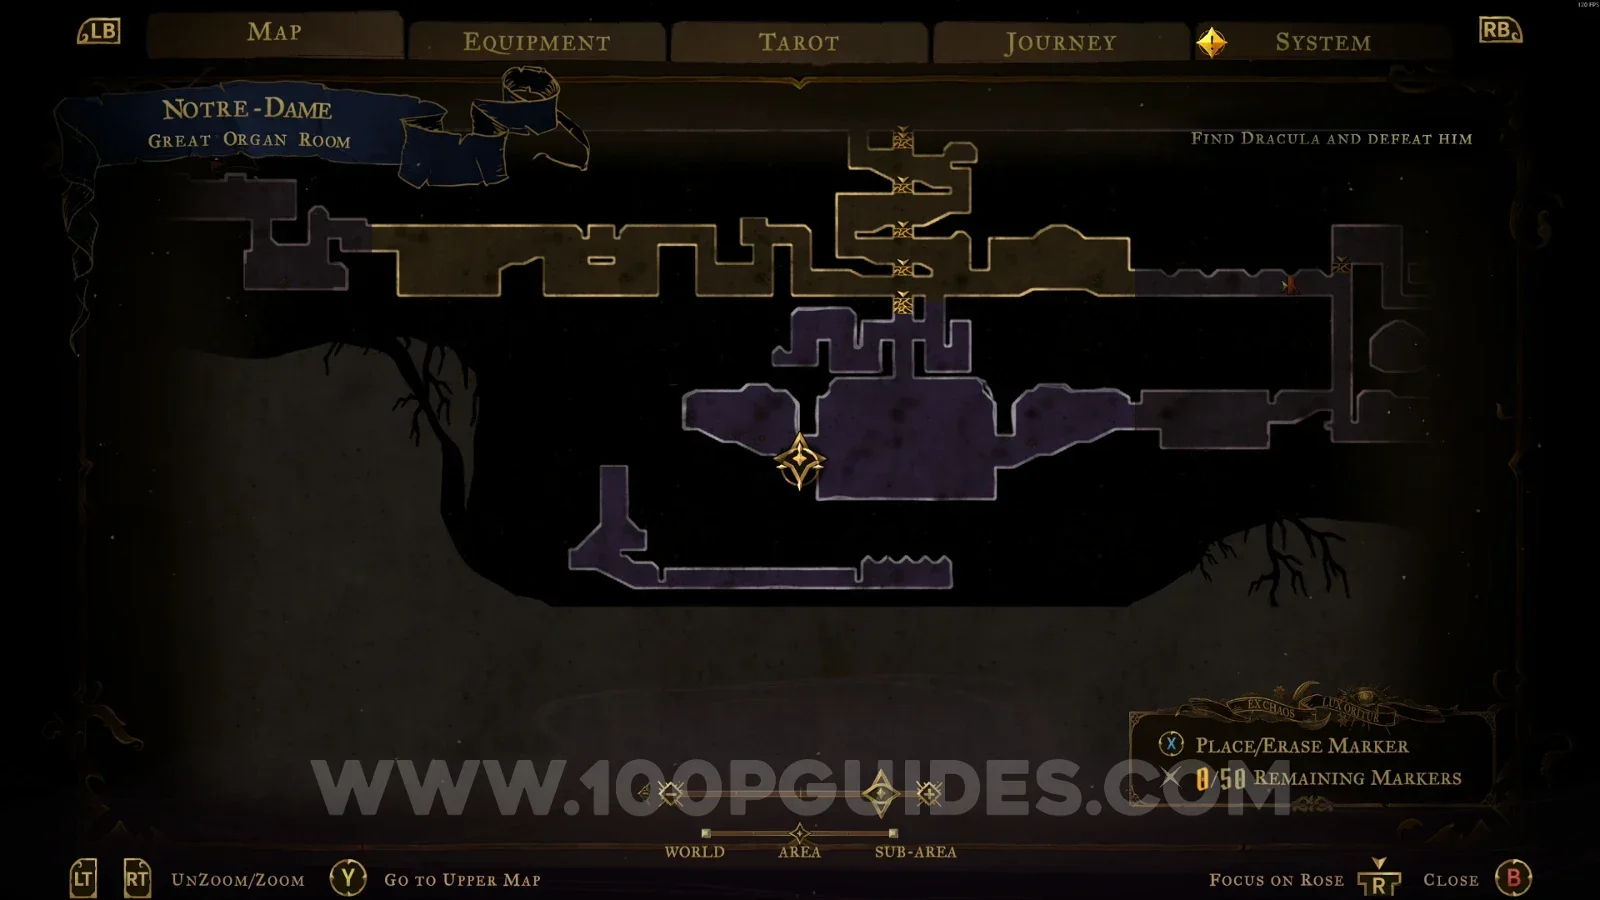
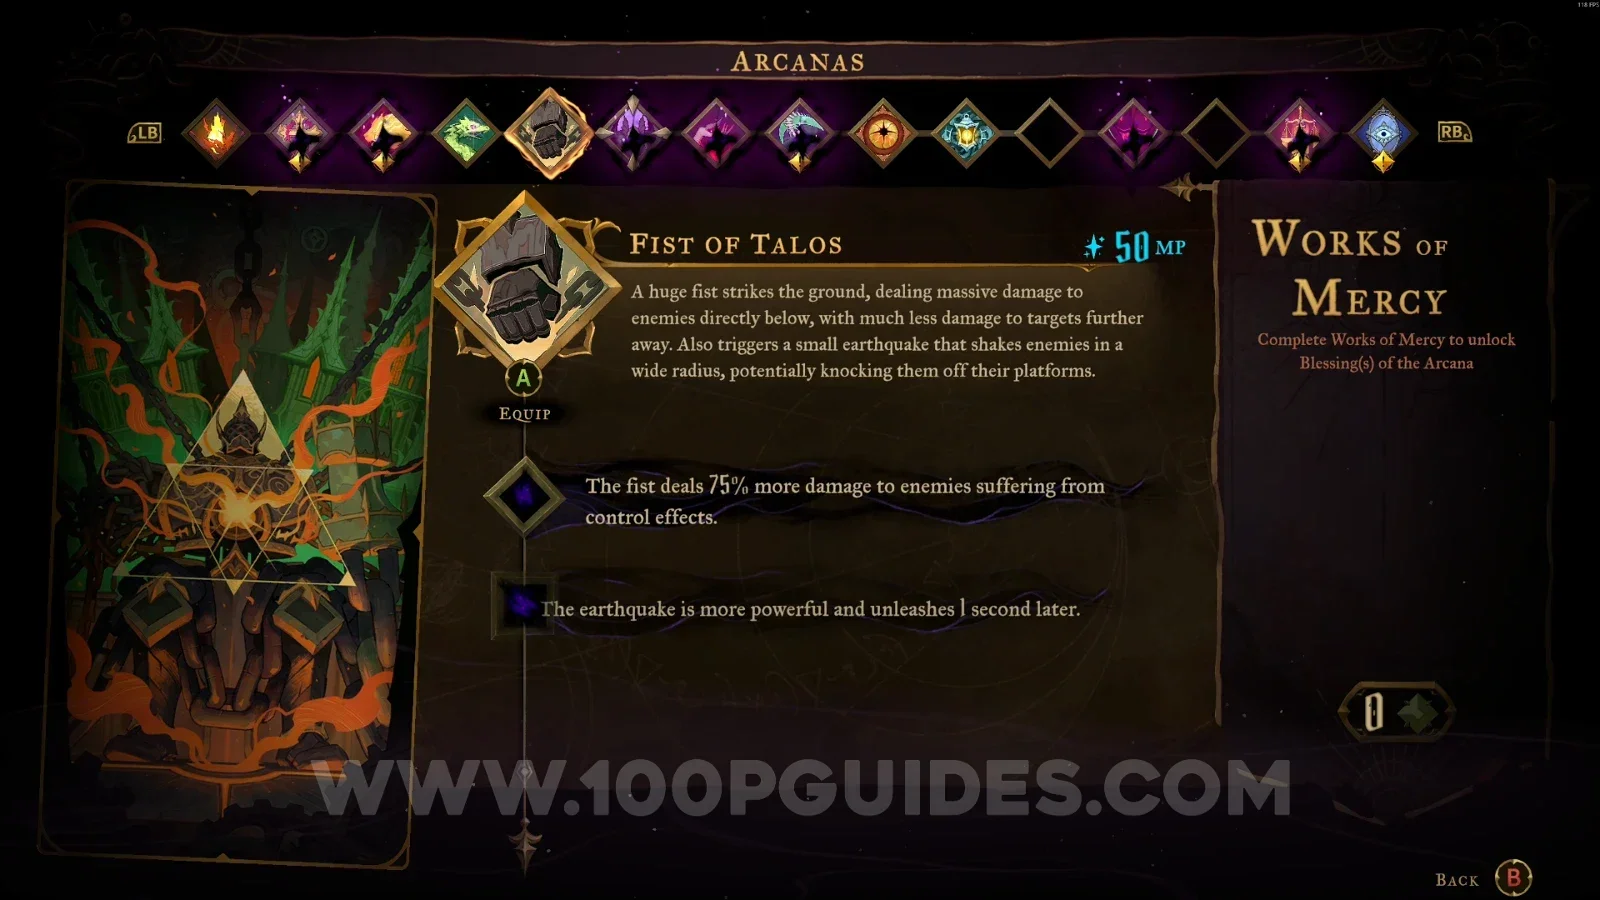
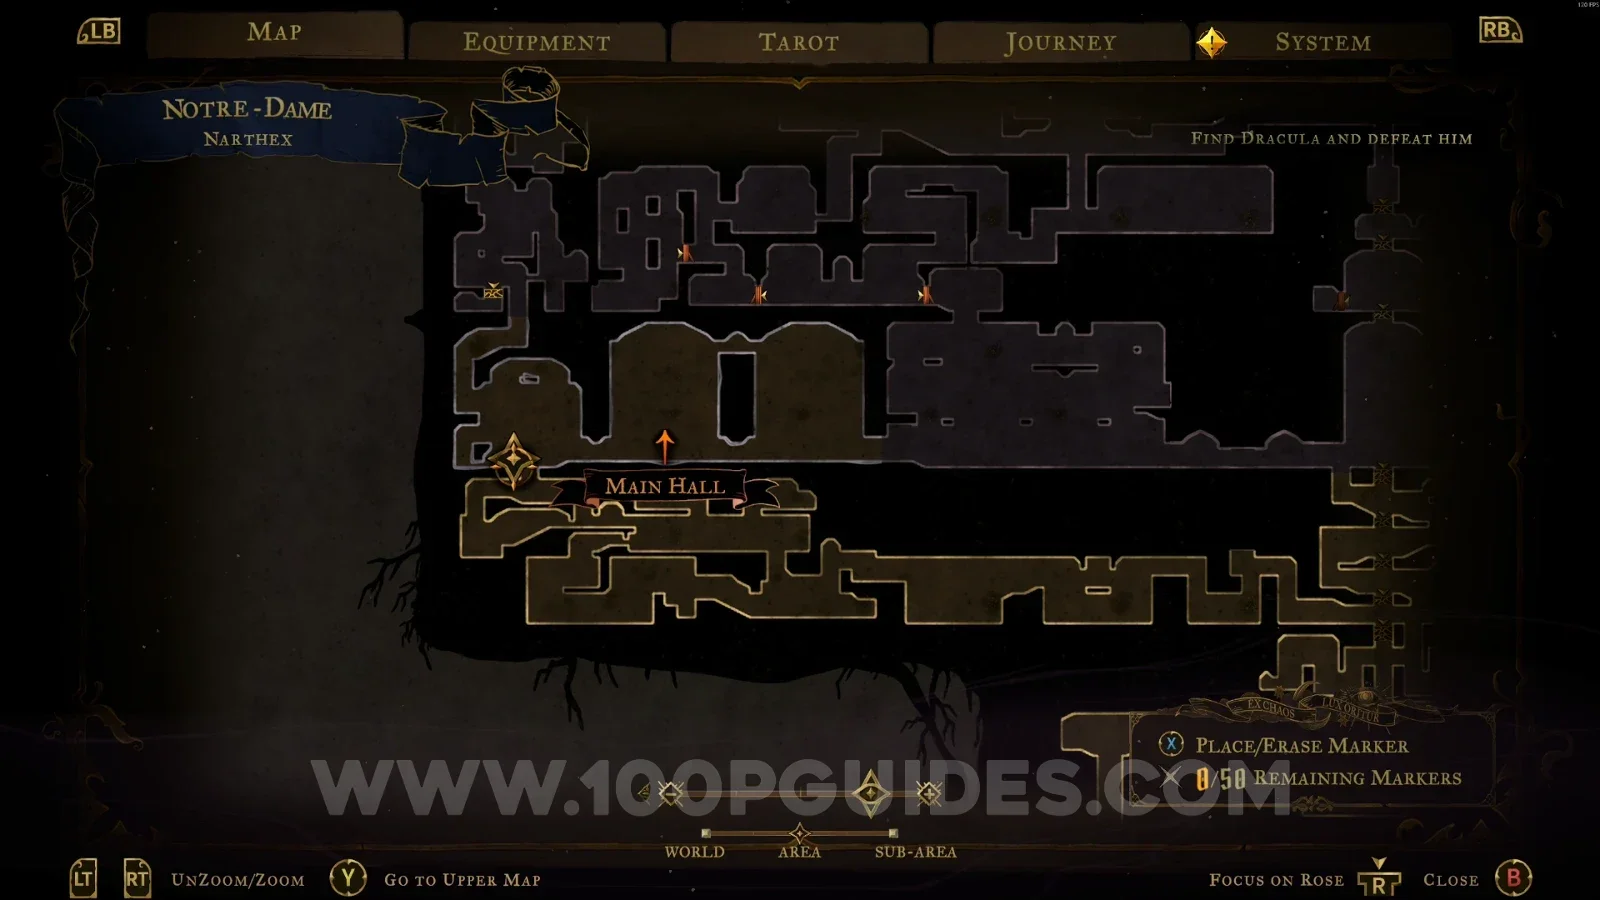
This can be obtained after defeating the boss in the area marked on the map. To interact with the sword, you need to equip the Fist of Talos arcana first.

Castlevania Belmonts Curse Clock Tower: map marking the boss area where Excalibur is found Castlevania Belmonts Curse Clock Tower: fighting the boss in the area holding Excalibur Castlevania Belmonts Curse Clock Tower: equipping the Fist of Talos arcana to interact with the sword Castlevania Belmonts Curse Clock Tower: obtaining Excalibur after defeating the boss

Weapon #26: Arondight and Lancelot's Shield

In the area marked on the map, interact with the pressure plate on the right side, then climb up on the left. In the next area, break the floor to reach the chest with the weapon.
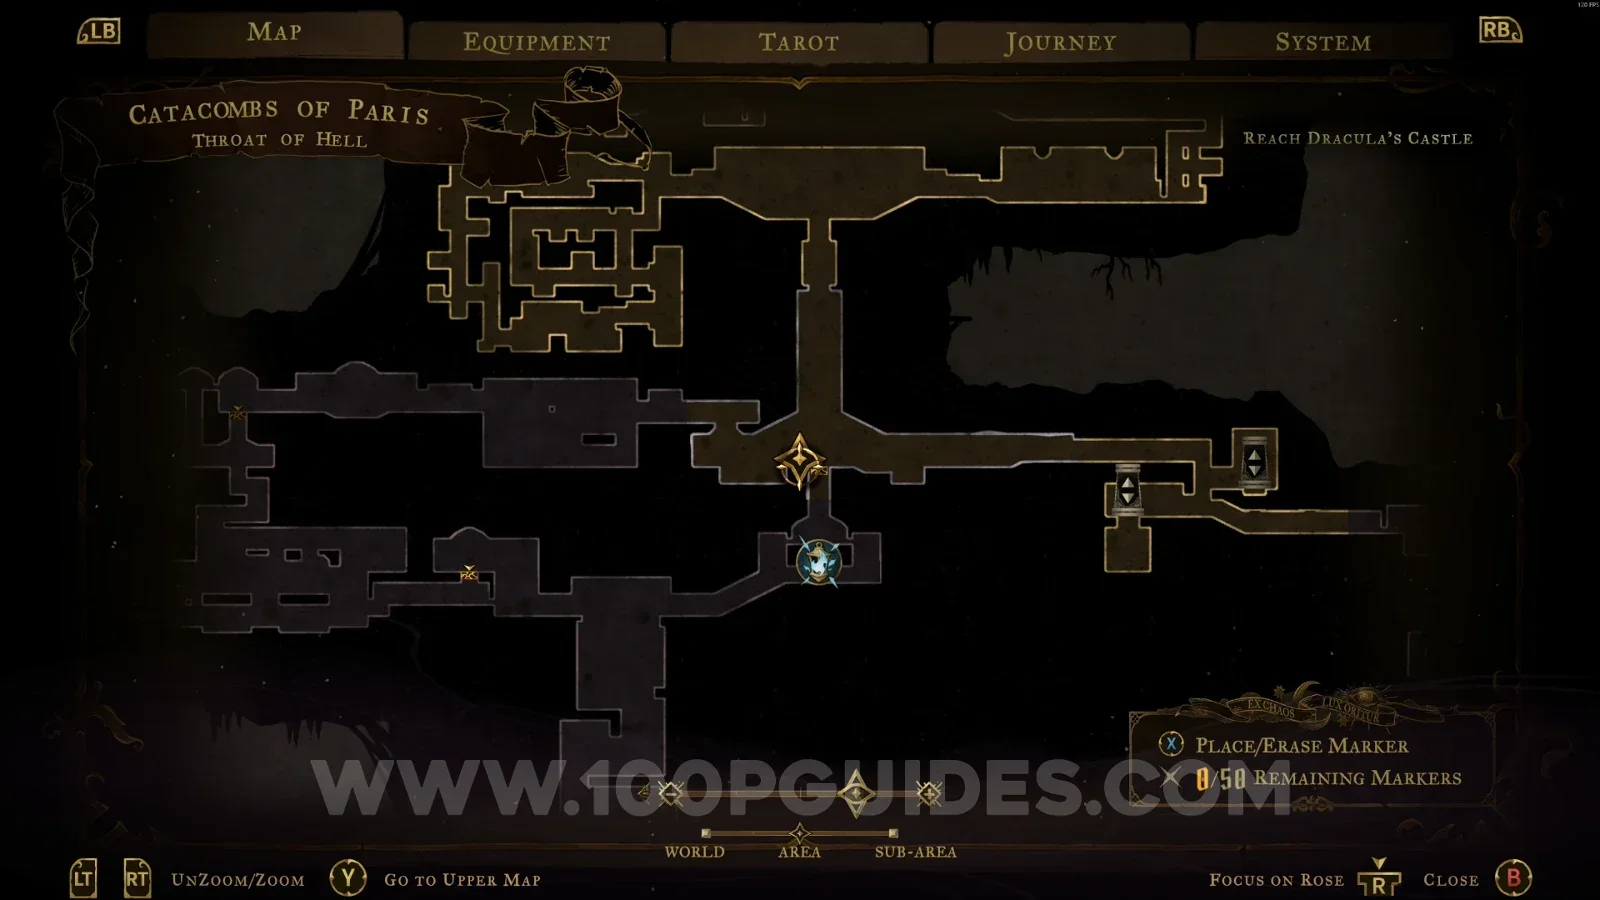
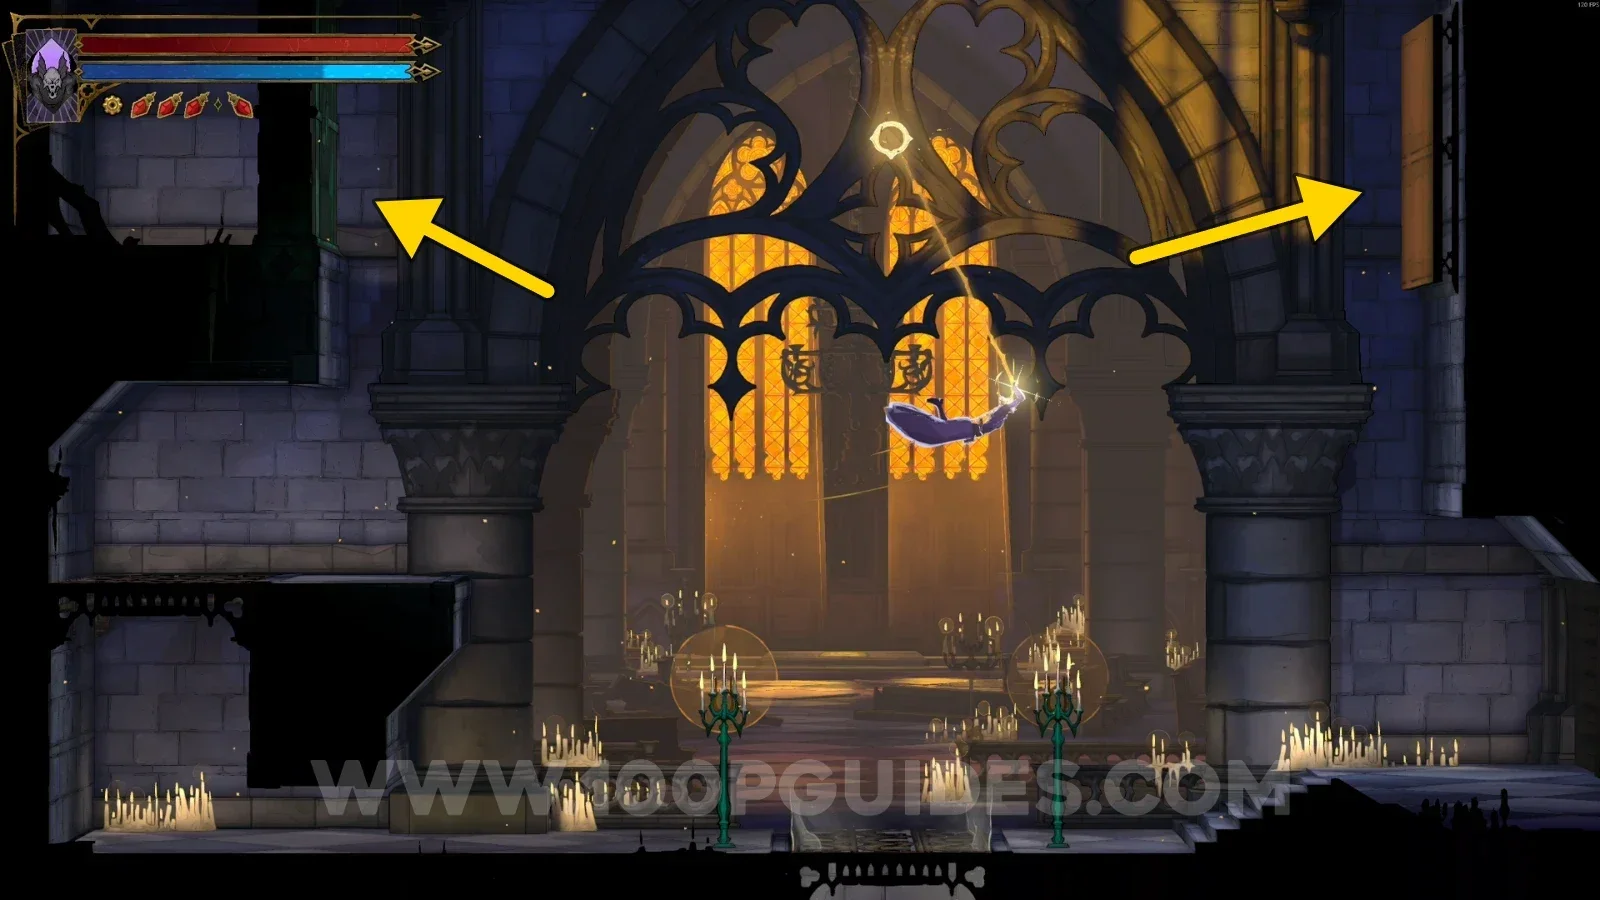
Castlevania Belmonts Curse Clock Tower: the pressure plate on the right side on the way to Arondight Castlevania Belmonts Curse Clock Tower: climbing up on the left after using the pressure plate Castlevania Belmonts Curse Clock Tower: the chest with Arondight and Lancelot's Shield below the floor

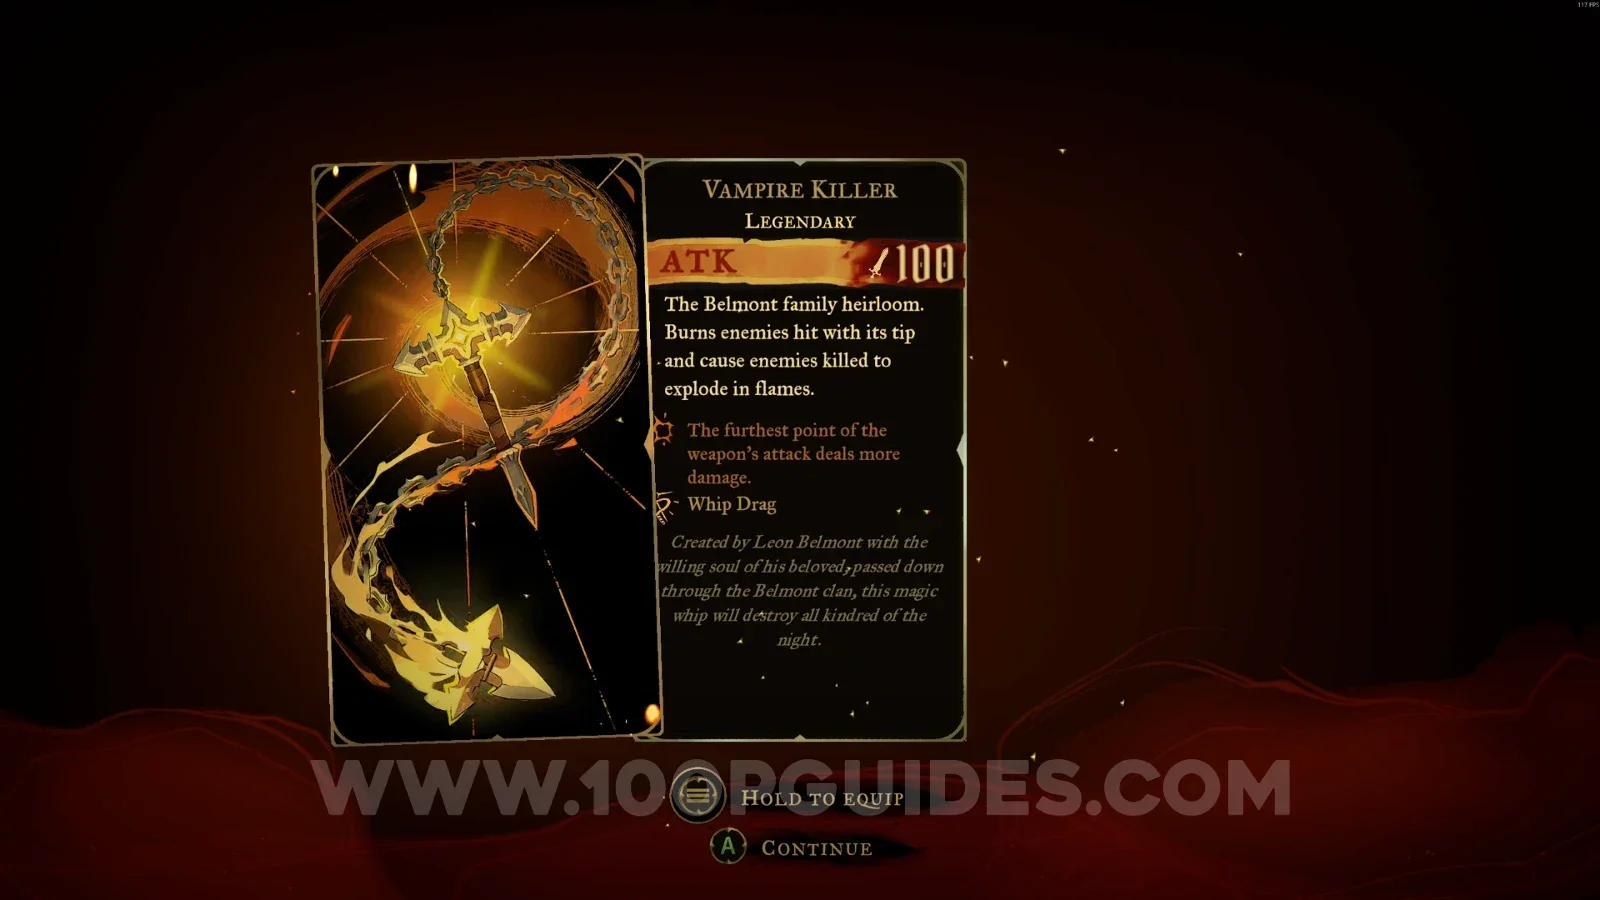
Weapon #27: Vampire Killer

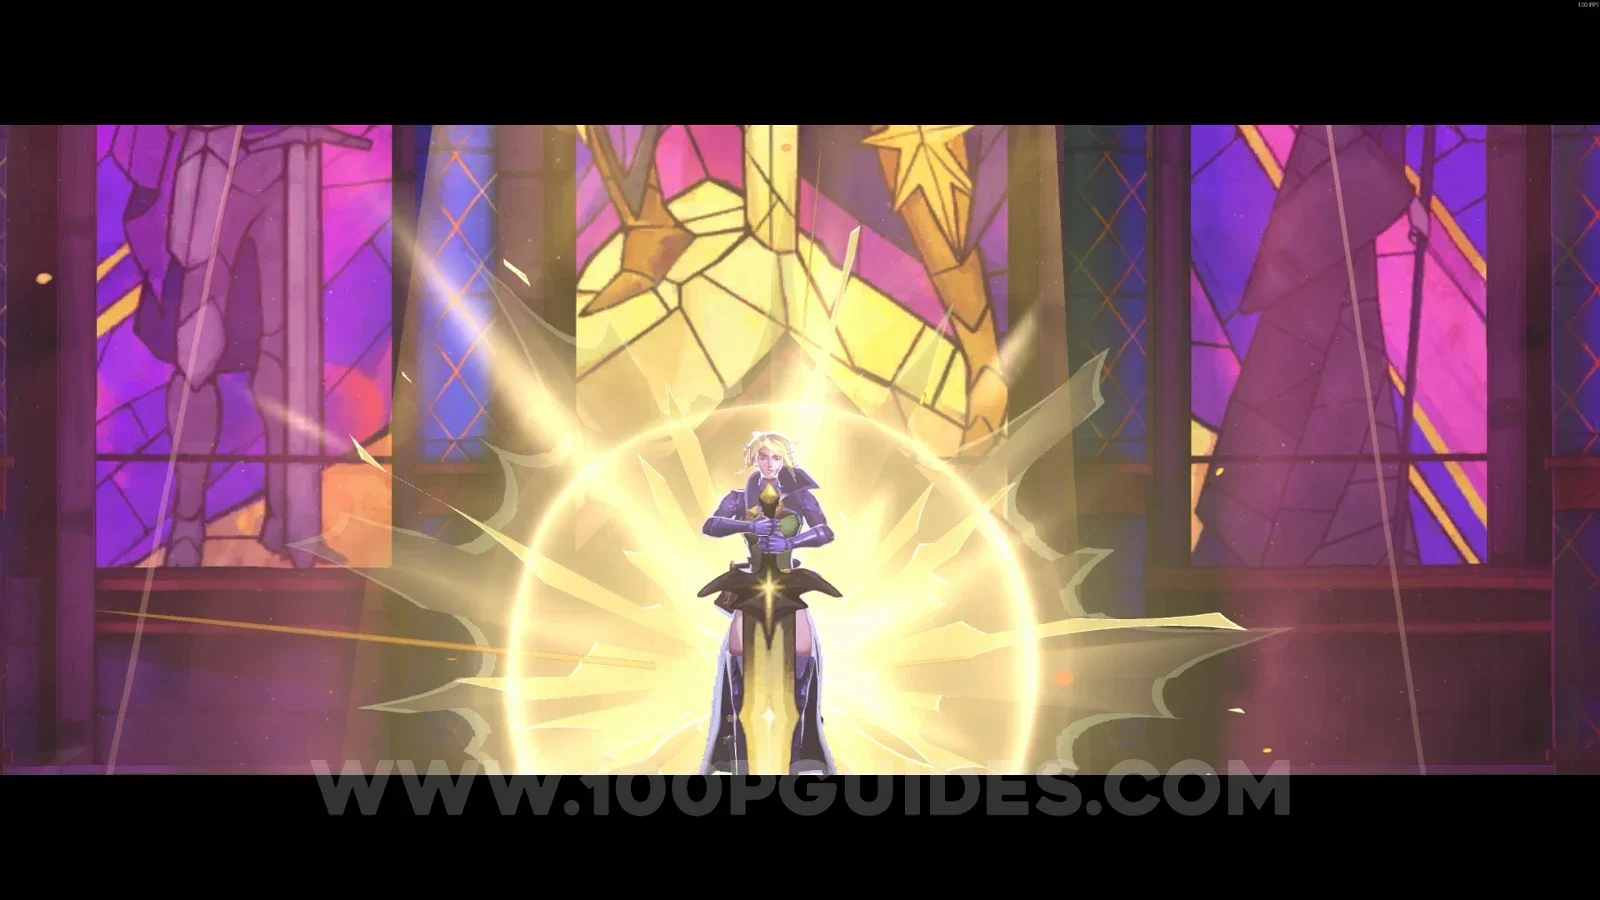
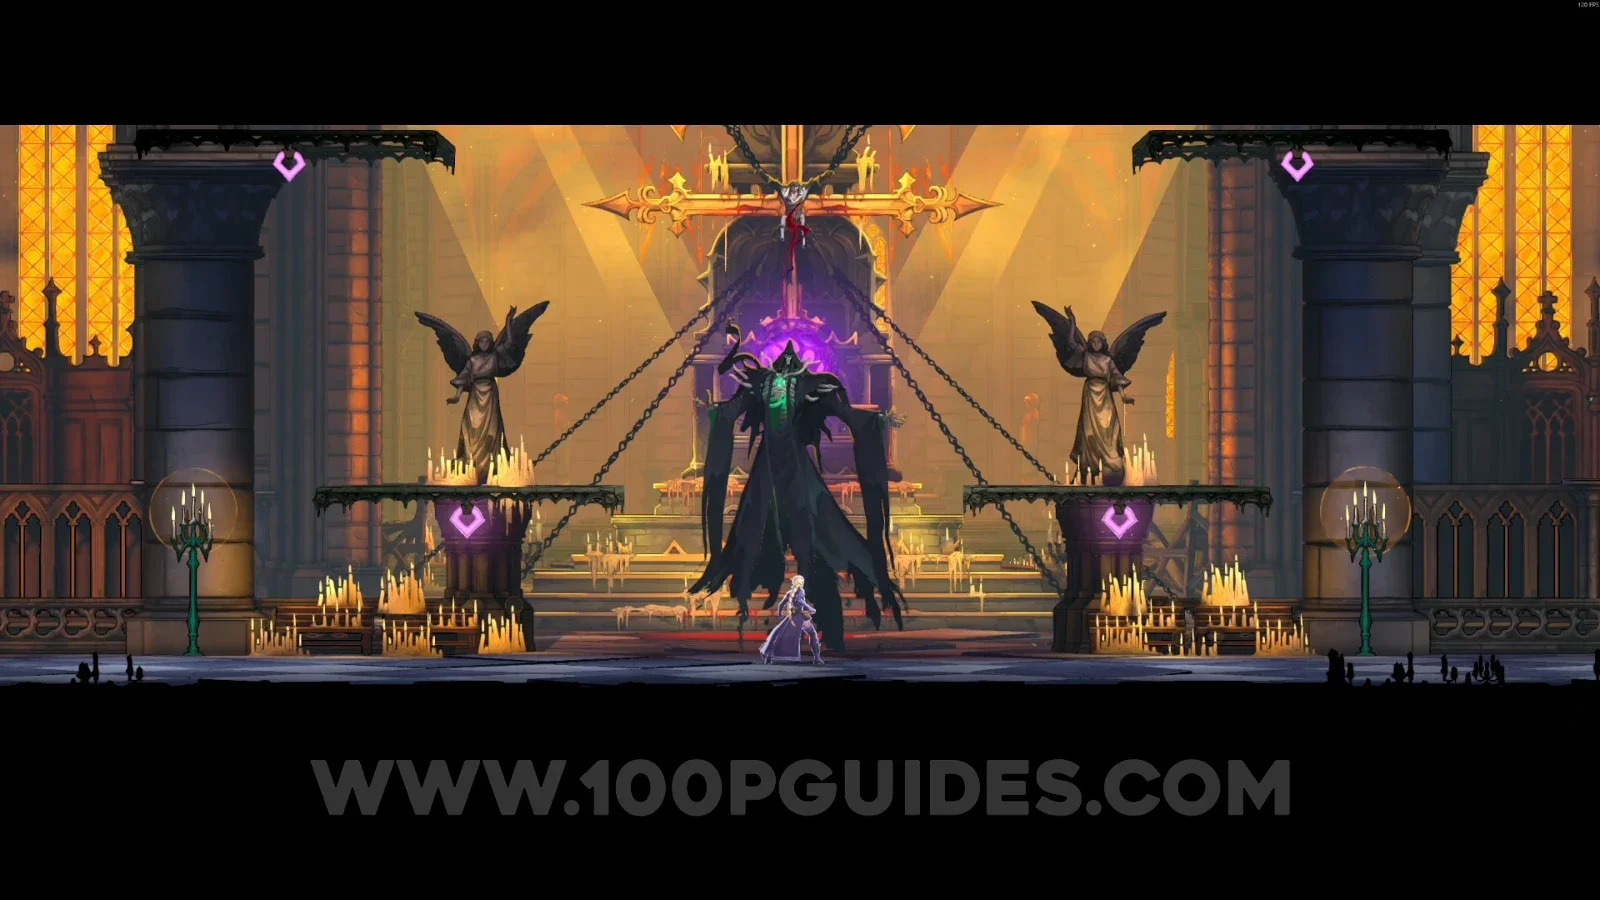
Obtained as a reward after defeating Death (The Shadow).
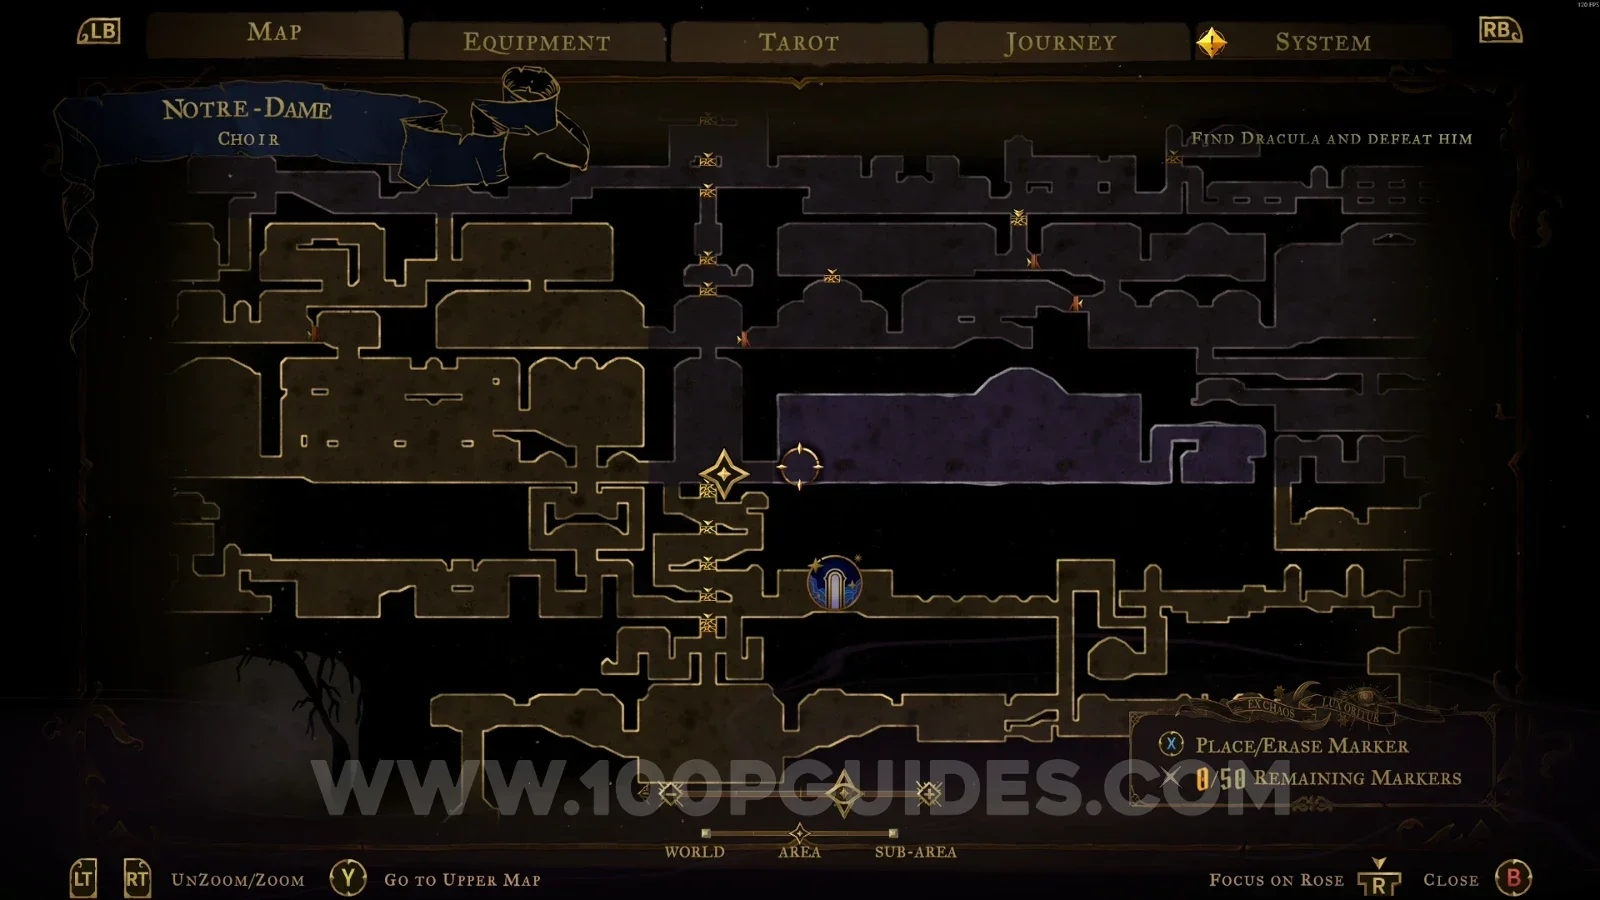
Castlevania Belmonts Curse Clock Tower: boss fight against Death (The Shadow) Castlevania Belmonts Curse Clock Tower: Death (The Shadow) defeated, Vampire Killer given as reward Castlevania Belmonts Curse Clock Tower: the Vampire Killer weapon obtained

Hall Of Mirrors

Weapon #28: Bernhard's Wrath

In the area marked on the map, crouch in front of the mirror to be teleported to the area containing the weapon, then grab it.
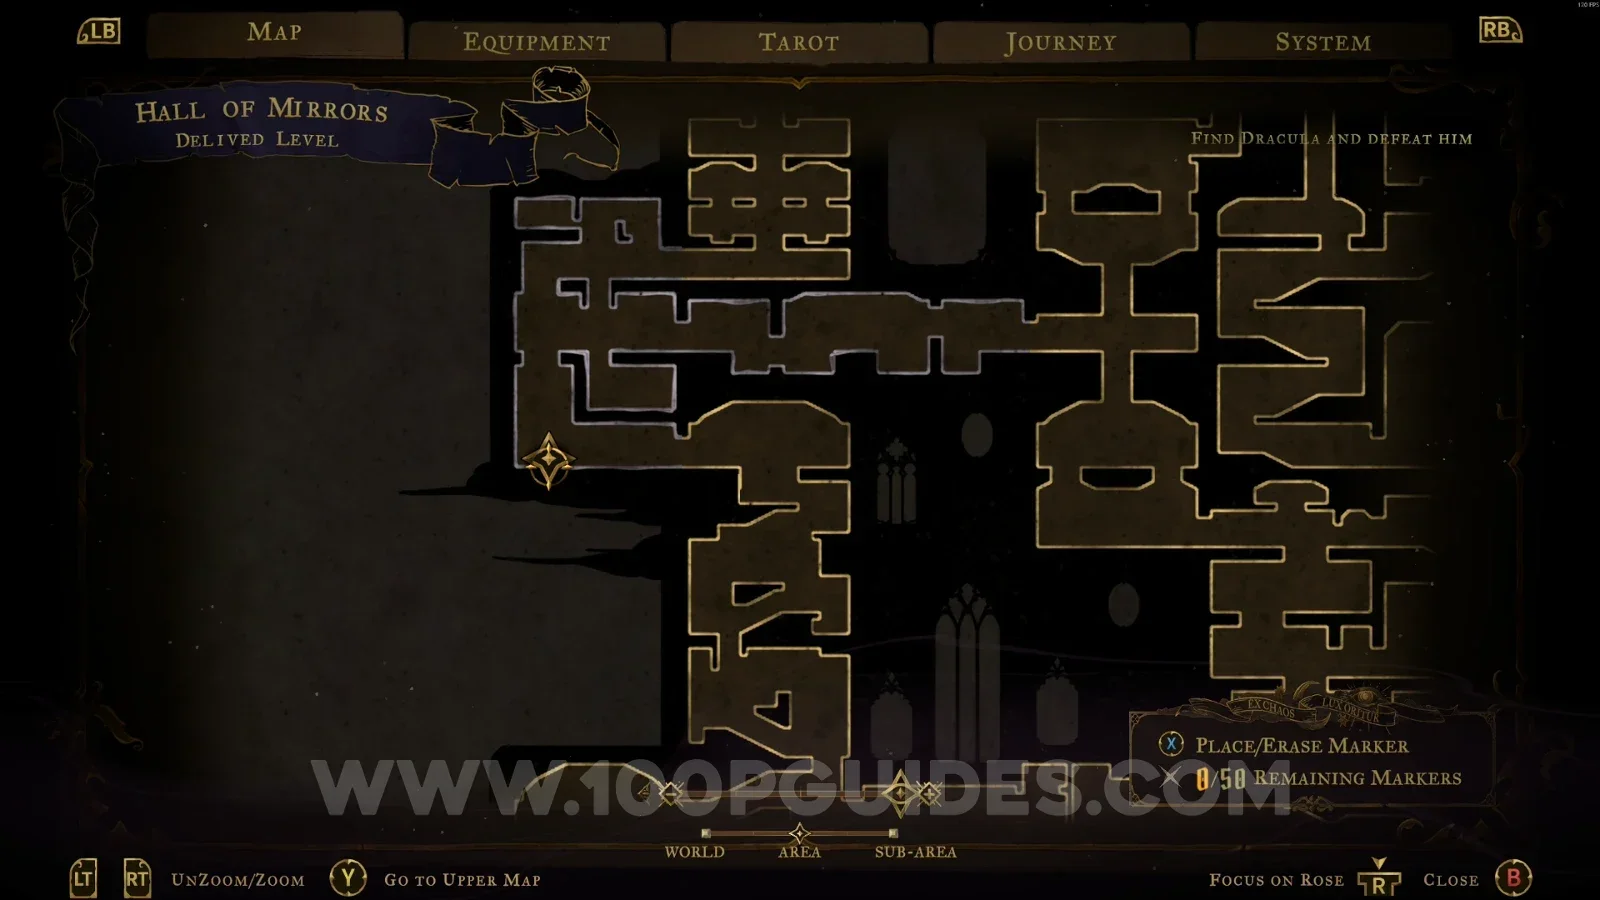
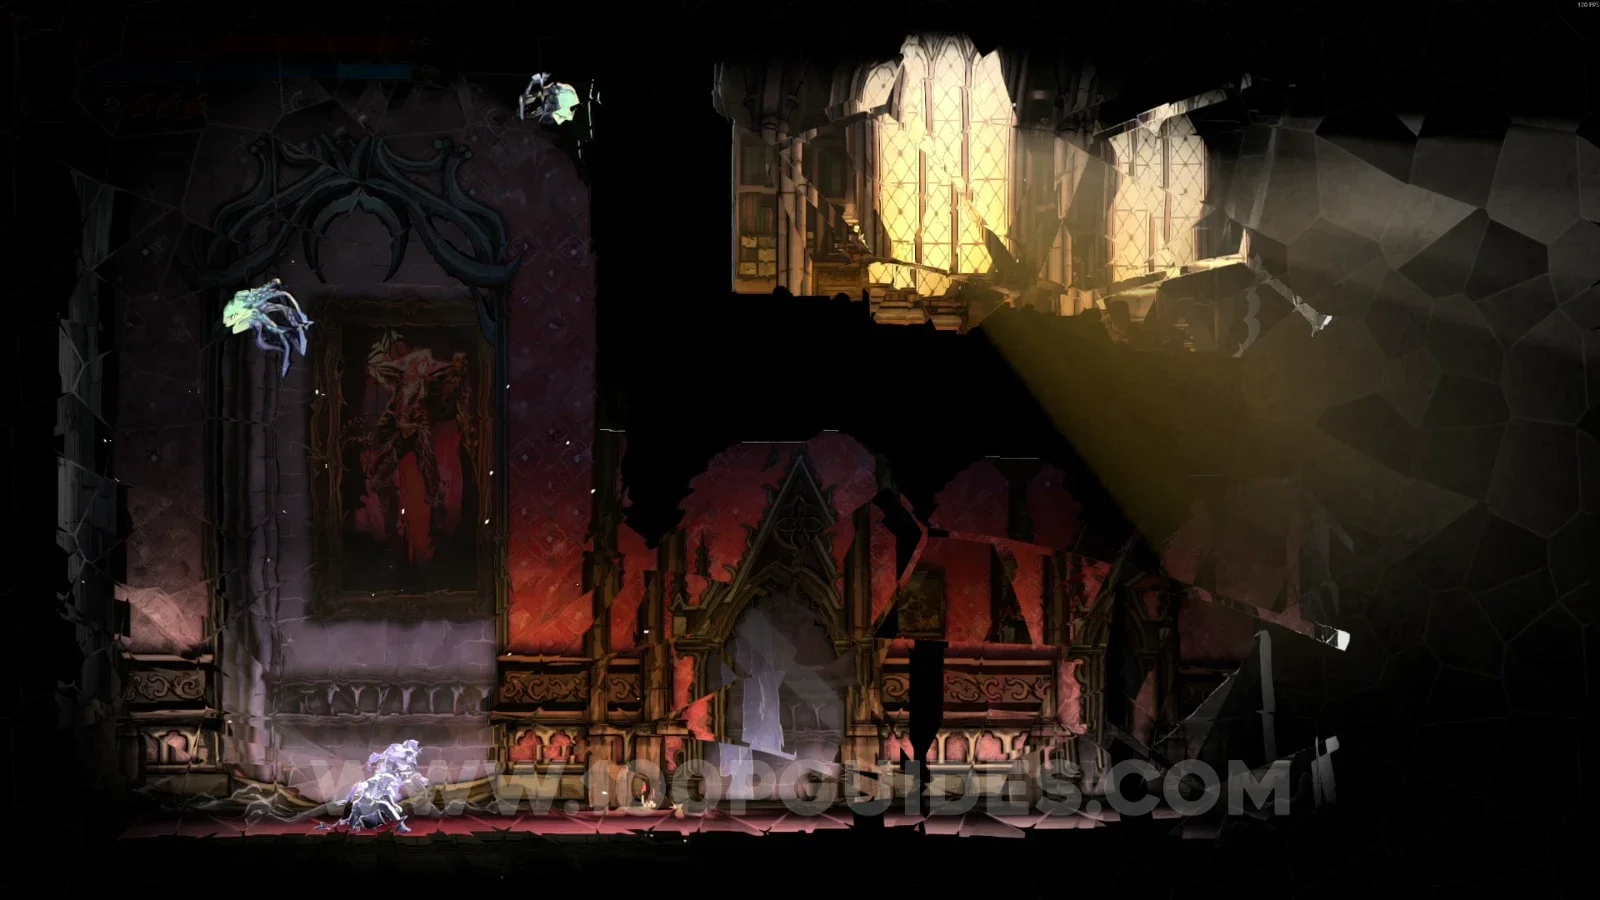
Castlevania Belmonts Curse Hall Of Mirrors: map marking the mirror area for Bernhard's Wrath Castlevania Belmonts Curse Hall Of Mirrors: crouching in front of the mirror to be teleported Castlevania Belmonts Curse Hall Of Mirrors: grabbing Bernhard's Wrath in the area it is teleported to

Video Guide

Previous
Previous

Castlevania: Belmont’s Curse All Relic Locations

Next
Next

Castlevania: Belmont’s Curse All Clue Locations