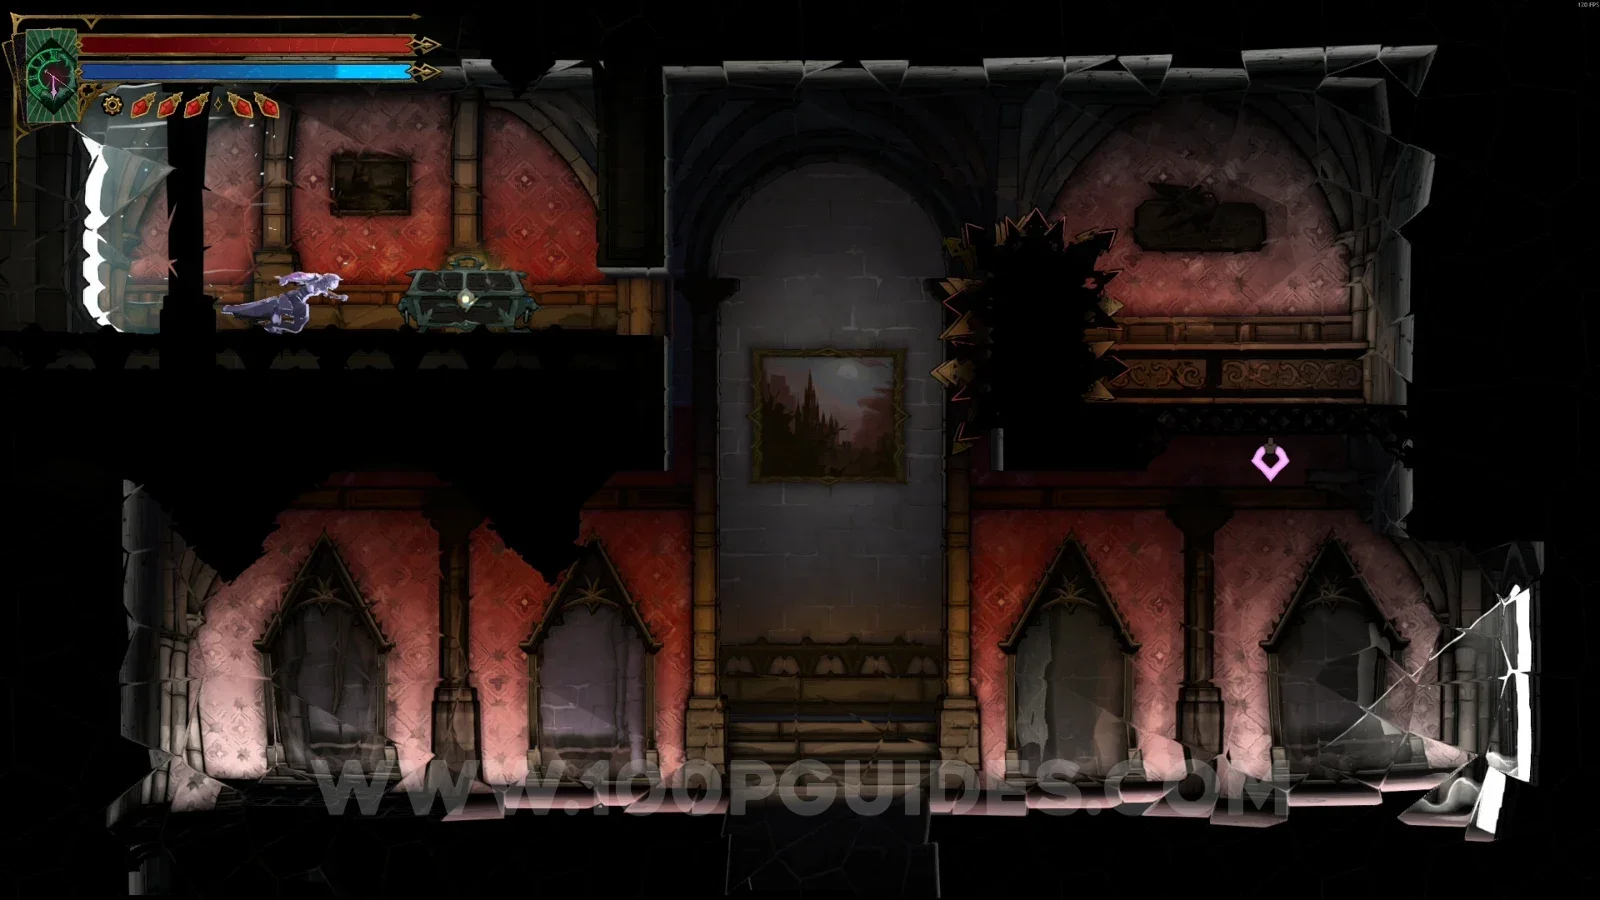
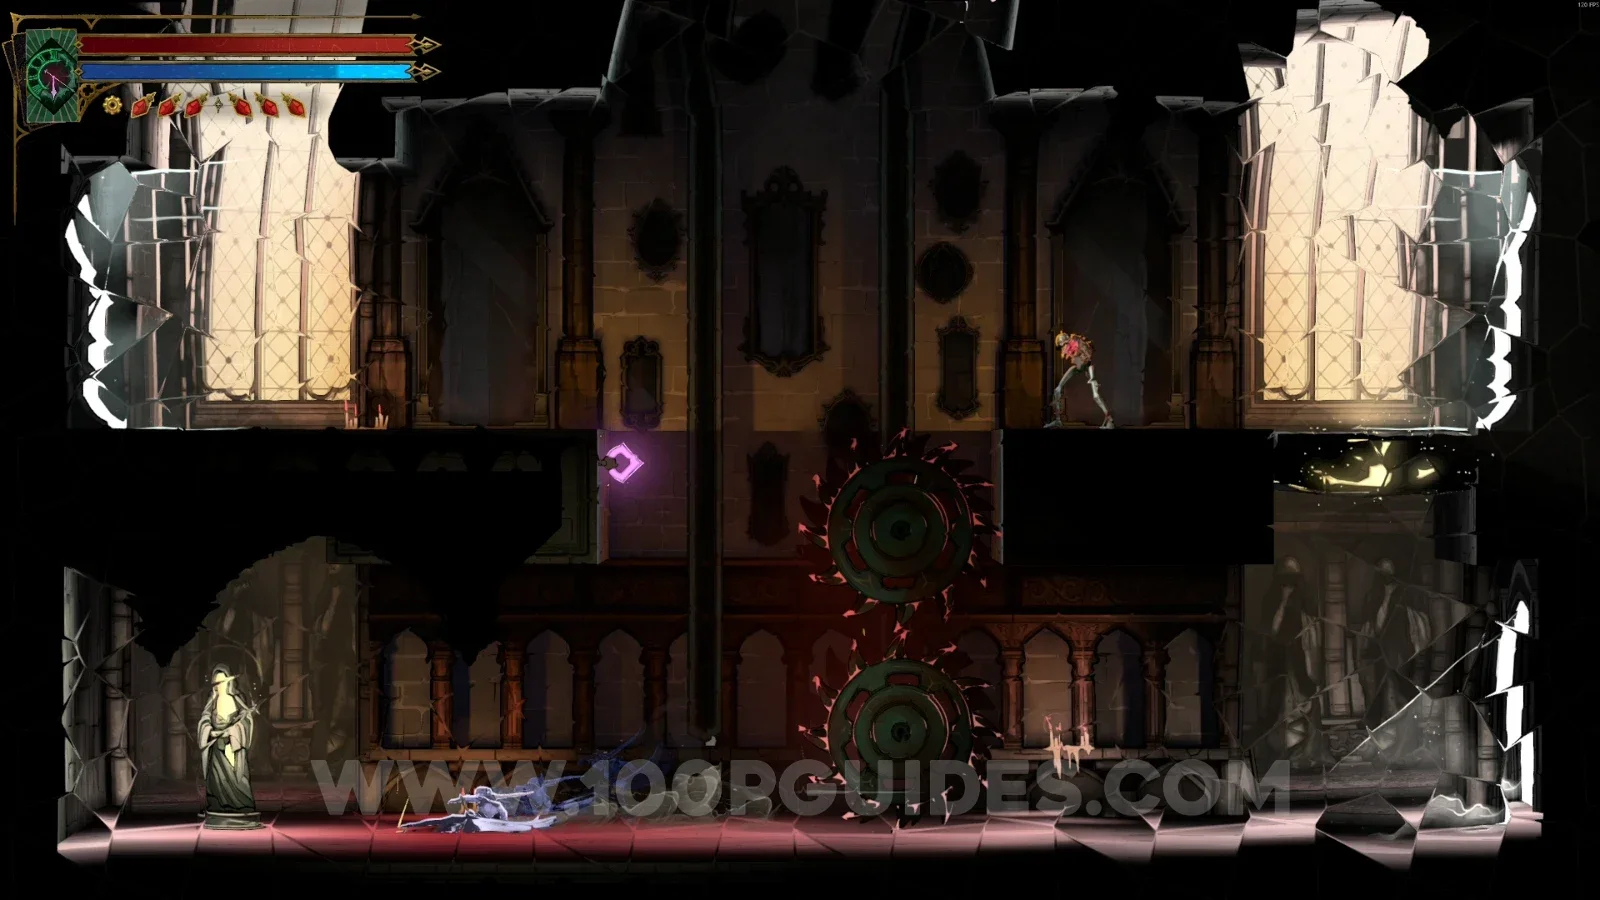
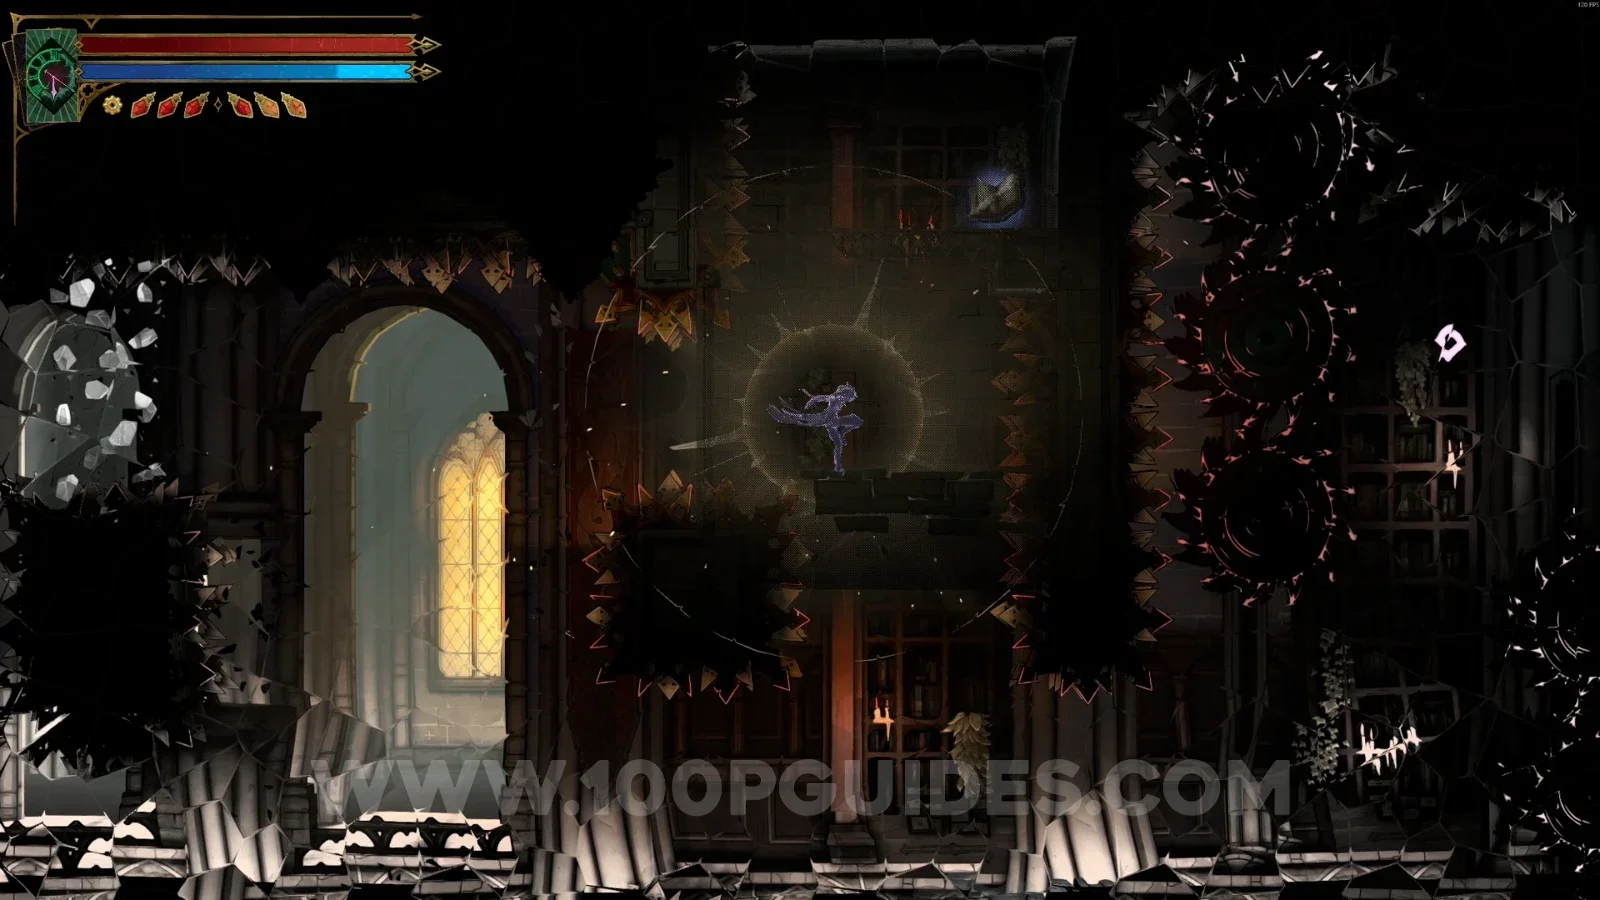
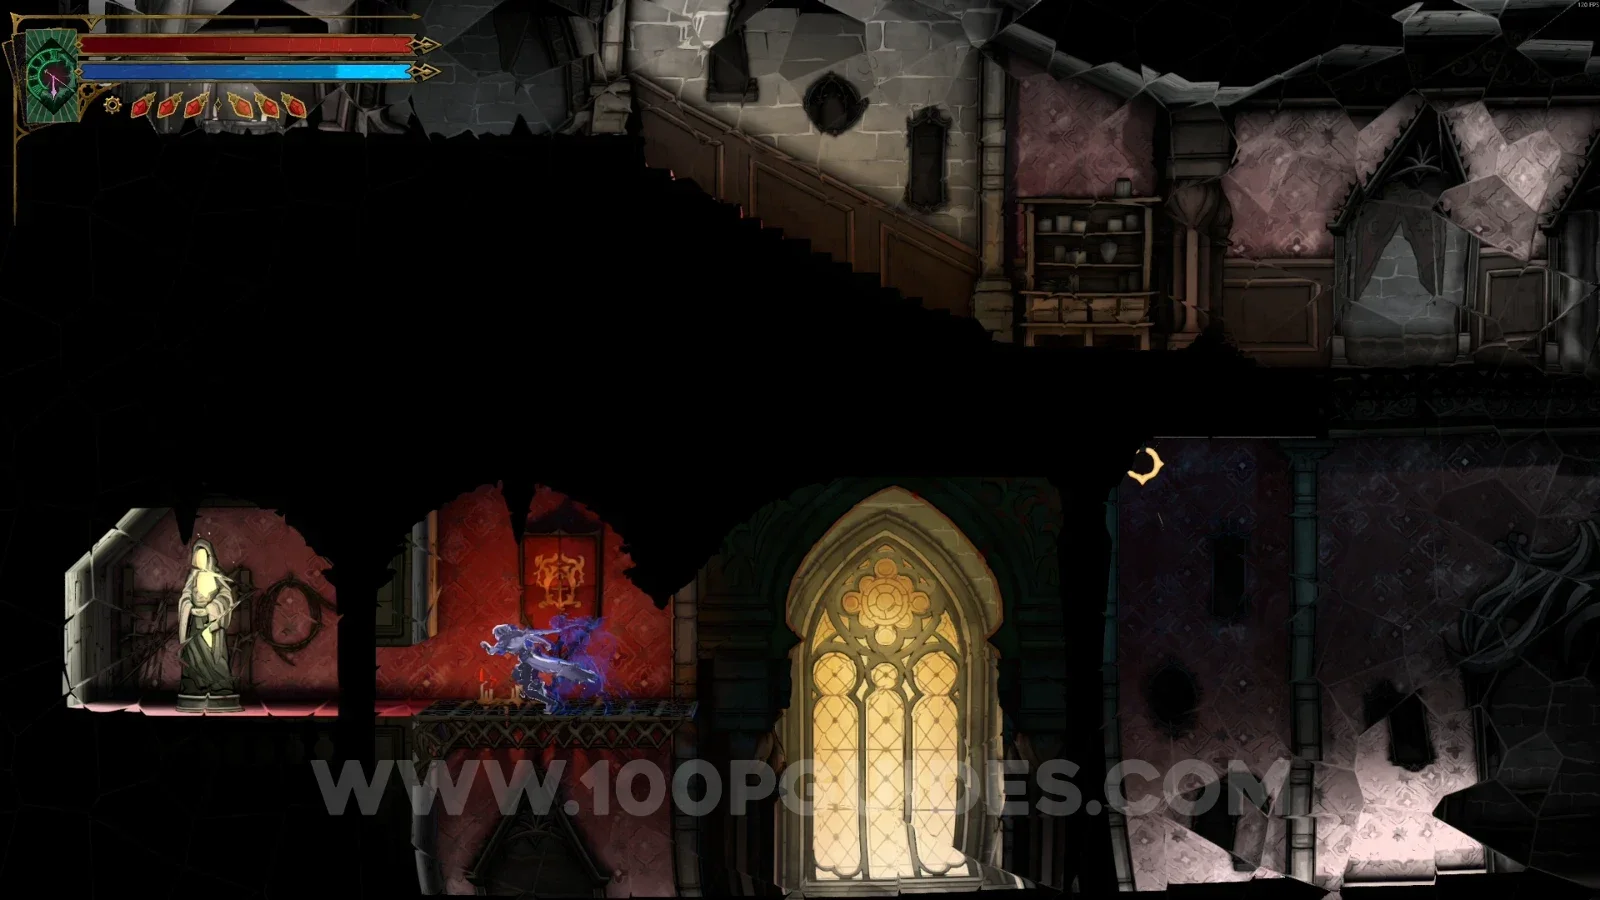
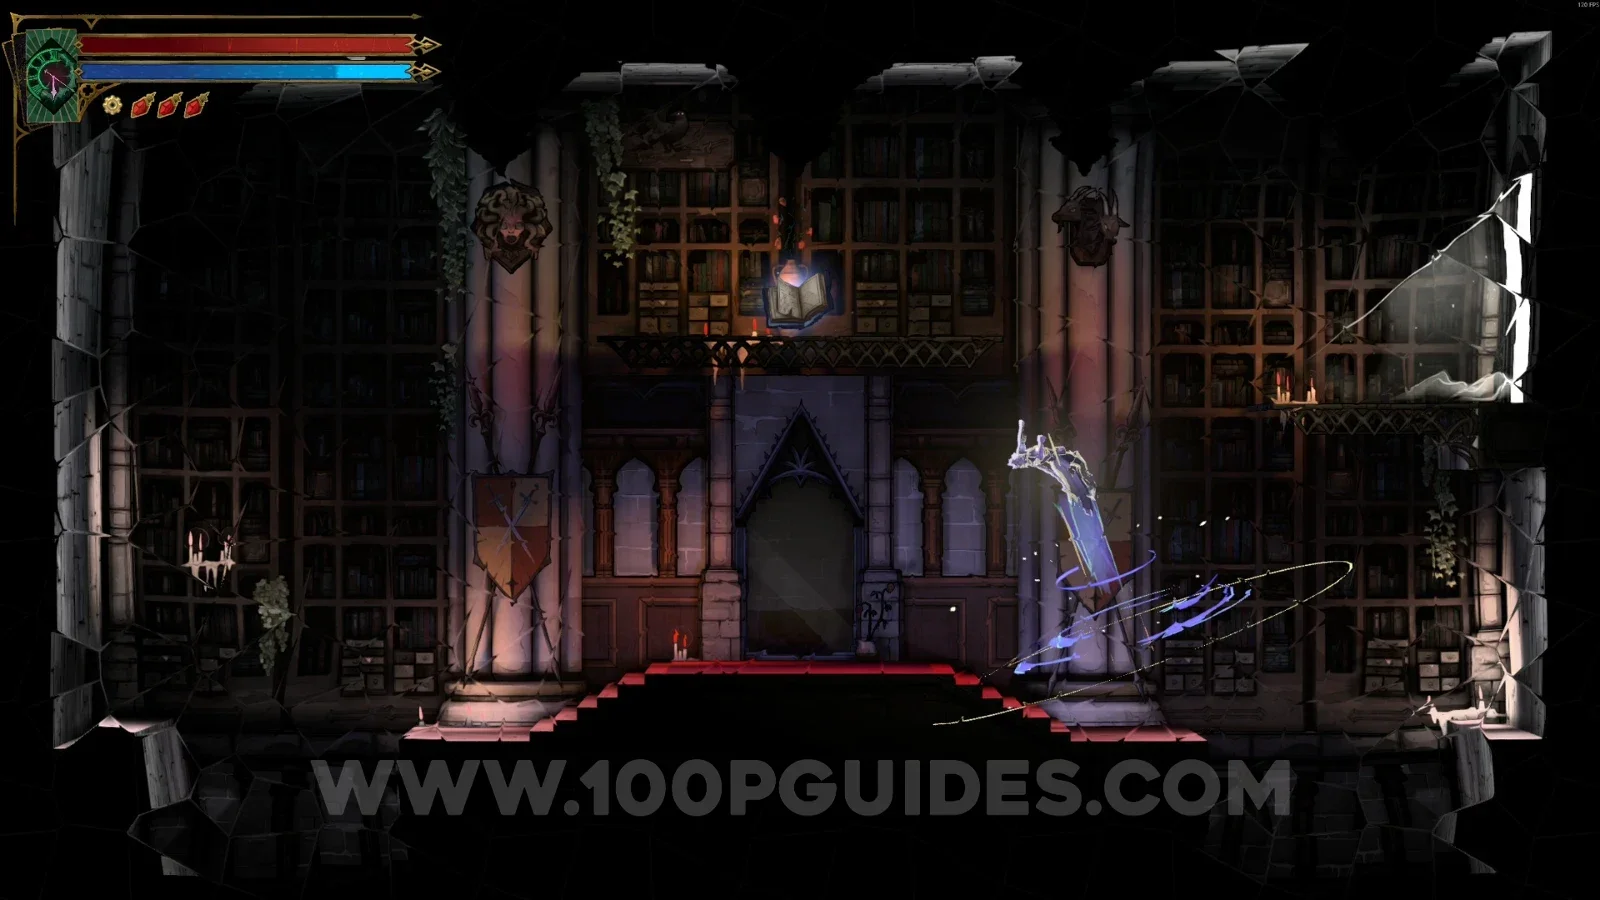
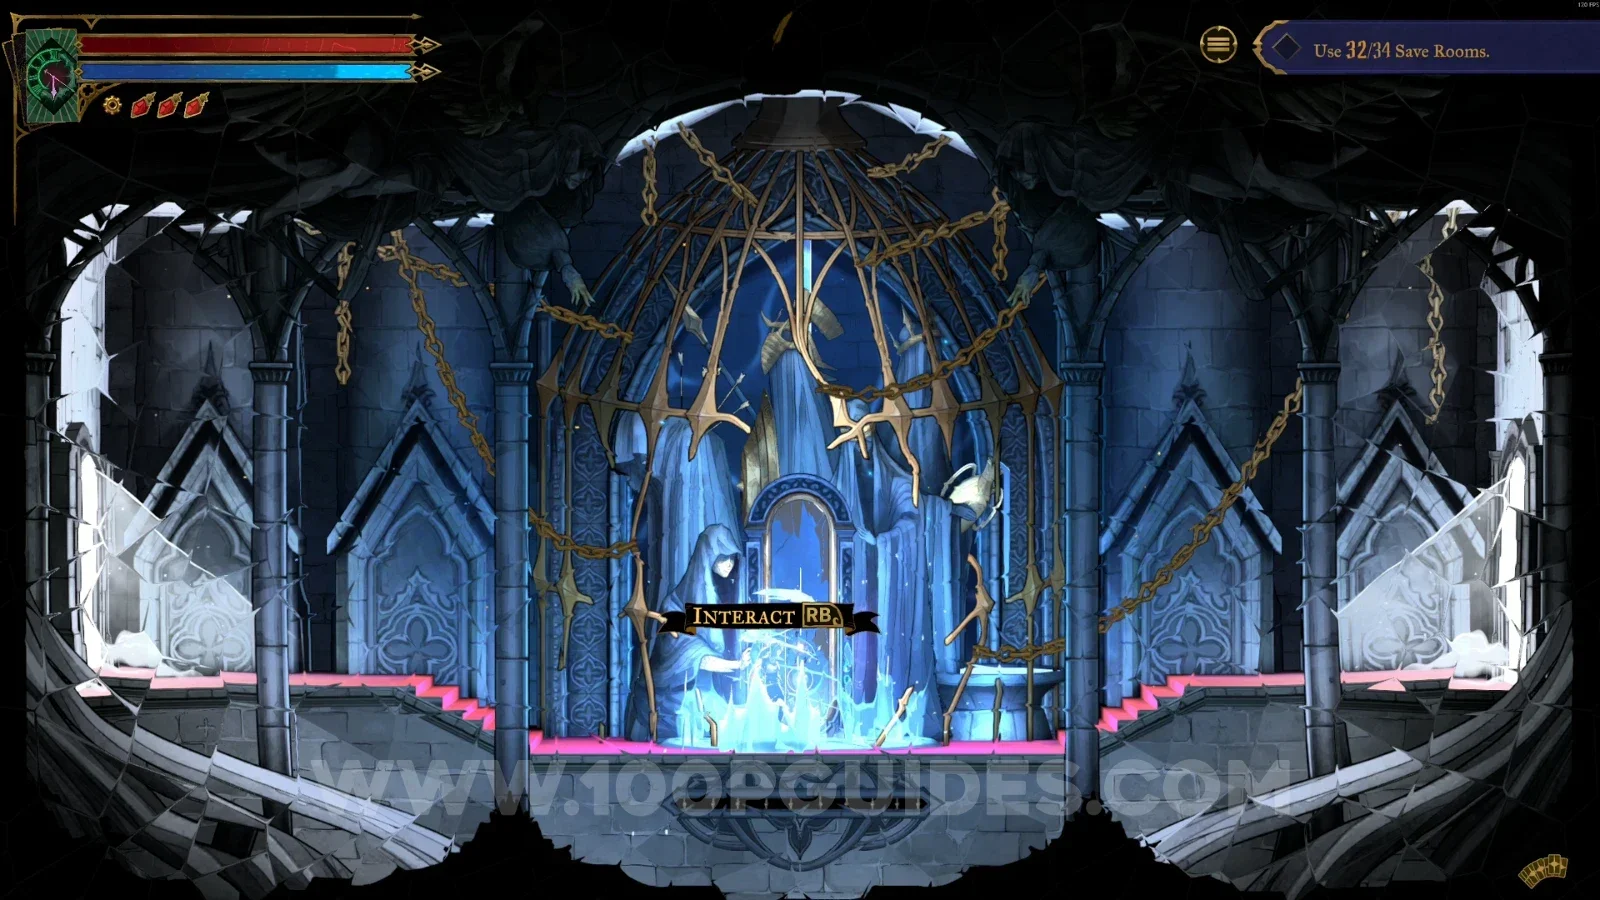
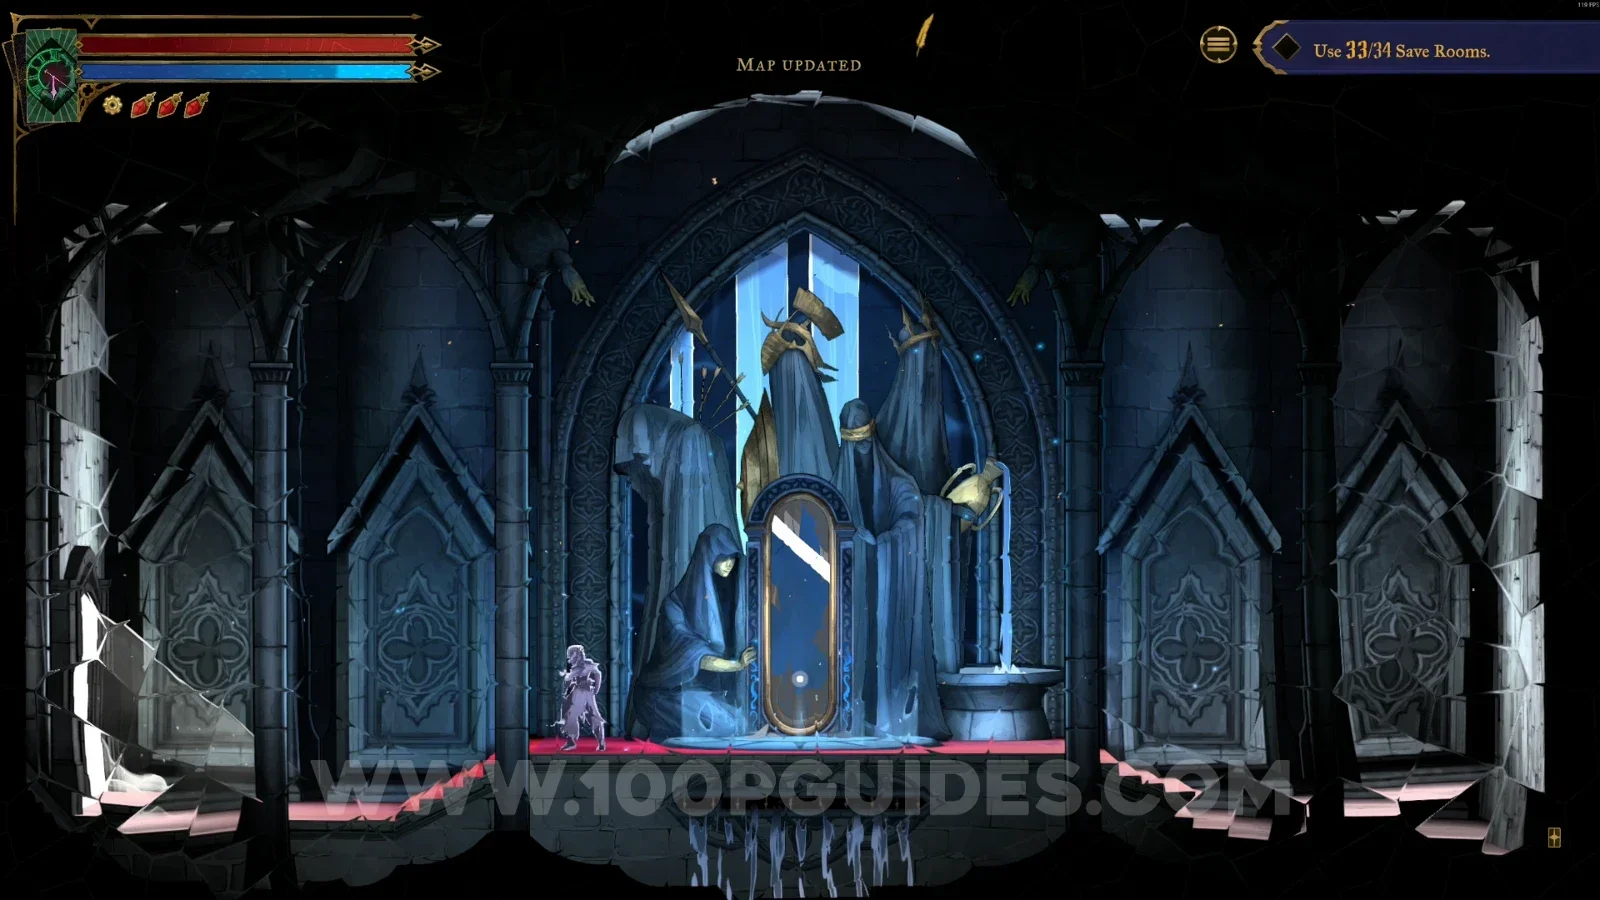
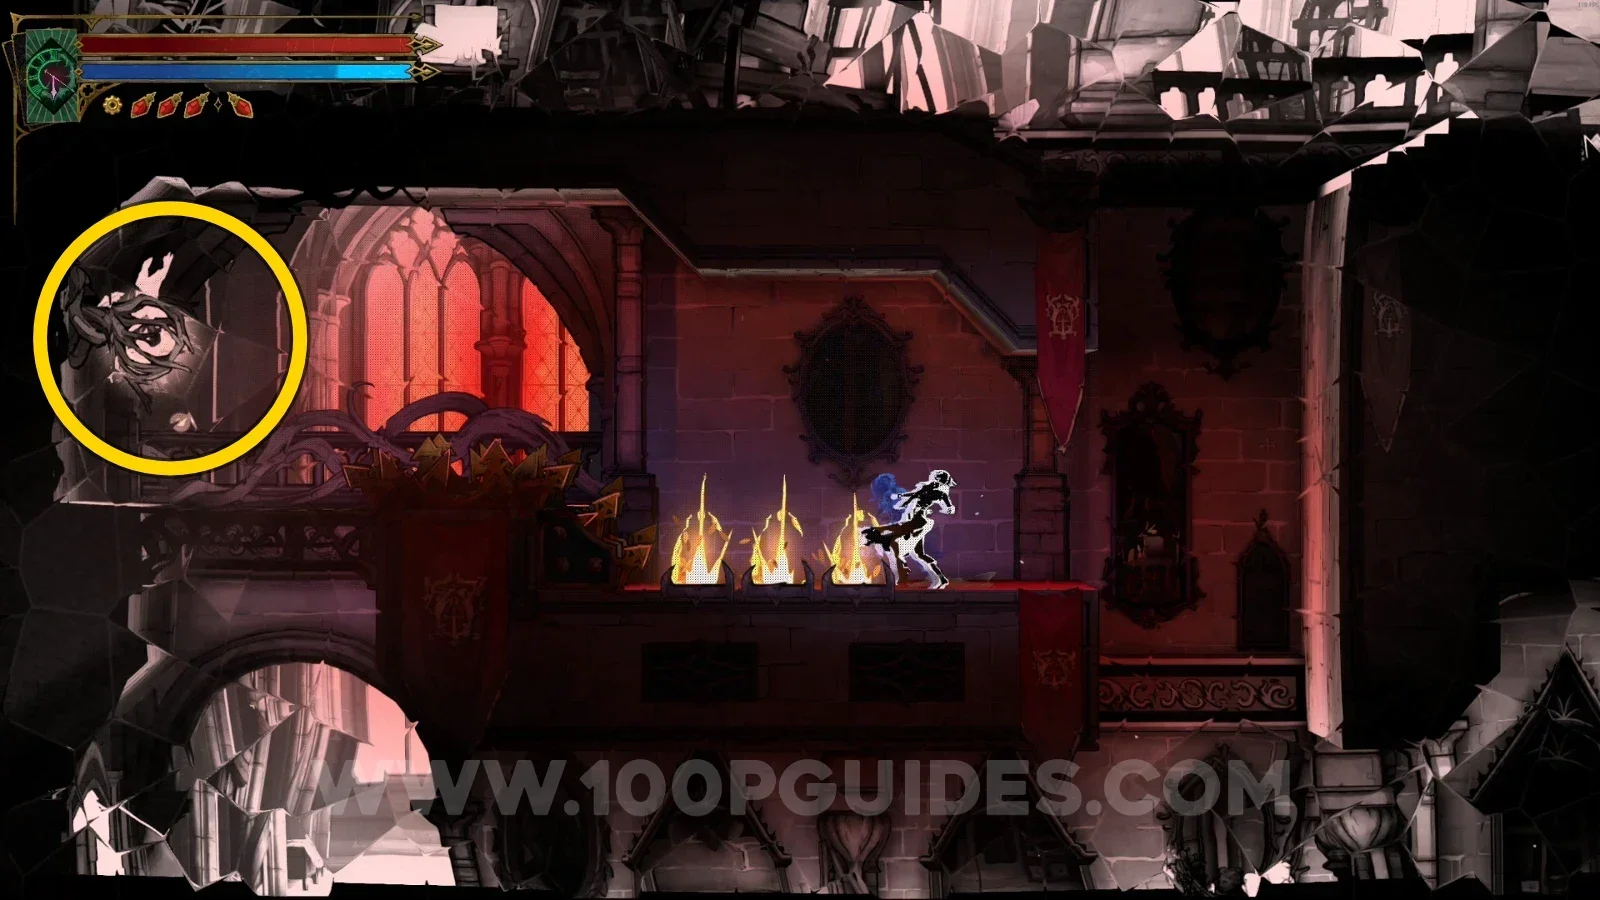
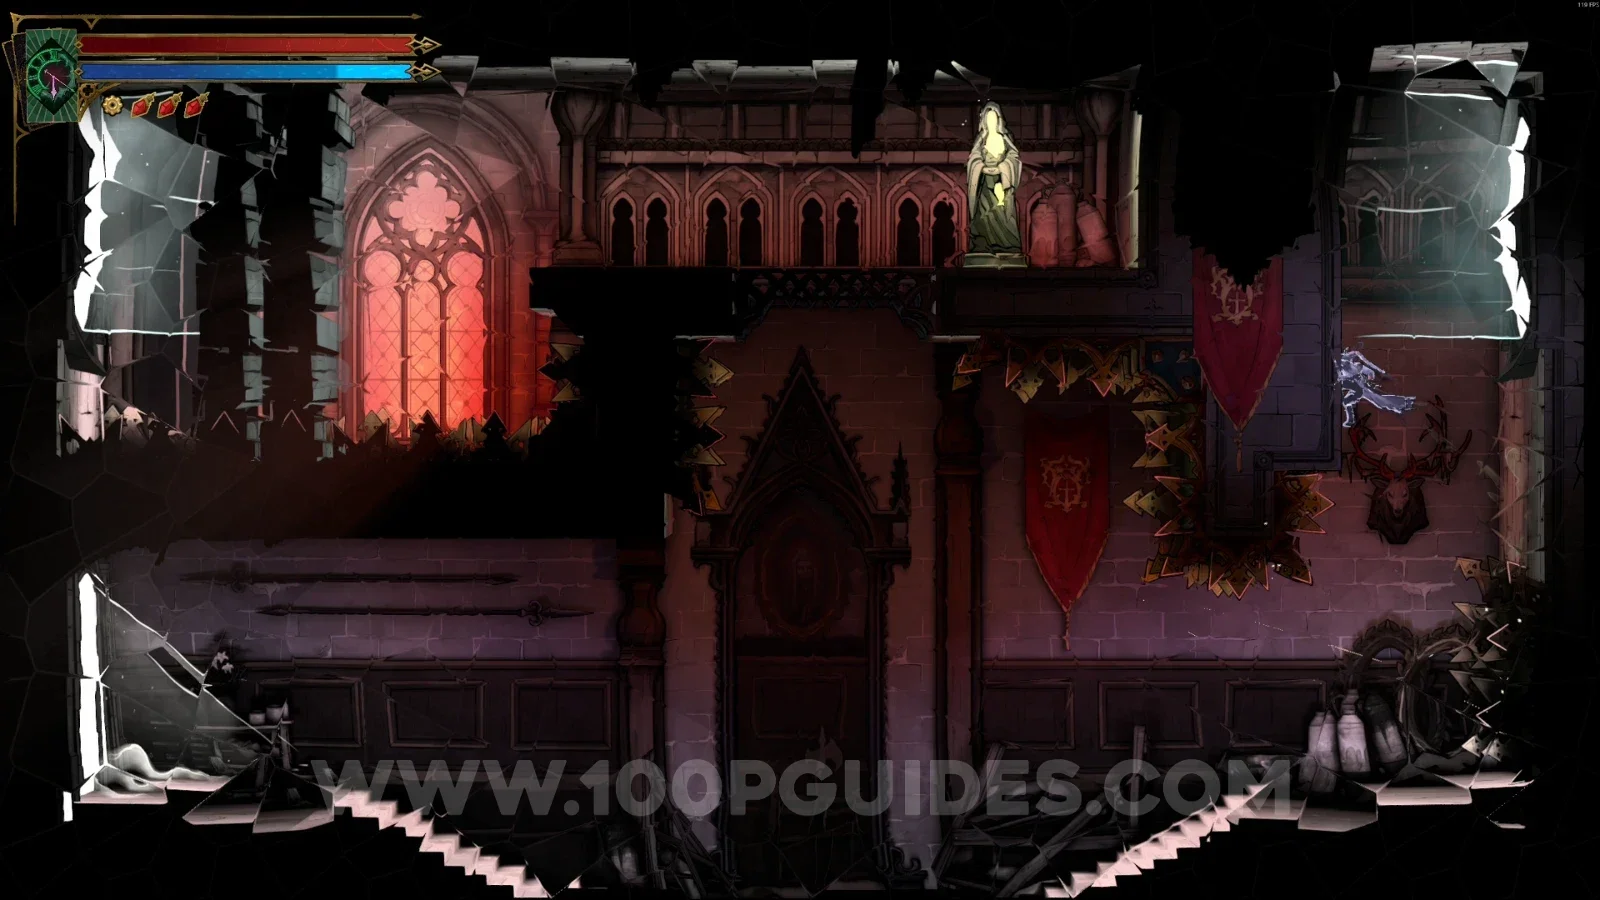
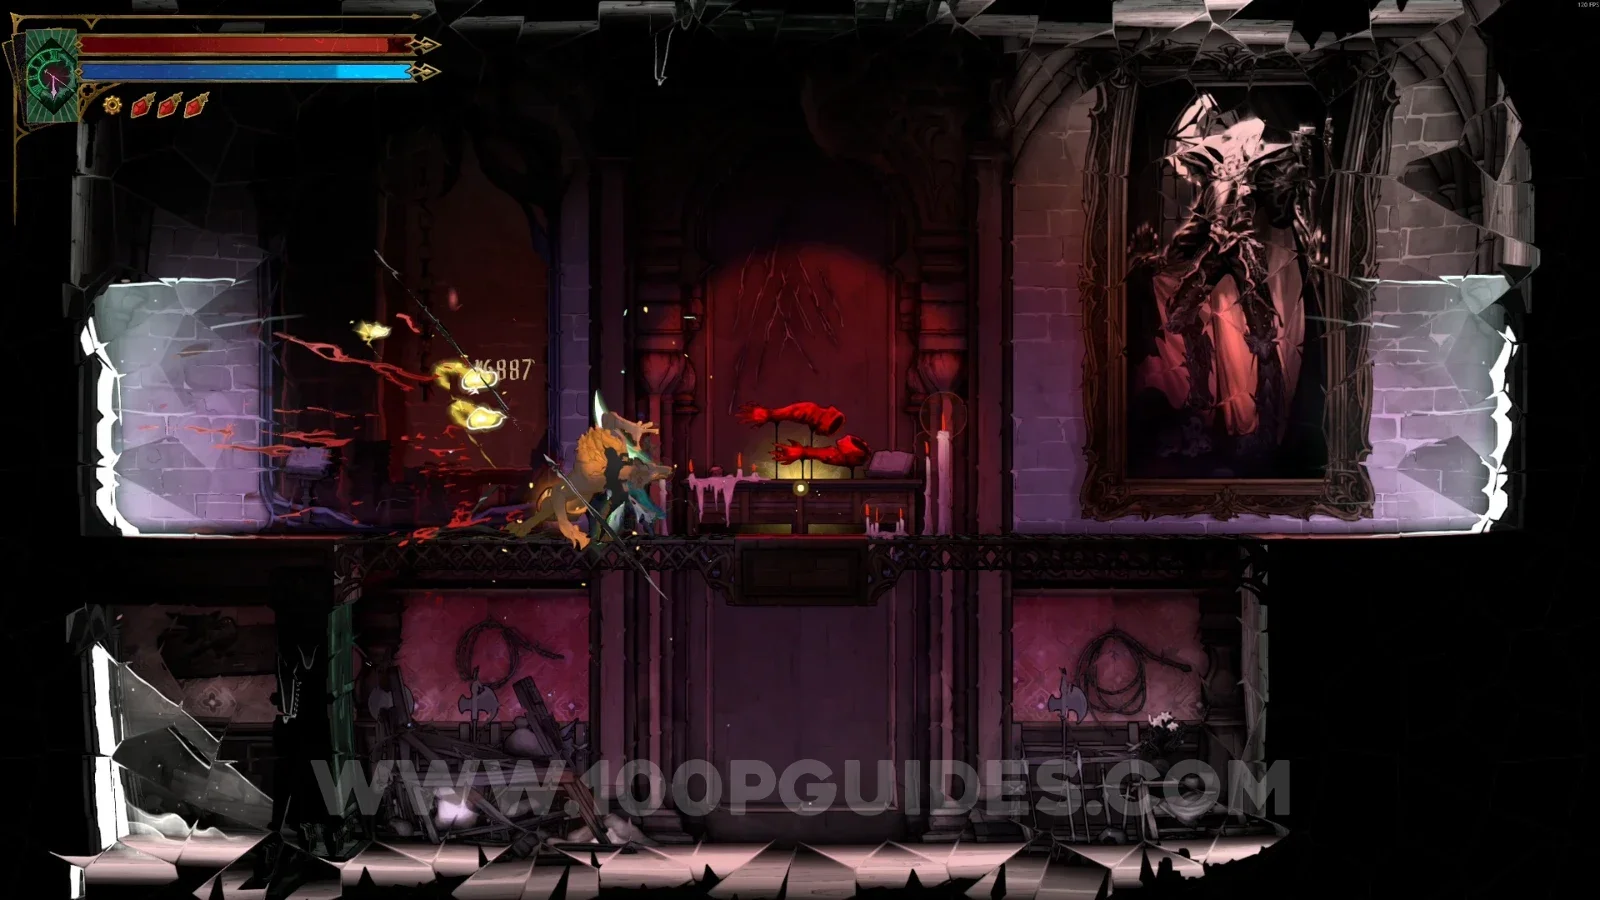
Castlevania: Belmont’s Curse Hall of Mirrors All Collectibles

This guide will show you the location of all collectibles in Hall Of Mirrors in Castlevania: Belmont's Curse.

Collecting everything is required to get the Perfectionist Hunter Trophy / Achievement.

Tower Of Worldly Reflection

XP Statue #1 - #2

In the marked area, one on each side.
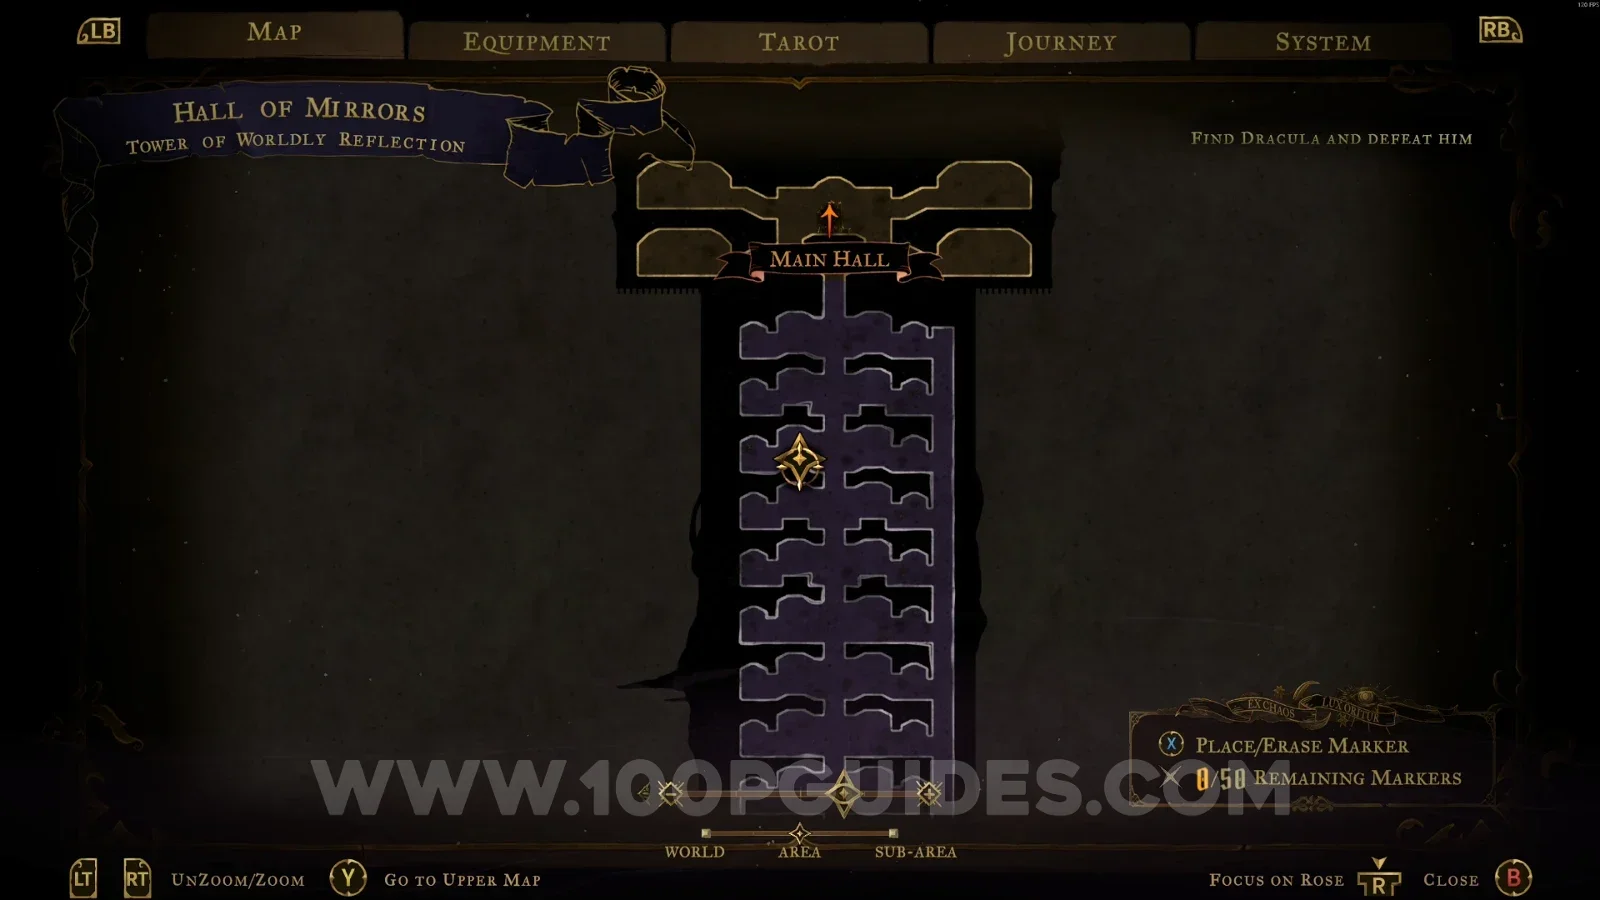
Castlevania Belmonts Curse Tower Of Worldly Reflection: map with the area of XP Statues #1 and #2 marked Castlevania Belmonts Curse Tower Of Worldly Reflection: XP Statue #1 on one side of the marked area Castlevania Belmonts Curse Tower Of Worldly Reflection: XP Statue #2 on the other side of the marked area

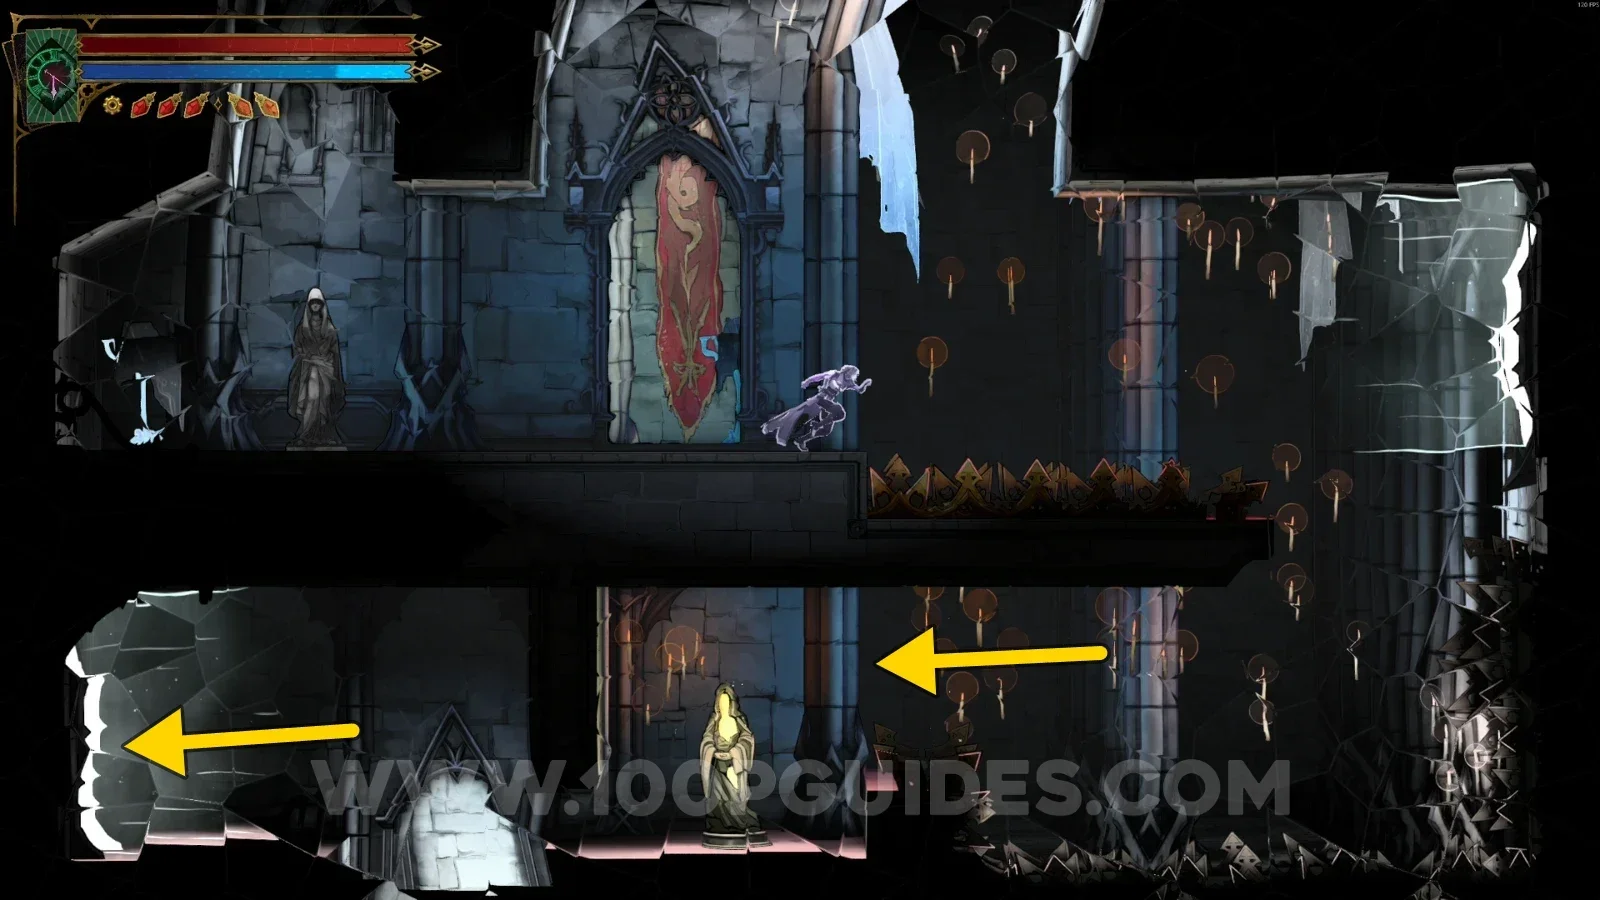
XP Statue #3 - #8

In the areas further down, you'll find 6 more XP Statues, with 2 in each row, one on each side.
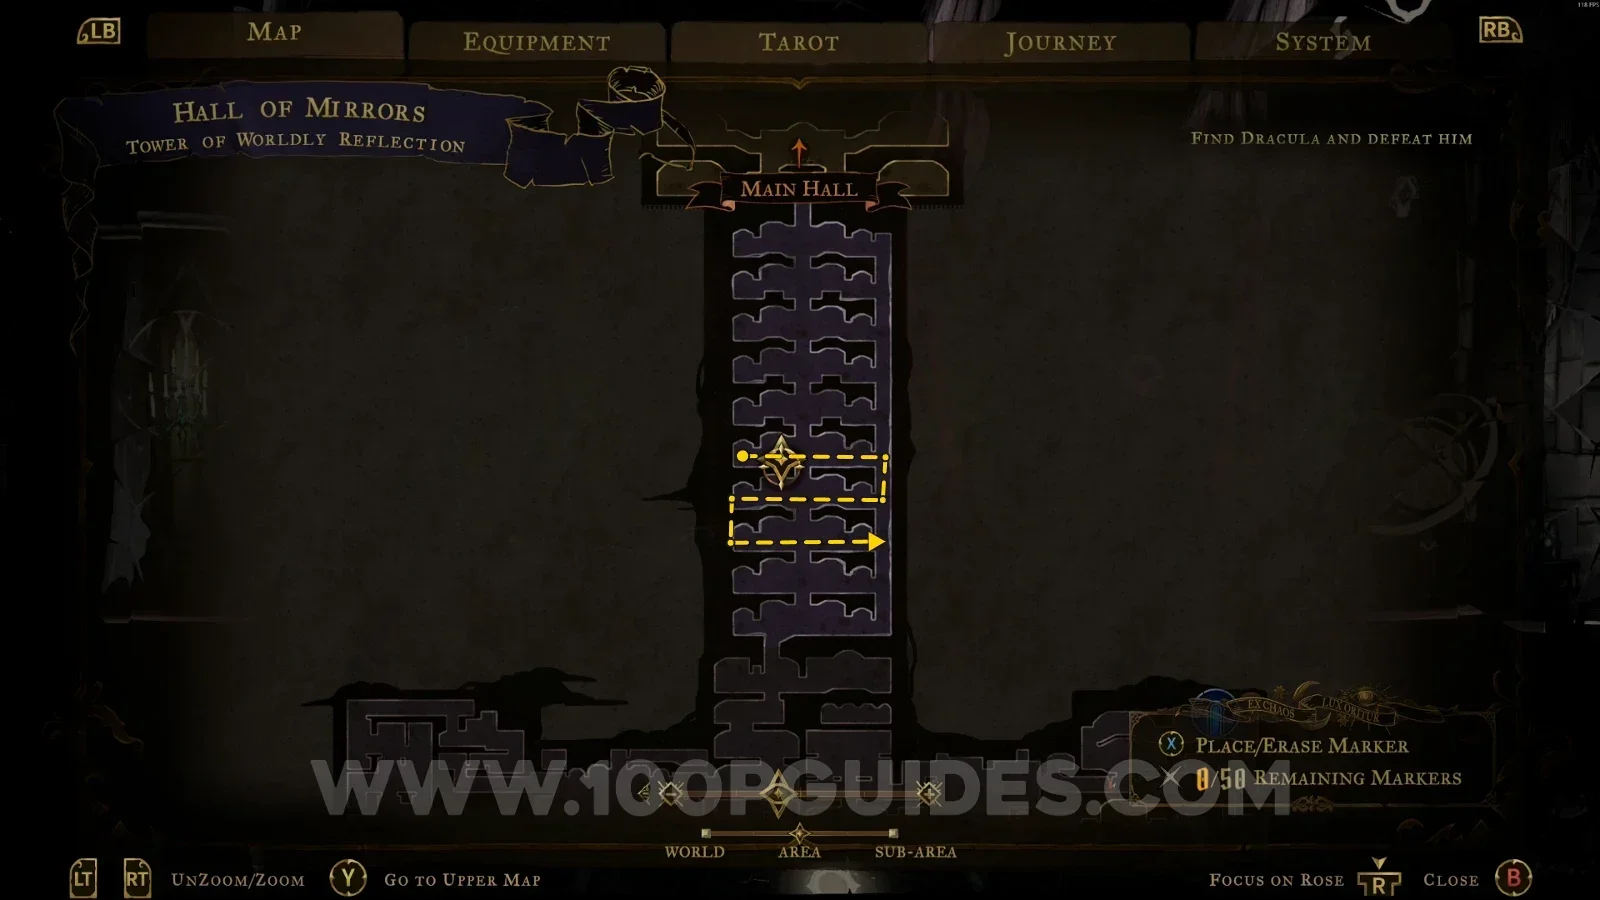
Castlevania Belmonts Curse Tower Of Worldly Reflection: map of the lower rows holding XP Statues #3 to #8 Castlevania Belmonts Curse Tower Of Worldly Reflection: XP Statues on each side of a lower row, #3 to #8

Threshold Of Vision

XP Statue #9

In the area marked on the map, break the wall on the right, and in the next room climb the platforms to find this.
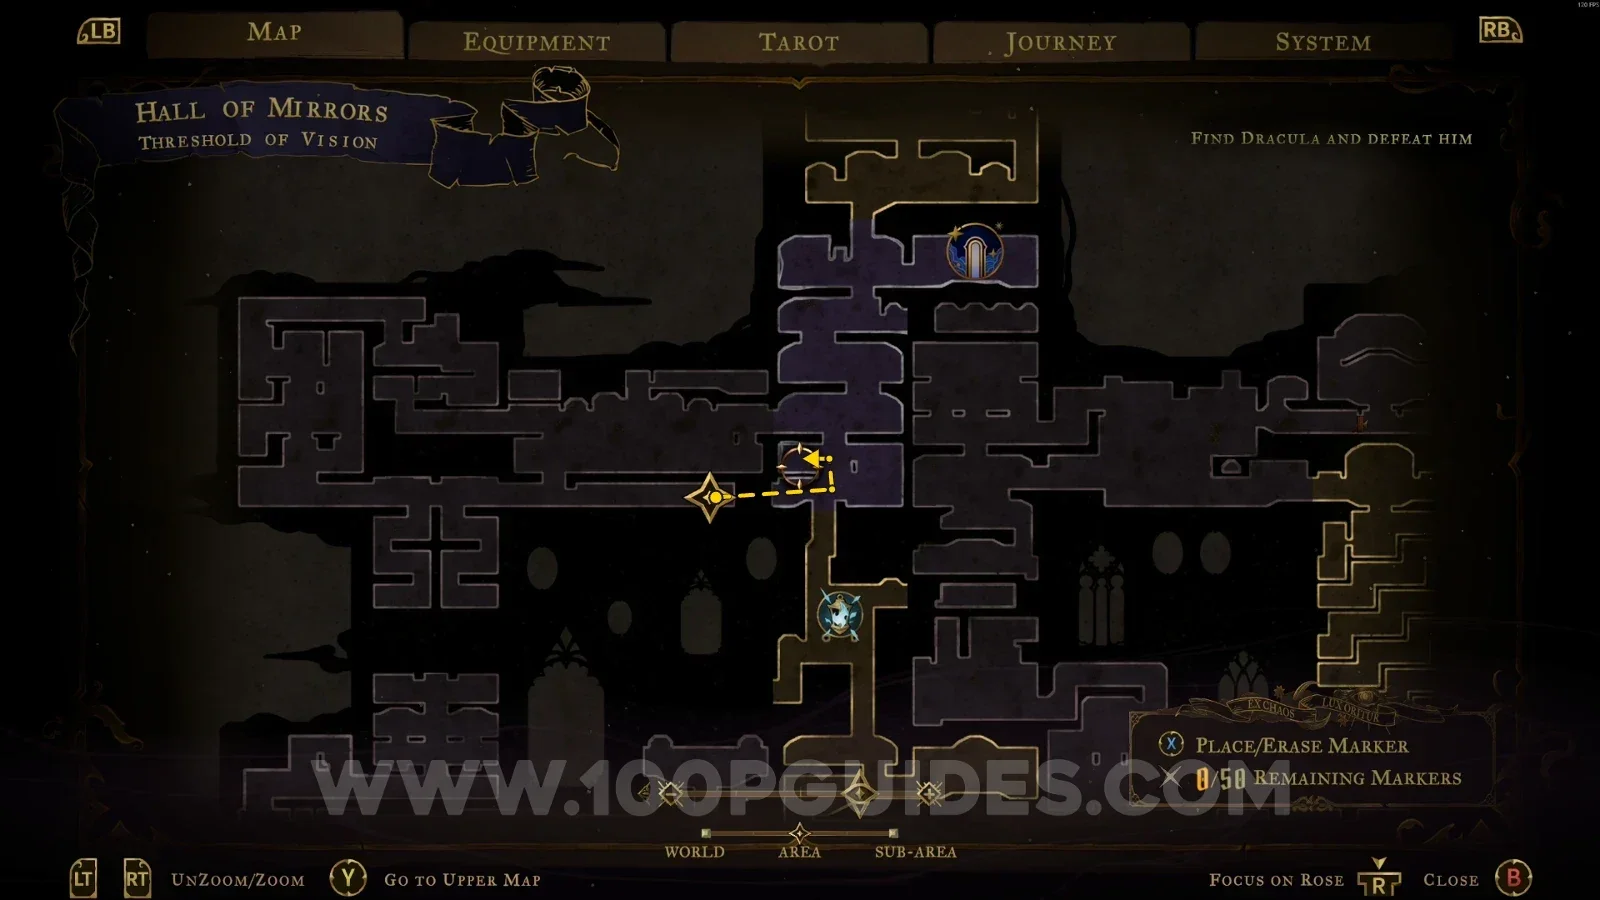
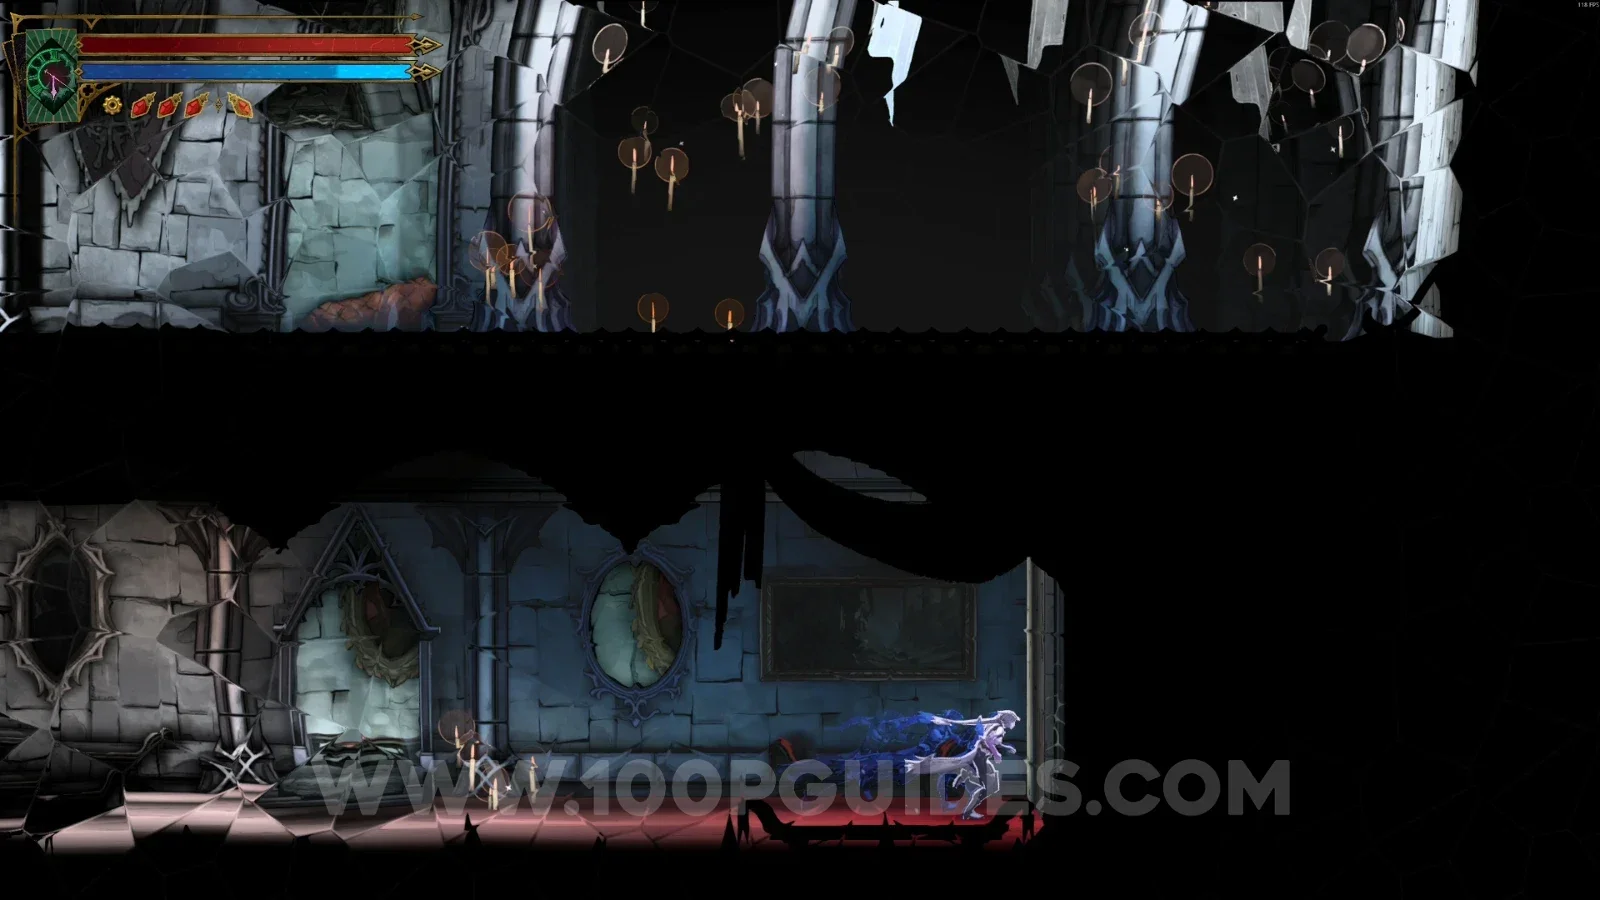
Castlevania Belmonts Curse Threshold Of Vision: map with the area of XP Statue #9 marked Castlevania Belmonts Curse Threshold Of Vision: breakable wall on the right leading to XP Statue #9 Castlevania Belmonts Curse Threshold Of Vision: XP Statue #9 at the top of the platforms in the next room

Mirror Of Life #1

In the area marked on the map.
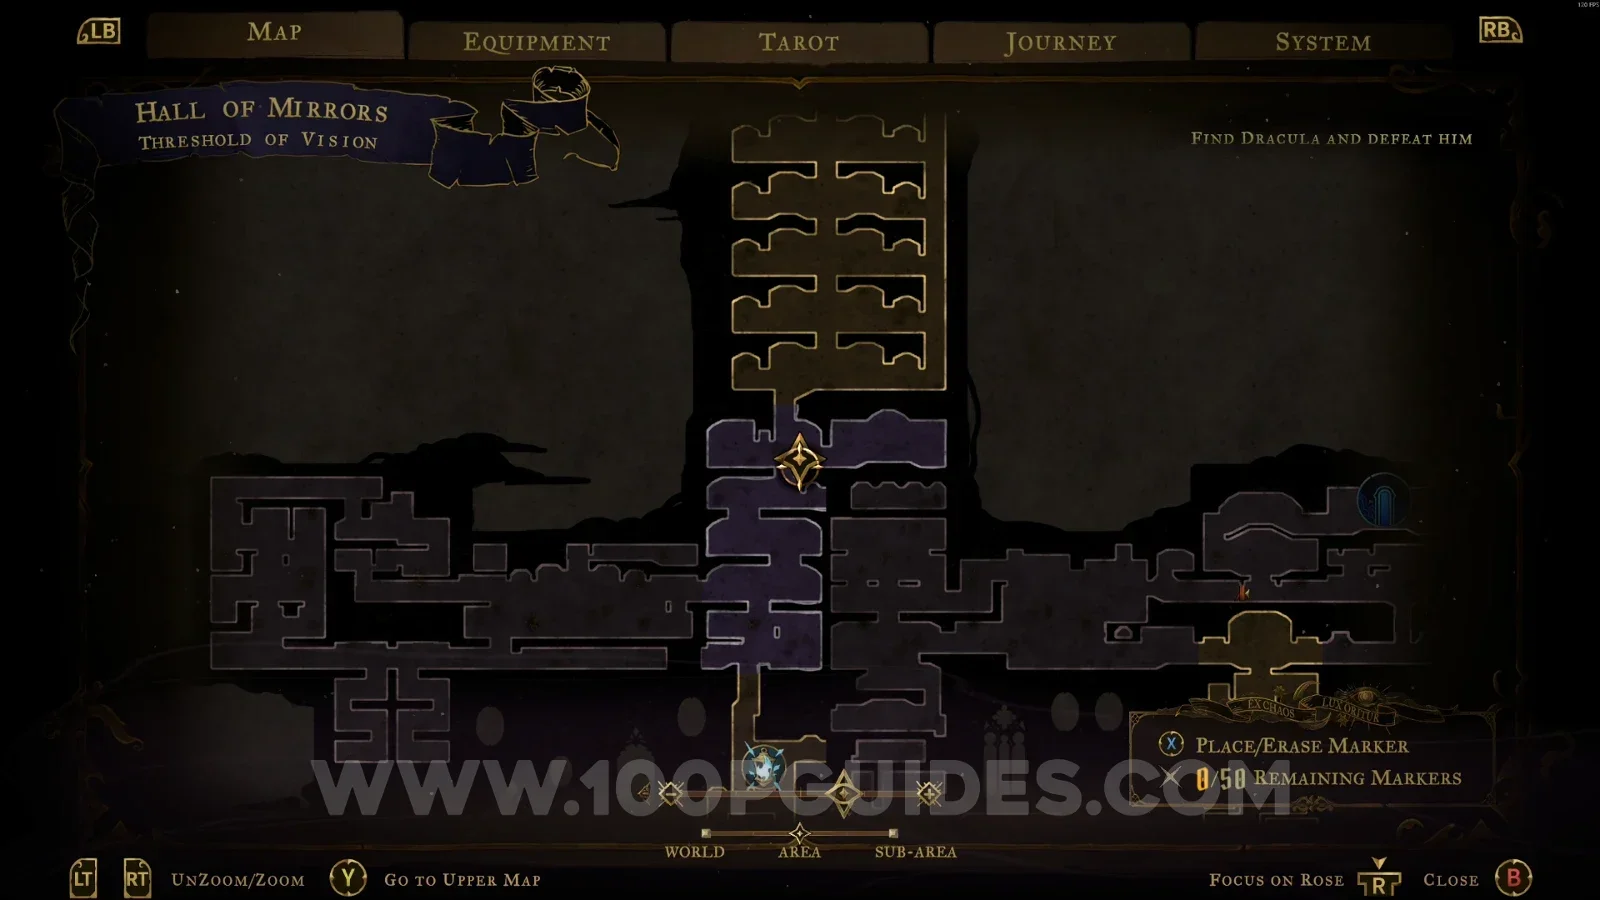
Castlevania Belmonts Curse Threshold Of Vision: map with the location of Mirror Of Life #1 marked Castlevania Belmonts Curse Threshold Of Vision: Mirror Of Life #1 in the marked area

Servants Refectory

XP Statue #10

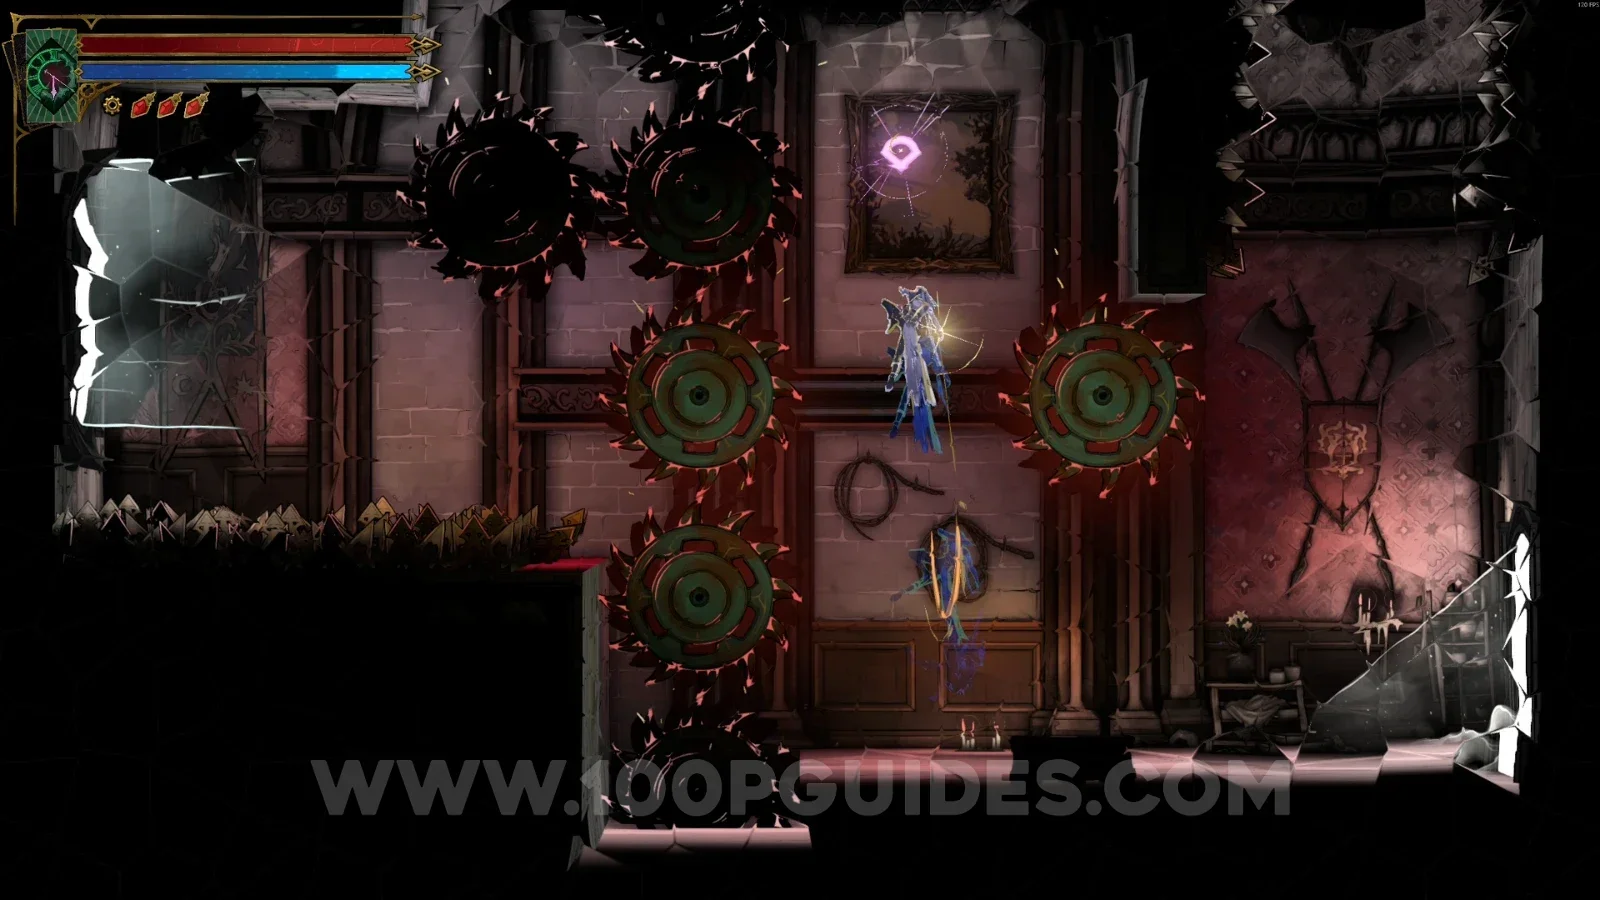
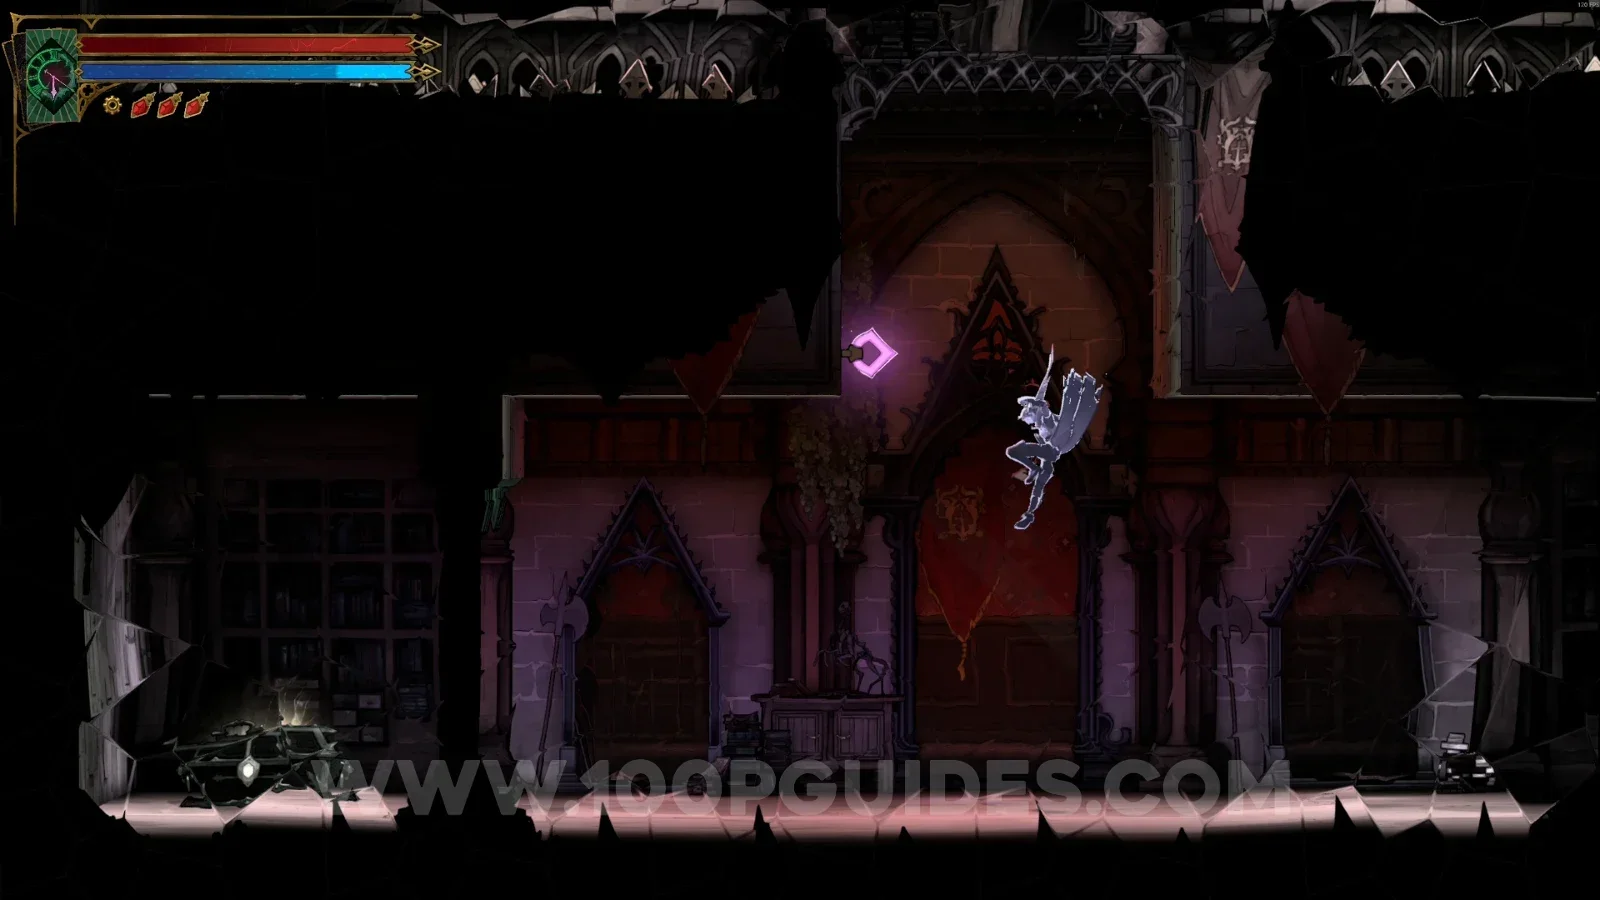
In the area marked on the map, use the Arcane Whip to hang and reach the secret room containing the statue.
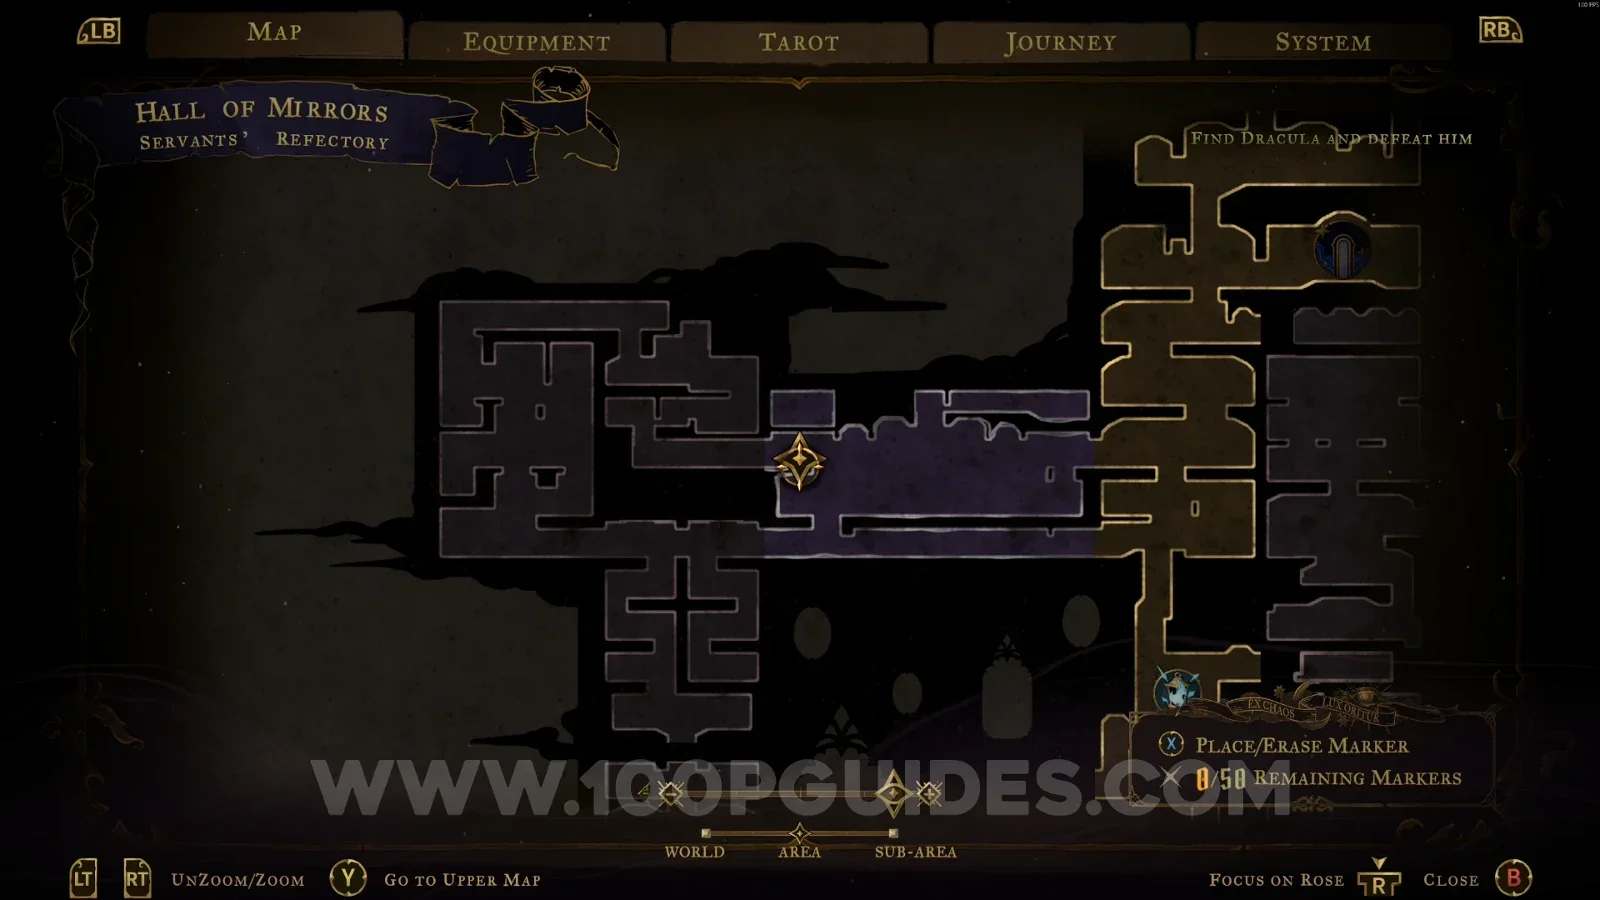
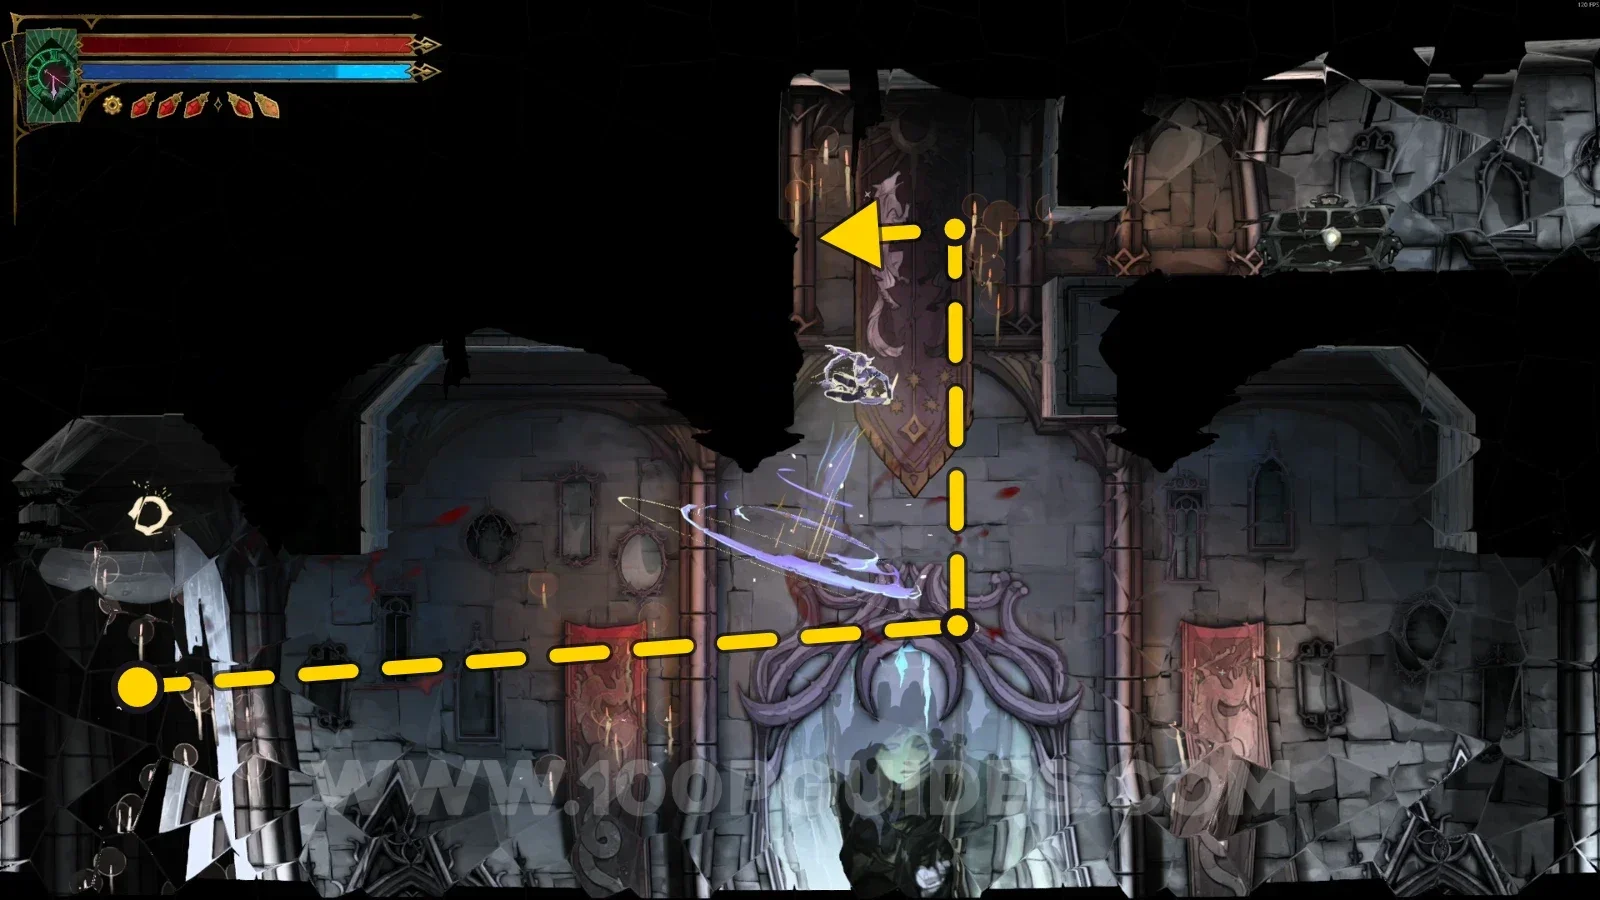
Castlevania Belmonts Curse Servants Refectory: map with the area of XP Statue #10 marked Castlevania Belmonts Curse Servants Refectory: hanging with the Arcane Whip to reach the secret room Castlevania Belmonts Curse Servants Refectory: XP Statue #10 inside the secret room

Relic #1: Sand Charm

Same area as the previous collectible. Go through the portal on the left side to reach the chest.
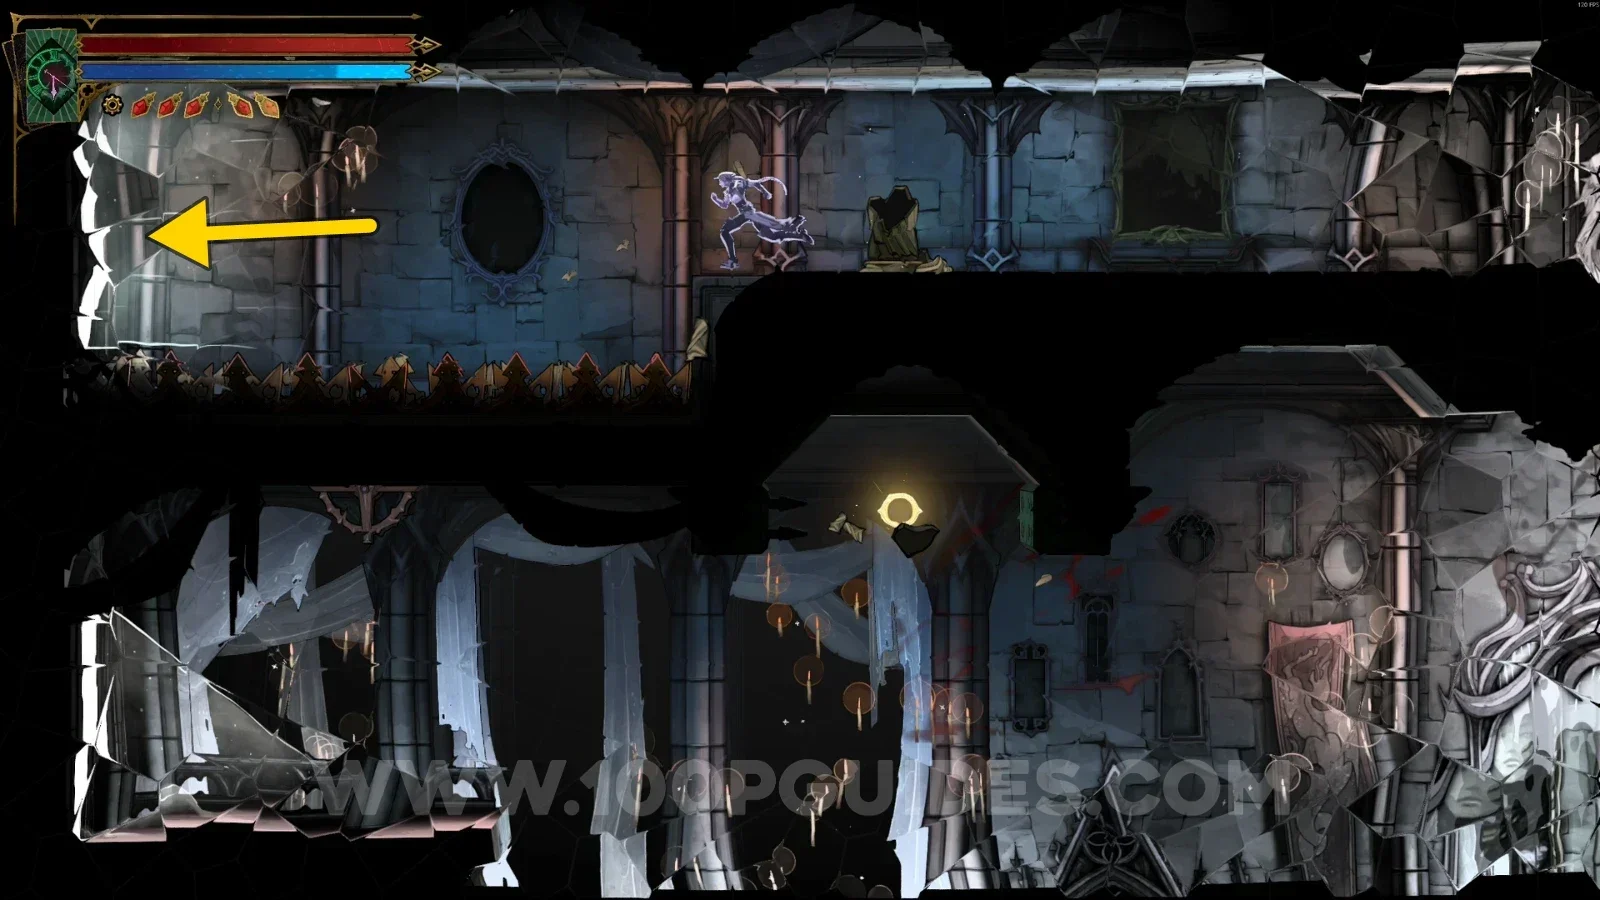
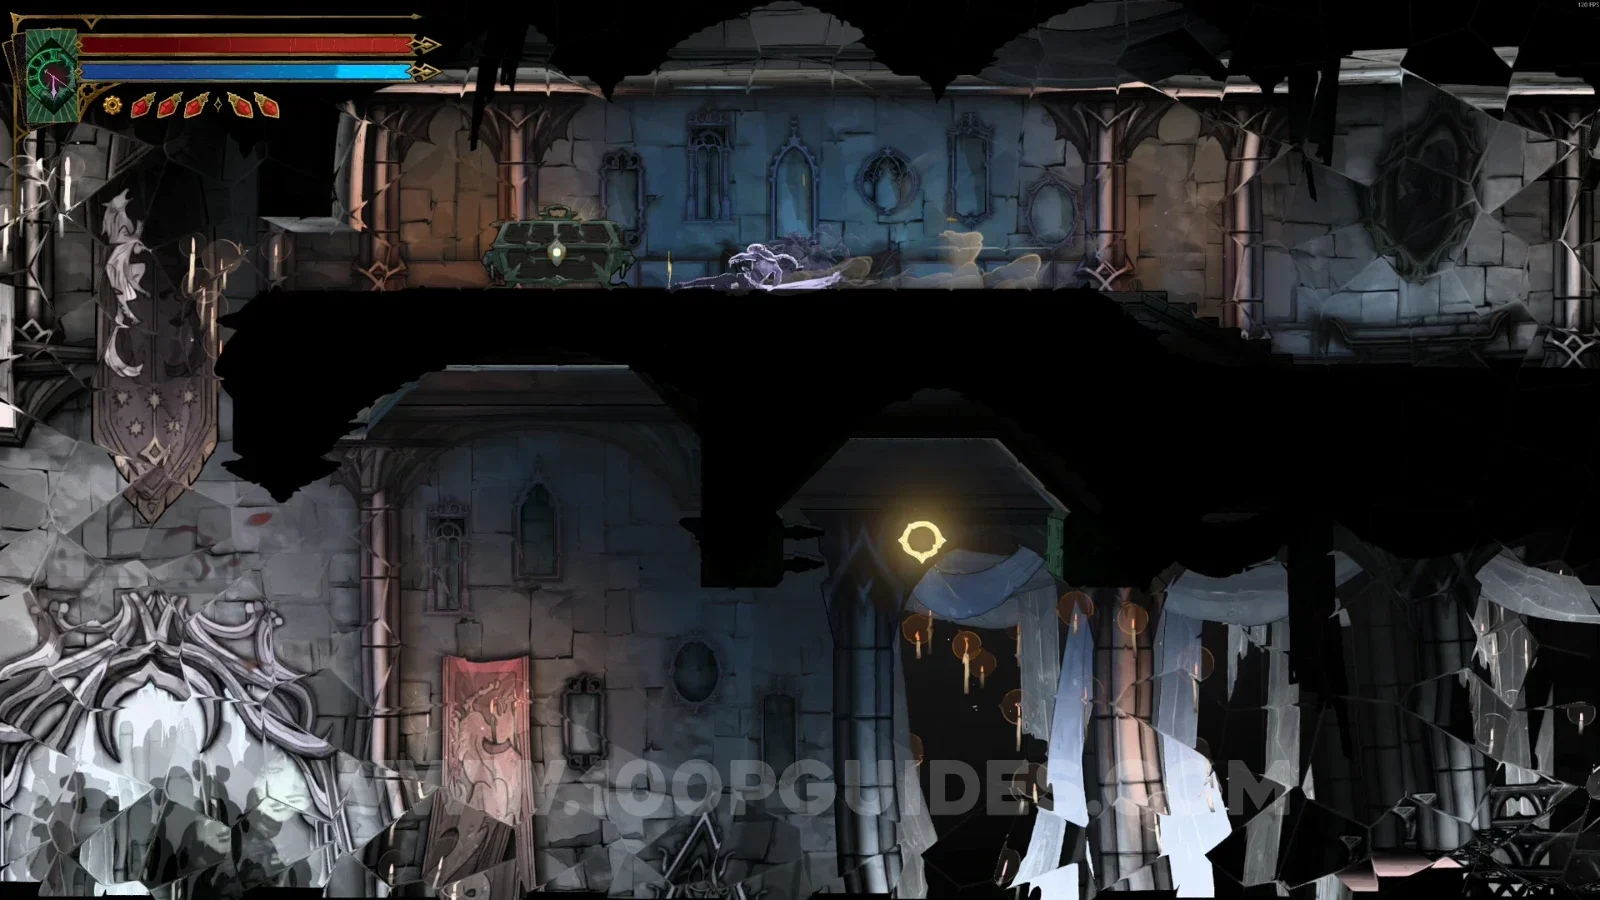
Castlevania Belmonts Curse Servants Refectory: portal on the left side leading to the Sand Charm chest Castlevania Belmonts Curse Servants Refectory: chest holding Relic #1, the Sand Charm

Looping Hallways

XP Statue #11

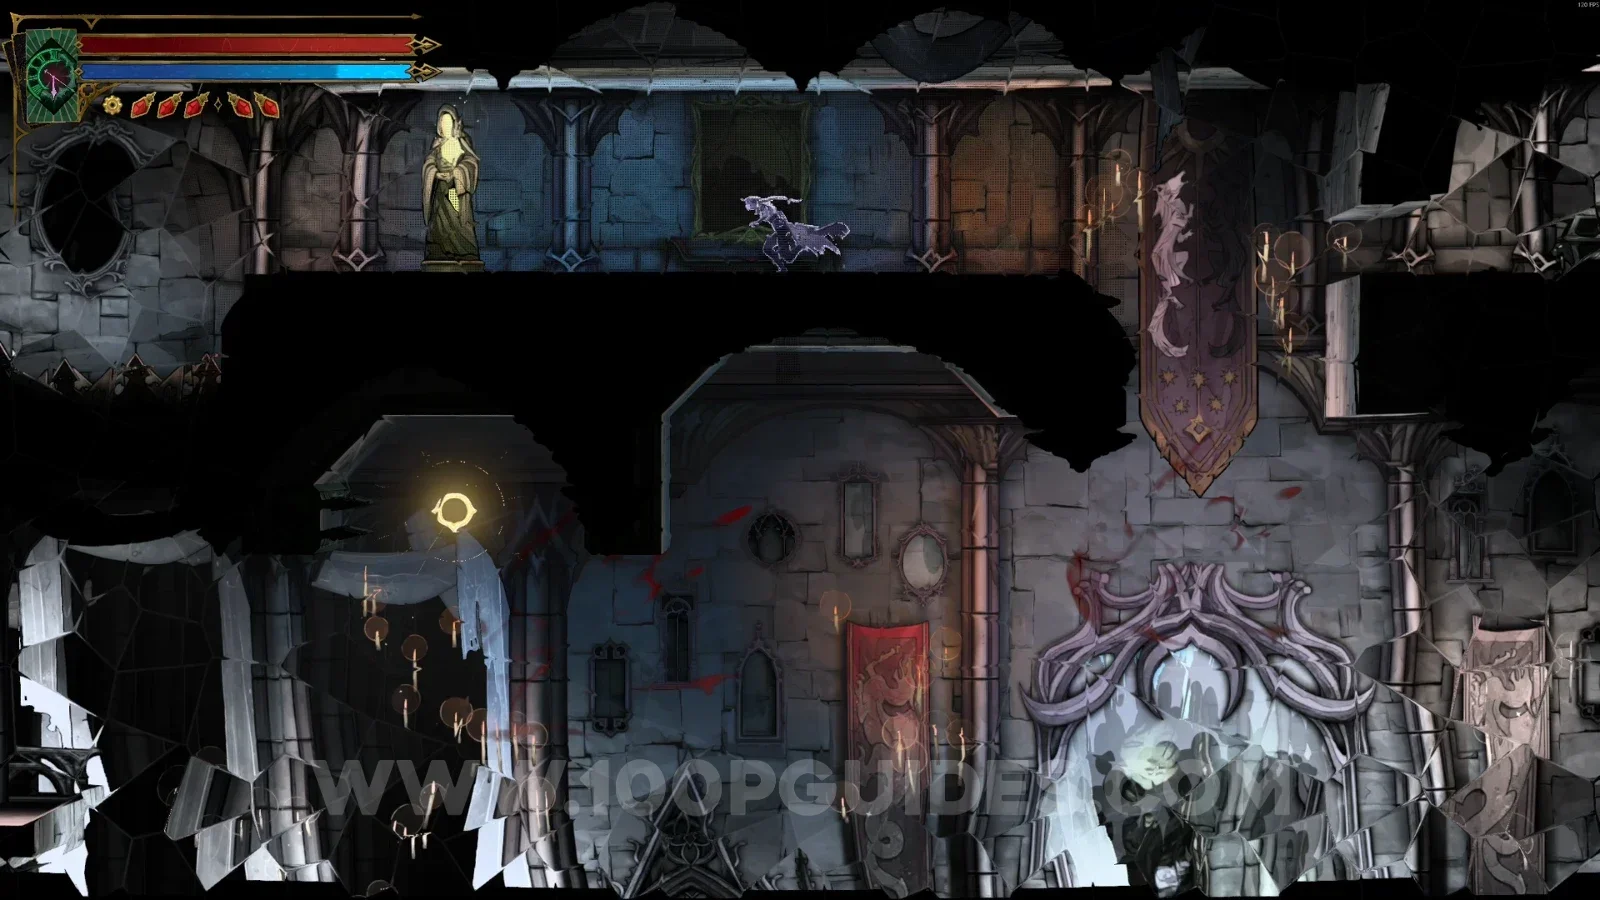
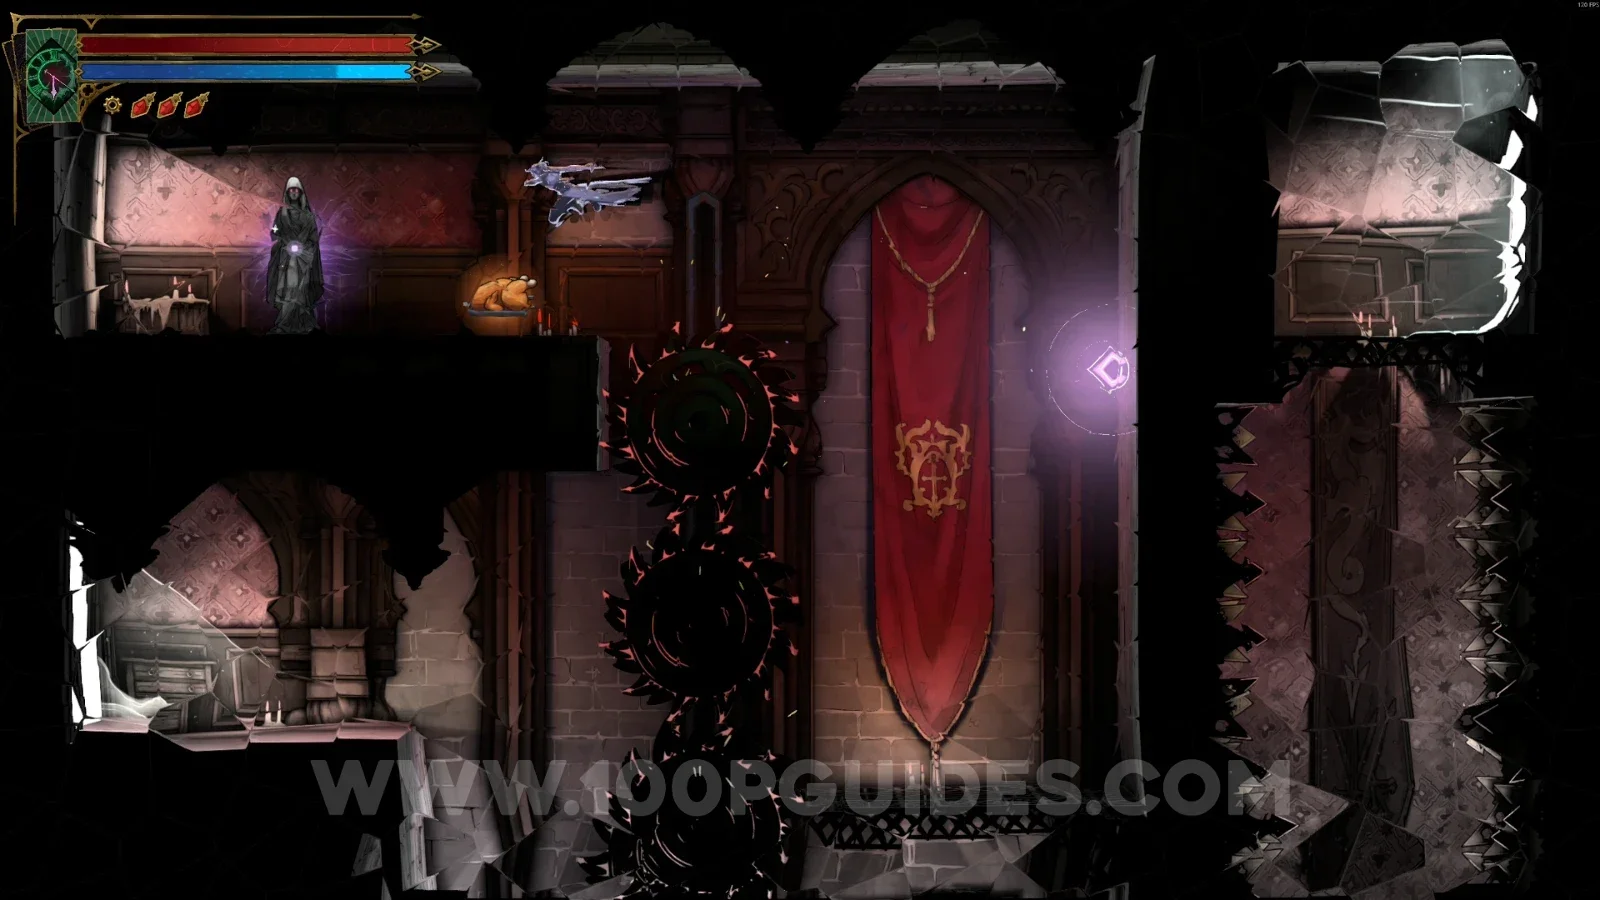
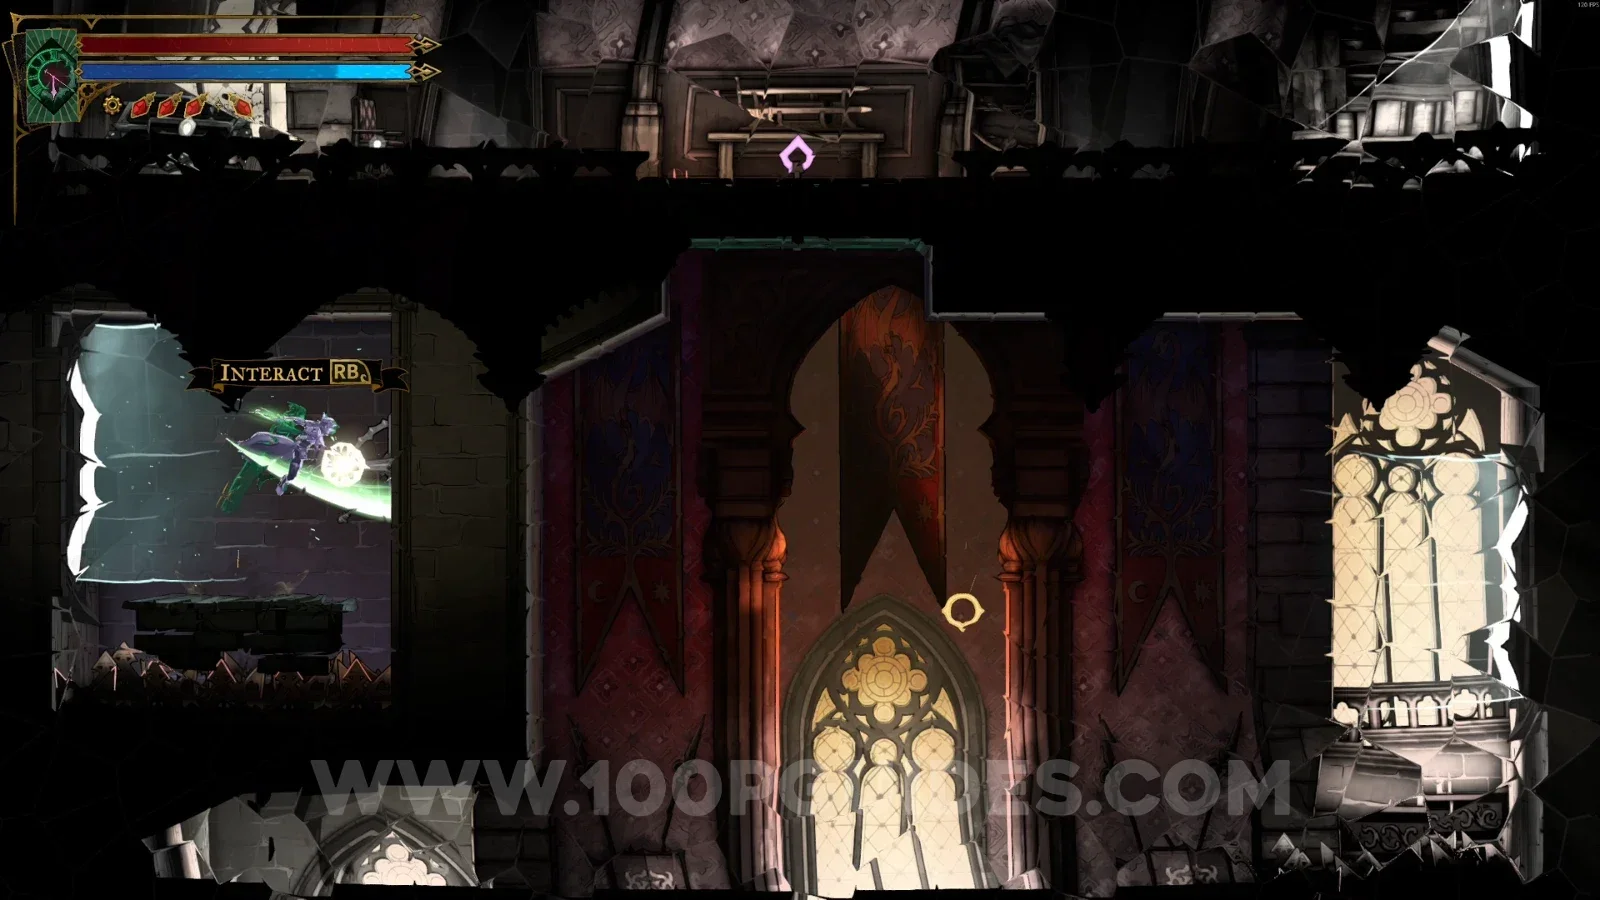
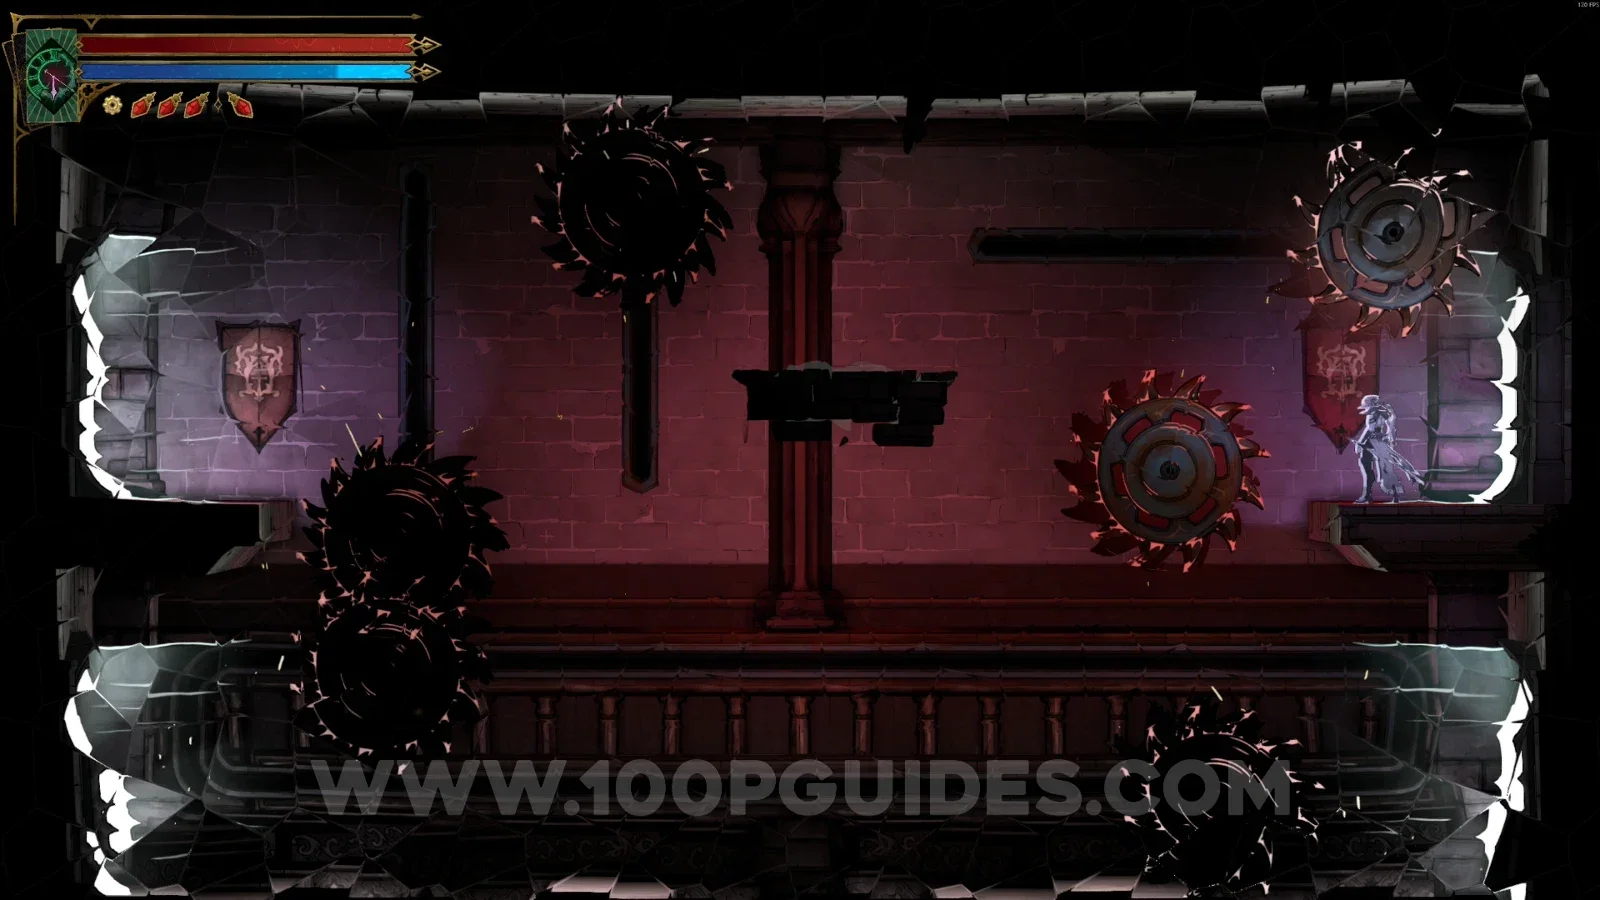
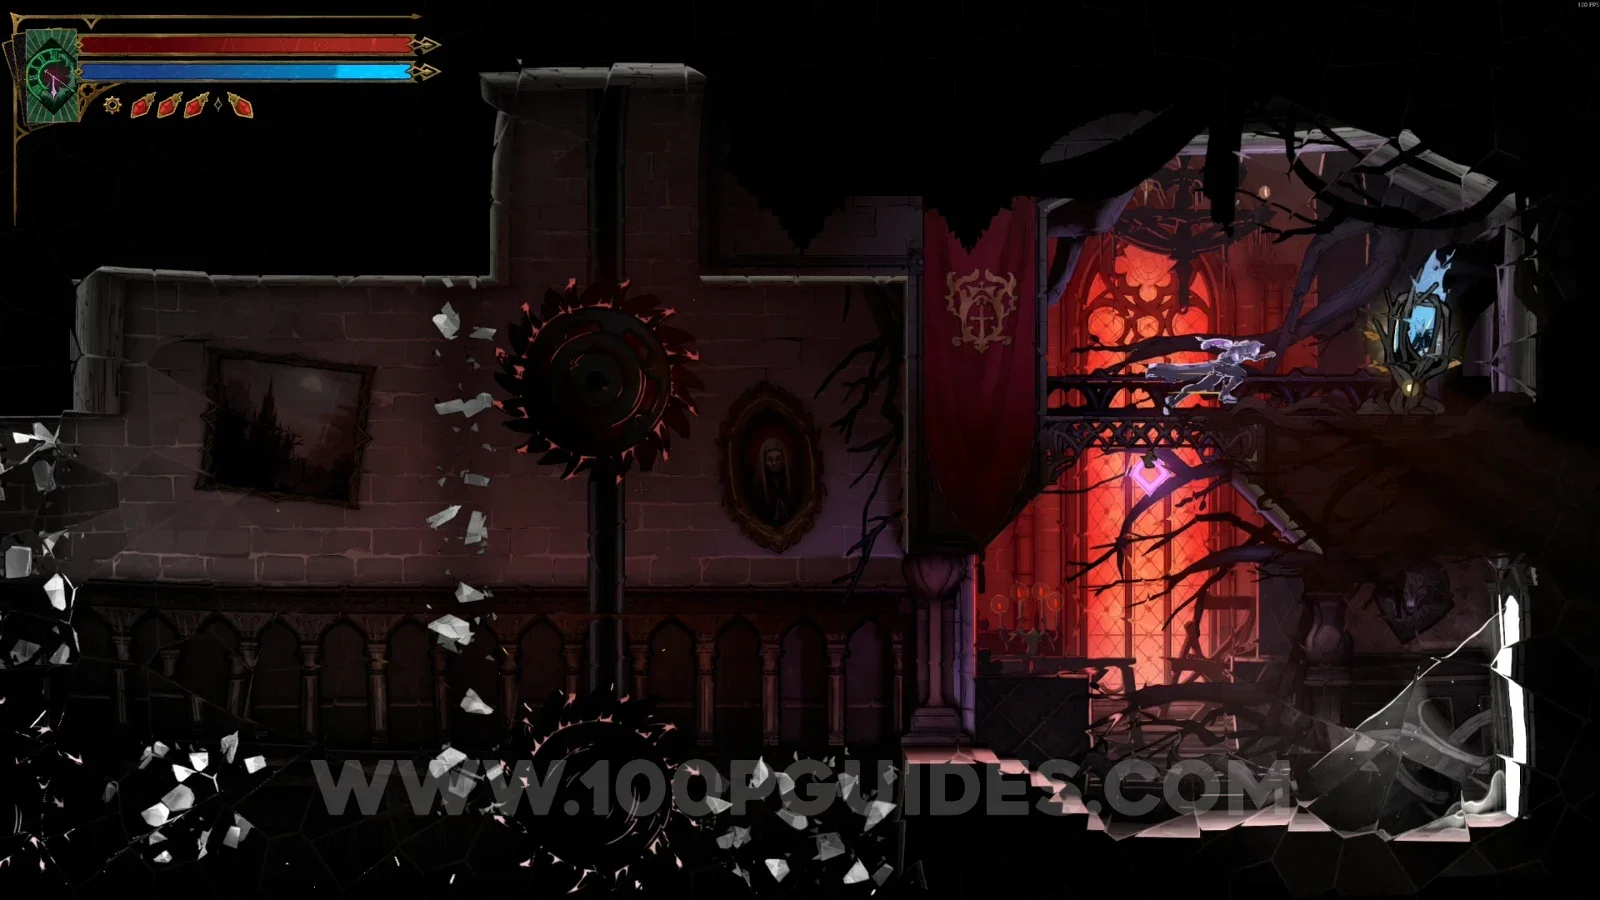
In the area marked on the map, interact with the lever, then climb to the upper part and break the statue.
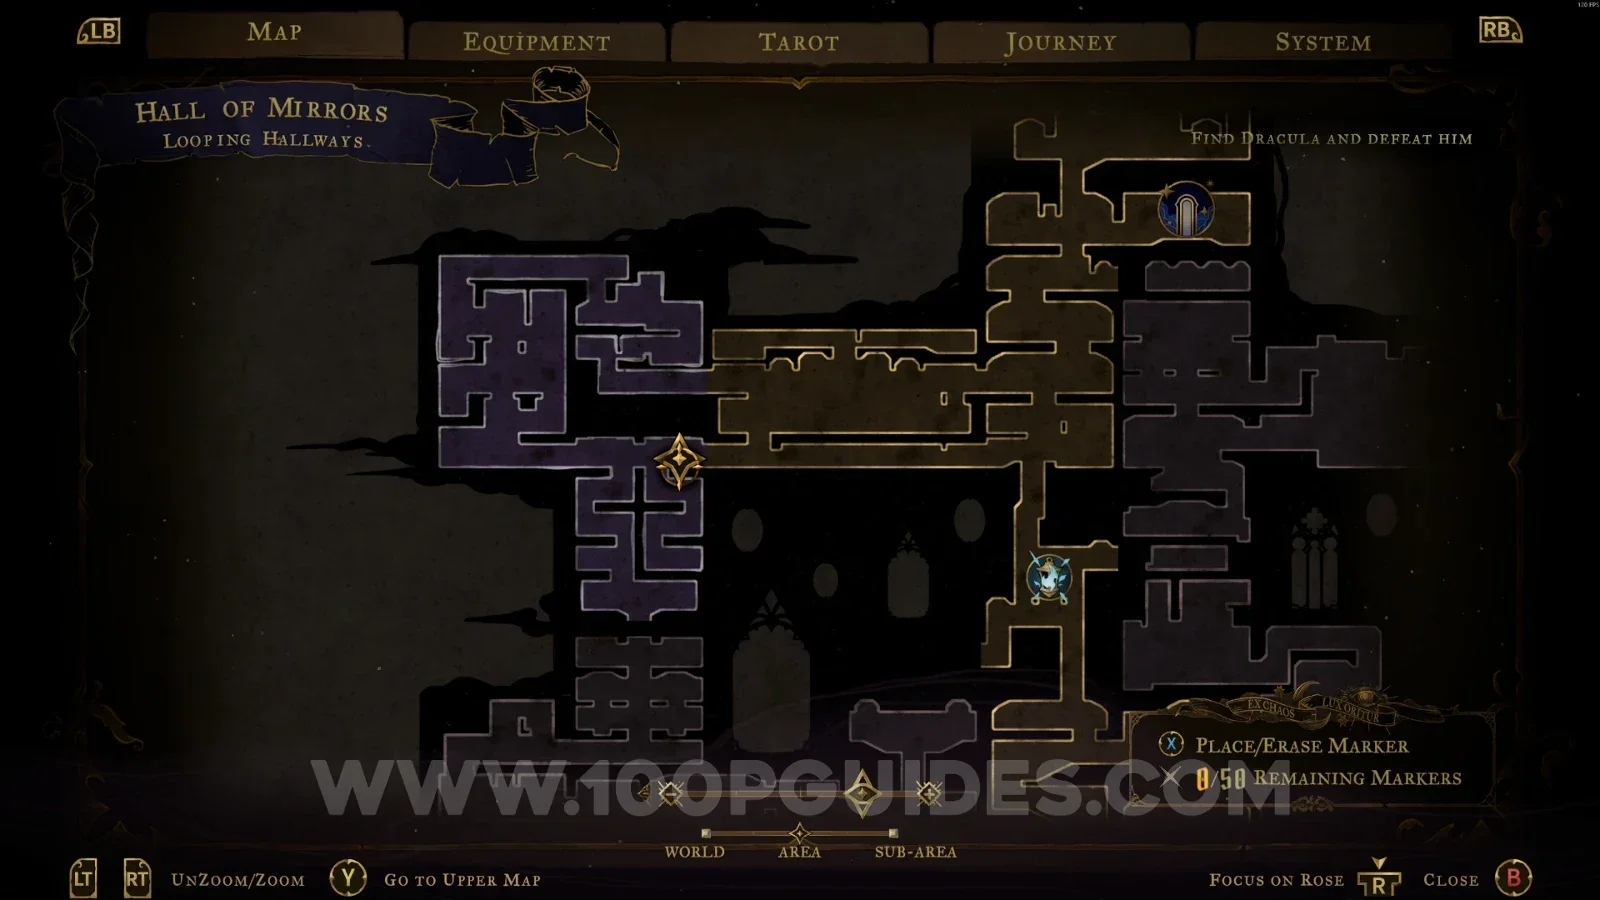
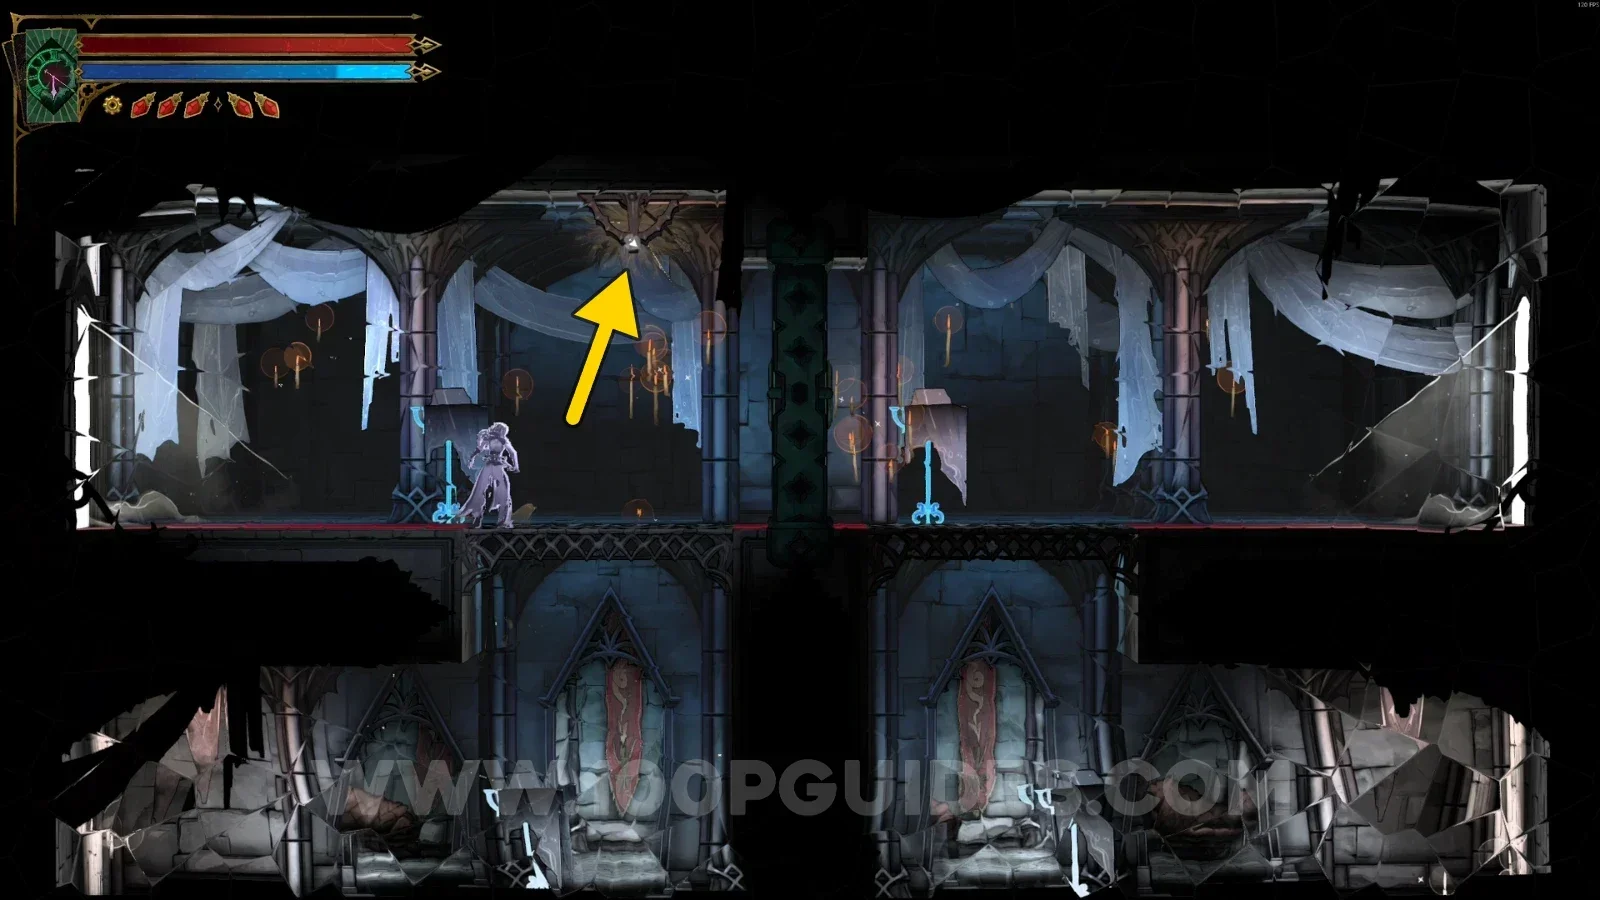
Castlevania Belmonts Curse Looping Hallways: map with the area of XP Statue #11 marked Castlevania Belmonts Curse Looping Hallways: lever to interact with before climbing to XP Statue #11 Castlevania Belmonts Curse Looping Hallways: XP Statue #11 in the upper part of the area

Clue: The Sage

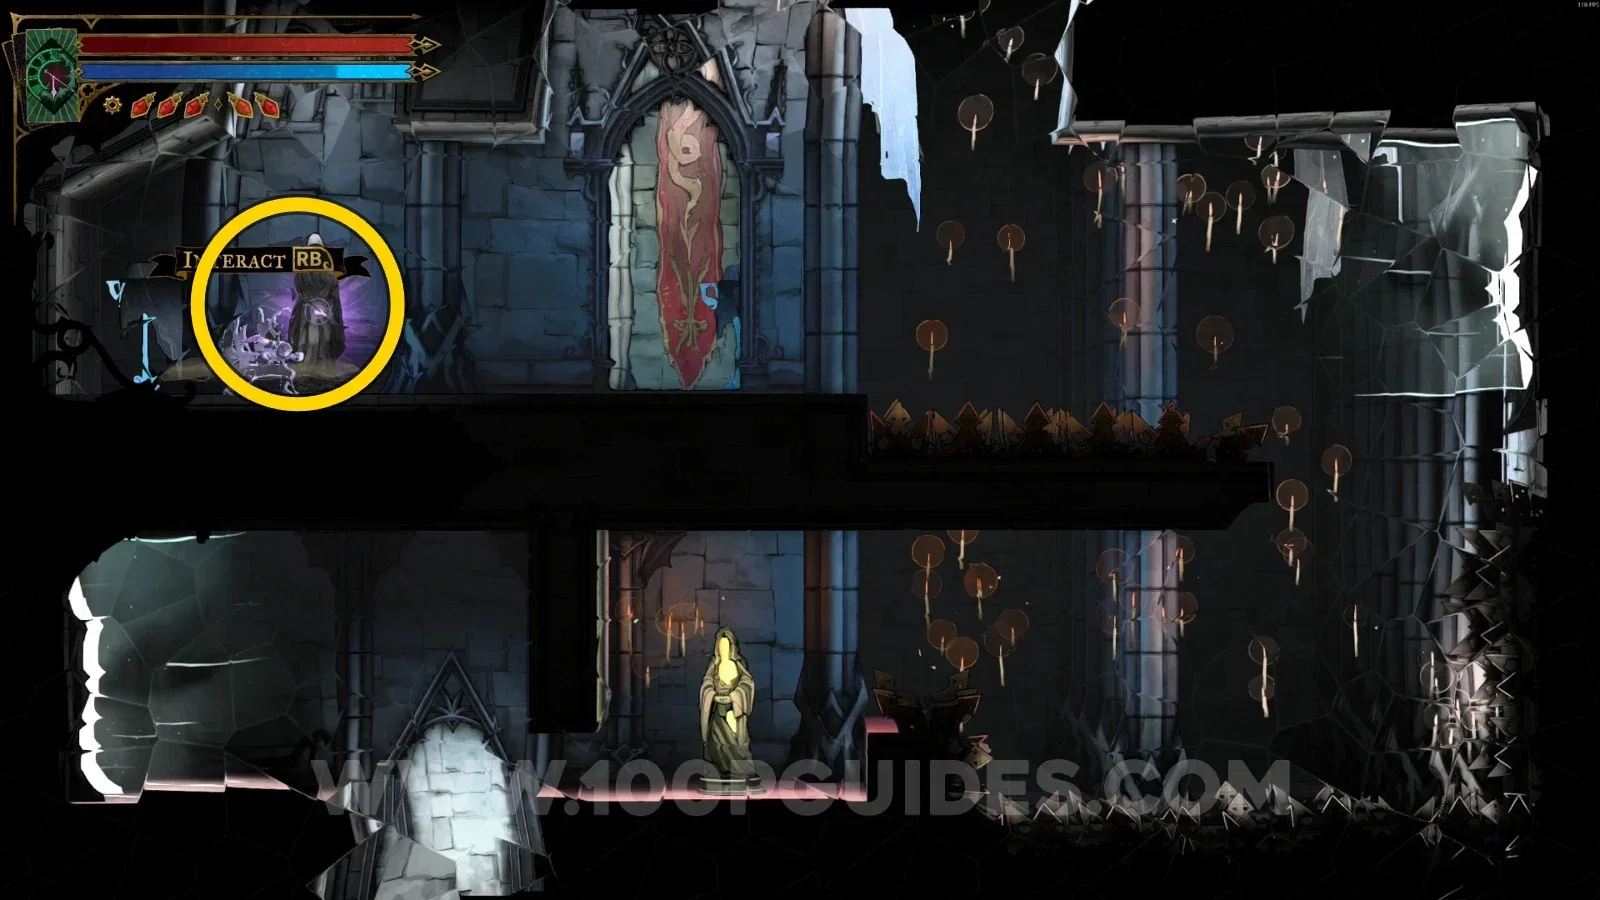
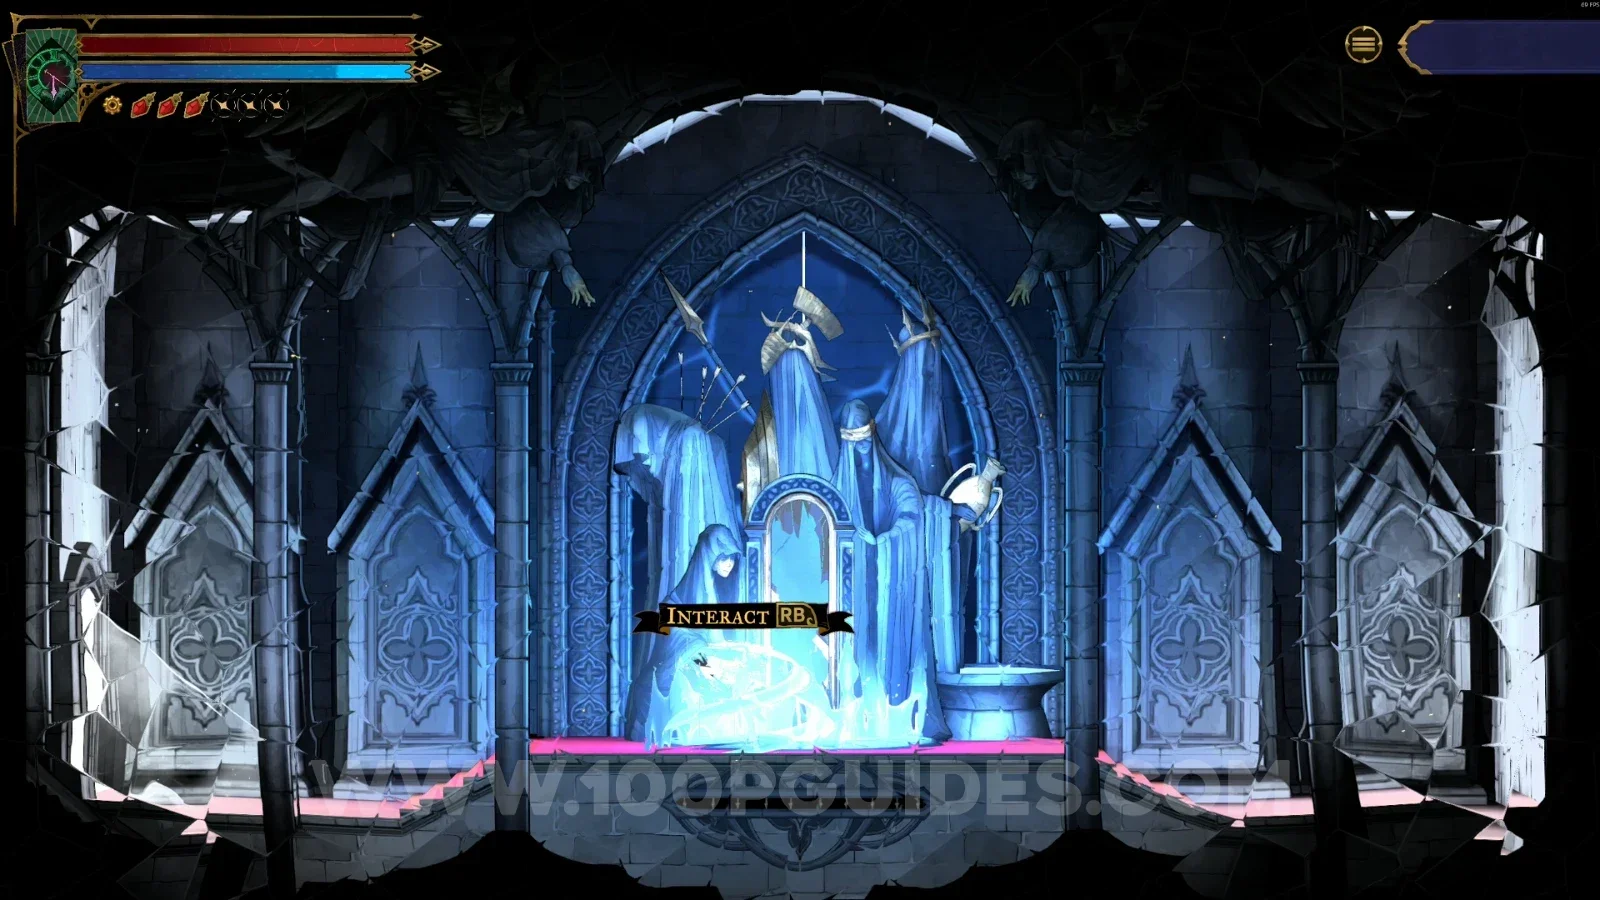
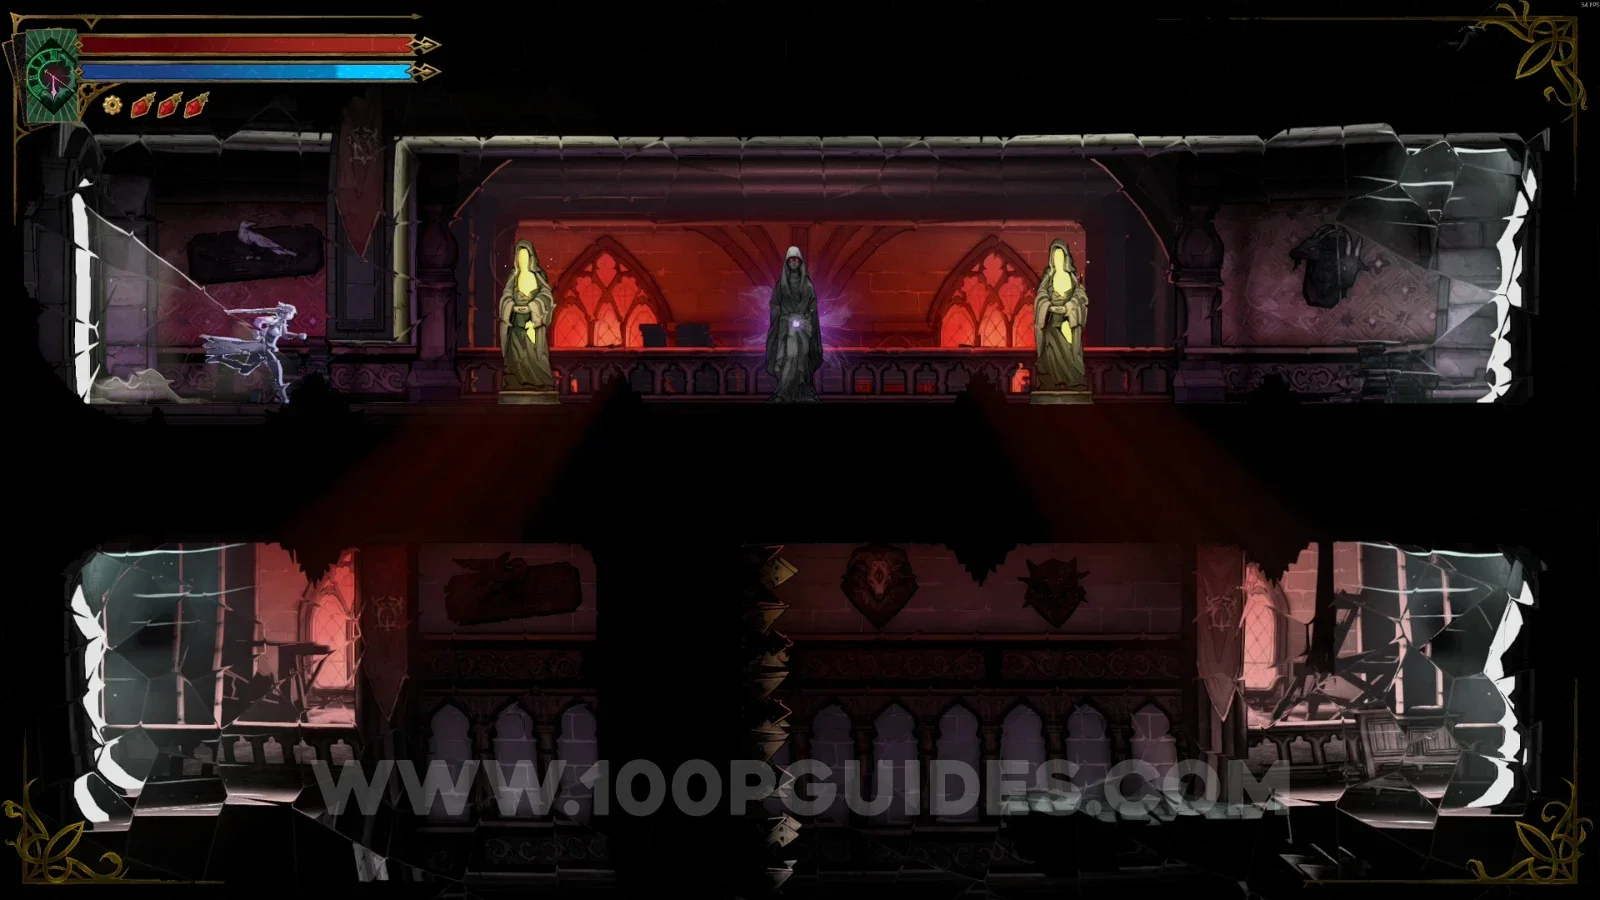
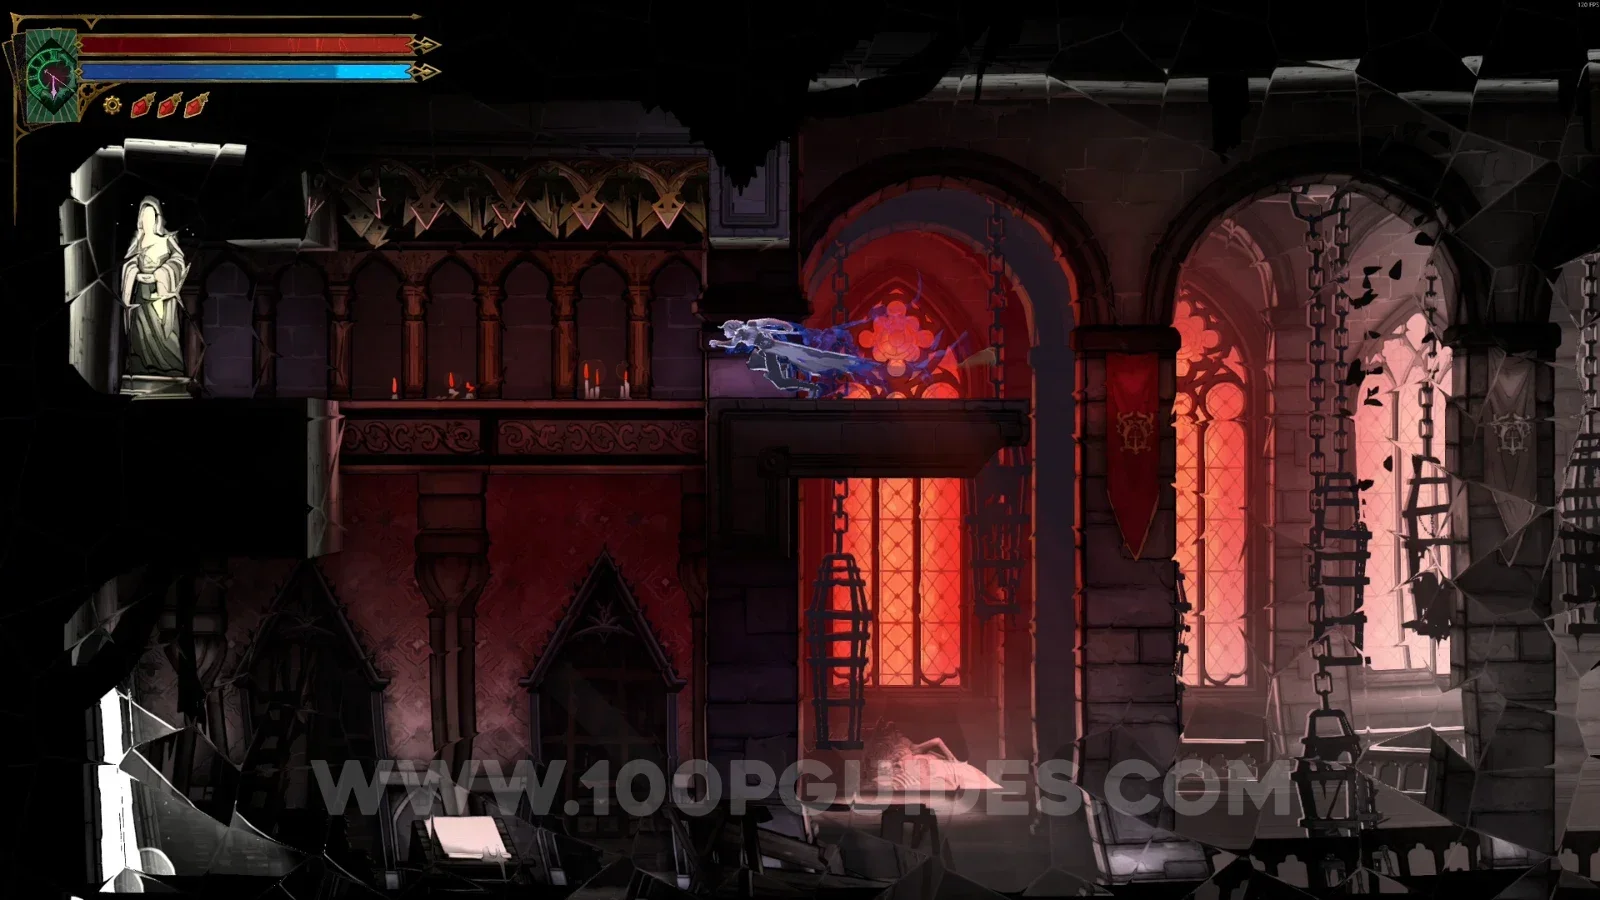
In the area marked on the map, interact with the statue.
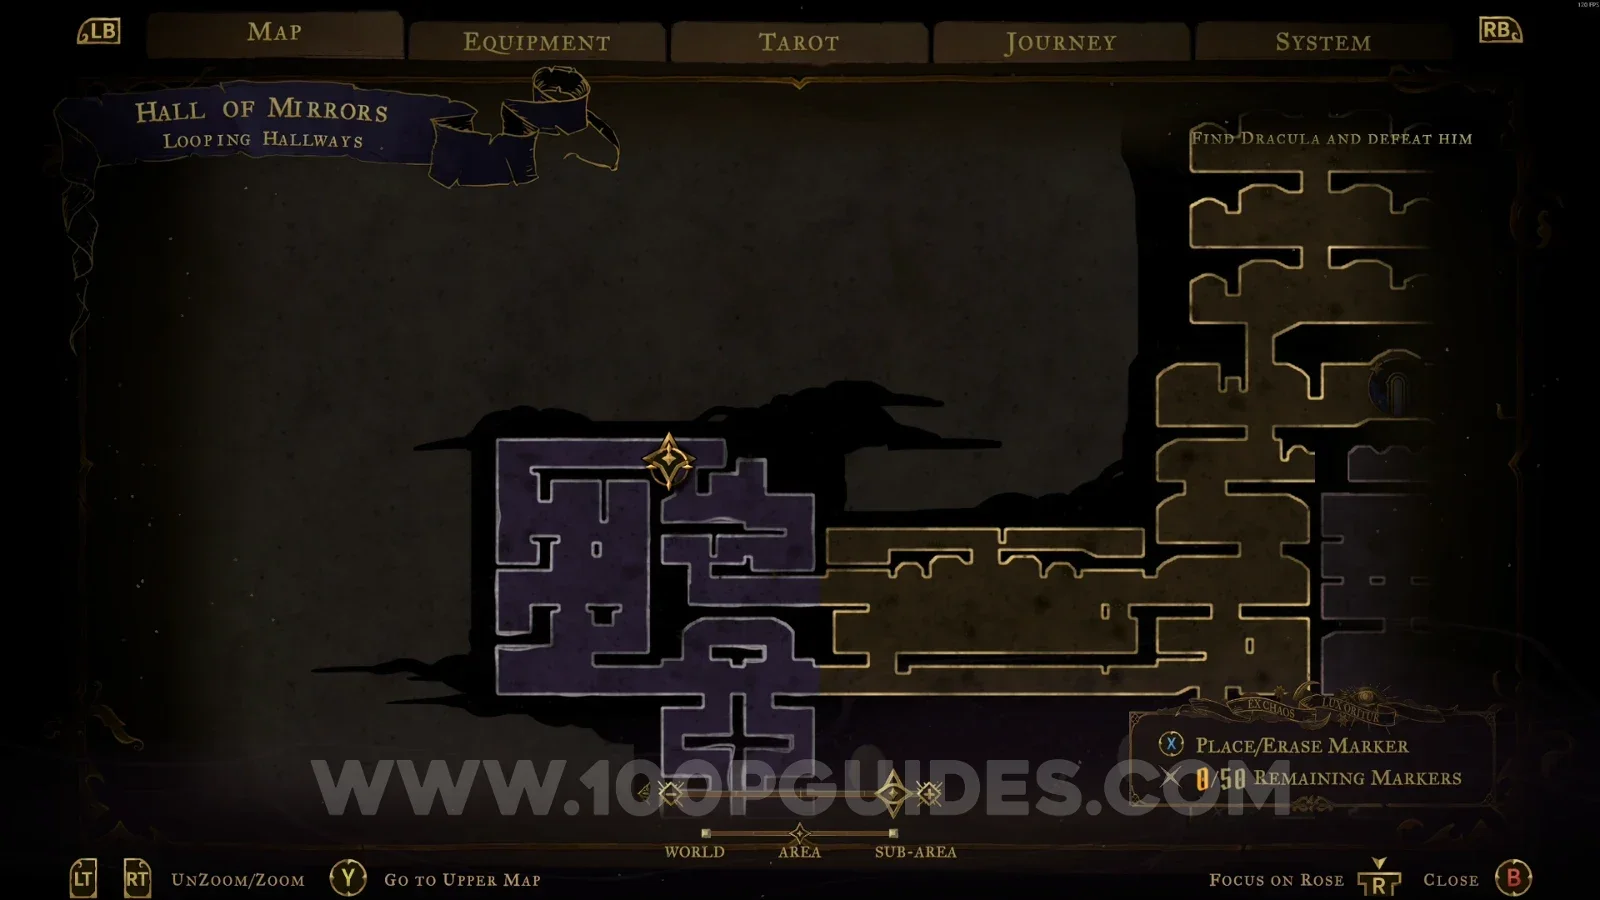
Castlevania Belmonts Curse Looping Hallways: map marking the statue that gives the clue The Sage Castlevania Belmonts Curse Looping Hallways: interacting with the statue to get the clue The Sage

XP Statue #12

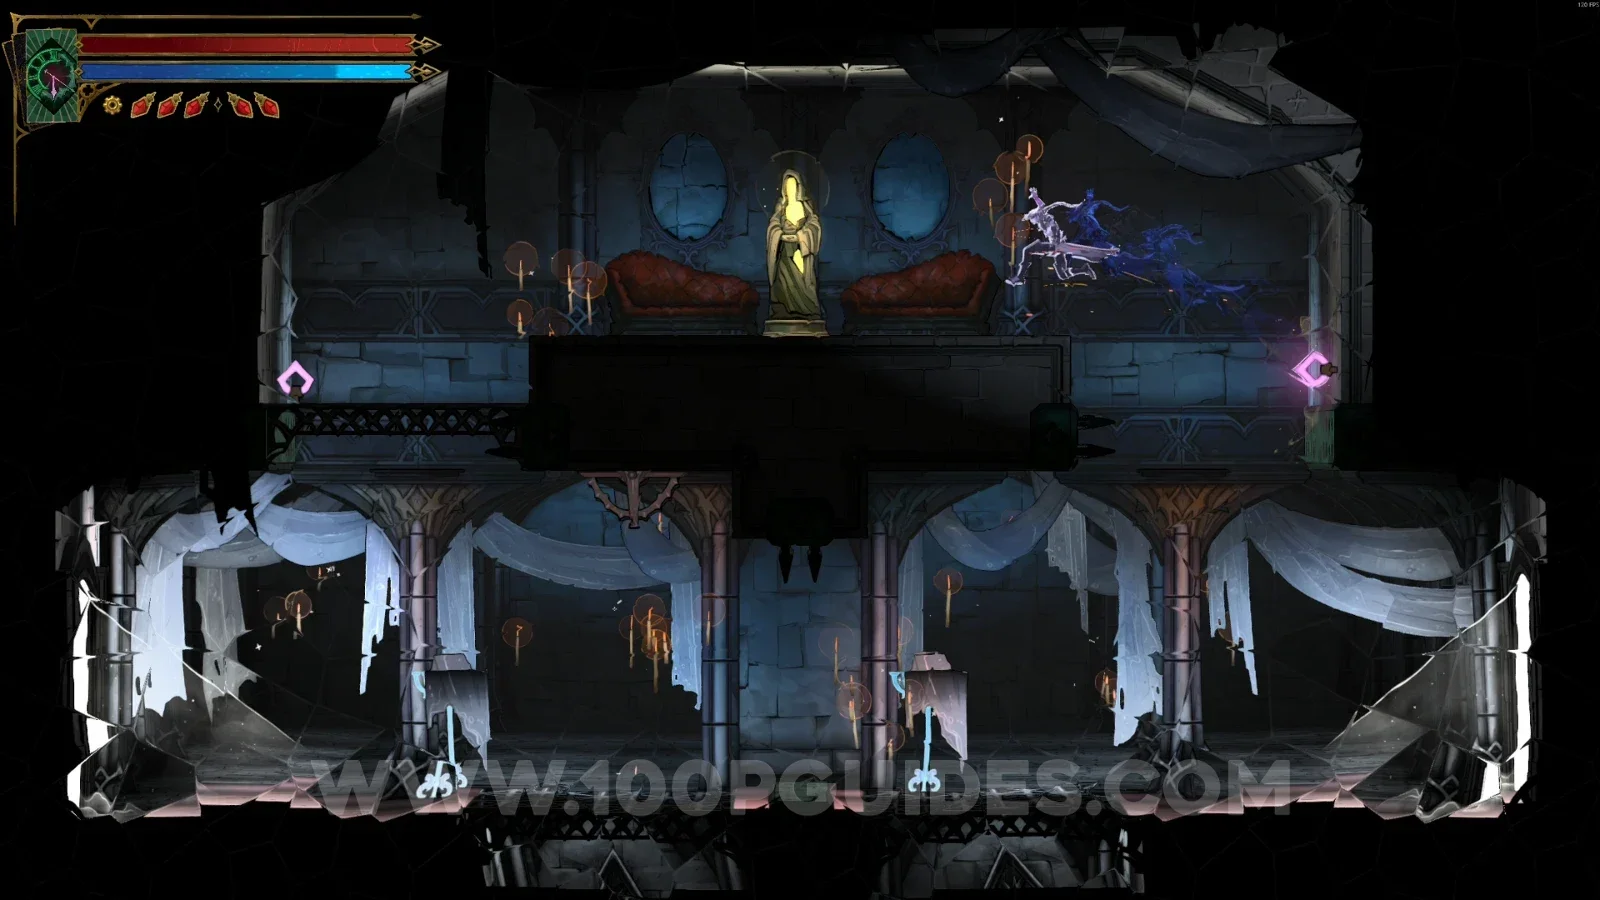
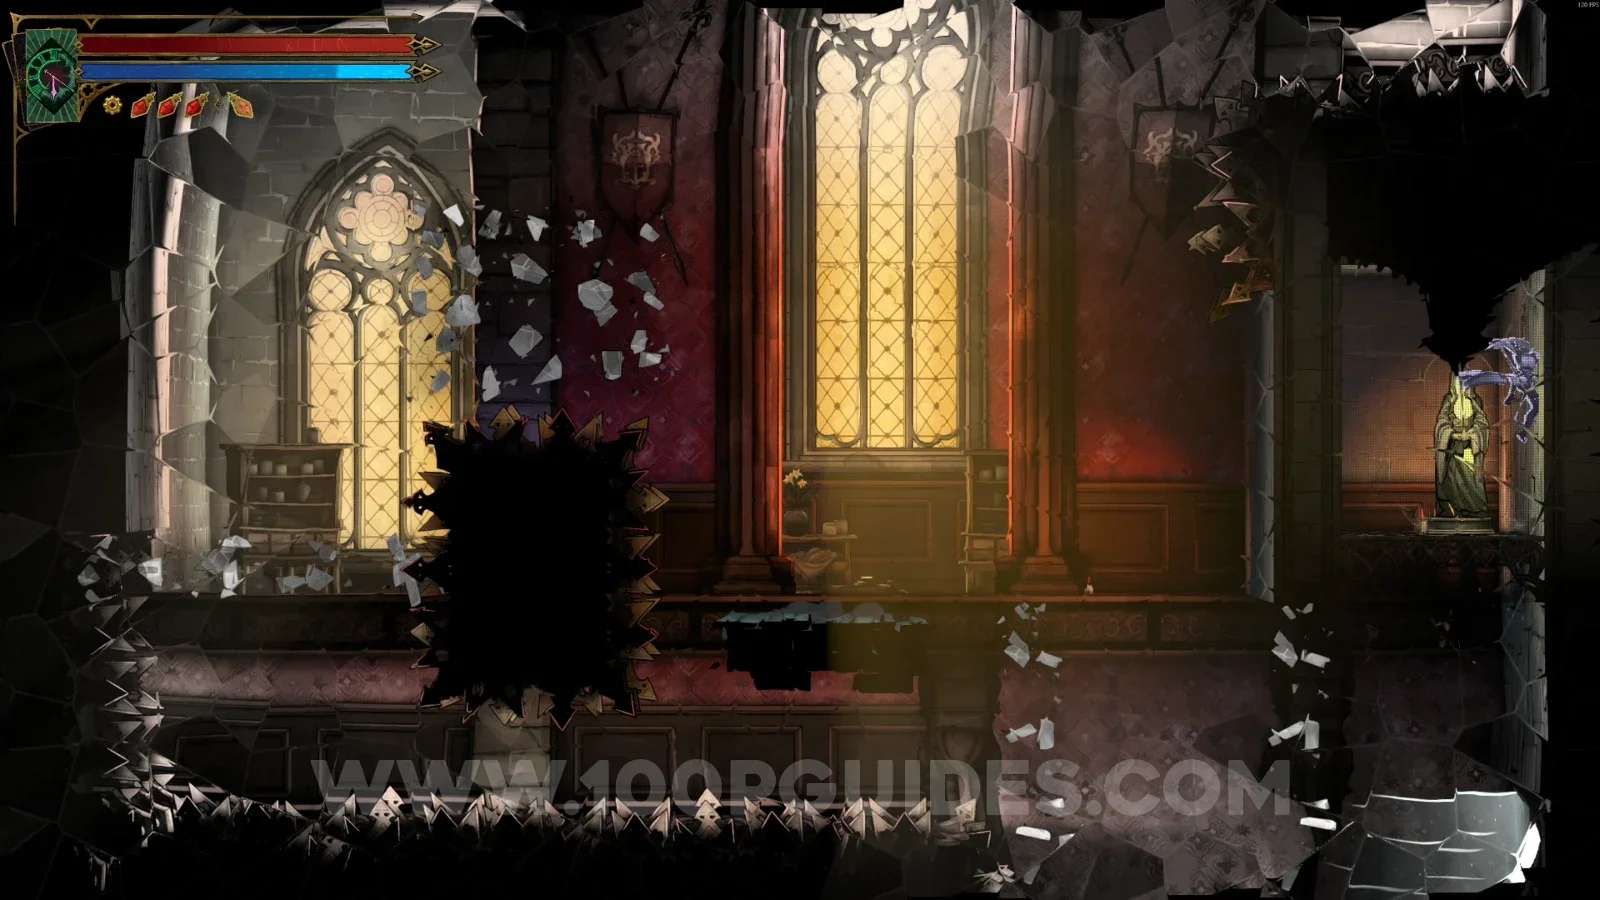
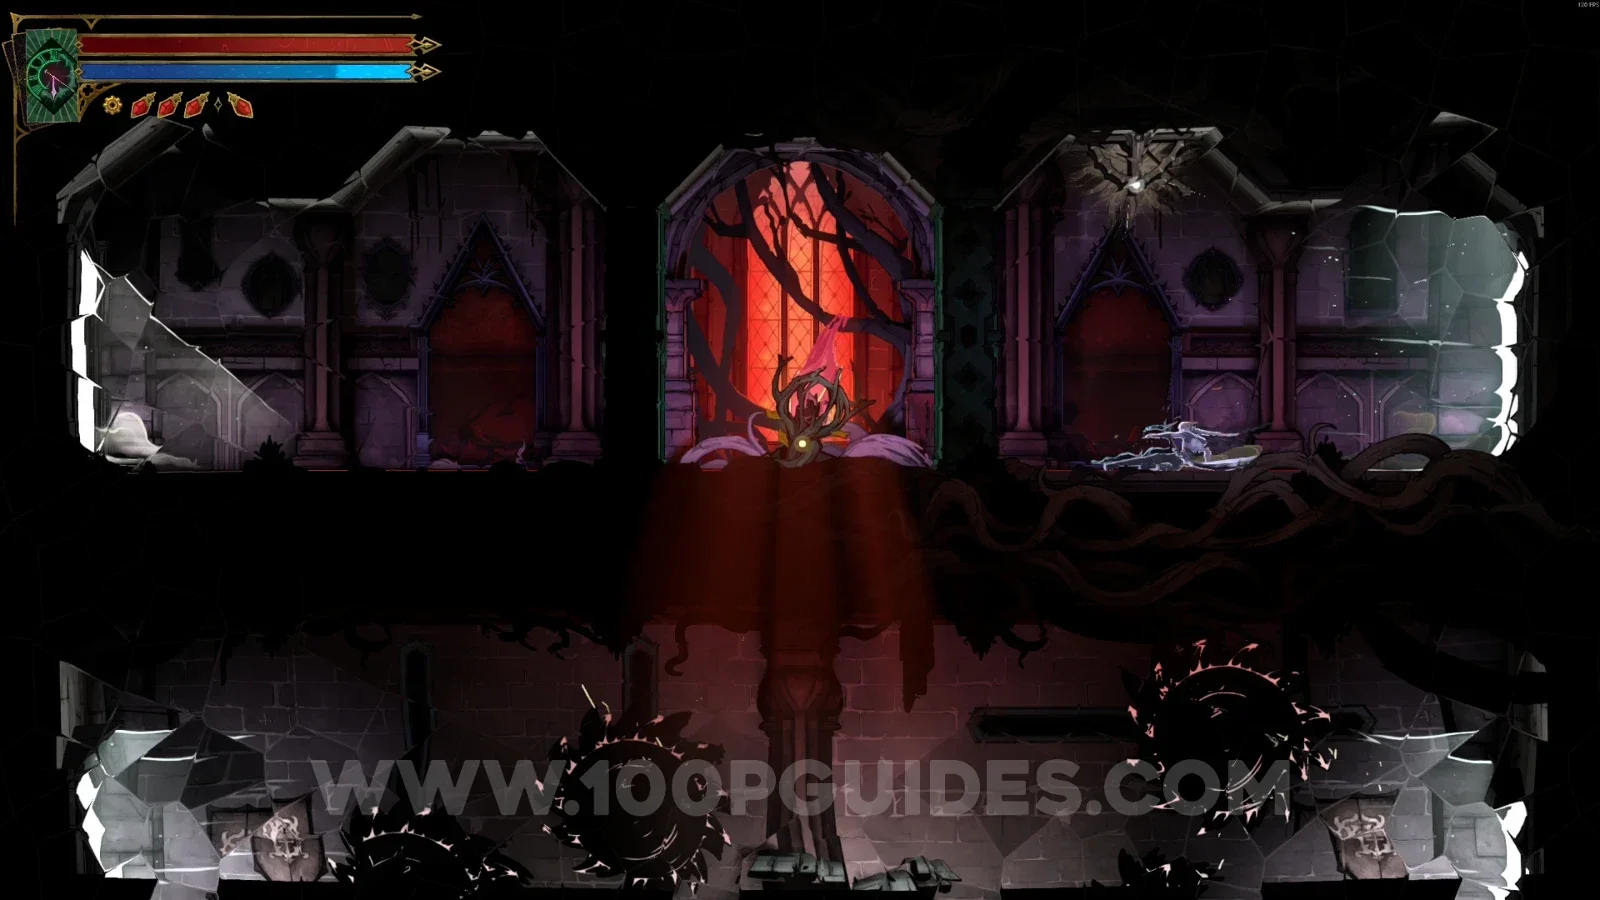
Use the portals to reach the statue.
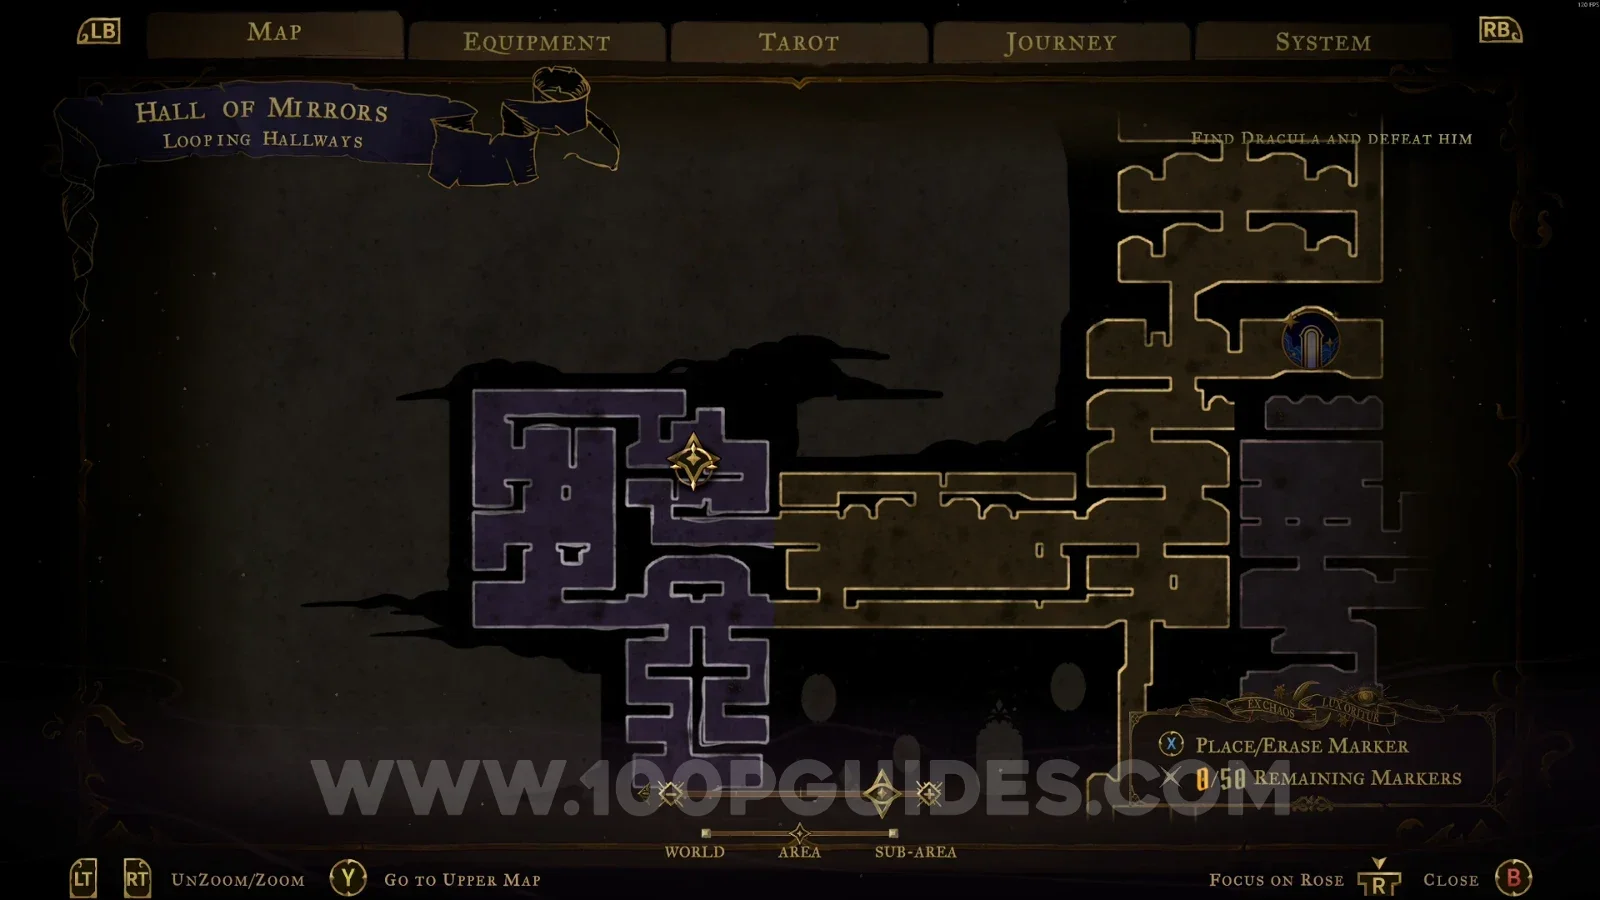
Castlevania Belmonts Curse Looping Hallways: portals used to reach XP Statue #12 Castlevania Belmonts Curse Looping Hallways: XP Statue #12 reached through the portals

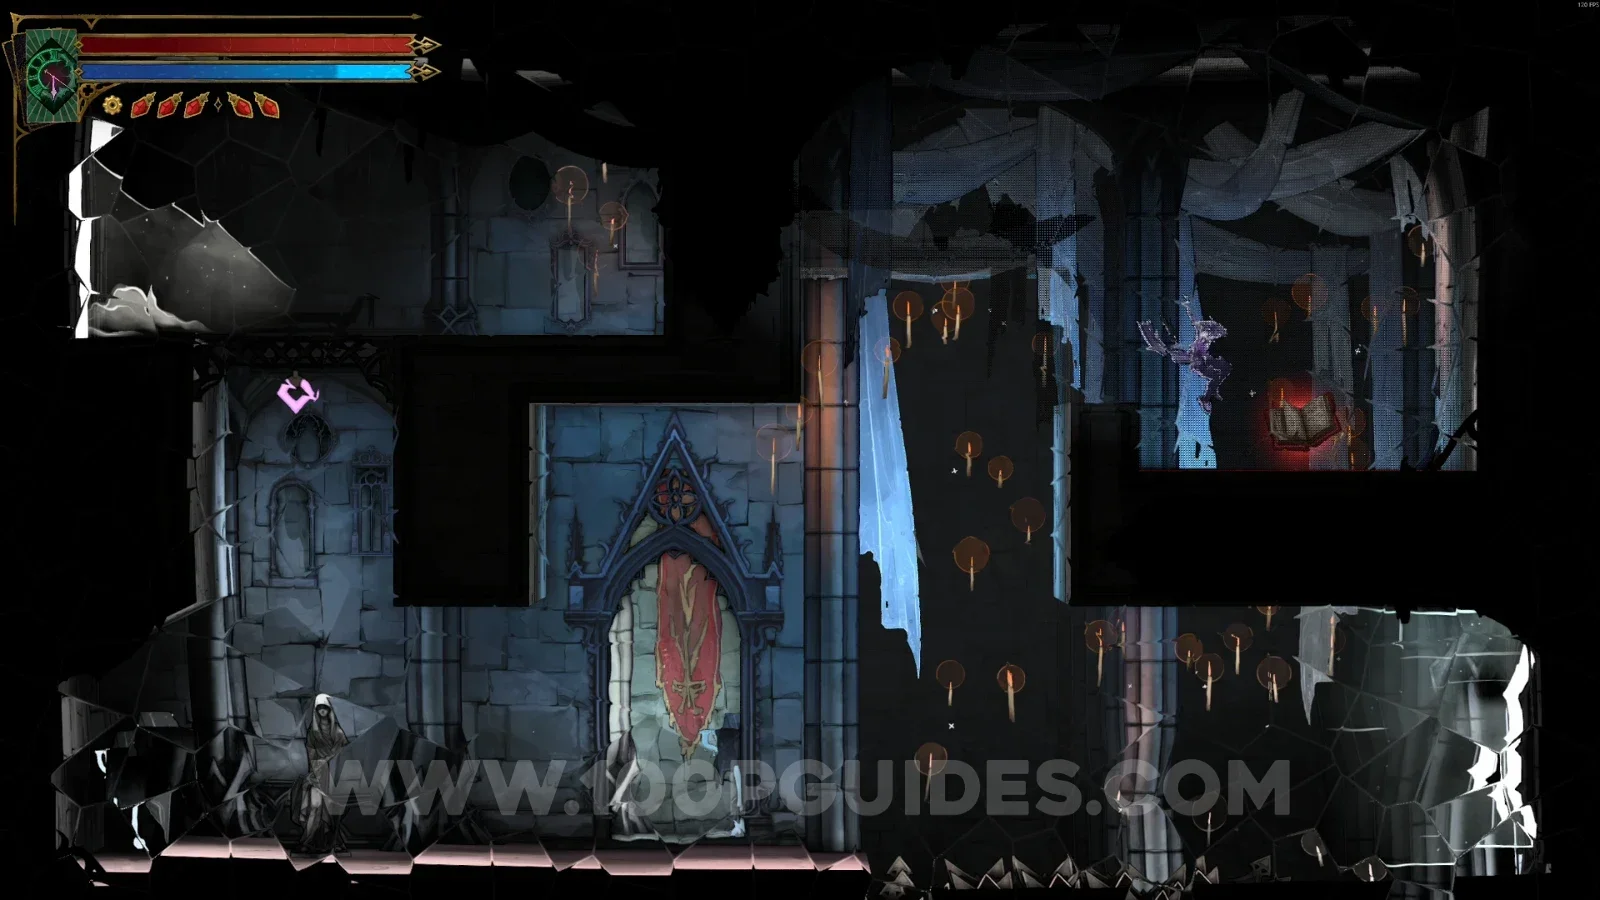
Red Book #1

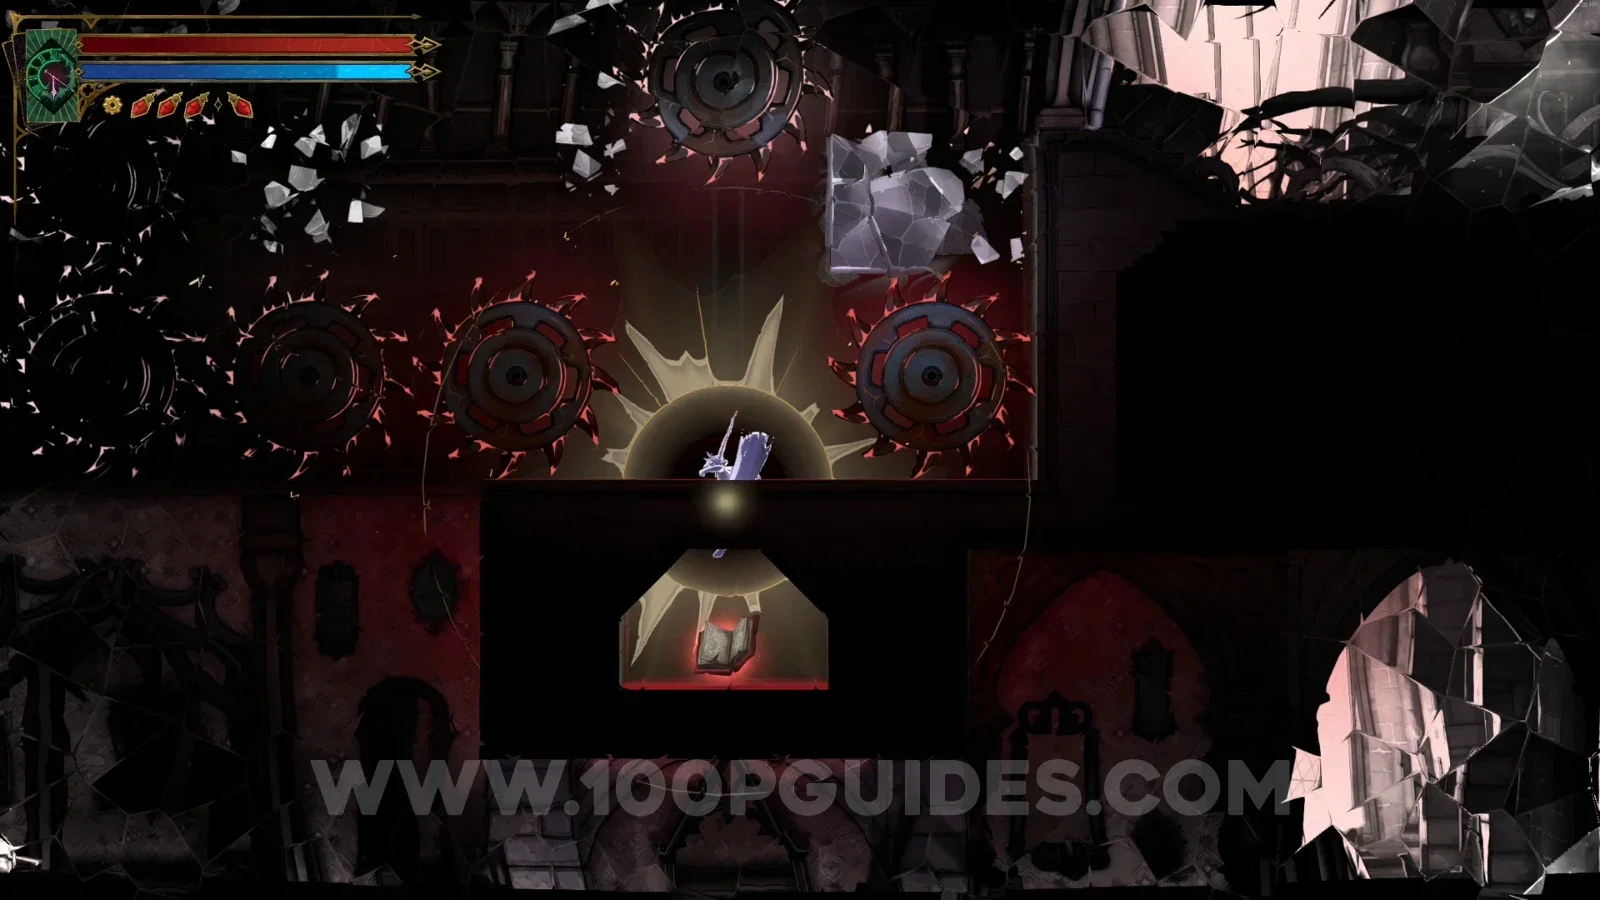
Jump to the upper part of the area to reveal a secret room with the Red Book.
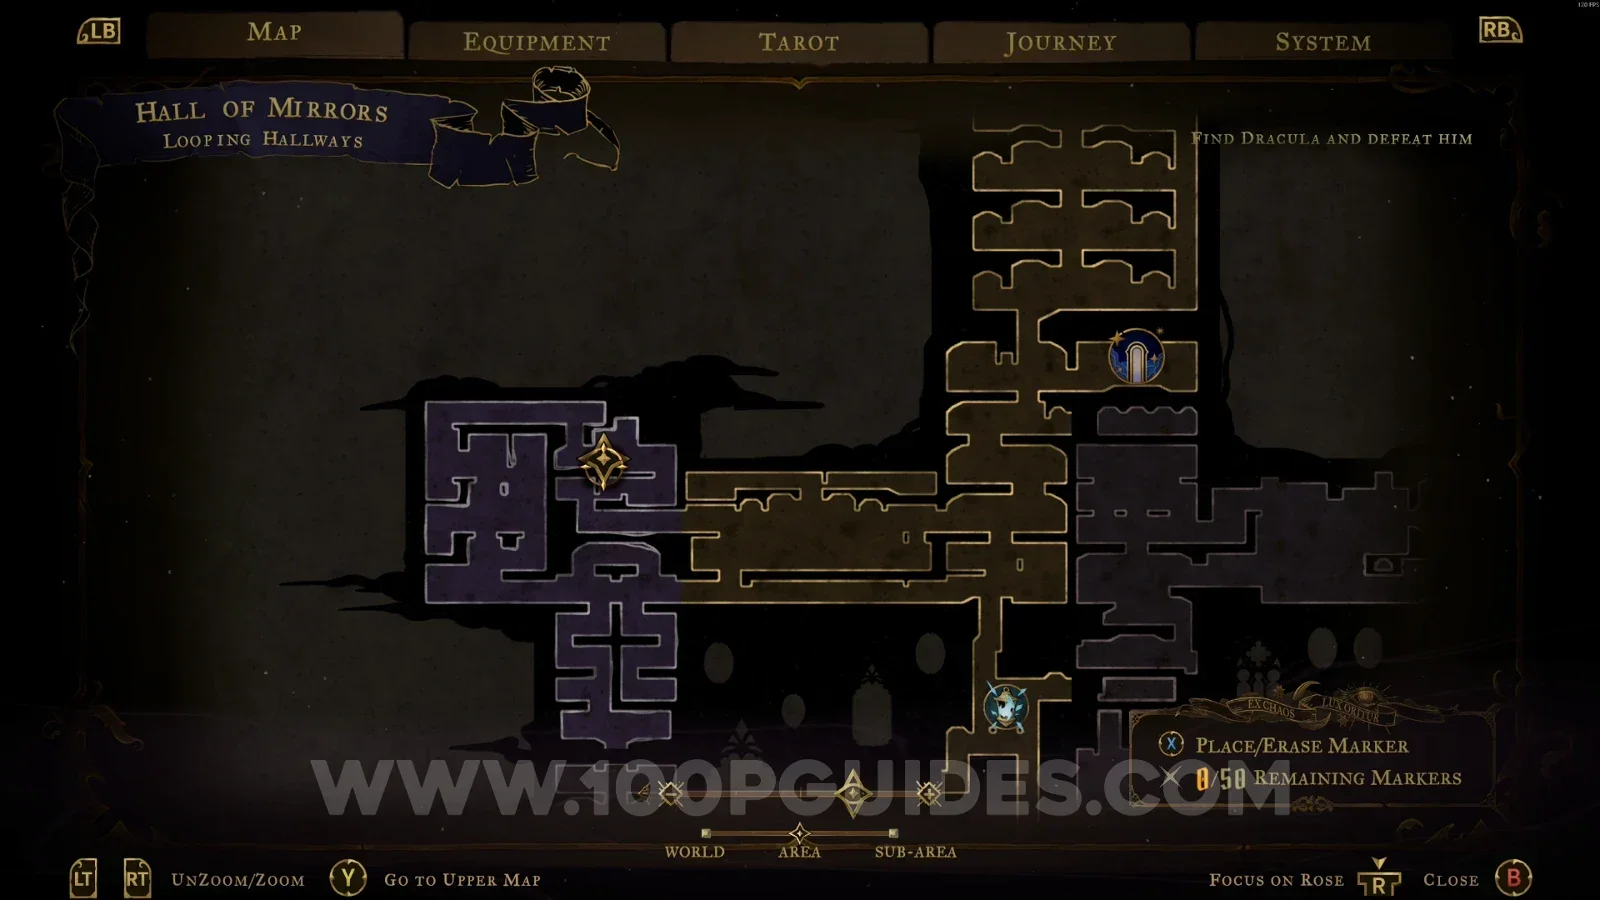
Castlevania Belmonts Curse Looping Hallways: jumping to the upper part to reveal the Red Book #1 secret room Castlevania Belmonts Curse Looping Hallways: Red Book #1 inside the secret room

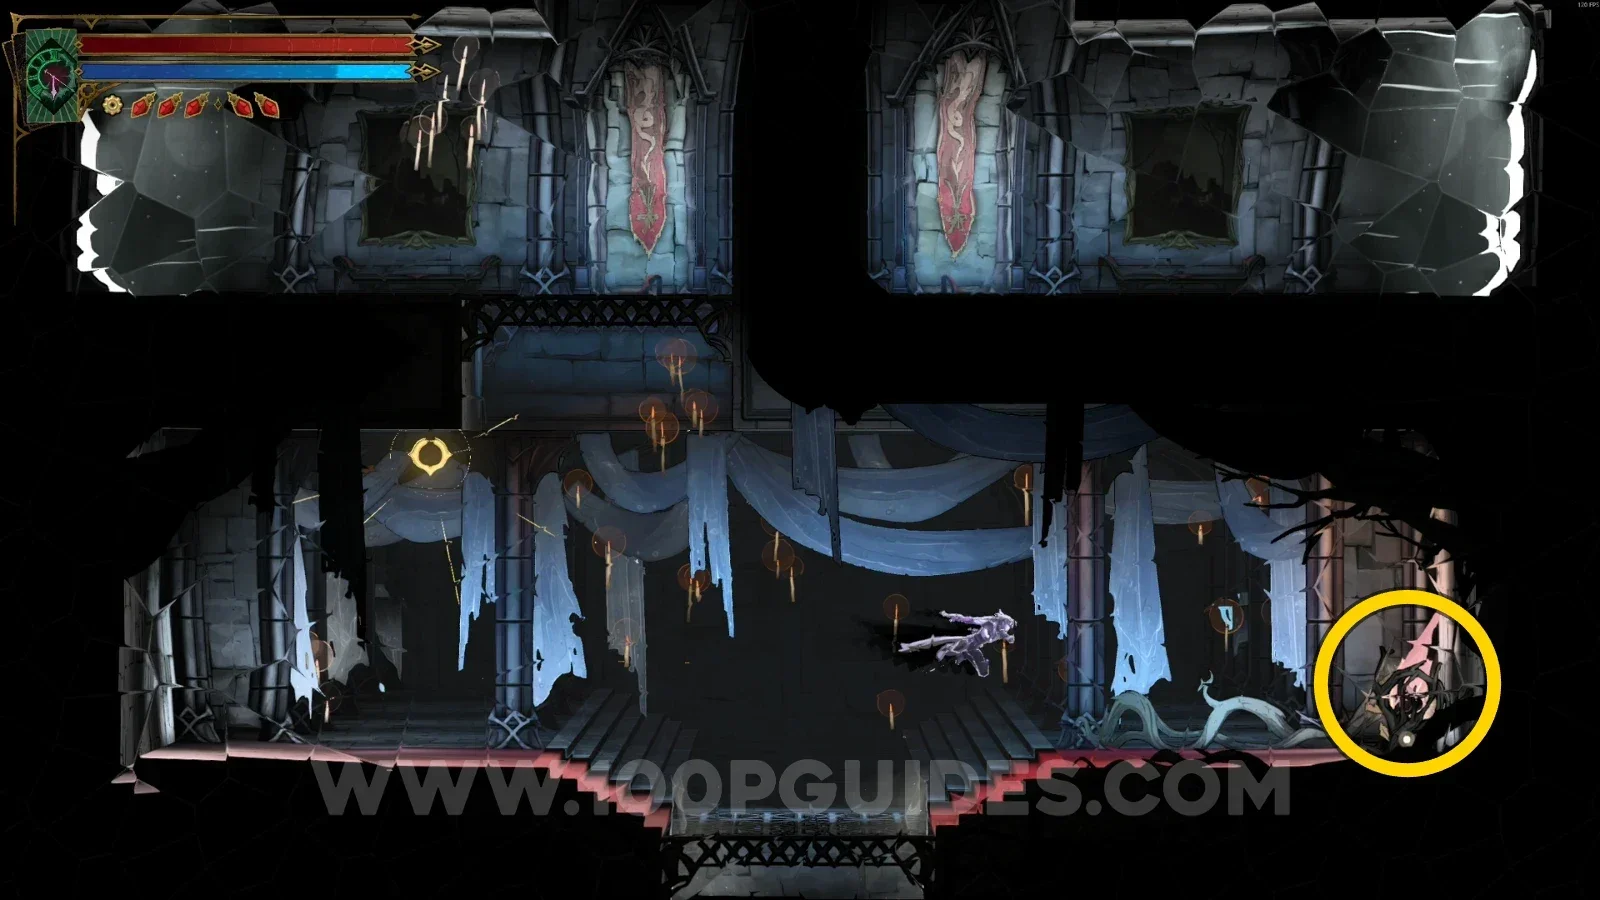
Brave Heart Fragment #1

Go down the platforms to the lowest area to find this.
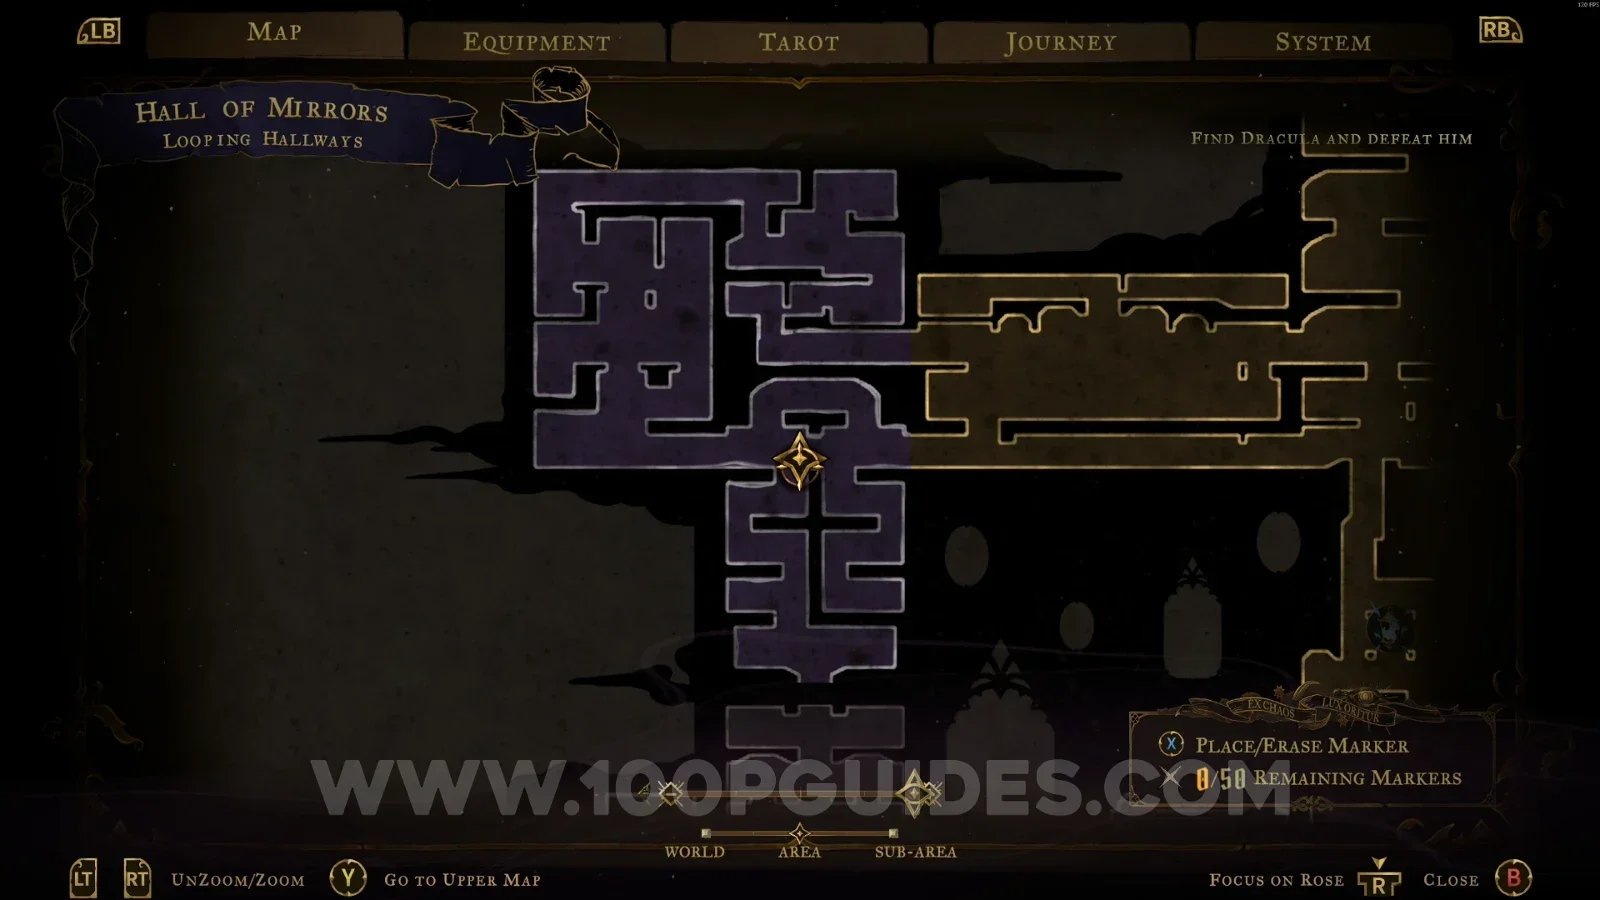
Castlevania Belmonts Curse Looping Hallways: platforms leading down to the lowest area Castlevania Belmonts Curse Looping Hallways: Brave Heart Fragment #1 in the lowest area

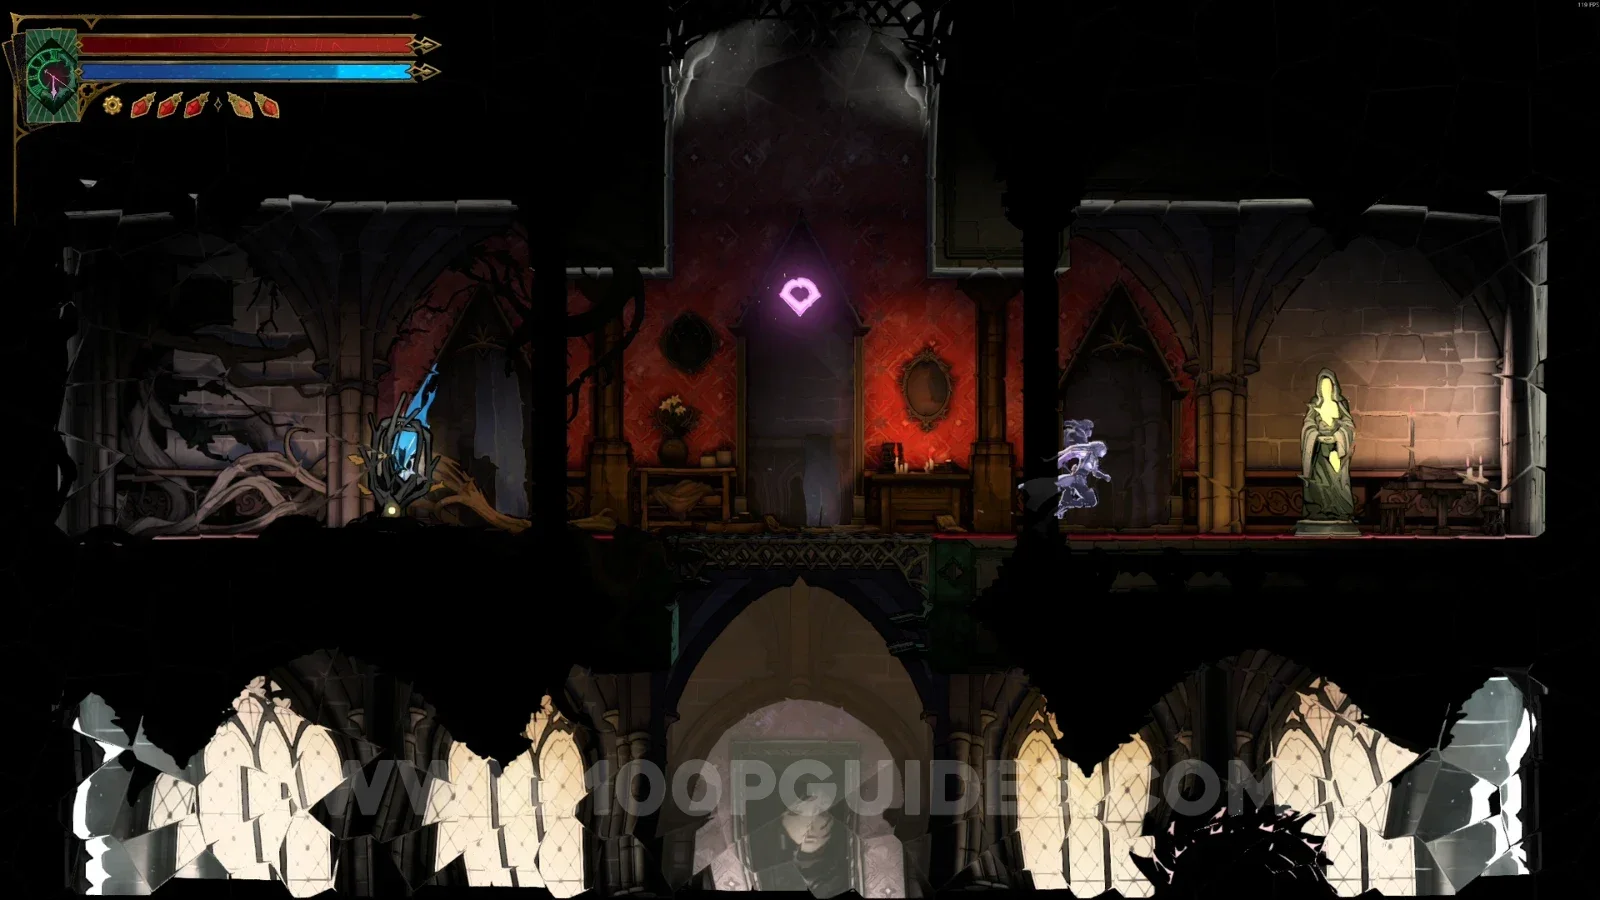
Boudoir Of Bewilderment

XP Statue #13 + Wise Heart Fragment #1

In the area marked on the map.
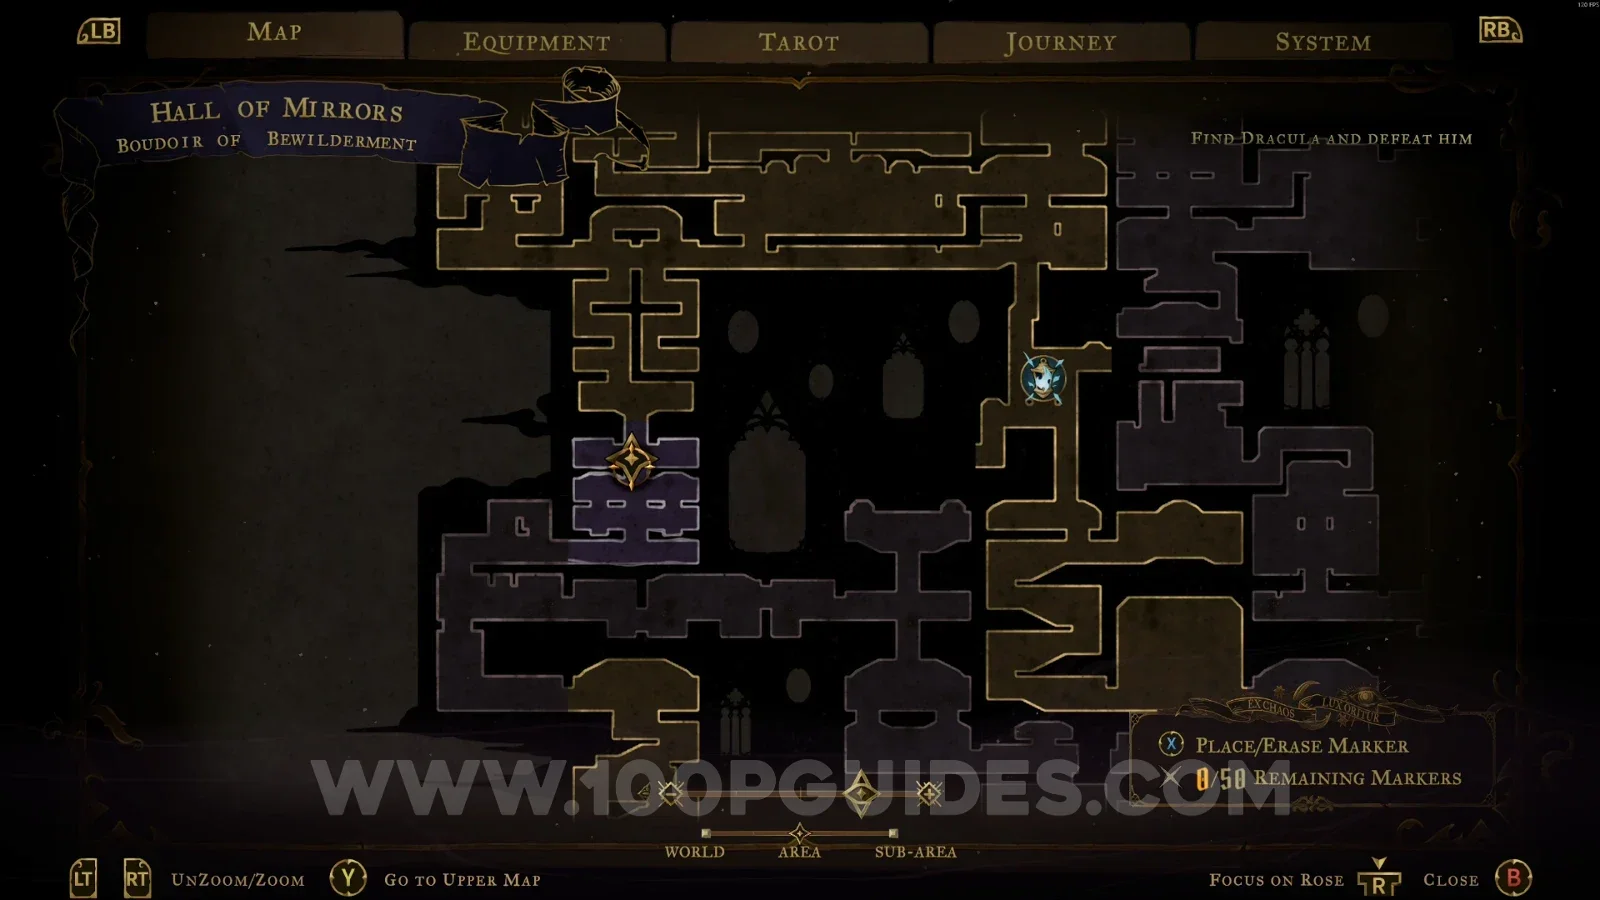
Castlevania Belmonts Curse Boudoir Of Bewilderment: map marking XP Statue #13 and Wise Heart Fragment #1 Castlevania Belmonts Curse Boudoir Of Bewilderment: XP Statue #13 and Wise Heart Fragment #1 in the area

Delived Level

Relic #2: Dusk Amulet

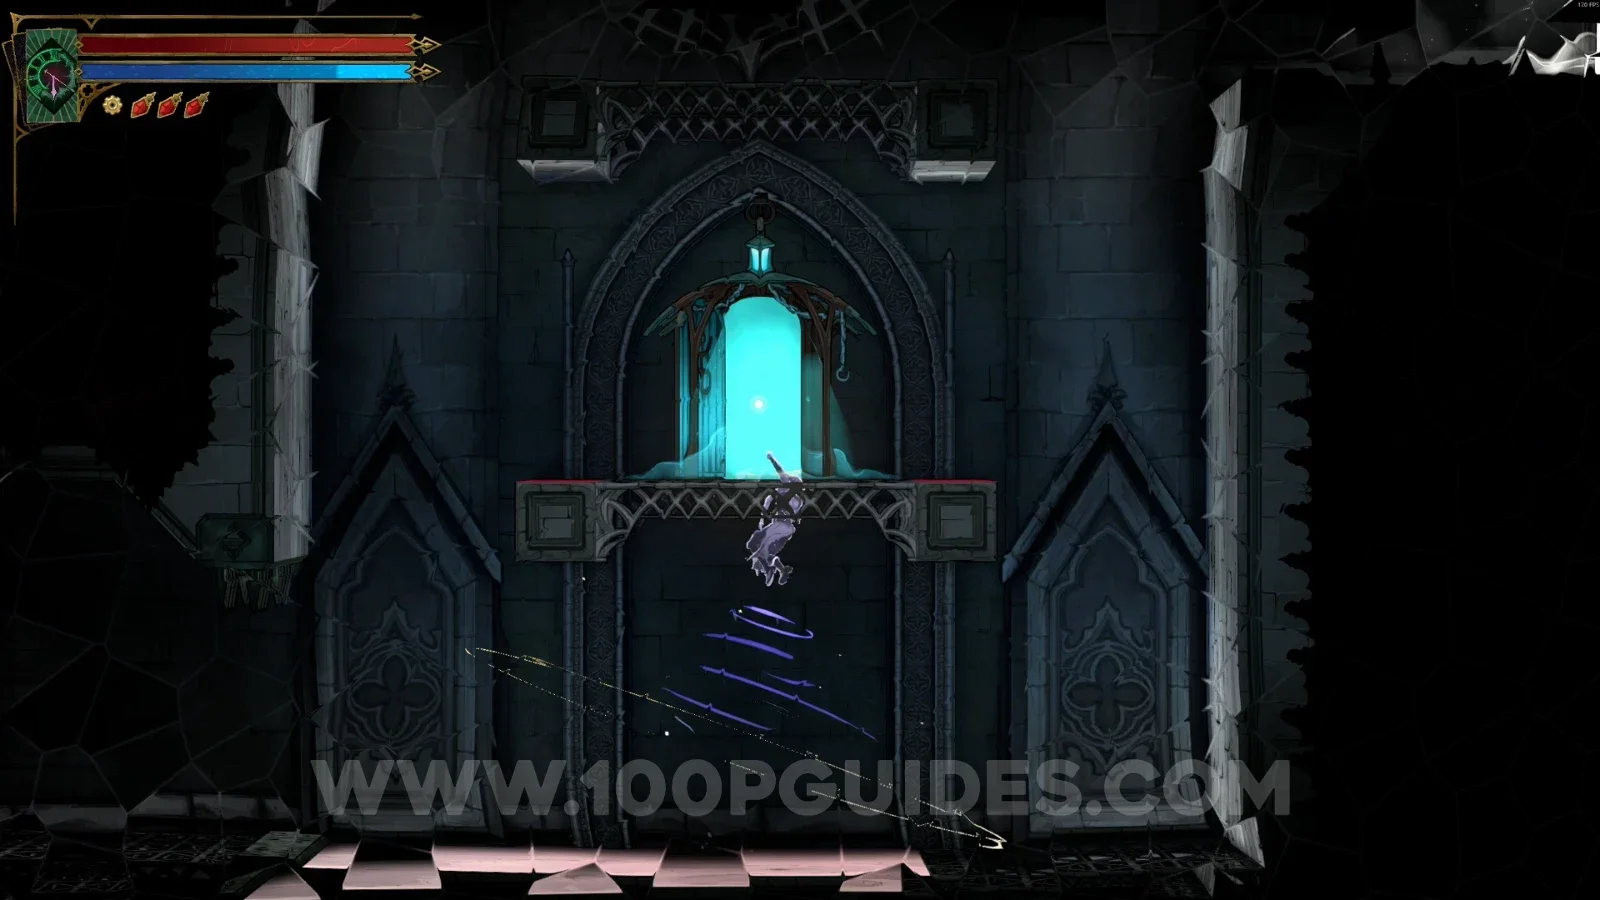
Break the floor in the area, then go through the portal on the right to reach the chest with the amulet.
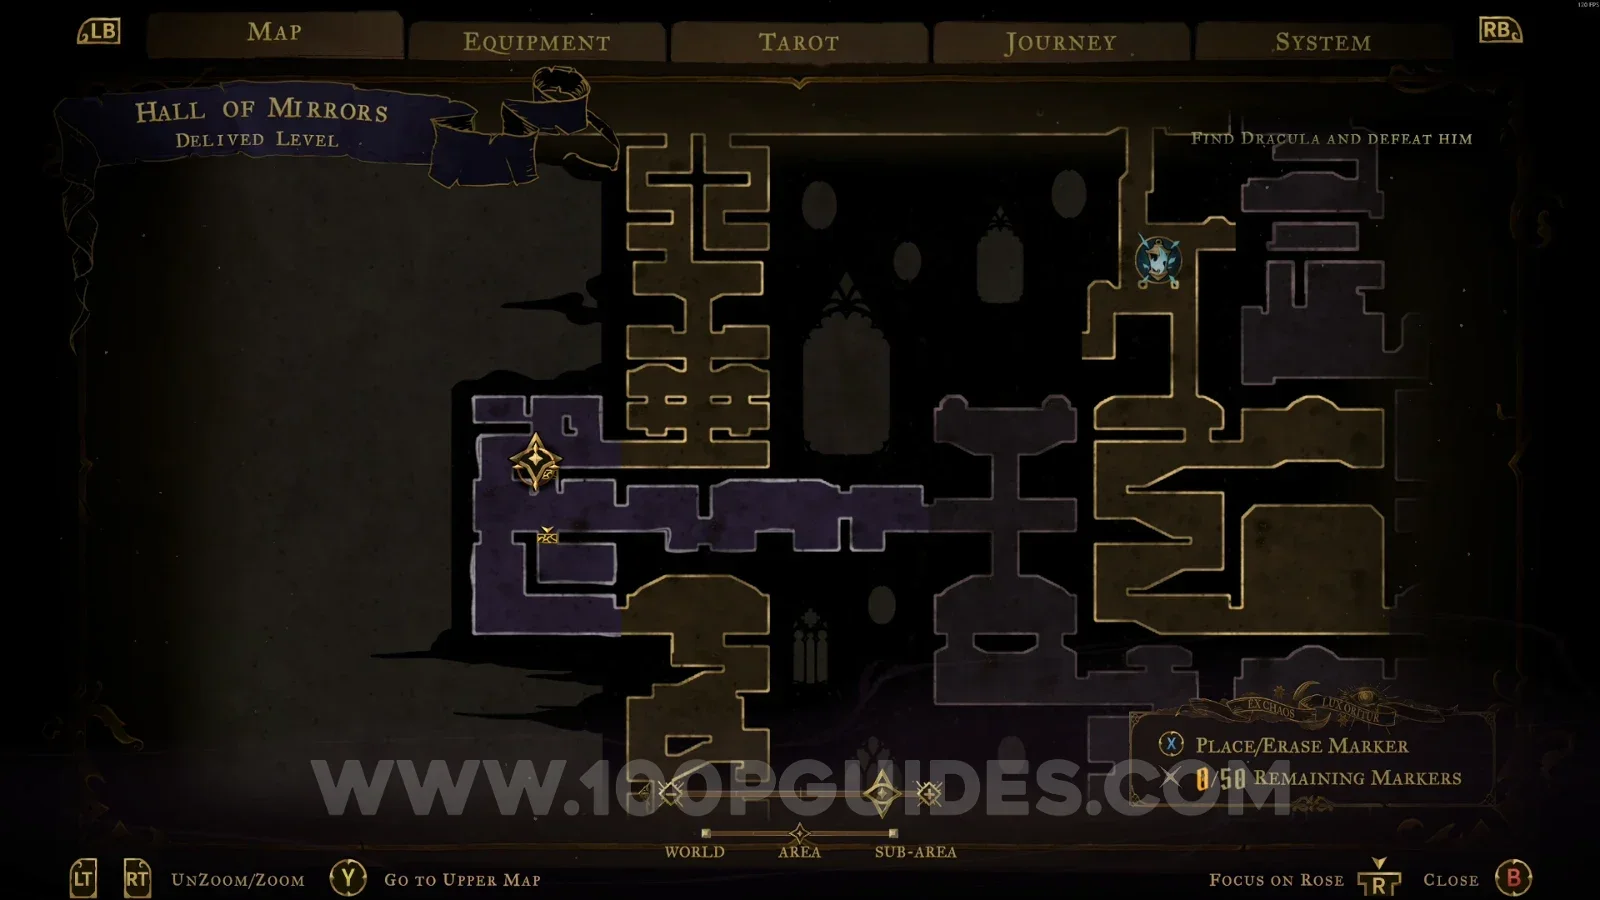
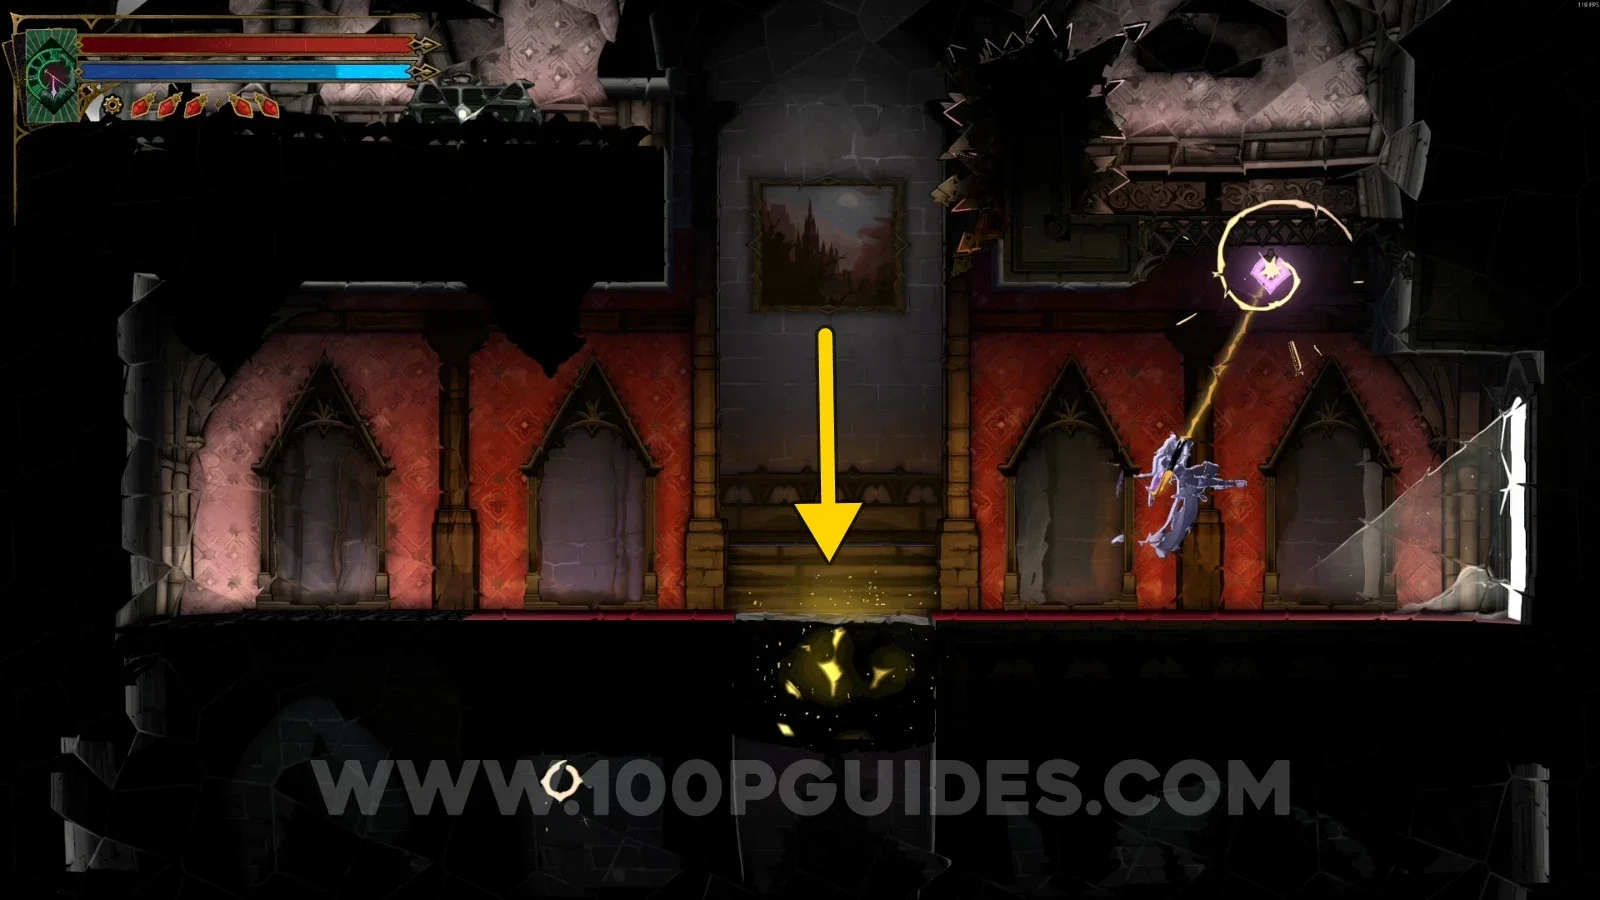
Castlevania Belmonts Curse Delived Level: breakable floor on the way to Relic #2, the Dusk Amulet Castlevania Belmonts Curse Delived Level: portal on the right leading to the Dusk Amulet chest Castlevania Belmonts Curse Delived Level: chest holding Relic #2, the Dusk Amulet

Gallery Of Glass

XP Statue #14

In the lowest area.
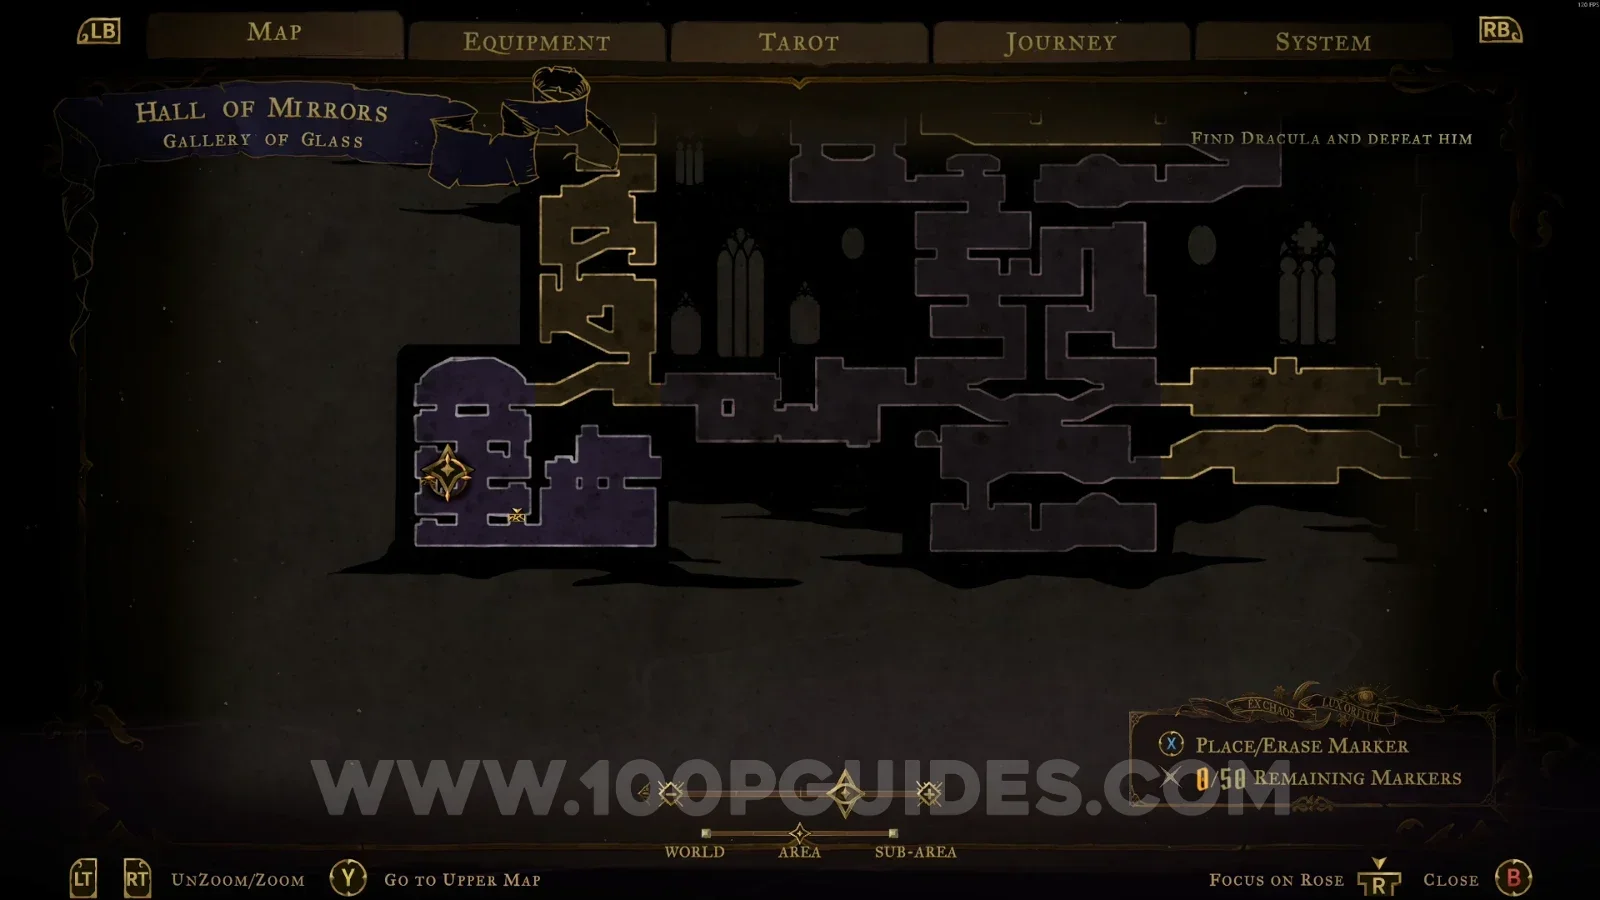
Castlevania Belmonts Curse Gallery Of Glass: map showing the lowest area with XP Statue #14 Castlevania Belmonts Curse Gallery Of Glass: XP Statue #14 in the lowest area

Corridor Of Deja Vu

Blue Book #1

In a secret room in the middle of the area.
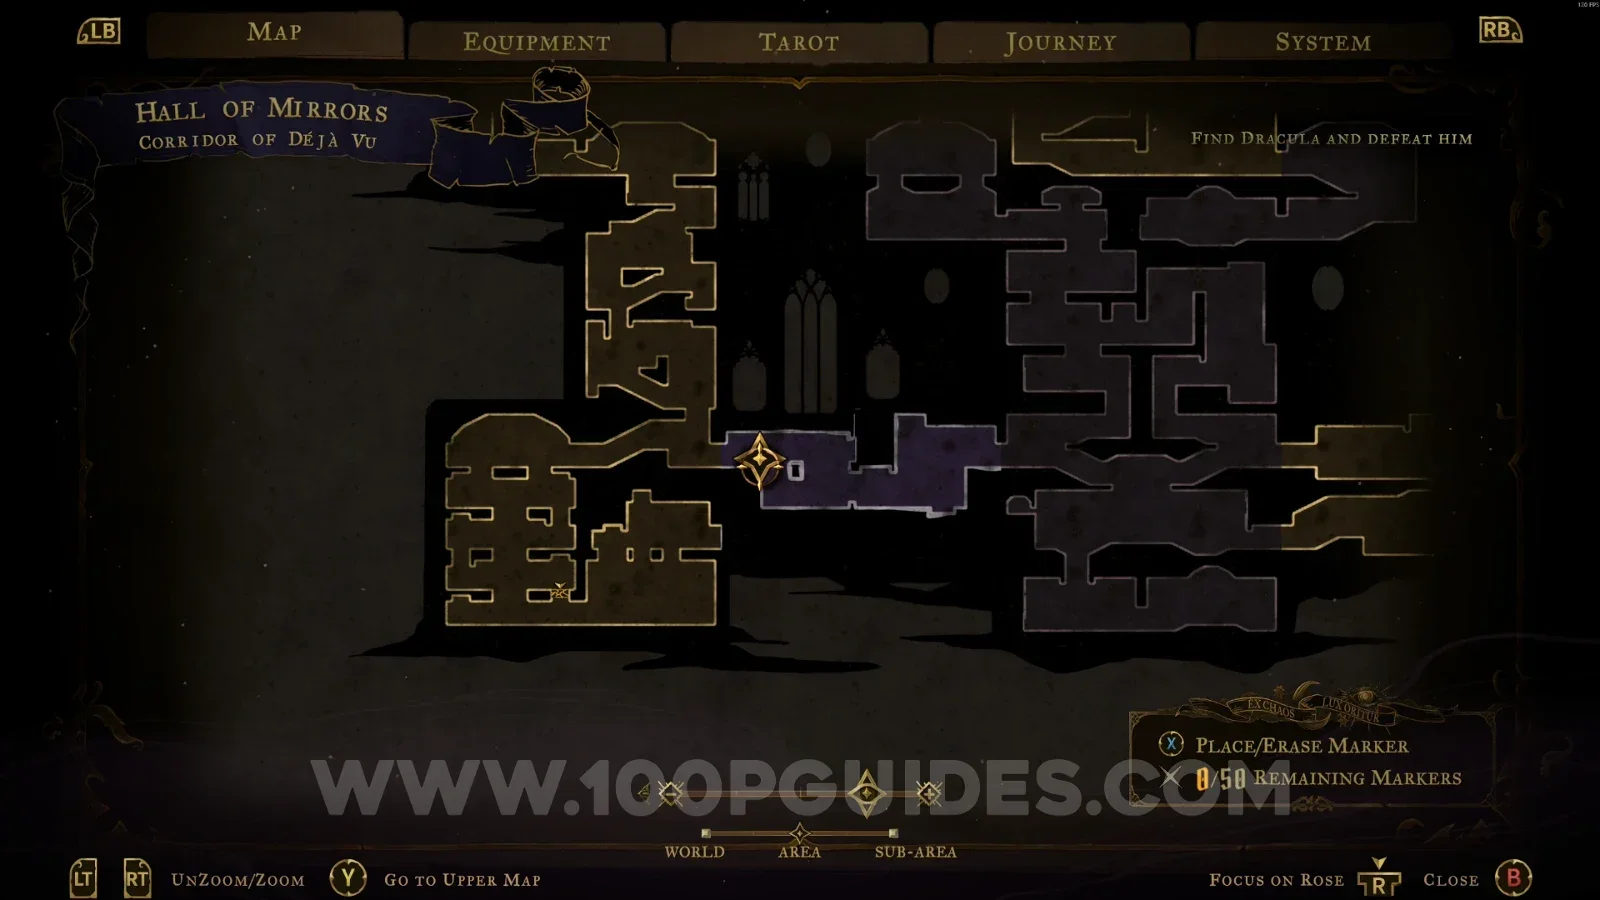
Castlevania Belmonts Curse Corridor Of Deja Vu: location of the secret room in the middle of the area Castlevania Belmonts Curse Corridor Of Deja Vu: Blue Book #1 inside the secret room

Familiar Way

XP Statue #15

In the area marked on the map.
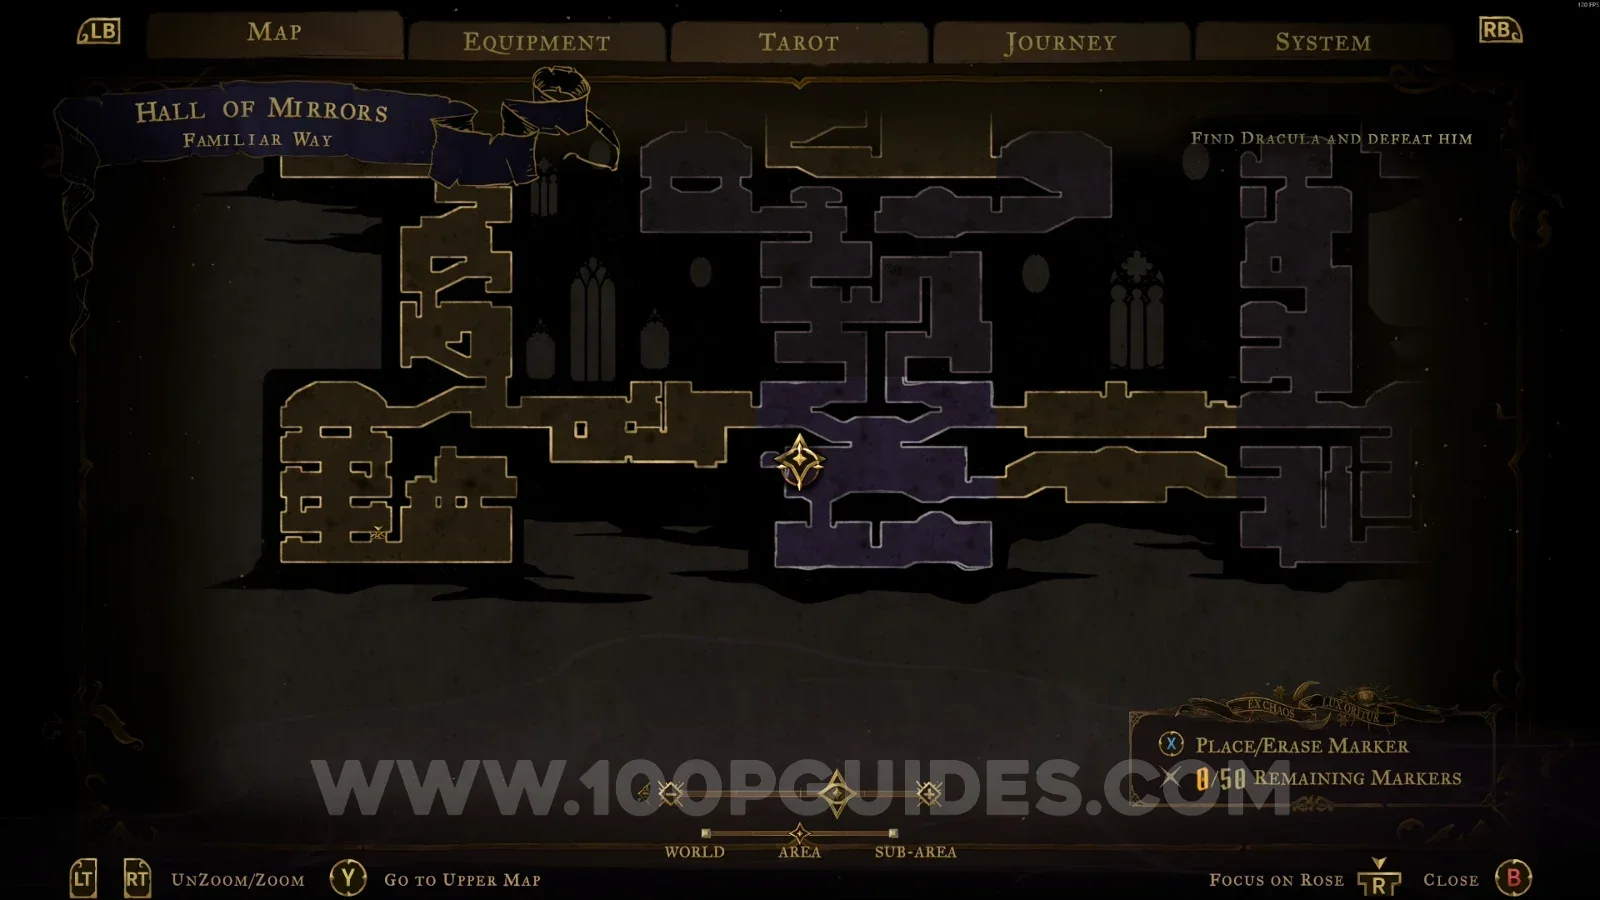
Castlevania Belmonts Curse Familiar Way: map with the area of XP Statue #15 marked Castlevania Belmonts Curse Familiar Way: XP Statue #15 in the marked area

Mirror Of Life #2

In the area marked on the map.
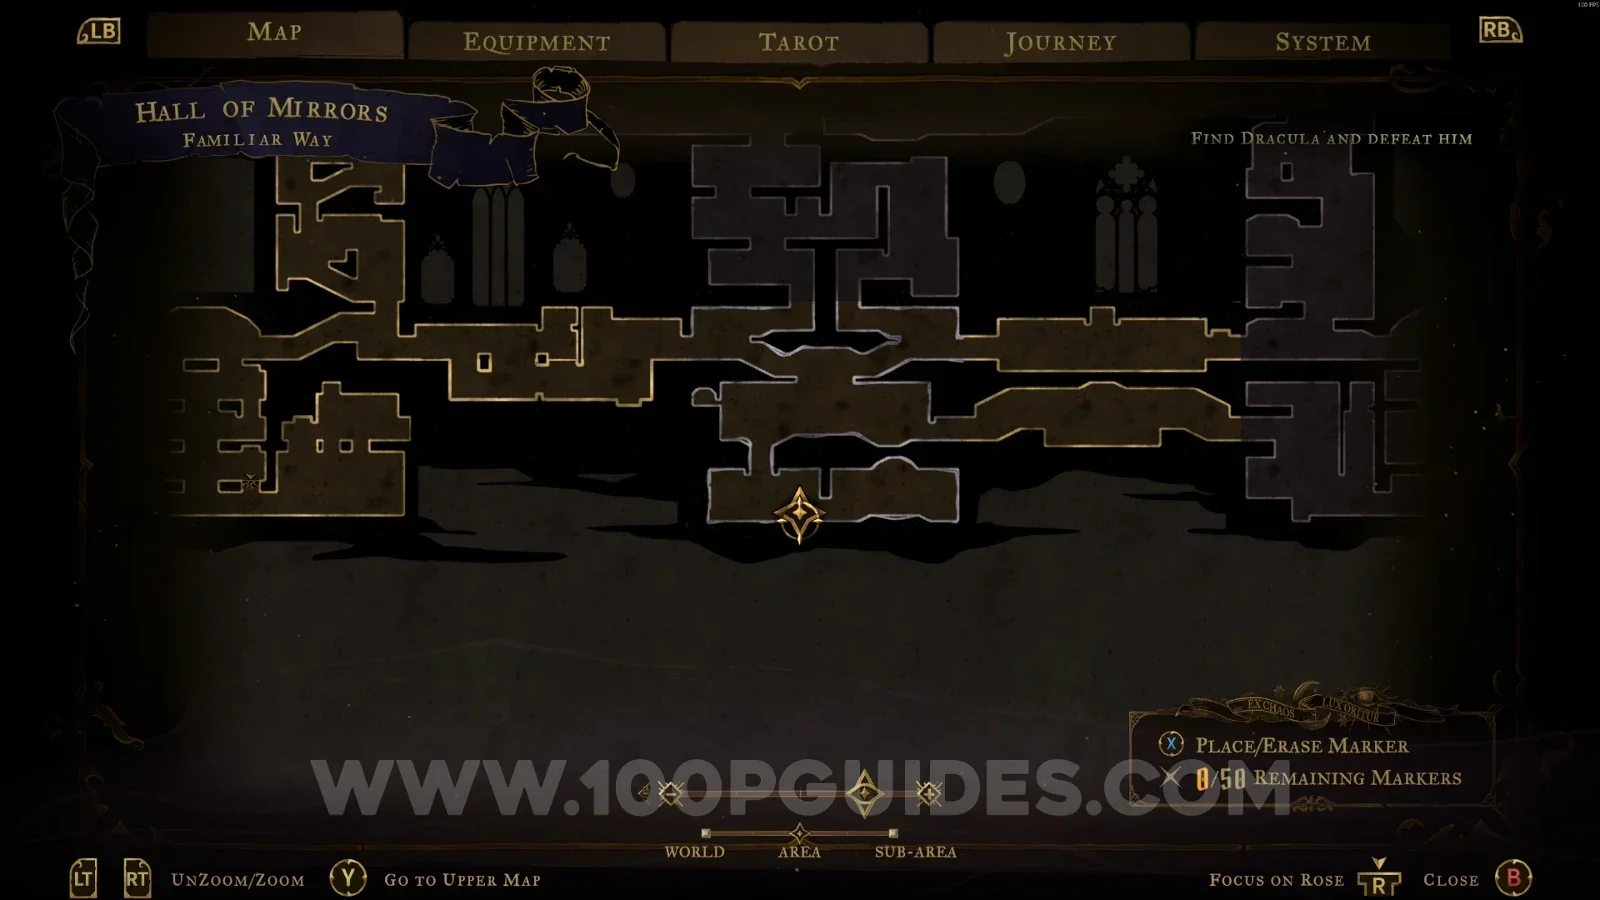
Castlevania Belmonts Curse Familiar Way: map with the location of Mirror Of Life #2 marked Castlevania Belmonts Curse Familiar Way: Mirror Of Life #2 in the marked area

Glass Gallery

Clue: The Temptress

Interact with the statue at the top of the area.
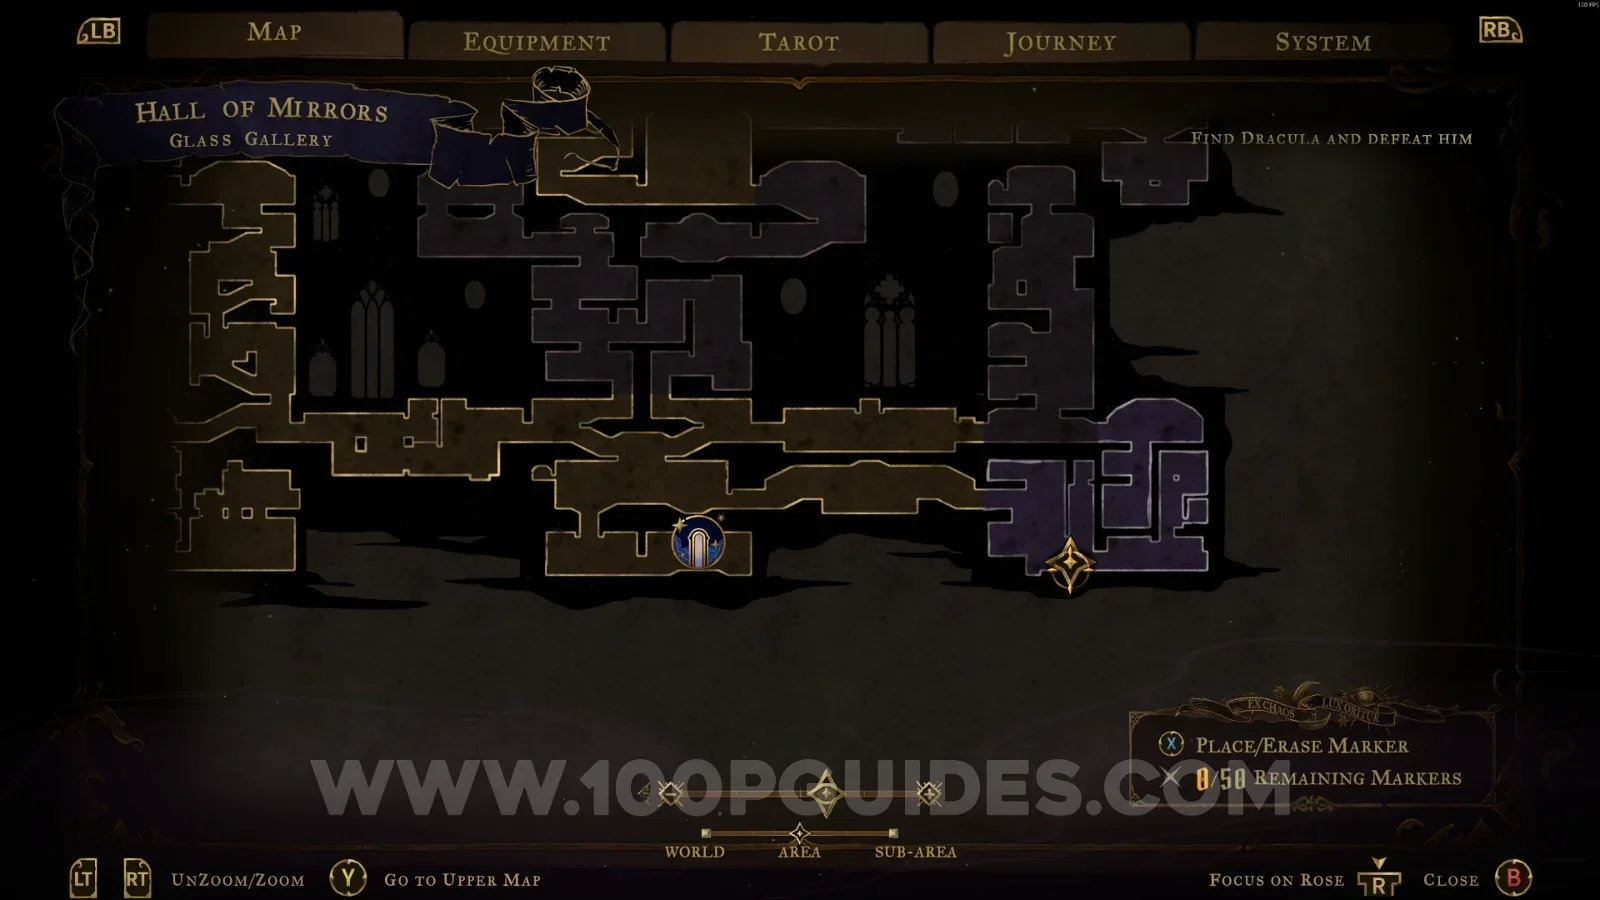
Castlevania Belmonts Curse Glass Gallery: map of the area with the Temptress clue statue at the top Castlevania Belmonts Curse Glass Gallery: climbing toward the statue at the top of the area Castlevania Belmonts Curse Glass Gallery: interacting with the statue to get the clue The Temptress

Dead-End Tower

XP Statue #16

In a secret room on the right side.
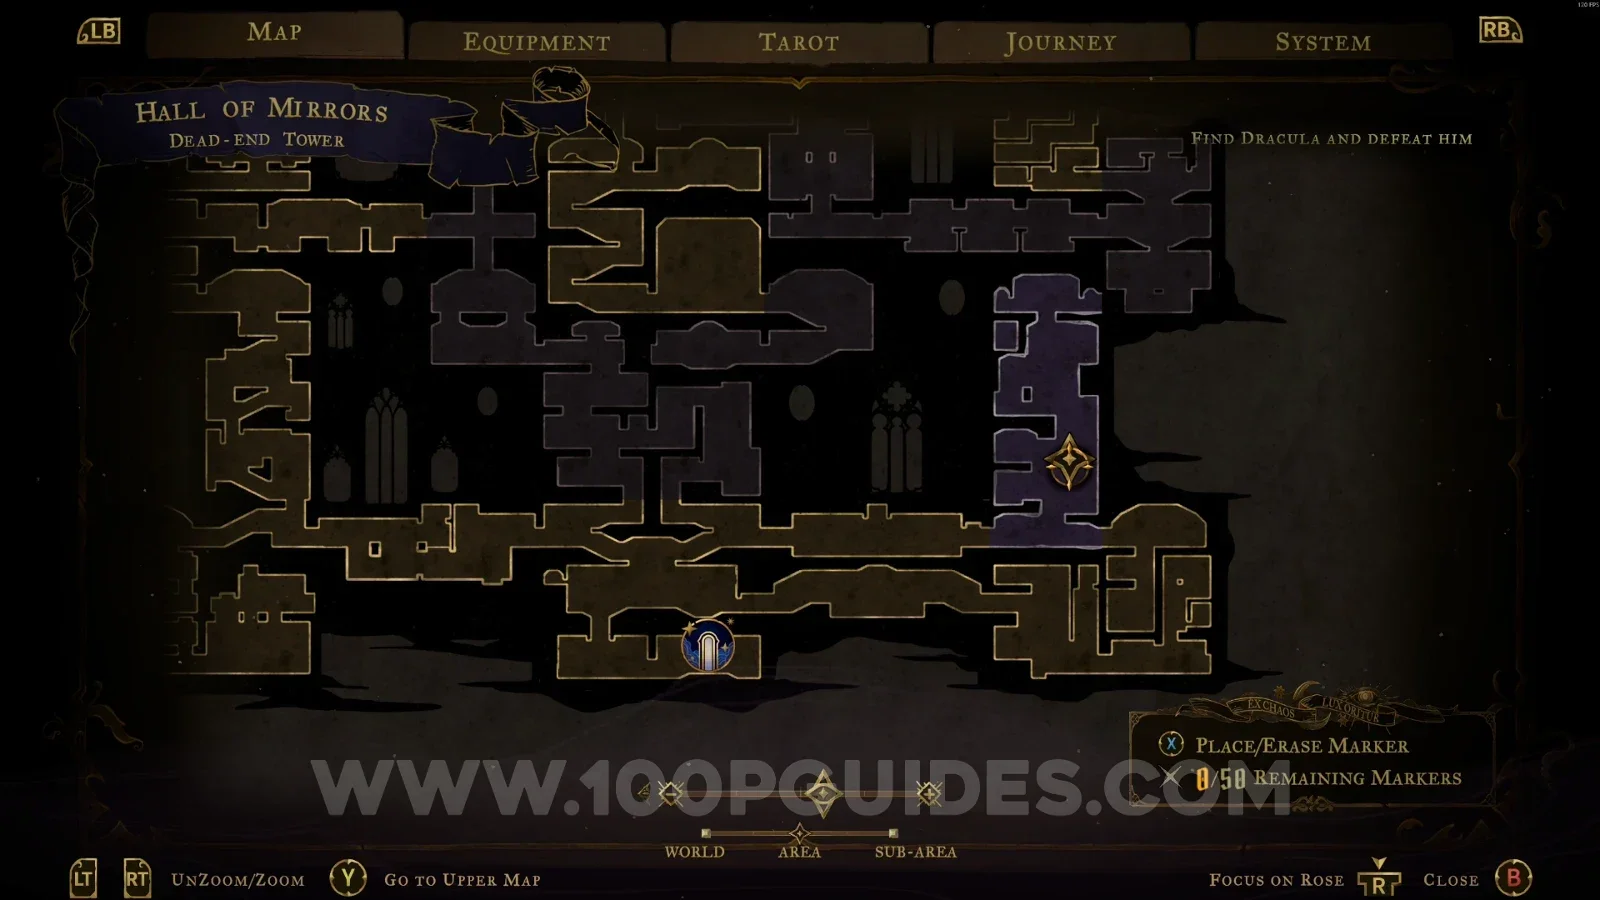
Castlevania Belmonts Curse Dead-End Tower: secret room entrance on the right side of the area Castlevania Belmonts Curse Dead-End Tower: XP Statue #16 inside the secret room on the right

Relic #3: Crystallized Blood

At the top of the area. You'll need to interact with the lever first.
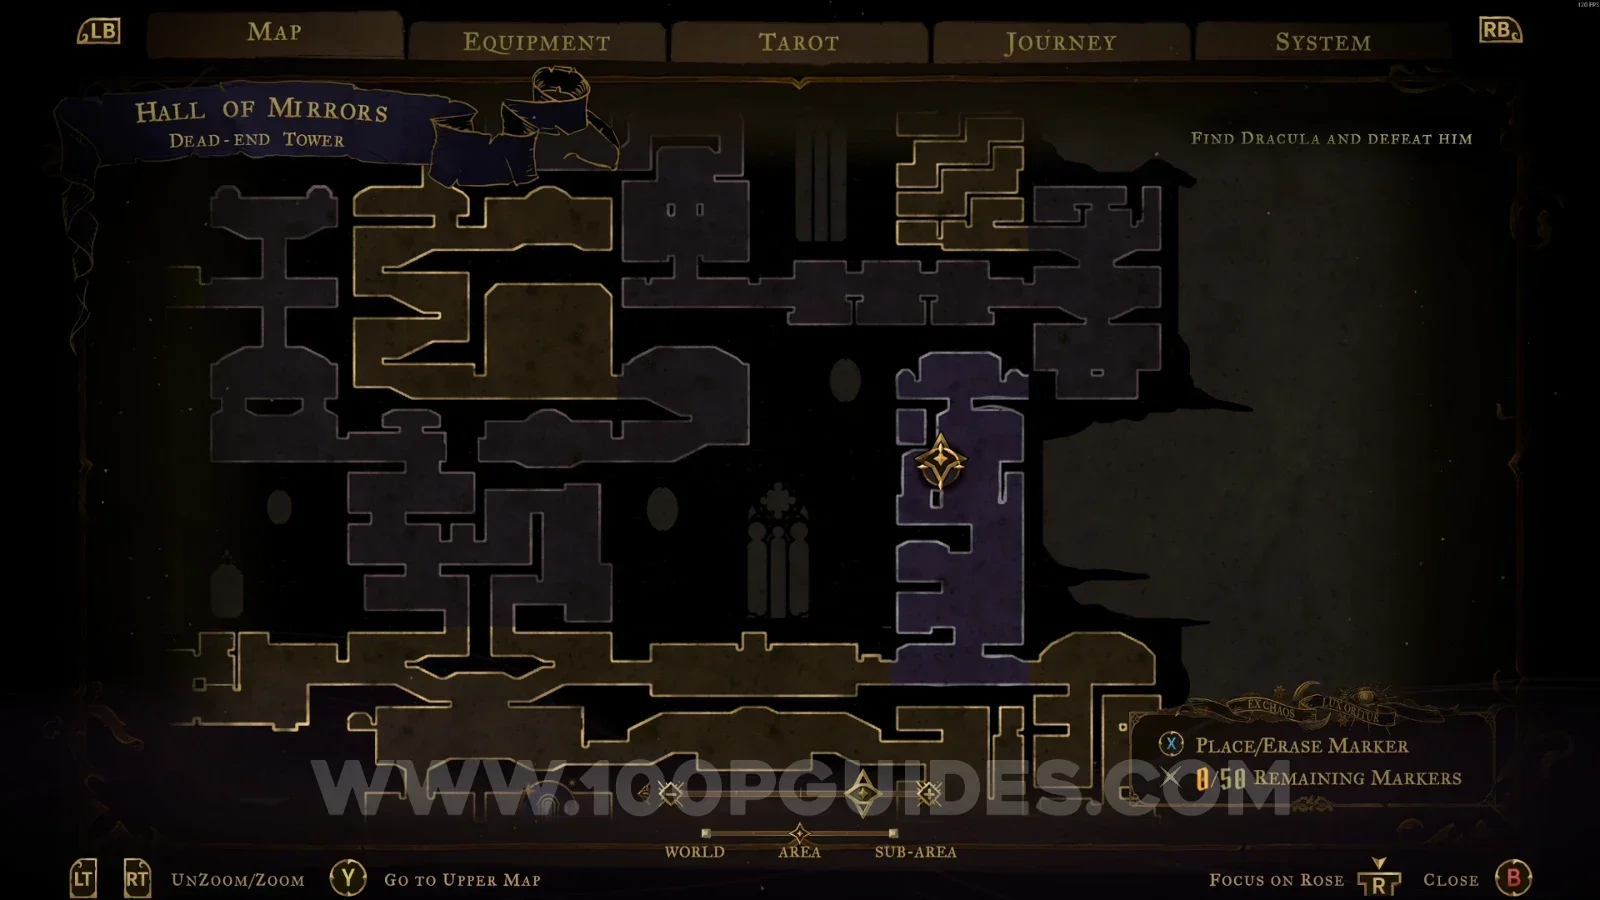
Castlevania Belmonts Curse Dead-End Tower: lever to interact with before reaching Relic #3 Castlevania Belmonts Curse Dead-End Tower: path to the top of the area toward the Crystallized Blood Castlevania Belmonts Curse Dead-End Tower: Relic #3, the Crystallized Blood, at the top of the area

Chamber Of Secrecy

Wise Heart Fragment #2

Go around the area across the top to get this Wise Heart.
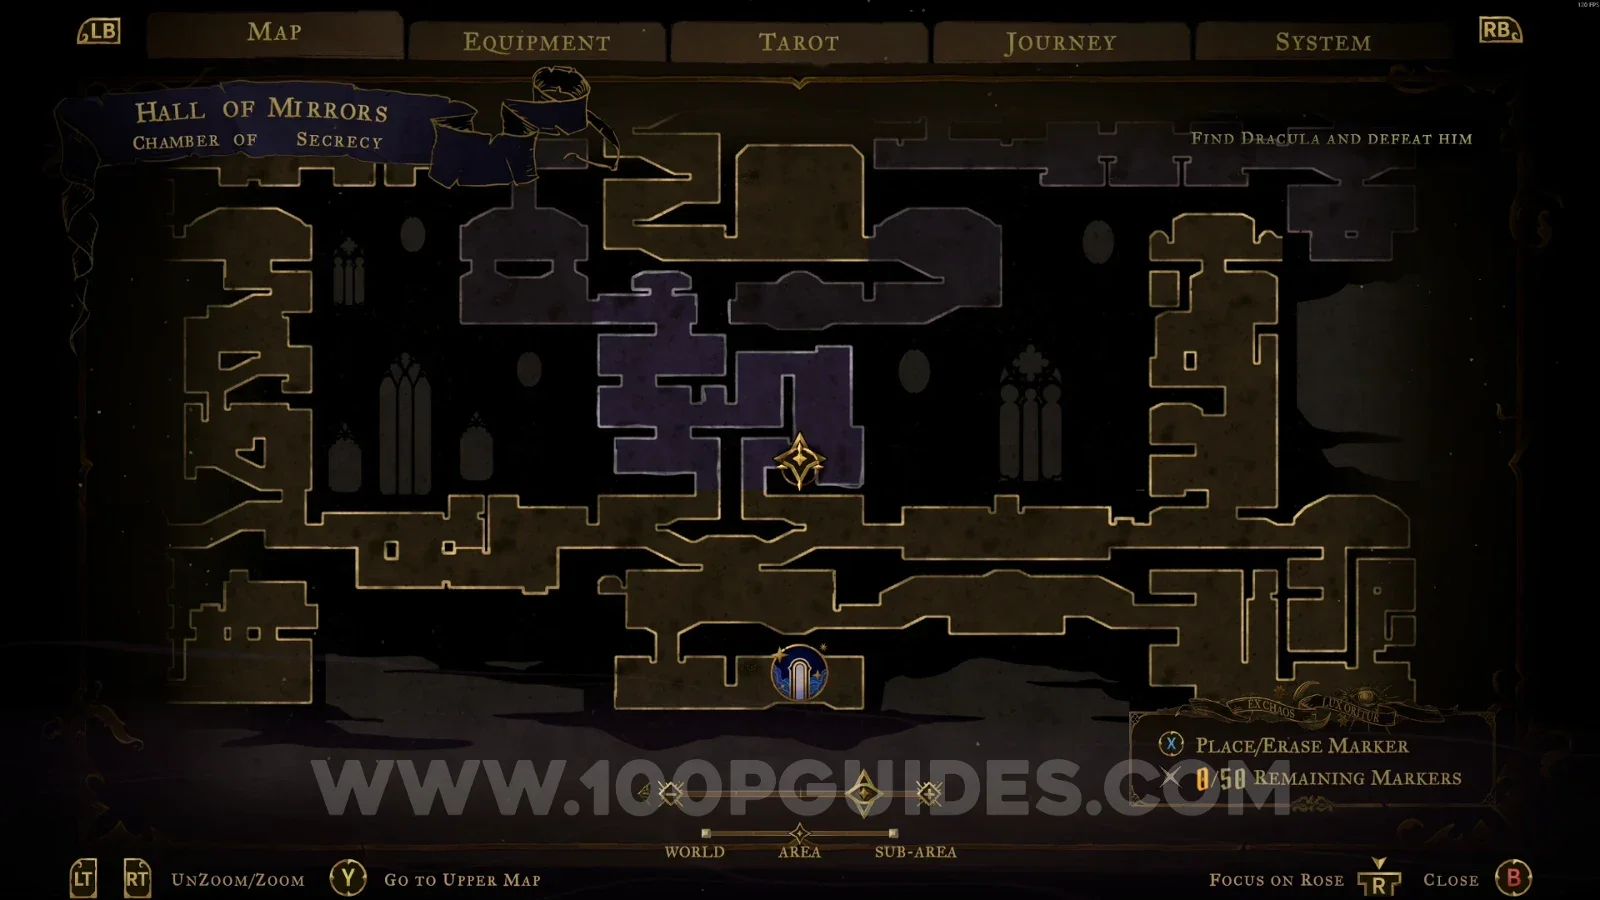
Castlevania Belmonts Curse Chamber Of Secrecy: route around the area across the top Castlevania Belmonts Curse Chamber Of Secrecy: Wise Heart Fragment #2 reached across the top

Passage Of Perplexity

XP Statue #17

At the top of the area.
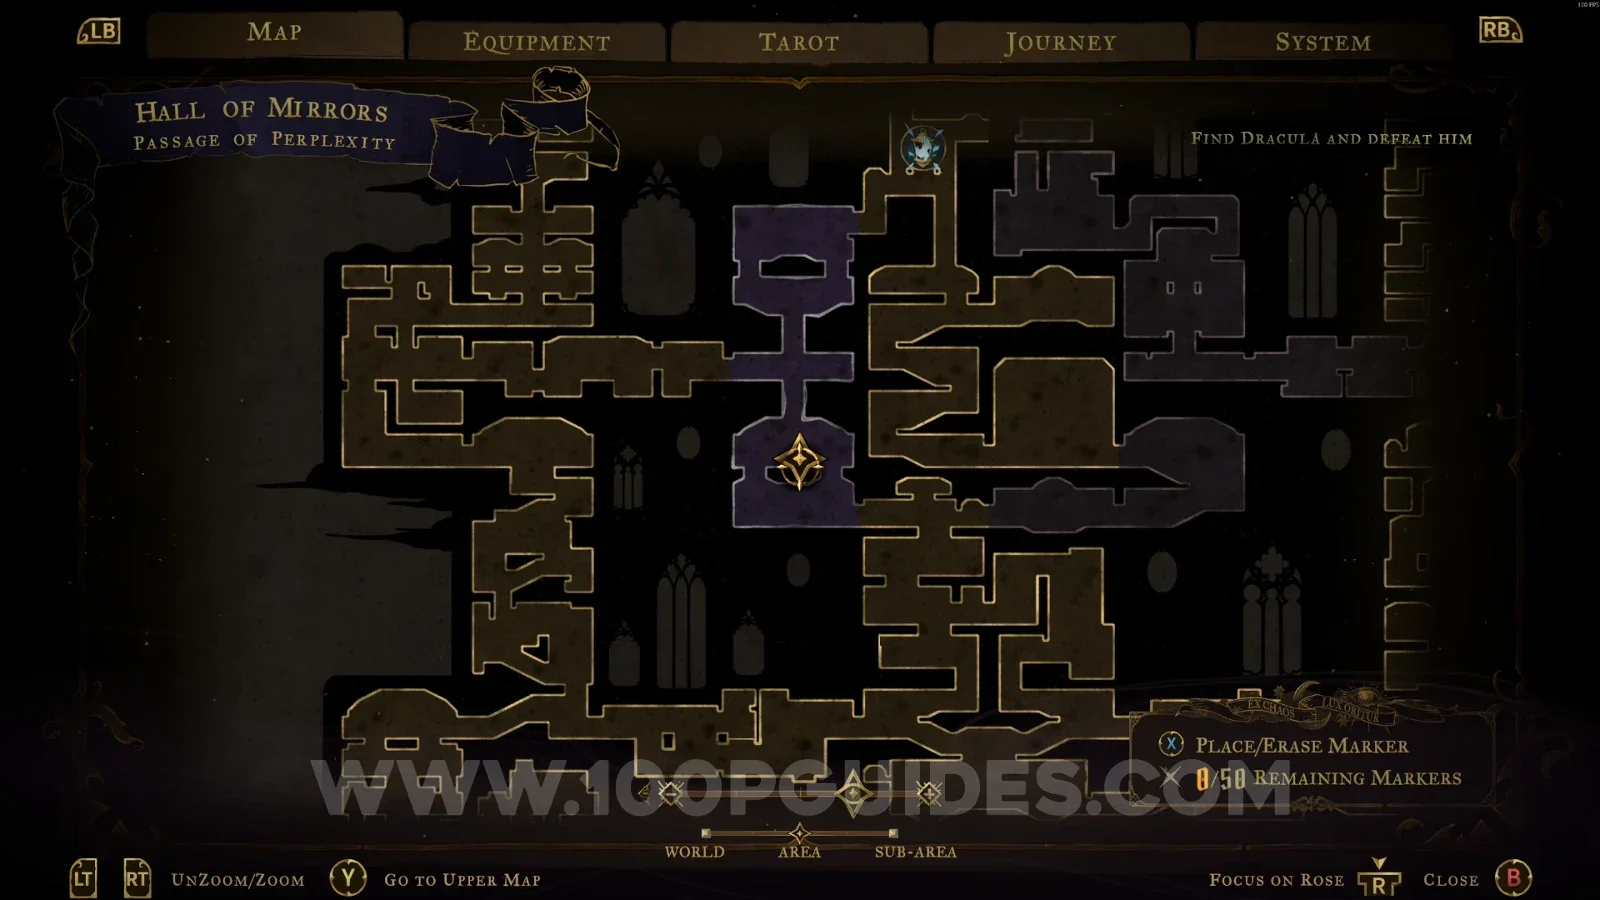
Castlevania Belmonts Curse Passage Of Perplexity: map showing XP Statue #17 at the top of the area Castlevania Belmonts Curse Passage Of Perplexity: XP Statue #17 at the top of the area

Blue Book #2

At the top of the platform.
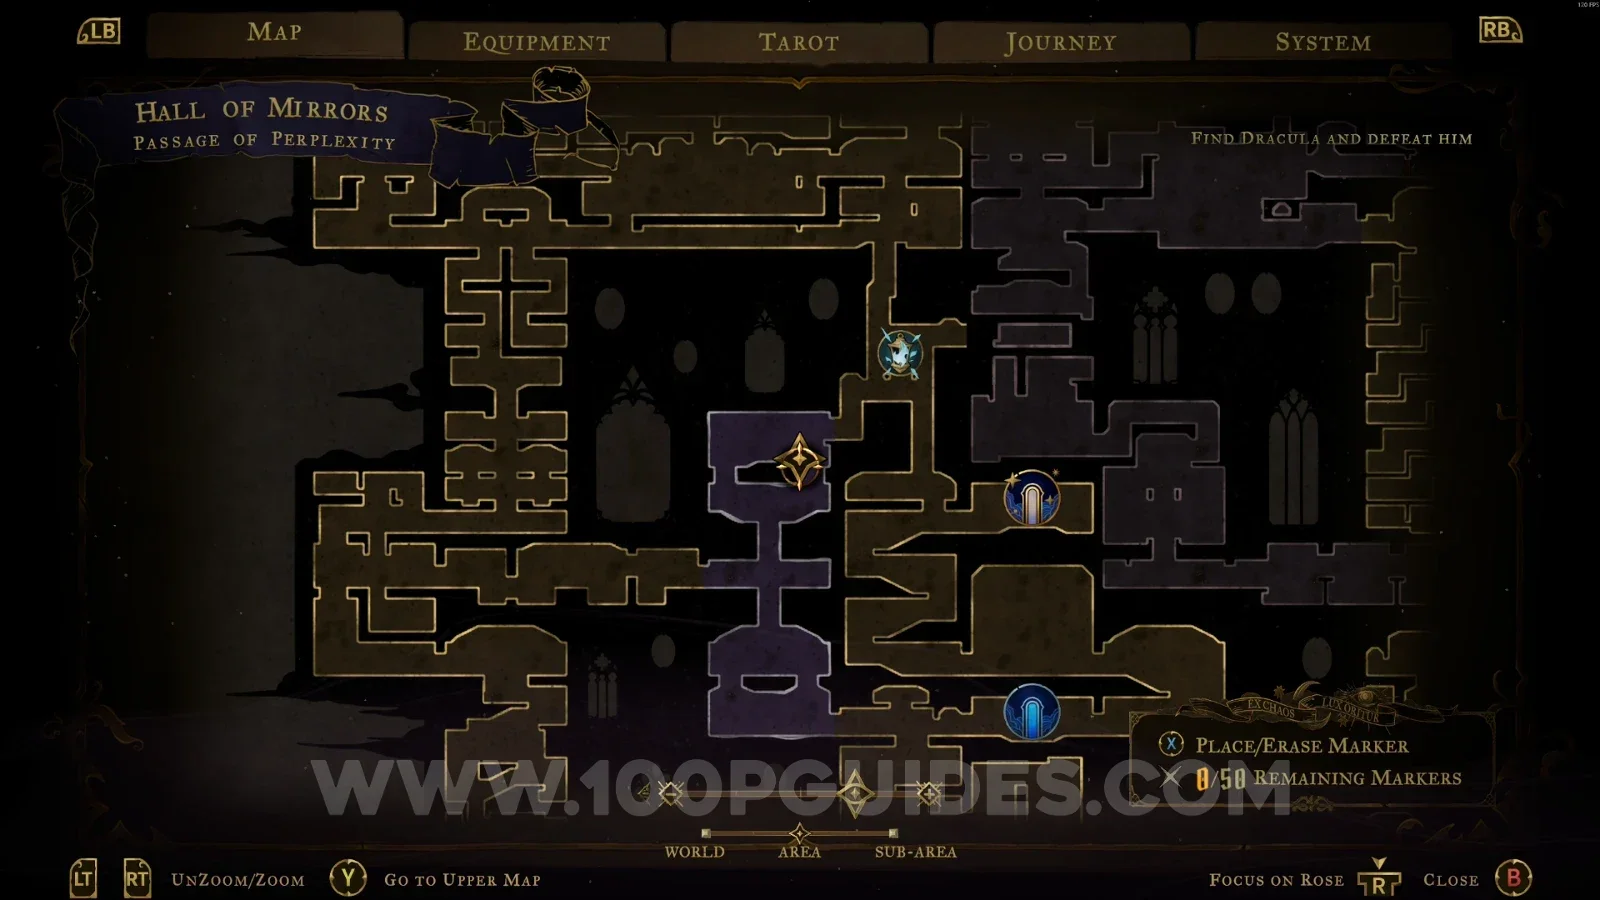
Castlevania Belmonts Curse Passage Of Perplexity: platform leading up to Blue Book #2 Castlevania Belmonts Curse Passage Of Perplexity: Blue Book #2 at the top of the platform

Heart Of The Maze

Mirror Of Life #3

In the area marked on the map.
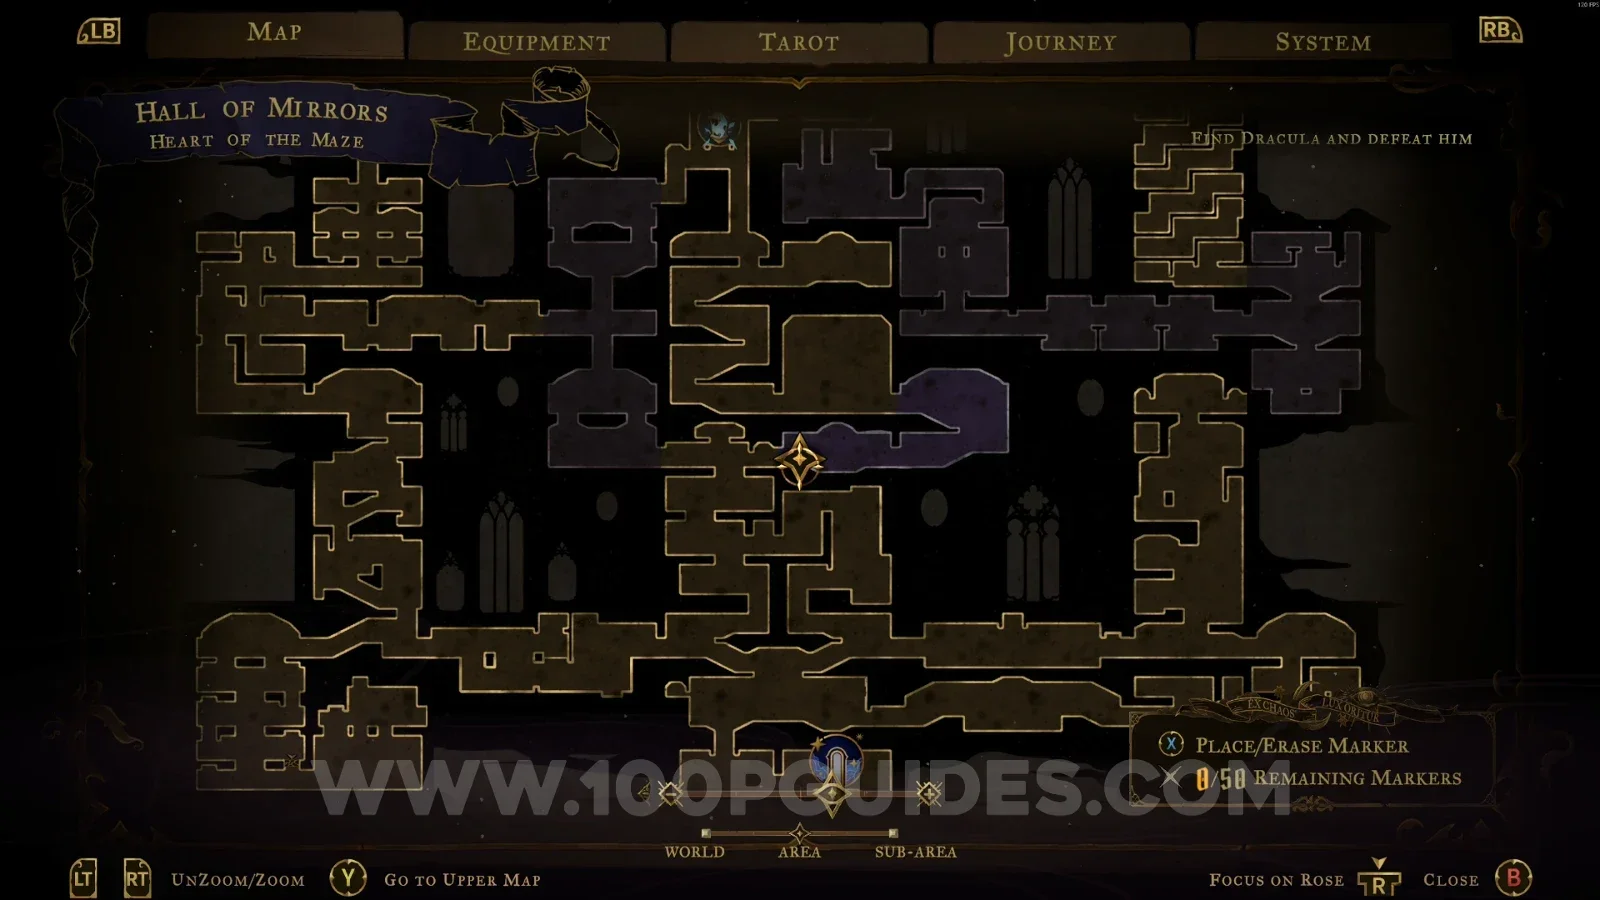
Castlevania Belmonts Curse Heart Of The Maze: map with the location of Mirror Of Life #3 marked Castlevania Belmonts Curse Heart Of The Maze: Mirror Of Life #3 in the marked area

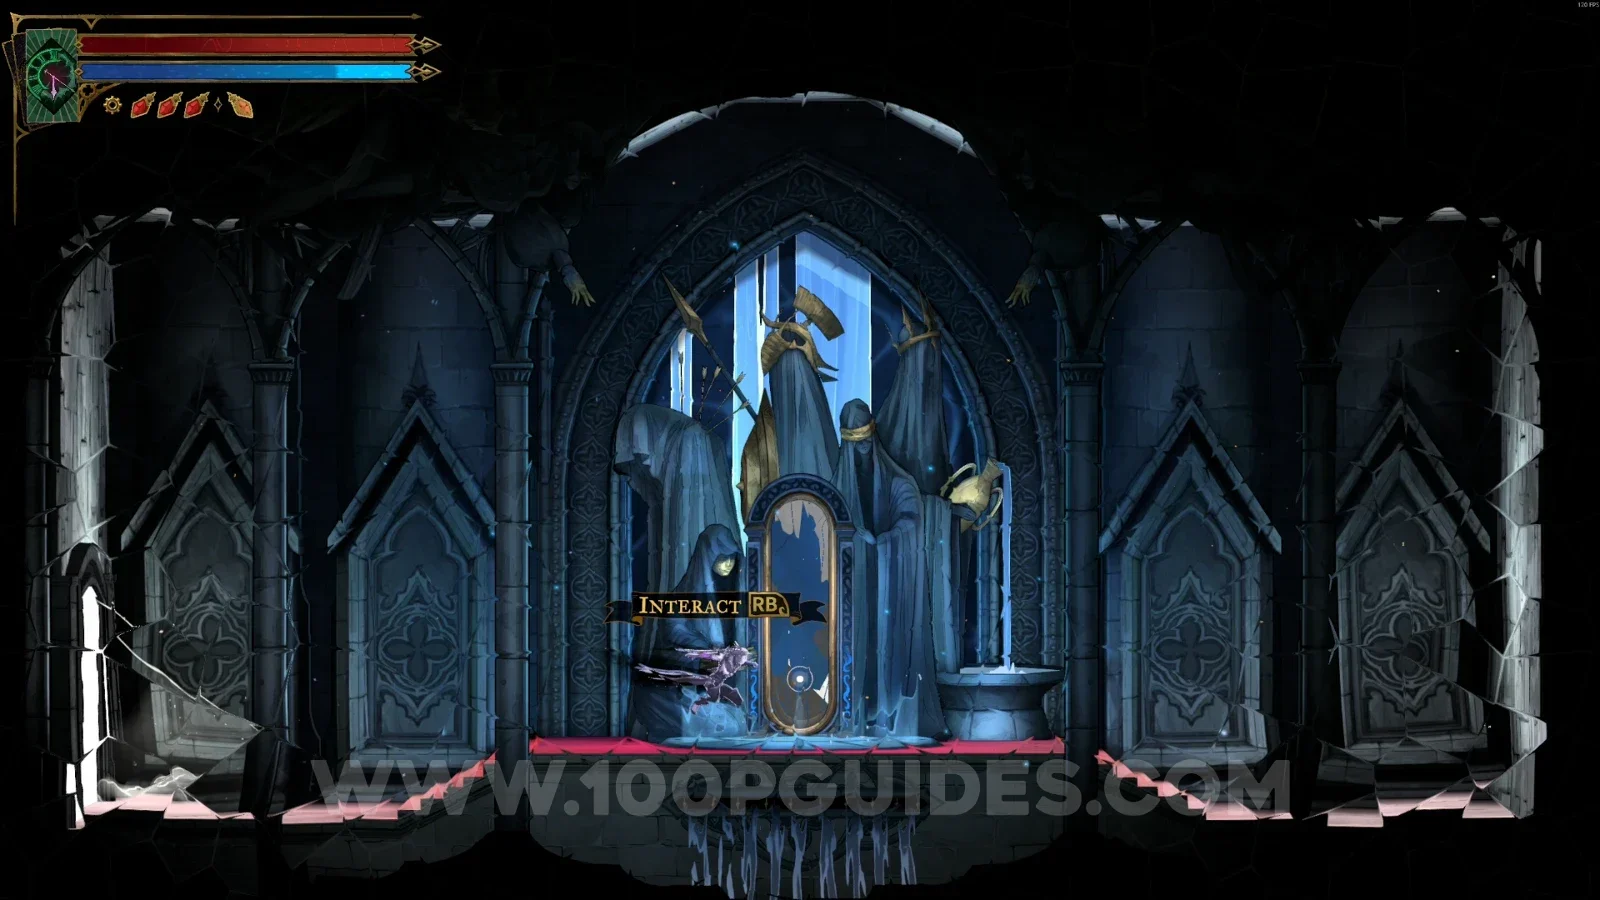
Clue: The Sage

Interact with the mirror.
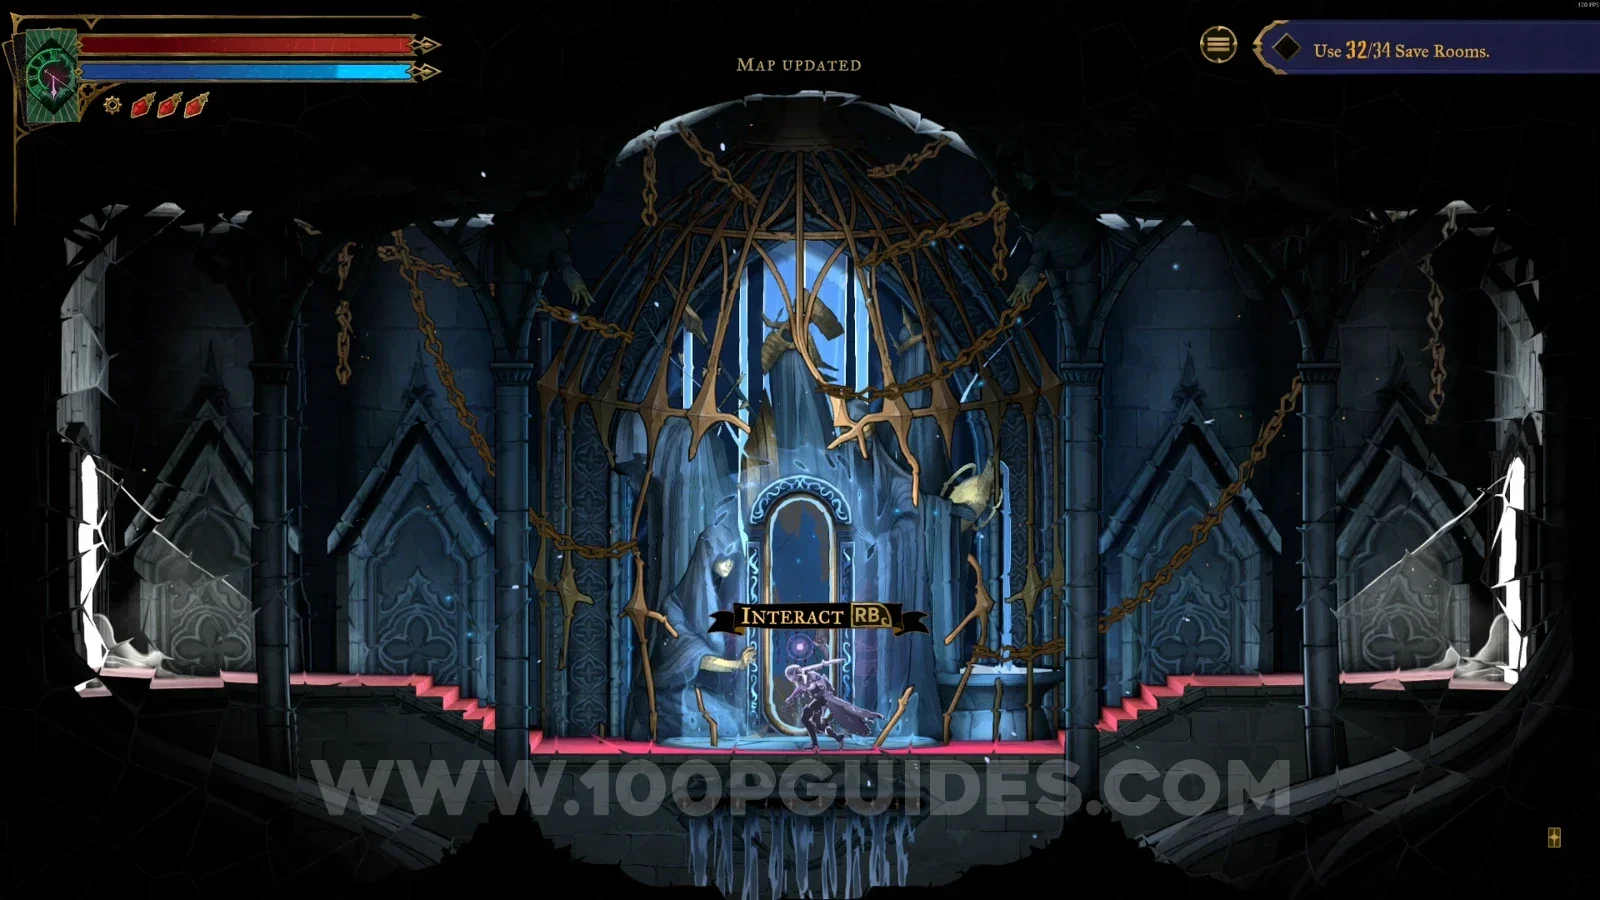
Castlevania Belmonts Curse Heart Of The Maze: interacting with the mirror to get the clue The Sage

The Descent Into Memory

Mirror Of Life #4

In the area marked on the map.
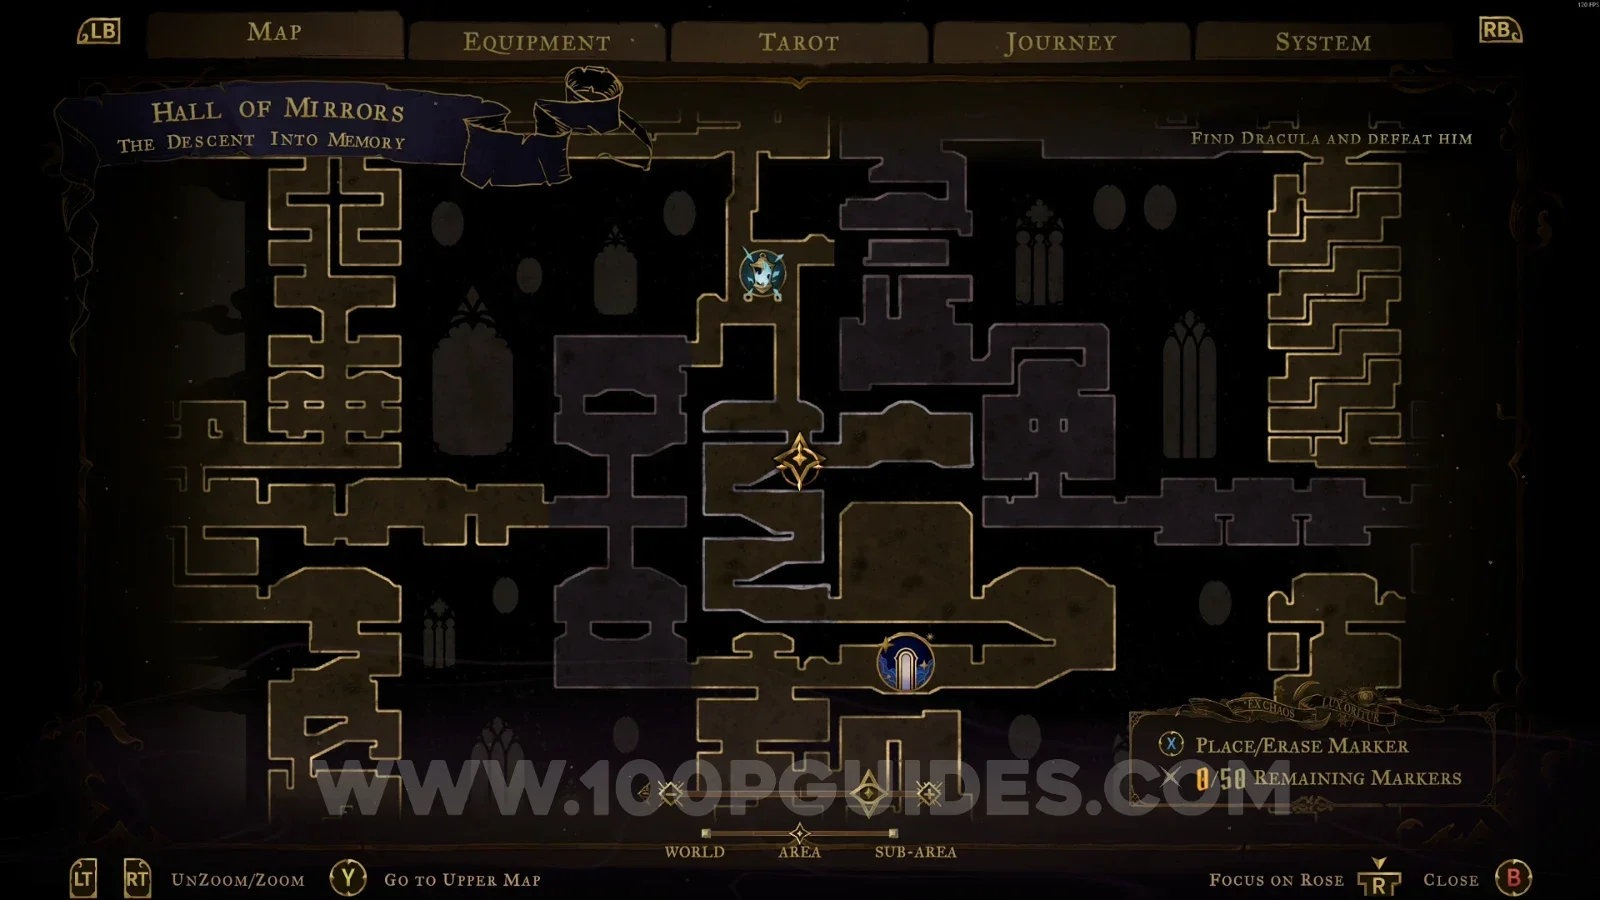
Castlevania Belmonts Curse The Descent Into Memory: map with the location of Mirror Of Life #4 marked Castlevania Belmonts Curse The Descent Into Memory: Mirror Of Life #4 in the marked area

In-Between

Ferryman's Wharf

In the area marked on the map.
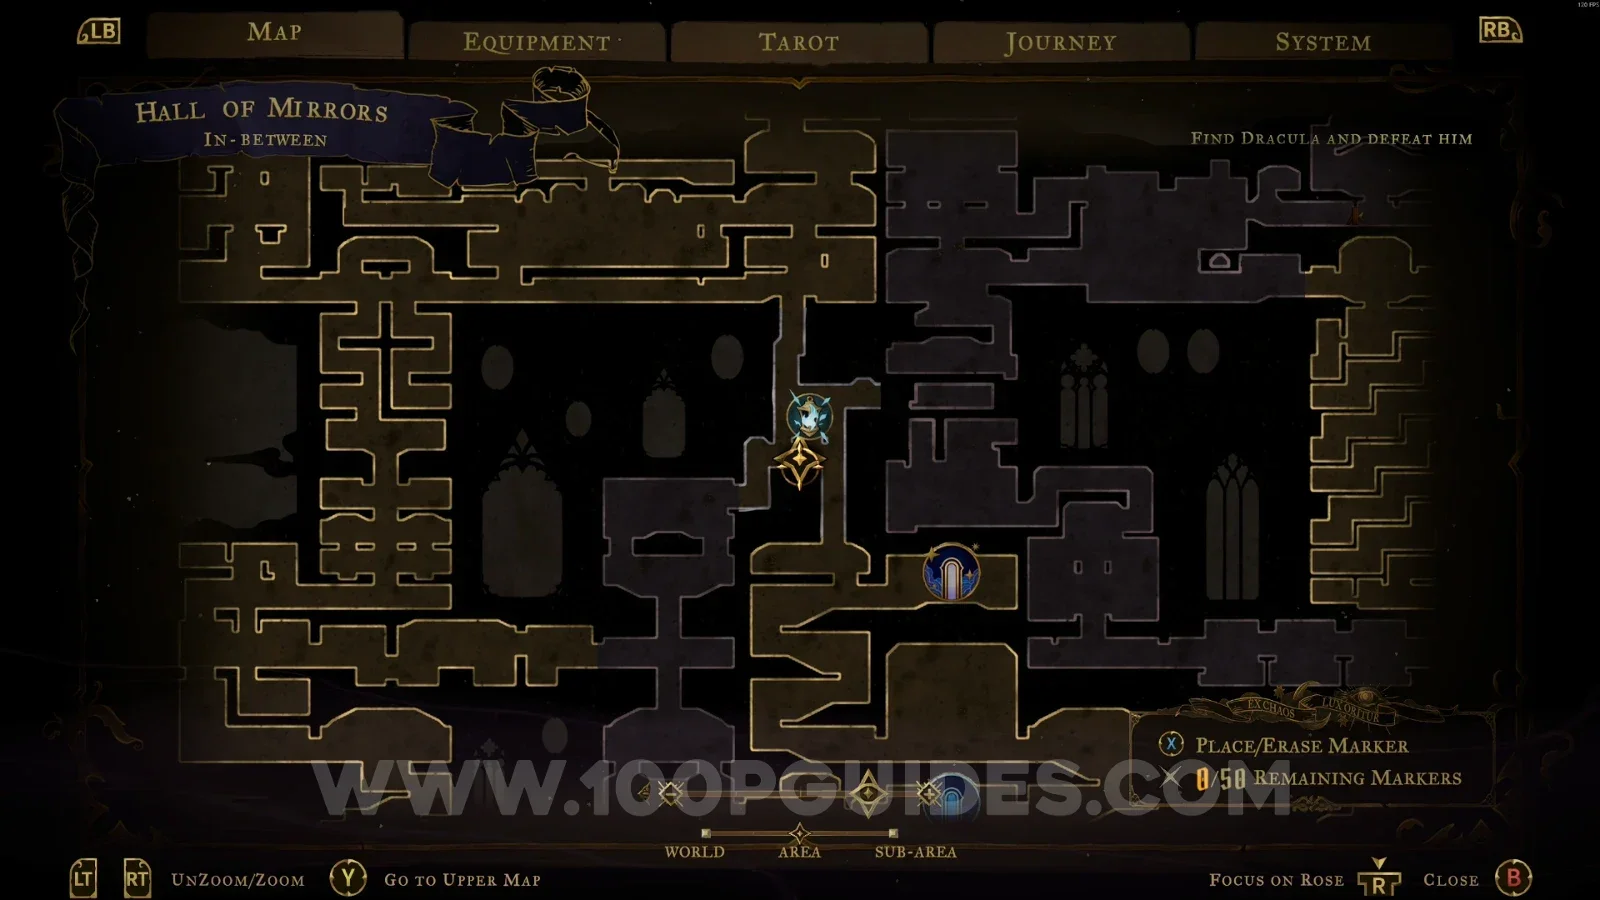
Castlevania Belmonts Curse In-Between: map with the location of Ferryman's Wharf marked Castlevania Belmonts Curse In-Between: Ferryman's Wharf in the marked area

Steps Of Misdirection

Brave Heart Fragment #2

At the top of the area, after going through the portals.
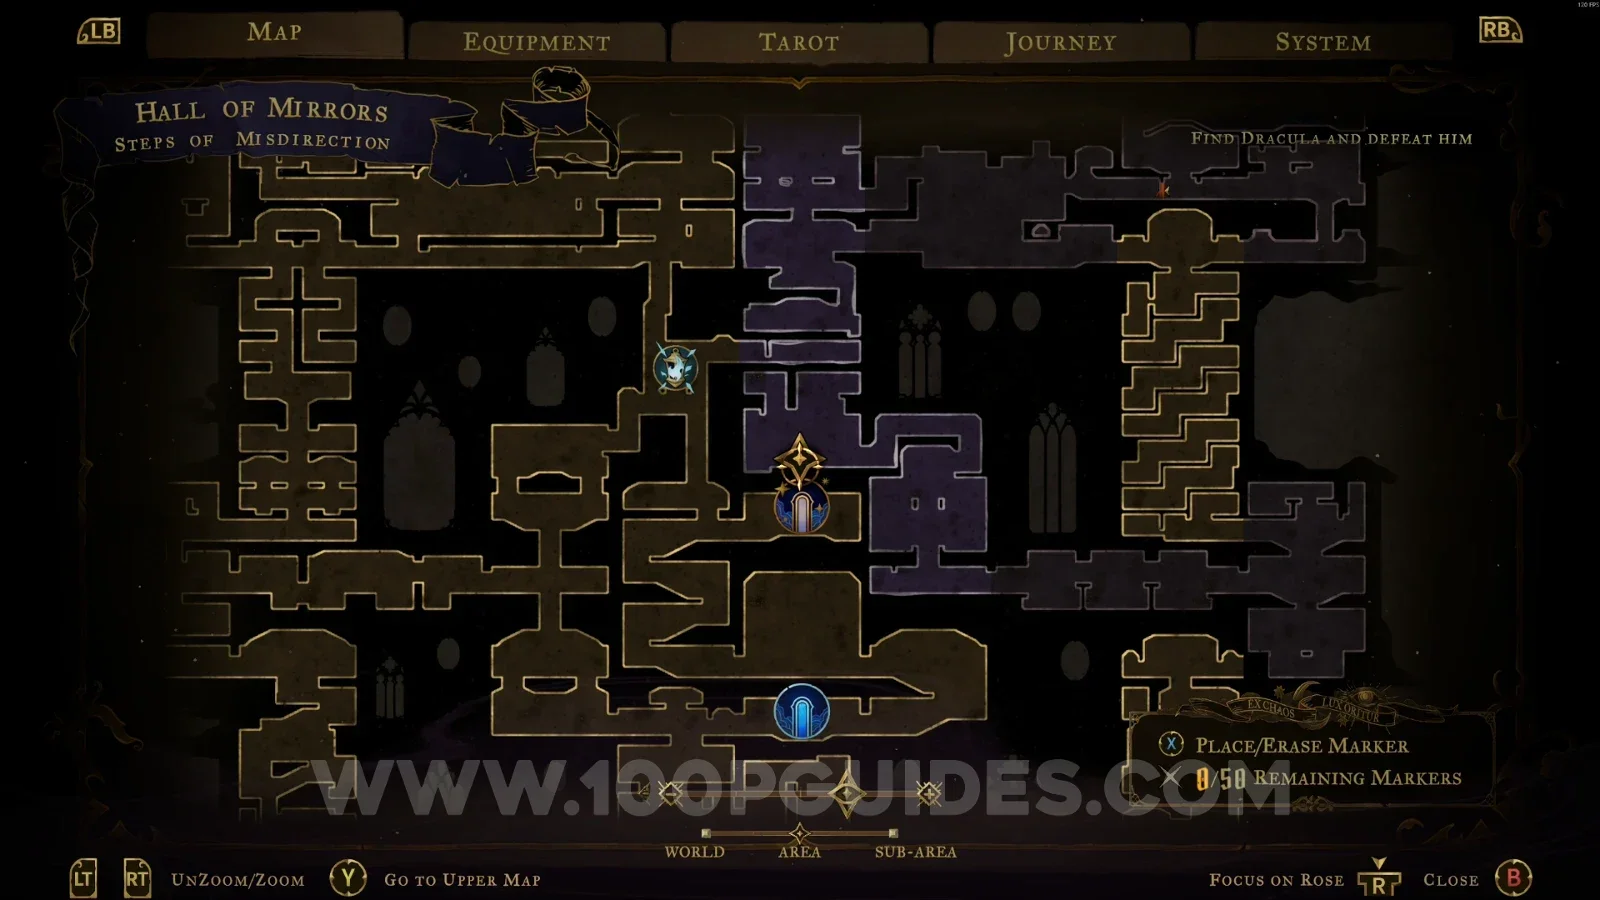
Castlevania Belmonts Curse Steps Of Misdirection: portals leading to the top of the area Castlevania Belmonts Curse Steps Of Misdirection: going through the portals toward Brave Heart Fragment #2 Castlevania Belmonts Curse Steps Of Misdirection: Brave Heart Fragment #2 at the top of the area

Relic #4: Haunting Relic

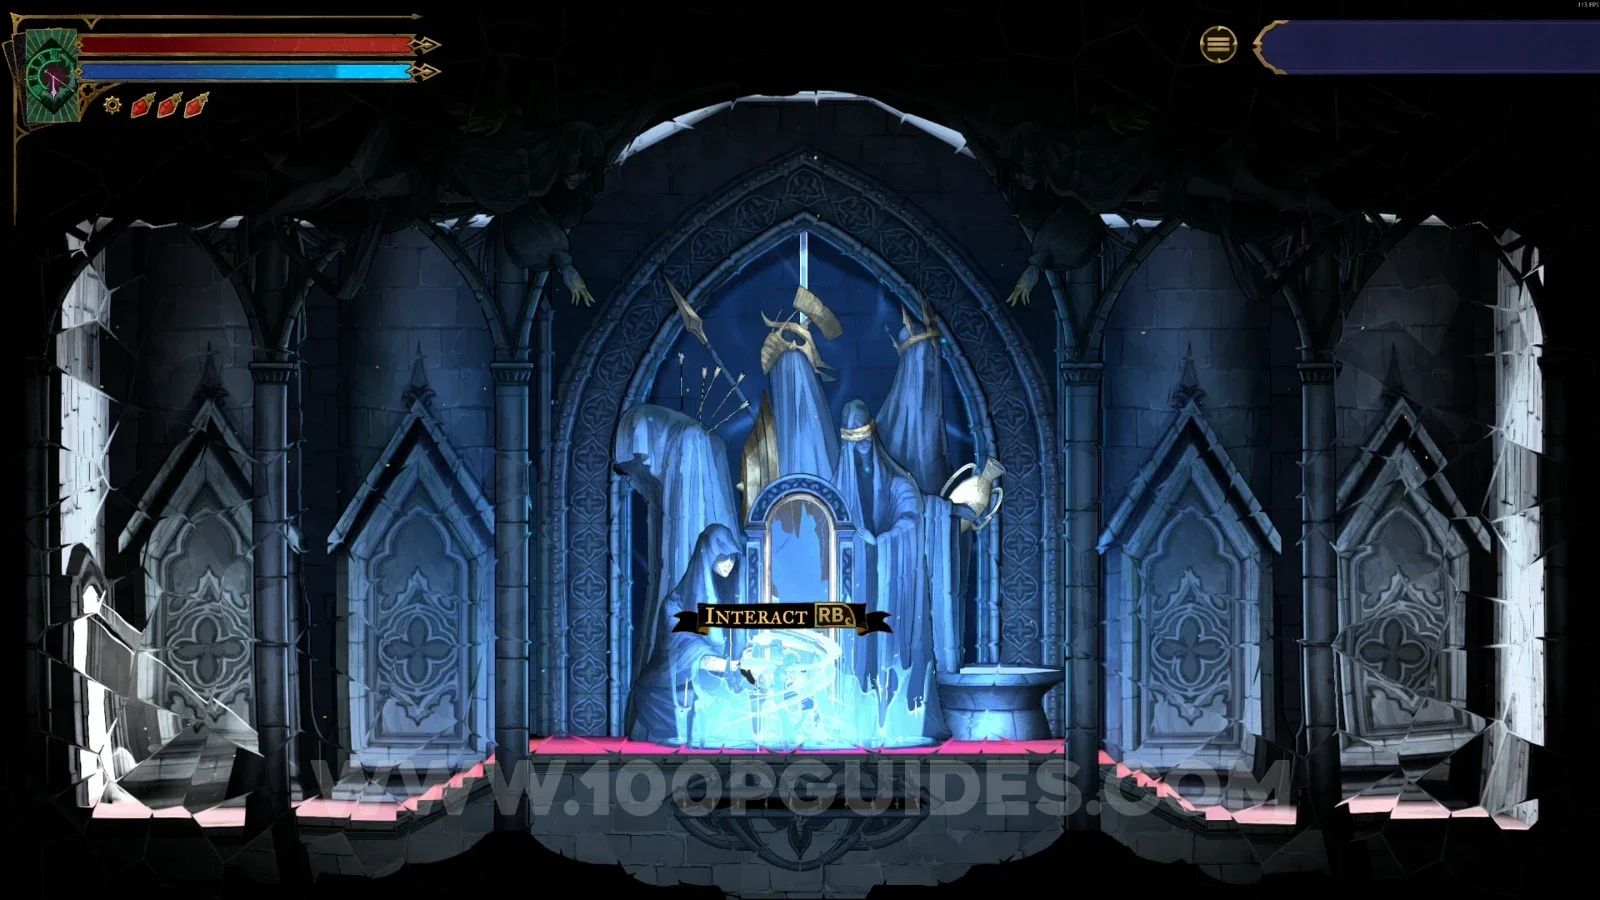
Climb to the upper part and interact with the lever. This will start a challenge. After beating the challenge, go down and open the chest.
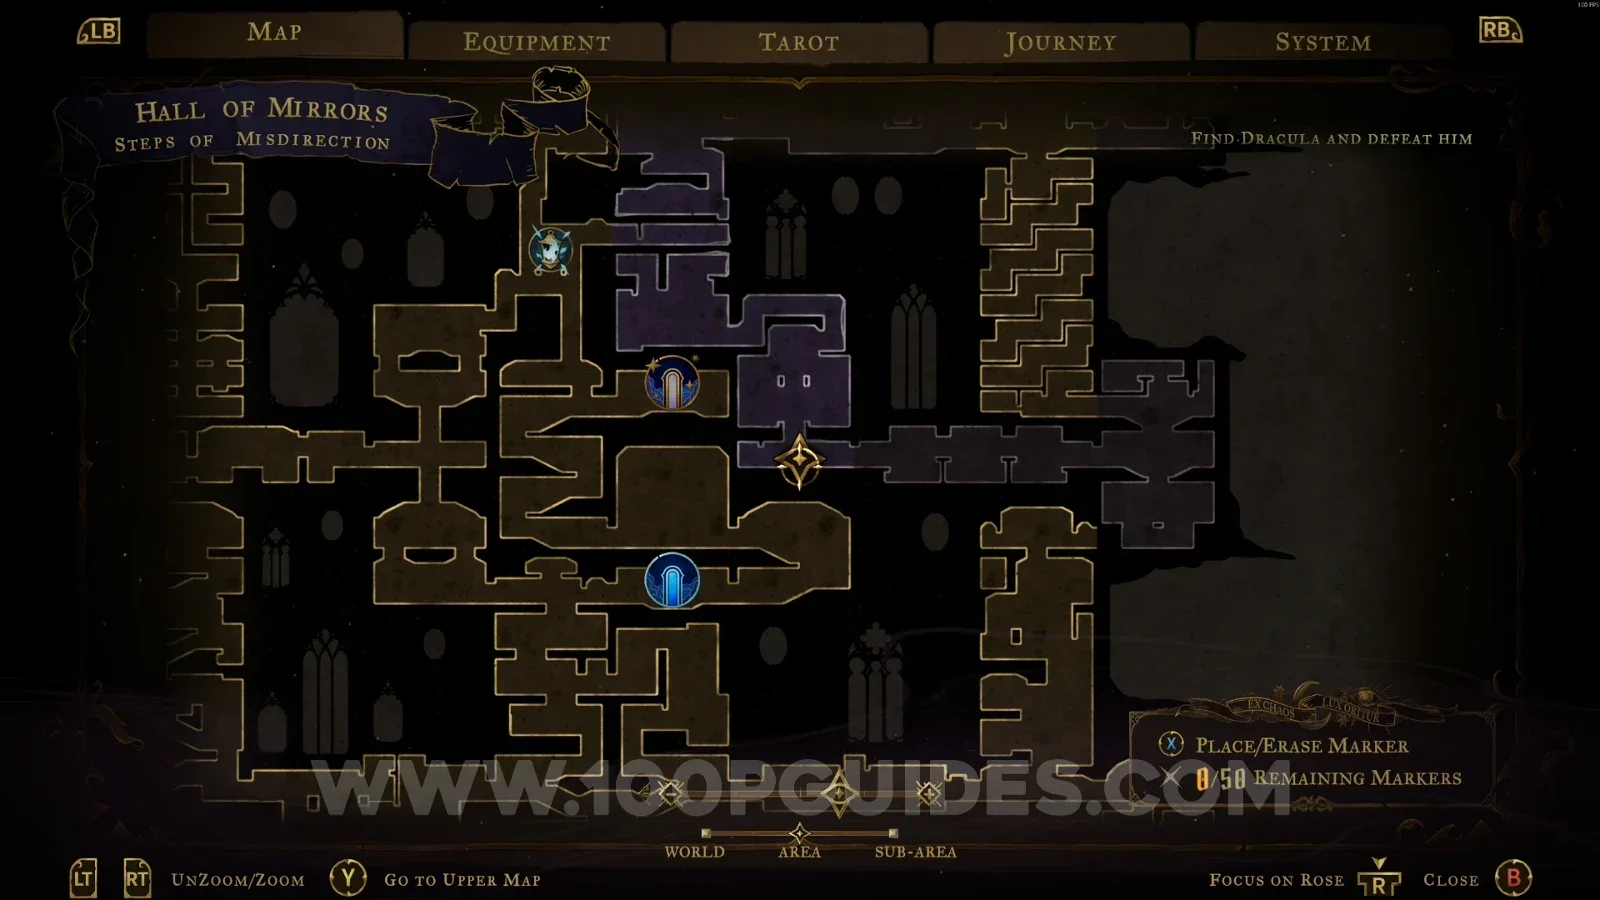
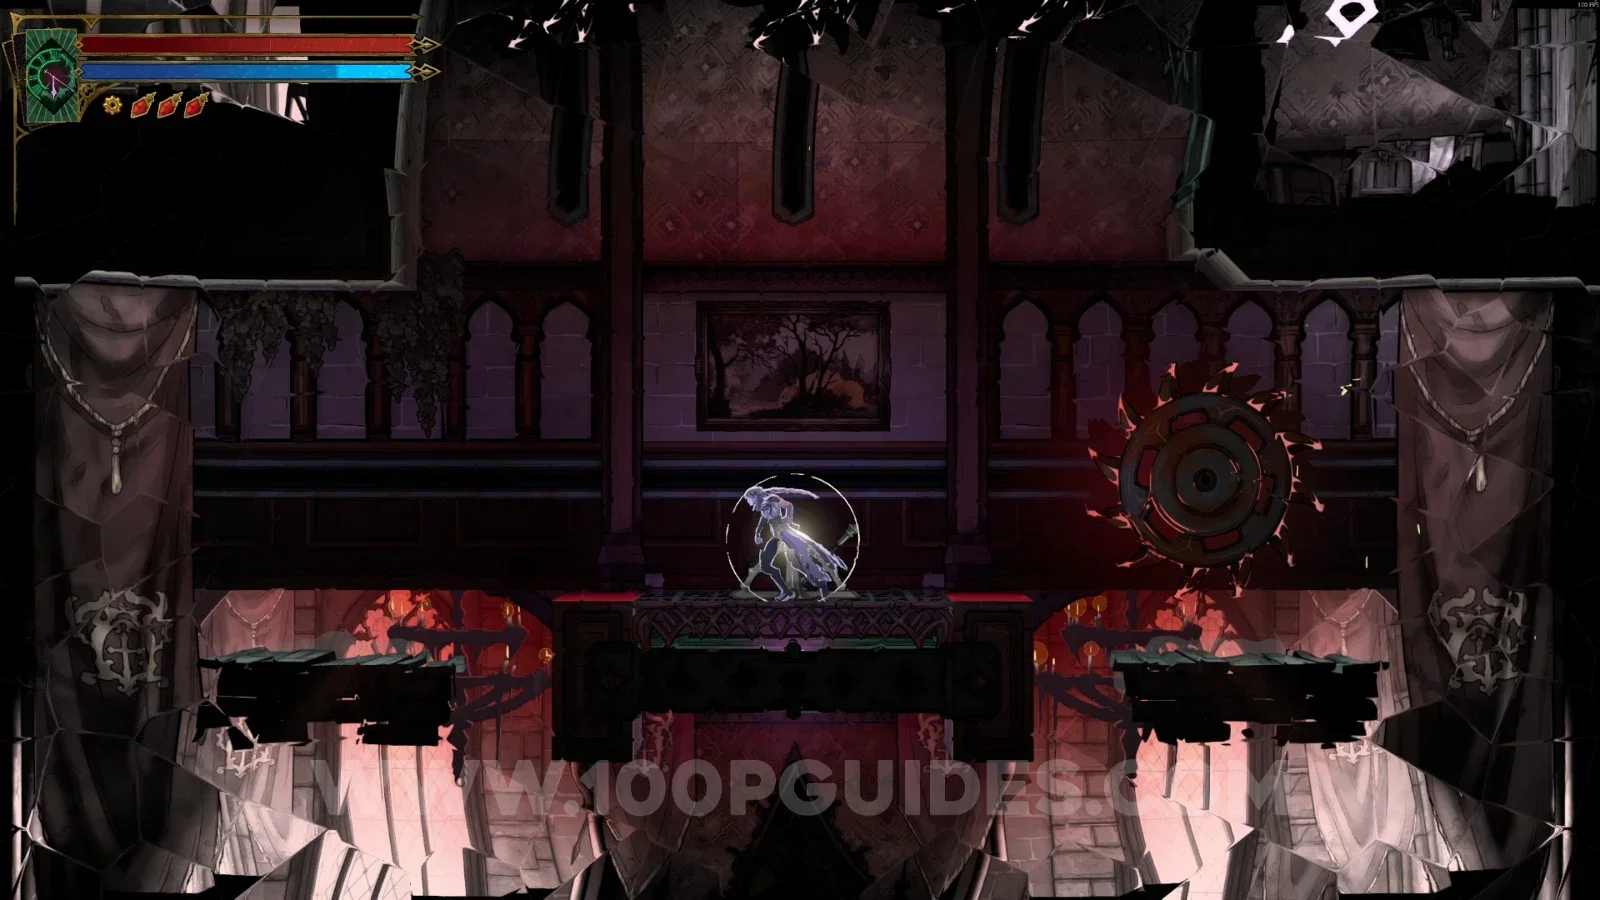
Castlevania Belmonts Curse Steps Of Misdirection: lever in the upper part that starts the challenge Castlevania Belmonts Curse Steps Of Misdirection: the challenge started by the lever for Relic #4 Castlevania Belmonts Curse Steps Of Misdirection: chest below holding Relic #4, the Haunting Relic

XP Statue #18 - #19 + Clue: The Sage

In the area marked on the map.
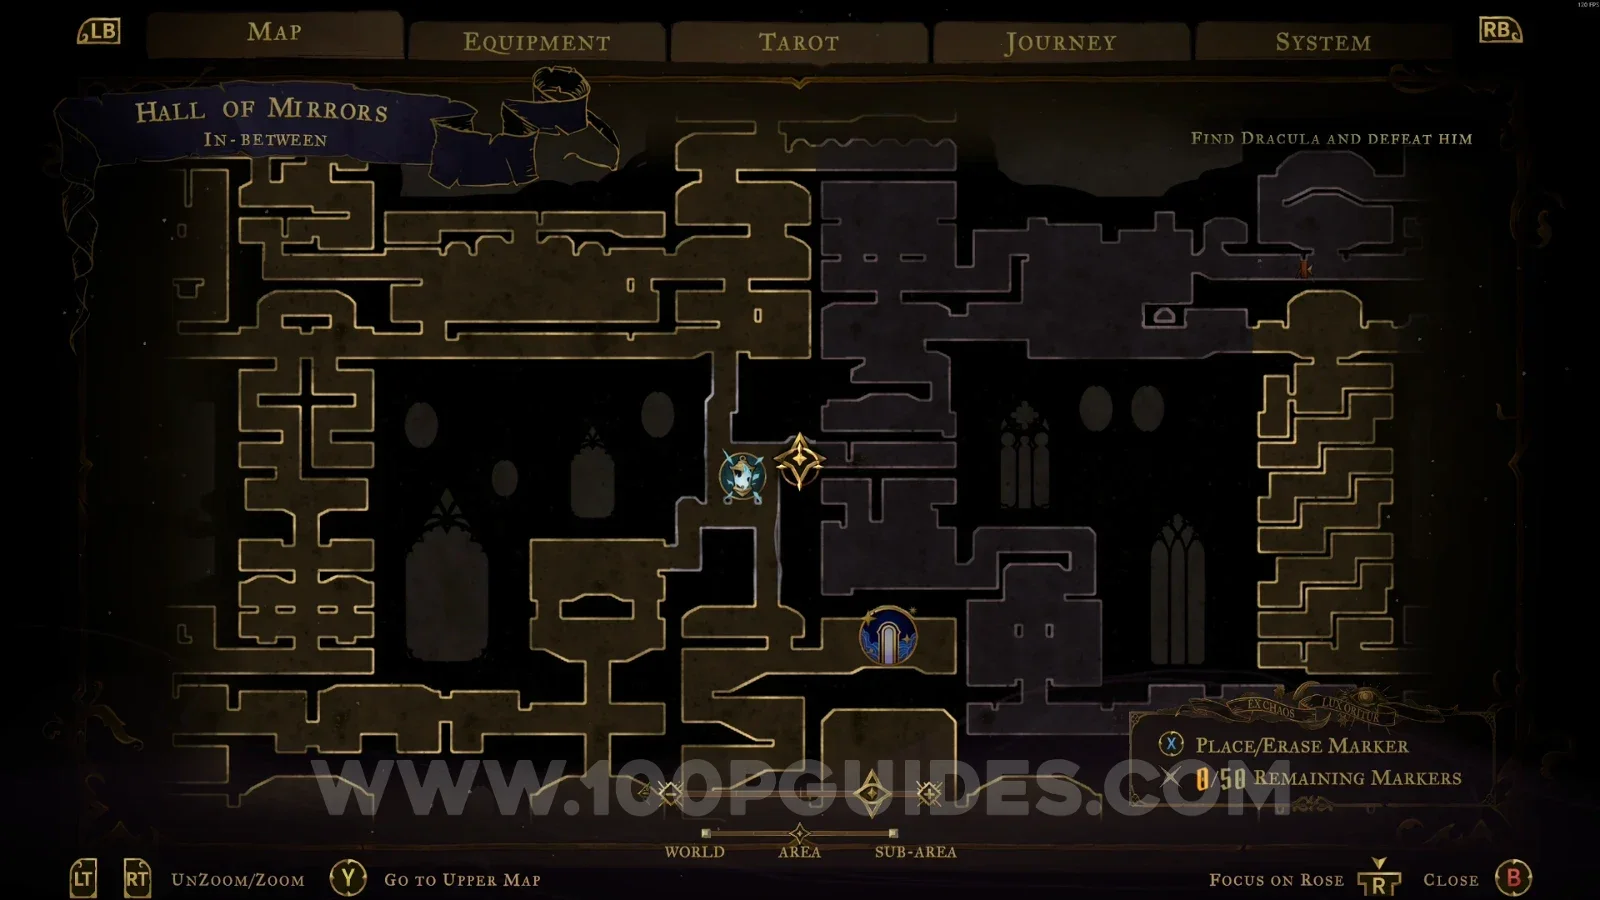
Castlevania Belmonts Curse Steps Of Misdirection: map marking XP Statues #18 and #19 and the Sage clue Castlevania Belmonts Curse Steps Of Misdirection: XP Statues #18 and #19 and the clue The Sage in the area

Ballroom Of Terror

Wise Heart Fragment #3

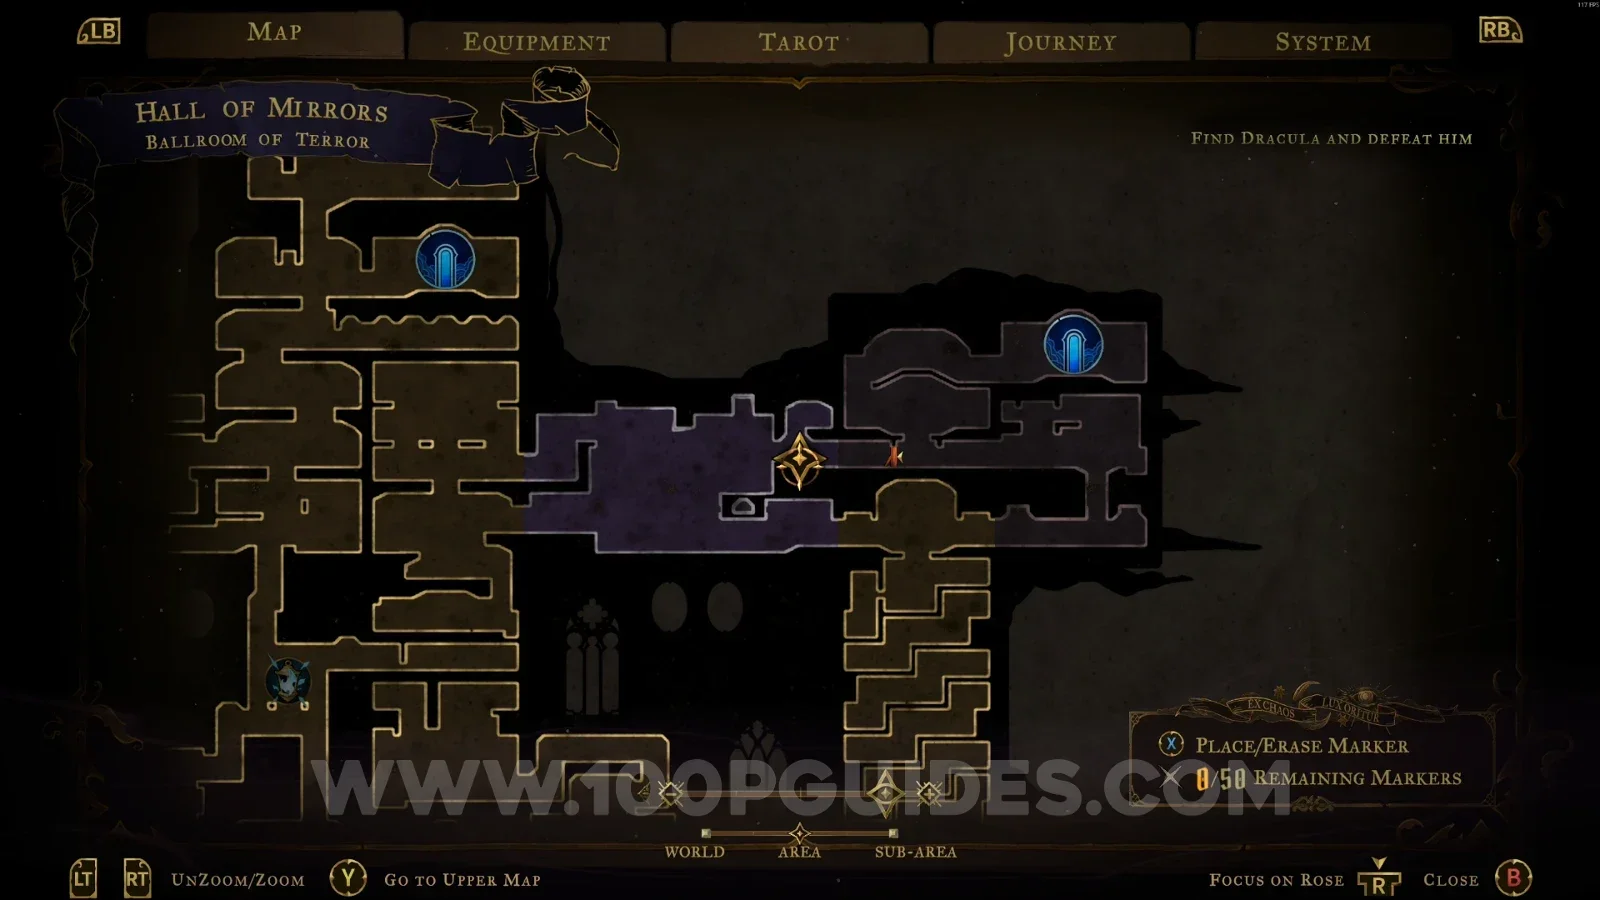
Go to the end of the area marked on the map to get this fragment.
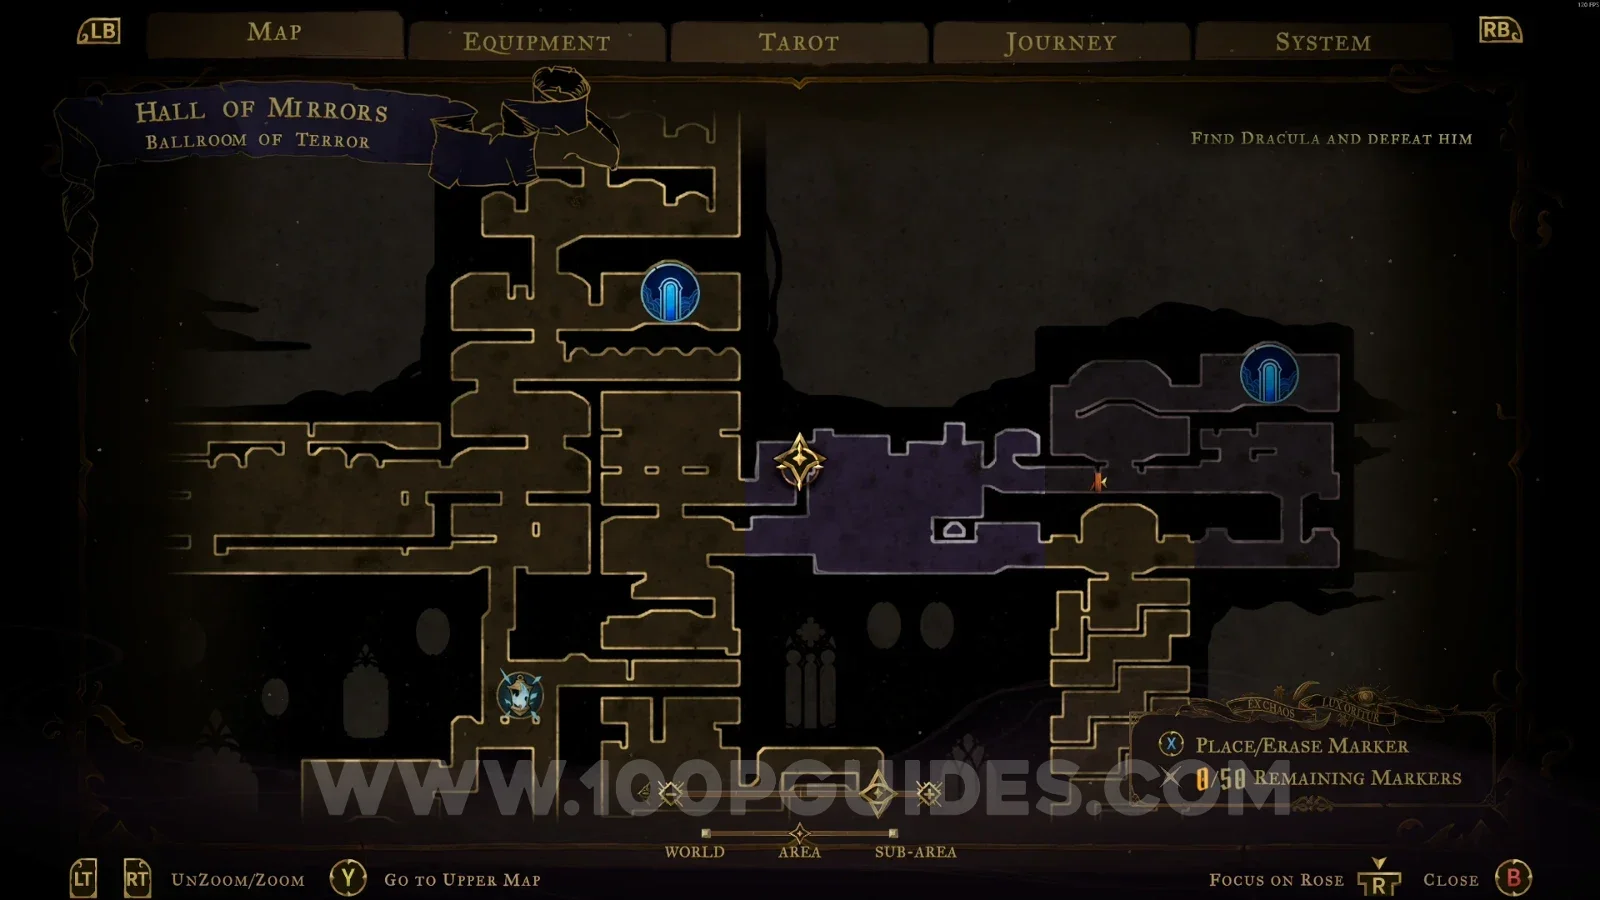
Castlevania Belmonts Curse Ballroom Of Terror: map marking the end of the area with Wise Heart Fragment #3 Castlevania Belmonts Curse Ballroom Of Terror: Wise Heart Fragment #3 at the end of the marked area

Red Book #2

Directly from the previous collectible, jump down to the lower part next to the saw to reach this.
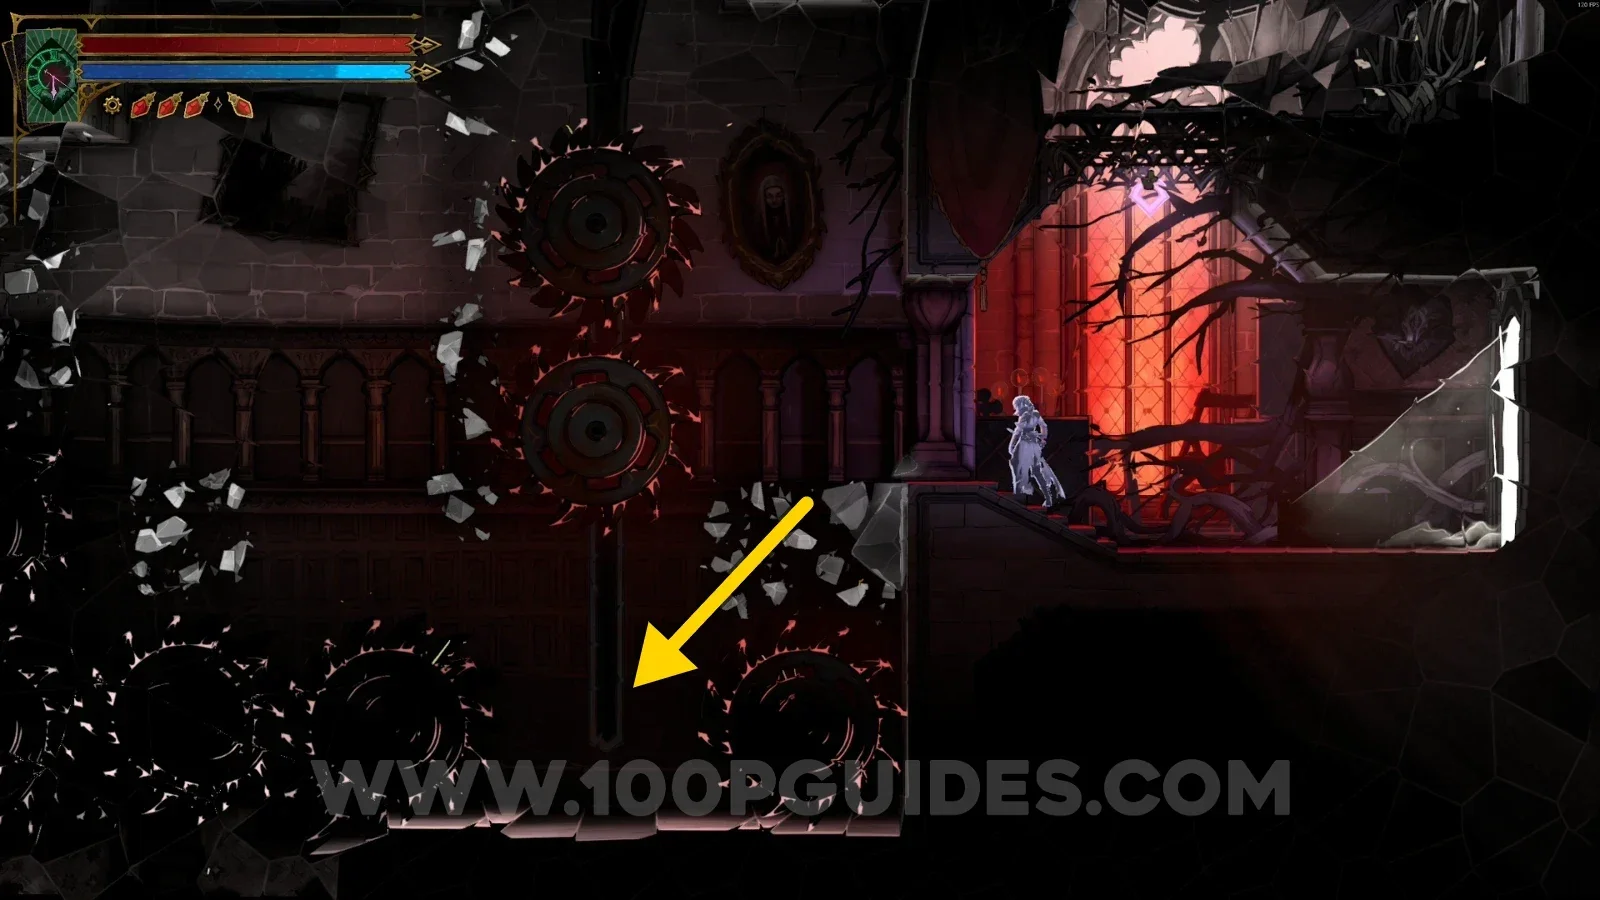
Castlevania Belmonts Curse Ballroom Of Terror: dropping down from the Wise Heart Fragment #3 spot Castlevania Belmonts Curse Ballroom Of Terror: lower part next to the saw leading to Red Book #2 Castlevania Belmonts Curse Ballroom Of Terror: Red Book #2 in the lower part next to the saw

Nightmare Atrium

XP Statue #20

At the top of the area, on the left side.
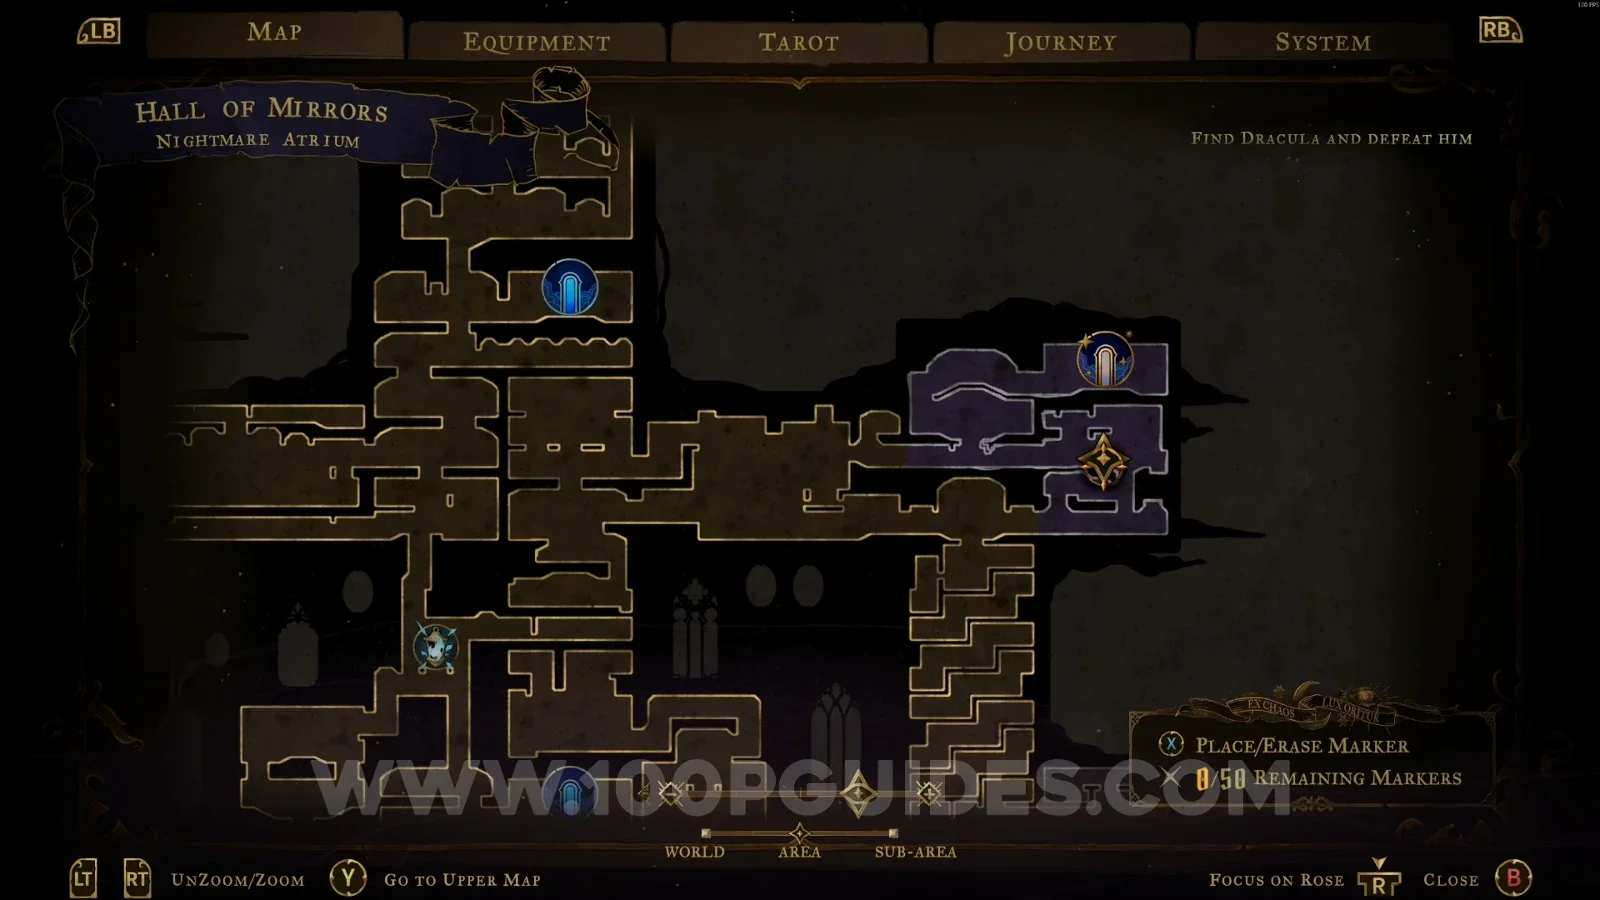
Castlevania Belmonts Curse Nightmare Atrium: map showing XP Statue #20 at the top left of the area Castlevania Belmonts Curse Nightmare Atrium: XP Statue #20 at the top of the area on the left side

Mirror Of Life #5

In the area marked on the map.
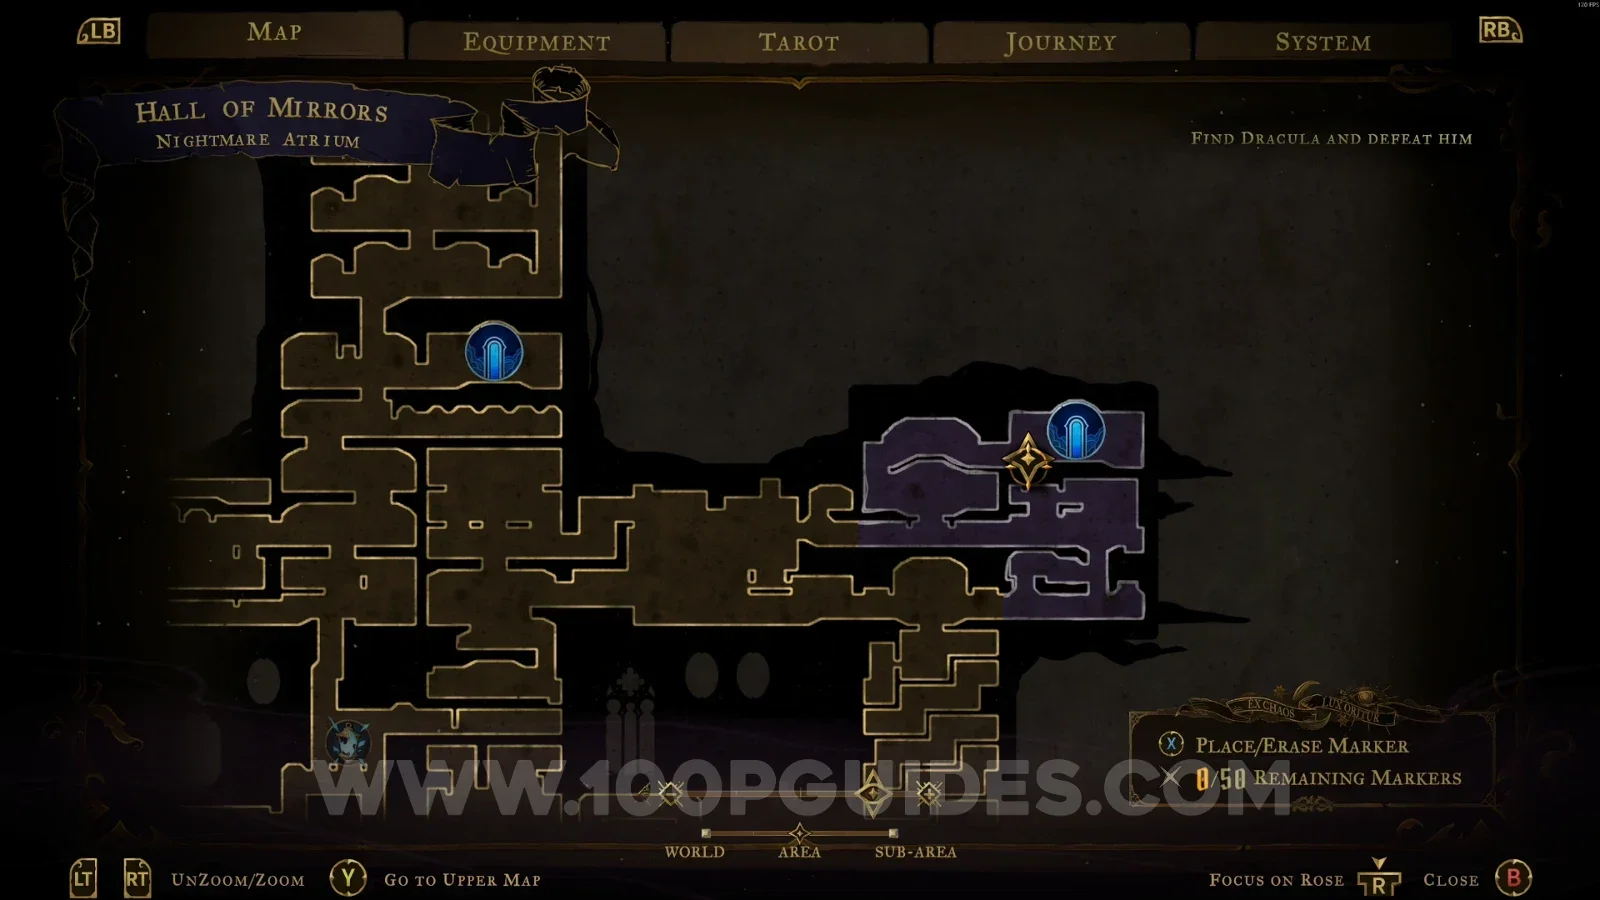
Castlevania Belmonts Curse Nightmare Atrium: map with the location of Mirror Of Life #5 marked Castlevania Belmonts Curse Nightmare Atrium: Mirror Of Life #5 in the marked area

Brave Heart Fragment #3

Jump to the upper part to reveal a secret area with the Brave Heart.
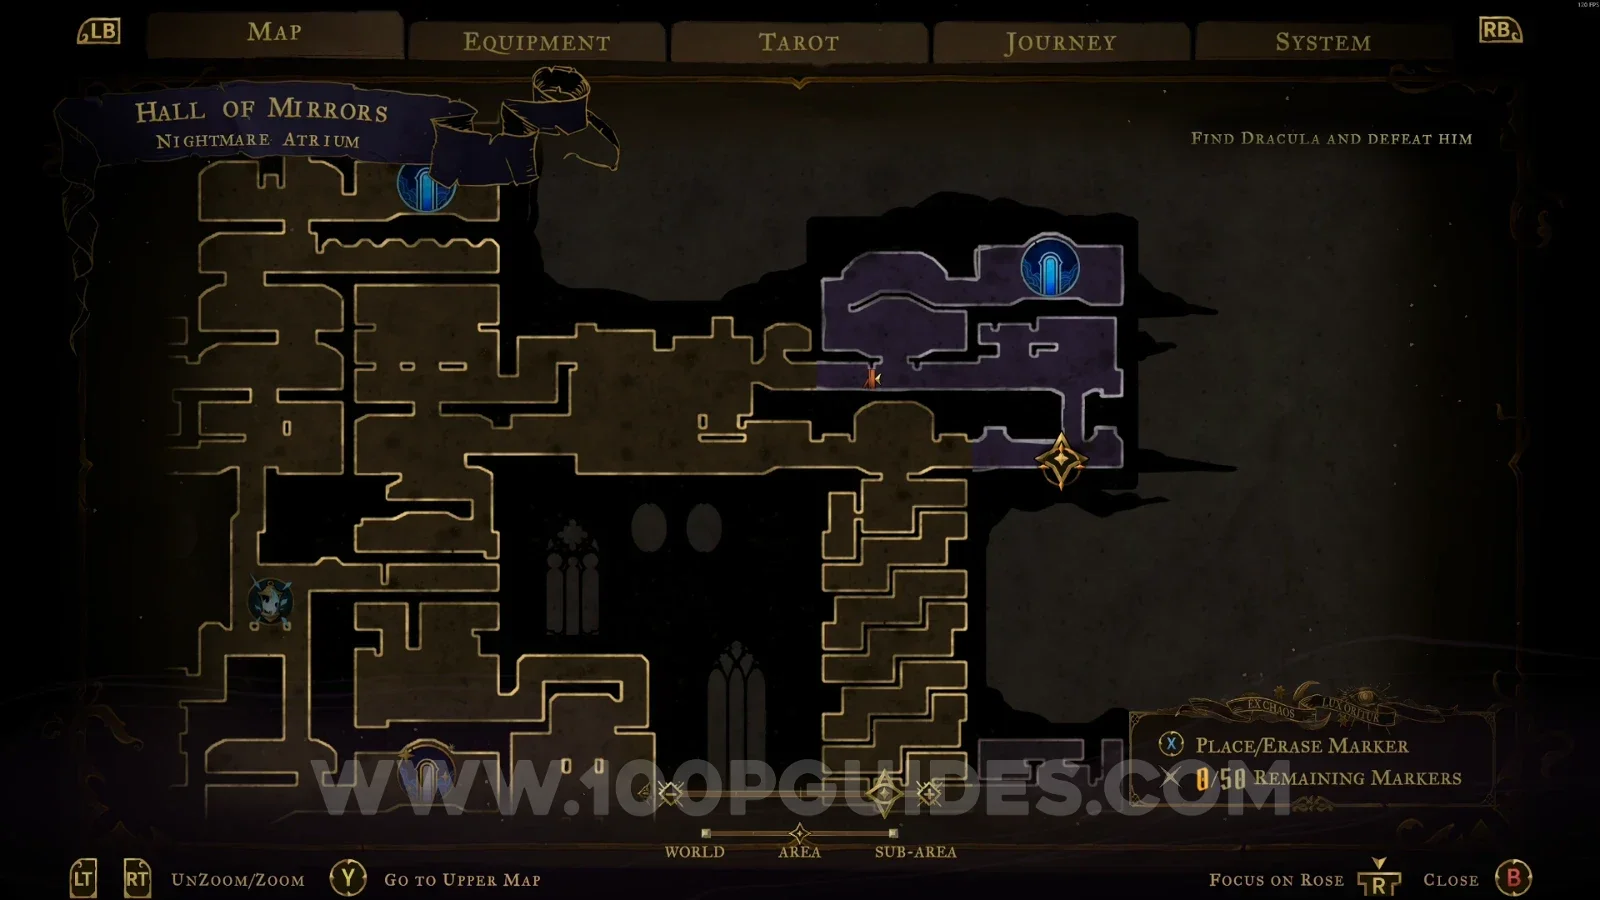
Castlevania Belmonts Curse Nightmare Atrium: jumping to the upper part to reveal a secret area Castlevania Belmonts Curse Nightmare Atrium: Brave Heart Fragment #3 in the revealed secret area

Level Deviled

XP Statue #21

At the top of the area, use the portal to reach this statue.
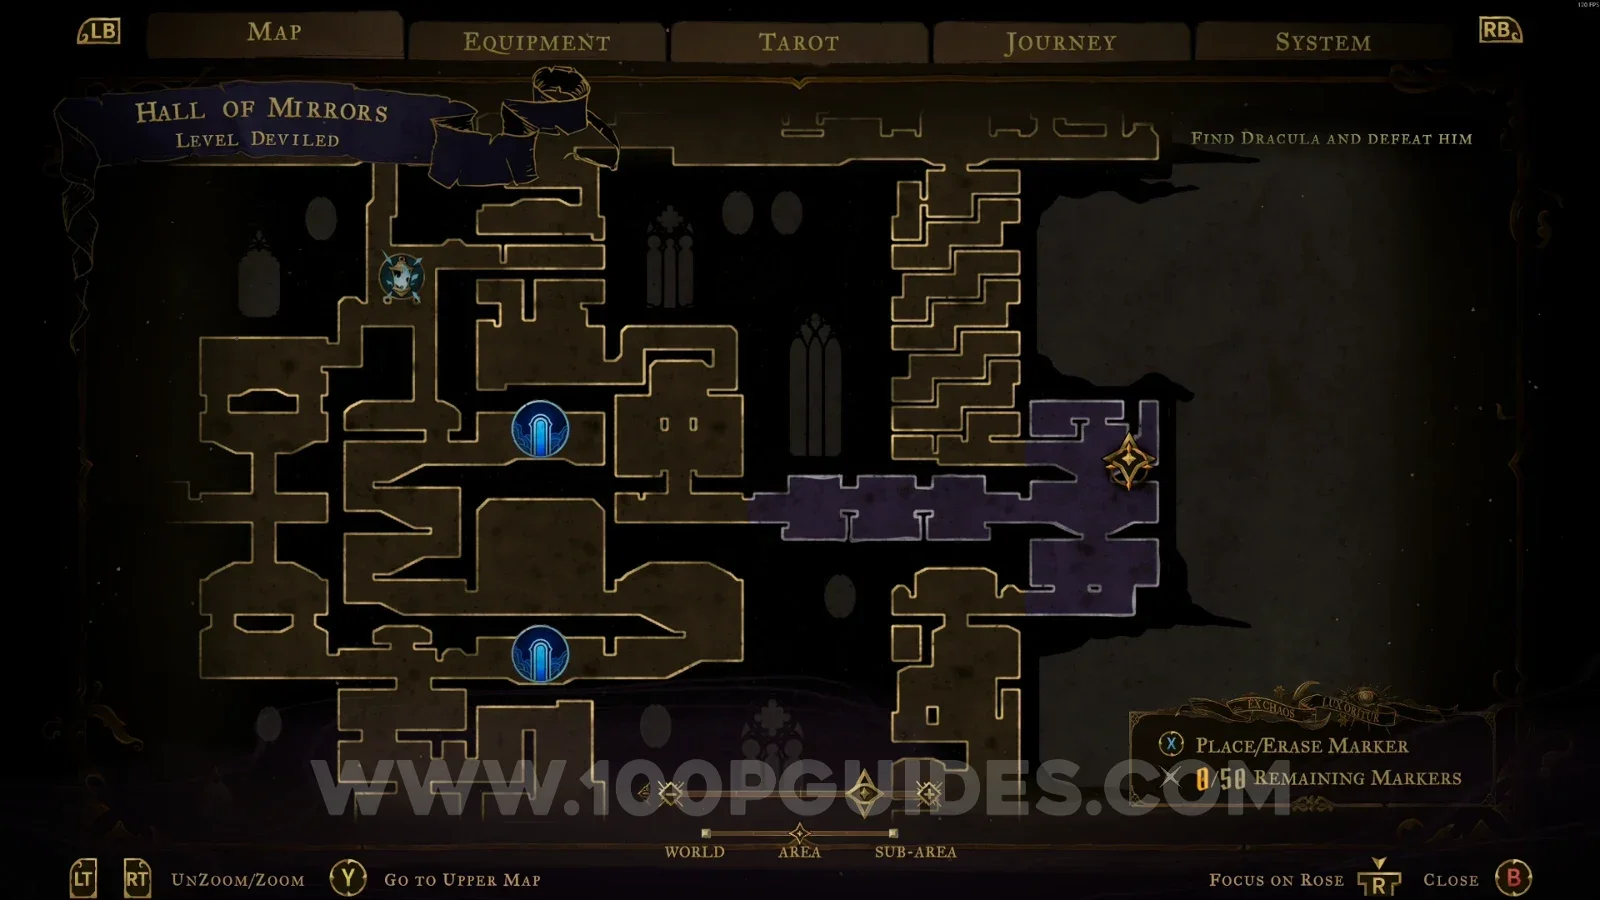
Castlevania Belmonts Curse Level Deviled: portal at the top of the area leading to XP Statue #21 Castlevania Belmonts Curse Level Deviled: XP Statue #21 reached through the portal

Weapon #1: Bernhard's Wrath

In the area marked on the map, crouch in front of the mirror to be teleported to the area with the weapon.
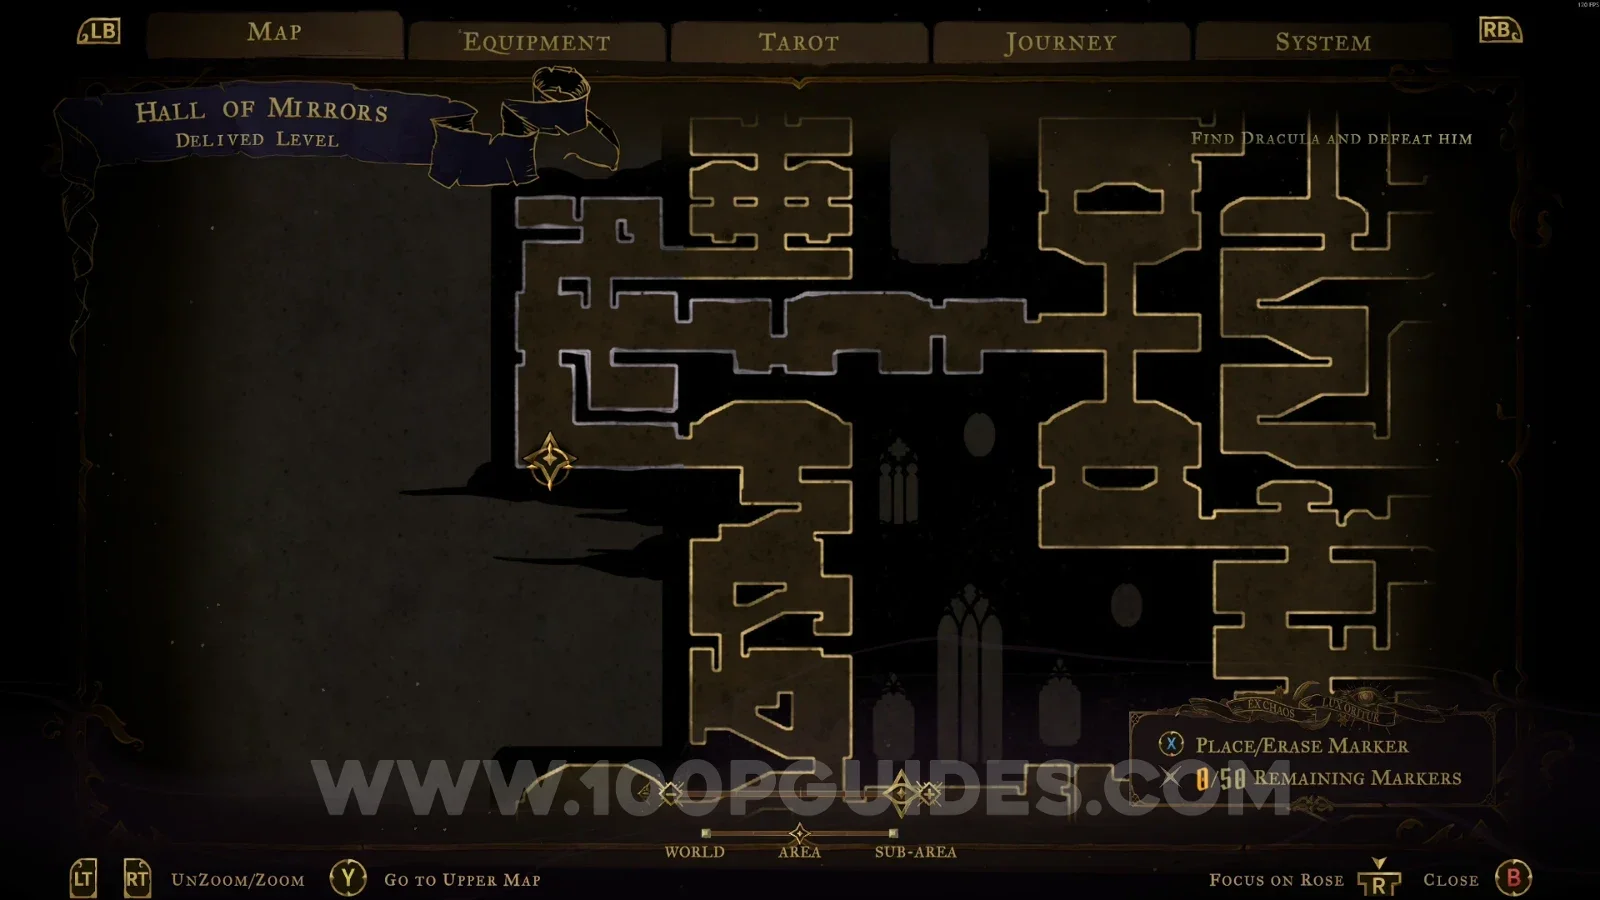
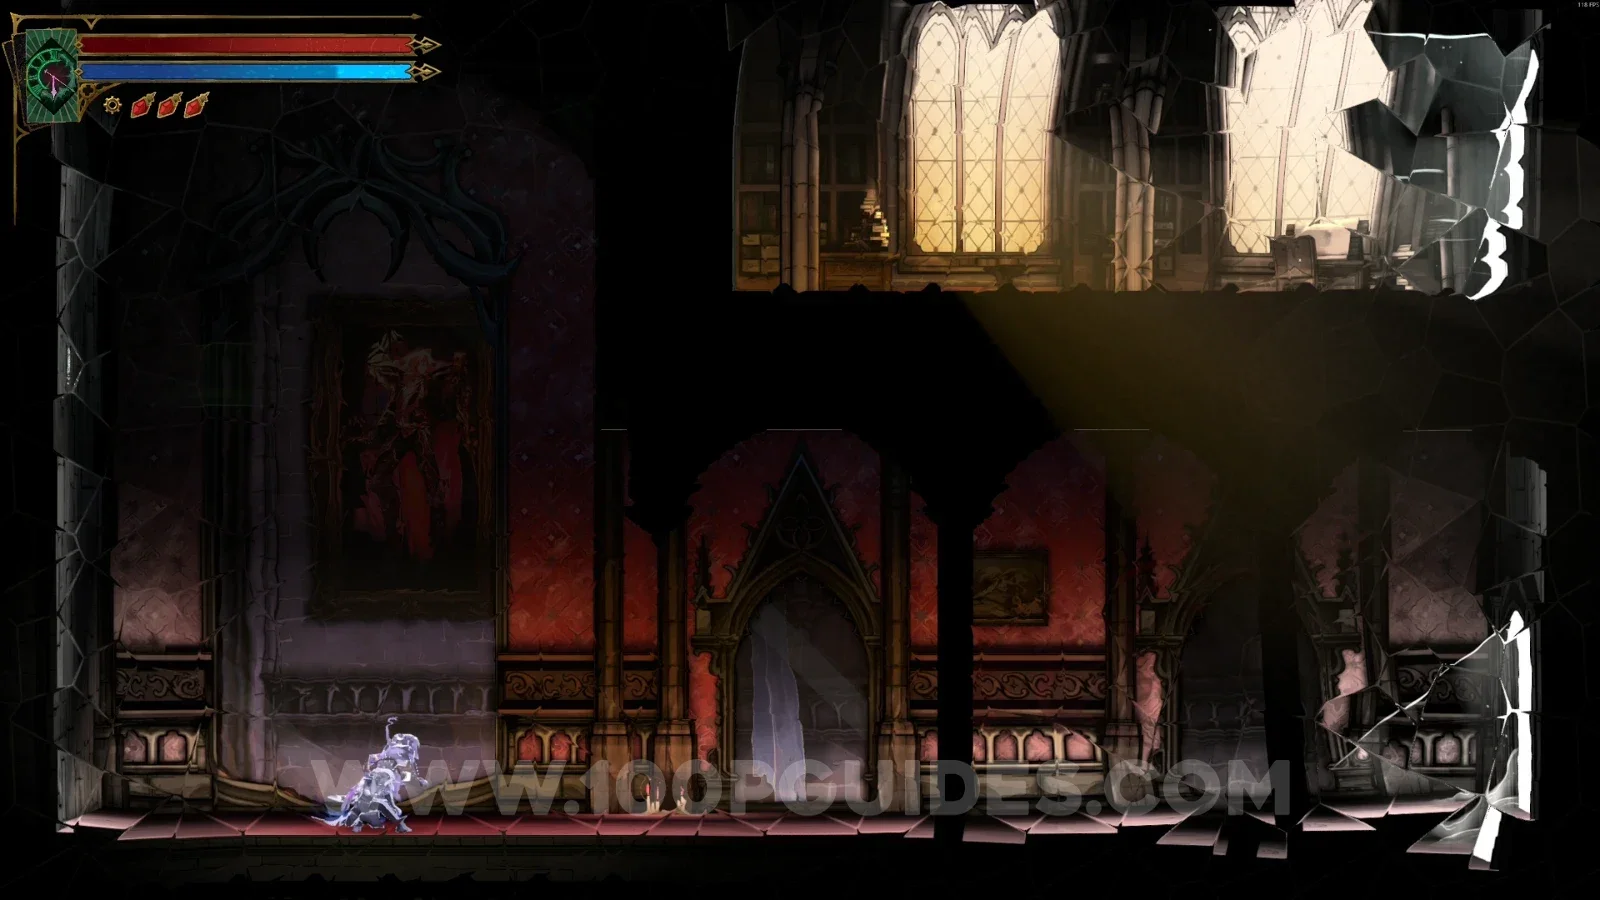
Castlevania Belmonts Curse Level Deviled: map with the mirror area for Bernhard's Wrath marked Castlevania Belmonts Curse Level Deviled: crouching in front of the mirror to be teleported Castlevania Belmonts Curse Level Deviled: Weapon #1, Bernhard's Wrath, in the teleport area

These are all the collectibles and secrets you can find in the Hall Of Mirrors.

Video Guide

Previous
Previous

Castlevania: Belmont’s Curse Master’s Quarters All Collectibles

Next
Next

Castlevania: Belmont’s Curse Notre-Dame All Collectibles