

This guide will show you the location of all collectibles in Notre-Dame in Castlevania: Belmont's Curse.
Collecting everything is required to get the Perfectionist Hunter Trophy / Achievement.
How to Access Notre-Dame
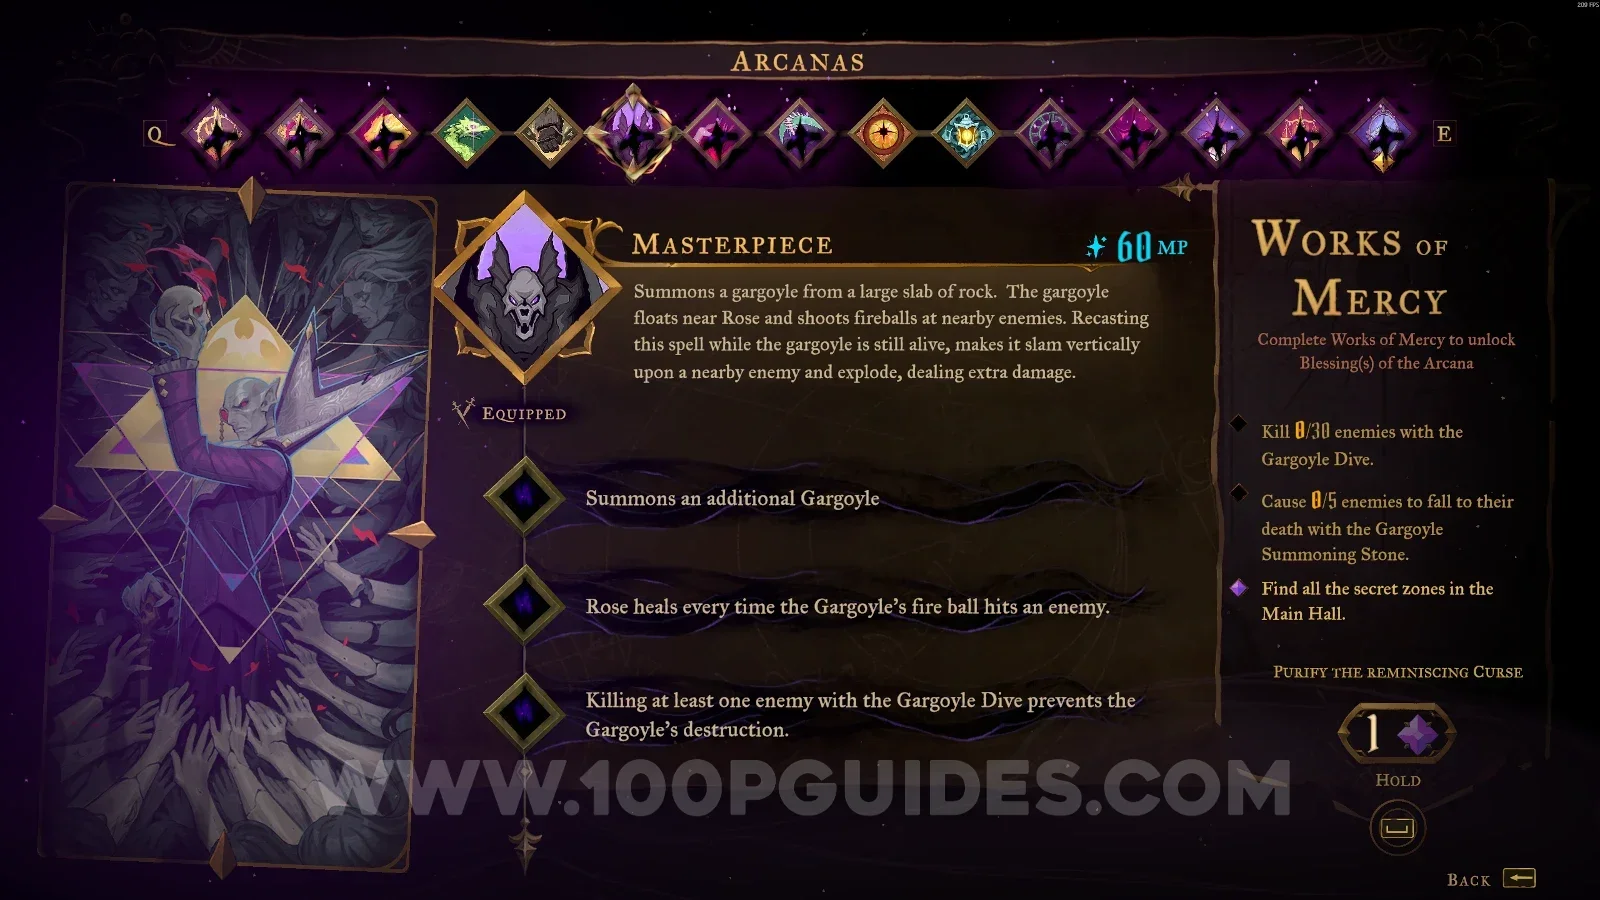
Arcana: Masterpiece
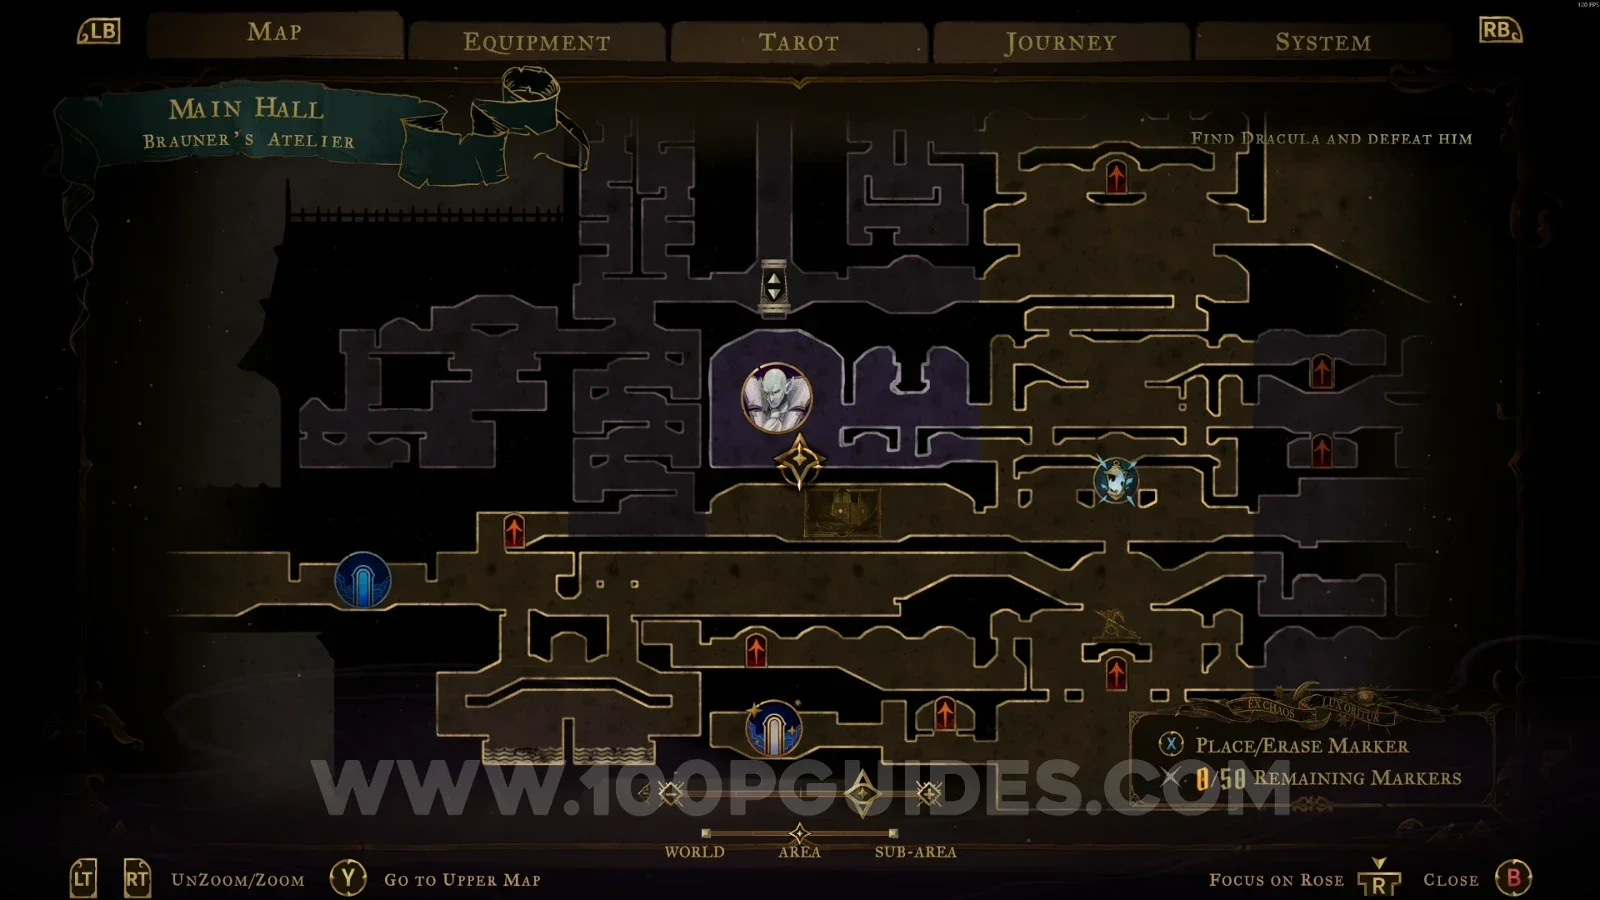
First, you'll need the Masterpiece arcana, which you get after defeating The Artist in the Main Hall > Brauner's Atelier.
Brauner's Paintbrush
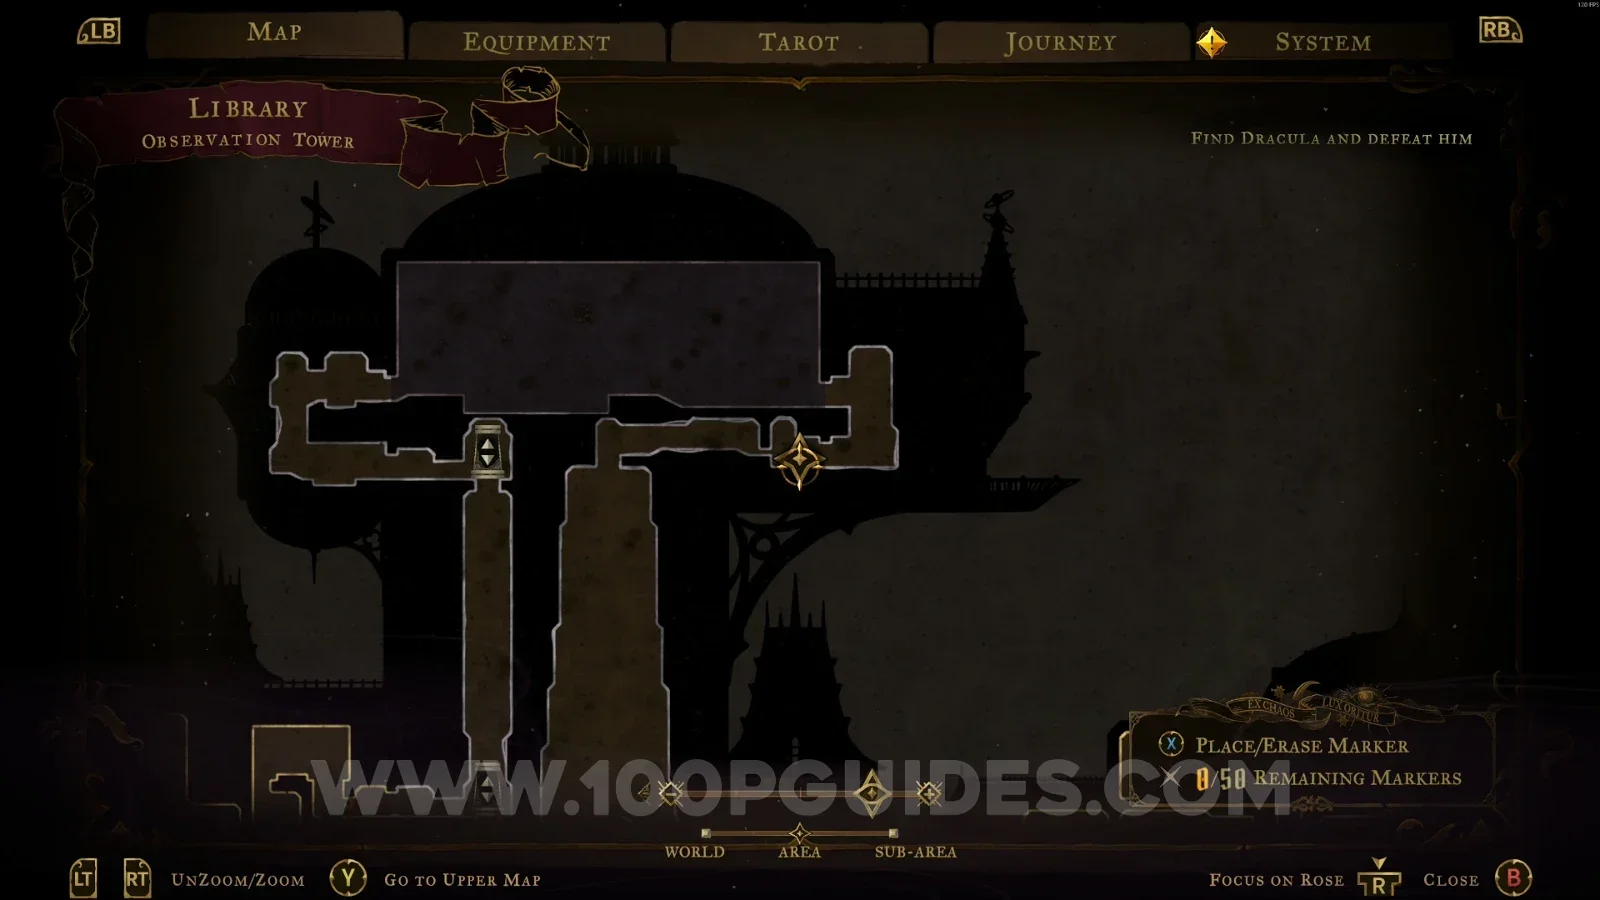
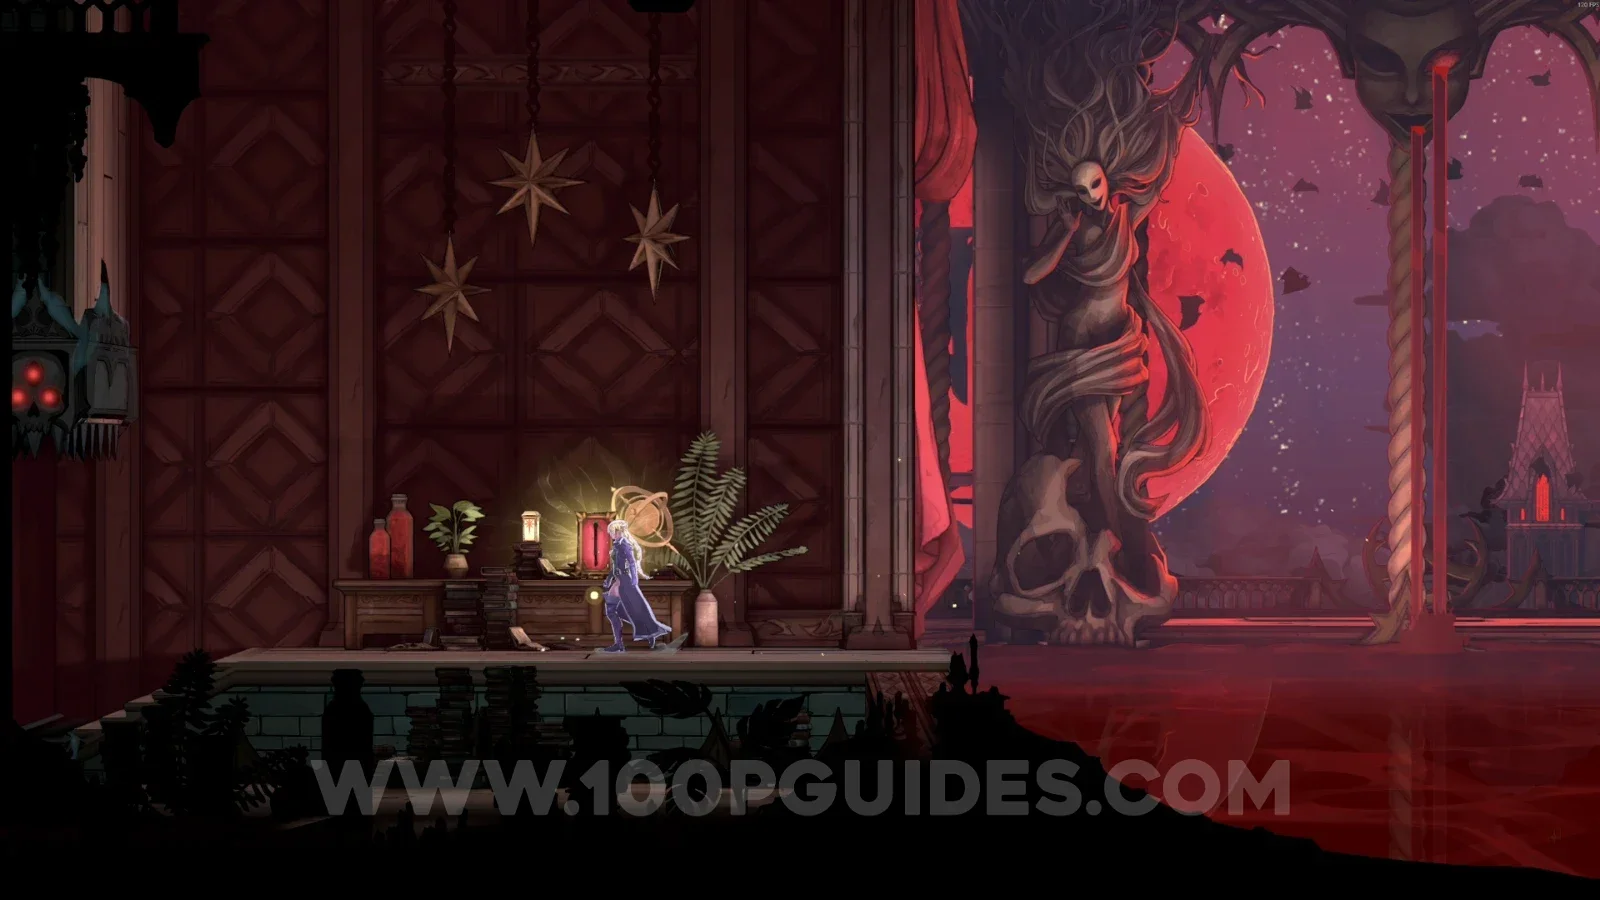
Defeat Carmilla in Library > Observatory, then keep going forward and grab Brauner's Paintbrush.
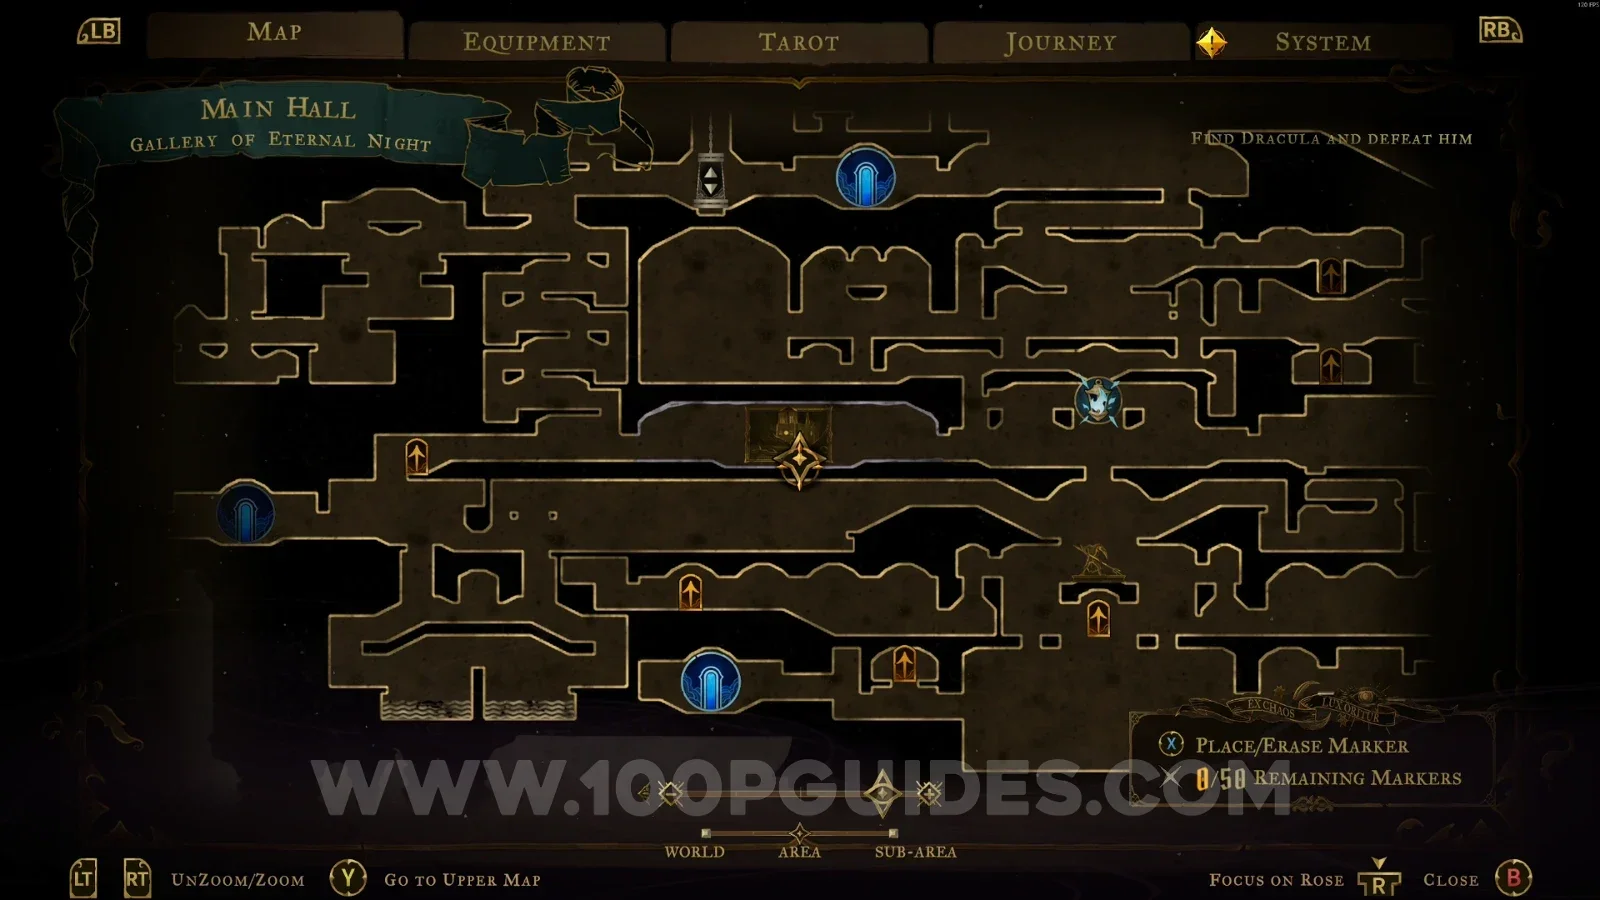
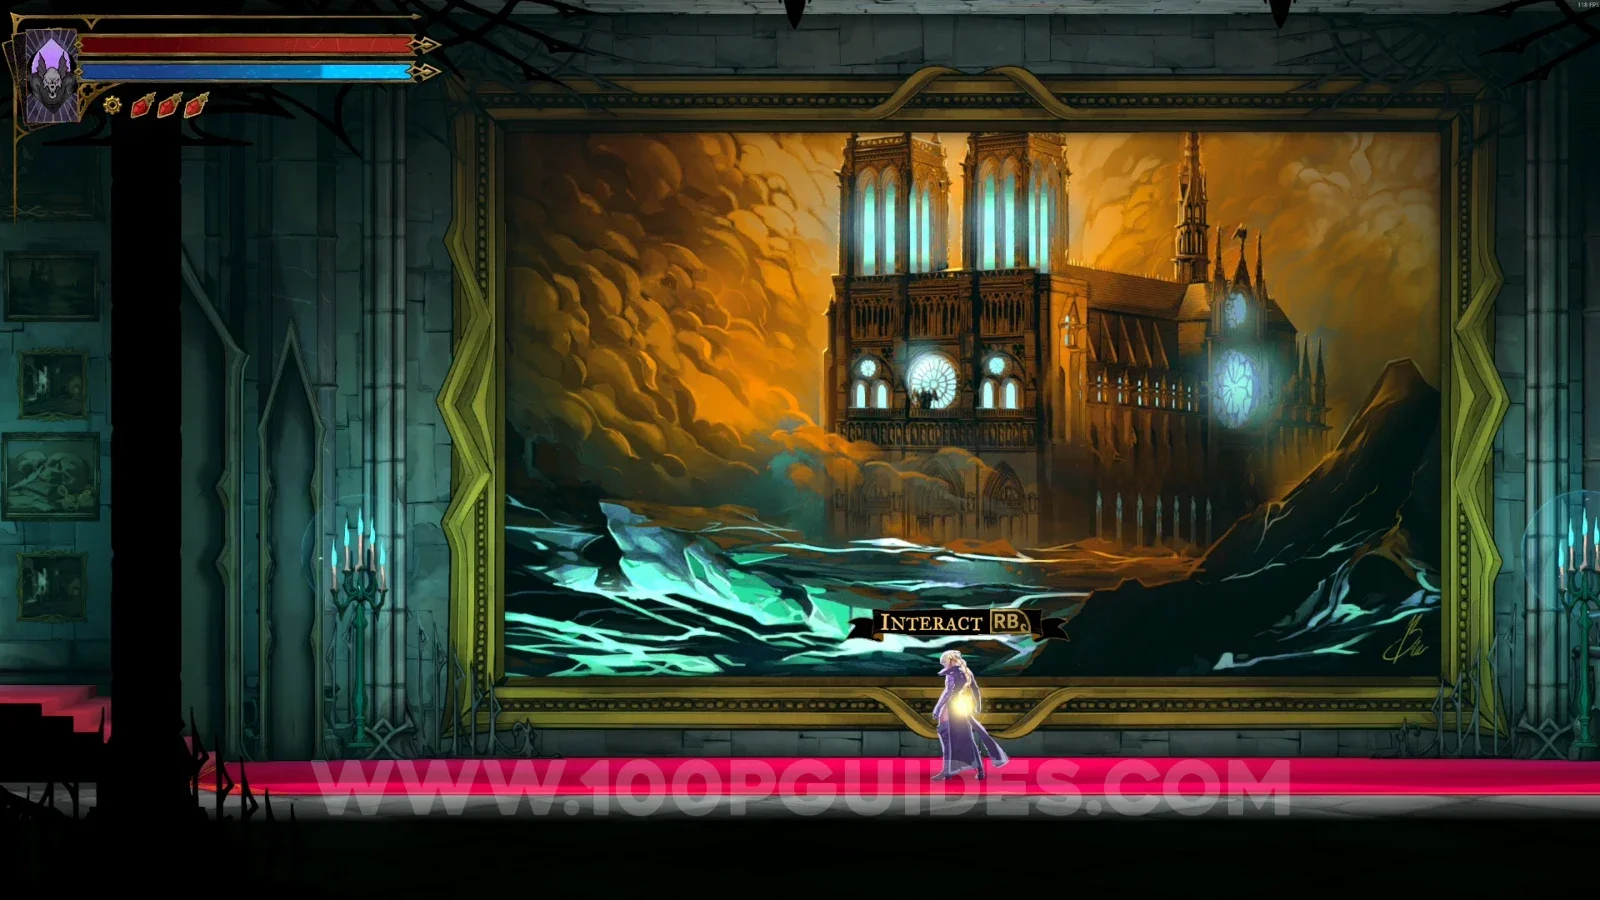
After getting the two items above, go to Main Hall > Gallery of Eternal Night and interact with the Notre-Dame painting. You'll be teleported to the entrance.
Narthex
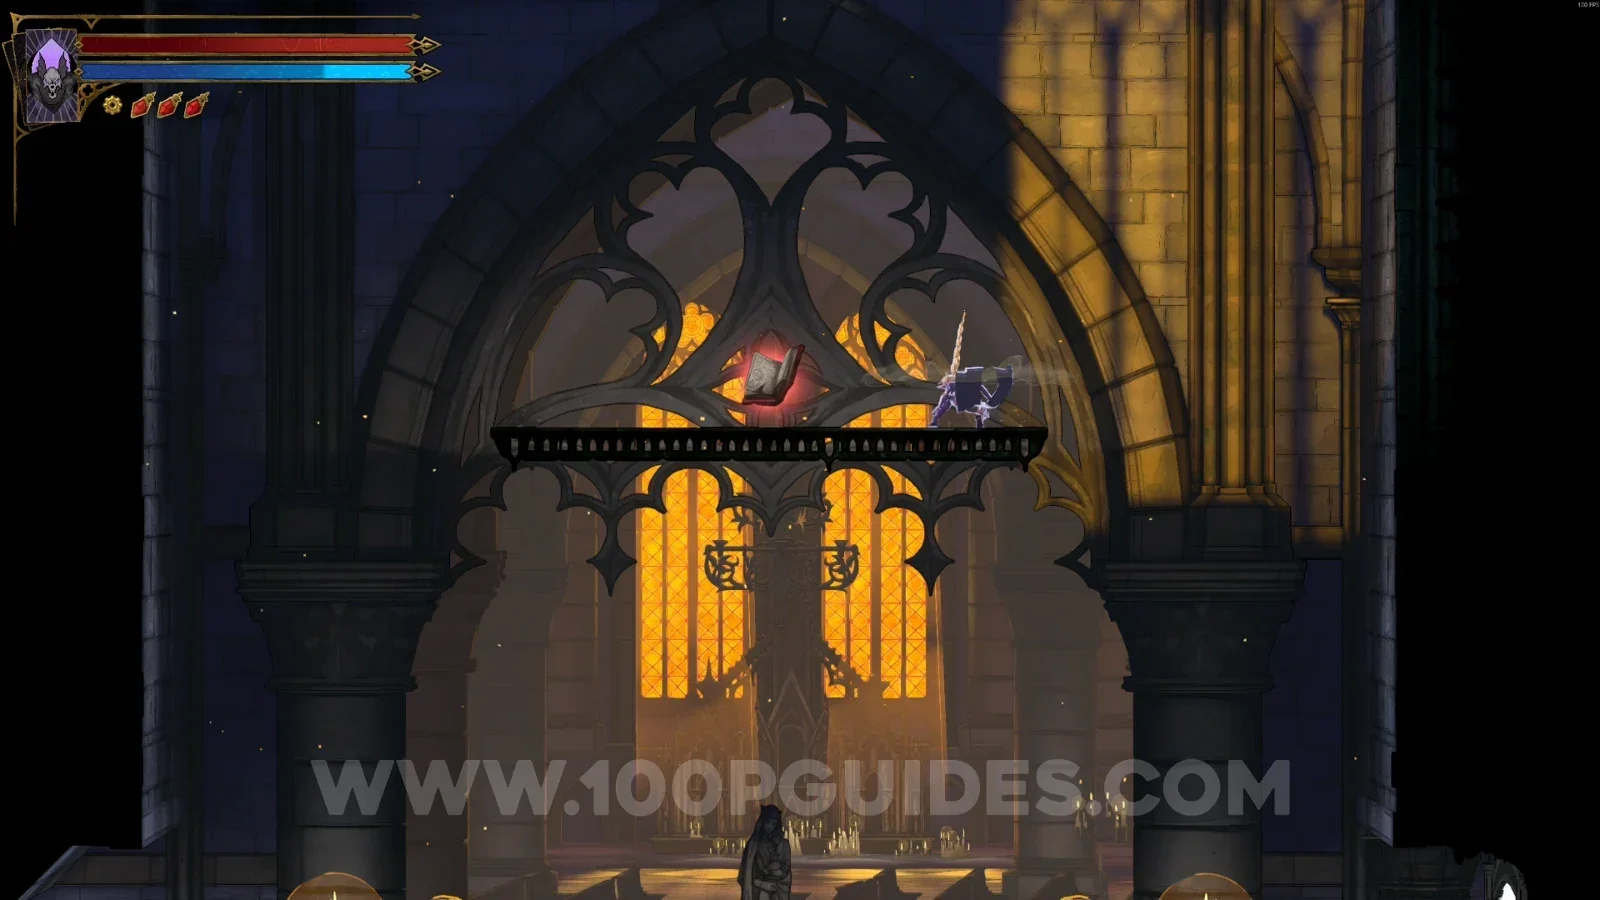
Red Book #1
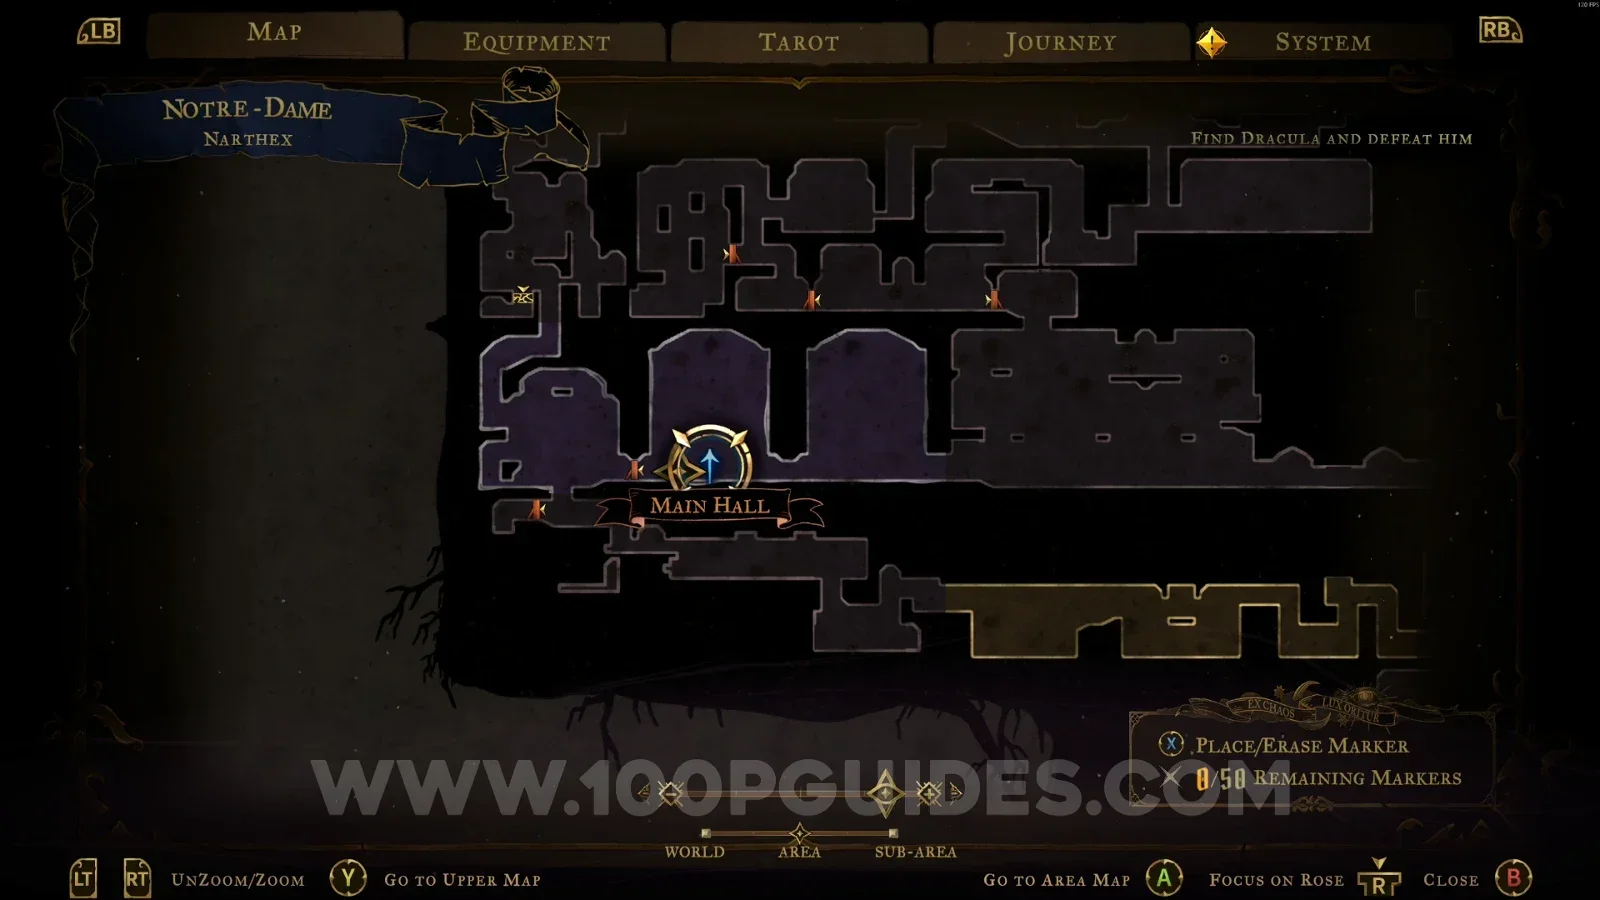
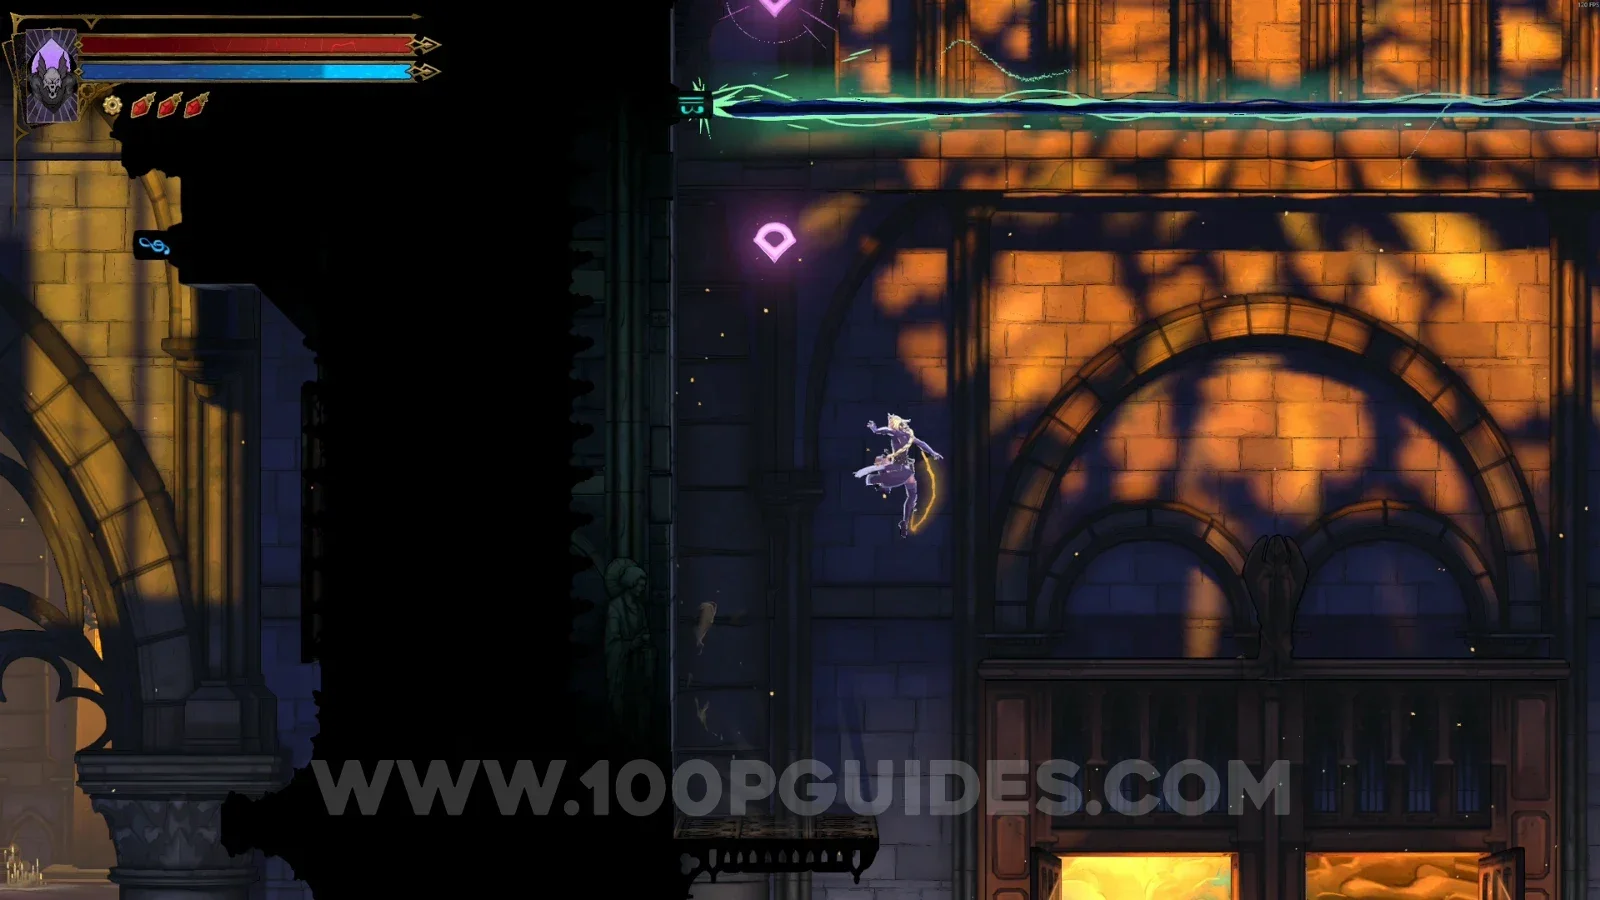
Use the Arcane Whip to climb to the upper part, then head right and break the small wall to get into the next area. In the middle of that area, you'll find the Red Book.
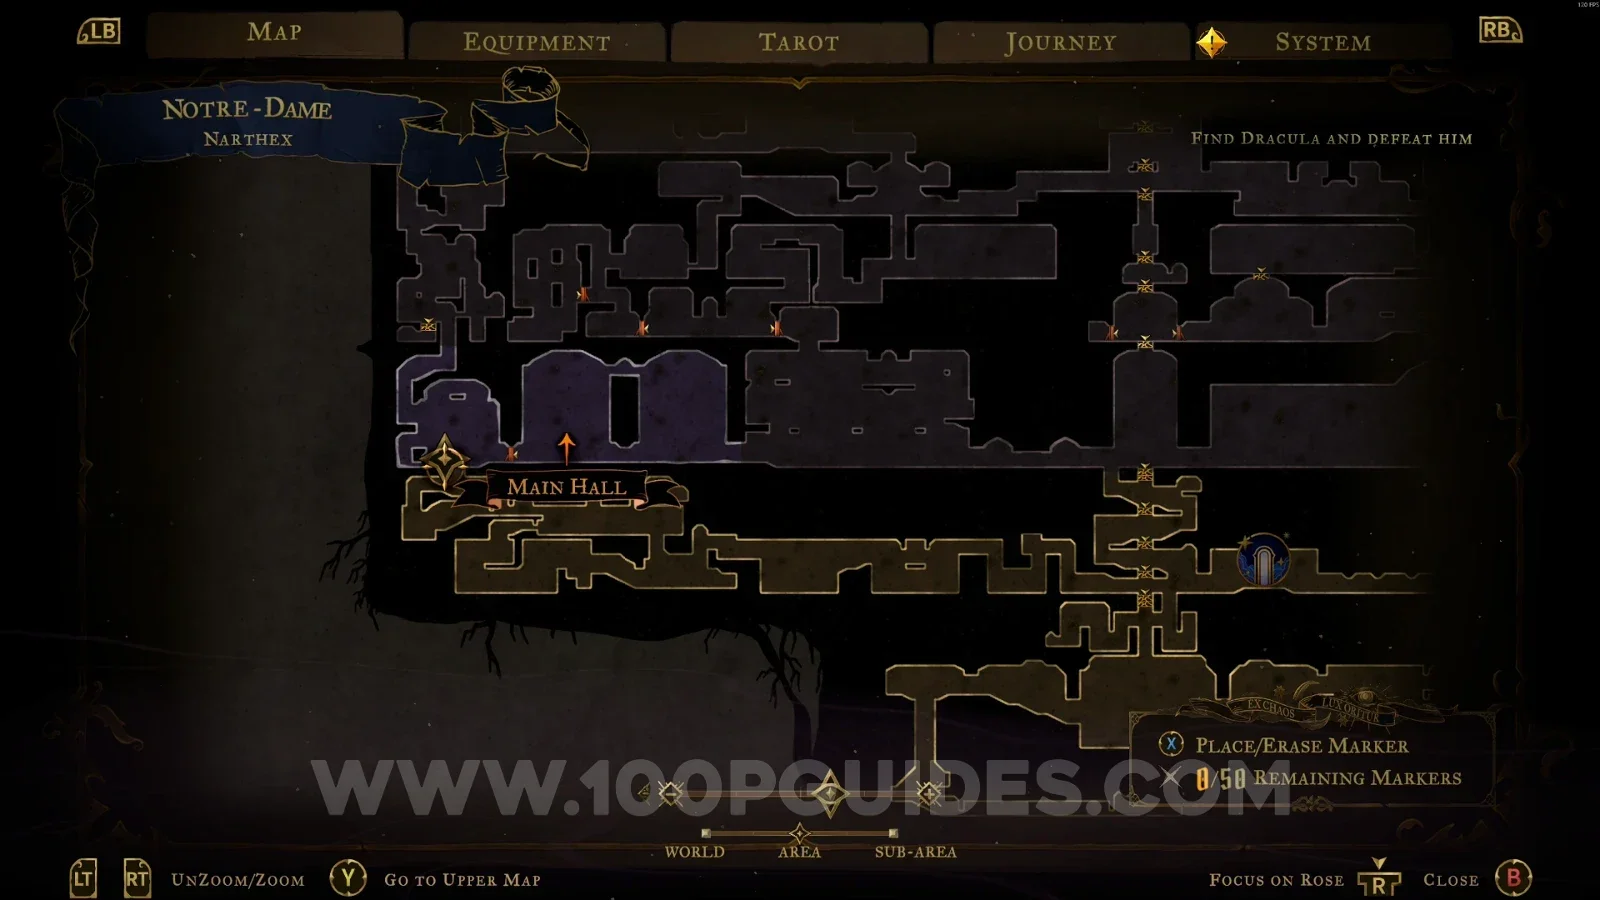
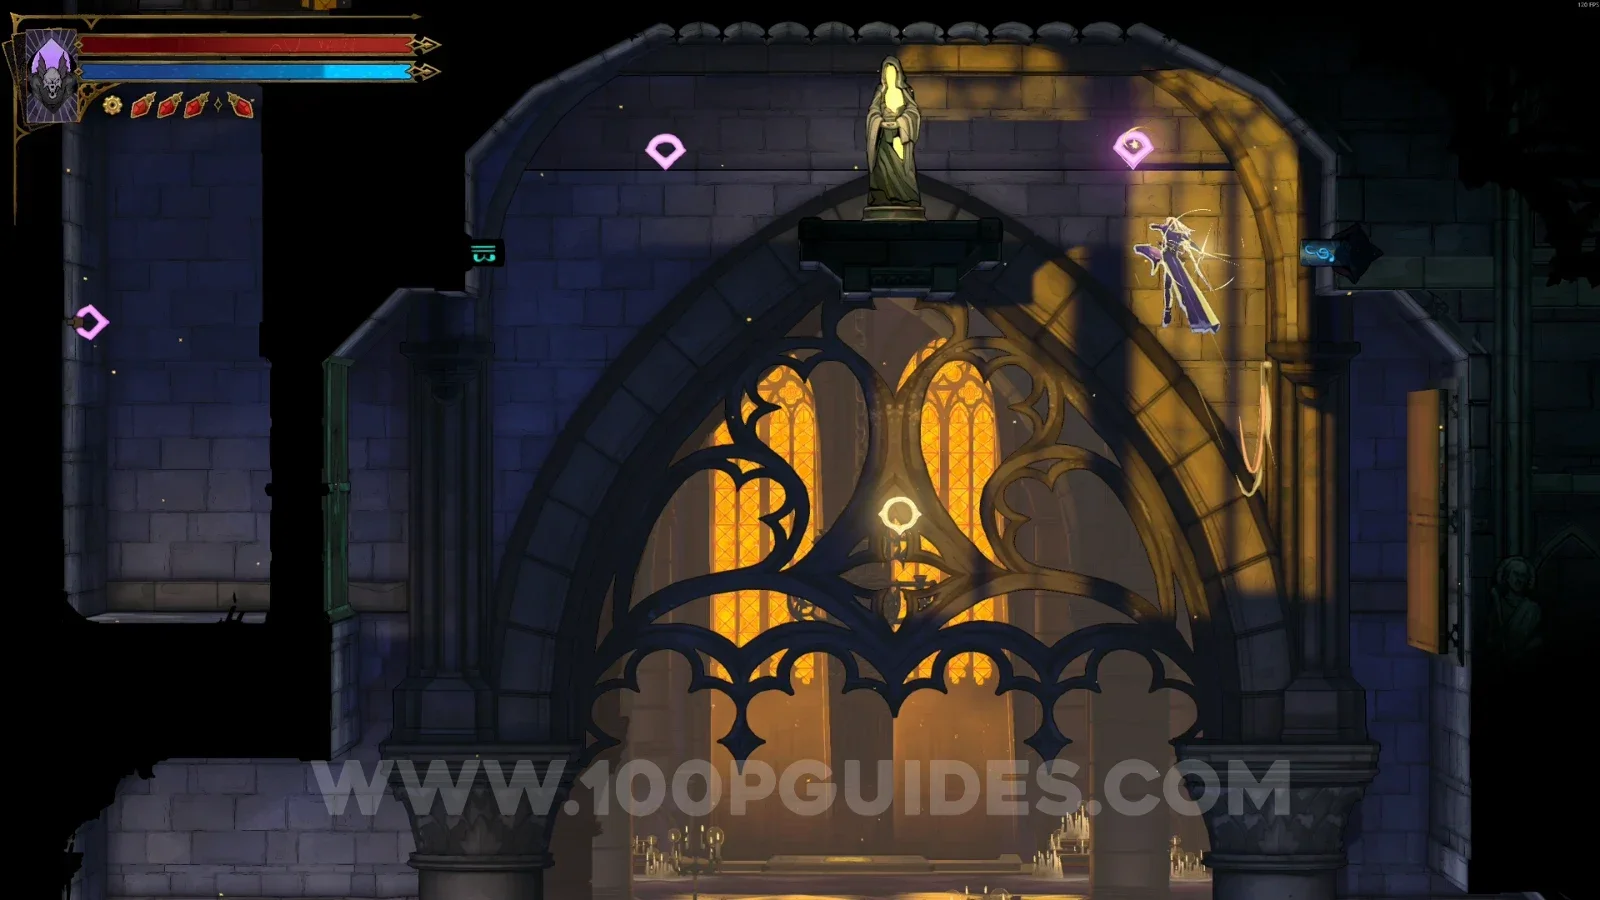
XP Statue #1
Use your Arcane Whip to reach the statue at the top of the area.
Transept
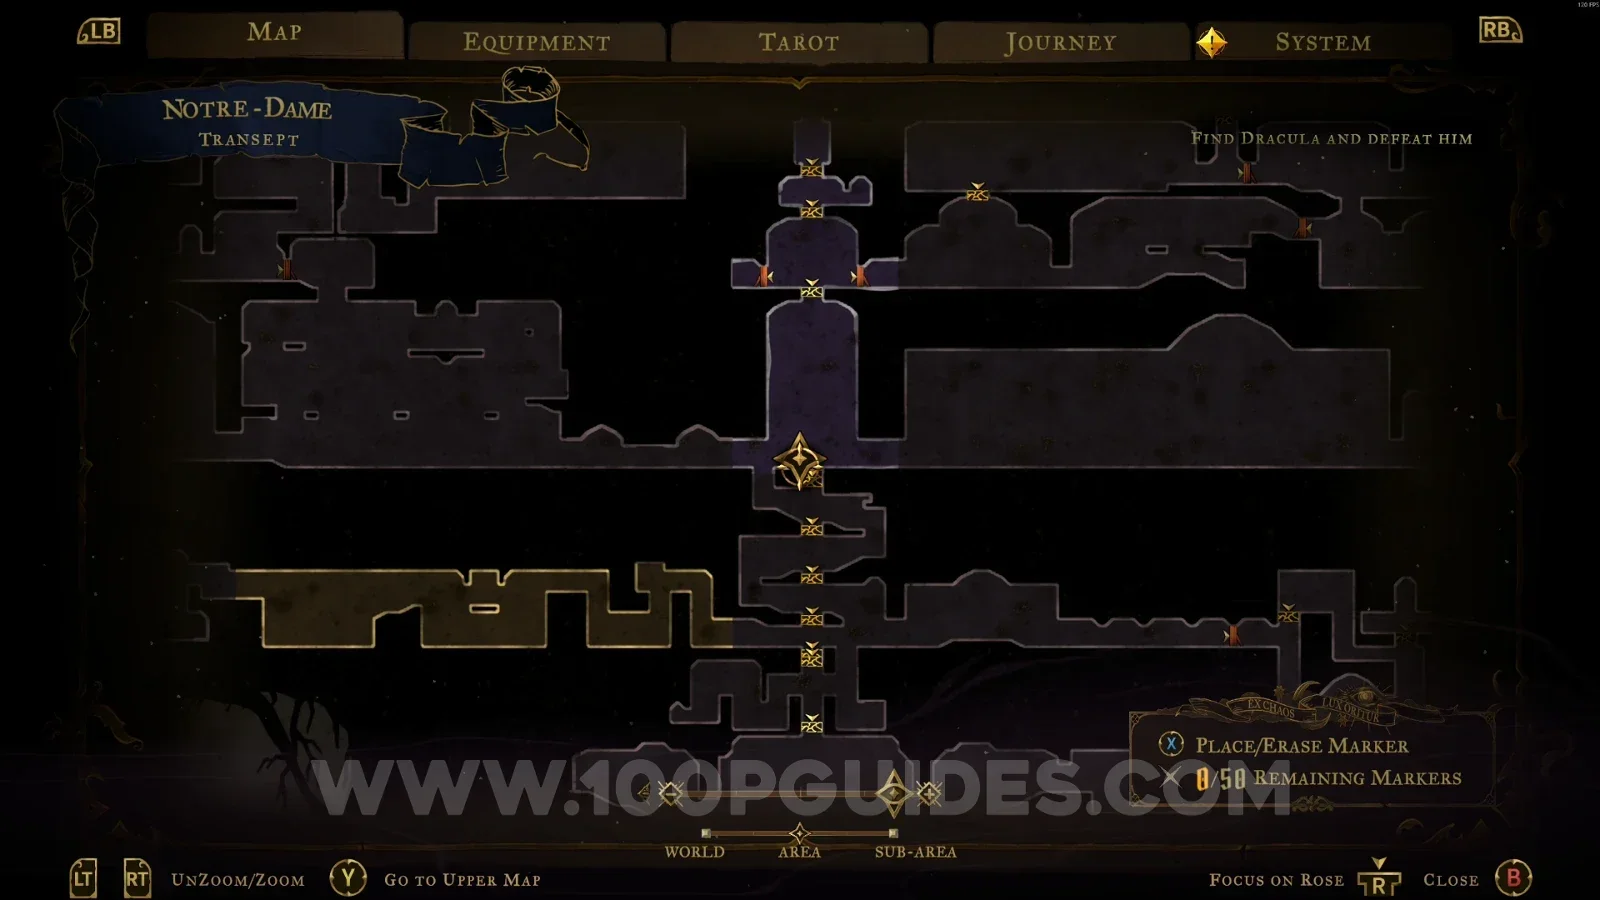
Clue: The Shadow
In the area marked on the map, next to the boss door.
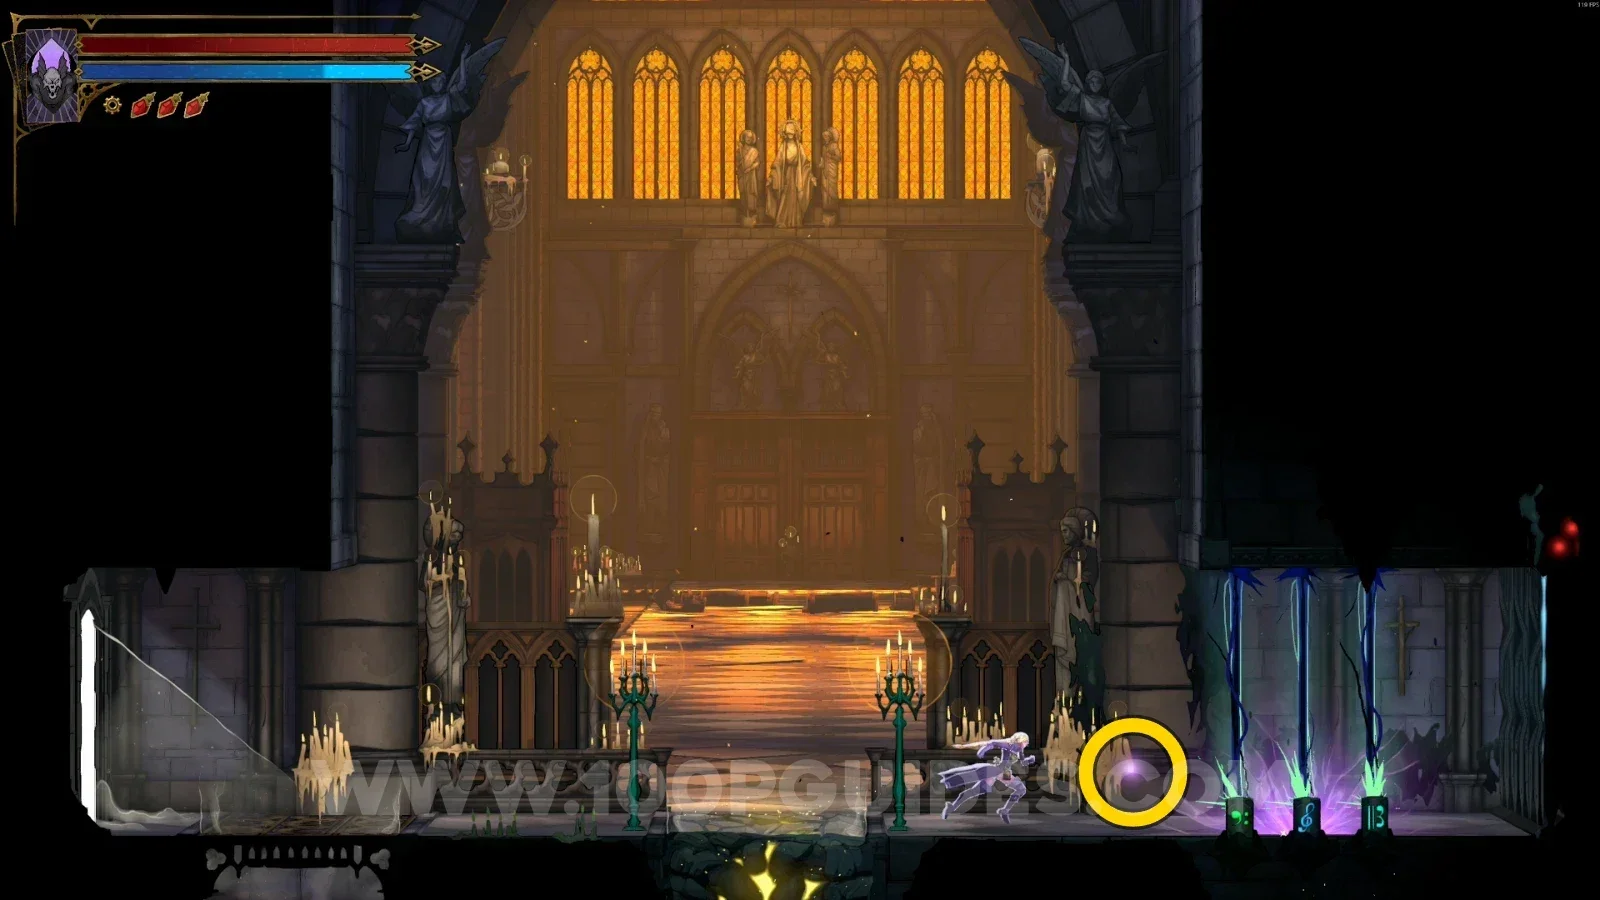
XP Statue #2 + Relic #1: Witch's Brew
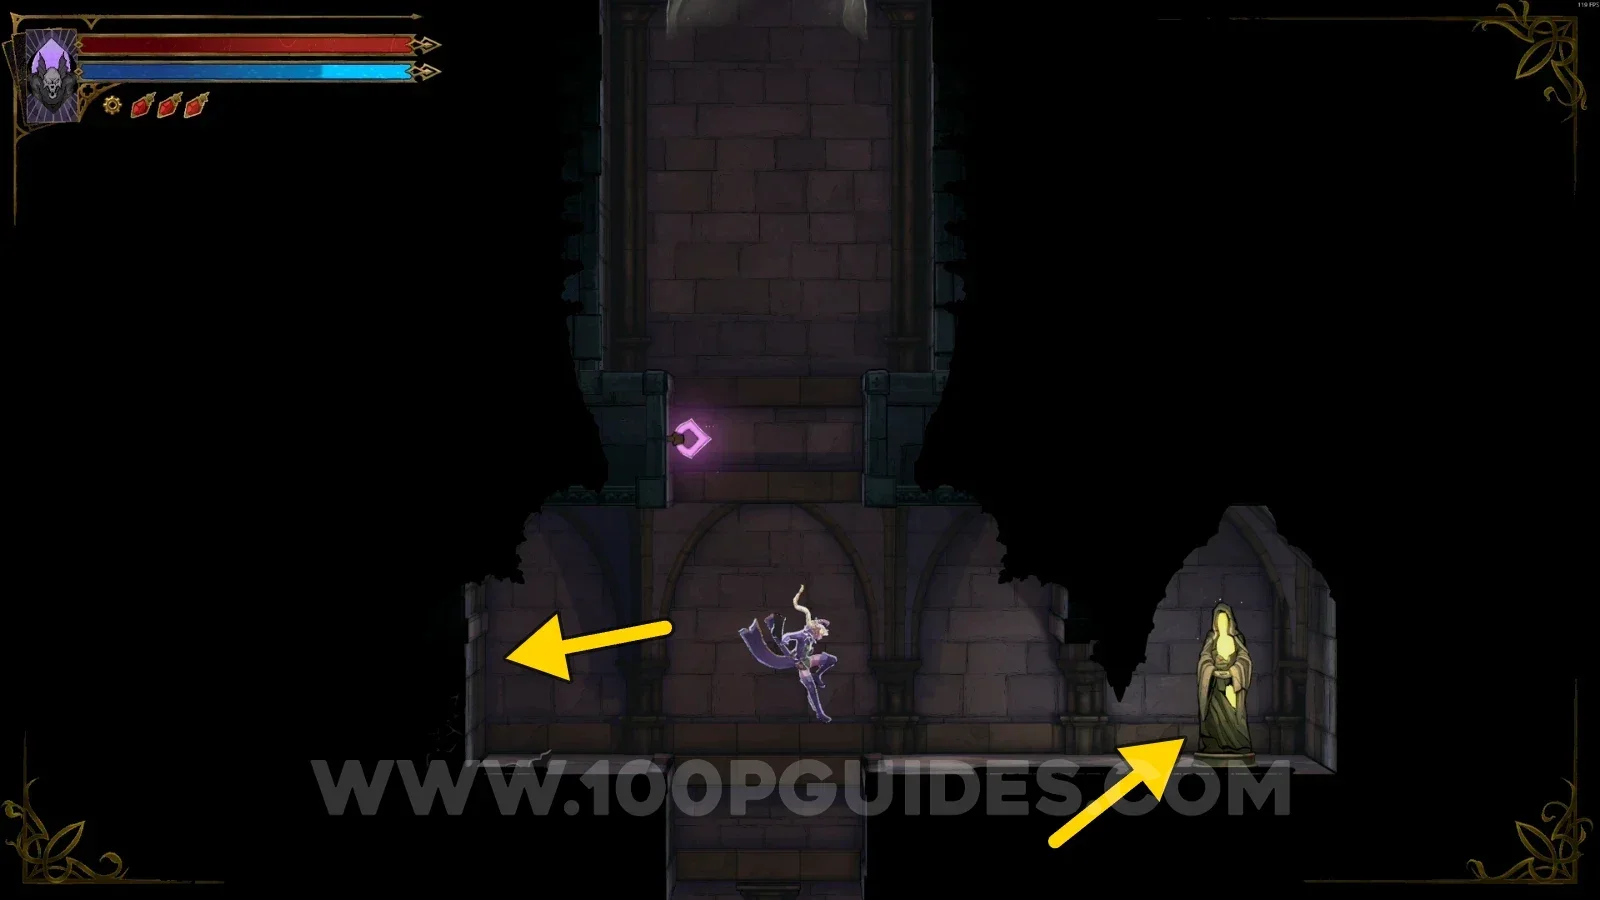
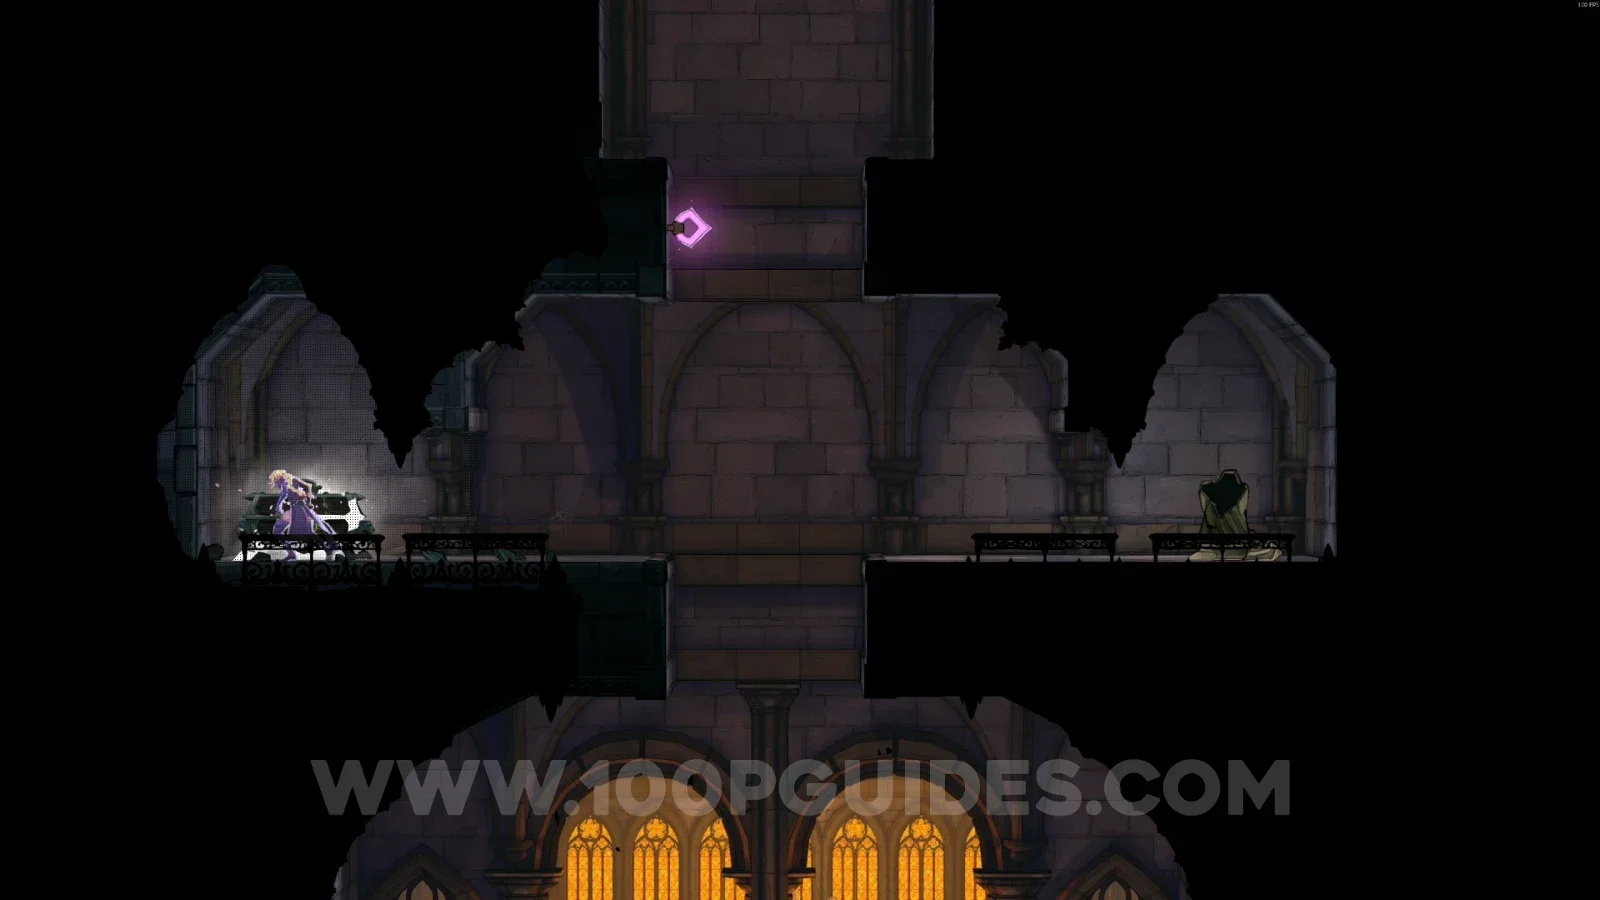
From the La Fleche area, drop down and quickly dash to the right side of the area to find the statue. Then break the wall on the left side and open the chest to get the relic.
Notre-Dame Undercroft
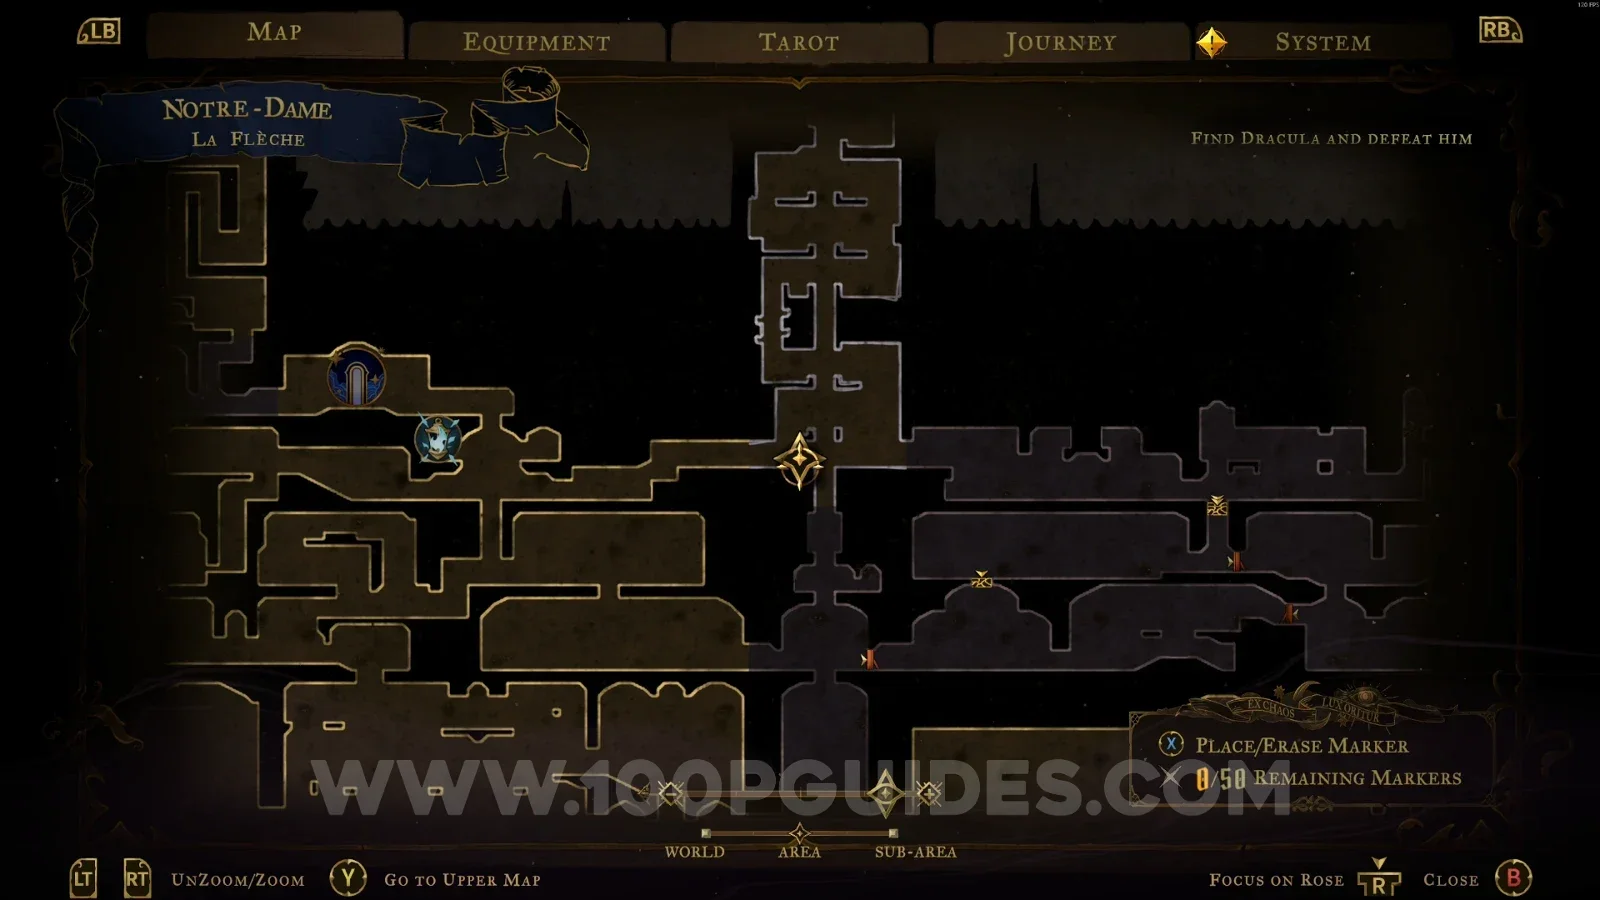
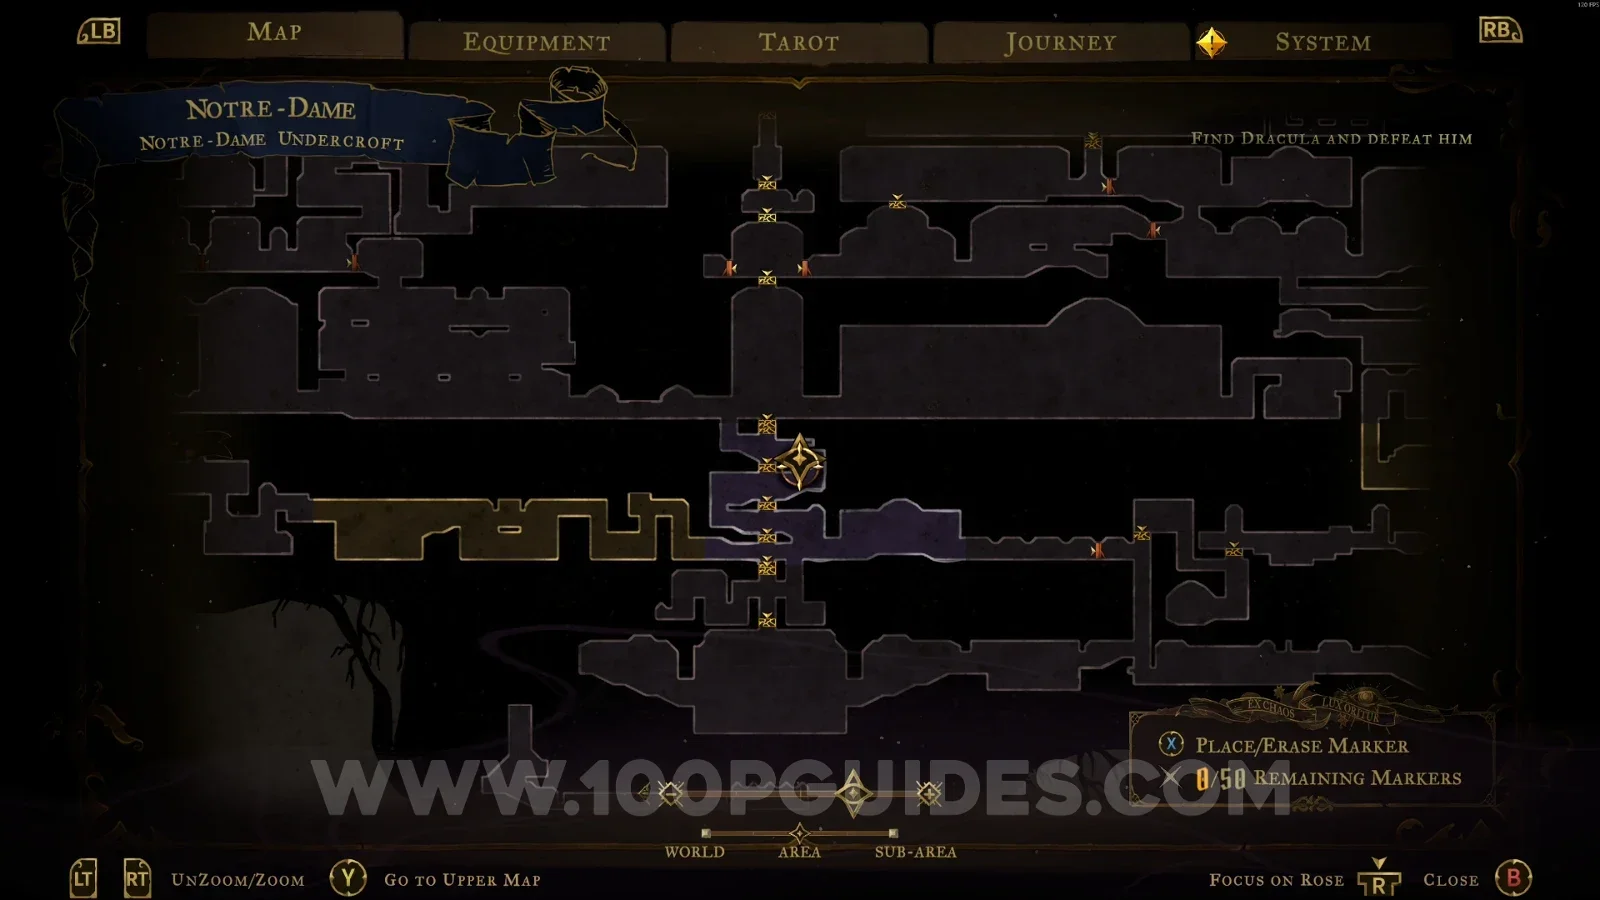
XP Statue #3
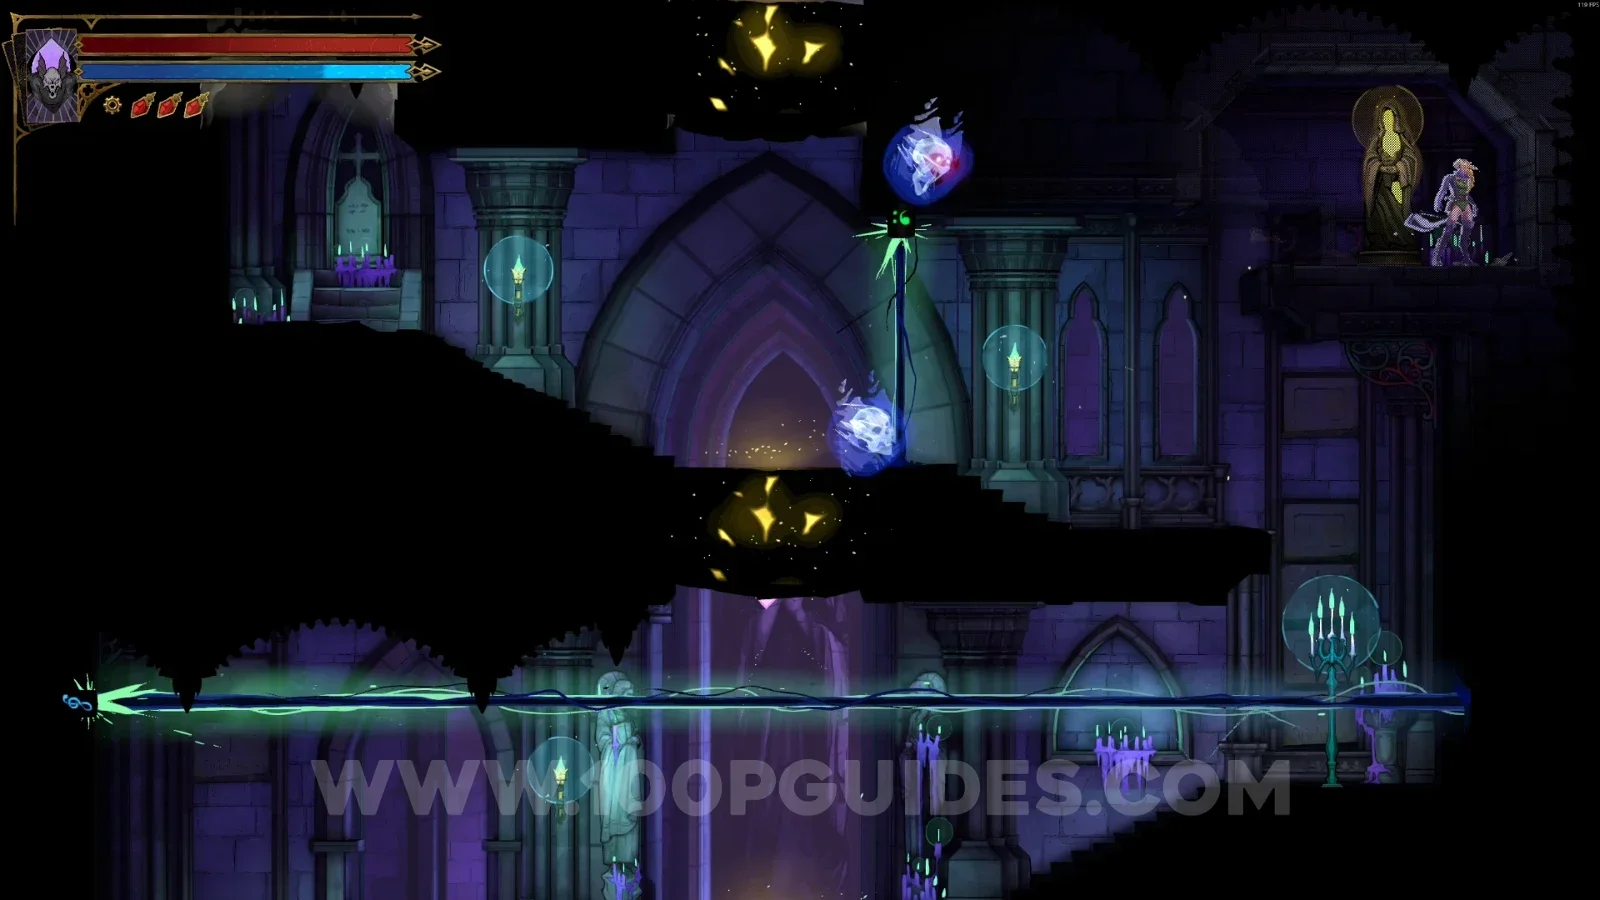
In the marked area, jump into the top right corner to reveal a secret room with the statue.
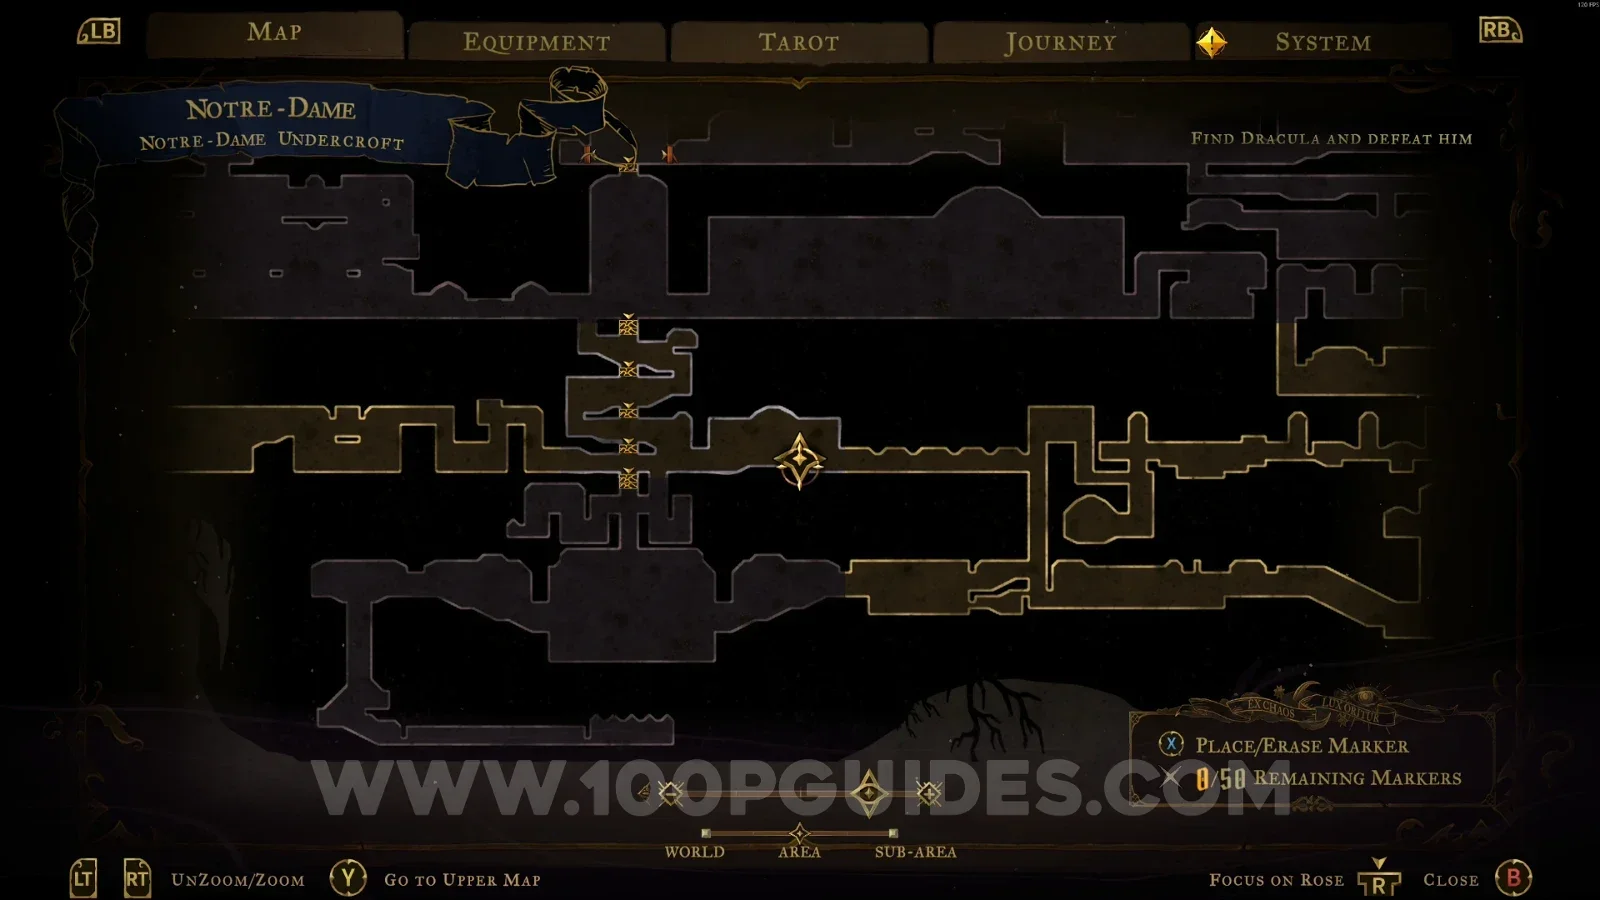
Mirror Of Life #1
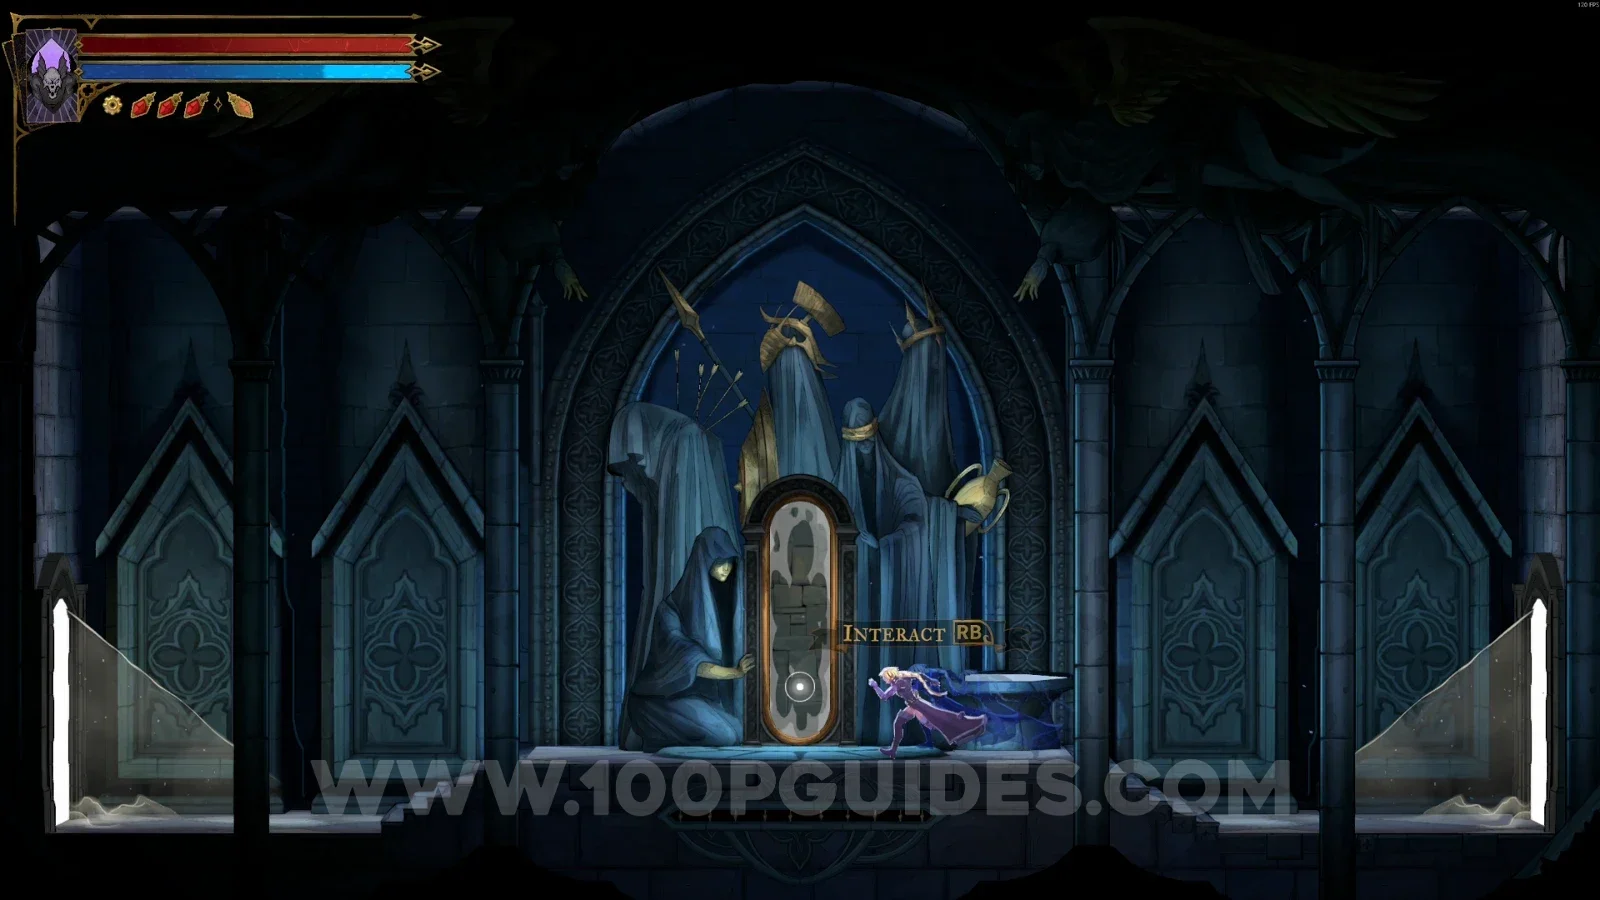
In the area marked on the map.
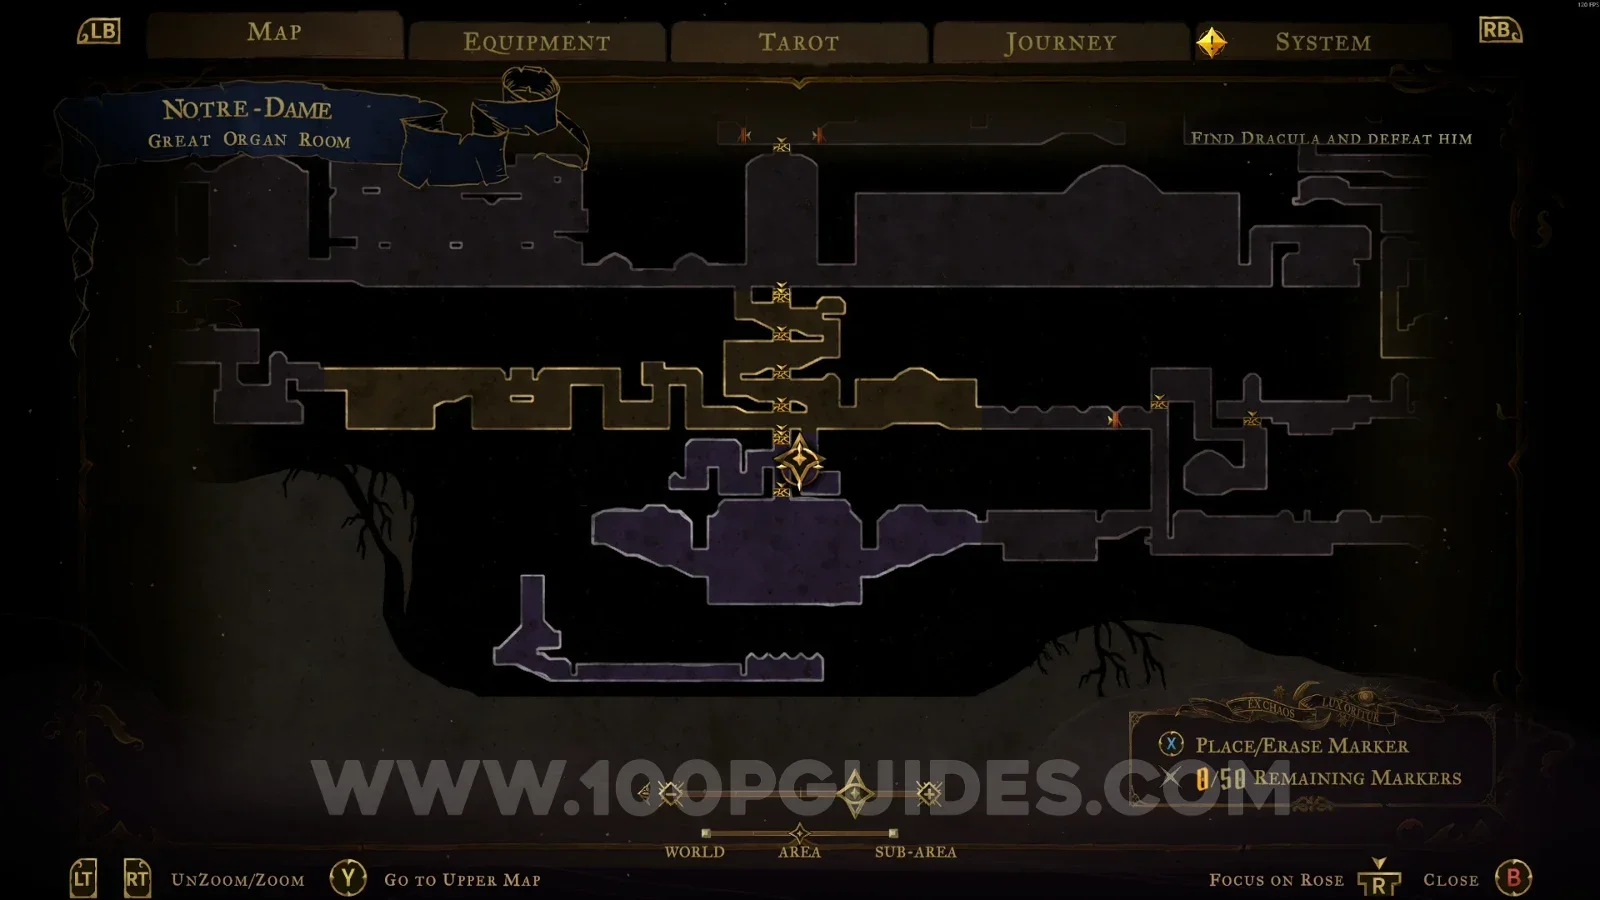
Great Organ Room
XP Statue #4
In the area marked on the map, drop down and jump to the wall on the right side to reach the secret room with the statue.
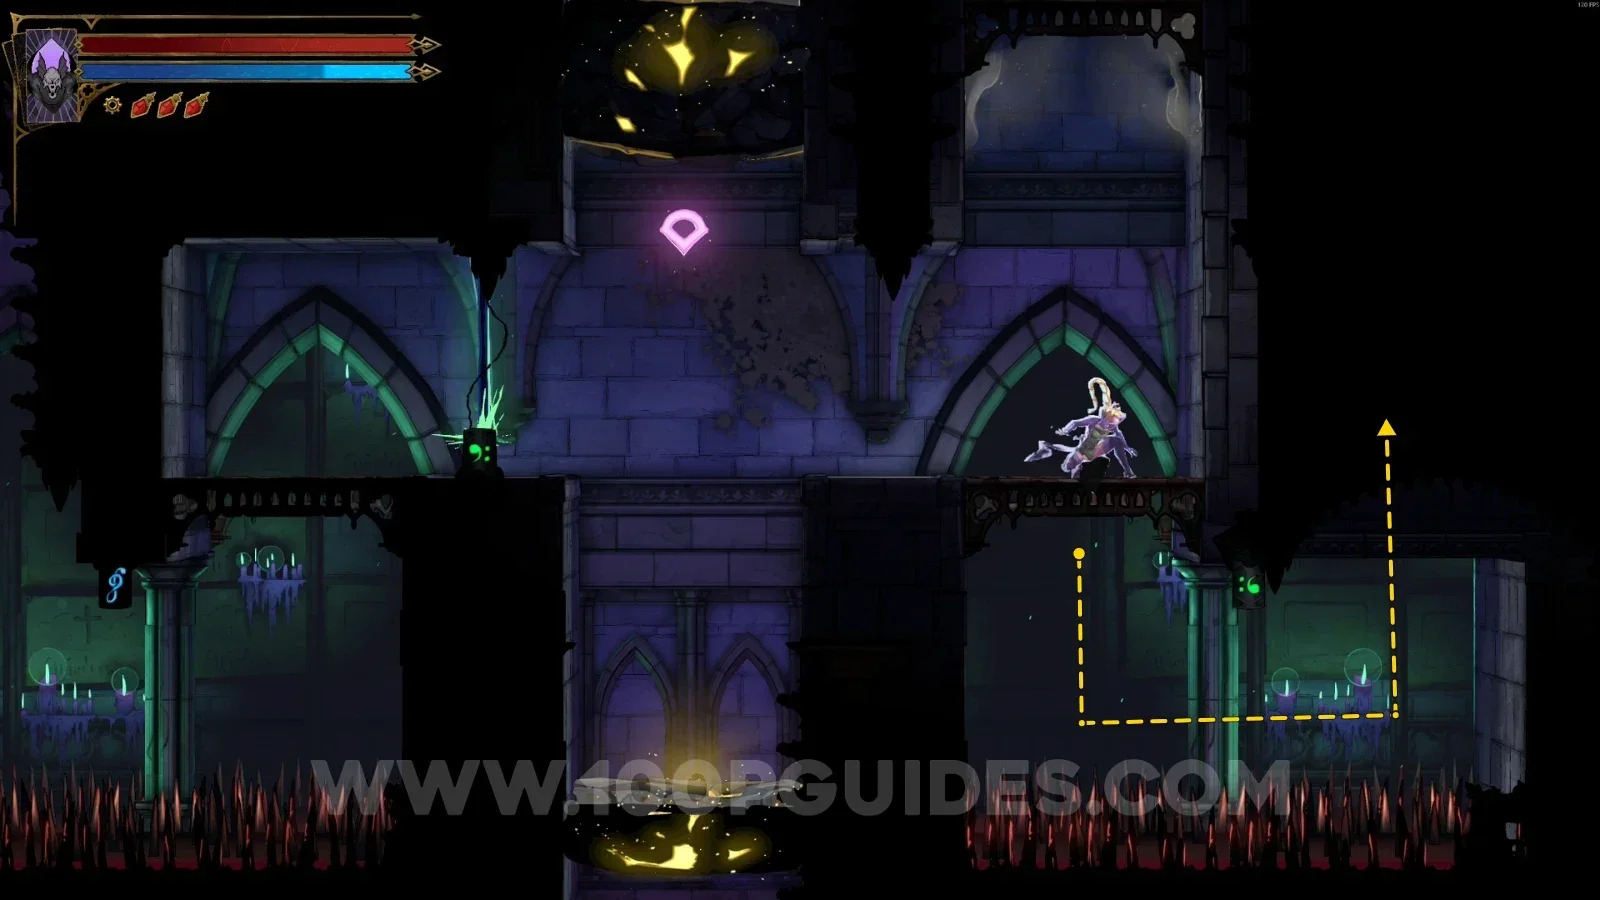
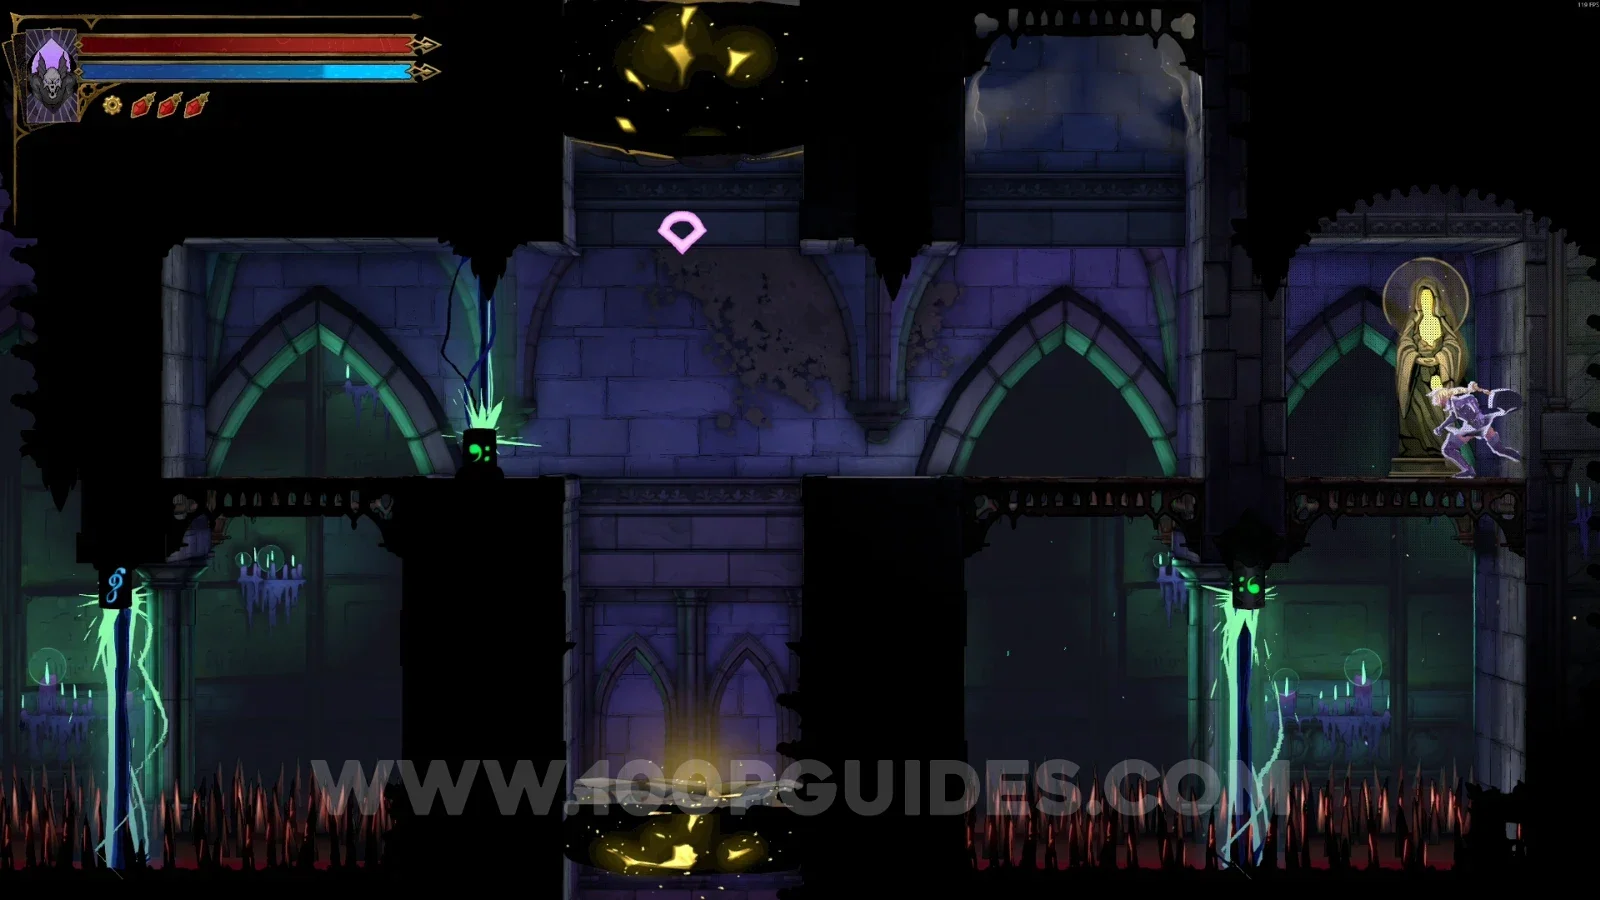
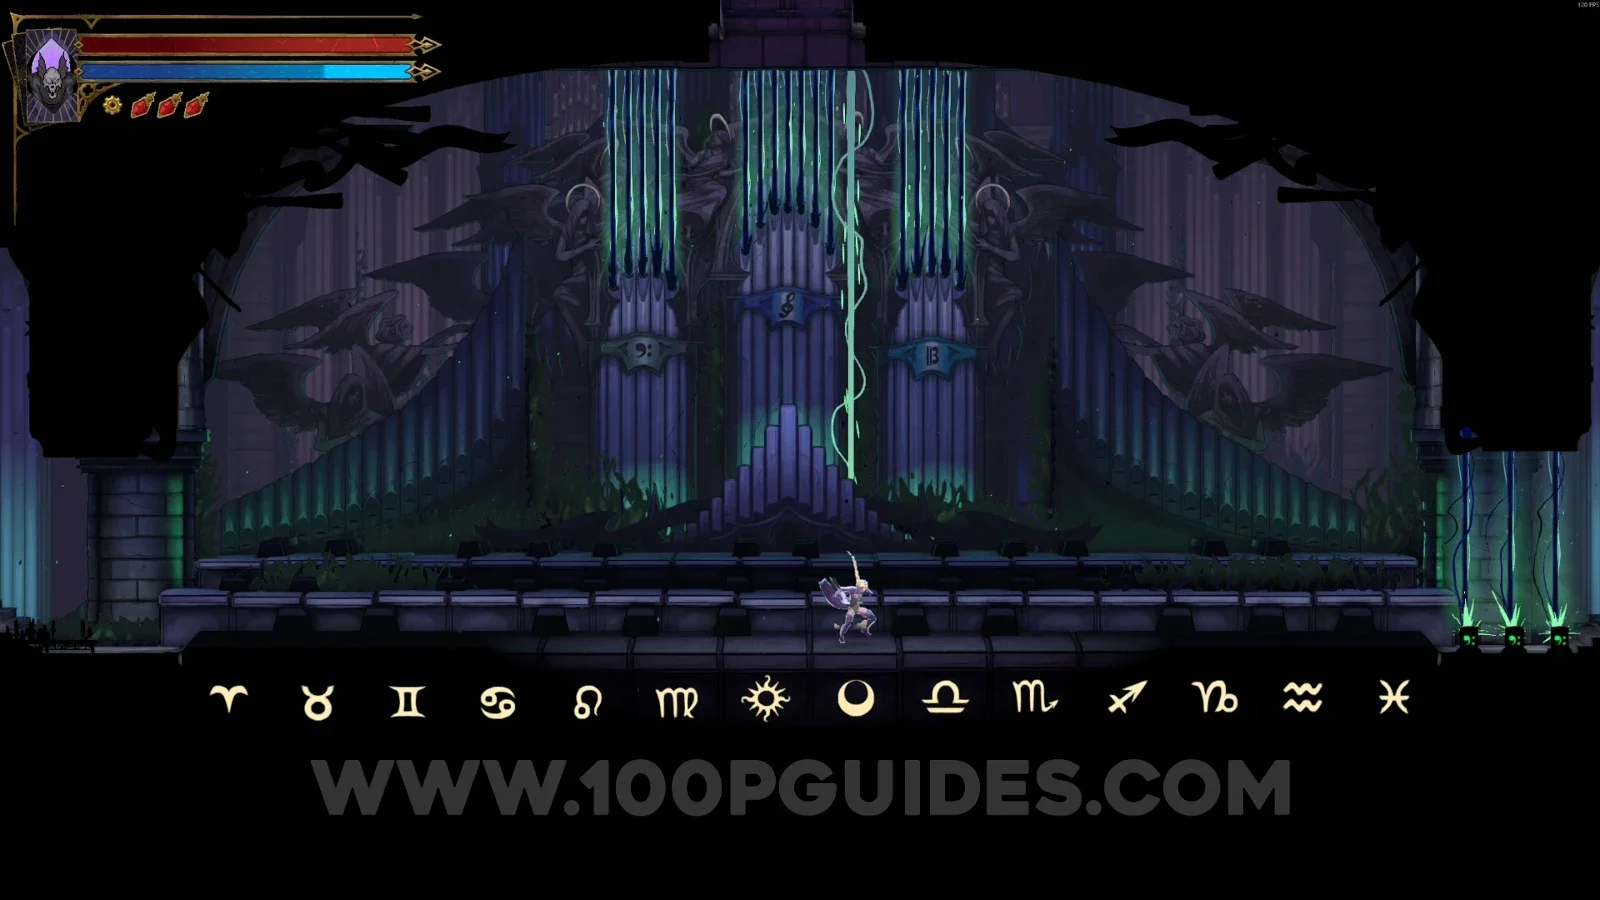
Great Organ Puzzle
Play the piano keys in the following order.
Green (Bass Clef) - ⭘ ☼︎ ⭘ ♍︎ ♌︎
Blue (Treble Clef) - ♊︎ ♋︎ ♍︎ ♌︎ ♍︎ ♌︎ ♊︎
Light Blue (Alto/Tenor Clef) - ♐︎ ♑︎ ♓︎ ♒︎ ♑︎ ♐︎ ♑︎
Secret Melody - ⭘ ♎︎ ♏︎ ♒︎ ♑︎ ♍︎ ☼︎ ♌︎ ♋︎ ♈︎
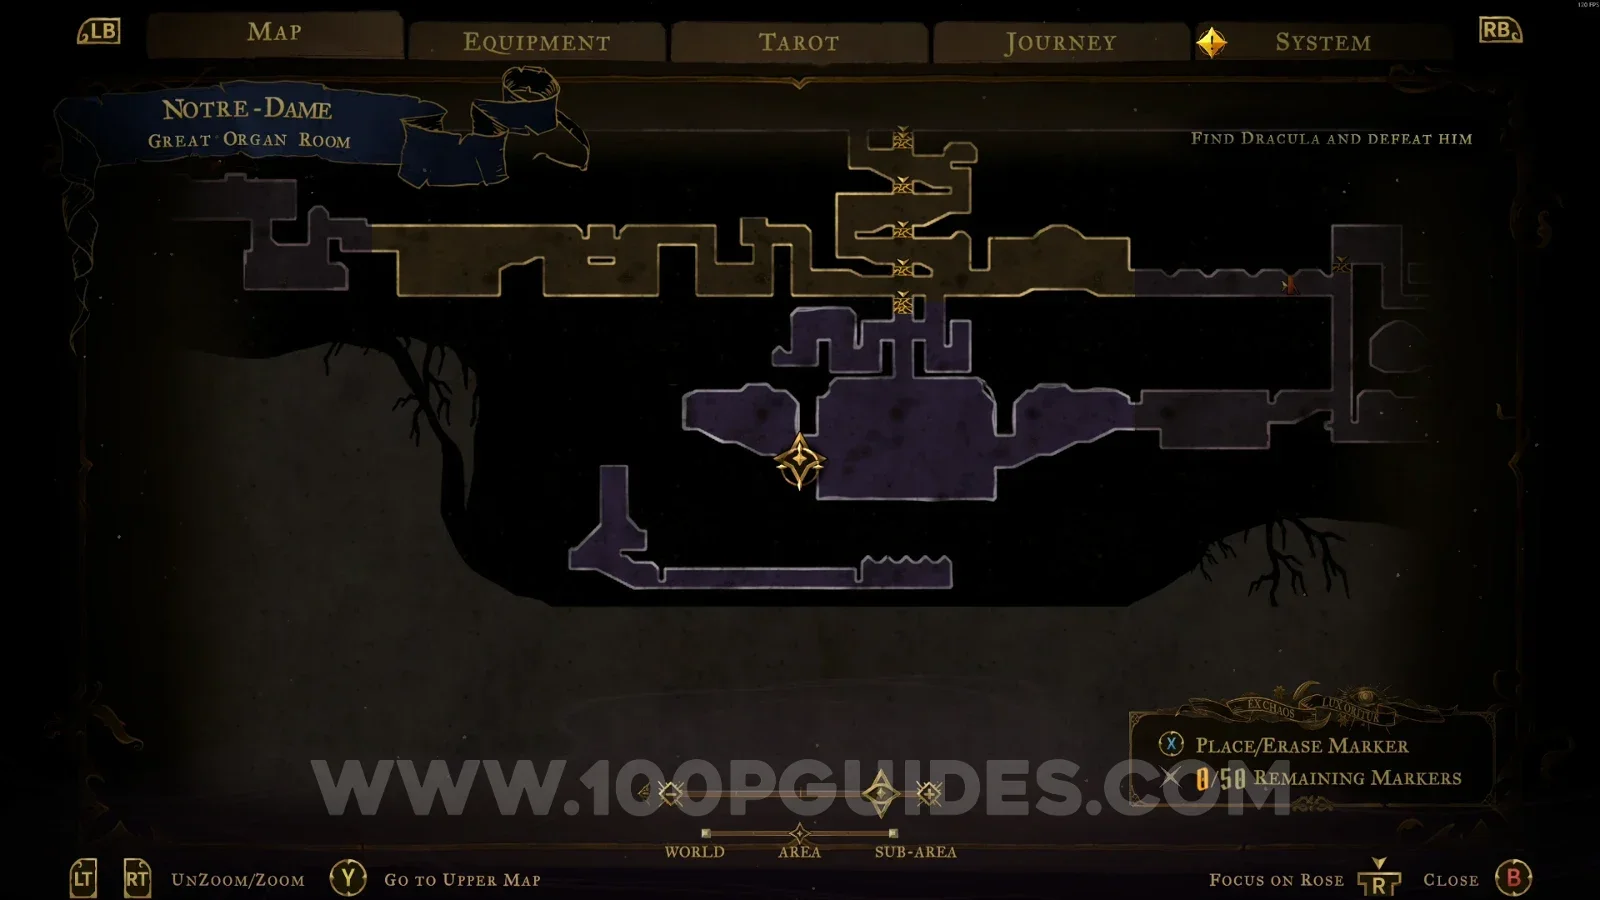
Clue: The Shadow
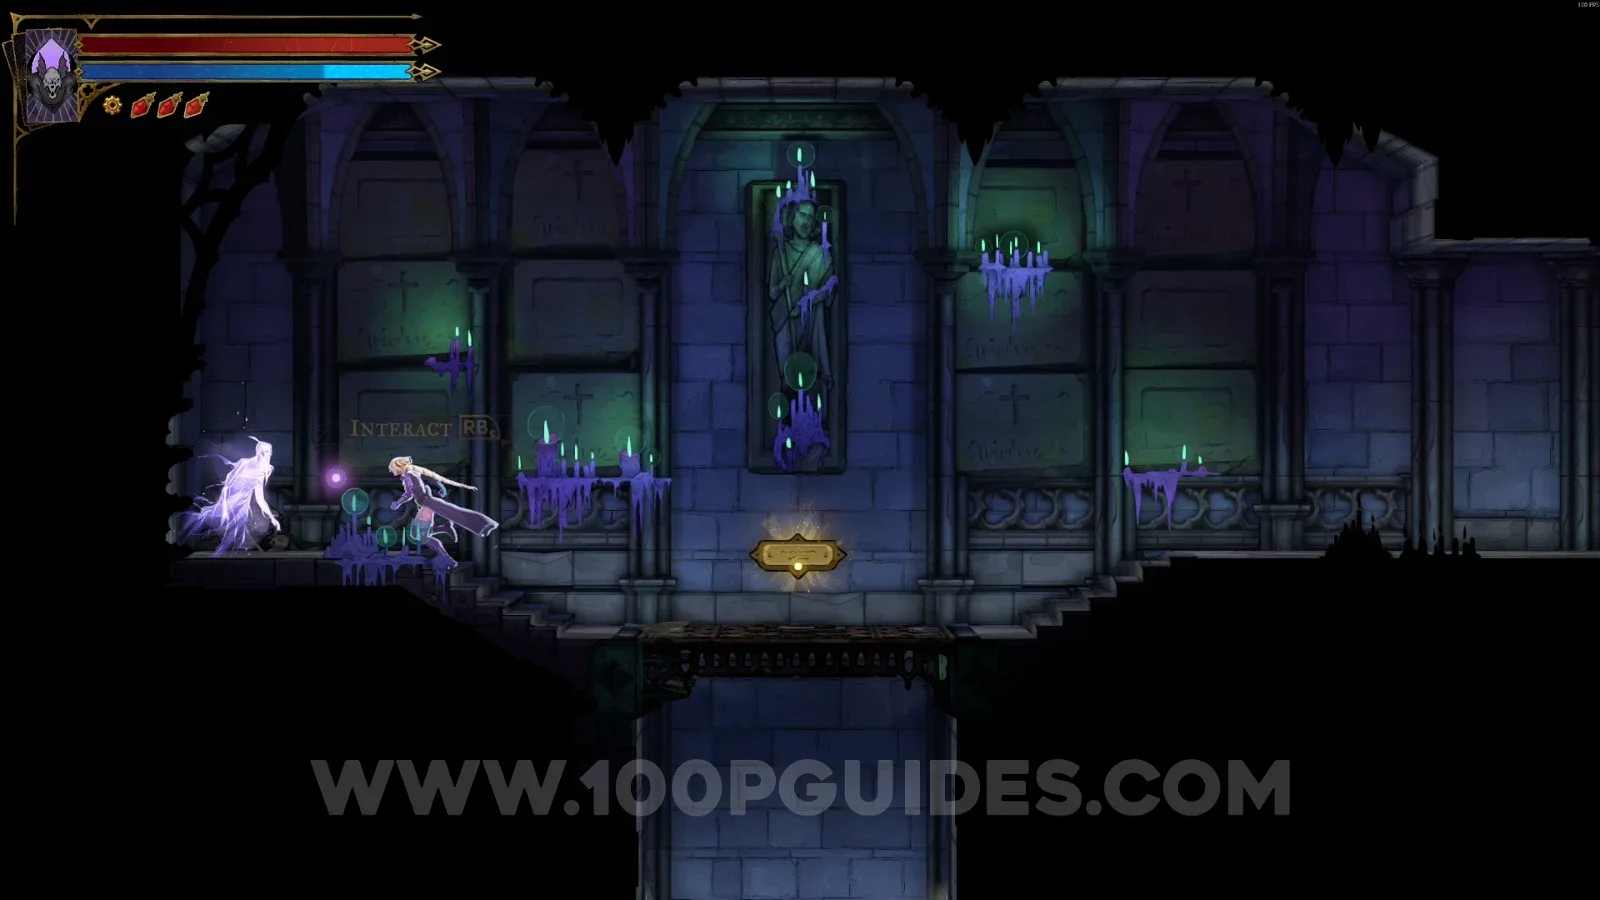
Same area as before. Break the wall on the left side and interact with the ghost to get this clue.
Weapon #1: War And Famine
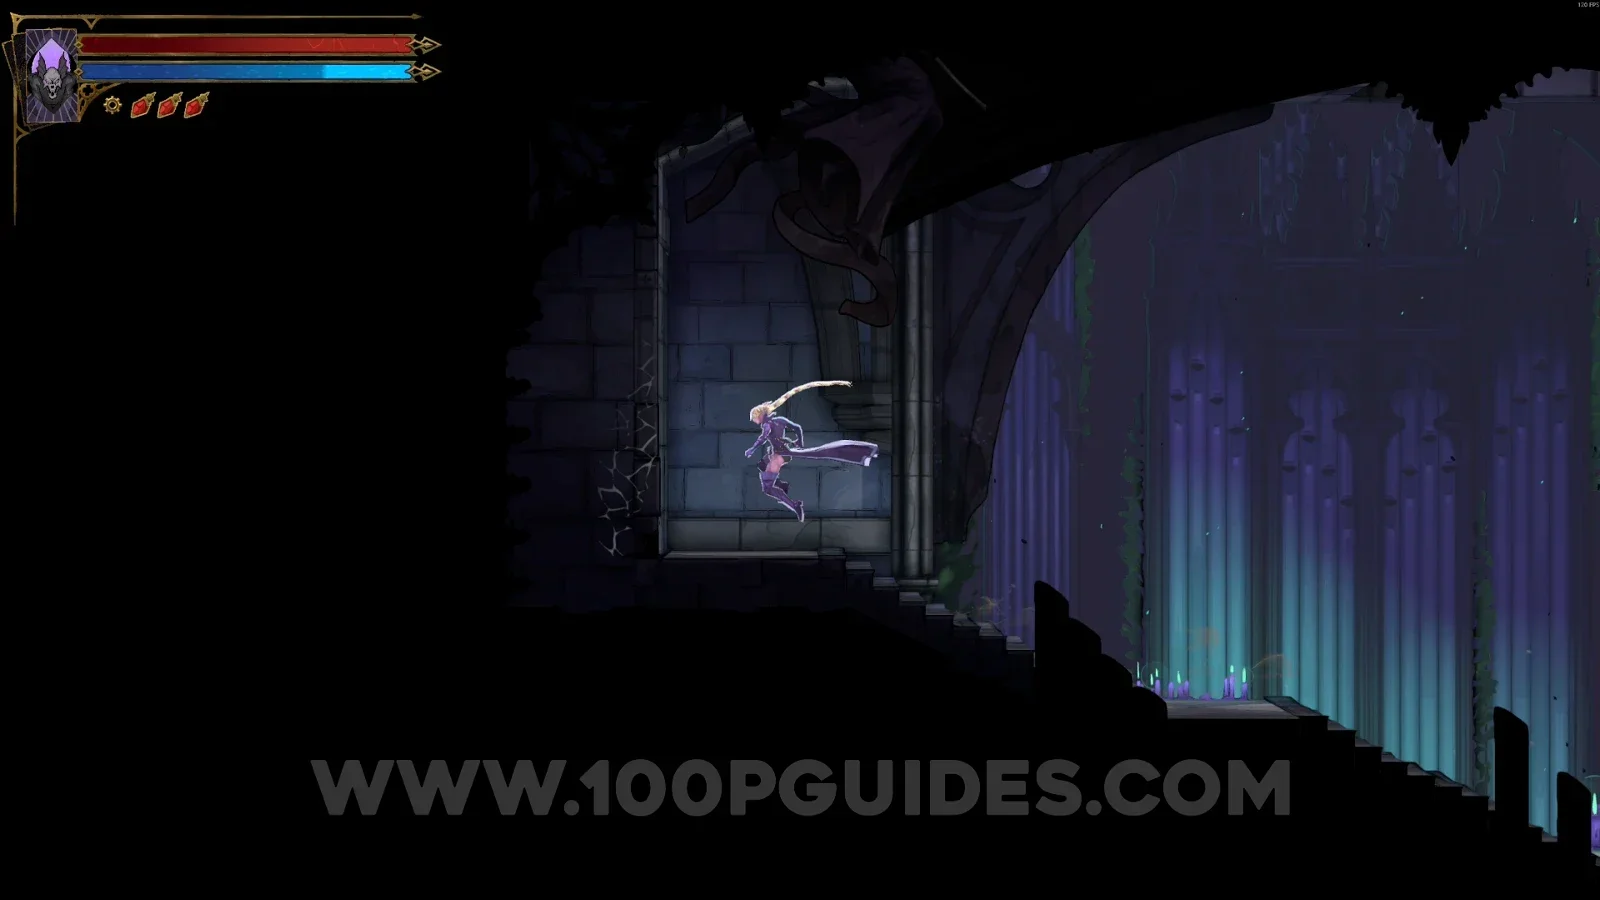
Directly from the previous collectible, go down the platform and follow the single path to find this weapon.
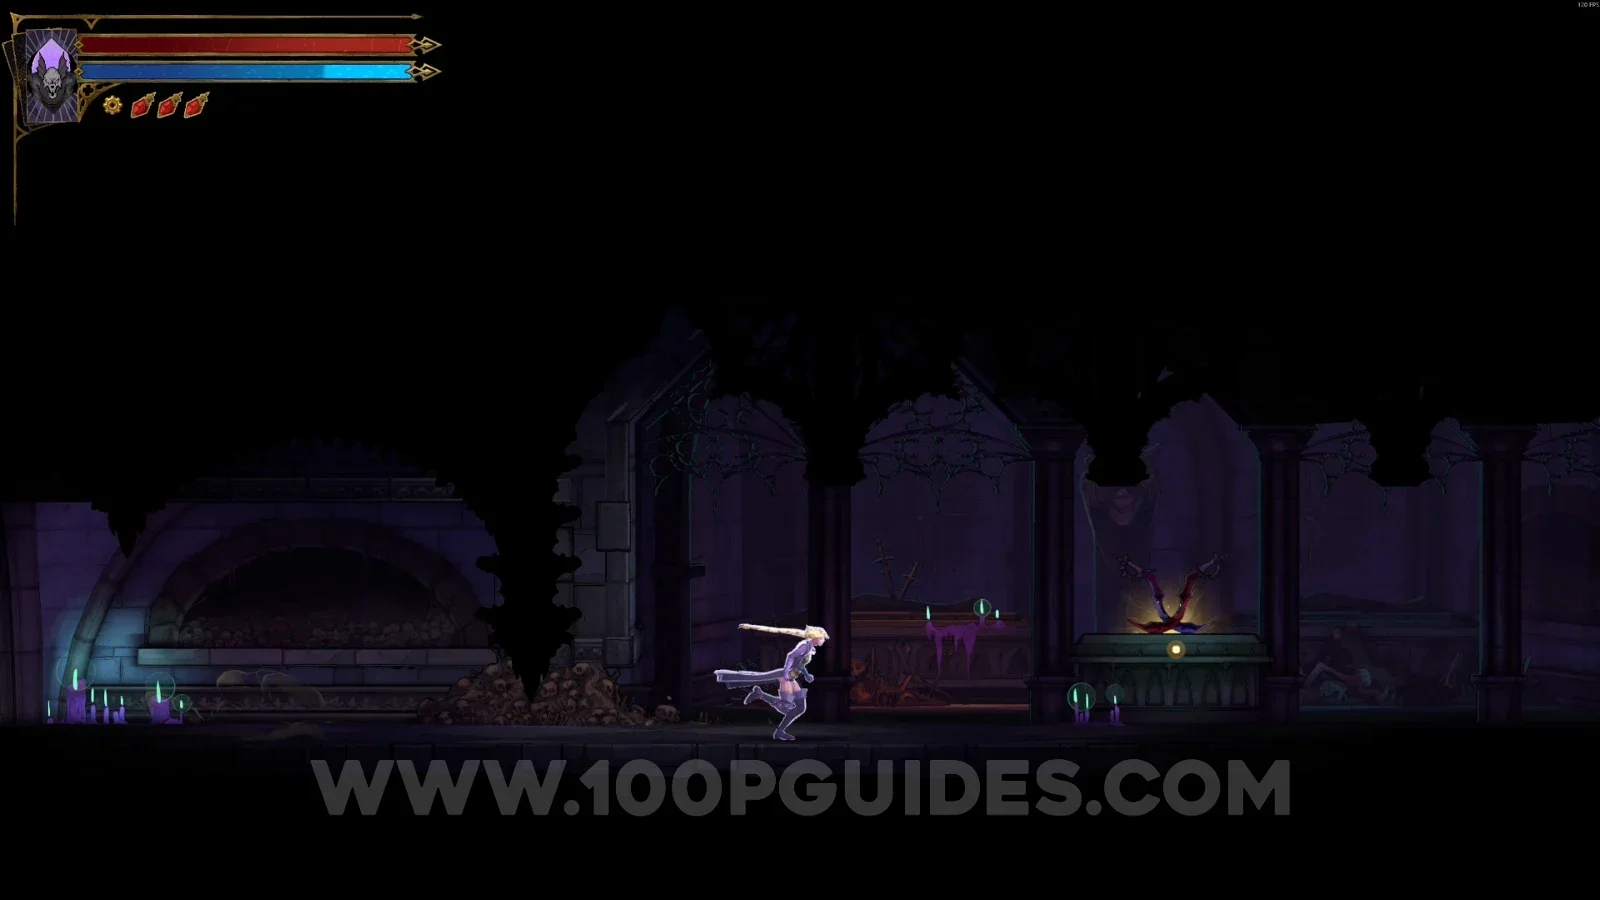
Collapsed Crypt
Clue: The Shadow
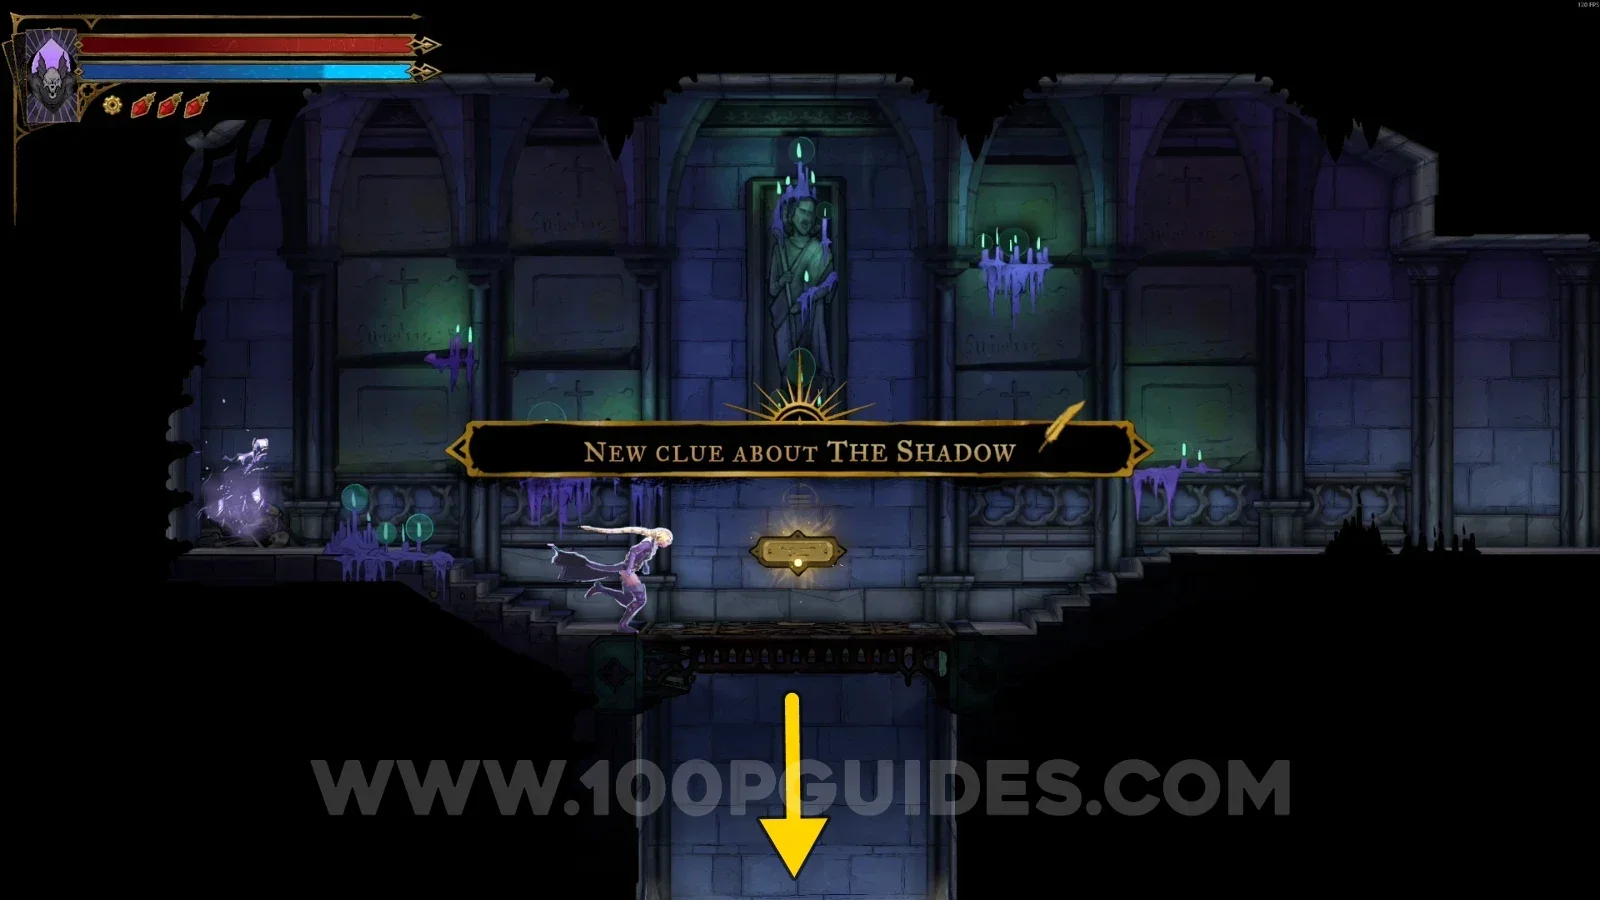
Go down the platform and use the slide on the left side to find this clue.
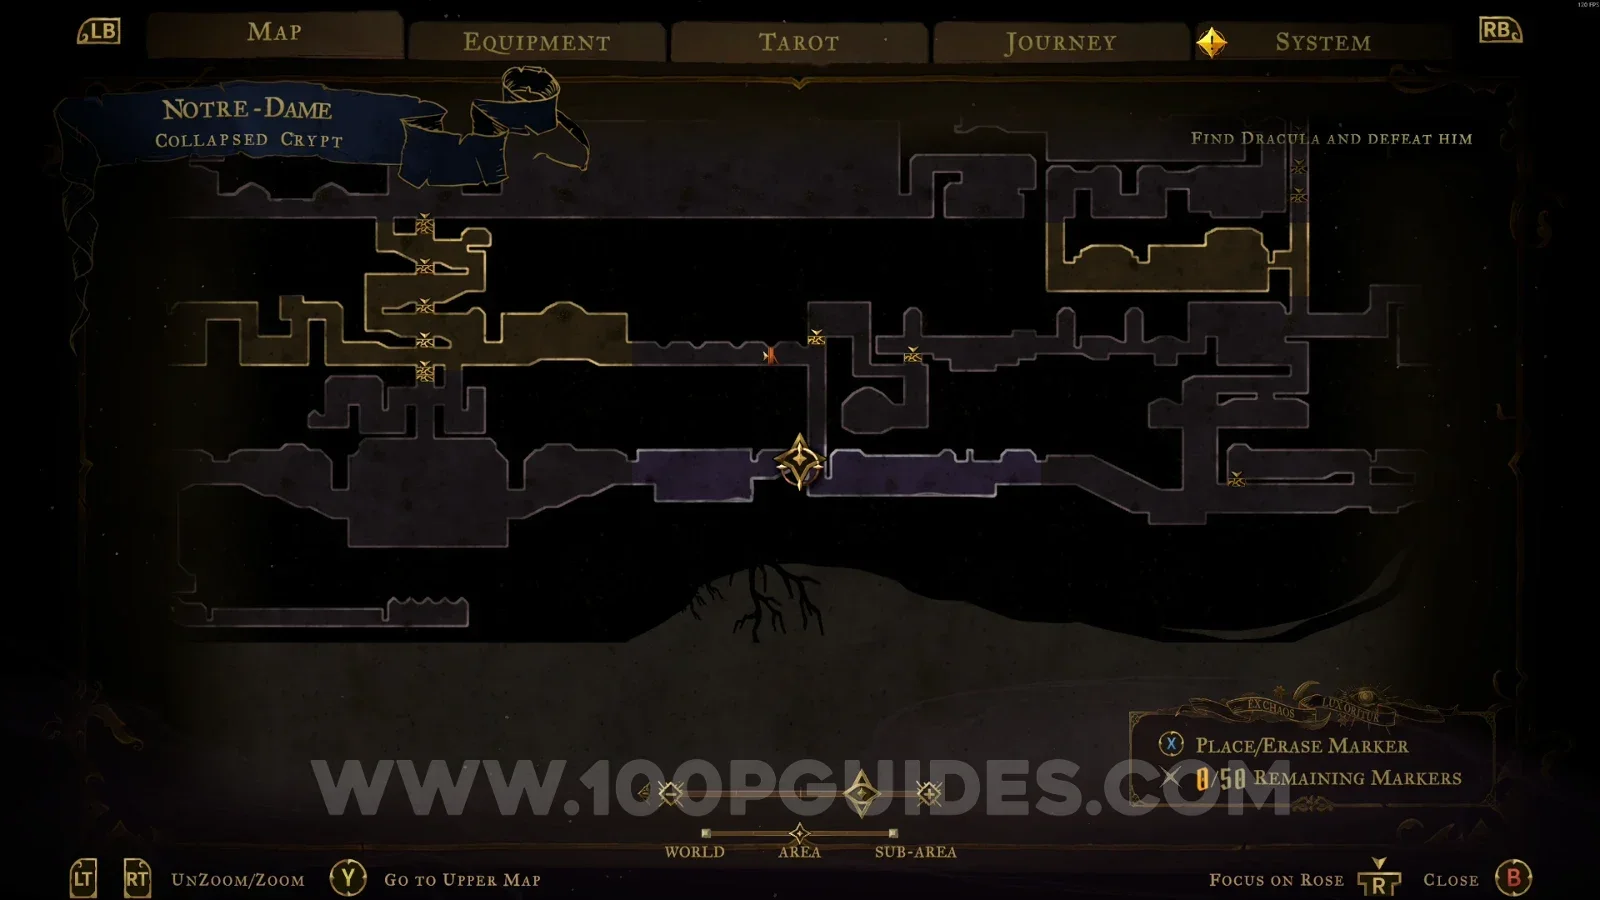
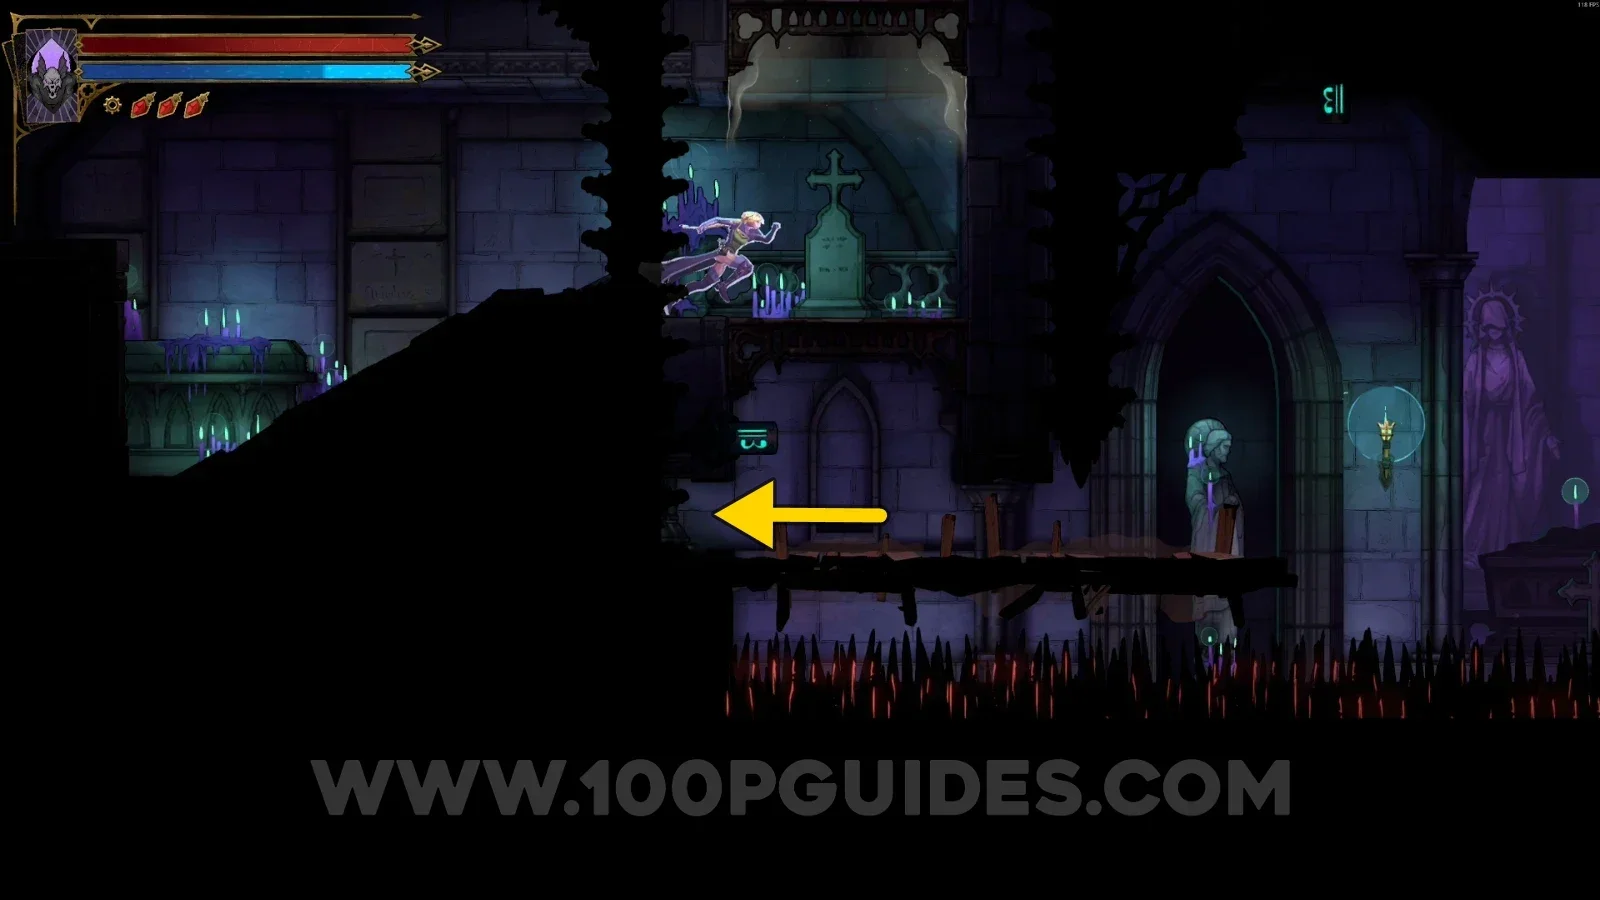
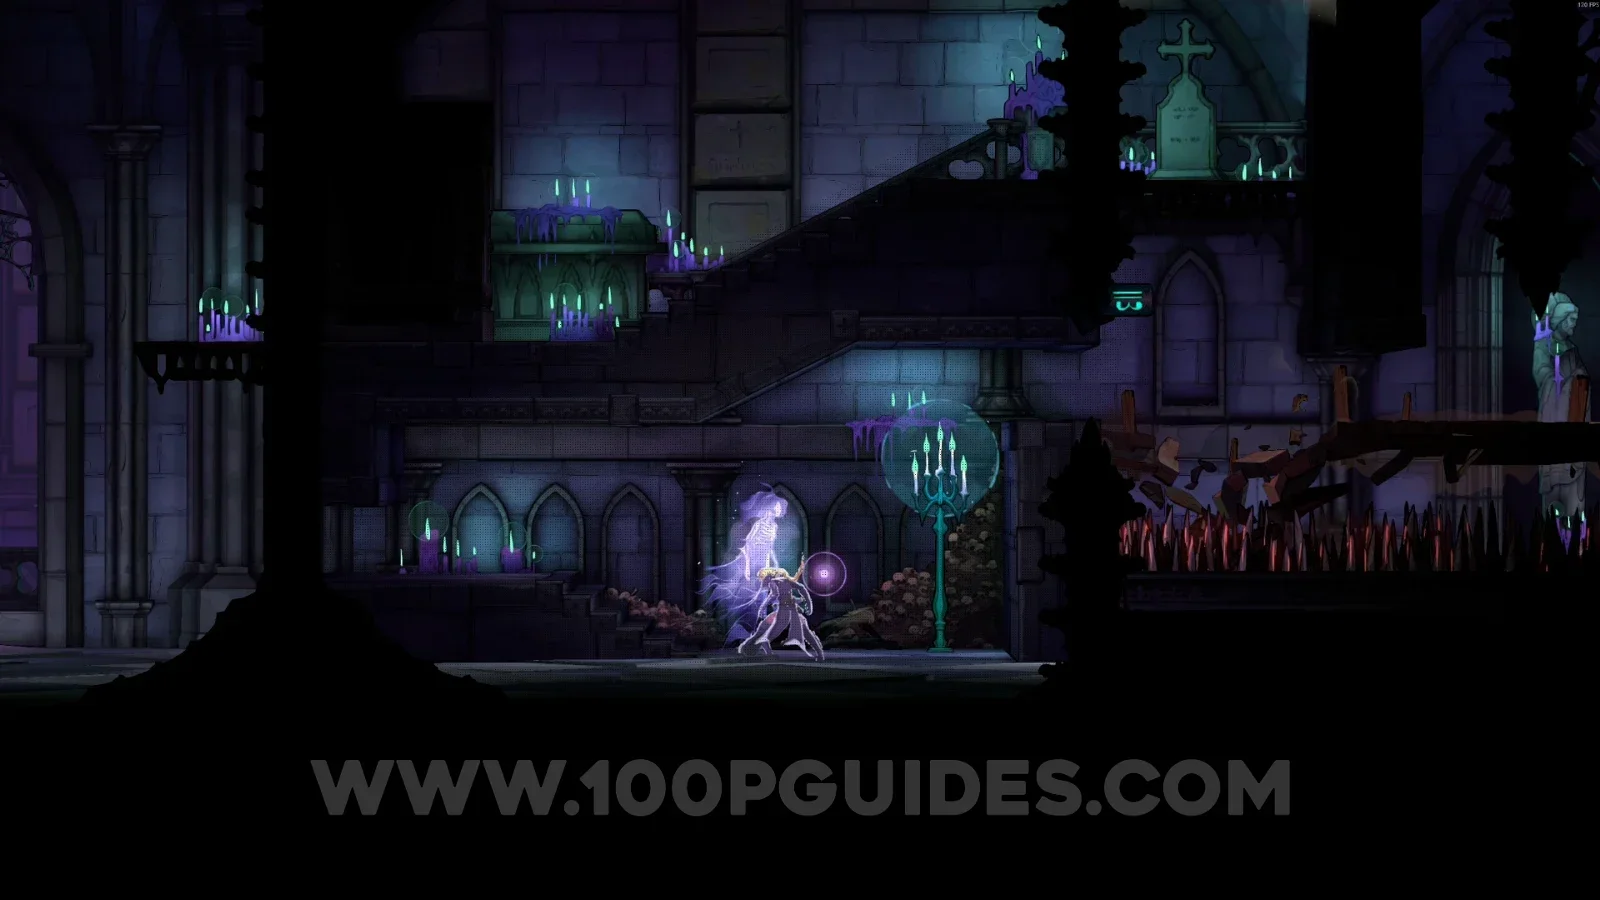
Chapel Of Patience
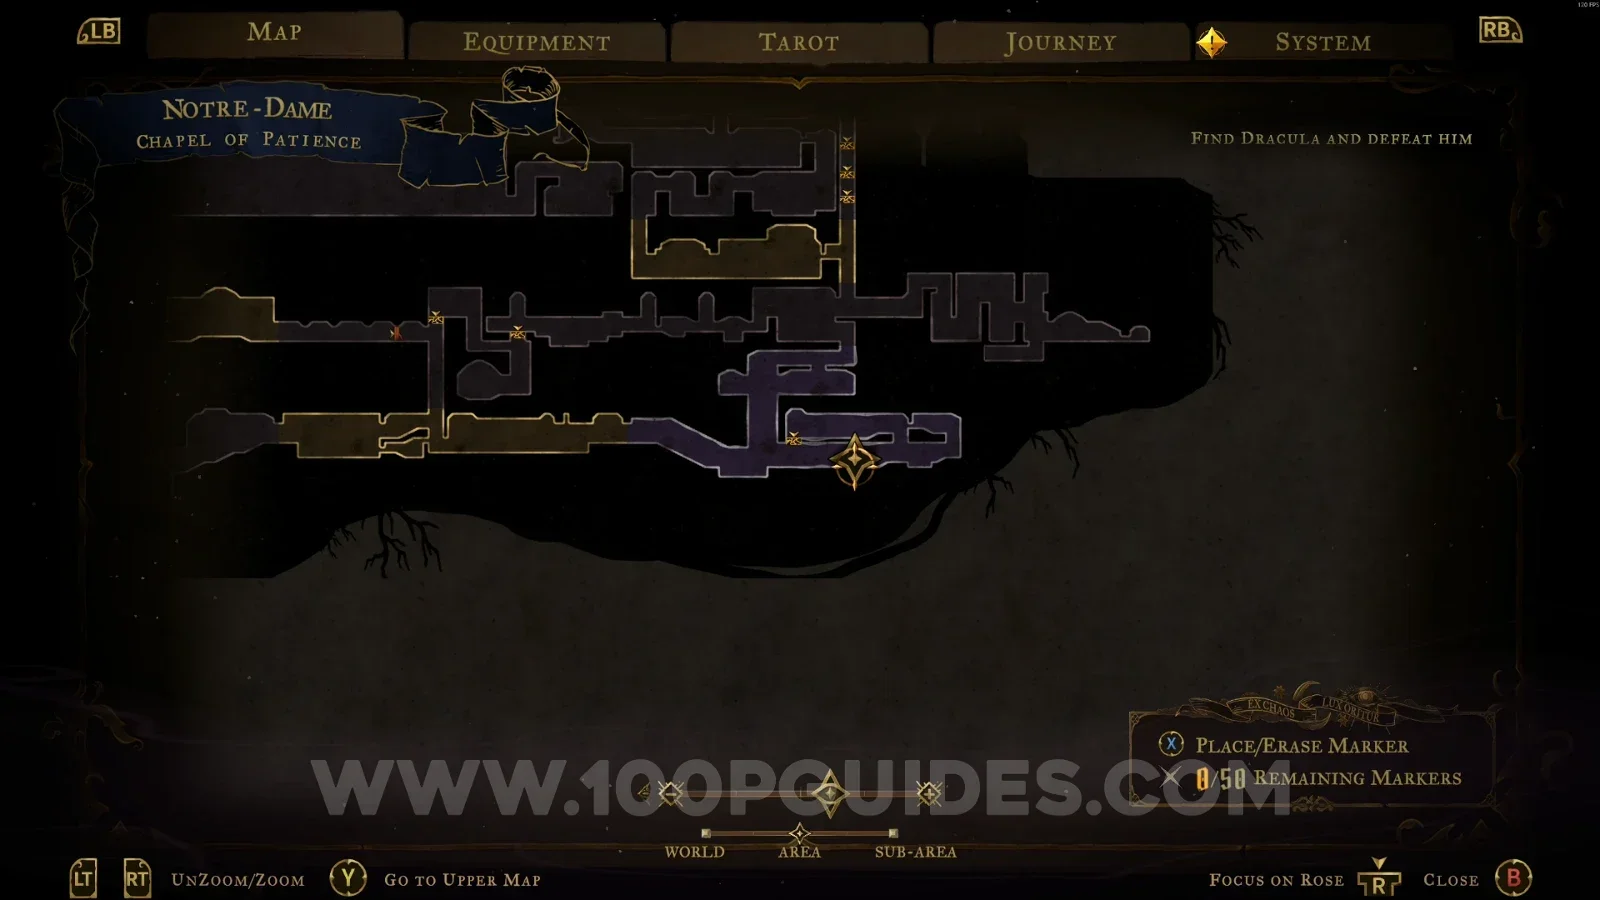
Wise Heart Fragment #1
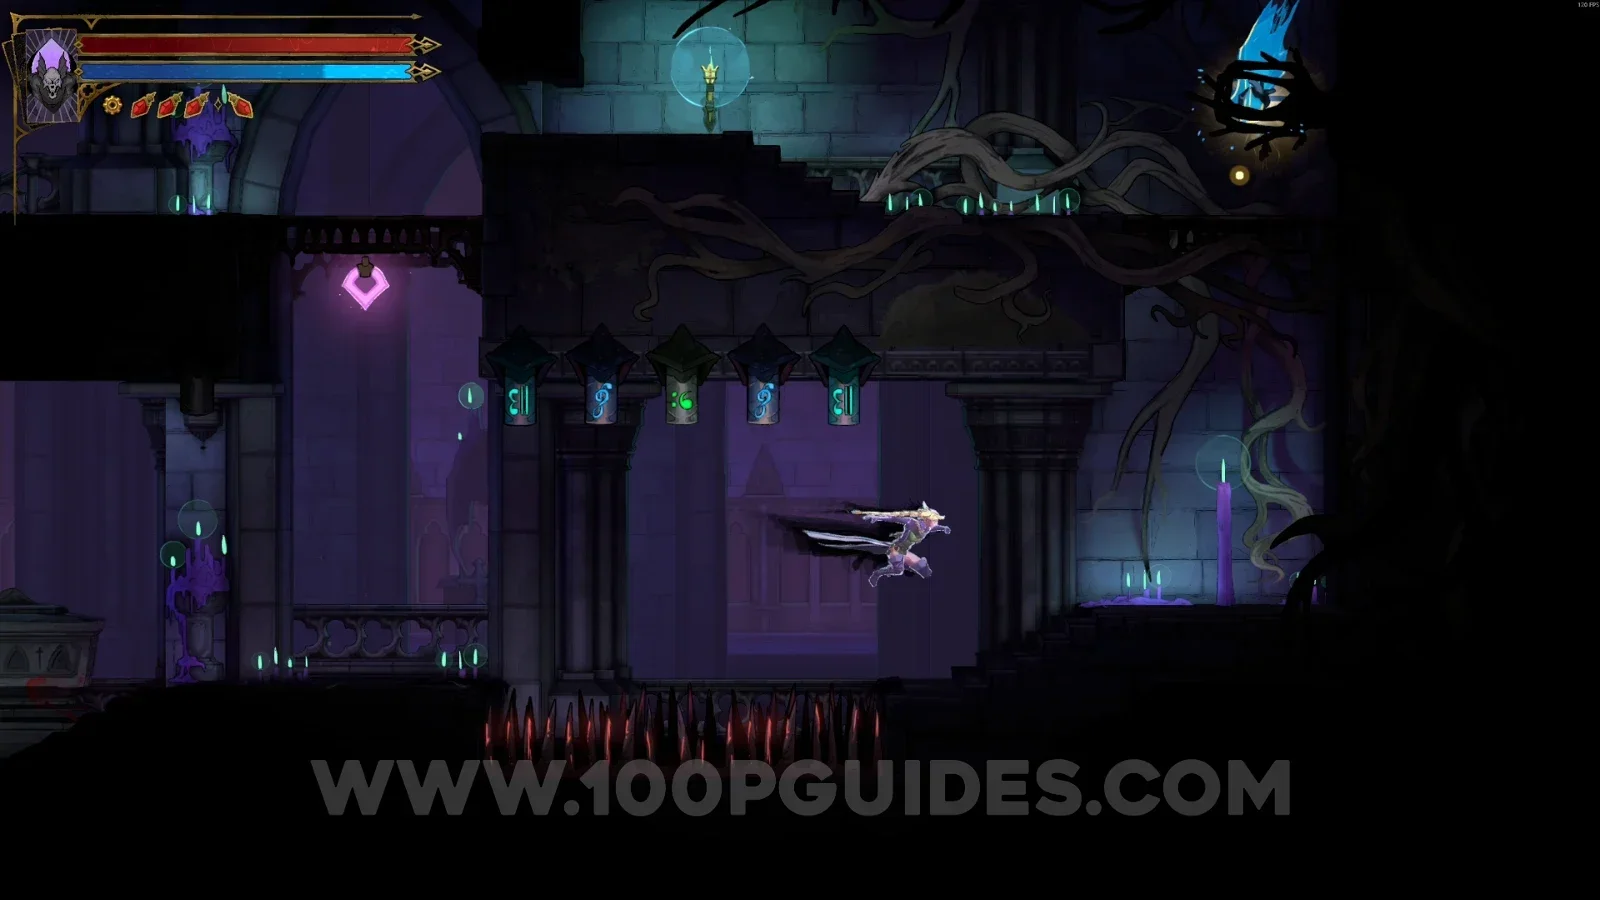
In the area marked on the map, in the upper part.
XP Statue #5
Same area as the previous collectible. Head left to find this.
Relic #2: Beelzebub's Seal
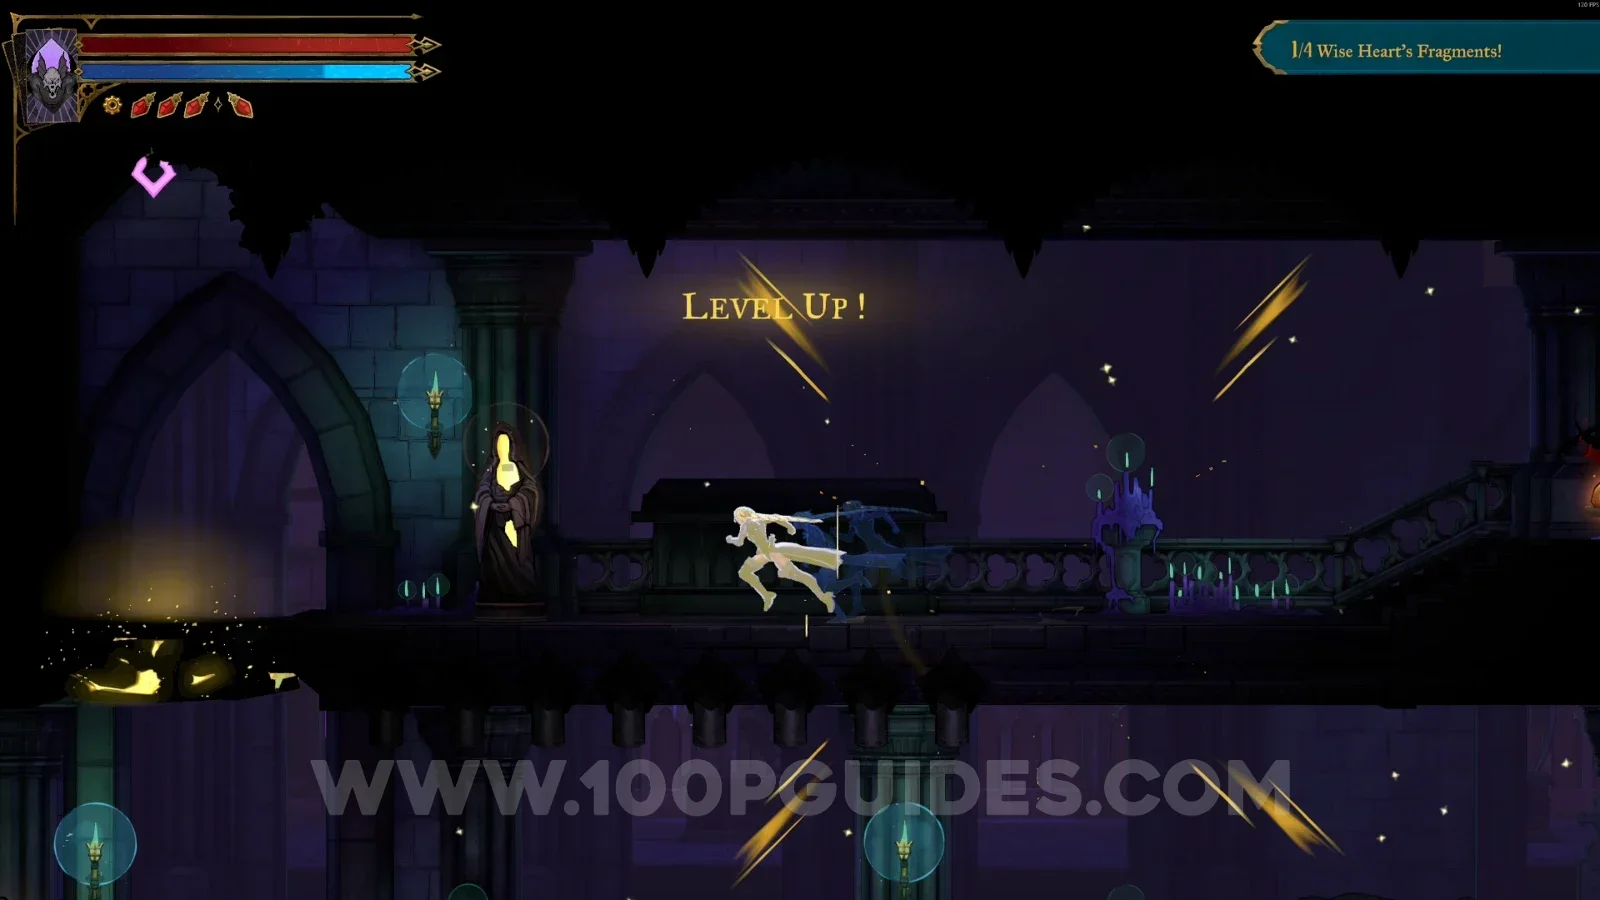
In the area marked on the map, interact with the lever, then jump to the left side and open the chest to get this.
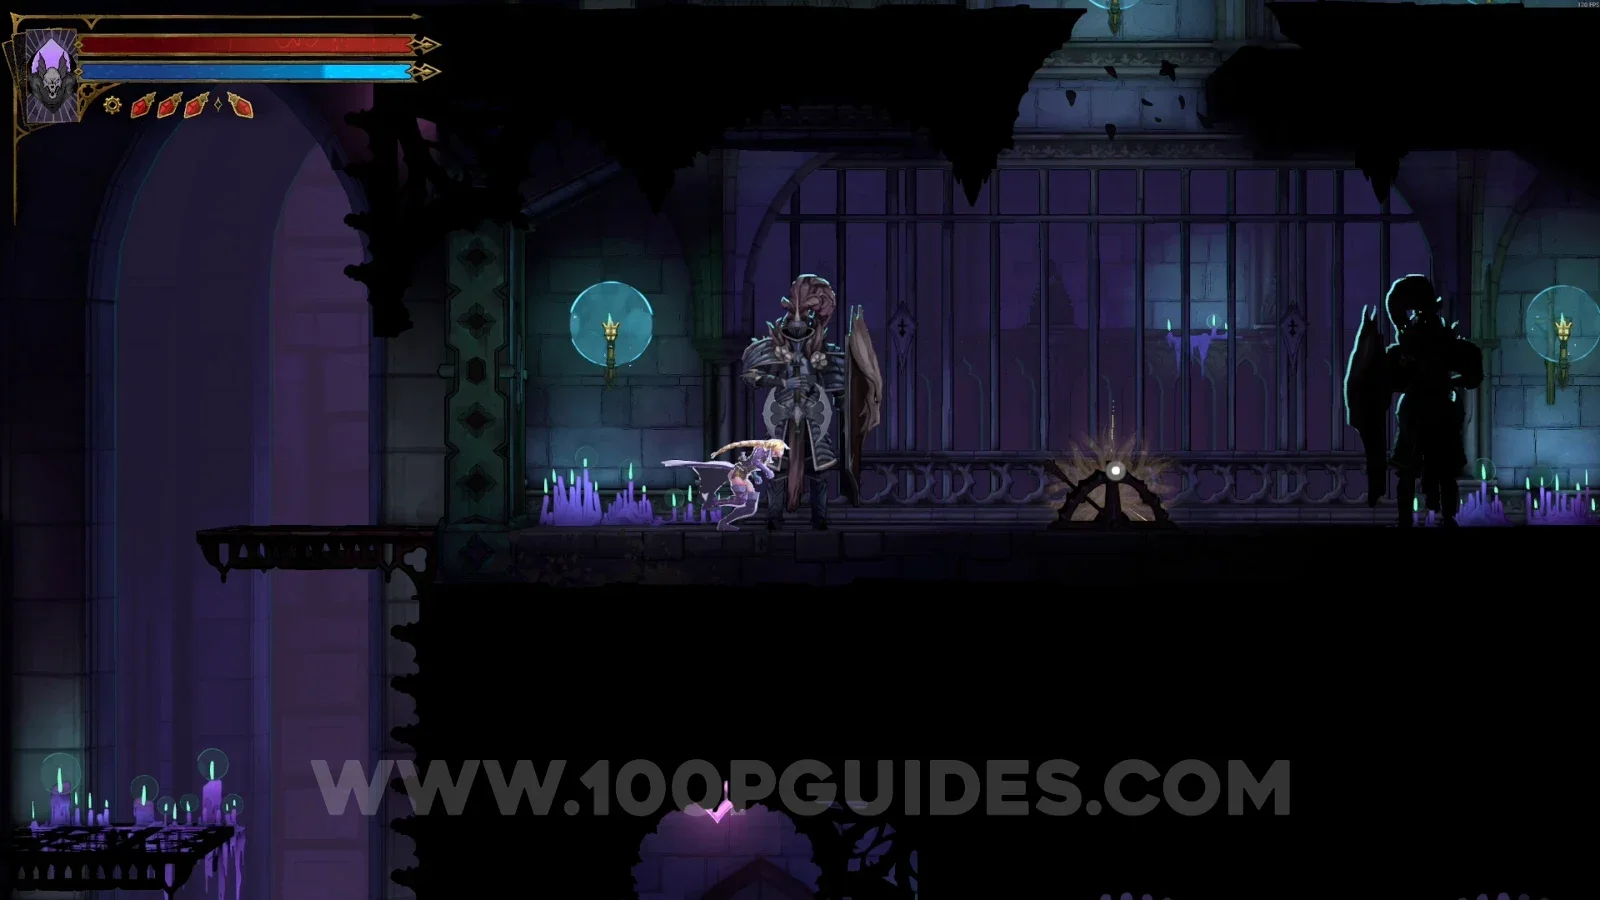
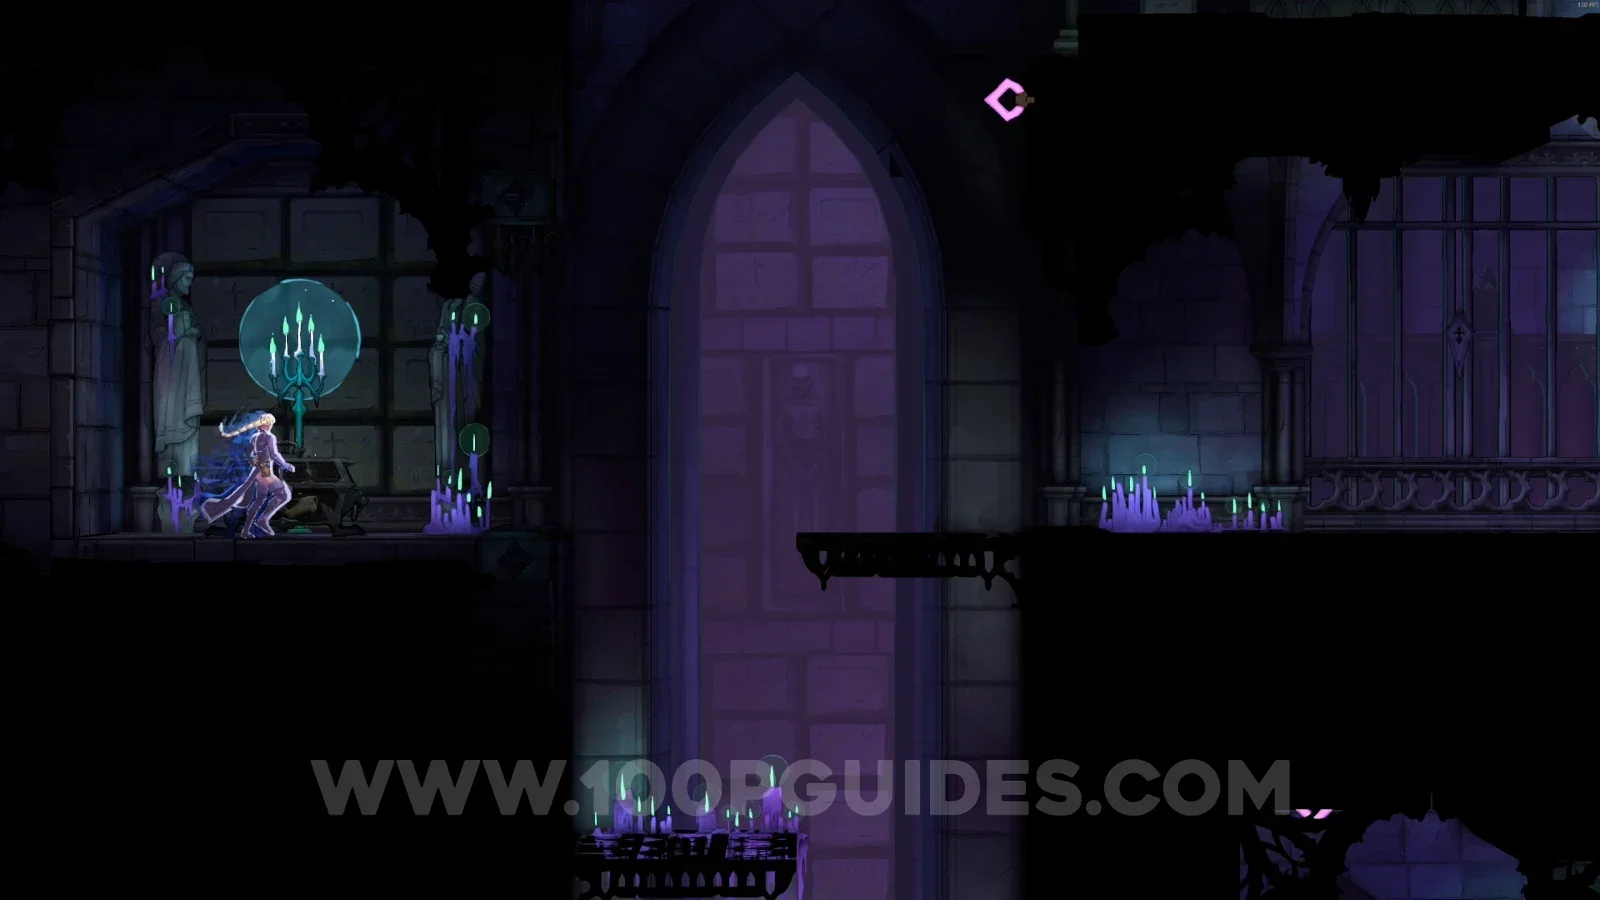
Reliquary
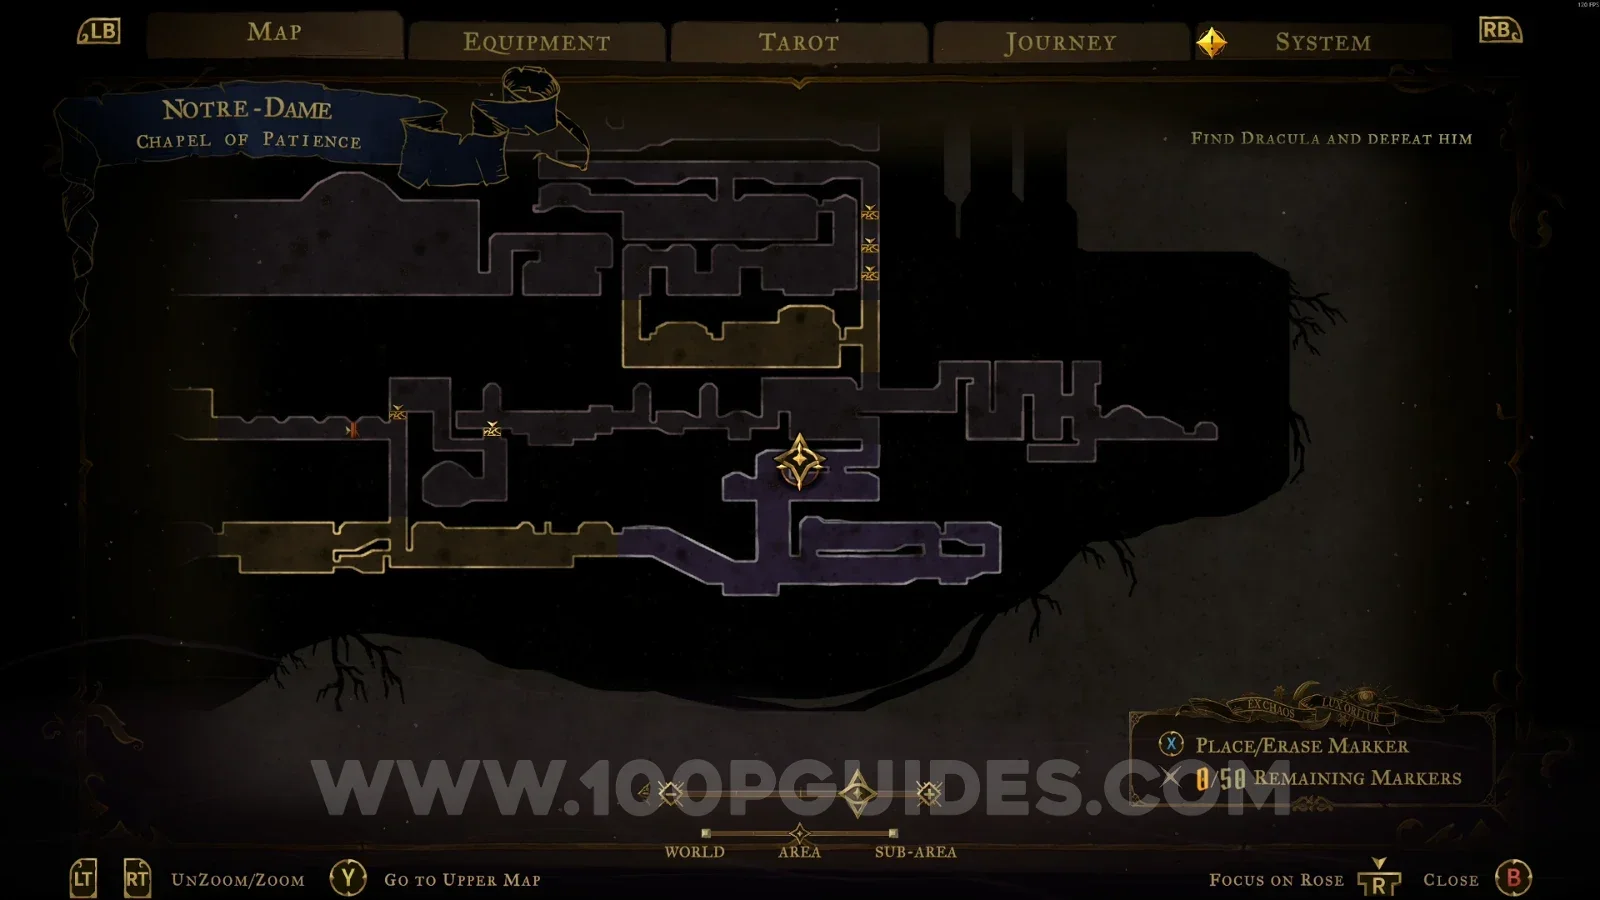
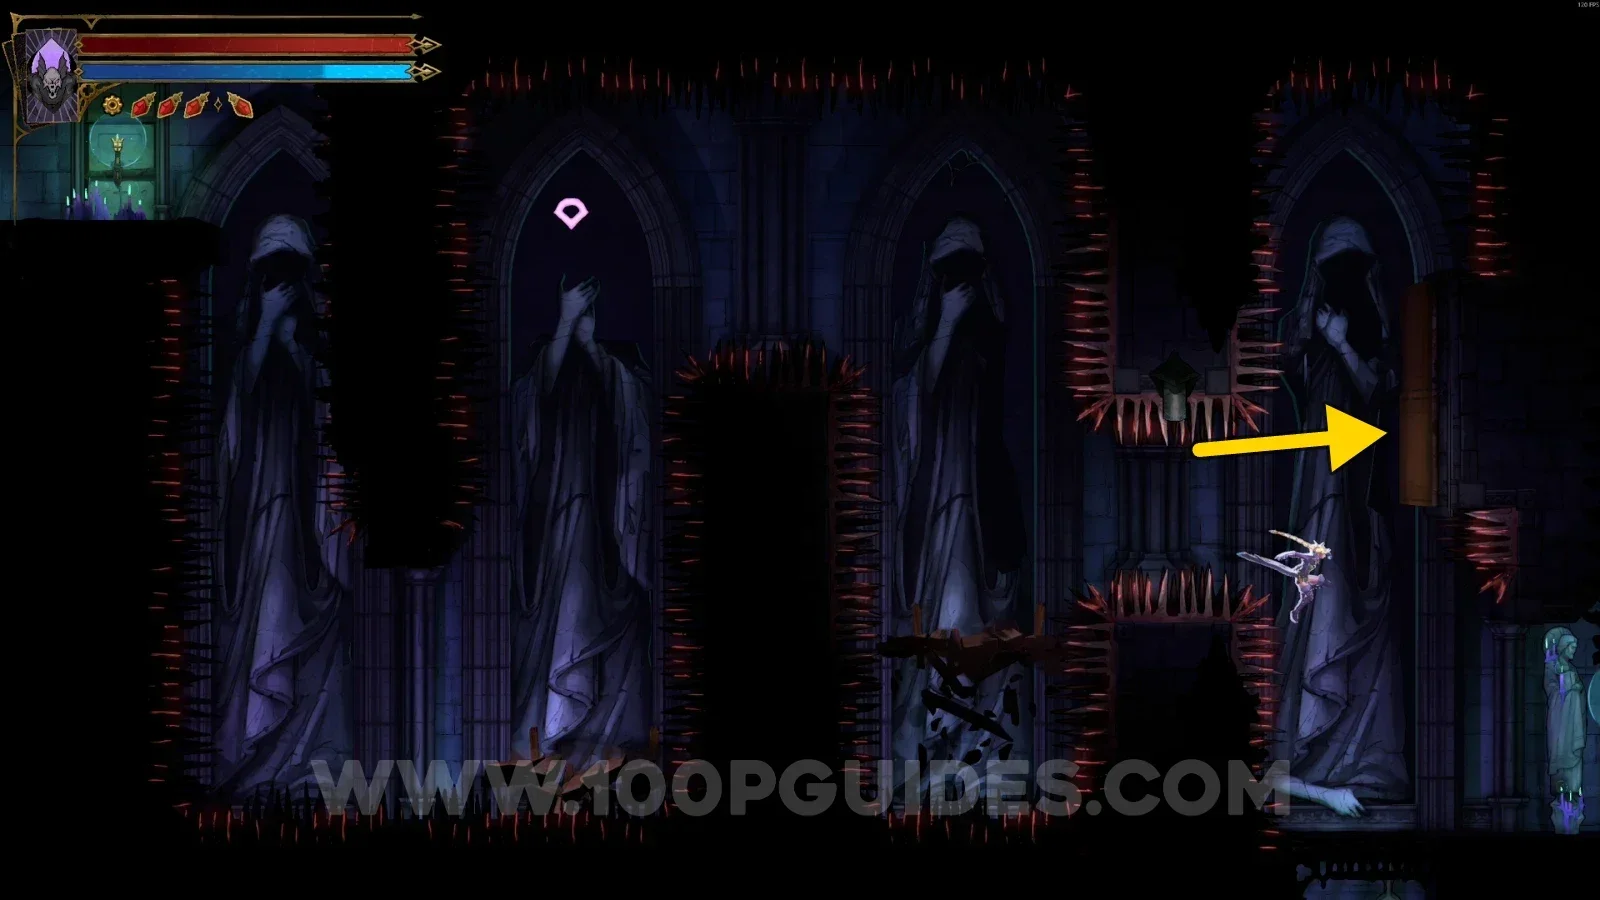
XP Statue #6
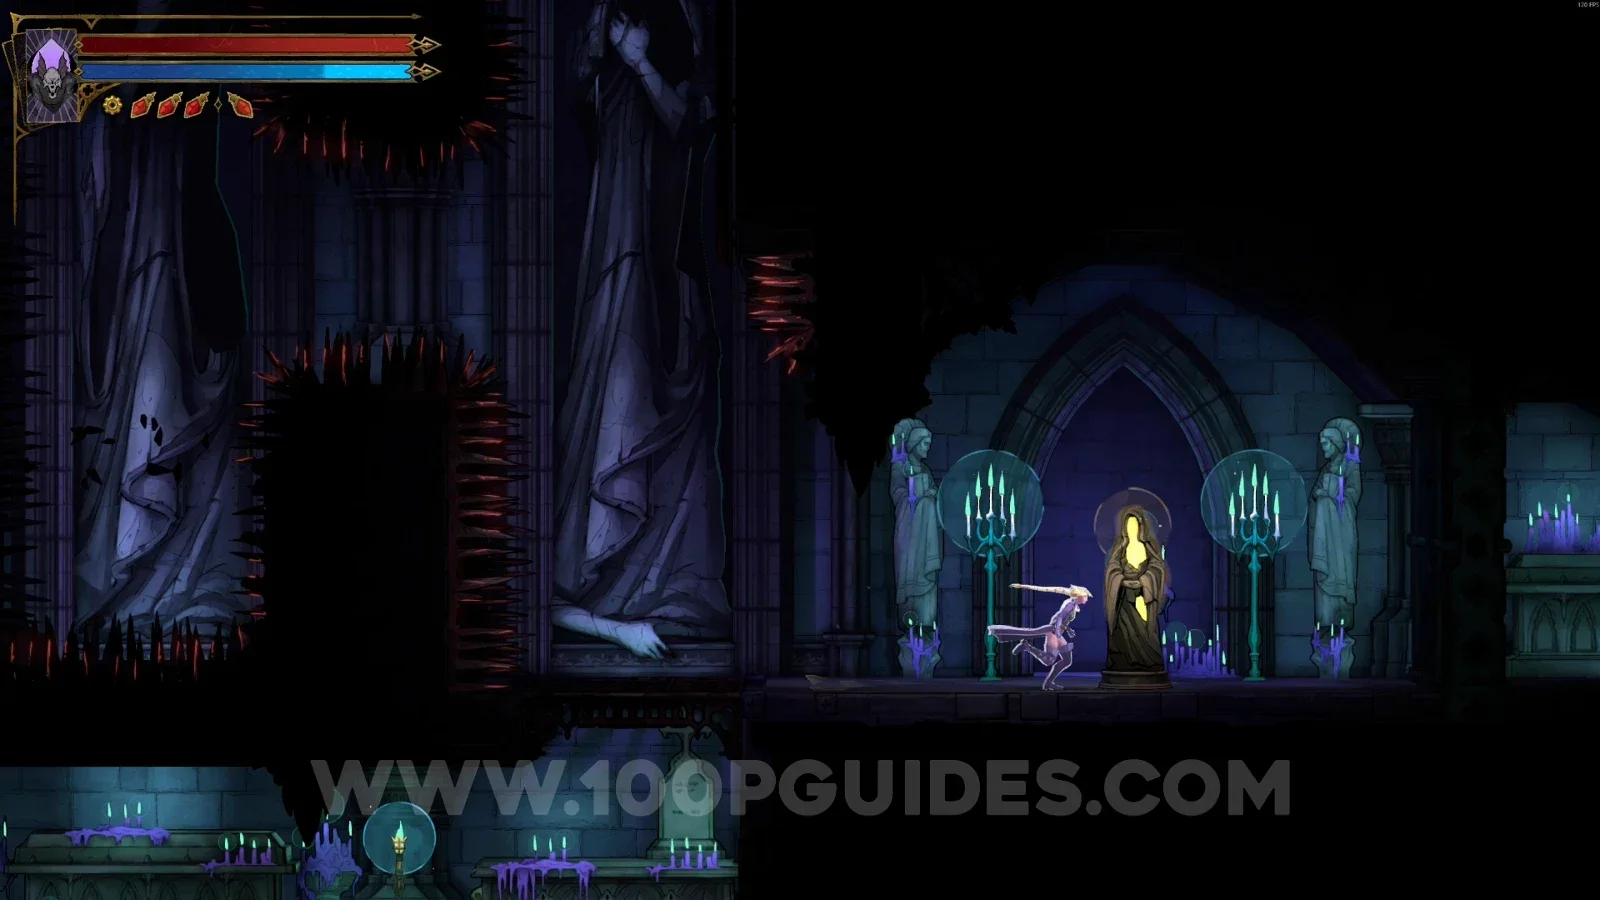
In the area marked on the map, head right, get past the spike area, and press the pressure plate on the wall. Then destroy the statue.
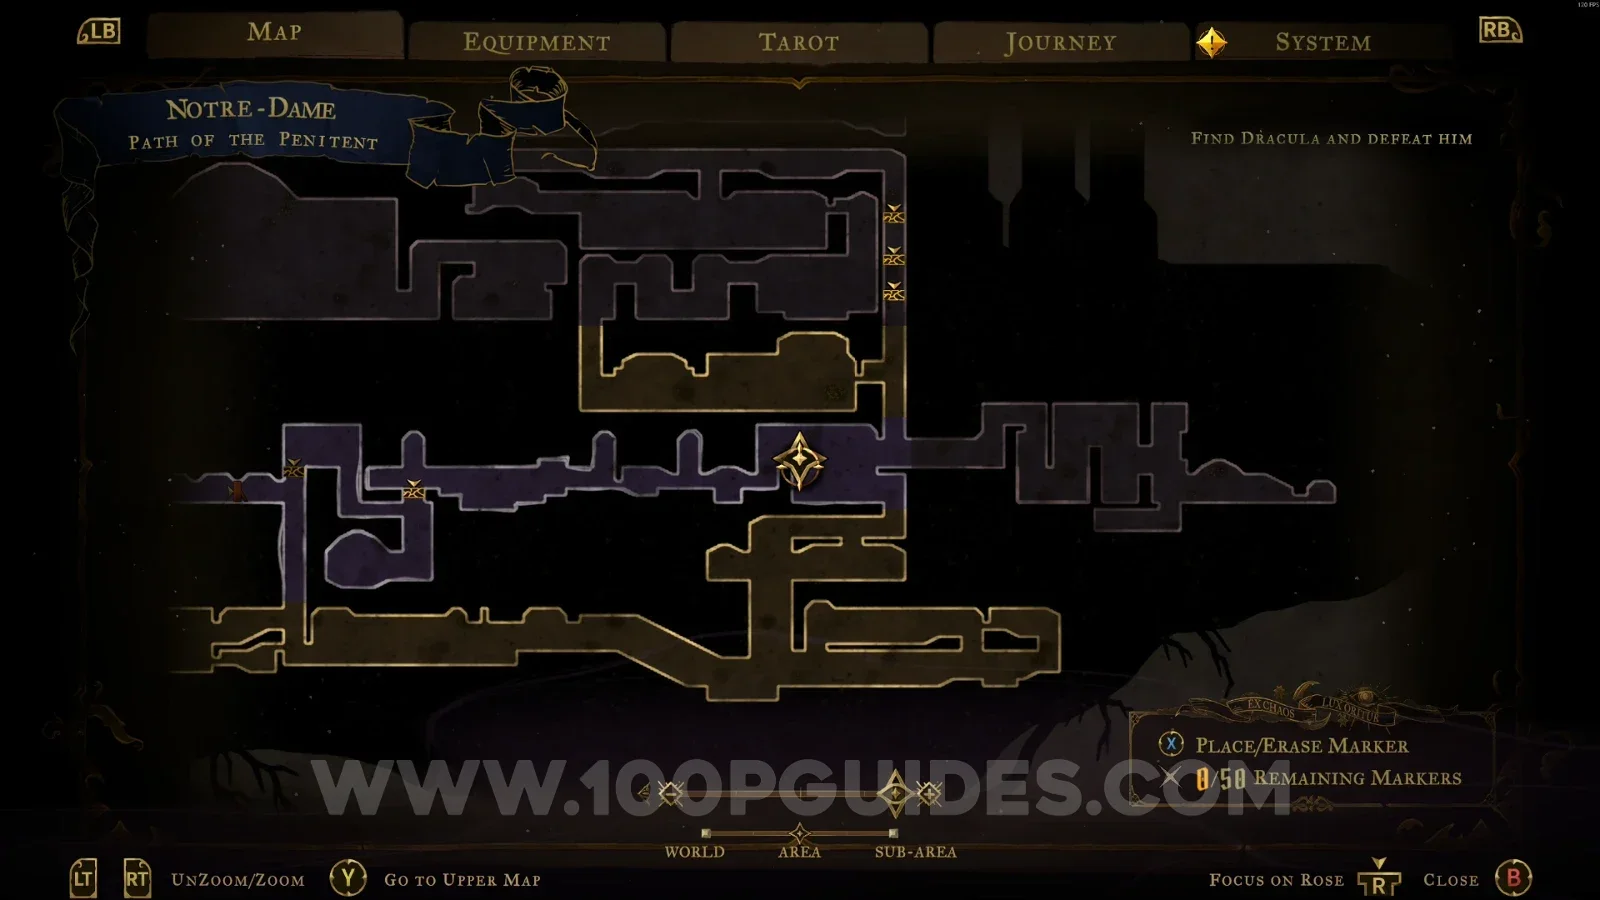
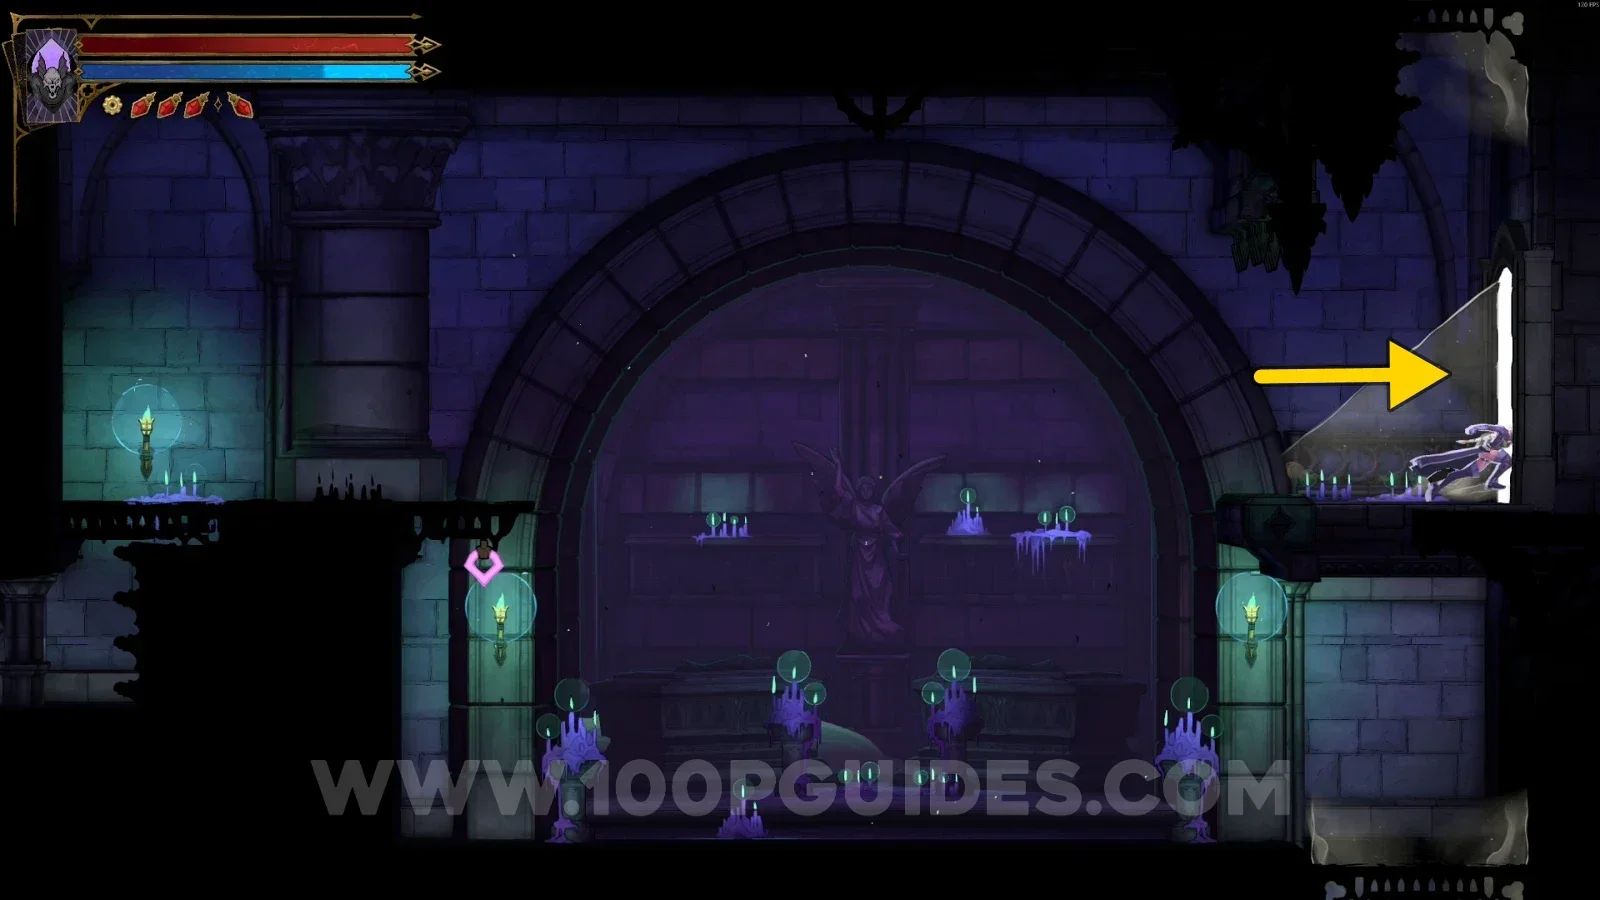
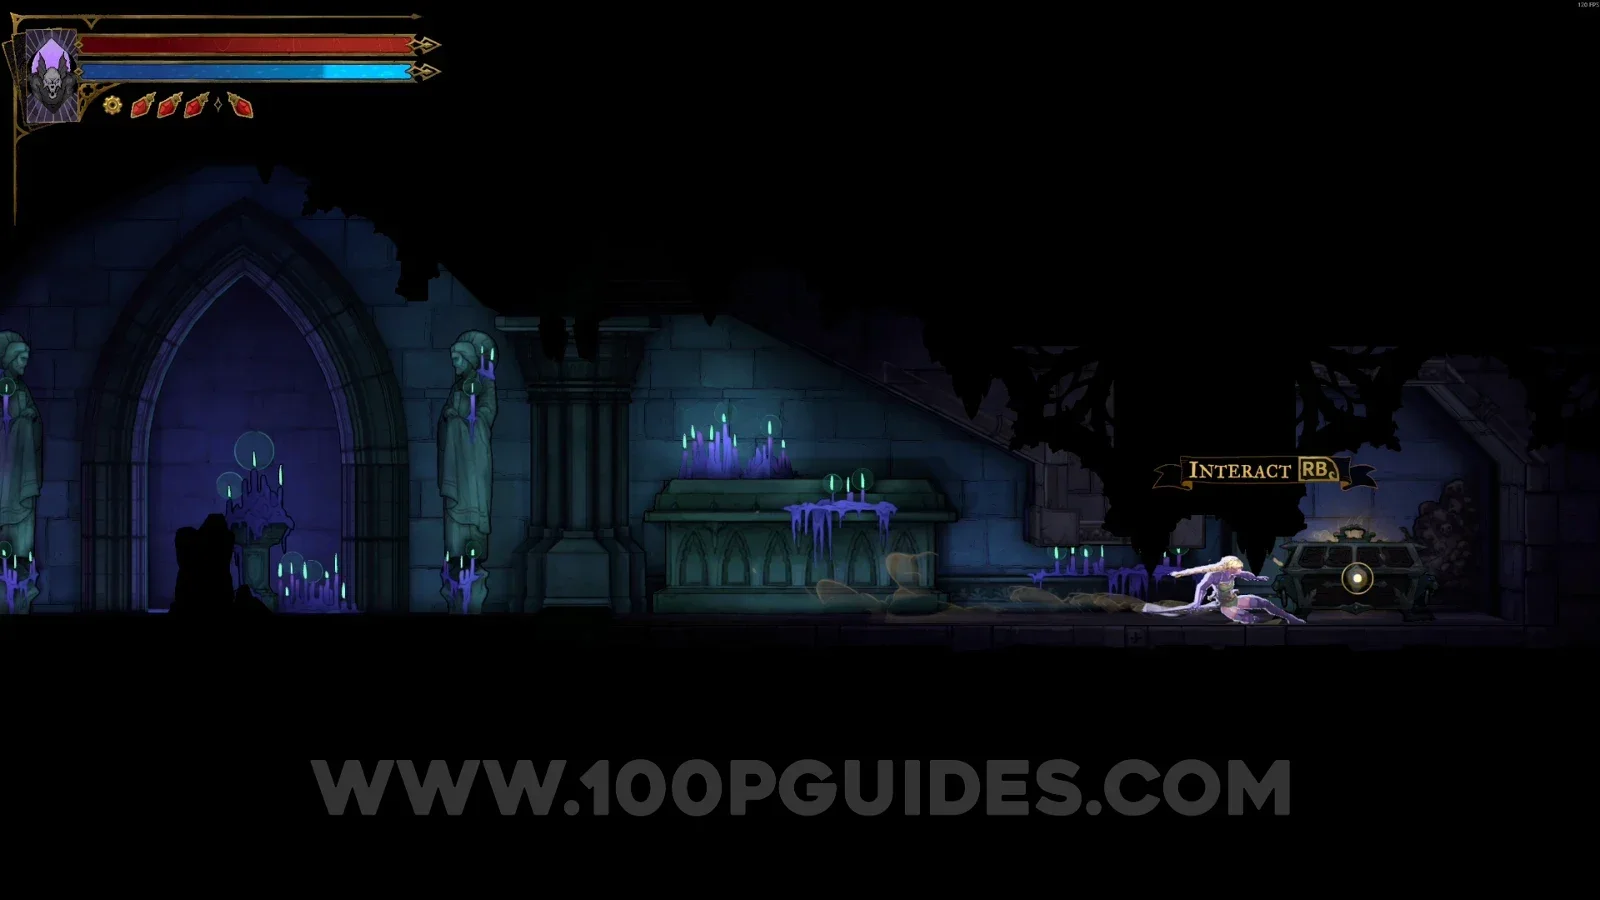
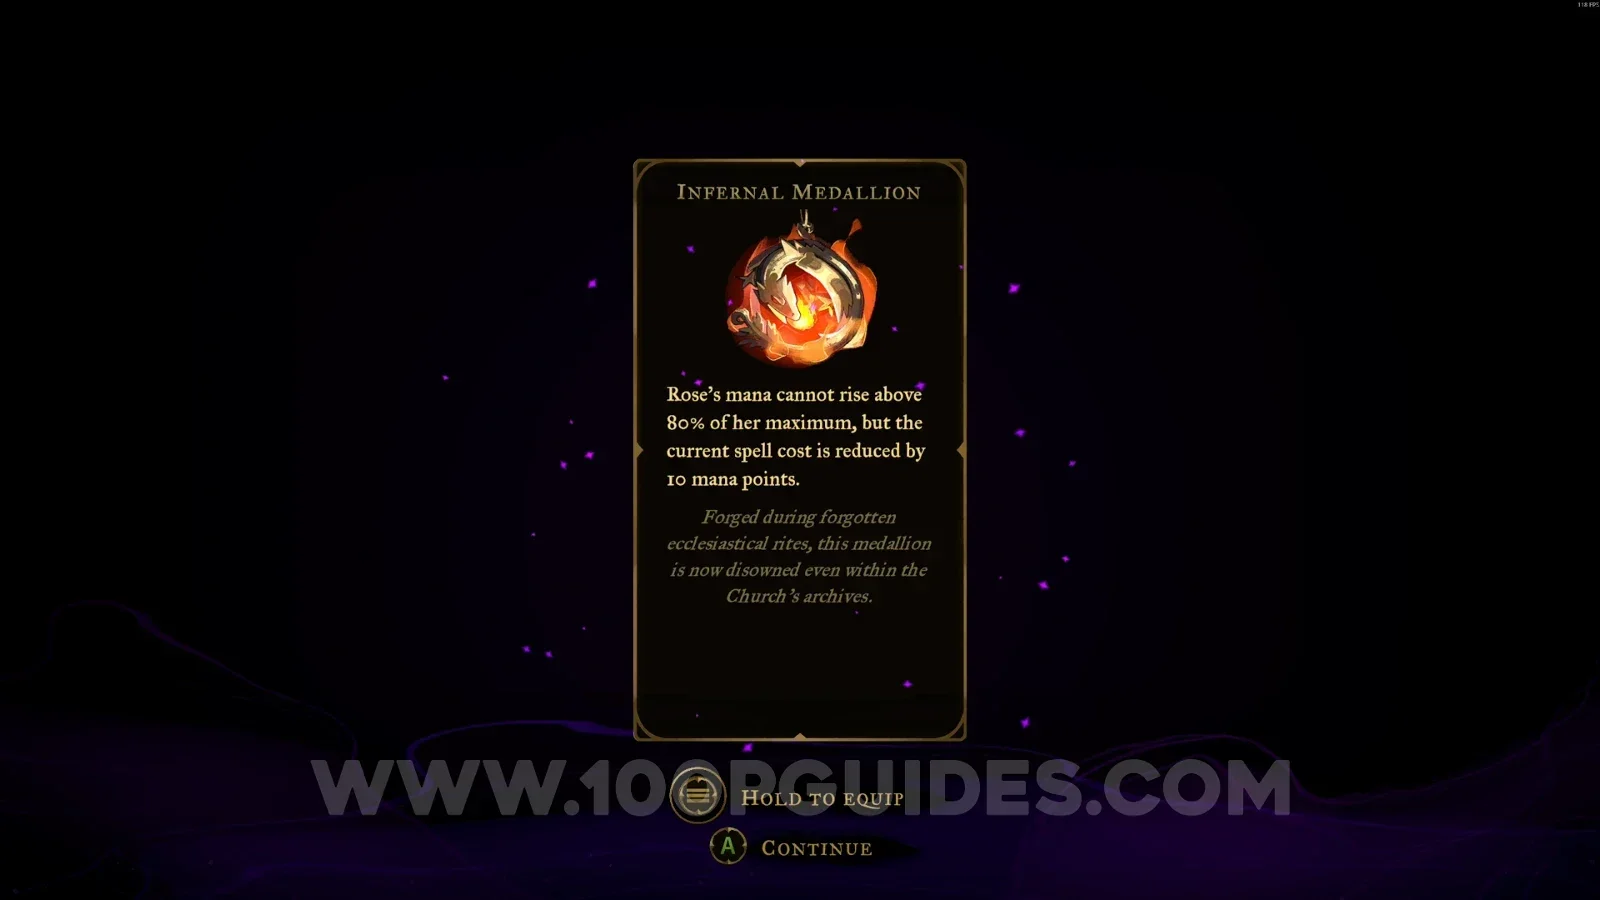
Relic #3: Infernal Medallion
Same area as the previous statue. Head right to find this relic in the chest.
Path Of The Penitent
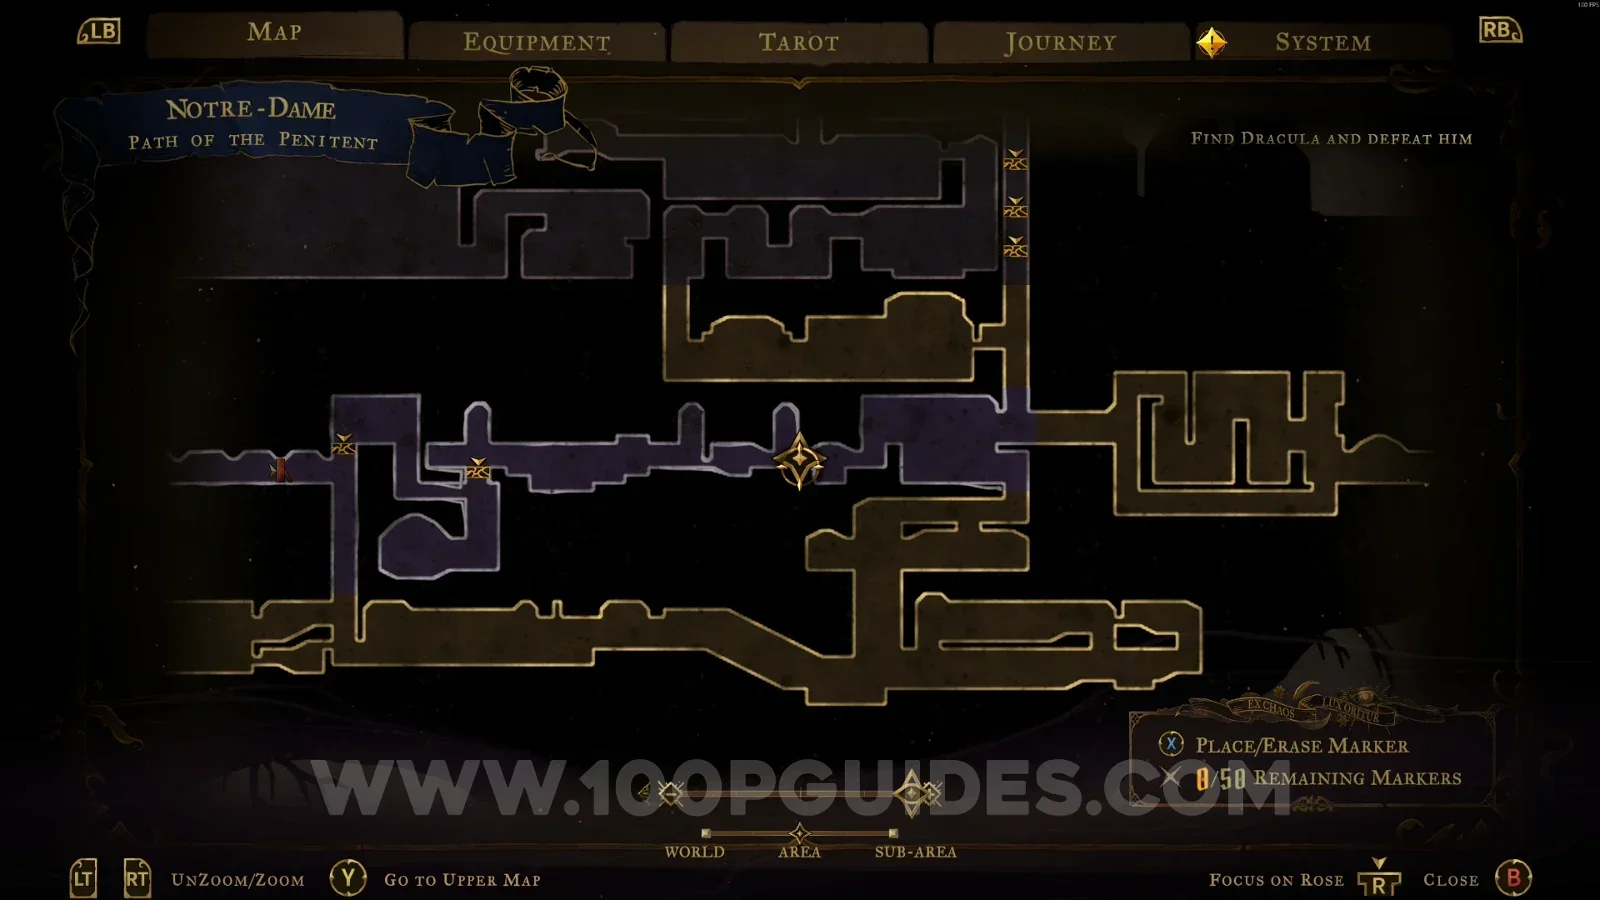
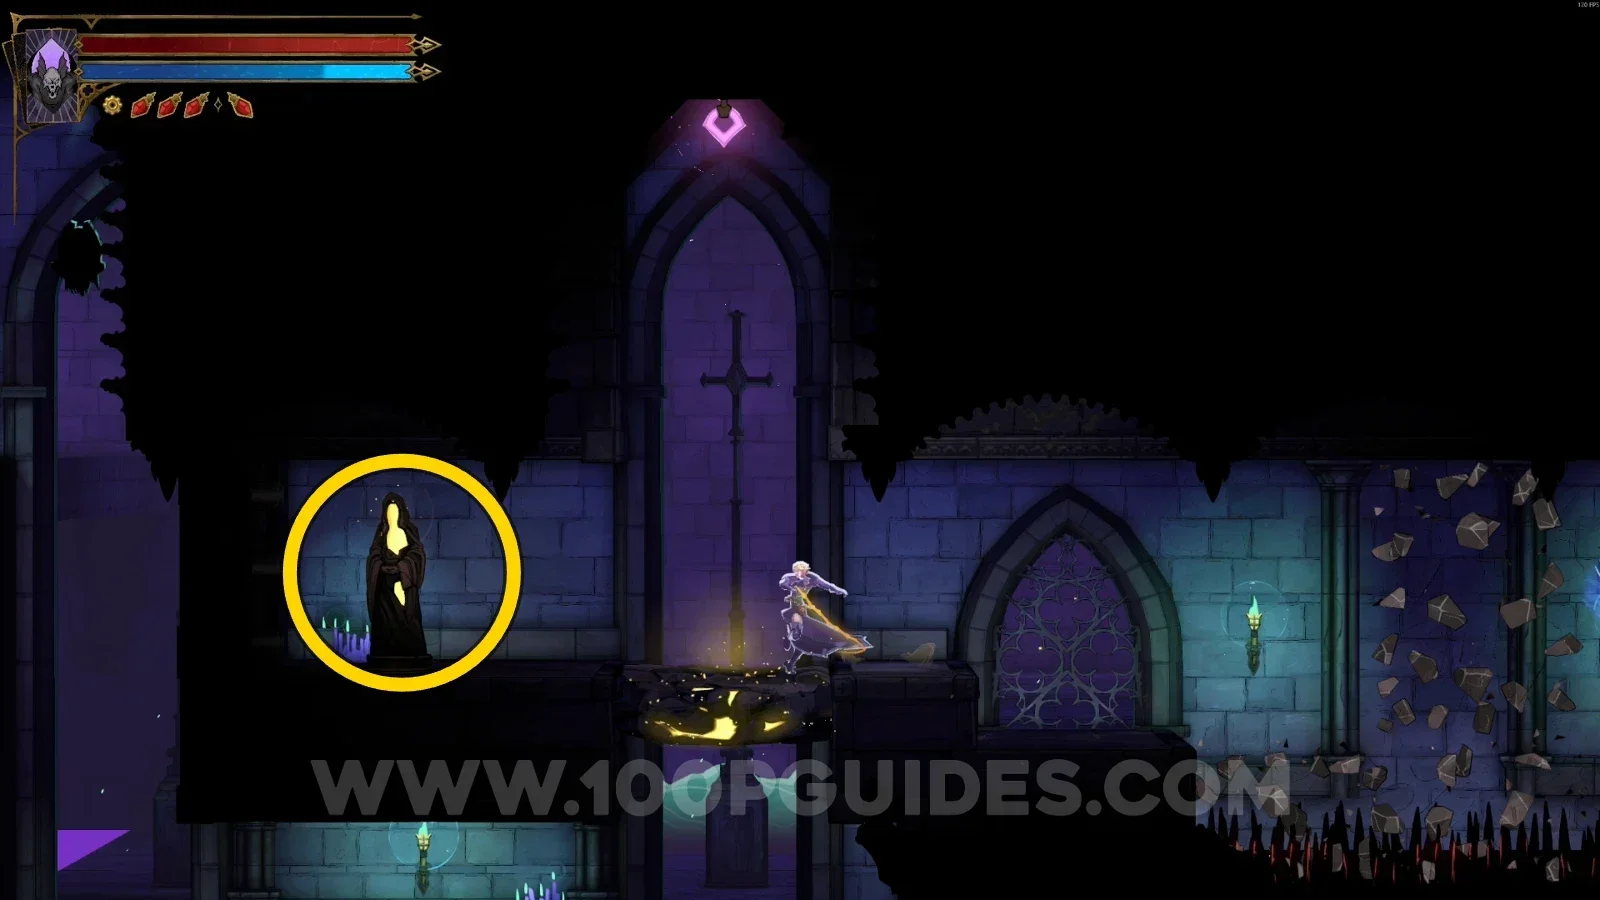
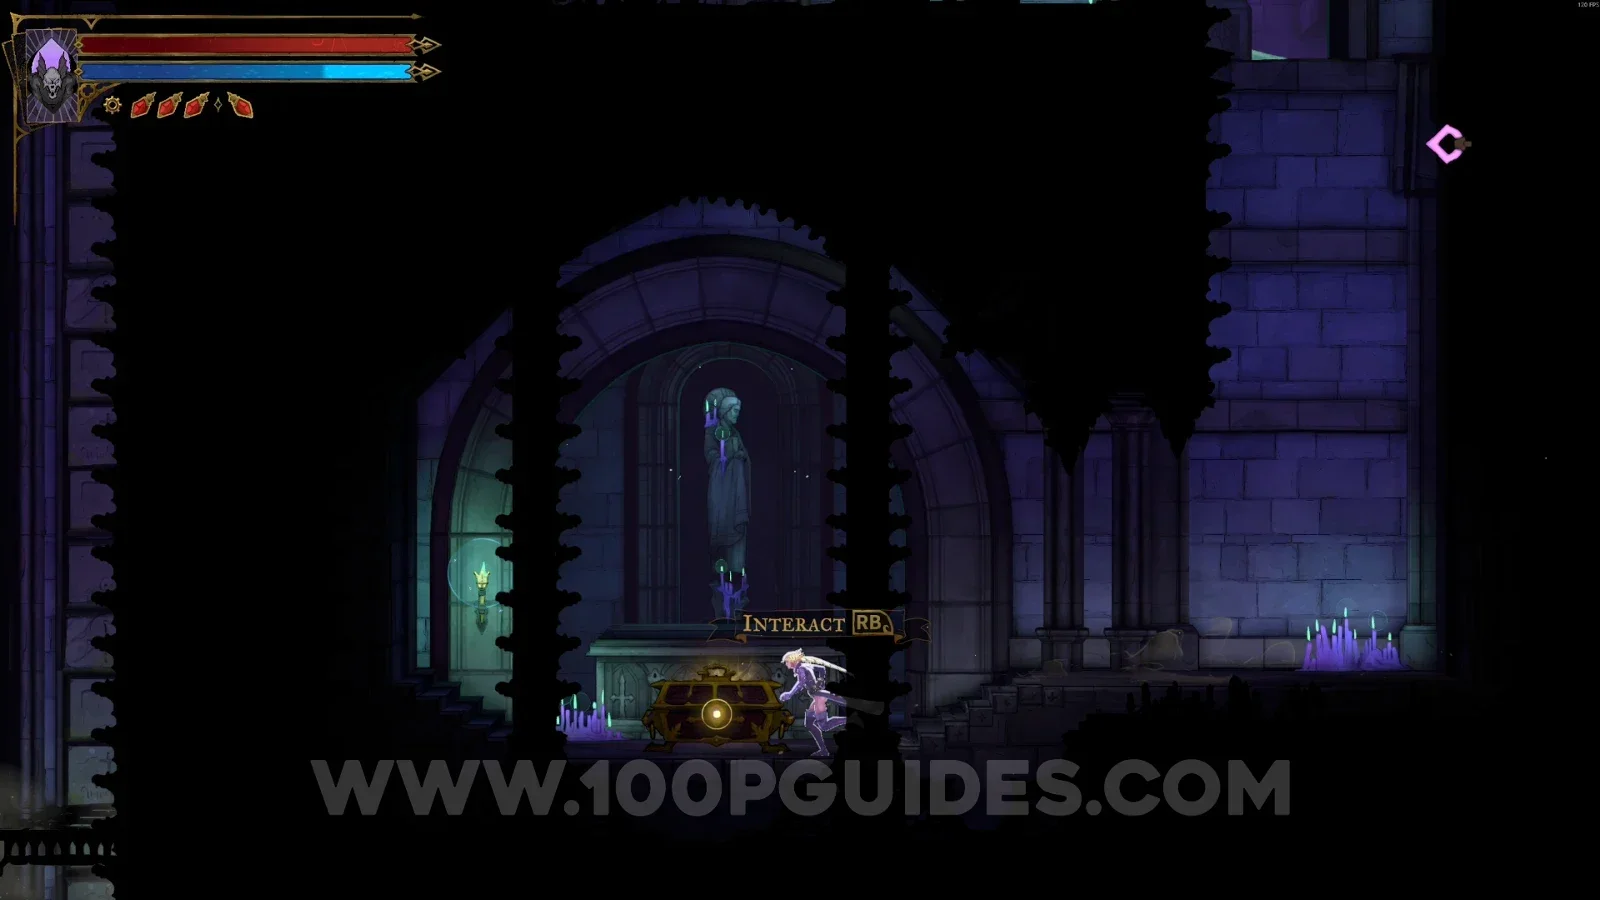
Weapon #2: Joyeuse + XP Statue #7
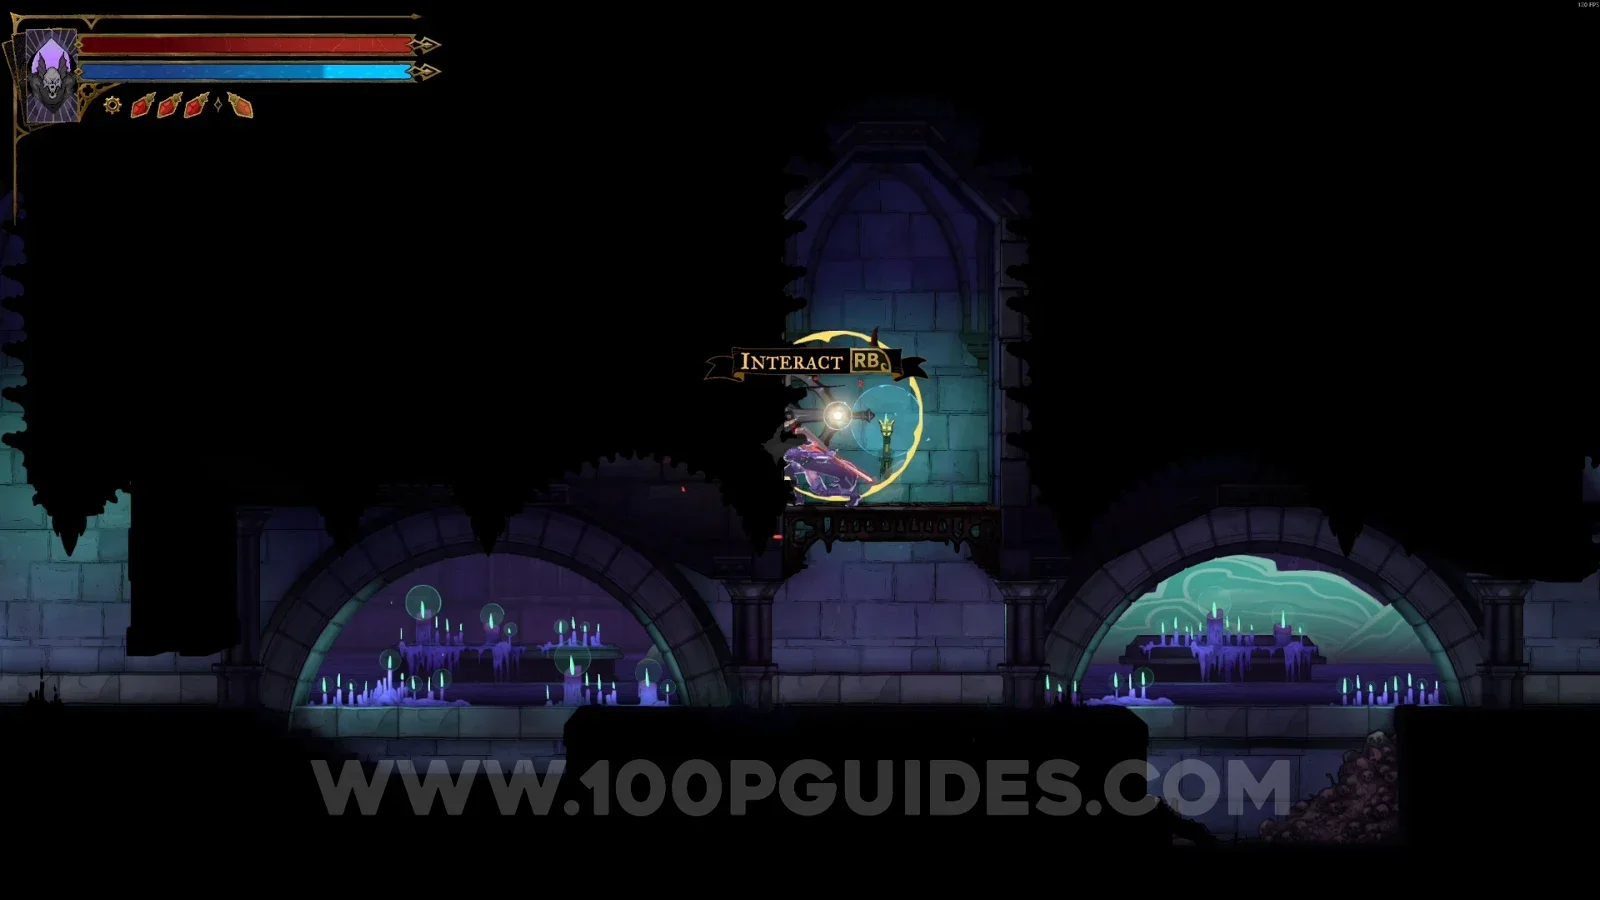
Interact with the lever, break the statue, and then break the floor. After breaking the floor, open the chest on the left side.
Tomb Of The Chevaliers
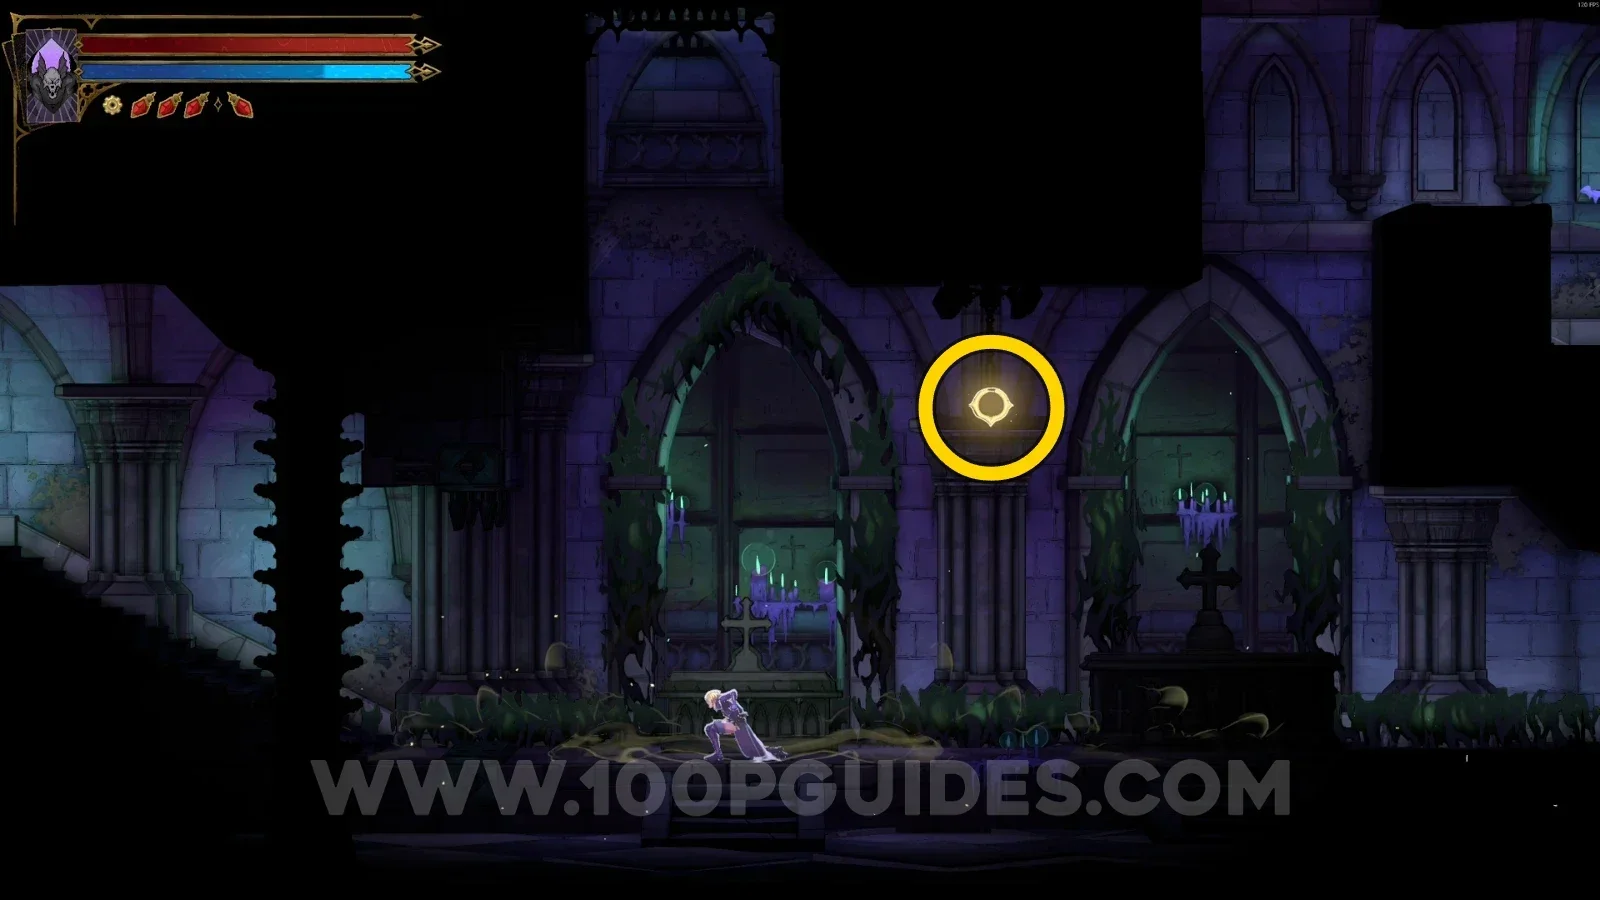
Red Book #2
Use the Arcane Whip on the ring a few times to open a secret area on the left side. Follow the path on the left all the way to the end to find this.
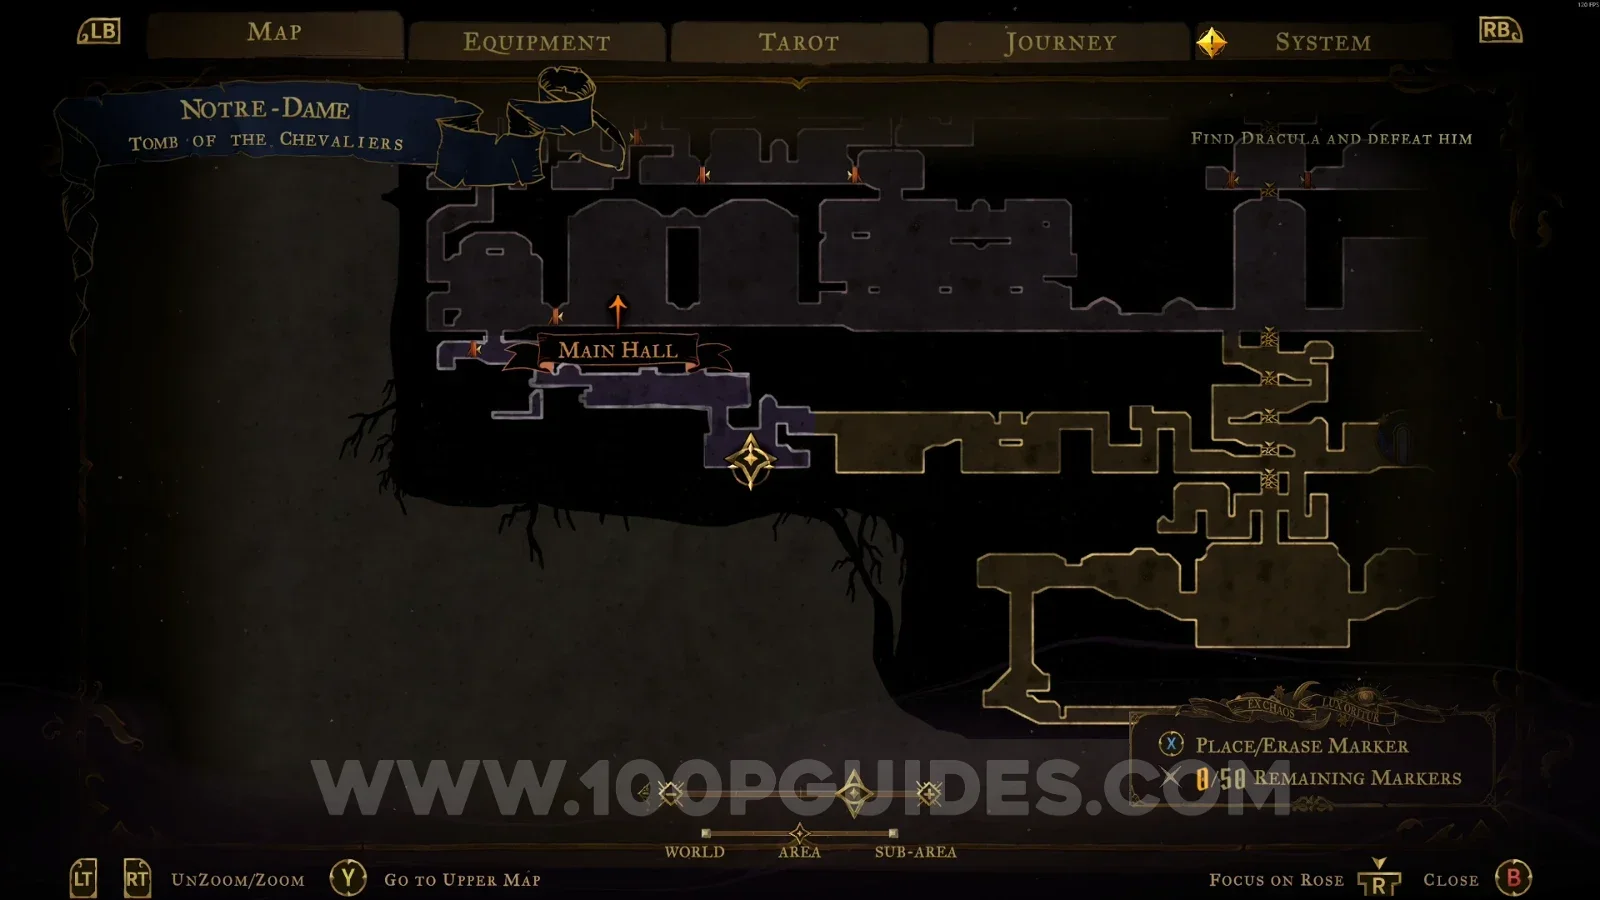
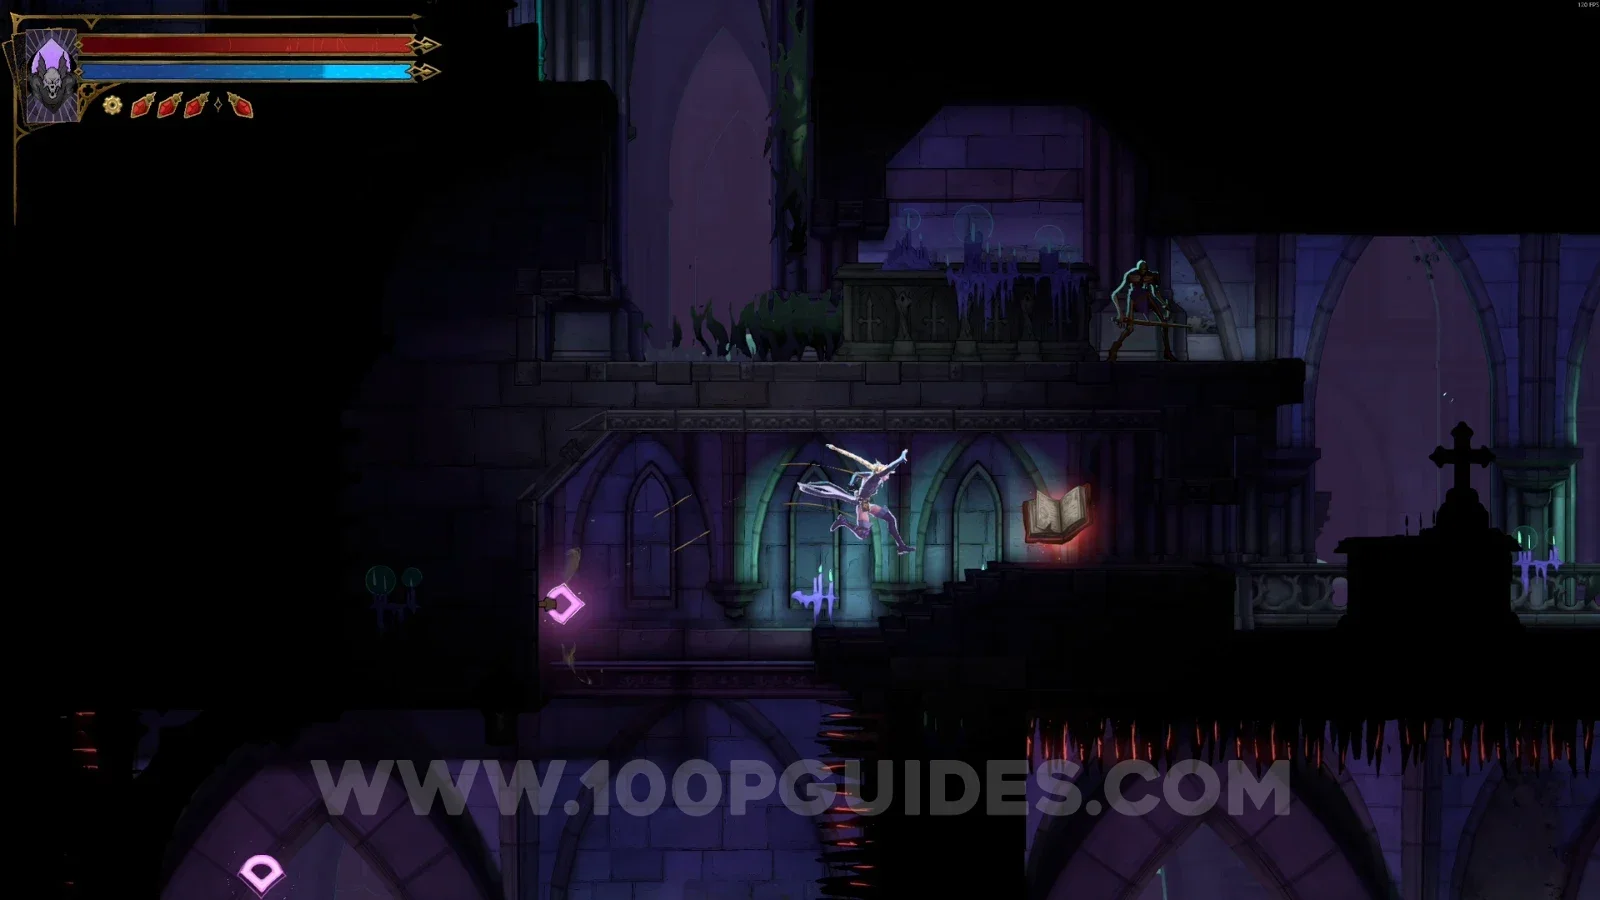
XP Statue #8 - #9
In the area marked on the map, use the Arcane Whip to reach the two areas on the ceiling with the statues.
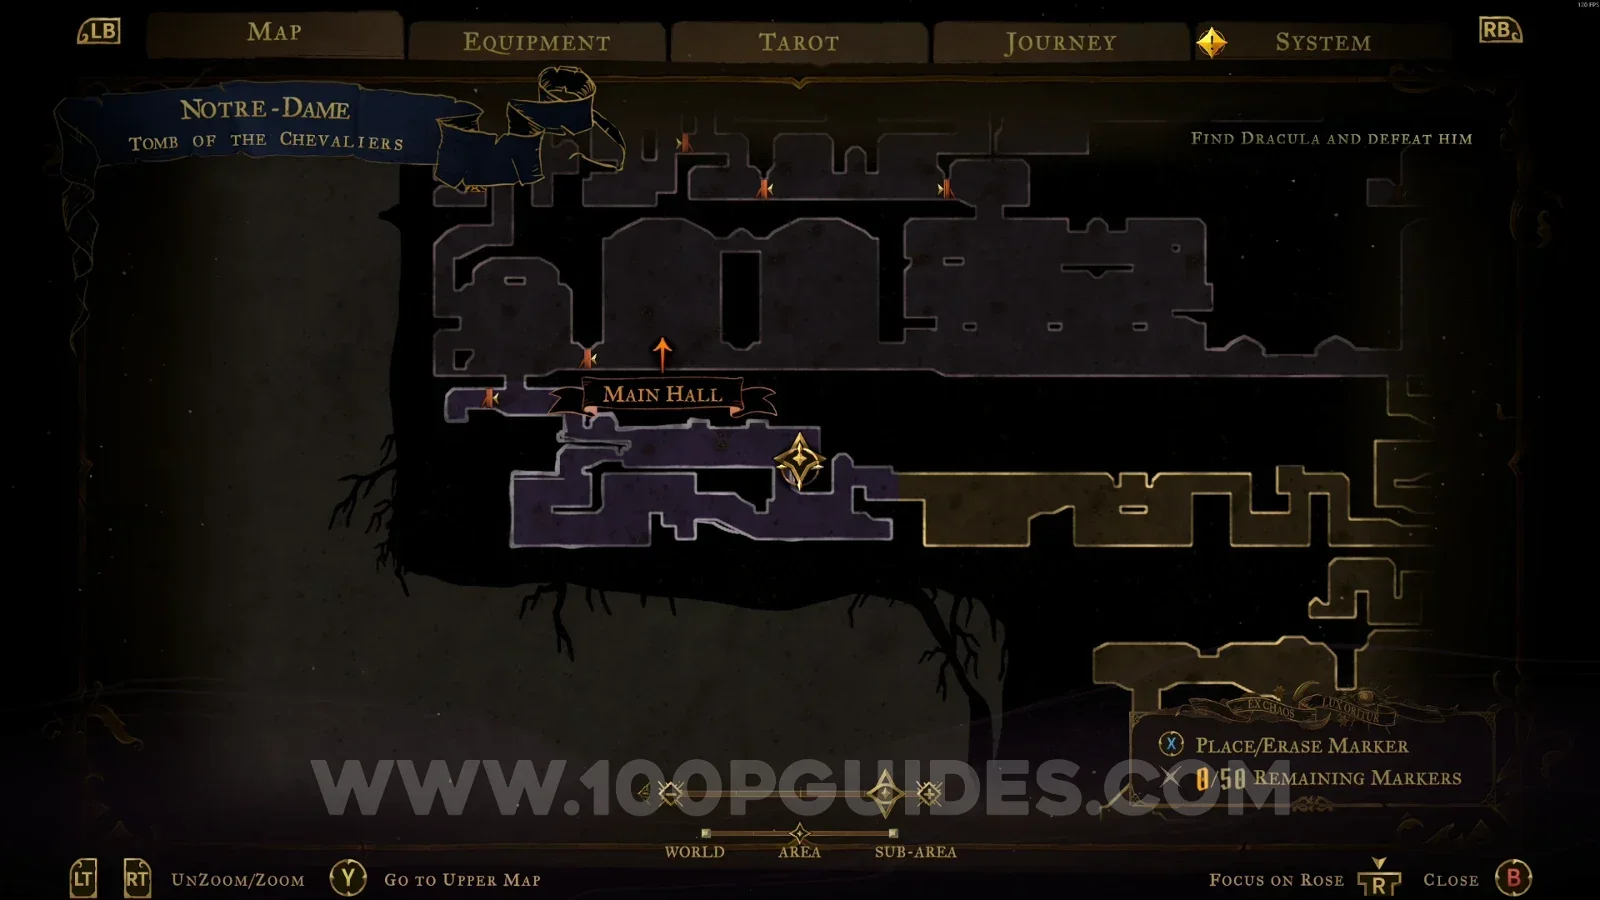
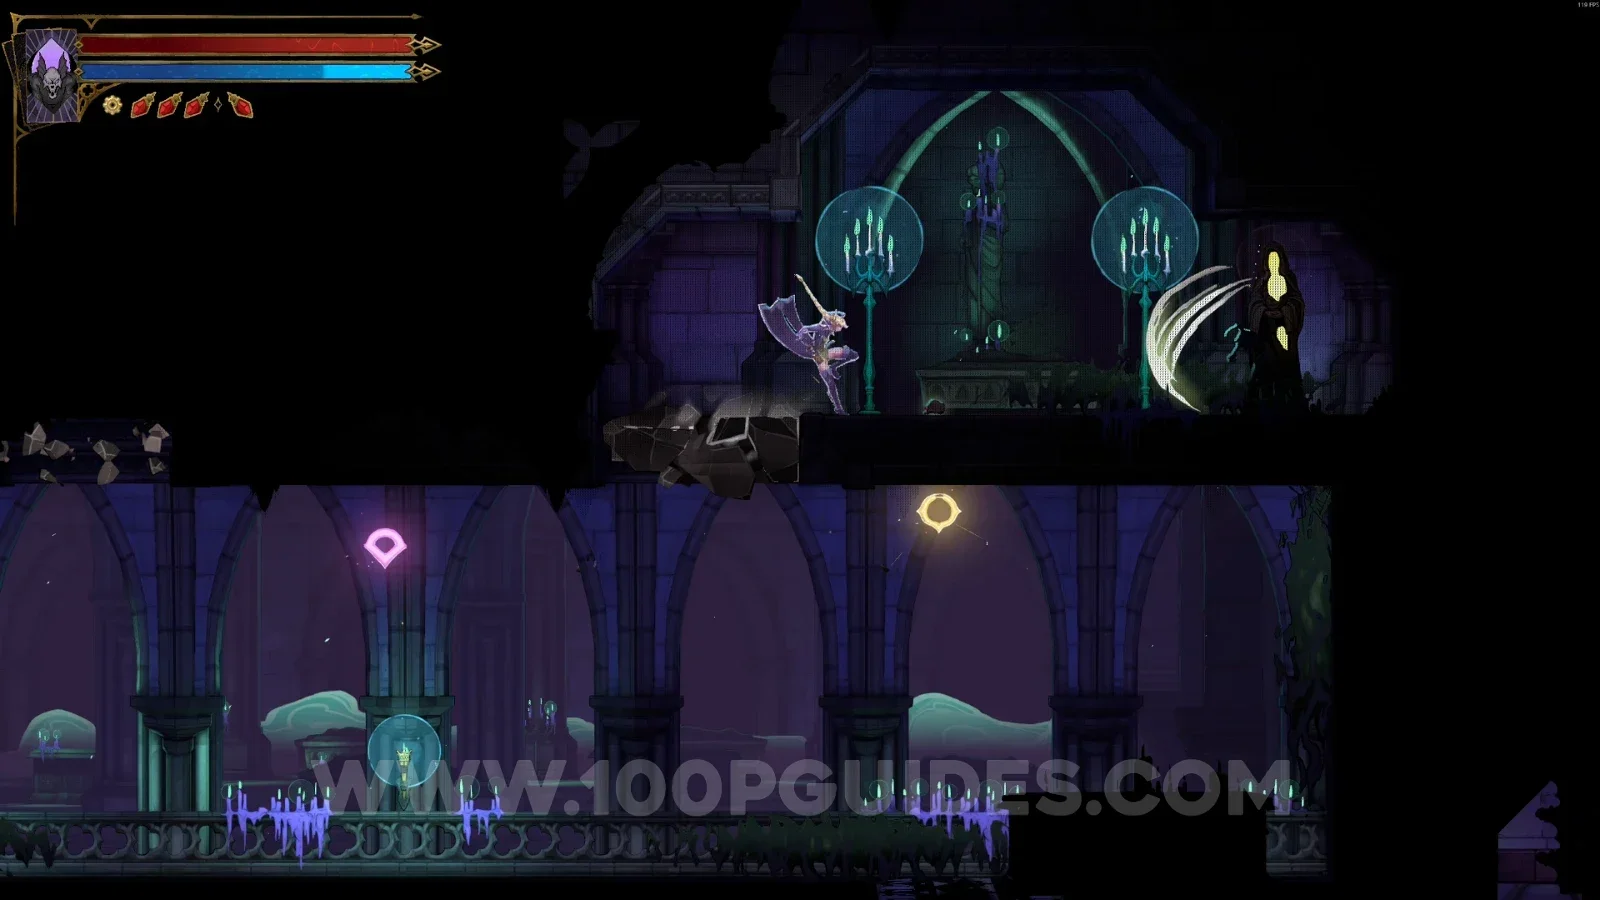
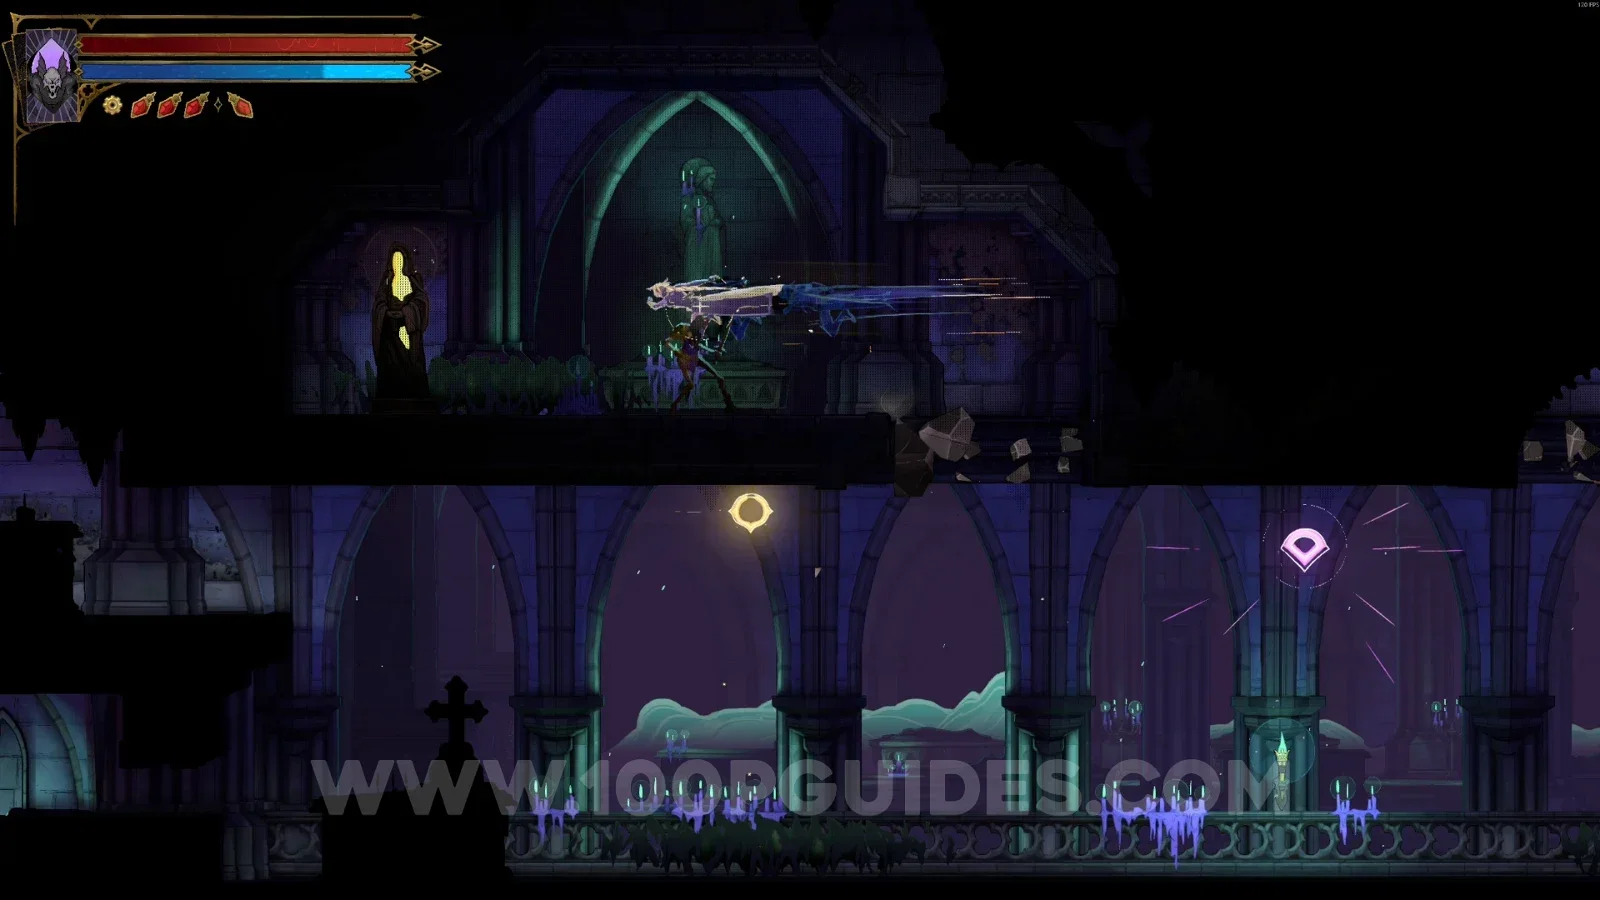
Red Book #3
Use the slide on the left side, then follow the single path to the Red Book.
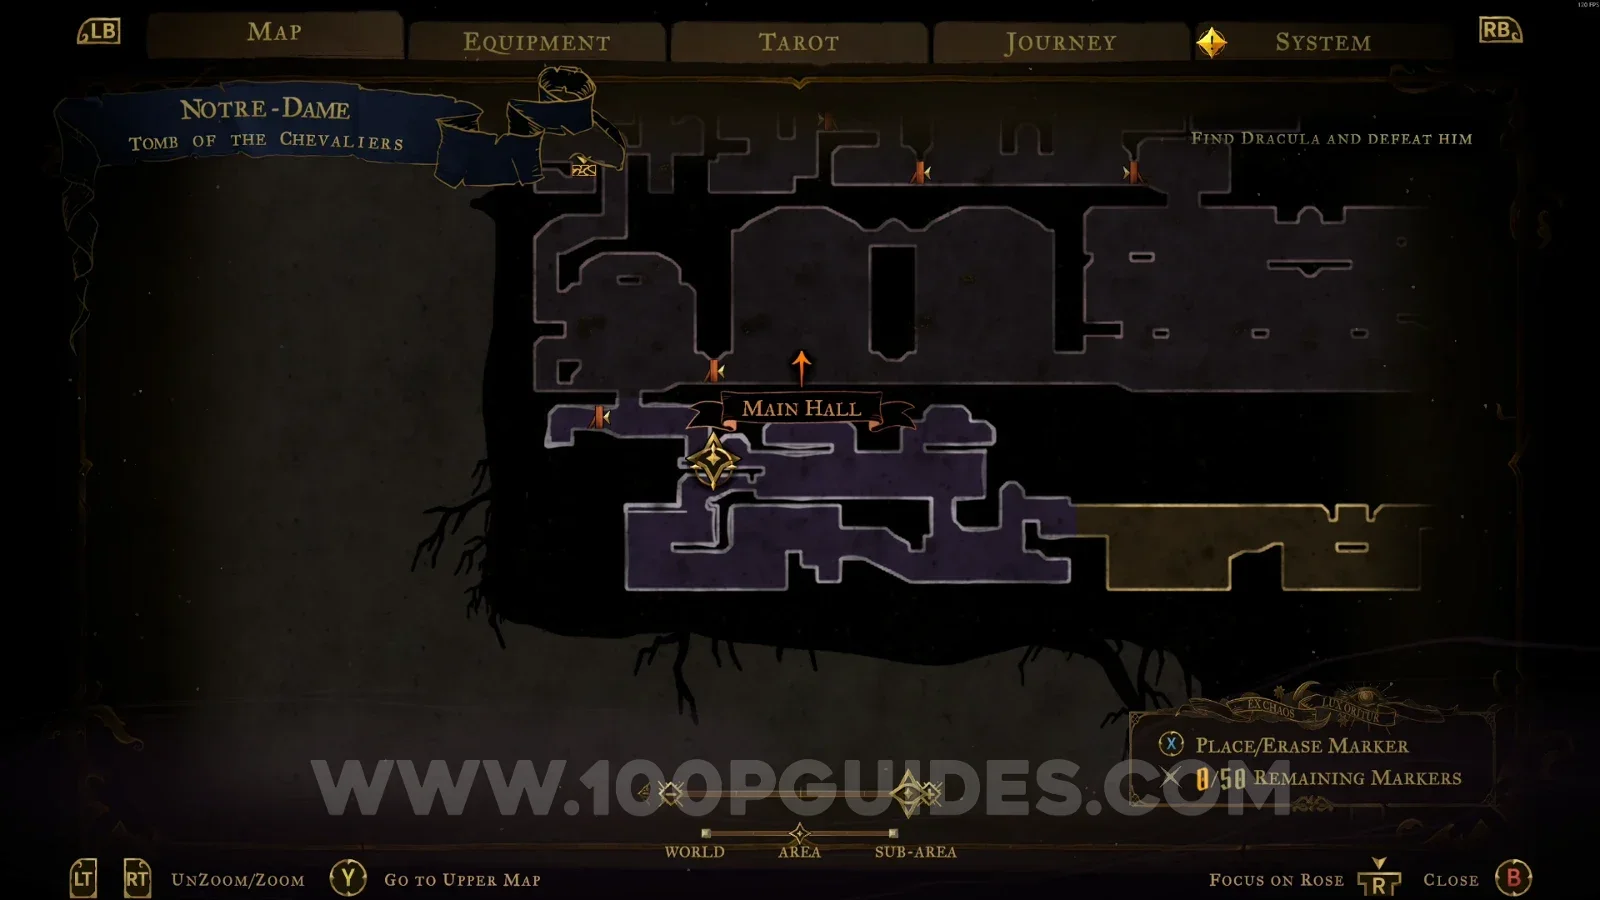
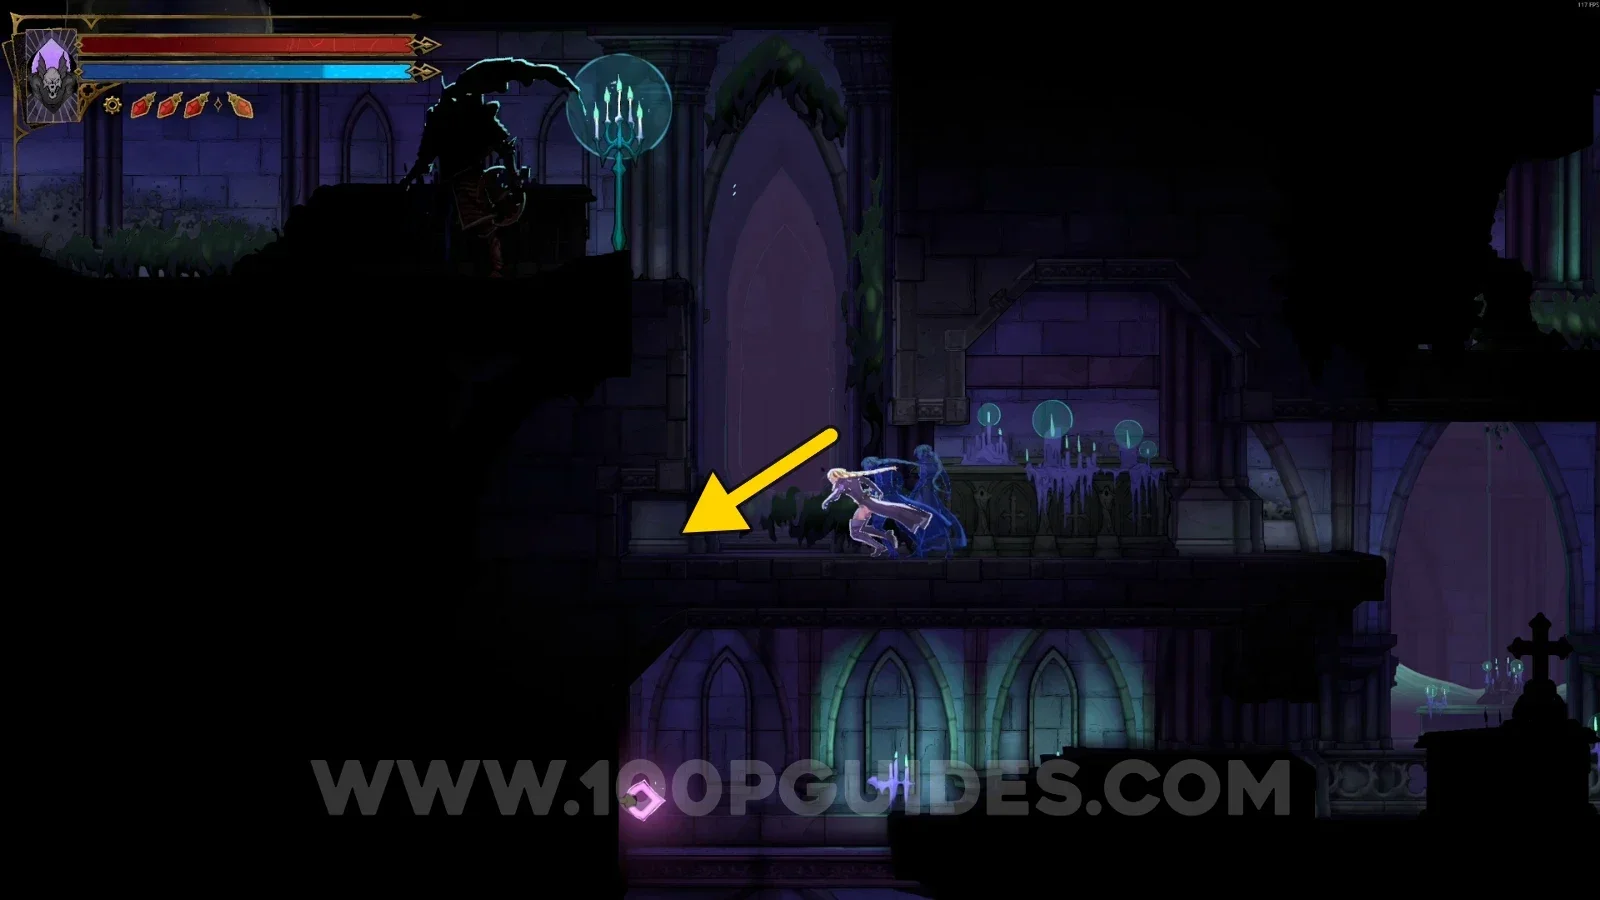
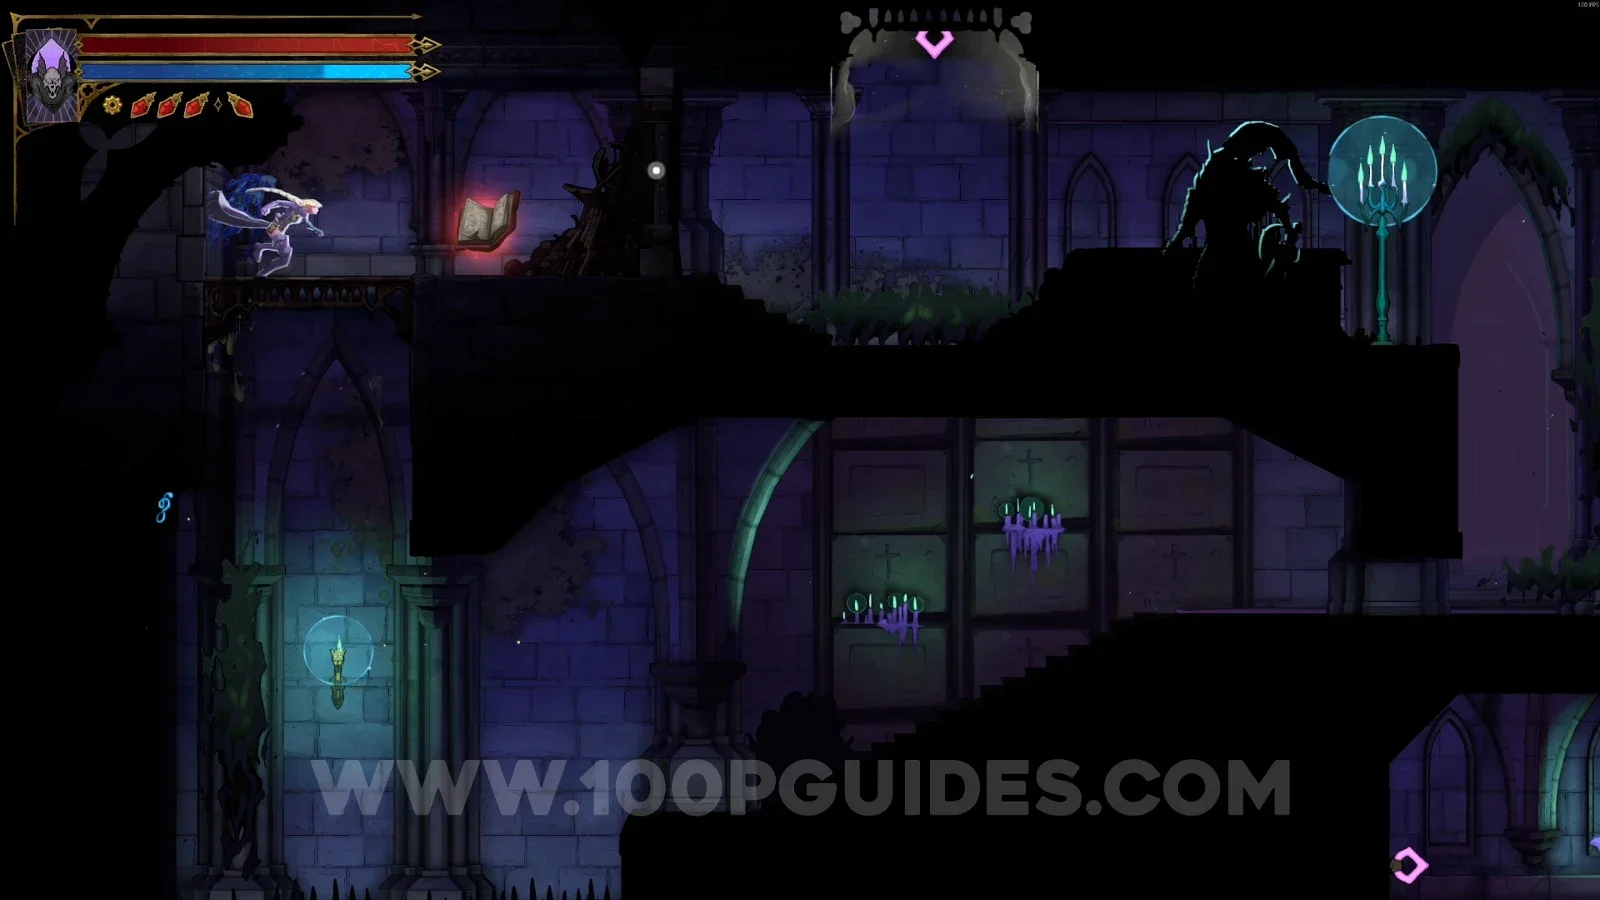
Tower Entrance
Weapon #3: Arondight And Lancelot's Shield
In the area marked on the map, use the Arcane Whip to press the pressure plate on the right side of the area, then climb up through the passage that opens. In the other area, use the Smash arcane power to break the floor and open the chest.
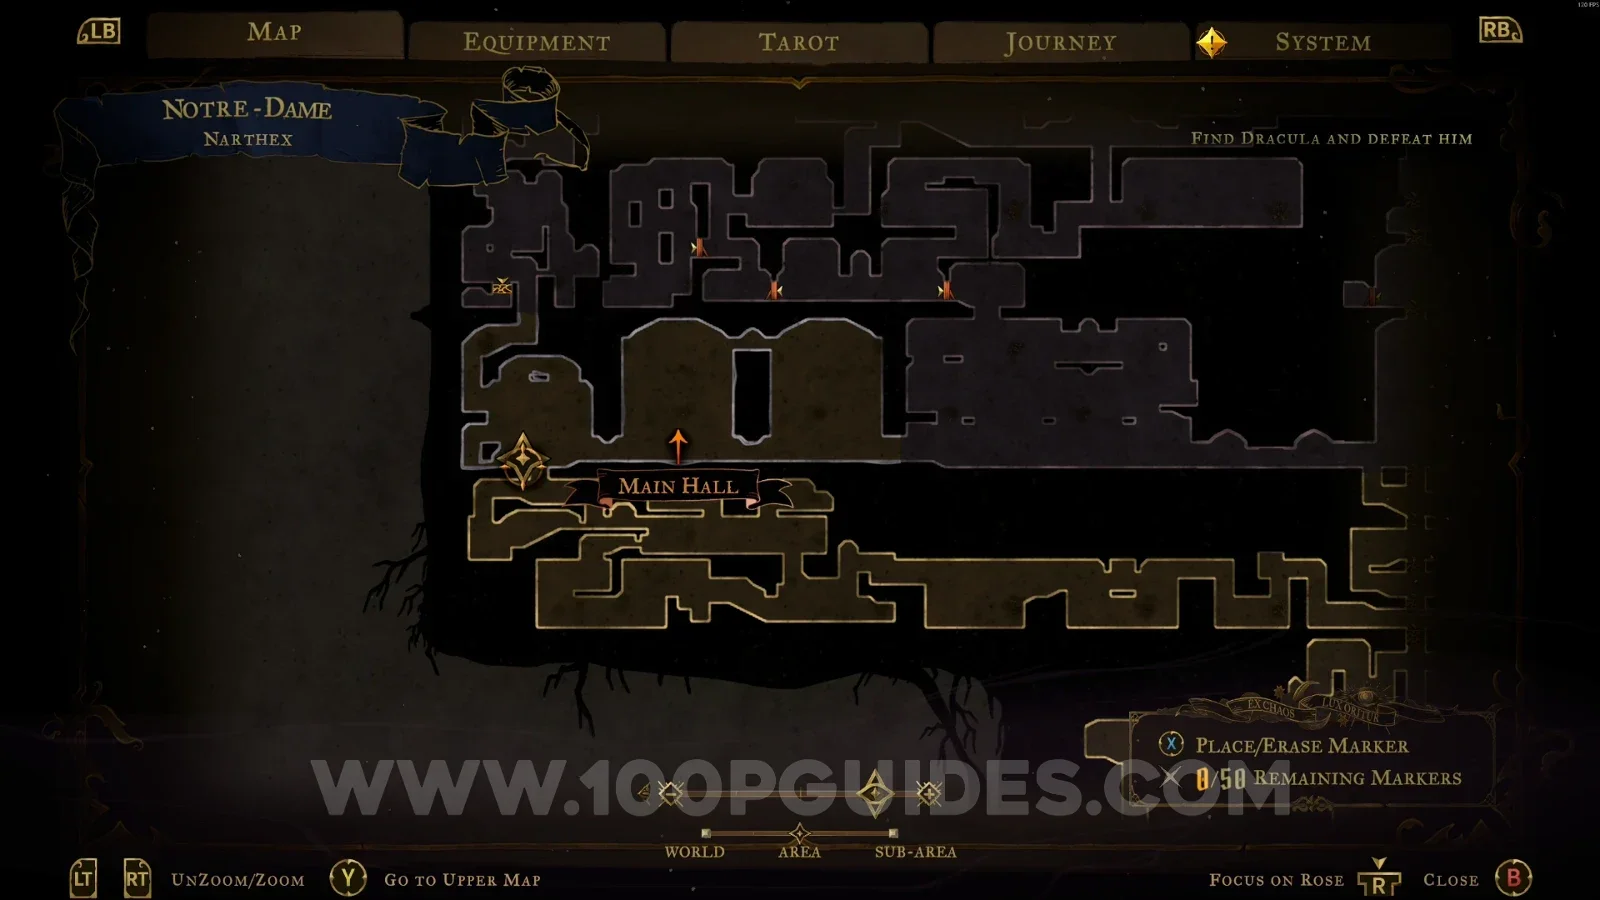
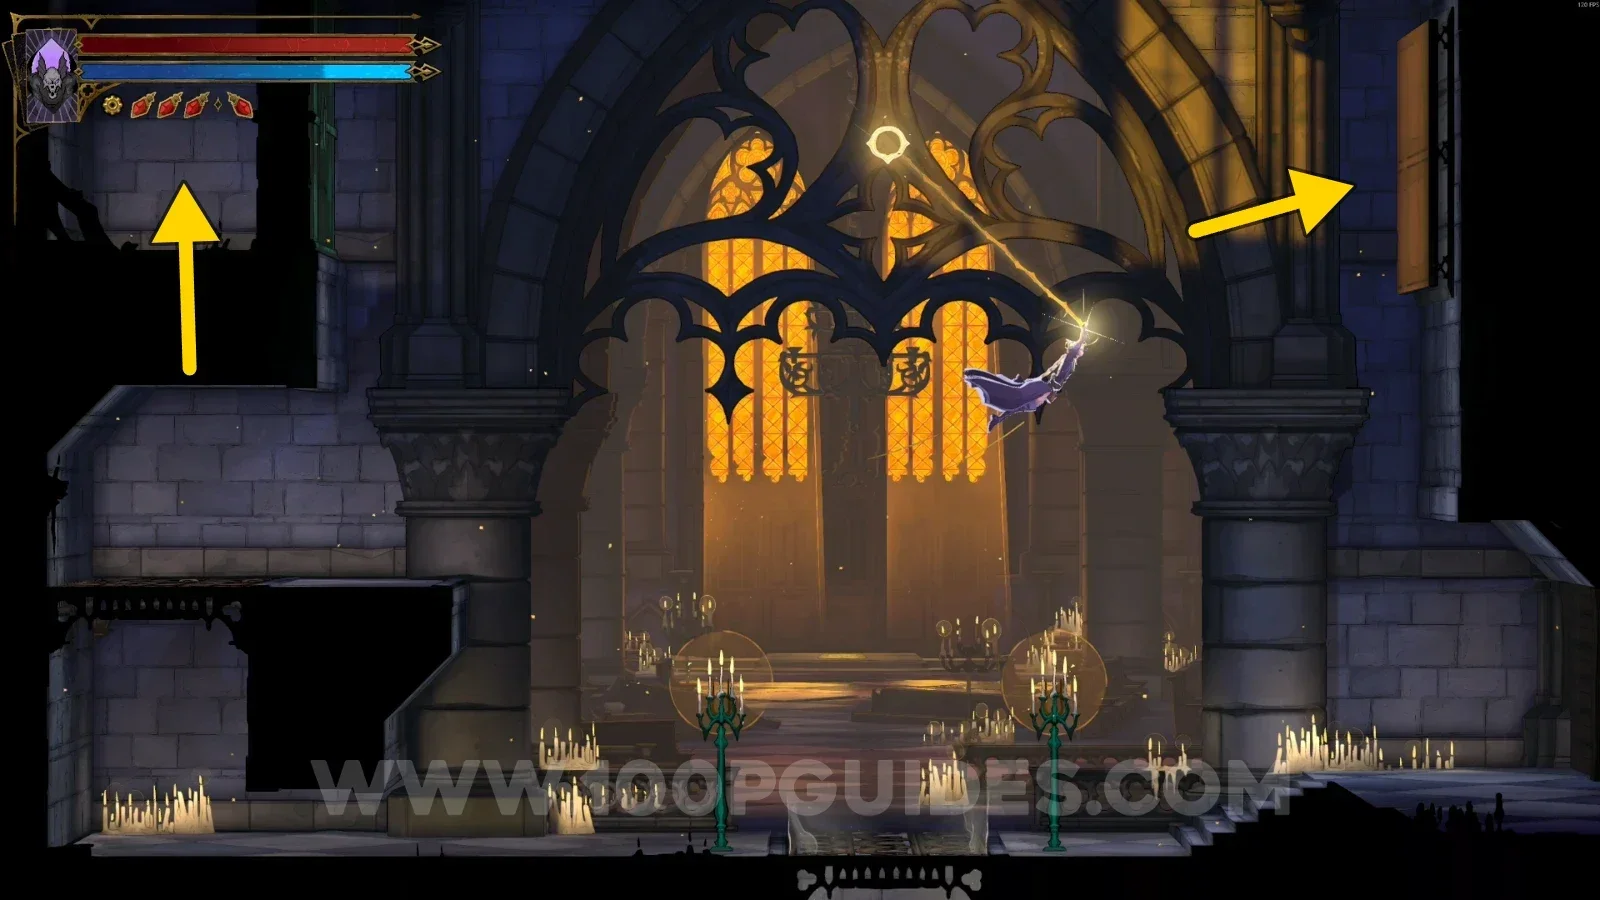
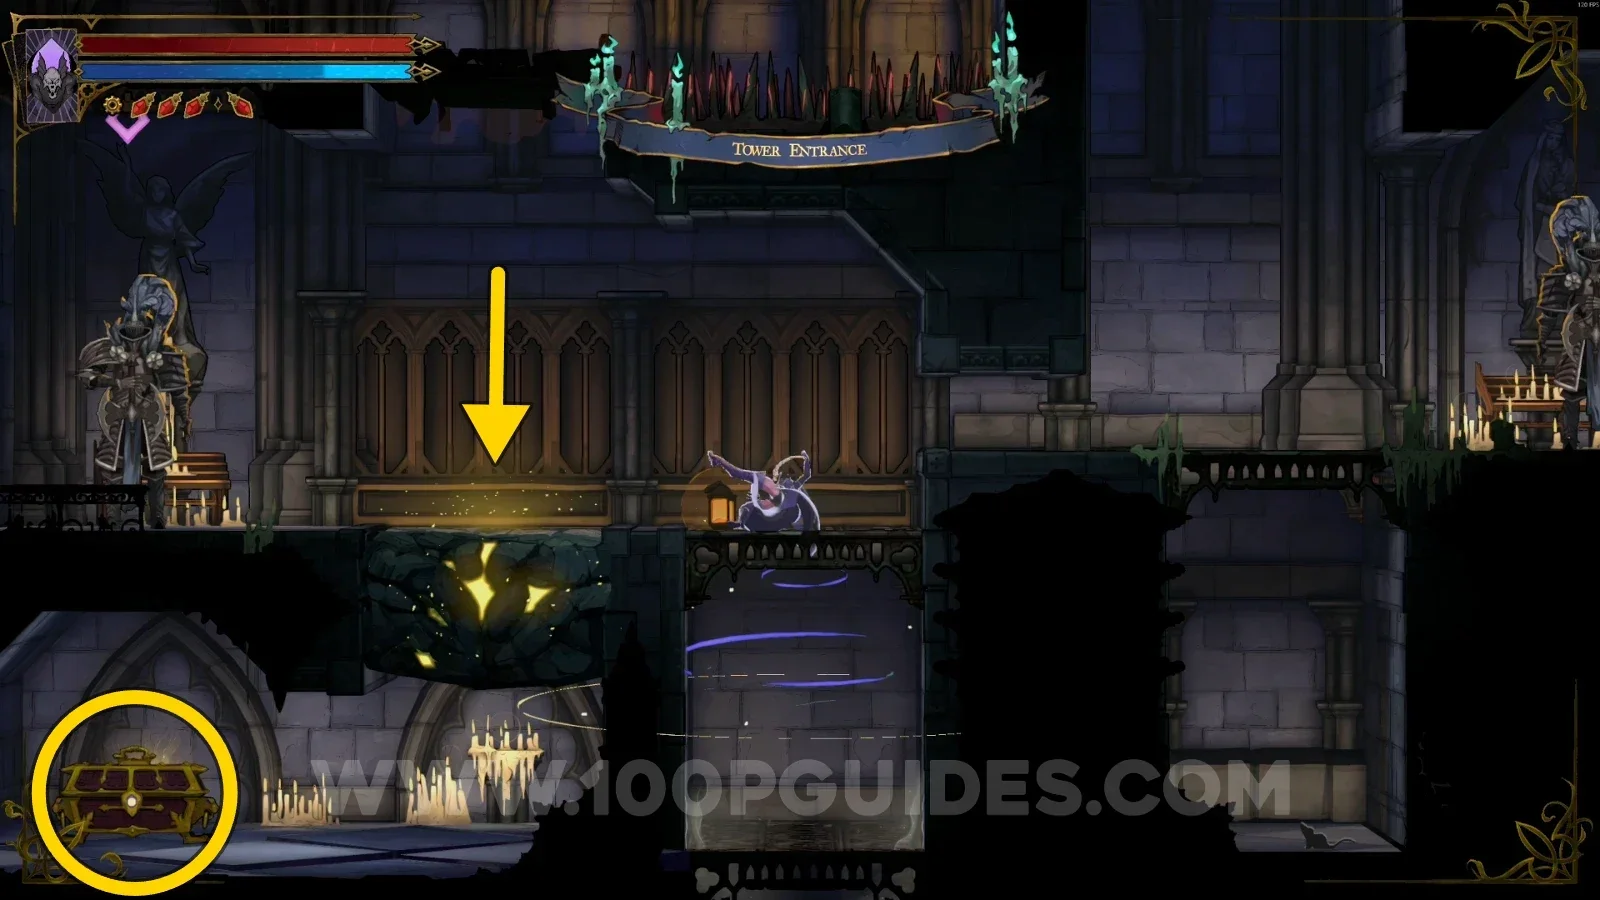
West Gallery
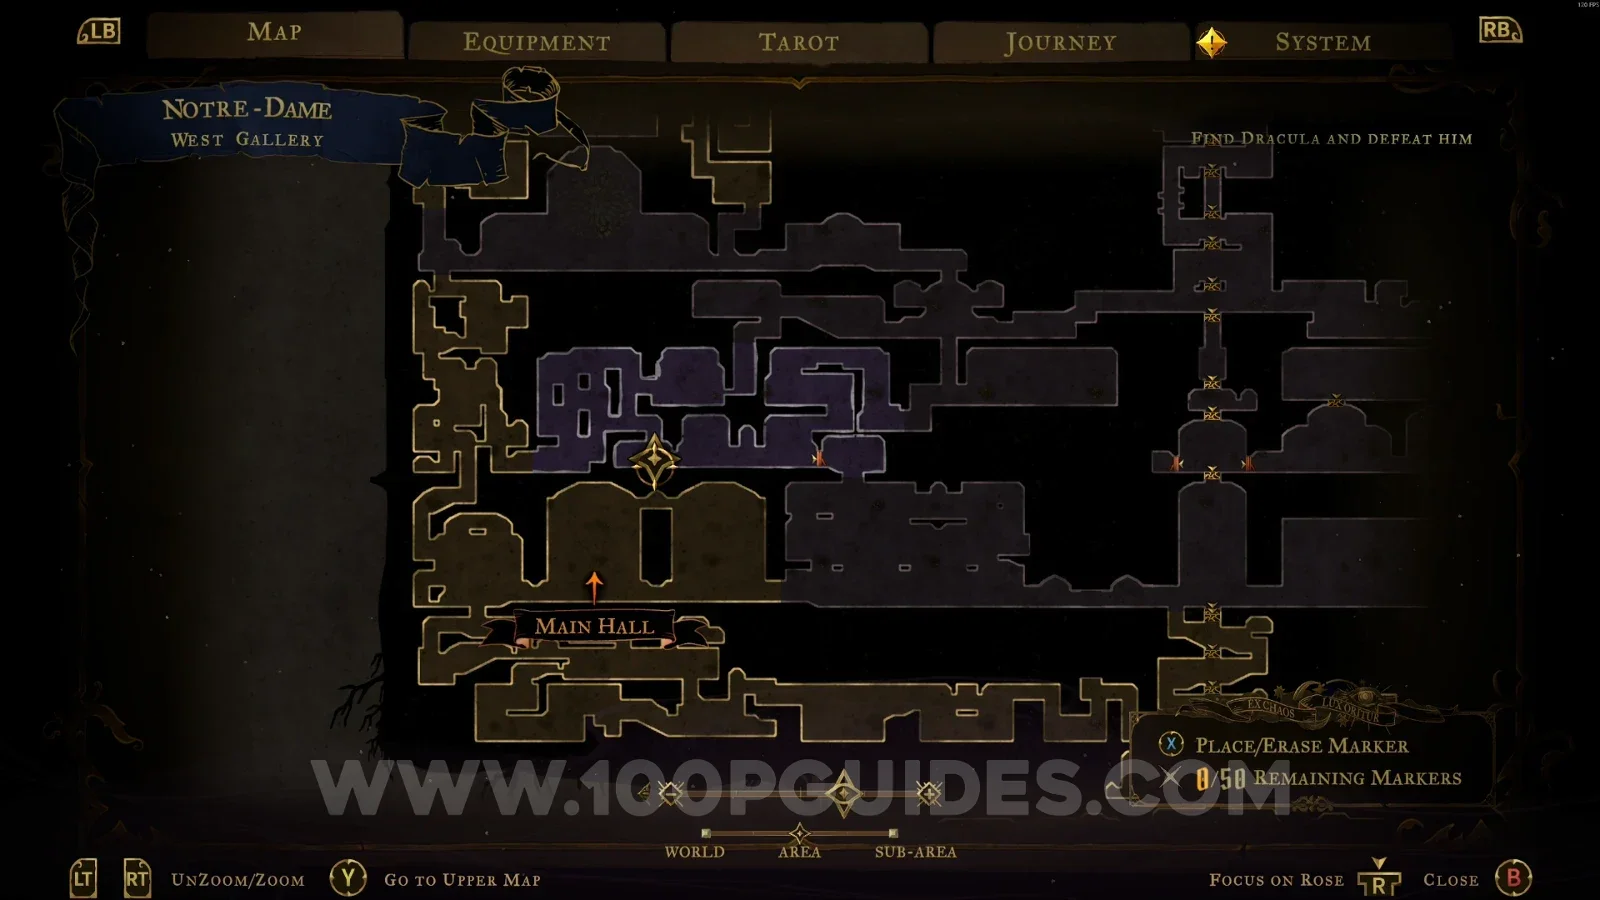
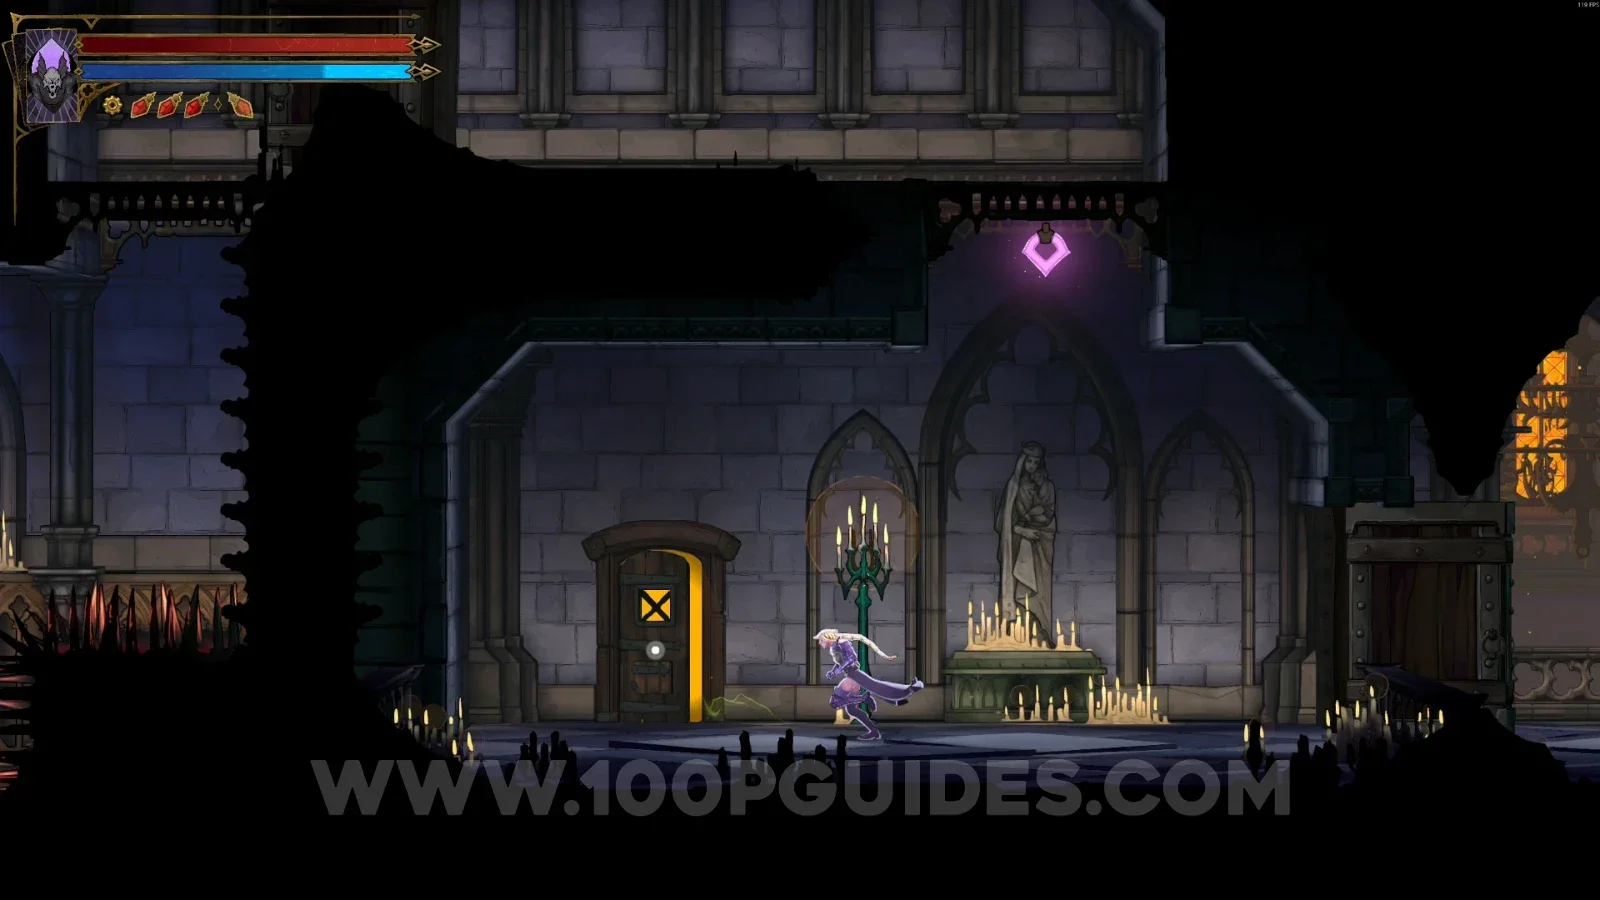
Door
In the area marked on the map, go through the door. It counts toward the area's 100%.
Sealed Scriptorium
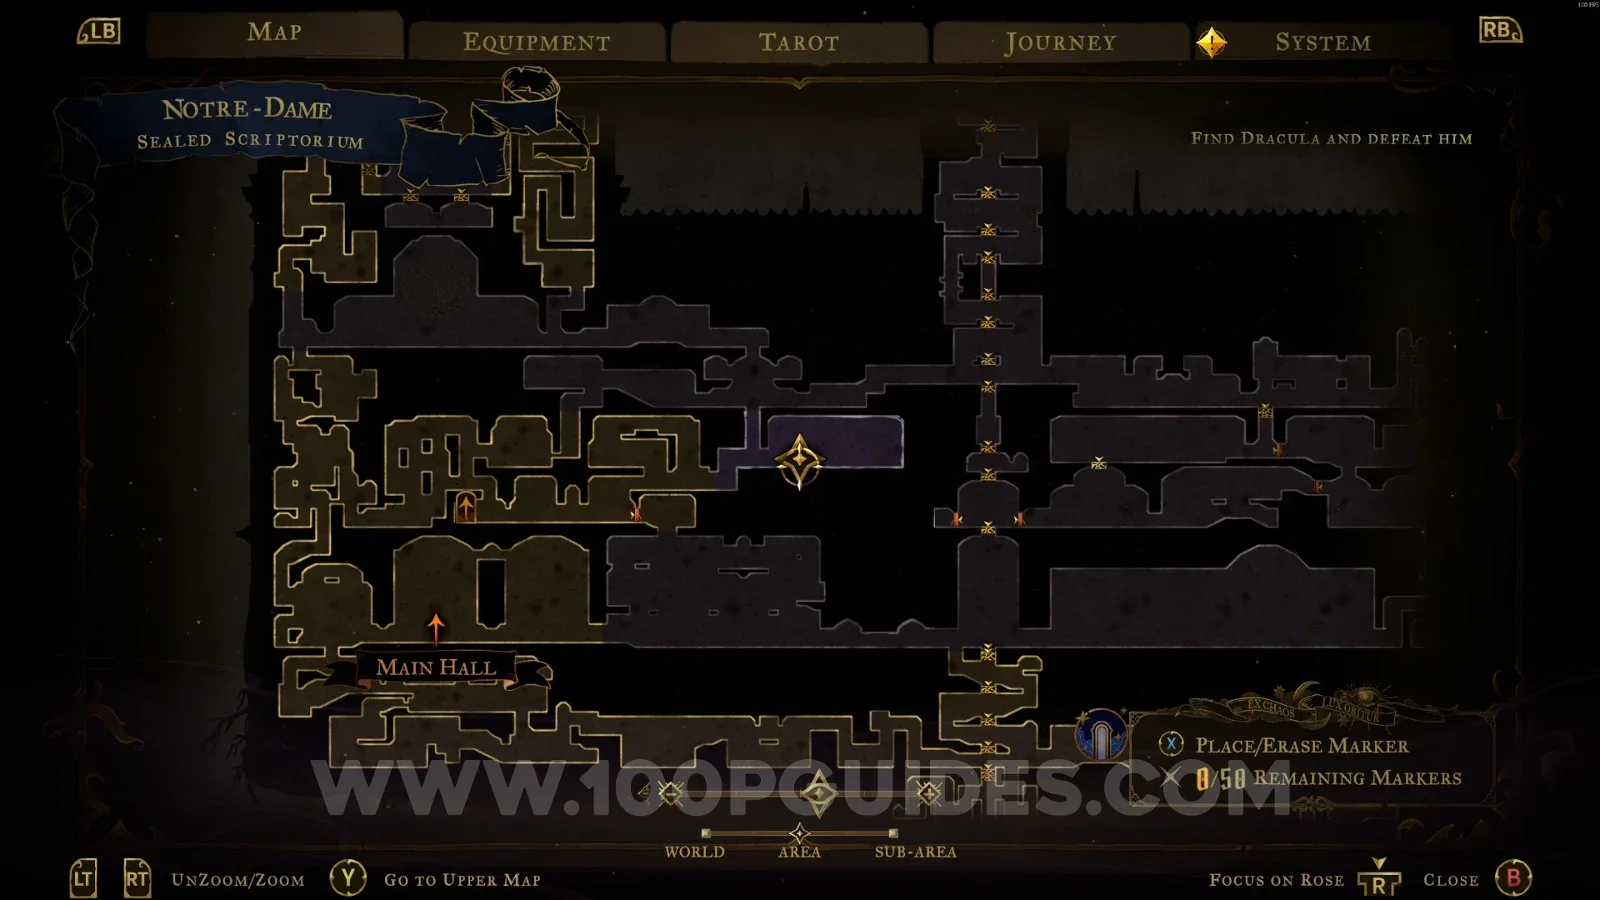
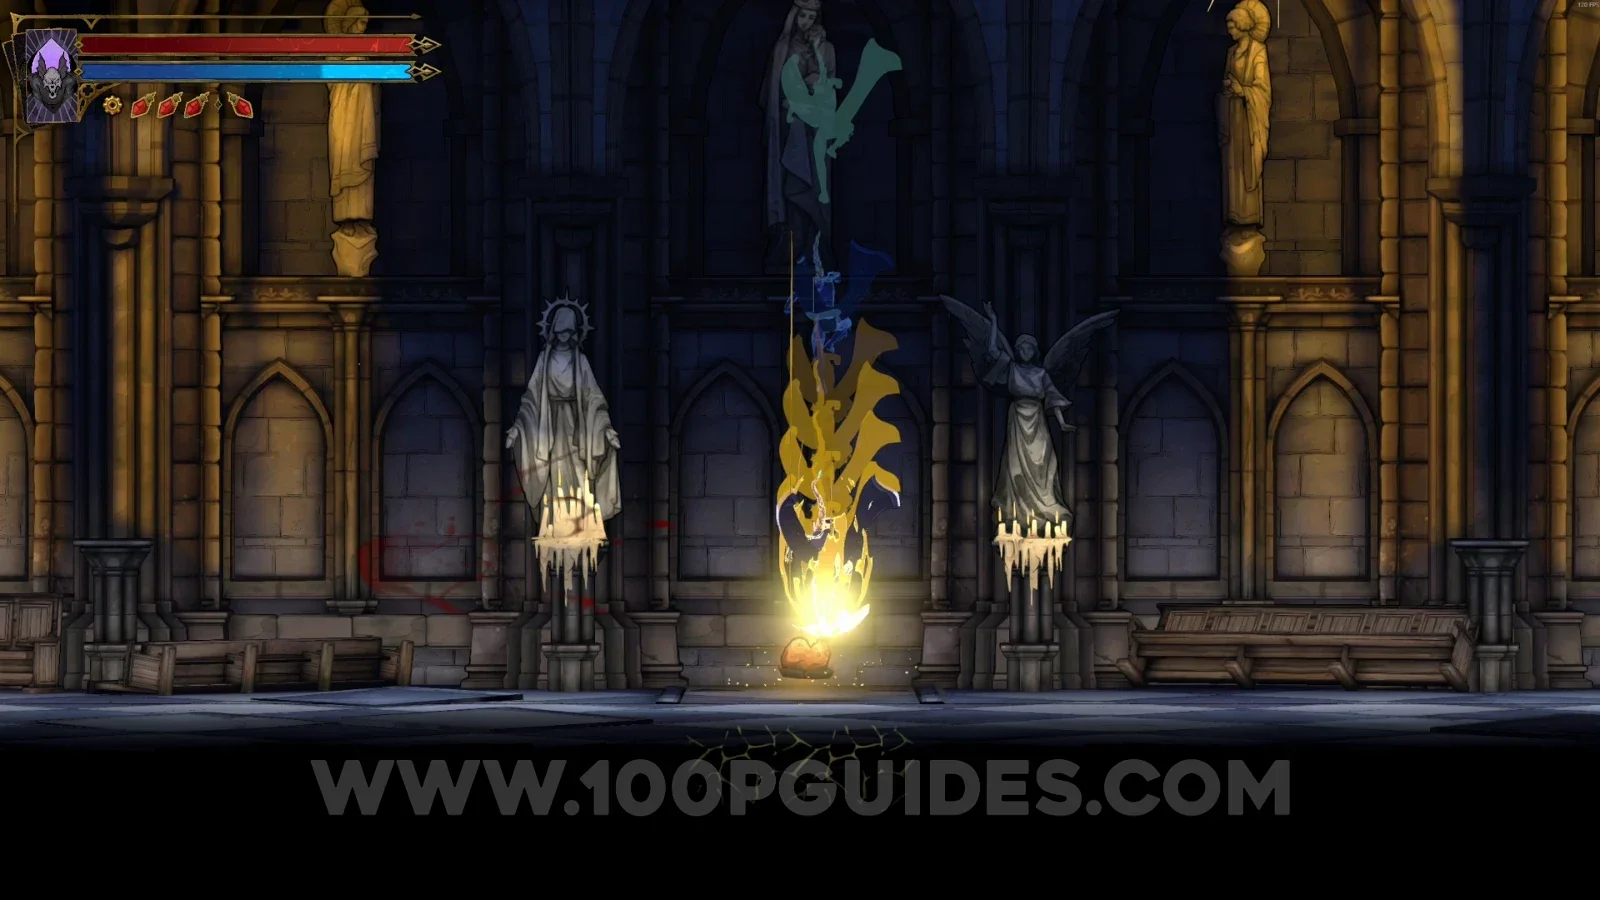
Clue: The Shadow
In the area marked on the map, break the floor to reach the area with the clue.
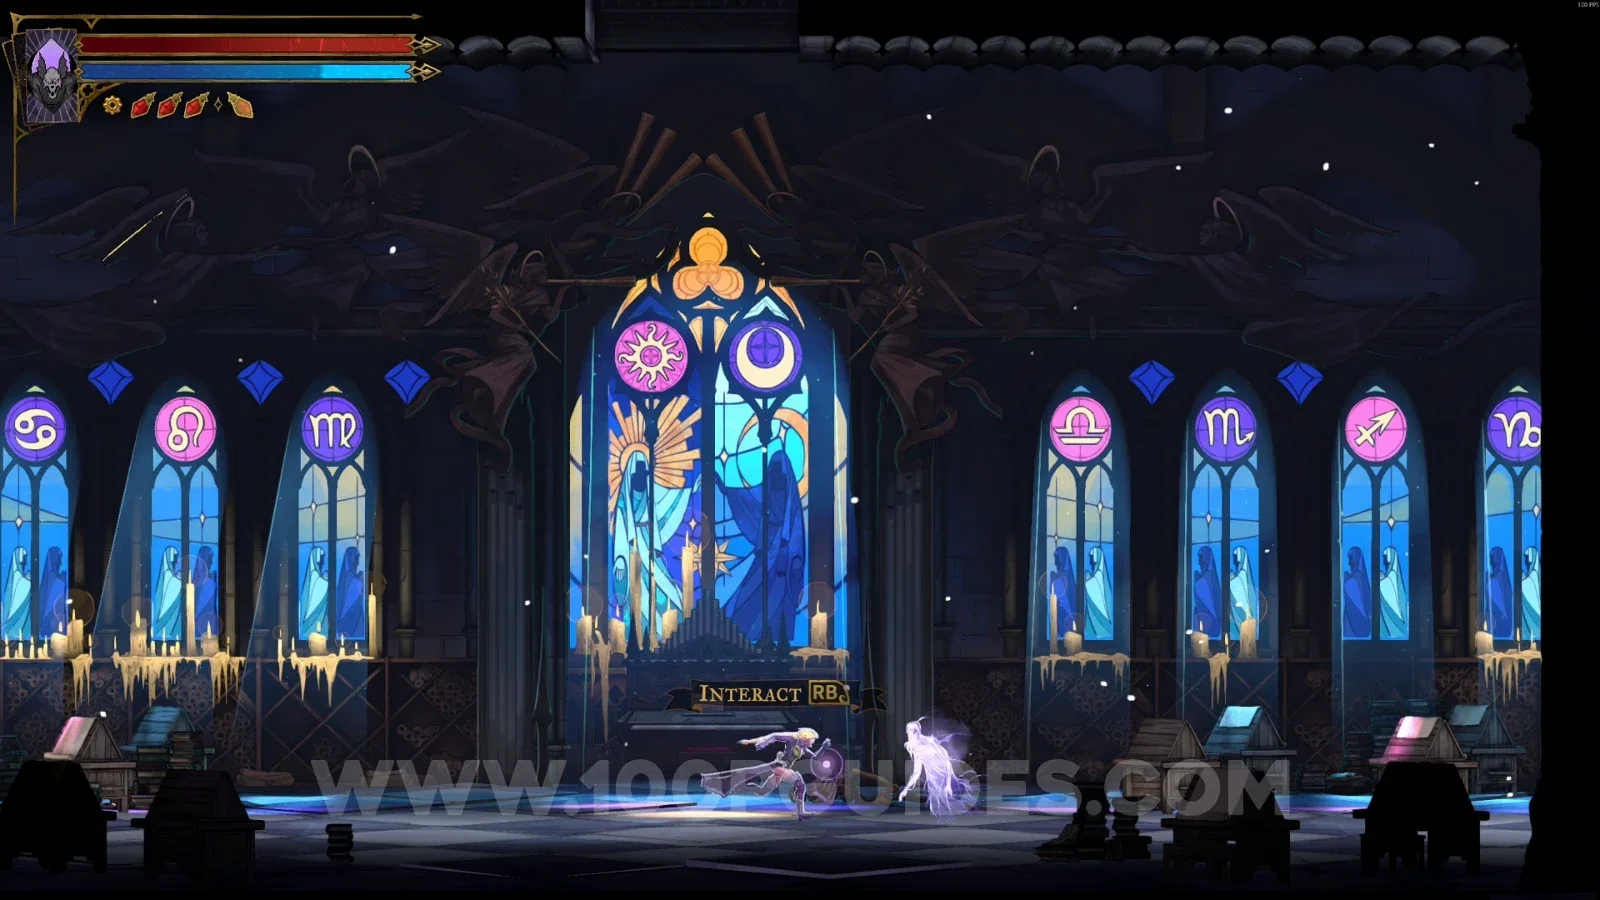
Nave
XP Statue #10 - #11
In the area marked on the map, climb to the top of the area to find the two statues.
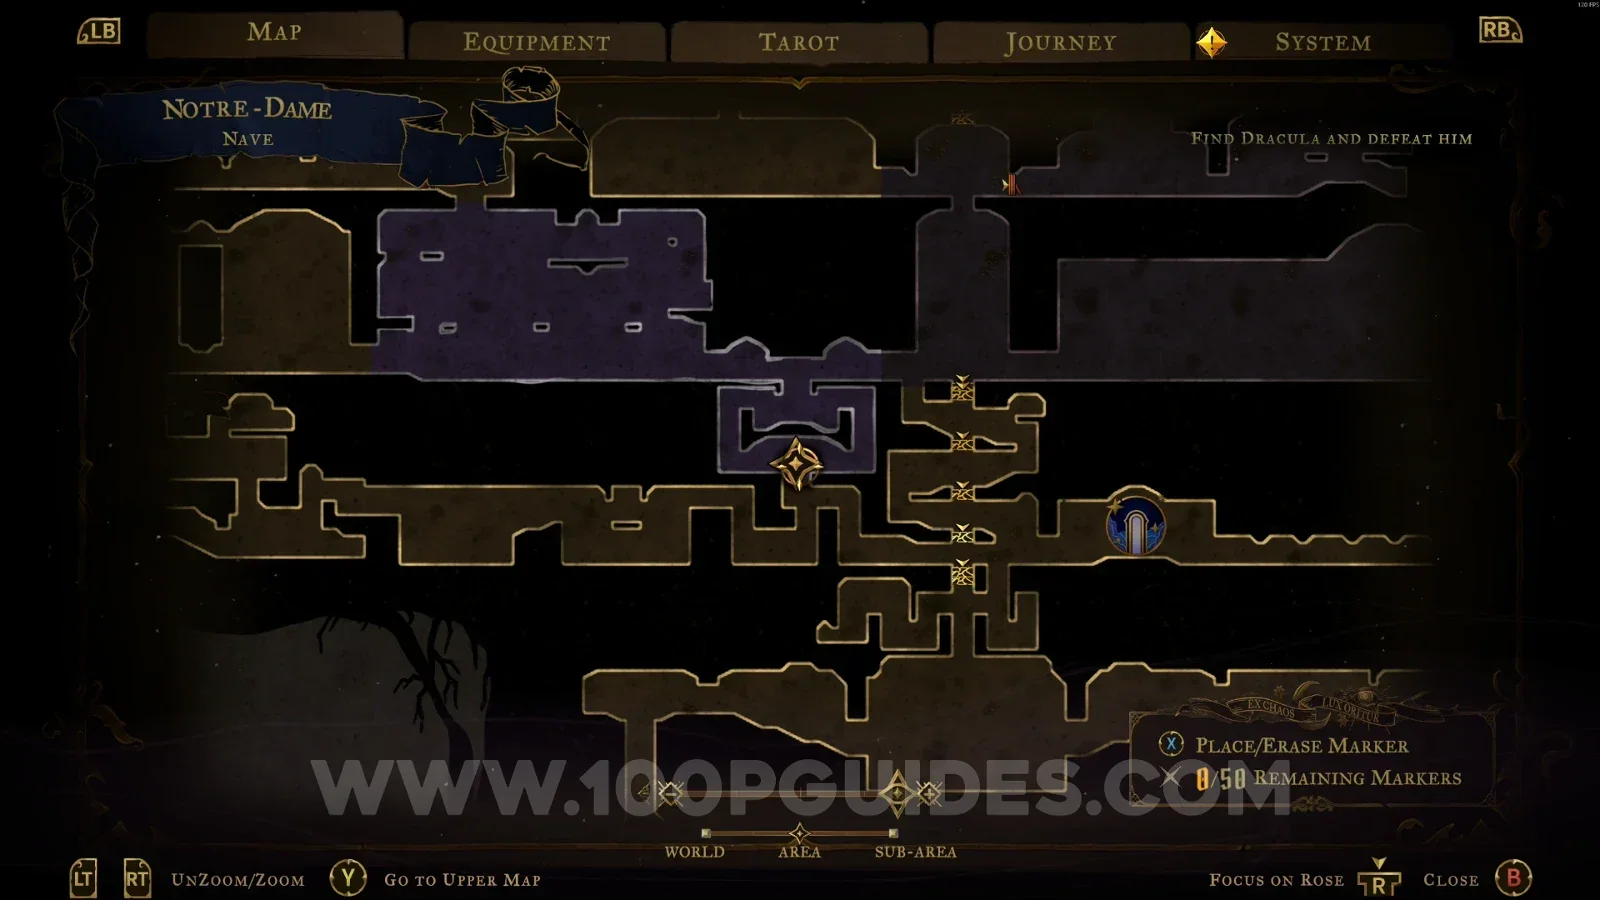
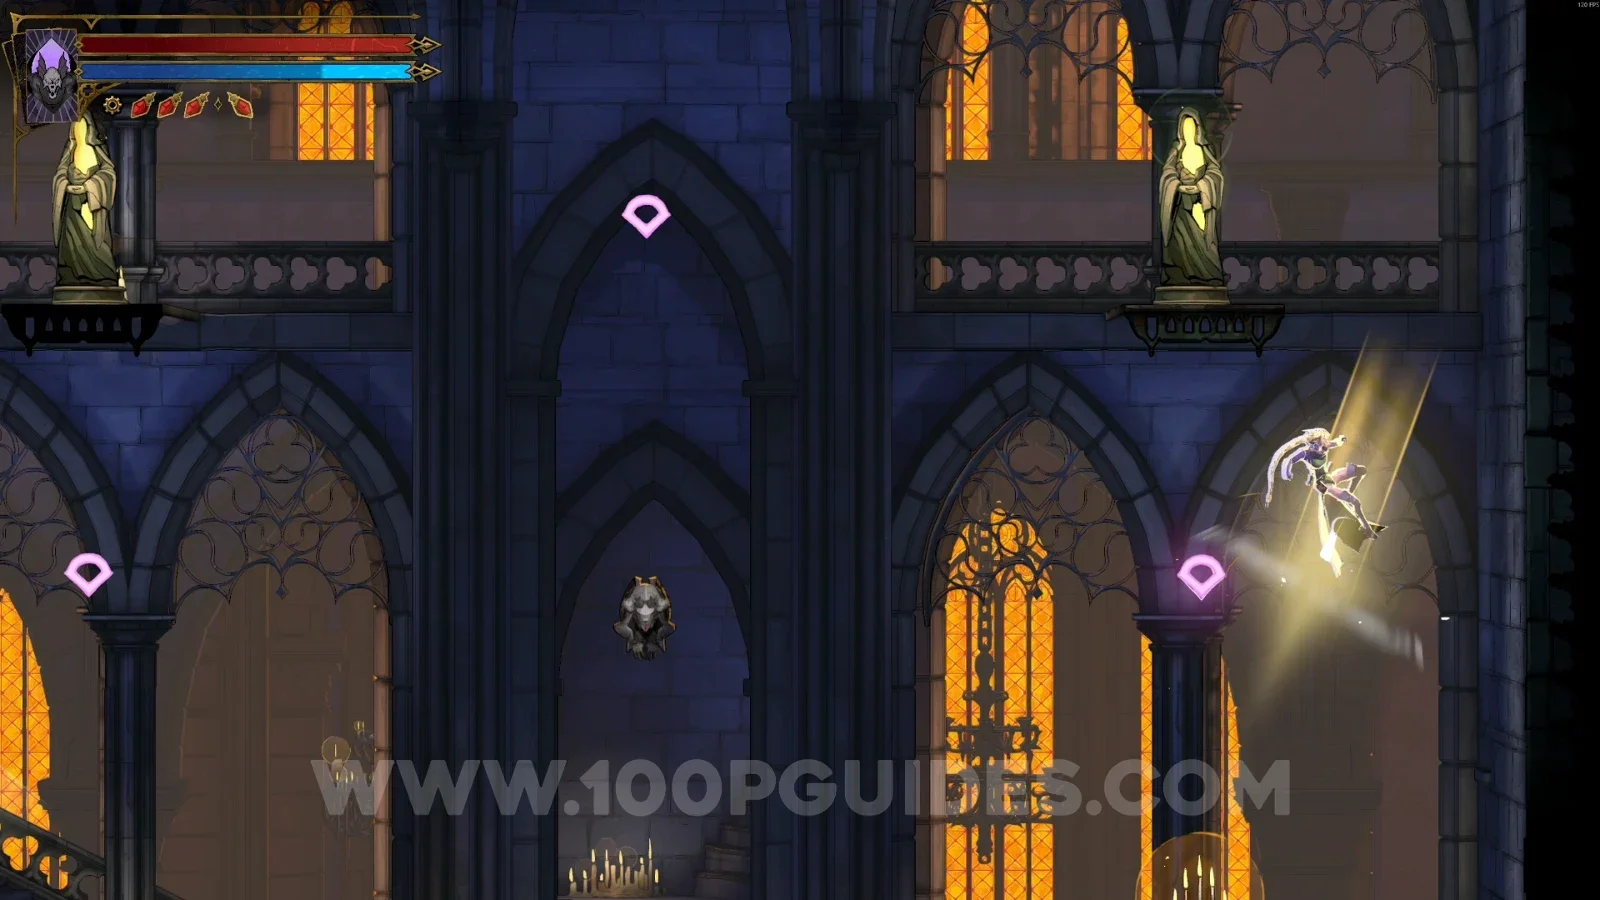
Relic #4: Soul Fragment
From the previous collectible, leave through the door on the left and go around the area across the top until you reach the chest.
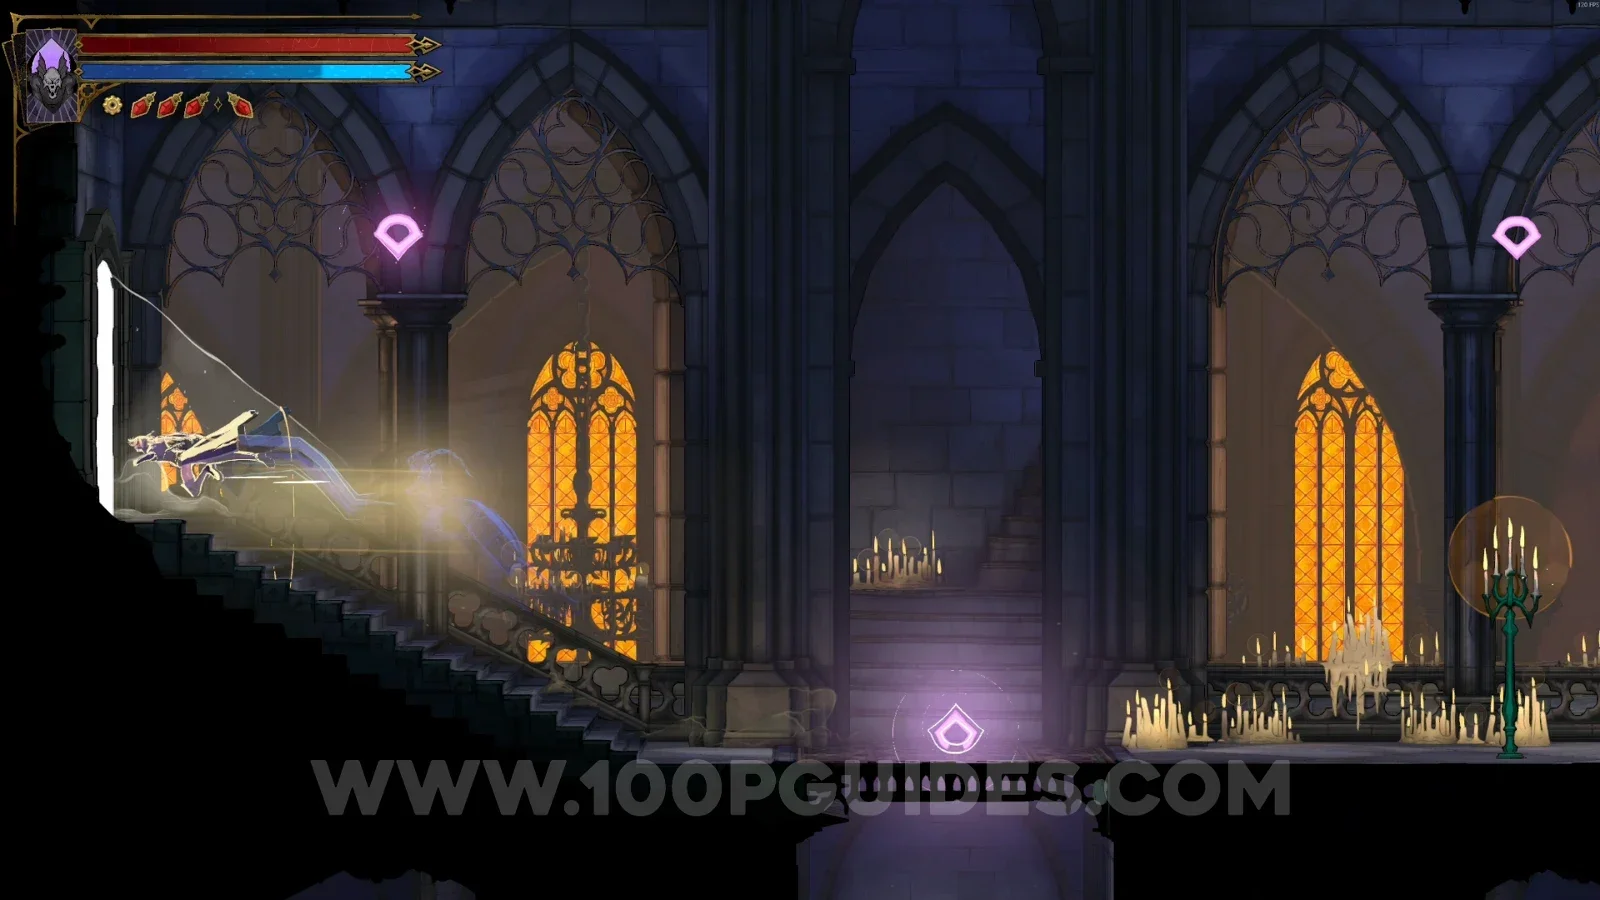
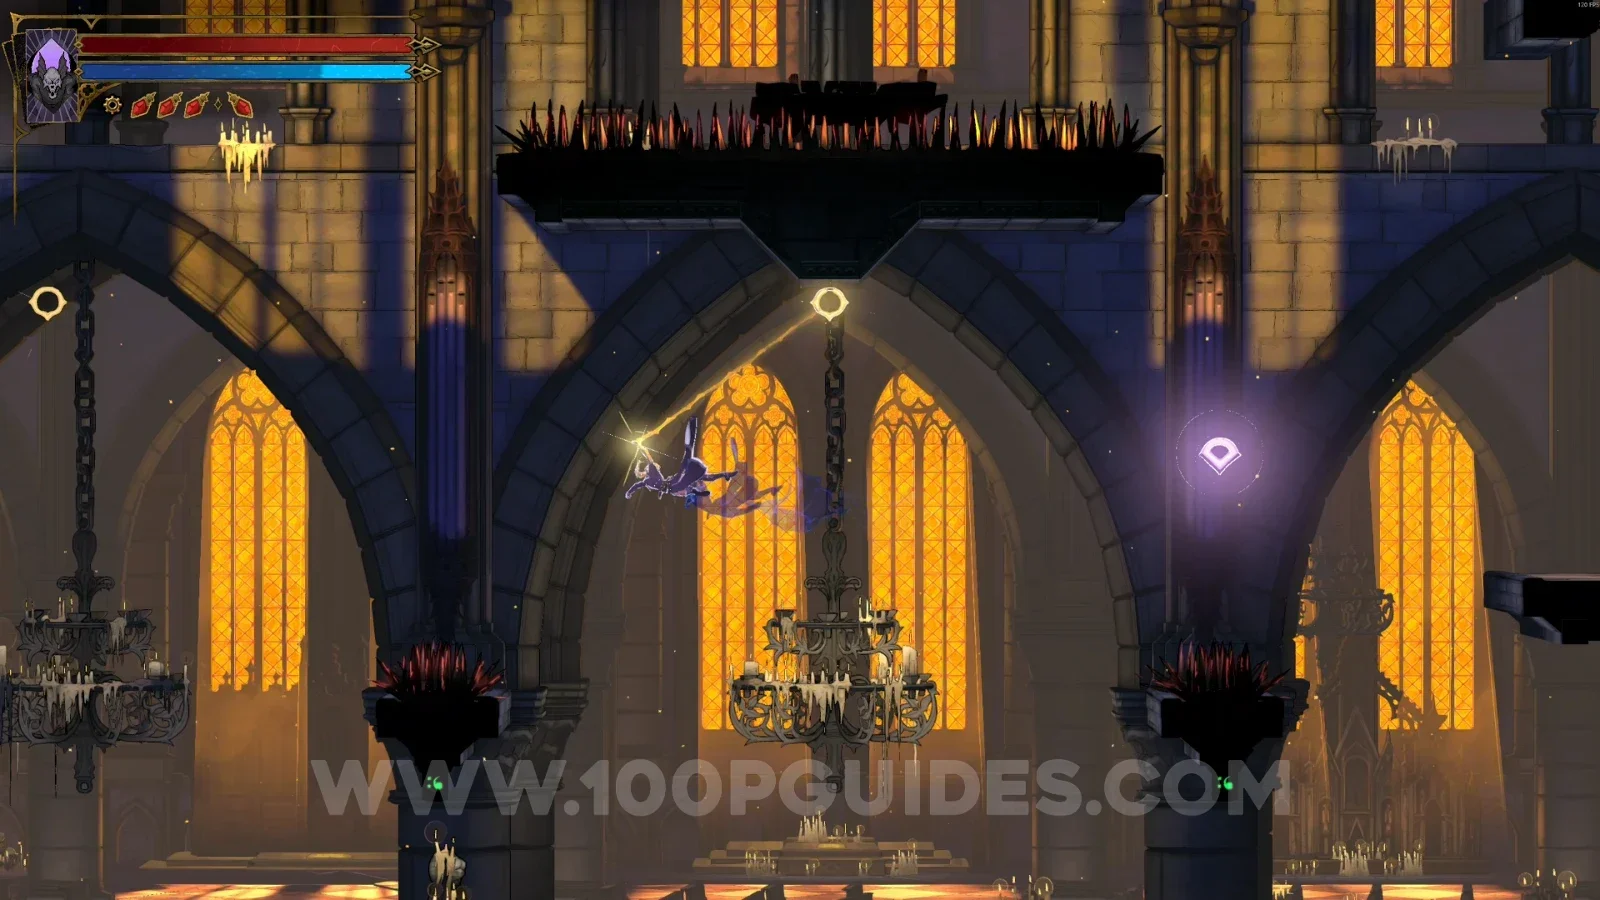
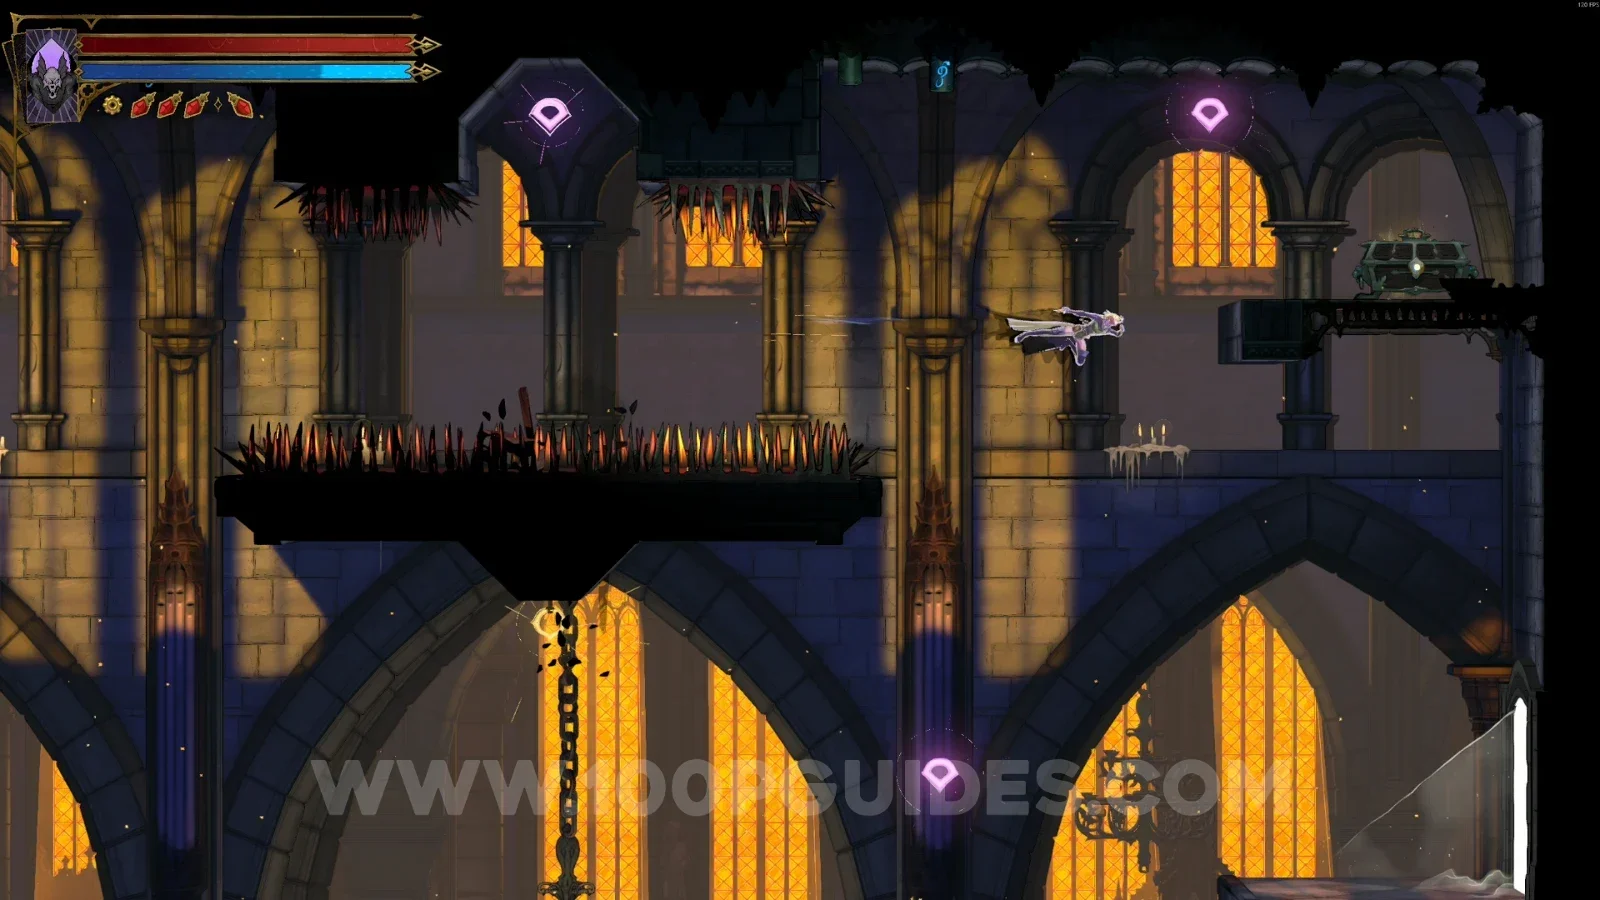
Choir
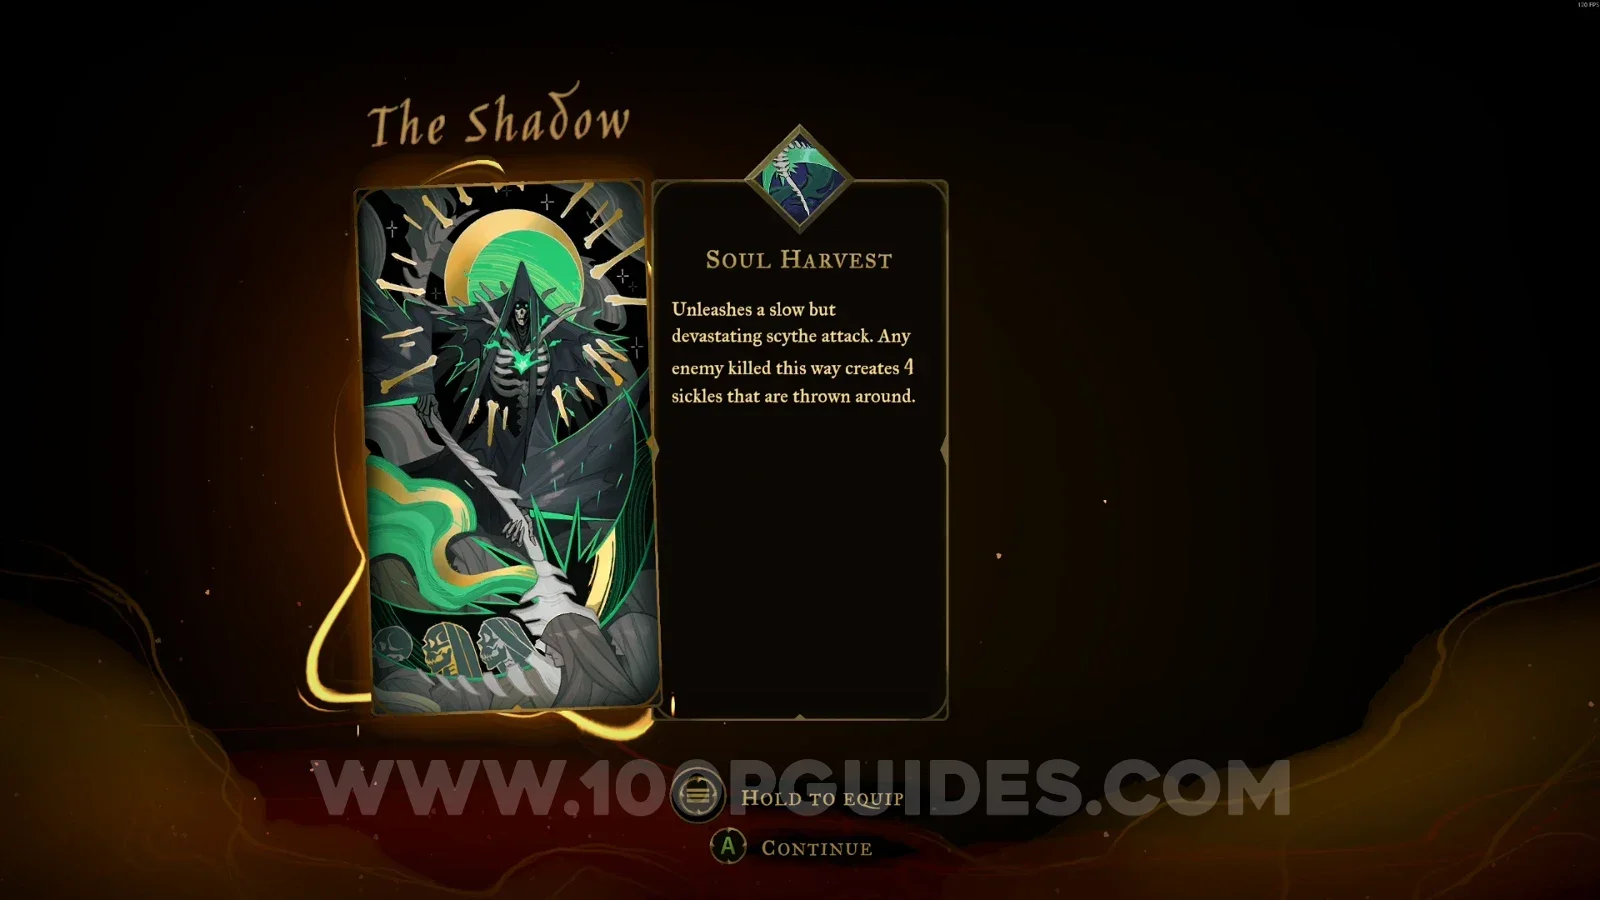
Arcana #1: Soul Harvest
Obtained after defeating Death (The Shadow).
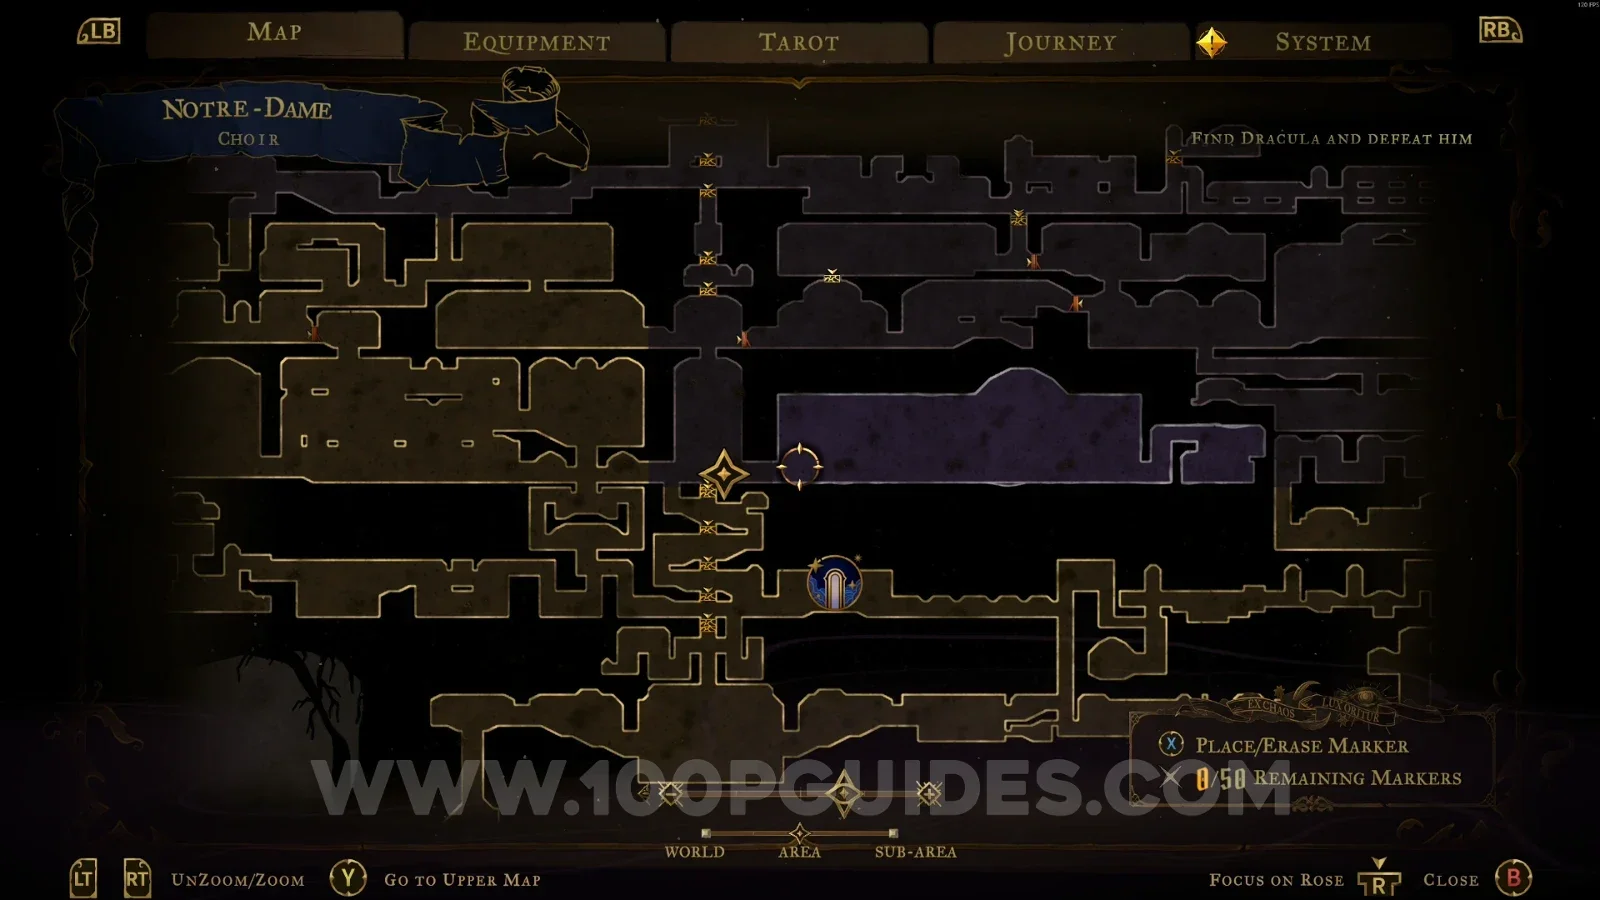
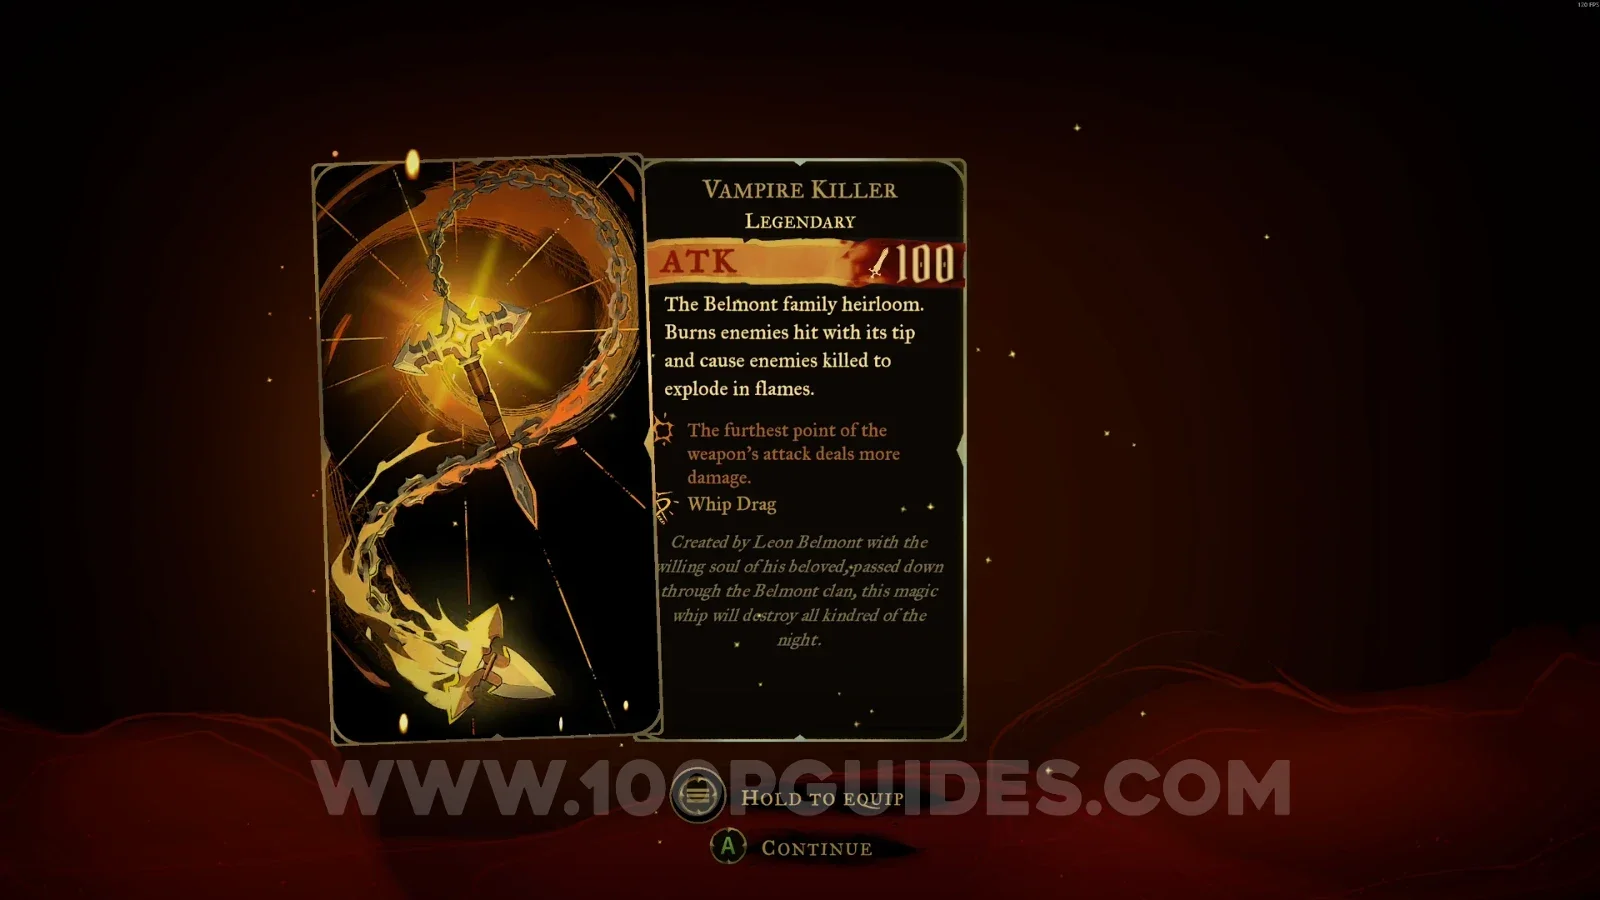
Weapon #4: Vampire Killer
Obtained after defeating Death (The Shadow).
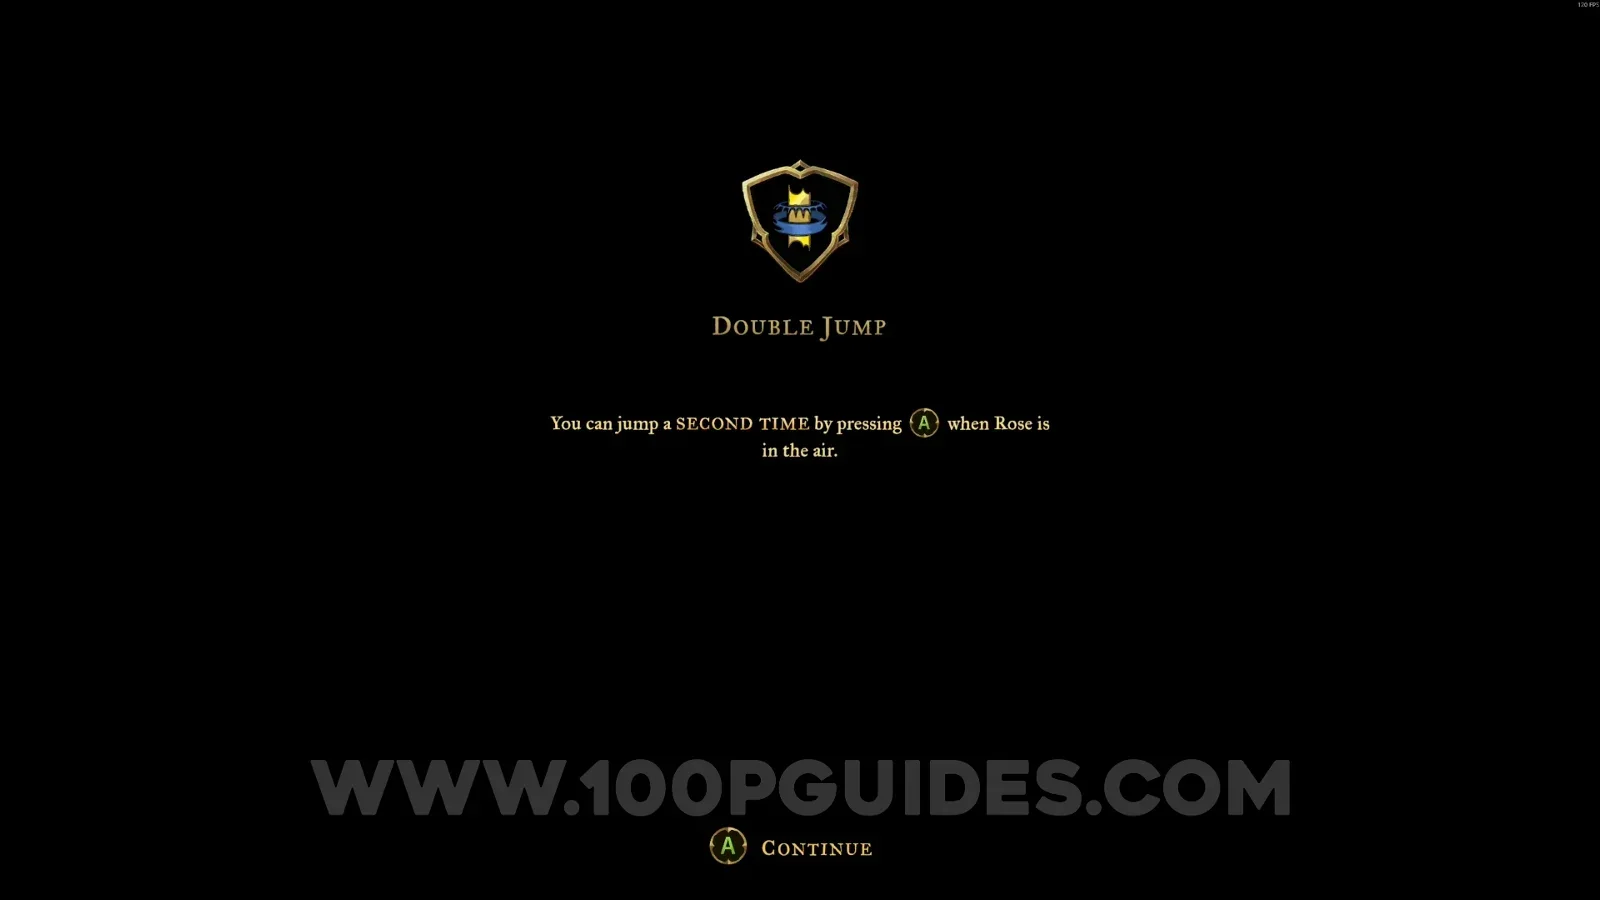
Arcane Power: Double Jump
Obtained after defeating Death (The Shadow).
West Triforium
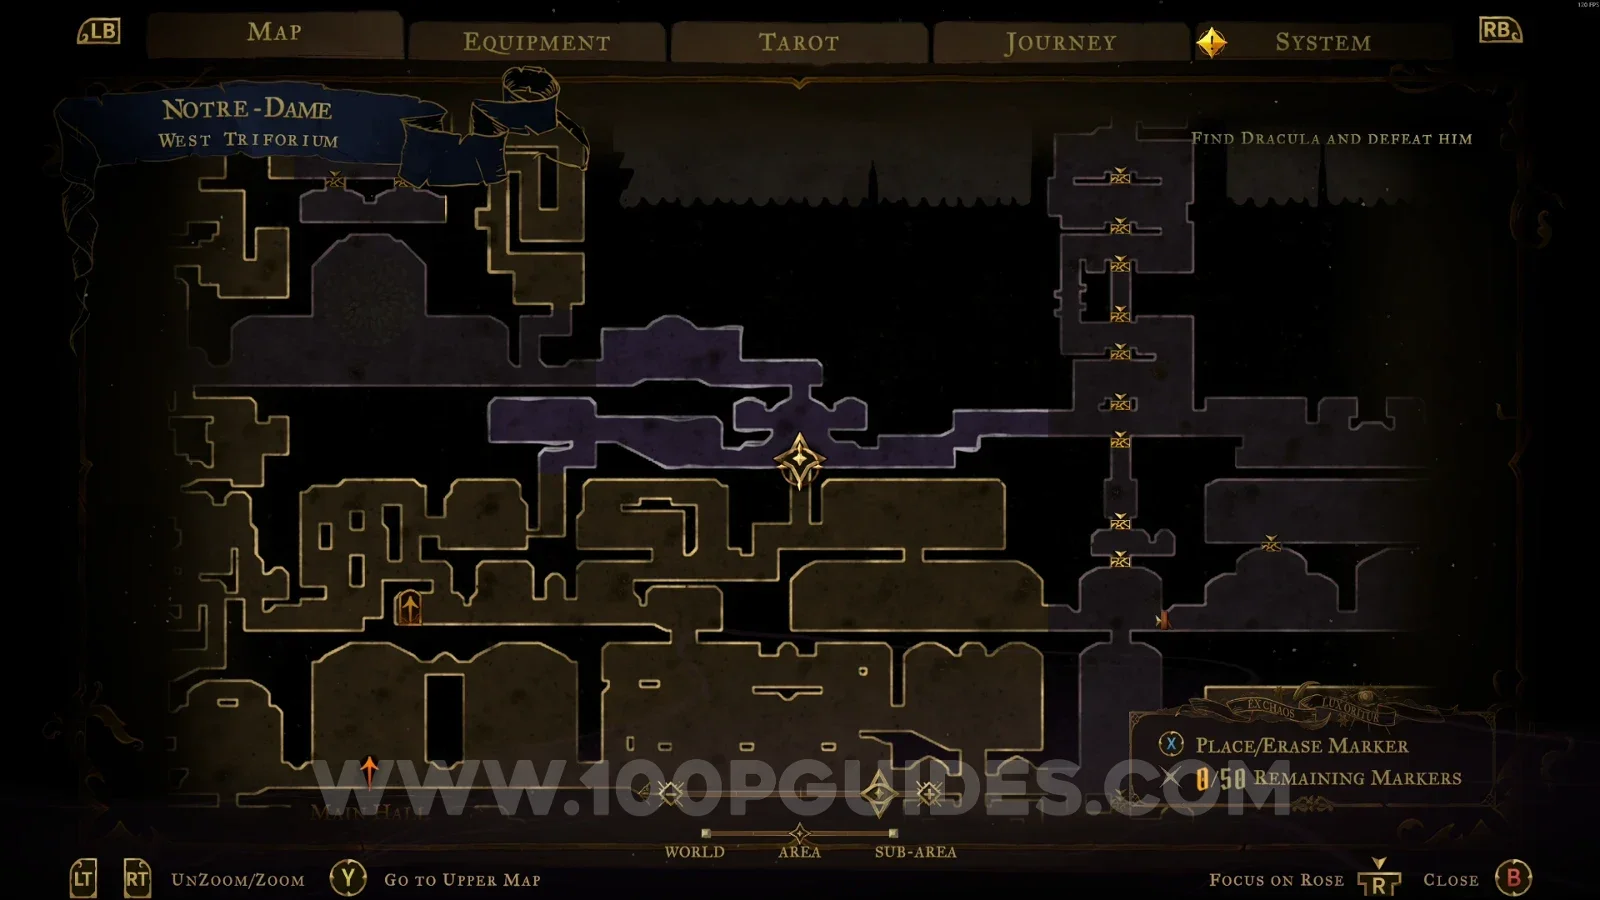
XP Statue #12
In the area shown on the map.
Ferryman's Wharf
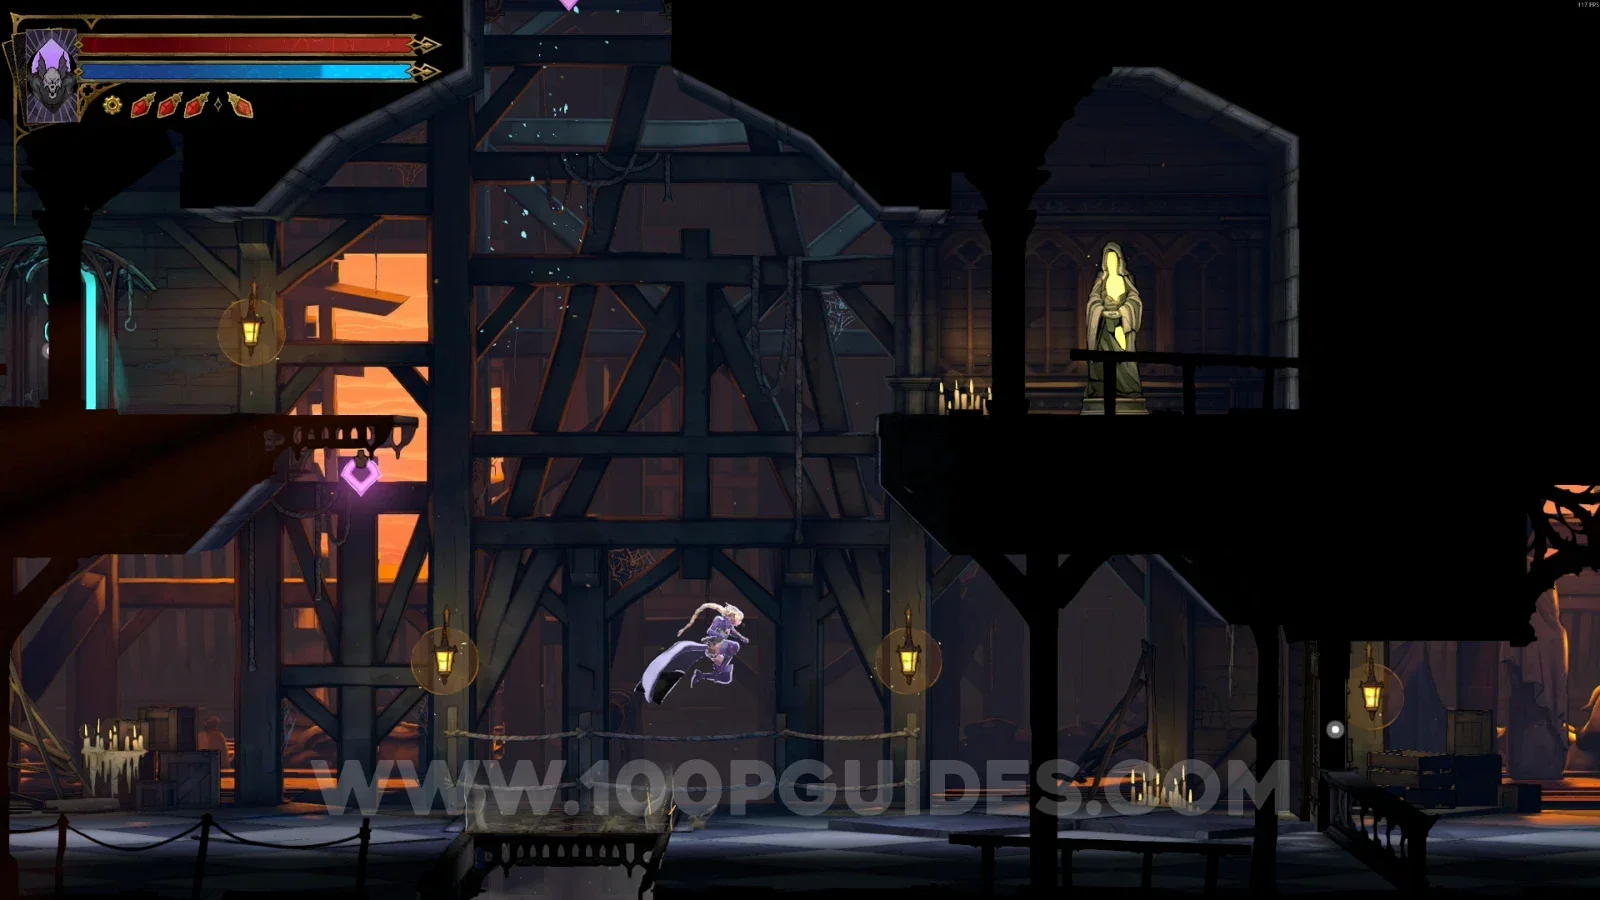
Same area as before, on the left side.
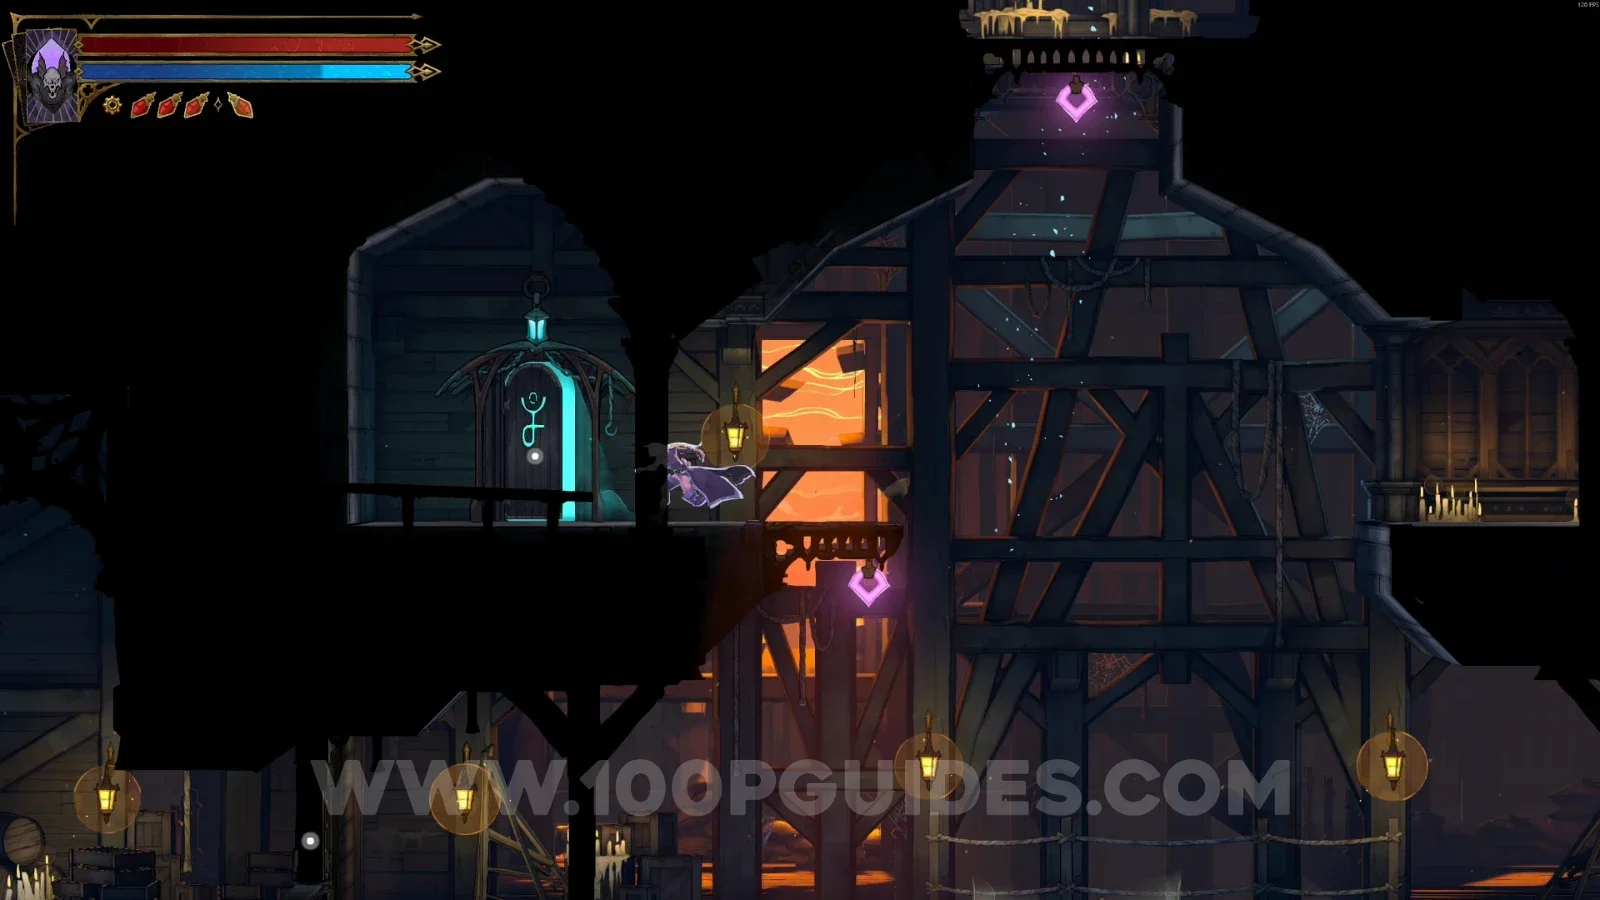
Mirror Of Life #2
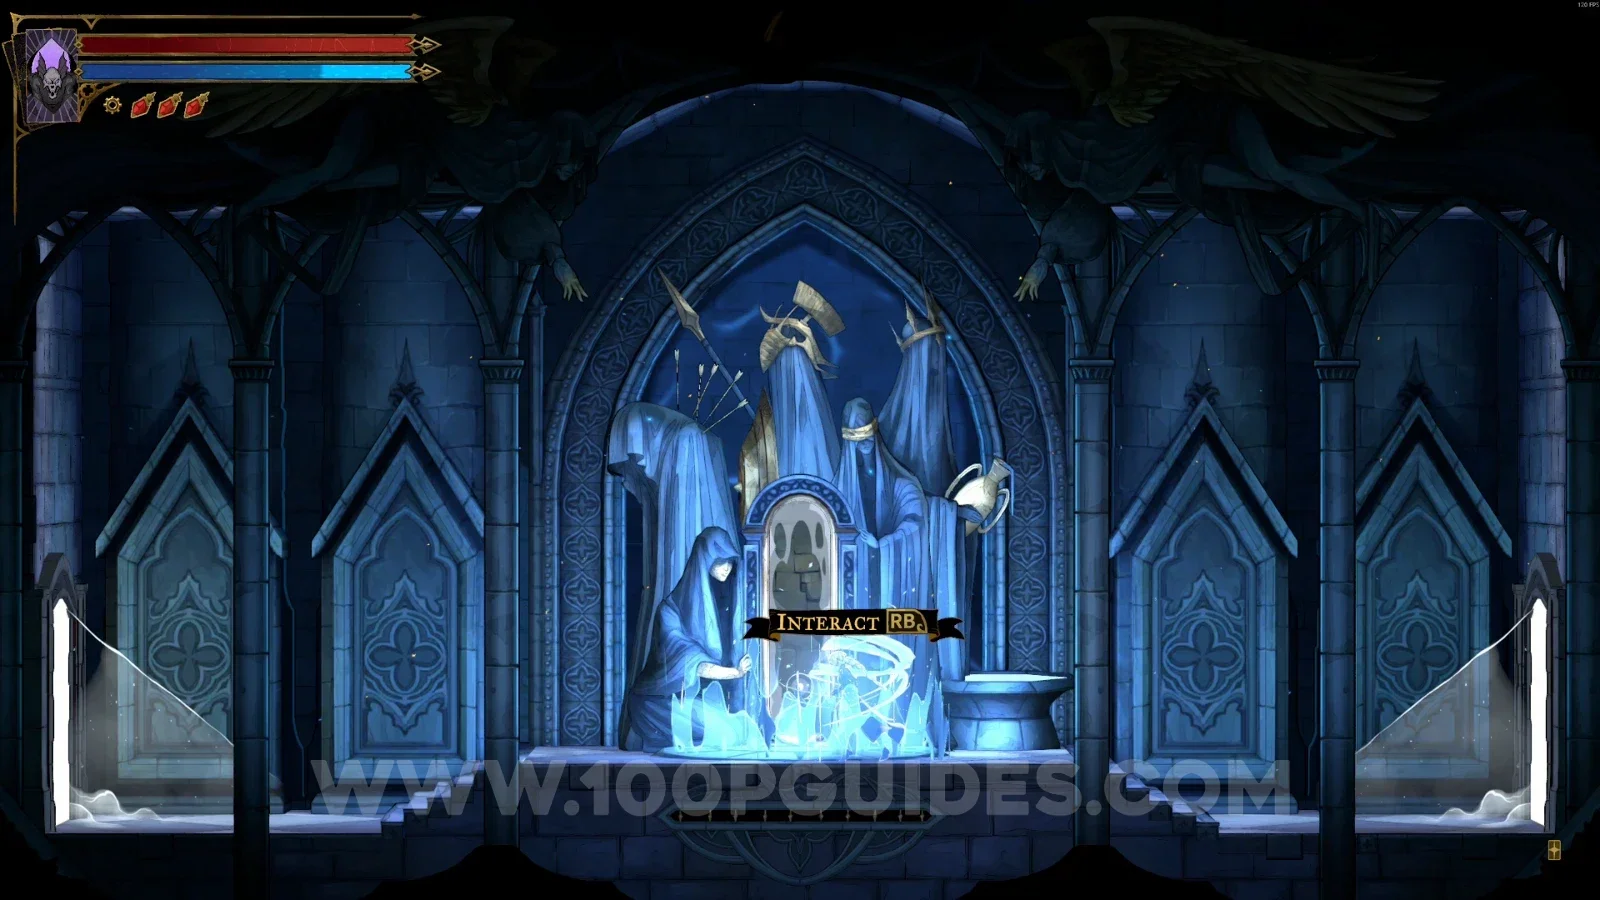
In the area marked on the map.
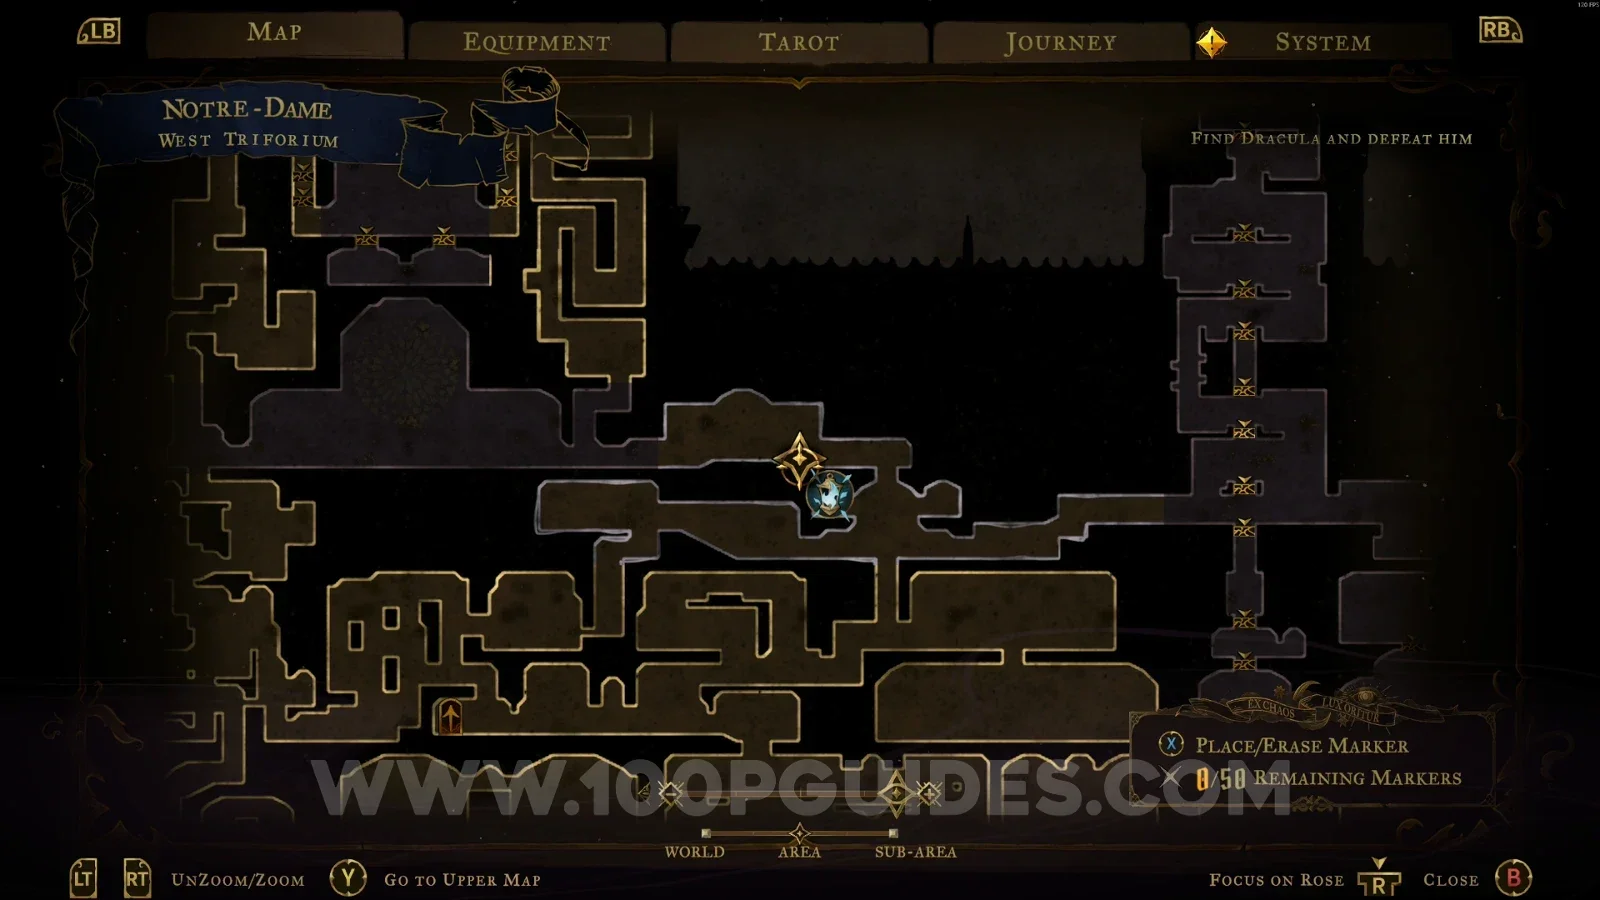
Tree Of Saints
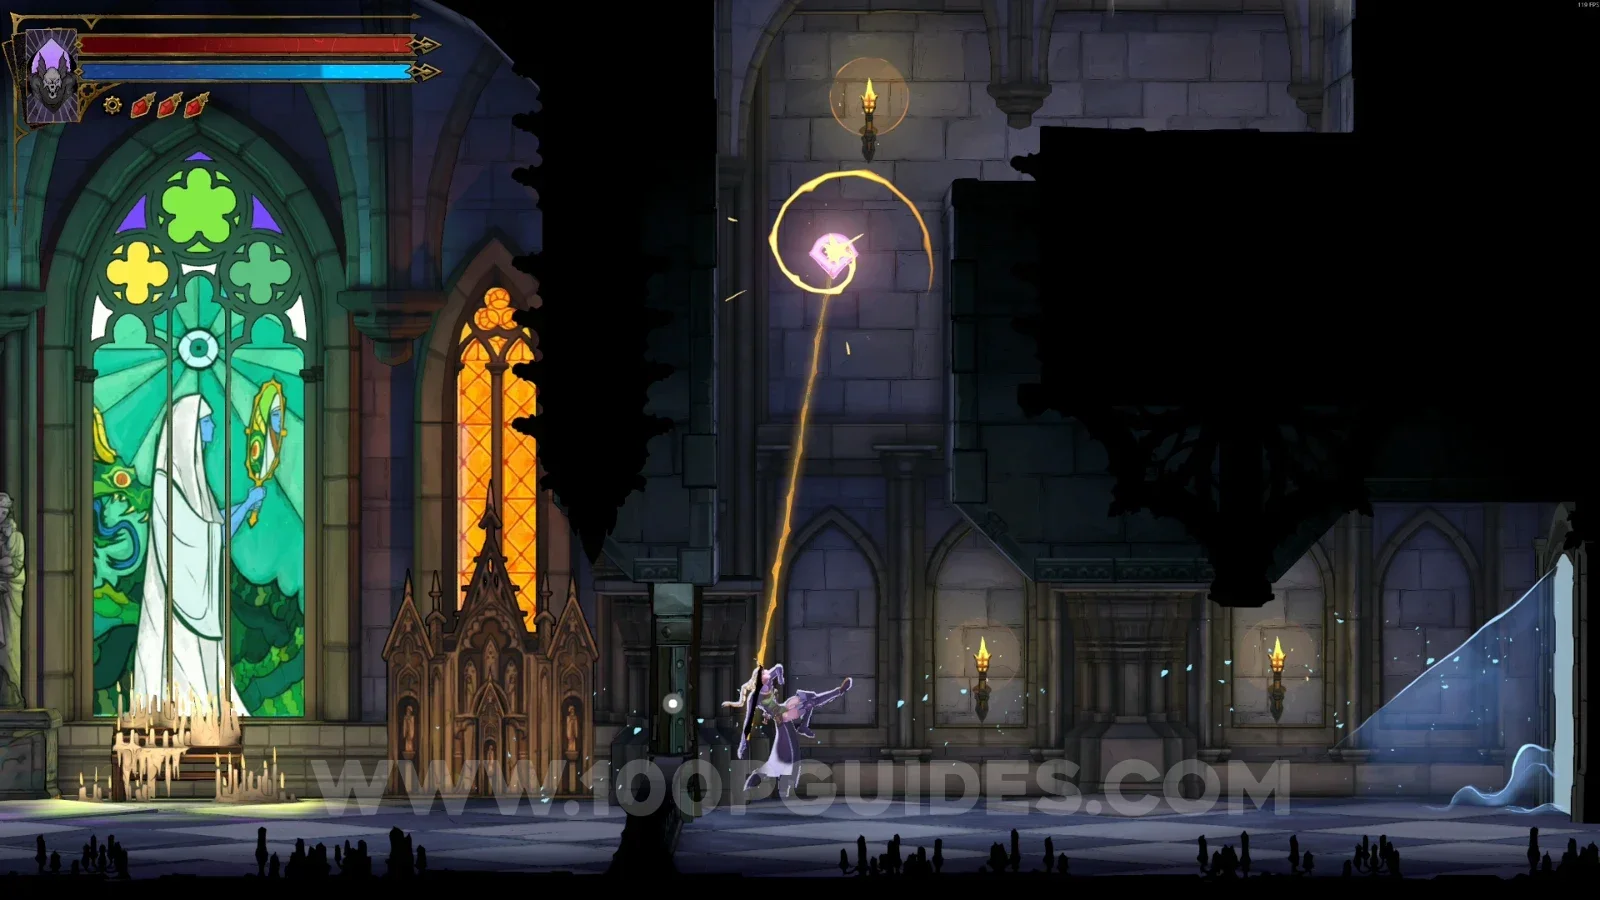
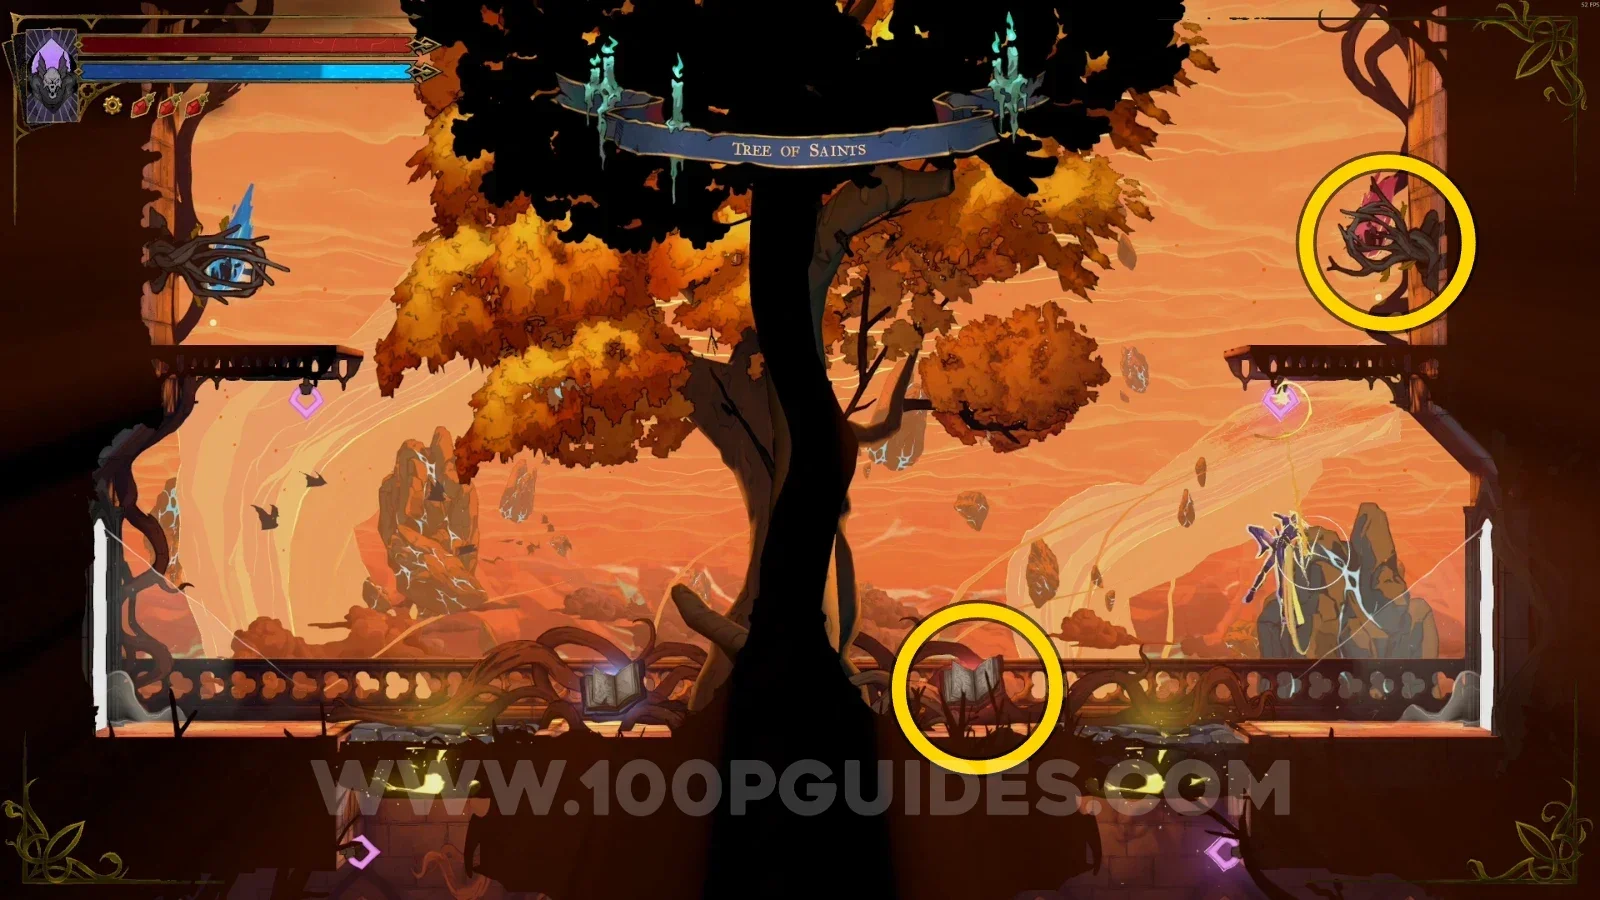
Brave Heart Fragment #1 + Red Book #4
In the area marked on the map, use the Arcane Whip to climb to the top and follow the single path to the tree with the collectibles.
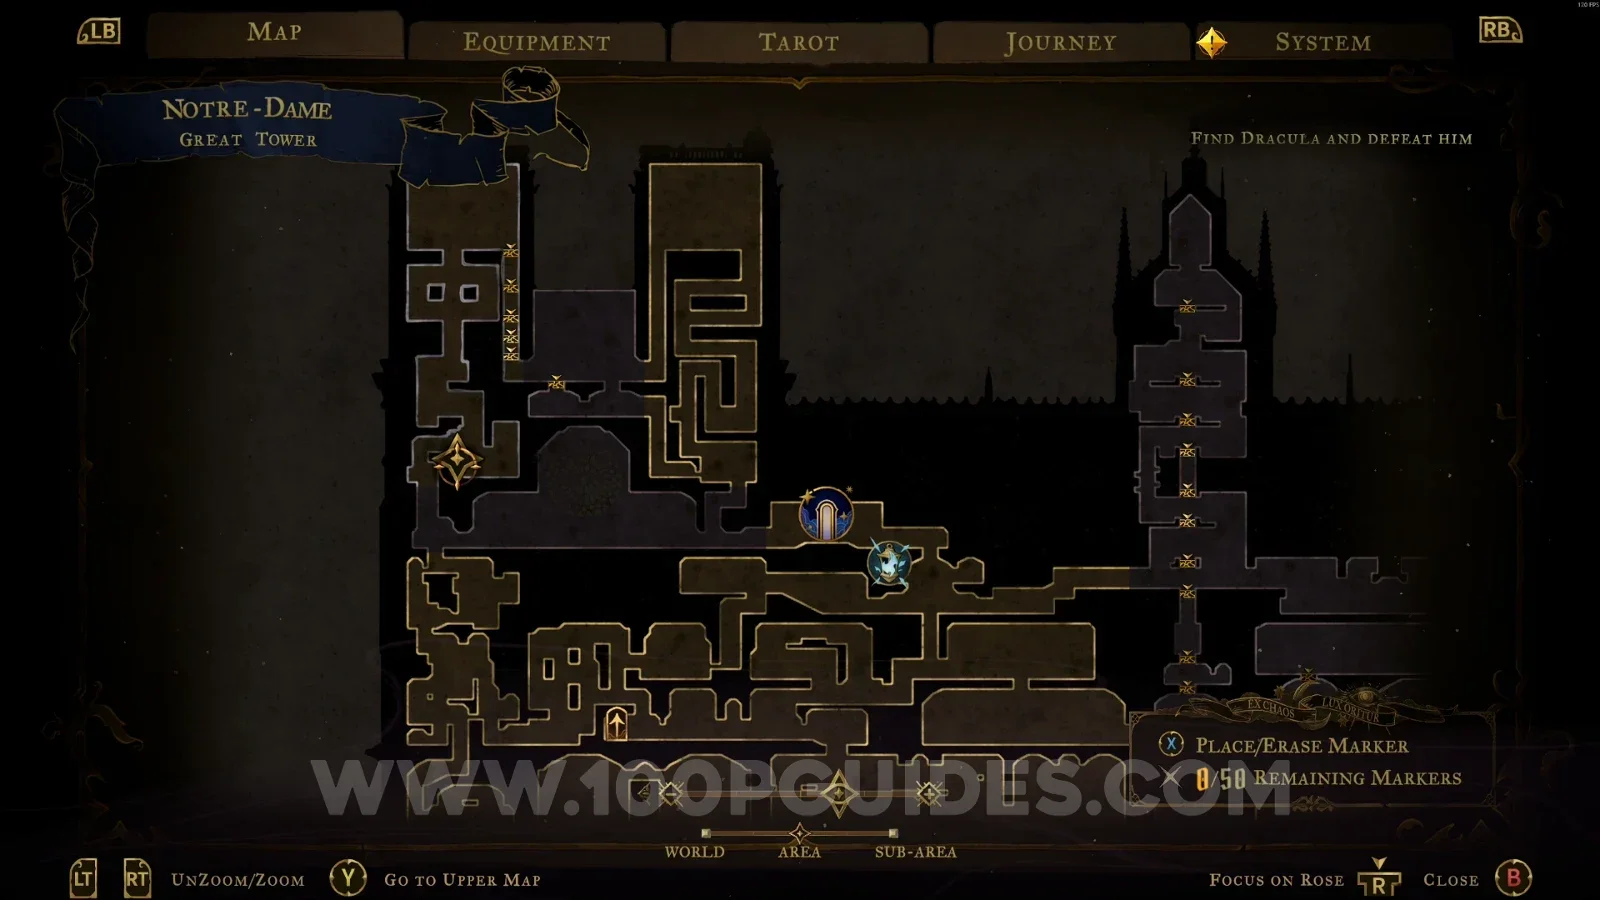
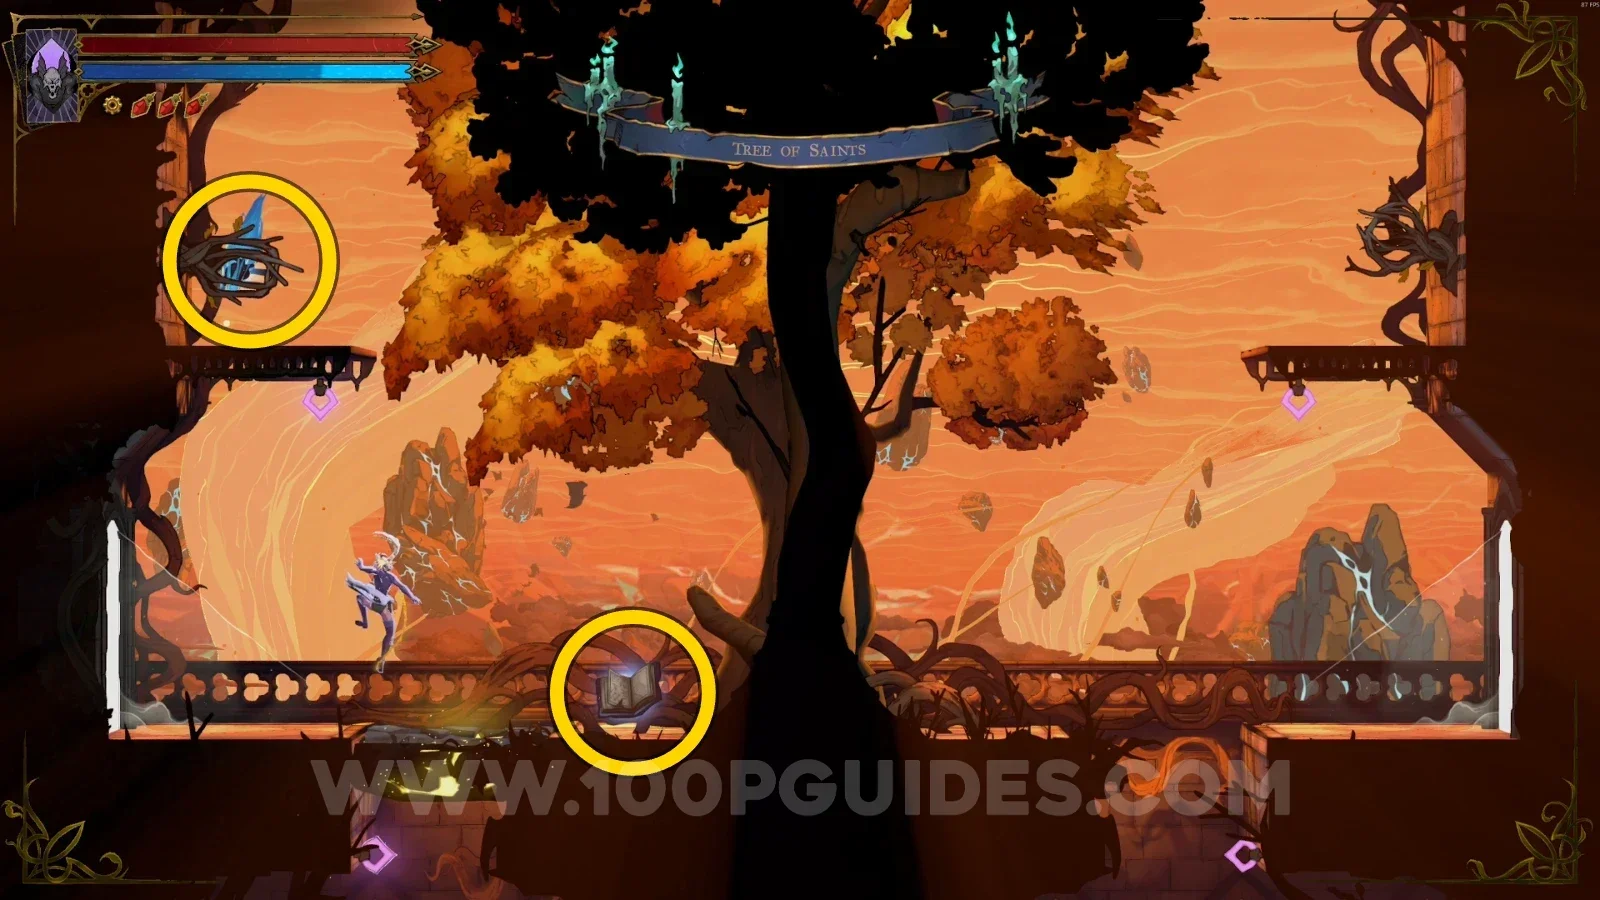
Wise Heart Fragment #2 + Blue Book #1
Same process as the previous collectible. Climb the tower to the top and follow the path to the tree with the collectibles.
Gallery Of The Four Virtues
Clue: The Cursed
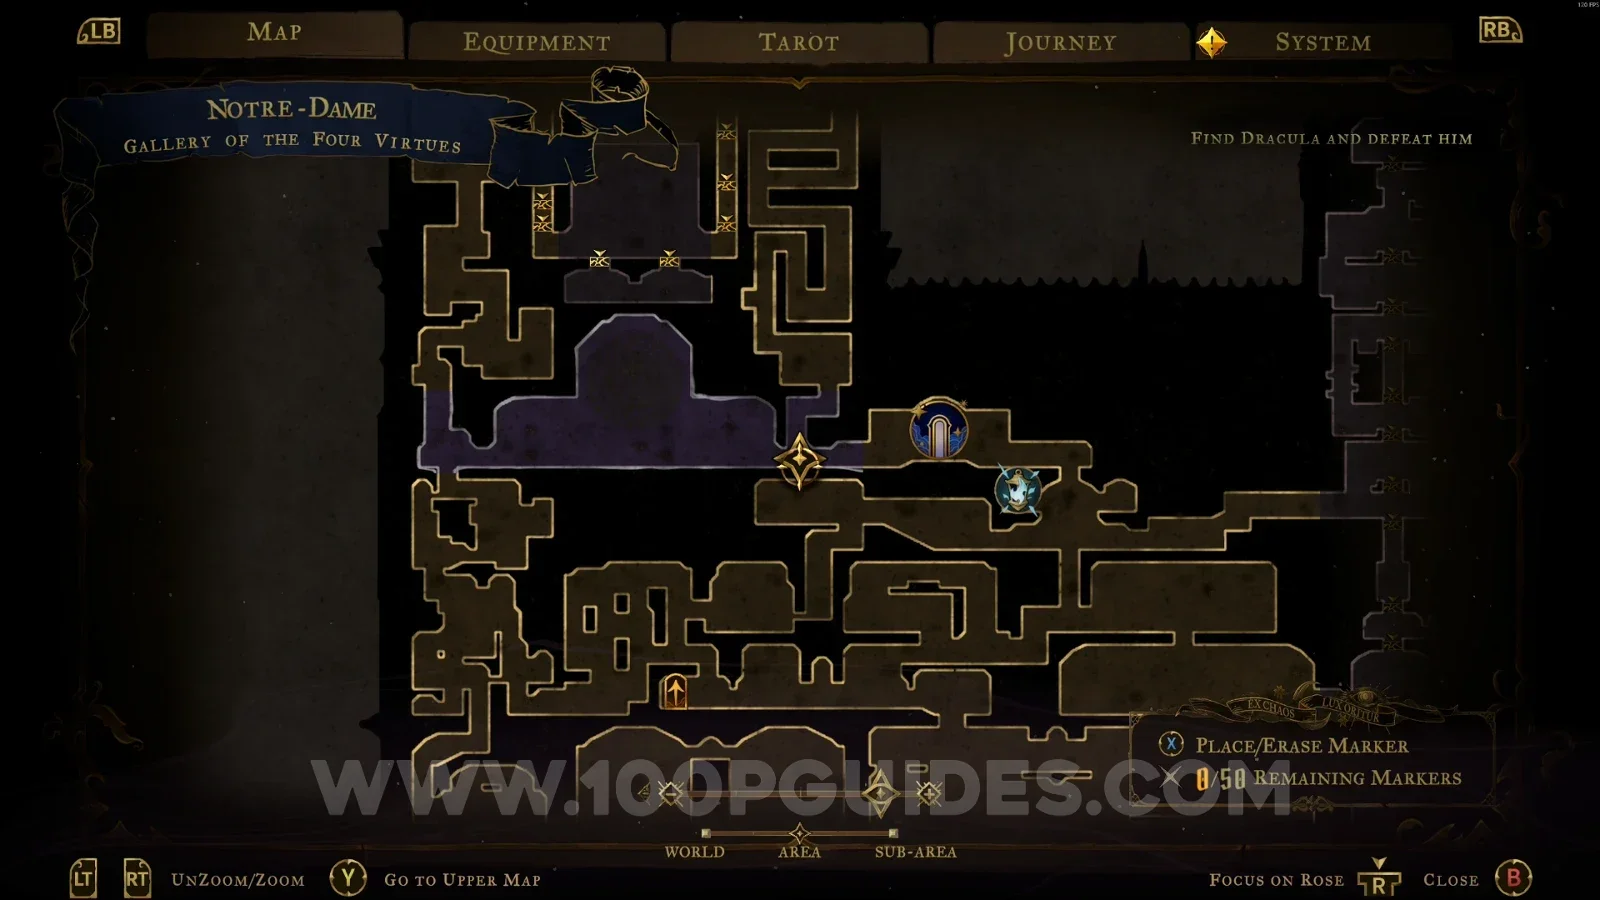
In front of the large stained glass window.
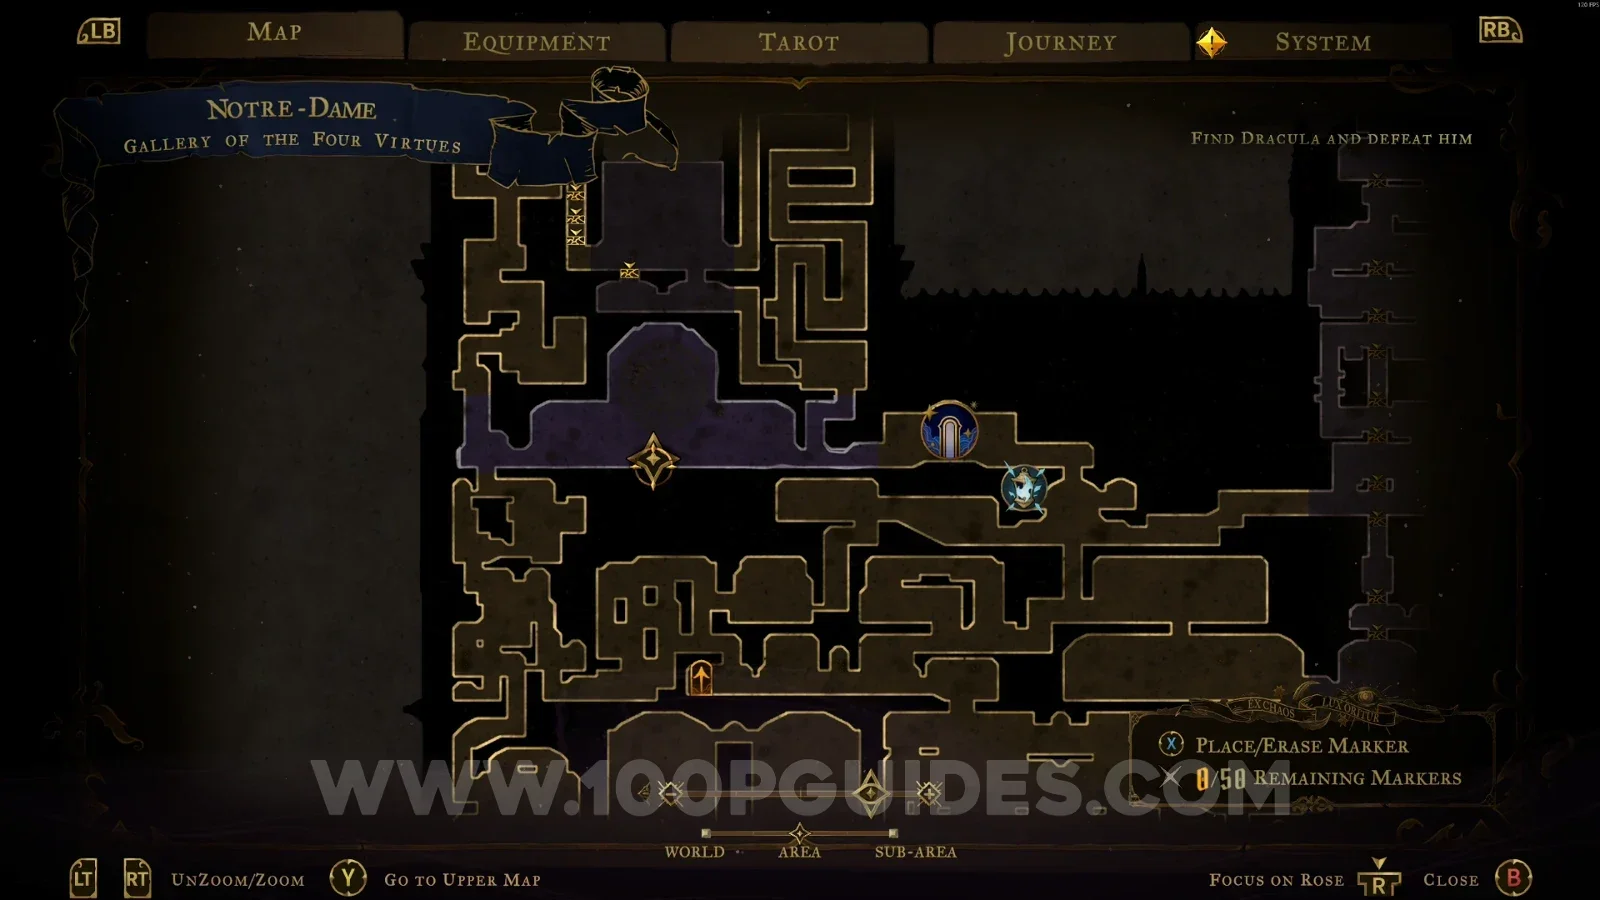
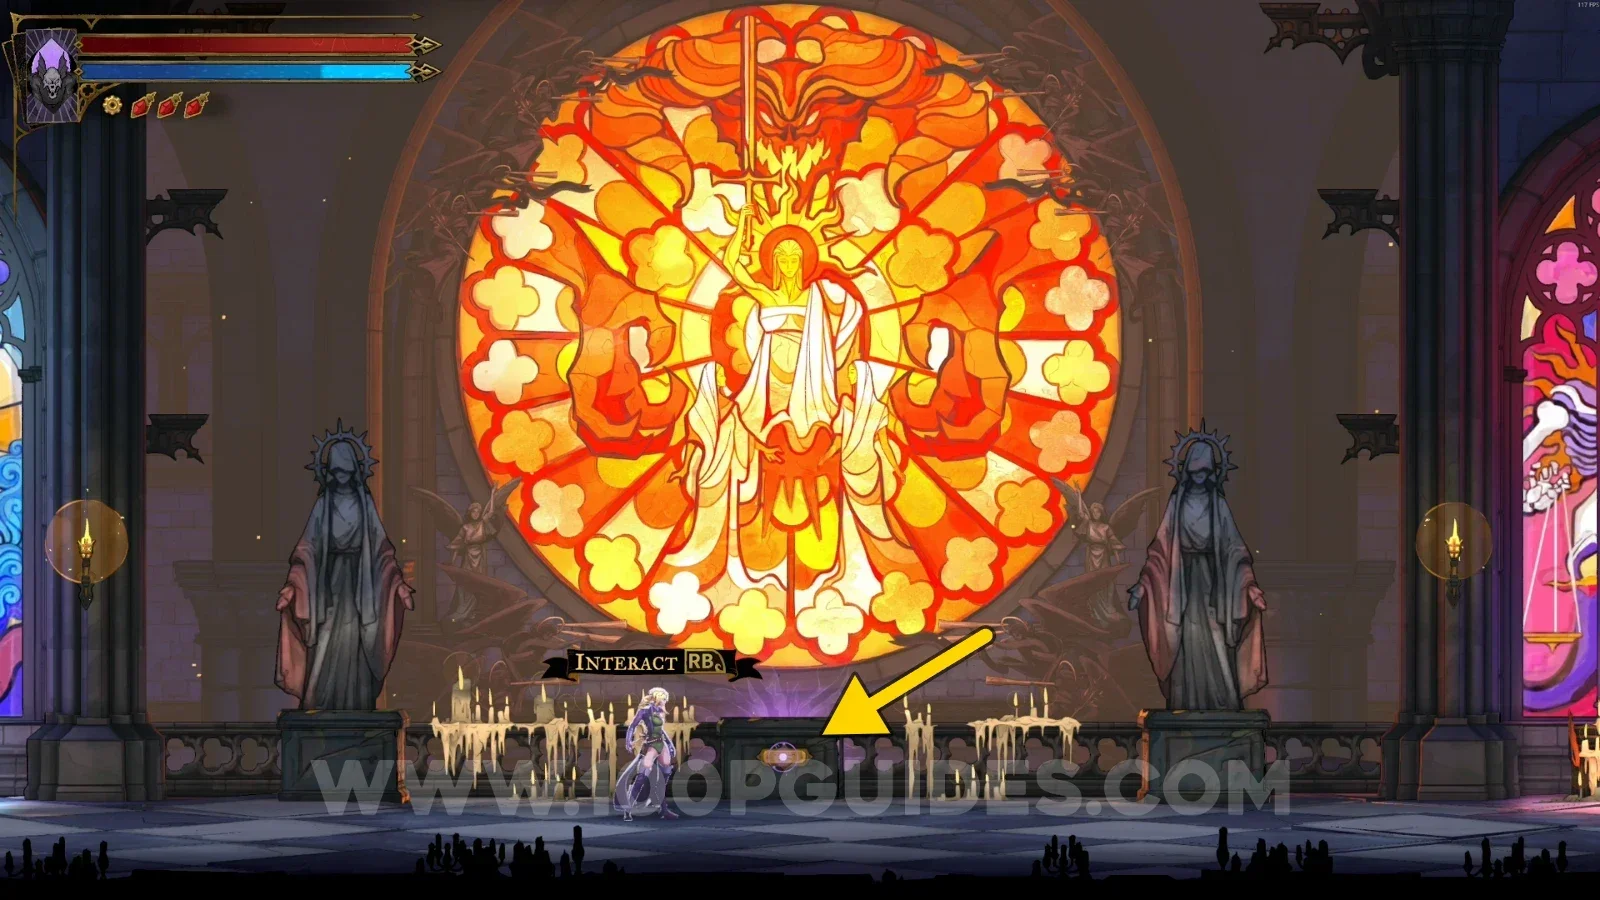
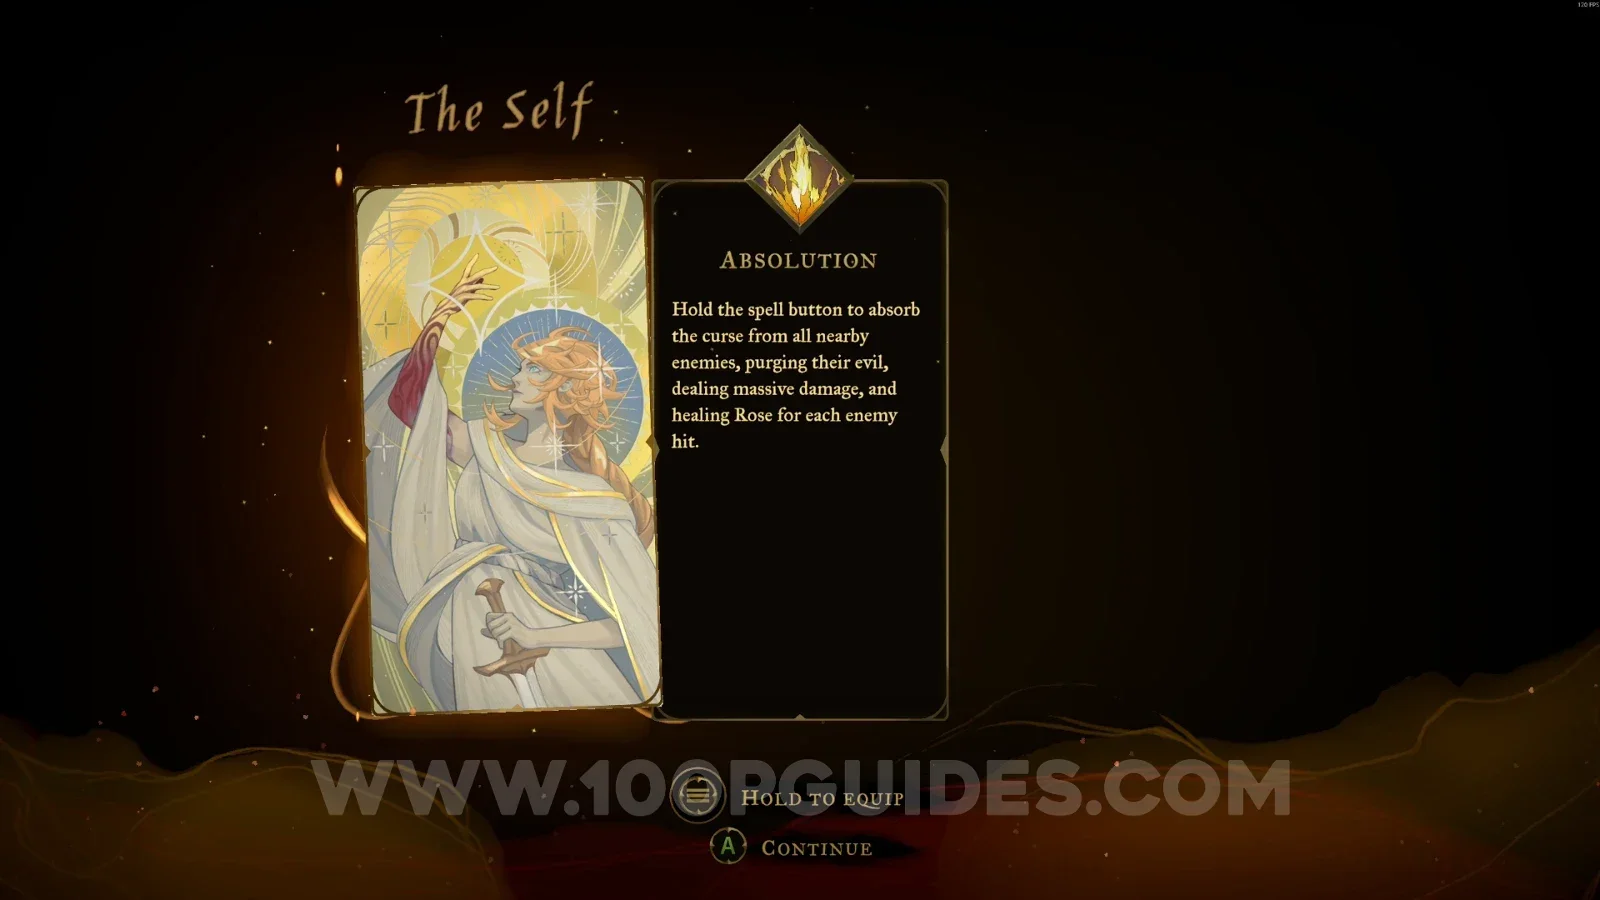
Arcana #2: Absolution
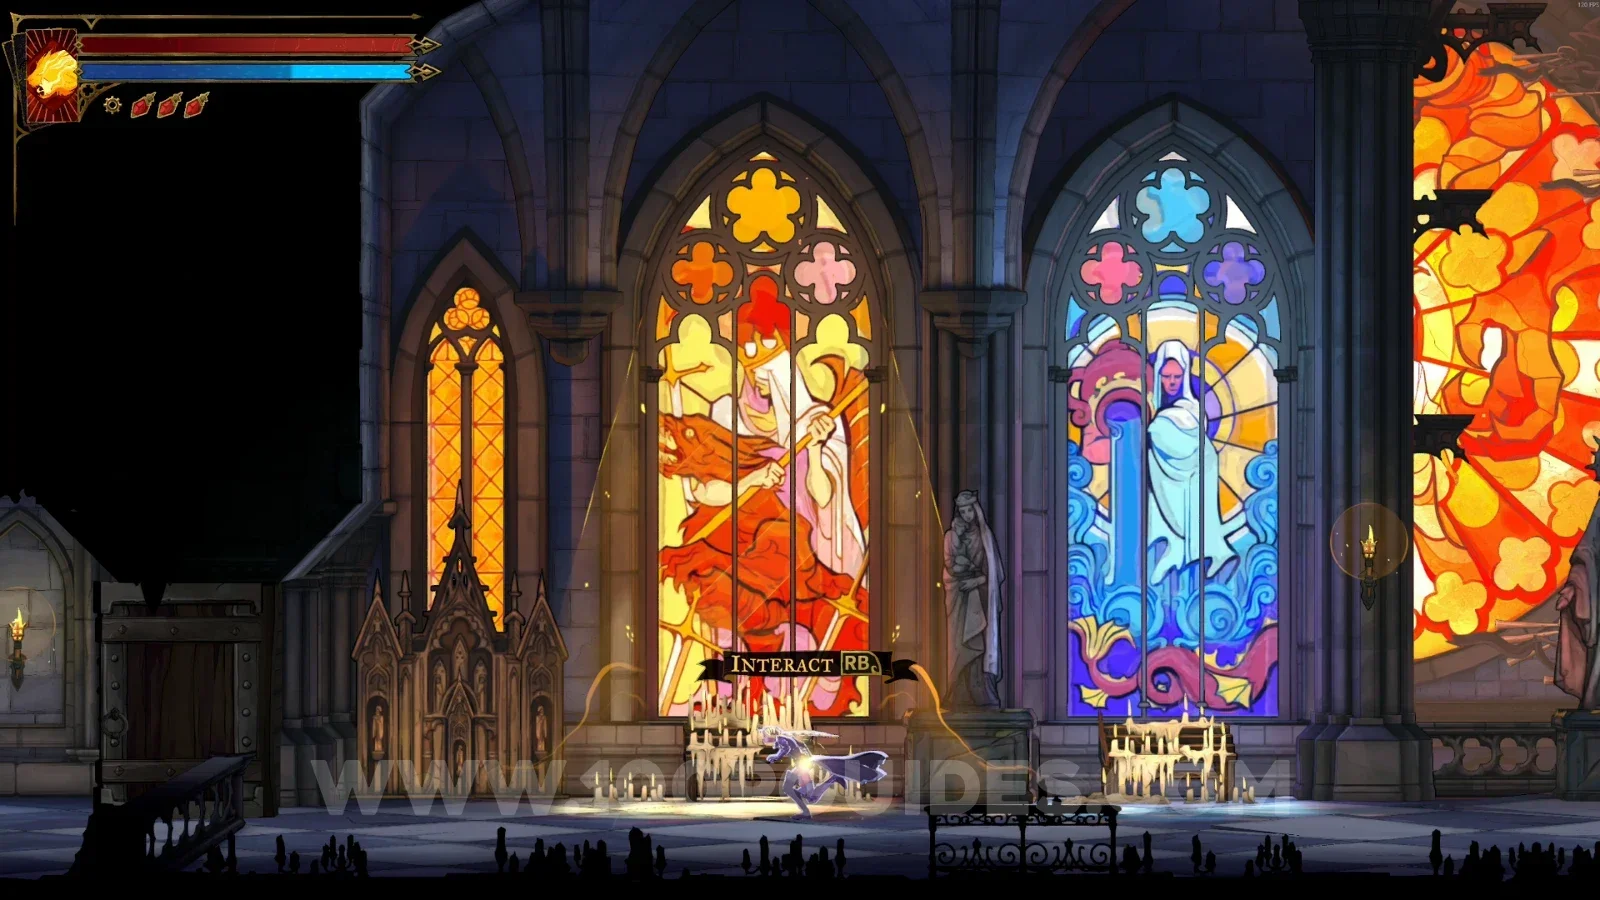
In the area marked on the map, equip the Infernal Pyre arcana and interact with the first stained glass window. In the next area, complete the challenge and ring the great bell.
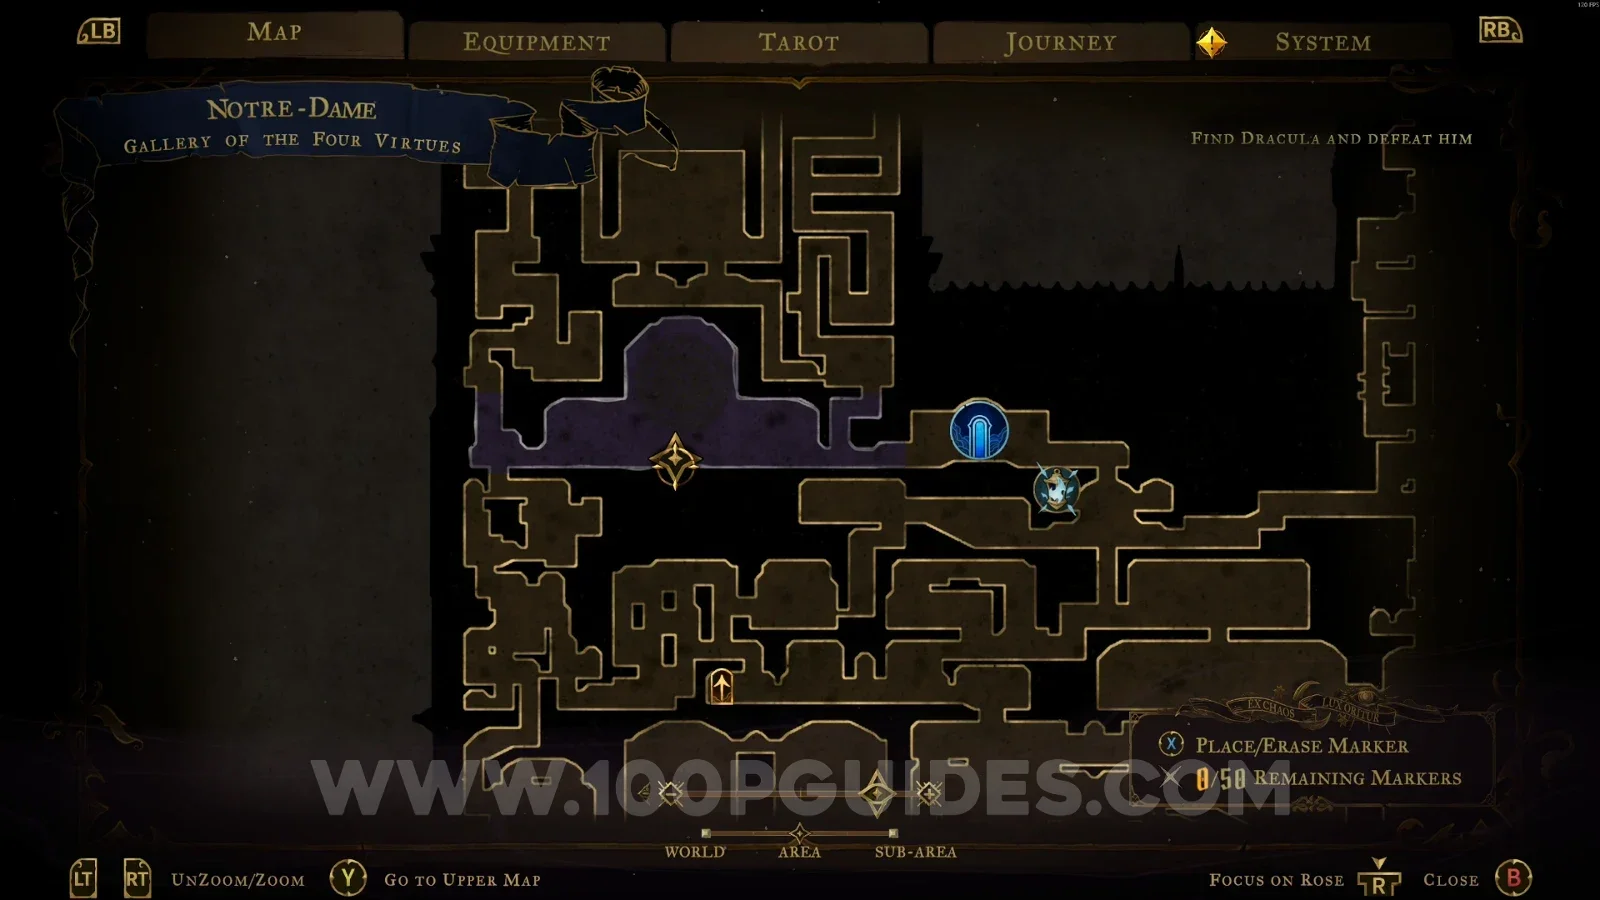
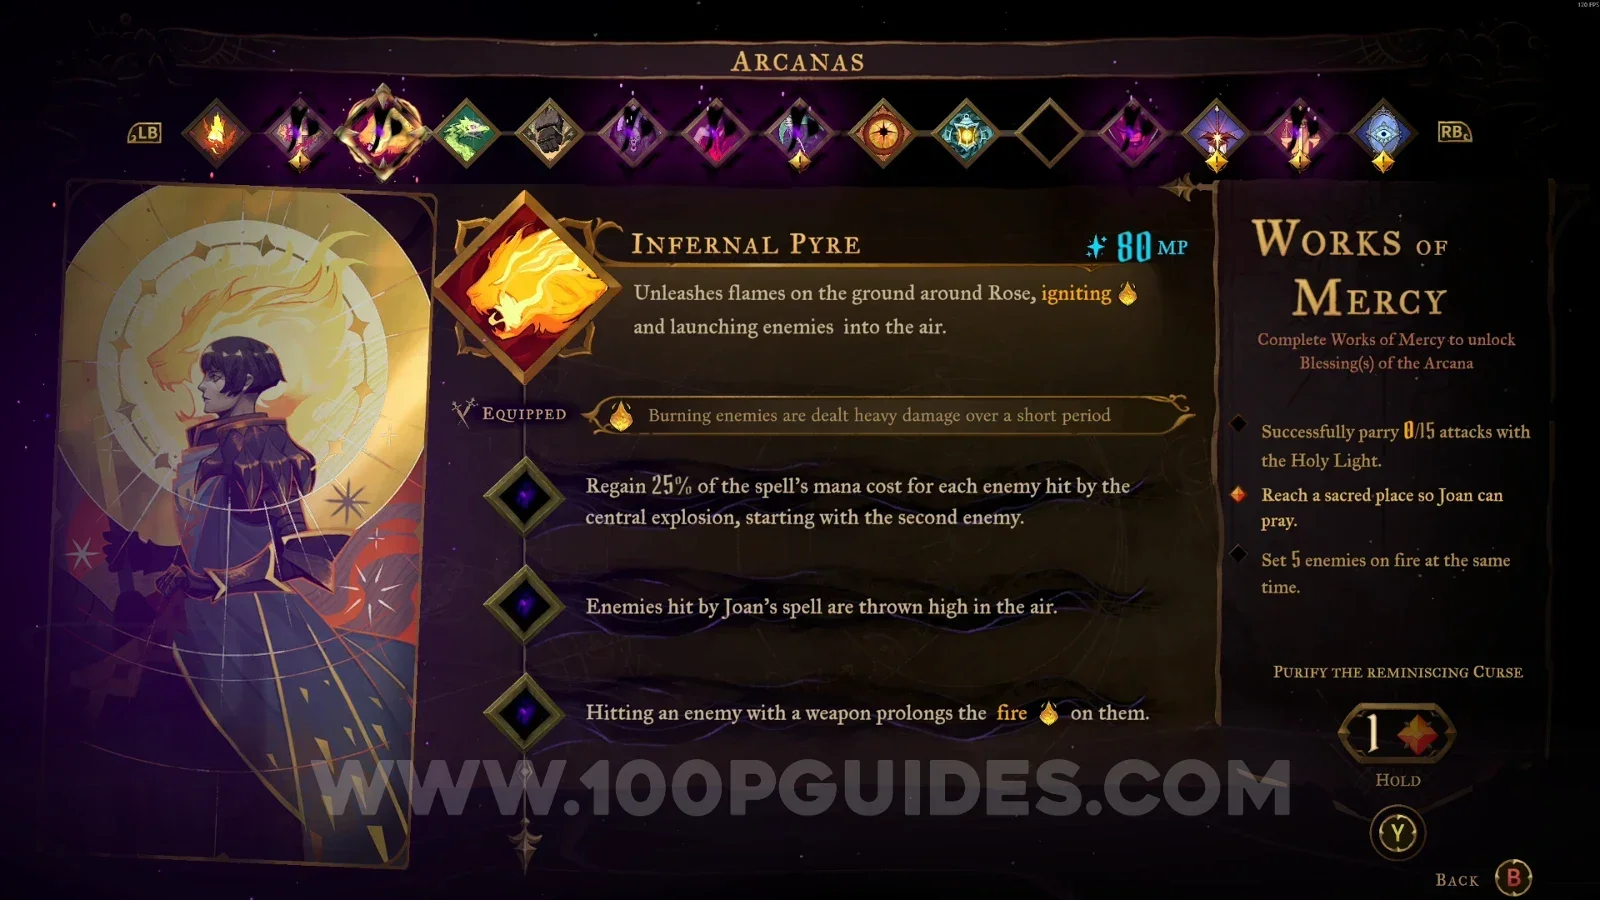
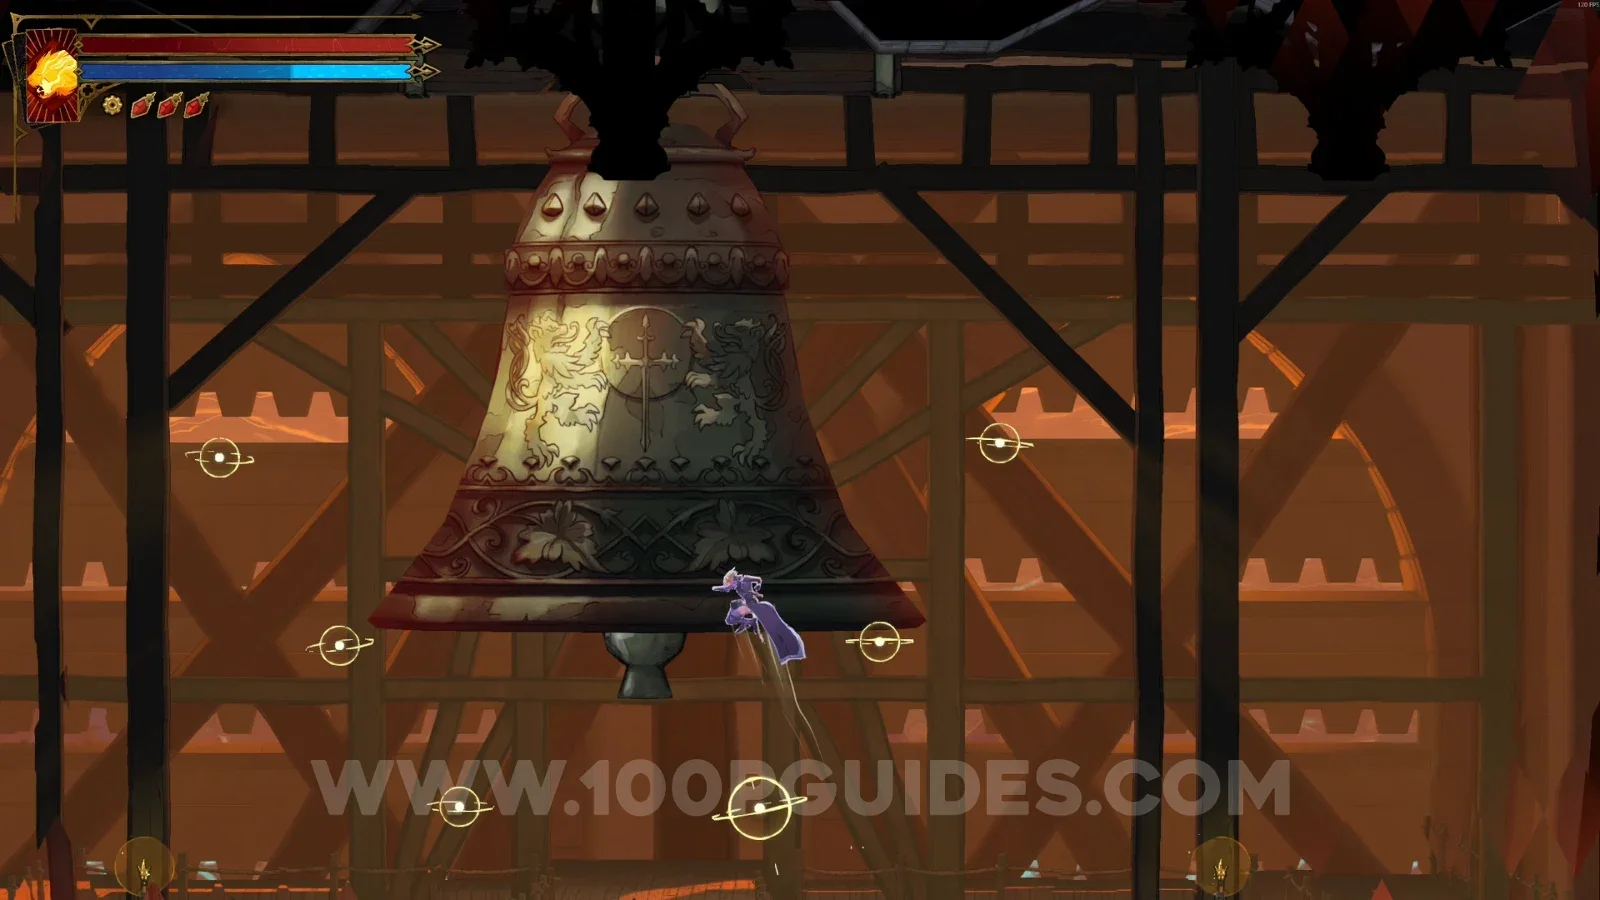
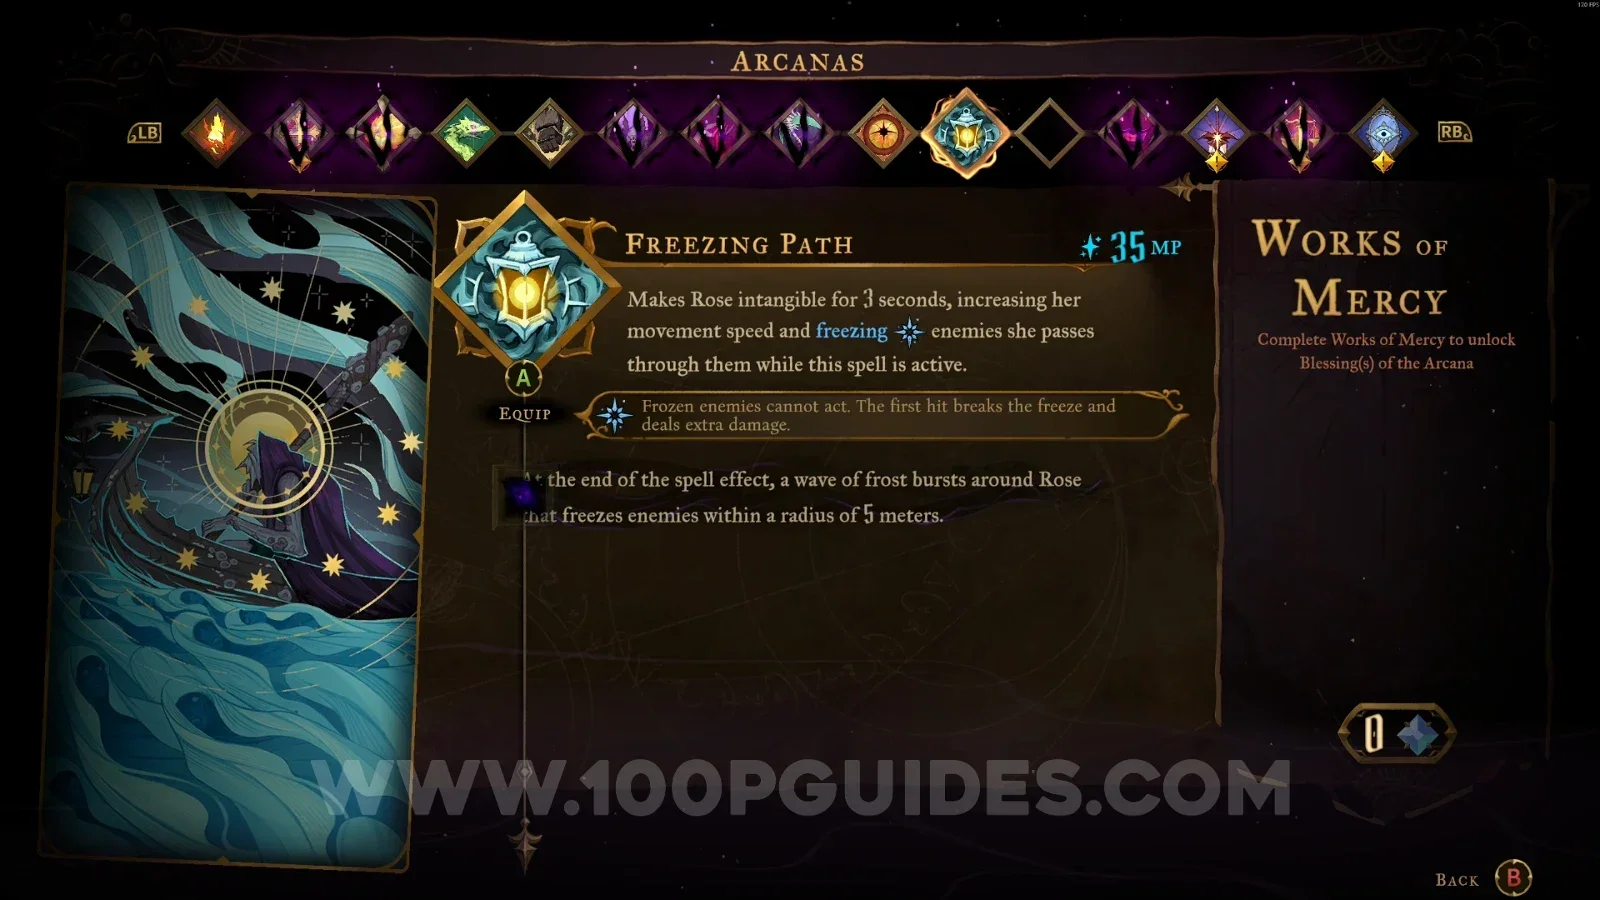
Equip the Freezing Path arcana and interact with the second stained glass window, then complete the challenge and ring the great bell.
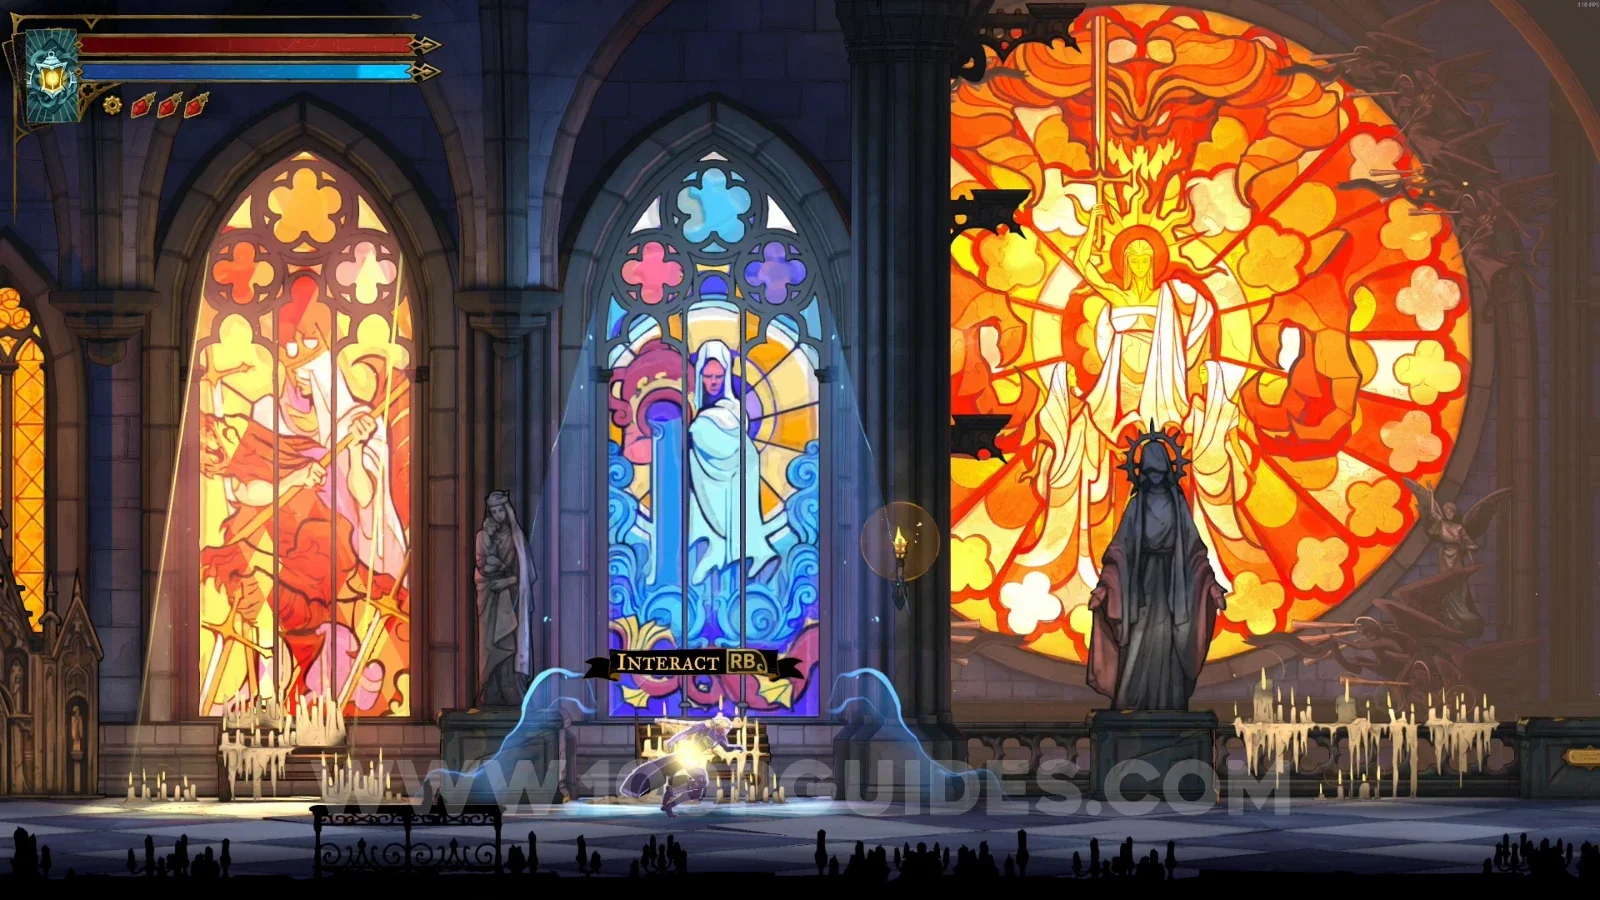
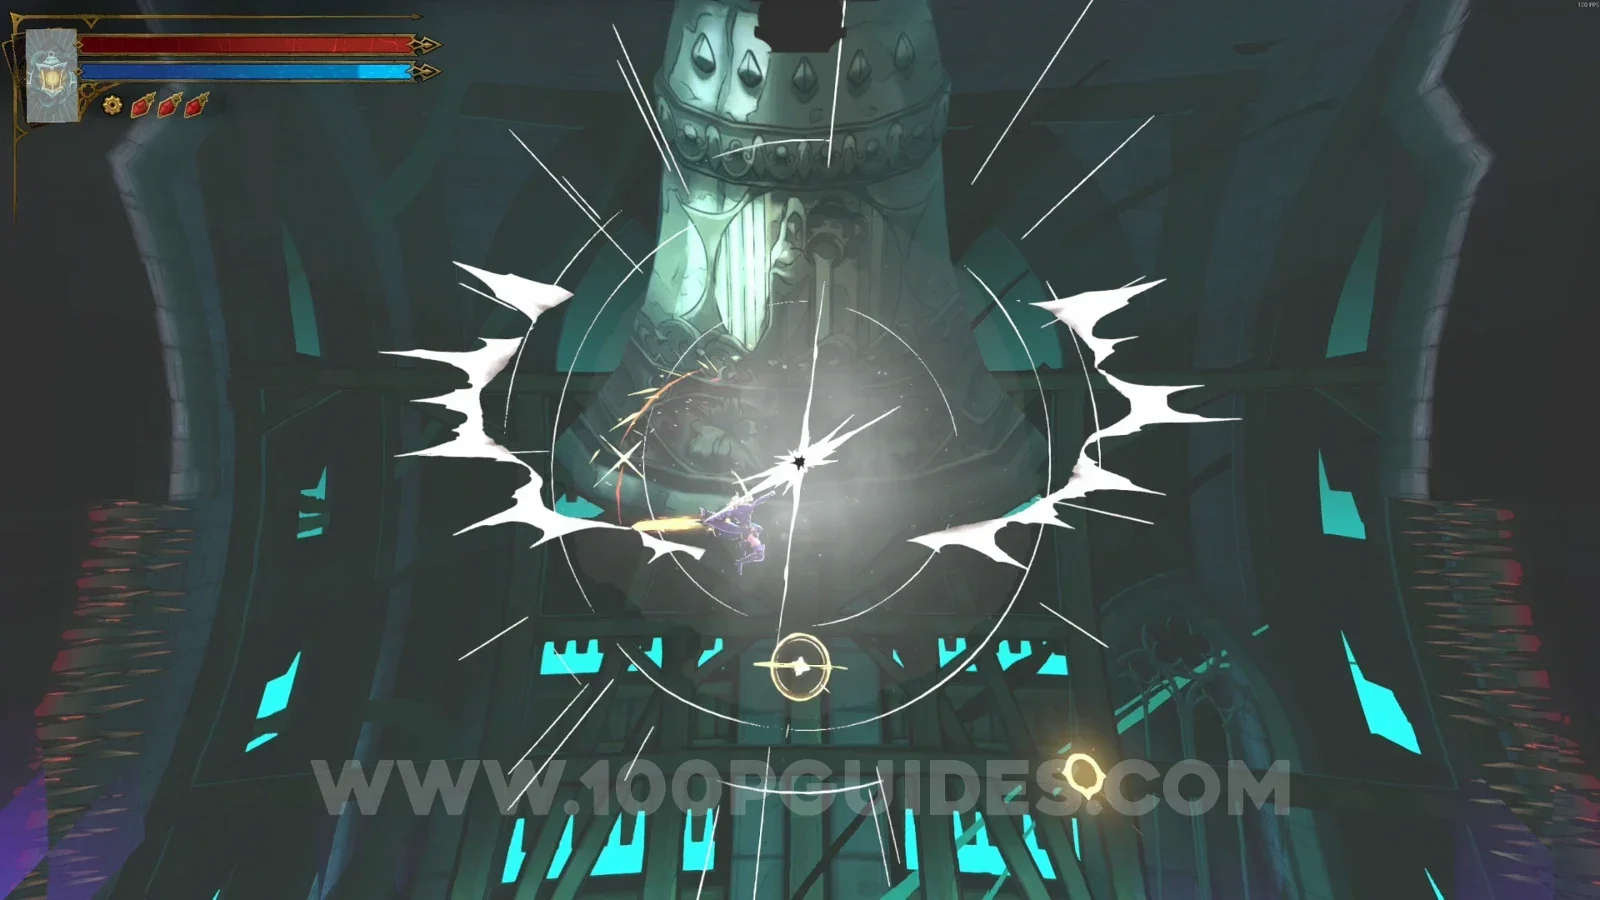
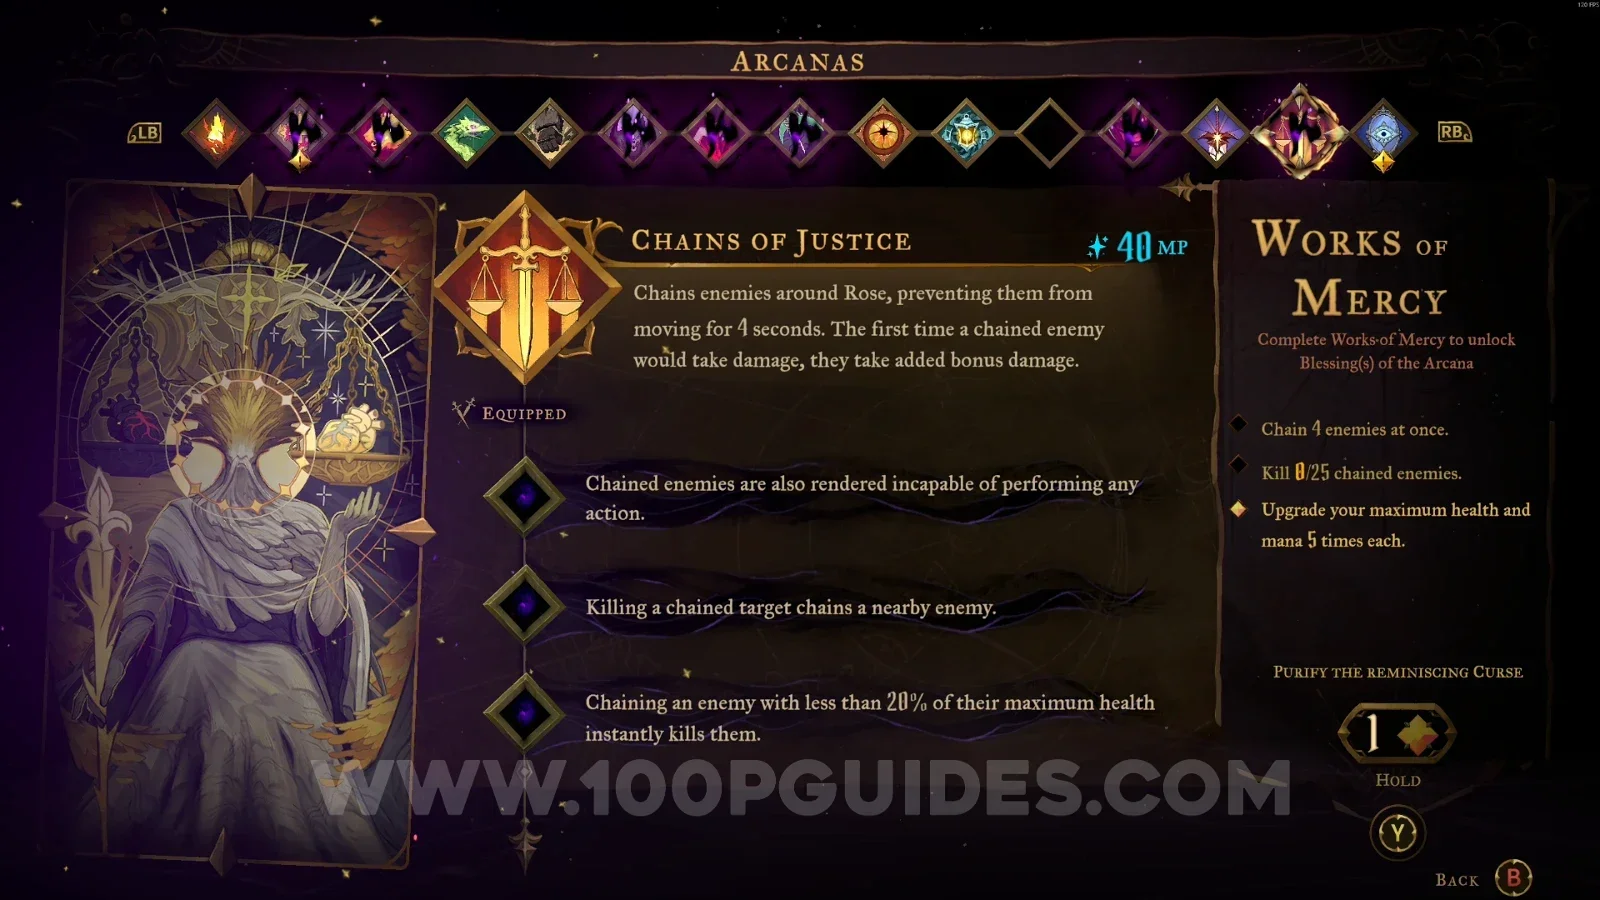
Equip the Chains of Justice arcana and interact with the third stained glass window, then complete the challenge and ring the great bell.
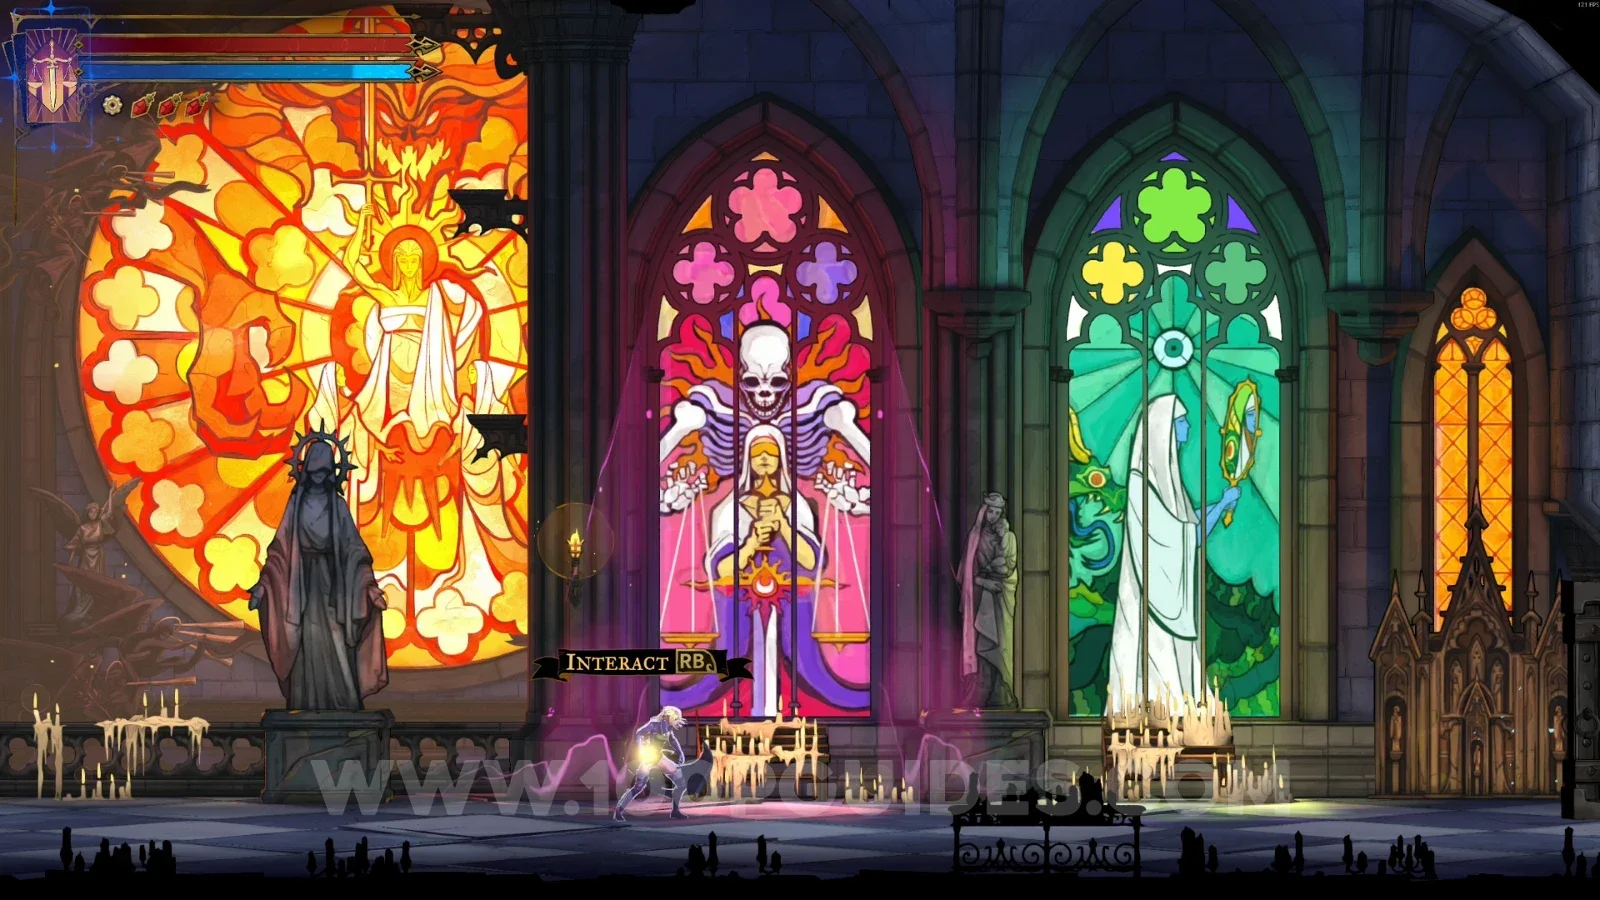
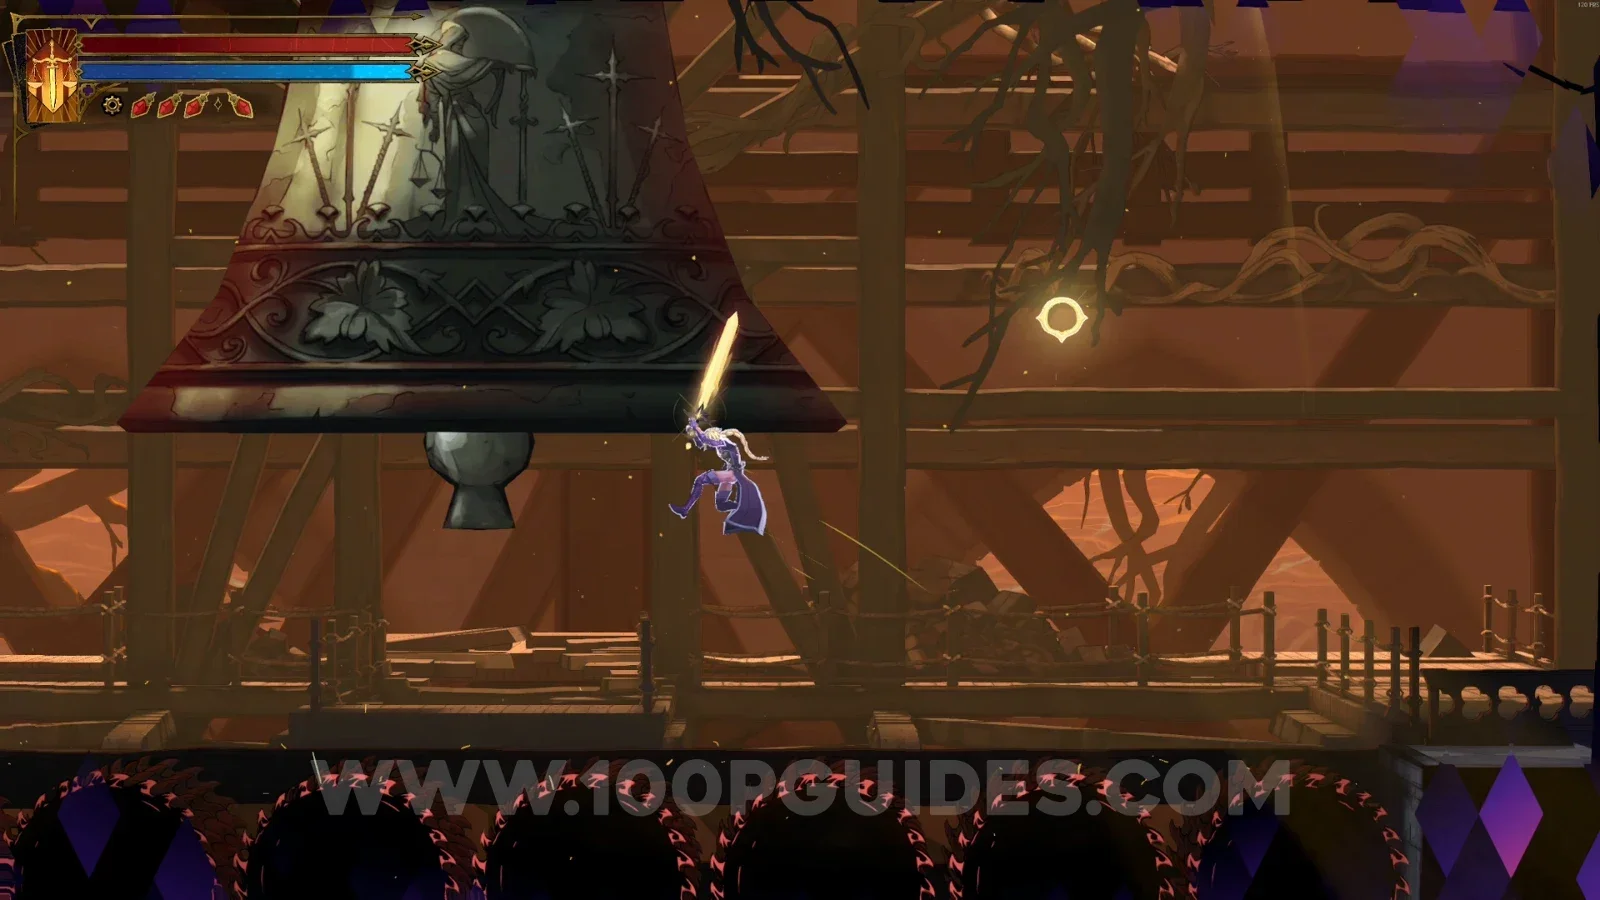
Equip the Mirror Walk arcana and interact with the fourth stained glass window, then complete the challenge and ring the great bell.
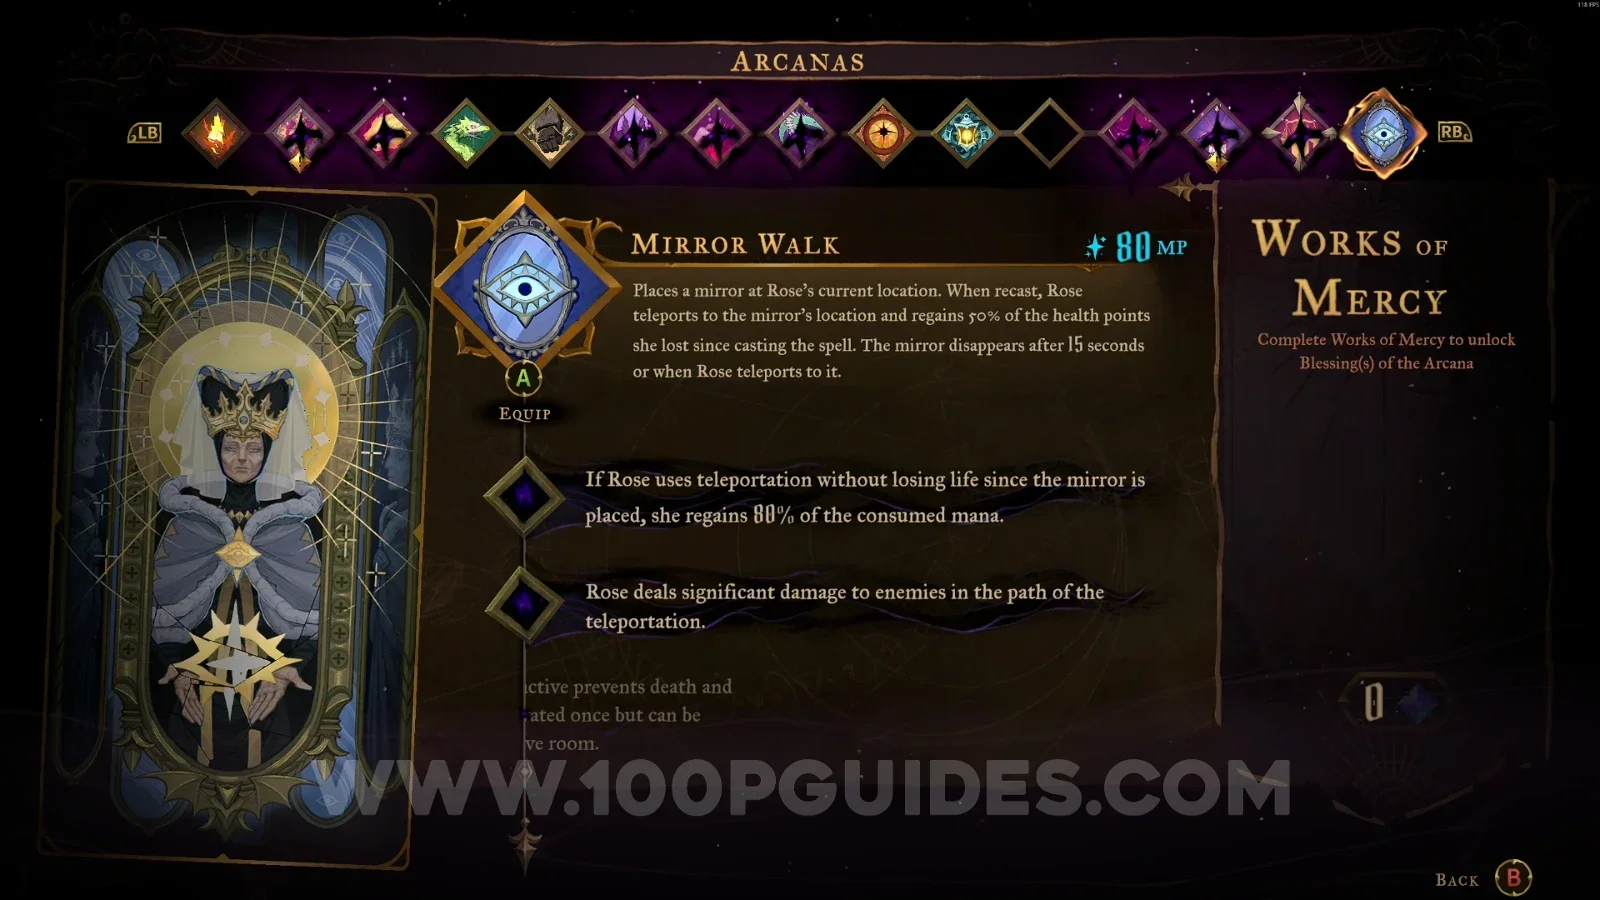
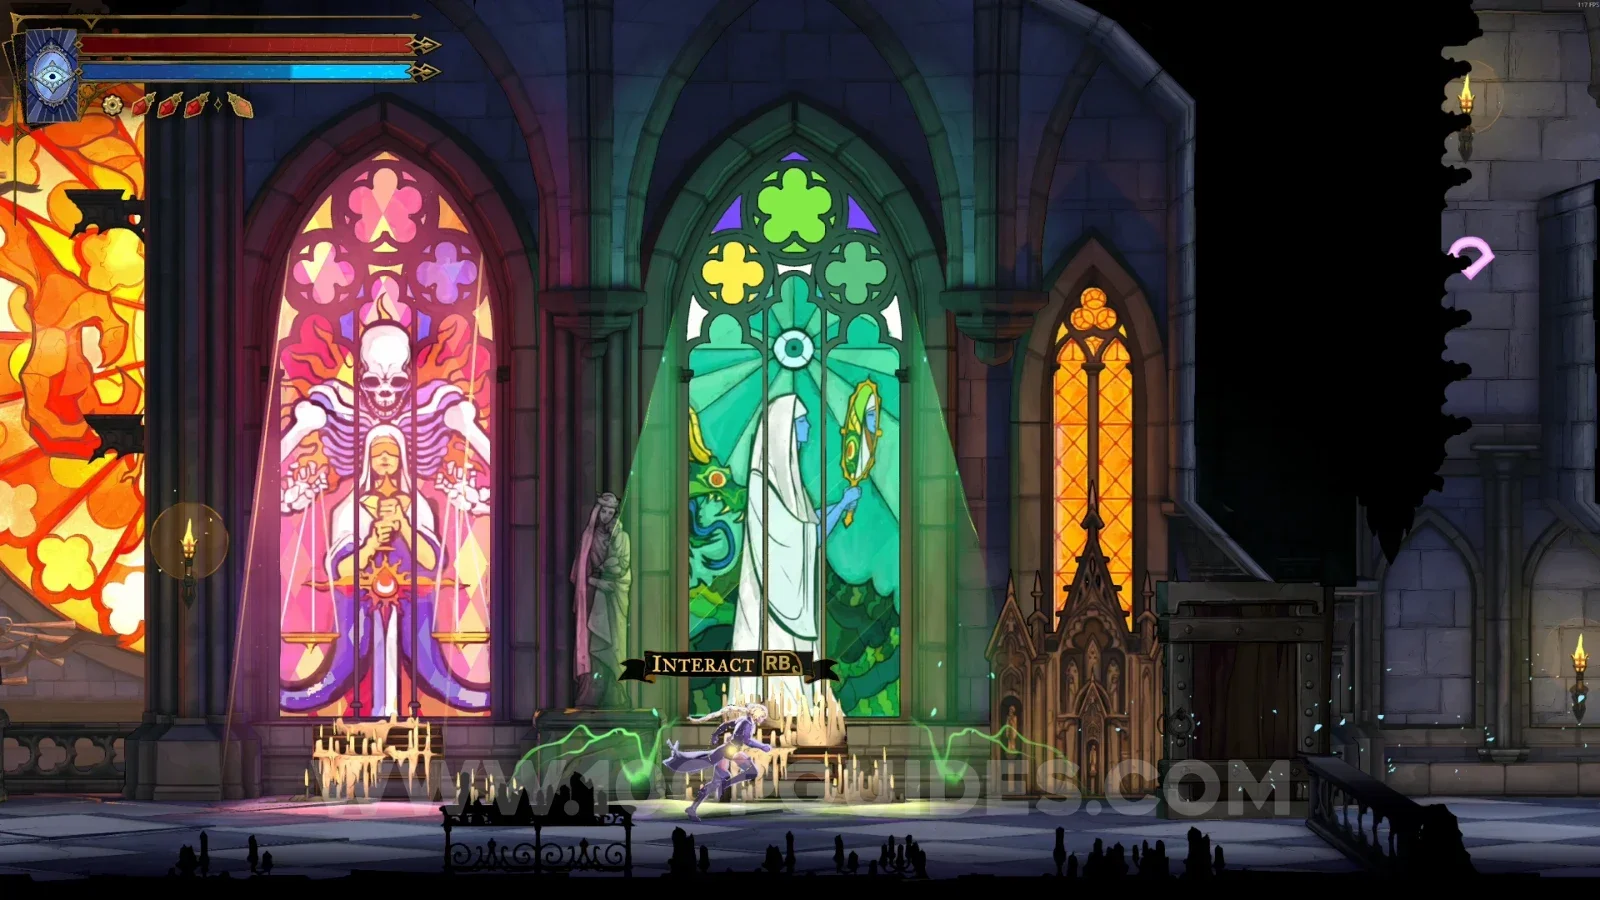
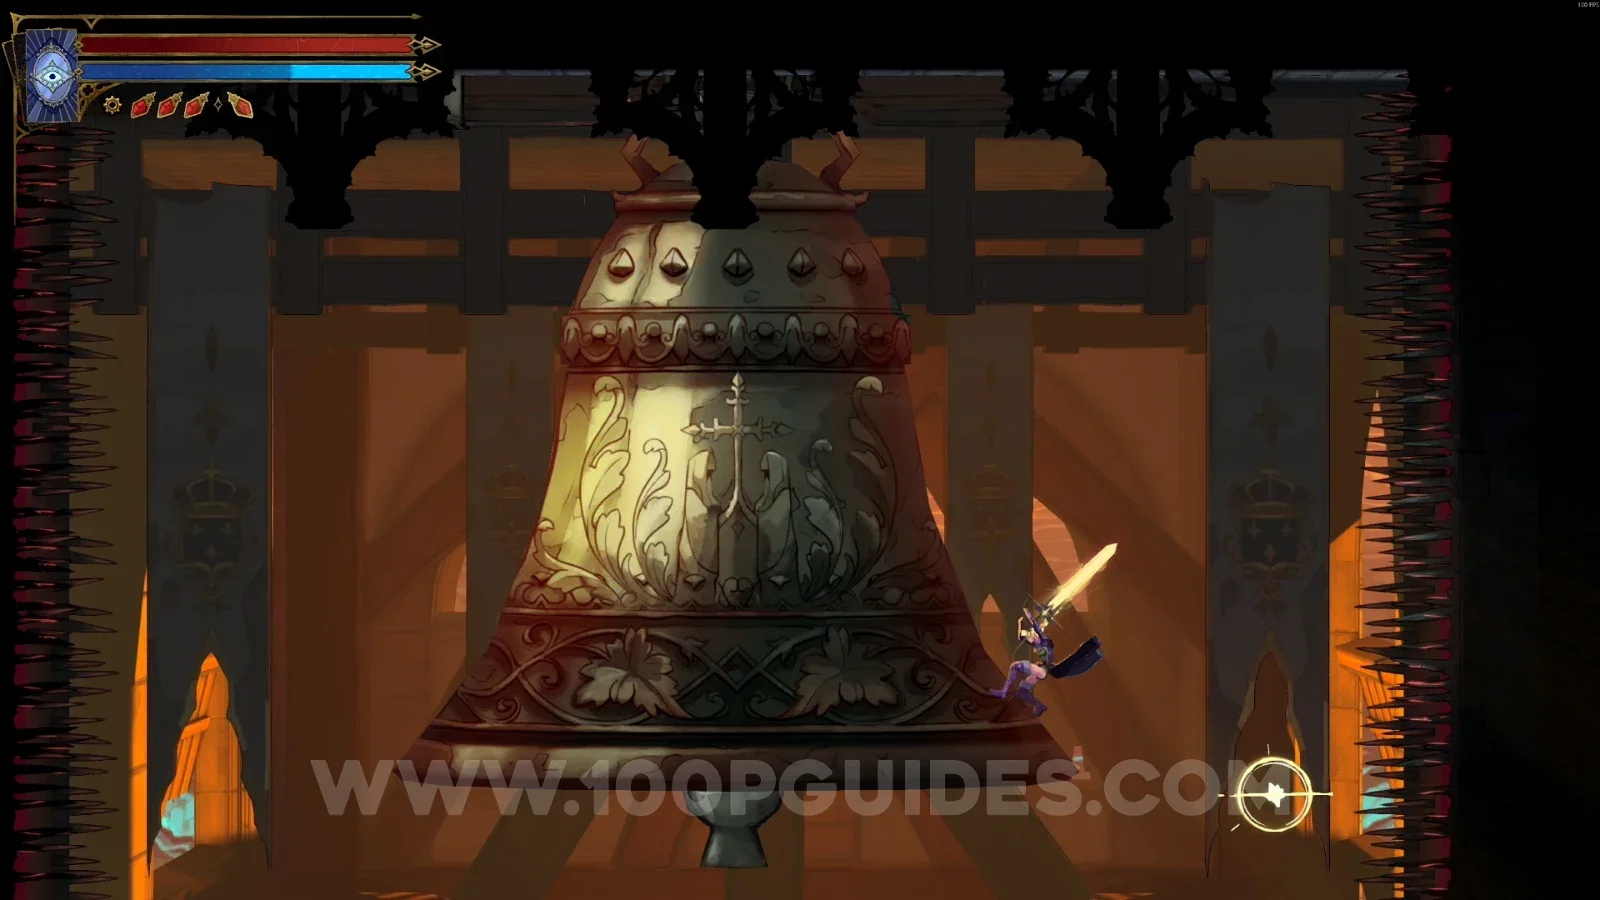
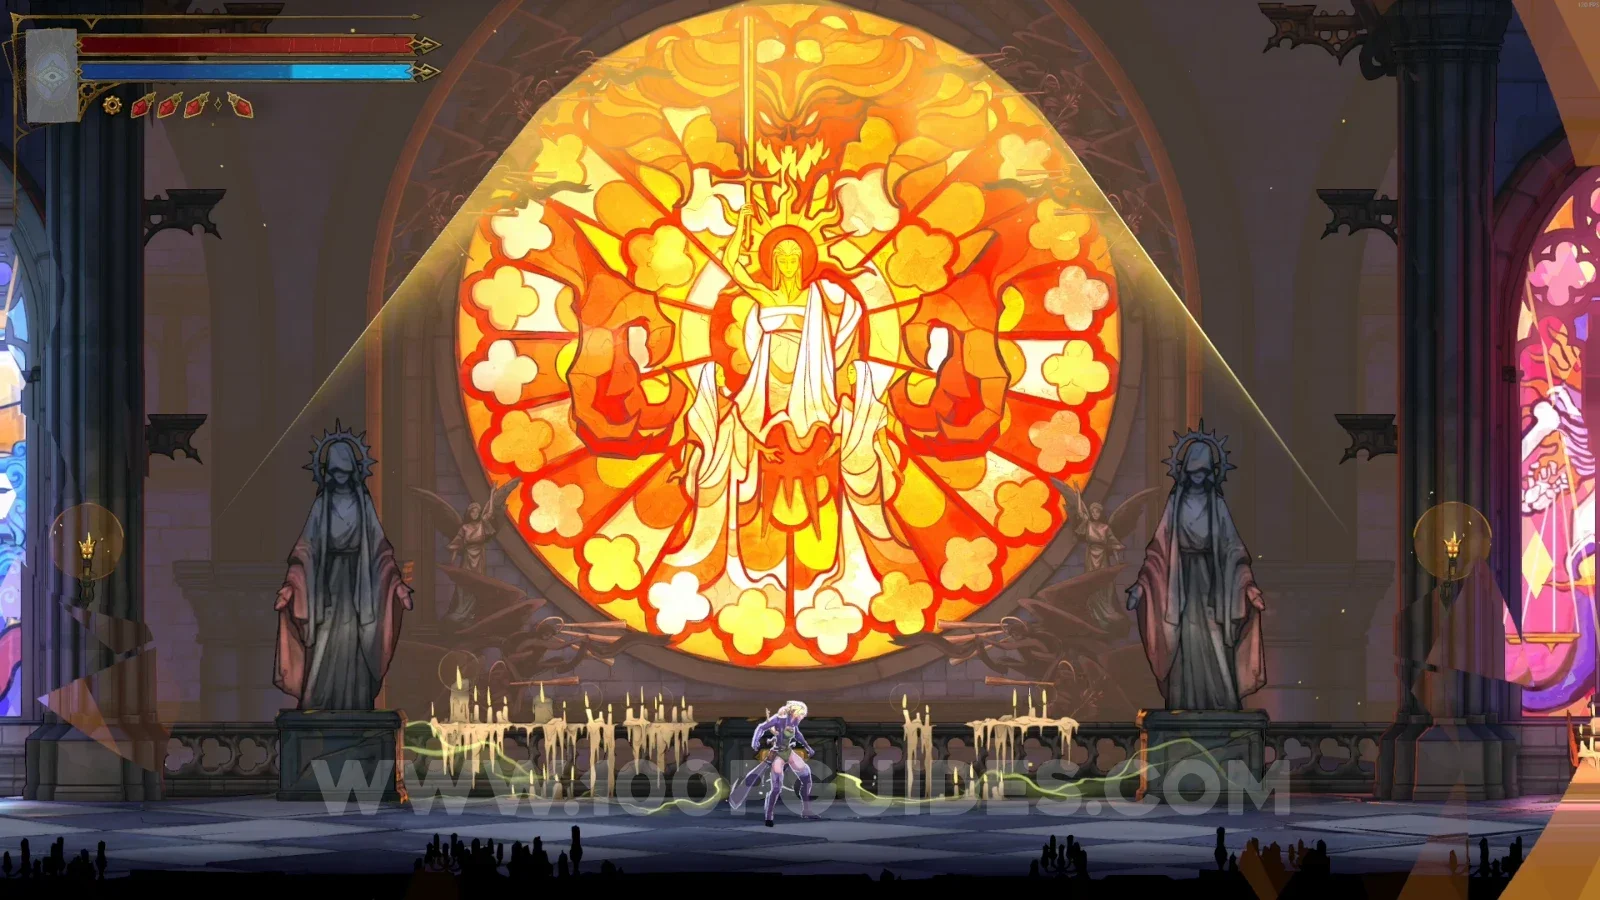
Finally, after ringing all 4 bells, interact with the large stained glass window in the center of the area and defeat your cursed self. This will reward you with the Absolution arcana.
La Fleche
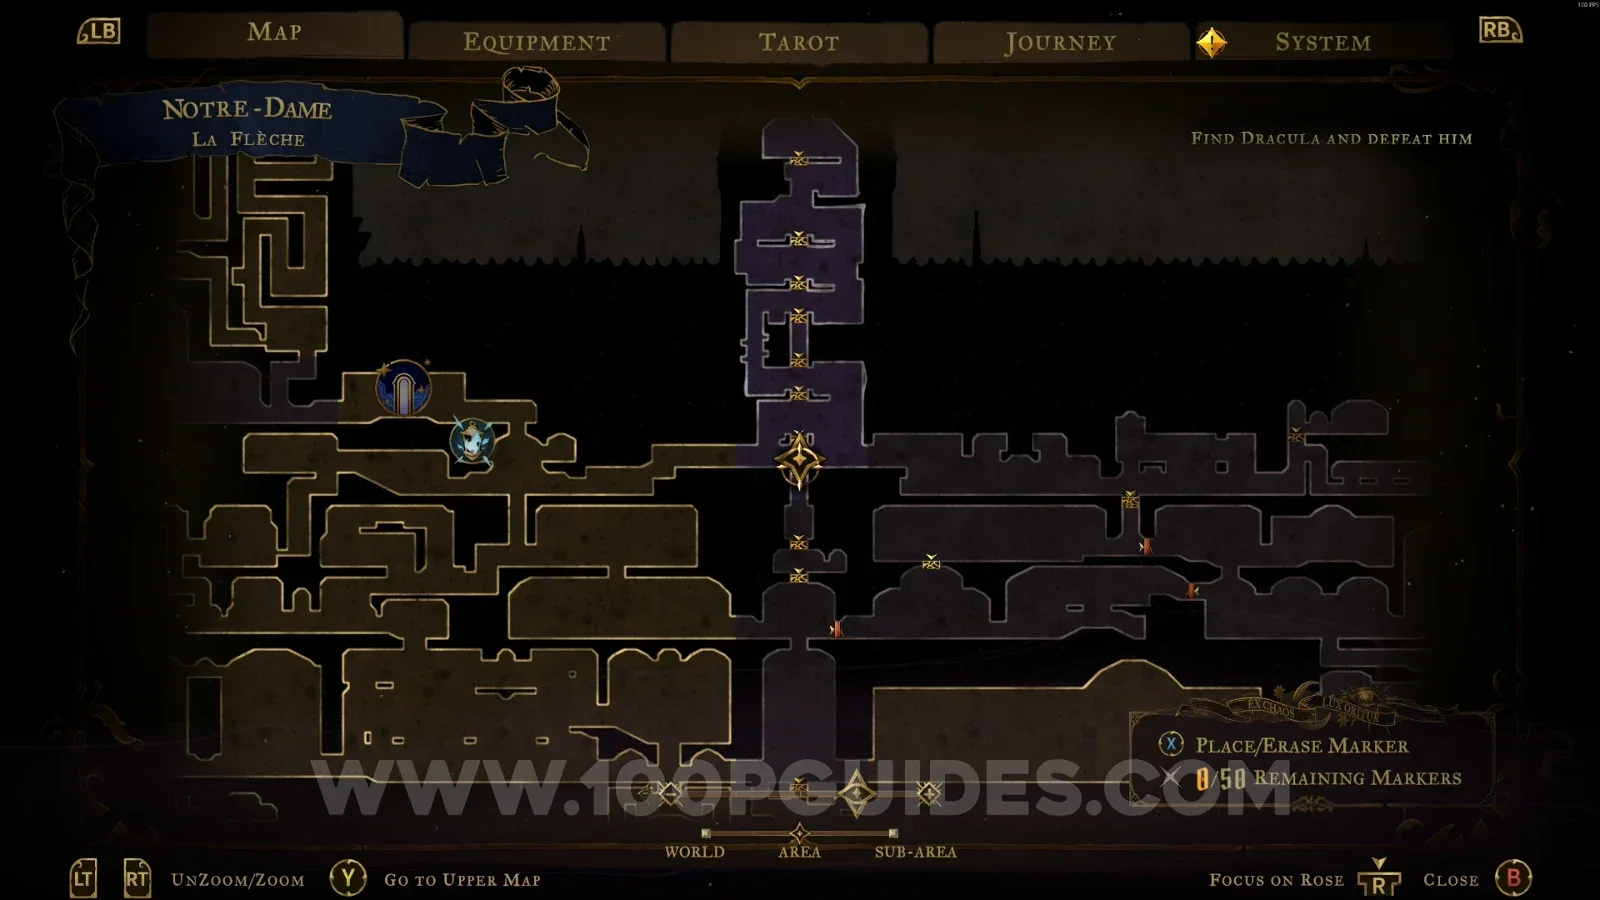
Brave Heart Fragment #2
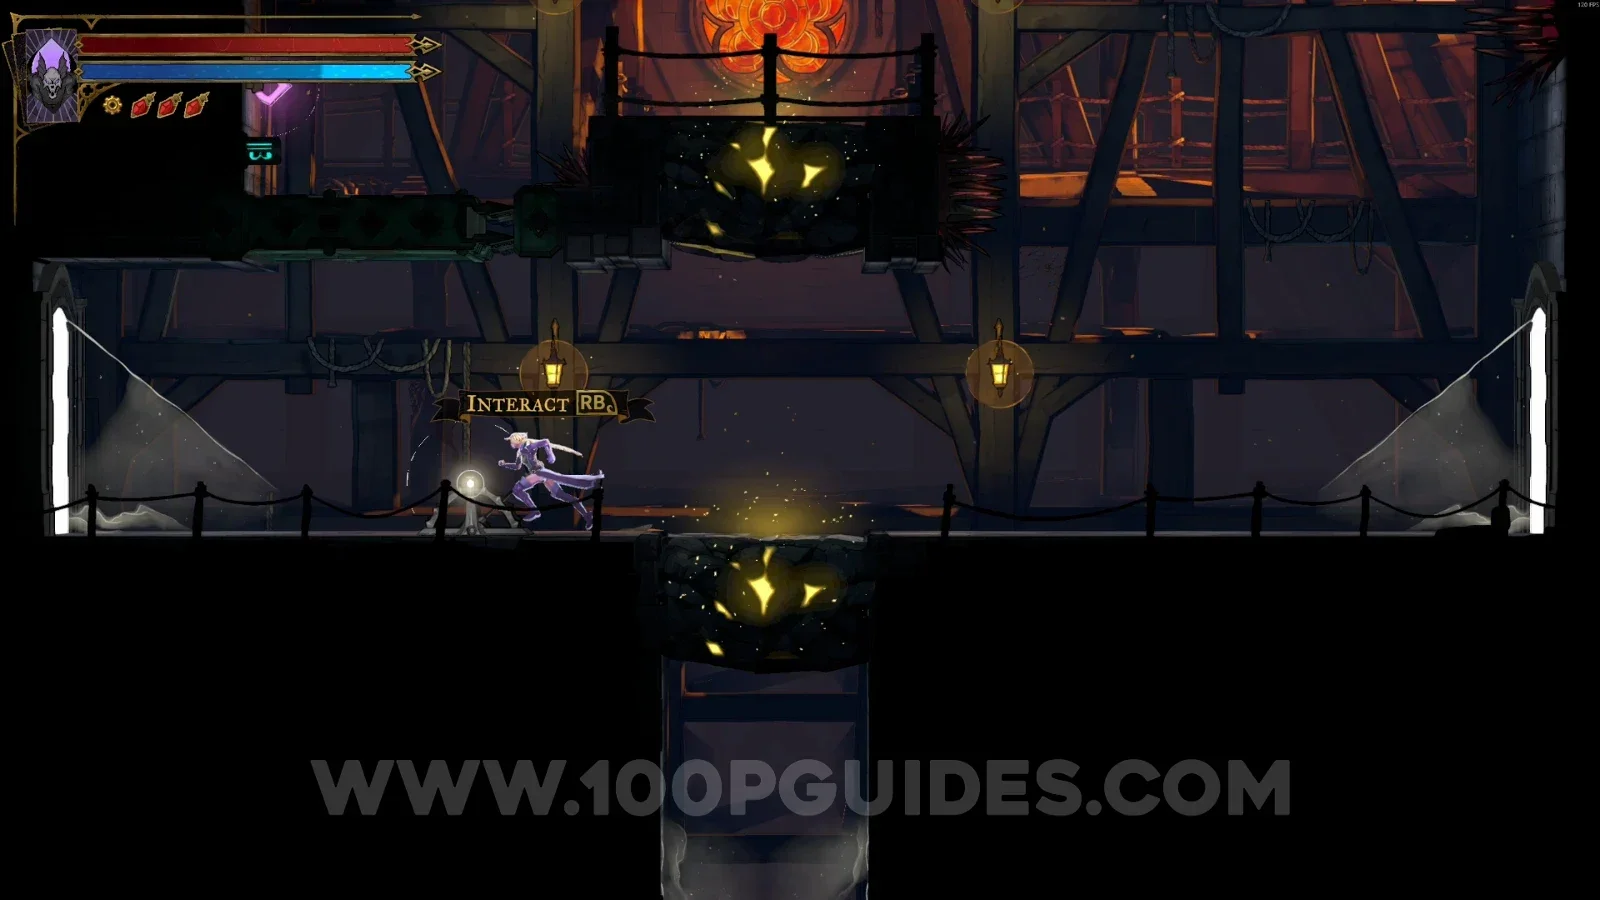
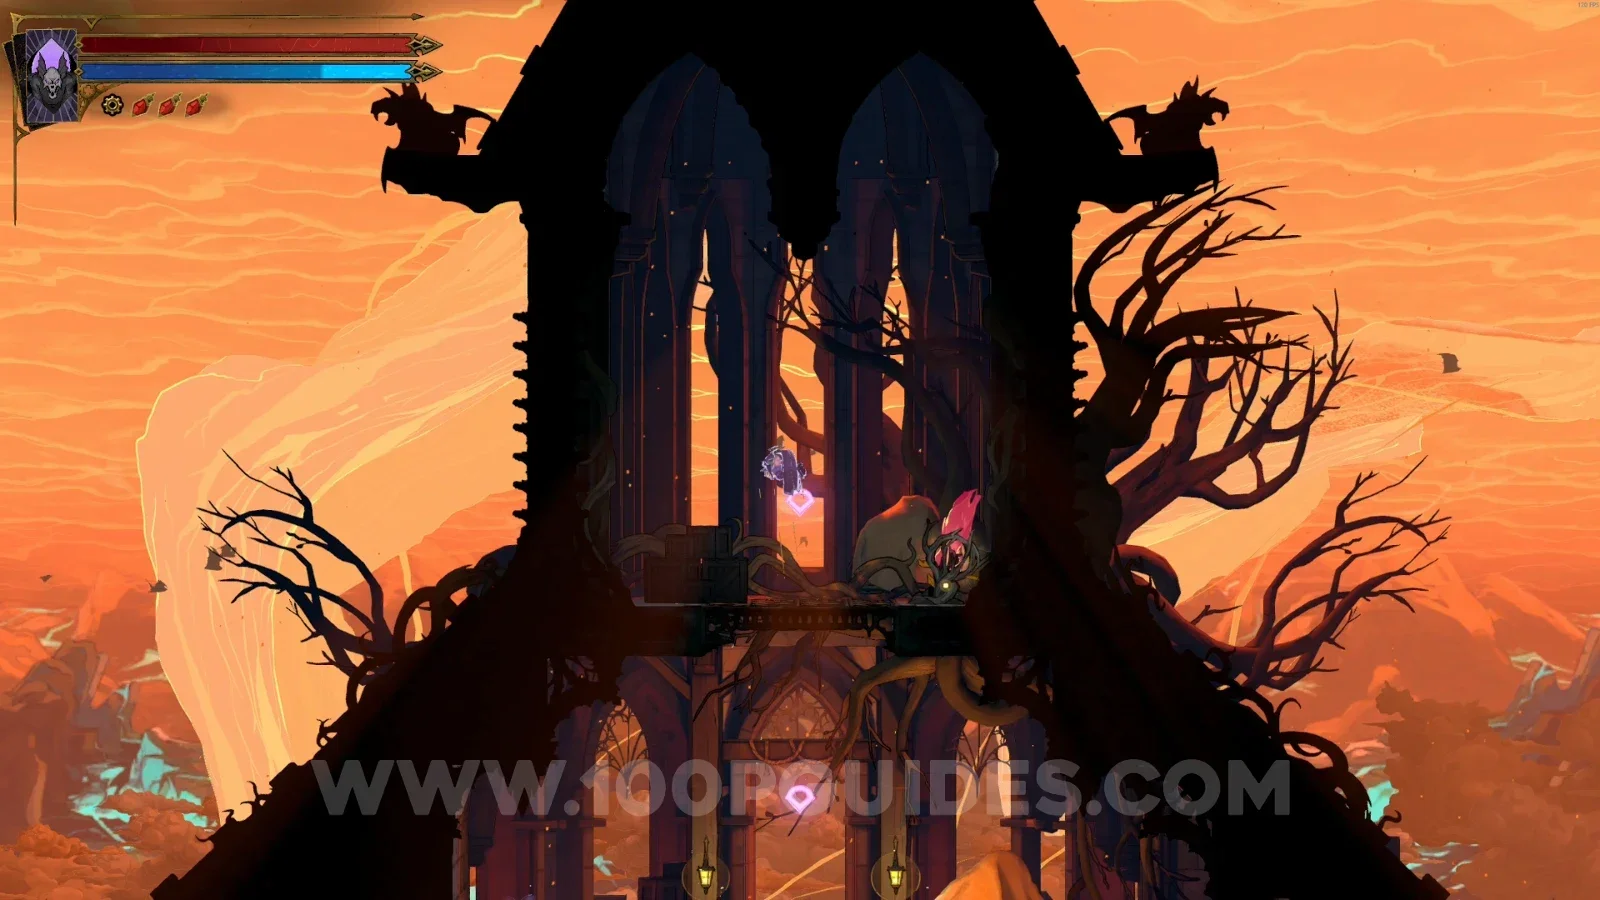
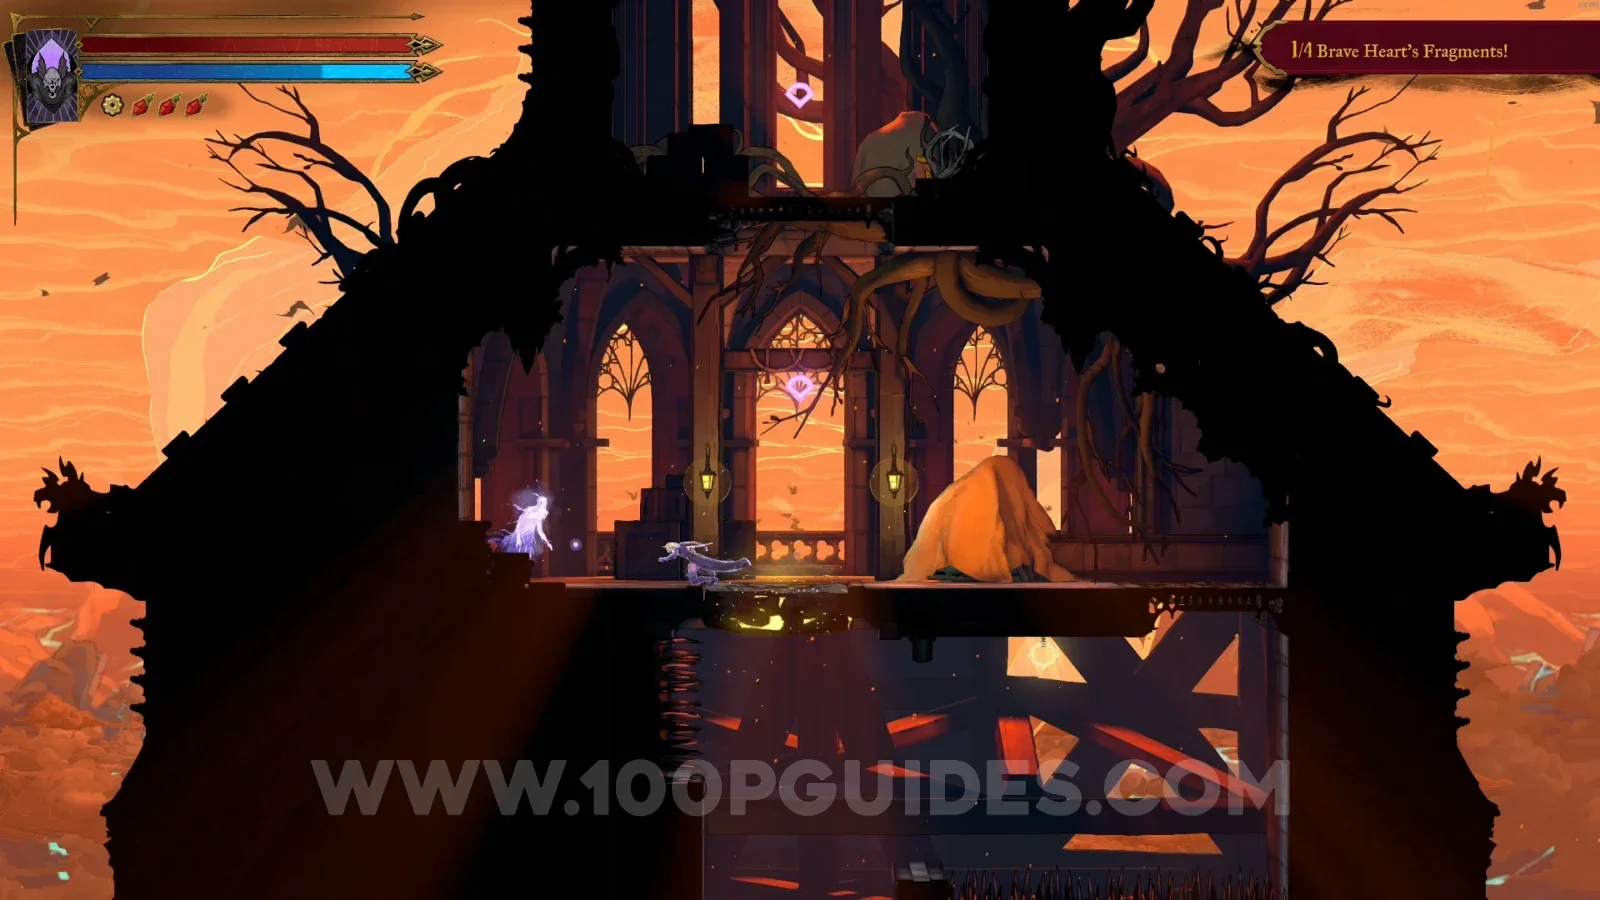
In the area marked on the map, interact with the lever and climb the tower to the top to find this Brave Heart.
Clue: The Shadow
Same area as before, just below the Brave Heart.
East Triforium
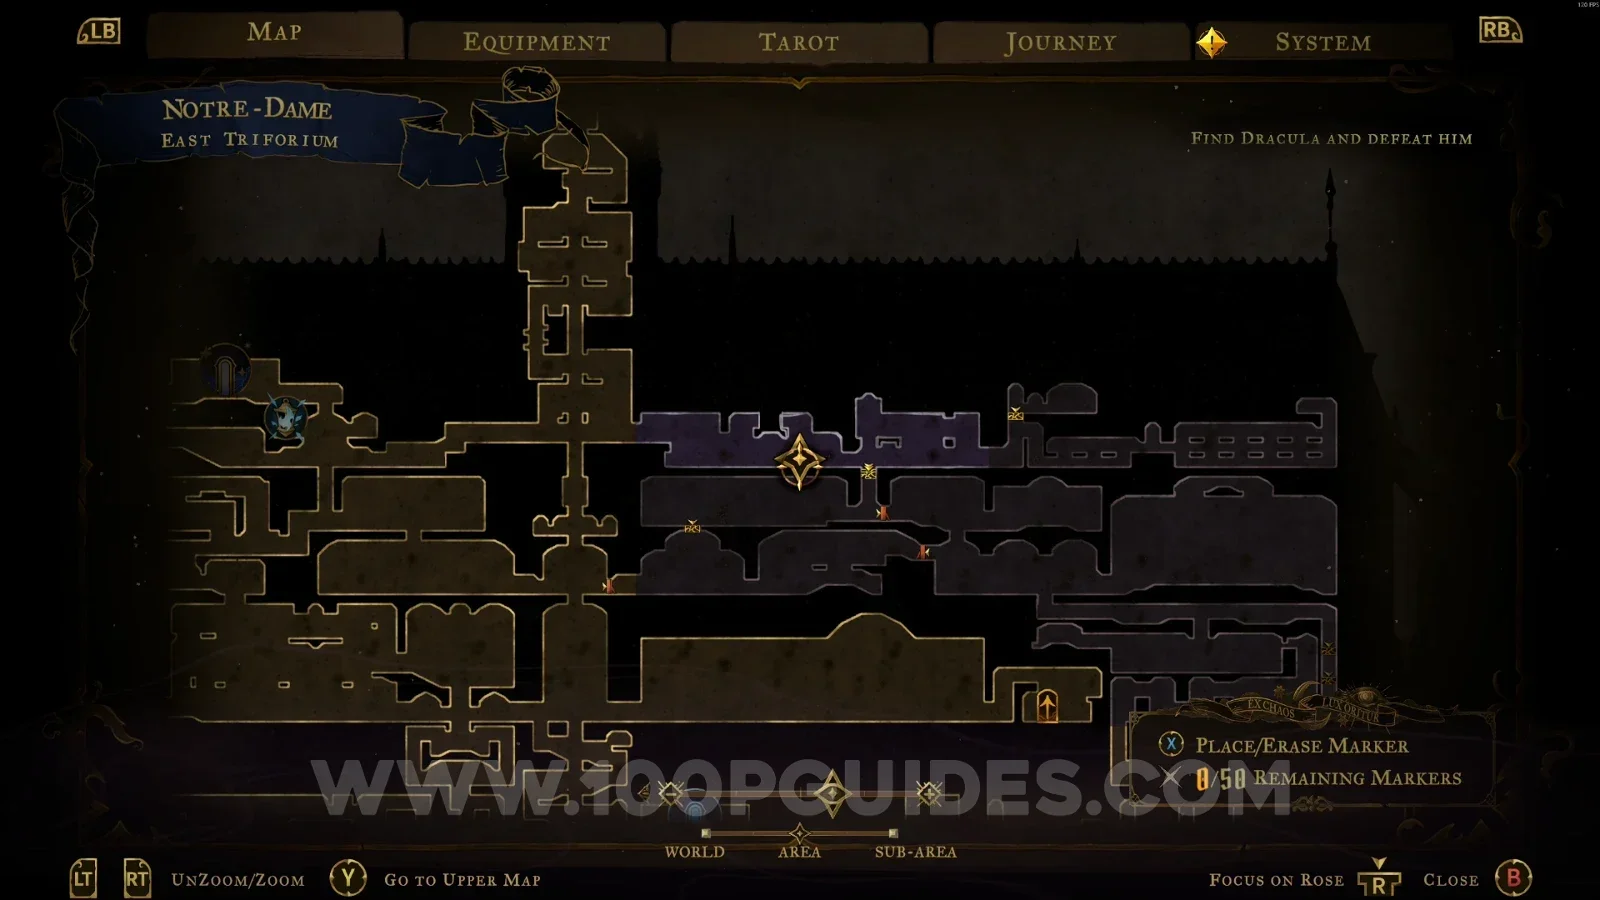
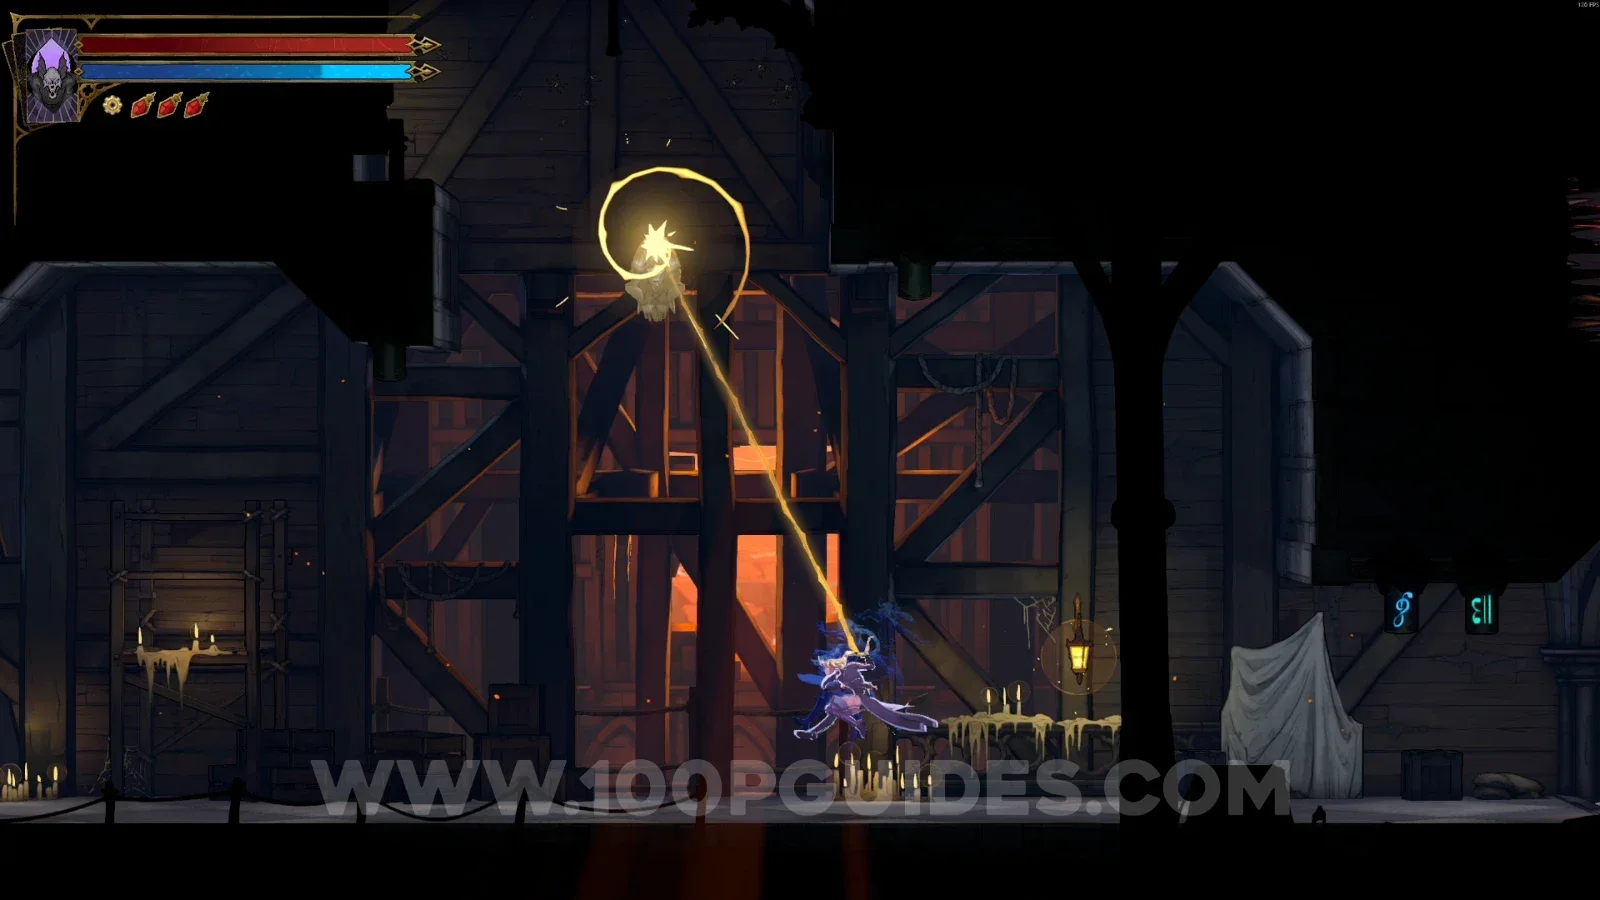
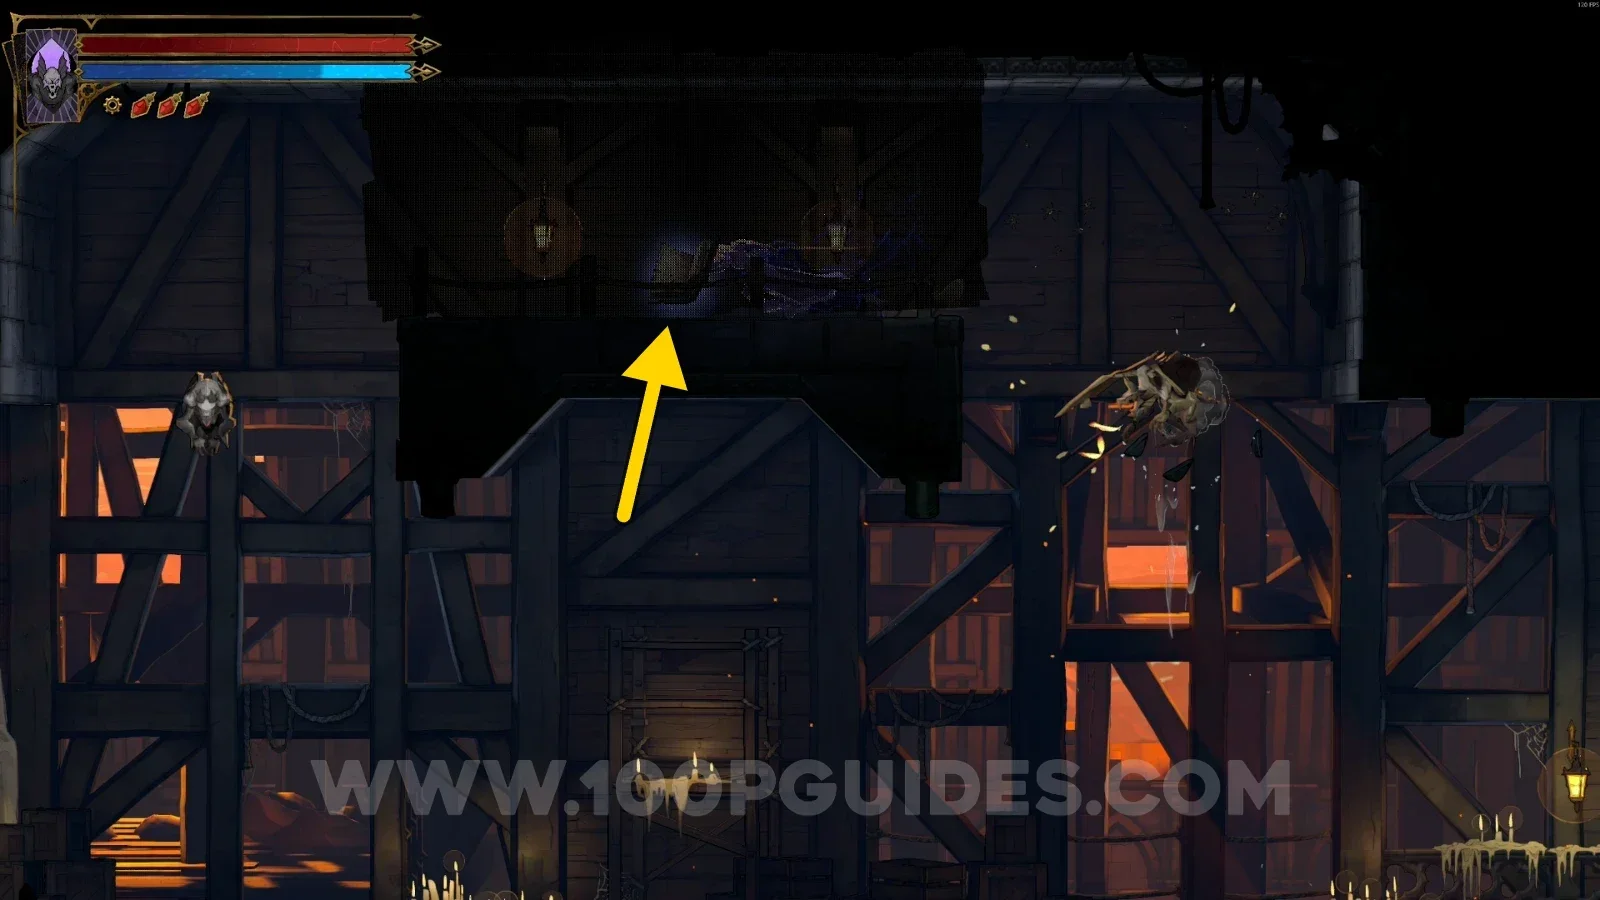
Blue Book #2
Use the Arcane Whip to launch yourself upward and reach a small secret room containing this Blue Book.
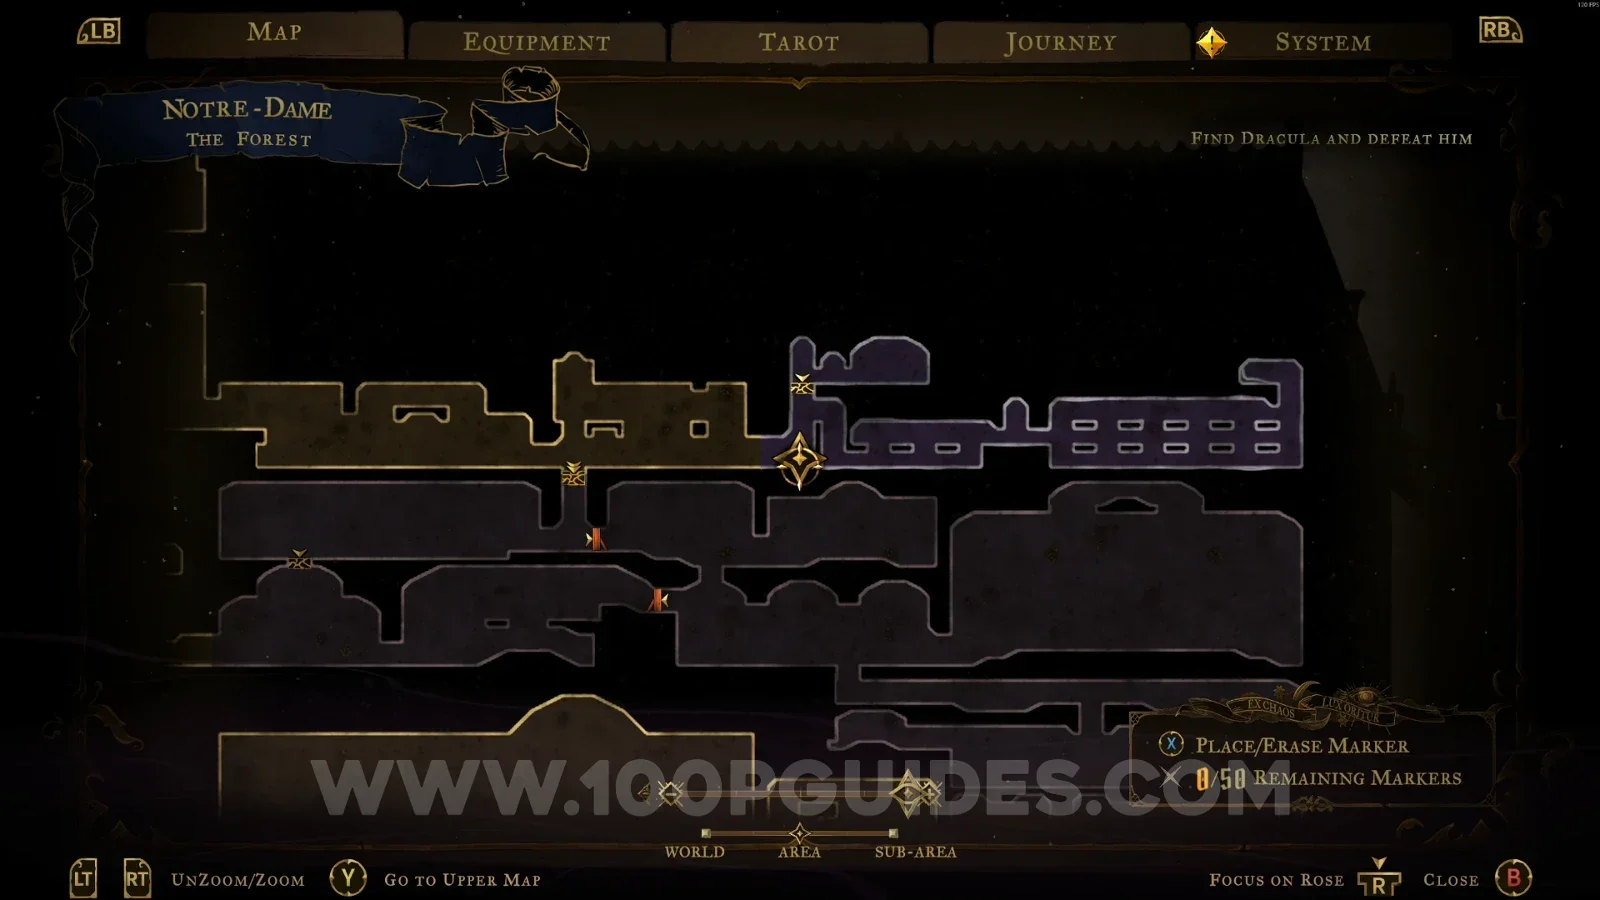
The Forest
XP Statue #13
At the top of the area marked on the map.
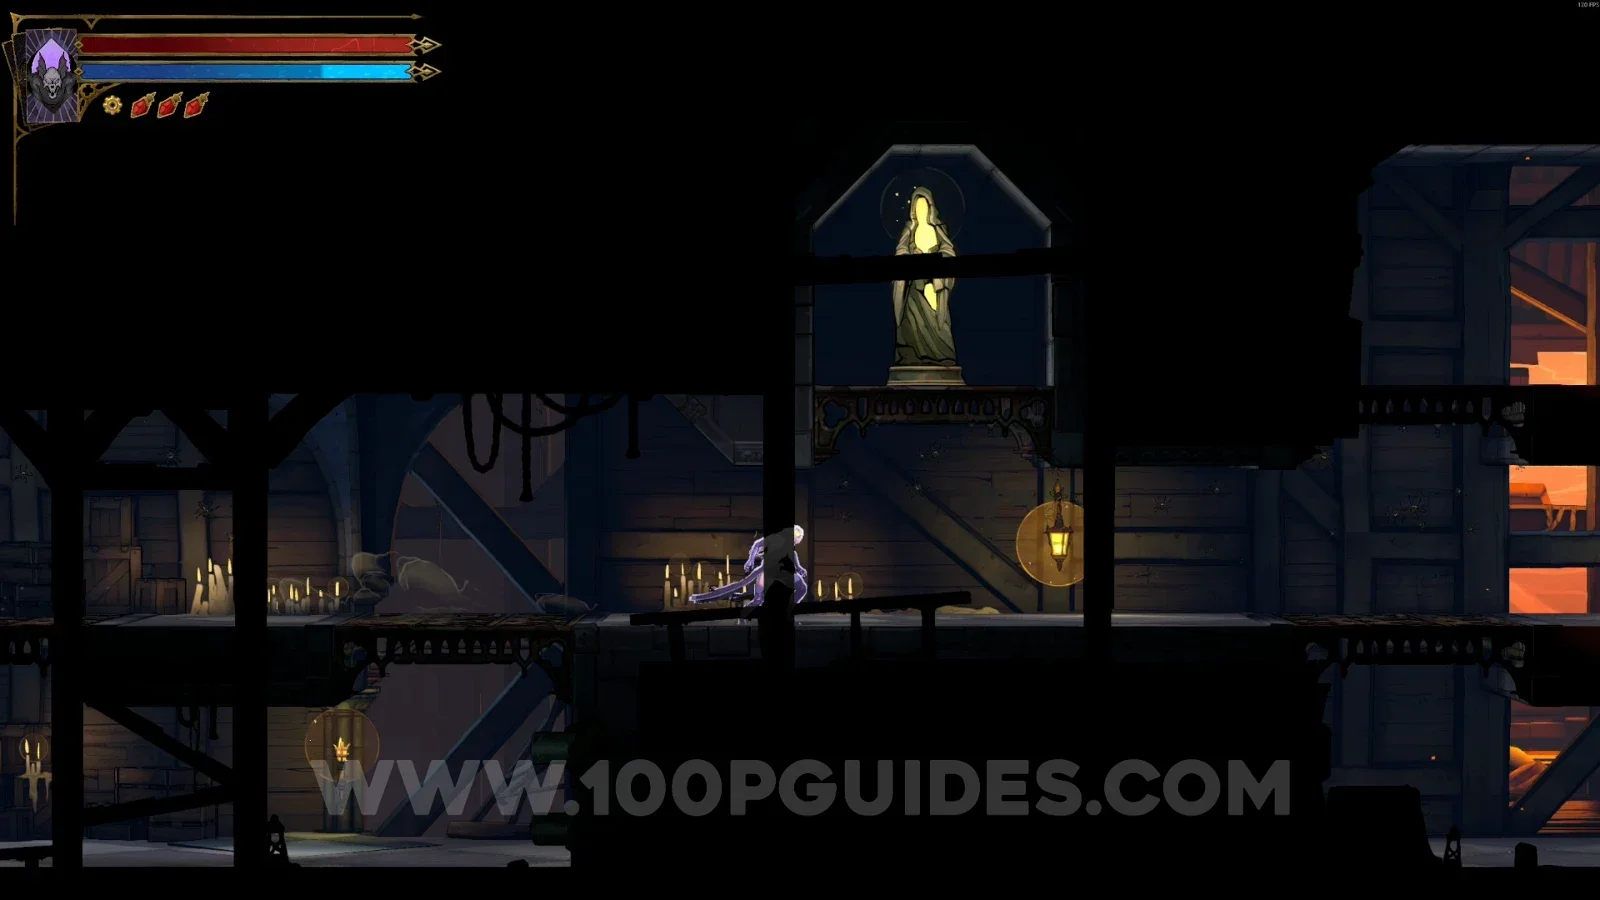
Brave Heart Fragment #3
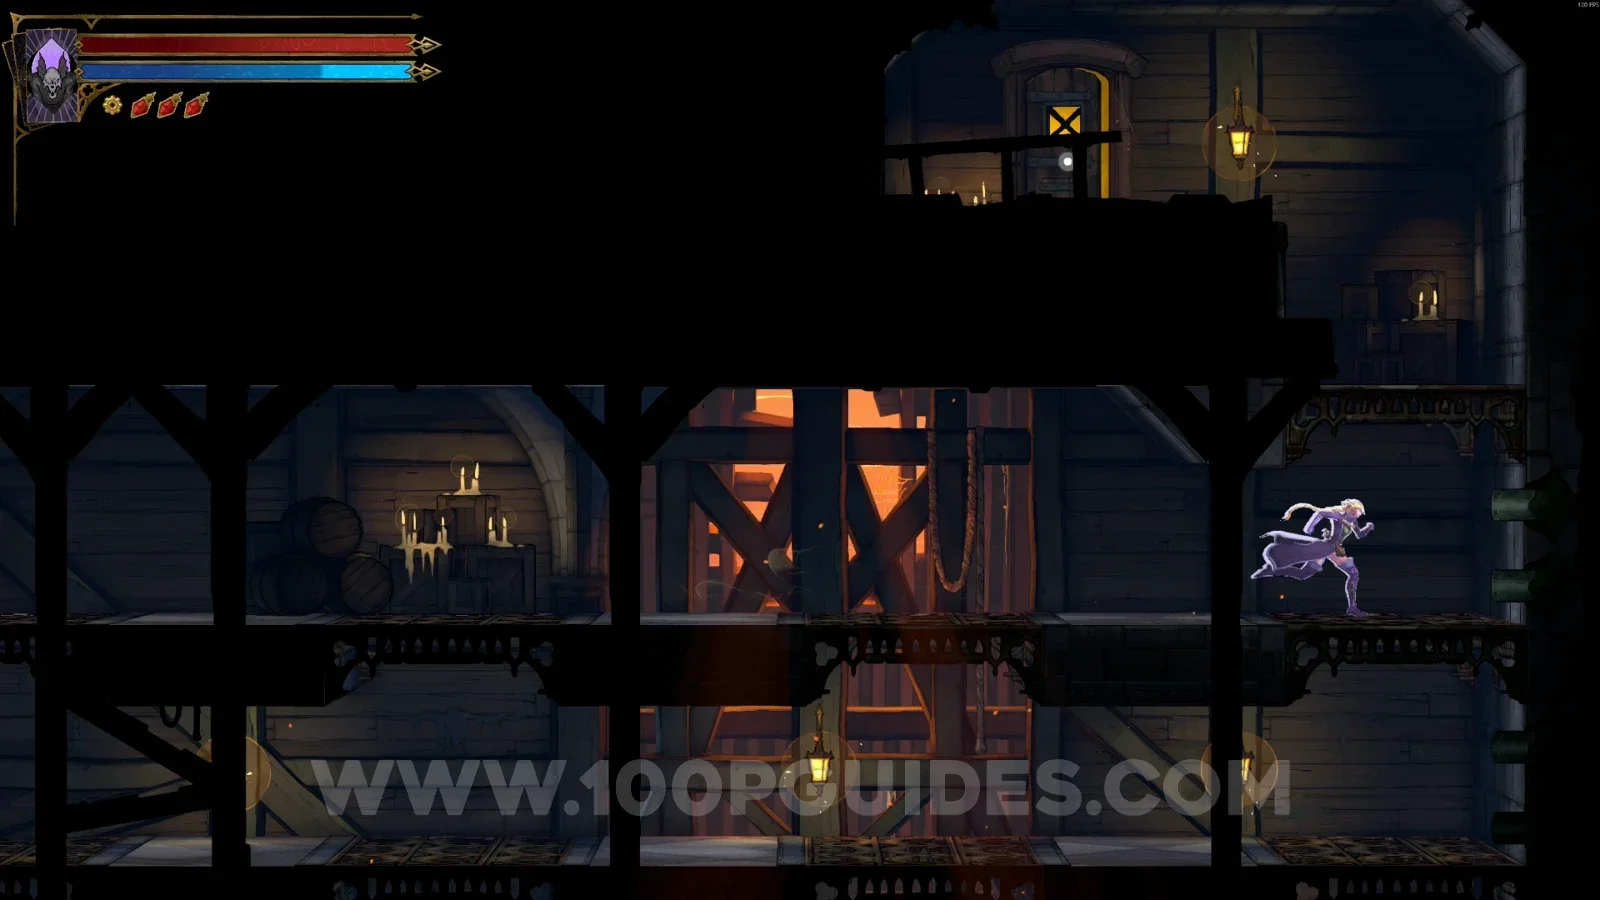
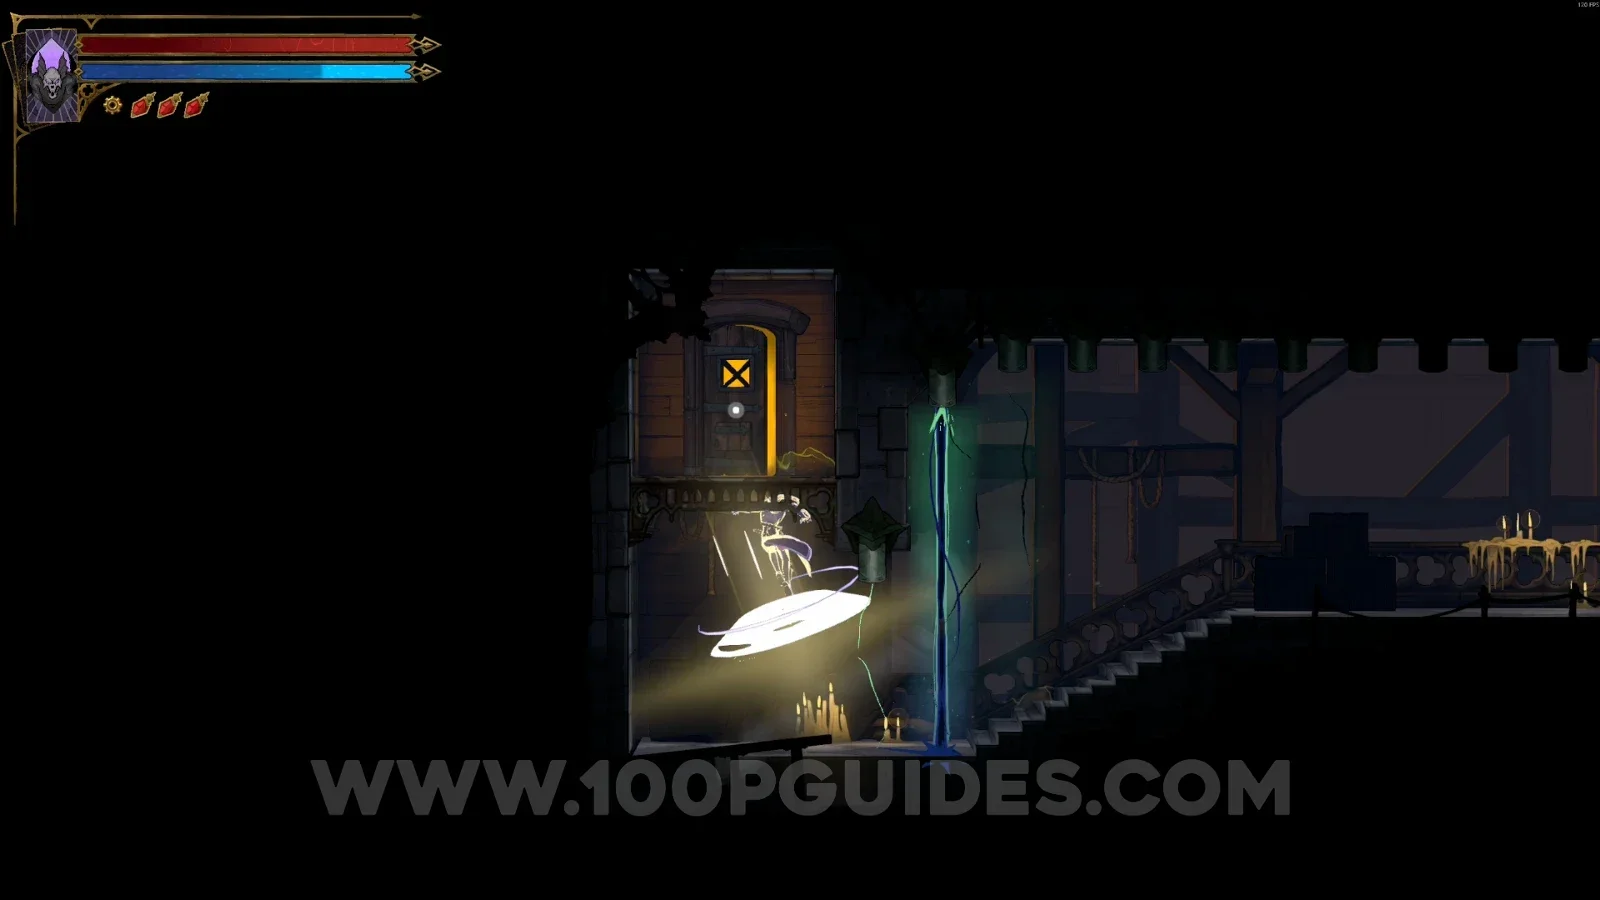
Same area as the previous collectible. Keep heading right and go through the door. On the other side, follow the single path to the left until you find another door. Go through it, and you'll come out right in front of the Brave Heart.
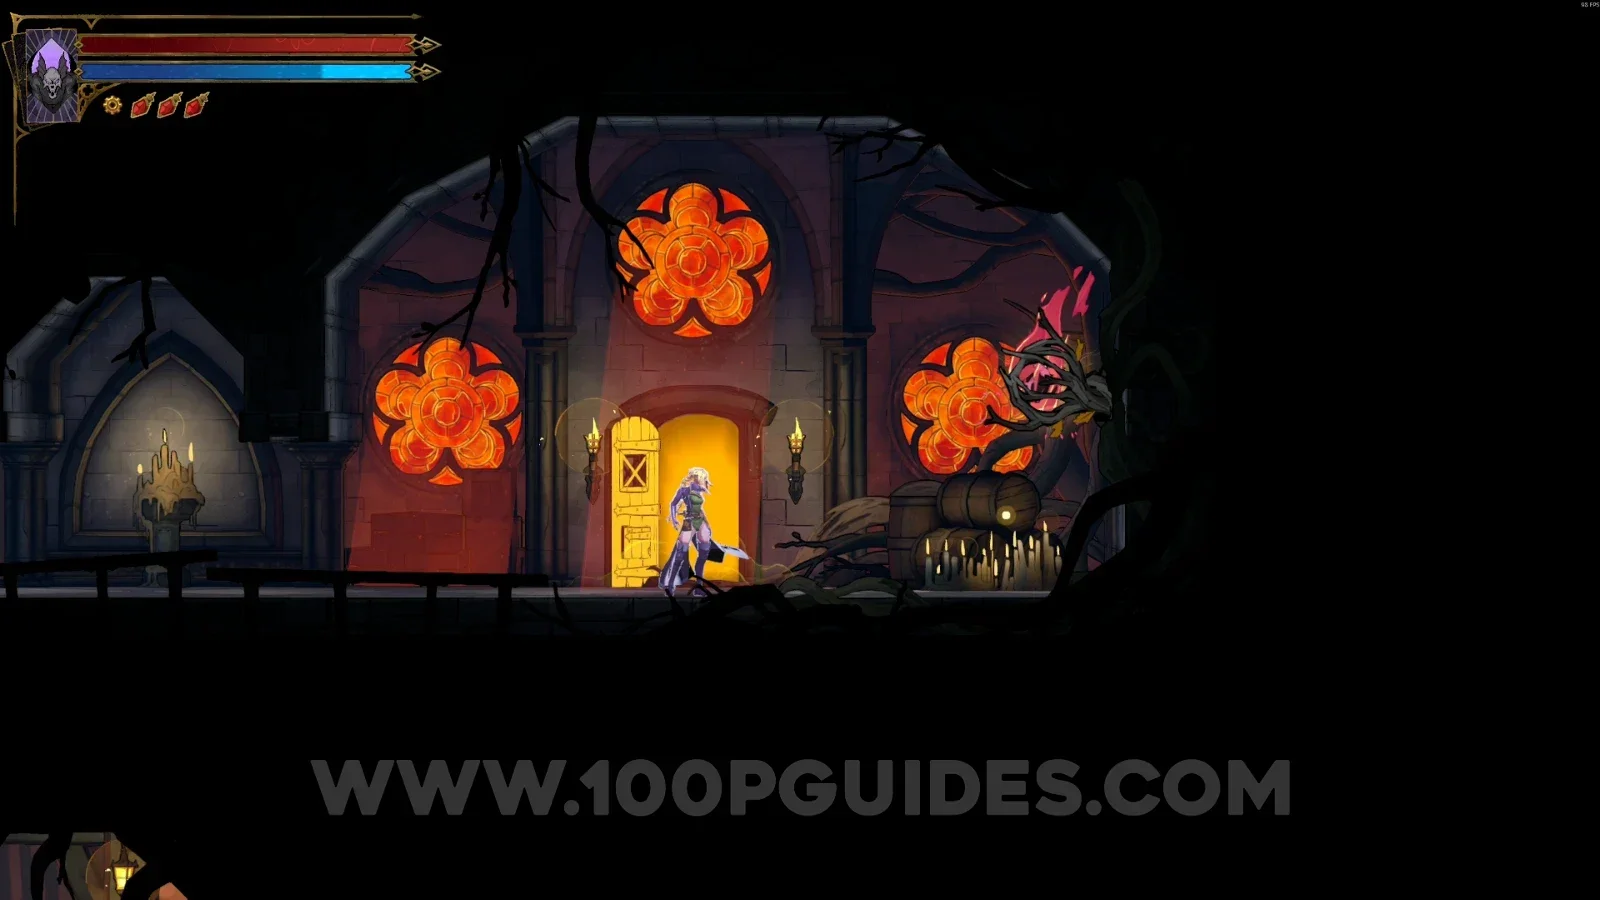
East Gallery
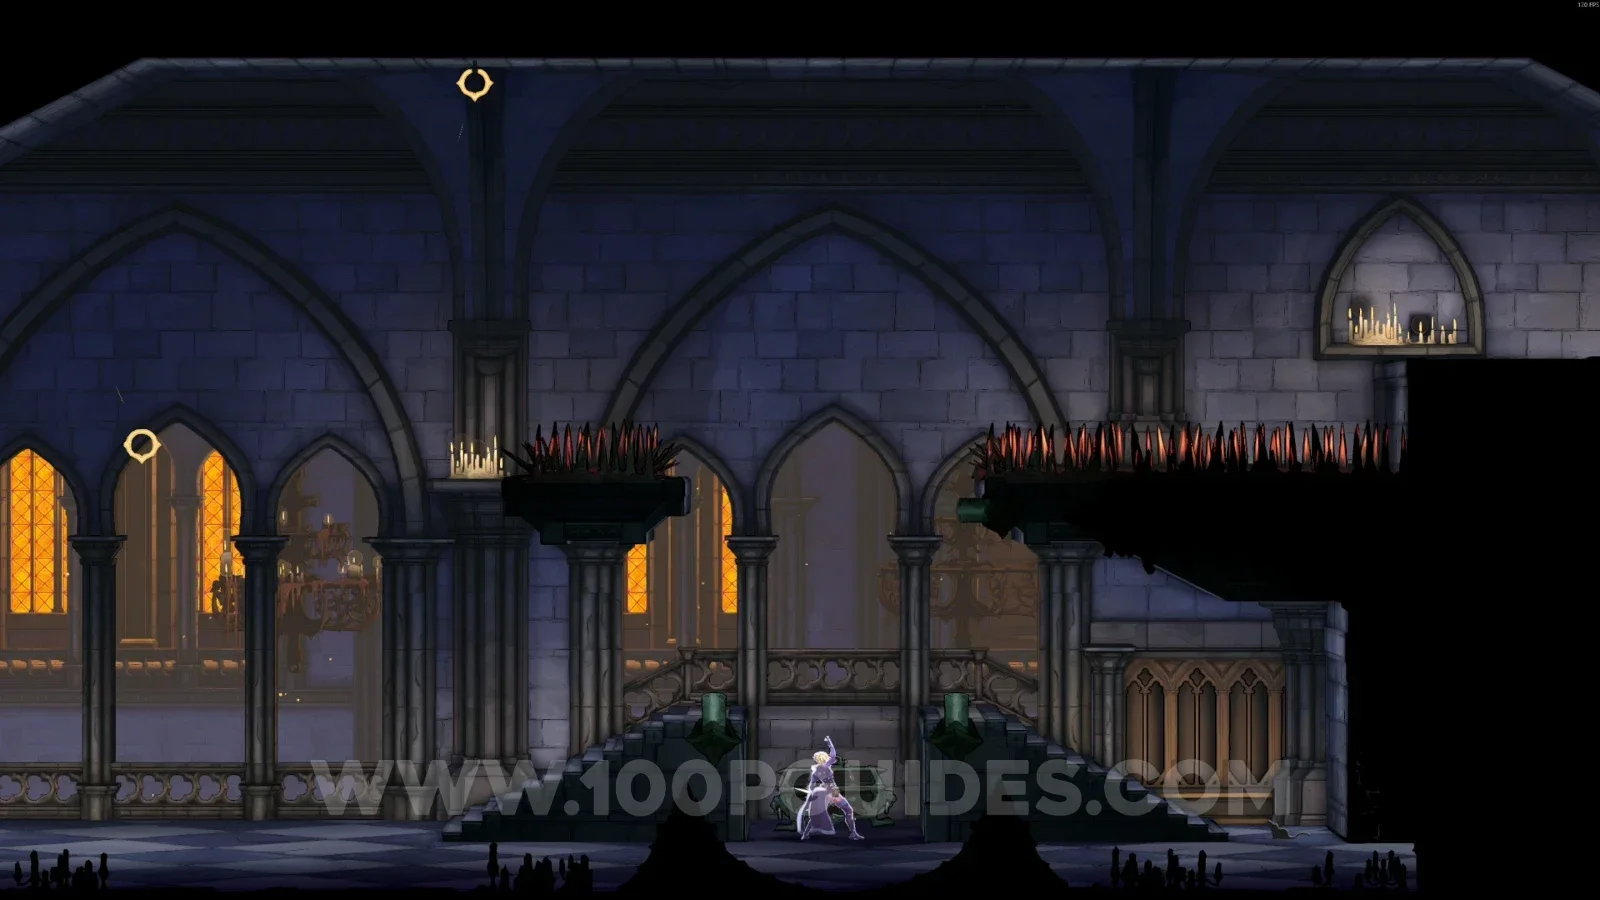
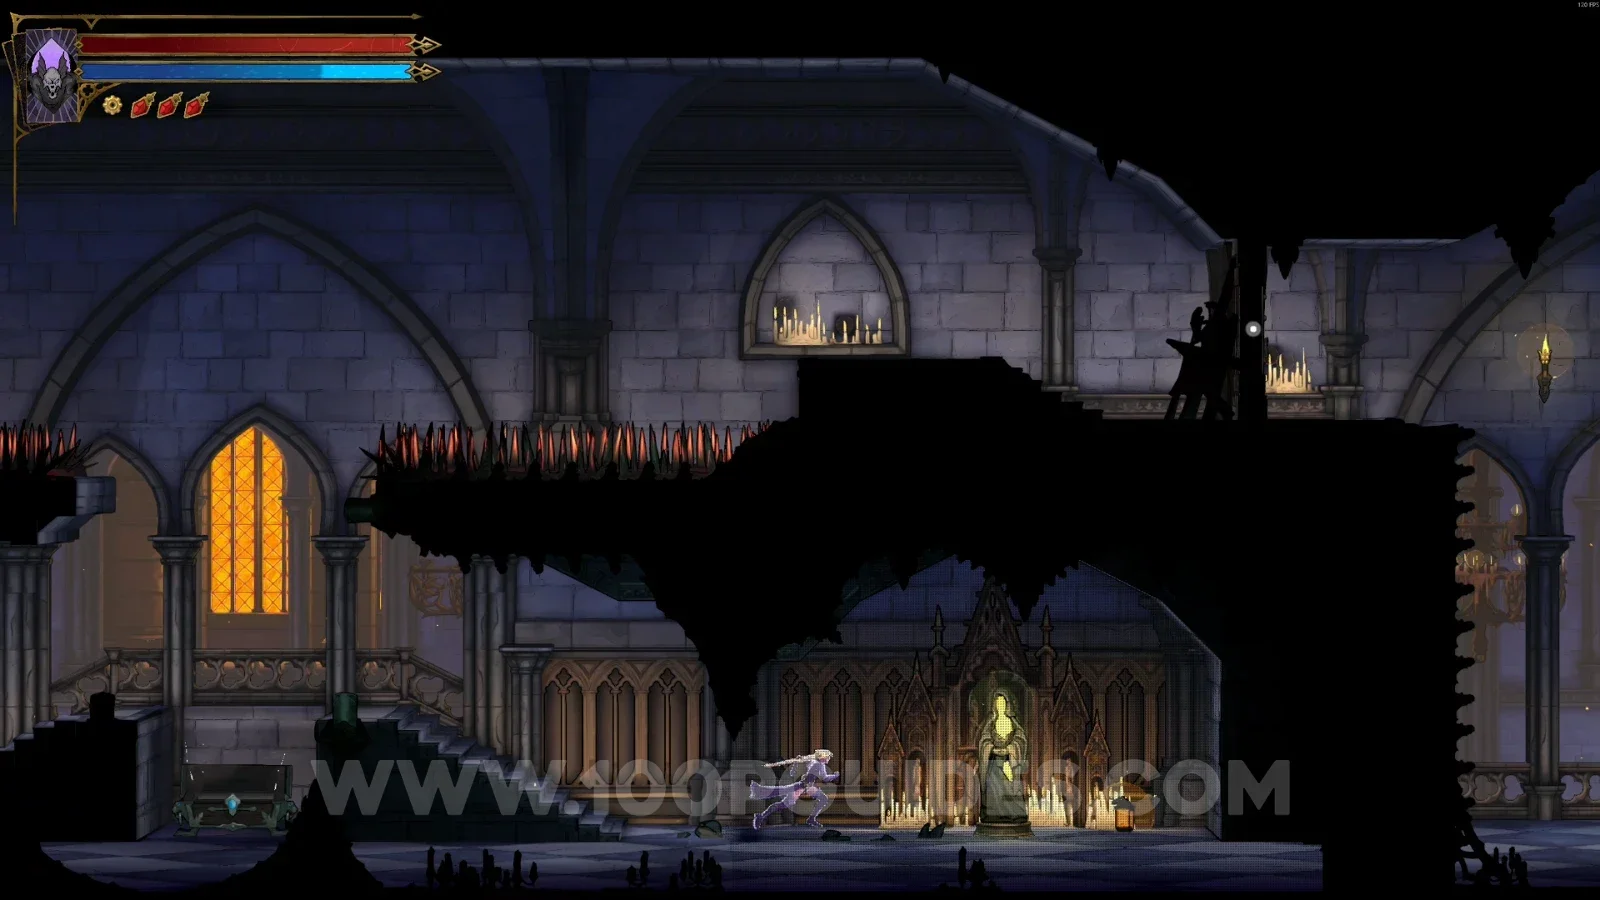
Relic #5: Eldritch Talisman + XP Statue #14
In the area marked on the map, break the floor, then head left and break the next floor.
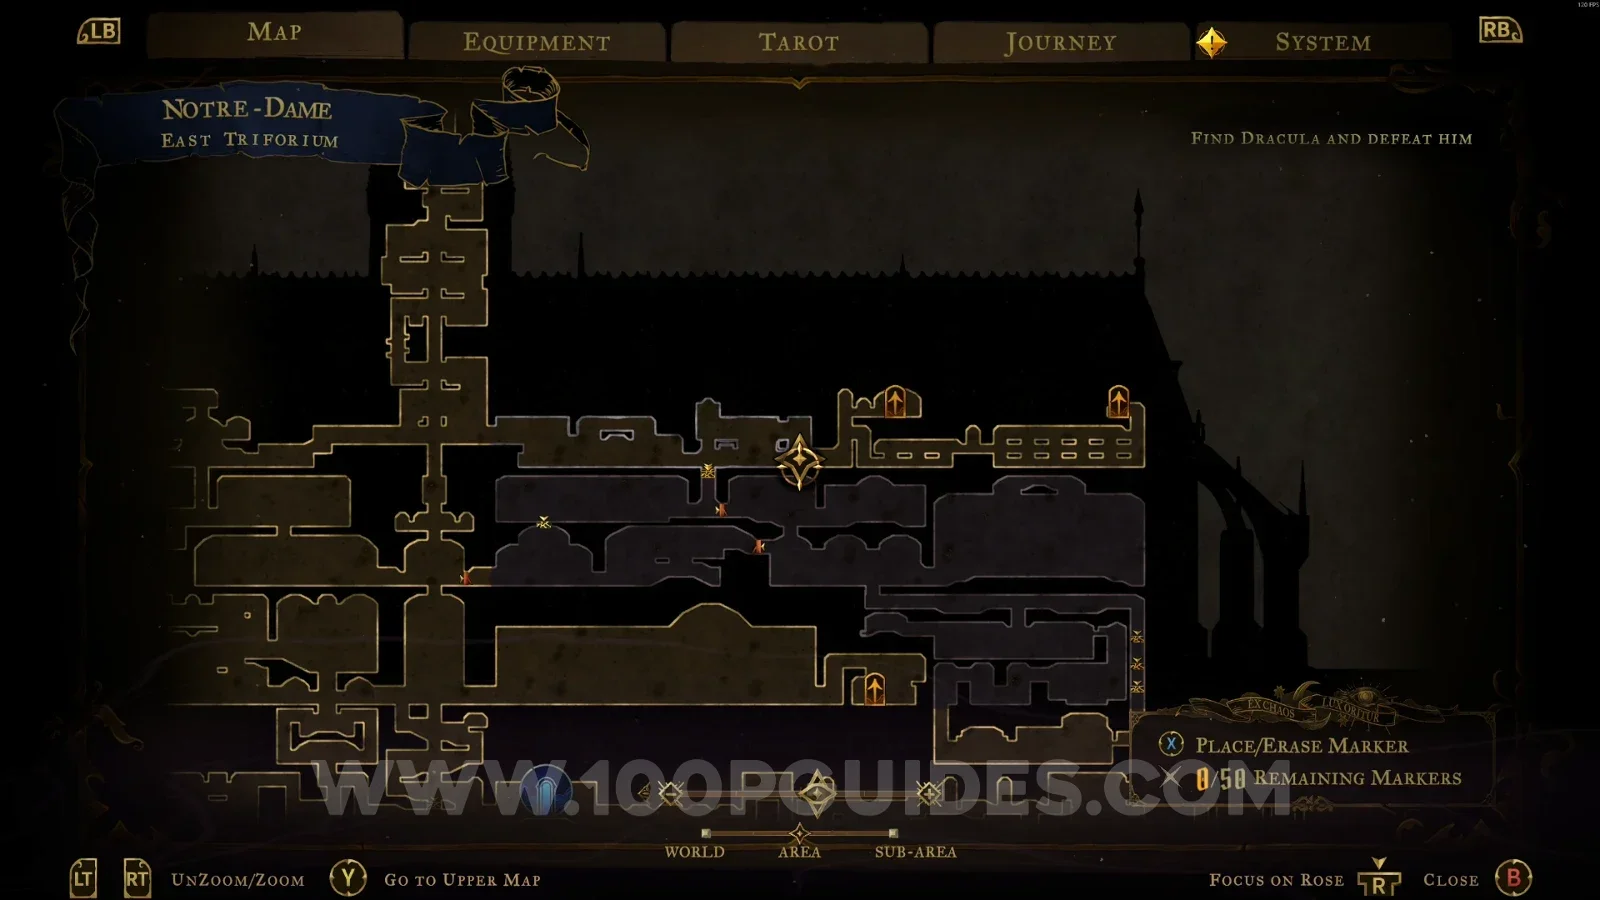
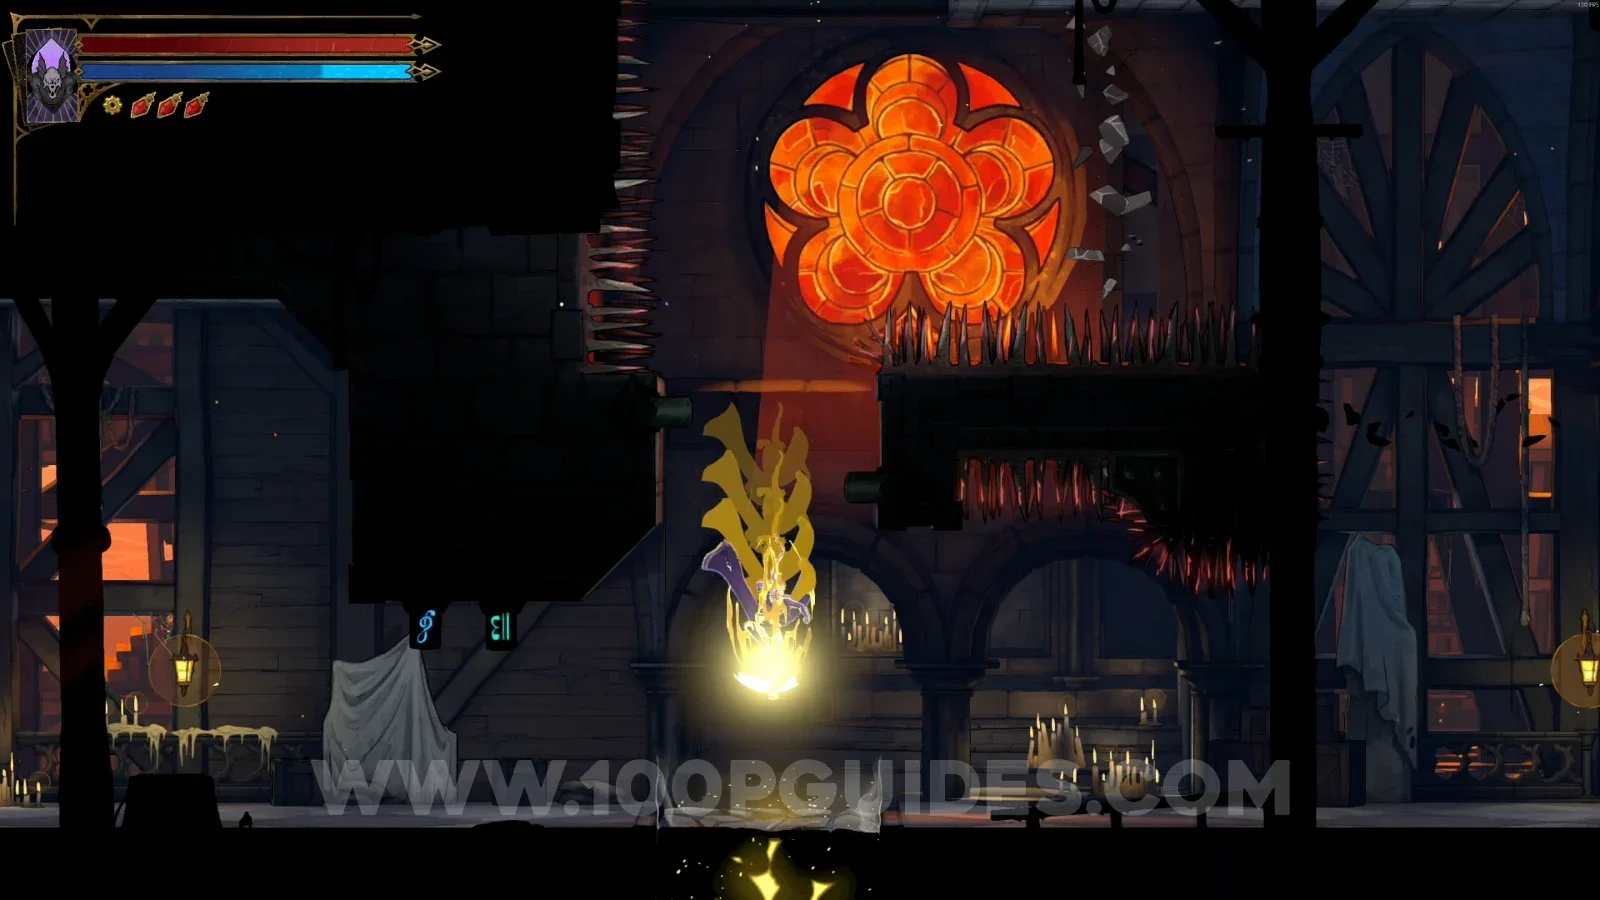
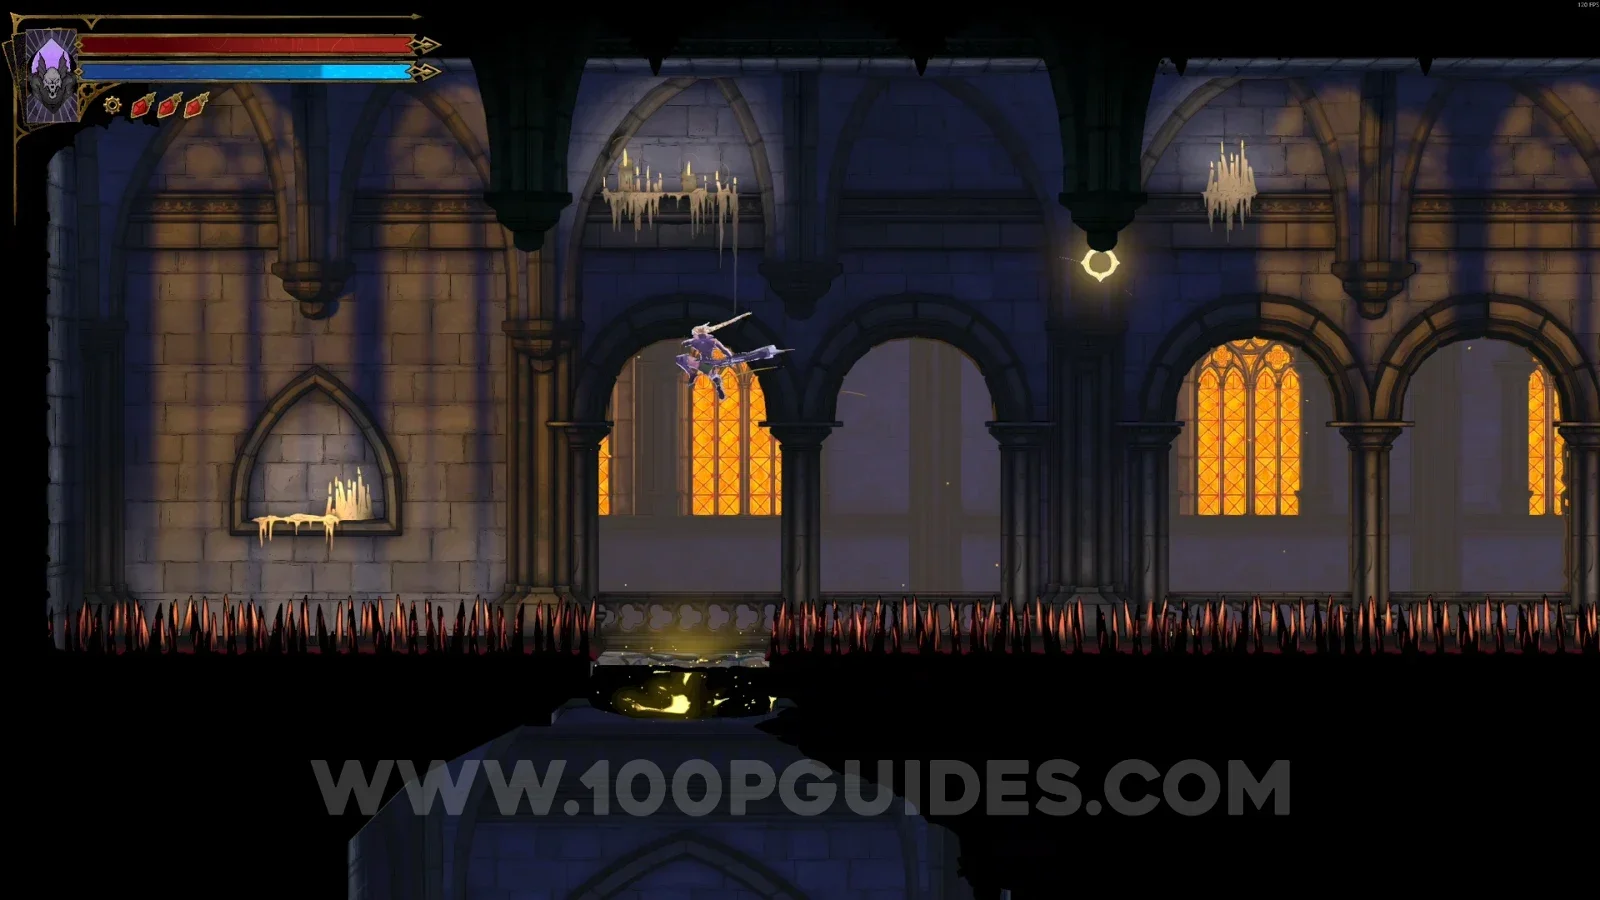
In the new area, head right and use the Arcane Whip to hang and break the floor holding the chest with the relic. Then break the wall on the right side to find the statue.
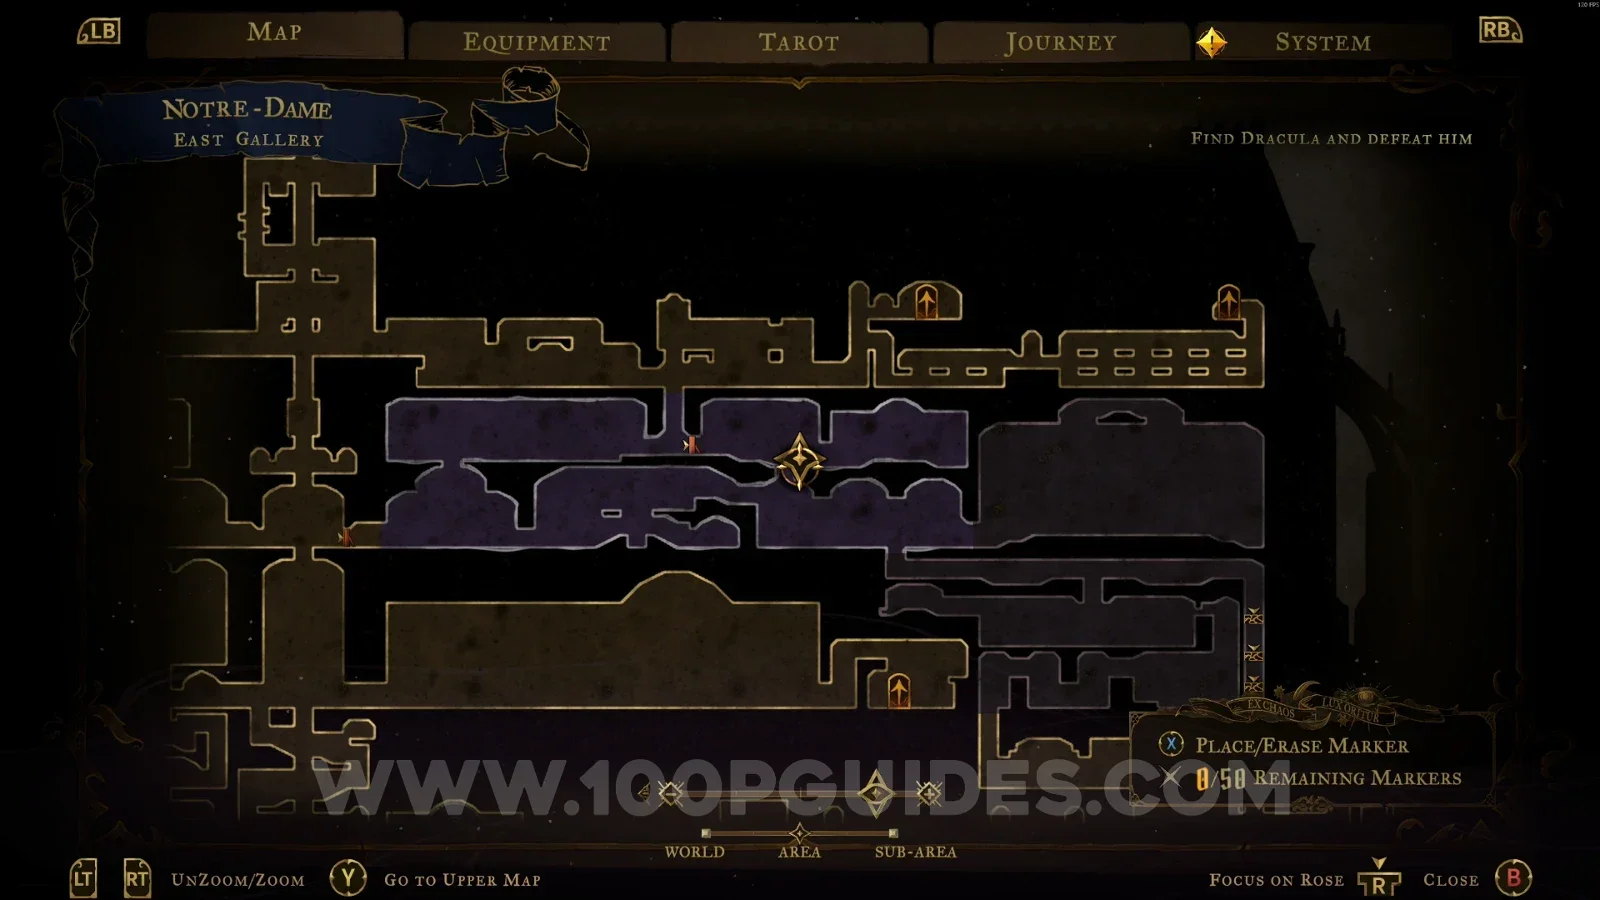
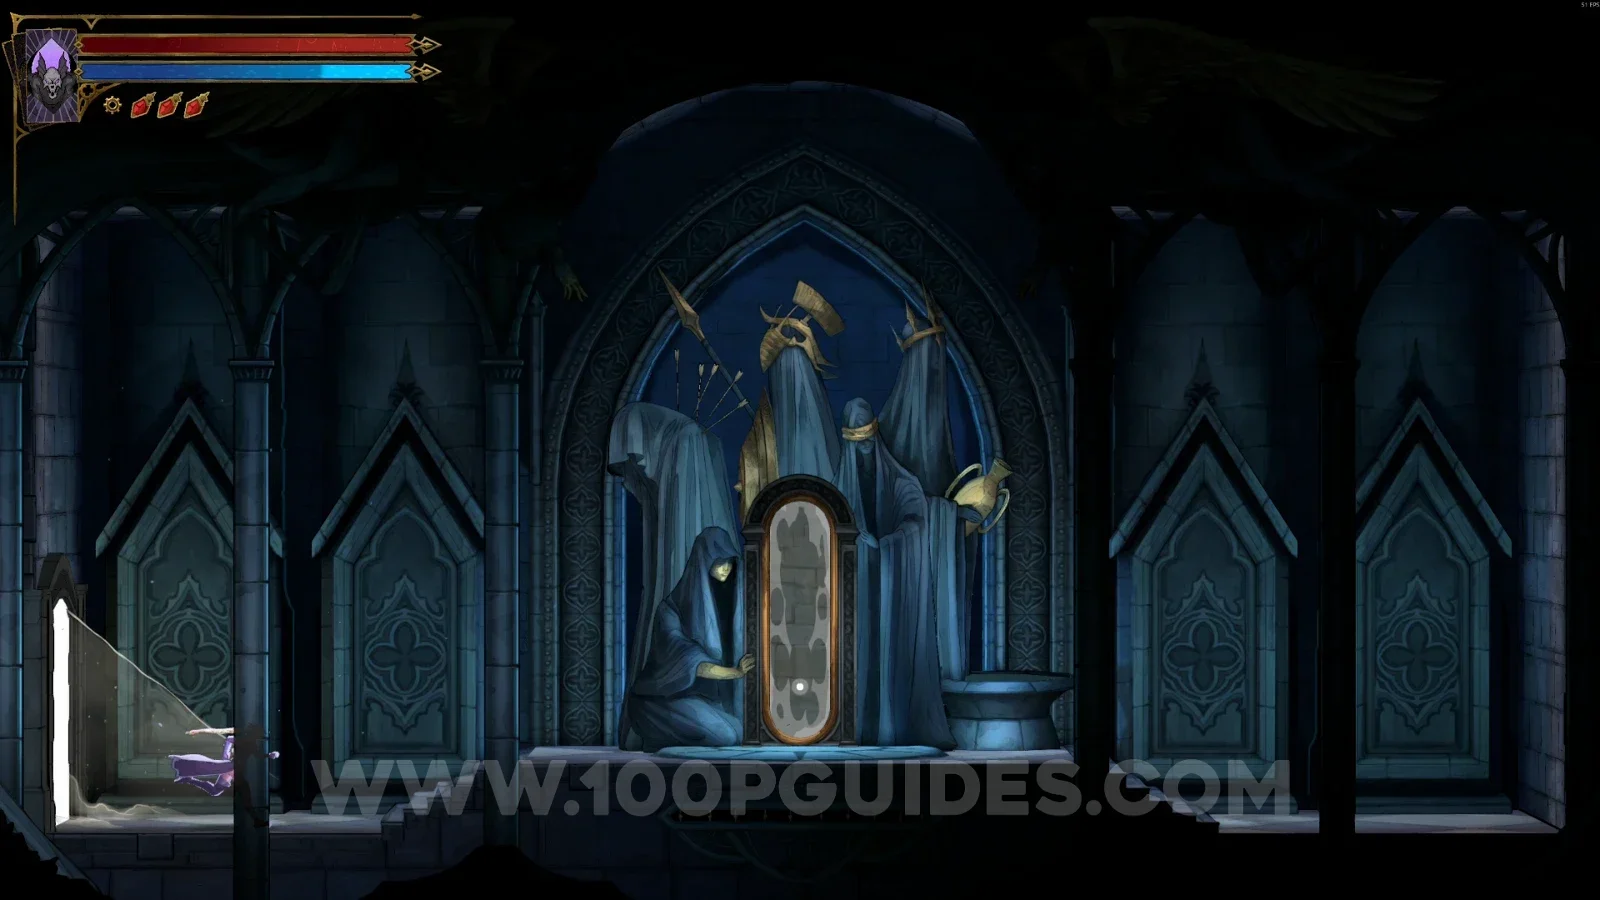
Mirror Of Life #3
In the area marked on the map.
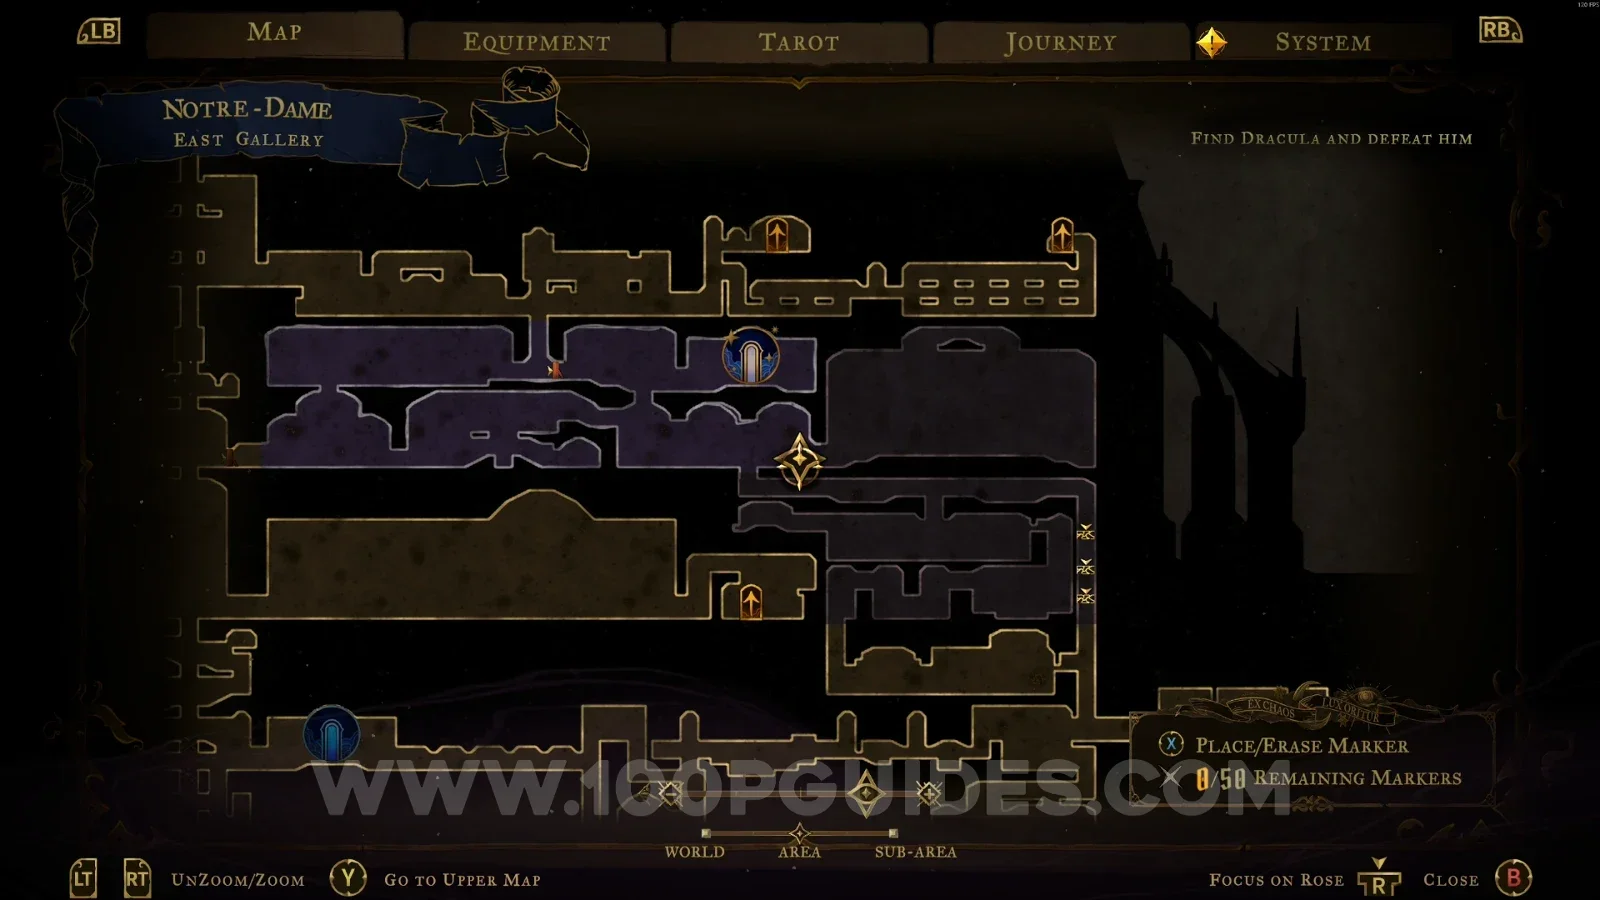
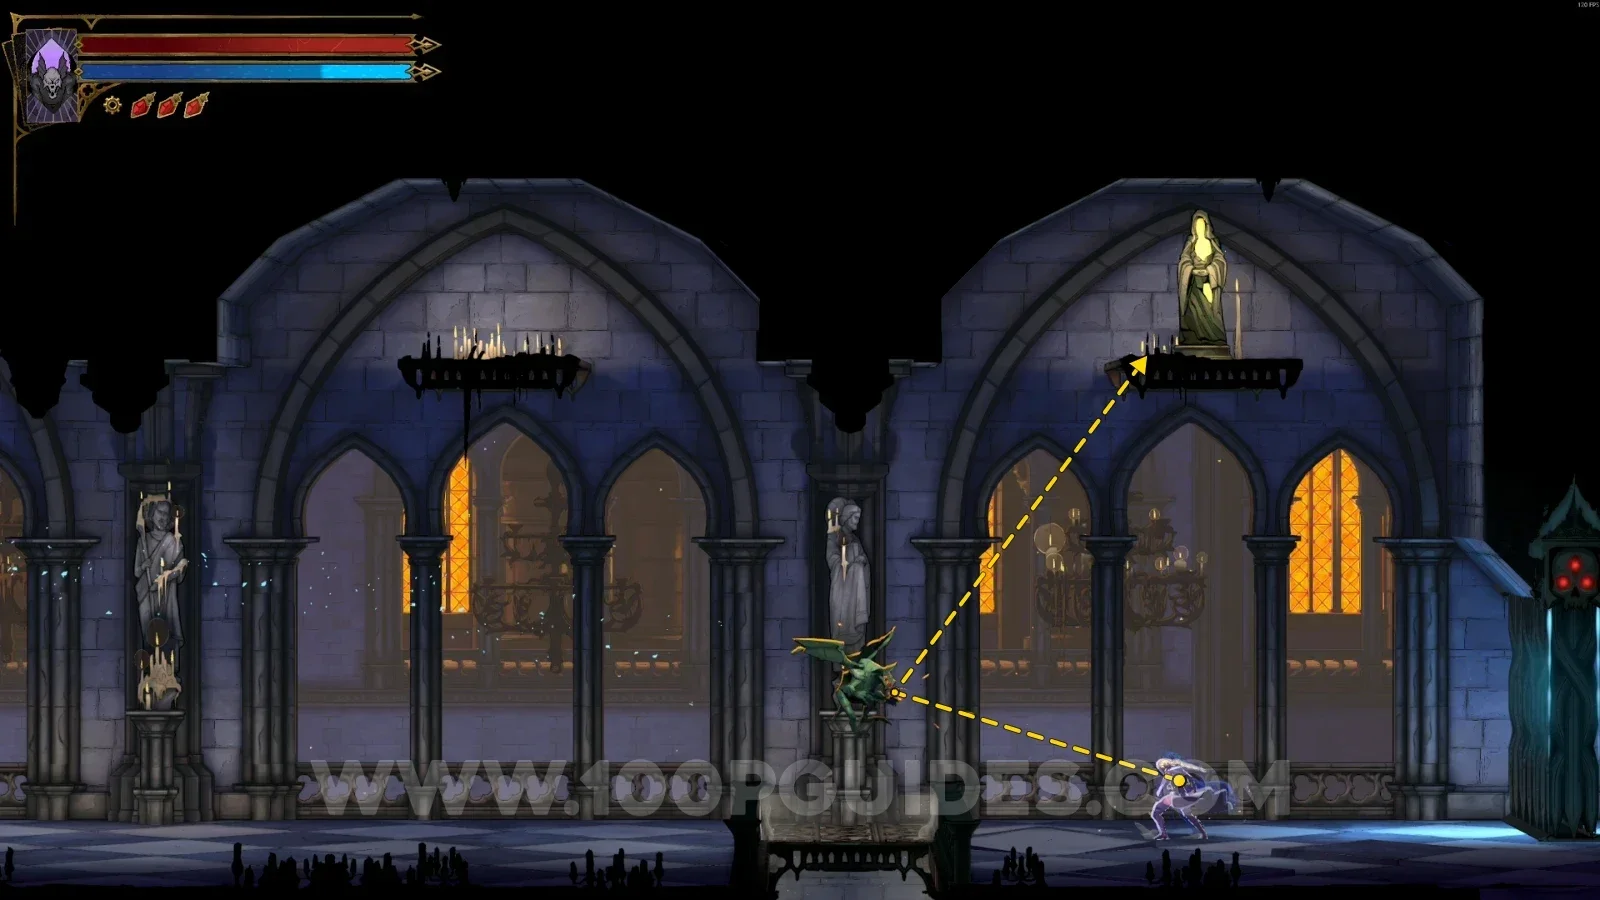
XP Statue #15
Use the Arcane Whip on the gargoyle to build momentum and reach the statue.
Chapel
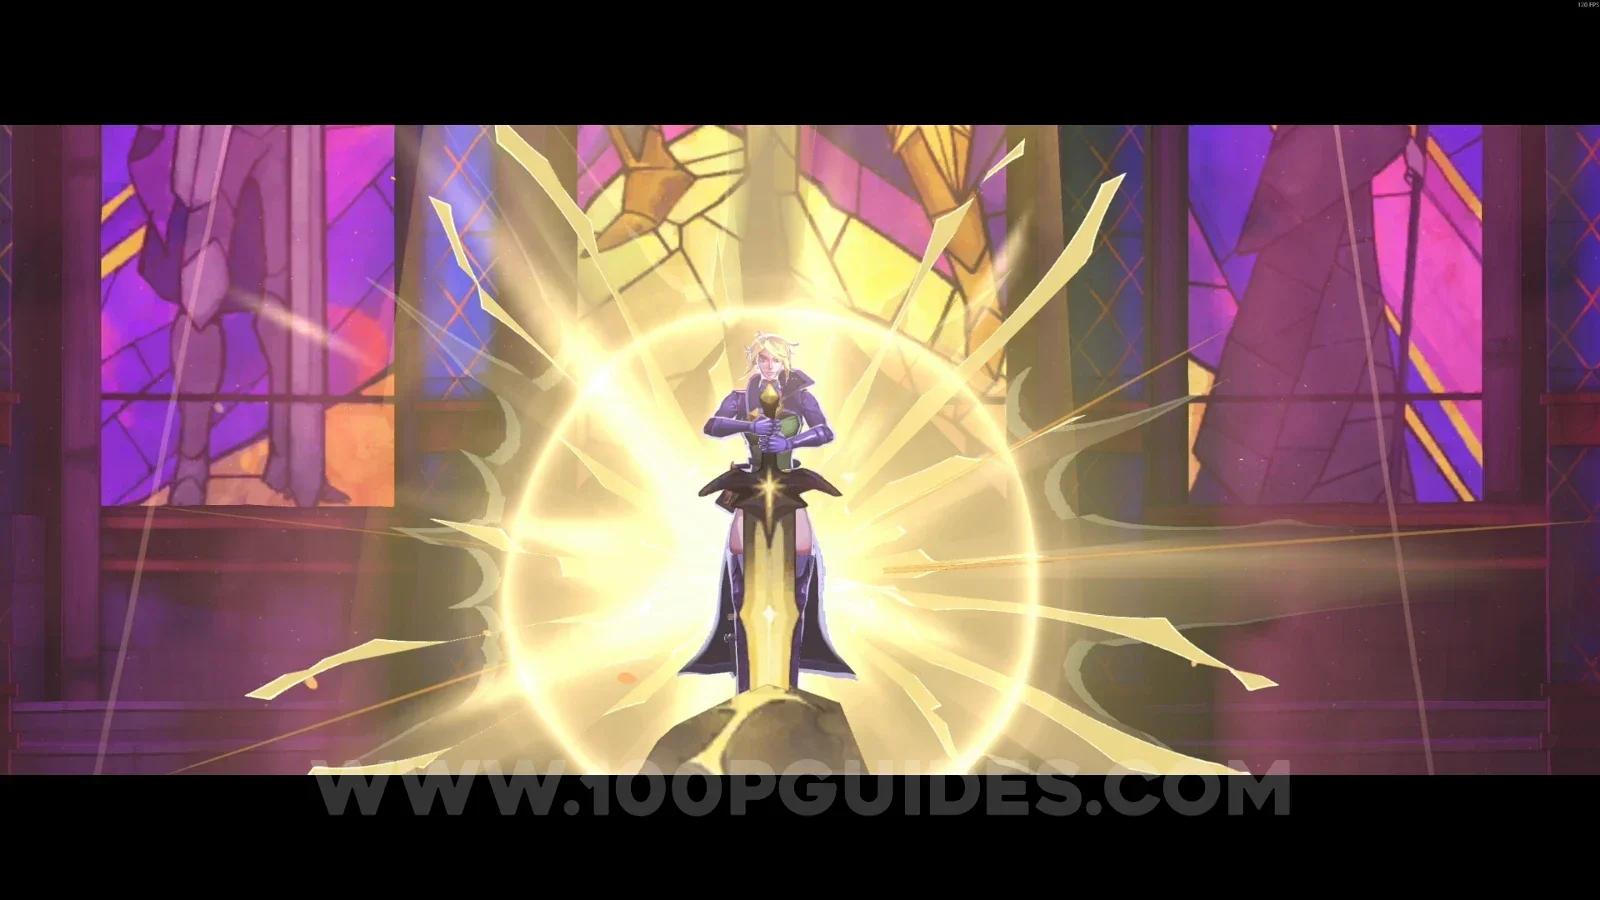
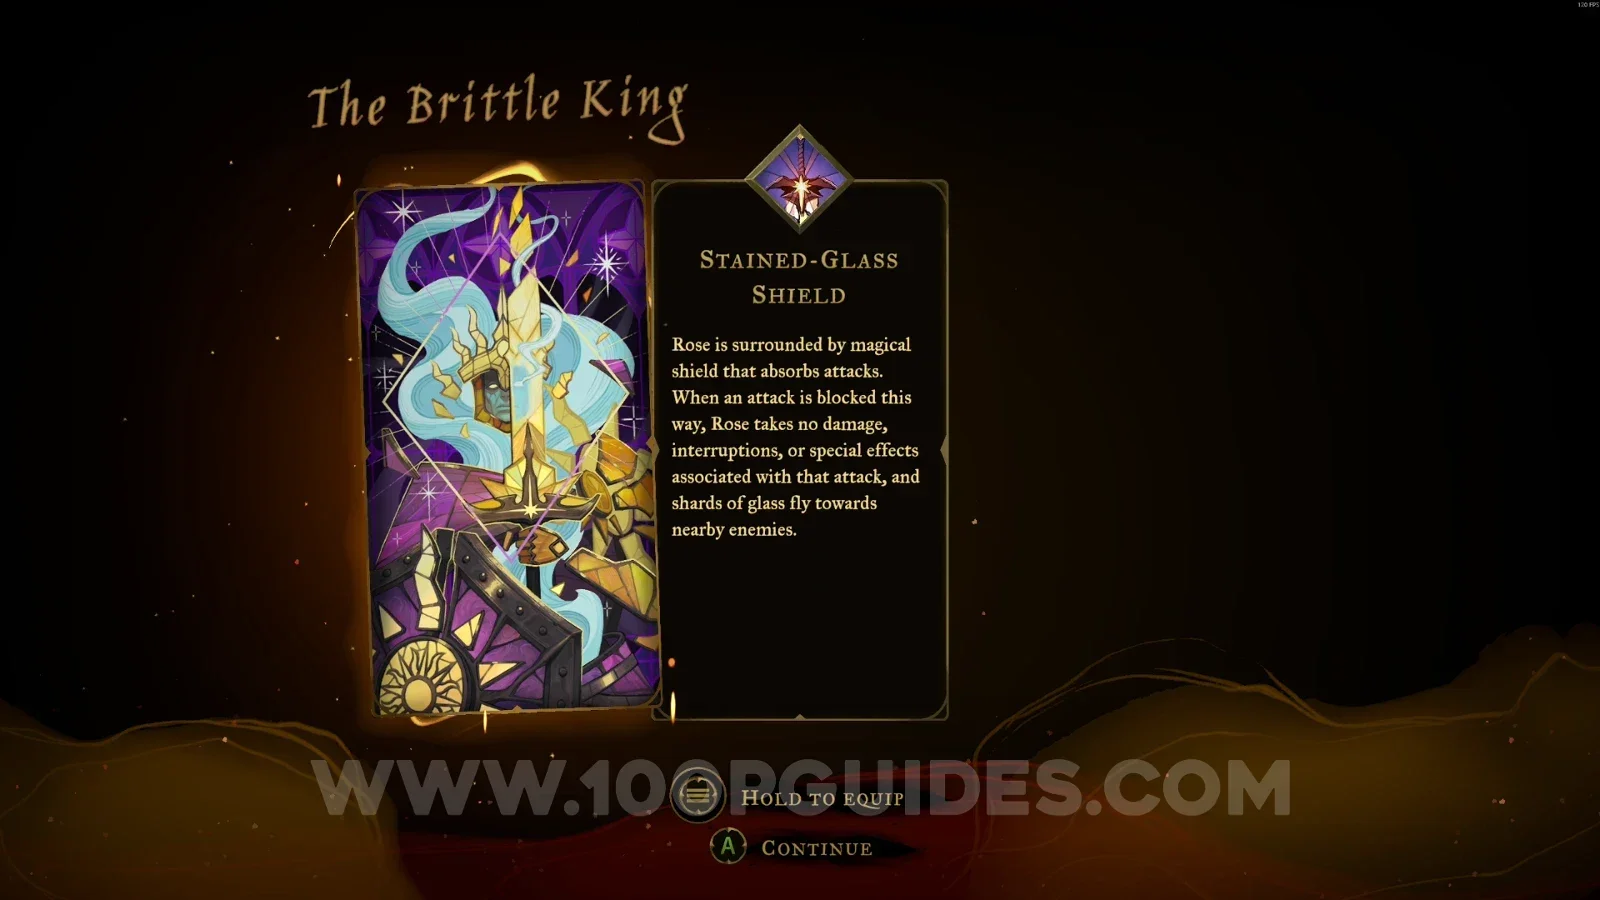
Arcana #3: Stained-Glass Shield + Weapon #5: Excalibur + Clue: The Brittle King
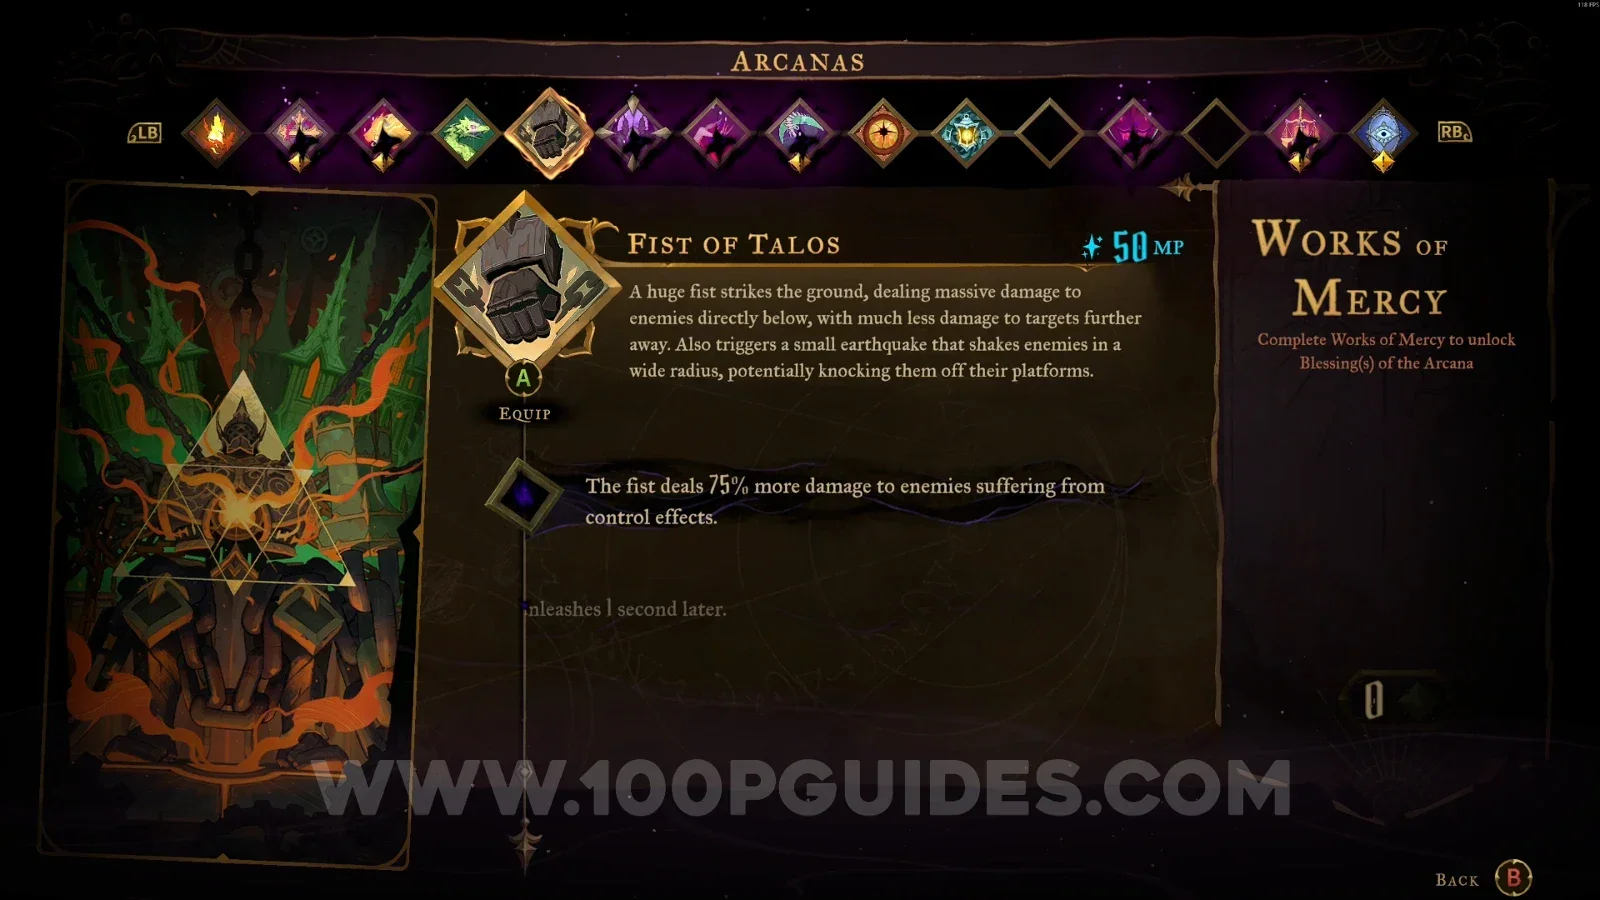
To defeat this boss, you need to use the Fist of Talos arcana. Then interact with the sword and defeat him.
XP Statue #16 - #17
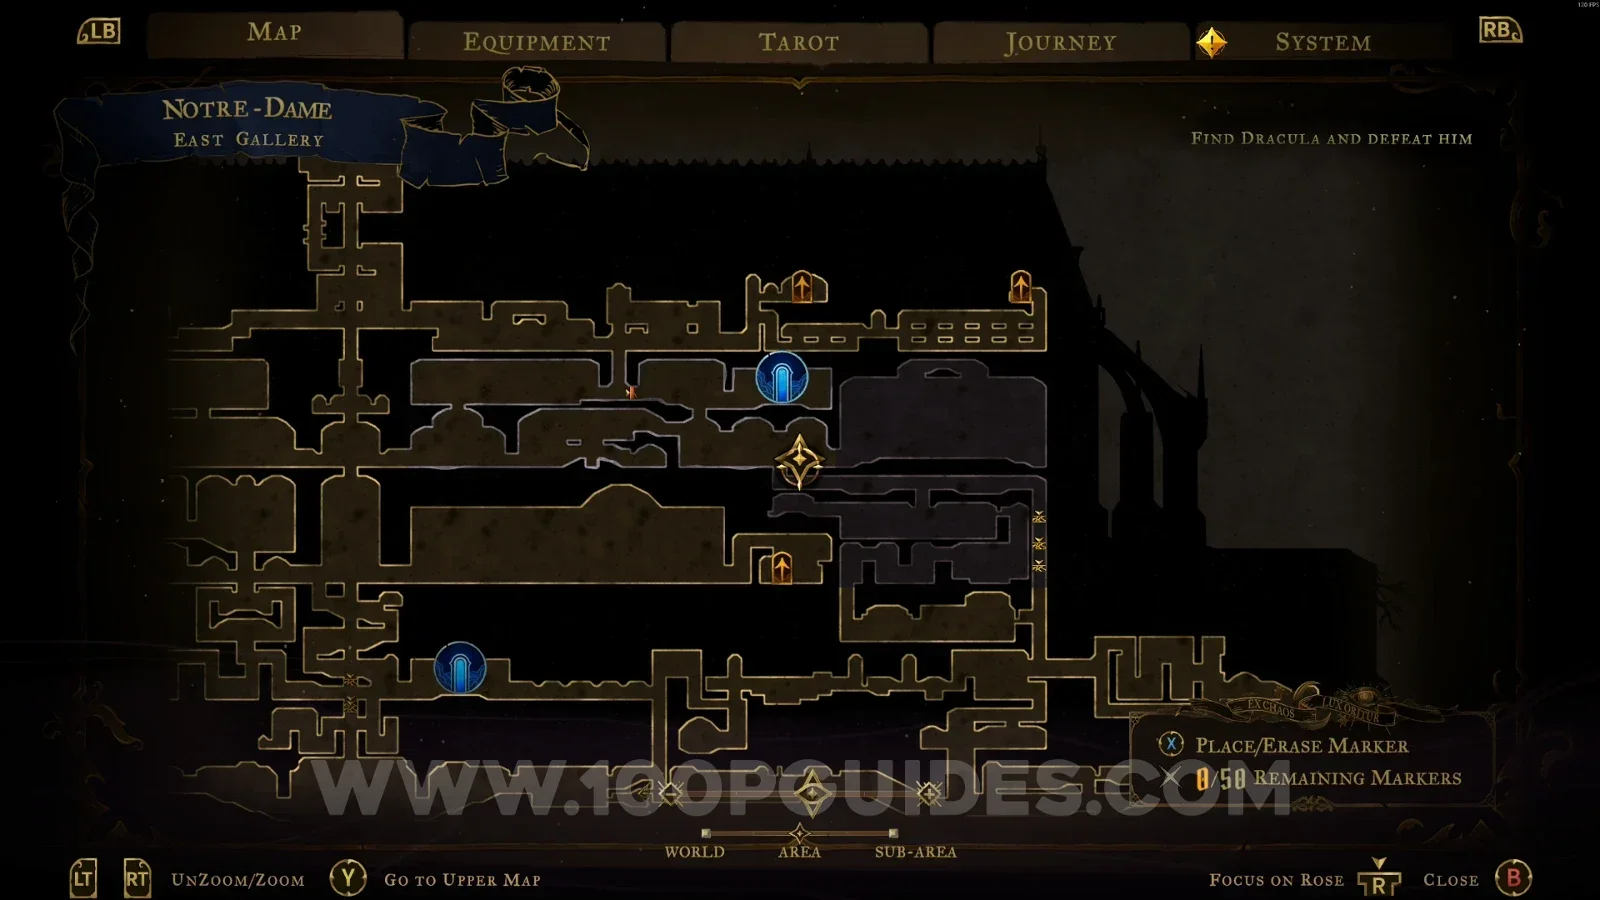
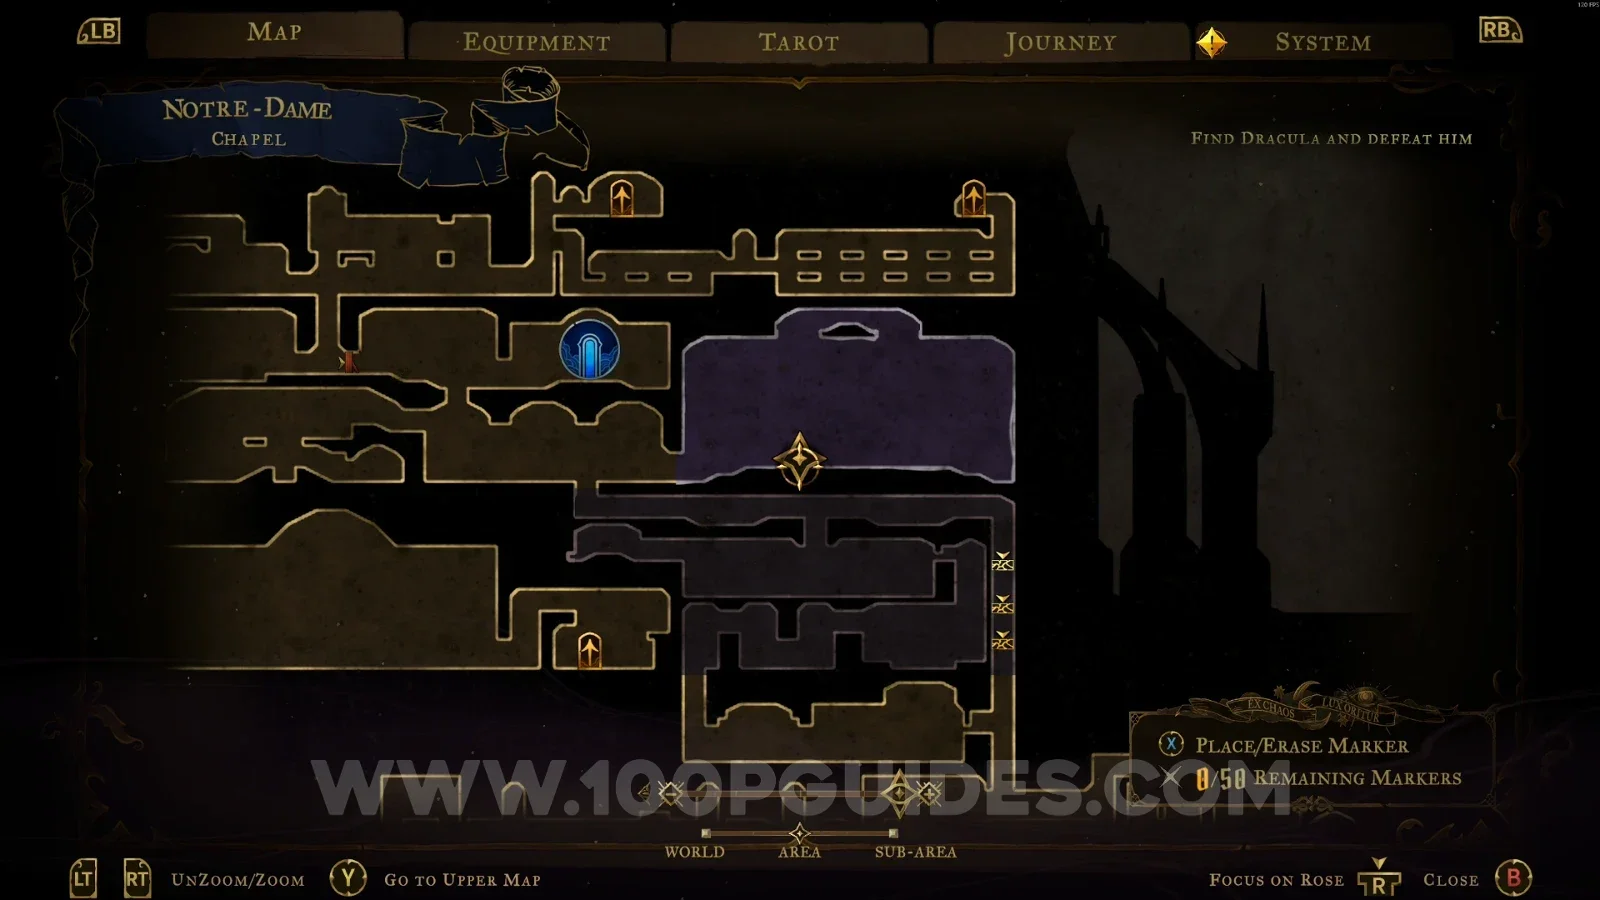
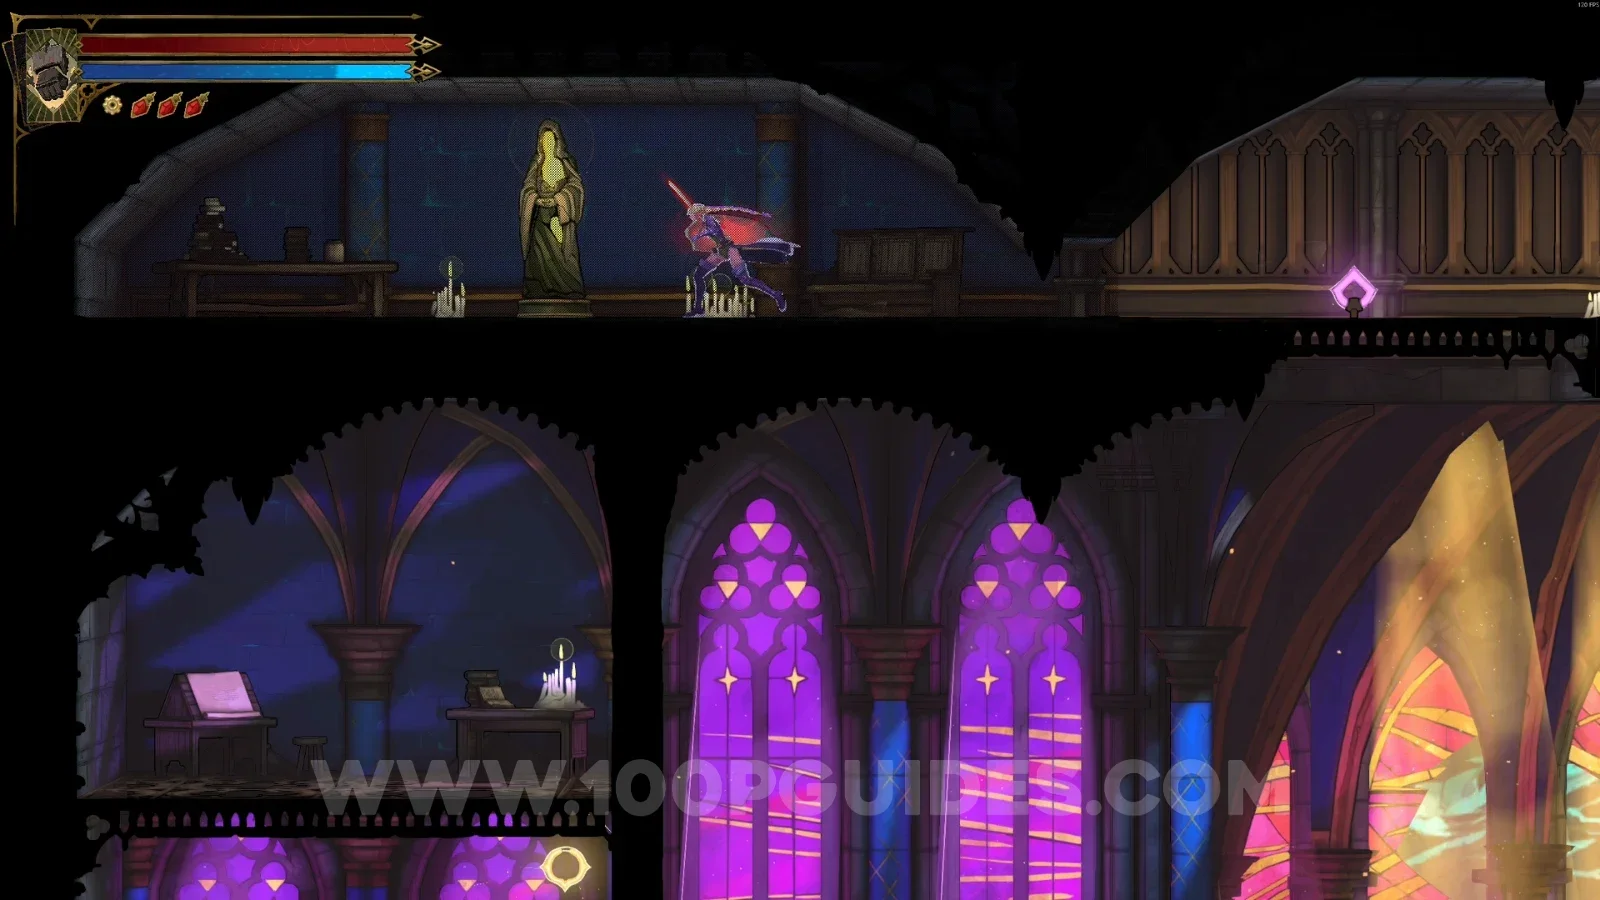
At the top of the boss area, one on each side. You need to use the slide to reach them.
Apse
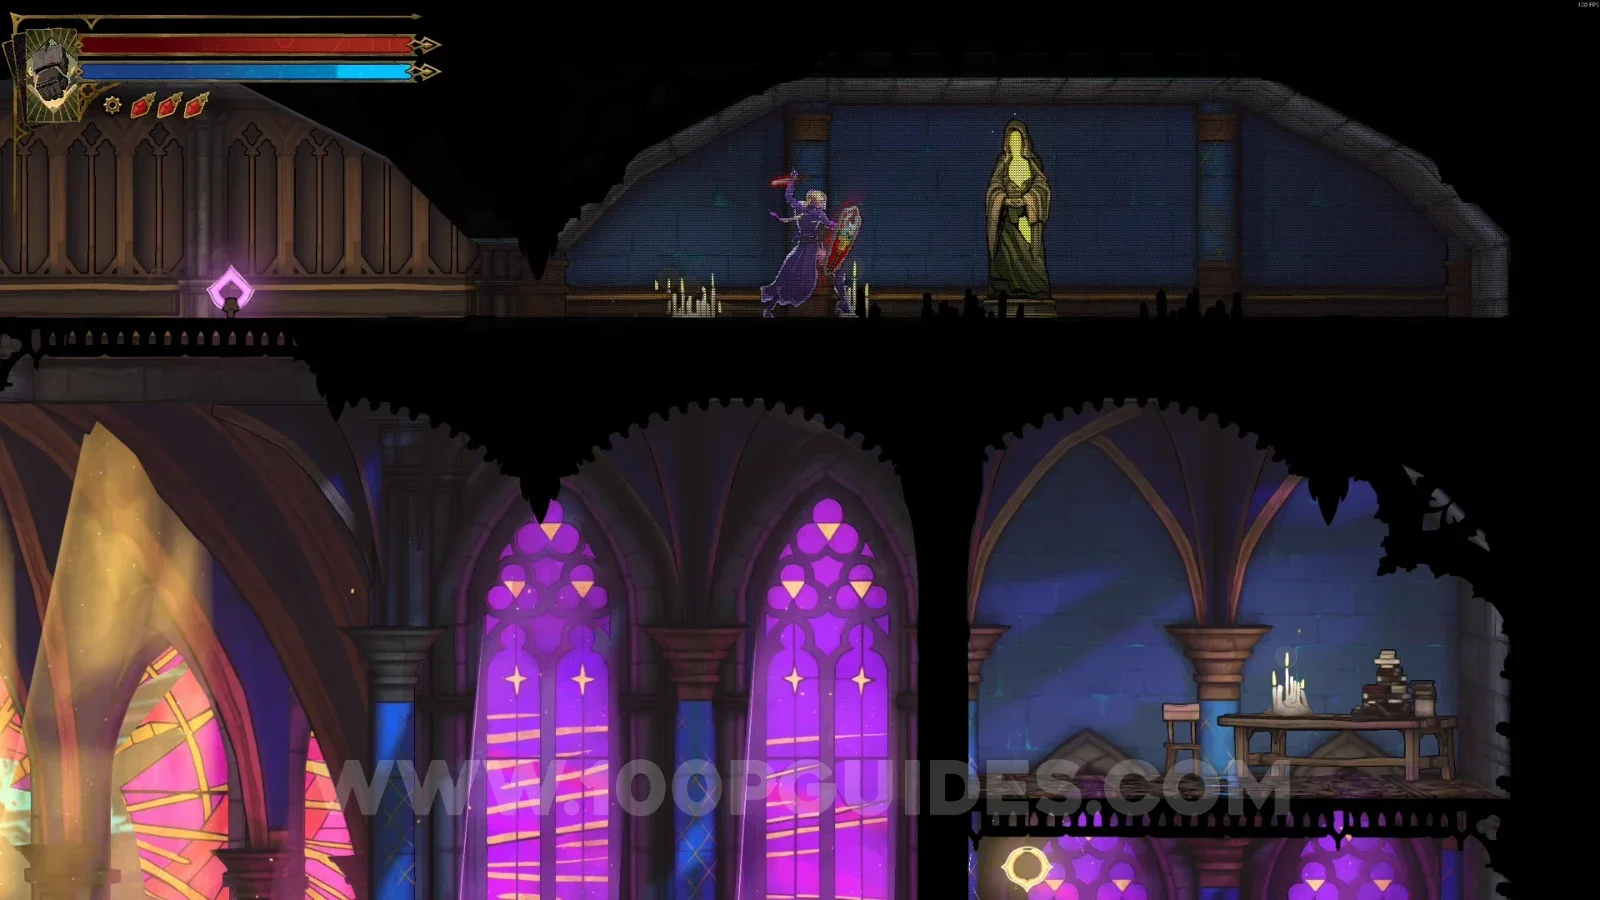
XP Statue #18 - #19
In the area marked on the map, right next to each other.
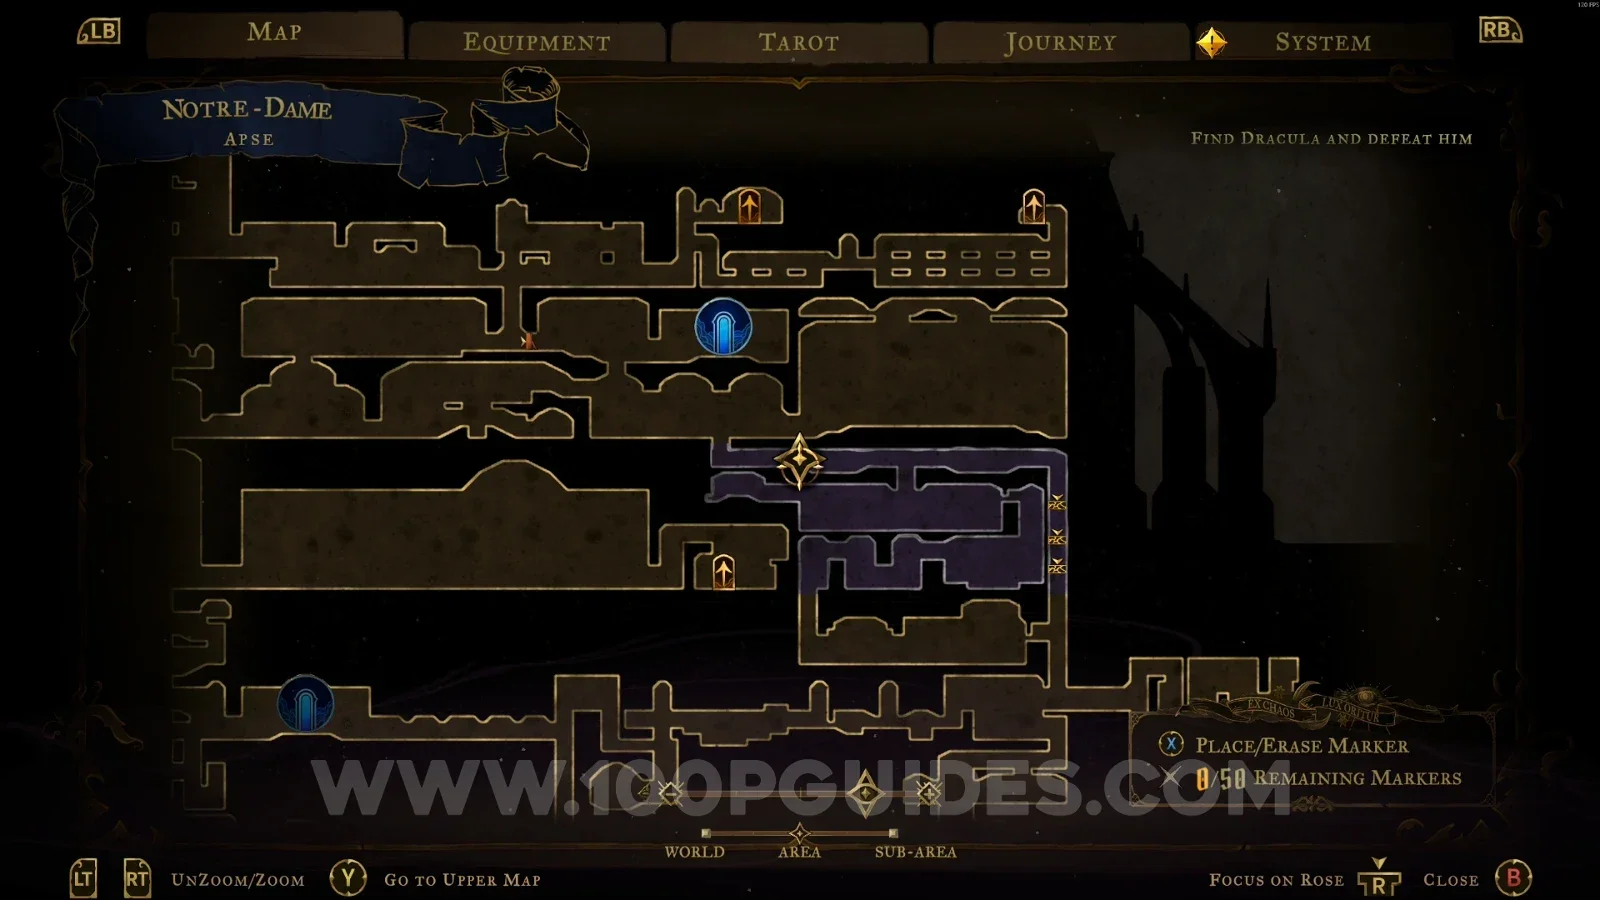
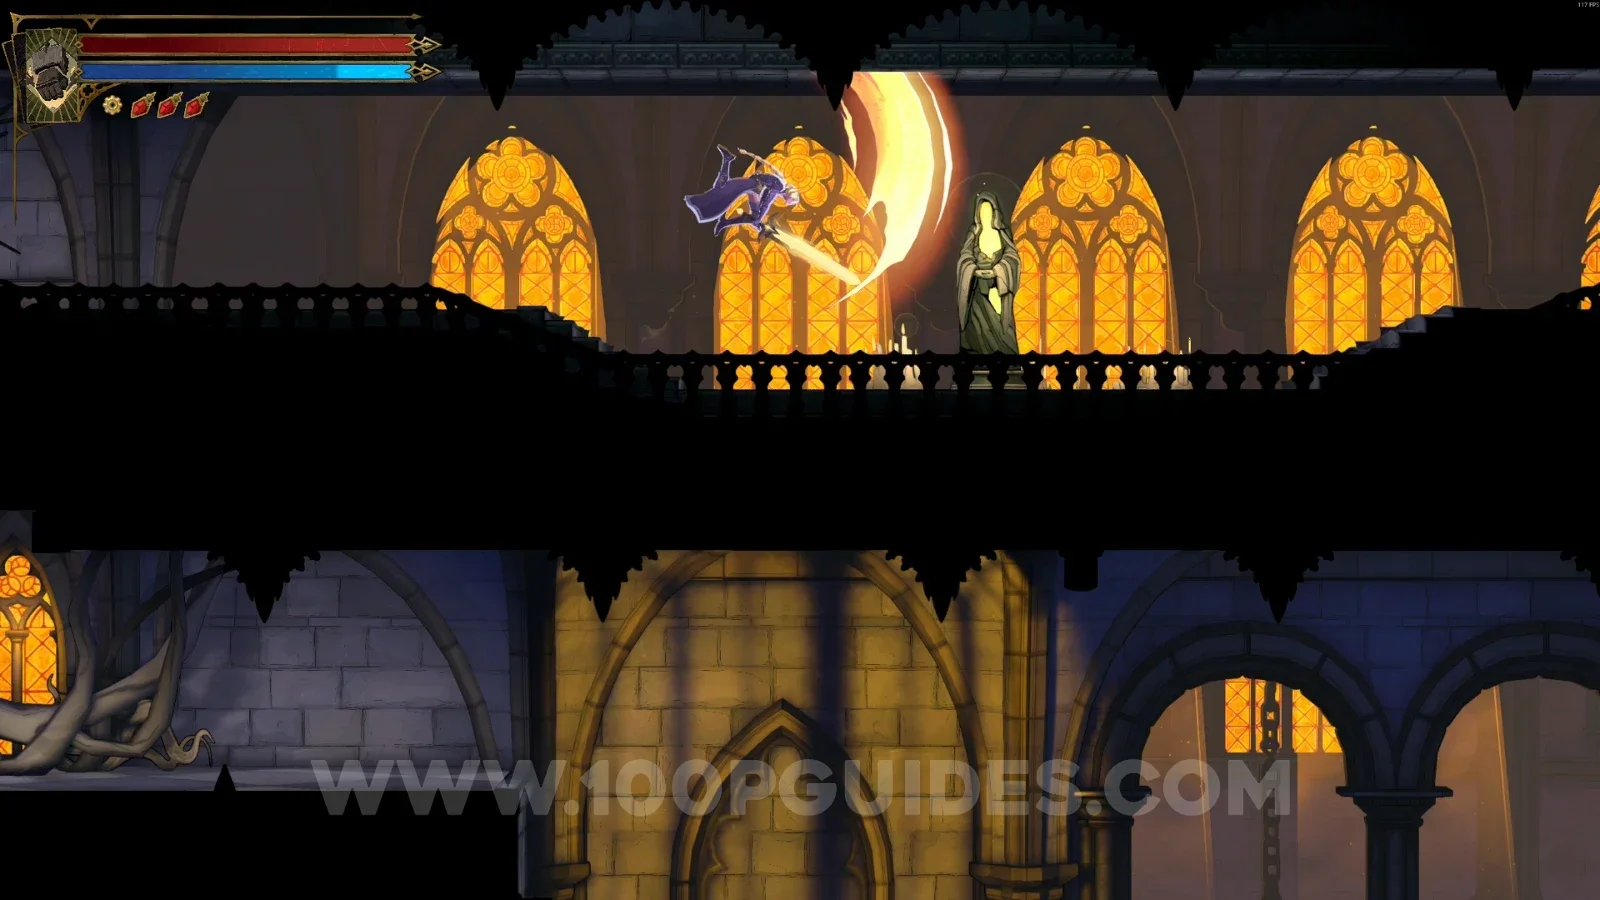
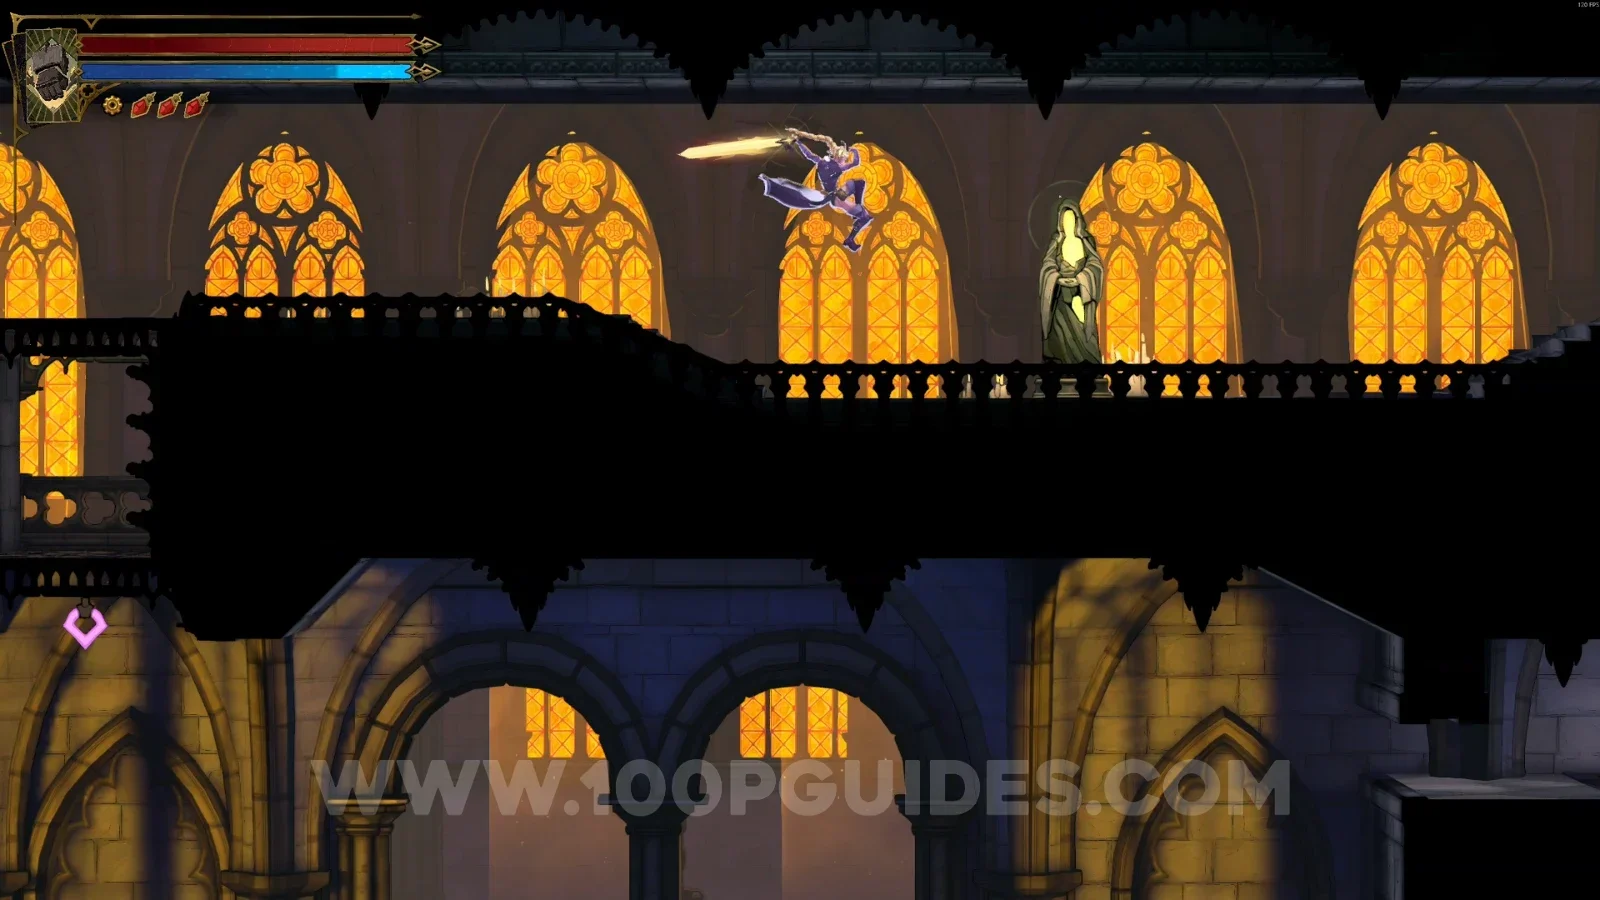
Wise Heart Fragment #3
Same area as before. Drop down to the lower platform and head left to find this.
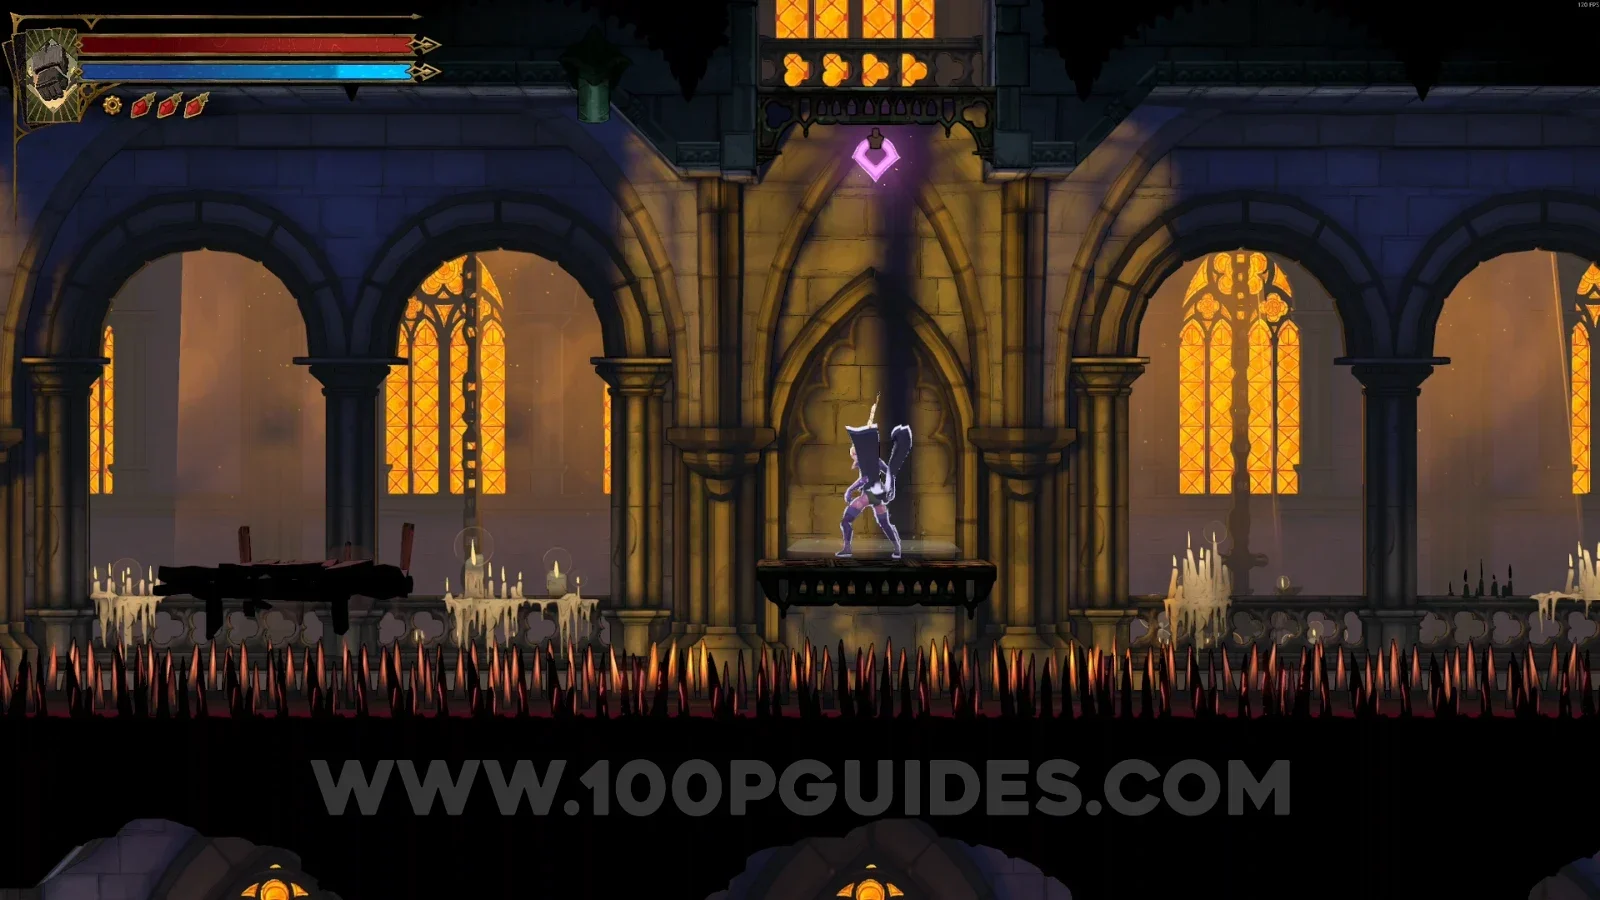
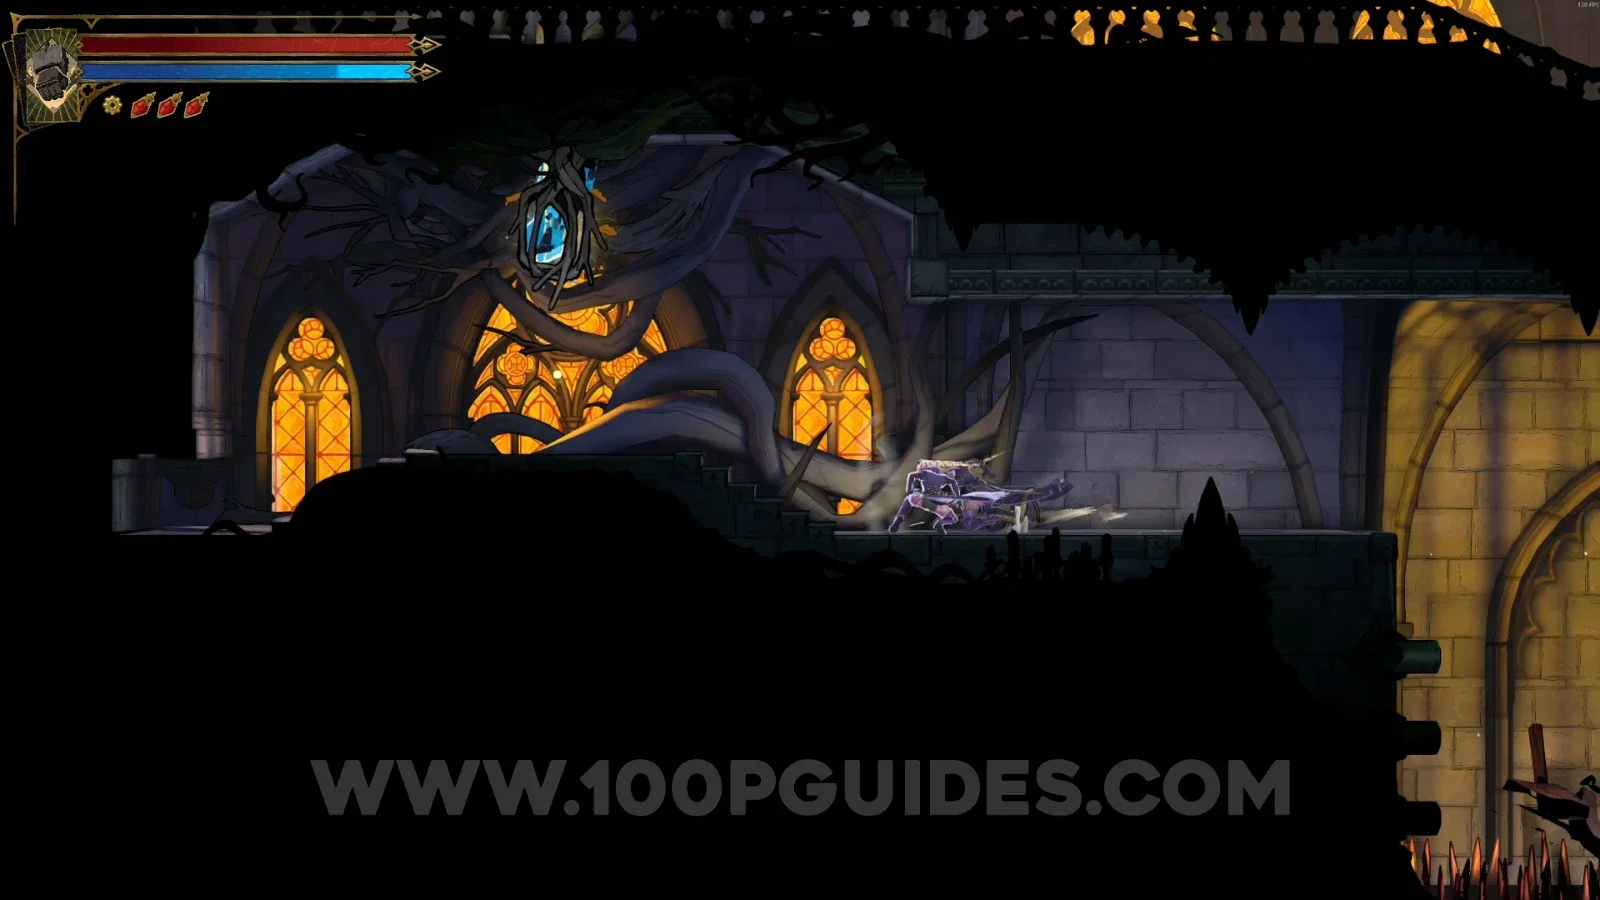
These are all the collectibles and secrets you can find in Notre-Dame.