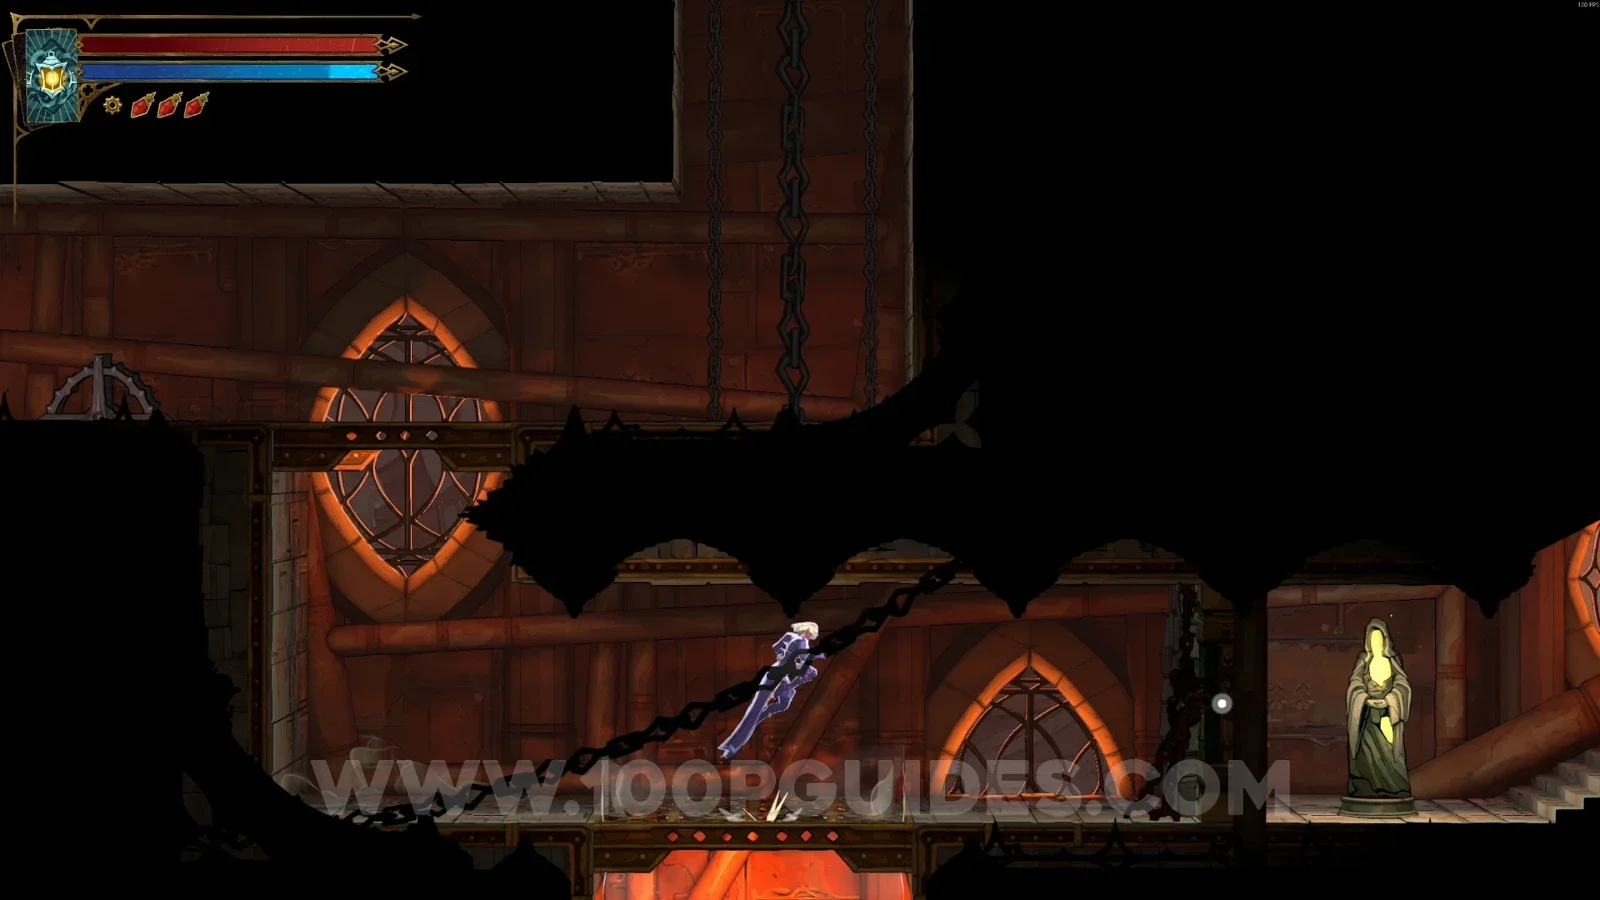
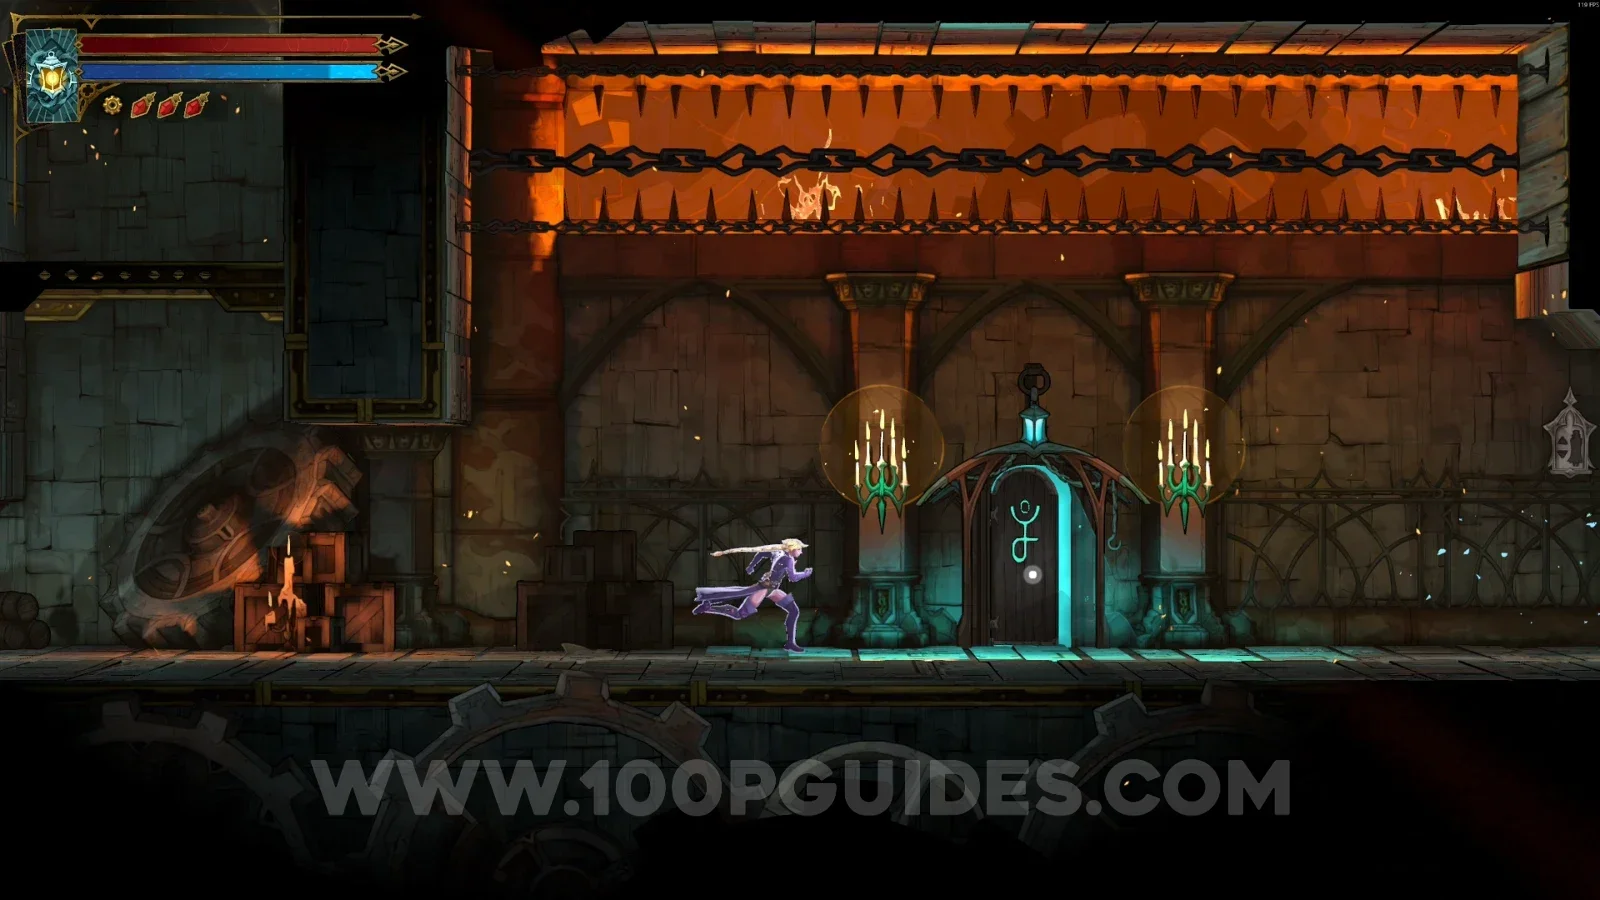
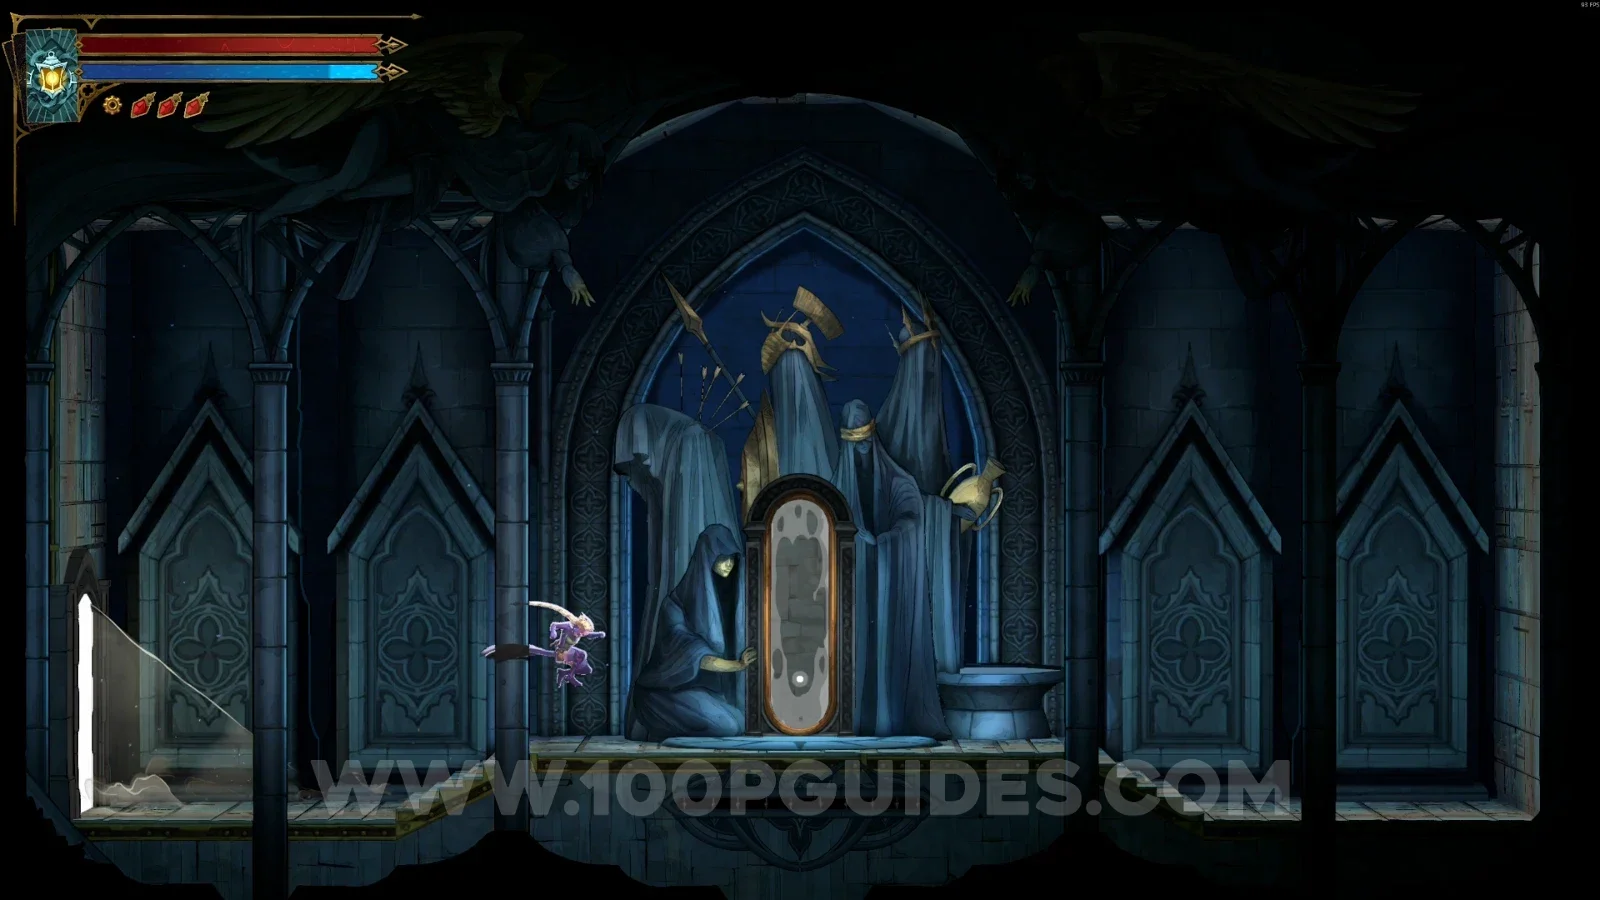
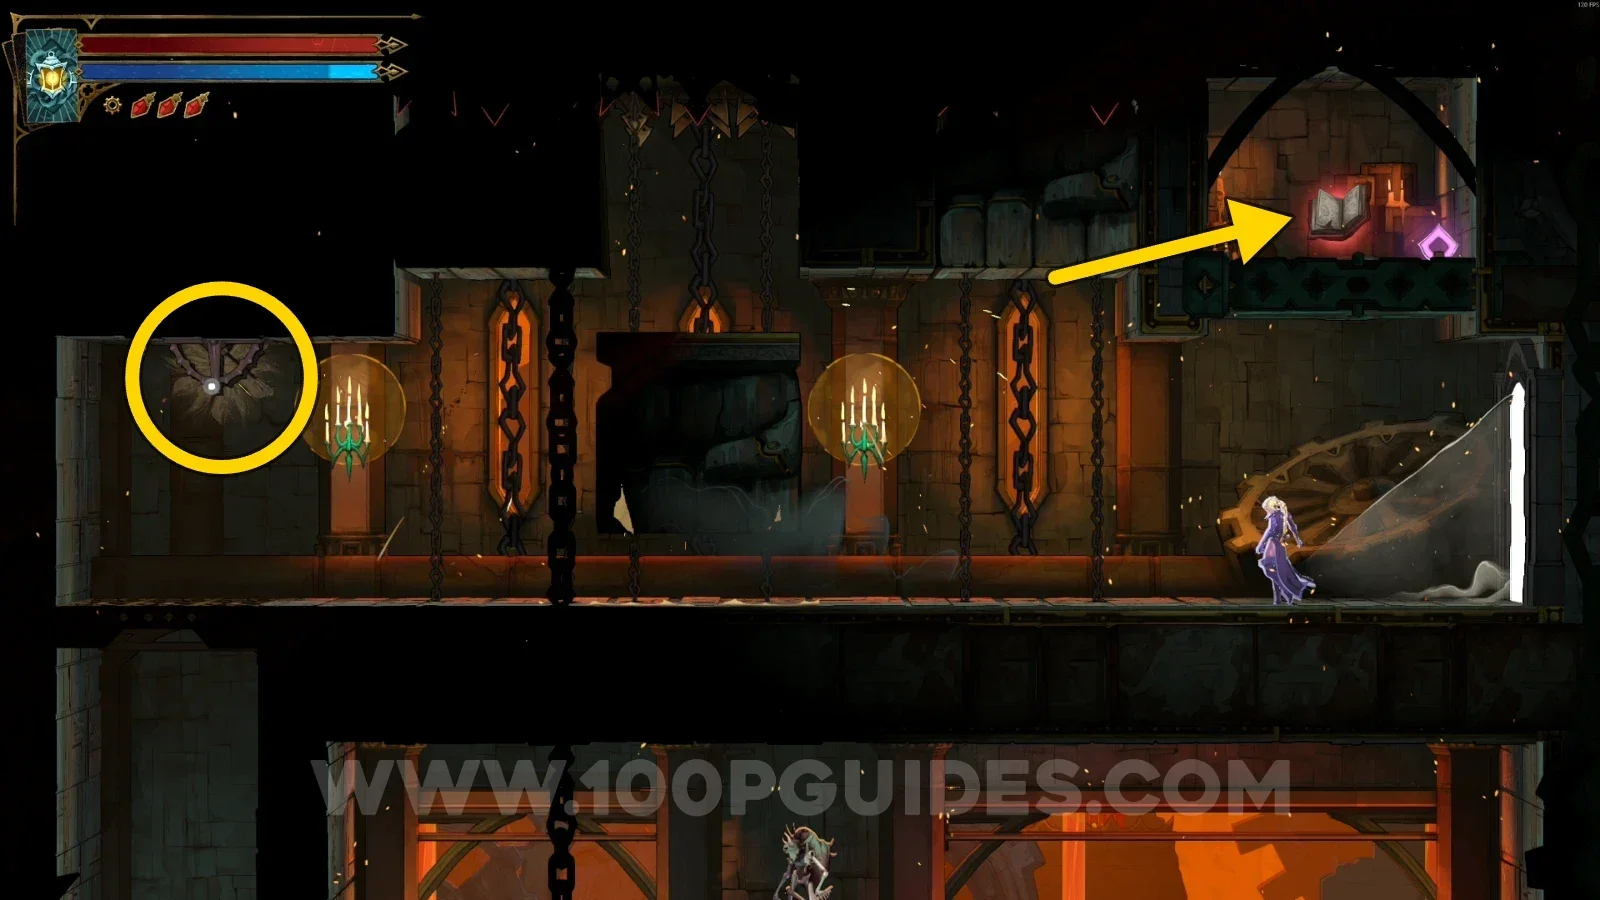
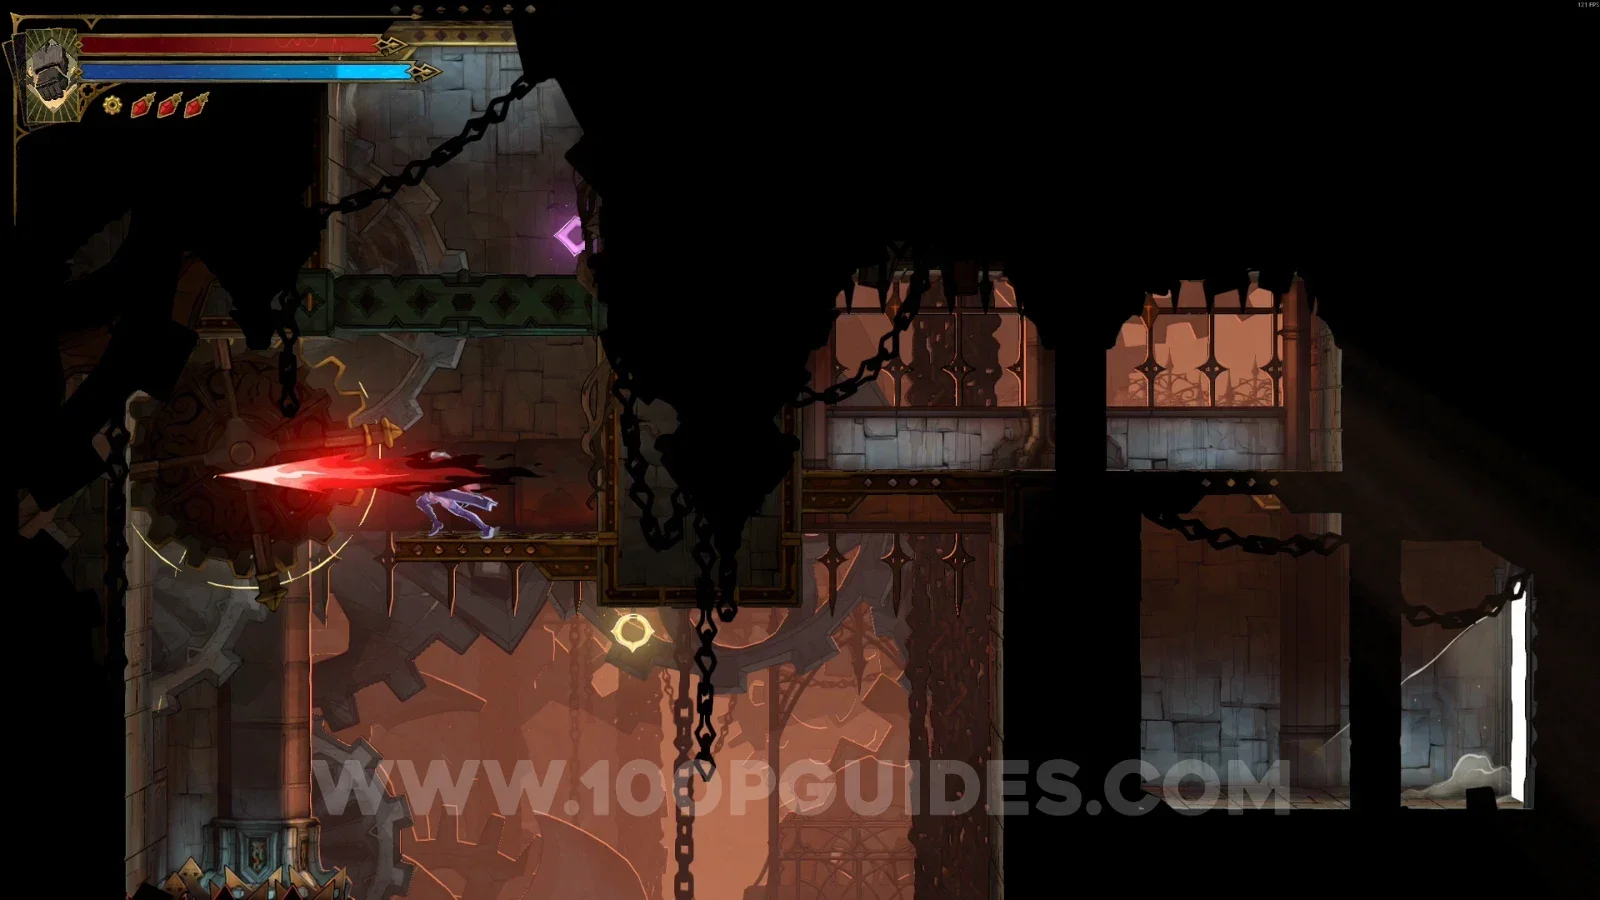
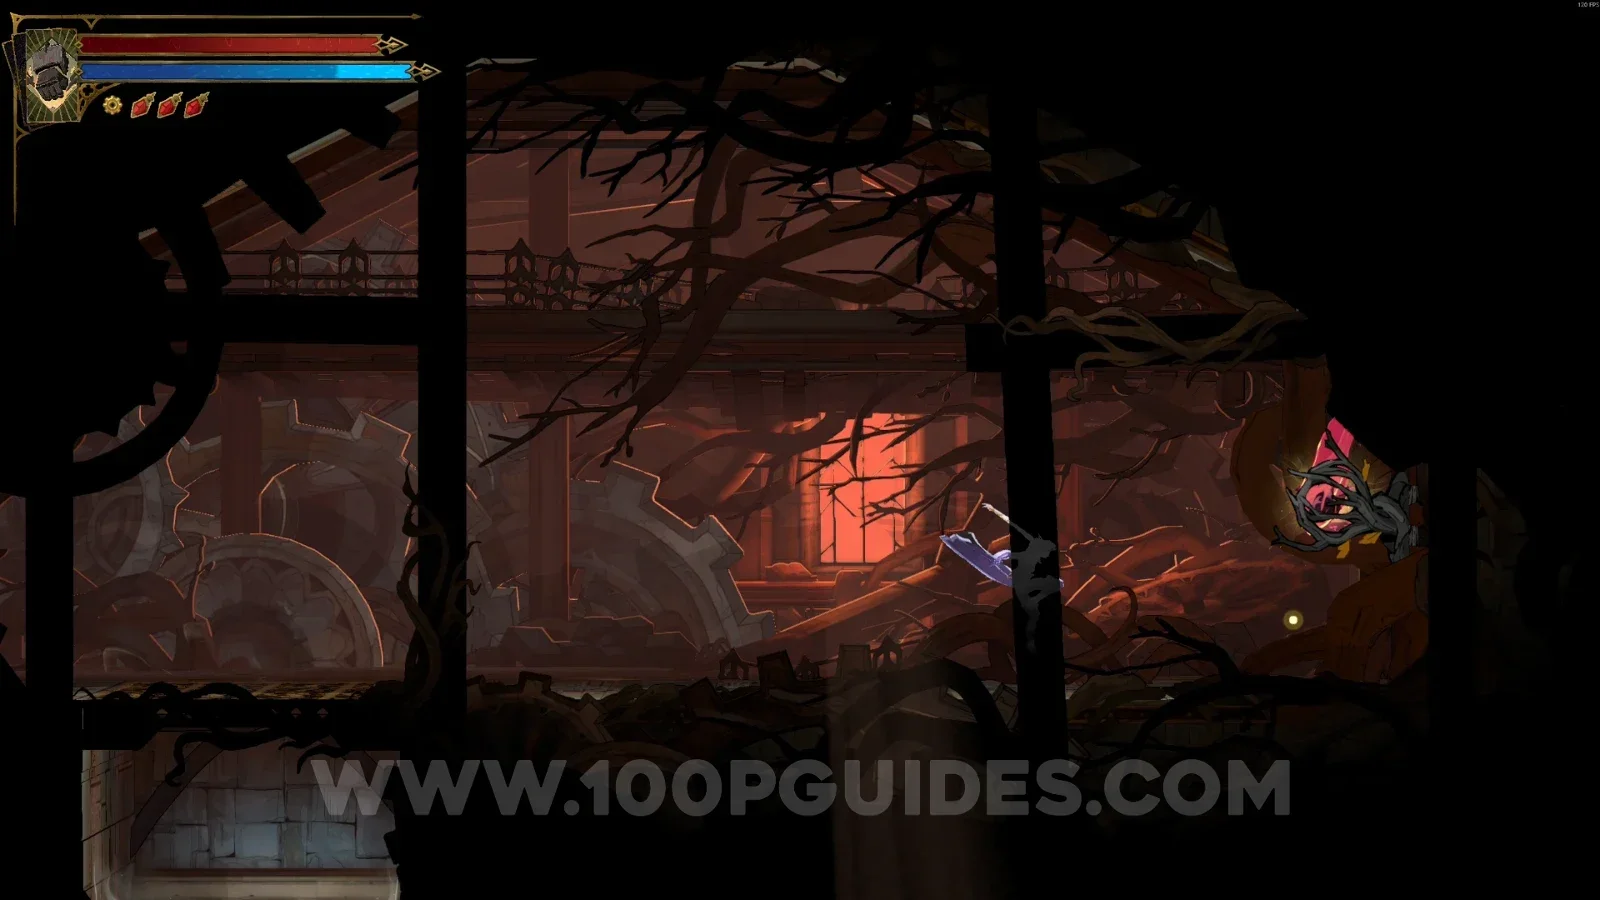
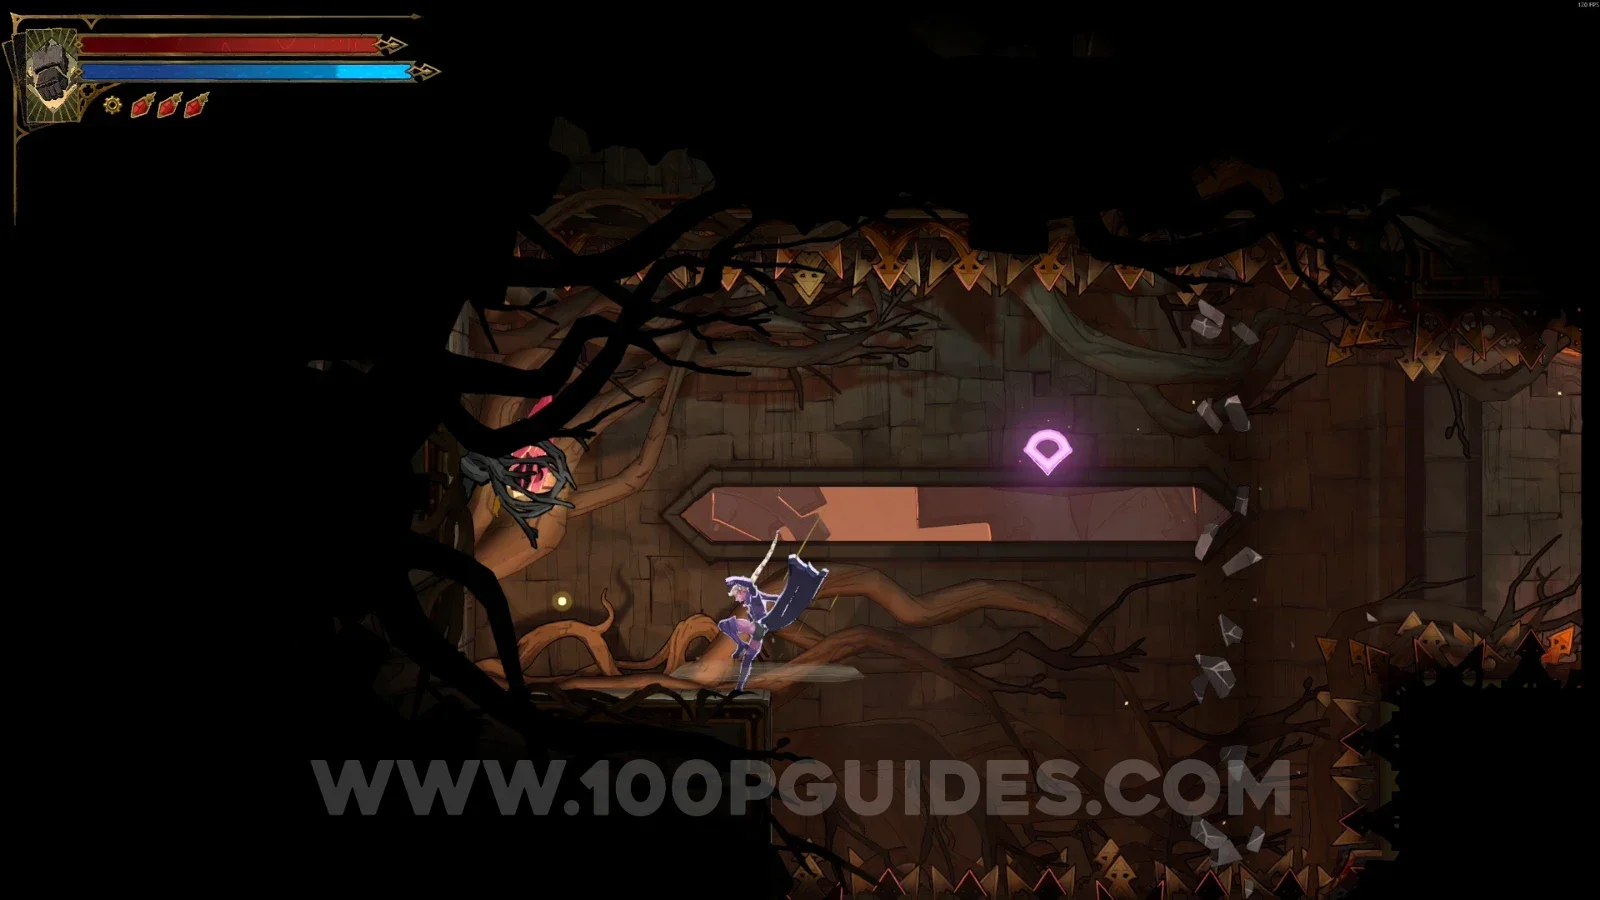
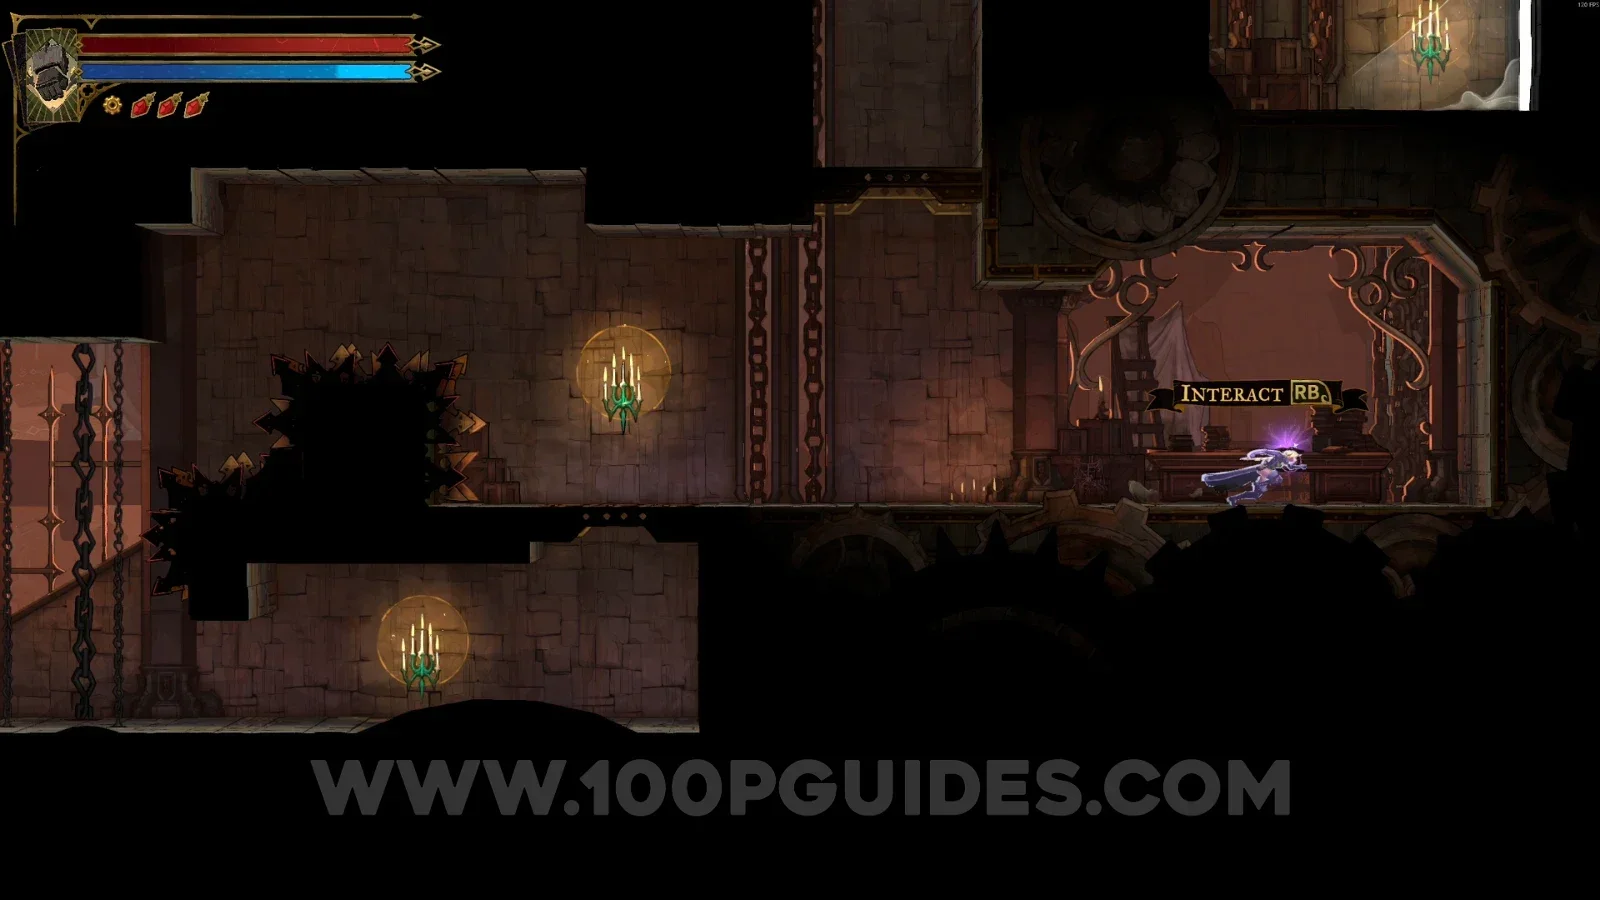
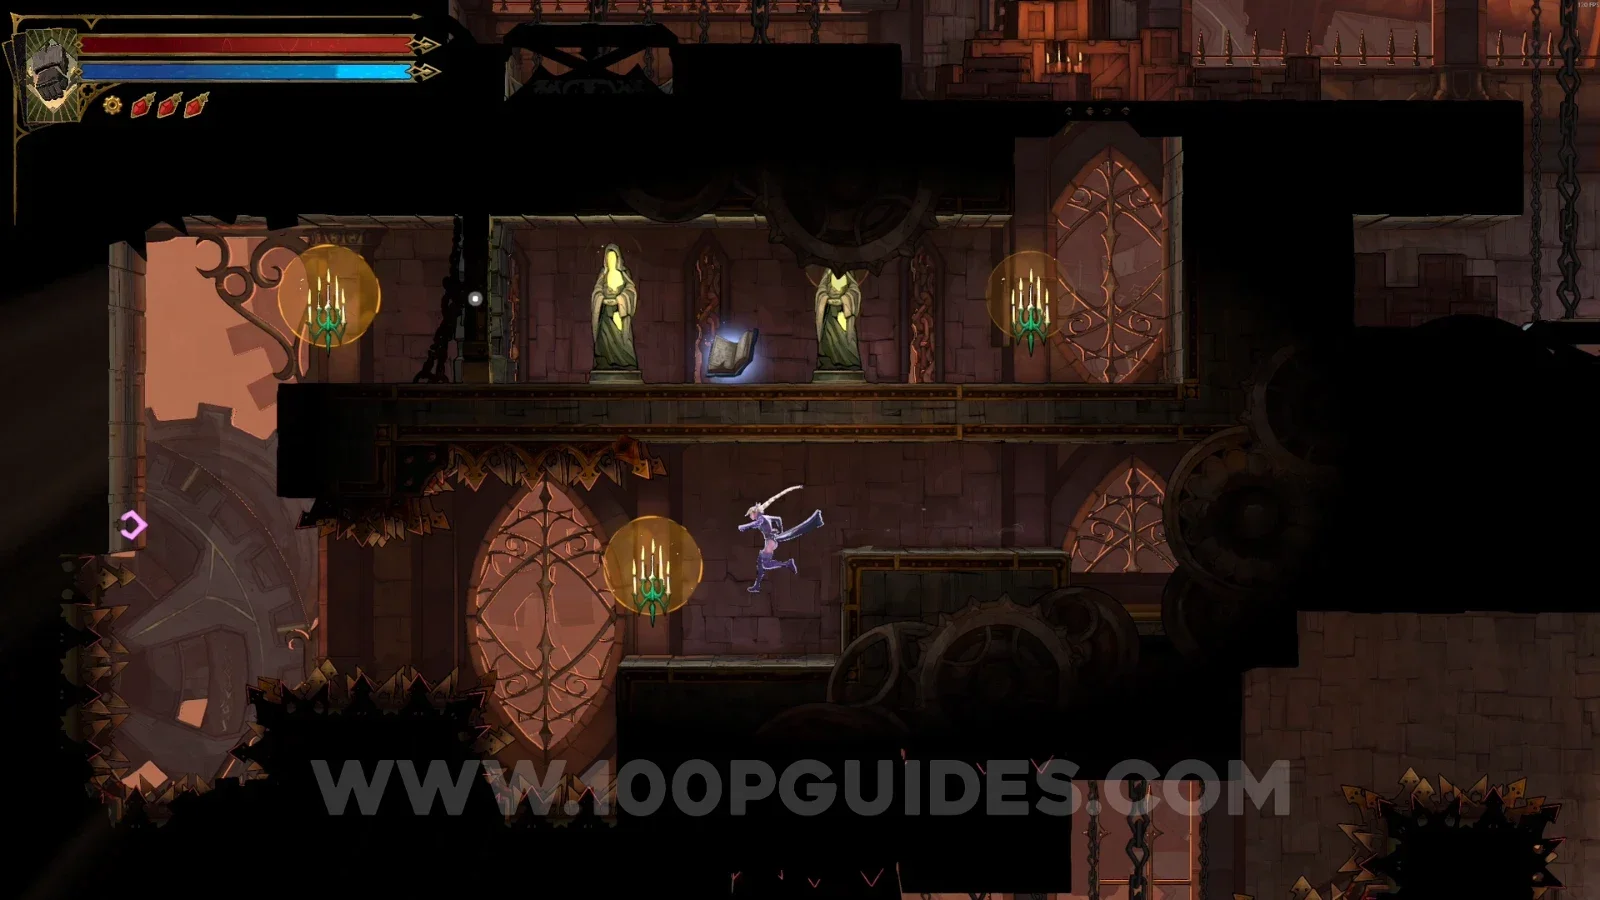
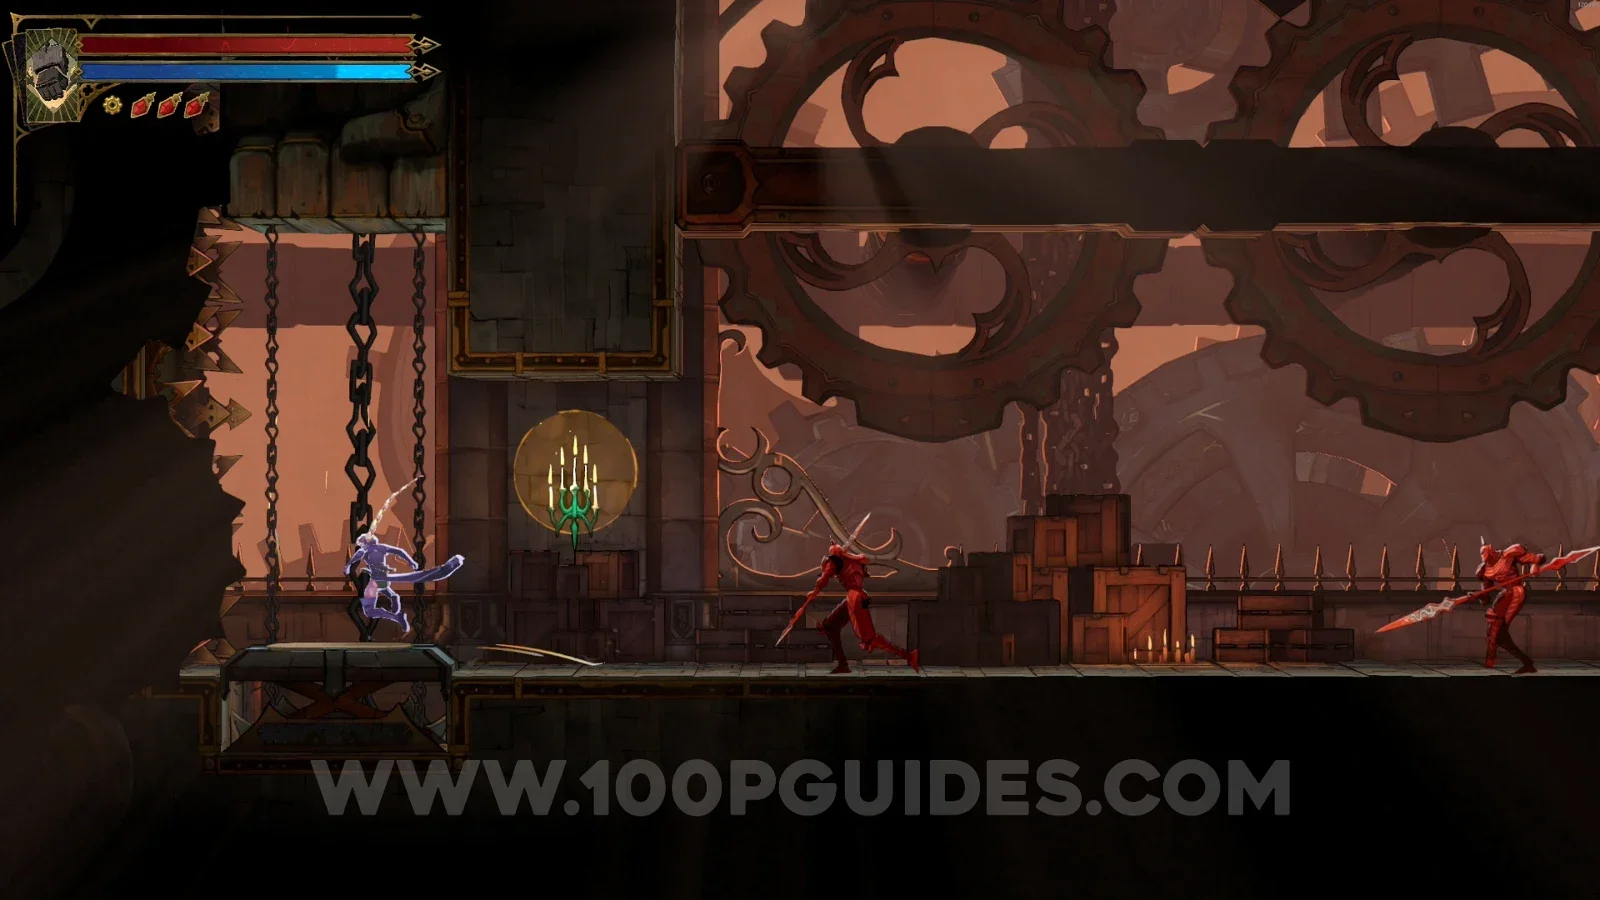
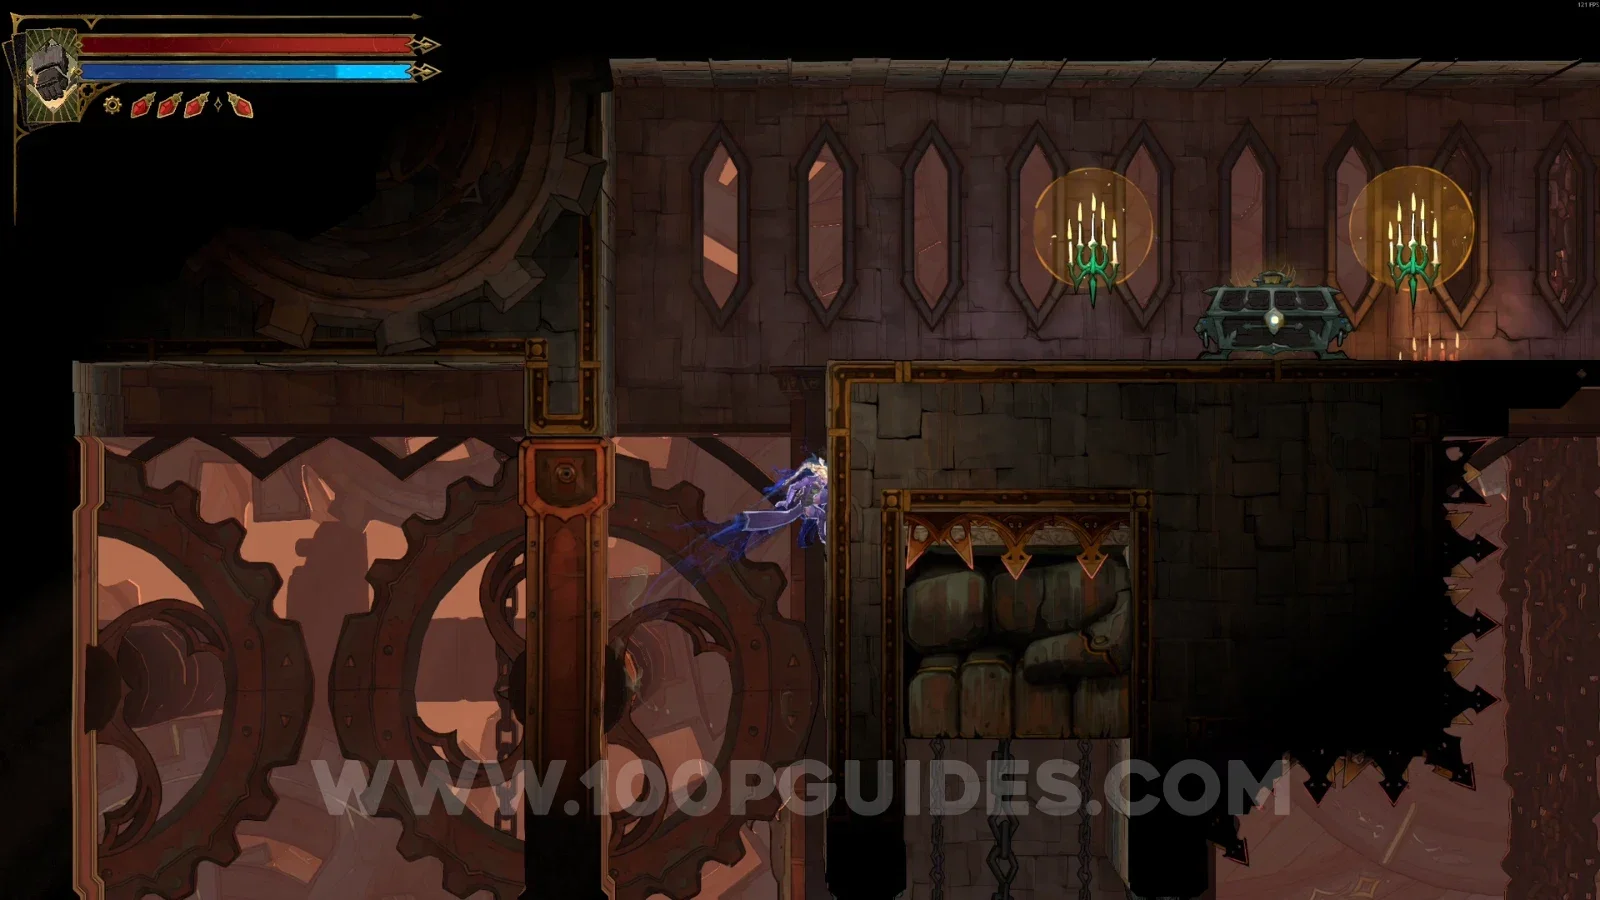
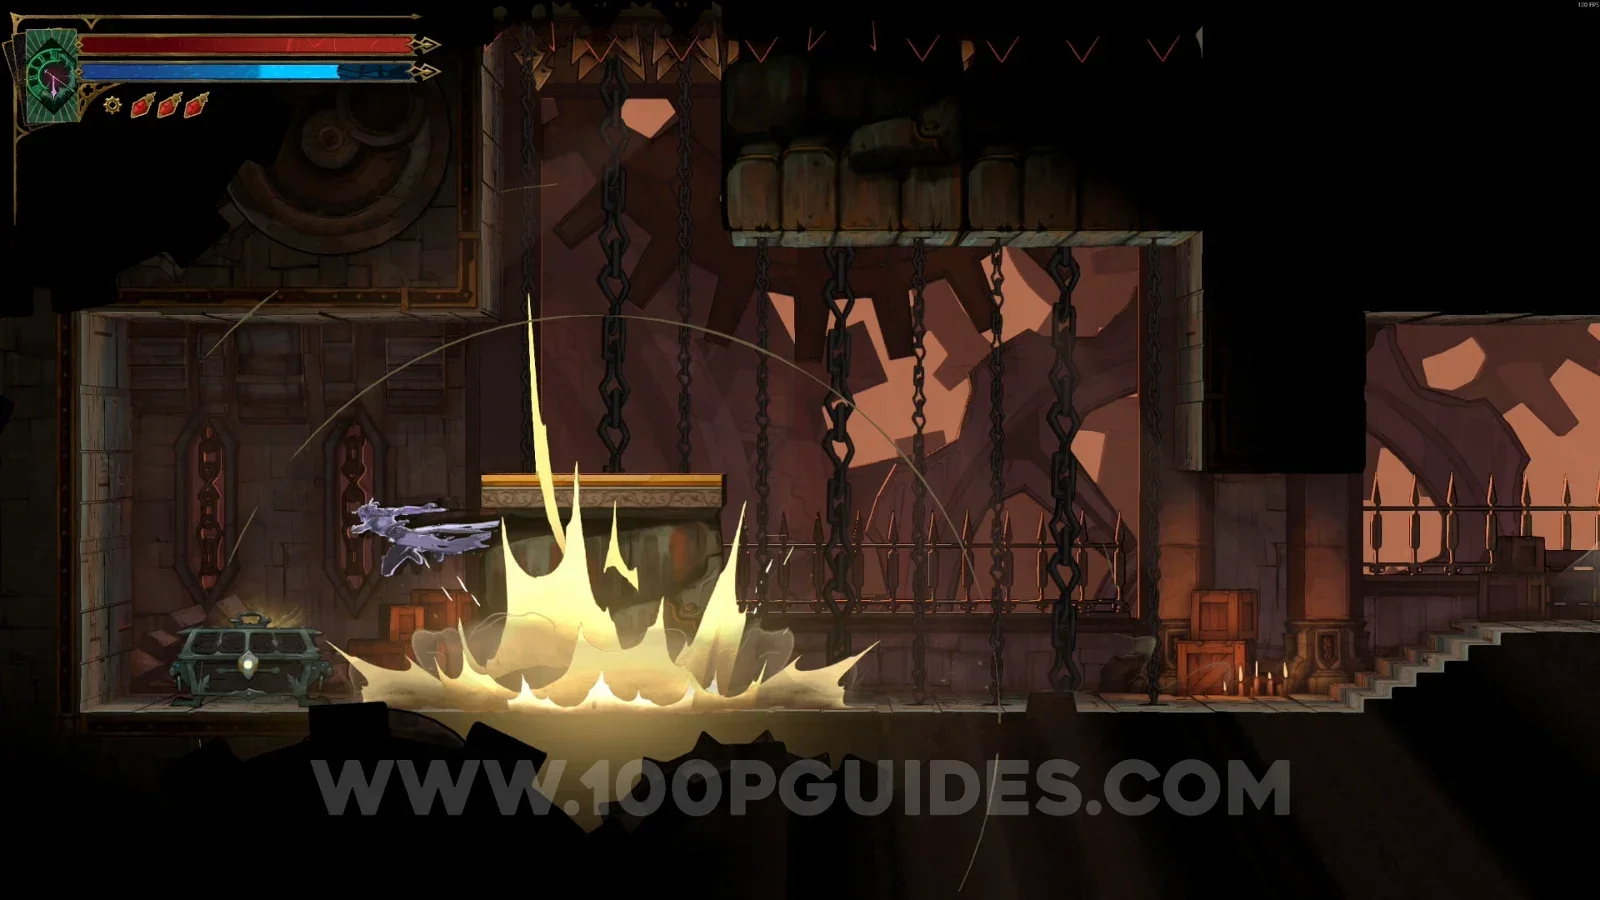
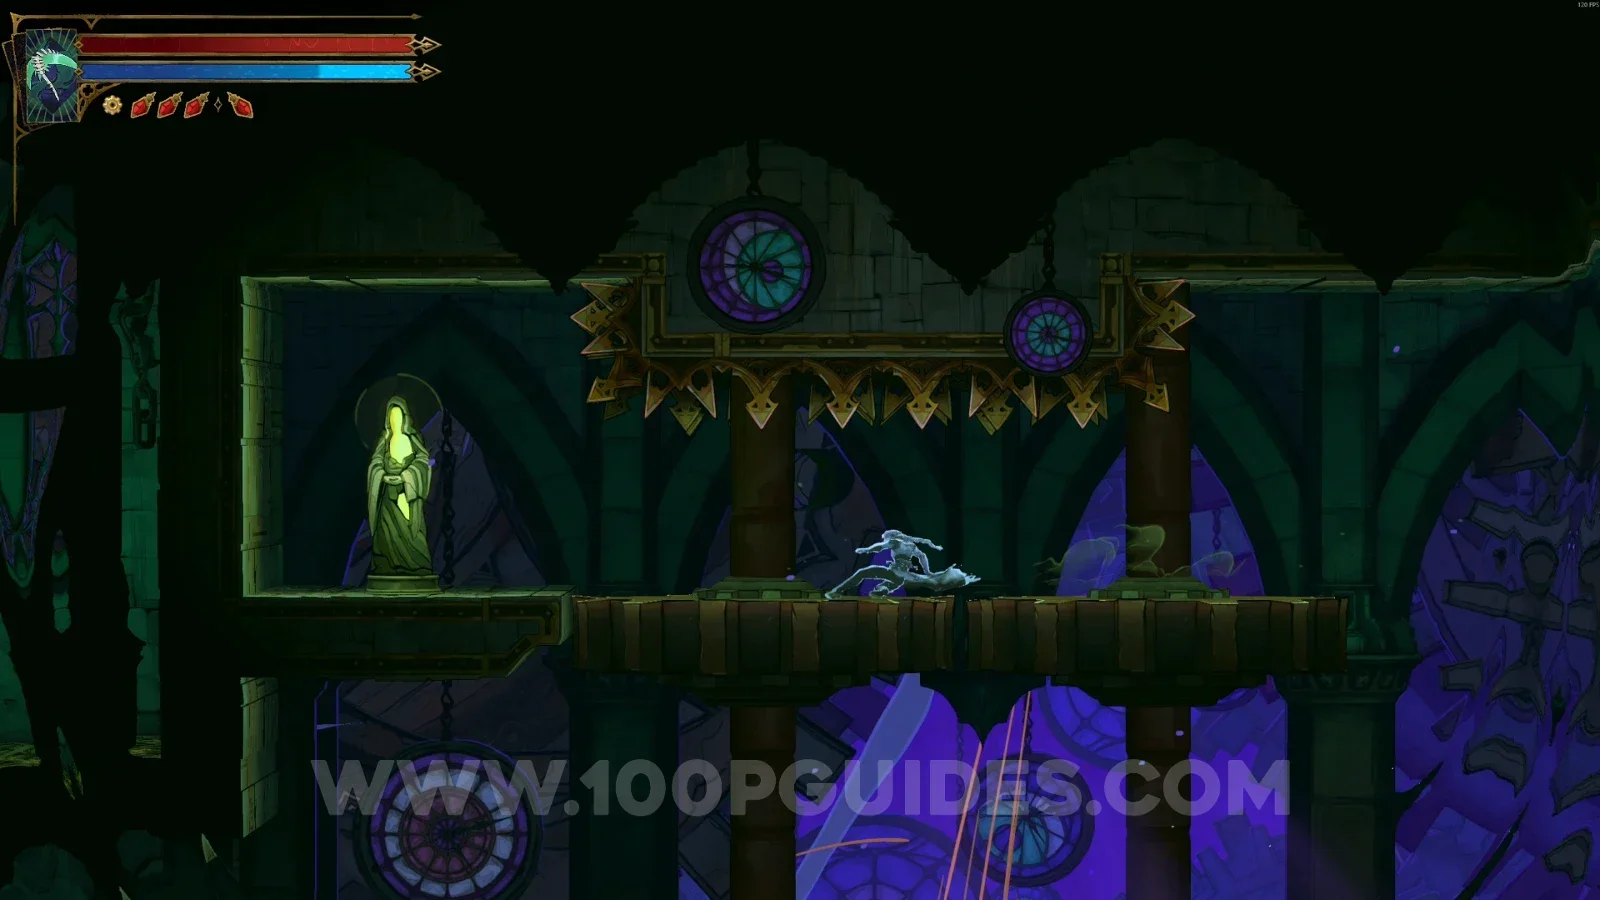
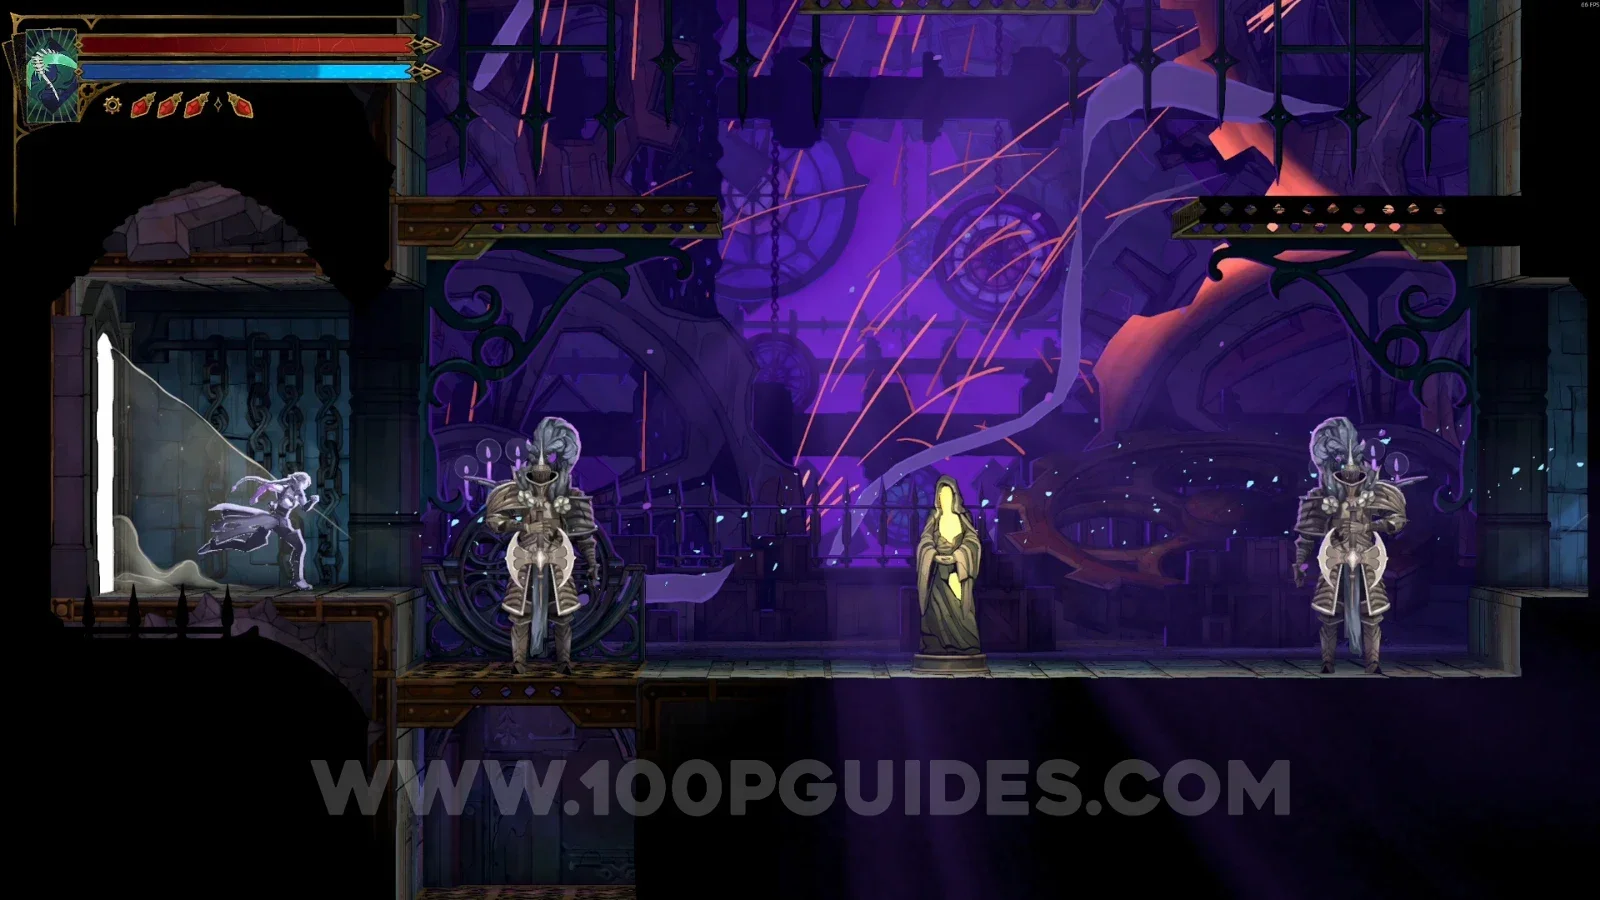
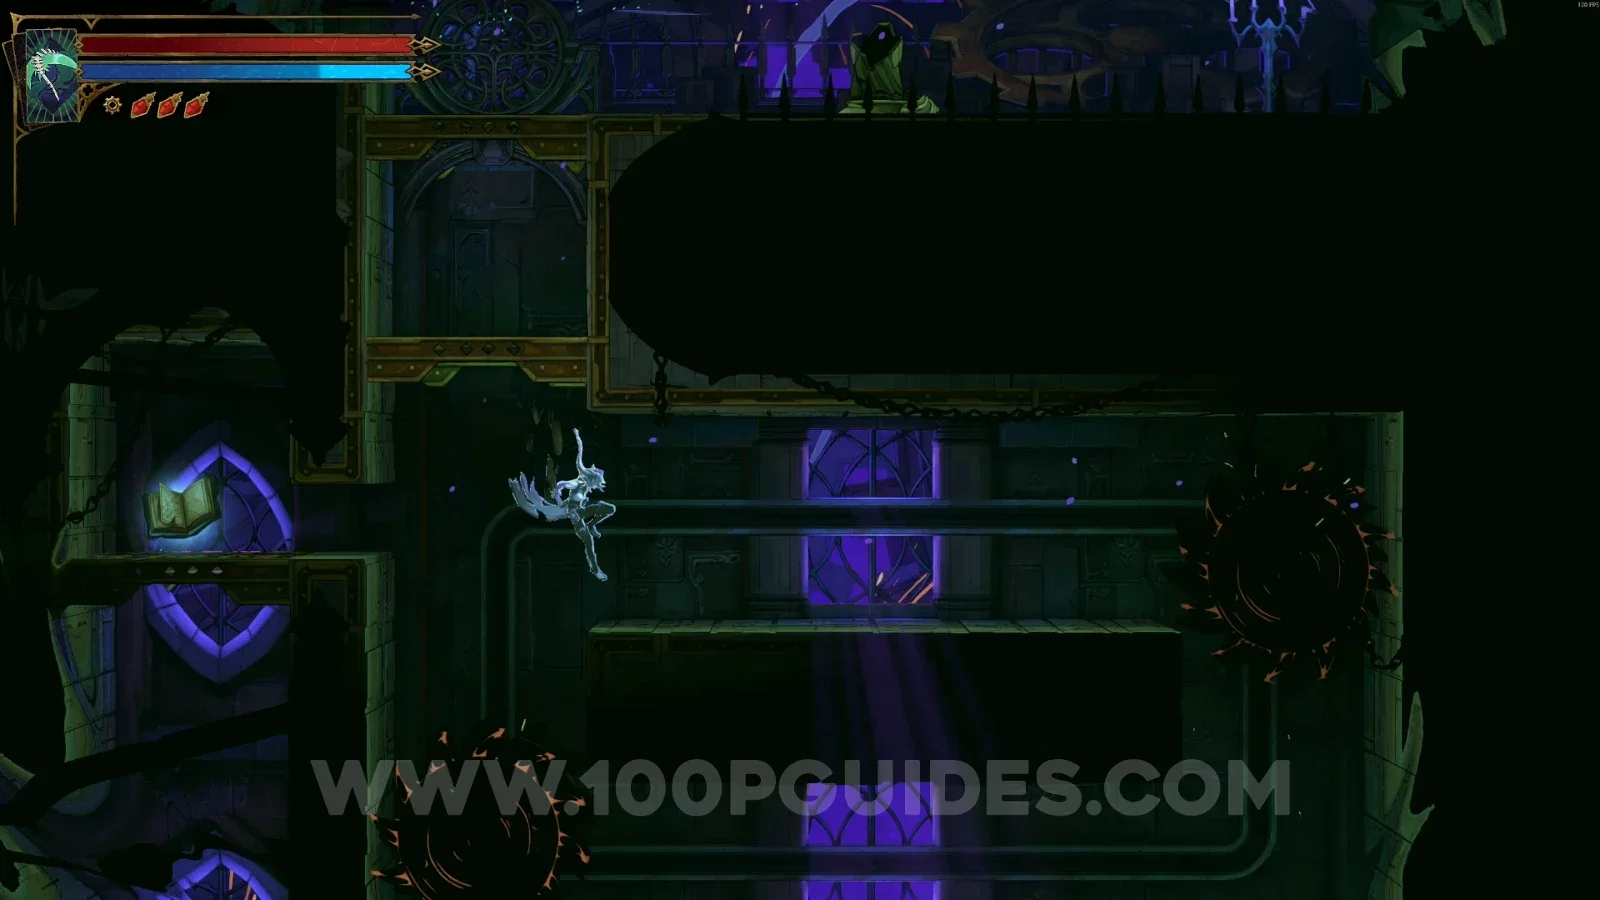
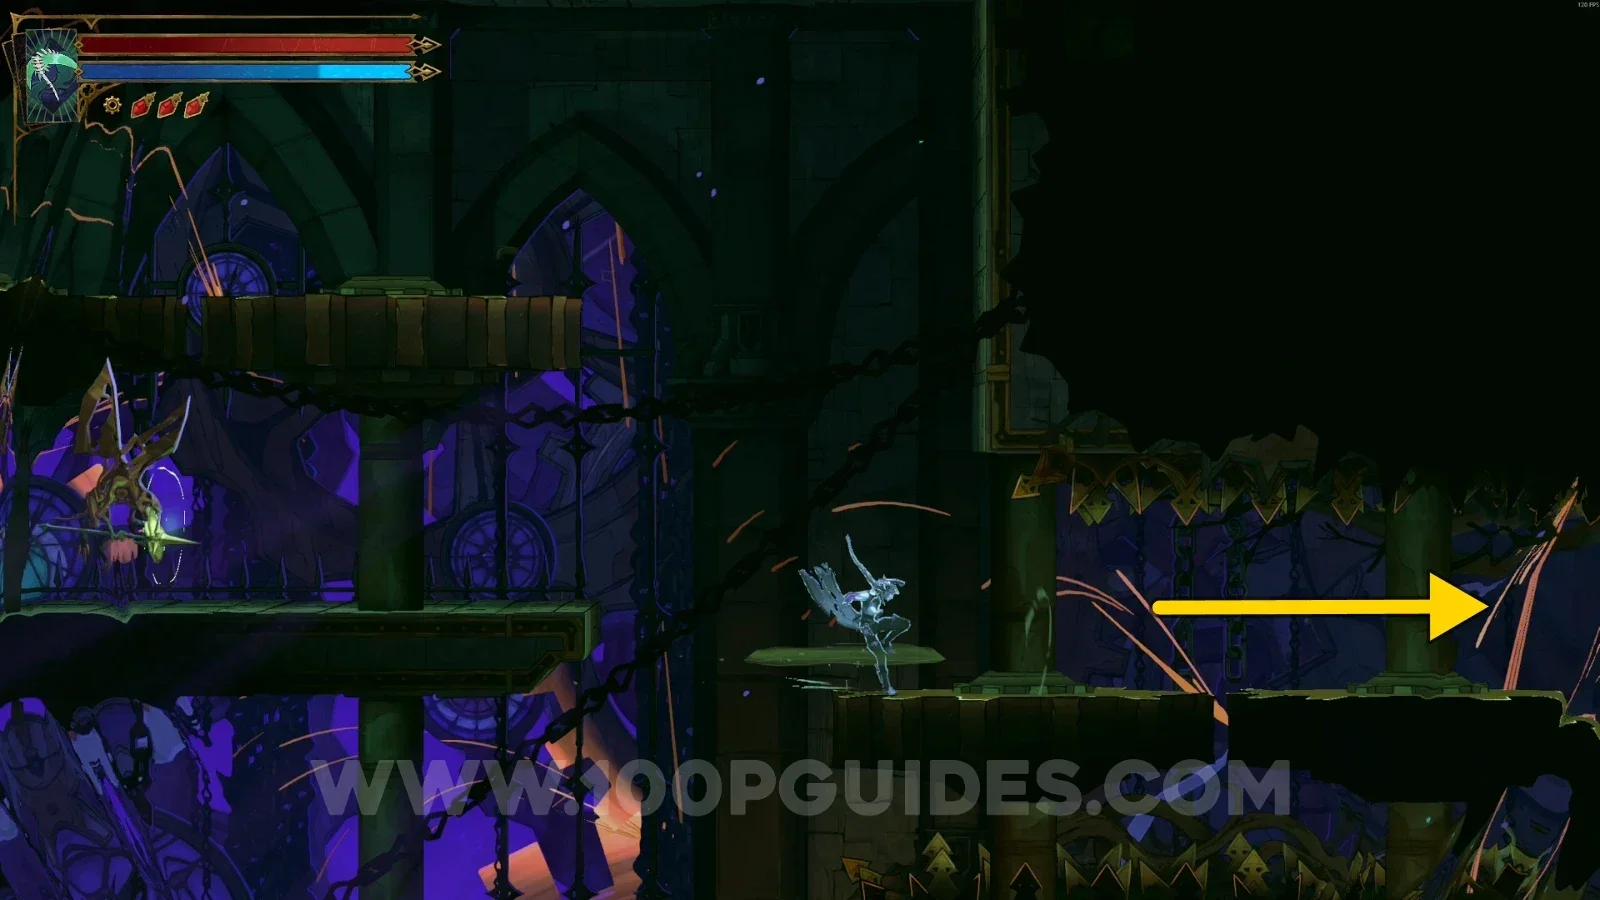
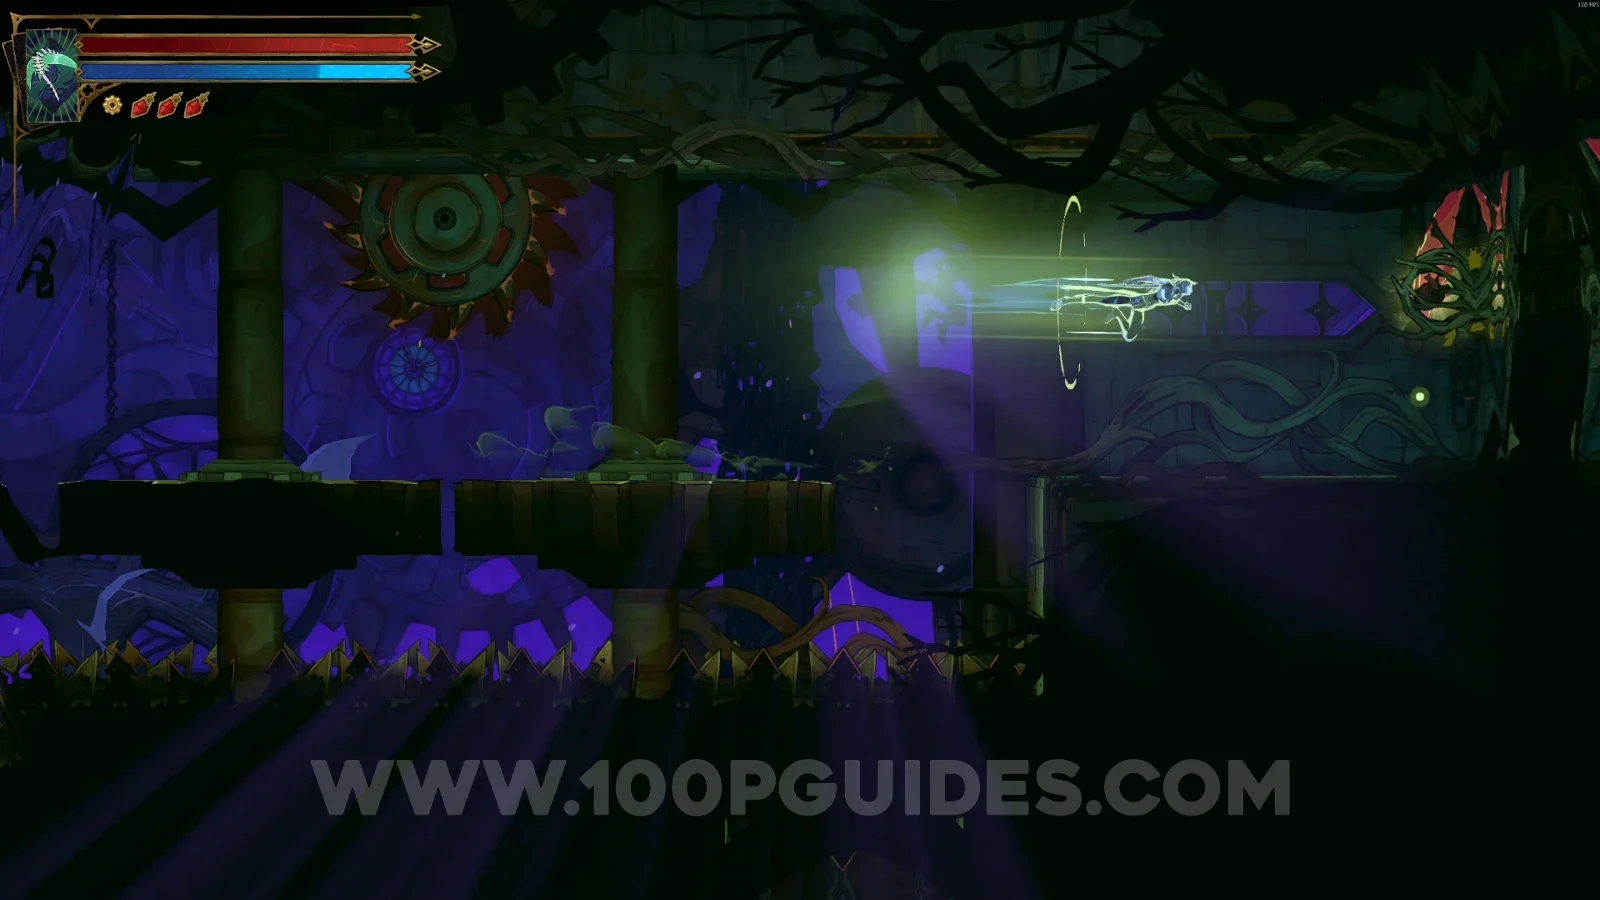
Castlevania: Belmont’s Curse Clock Tower All Collectibles

This guide will show you the location of all collectibles in Clock Tower in Castlevania: Belmont's Curse.

Collecting everything is required to get the Perfectionist Hunter Trophy / Achievement.

West Tower Base

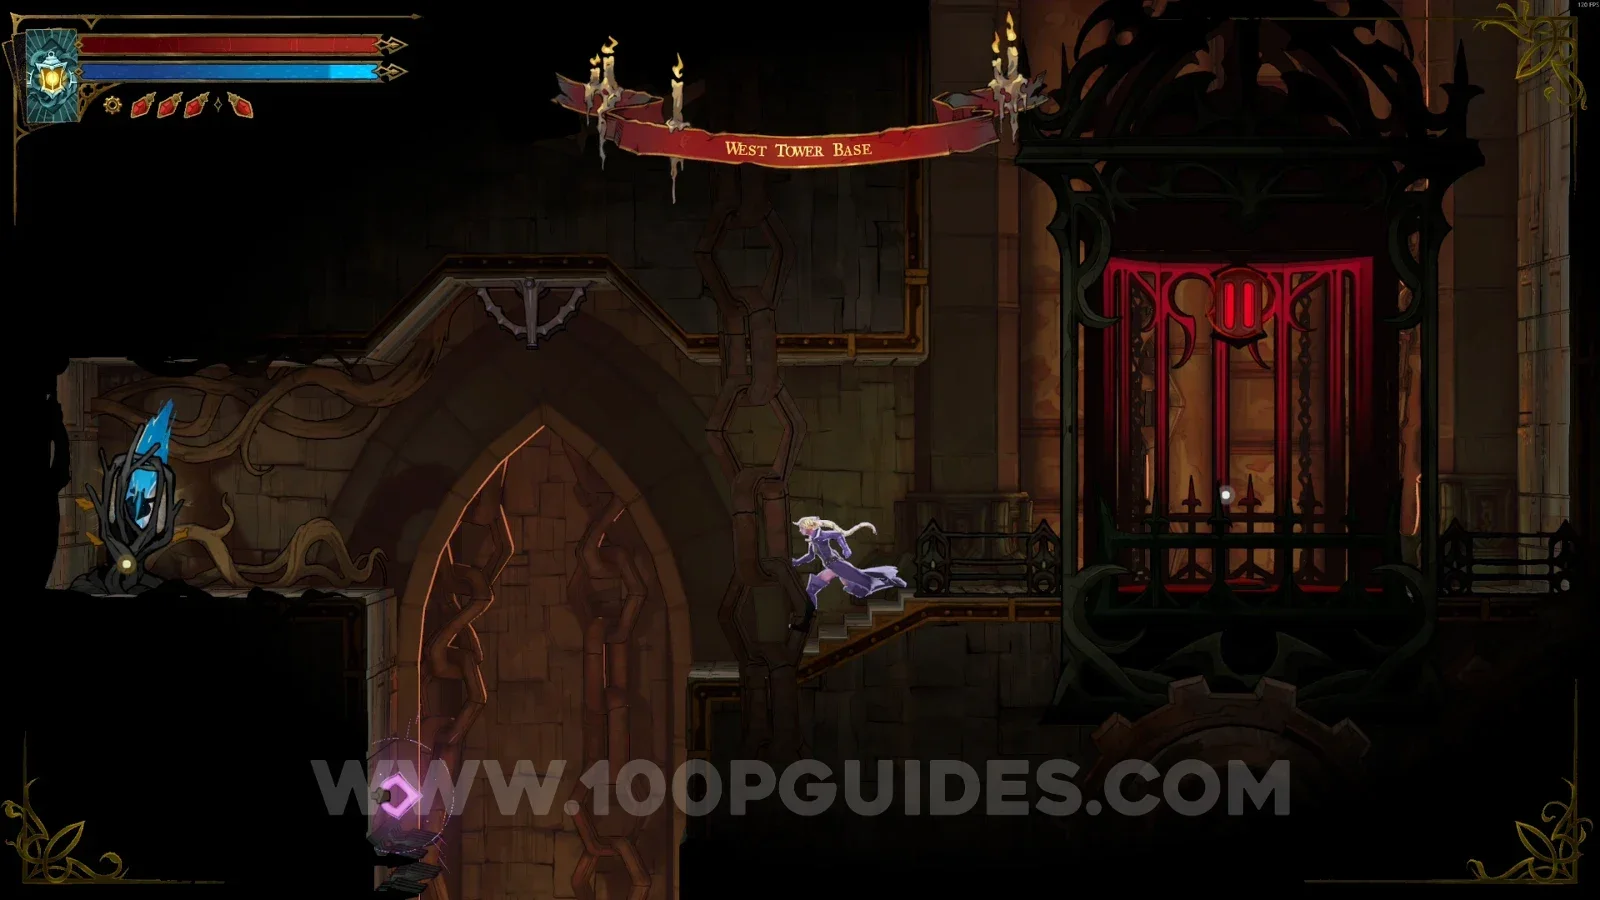
Wise Heart Fragment #1

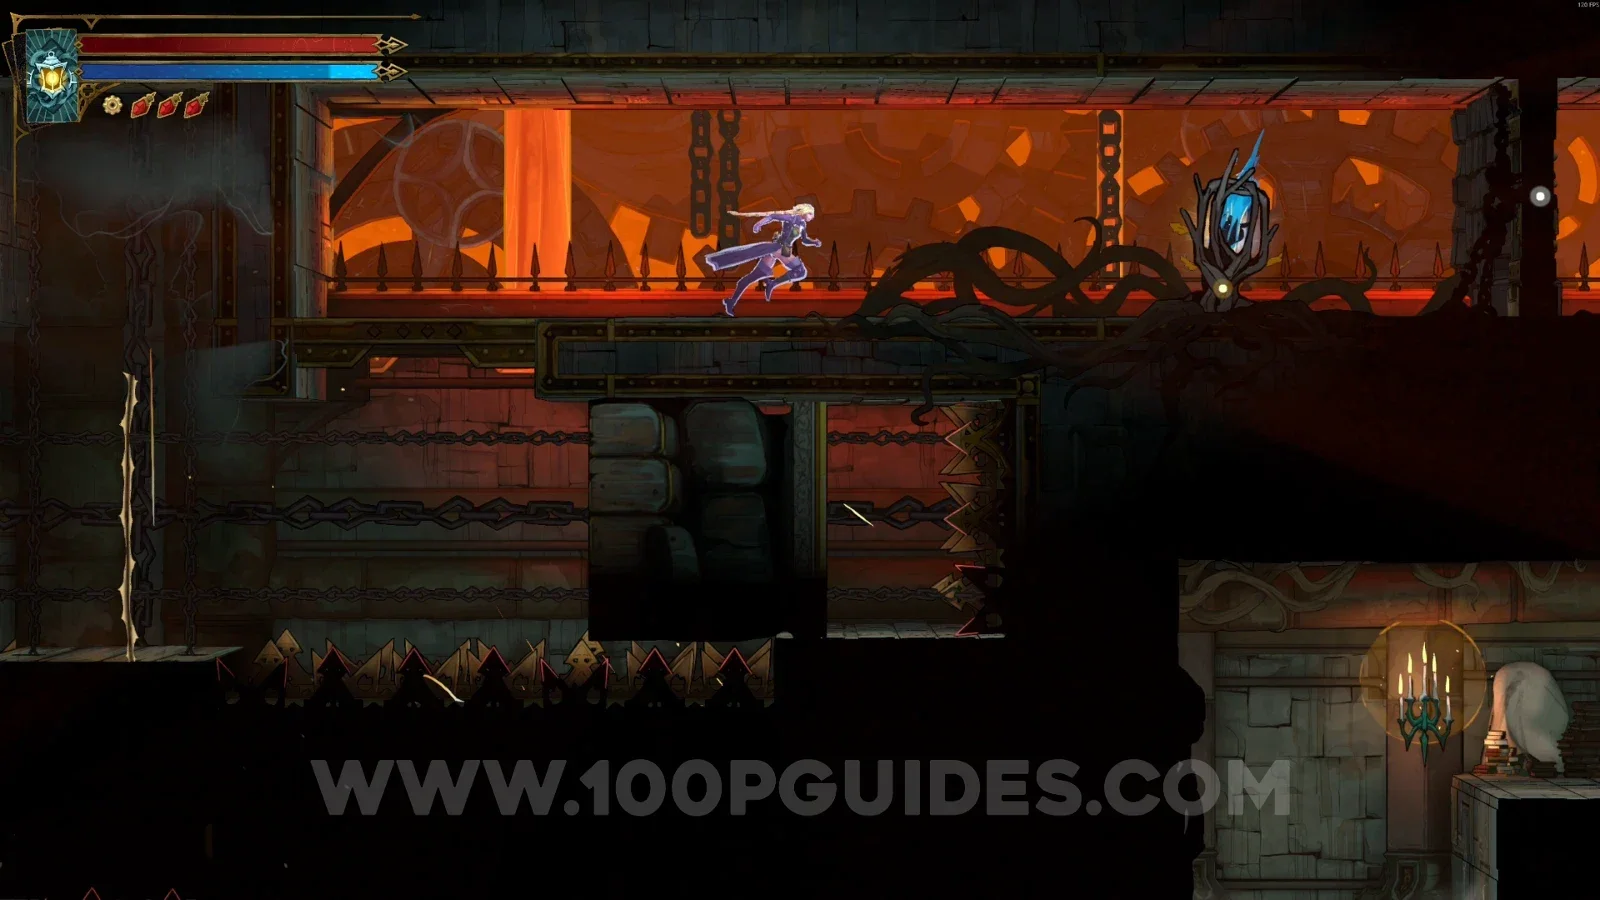
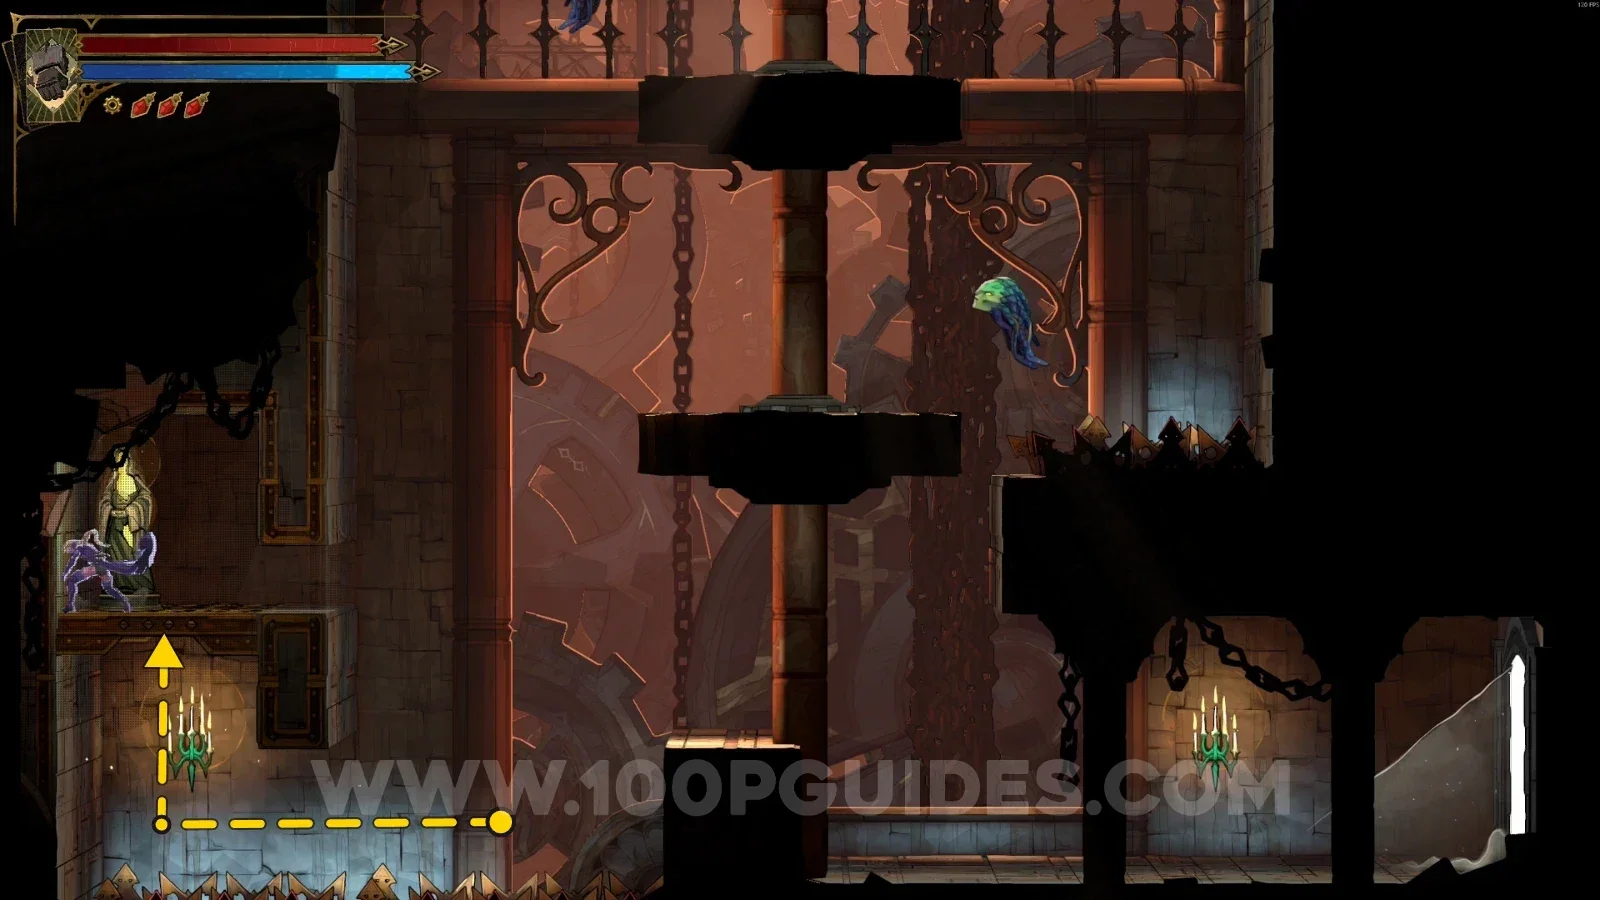
Next to the elevator. To reach it, you need to take the elevator in Mechanic's Ascent.
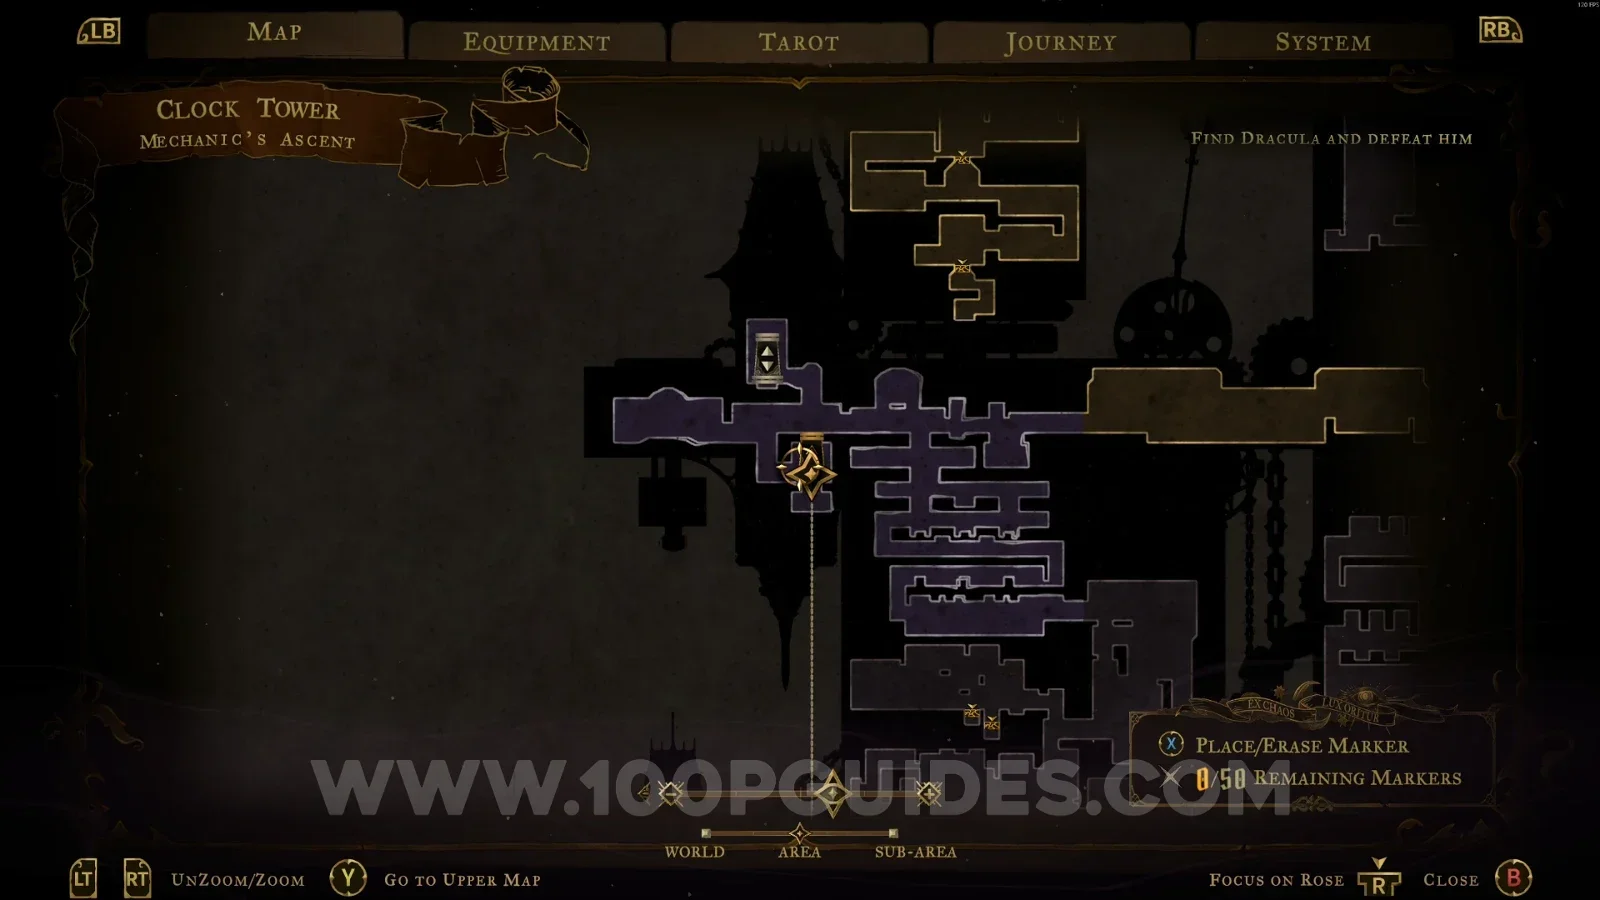
Castlevania Belmont's Curse West Tower Base: elevator from Mechanic's Ascent leading to Wise Heart Fragment #1 Castlevania Belmont's Curse West Tower Base: Wise Heart Fragment #1 next to the elevator

Western Ascent

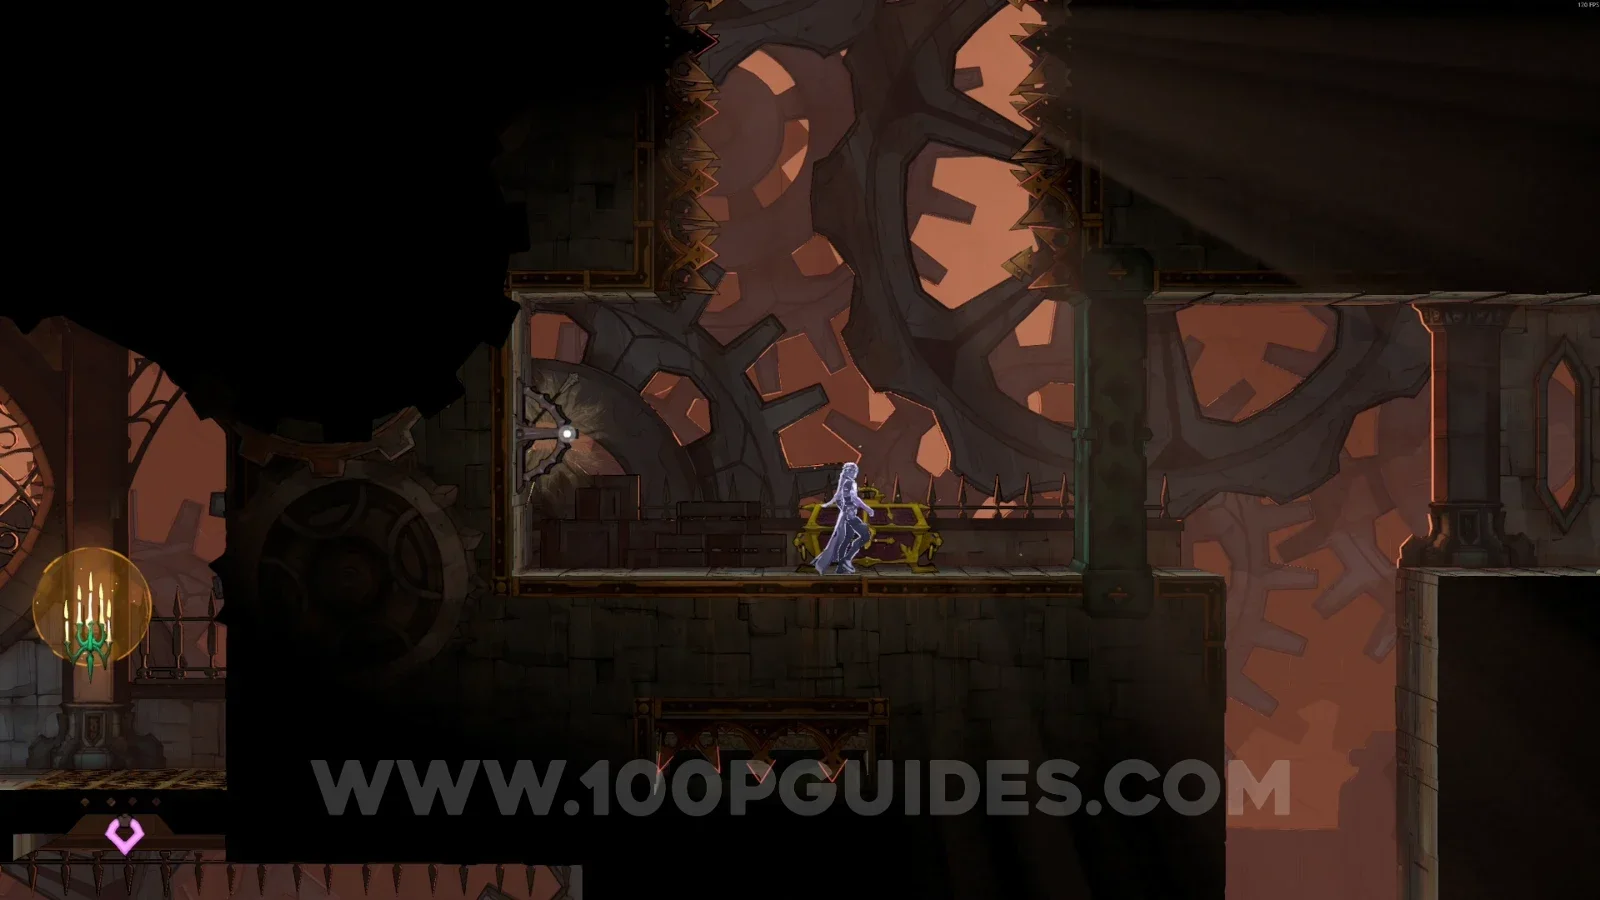
Relic #1: Phantom Ring

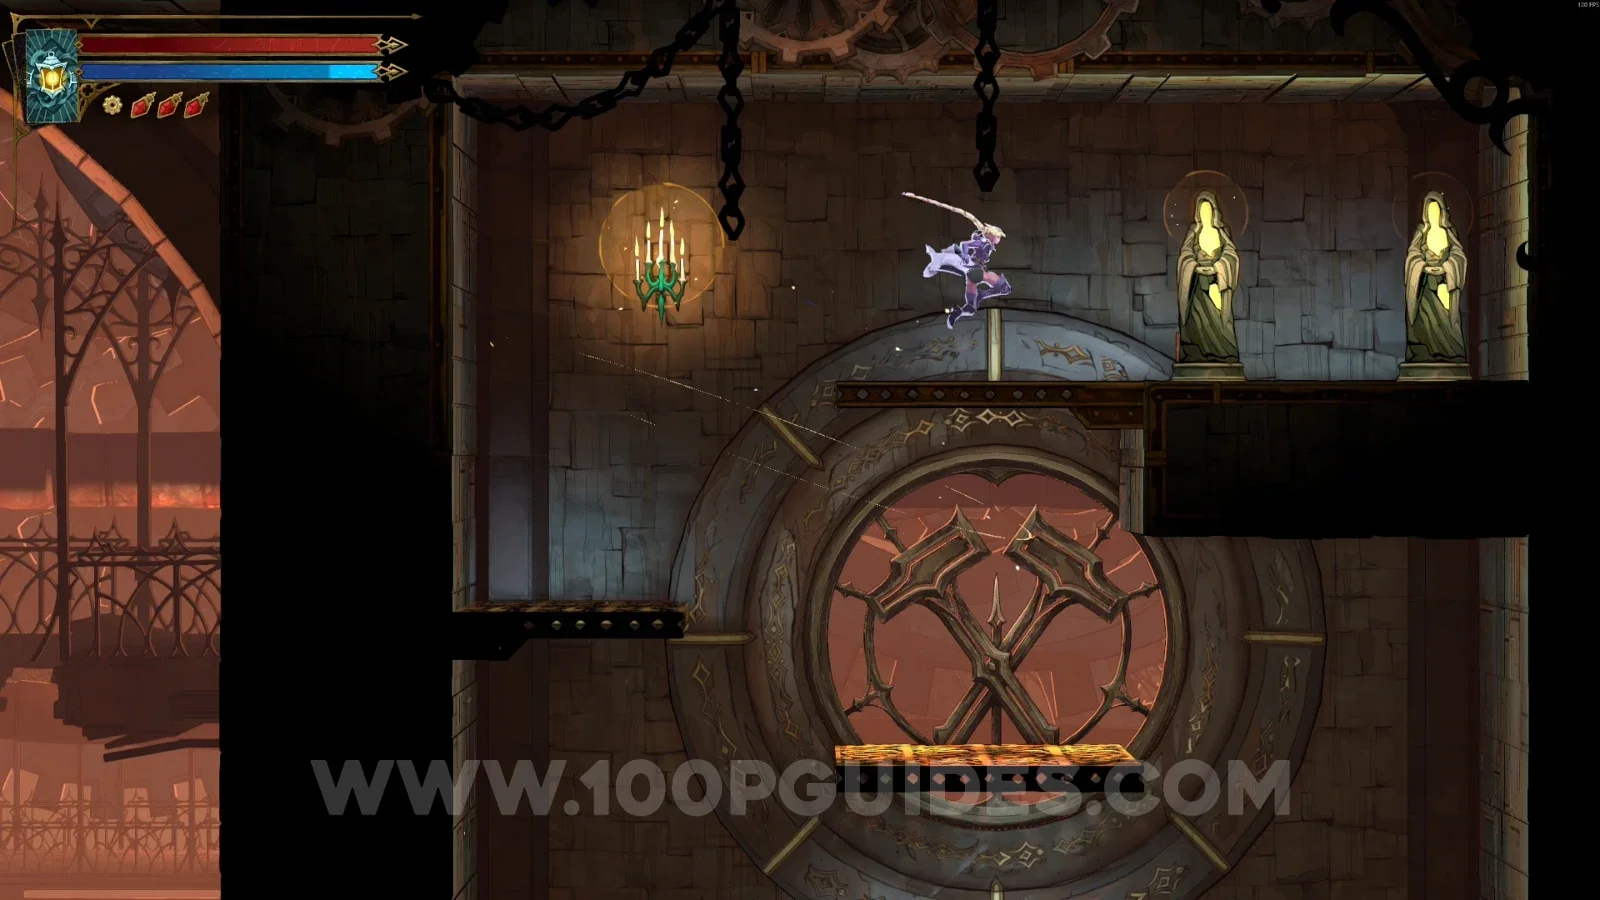
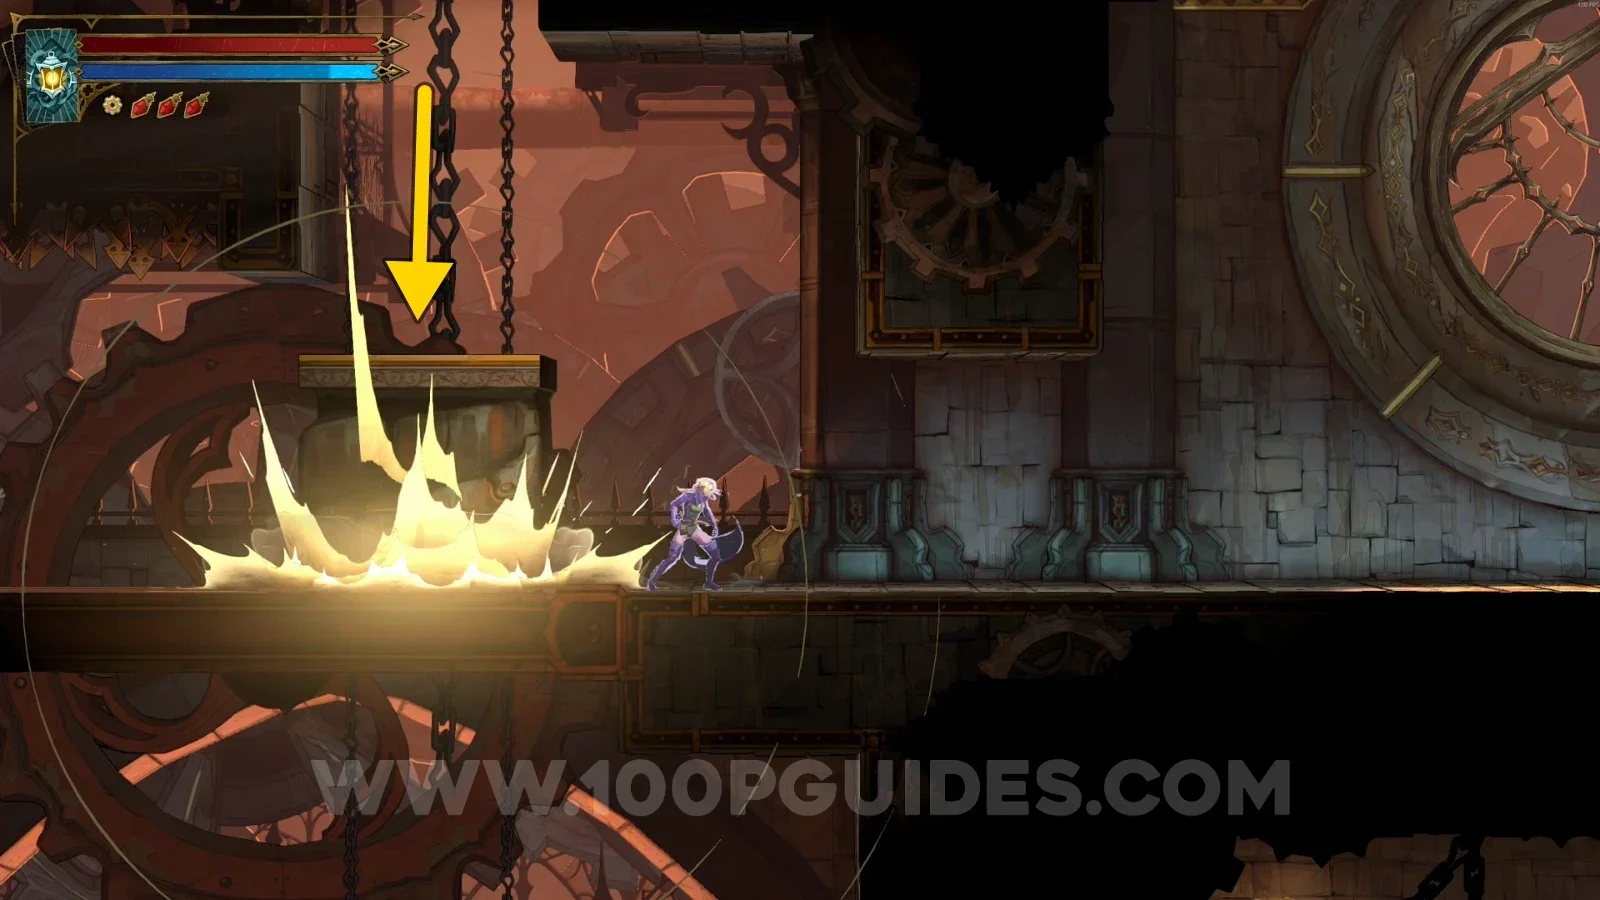
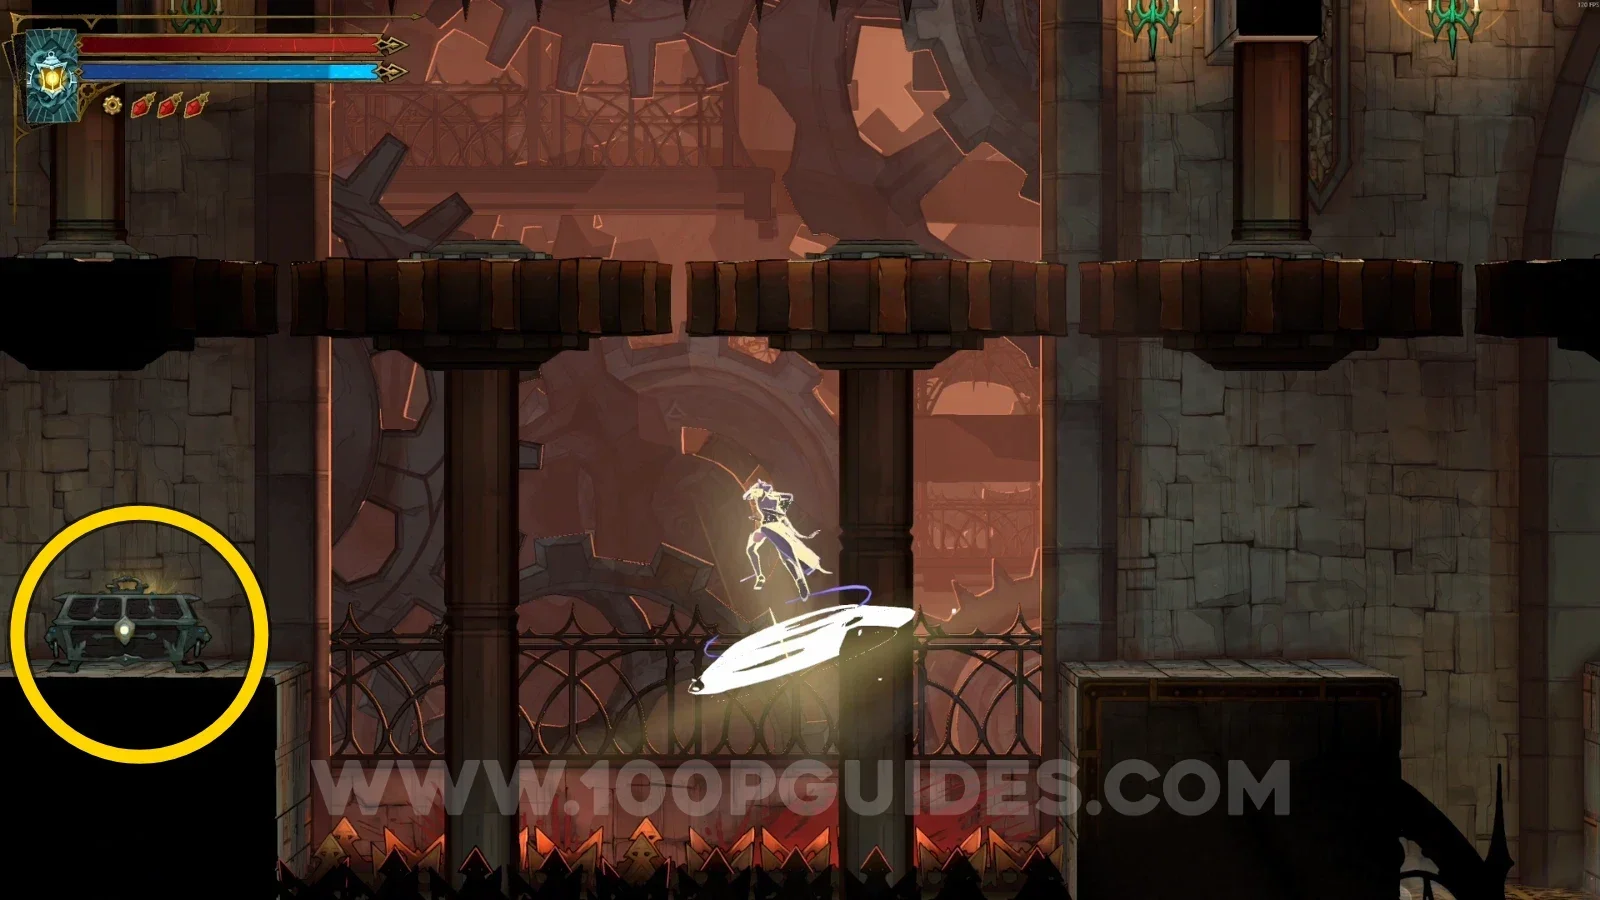
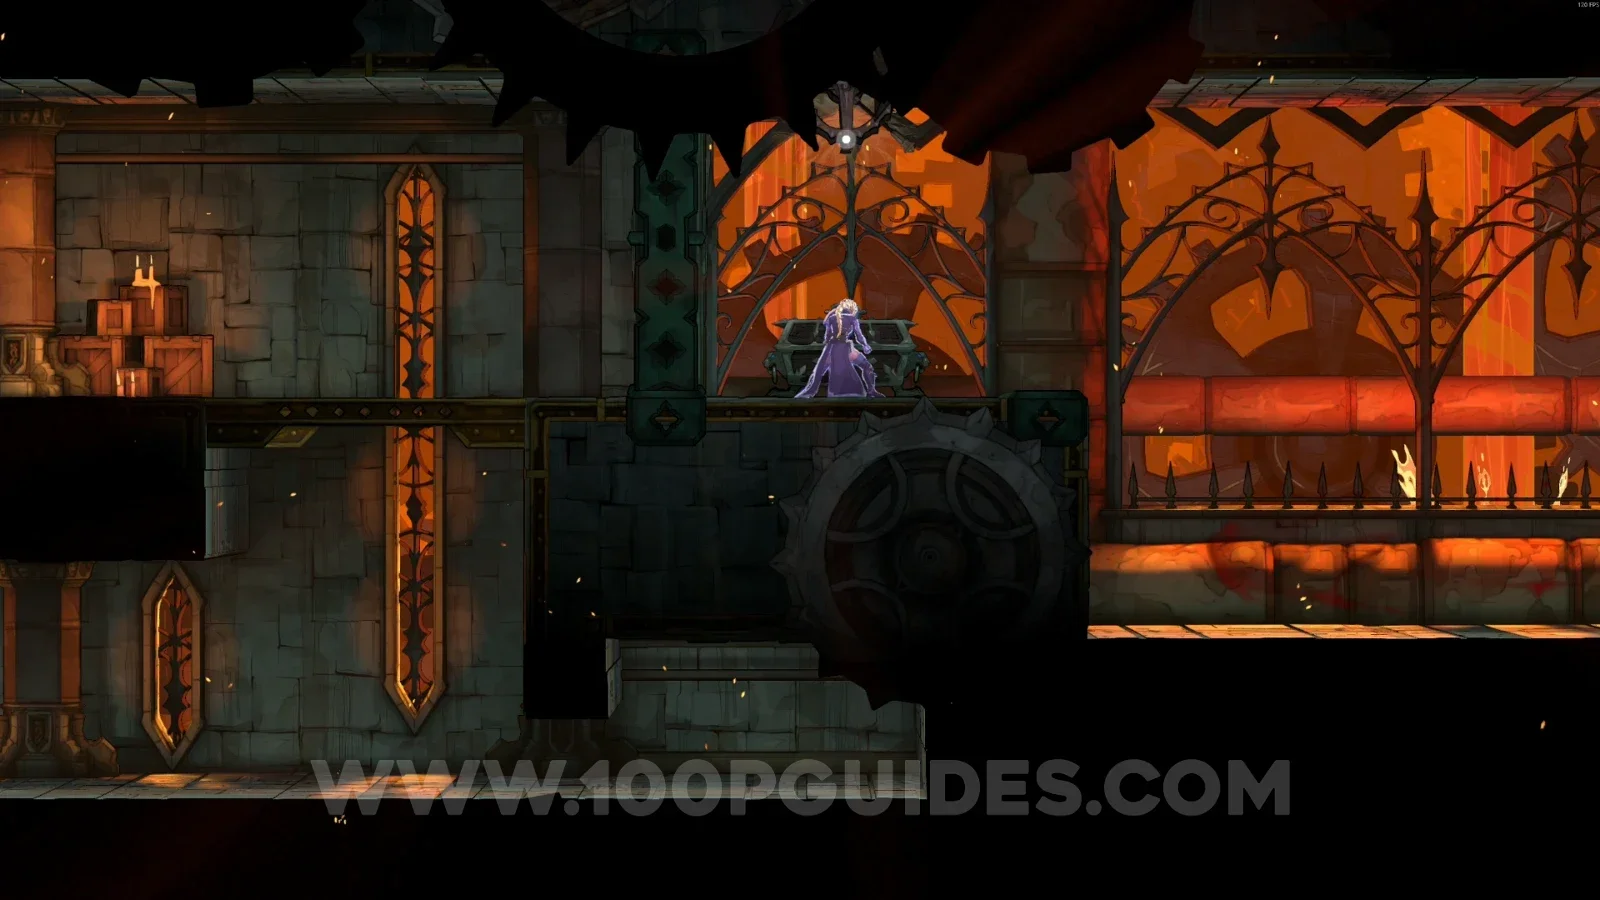
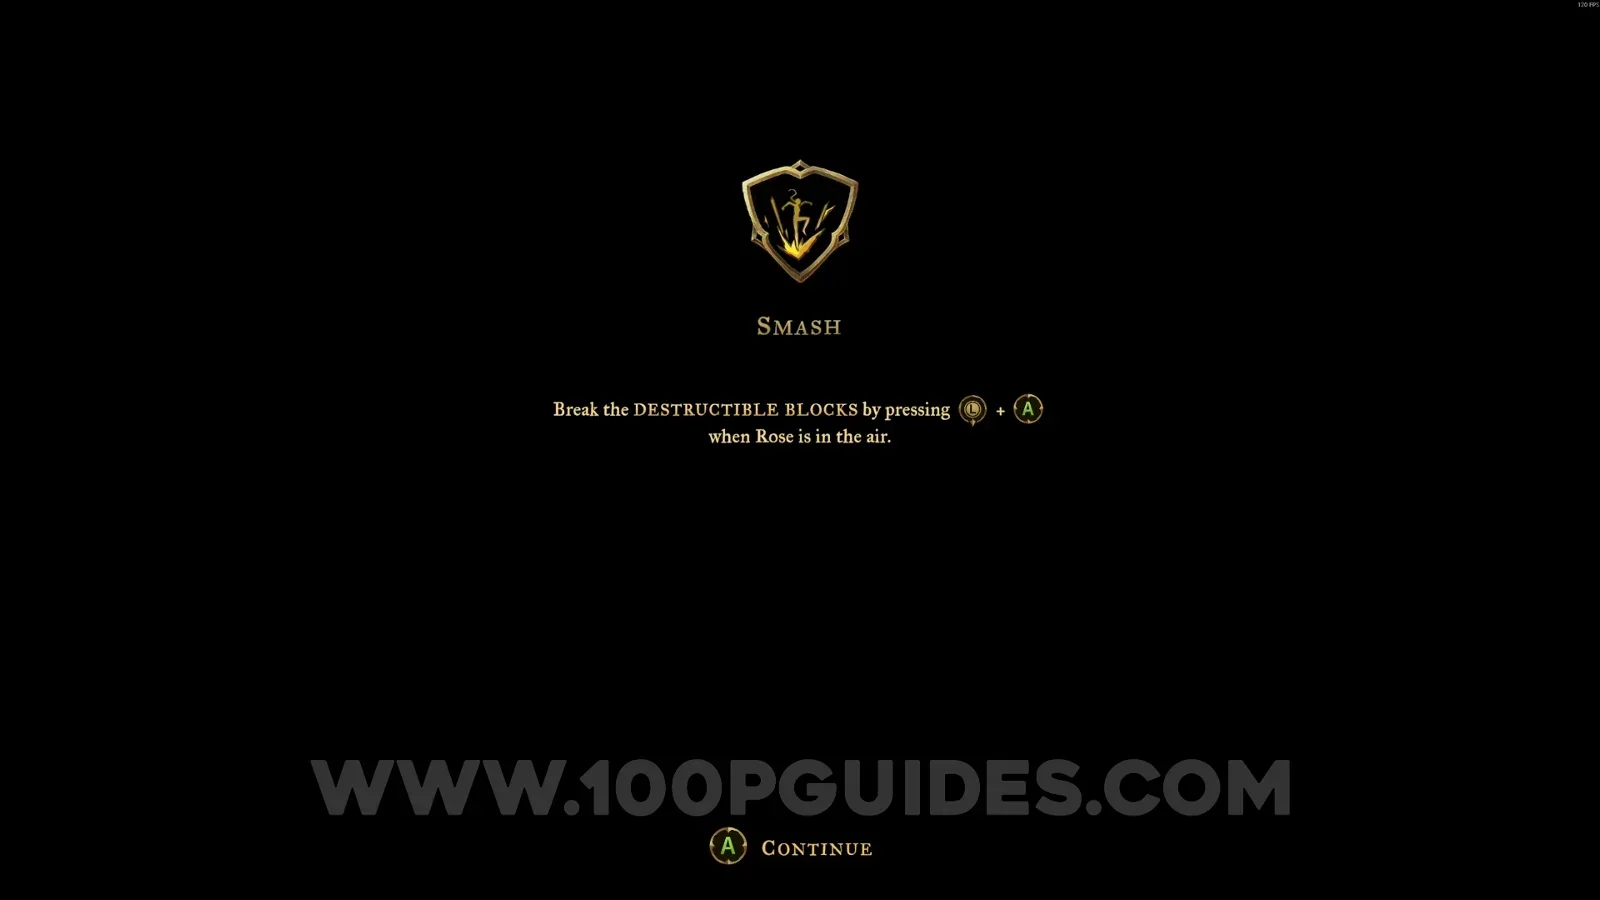
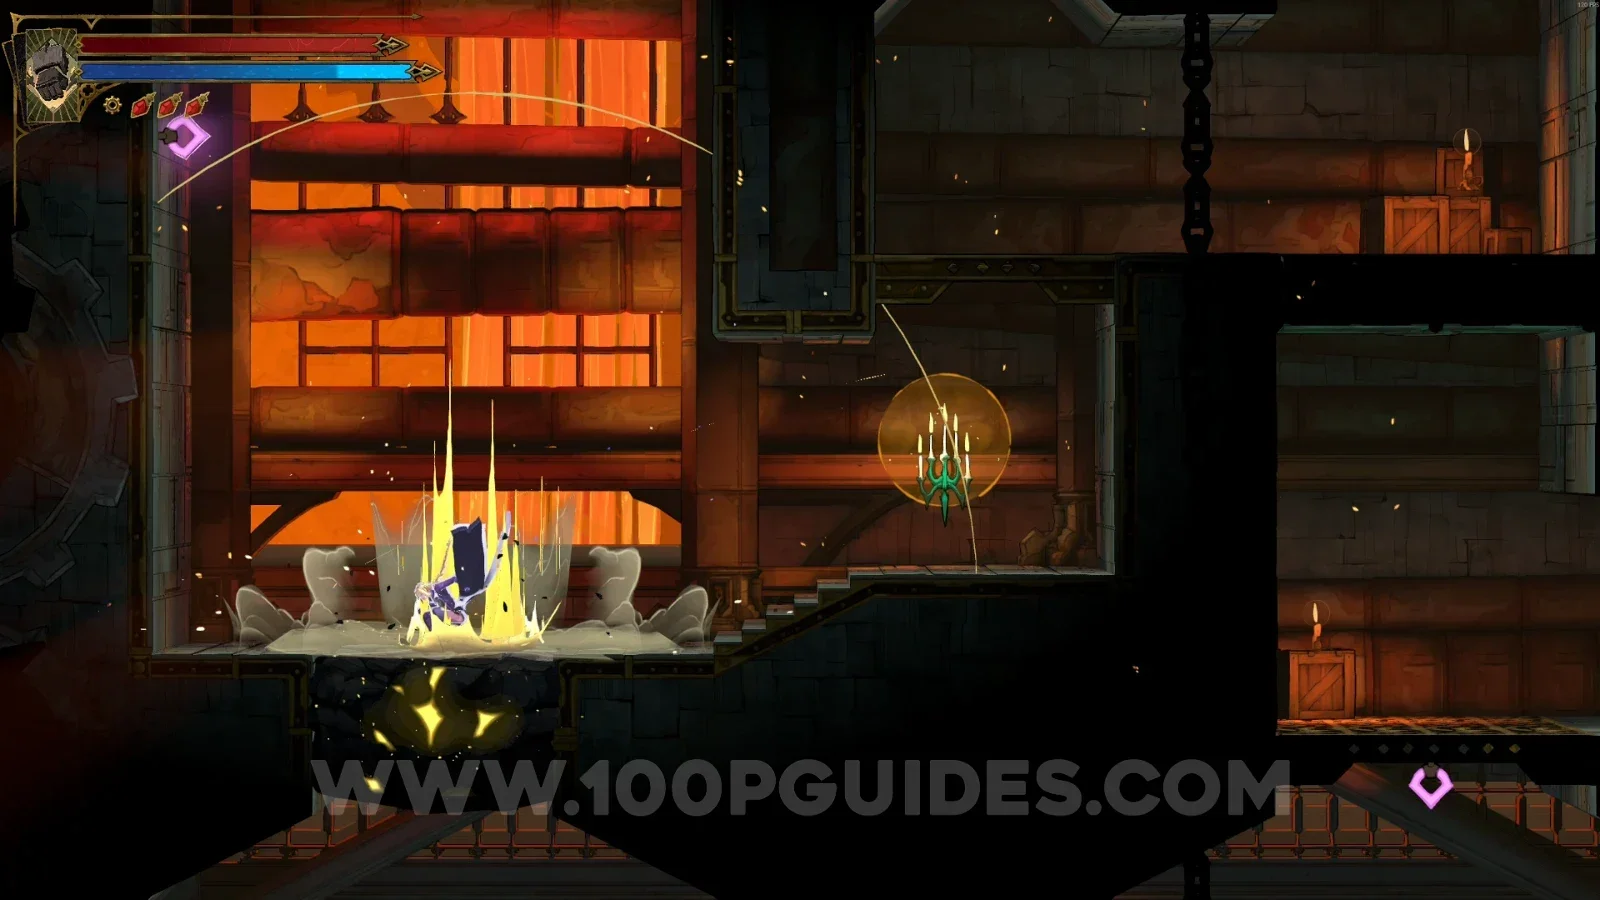
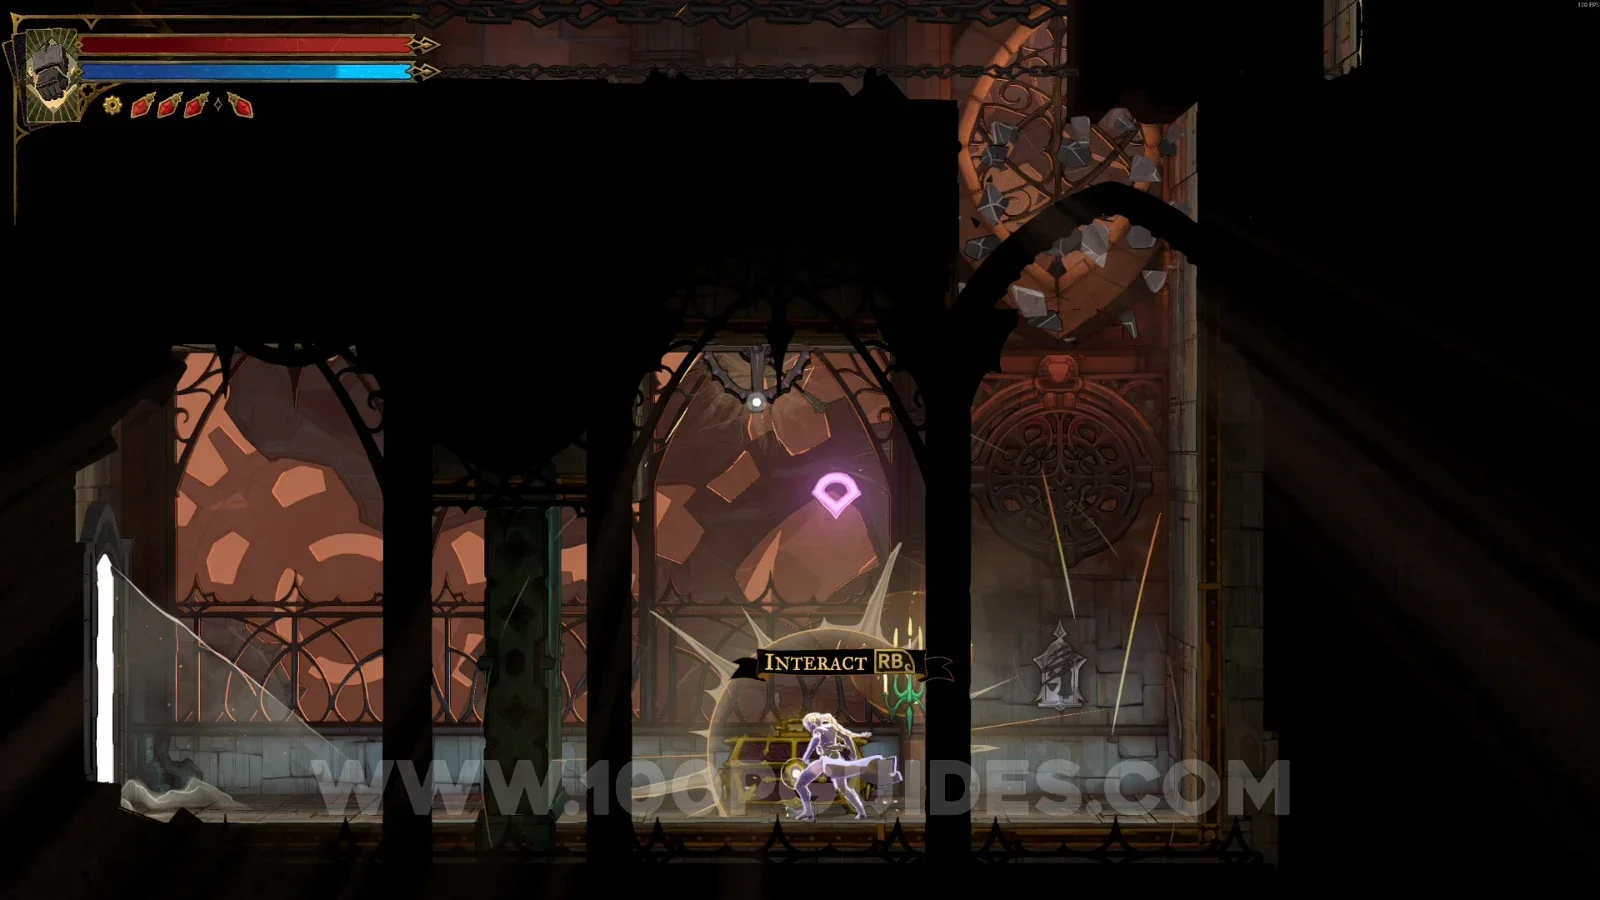
You need to break the floor using the Smash arcane power to move the platforms. The chest will be on the left side of the area.
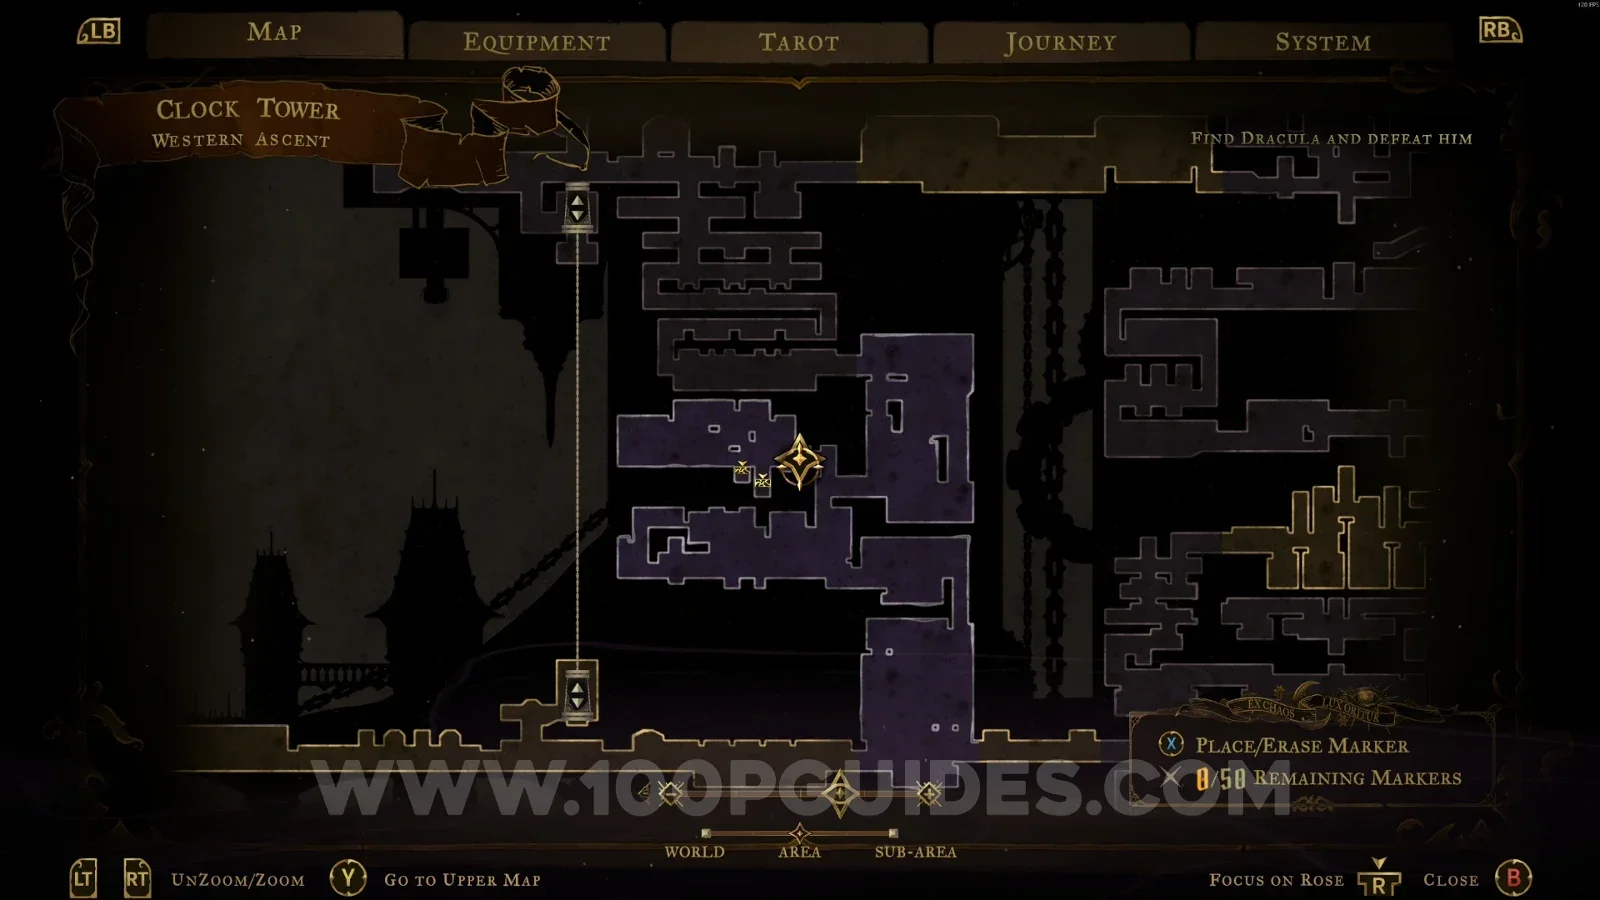
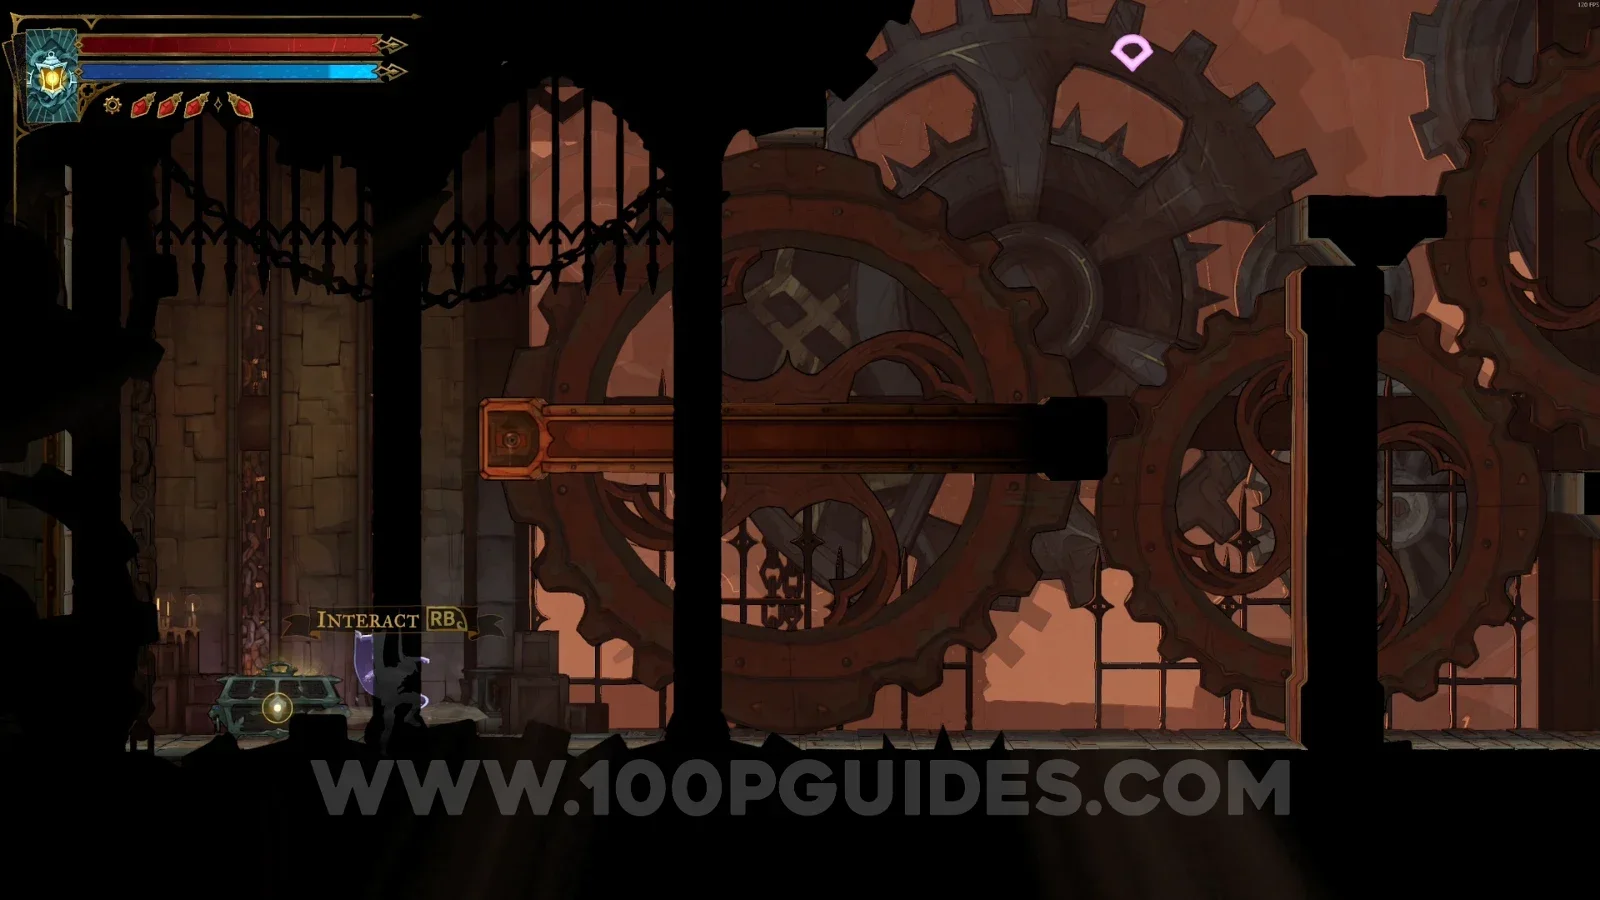
Castlevania Belmont's Curse Western Ascent: breaking the floor with Smash to move the platforms Castlevania Belmont's Curse Western Ascent: Relic #1 Phantom Ring chest on the left side of the area

Mechanic's Ascent

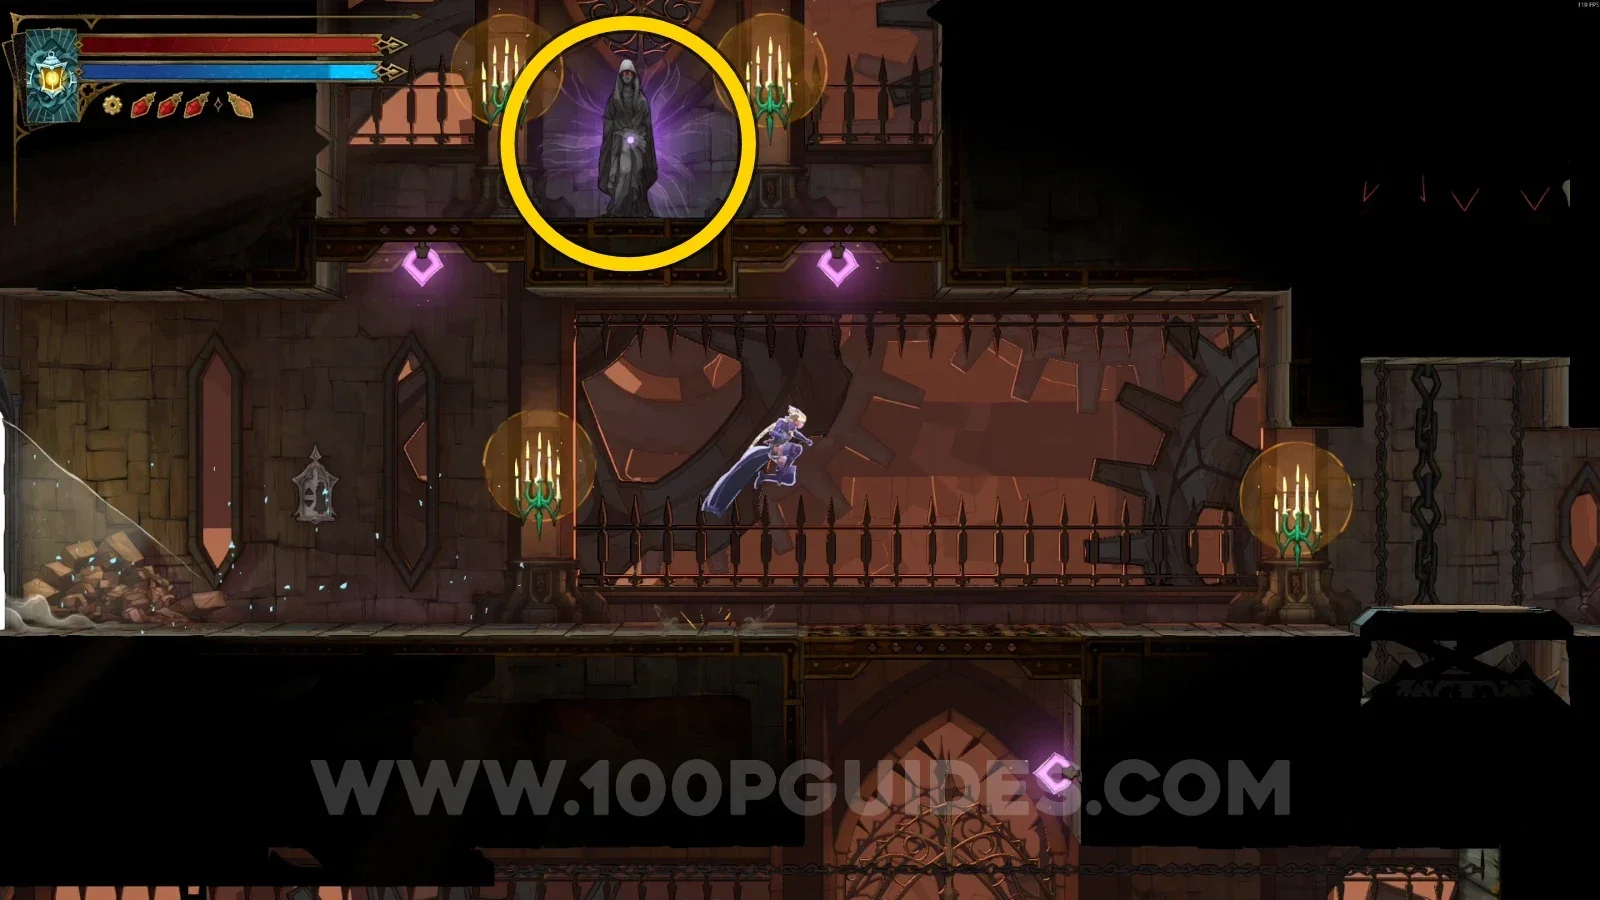
Clue: The Zealot

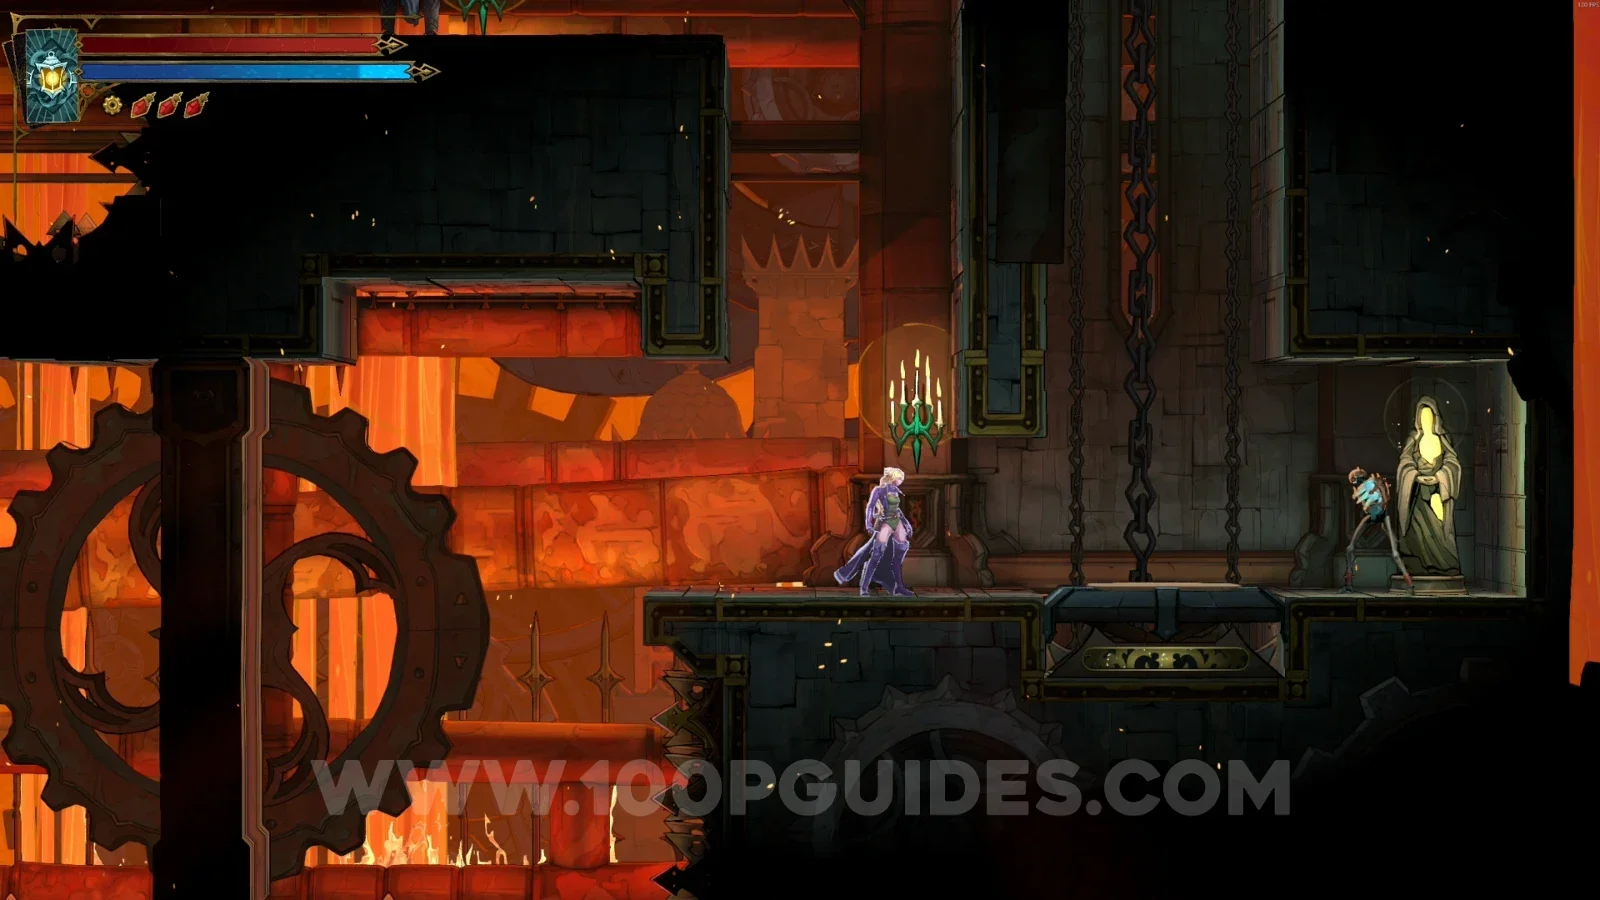
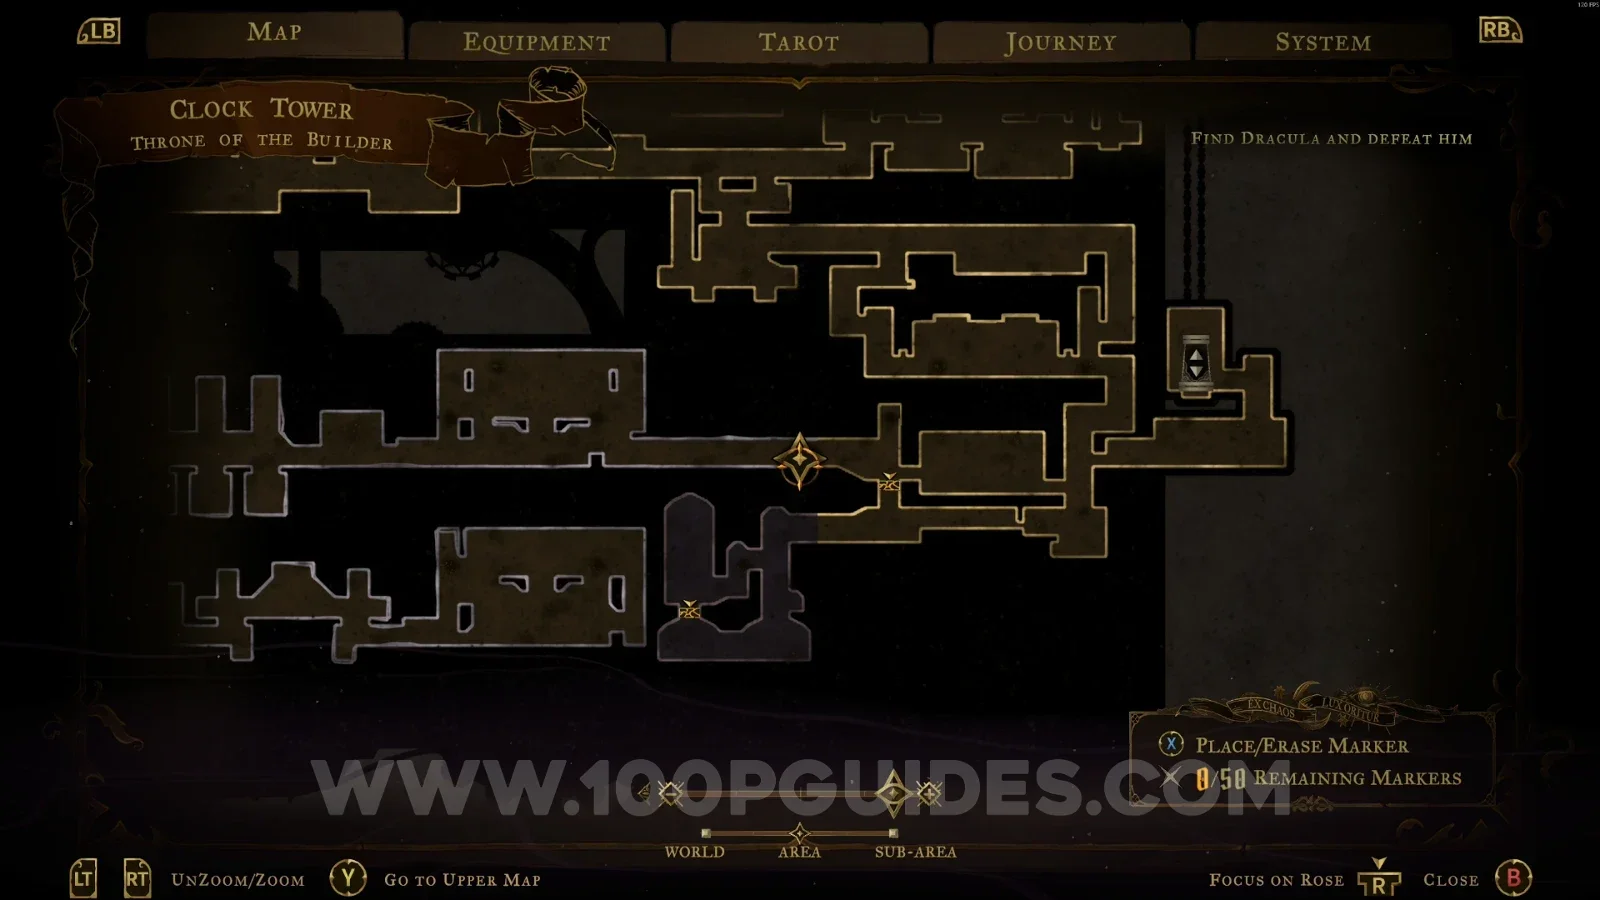
In the area marked on the map, interact with the statue.
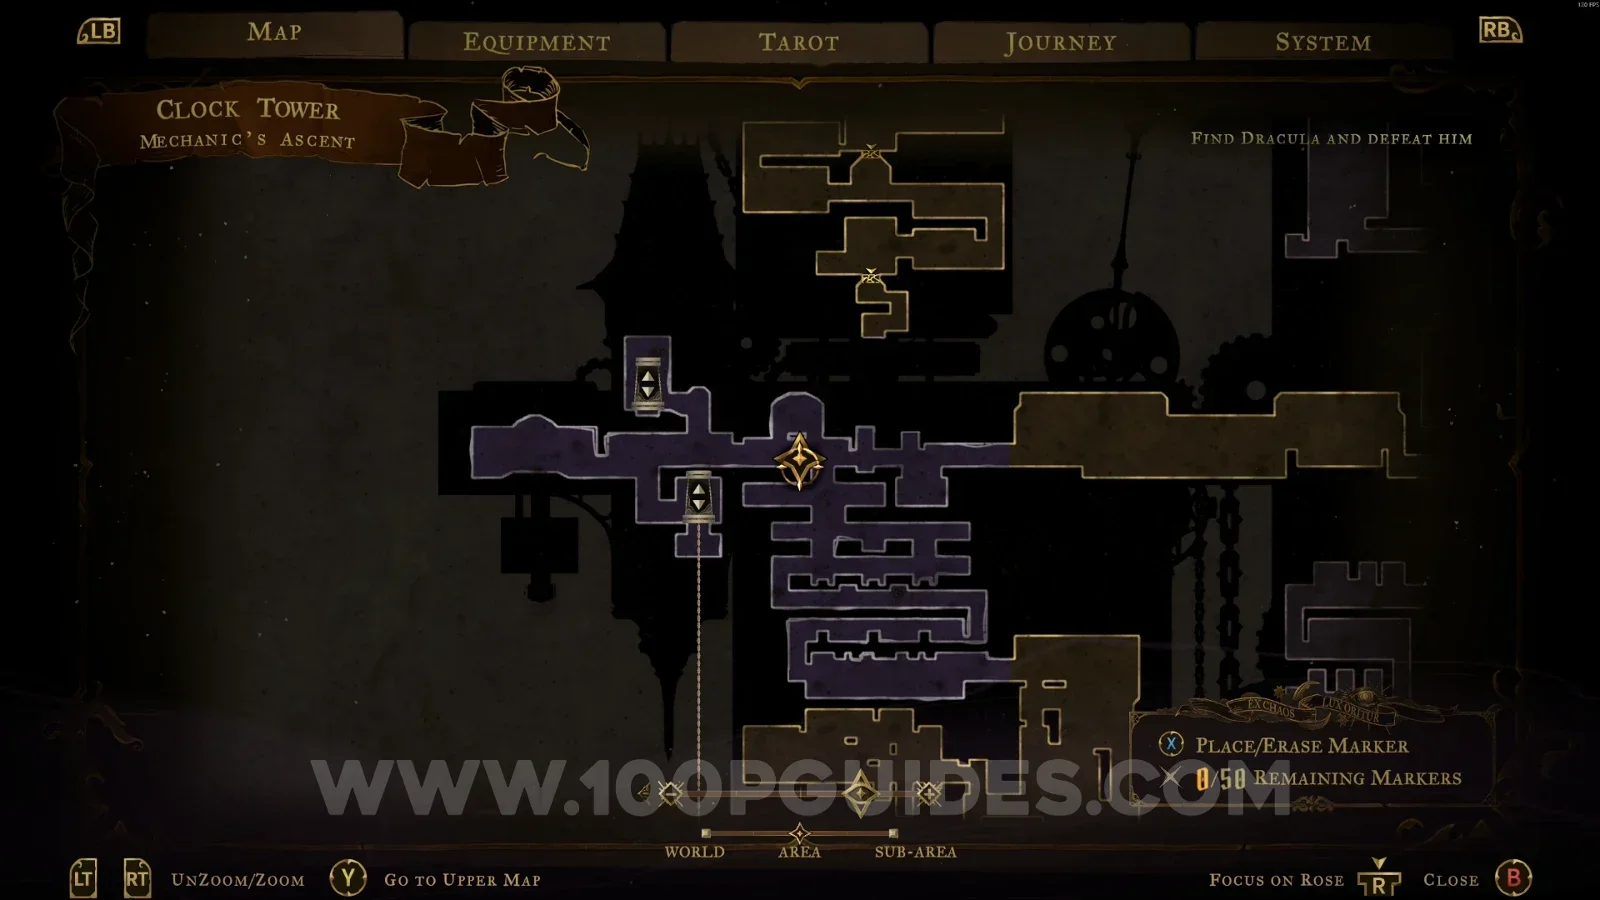
Castlevania Belmont's Curse Mechanic's Ascent: map marking the statue area for Clue The Zealot Castlevania Belmont's Curse Mechanic's Ascent: interacting with the statue for Clue The Zealot

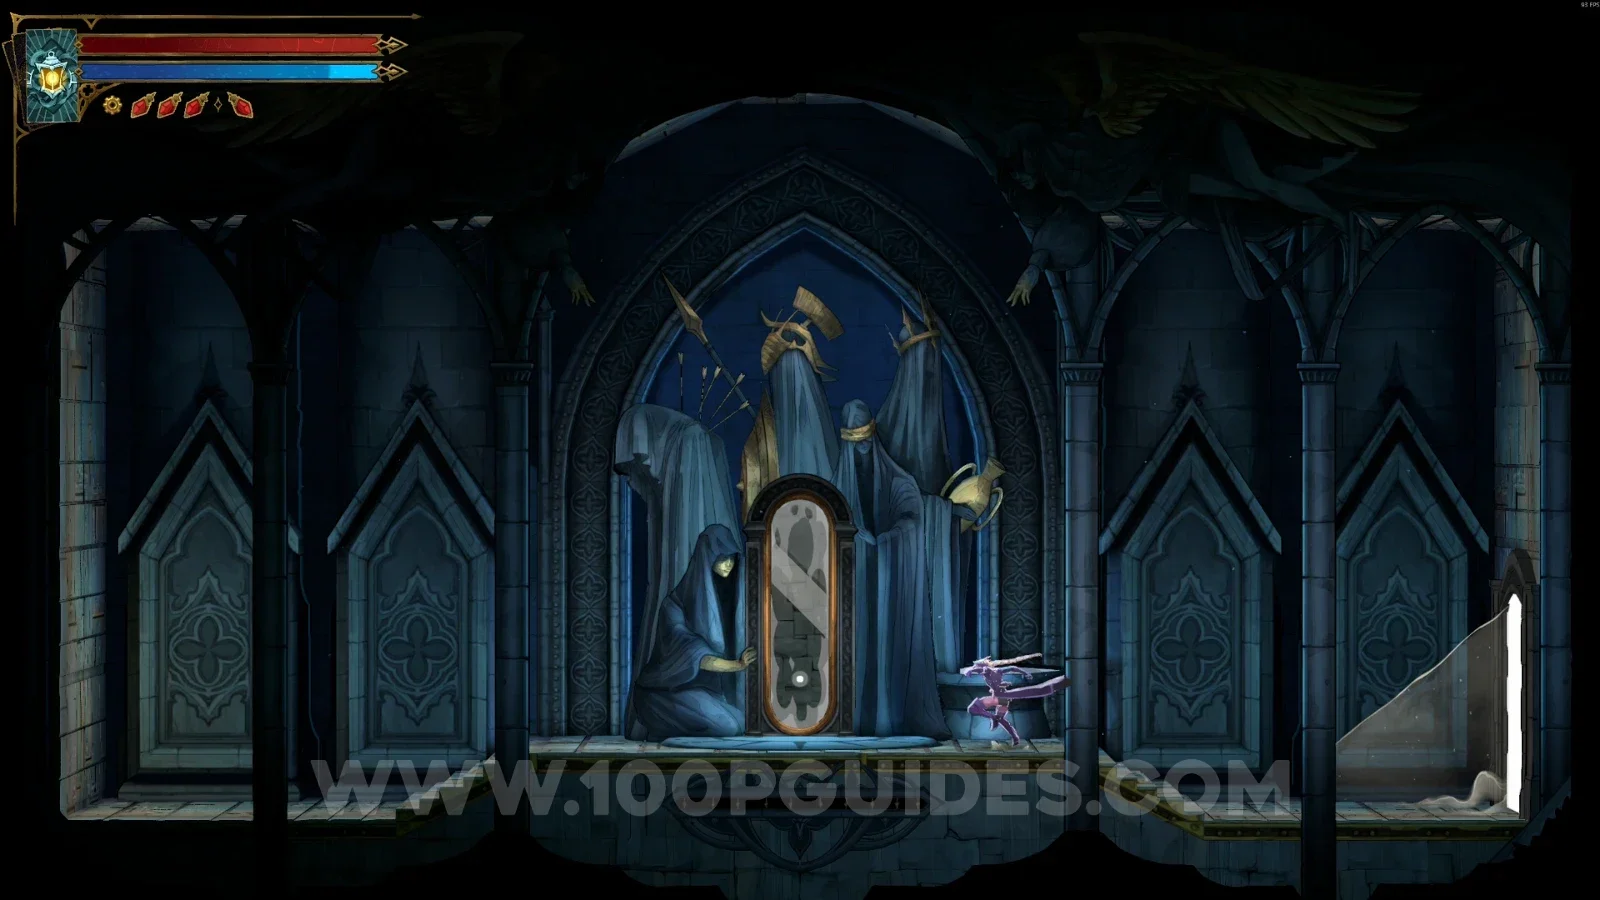
Mirror Of Life #1

In the area marked on the map.
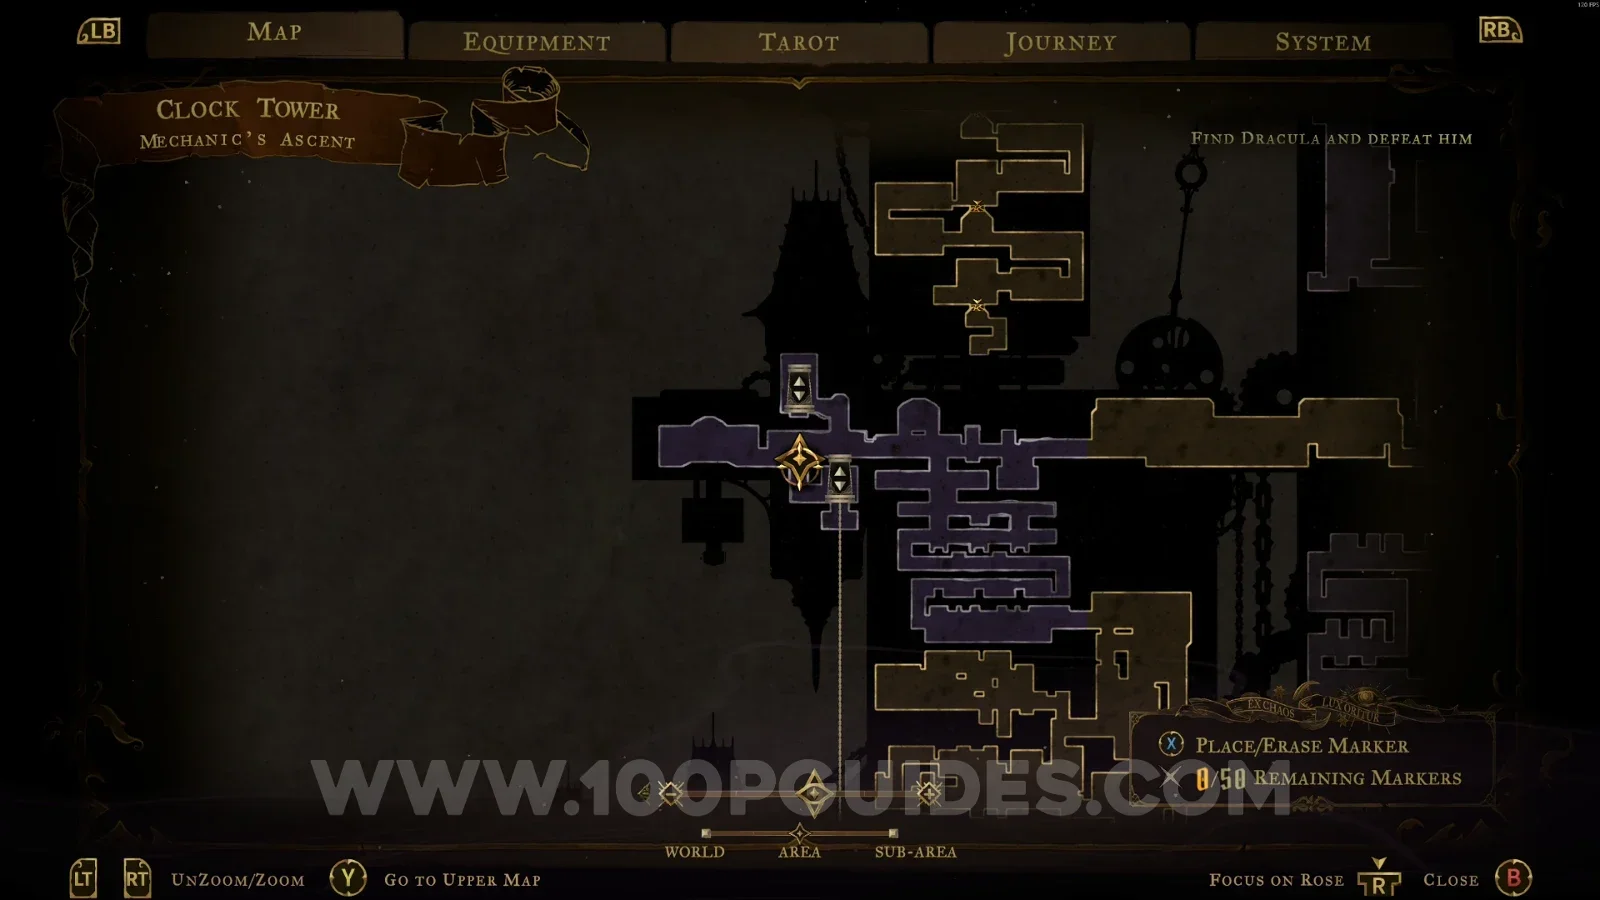
Castlevania Belmont's Curse Mechanic's Ascent: map marking the area of Mirror Of Life #1 Castlevania Belmont's Curse Mechanic's Ascent: Mirror Of Life #1 in the marked area

XP Statue #1

In the area marked on the map, climb to the upper part to reveal a small secret room with the statue.
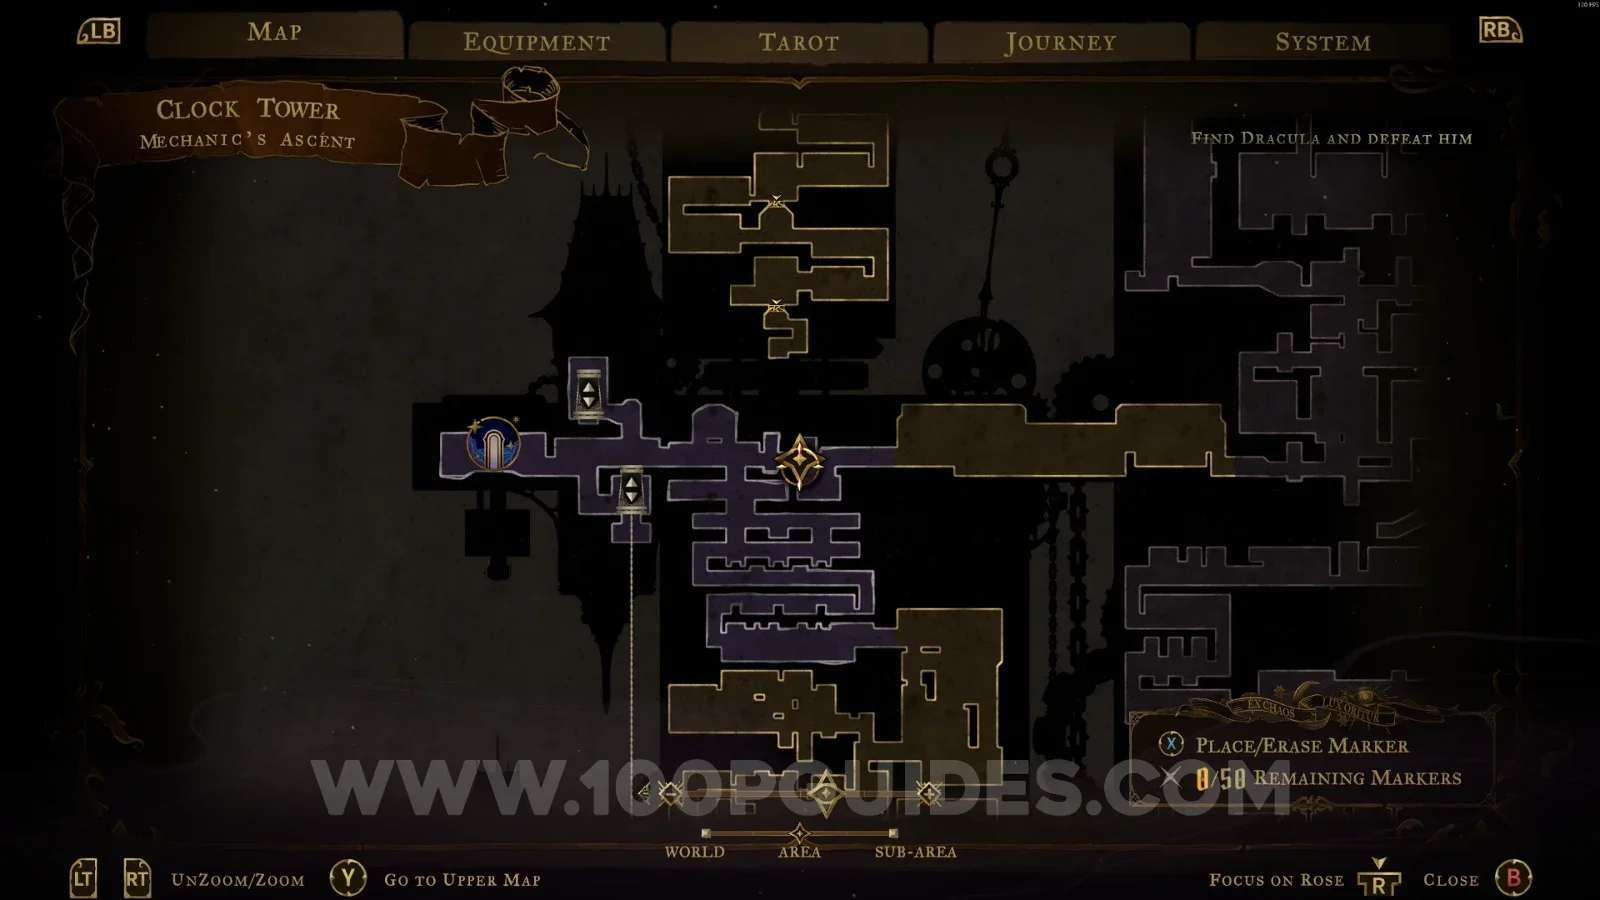
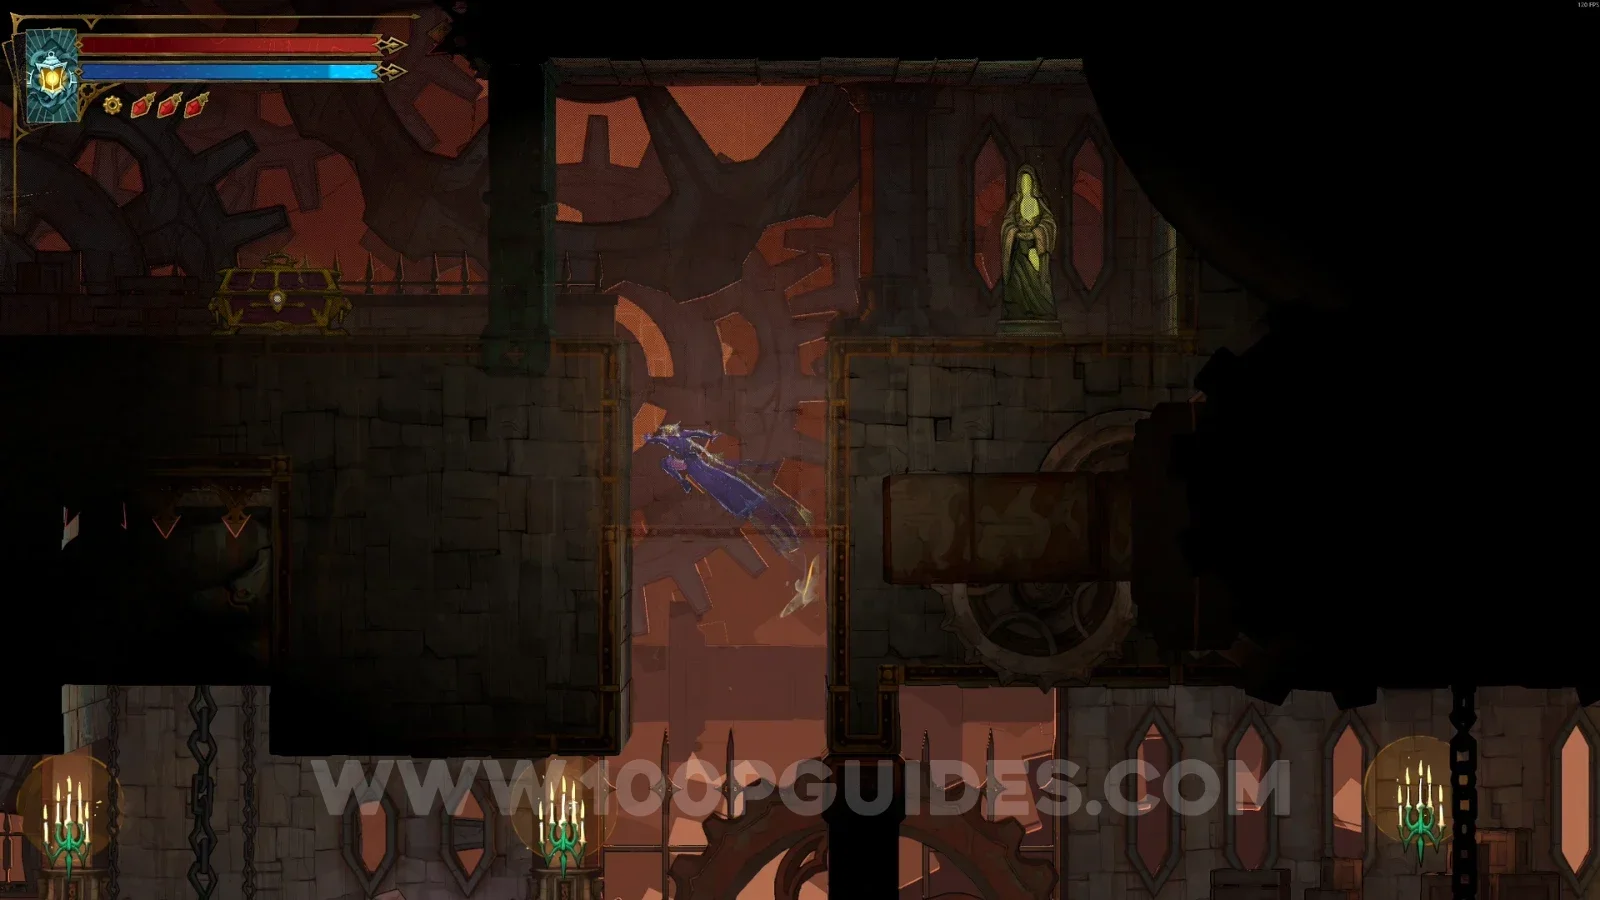
Castlevania Belmont's Curse Mechanic's Ascent: map marking the area to climb for XP Statue #1 Castlevania Belmont's Curse Mechanic's Ascent: XP Statue #1 in a small secret room at the top

Weapon #1: Halberd

Starting from the Western Maintenance Shaft, go down the single path to the chest.
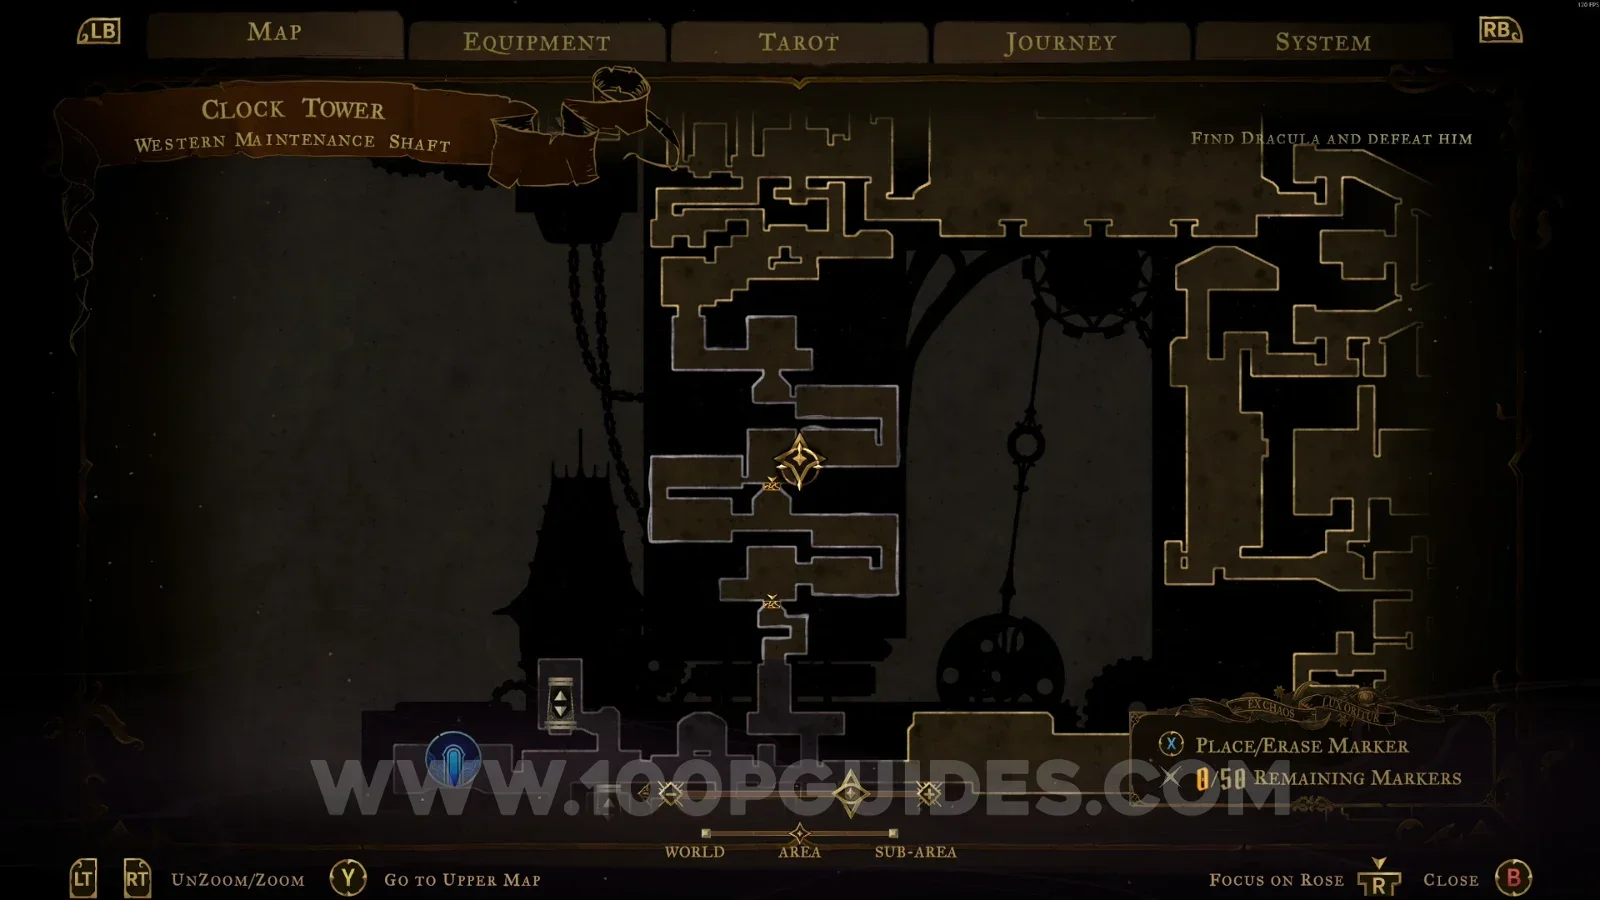
Castlevania Belmont's Curse Mechanic's Ascent: single path down from the Western Maintenance Shaft Castlevania Belmont's Curse Mechanic's Ascent: chest containing Weapon #1 Halberd at the end of the path

Eastern Access Shaft

XP Statue #2 - #3

In the area marked on the map, climb the platforms to find these two statues.
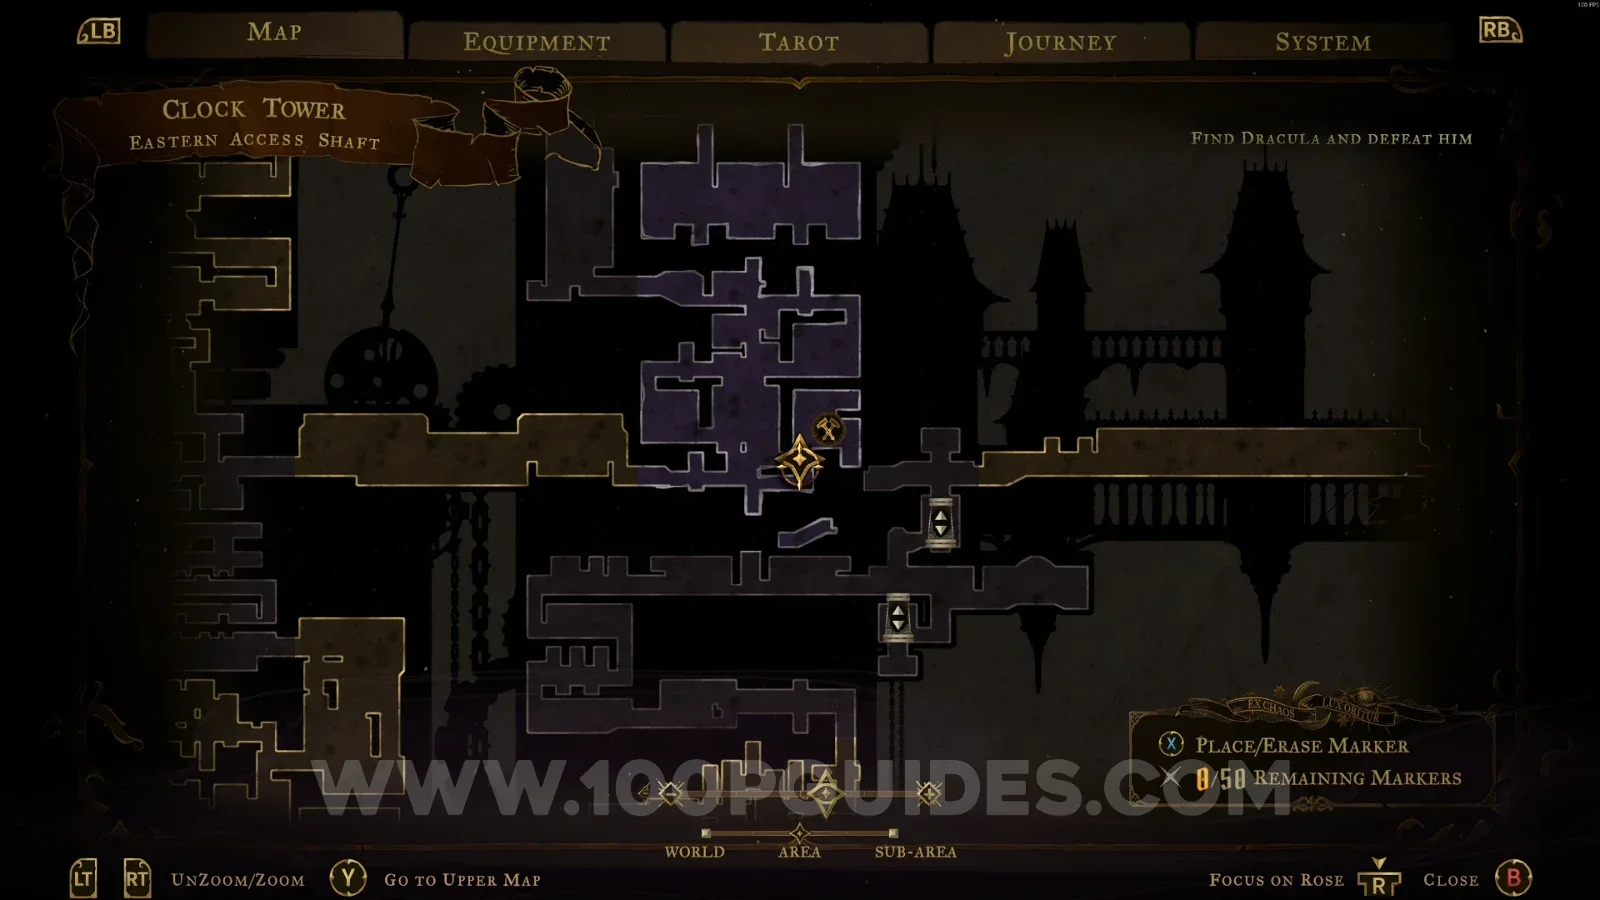
Castlevania Belmont's Curse Eastern Access Shaft: map marking the platforms for XP Statues #2 and #3 Castlevania Belmont's Curse Eastern Access Shaft: XP Statues #2 and #3 at the top of the platforms

XP Statue #4

Make the block hit the pressure plate to flip the platforms, then drop off the ledge to get the statue.
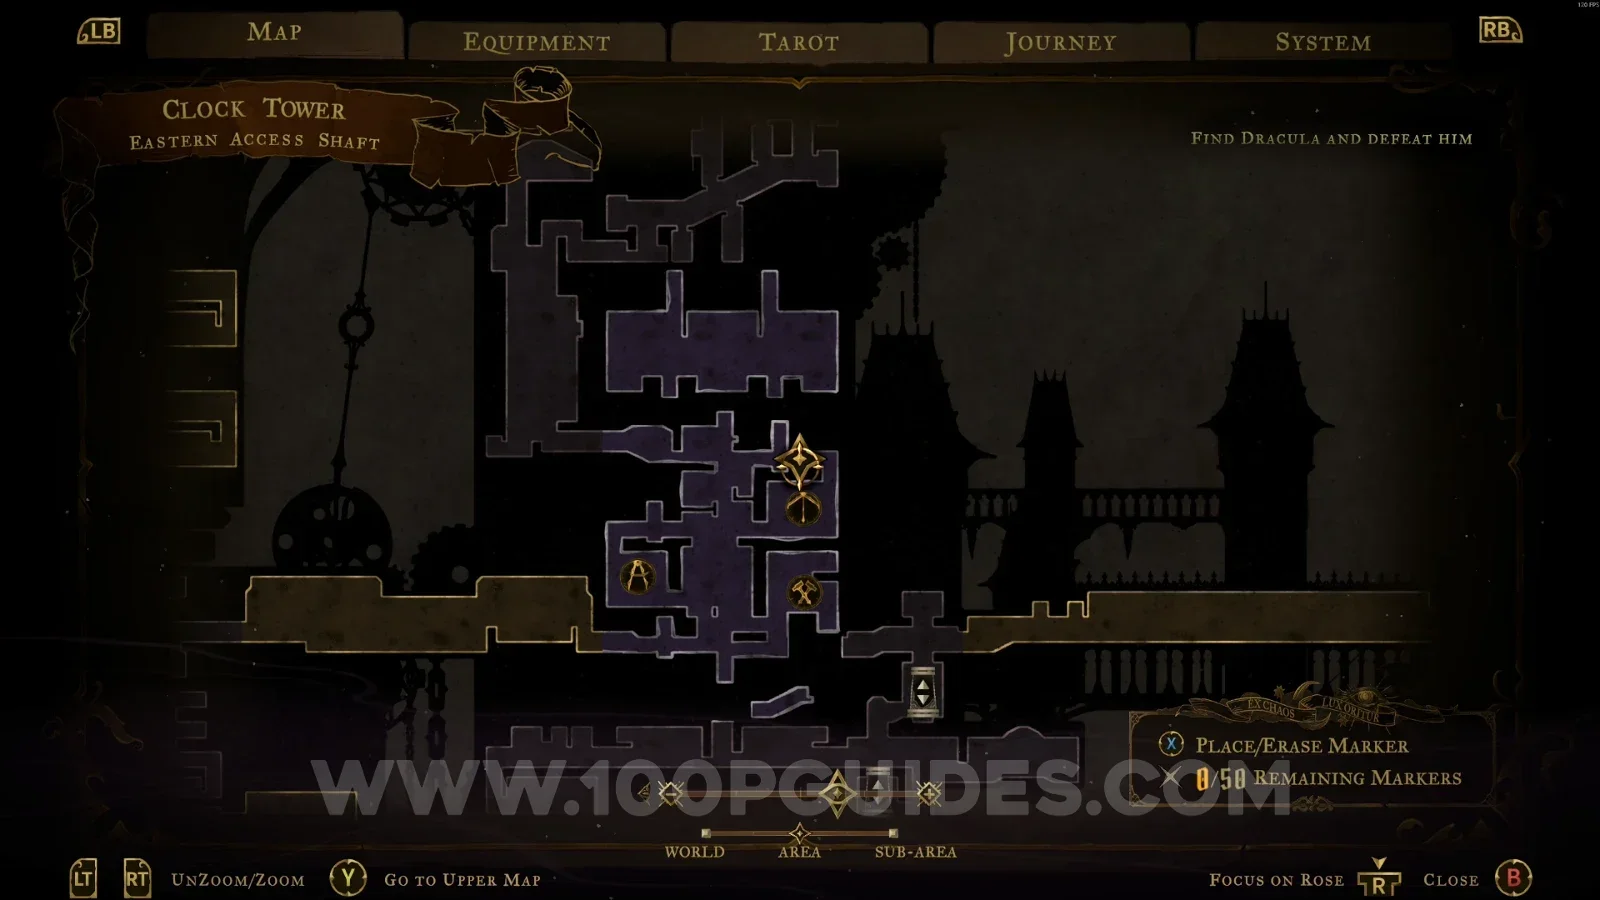
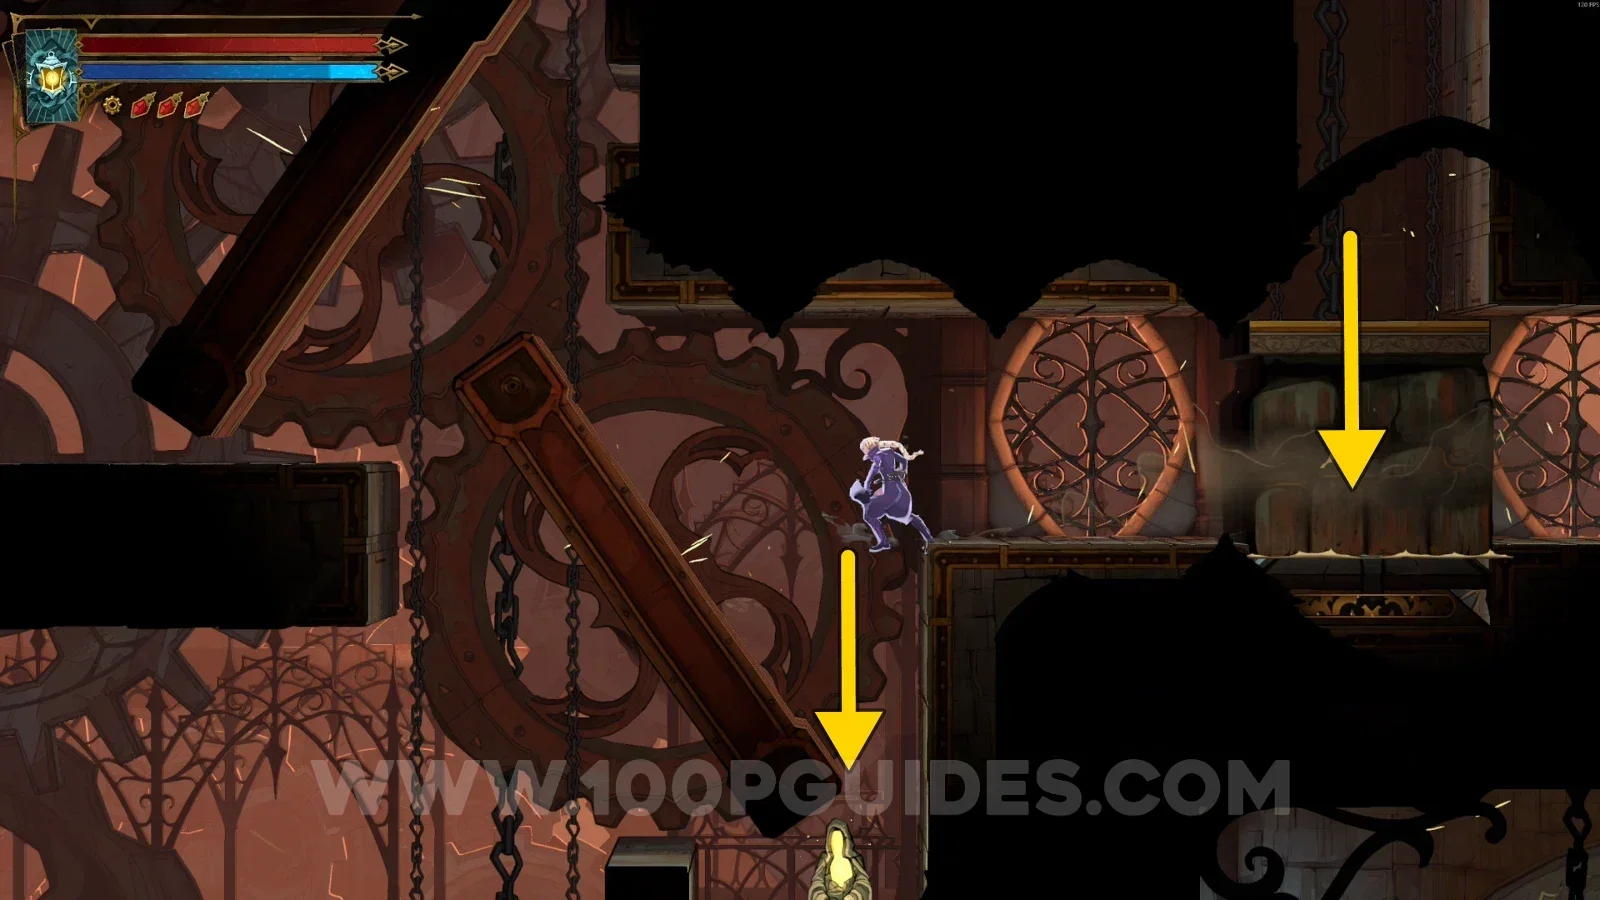
Castlevania Belmont's Curse Eastern Access Shaft: block hitting the pressure plate to flip the platforms Castlevania Belmont's Curse Eastern Access Shaft: XP Statue #4 reached by dropping off the ledge

XP Statue #5

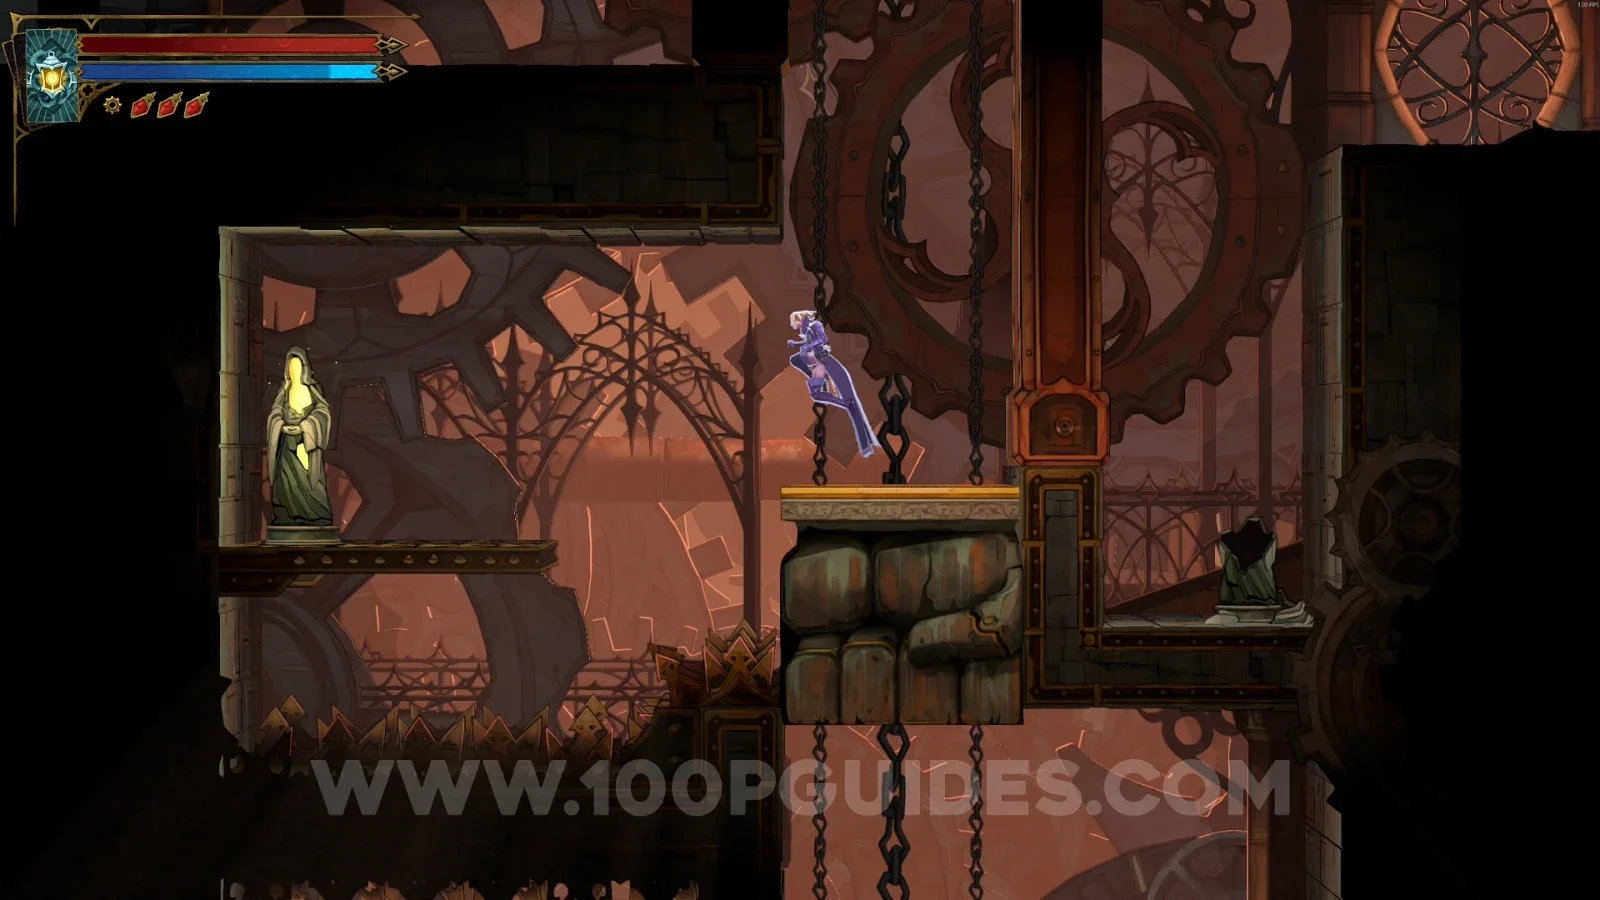
Same area as before. Pass the block so it hits the pressure plate and keeps the platform raised. Go down and pass the block below. When it drops, climb on top of it and, halfway up as it rises back, head left to grab this statue.
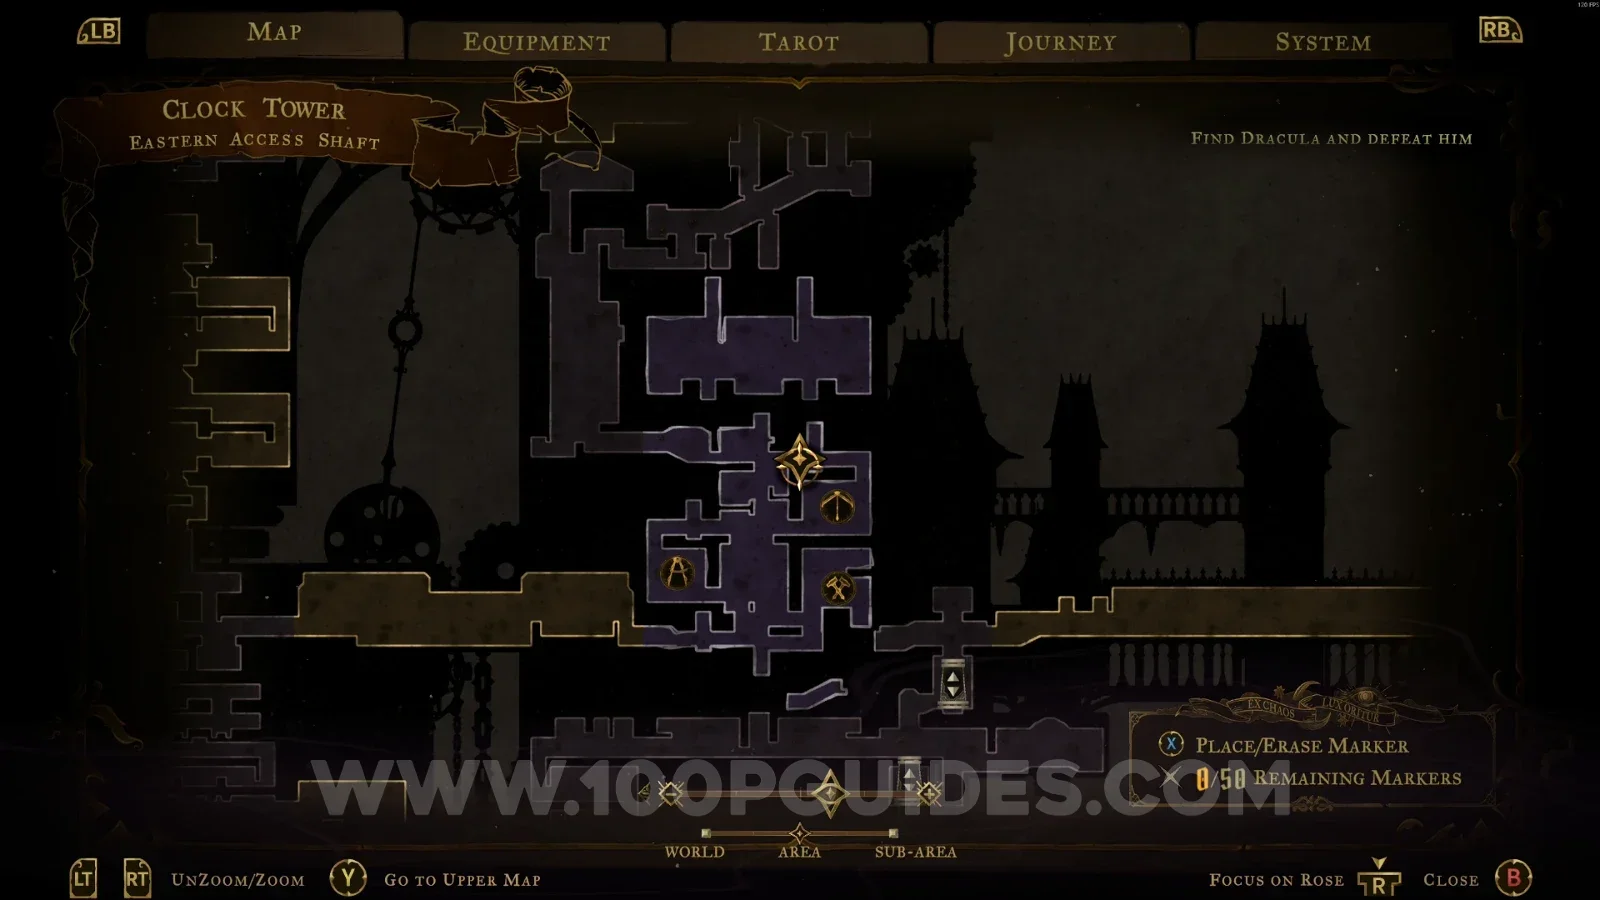
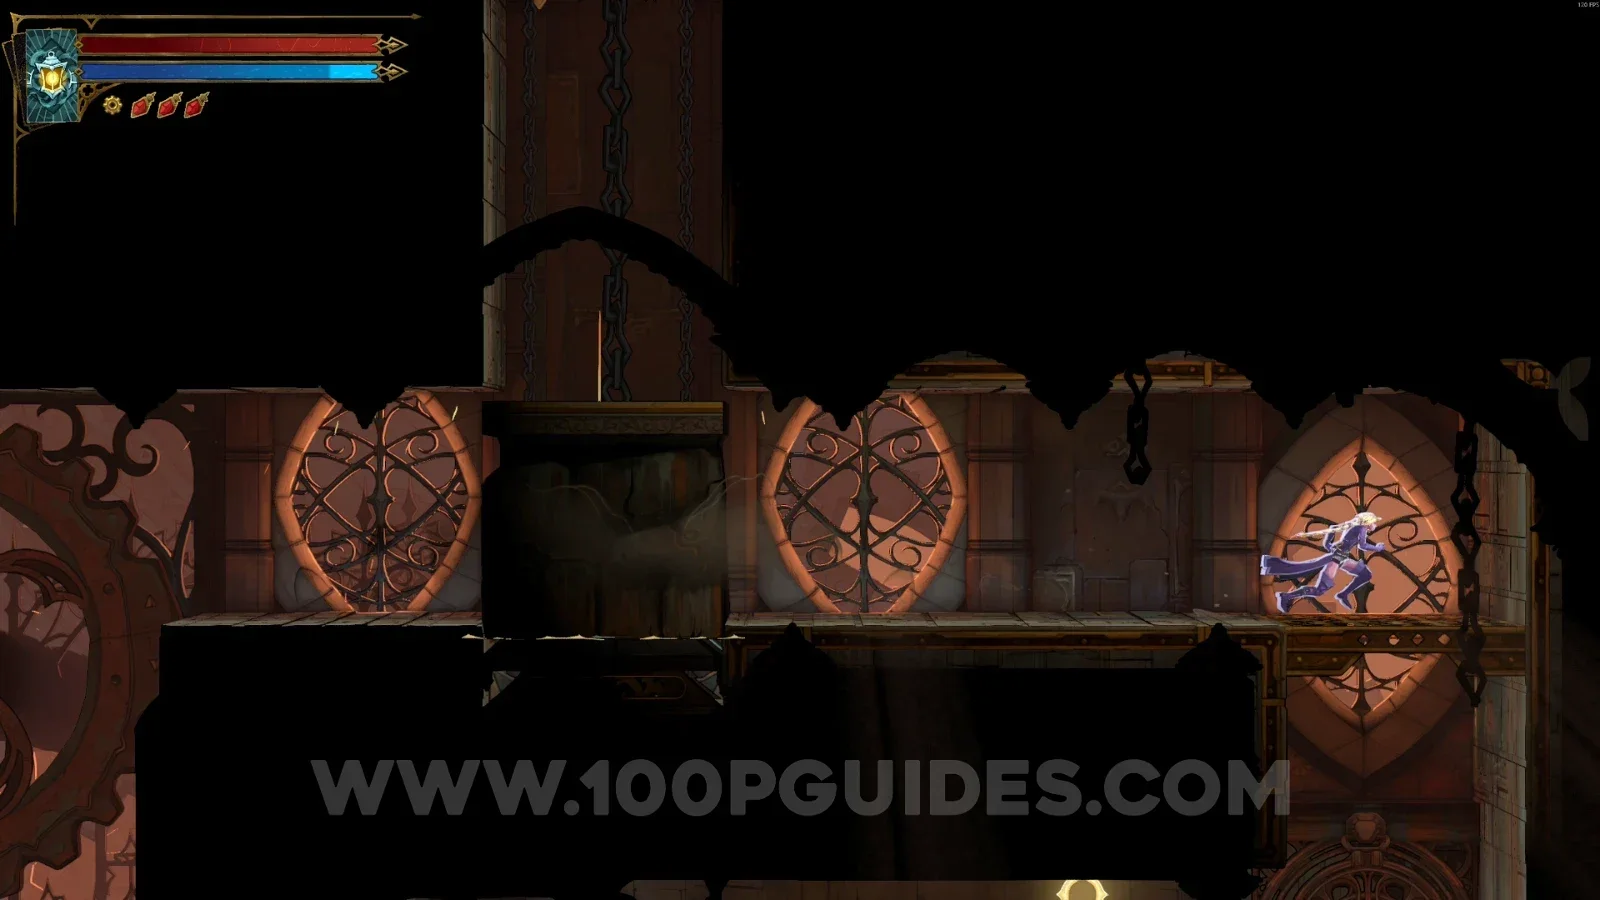
Castlevania Belmont's Curse Eastern Access Shaft: block on the pressure plate keeping the platform raised Castlevania Belmont's Curse Eastern Access Shaft: passing the lower block so it drops for XP Statue #5 Castlevania Belmont's Curse Eastern Access Shaft: riding the block as it rises back up Castlevania Belmont's Curse Eastern Access Shaft: XP Statue #5 to the left halfway up the block's path

Relic #2: Sinister Rune

Use the slide on the right side to reveal a secret room, then climb up and head left to open this chest.
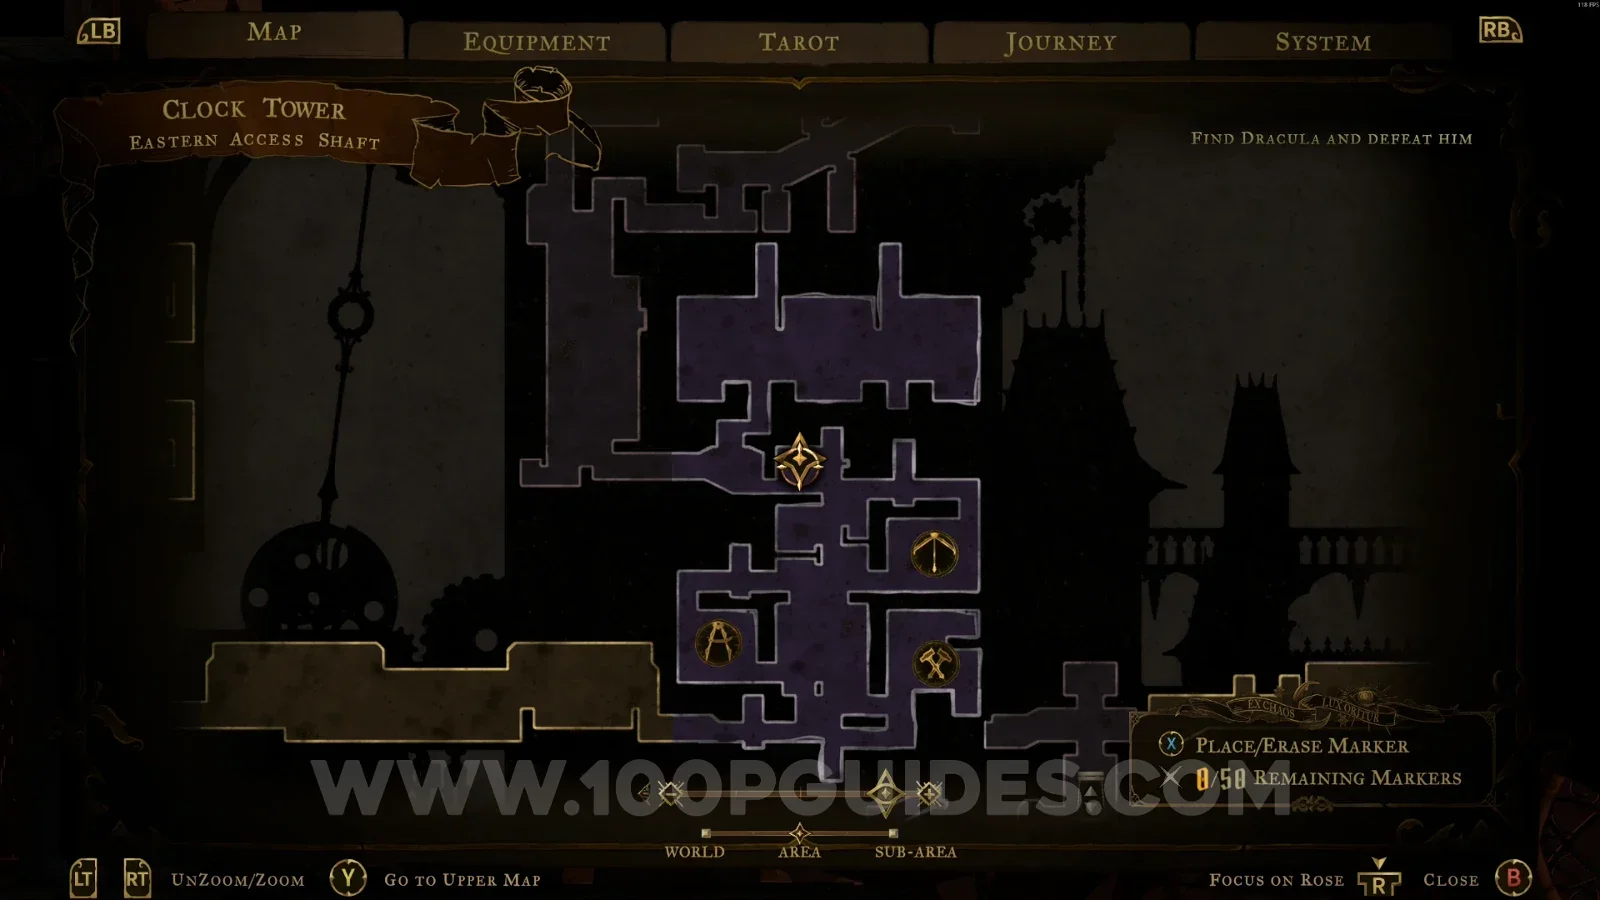
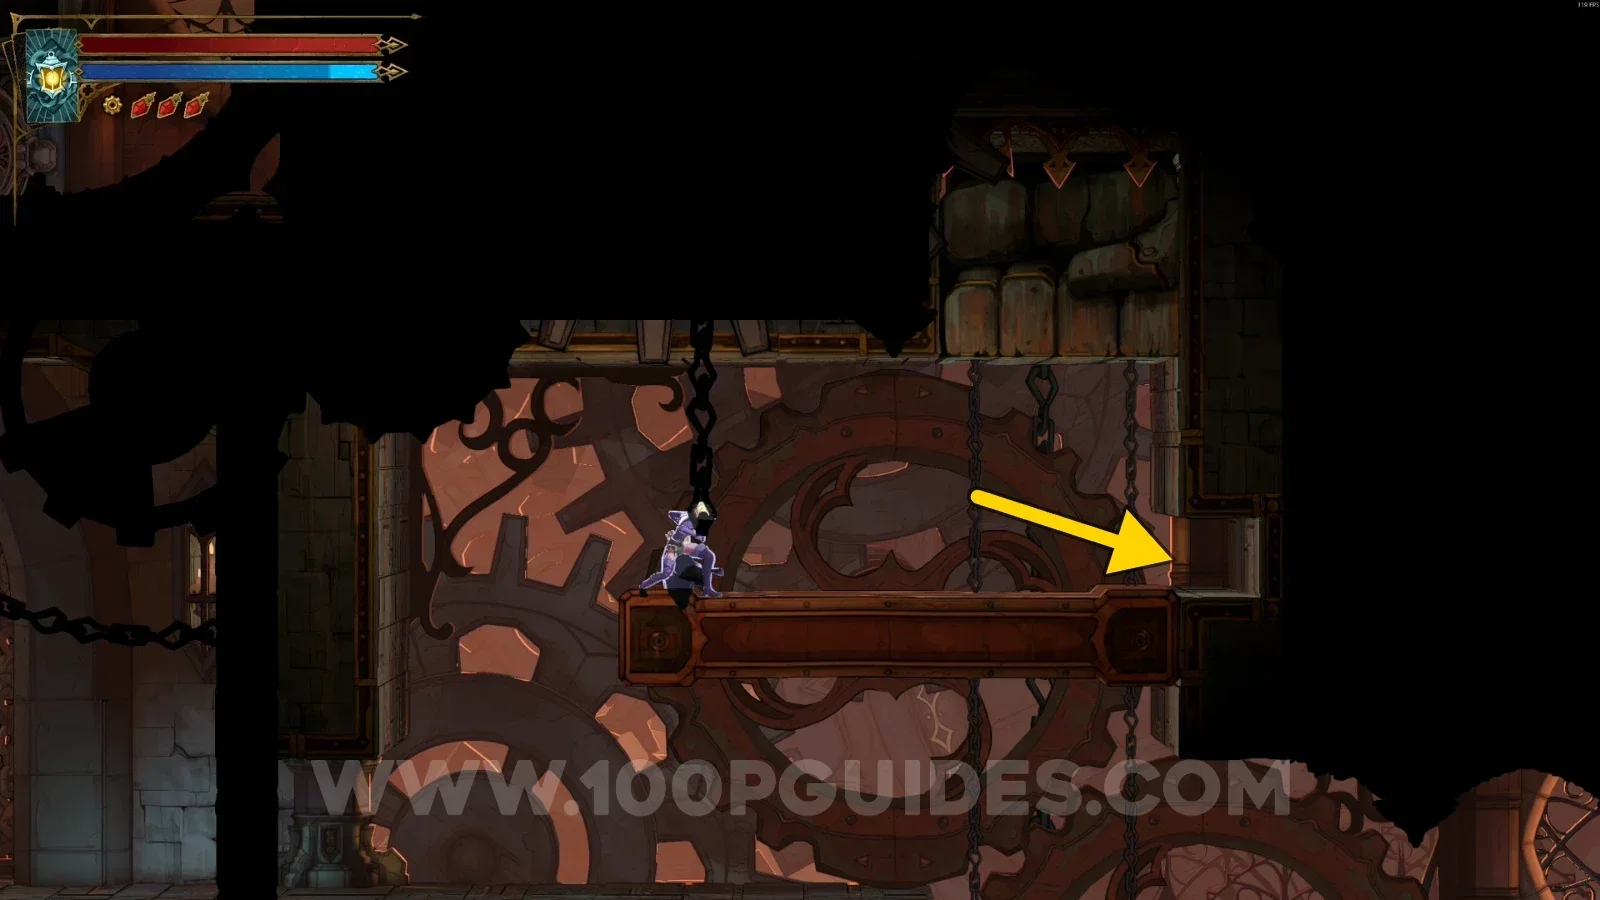
Castlevania Belmont's Curse Eastern Access Shaft: sliding on the right side to reveal a secret room Castlevania Belmont's Curse Eastern Access Shaft: climbing up inside the secret room toward the chest Castlevania Belmont's Curse Eastern Access Shaft: chest with Relic #2 Sinister Rune on the left

XP Statue #6

Rotate the platforms using the blocks to create a path that lets the block in the center of the room break the floor. After that, go down and you'll see this statue next to the door.
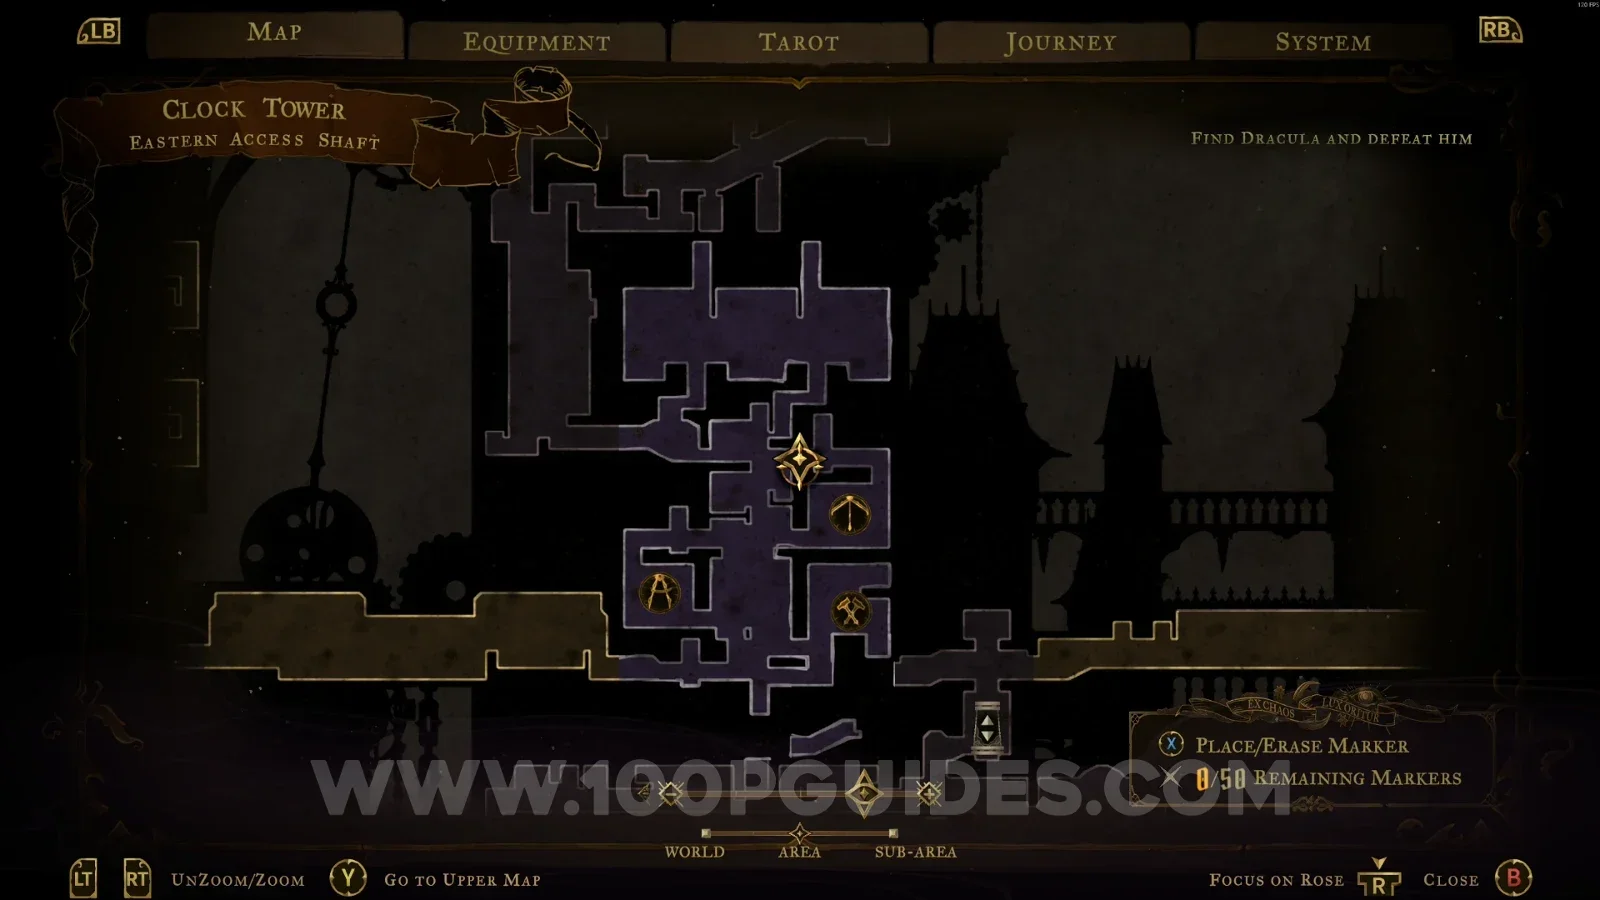
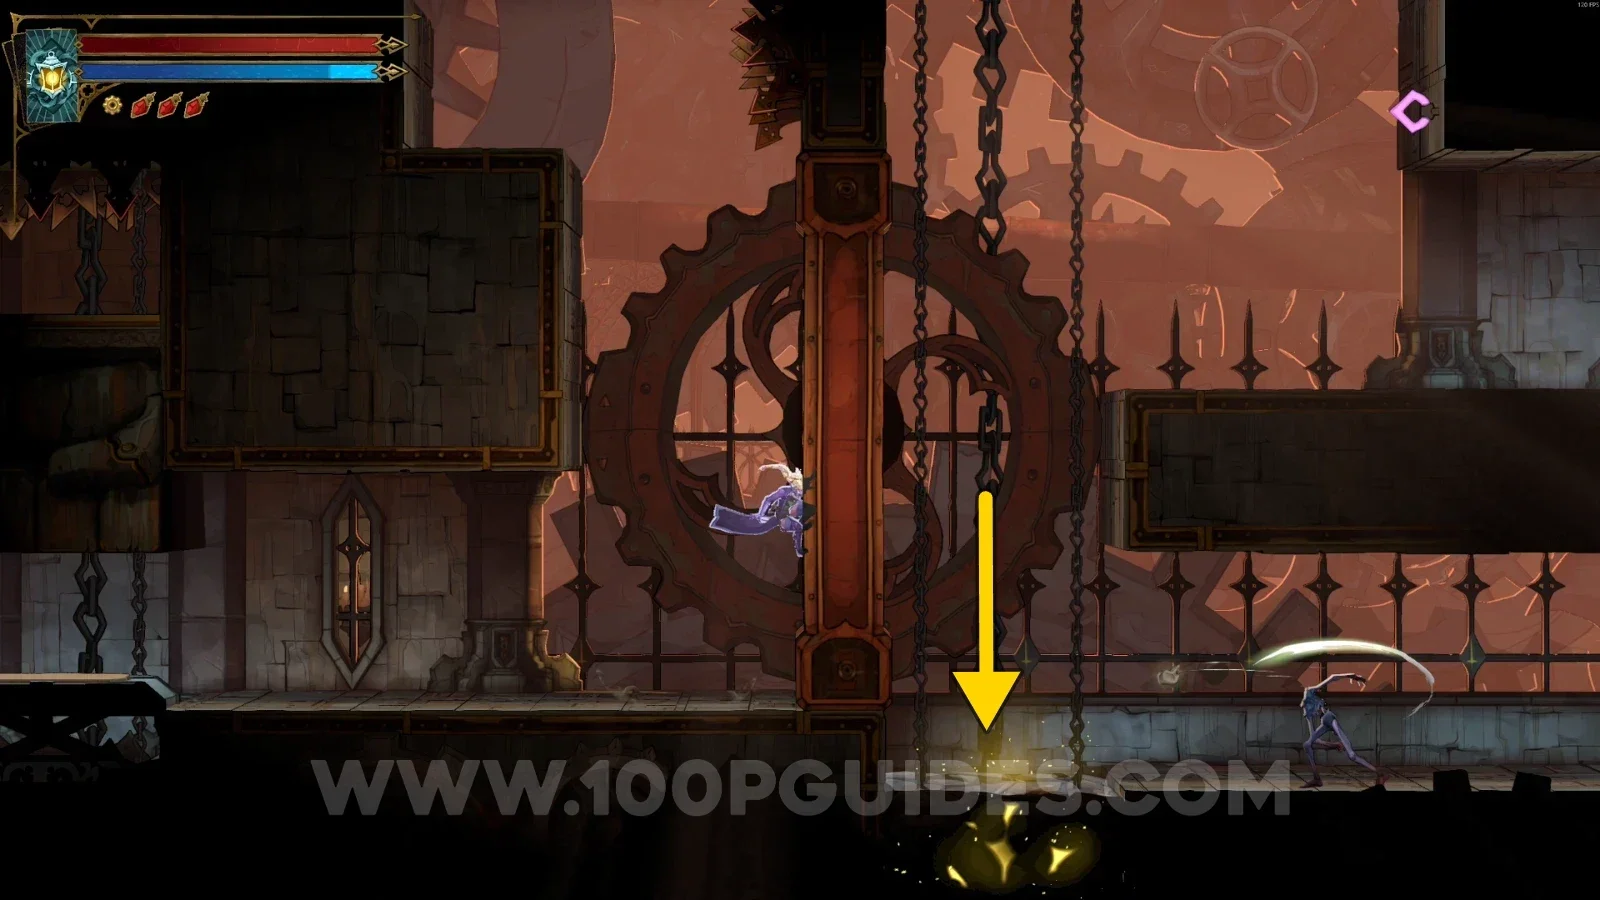
Castlevania Belmont's Curse Eastern Access Shaft: rotating the platforms with the blocks to make a path Castlevania Belmont's Curse Eastern Access Shaft: center block breaking the floor of the room Castlevania Belmont's Curse Eastern Access Shaft: XP Statue #6 next to the door below the broken floor

Foundry Apex

Ferryman's Wharf

In the area marked on the map.
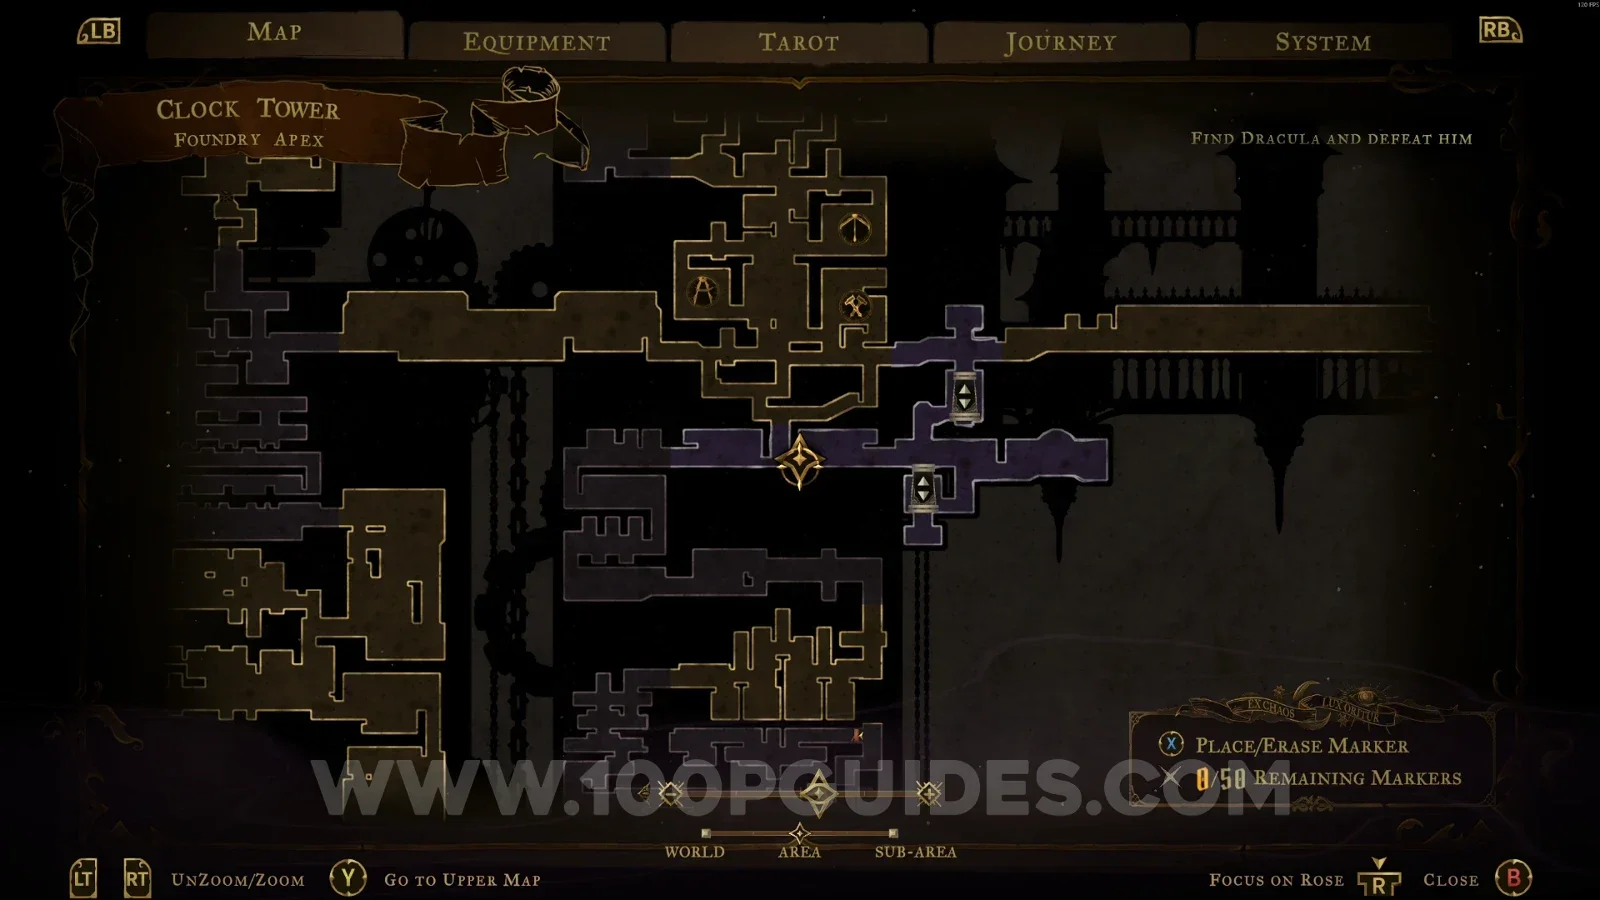
Castlevania Belmont's Curse Foundry Apex: map marking the location of Ferryman's Wharf Castlevania Belmont's Curse Foundry Apex: Ferryman's Wharf in the marked area

Mirror Of Life #2

In the area marked on the map.
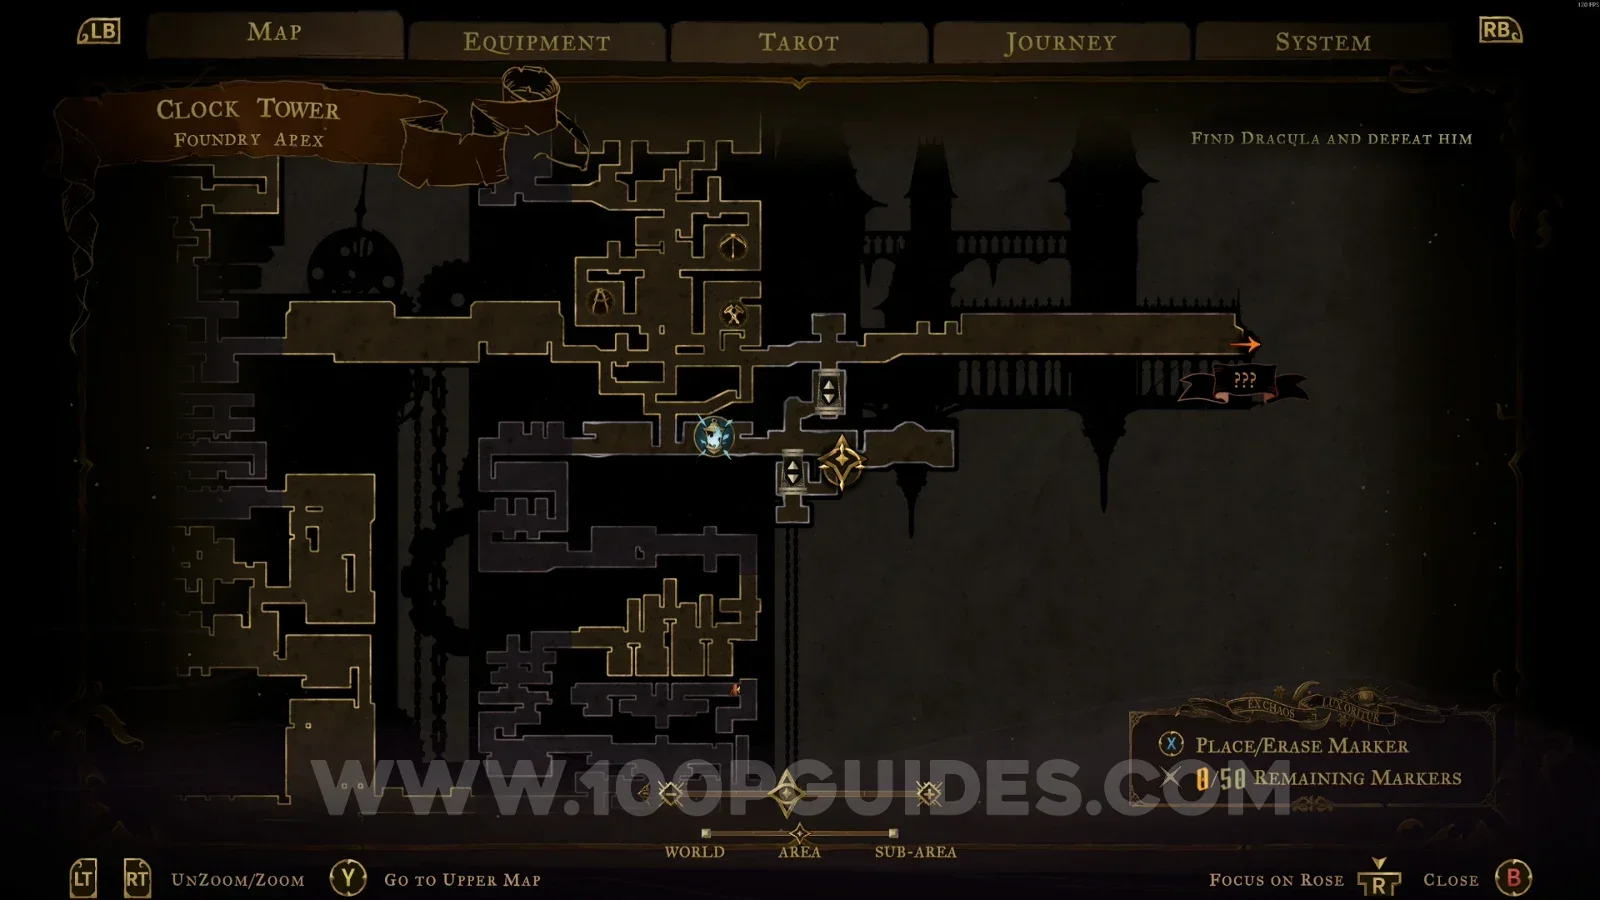
Castlevania Belmont's Curse Foundry Apex: map marking the area of Mirror Of Life #2 Castlevania Belmont's Curse Foundry Apex: Mirror Of Life #2 in the marked area

Counterweight Chamber

Red Book #1

In the area marked on the map, interact with the lever, then go back and grab the Red Book.
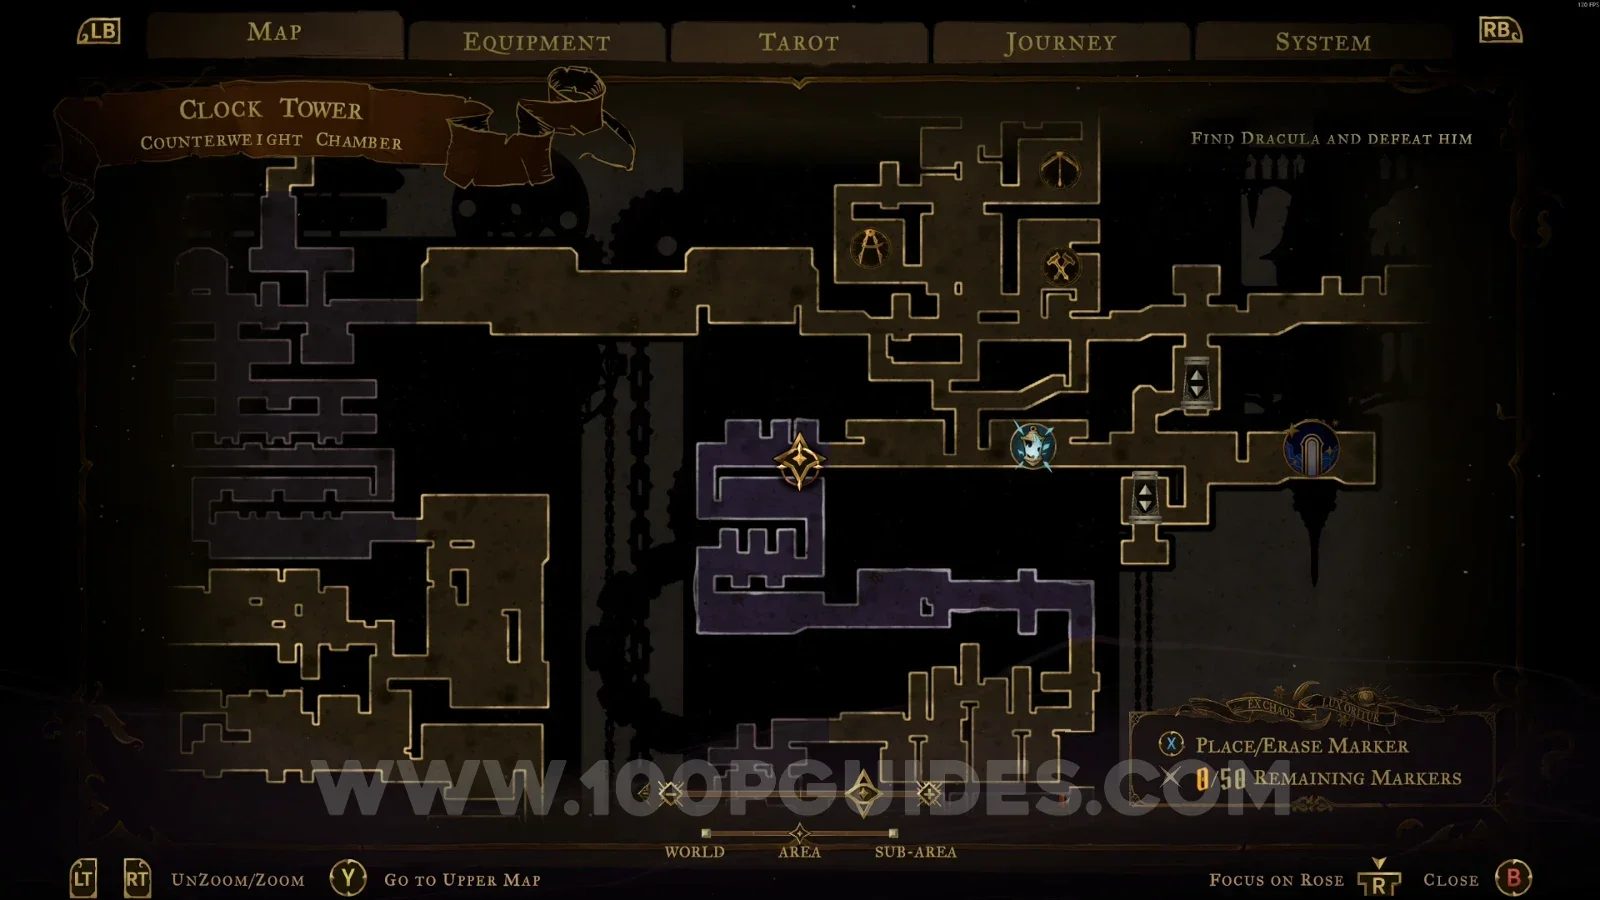
Castlevania Belmont's Curse Counterweight Chamber: interacting with the lever in the marked area Castlevania Belmont's Curse Counterweight Chamber: Red Book #1 reached after pulling the lever

Central Fuel Reservoir

Wise Heart Fragment #2

After the block moves, use the slide in the space behind it to reveal a new area, then keep going forward to find the Wise Heart.
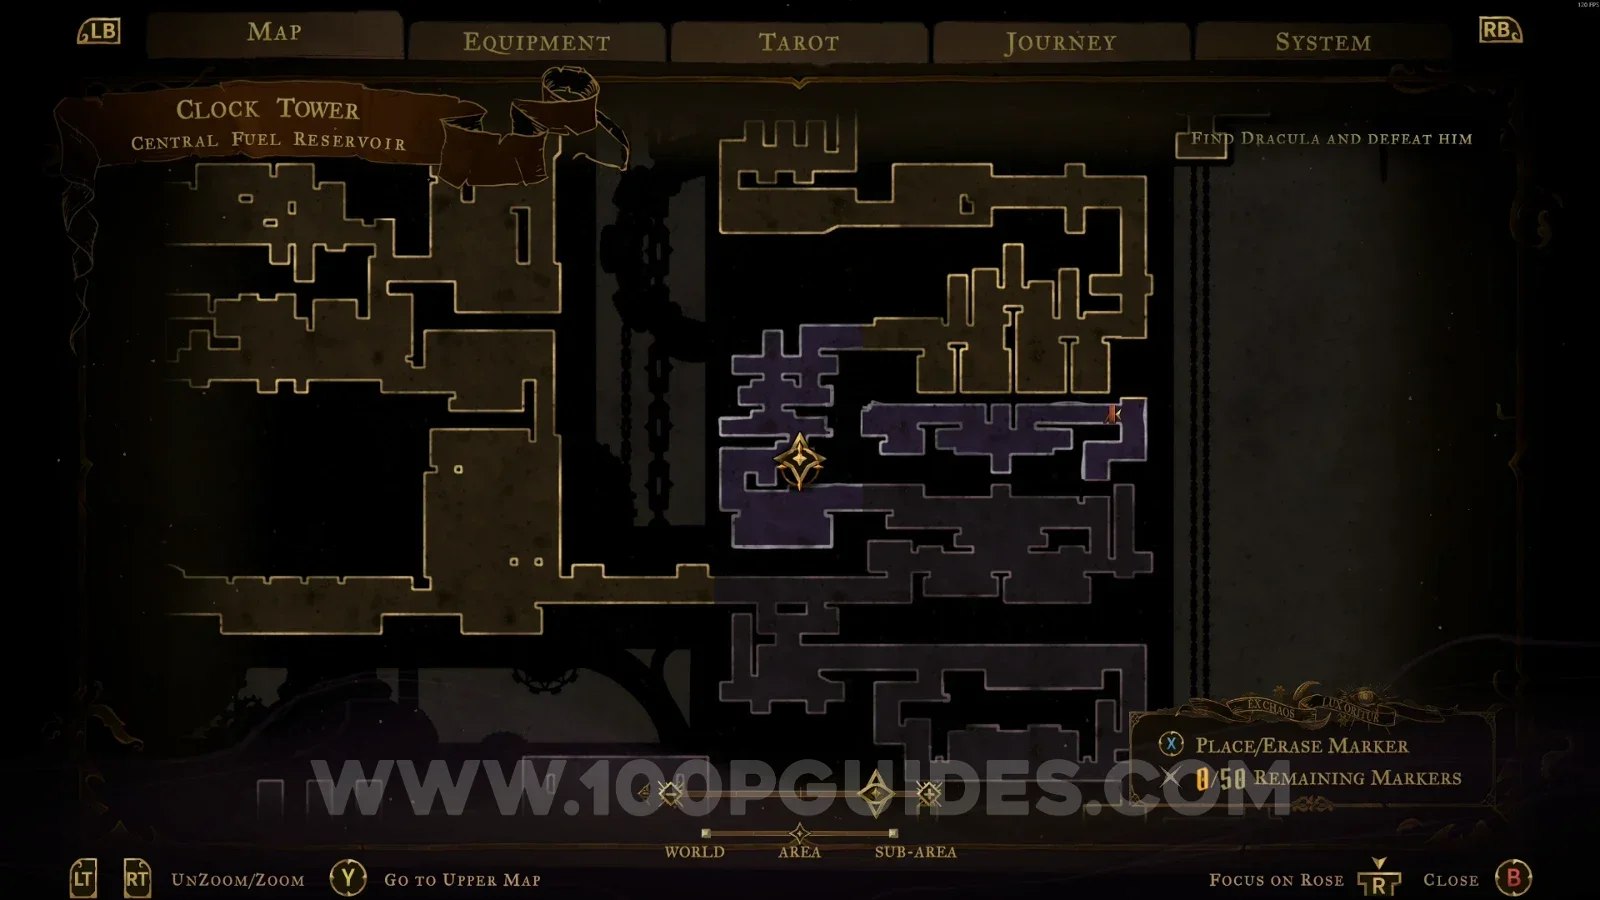
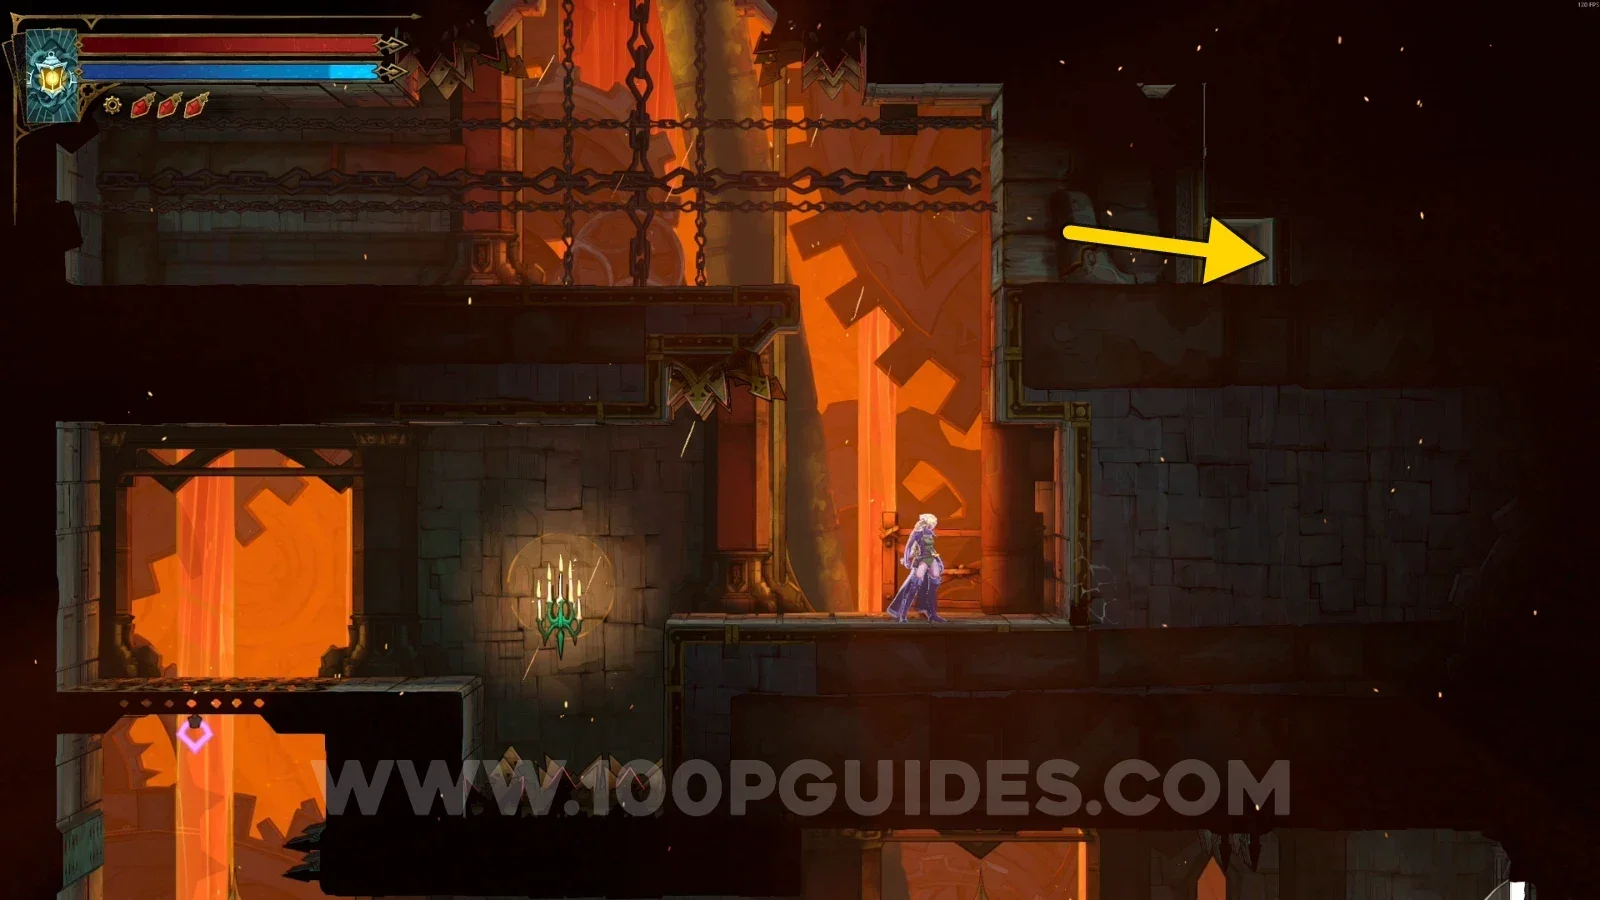
Castlevania Belmont's Curse Central Fuel Reservoir: moved block and the space behind it Castlevania Belmont's Curse Central Fuel Reservoir: sliding behind the block to reveal a new area Castlevania Belmont's Curse Central Fuel Reservoir: Wise Heart Fragment #2 at the end of the new area

Path Of The Builder

Relic #3: Moonlit Shard

In the area marked on the map, interact with the lever on the left side and then go through the door on the right side. In the new area, follow the single path, defeating the enemies, until you reach the chest containing the relic.
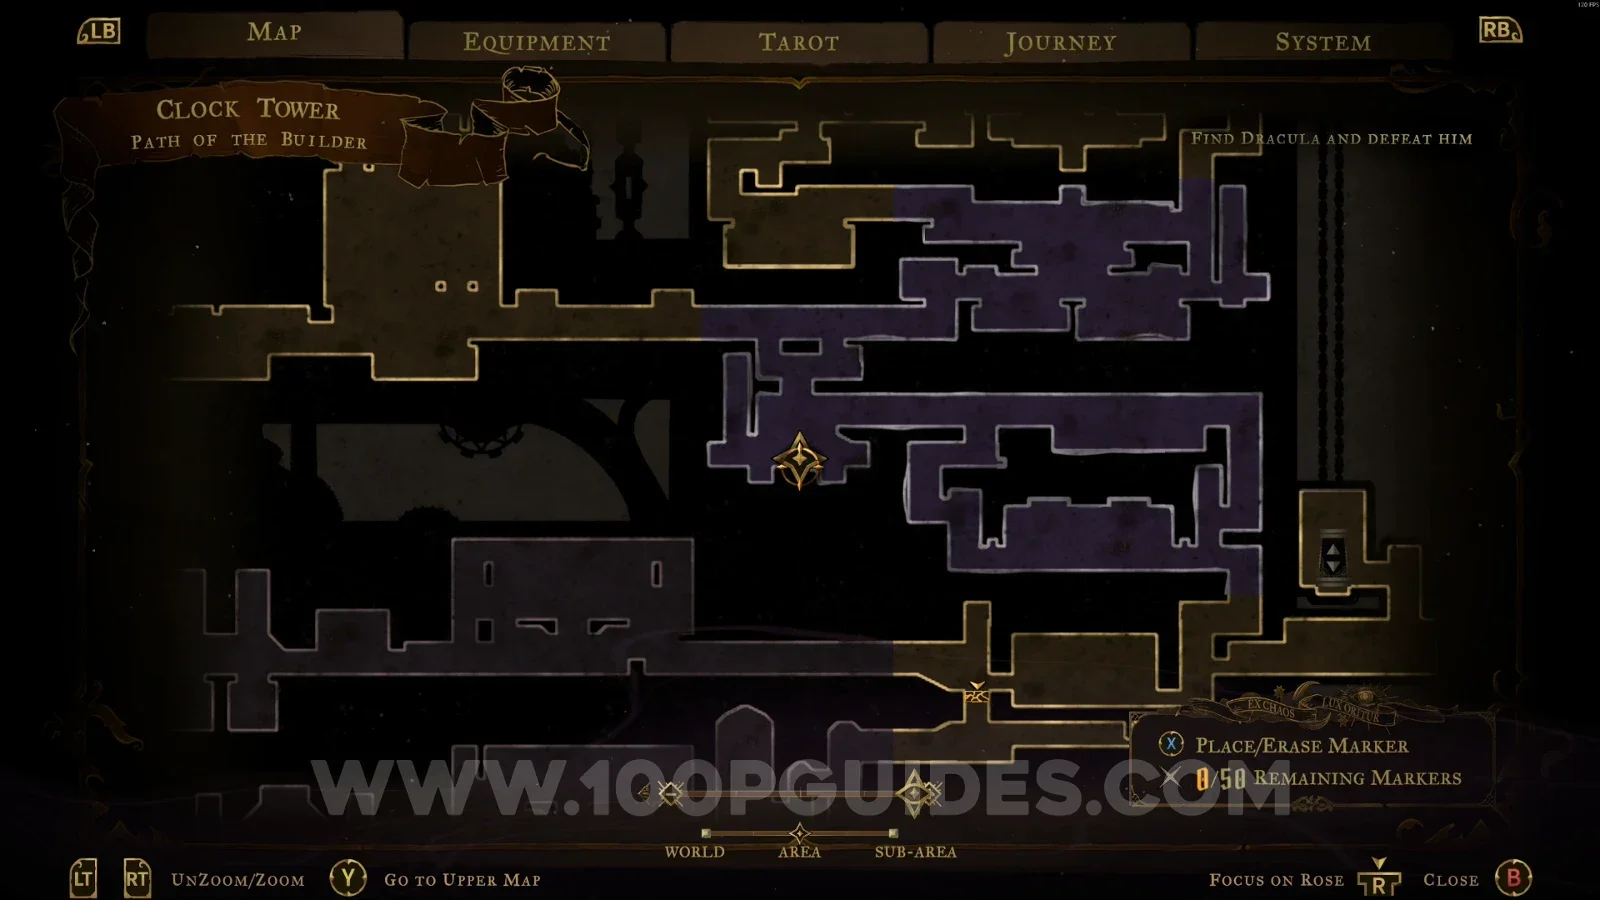
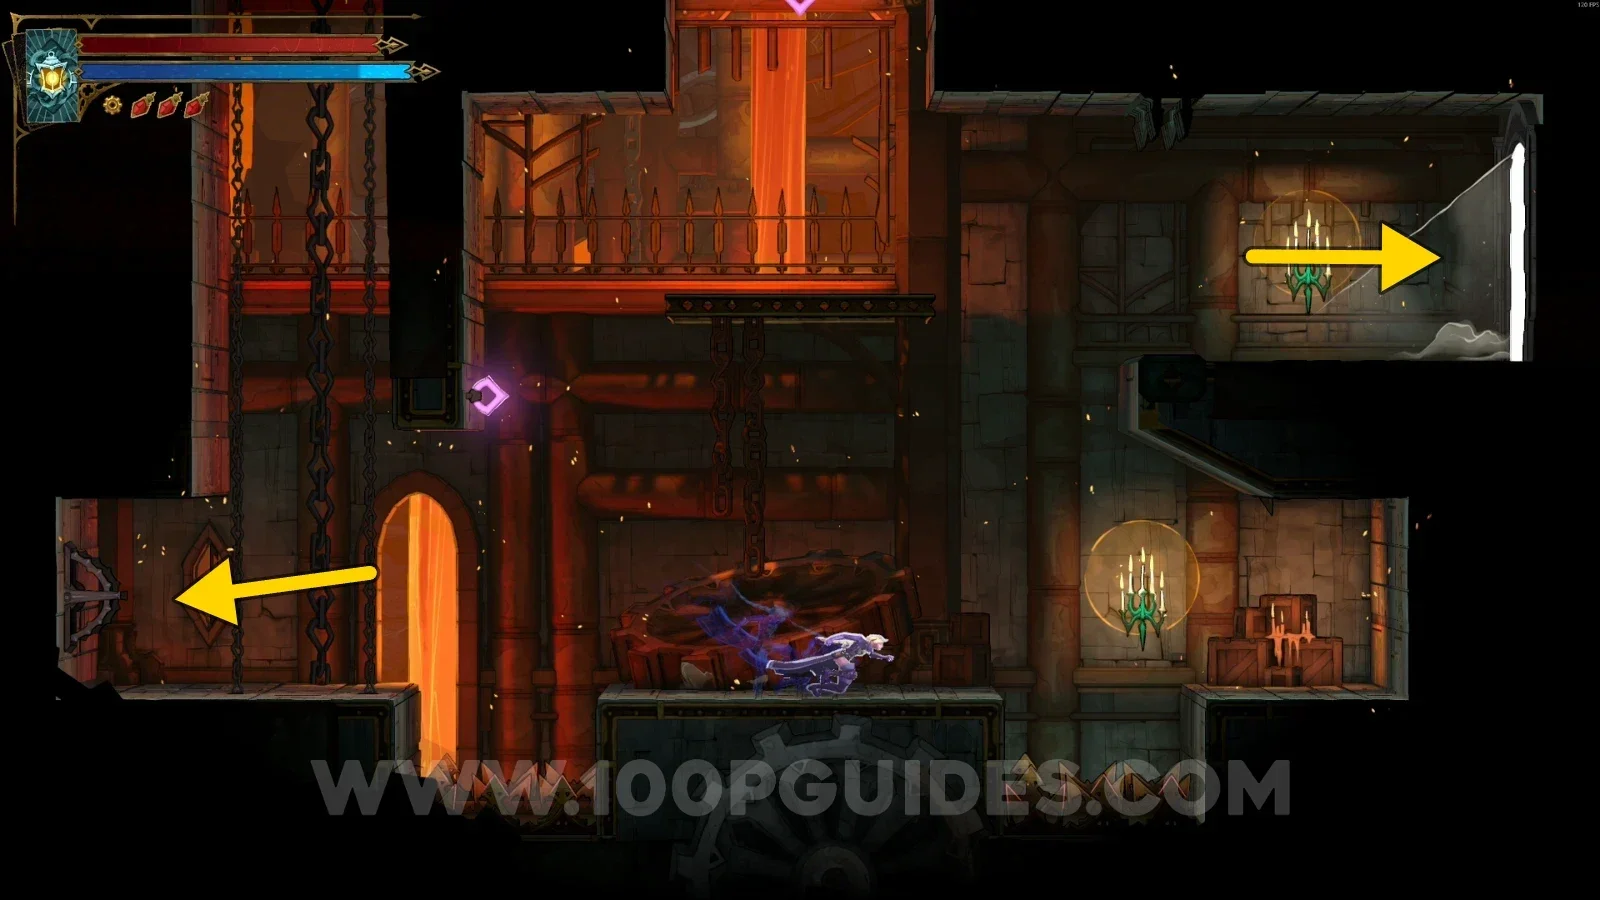
Castlevania Belmont's Curse Path Of The Builder: lever on the left side in the area marked on the map Castlevania Belmont's Curse Path Of The Builder: door on the right side leading to the relic path Castlevania Belmont's Curse Path Of The Builder: chest containing Relic #3 Moonlit Shard

XP Statue #7

In the area marked on the map.
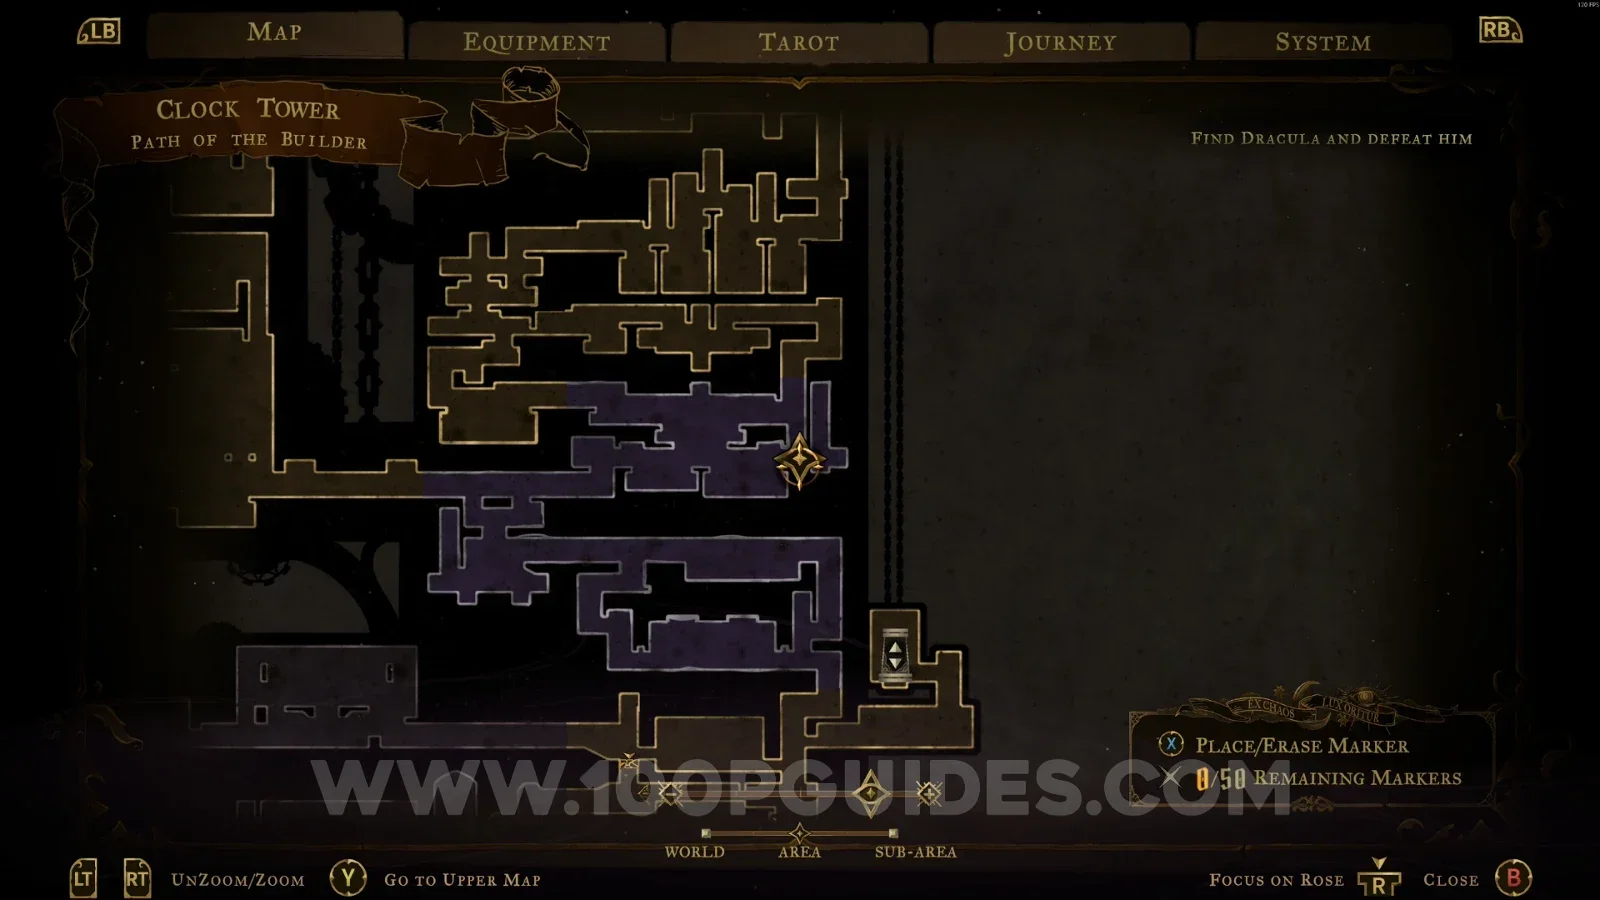
Castlevania Belmont's Curse Path Of The Builder: map marking the area of XP Statue #7 Castlevania Belmont's Curse Path Of The Builder: XP Statue #7 in the marked area

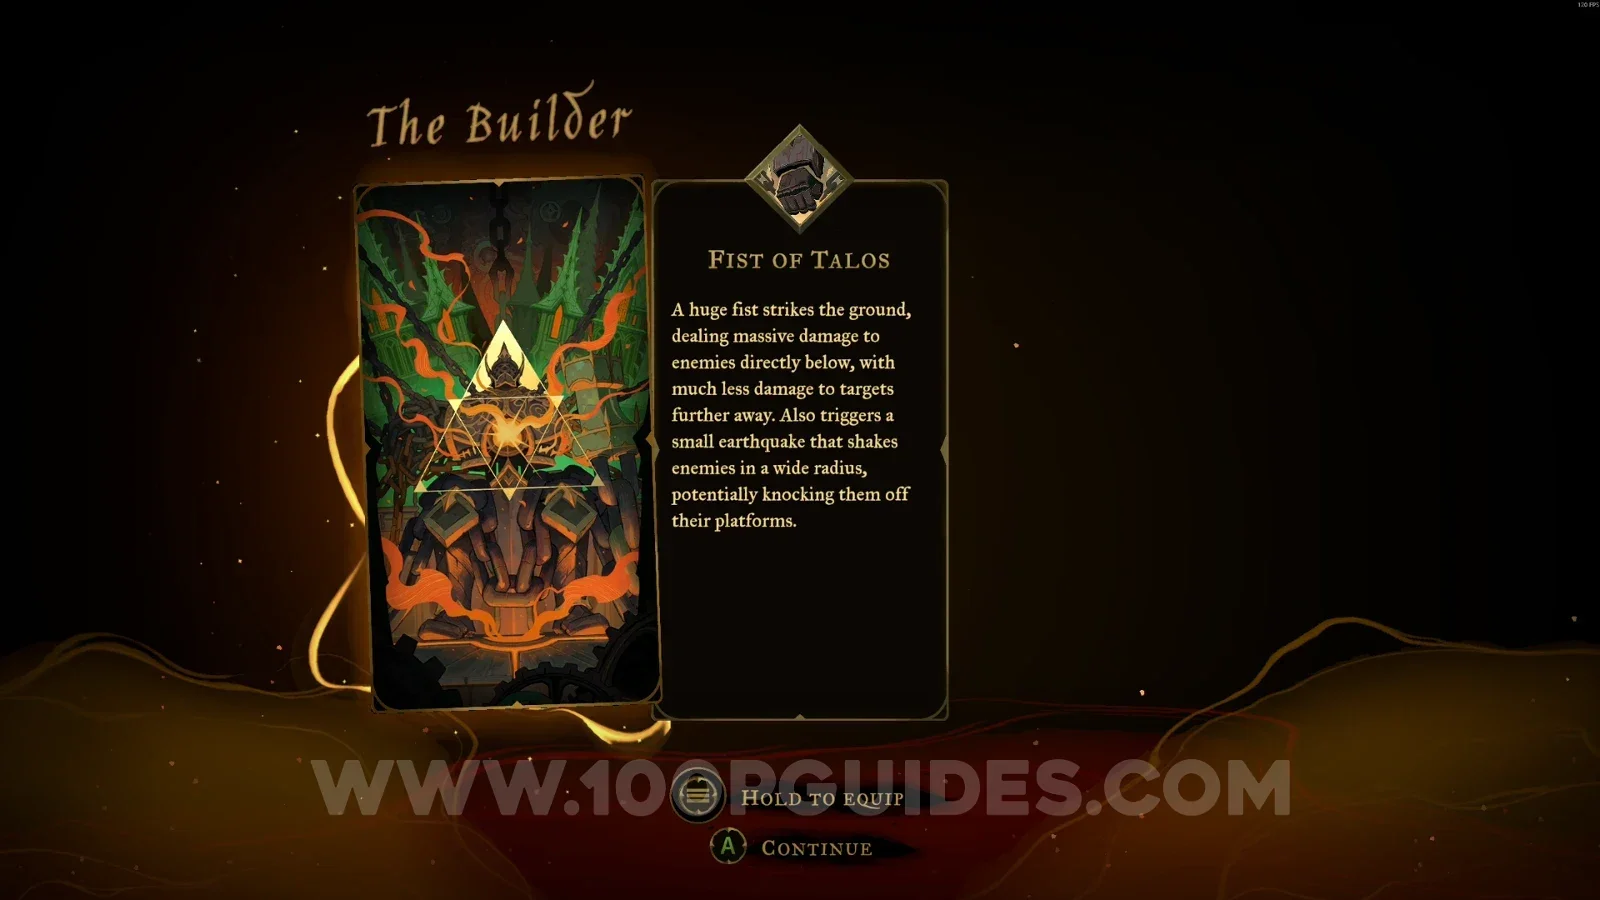
Throne Of The Builder

Arcana #1: Fist Of Talos

Obtained after defeating Talos (The Builder).
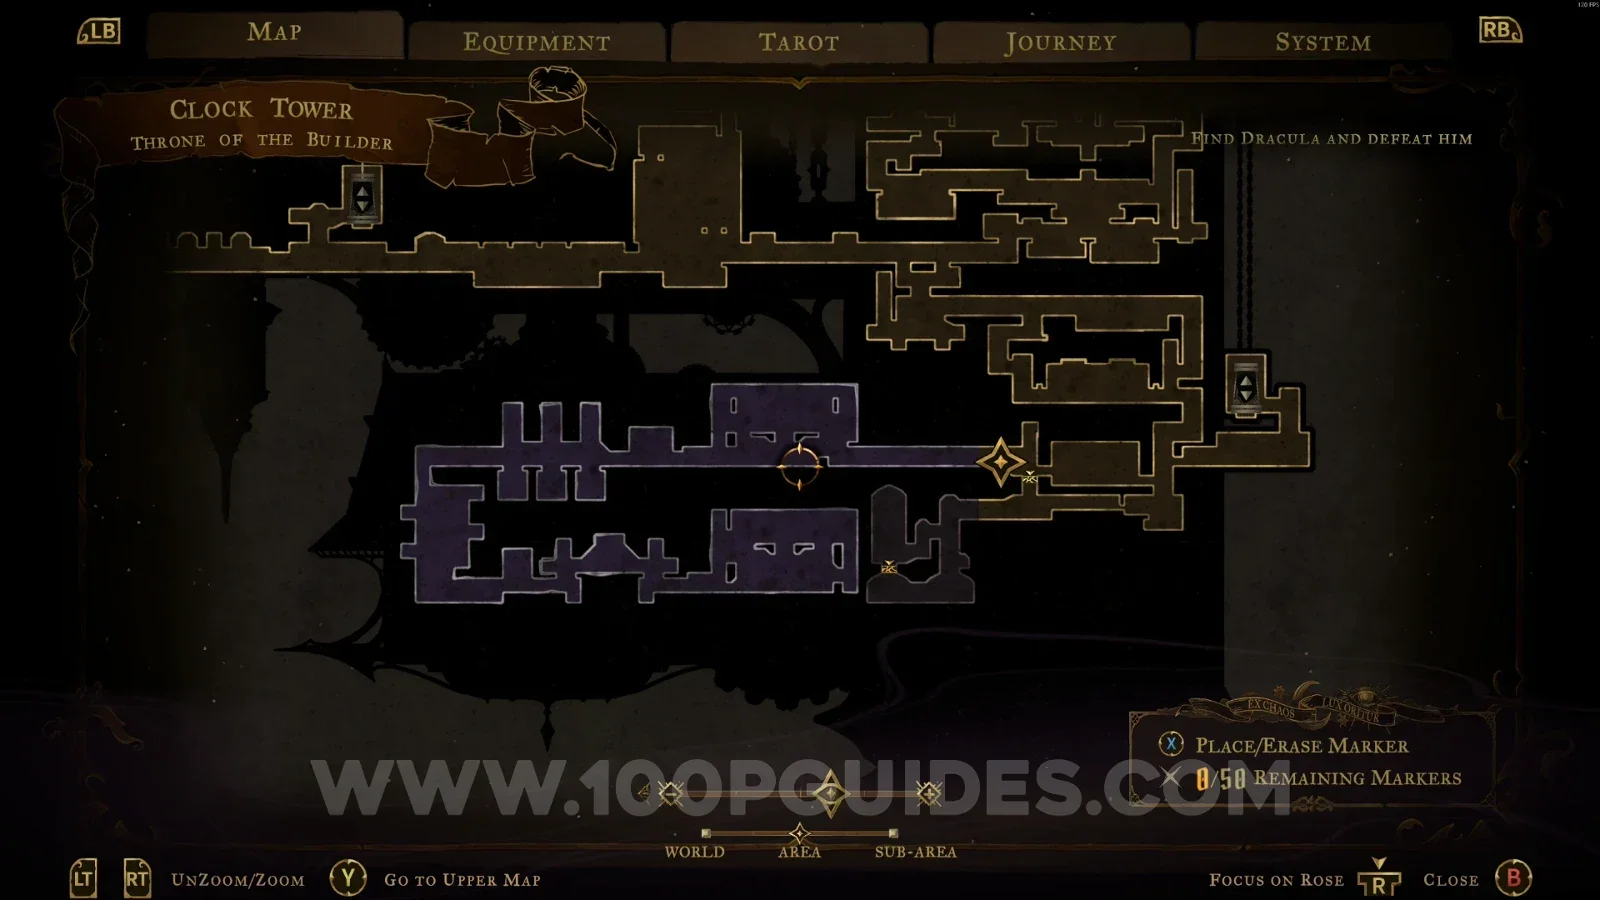
Castlevania Belmont's Curse Throne Of The Builder: boss fight against Talos (The Builder) Castlevania Belmont's Curse Throne Of The Builder: Arcana #1 Fist Of Talos obtained after defeating Talos

Arcane Power #1: Smash

Obtained after defeating Talos (The Builder).
Castlevania Belmont's Curse Throne Of The Builder: Talos (The Builder) defeated in his throne room Castlevania Belmont's Curse Throne Of The Builder: Arcane Power #1 Smash obtained after the Talos fight

Builder's Bureau

Clue: The Sage

Break the floor using the Smash arcane power, and it will be directly in front of you.
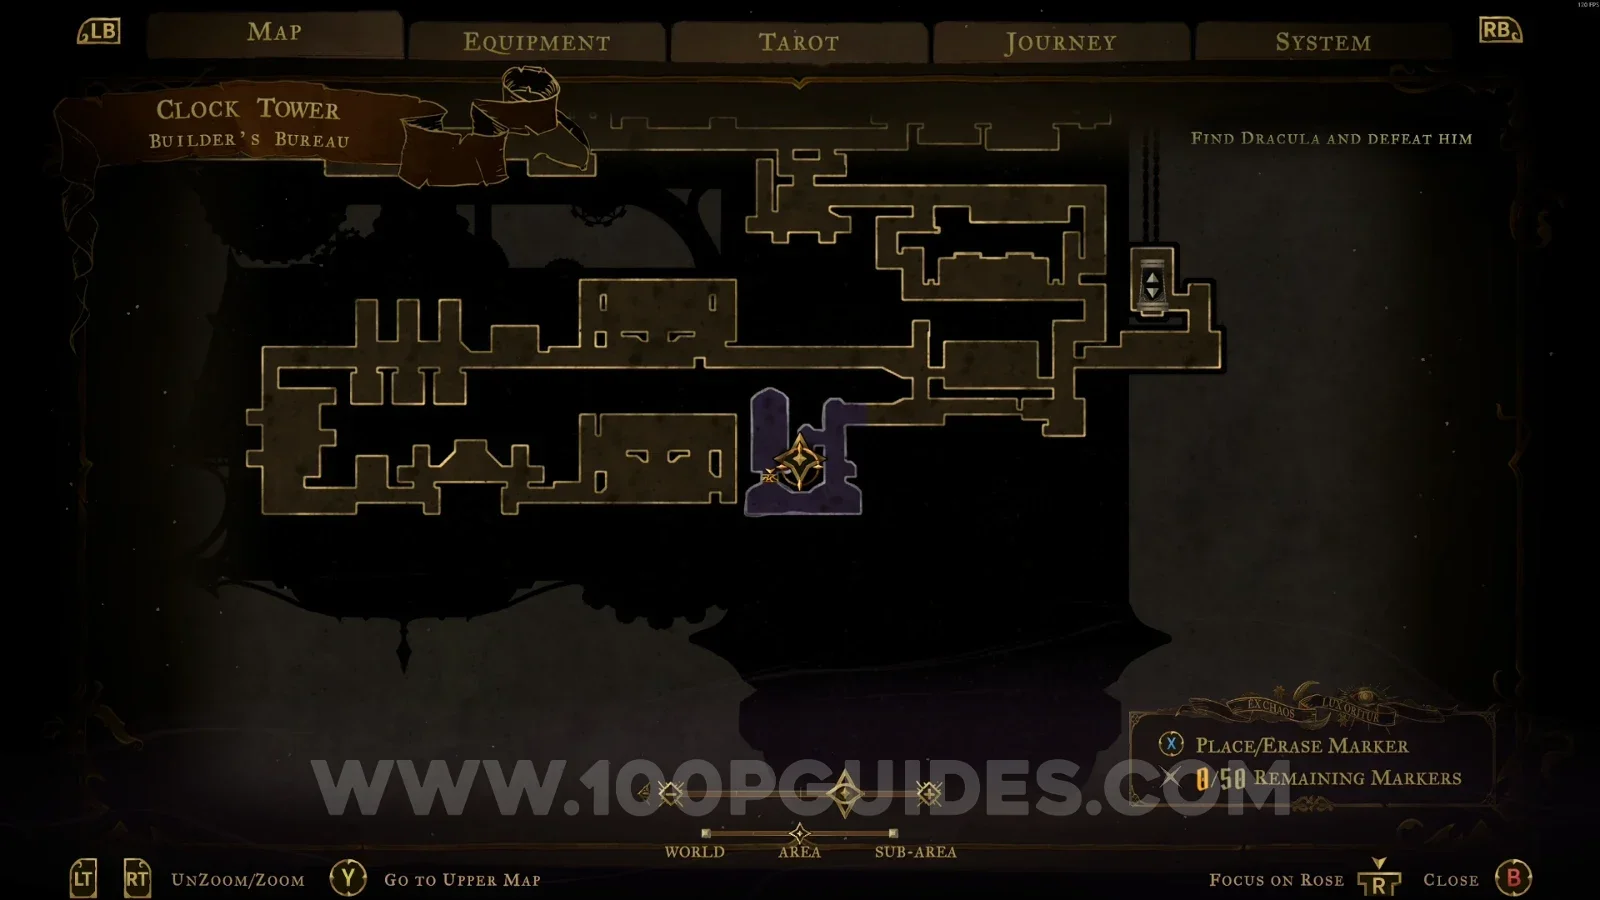
Castlevania Belmont's Curse Builder's Bureau: breaking the floor with the Smash arcane power Castlevania Belmont's Curse Builder's Bureau: dropping through the broken floor toward Clue The Sage Castlevania Belmont's Curse Builder's Bureau: Clue The Sage directly in front below the broken floor

Weapon #2: Fists Of Talos

Same area as the previous collectible.
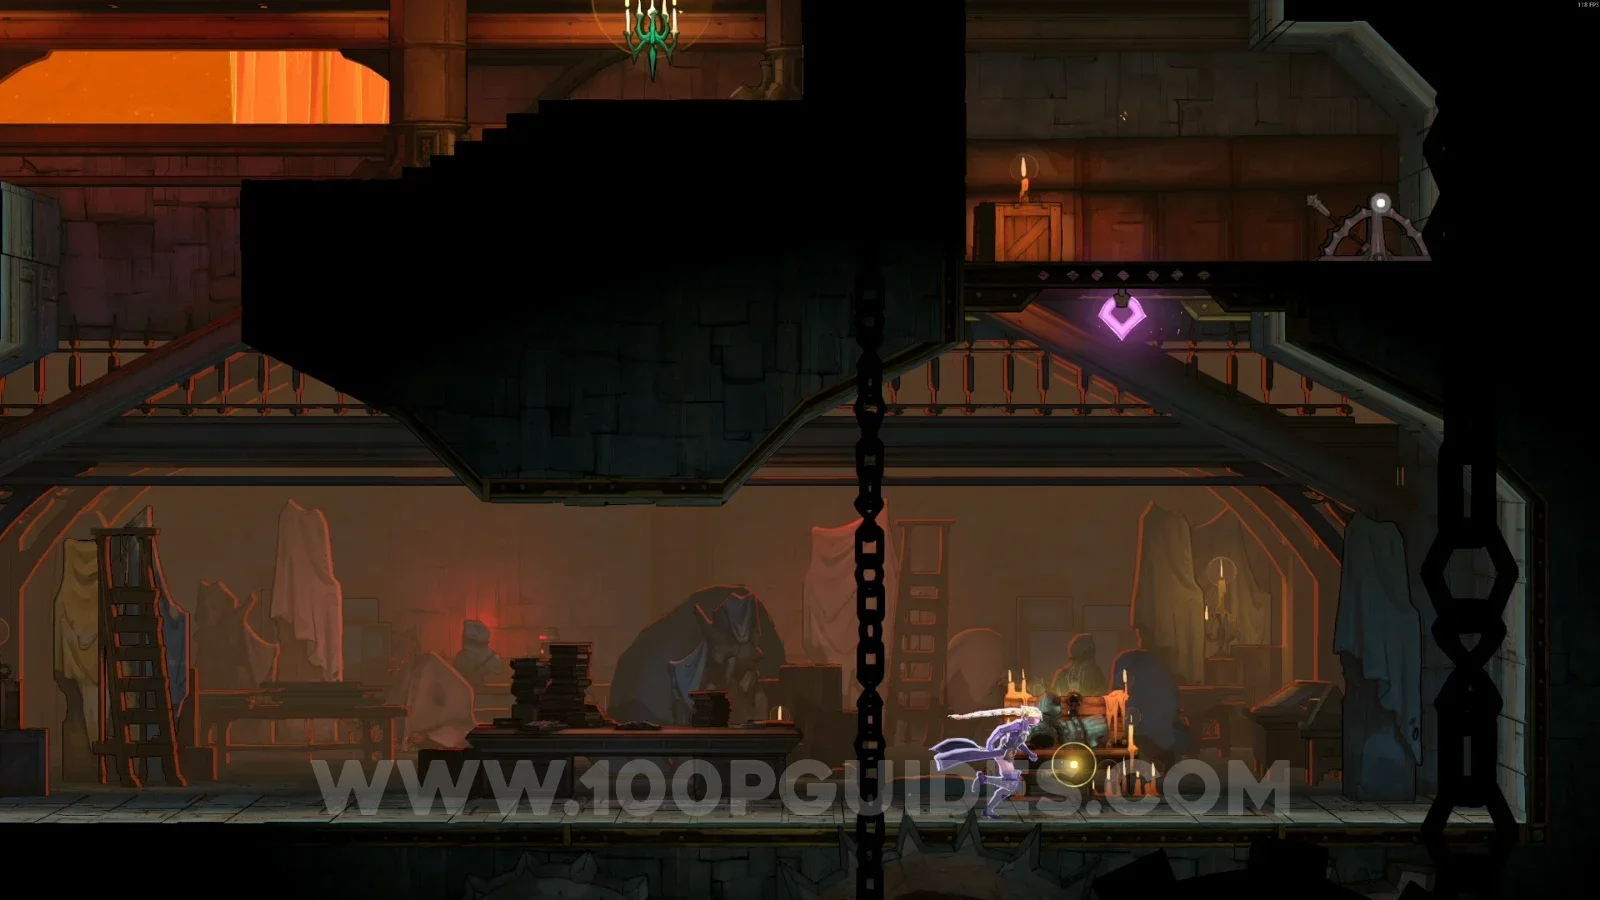
Castlevania Belmont's Curse Builder's Bureau: Weapon #2 Fists Of Talos in the same area as Clue The Sage

Serpent Pinion

XP Statue #8

On the left side of the area, jump and climb up to reveal a hidden platform with the statue.
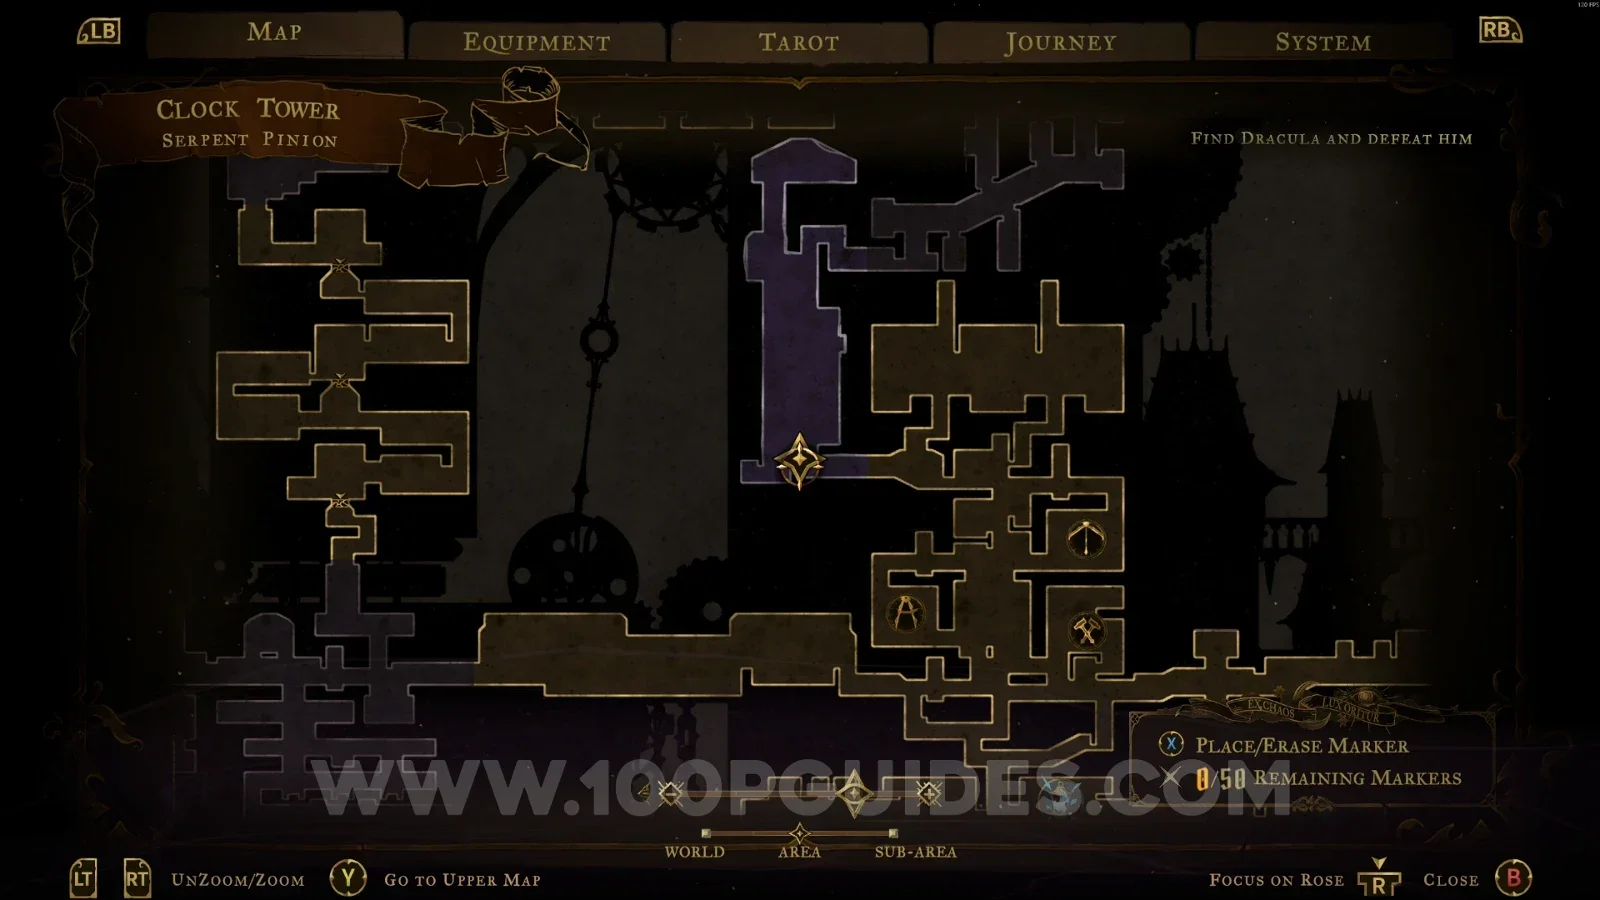
Castlevania Belmont's Curse Serpent Pinion: jumping and climbing up on the left side of the area Castlevania Belmont's Curse Serpent Pinion: XP Statue #8 on a hidden platform

Brave Heart Fragment #1

Hit the gear to make it spin, then climb up and grab the Brave Heart on the right side.
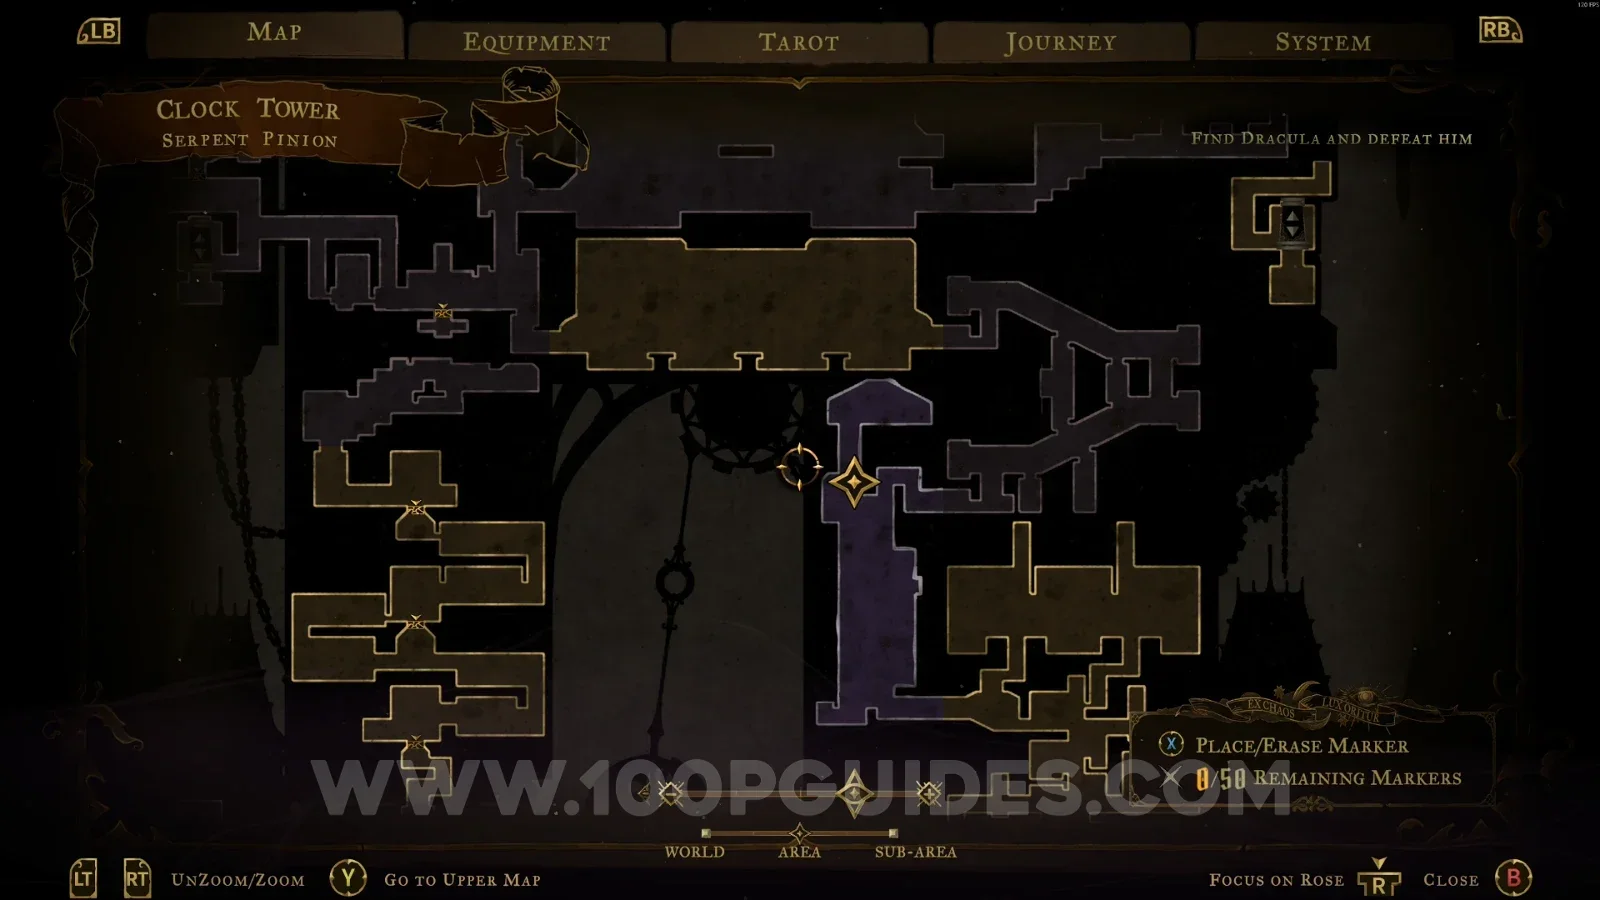
Castlevania Belmont's Curse Serpent Pinion: hitting the gear to make it spin Castlevania Belmont's Curse Serpent Pinion: climbing up after spinning the gear Castlevania Belmont's Curse Serpent Pinion: Brave Heart Fragment #1 on the right side at the top

Eastern Steps

Brave Heart Fragment #2

In the area with the spiked wheels rolling down the stairs, jump into the hole and dash left to reveal a secret area. Inside, you'll find this Brave Heart.
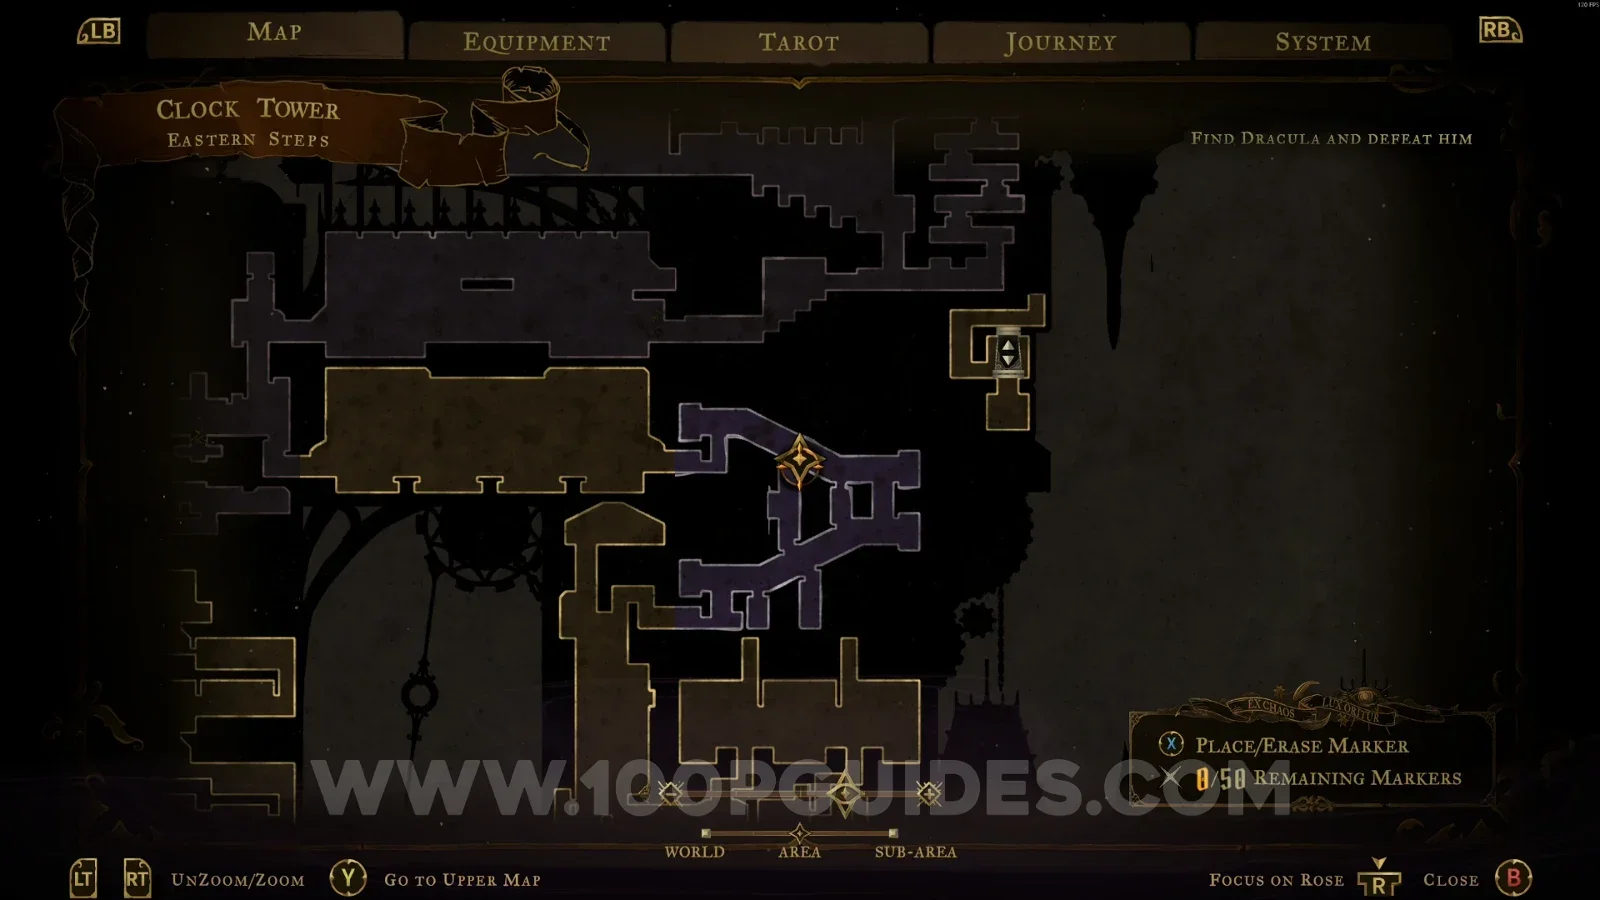
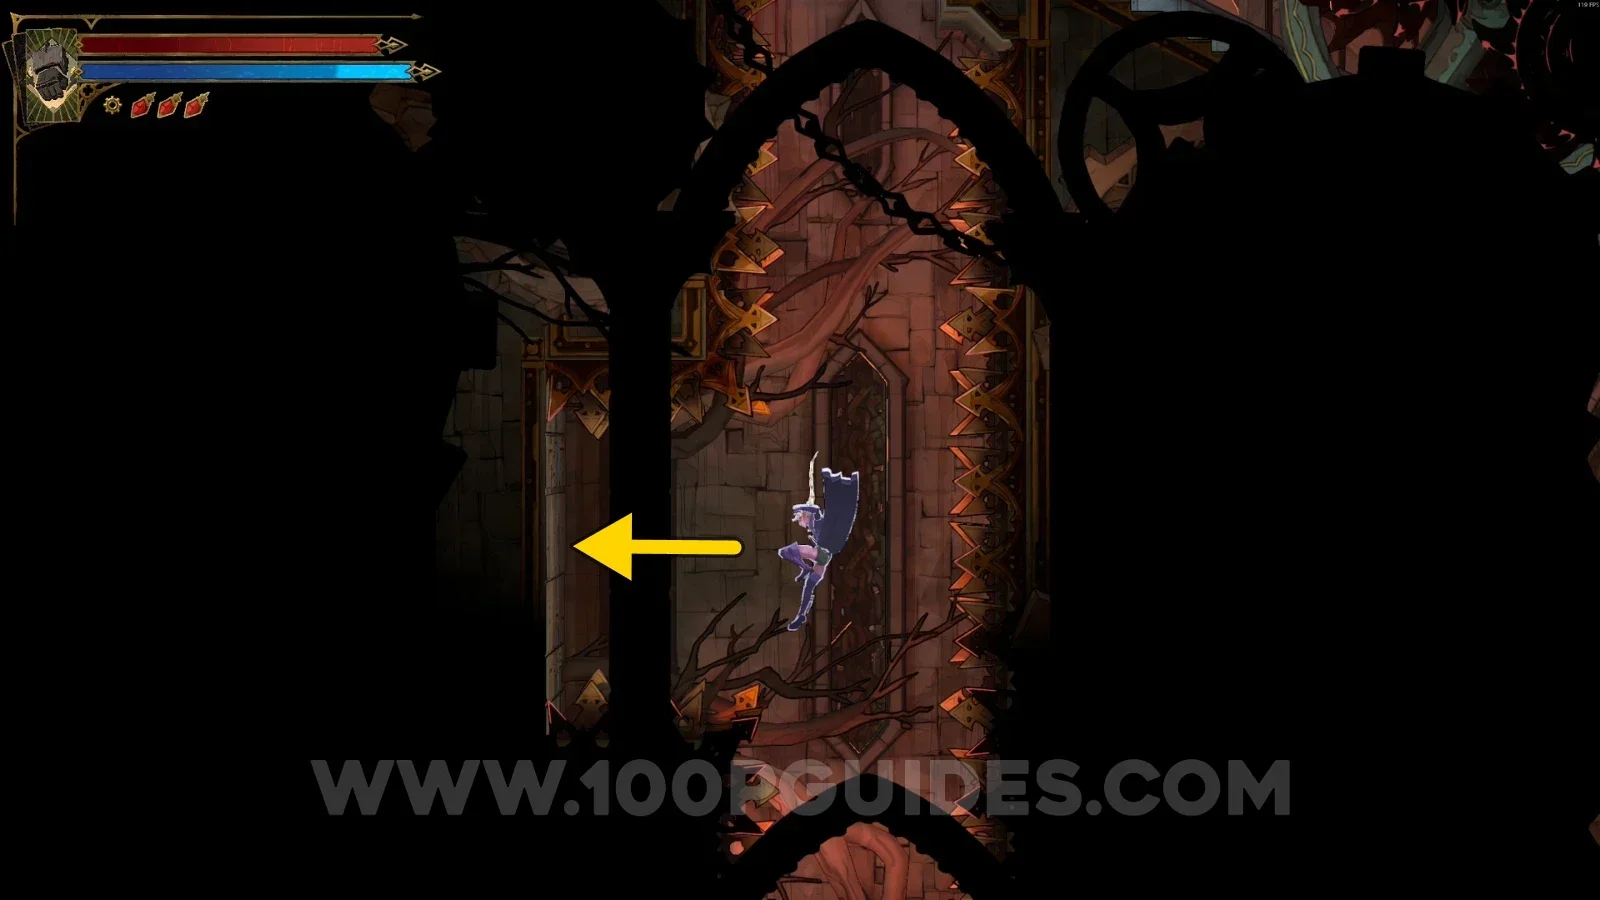
Castlevania Belmont's Curse Eastern Steps: spiked wheels rolling down the stairs and the hole to jump in Castlevania Belmont's Curse Eastern Steps: dashing left inside the hole to reveal a secret area Castlevania Belmont's Curse Eastern Steps: Brave Heart Fragment #2 inside the secret area

Daedalus Crossing

Clue: The Builder

Break the floor, then the wall on the right side. Go down the platforms to find this clue on the right side.
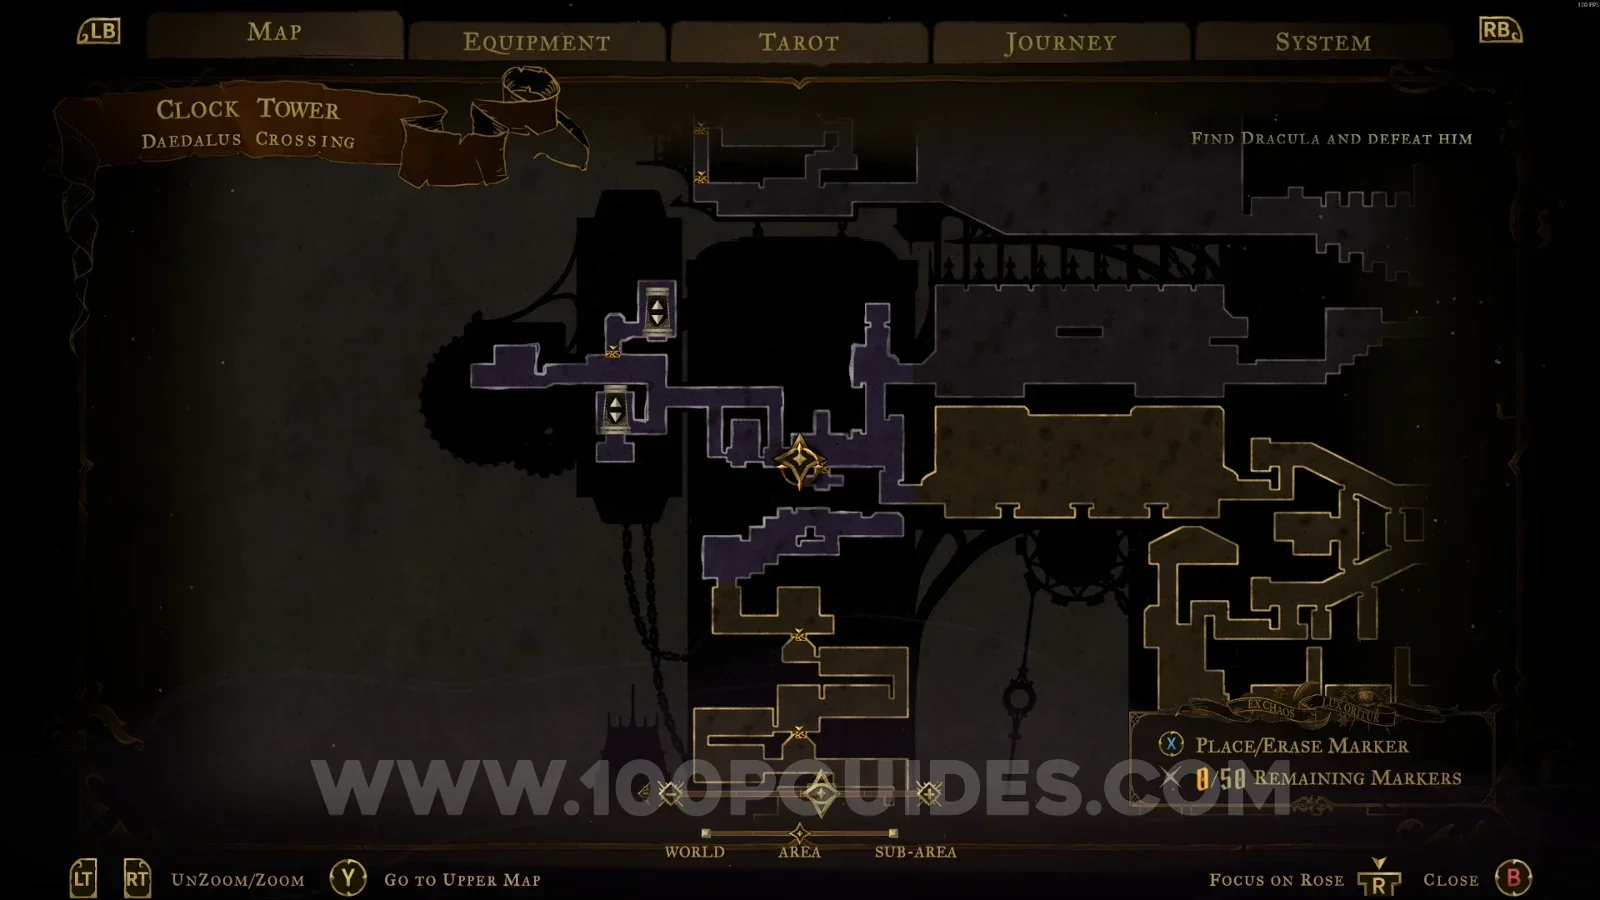
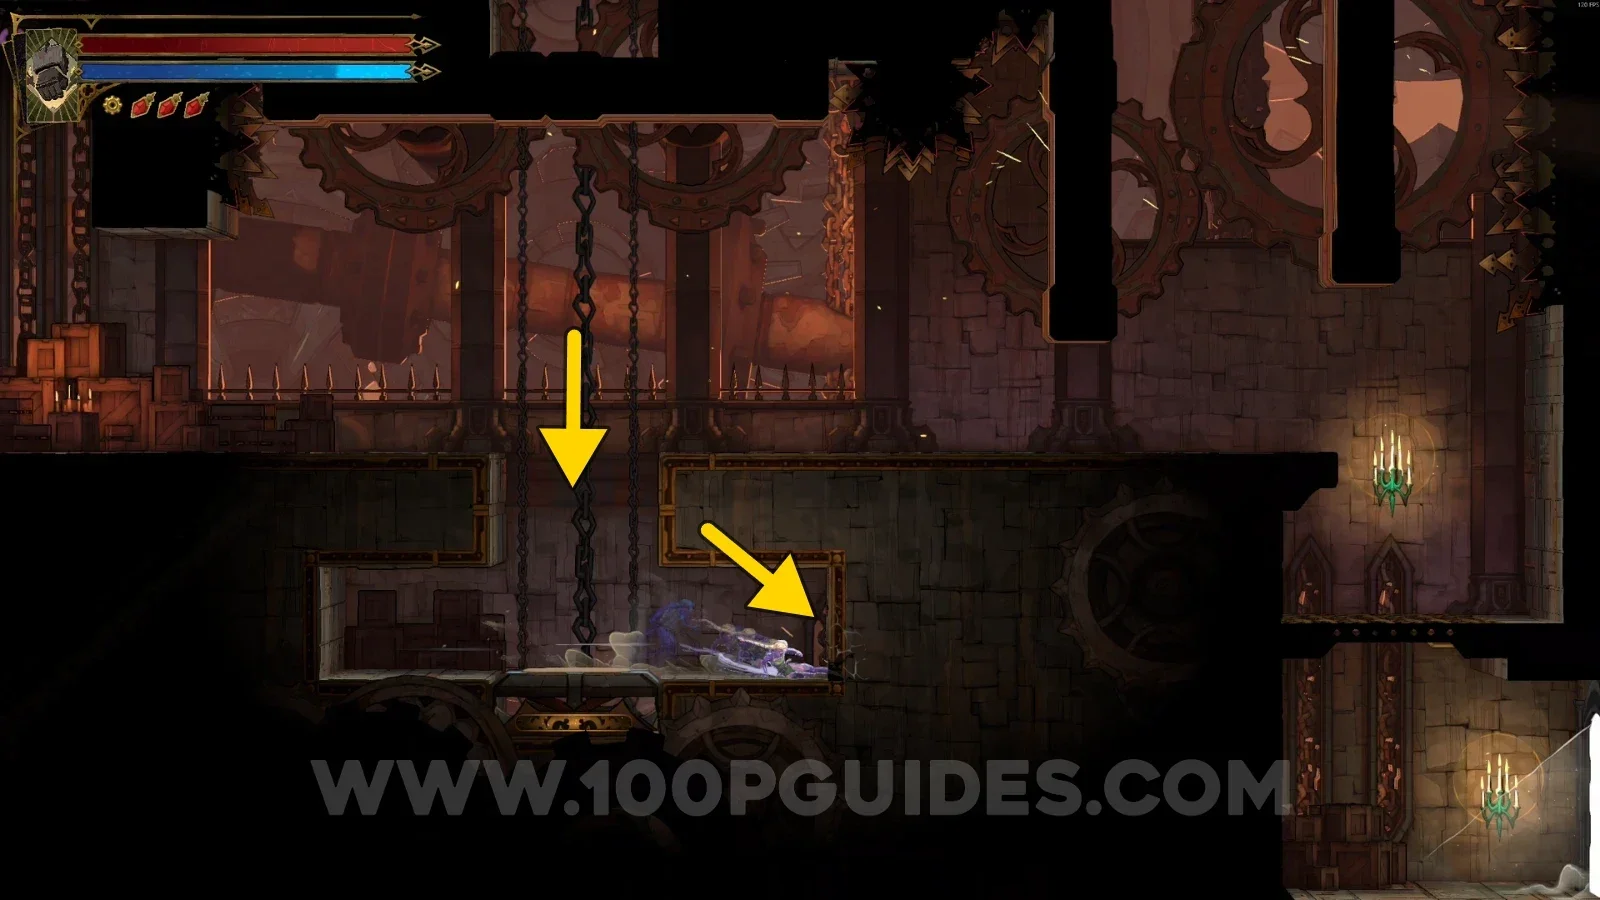
Castlevania Belmont's Curse Daedalus Crossing: breaking the floor on the way to Clue The Builder Castlevania Belmont's Curse Daedalus Crossing: breaking the wall on the right side Castlevania Belmont's Curse Daedalus Crossing: Clue The Builder on the right side down the platforms

XP Statue #9 - #10 + Blue Book #1

Make the block go down, then climb on top of it. Wait for it to rise back to its starting position with you on top, and this will reveal a secret area. In this new area, go around the spikes on the left, and you'll reach the statues and the Blue Book.
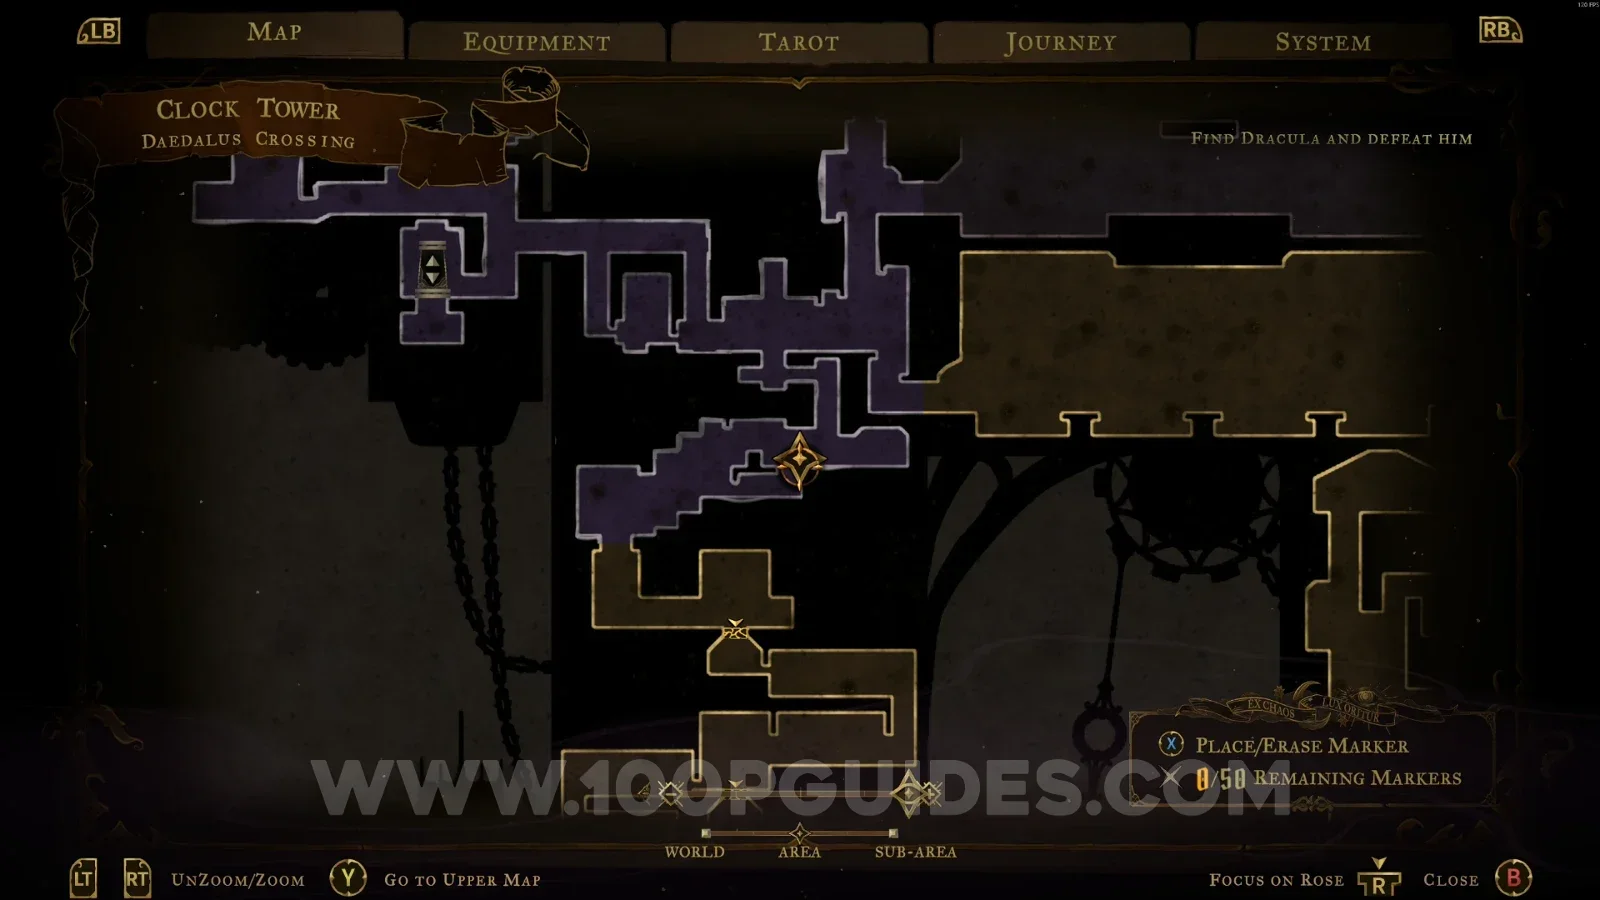
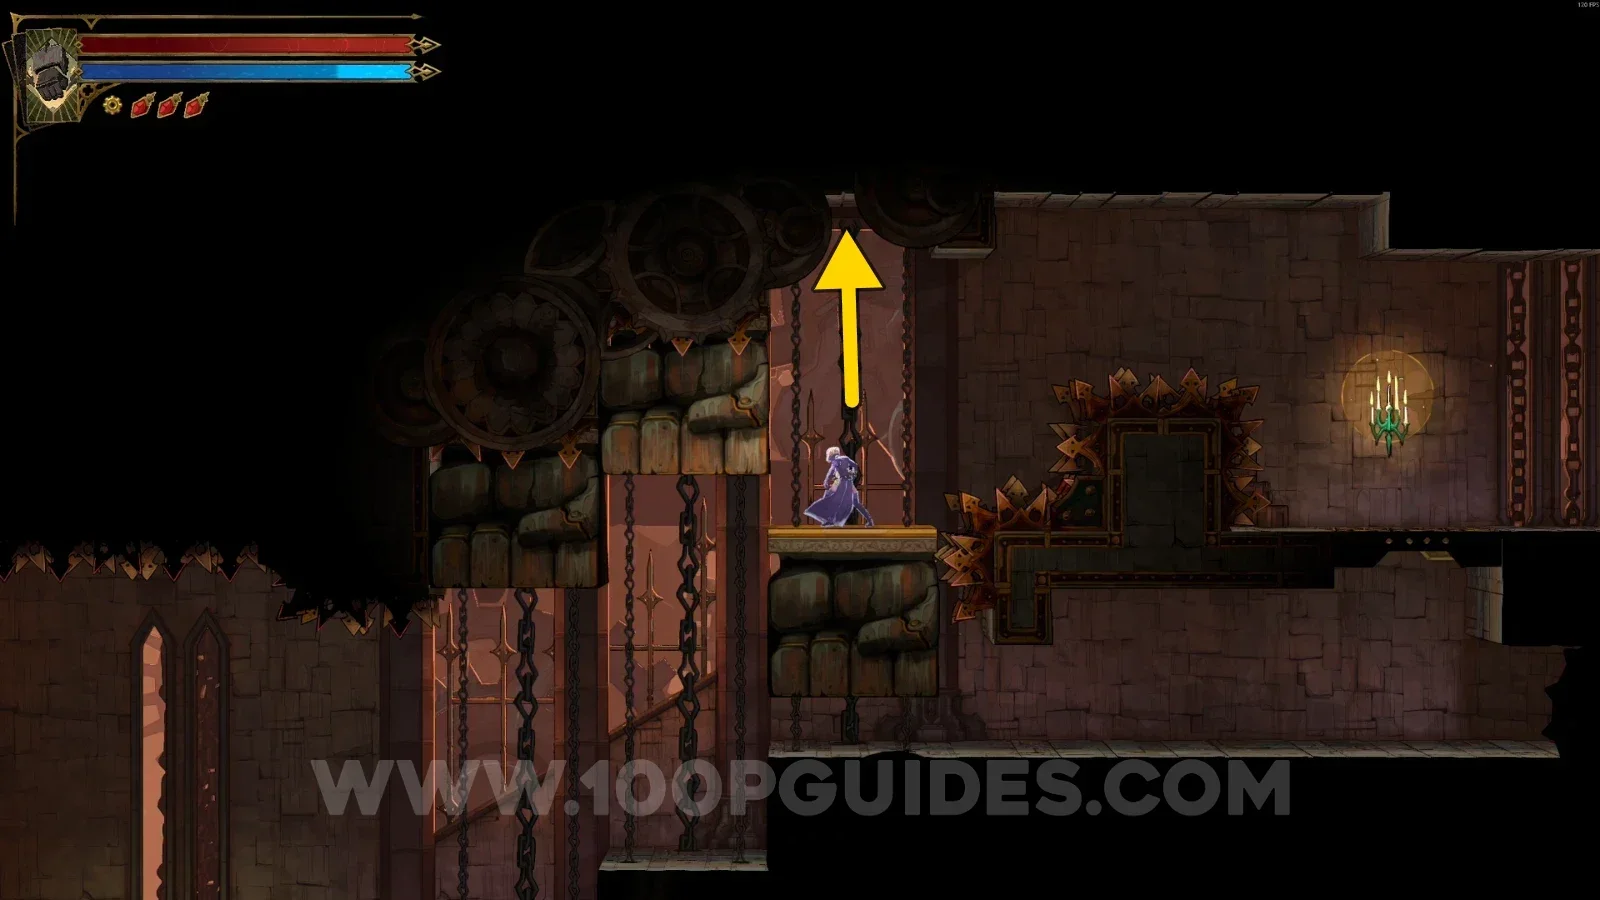
Castlevania Belmont's Curse Daedalus Crossing: riding the block back up to reveal a secret area Castlevania Belmont's Curse Daedalus Crossing: going around the spikes on the left in the secret area Castlevania Belmont's Curse Daedalus Crossing: XP Statues #9 and #10 with Blue Book #1

Relic #4: Vile Trinket

Interact with the gear to reveal a secret room. Then go to the end of the area on the left and make the block hit the pressure plate on the floor. After that, go back and climb to the upper part to open the chest containing the relic.
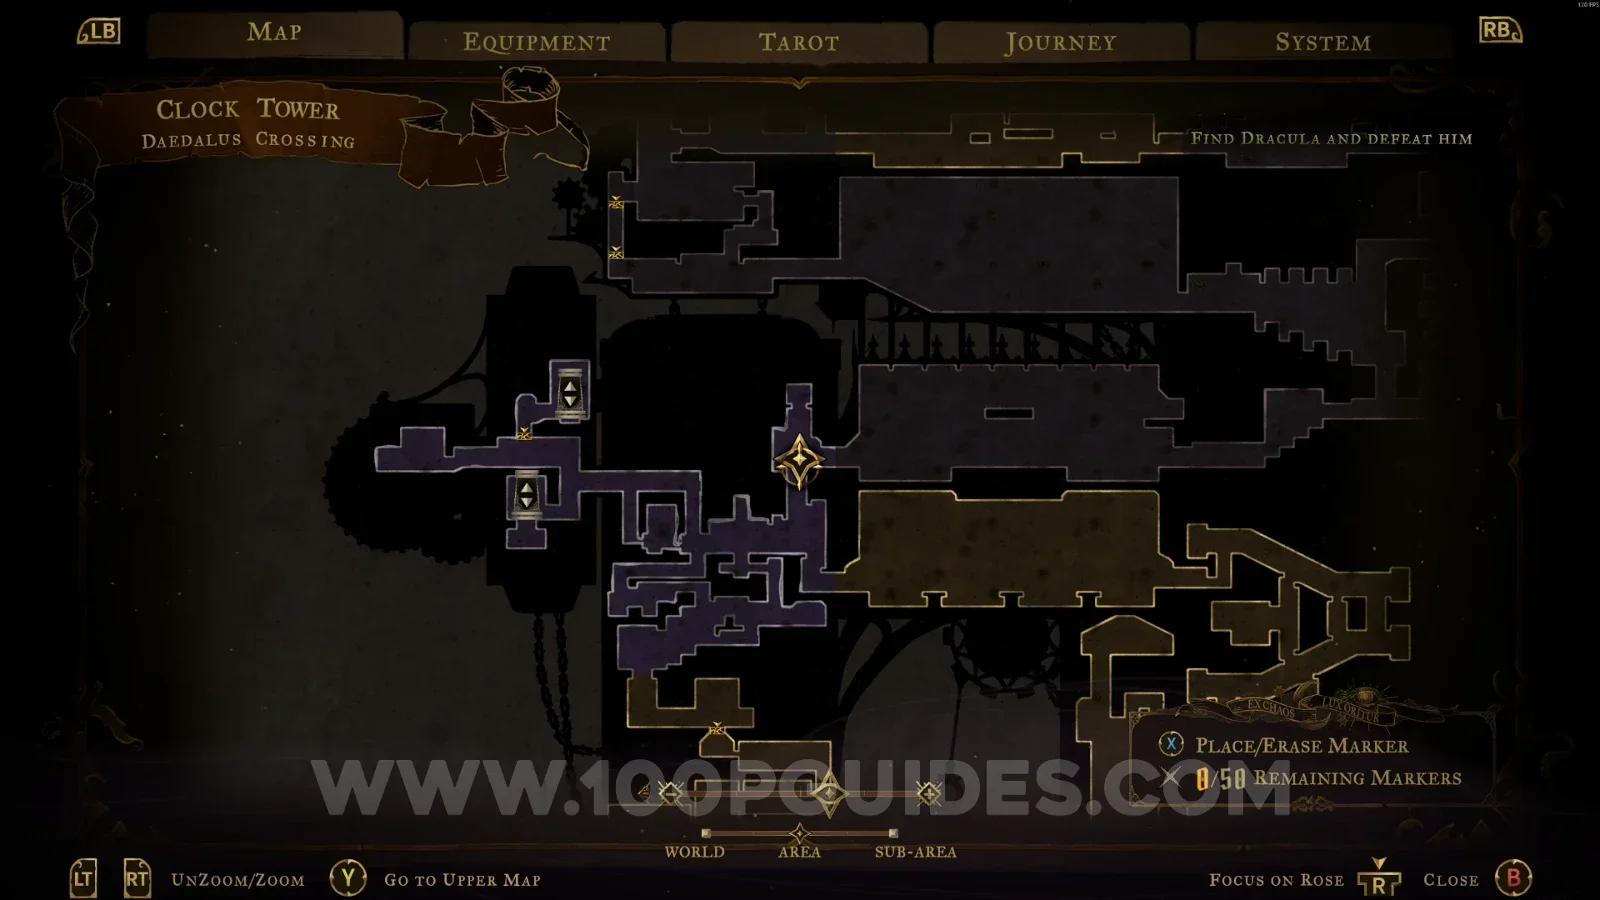
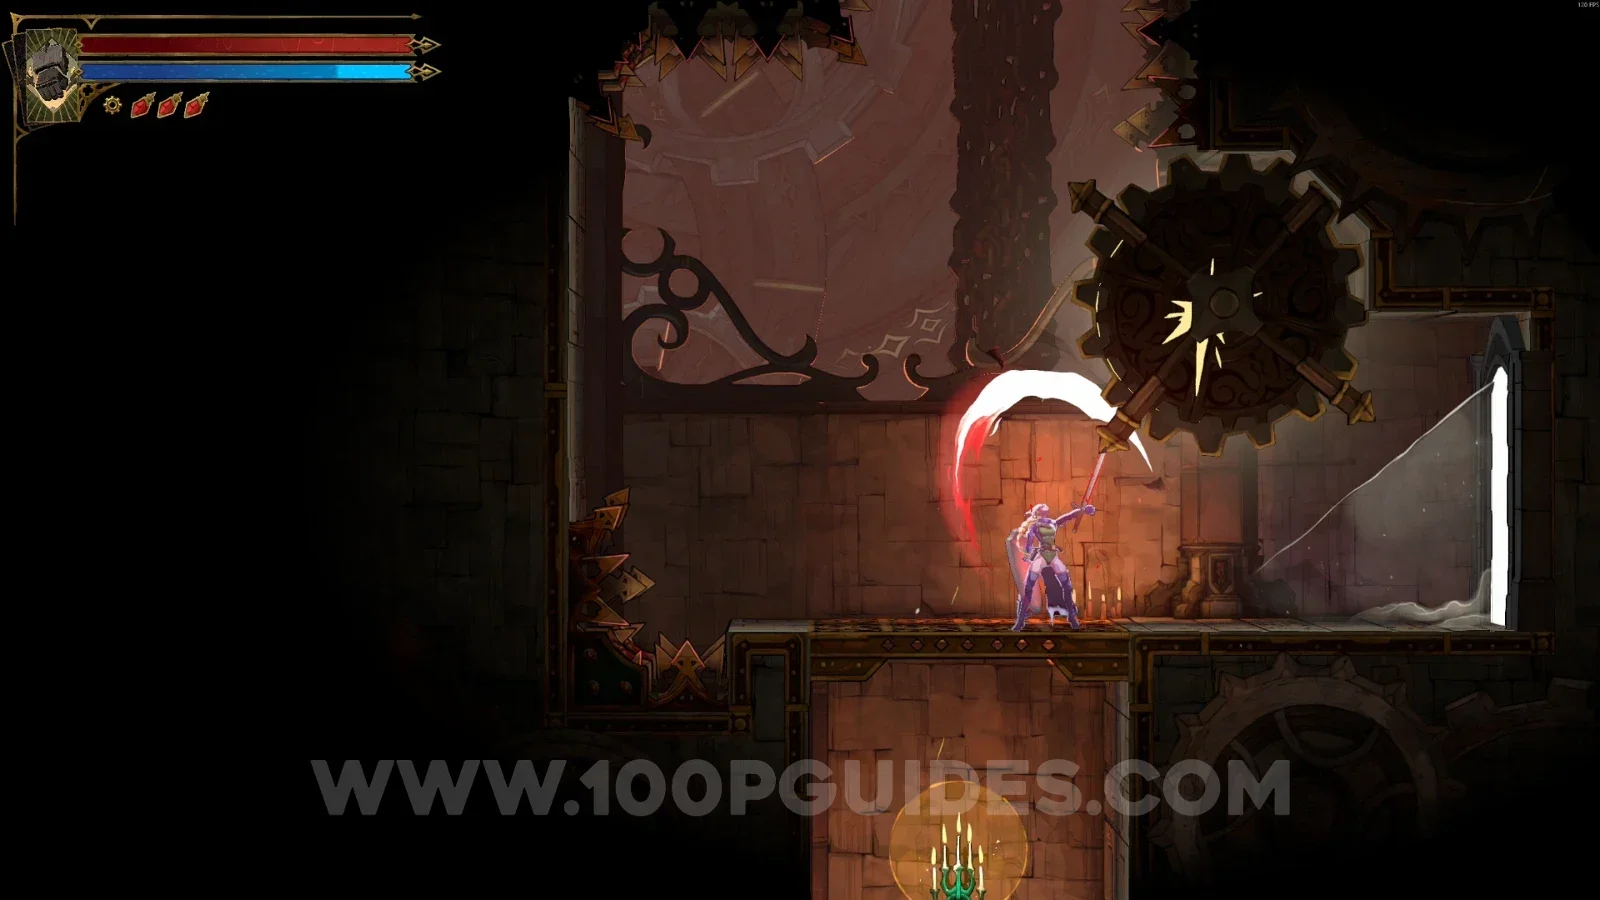
Castlevania Belmont's Curse Daedalus Crossing: interacting with the gear to reveal a secret room Castlevania Belmont's Curse Daedalus Crossing: block hitting the pressure plate at the left end of the area Castlevania Belmont's Curse Daedalus Crossing: climbing to the upper part toward the relic chest Castlevania Belmont's Curse Daedalus Crossing: chest containing Relic #4 Vile Trinket

XP Statue #11

From the previous chest, go back down to the left and climb to the upper part in the left corner to find this statue.
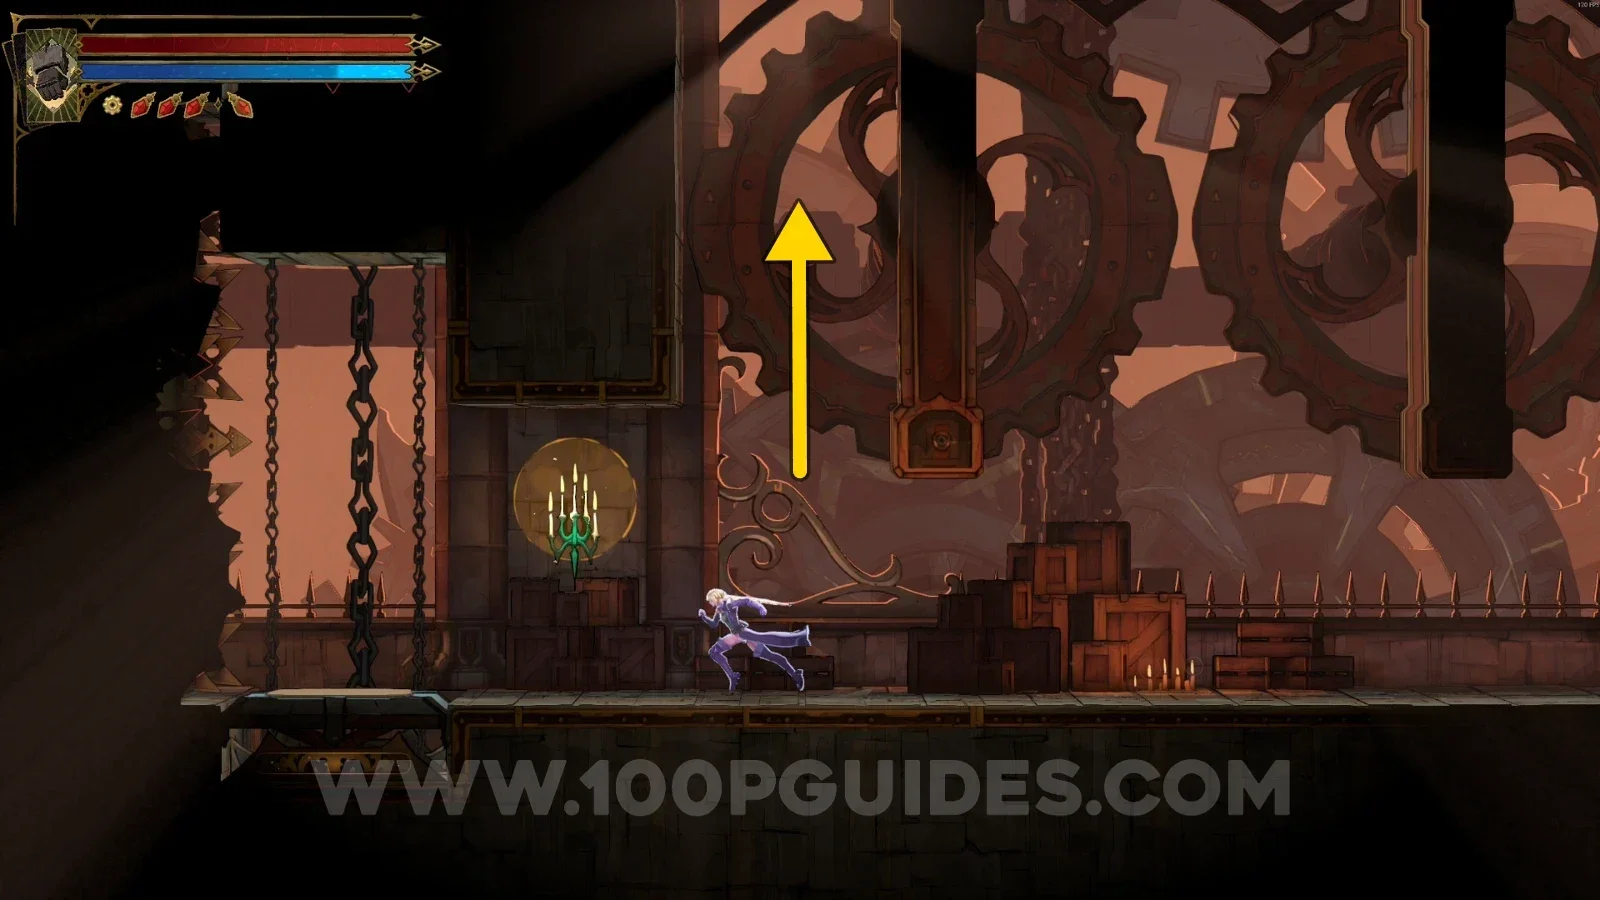
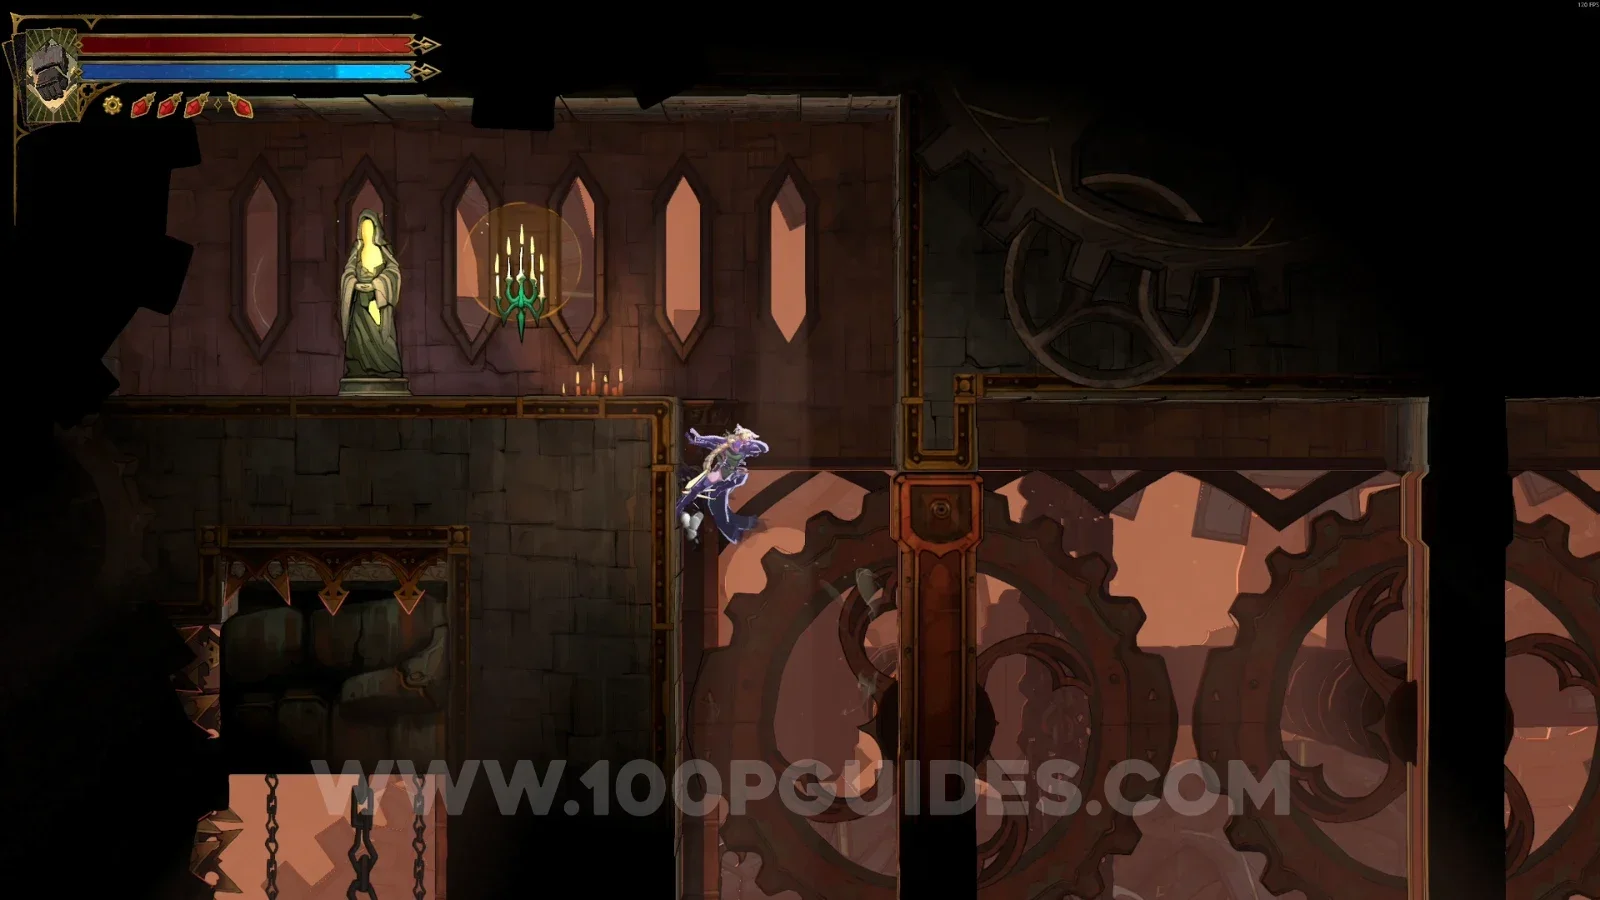
Castlevania Belmont's Curse Daedalus Crossing: climbing the upper left corner from the previous chest Castlevania Belmont's Curse Daedalus Crossing: XP Statue #11 in the upper left corner

Relic #5: Hollow Bone

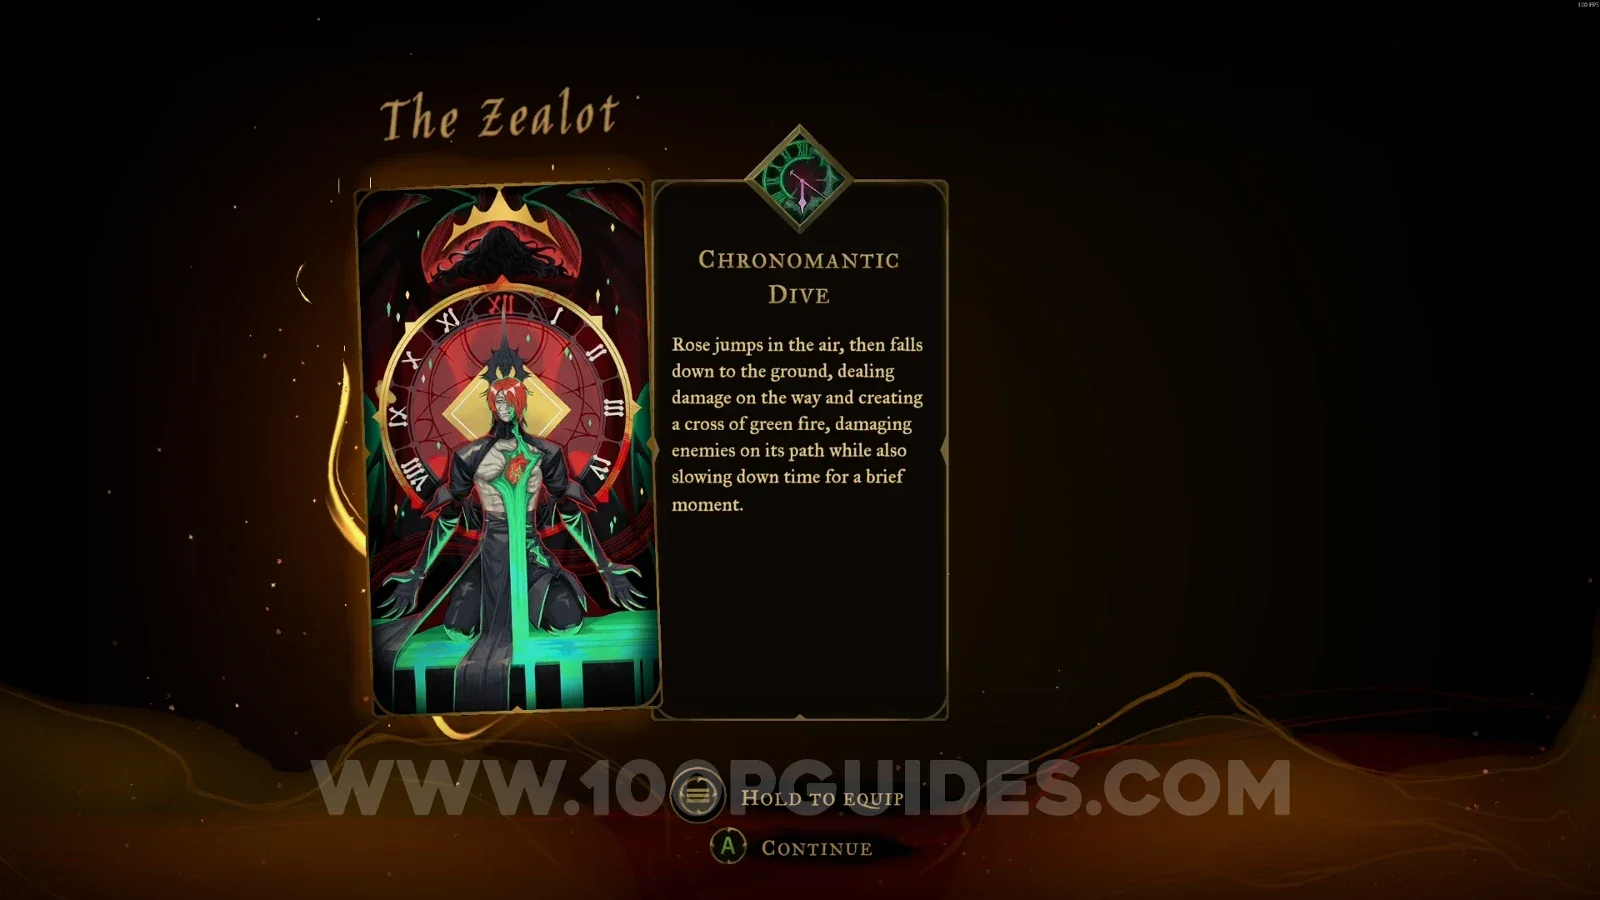
This is in the area marked on the map, but you need to have defeated Isaac (The Zealot) first. After defeating him, you'll have the Chronomantic Dive arcana. Use it to reach the chest on the left side.
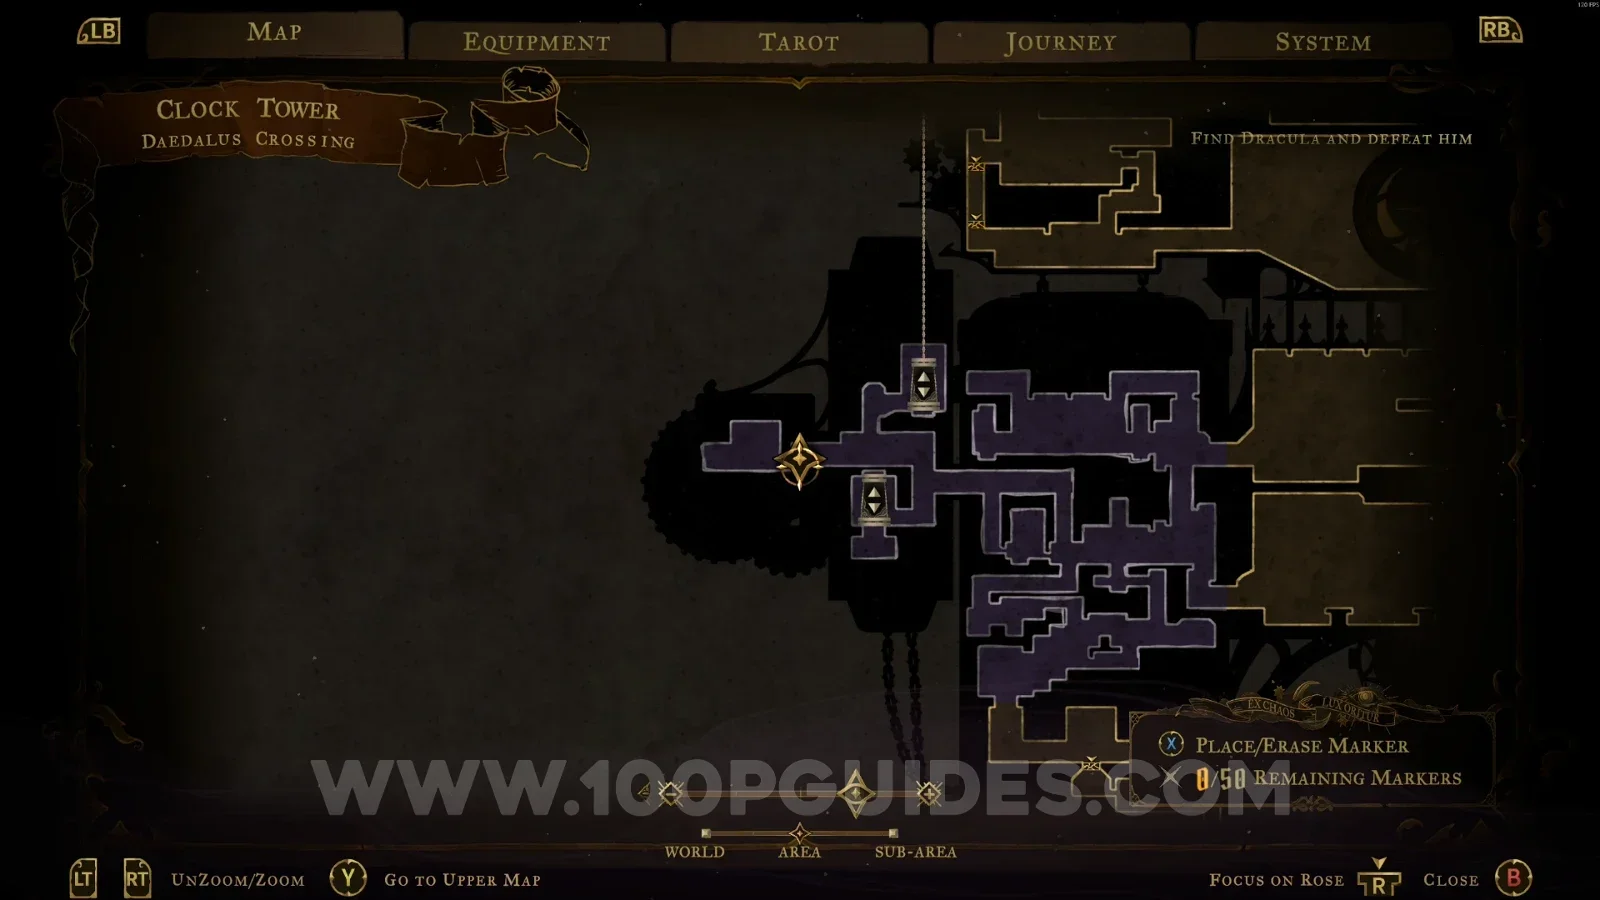
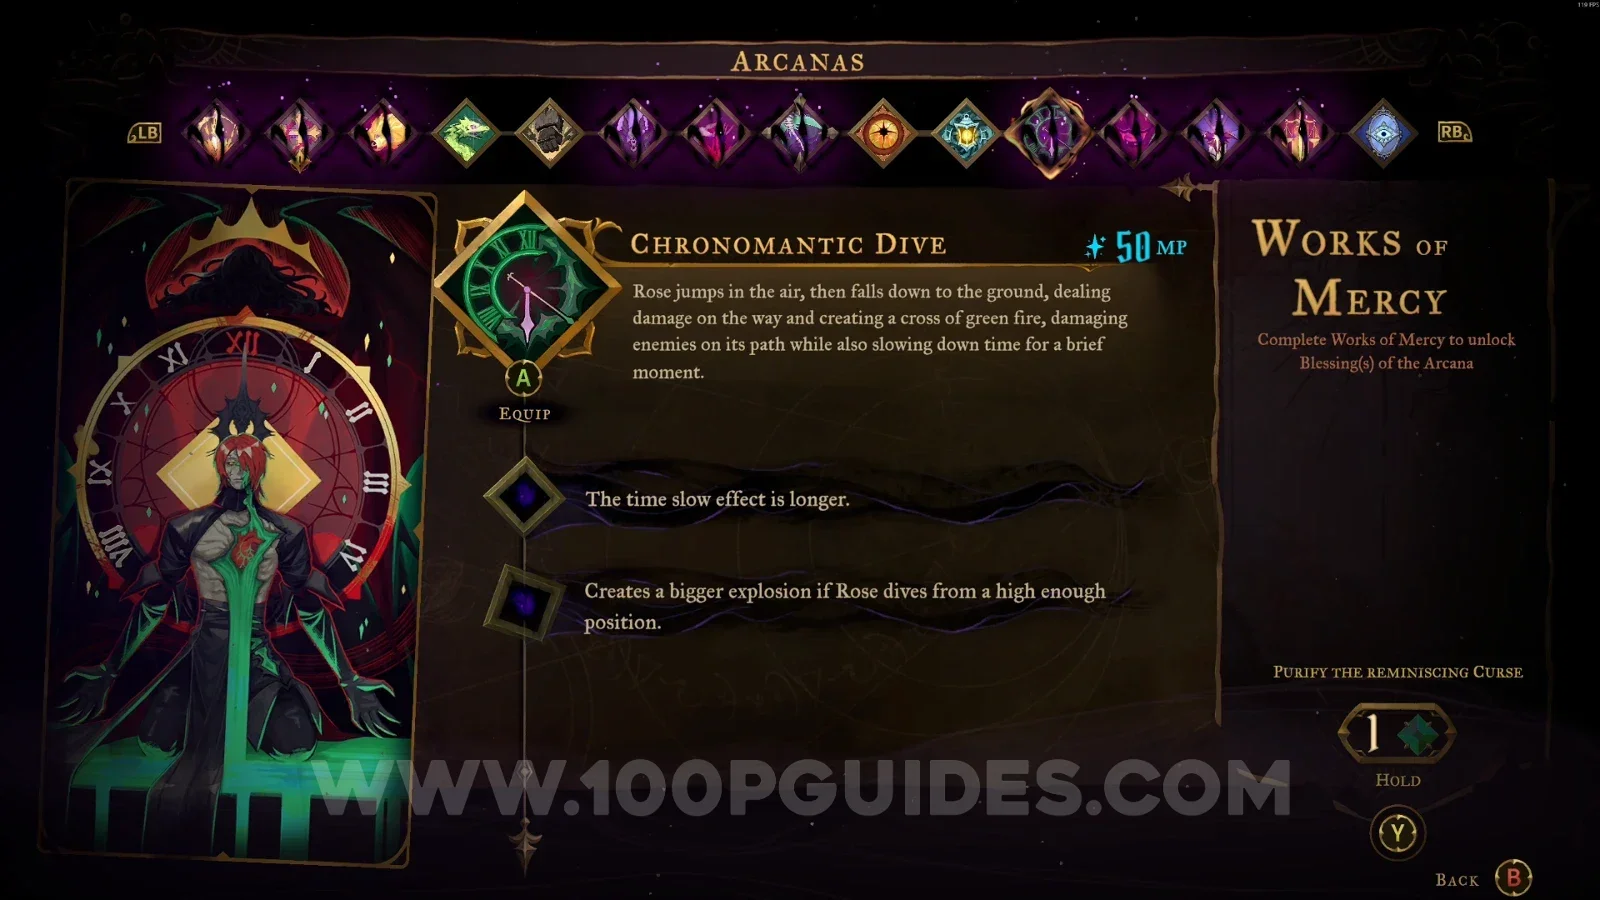
Castlevania Belmont's Curse Daedalus Crossing: map marking the area of Relic #5 Hollow Bone Castlevania Belmont's Curse Daedalus Crossing: using the Chronomantic Dive arcana to reach the chest Castlevania Belmont's Curse Daedalus Crossing: chest with Relic #5 Hollow Bone on the left side

Upper Gallery

Wise Heart Fragment #3

Pass the blocks so they drop, then quickly climb on top of the last block on the left so it carries you up. This will reveal a secret area. Follow the single path and you'll come out outside. Use your Arcane Whip to swing to the left and reach the Wise Heart.
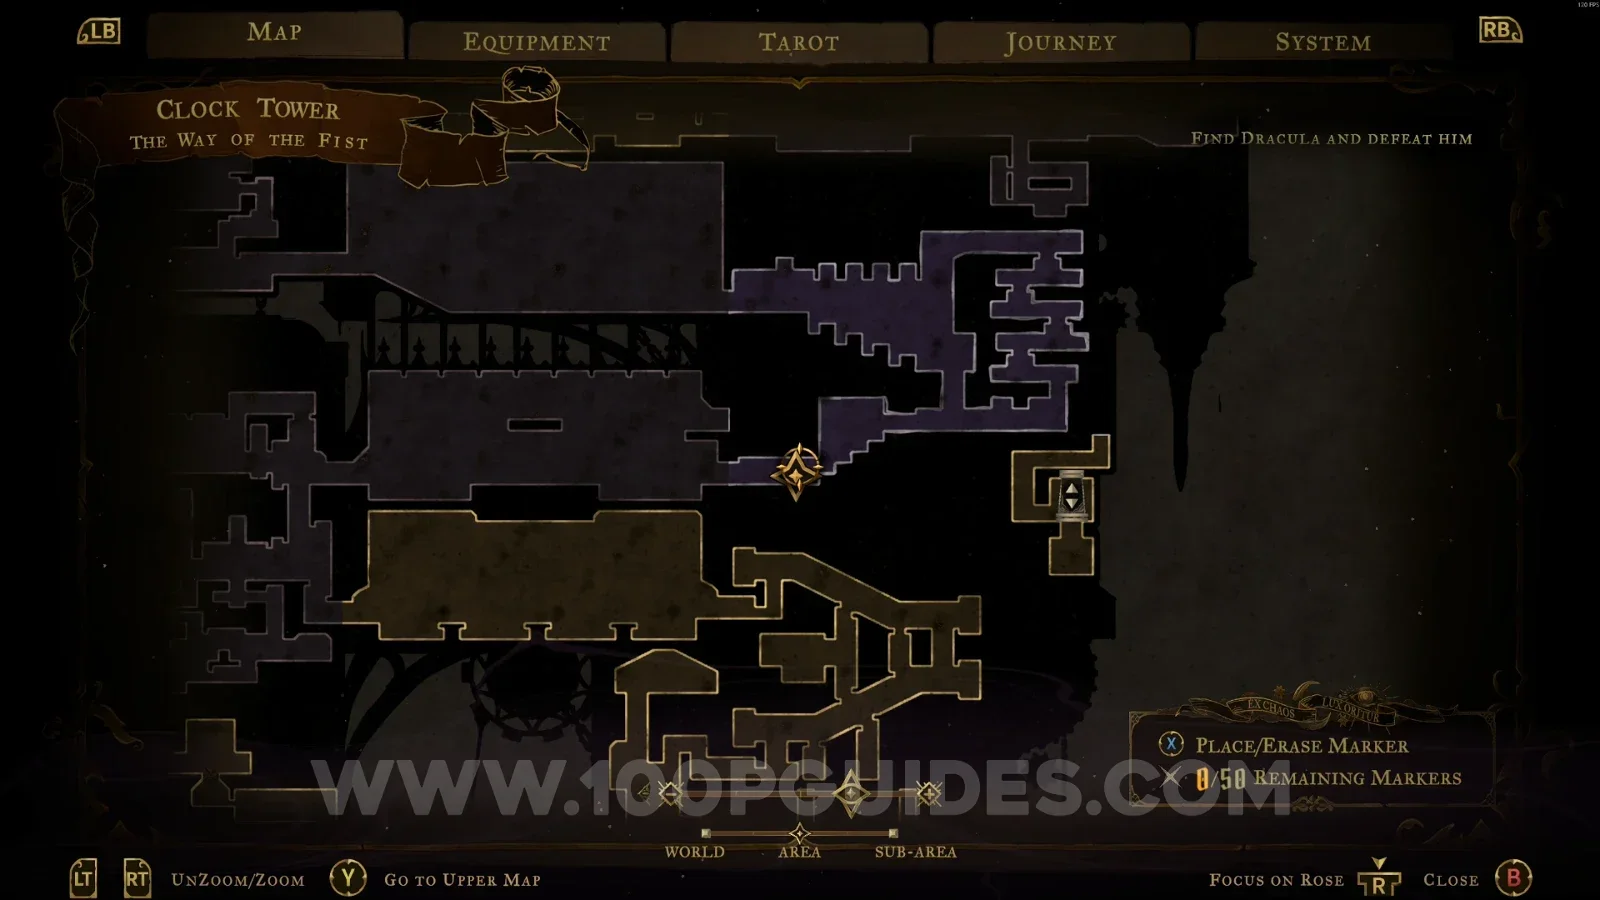
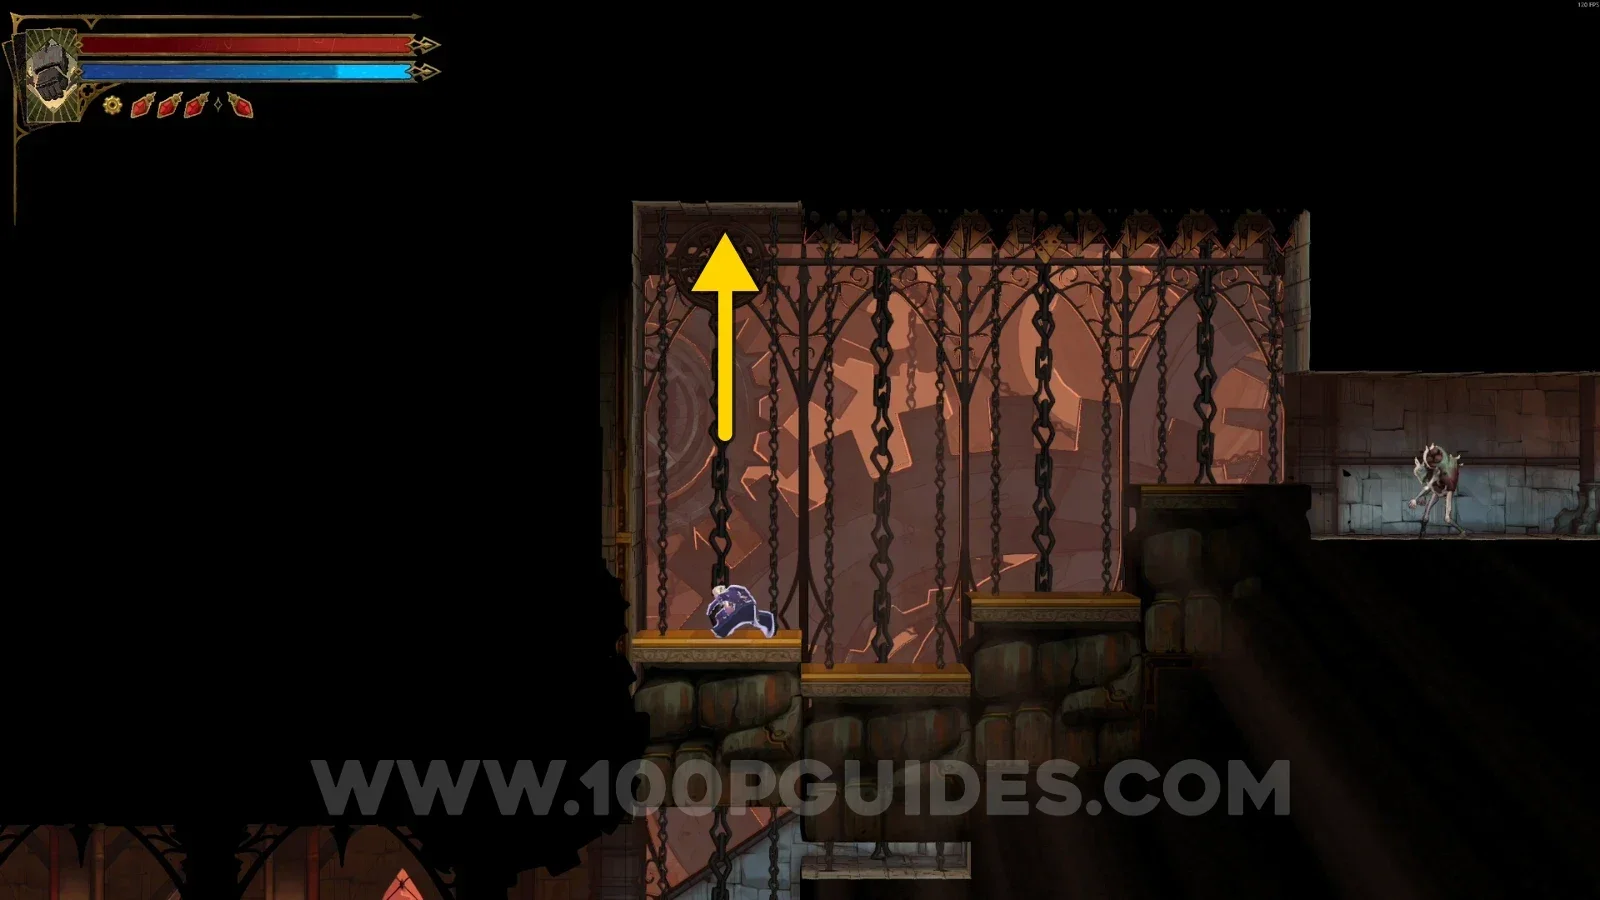
Castlevania Belmont's Curse Upper Gallery: riding the last block on the left up to a secret area Castlevania Belmont's Curse Upper Gallery: single path of the secret area leading outside Castlevania Belmont's Curse Upper Gallery: swinging left with the Arcane Whip to Wise Heart Fragment #3

The Way Of The Fist

Weapon #3: Claymore

Make the block drop and climb on top of it. As it rises, jump to the right side, then go through the door at the top. In the new area, go to the lowest level to find the chest.
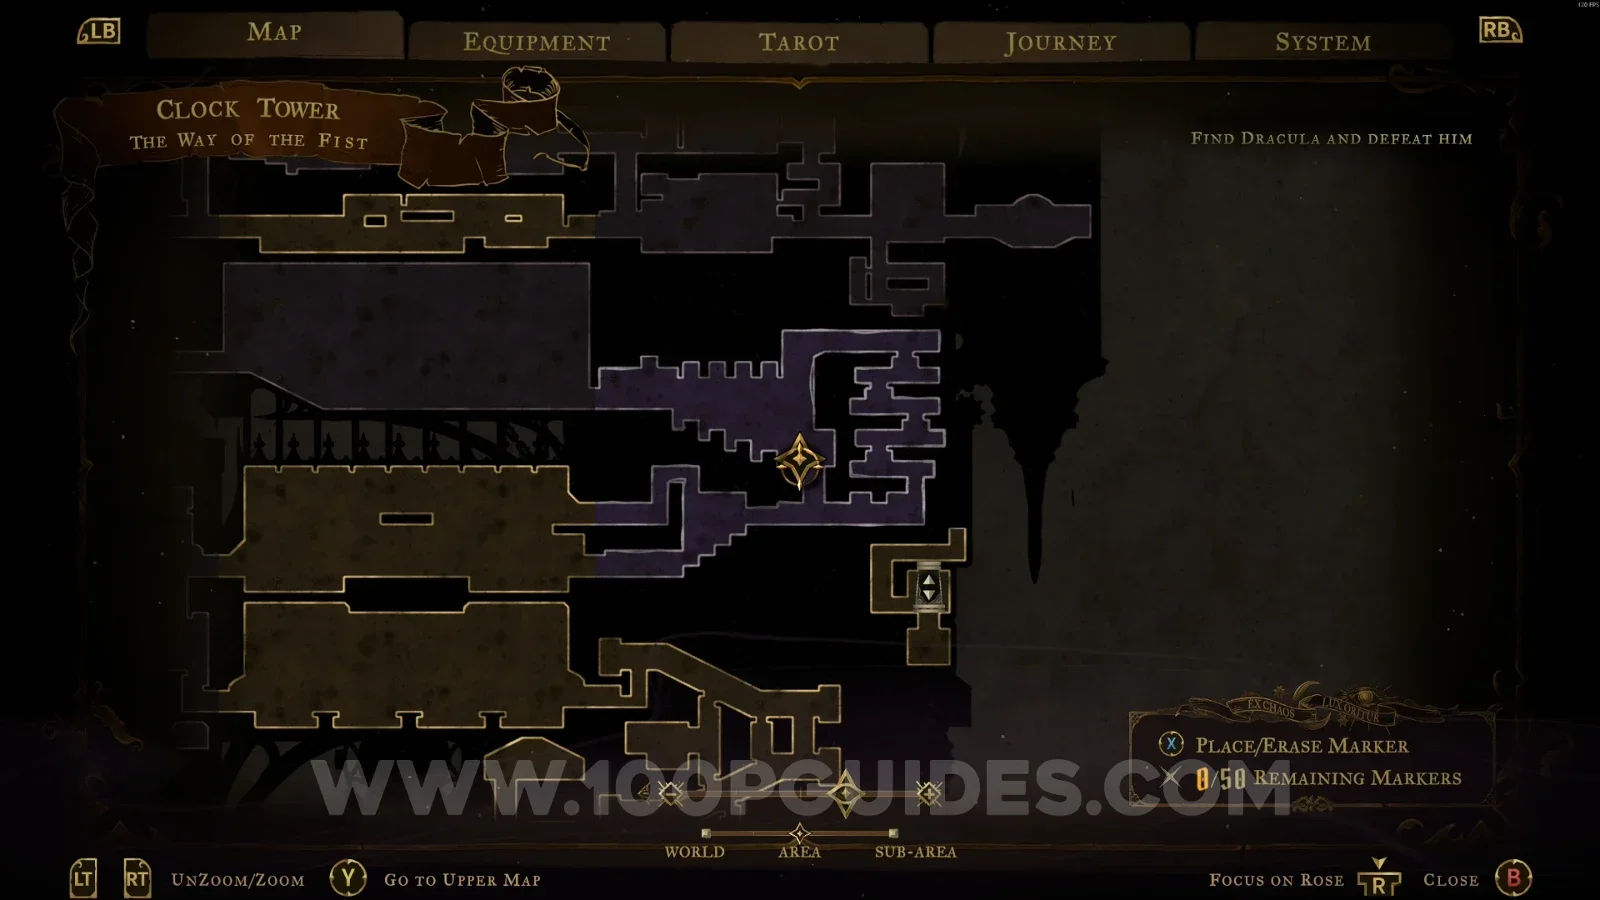
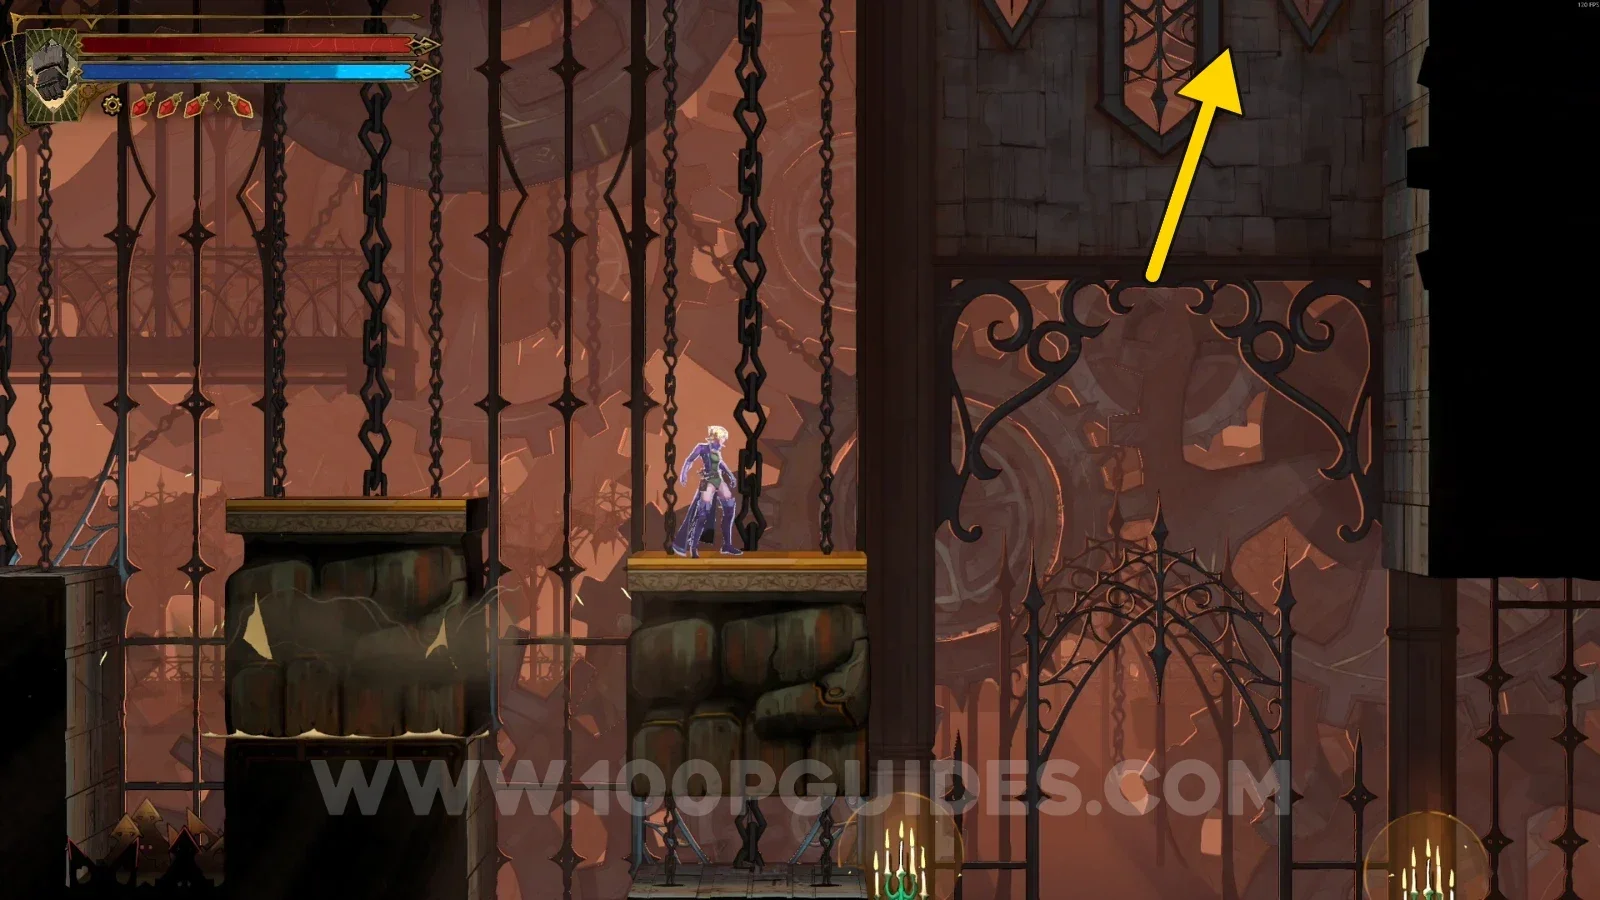
Castlevania Belmont's Curse The Way Of The Fist: riding the rising block and jumping to the right Castlevania Belmont's Curse The Way Of The Fist: door at the top leading to the new area Castlevania Belmont's Curse The Way Of The Fist: chest with Weapon #3 Claymore at the lowest level

Clock Tower Bridge

Bad Ending

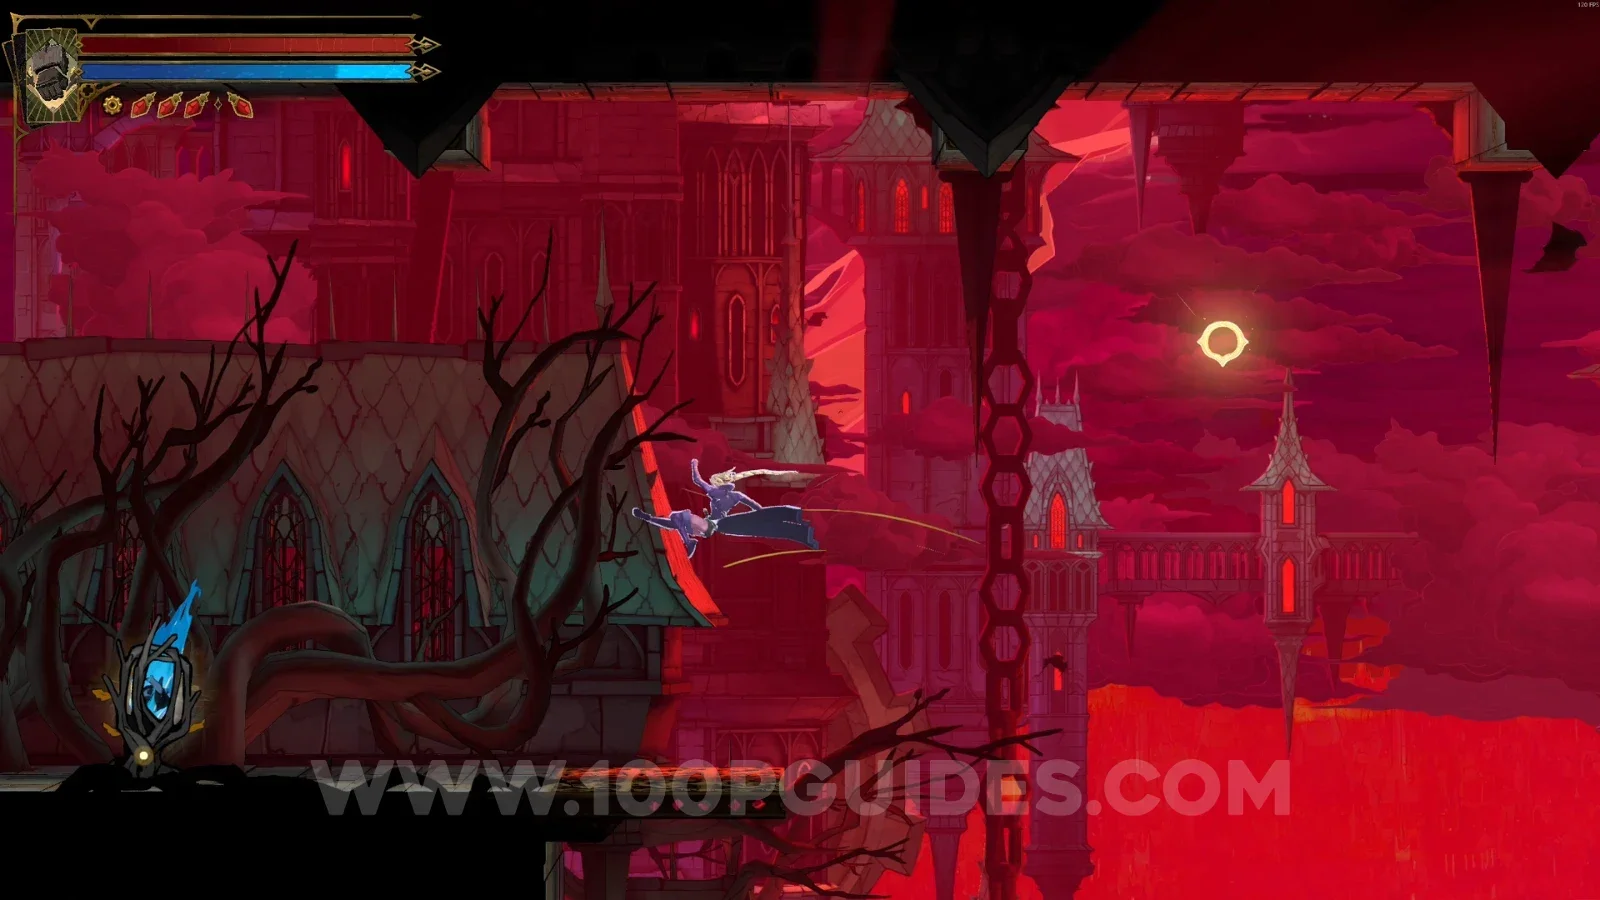
After reaching the Clock Tower Bridge, keep going forward to fall into Death's trap and get the Bad Ending.
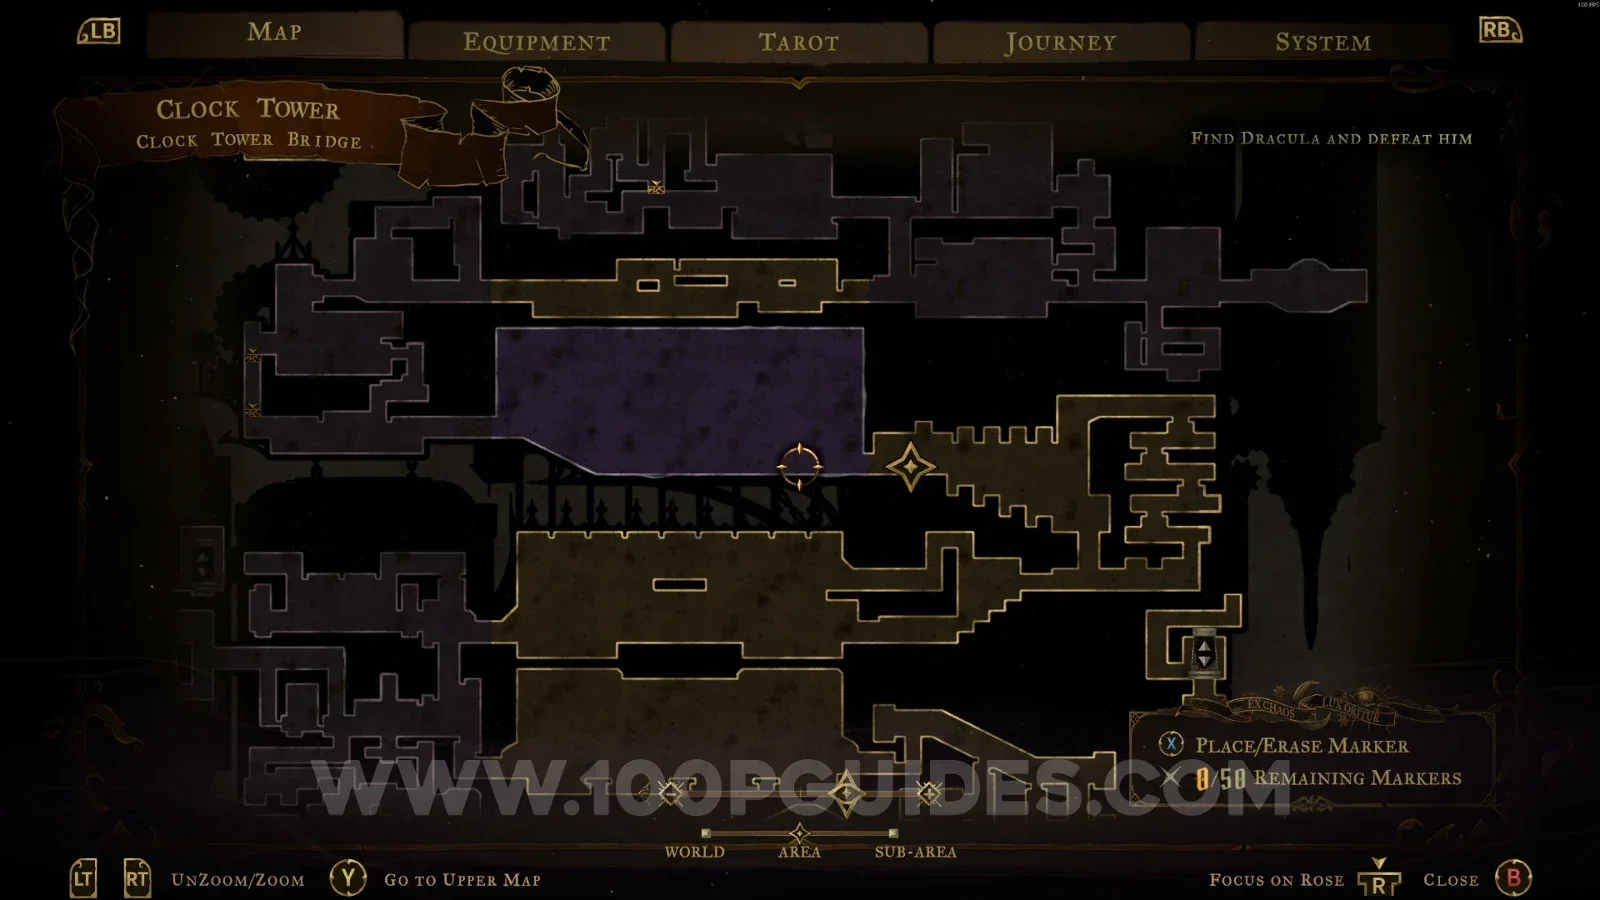
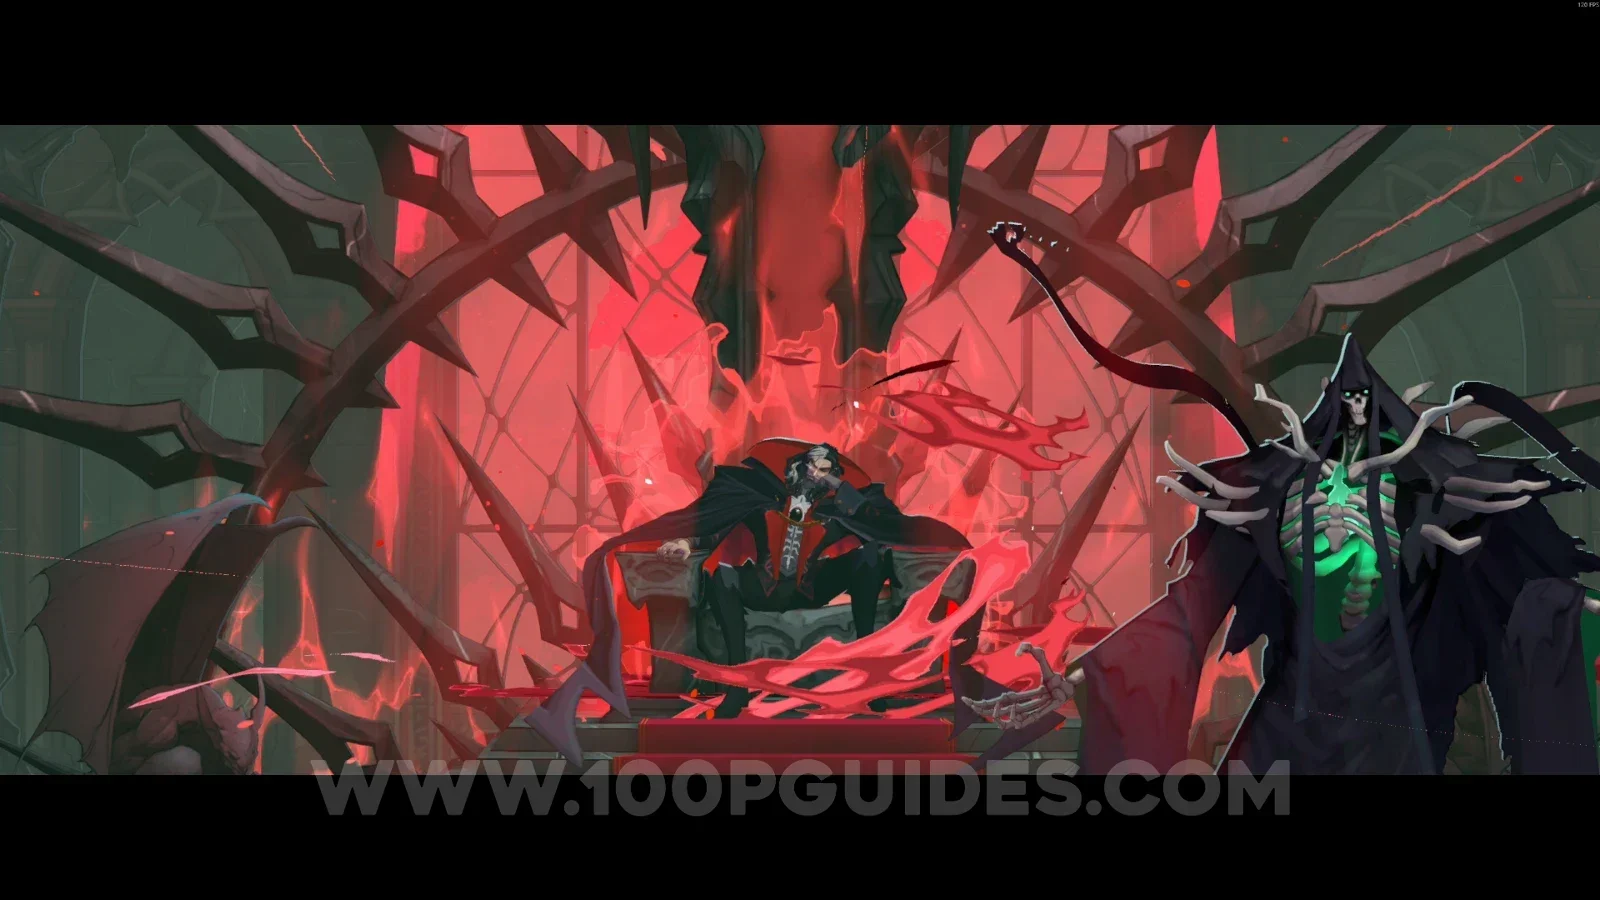
Castlevania Belmont's Curse Clock Tower Bridge: going forward across the bridge toward Death's trap Castlevania Belmont's Curse Clock Tower Bridge: falling into Death's trap for the Bad Ending

Clock Tower Bridge Puzzle

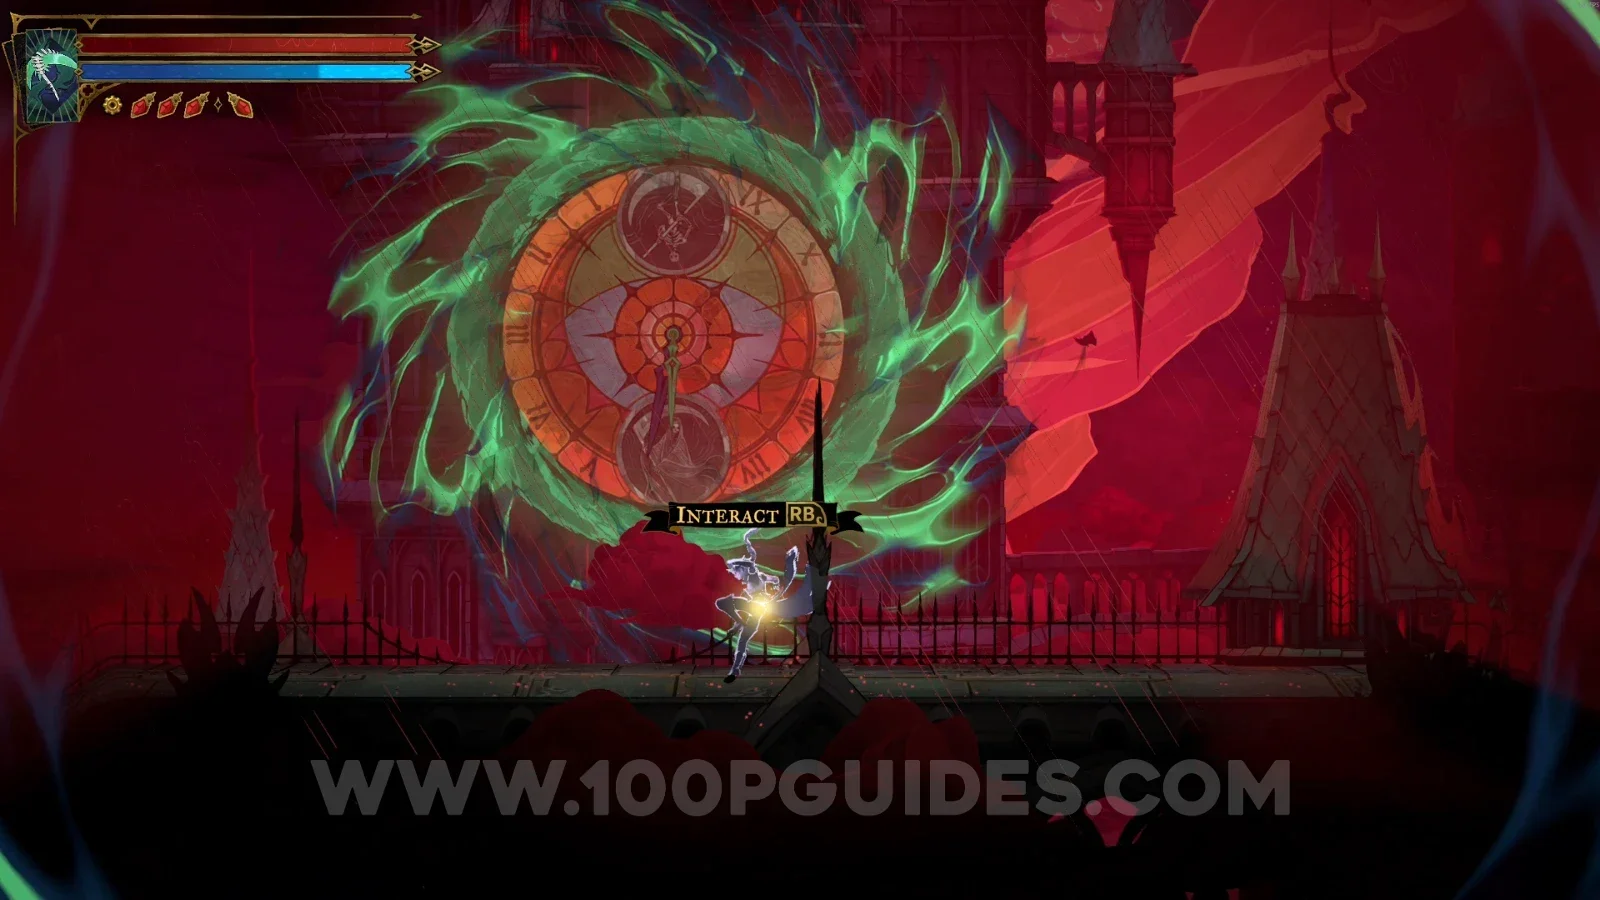
To get past the clock without triggering Death's trap, you'll first have to defeat Death in Notre-Dame to get the Soul Harvest arcana. Then go back to the Clock Tower Bridge and interact with the clock.
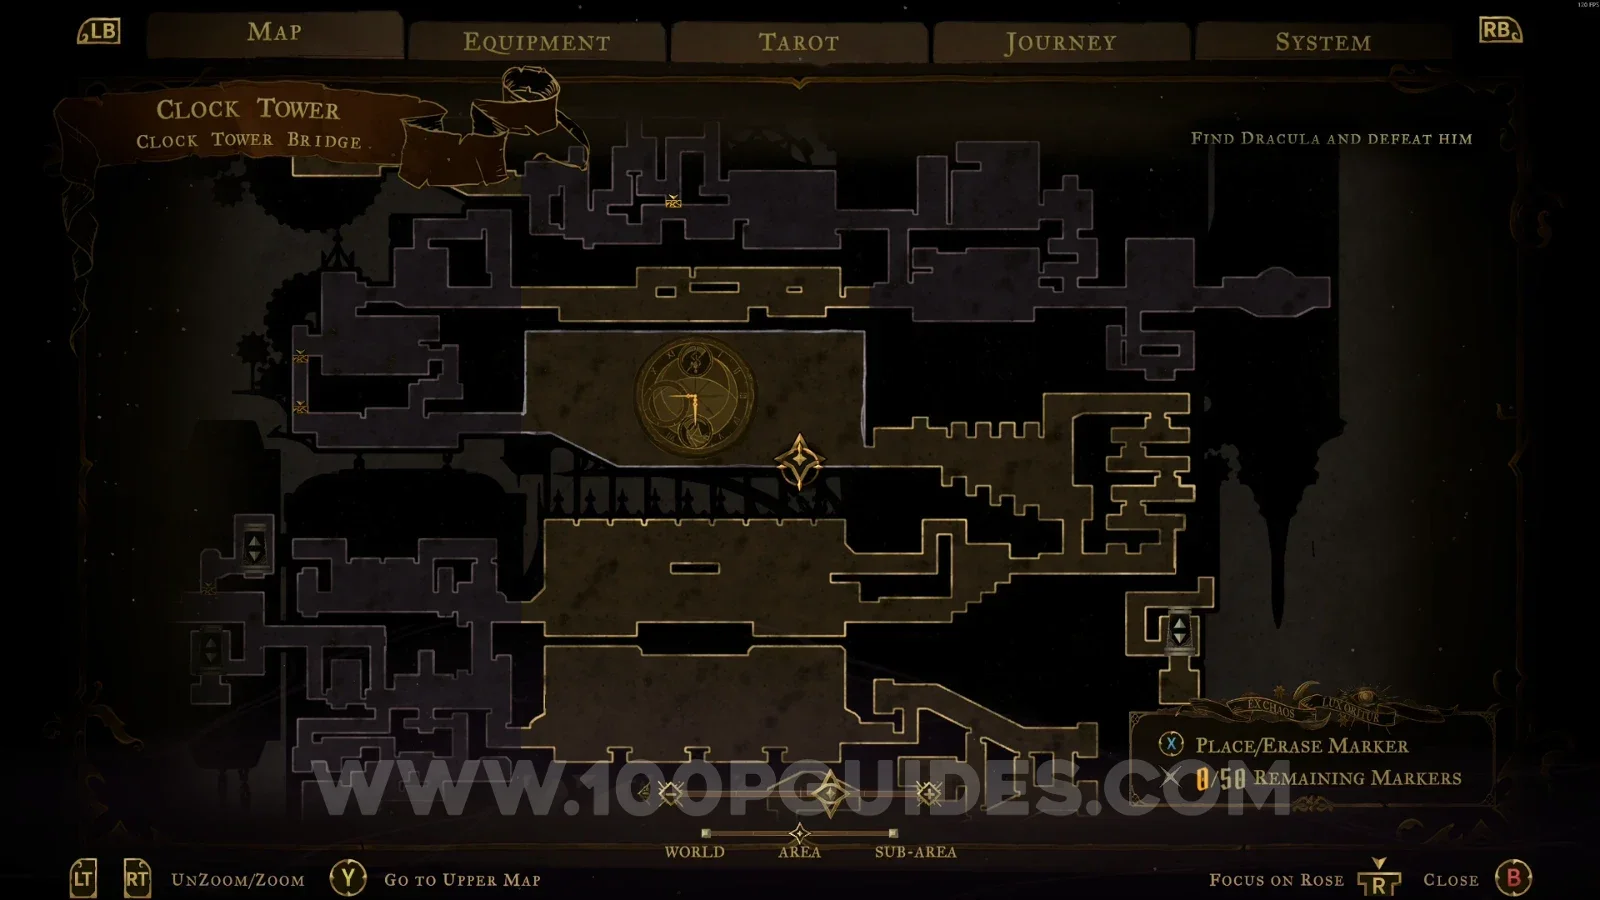
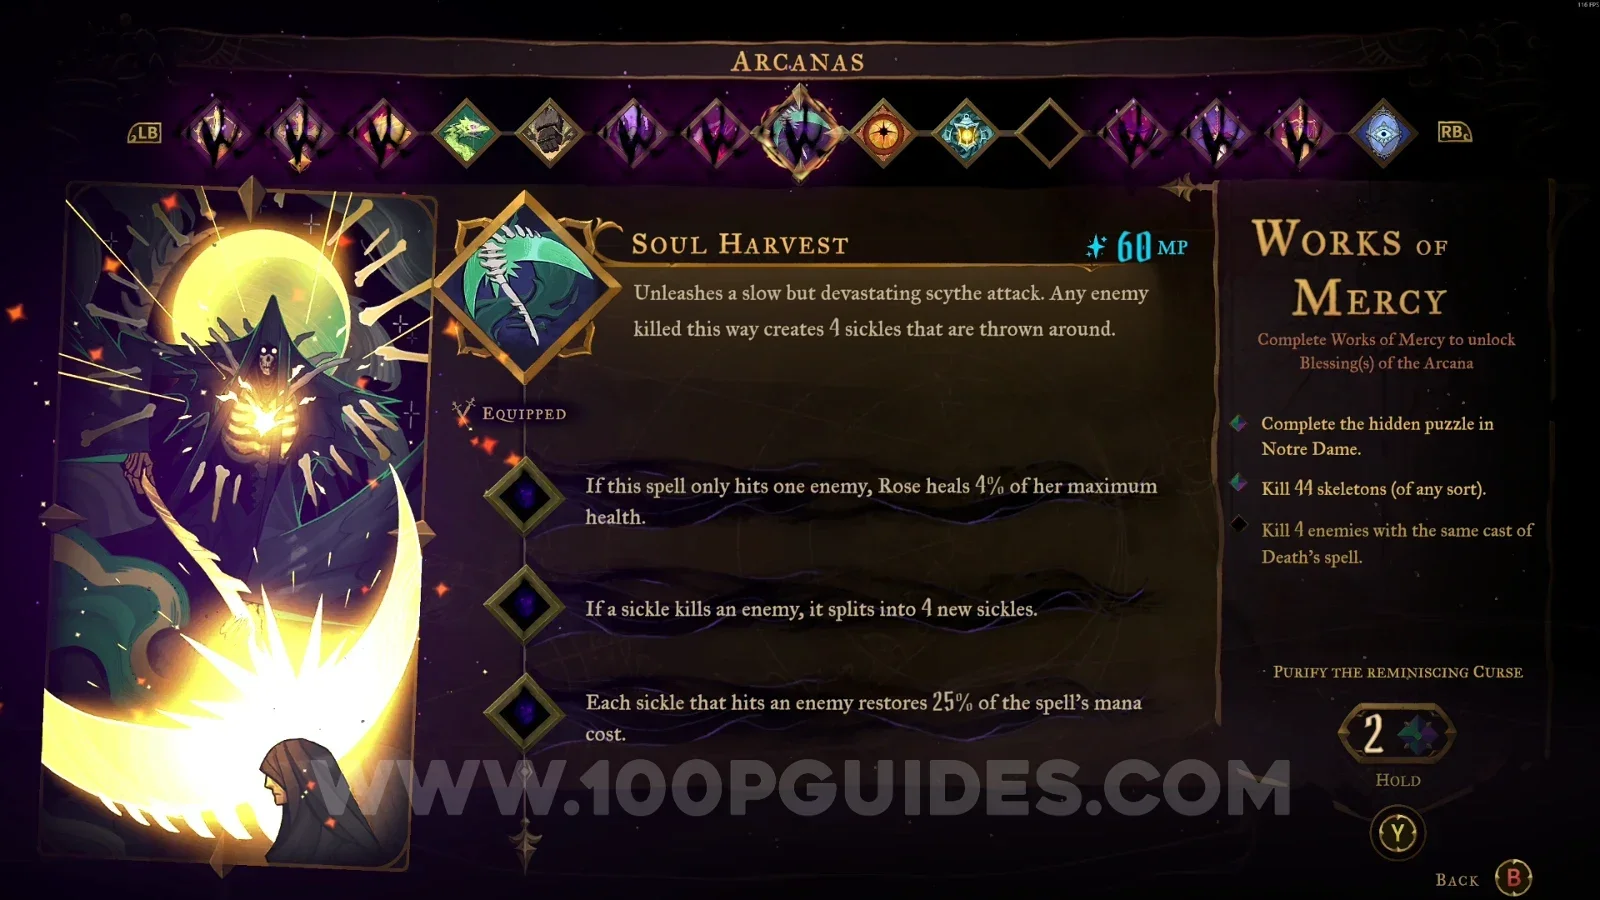
Castlevania Belmont's Curse: defeating Death in Notre-Dame to get the Soul Harvest arcana Castlevania Belmont's Curse Clock Tower Bridge: returning to the clock with the Soul Harvest arcana Castlevania Belmont's Curse Clock Tower Bridge: interacting with the clock to avoid Death's trap

Clock Keeper's Atrium

XP Statue #12

In the area marked on the map, at the top.
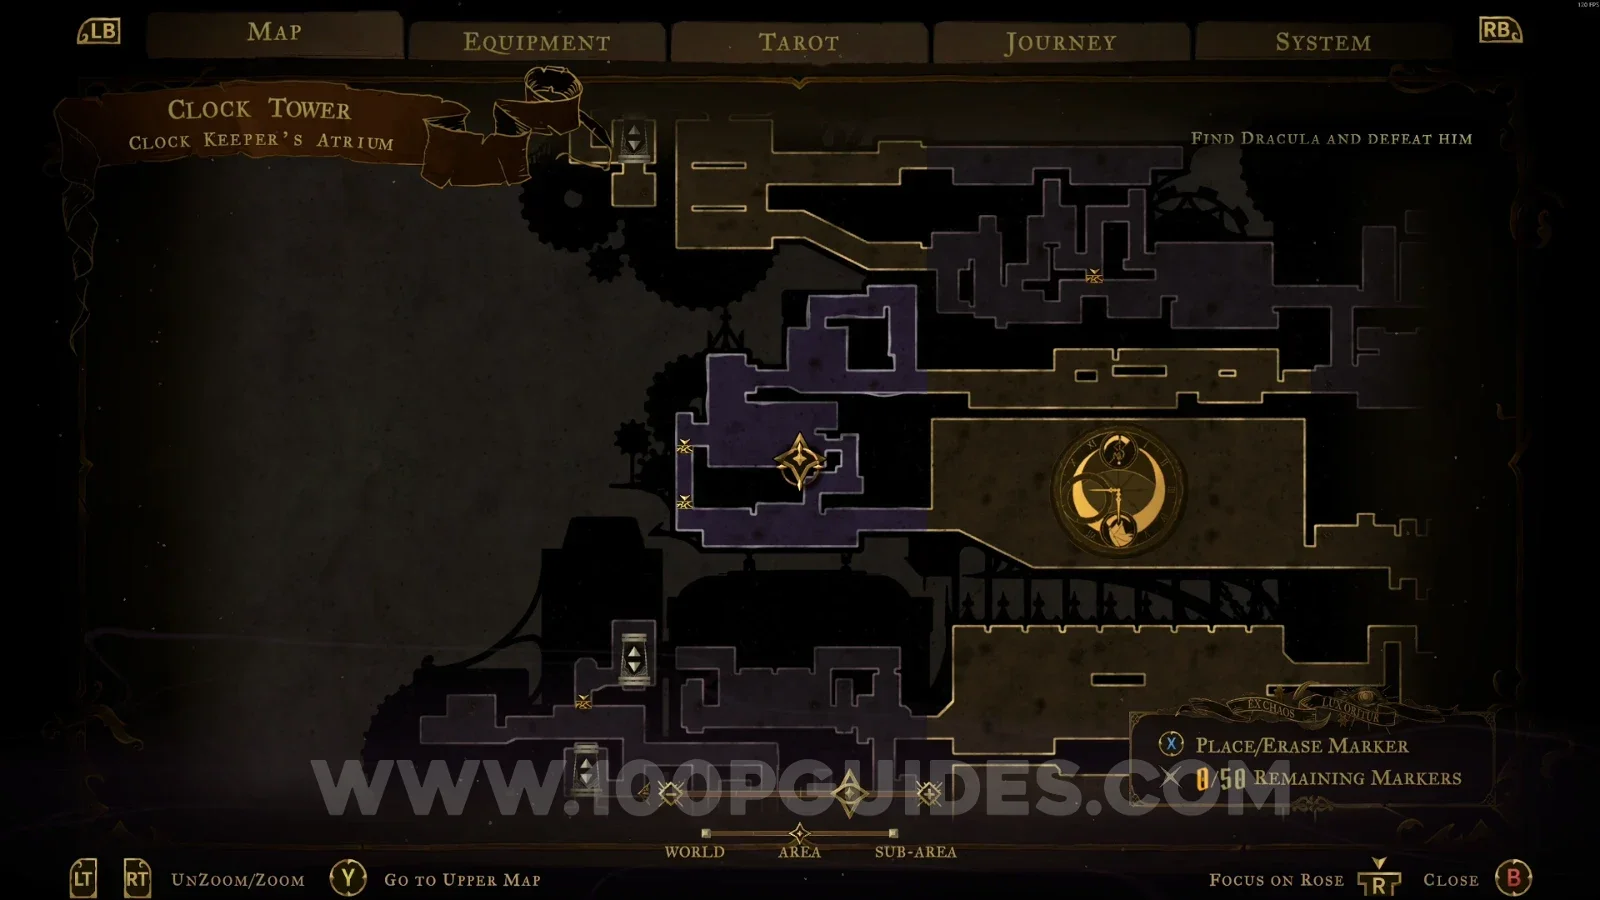
Castlevania Belmont's Curse Clock Keeper's Atrium: map marking the area of XP Statue #12 Castlevania Belmont's Curse Clock Keeper's Atrium: XP Statue #12 at the top of the marked area

Eastern Summit

XP Statue #13

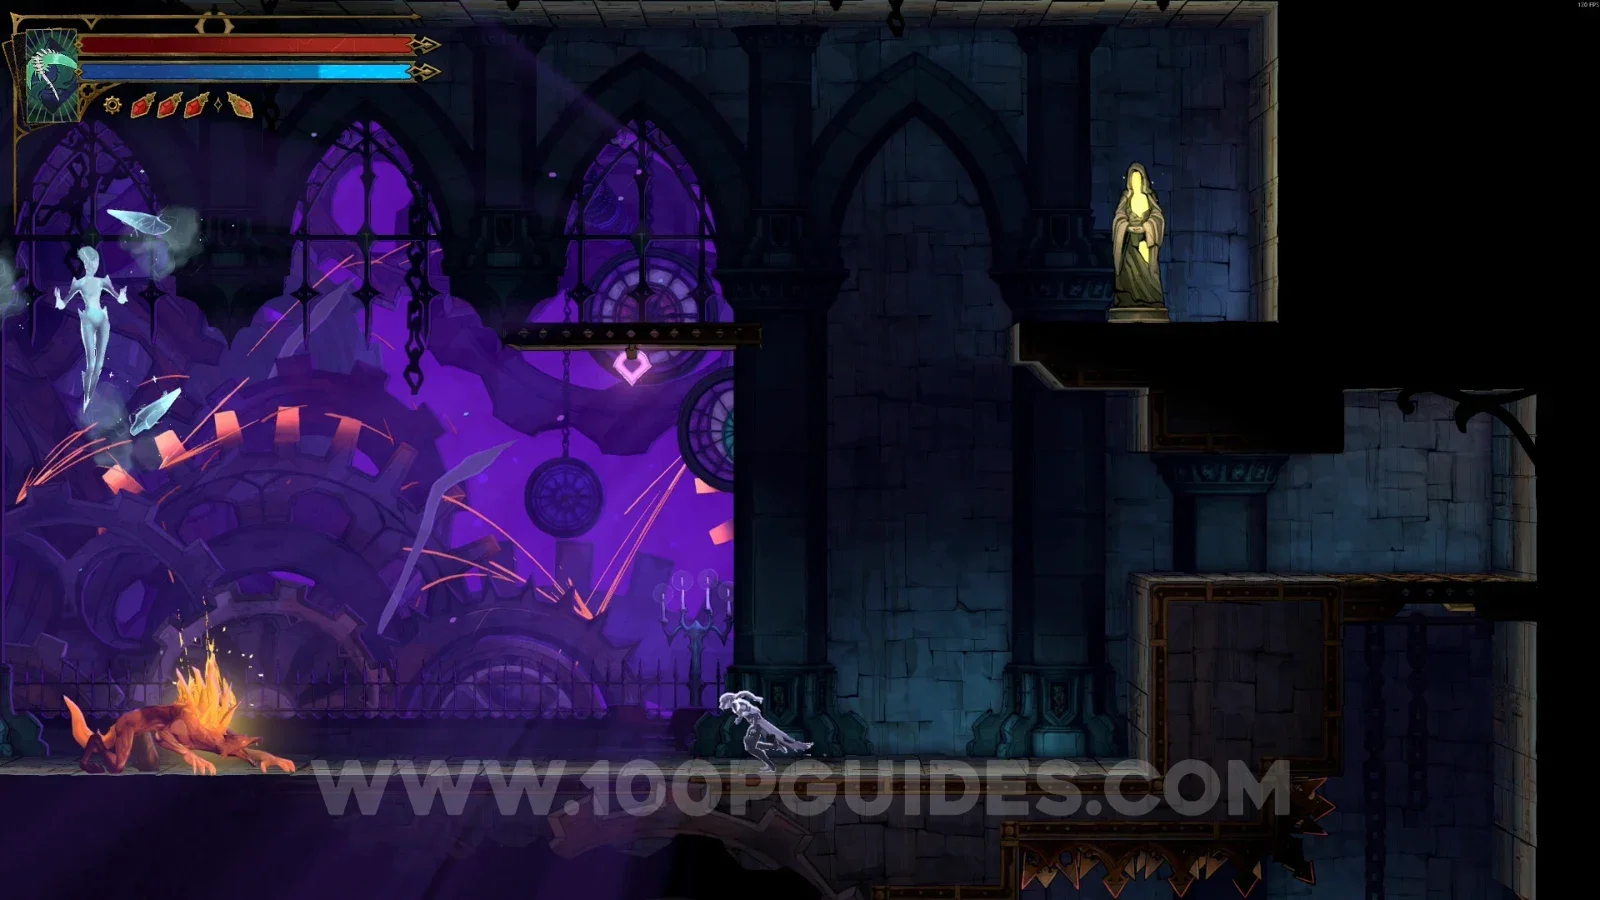
In the area marked on the map, climb the platforms and interact with the clock to stop time, then head left to reach this statue.
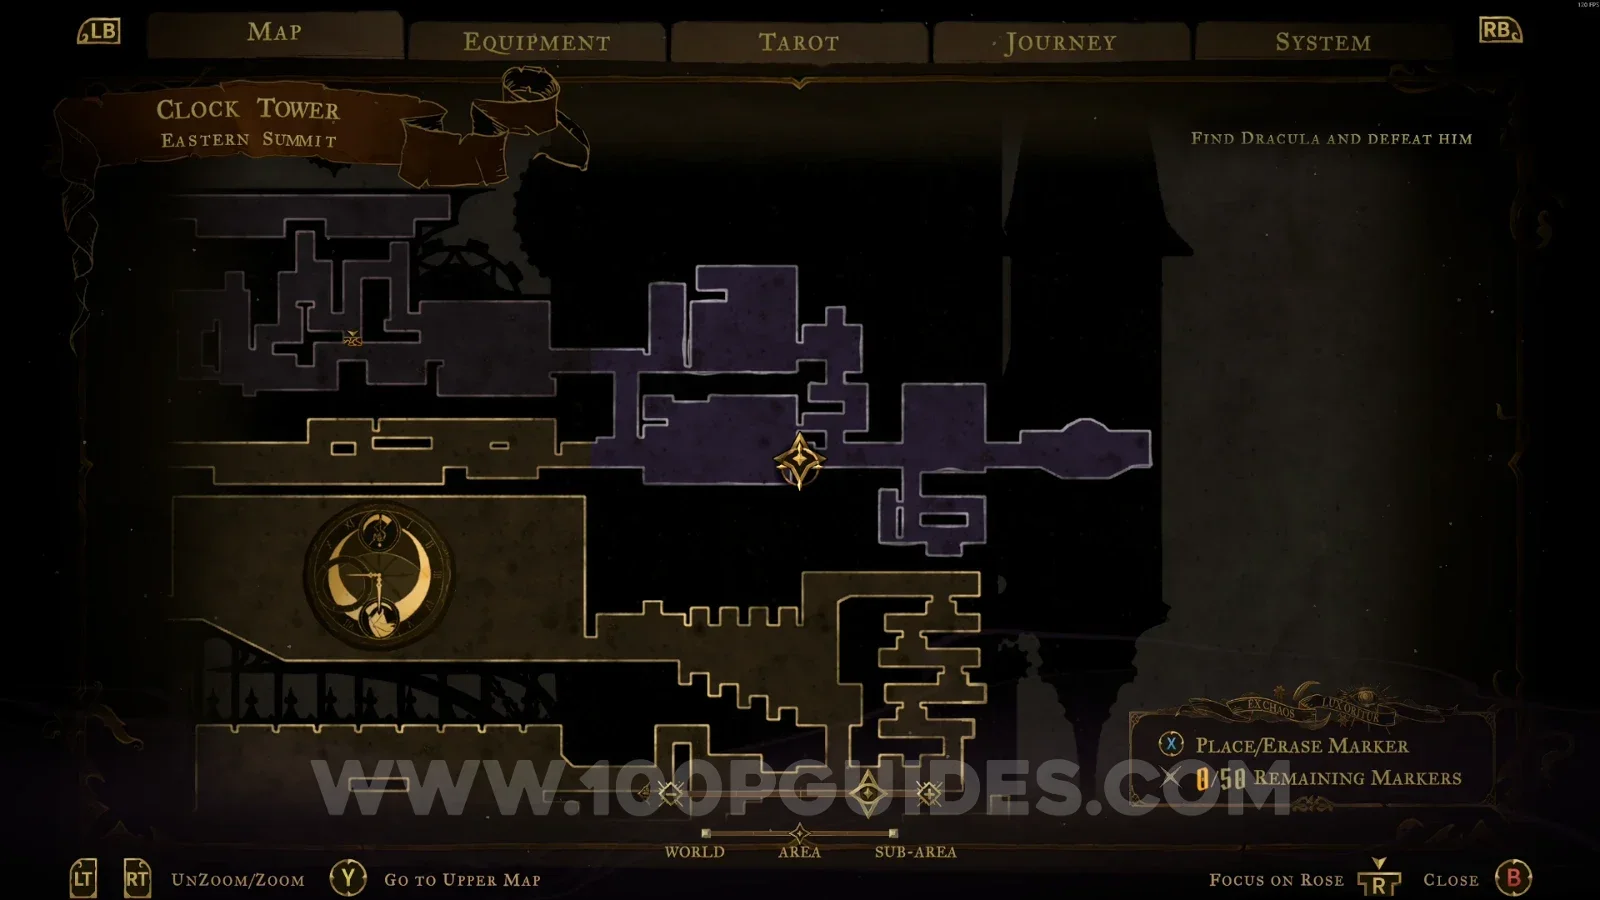
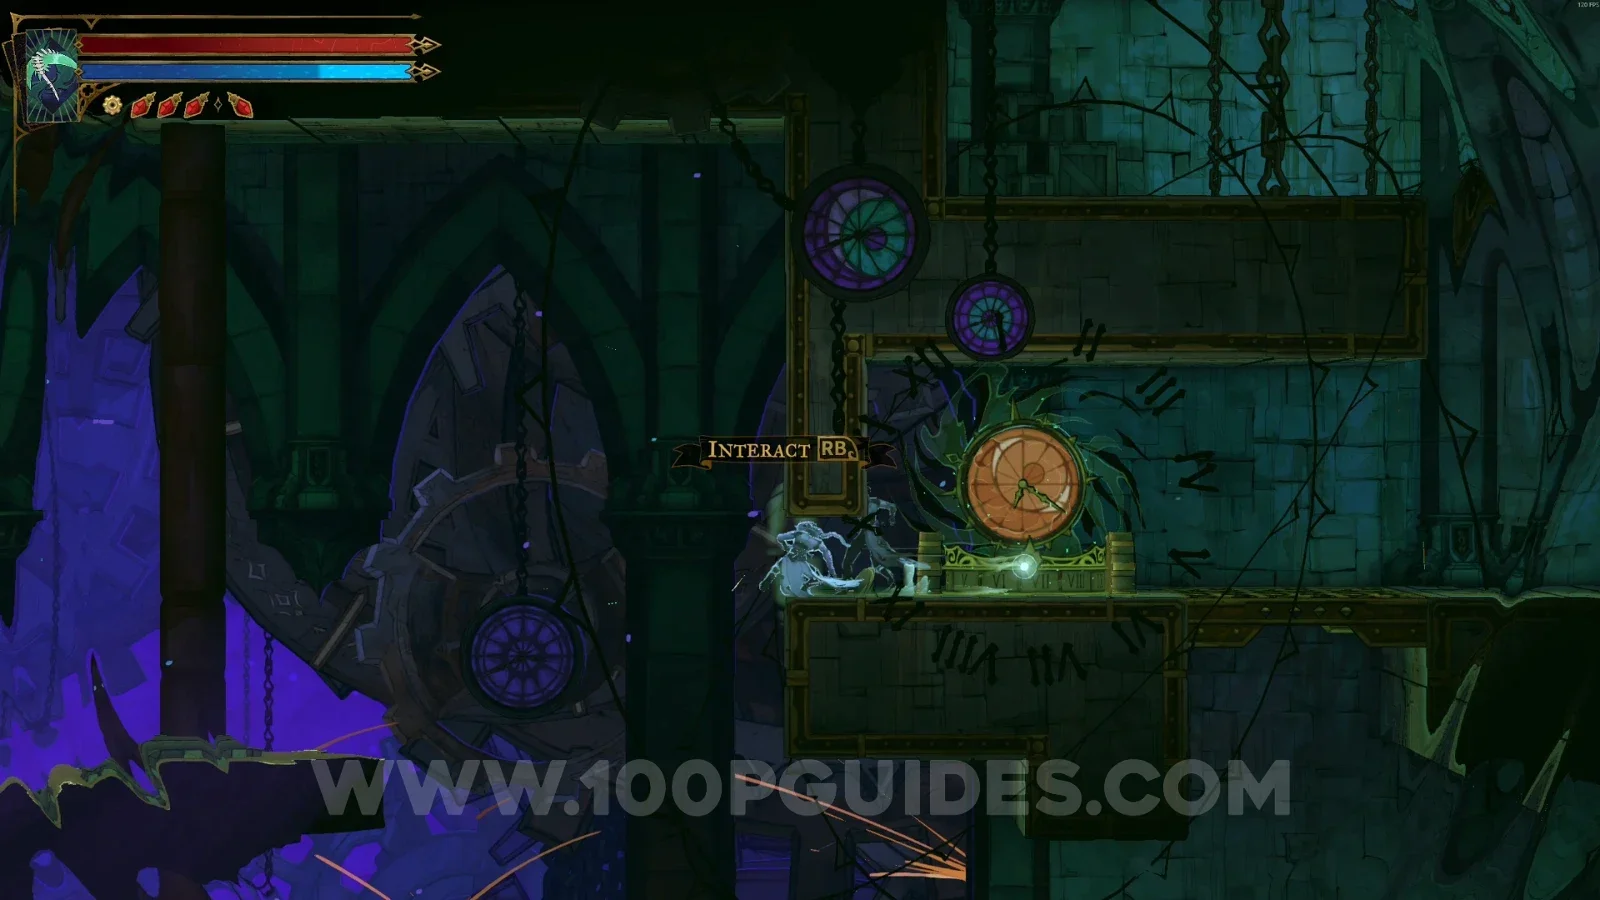
Castlevania Belmont's Curse Eastern Summit: climbing the platforms in the area marked on the map Castlevania Belmont's Curse Eastern Summit: interacting with the clock to stop time Castlevania Belmont's Curse Eastern Summit: XP Statue #13 reached by heading left while time is stopped

XP Statue #14

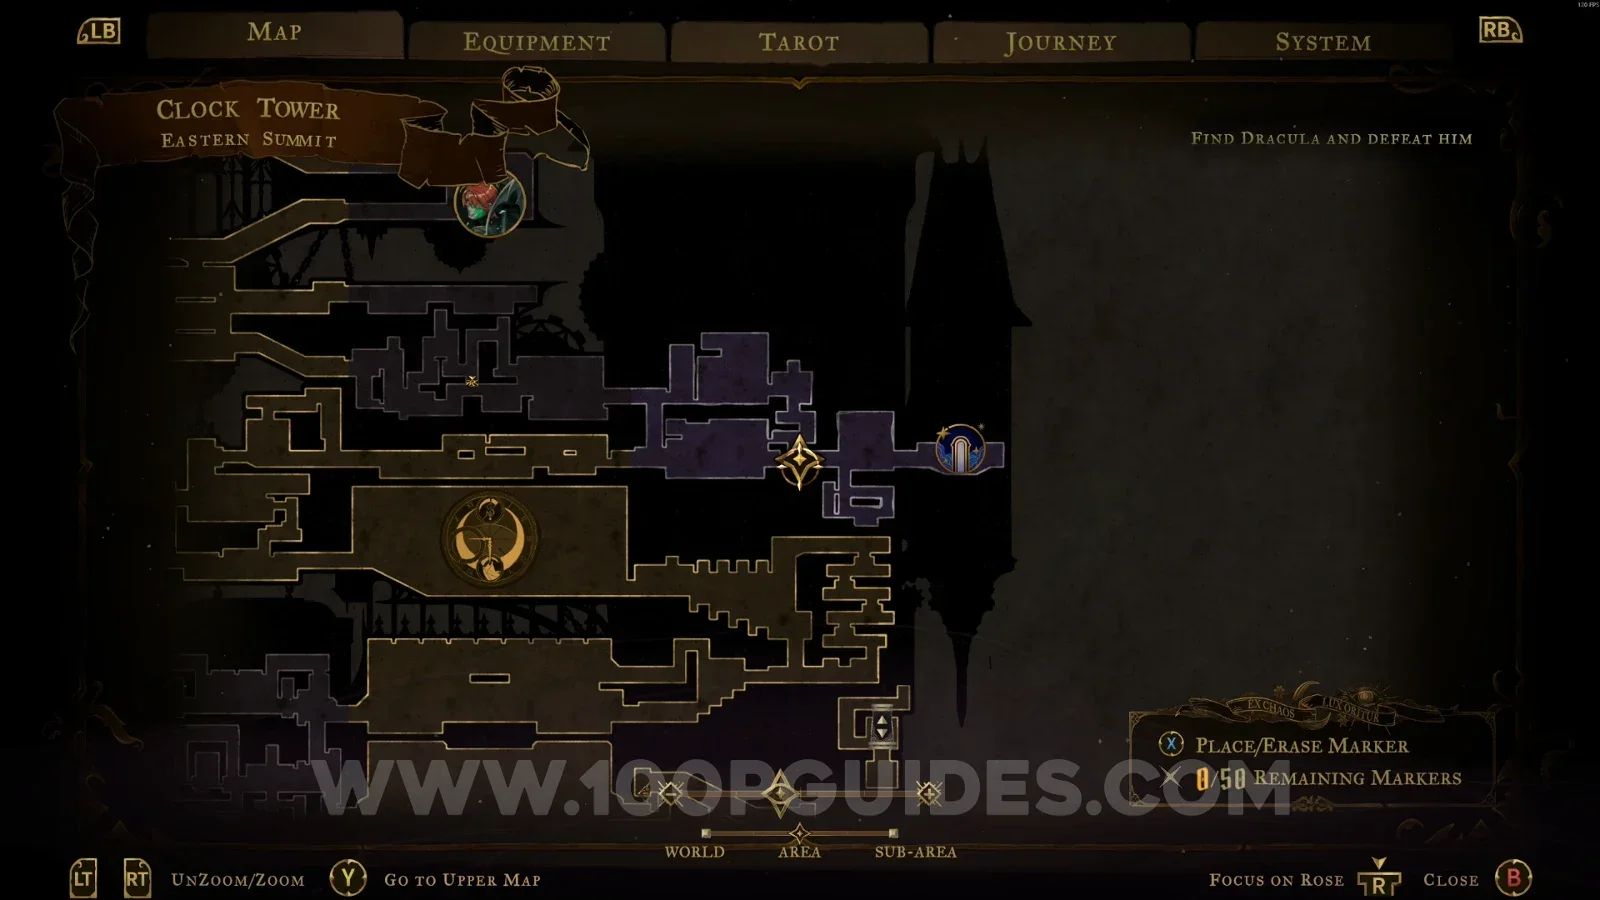
In the area marked on the map.
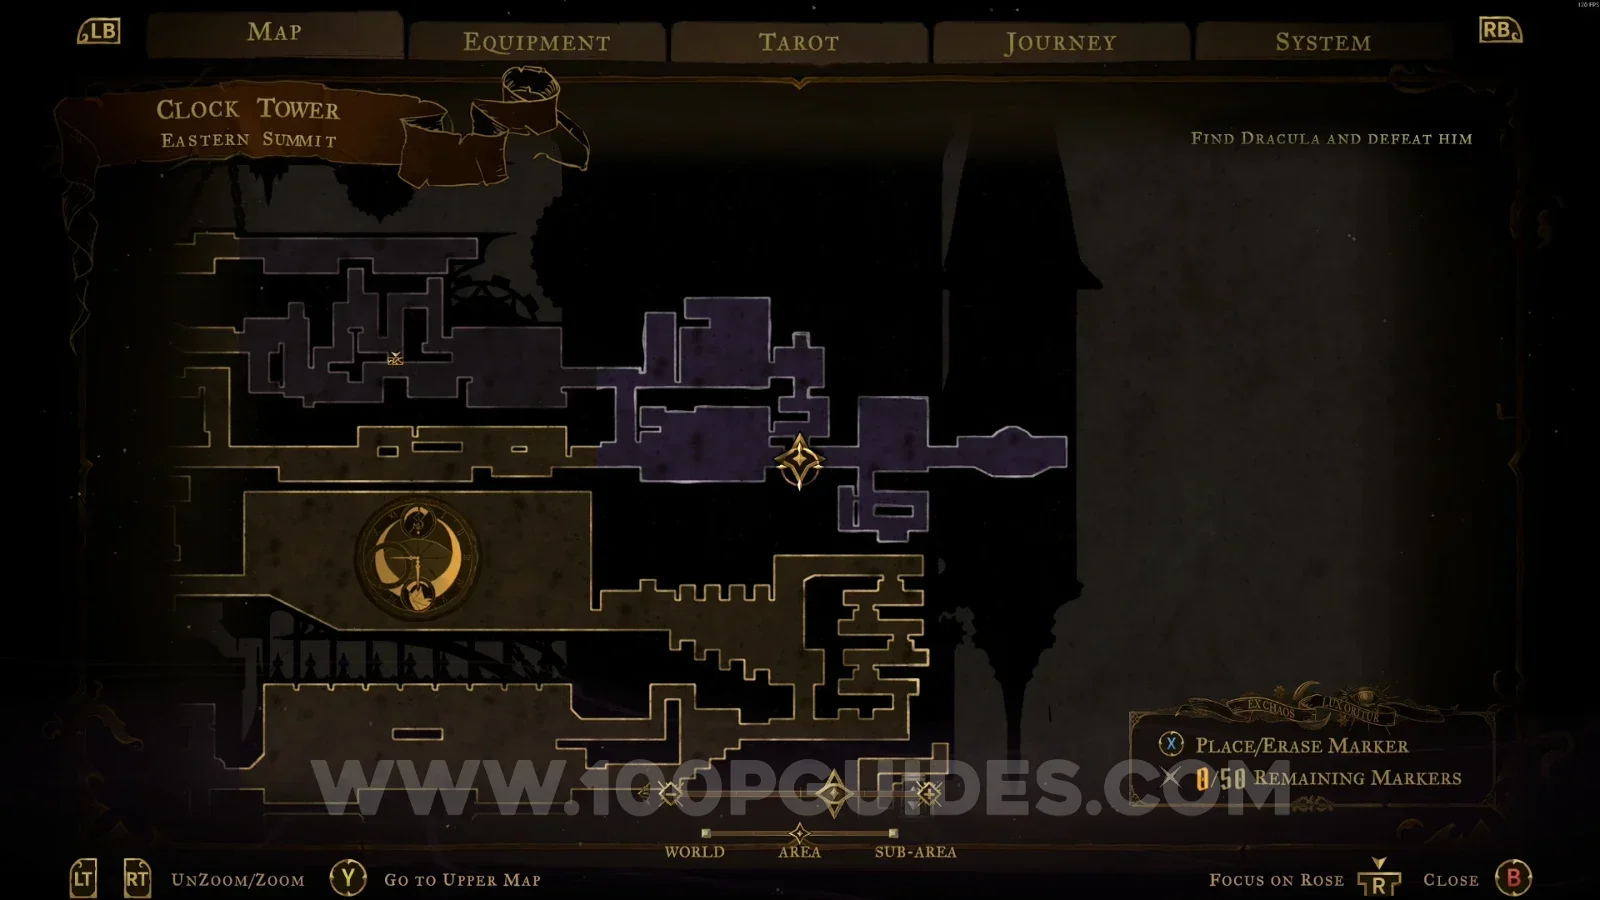
Castlevania Belmont's Curse Eastern Summit: map marking the area of XP Statue #14 Castlevania Belmont's Curse Eastern Summit: XP Statue #14 in the marked area

Mirror Of Life #3

Same area as the previous collectible, on the right side.
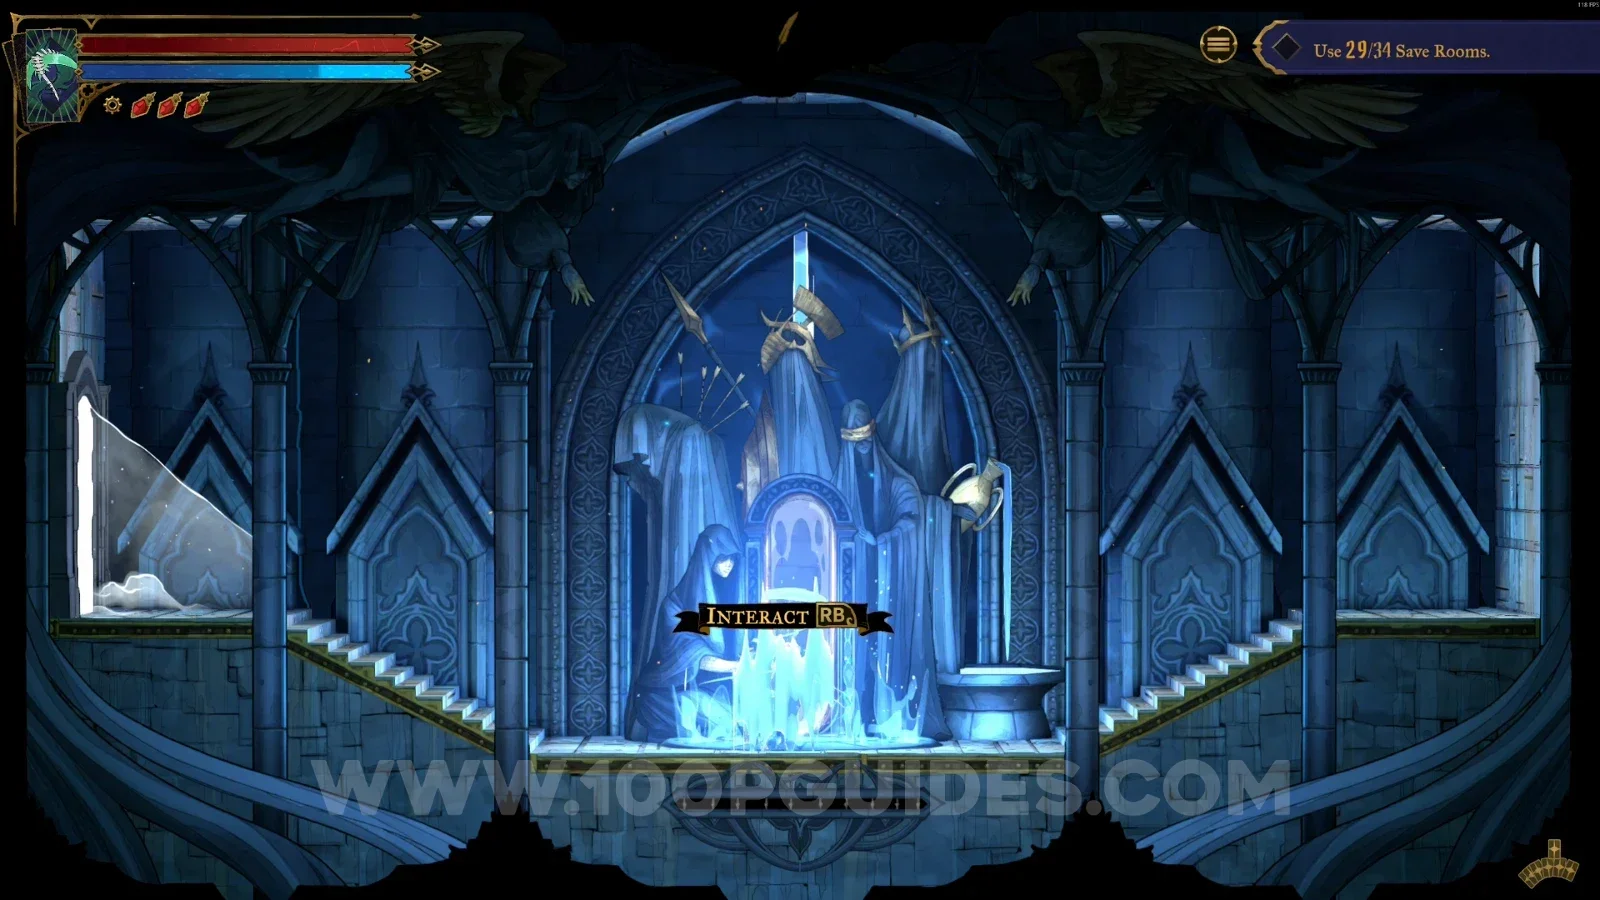
Castlevania Belmont's Curse Eastern Summit: Mirror Of Life #3 on the right side of the XP Statue #14 area

Blue Book #2

Interact with the clock to stop time, then go to the room on the right. Go down the platforms, go around the area with the saws, and grab the Blue Book.
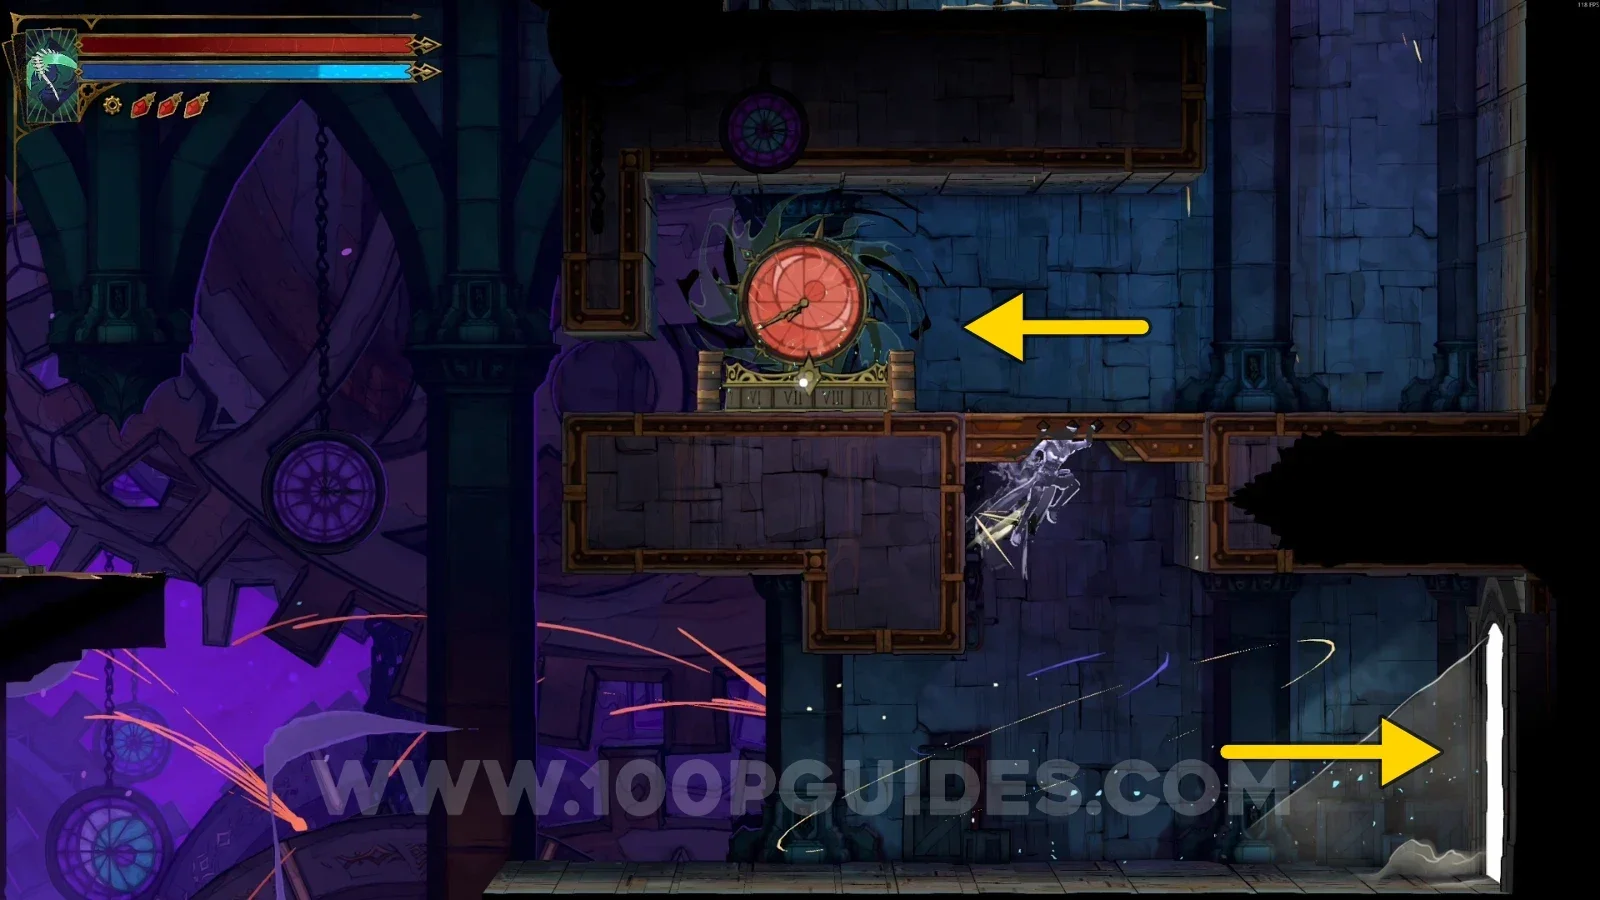
Castlevania Belmont's Curse Eastern Summit: stopping time with the clock before the room on the right Castlevania Belmont's Curse Eastern Summit: going down the platforms and around the saws Castlevania Belmont's Curse Eastern Summit: Blue Book past the area with the saws

The Gauntlet

Brave Heart Fragment #3

Interact with the clock, then jump onto the platform with the spikes just below. Keep heading right to the end to find this Brave Heart.
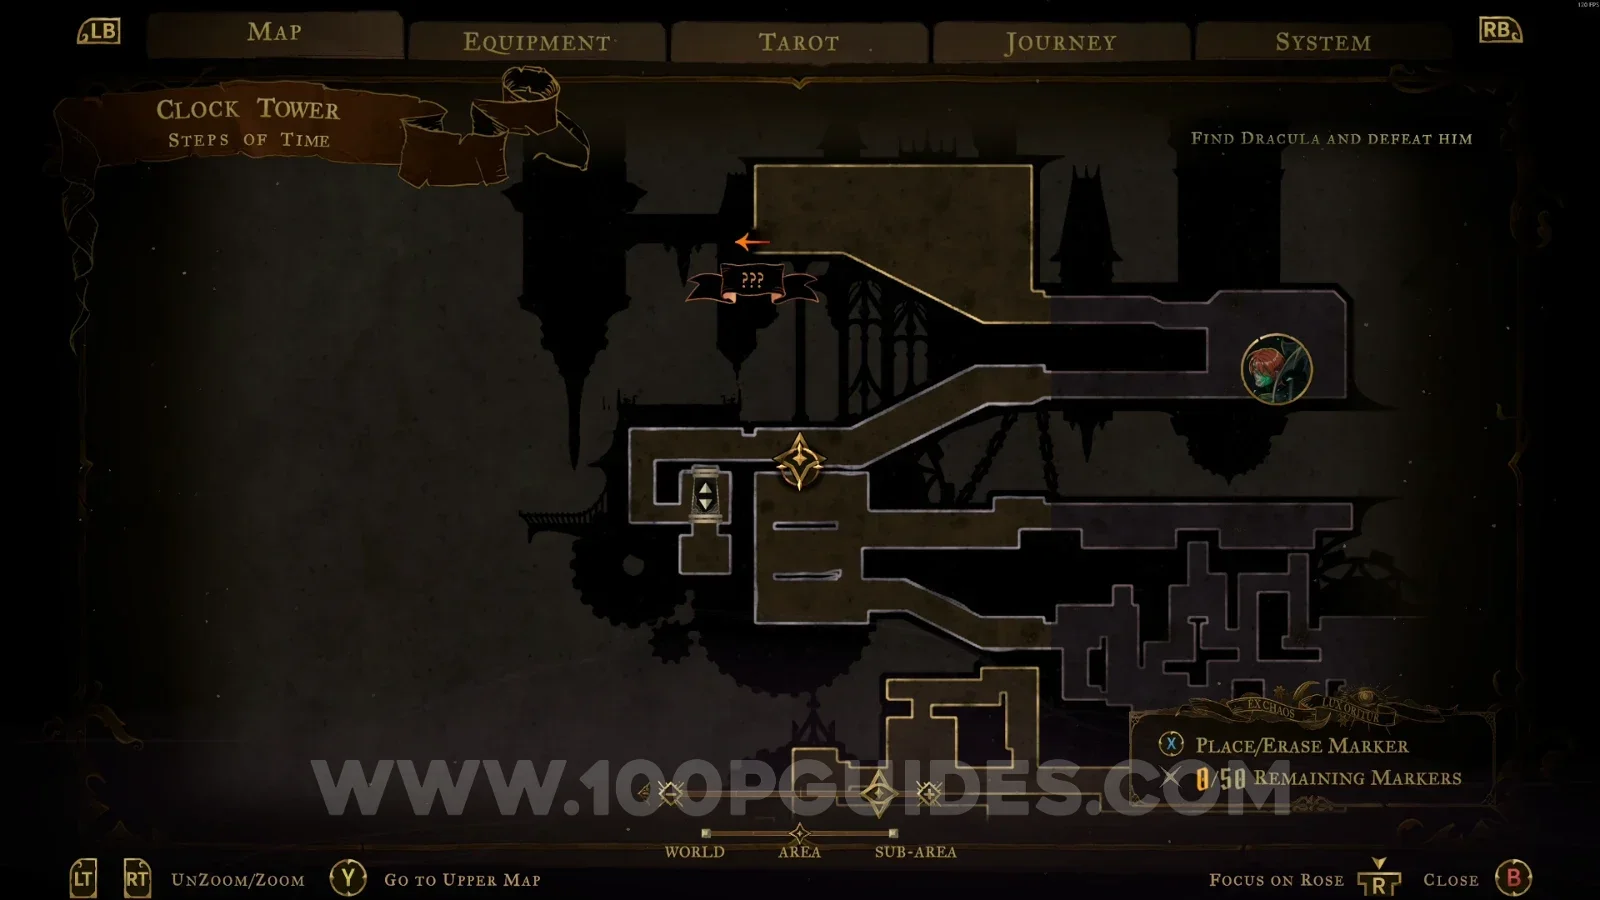
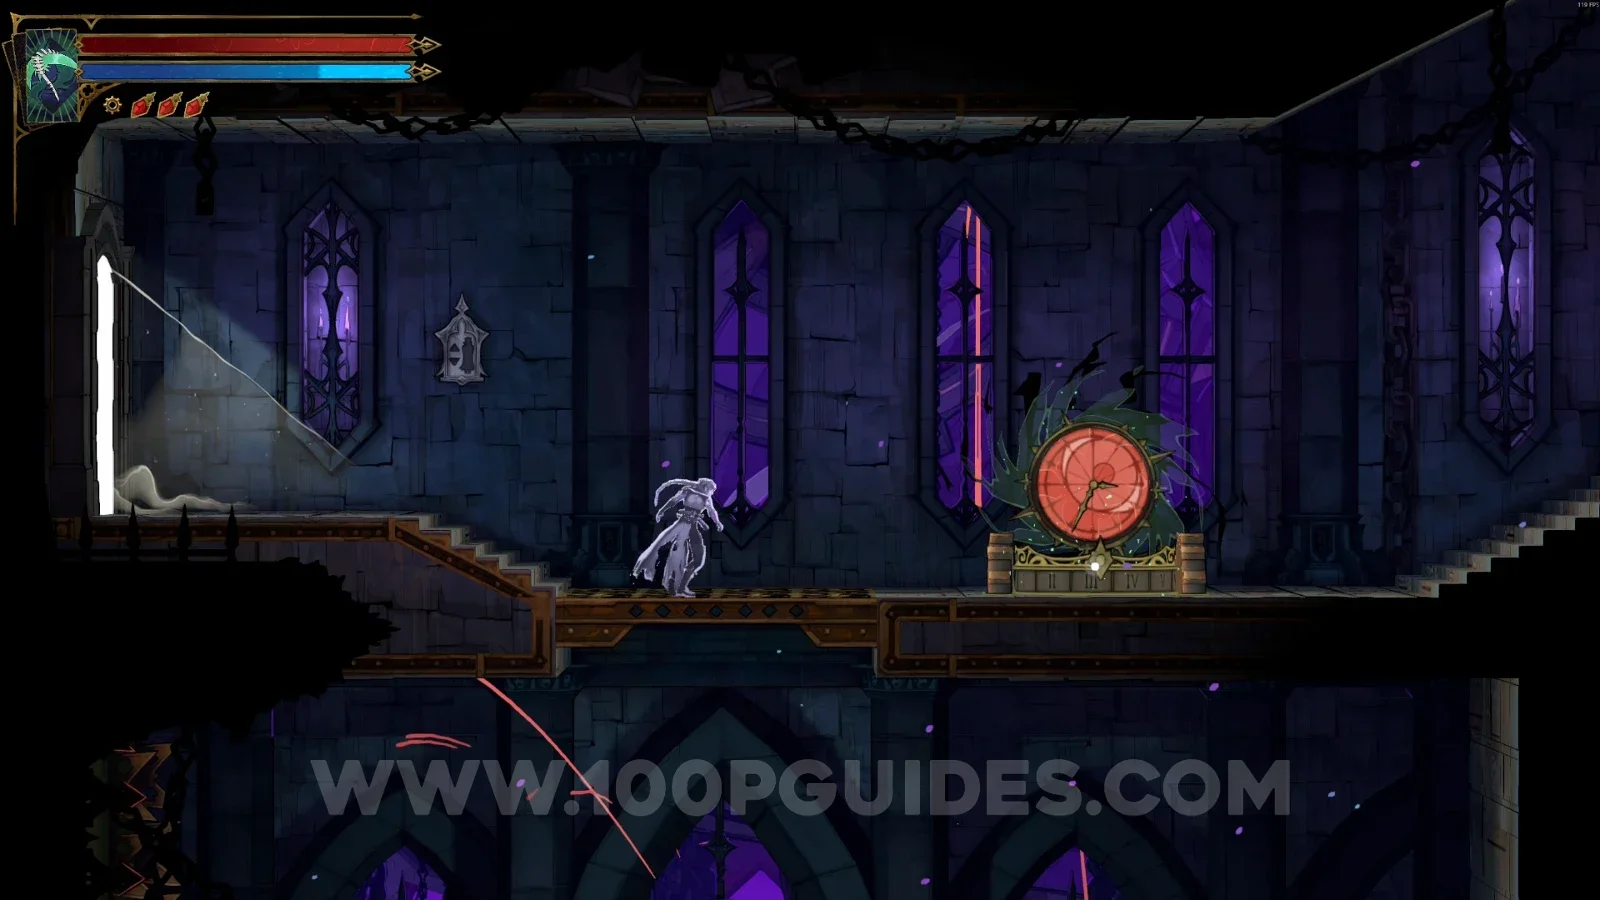
Castlevania Belmont's Curse The Gauntlet: interacting with the clock before the spiked platform Castlevania Belmont's Curse The Gauntlet: jumping onto the platform with spikes just below the clock Castlevania Belmont's Curse The Gauntlet: heading right along the platforms toward the end Castlevania Belmont's Curse The Gauntlet: Brave Heart Fragment #3 at the far right end

Heart Of The Clock

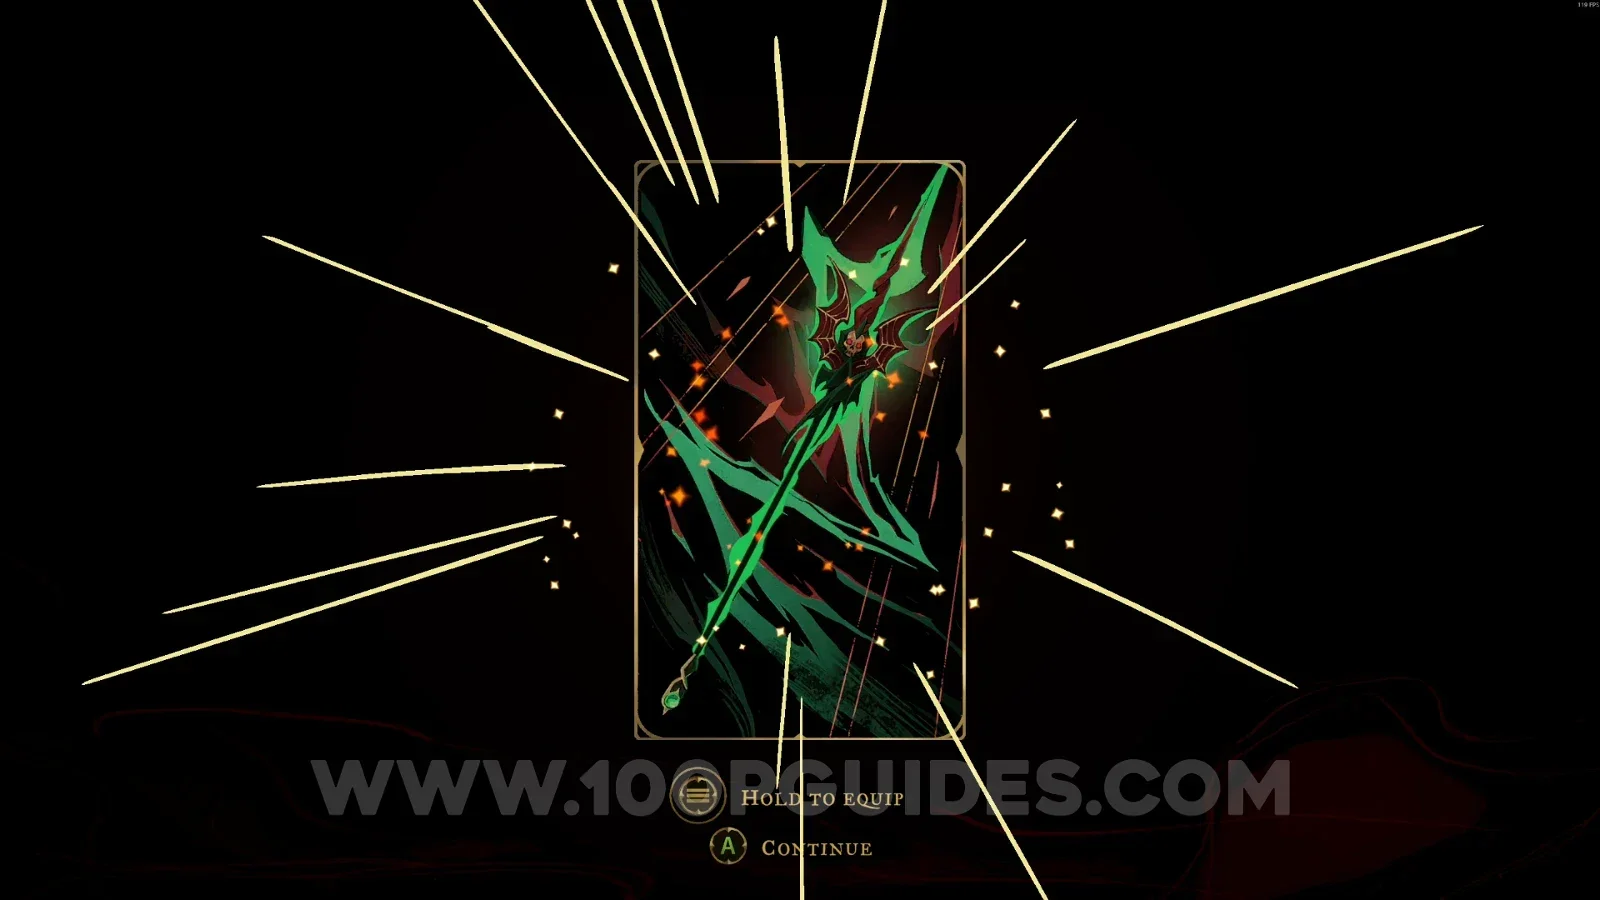
Arcana #2: Chronomantic Dive + Weapon #4: Chauve-Souris

Obtained after defeating Isaac (The Zealot).
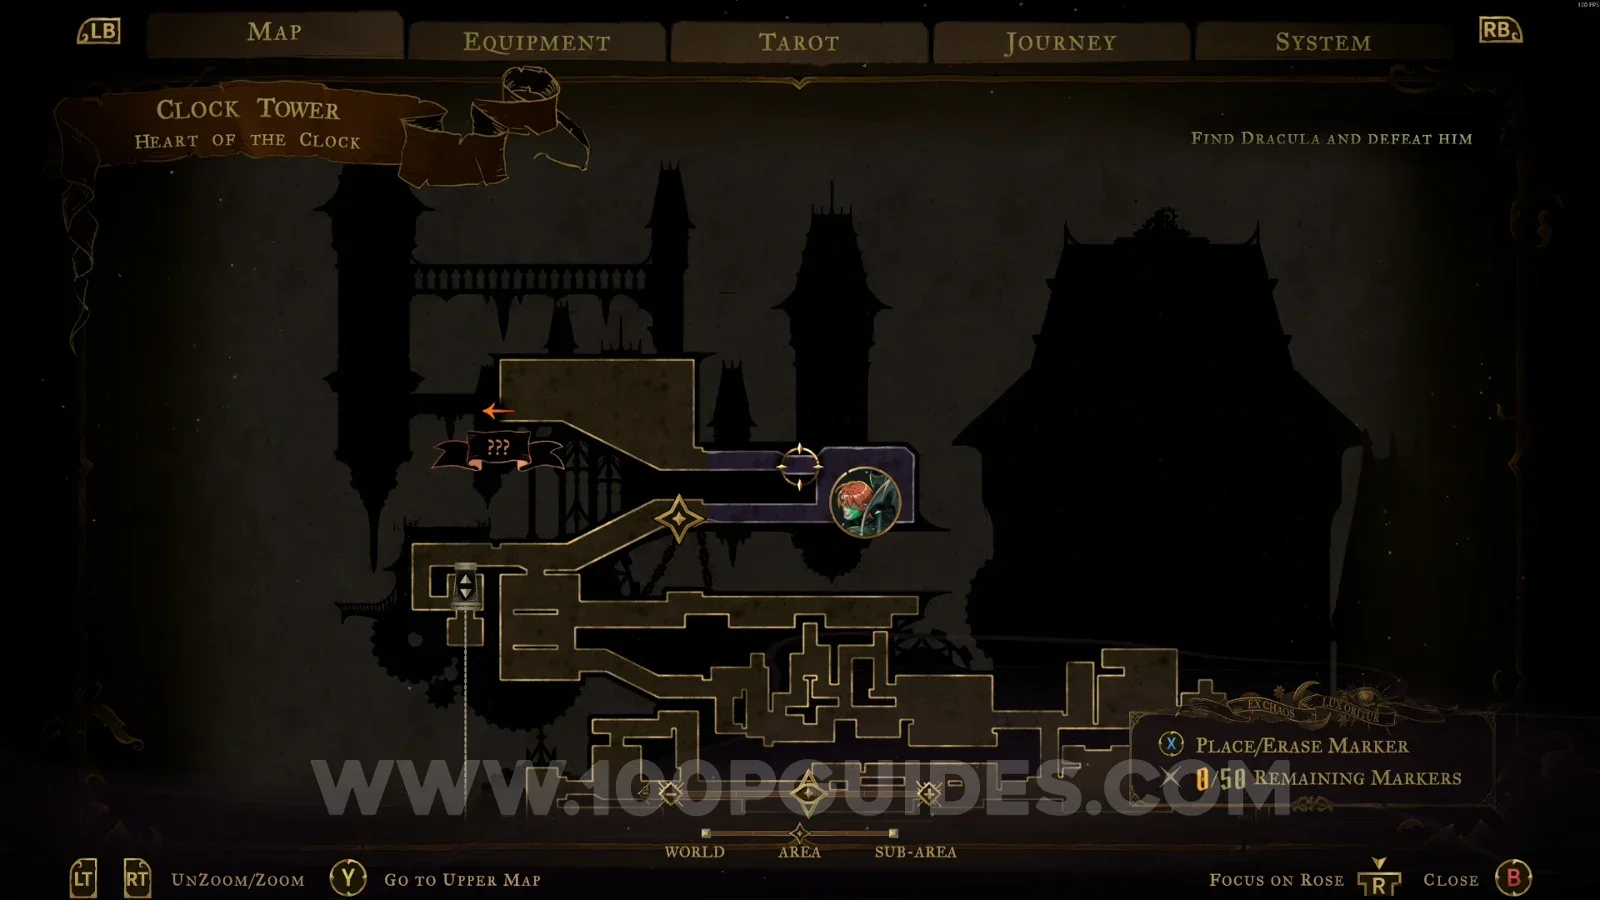
Castlevania Belmont's Curse Heart Of The Clock: boss fight against Isaac (The Zealot) Castlevania Belmont's Curse Heart Of The Clock: Arcana #2 Chronomantic Dive obtained after beating Isaac Castlevania Belmont's Curse Heart Of The Clock: Weapon #4 Chauve-Souris obtained after beating Isaac

These are all the collectibles and secrets you can find in the Clock Tower.

Video Guide

Previous
Previous

Castlevania: Belmont’s Curse Notre-Dame All Collectibles

Next
Next

Castlevania: Belmont’s Curse Library All Collectibles