

This guide will show you the location of all collectibles in the Library in Castlevania: Belmont's Curse.
Collecting everything is required to get the Perfectionist Hunter Trophy / Achievement.
Library Foyer
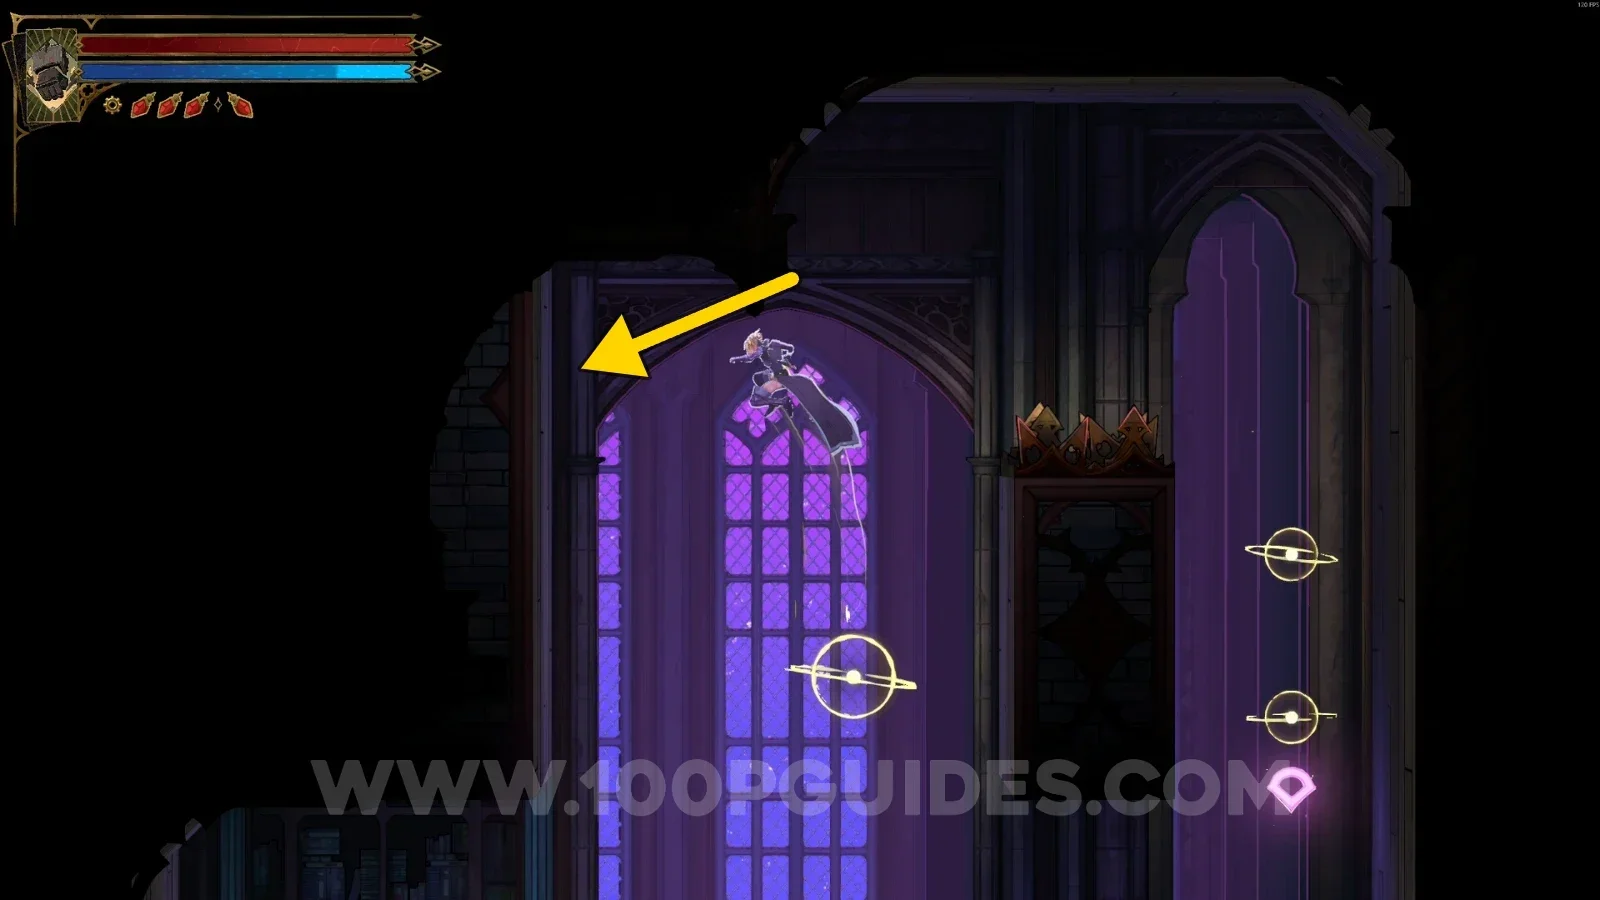
XP Statue #1
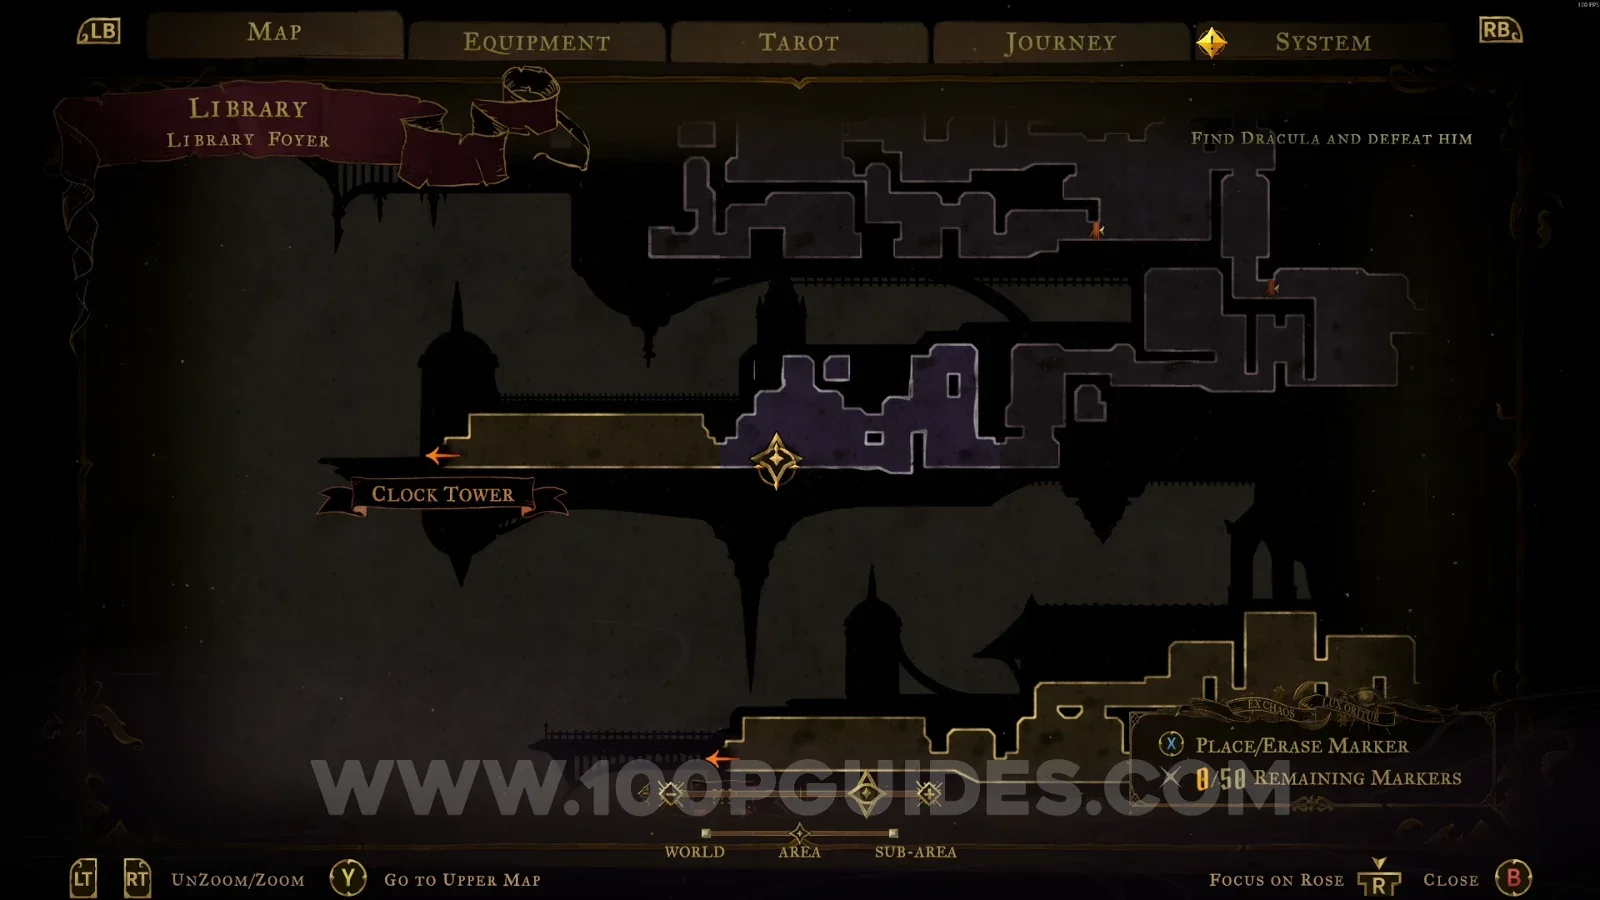
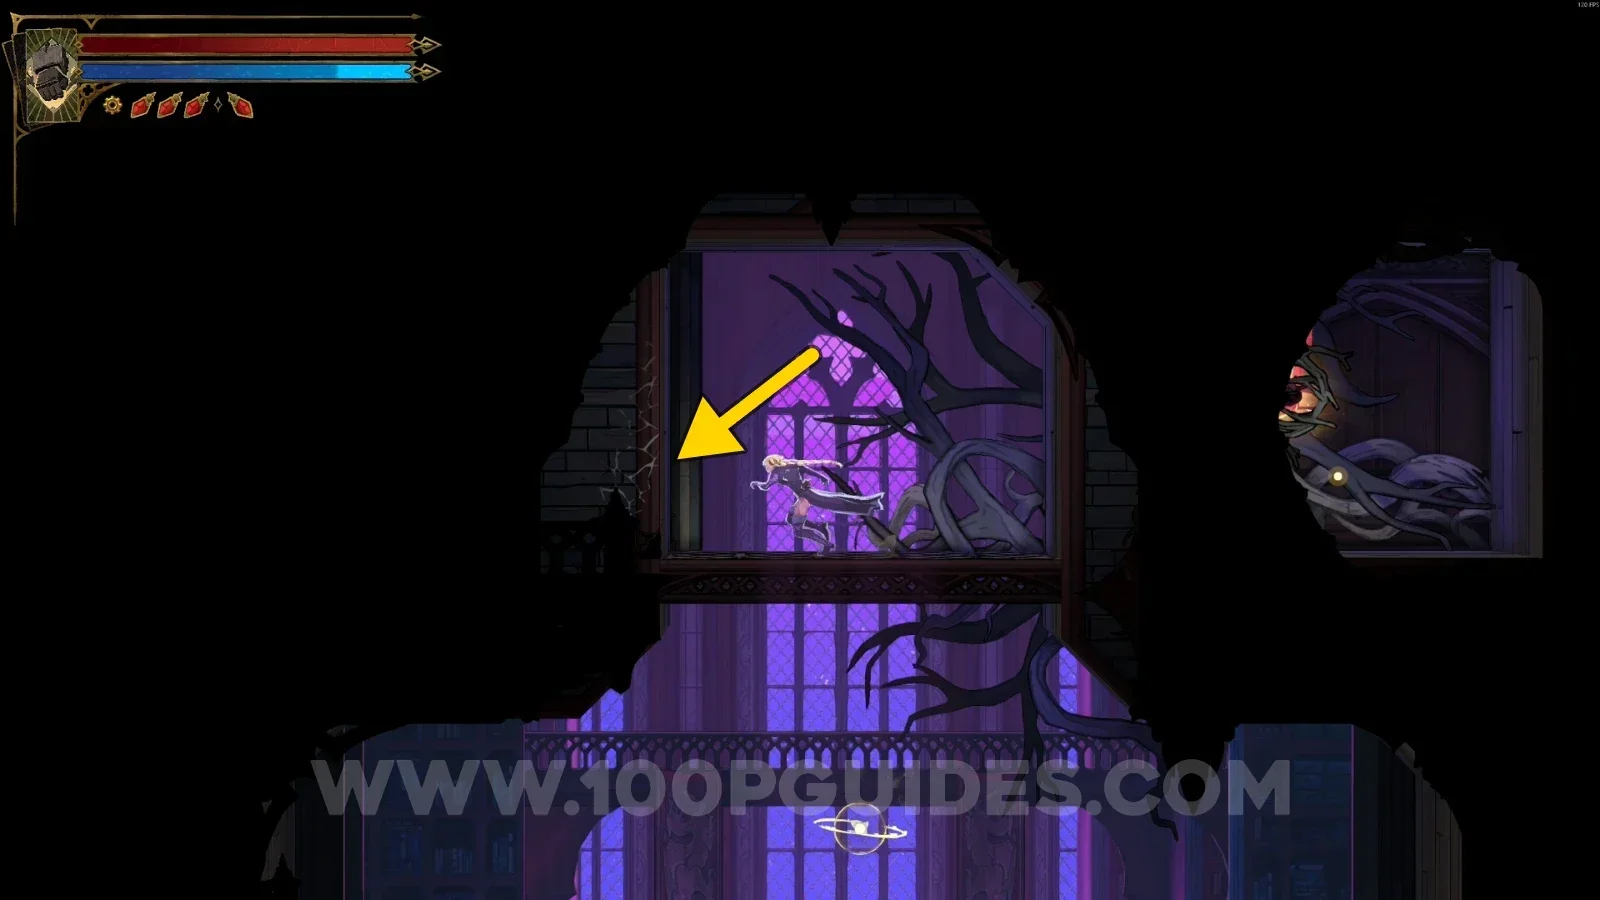
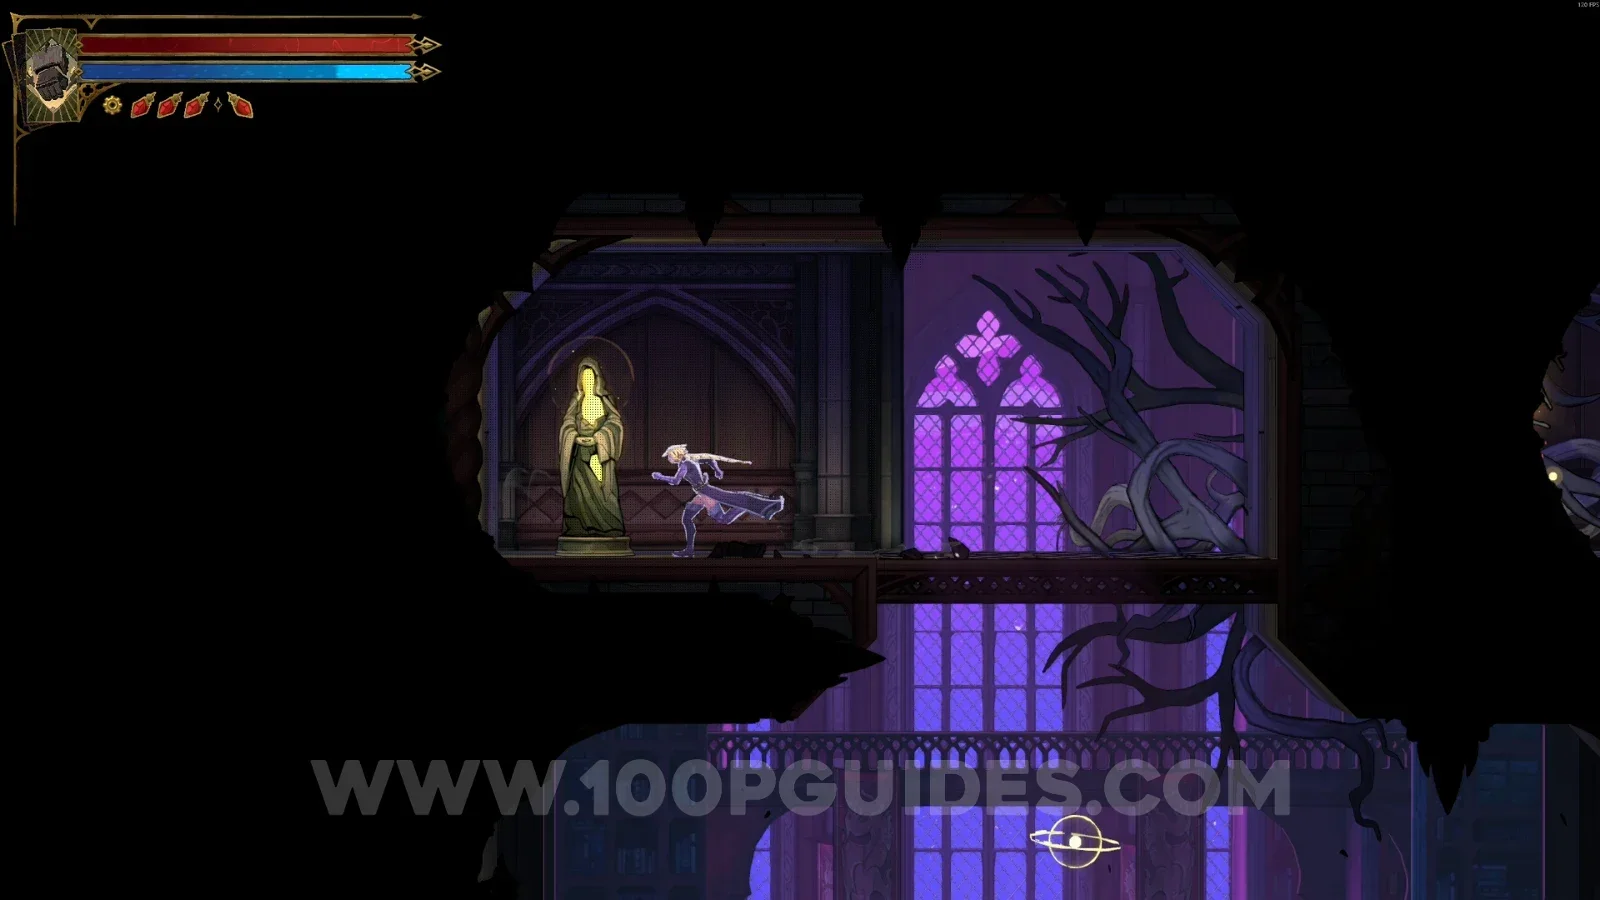
Climb up using the orbs and break the wall on the left to reveal a secret room containing the statue.
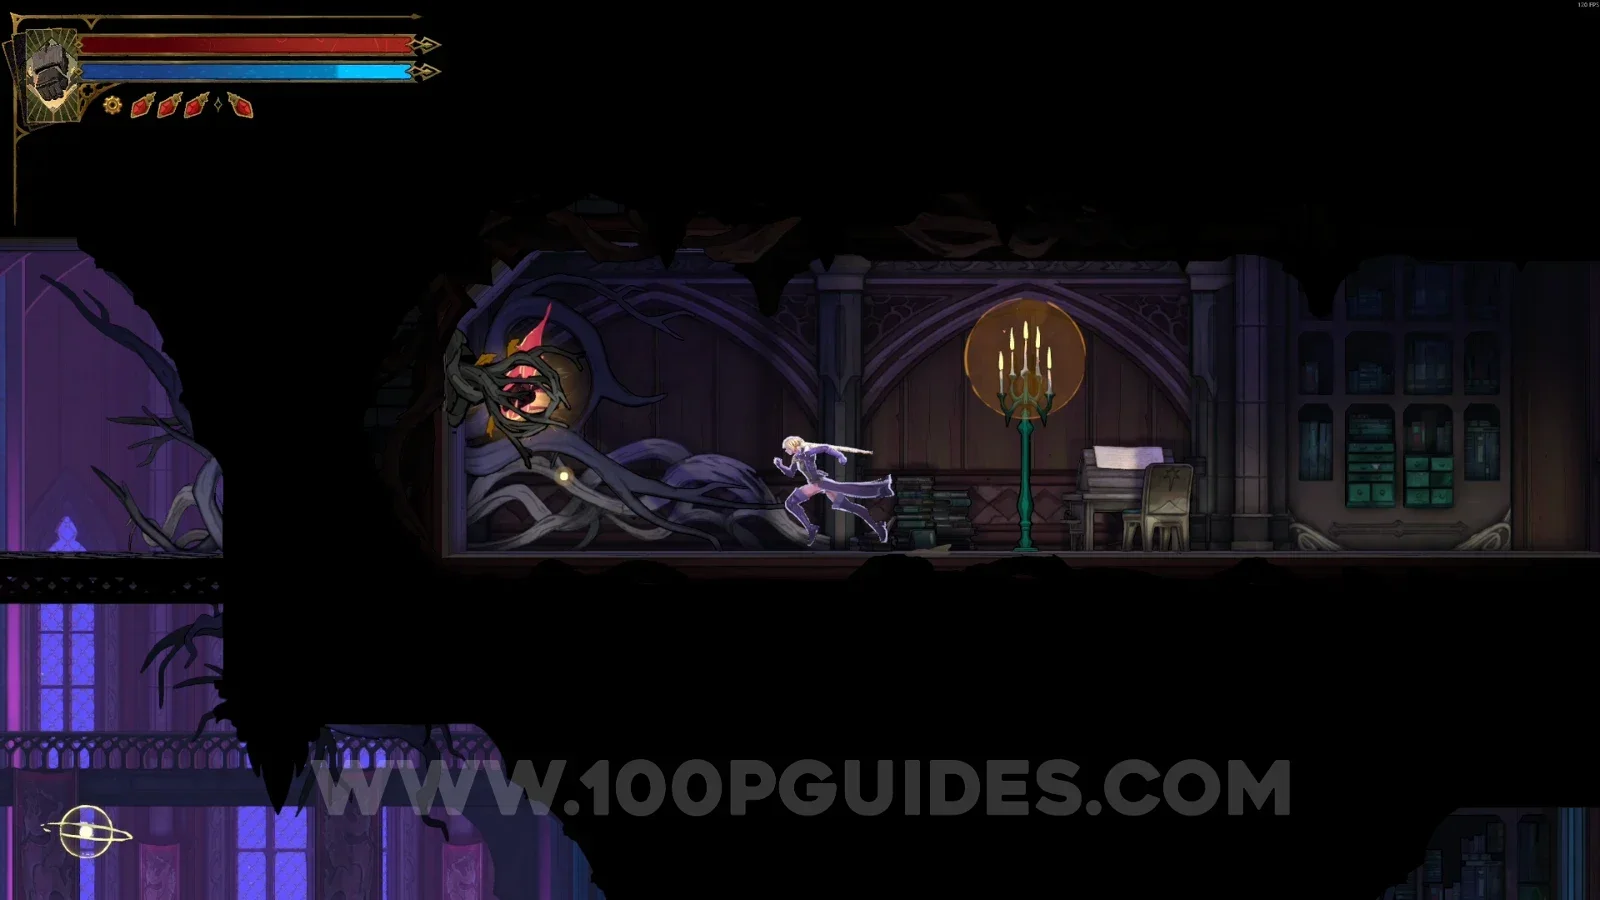
Brave Heart Fragment #1
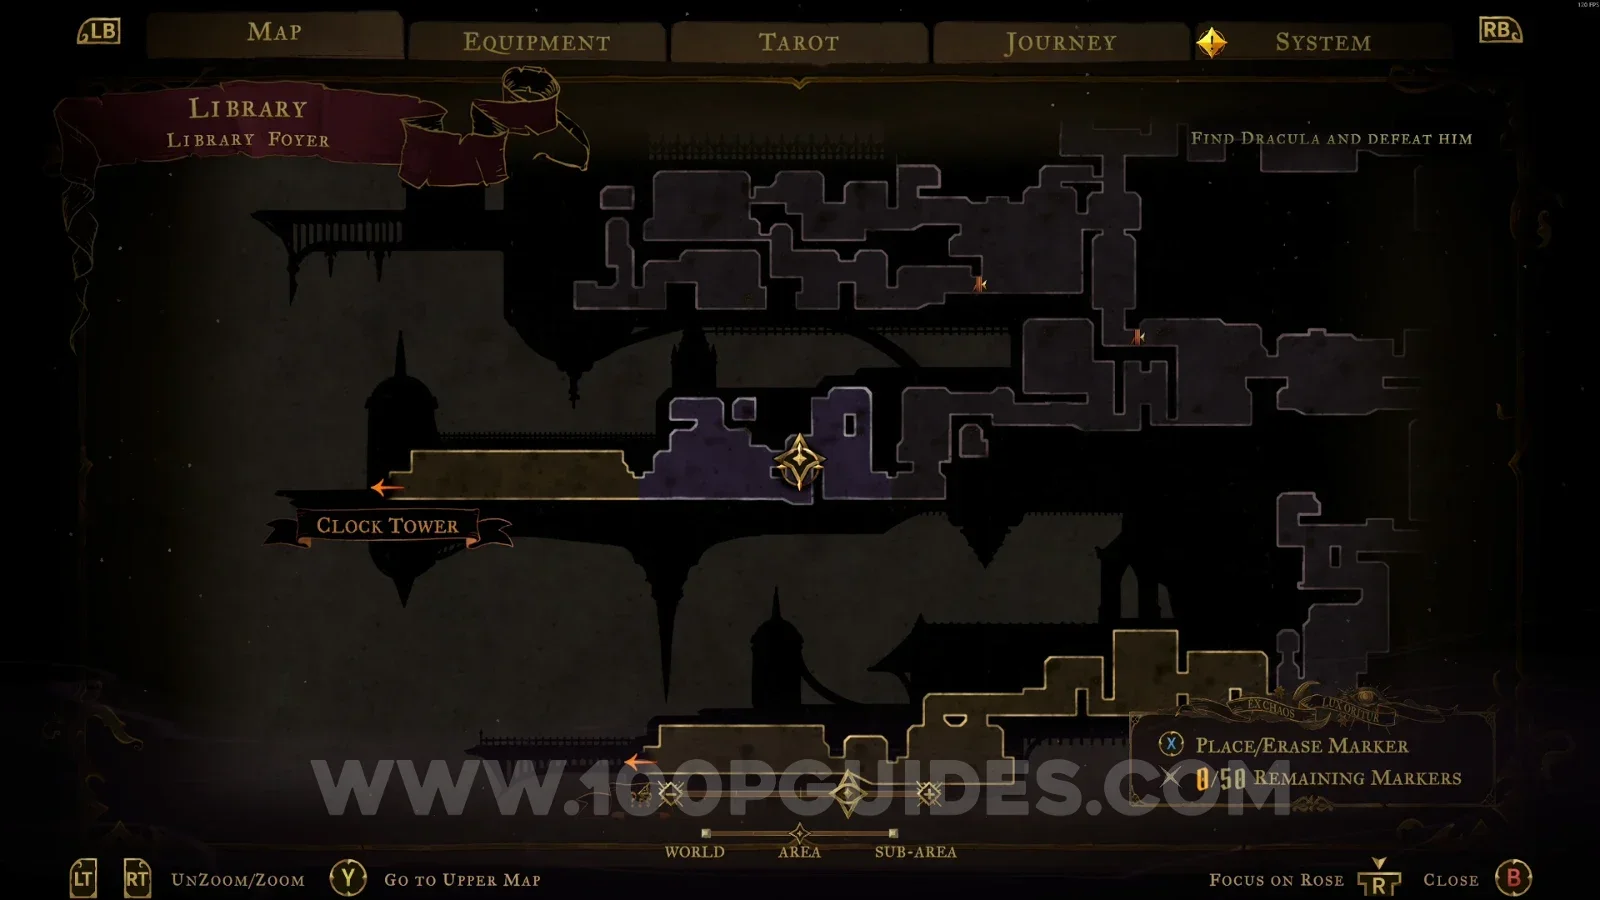
In the area marked on the map, use the orbs to climb to the upper part. Then, to the left, you'll find a secret area that leads to the Brave Heart.
Rhetoric Shelves
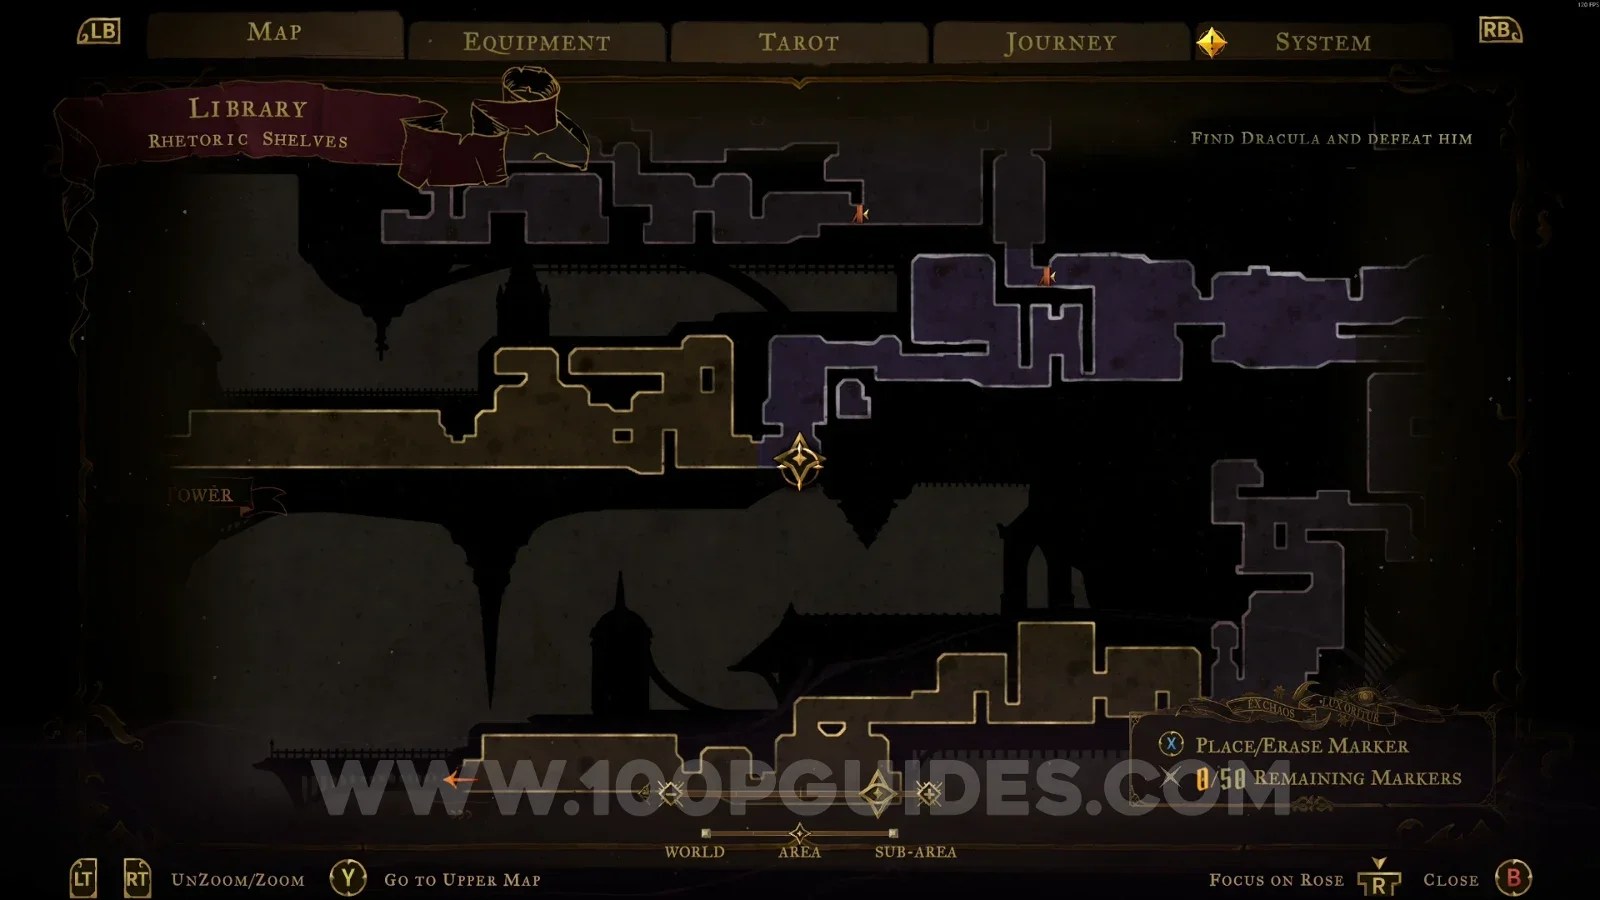
Relic #1: Lich's Mark
In the area marked on the map, break the wall on the right side and climb up using the orbs to the chest containing the relic.
Wise Heart Fragment #1
In the area marked on the map, use the Smash arcane power to break the floor and reach the Wise Heart.
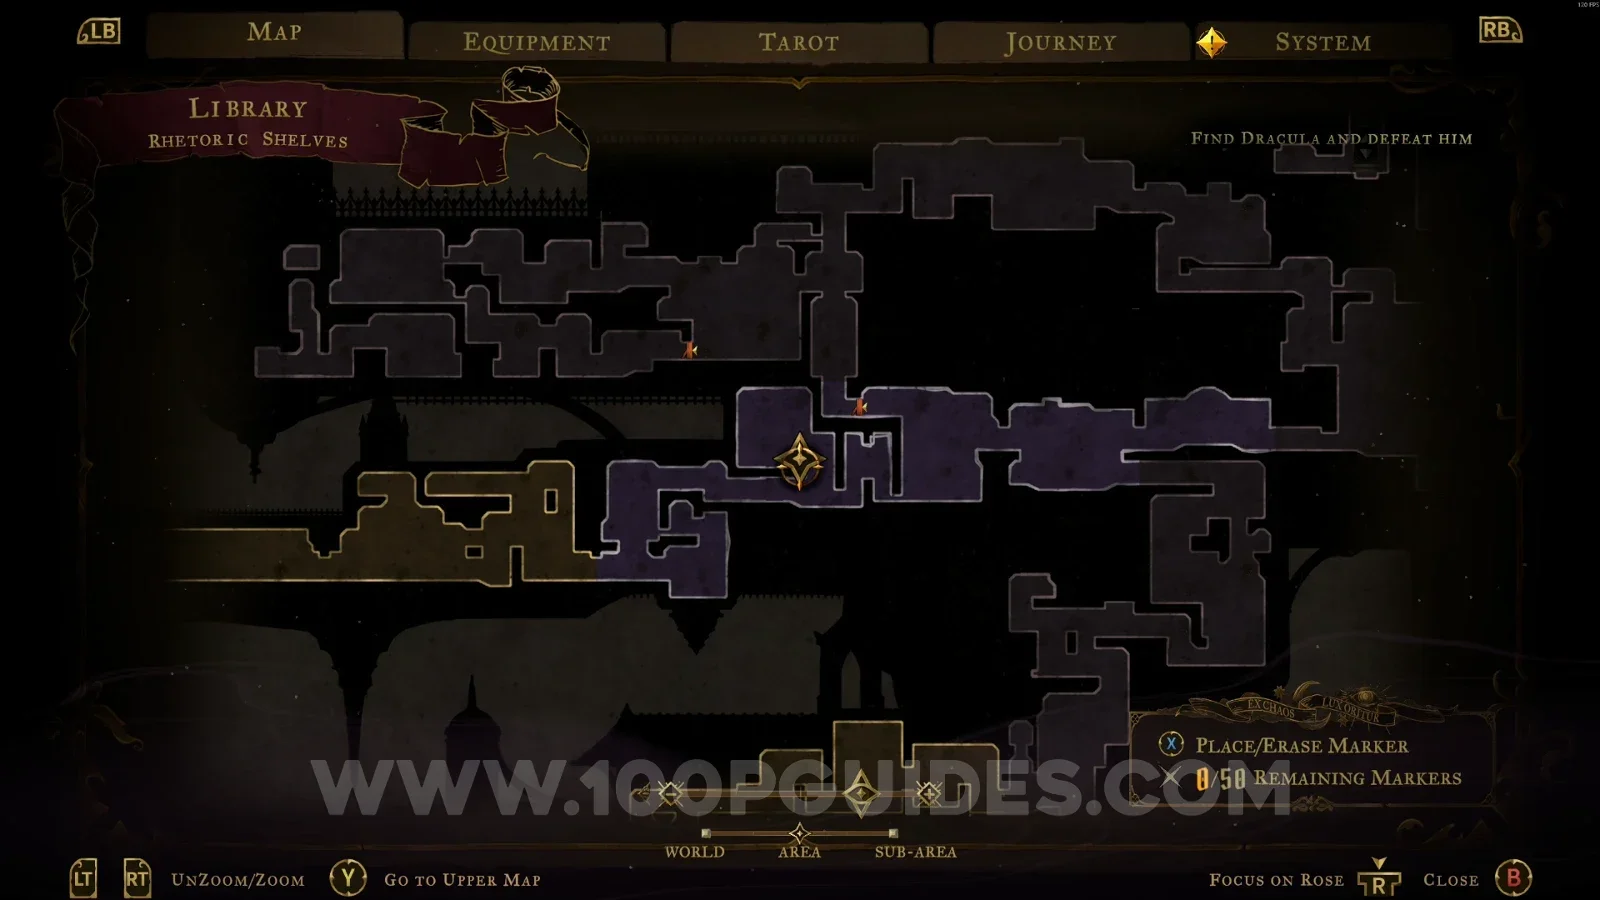
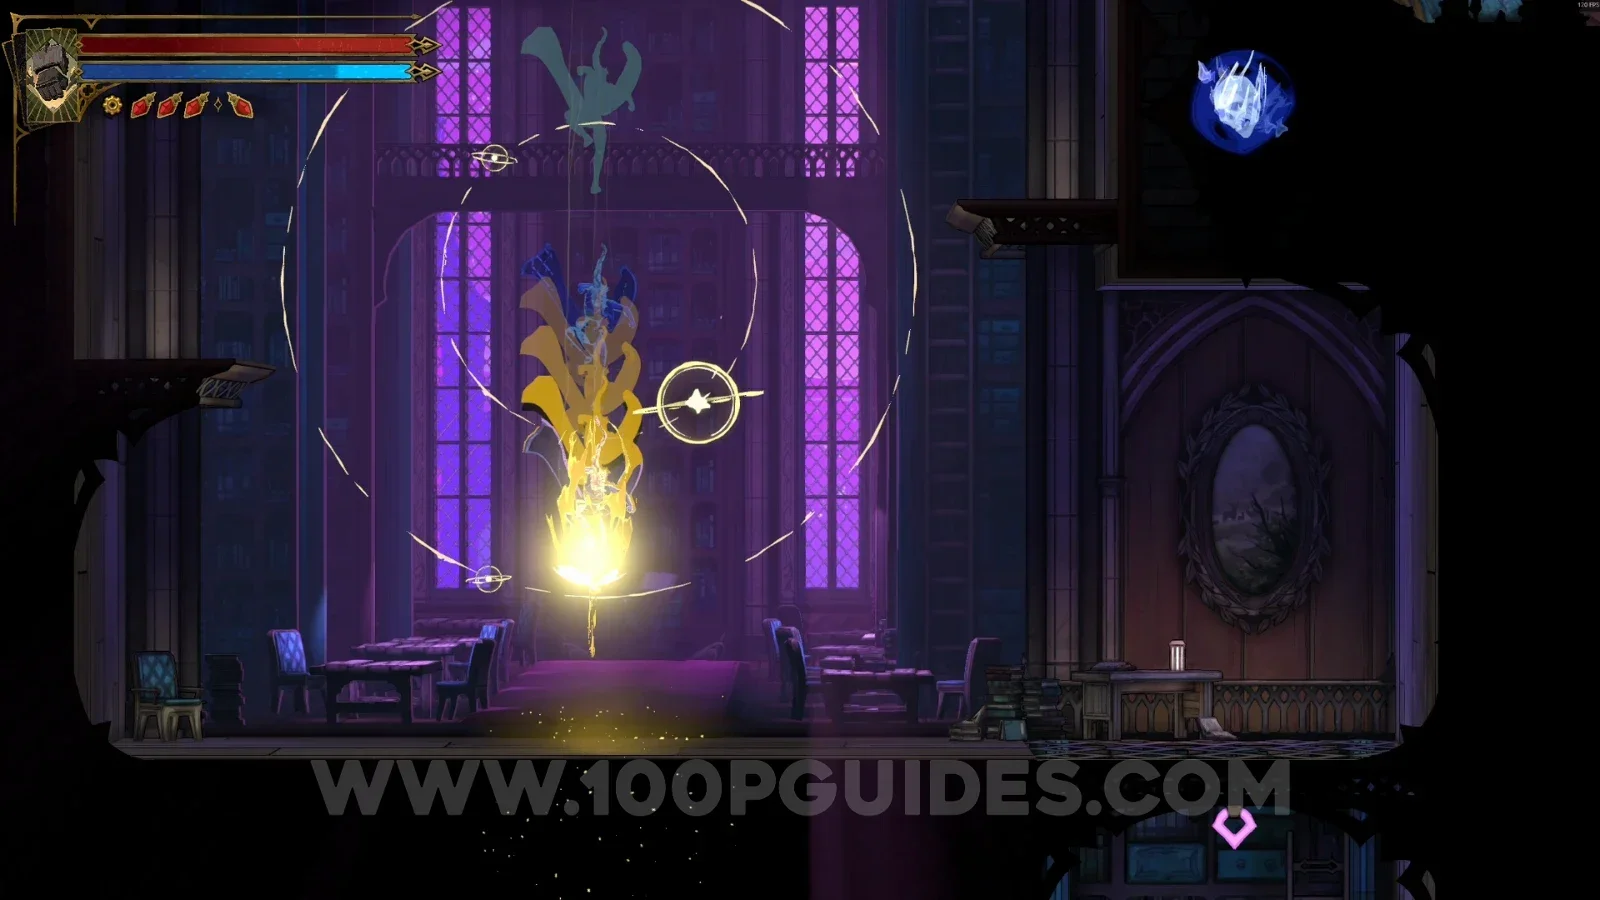
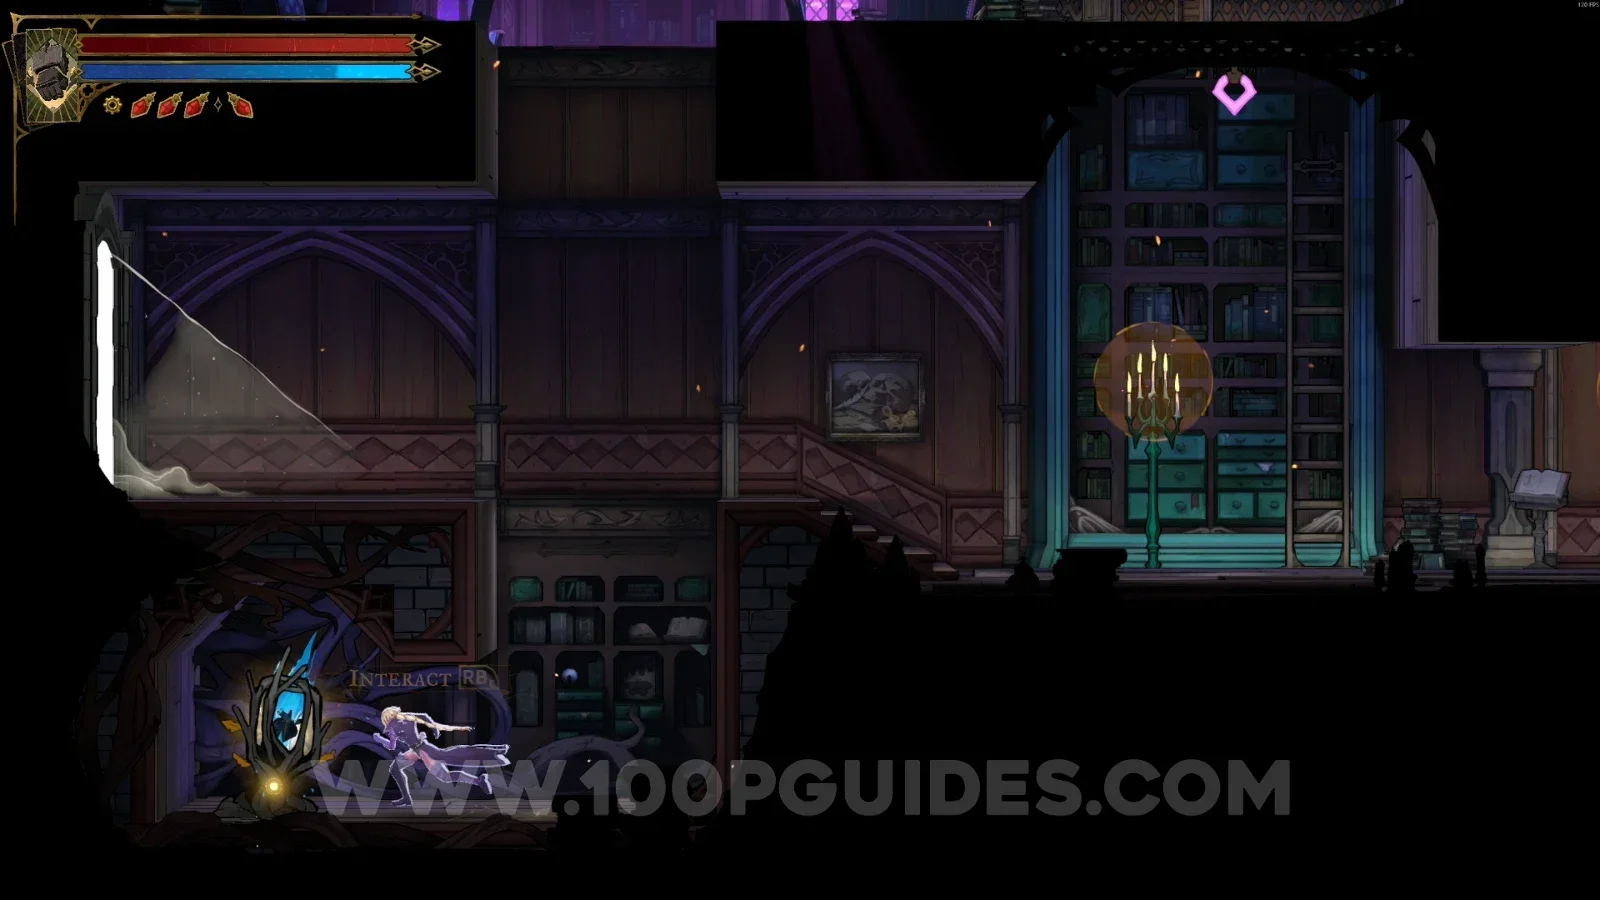
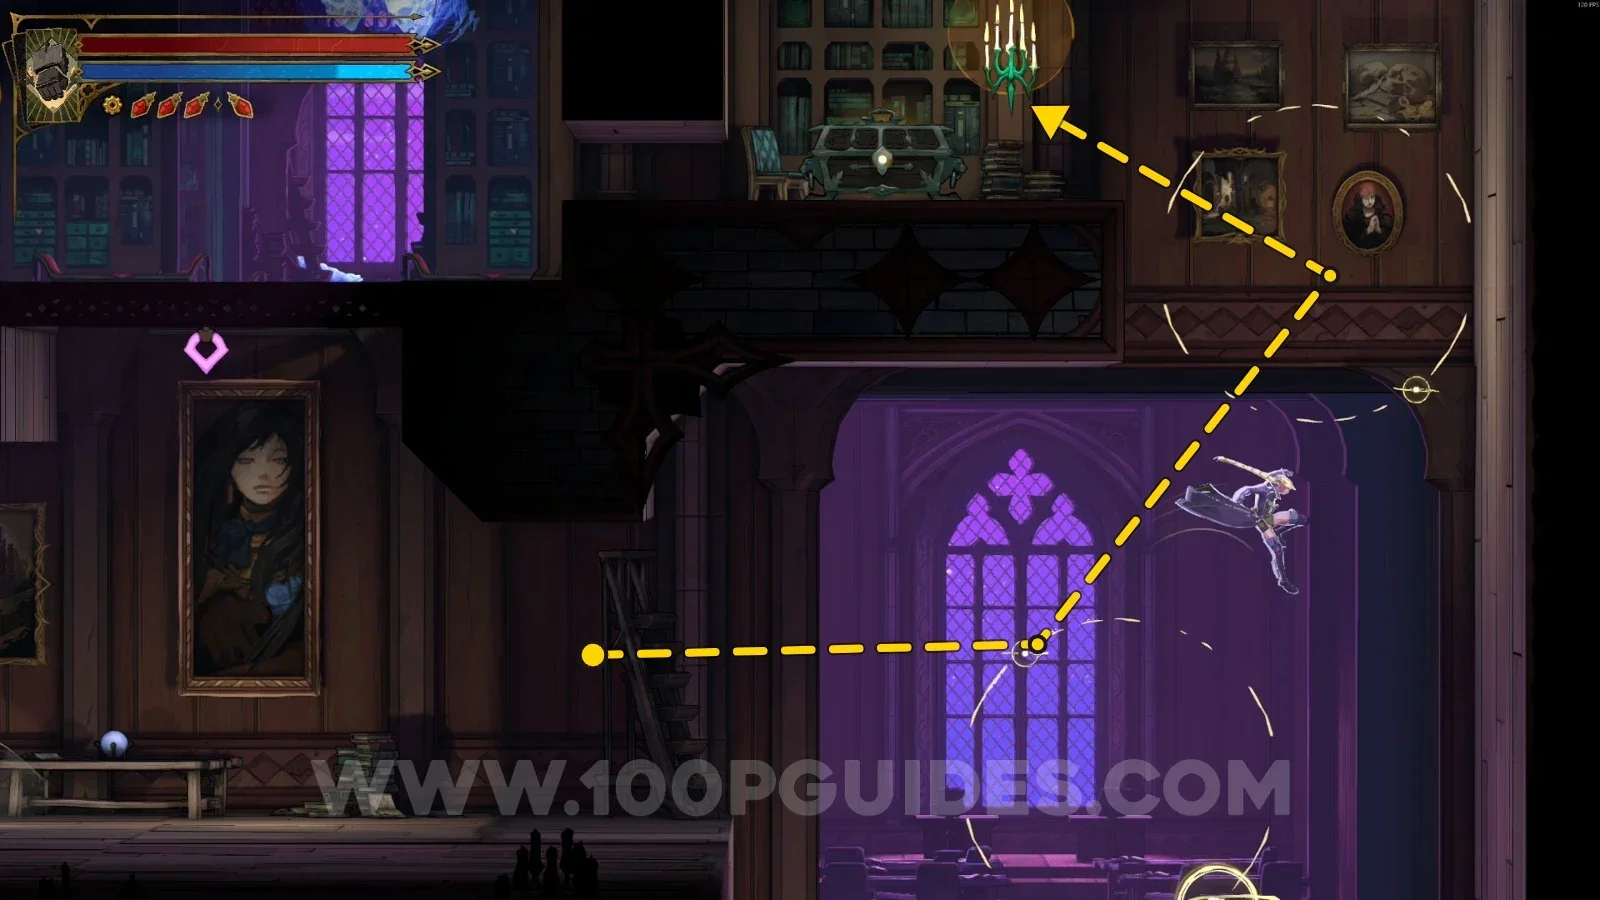
Relic #2: Midnight Tear
In the area marked on the map, complete the pattern on the orbs. This will reveal a bigger orb that launches you to the top of the area, where you'll find this chest with the relic inside.
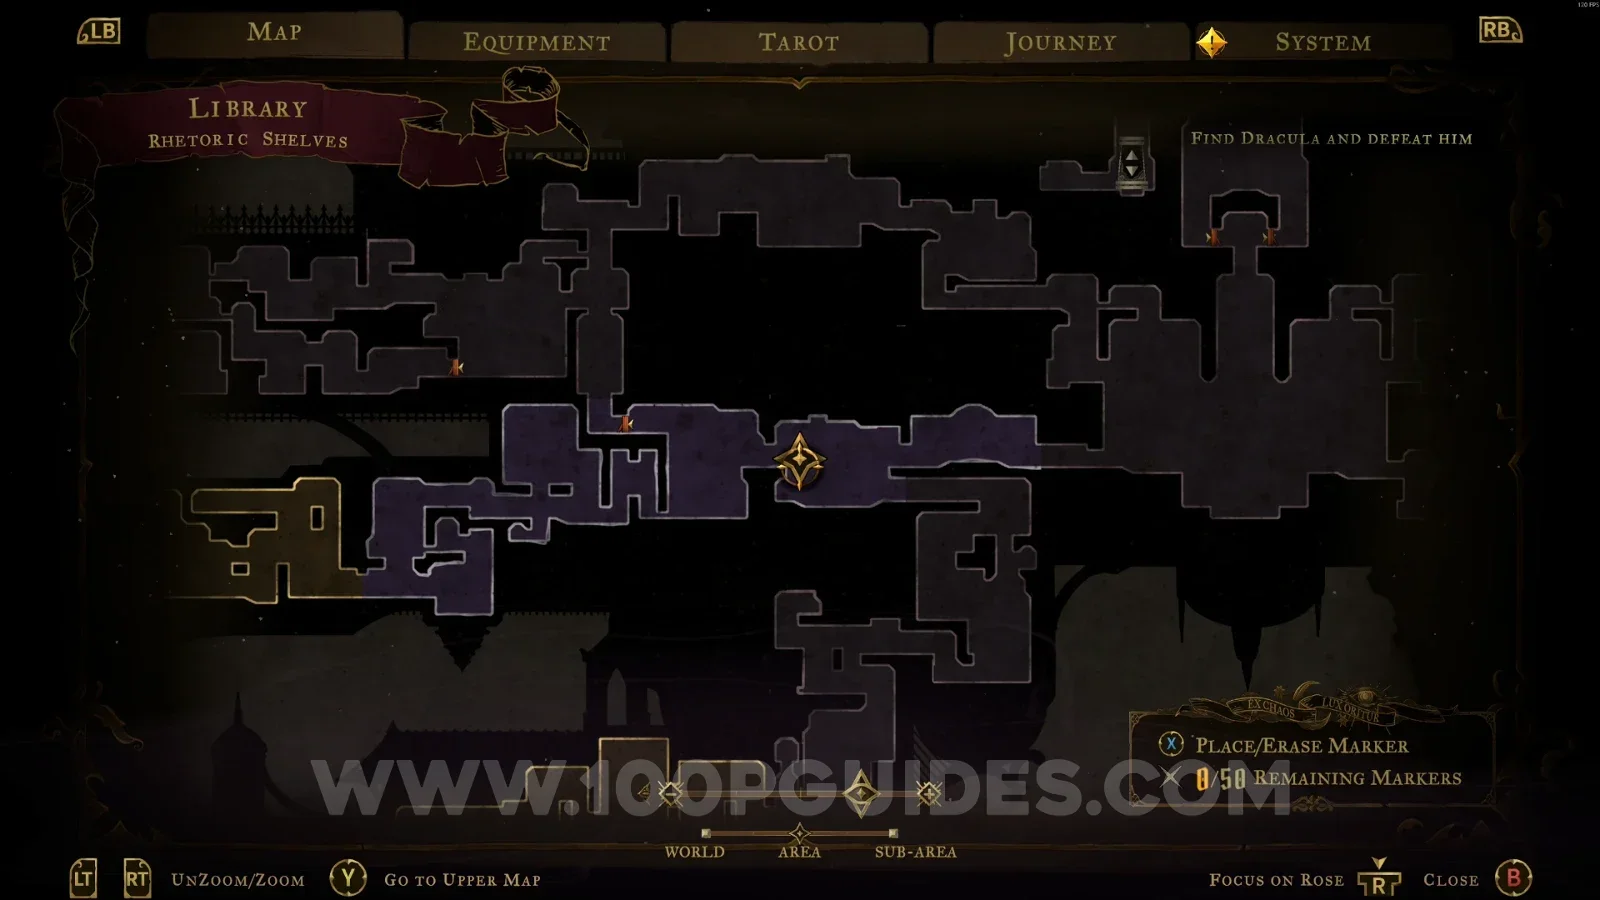
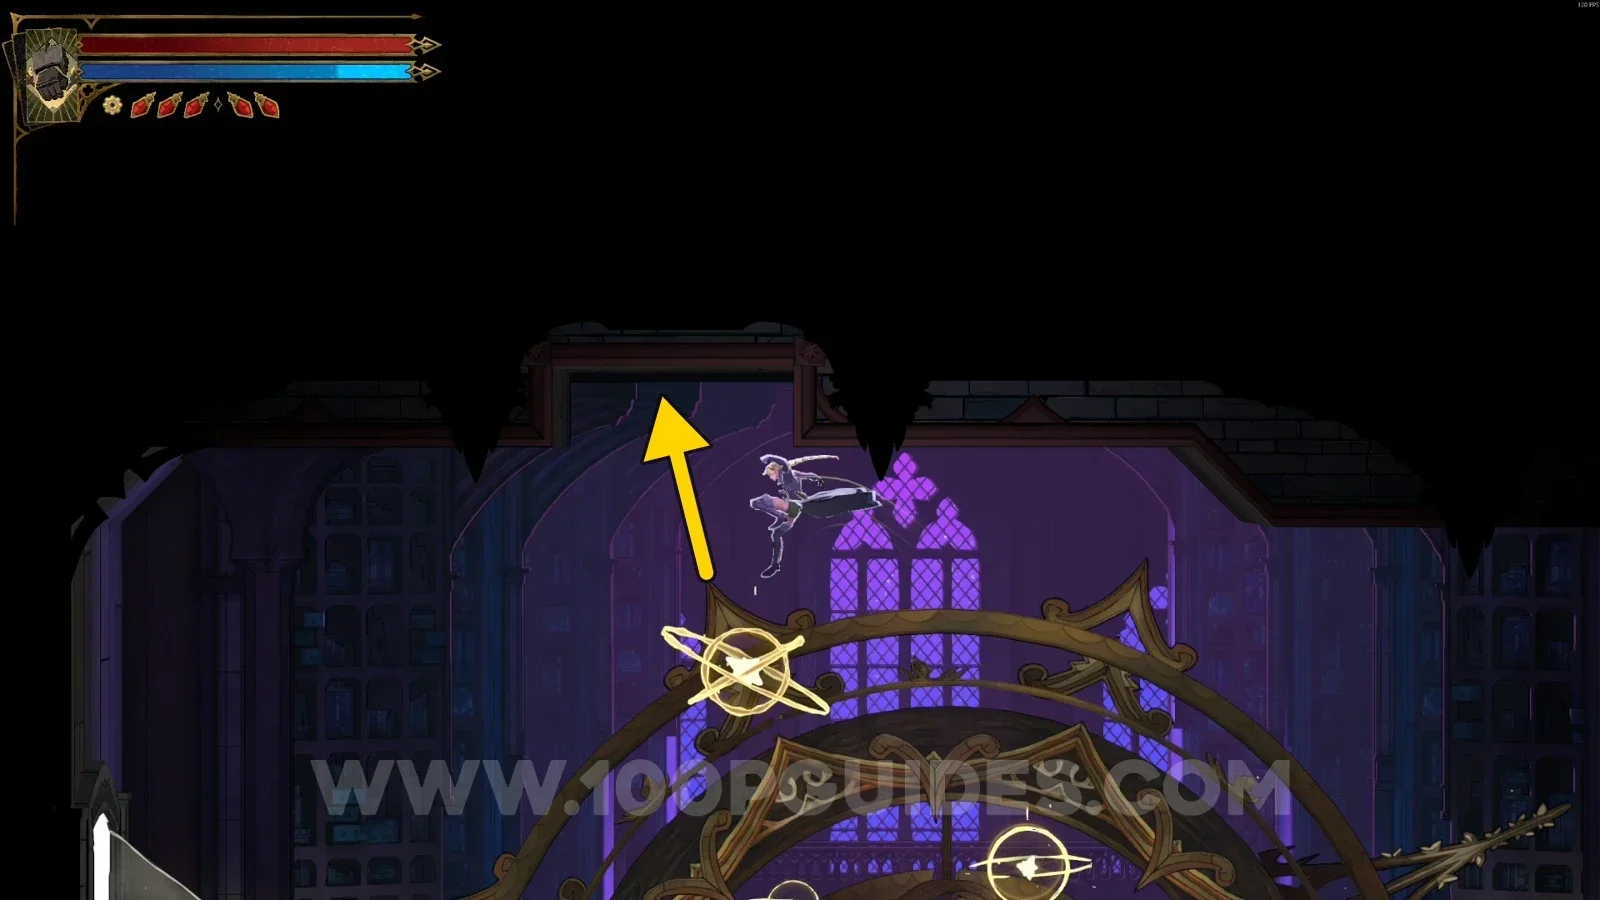
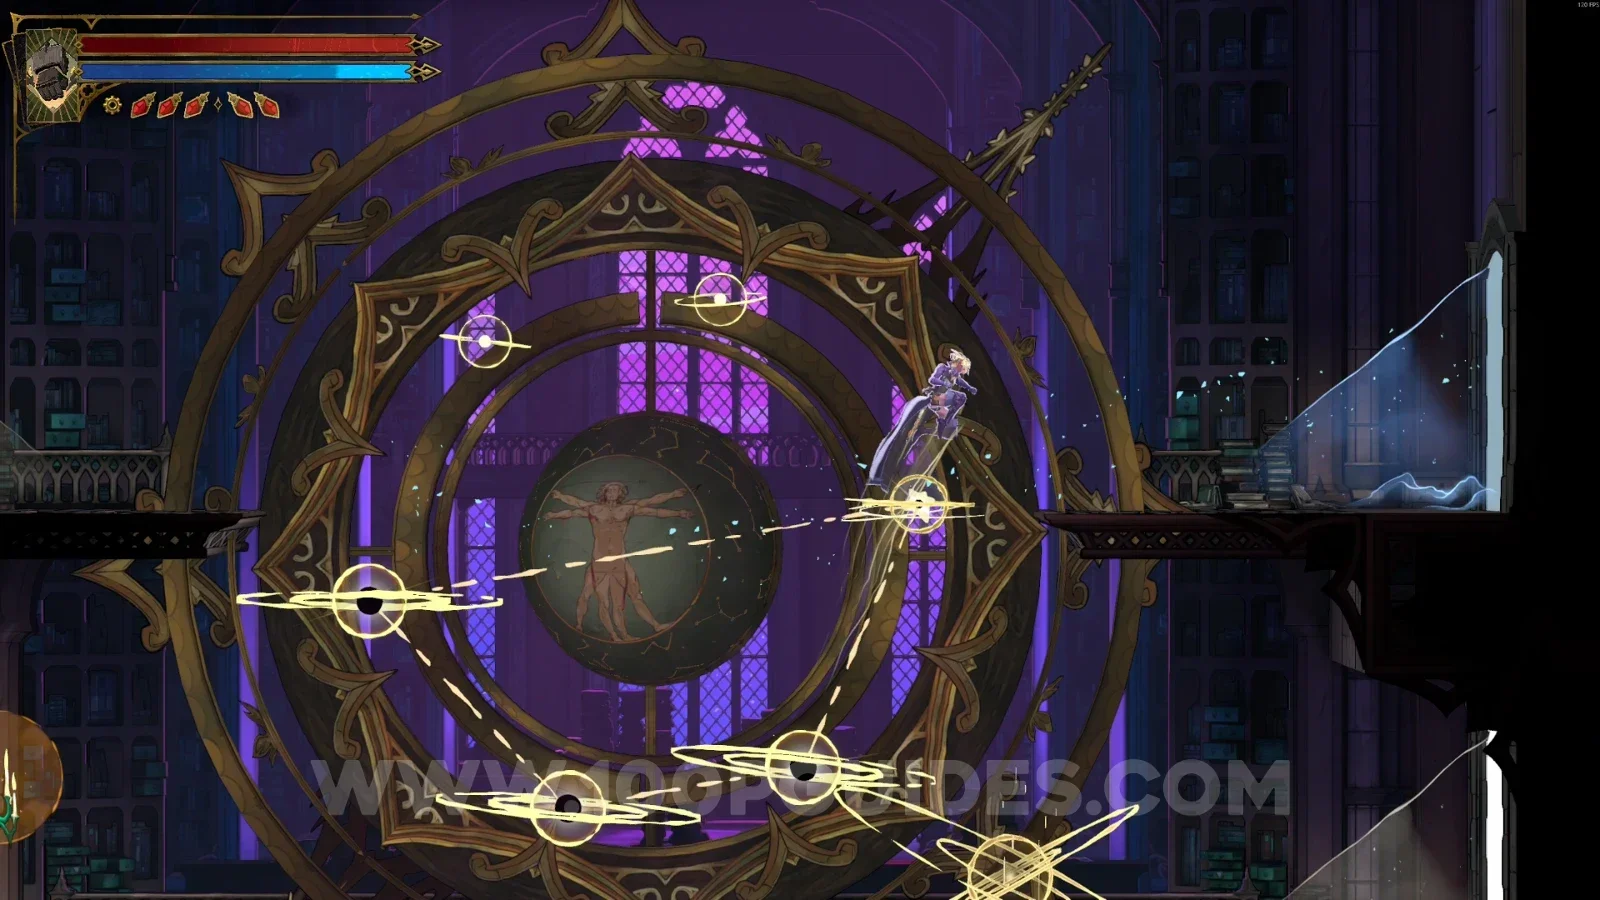
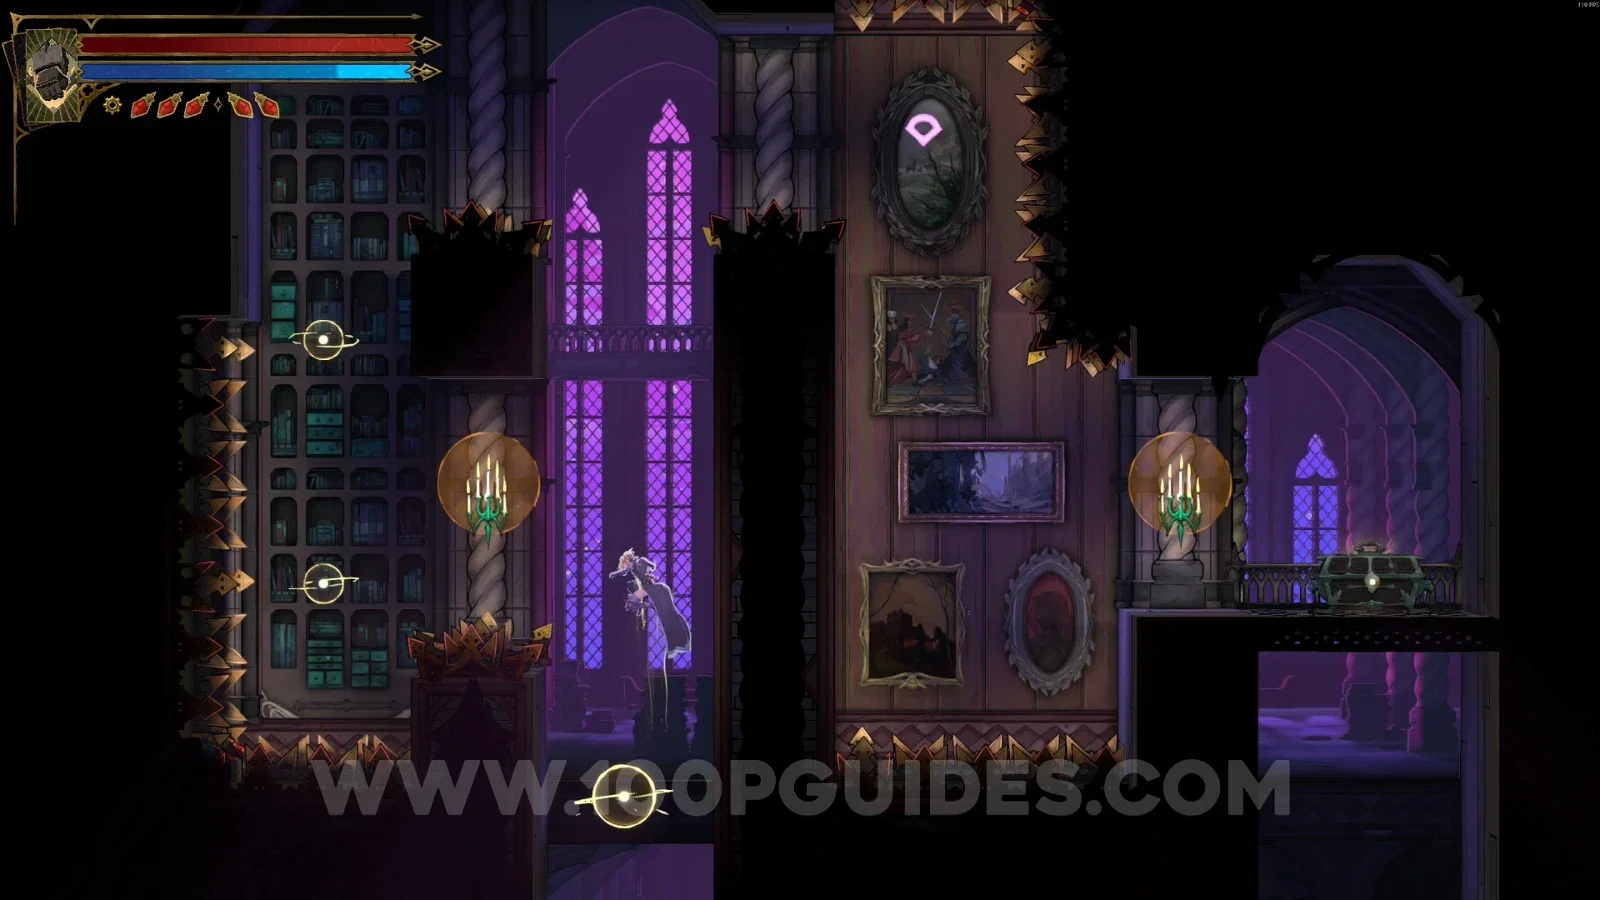
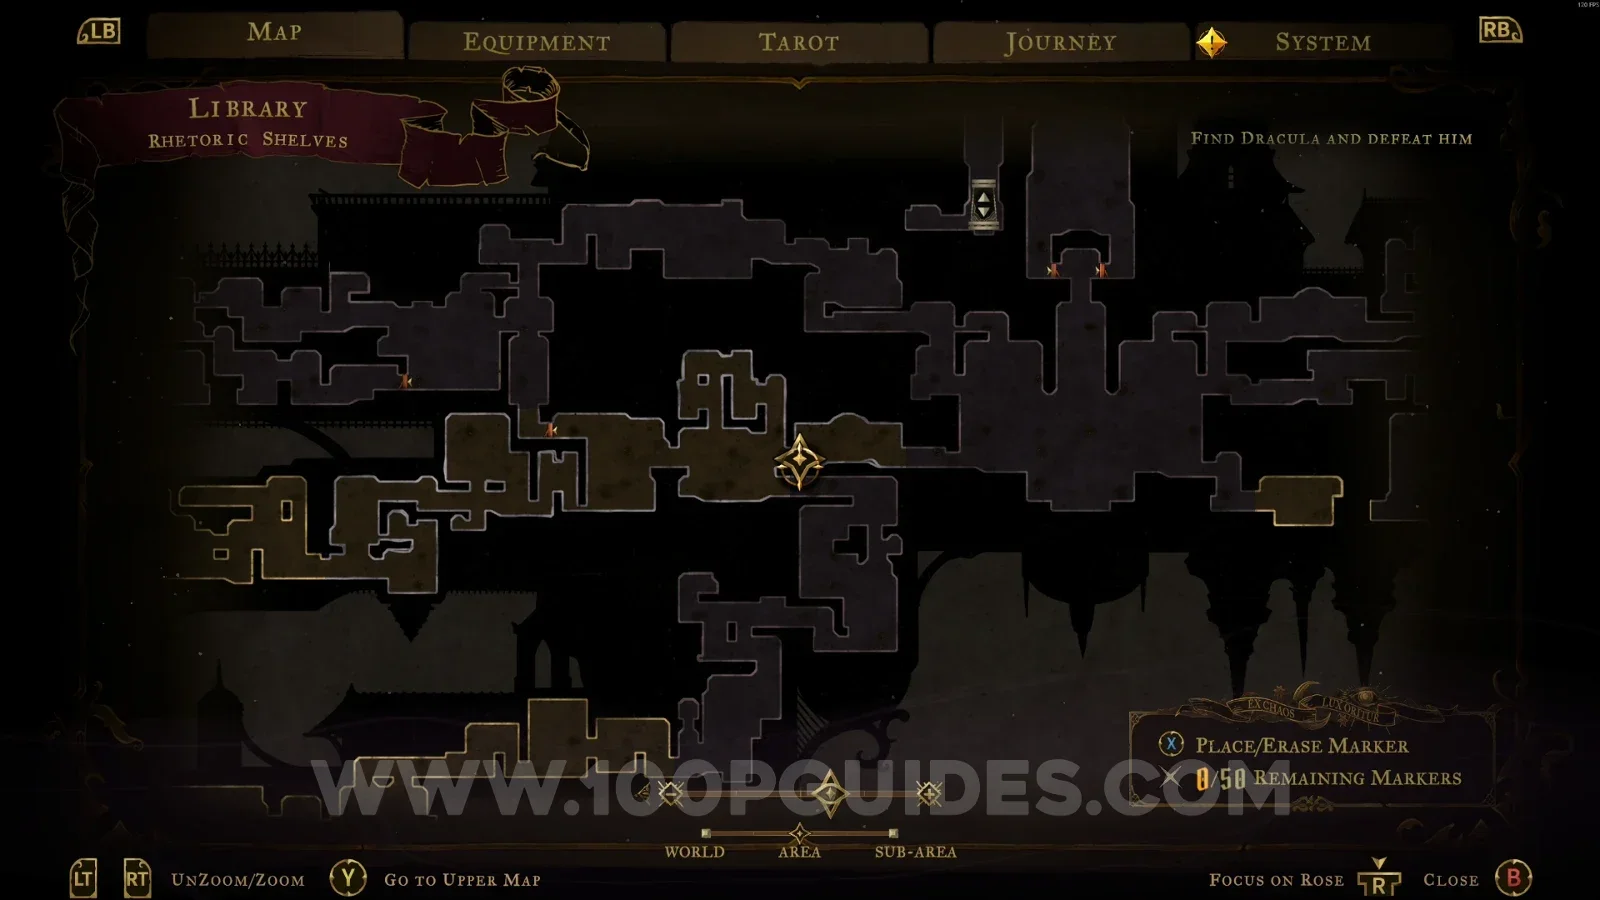
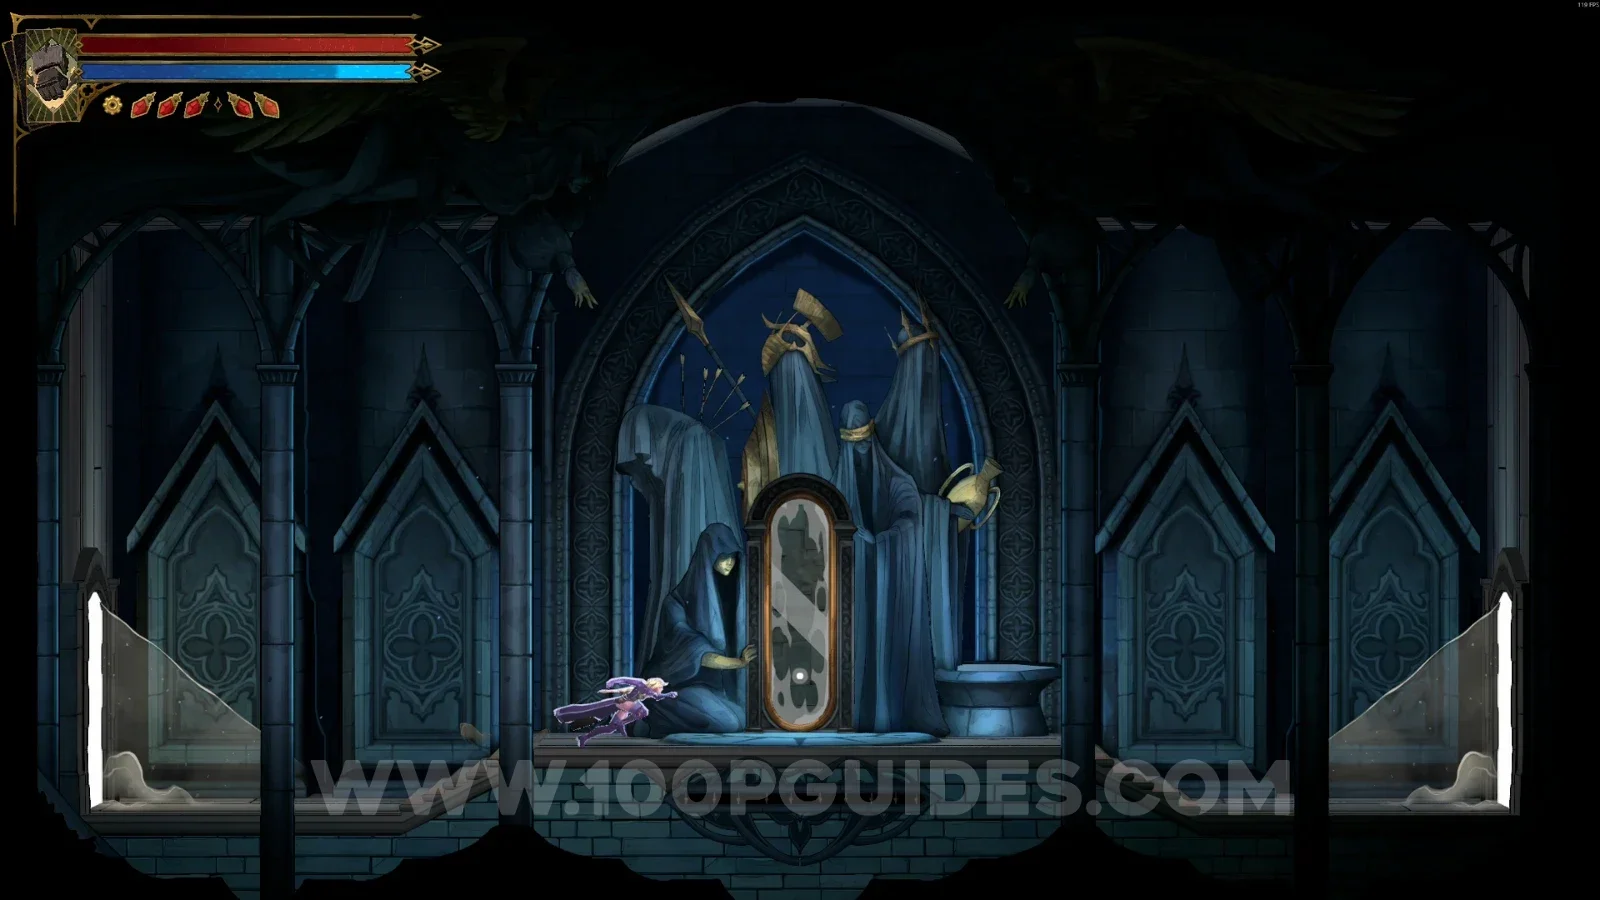
Mirror Of Life #1
In the area marked on the map.
Poetry Shelves
XP Statue #2
On the left side of the area, use the slide to reveal a secret room containing the XP Statue.
Brave Heart Fragment #2
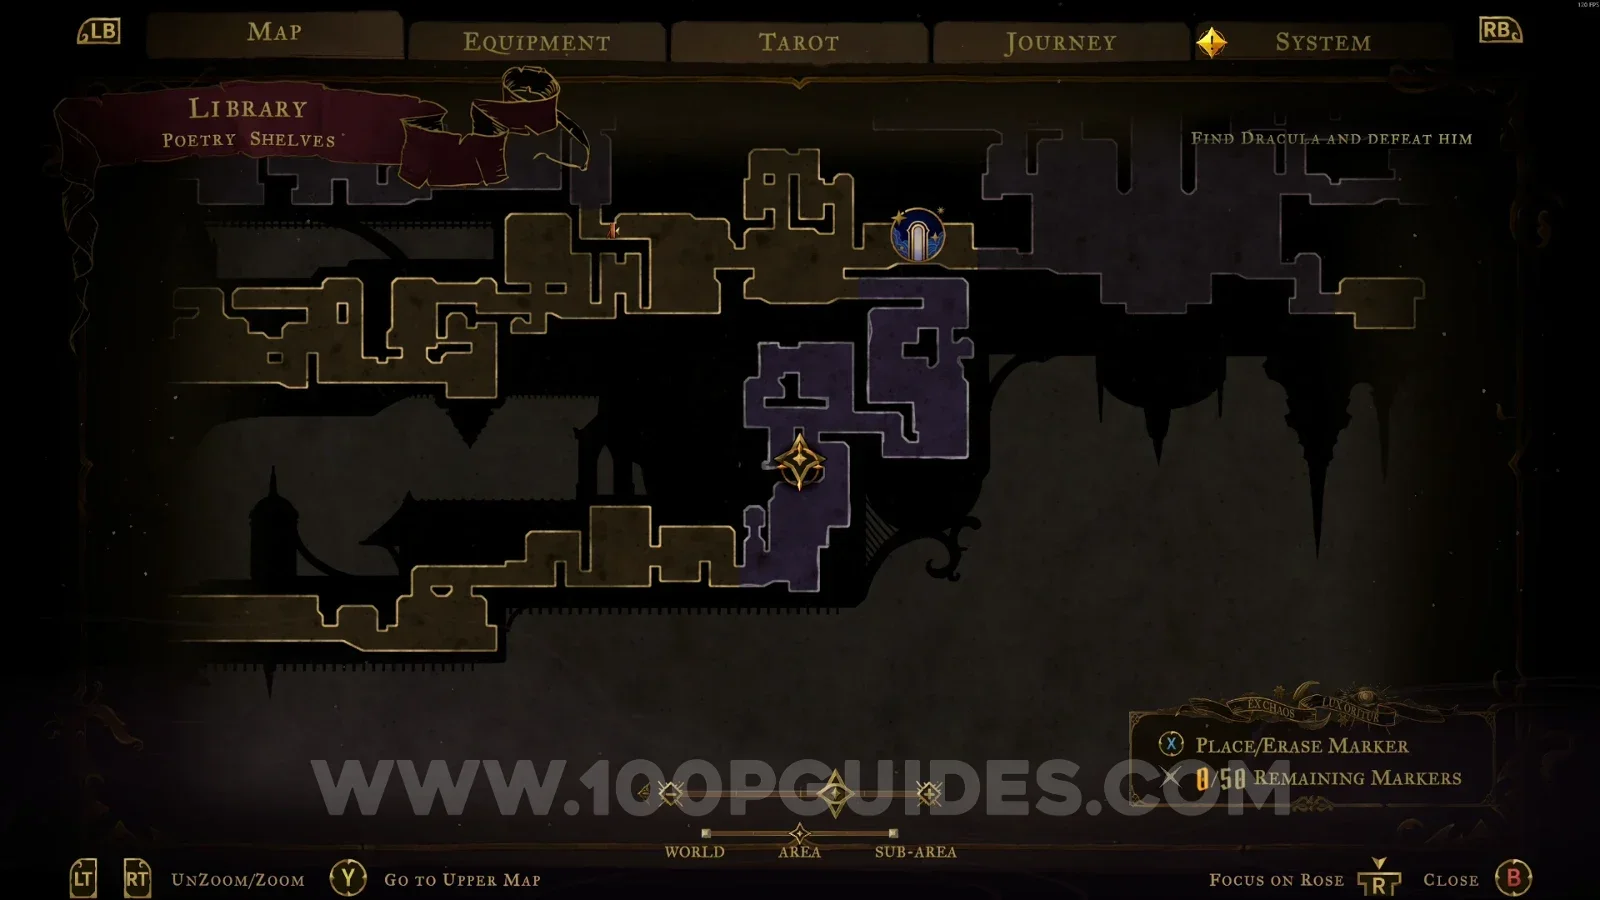
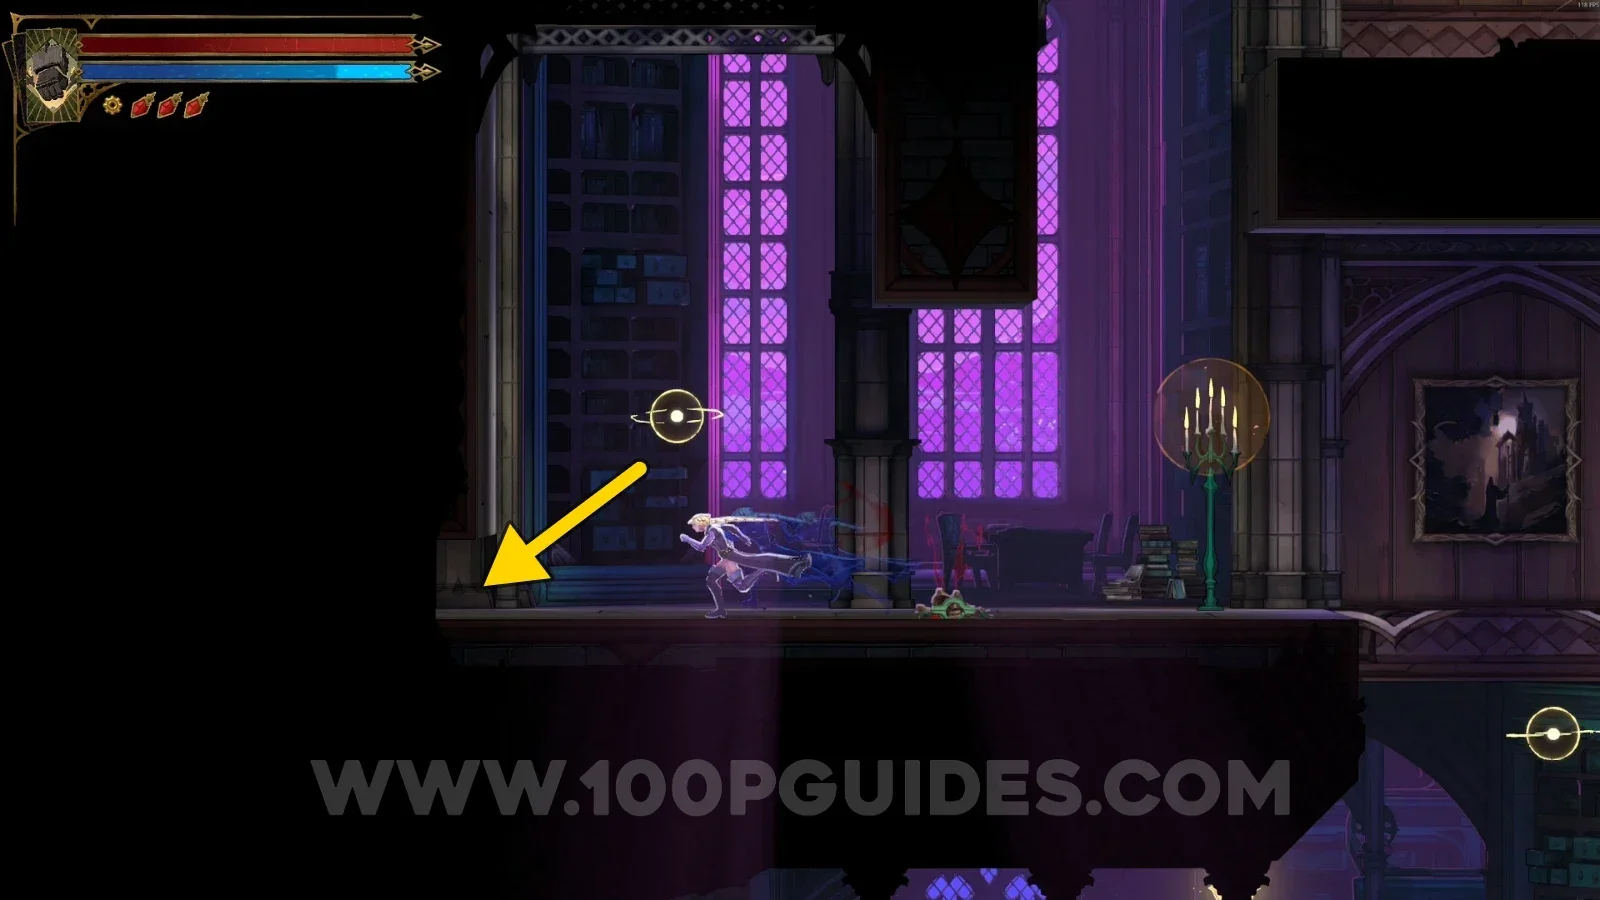
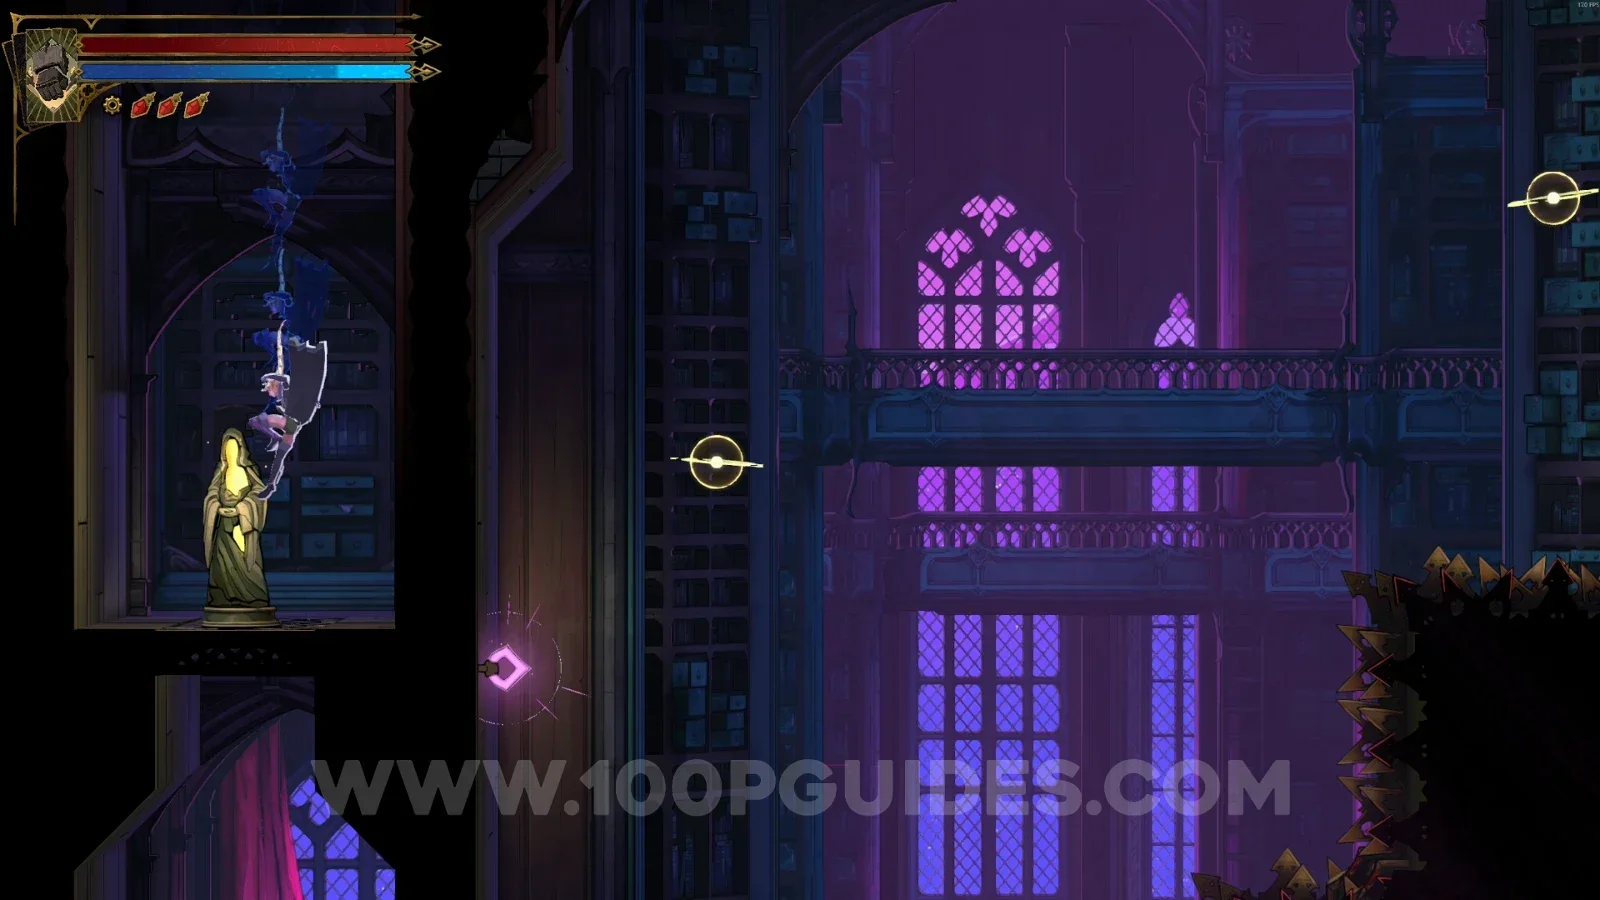
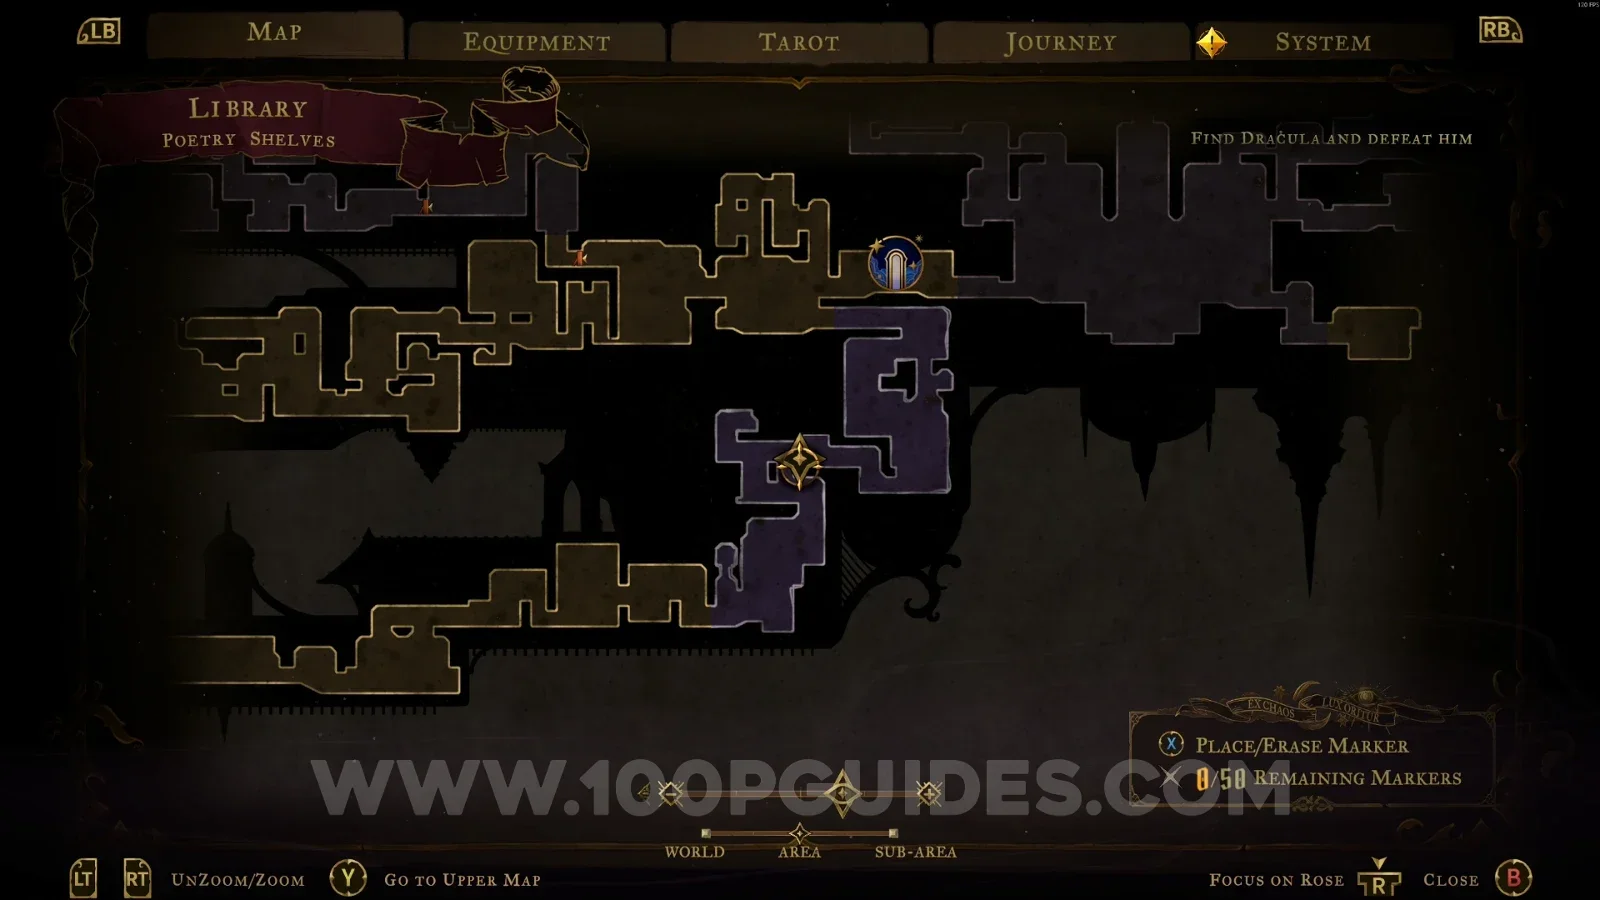
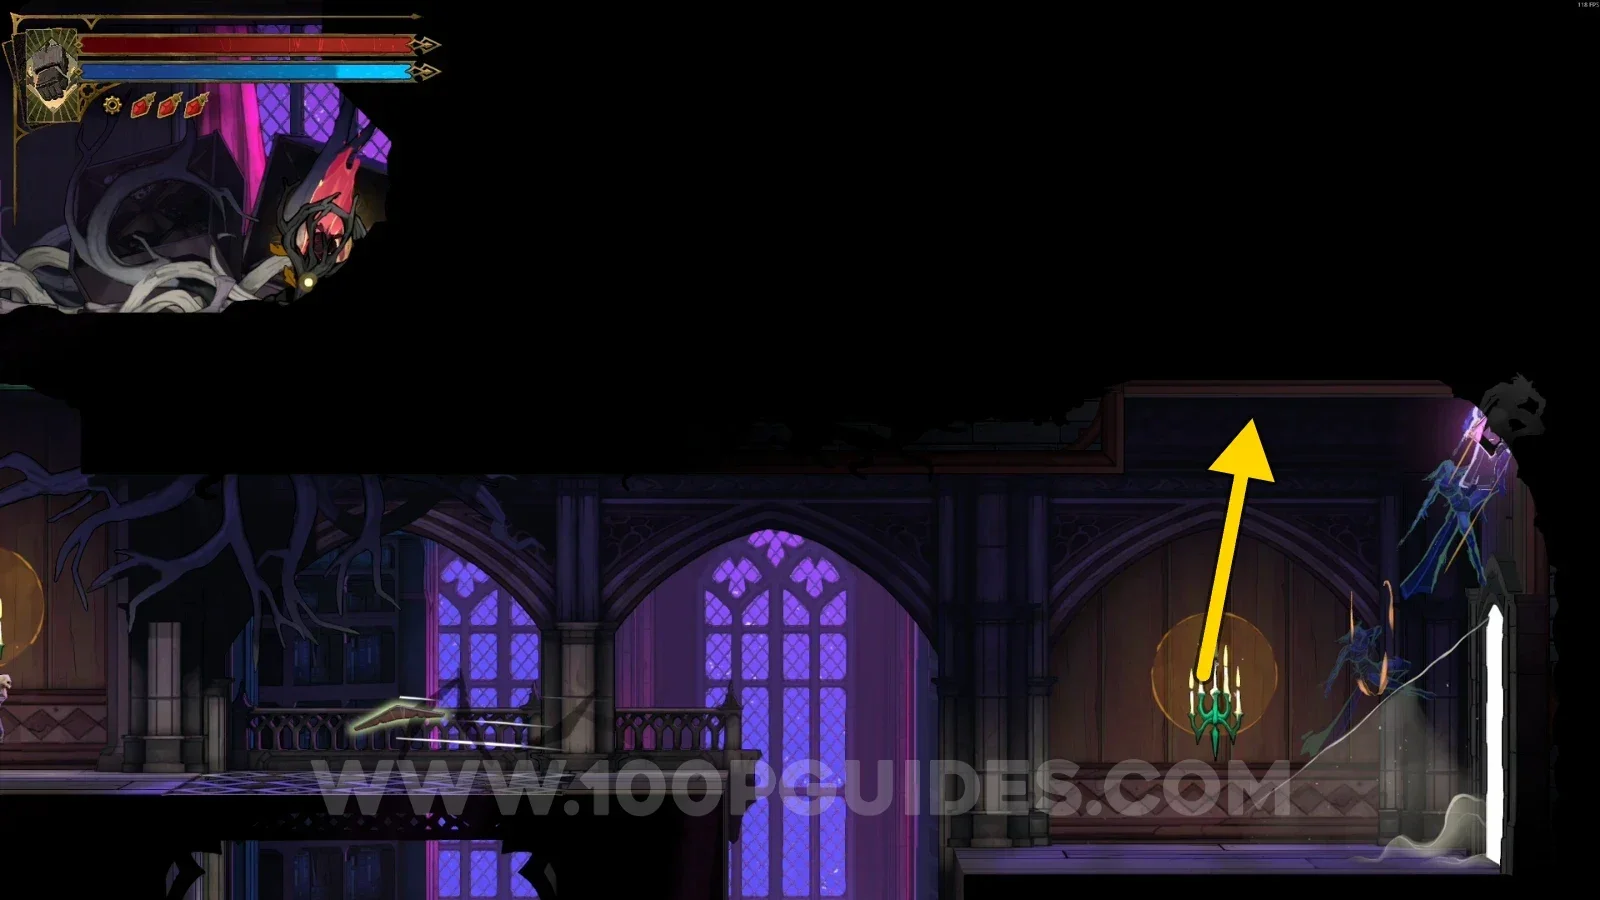
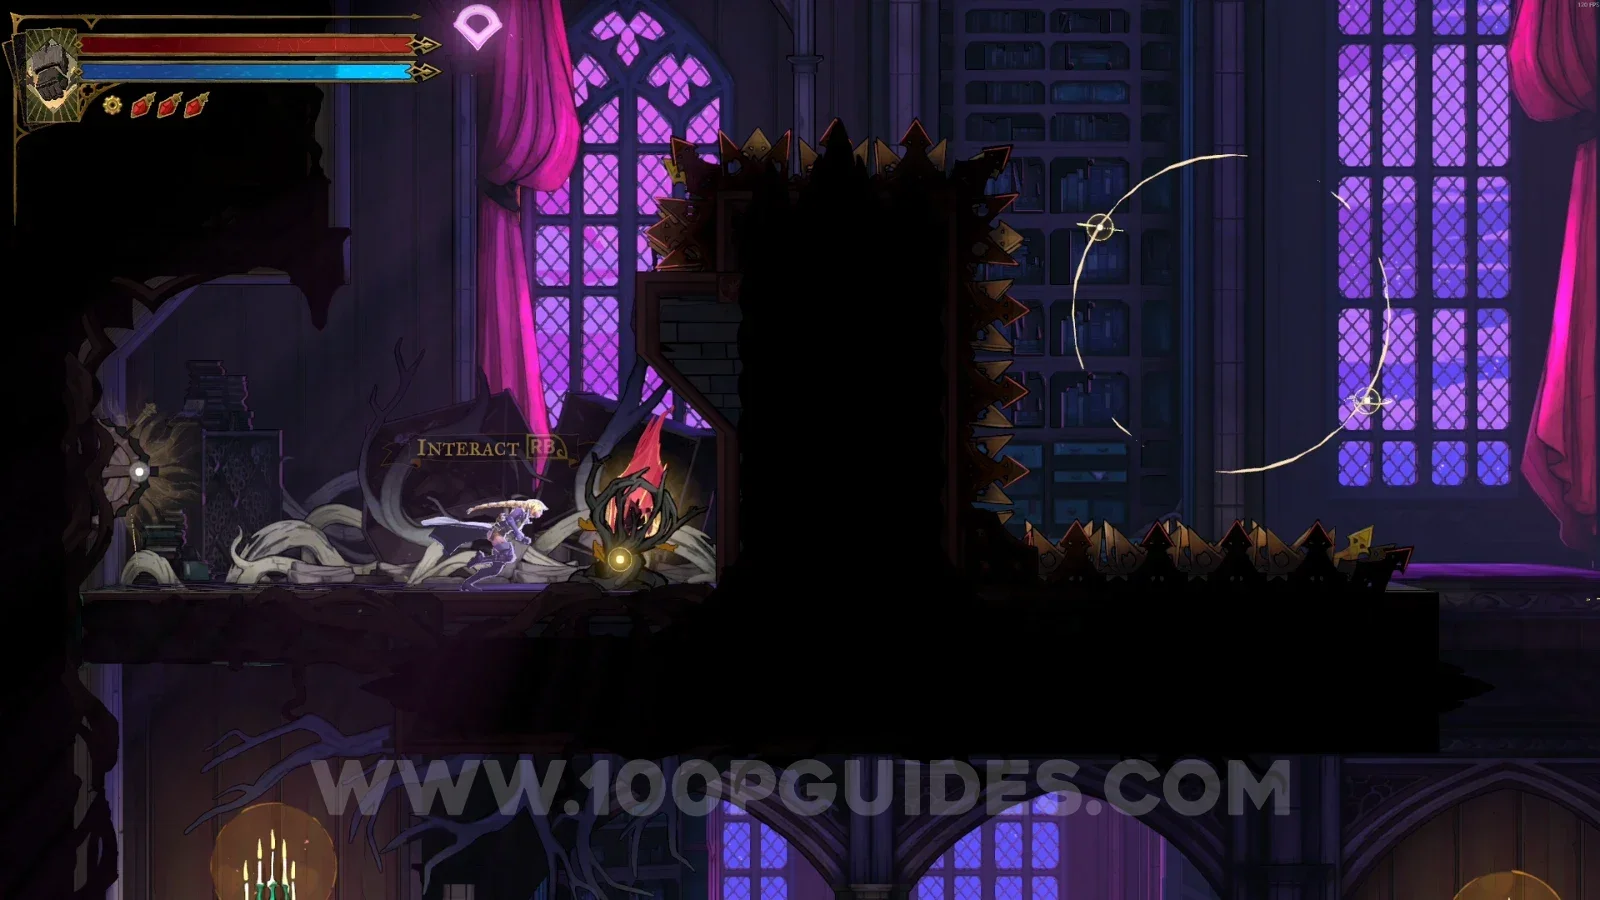
In the area marked on the map, you can find a secret room at the top of the area. Use the orbs to go around and reach the Brave Heart.
Planetarium
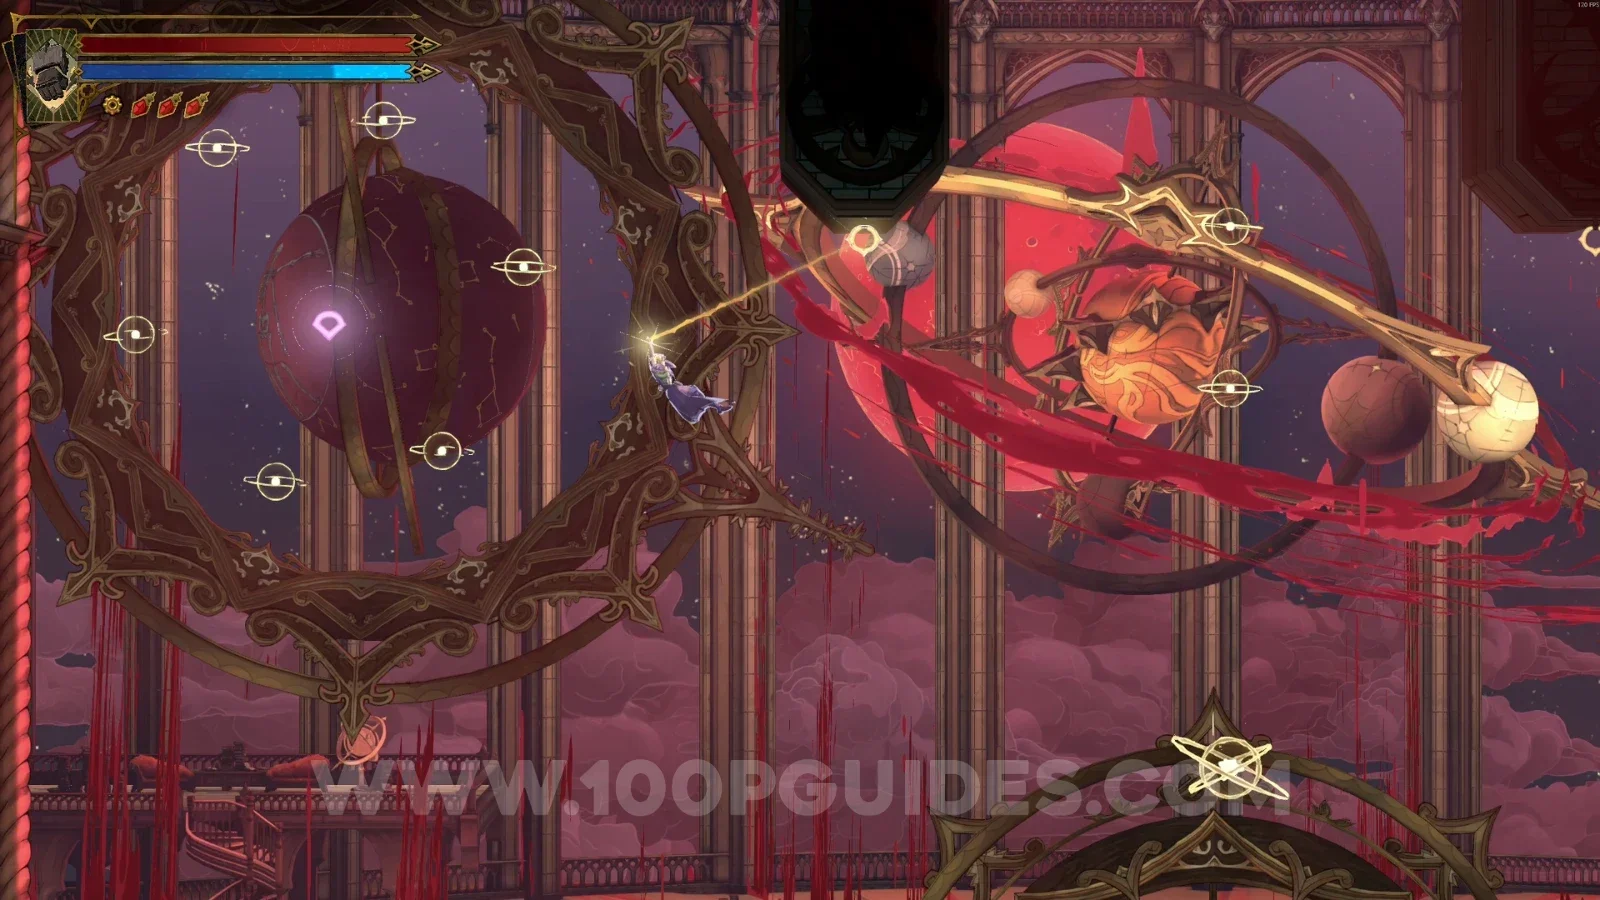
Brave Heart Fragment #3
Complete the pattern on the upper left orb so you can launch yourself up to where the Brave Heart is.
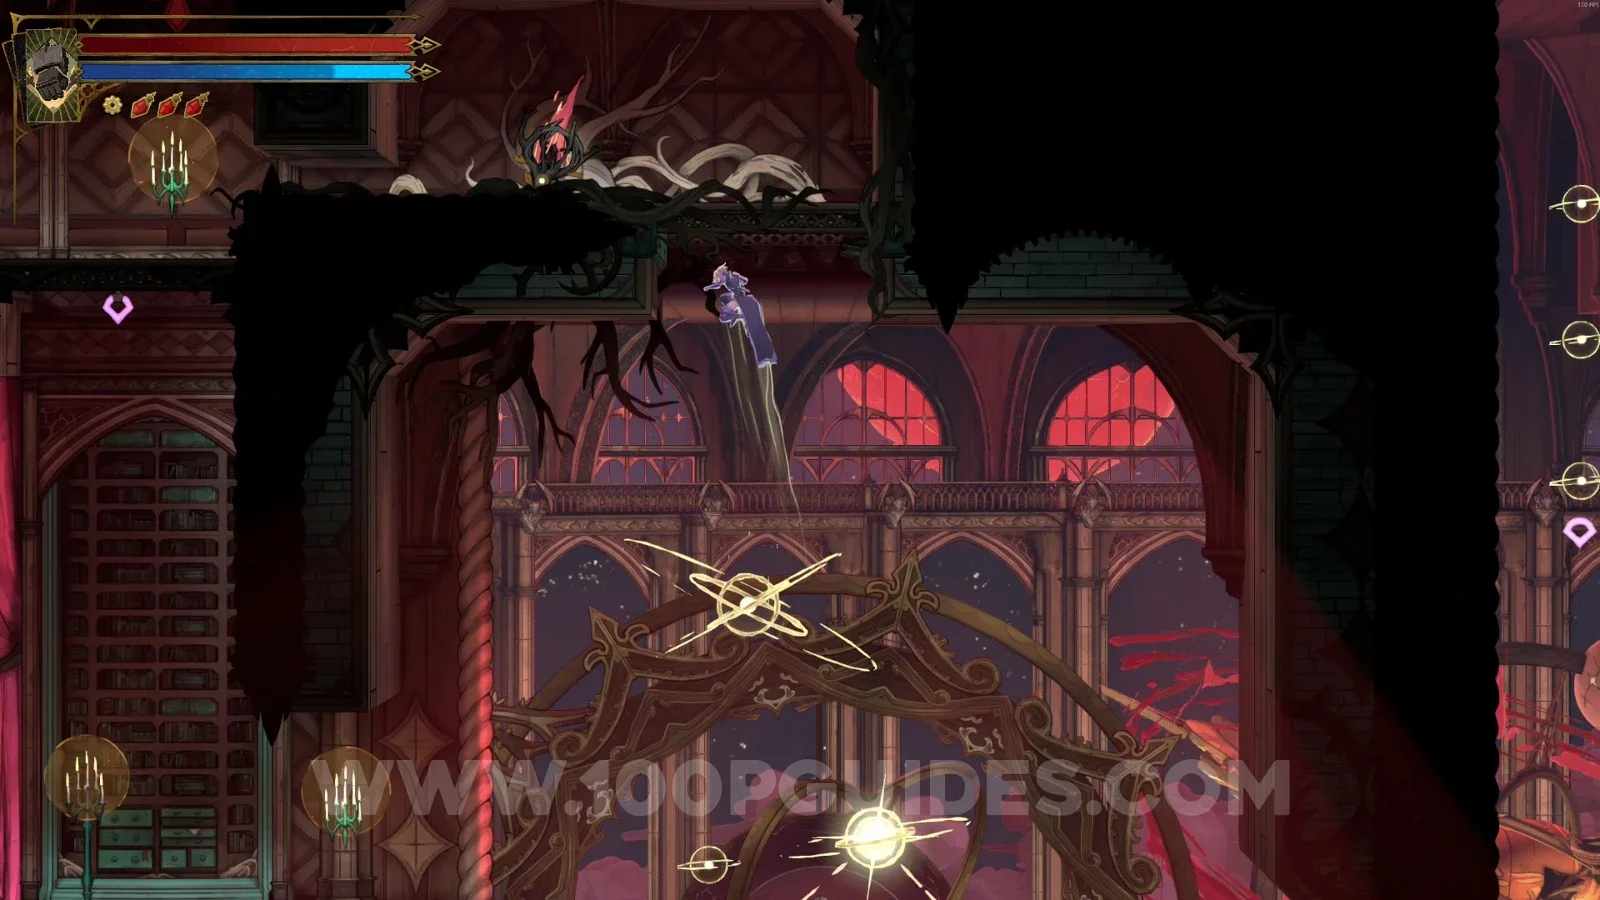
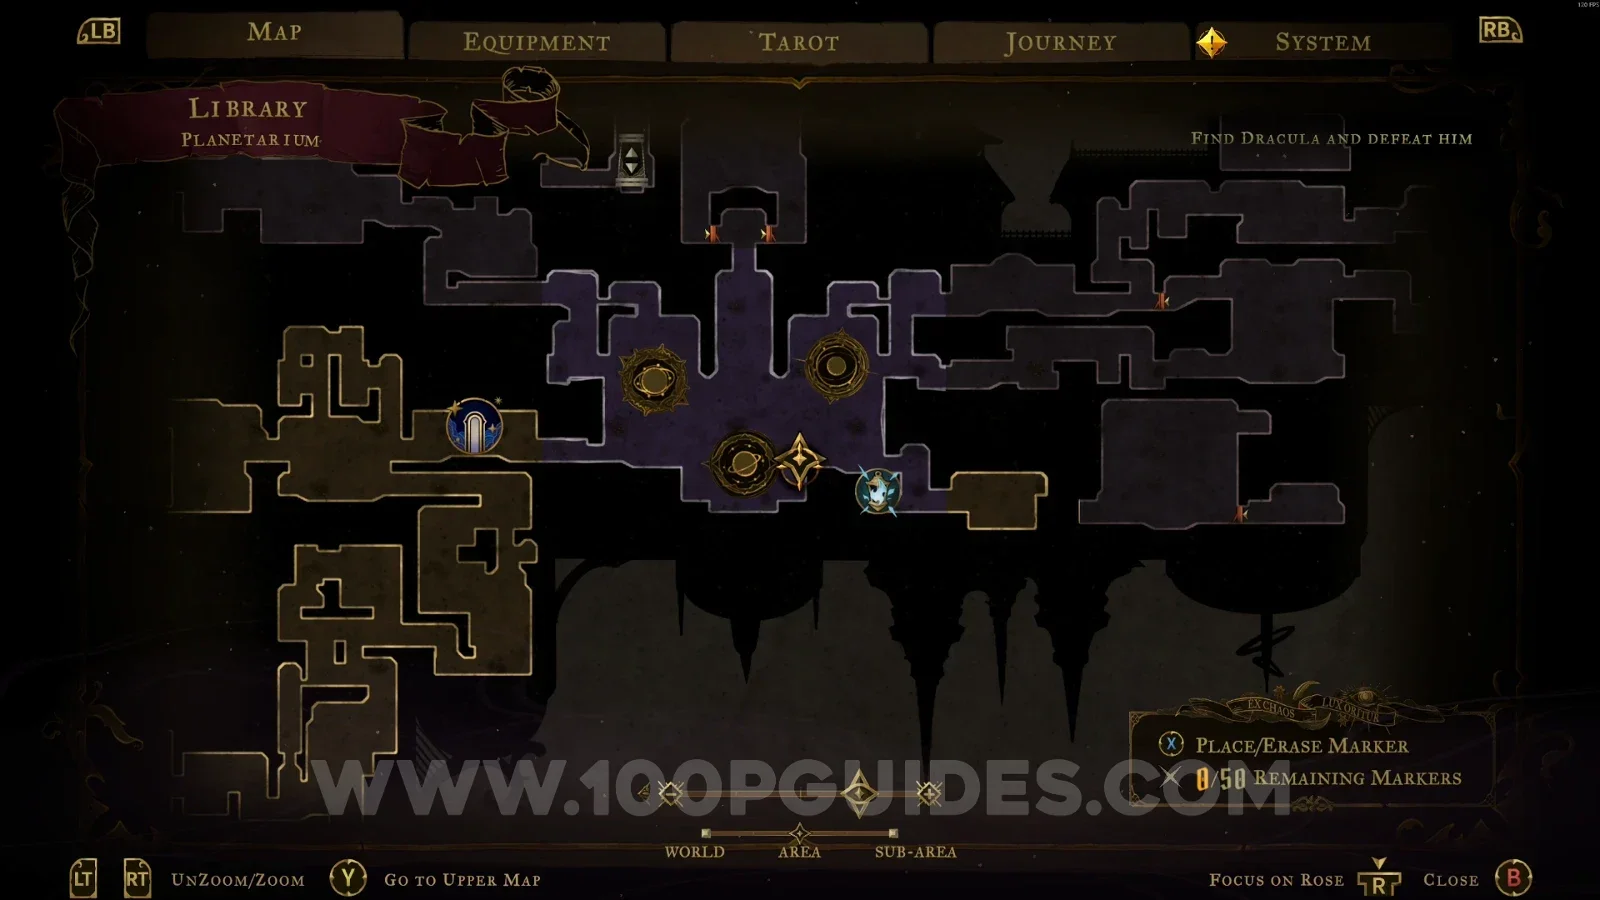
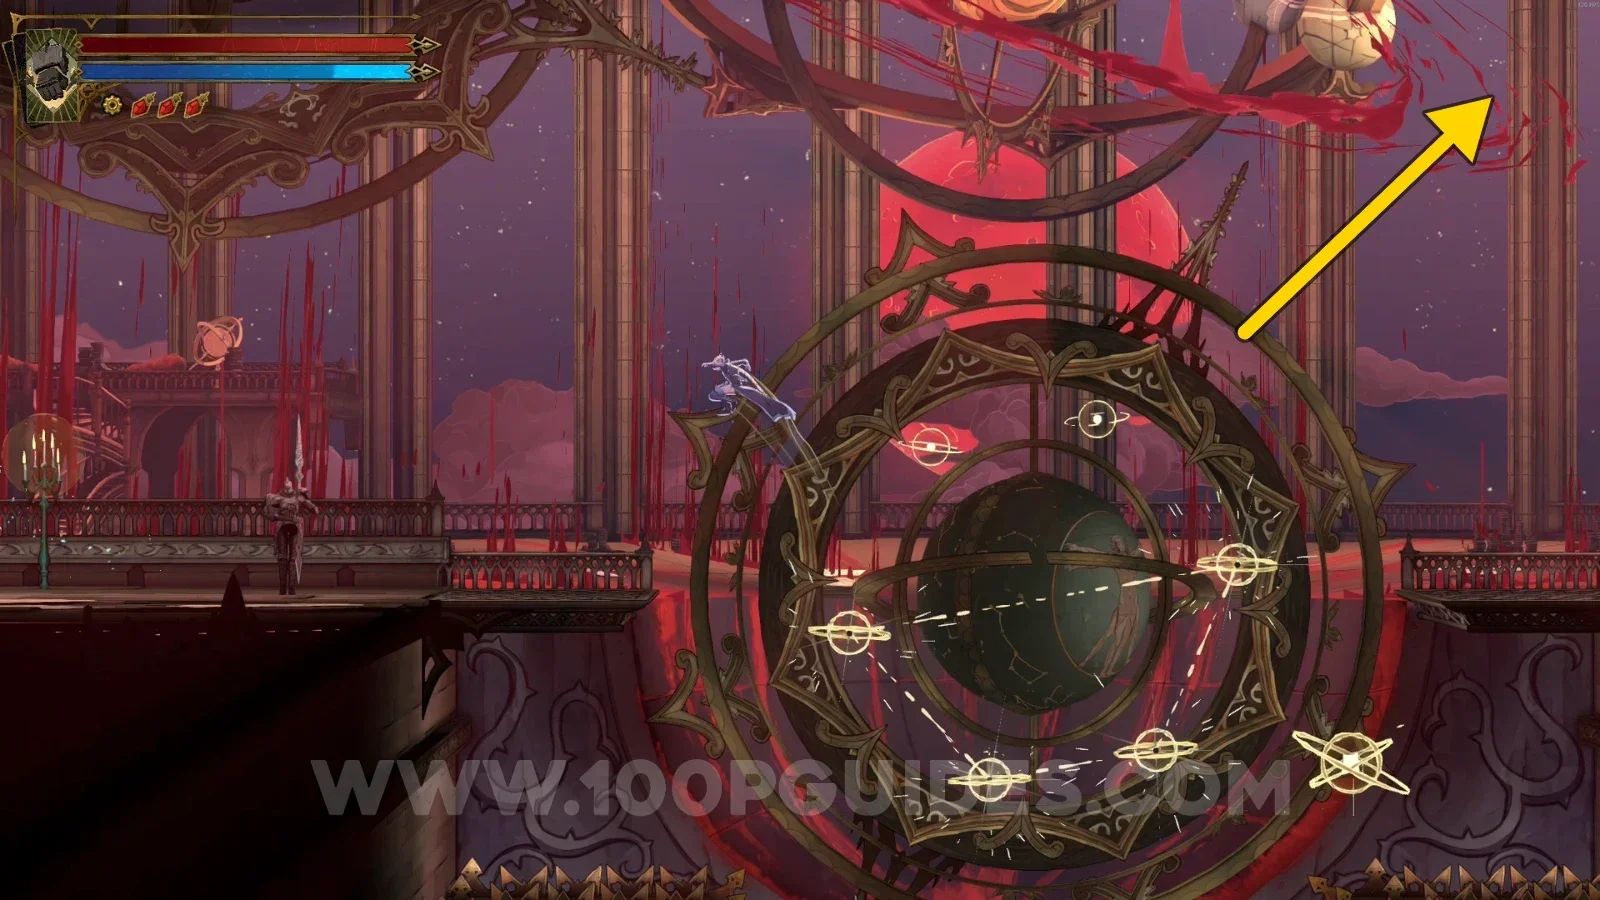
Wise Heart Fragment #2
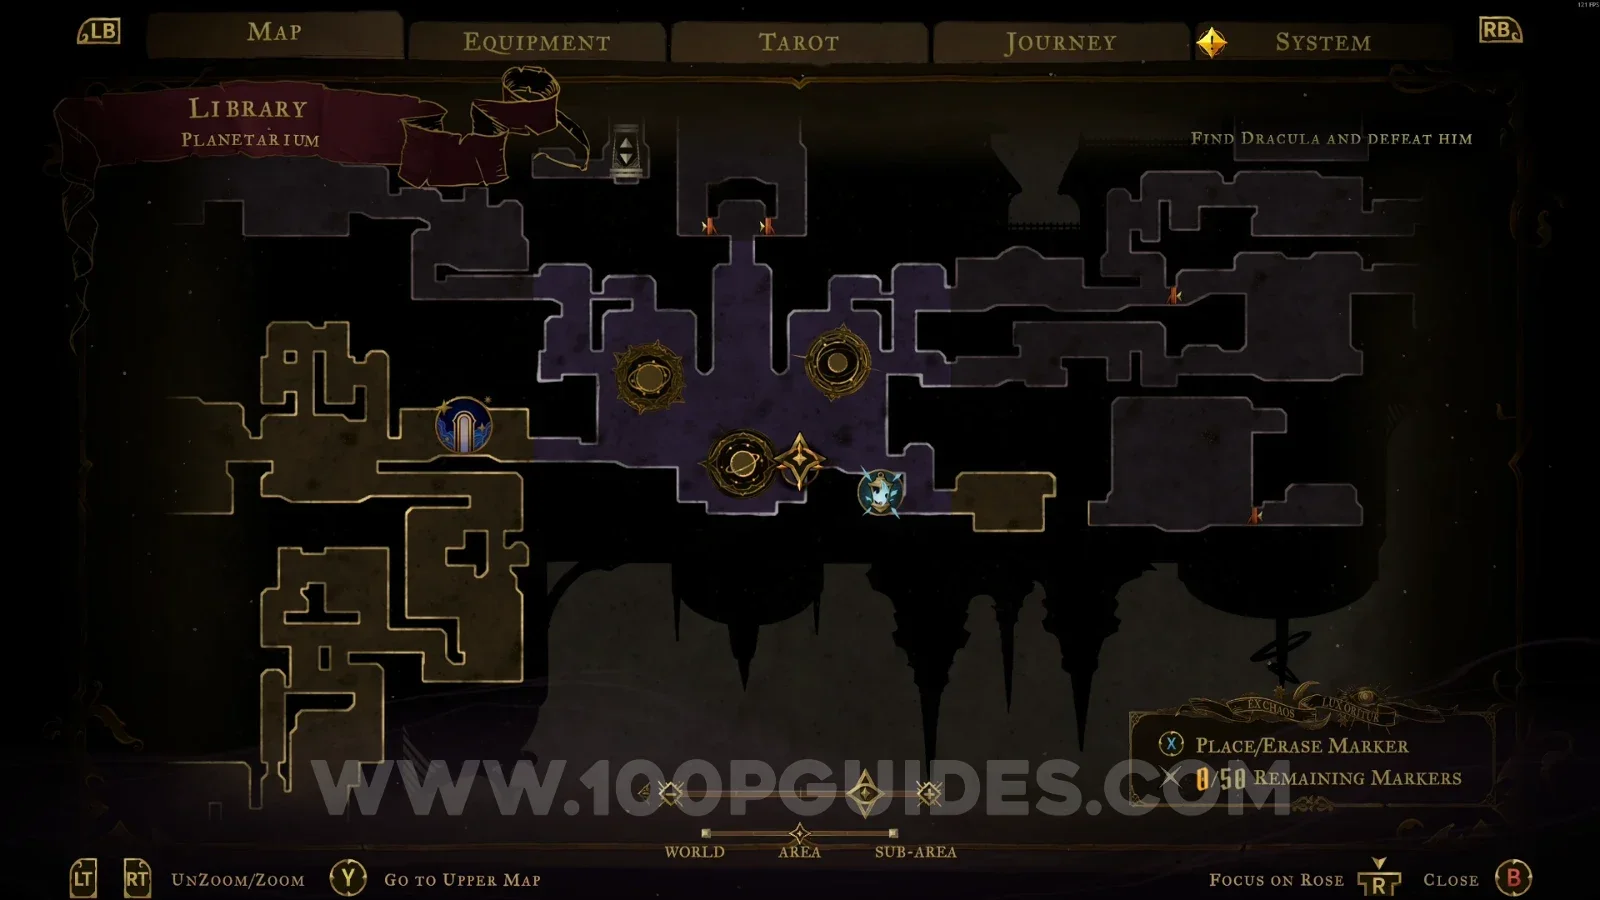
Complete both patterns by jumping on the orbs so you can launch yourself up to the Wise Heart.
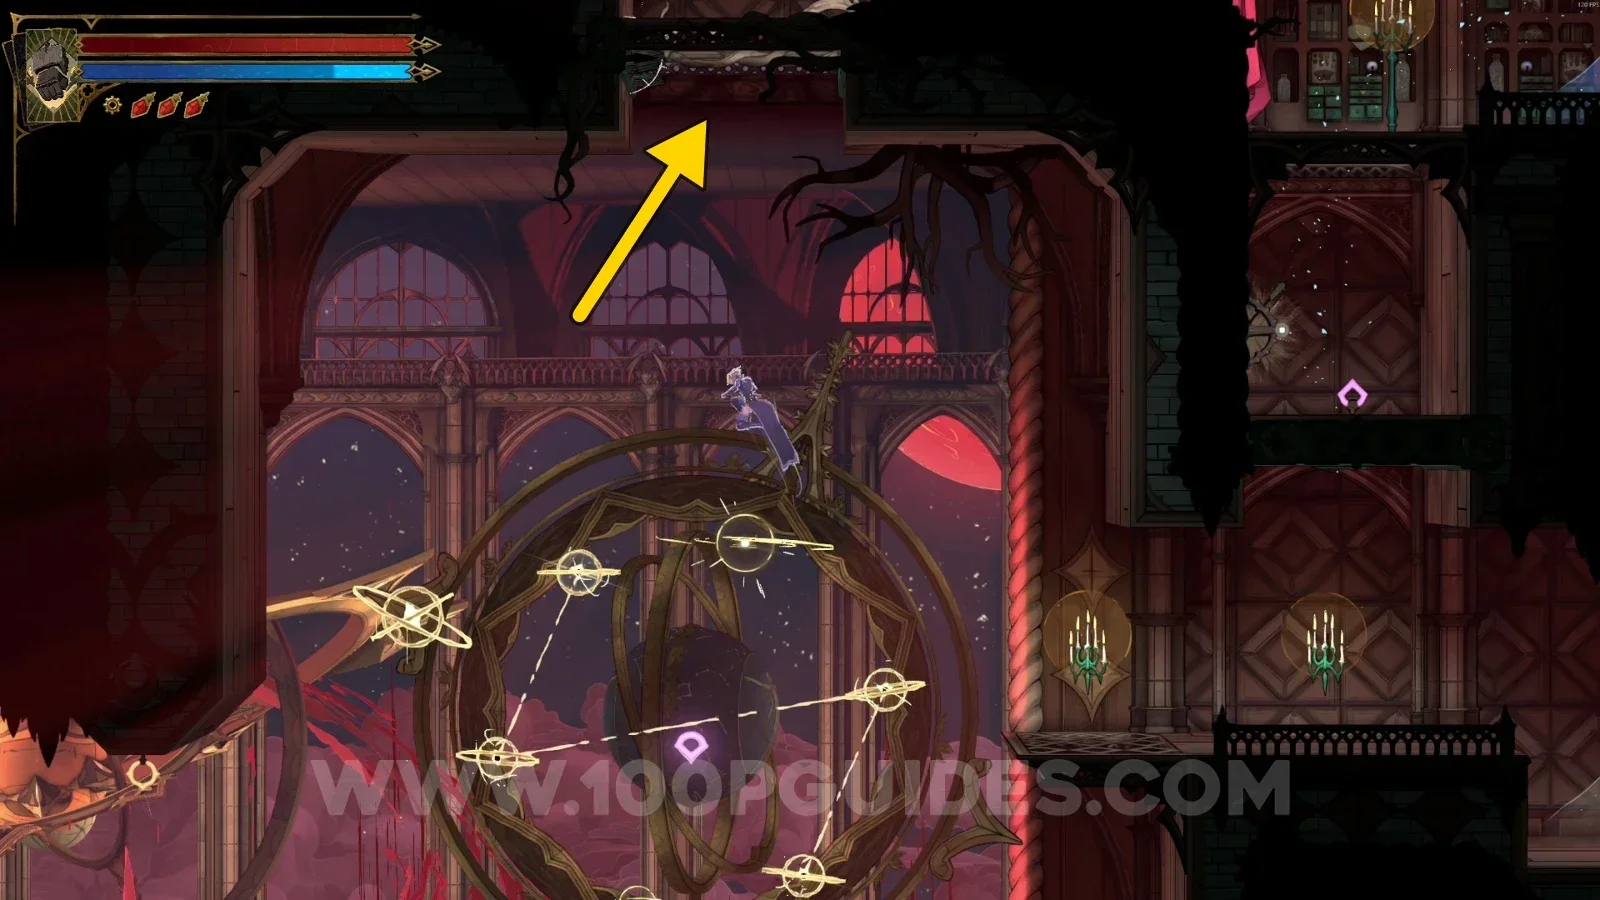
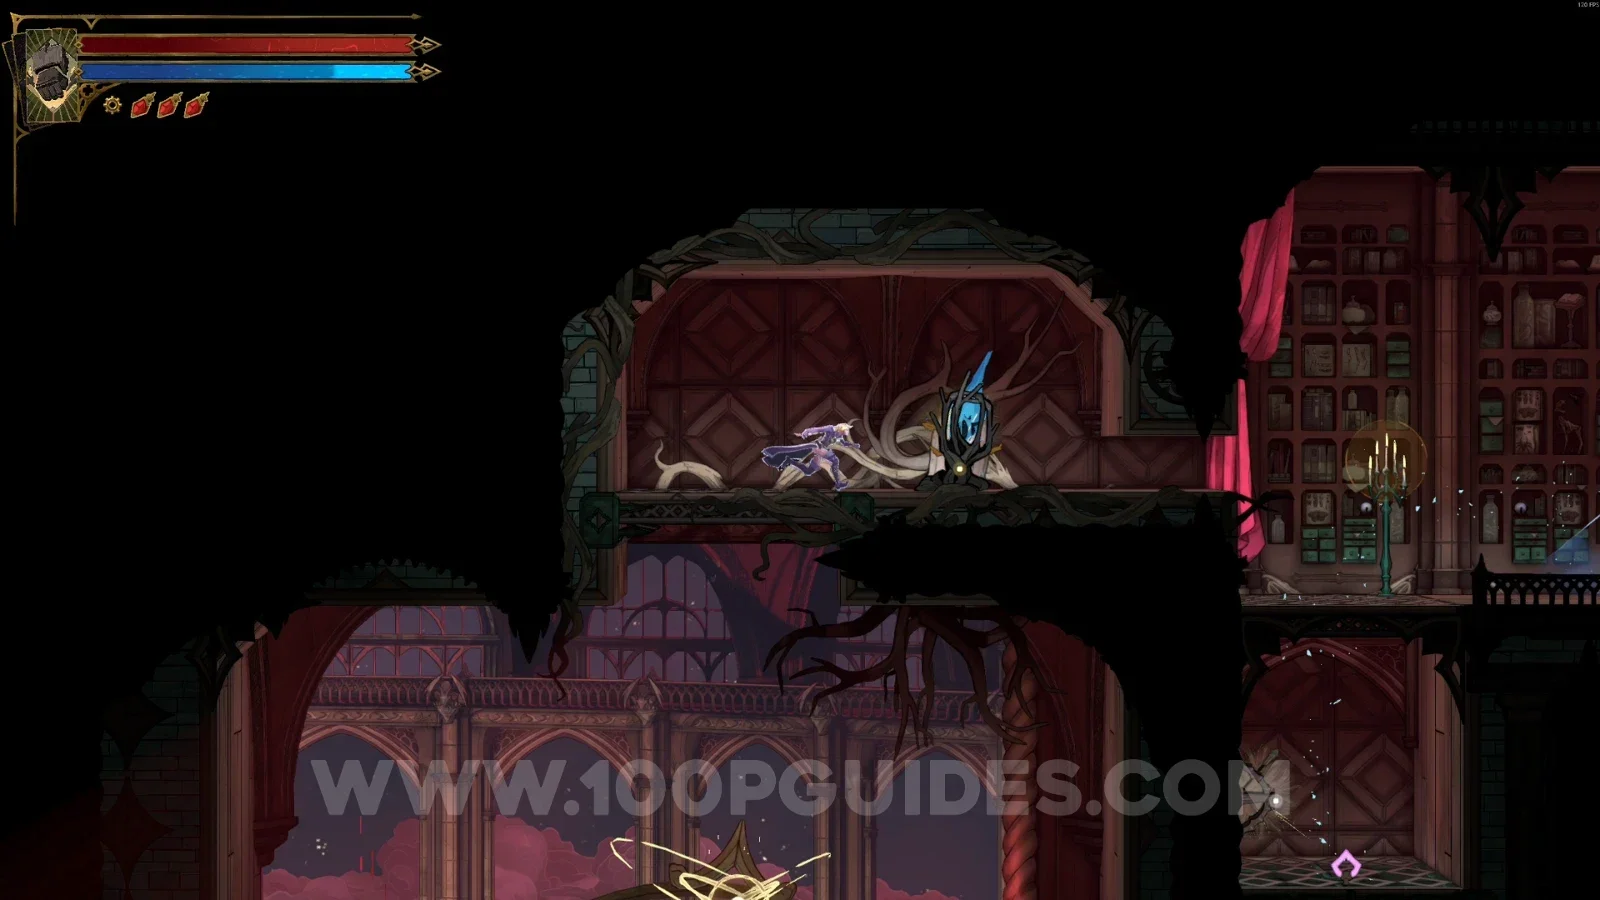
Ferryman's Wharf
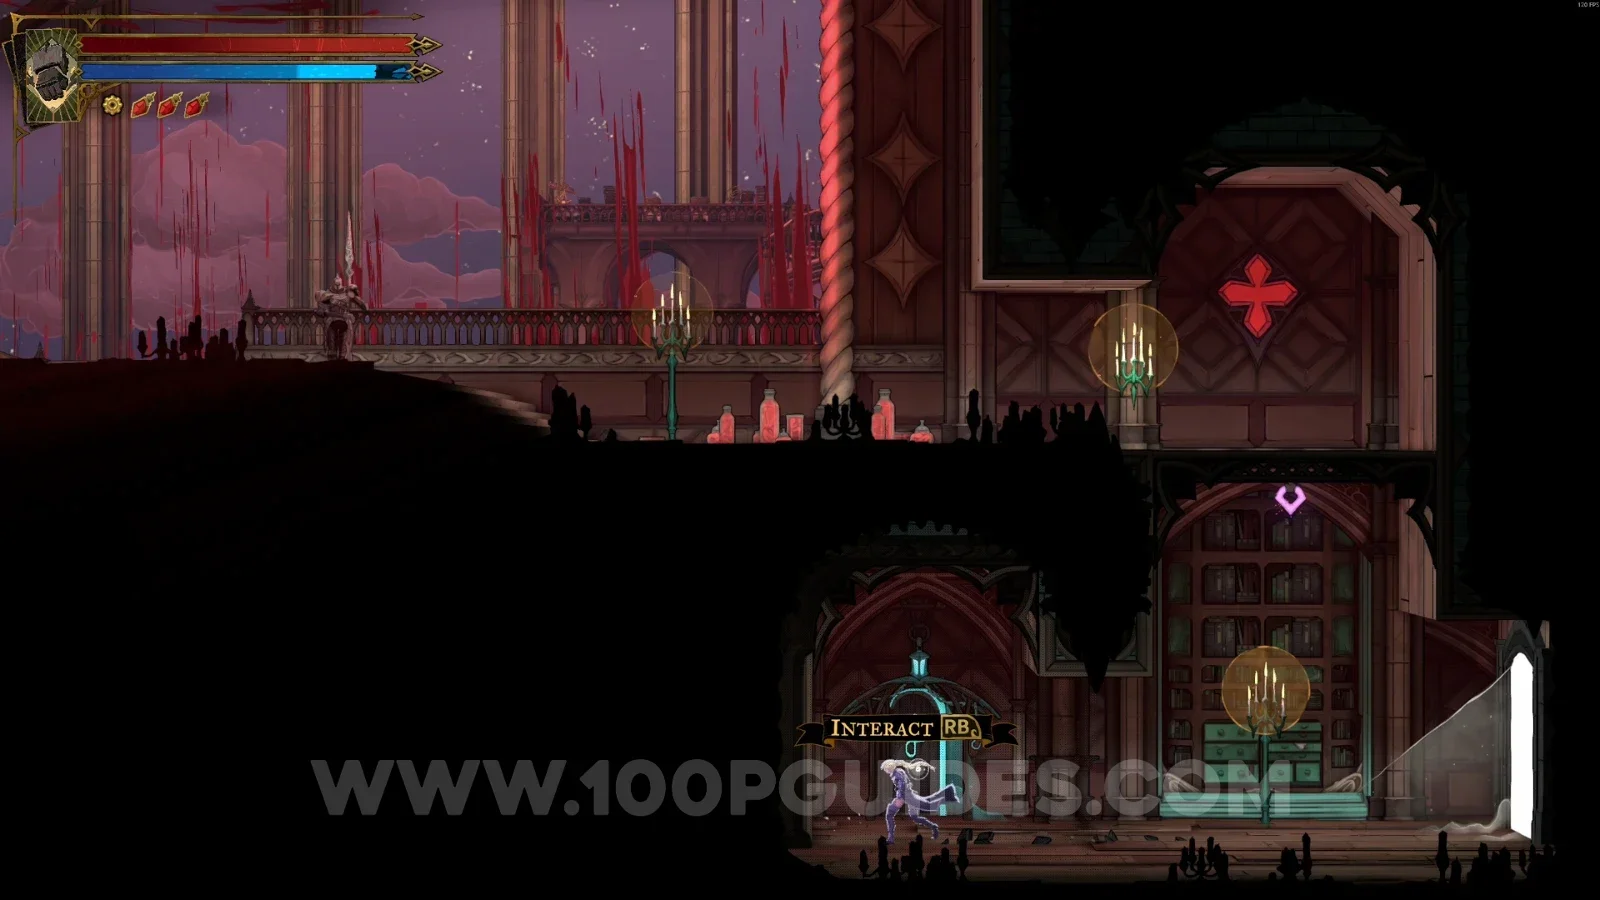
Break the wall on the left side to reveal this.
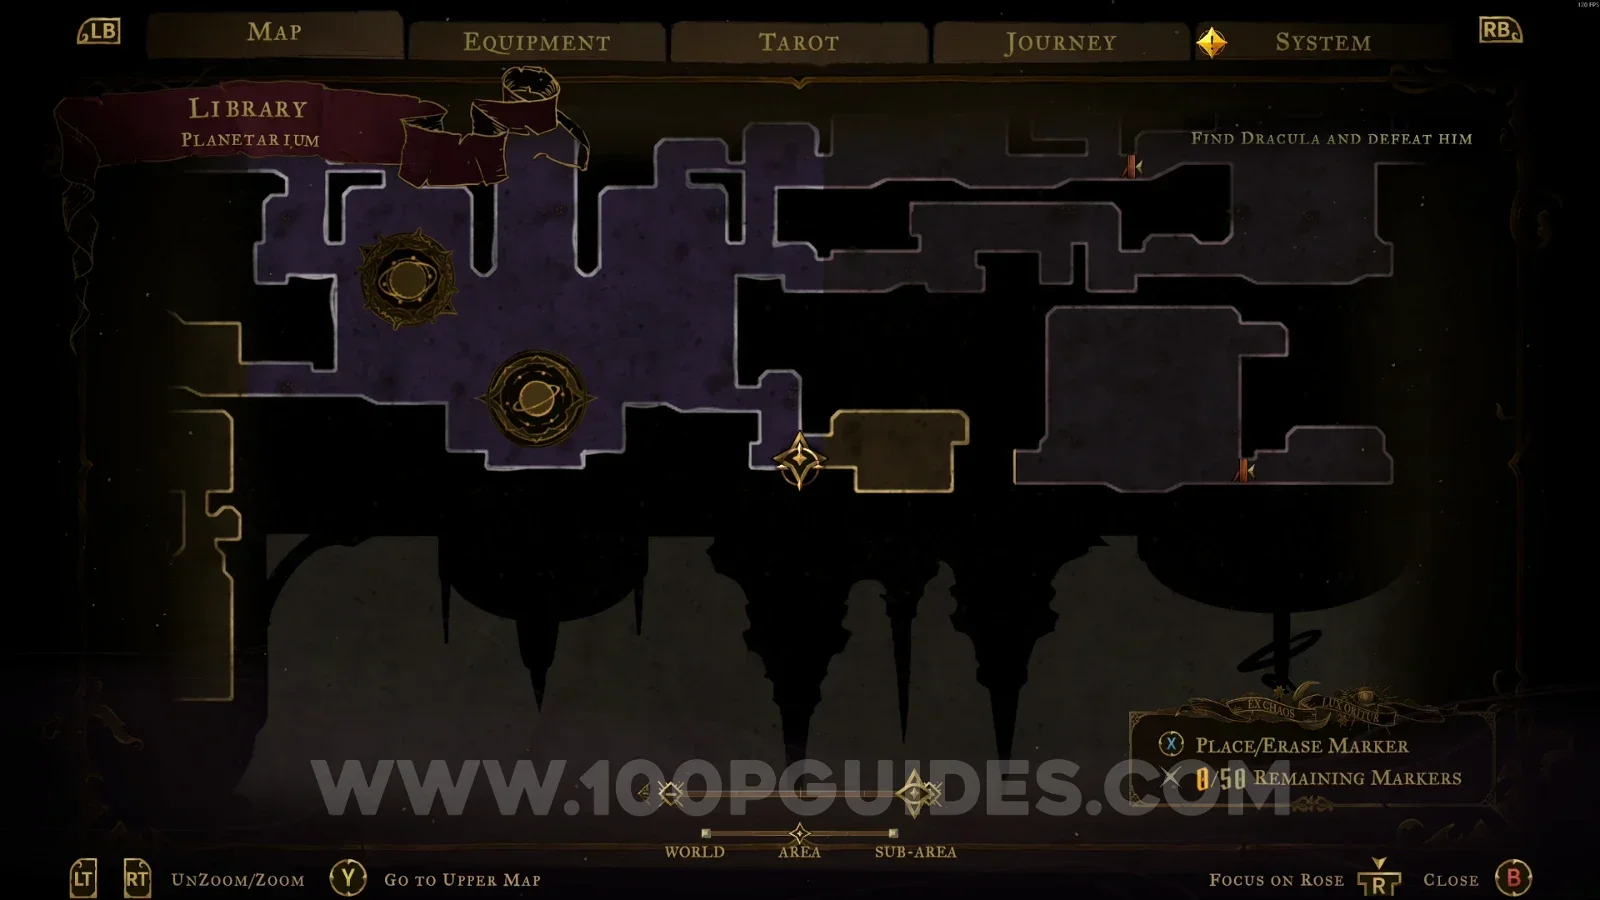
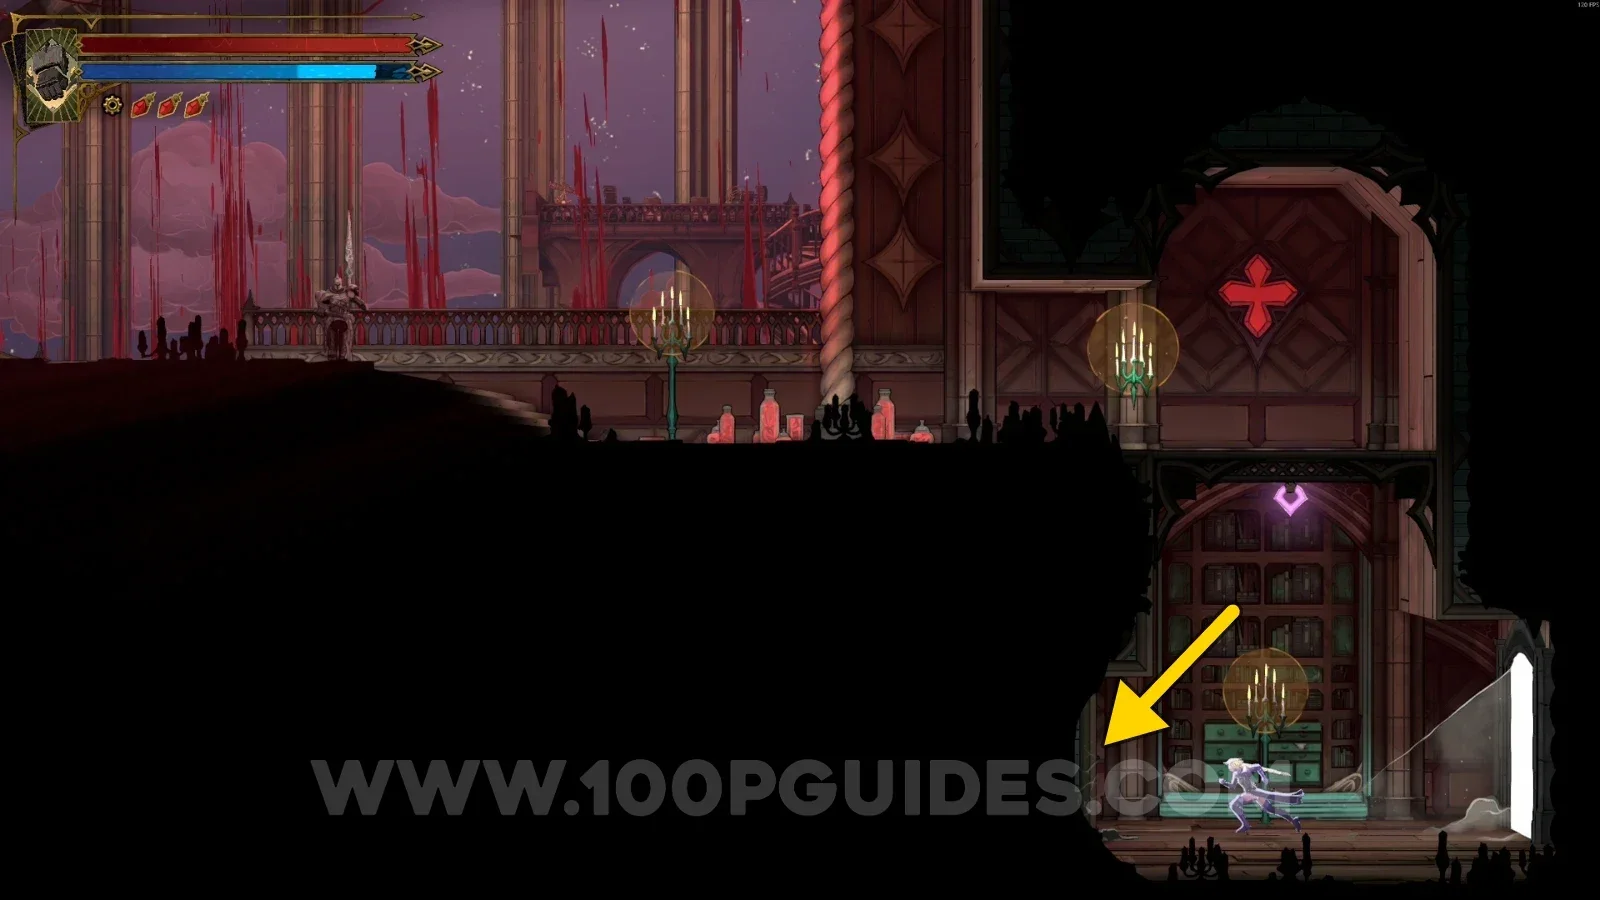
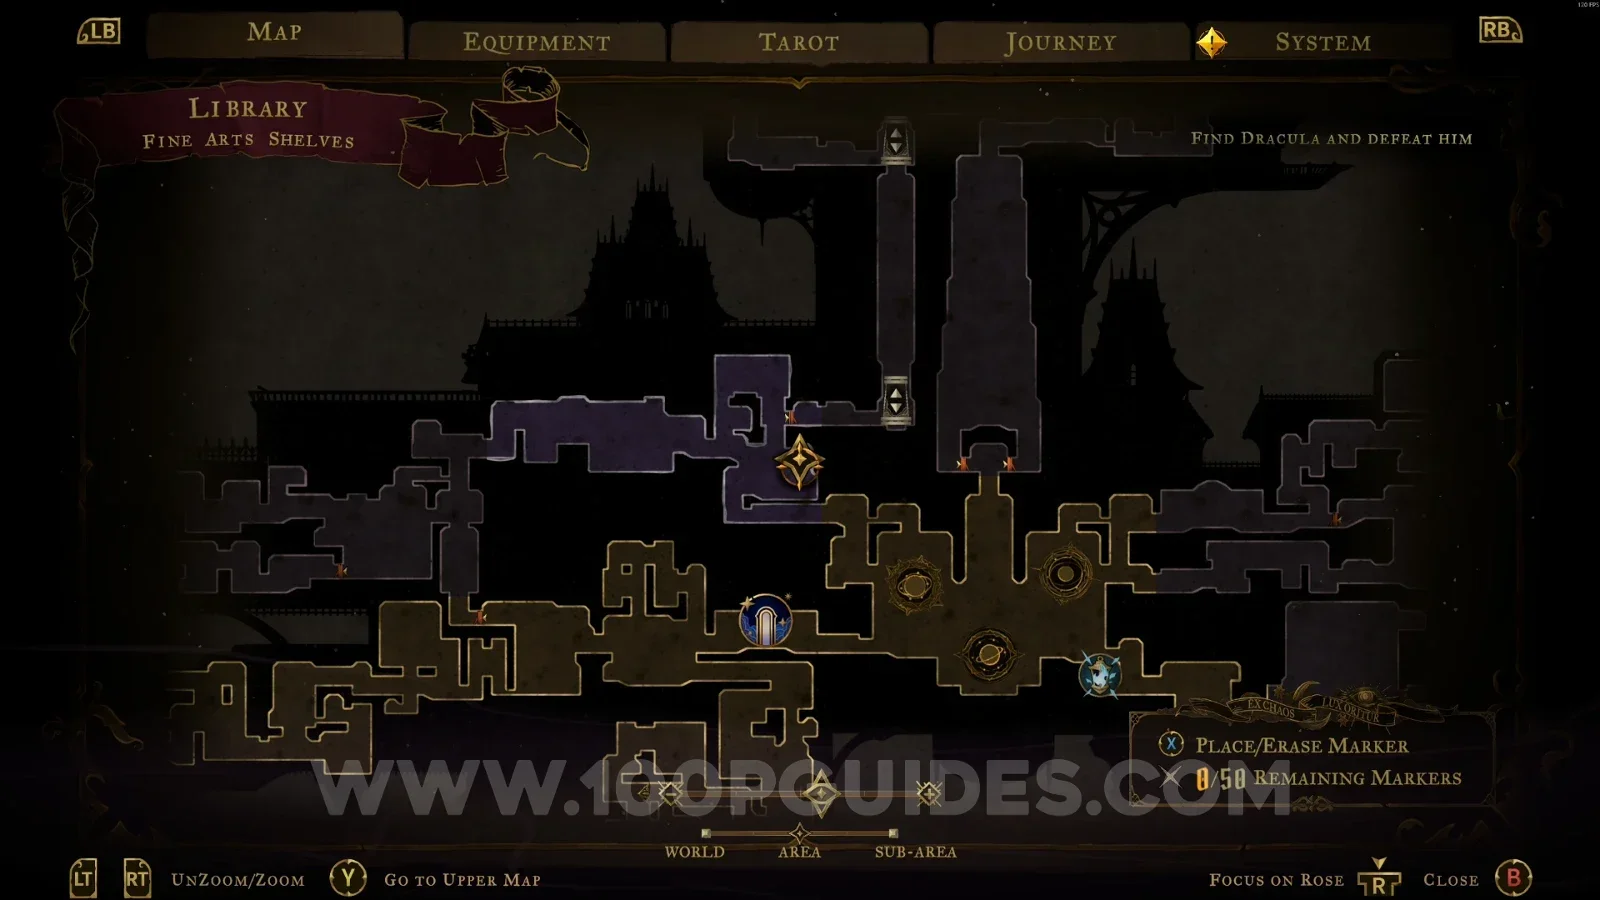
Fine Arts Shelves
Weapon #1: Thorn Whip
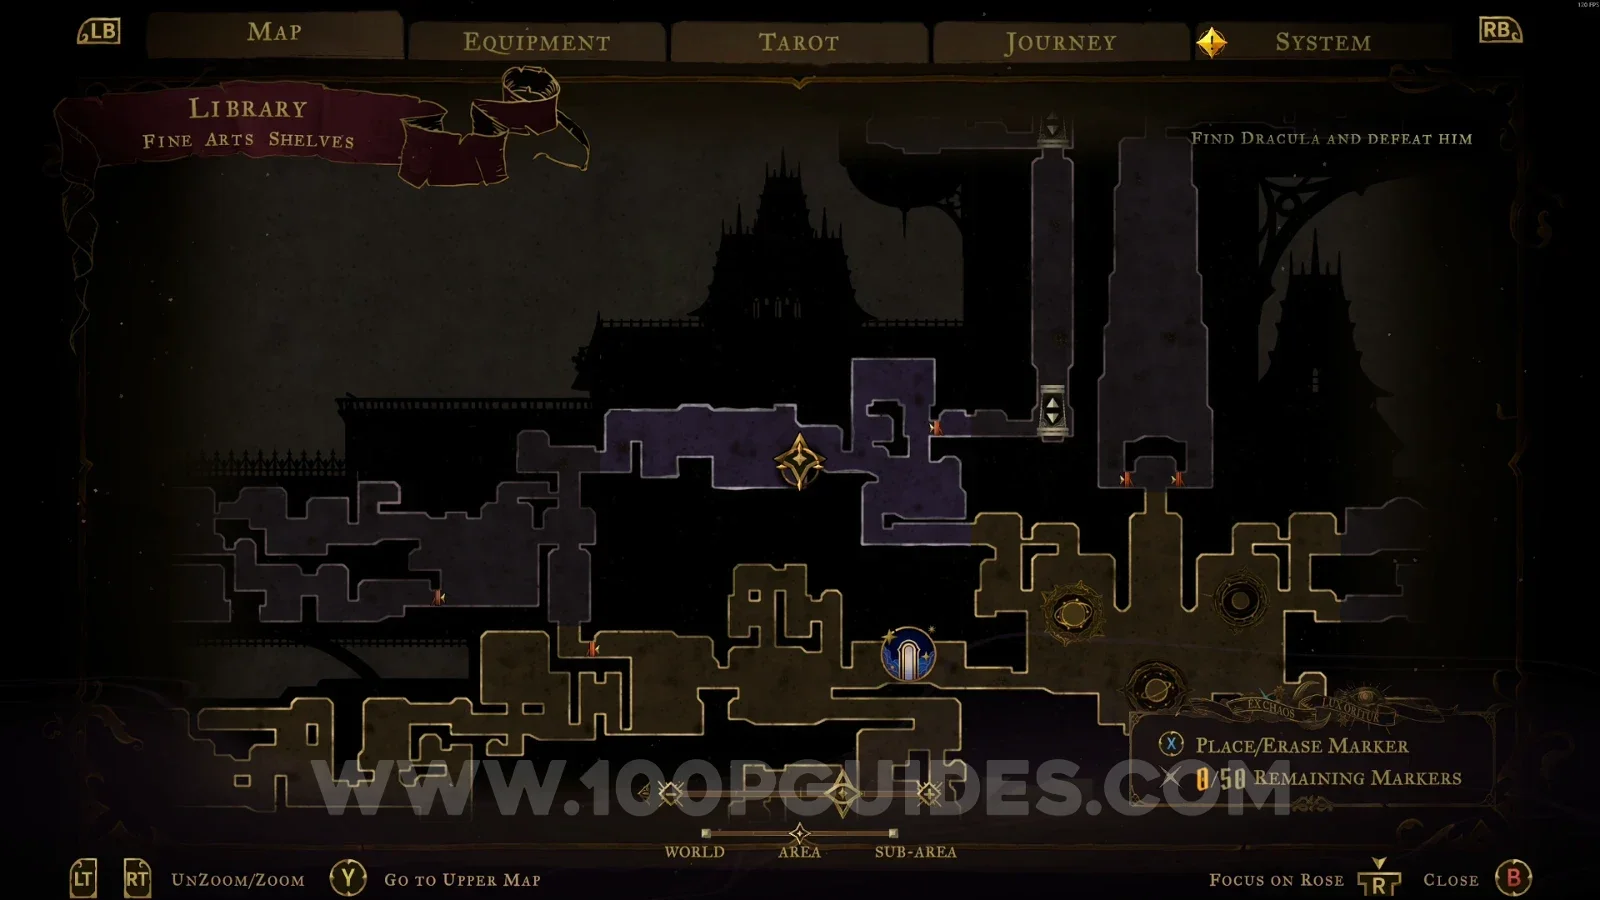
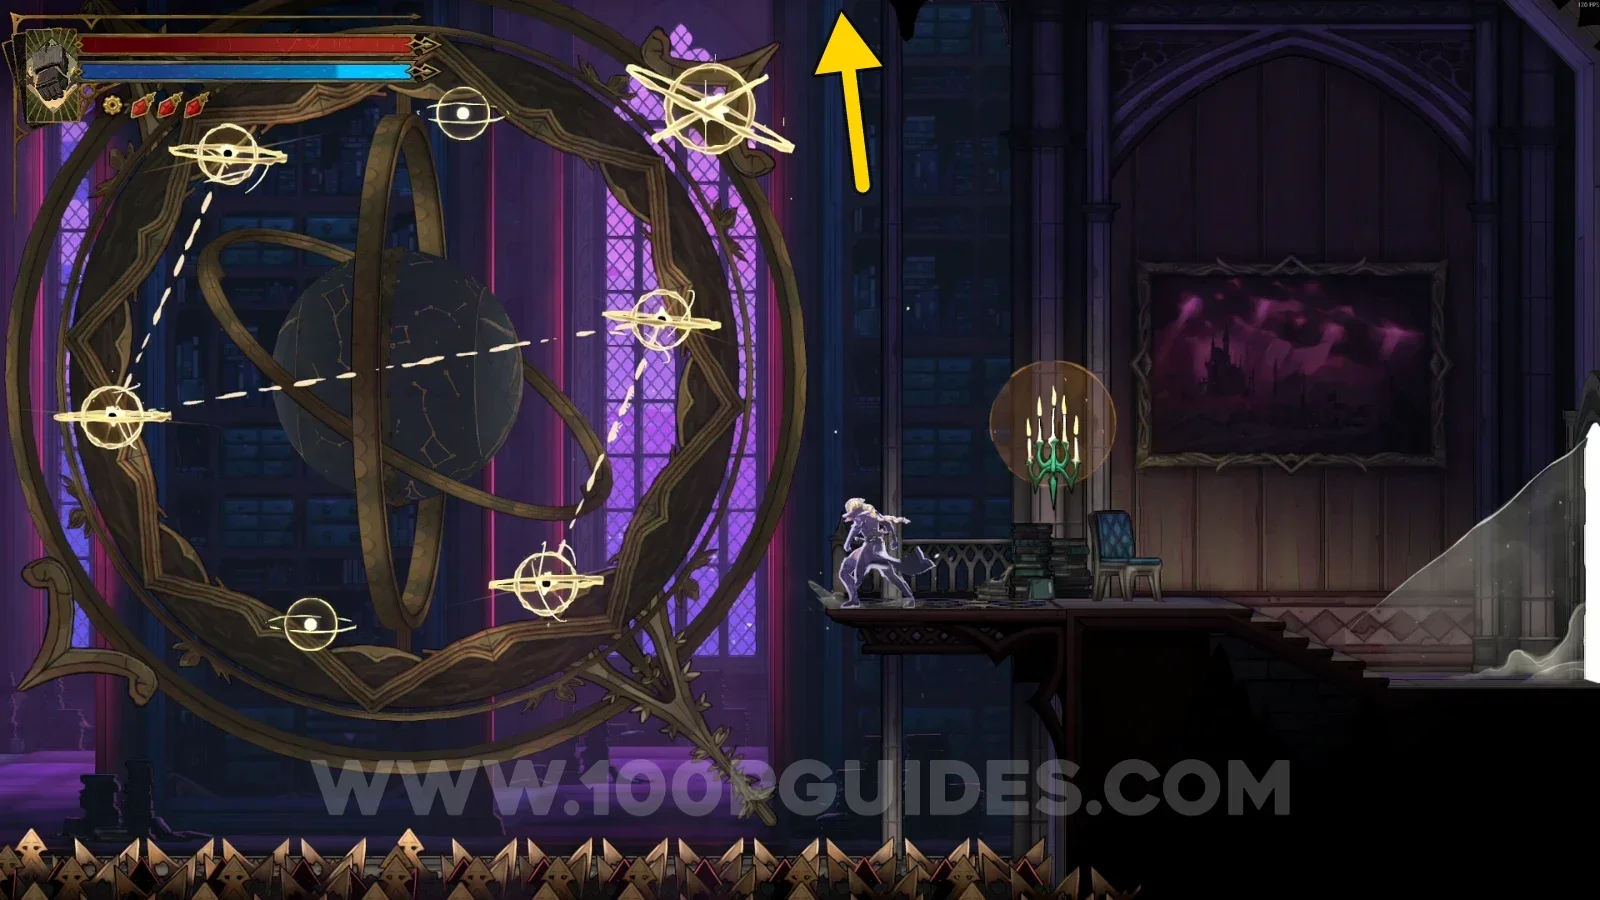
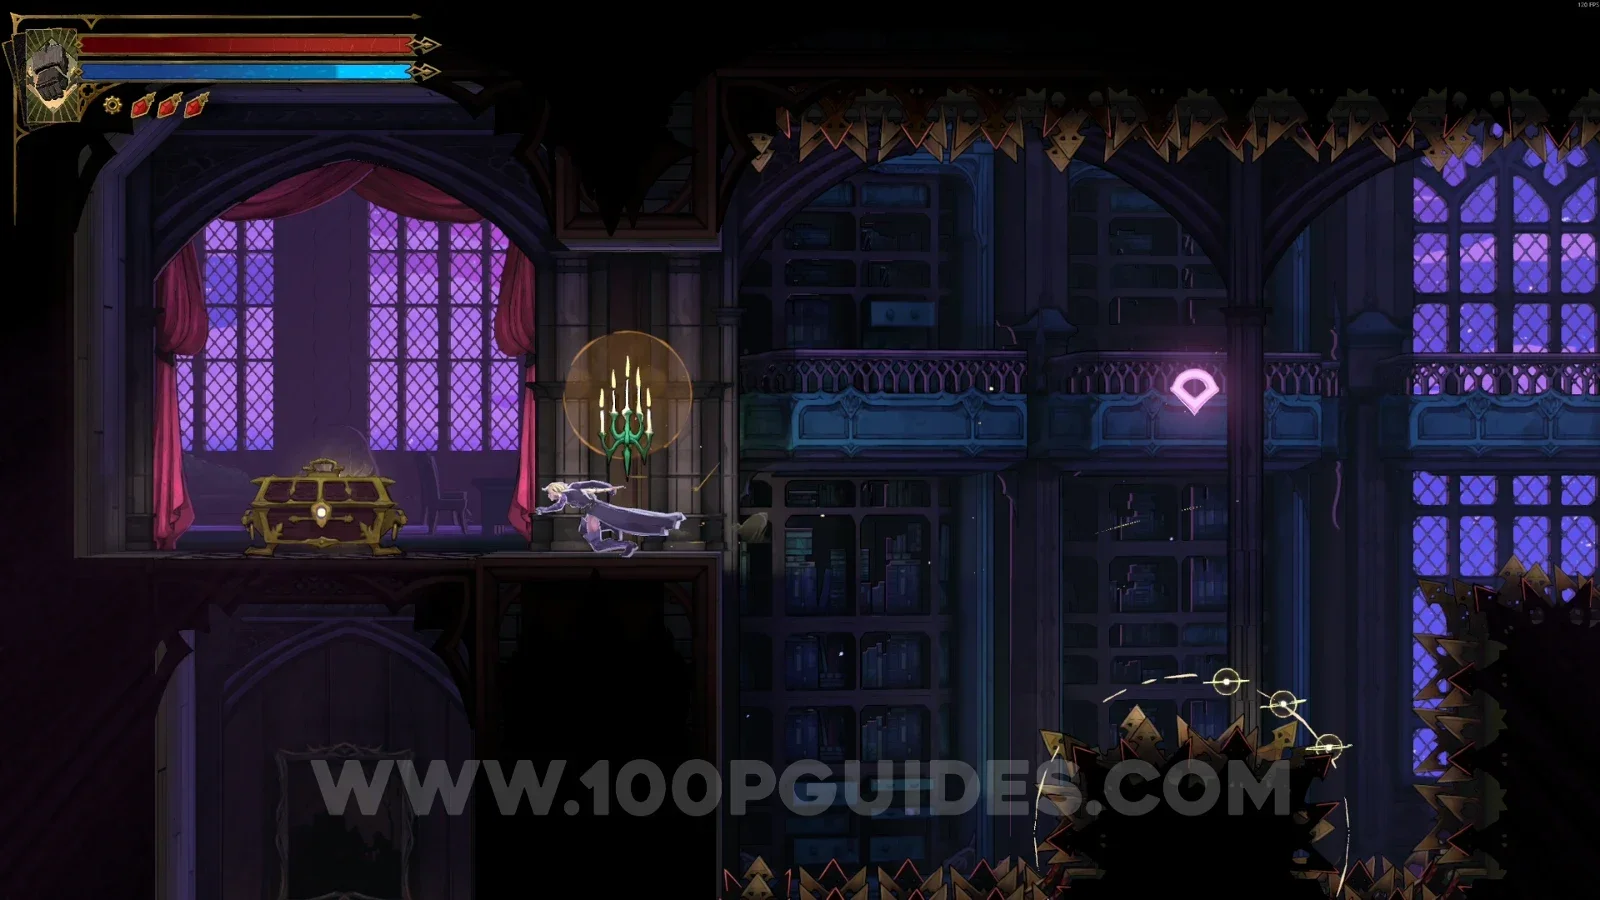
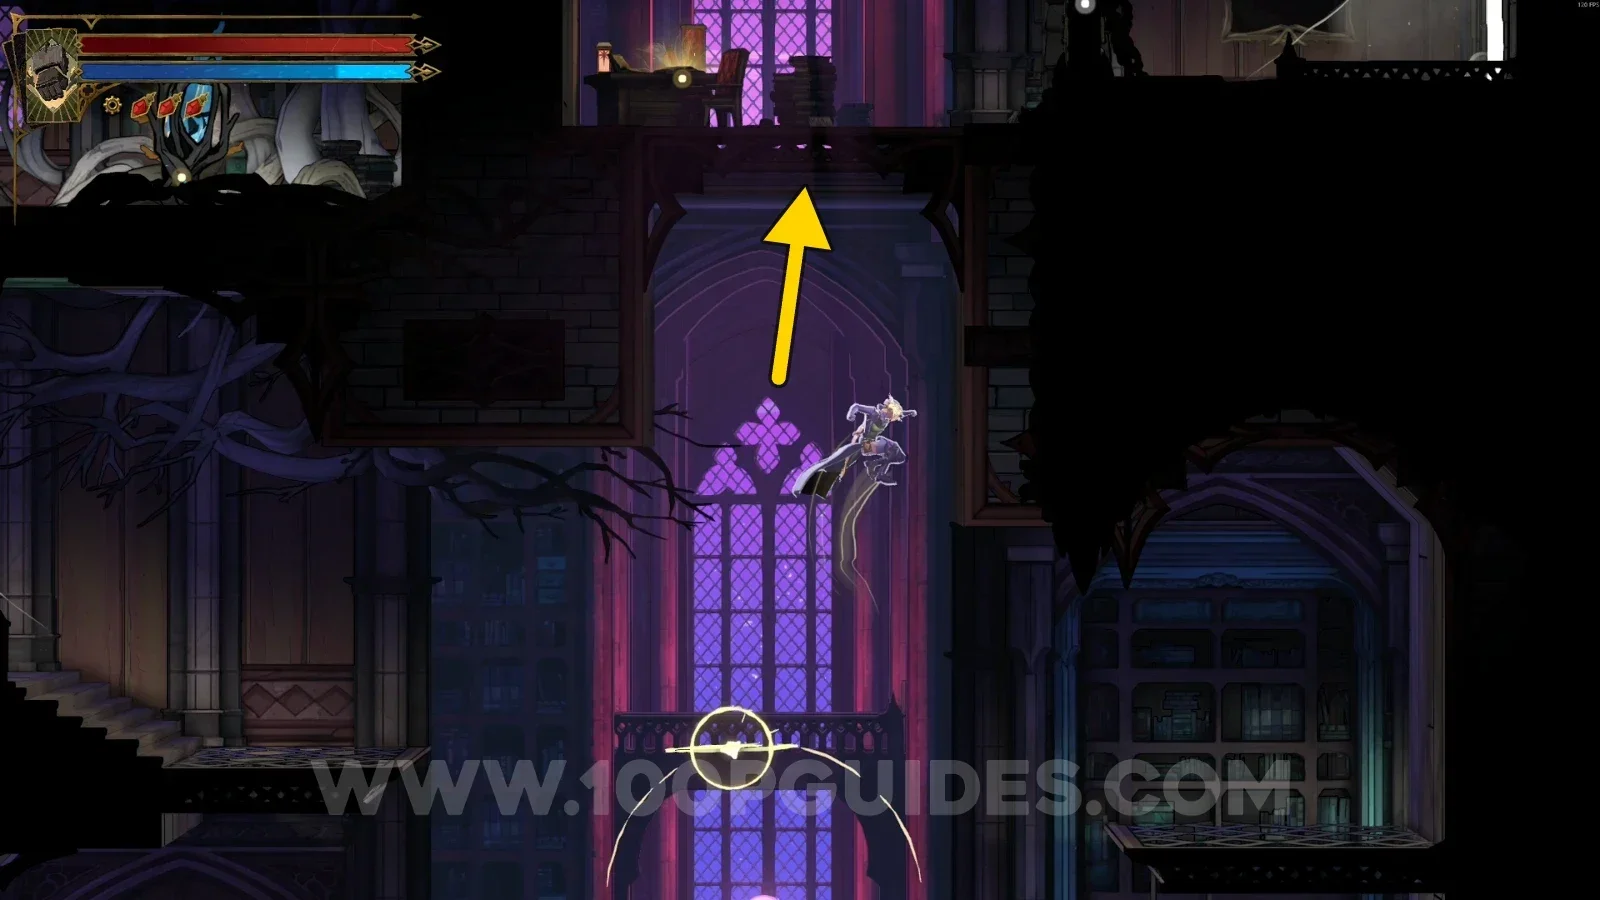
Complete the pattern on the orbs so you can launch yourself upward. At the end of the area, you'll find the chest with this weapon.
Wise Heart Fragment #3
In the upper part of the area, use the orbs to launch yourself upward.
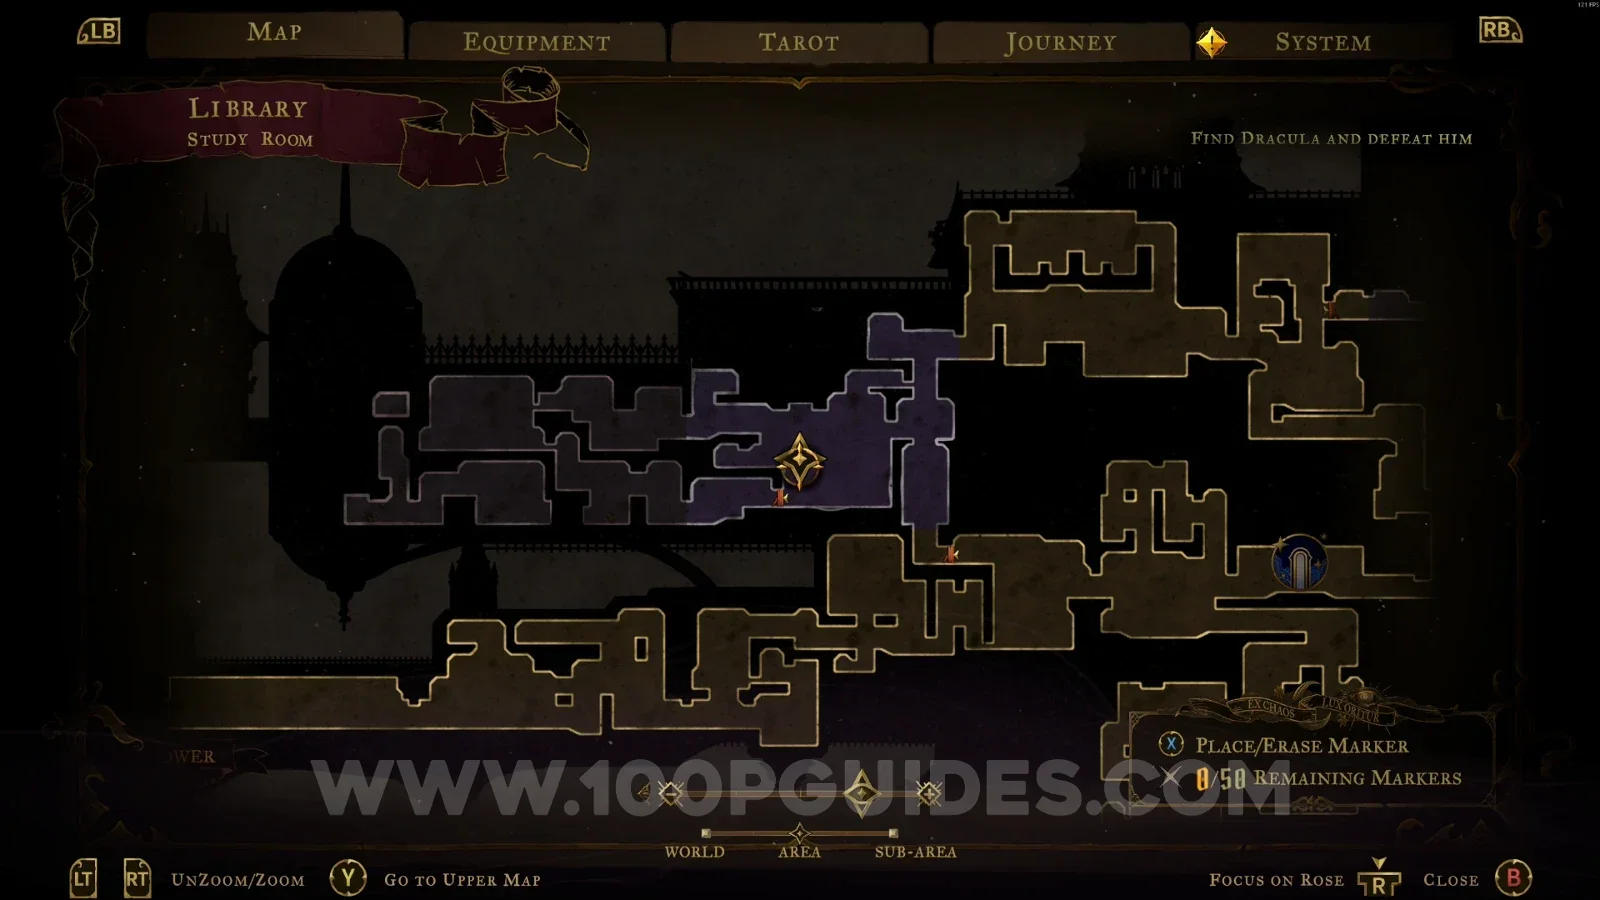
Study Room
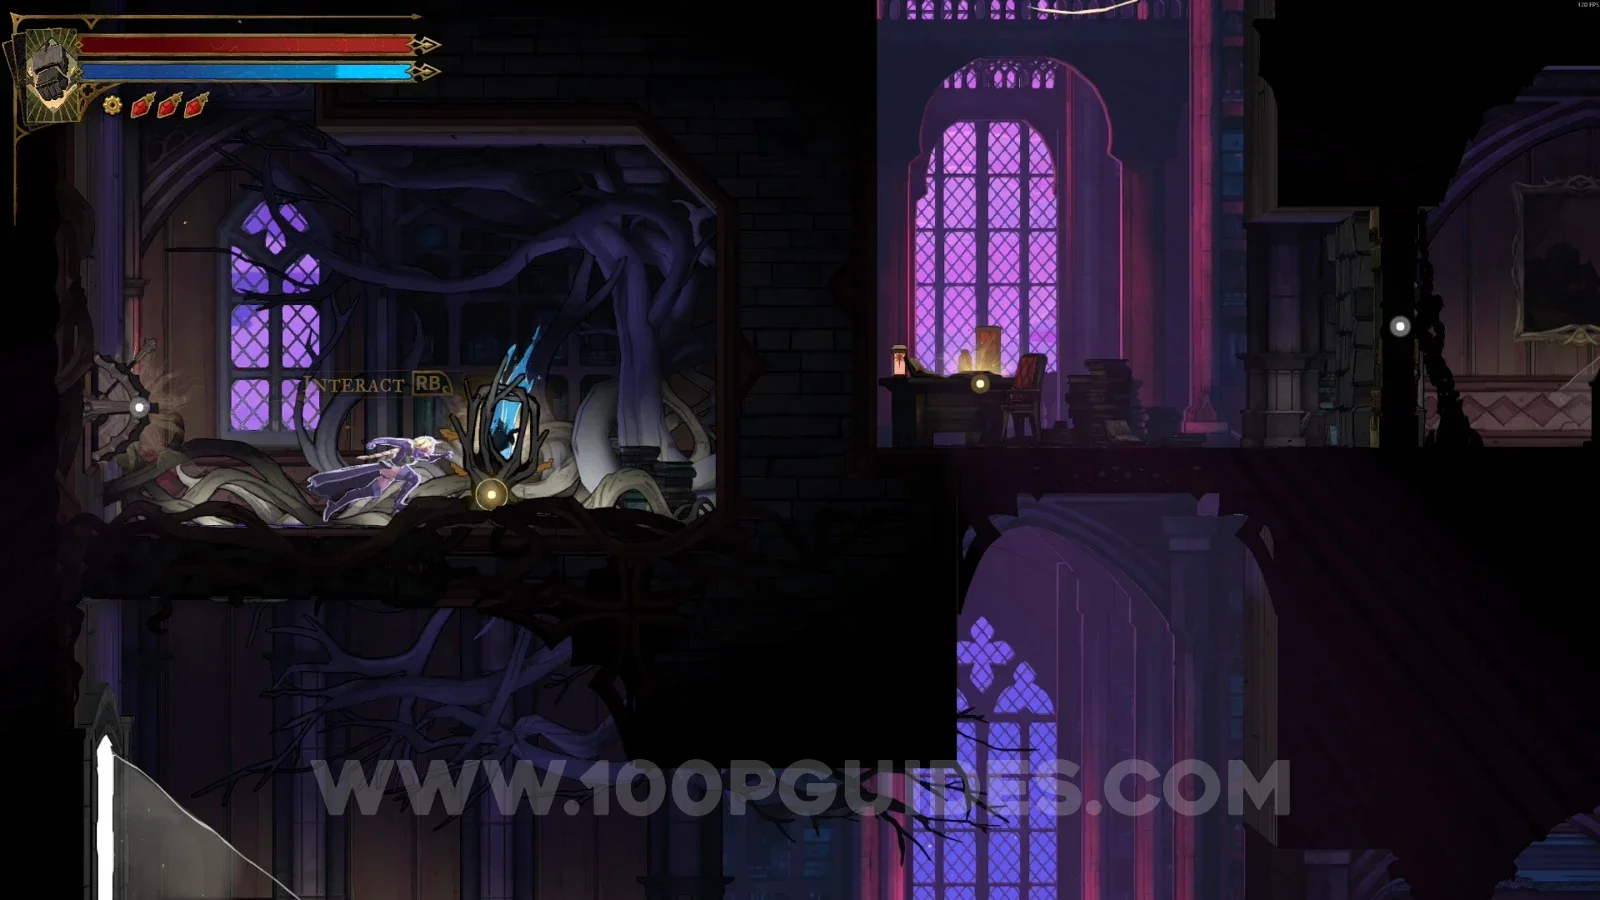
XP Statue #3
On the left side of the area.
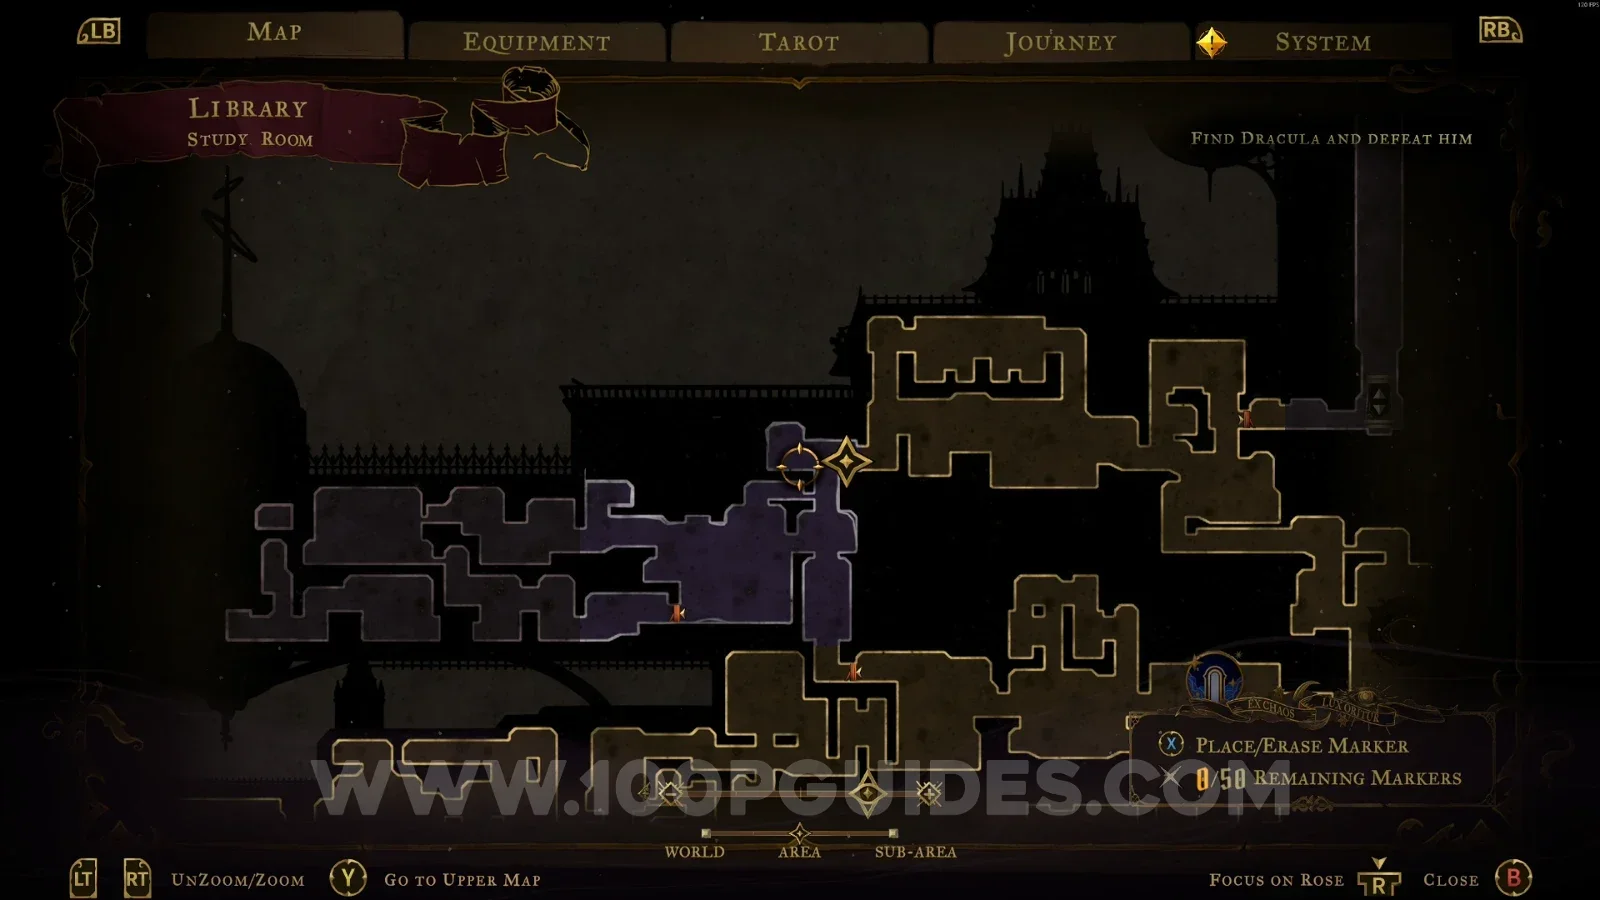
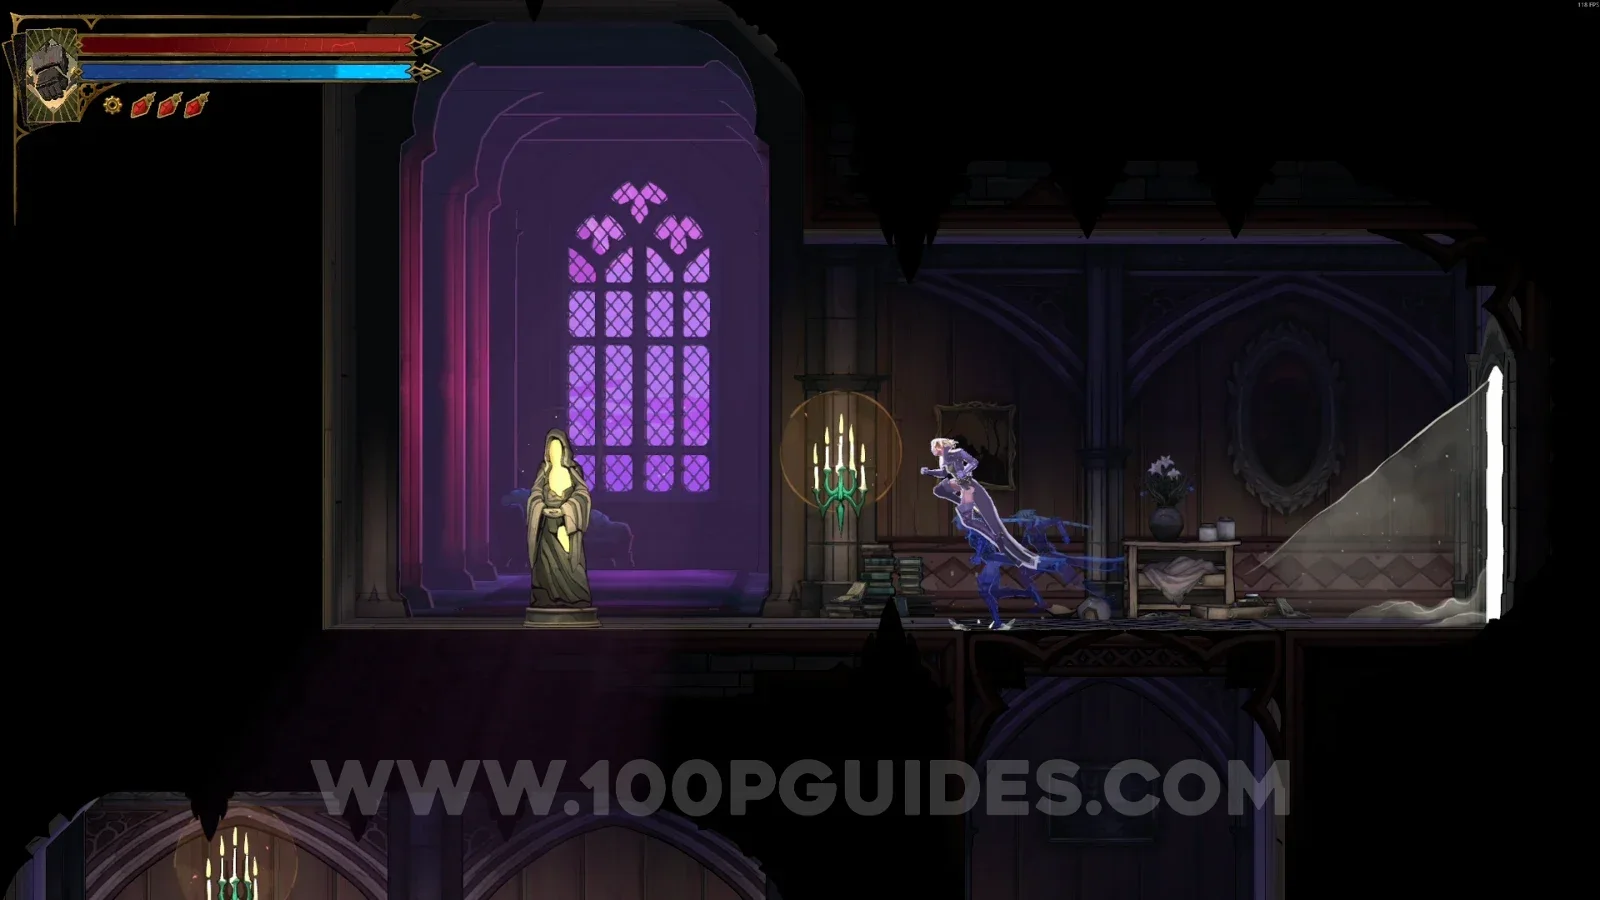
XP Statue #4
On the left side of the area, break the wall to reveal this.
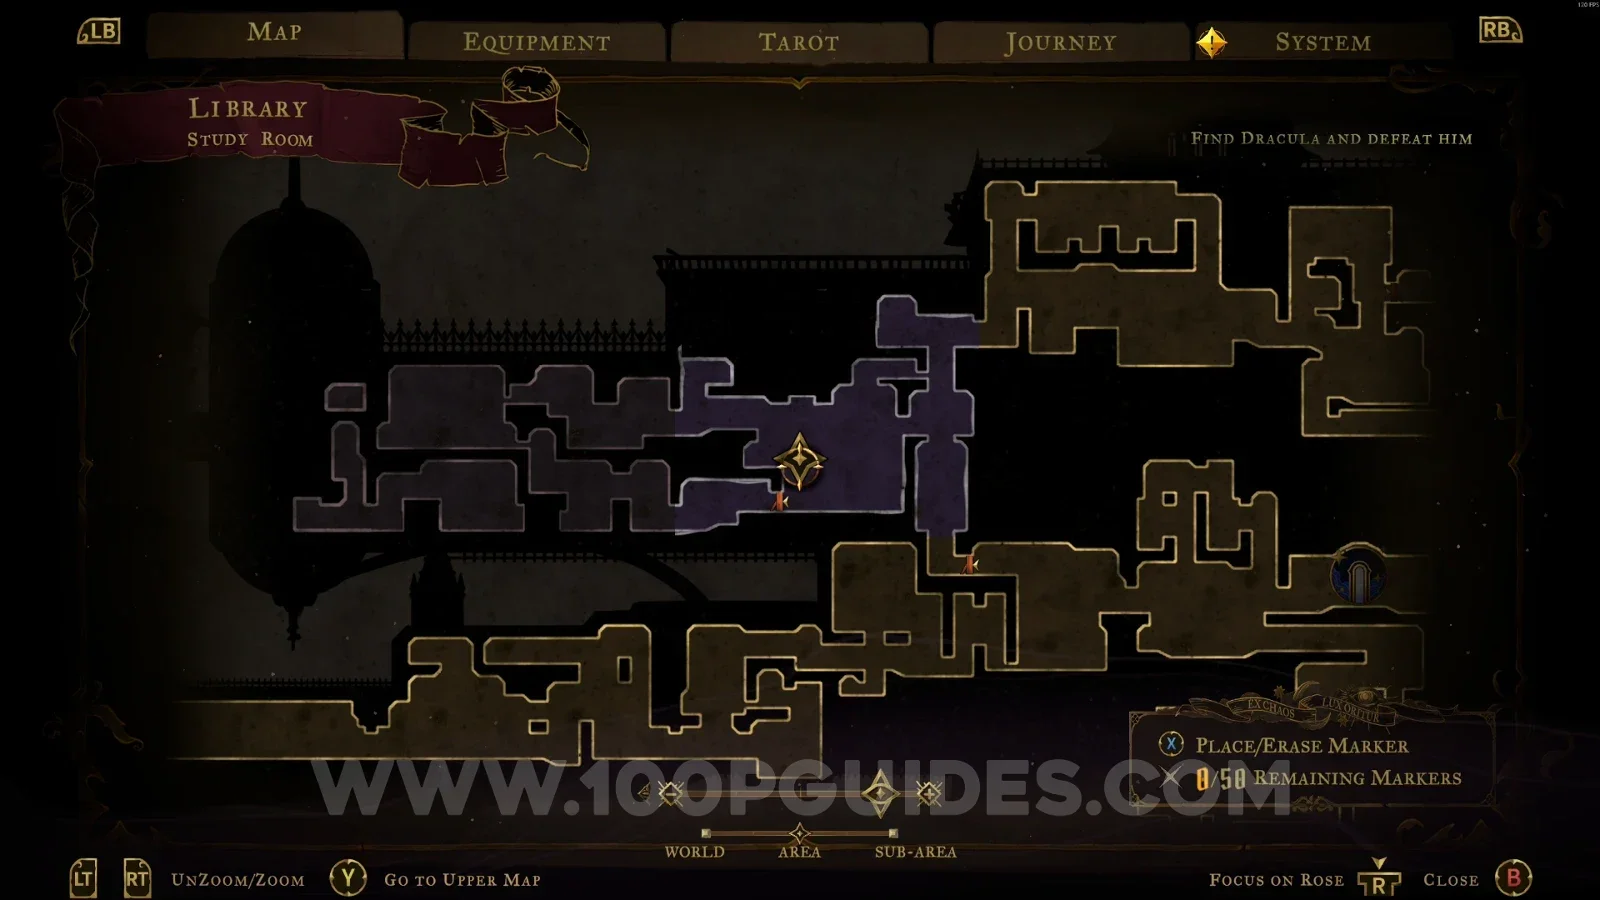
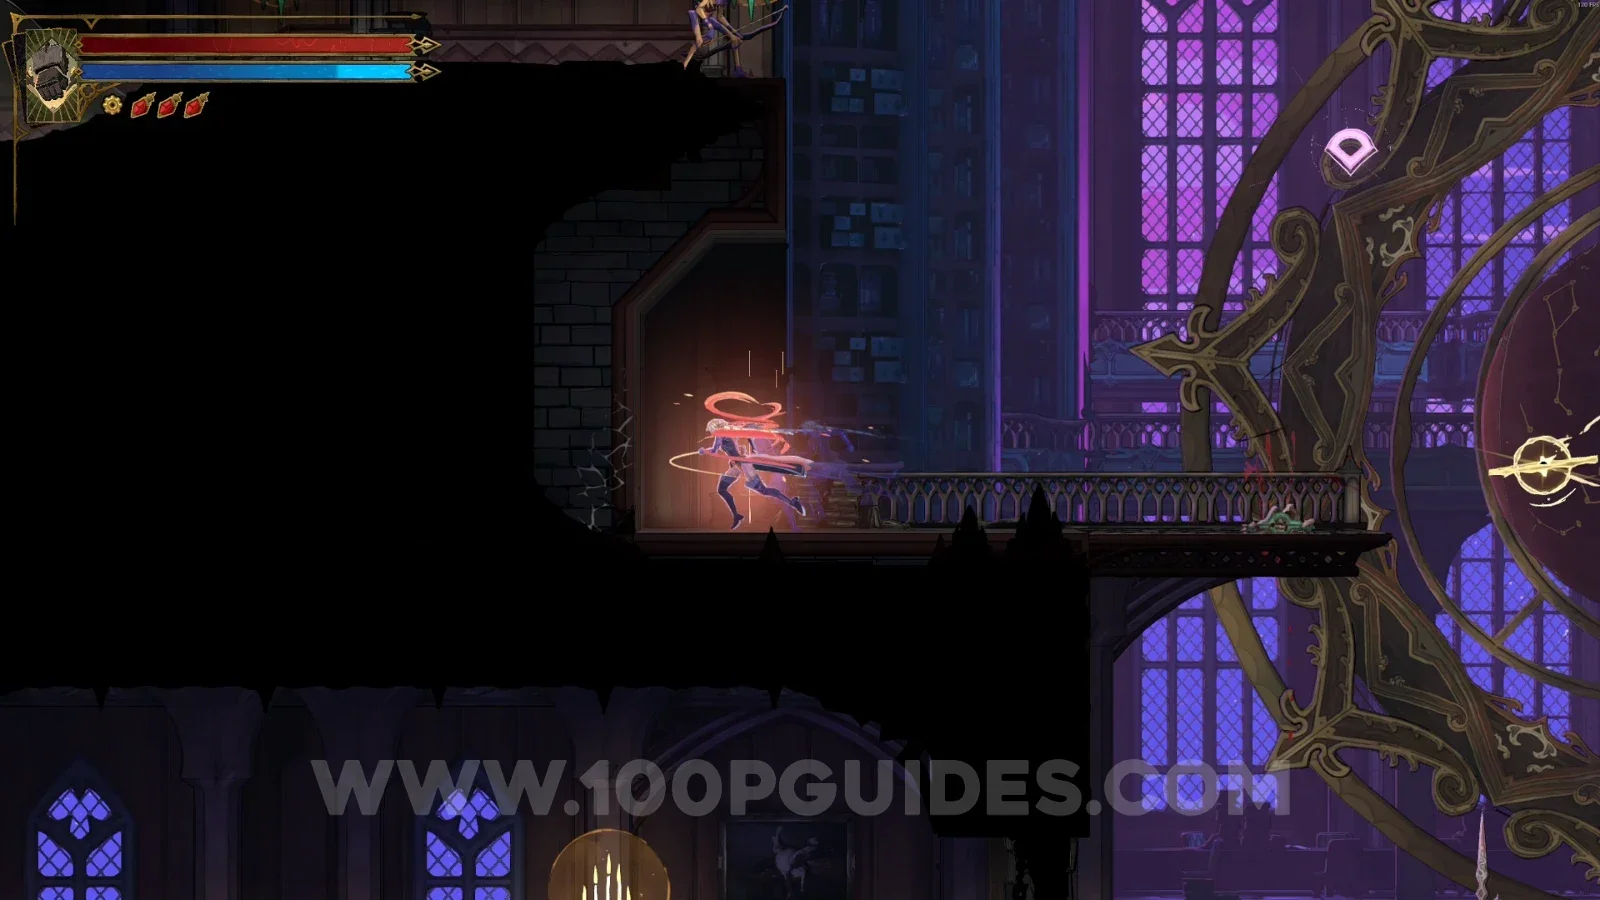
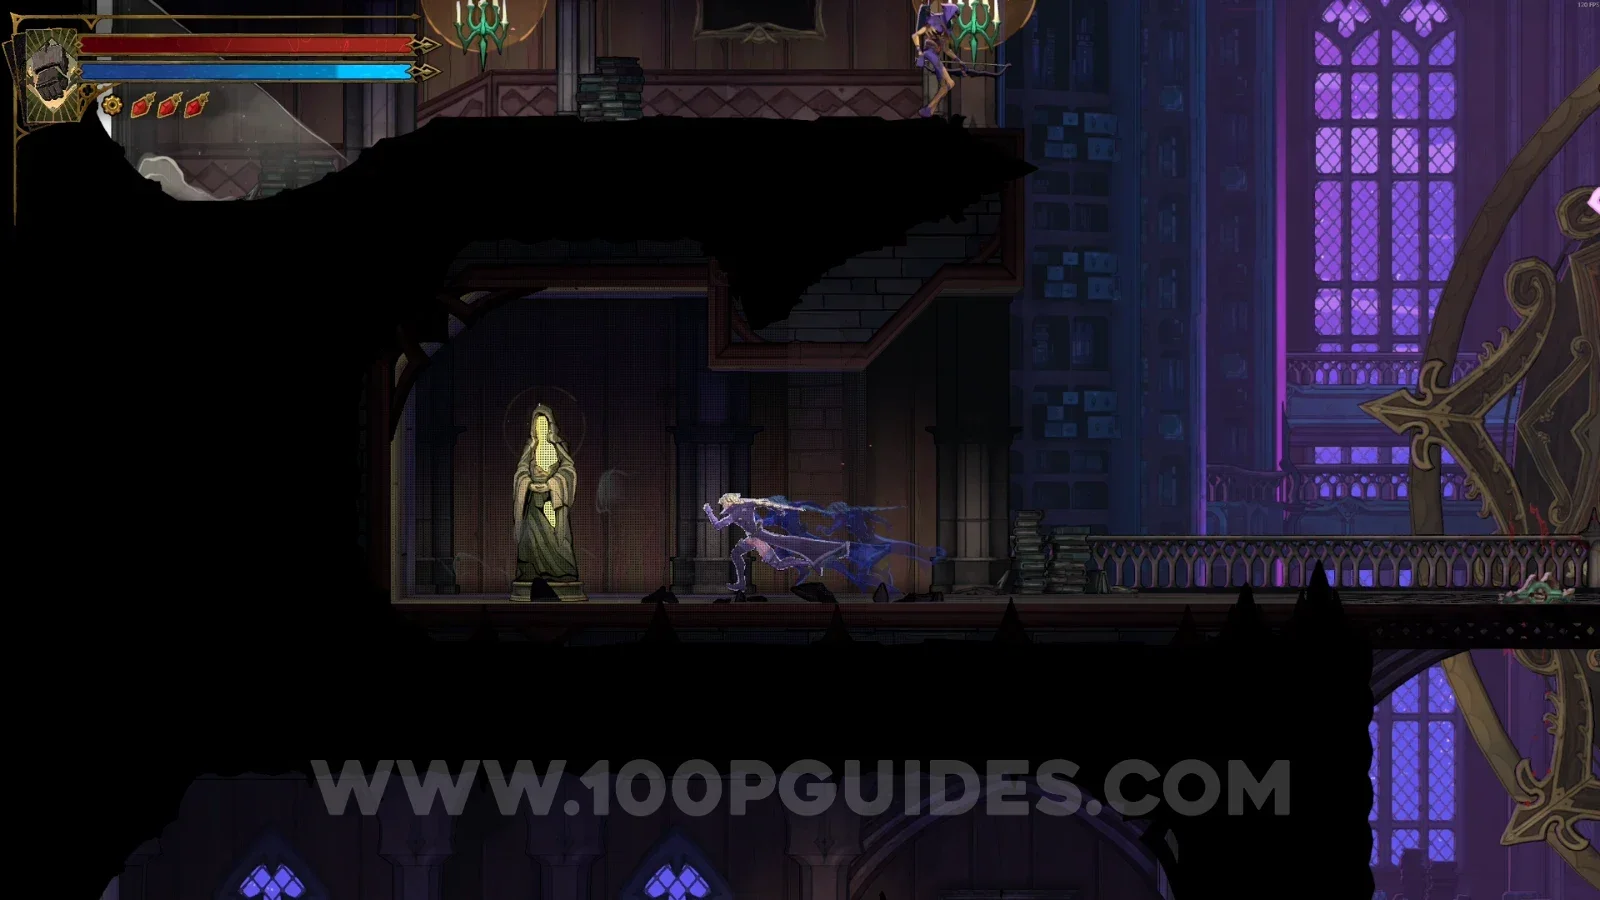
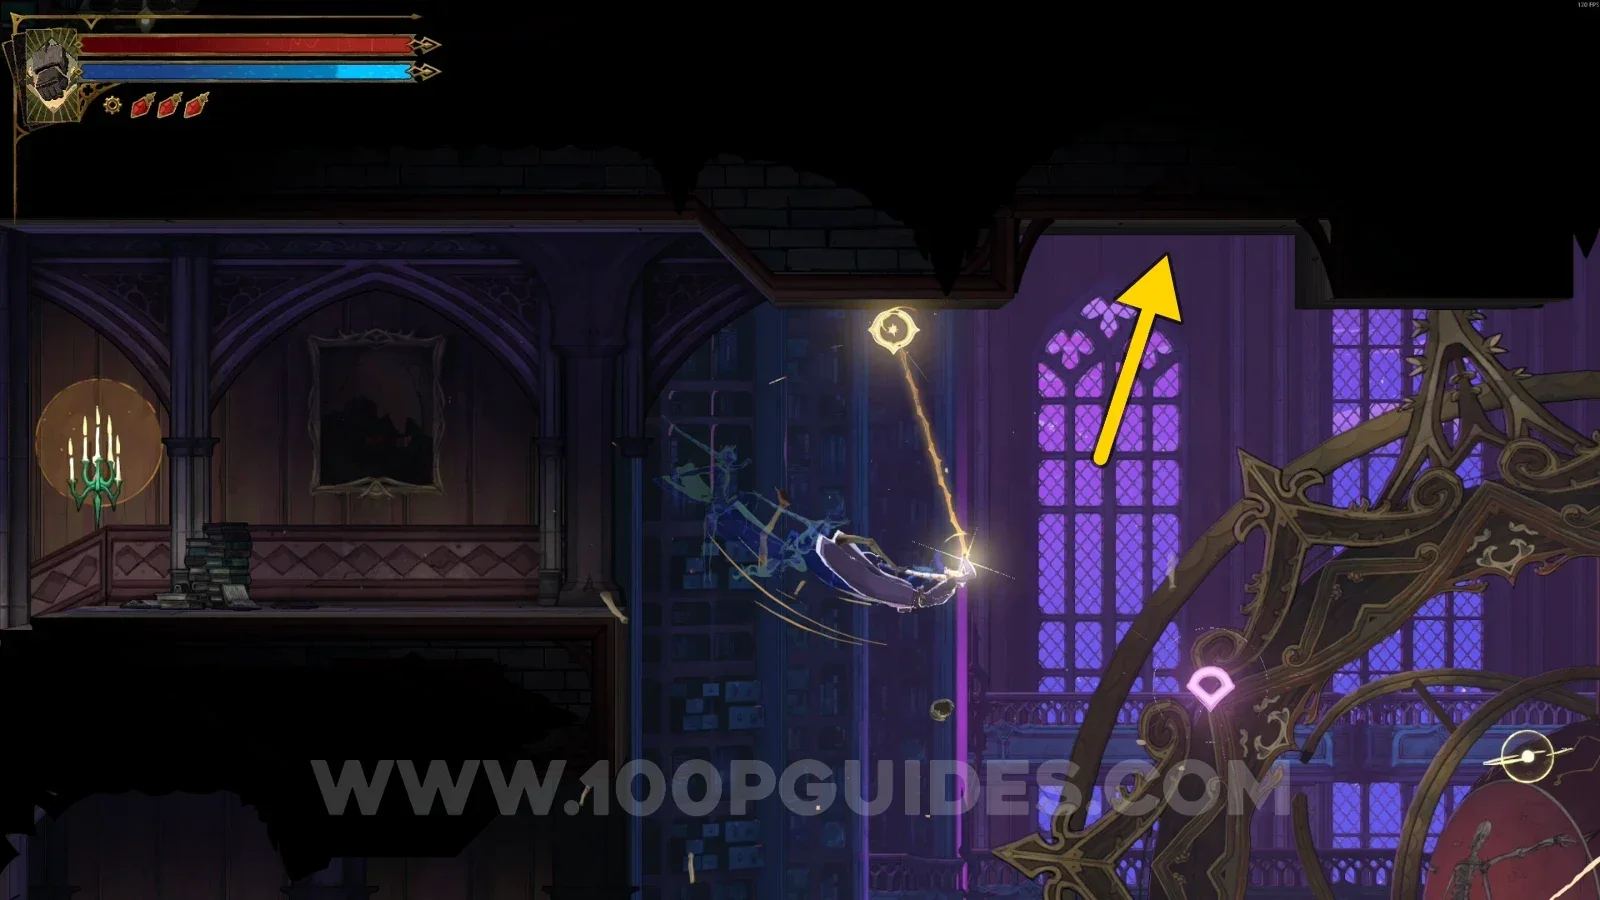
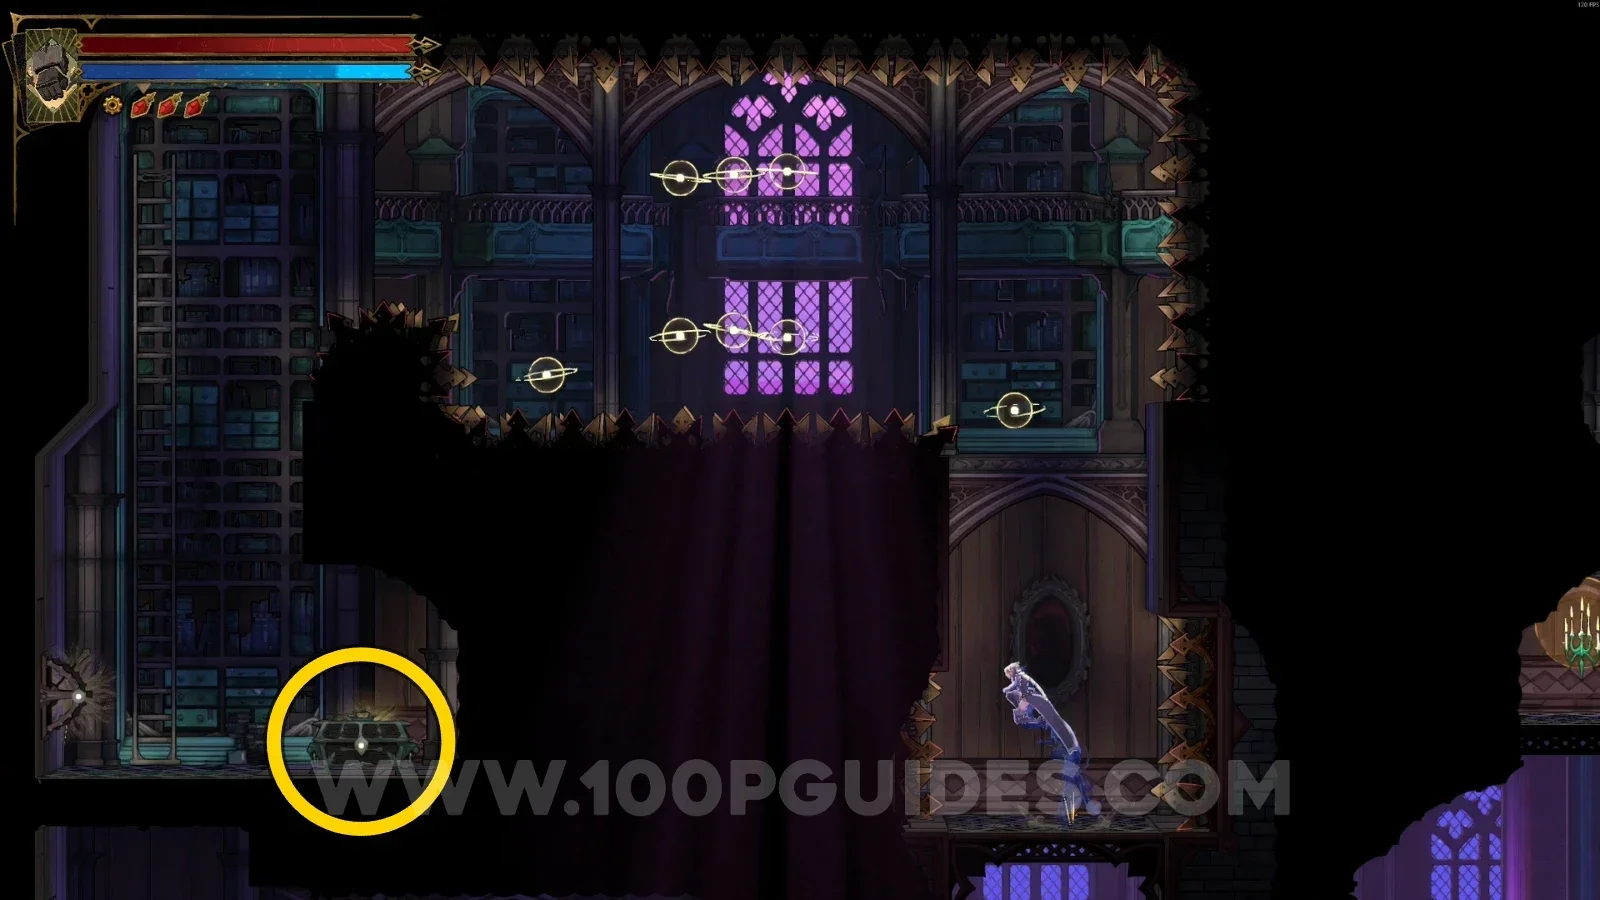
Relic #3: Wraith's Tear
Use your Arcane Whip to launch yourself upward and reveal a secret room. In this new room, you'll find the chest with the relic.
Natural Philosophy Shelves
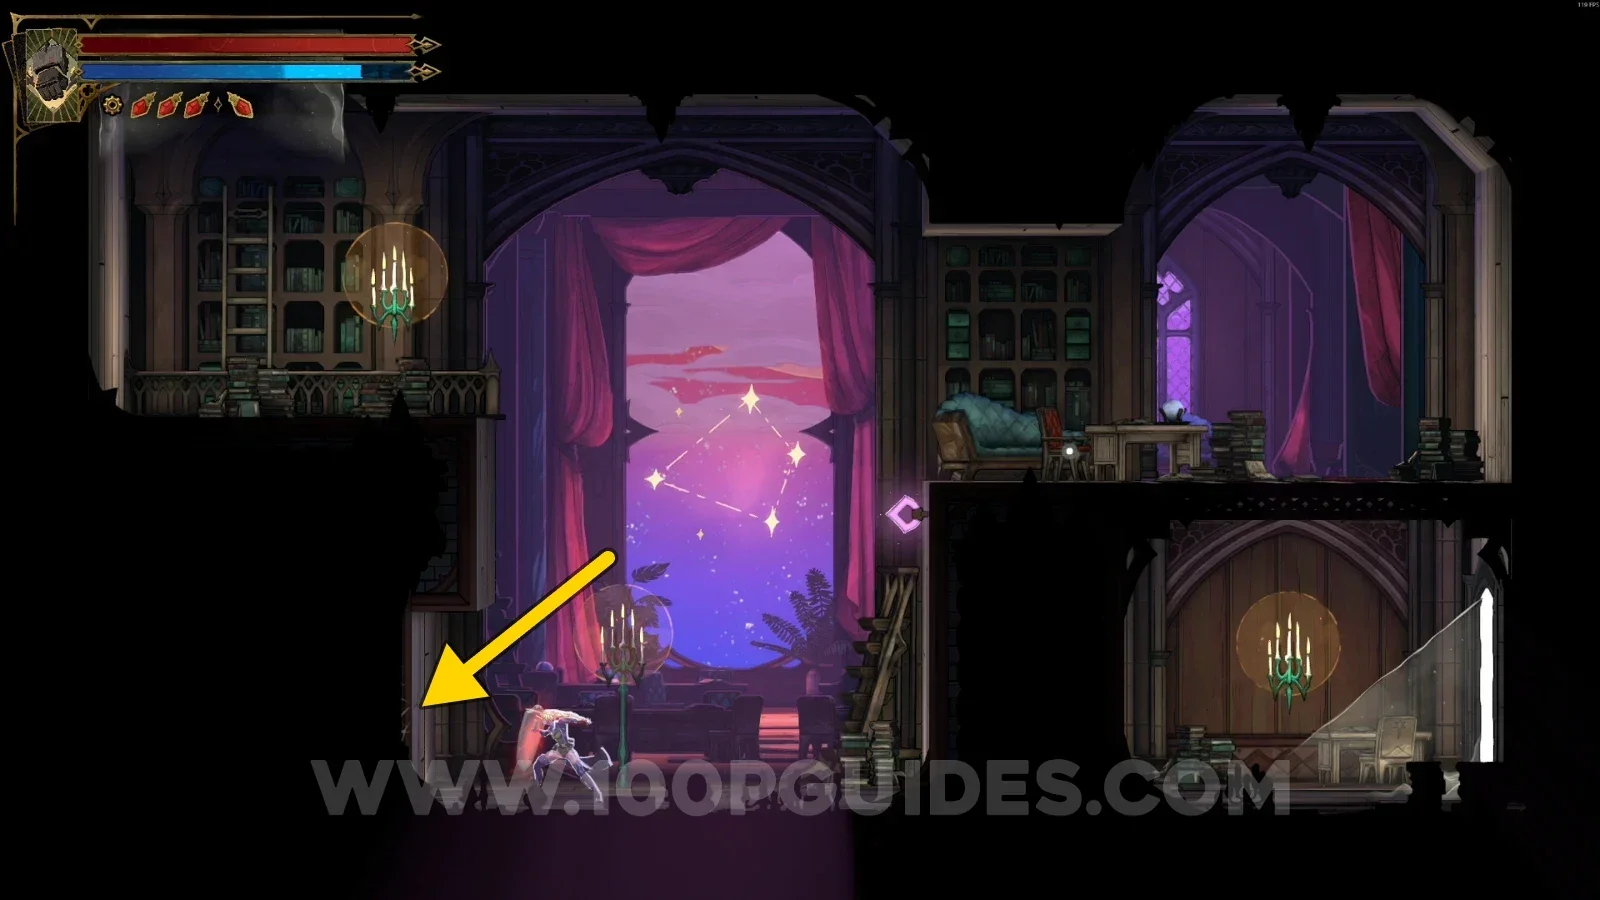
XP Statue #5
Break the wall on the left side to reveal a new area, then follow the single path to find the first XP Statue.
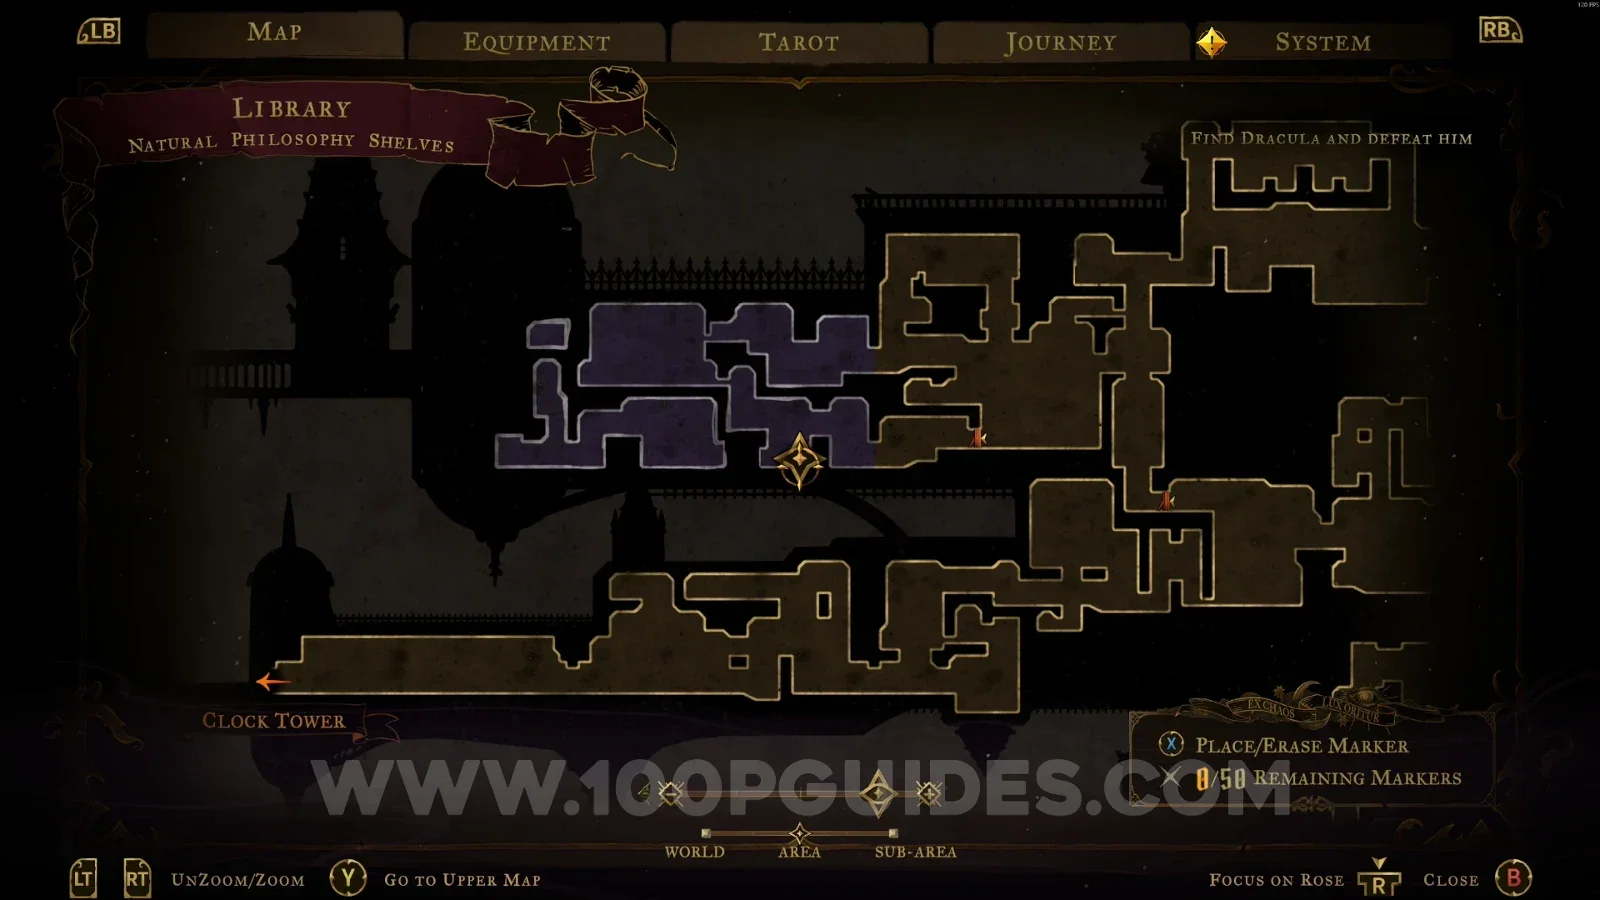
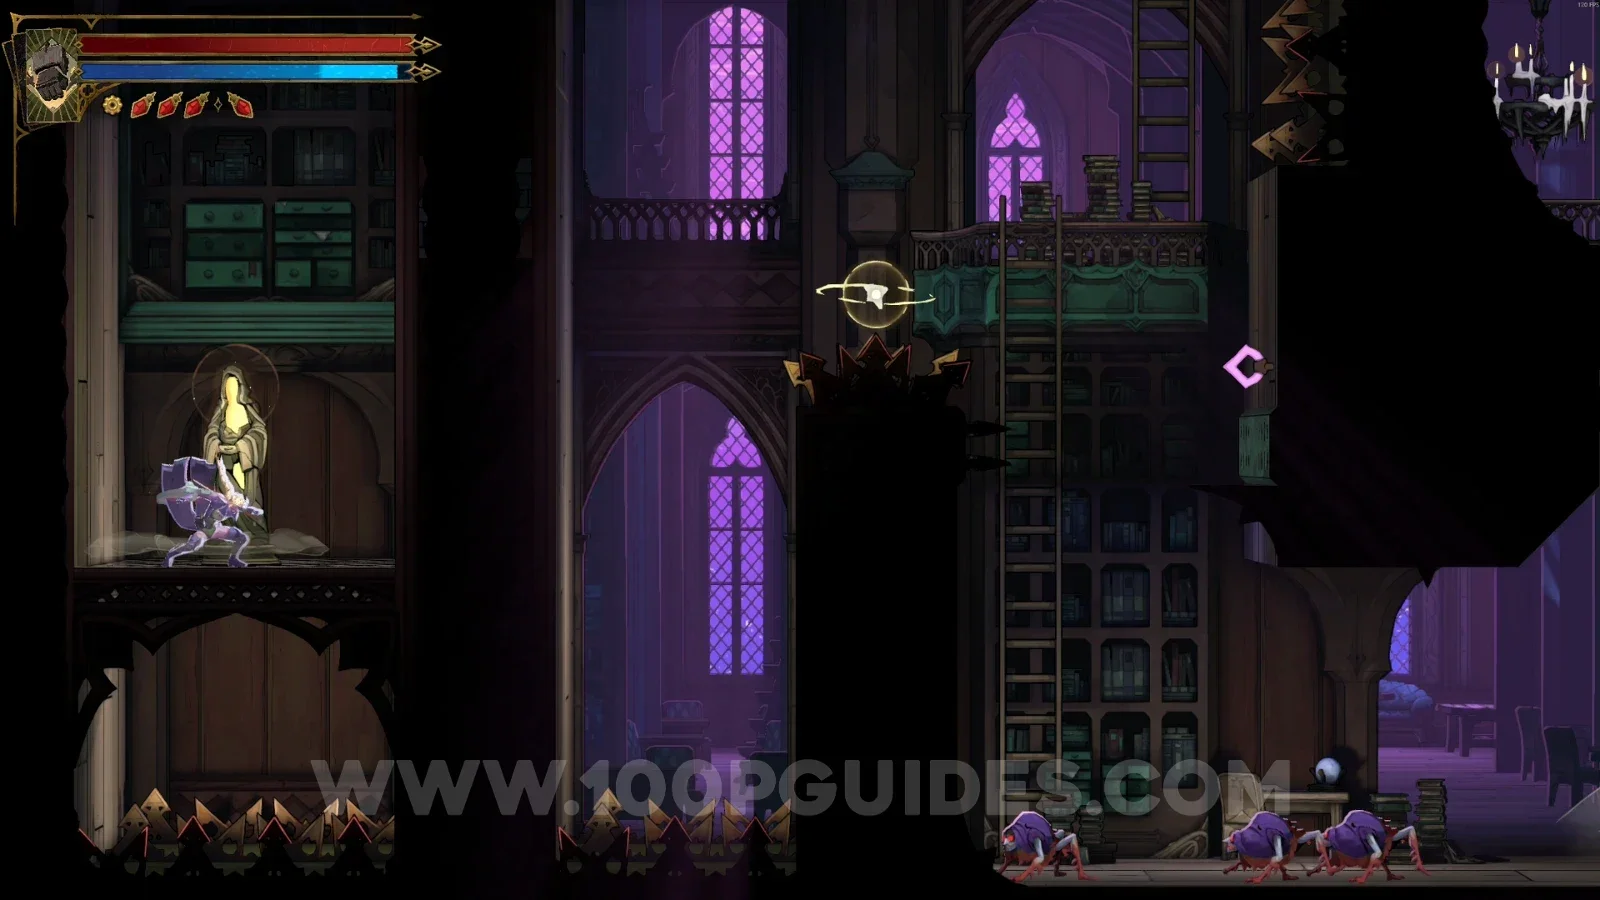
XP Statue #6
From the previous statue, climb to the upper part to find this one.
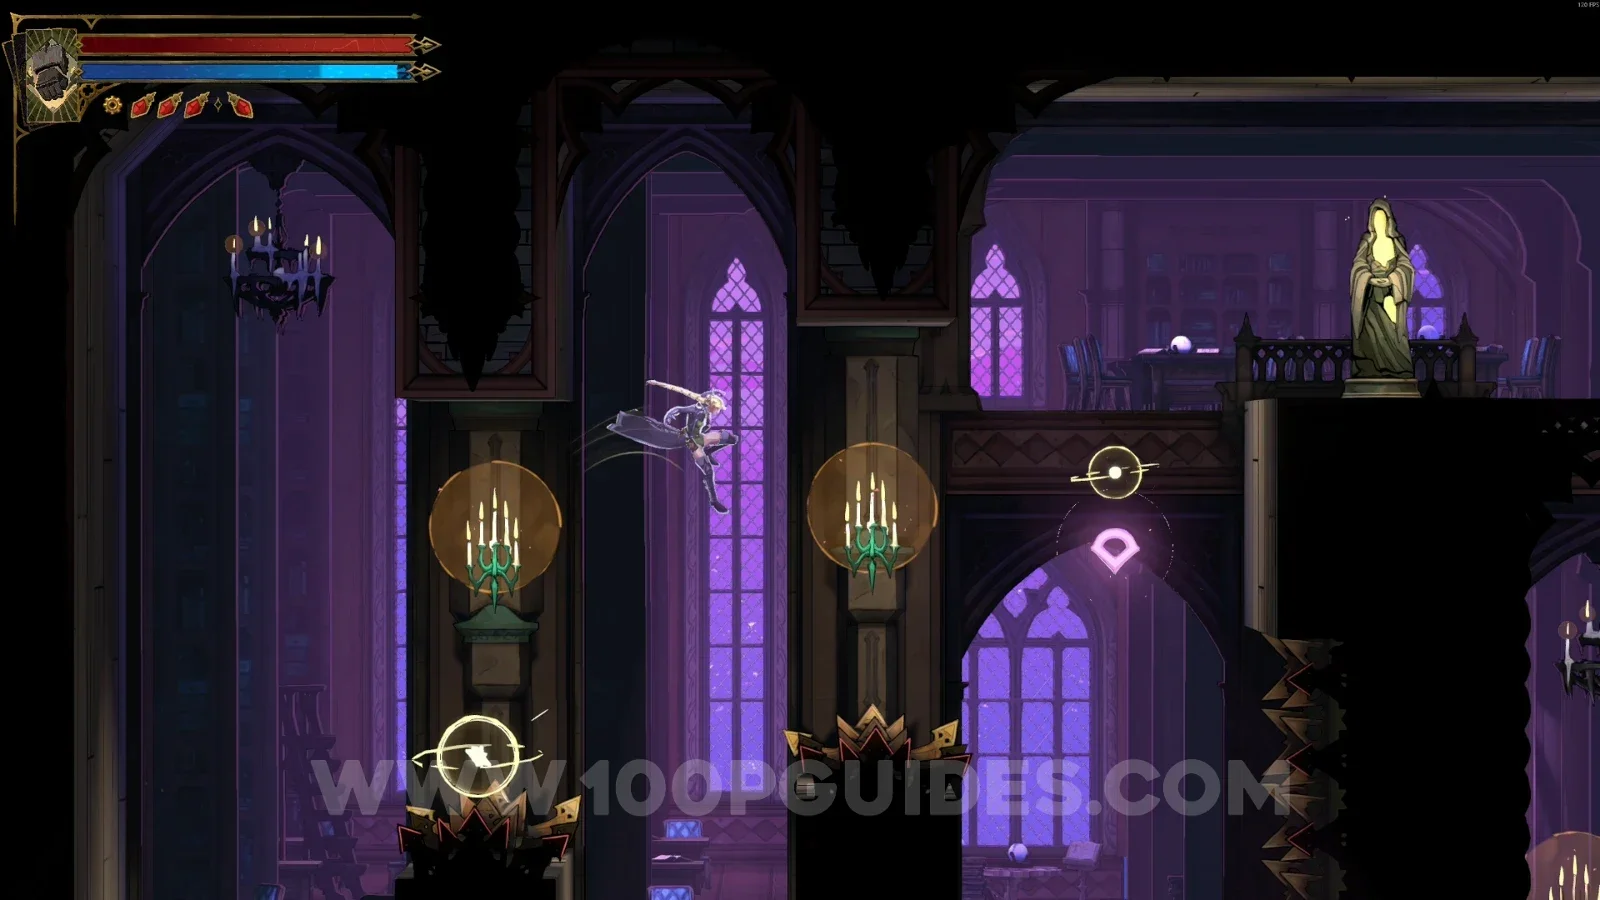
Clue: The Occultist
From the previous statue, go down the platforms to find this.
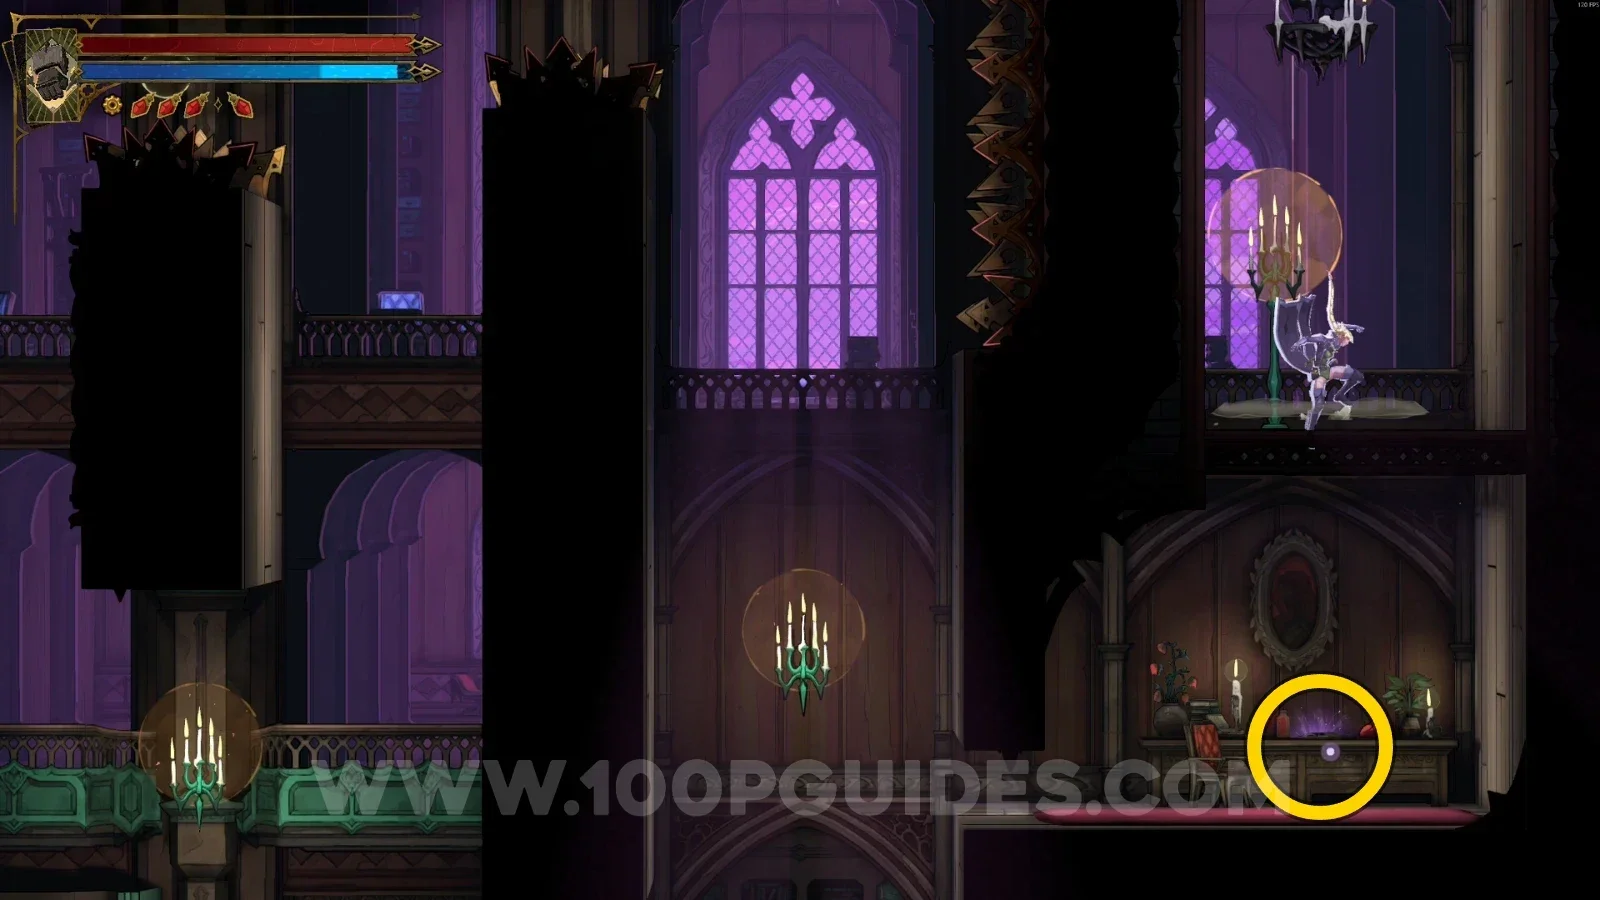
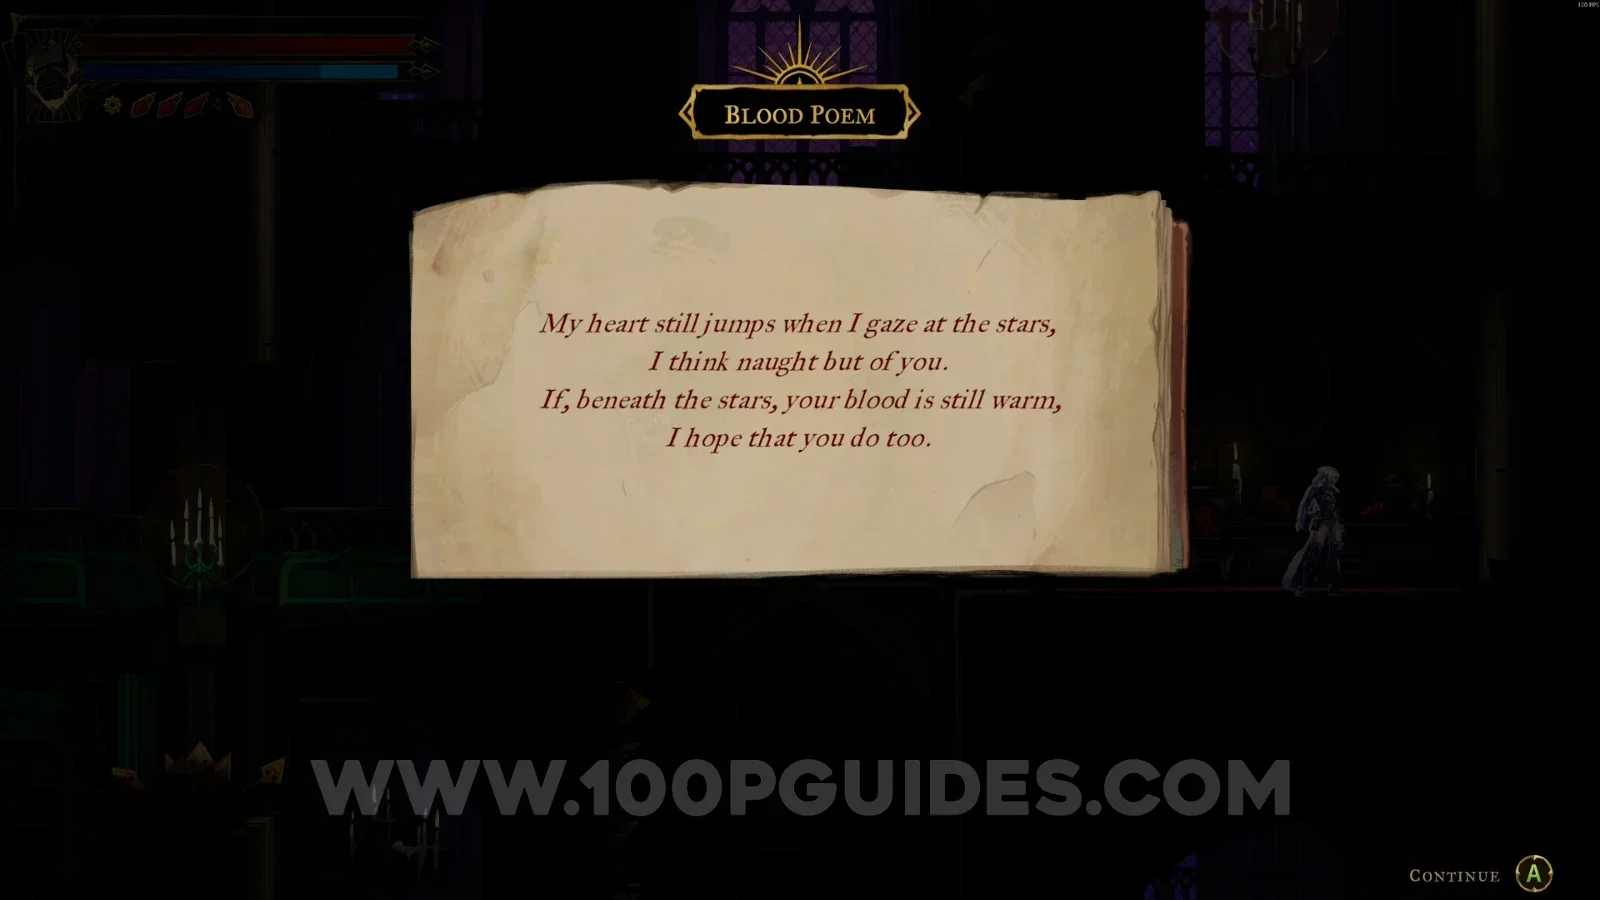
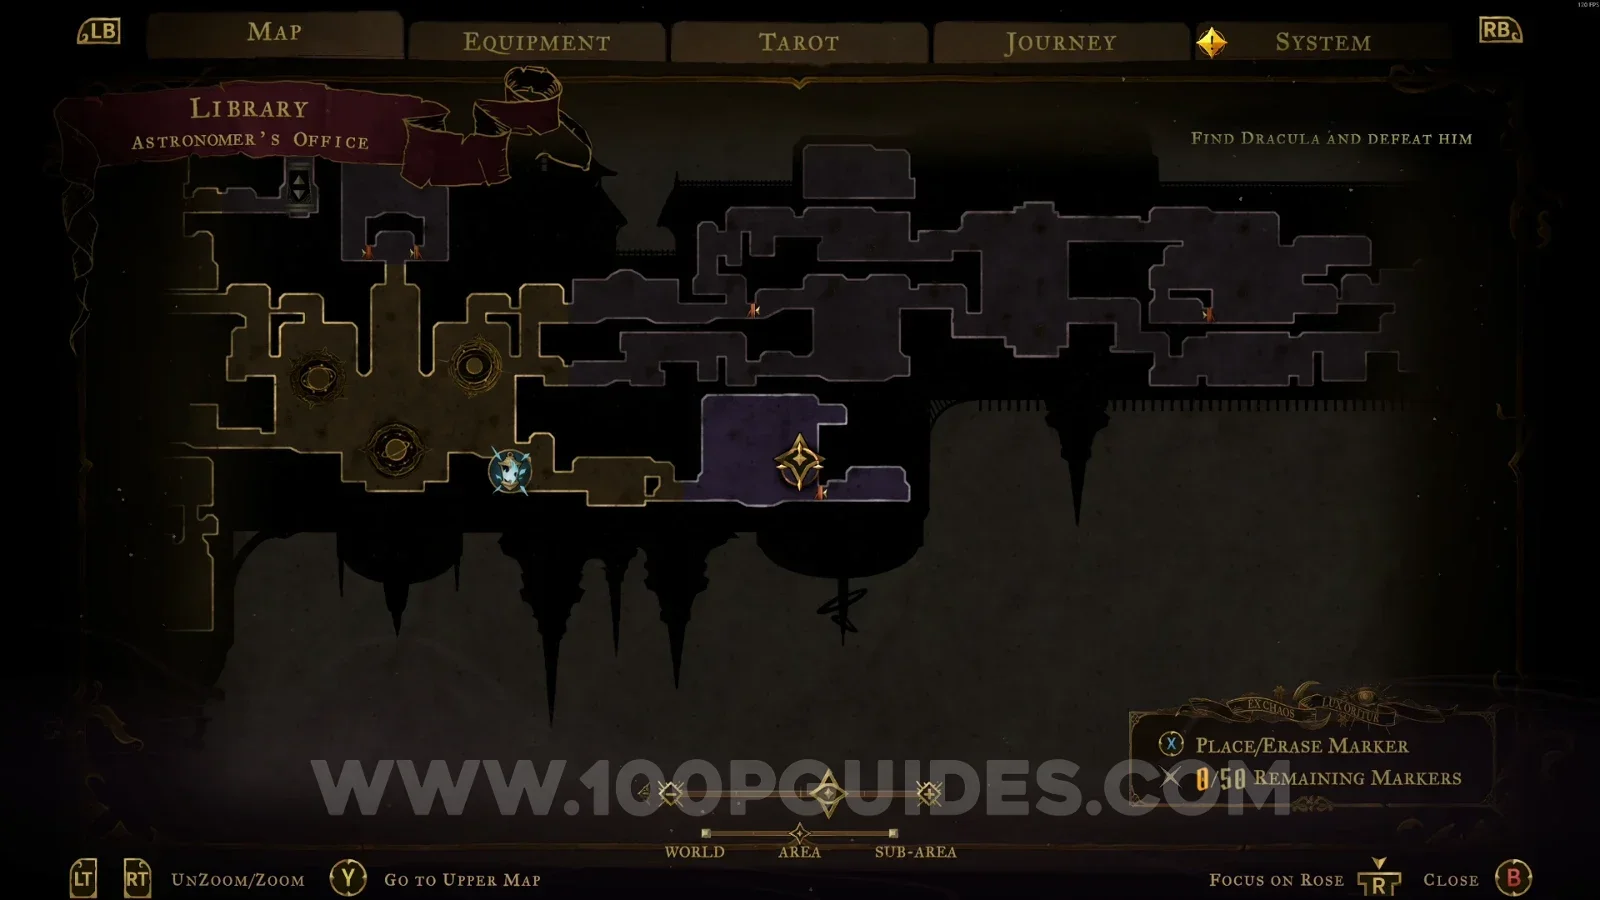
Astronomer's Office
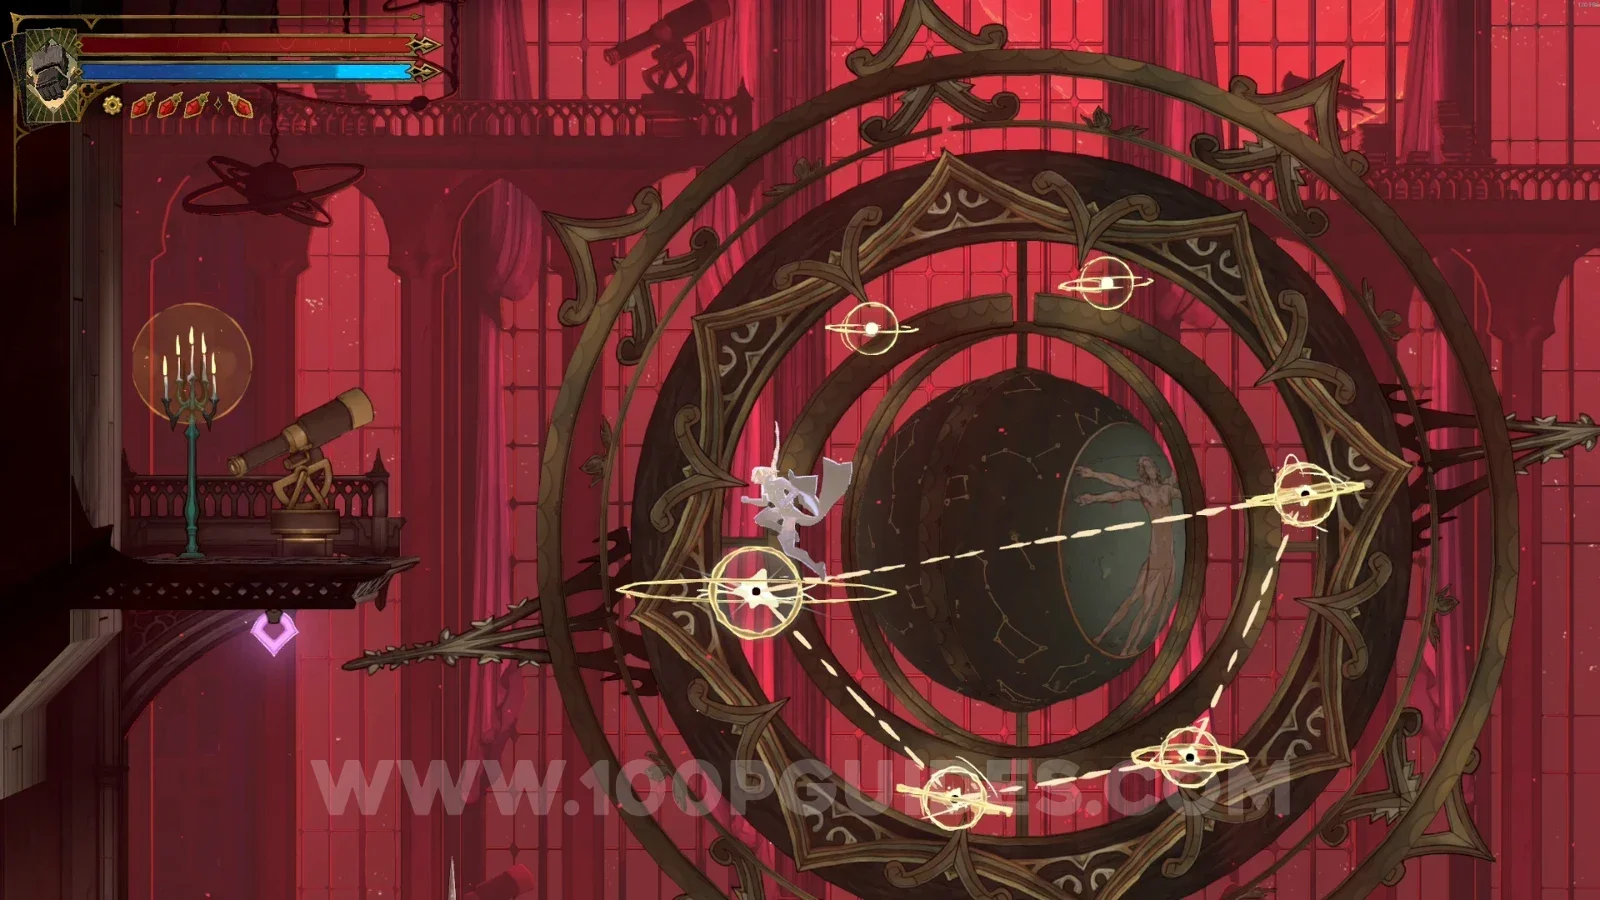
XP Statue #7
Complete the pattern on the orb so you can launch yourself to the upper part, where the statue is.
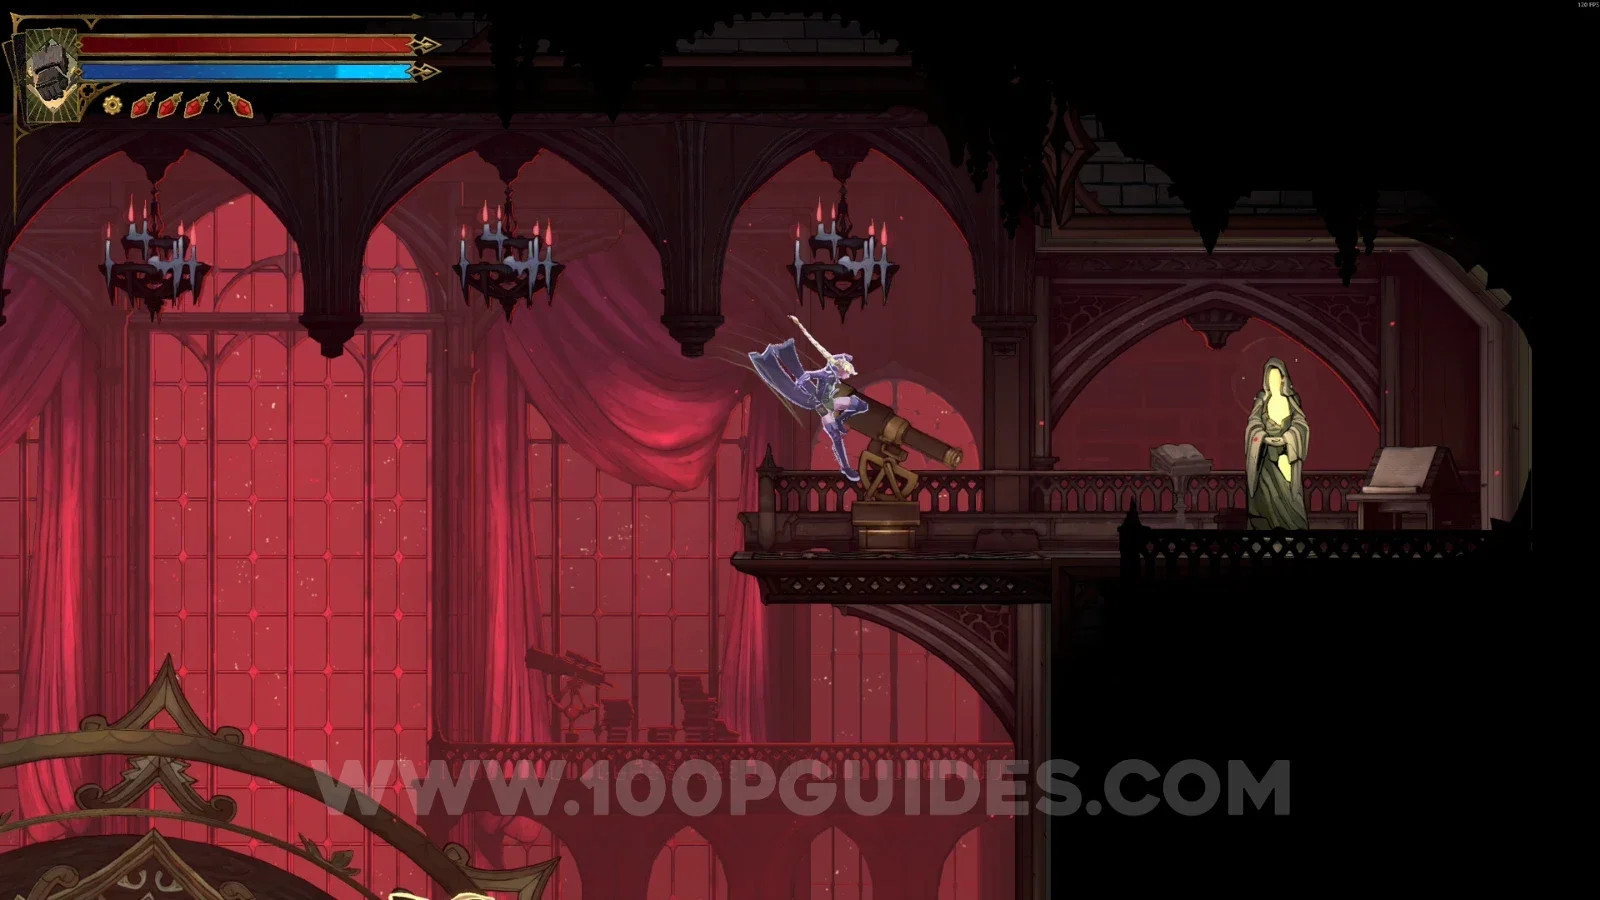
Clue: The Occultist
Same area as before. Now go down and break the door on the right side. At the end of the corridor, you'll find this.
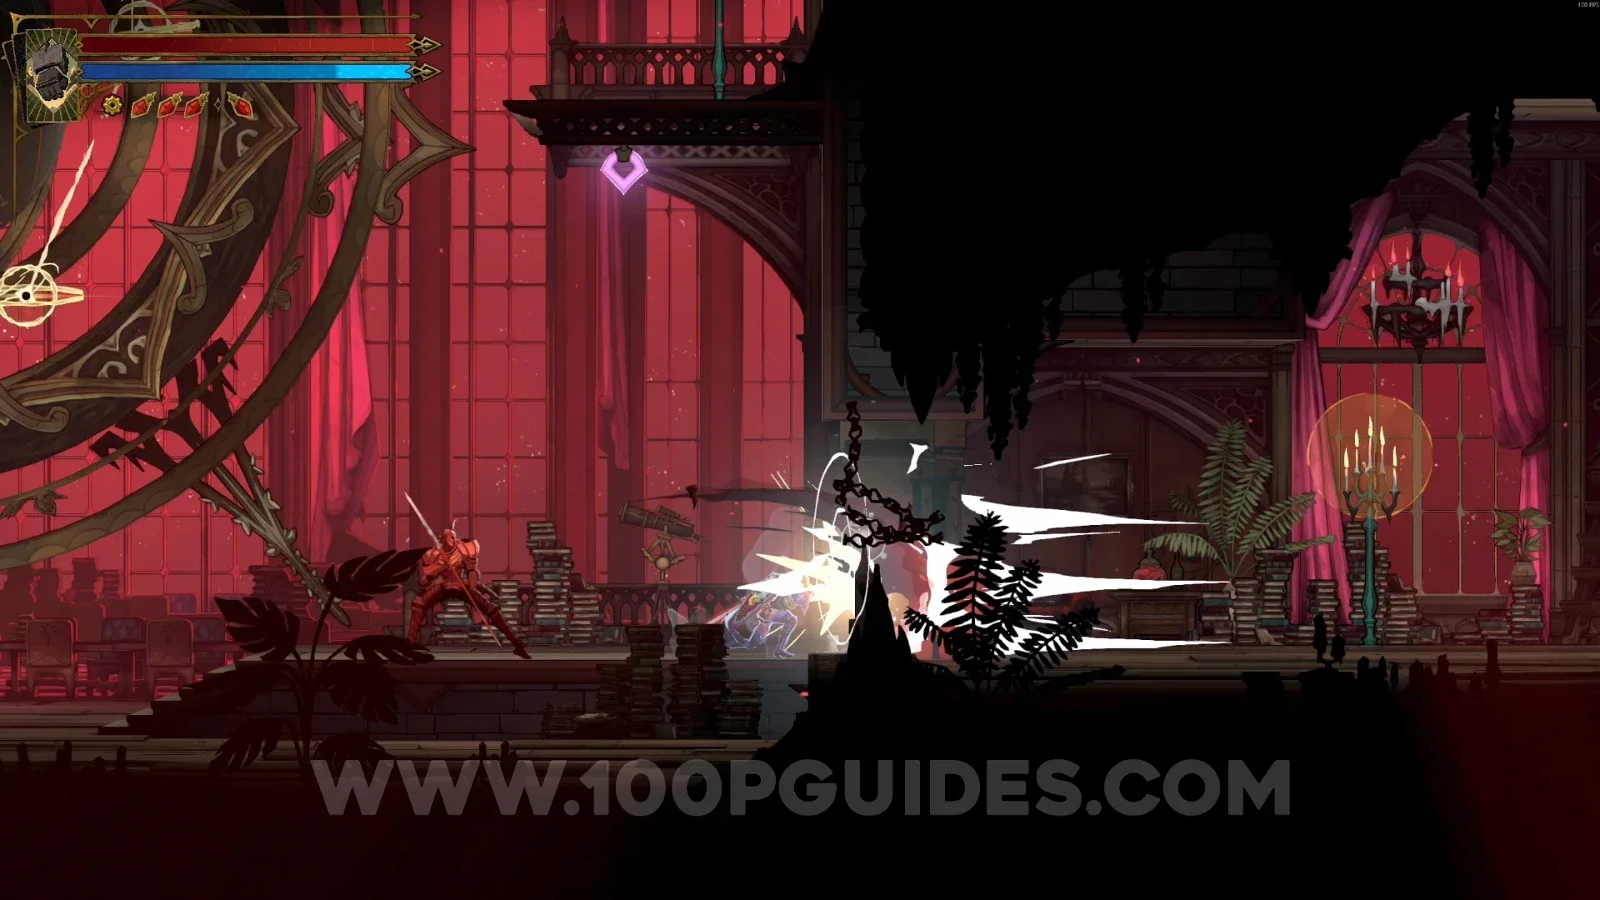
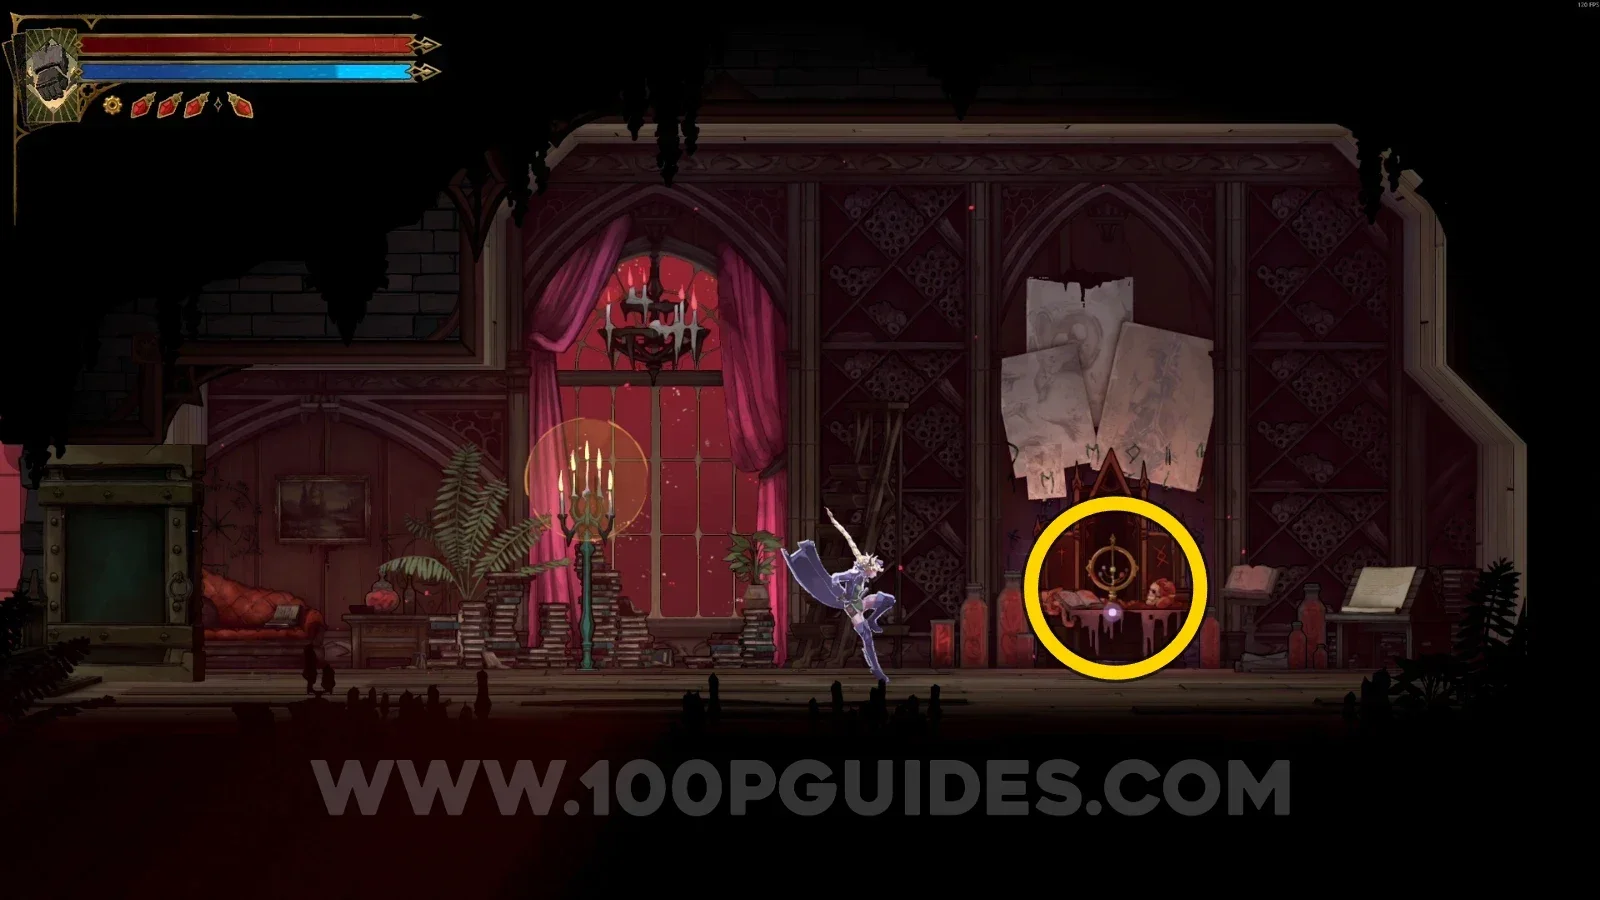
Exhibition Room
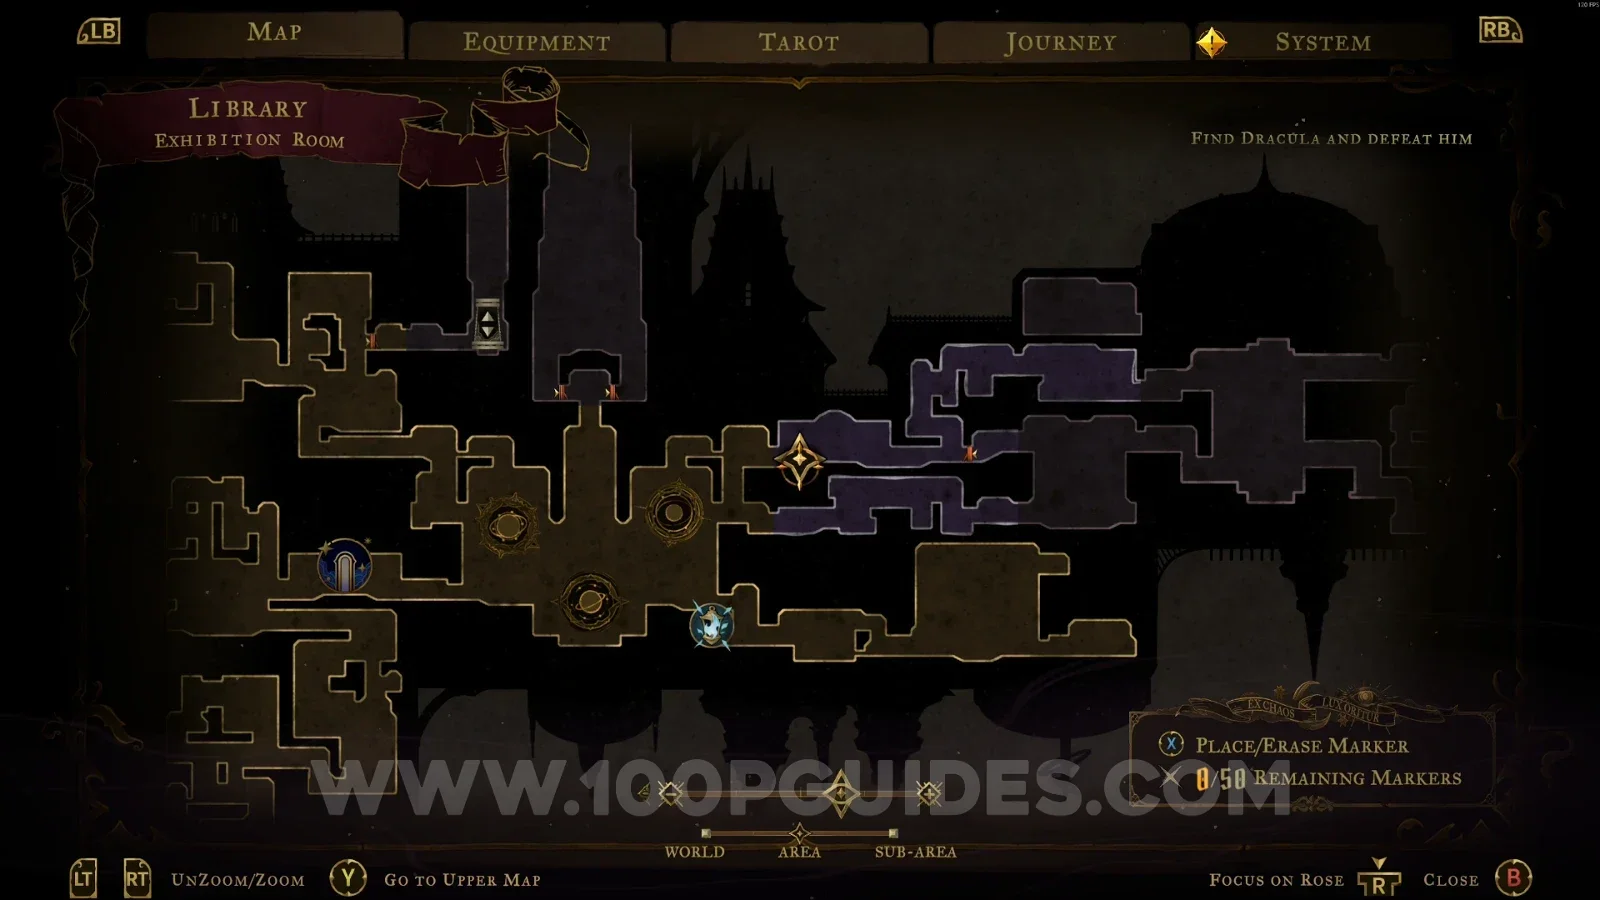
XP Statue #8
In the area marked on the map.
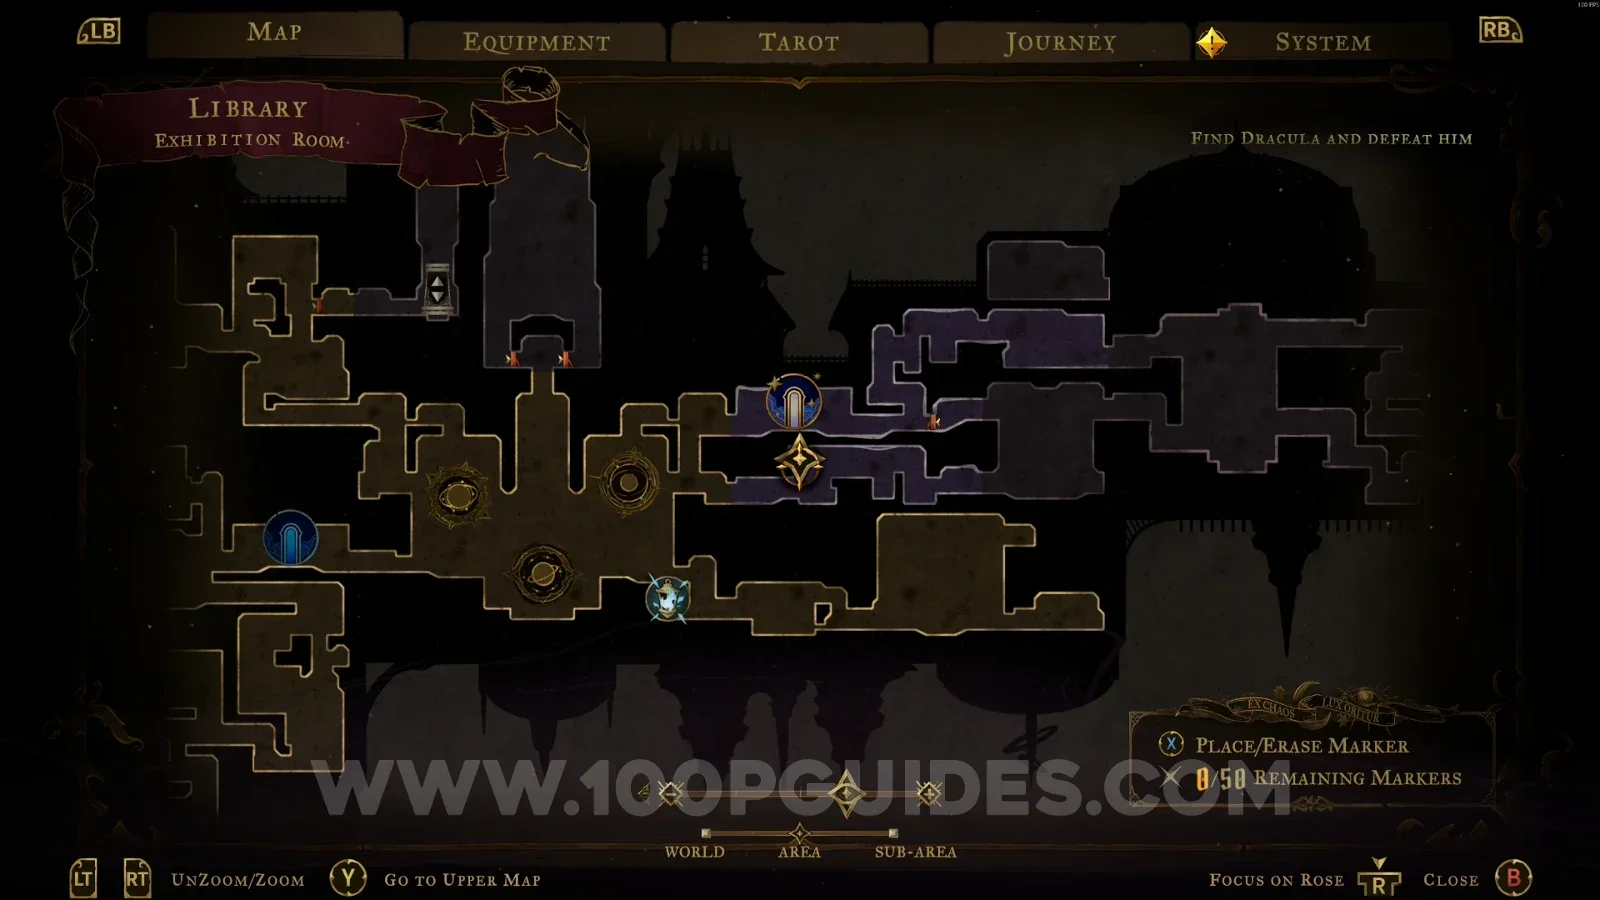
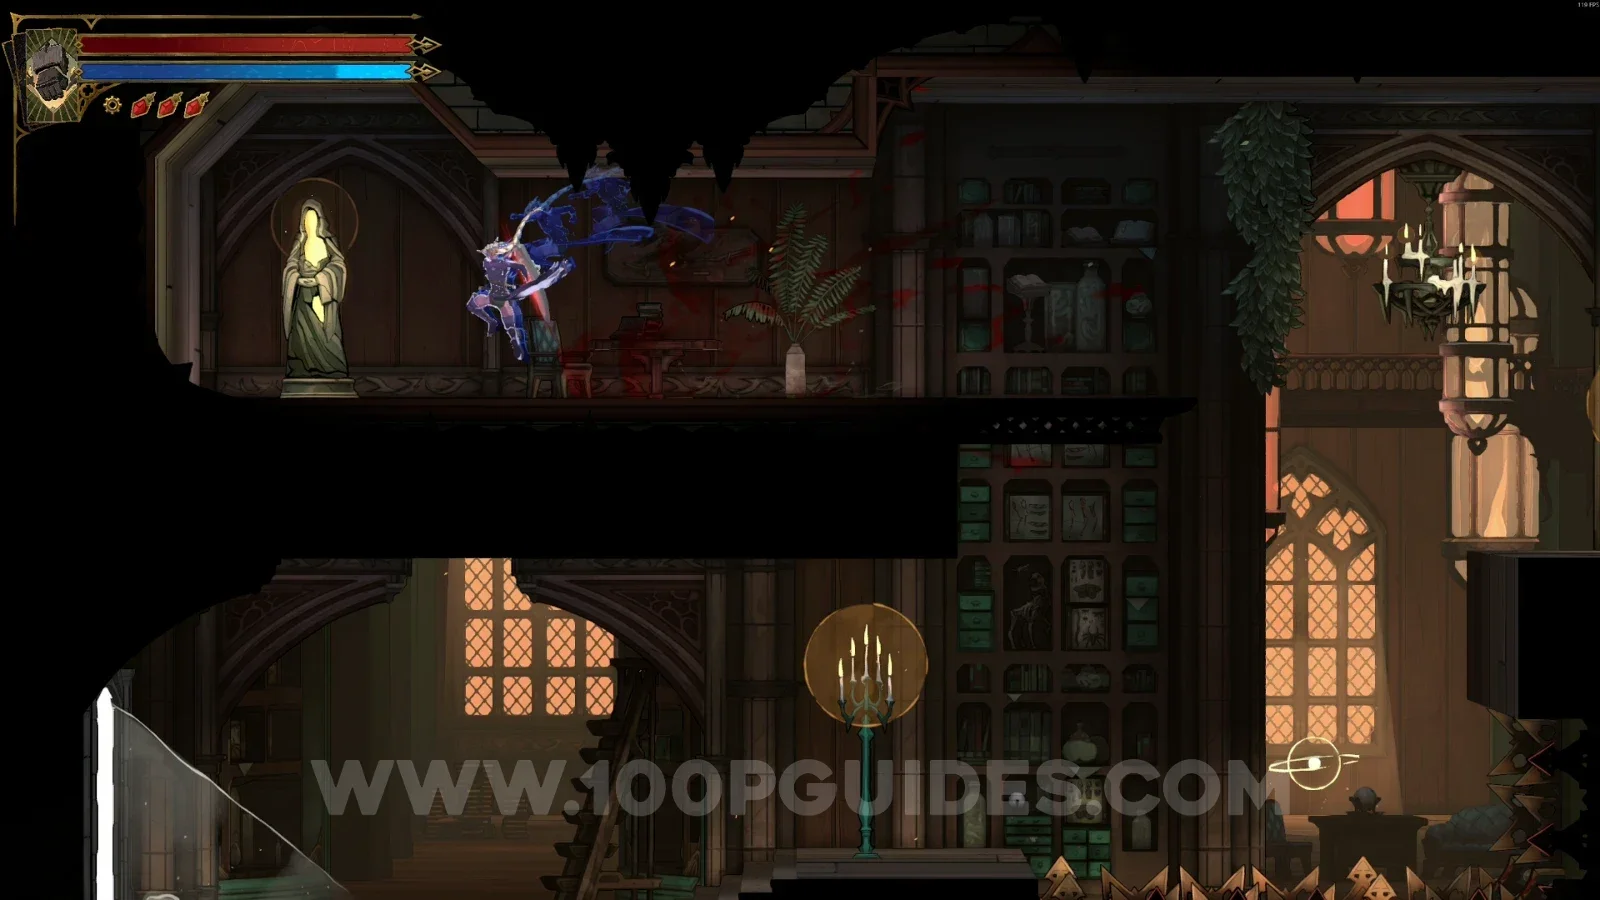
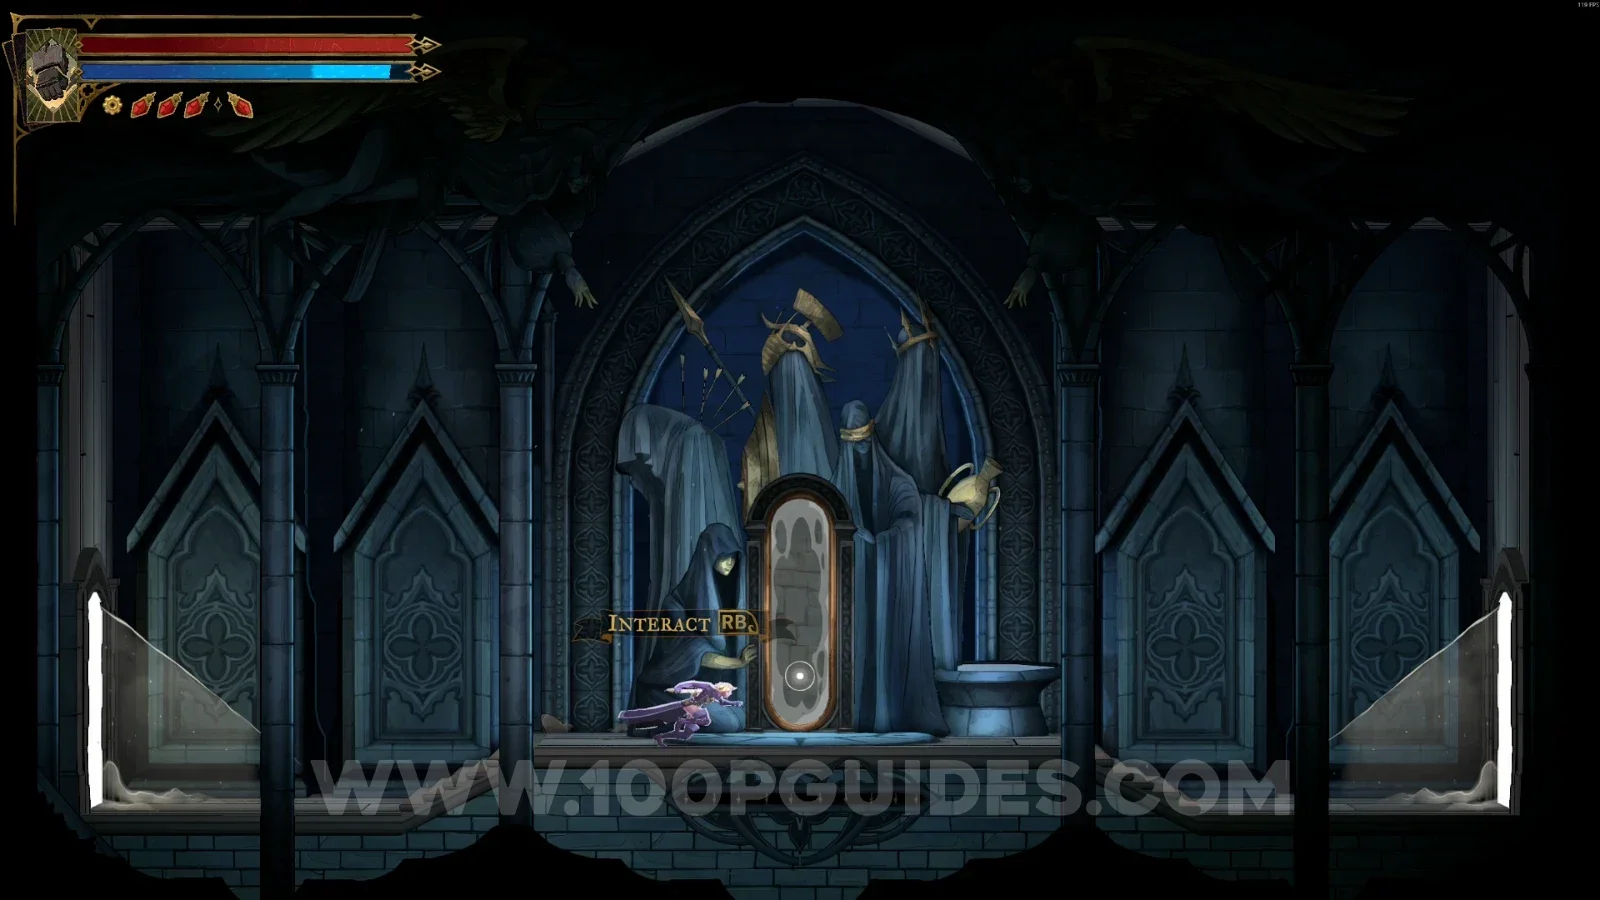
Mirror Of Life #2
In the area marked on the map.
Trophy Room
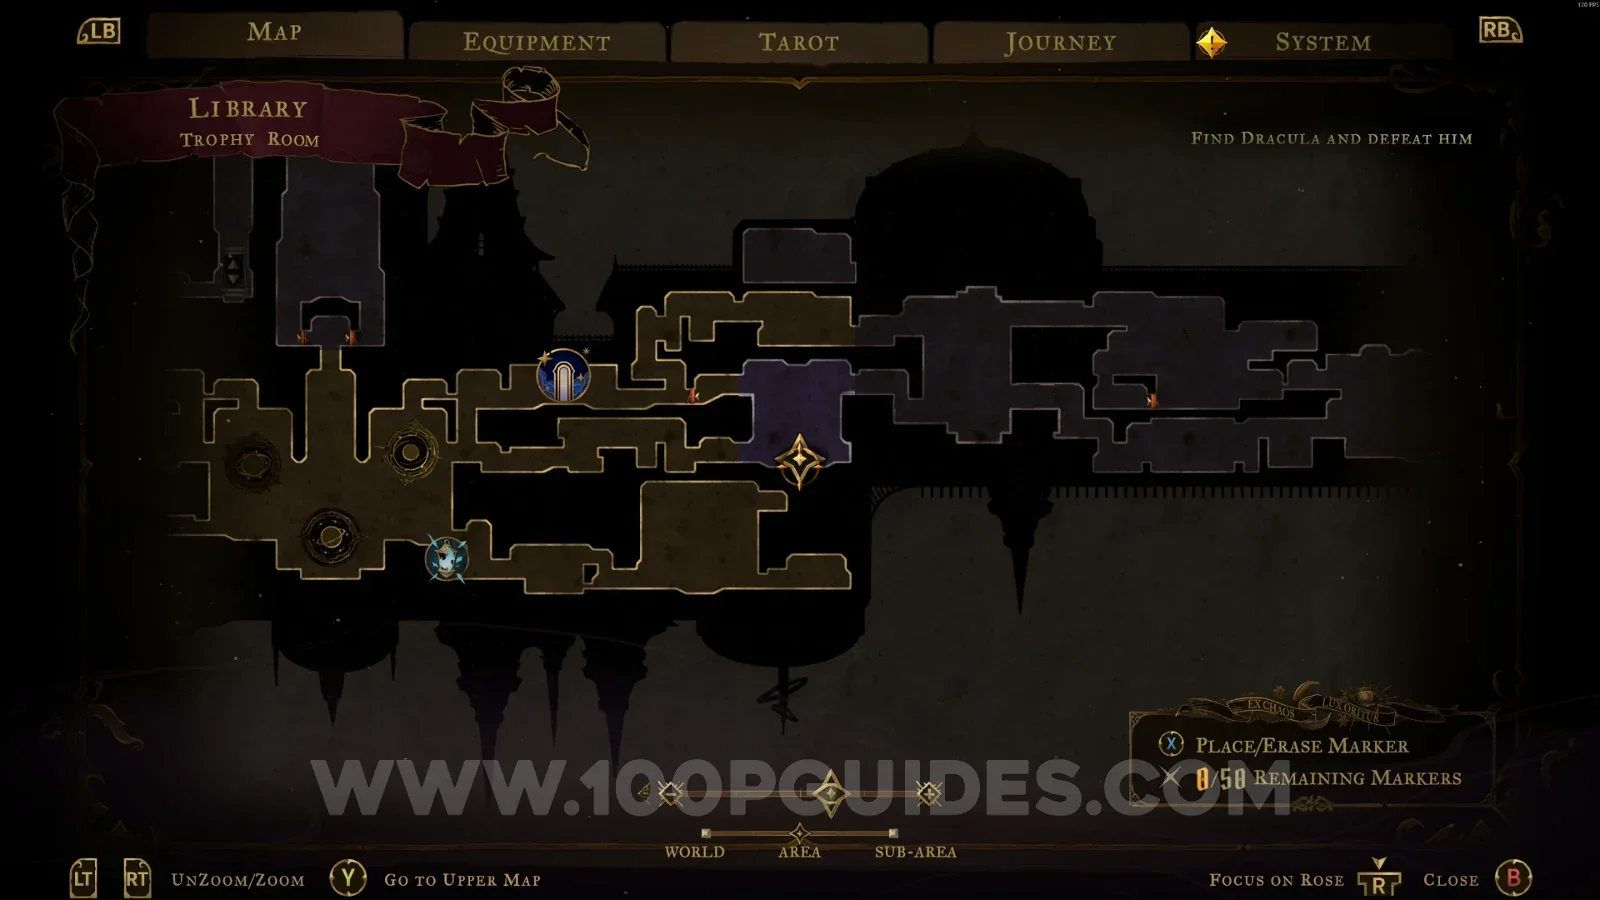
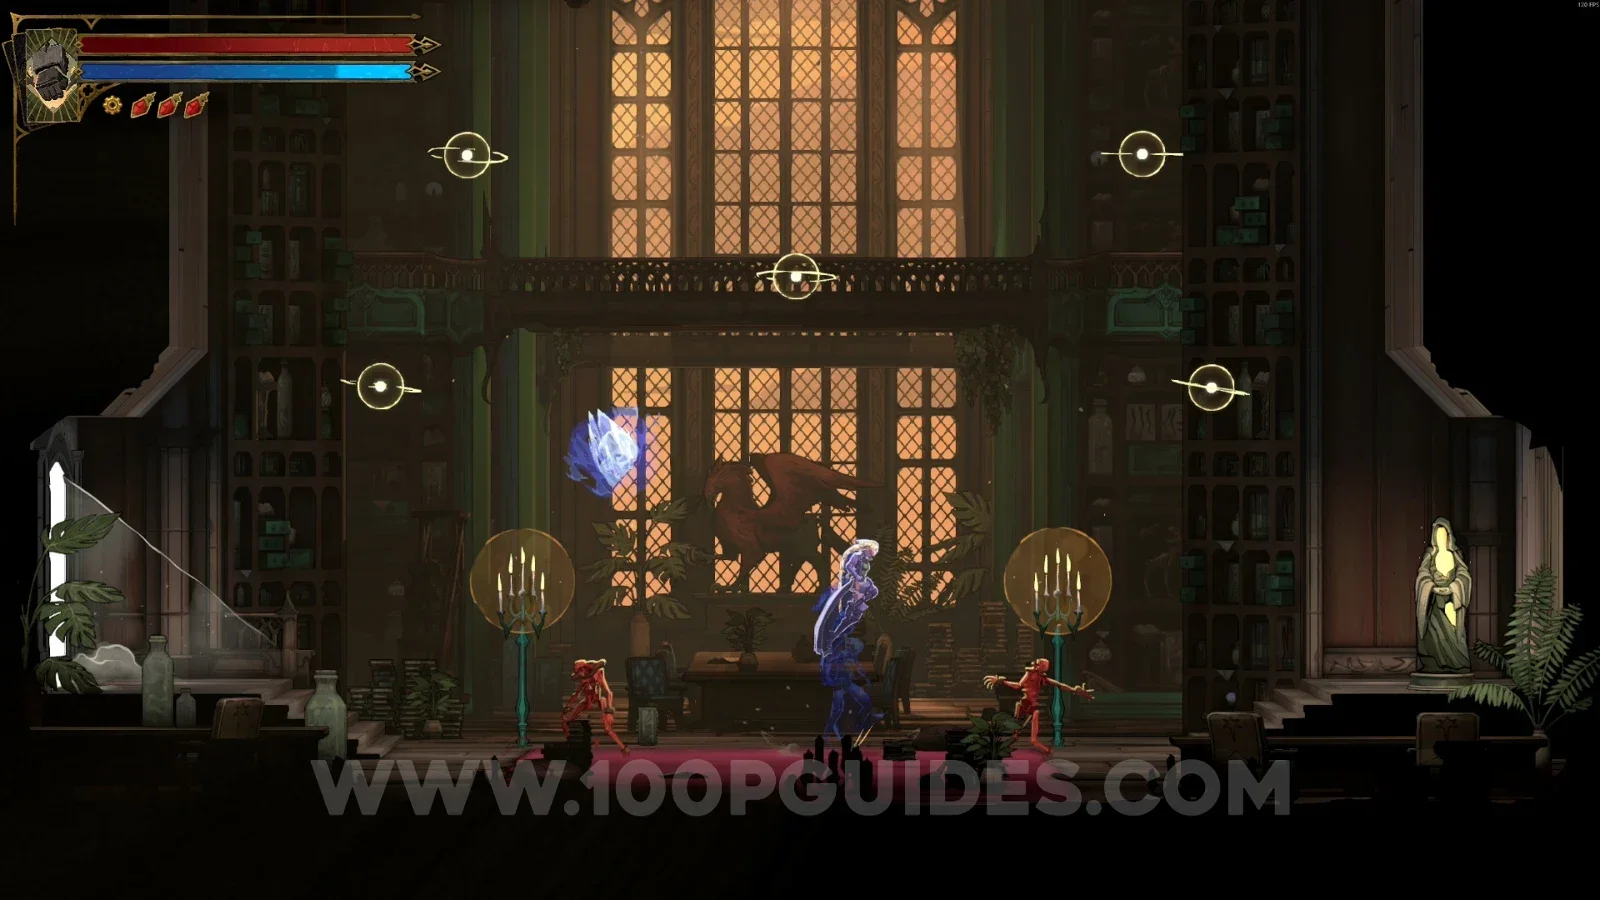
XP Statue #9
In the area marked on the map.
Lisa's Laboratory
Weapon #2: Durandal
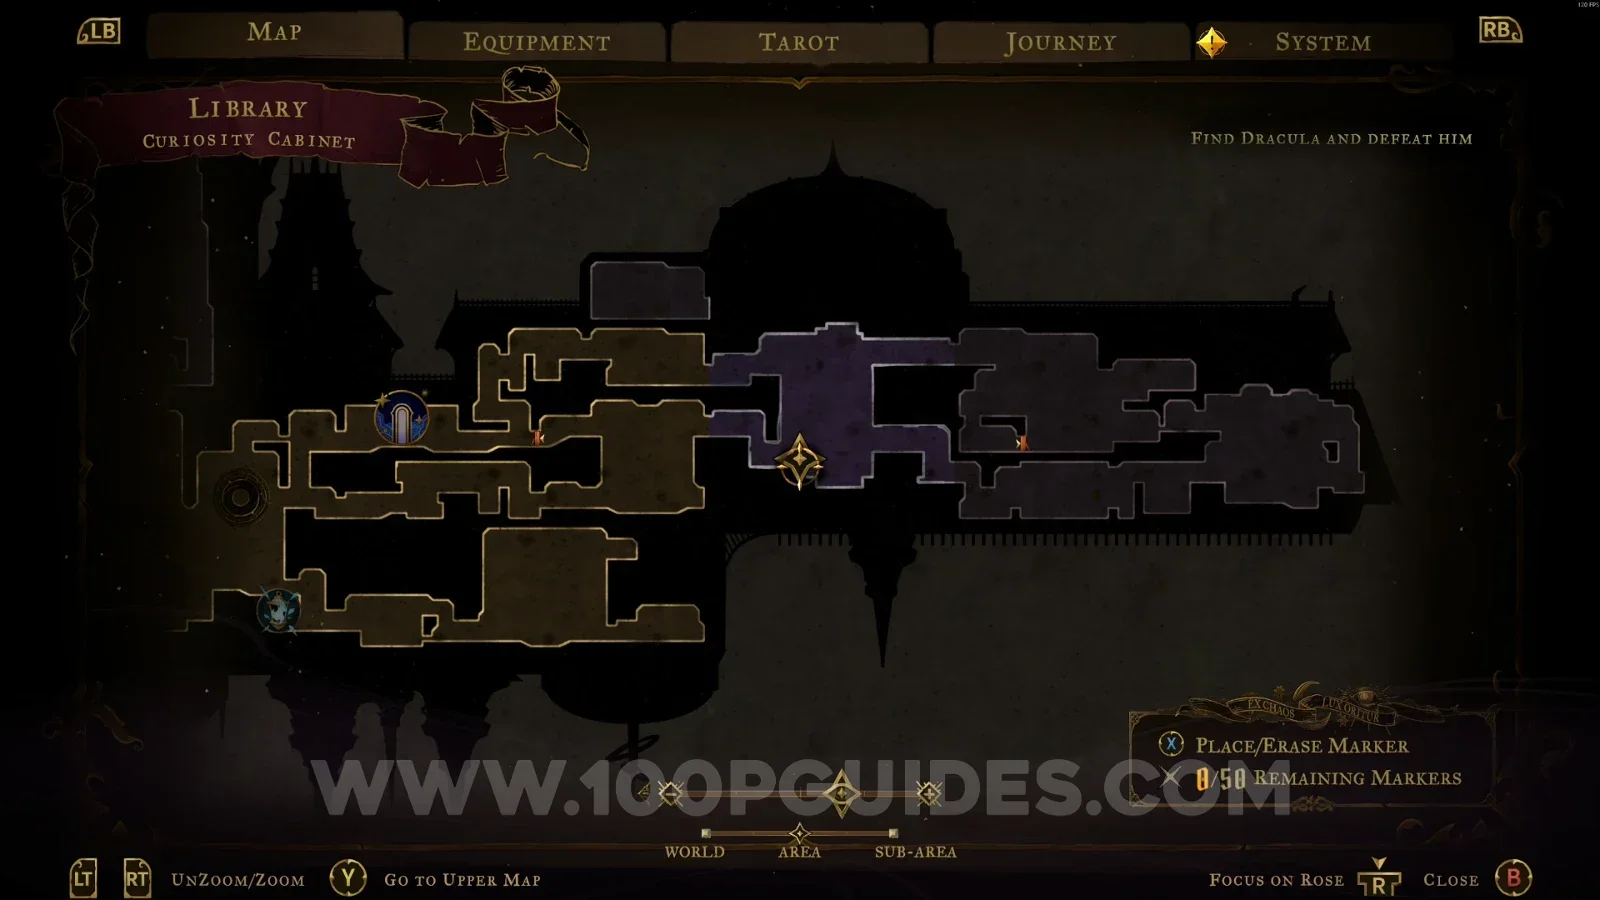
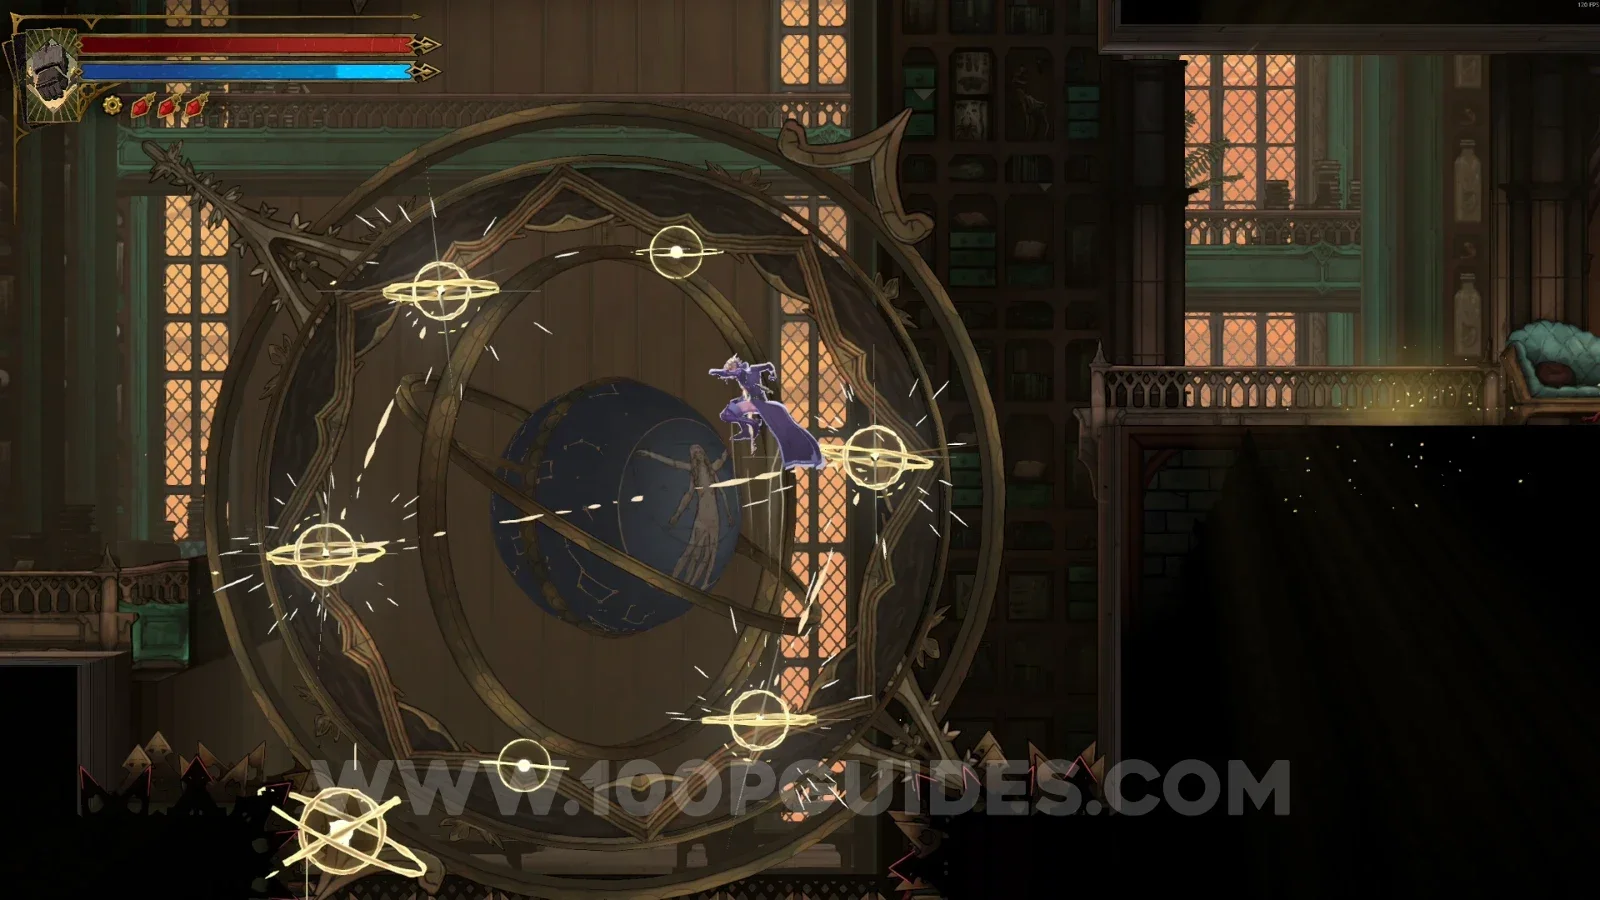
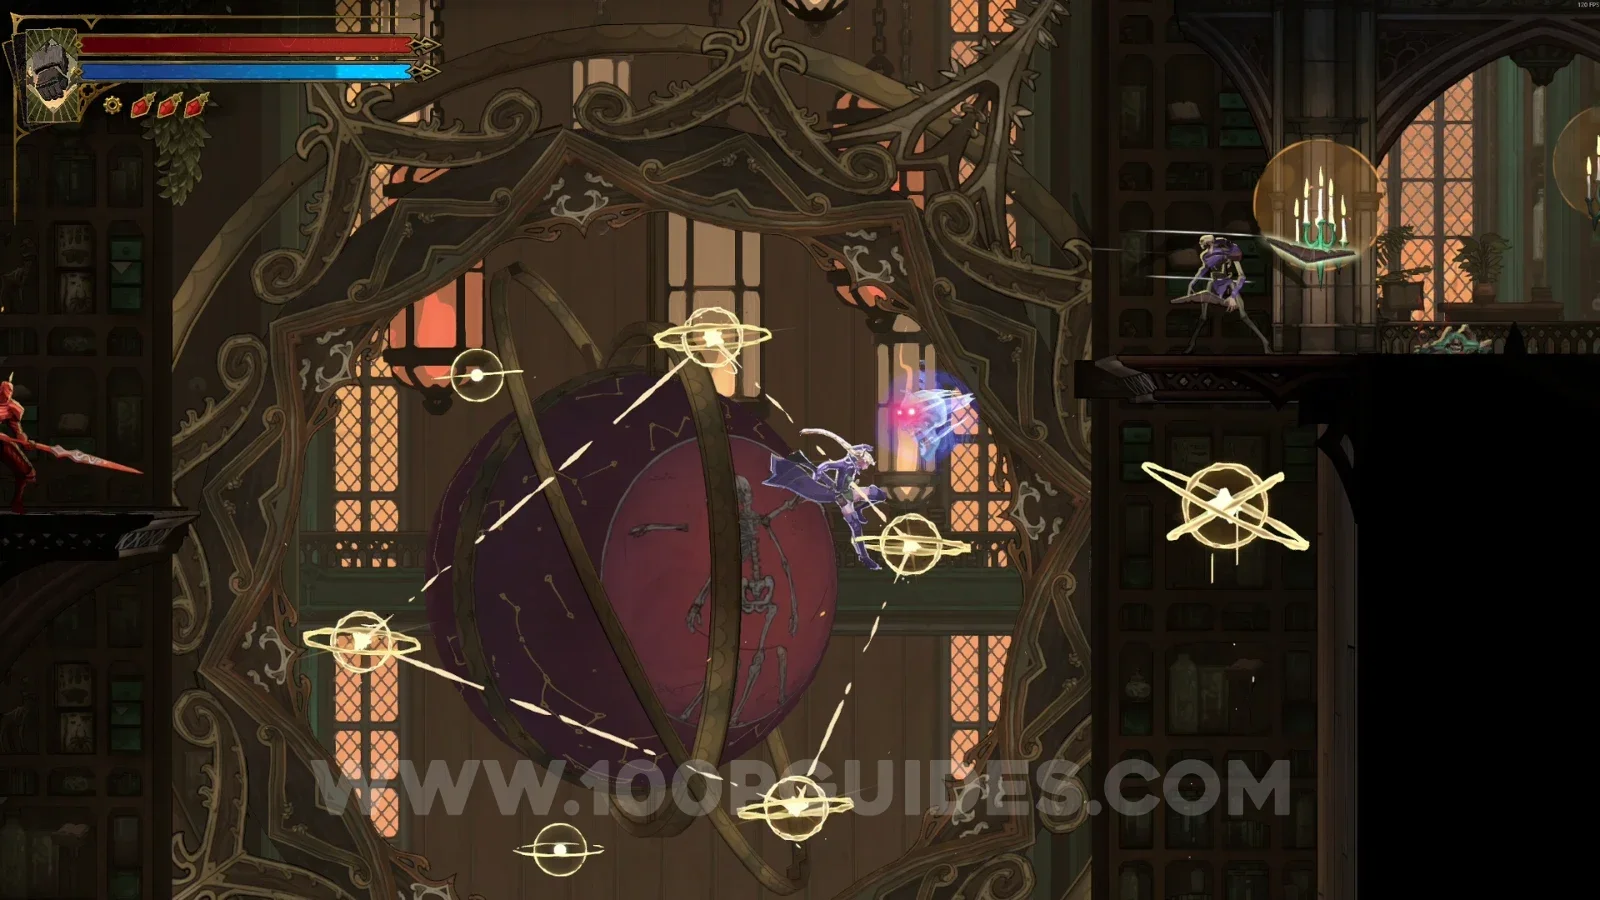
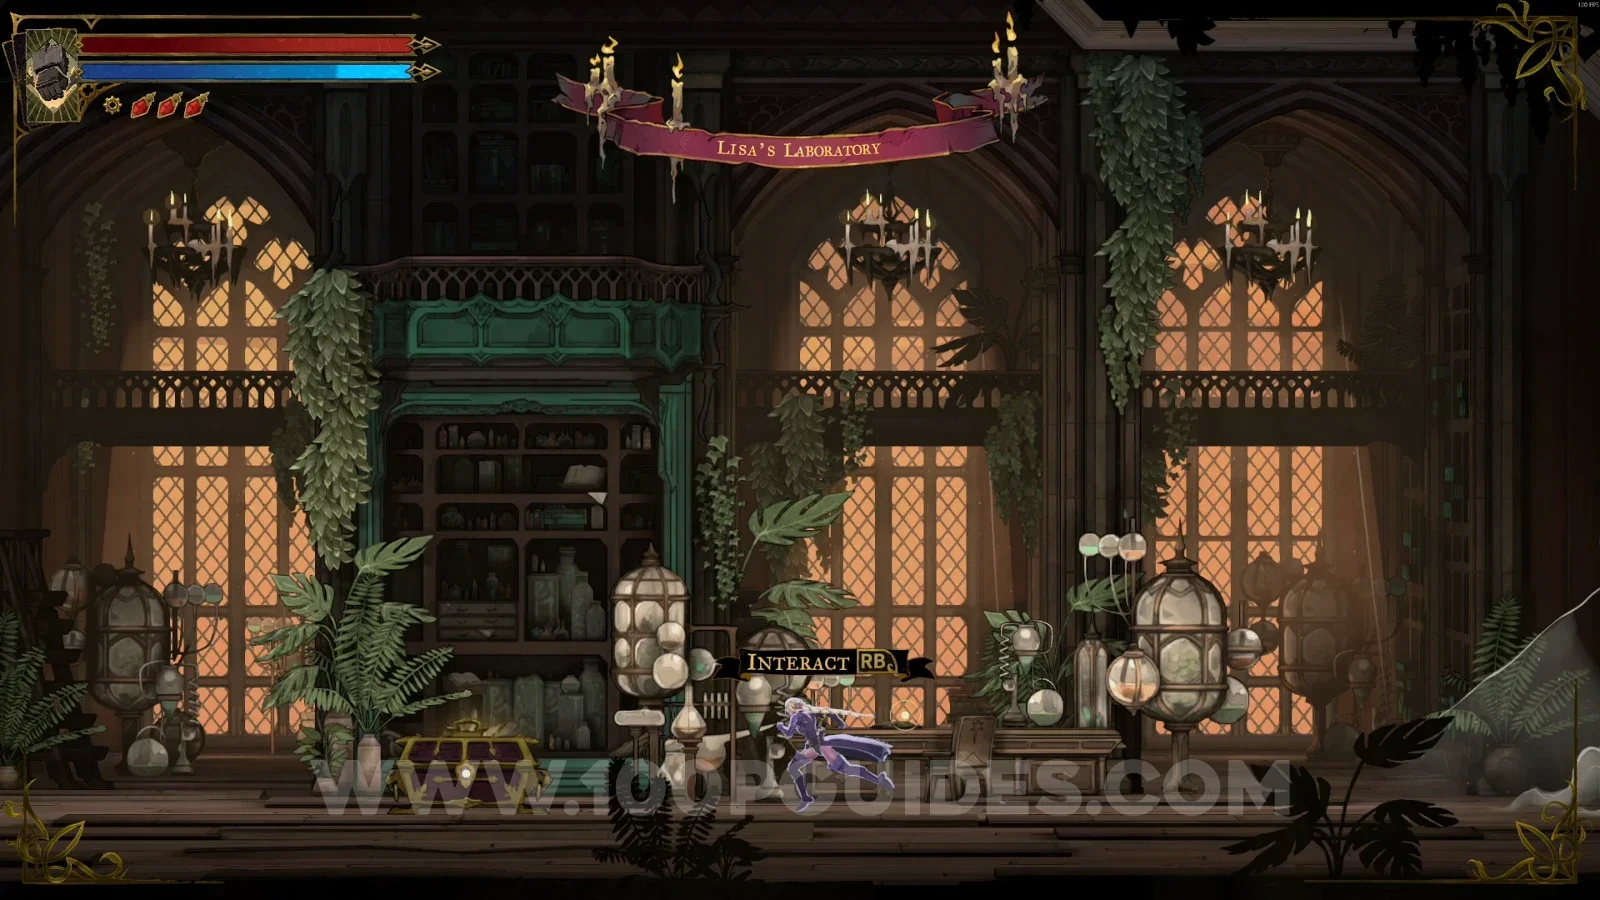
In the area marked on the map, complete both patterns on the orbs so you can climb to the upper part. Then follow the single path to Lisa's Laboratory, where you'll find the chest with the weapon.
Curiosity Cabinet
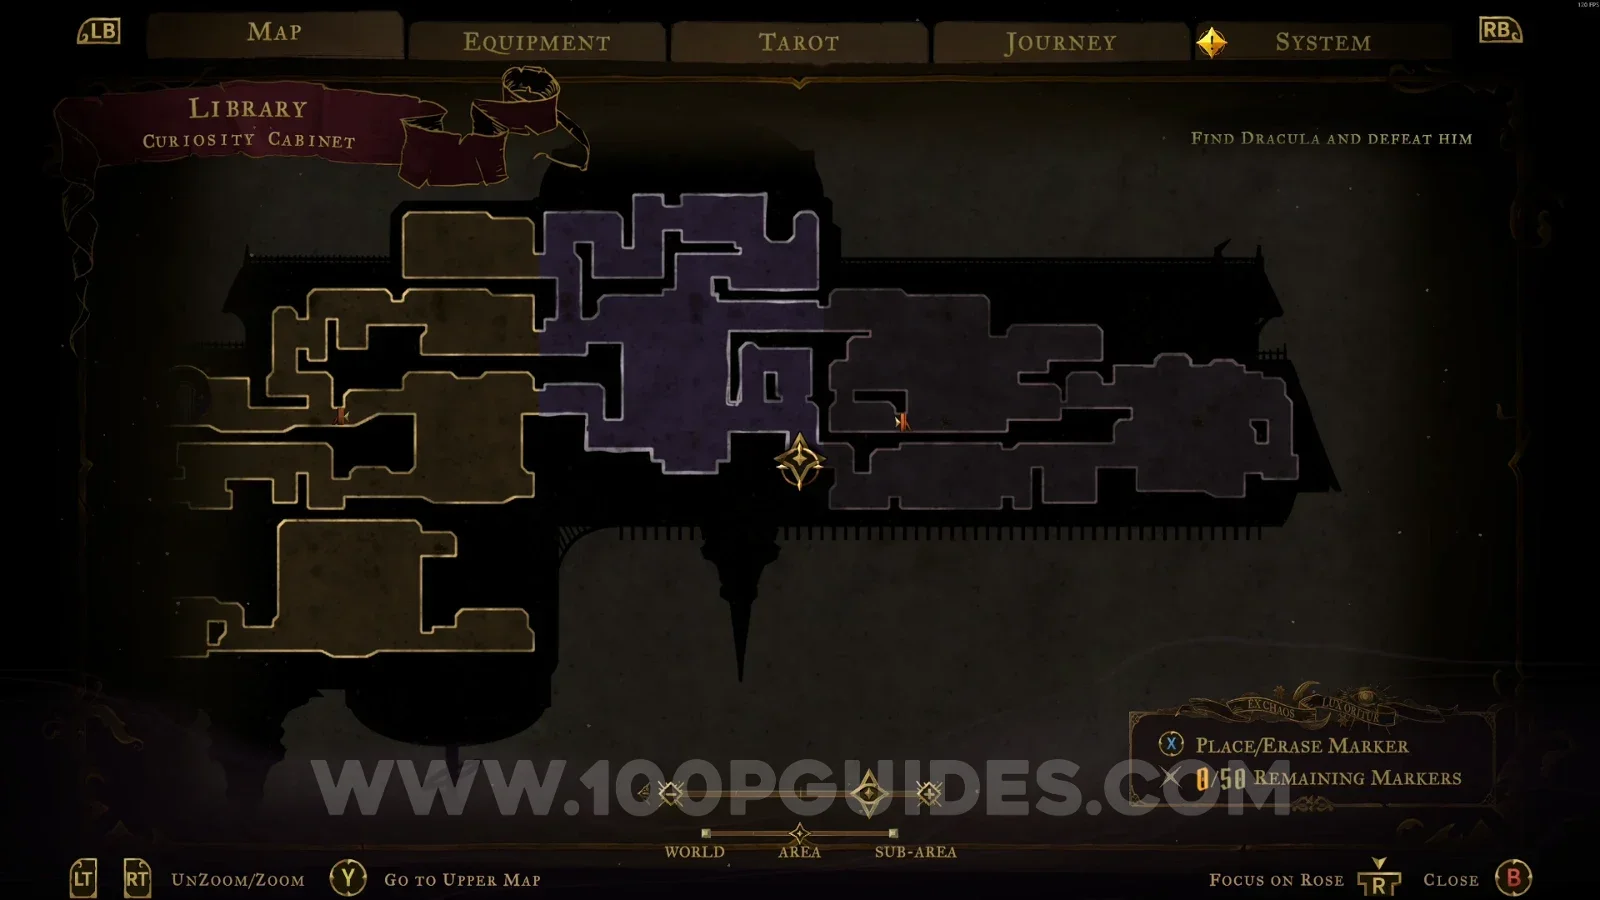
Relic #4: Revenant's Shard
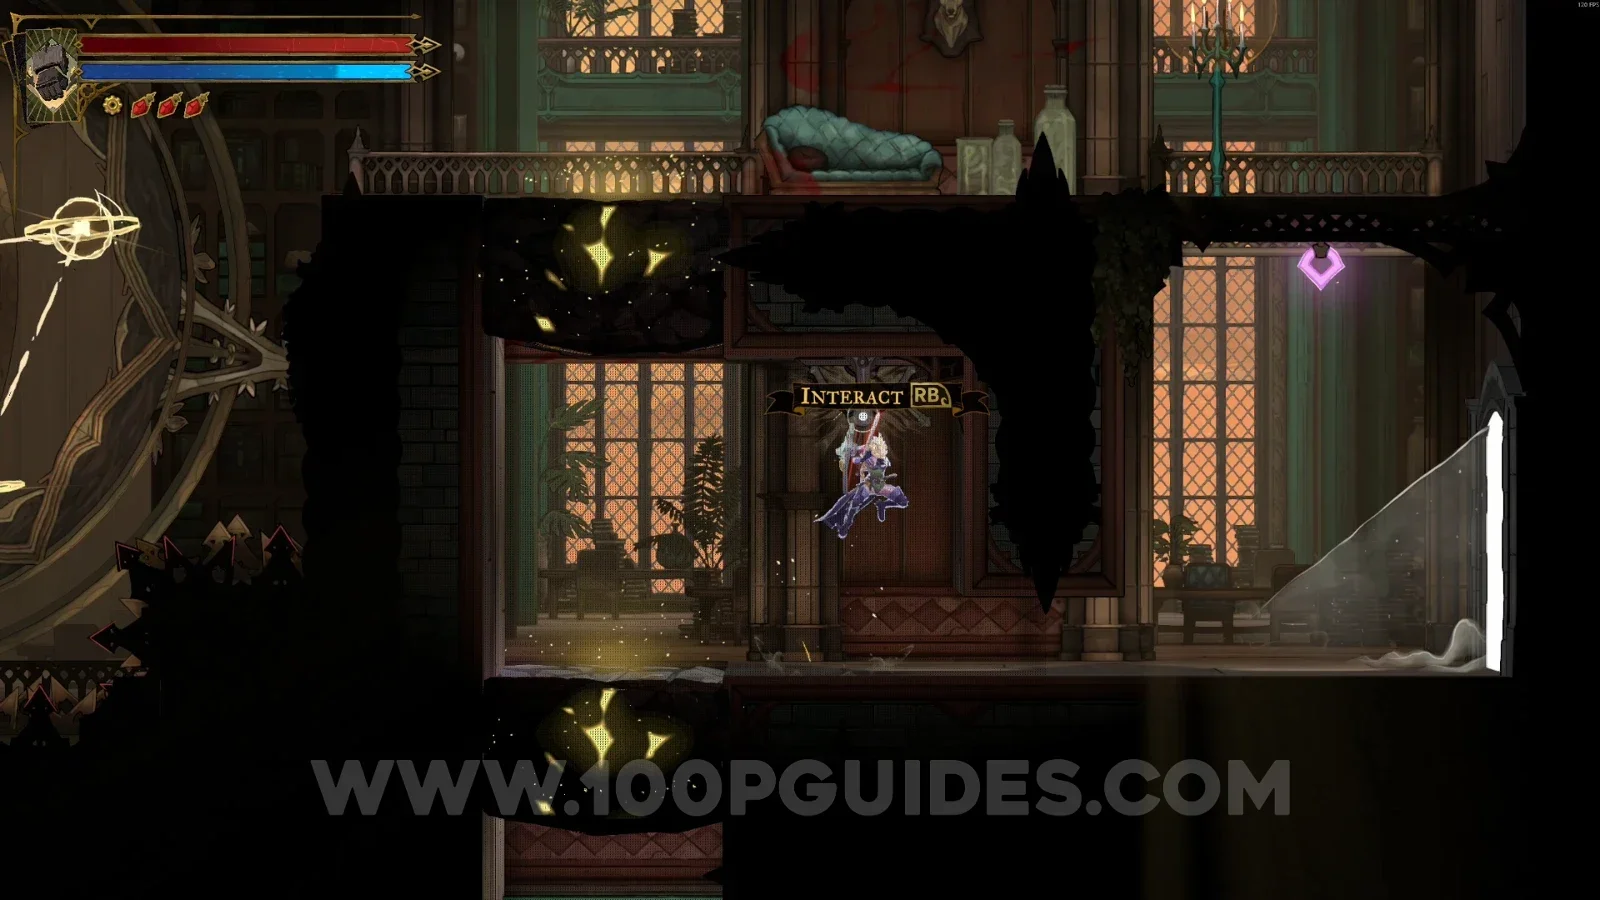
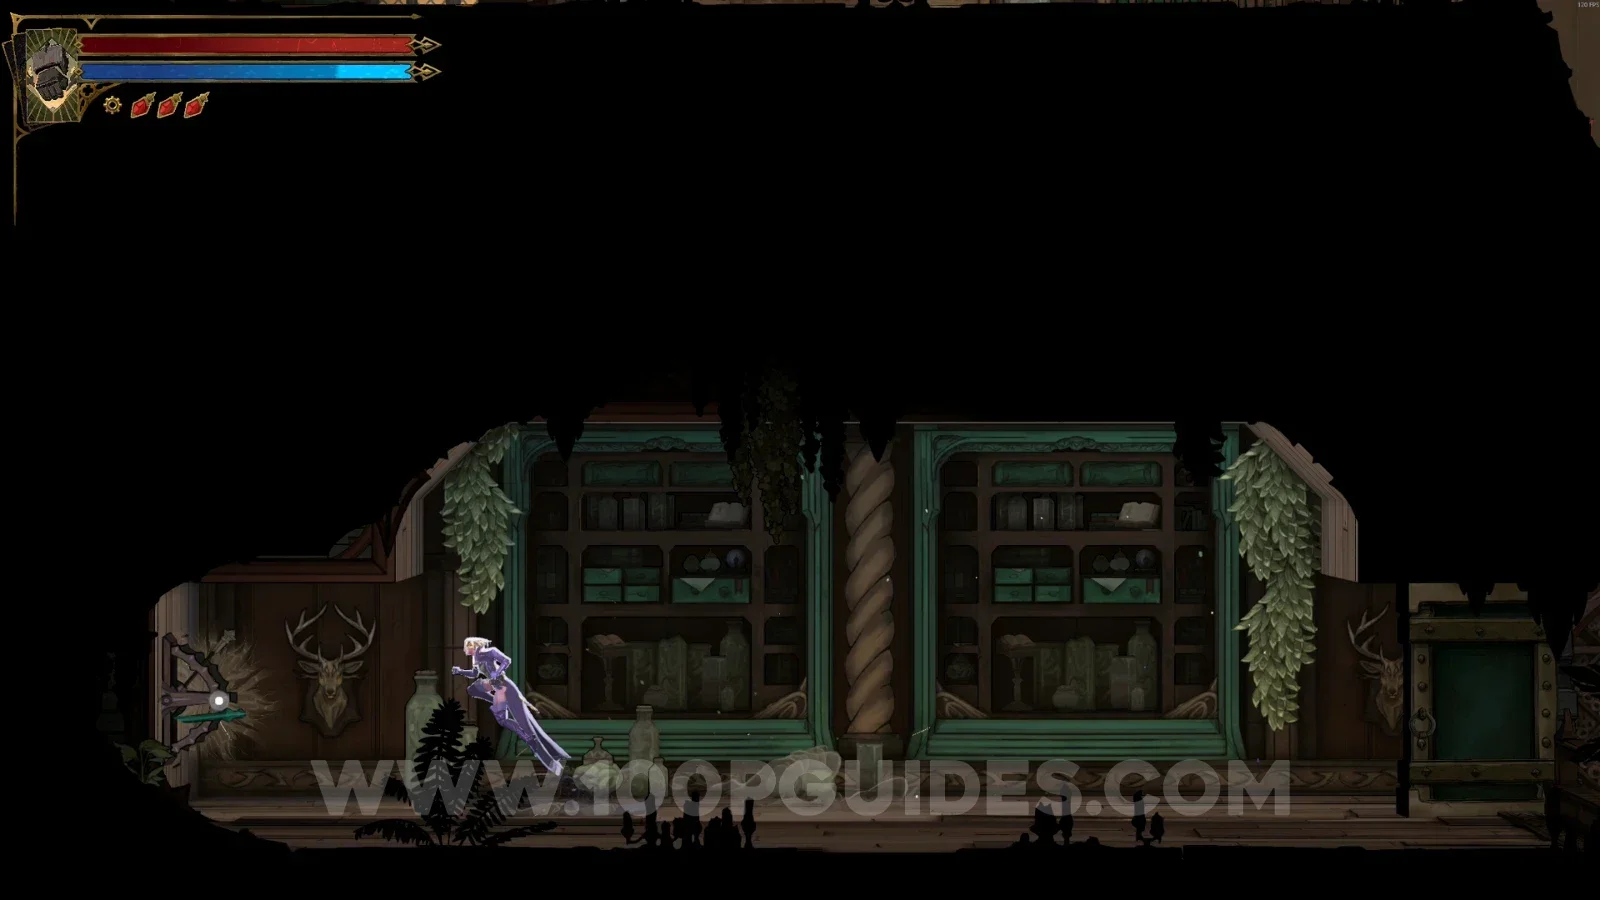
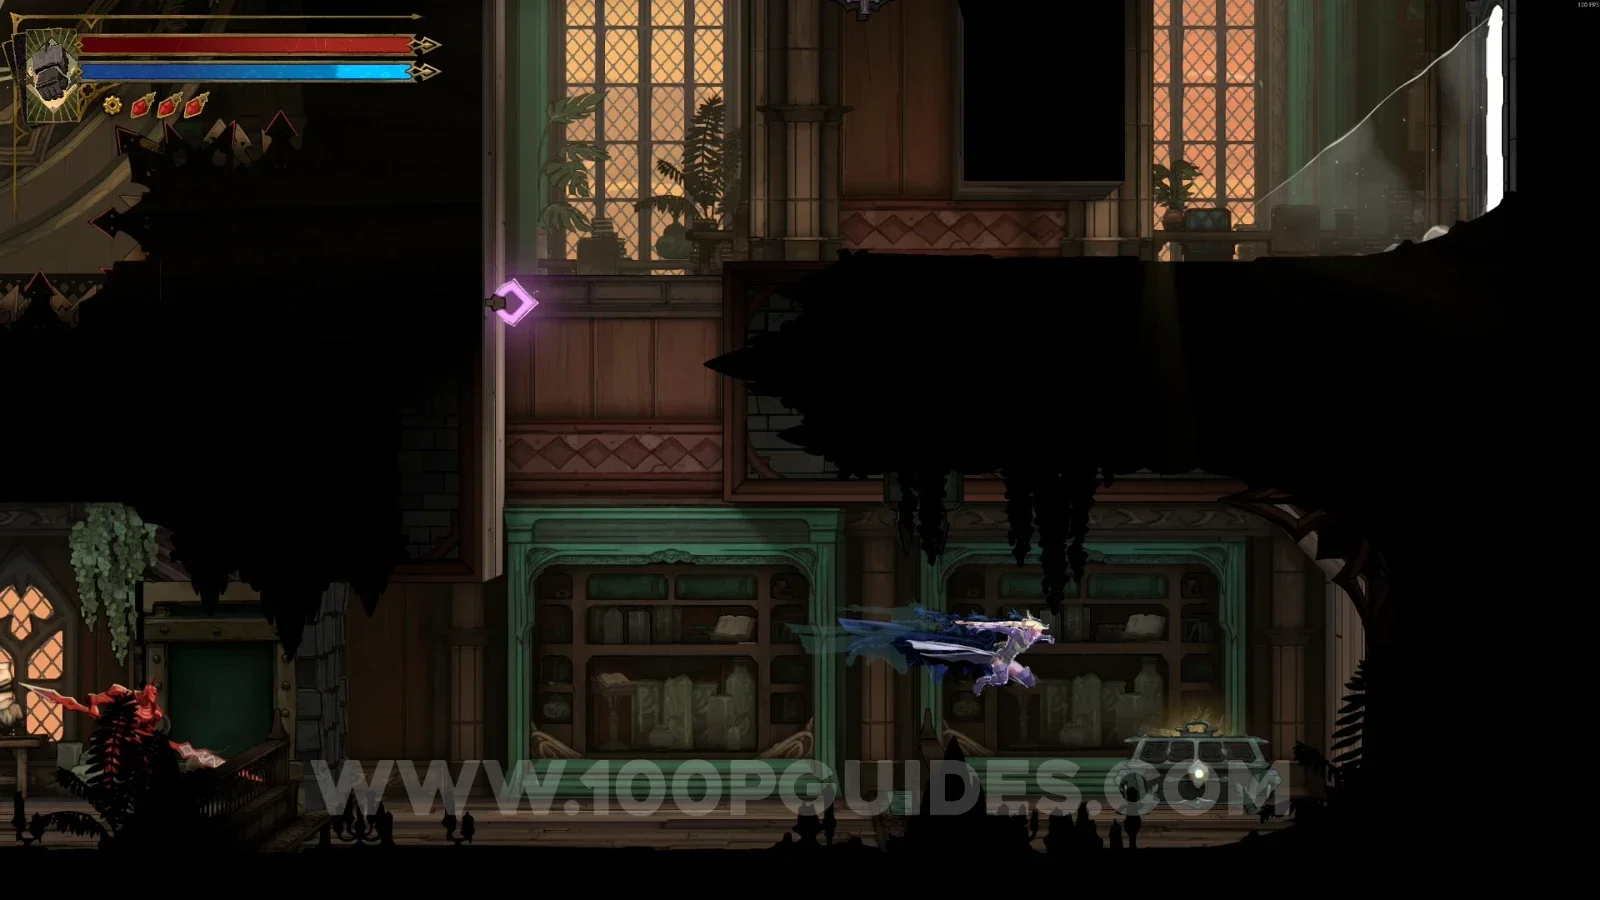
In the area marked on the map, use the slide to reveal a secret room with a lever. Hit the lever and climb to the top of the area, then use the Smash arcane power to break the floor. Next, head left to interact with another lever, then go back and open the chest to get this relic.
Drawing Room
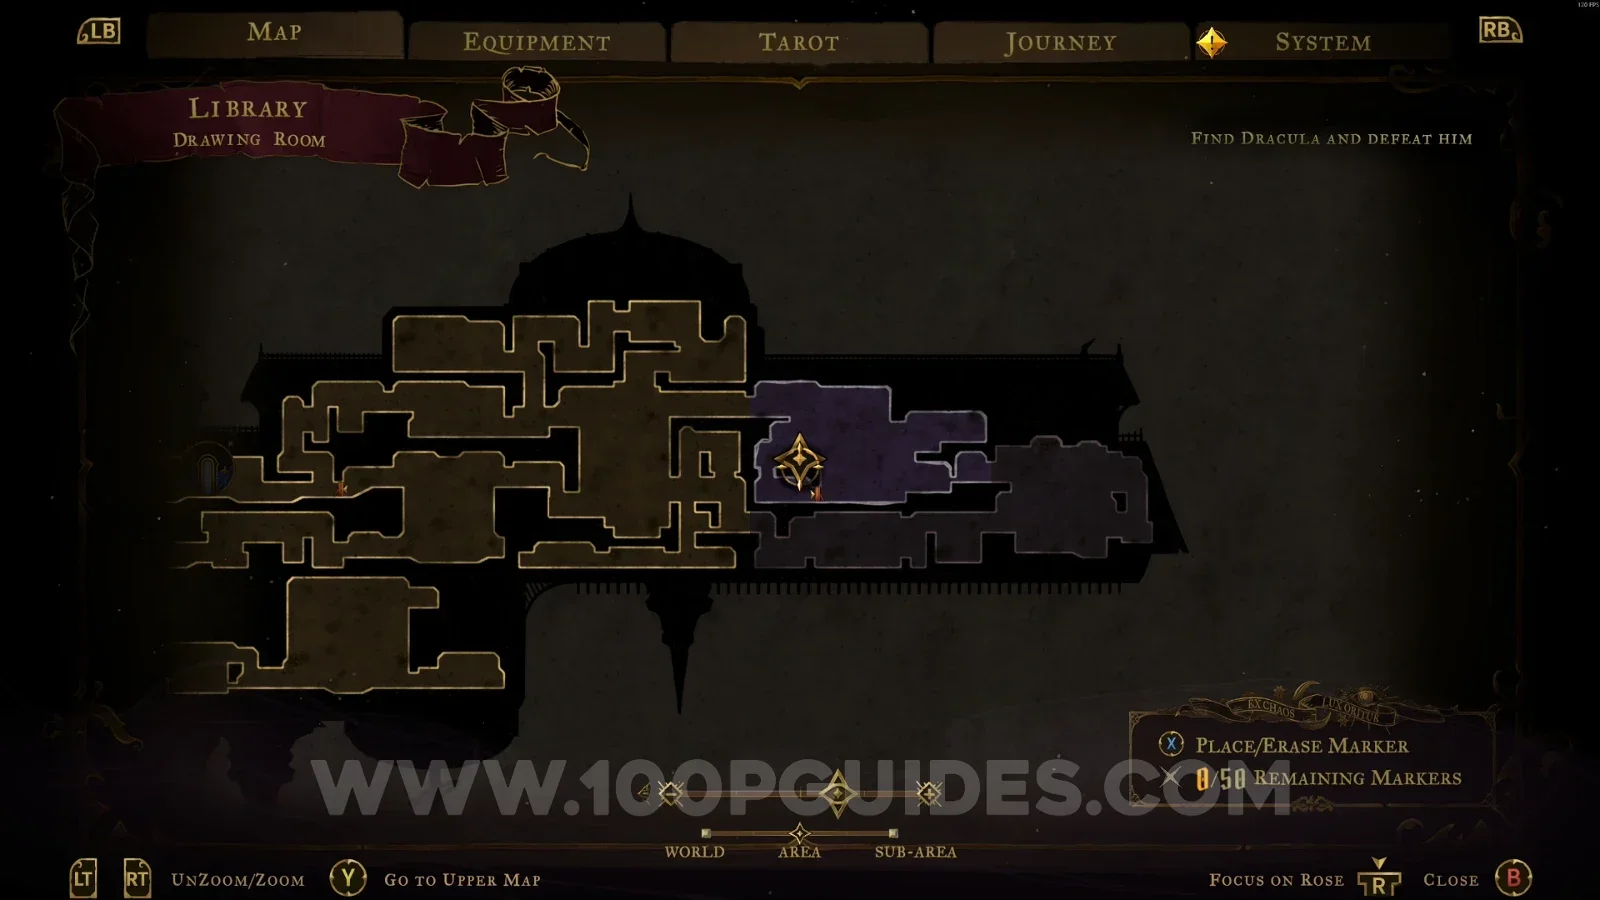
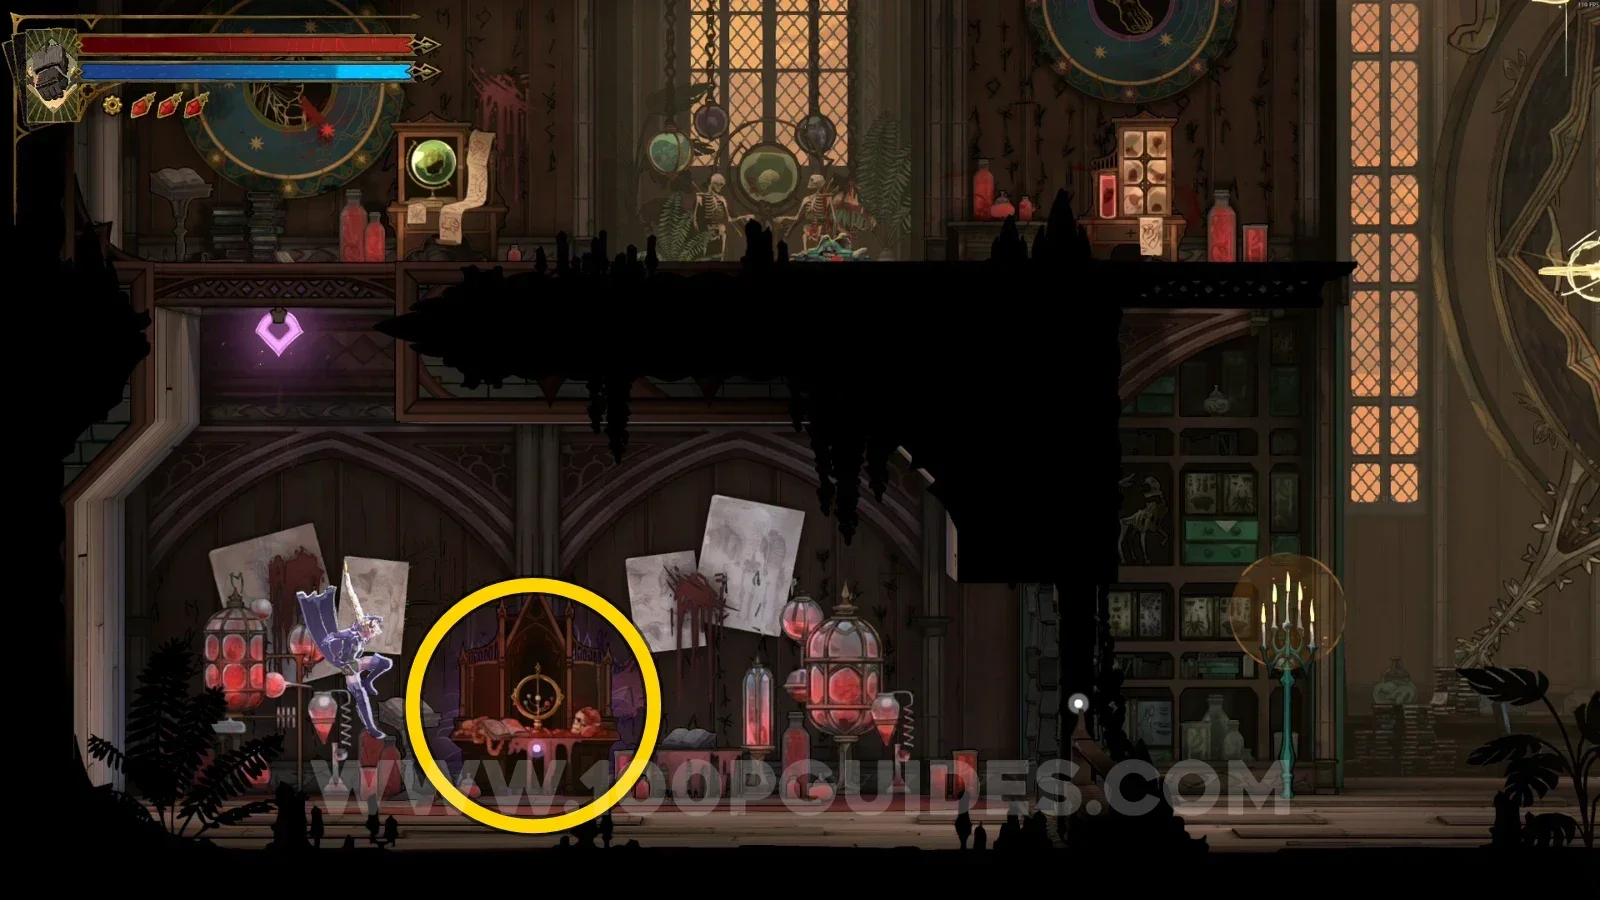
Clue: The Occultist
In the area marked on the map, on top of the table.
Condemned Shelves
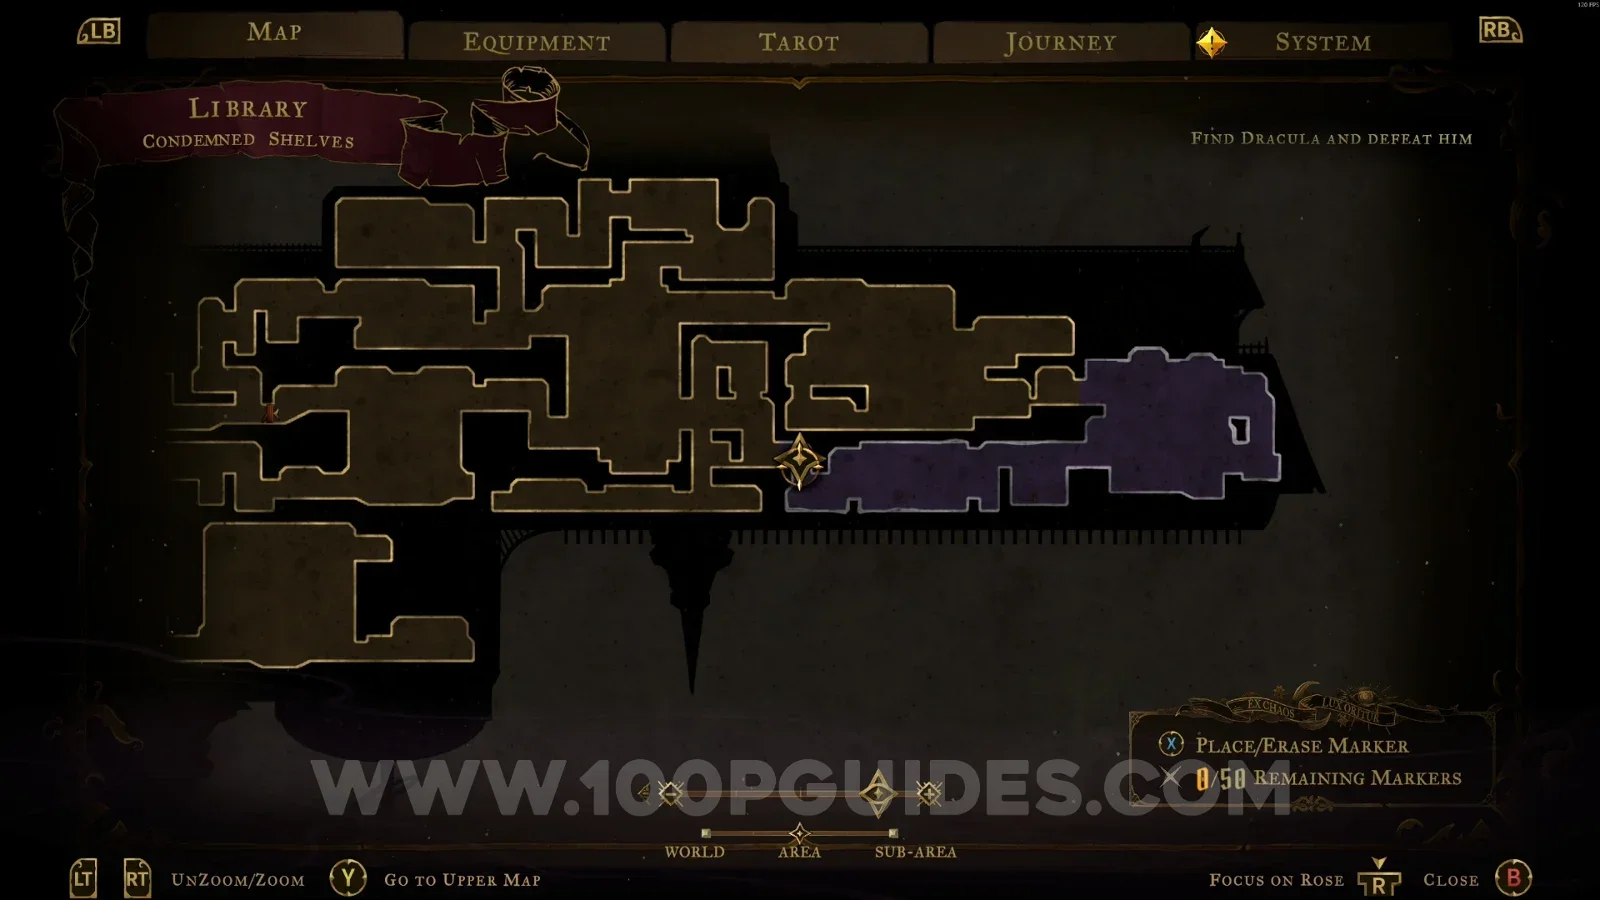
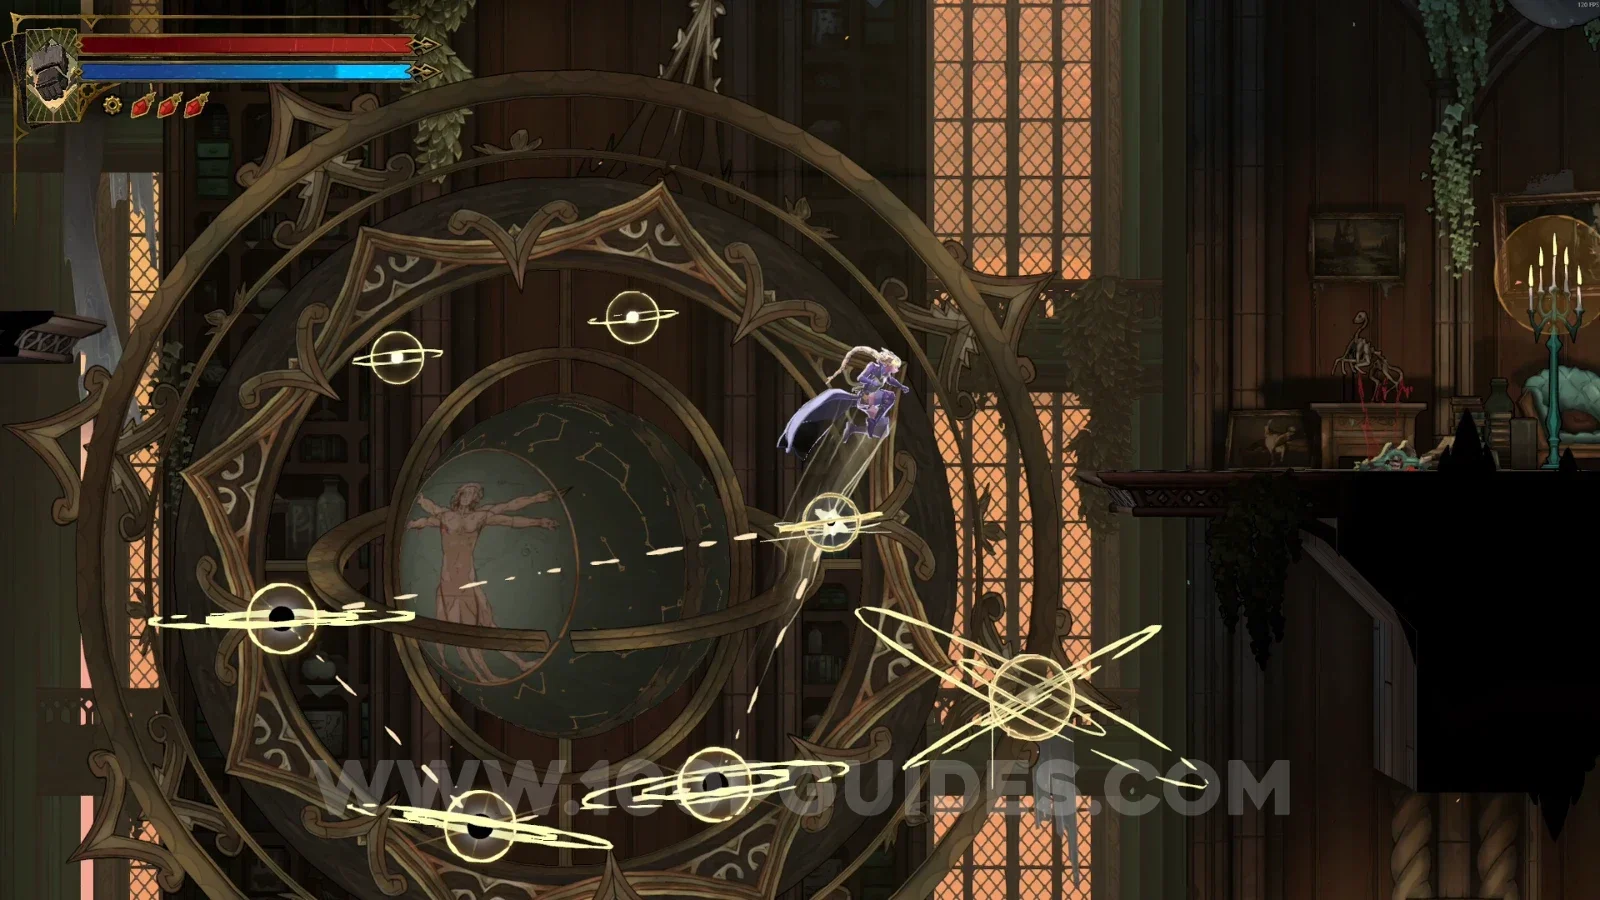
Weapon #3: Fleuret And Tower Shield
In the area marked on the map, keep going forward past the spikes until you reach a large room. There, jump on the orbs to complete a pattern and launch yourself to the upper part of the area, where you'll find this chest with the weapon.
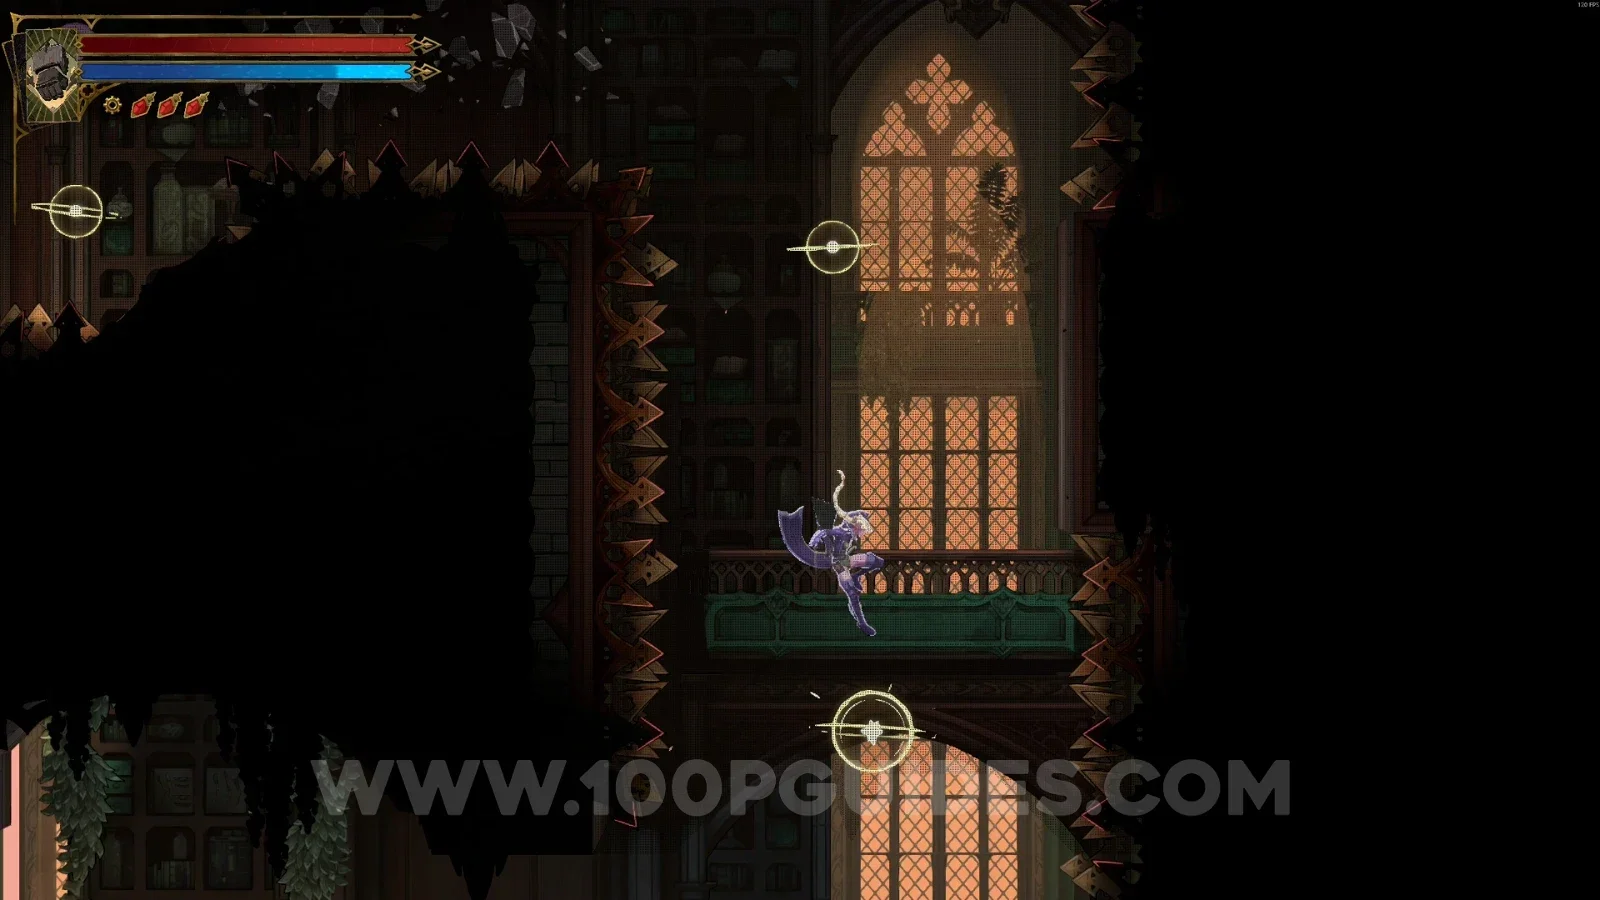
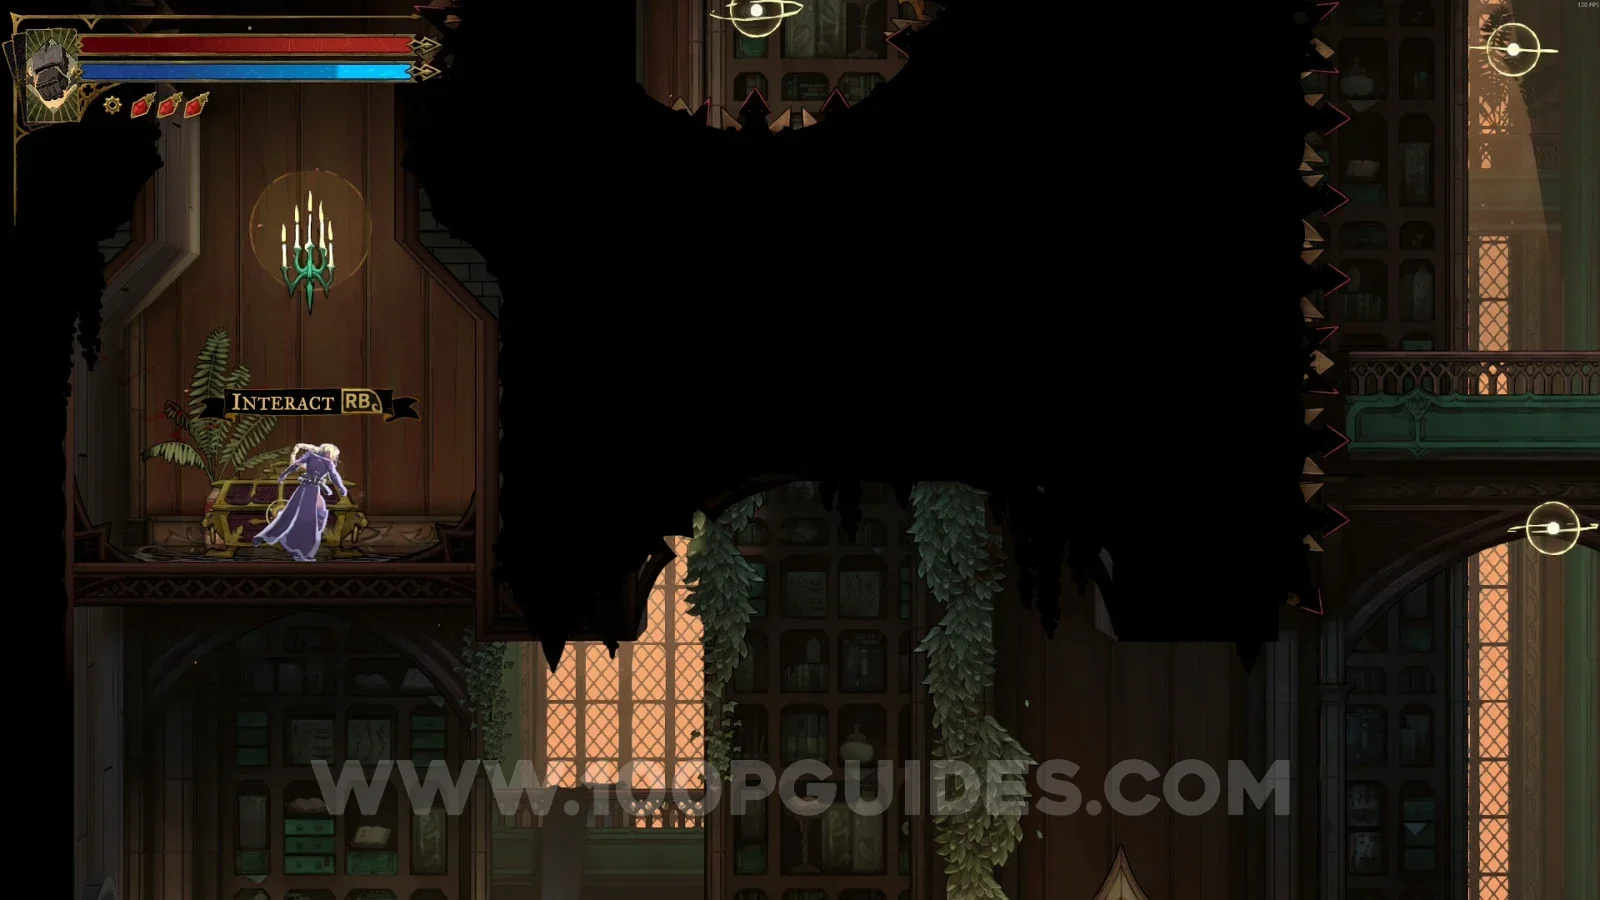
Observation Tower
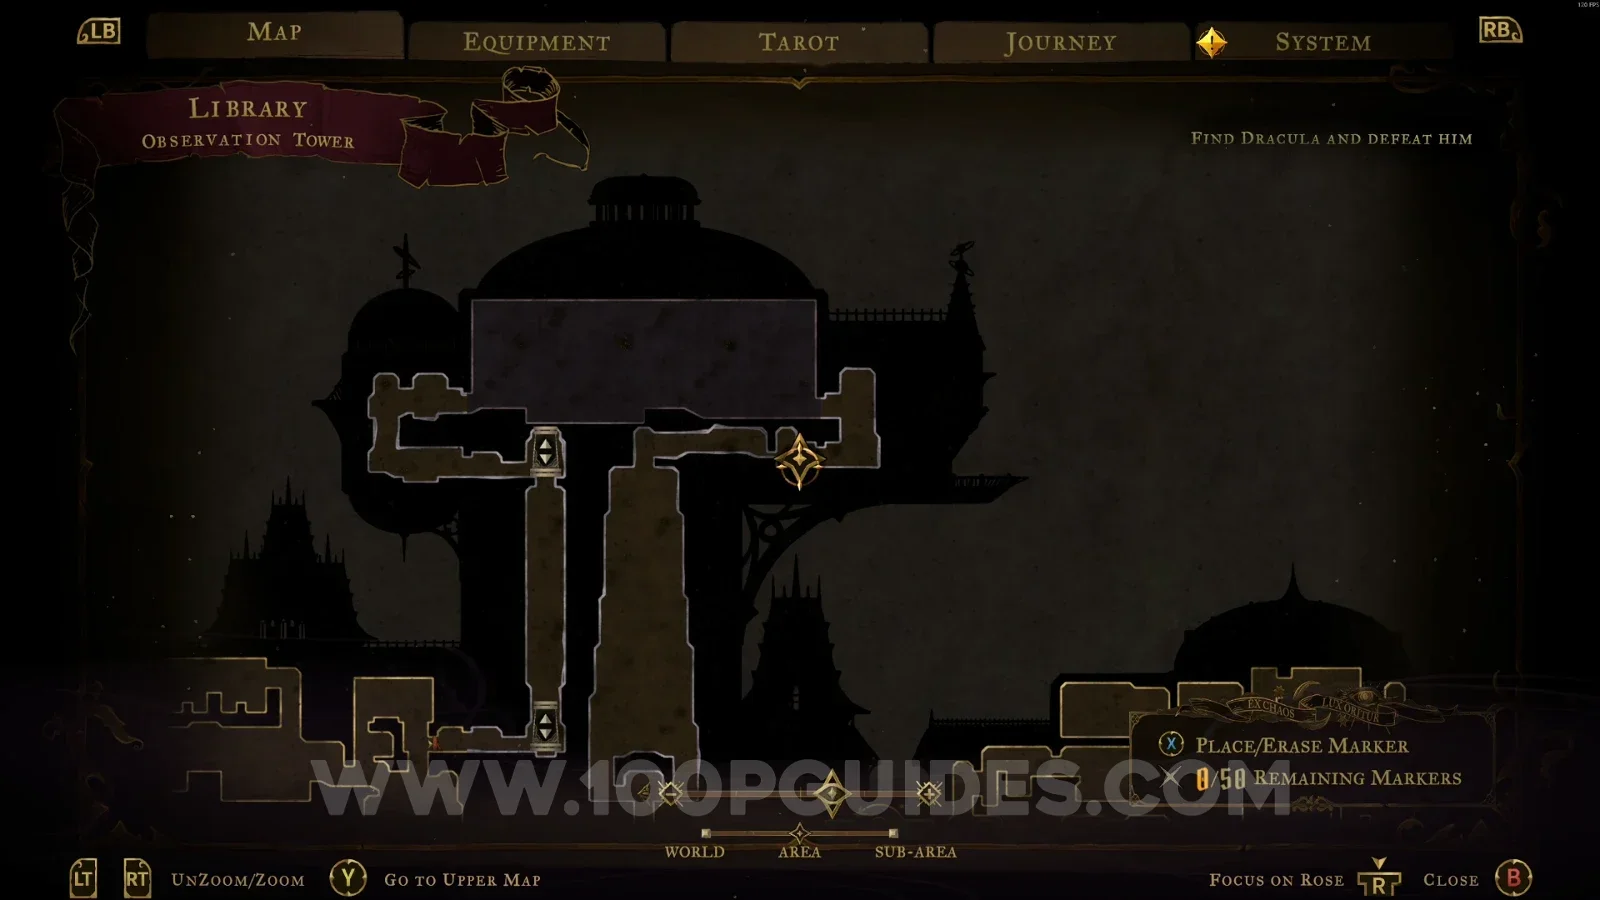
Clue: The Occultist
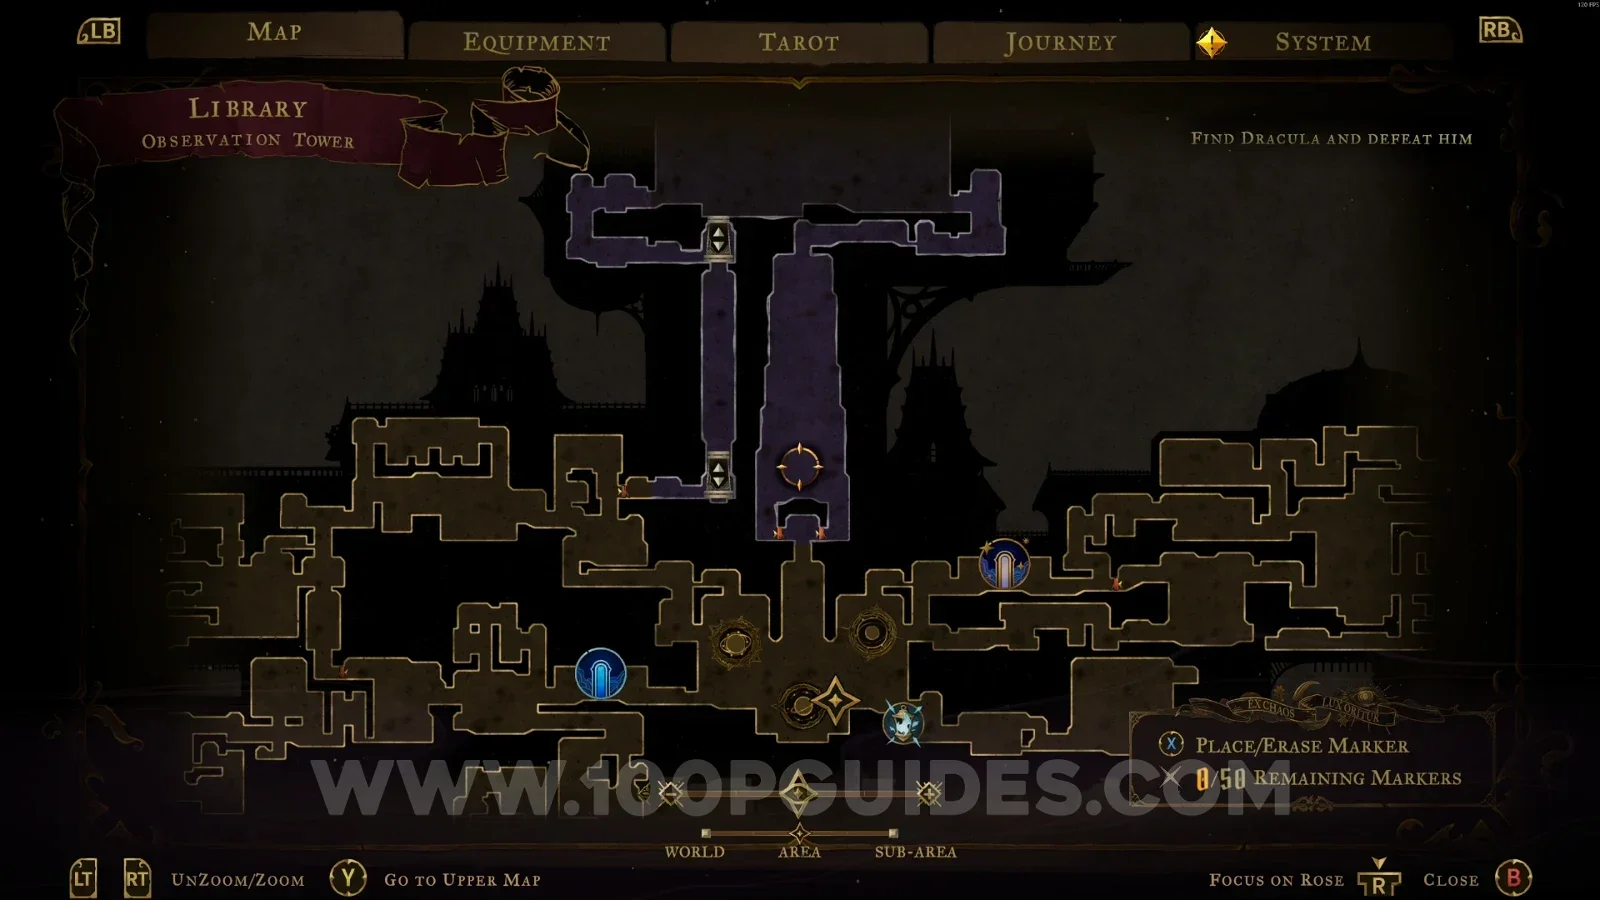
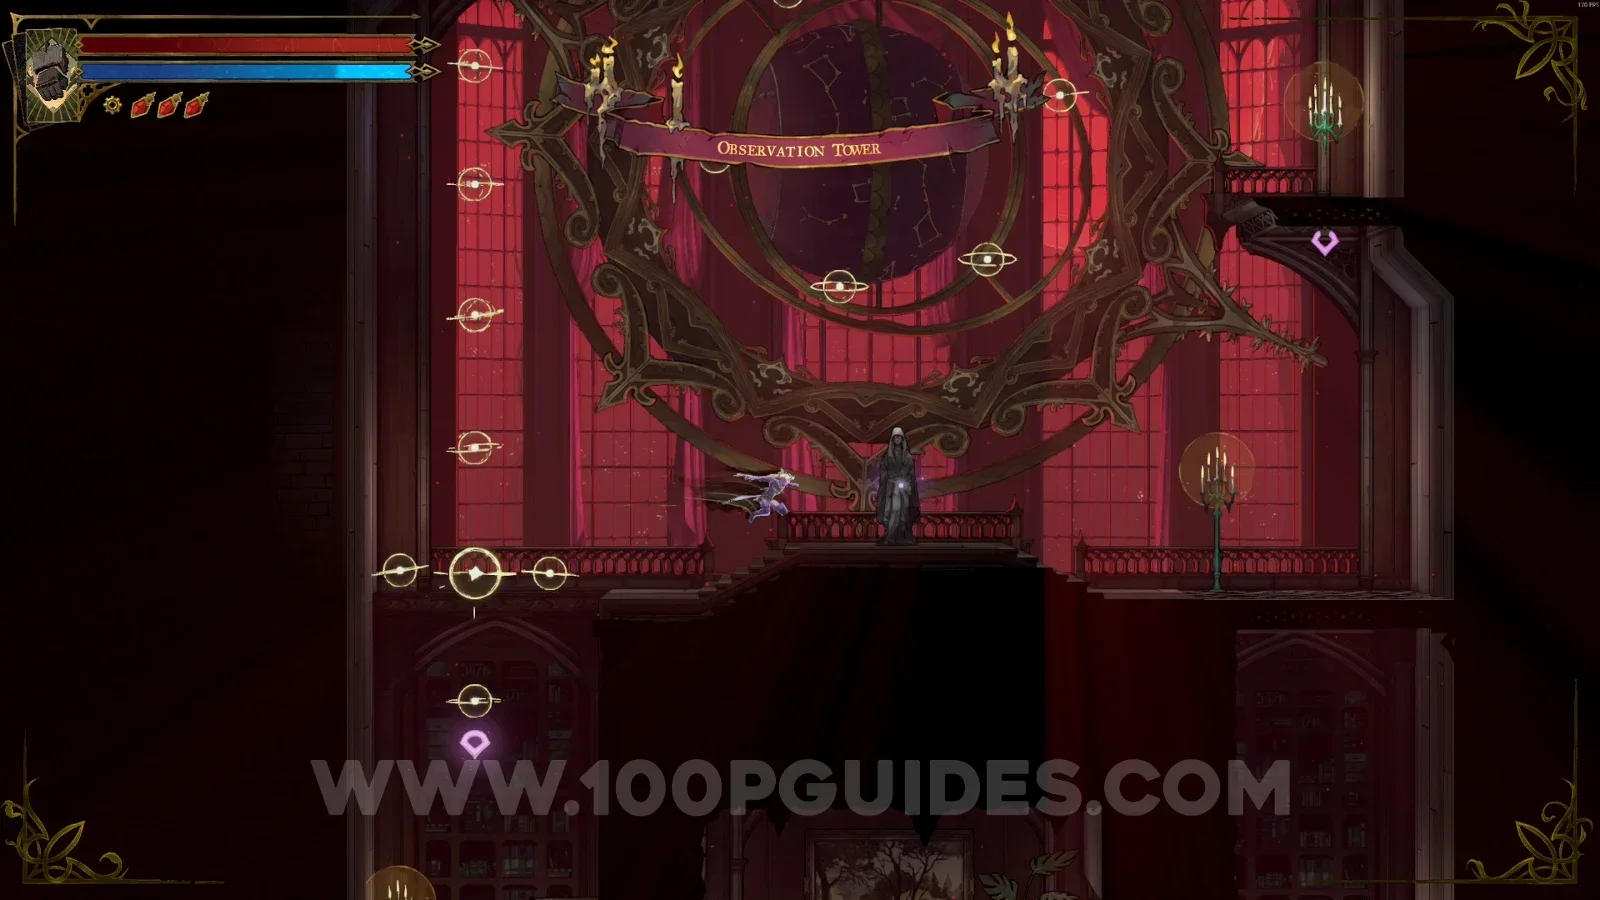
In the area marked on the map, climb up and interact with the statue to get this clue.
Observatory
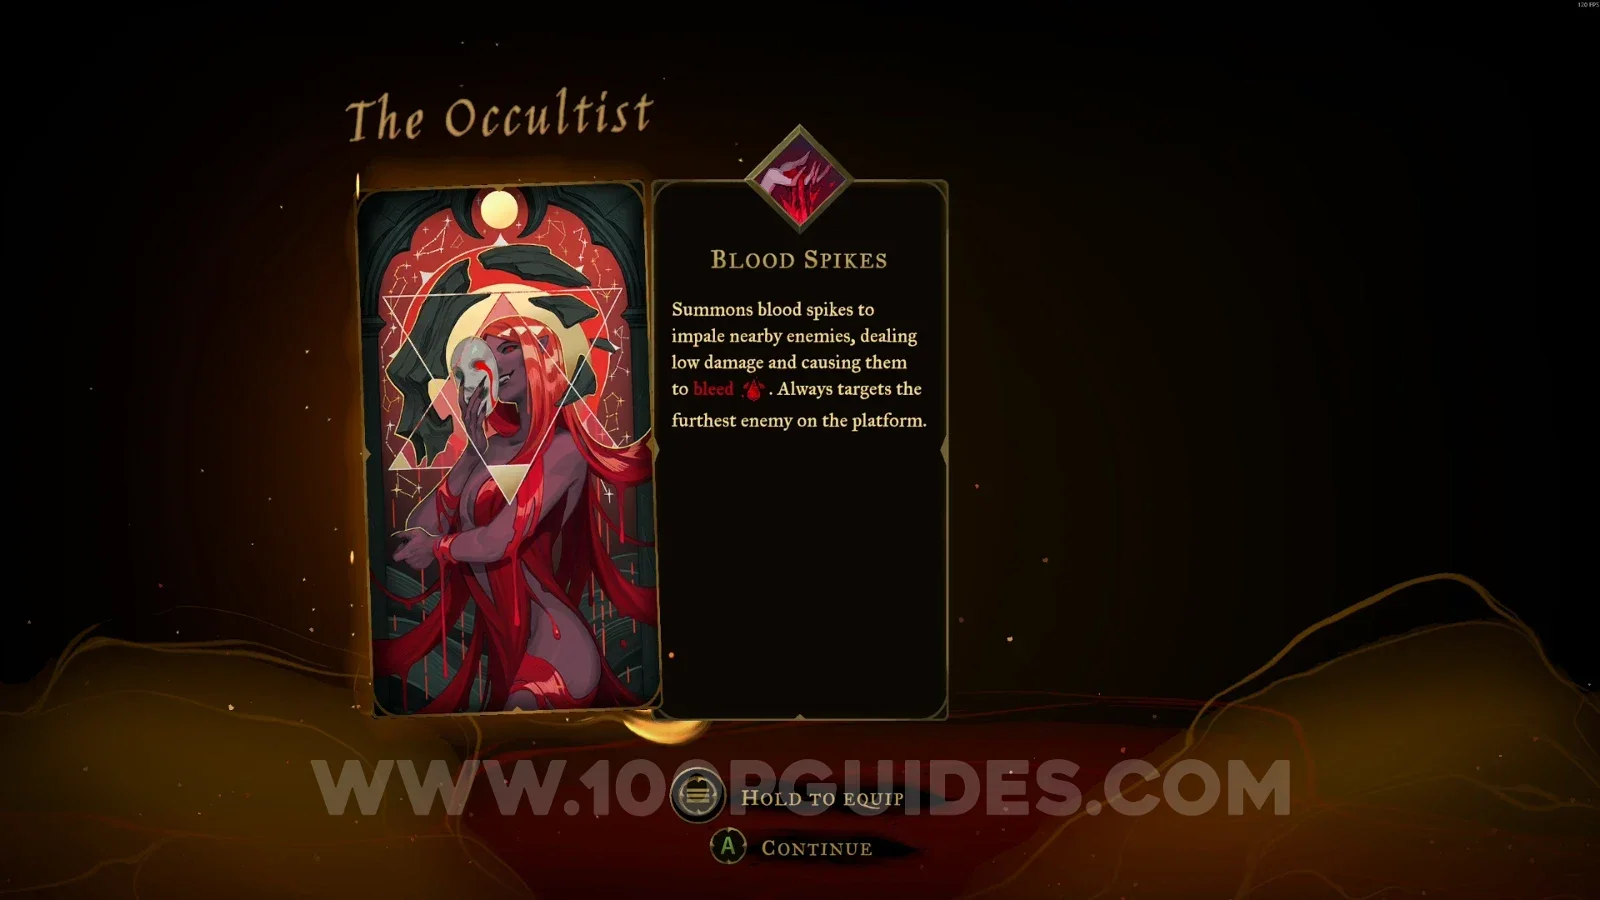
Arcana: Blood Spikes
Obtained after defeating the boss Carmilla.
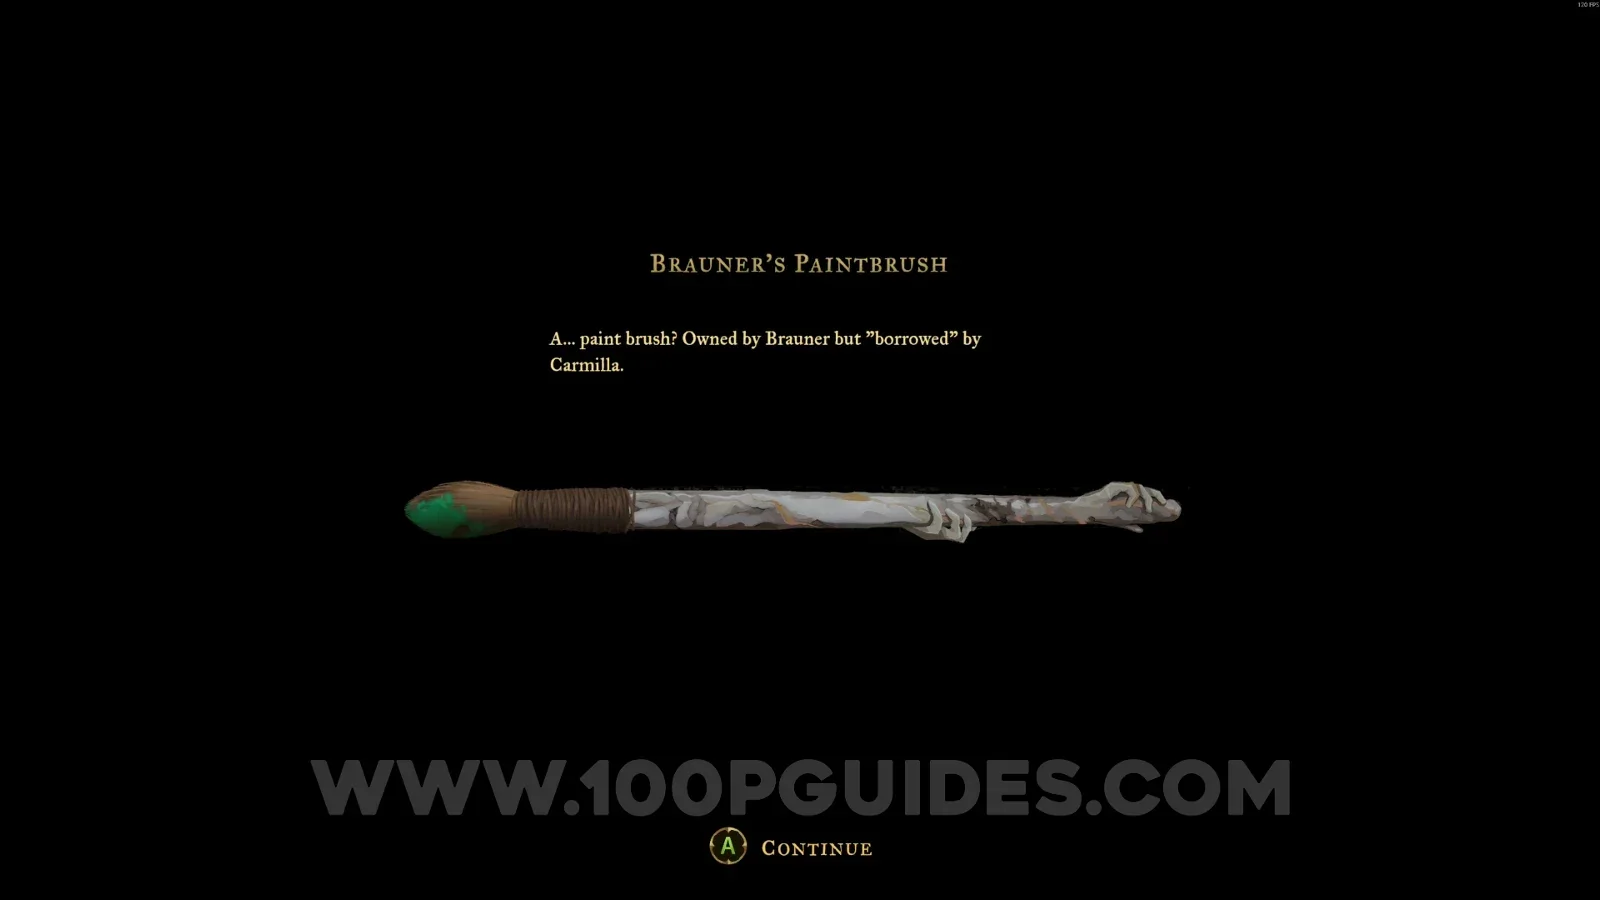
Brauner's Paintbrush
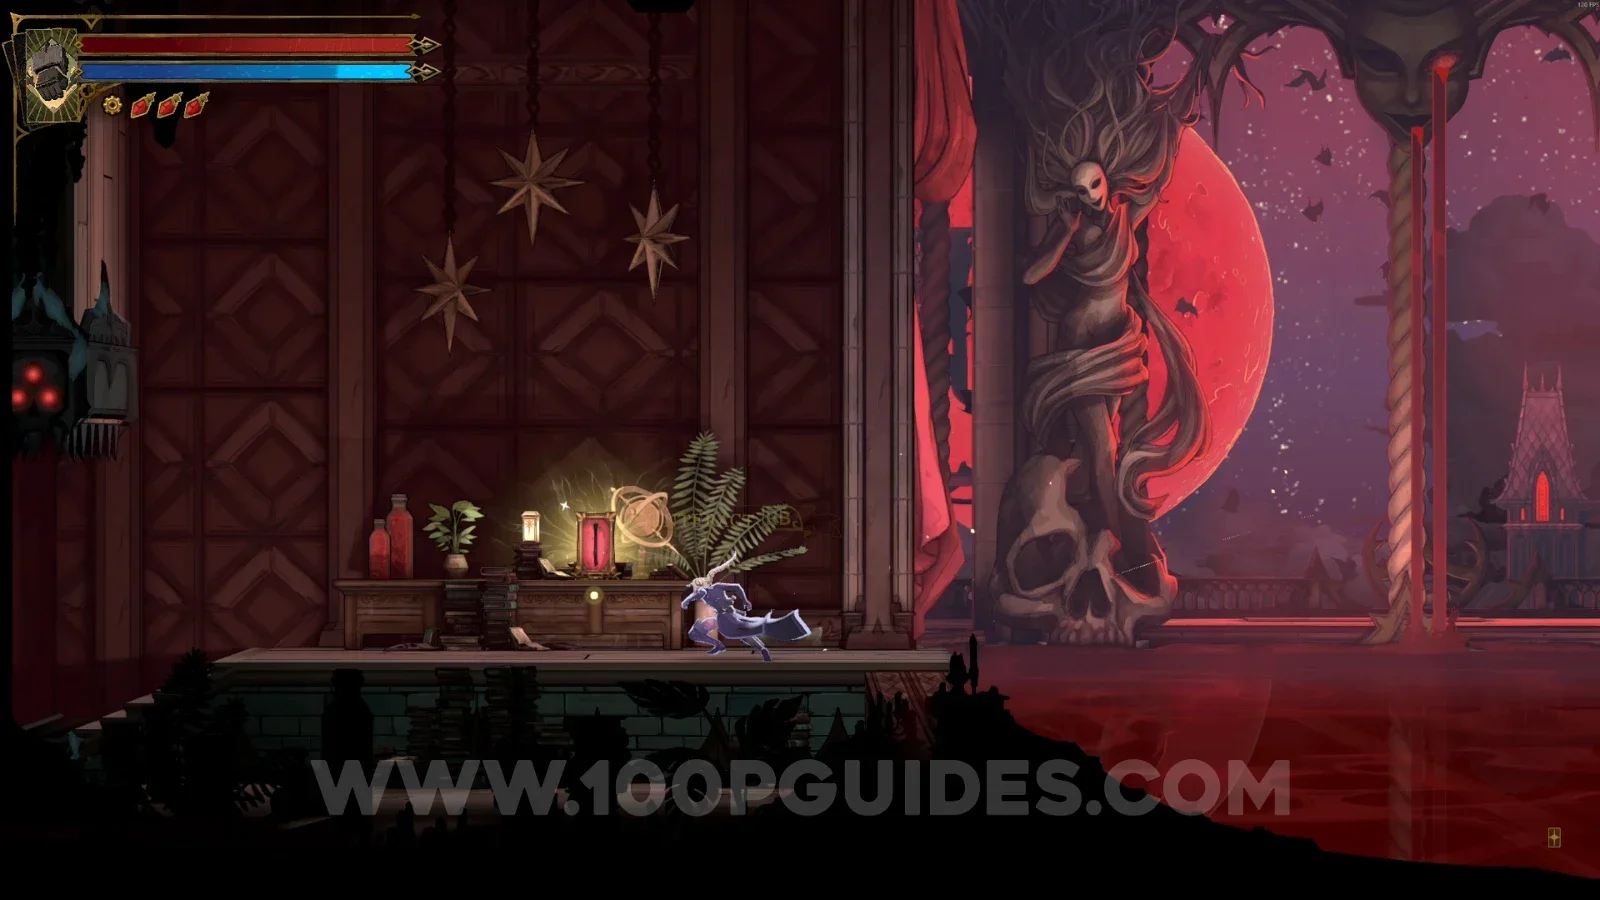
Right after defeating Carmilla, grab Brauner's Paintbrush. This item will let you enter Notre-Dame from the Main Hall.
These are all the collectibles and secrets in the Library in Castlevania: Belmont's Curse.