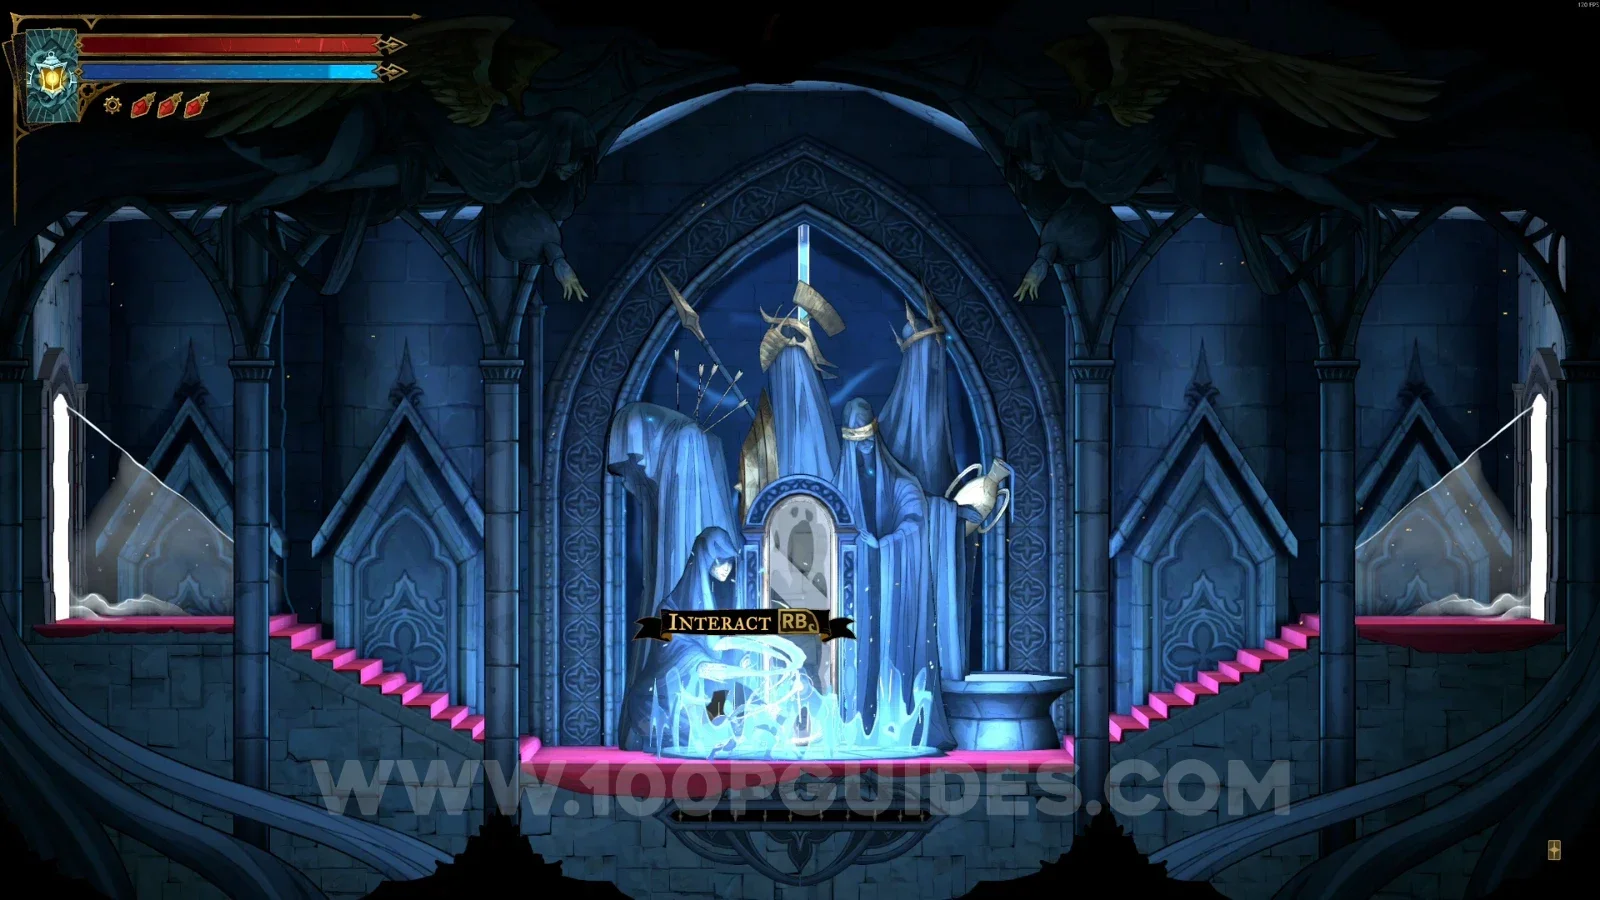
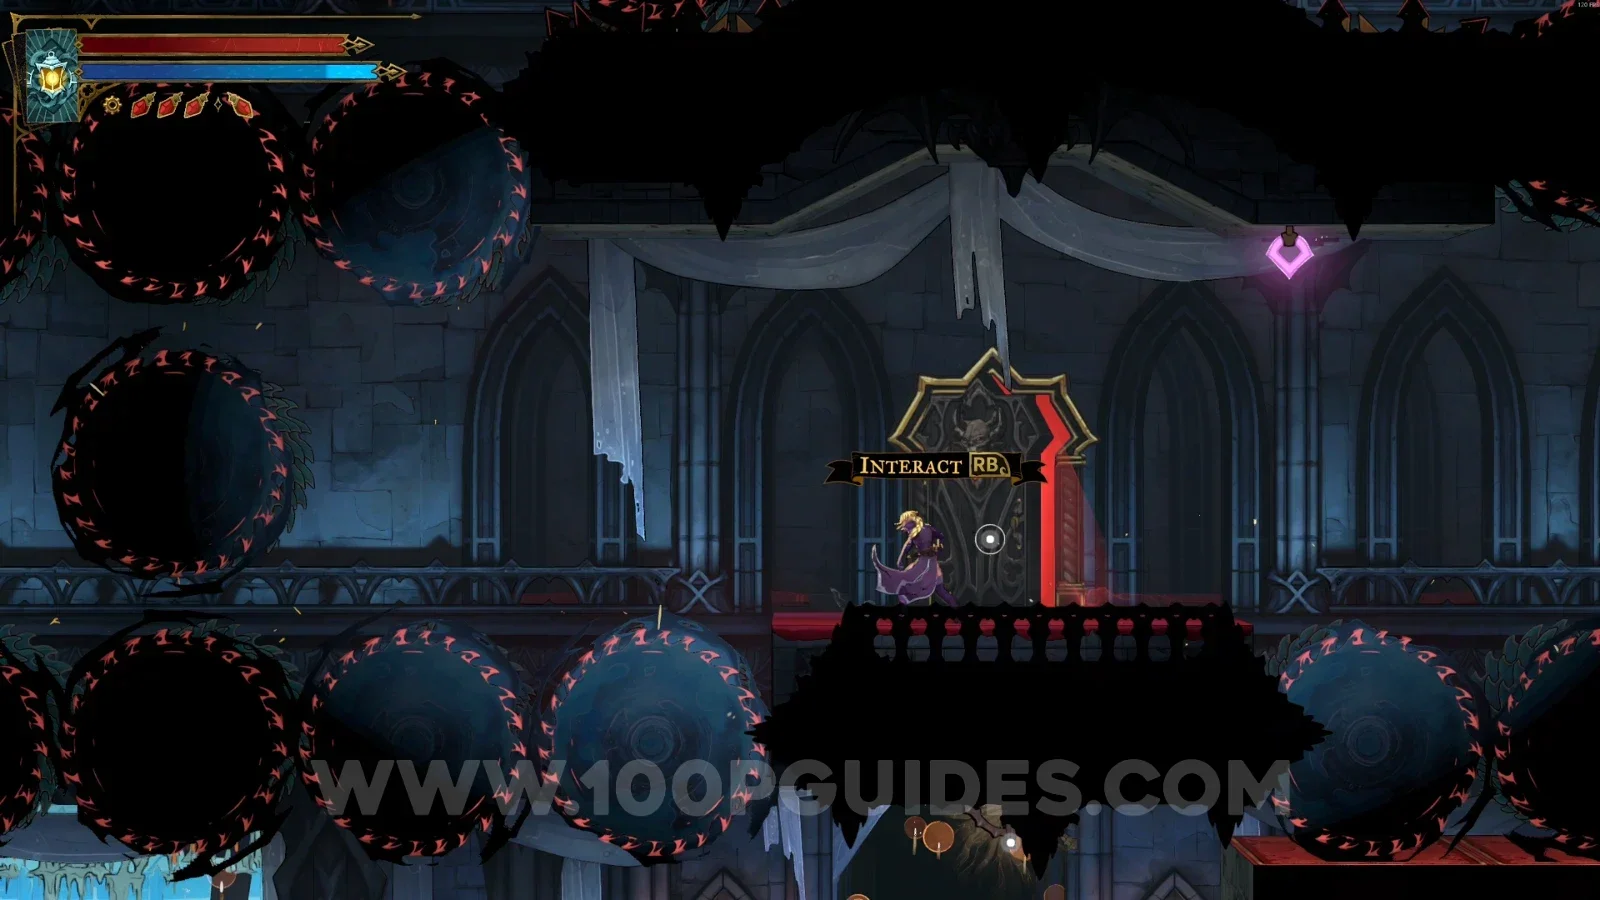
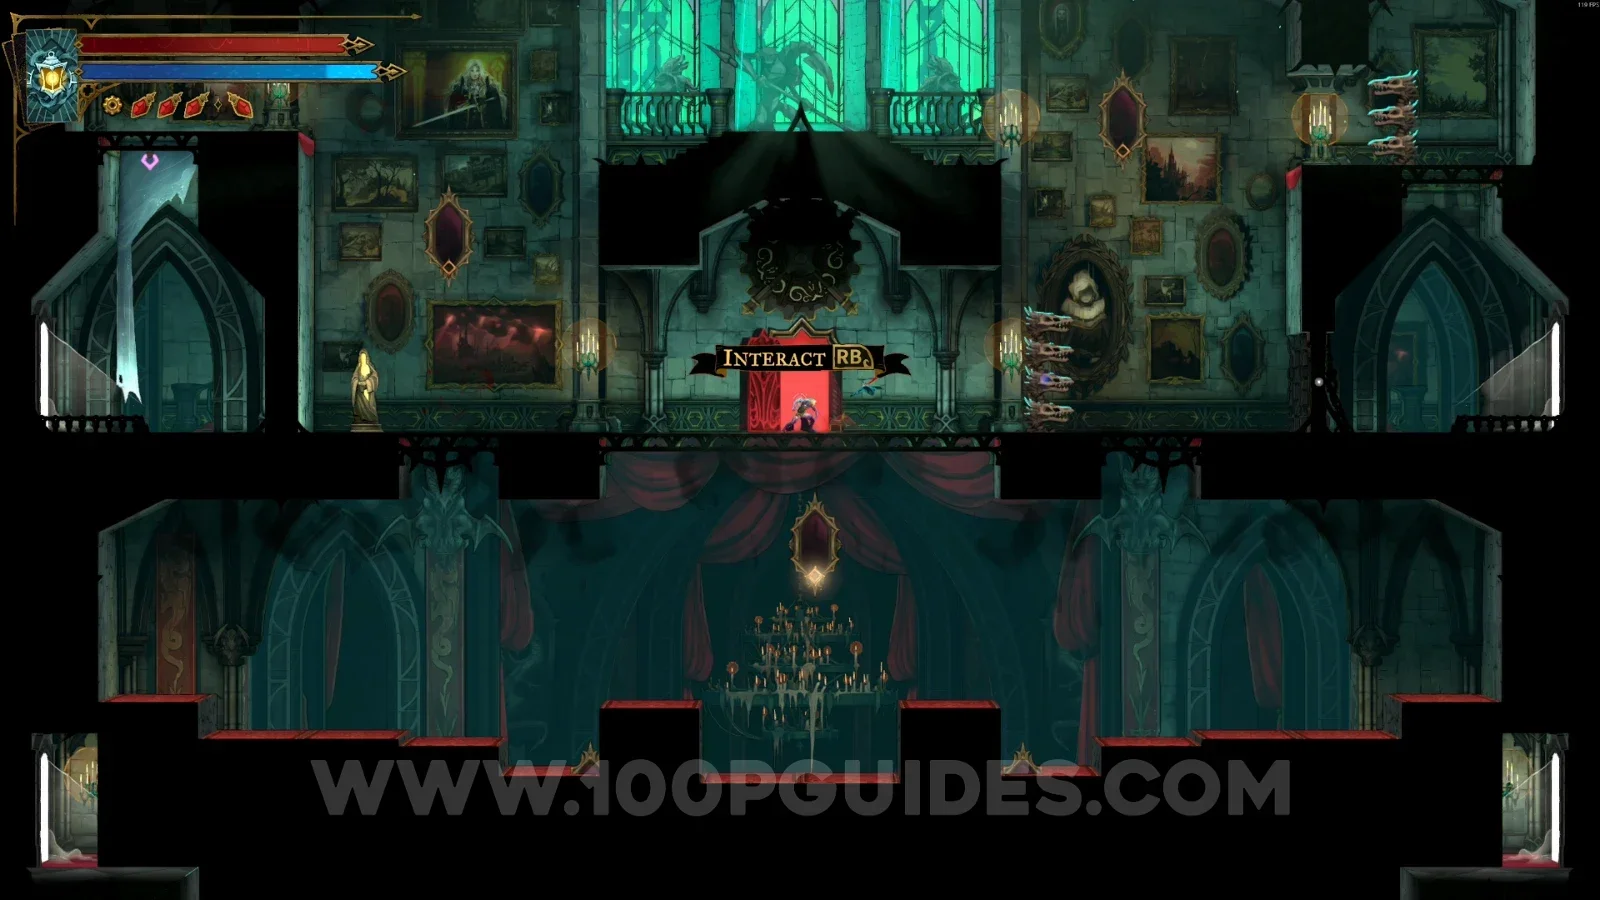
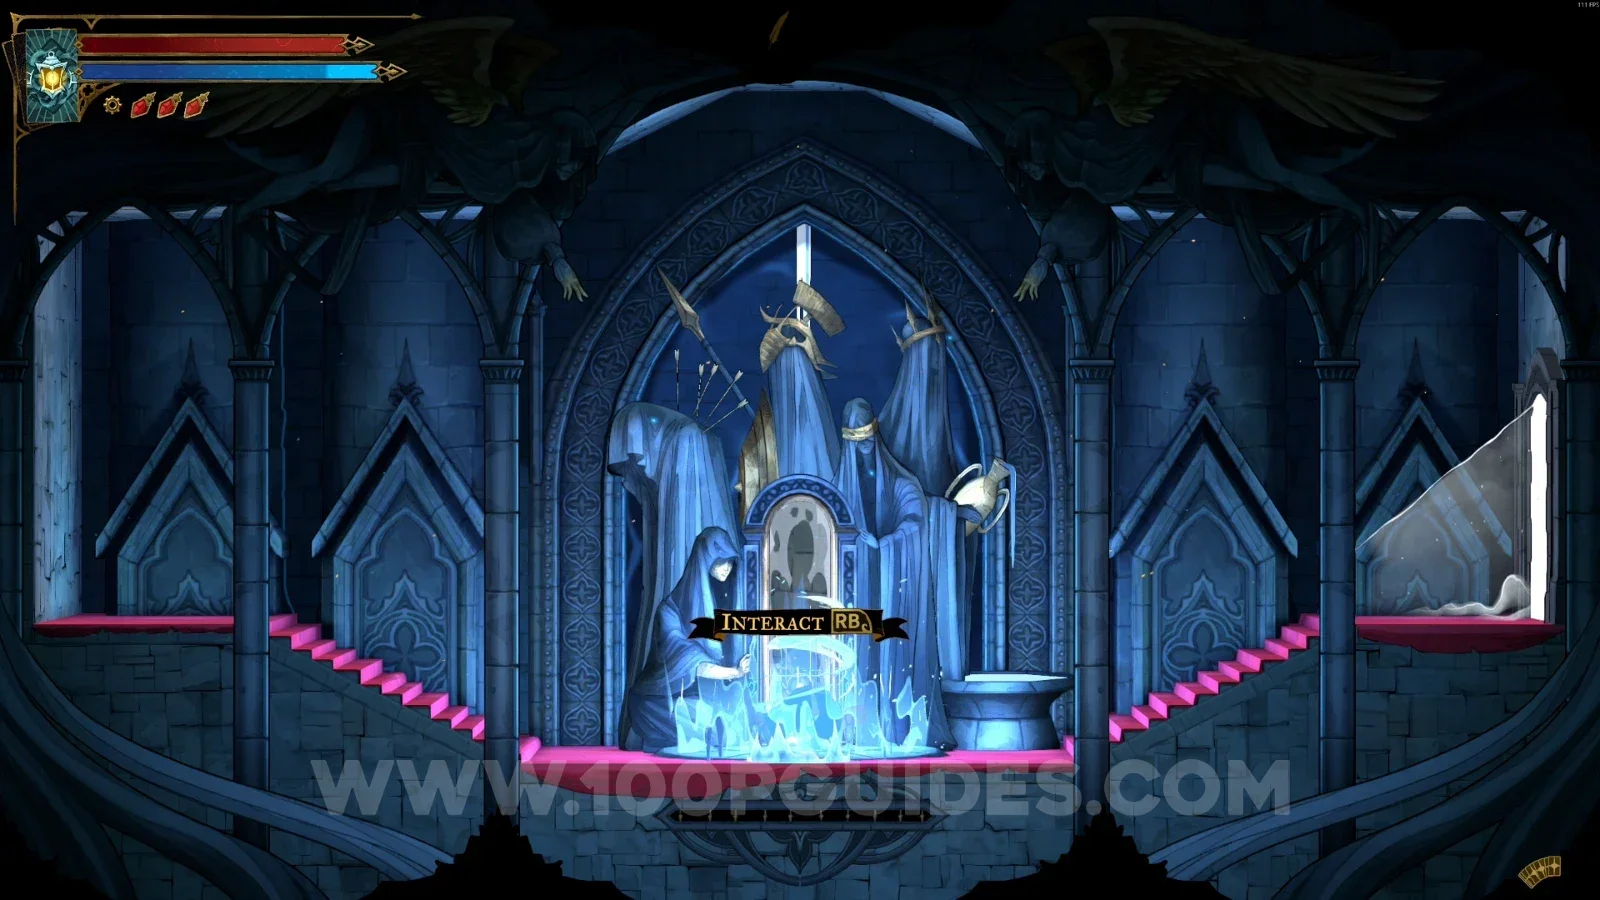
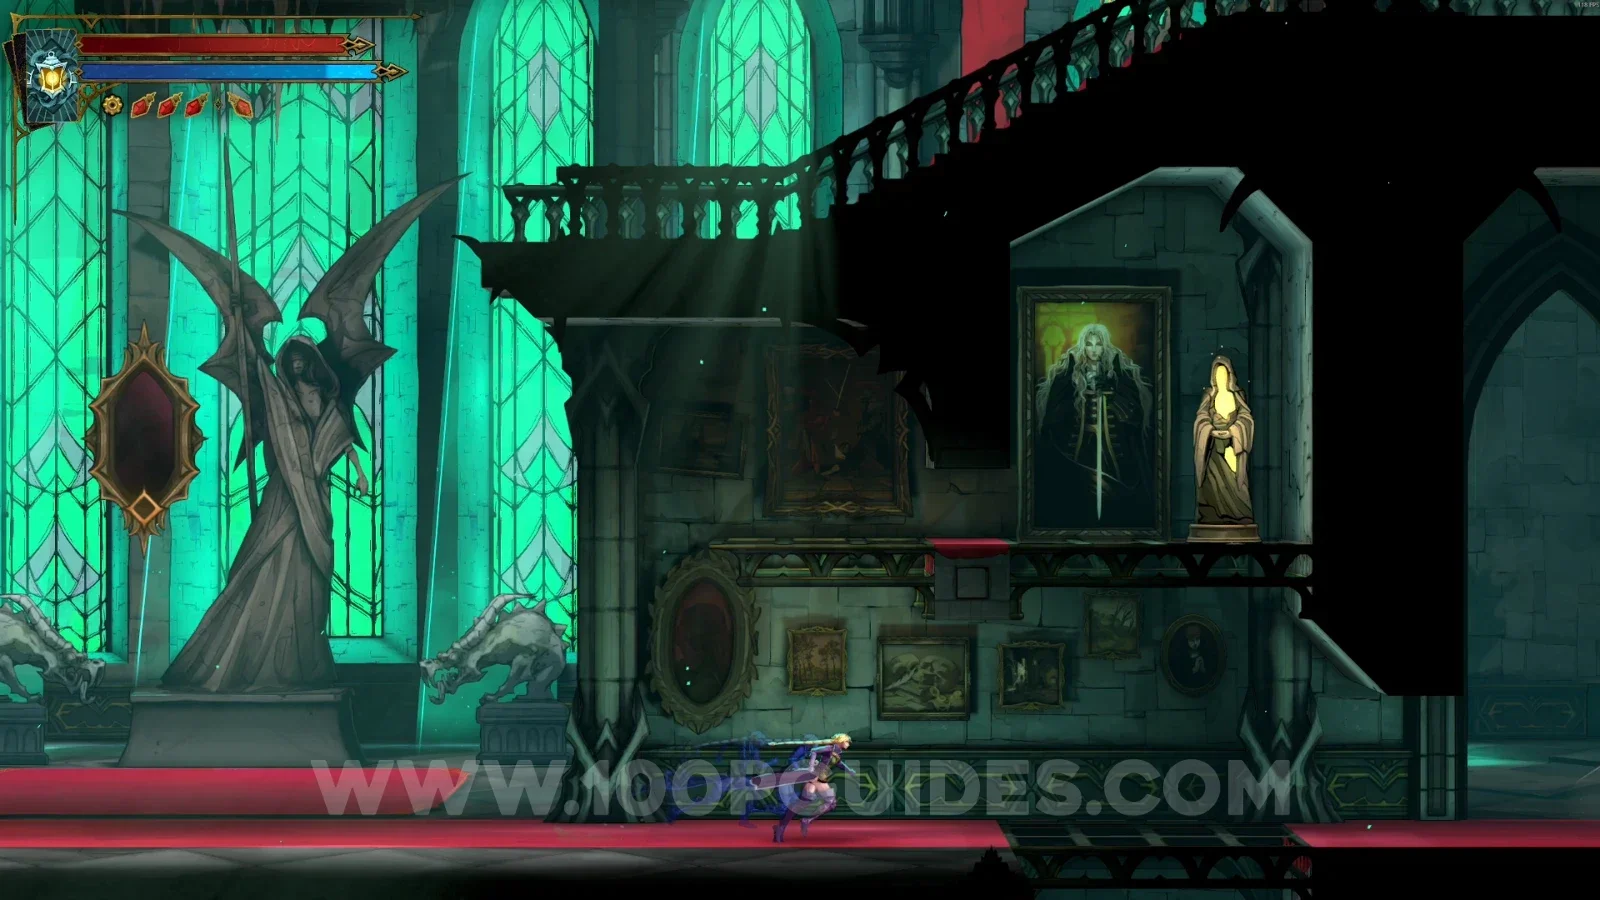
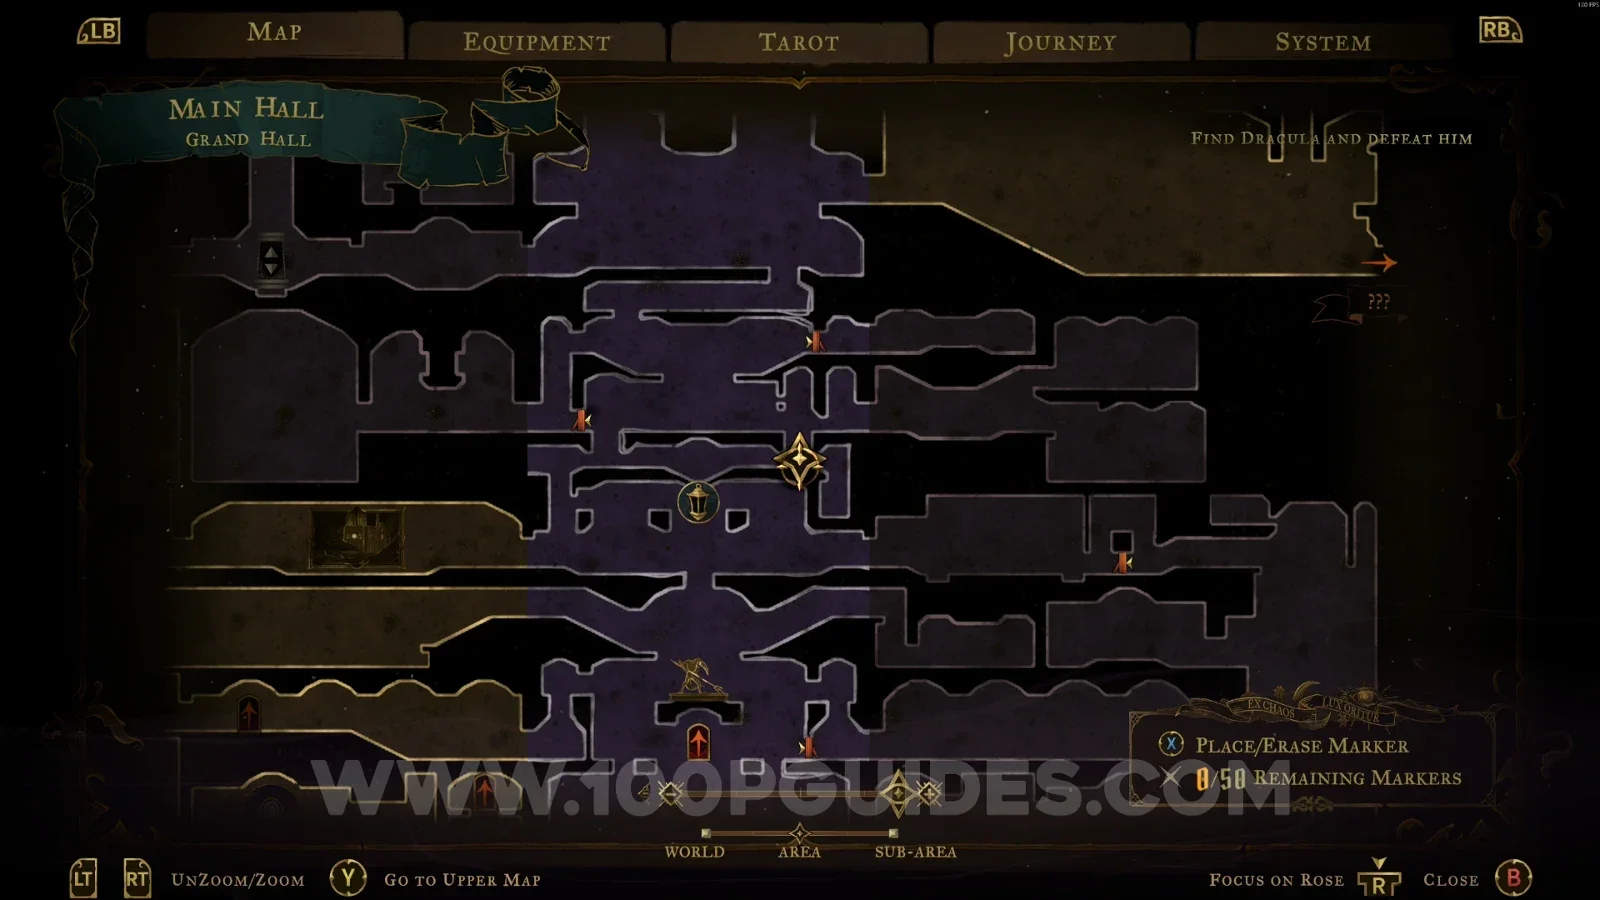
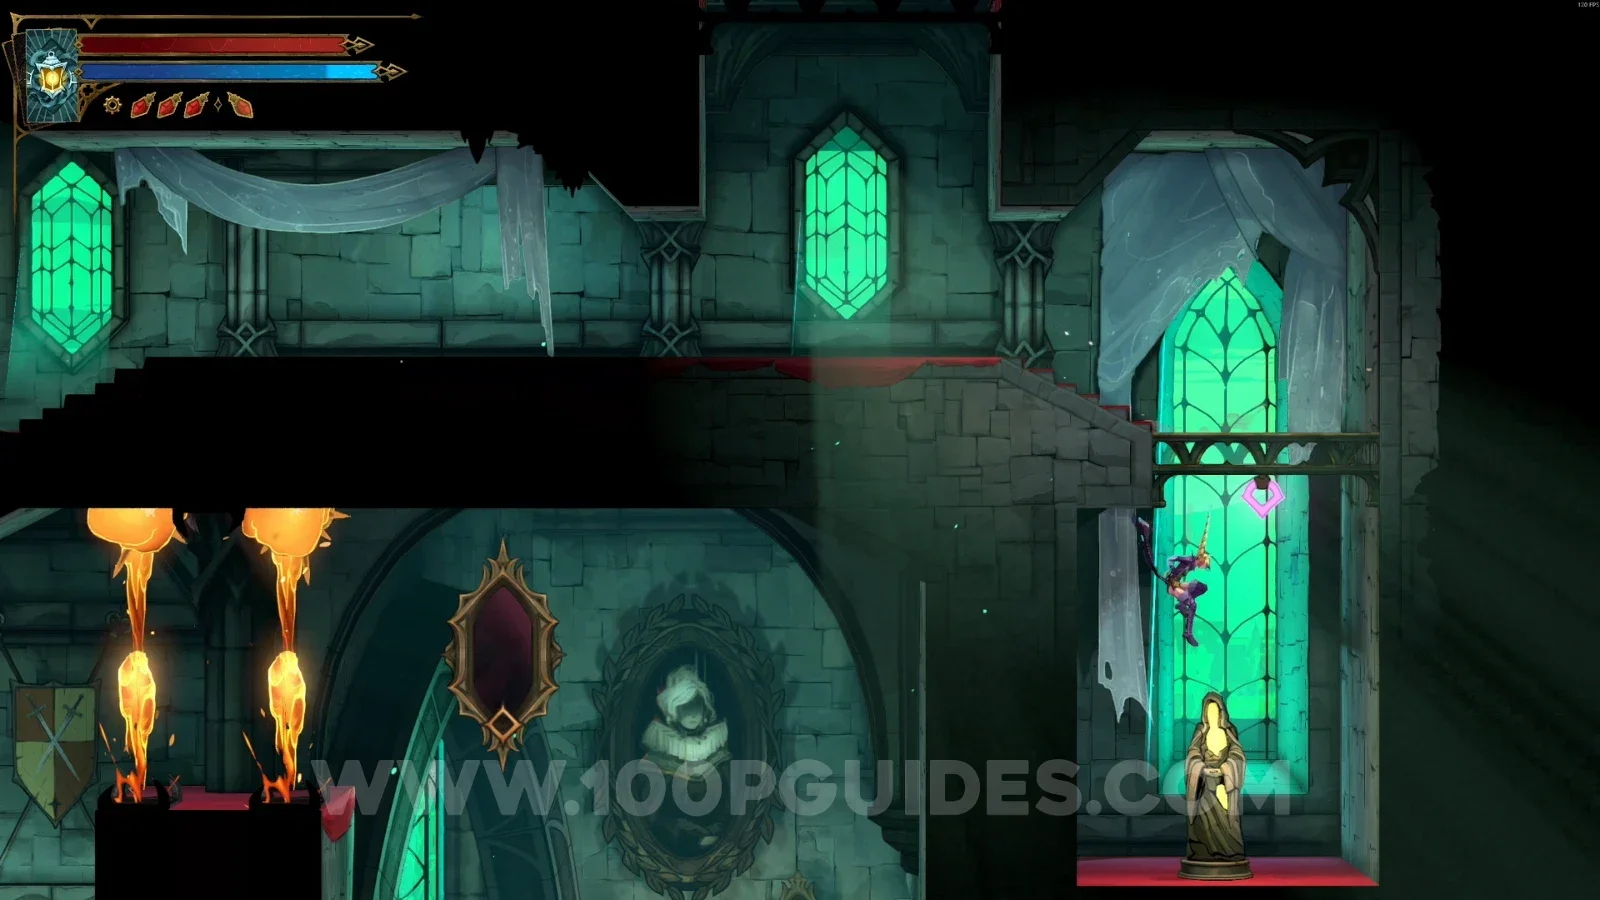
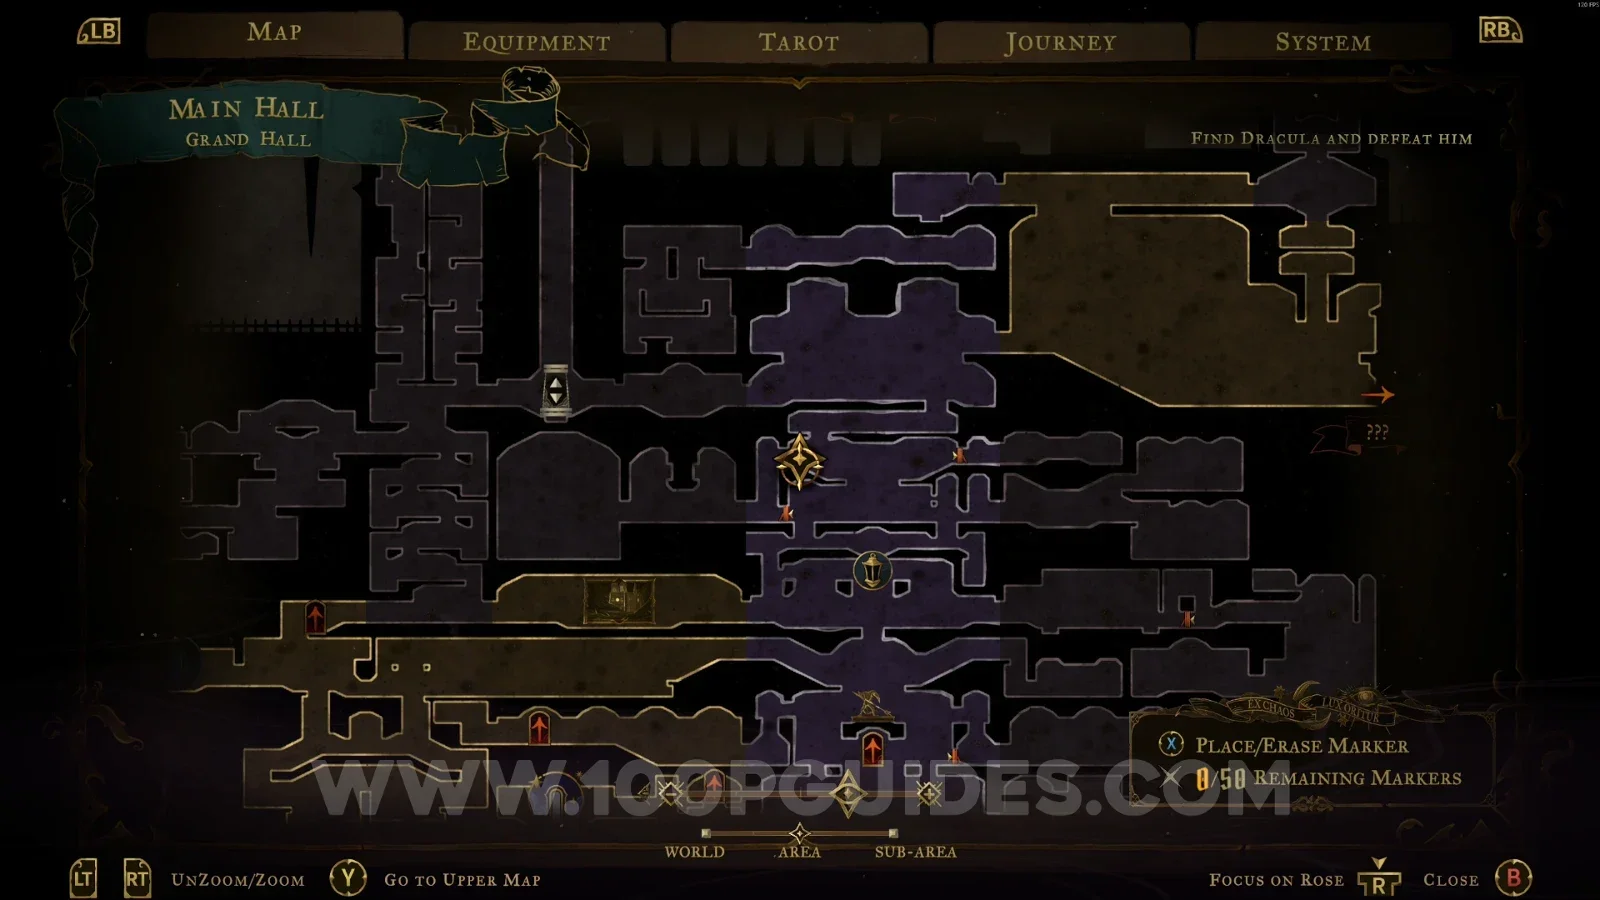
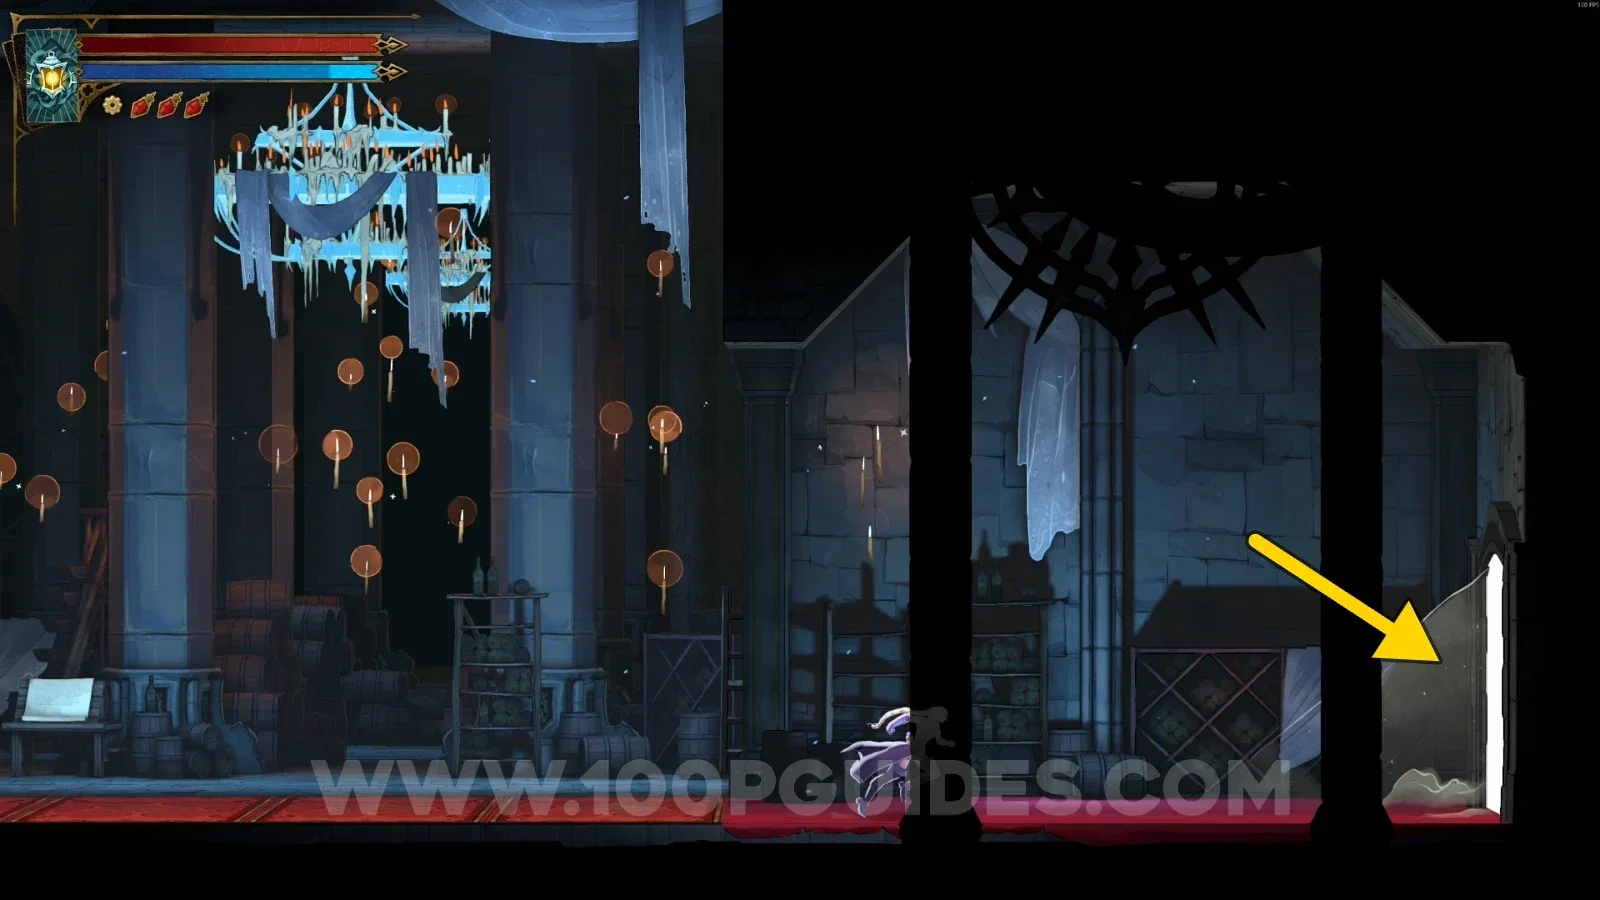
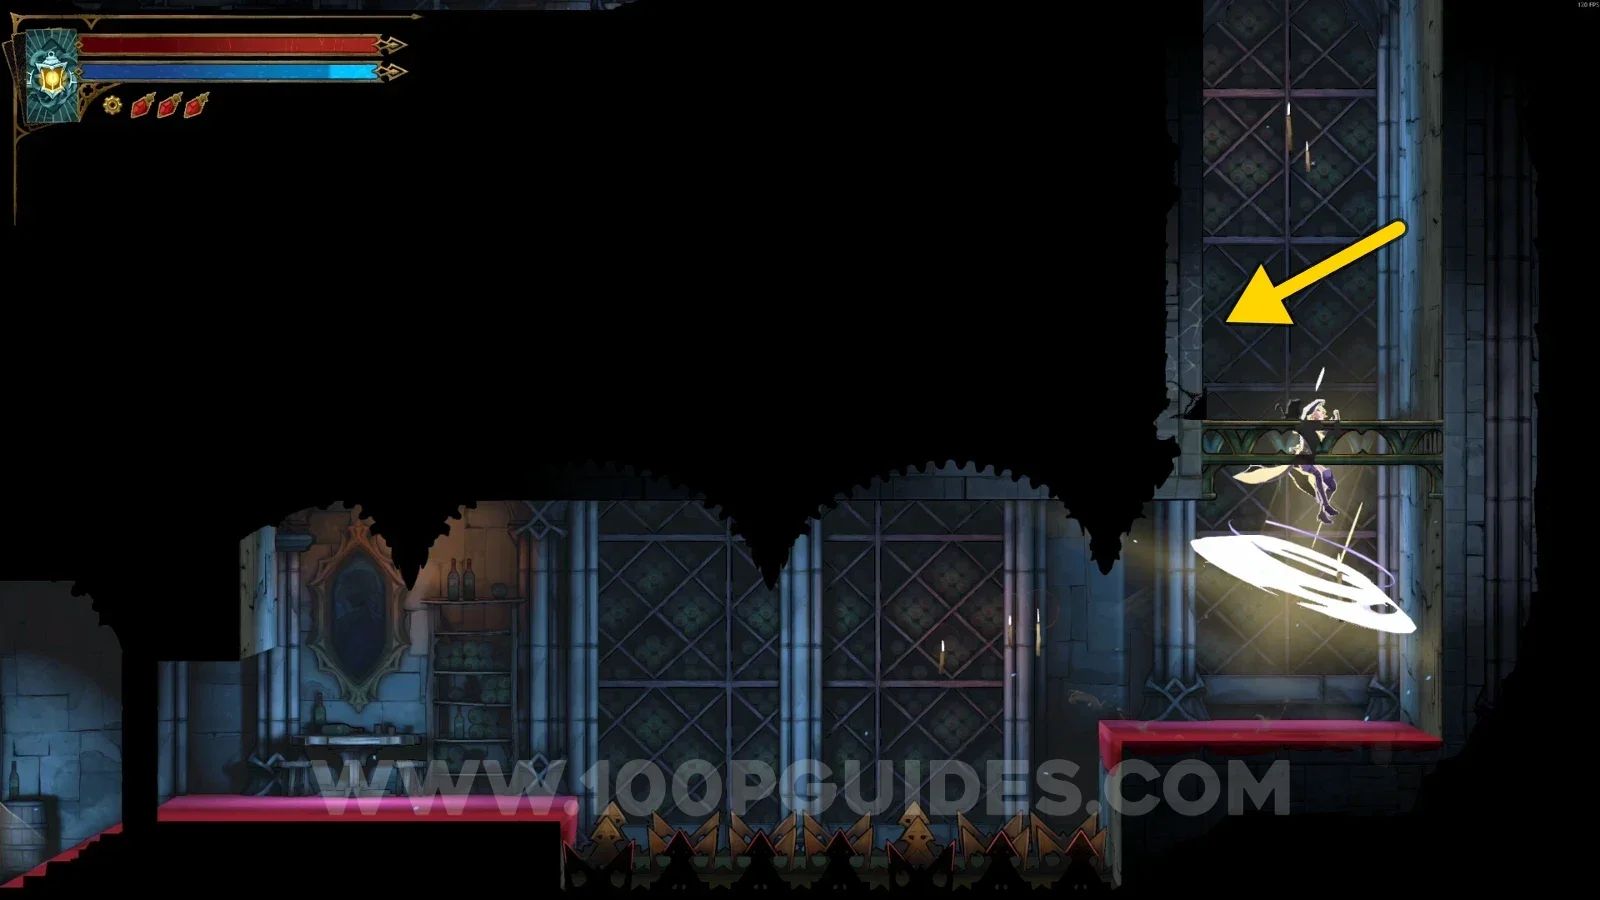
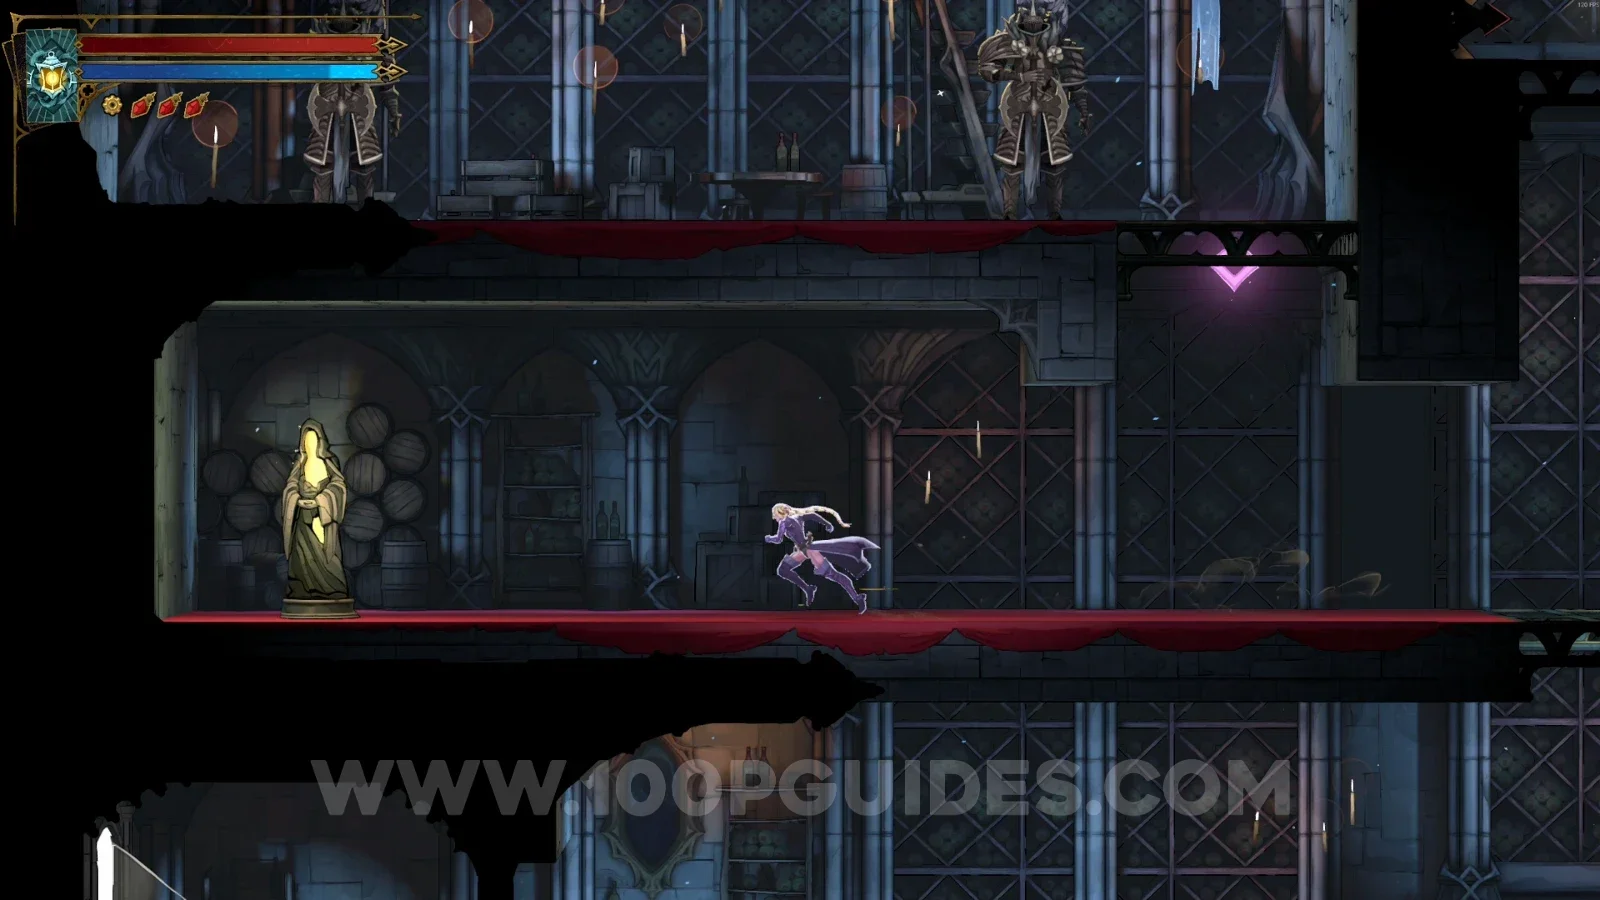
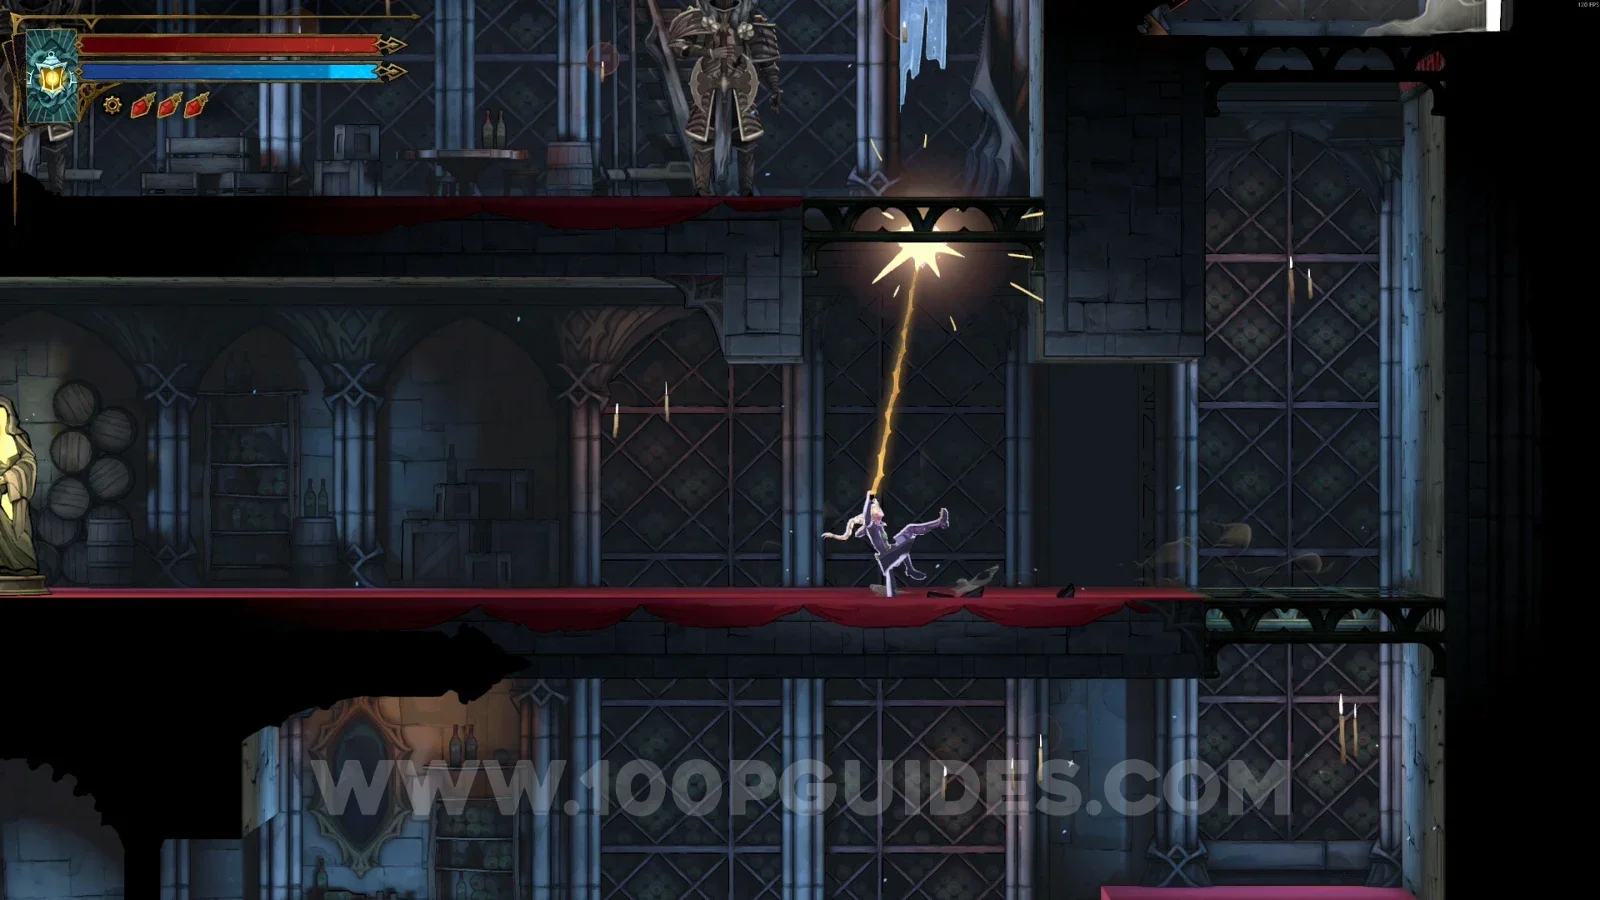
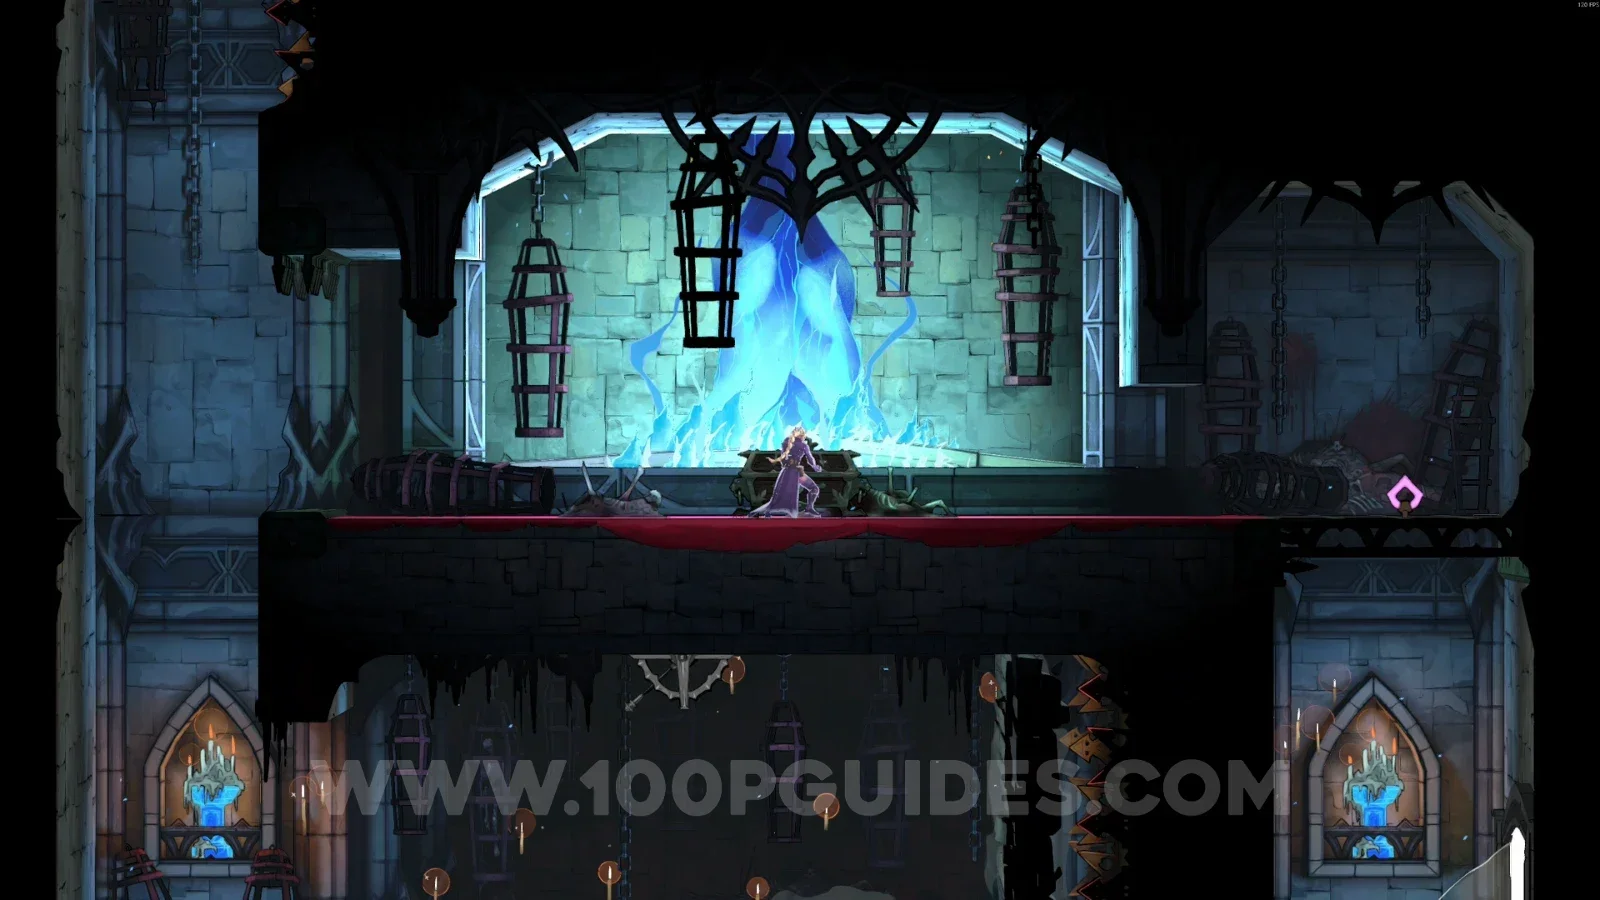
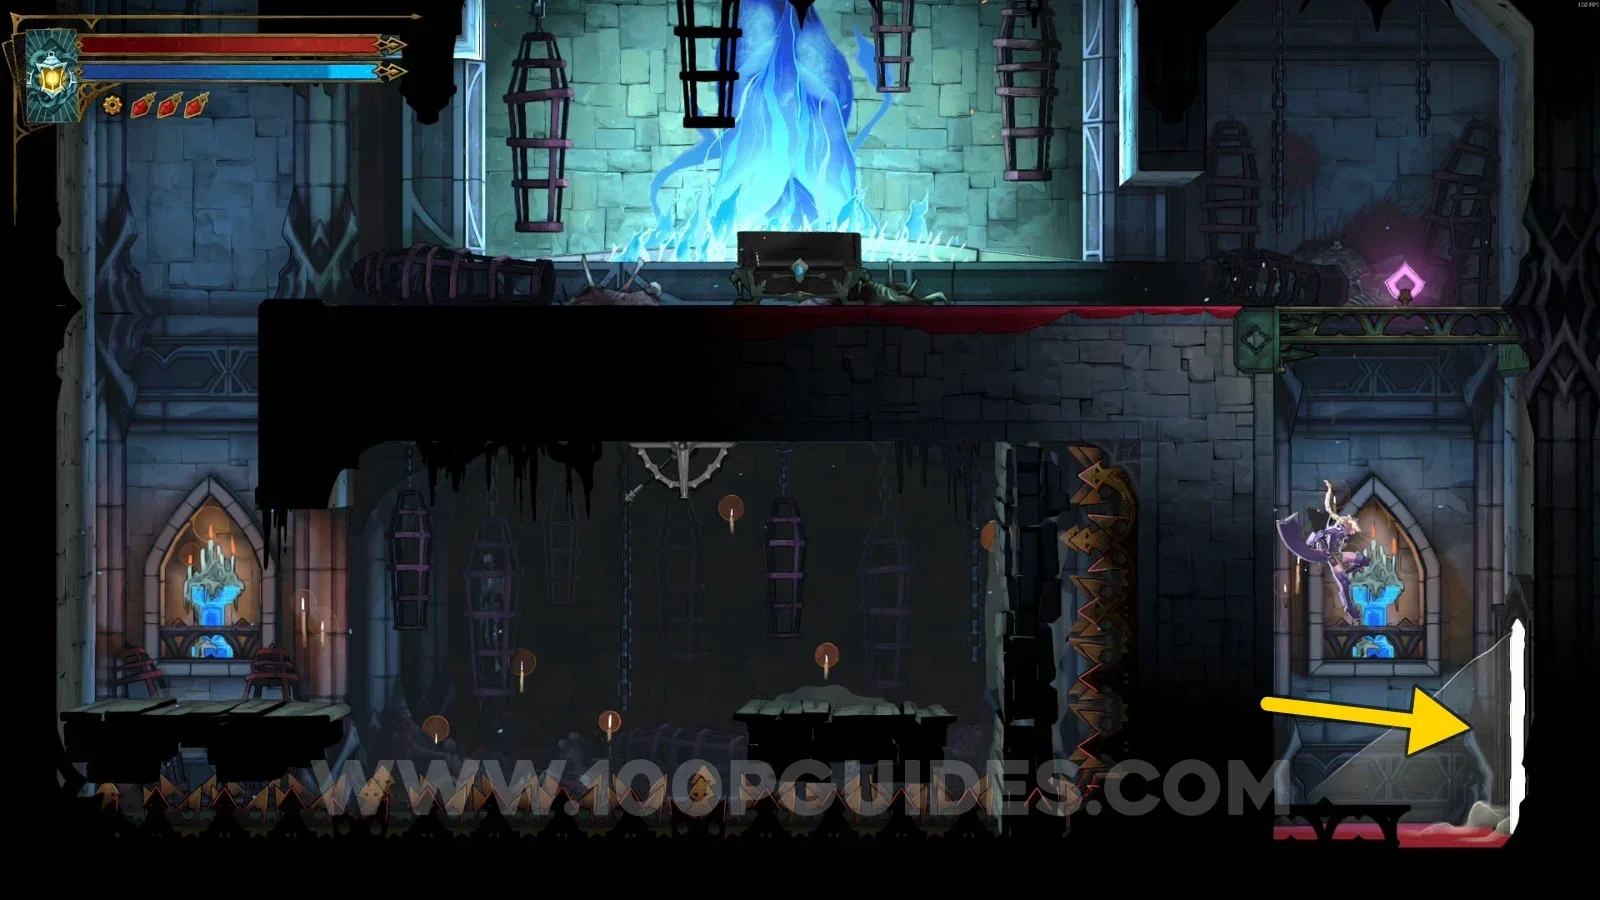
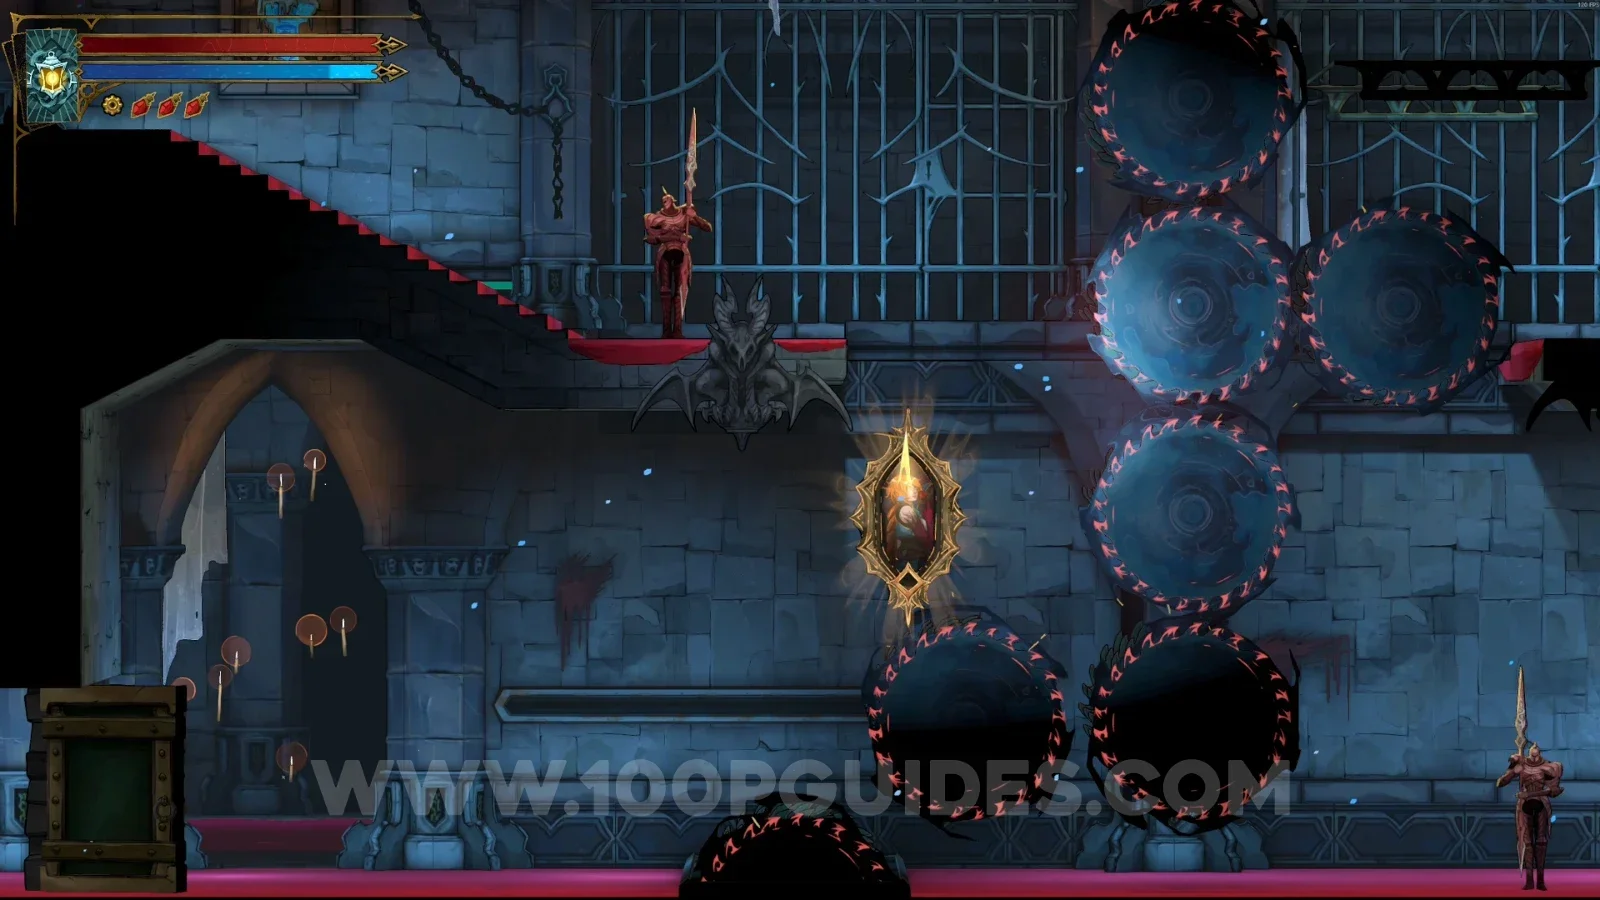
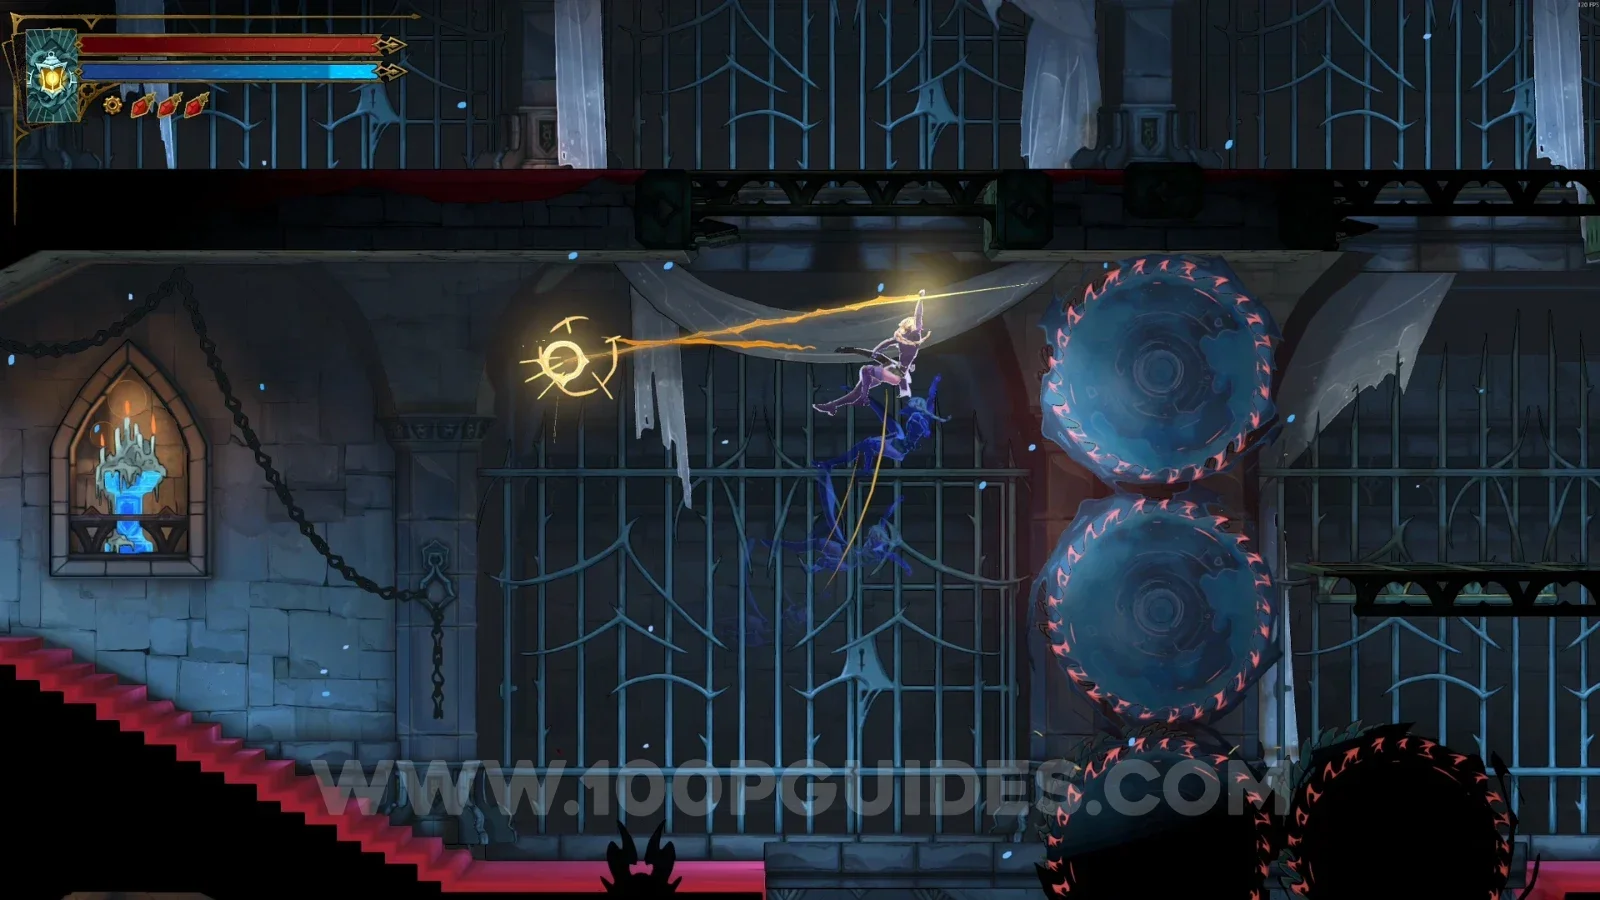
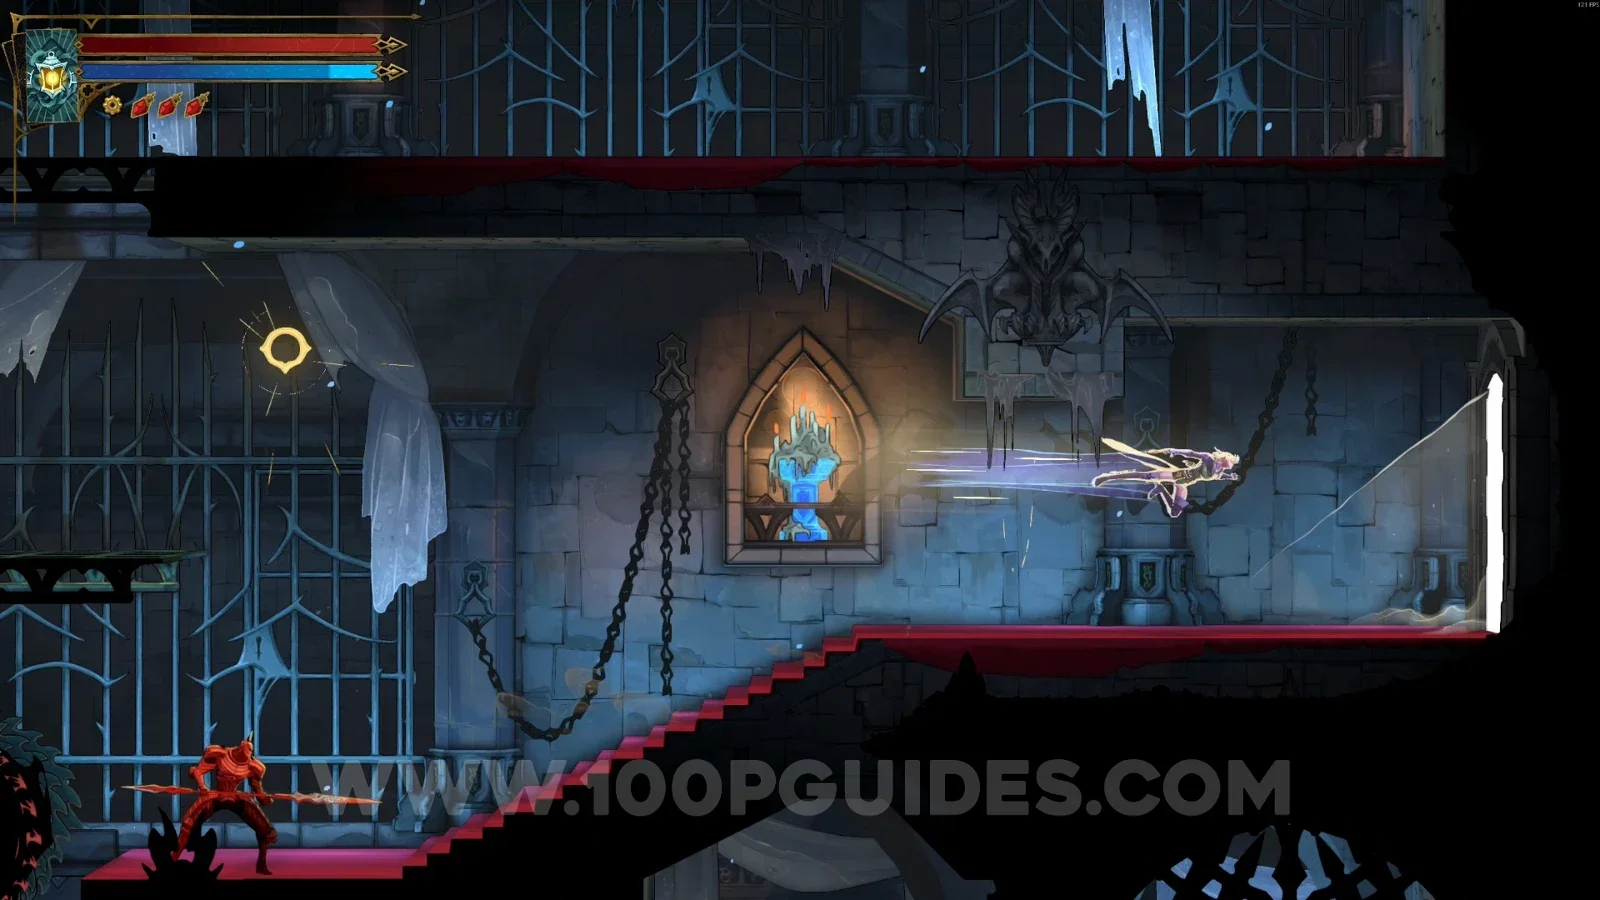
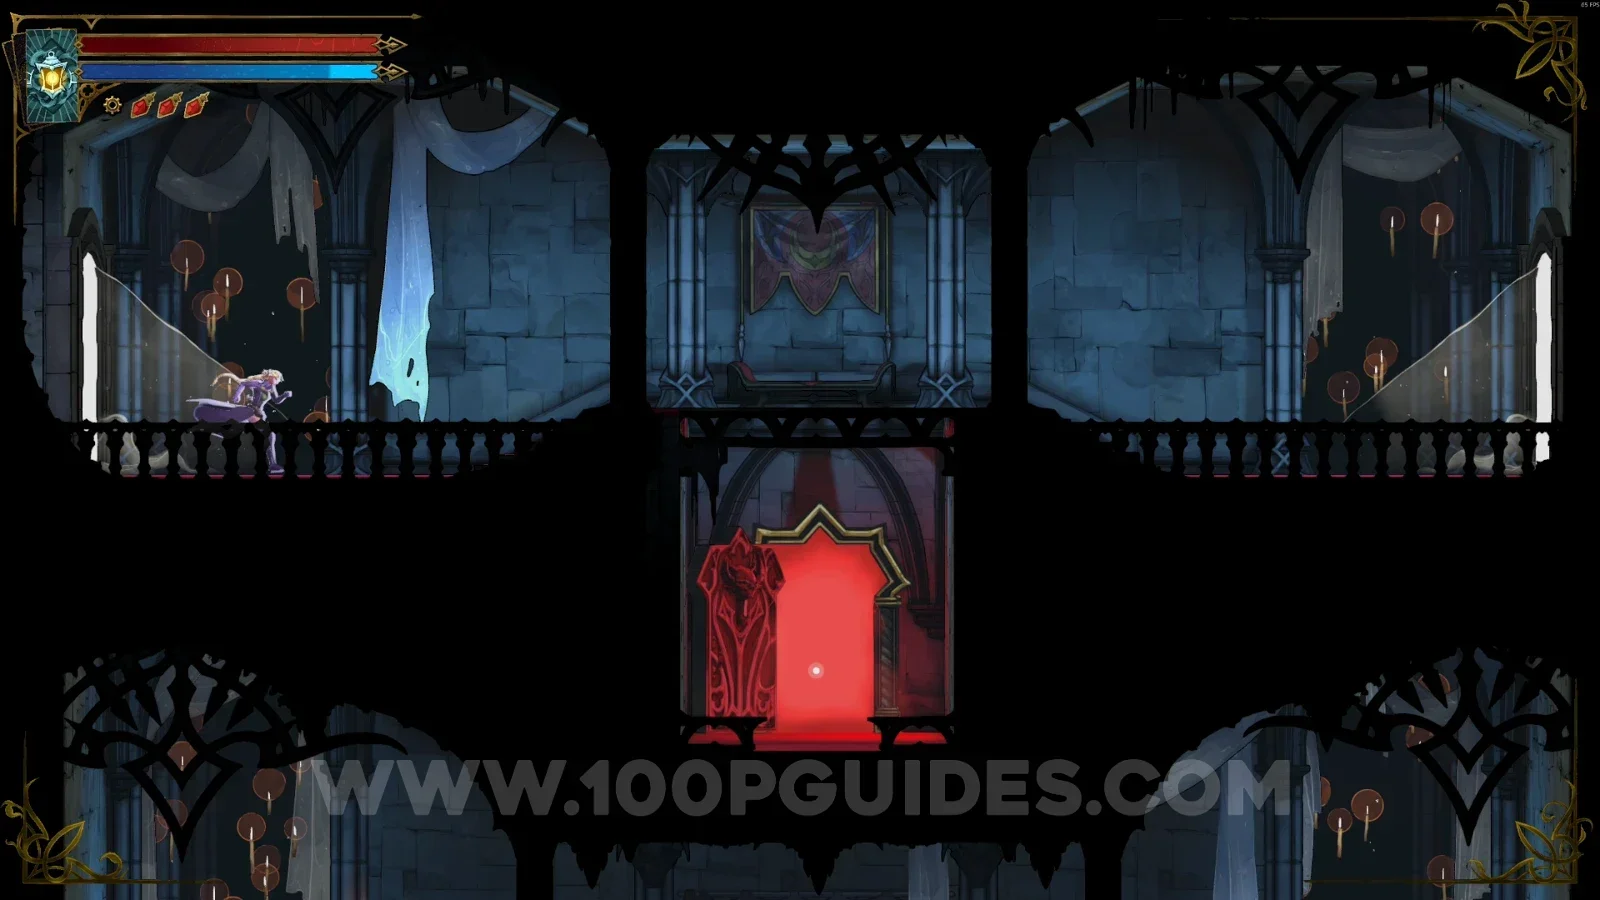
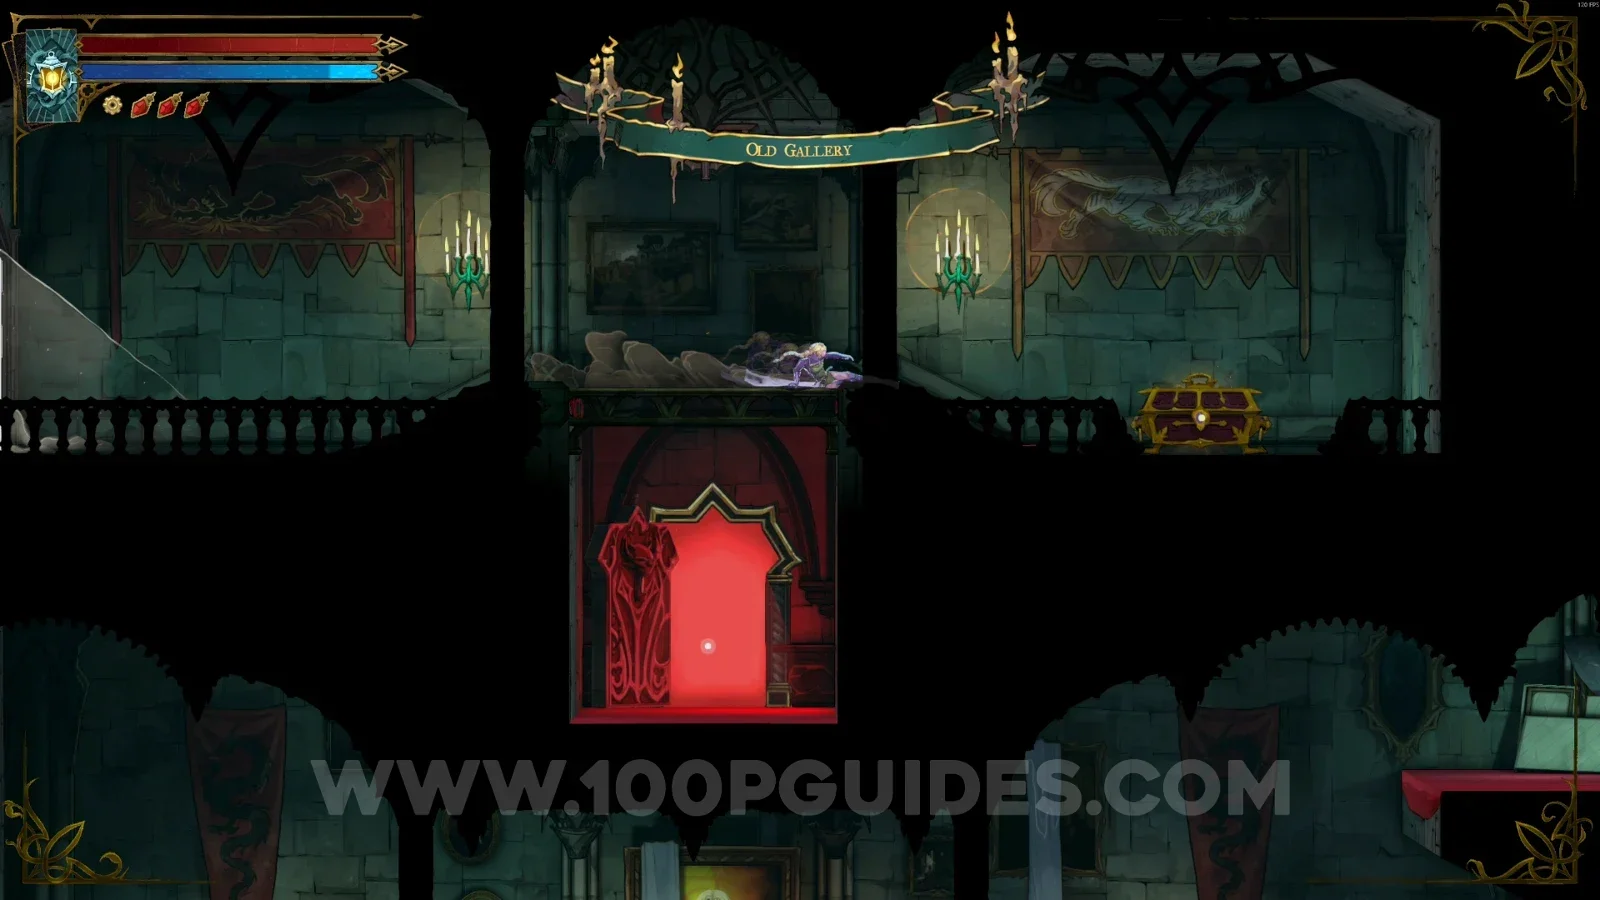
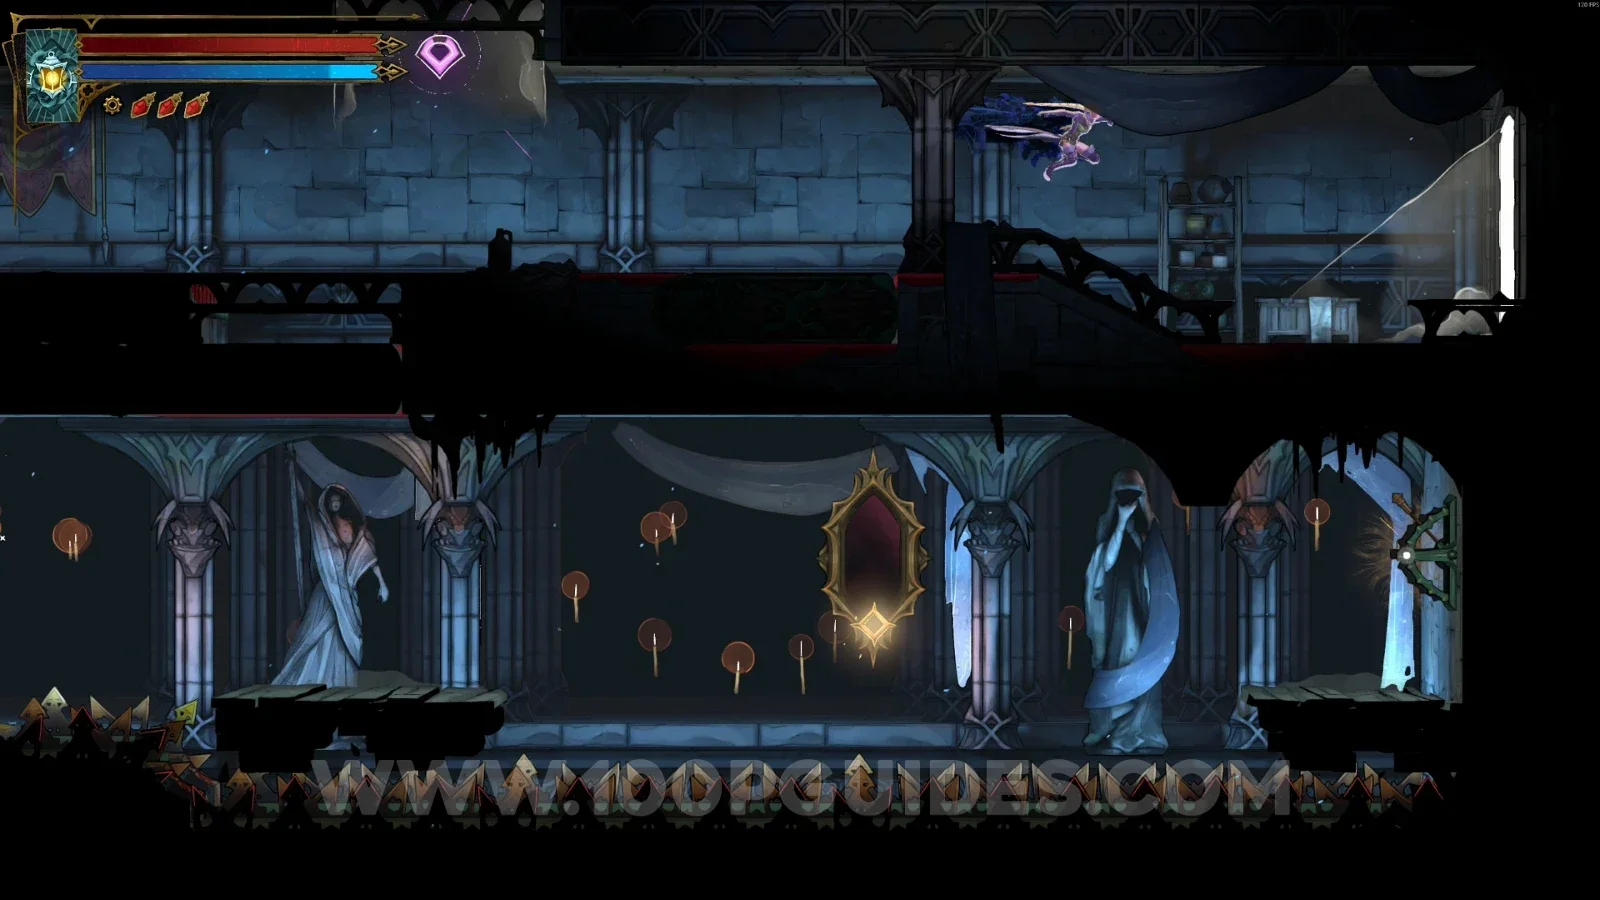
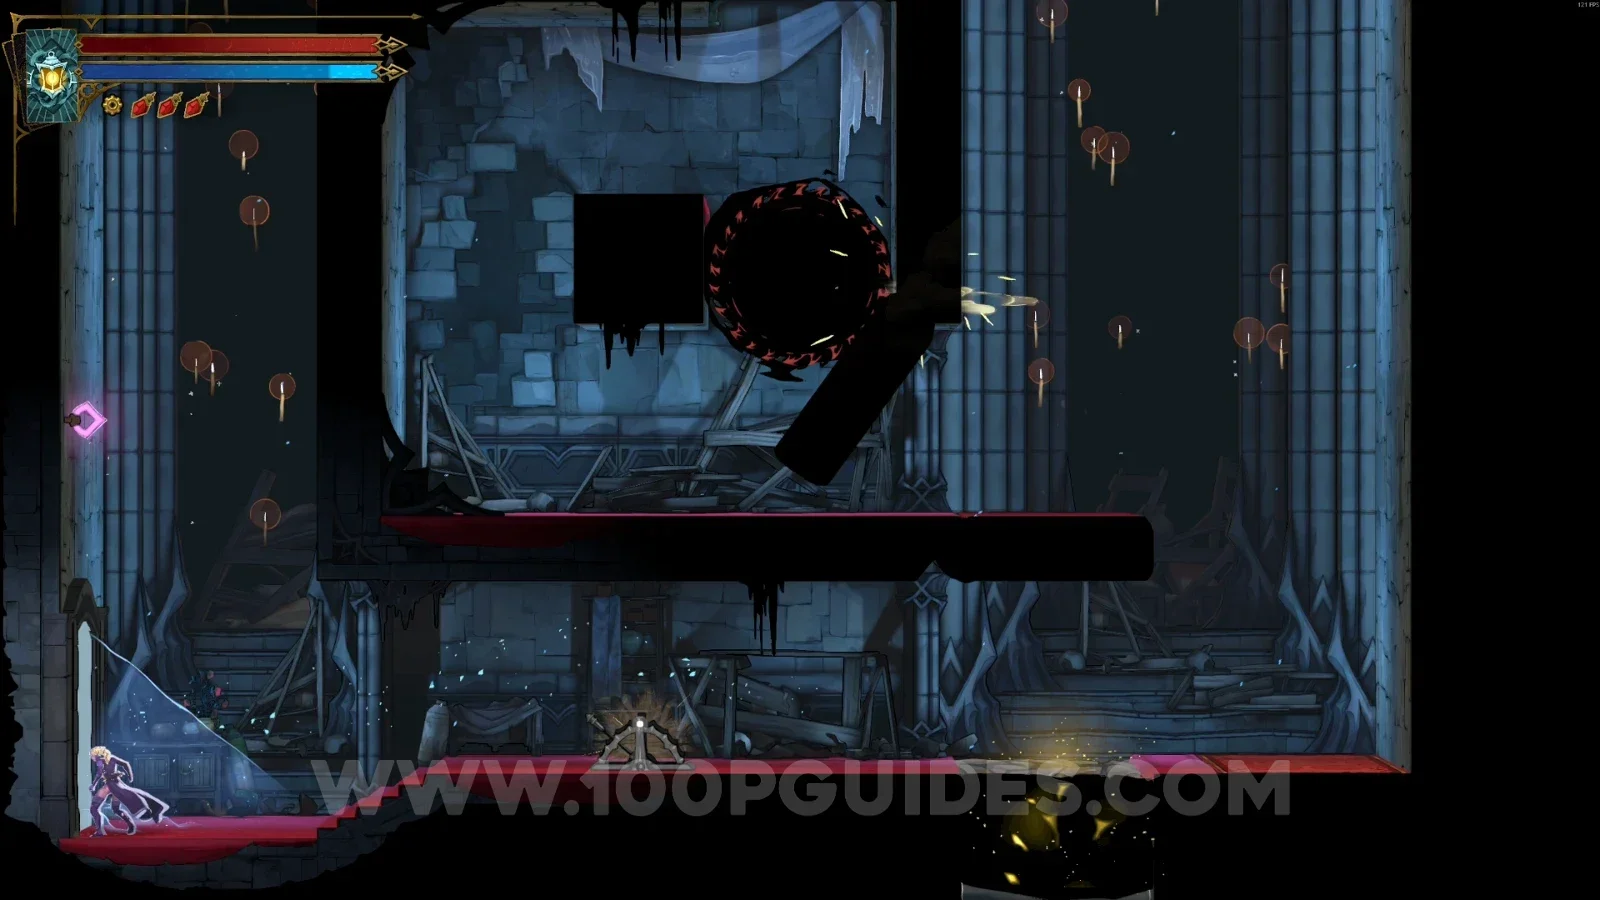
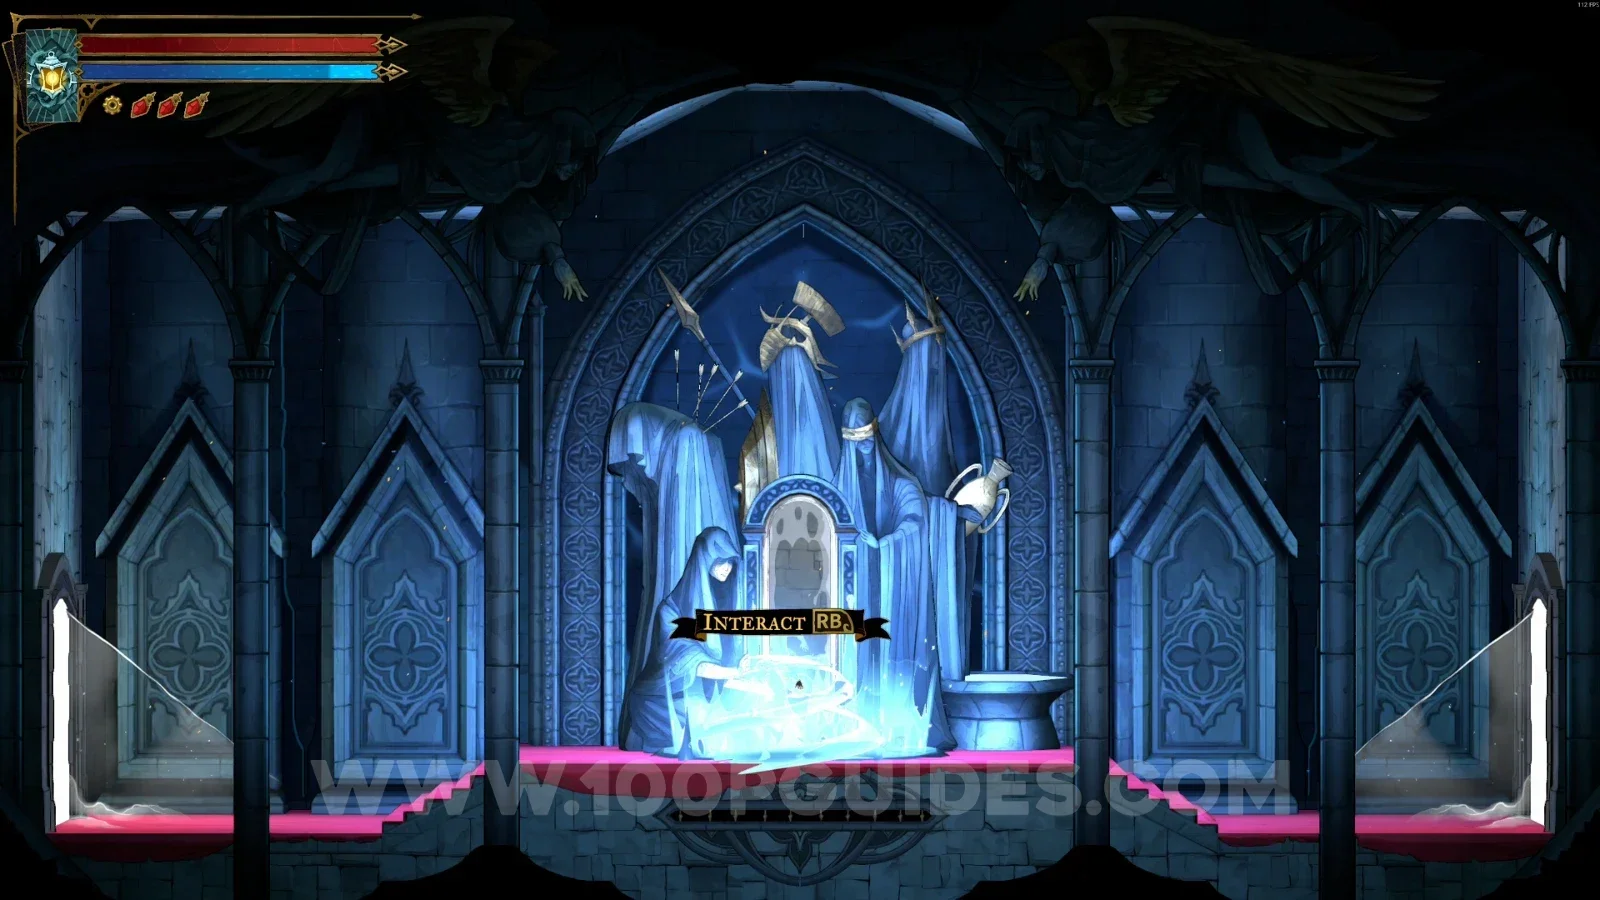
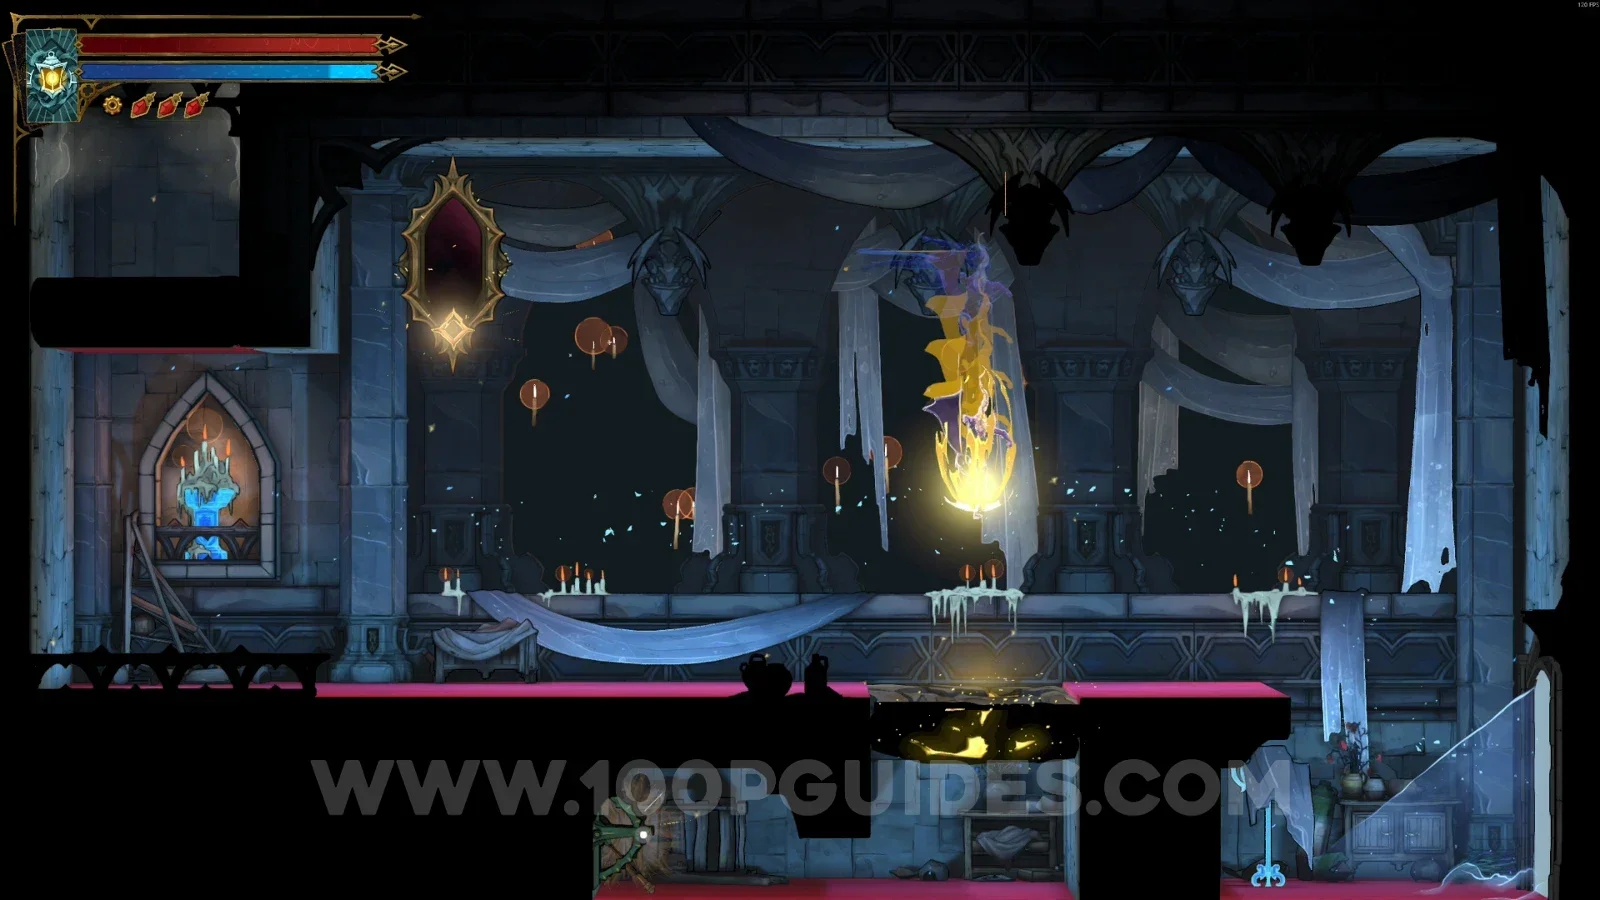
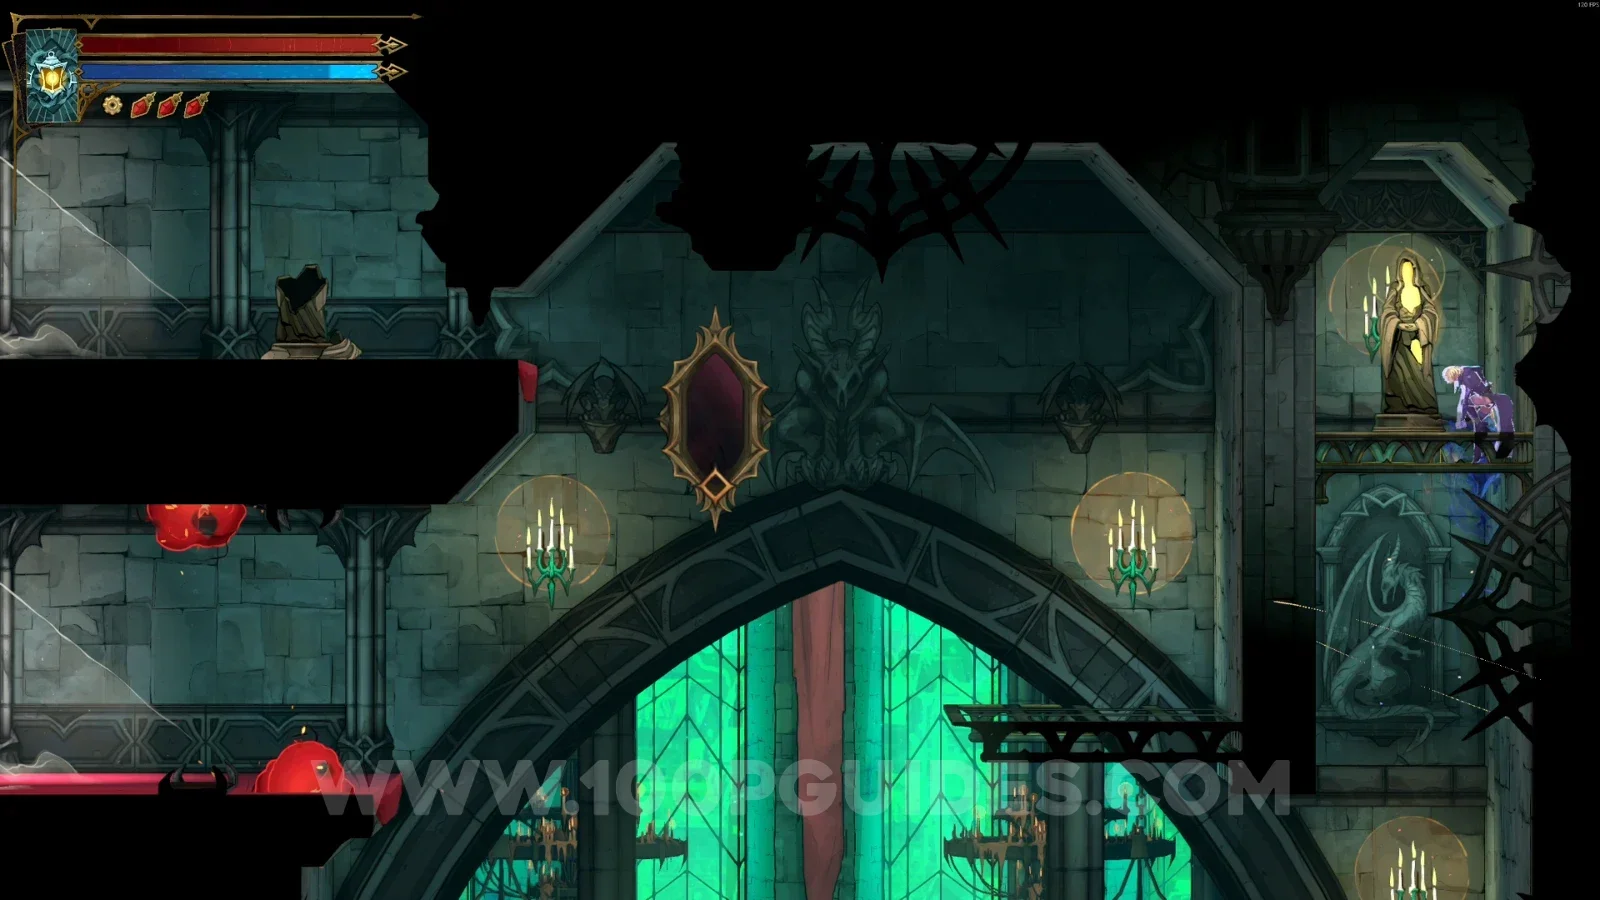
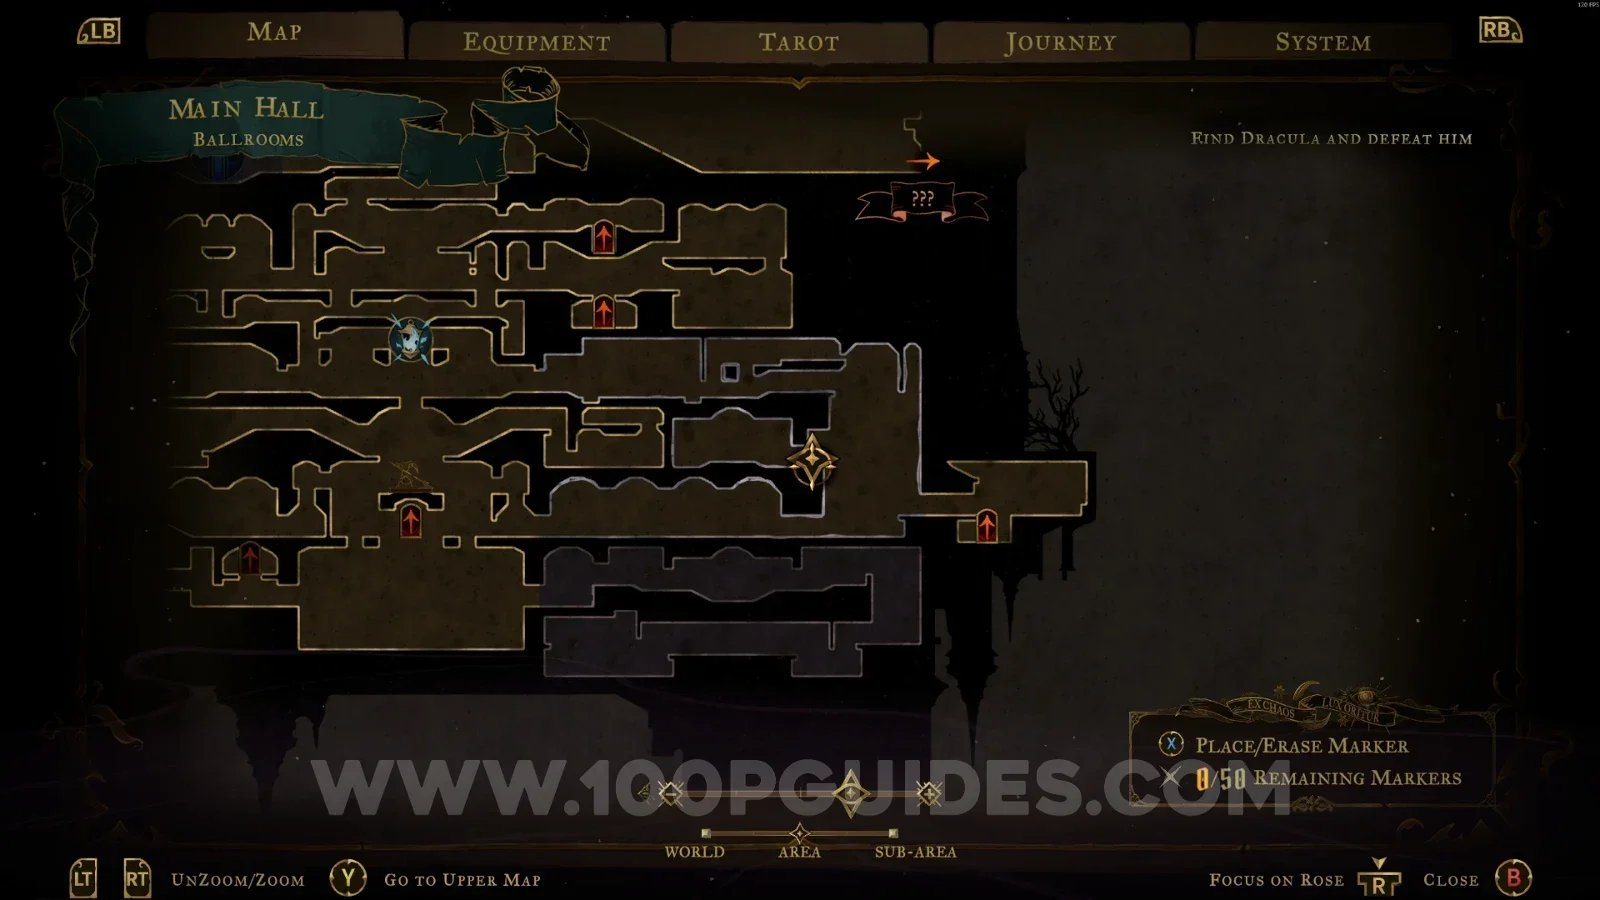
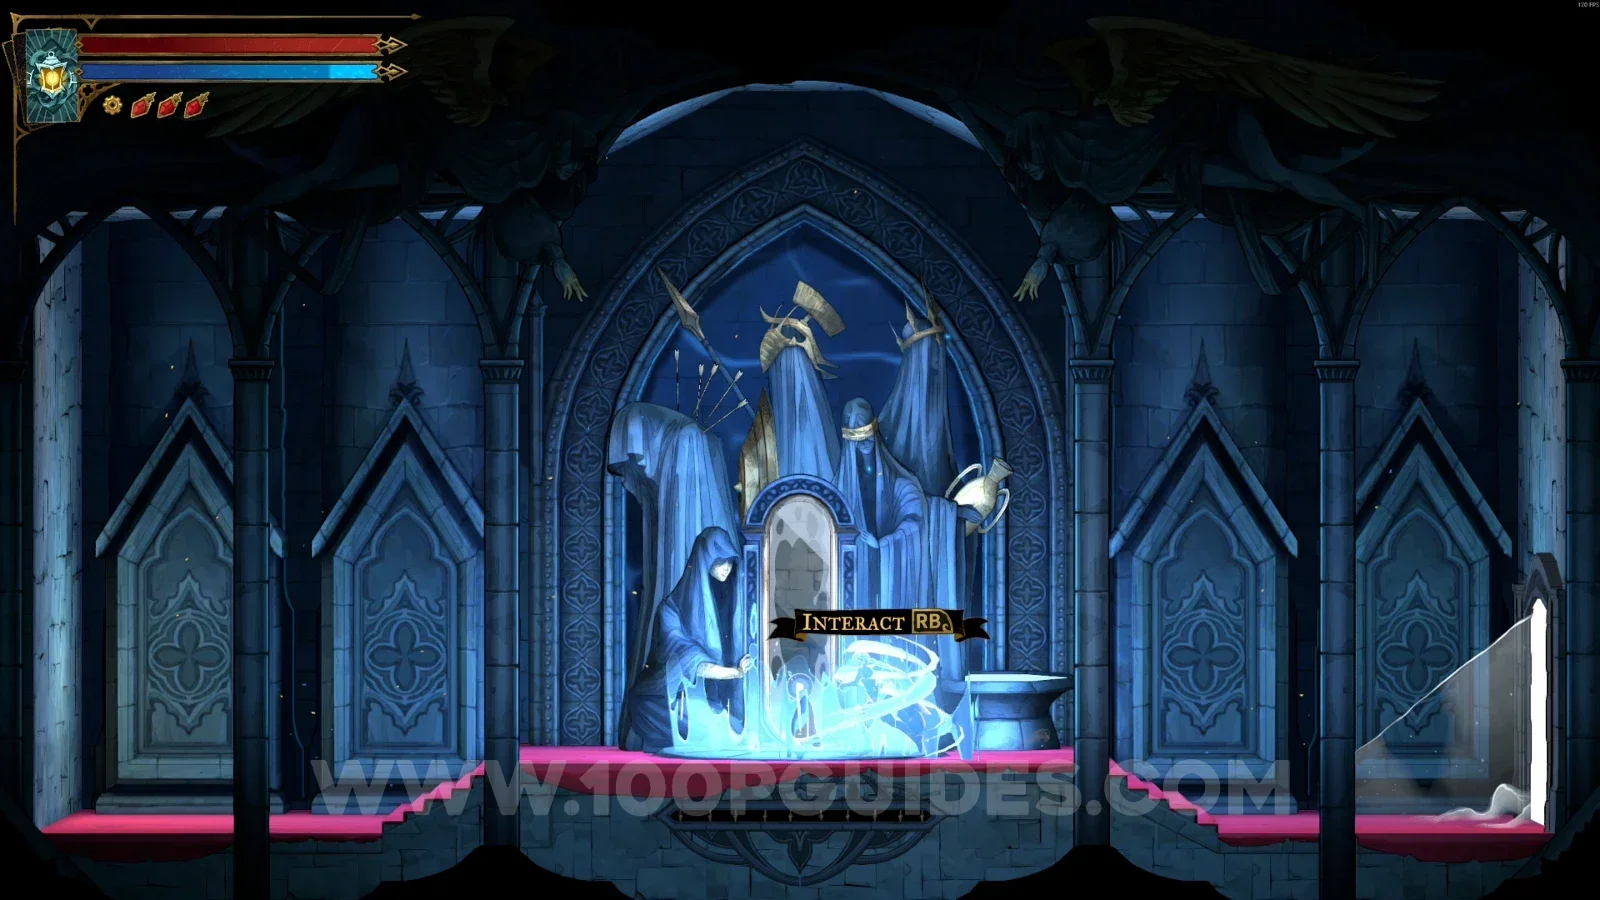
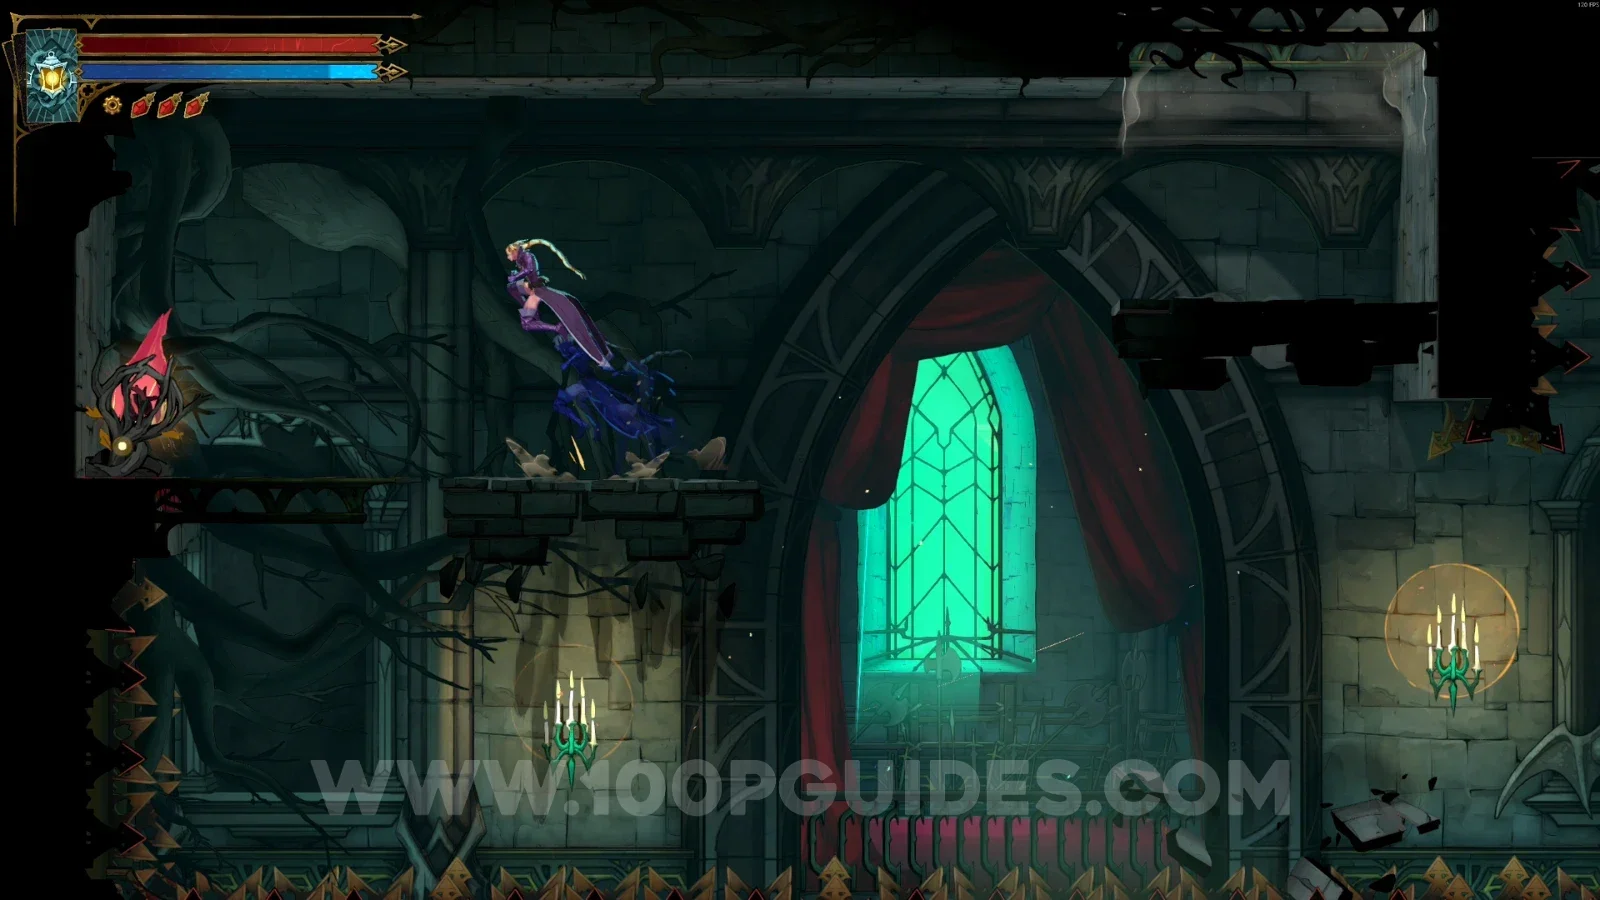
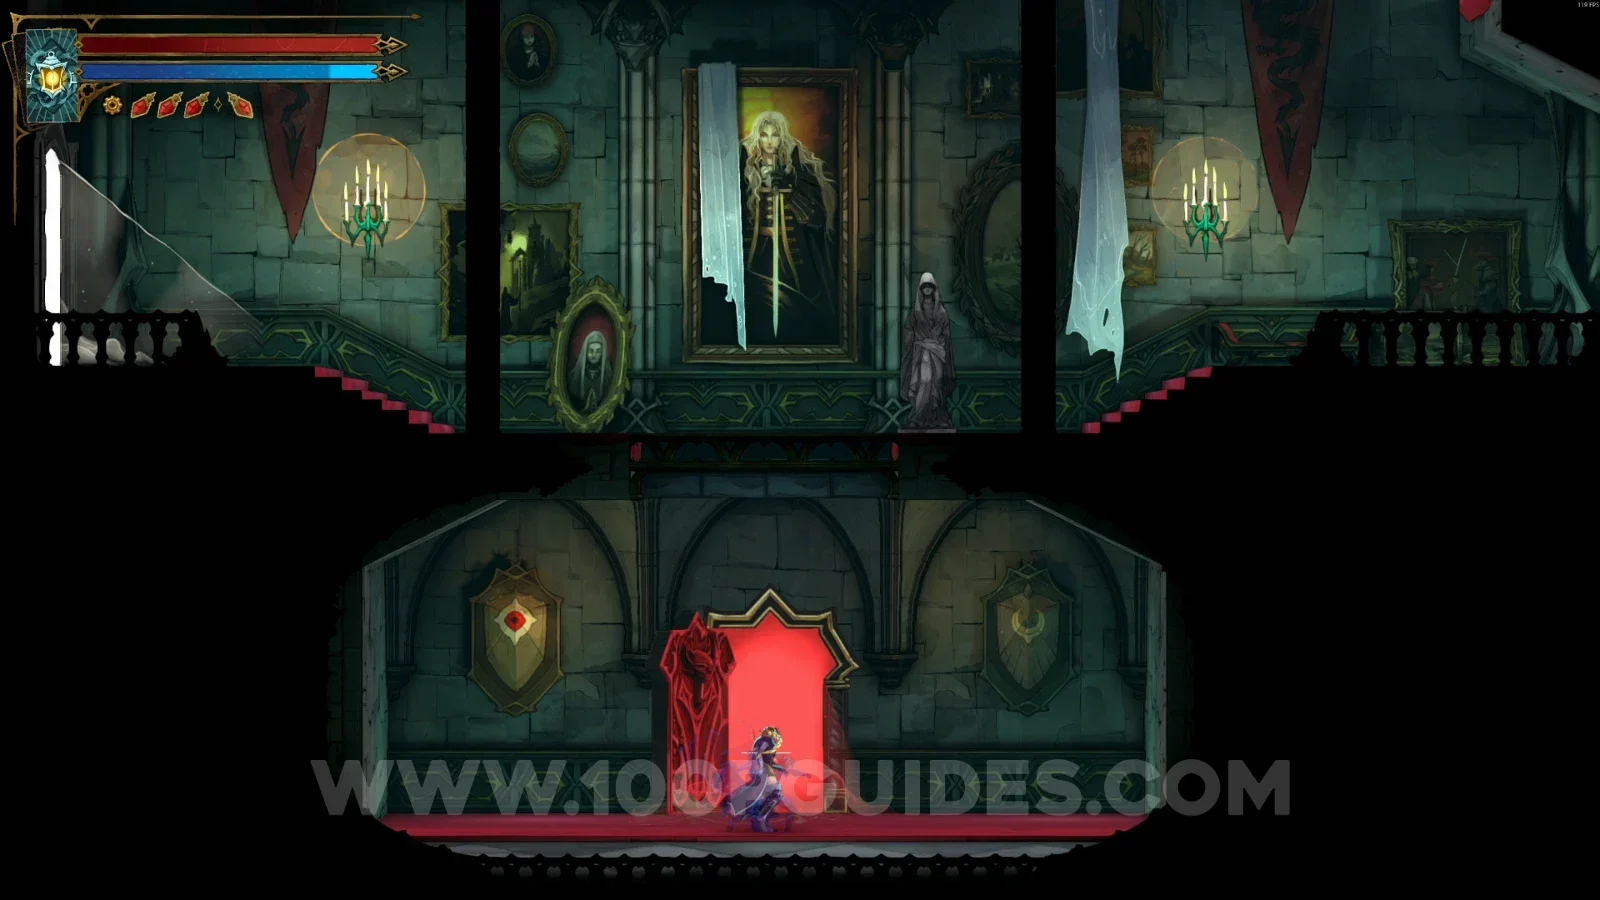
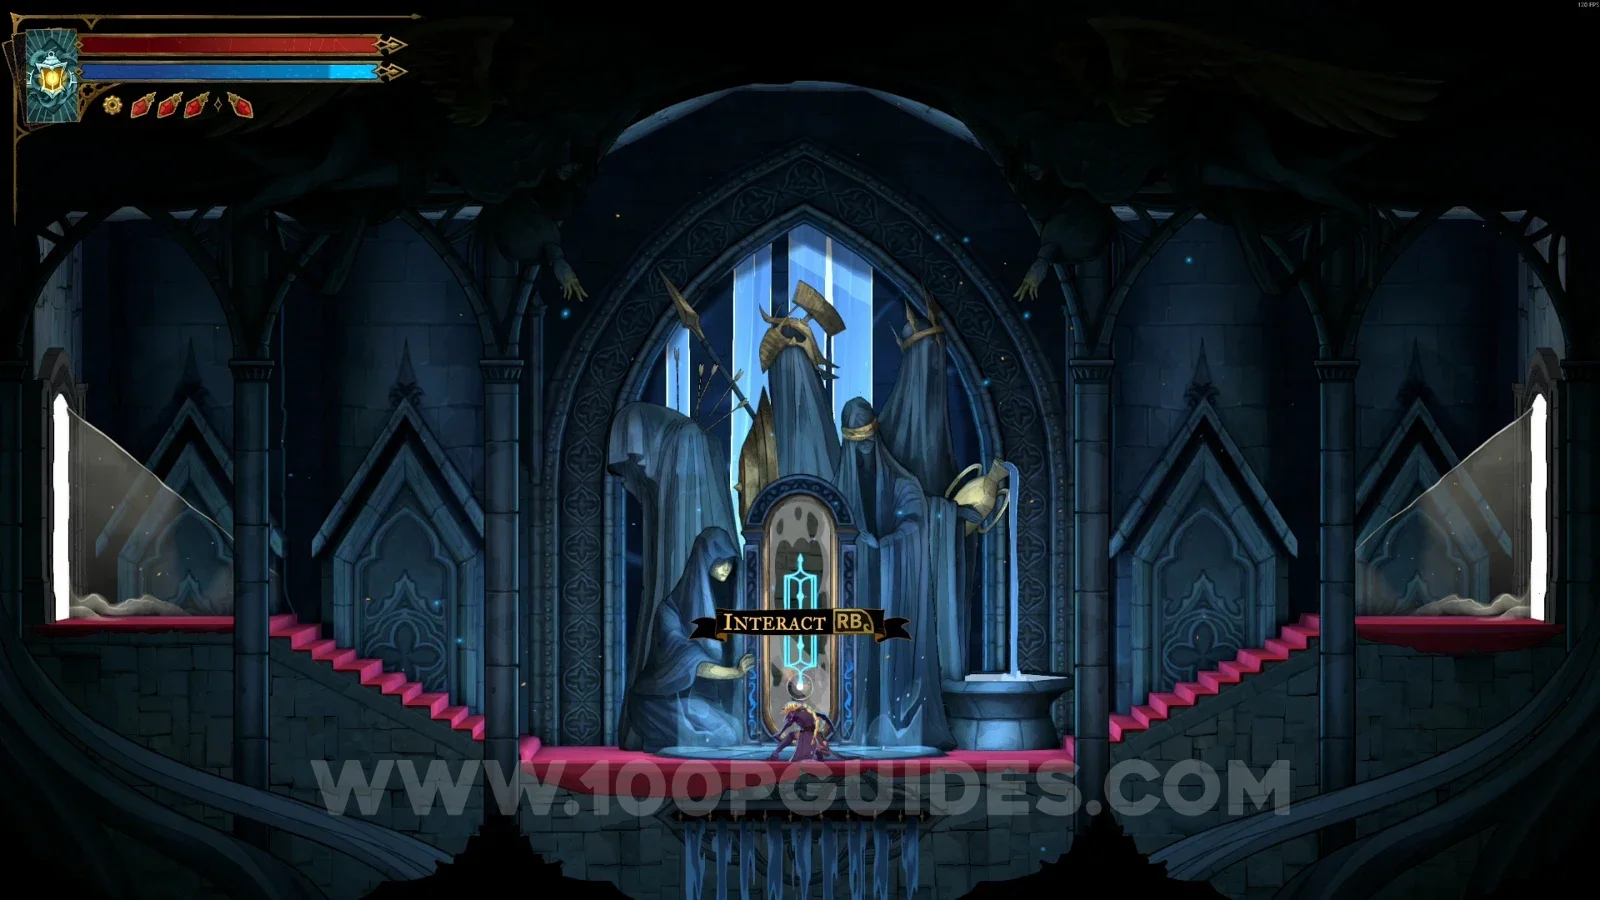
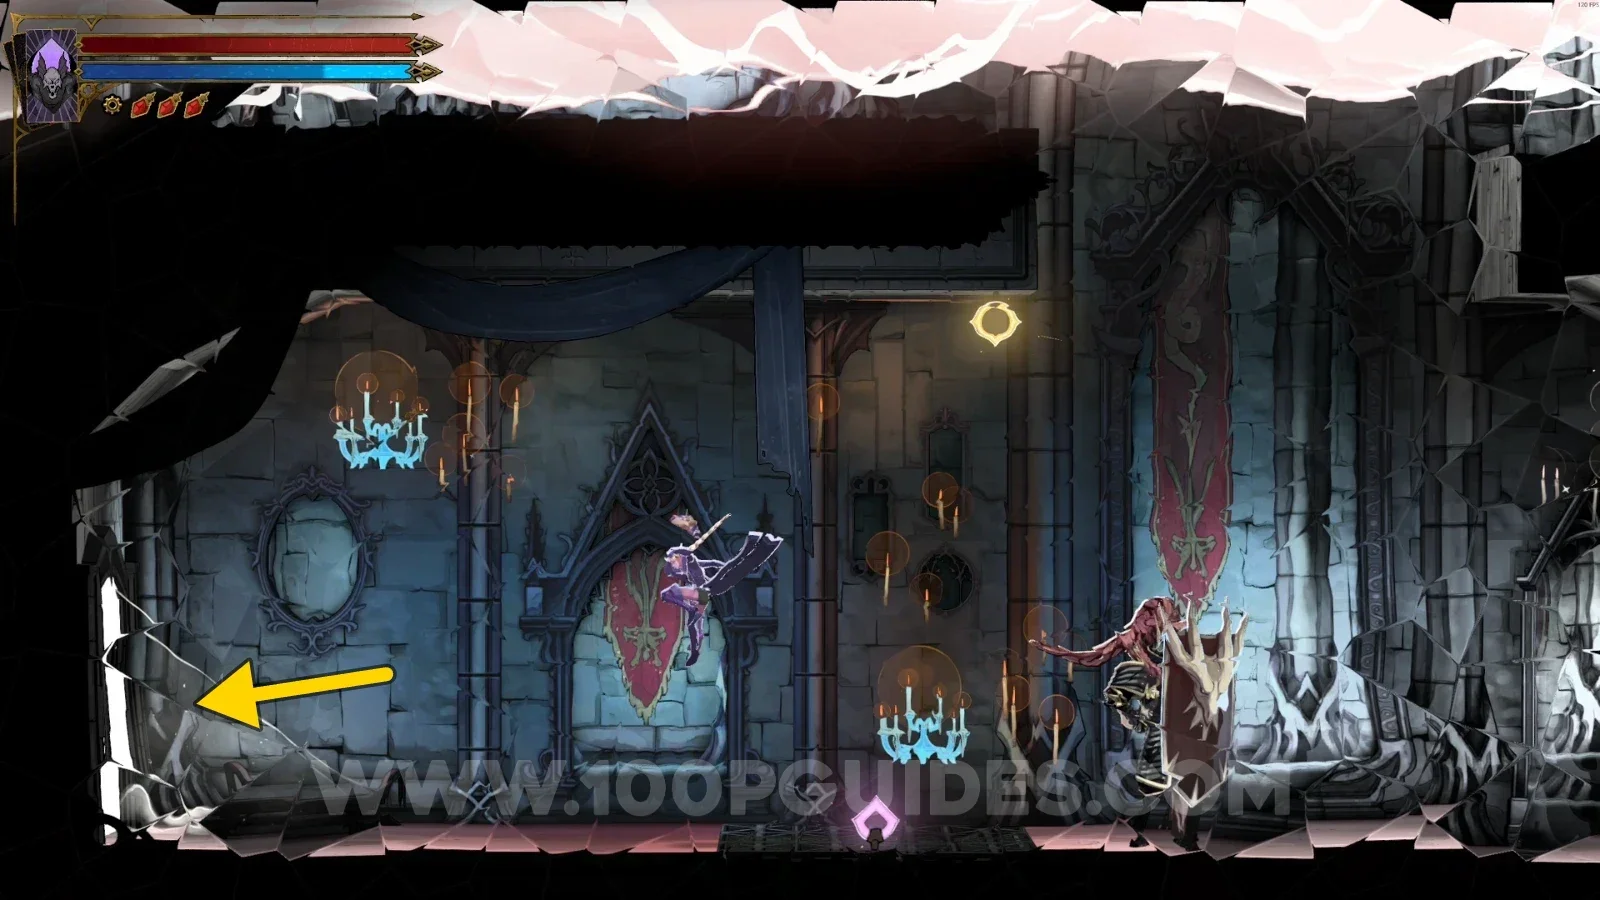
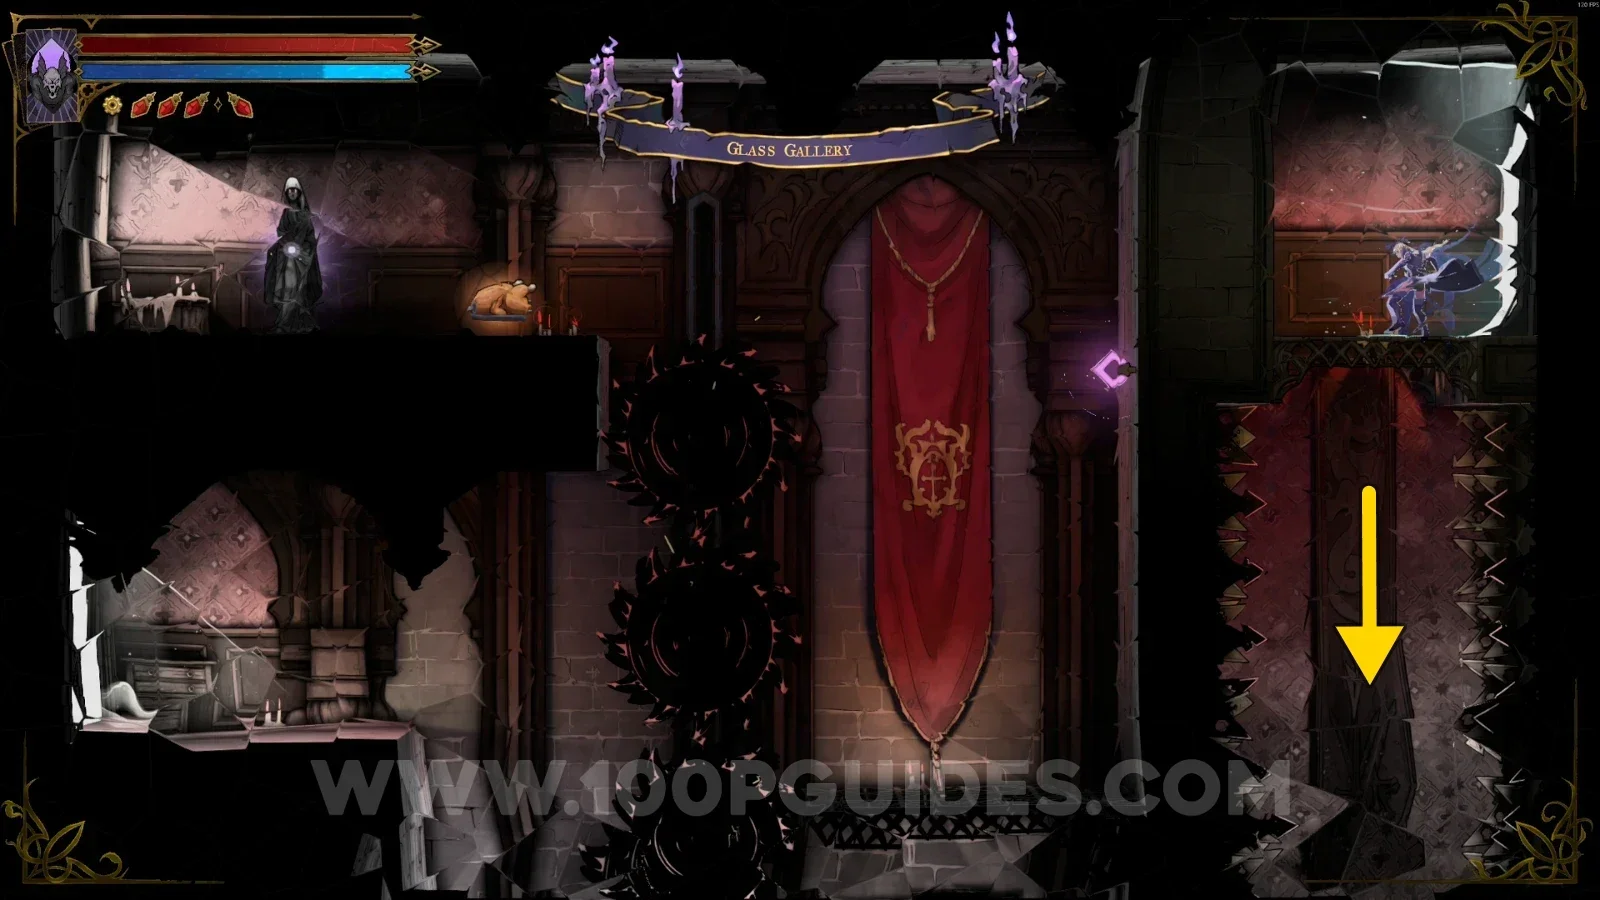
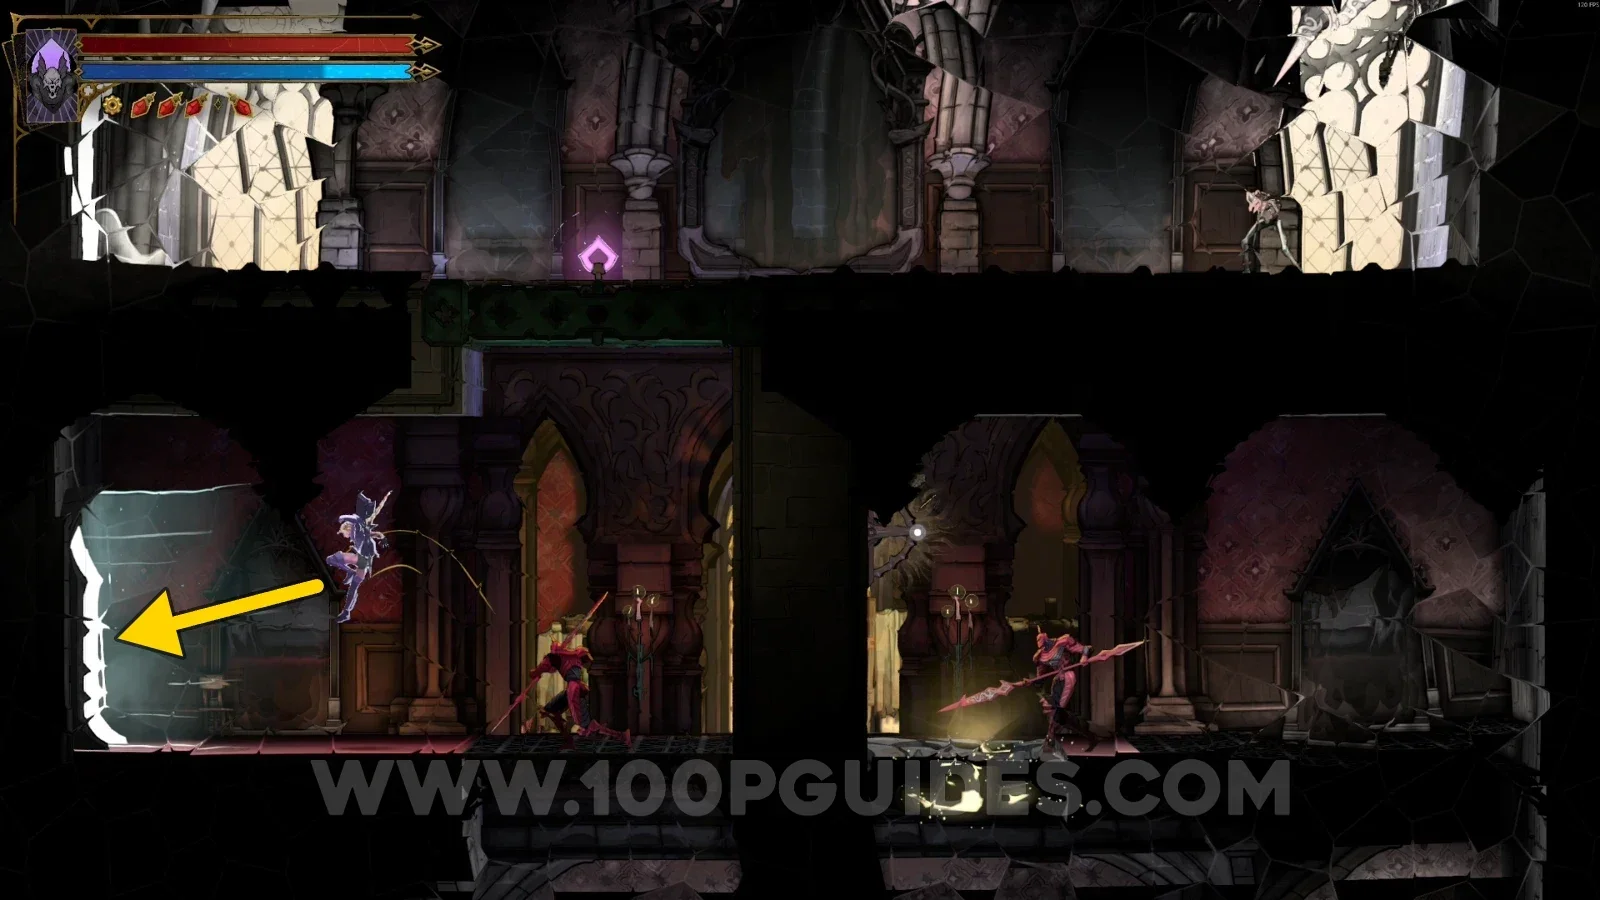
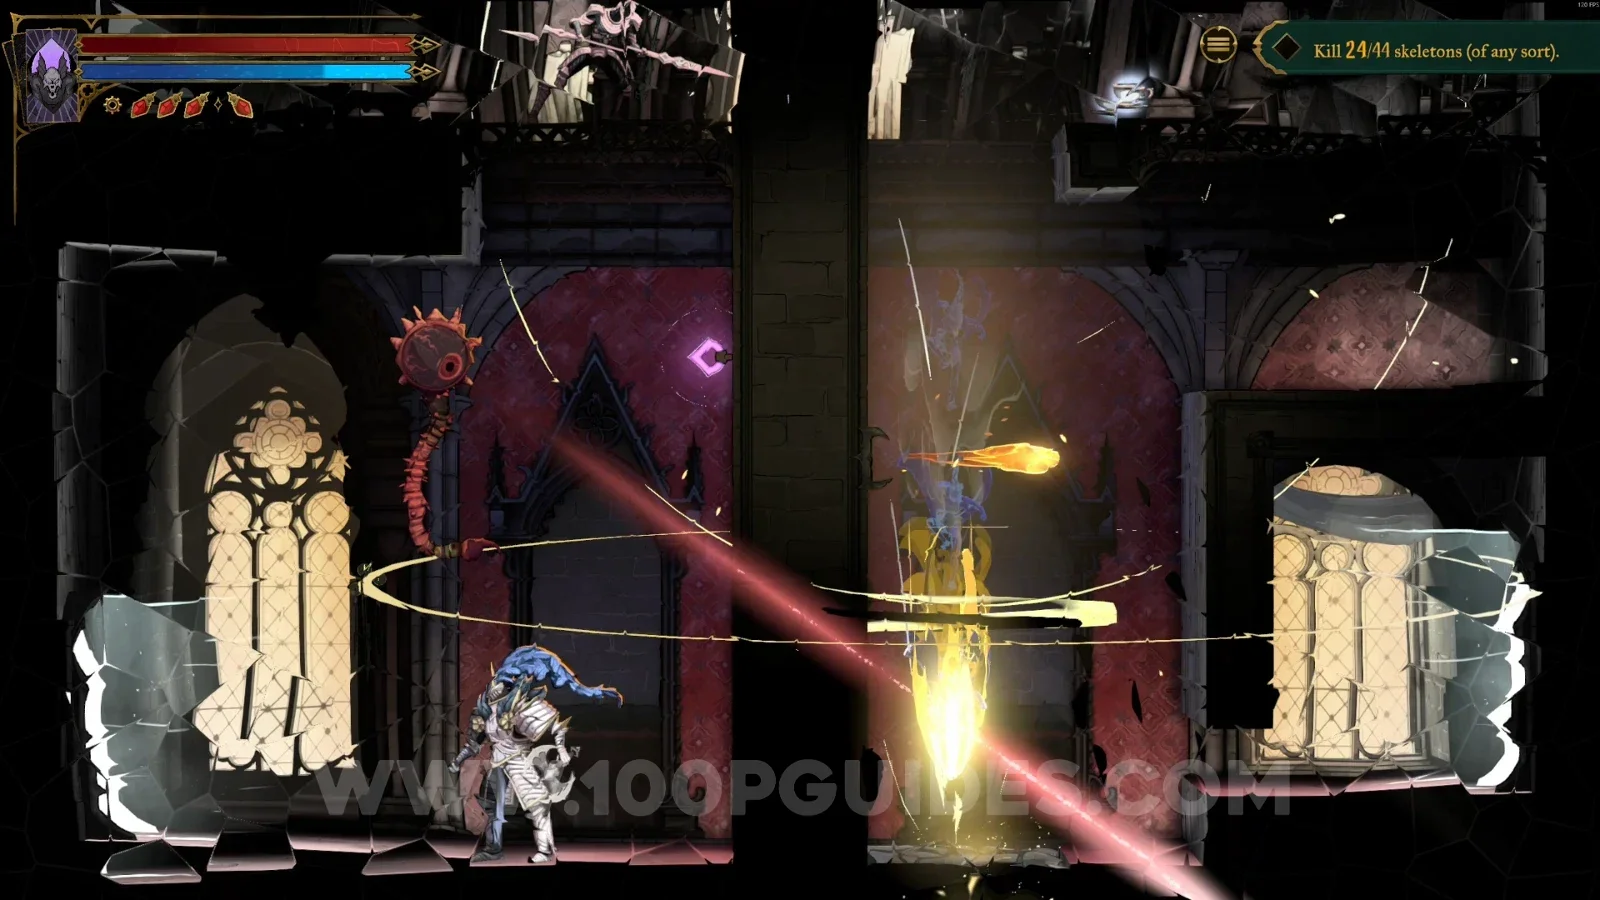
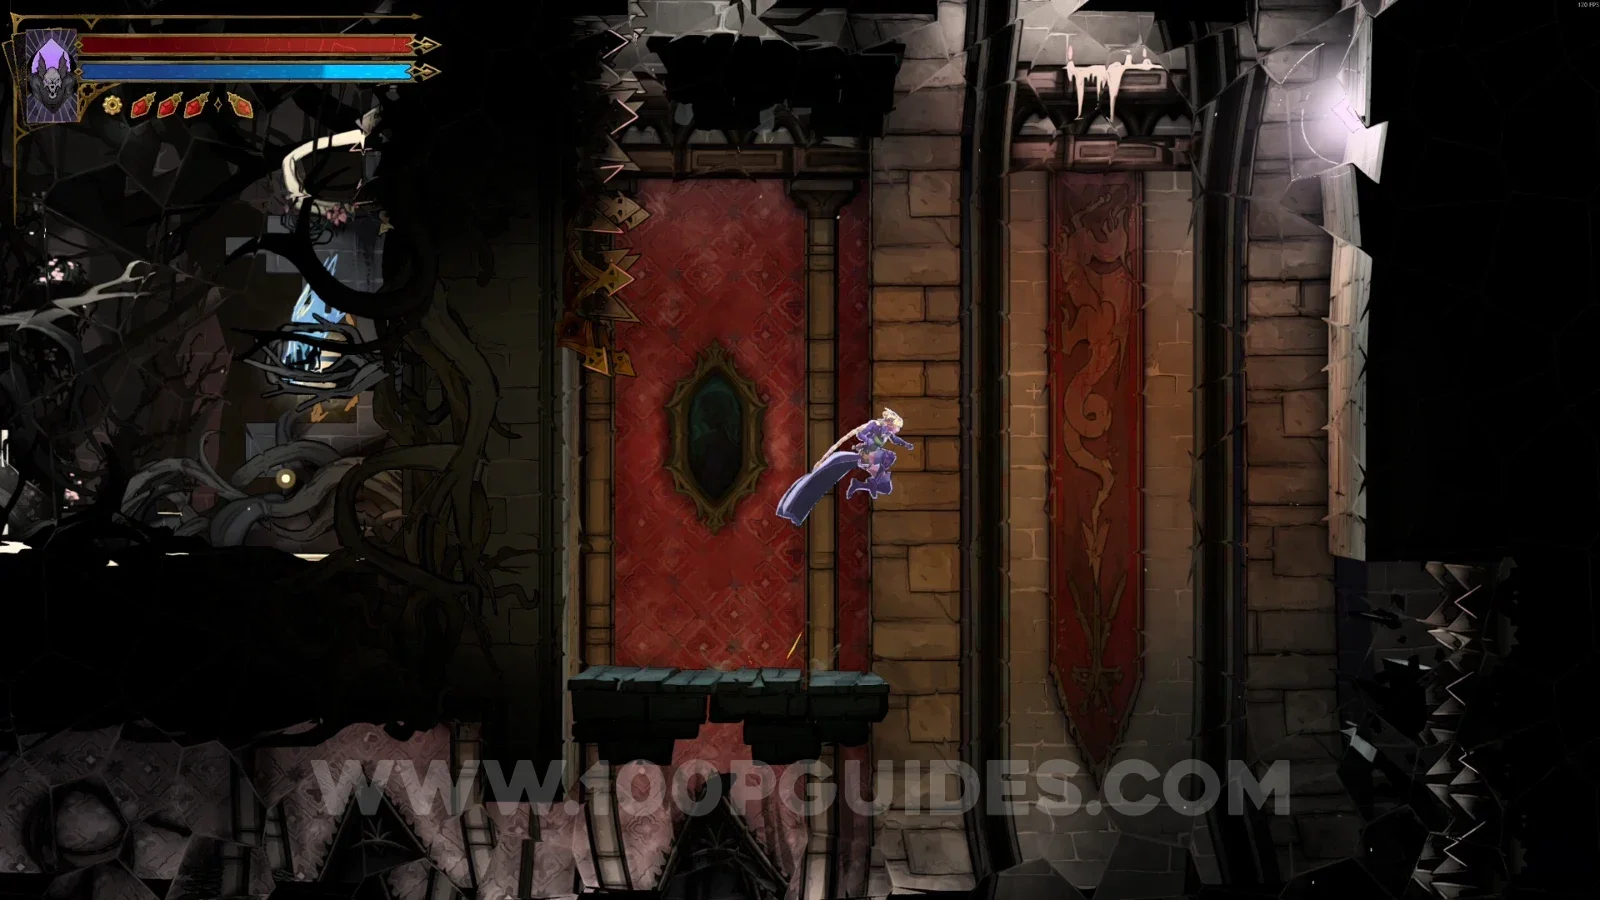
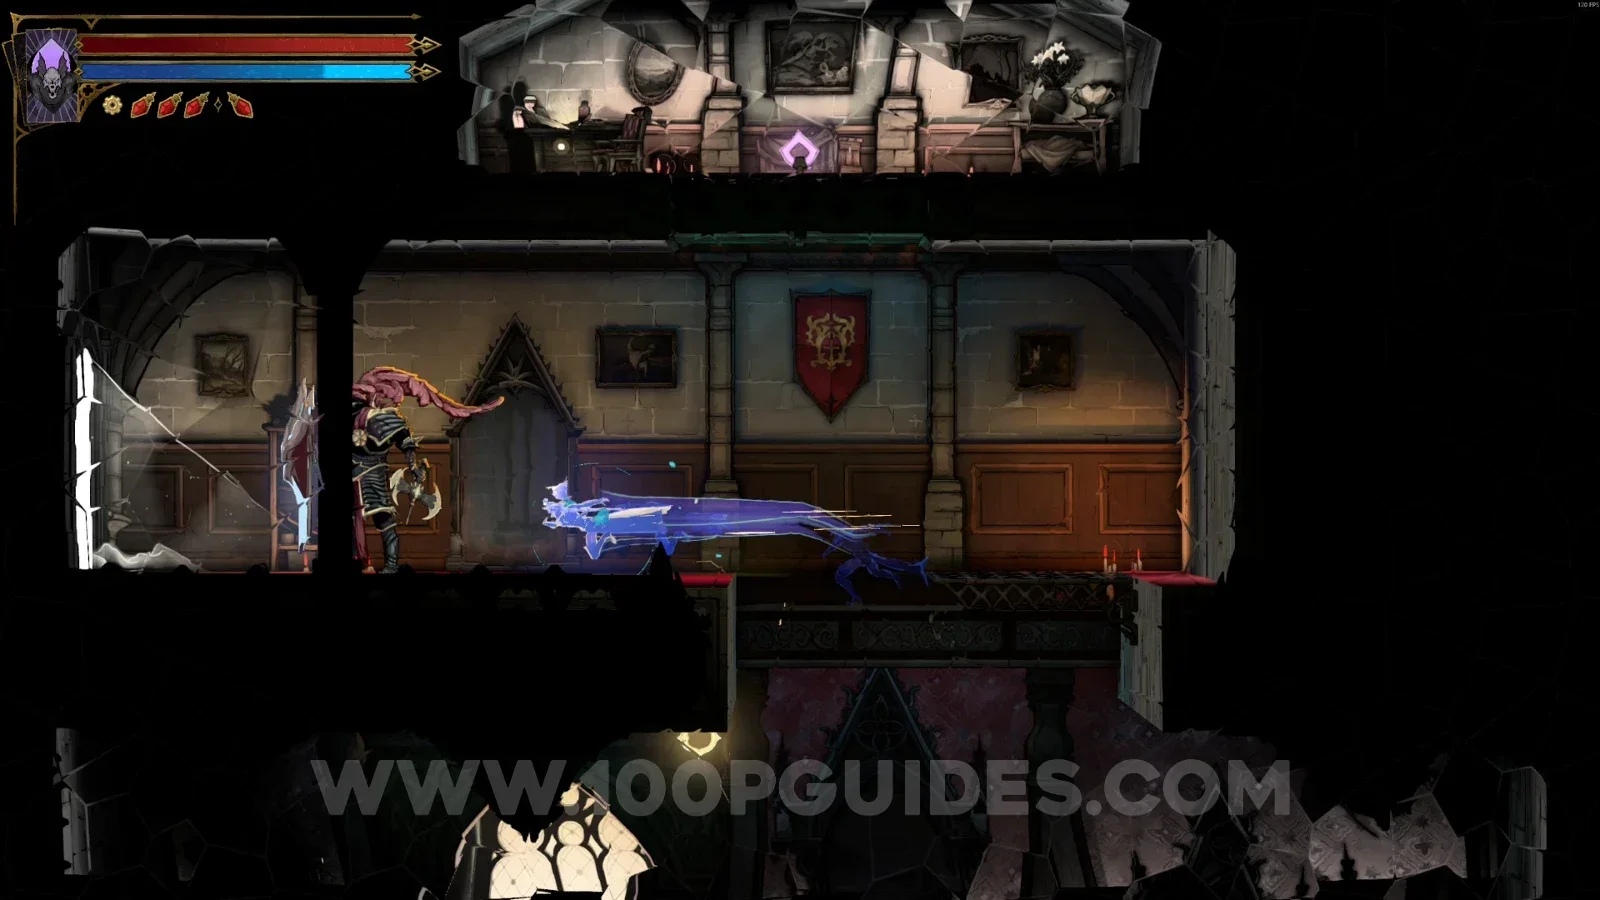
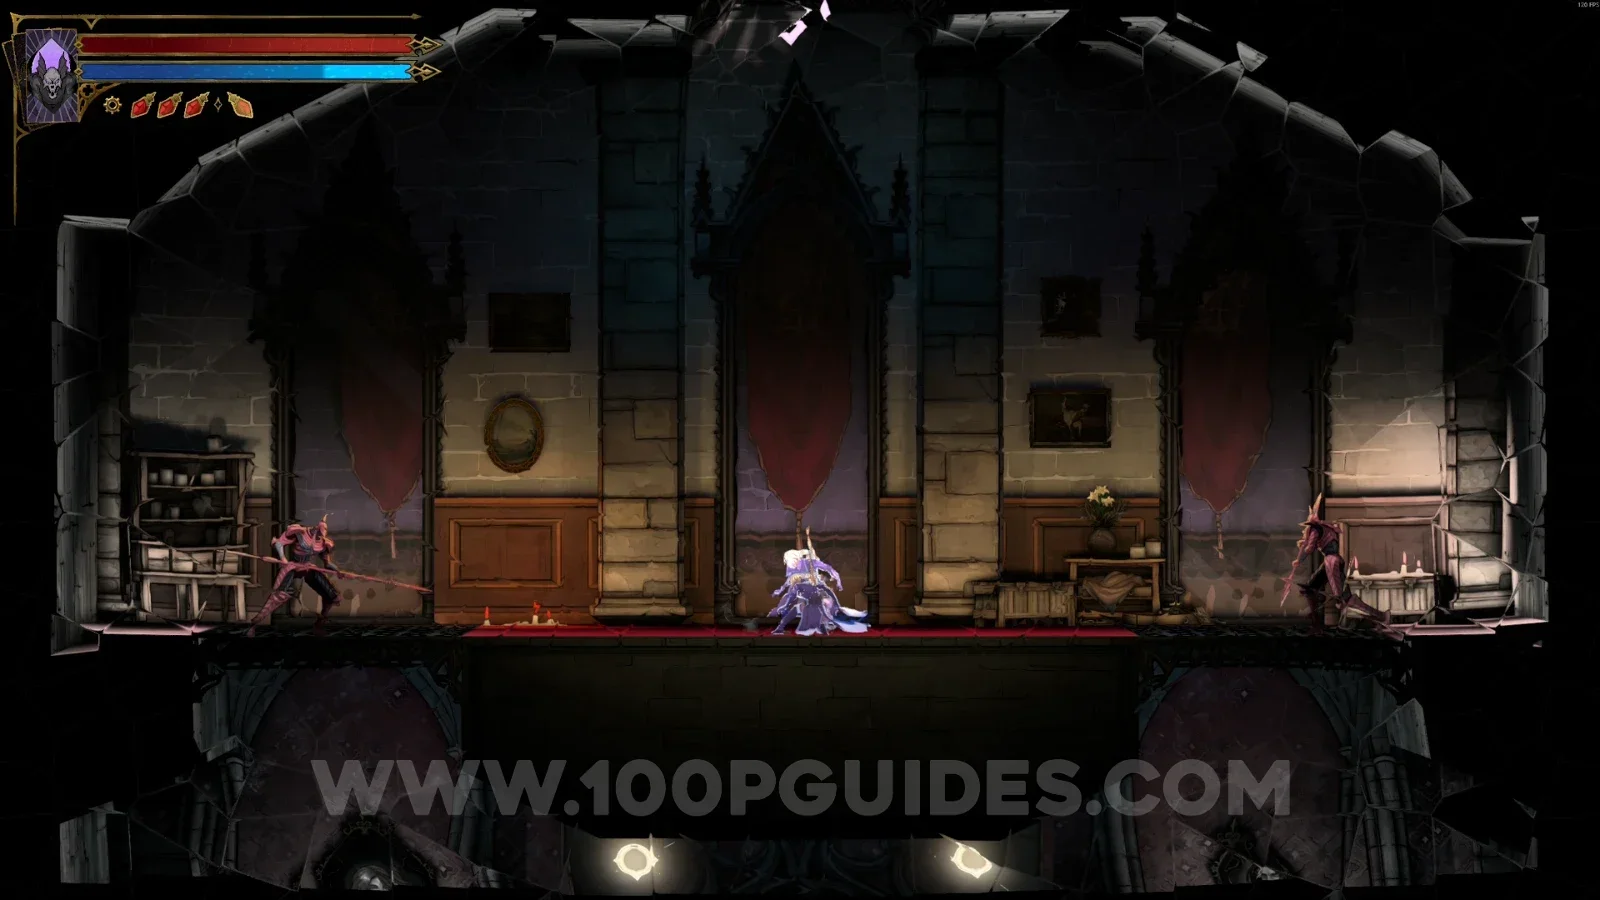
Castlevania: Belmont’s Curse Main Hall All Collectibles

This guide will show you the location of all collectibles in the Main Hall in Castlevania: Belmont's Curse.

Collecting everything is required to get the Perfectionist Hunter Trophy / Achievement.

Gate To The Stone Bridge

Mirror of Life #1

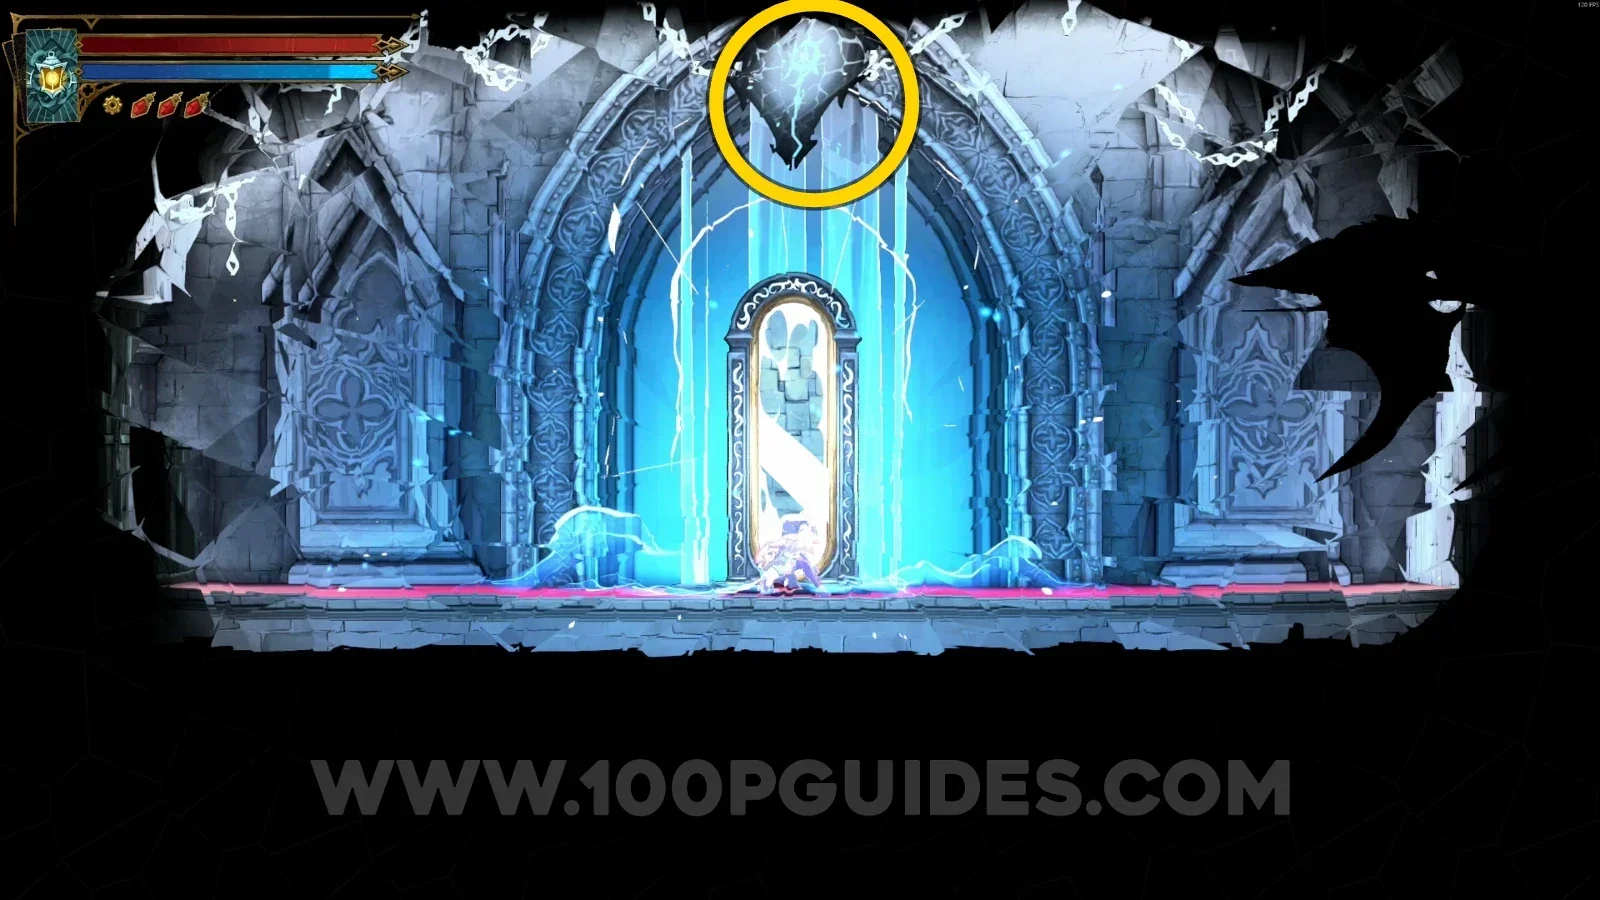
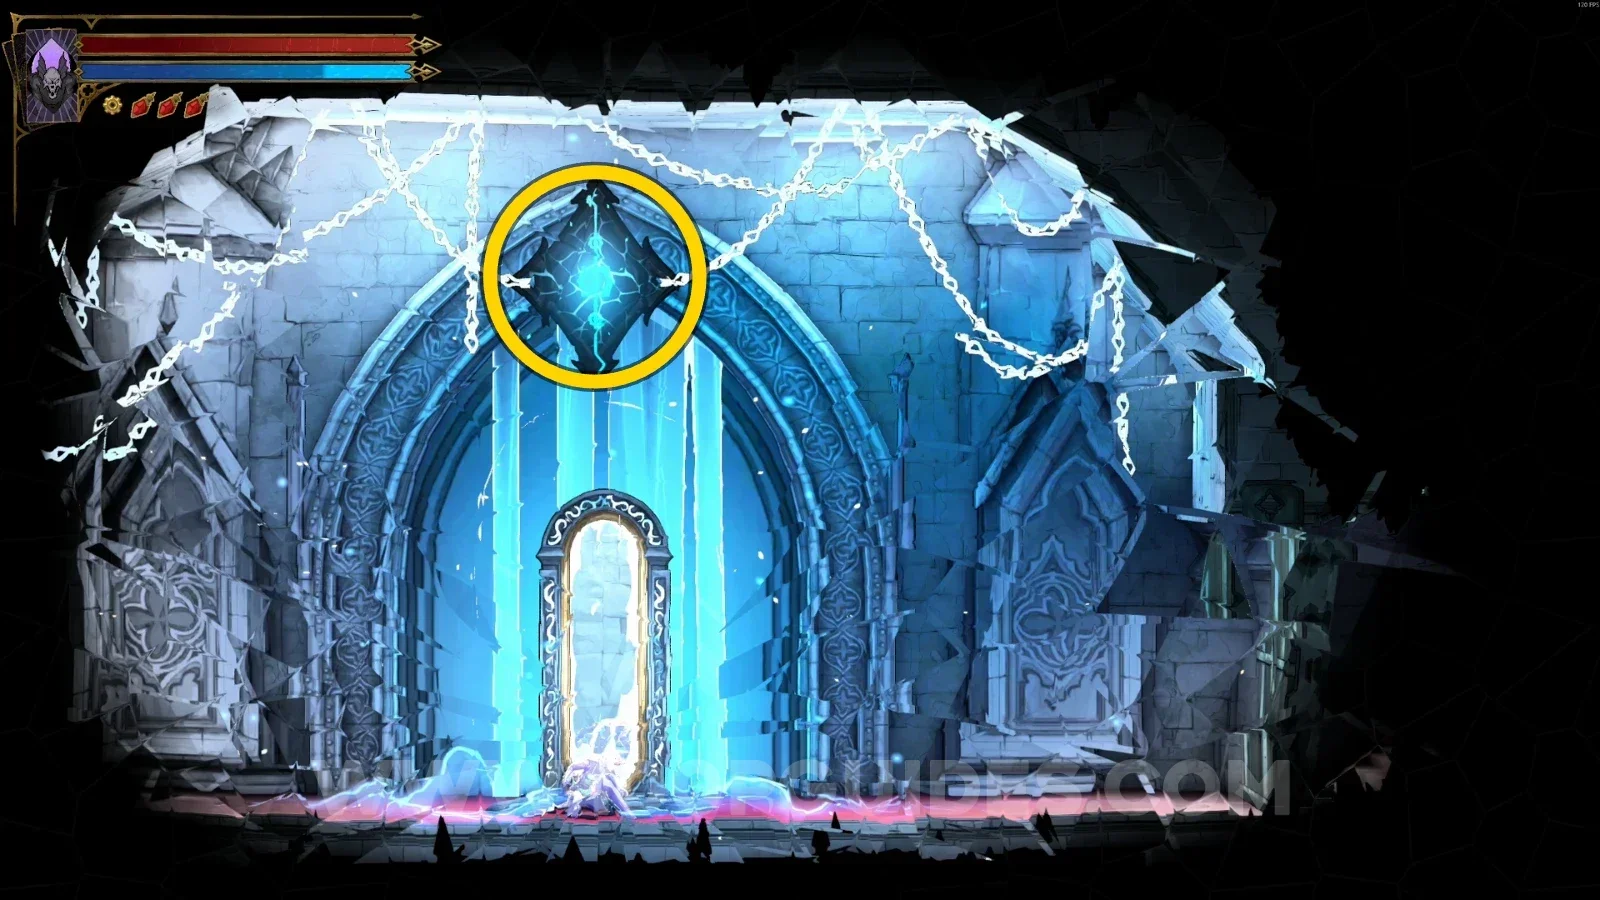
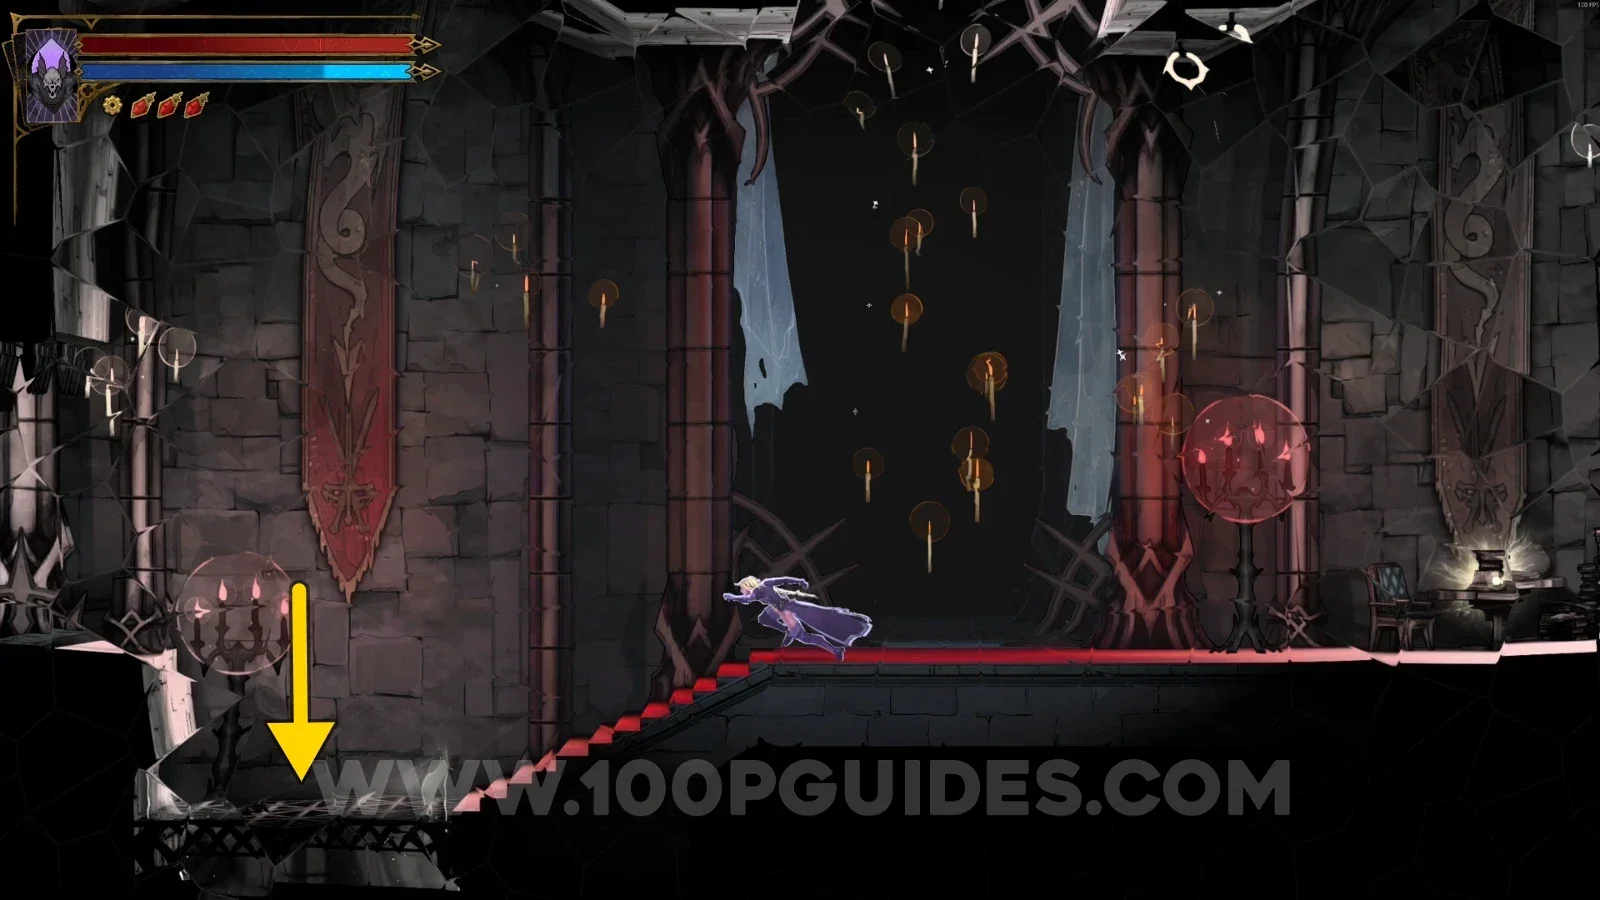
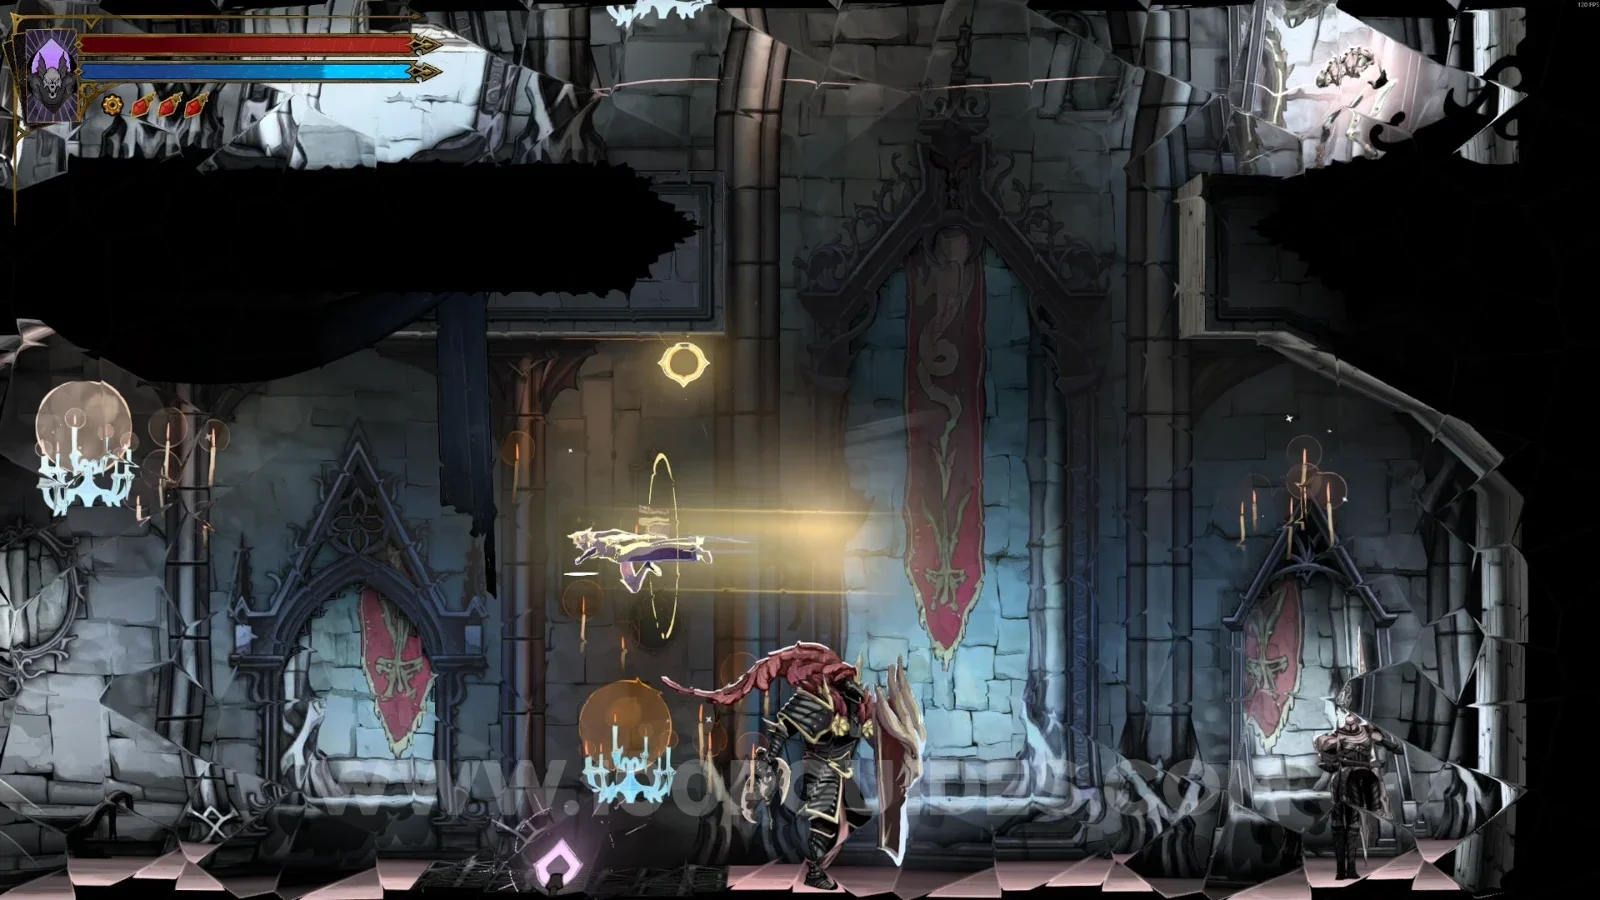
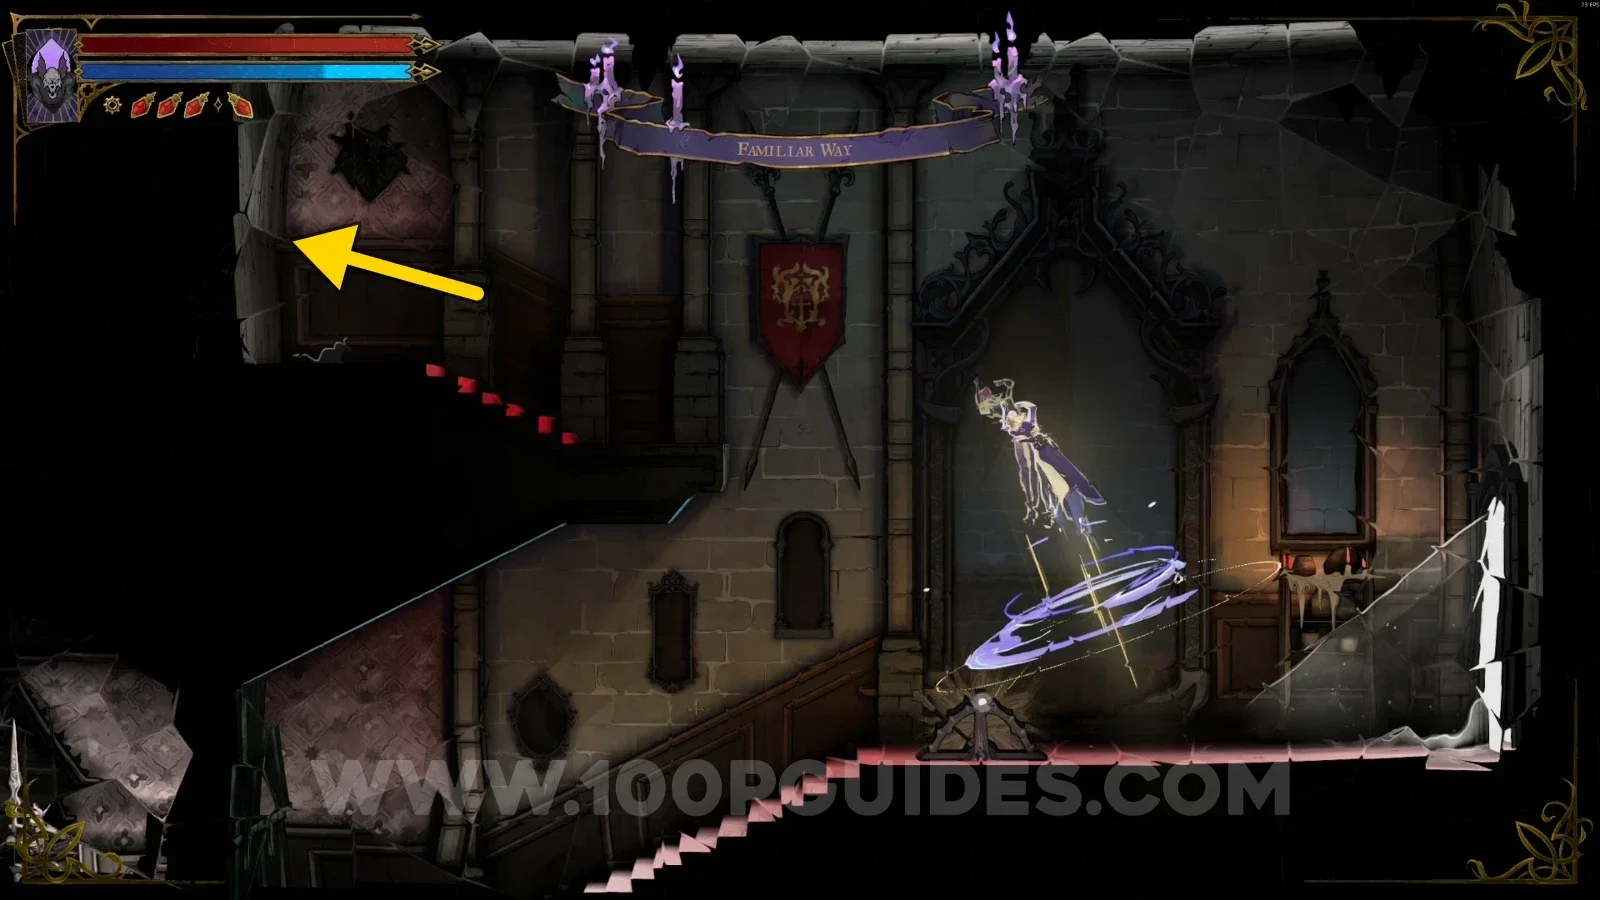
Before using the Gate to go to the Main Hall region, make sure you've activated this Mirror of Life. It's at the end of Paris Streets, on the crossing to the Main Hall.
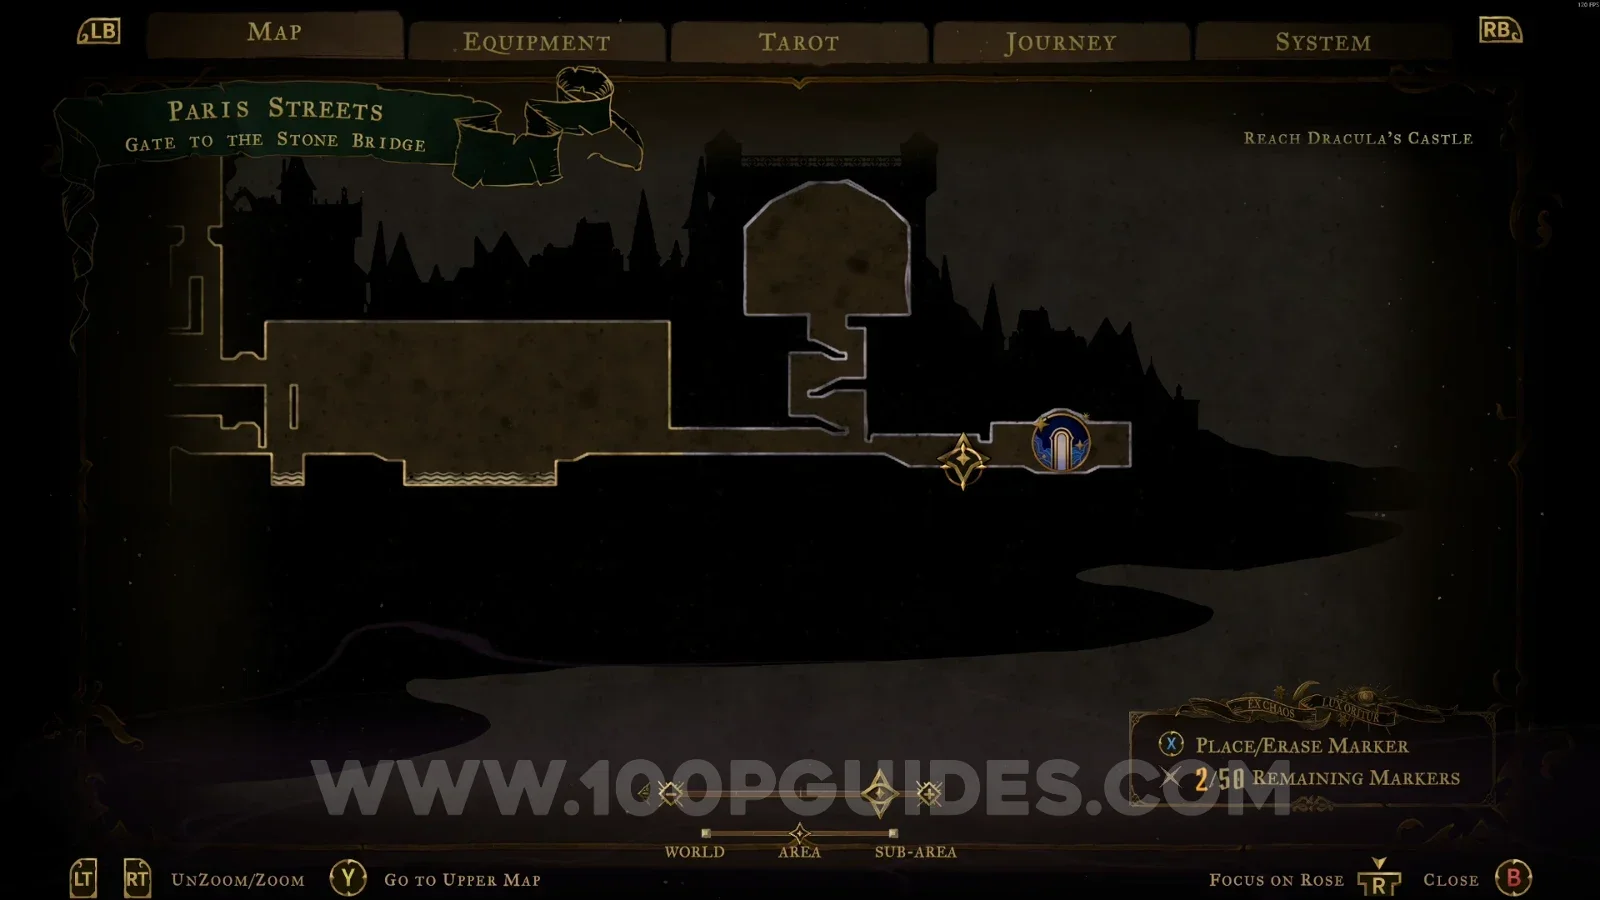
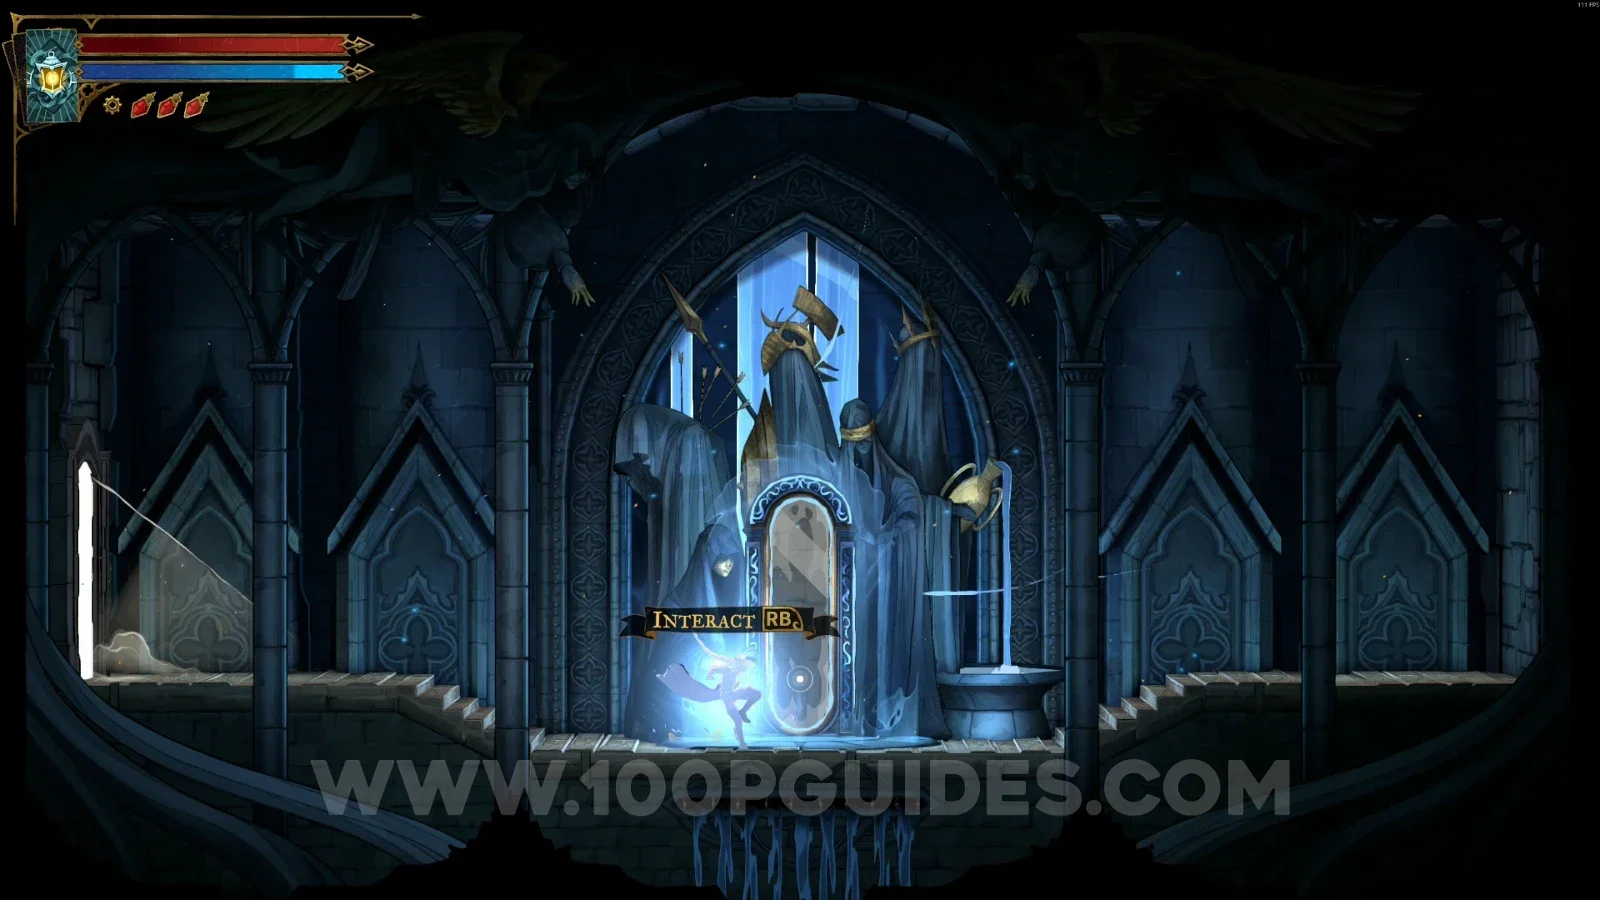
Castlevania Belmonts Curse Paris Streets: the Gate on the crossing to the Main Hall region Castlevania Belmonts Curse Paris Streets: the Mirror of Life to activate before taking the Main Hall Gate

Inner Courtyard

Weapon #1: Morning Star

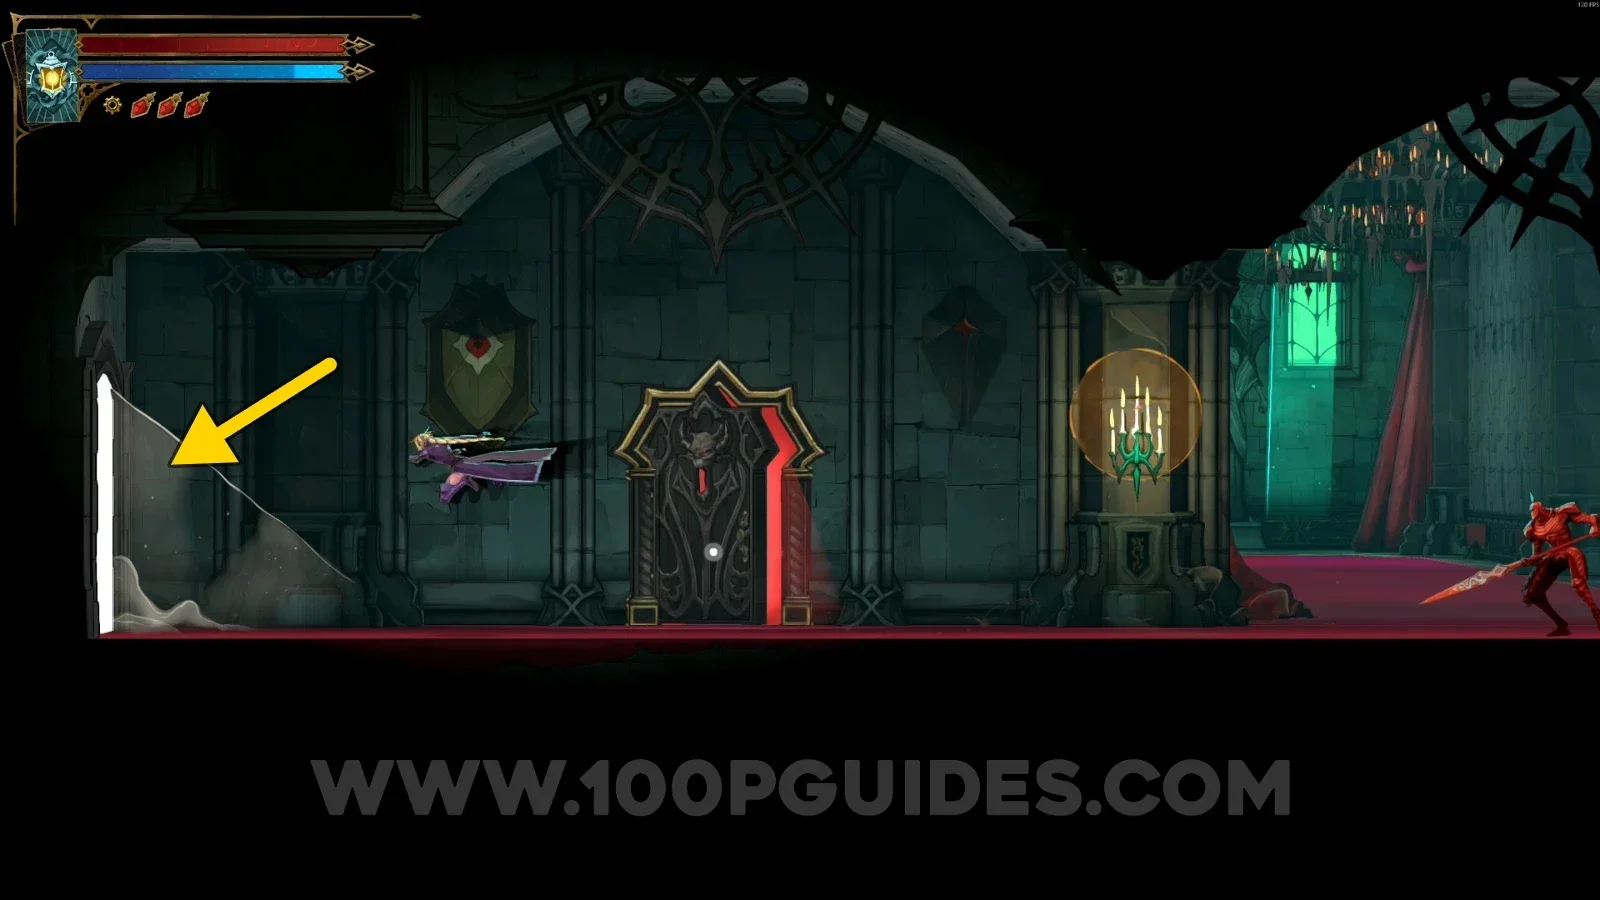
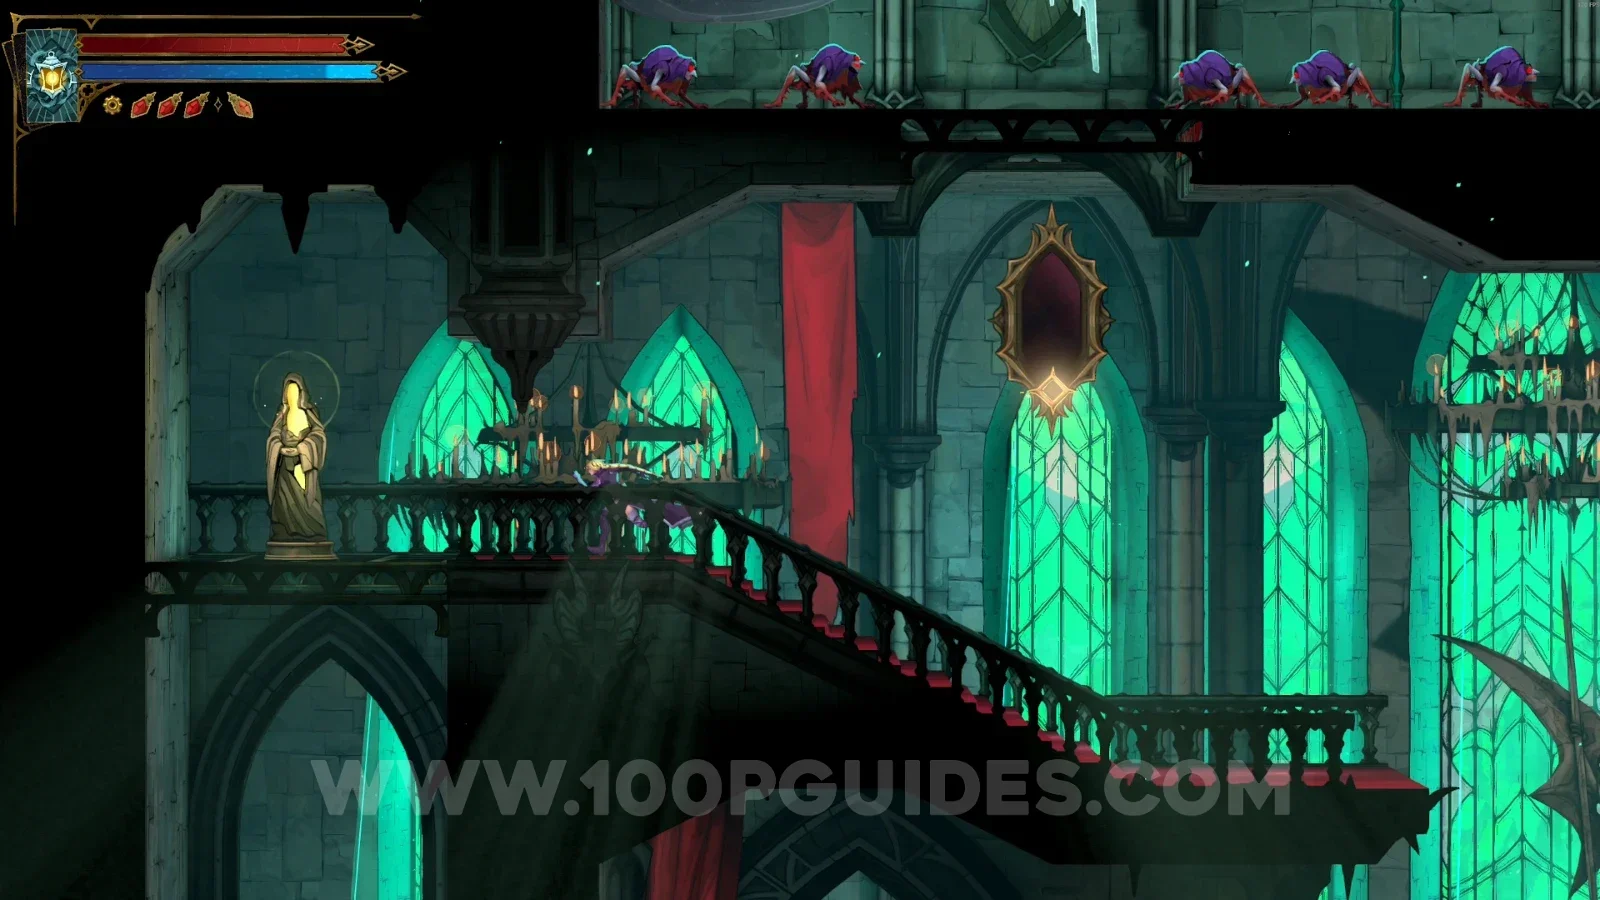
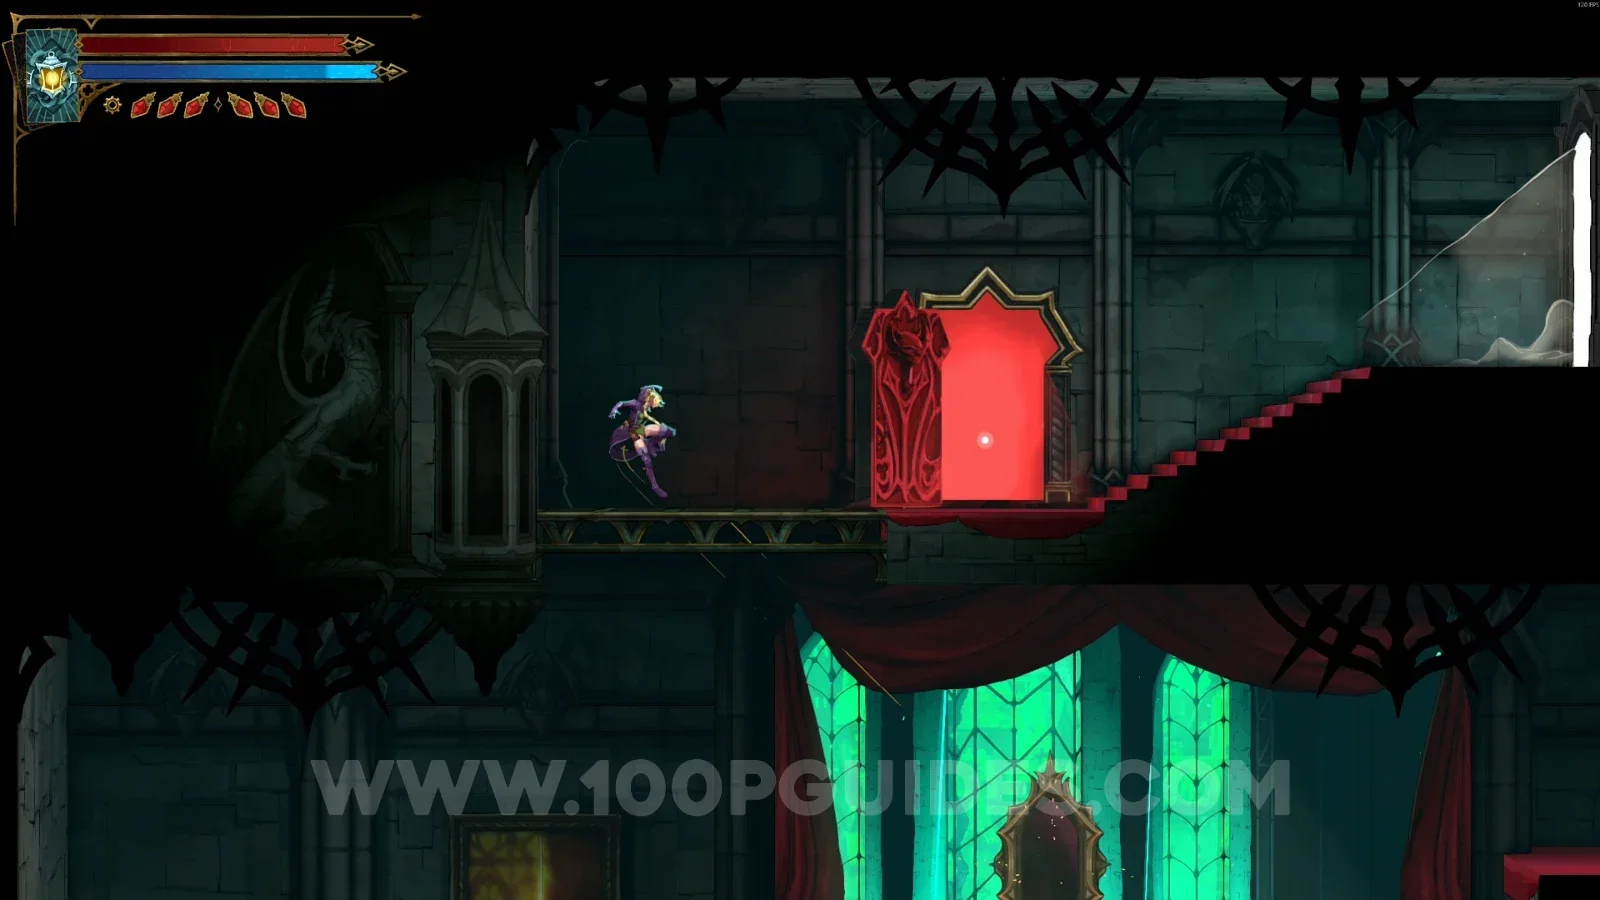
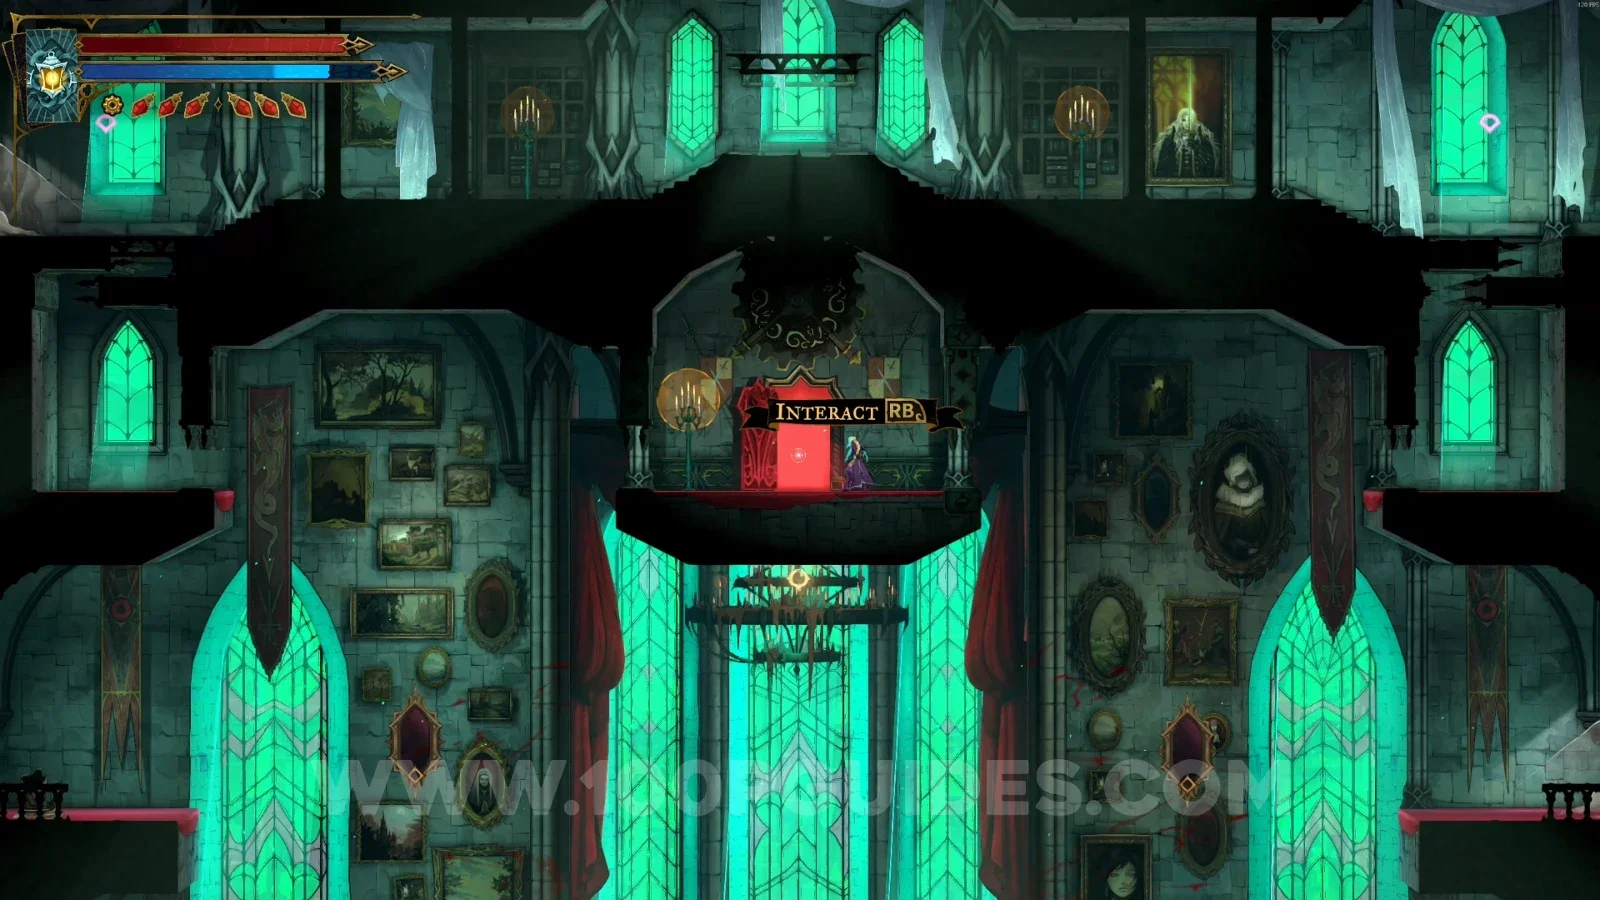
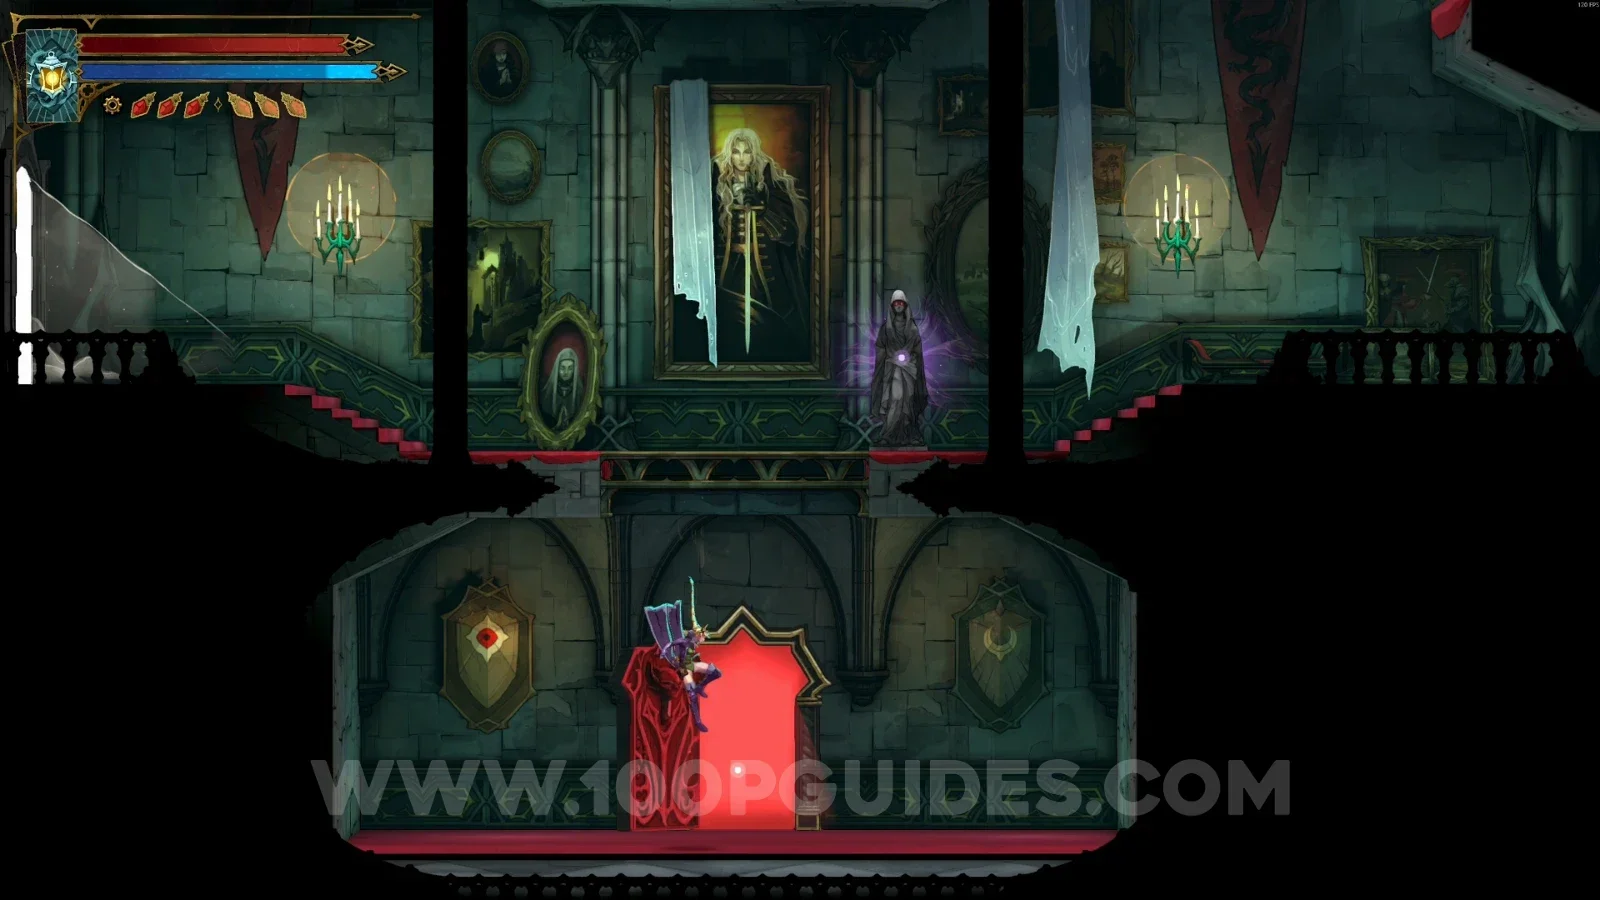
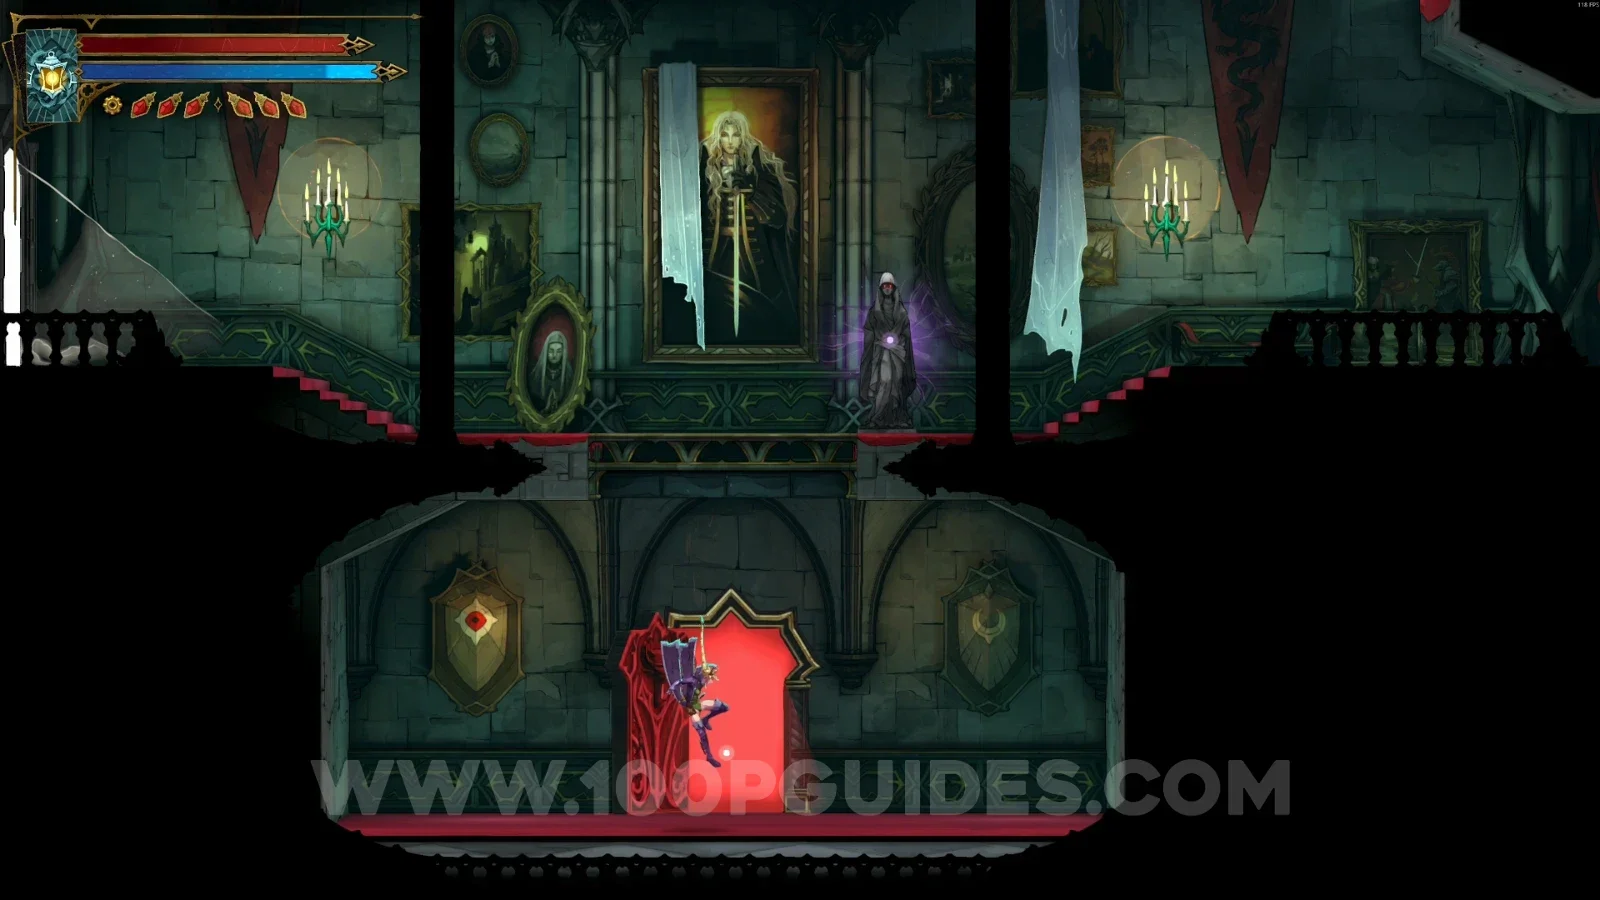
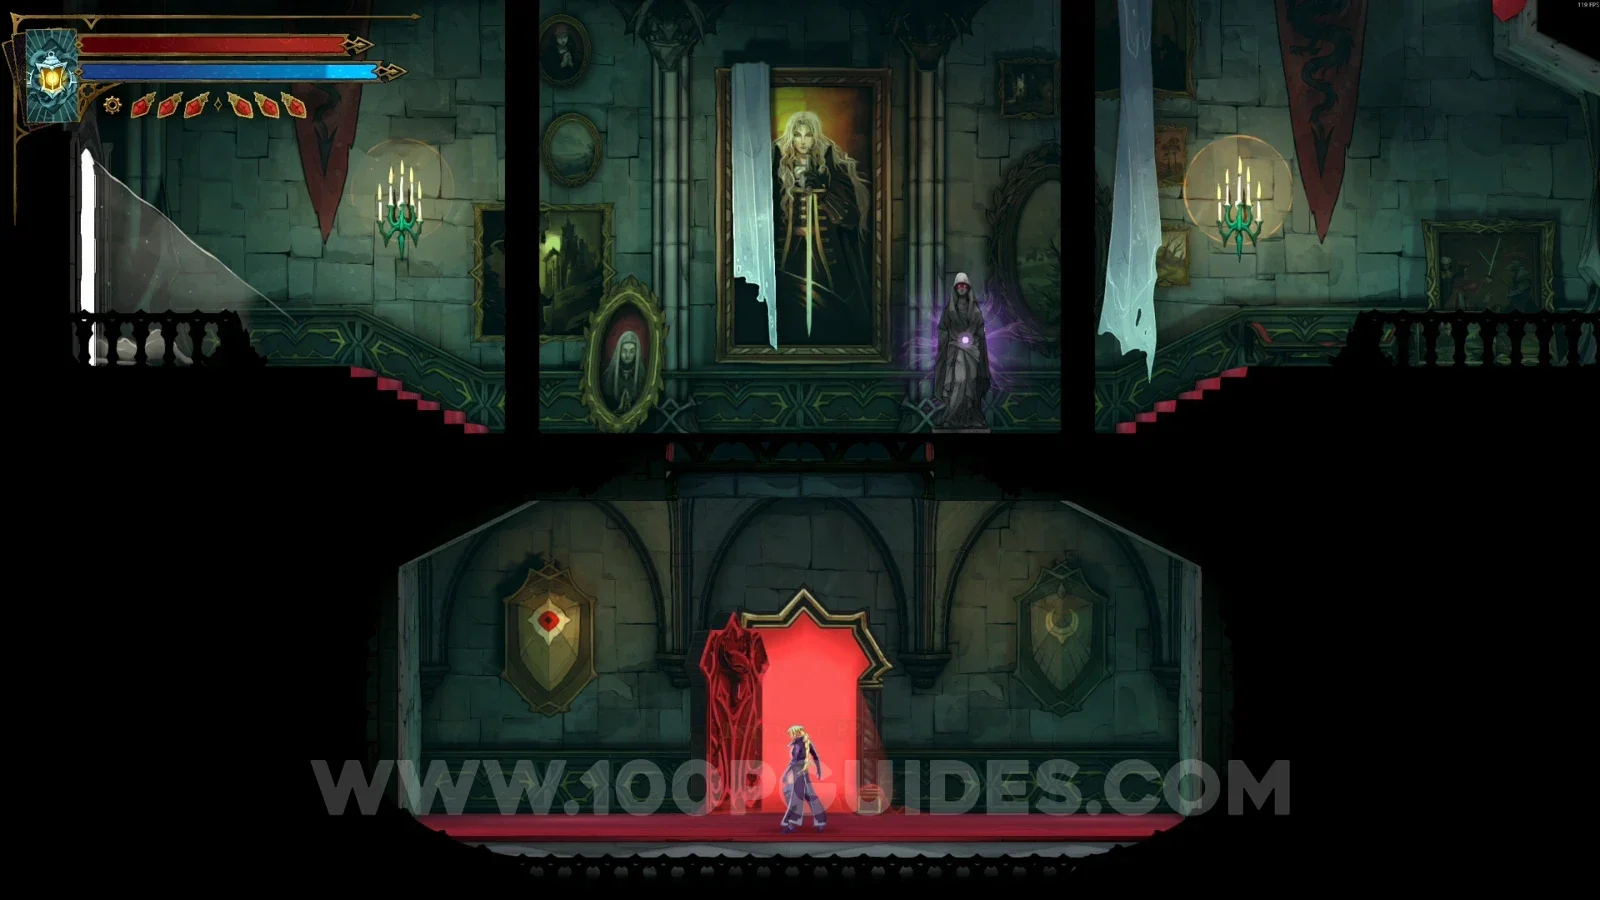
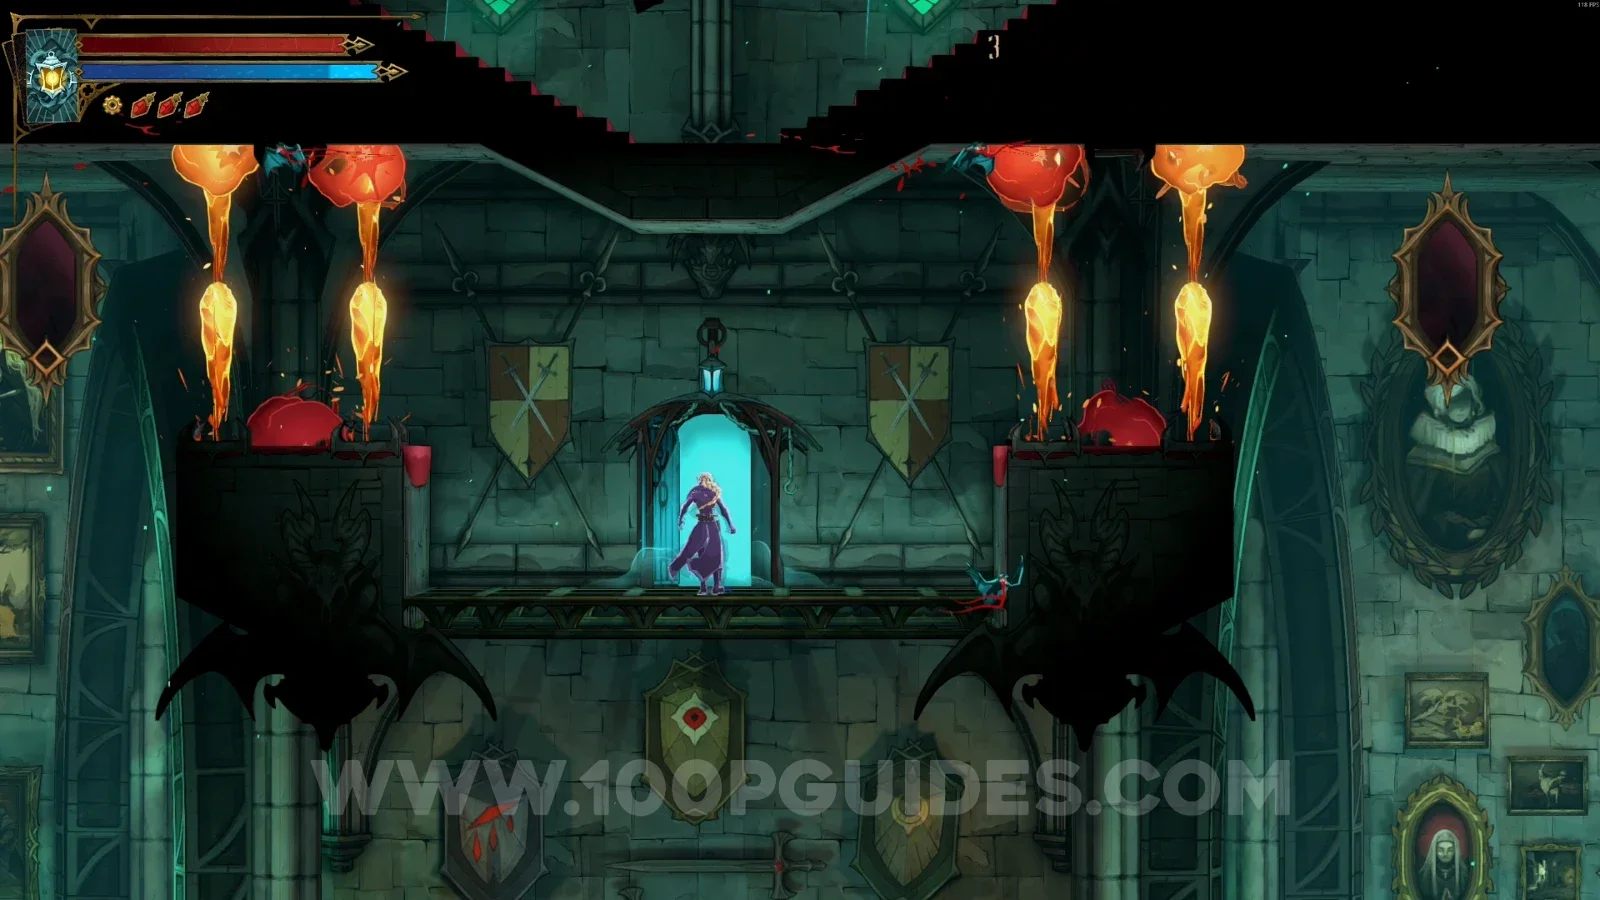
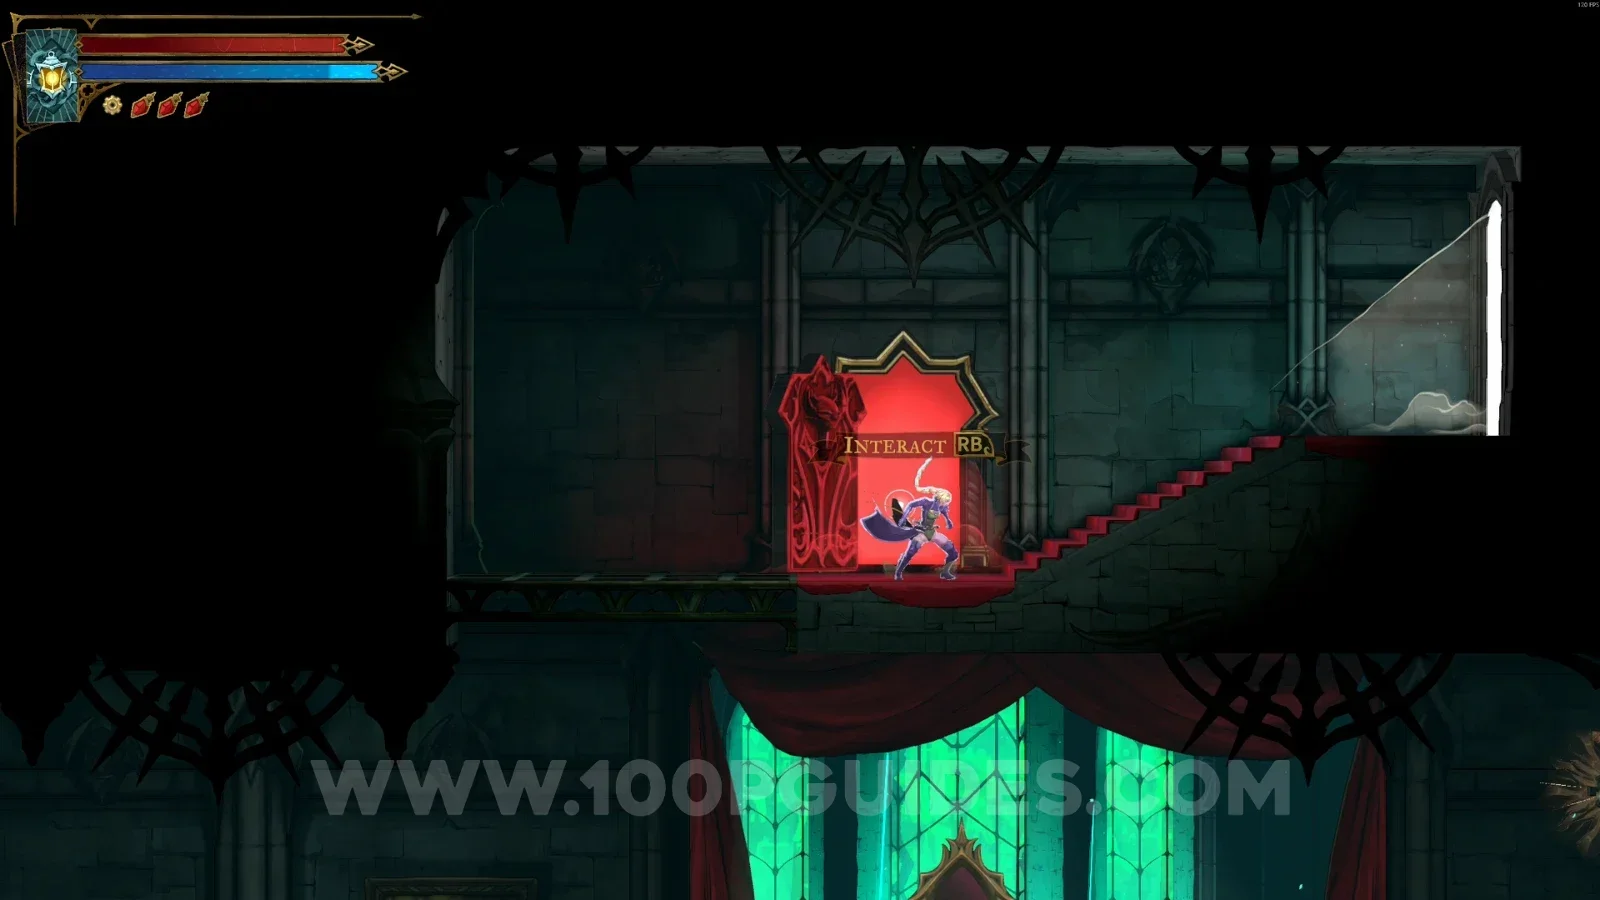
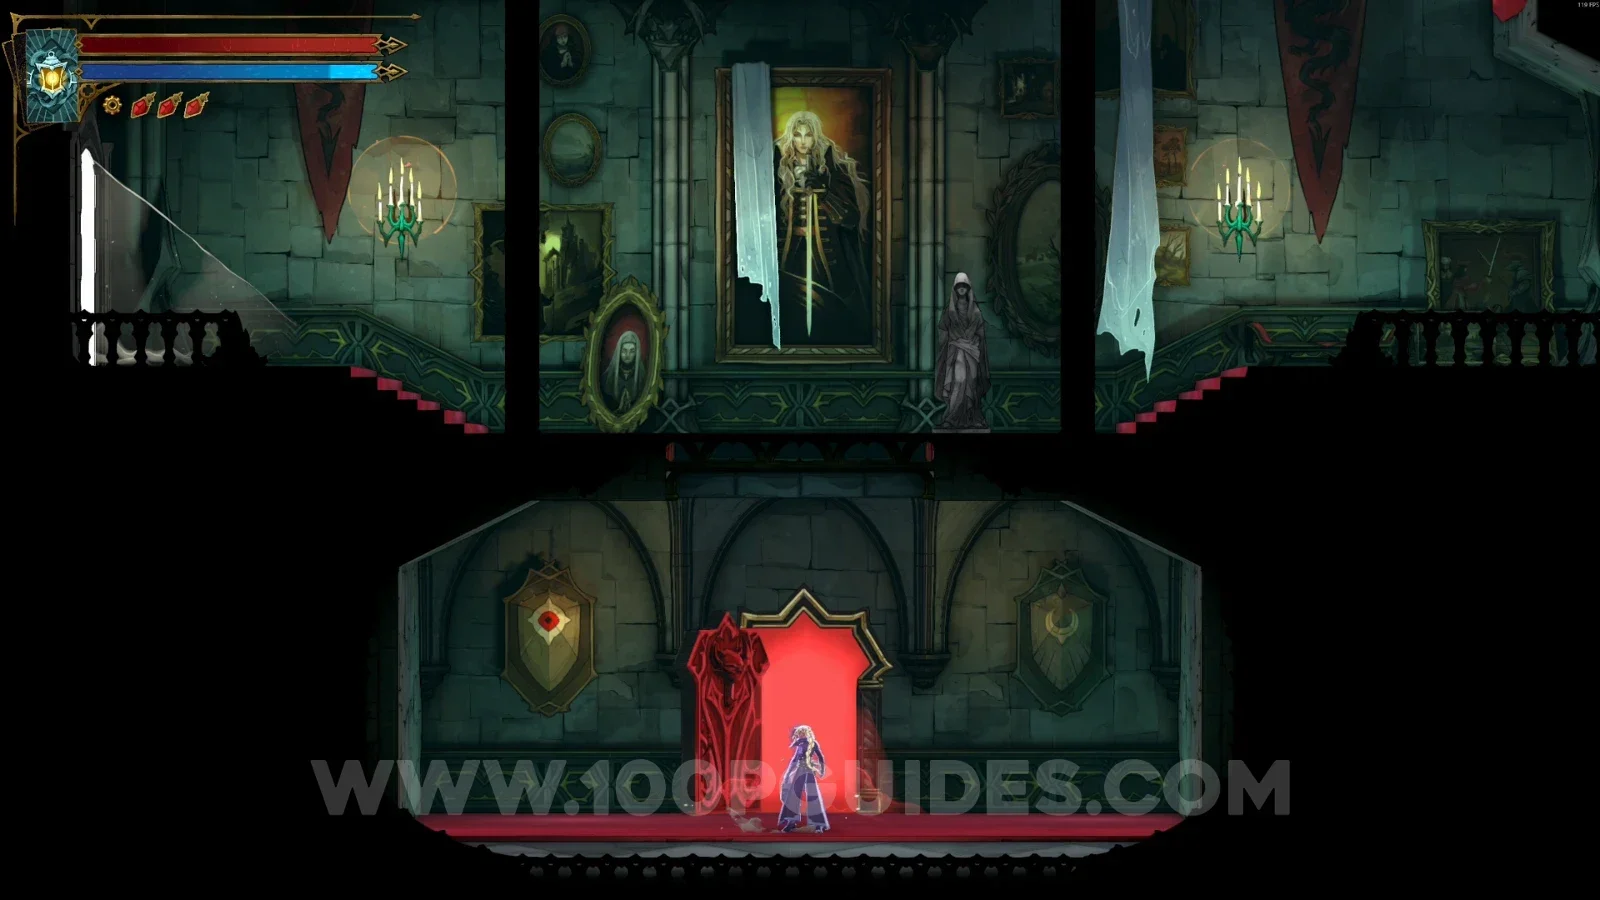
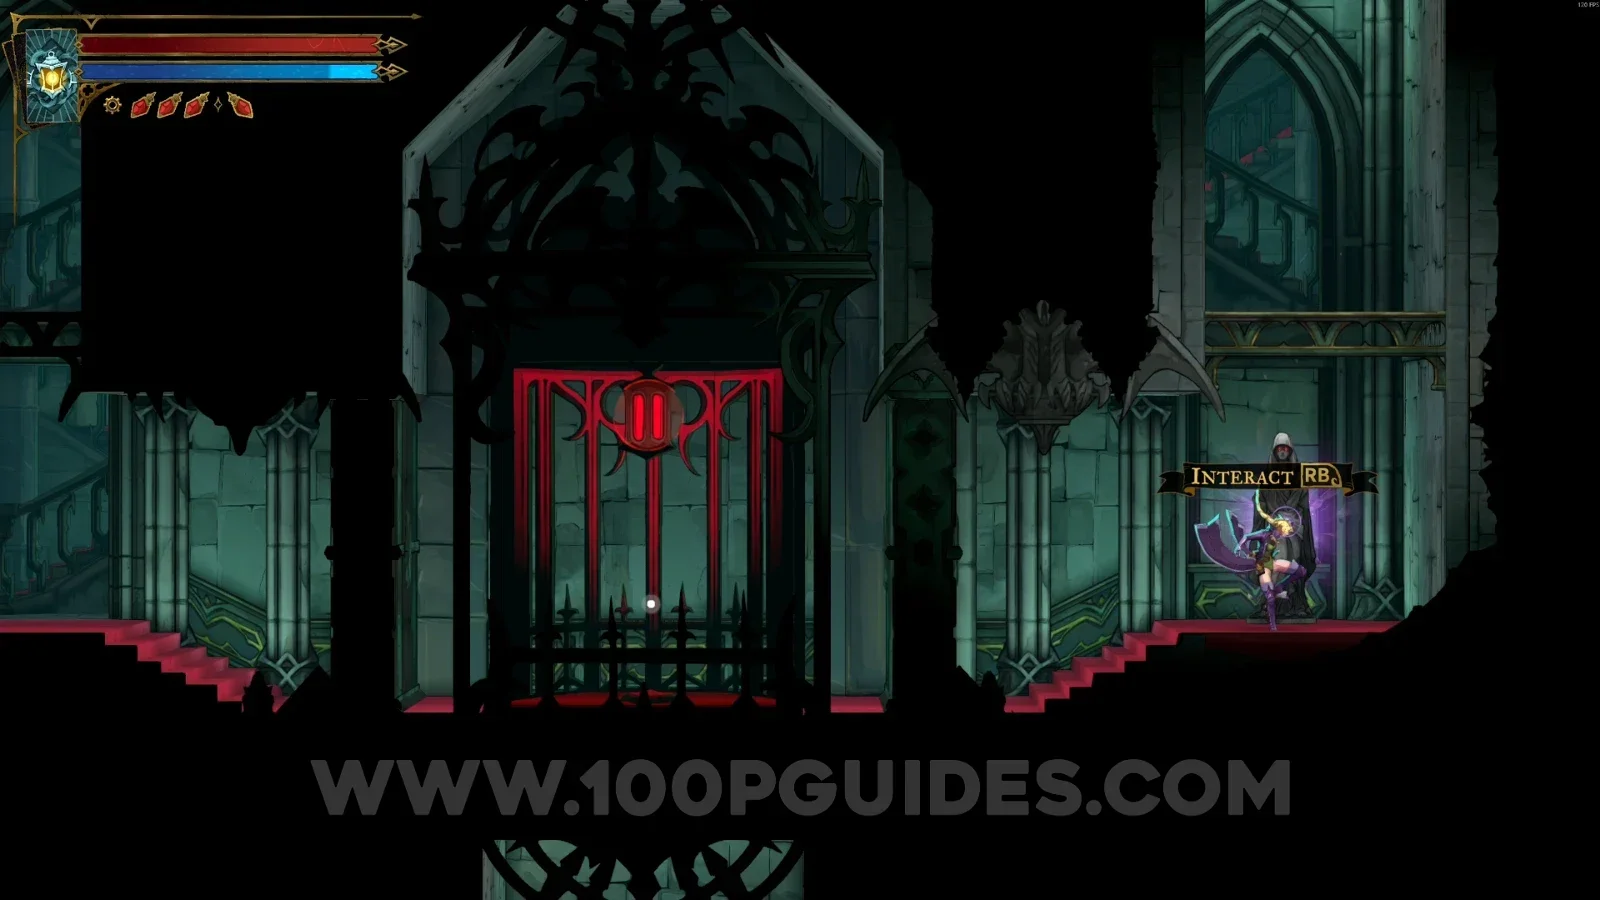
From the Entrance Corridor, use the mirror to reveal a secret area, then go through the red door.
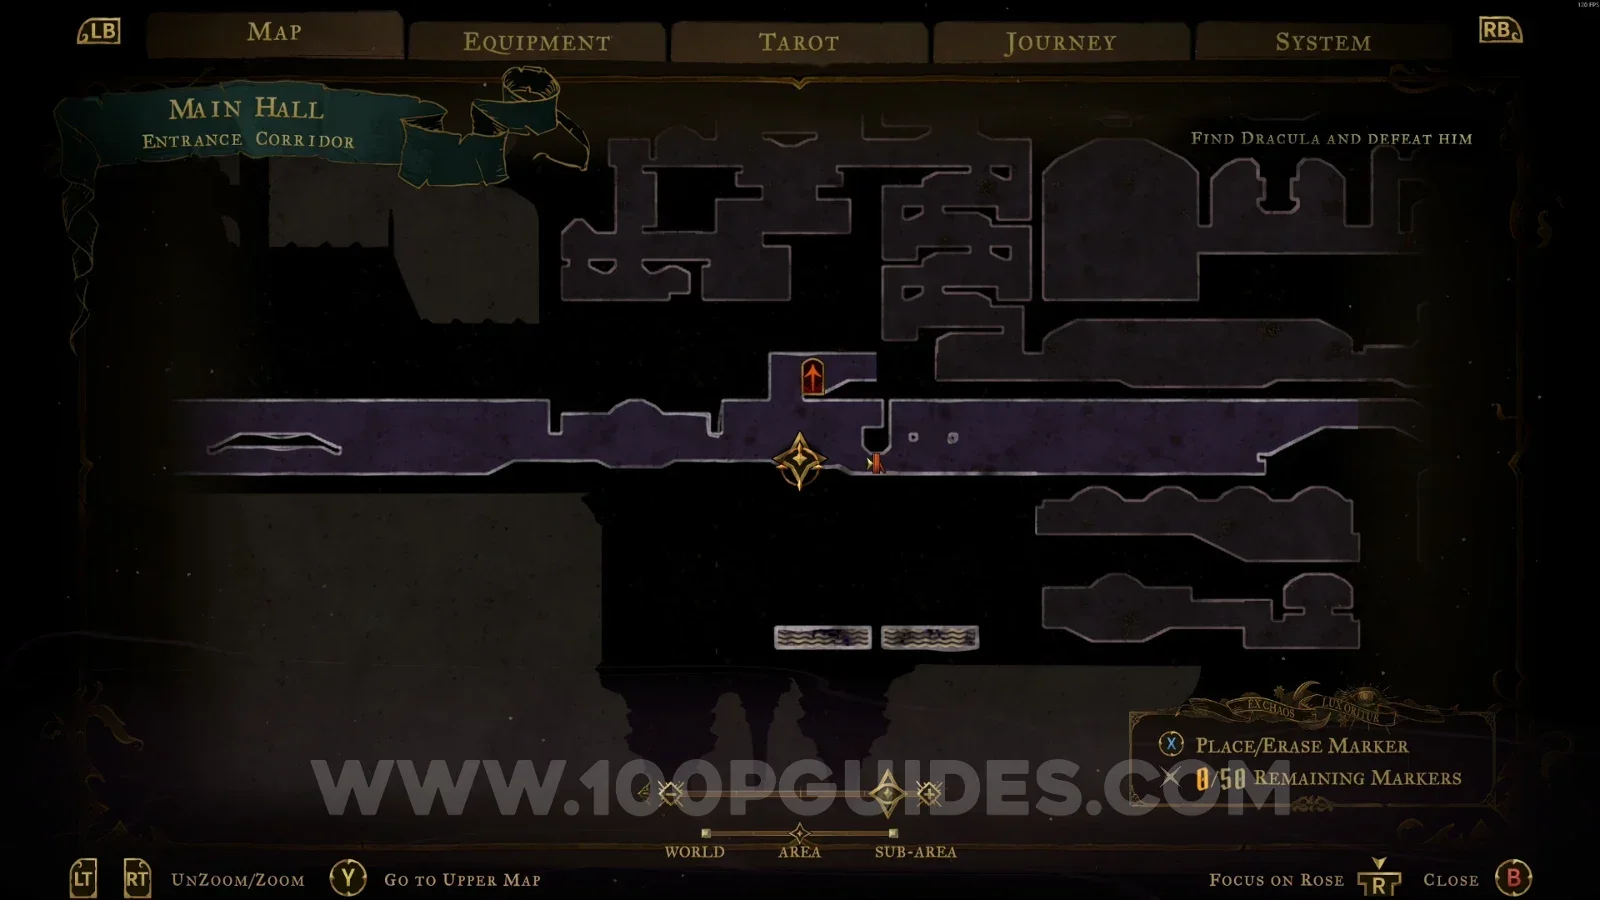
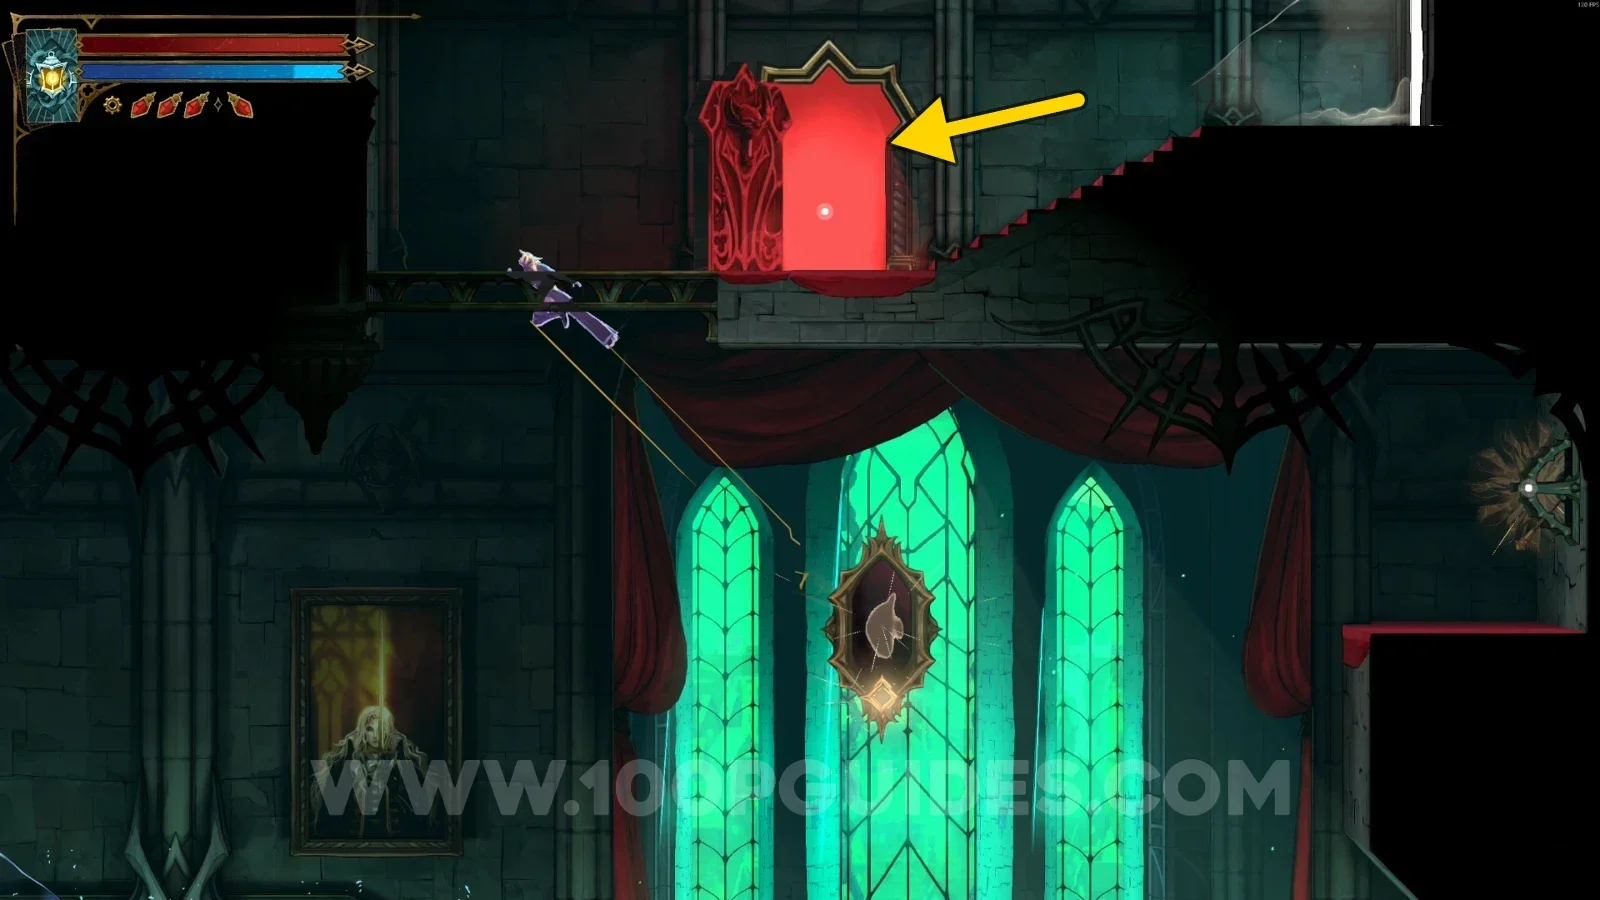
Castlevania Belmonts Curse Entrance Corridor: using the mirror to reveal the secret area for the Morning Star Castlevania Belmonts Curse Entrance Corridor: the red door in the secret area on the way to the Morning Star

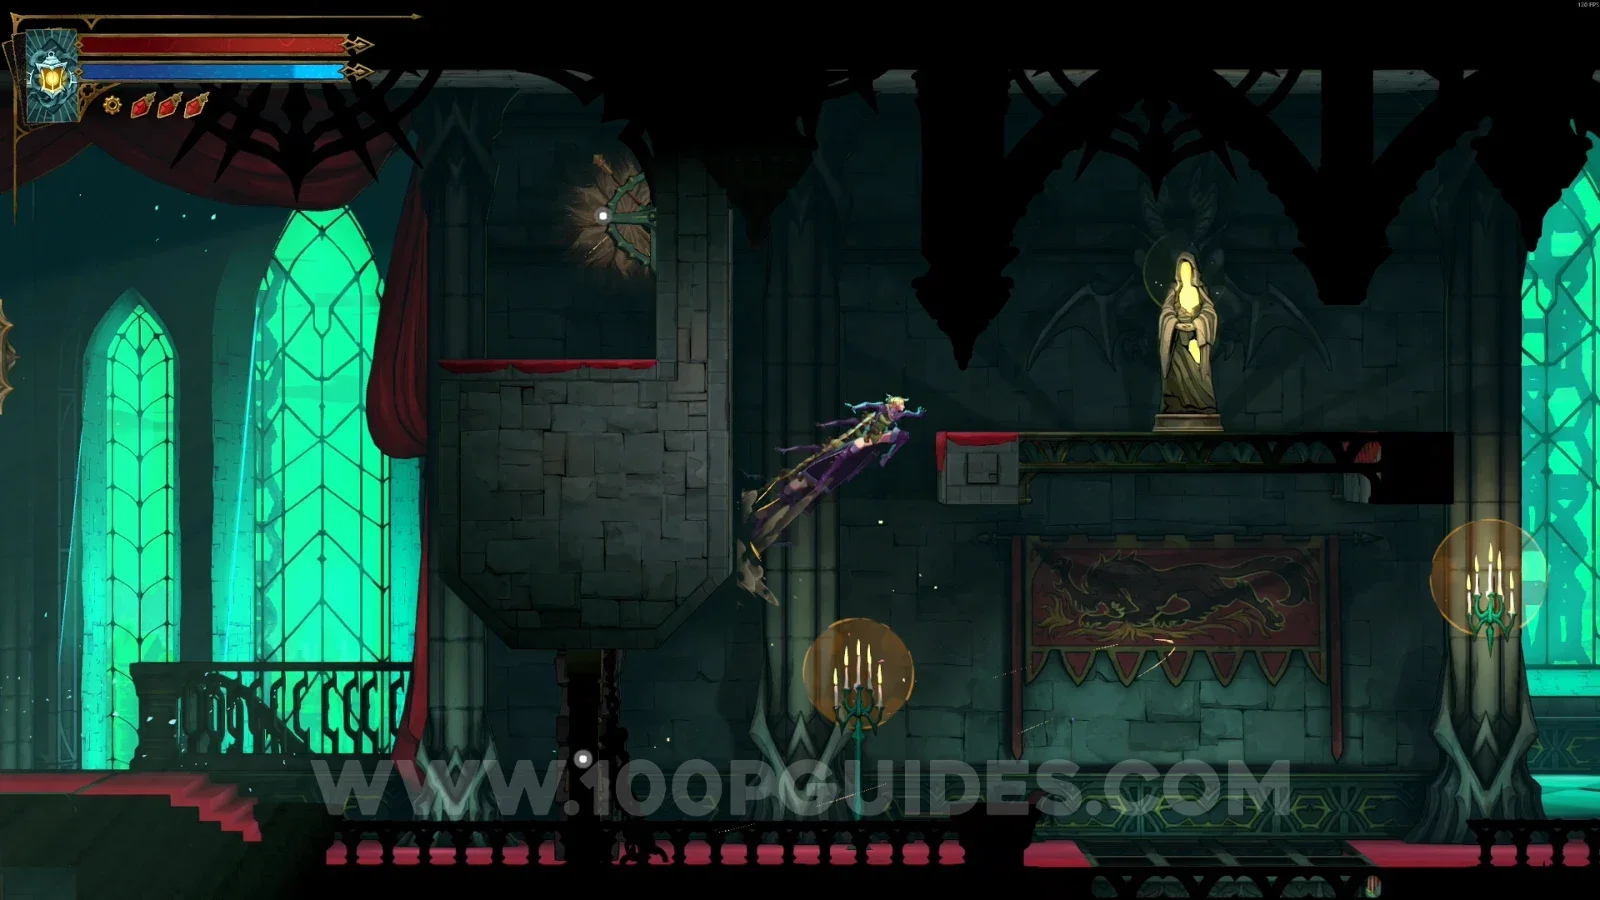
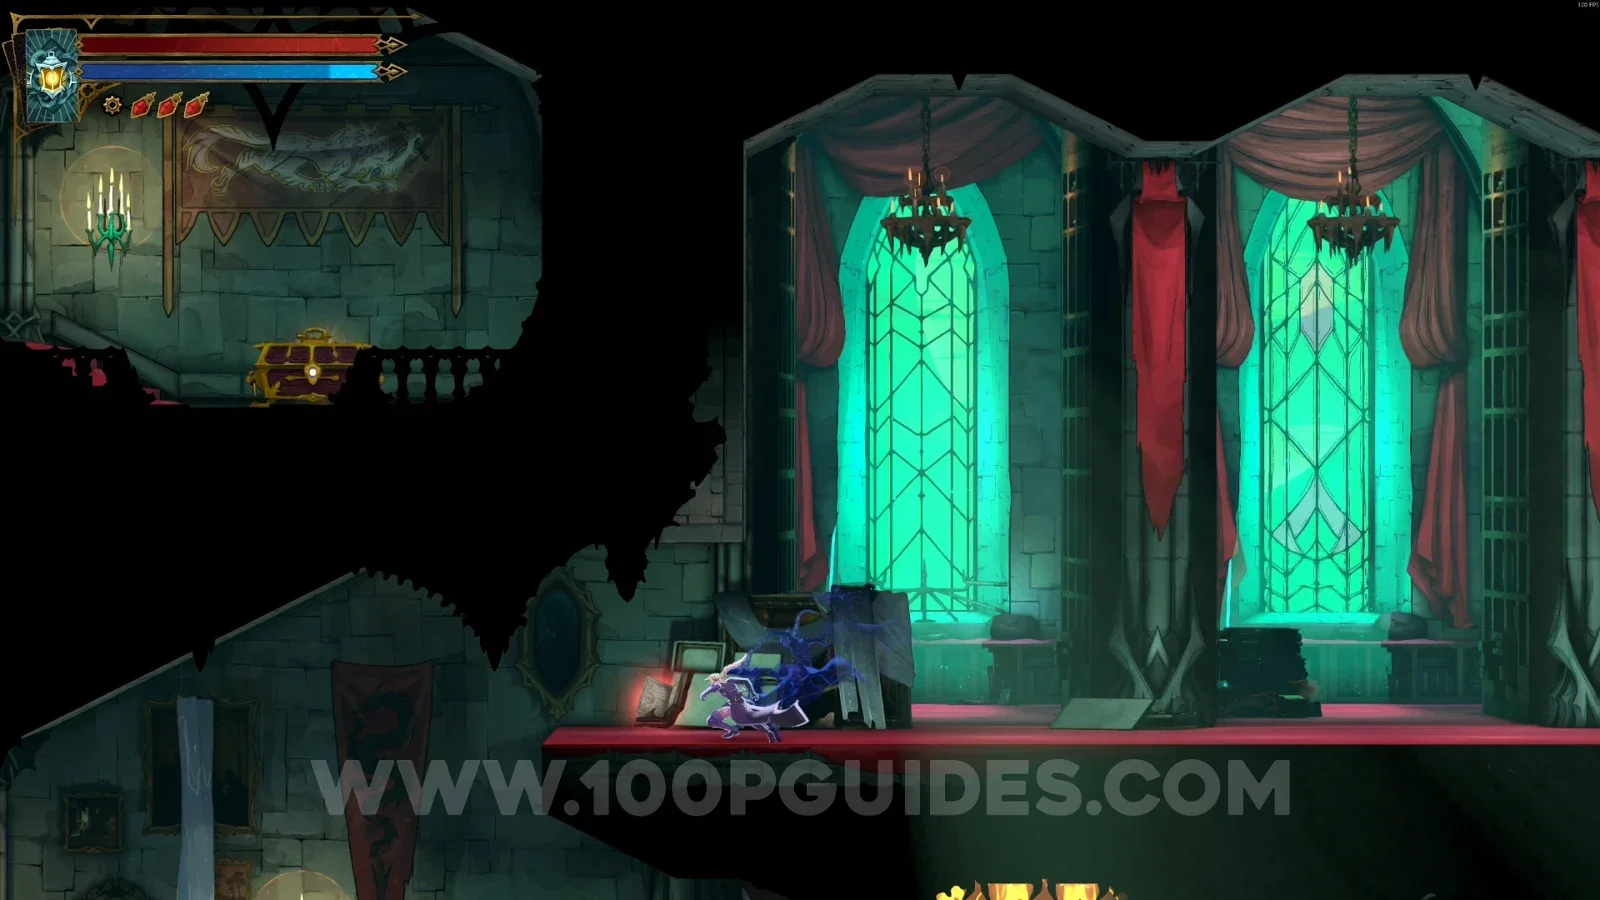
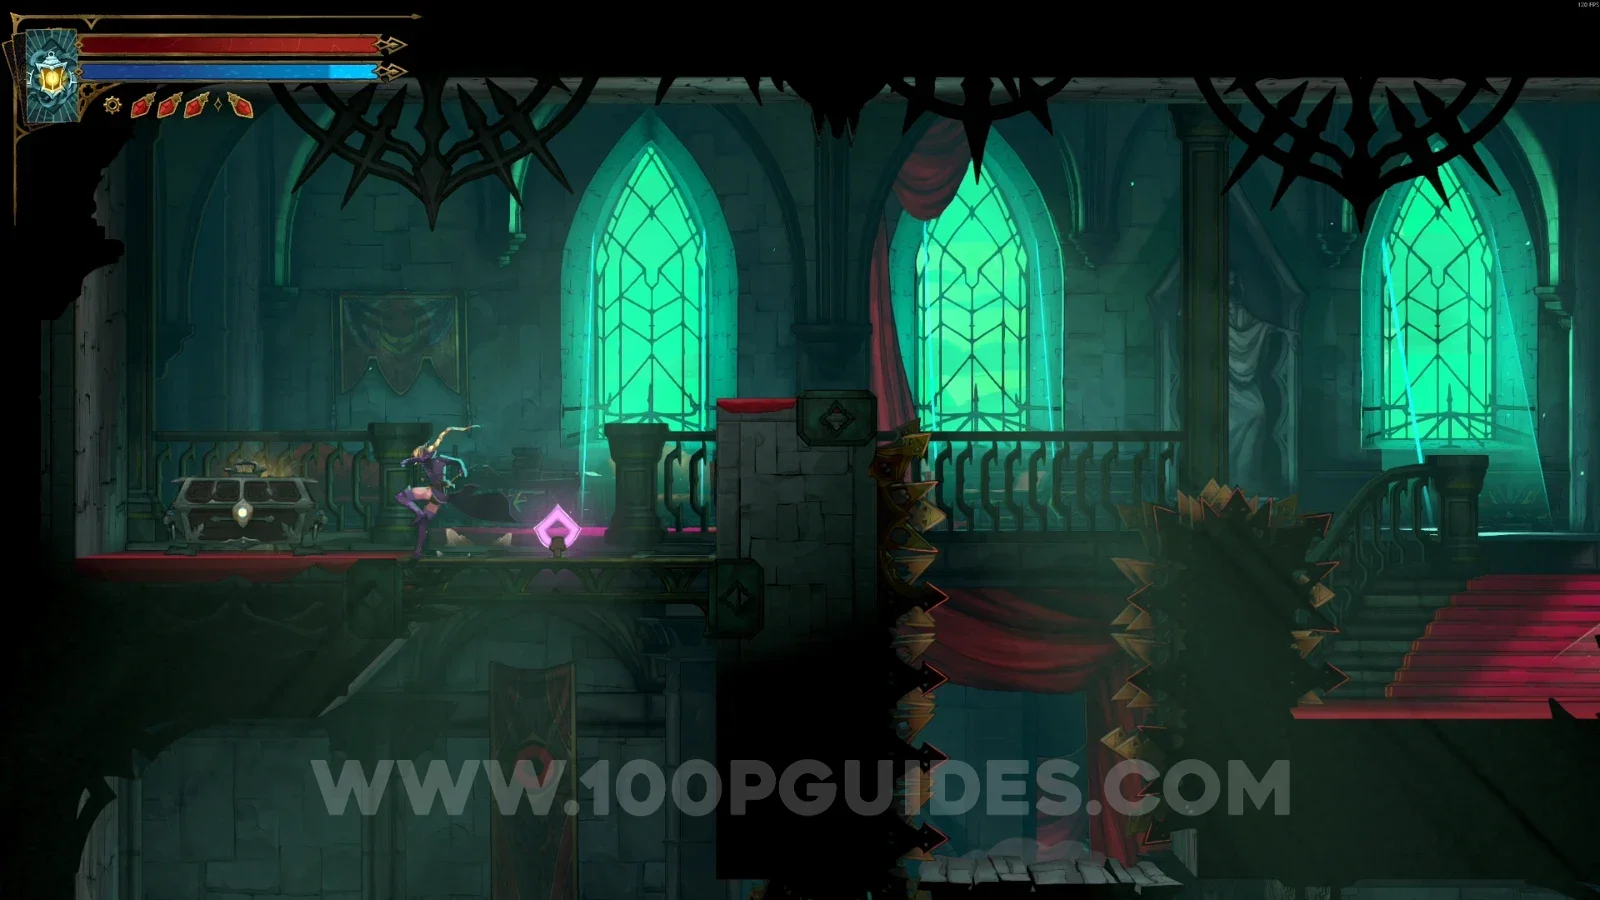
Follow the single path, using the mirror to climb to the upper part of the area. Once you're up there, you'll see two doors. Go through the lower door.
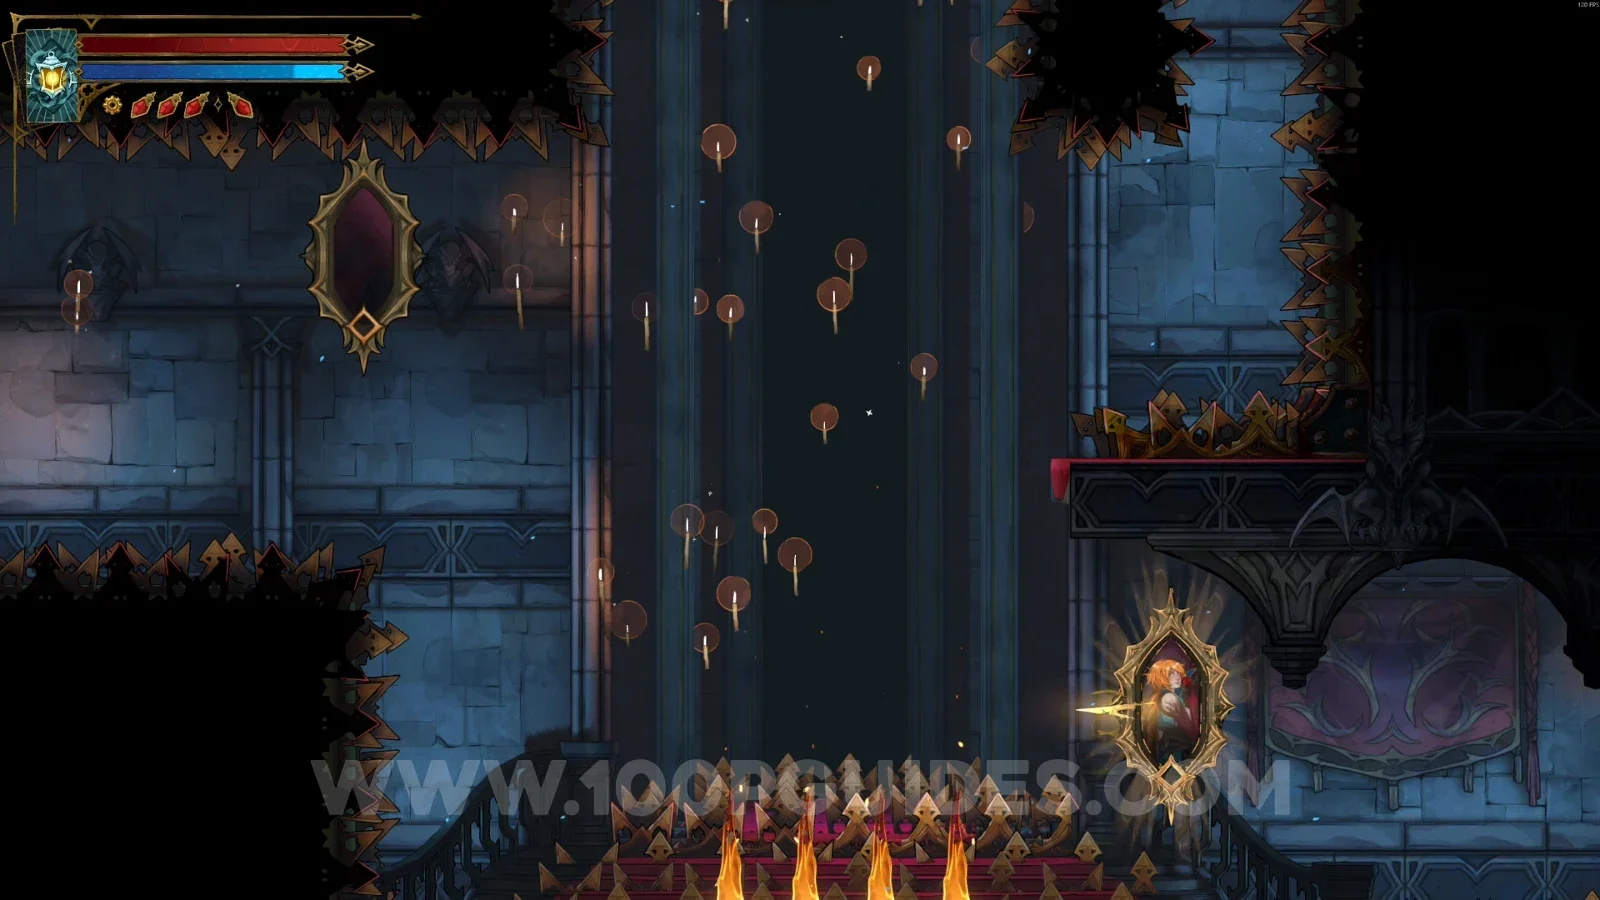
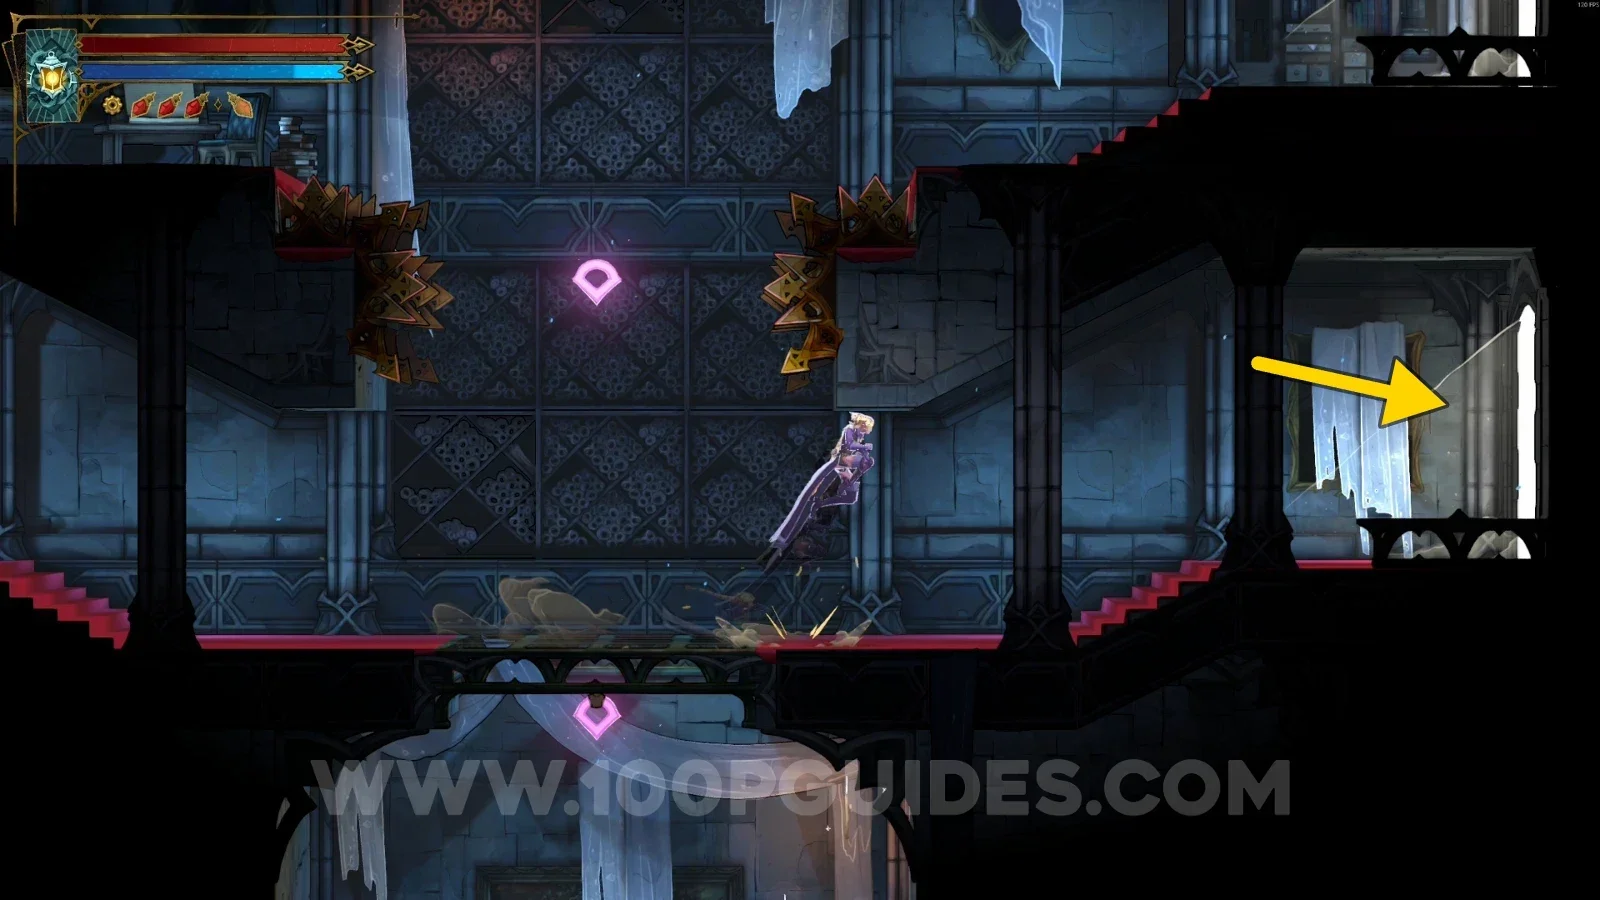
Castlevania Belmonts Curse Inner Courtyard: using the mirror to climb to the upper part of the area Castlevania Belmonts Curse Inner Courtyard: the two upper doors, taking the lower one toward the Morning Star

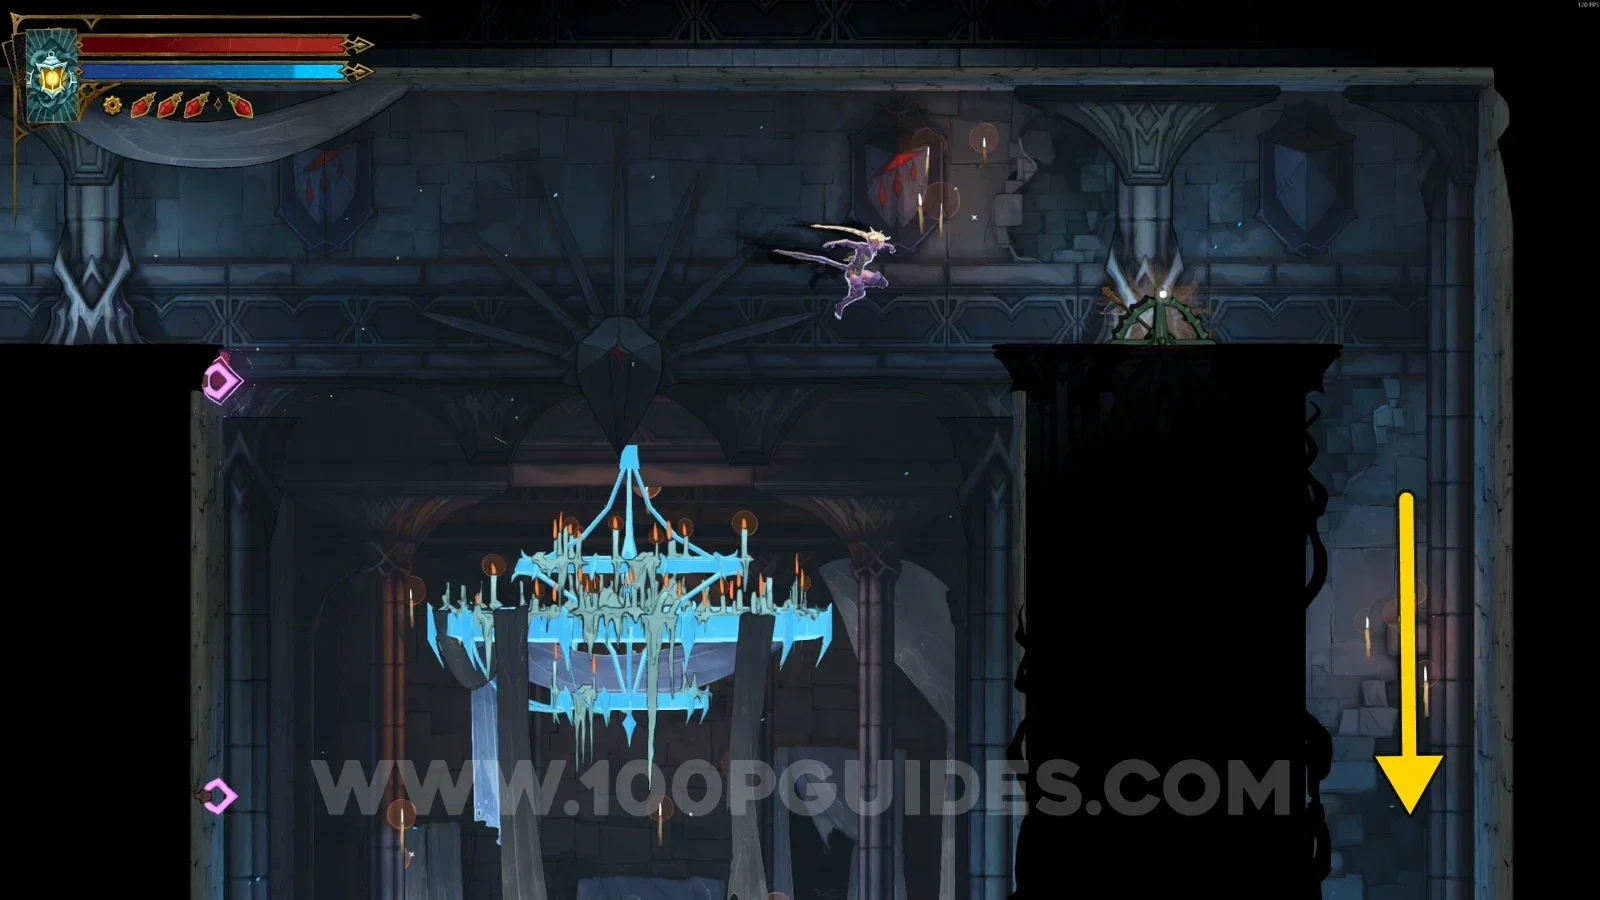
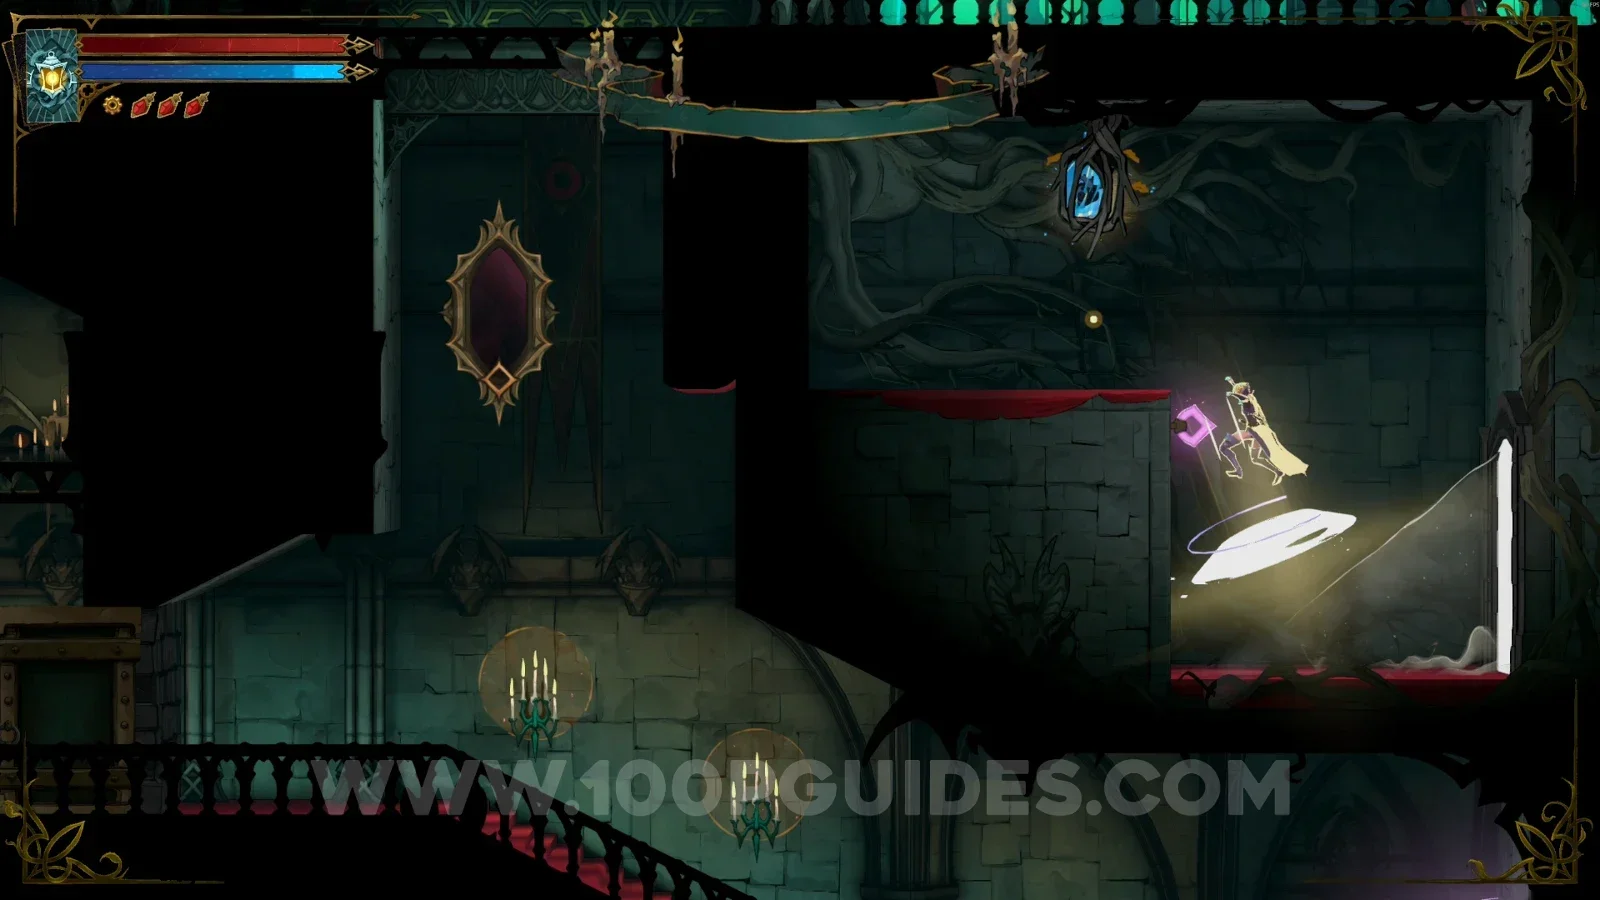
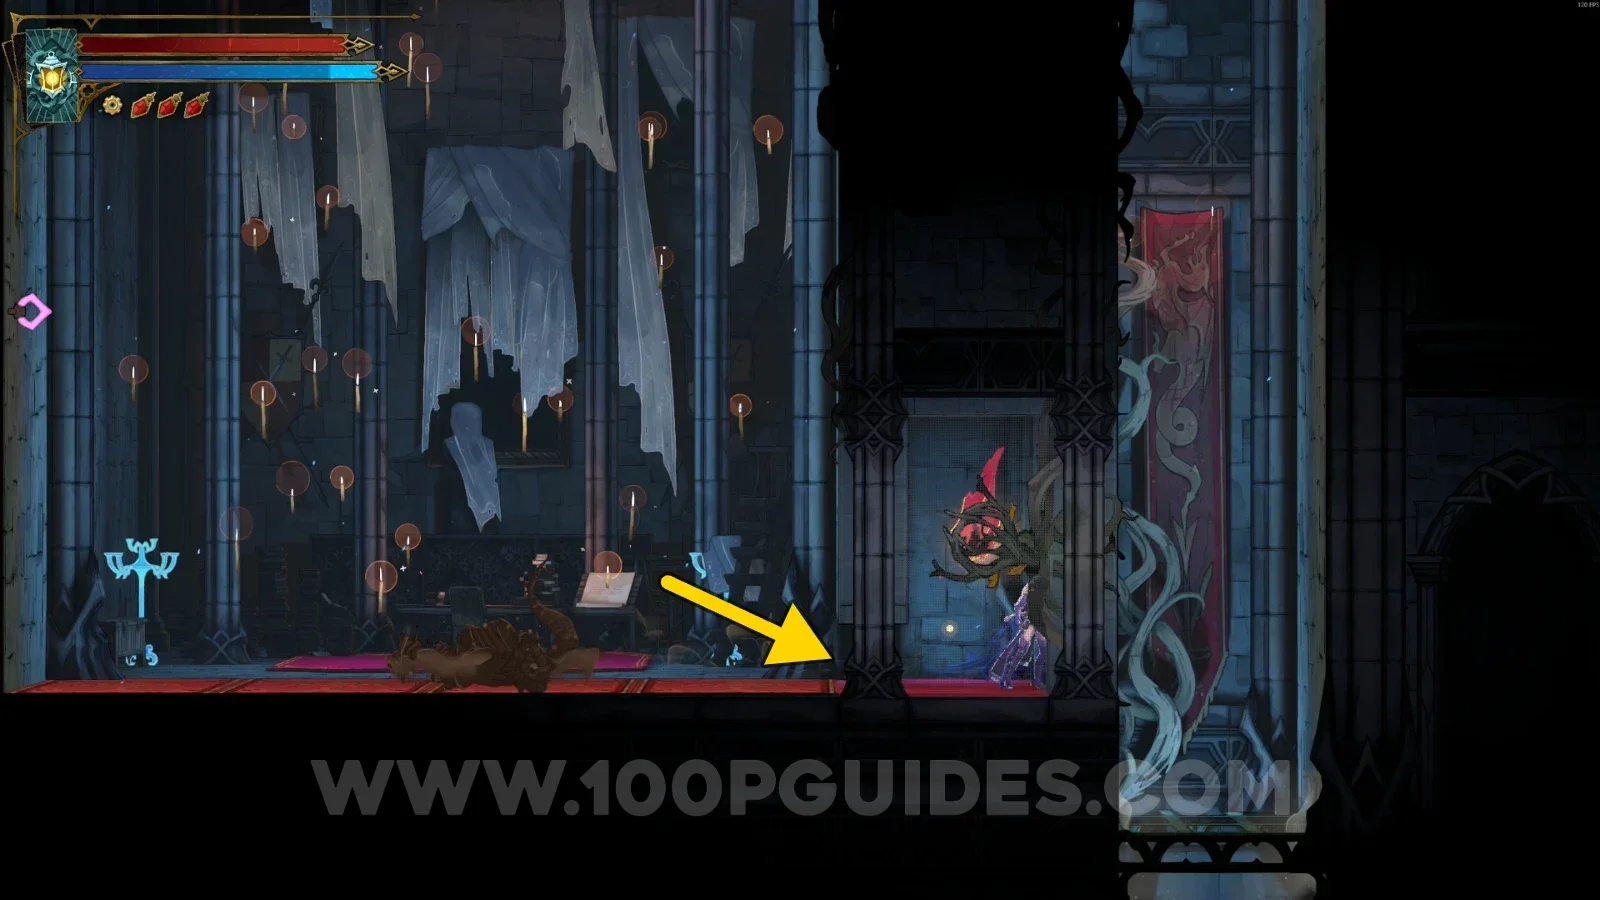
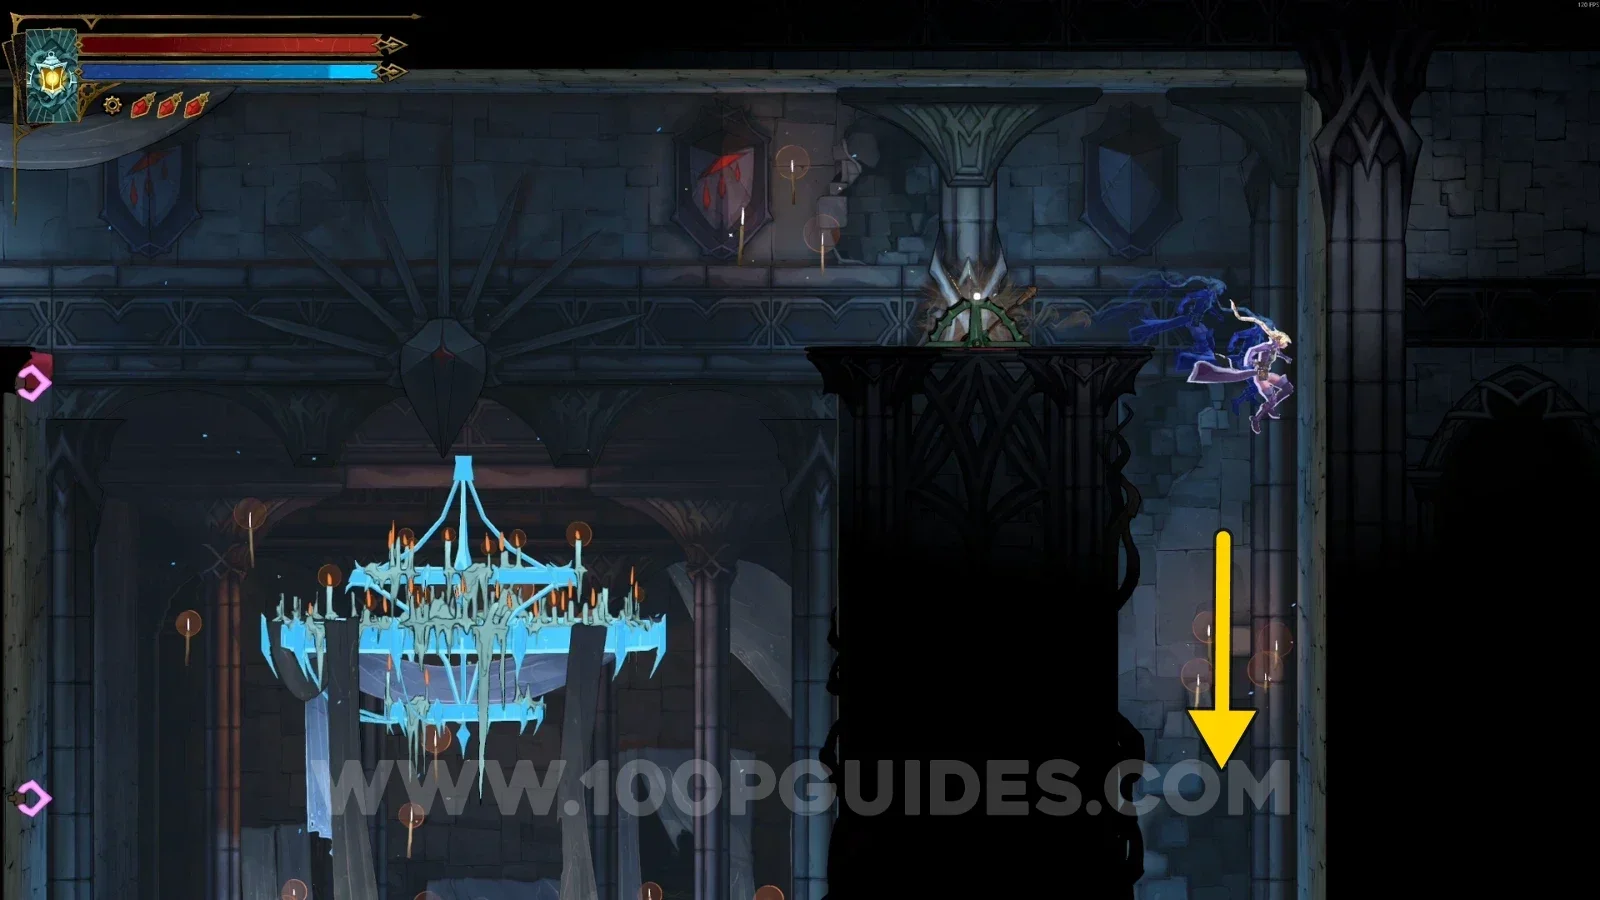
In the next room, use the levers to move the pillars, then go down through the right corner.
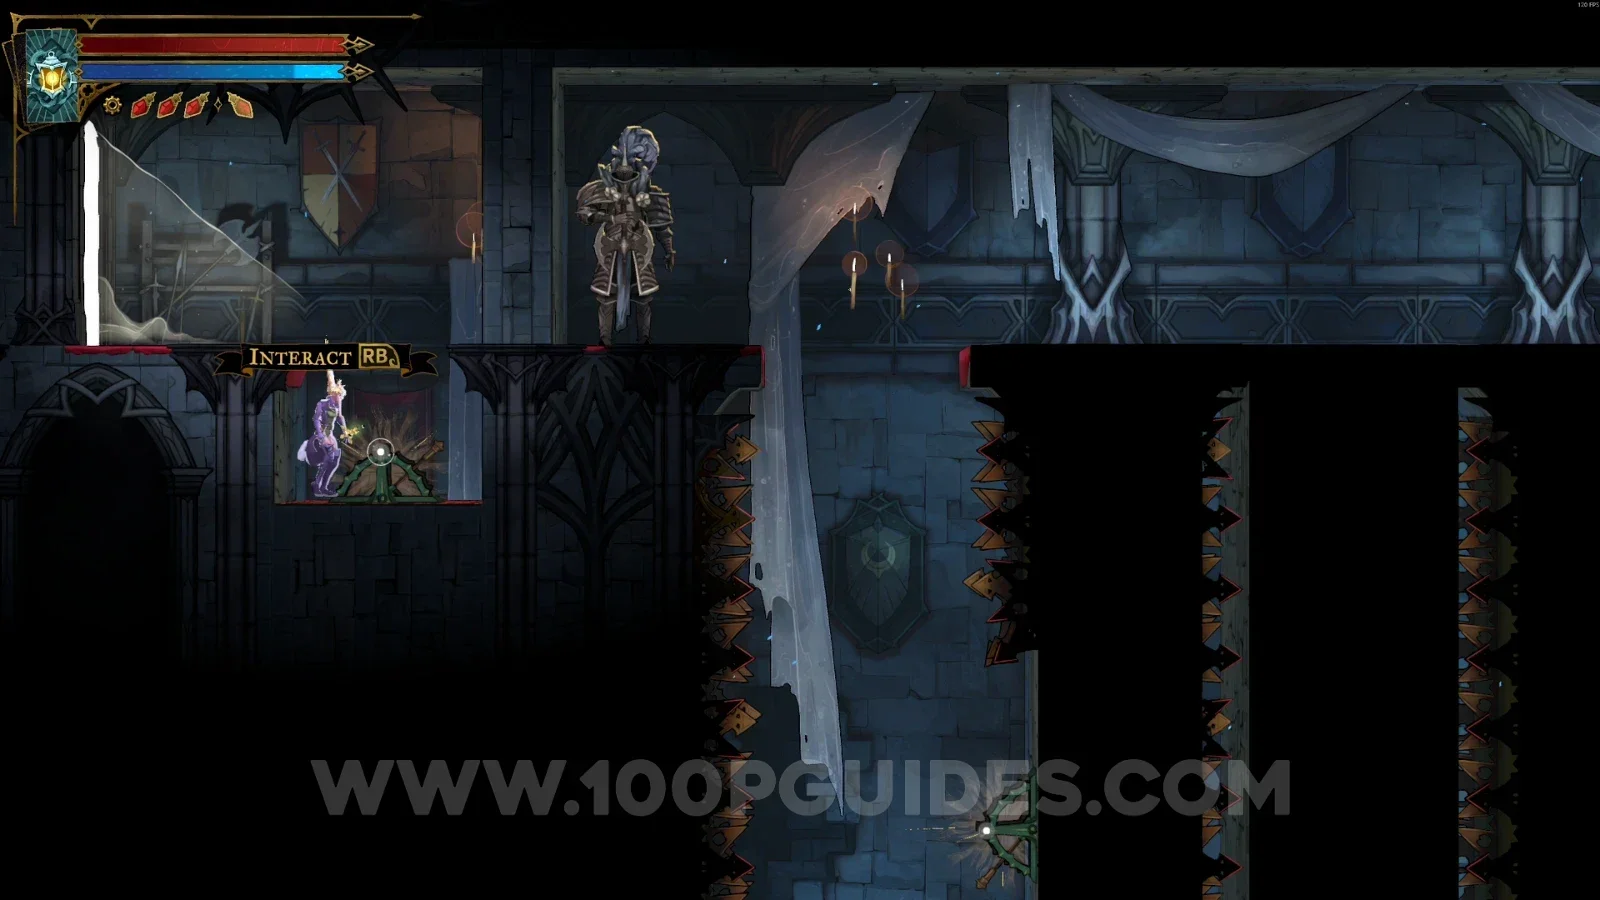
Castlevania Belmonts Curse Inner Courtyard: pulling the levers to move the pillars in the next room Castlevania Belmonts Curse Inner Courtyard: going down through the right corner after moving the pillars

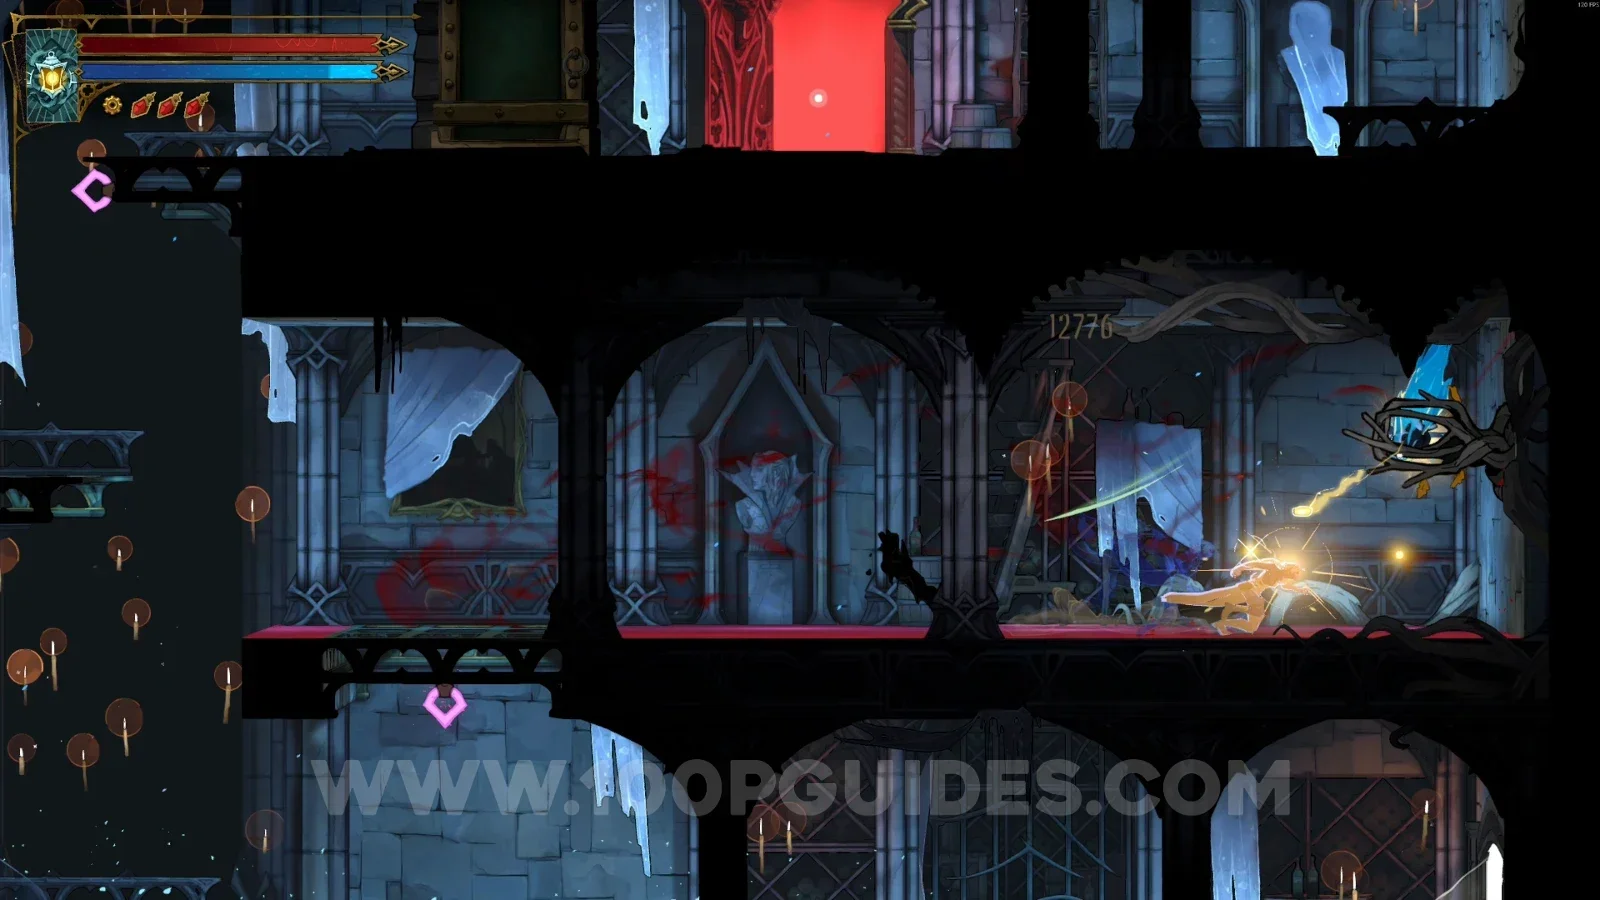
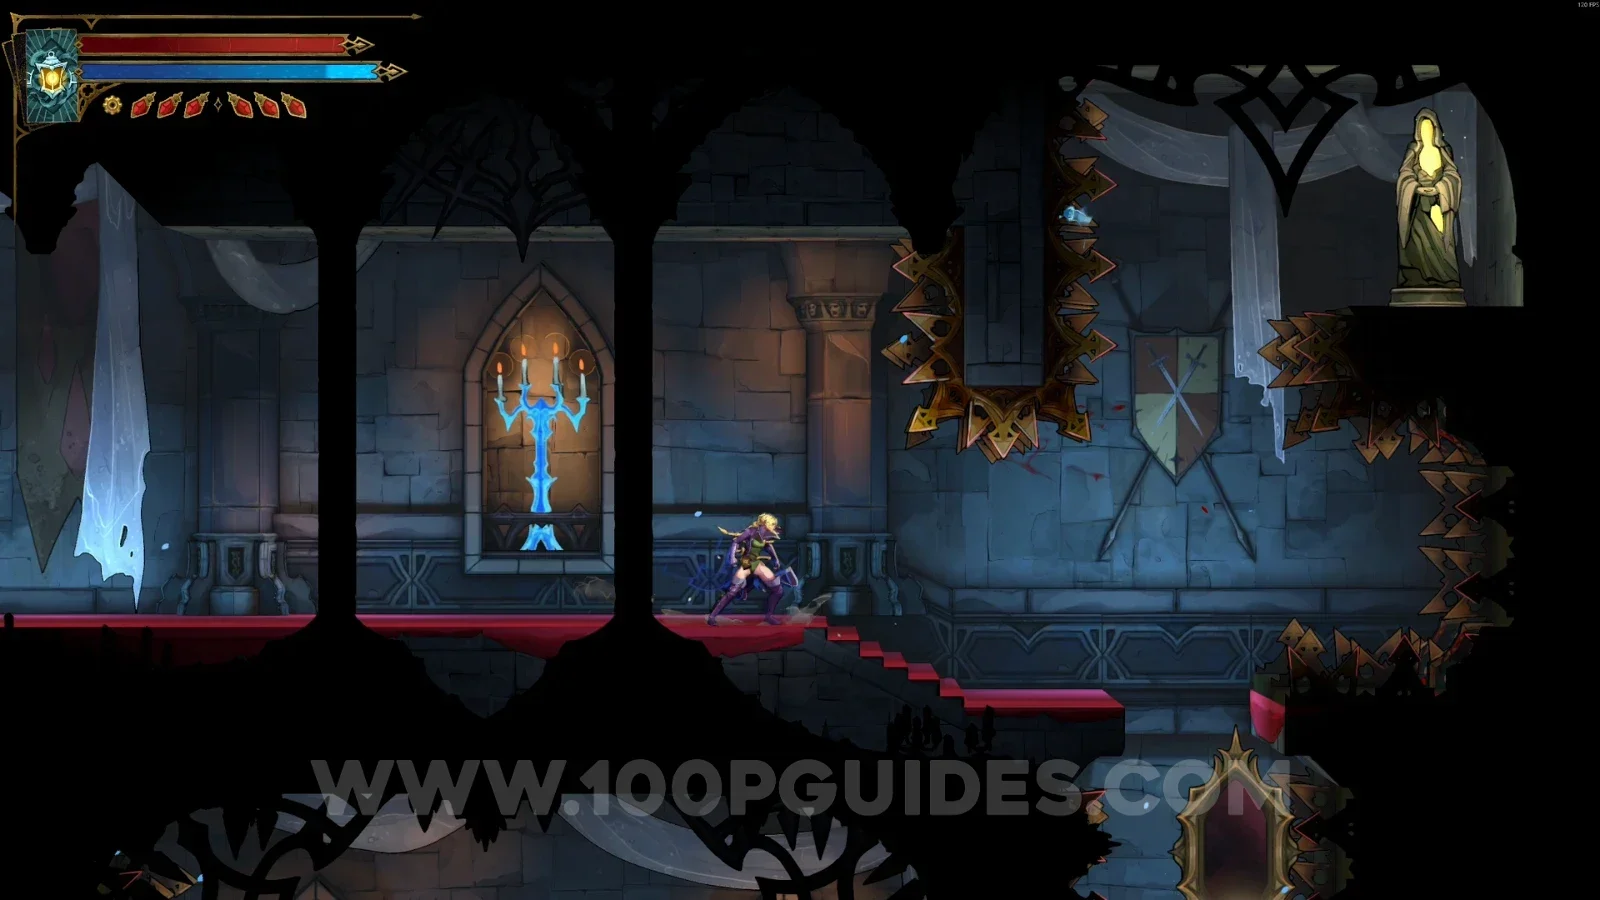
In the next area, defeat the enemies and head left. You can climb some platforms to unlock a shortcut back to the start (the door you came through to get here). Then go back down and go through the door on the left.
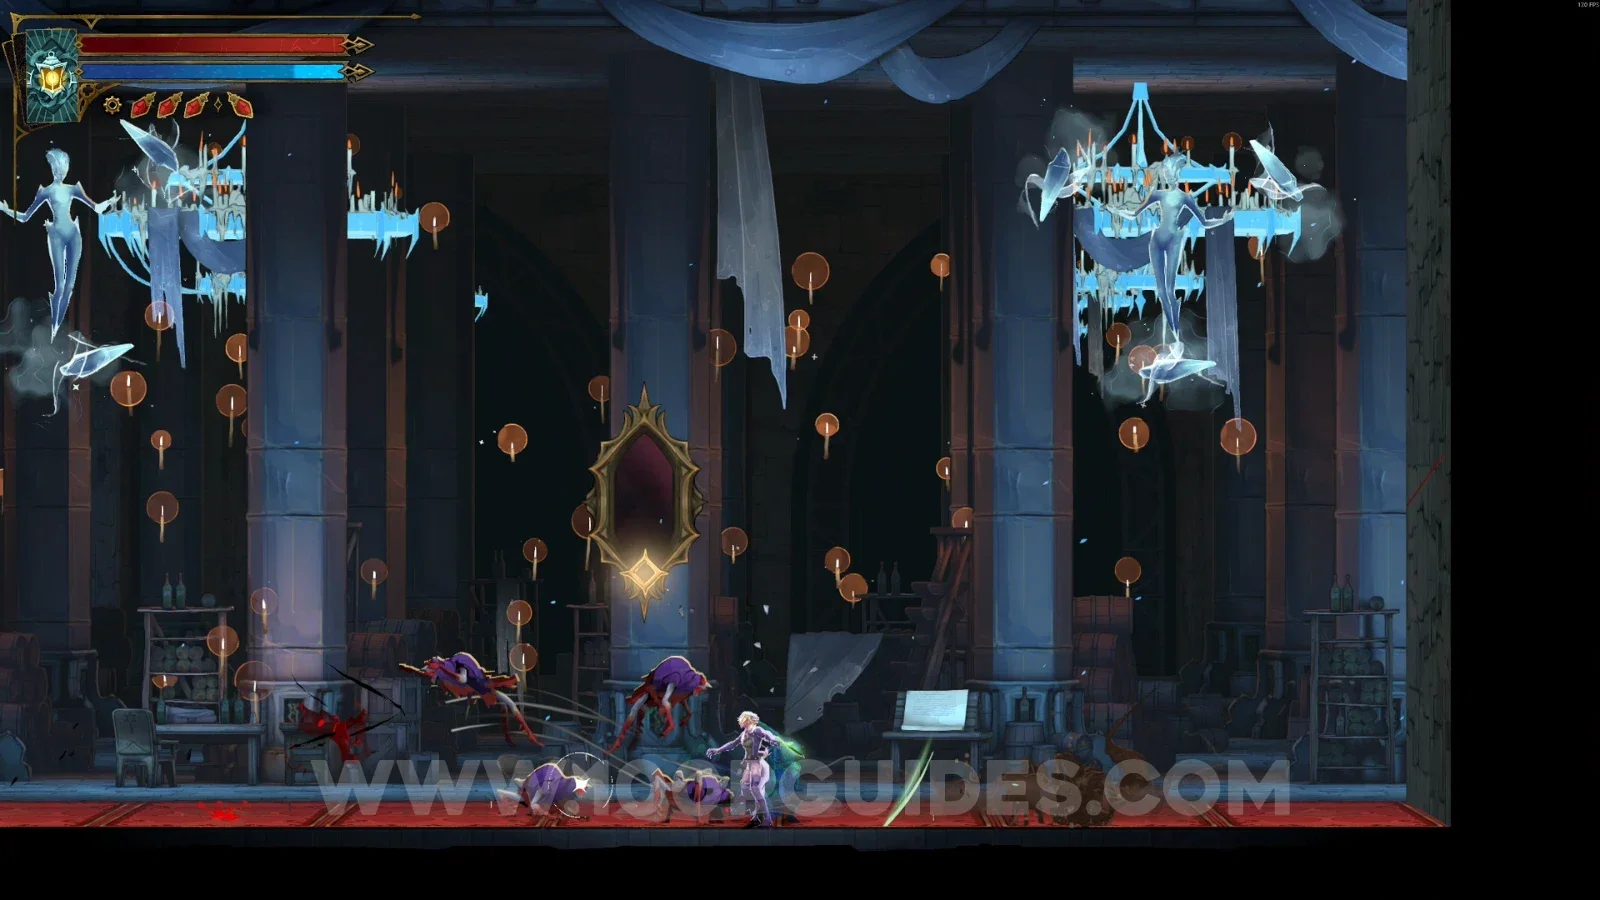
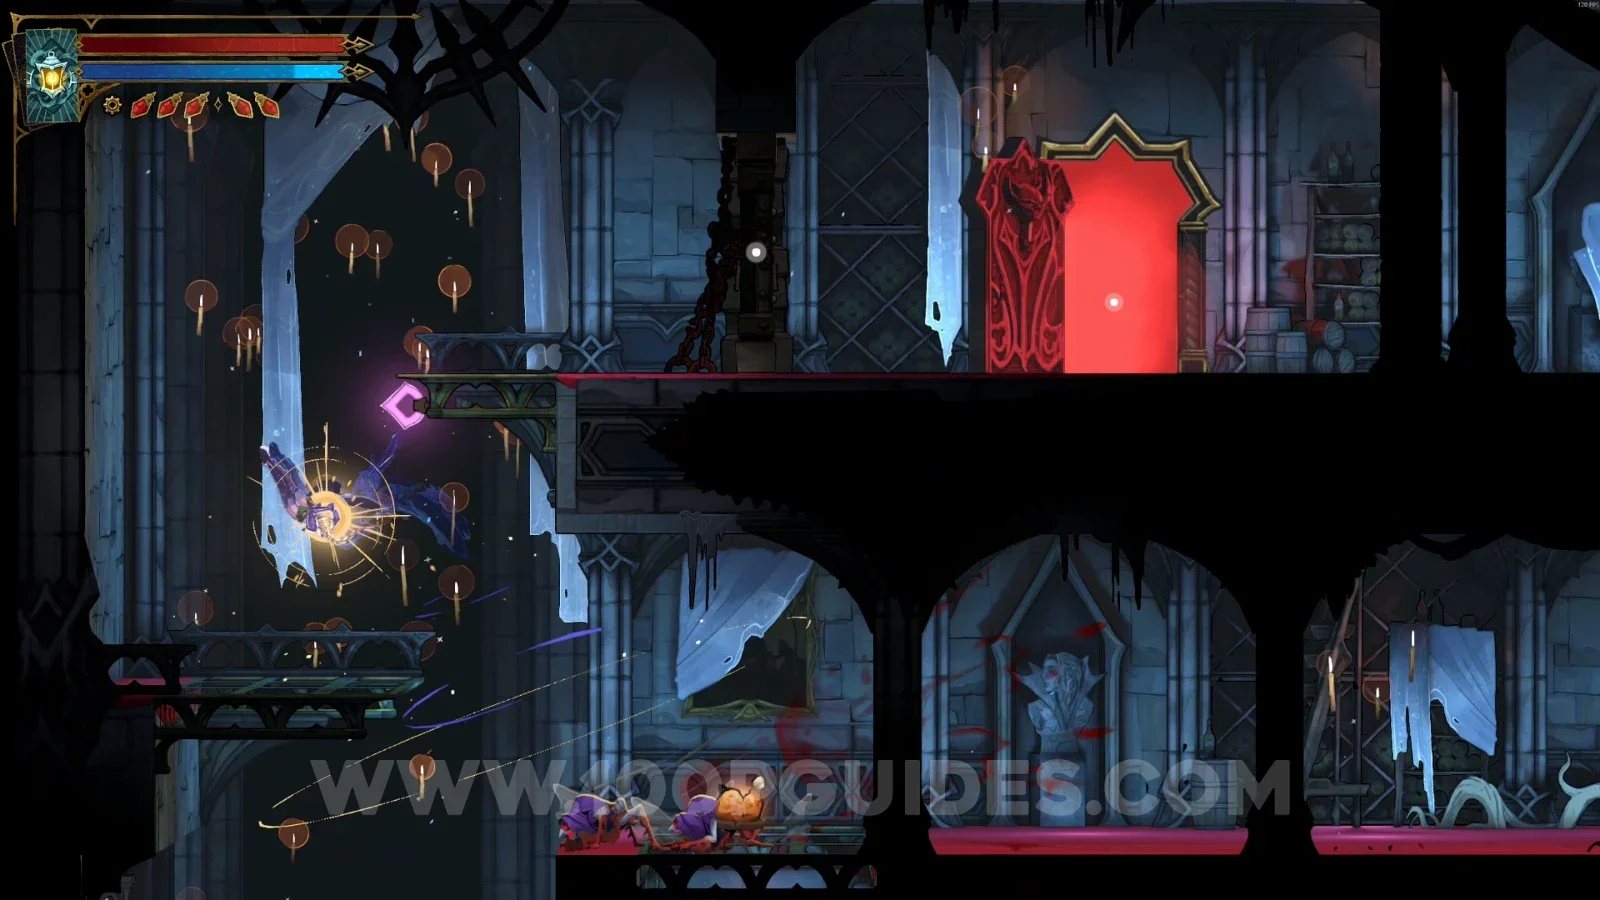
Castlevania Belmonts Curse Inner Courtyard: climbing the platforms on the left to unlock the shortcut door Castlevania Belmonts Curse Inner Courtyard: the door on the left below the unlocked shortcut

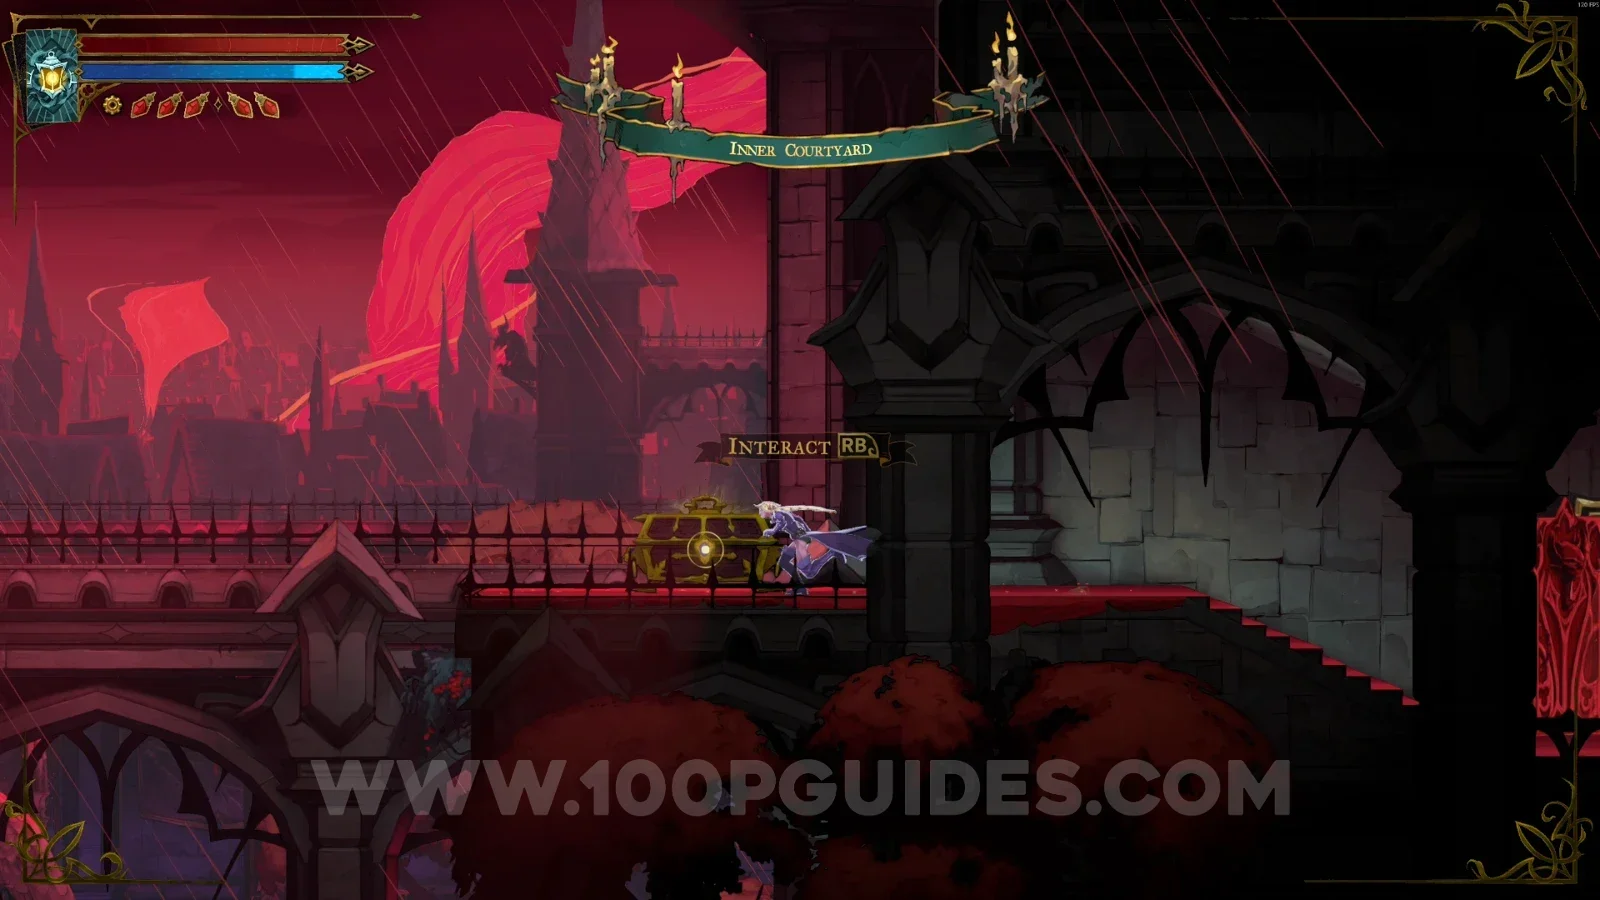
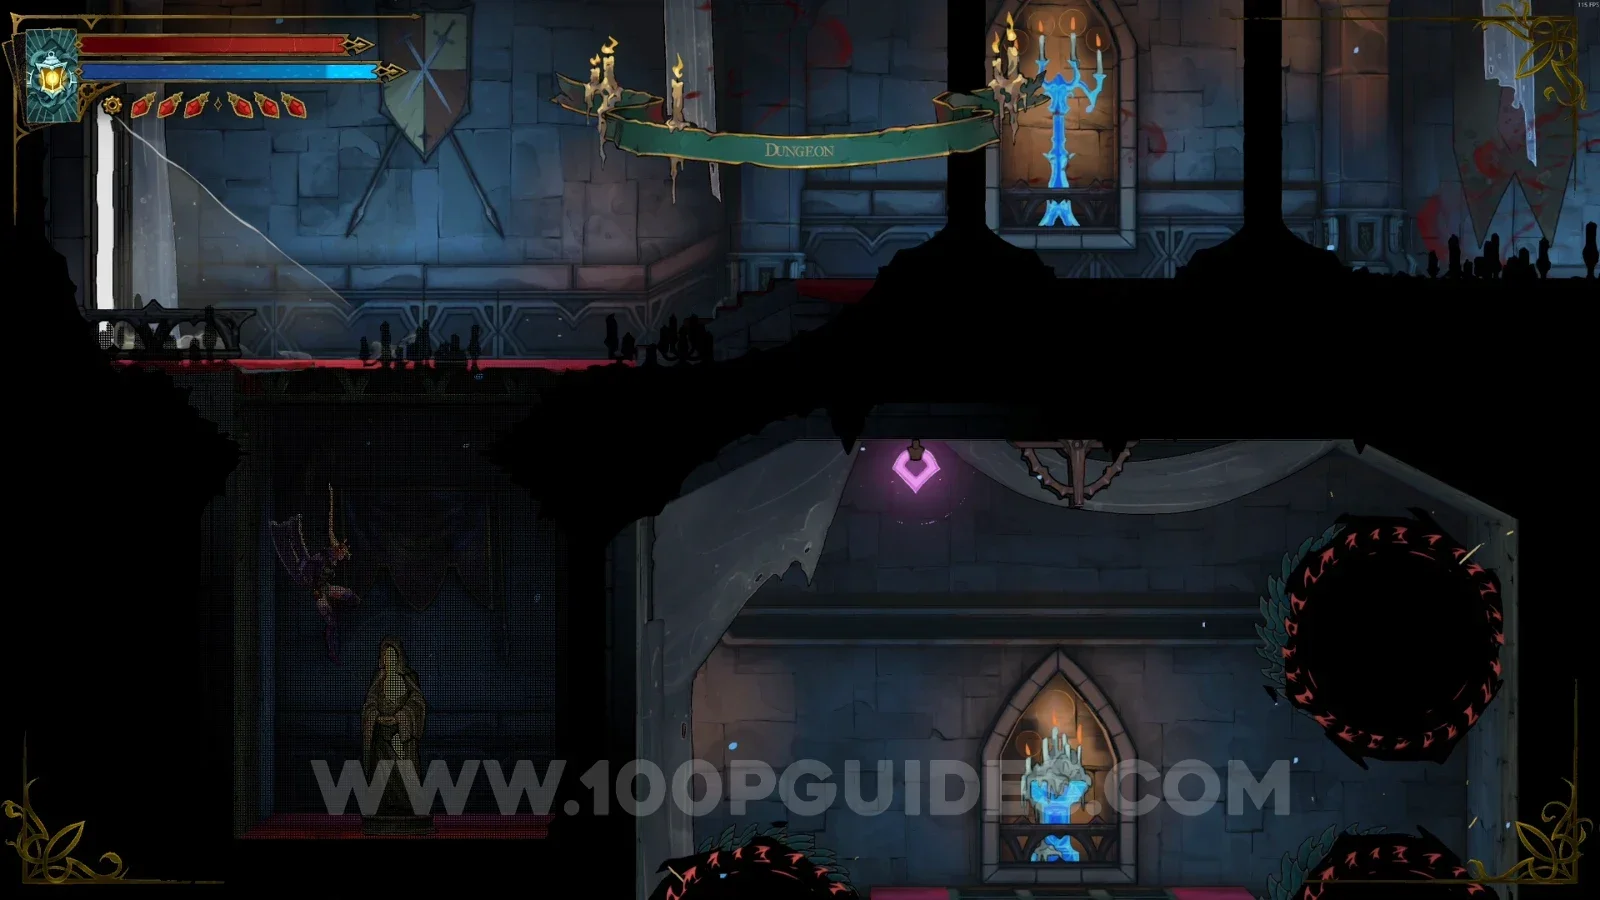
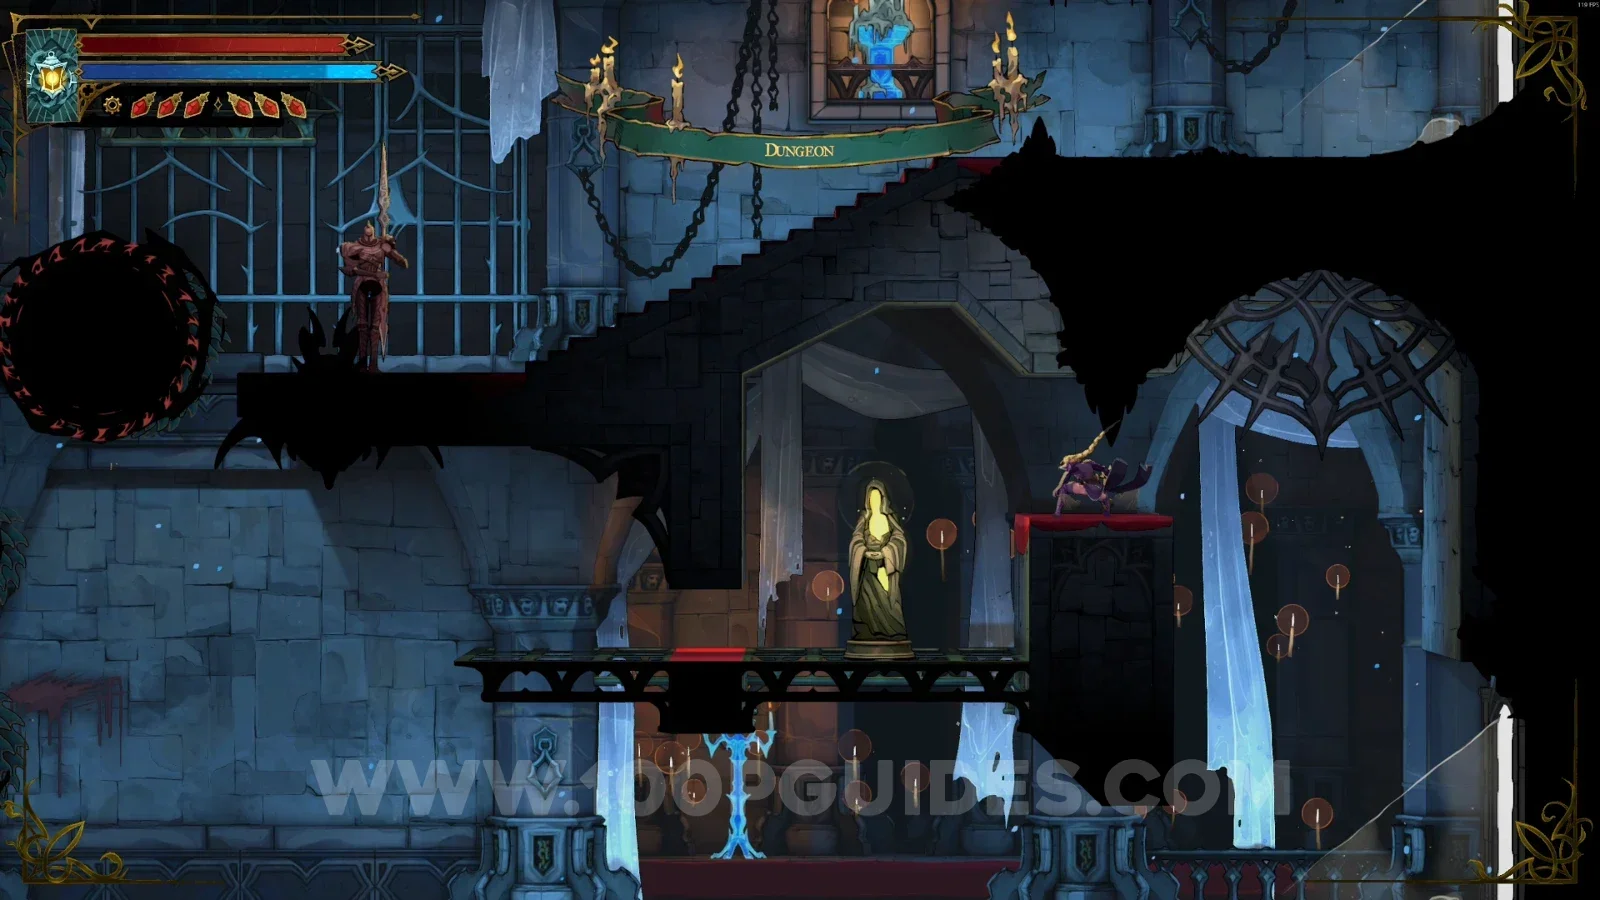
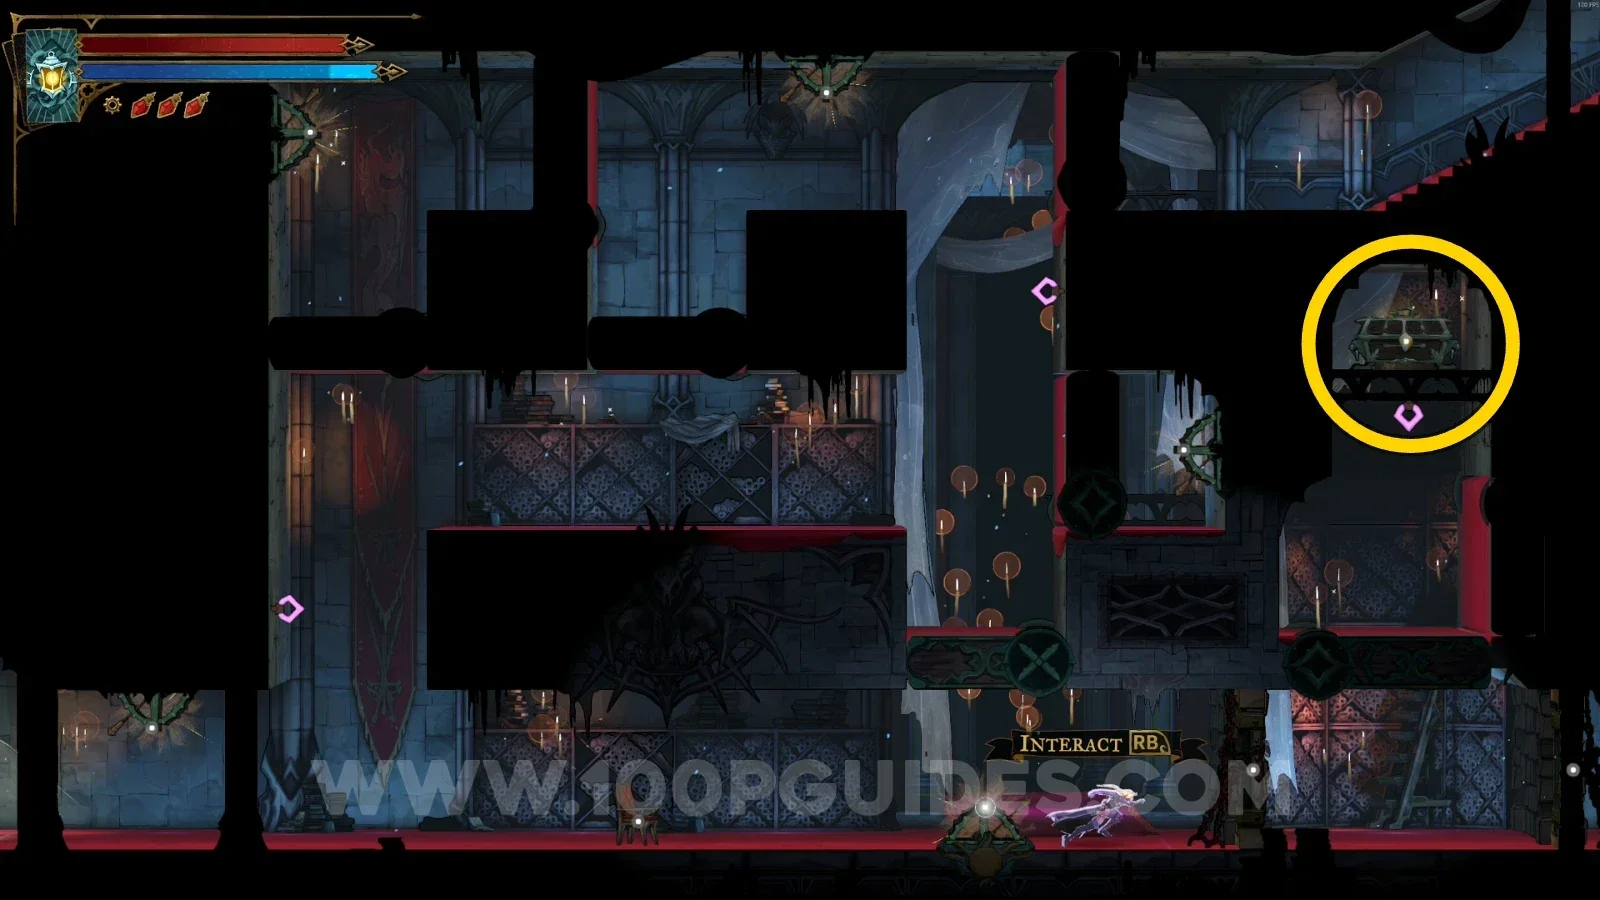
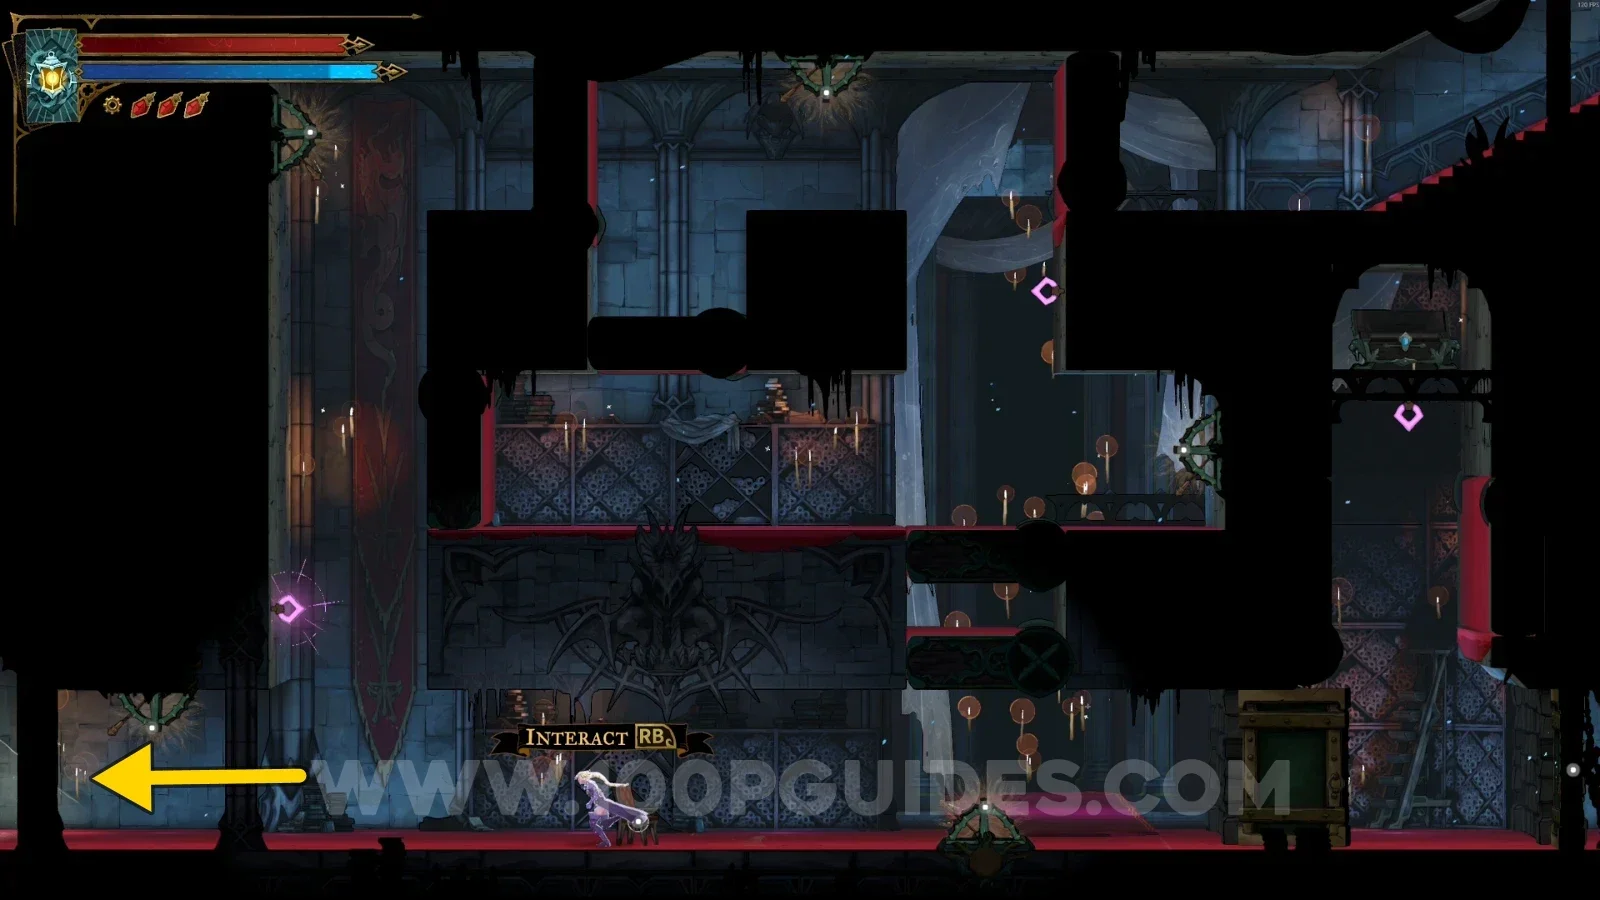
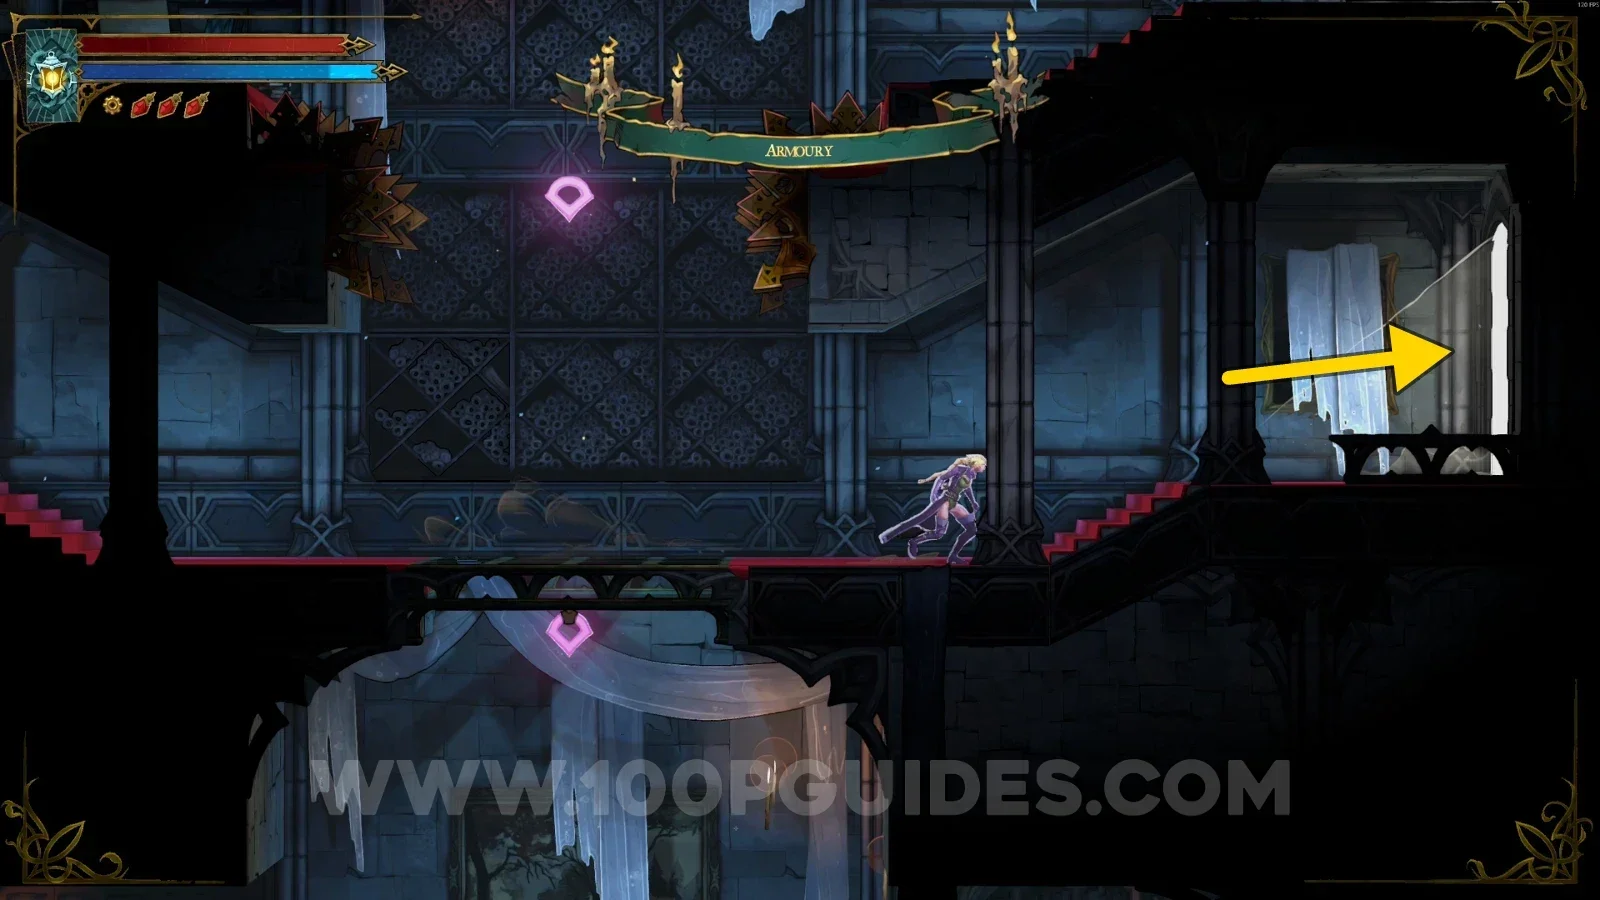
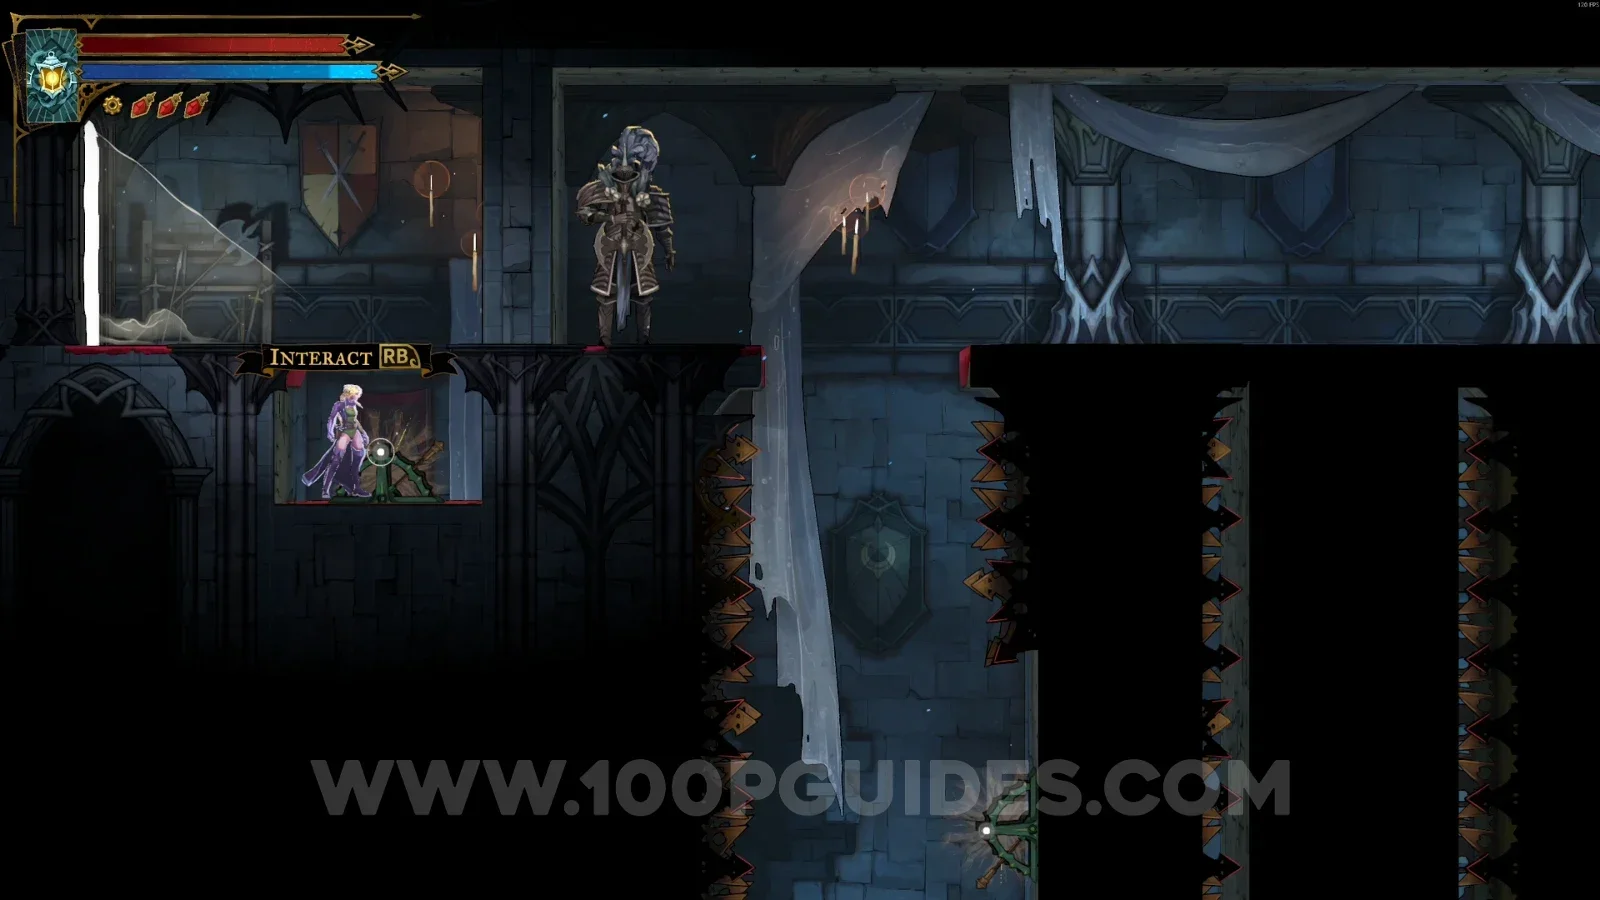
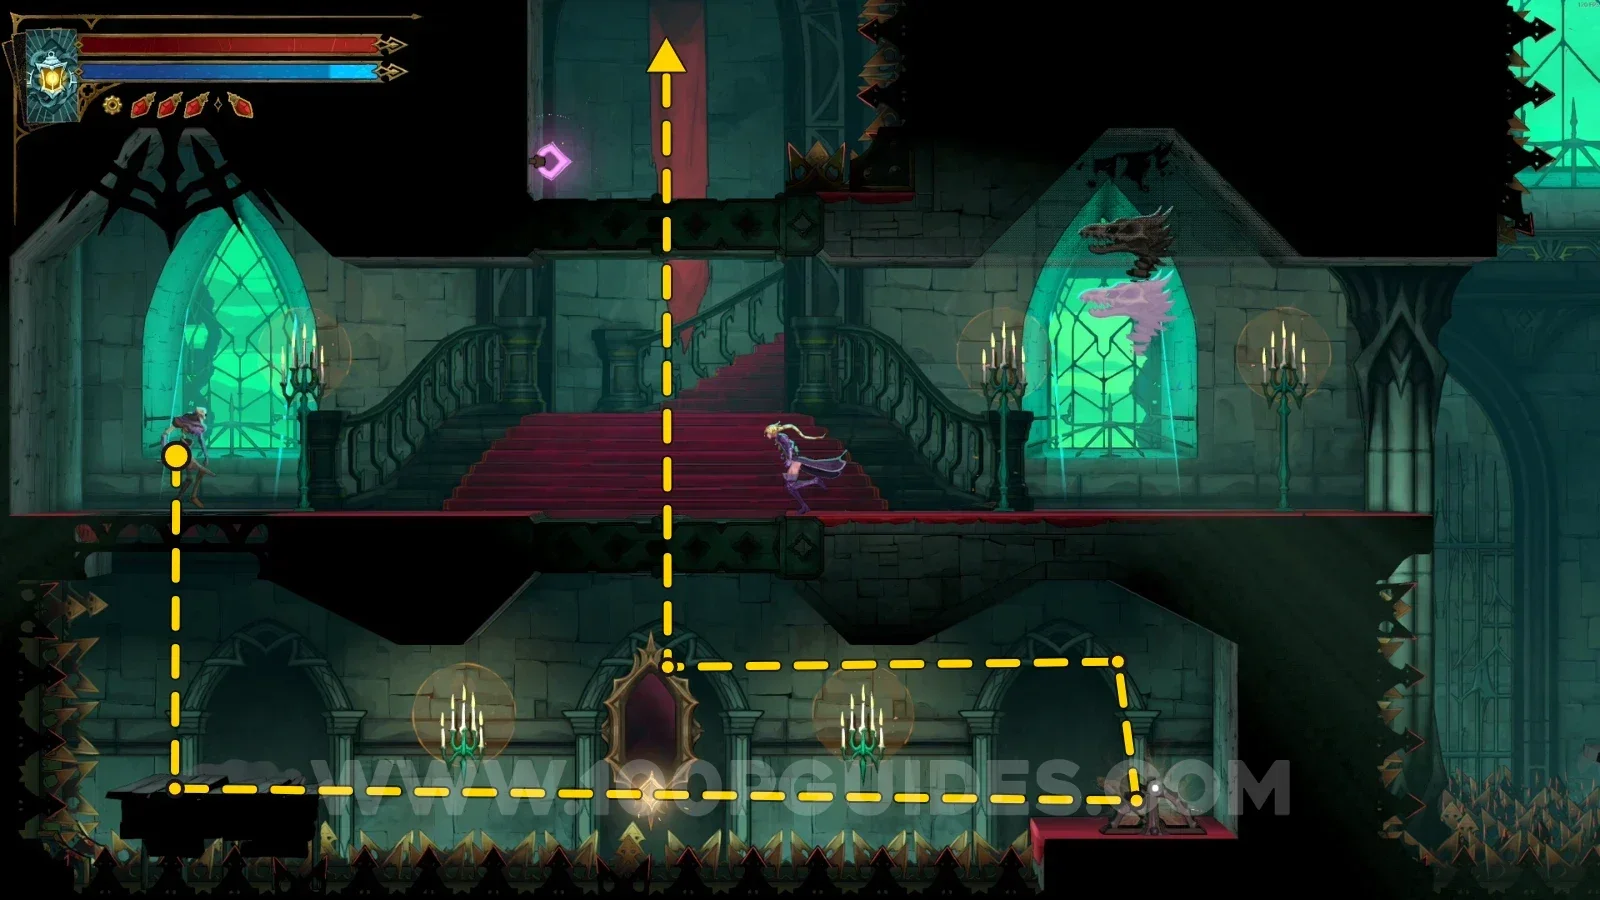
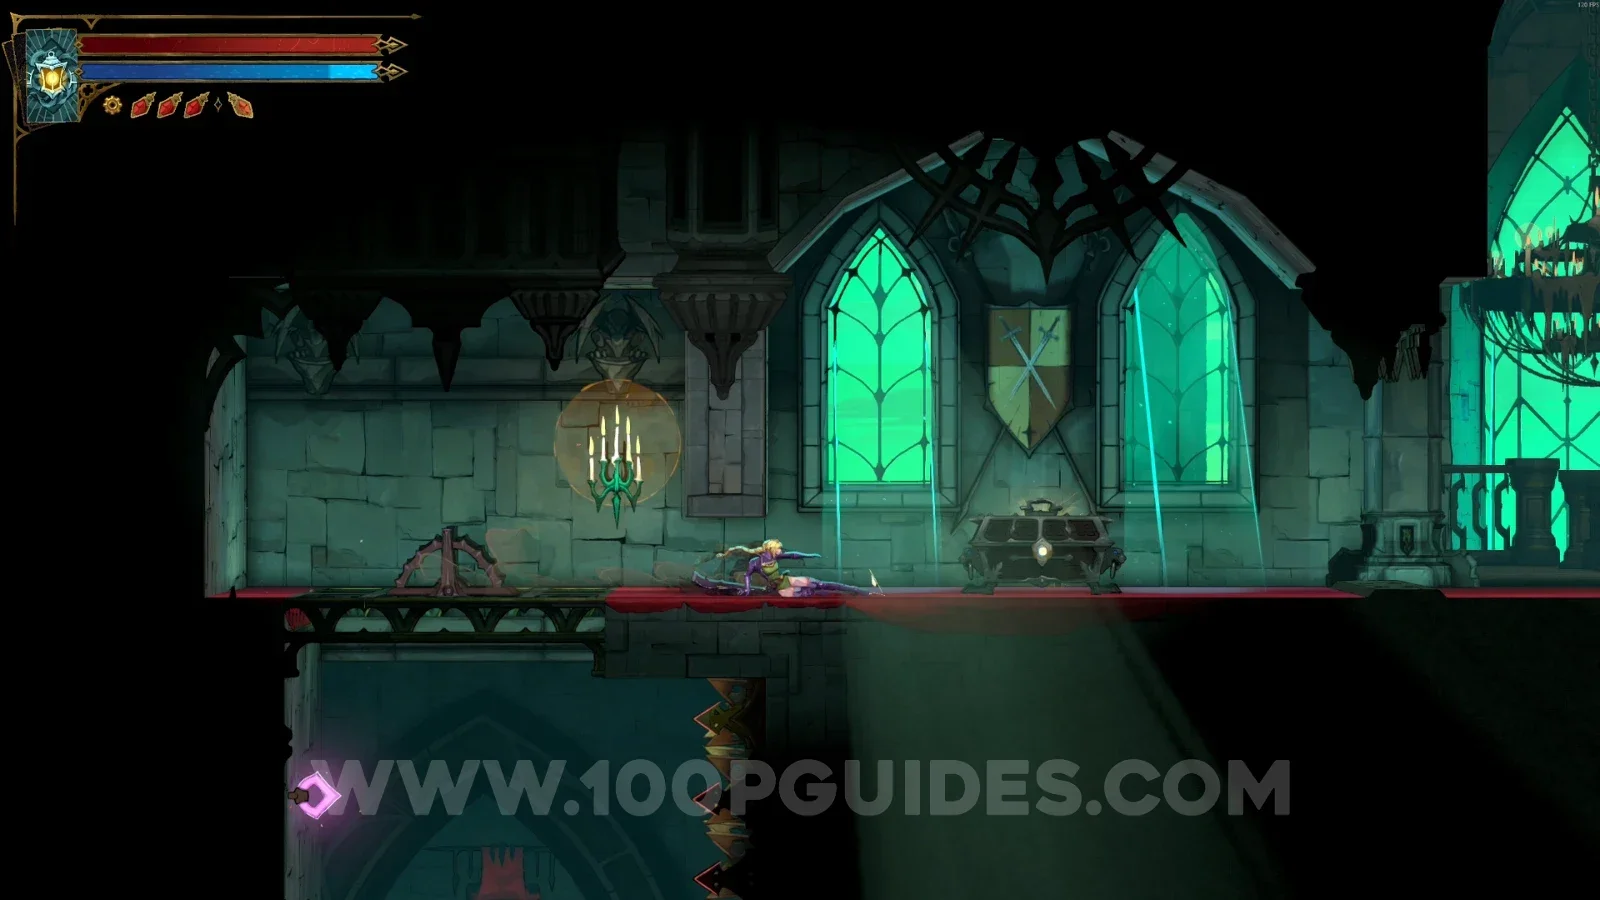
Follow the single path heading left using the mirrors, and go through the door at the end of the area to return to the Inner Courtyard. This time you'll be on the platform with the chest containing the weapon.
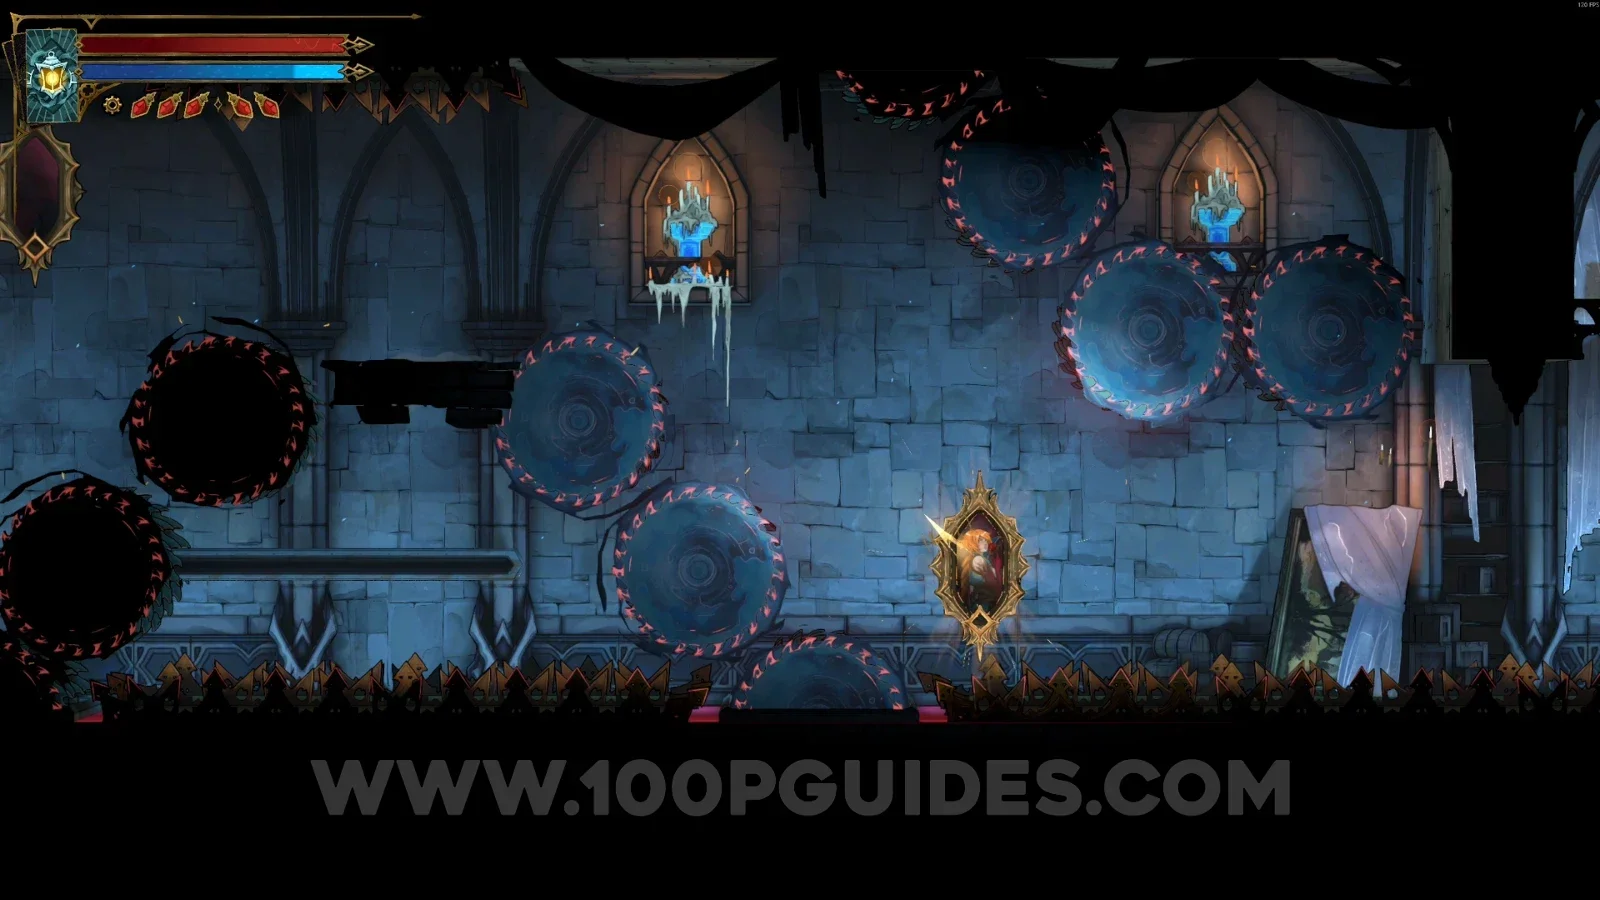
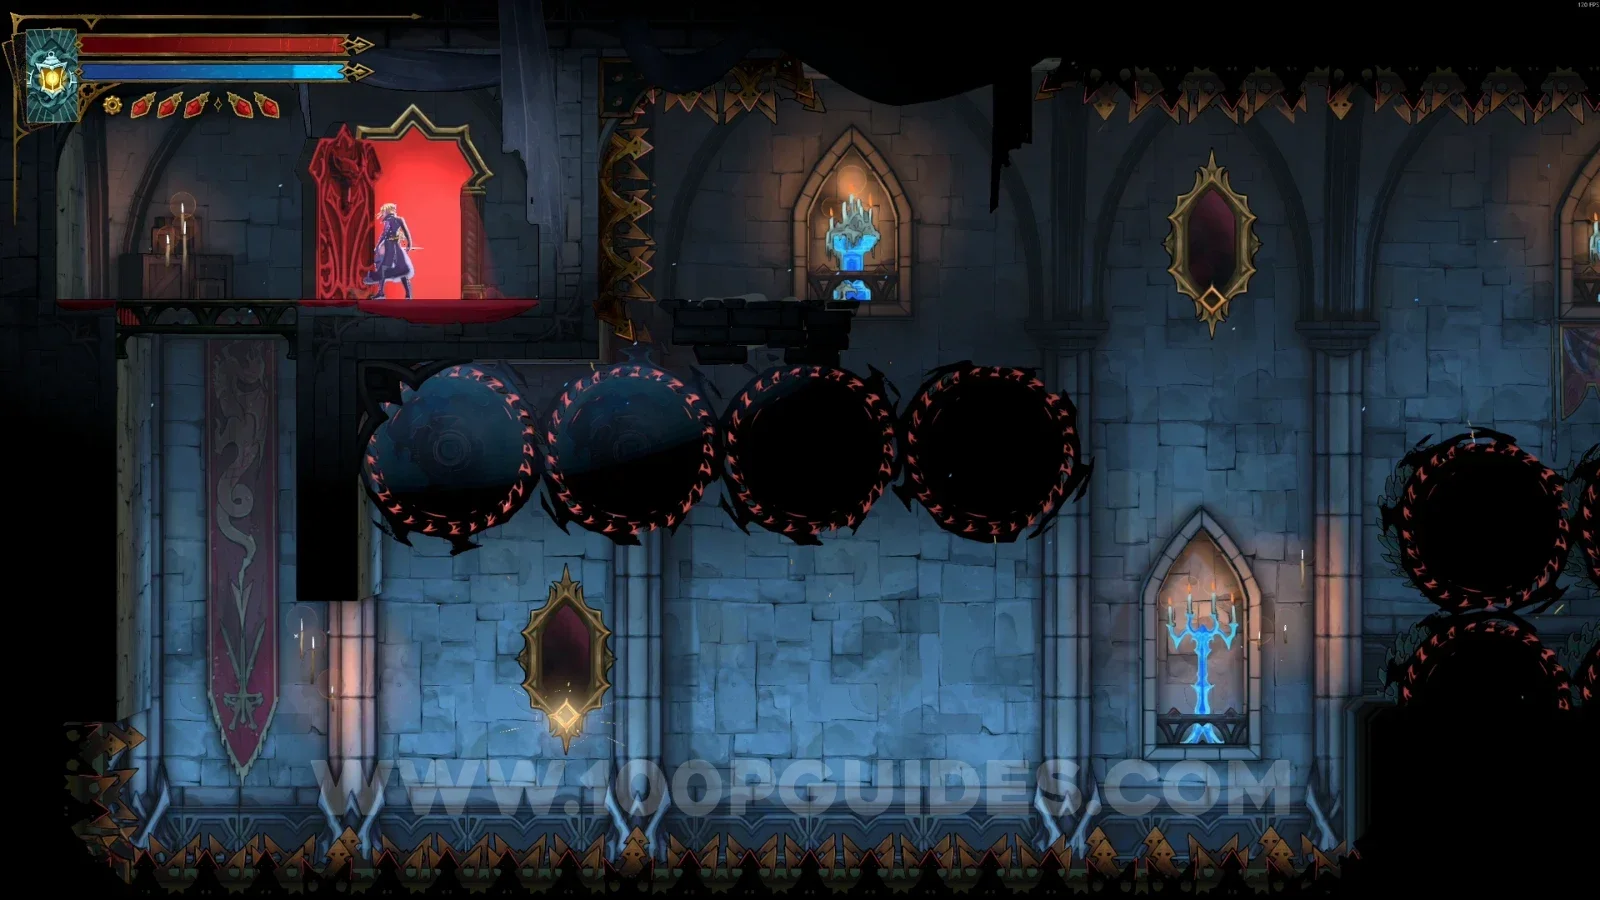
Castlevania Belmonts Curse Inner Courtyard: following the single path left using the mirrors Castlevania Belmonts Curse Inner Courtyard: the door at the end of the path leading back to the courtyard Castlevania Belmonts Curse Inner Courtyard: the chest with the Morning Star weapon on the platform

Entrance Corridor

XP Statue #1

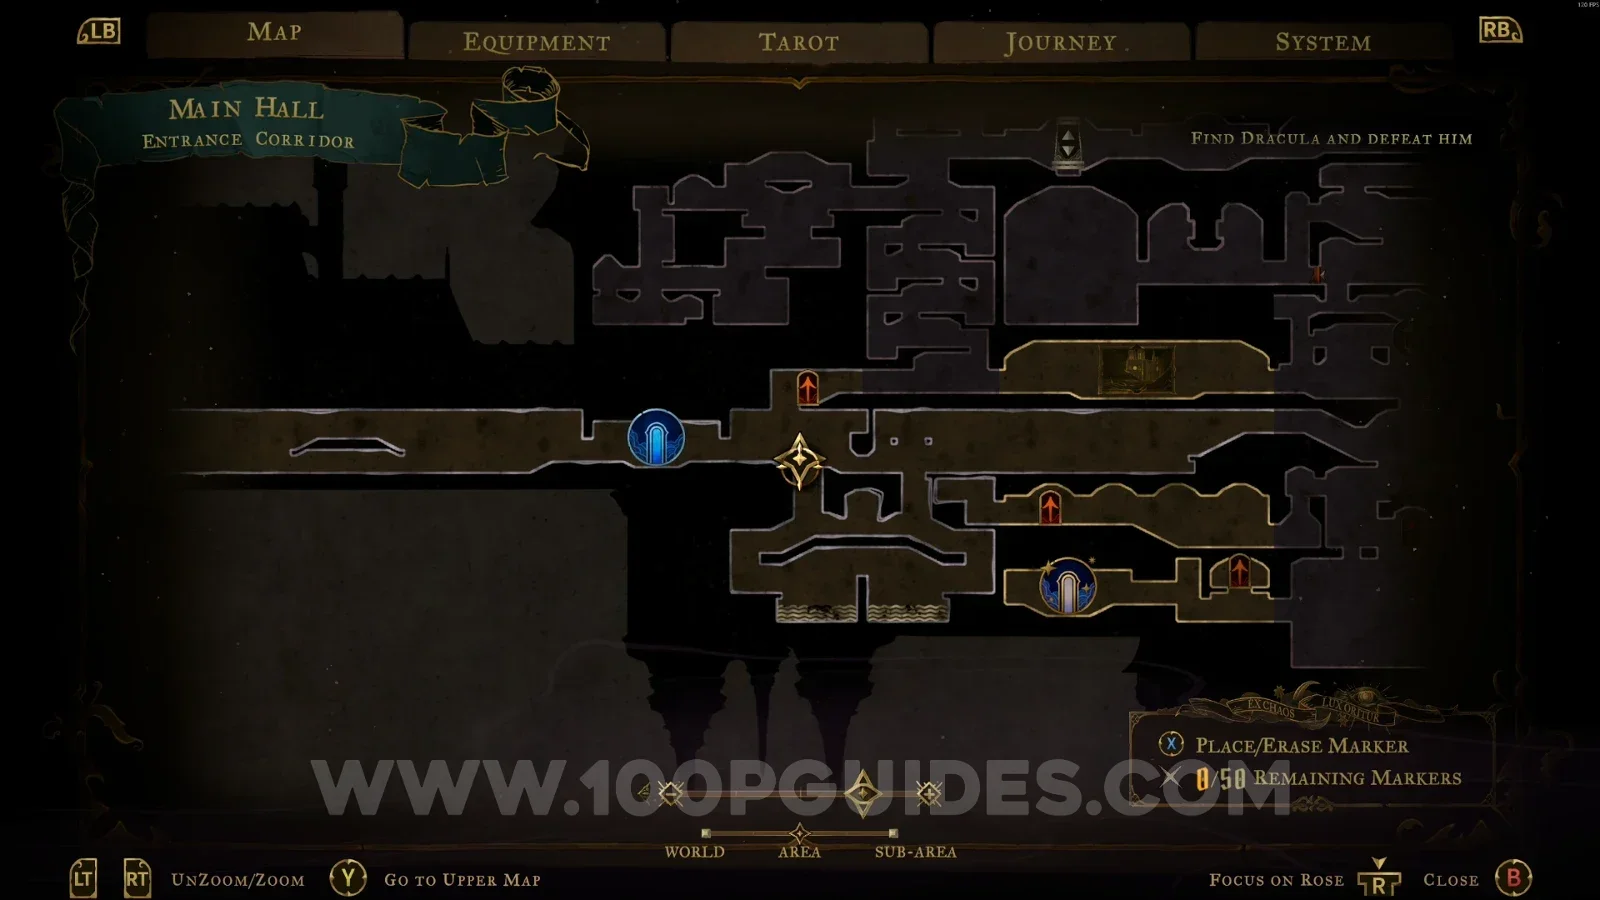
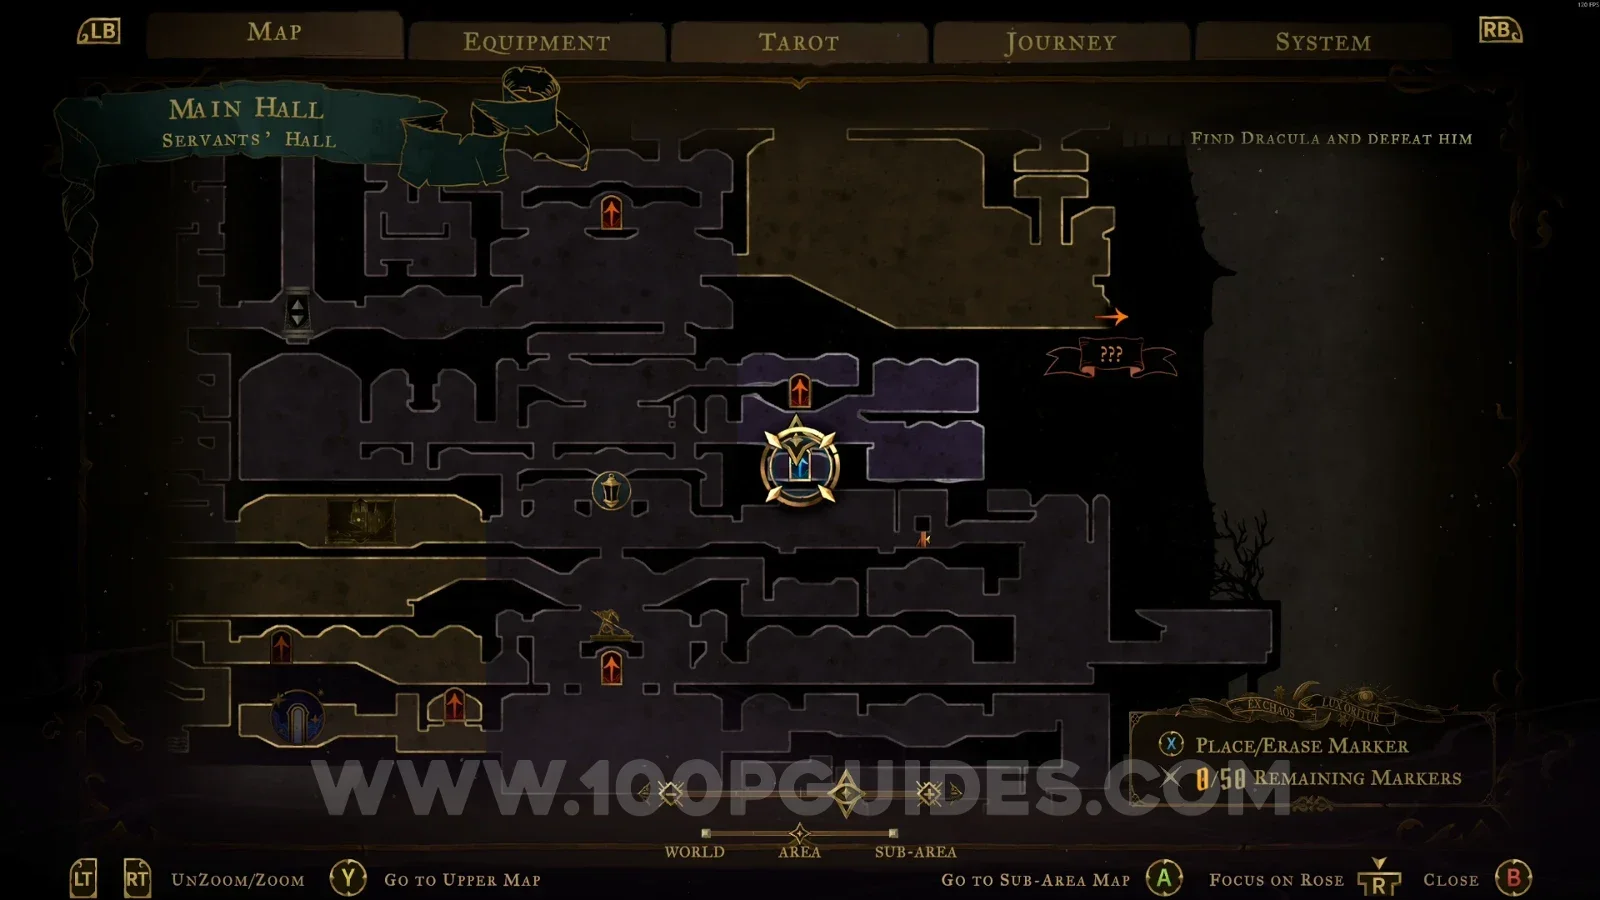
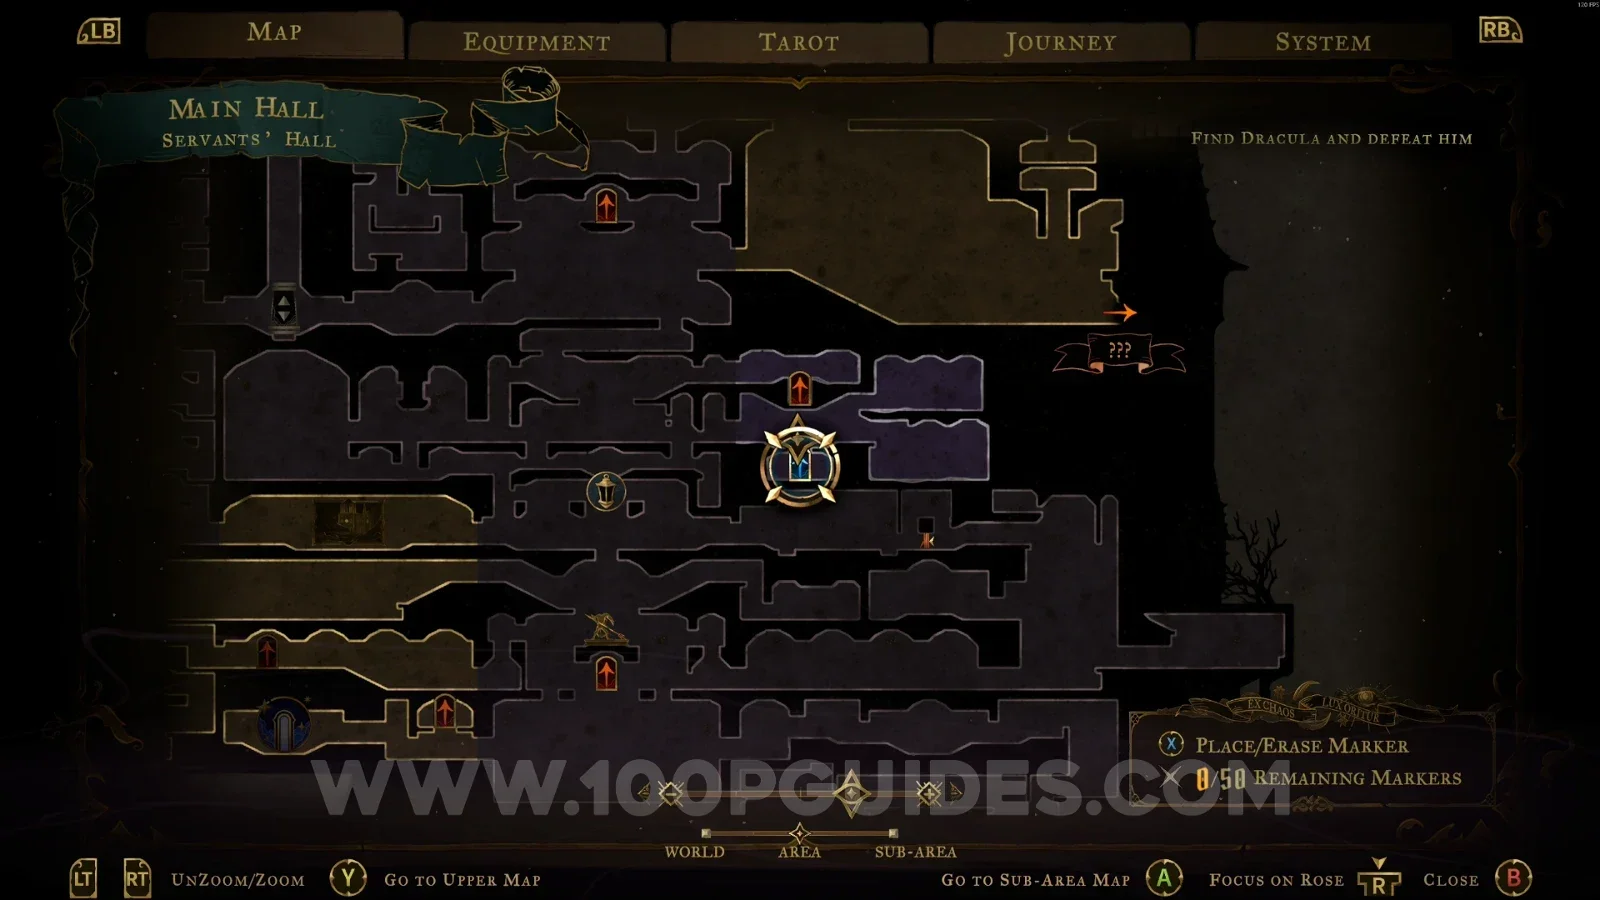
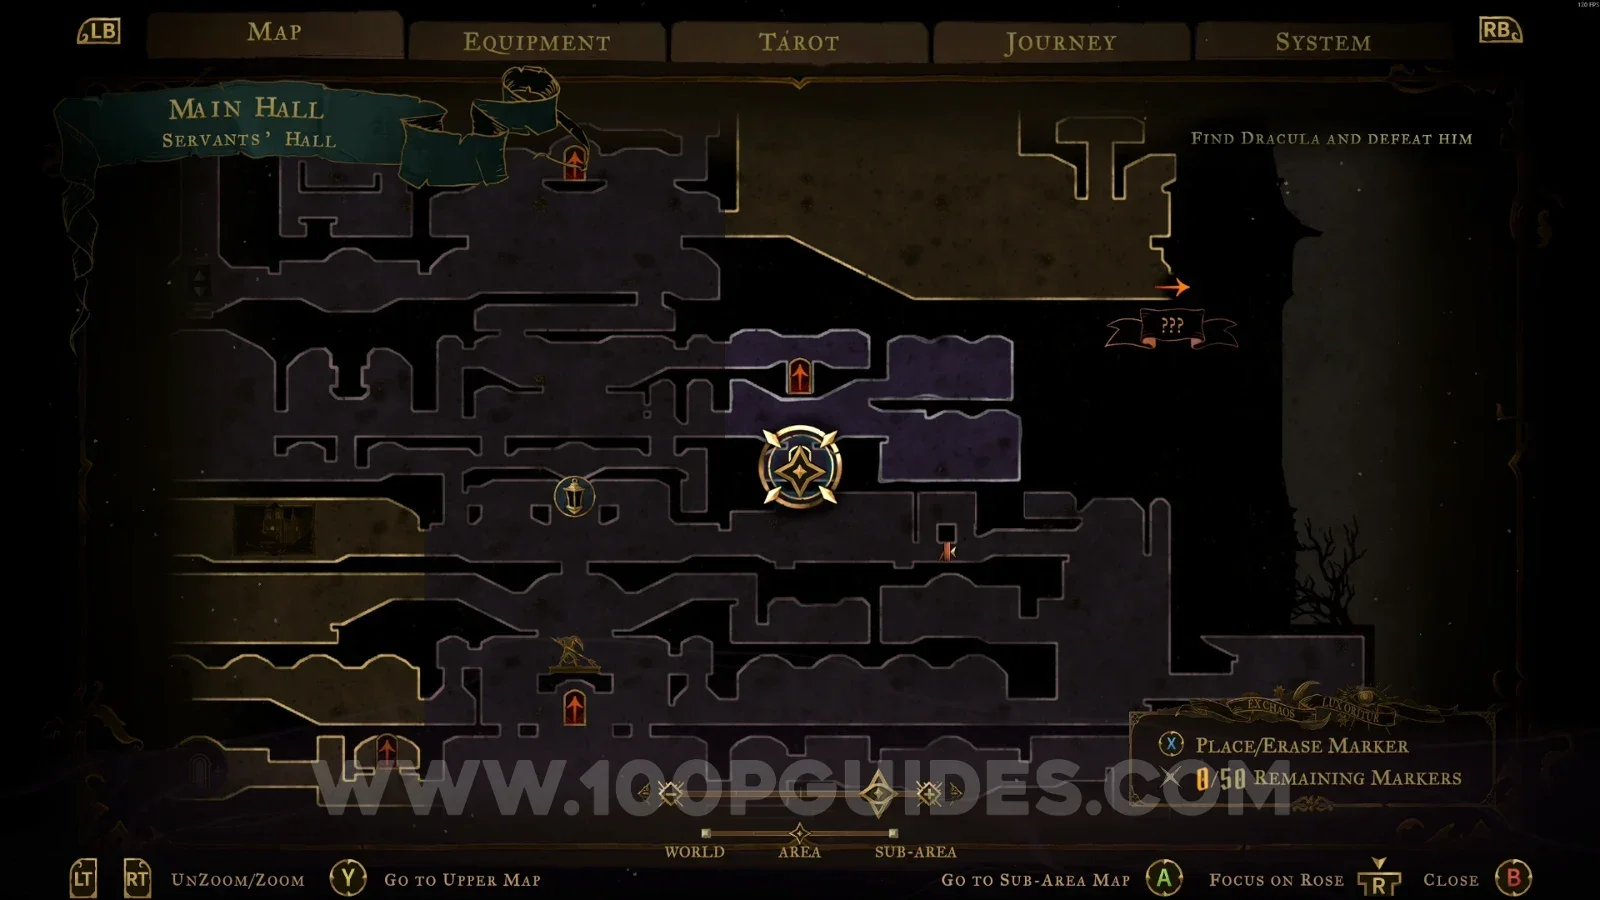
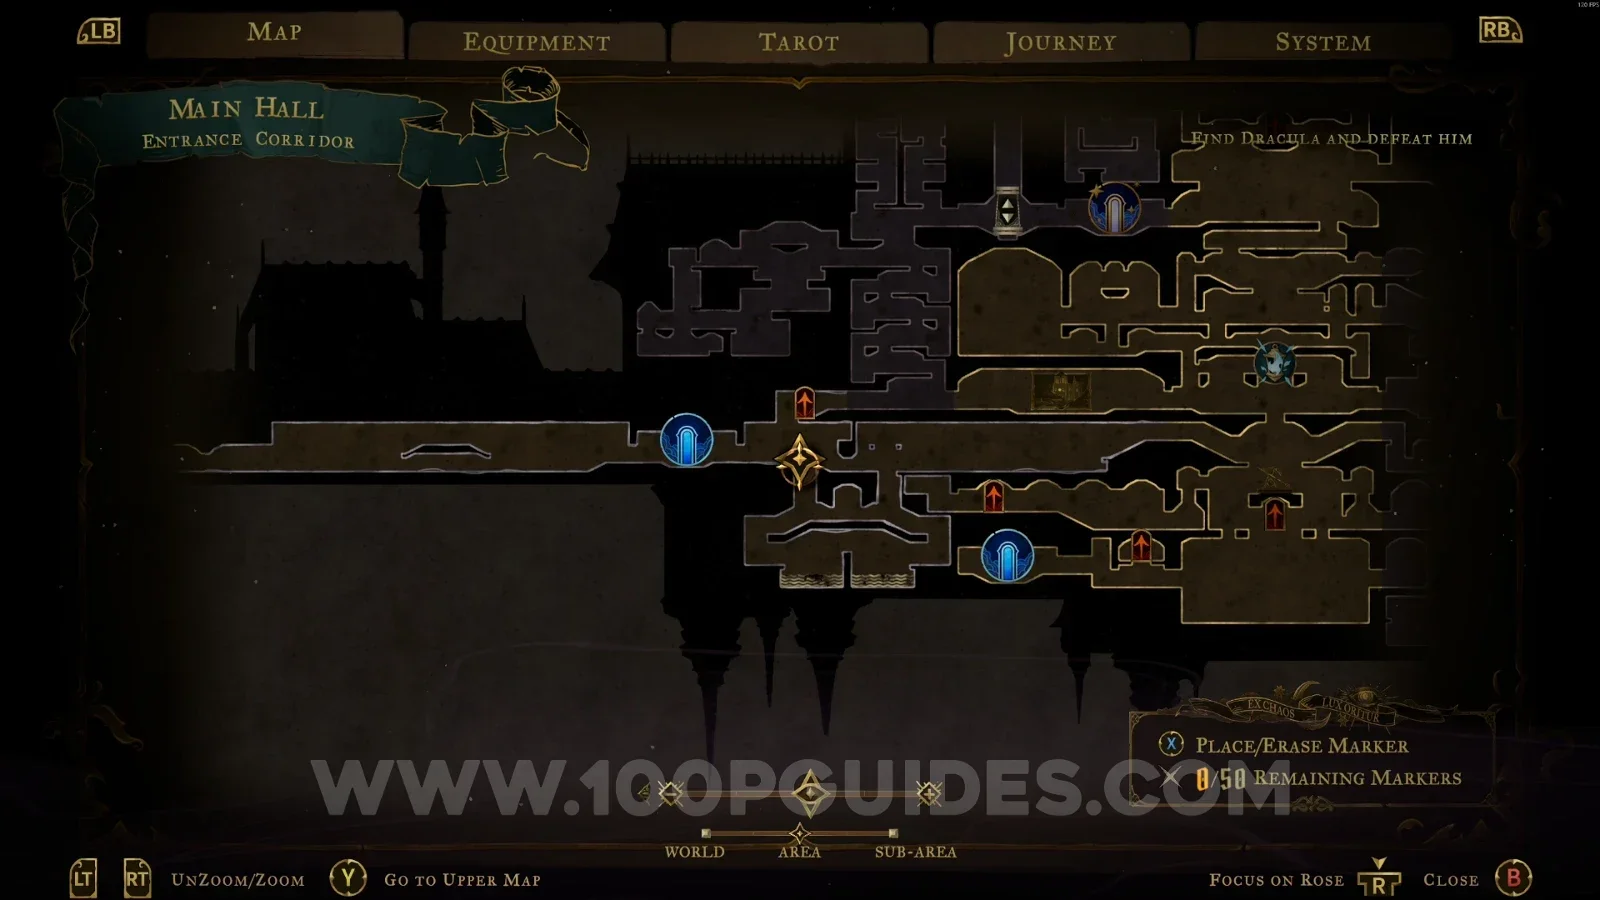
In the area marked on the map.
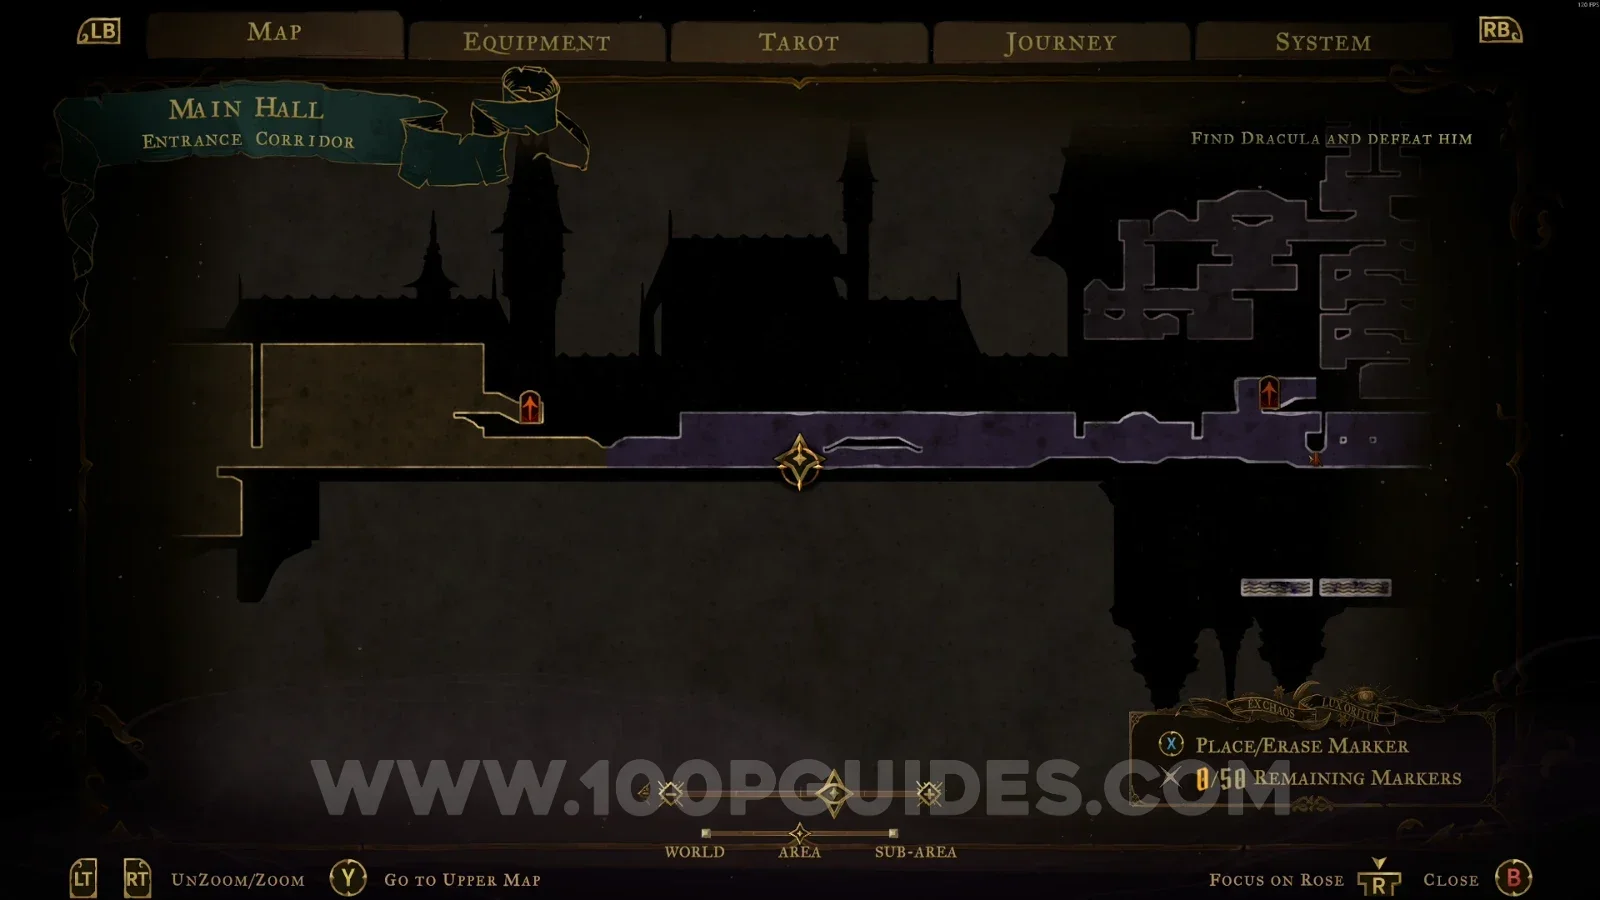
Castlevania Belmonts Curse Entrance Corridor: map location of XP Statue #1 Castlevania Belmonts Curse Entrance Corridor: XP Statue #1 in the area marked on the map

Mirror of Life #2

In the area marked on the map.
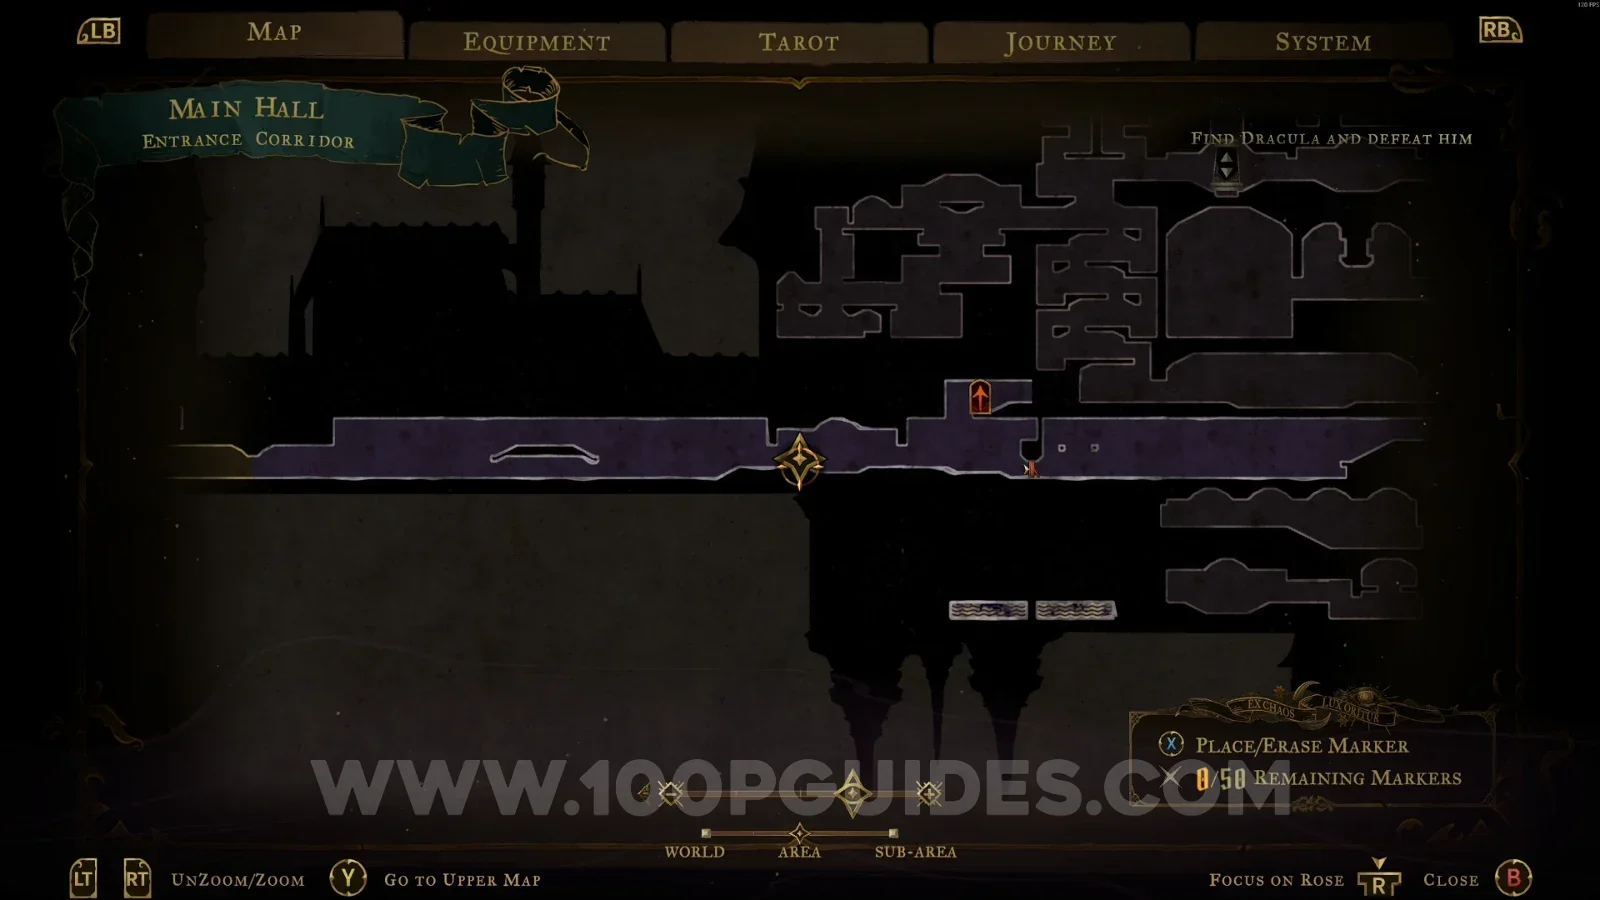
Castlevania Belmonts Curse Entrance Corridor: map location of Mirror of Life #2 Castlevania Belmonts Curse Entrance Corridor: Mirror of Life #2 in the area marked on the map

XP Statue #2

In the area marked on the map.
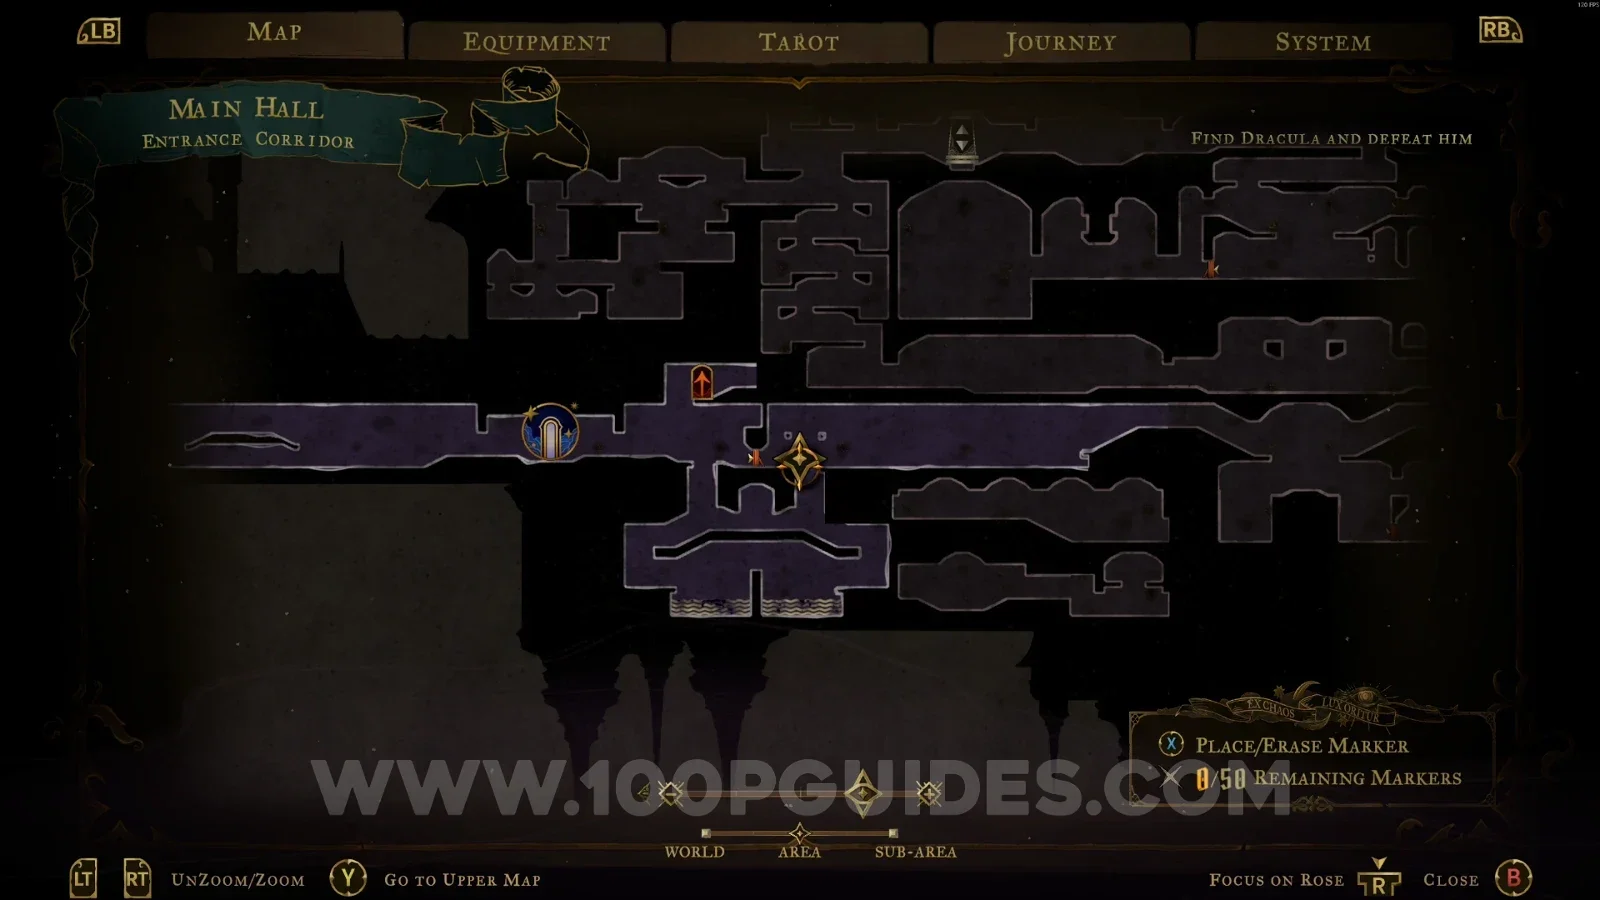
Castlevania Belmonts Curse Entrance Corridor: map location of XP Statue #2 Castlevania Belmonts Curse Entrance Corridor: XP Statue #2 in the area marked on the map

Wise Heart Fragment #1

From the area marked on the map, head left to reveal a secret passage. Go to the end of the path and through the door on the left (don't go through the red door). In the new area, you'll see this Wise Heart at the top.
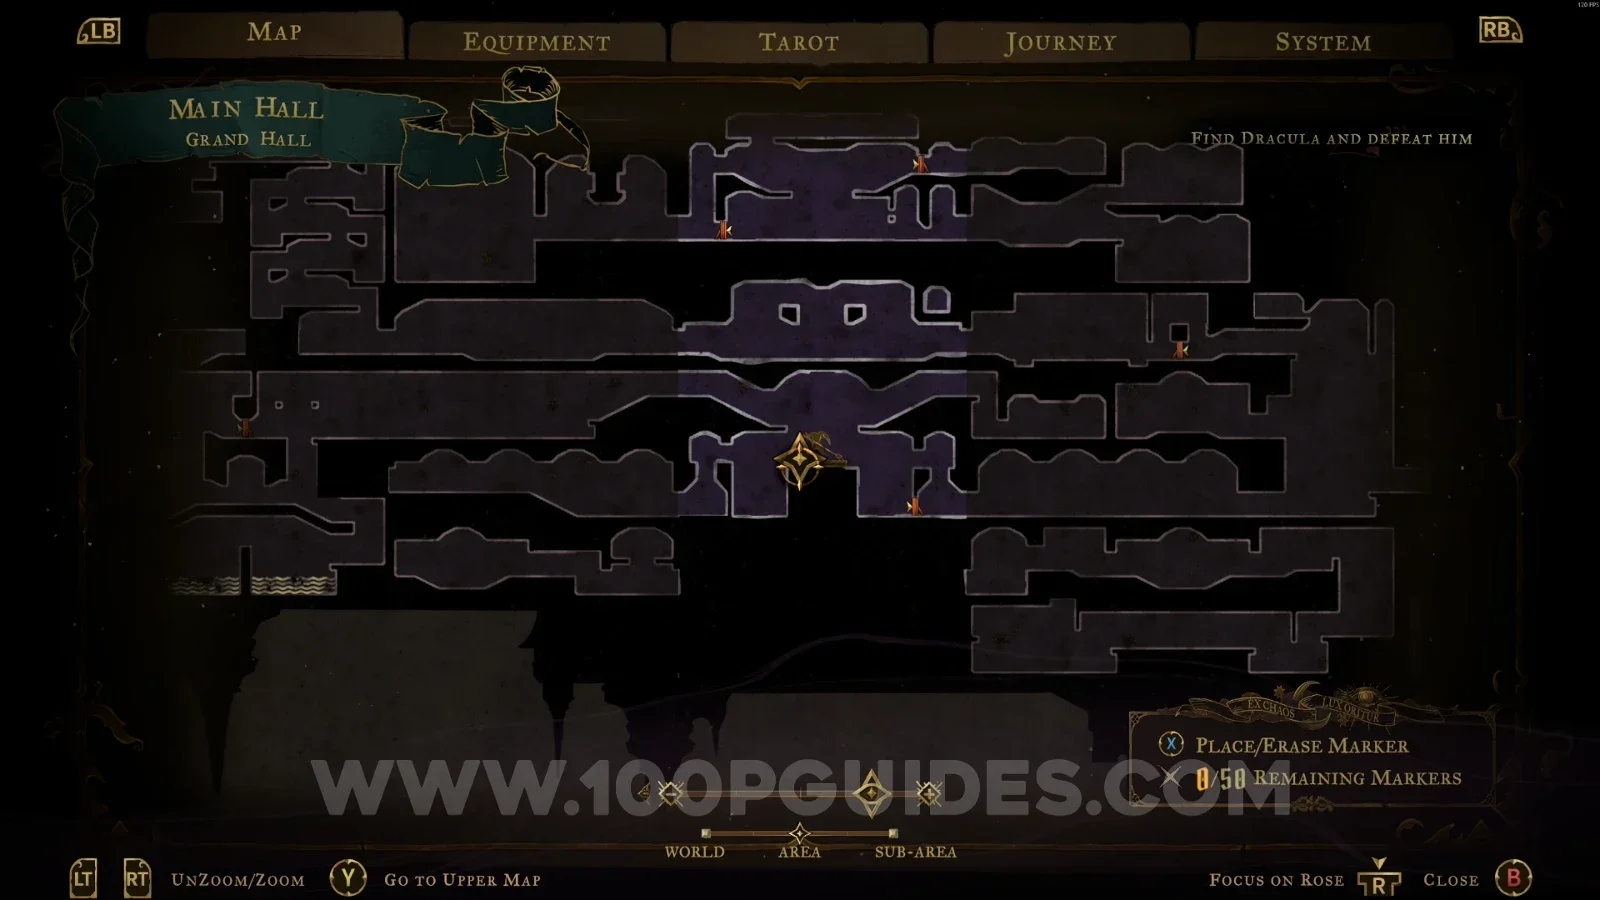
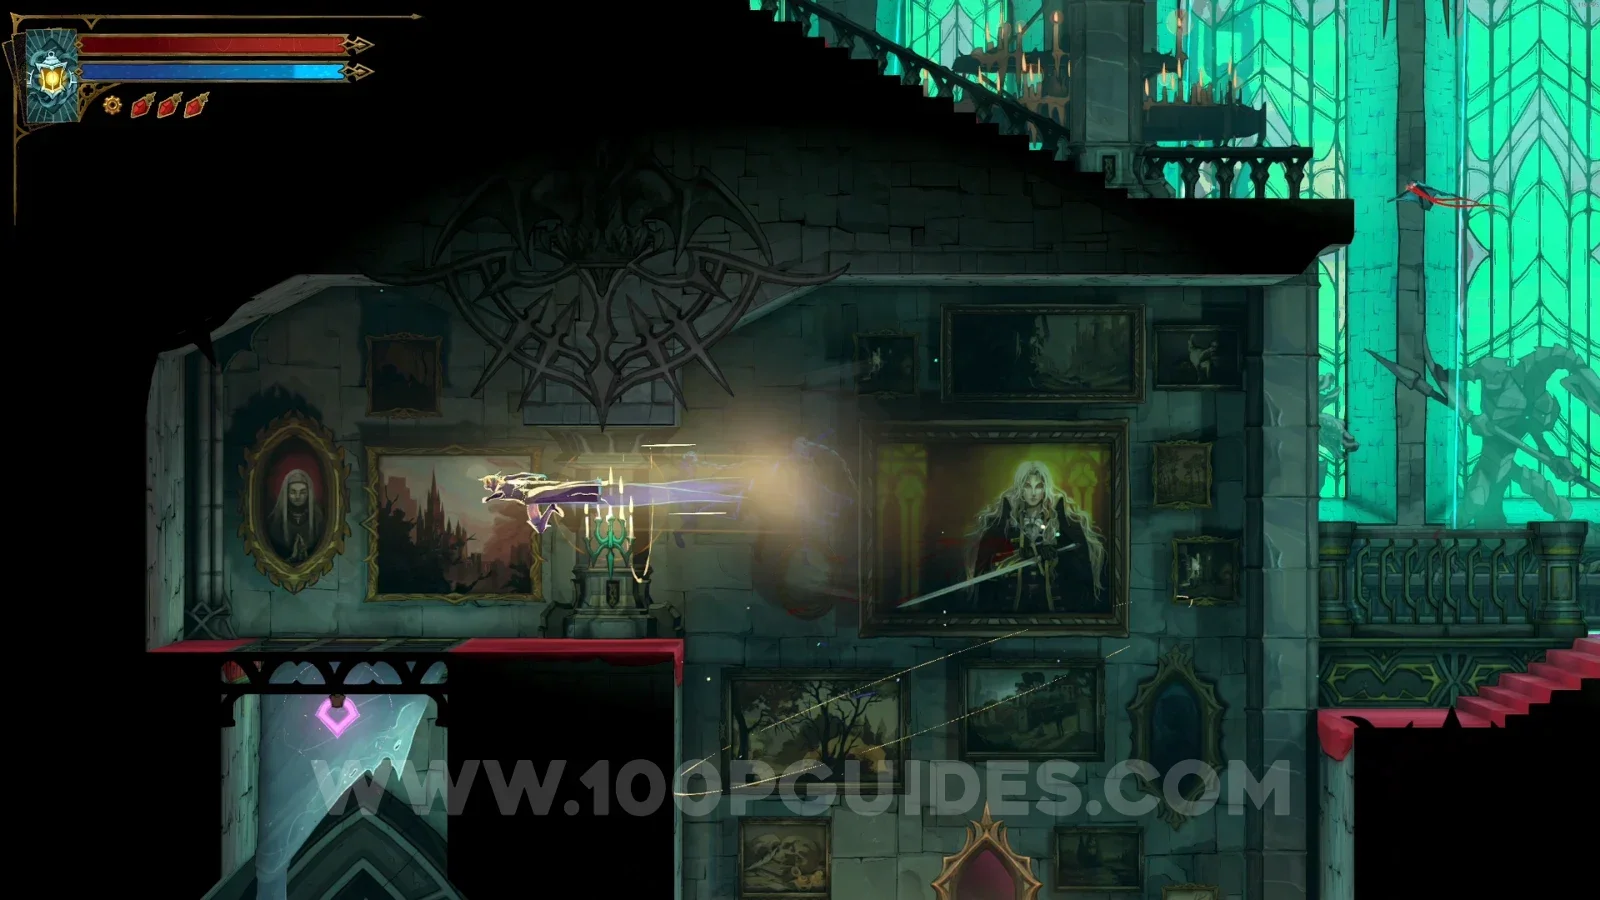
Castlevania Belmonts Curse Entrance Corridor: map location of the secret passage to Wise Heart Fragment #1 Castlevania Belmonts Curse Entrance Corridor: heading left to reveal the secret passage toward the Wise Heart Castlevania Belmonts Curse Entrance Corridor: the door on the left at the end of the path, not the red door Castlevania Belmonts Curse Entrance Corridor: Wise Heart Fragment #1 at the top of the new area

Wise Heart Fragment #2

Go back to the Entrance Corridor and through the red door again. You'll be in the same area you went through to get the Morning Star weapon, where you also unlocked the shortcut on the left side of the door. Use it and drop down below the door to grab this Wise Heart.
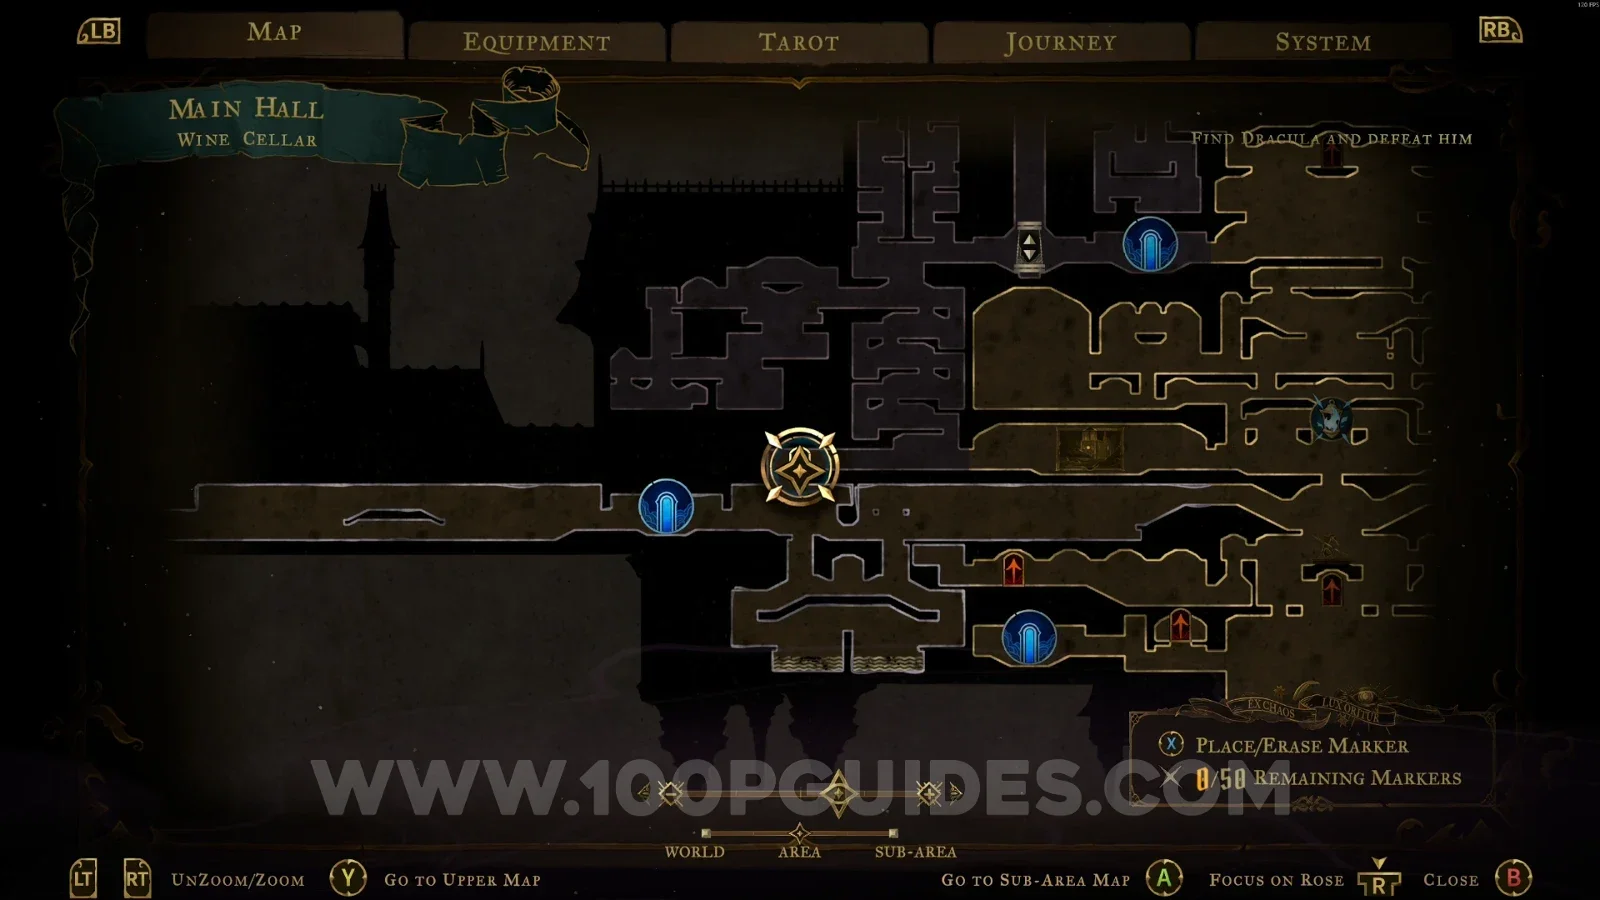
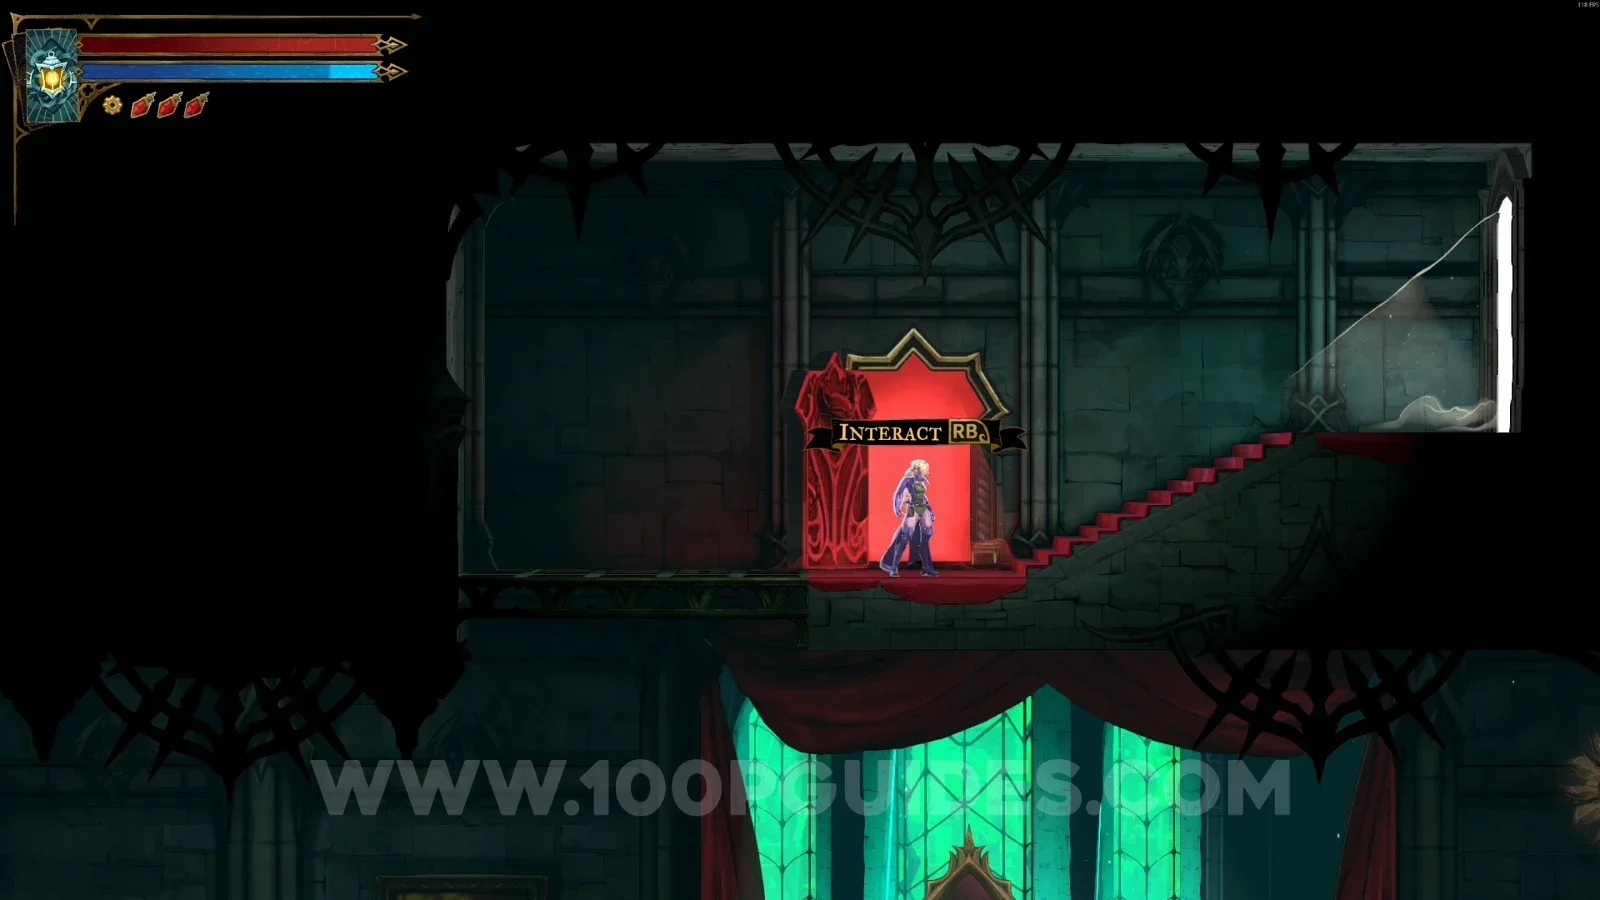
Castlevania Belmonts Curse Entrance Corridor: going back through the red door toward Wise Heart Fragment #2 Castlevania Belmonts Curse Entrance Corridor: using the shortcut on the left side of the door Castlevania Belmonts Curse Entrance Corridor: Wise Heart Fragment #2 after dropping down below the door

Mirror of Life #3

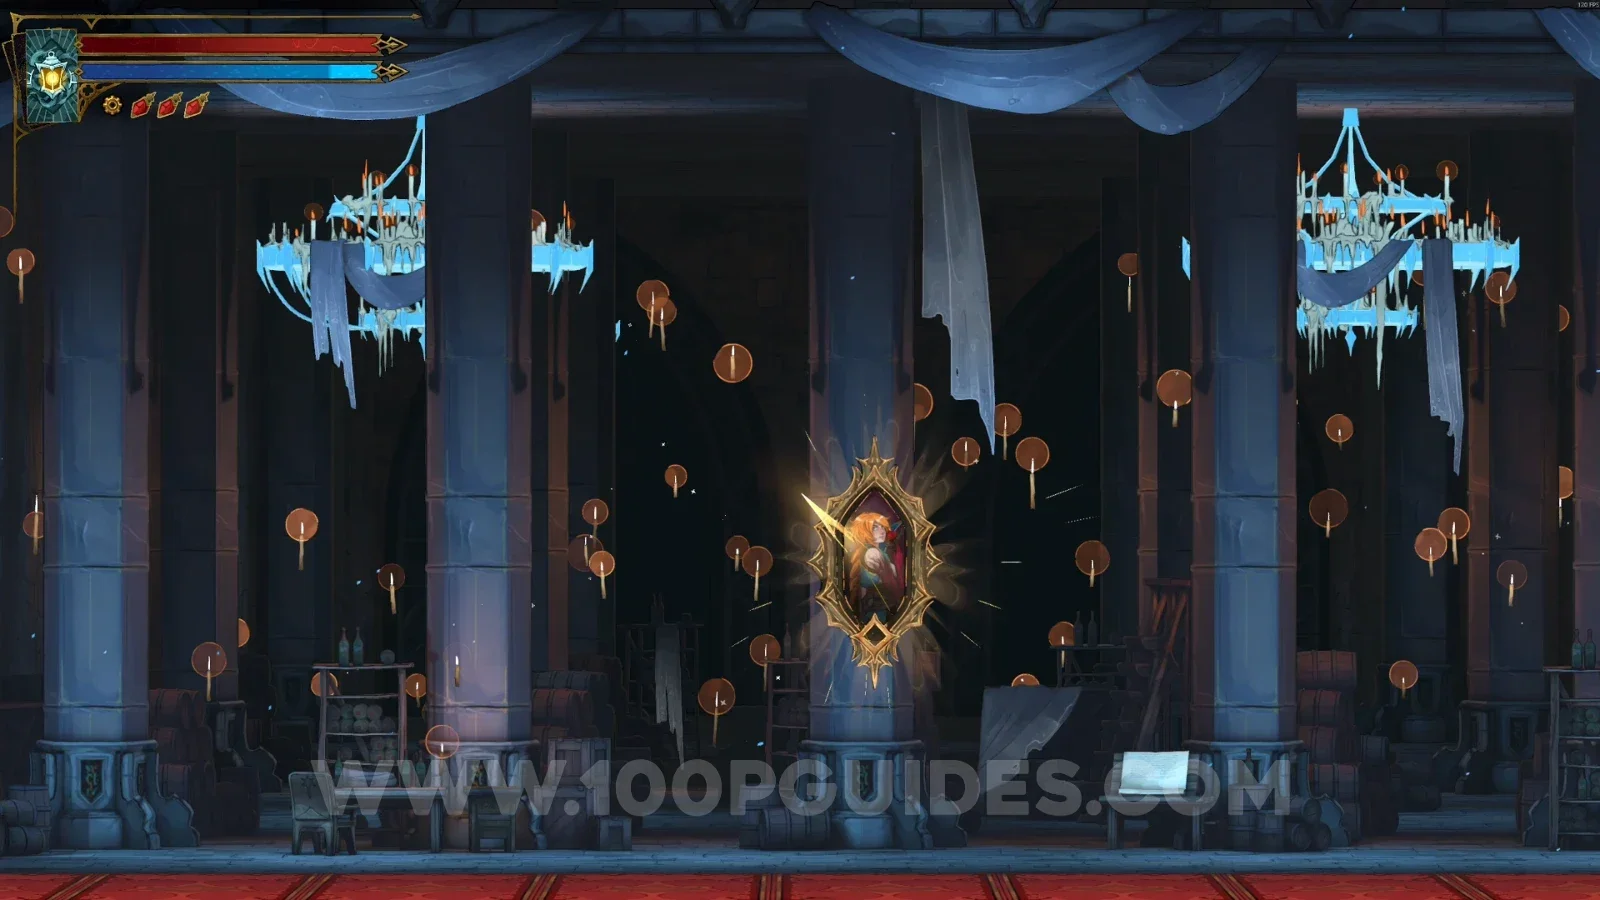
From the previous Wise Heart, head left and go through the door, and this Mirror of Life will be right in front of you.
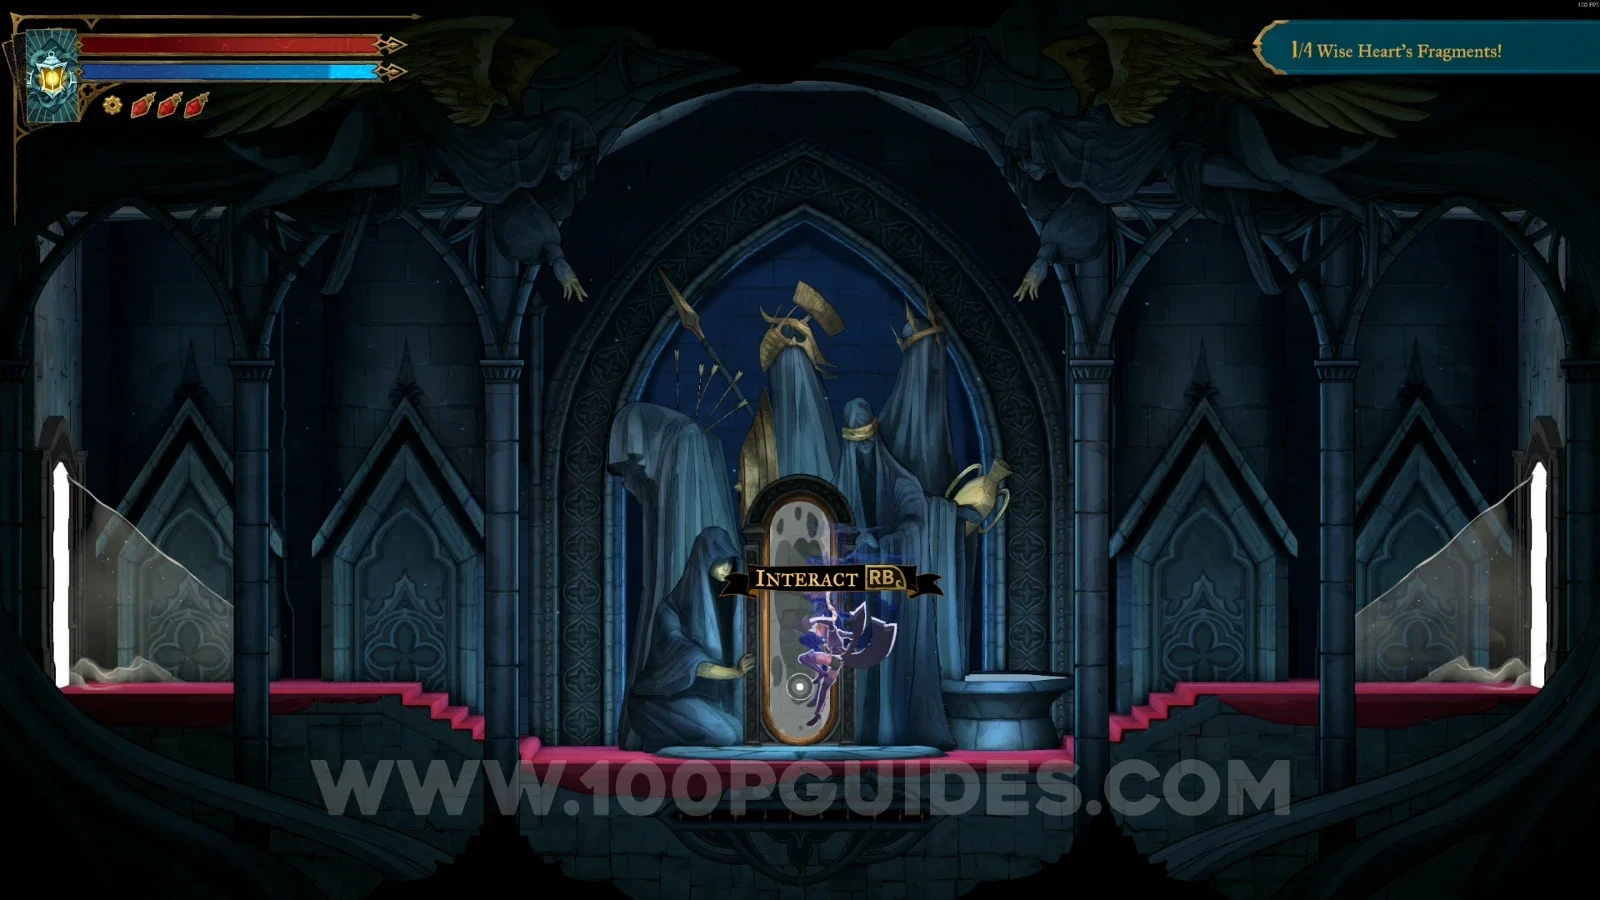
Castlevania Belmonts Curse Entrance Corridor: Mirror of Life #3 behind the door left of Wise Heart Fragment #2

Boudoirs

Mirror of Life #4

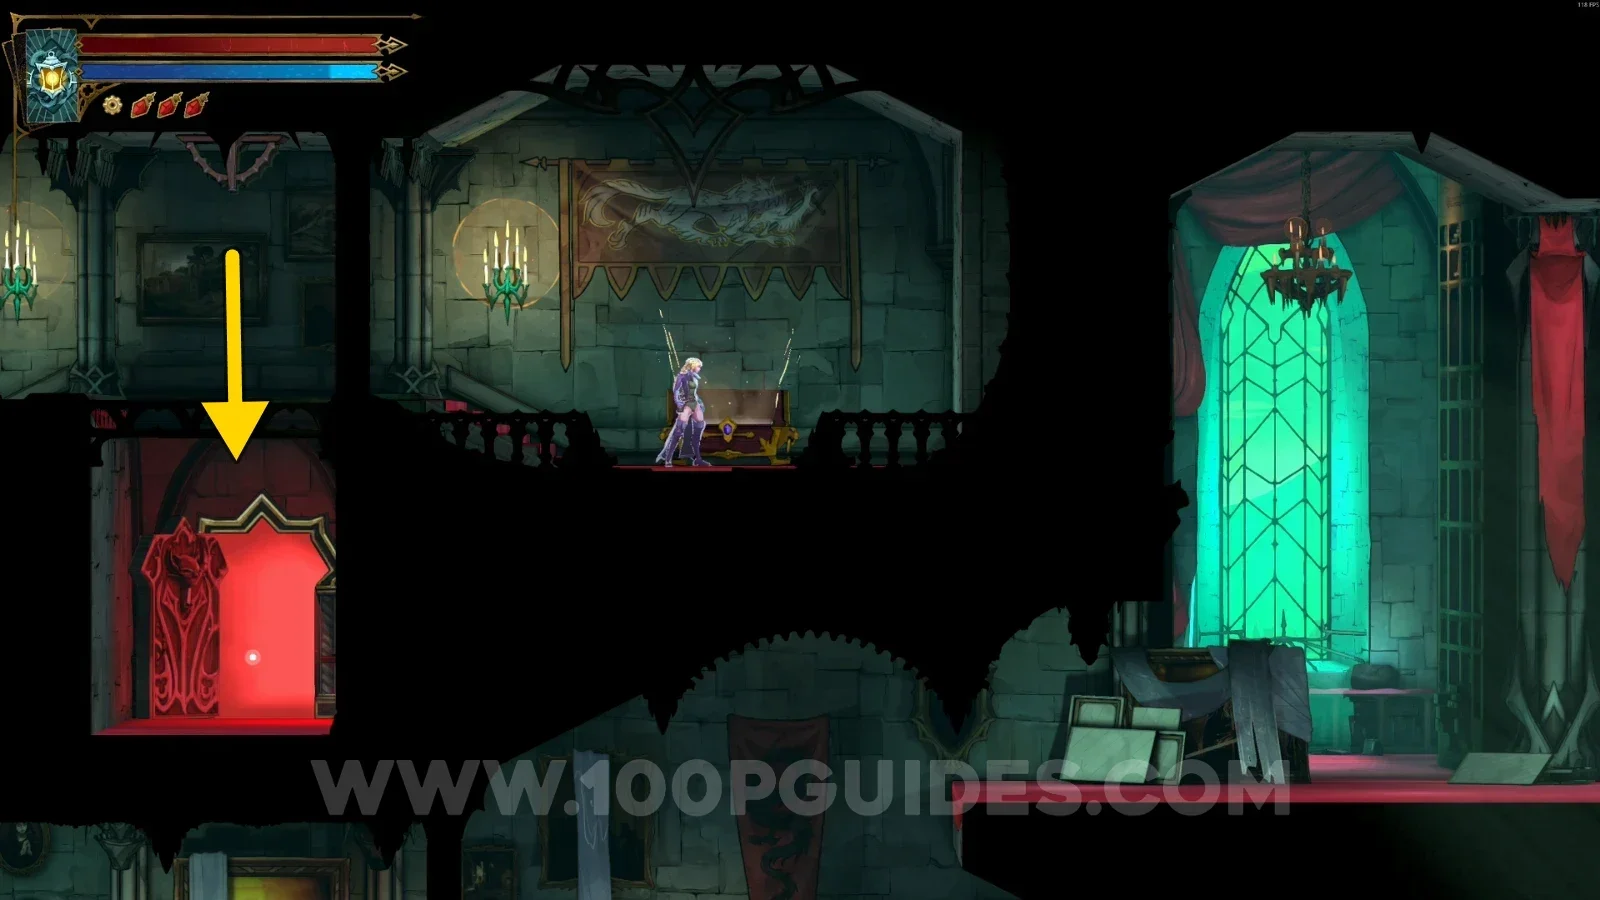
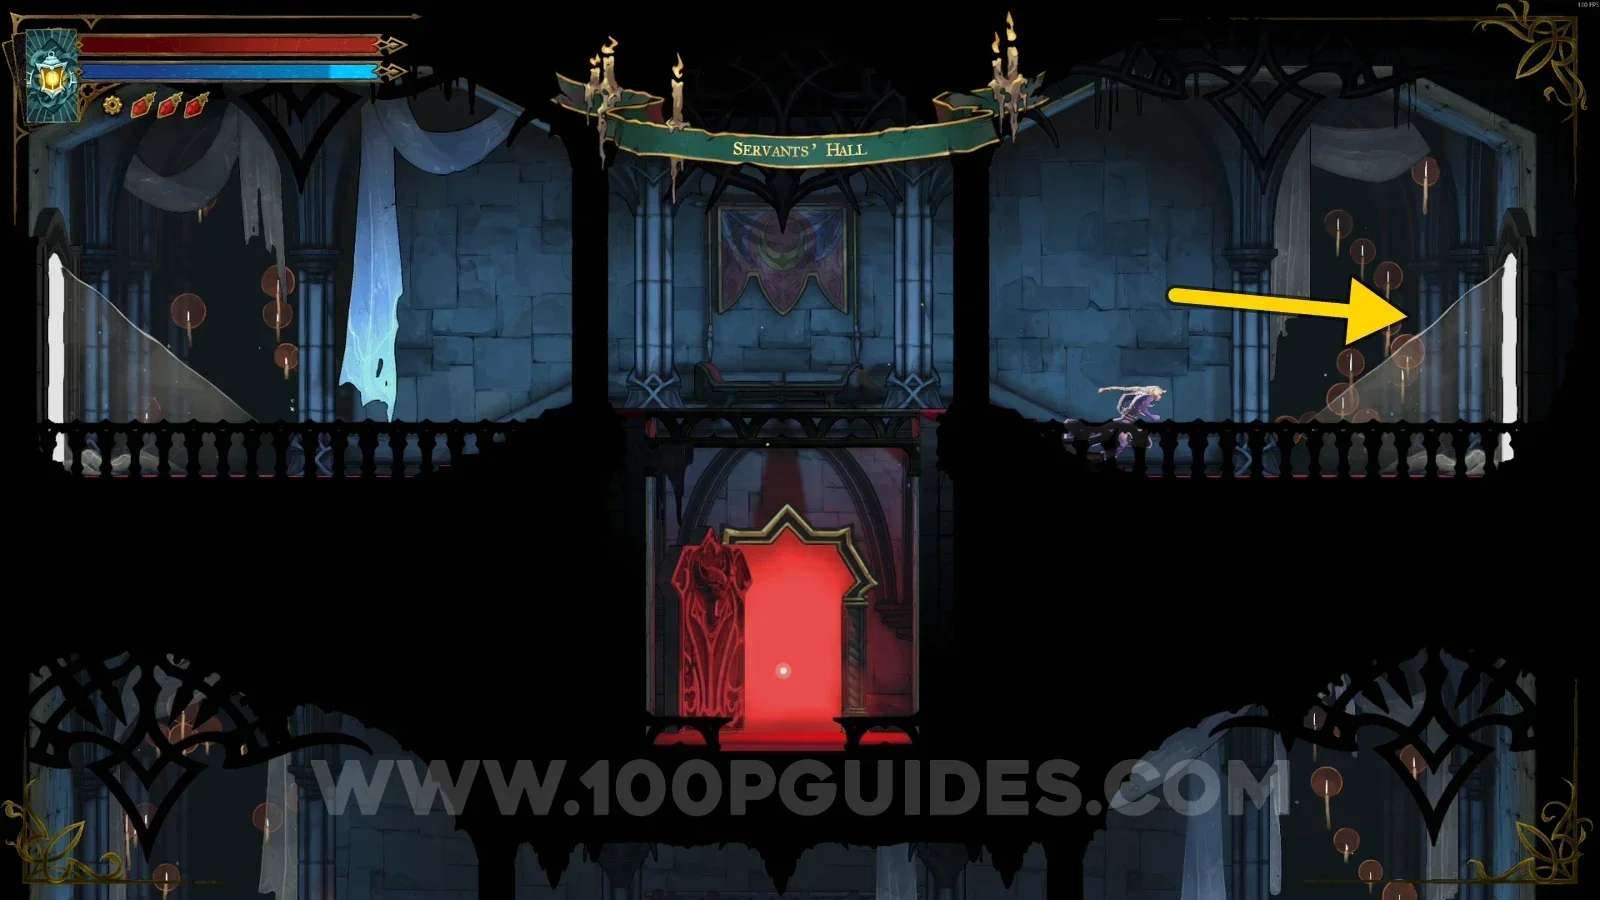
In the area marked on the map, go through the red door. On the other side, follow the single path to the left, and eventually you'll reach this Mirror of Life.
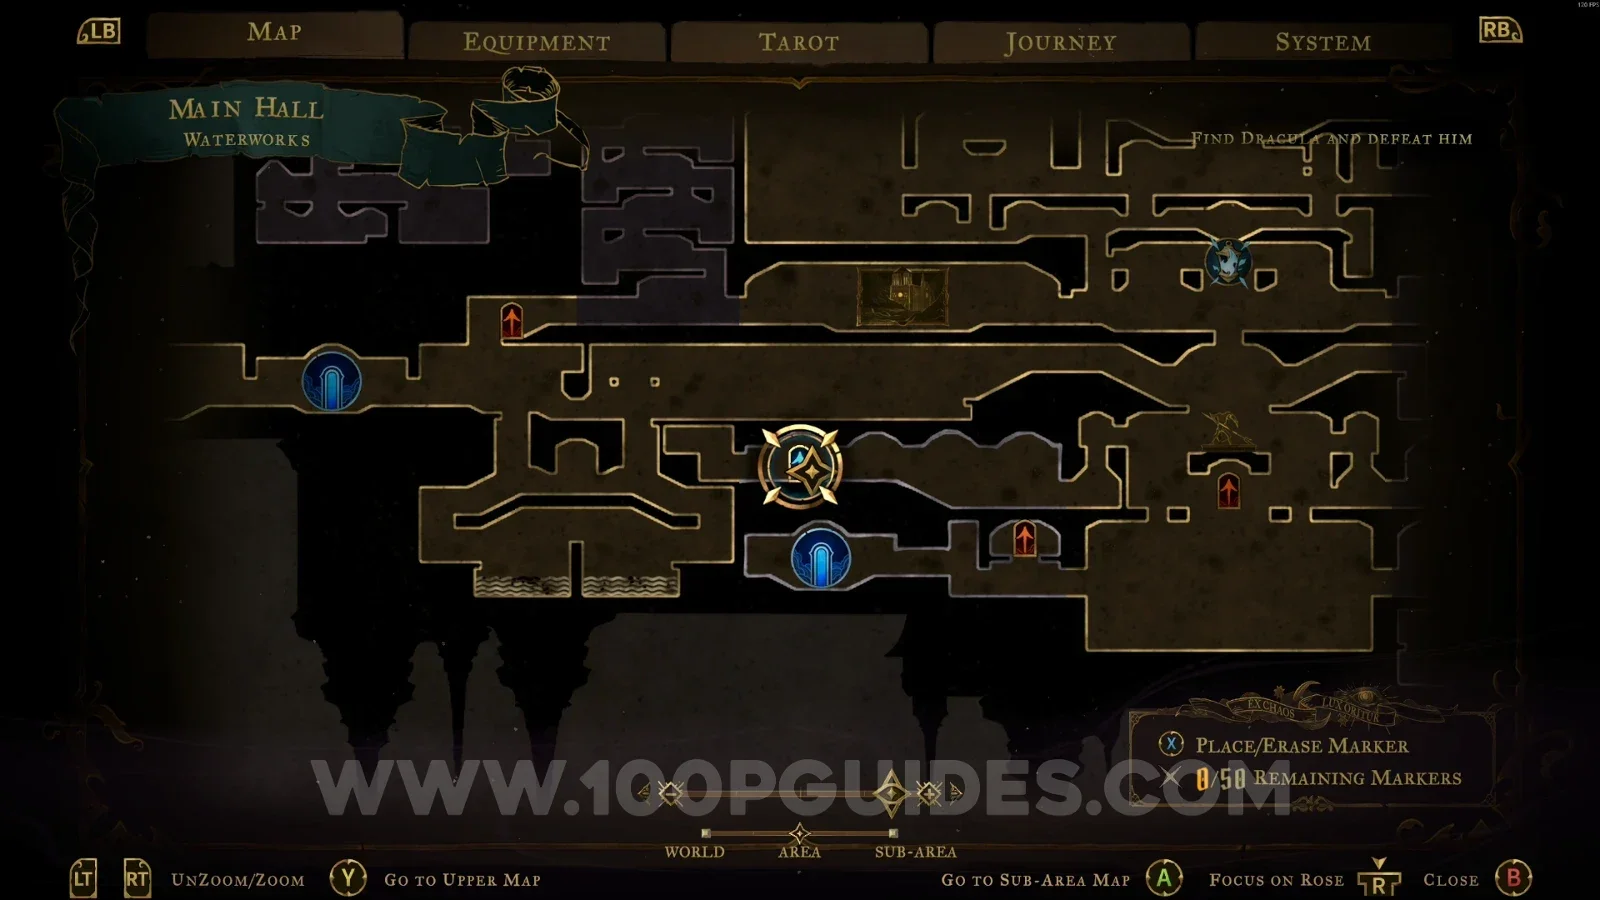
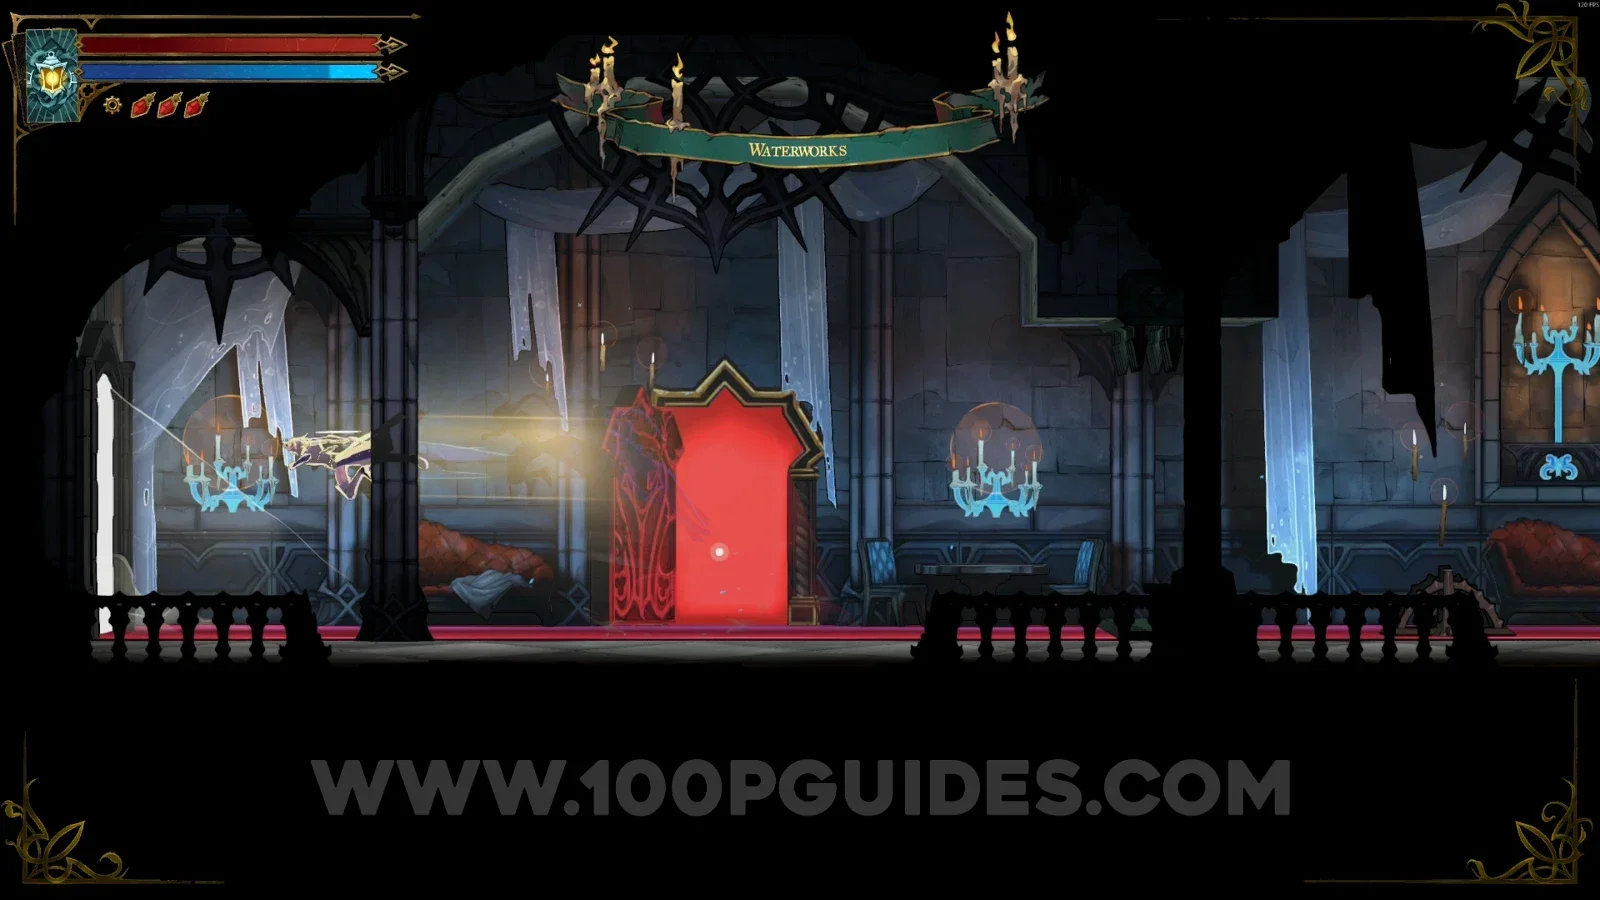
Castlevania Belmonts Curse Boudoirs: map location of the red door leading to Mirror of Life #4 Castlevania Belmonts Curse Boudoirs: following the single path left past the red door Castlevania Belmonts Curse Boudoirs: Mirror of Life #4 at the end of the path to the left

Door #1

Go through the door above. You need to enter every red door, since they count toward progression.
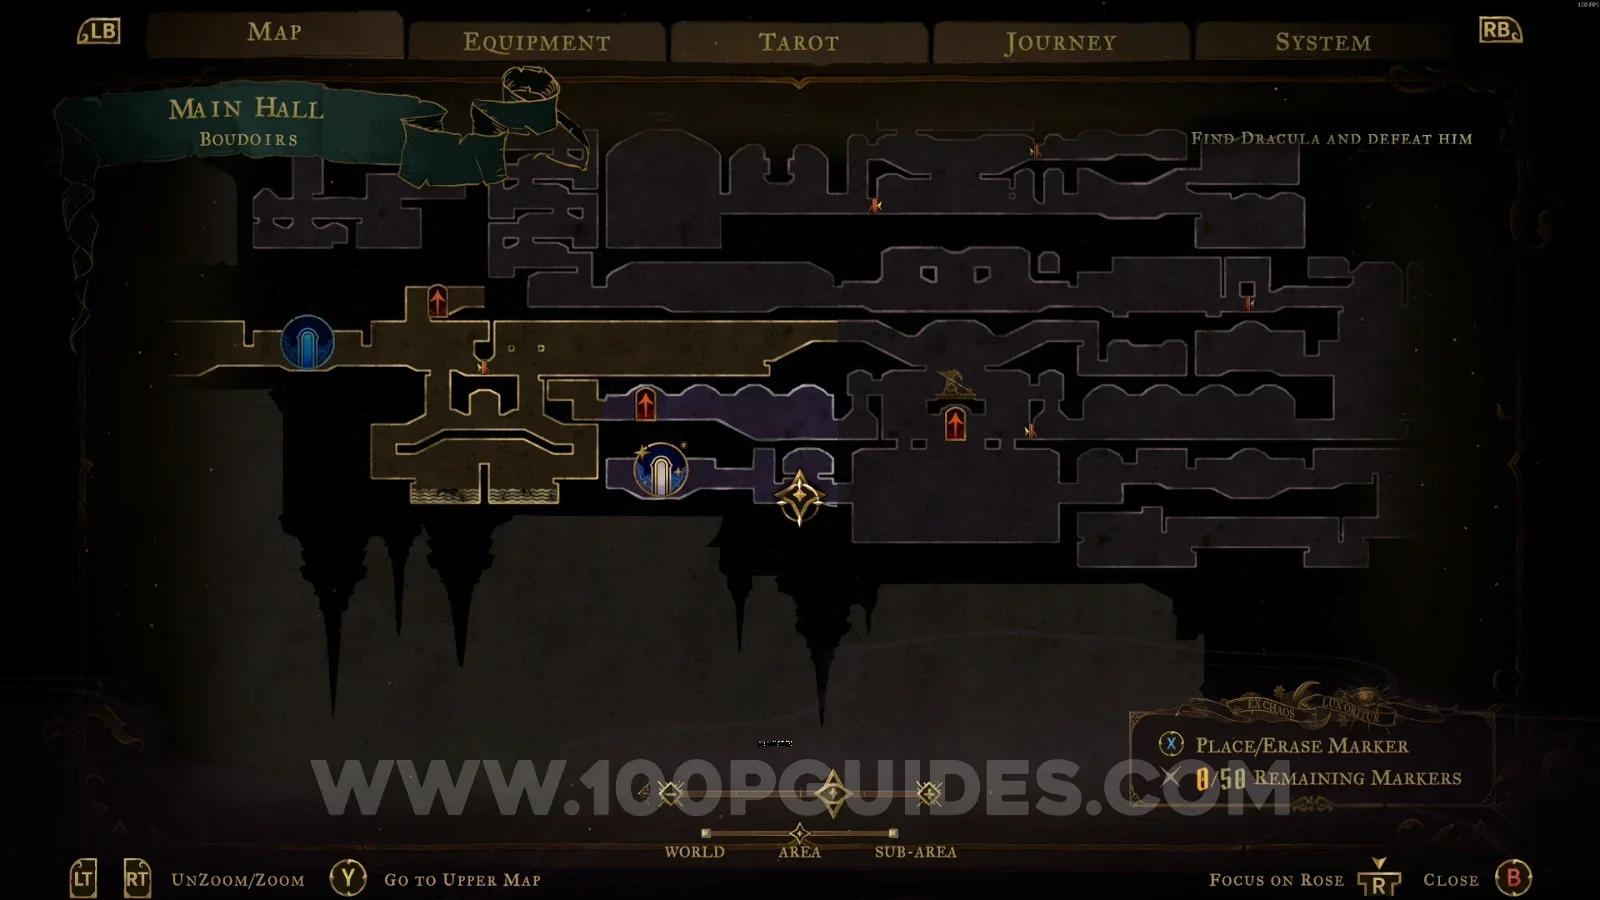
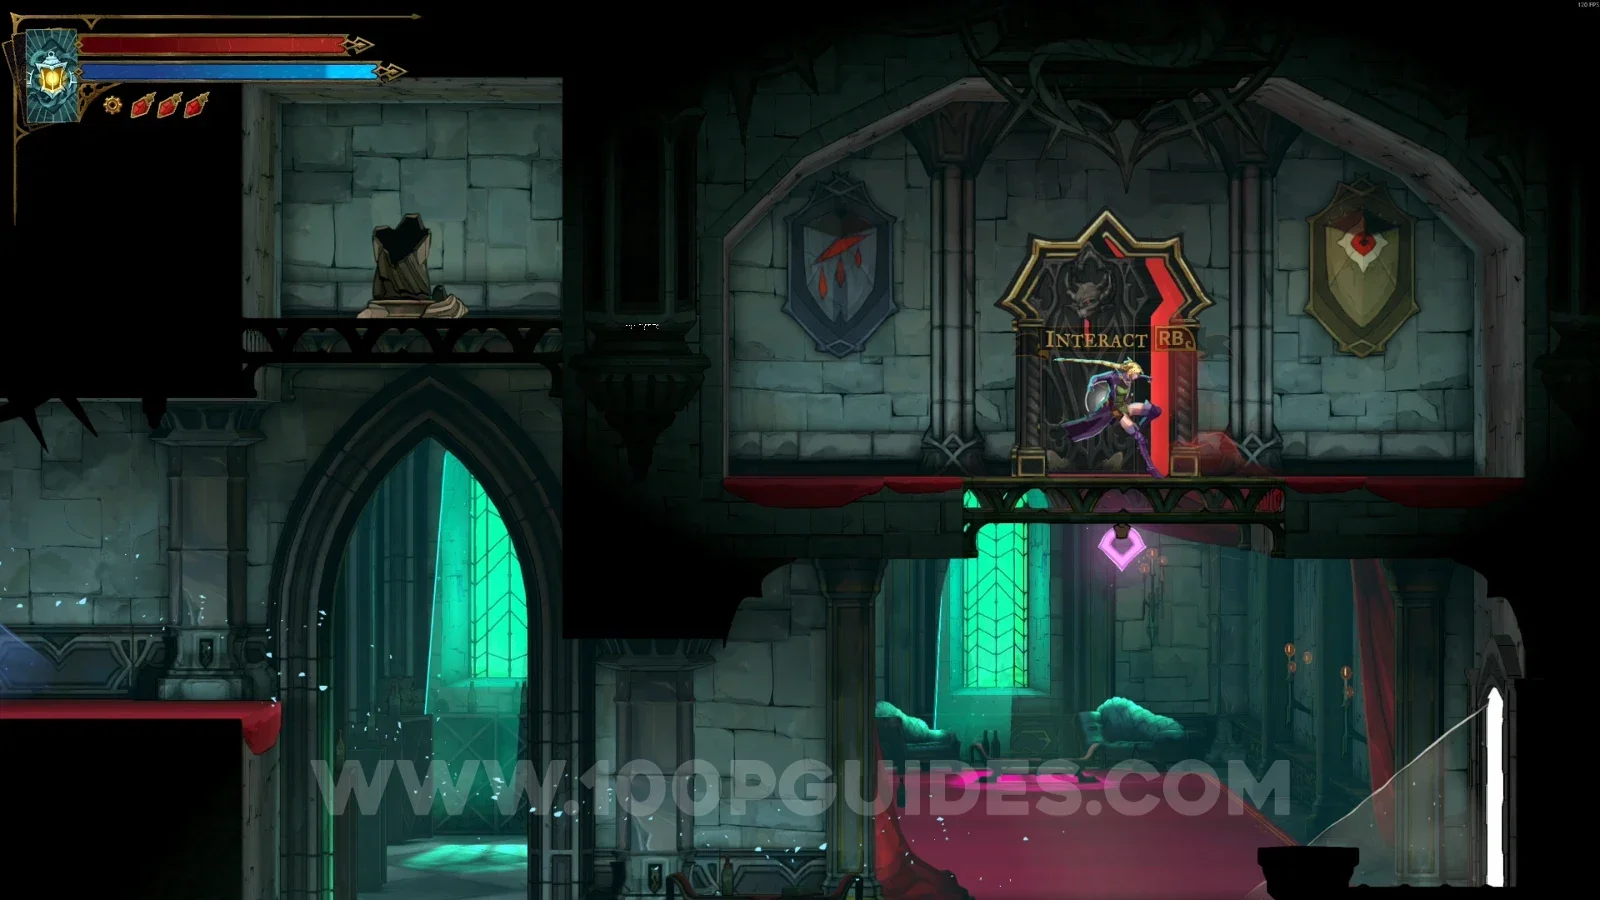
Castlevania Belmonts Curse Boudoirs: map location of red Door #1 in the area above Castlevania Belmonts Curse Boudoirs: going through red Door #1, which counts toward progression

XP Statue #3

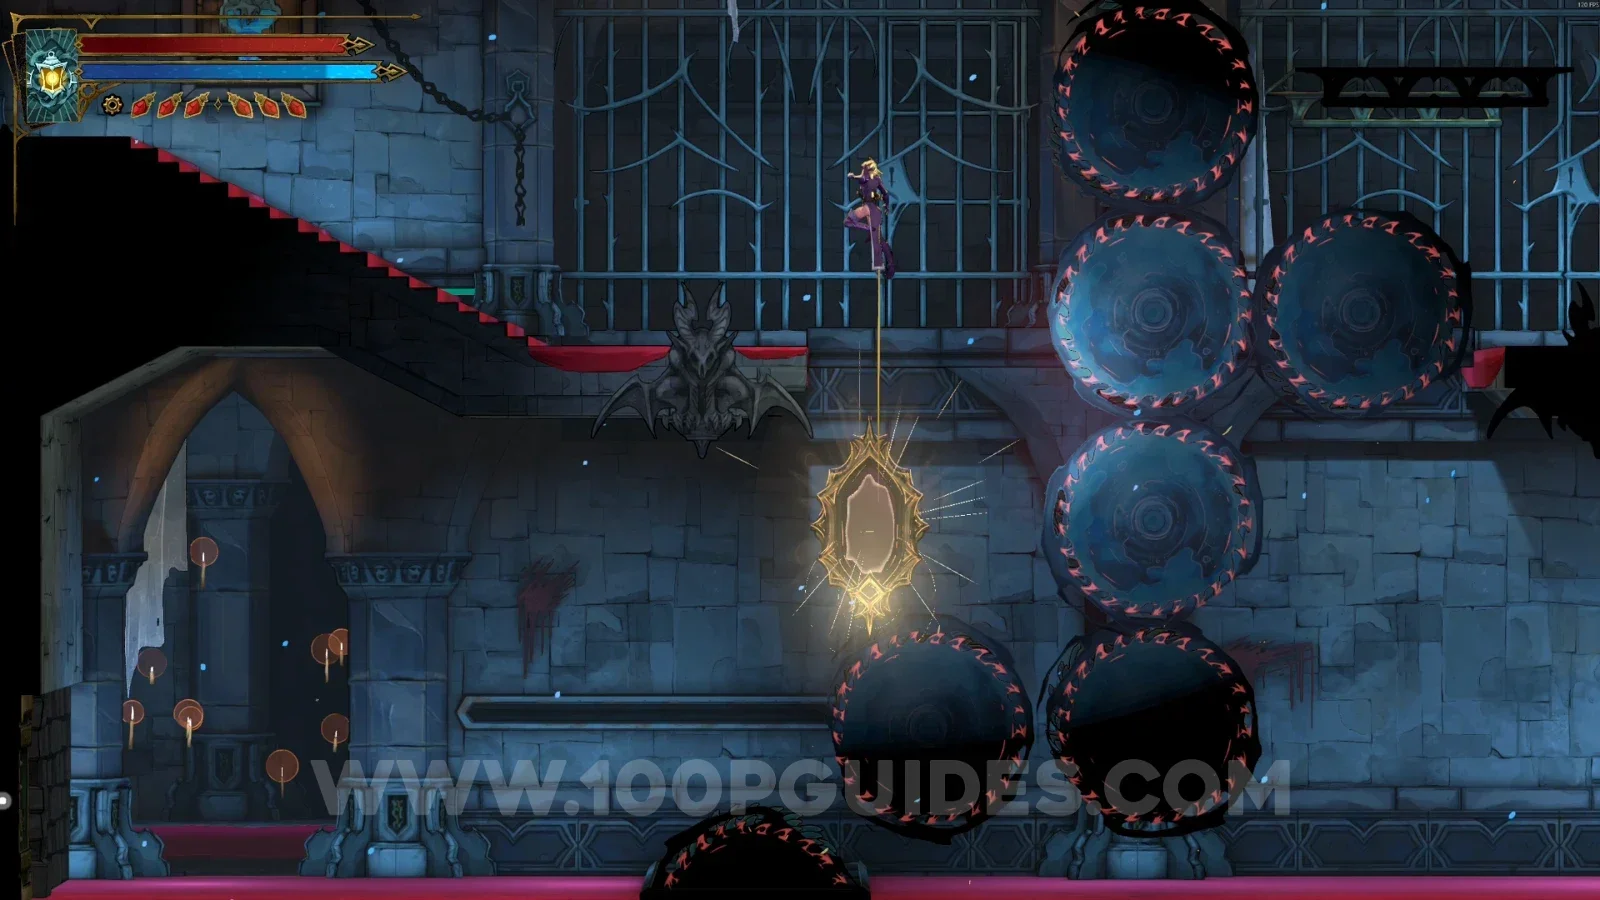
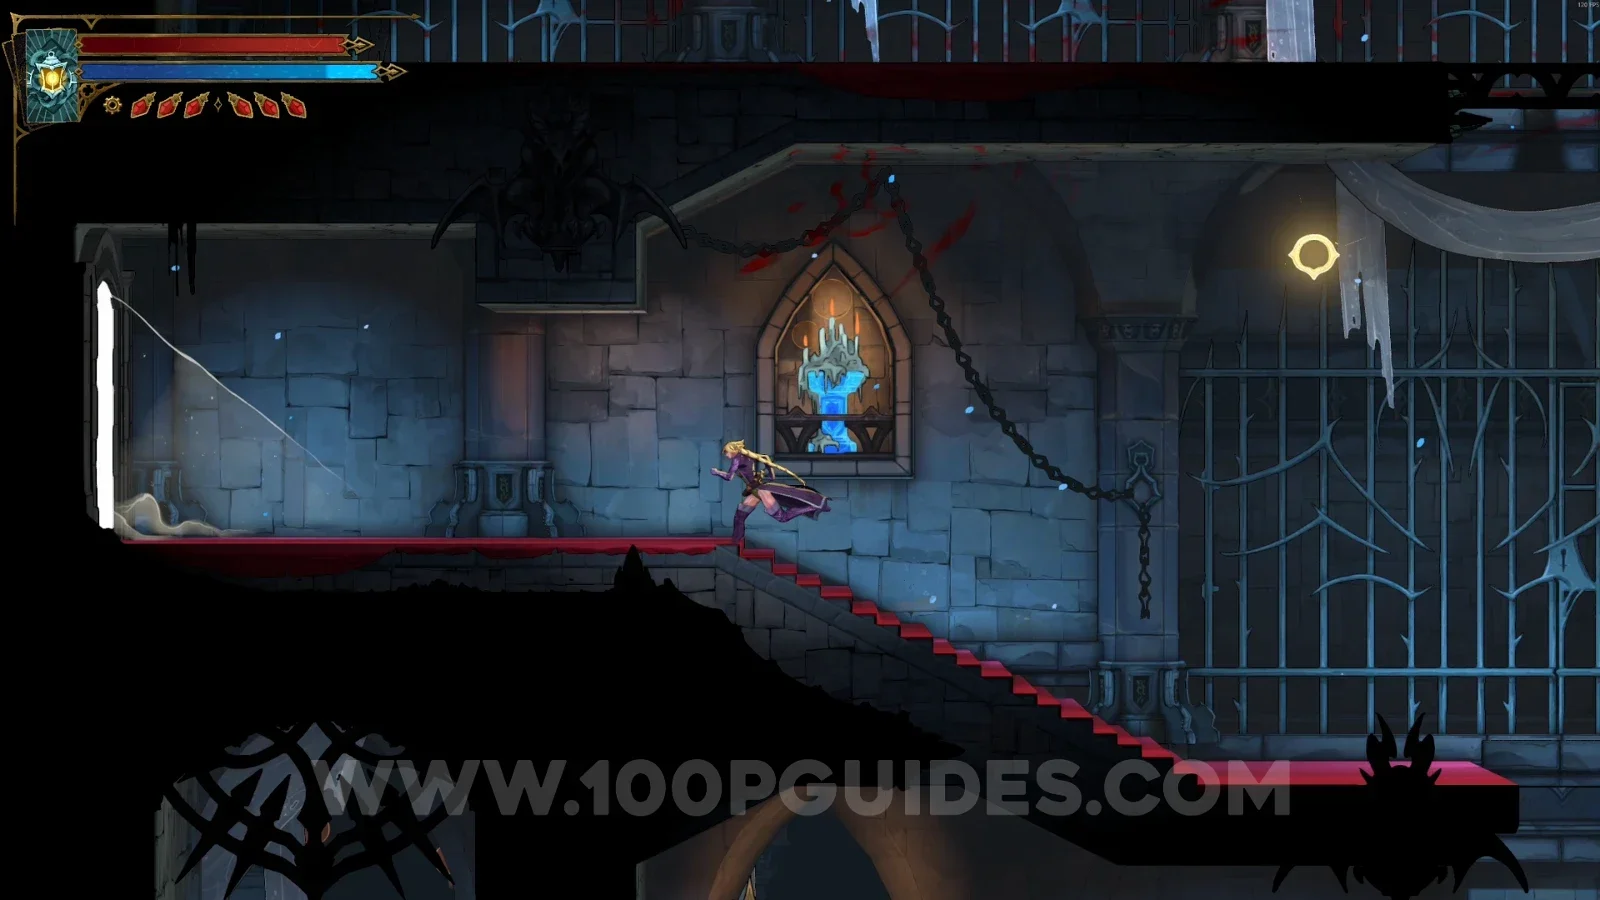
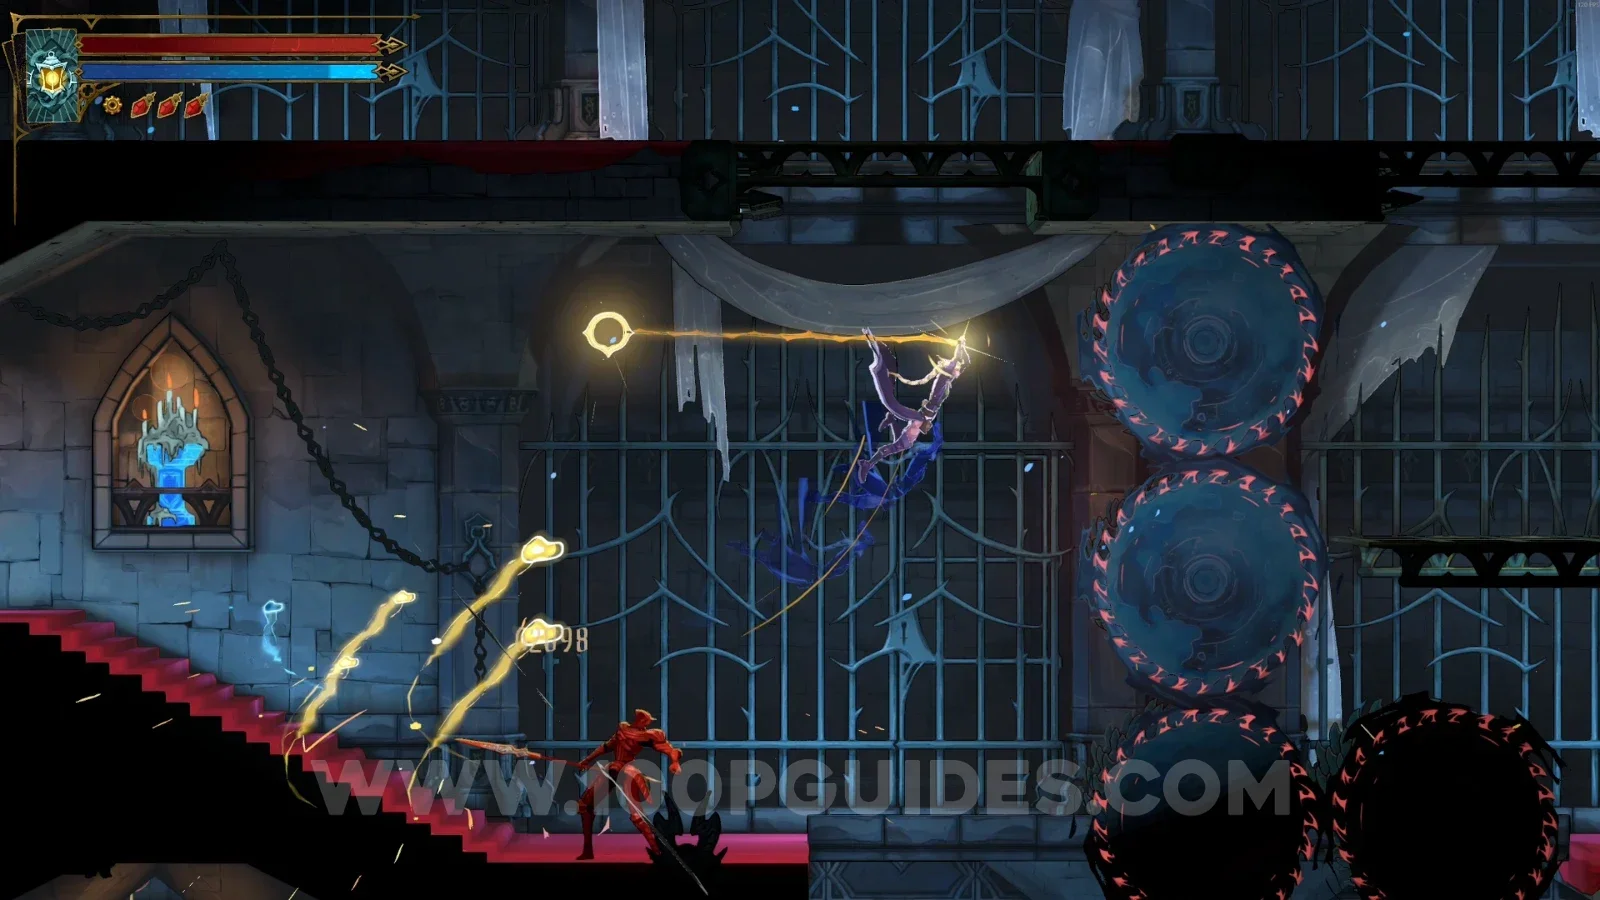
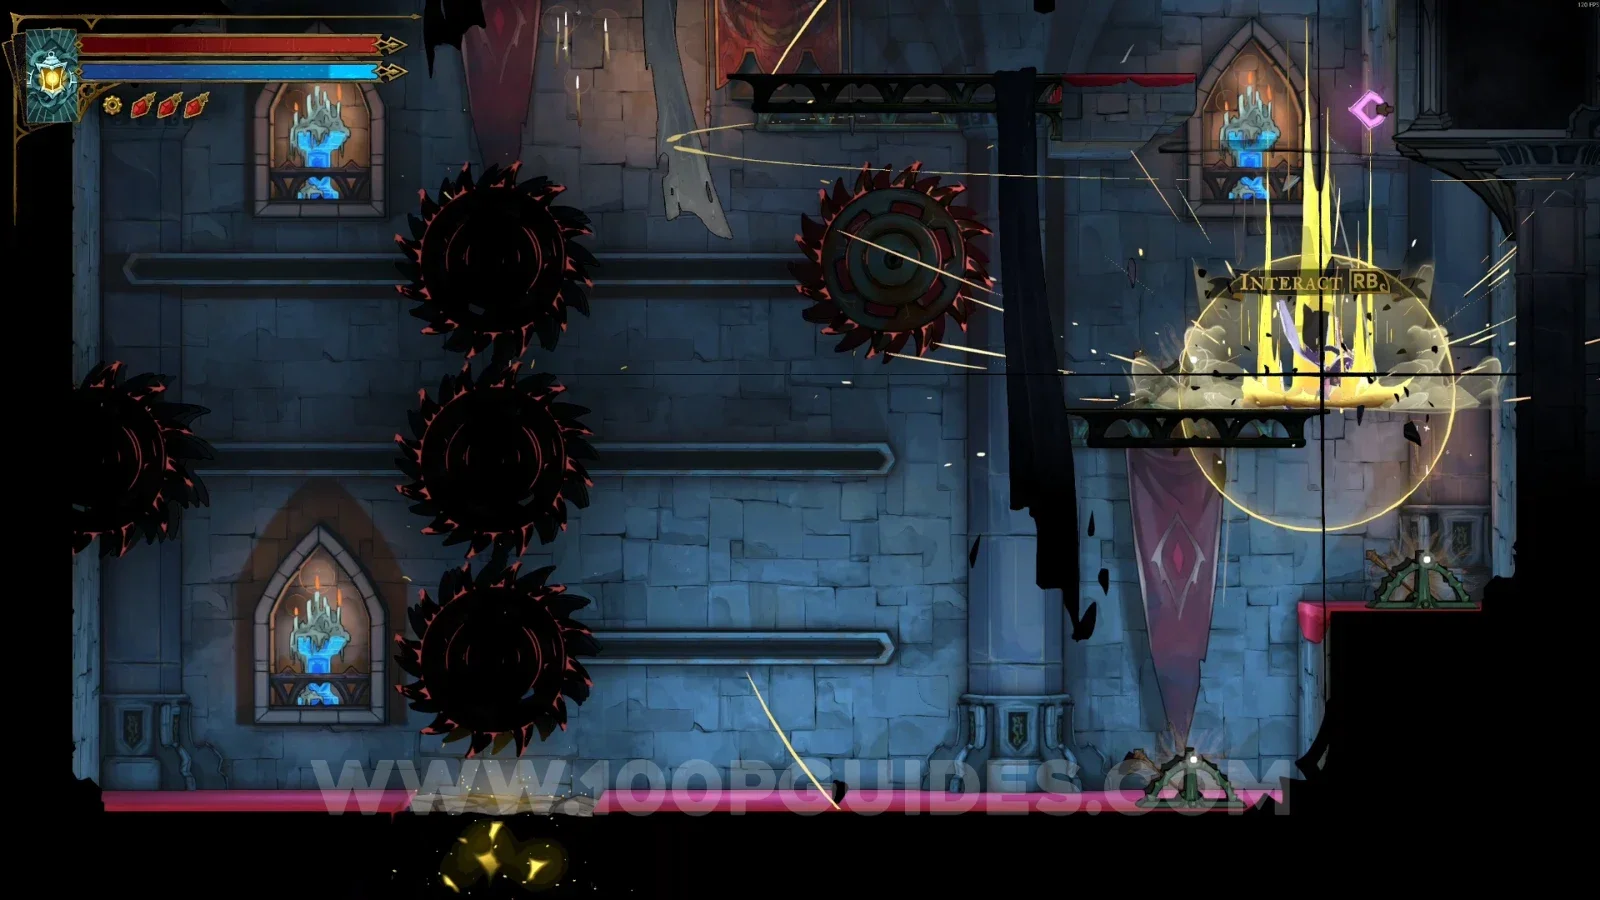
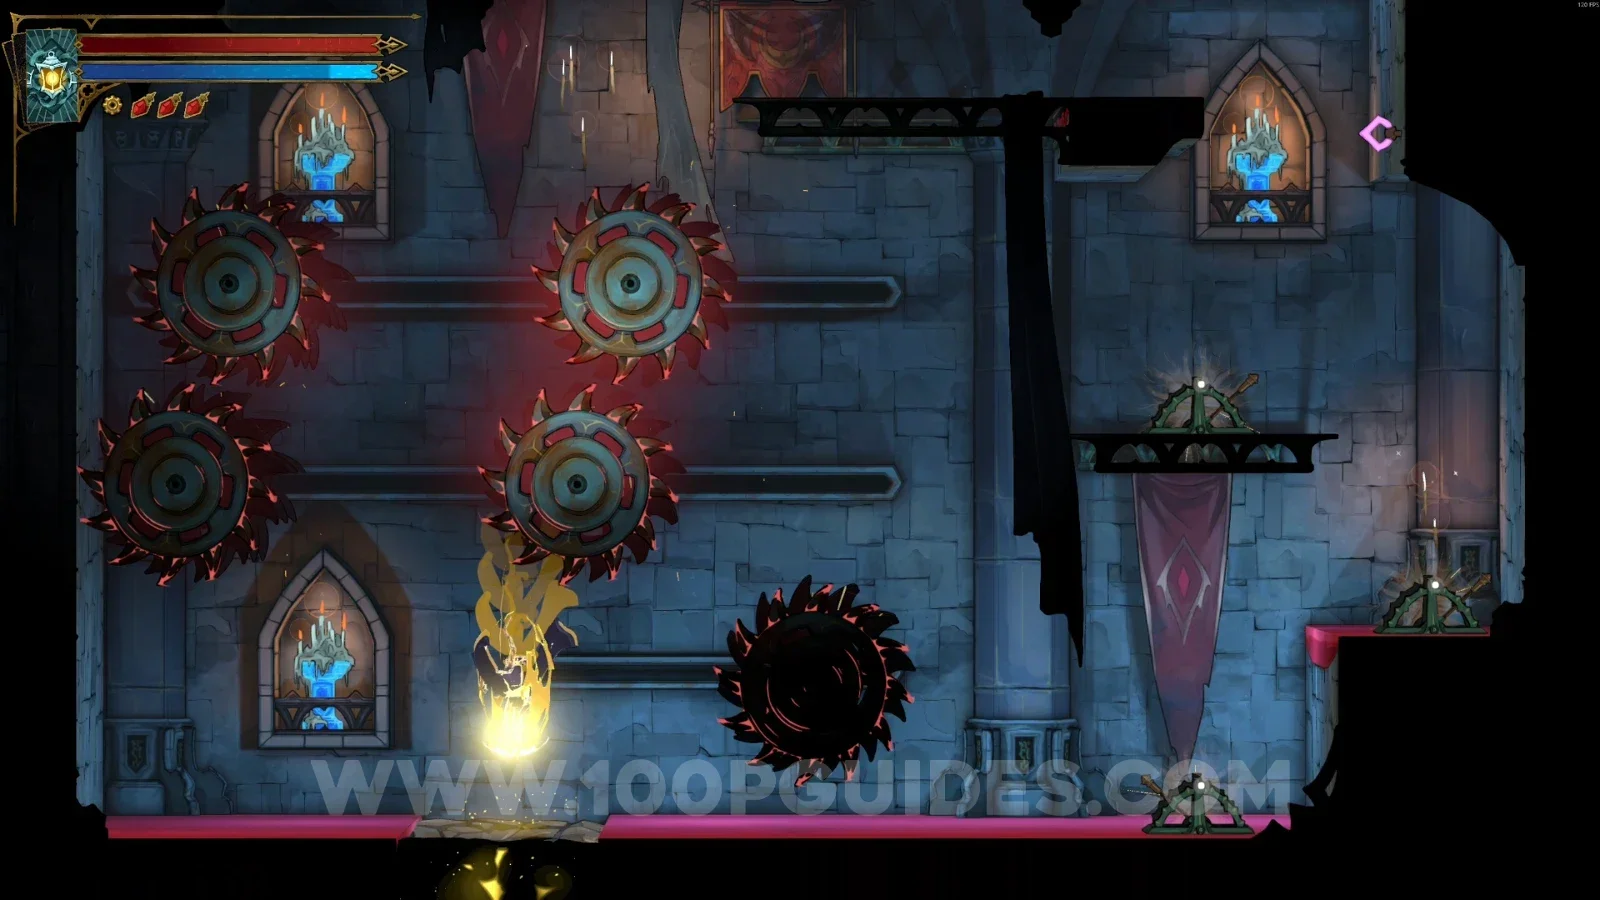
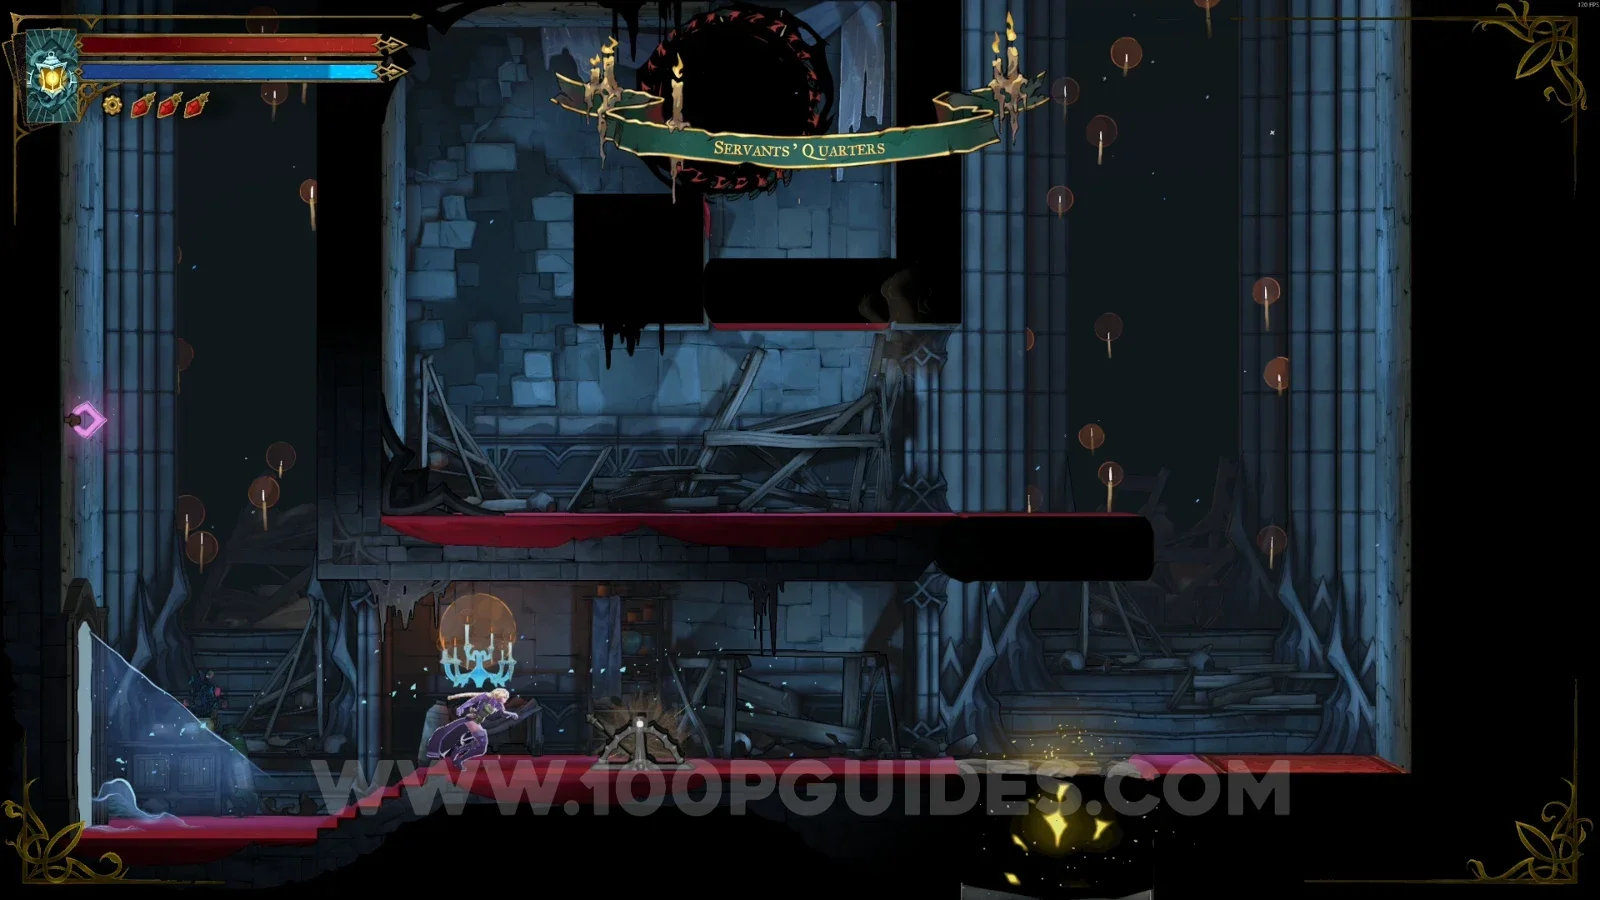
Go through the door and follow the single path to the left until you reach the area with the spinning saws.
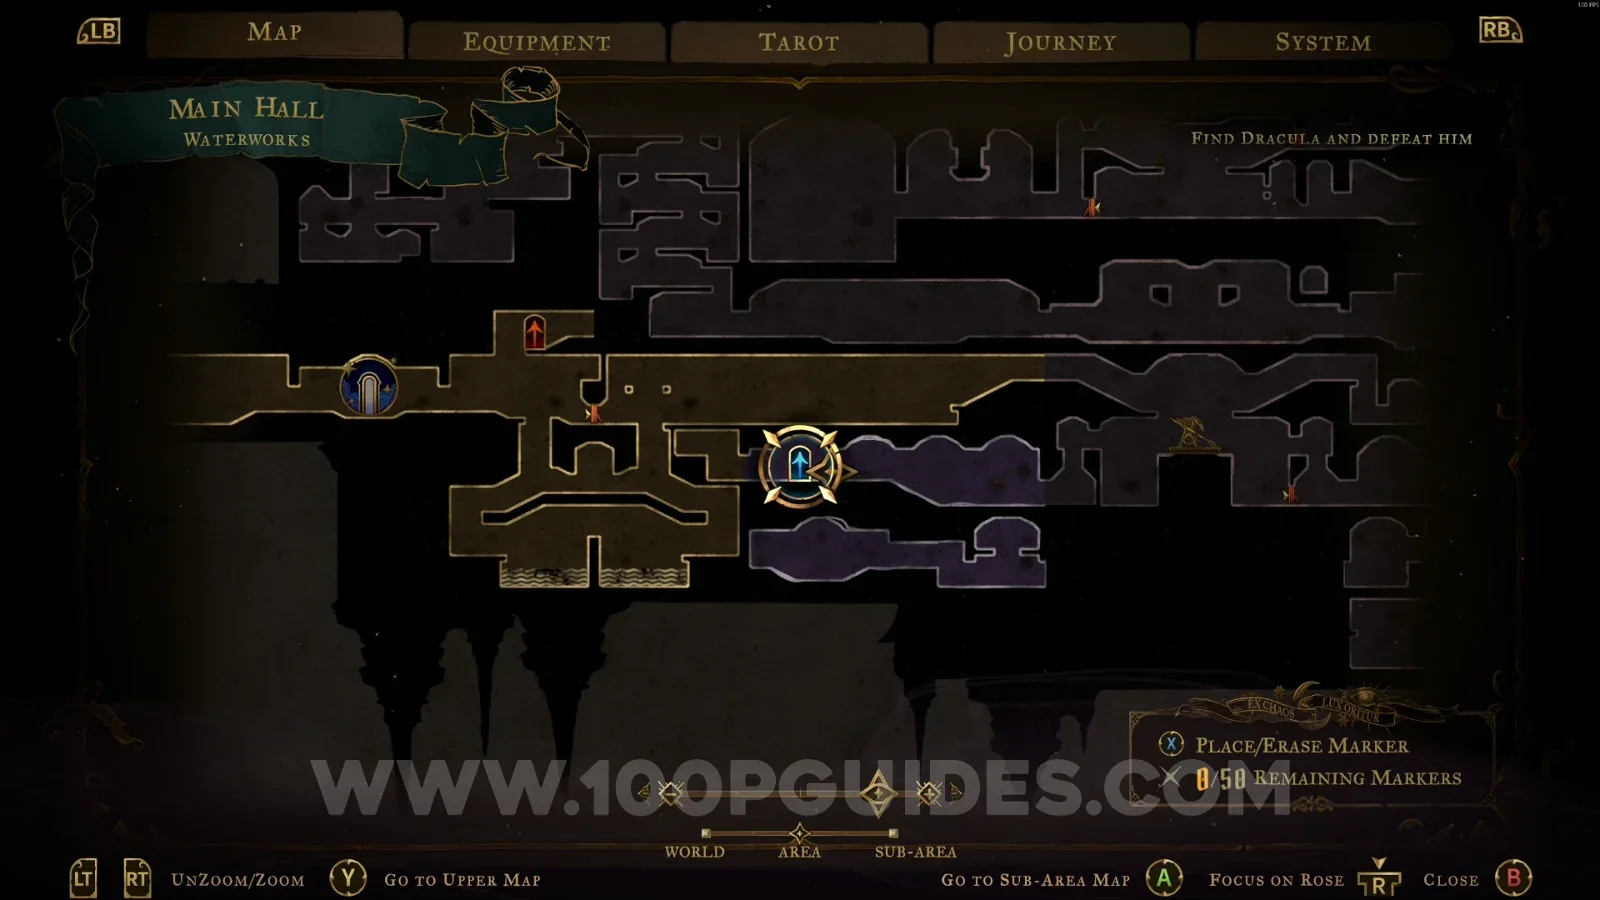
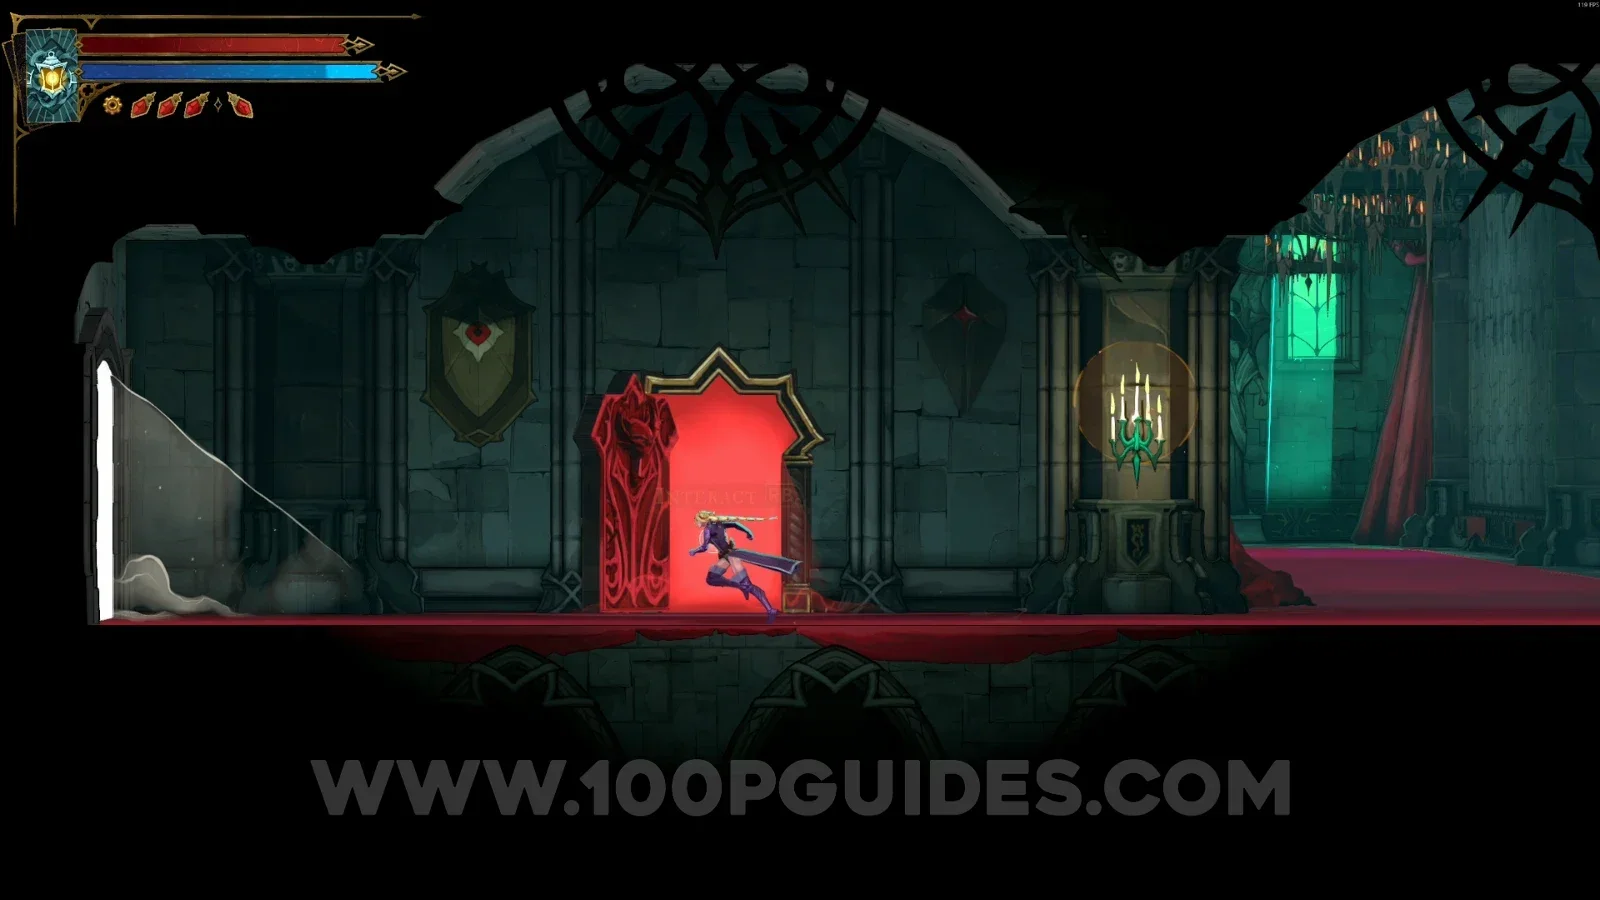
Castlevania Belmonts Curse Boudoirs: the door leading to the single path toward XP Statue #3 Castlevania Belmonts Curse Boudoirs: the area with the spinning saws on the way to XP Statue #3

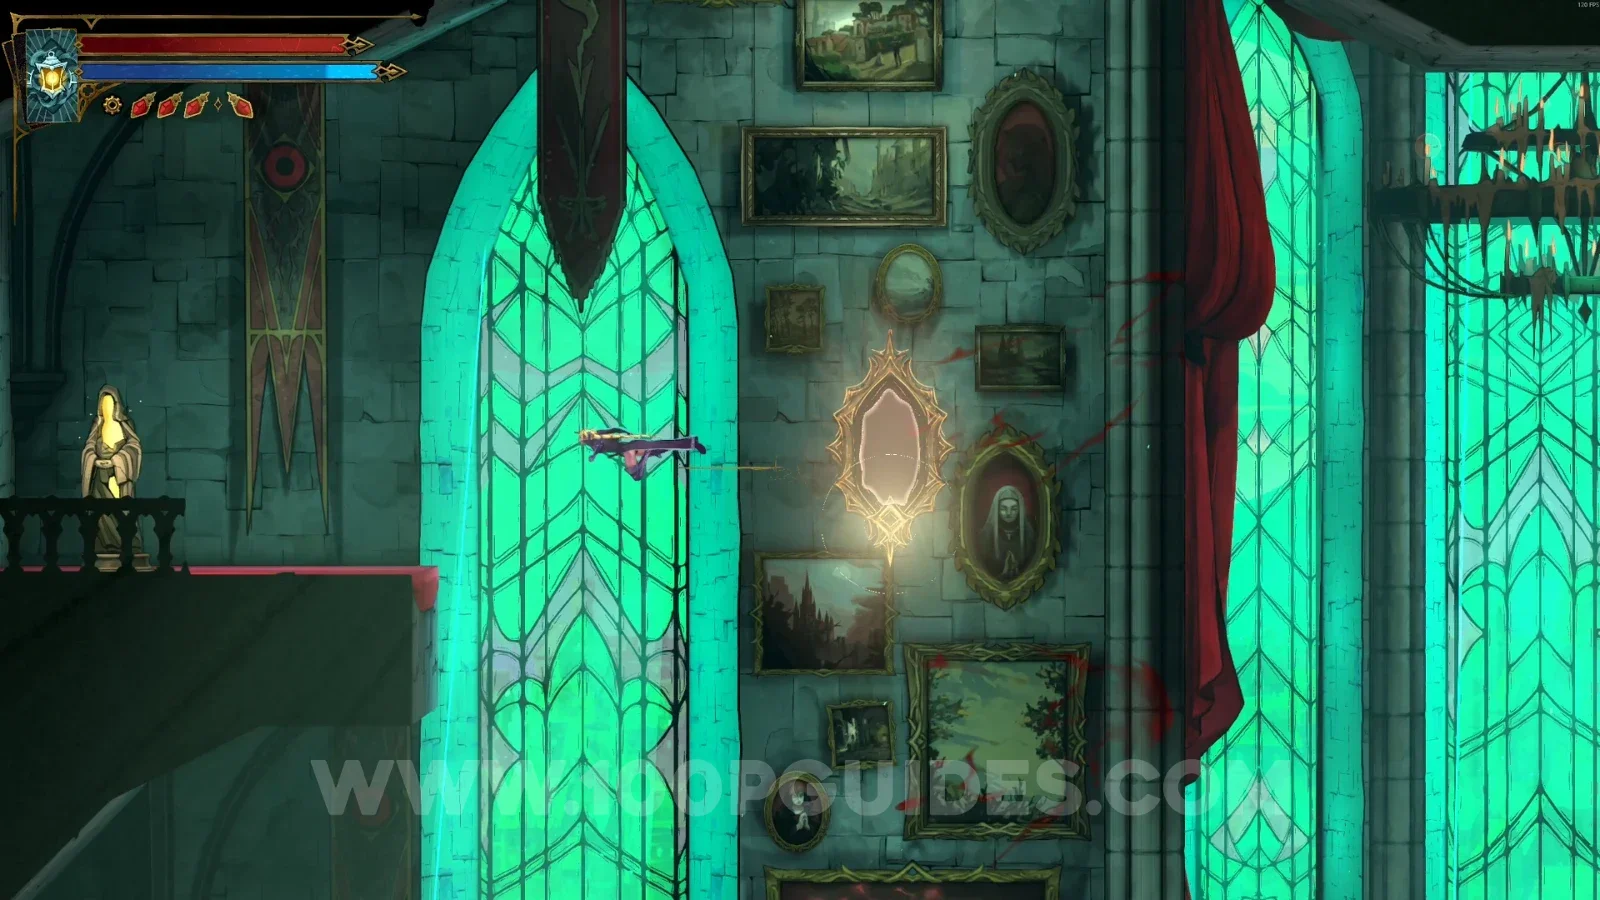
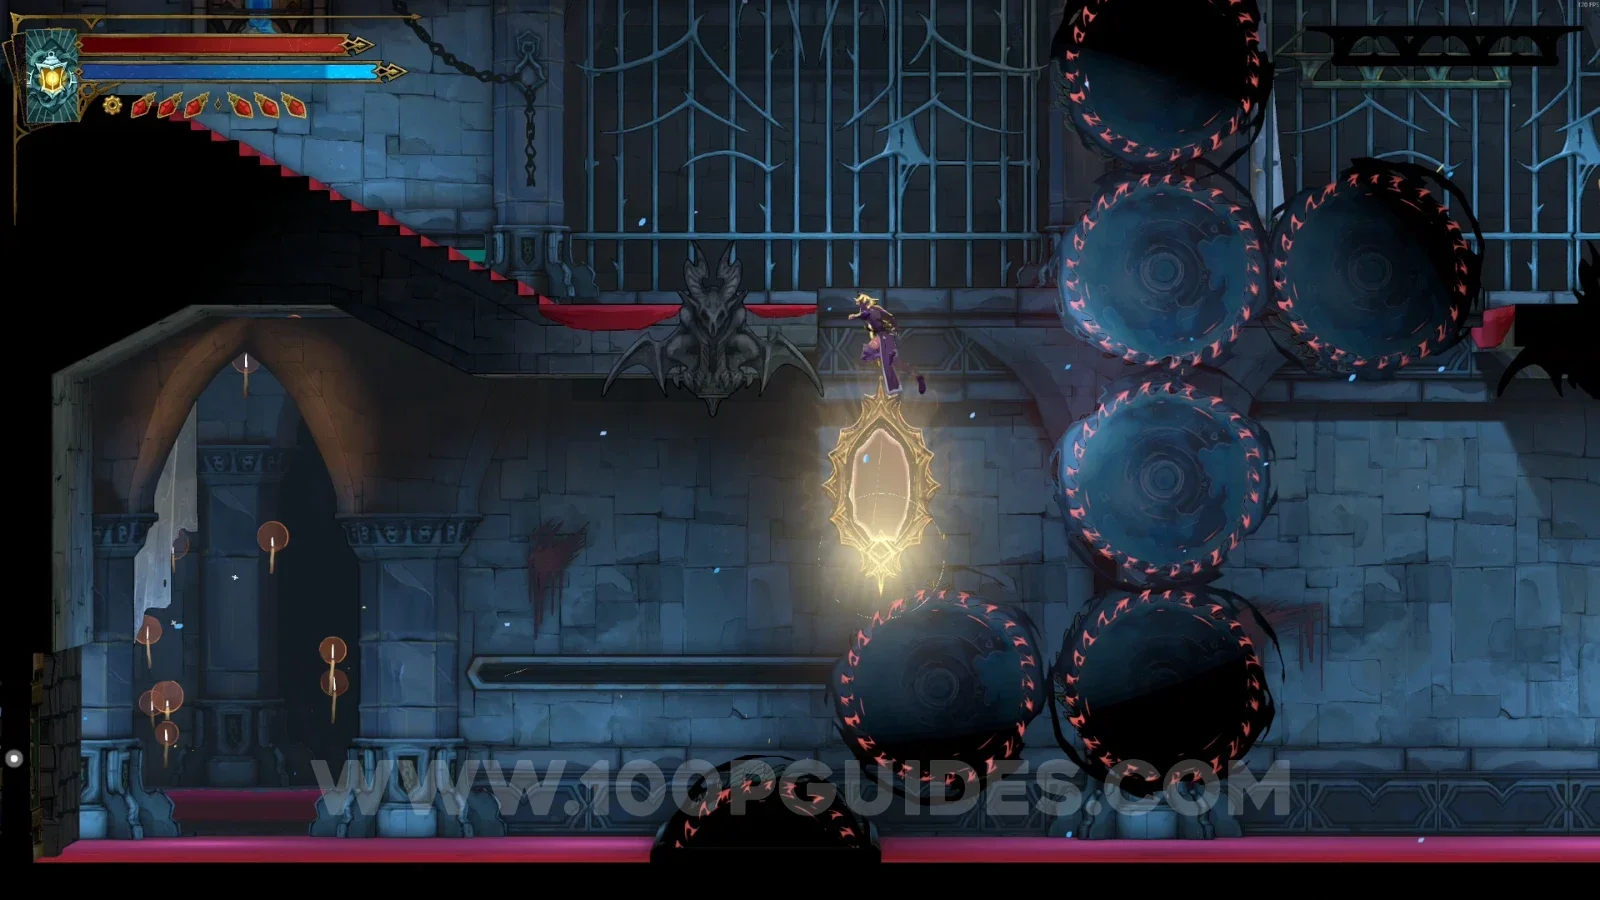
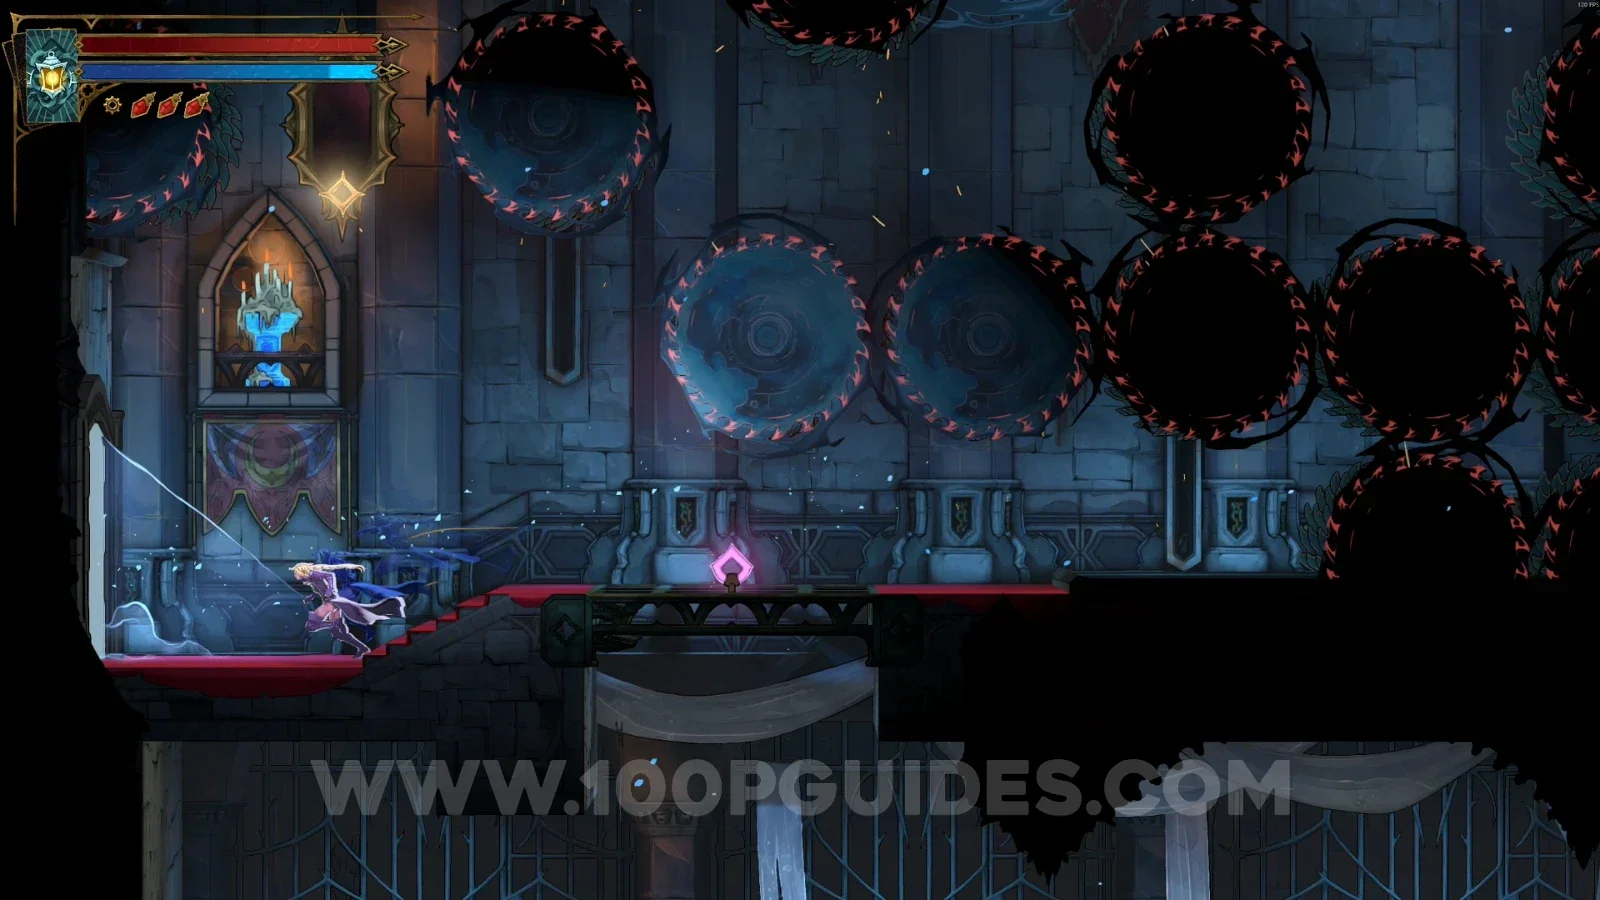
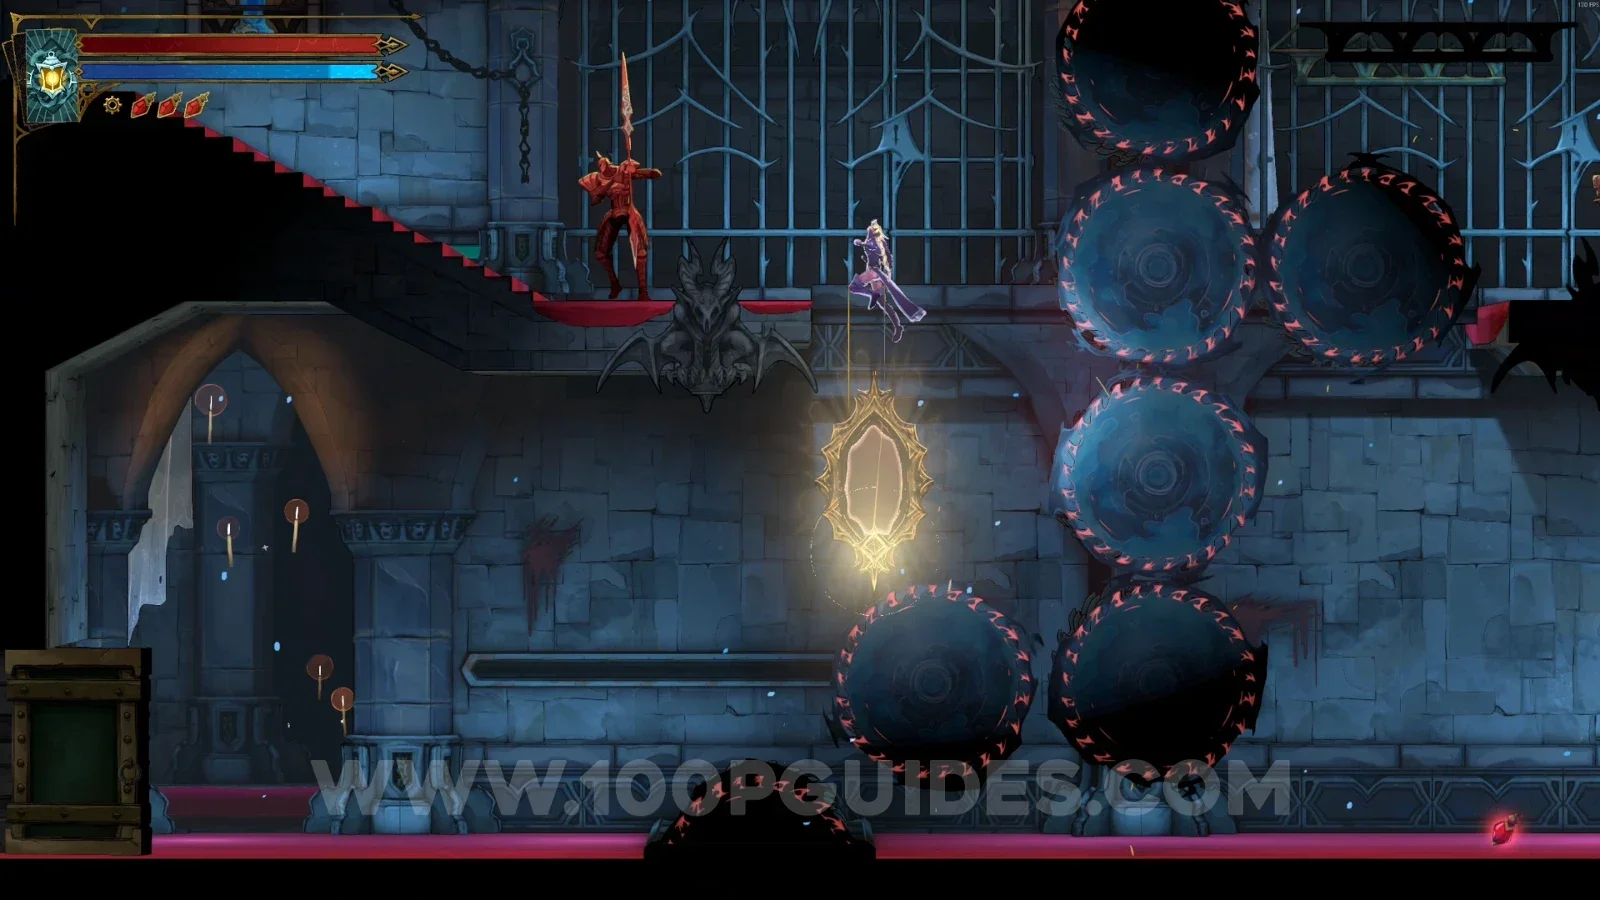
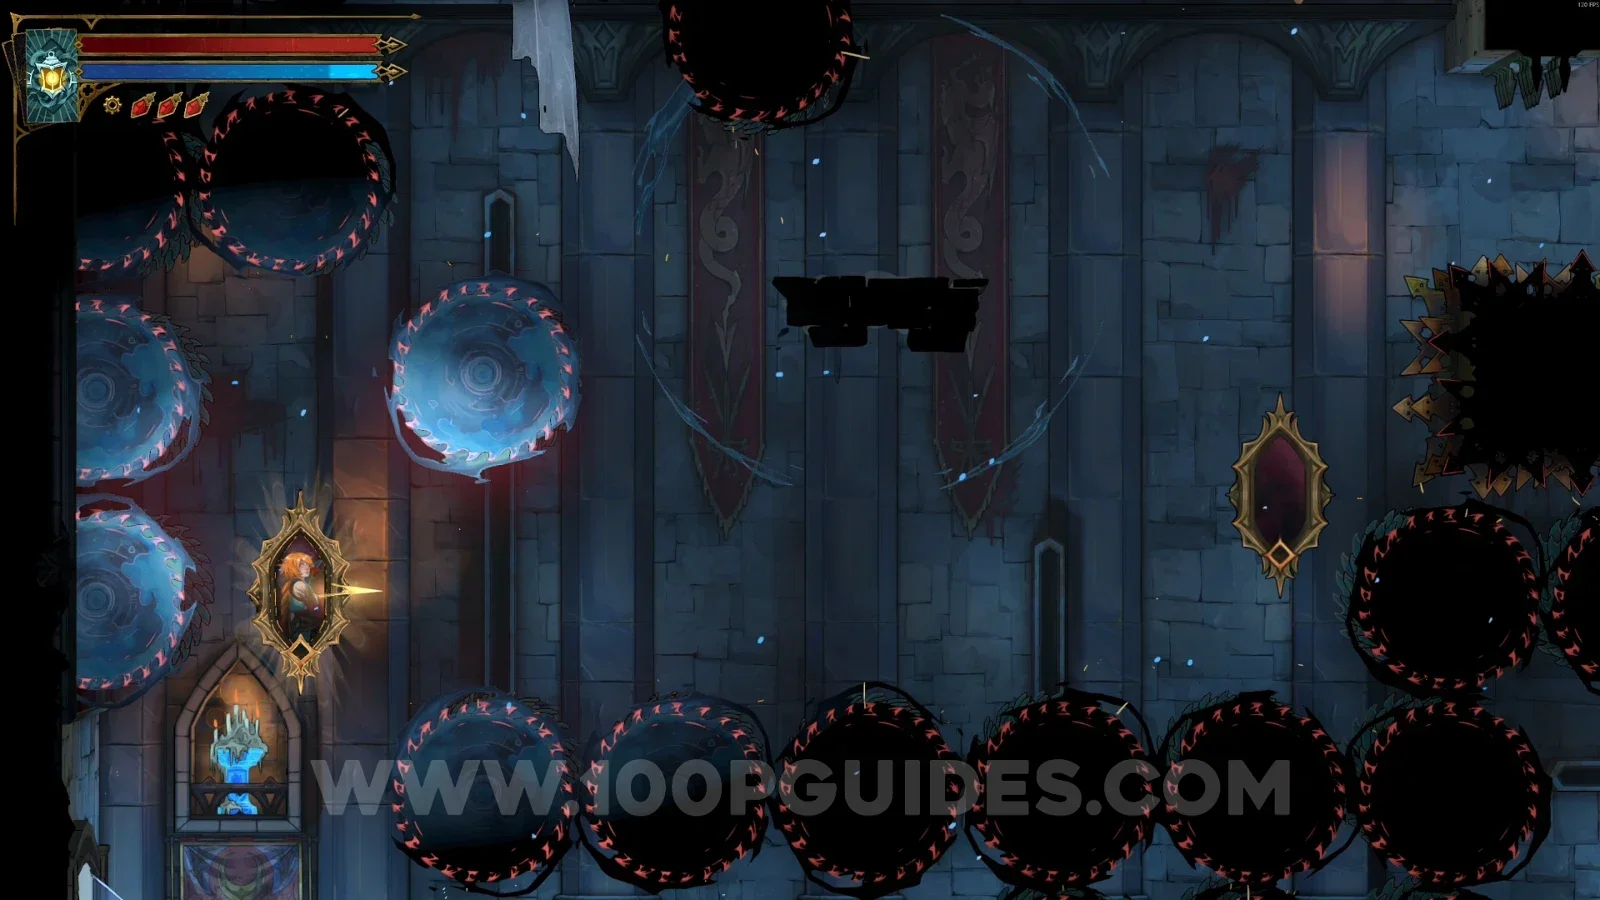
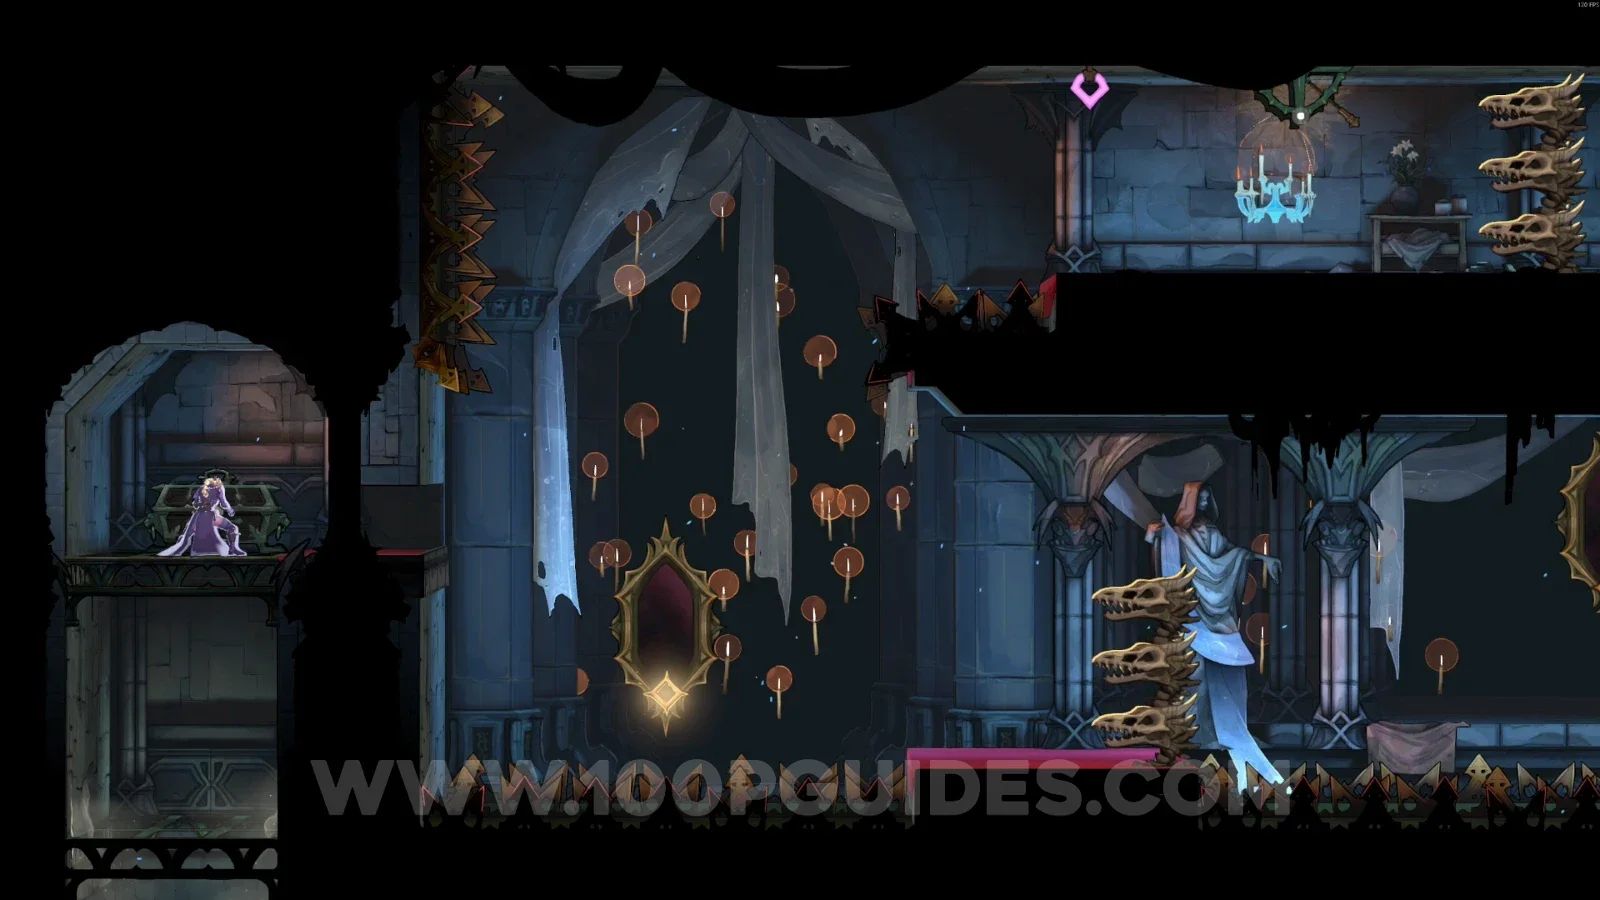
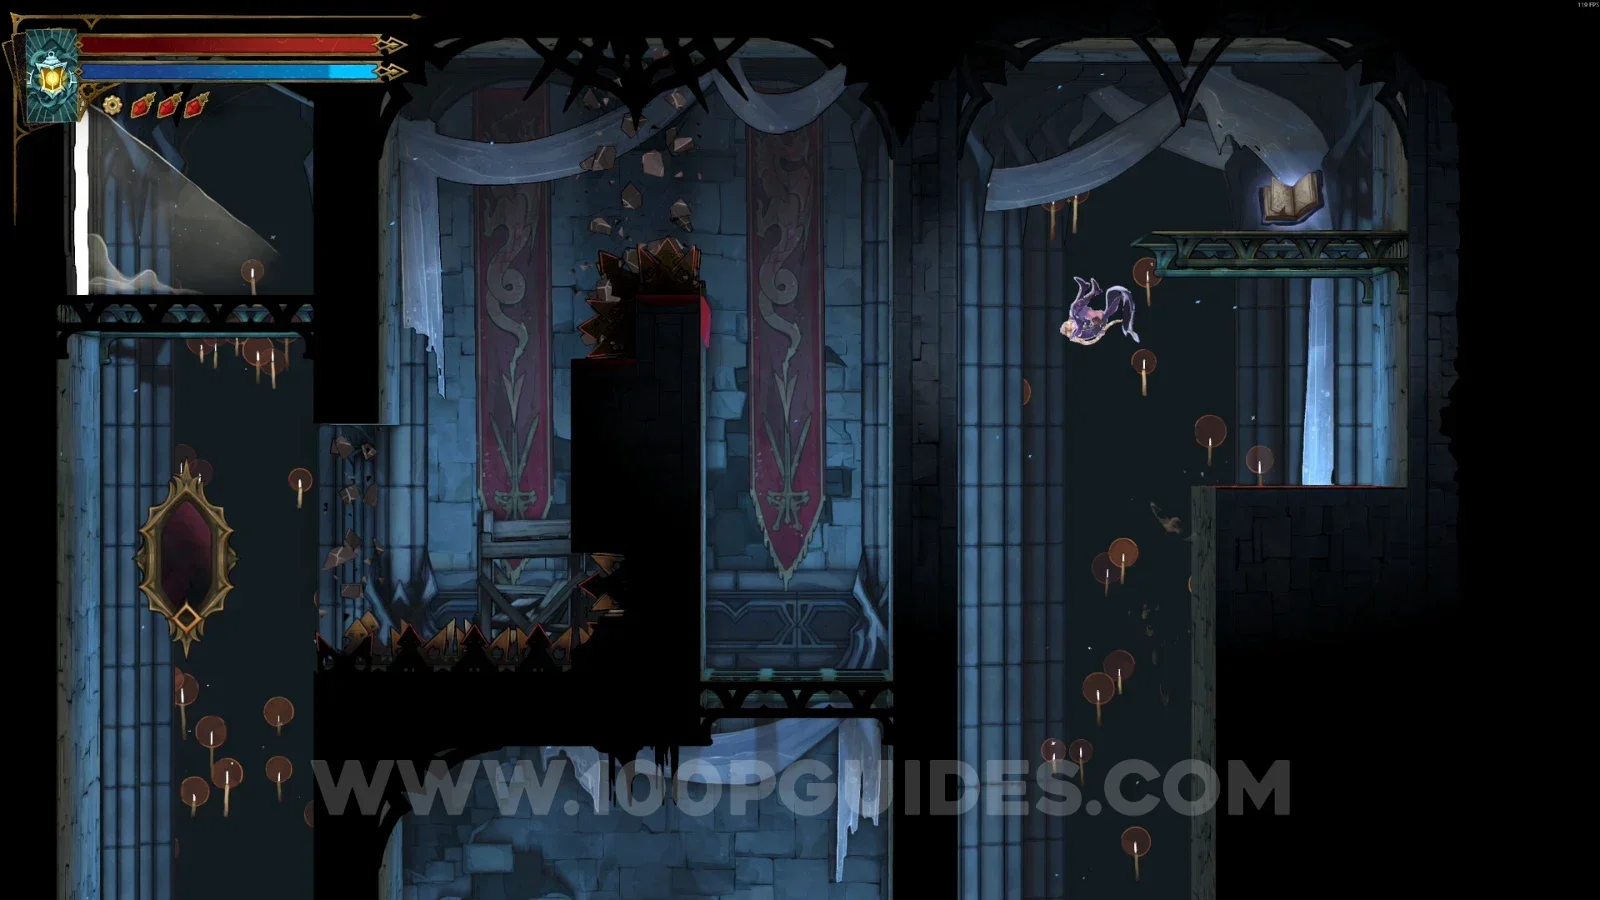
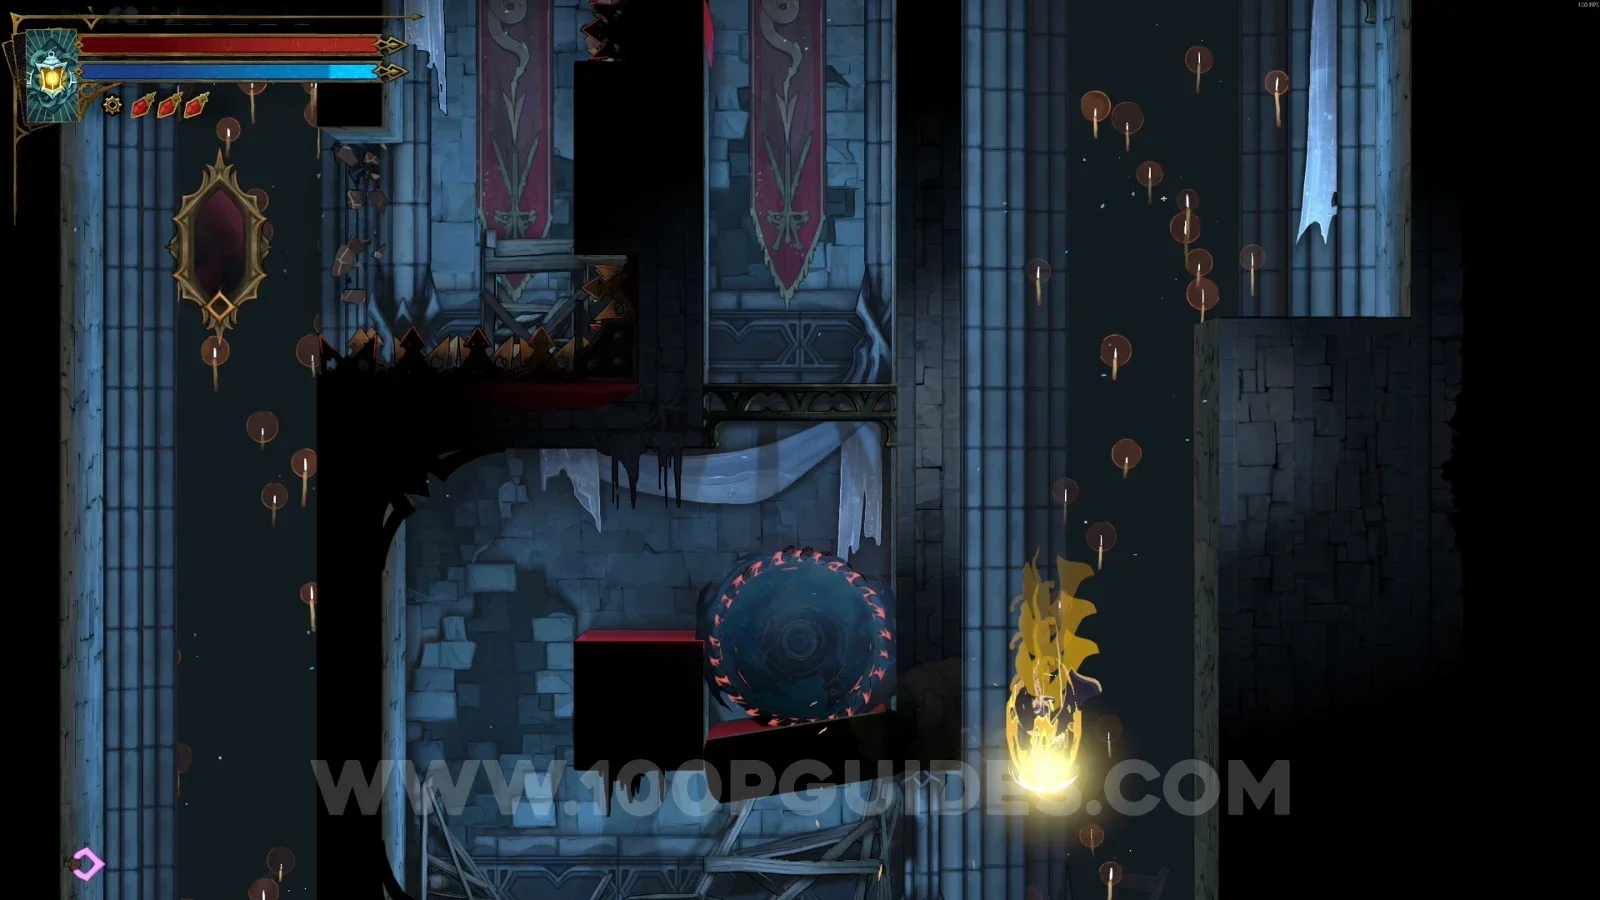
Use the paintings to get around the area and reach the door in the middle of the room.
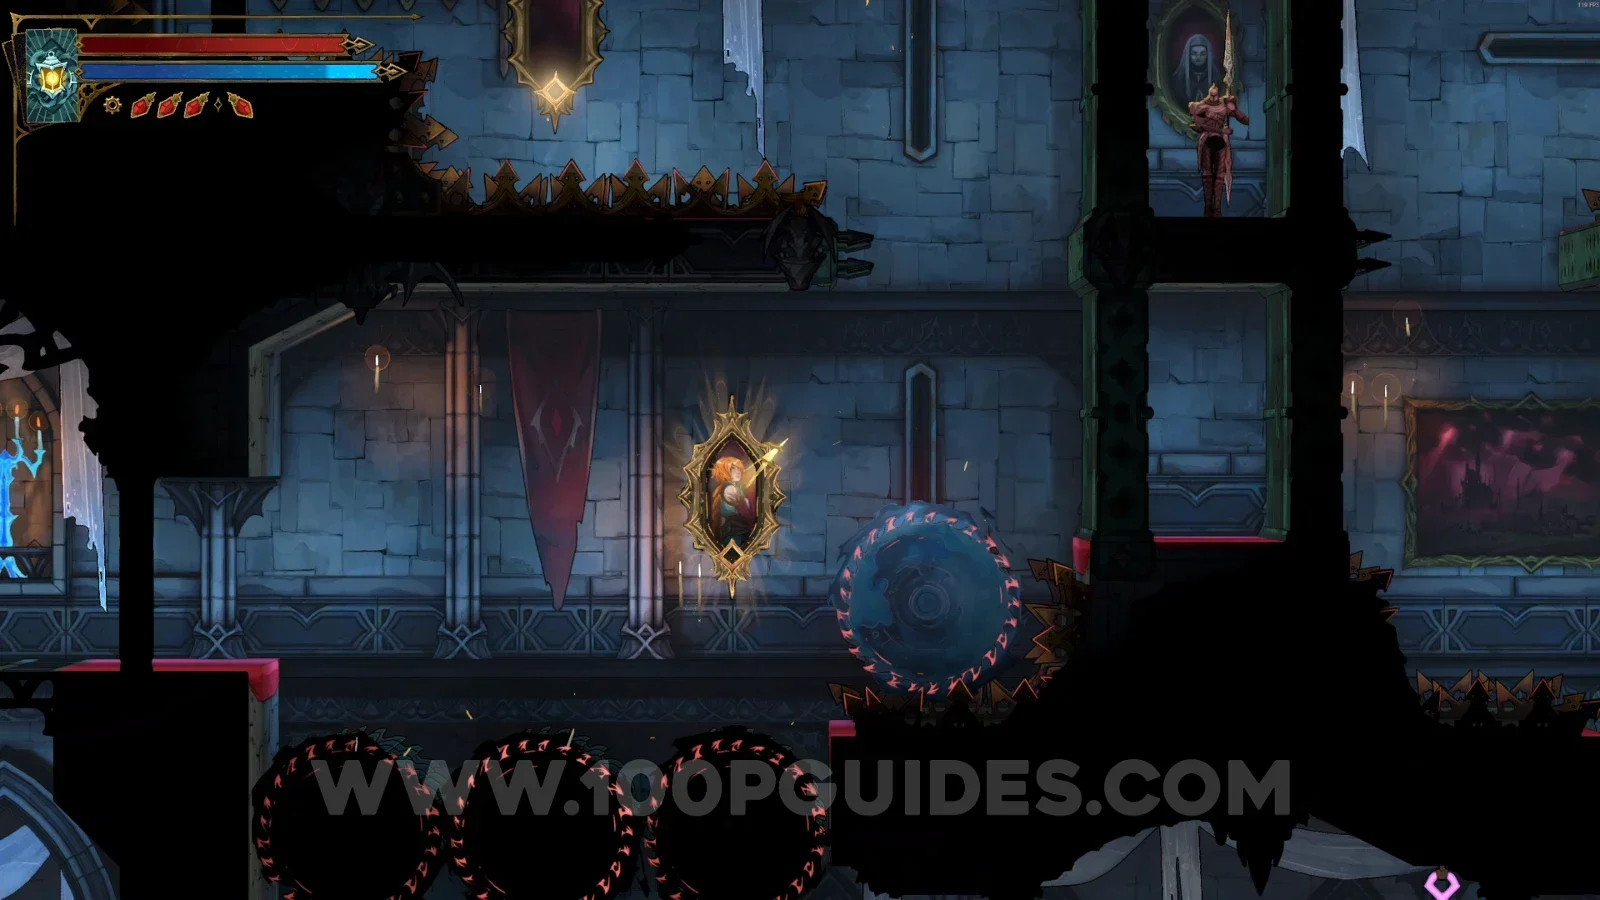
Castlevania Belmonts Curse Boudoirs: using the paintings to get around the spinning saw area Castlevania Belmonts Curse Boudoirs: the door in the middle of the room reached with the paintings

After going through the door, hit the gear to reveal the area below.
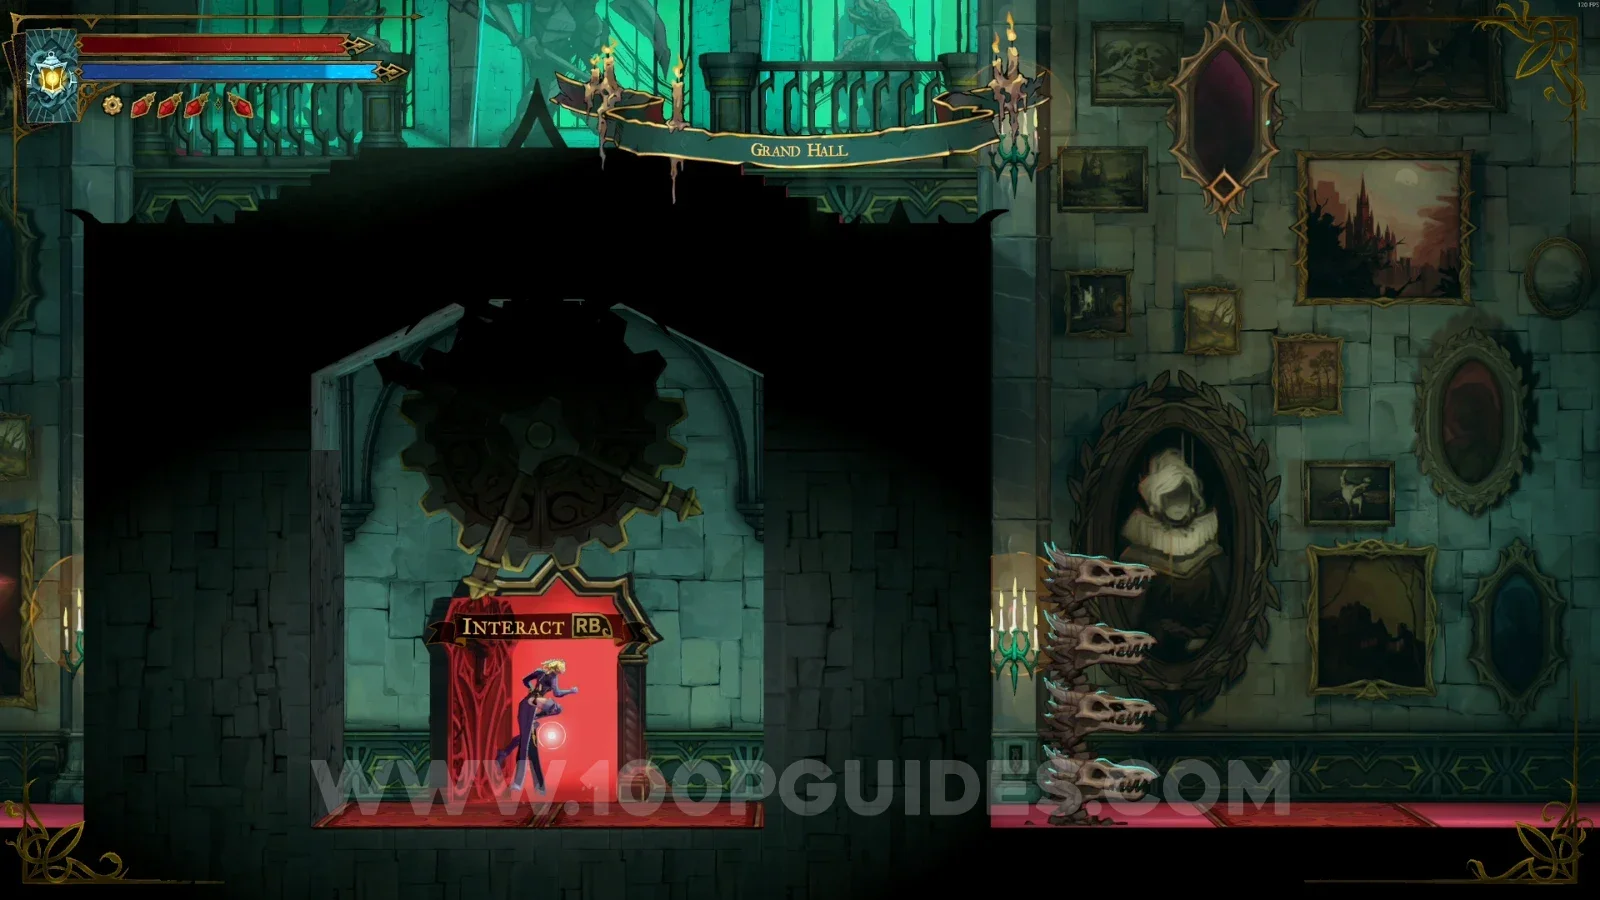
Castlevania Belmonts Curse Boudoirs: hitting the gear after going through the middle door Castlevania Belmonts Curse Boudoirs: the area below revealed by hitting the gear

From the previous area, go through the lower door on the left side. After going through it, jump into an invisible room next to the red door to reveal this statue.
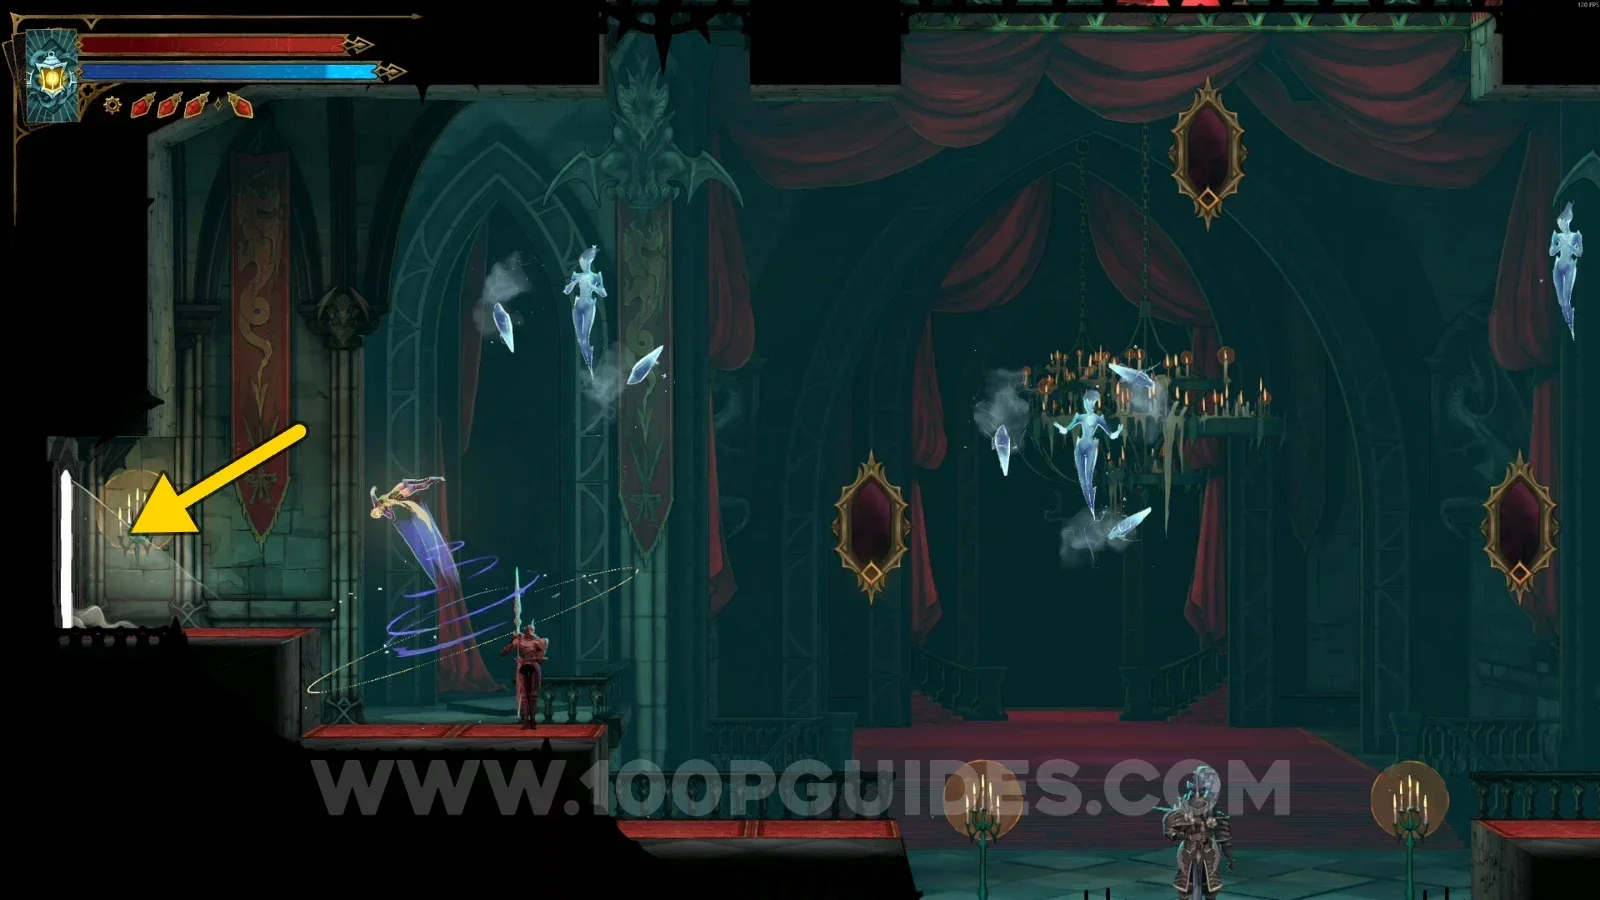
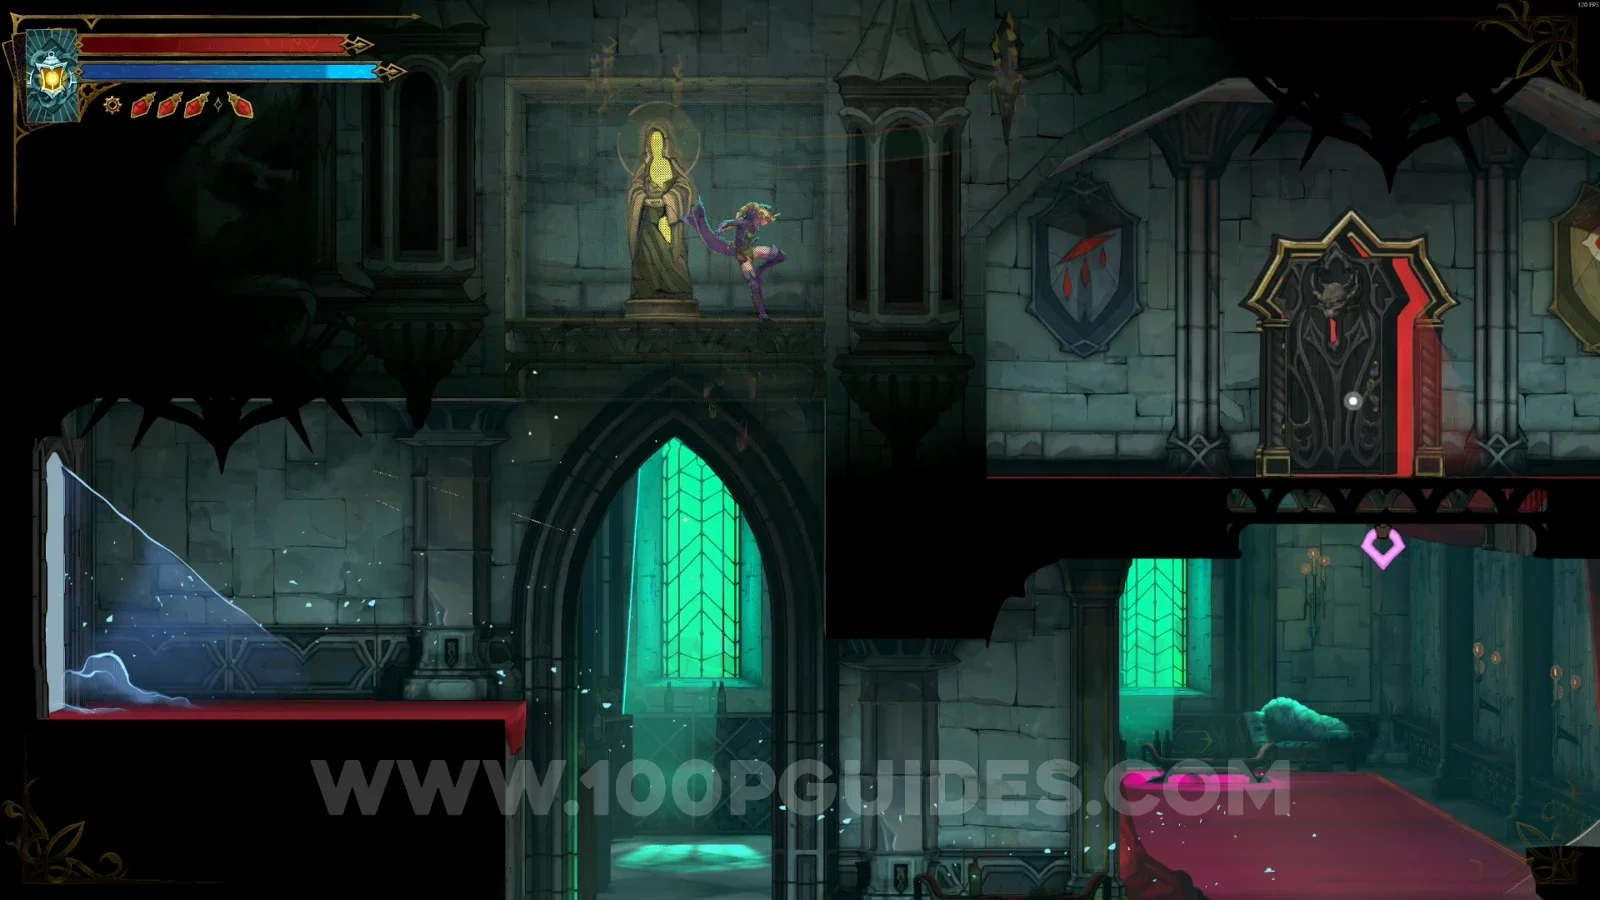
Castlevania Belmonts Curse Boudoirs: the lower door on the left side leading toward XP Statue #3 Castlevania Belmonts Curse Boudoirs: XP Statue #3 in the invisible room next to the red door

Mirror of Life #5

From the previous statue, go down and through the door on the left to find this.
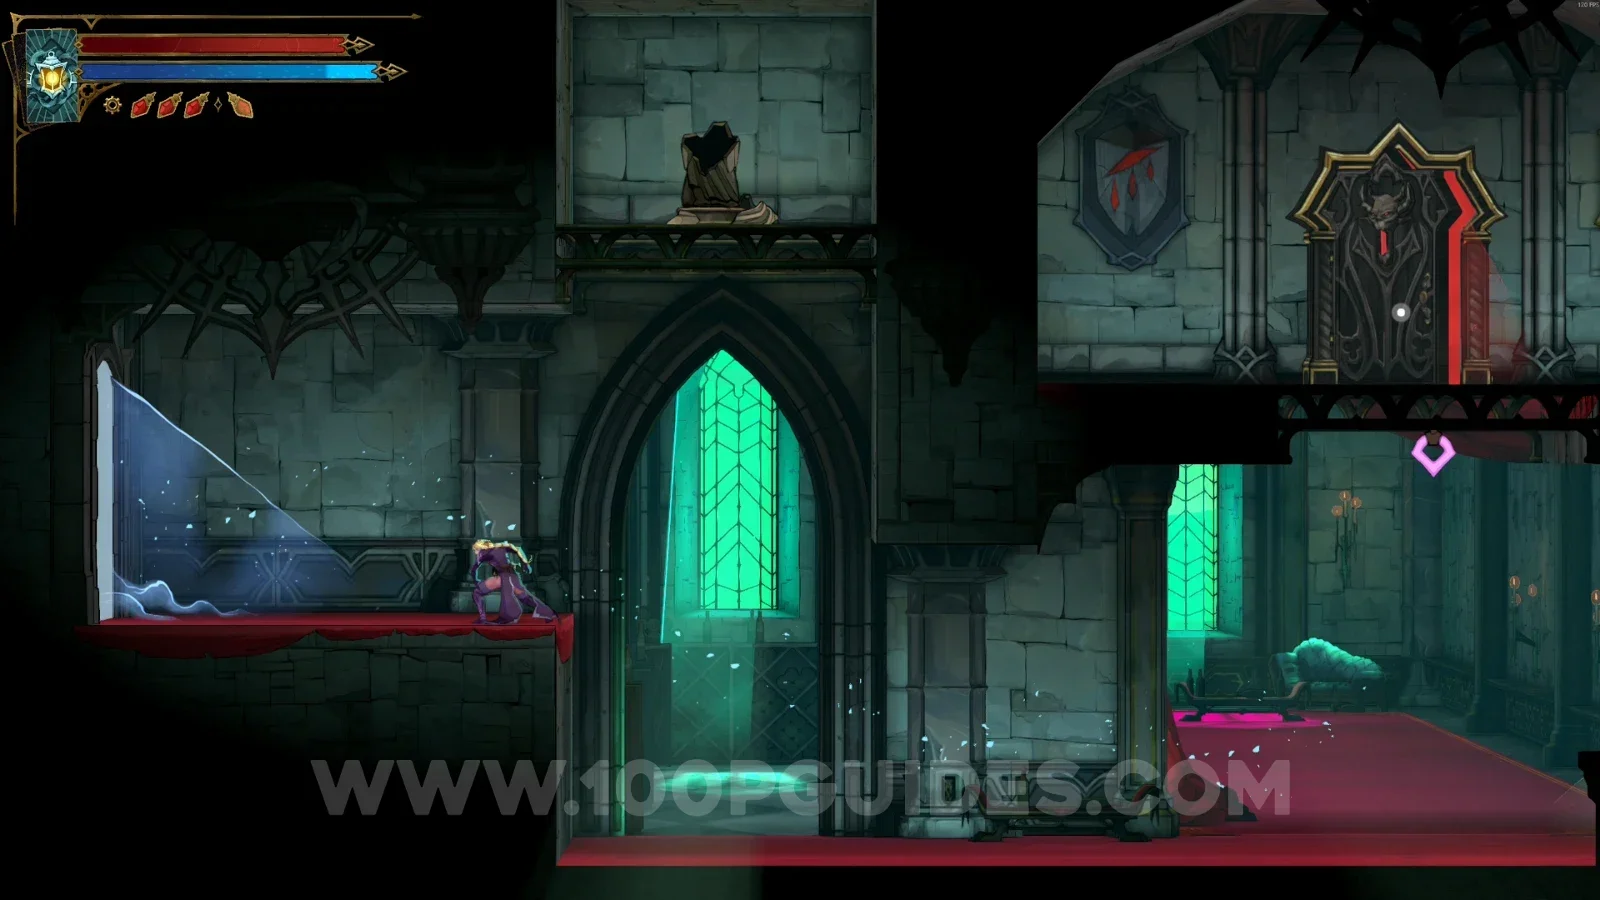
Castlevania Belmonts Curse Boudoirs: going down from XP Statue #3 to the door on the left Castlevania Belmonts Curse Boudoirs: Mirror Of Life #5 behind the door on the left

Grand Hall

XP Statue #4

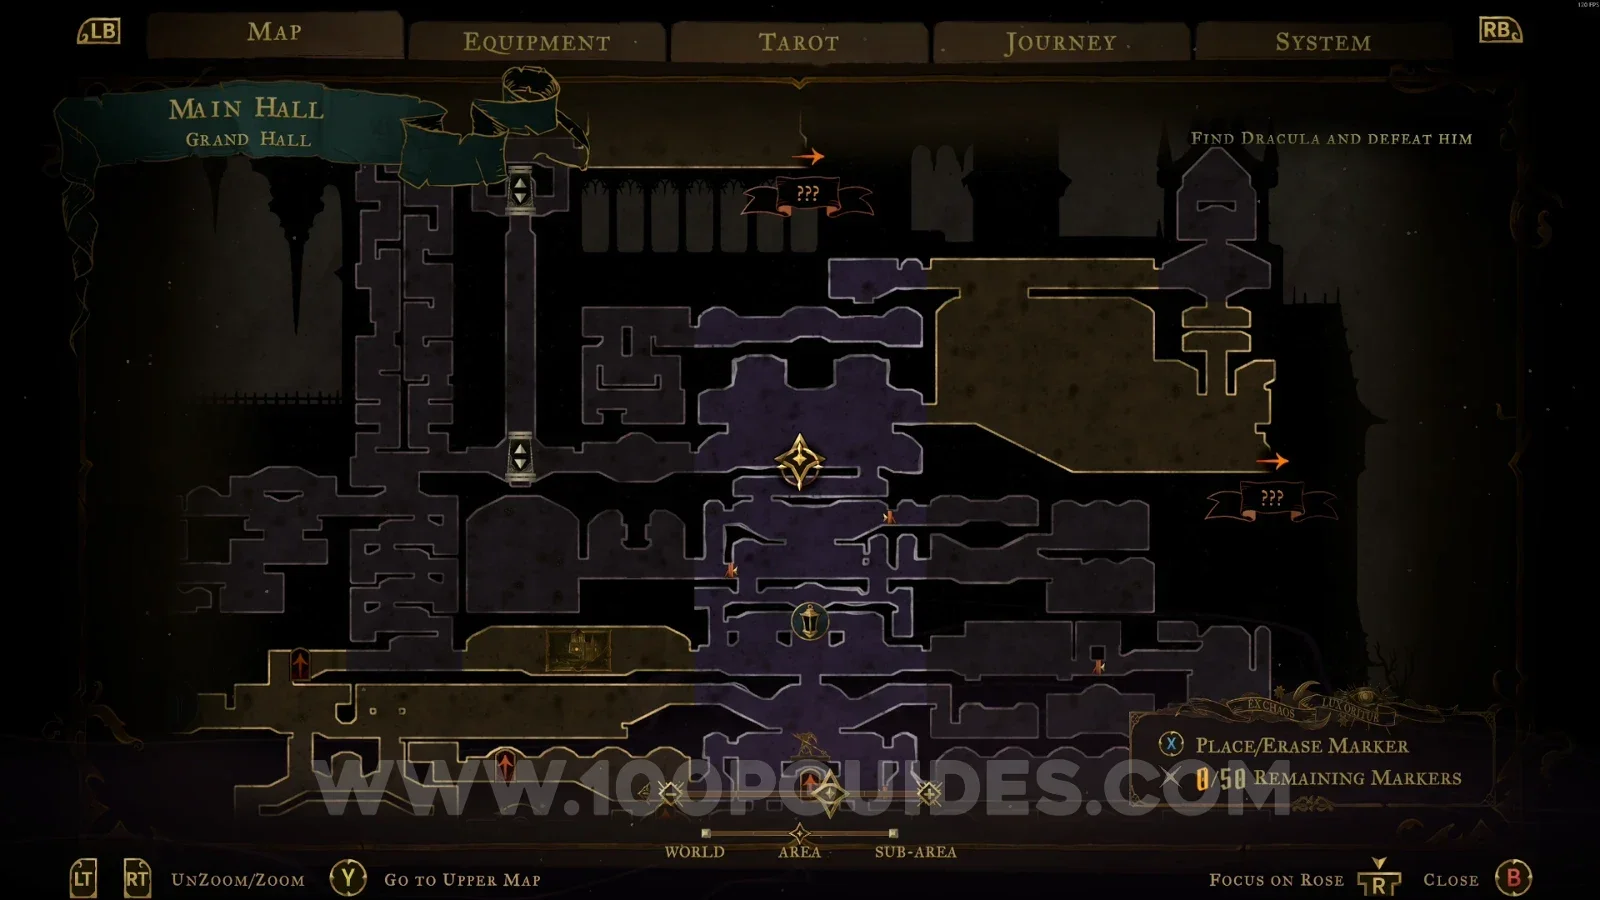
In the area marked on the map, on the left side.
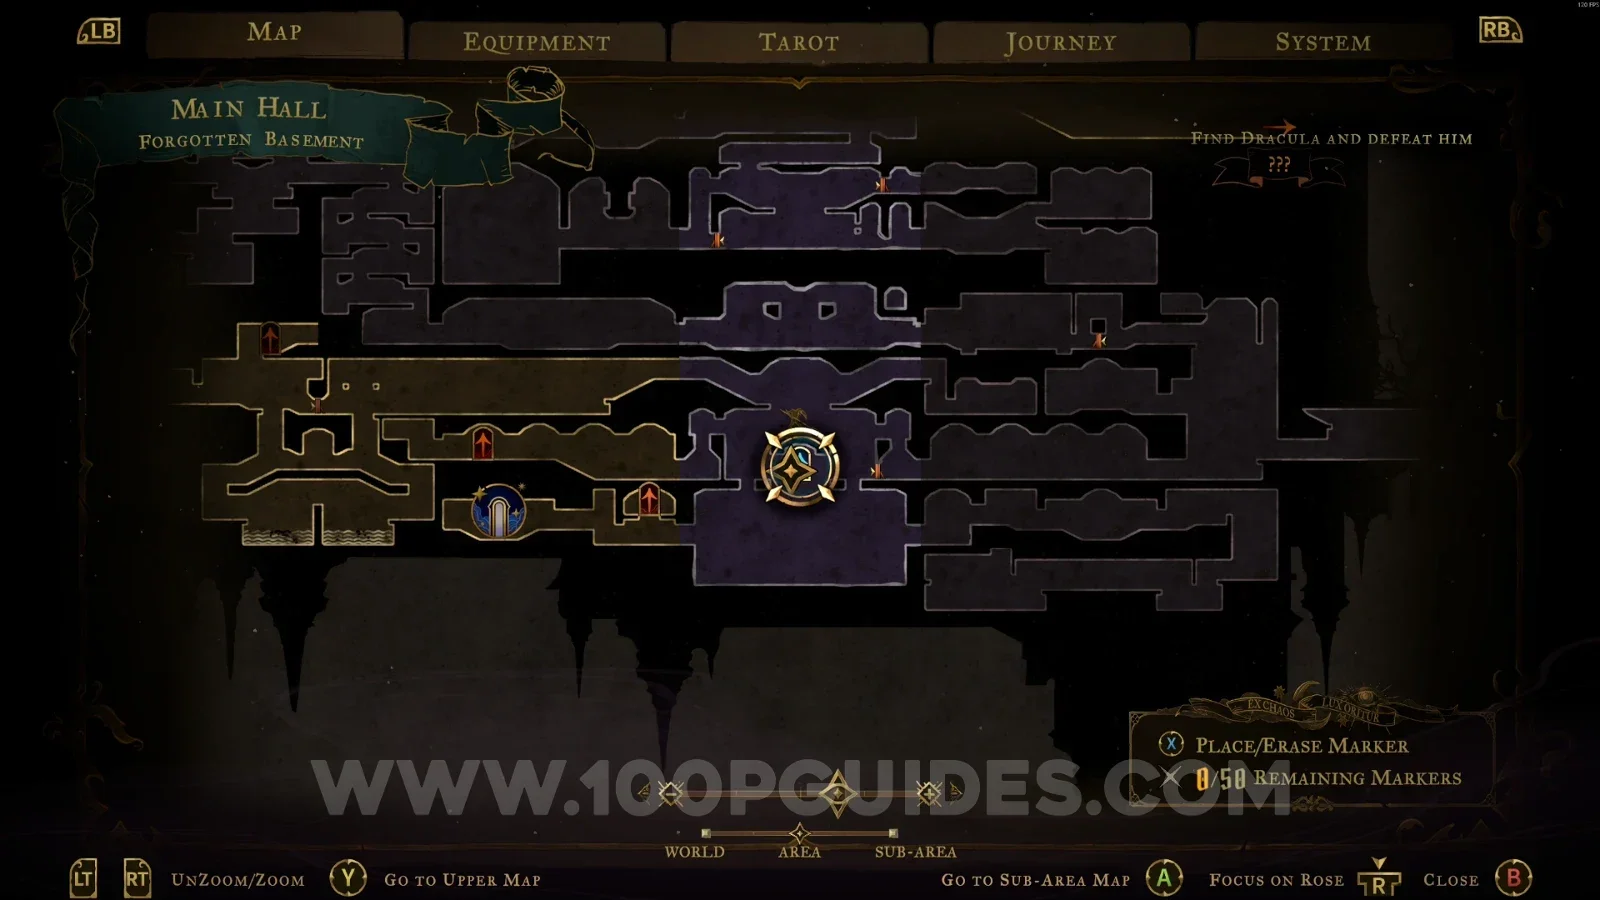
Castlevania Belmonts Curse Grand Hall: map location of XP Statue #4 Castlevania Belmonts Curse Grand Hall: XP Statue #4 on the left side of the marked area

XP Statue #5

In the area marked on the map, on the right side.

Castlevania Belmonts Curse Grand Hall: map location of XP Statue #5 Castlevania Belmonts Curse Grand Hall: XP Statue #5 on the right side of the marked area

XP Statue #6

In the area marked on the map, on the right side.

Castlevania Belmonts Curse Grand Hall: map location of XP Statue #6 Castlevania Belmonts Curse Grand Hall: XP Statue #6 on the right side of the marked area

XP Statue #7

In the area marked on the map, on the left side.
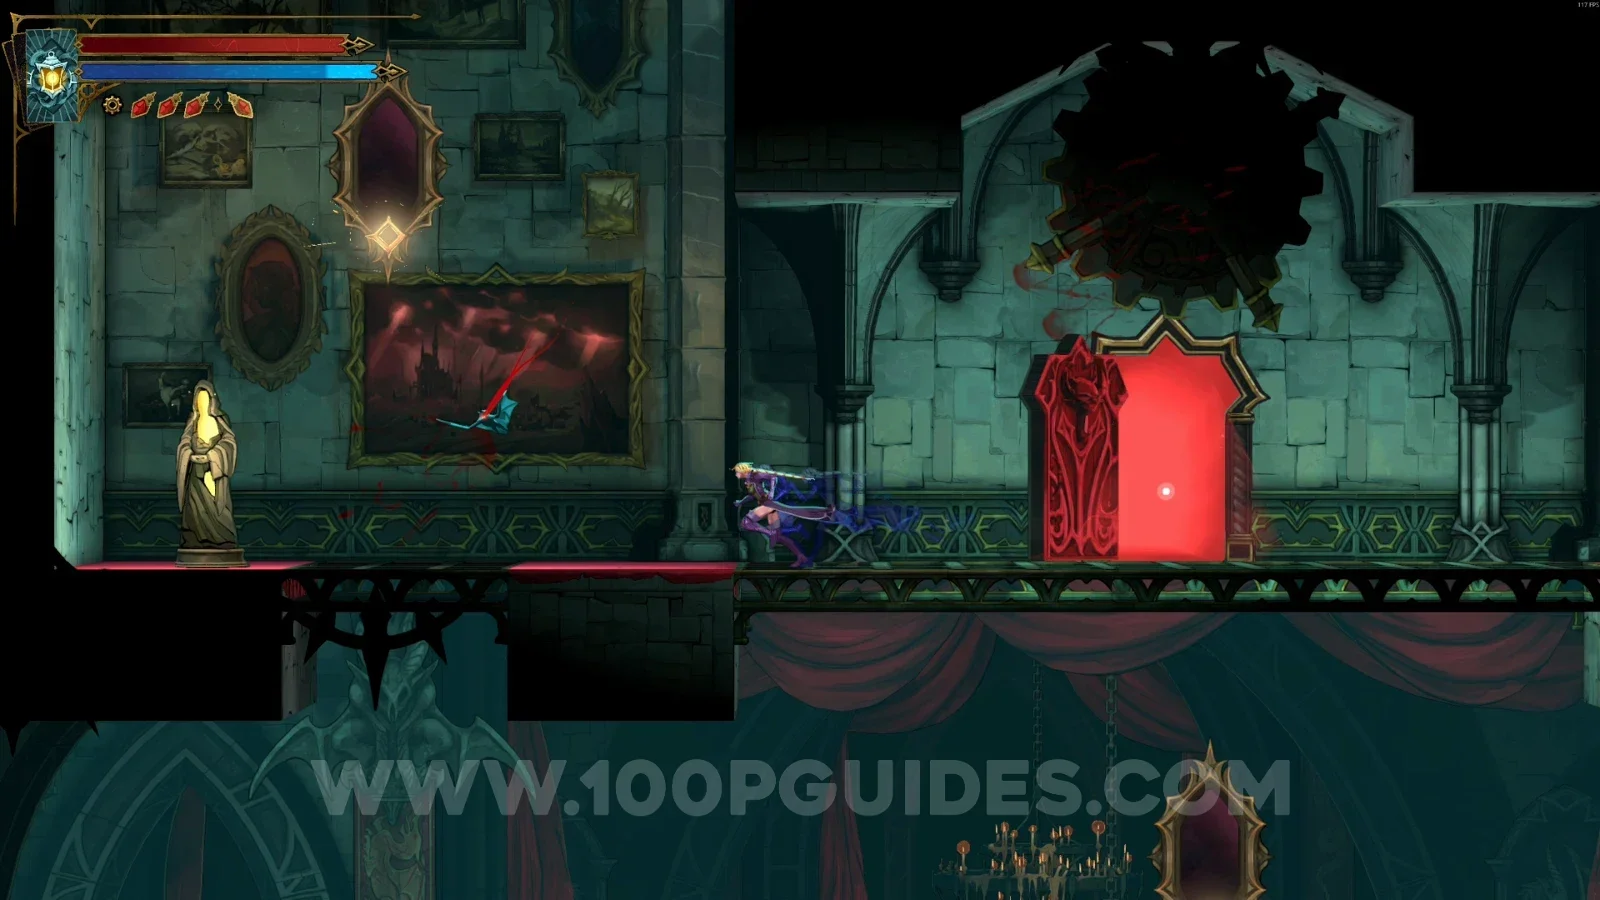
Castlevania Belmonts Curse Grand Hall: map location of XP Statue #7 Castlevania Belmonts Curse Grand Hall: XP Statue #7 on the left side of the marked area

XP Statue #8

Use the mirrors to launch yourself to the top on the left side of the area.

Castlevania Belmonts Curse Grand Hall: using the mirrors to launch to the top on the left side Castlevania Belmonts Curse Grand Hall: XP Statue #8 at the top on the left side of the area

XP Statue #9 - #10

Go back to the Entrance Corridor and through the red door.

Castlevania Belmonts Curse Grand Hall: map location of the Entrance Corridor red door for XP Statues #9 and #10 Castlevania Belmonts Curse Entrance Corridor: going through the red door toward XP Statues #9 and #10

In the next area, head right and climb up. There will be two rooms you can enter, a lower one and an upper one. Go into the upper one. In the next room with the levers, you'll also have to go through the door above.

Castlevania Belmonts Curse Grand Hall: climbing right to the upper of the two rooms Castlevania Belmonts Curse Grand Hall: the door above in the room with the levers

Follow the single path, go through the red door, and interact with the gear to open shortcuts in the Grand Hall.

Castlevania Belmonts Curse Grand Hall: the red door at the end of the single path Castlevania Belmonts Curse Grand Hall: interacting with the gear to open shortcuts in the Grand Hall

Go back through the red door and climb the platform. In this area, you'll find one statue on the right side and another on the left side inside a secret room.

Castlevania Belmonts Curse Grand Hall: the XP Statue on the right side after climbing the platform Castlevania Belmonts Curse Grand Hall: the second XP Statue inside a secret room on the left side

XP Statue #11

From the area marked on the map, go down and through the door. On the other side, climb the platforms and head left, and you'll see this statue in front of you.

Castlevania Belmonts Curse Grand Hall: map location of the door below leading to XP Statue #11 Castlevania Belmonts Curse Grand Hall: climbing the platforms and heading left toward XP Statue #11 Castlevania Belmonts Curse Grand Hall: XP Statue #11 in front of you after heading left

XP Statue #12

In the area marked on the map, go down and through the red door. On the other side, climb the platforms and head left.

Castlevania Belmonts Curse Grand Hall: map location of the red door below leading to XP Statue #12 Castlevania Belmonts Curse Grand Hall: climbing the platforms and heading left past the red door

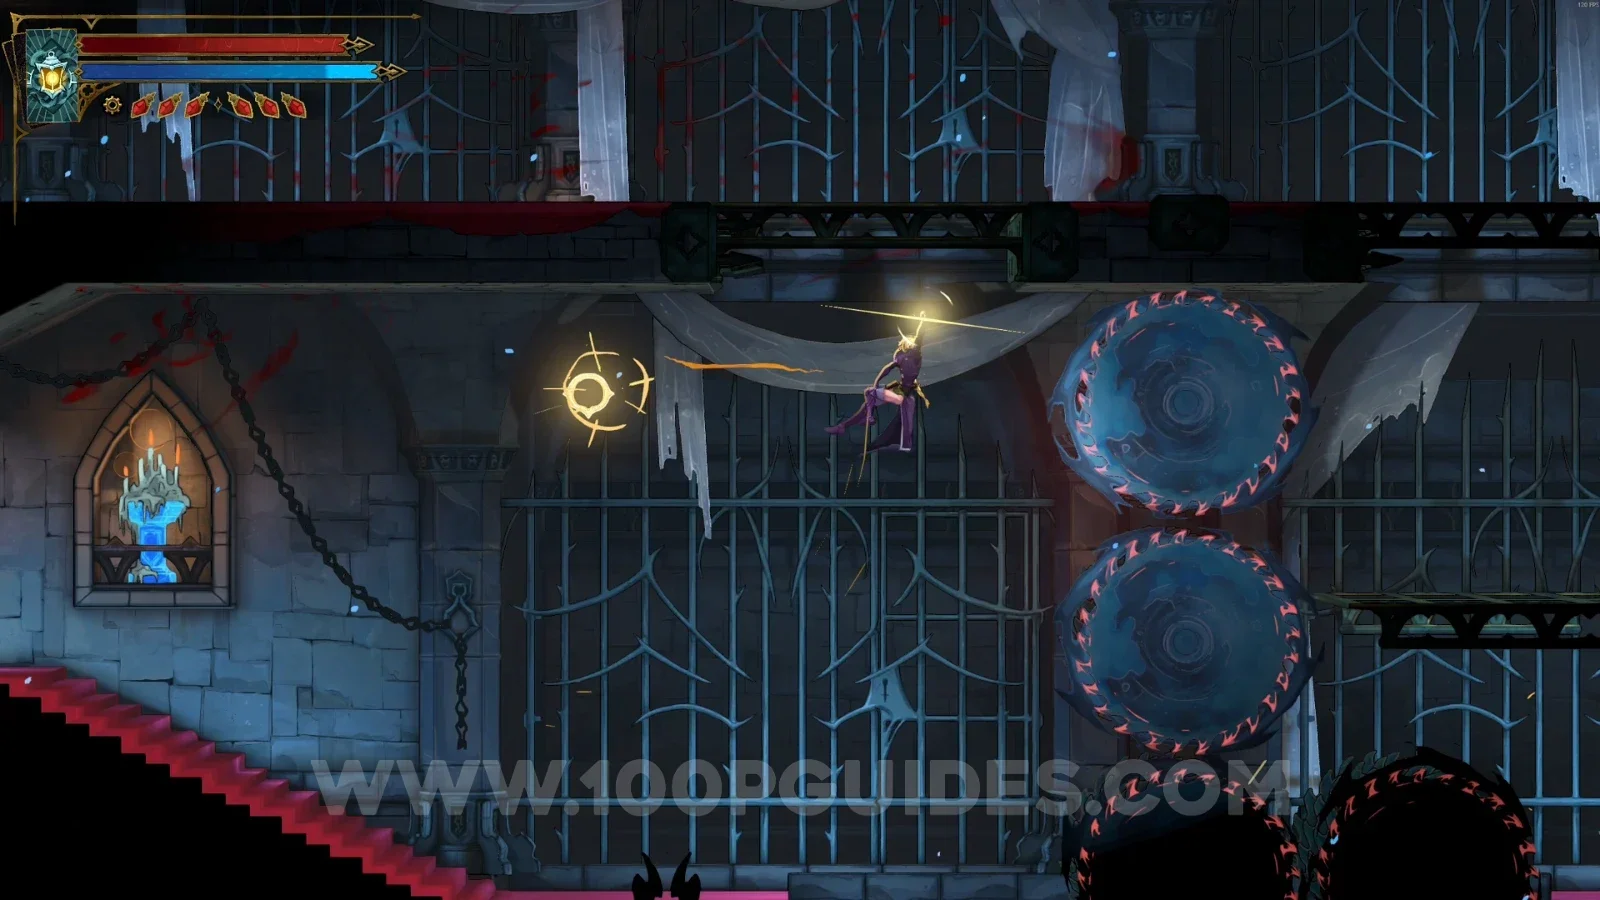
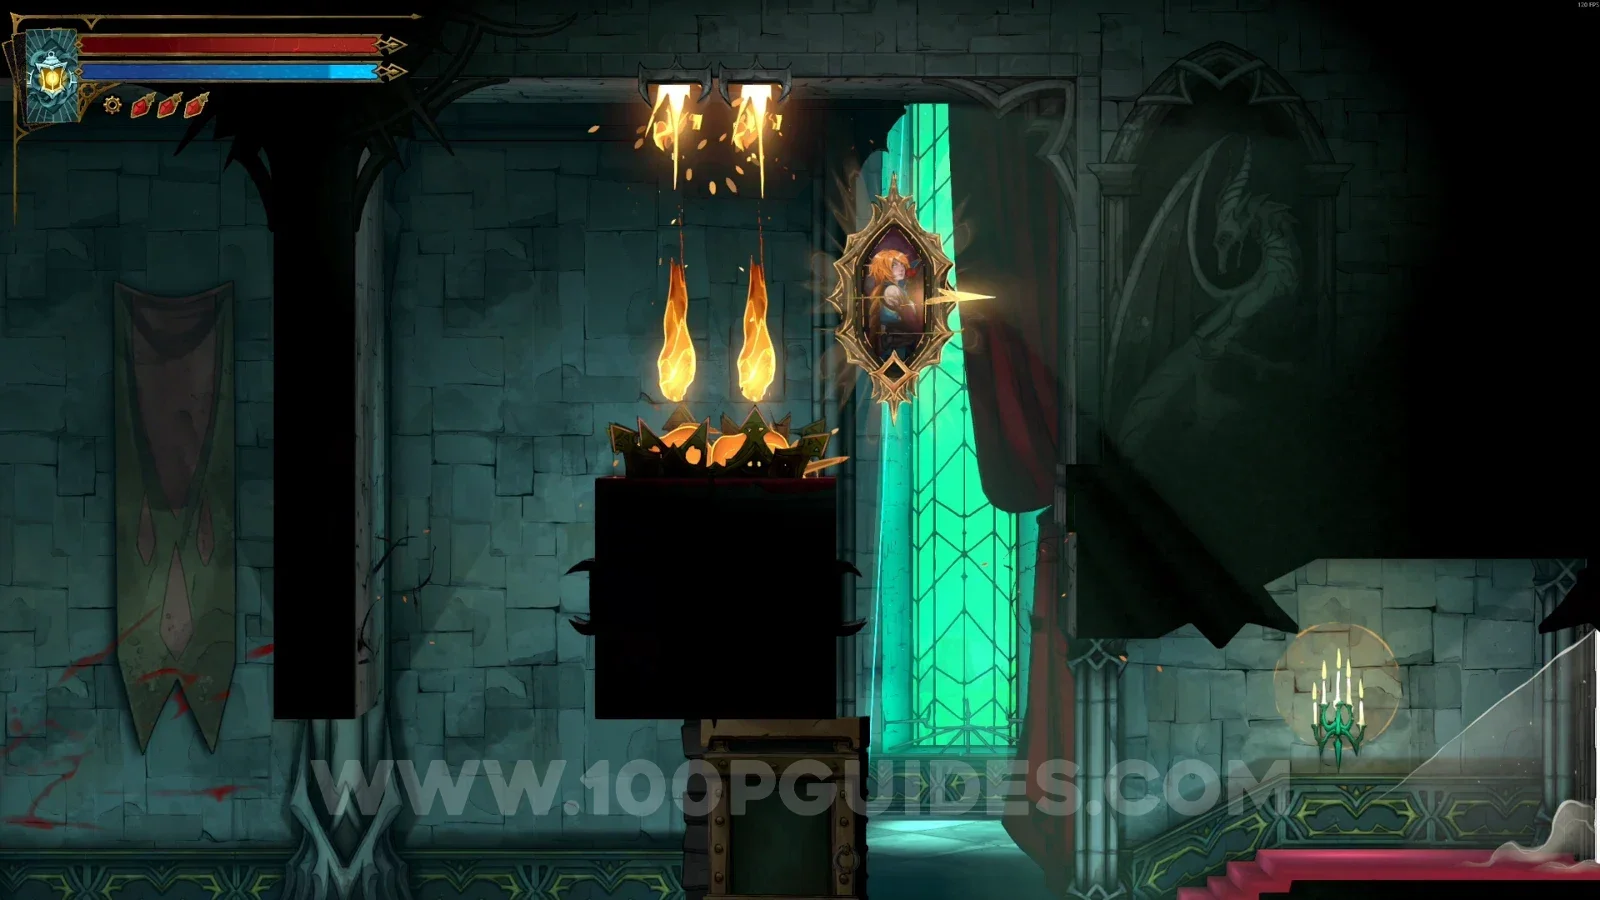
Use the painting to launch yourself upward, then use the Arcane Whip to climb to another platform above.

Castlevania Belmonts Curse Grand Hall: using the painting to launch upward toward XP Statue #12 Castlevania Belmonts Curse Grand Hall: using the Arcane Whip to climb to the platform above

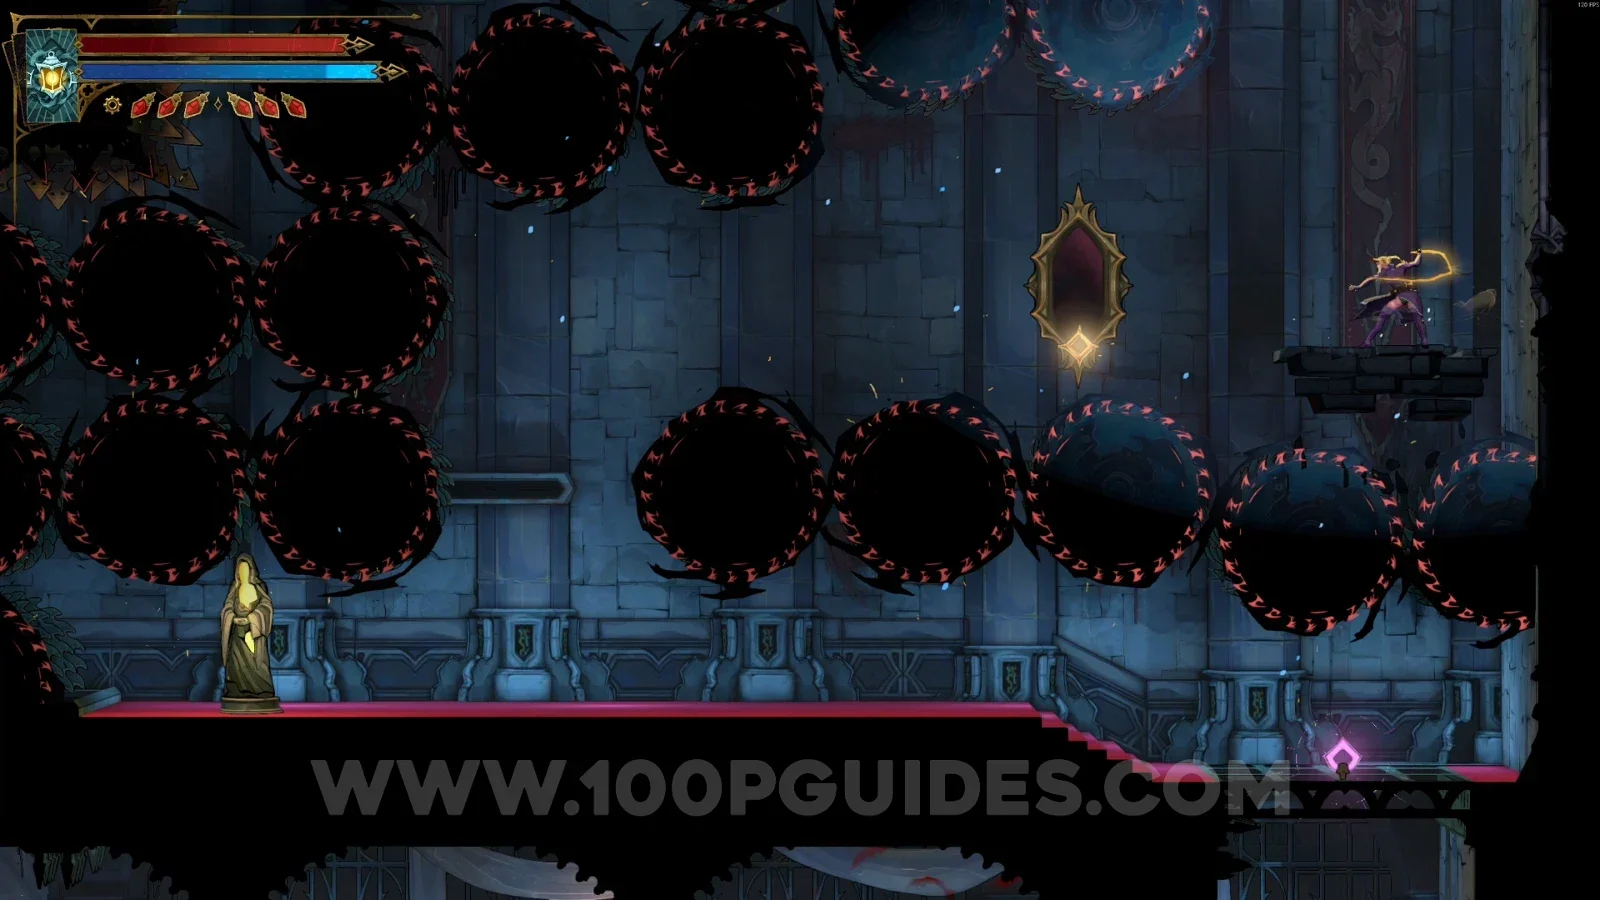
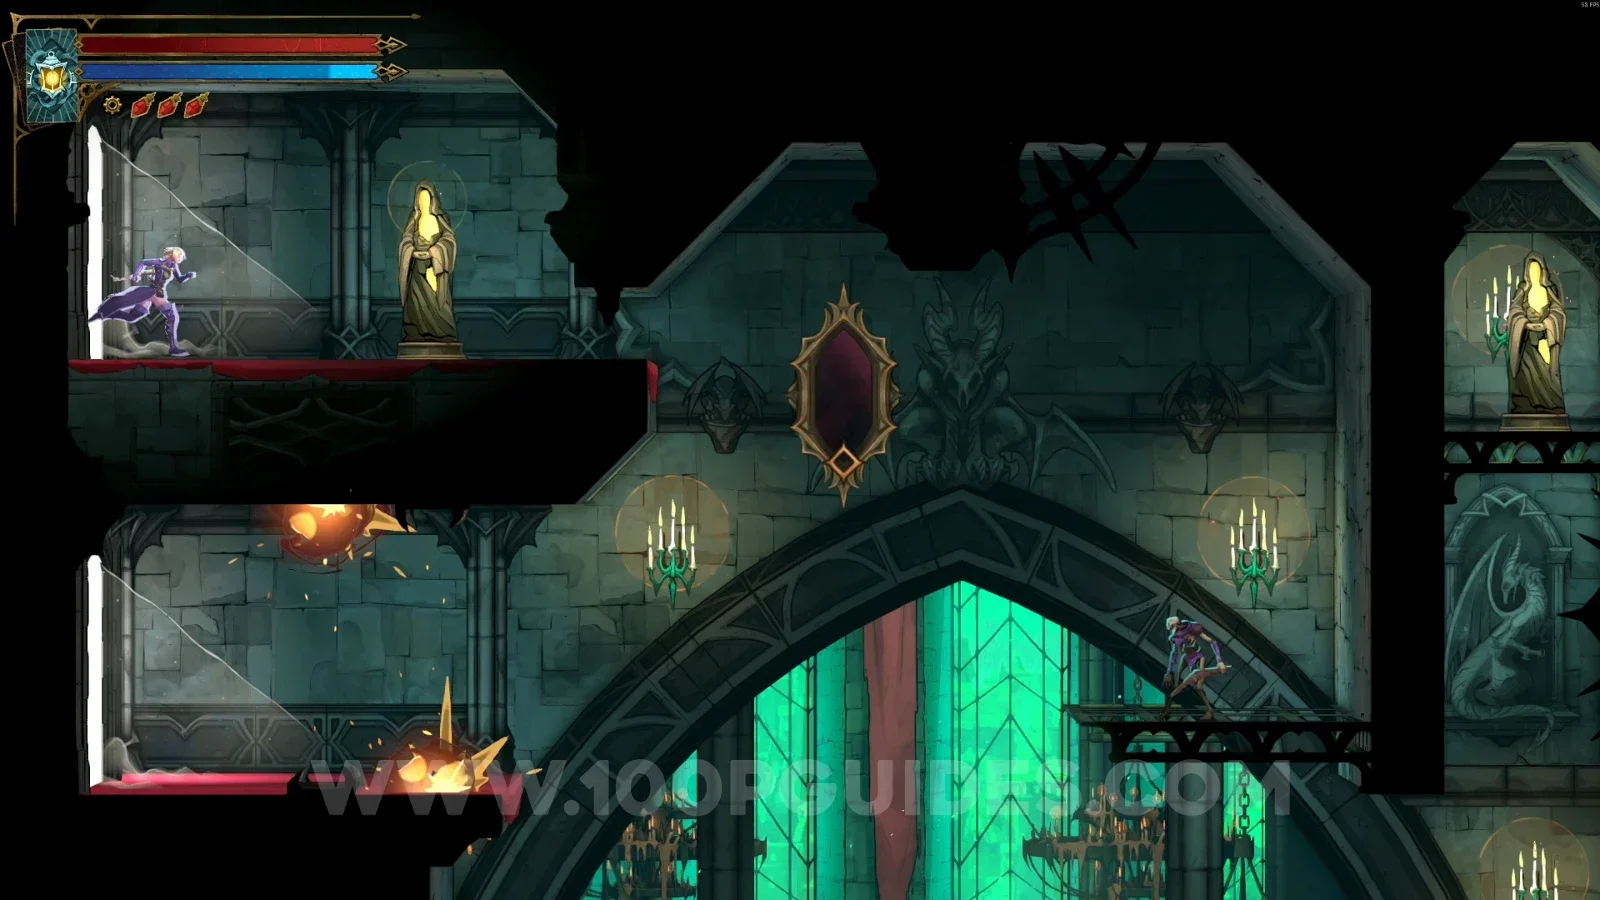
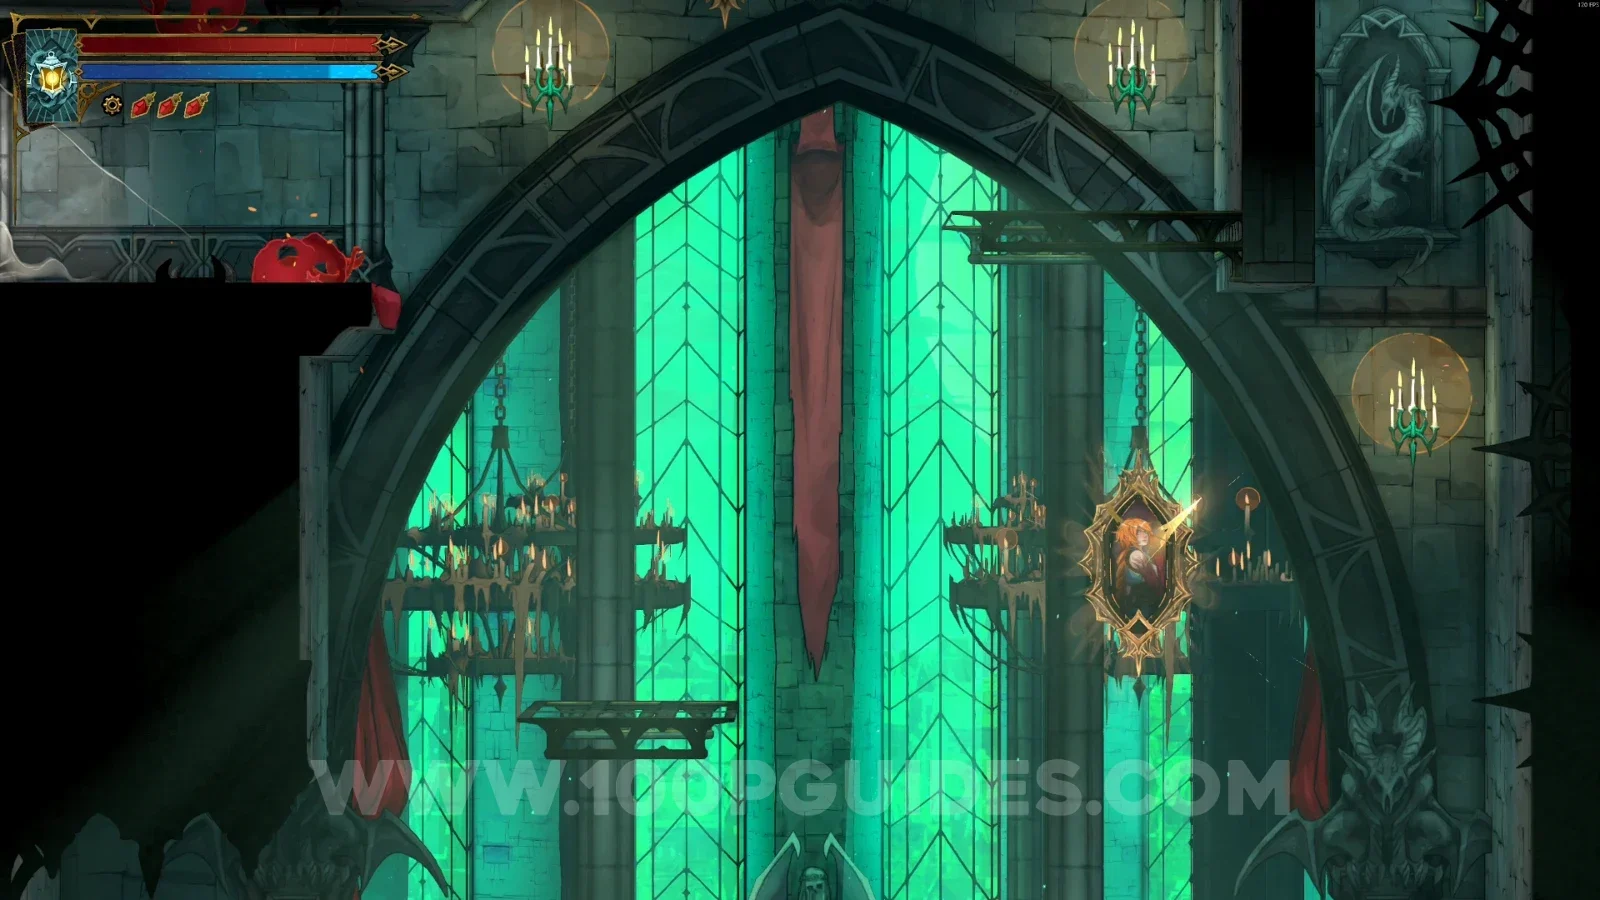
Then head left and keep climbing with the Arcane Whip. You'll have to go through the paintings to get around the area until you reach the statue on the other side.

Castlevania Belmonts Curse Grand Hall: climbing left with the Arcane Whip and going through the paintings Castlevania Belmonts Curse Grand Hall: XP Statue #12 on the other side of the painting area

XP Statue #13

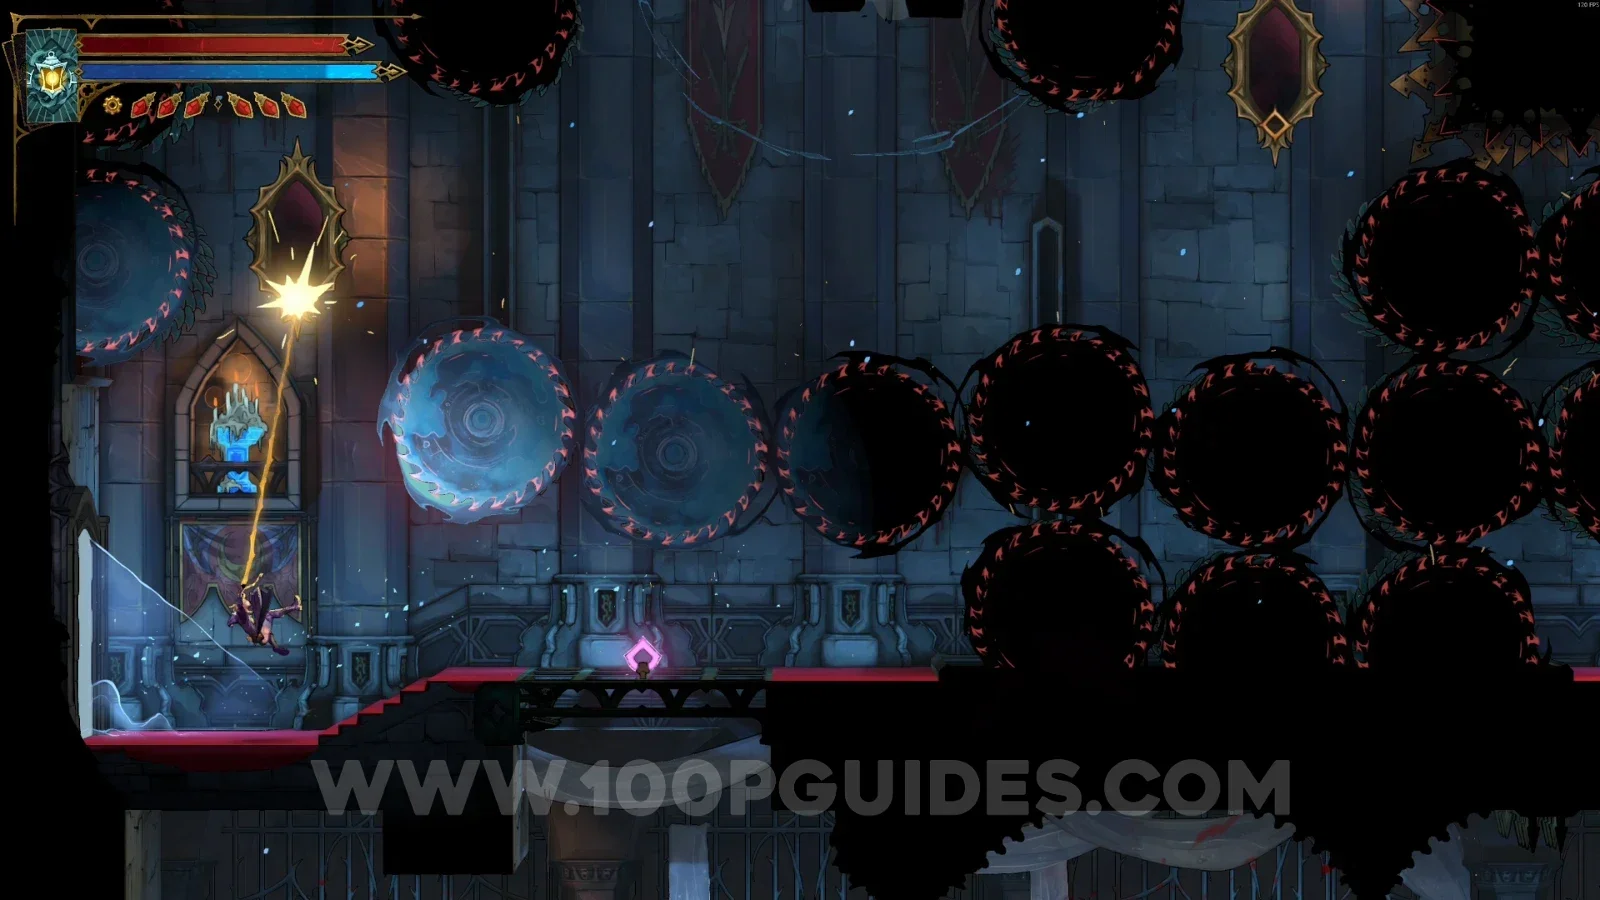
In the marked area, go through the red door and head left, then use the paintings to launch yourself to the upper part of the area.

Castlevania Belmonts Curse Grand Hall: map location of the red door leading to XP Statue #13 Castlevania Belmonts Curse Grand Hall: heading left after going through the red door Castlevania Belmonts Curse Grand Hall: using the paintings to launch to the upper part of the area

Go into the room on the left and you'll enter the Crematorium. Go down and get around the area.

Castlevania Belmonts Curse Grand Hall: the room on the left leading into the Crematorium Castlevania Belmonts Curse Crematorium: going down and getting around the area toward XP Statue #13

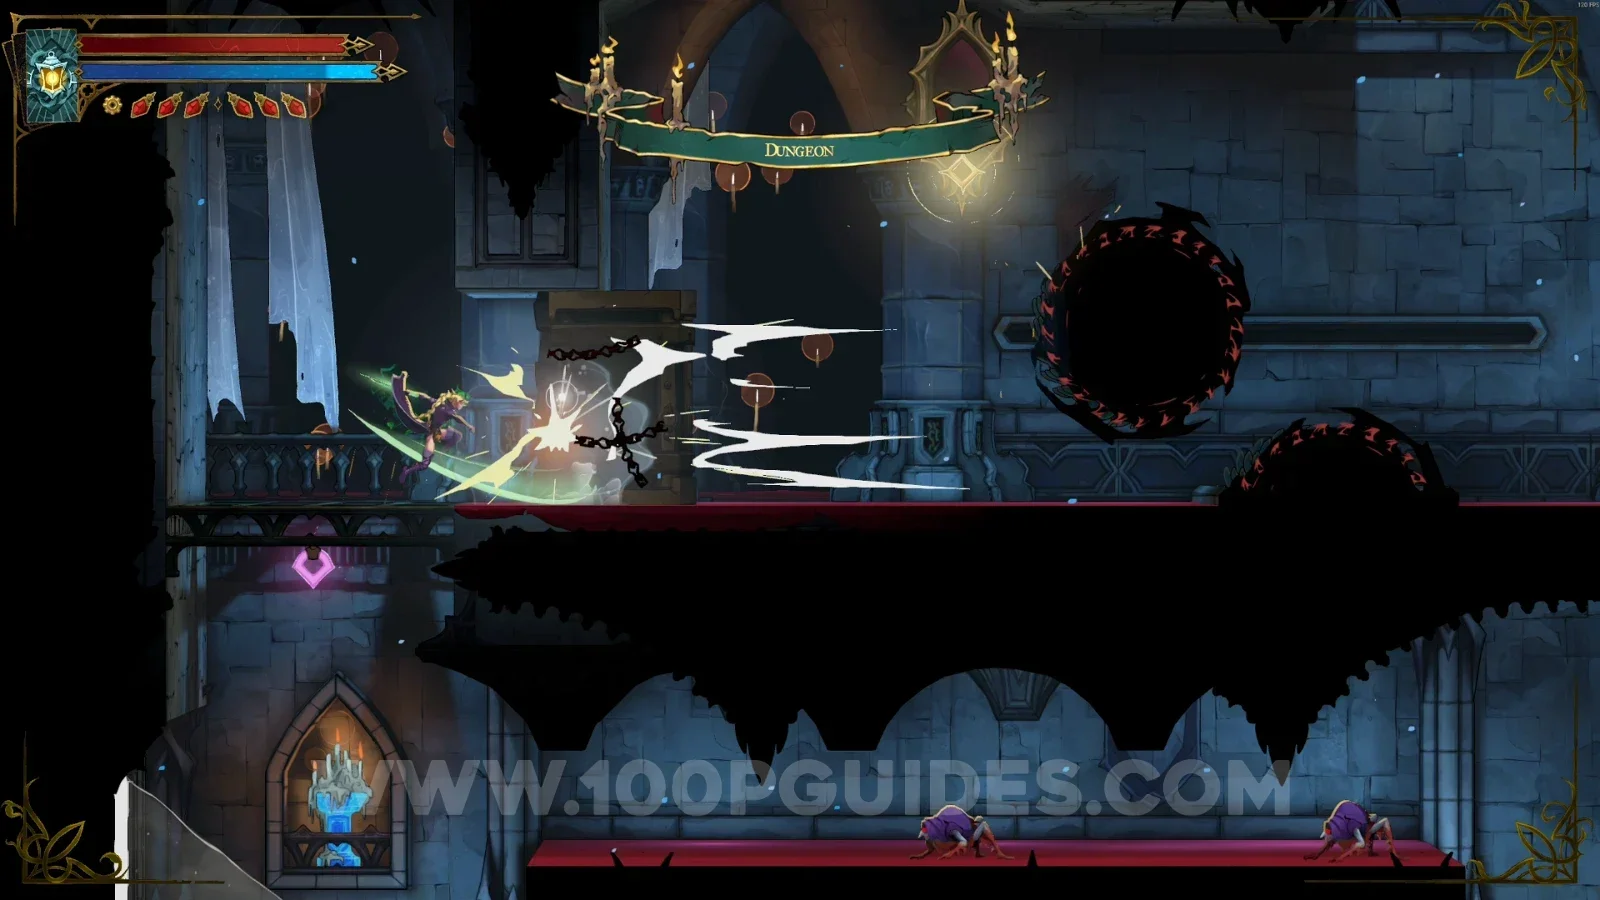
In the next area, climb the platform and break the chains on the door to unlock a shortcut. Then go back down and head right, and you'll see the statue.

Castlevania Belmonts Curse Grand Hall: breaking the chains on the door to unlock a shortcut Castlevania Belmonts Curse Grand Hall: XP Statue #13 to the right below the shortcut door

Ferryman's Wharf

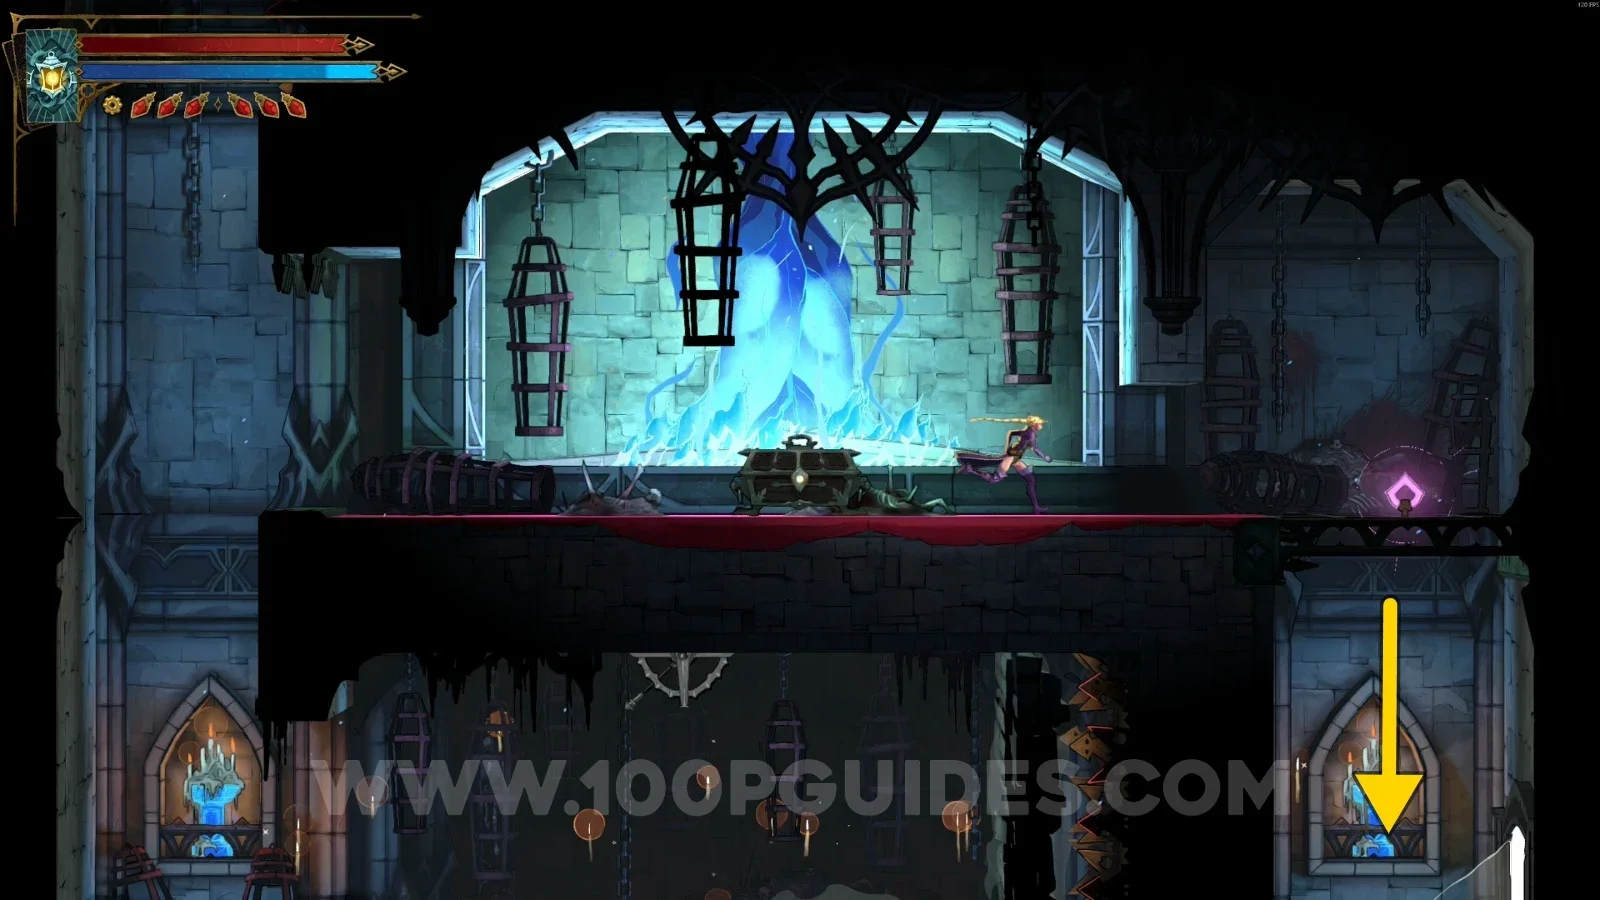
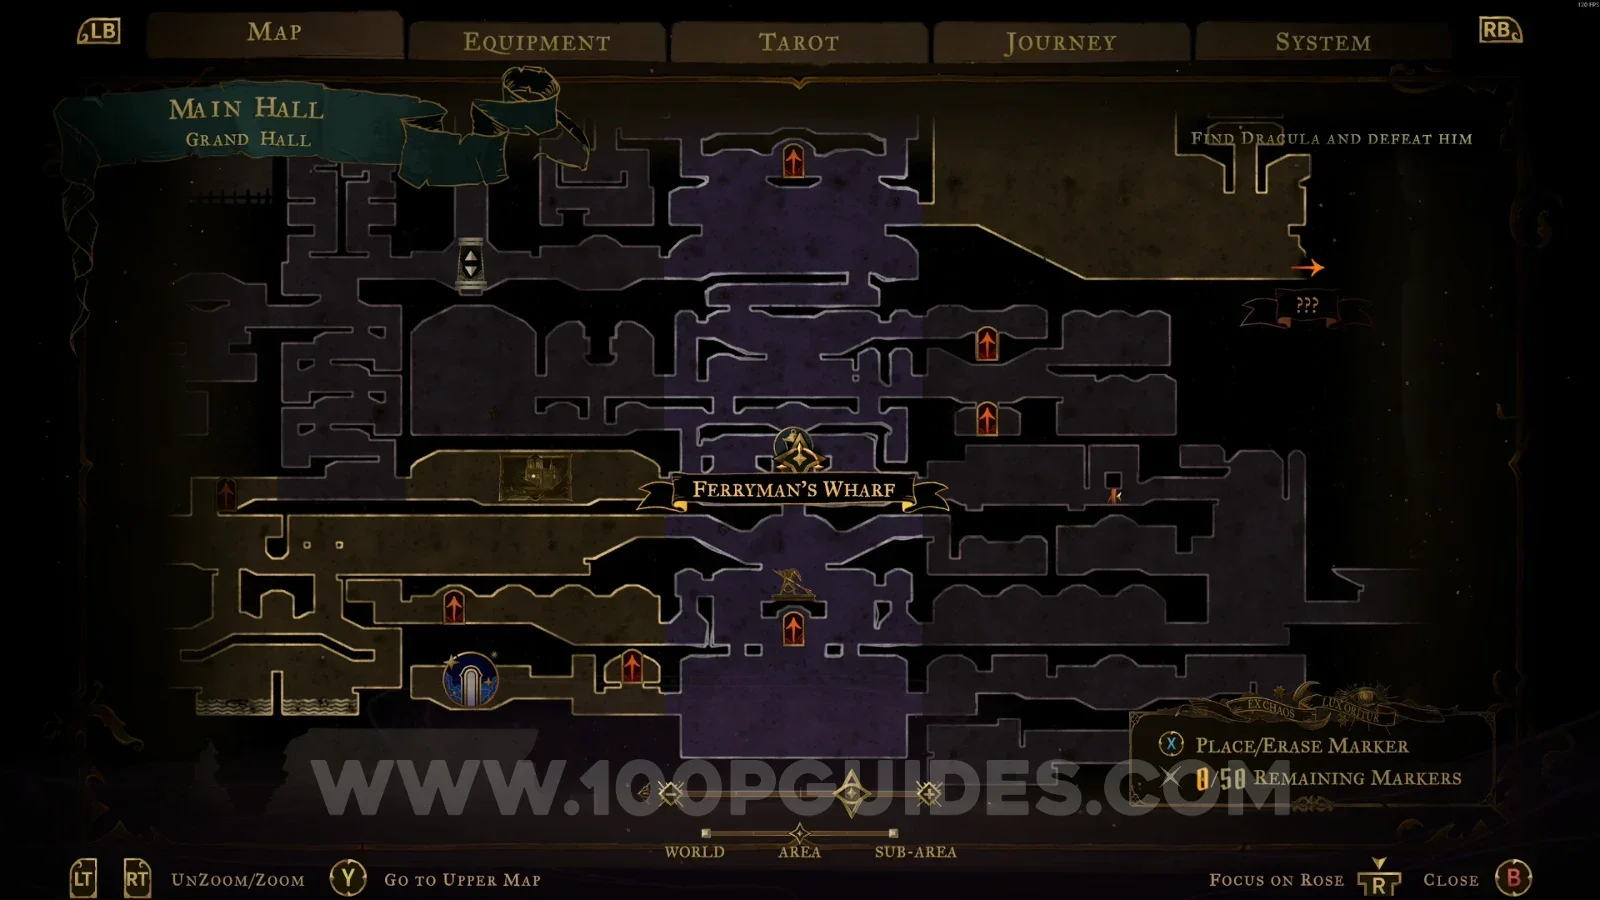
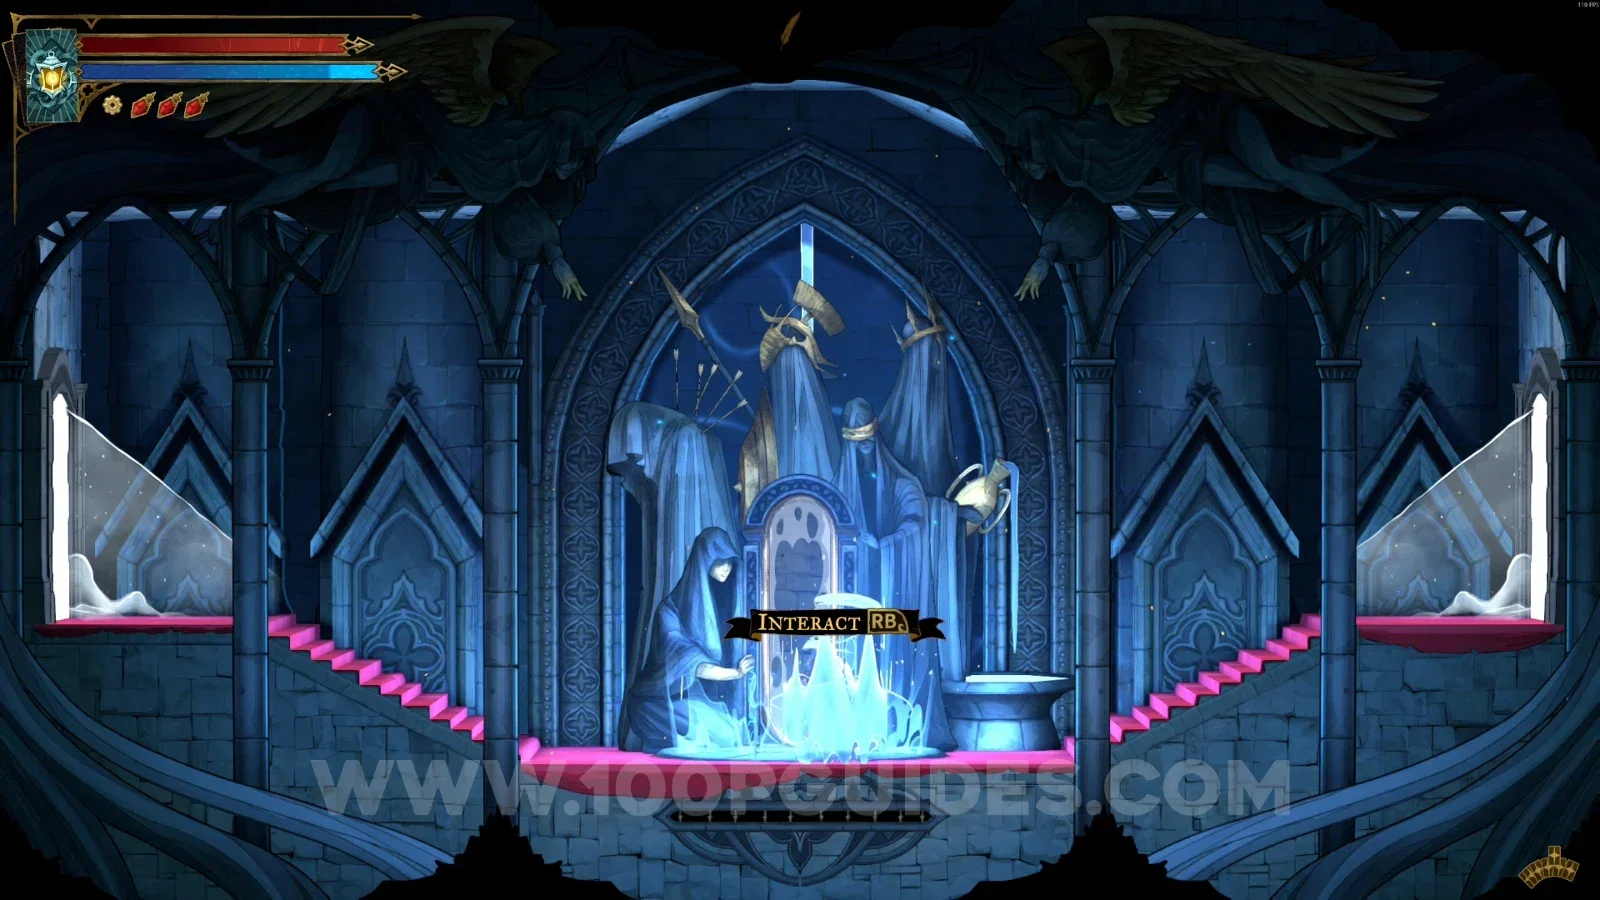
In the area marked on the map, you have to interact with the altar to summon the Ferryman. This will count as discovering the Ferryman's Wharf.

Castlevania Belmonts Curse Grand Hall: map location of the Ferryman's Wharf altar Castlevania Belmonts Curse Grand Hall: interacting with the altar to summon the Ferryman at Ferryman's Wharf

XP Statue #14

Head right, and at the top you'll find this XP Statue on the left side of the area.

Castlevania Belmonts Curse Grand Hall: map location of XP Statue #14 Castlevania Belmonts Curse Grand Hall: heading right and climbing to the top toward XP Statue #14 Castlevania Belmonts Curse Grand Hall: XP Statue #14 on the left side at the top of the area

Relic #1: Blood Vial

After breaking the previous statue, head right and enter the room. Interact with the levers until they open a path to the chest in the top right of the area. Inside the chest, you'll find this relic.

Castlevania Belmonts Curse Grand Hall: using the levers to open a path to the chest in the top right Castlevania Belmonts Curse Grand Hall: the chest containing Relic #1, the Blood Vial

Brave Heart Fragment #1

From the previous relic, go down and head left. Leave the room, then enter the room just below on the right. Use the levers to move the pillars and reach the other side of the room, then use the slide to reveal a small secret room containing the Brave Heart.

Castlevania Belmonts Curse Grand Hall: going down and left from the Blood Vial room Castlevania Belmonts Curse Grand Hall: entering the room just below on the right toward Brave Heart Fragment #1 Castlevania Belmonts Curse Grand Hall: using the levers to move the pillars and cross the room Castlevania Belmonts Curse Grand Hall: Brave Heart Fragment #1 in the small secret room revealed by sliding

Red Book #1

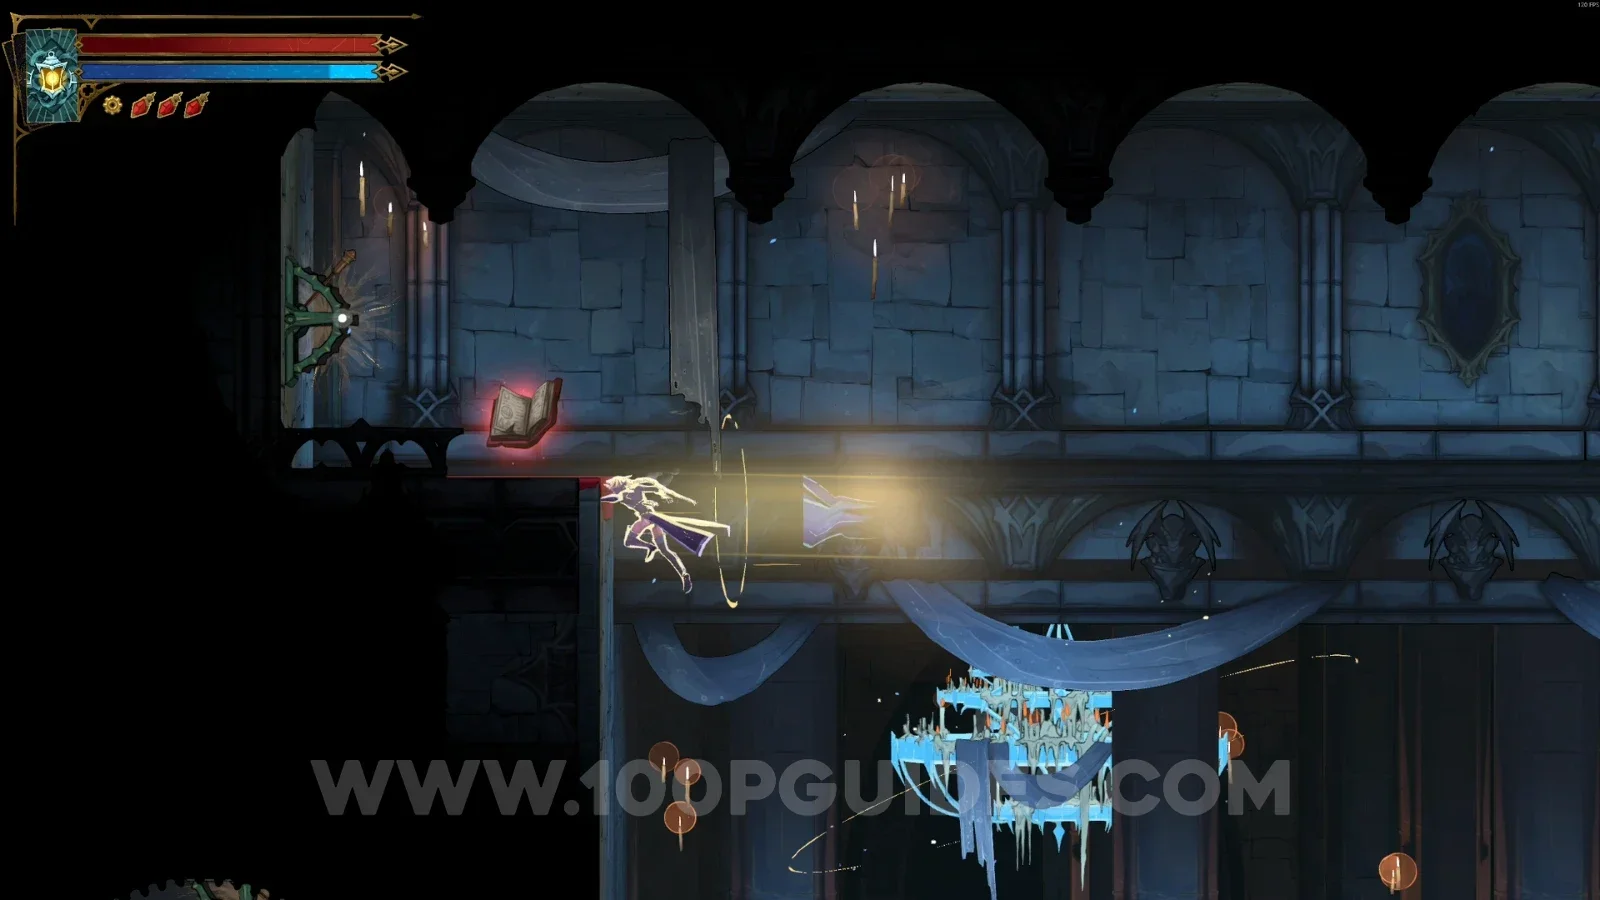
From the previous collectible, climb to the top of the pillar and go down the right side. In the new area, use the painting in the middle of the room to reach the top left corner and grab this Red Book.

Castlevania Belmonts Curse Grand Hall: climbing the pillar and going down the right side toward Red Book #1 Castlevania Belmonts Curse Grand Hall: using the painting in the middle of the room to reach the top left Castlevania Belmonts Curse Grand Hall: Red Book #1 in the top left corner of the room

XP Statue #15

From the previous Red Book, now go down and head right. Go through the door, climb the platforms, and break the wall on the left side. Inside, you'll find a statue.

Castlevania Belmonts Curse Grand Hall: going down and right from Red Book #1 to the door Castlevania Belmonts Curse Grand Hall: climbing the platforms and breaking the wall on the left side Castlevania Belmonts Curse Grand Hall: XP Statue #15 inside the broken wall

Relic #2: Cursed Coin

From the previous statue, climb up using your Arcane Whip and defeat the enemies. Then, at the top of the area on the right side, you'll find a chest with this relic.

Castlevania Belmonts Curse Grand Hall: climbing with the Arcane Whip and defeating the enemies Castlevania Belmonts Curse Grand Hall: the chest with Relic #2, the Cursed Coin, at the top right

Relic #3: Grim Token

From the previous relic, go down and through the door on the right. Then climb up using your Arcane Whip and go through the shortcut door you opened earlier. Use the painting to climb up and head left to enter the Crematorium again, where you'll find the chest with the relic inside.

Castlevania Belmonts Curse Grand Hall: the door on the right and Arcane Whip climb toward the Grim Token Castlevania Belmonts Curse Grand Hall: going through the shortcut door opened earlier Castlevania Belmonts Curse Grand Hall: using the painting to climb up and heading left to the Crematorium Castlevania Belmonts Curse Crematorium: the chest containing Relic #3, the Grim Token

Mirror of Life #6

From the previous relic, go down the right side of the chest and return to the area with the painting through the shortcut you opened. Climb up and use the Arcane Whip to launch yourself to the platform above. You'll see the blue mist that indicates there's a Mirror of Life in the room, so go in and activate it.

Castlevania Belmonts Curse Grand Hall: returning to the painting area through the shortcut Castlevania Belmonts Curse Grand Hall: using the Arcane Whip to launch to the platform above Castlevania Belmonts Curse Grand Hall: the blue mist showing a Mirror of Life is in the room Castlevania Belmonts Curse Grand Hall: activating Mirror Of Life #6

Gallery Of Eternal Night

Clue: The Artist

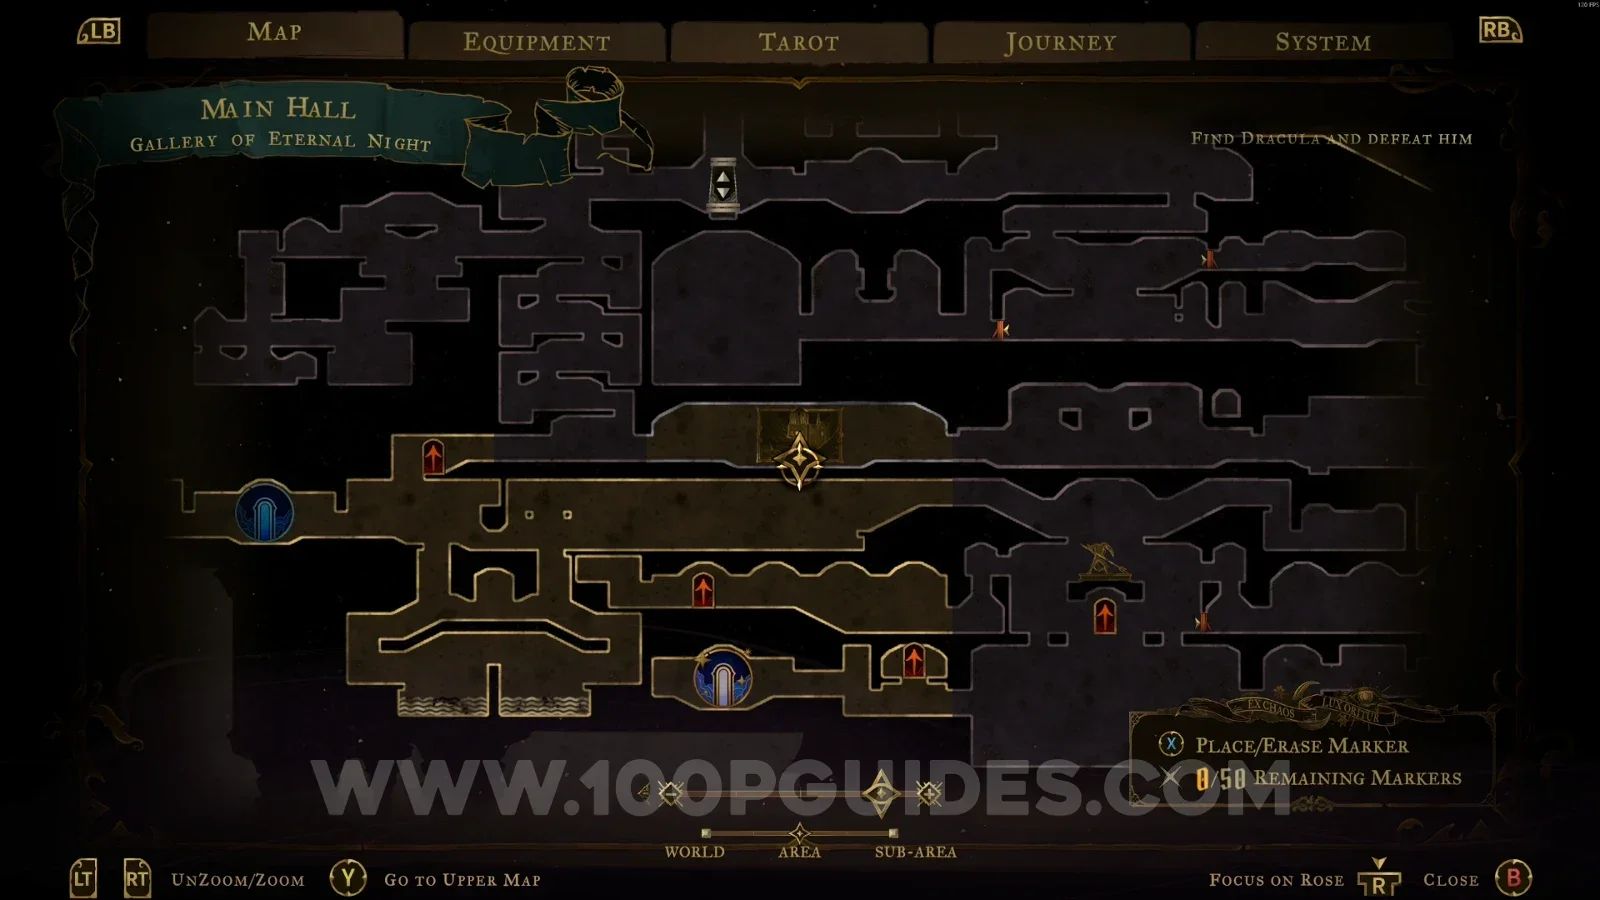
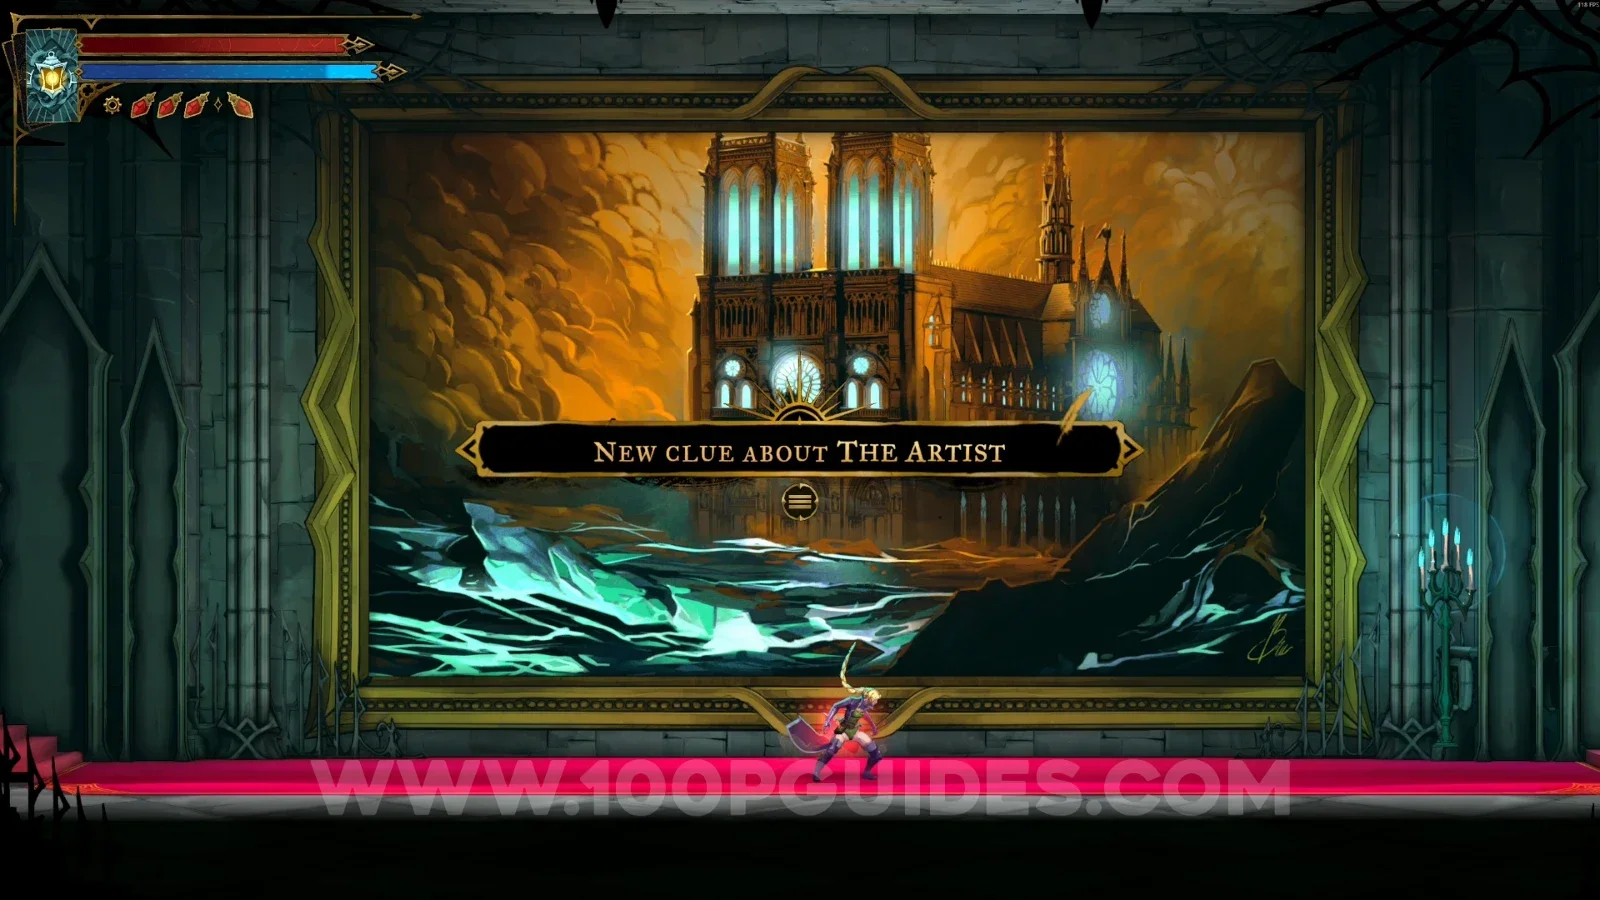
Obtained automatically when you approach the painting.

Castlevania Belmonts Curse Gallery Of Eternal Night: approaching the painting for The Artist clue Castlevania Belmonts Curse Gallery Of Eternal Night: The Artist clue obtained at the painting

Brauner's Atelier

Clue: The Artist

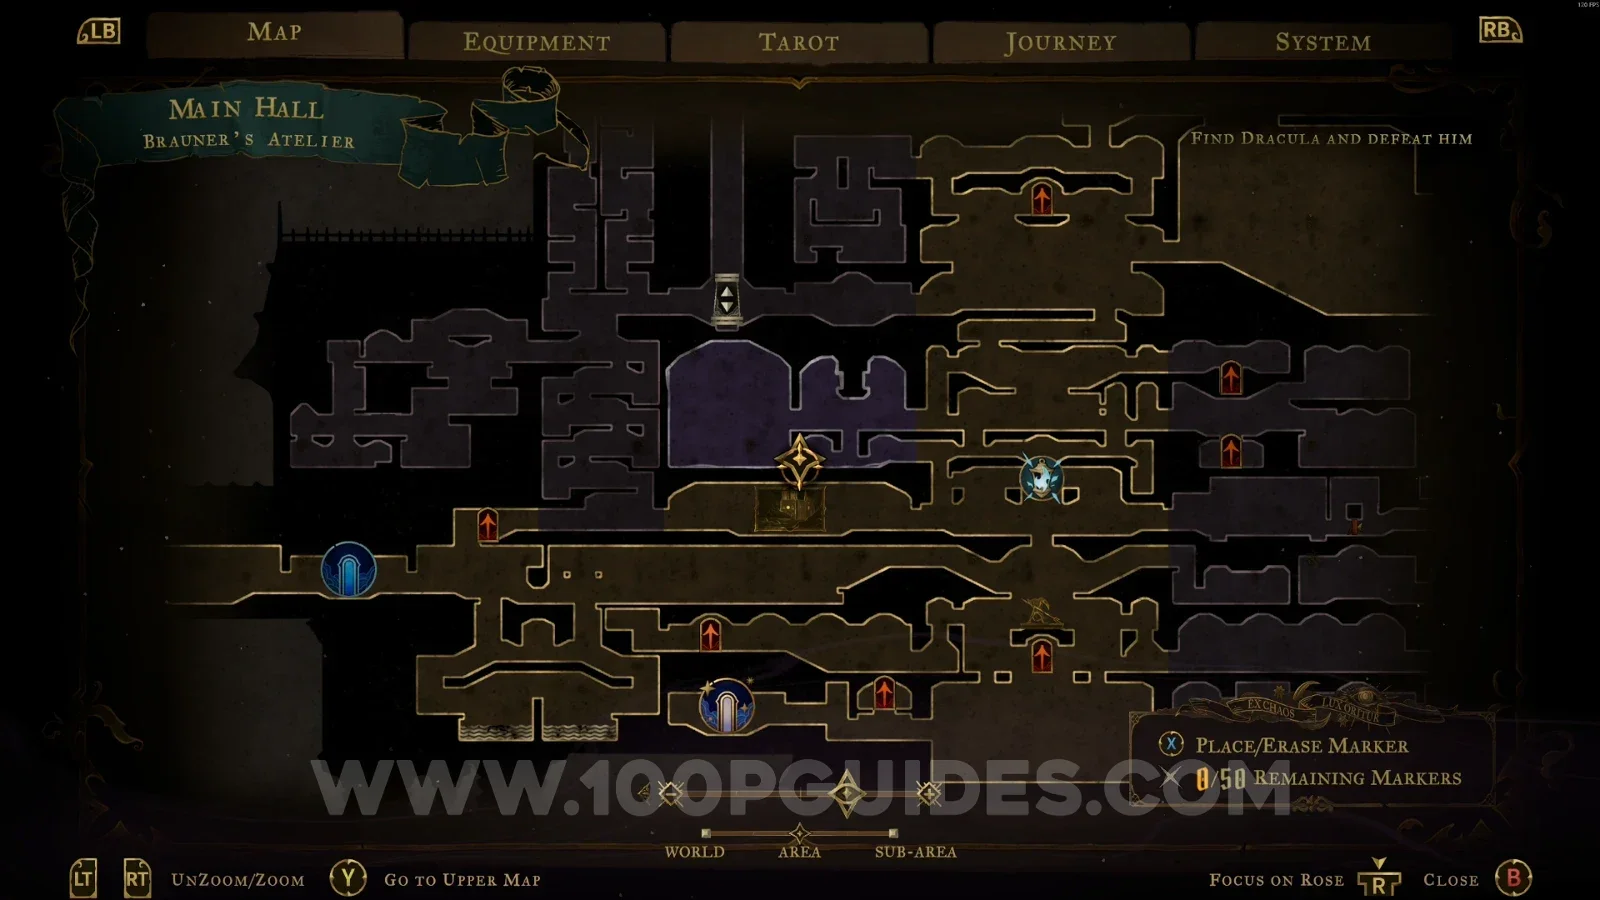
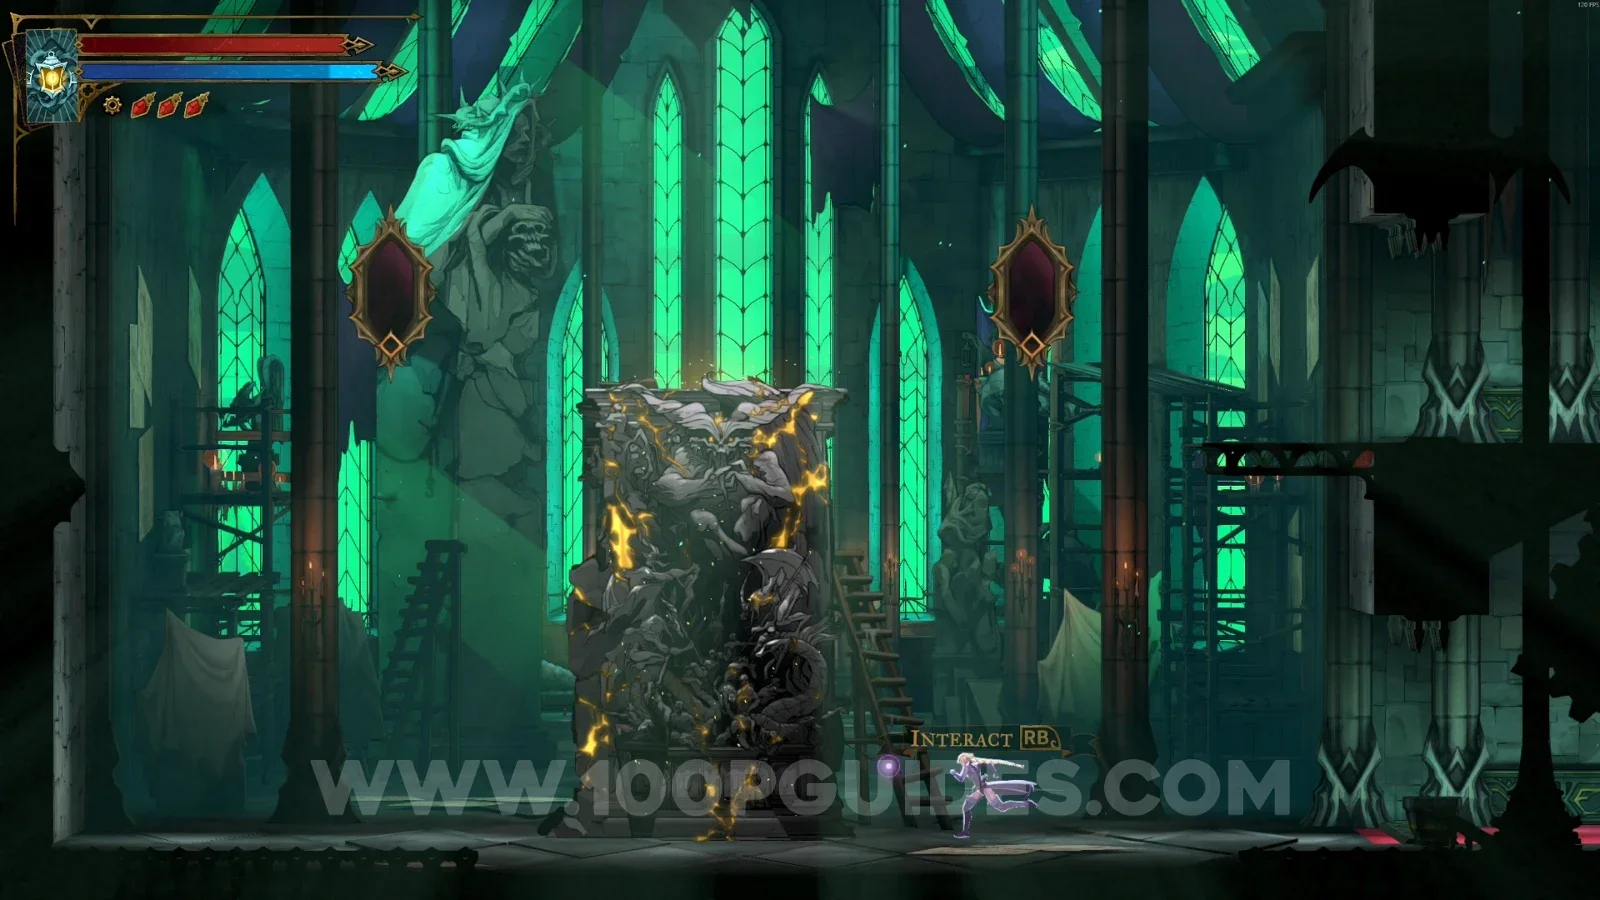
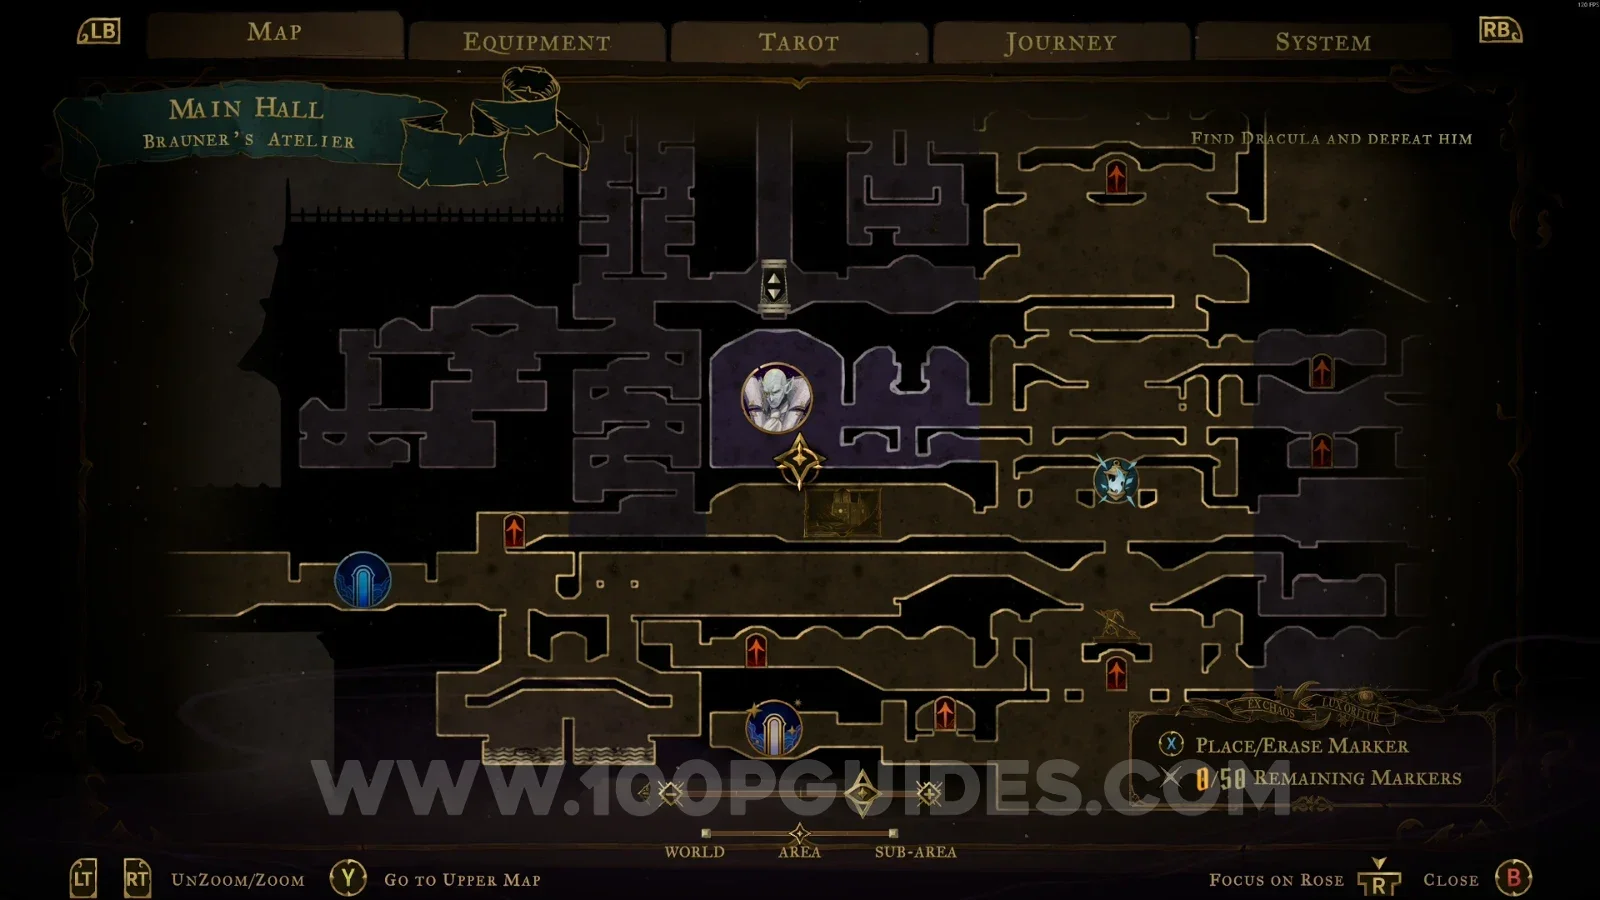
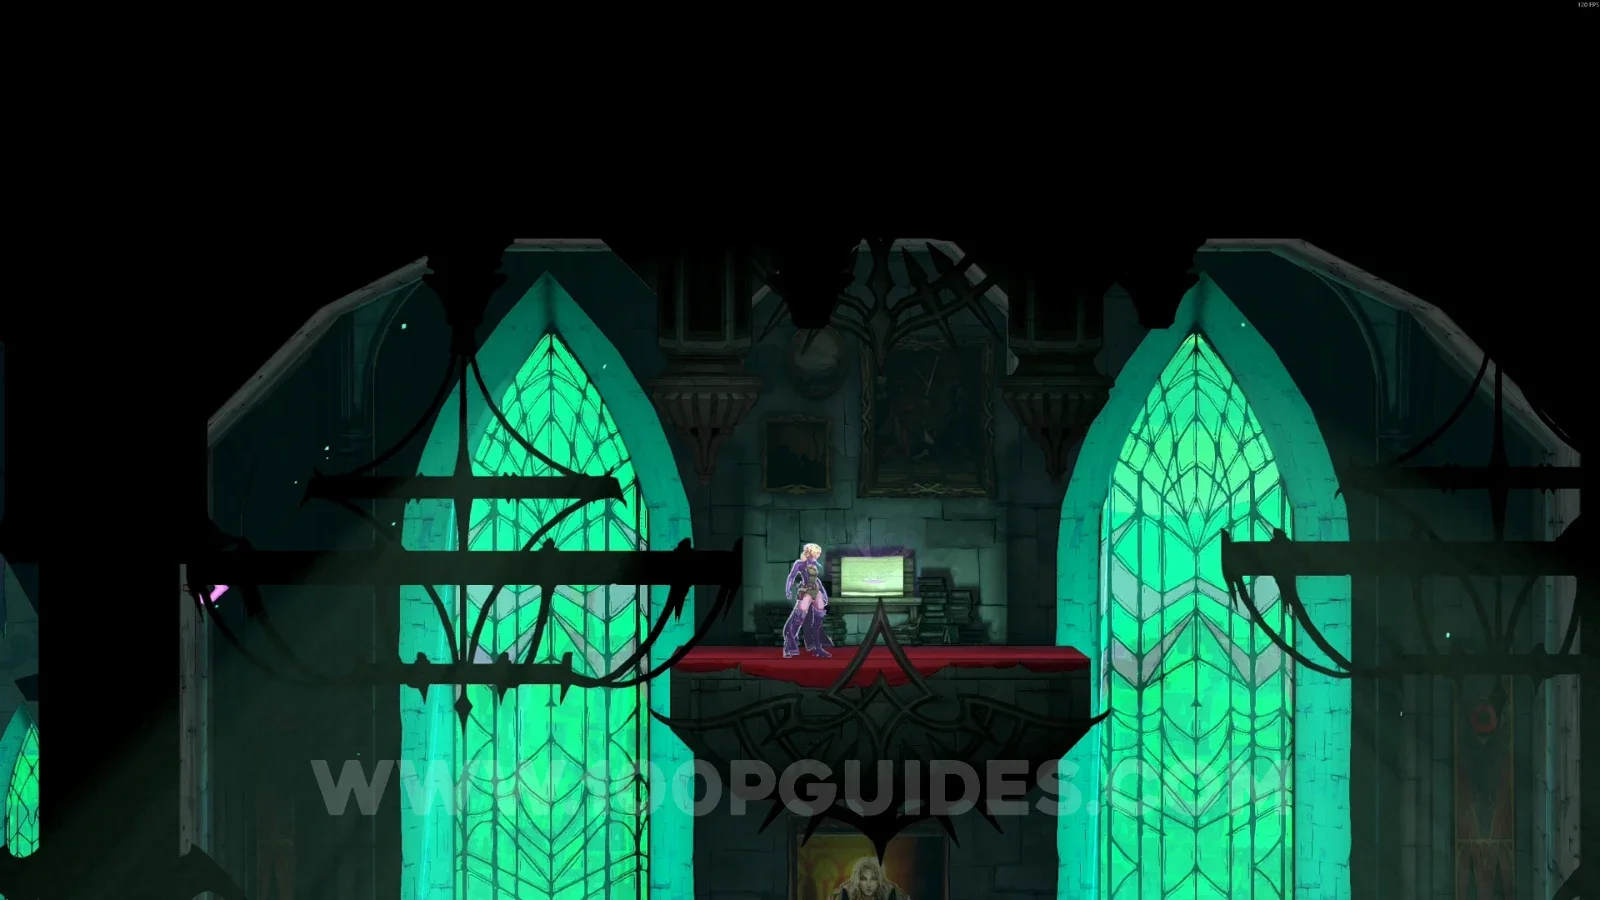
Interact with the sculpture in the middle of the room to get this clue.

Castlevania Belmonts Curse Brauner's Atelier: the sculpture in the middle of the room Castlevania Belmonts Curse Brauner's Atelier: The Artist clue from interacting with the sculpture

Arcana: Masterpiece

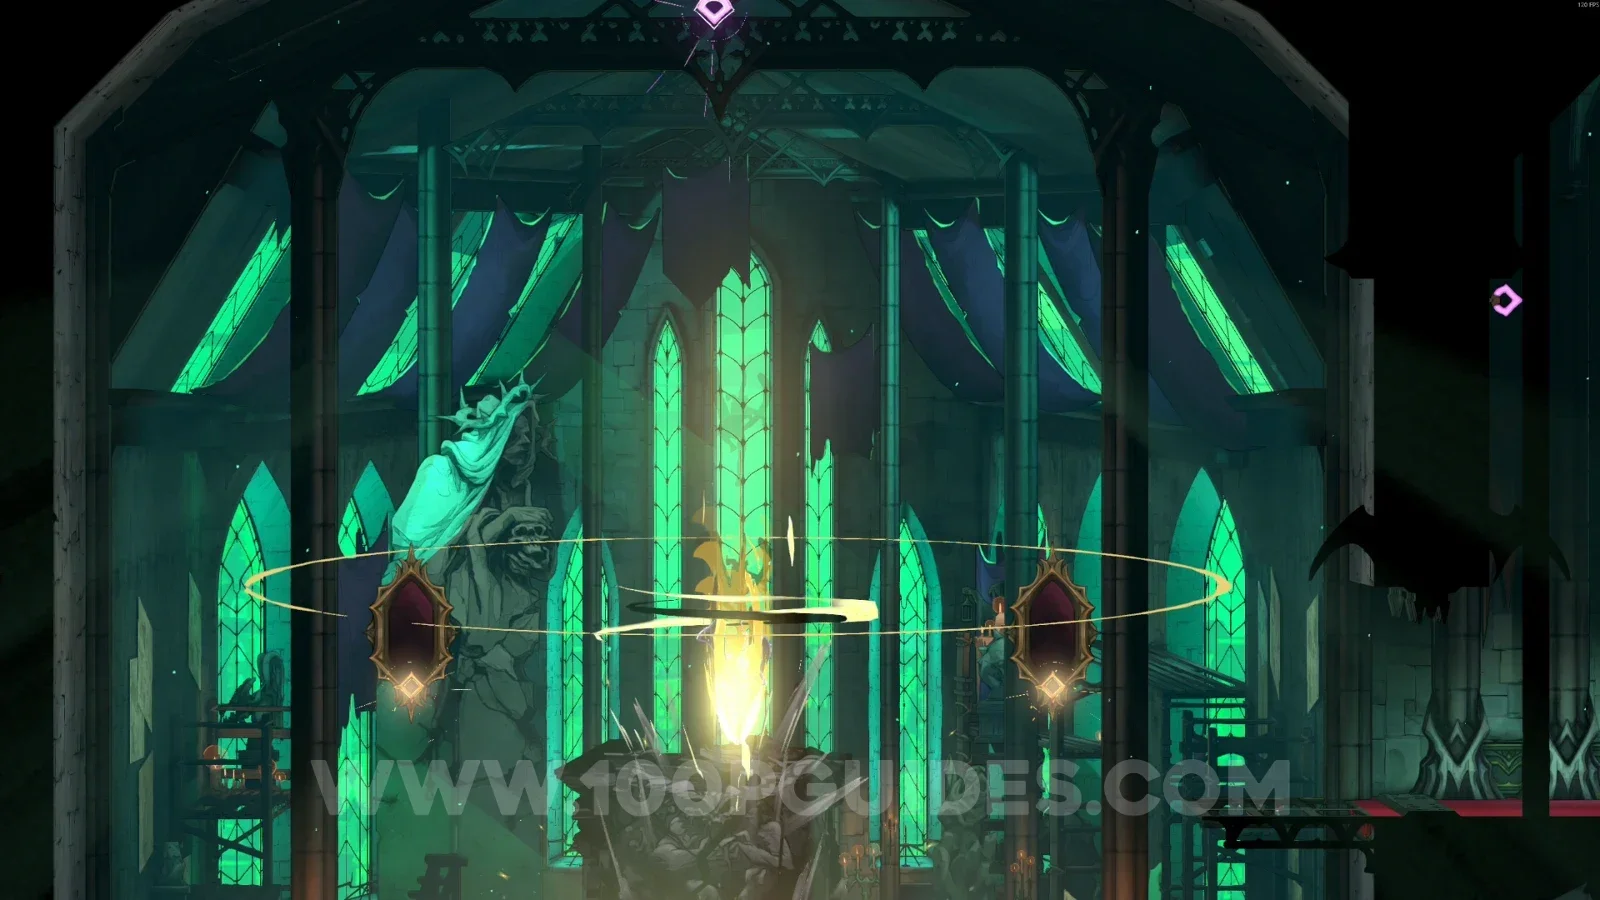
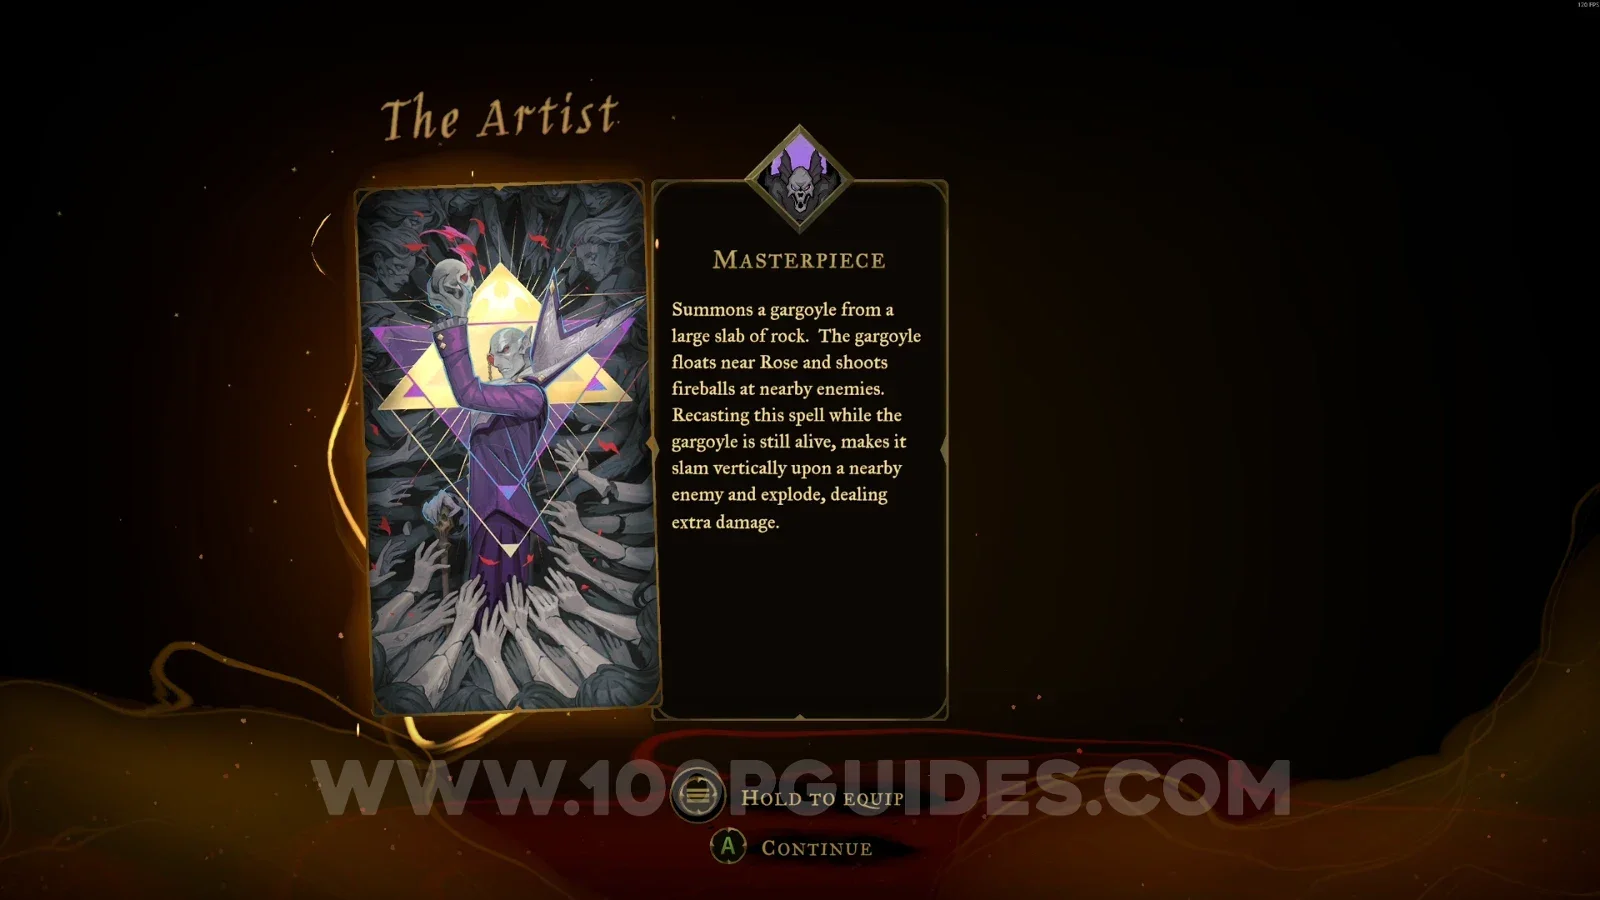
Same area as before. Obtained by using the Smash arcane power on the sculpture. This will make The Artist appear, and you'll receive this arcana.

Castlevania Belmonts Curse Brauner's Atelier: using the Smash arcane power on the sculpture Castlevania Belmonts Curse Brauner's Atelier: The Artist appearing after the sculpture is smashed Castlevania Belmonts Curse Brauner's Atelier: receiving the Masterpiece arcana

Clue: The Occultist

Same area as before, on a ledge at the top where you can jump and reveal a small secret area with the clue.

Castlevania Belmonts Curse Brauner's Atelier: jumping from the ledge at the top to find a secret area Castlevania Belmonts Curse Brauner's Atelier: The Occultist clue in the small secret area

Elevator Tower

Mirror of Life #7

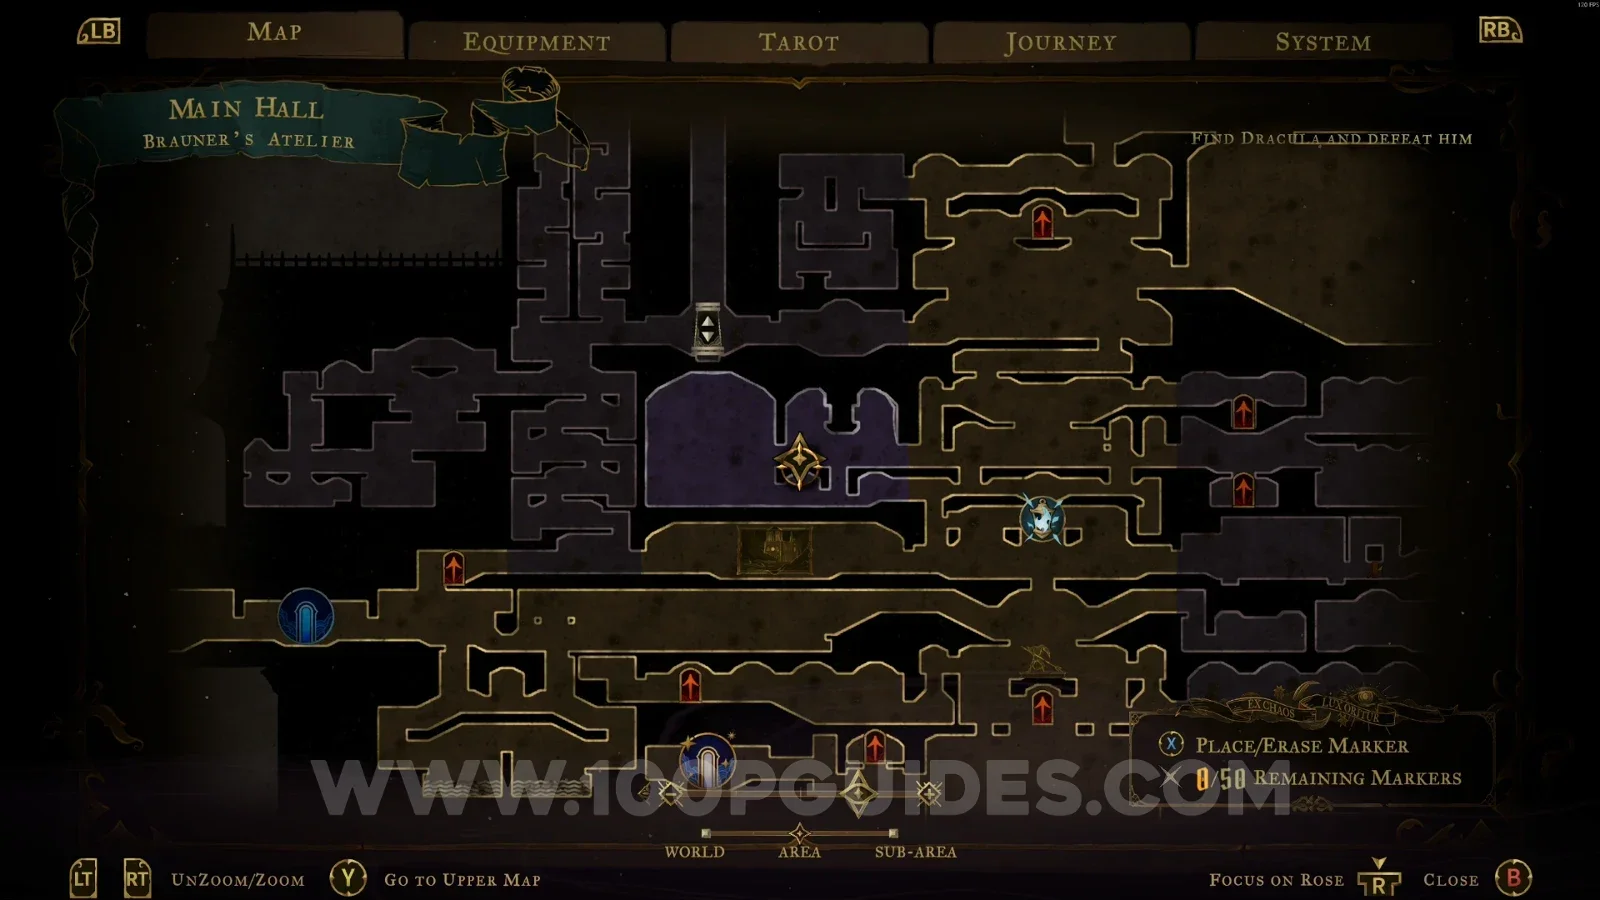
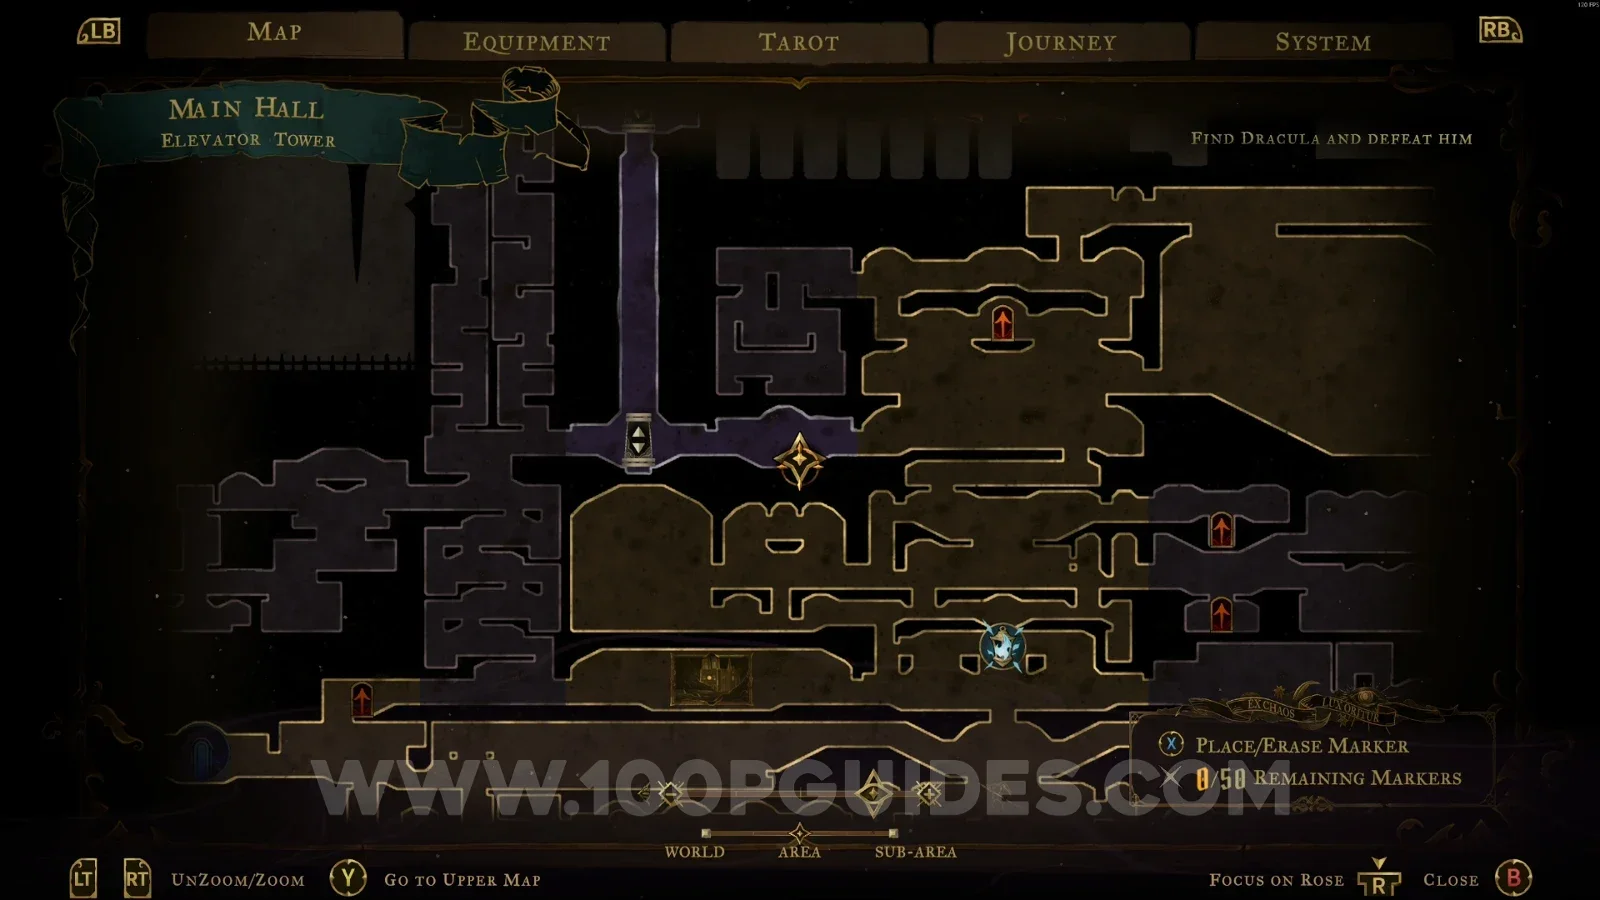
In the area marked on the map.

Castlevania Belmonts Curse Elevator Tower: map location of Mirror Of Life #7 Castlevania Belmonts Curse Elevator Tower: Mirror Of Life #7 in the area marked on the map

Old Gallery

Clue: The Artist

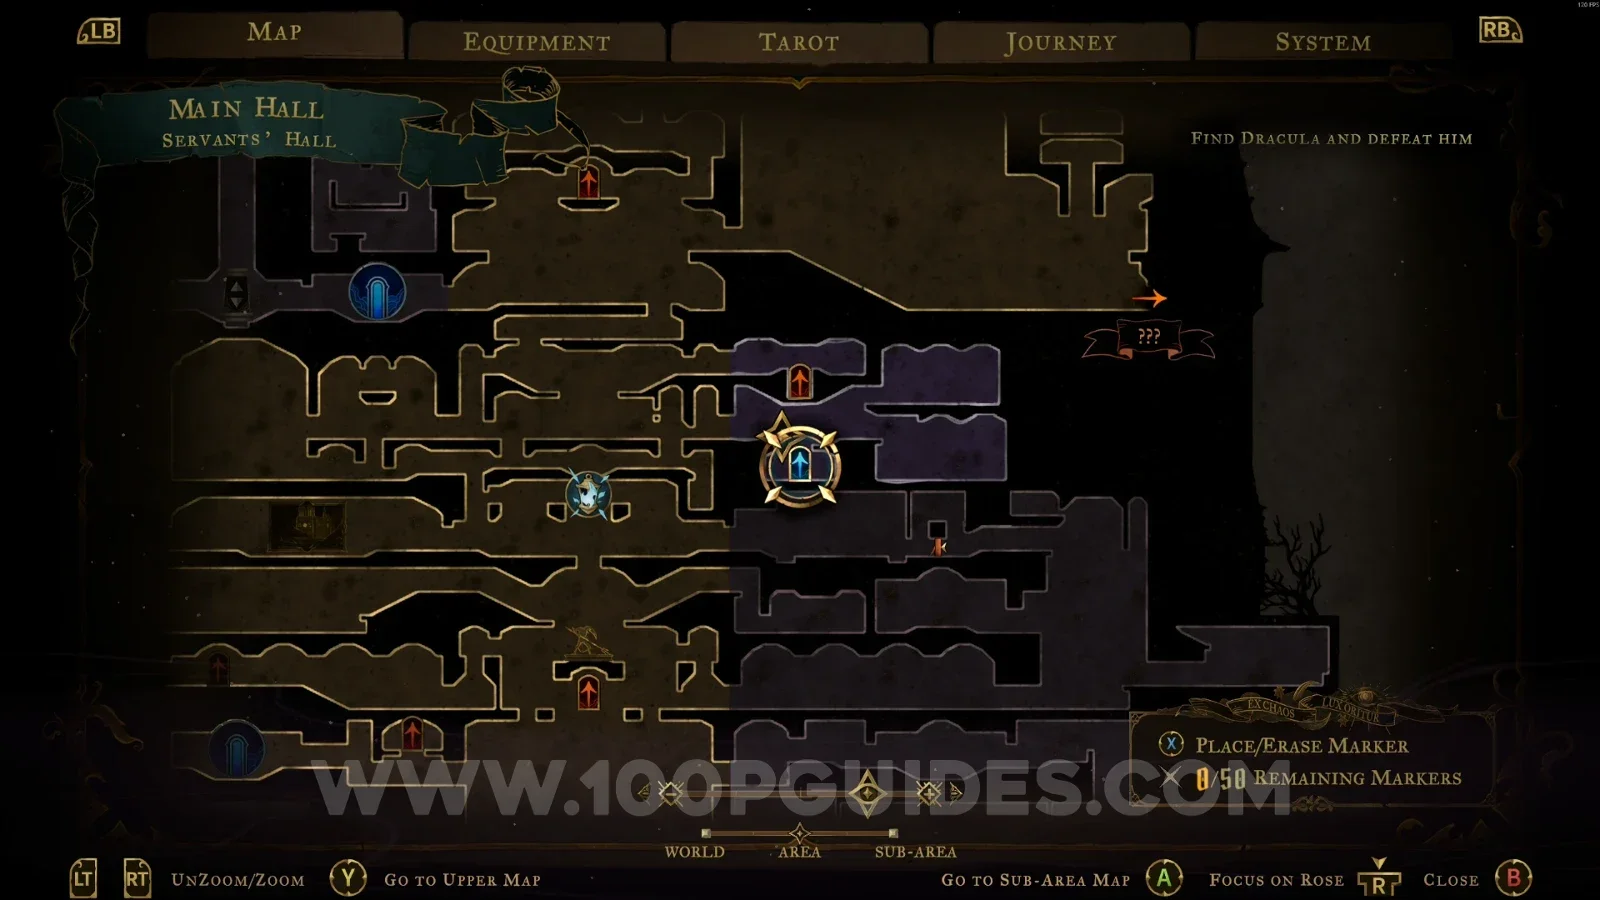
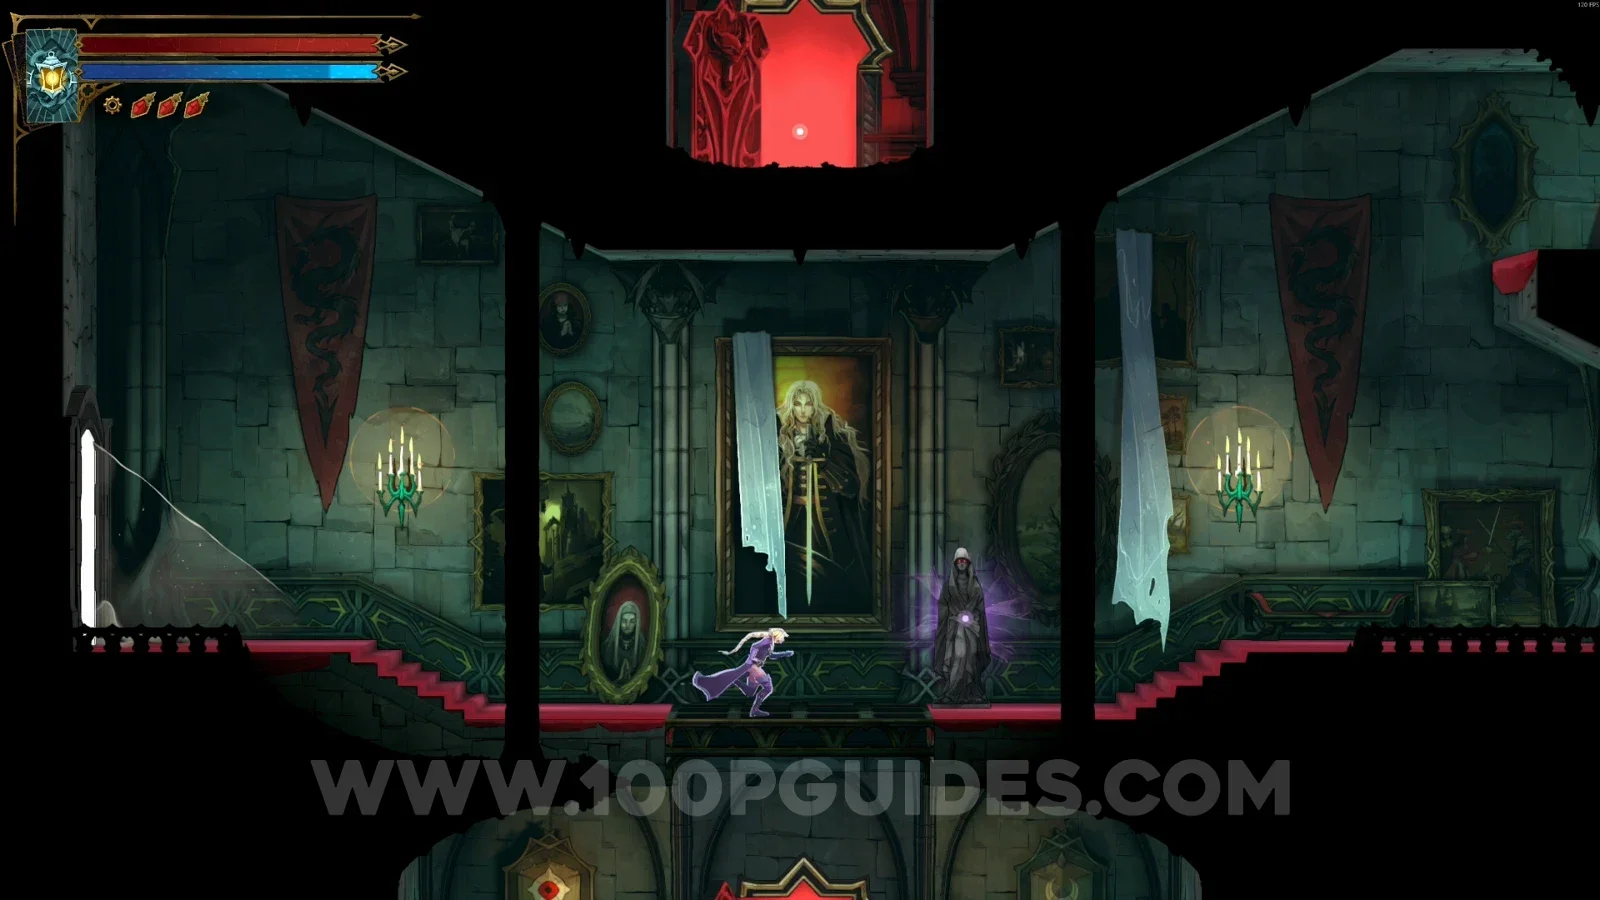
In the area marked on the map, interact with the statue to get this clue.

Castlevania Belmonts Curse Old Gallery: map location of the statue with The Artist clue Castlevania Belmonts Curse Old Gallery: interacting with the statue to get The Artist clue

Red Book #2

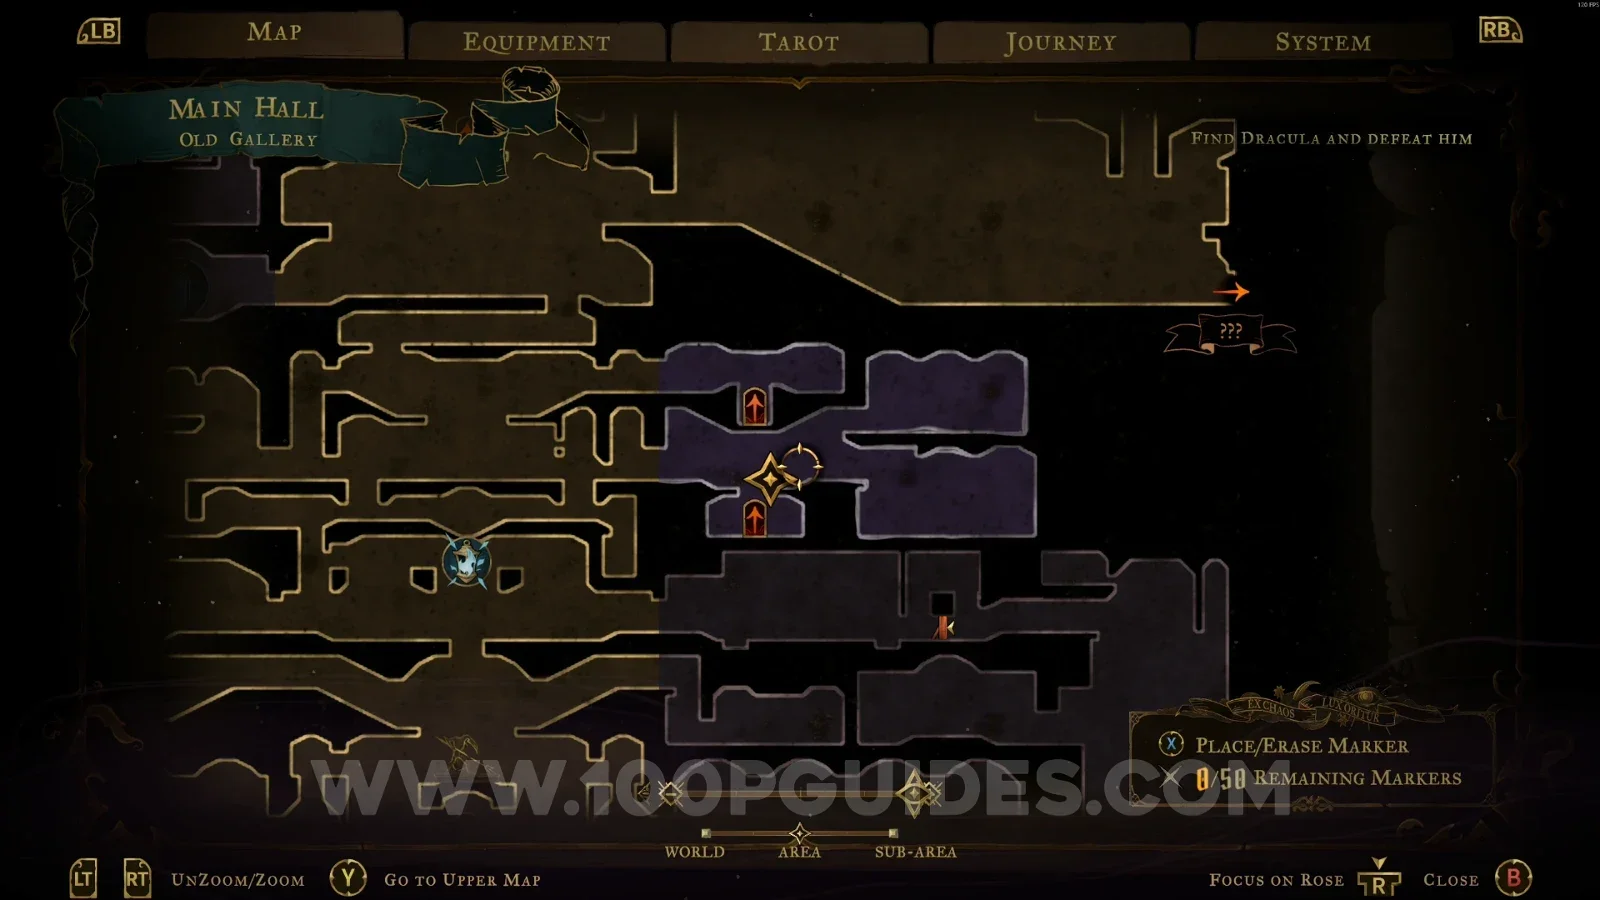
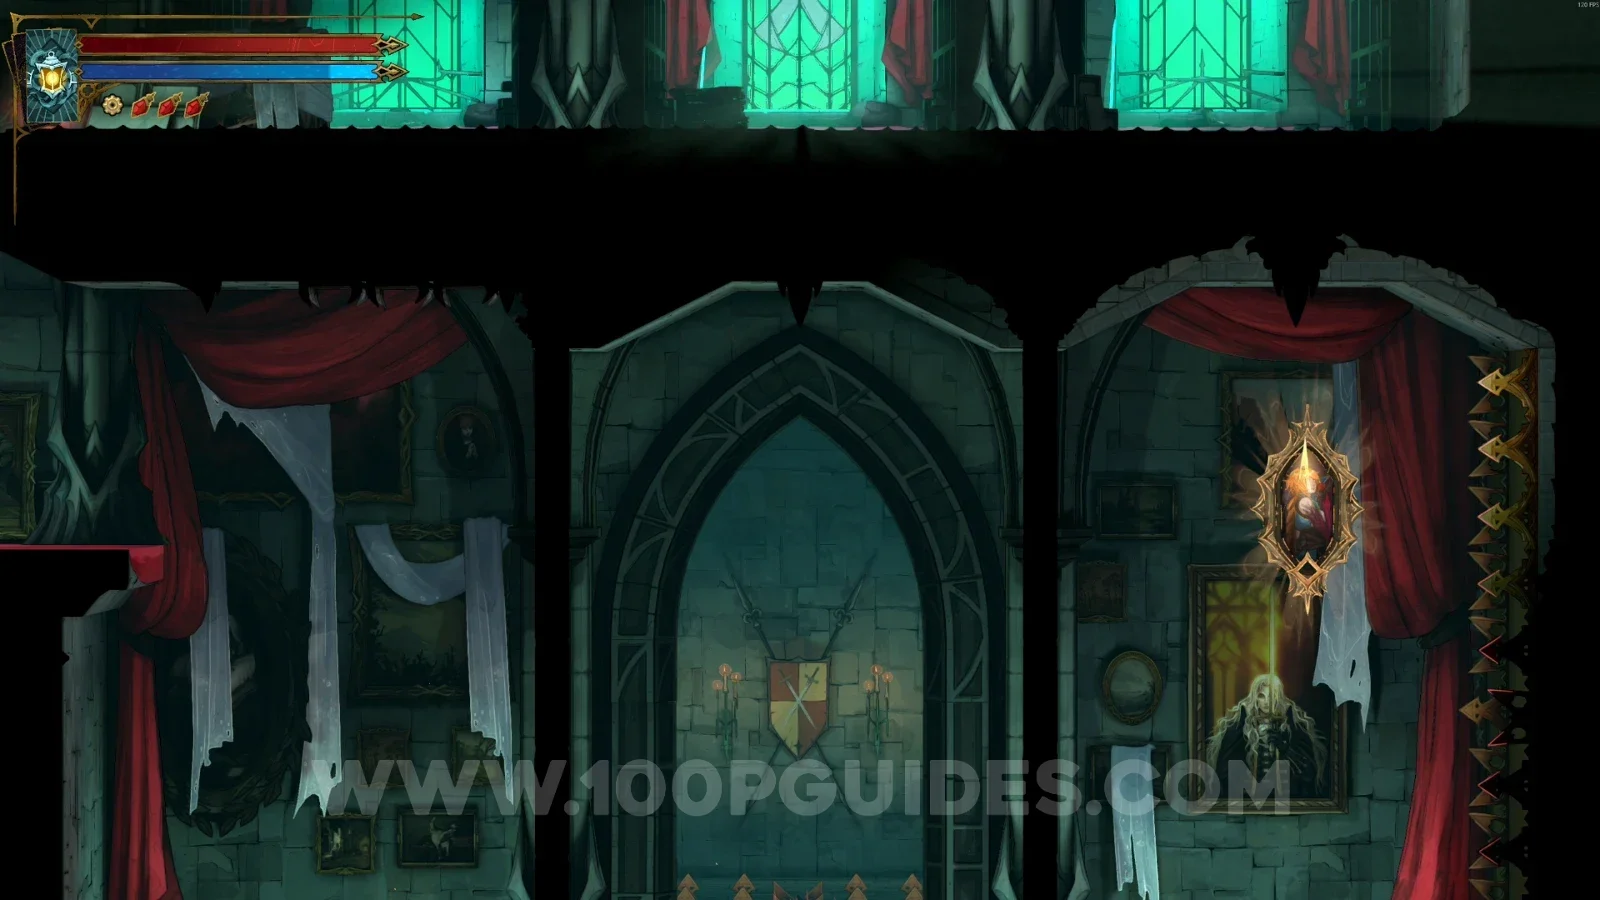
In the area marked on the map, head right and go into the painting, then launch yourself to the upper part to reach this Red Book.

Castlevania Belmonts Curse Old Gallery: map location of Red Book #2 Castlevania Belmonts Curse Old Gallery: going into the painting on the right to launch upward Castlevania Belmonts Curse Old Gallery: Red Book #2 in the upper part of the area

Weapon #2: Jewel Knuckles

In the area marked on the map, go through the red door.

Castlevania Belmonts Curse Old Gallery: map location of the red door leading to the Jewel Knuckles Castlevania Belmonts Curse Old Gallery: going through the red door toward Weapon #2, the Jewel Knuckles

In the next area, head left and use the painting to climb up, then use the Arcane Whip. Use the painting again to go around the area, then go through the door on the right.

Castlevania Belmonts Curse Old Gallery: heading left and using the painting to climb up Castlevania Belmonts Curse Old Gallery: climbing higher with the Arcane Whip Castlevania Belmonts Curse Old Gallery: using the painting again to go around the area Castlevania Belmonts Curse Old Gallery: the door on the right leading toward the Jewel Knuckles

In the next room, go through the red door, and on the other side, interact with the lever and open the chest on the right.

Castlevania Belmonts Curse Old Gallery: going into the red room and interacting with the lever Castlevania Belmonts Curse Old Gallery: the chest on the right containing the Jewel Knuckles

Mirror of Life #8

From the previous collectible, go through the red door again, then head right.

Castlevania Belmonts Curse Old Gallery: going through the red door again toward Mirror Of Life #8 Castlevania Belmonts Curse Old Gallery: heading right after the red door toward Mirror Of Life #8

In the next area, break the floor and line up the saws using the levers so they break the next floor, letting you move on to the next area.

Castlevania Belmonts Curse Old Gallery: breaking the floor in the saw area Castlevania Belmonts Curse Old Gallery: lining up the saws with the levers to break the next floor

In the next area, use the levers to get around the area and head right through the door. Then go down and through the door on the right to find the Mirror of Life.

Castlevania Belmonts Curse Old Gallery: using the levers to get around and head right through the door Castlevania Belmonts Curse Old Gallery: going down to the door on the right toward Mirror Of Life #8 Castlevania Belmonts Curse Old Gallery: Mirror Of Life #8 behind the door on the right

Relic #4: Banshee's Wail

From the previous Mirror of Life, head left and use the painting to break the floor, then interact with the lever. Climb up on the left to reach this chest containing the relic.

Castlevania Belmonts Curse Old Gallery: using the painting to break the floor, then pulling the lever Castlevania Belmonts Curse Old Gallery: the chest with Relic #4, Banshee's Wail, up on the left

Blue Book #1

From the previous relic, head right and interact with the lever. You'll have to be quick and reach the other side of the area while the pillar is rising. At the top of the pillar, you'll find this Blue Book.

Castlevania Belmonts Curse Old Gallery: pulling the lever and crossing quickly while the pillar rises Castlevania Belmonts Curse Old Gallery: Blue Book #1 at the top of the rising pillar

XP Statue #16

From the previous Blue Book, use the Smash arcane power to break the floor. In the next area, you'll see the statue in front of you.

Castlevania Belmonts Curse Old Gallery: using the Smash arcane power to break the floor Castlevania Belmonts Curse Old Gallery: XP Statue #16 in front of you in the area below

Brave Heart Fragment #2 + Wise Heart Fragment #3

From the previous statue, go down and into the room on the right, then through the red door. Interact with the lever and climb up to get these 2 upgrades.

Castlevania Belmonts Curse Old Gallery: the room on the right and red door leading to two heart fragments Castlevania Belmonts Curse Old Gallery: Brave Heart Fragment #2 and Wise Heart Fragment #3 after the lever

Abandoned Workshop

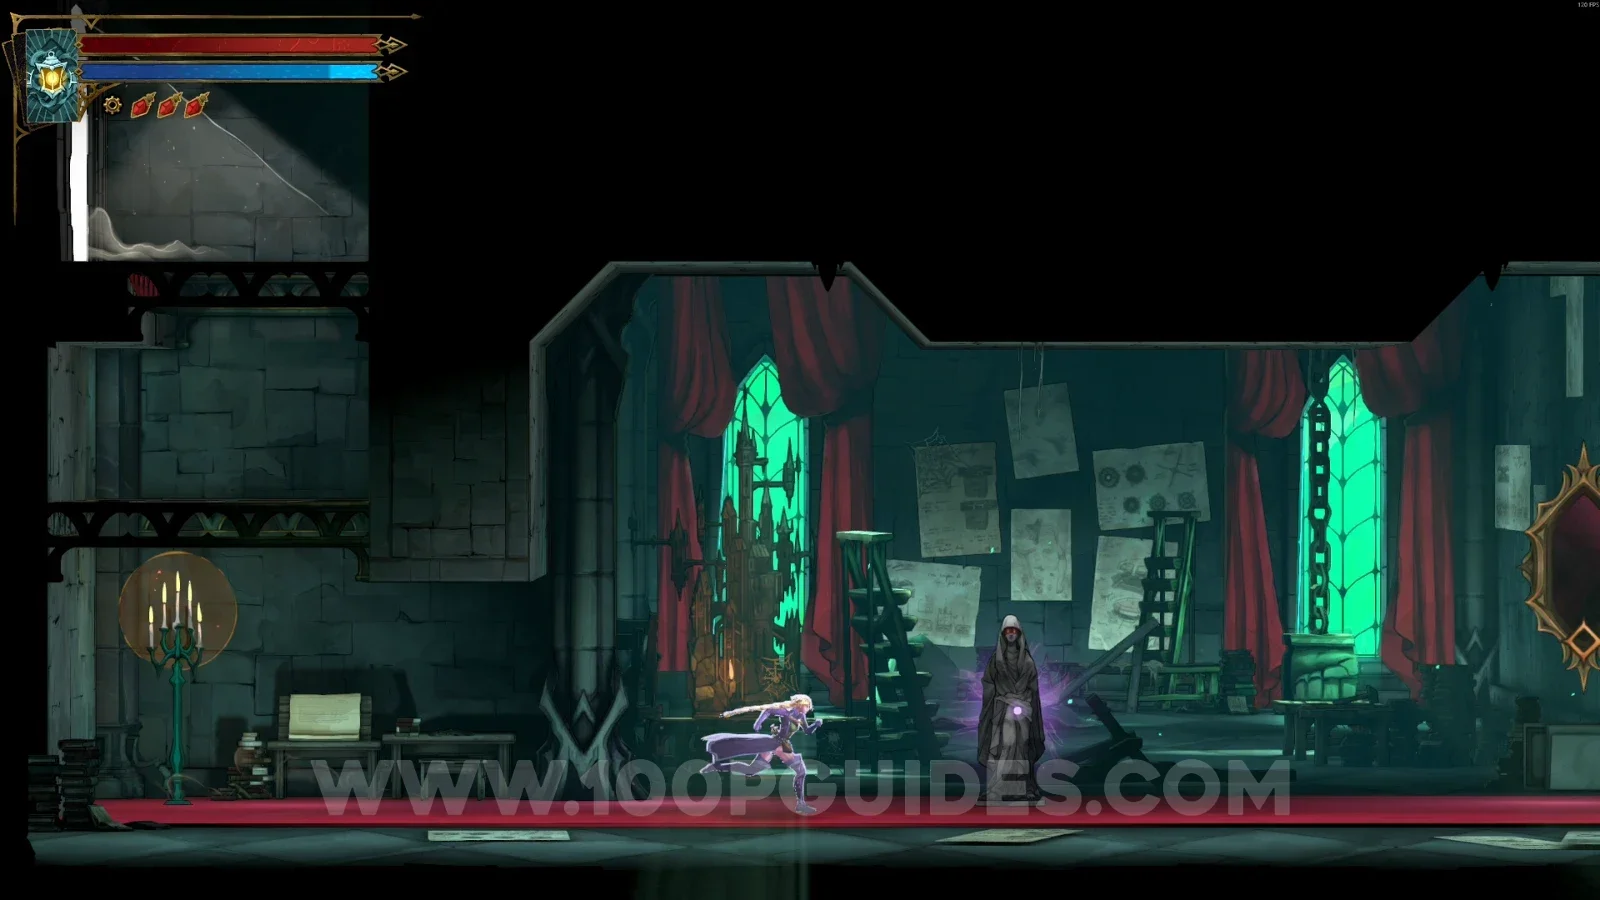
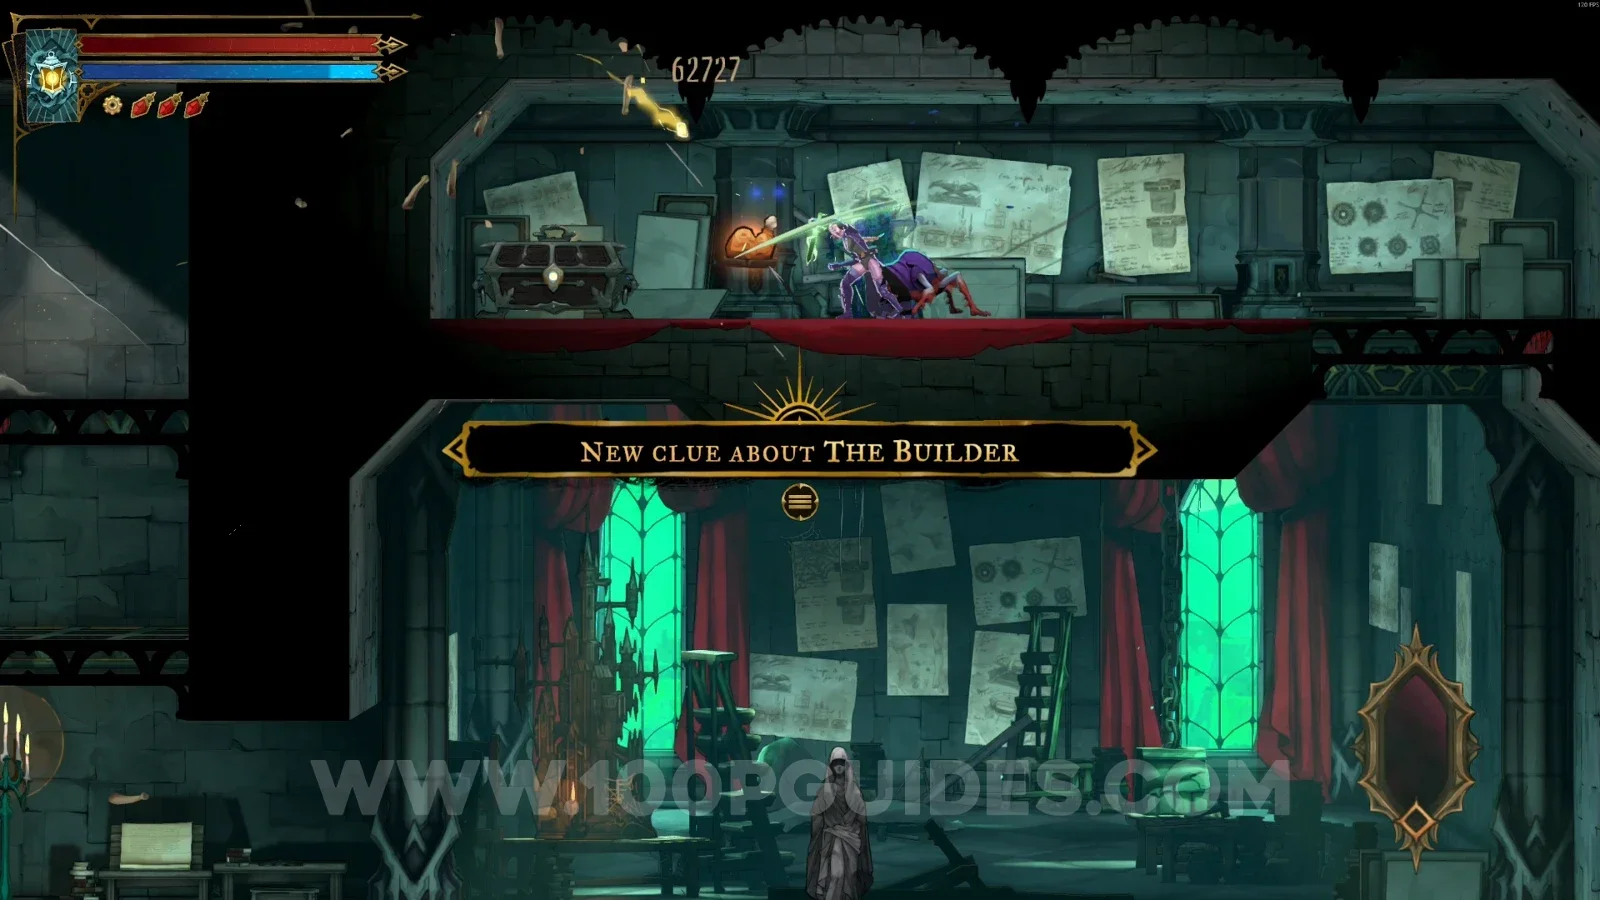
Clue: The Builder

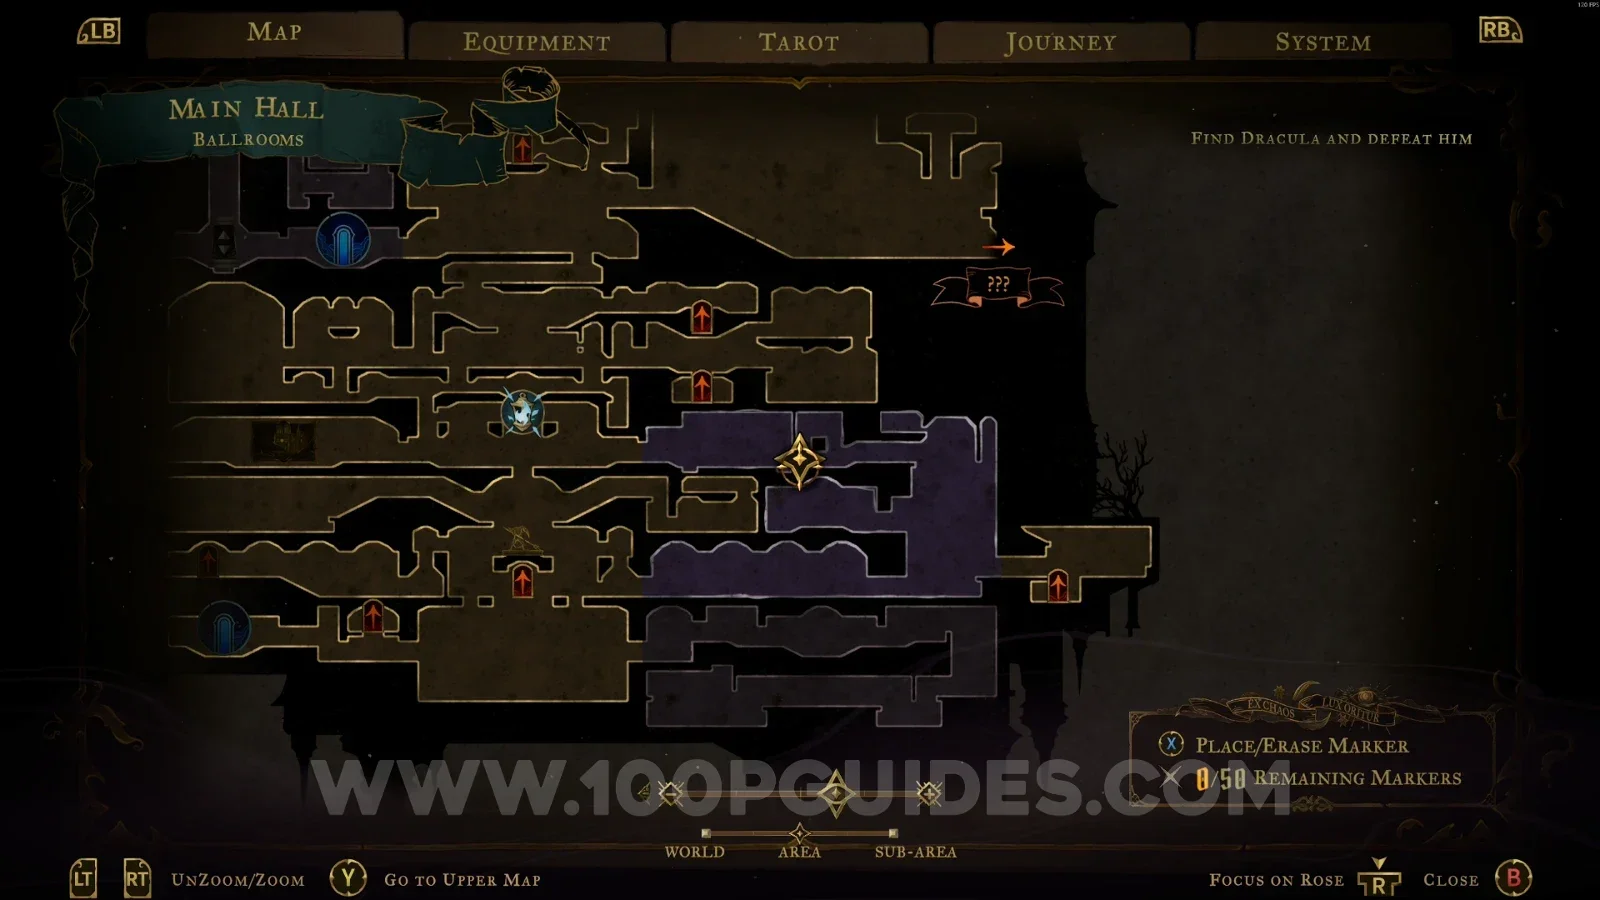
In the area marked on the map, interact with the statue to get this clue.

Castlevania Belmonts Curse Abandoned Workshop: map location of the statue with The Builder clue Castlevania Belmonts Curse Abandoned Workshop: interacting with the statue to get The Builder clue

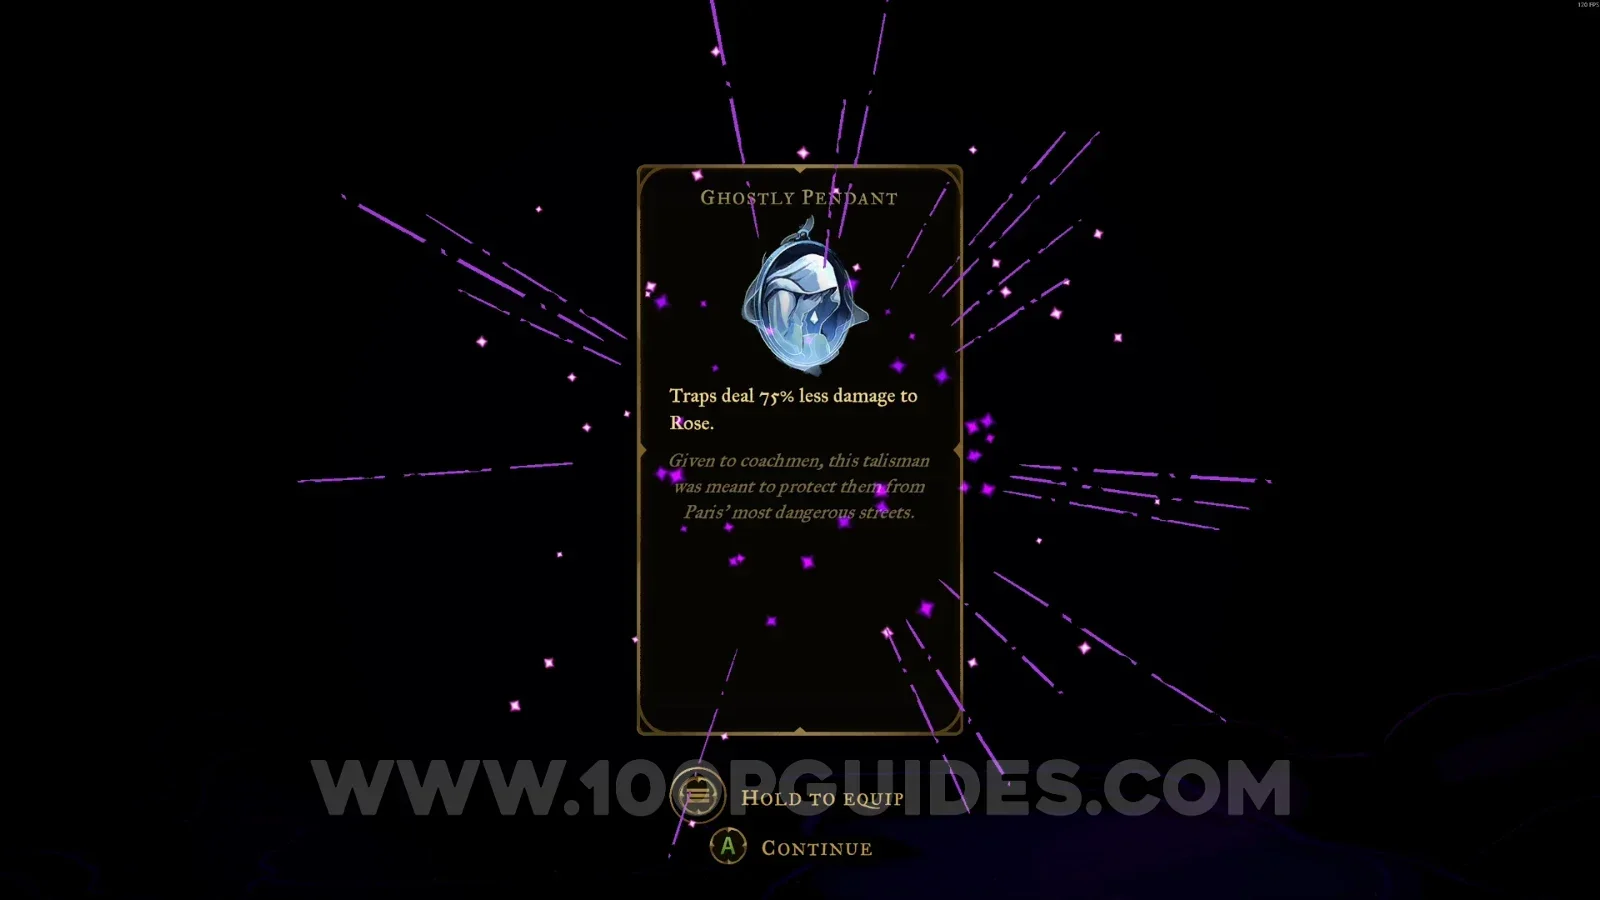
Relic #5: Ghostly Pendant

Same area as the previous collectible. Use the mirror to climb to the platform above. This will reveal a secret area with the chest containing the relic.

Castlevania Belmonts Curse Abandoned Workshop: using the mirror to climb to the platform above Castlevania Belmonts Curse Abandoned Workshop: the secret area chest with Relic #5, the Ghostly Pendant

Ballrooms

XP Statue #17

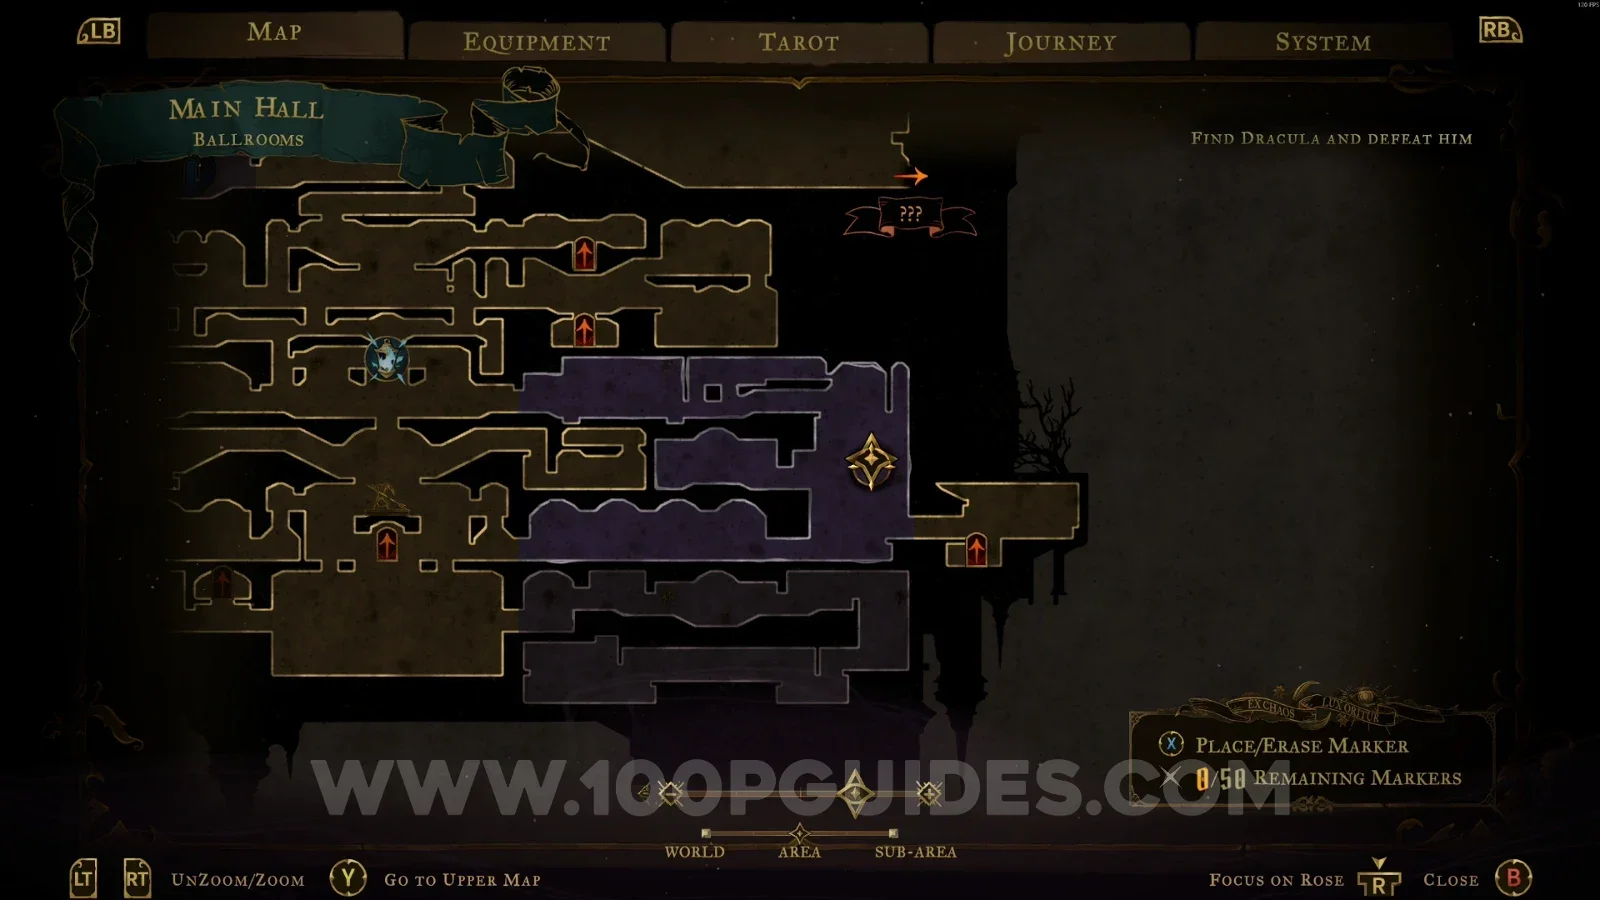
In the area marked on the map, enter the mirror and launch yourself to the right side to reach the room with the statue.

Castlevania Belmonts Curse Ballrooms: map location of XP Statue #17 Castlevania Belmonts Curse Ballrooms: entering the mirror to launch to the right side Castlevania Belmonts Curse Ballrooms: XP Statue #17 in the room on the right side

XP Statue #18

In the area marked on the map, on the right side.
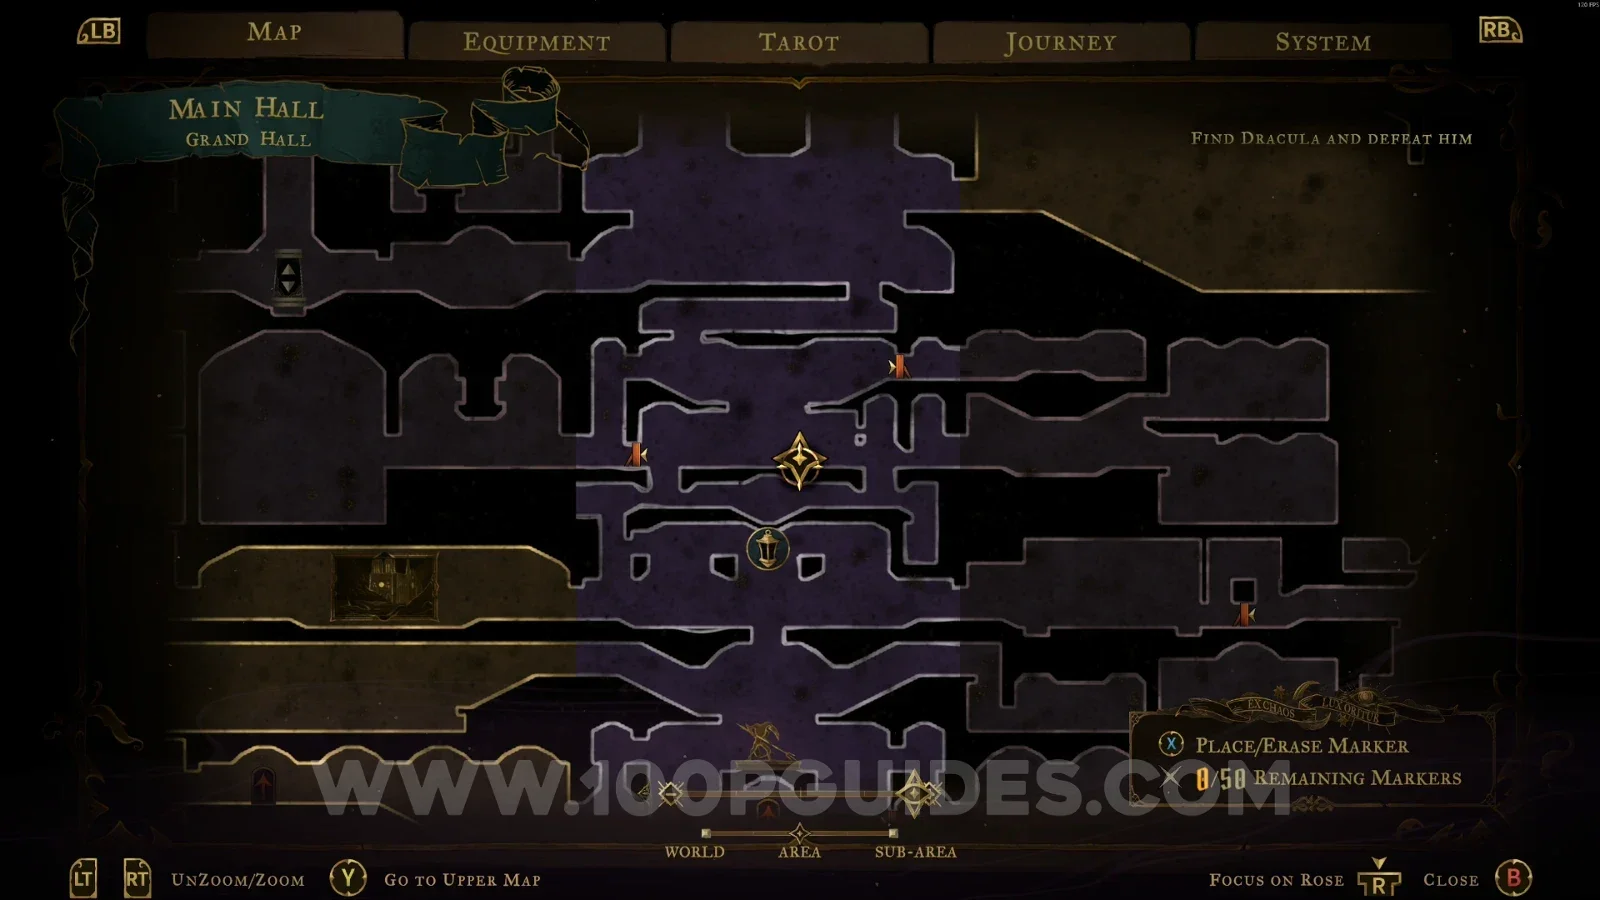
Castlevania Belmonts Curse Ballrooms: map location of XP Statue #18 Castlevania Belmonts Curse Ballrooms: the right side of the marked area holding XP Statue #18 Castlevania Belmonts Curse Ballrooms: XP Statue #18 on the right side of the area

Mirror of Life #9

In the area marked on the map.

Castlevania Belmonts Curse Ballrooms: map location of Mirror Of Life #9 Castlevania Belmonts Curse Ballrooms: Mirror Of Life #9 in the area marked on the map

Mirror Rooms

XP Statue #19

In the area marked on the map, go through the red door. In the other area, go down the platform and into the room on the right, then interact with the levers and defeat the enemies.
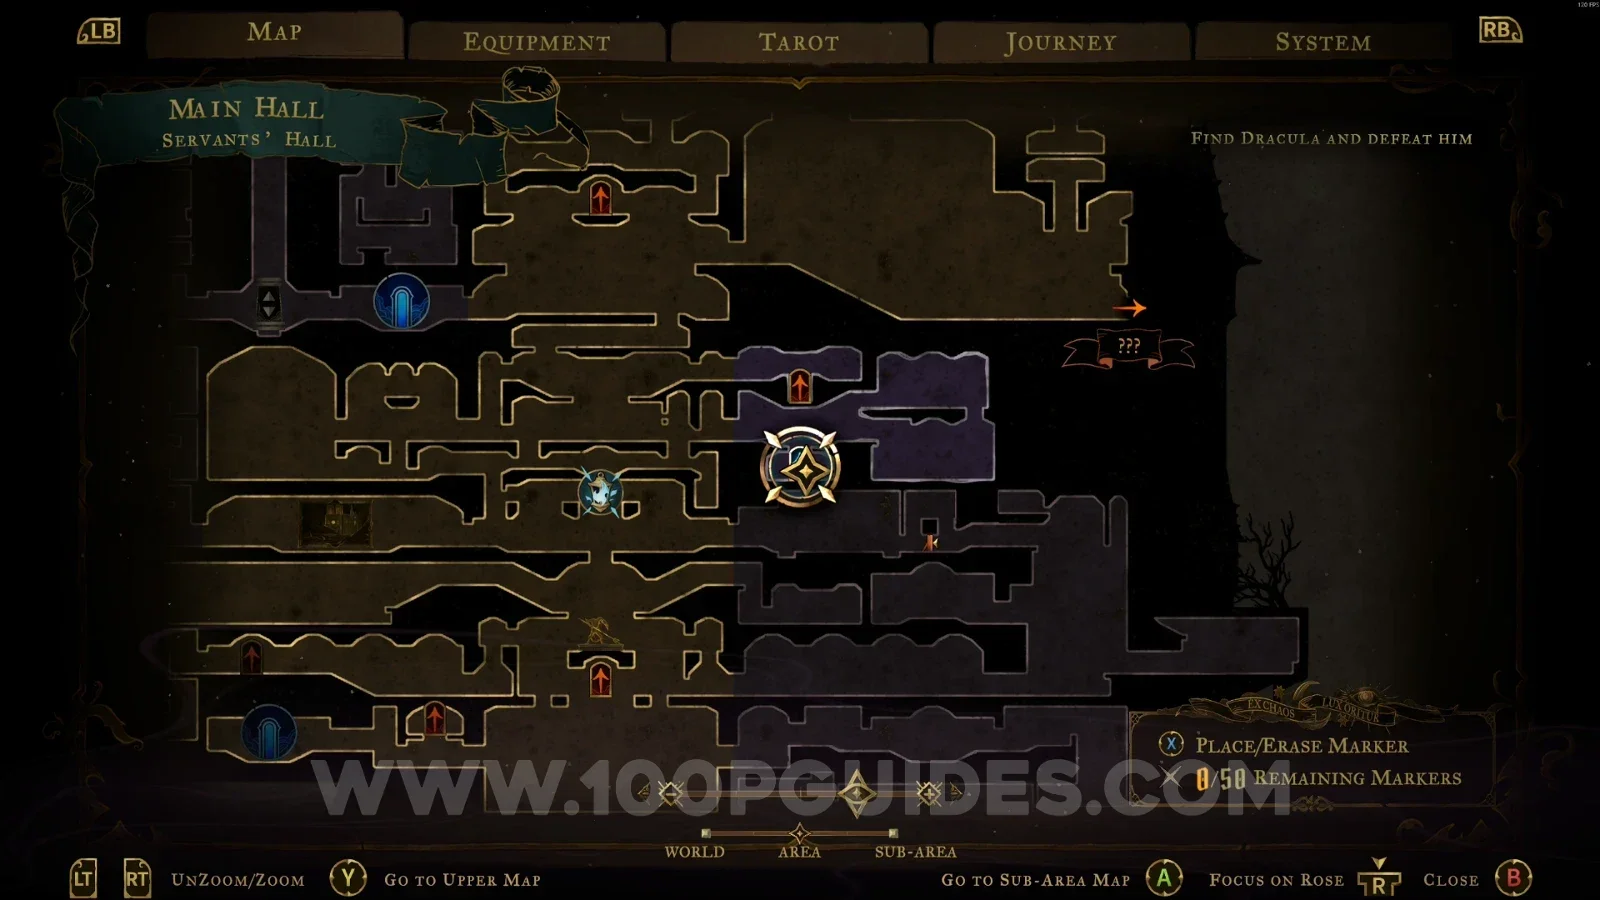
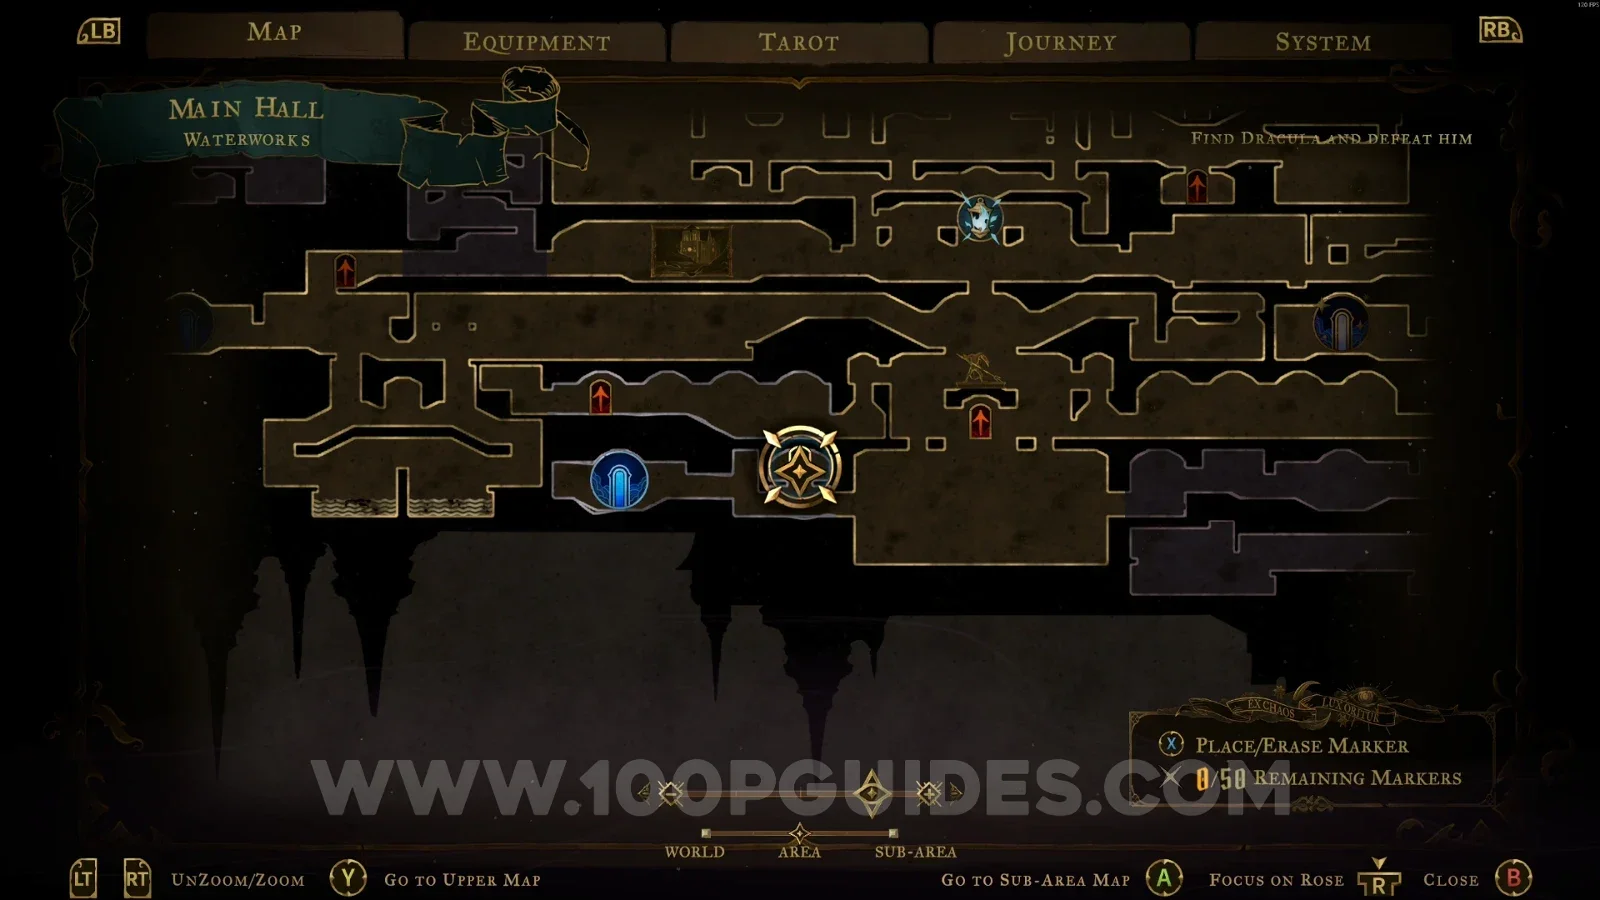
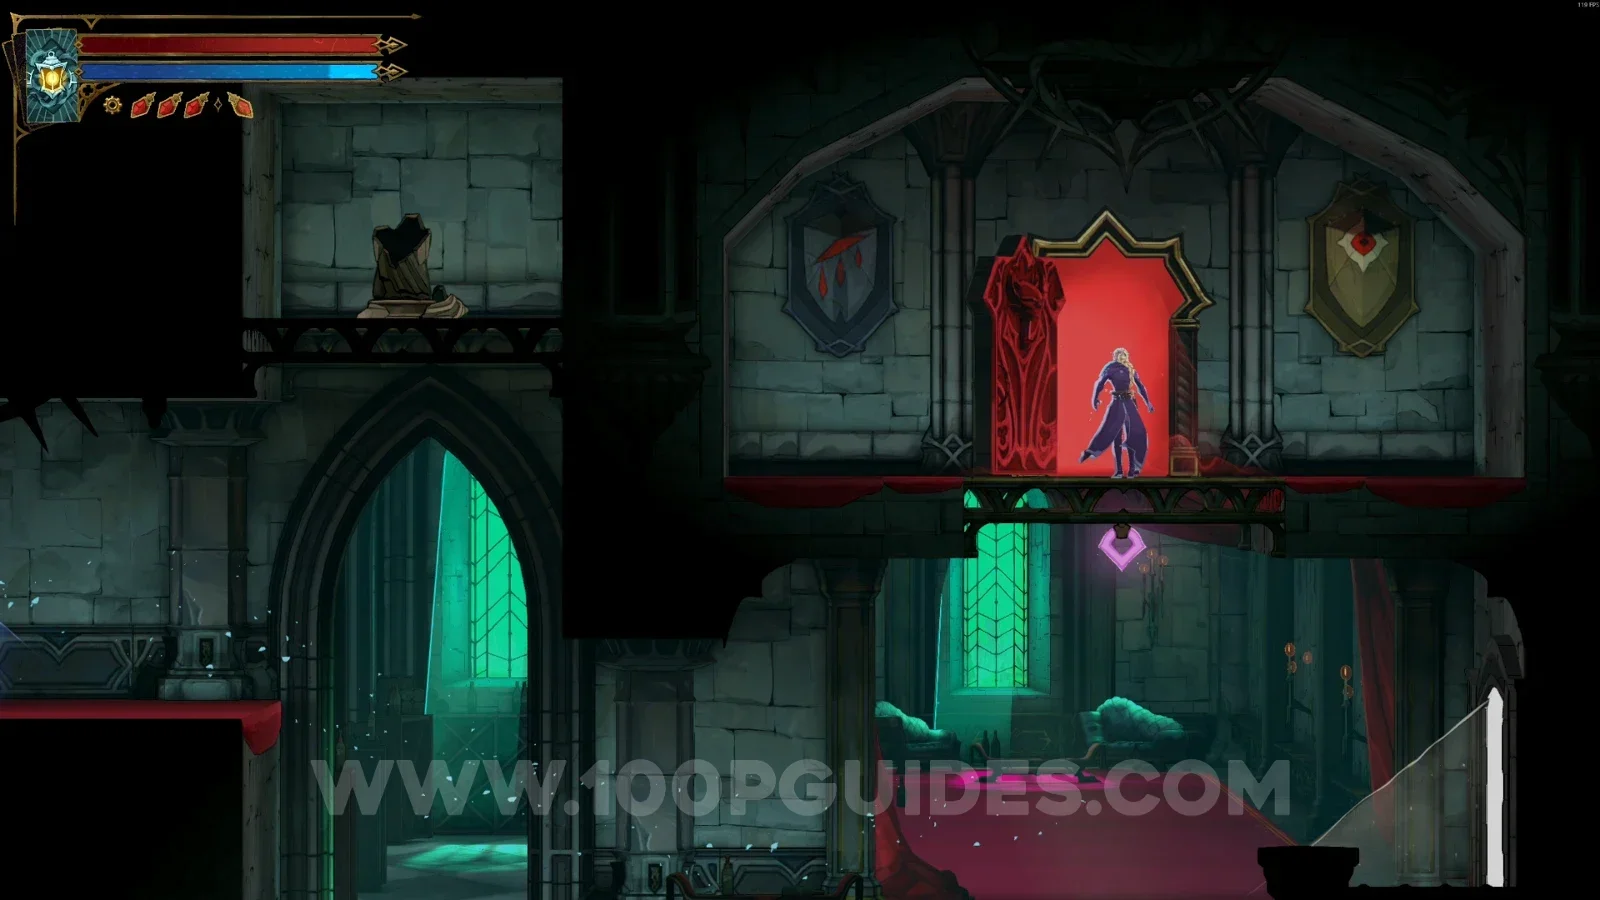
Castlevania Belmonts Curse Mirror Rooms: map location of the red door leading to XP Statue #19 Castlevania Belmonts Curse Mirror Rooms: pulling the levers and fighting enemies in the room on the right

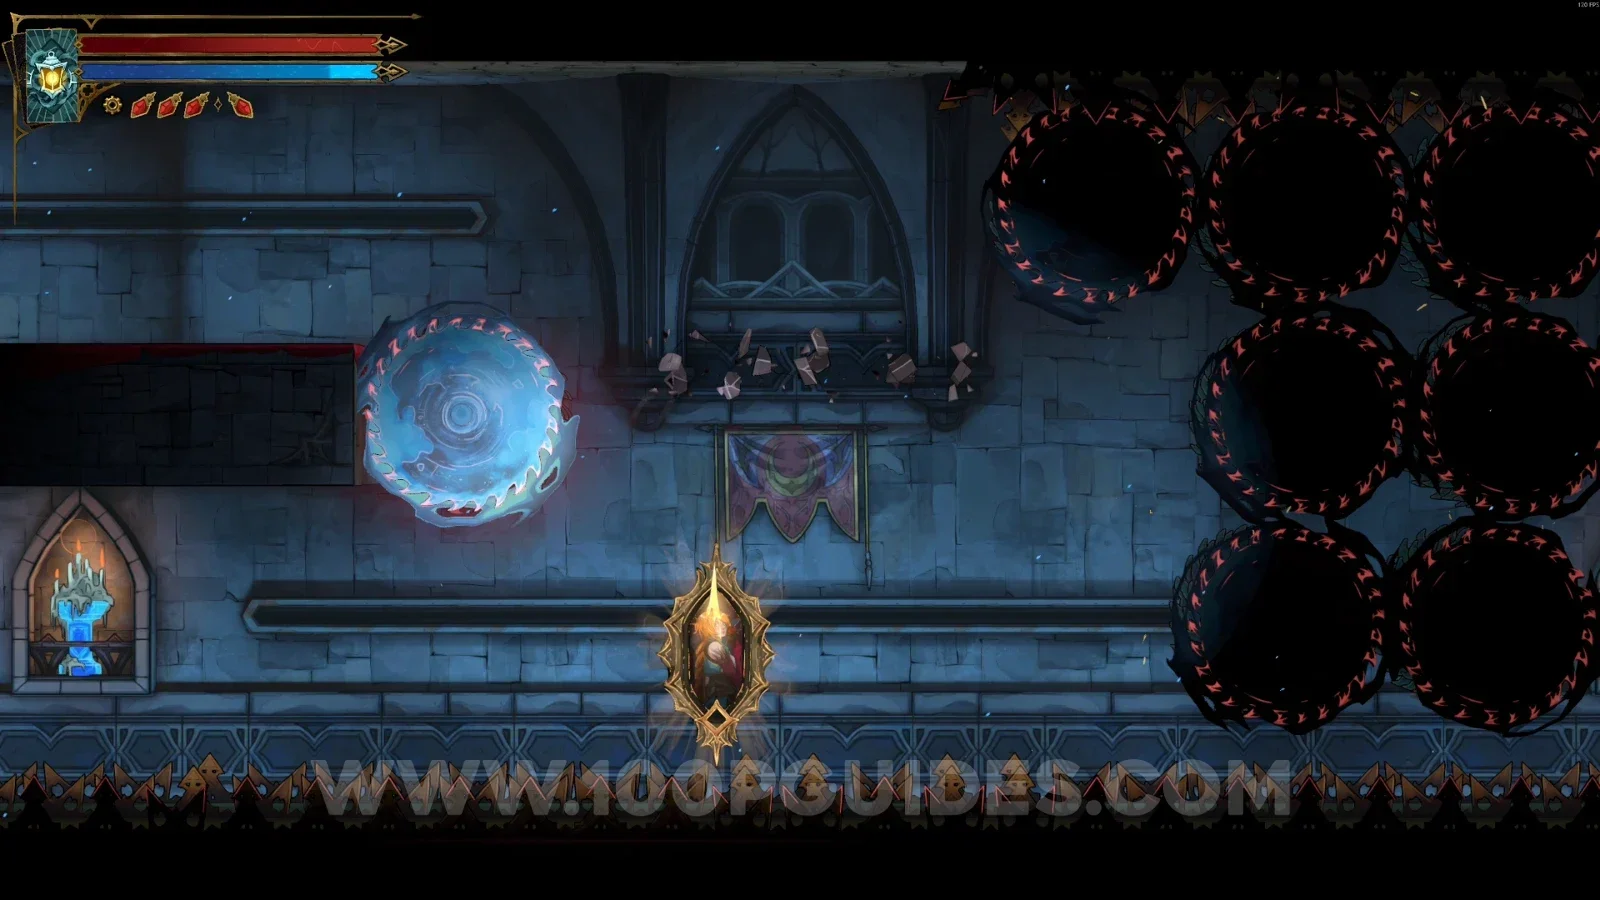
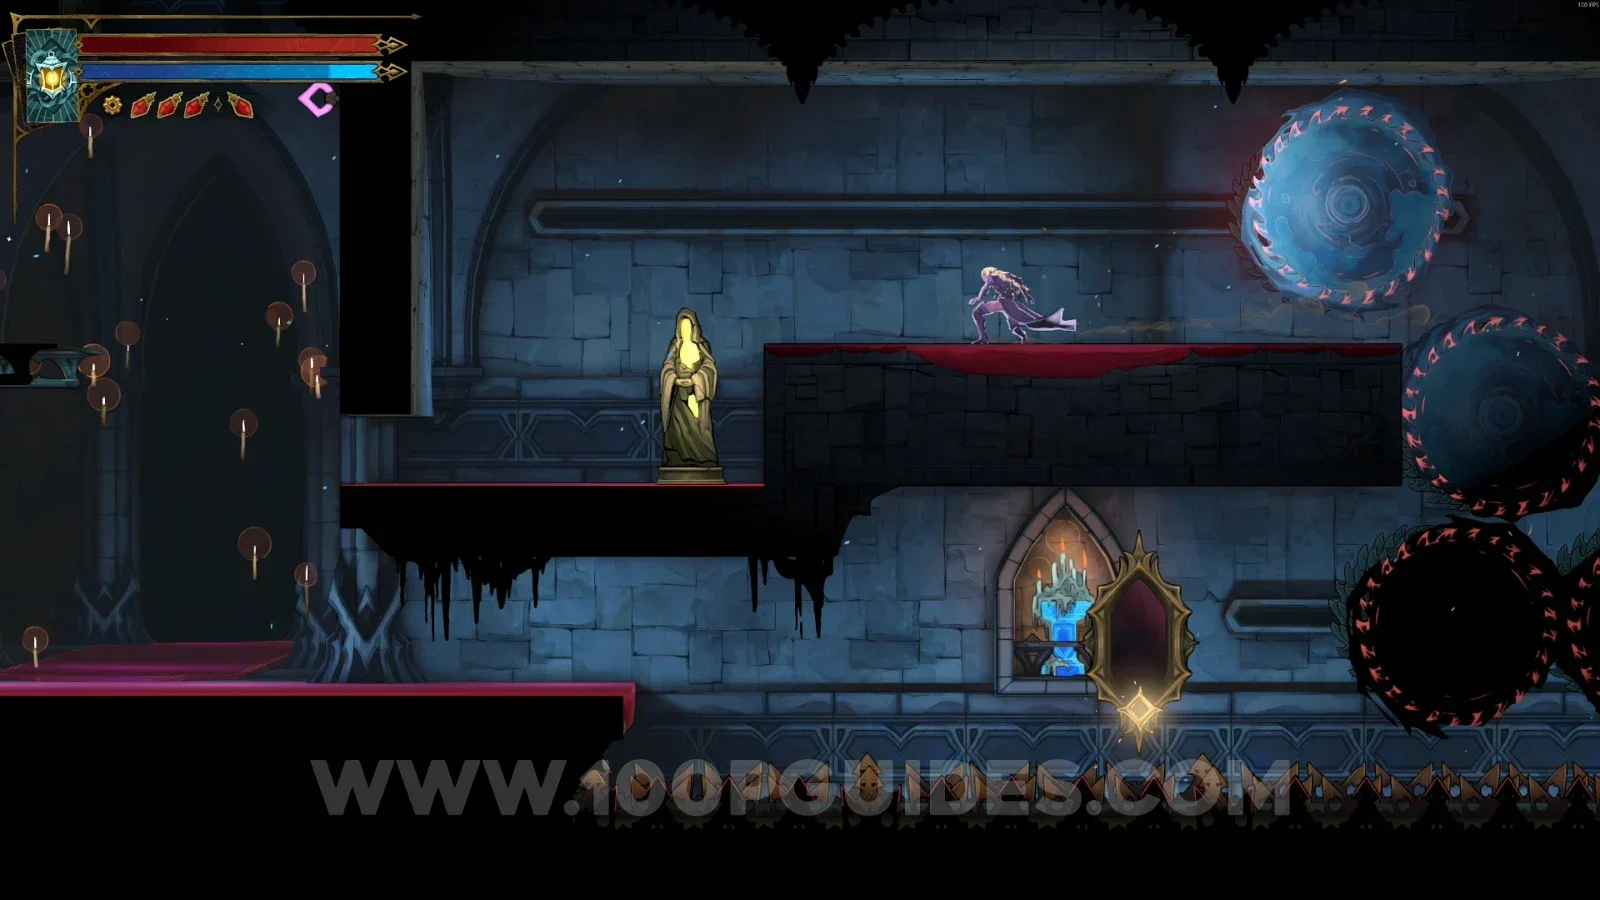
After defeating the enemies, go through the door on the right. In the next room, enter the painting and launch yourself to the platform above, then head left to reveal a secret room with the statue.
Castlevania Belmonts Curse Mirror Rooms: entering the painting to launch to the platform above Castlevania Belmonts Curse Mirror Rooms: XP Statue #19 in the secret room on the left

XP Statue #20

From the previous statue, follow the single path to the right, and eventually you'll see this statue right in front of you on the left side.
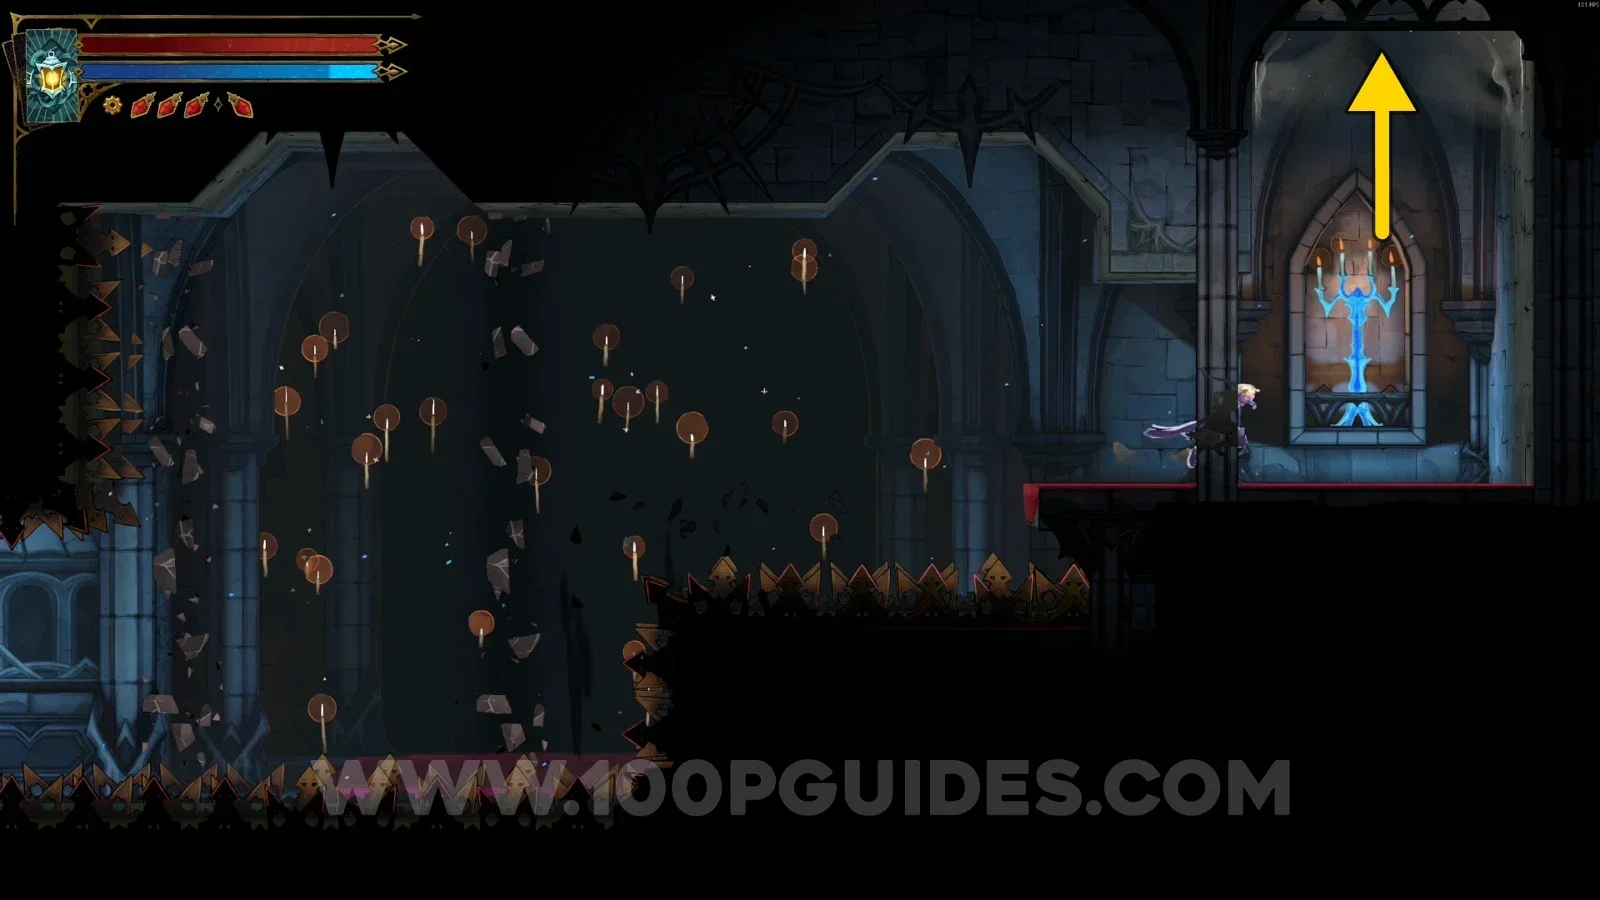
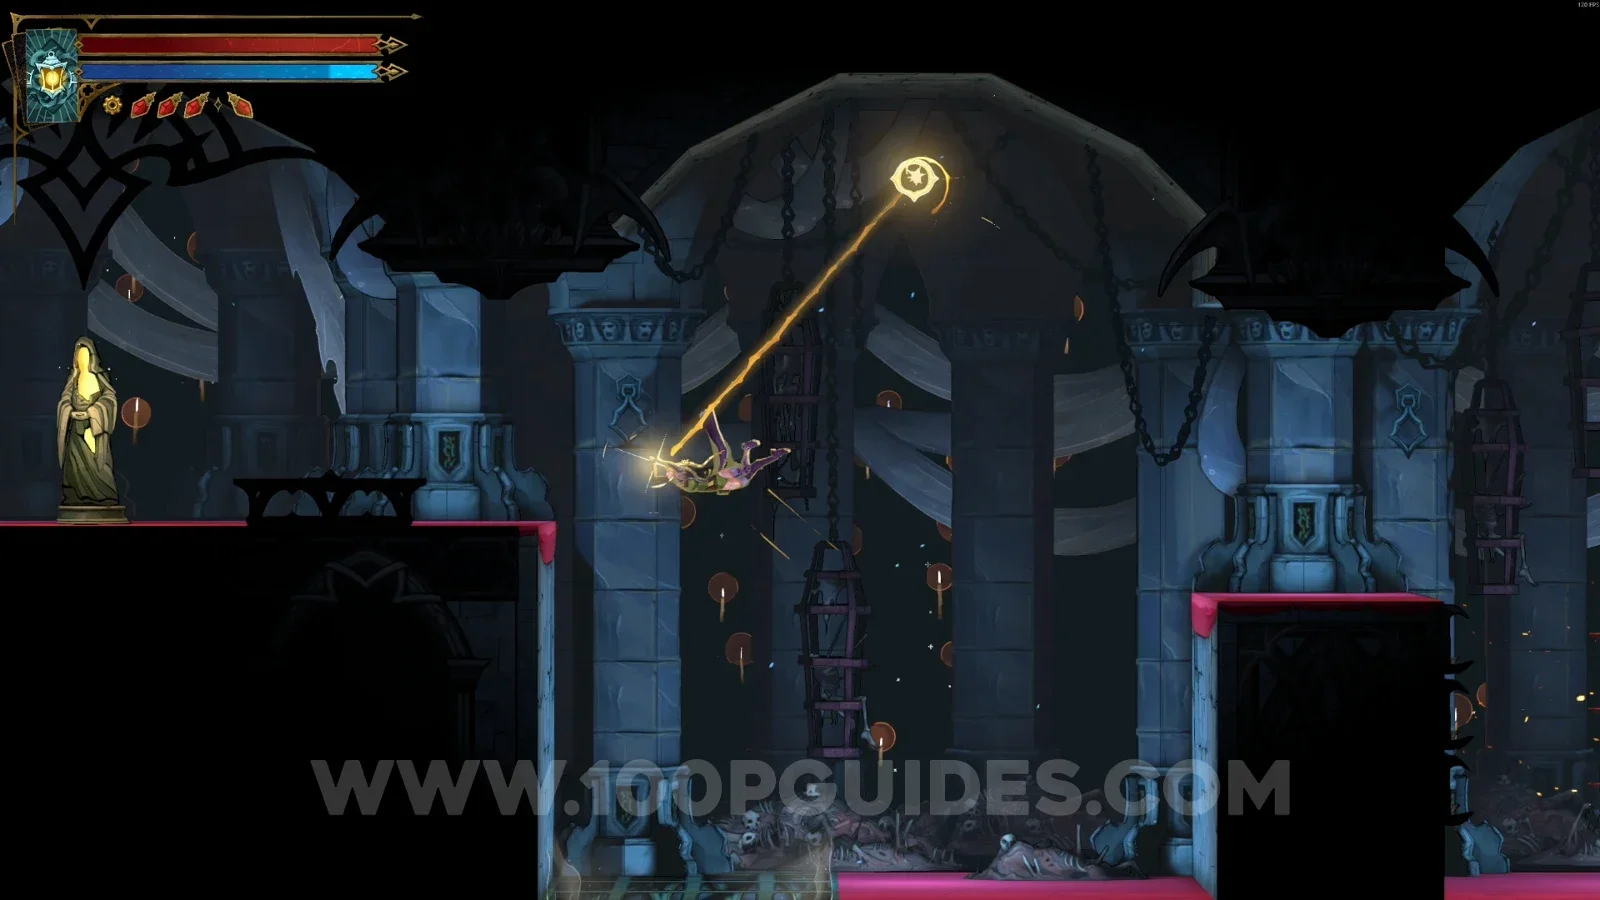
Castlevania Belmonts Curse Mirror Rooms: following the single path right toward XP Statue #20 Castlevania Belmonts Curse Mirror Rooms: XP Statue #20 in front of you on the left side

Mirror of Life #10

Now go down through the platform below, and you'll see this Mirror of Life right in front of you.
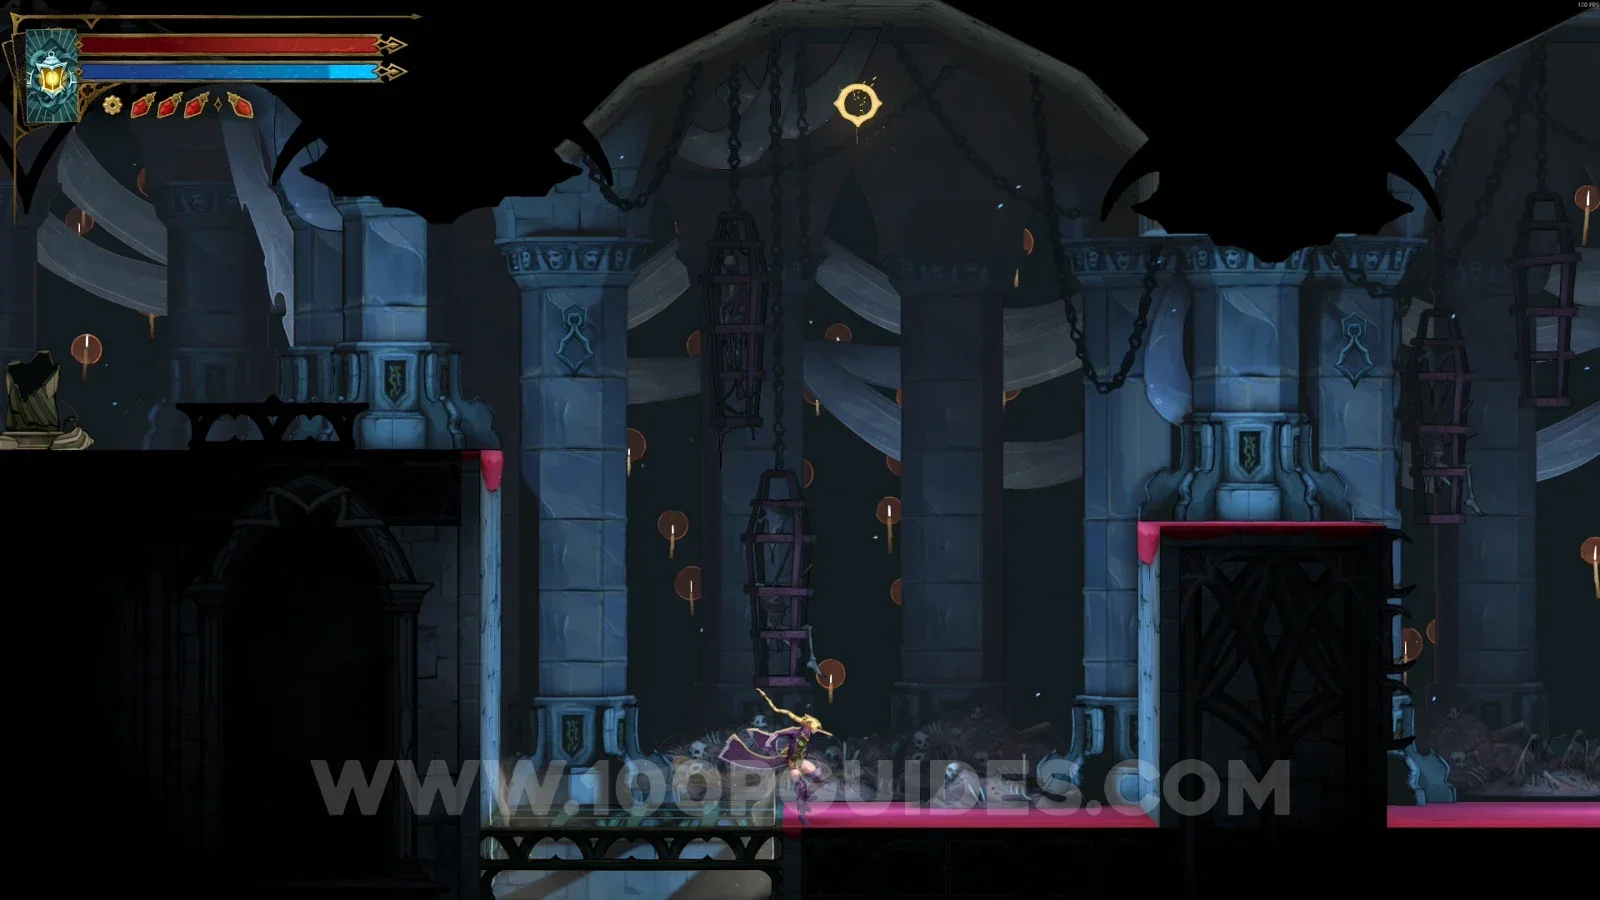
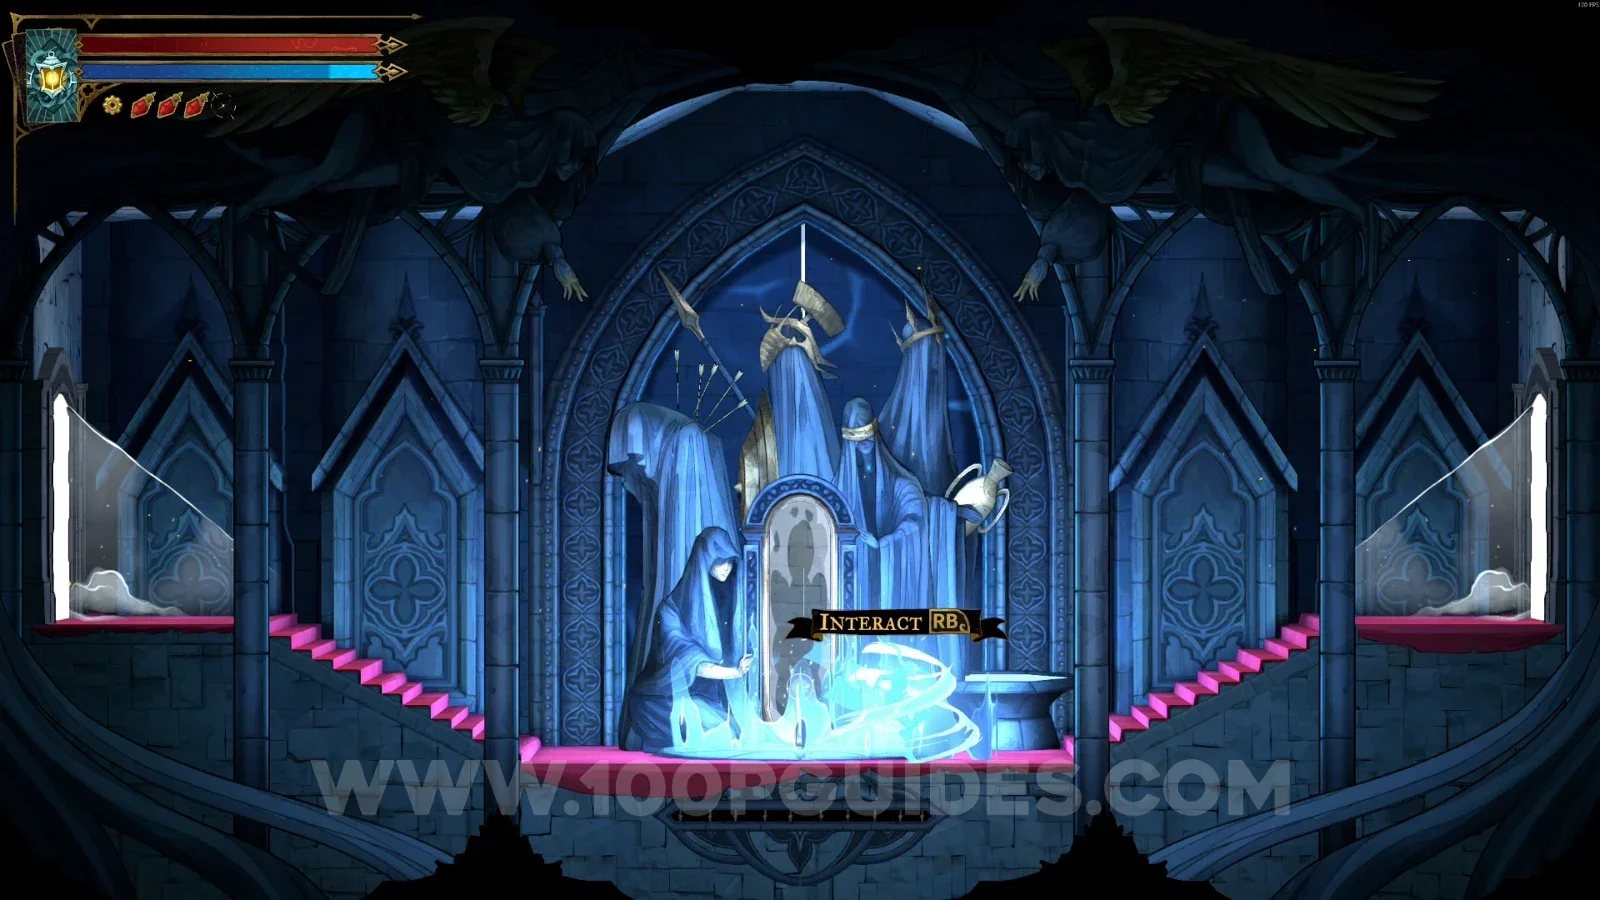
Castlevania Belmonts Curse Mirror Rooms: dropping through the platform below toward Mirror Of Life #10 Castlevania Belmonts Curse Mirror Rooms: Mirror Of Life #10 right in front of you below the platform

Brave Heart Fragment #3

From the previous Mirror of Life, head right and go through the red door. Then go around on the right side and continue all the way to the end on the left side to find this.
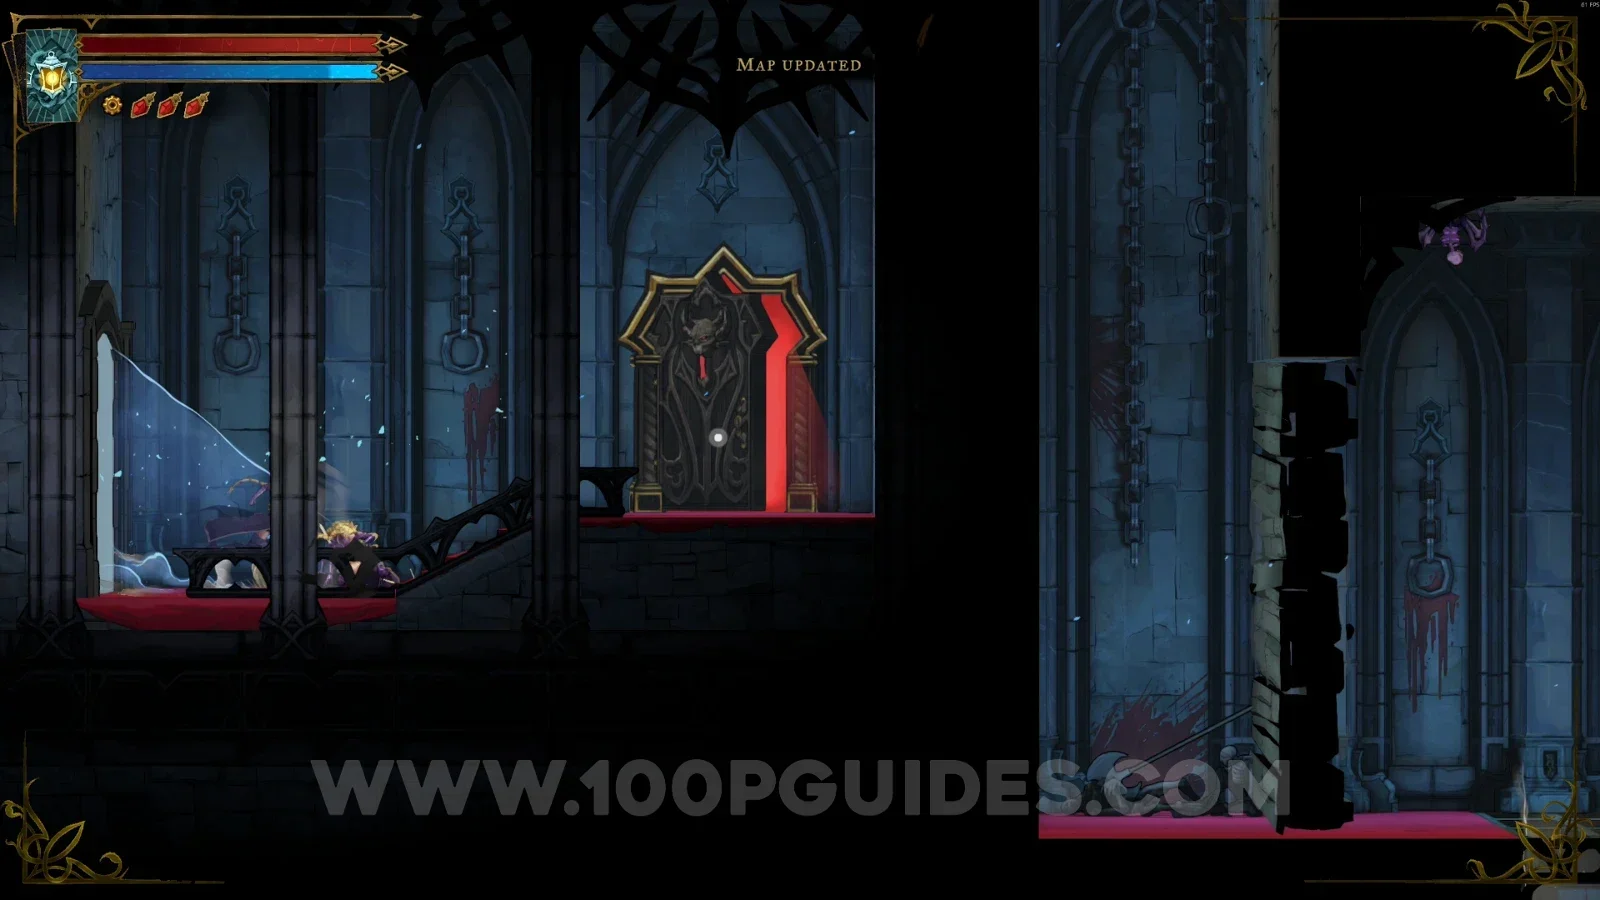
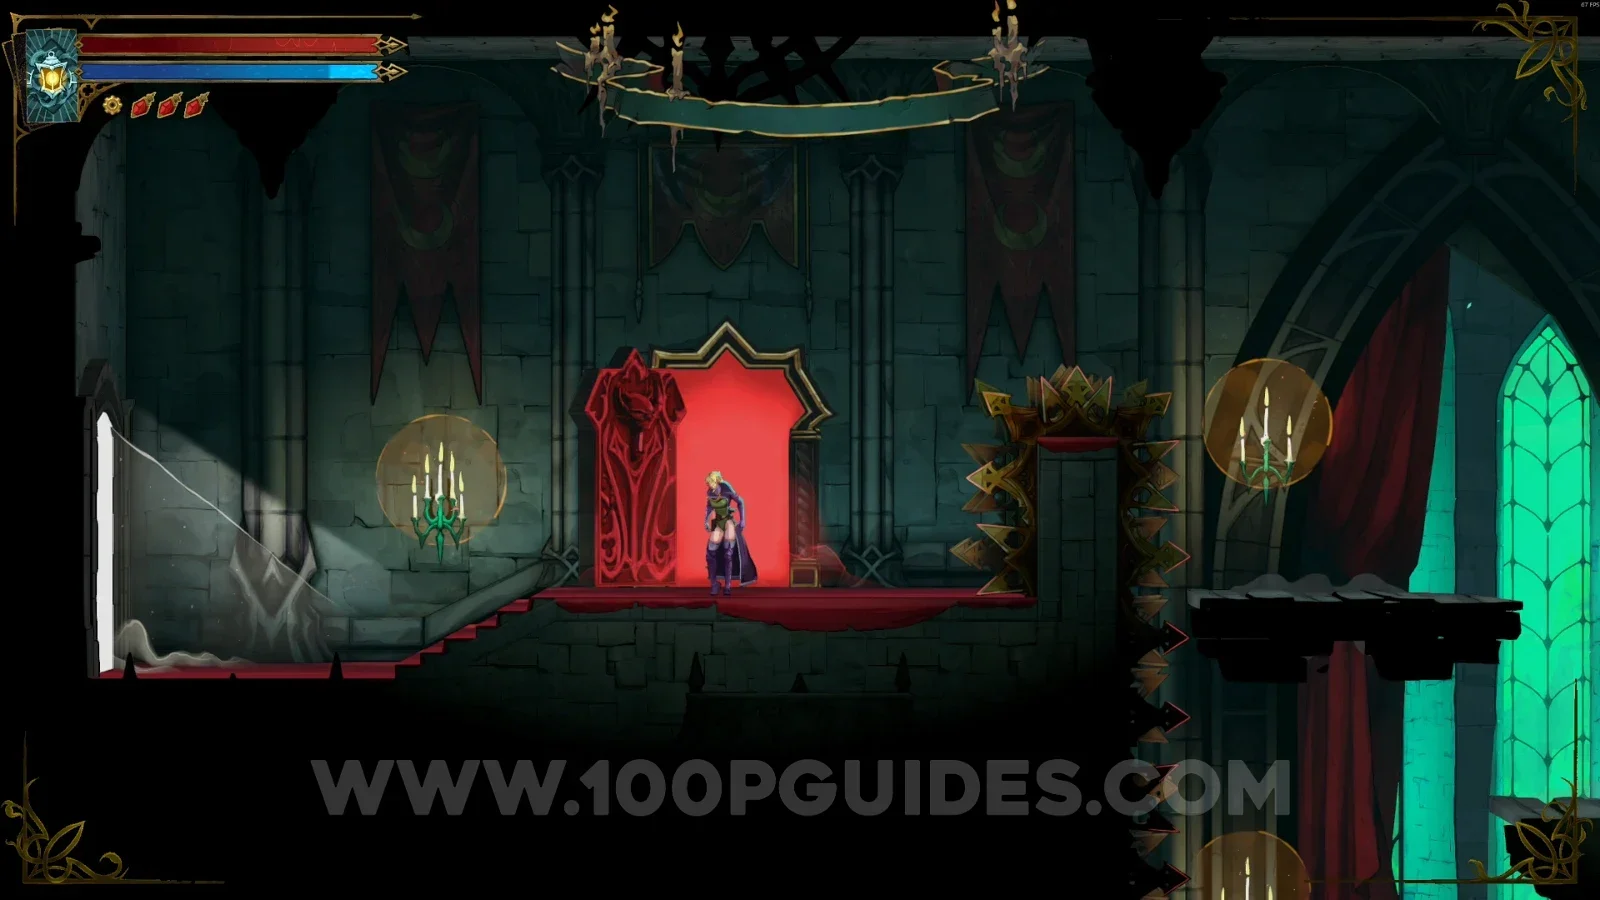
Castlevania Belmonts Curse Mirror Rooms: heading right through the red door toward Brave Heart Fragment #3 Castlevania Belmonts Curse Mirror Rooms: going around on the right side of the area Castlevania Belmonts Curse Mirror Rooms: Brave Heart Fragment #3 at the end on the left side

Eleanor Questline - PART #1

Now go back to the start of the area and go through the door on the left to start Eleanor's questline.
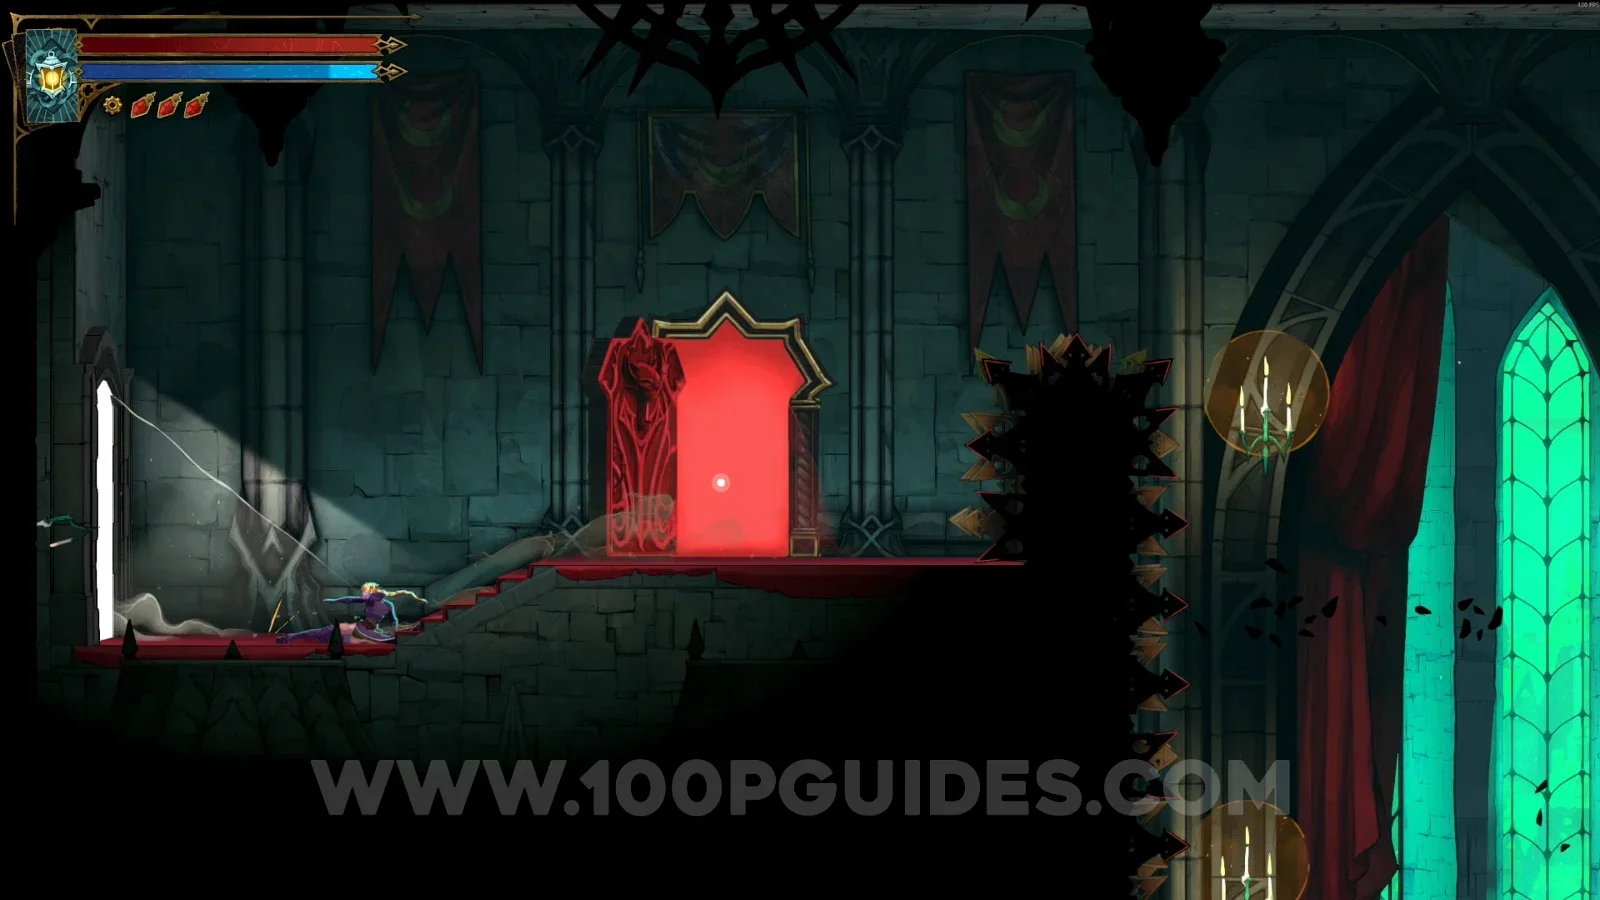
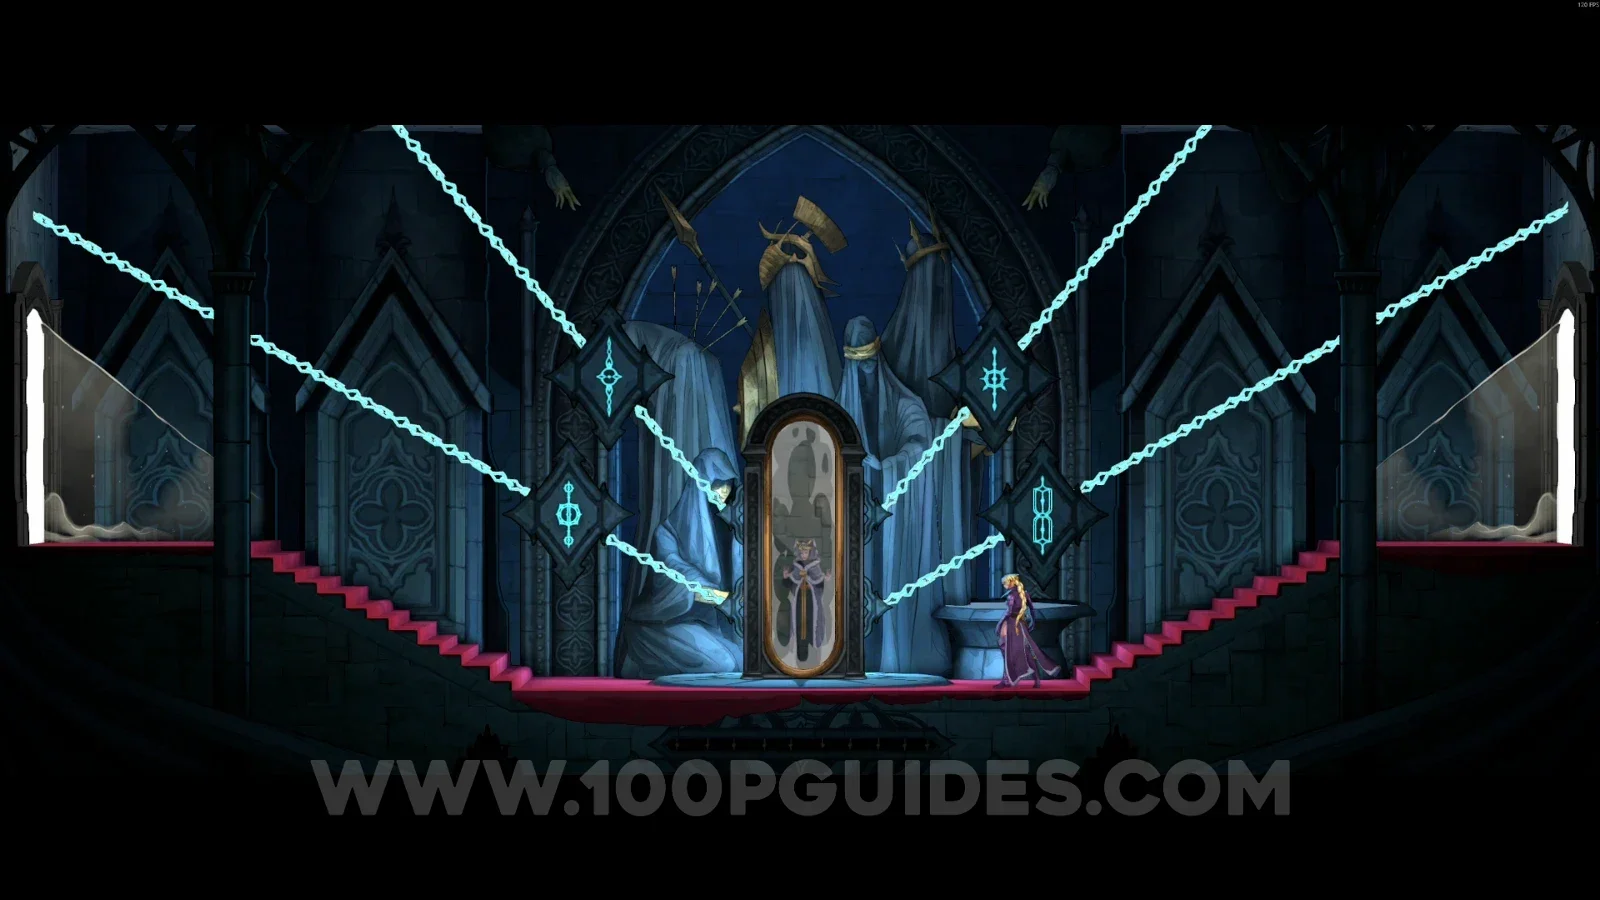
Castlevania Belmonts Curse Mirror Rooms: going back to the start of the area for Eleanor's questline Castlevania Belmonts Curse Mirror Rooms: the door on the left that starts Eleanor's questline

Blue Book #2

Same area as before. Leave through the door on the left to find this Blue Book.
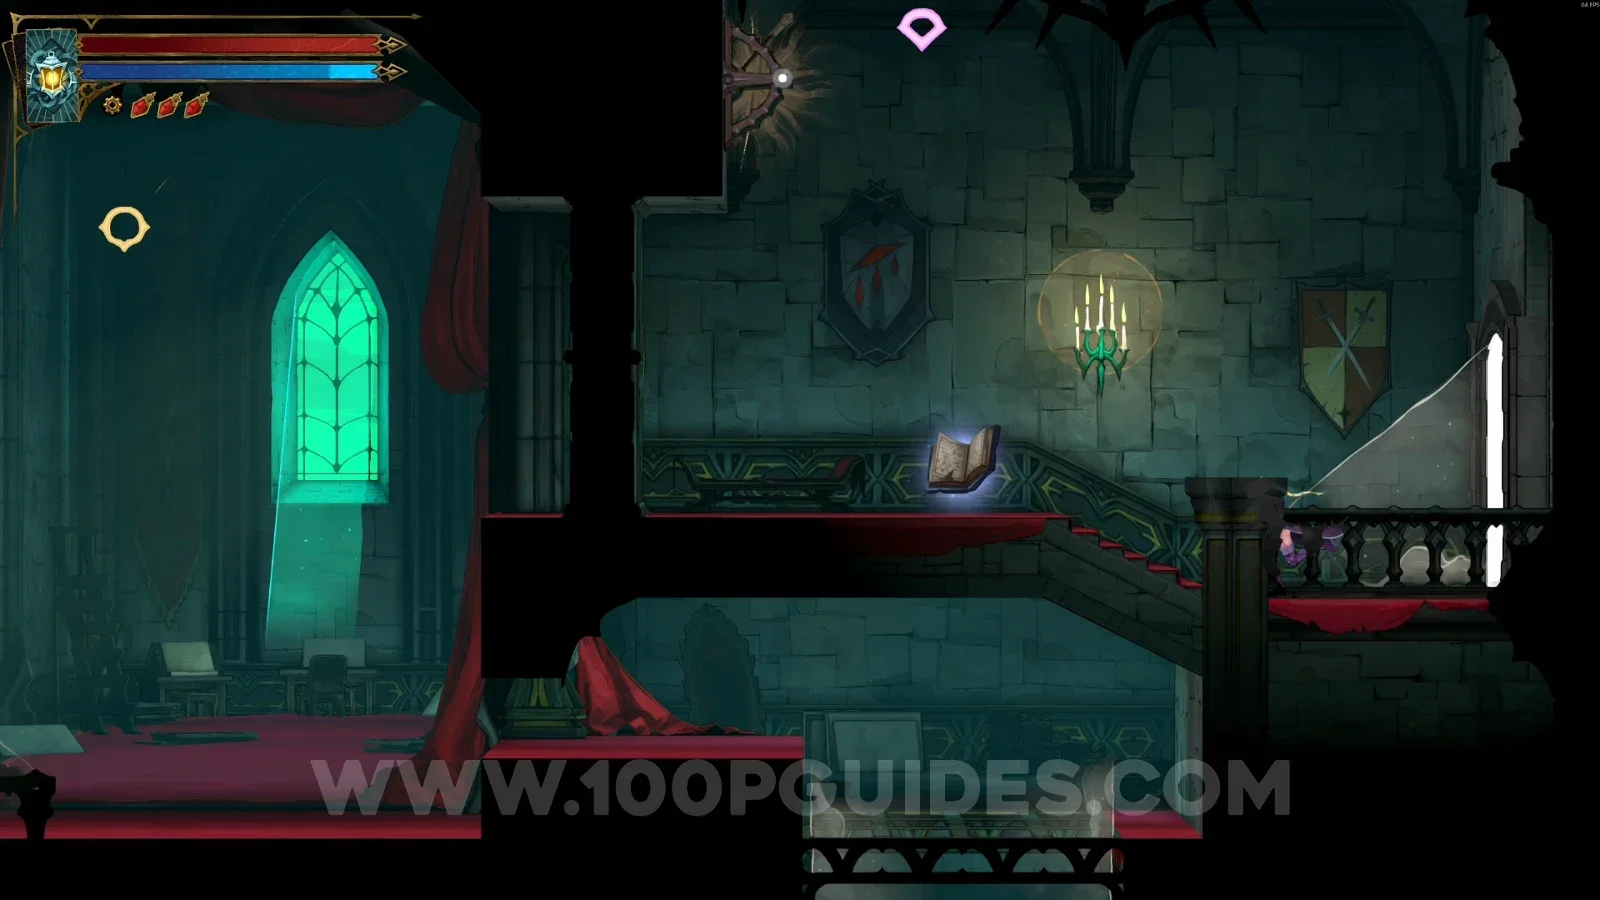
Castlevania Belmonts Curse Mirror Rooms: Blue Book #2 past the door on the left of Eleanor's area

Eleanor Questline - PART #2

In the area marked on the map, go down and through the red door.
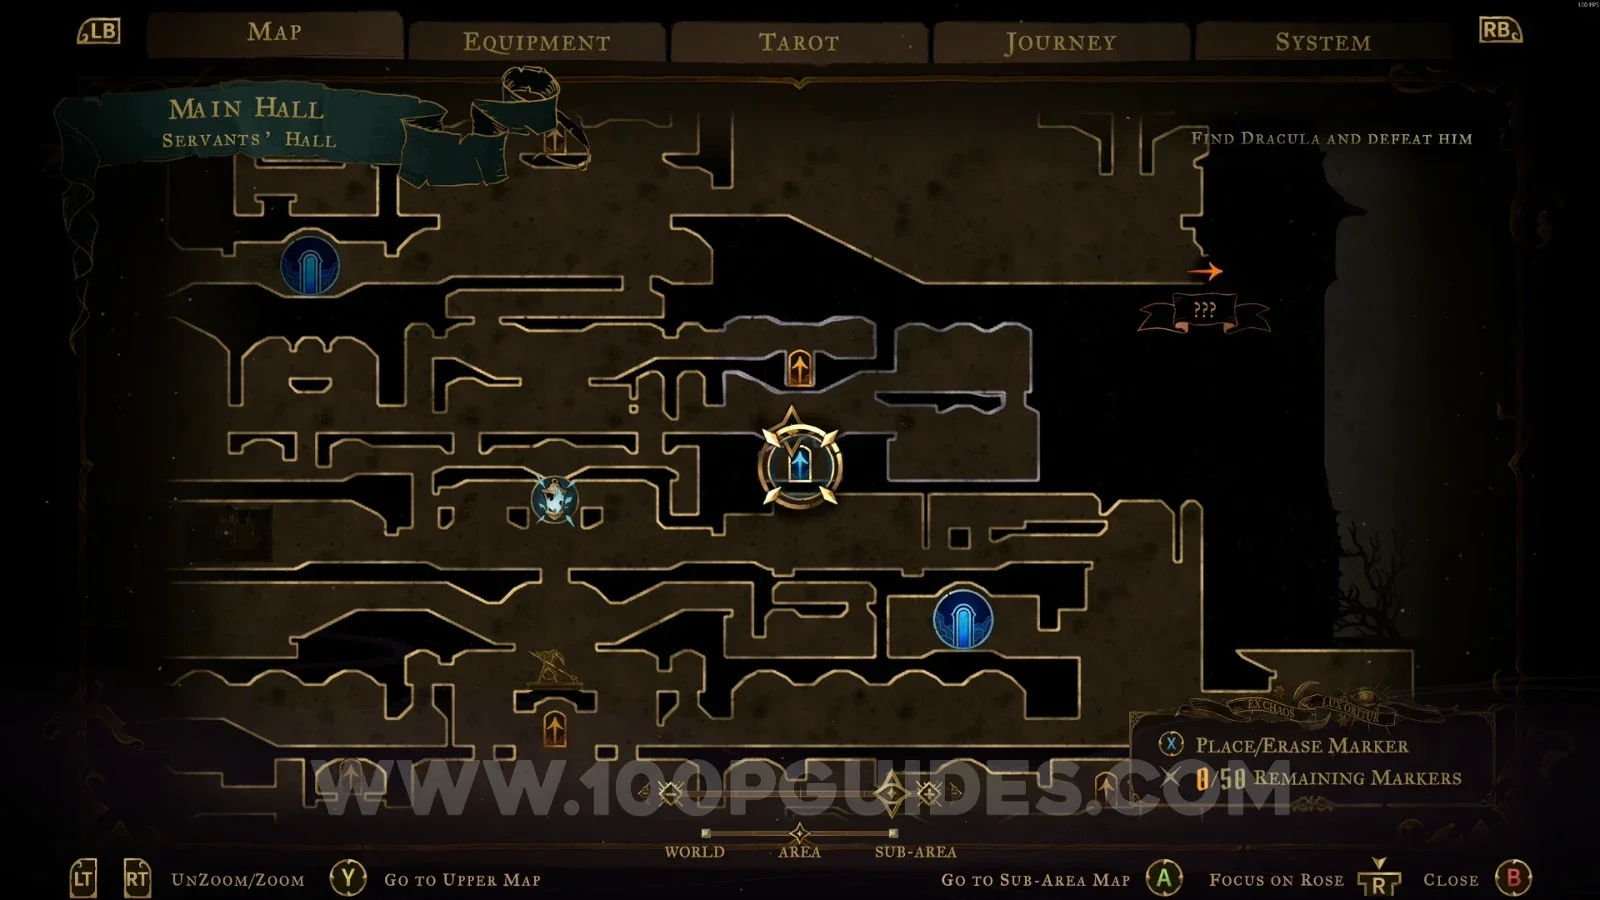
Castlevania Belmonts Curse Mirror Rooms: map location for Eleanor Questline part 2 Castlevania Belmonts Curse Mirror Rooms: going down to the red door for Eleanor Questline part 2

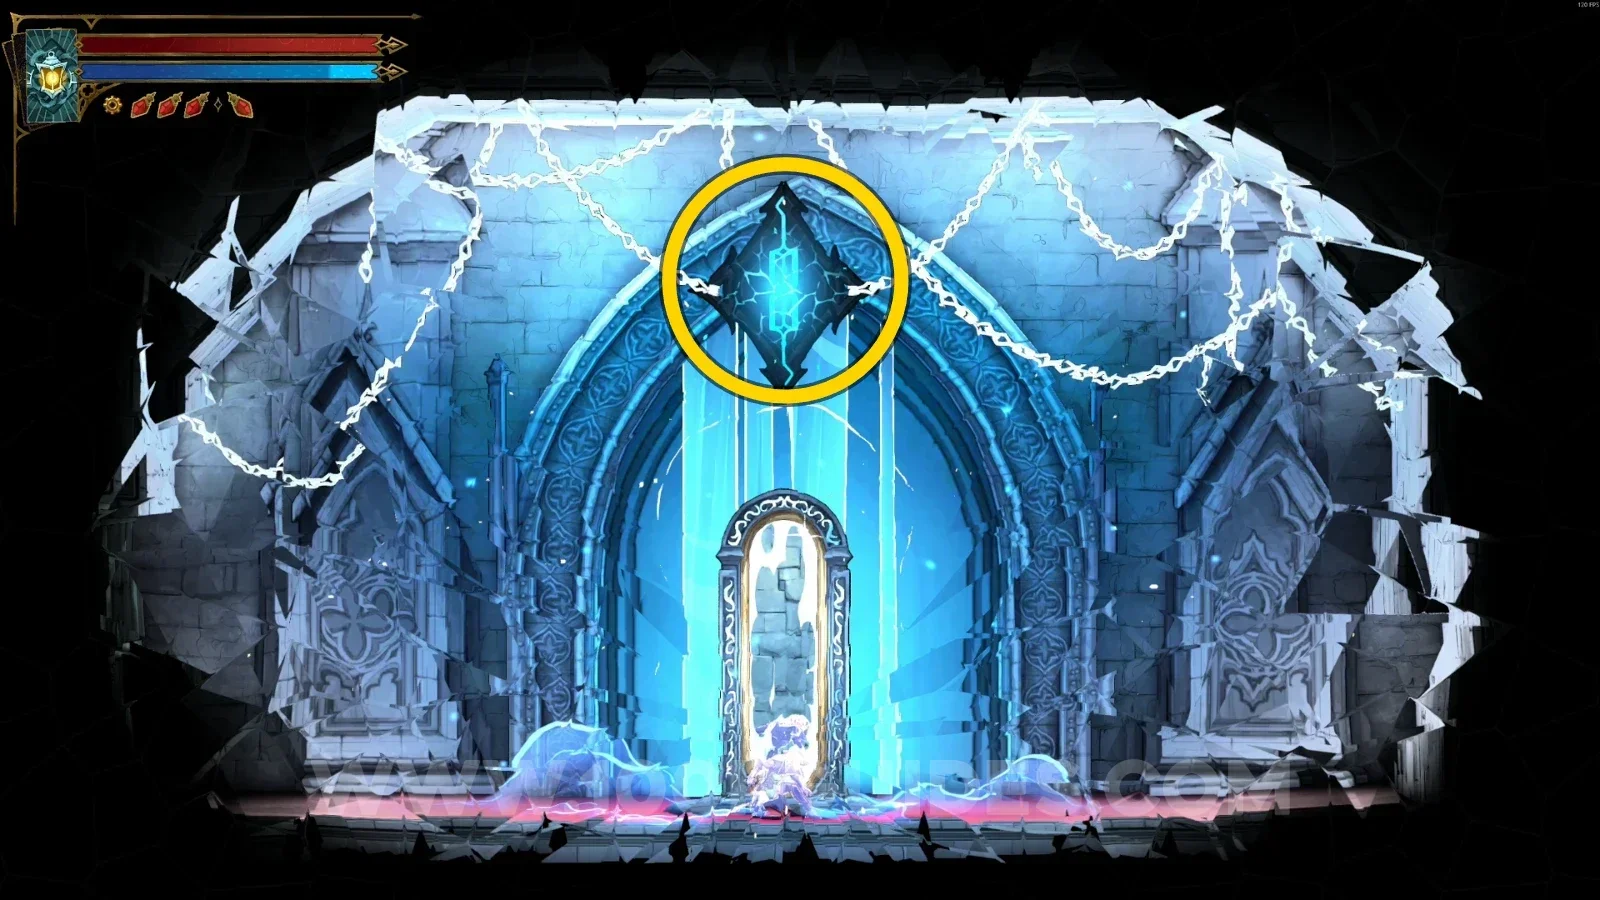
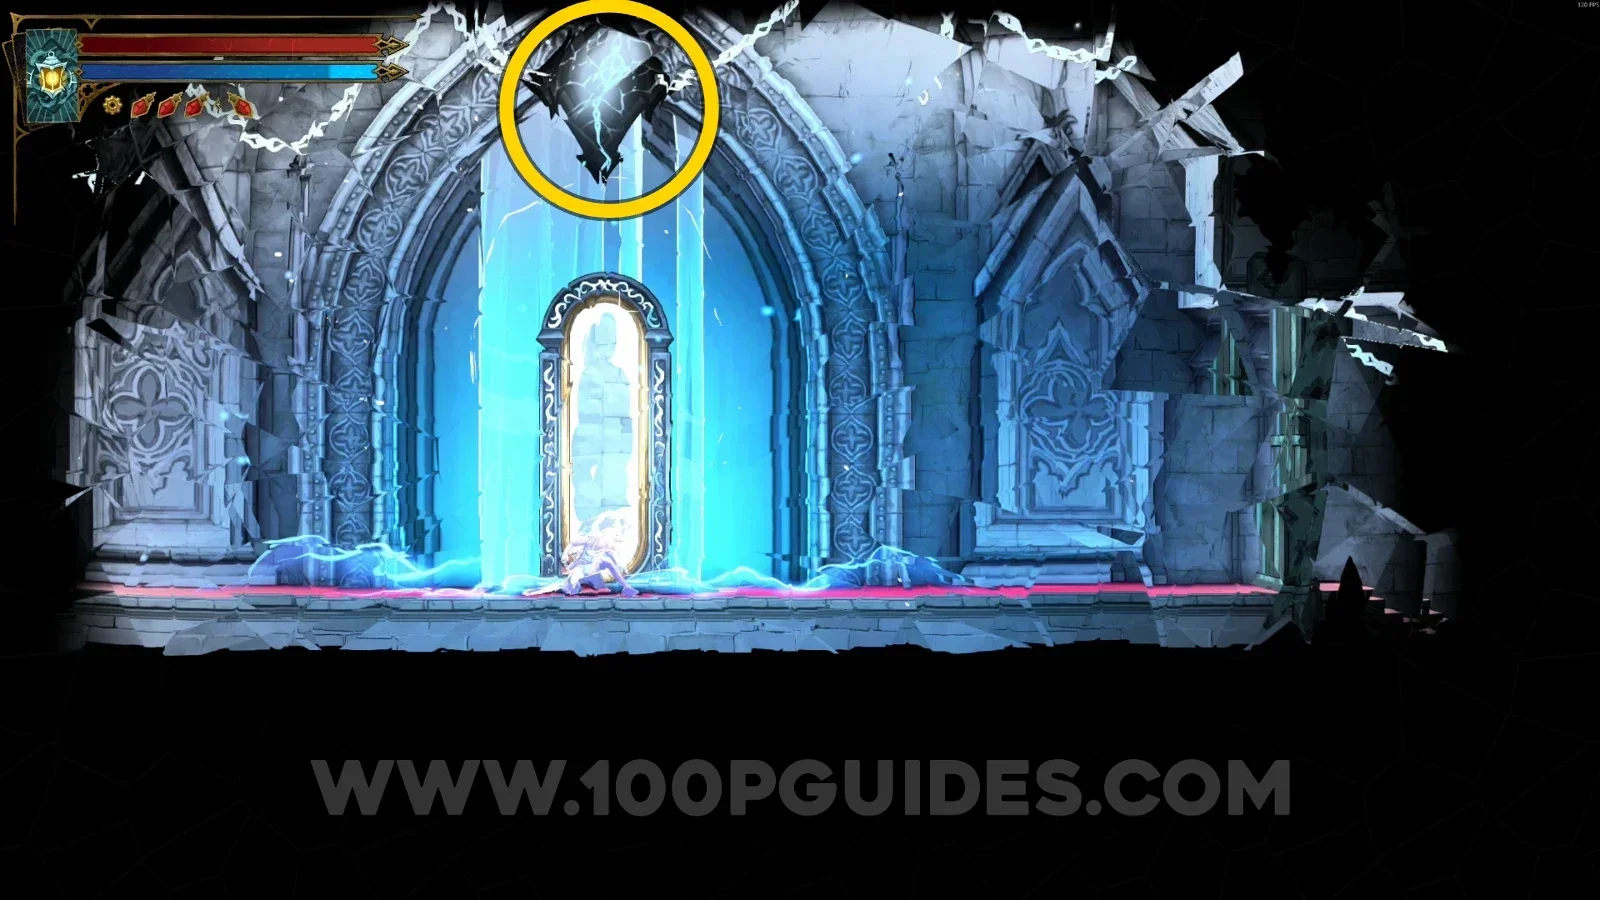
After going through the door, head left and climb to the upper left part of the area using the painting and the Arcane Whip. Enter the Mirror of Life room, and you'll see a symbol on the mirror. Crouch in front of the symbol to be teleported to another area. In this new area, break the rune above the mirror and defeat the enemies. After that, crouch in front of the mirror again to return.
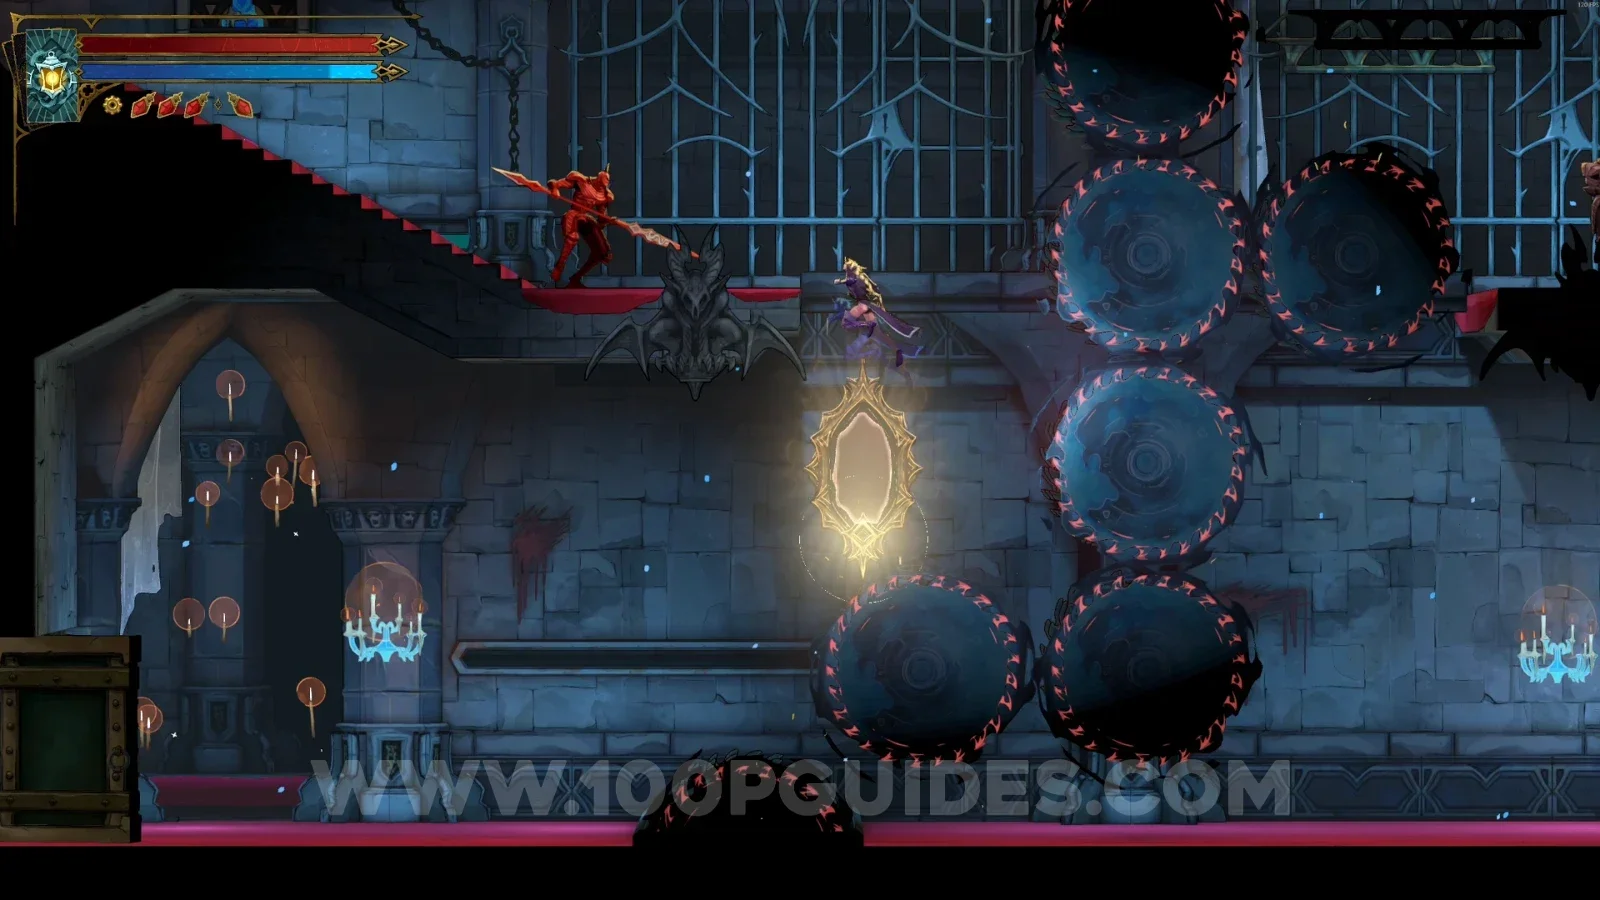
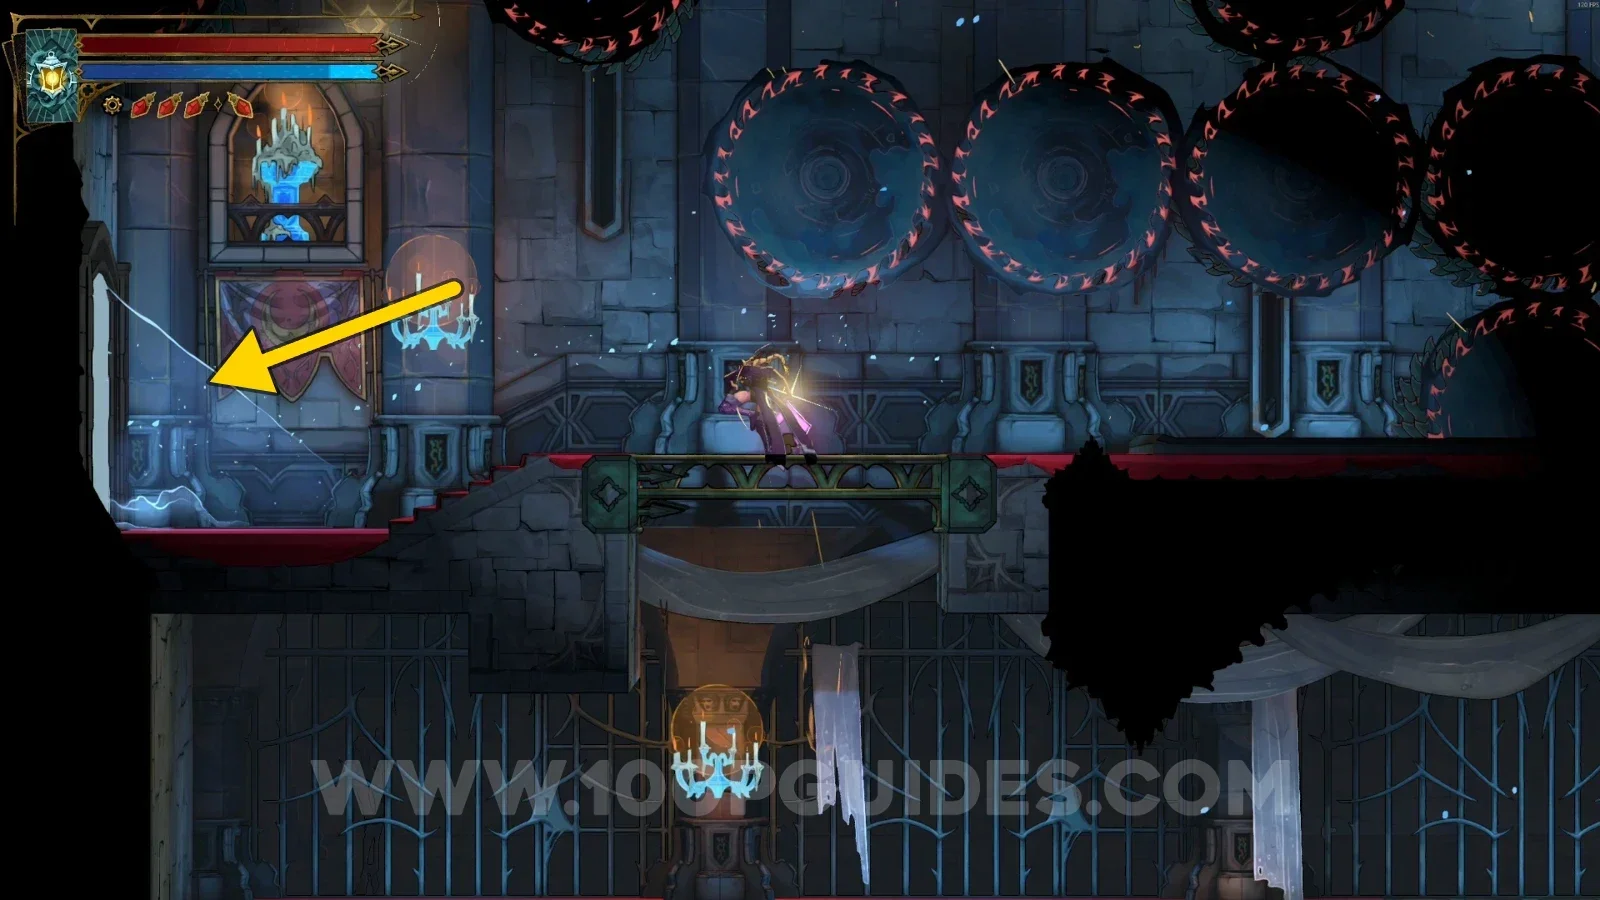
Castlevania Belmonts Curse Mirror Rooms: climbing to the upper left with the painting and Arcane Whip Castlevania Belmonts Curse Mirror Rooms: the symbol on the Mirror of Life to crouch in front of Castlevania Belmonts Curse Mirror Rooms: breaking the rune above the mirror in the teleported area Castlevania Belmonts Curse Mirror Rooms: crouching in front of the mirror again to return

Eleanor Questline - PART #3

Go to Paris Streets > Prison Tower. Here you'll find another Mirror of Life with a different symbol, so do the same thing: stand in front of the symbol and crouch. Once you're teleported, break the rune above the mirror and defeat the enemies, then crouch in front of the mirror to return.
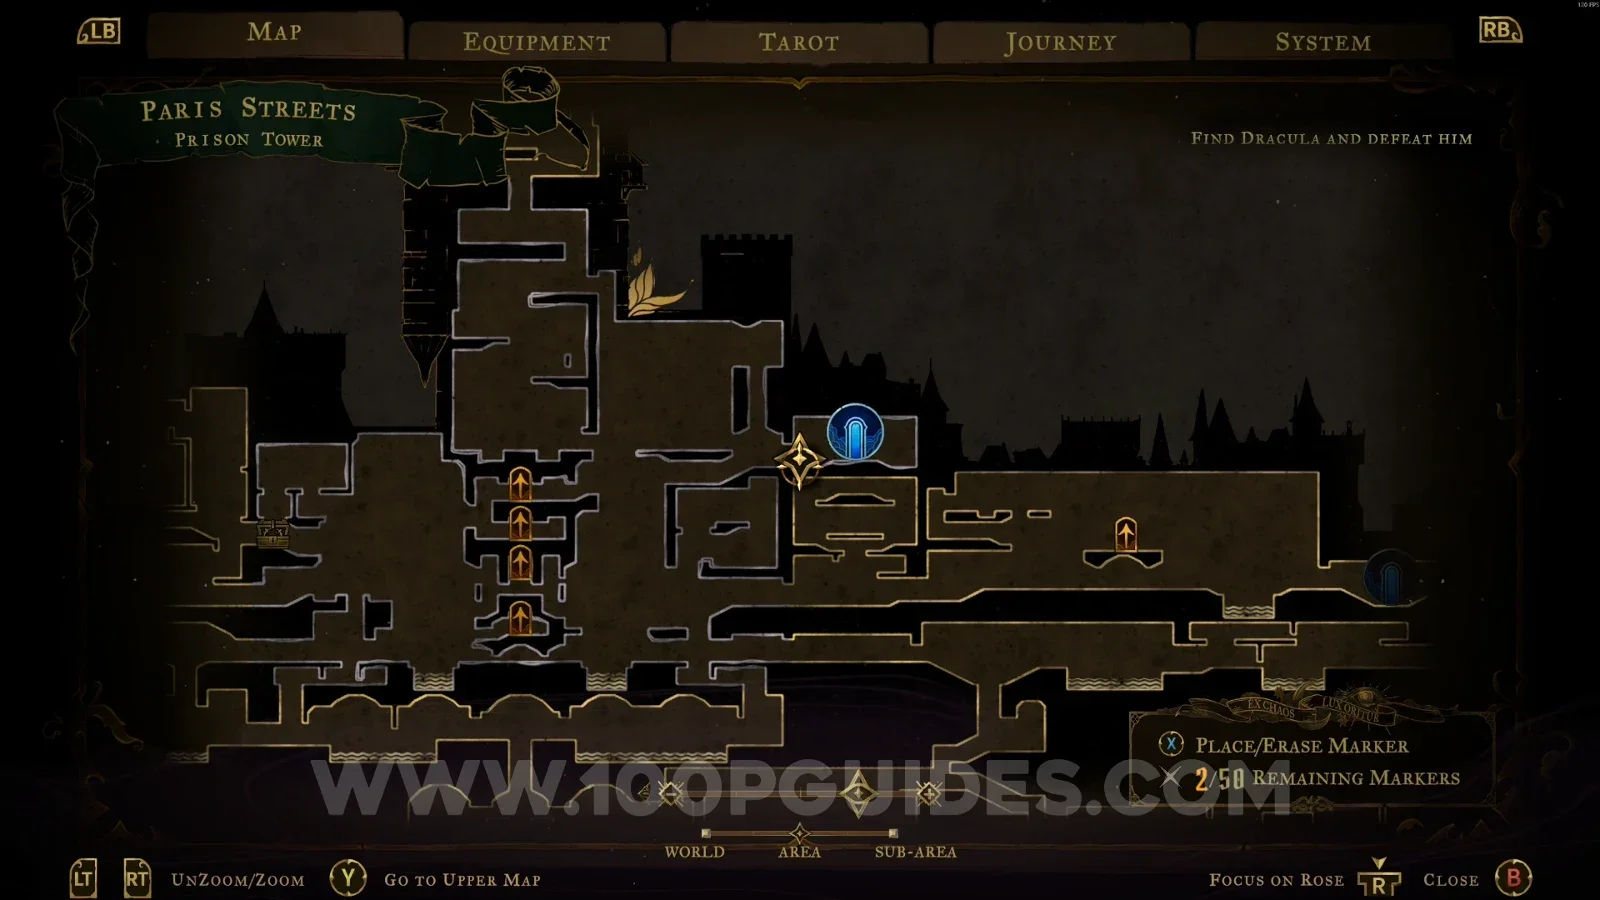
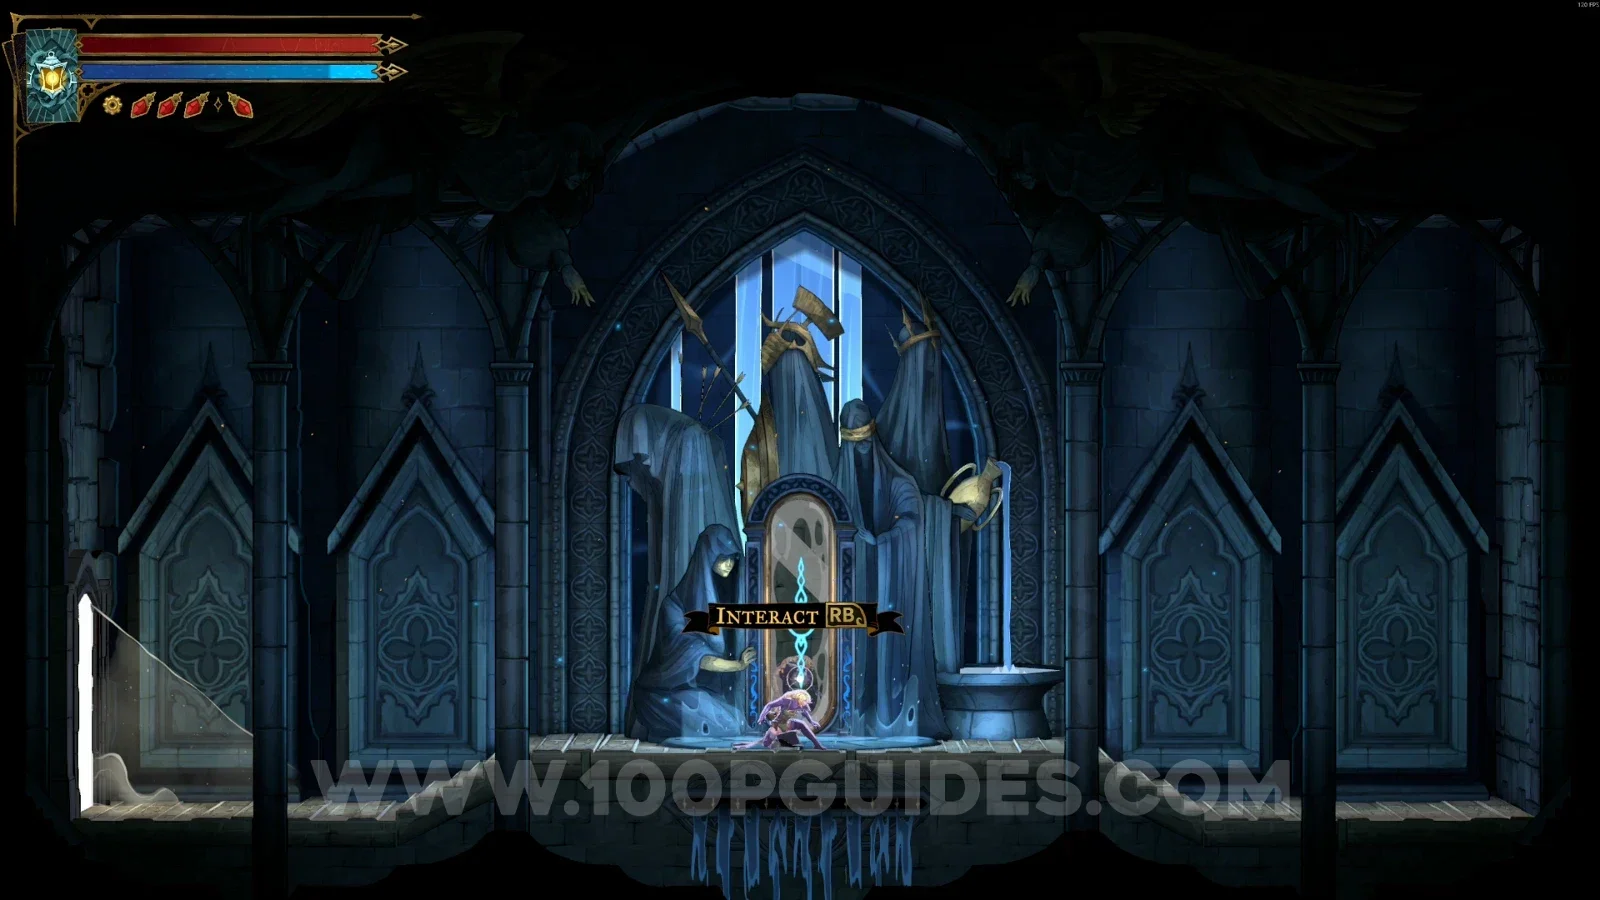
Castlevania Belmonts Curse Prison Tower: the Mirror of Life with a different symbol for Eleanor's questline Castlevania Belmonts Curse Prison Tower: breaking the rune above the mirror after teleporting Castlevania Belmonts Curse Prison Tower: crouching in front of the mirror to return after the enemies

Eleanor Questline - PART #4

In Clock Tower > Mechanic's Ascent, you'll find another mirror with a different symbol. Repeat the same process as with the other two mirrors.
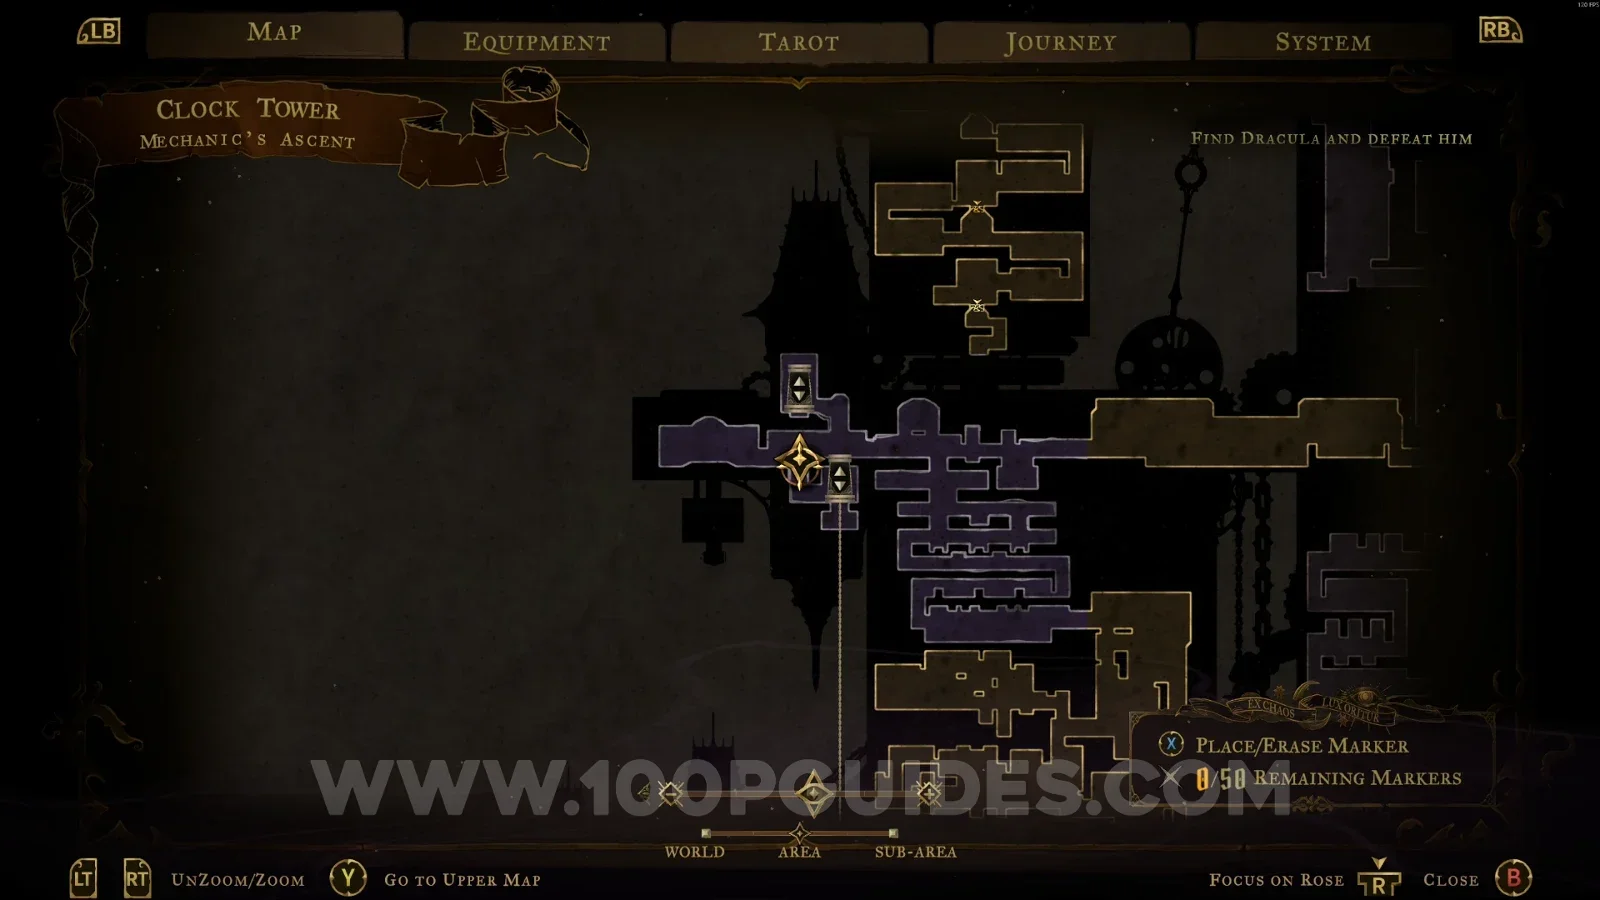
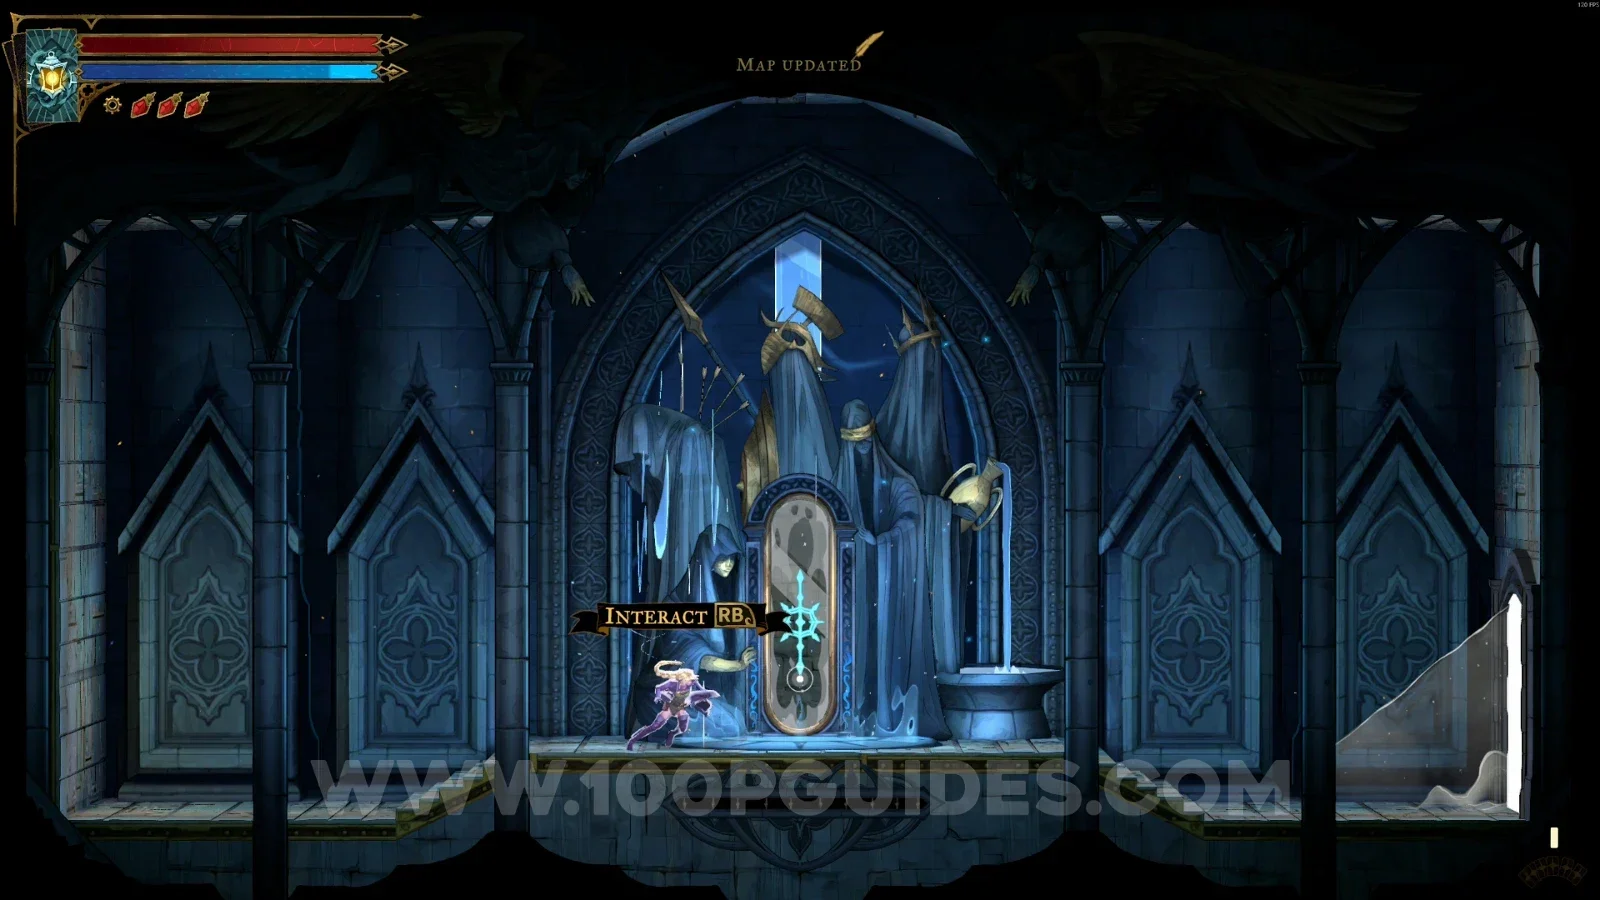
Castlevania Belmonts Curse Mechanic's Ascent: the mirror with a different symbol for Eleanor's questline Castlevania Belmonts Curse Mechanic's Ascent: breaking the rune above the mirror after teleporting Castlevania Belmonts Curse Mechanic's Ascent: crouching in front of the mirror to return

Eleanor Questline - PART #5

In Notre-Dame > East Gallery, you'll find another Mirror of Life with a different symbol. Repeat the same process as with the other mirrors.
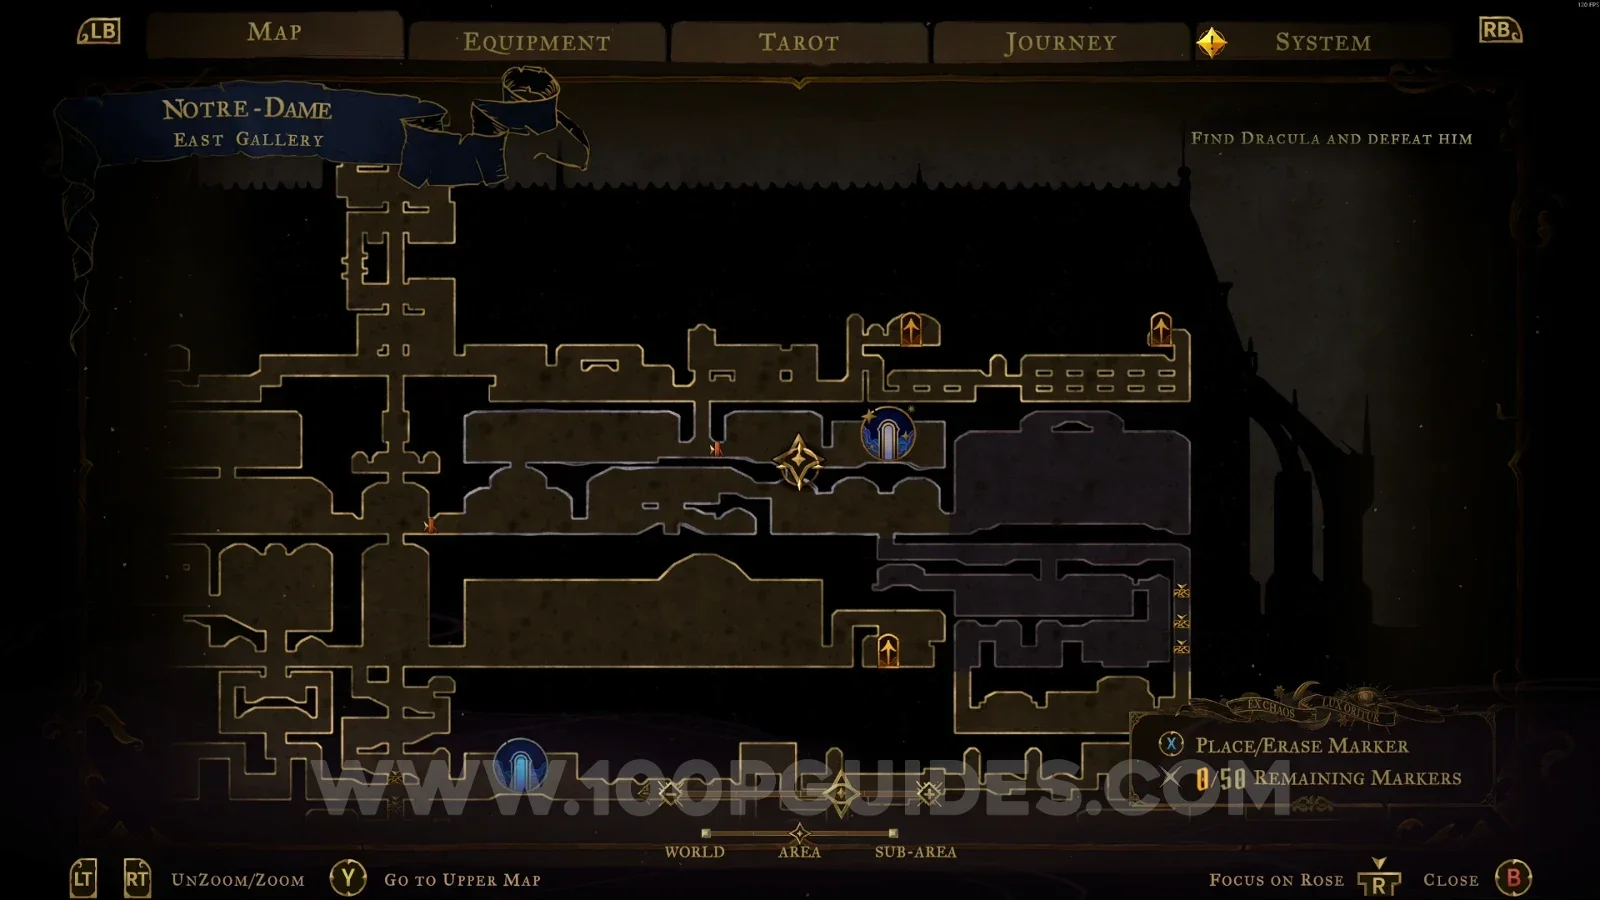
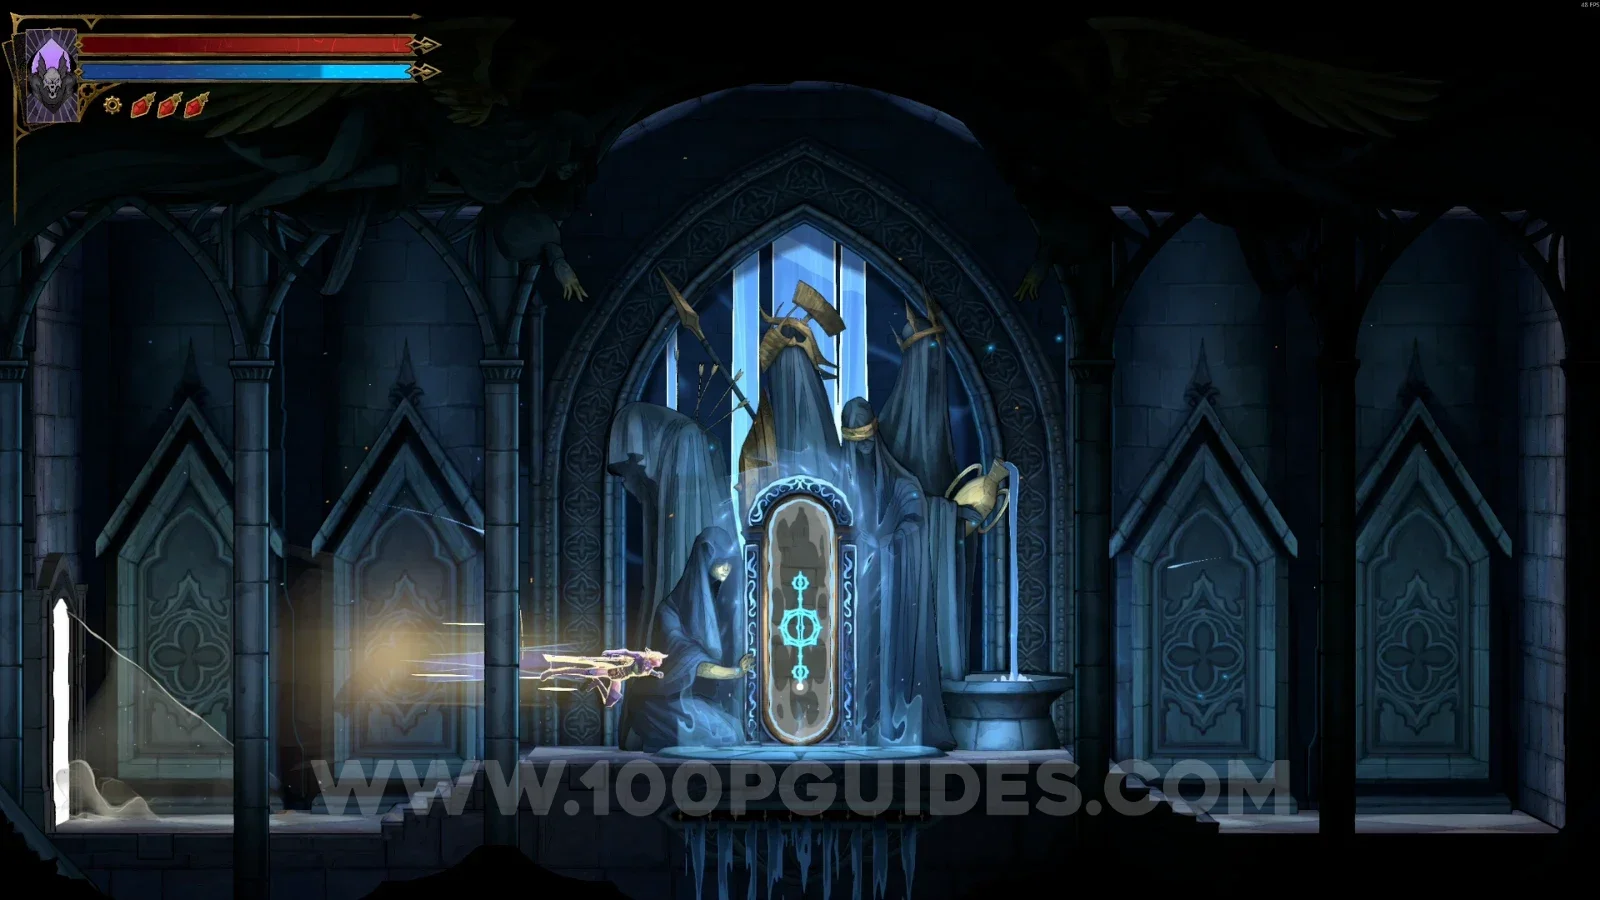
Castlevania Belmonts Curse Notre-Dame East Gallery: the Mirror of Life with a different symbol Castlevania Belmonts Curse Notre-Dame East Gallery: breaking the rune above the mirror after teleporting Castlevania Belmonts Curse Notre-Dame East Gallery: crouching in front of the mirror to return

Eleanor Questline - PART #6 + Arcana #1: Life Drain

Now, back in the starting area where you first met Eleanor, you'll see that all the chains have been broken, and Eleanor will be kidnapped by a boss you'll meet very soon.
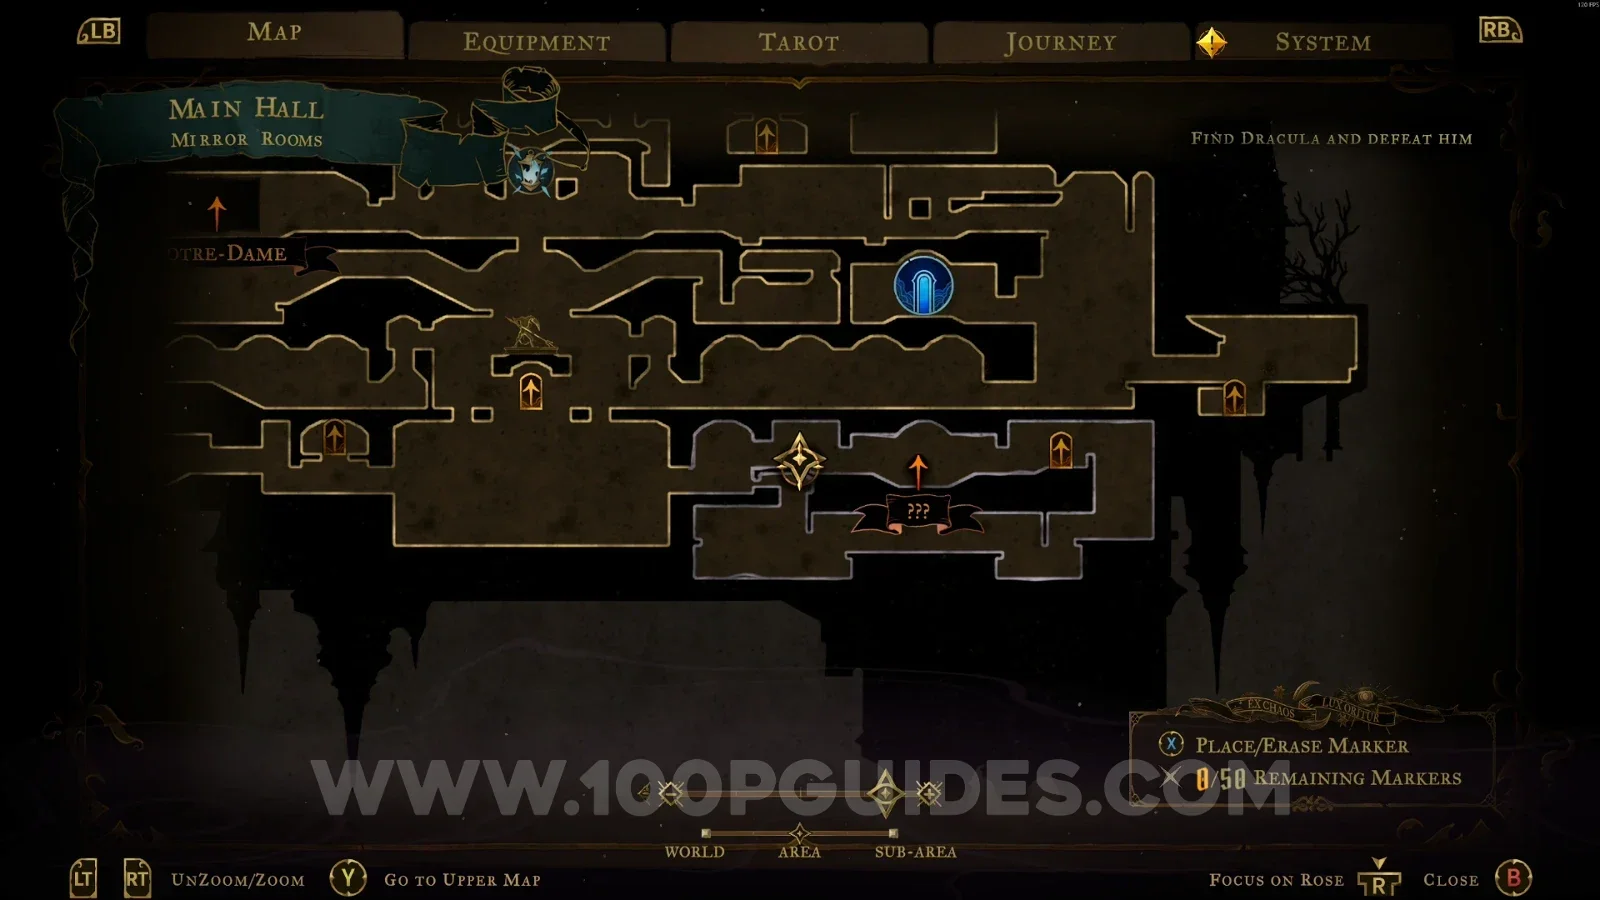
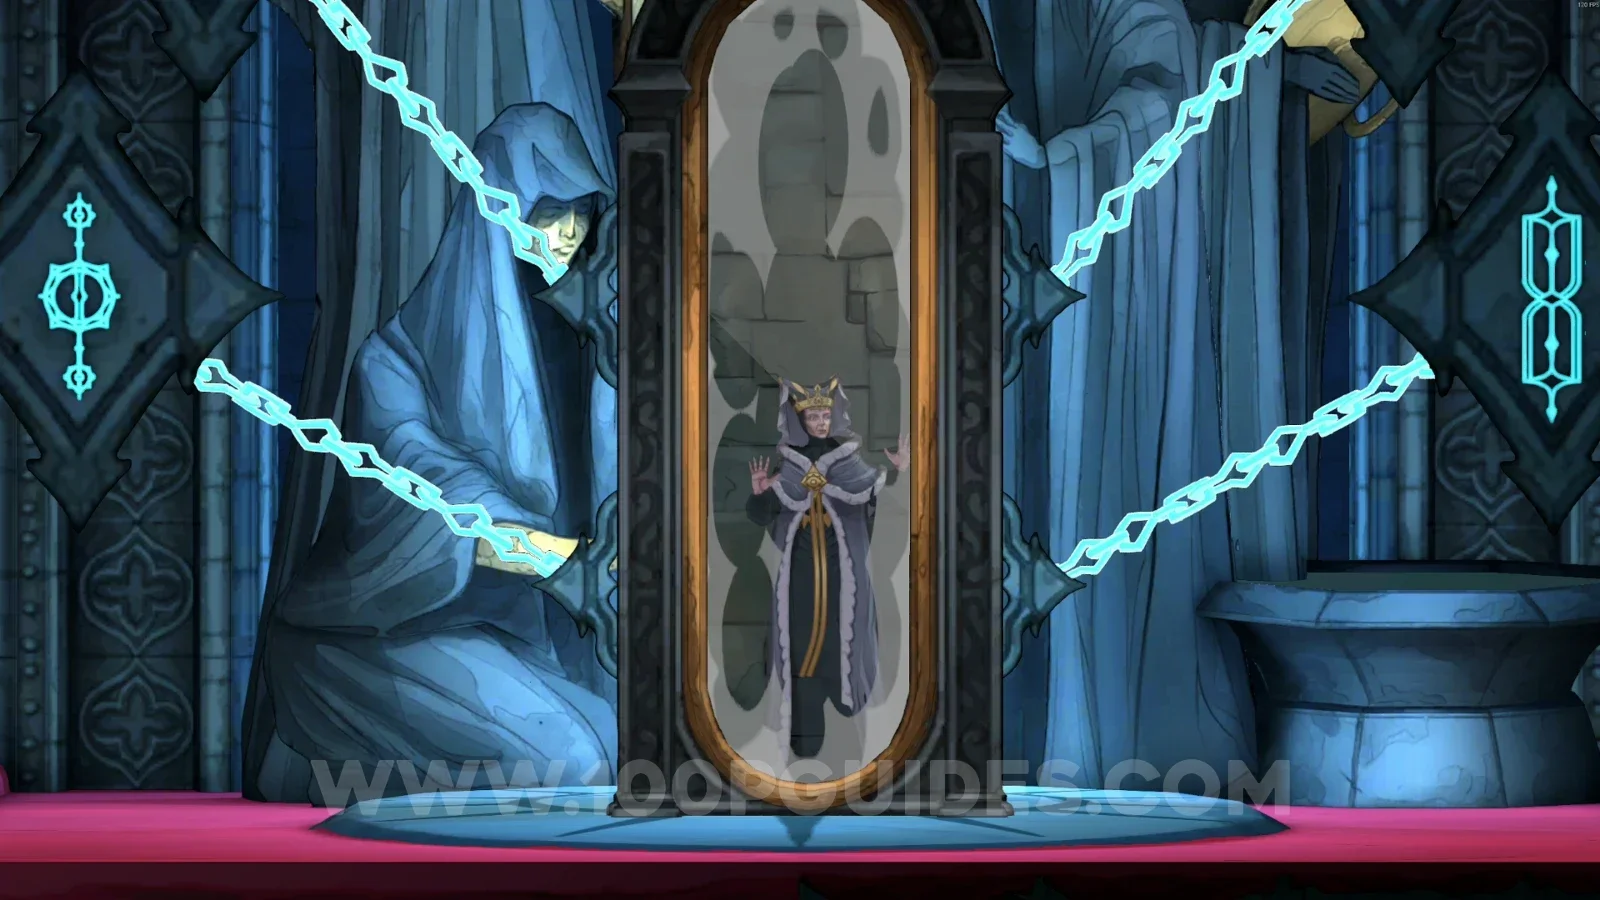
Castlevania Belmonts Curse Mirror Rooms: all the chains broken in the area where you first met Eleanor Castlevania Belmonts Curse Mirror Rooms: Eleanor being kidnapped by a boss

Crouch in front of the mirror where Eleanor was, and you'll be teleported to the Hall of Mirrors. You can explore this area now, but first we need to defeat the boss so the fog on the map disappears.
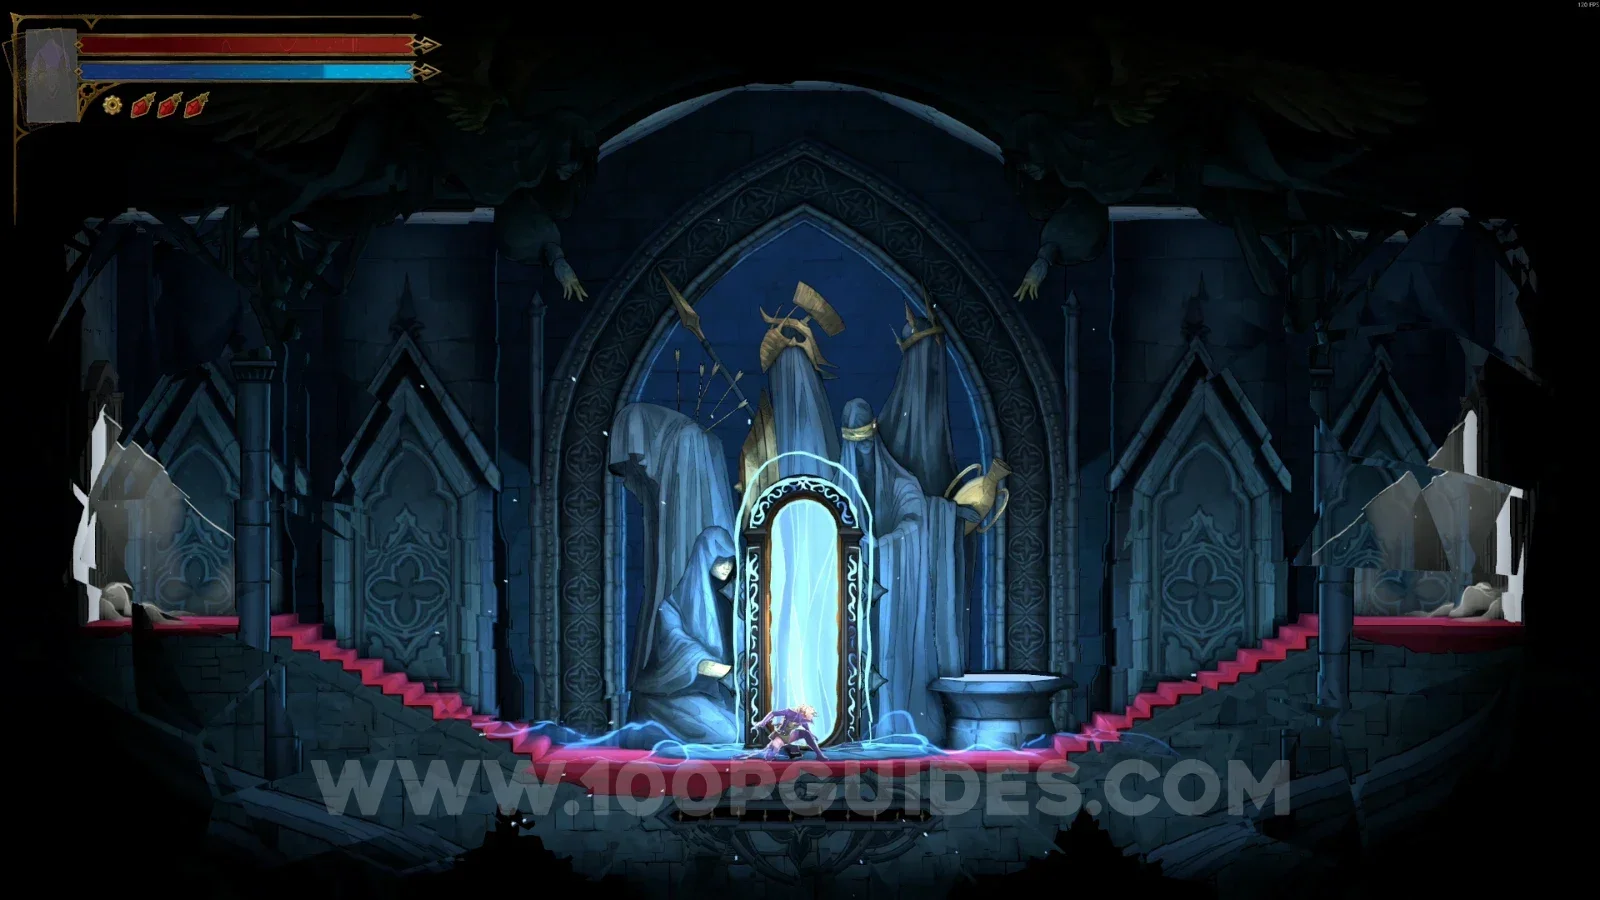
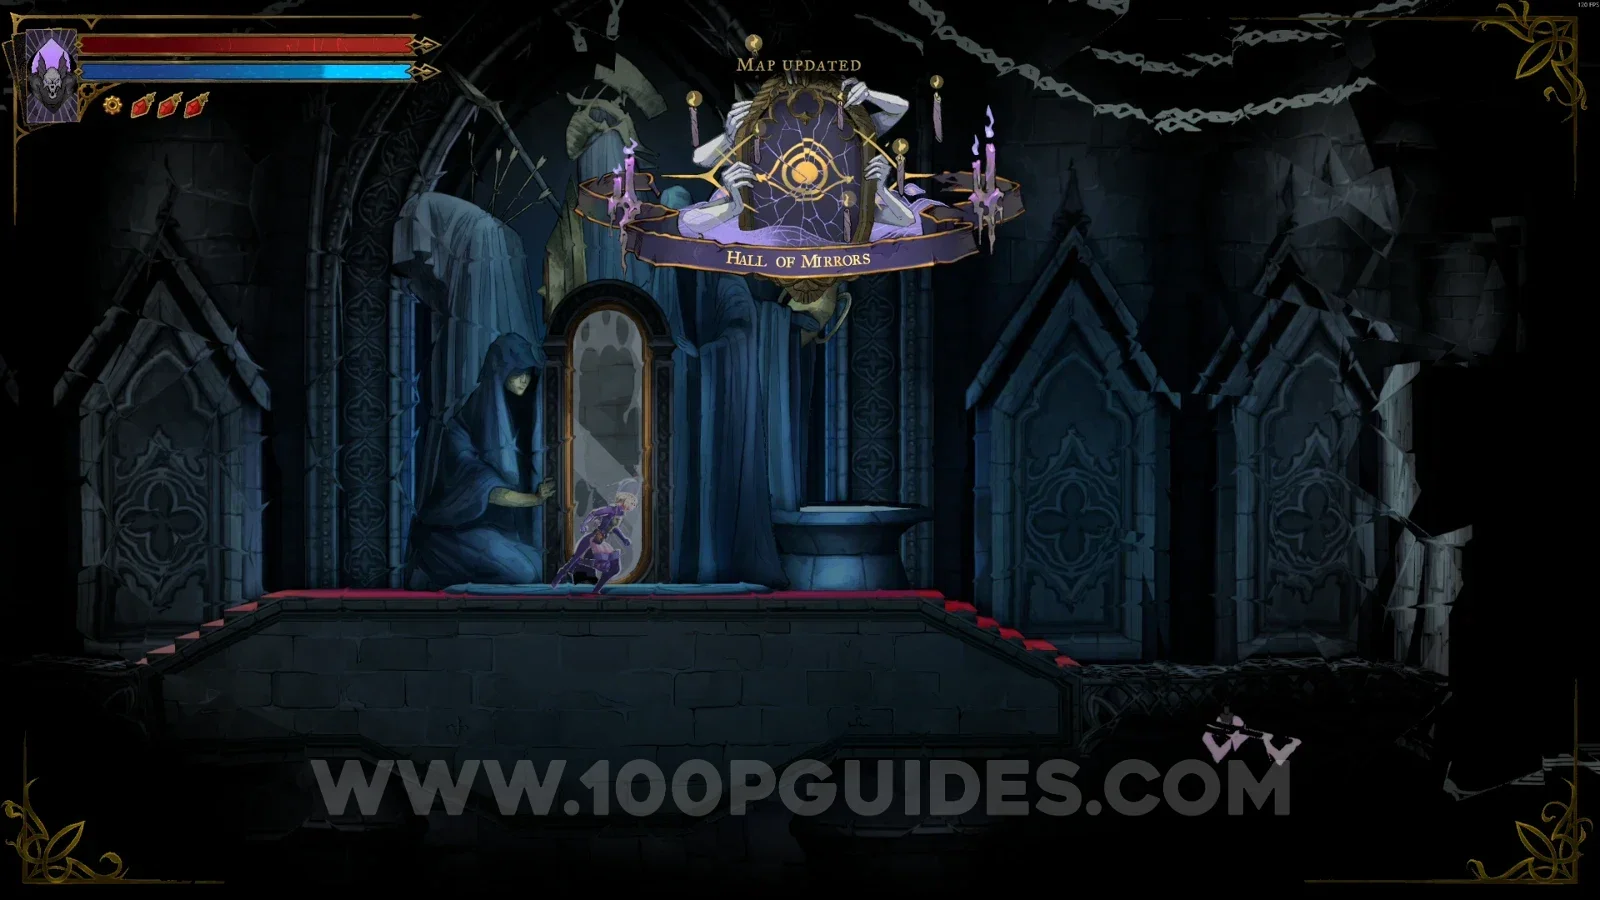
Castlevania Belmonts Curse Mirror Rooms: crouching in front of the mirror where Eleanor was Castlevania Belmonts Curse Hall of Mirrors: arriving after teleporting from Eleanor's mirror

Drop down to the platform below and you'll start falling. Once you hit the ground, take the platform just to your left.
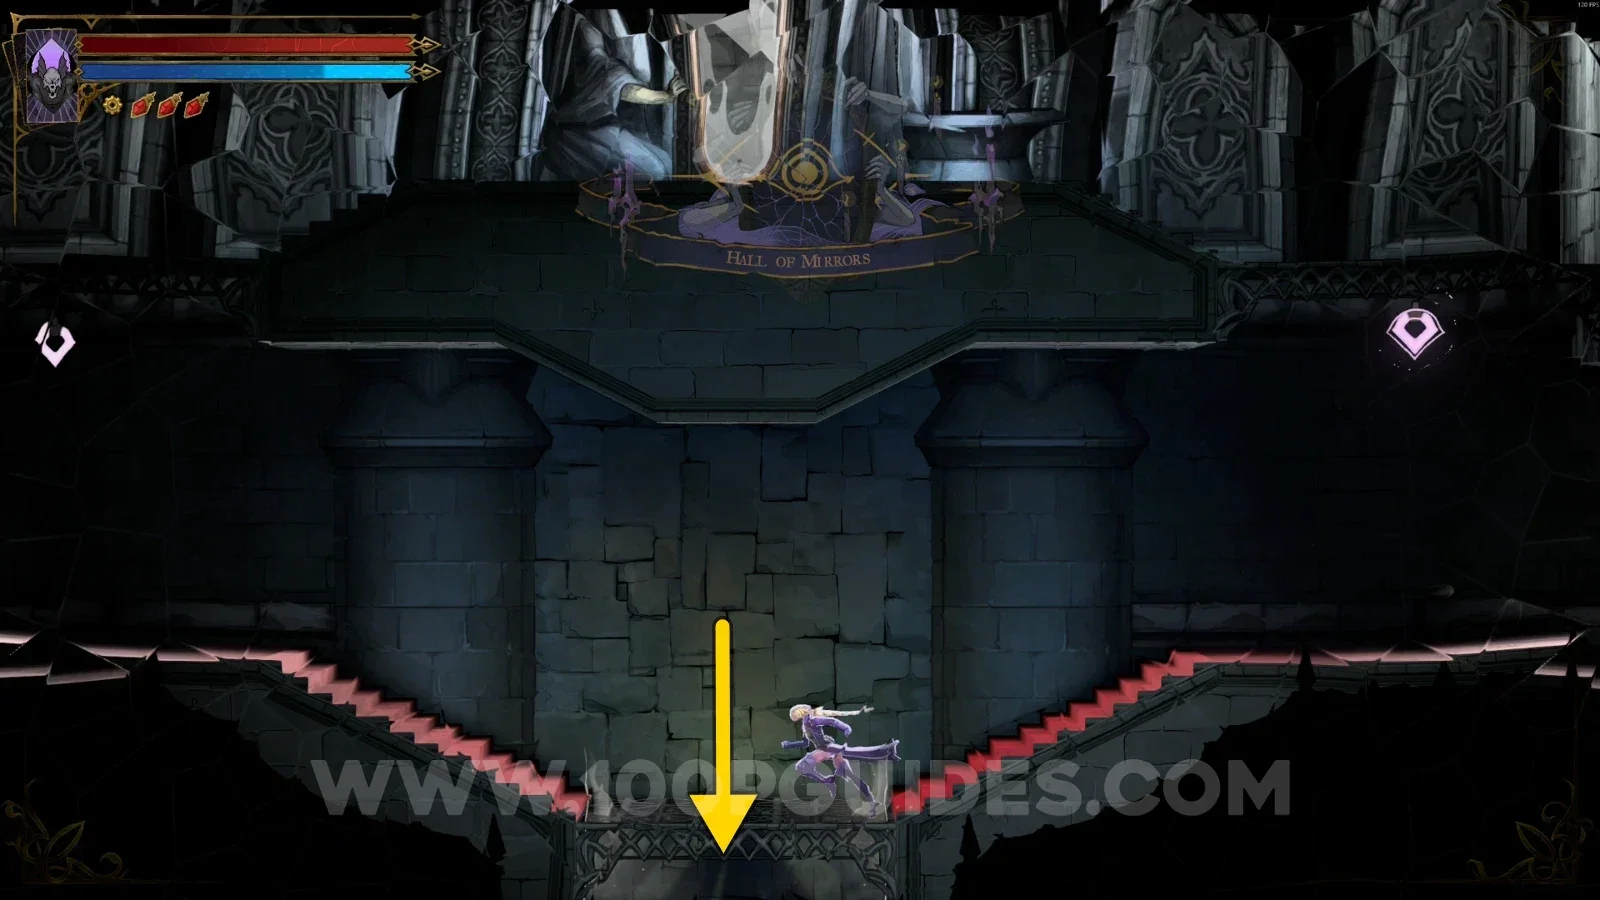
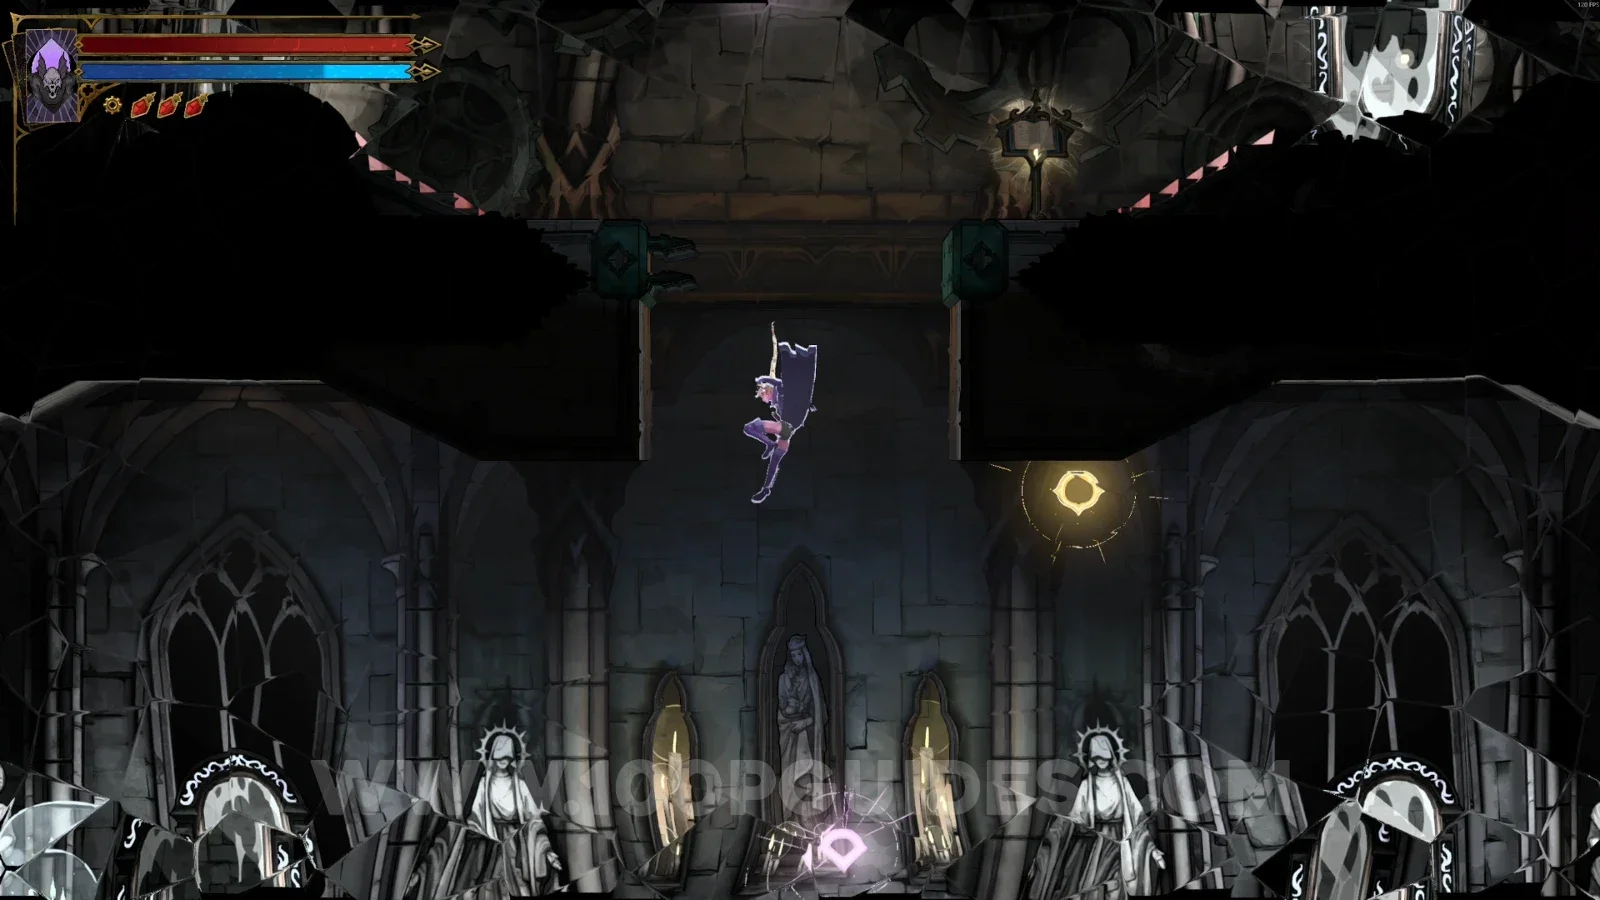
Castlevania Belmonts Curse Hall of Mirrors: dropping down to the platform below Castlevania Belmonts Curse Hall of Mirrors: falling down after dropping from the platform Castlevania Belmonts Curse Hall of Mirrors: taking the platform just to the left after landing

Keep going down until you go through the door on the left side of the area.
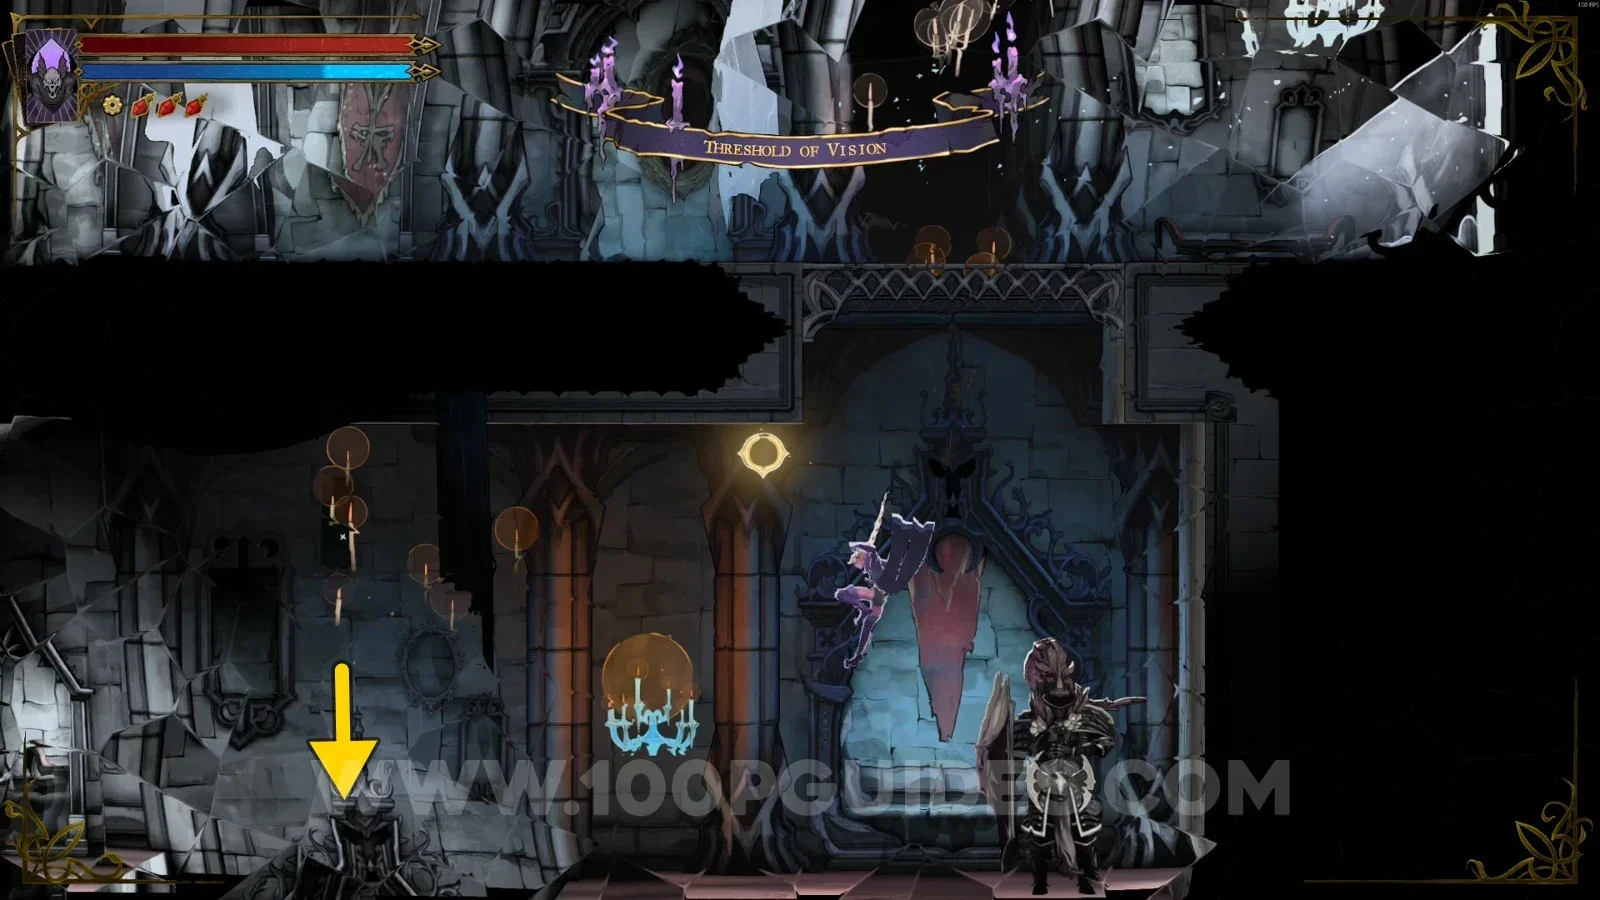
Castlevania Belmonts Curse Hall of Mirrors: continuing down through the area Castlevania Belmonts Curse Hall of Mirrors: going further down toward the left side of the area Castlevania Belmonts Curse Hall of Mirrors: the door on the left side of the area

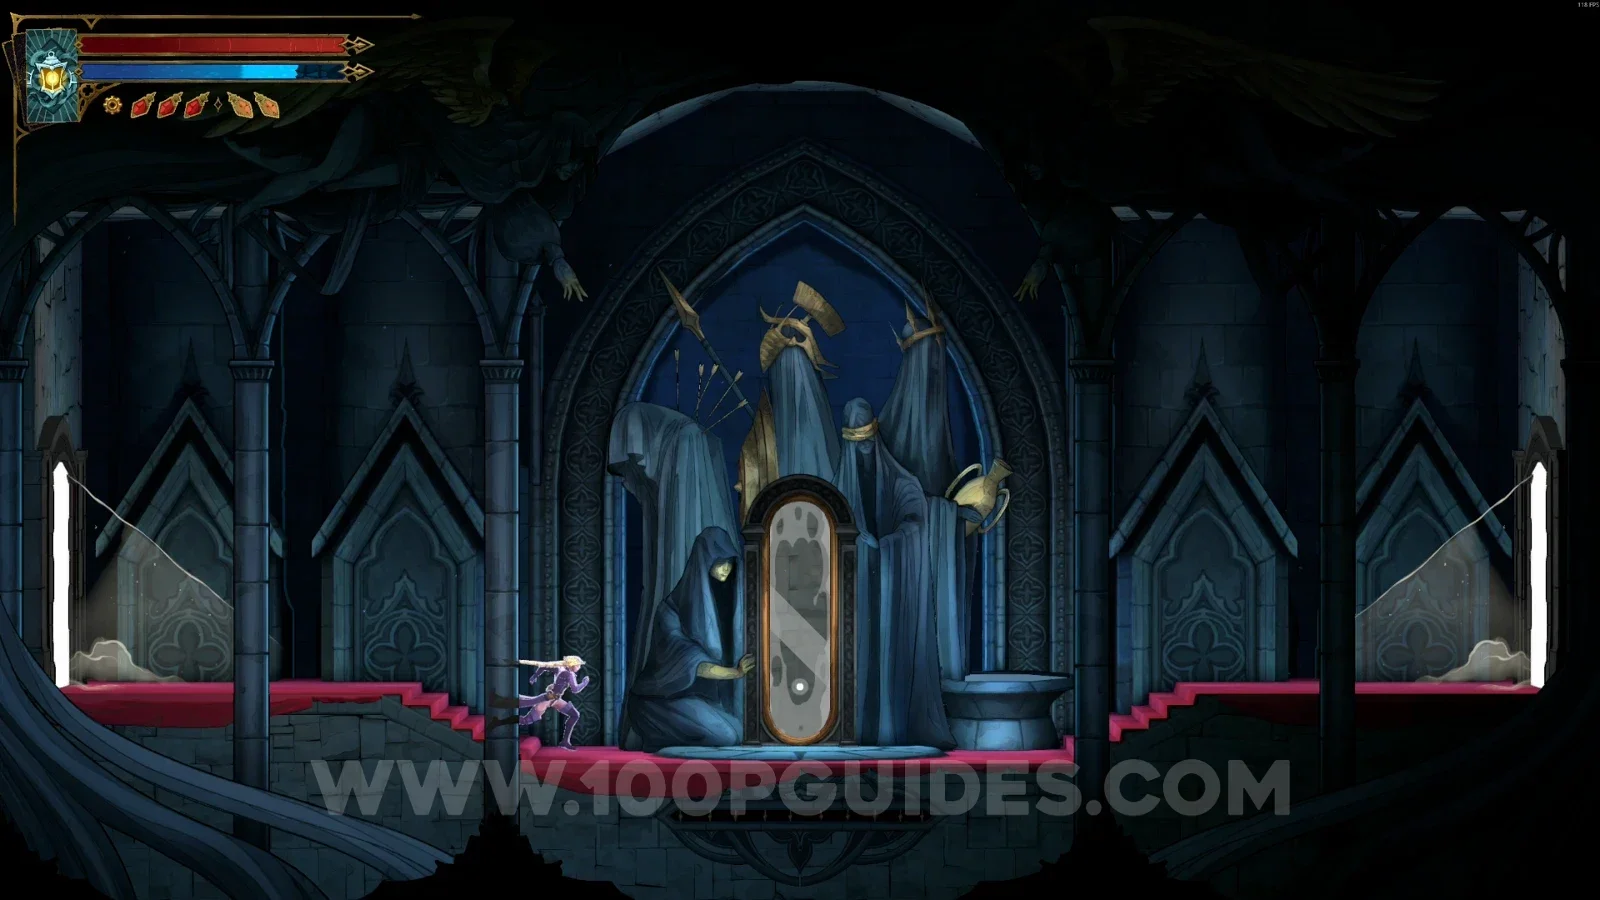
In the next room, you'll see a large mirror in the middle. Crouch at the small mirror on the left side to be teleported.
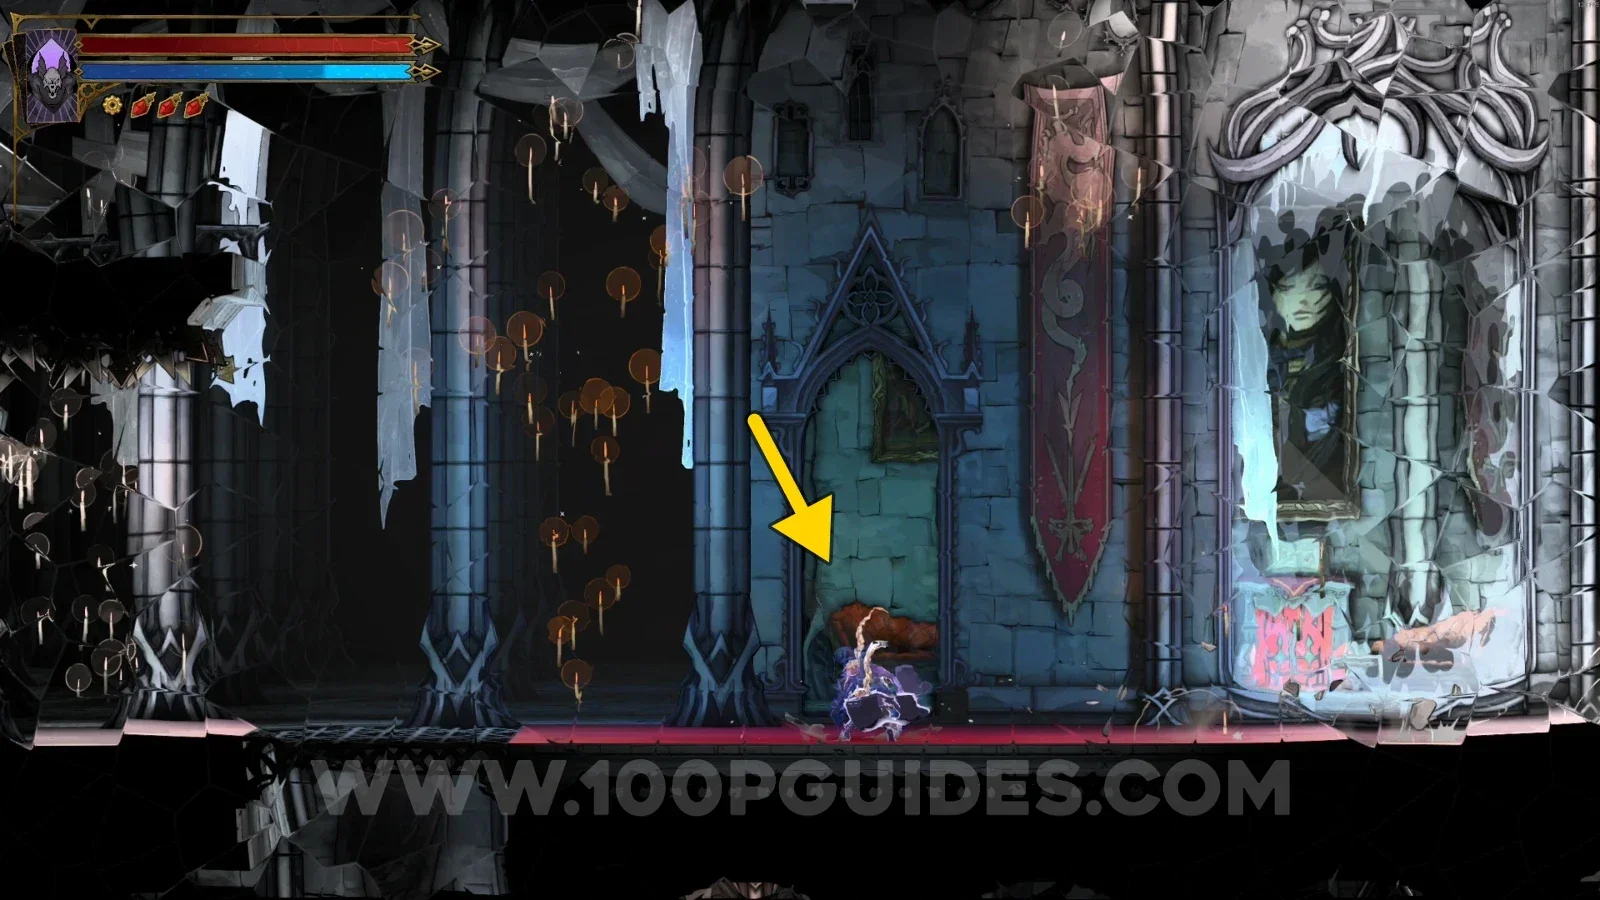
Castlevania Belmonts Curse Hall of Mirrors: the large central mirror and the small mirror on the left to crouch at

In the new area, climb to the upper part, then head right down the corridor and go through the door.
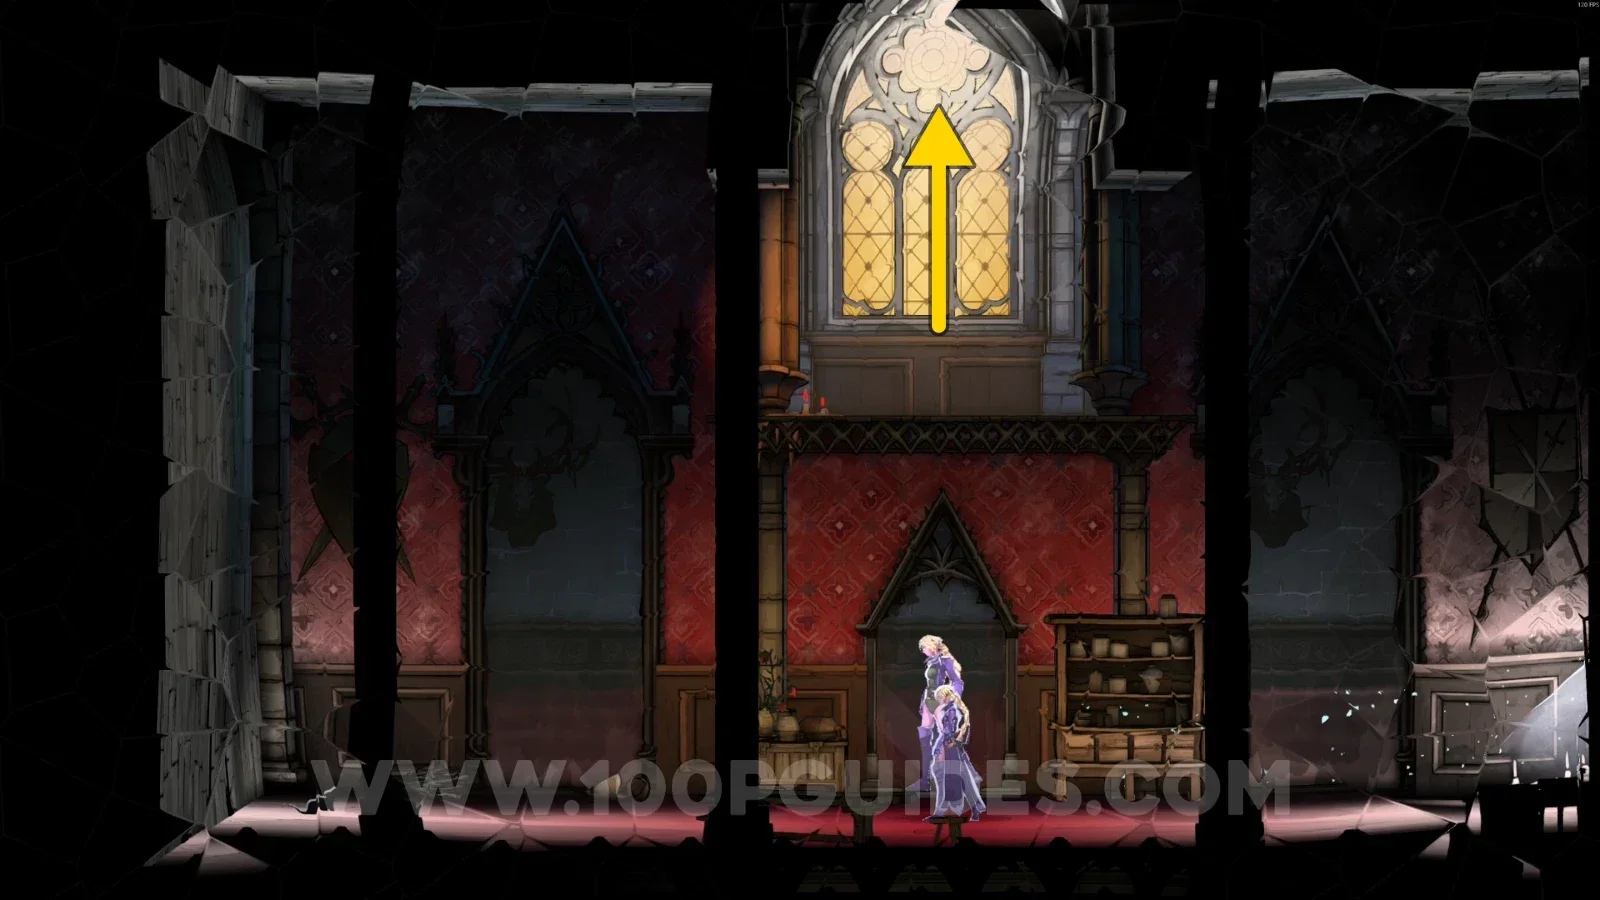
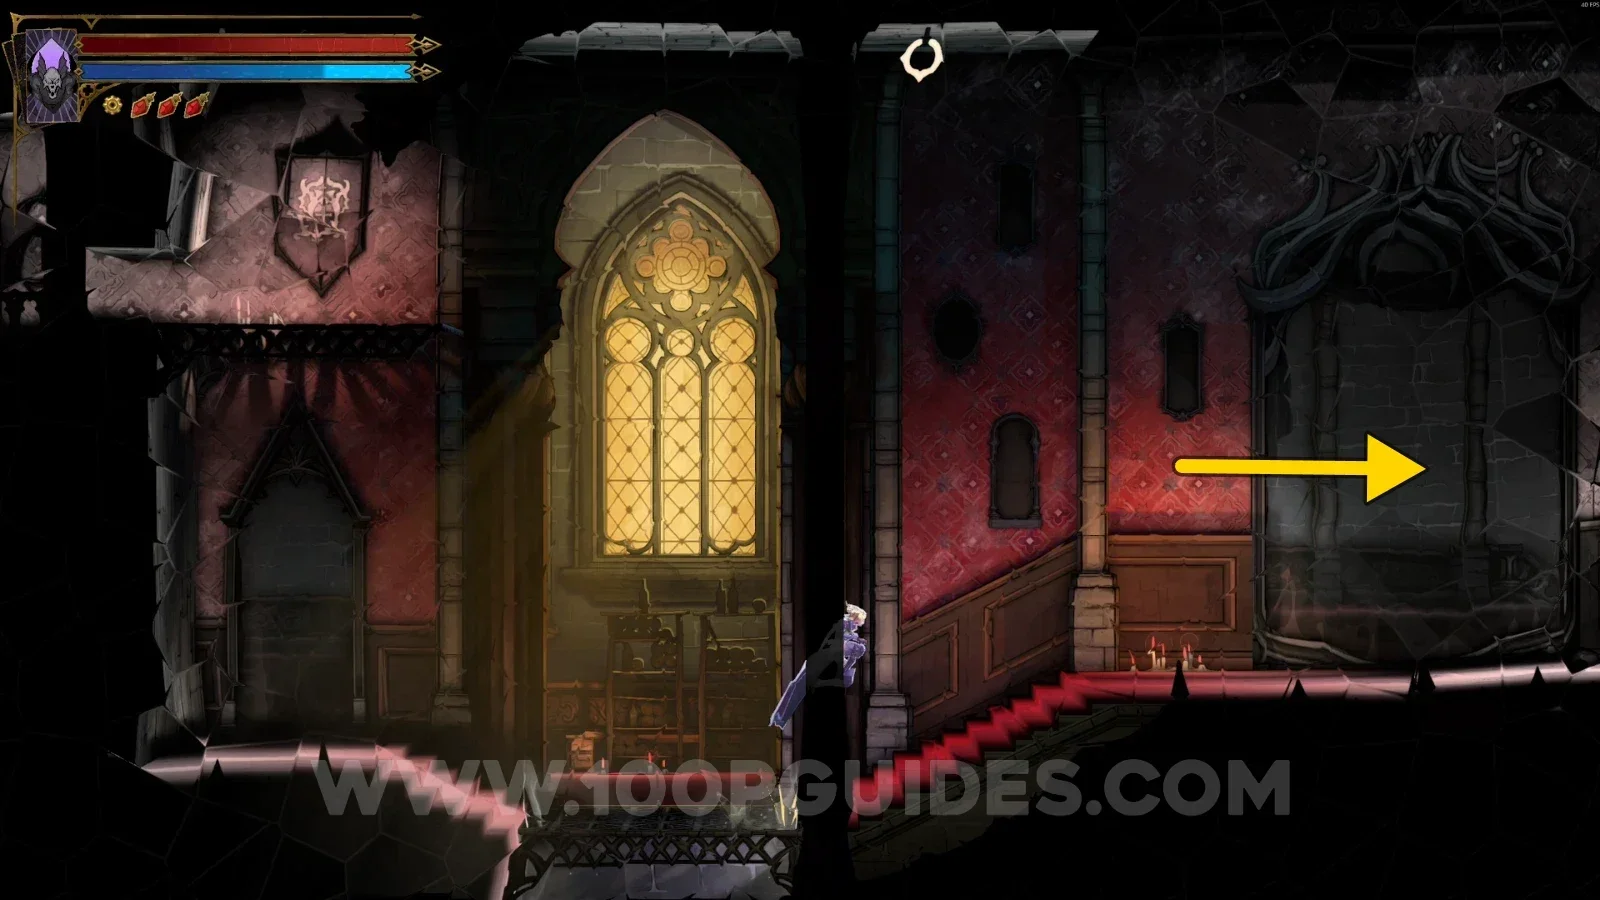
Castlevania Belmonts Curse Hall of Mirrors: climbing to the upper part of the new area Castlevania Belmonts Curse Hall of Mirrors: heading right down the corridor to the door

In the next room, defeat the enemies and go through the door on the right. You'll see some saws in front of you. Drop down and enter the portal just below you to be teleported to the upper right side. Then go down from the platform you're on and through the door on your right.
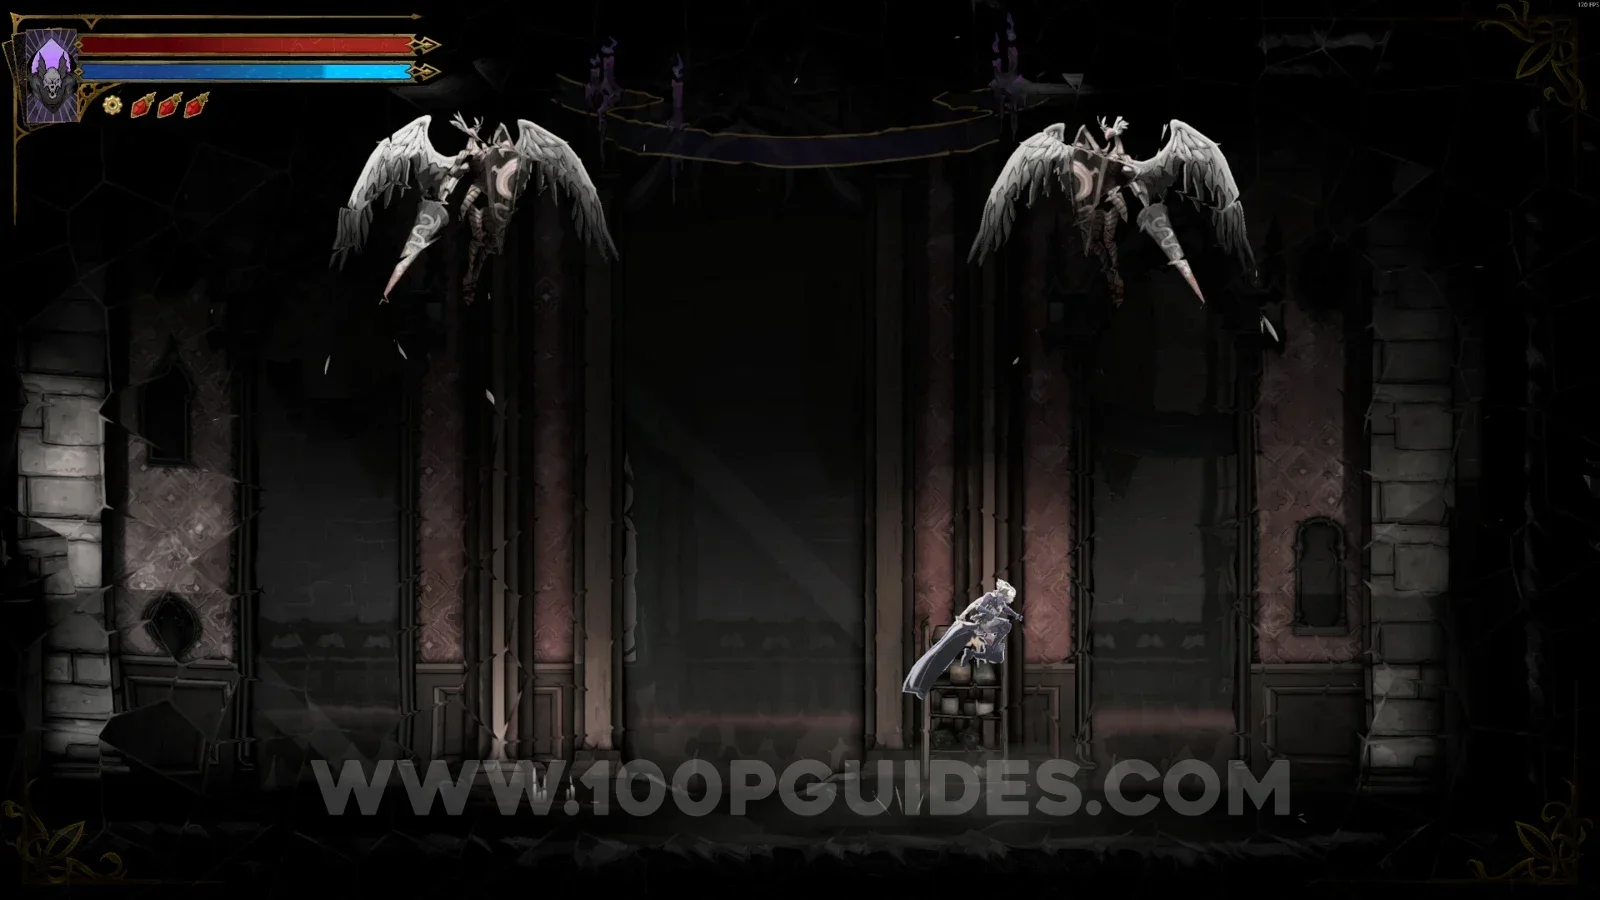
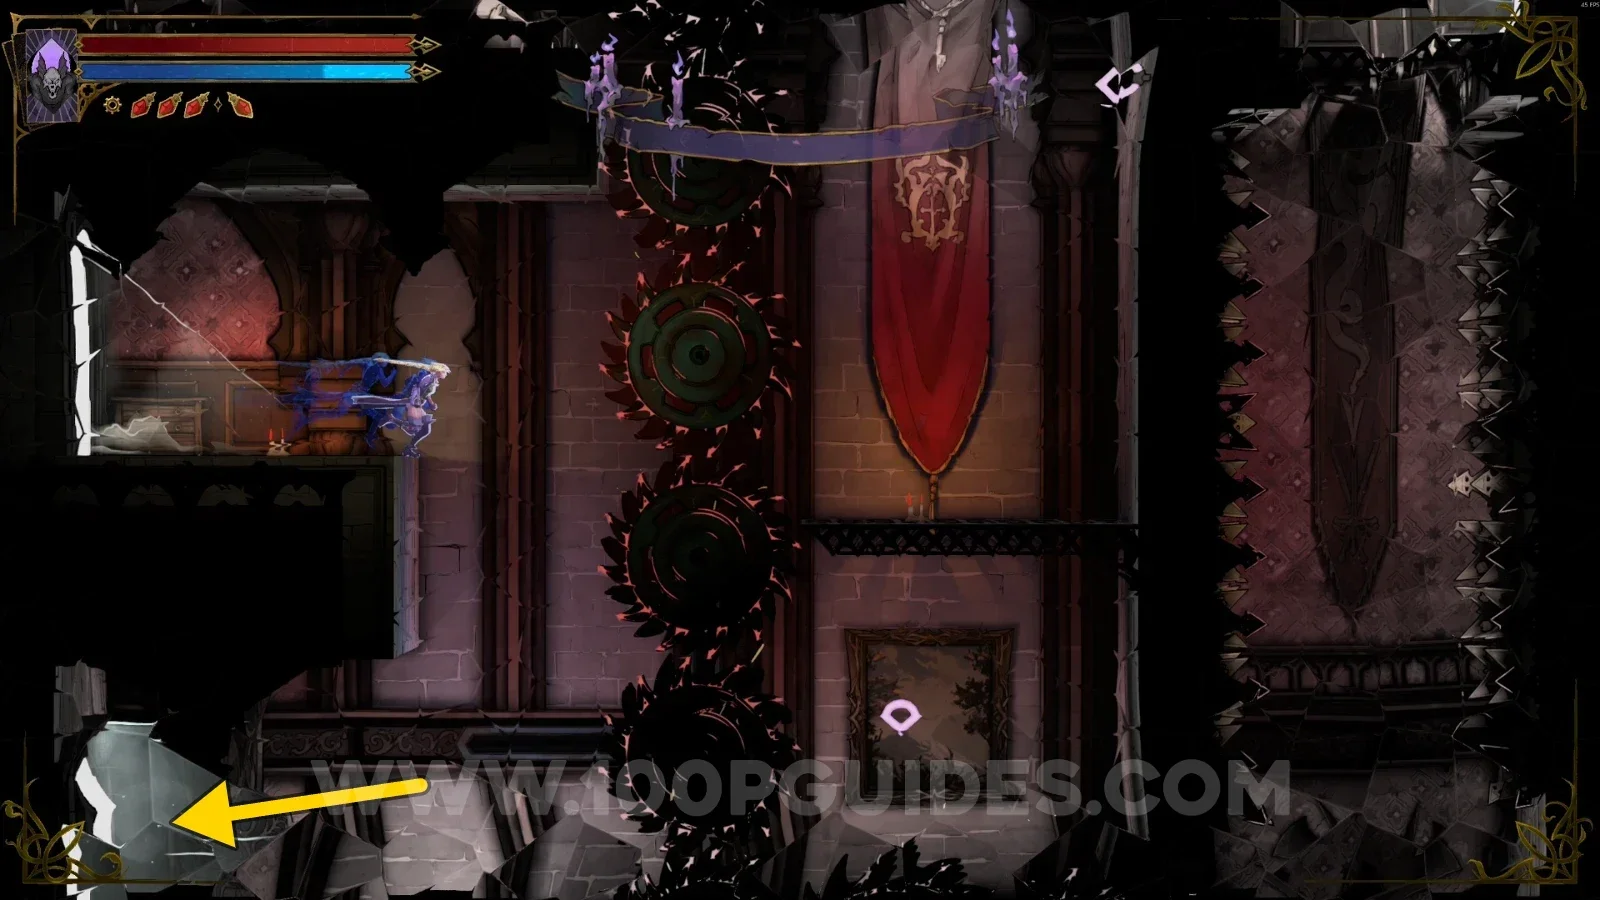
Castlevania Belmonts Curse Hall of Mirrors: defeating the enemies and taking the door on the right Castlevania Belmonts Curse Hall of Mirrors: the saws and the portal just below to teleport upper right Castlevania Belmonts Curse Hall of Mirrors: going down from the upper right platform to the door on the right

In the next area, go through the portal in front of you, then use the Arcane Whip and go through the portal on your left. Climb up, interact with the lever, and use the Smash arcane power to break through the floors.
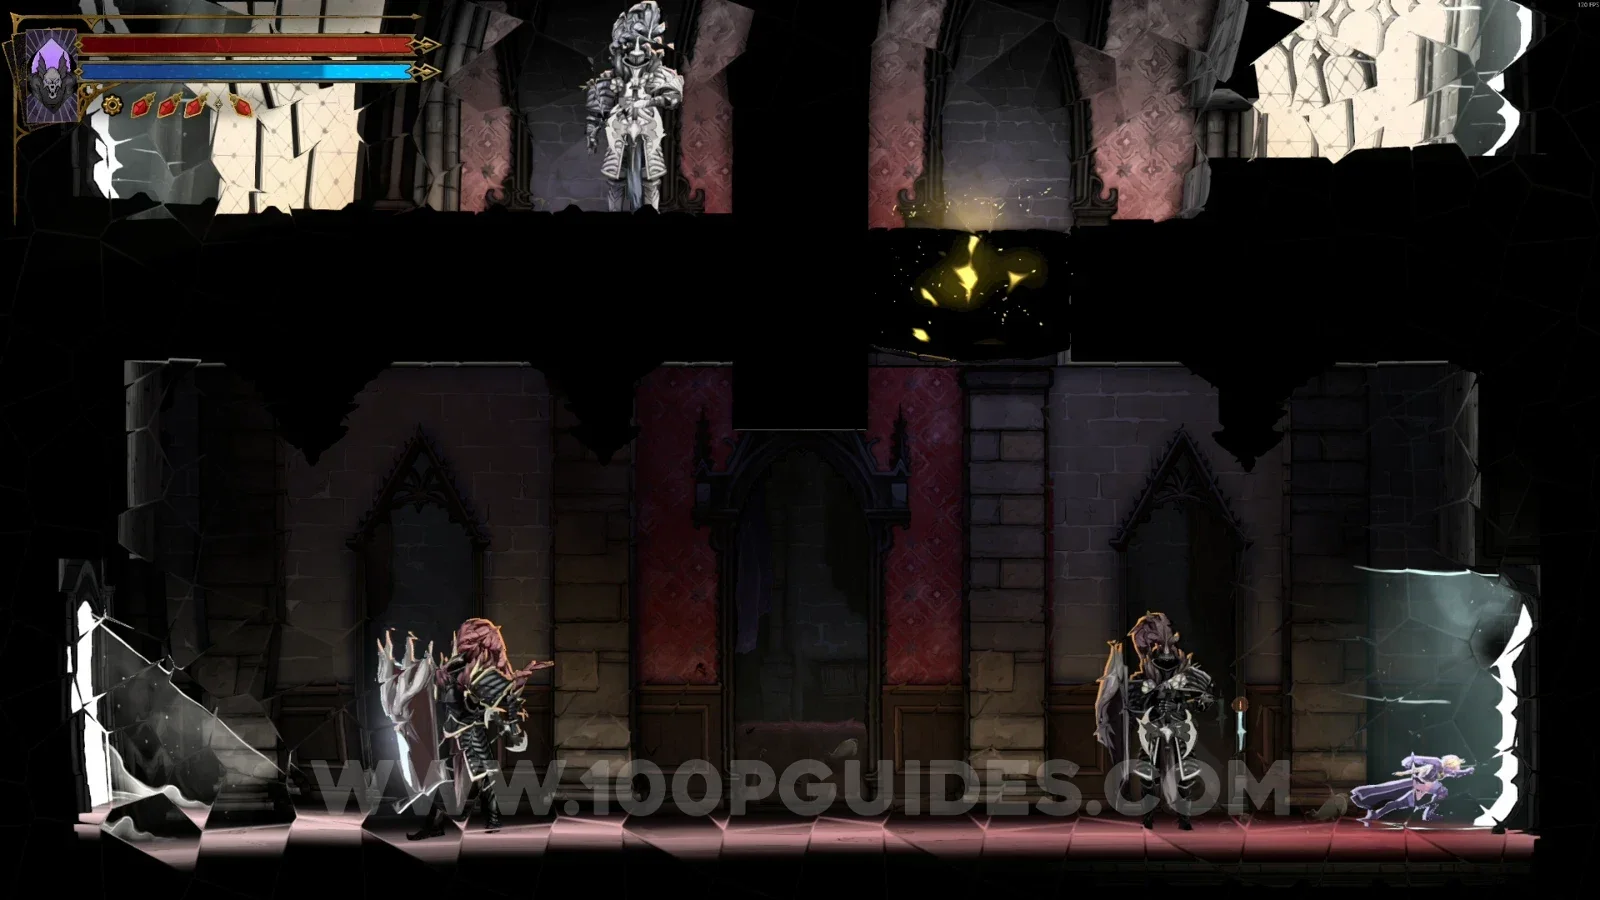
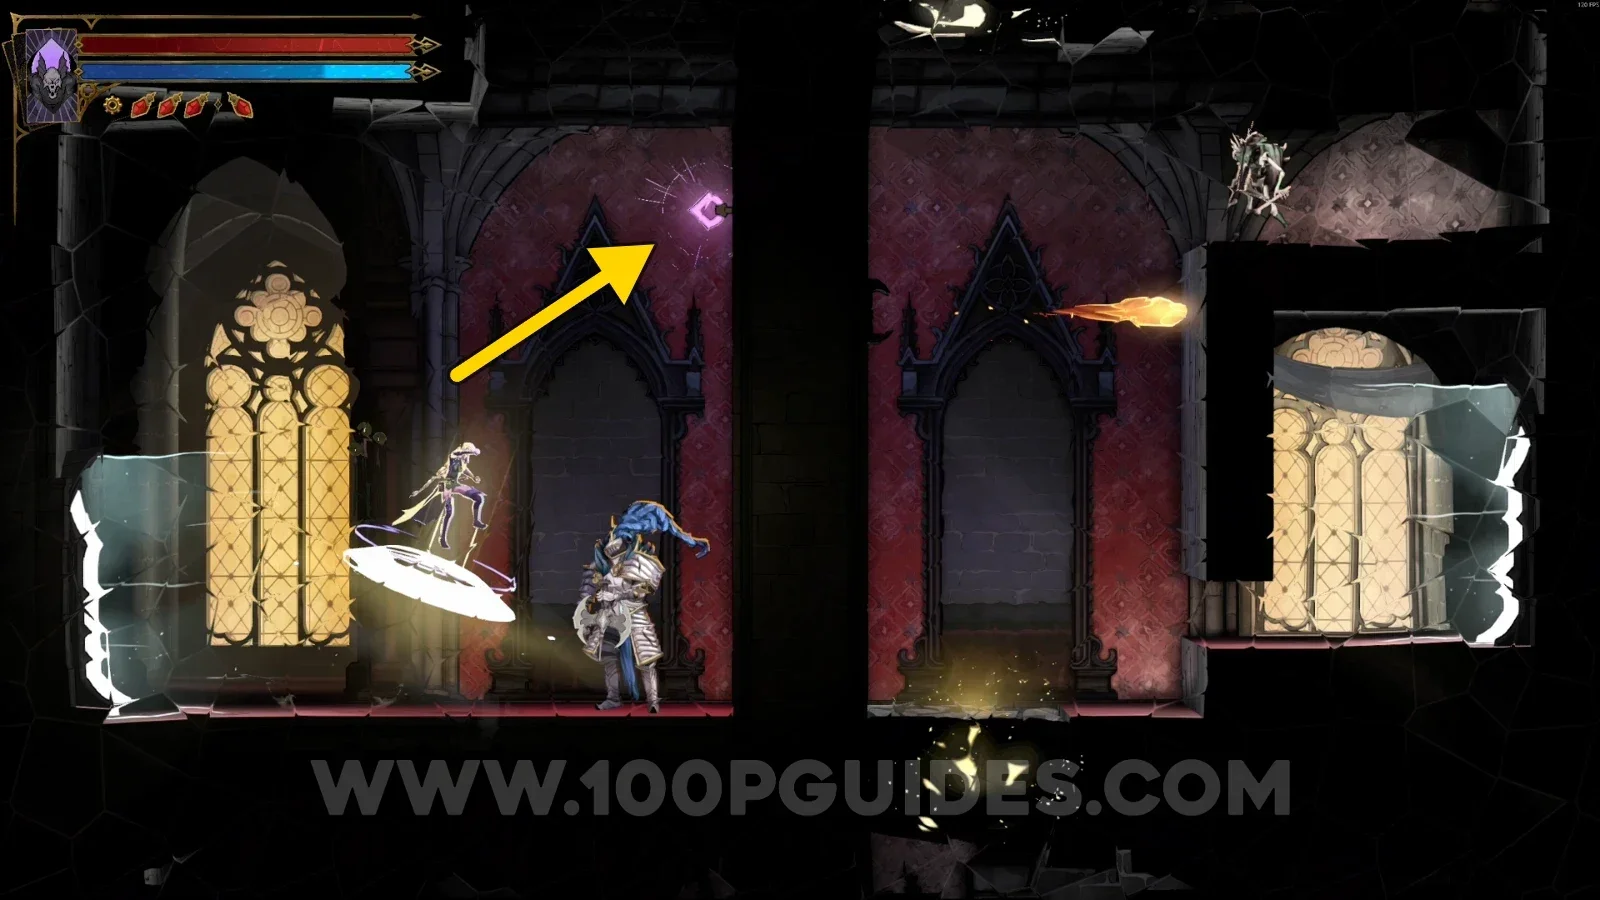
Castlevania Belmonts Curse Hall of Mirrors: going through the portal in front of you Castlevania Belmonts Curse Hall of Mirrors: using the Arcane Whip and the portal on the left Castlevania Belmonts Curse Hall of Mirrors: climbing up and interacting with the lever Castlevania Belmonts Curse Hall of Mirrors: using the Smash arcane power to break through the floors

Now go through the portal on the right again, climb to the top, and enter the portal on the left (the last portal on the left).
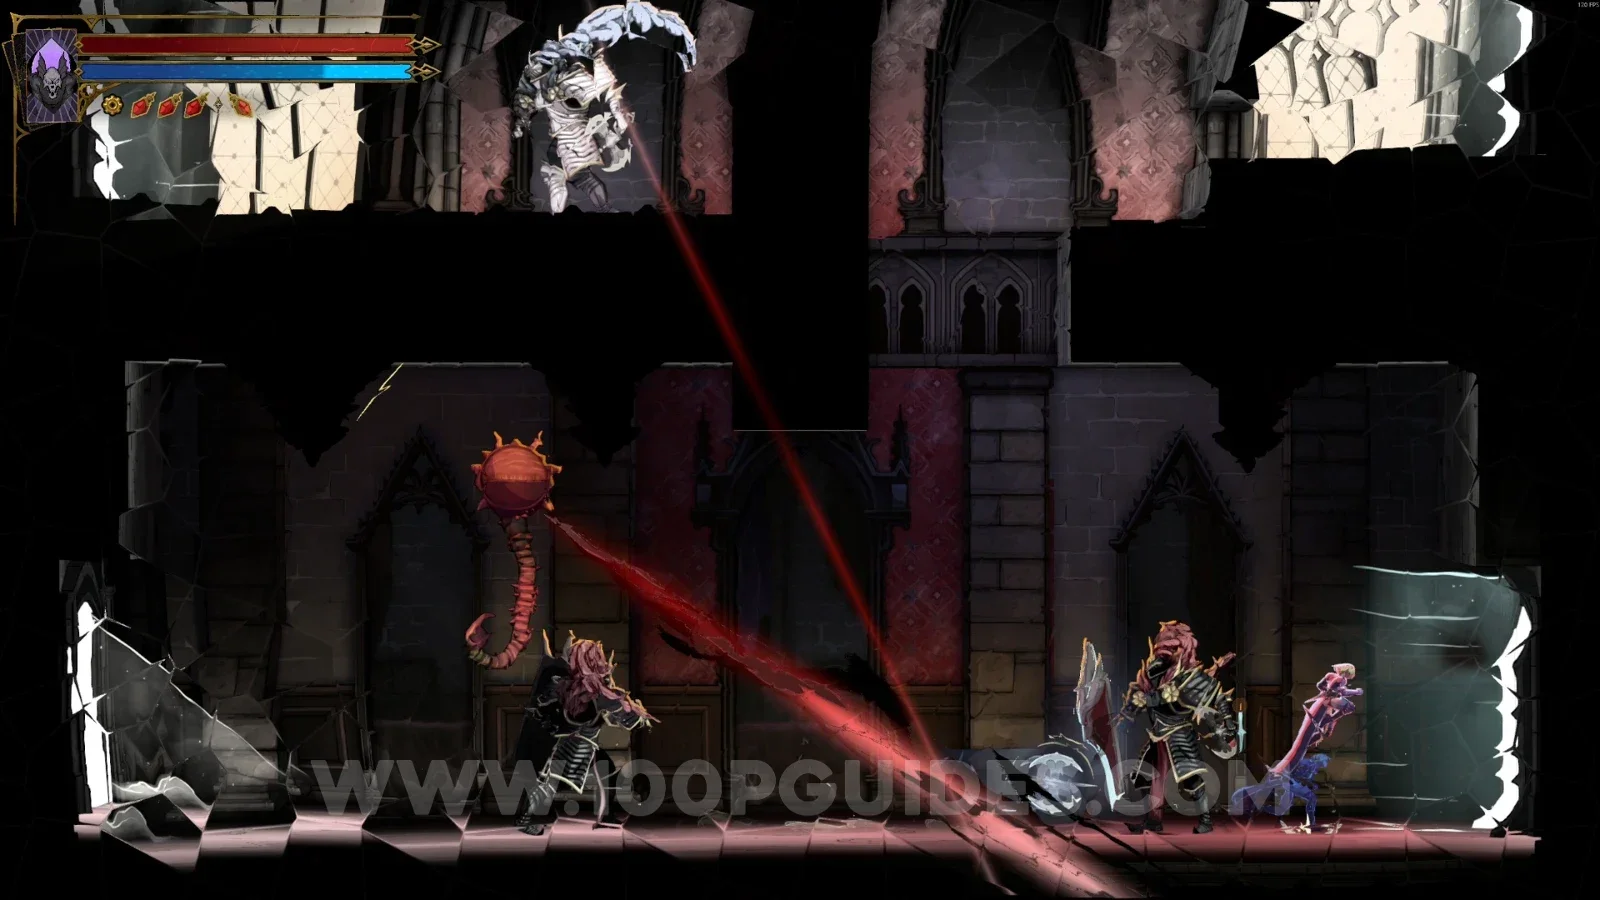
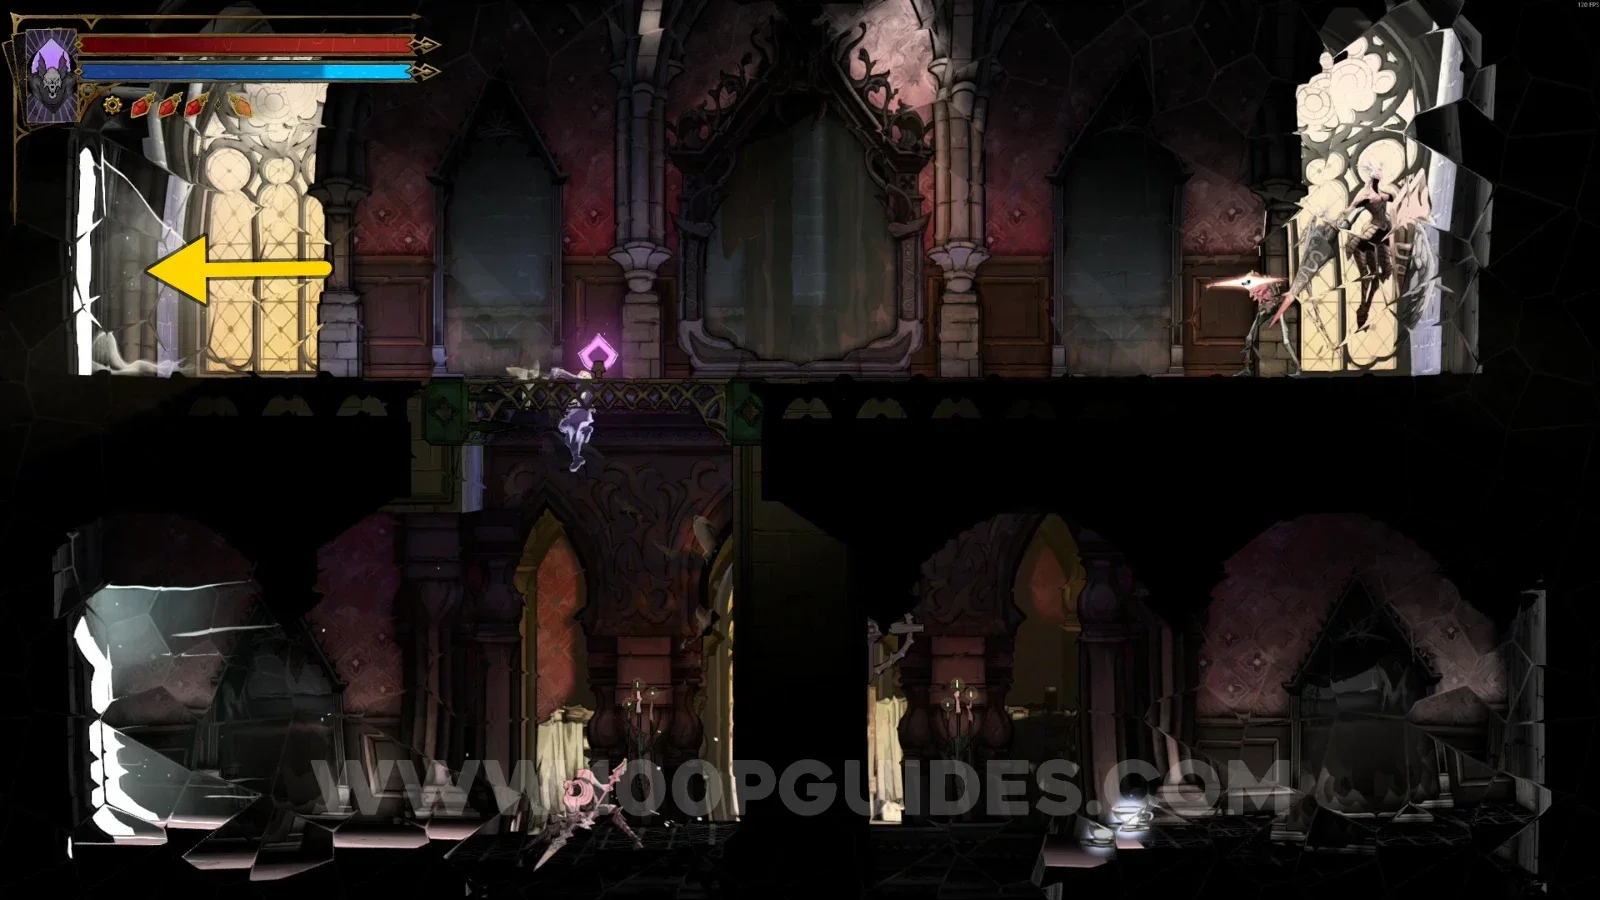
Castlevania Belmonts Curse Hall of Mirrors: going through the portal on the right again and climbing up Castlevania Belmonts Curse Hall of Mirrors: entering the last portal on the left at the top

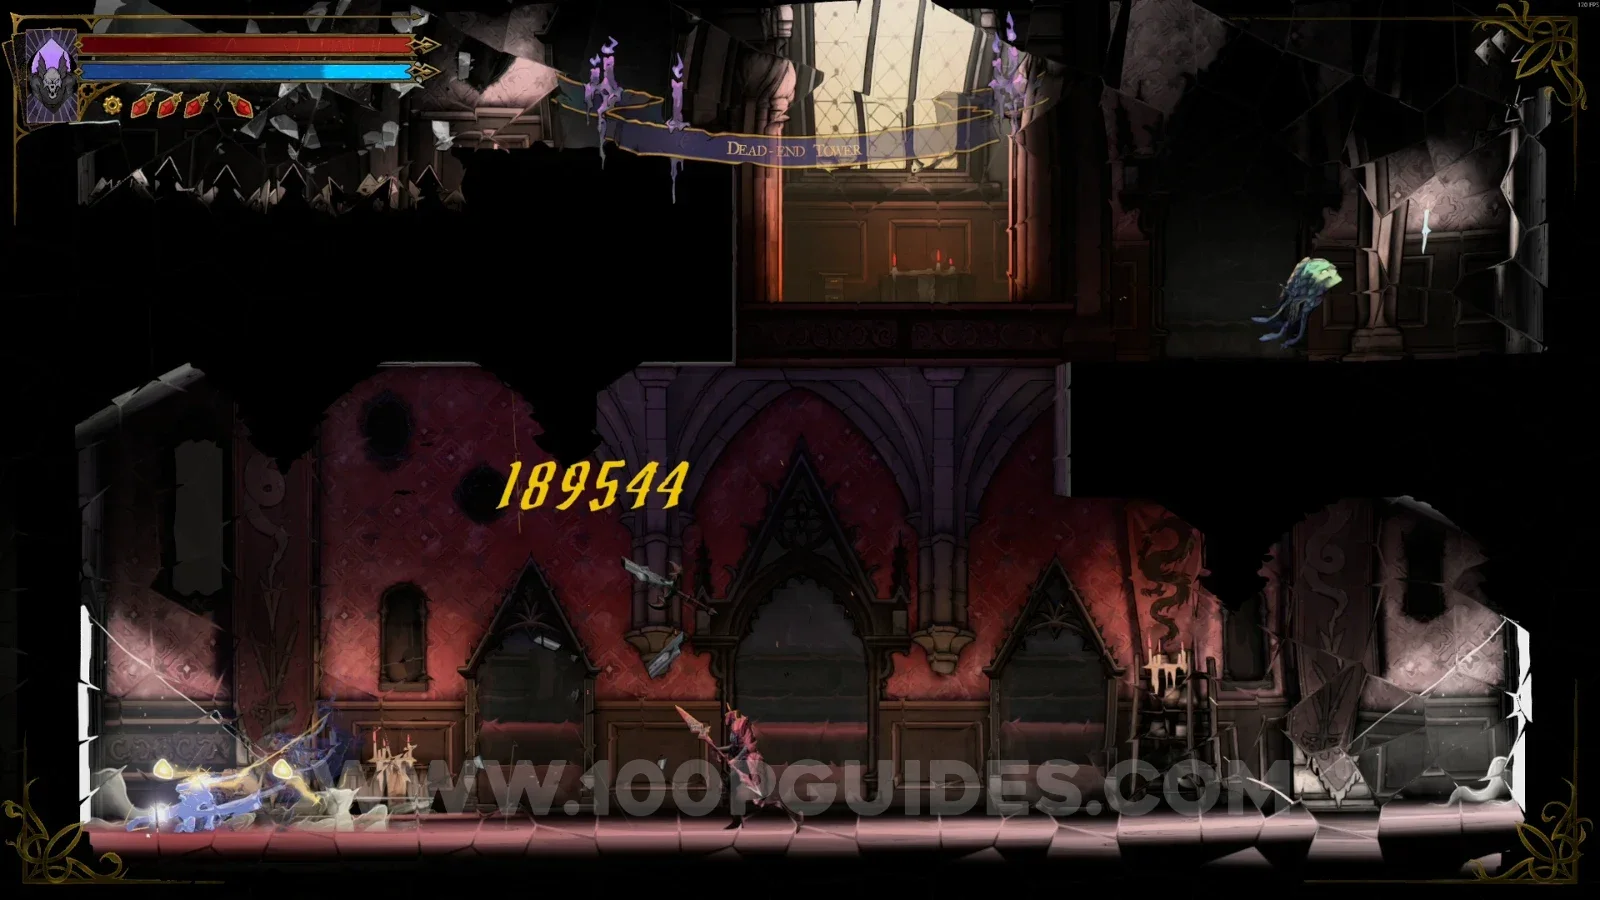
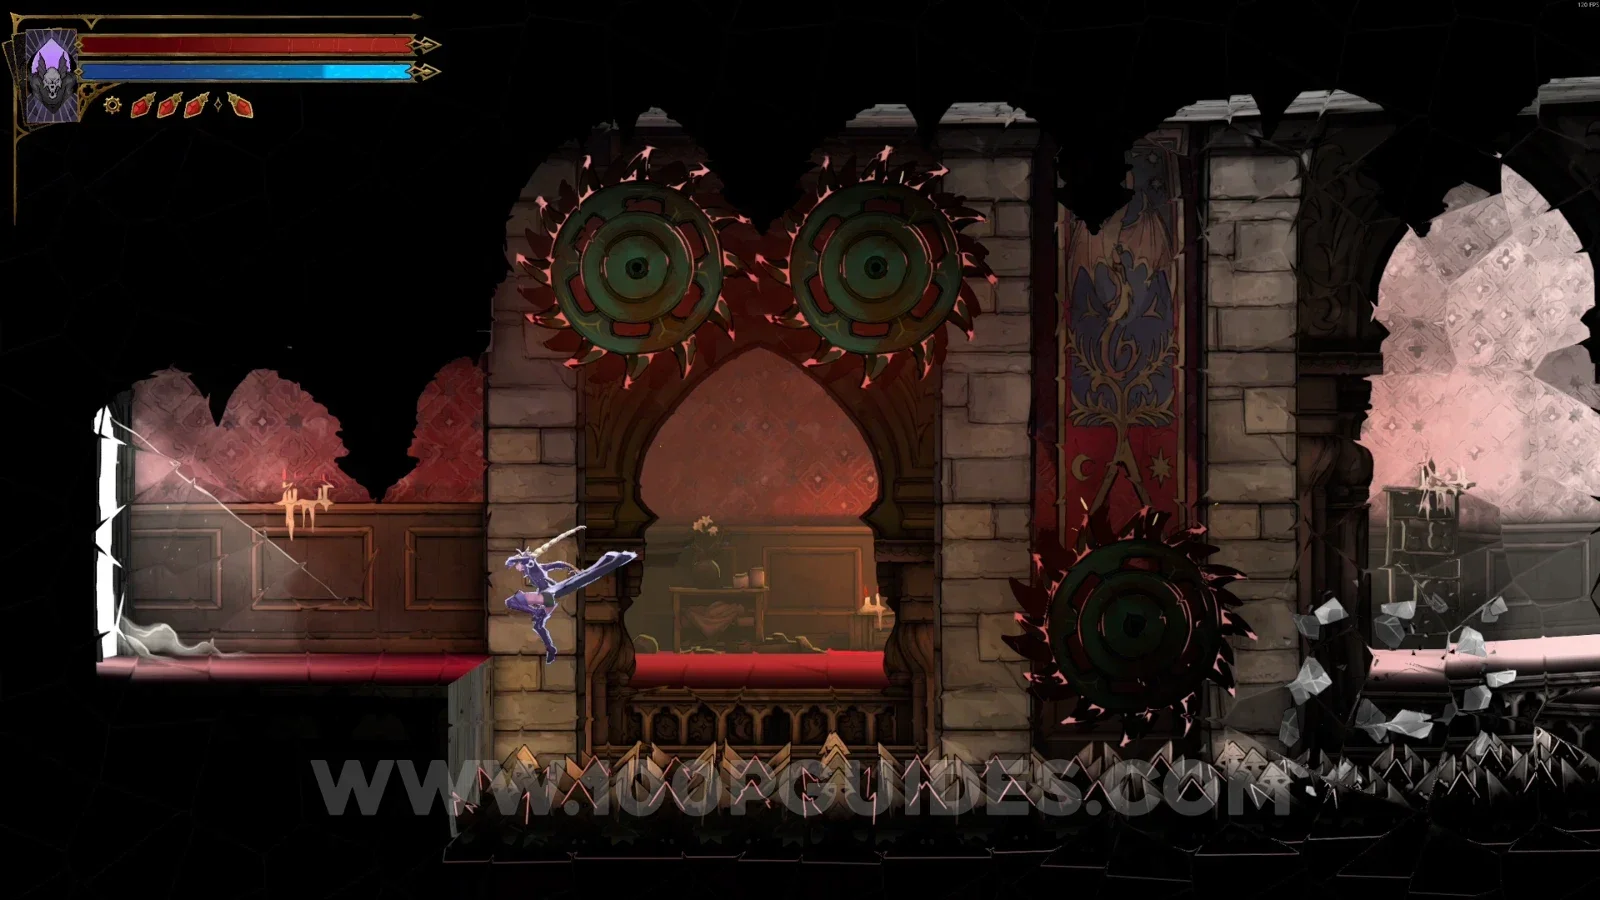
After going through the door, keep going through the doors on the left side until you see a ladder and a lever. Climb the ladder and break the wall, then climb the platform and go around the area (you'll see a Wise Heart here, and you can grab it if you want). When you reach the Wise Heart, go through the door on the left to get to the next area.
Castlevania Belmonts Curse Hall of Mirrors: going through the doors on the left to the ladder and lever Castlevania Belmonts Curse Hall of Mirrors: climbing the ladder and breaking the wall Castlevania Belmonts Curse Hall of Mirrors: going around the area to reach the Wise Heart Castlevania Belmonts Curse Hall of Mirrors: the Wise Heart and the door on the left to the next area

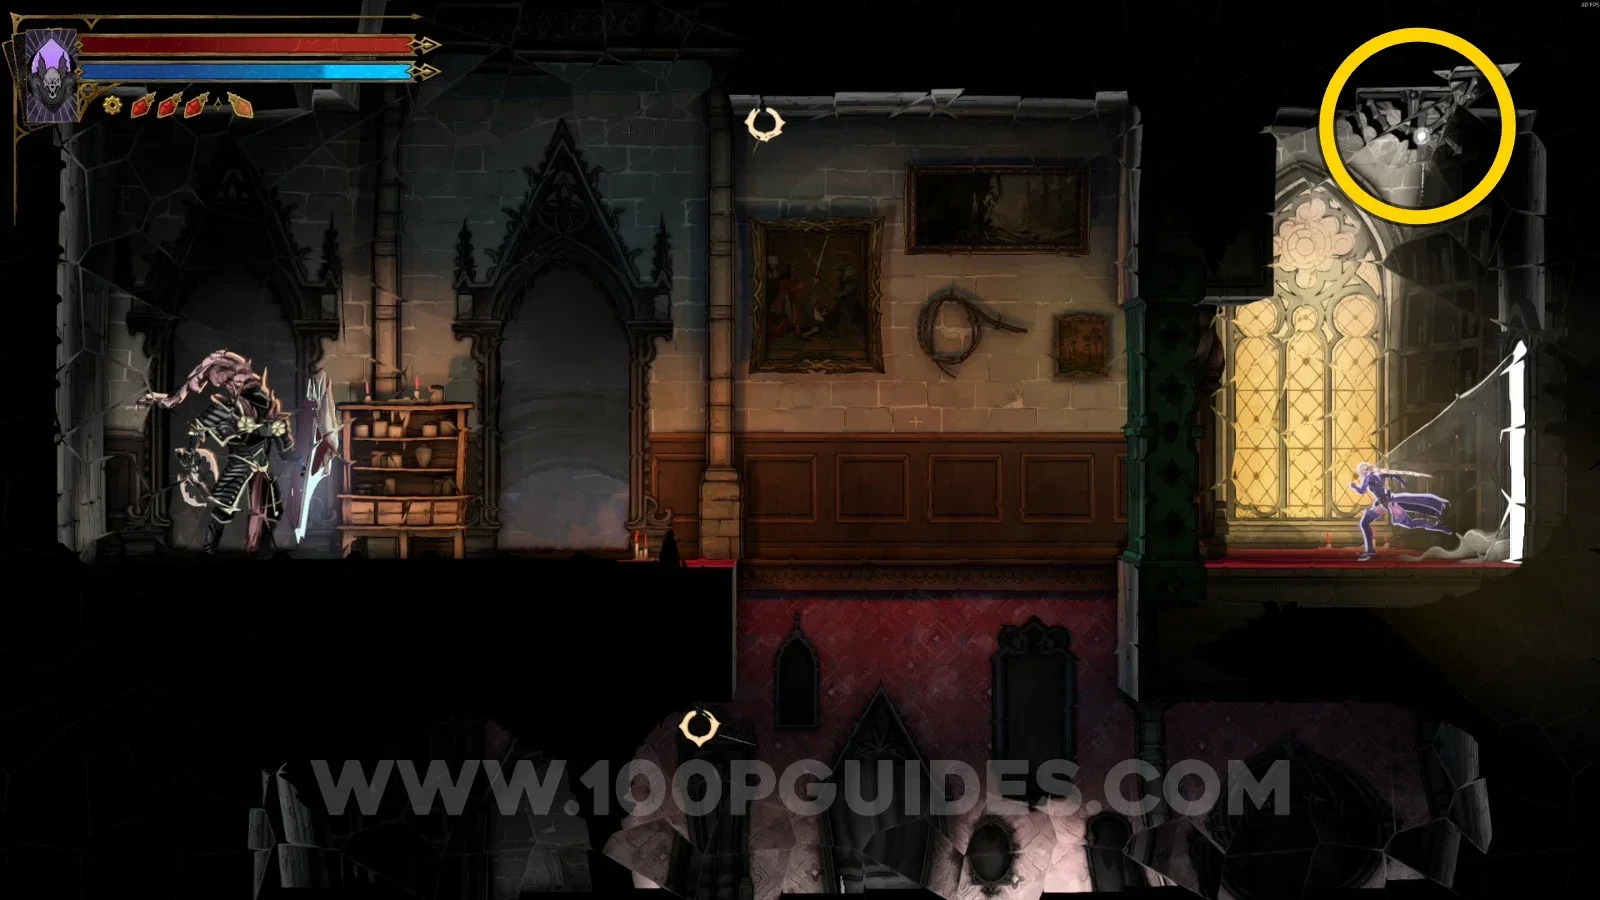
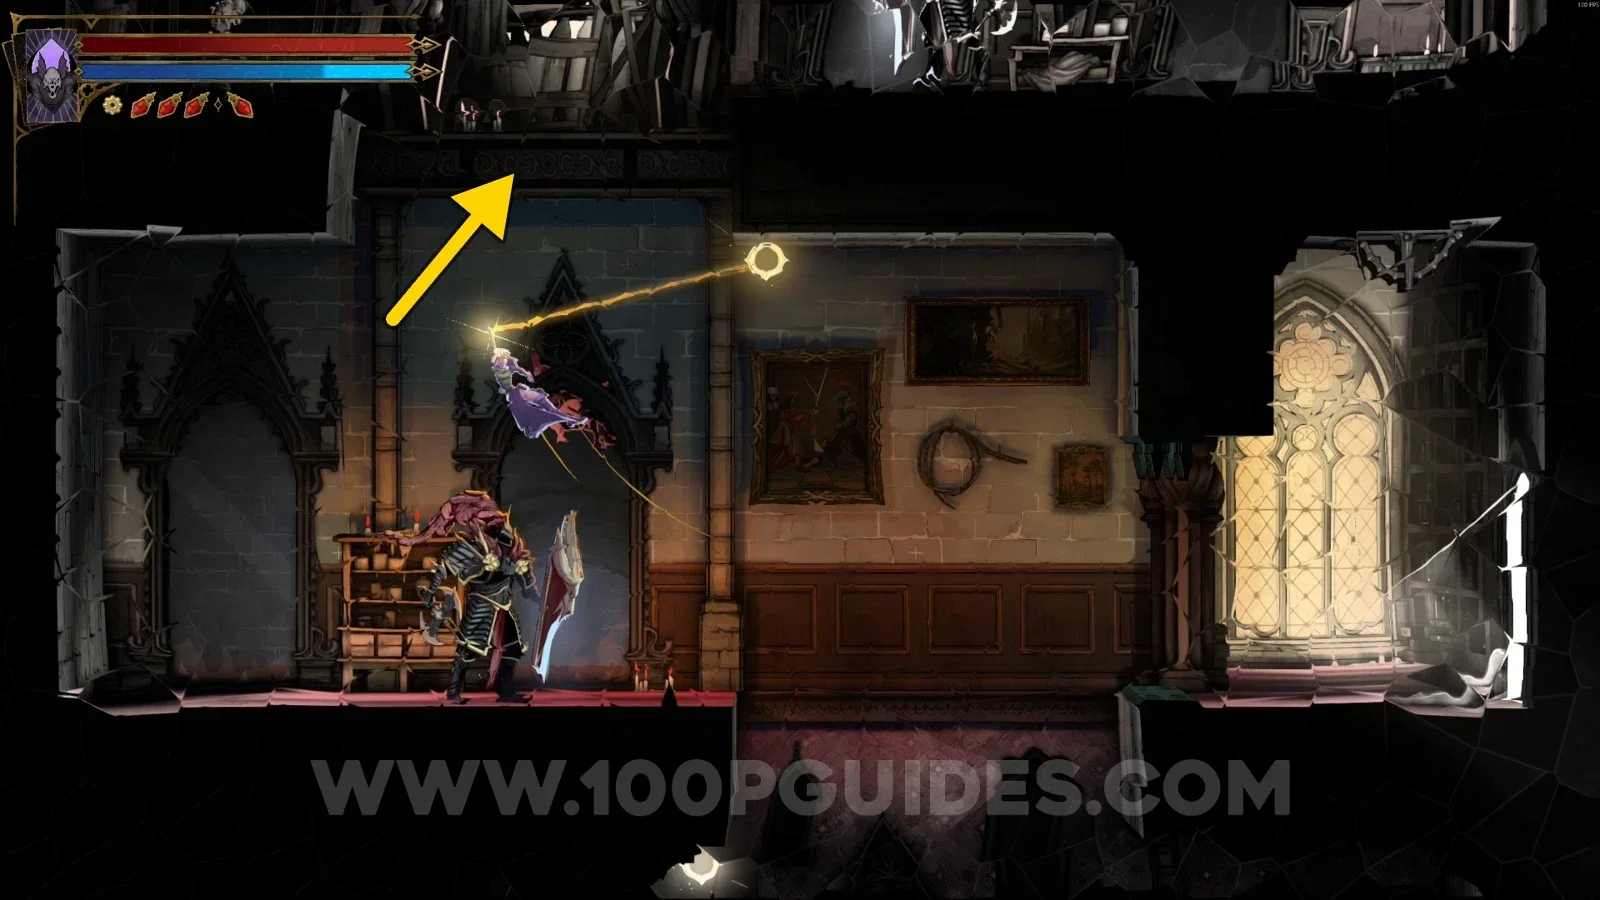
Interact with the lever, then use the Arcane Whip to climb to the upper part. Go through the door on the left, then use the Arcane Whip again to climb up. Here you'll see three large mirrors. Stand at the middle mirror and crouch until you're teleported to the next area.
Castlevania Belmonts Curse Hall of Mirrors: pulling the lever and climbing up with the Arcane Whip Castlevania Belmonts Curse Hall of Mirrors: the door on the left and another Arcane Whip climb Castlevania Belmonts Curse Hall of Mirrors: the room with three large mirrors Castlevania Belmonts Curse Hall of Mirrors: crouching at the middle mirror to teleport to the next area

Go down on the left, go through the door on the right, and then use the Smash arcane power to break the floor.
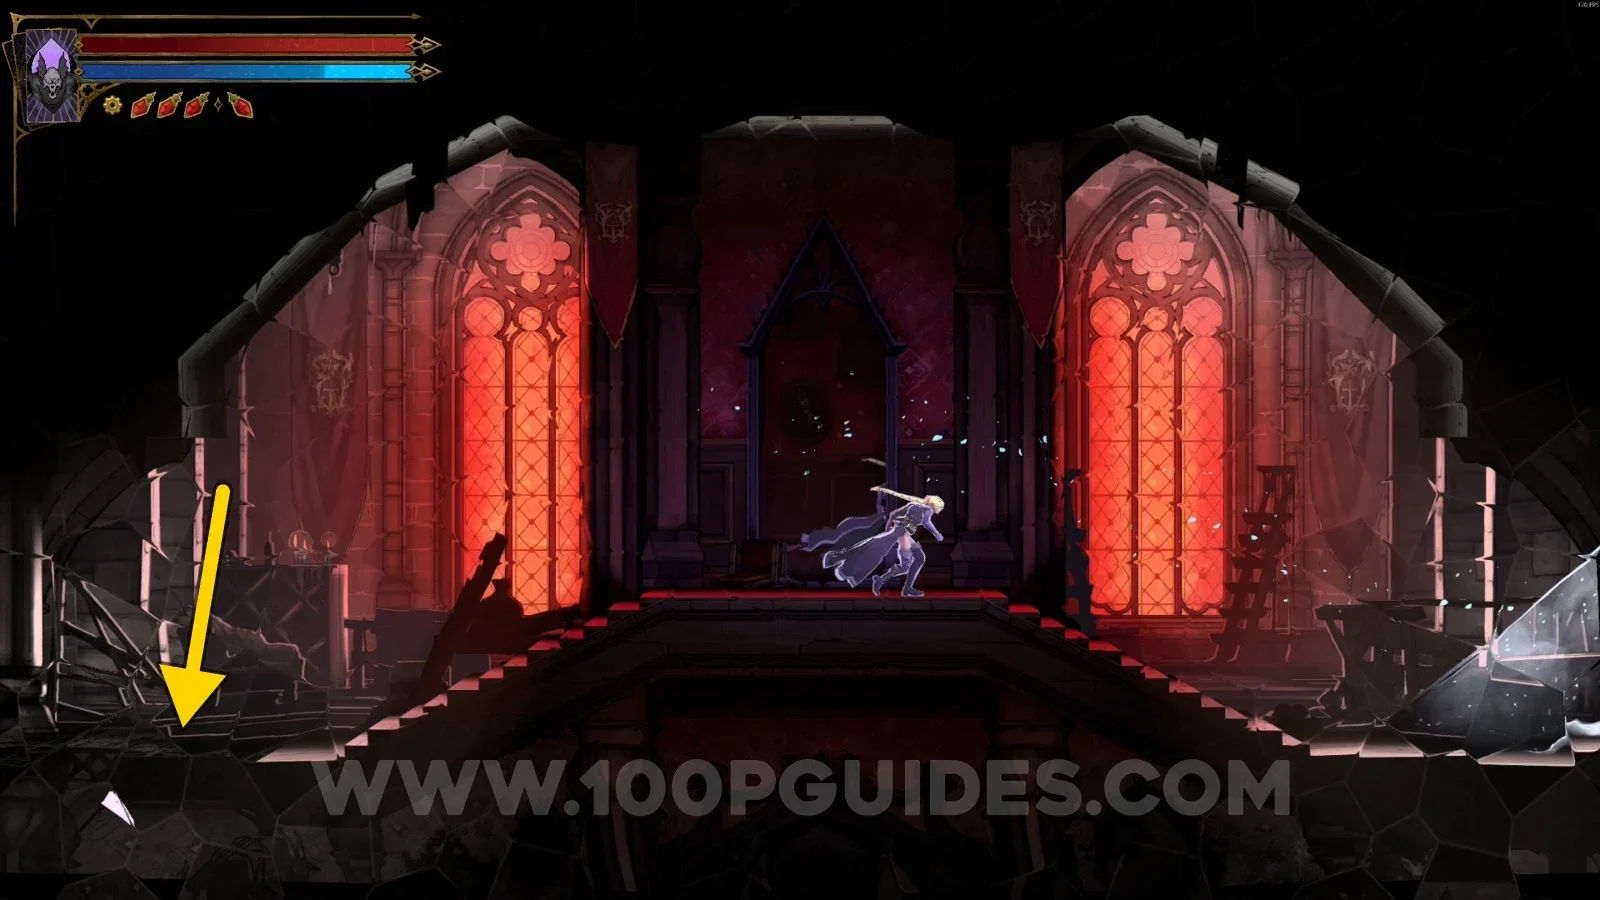
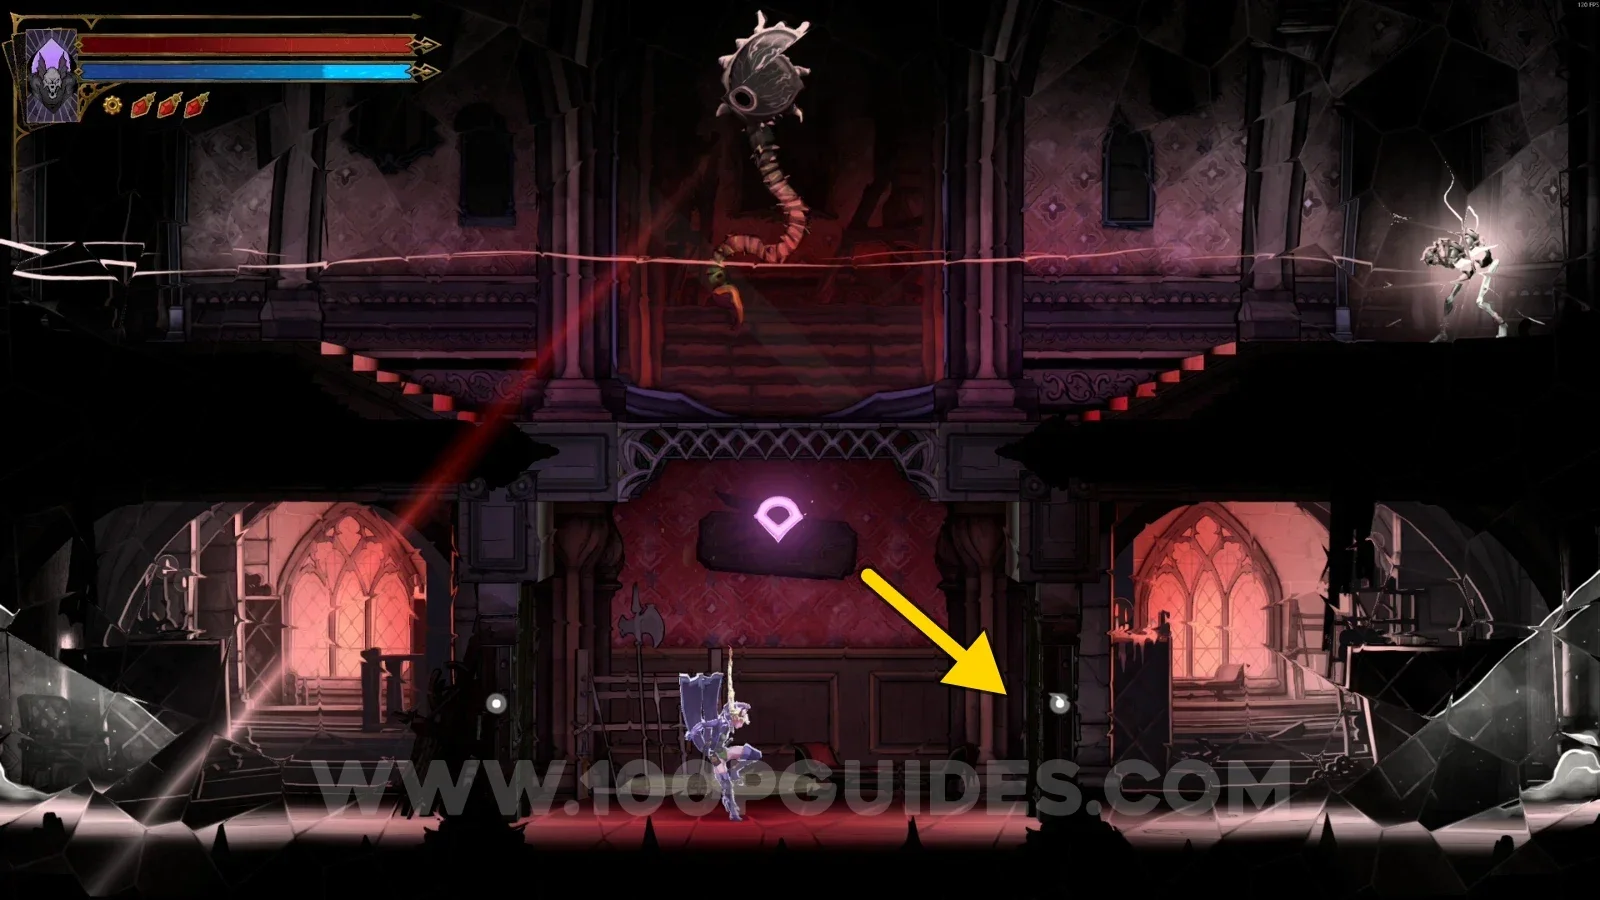
Castlevania Belmonts Curse Hall of Mirrors: going down on the left side of the area Castlevania Belmonts Curse Hall of Mirrors: going through the door on the right Castlevania Belmonts Curse Hall of Mirrors: using the Smash arcane power to break the floor

Go through the door on the left and down the platform. Go through the first portal on the right, then the next portal on the right. Now stop in front of the small mirror and crouch to be teleported.
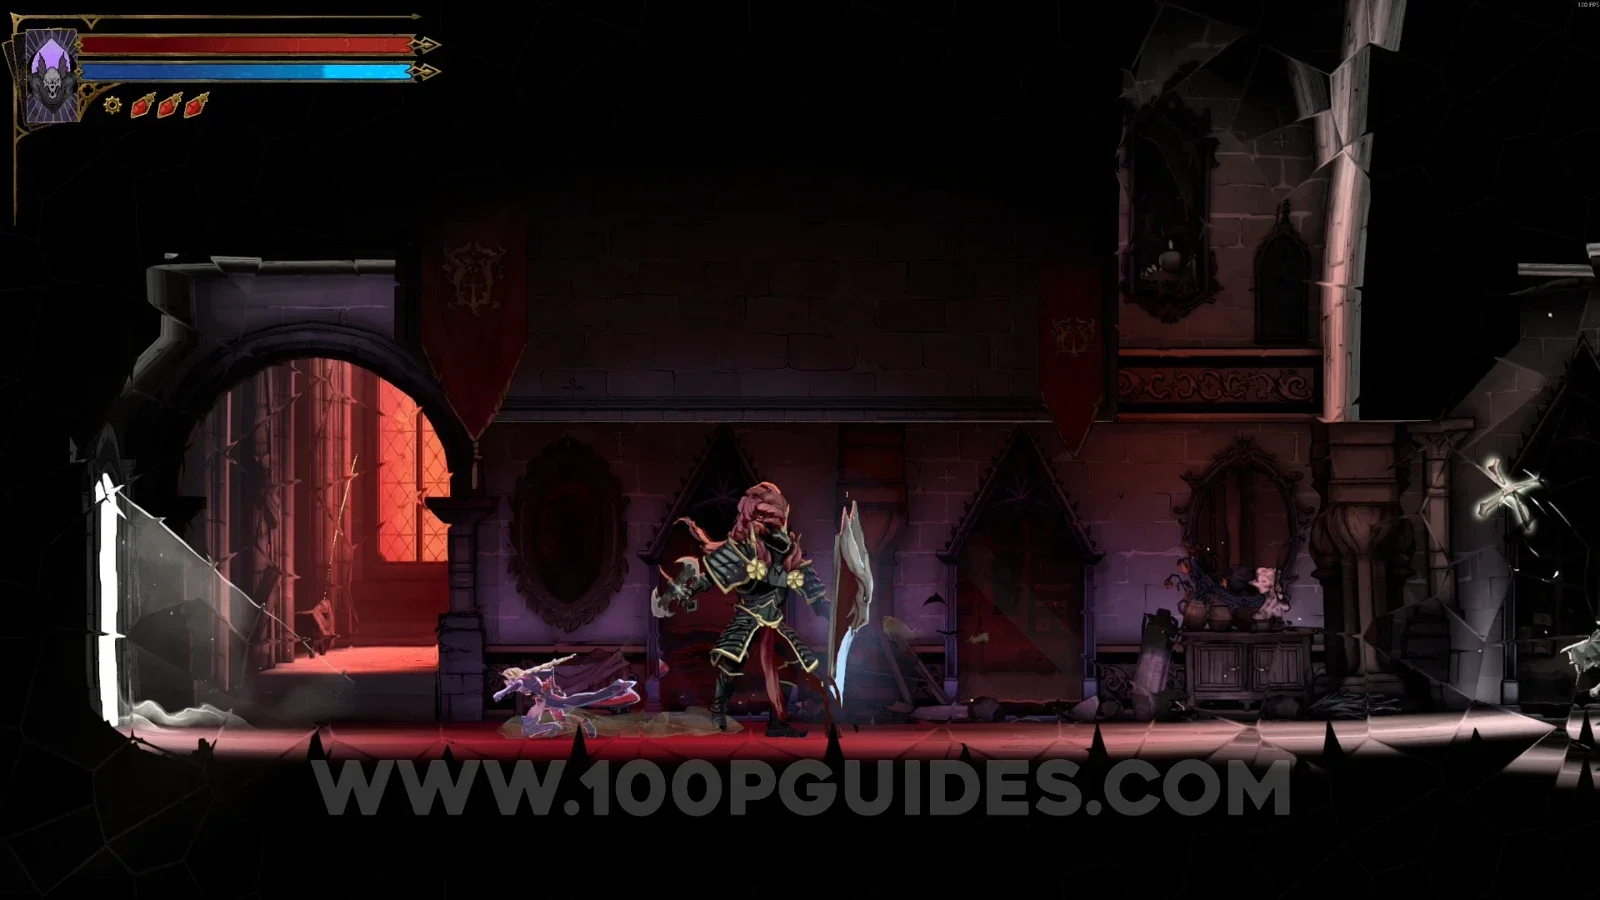
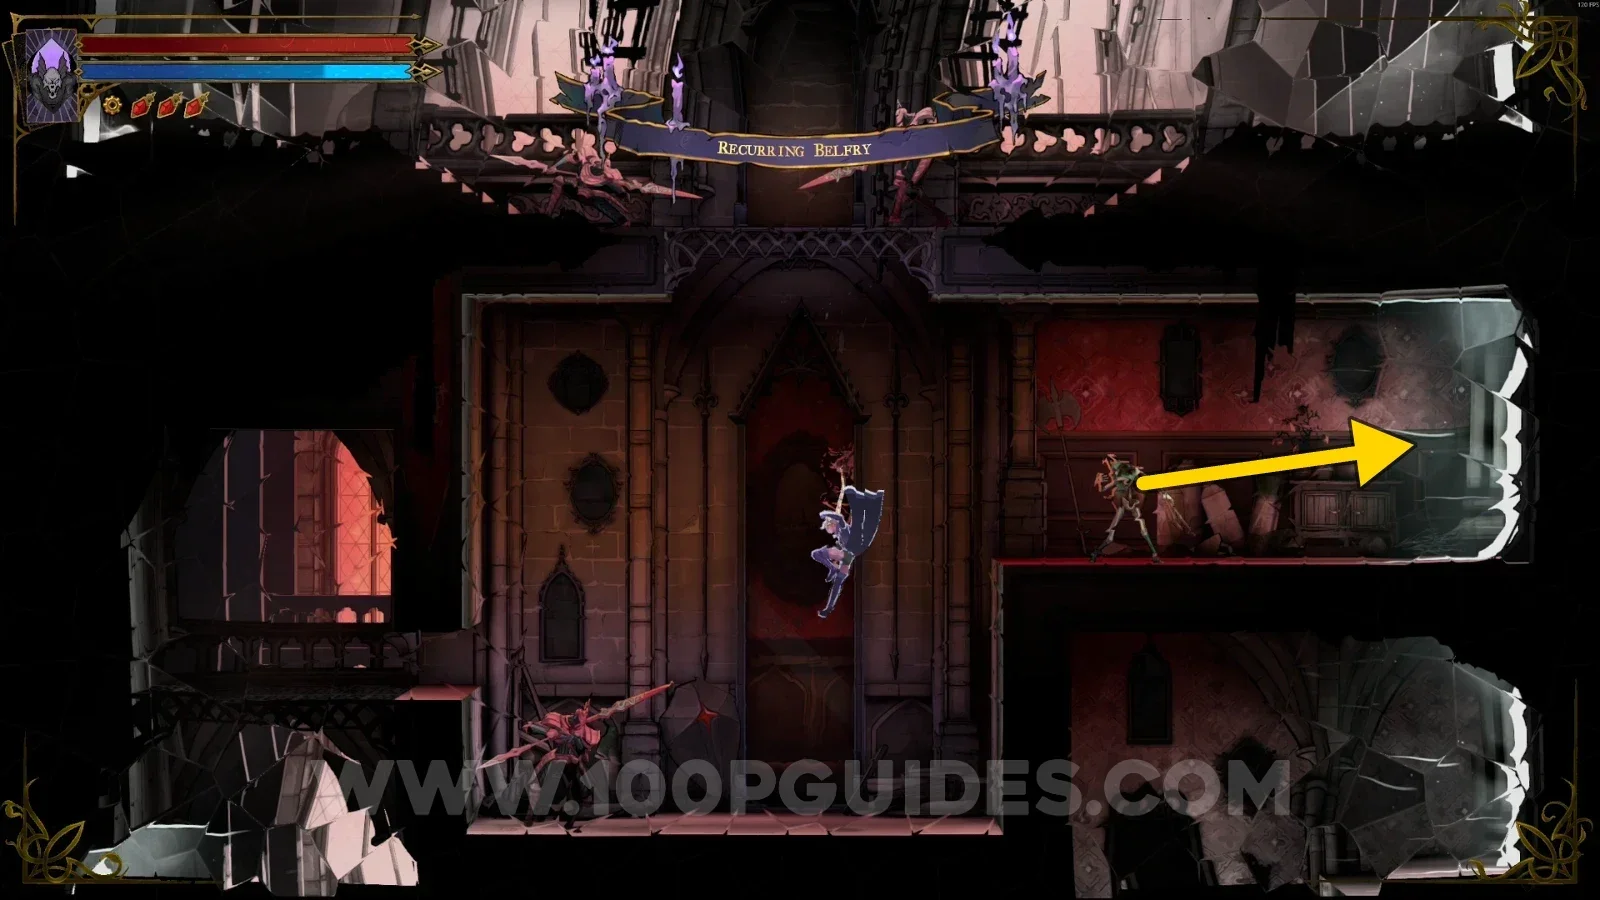
Castlevania Belmonts Curse Hall of Mirrors: the door on the left and the platform below Castlevania Belmonts Curse Hall of Mirrors: going through the first portal on the right Castlevania Belmonts Curse Hall of Mirrors: going through the next portal on the right Castlevania Belmonts Curse Hall of Mirrors: crouching in front of the small mirror to teleport

When you reach the next area, go down the stairs and enter the boss room to defeat the Succubus (The Temptress). As a reward, you'll get the Life Drain arcana, and the fog on the Hall of Mirrors map will disappear.
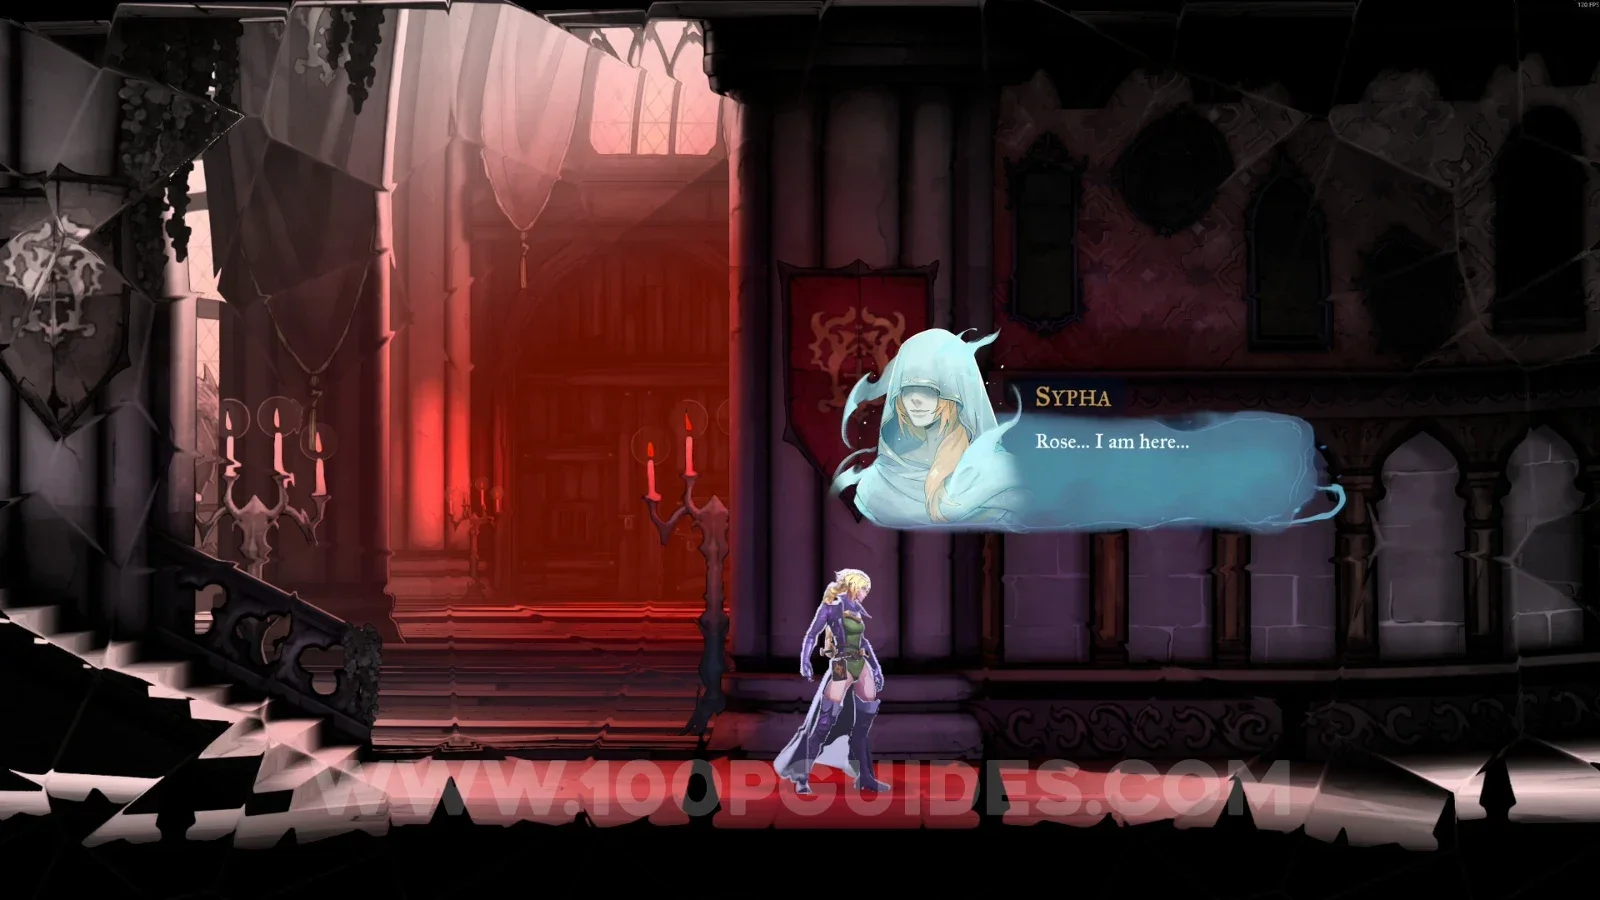
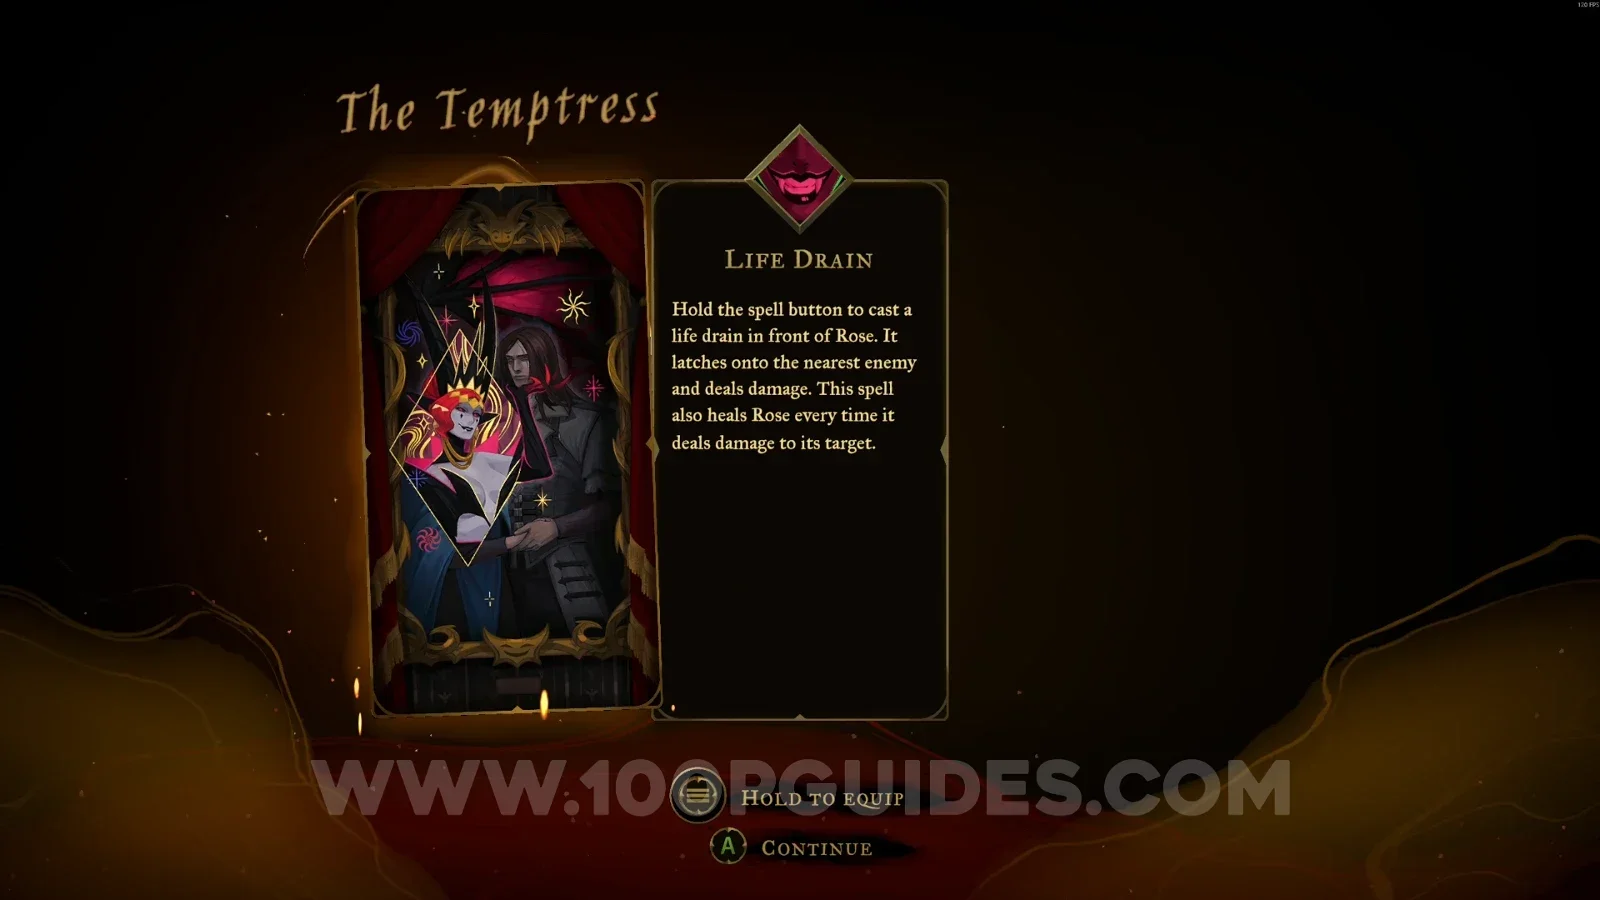
Castlevania Belmonts Curse Hall of Mirrors: going down the stairs to the Succubus boss room Castlevania Belmonts Curse Hall of Mirrors: defeating the Succubus, The Temptress, for the Life Drain arcana

NOTE

From this point, to finish Eleanor's questline, you'll have to go back to Holy Innocents' Cemetery and talk to her there. For that, see our complete Holy Innocents' Cemetery guide.

West Hall

XP Statue #21

In the upper part of the area, use the painting to reach it.
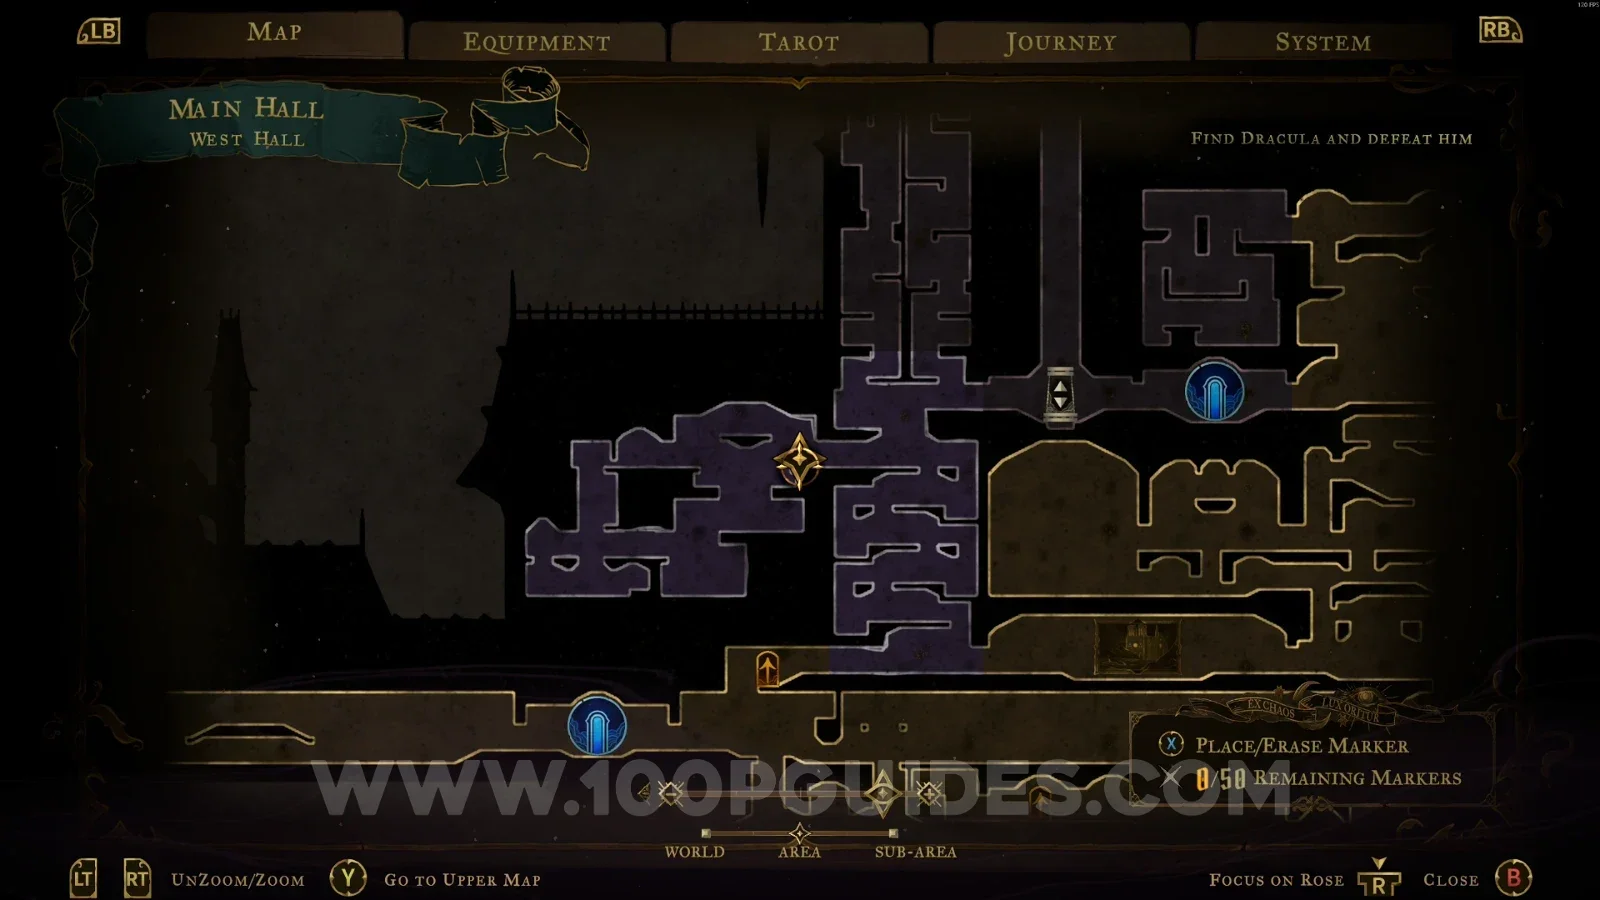
Castlevania Belmonts Curse West Hall: using the painting to reach the upper part of the area Castlevania Belmonts Curse West Hall: XP Statue #21 in the upper part of the area

Relic #6: Witch's Knot

Use the painting to go down to the lower part, then interact with the lever and climb up to where the chest is.
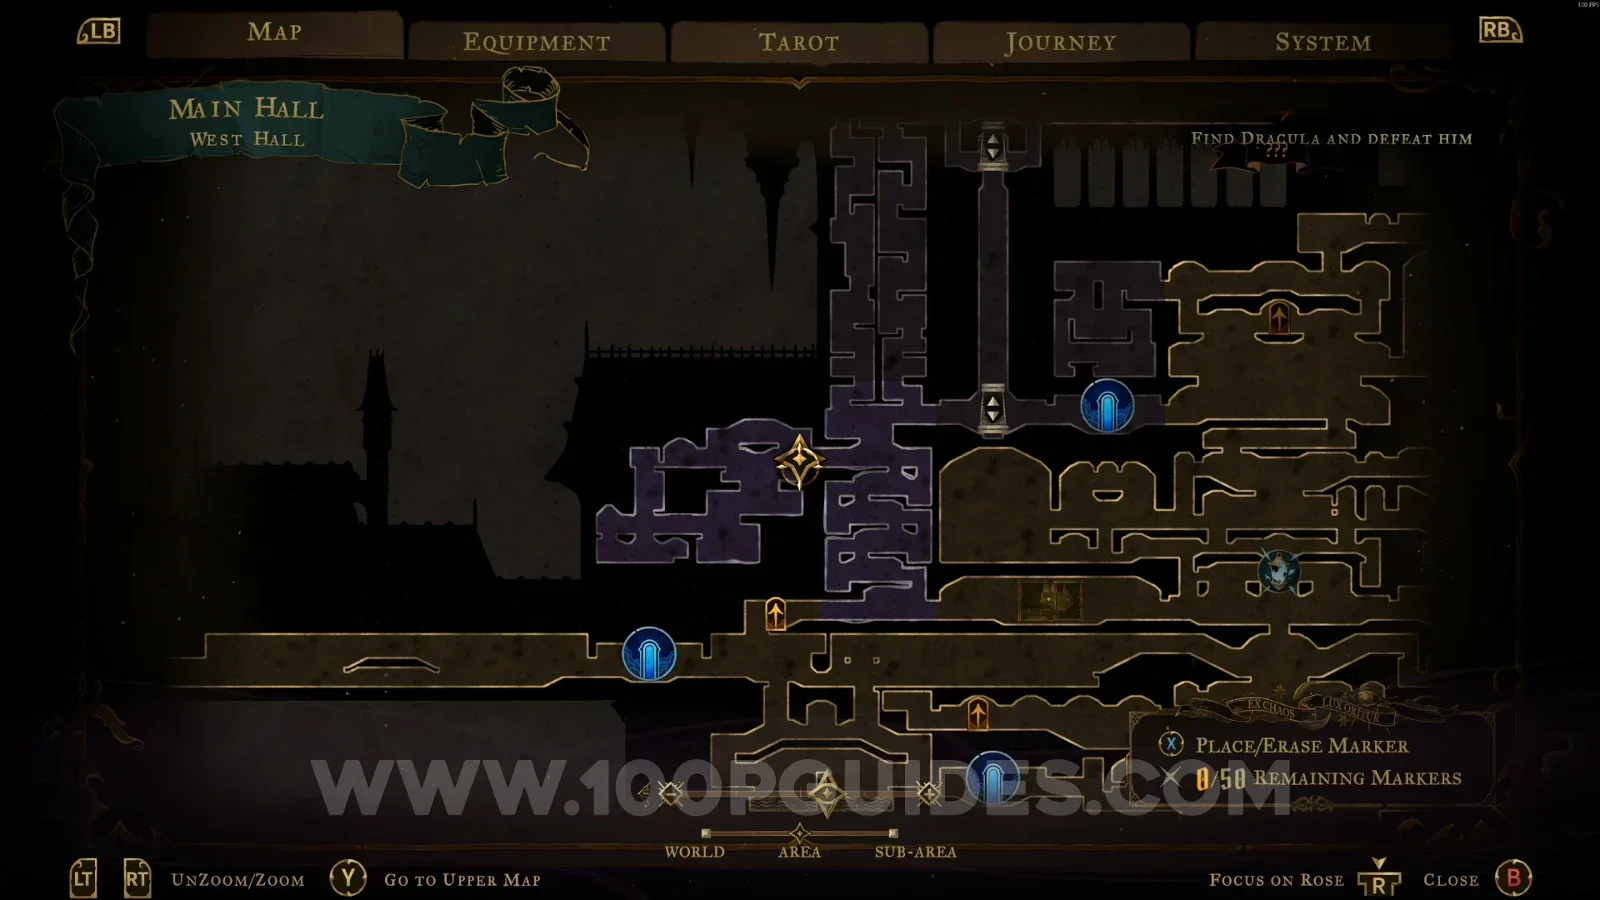
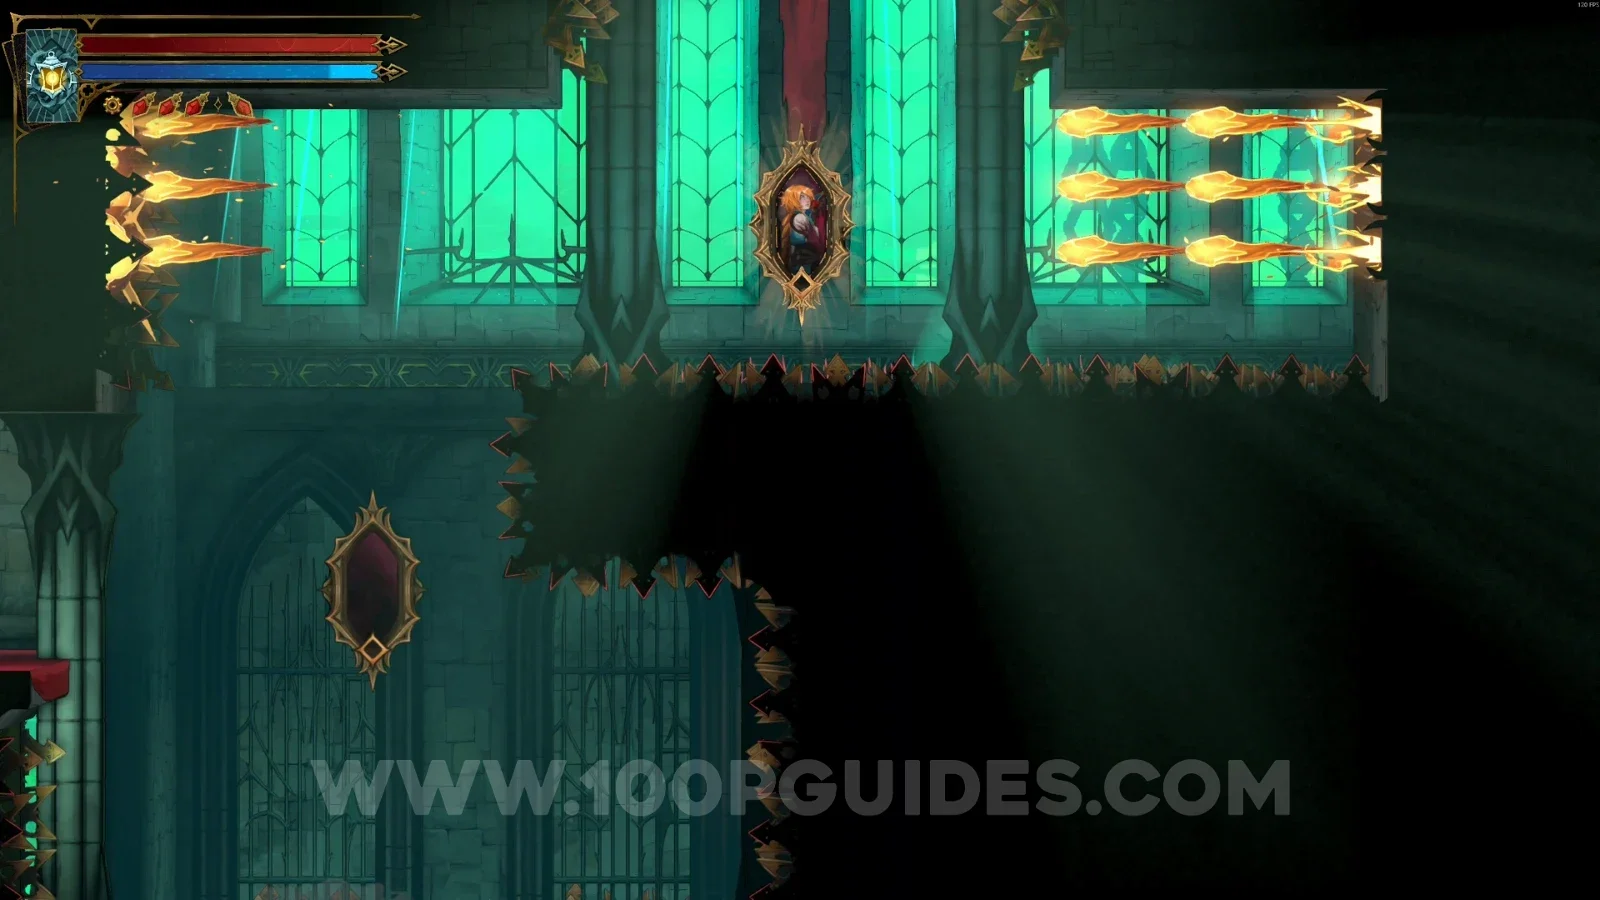
Castlevania Belmonts Curse West Hall: using the painting to go down to the lower part Castlevania Belmonts Curse West Hall: interacting with the lever in the lower part of the area Castlevania Belmonts Curse West Hall: climbing up toward the chest after pulling the lever Castlevania Belmonts Curse West Hall: the chest containing Relic #6, the Witch's Knot

Watch Tower

Weapon #3: Rapiers

Interact with the lever on the left side, then use the paintings to go around the area and reach the chest.
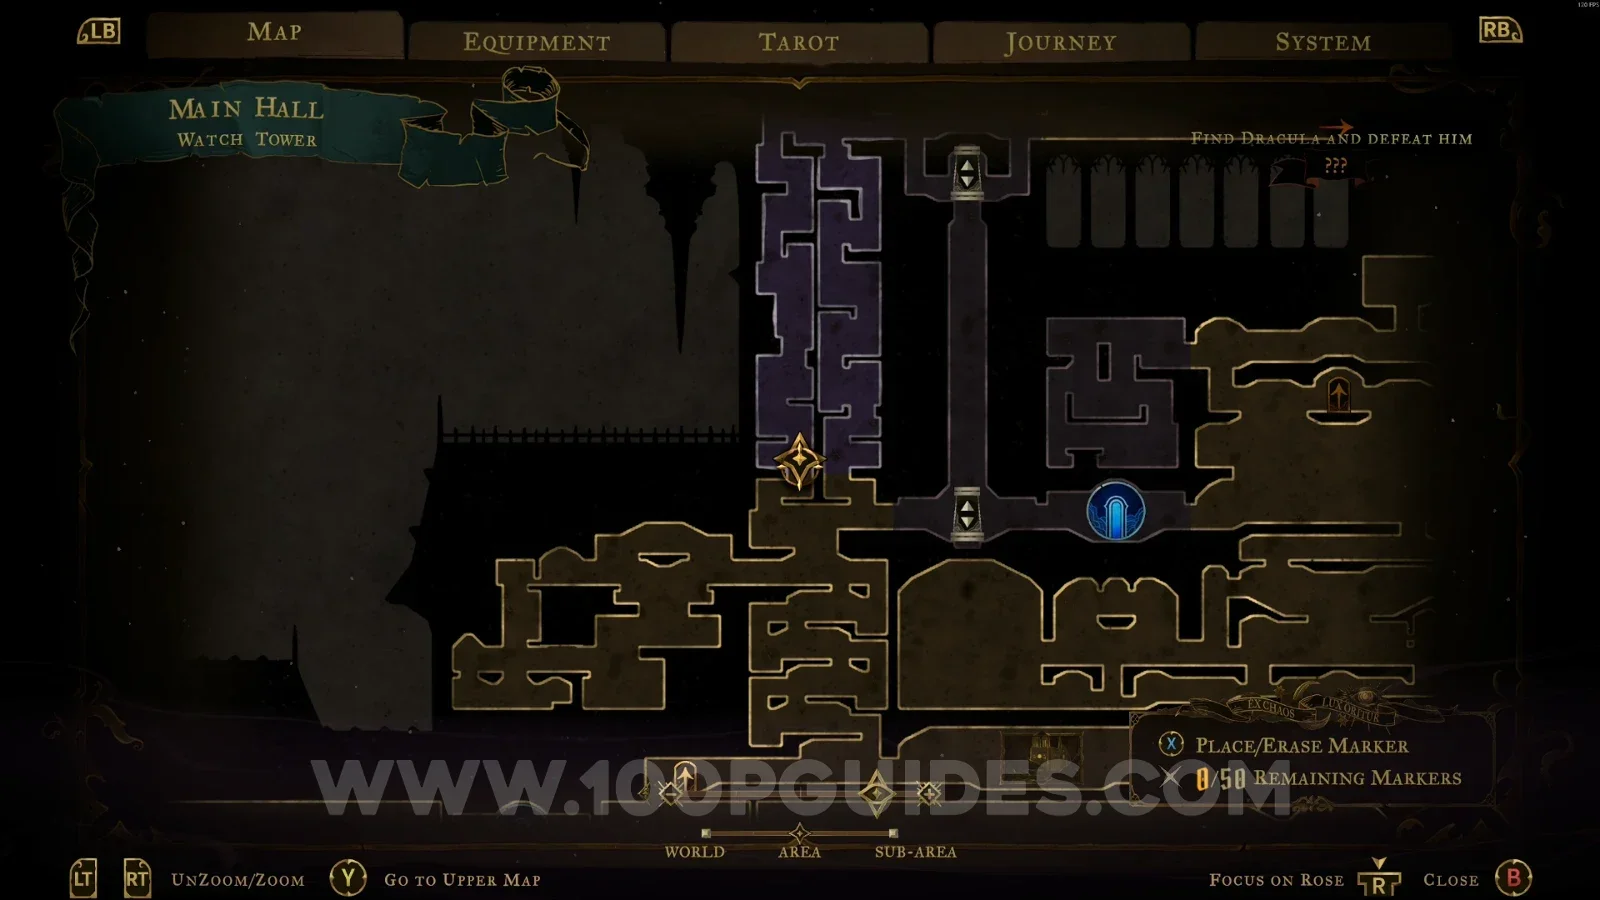
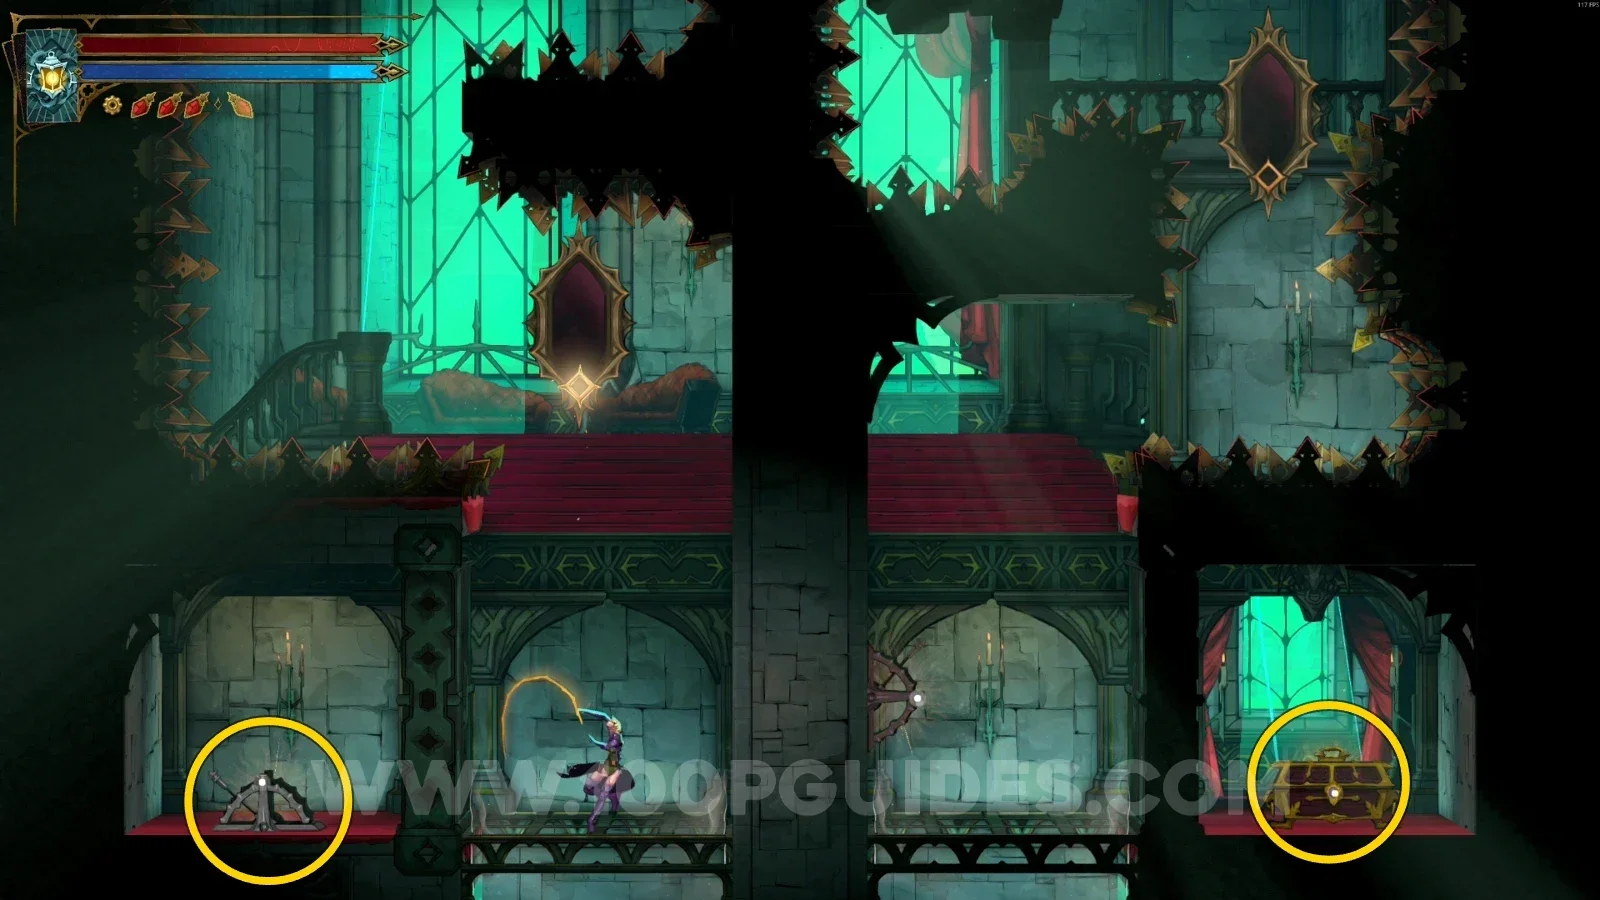
Castlevania Belmonts Curse Watch Tower: the lever on the left side and the paintings around the area Castlevania Belmonts Curse Watch Tower: the chest containing Weapon #3, the Rapiers

Elevator Tower

Clue: The Artist

Next to the elevator.
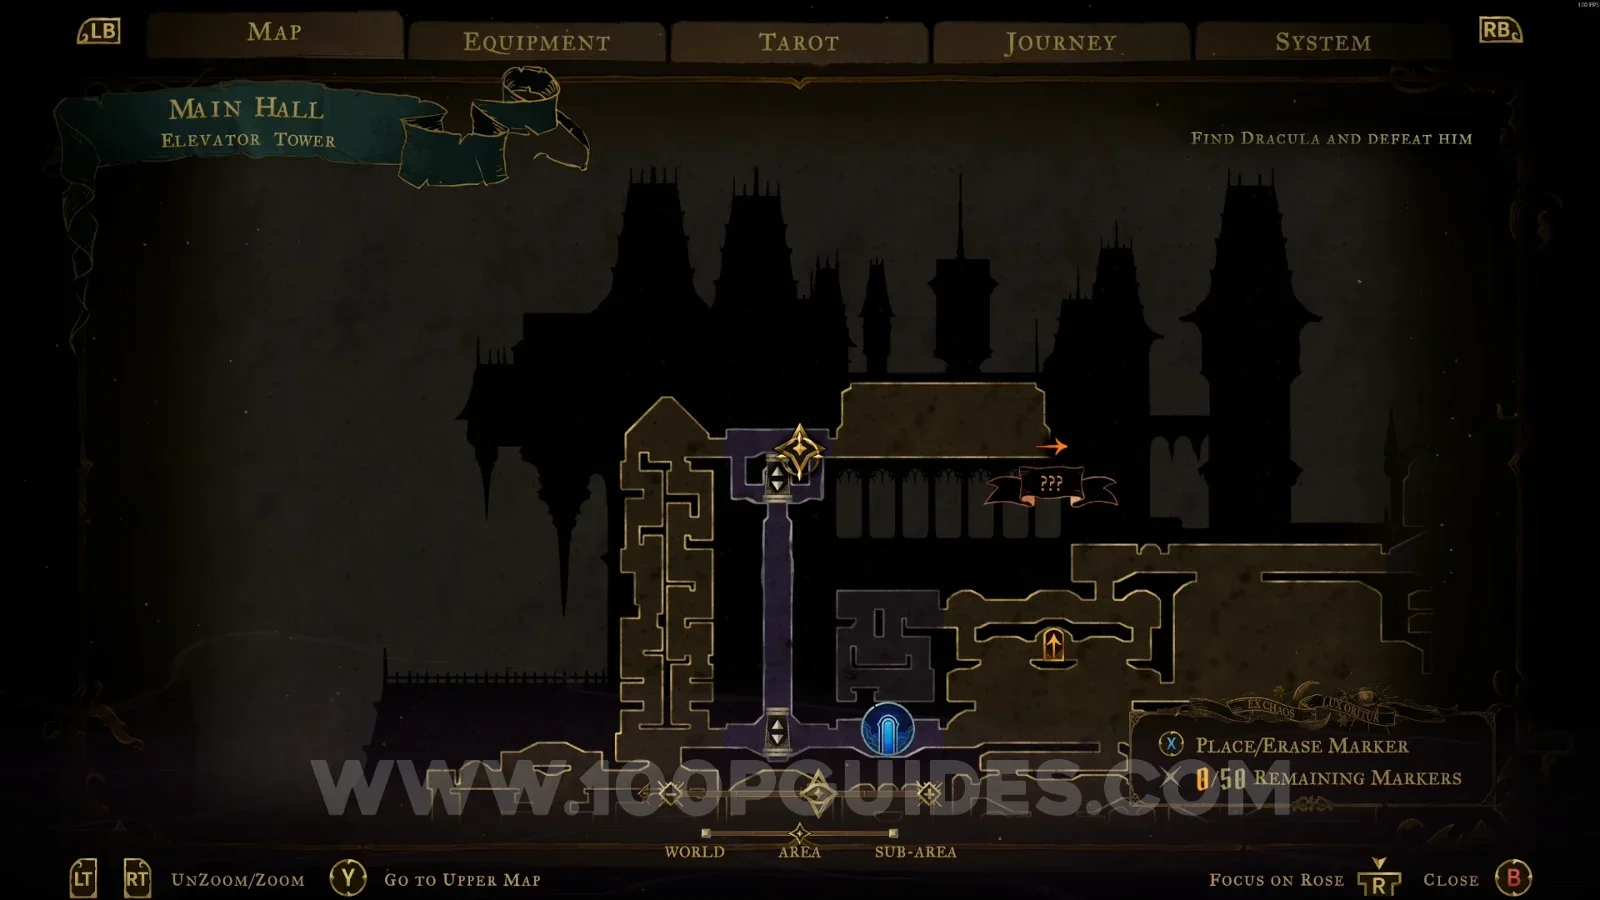
Castlevania Belmonts Curse Elevator Tower: location of The Artist clue next to the elevator Castlevania Belmonts Curse Elevator Tower: The Artist clue obtained next to the elevator

Abandoned Staircase

Relic #7: Blackened Heart

Go around the area to reach the chest containing the relic.
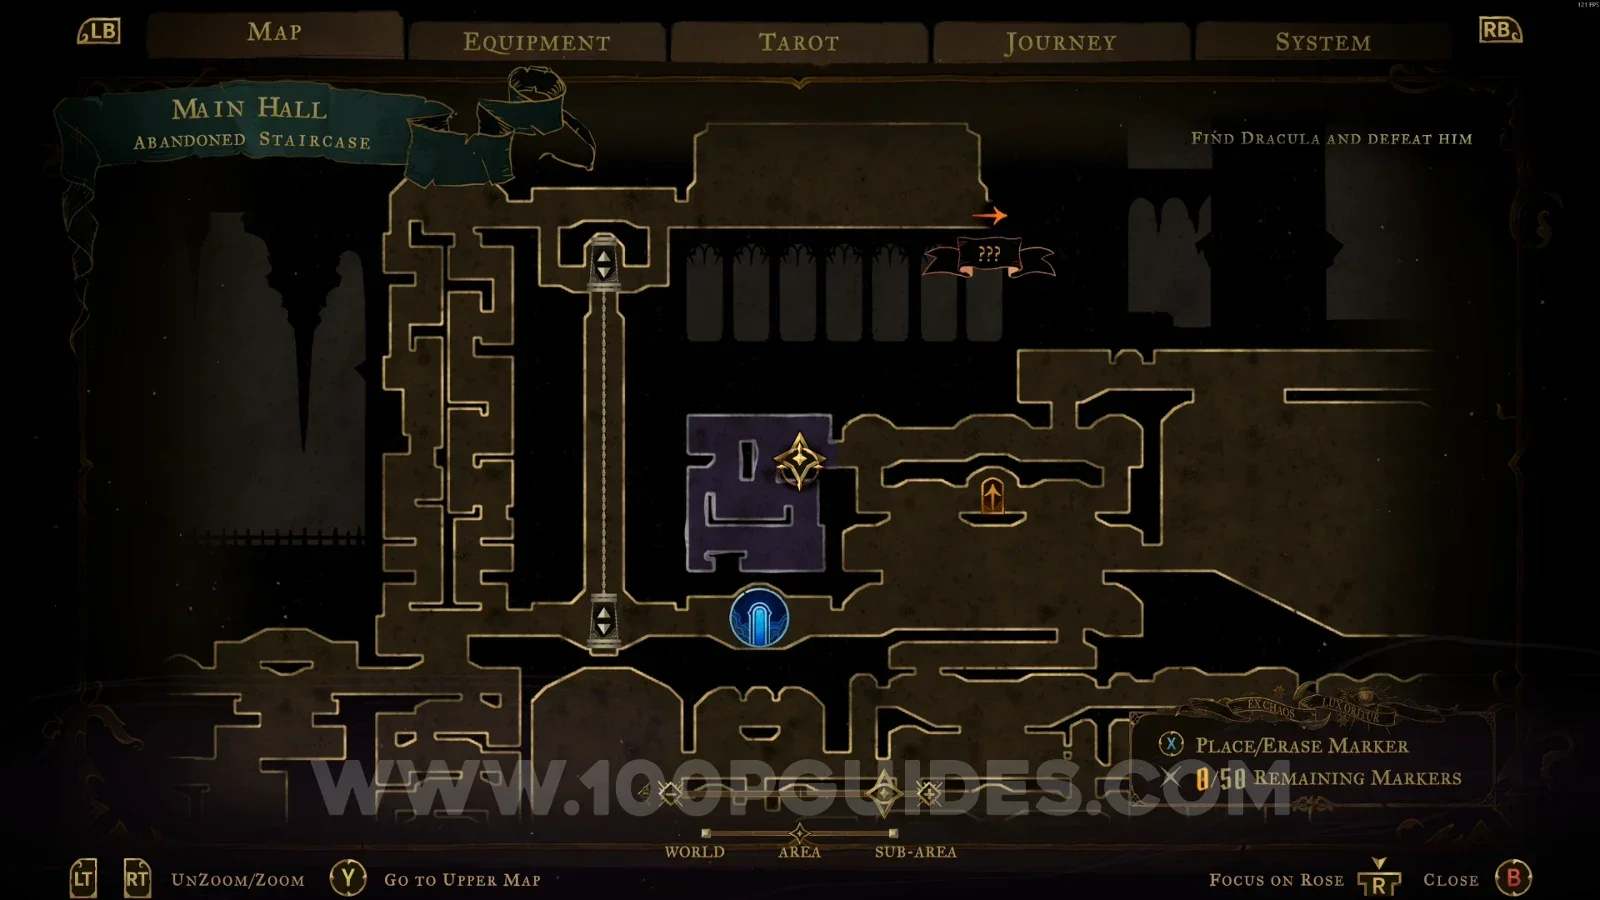
Castlevania Belmonts Curse Abandoned Staircase: going around the area toward the relic chest Castlevania Belmonts Curse Abandoned Staircase: the chest containing the relic

Alucard's Tower

Weapon #4: Alucard's Sword And Shield

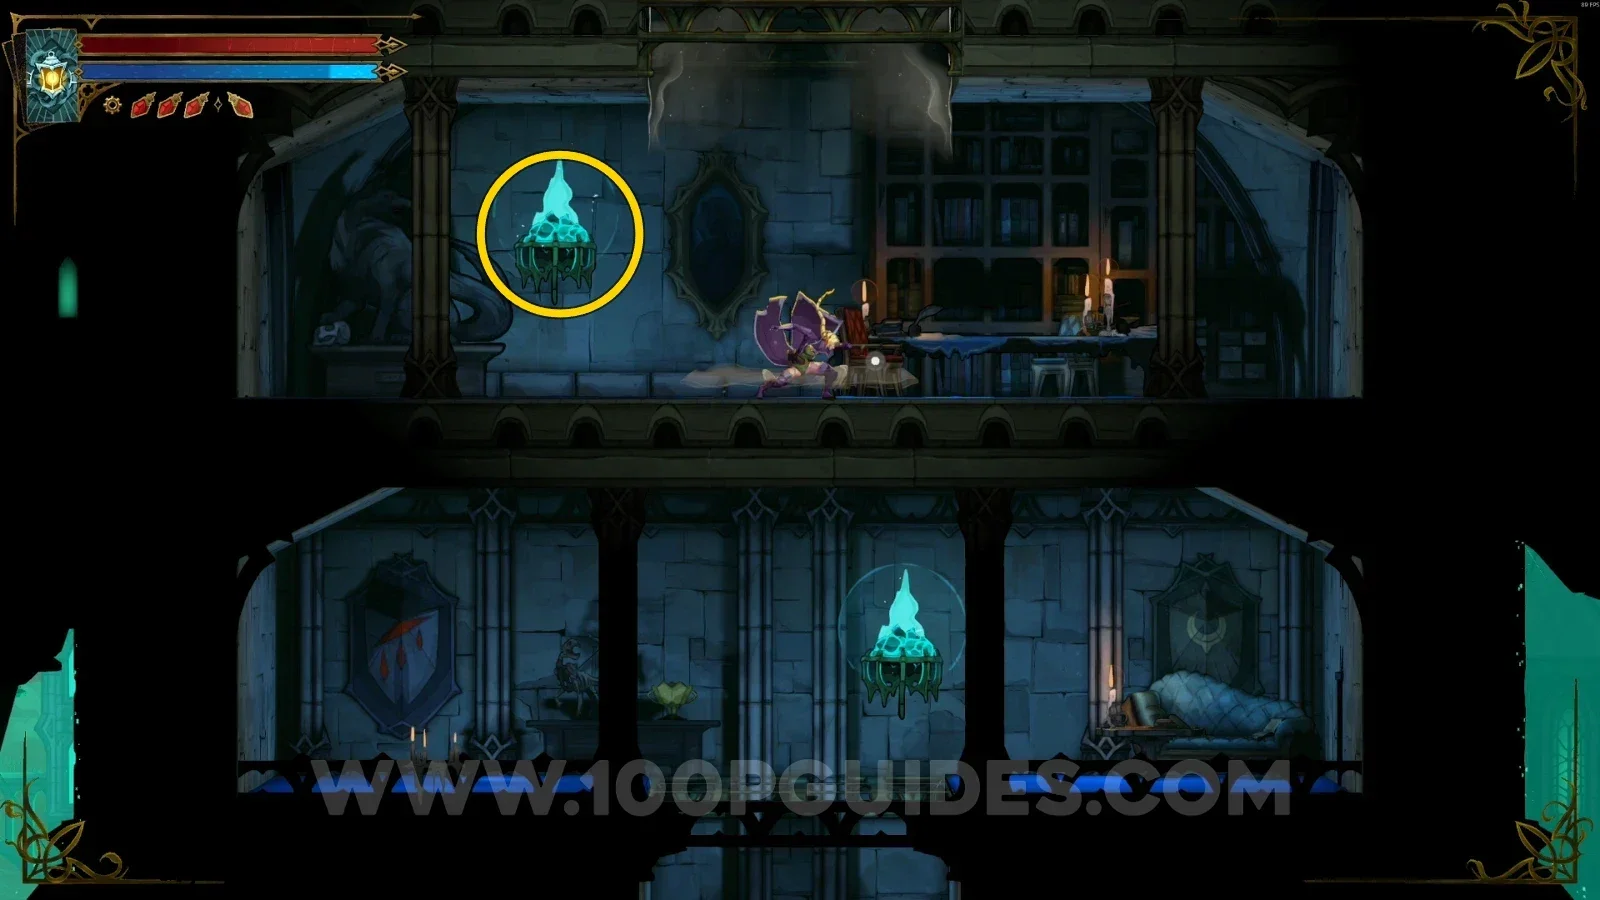
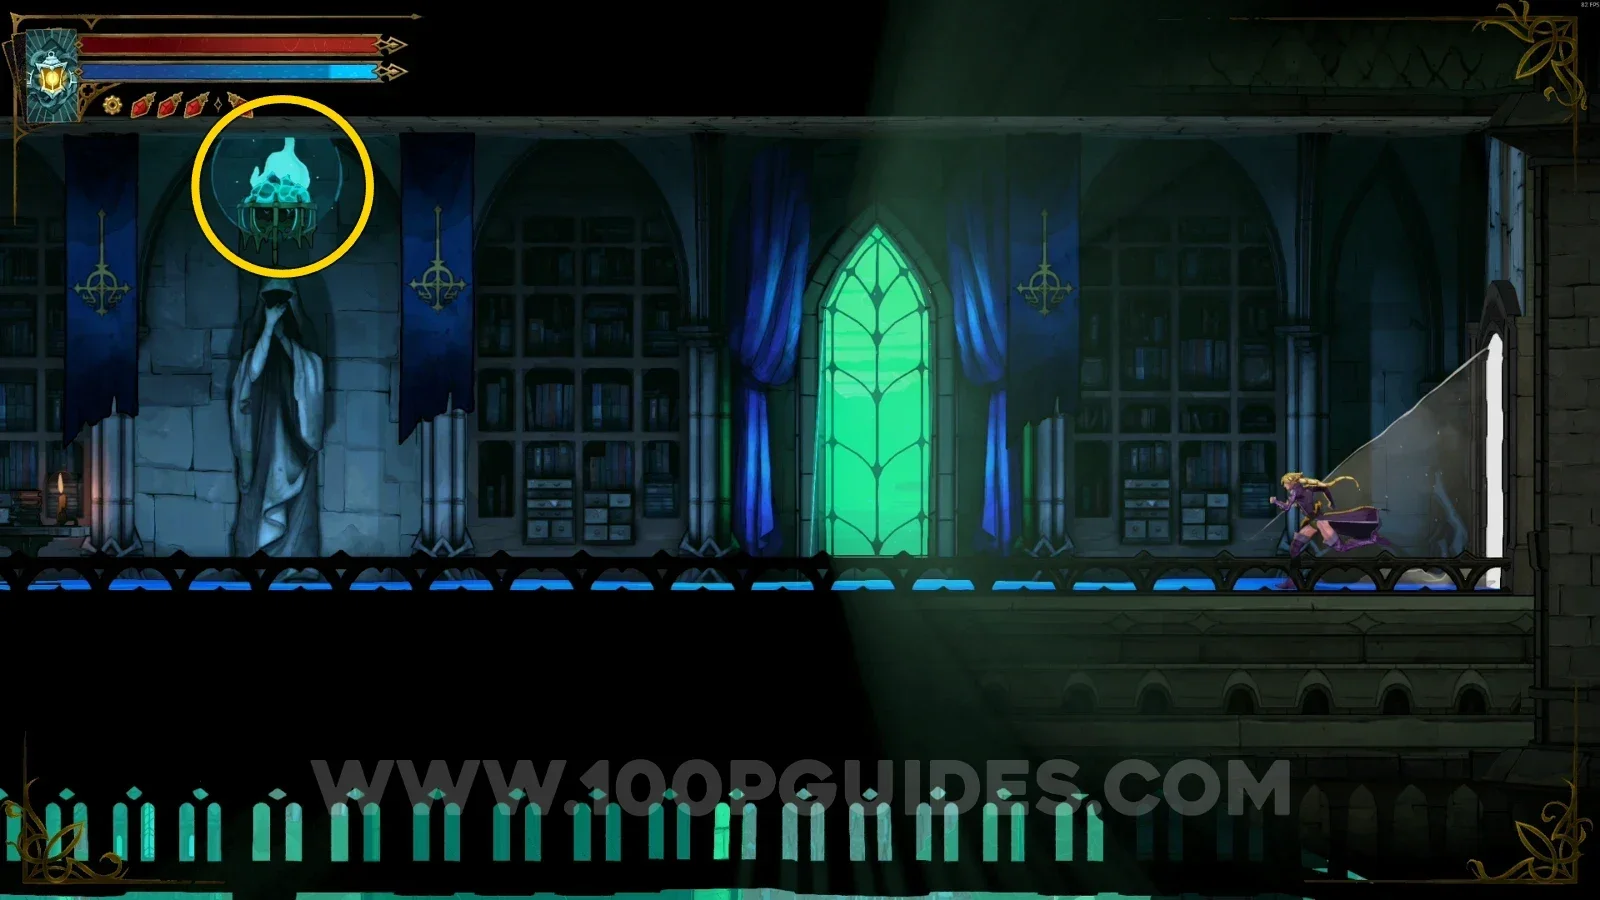
To get the weapon, you need to destroy the 5 blue flames. The first 3 are in the same room as the weapon: 2 are next to each other, and 1 is below the platform. Another 1 is at the door you came through to enter the area.
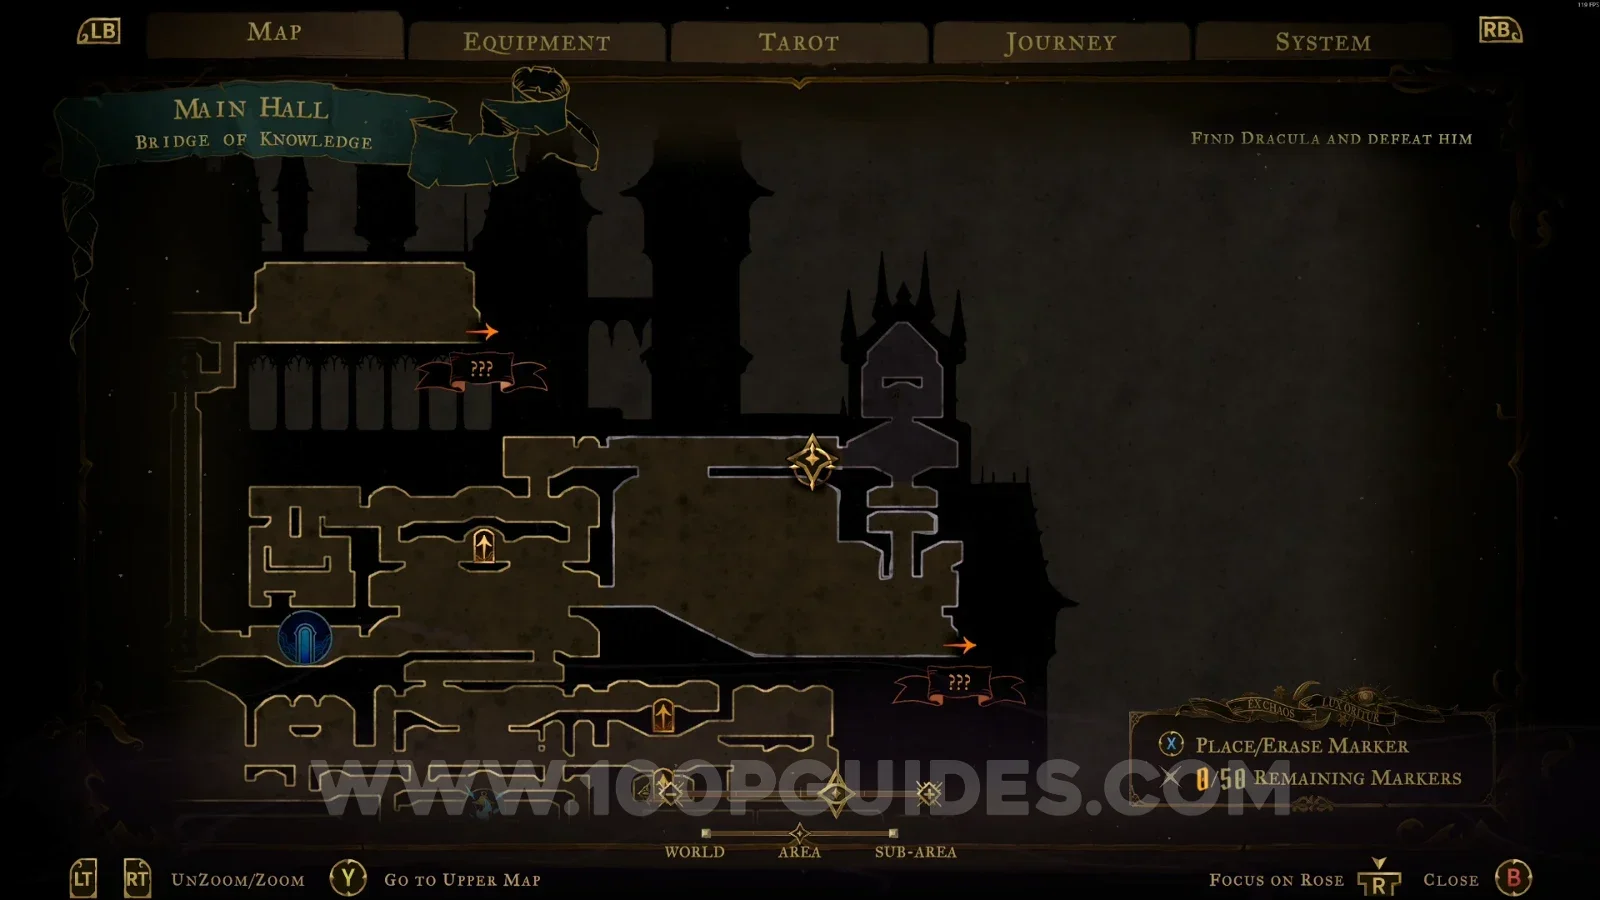
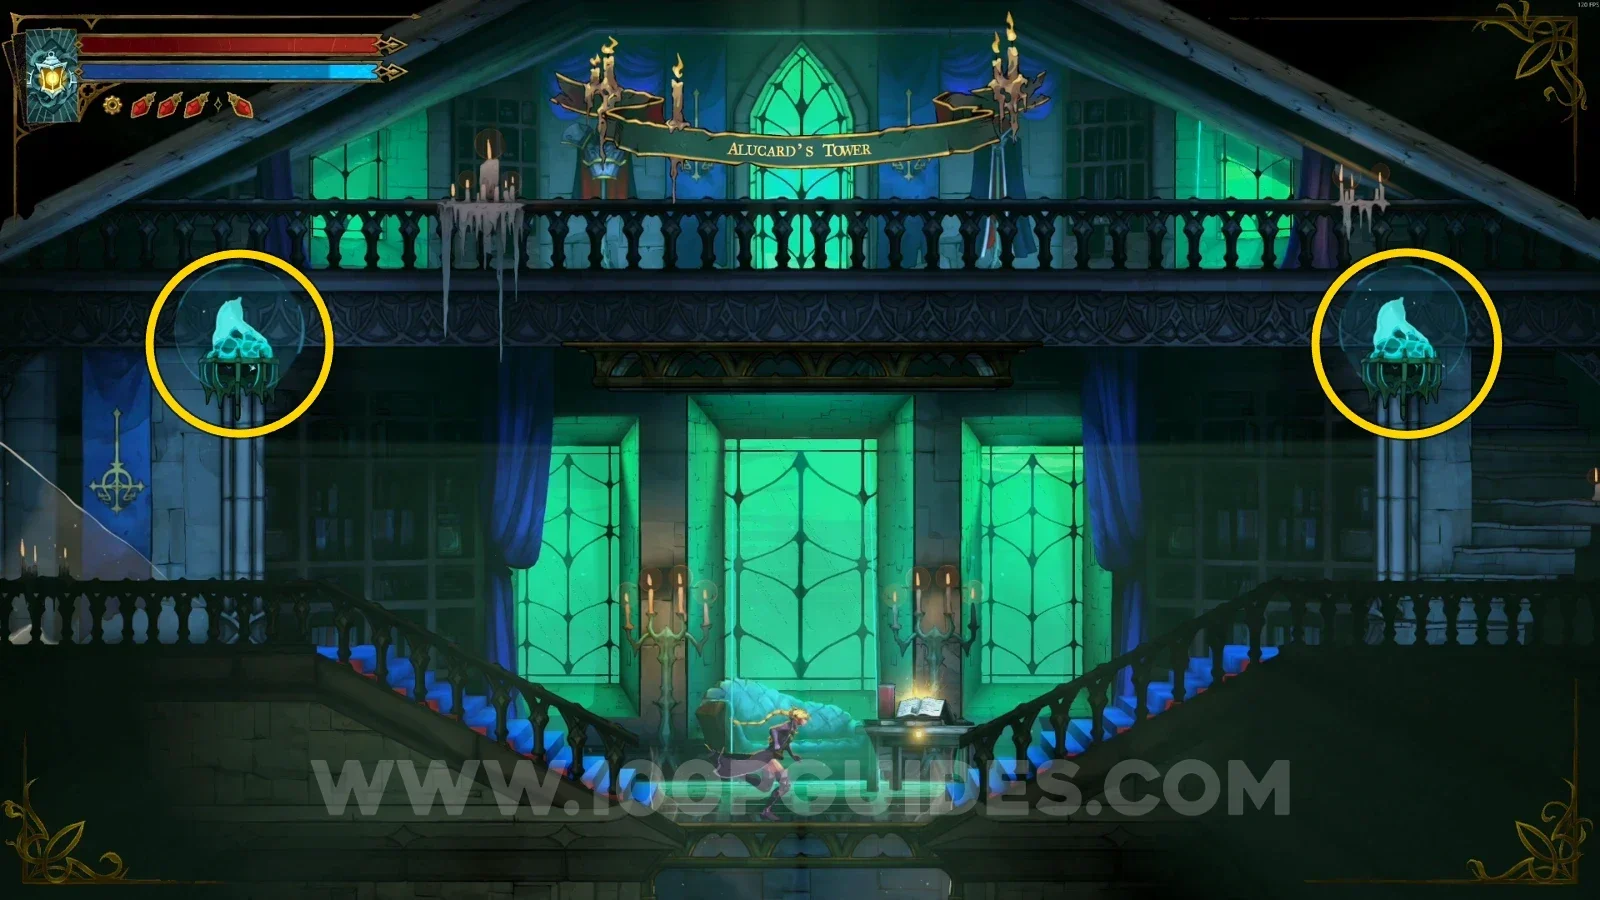
Castlevania Belmonts Curse Alucard's Tower: the two blue flames next to each other in the weapon room Castlevania Belmonts Curse Alucard's Tower: destroying a blue flame in the room with the weapon Castlevania Belmonts Curse Alucard's Tower: the blue flame below the platform in the weapon room Castlevania Belmonts Curse Alucard's Tower: the blue flame at the door you came through to enter the area

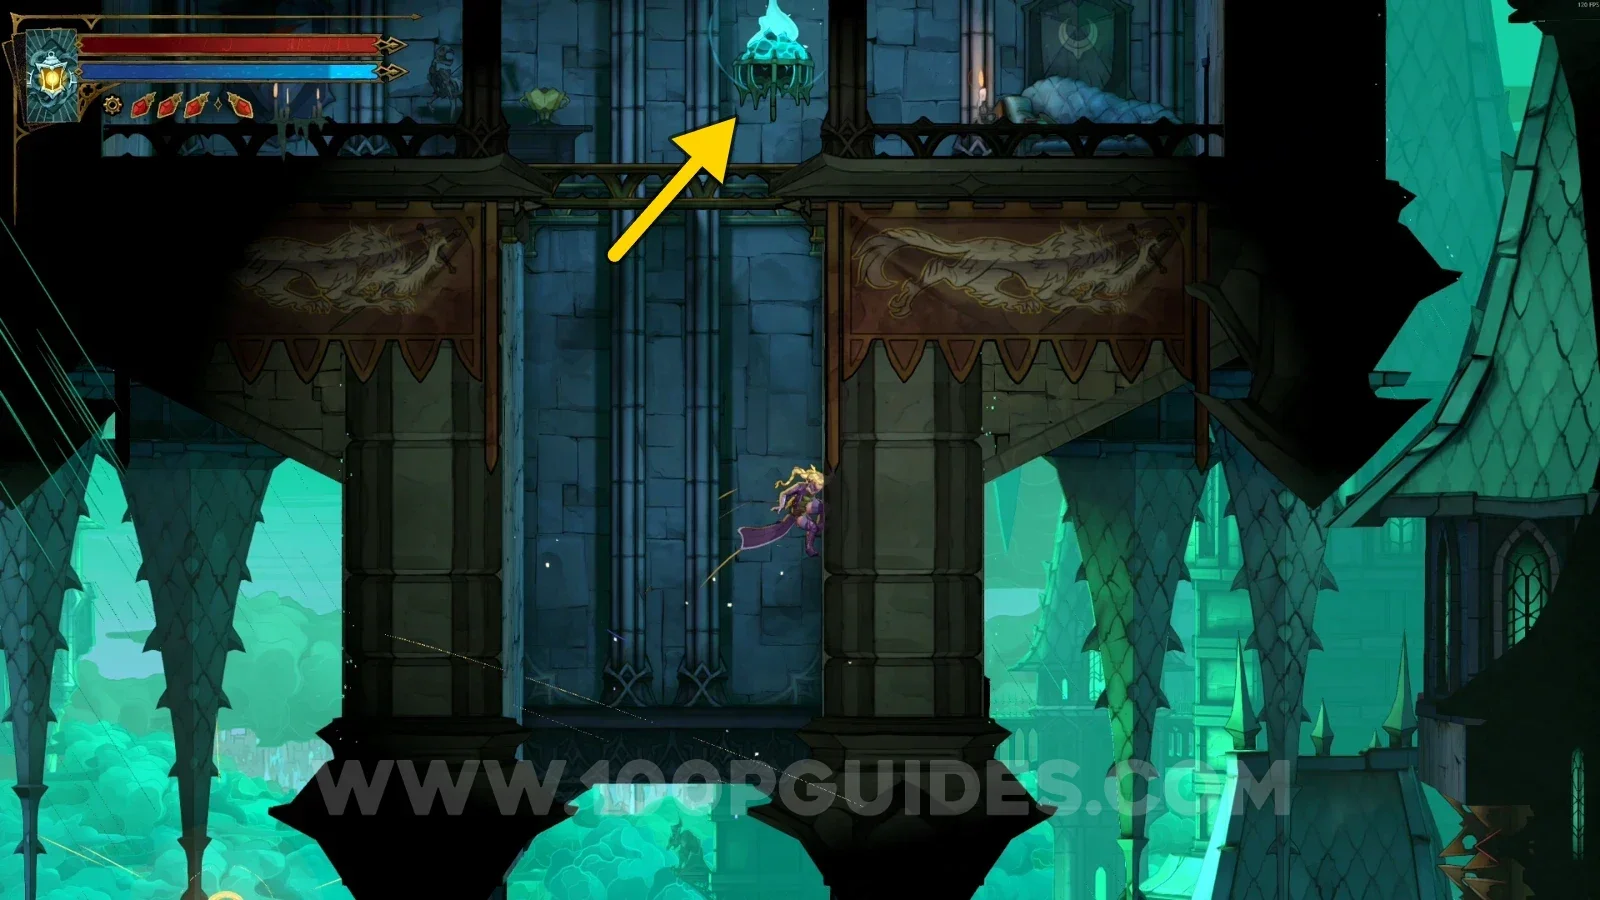
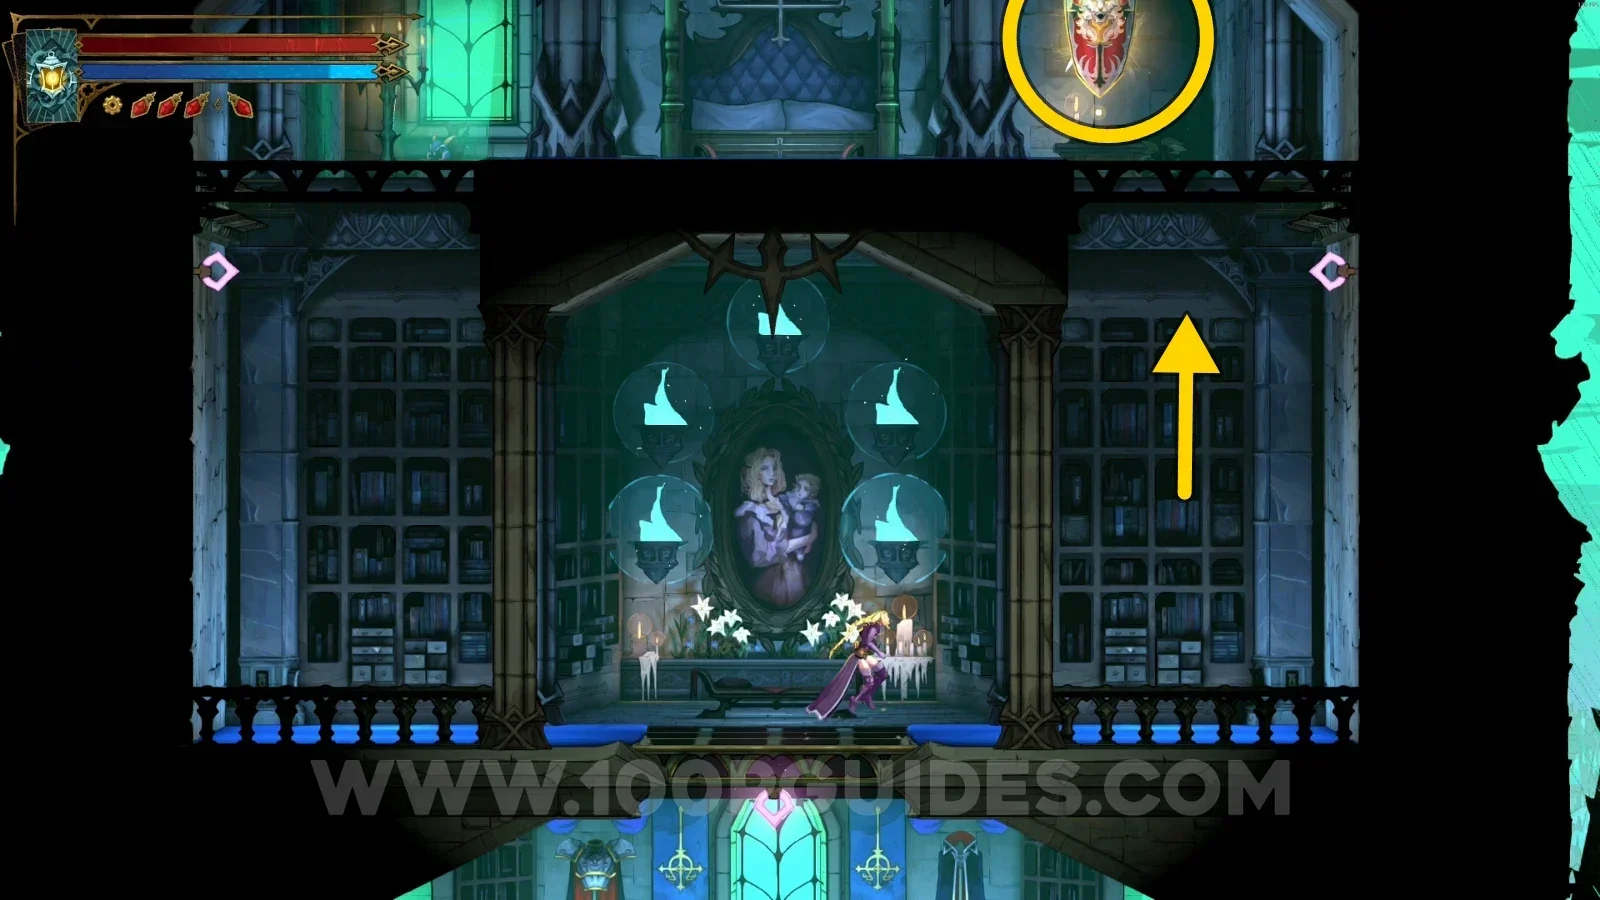
For the last one, you'll have to jump off the bridge that leads to Alucard's Tower. Use your Arcane Whip to swing over to a ledge where you can climb up and break the last flame. Then go back and interact with the altar, and you'll be able to take the weapon.
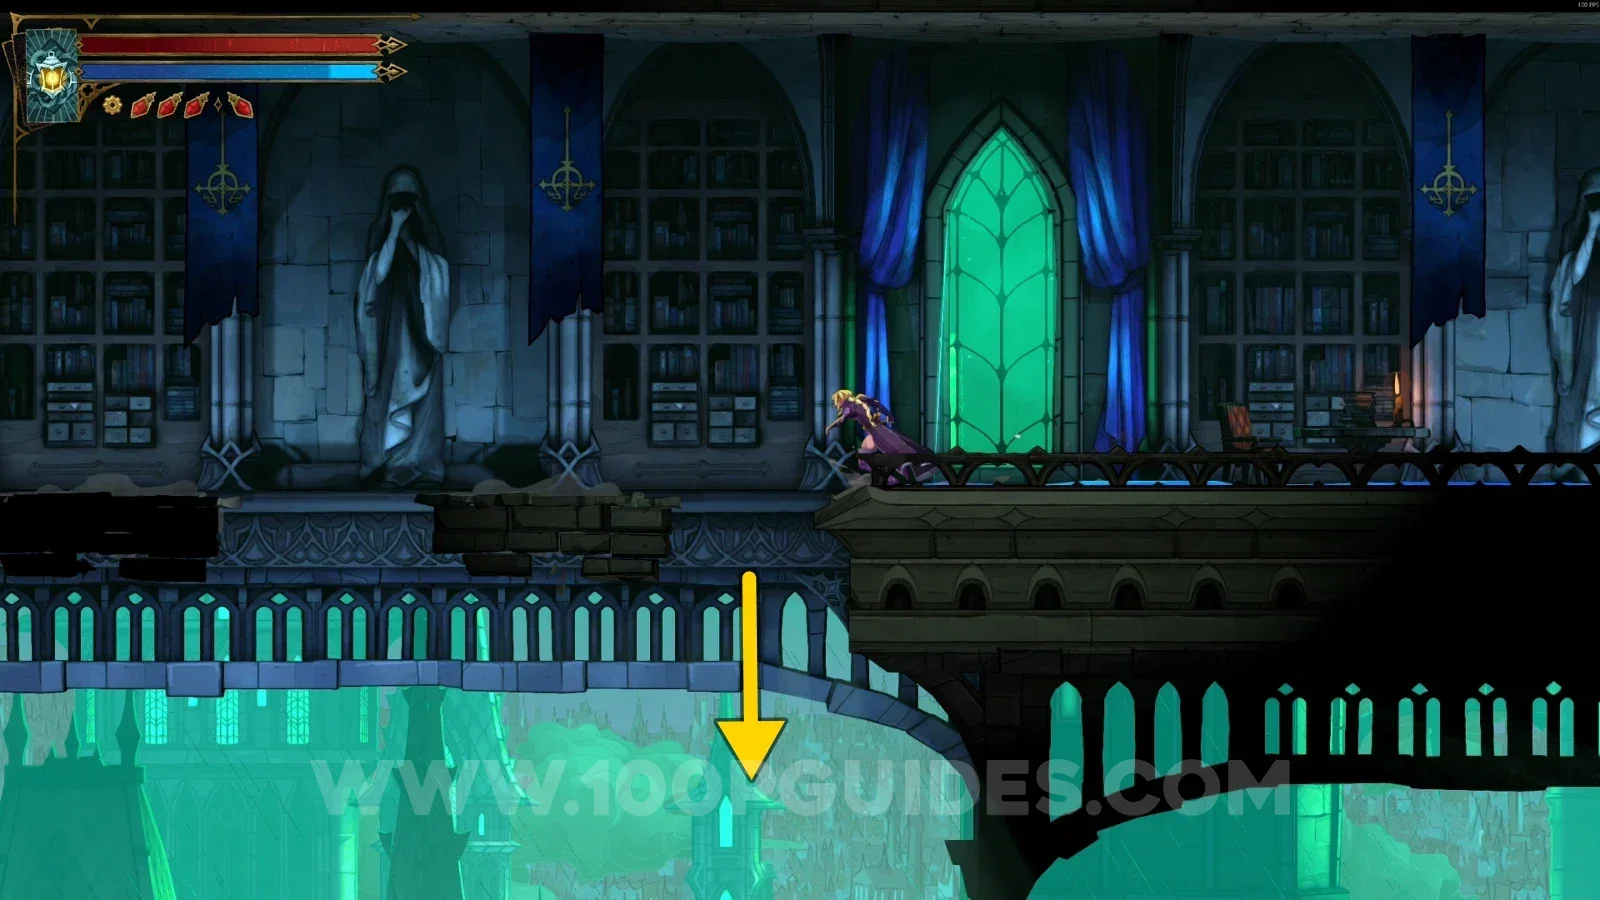
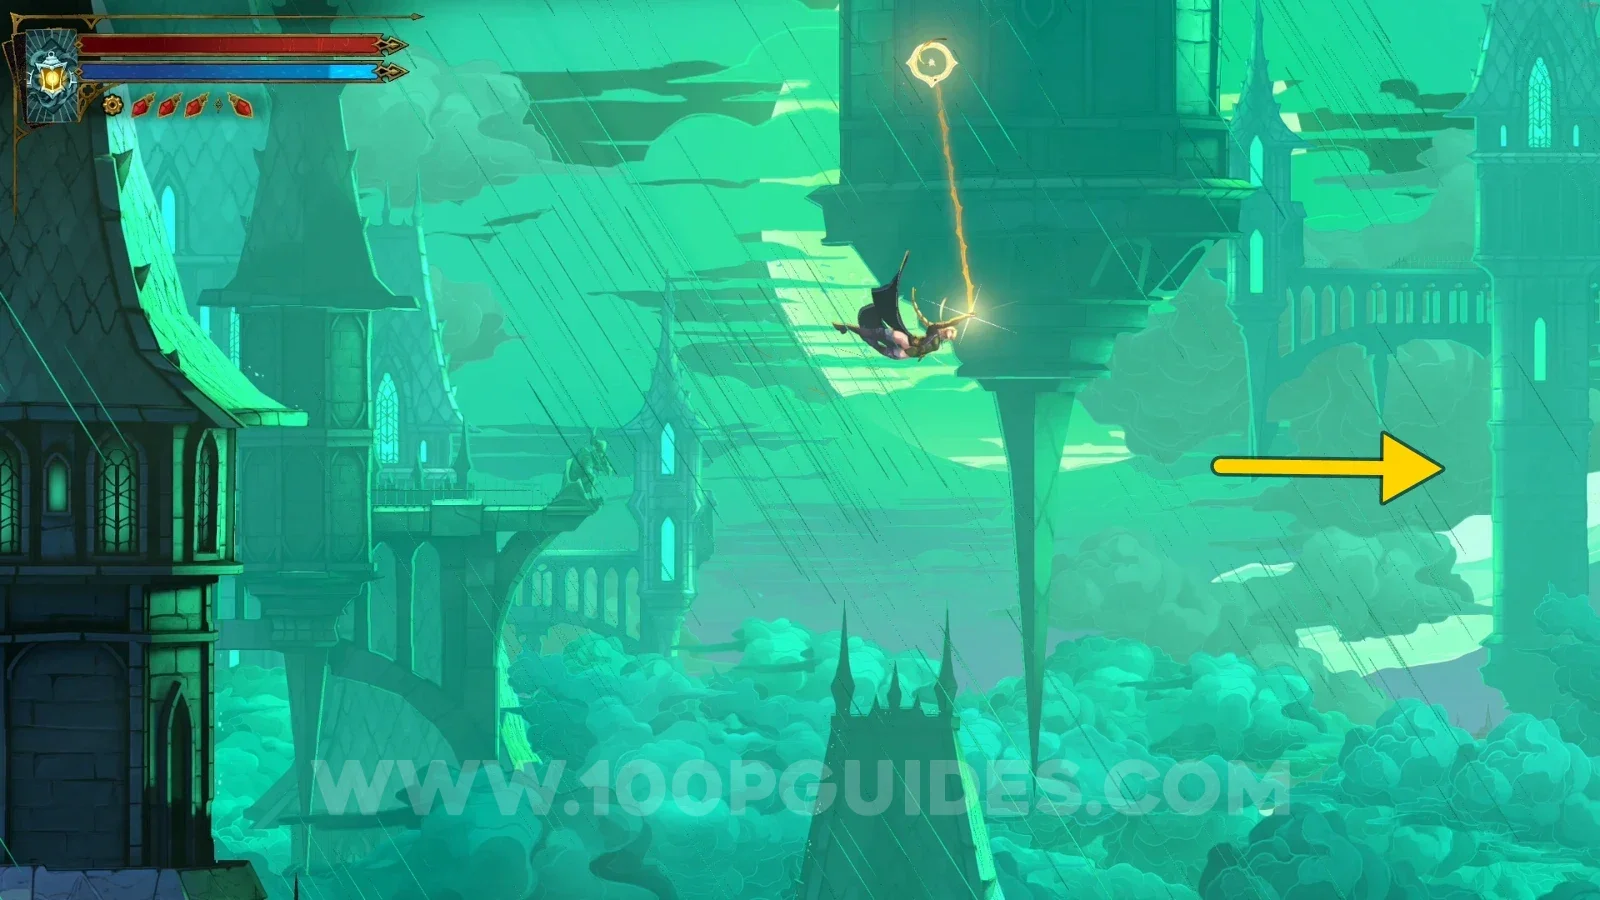
Castlevania Belmonts Curse Alucard's Tower: jumping off the bridge that leads to the tower Castlevania Belmonts Curse Alucard's Tower: swinging with the Arcane Whip over to the ledge below the bridge Castlevania Belmonts Curse Alucard's Tower: breaking the last blue flame after climbing the ledge Castlevania Belmonts Curse Alucard's Tower: taking Alucard's Sword And Shield from the altar

These are all the collectibles and secrets that can be obtained in the Main Hall.

Video Guide

Previous
Previous

Castlevania: Belmont’s Curse Library All Collectibles

Next
Next

Castlevania: Belmont’s Curse Holy Innocents’ Cemetery All Collectibles