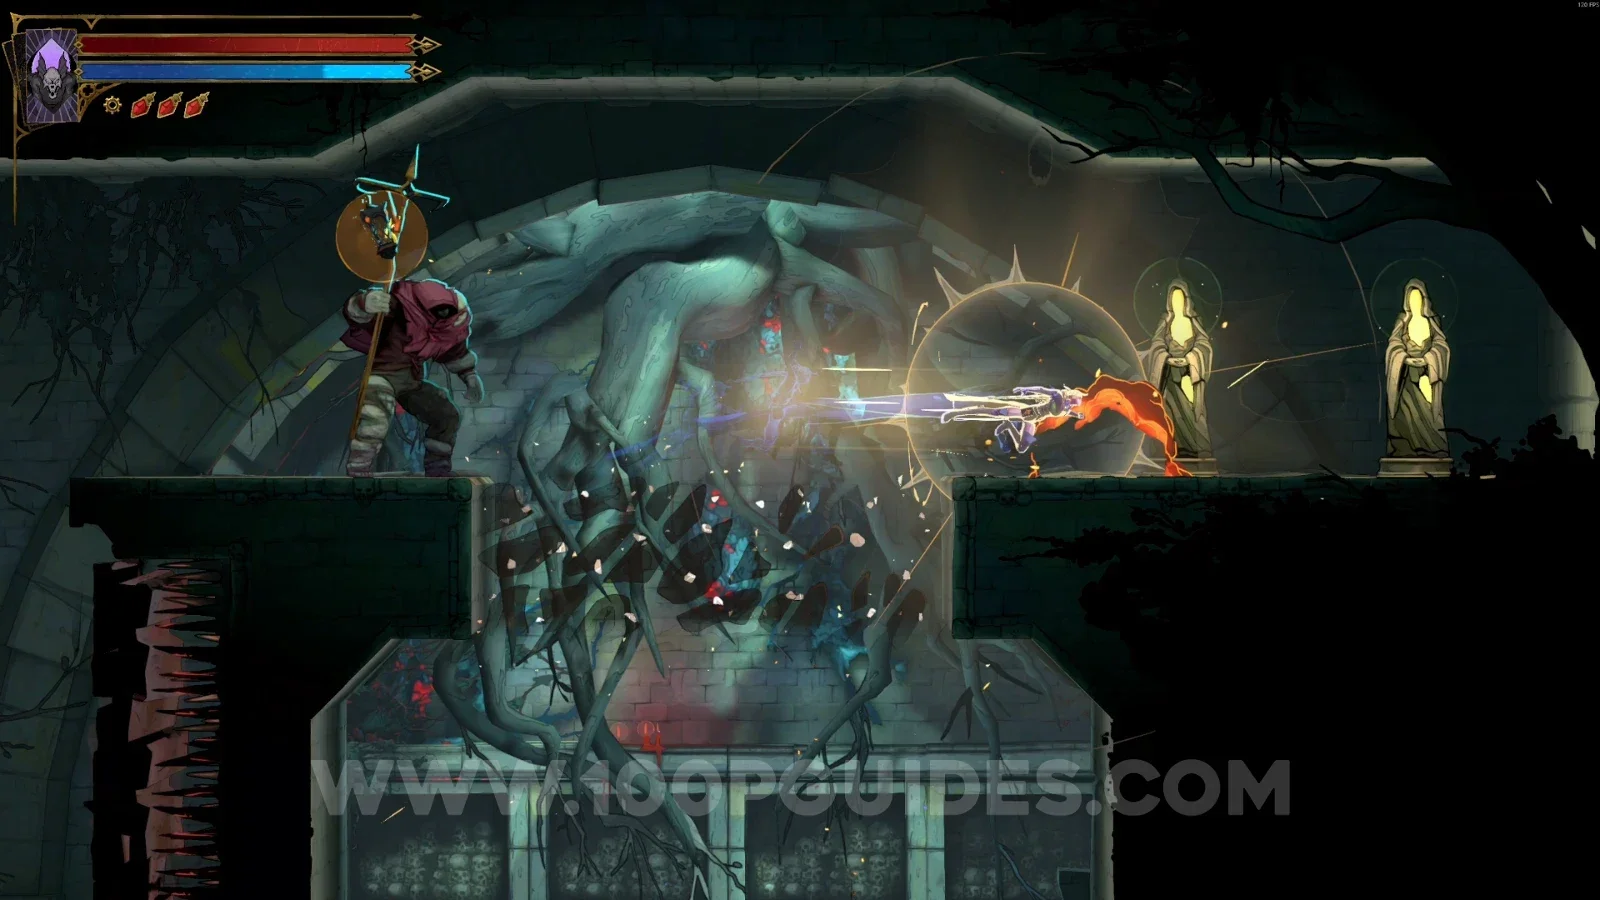
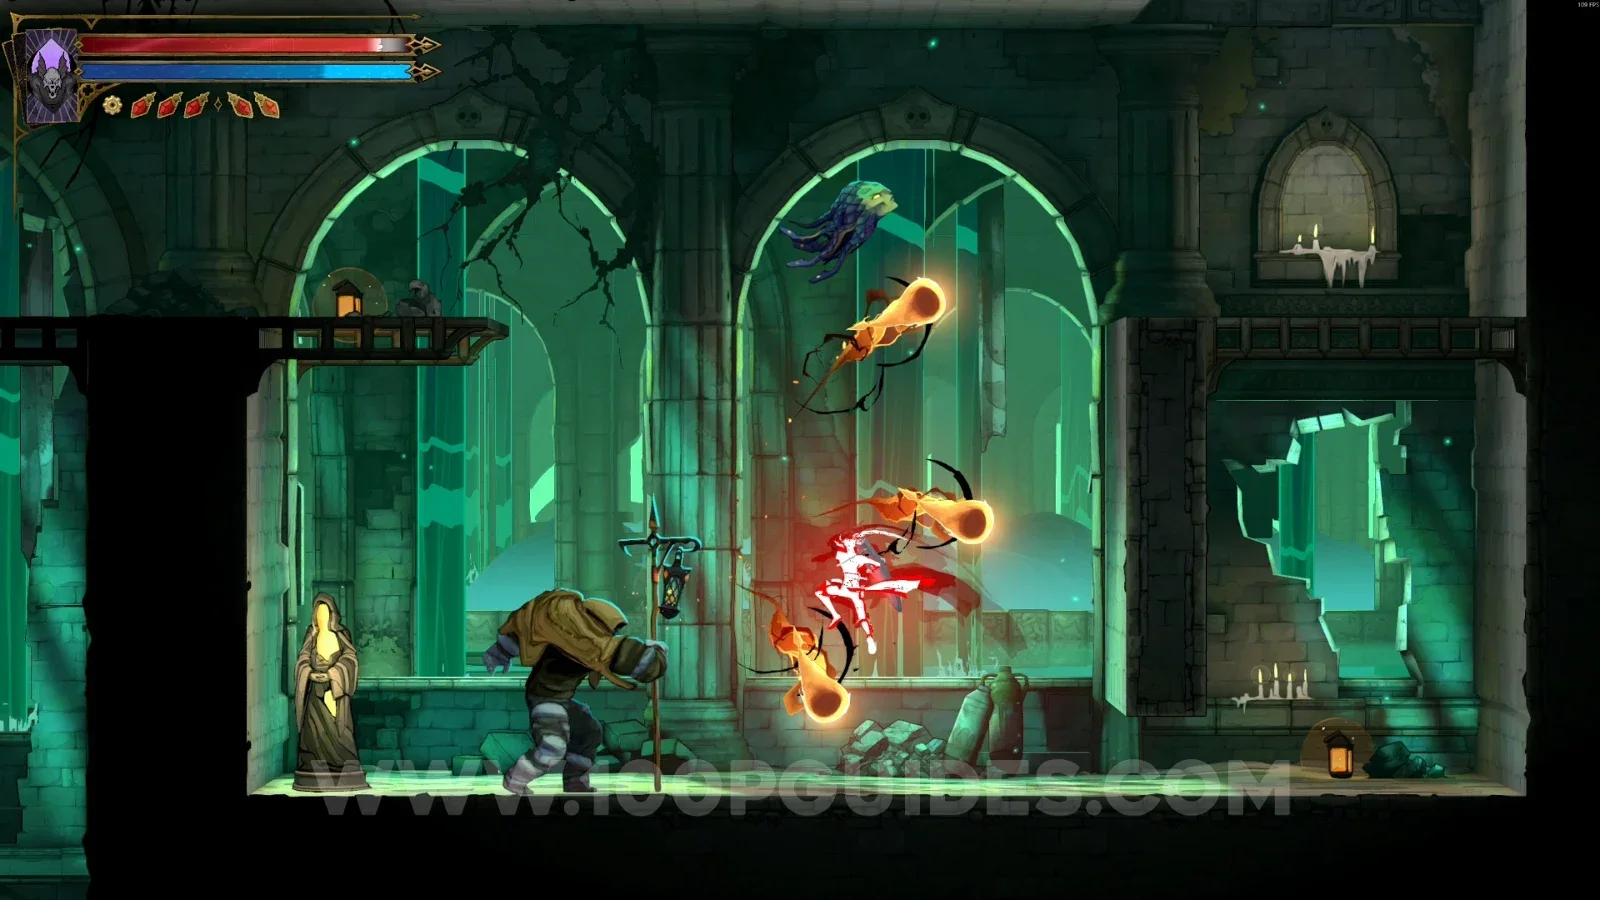
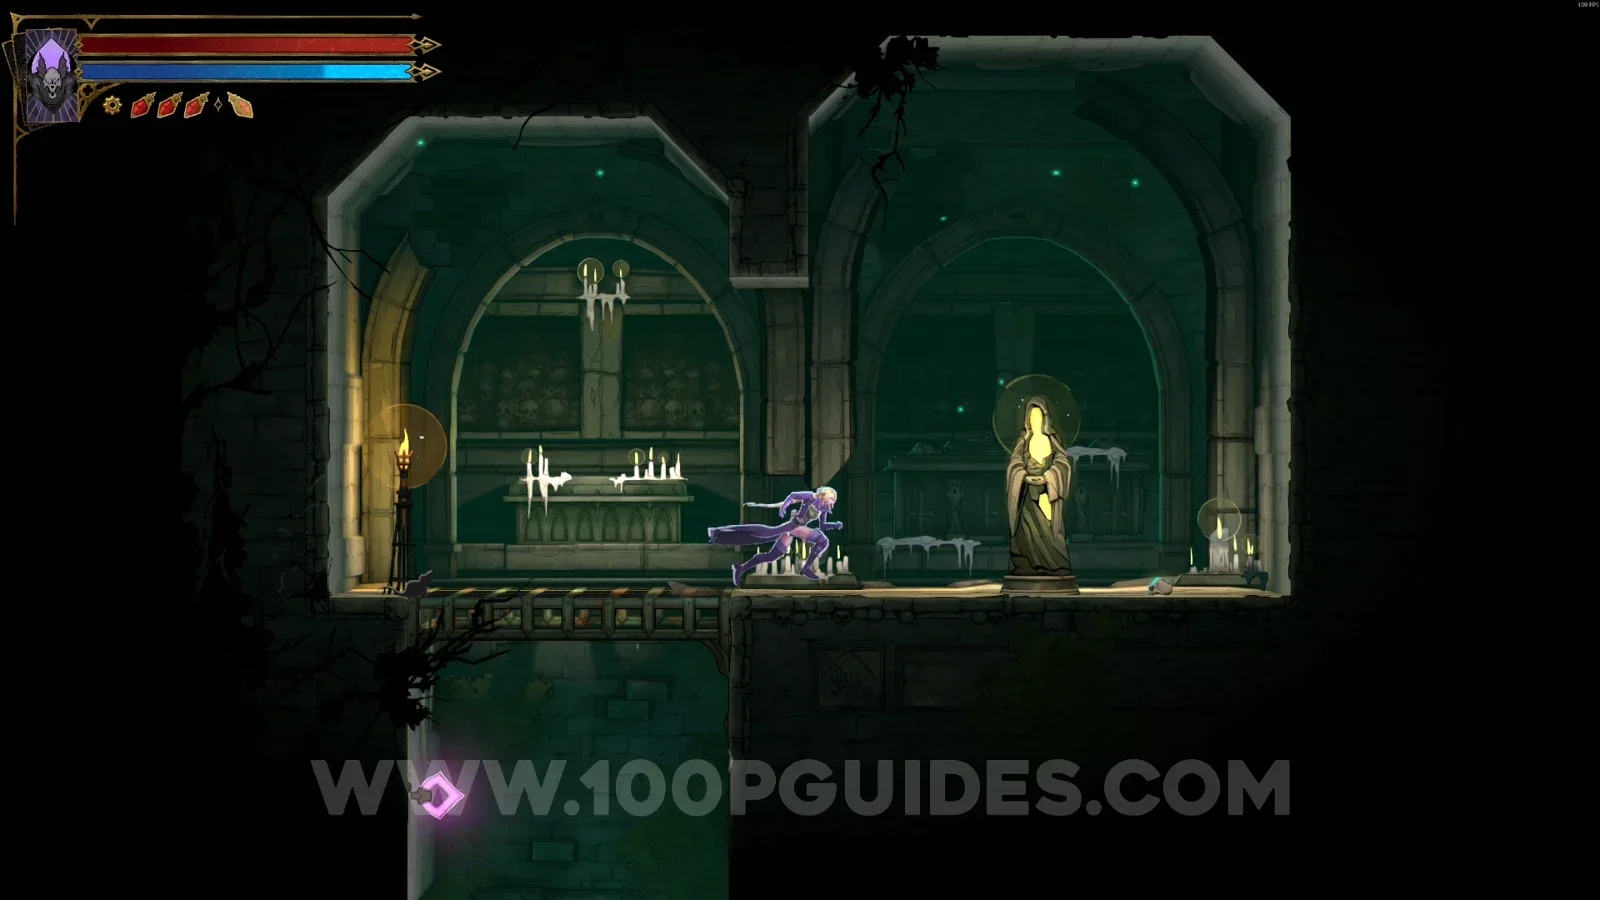
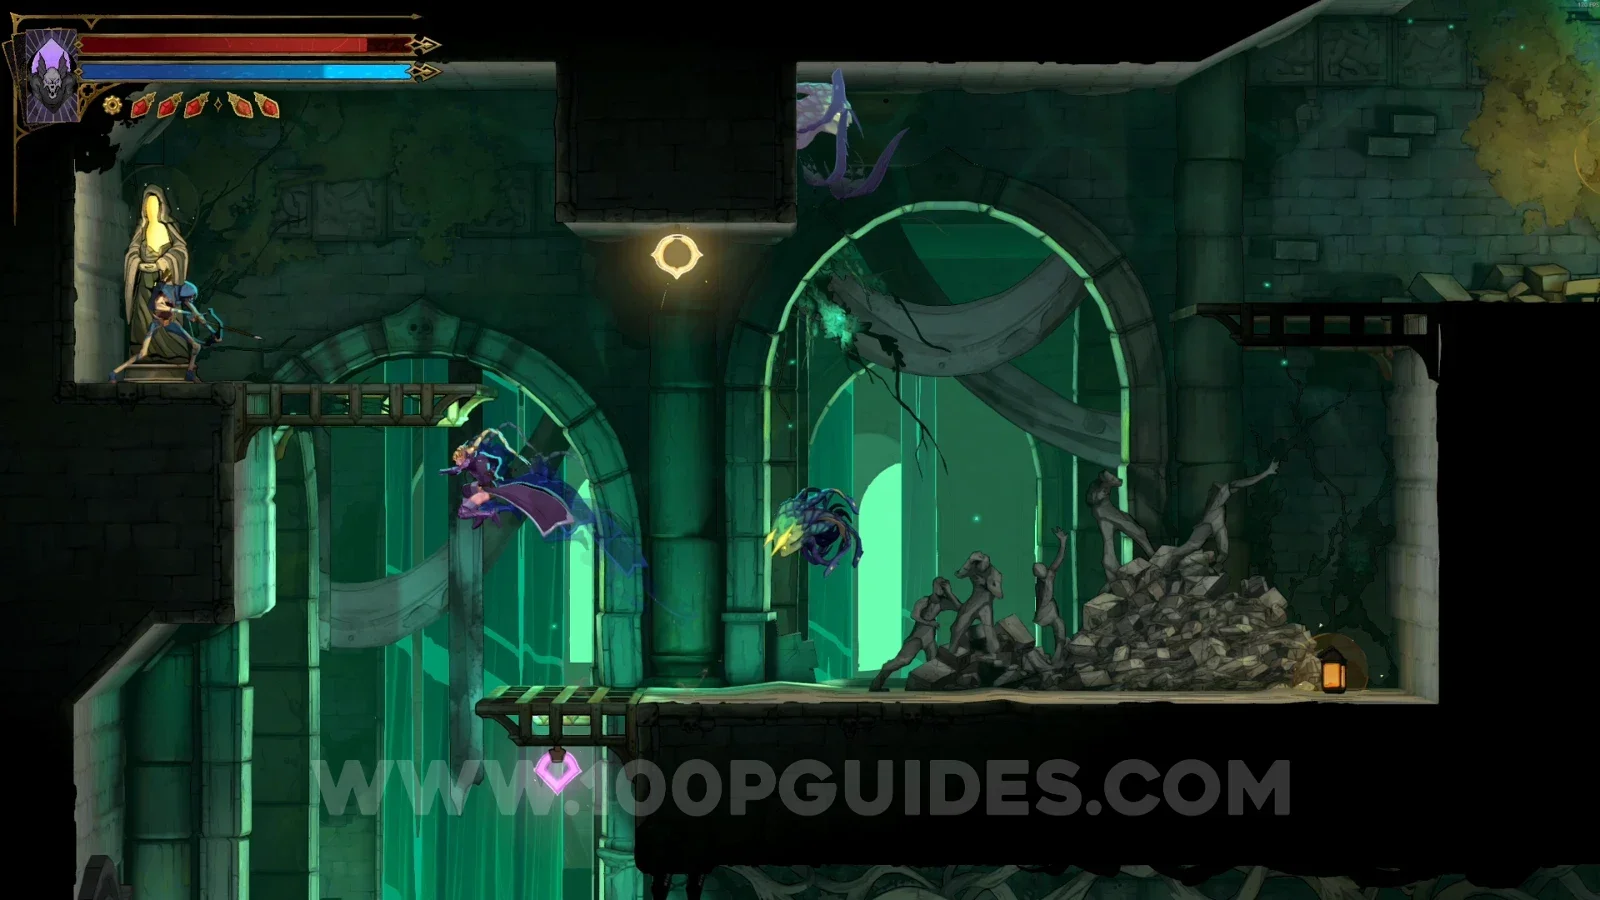
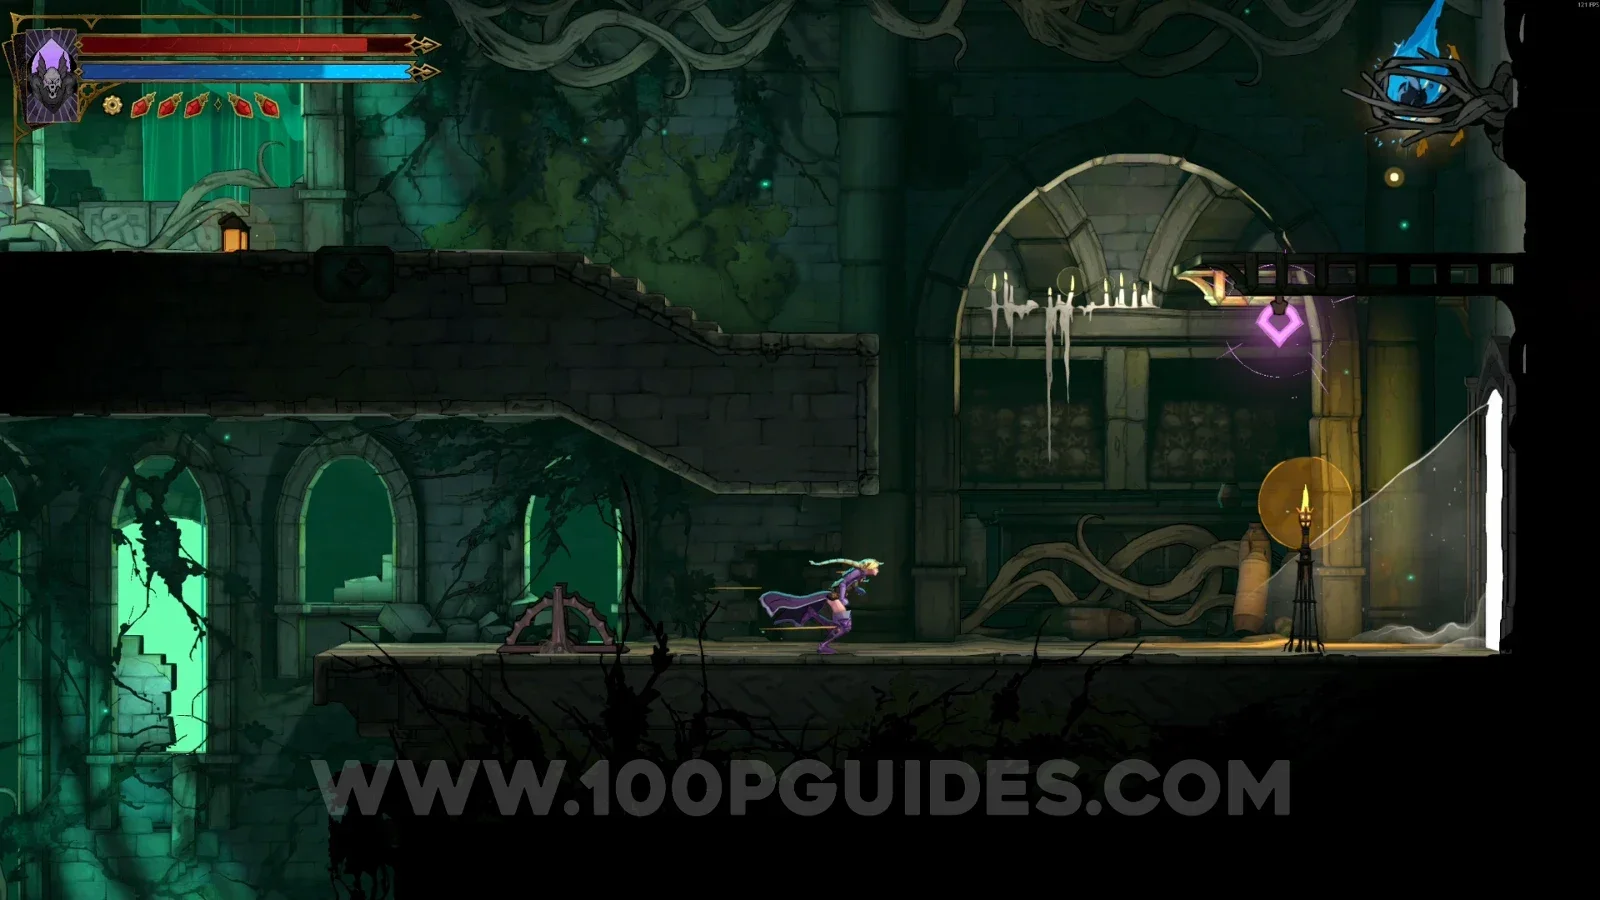
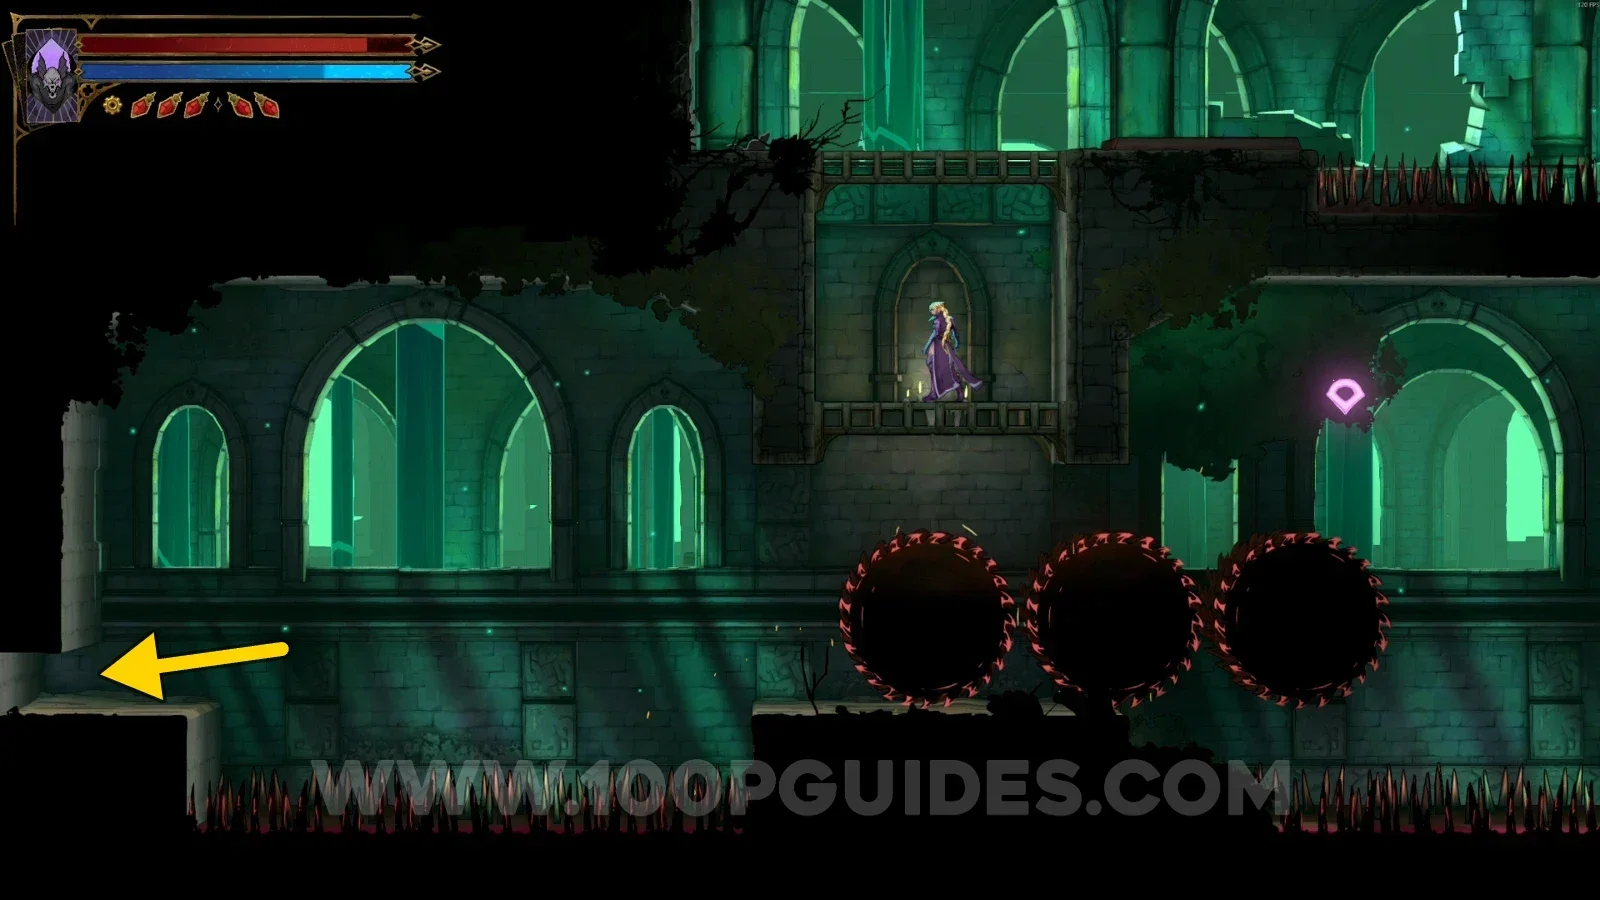
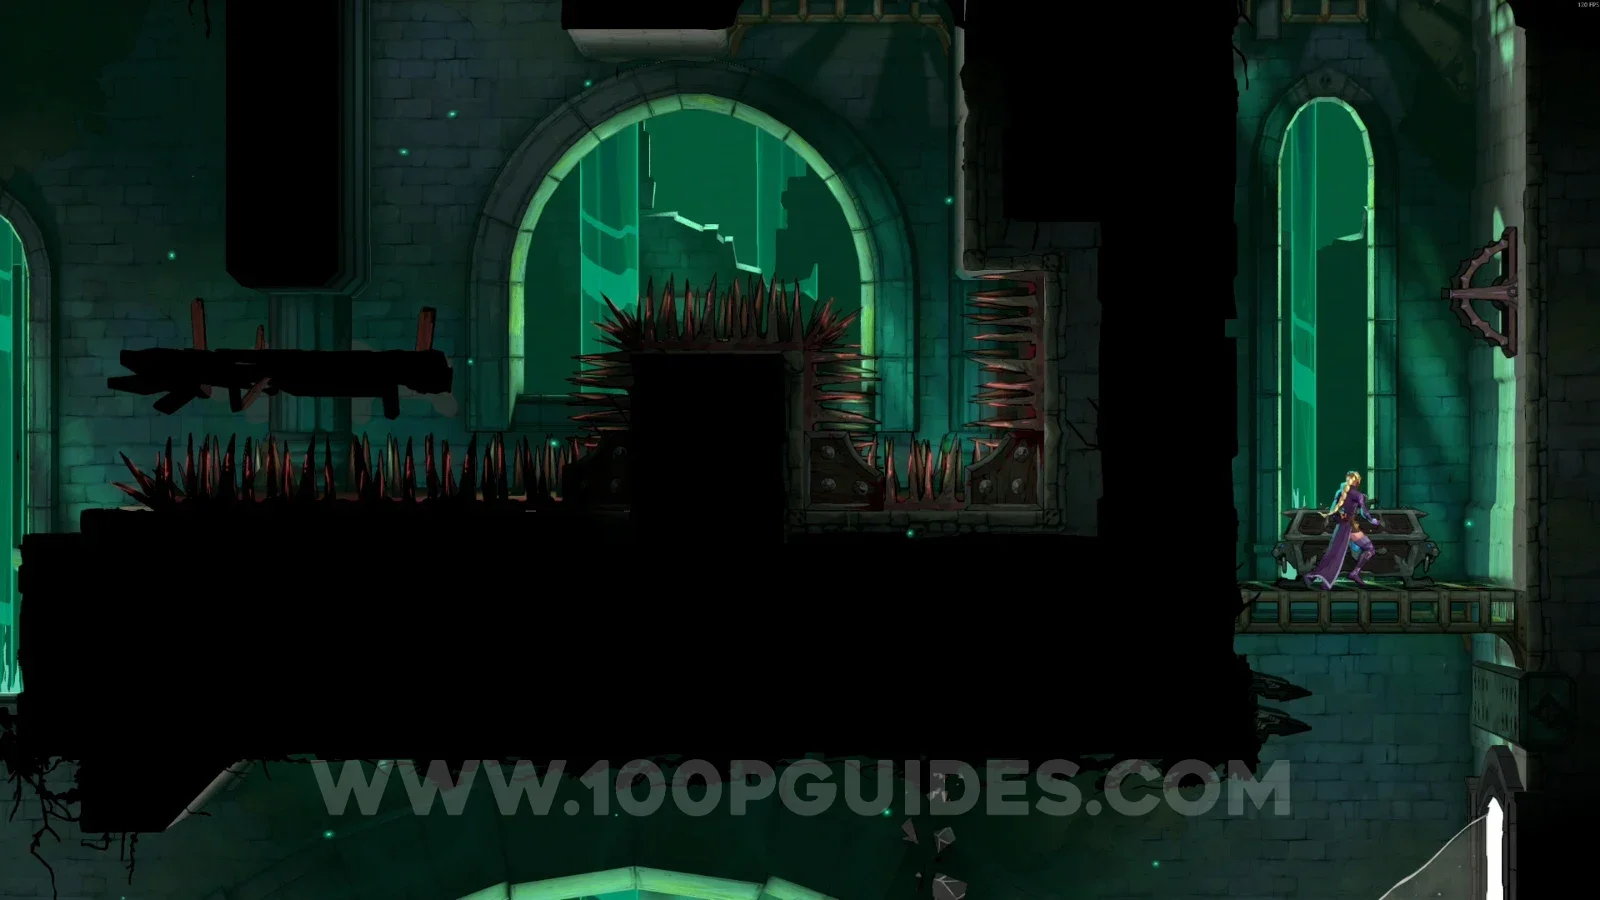
Castlevania: Belmont’s Curse Holy Innocents’ Cemetery All Collectibles

This guide will show you the location of all collectibles in Holy Innocents' Cemetery in Castlevania: Belmont's Curse.

Collecting everything is required to get the Perfectionist Hunter Trophy / Achievement.

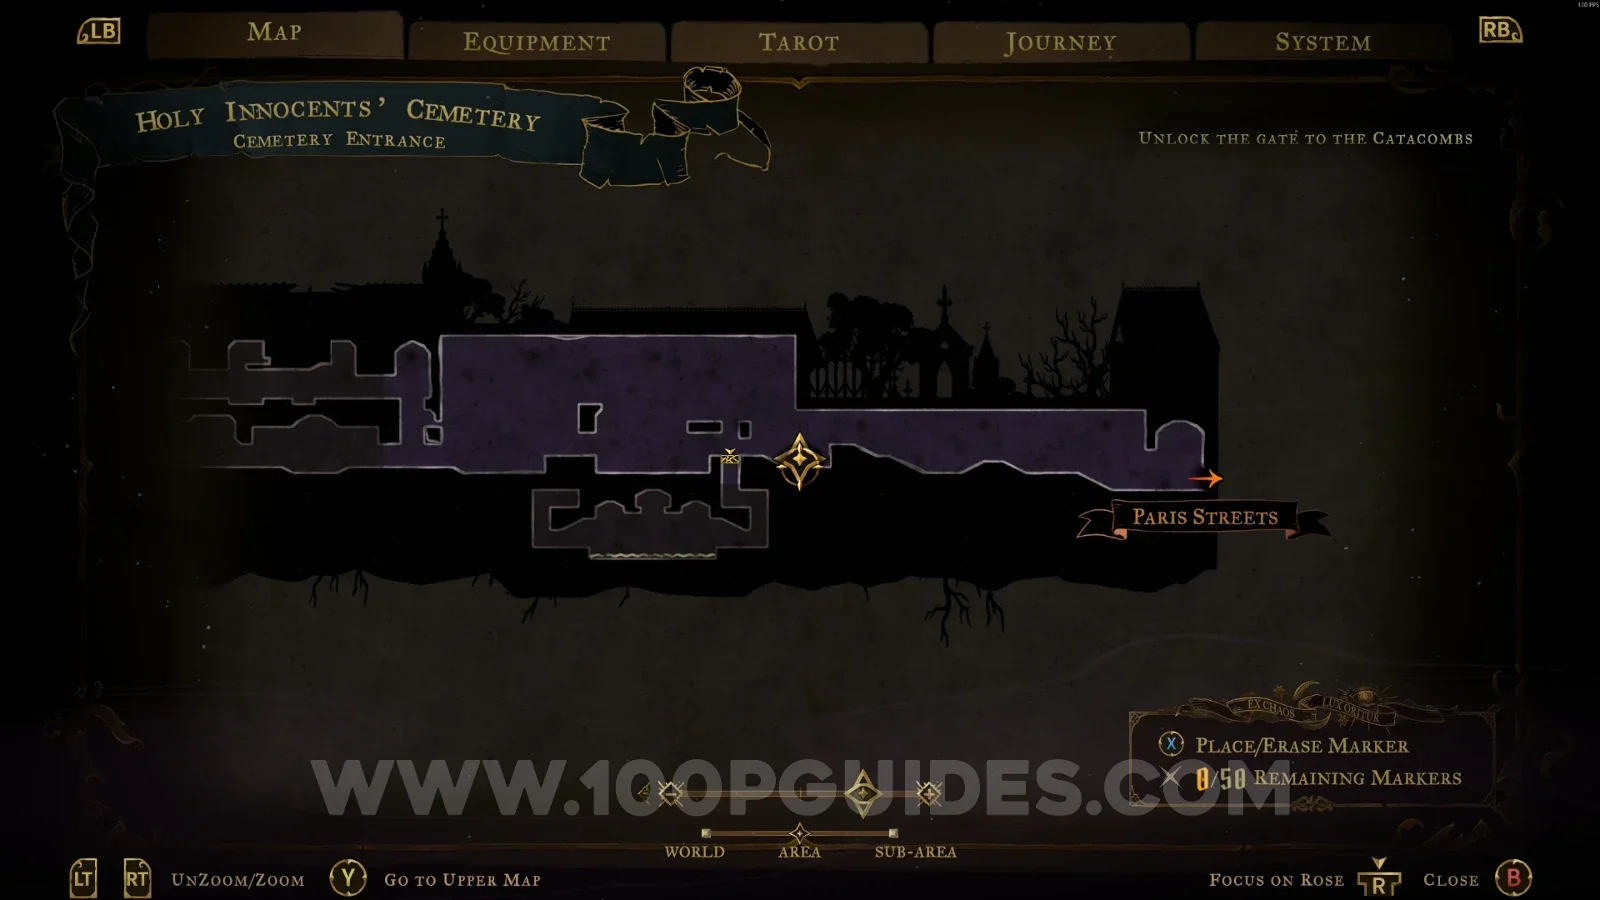
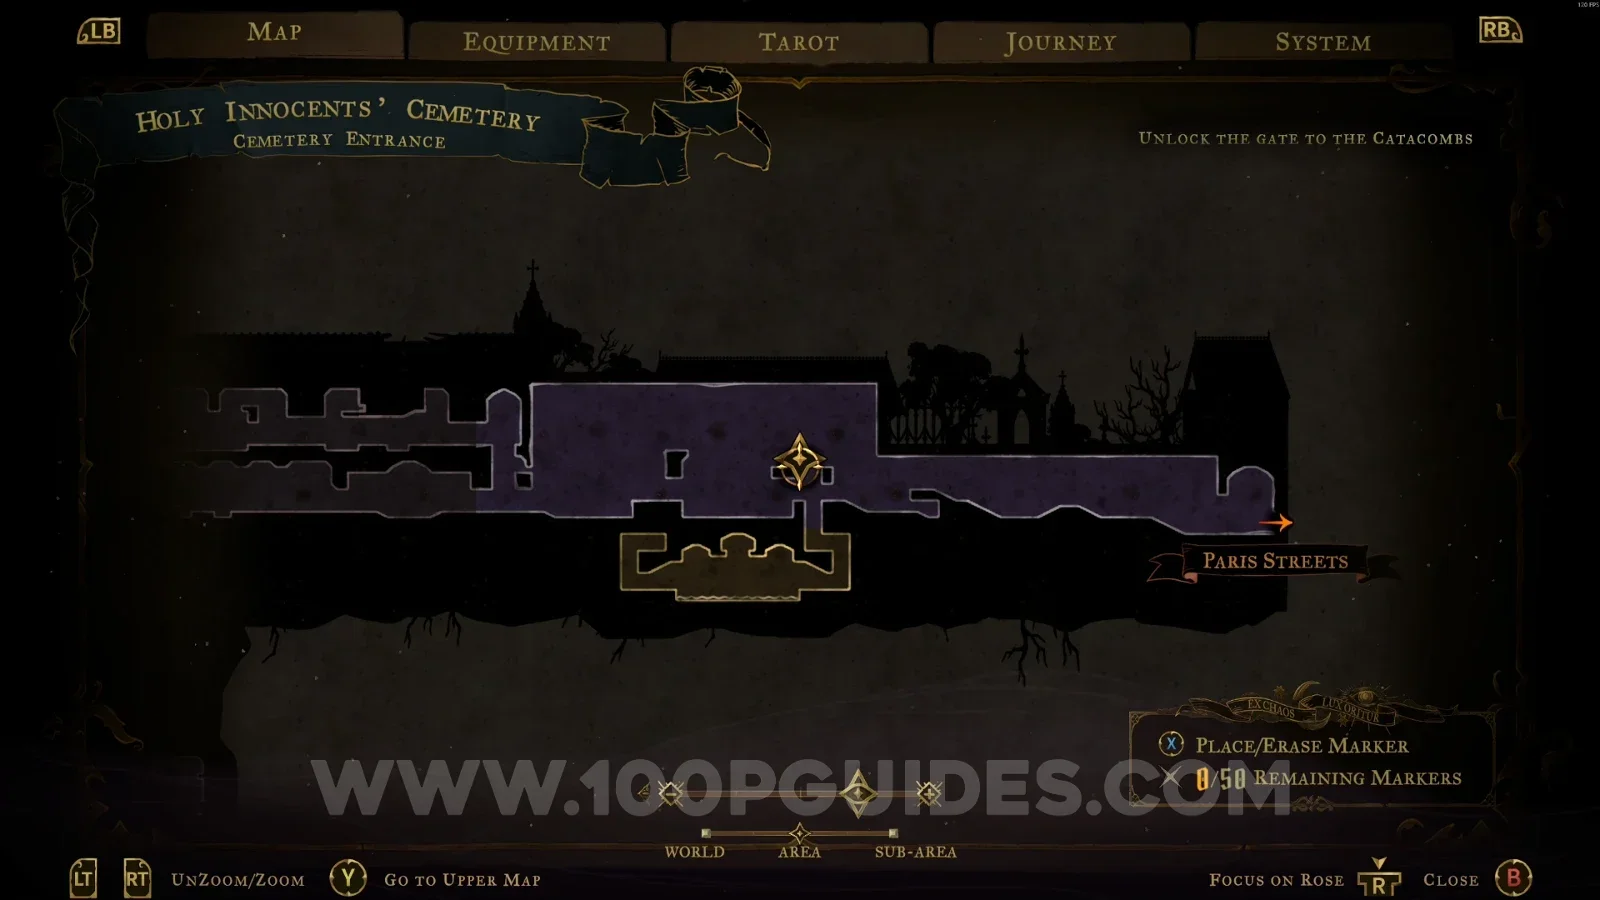
Cemetery Entrance

XP Statue #1

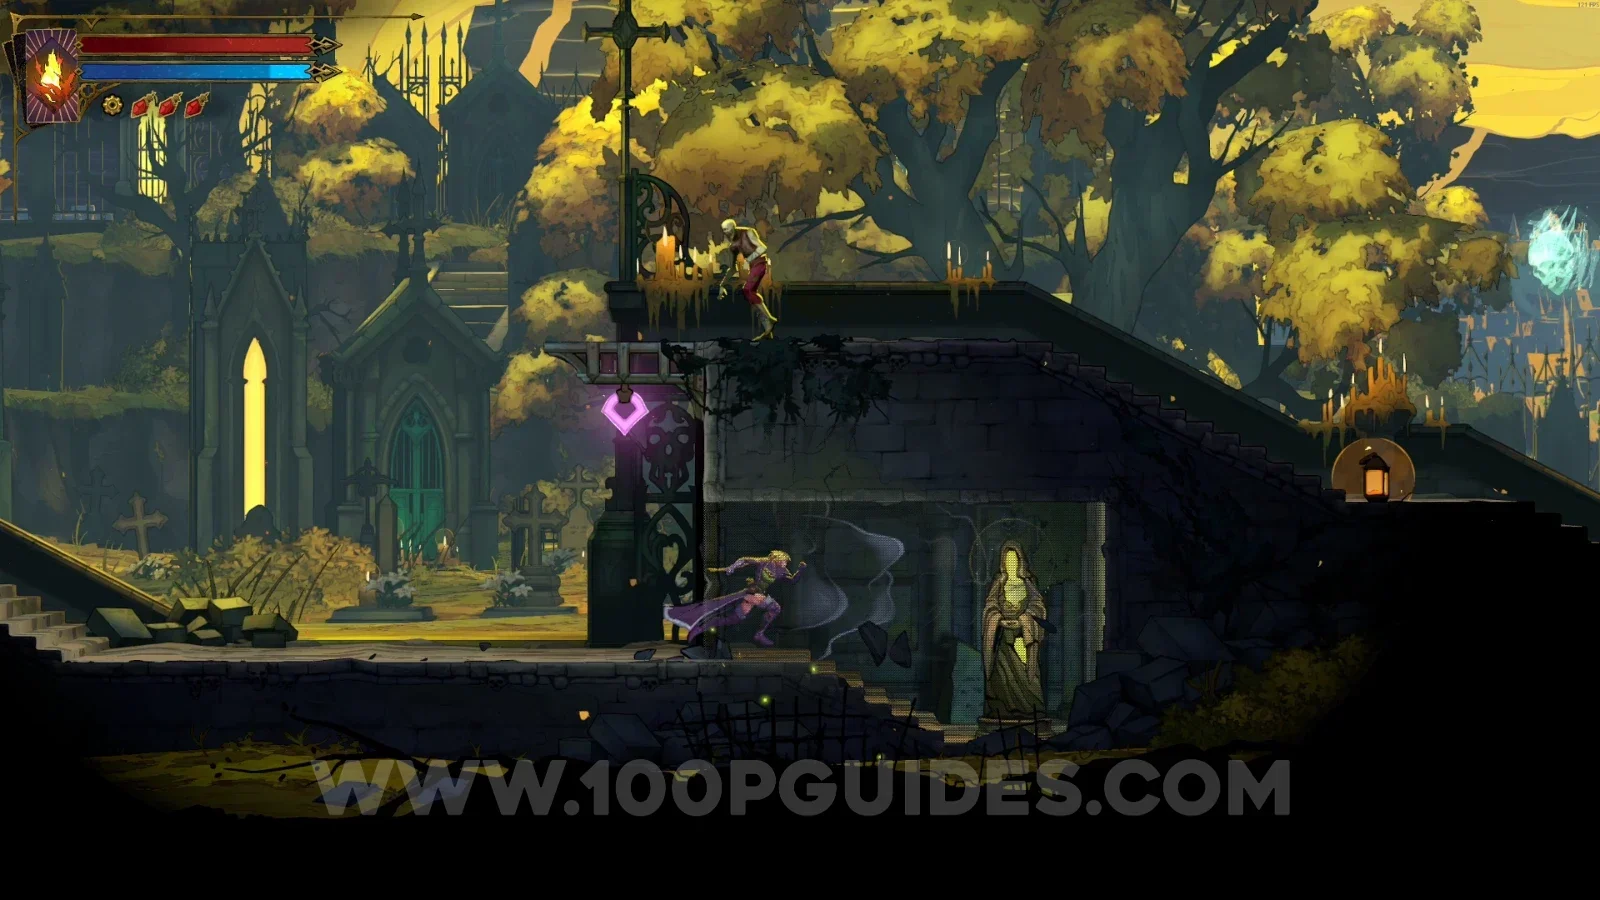
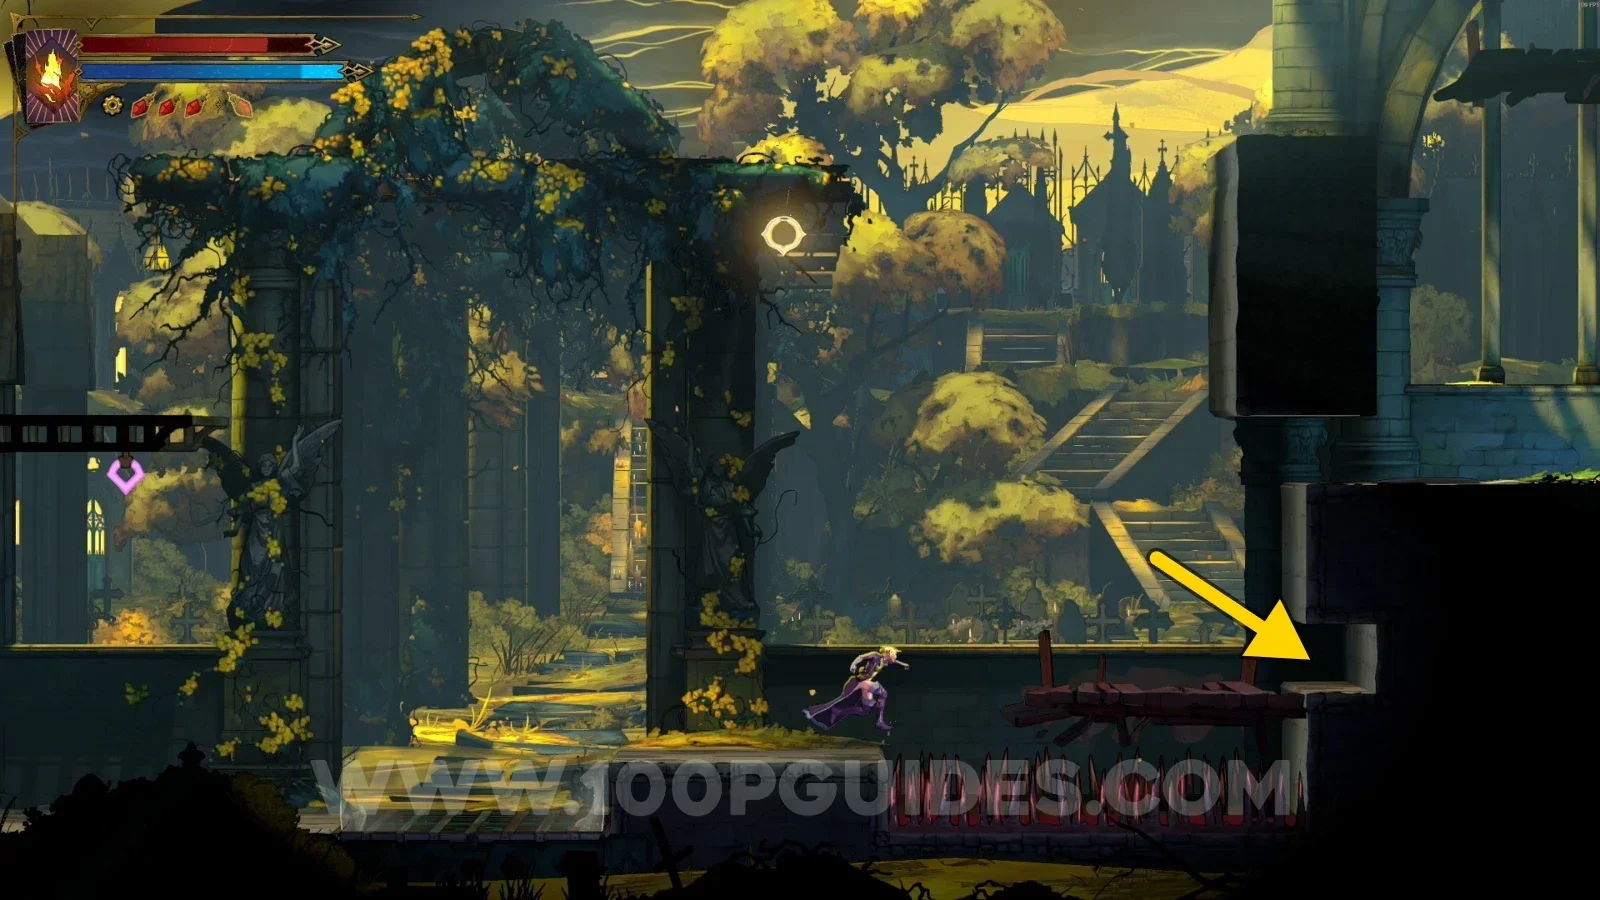
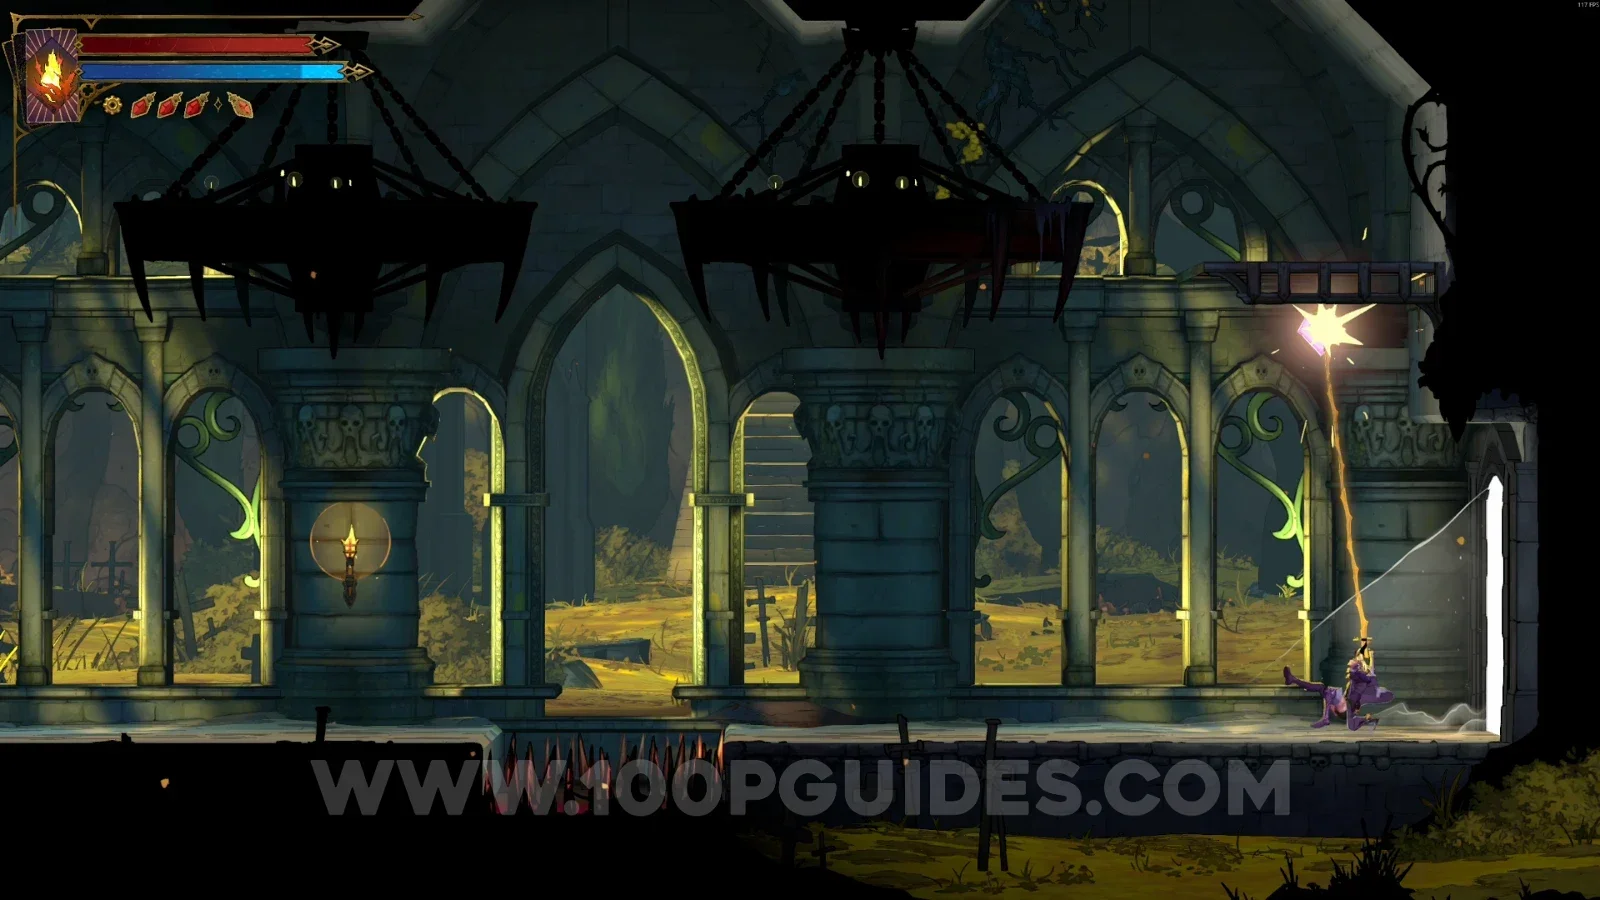
Break the wall on the right side to reveal the secret room with this statue.
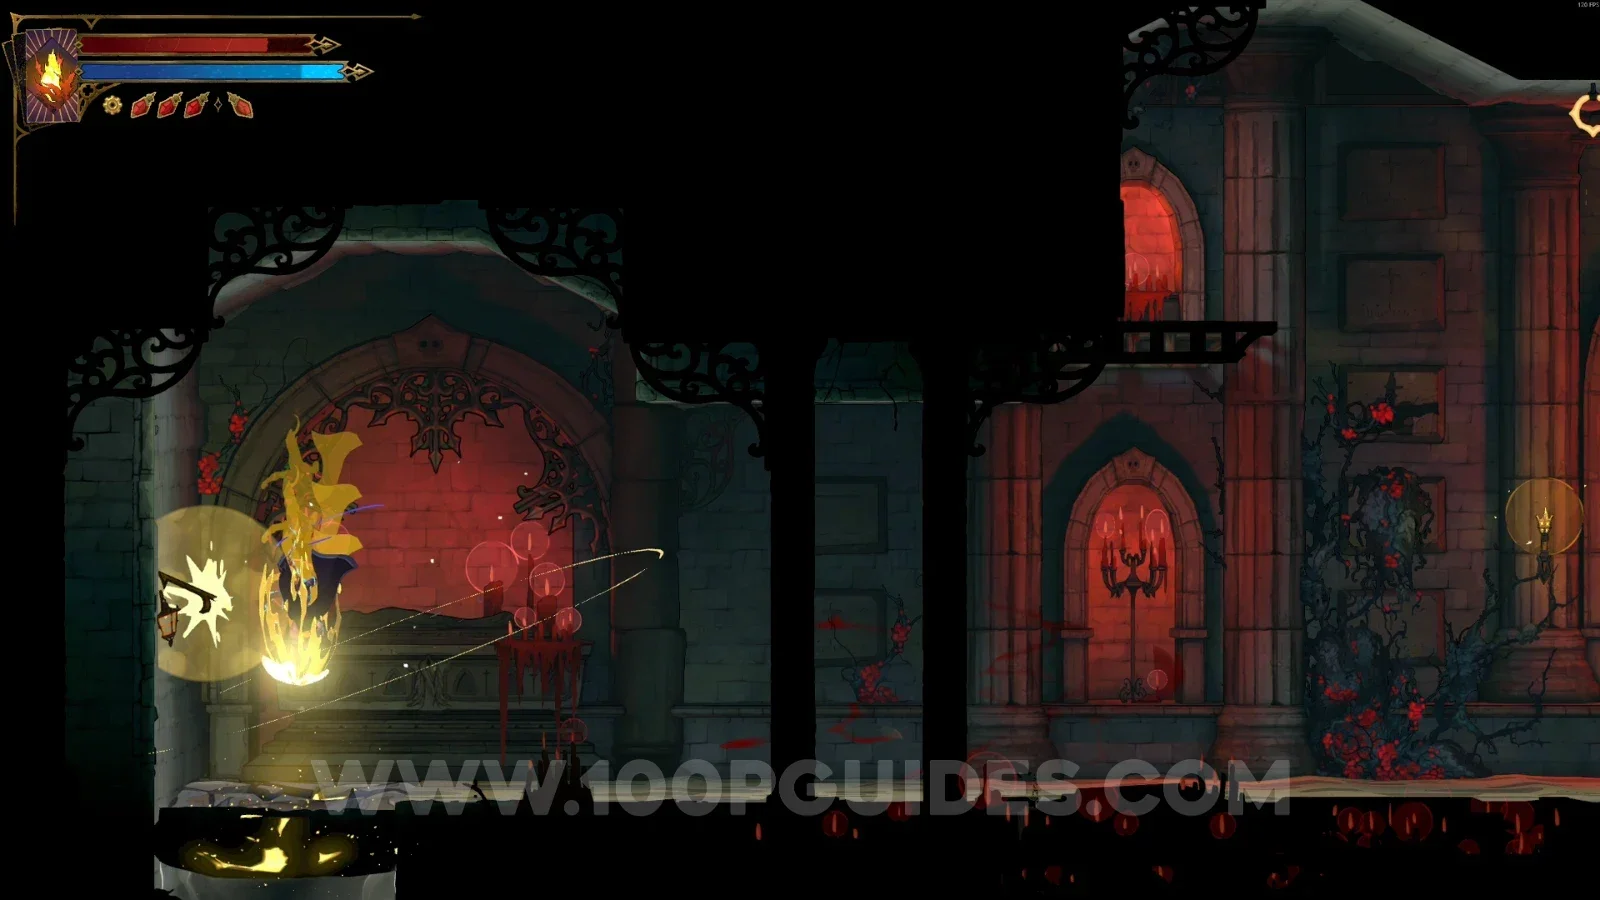
Castlevania Belmont's Curse Cemetery Entrance: breakable wall on the right side hiding a secret room Castlevania Belmont's Curse Cemetery Entrance: XP Statue #1 inside the secret room behind the right wall

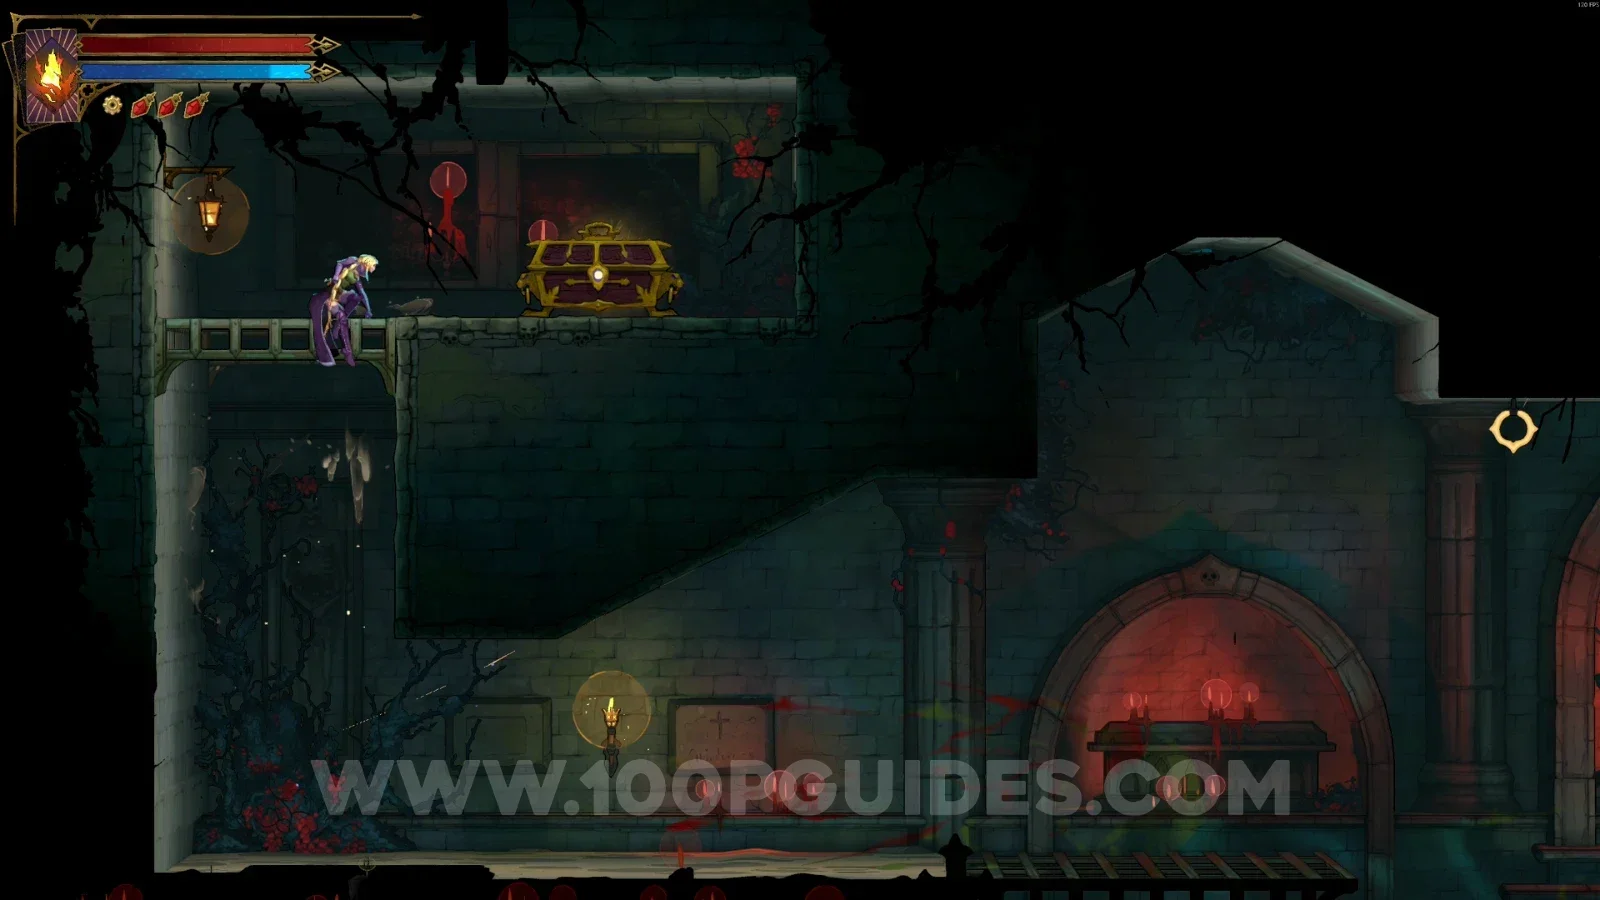
Haunted Coffin #1

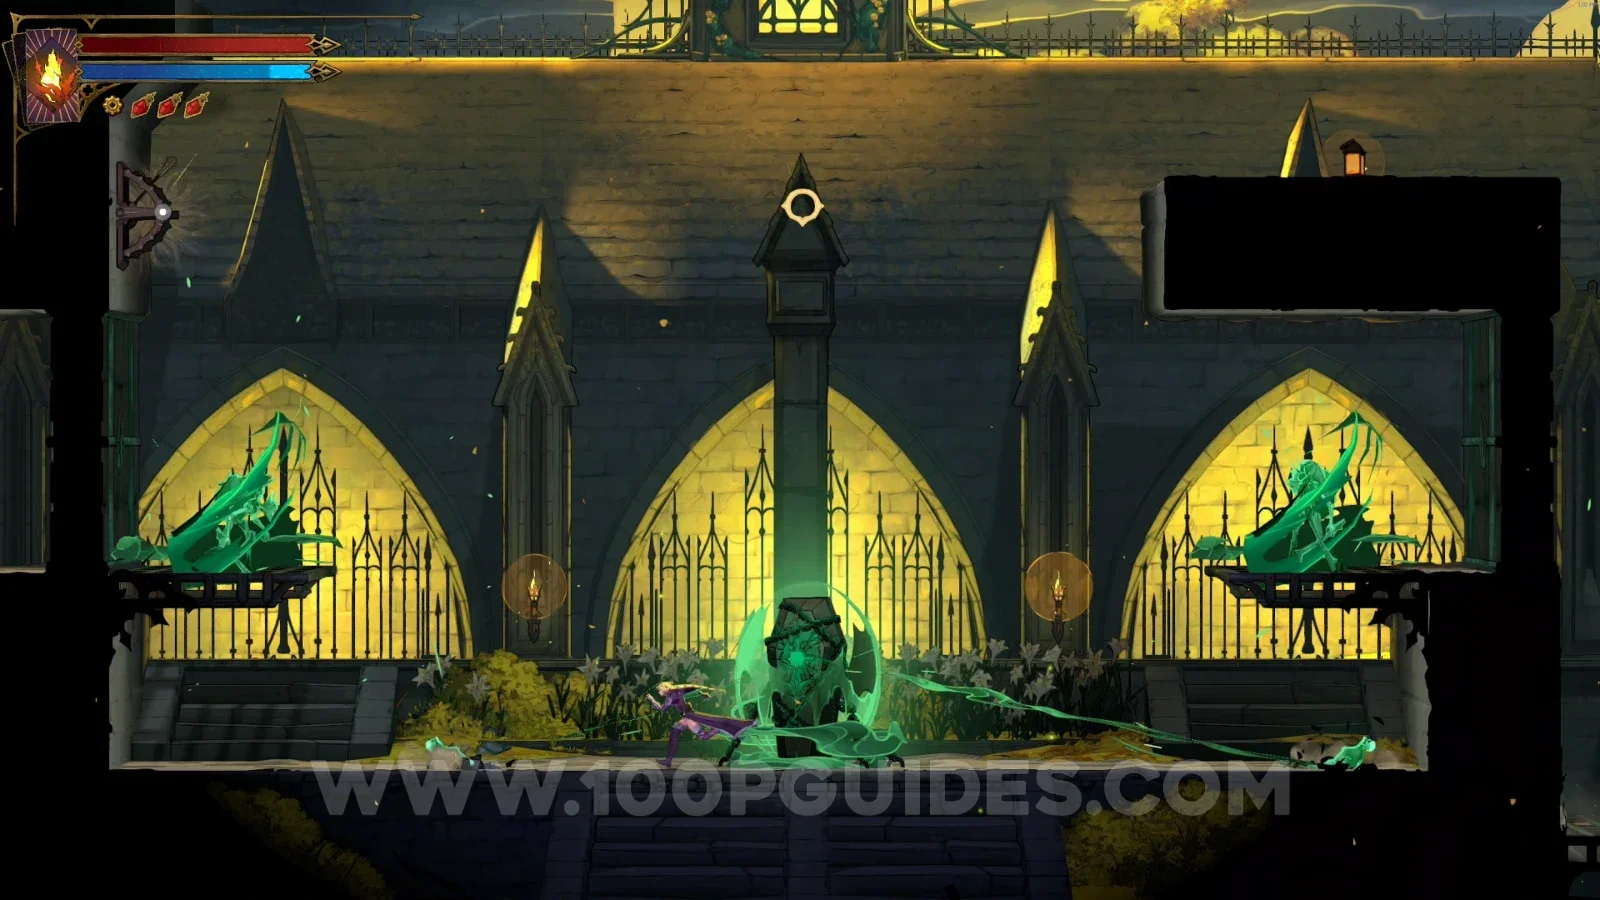
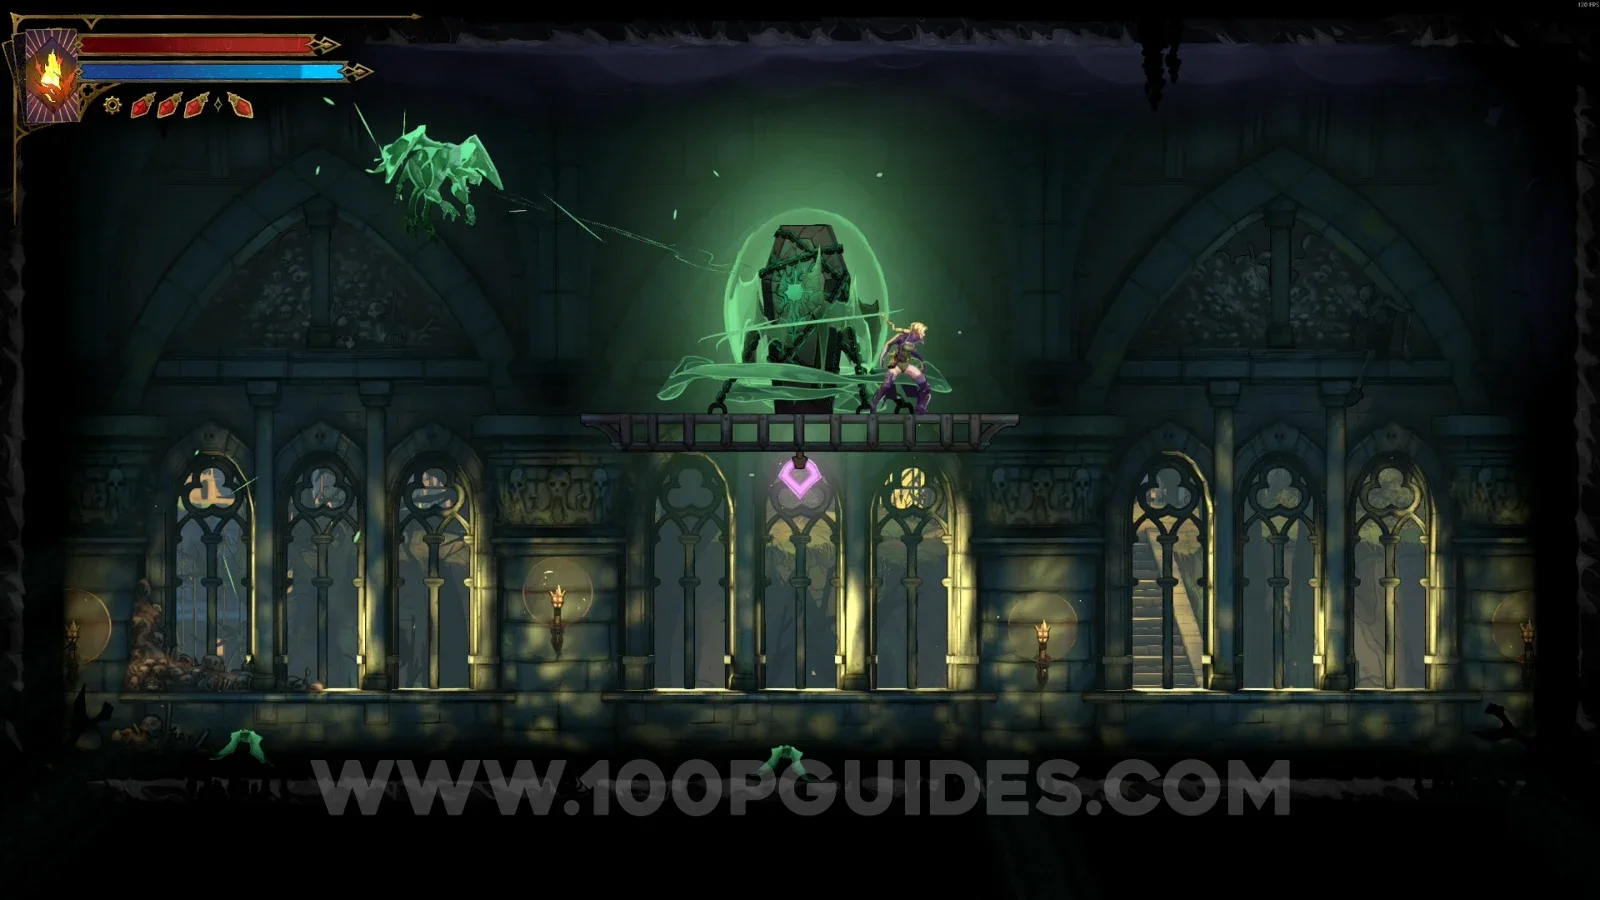
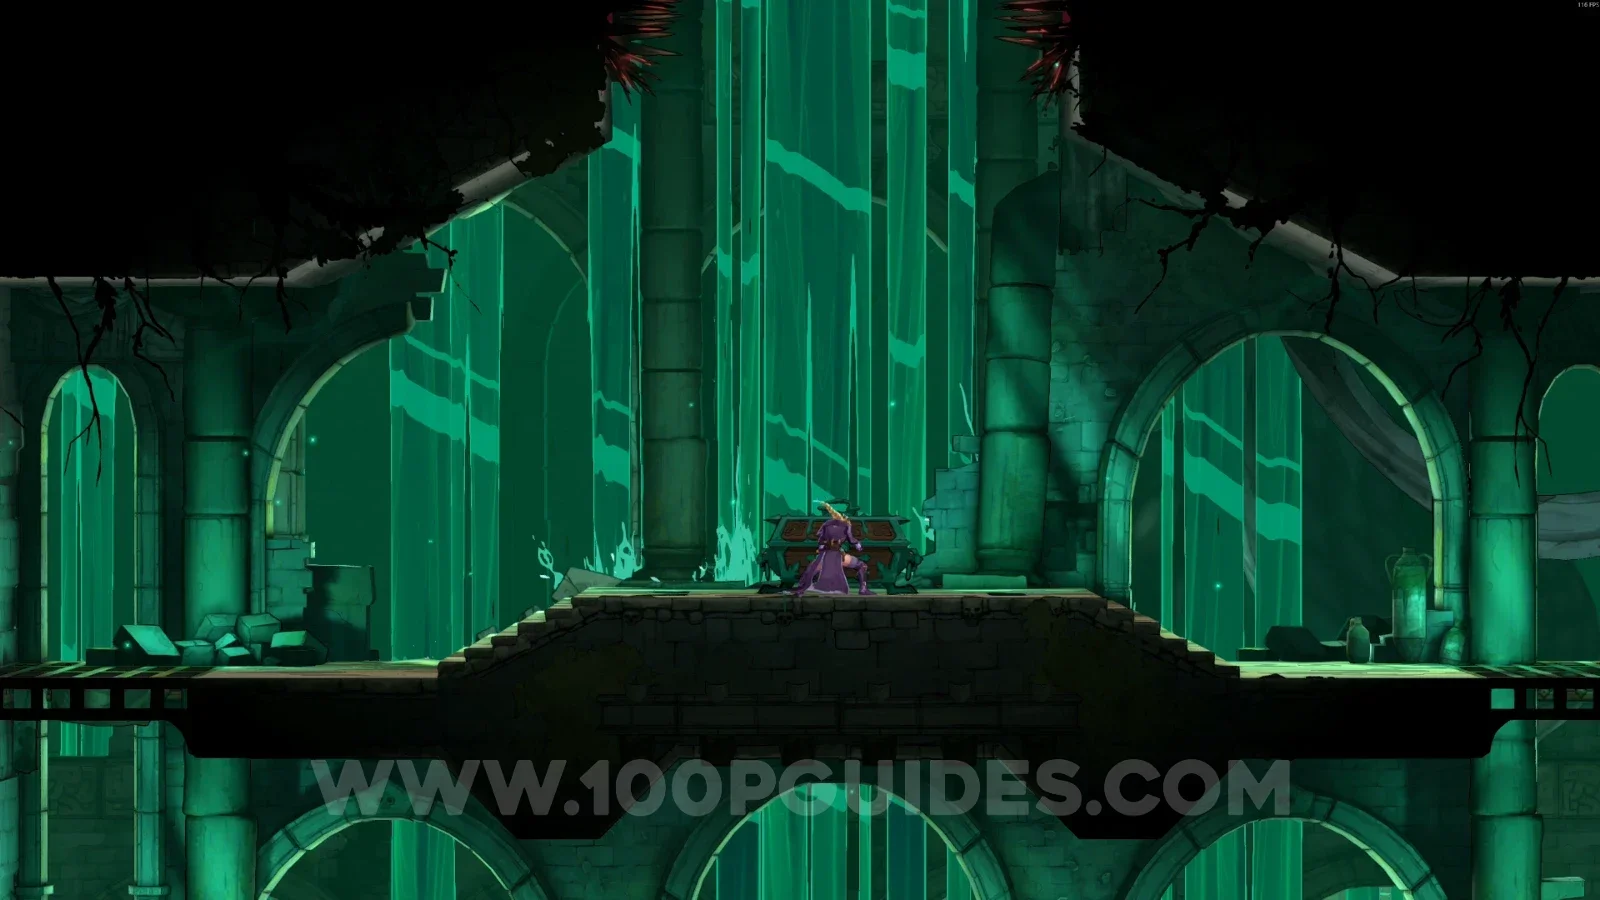
In the center of the area.
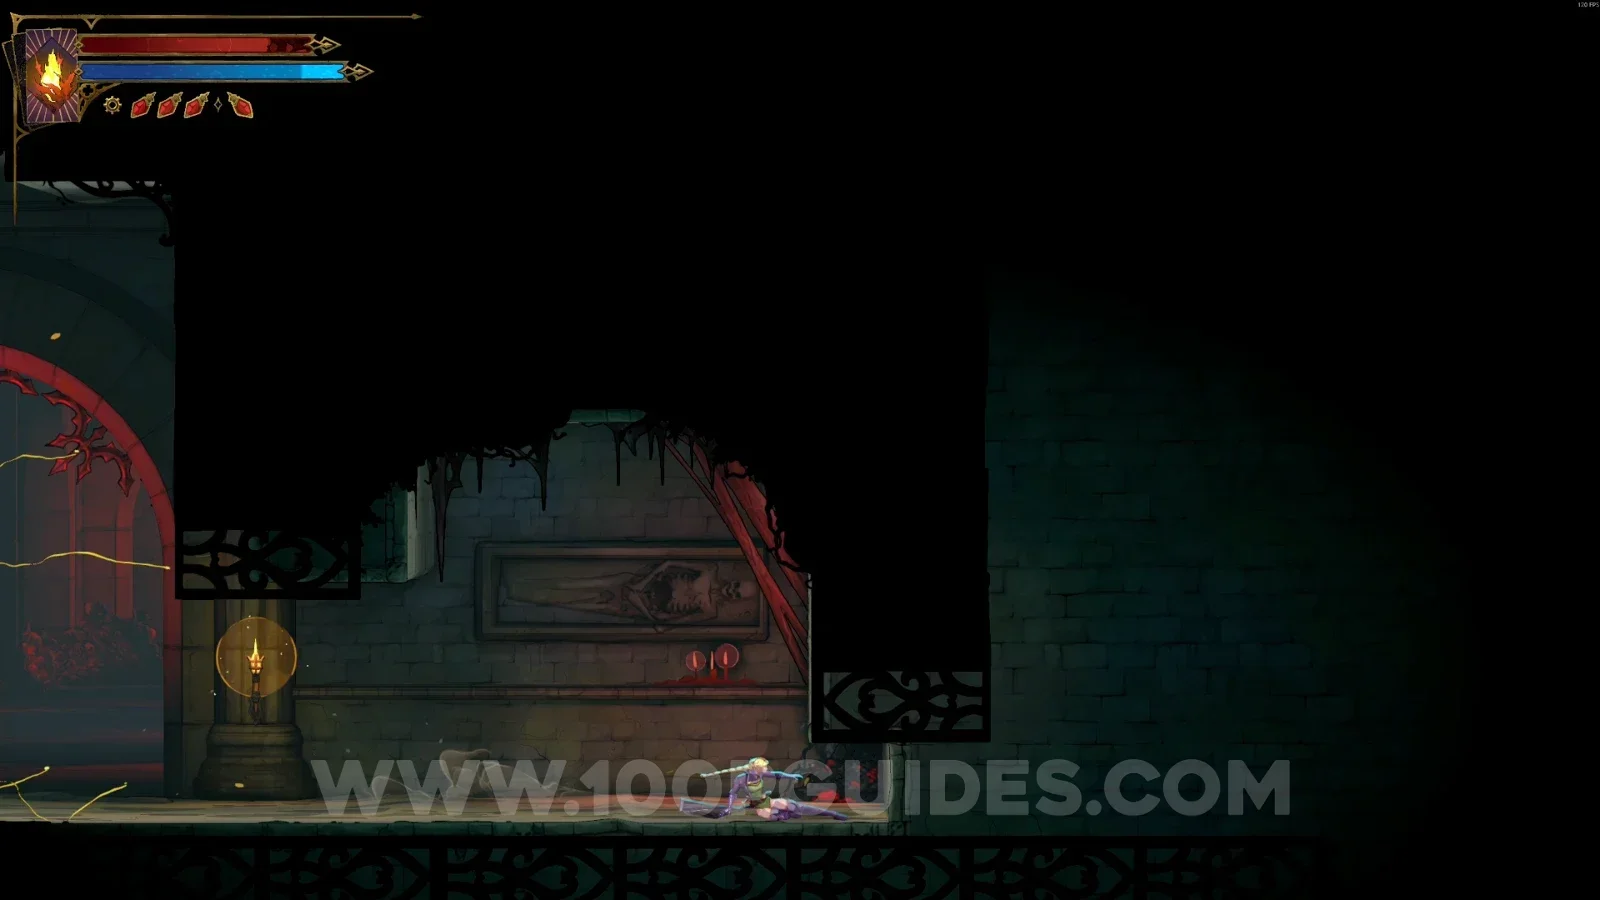
Castlevania Belmont's Curse Cemetery Entrance: location of Haunted Coffin #1 in the center of the area Castlevania Belmont's Curse Cemetery Entrance: Haunted Coffin #1 in the center of the area

Relic #1: Abyssal Eye

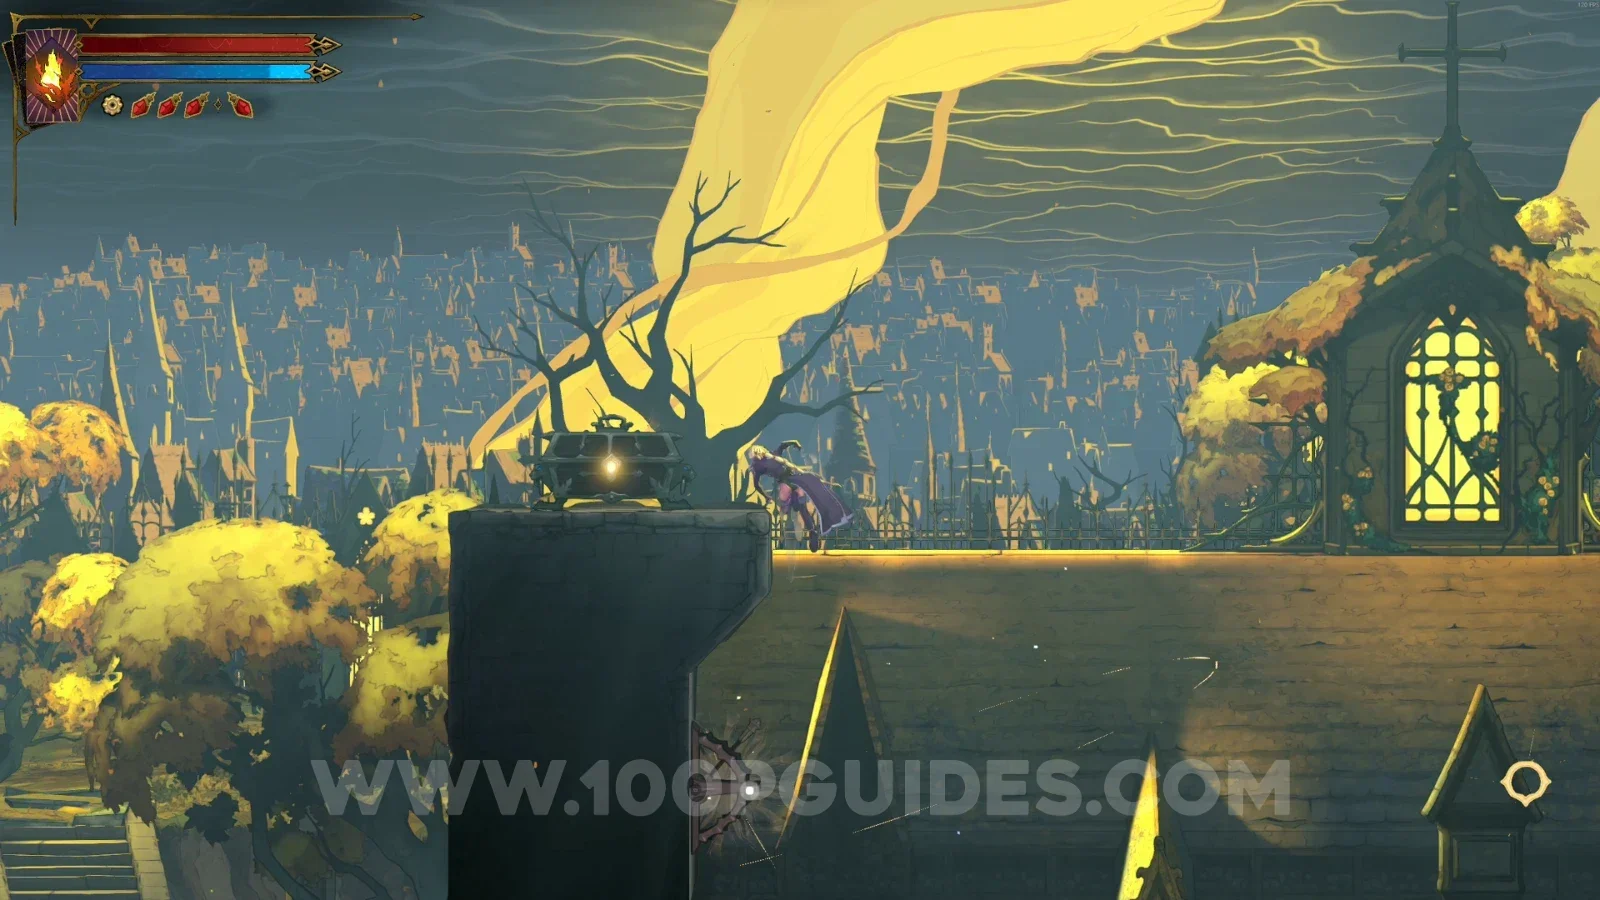
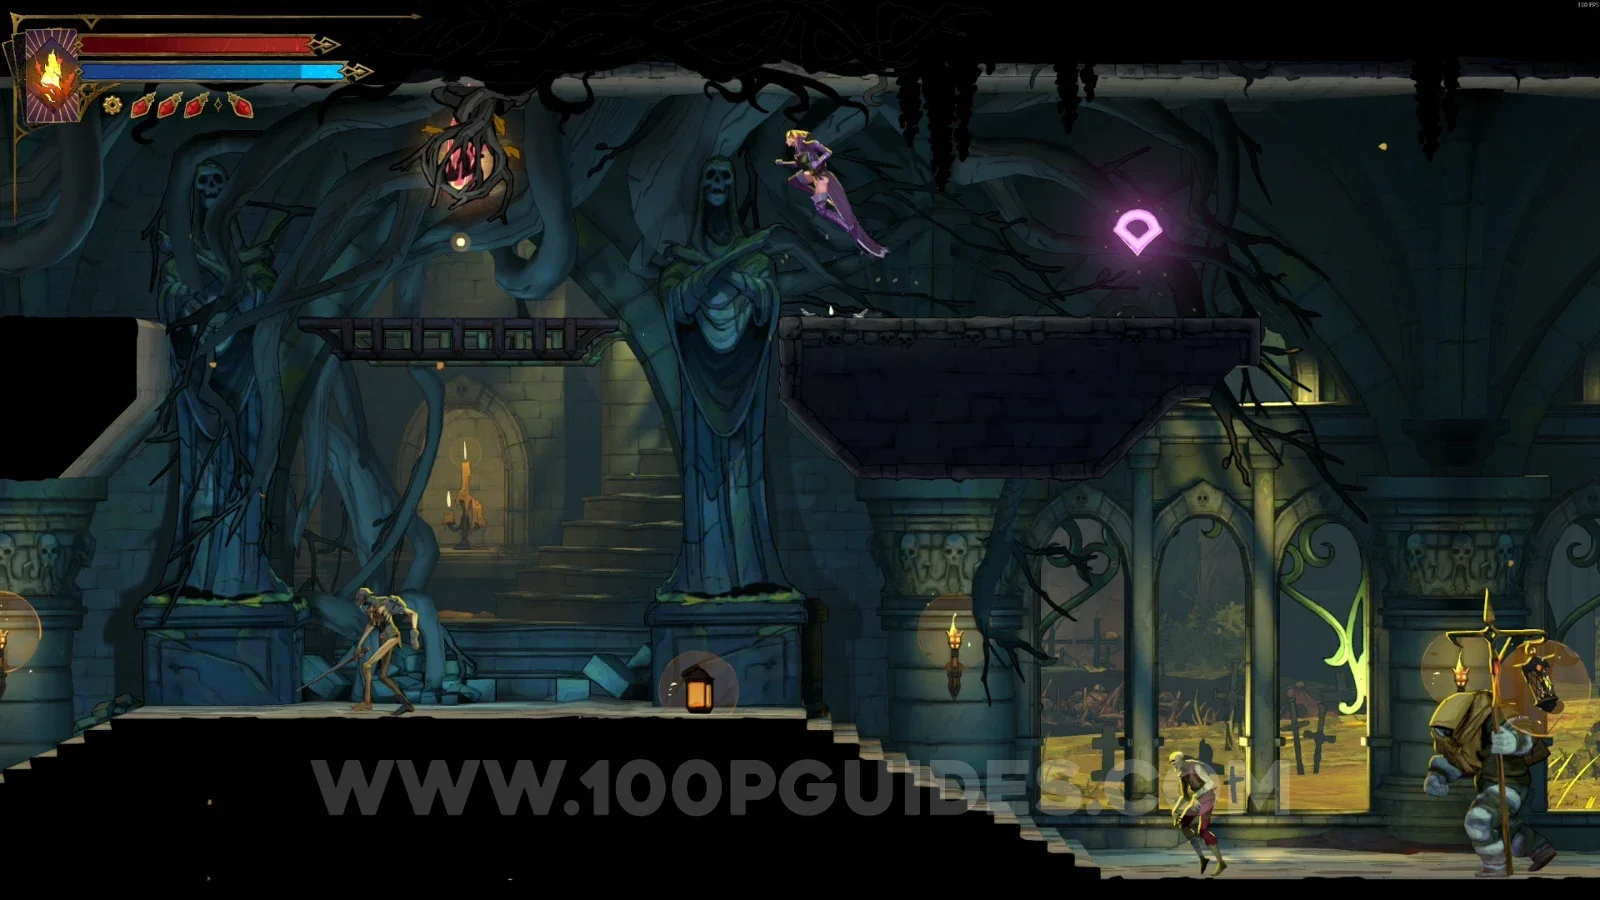
At the top of the area.
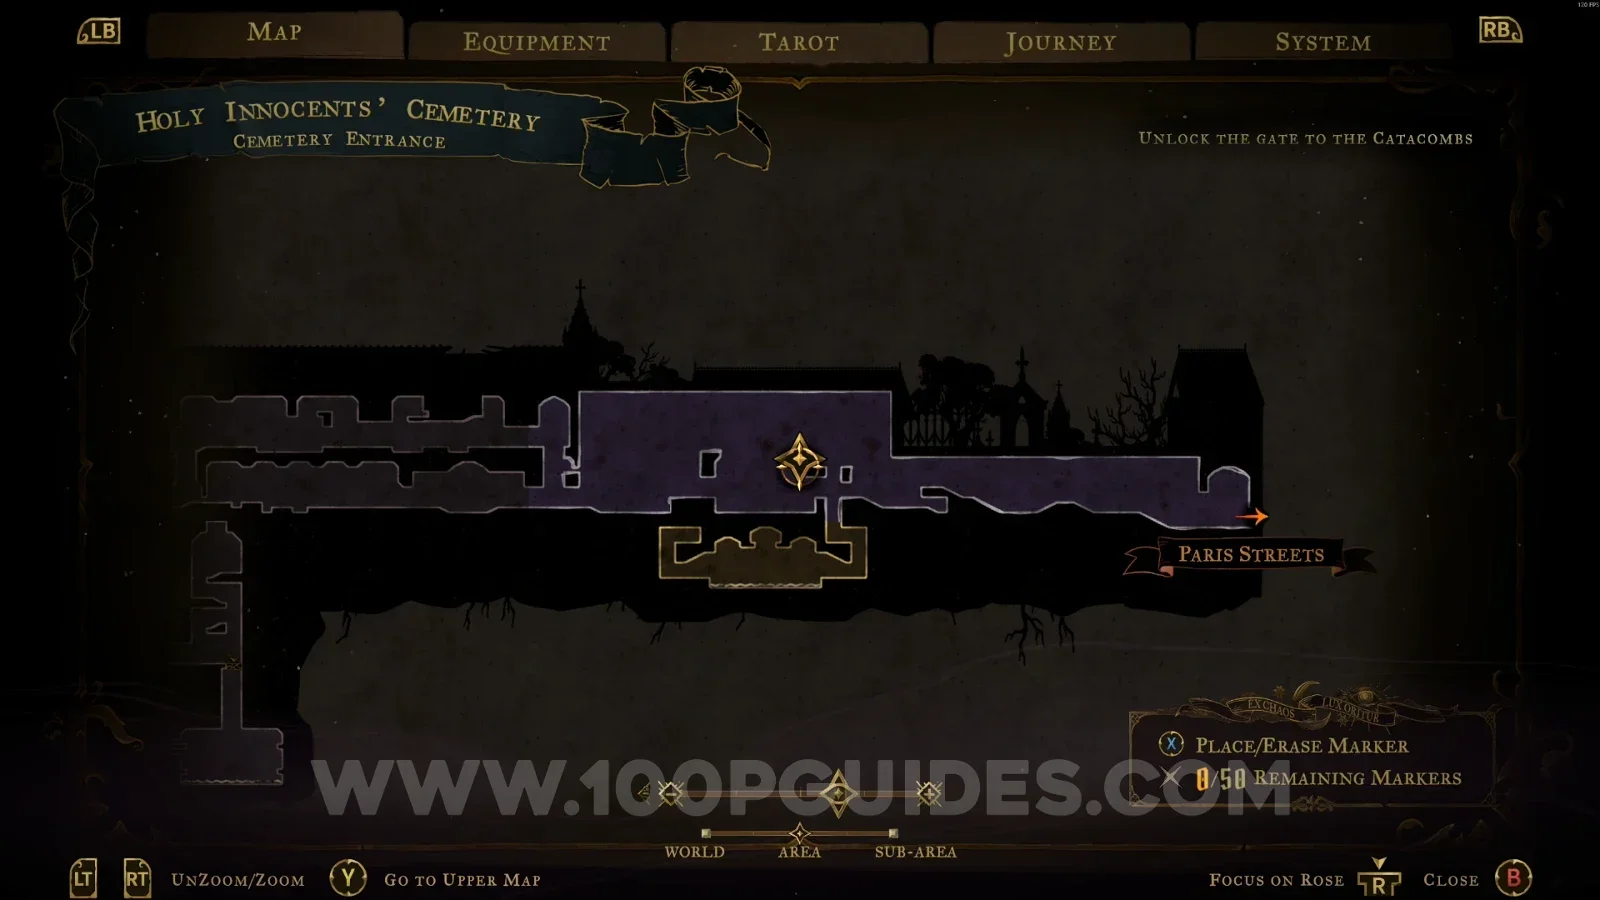
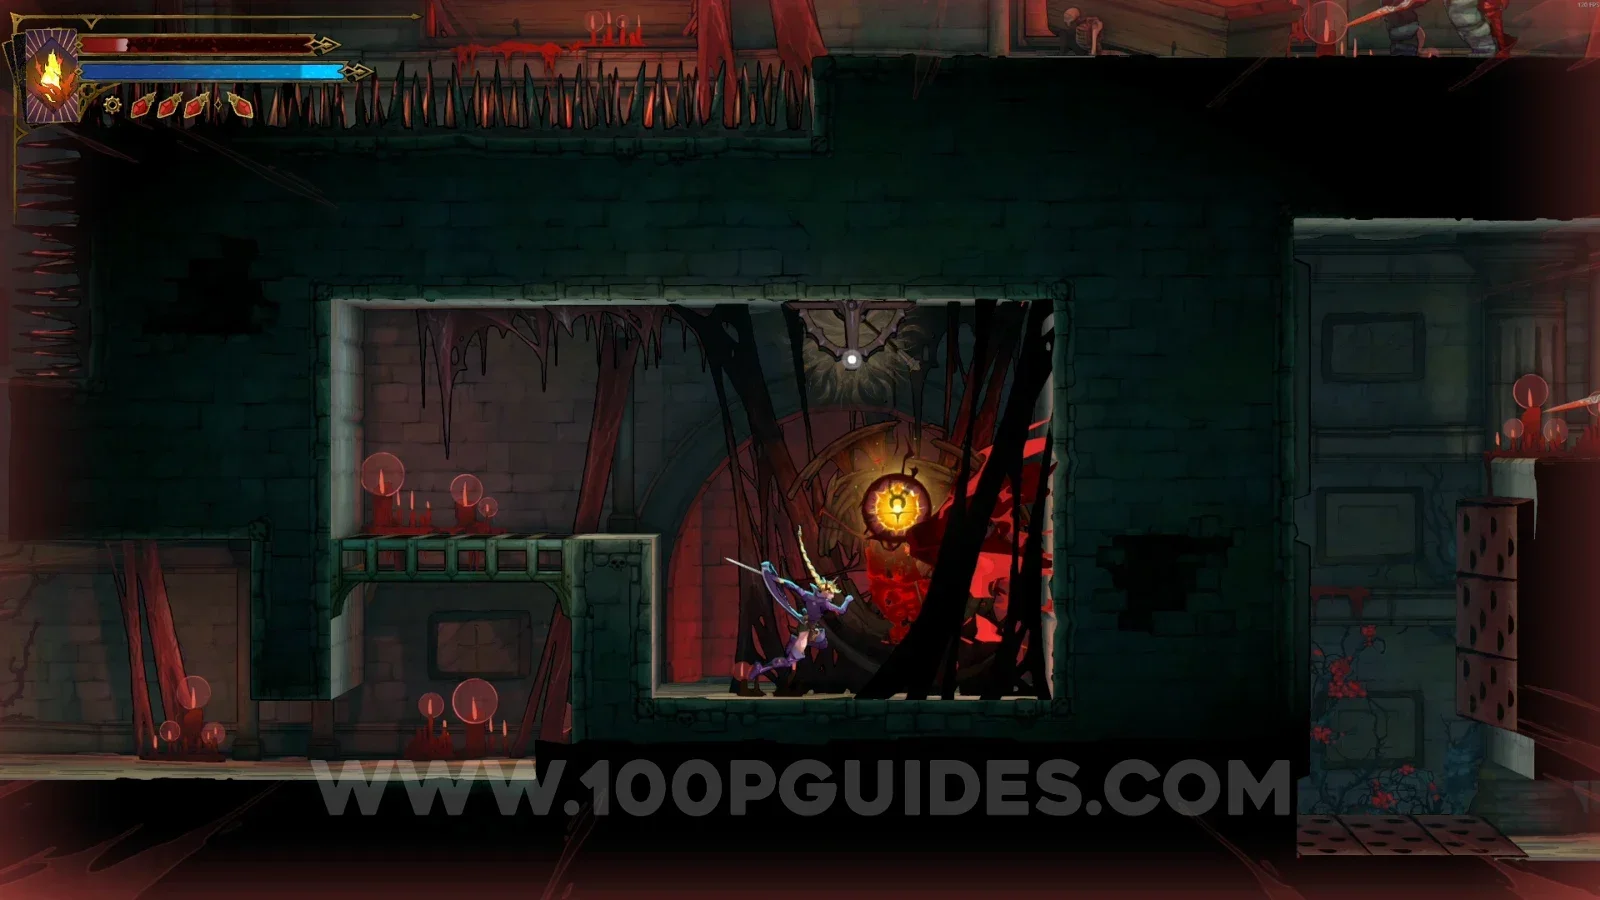
Castlevania Belmont's Curse Cemetery Entrance: location of Relic #1 Abyssal Eye at the top of the area Castlevania Belmont's Curse Cemetery Entrance: Relic #1 Abyssal Eye at the top of the area

Flooded Crypt

Blue Book #1 + Weapon #1: Almace And Hauteclaire

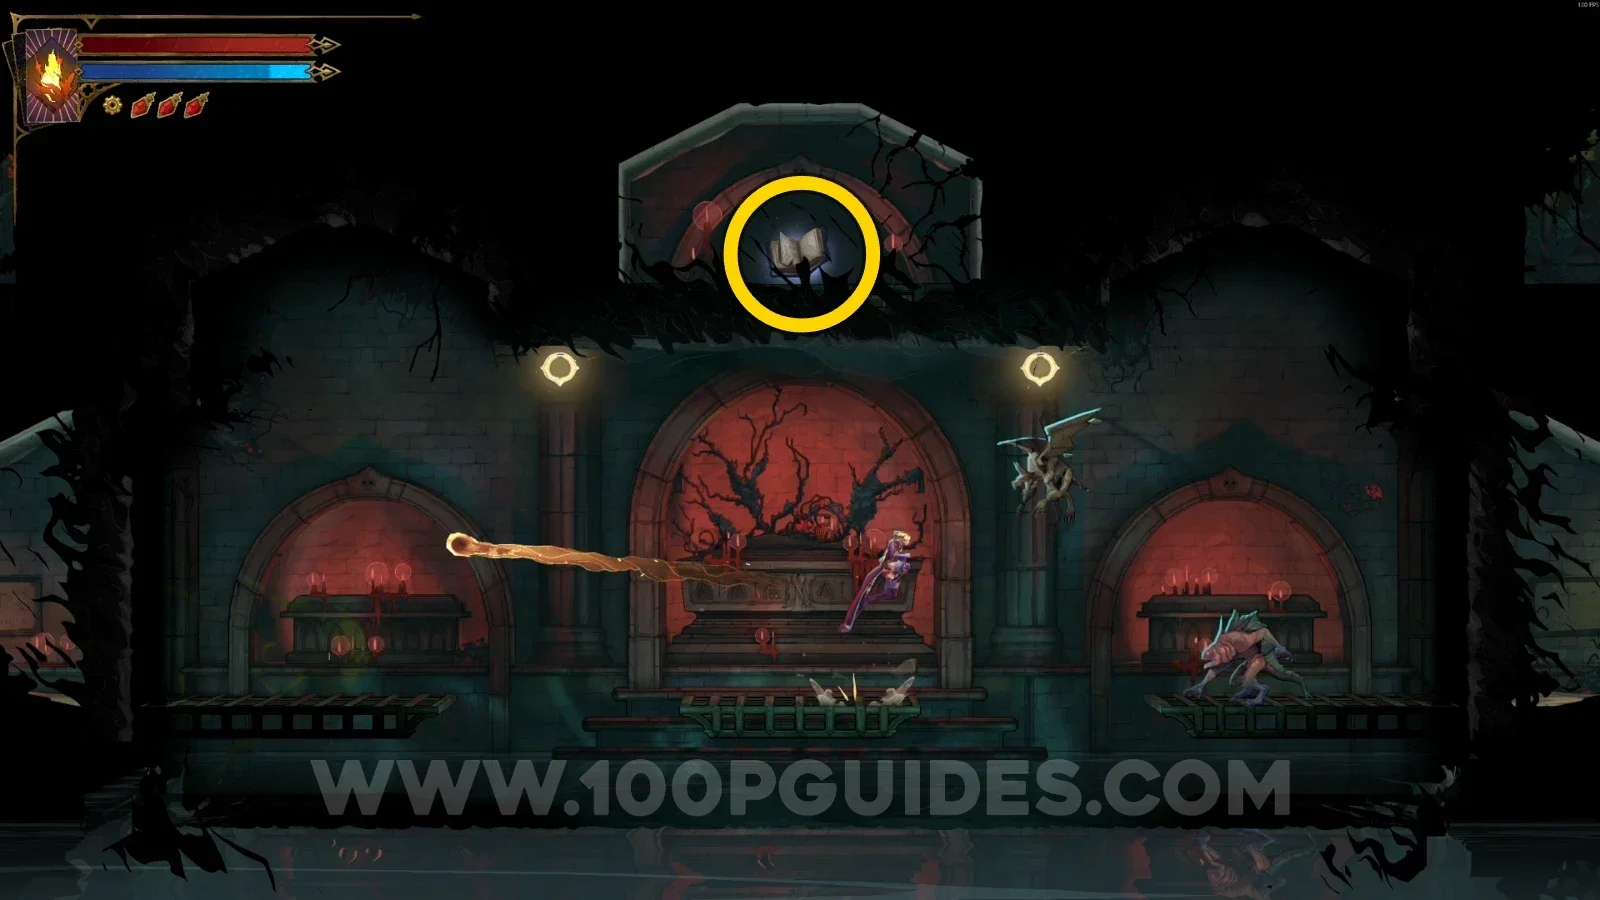
Use the Smash arcane power to break the floor, then defeat the enemies, grab the Blue Book, and open the chest to get the weapon.
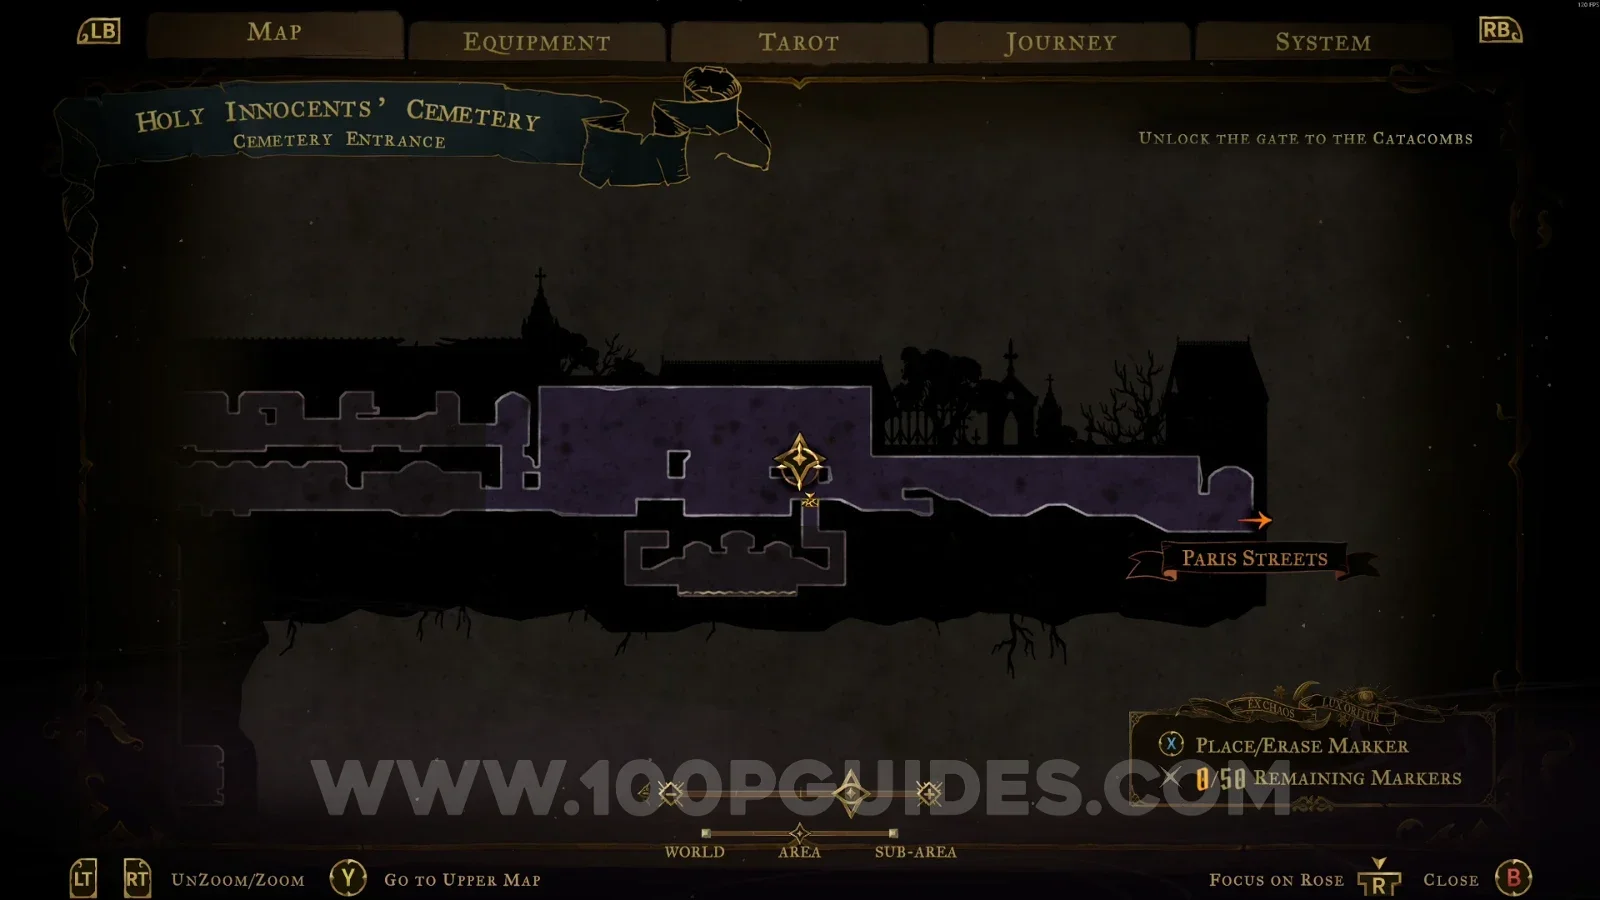
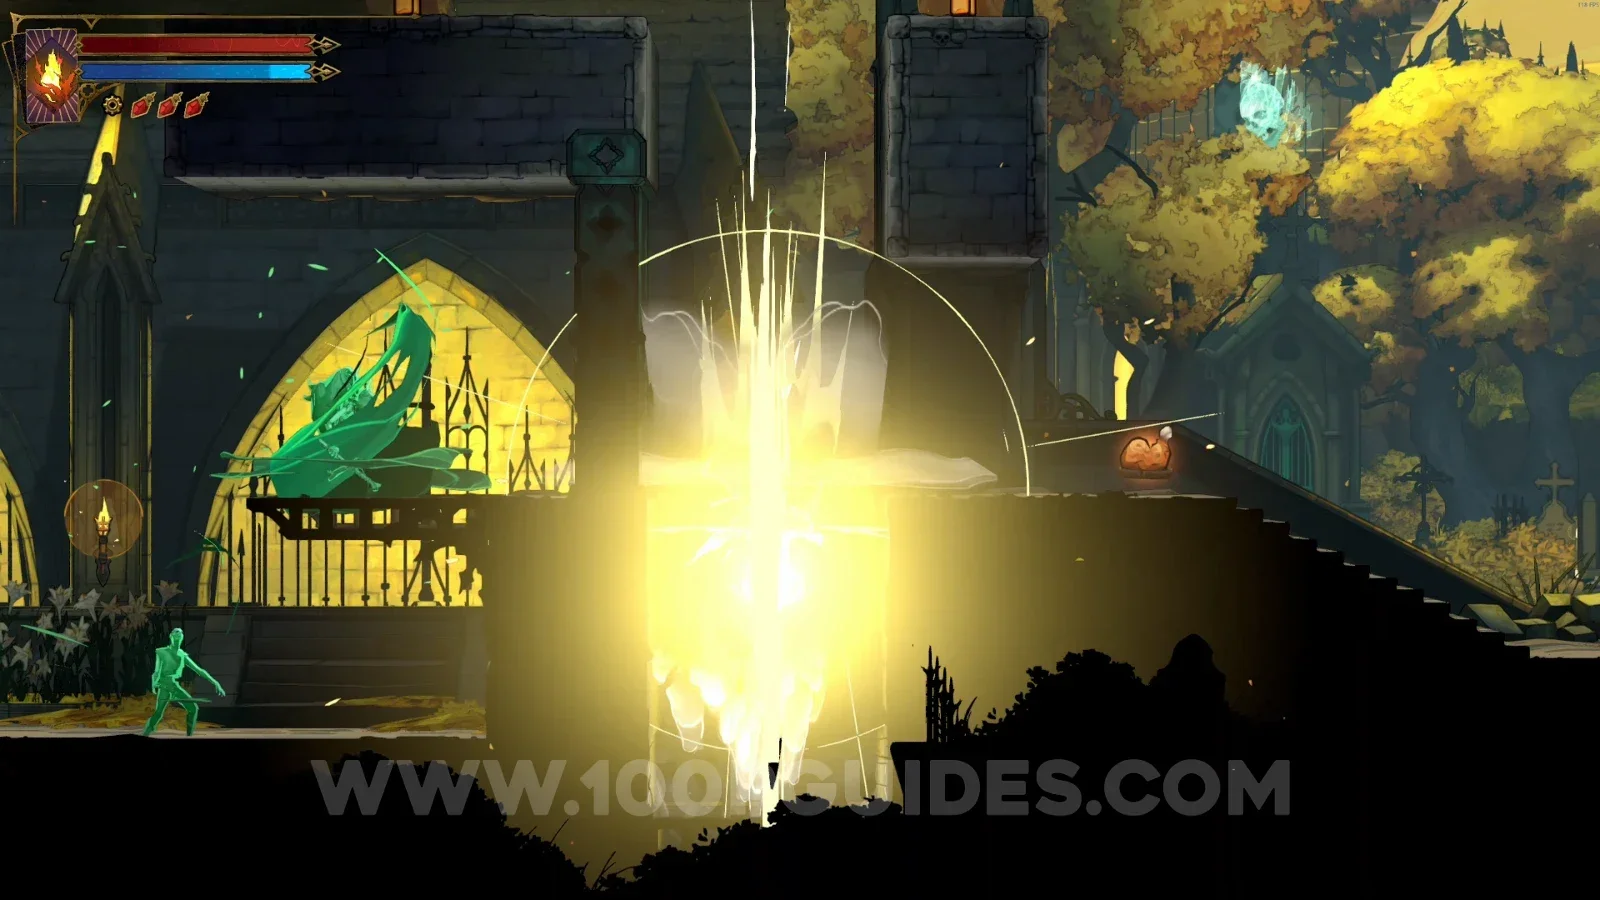
Castlevania Belmont's Curse Flooded Crypt: using the Smash arcane power to break the floor Castlevania Belmont's Curse Flooded Crypt: defeating the enemies below the broken floor Castlevania Belmont's Curse Flooded Crypt: grabbing Blue Book #1 after defeating the enemies Castlevania Belmont's Curse Flooded Crypt: chest holding Weapon #1 Almace And Hauteclaire

Cloister

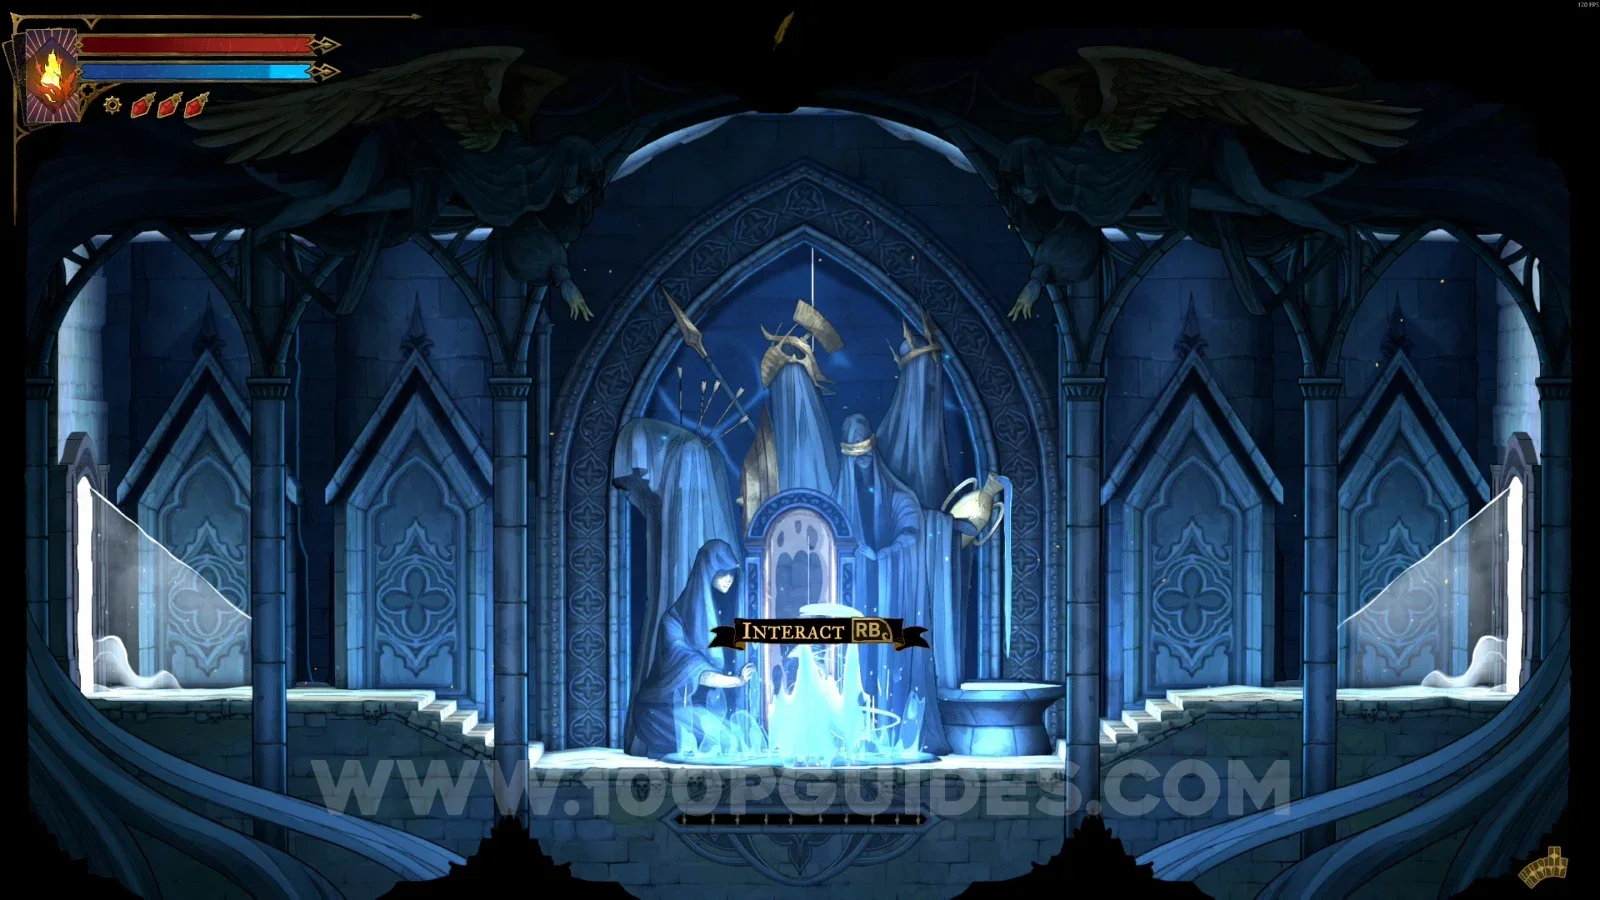
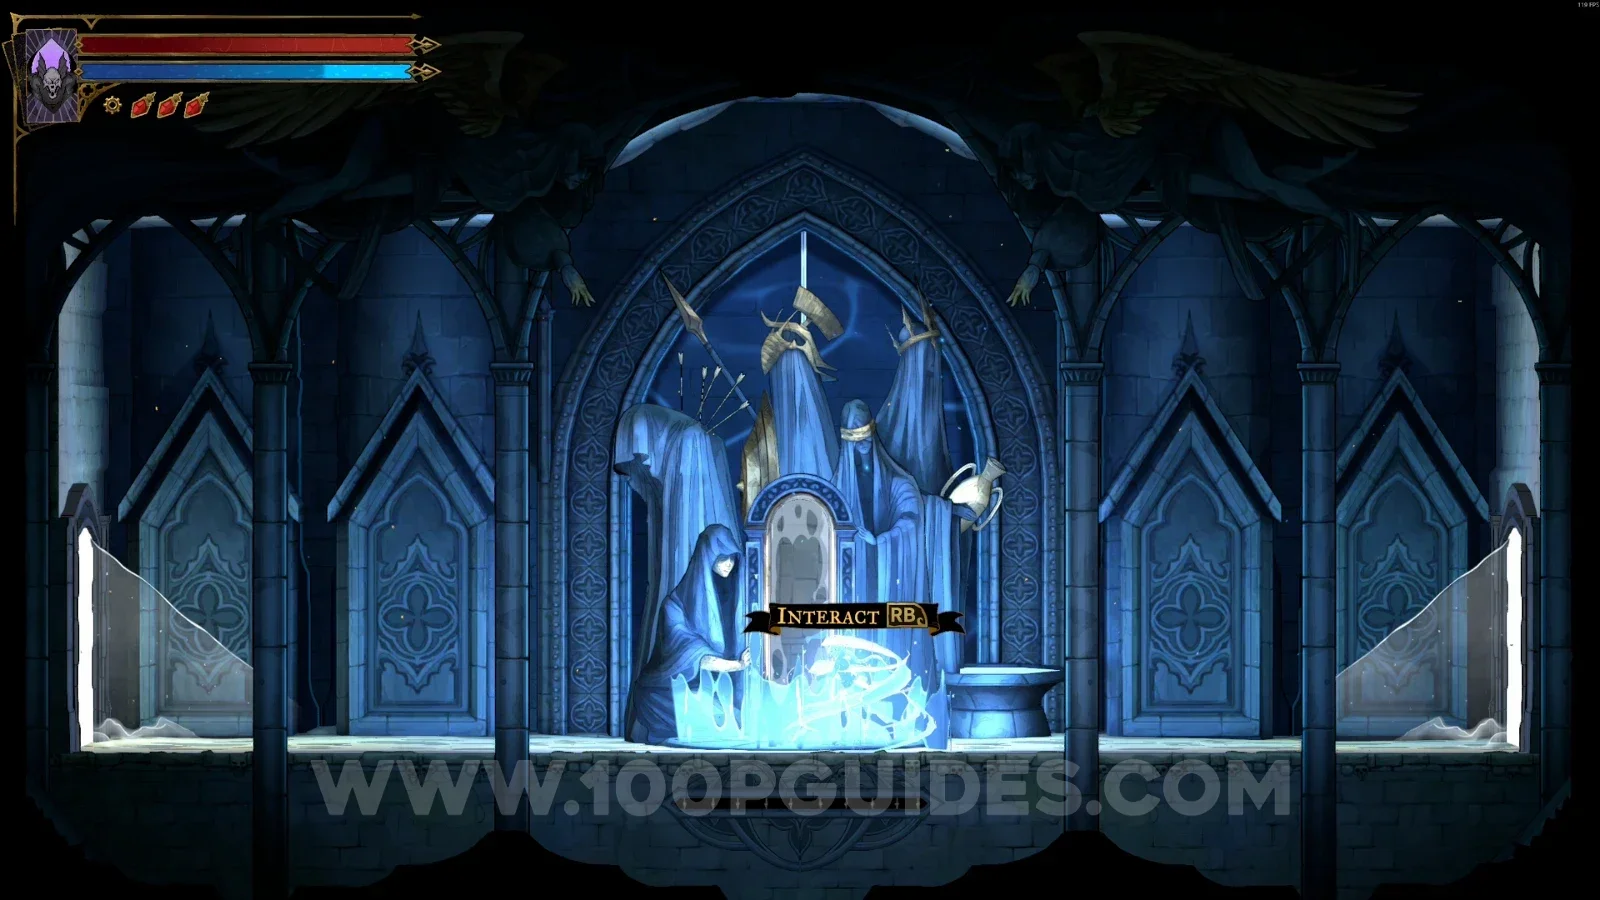
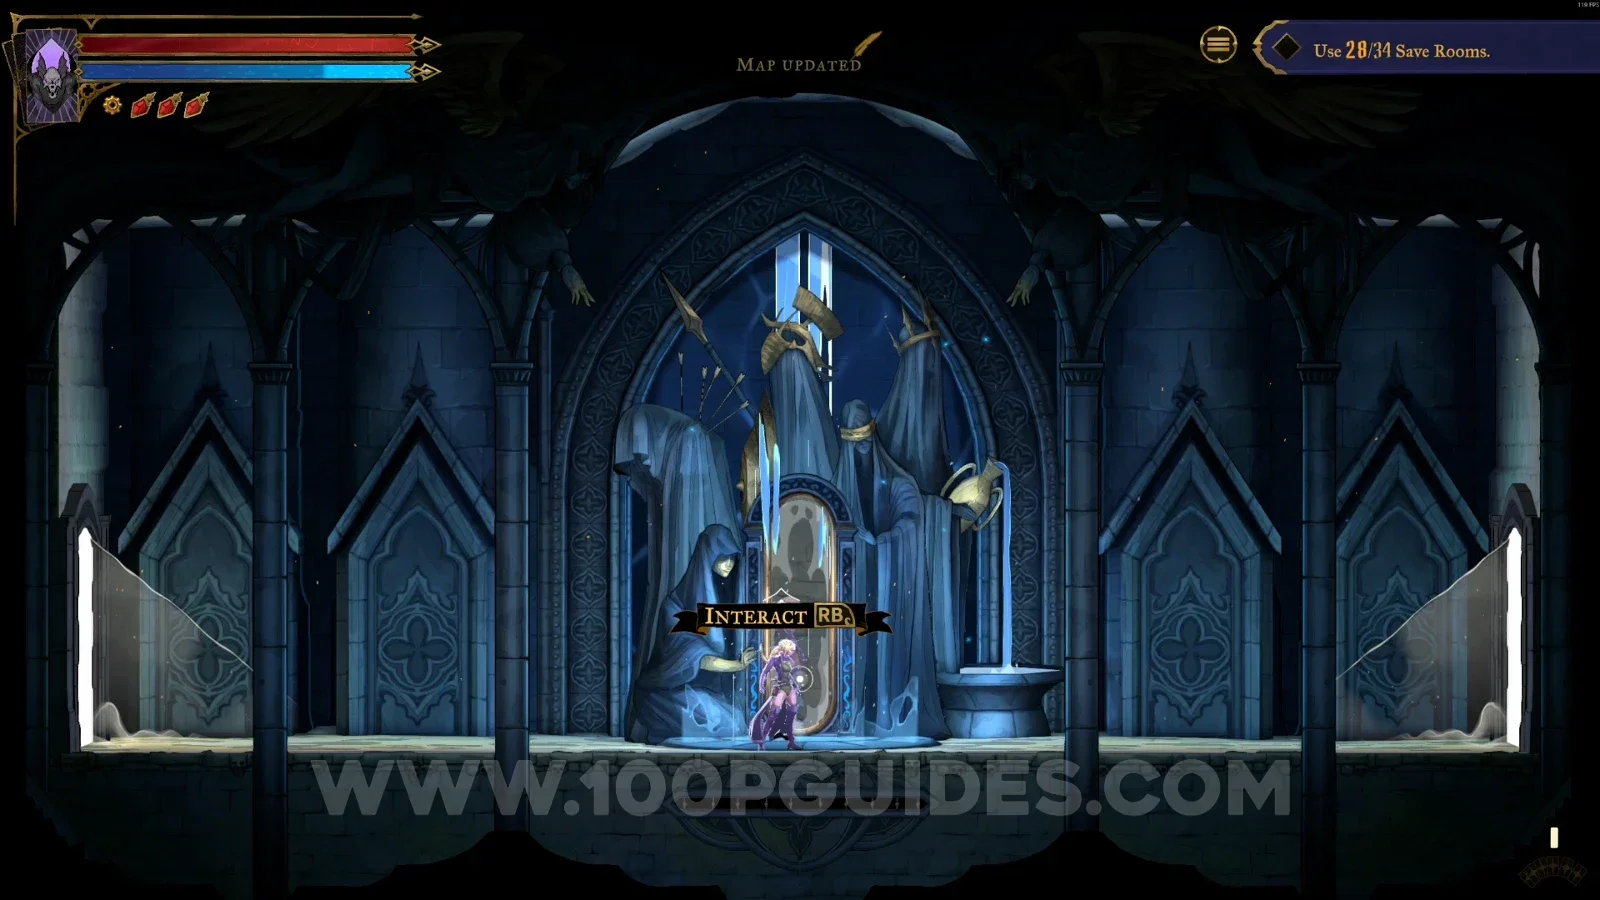
Mirror Of Life #1

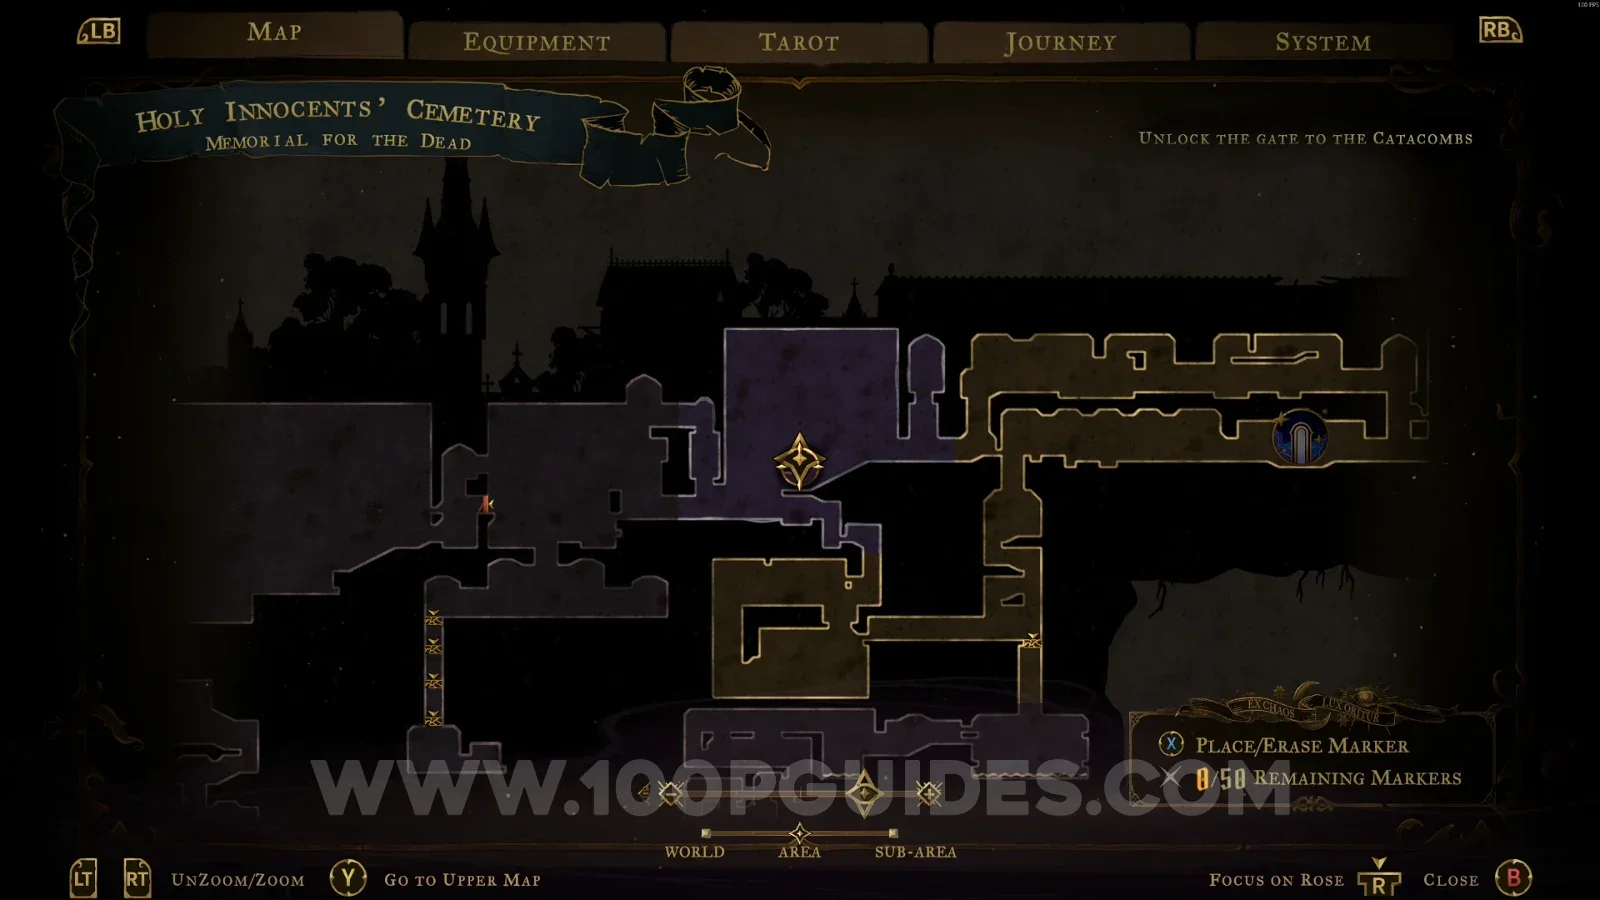
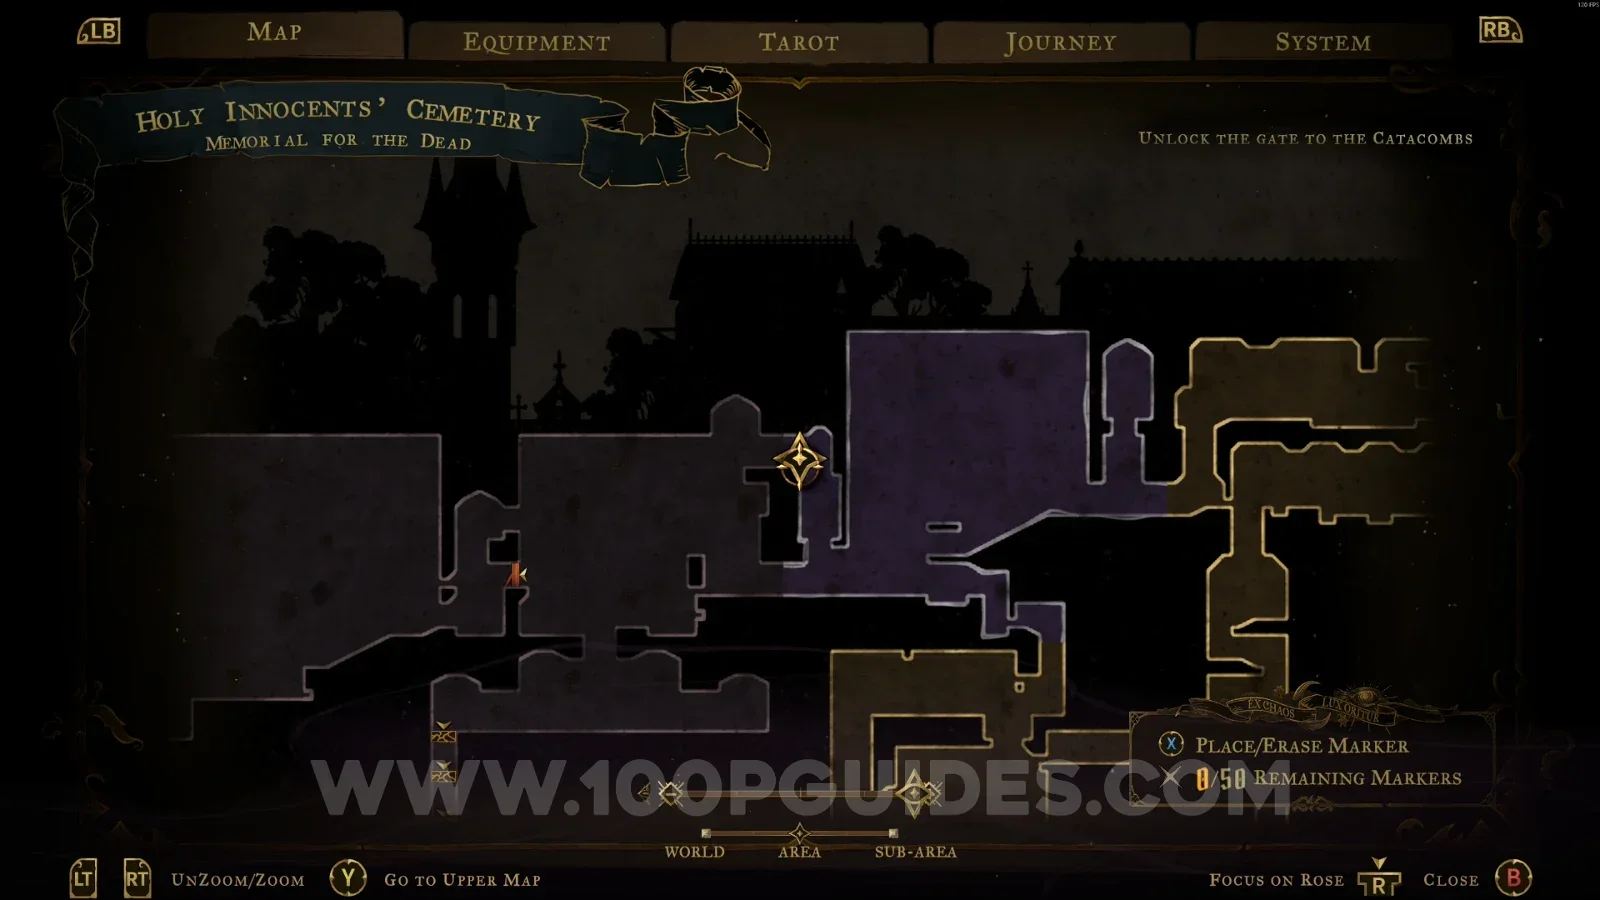
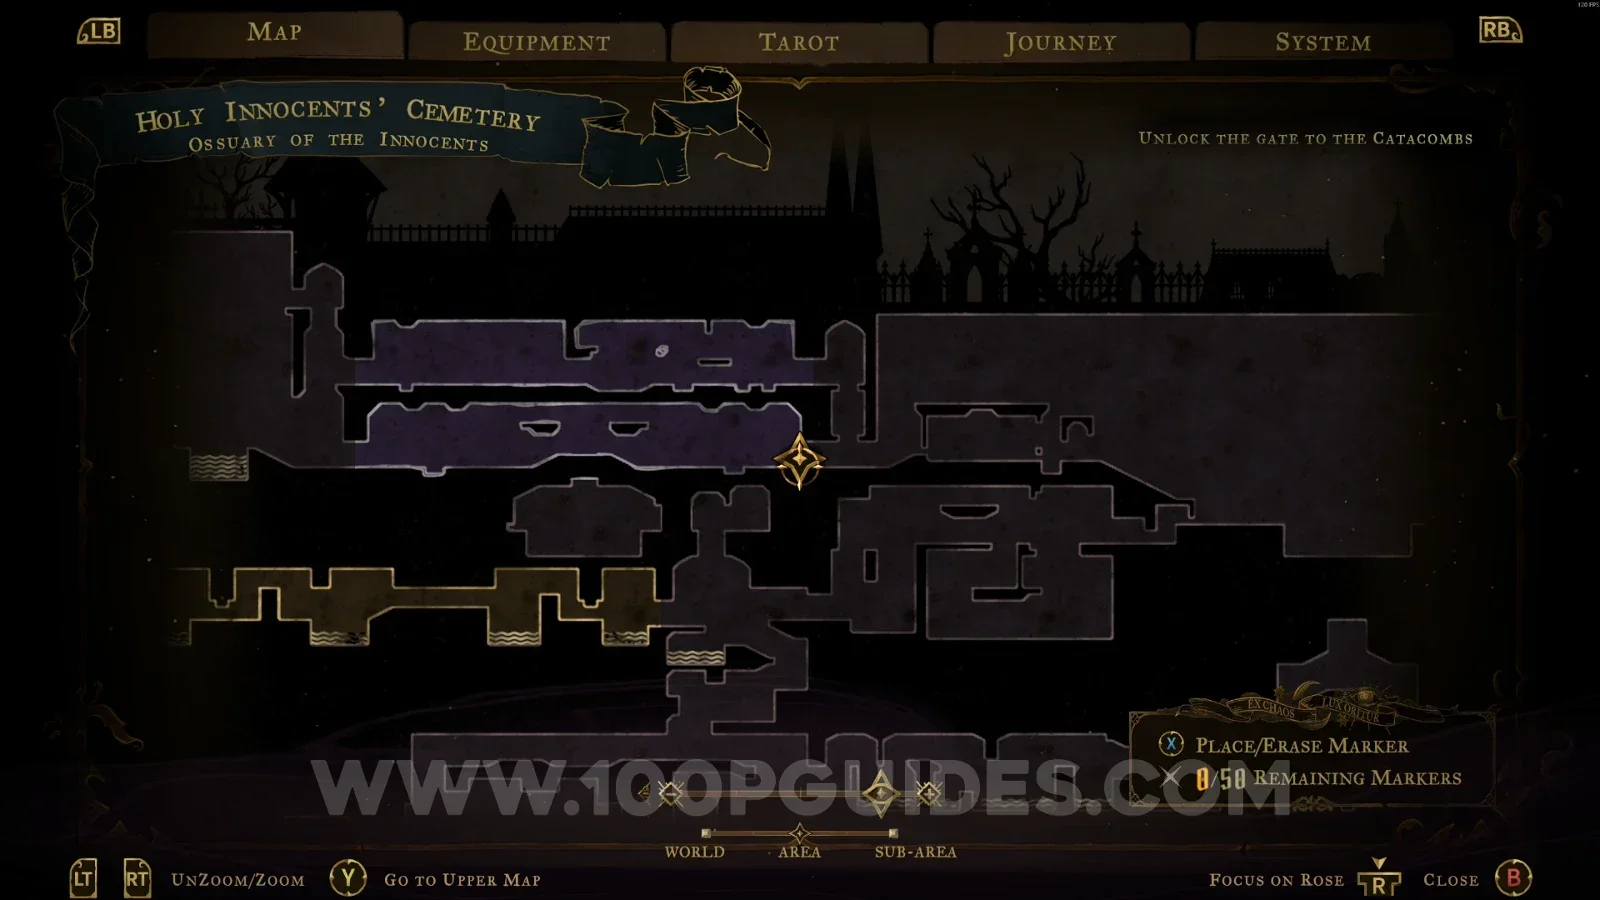
In the area marked on the map.
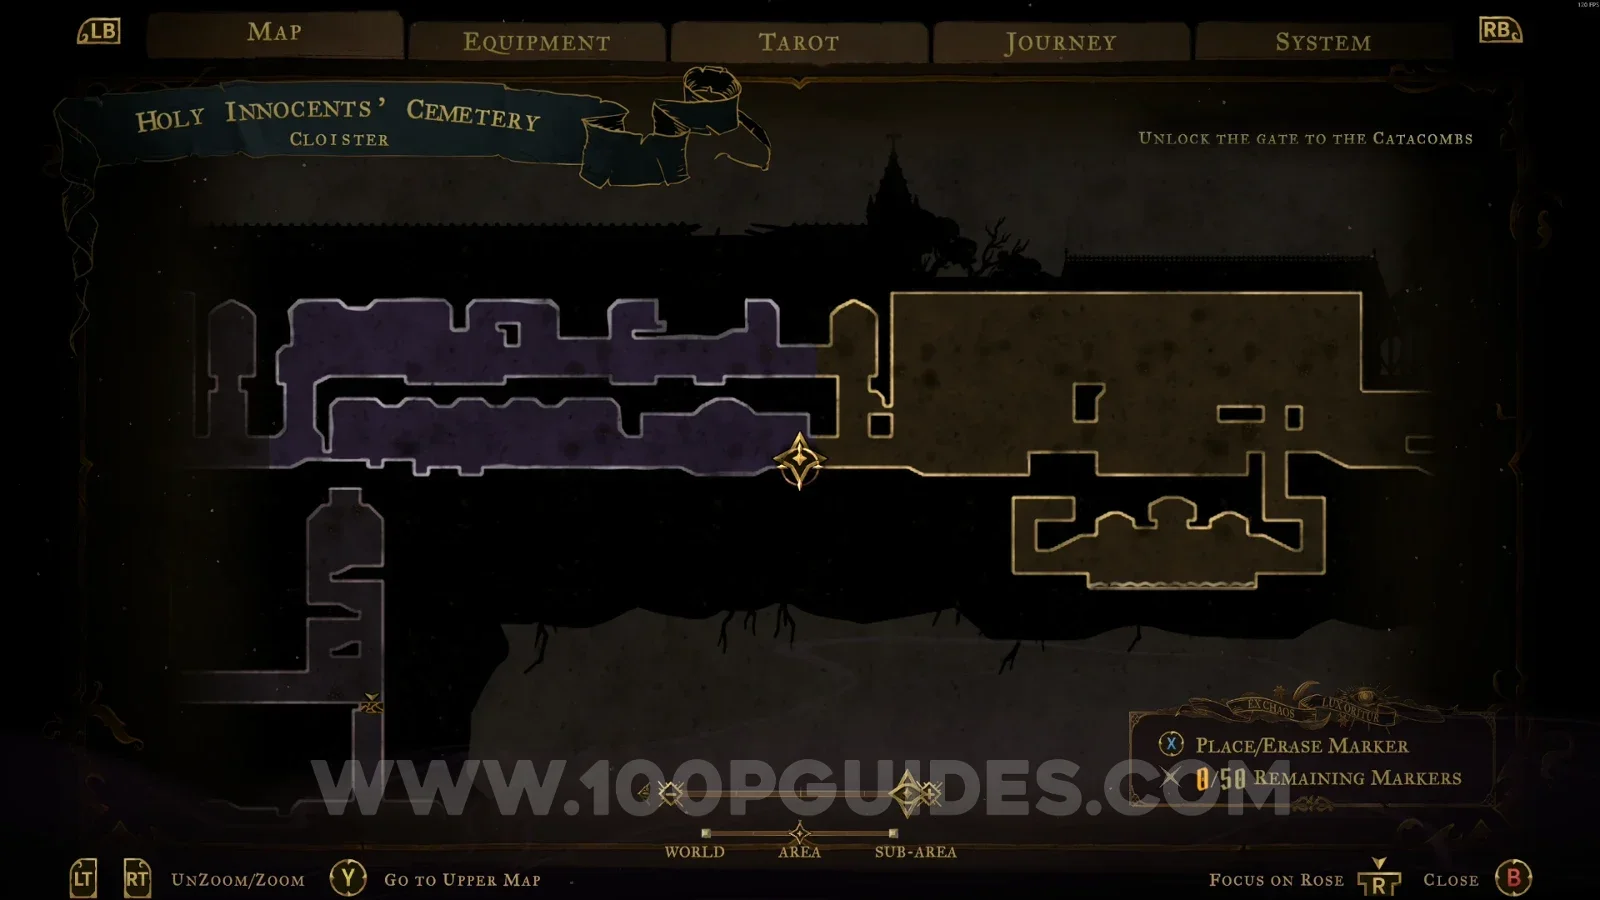
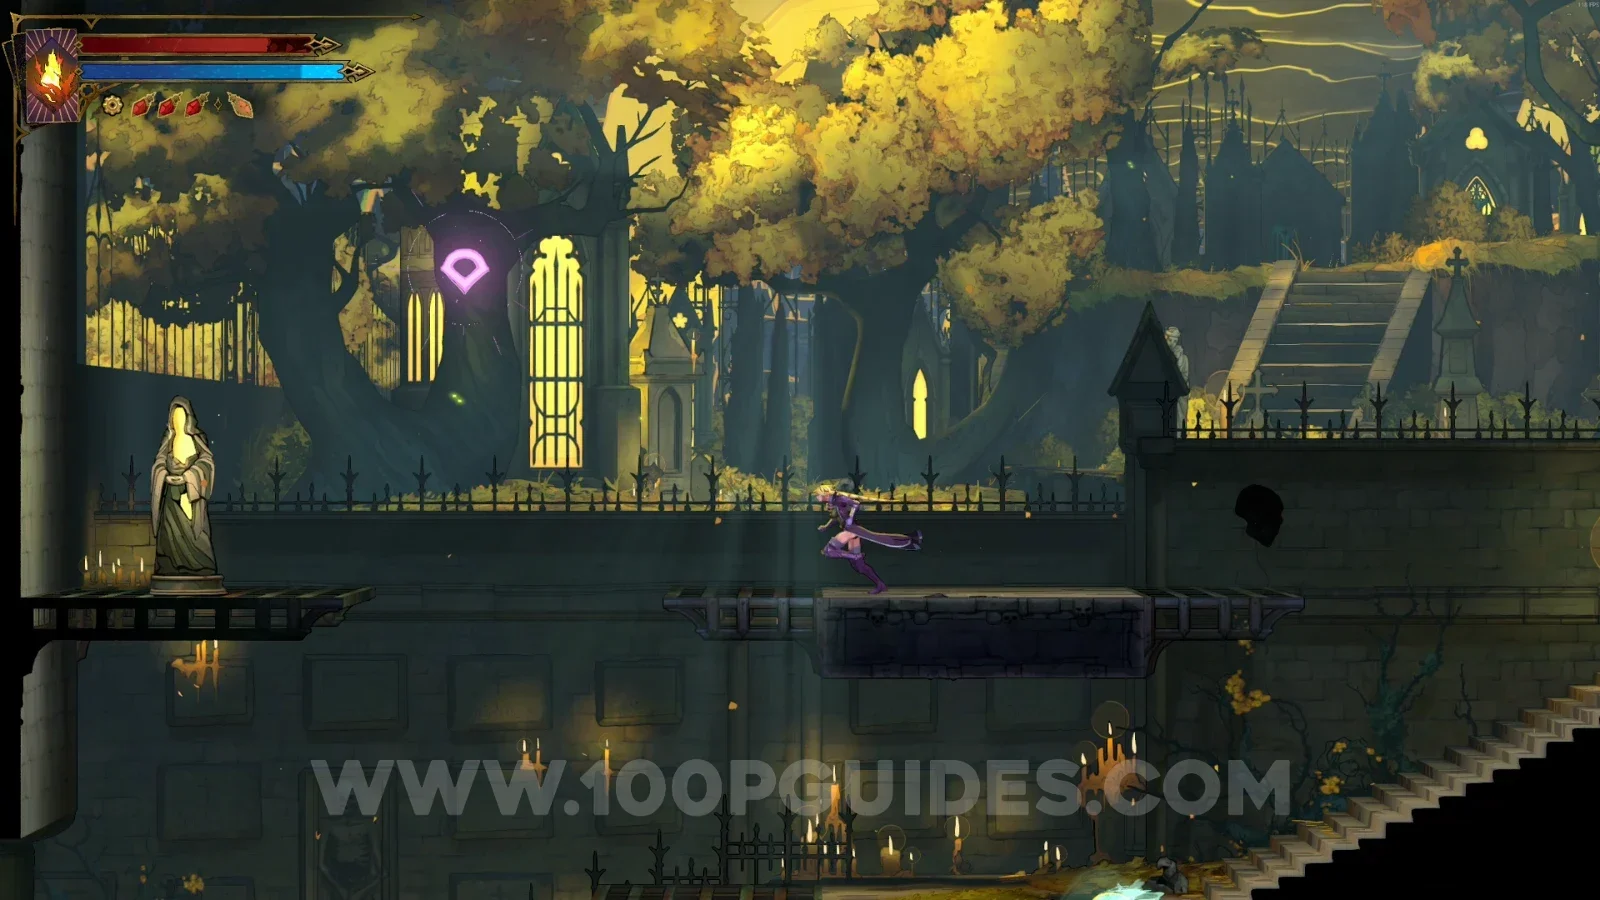
Castlevania Belmont's Curse Cloister: map marking the location of Mirror Of Life #1 Castlevania Belmont's Curse Cloister: Mirror Of Life #1 in the marked area

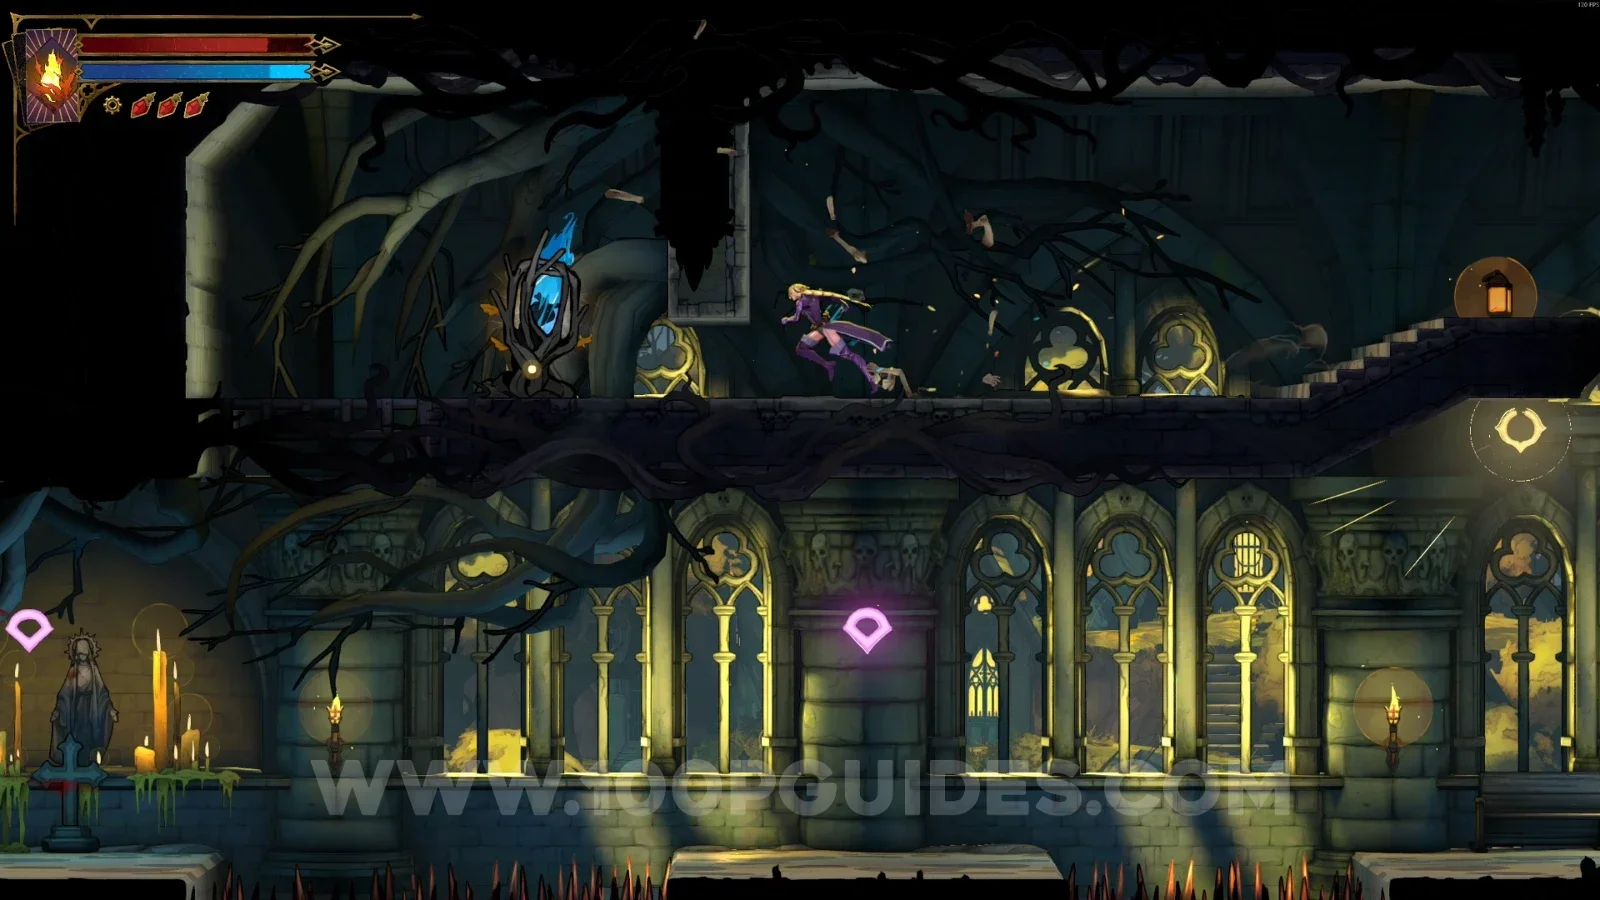
Wise Heart Fragment #1

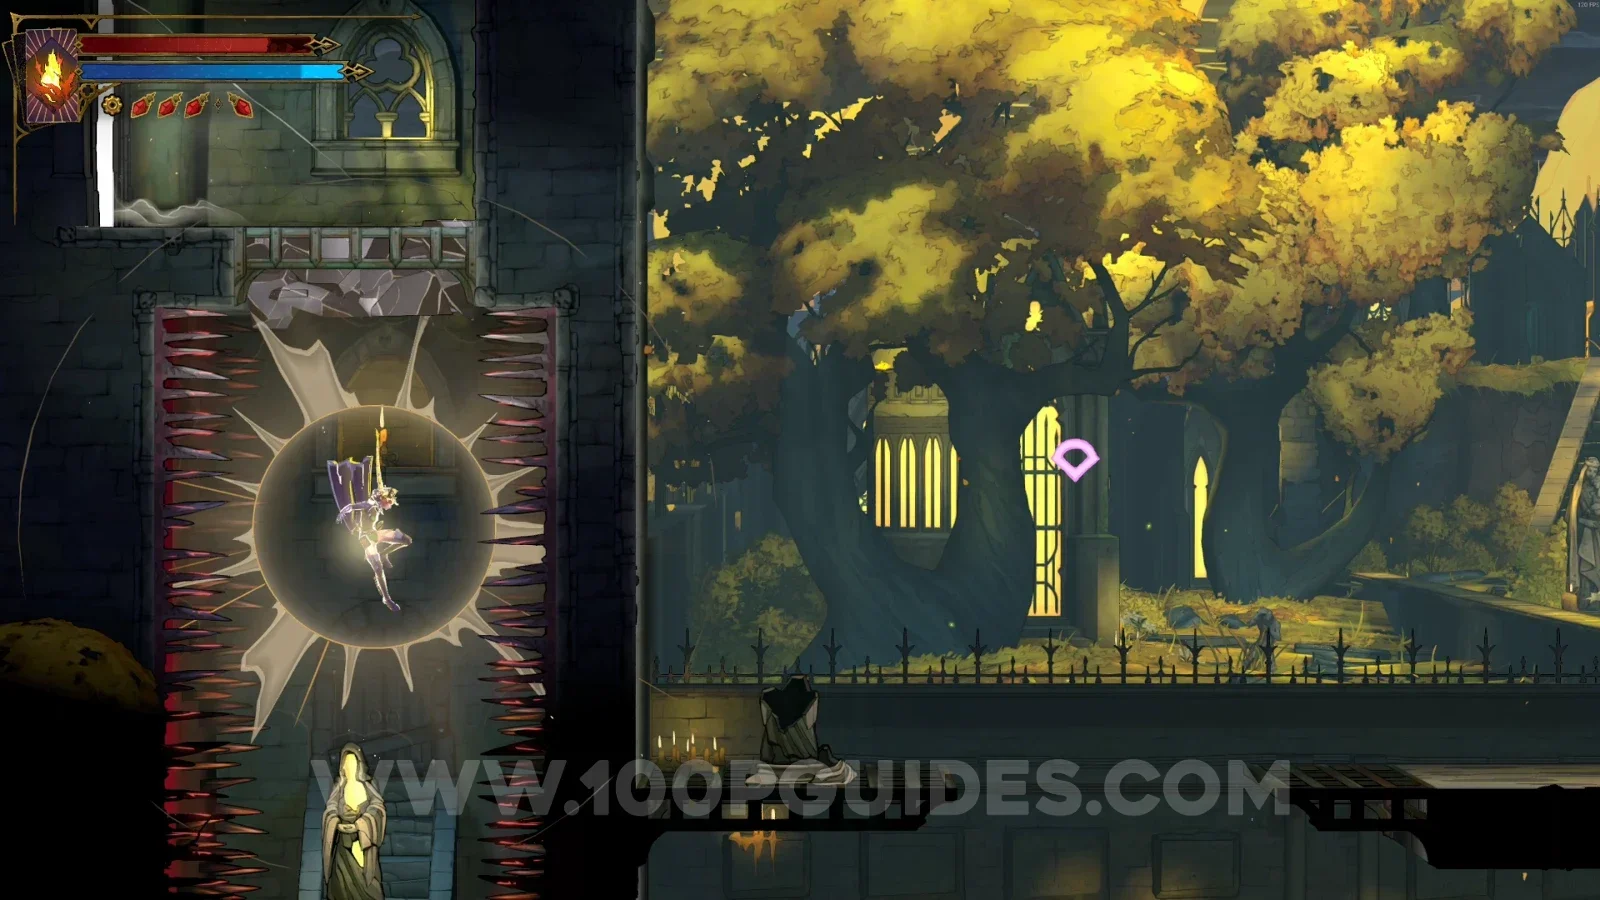
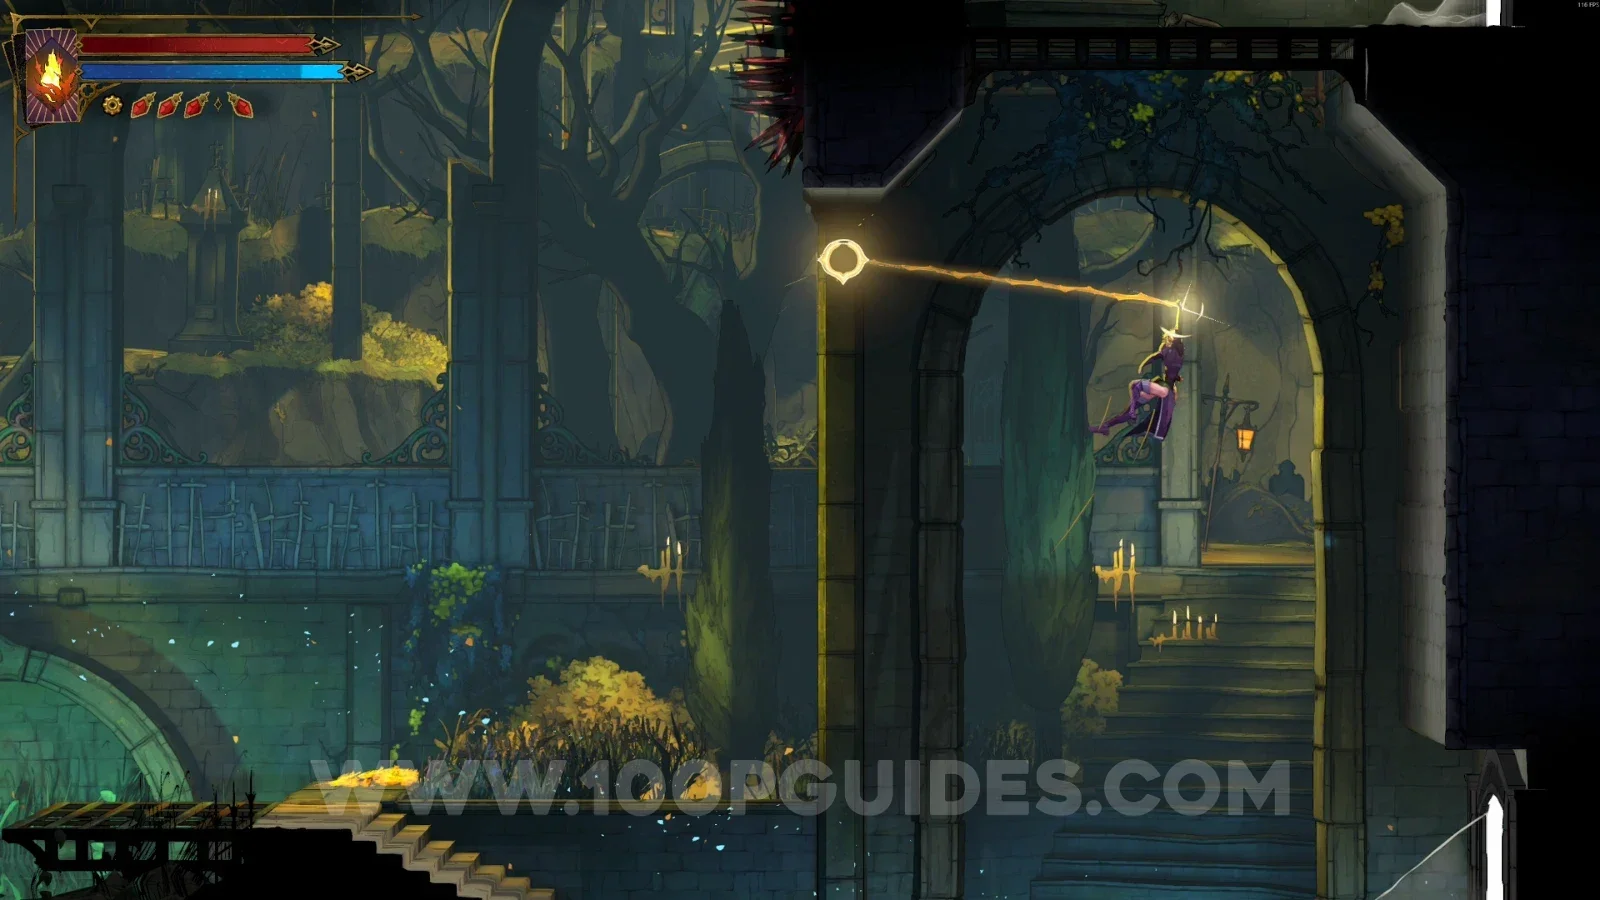
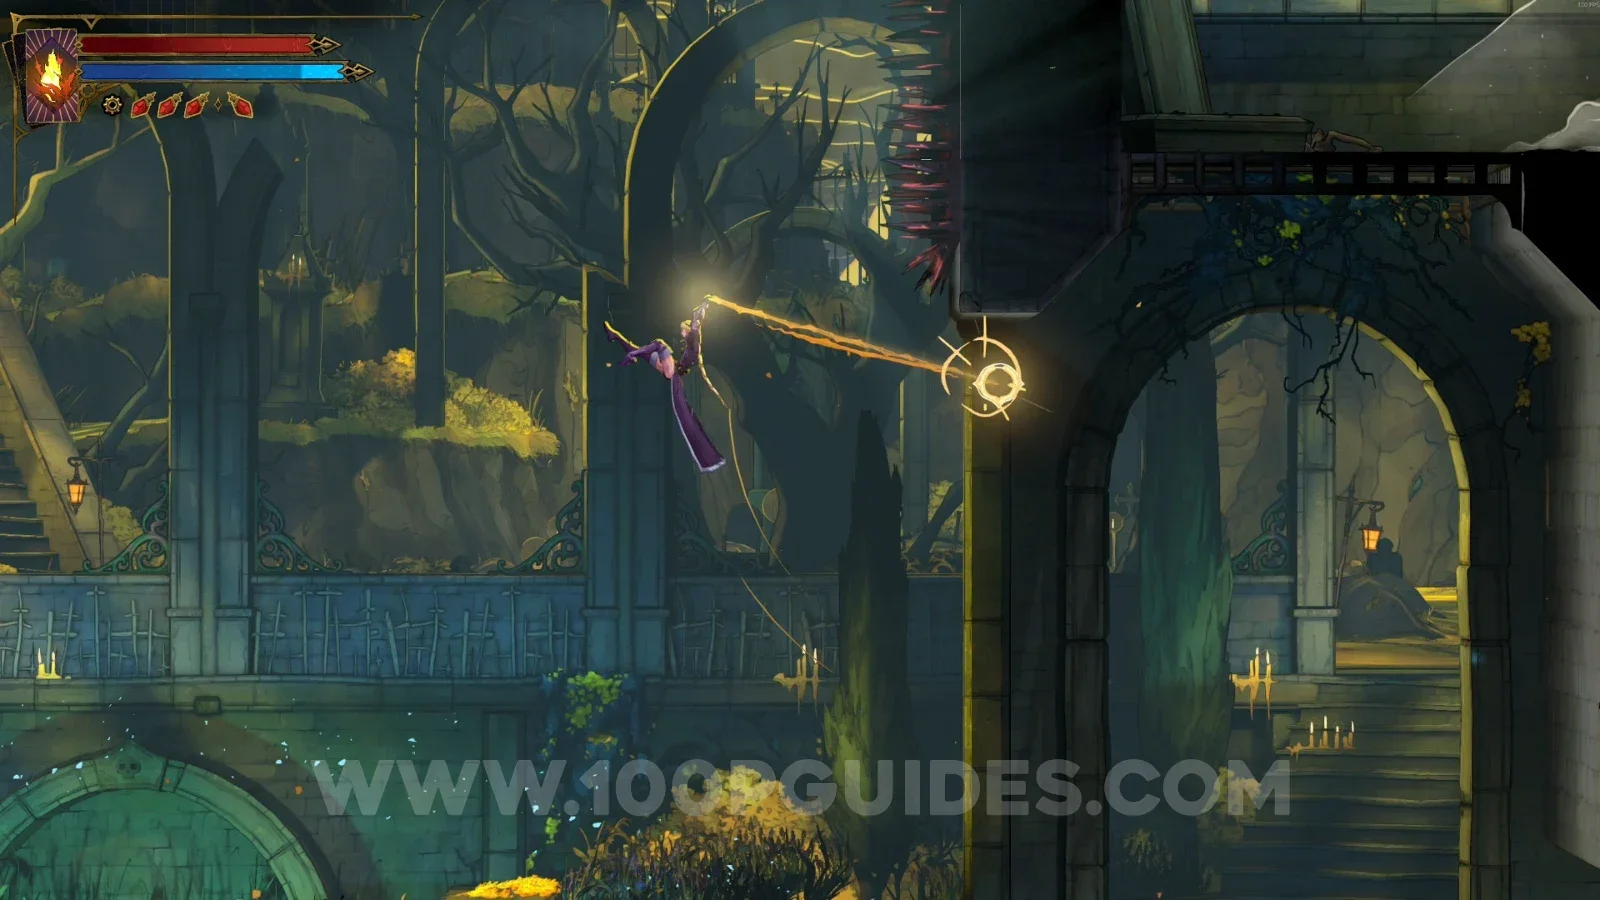
Use the Arcane Whip to climb to the upper part of the area and reveal the secret room containing the Wise Heart.
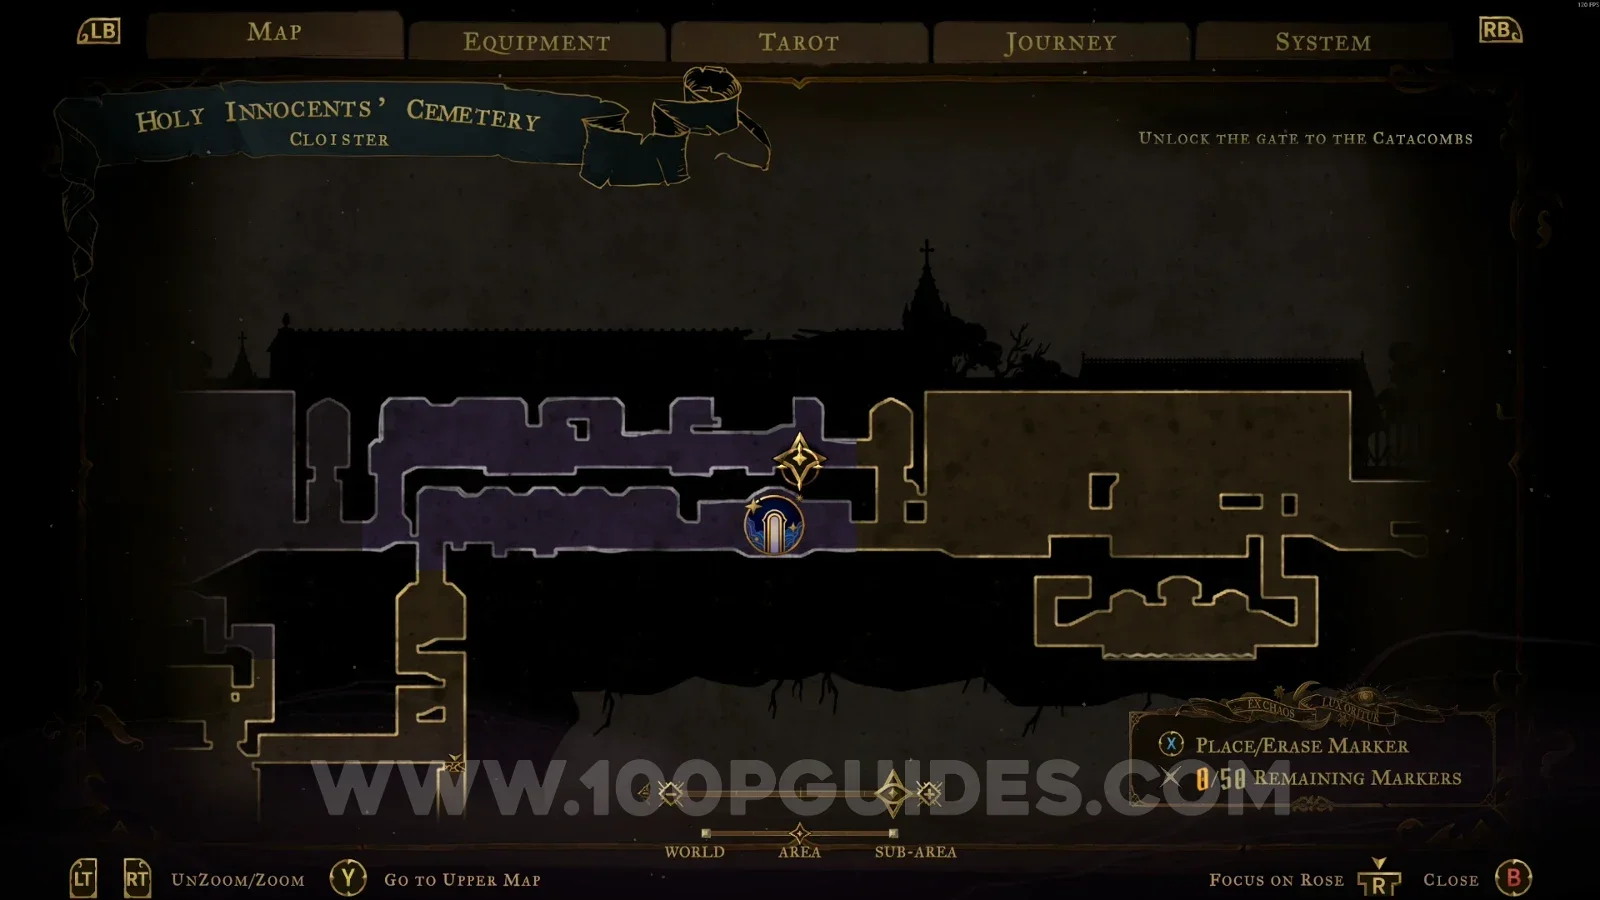
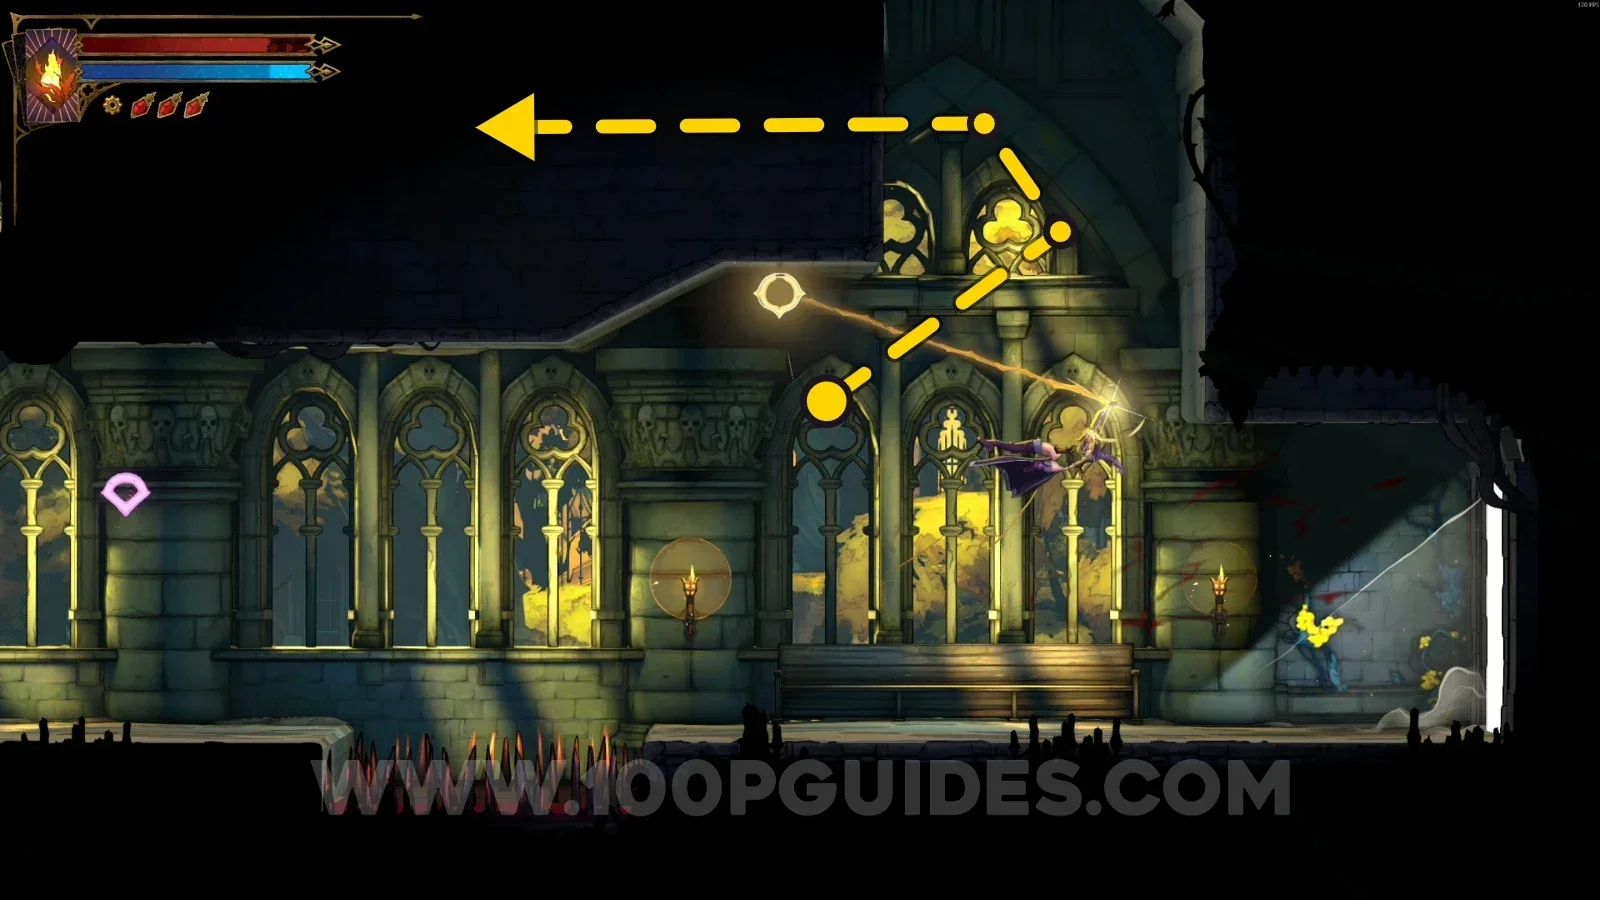
Castlevania Belmont's Curse Cloister: climbing to the upper part of the area with the Arcane Whip Castlevania Belmont's Curse Cloister: revealing the secret room in the upper part of the area Castlevania Belmont's Curse Cloister: Wise Heart Fragment #1 inside the secret room

Sepulcher Of The Knight

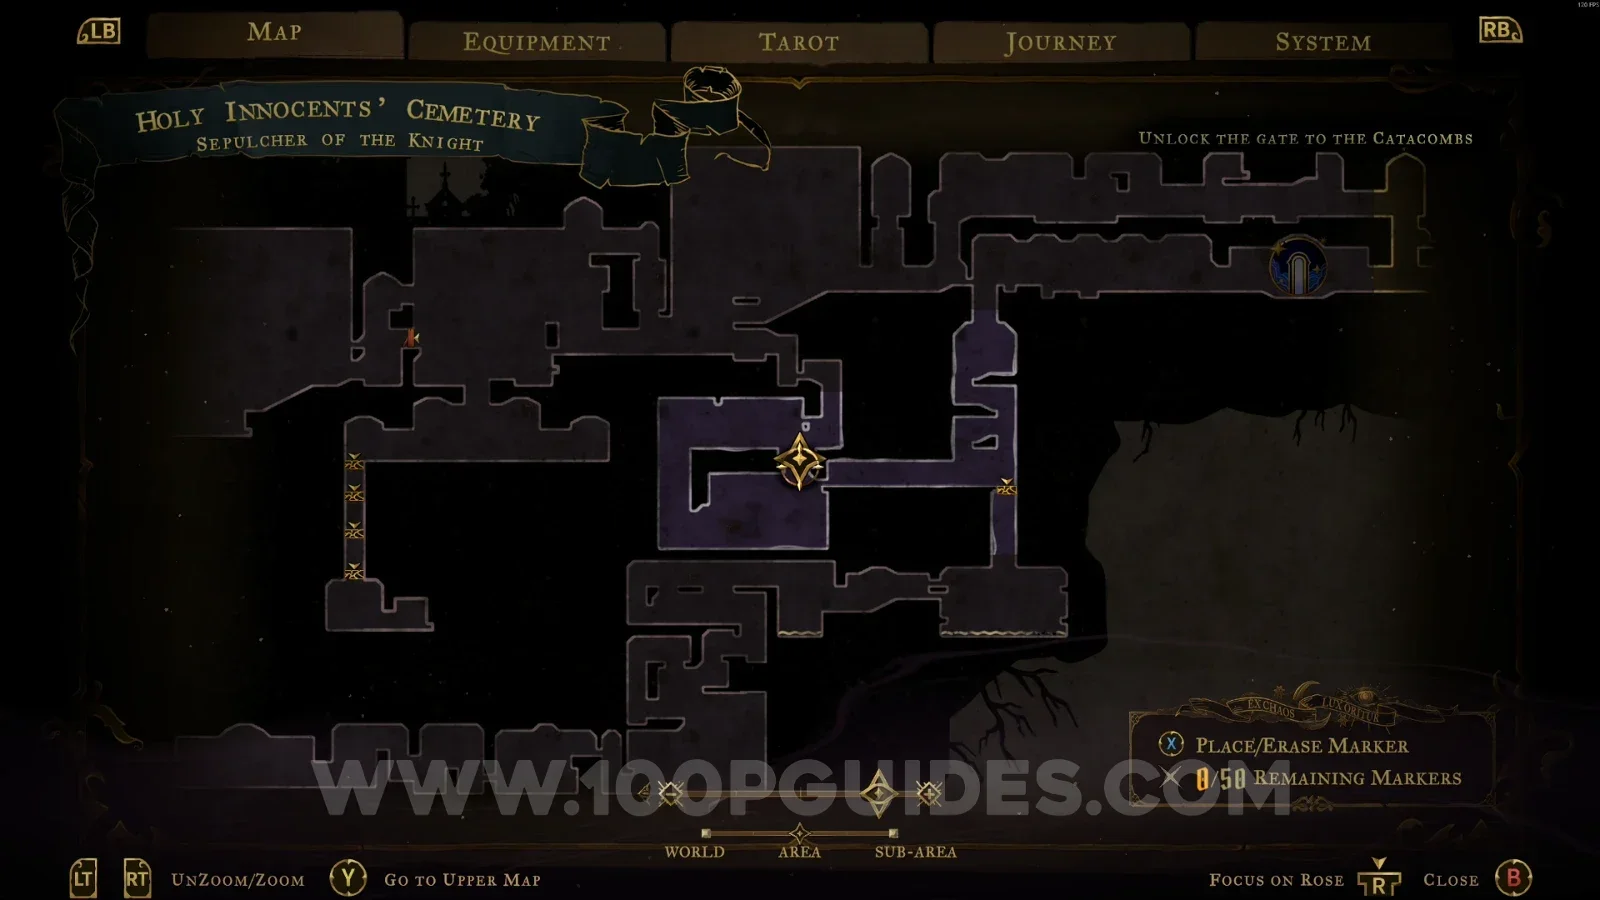
Clue: The Prophetess

In the area marked on the map.
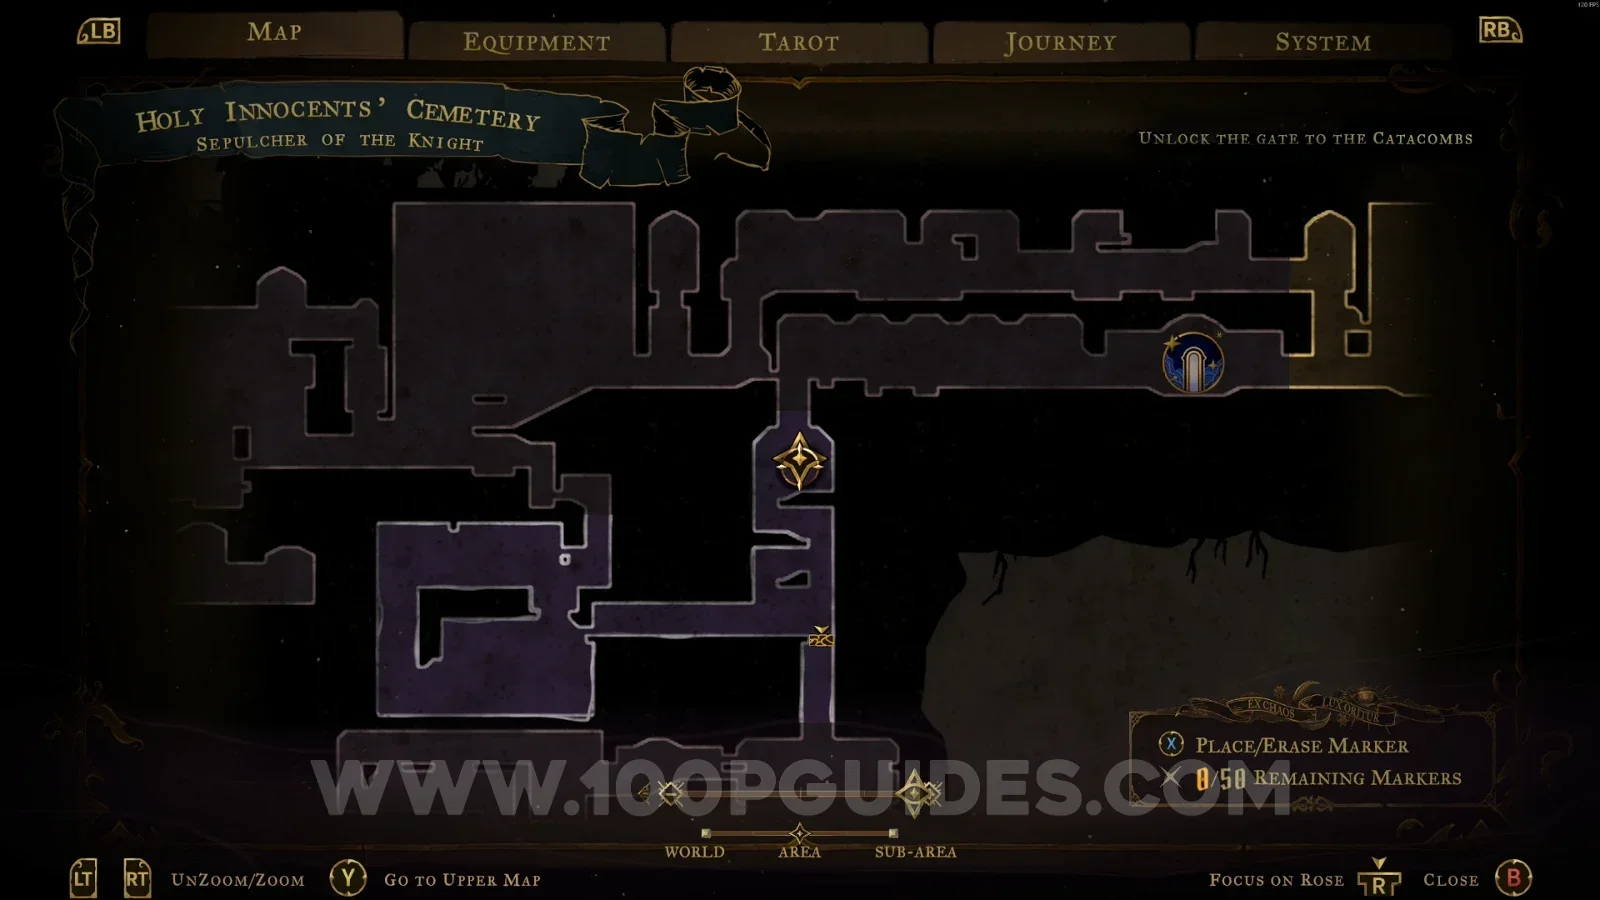
Castlevania Belmont's Curse Sepulcher Of The Knight: map marking the Clue The Prophetess location Castlevania Belmont's Curse Sepulcher Of The Knight: Clue The Prophetess found in the marked area

XP Statue #2

In the area marked on the map.

Castlevania Belmont's Curse Sepulcher Of The Knight: map marking the location of XP Statue #2 Castlevania Belmont's Curse Sepulcher Of The Knight: XP Statue #2 in the marked area

Memorial For The Dead

XP Statue #3

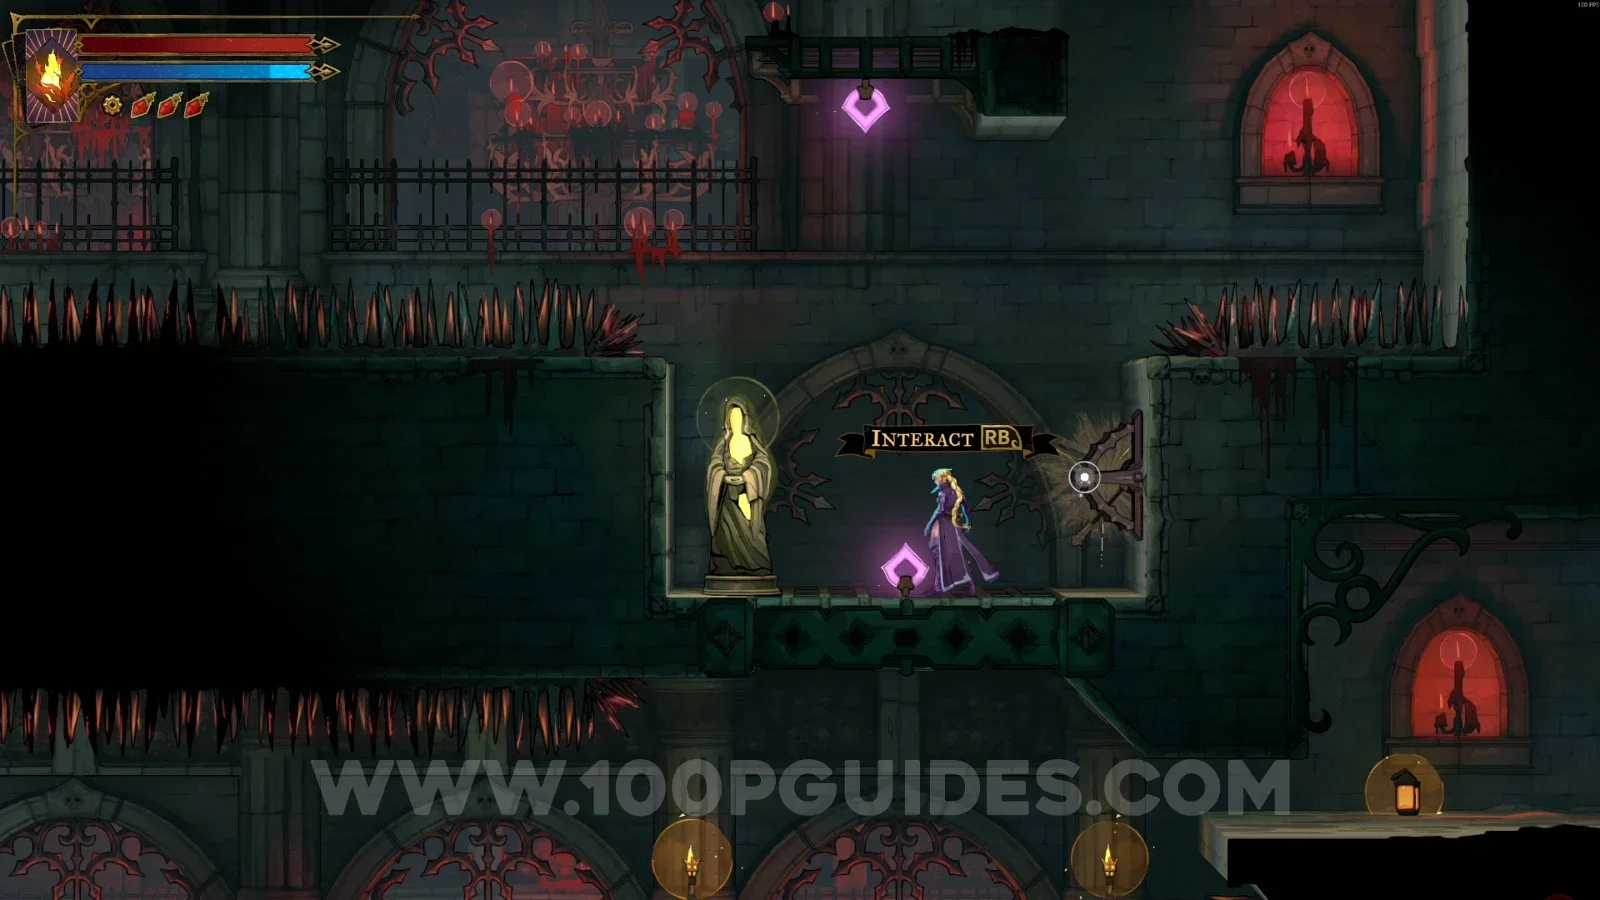
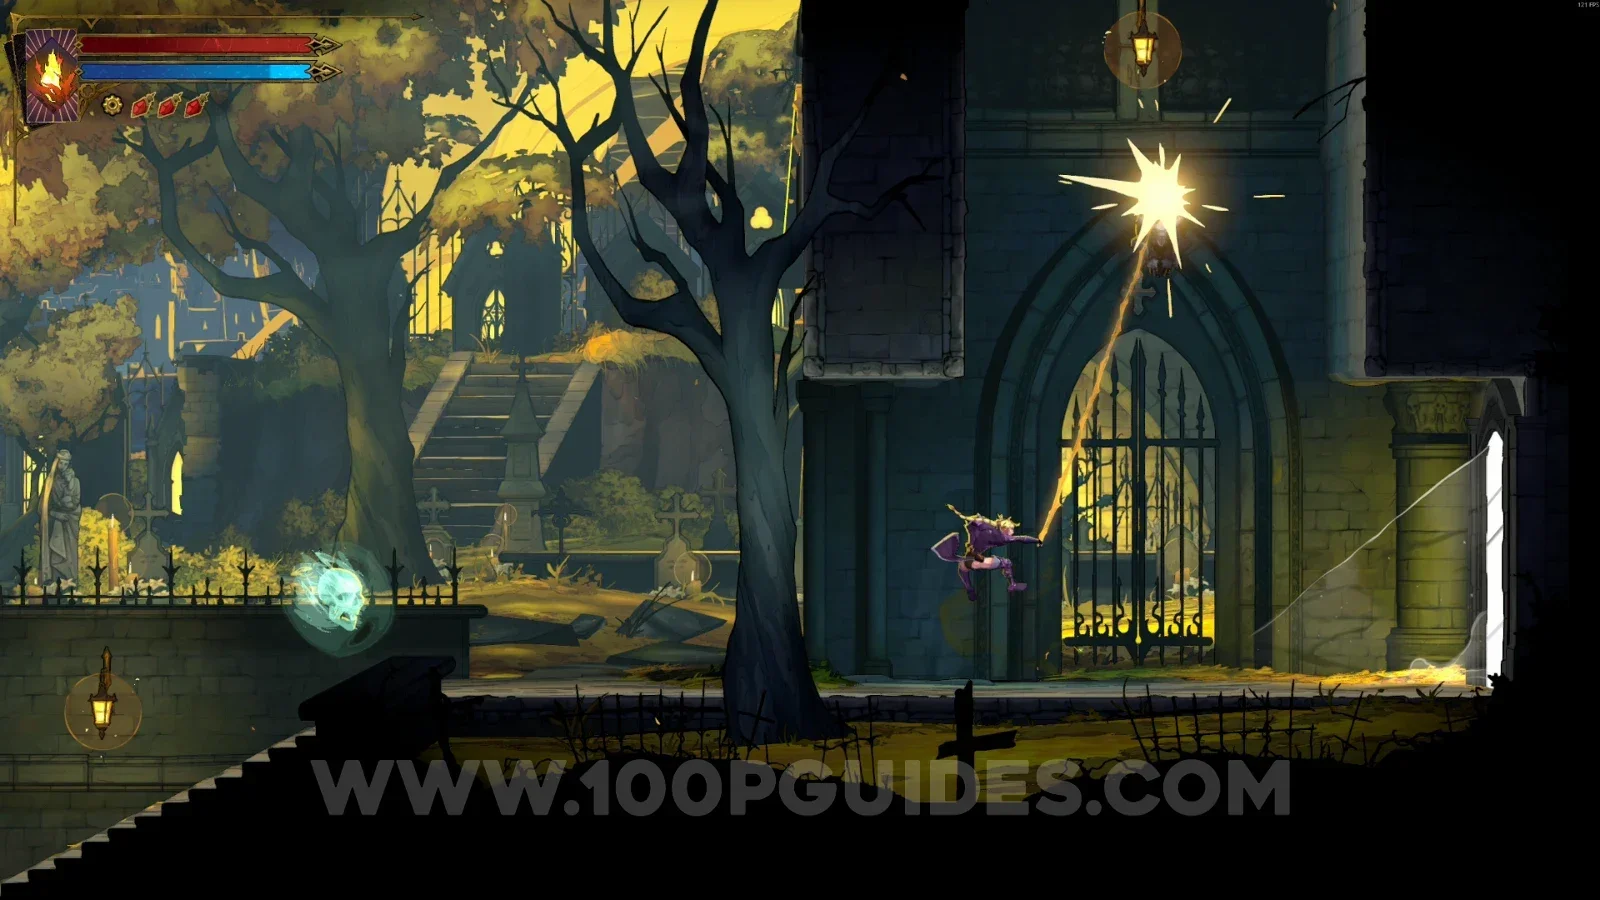
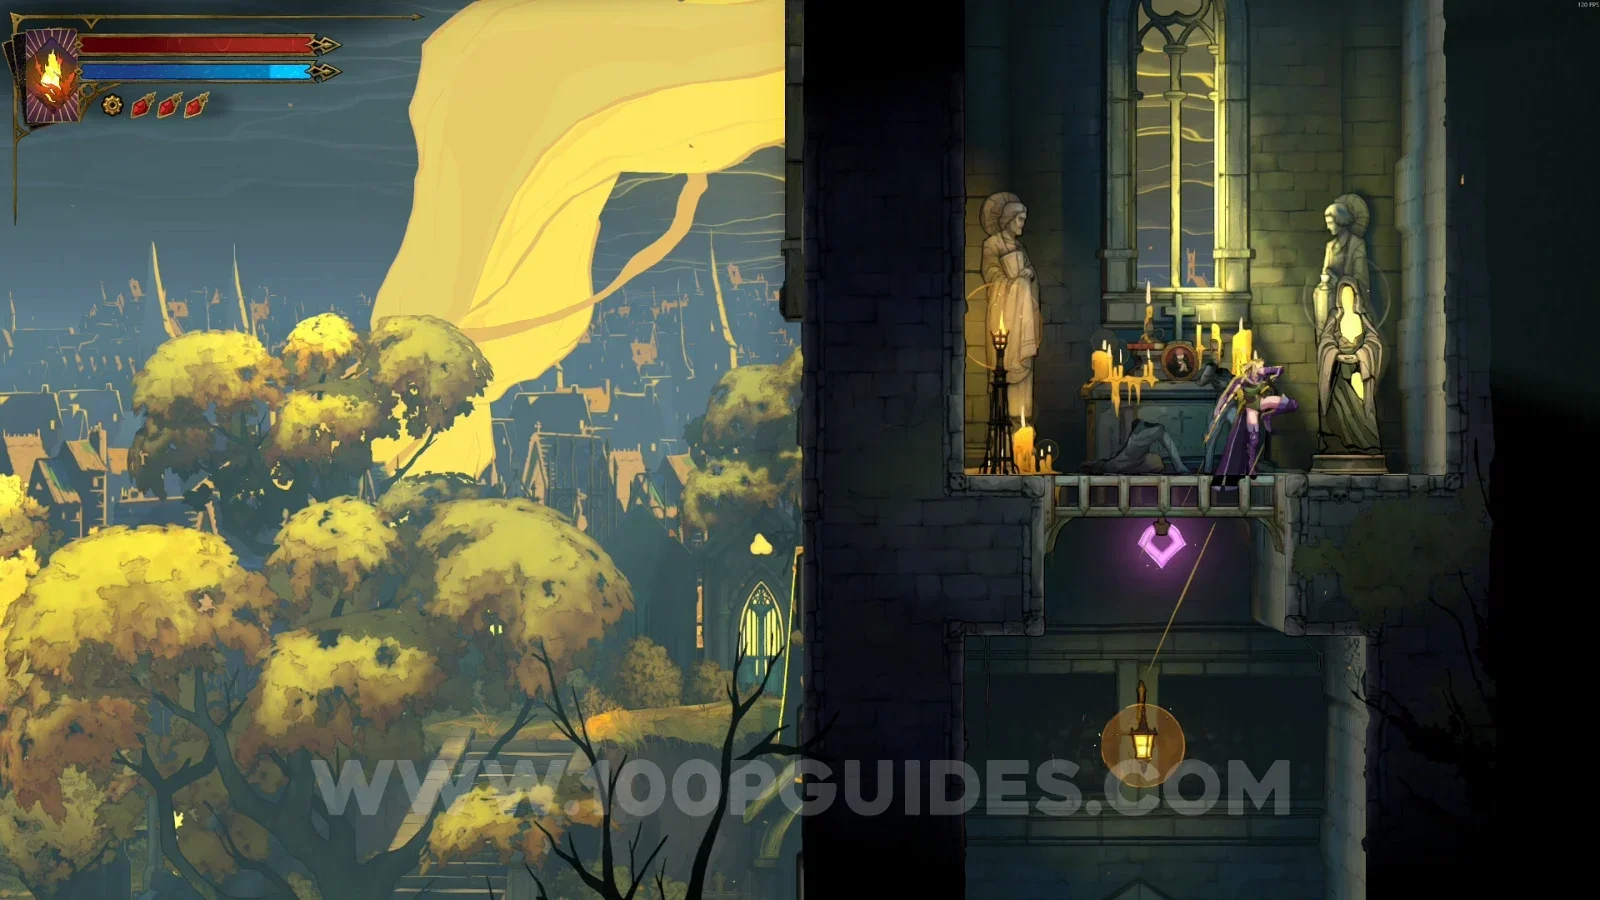
Use the Arcane Whip to climb to the upper part of the area, and you'll find this statue.

Castlevania Belmont's Curse Memorial For The Dead: climbing up the area with the Arcane Whip Castlevania Belmont's Curse Memorial For The Dead: reaching the upper part of the area Castlevania Belmont's Curse Memorial For The Dead: XP Statue #3 in the upper part of the area

XP Statue #4

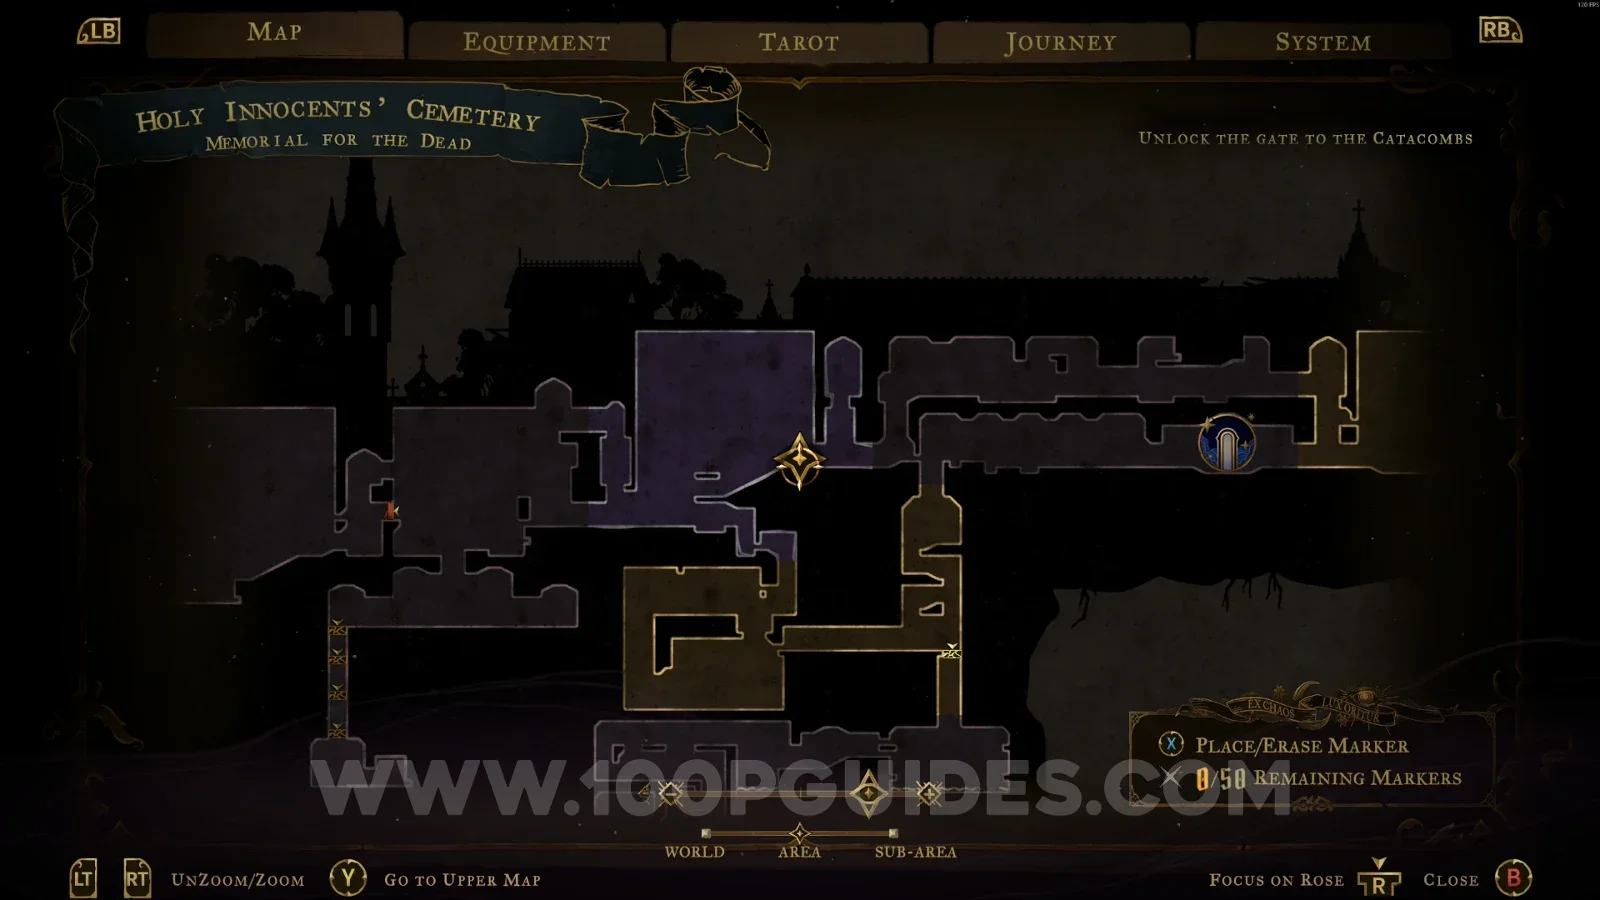
In the area marked on the map.

Castlevania Belmont's Curse Memorial For The Dead: map marking the location of XP Statue #4 Castlevania Belmont's Curse Memorial For The Dead: XP Statue #4 in the marked area

XP Statue #5

In the area marked on the map, use the Holy Light arcane power to go down the platform.

Castlevania Belmont's Curse Memorial For The Dead: map marking the location of XP Statue #5 Castlevania Belmont's Curse Memorial For The Dead: XP Statue #5 reached by using Holy Light to go down the platform

Fountain Of The Innocents

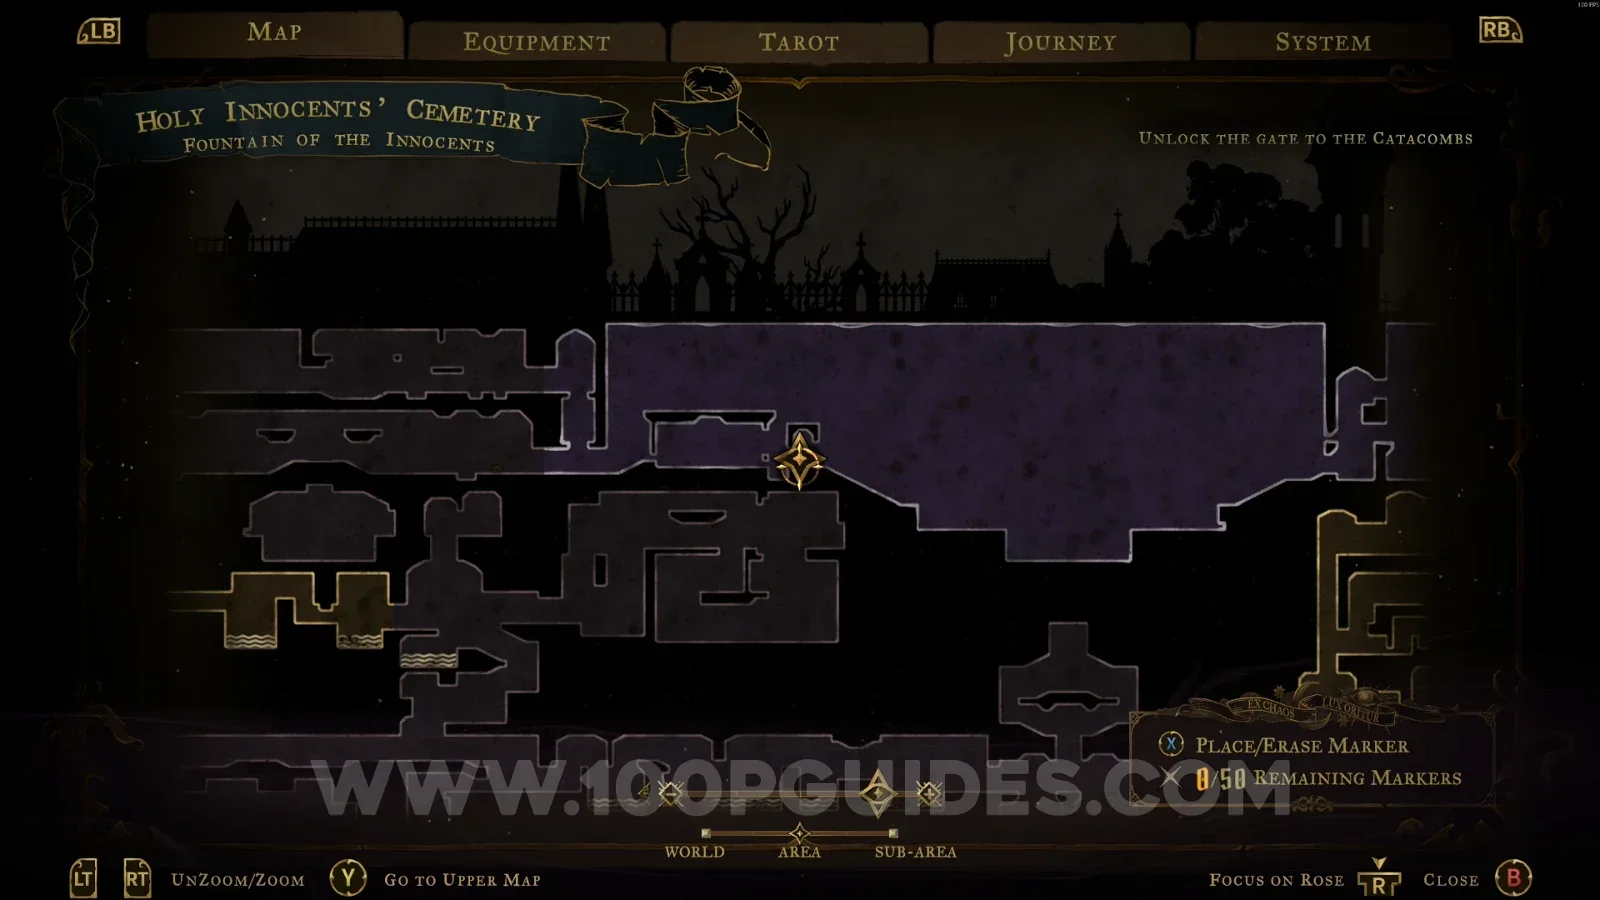
XP Statue #6 + Weapon #2: Lance

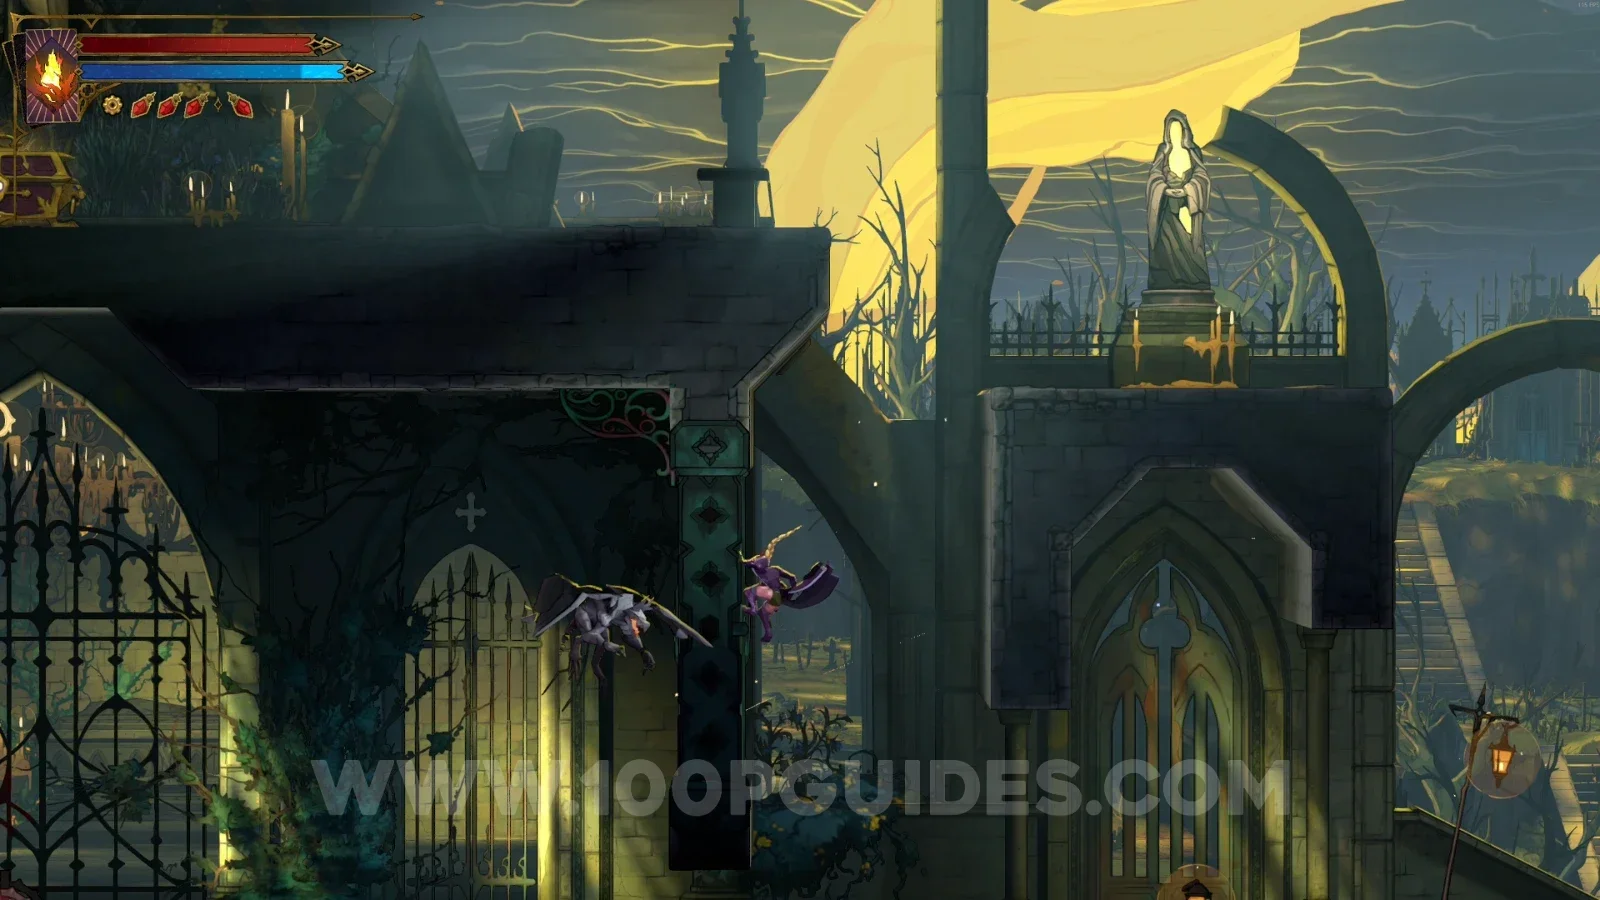
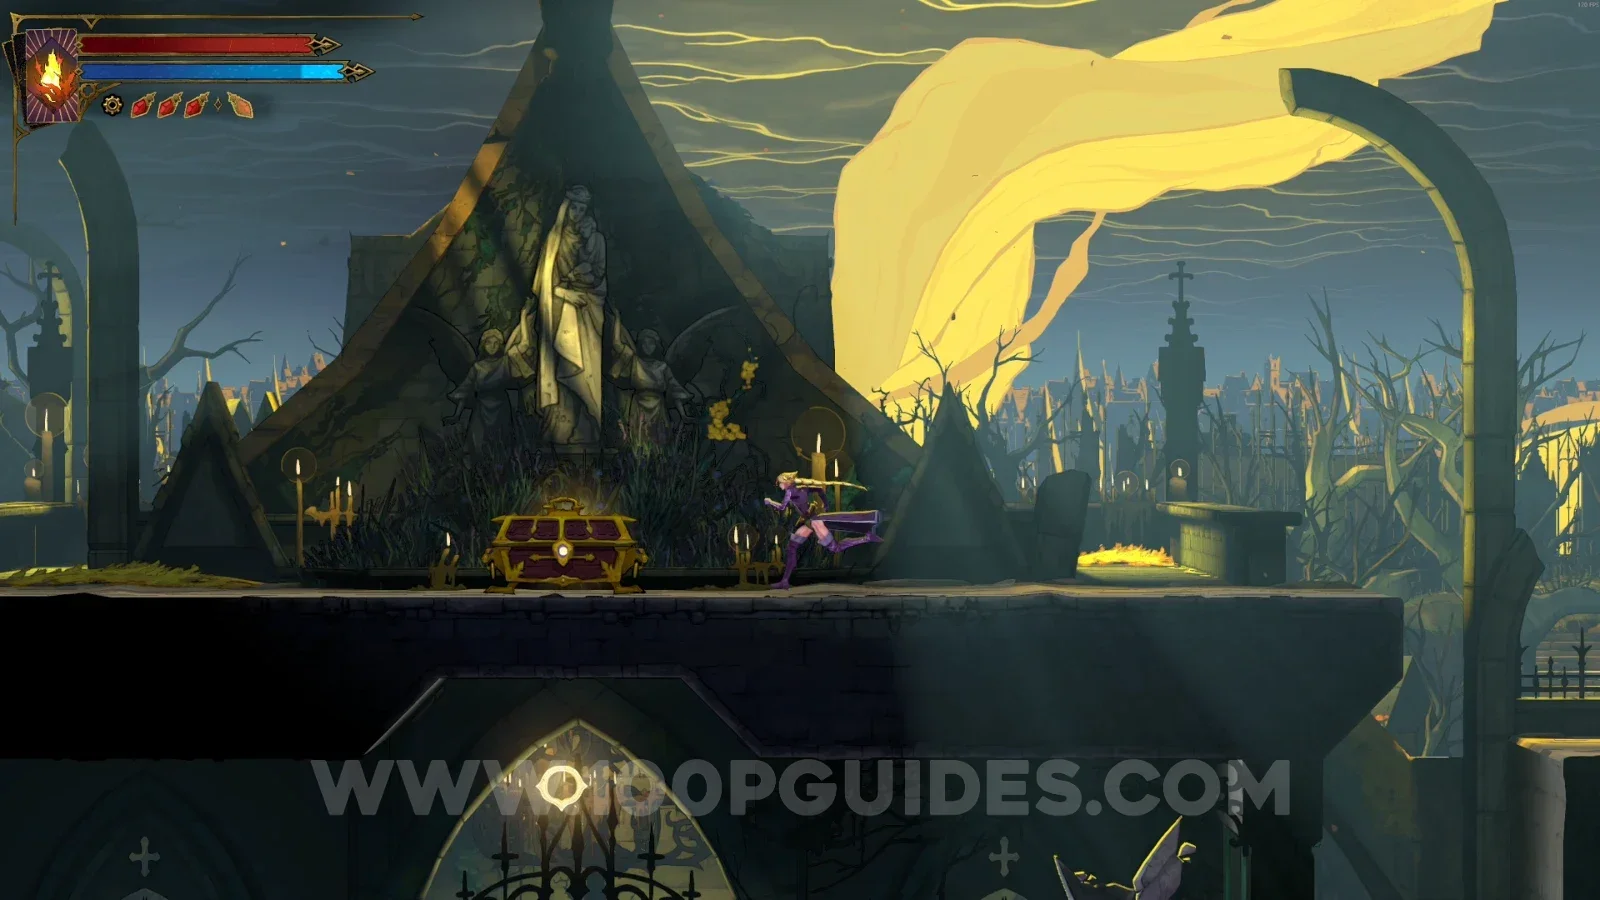
Climb to the upper part to find this statue, and in the chest on the left side you'll find the weapon.

Castlevania Belmont's Curse Fountain Of The Innocents: climbing to the upper part of the area Castlevania Belmont's Curse Fountain Of The Innocents: XP Statue #6 in the upper part Castlevania Belmont's Curse Fountain Of The Innocents: chest on the left side holding Weapon #2 Lance

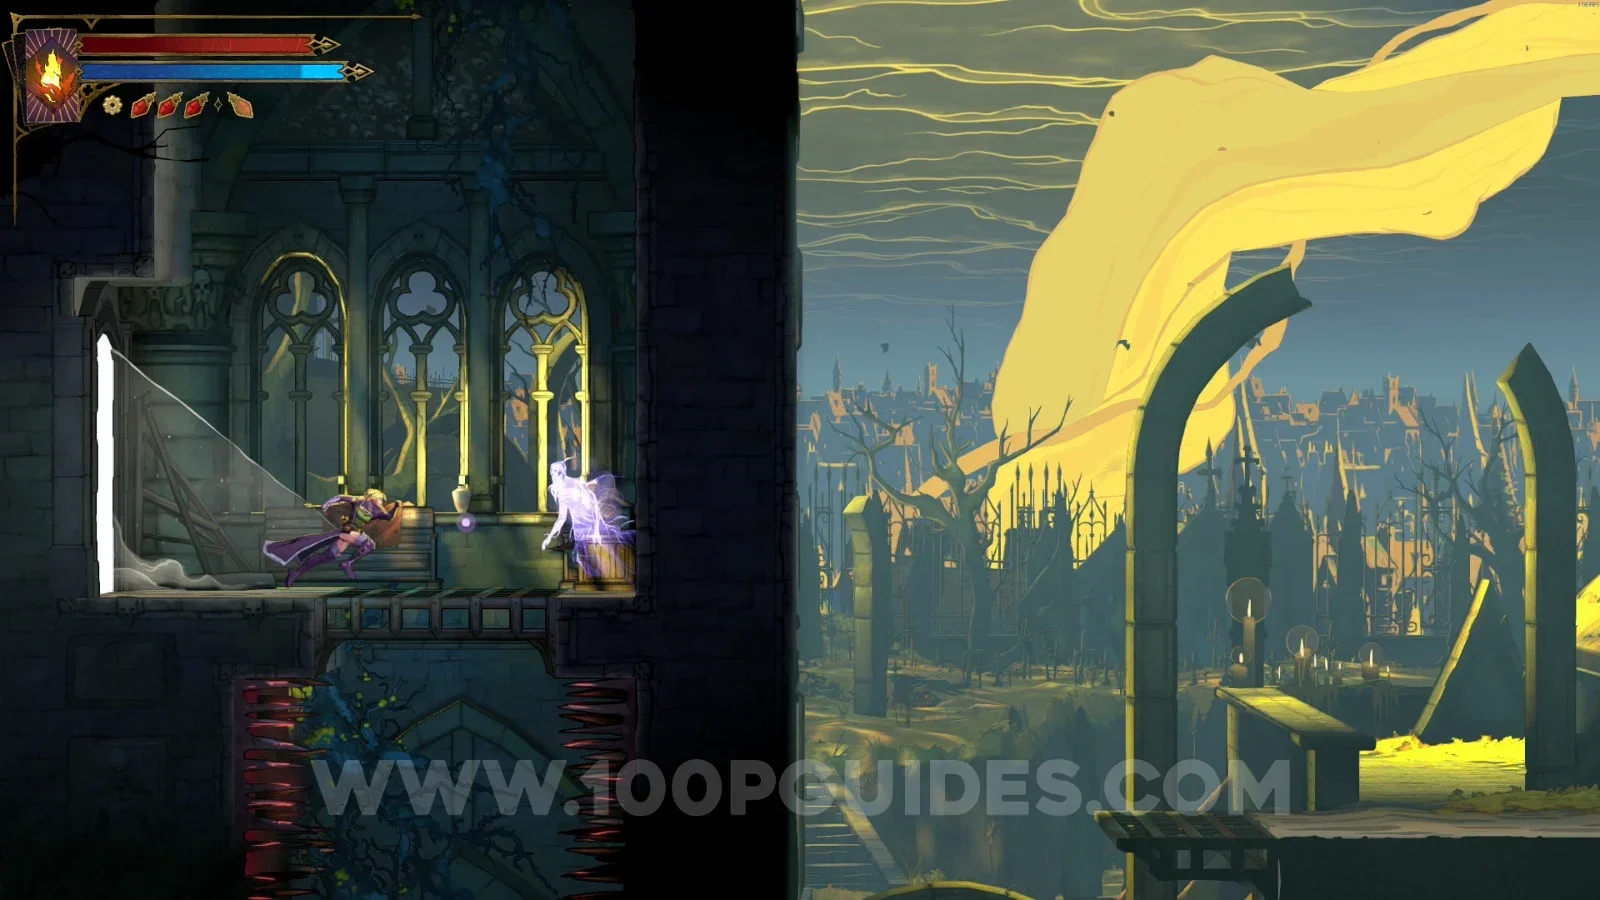
Clue: The Prophetess

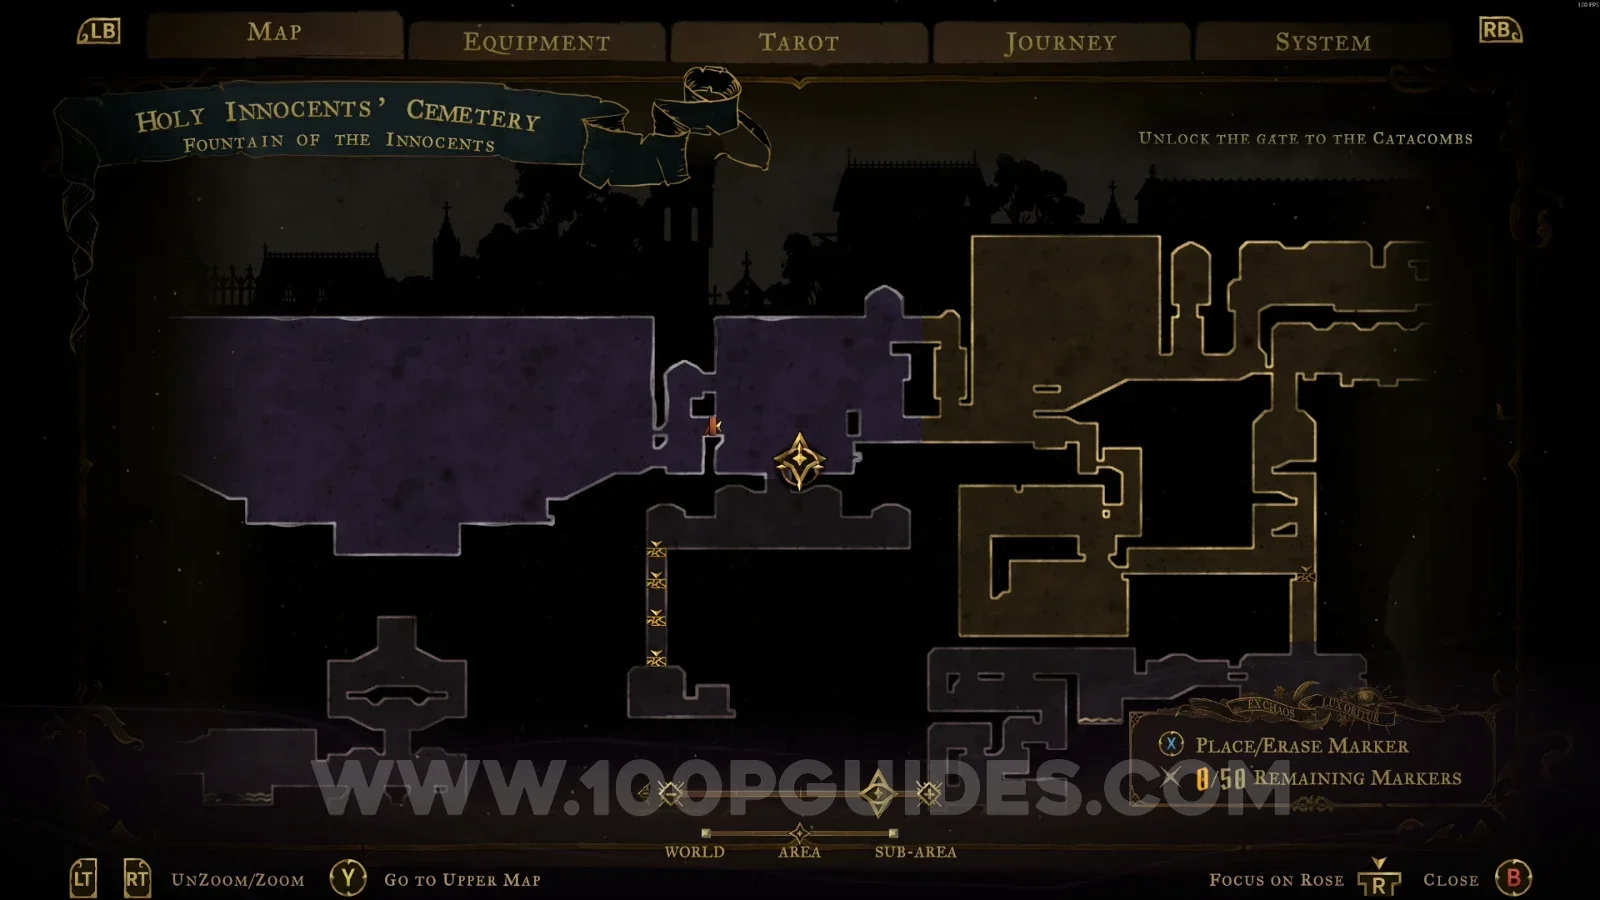
In the area marked on the map.
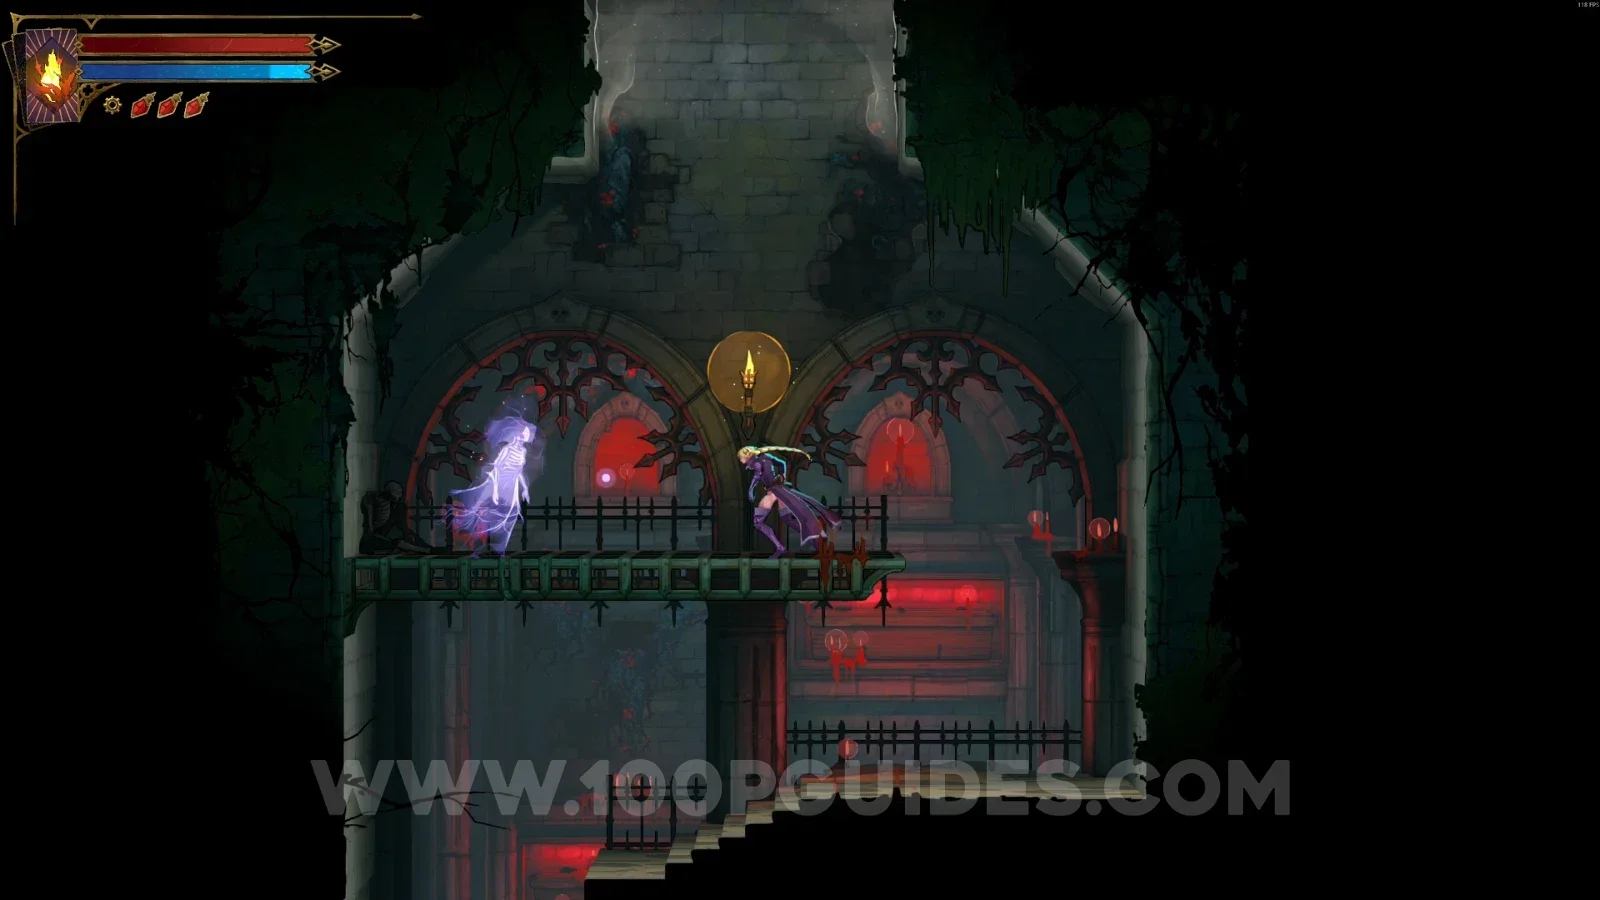
Castlevania Belmont's Curse Fountain Of The Innocents: map marking the Clue The Prophetess location Castlevania Belmont's Curse Fountain Of The Innocents: Clue The Prophetess found in the marked area

Pillaged Tombs

Haunted Coffin #2

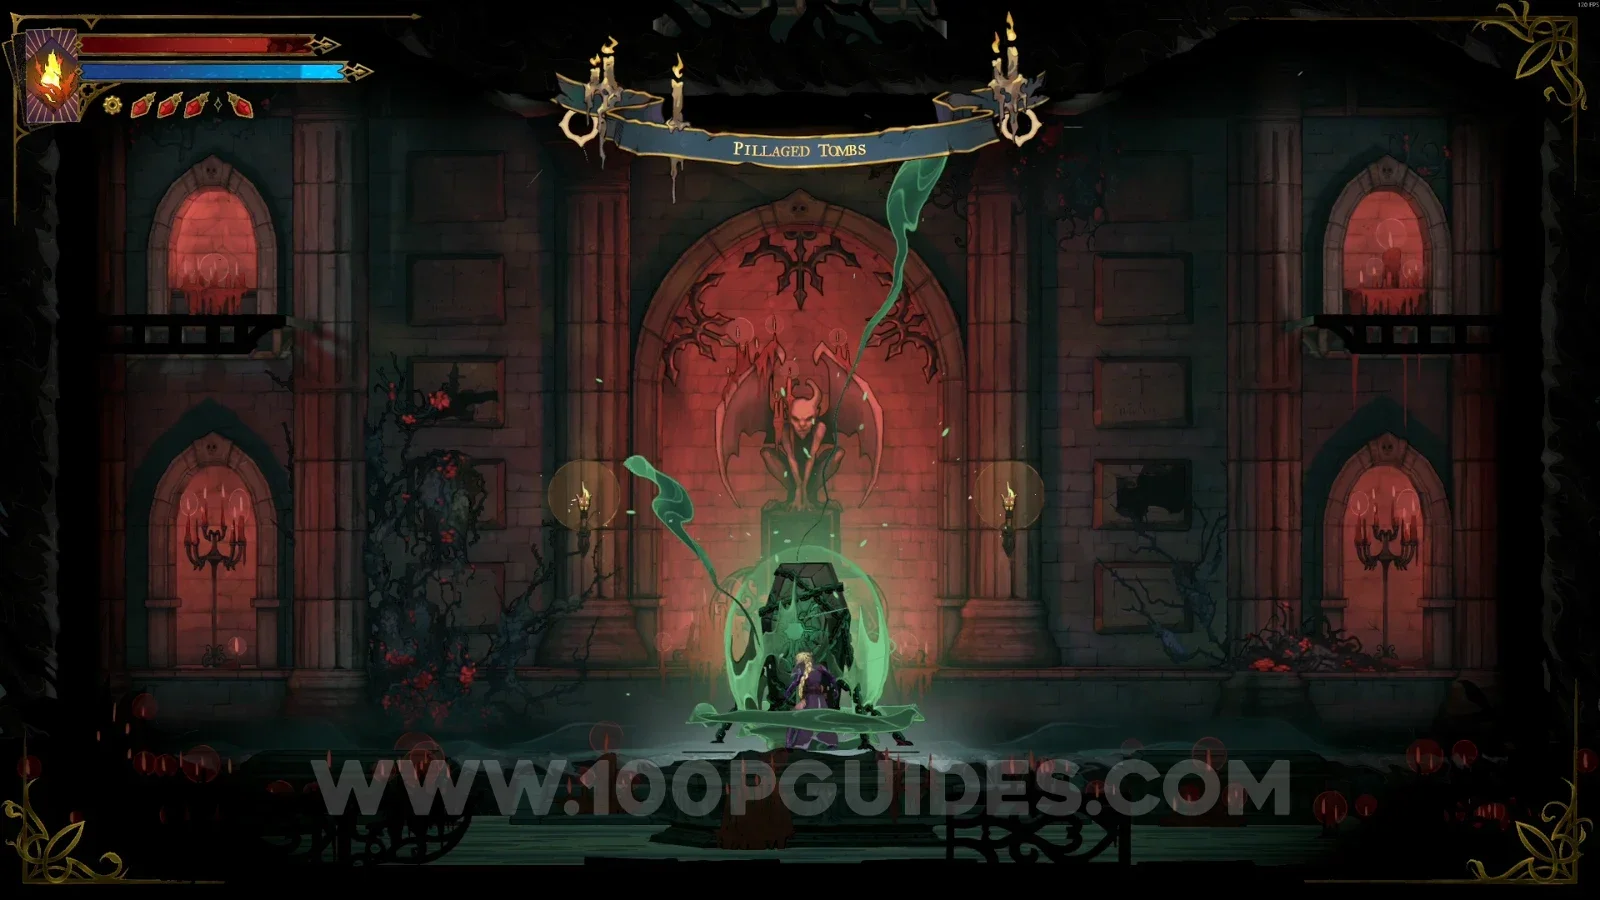
Use the slide on the right side and interact with the lever, then go down the platform and destroy the coffin.

Castlevania Belmont's Curse Pillaged Tombs: using the slide on the right side of the area Castlevania Belmont's Curse Pillaged Tombs: interacting with the lever to lower the platform Castlevania Belmont's Curse Pillaged Tombs: Haunted Coffin #2 below the platform, ready to destroy

Relic #2: Nightshade

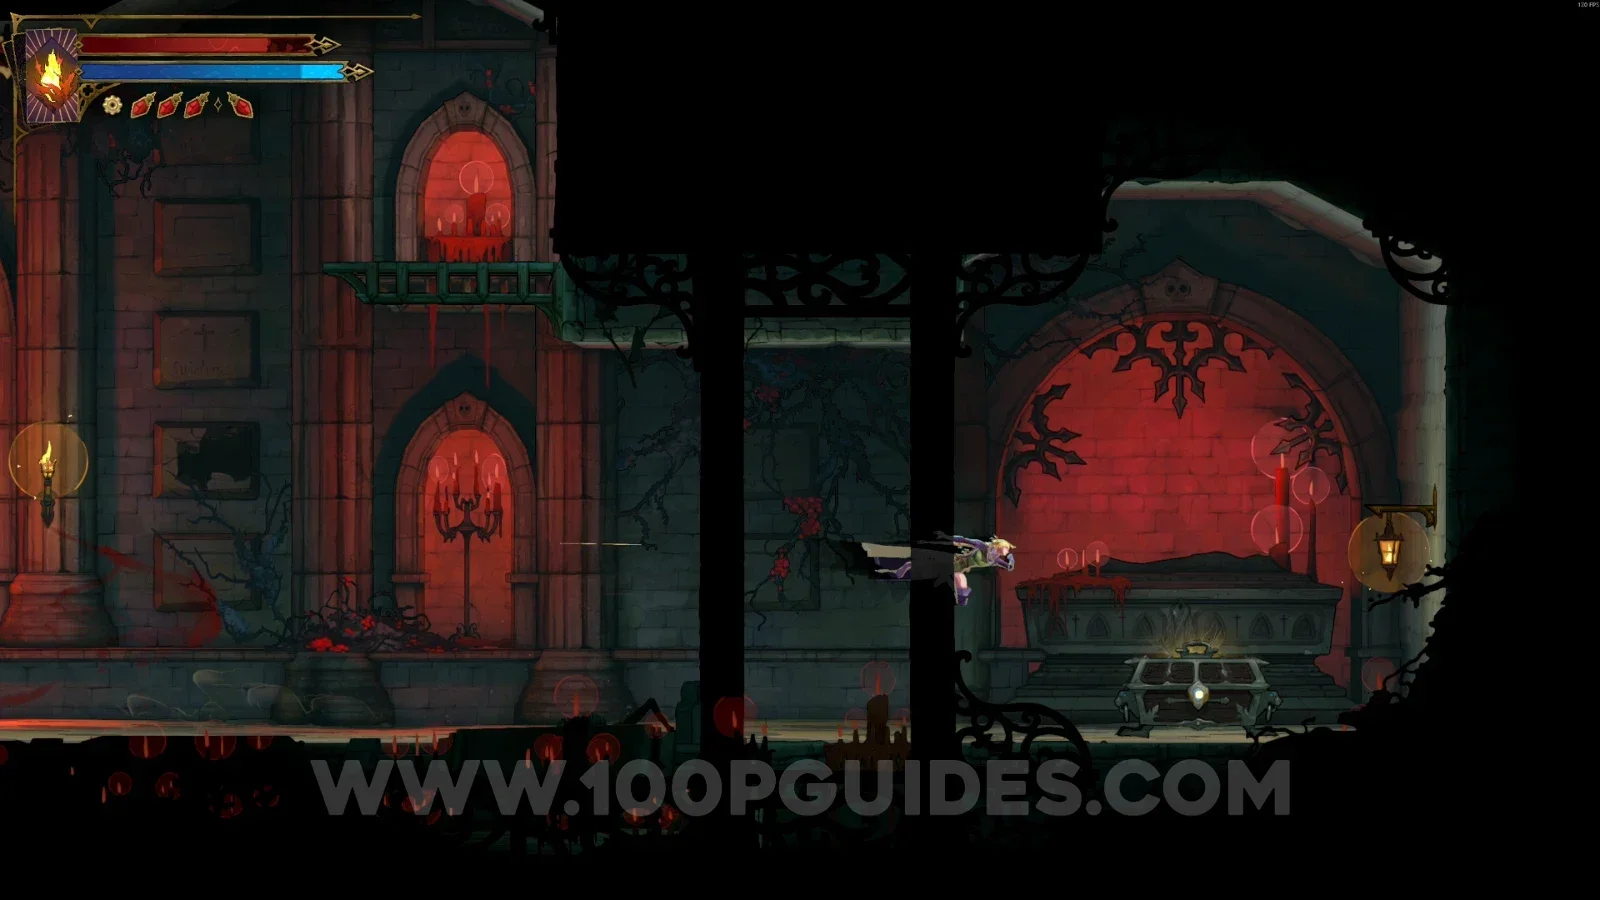
Same area as the previous spot, on the right side, inside the chest.

Castlevania Belmont's Curse Pillaged Tombs: chest on the right side holding Relic #2 Nightshade

Relic #3: Trembling Eye

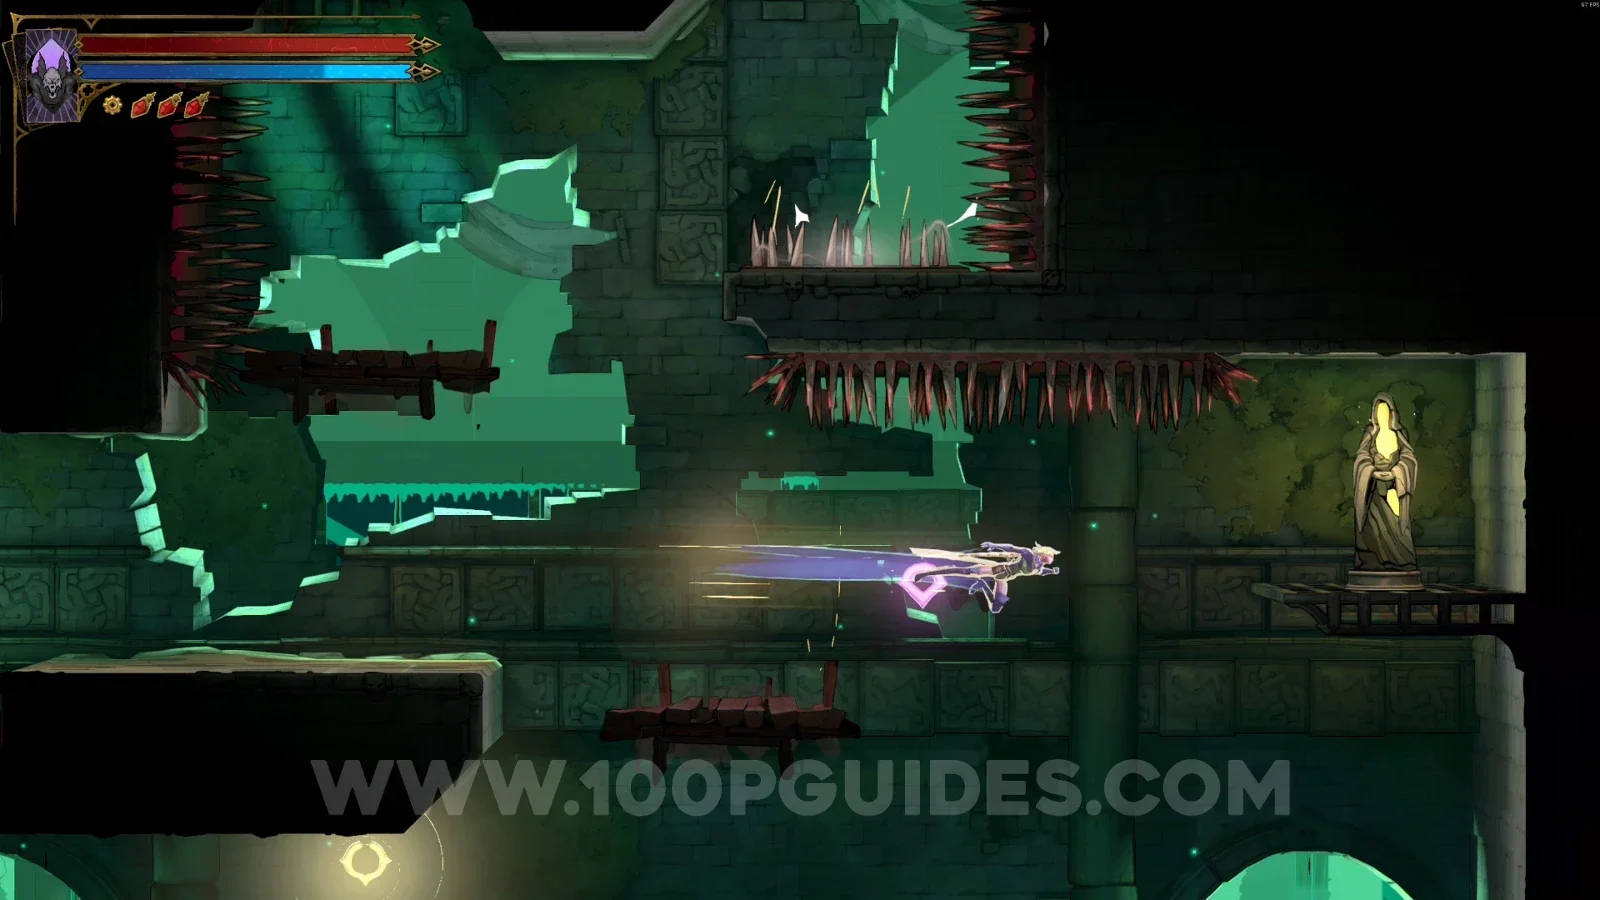
Now go along the left side and use the Smash arcane power to break the floor. In the lower part, use the slide at the wall and follow the single path to the end to grab this relic.

Castlevania Belmont's Curse Pillaged Tombs: breaking the floor on the left side with the Smash arcane power Castlevania Belmont's Curse Pillaged Tombs: using the slide at the wall in the lower part Castlevania Belmont's Curse Pillaged Tombs: Relic #3 Trembling Eye at the end of the single path

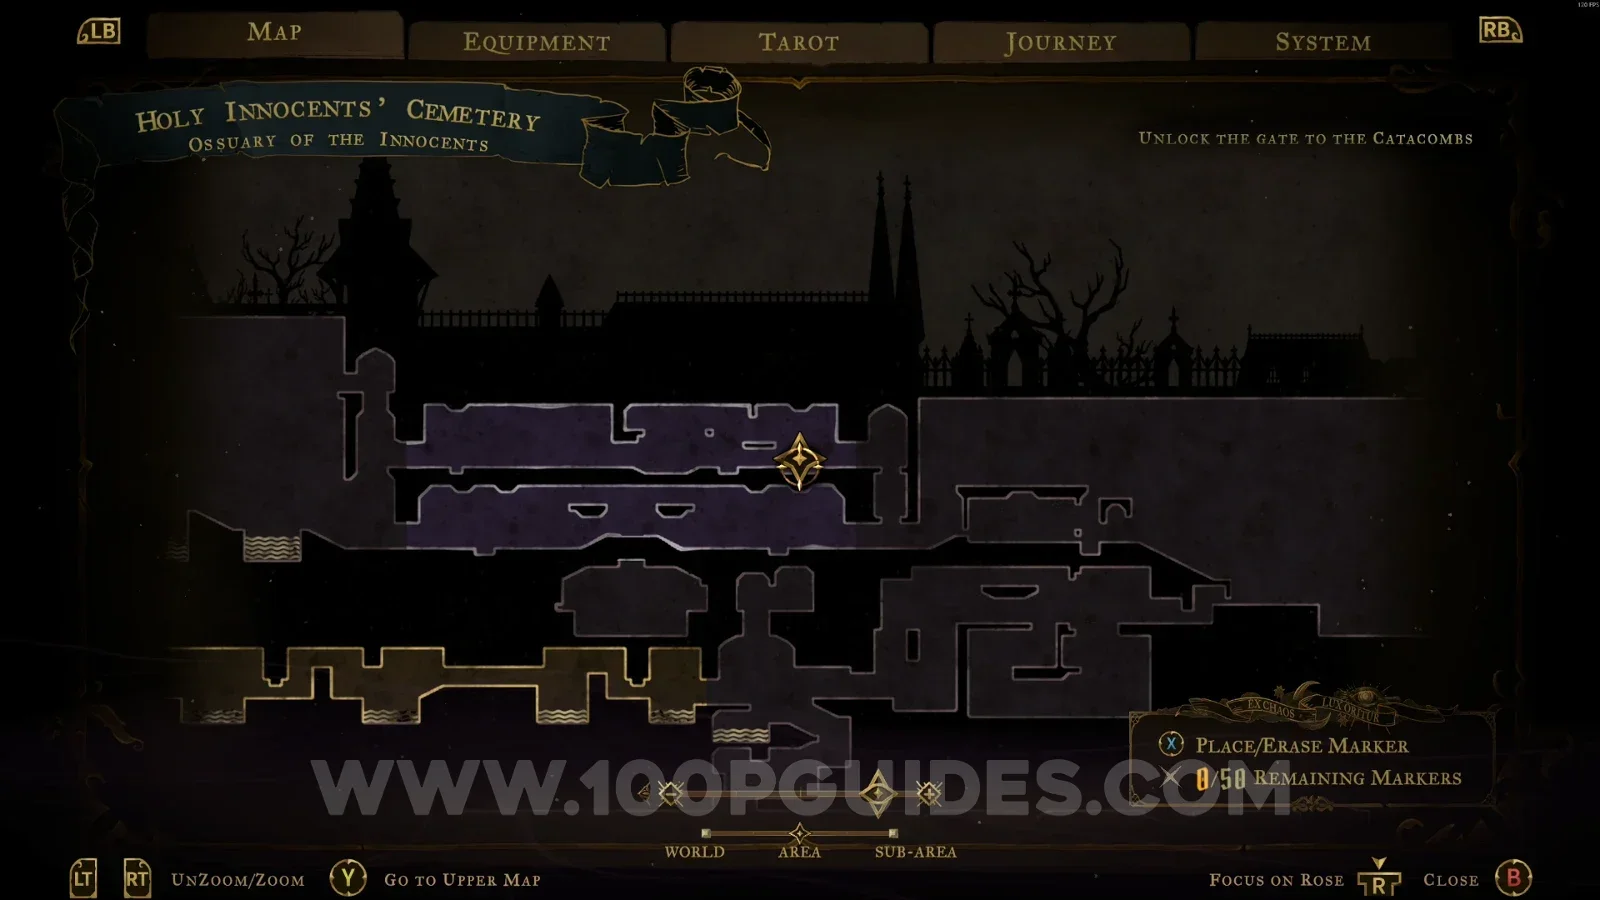
Ossuary Of The Innocents

Brave Heart Fragment #1

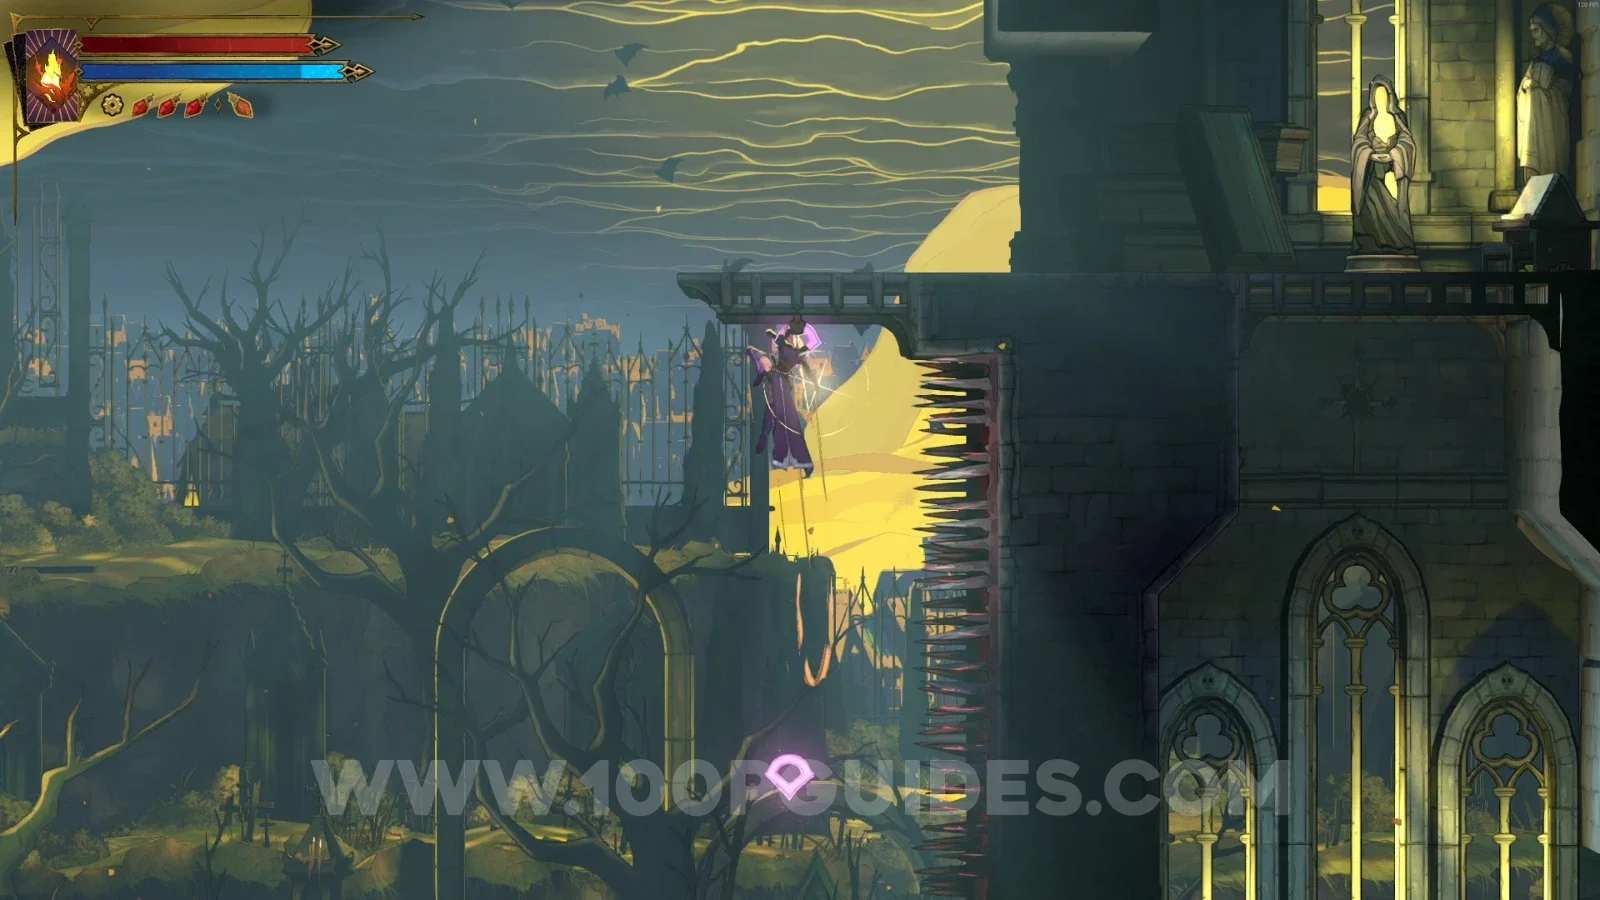
Use your Arcane Whip to climb to the upper part of the area and head left. You'll find this Brave Heart in the middle of the area.

Castlevania Belmont's Curse Ossuary Of The Innocents: climbing to the upper part with the Arcane Whip Castlevania Belmont's Curse Ossuary Of The Innocents: heading left through the upper part of the area Castlevania Belmont's Curse Ossuary Of The Innocents: Brave Heart Fragment #1 in the middle of the area

Haunted Coffin #3

Use your Arcane Whip to climb to the upper part of the area, then keep going forward to find the Haunted Coffin.

Castlevania Belmont's Curse Ossuary Of The Innocents: climbing up with the Arcane Whip toward Haunted Coffin #3 Castlevania Belmont's Curse Ossuary Of The Innocents: going forward along the upper part of the area Castlevania Belmont's Curse Ossuary Of The Innocents: Haunted Coffin #3 in the upper part

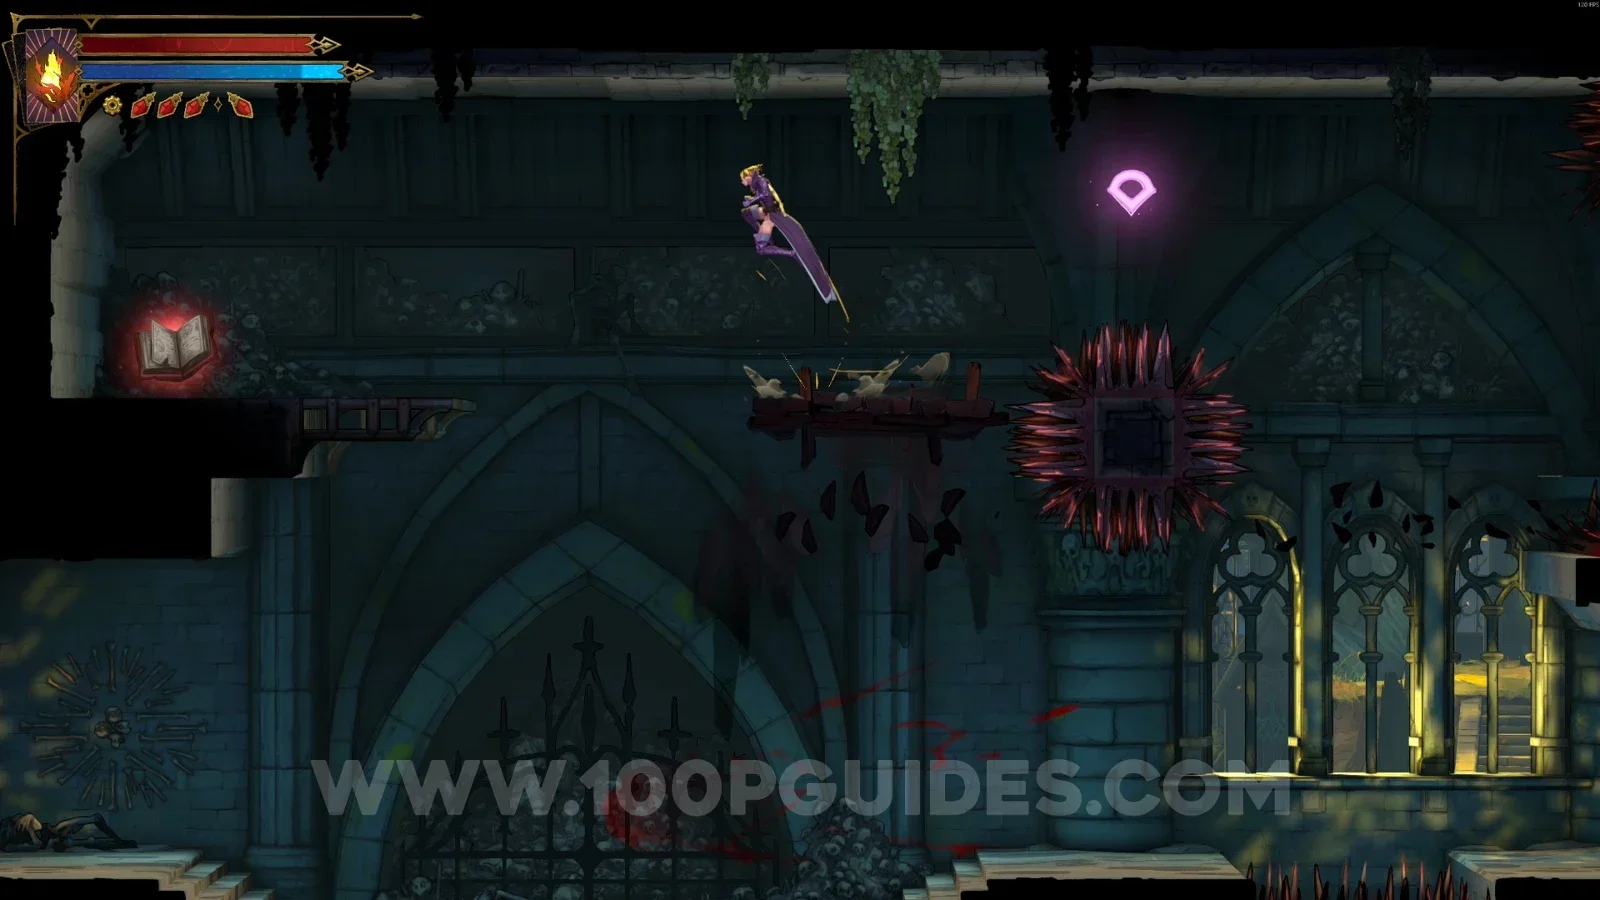
Red Book #1

Use the Arcane Whip to climb to the upper part and head left to find this.

Castlevania Belmont's Curse Ossuary Of The Innocents: climbing to the upper part with the Arcane Whip Castlevania Belmont's Curse Ossuary Of The Innocents: Red Book #1 found to the left in the upper part

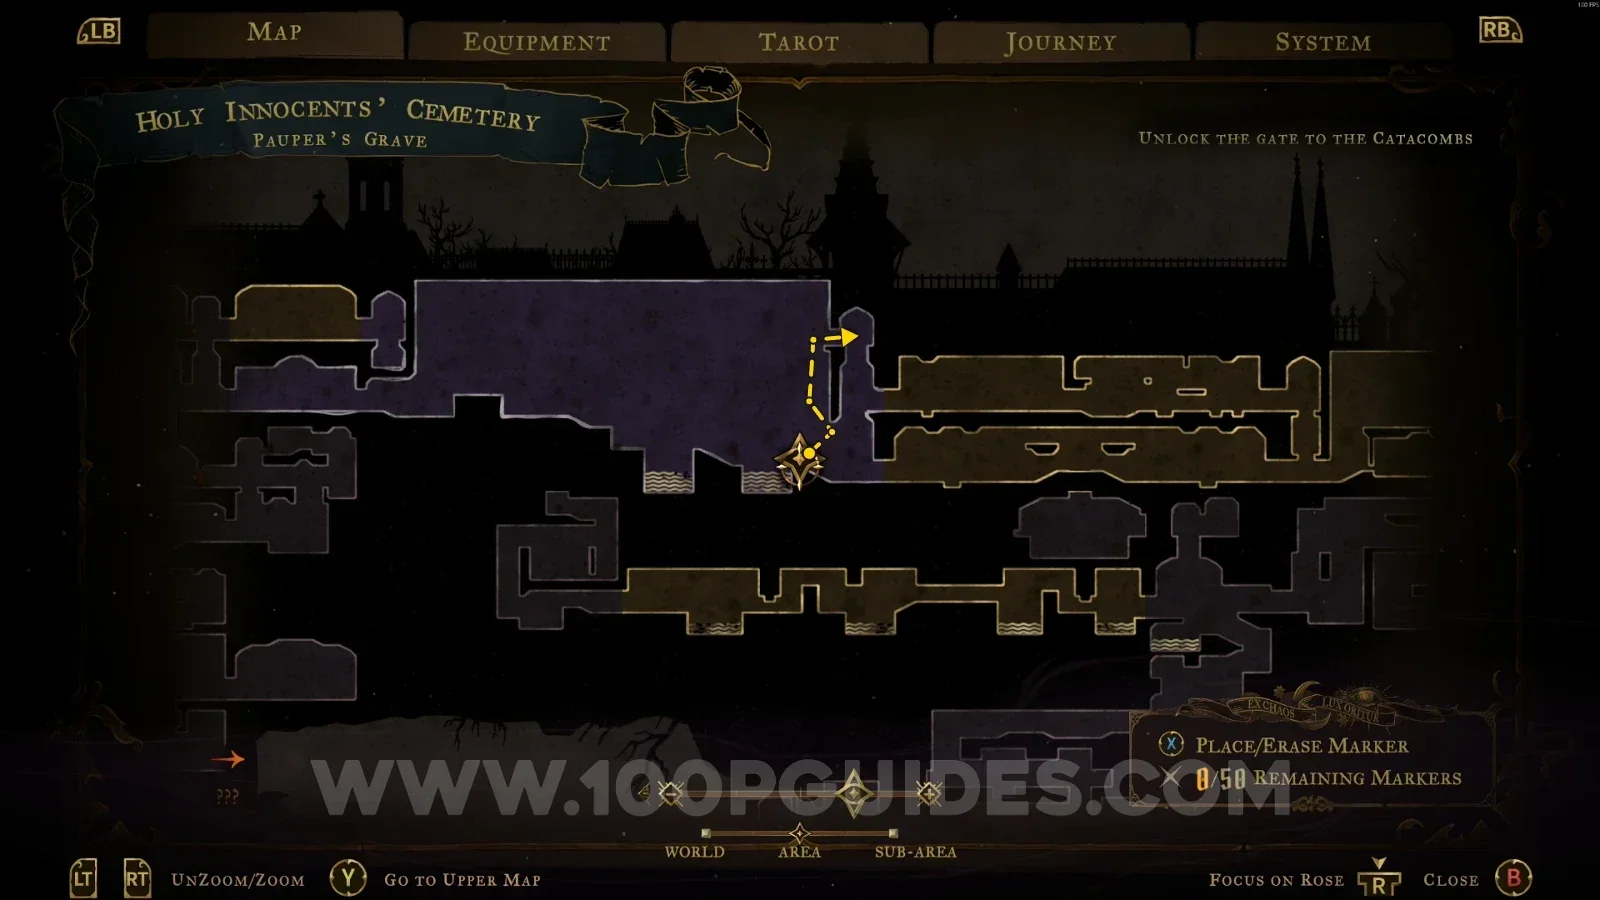
Pauper's Grave

XP Statue #7

Use the Arcane Whip to climb to the upper part, and you'll find this statue.

Castlevania Belmont's Curse Pauper's Grave: climbing up the area with the Arcane Whip Castlevania Belmont's Curse Pauper's Grave: reaching the upper part of the area Castlevania Belmont's Curse Pauper's Grave: XP Statue #7 in the upper part of the area

Mirror Of Life #2

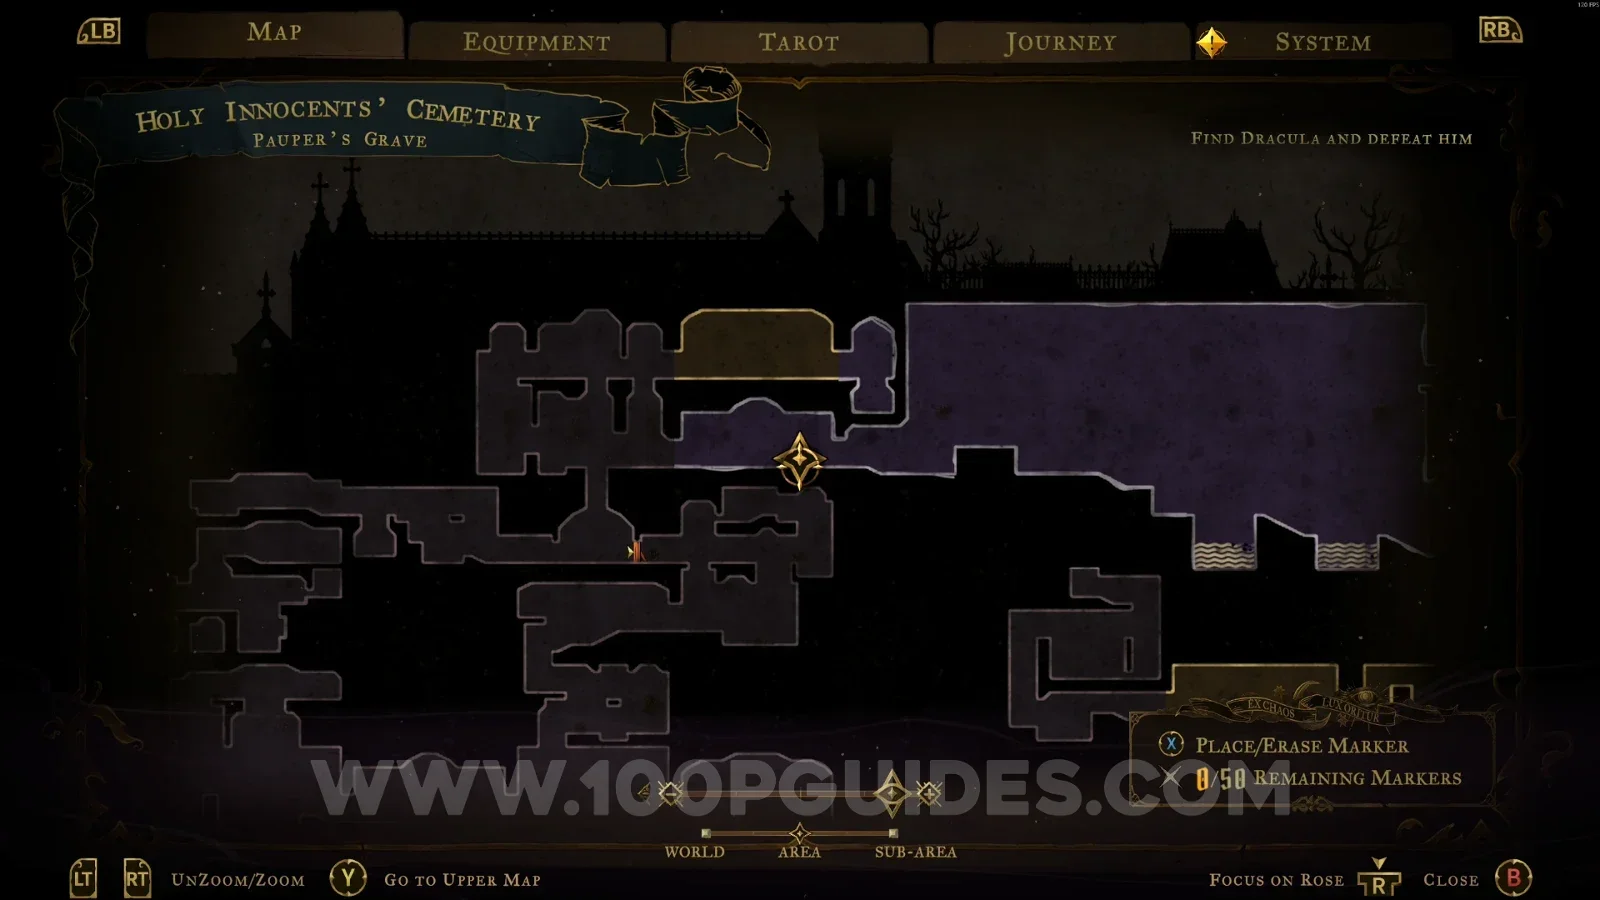
In the area marked on the map.

Castlevania Belmont's Curse Pauper's Grave: map marking the location of Mirror Of Life #2 Castlevania Belmont's Curse Pauper's Grave: Mirror Of Life #2 in the marked area

Clue: The Prophetess

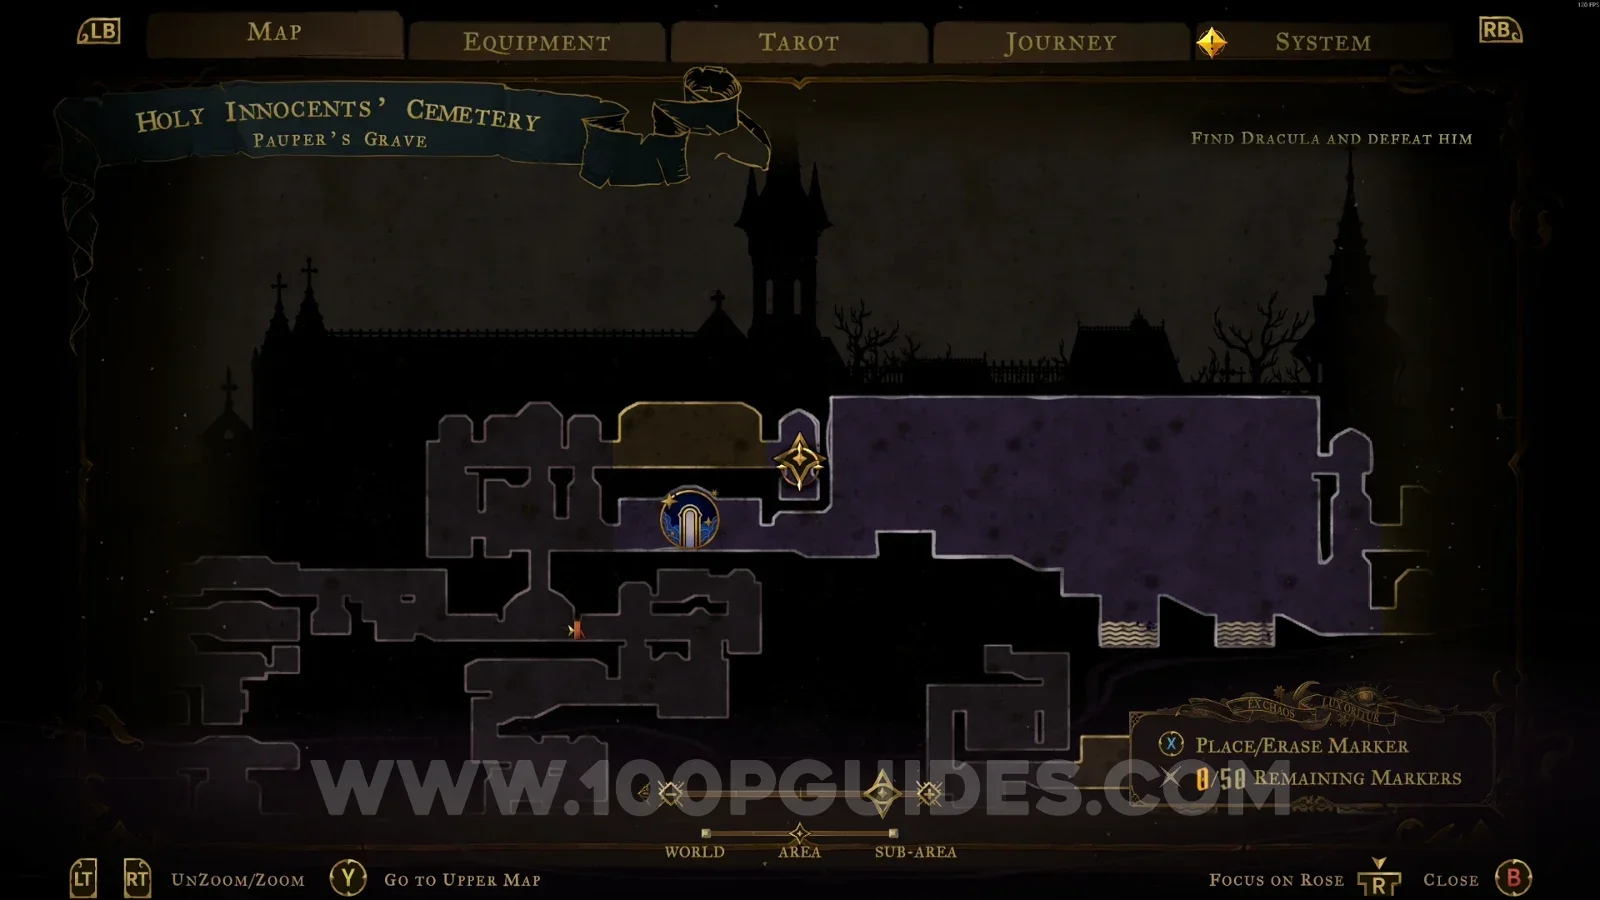
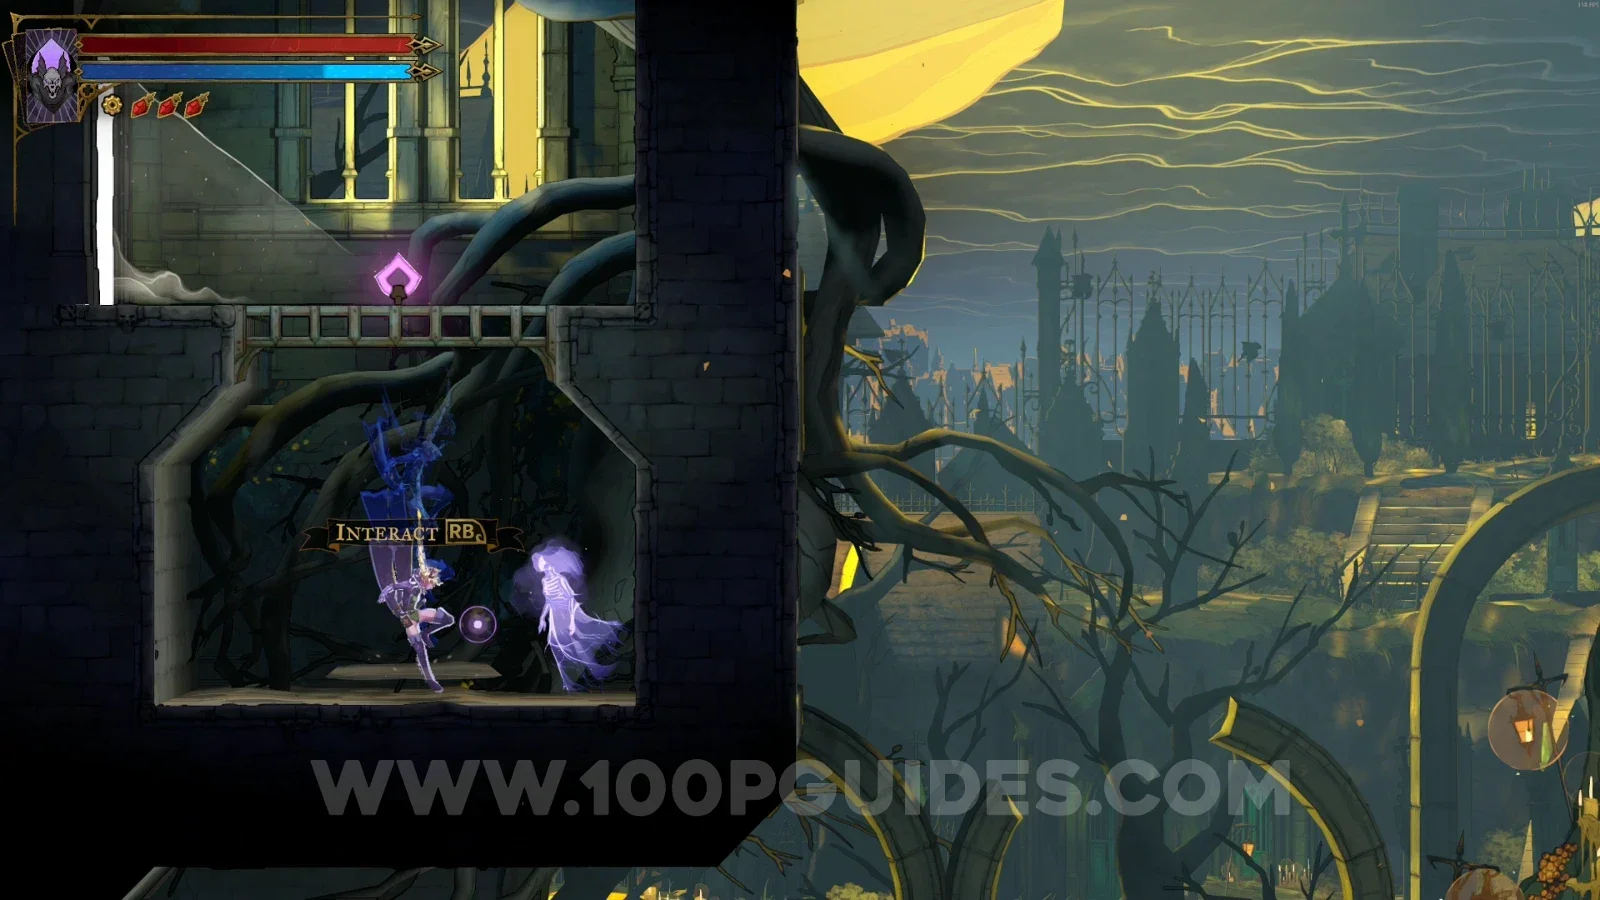
In the area marked on the map.
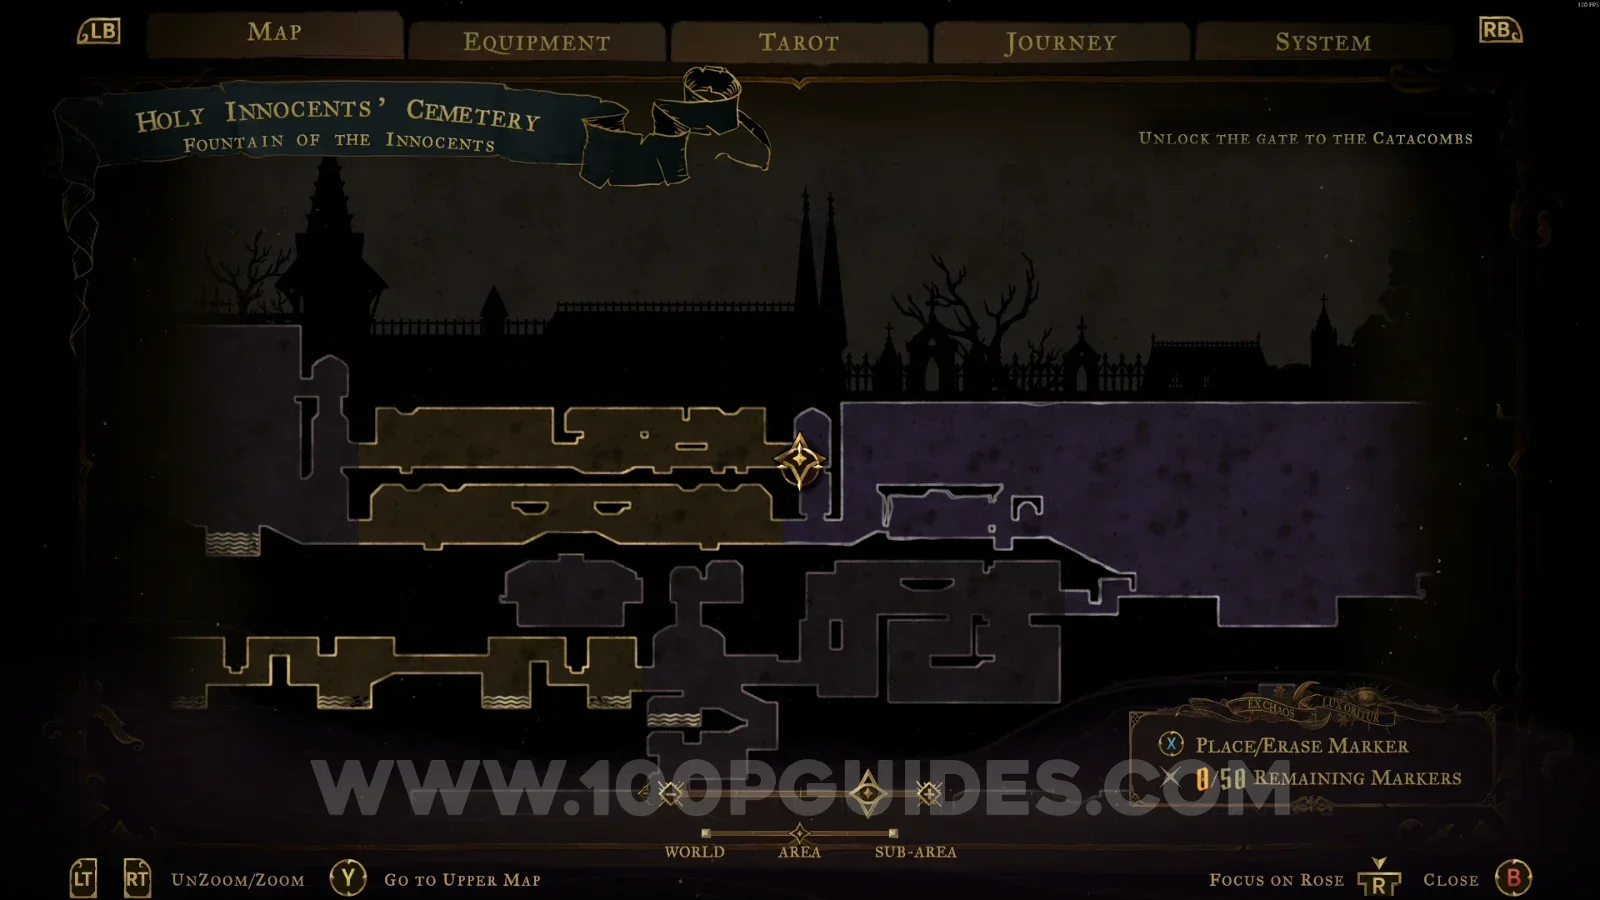
Castlevania Belmont's Curse Pauper's Grave: map marking the Clue The Prophetess location Castlevania Belmont's Curse Pauper's Grave: Clue The Prophetess found in the marked area

Mausoleum Of The Kings

Brave Heart Fragment #2

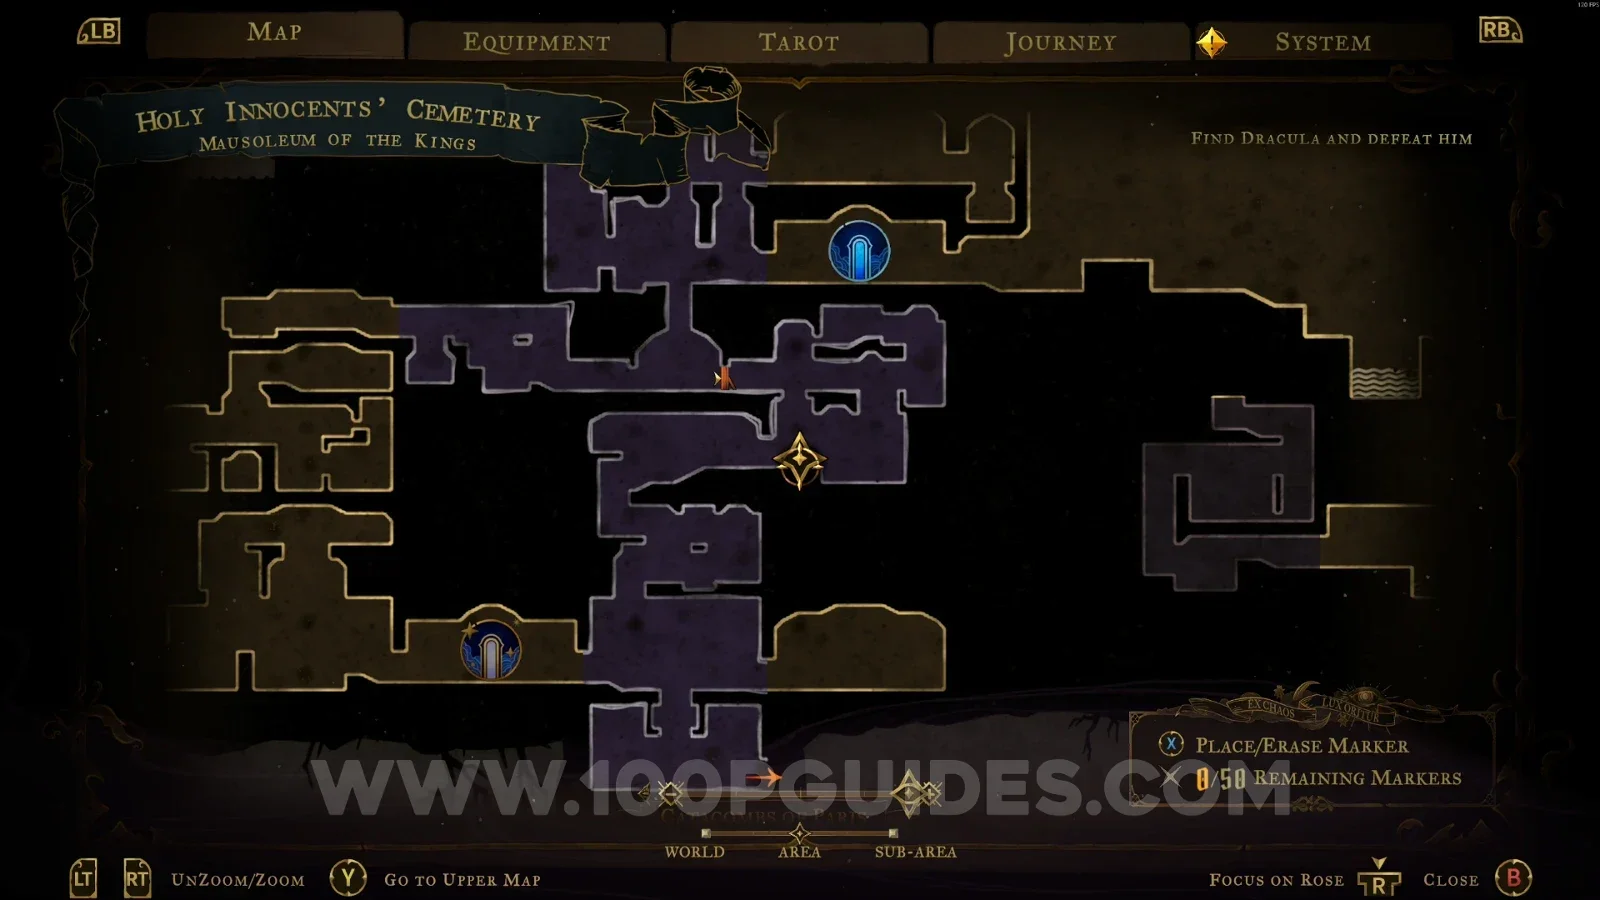
In the area marked on the map.
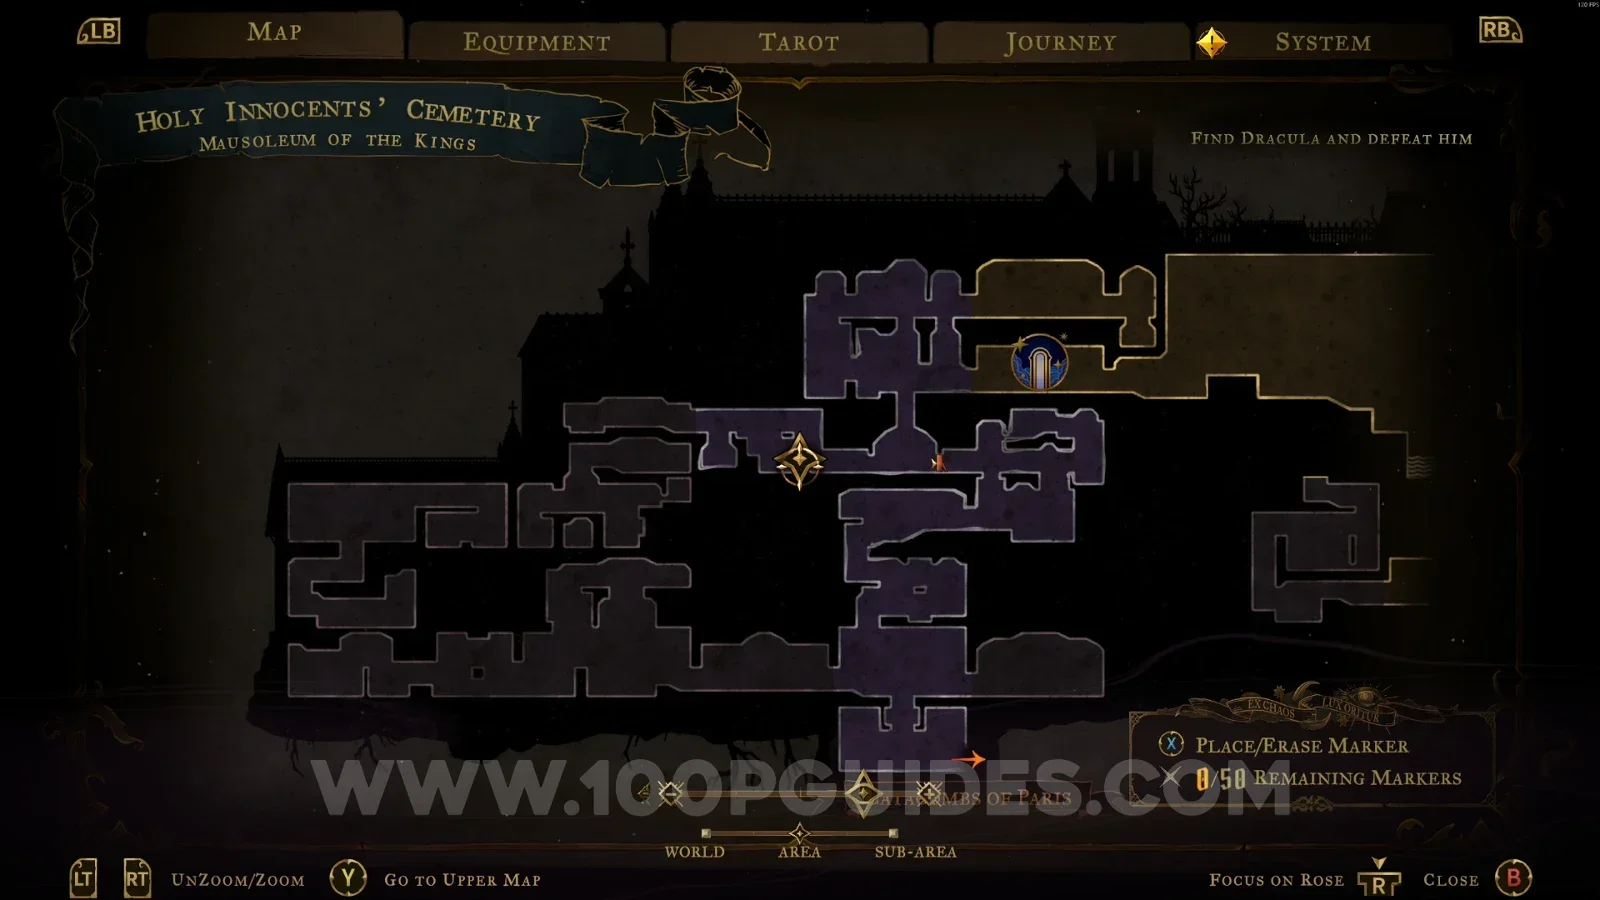
Castlevania Belmont's Curse Mausoleum Of The Kings: map marking the location of Brave Heart Fragment #2 Castlevania Belmont's Curse Mausoleum Of The Kings: Brave Heart Fragment #2 in the marked area

Wise Heart Fragment #2

In the area marked on the map.
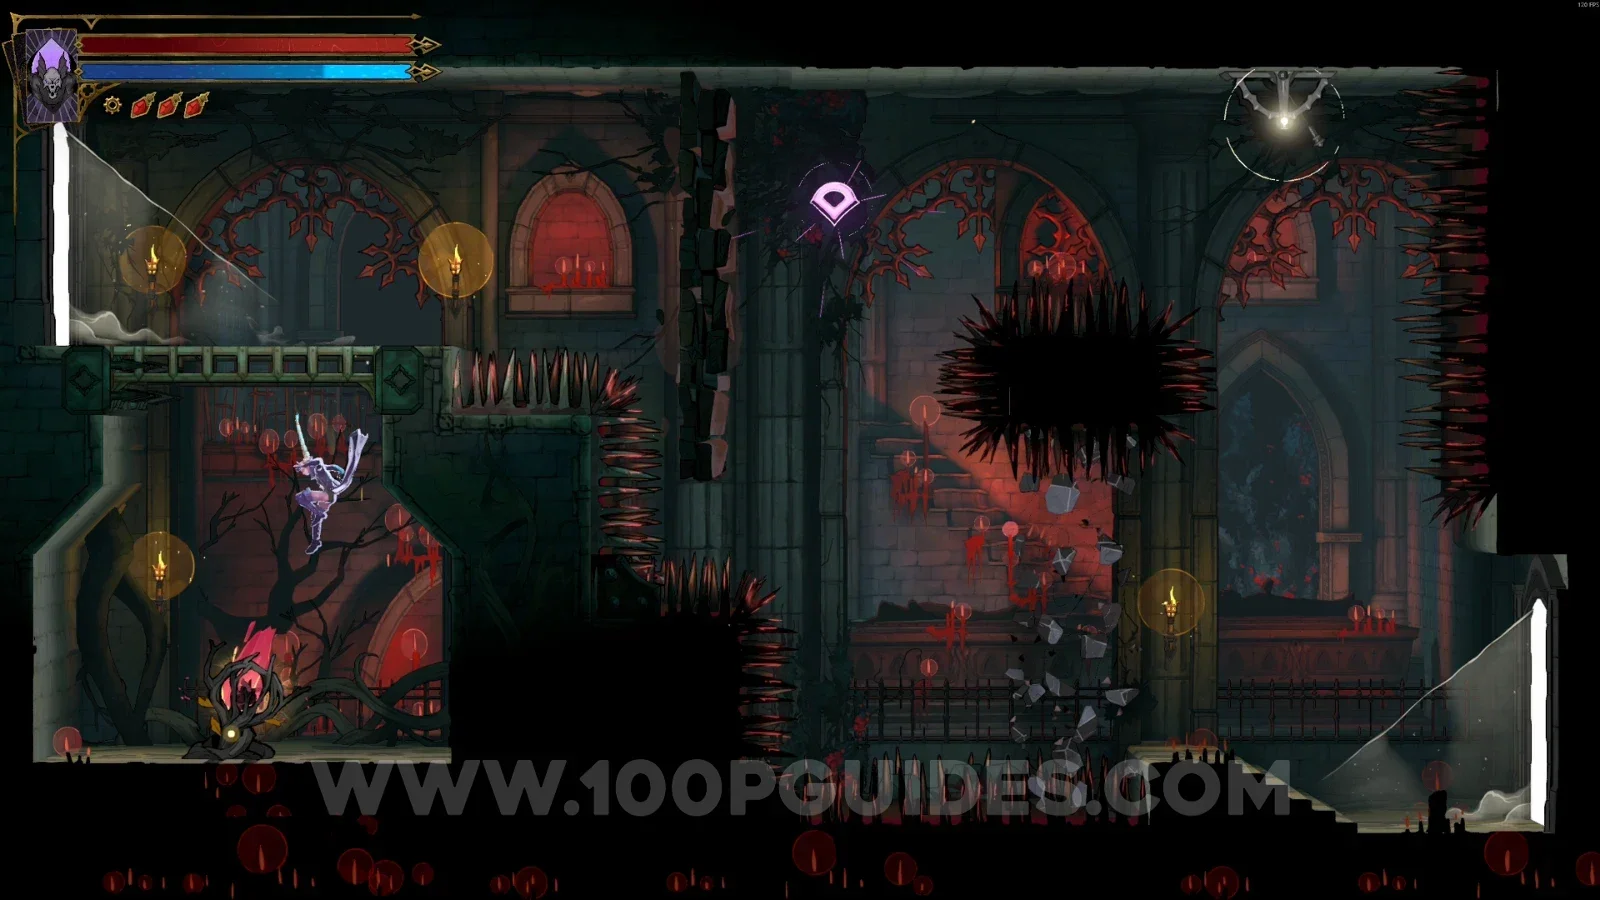
Castlevania Belmont's Curse Mausoleum Of The Kings: map marking the location of Wise Heart Fragment #2 Castlevania Belmont's Curse Mausoleum Of The Kings: Wise Heart Fragment #2 in the marked area

Overgrown Crypt

Red Book #2

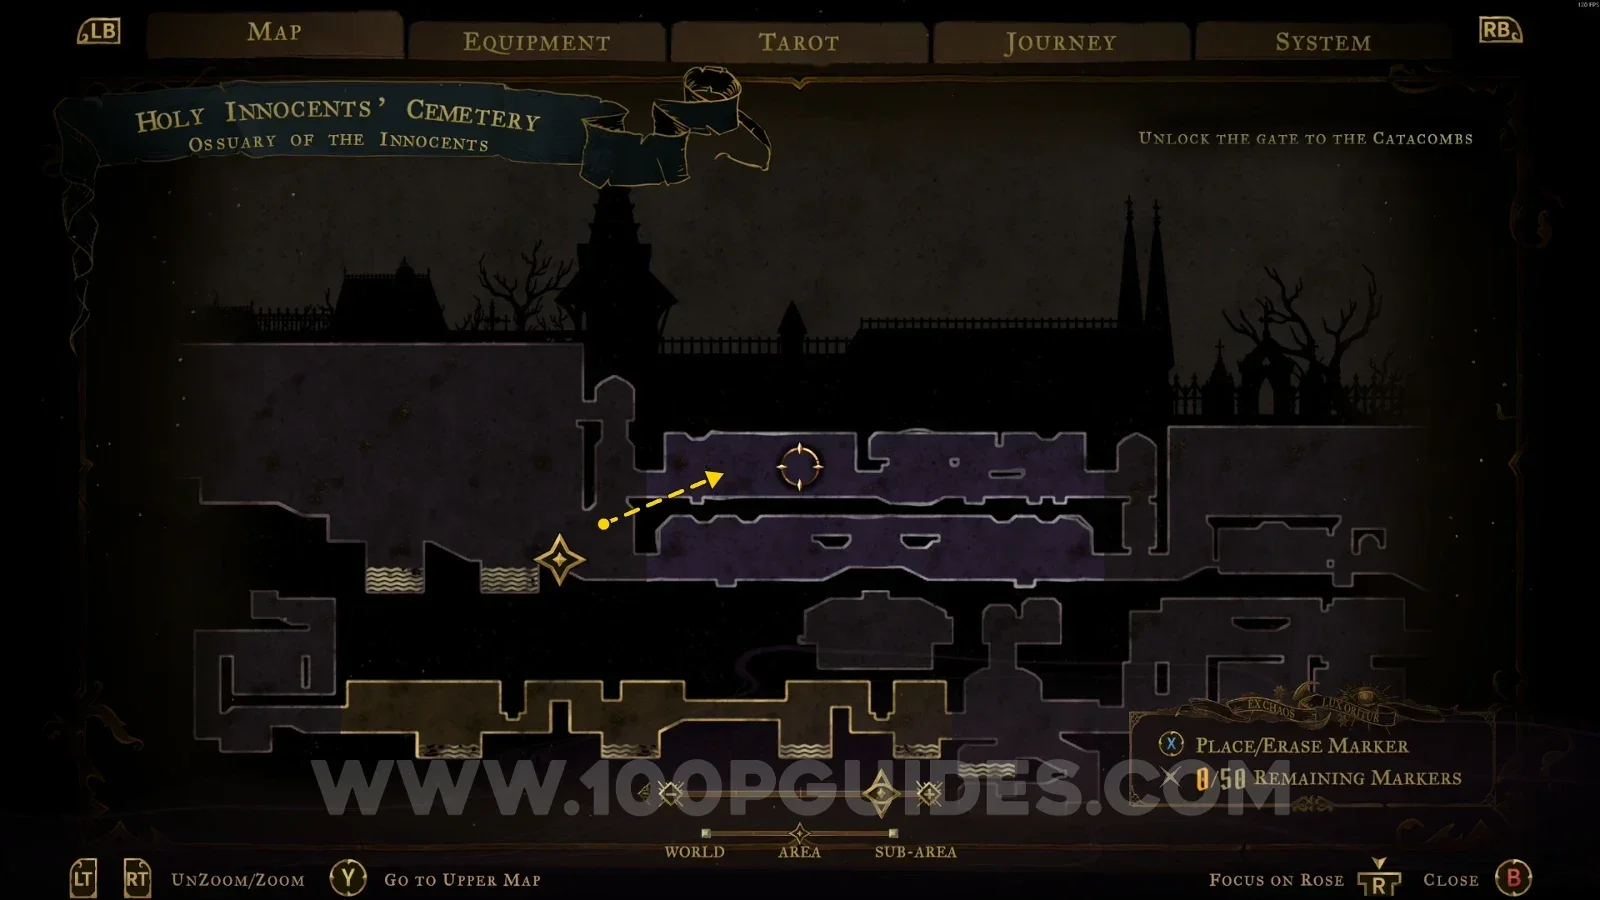
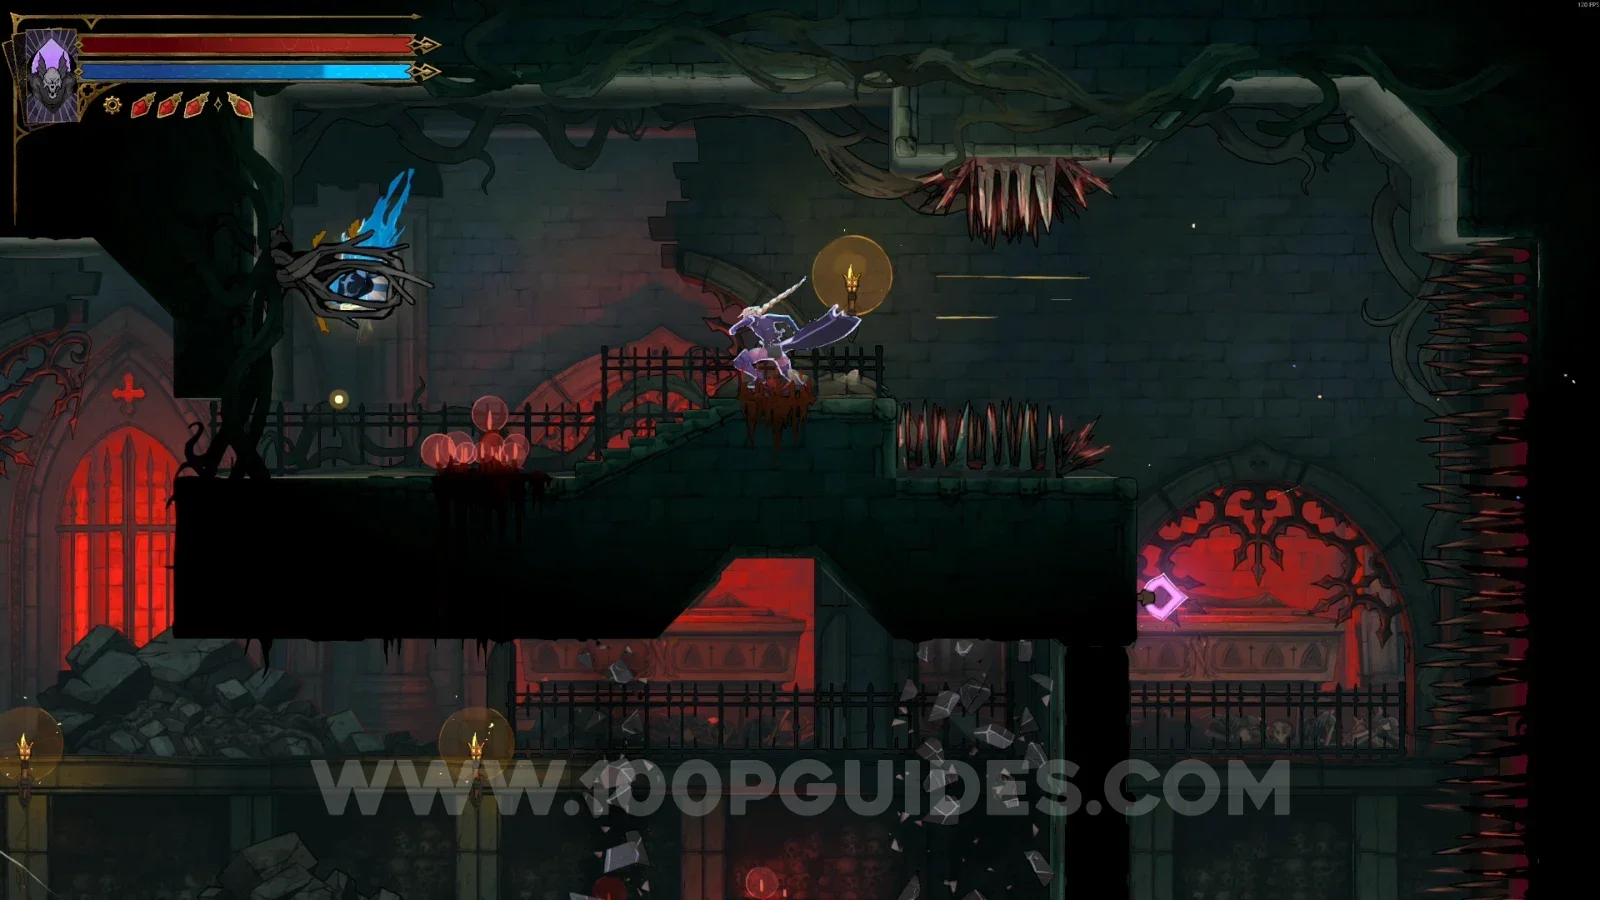
In the area marked on the map, pass through the wall at the lowest part of the area to reveal a small secret room. This will let you reach the warp just above and get to the Red Book.
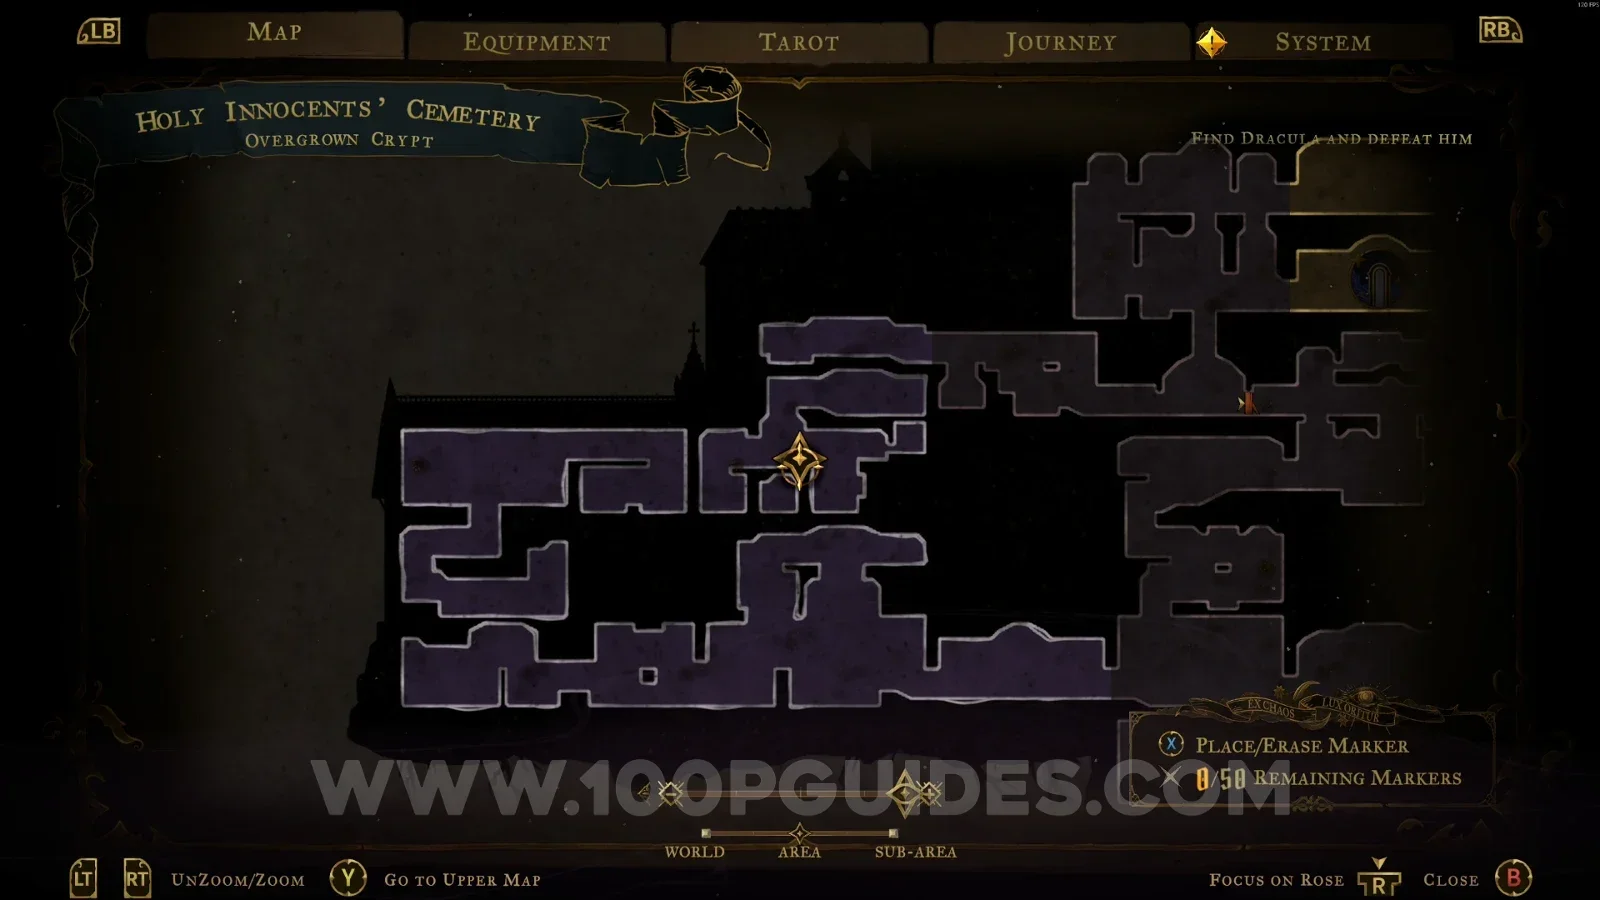
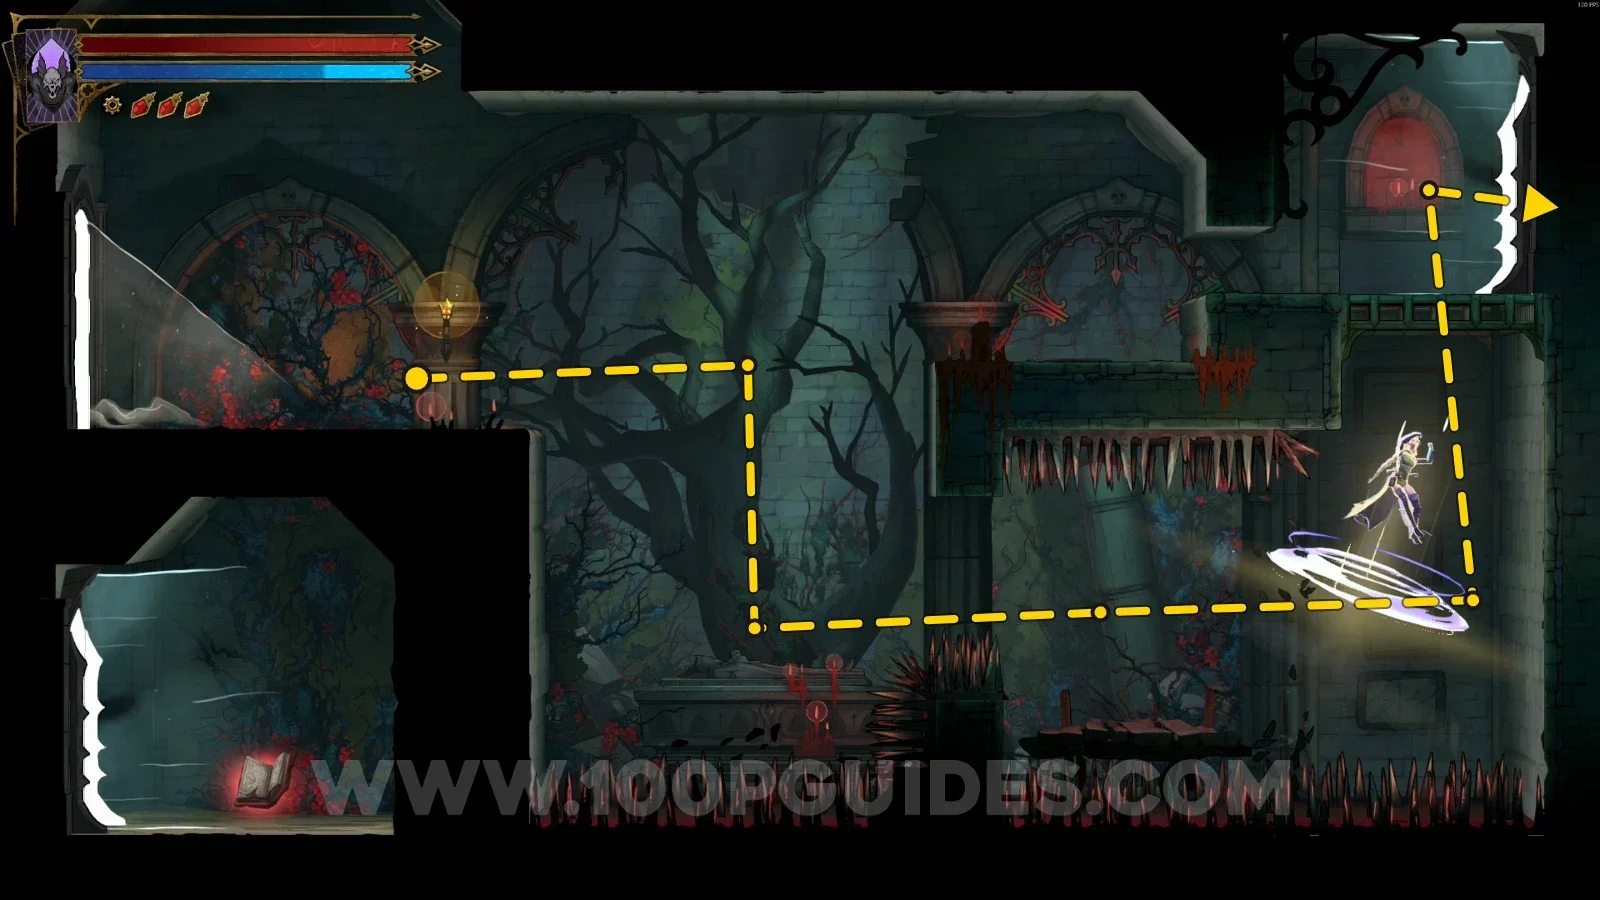
Castlevania Belmont's Curse Overgrown Crypt: passing through the wall at the lowest part into a small secret room Castlevania Belmont's Curse Overgrown Crypt: Red Book #2 reached through the warp above the secret room

XP Statue #8 - #9

Use your Arcane Whip to reach the highest part of the area, and you'll see these two statues.
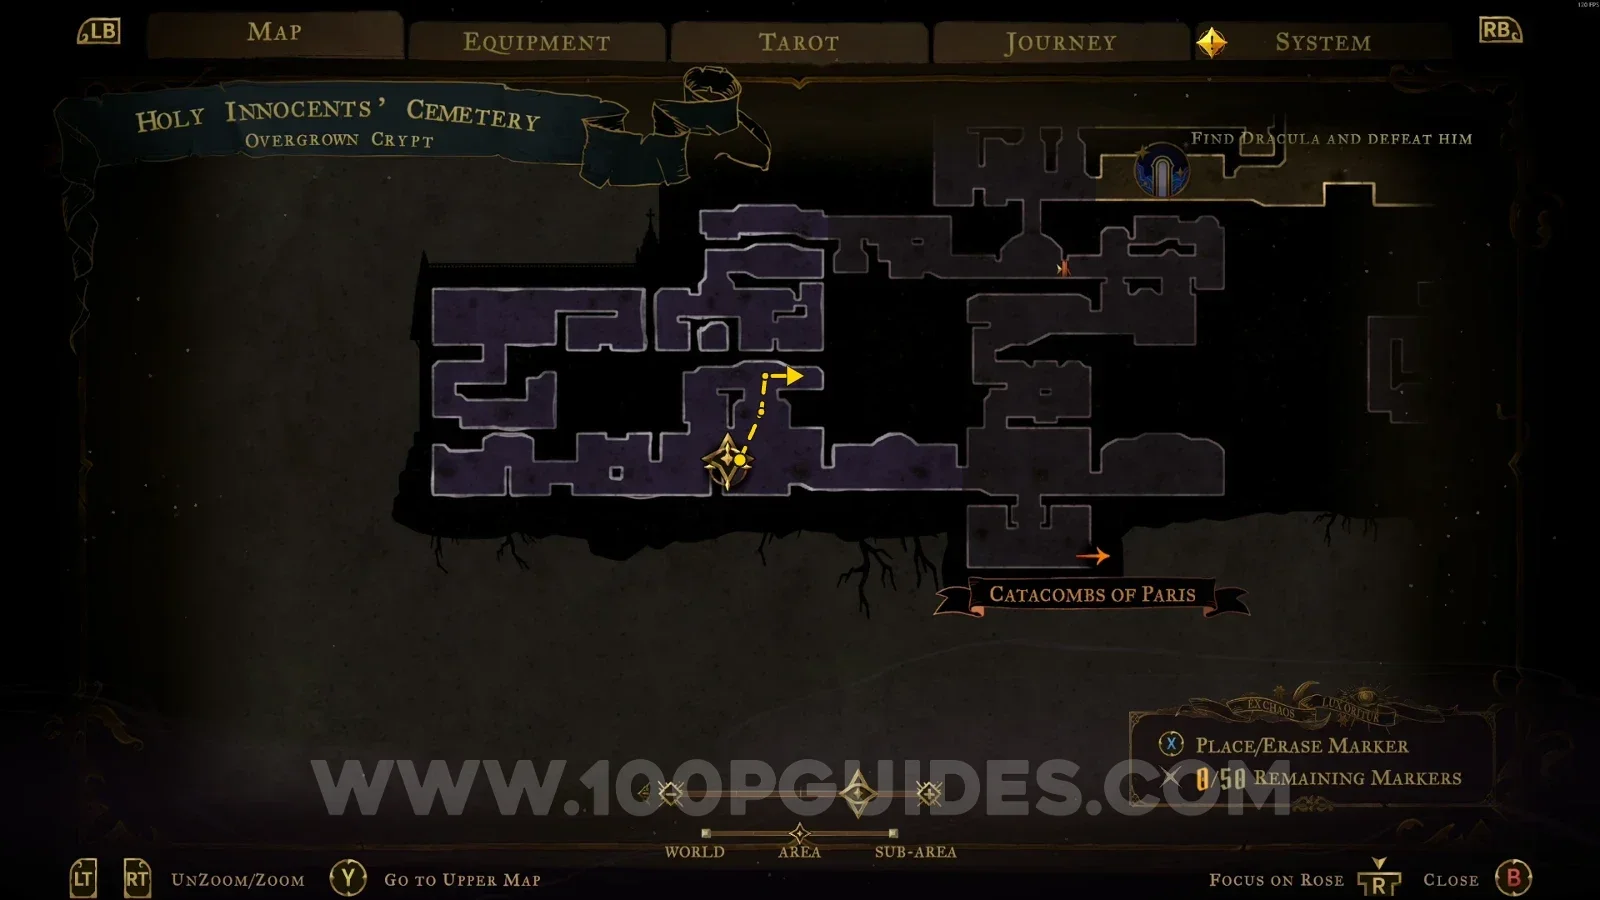
Castlevania Belmont's Curse Overgrown Crypt: climbing to the highest part of the area with the Arcane Whip Castlevania Belmont's Curse Overgrown Crypt: XP Statues #8 and #9 at the highest part of the area

Mirror Of Life #3

In the area marked on the map.
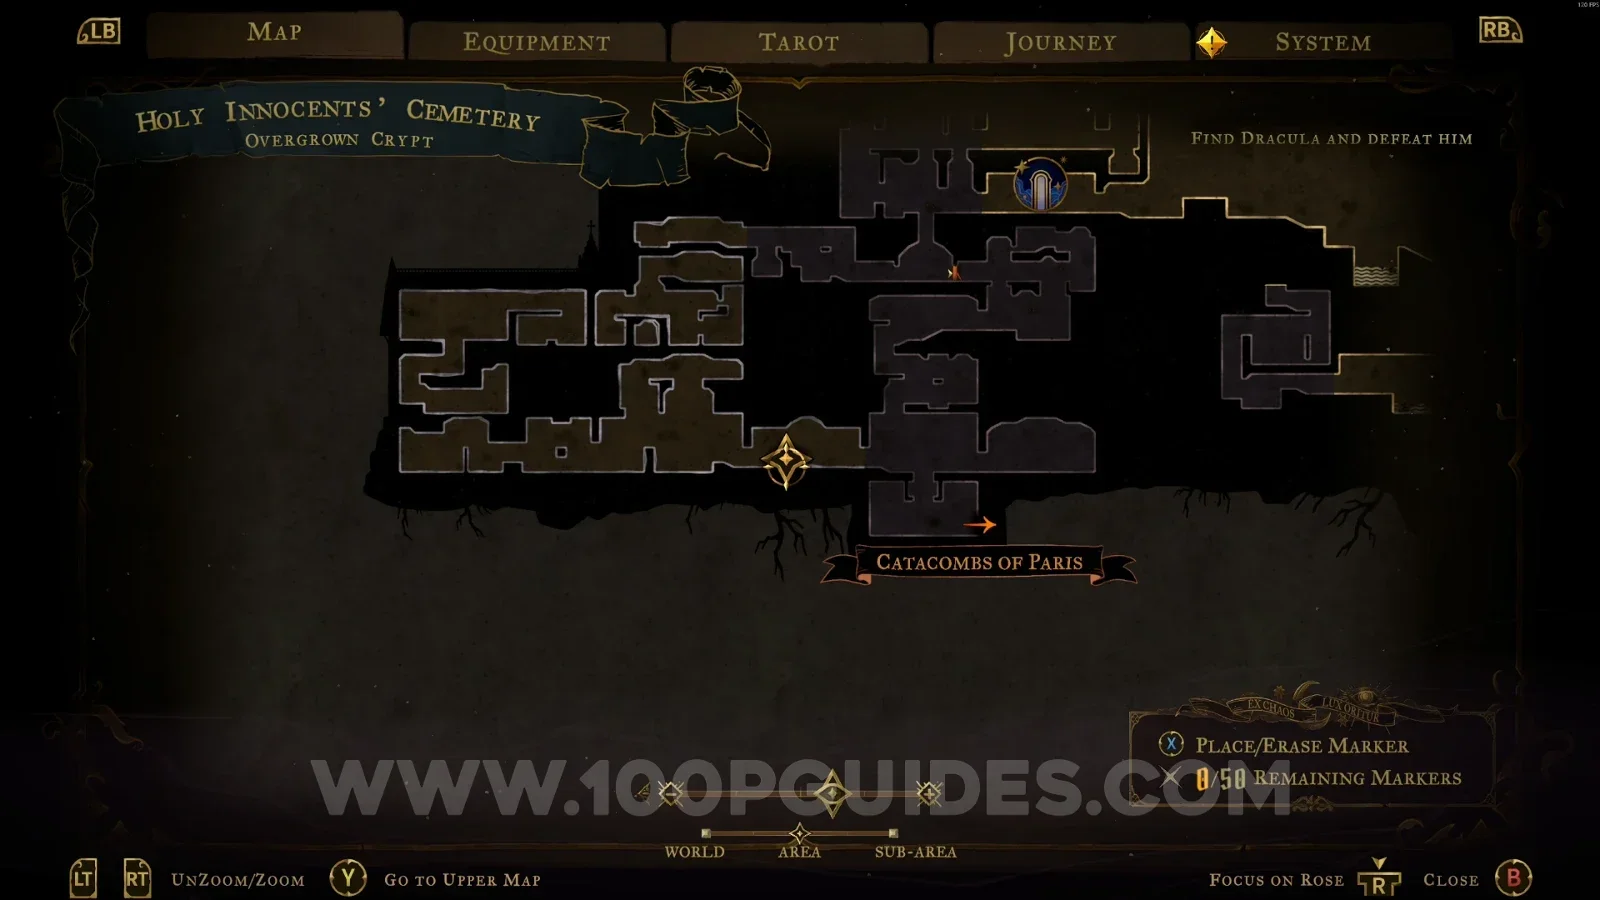
Castlevania Belmont's Curse Overgrown Crypt: map marking the location of Mirror Of Life #3 Castlevania Belmont's Curse Overgrown Crypt: Mirror Of Life #3 in the marked area

Mausoleum Of The Queens

Arcana #1: Mirror Walk

This arcana is obtained at the end of Eleanor's questline. The questline can only be started in the Main Hall. See our step-by-step guide here.
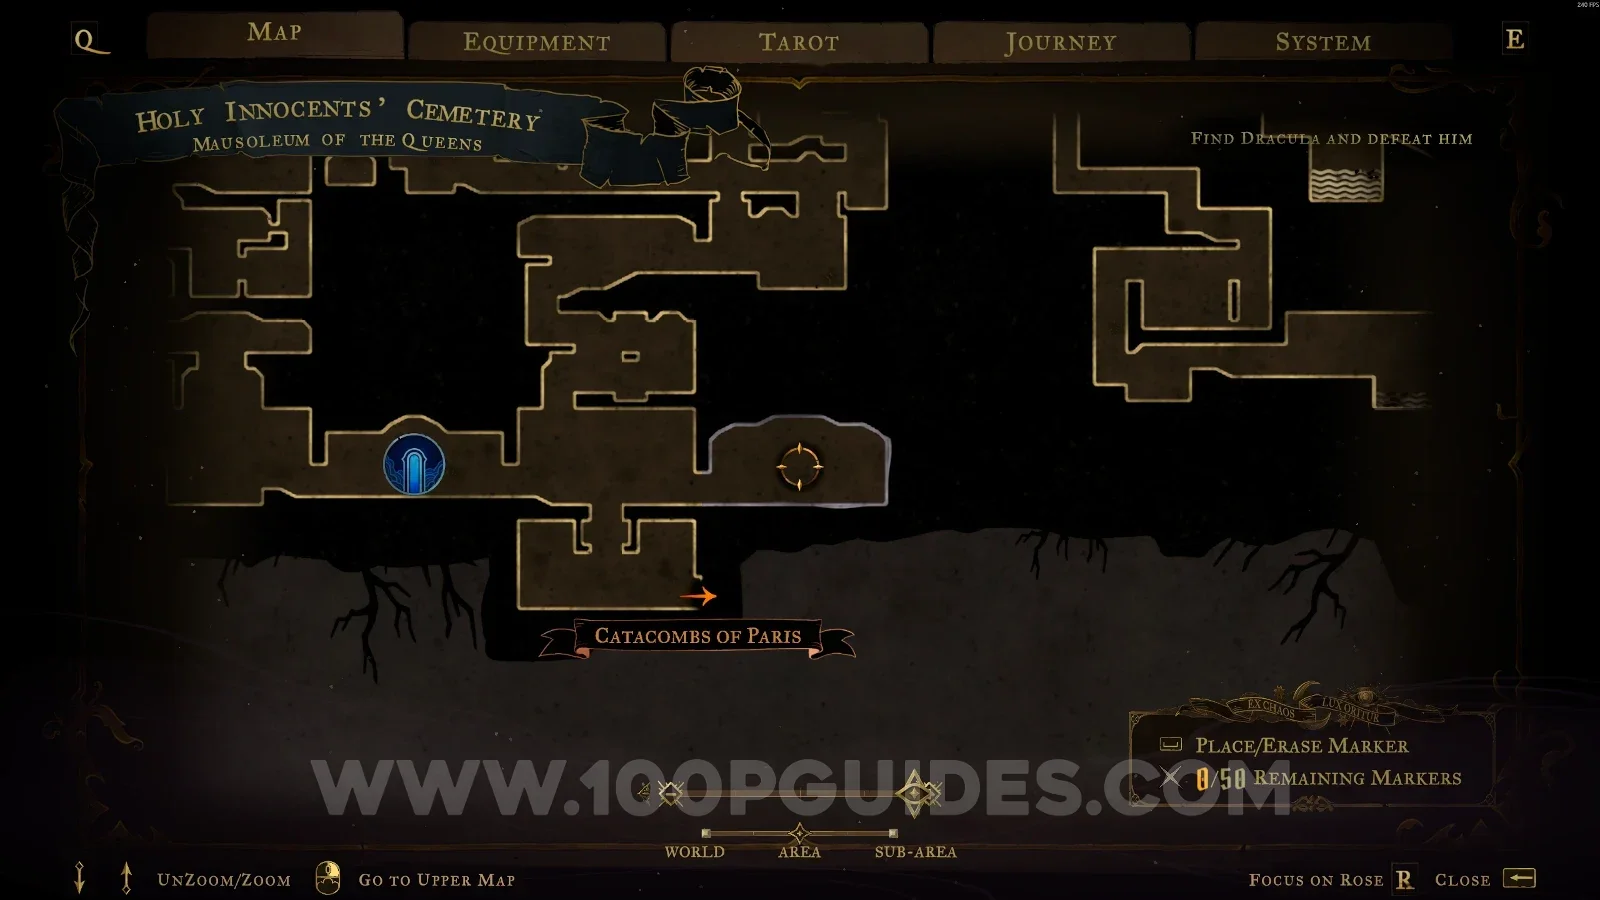
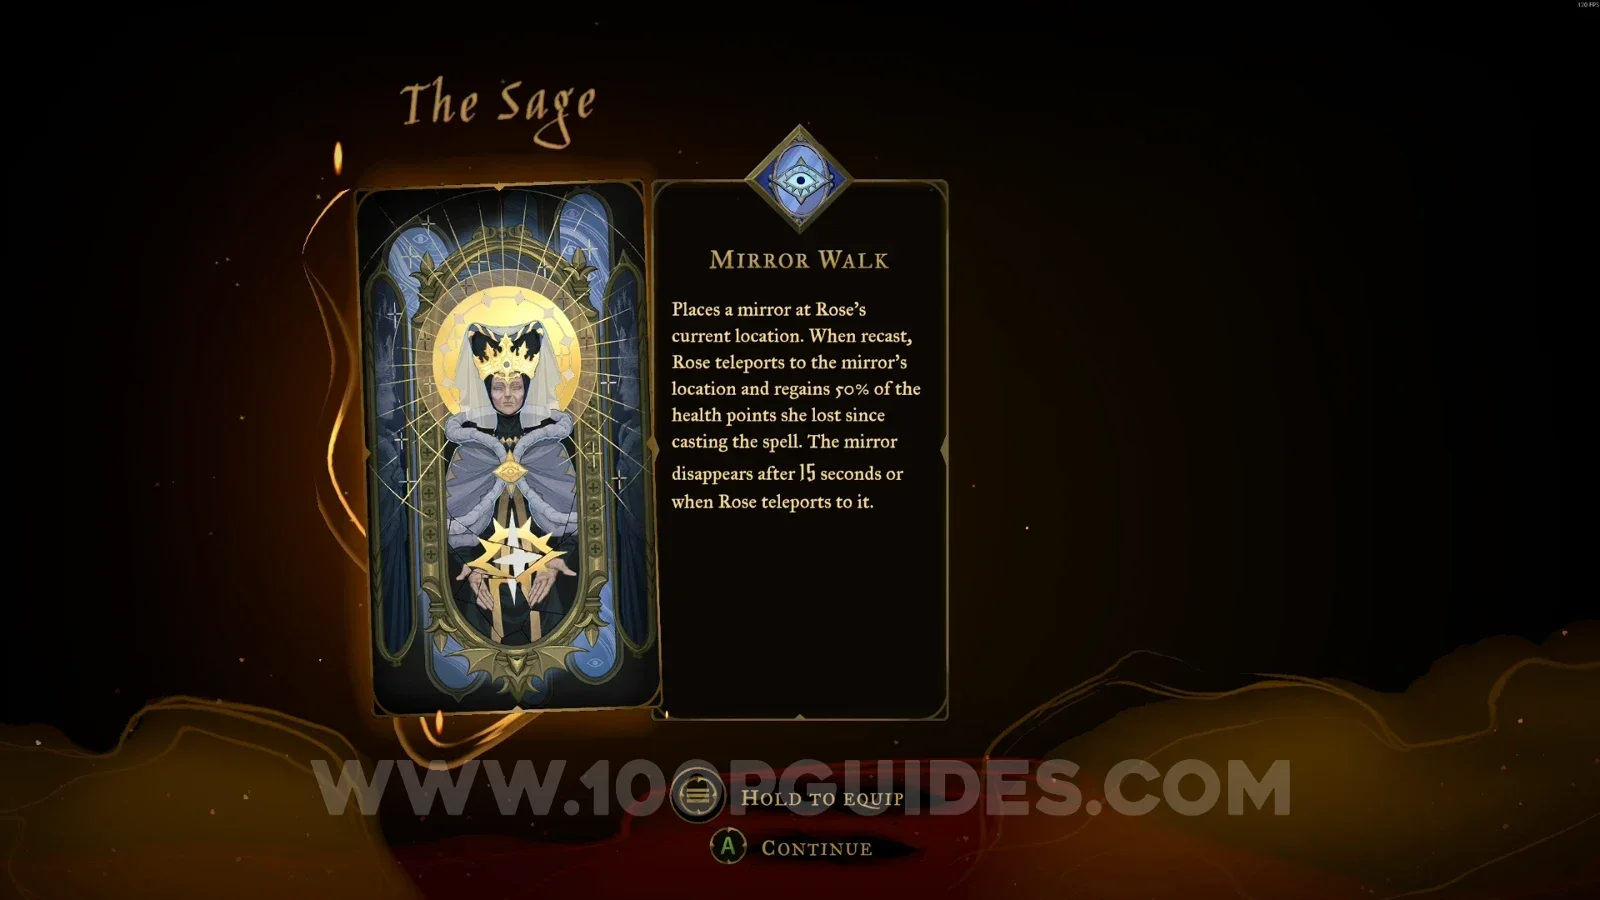
Castlevania Belmont's Curse Mausoleum Of The Queens: the end of Eleanor's questline Castlevania Belmont's Curse Mausoleum Of The Queens: Arcana #1 Mirror Walk received from Eleanor's questline

Ruins Entrance

XP Statue #10

In the area marked on the map.
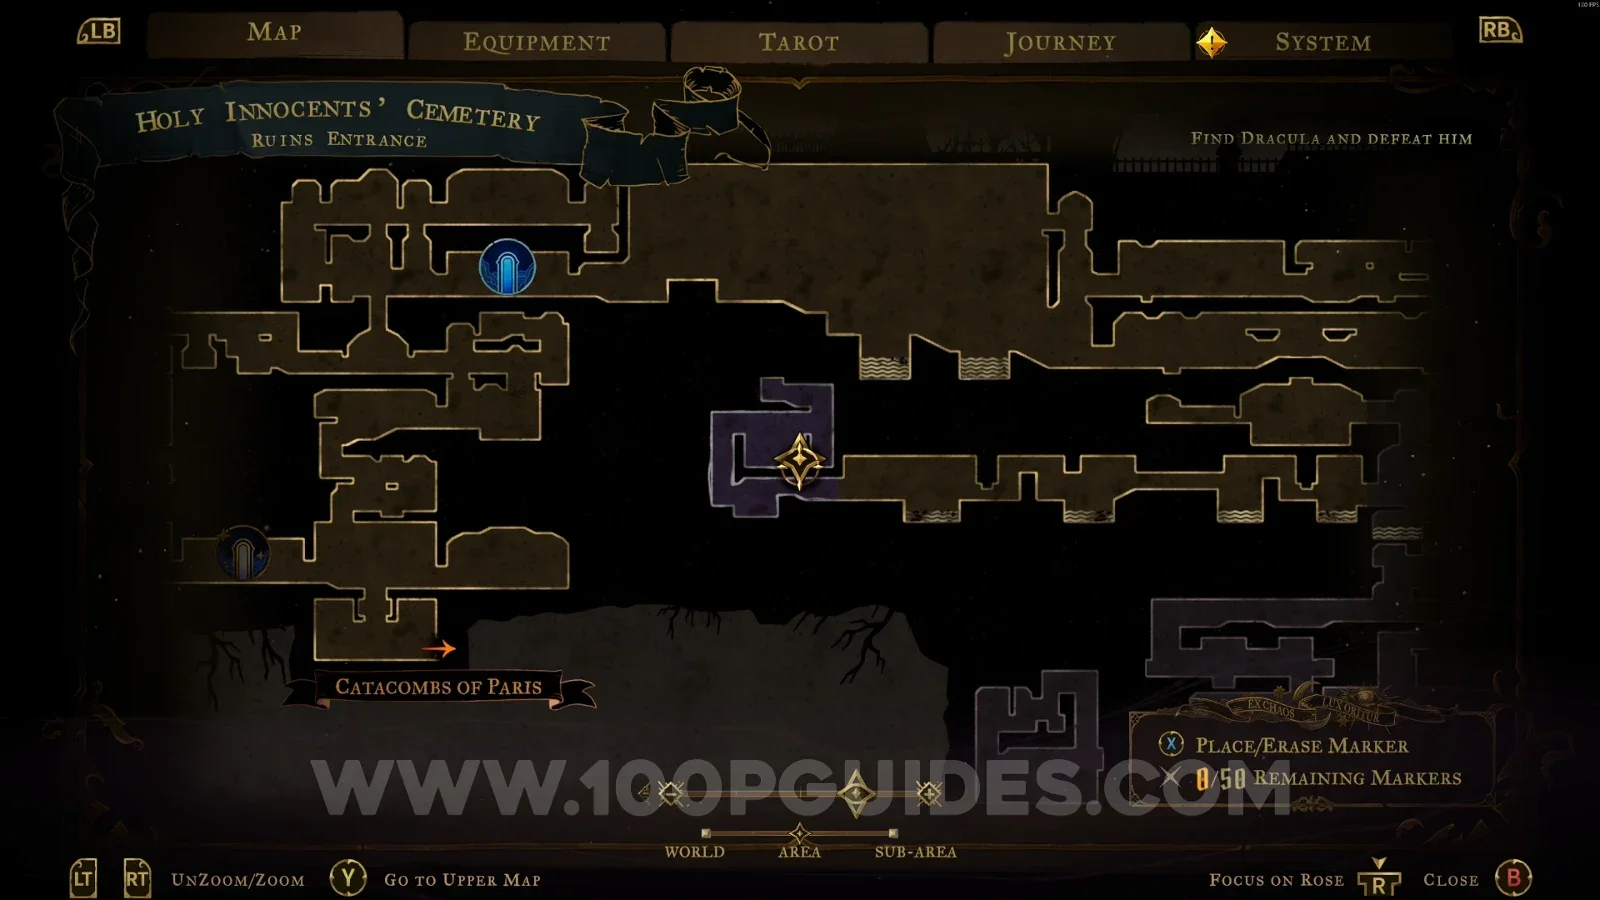
Castlevania Belmont's Curse Ruins Entrance: map marking the location of XP Statue #10 Castlevania Belmont's Curse Ruins Entrance: XP Statue #10 in the marked area

Mass Grave

XP Statue #11

In the area marked on the map.
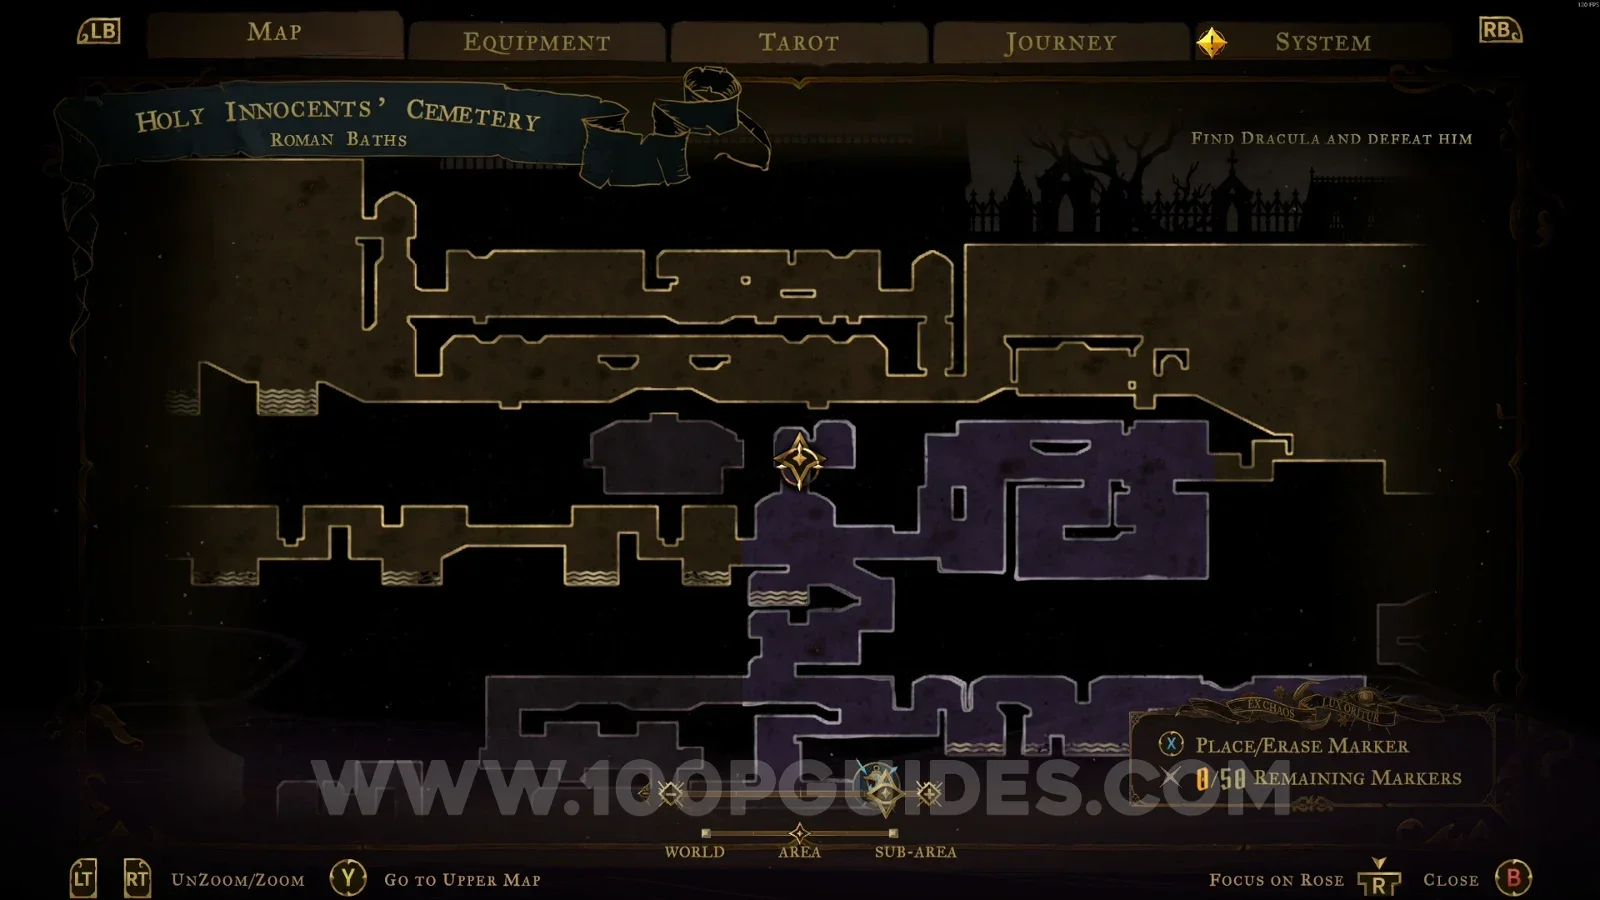
Castlevania Belmont's Curse Mass Grave: map marking the location of XP Statue #11 Castlevania Belmont's Curse Mass Grave: XP Statue #11 in the marked area

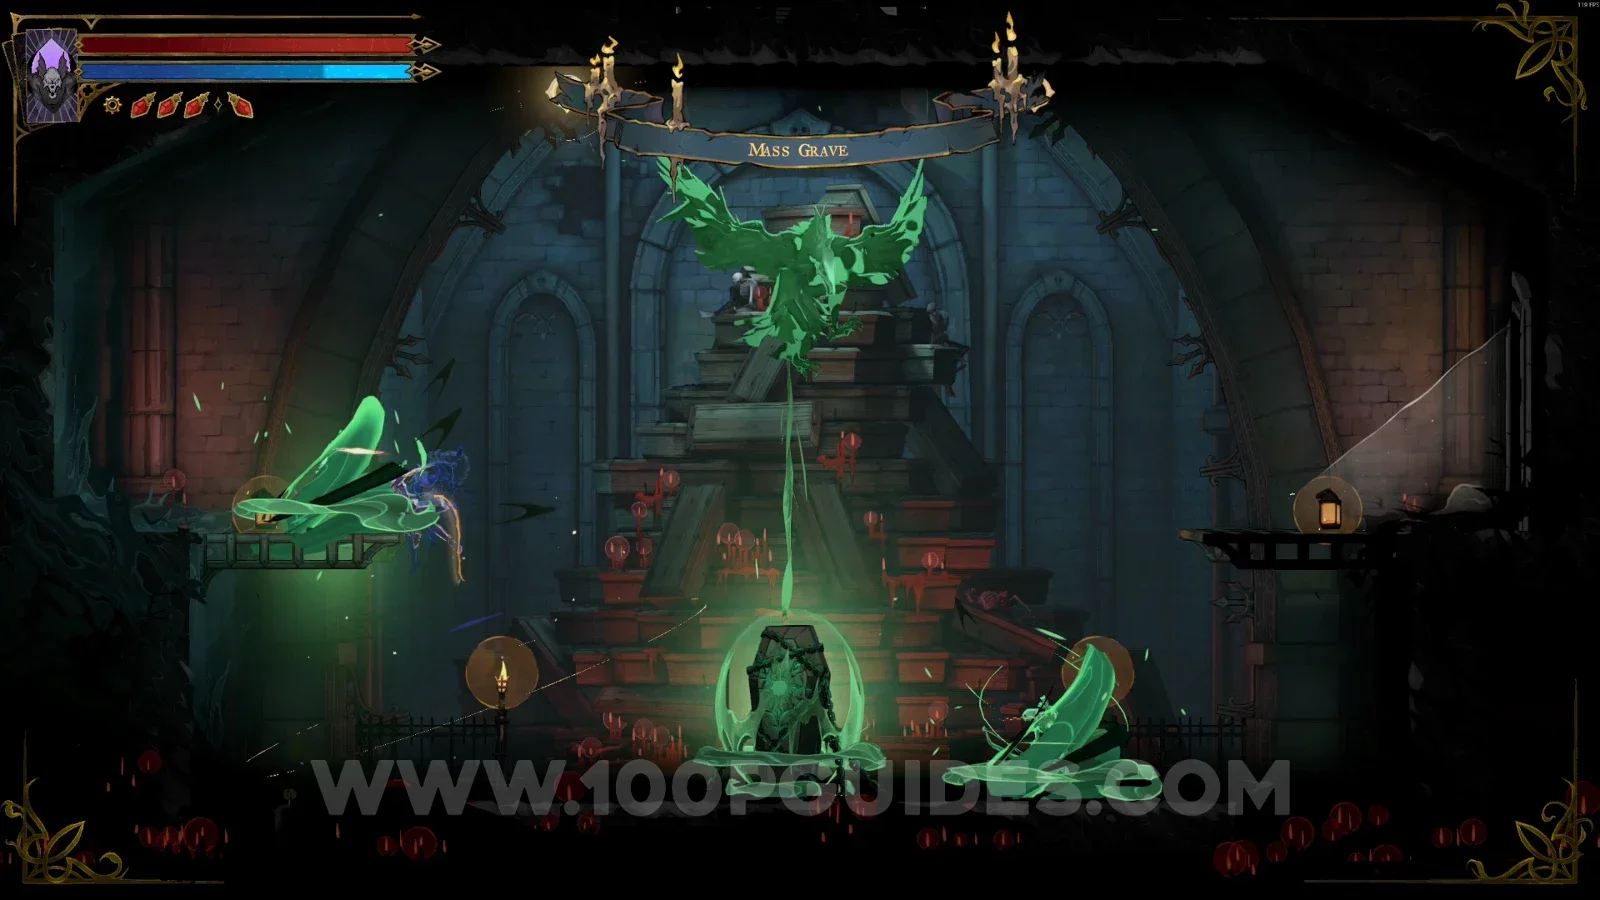
Haunted Coffin #4

Same area as before. Break the wall on the left side and keep going forward to find this coffin.
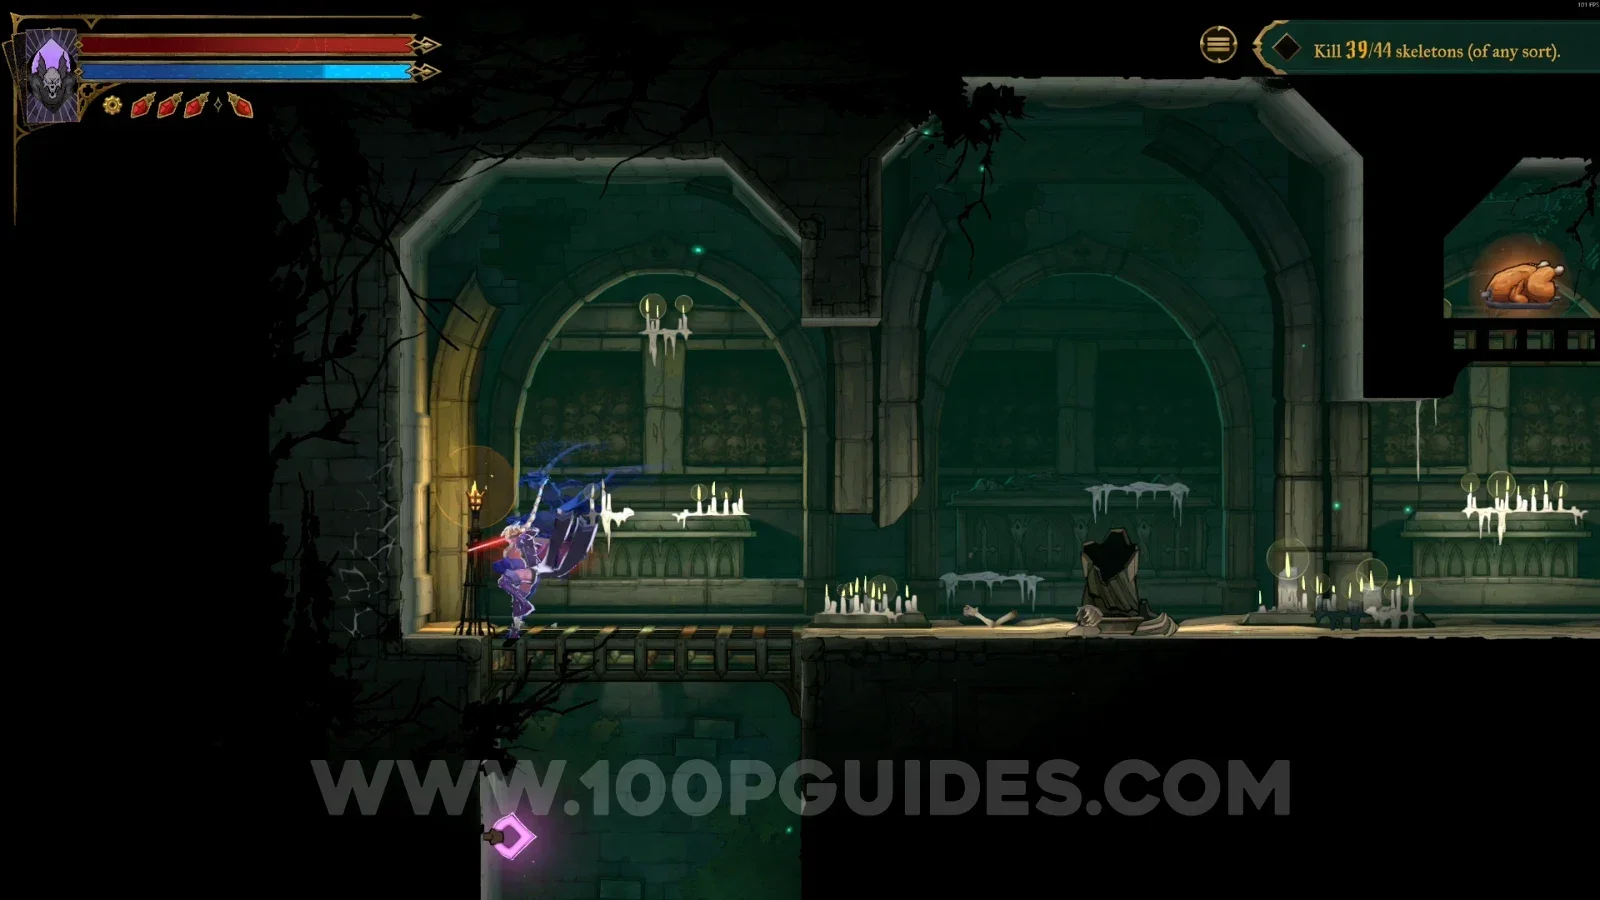
Castlevania Belmont's Curse Mass Grave: breaking the wall on the left side of the area Castlevania Belmont's Curse Mass Grave: Haunted Coffin #4 past the broken left wall

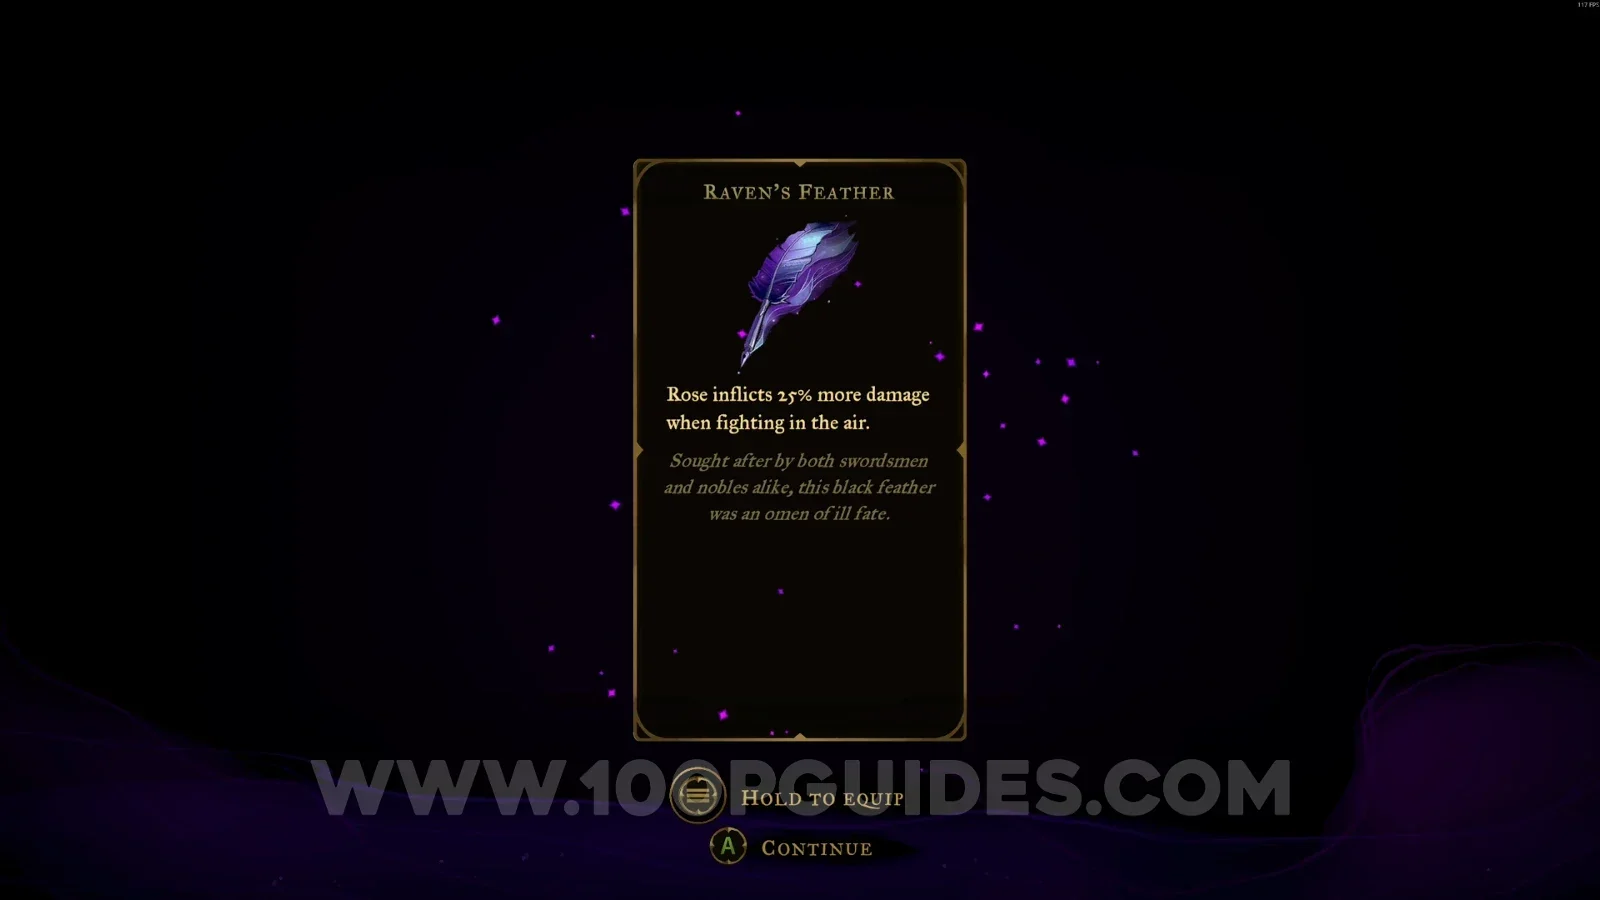
Relic #4: Raven's Feather

Same area as before, after the coffin. Head left to find this chest with the relic.
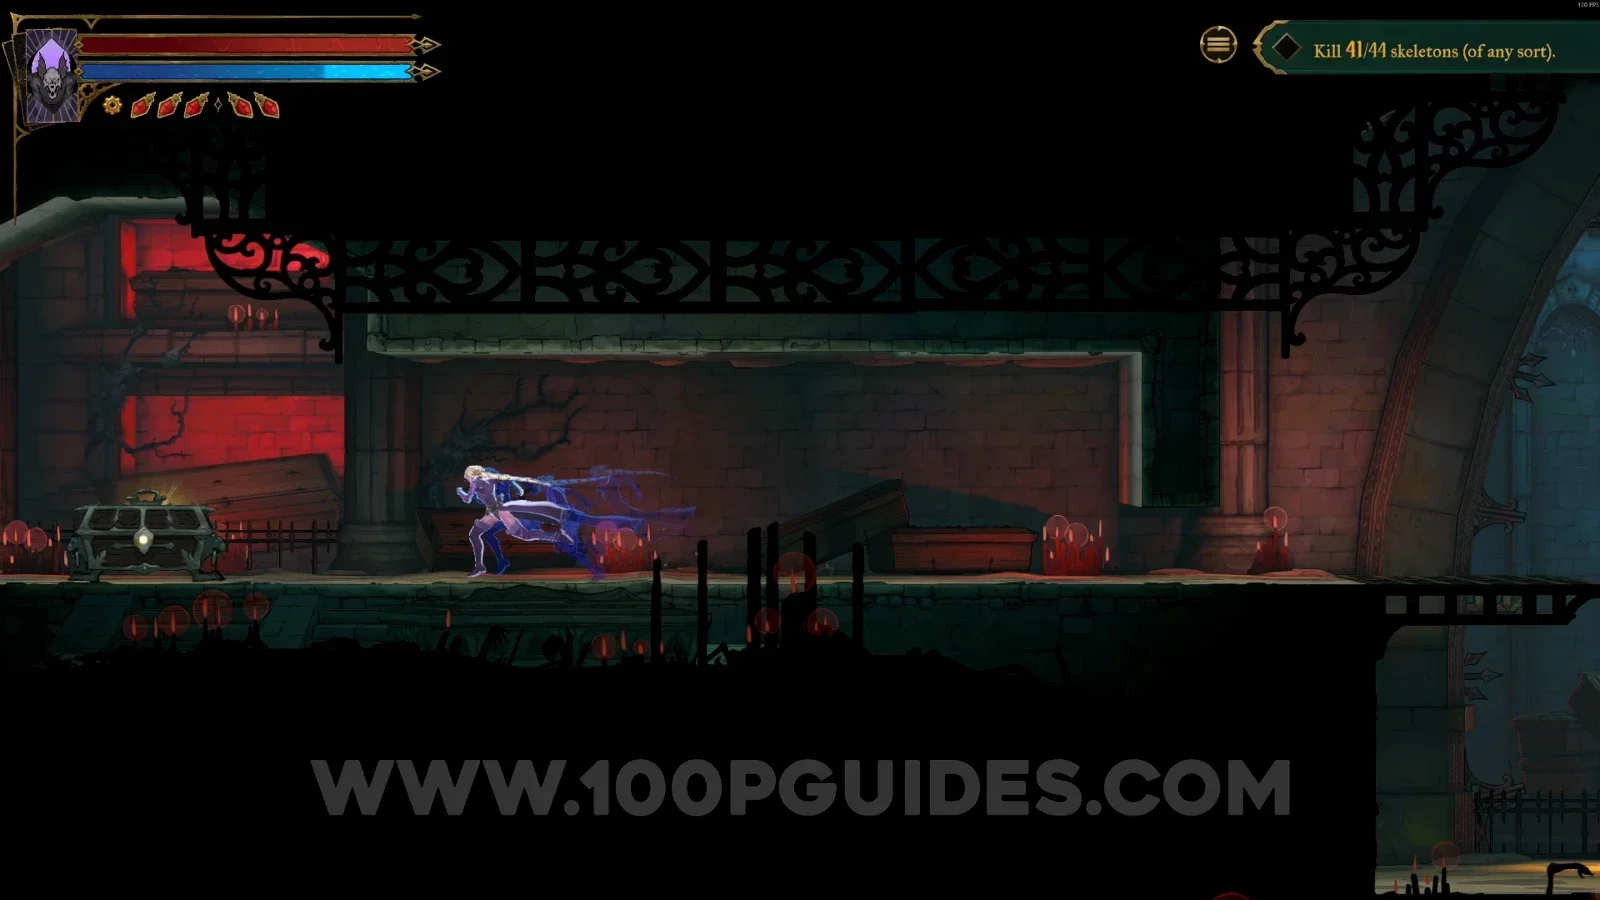
Castlevania Belmont's Curse Mass Grave: heading left past the Haunted Coffin toward the relic chest Castlevania Belmont's Curse Mass Grave: chest holding Relic #4 Raven's Feather

Roman Baths

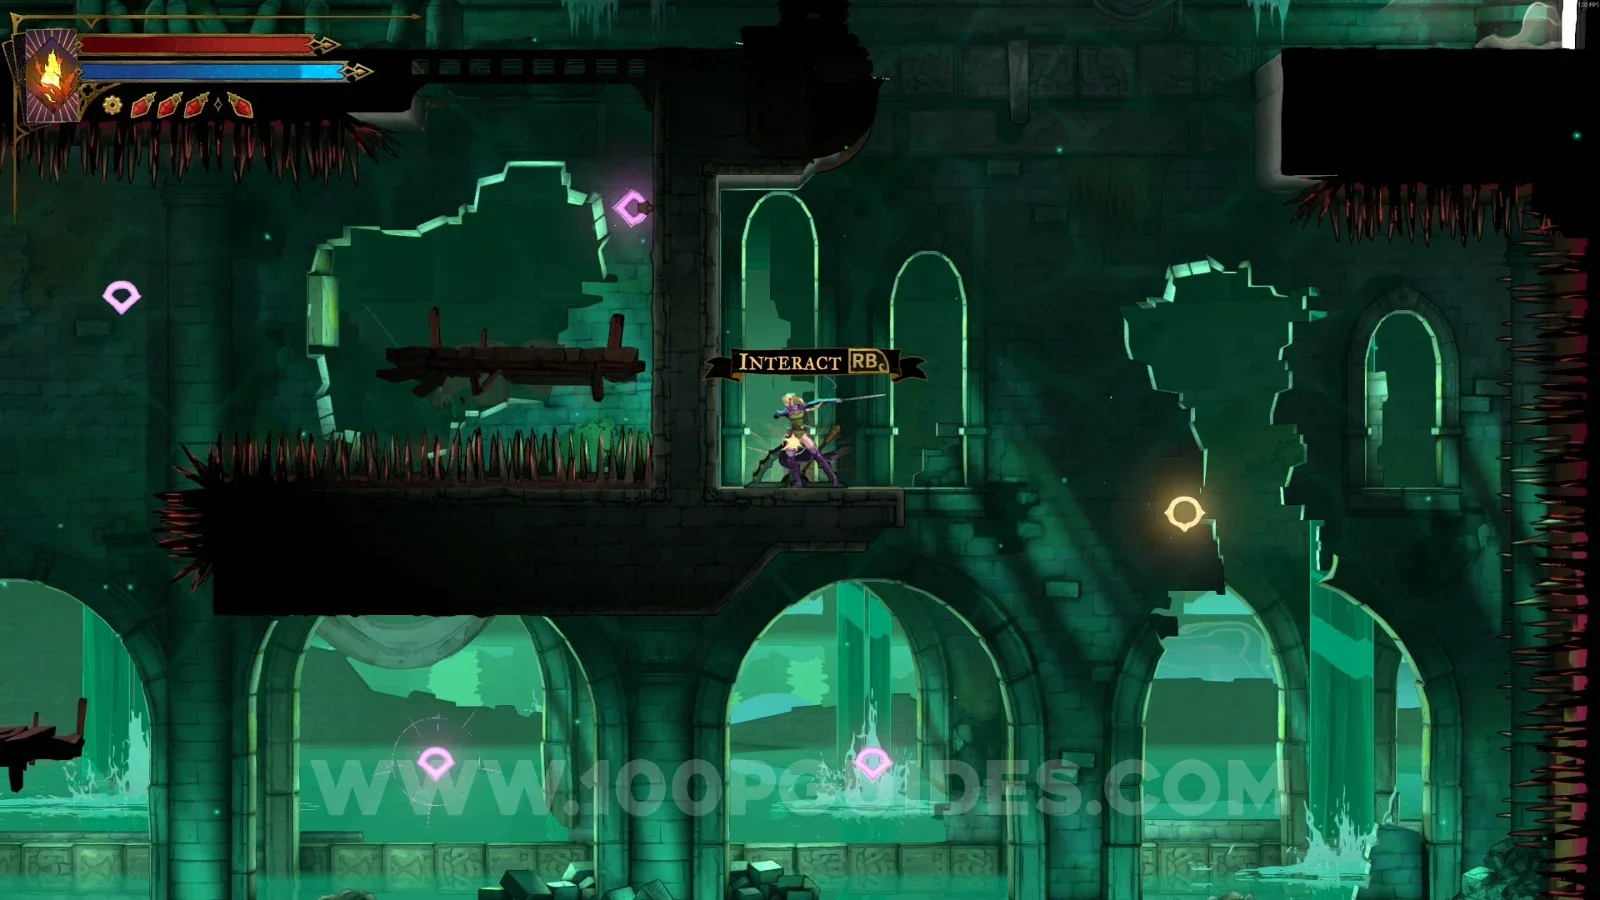
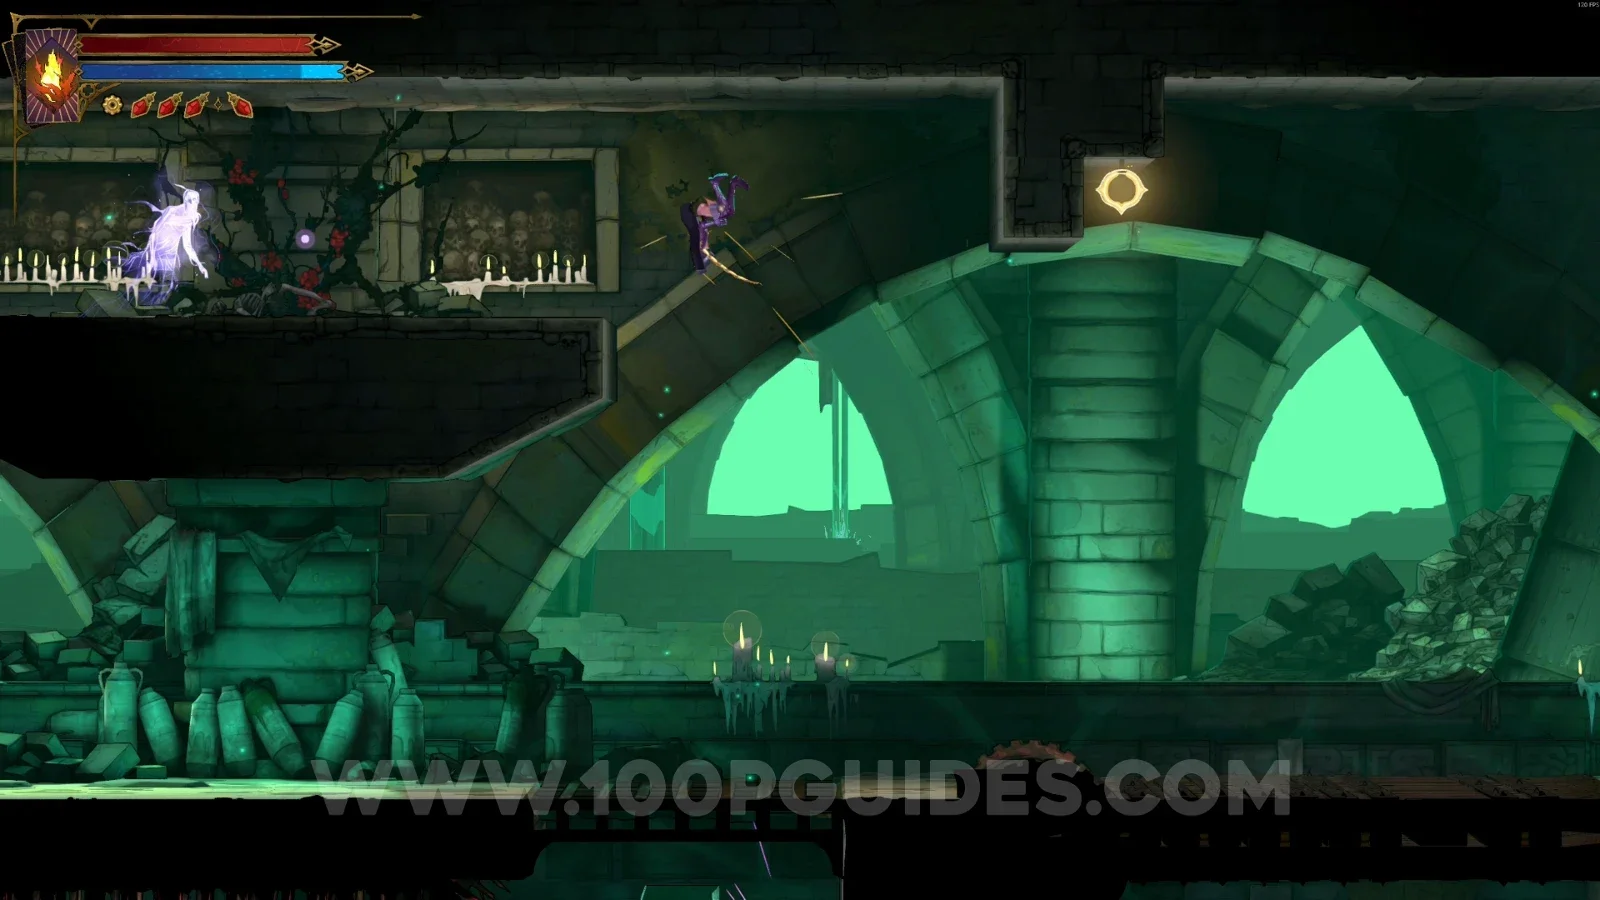
Clue: The Prophetess

In the area marked on the map, use the slide to reveal a secret area. In the next area, interact with the lever to lower the bridge, go around the area on the left, use the Arcane Whip to climb to the platform on the left, and interact with the ghost to get the clue.
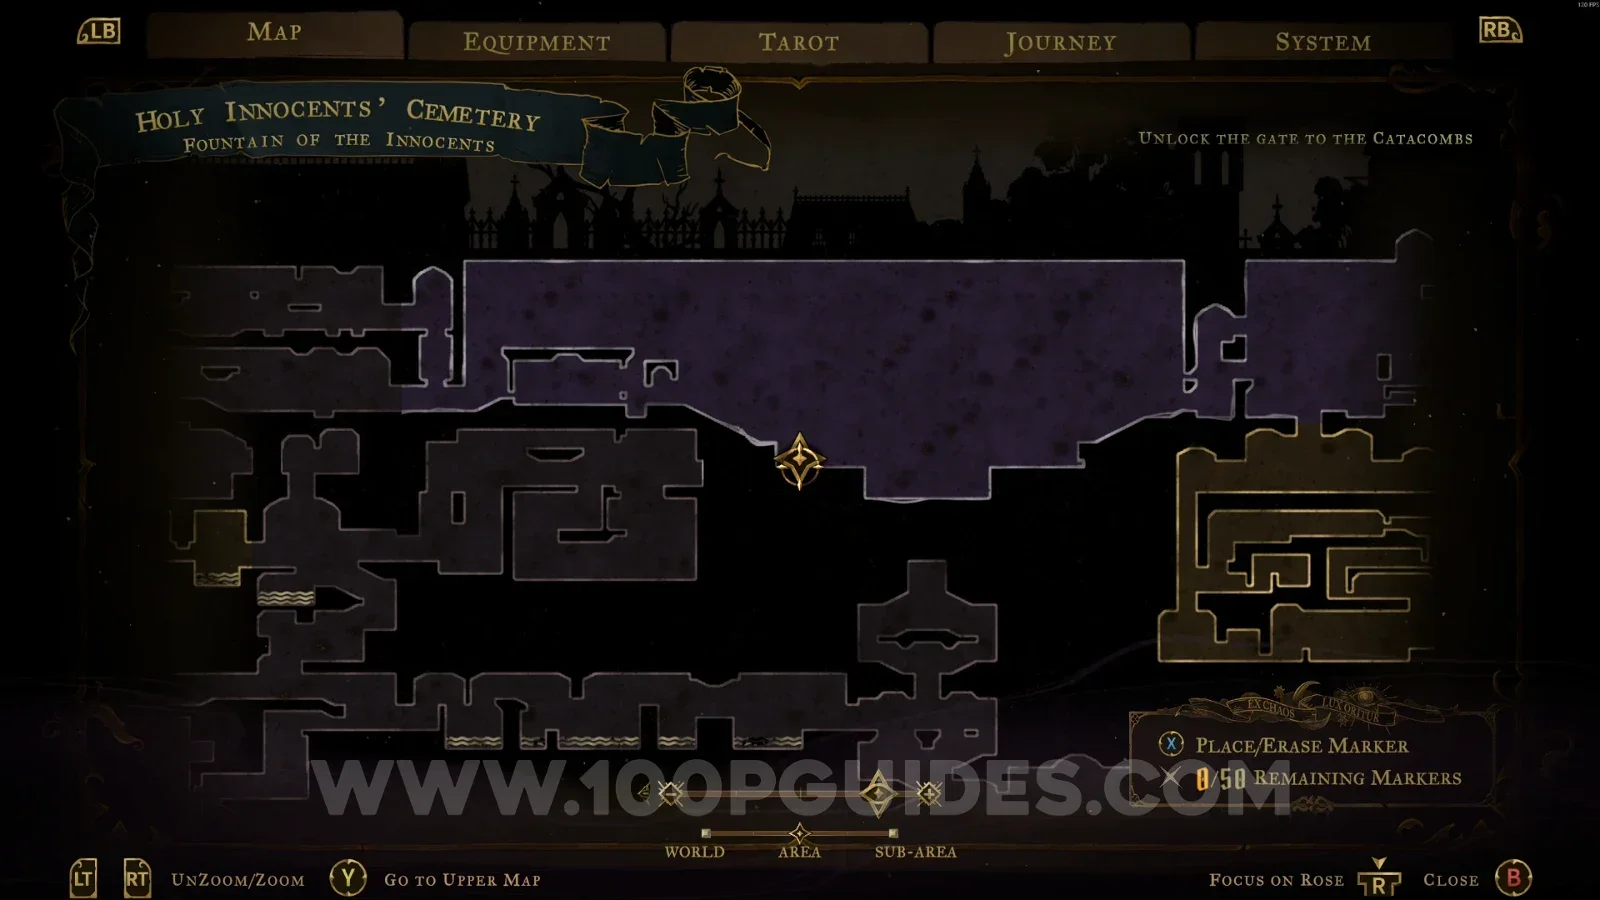
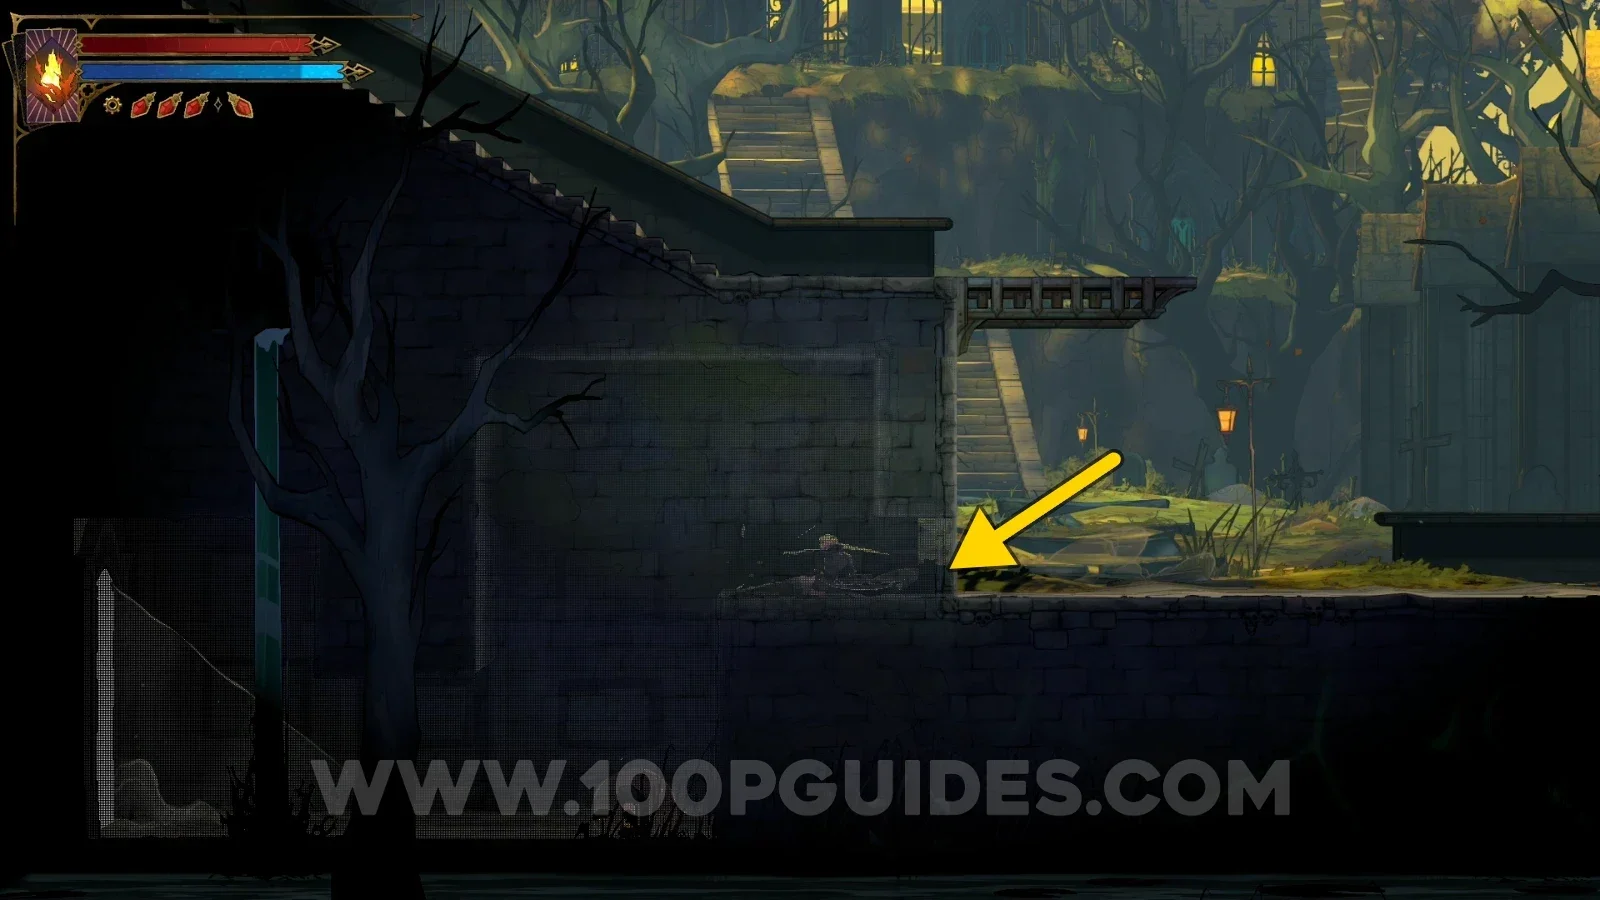
Castlevania Belmont's Curse Roman Baths: using the slide to reveal a secret area Castlevania Belmont's Curse Roman Baths: interacting with the lever to lower the bridge Castlevania Belmont's Curse Roman Baths: climbing to the platform on the left with the Arcane Whip Castlevania Belmont's Curse Roman Baths: ghost on the left platform giving the Clue The Prophetess

XP Statue #12

In the area marked on the map, on the left side.
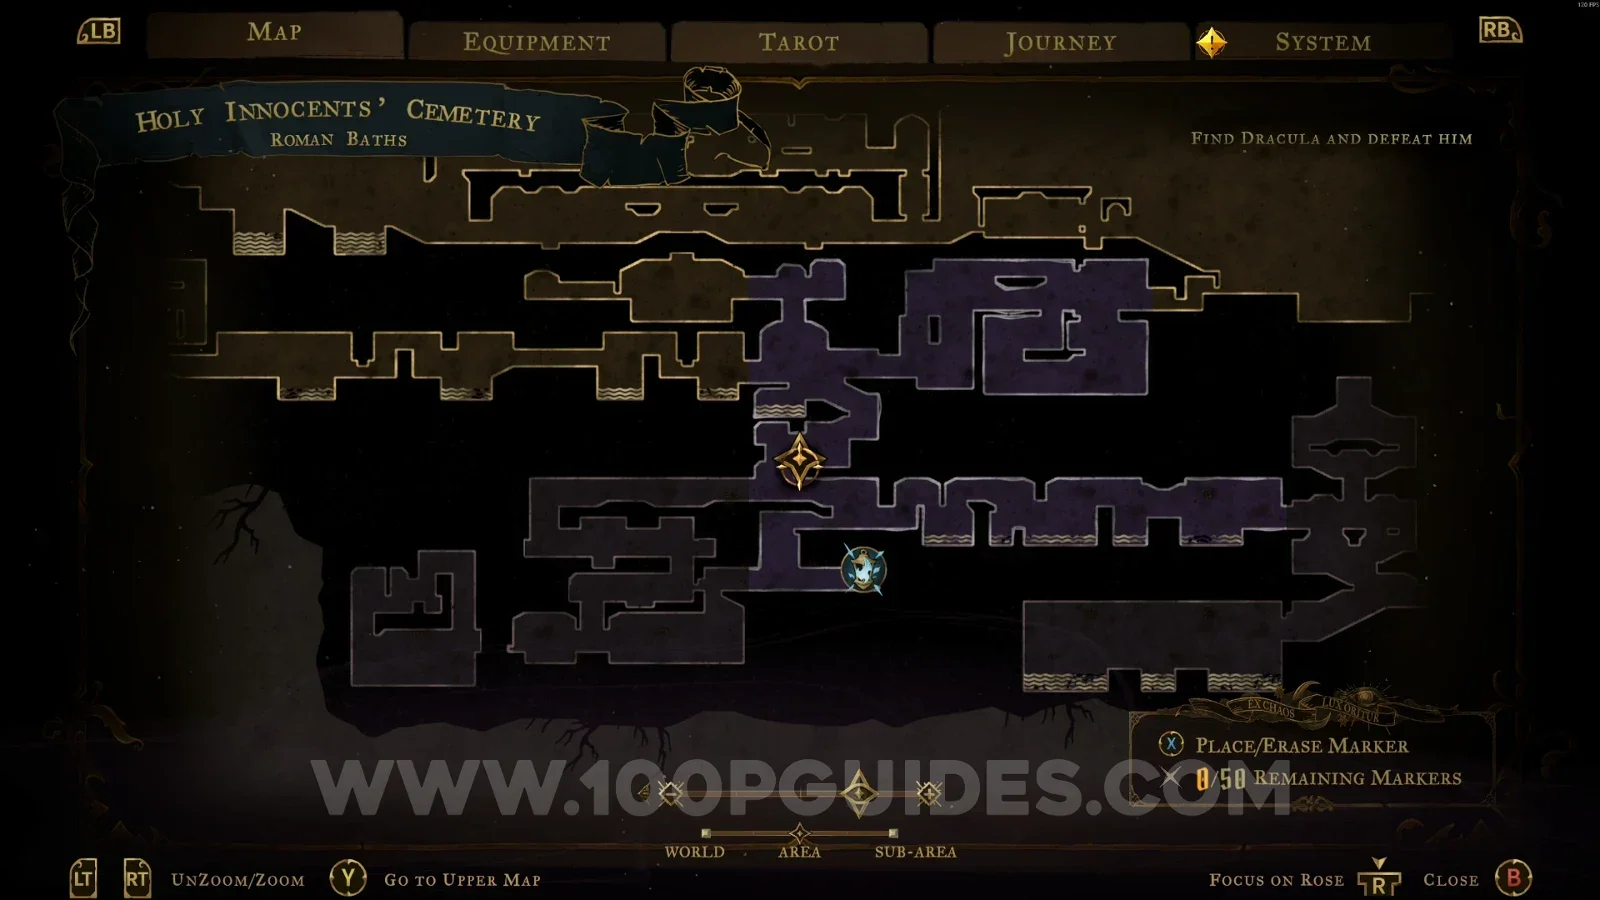
Castlevania Belmont's Curse Roman Baths: map marking the location of XP Statue #12 Castlevania Belmont's Curse Roman Baths: XP Statue #12 on the left side of the marked area

Wise Heart Fragment #3

In the area marked on the map, climb to the upper part to find this.
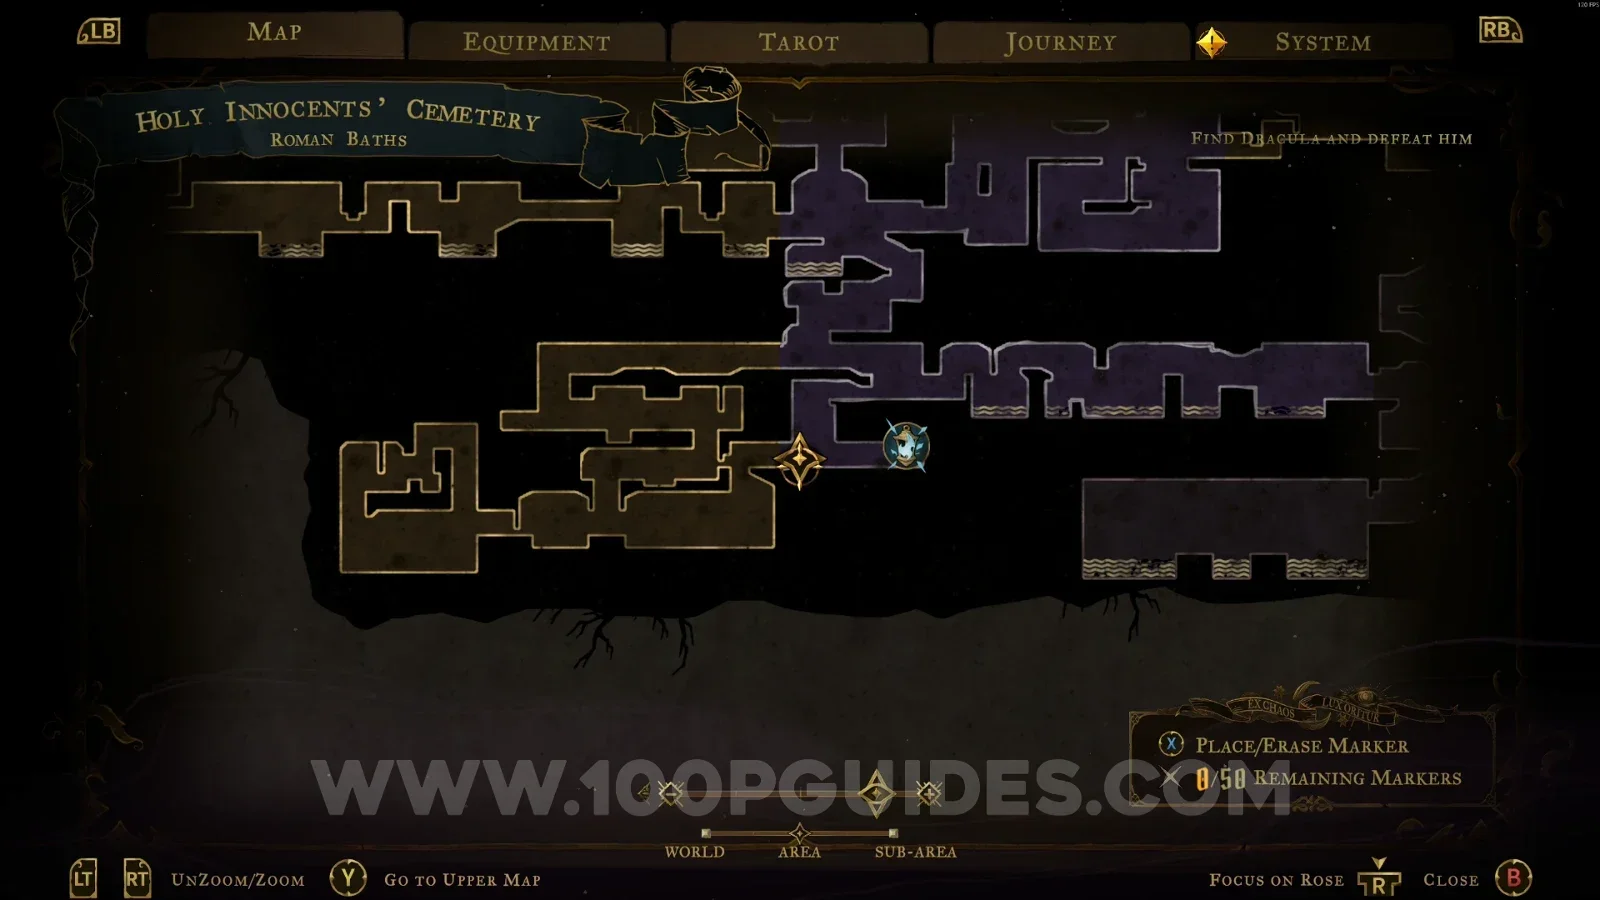
Castlevania Belmont's Curse Roman Baths: map marking the location of Wise Heart Fragment #3 Castlevania Belmont's Curse Roman Baths: Wise Heart Fragment #3 in the upper part of the area

Ferryman's Wharf

From any other Ferryman's Wharf, teleport to the one in Holy Innocents' Cemetery to reveal the area.
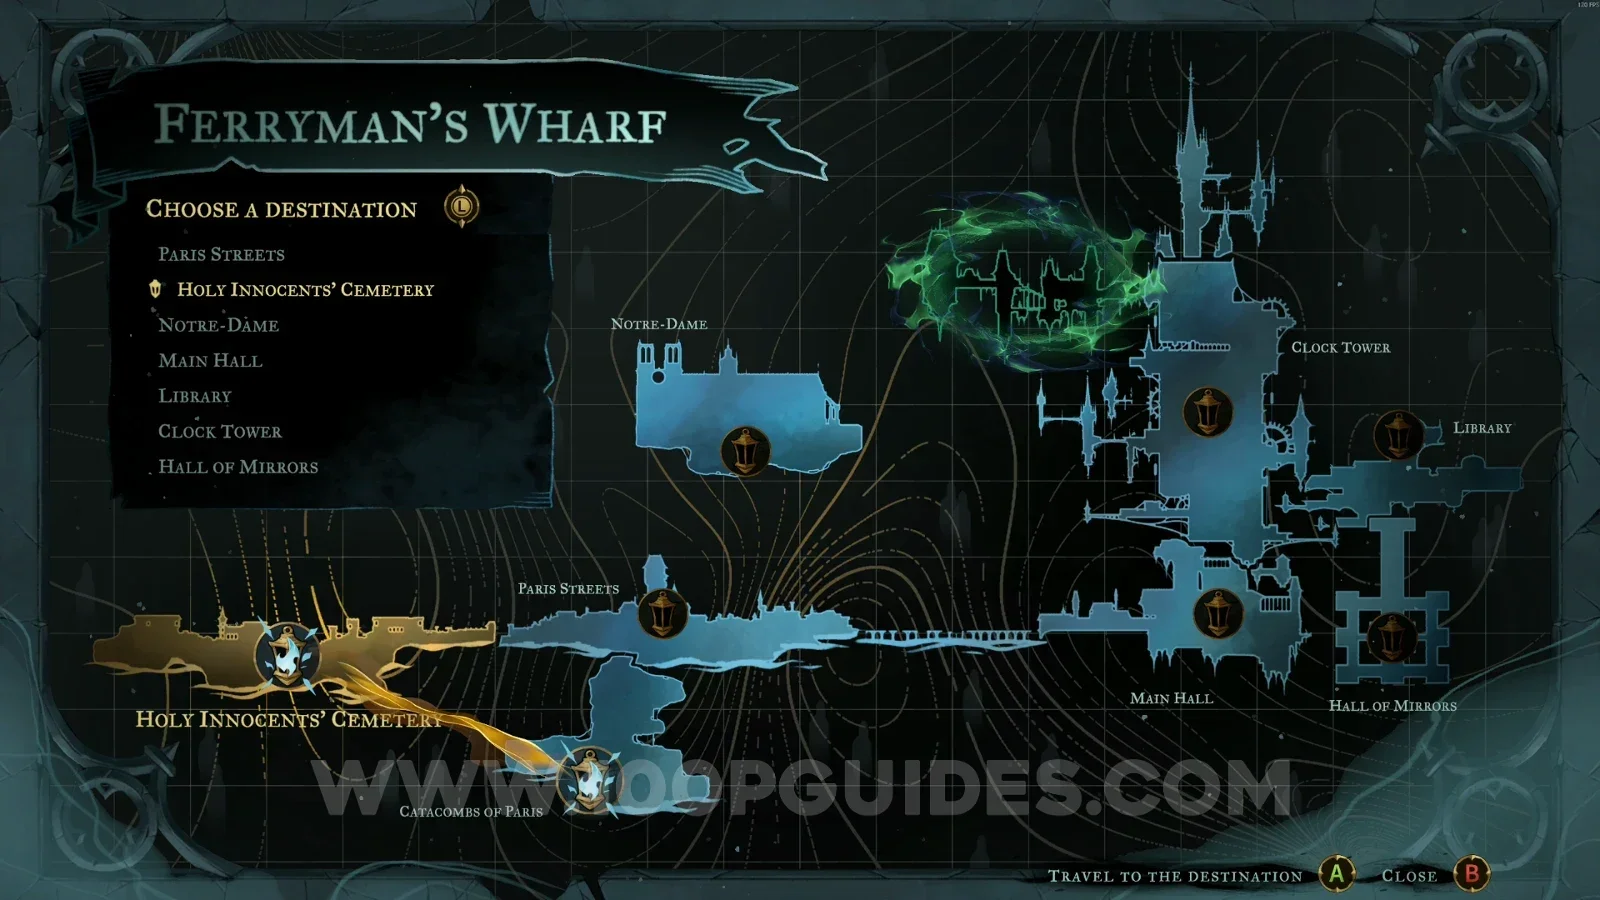
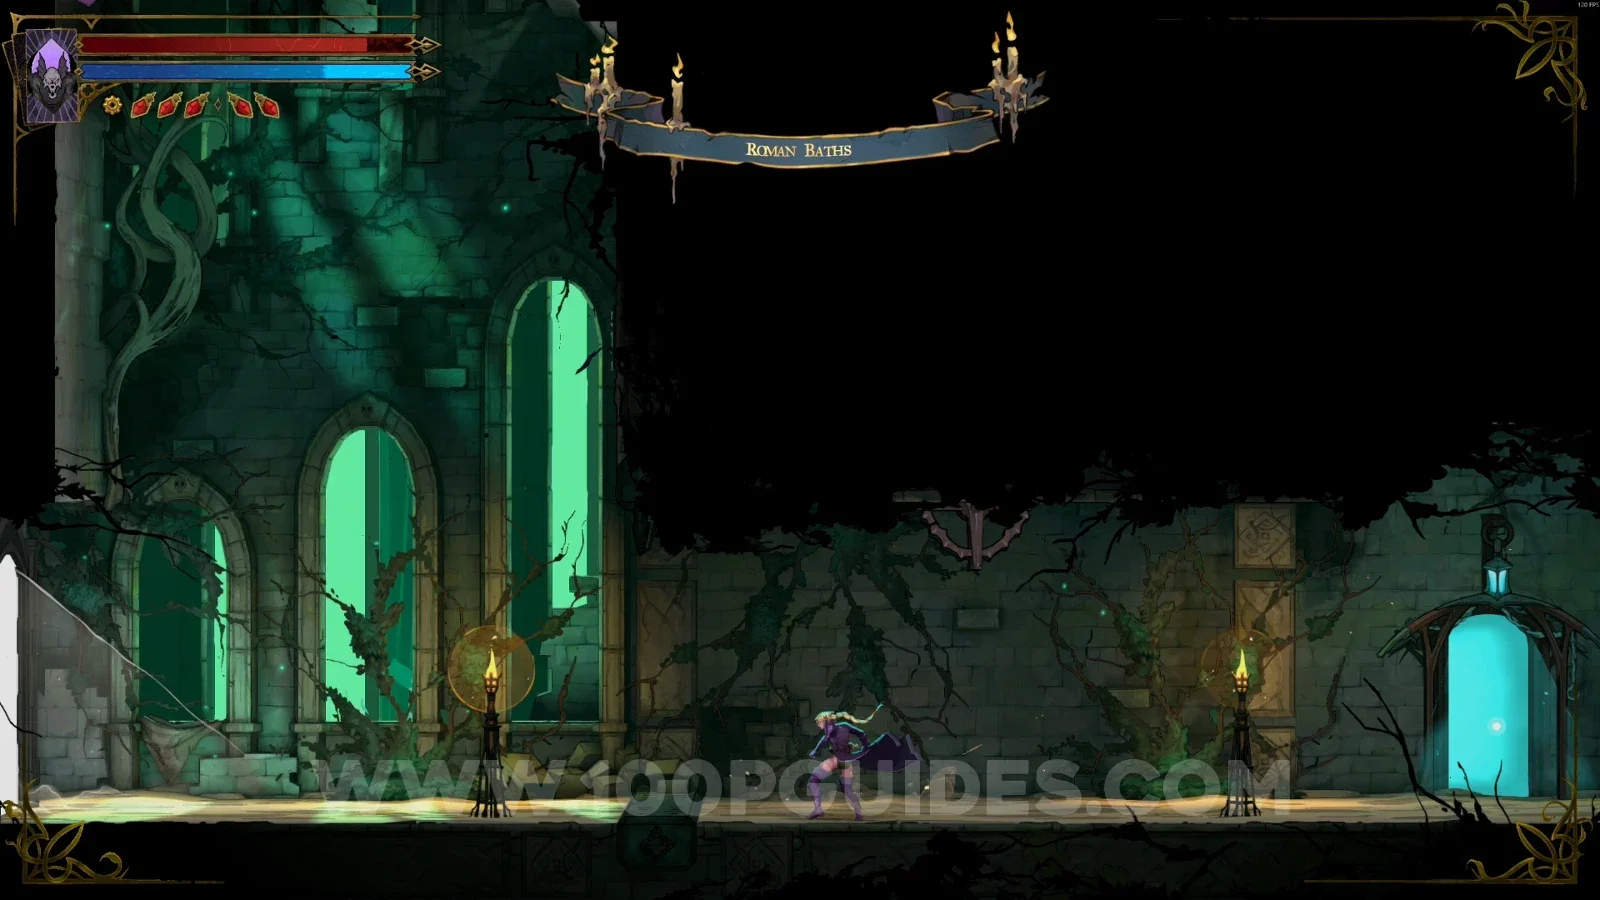
Castlevania Belmont's Curse Roman Baths: teleporting from another Ferryman's Wharf Castlevania Belmont's Curse Roman Baths: the Holy Innocents' Cemetery Ferryman's Wharf revealed

Hot Springs

XP Statue #13 + Relic #5: Pale Thorn

In the area marked on the map, climb the platform to reveal the secret room with the statue. Then go down to the lower level and use the slide on the left side to reach another area. In that area, go around on the left side until you reach the chest.
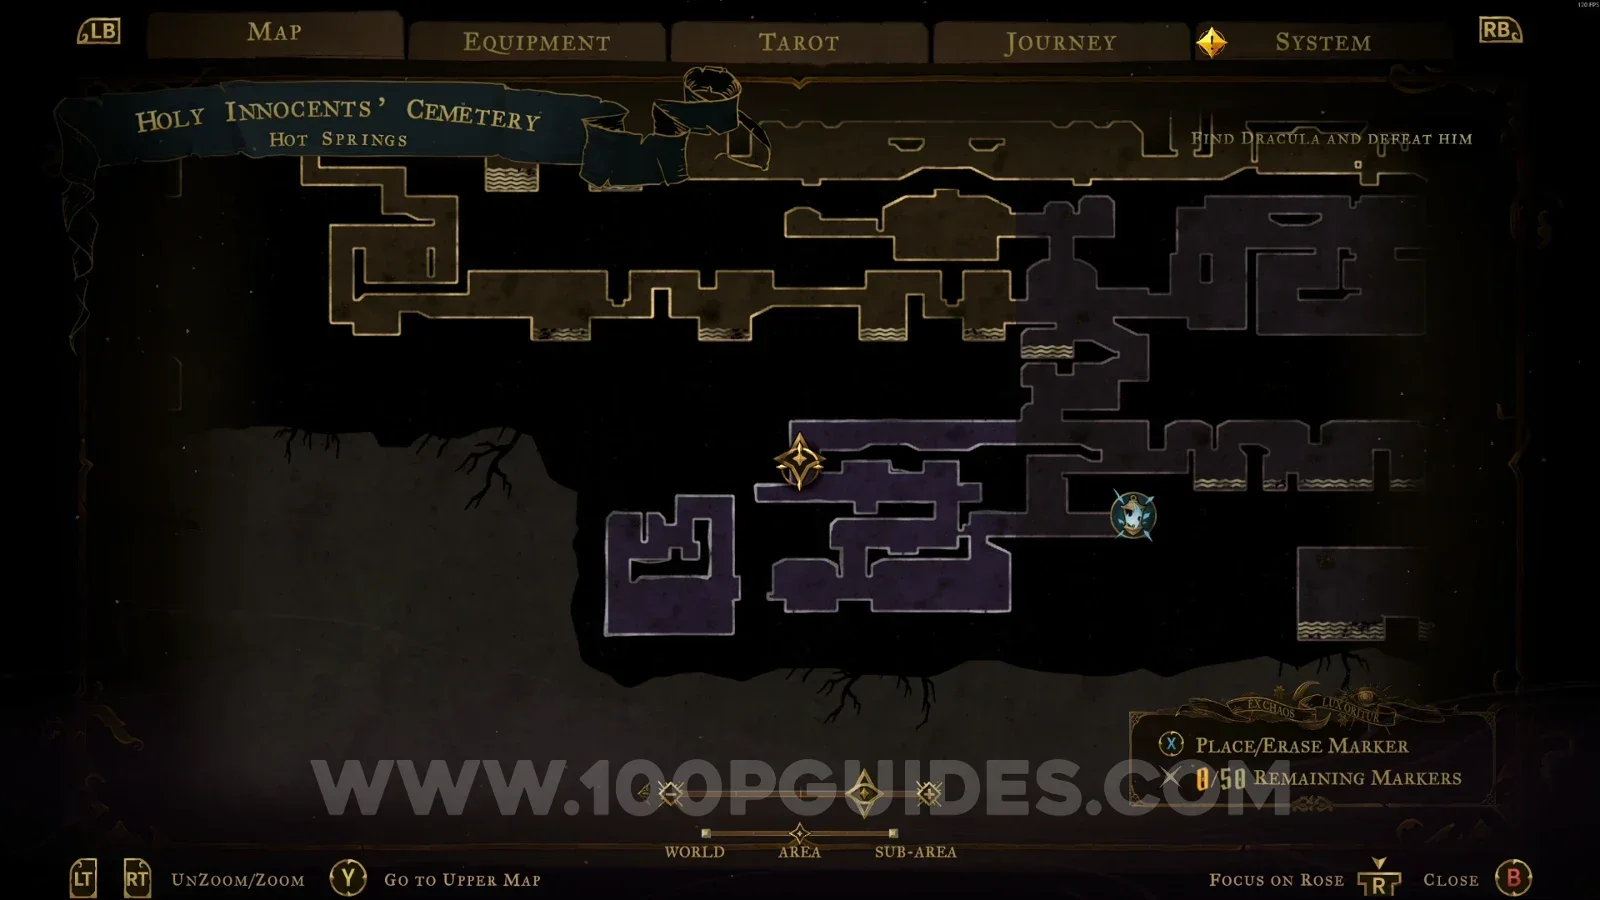
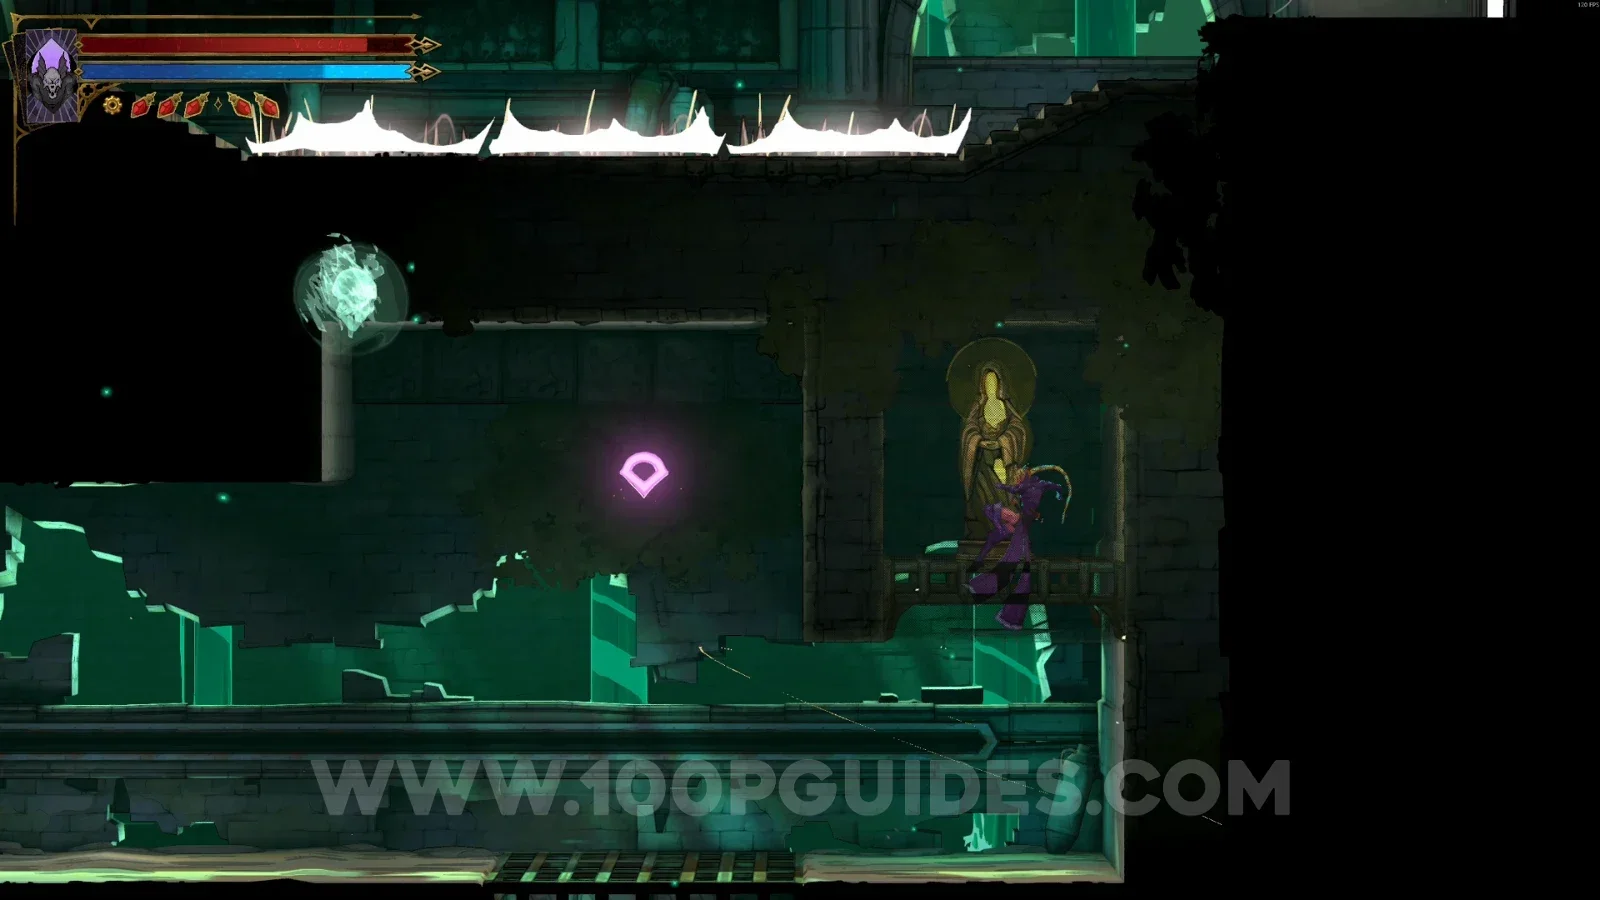
Castlevania Belmont's Curse Hot Springs: climbing the platform to reveal the secret room Castlevania Belmont's Curse Hot Springs: XP Statue #13 inside the secret room Castlevania Belmont's Curse Hot Springs: using the slide on the left side of the lower level Castlevania Belmont's Curse Hot Springs: chest holding Relic #5 Pale Thorn in the next area

Serpents' Lair

Relic #6: Vampire's Fang

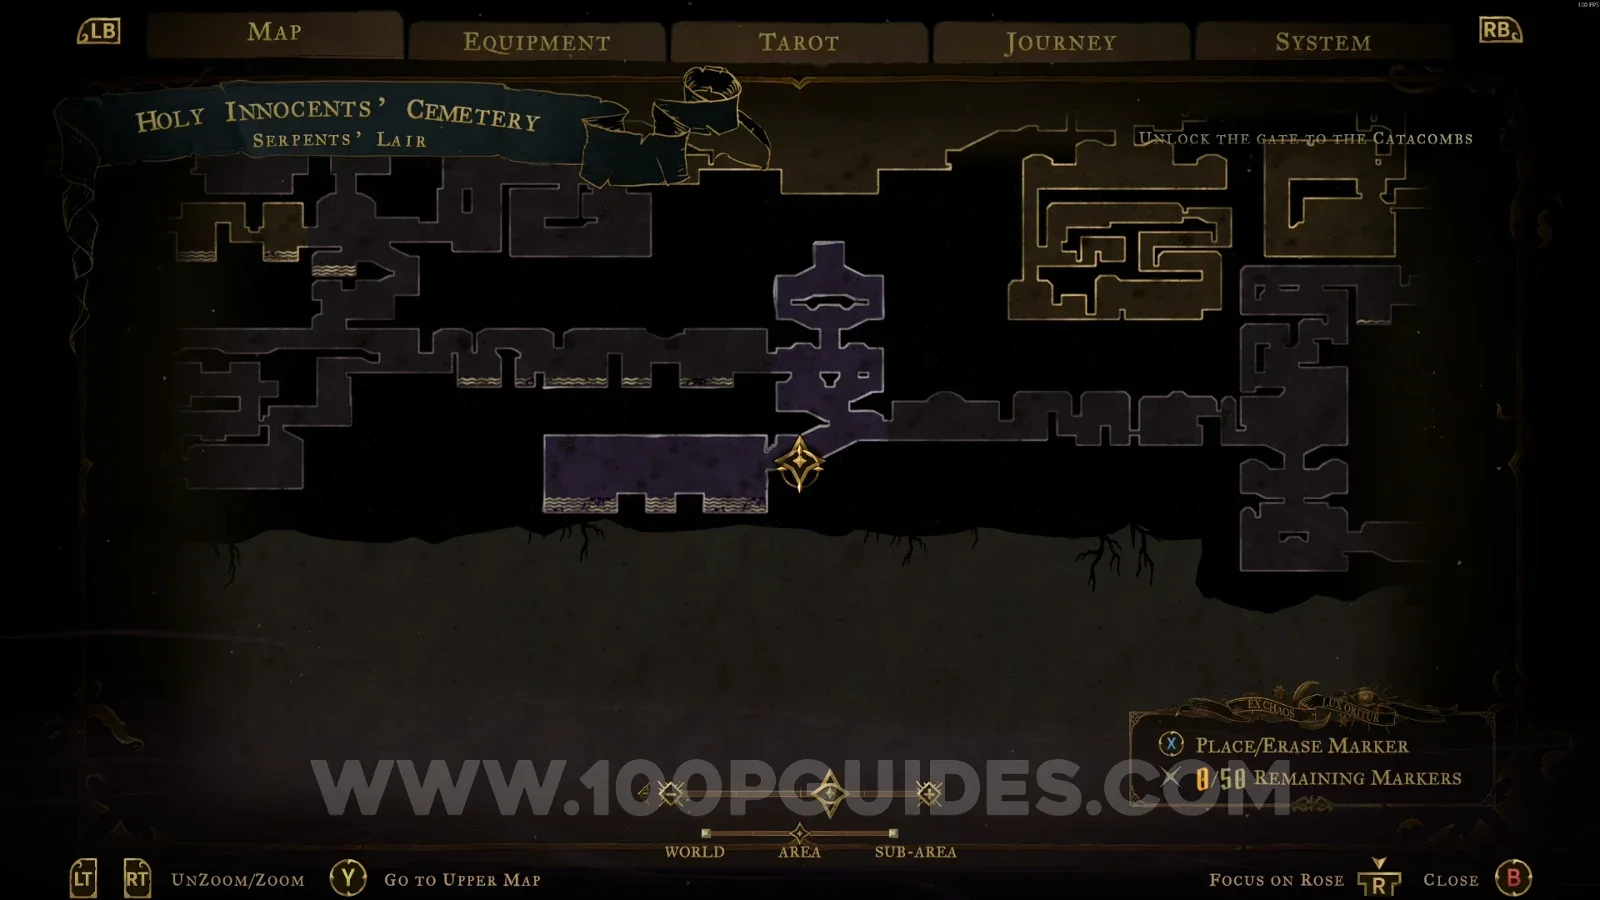
From the Fountain Of The Innocents area, jump into the center of the lake to reach the Serpents' Lair. Here you'll find a chest that was once wrapped in chains. Each Haunted Coffin you destroyed broke one of the chains. Once they're all broken, you can open the chest and get the relic.
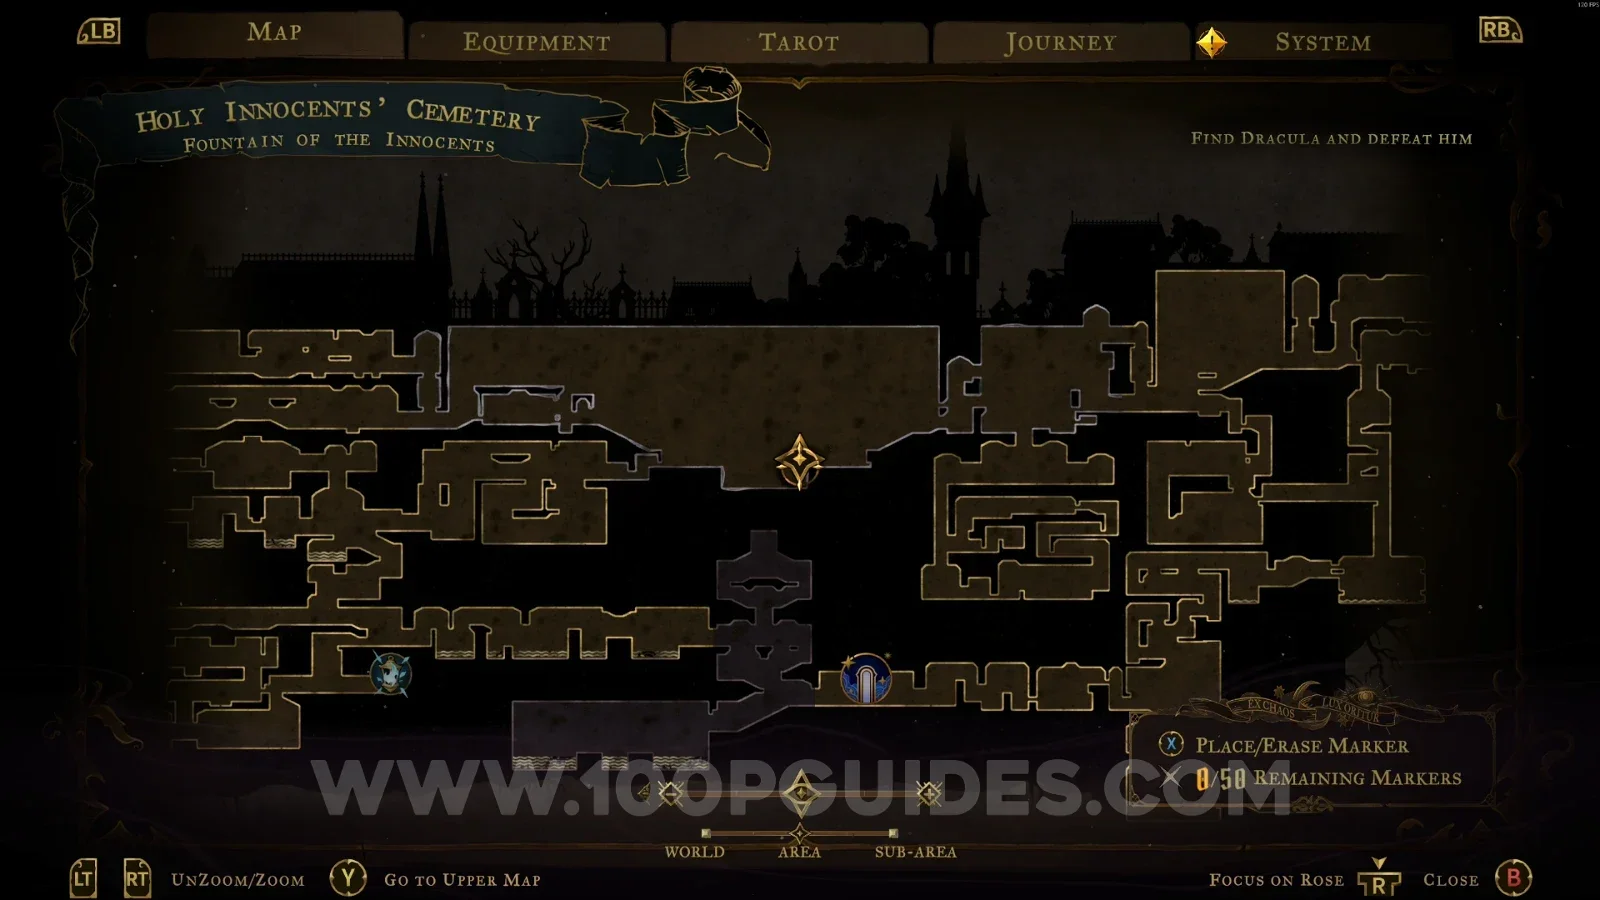
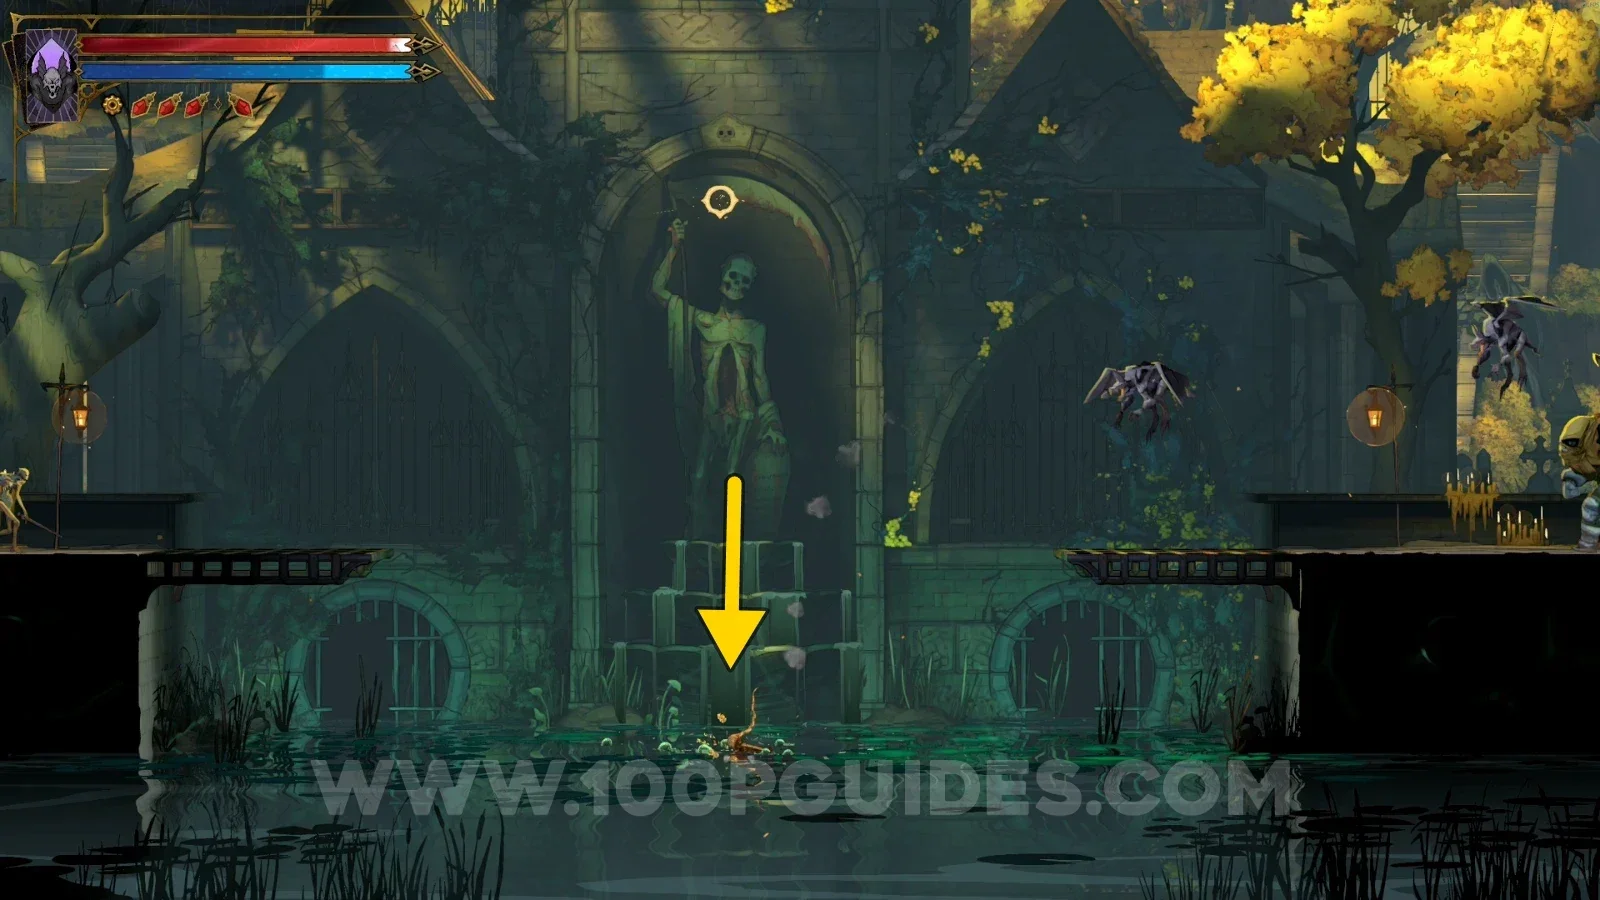
Castlevania Belmont's Curse Fountain of the Innocents: jumping into the center of the lake to reach the Serpents' Lair Castlevania Belmont's Curse Serpents' Lair: chest once wrapped in chains broken by the Haunted Coffins Castlevania Belmont's Curse Serpents' Lair: Relic #6 Vampire's Fang from the unchained chest

XP Statue #14

On the right side of the area.
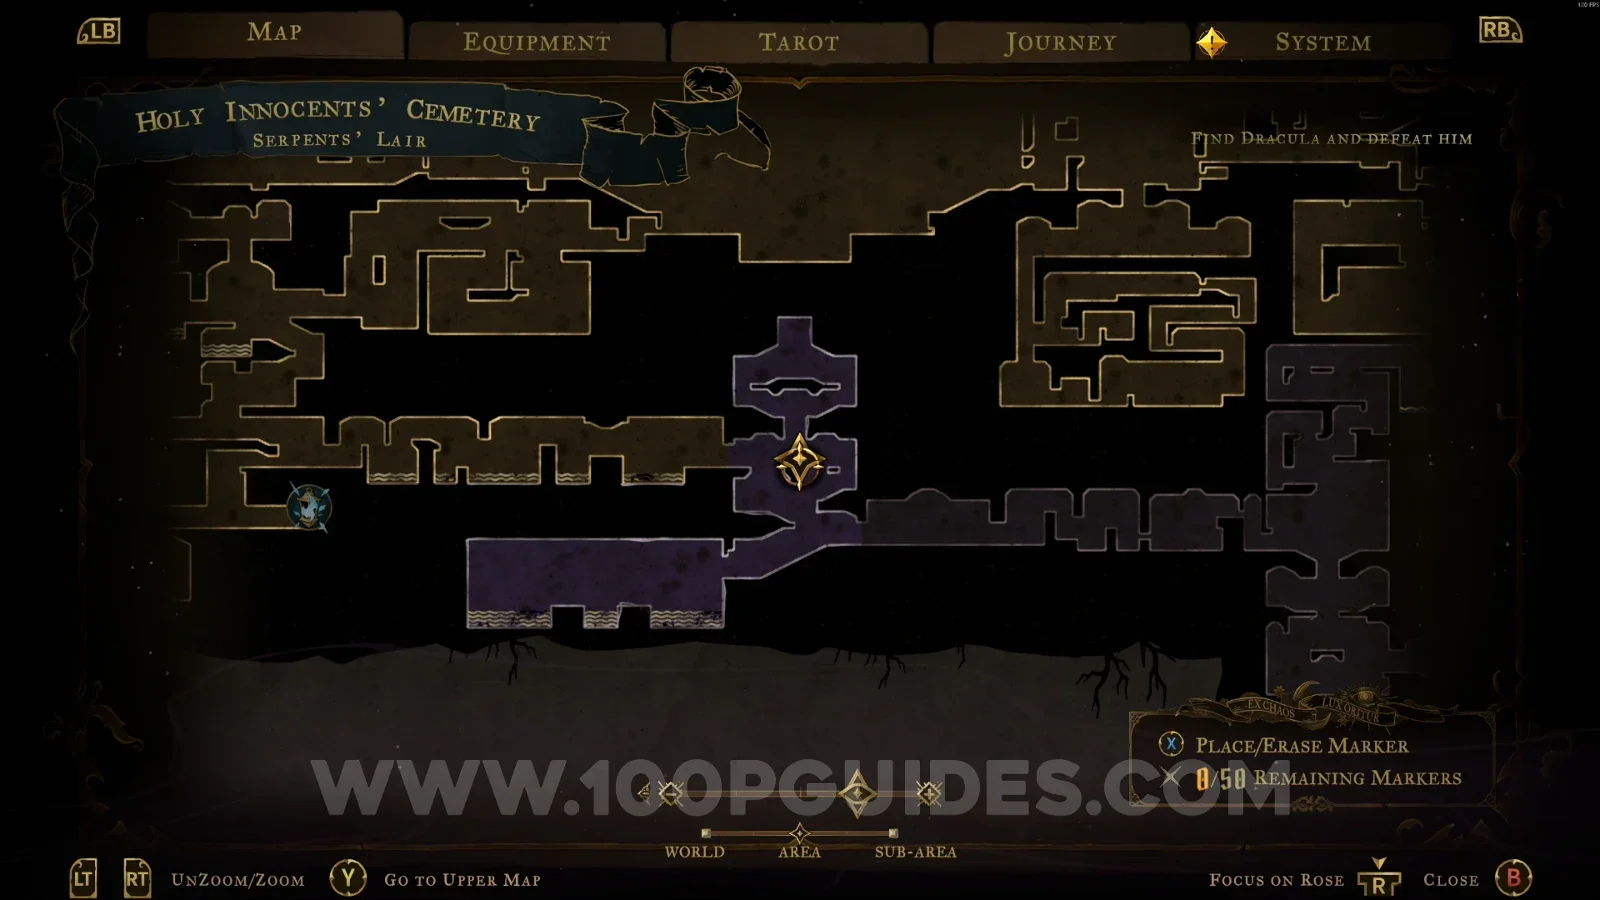
Castlevania Belmont's Curse Serpents' Lair: the right side of the area where XP Statue #14 stands Castlevania Belmont's Curse Serpents' Lair: XP Statue #14 on the right side of the area

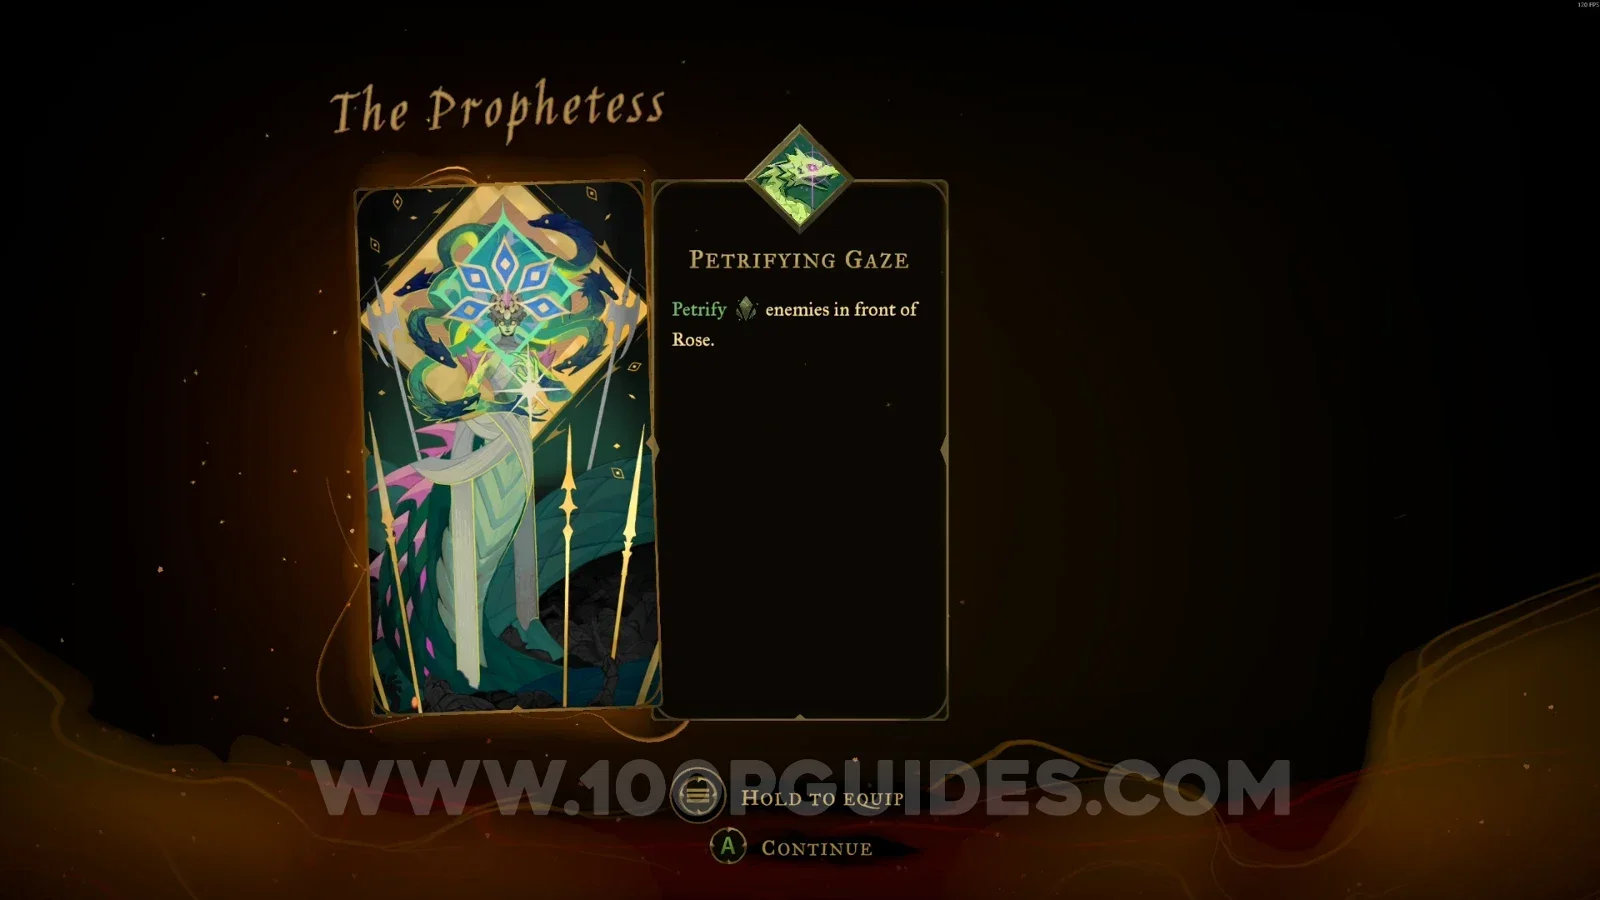
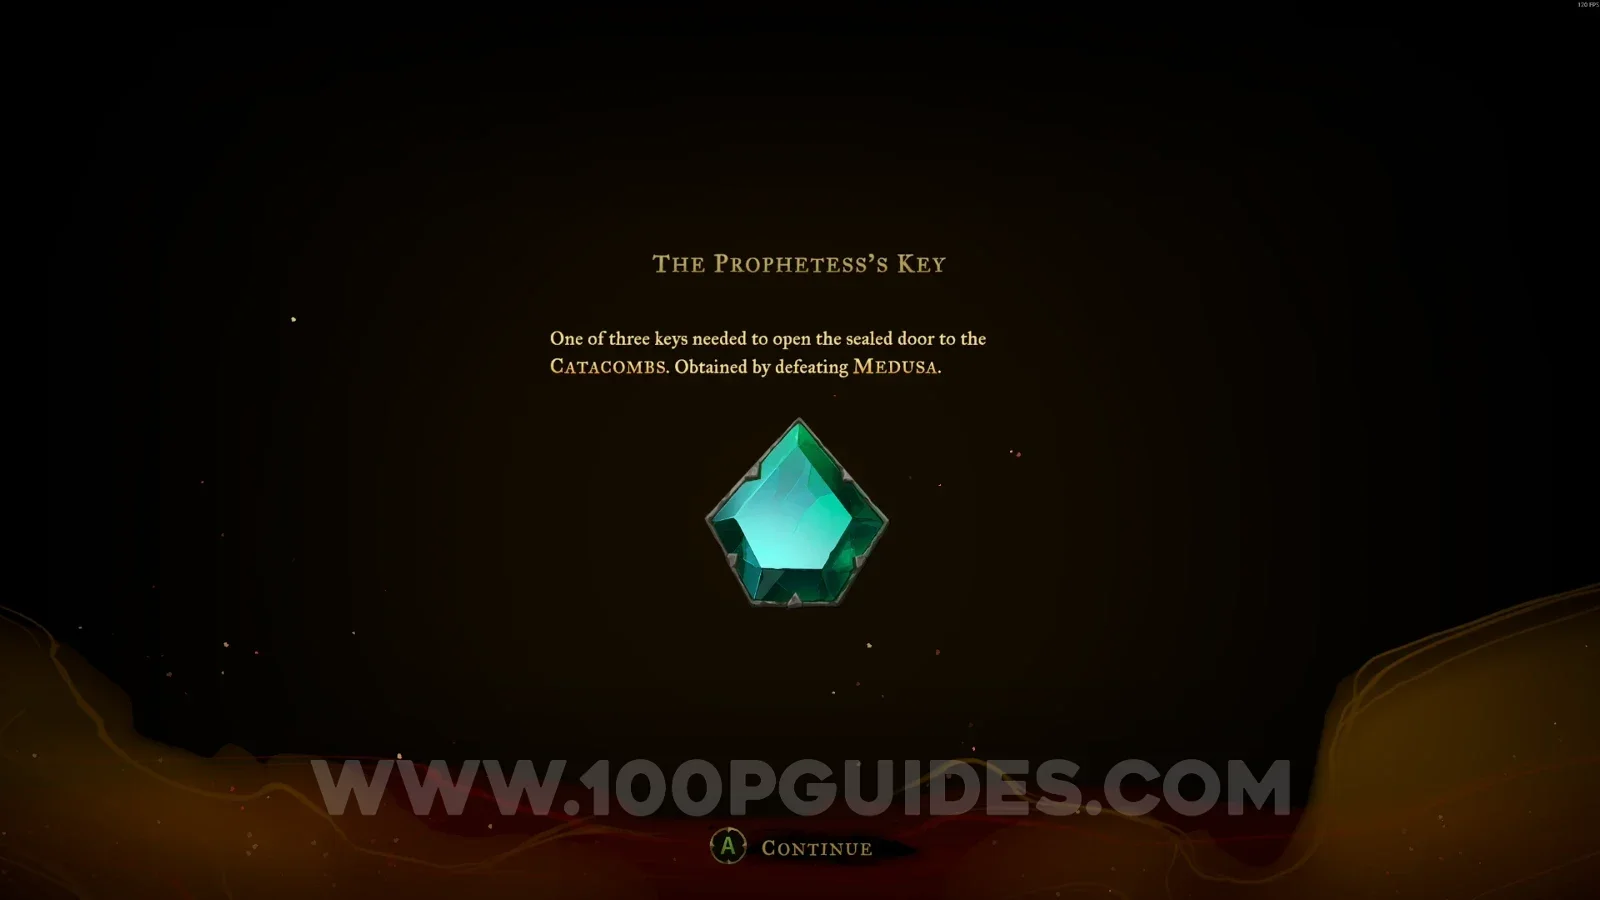
Arcana #2: Petrifying Gaze + The Prophetess's Key

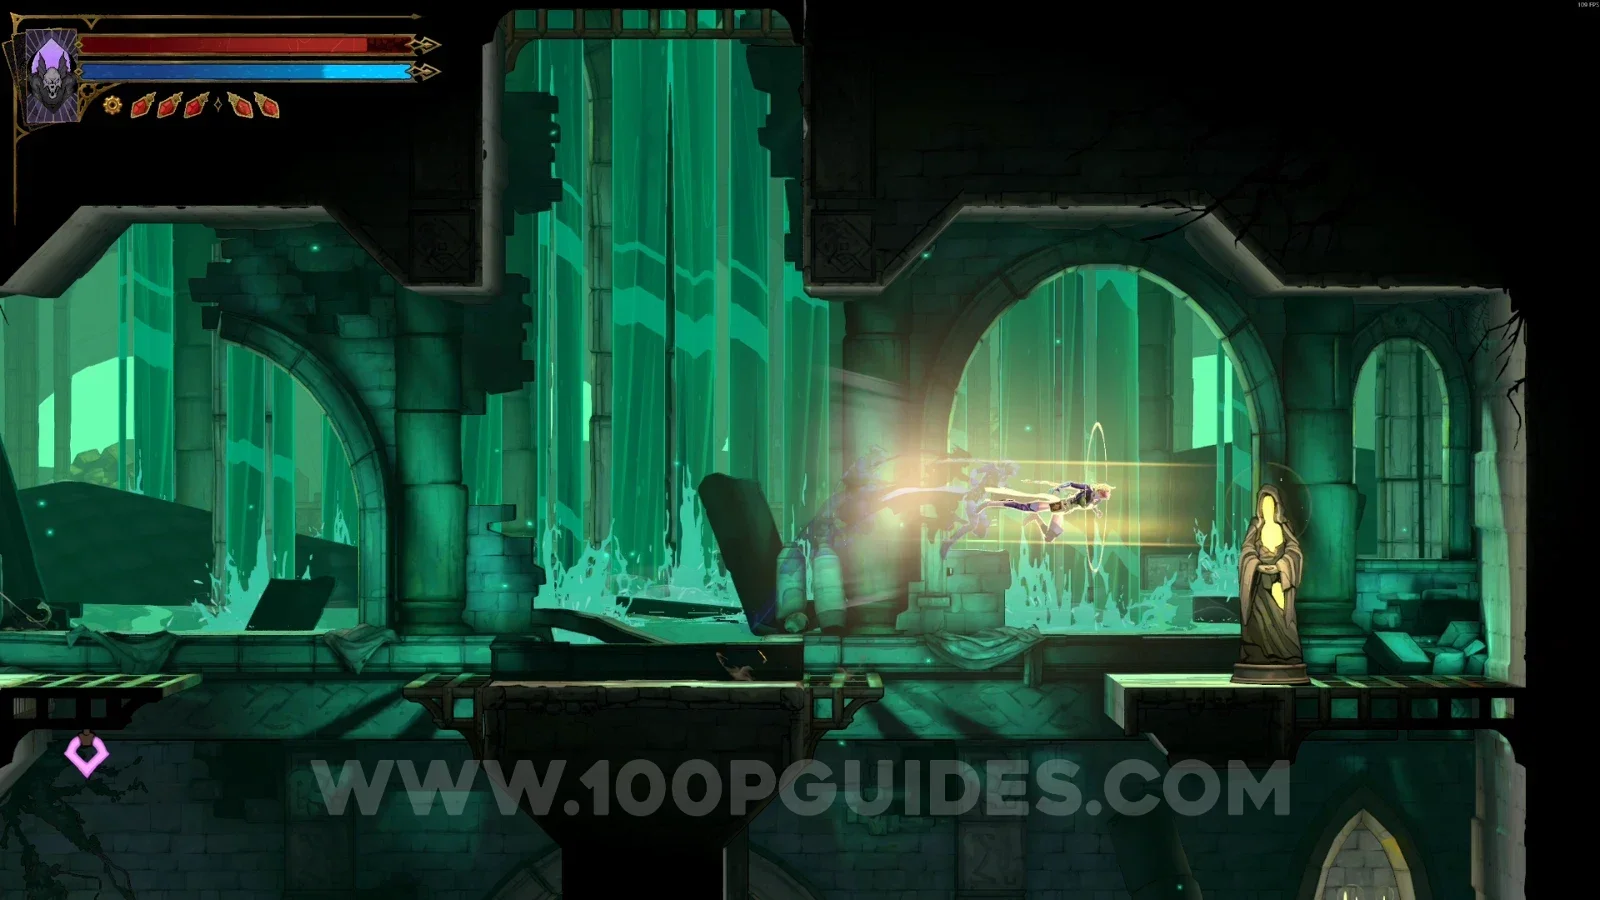
After defeating Medusa (The Prophetess), you get this arcana and the key.
Castlevania Belmont's Curse Serpents' Lair: boss fight against Medusa, The Prophetess Castlevania Belmont's Curse Serpents' Lair: Arcana #2 Petrifying Gaze obtained after defeating Medusa Castlevania Belmont's Curse Serpents' Lair: The Prophetess's Key obtained after defeating Medusa

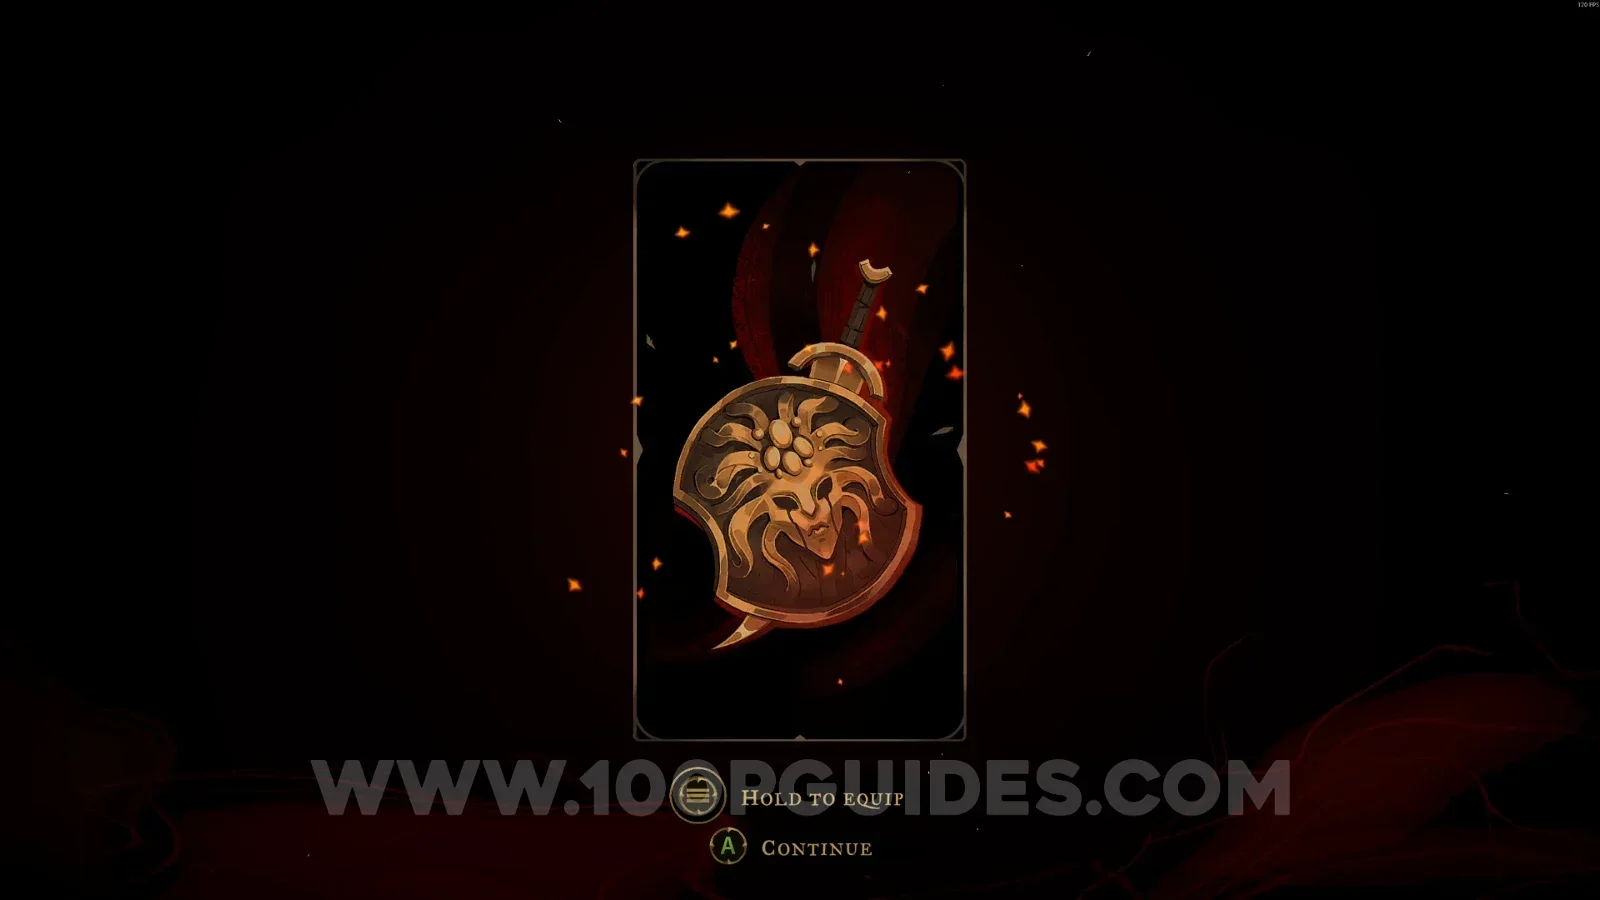
Weapon #3: Rusted Harpe And Aegis

Right after defeating Medusa (The Prophetess), you'll find it at the door.
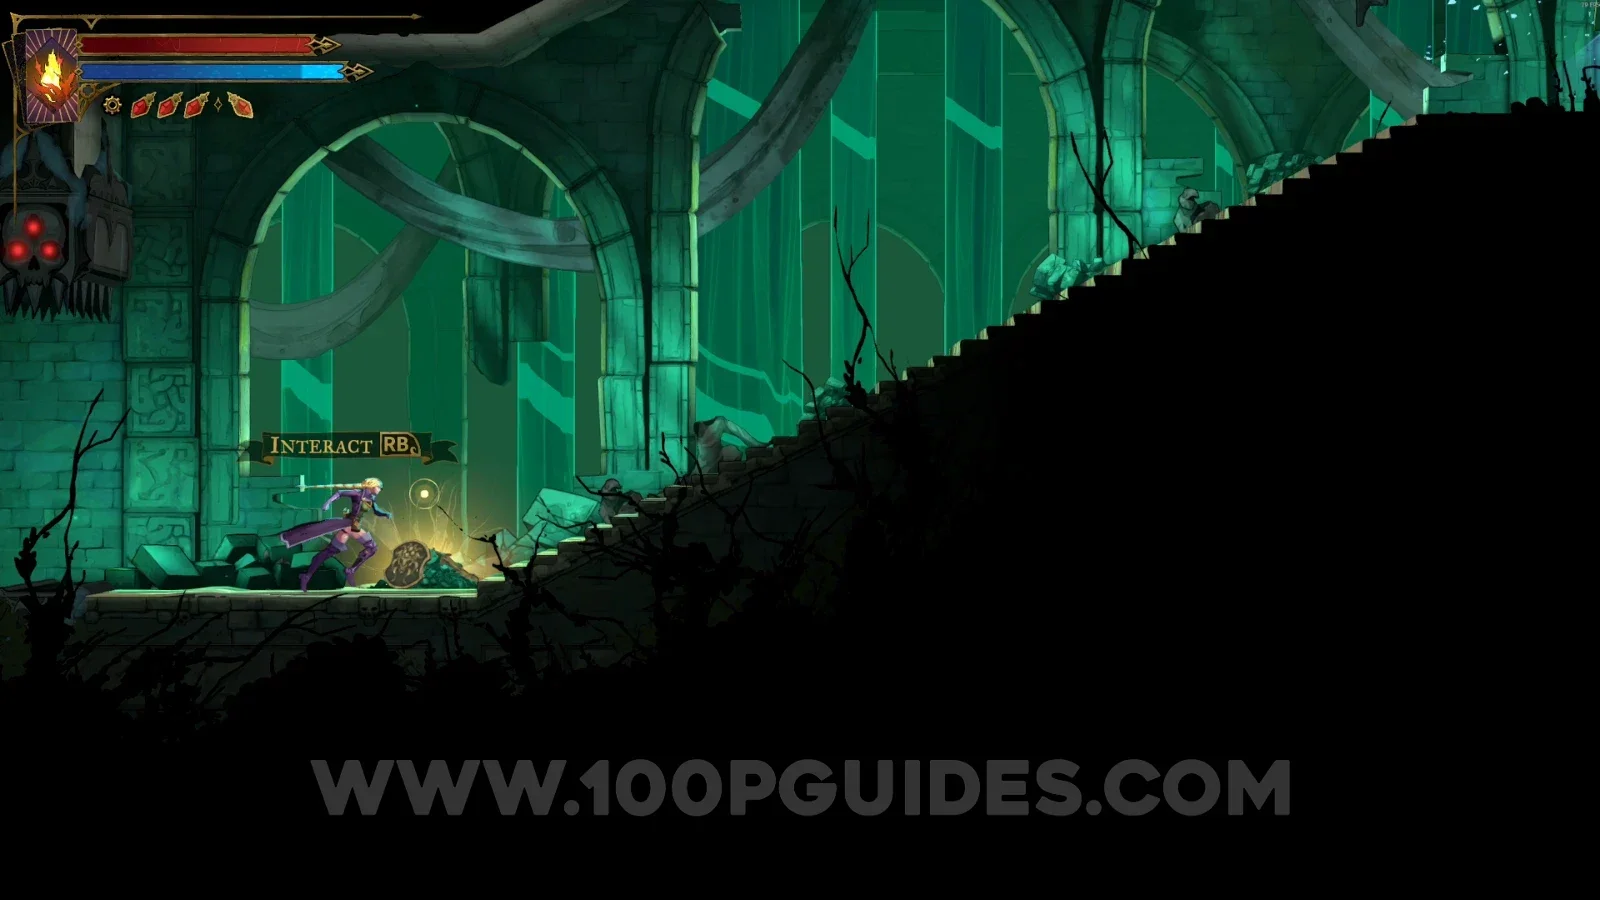
Castlevania Belmont's Curse Serpents' Lair: the door right after defeating Medusa, The Prophetess Castlevania Belmont's Curse Serpents' Lair: Weapon #3 Rusted Harpe And Aegis at the door

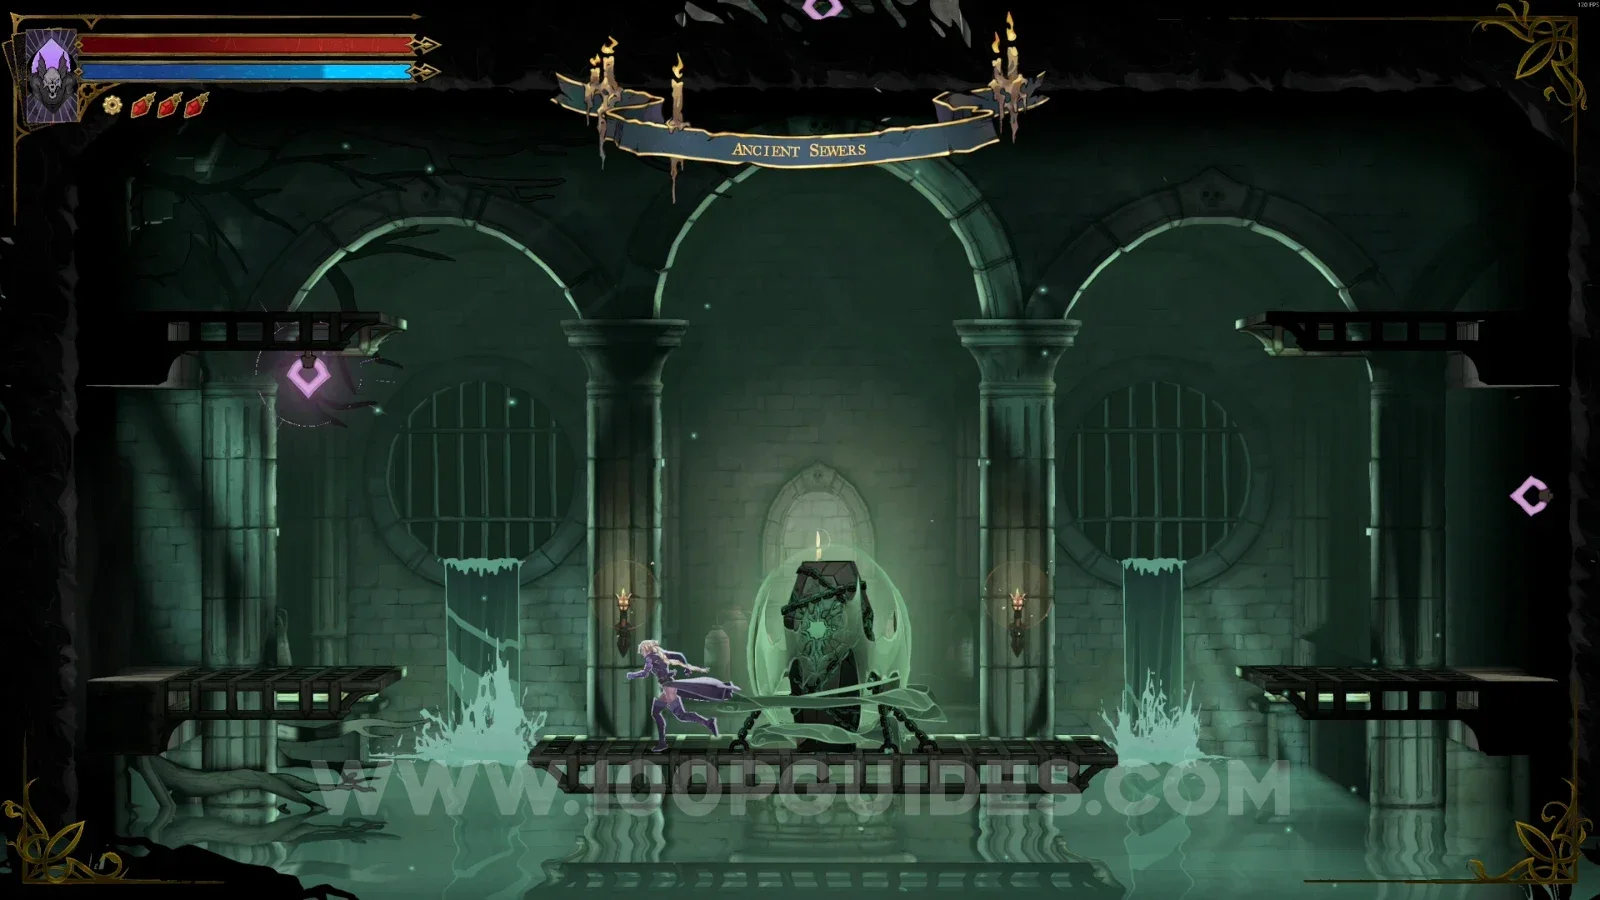
Ancient Sewers

Mirror Of Life #4

In the area marked on the map.
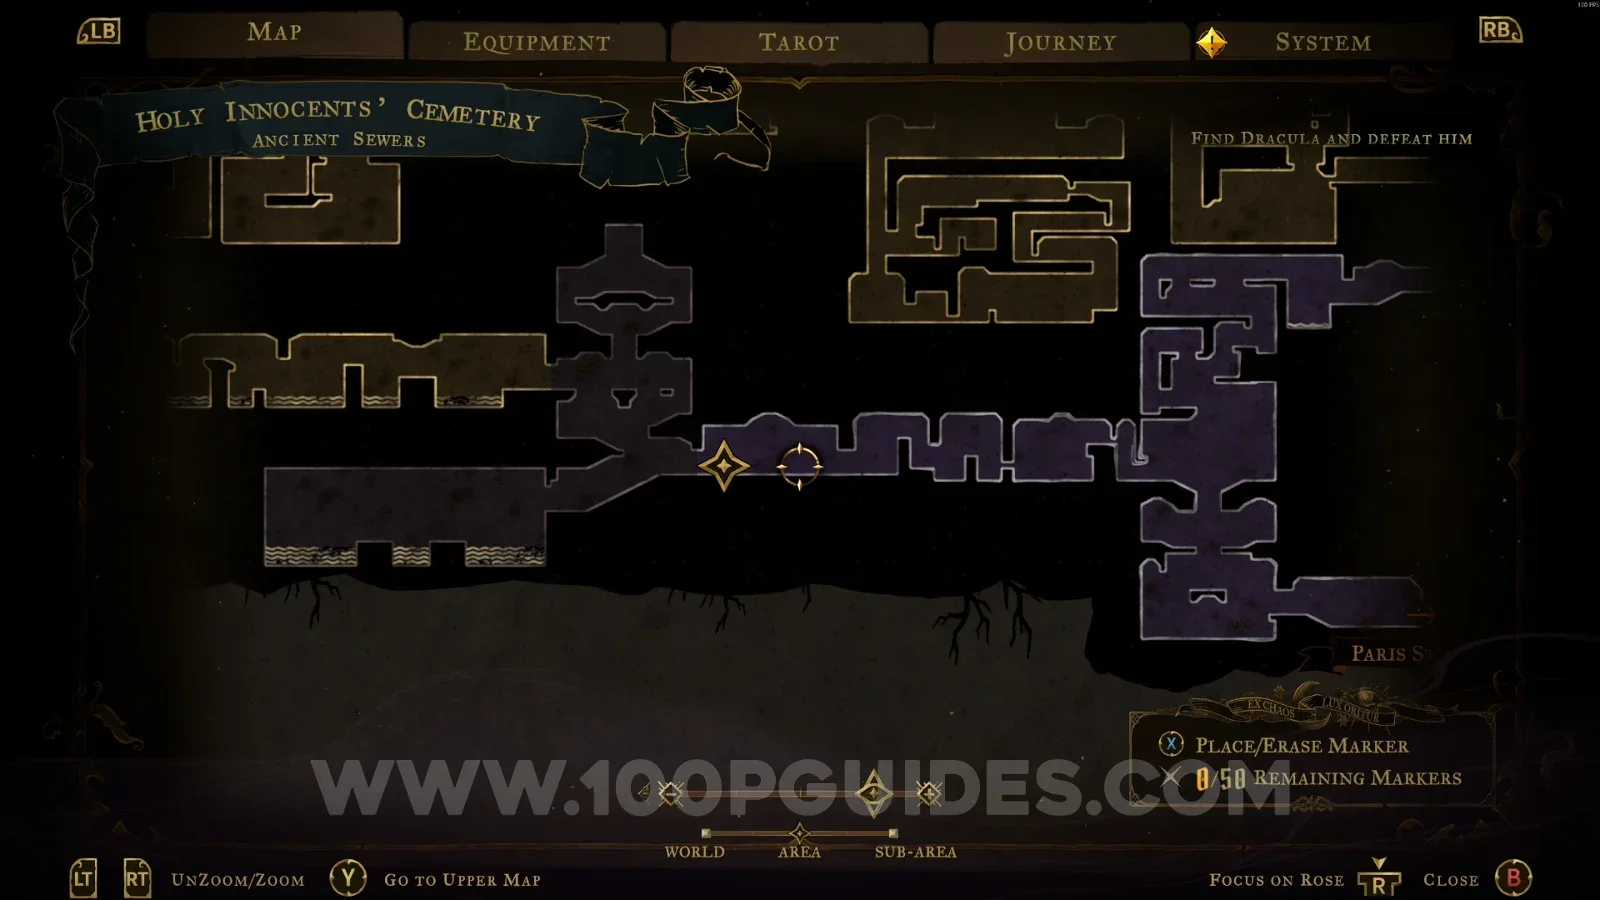
Castlevania Belmont's Curse Ancient Sewers: map marking the location of Mirror Of Life #4 Castlevania Belmont's Curse Ancient Sewers: Mirror Of Life #4 in the marked area

XP Statue #15

On the right side of the area.
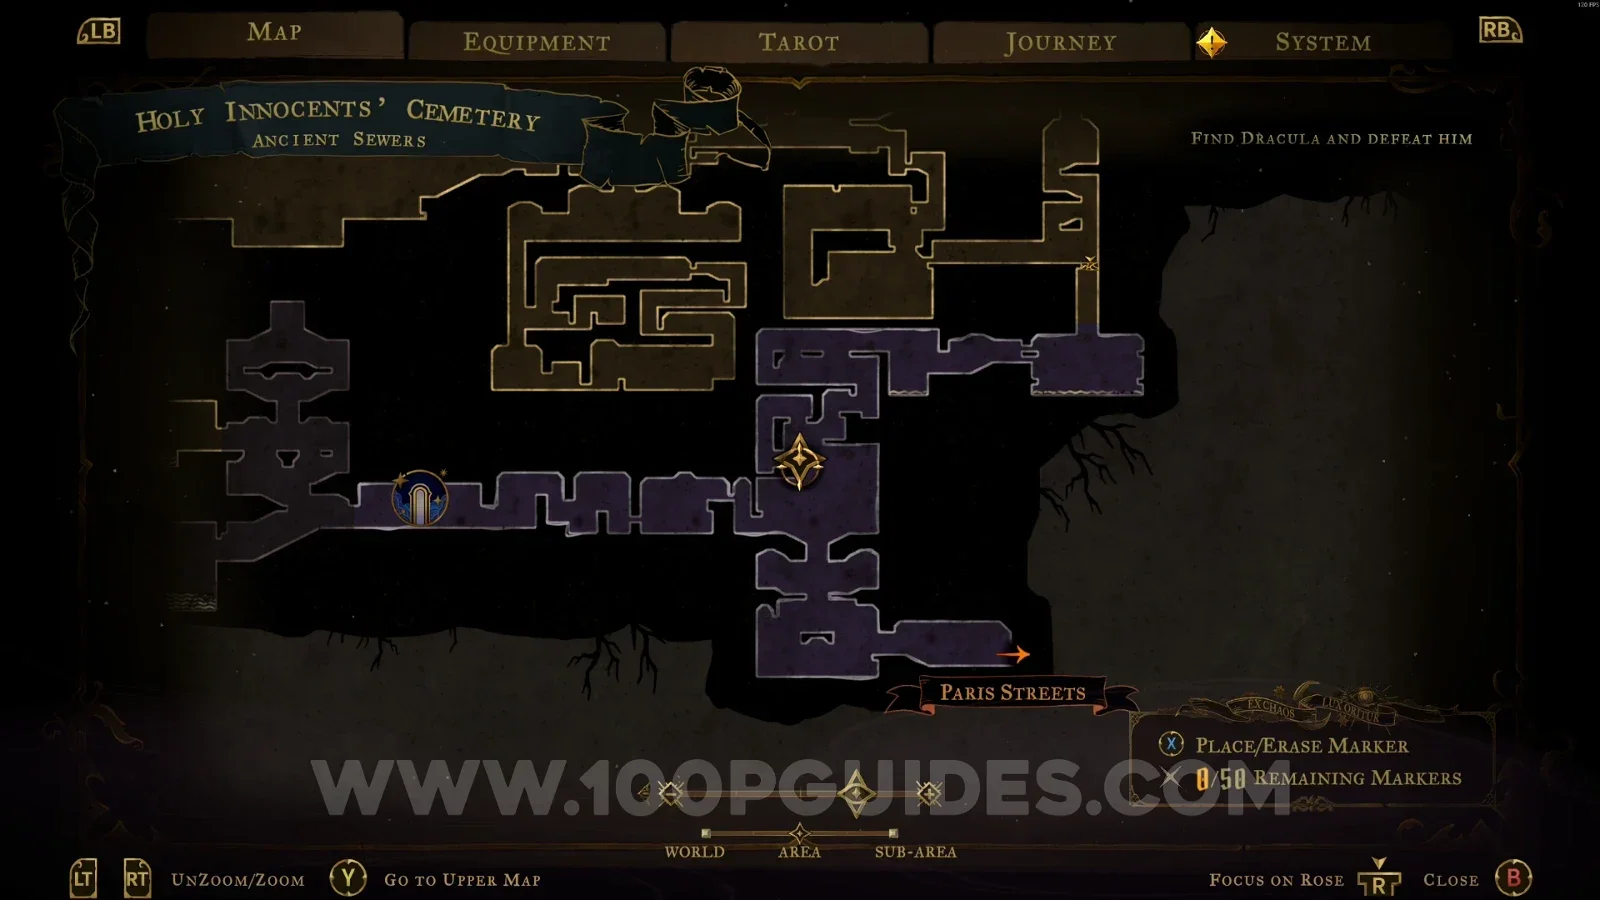
Castlevania Belmont's Curse Ancient Sewers: the right side of the area where XP Statue #15 stands Castlevania Belmont's Curse Ancient Sewers: XP Statue #15 on the right side of the area

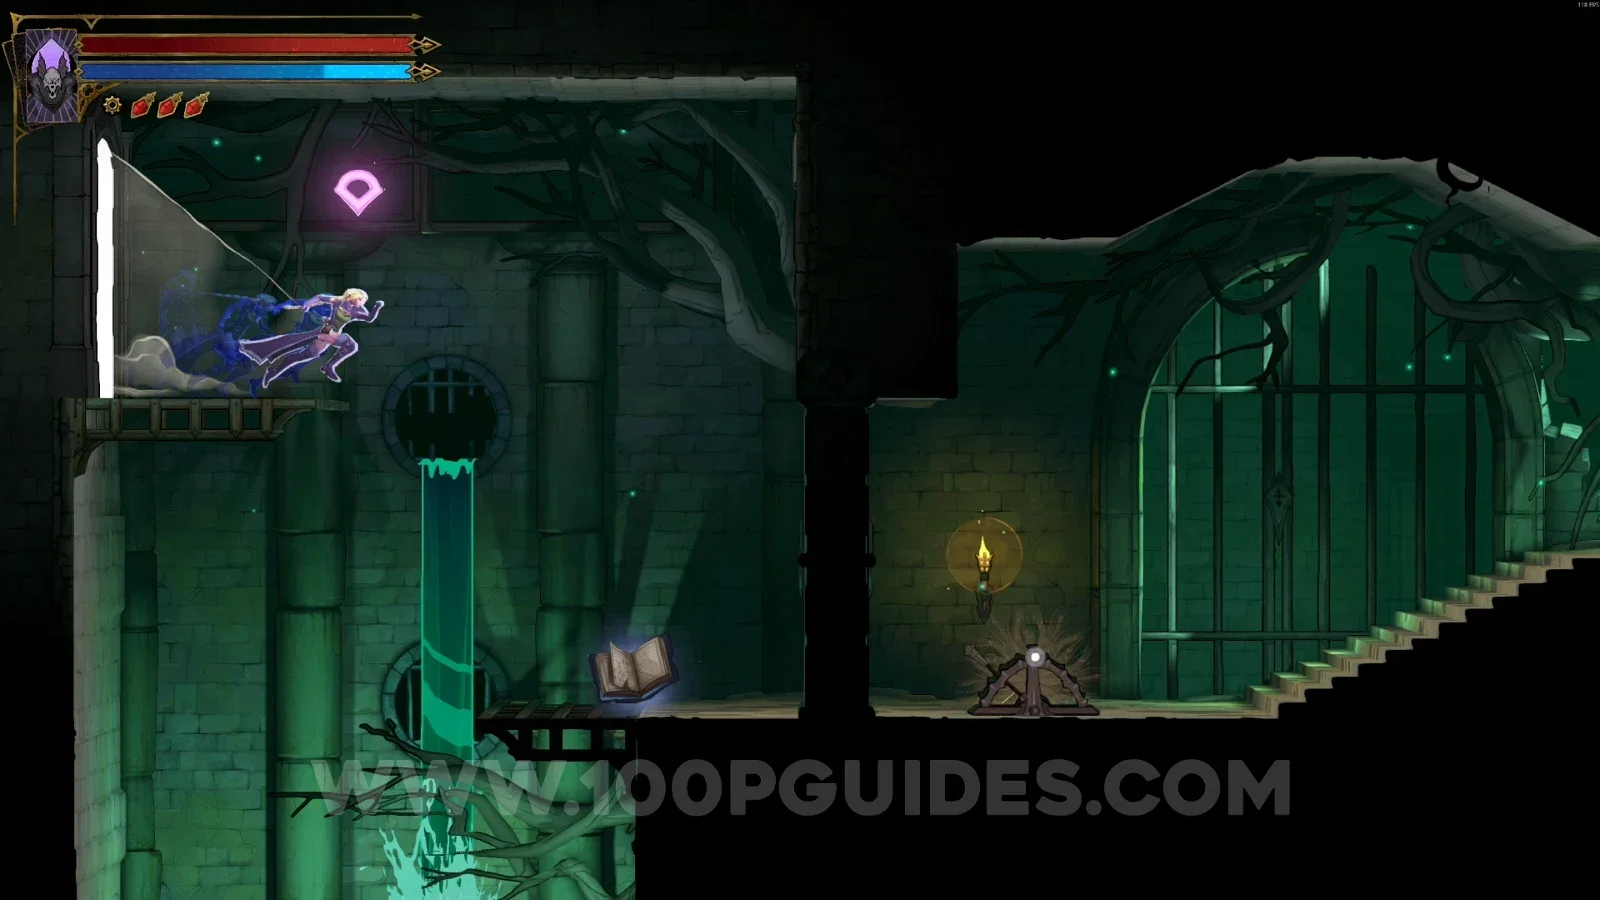
Blue Book #2

In the area marked on the map.
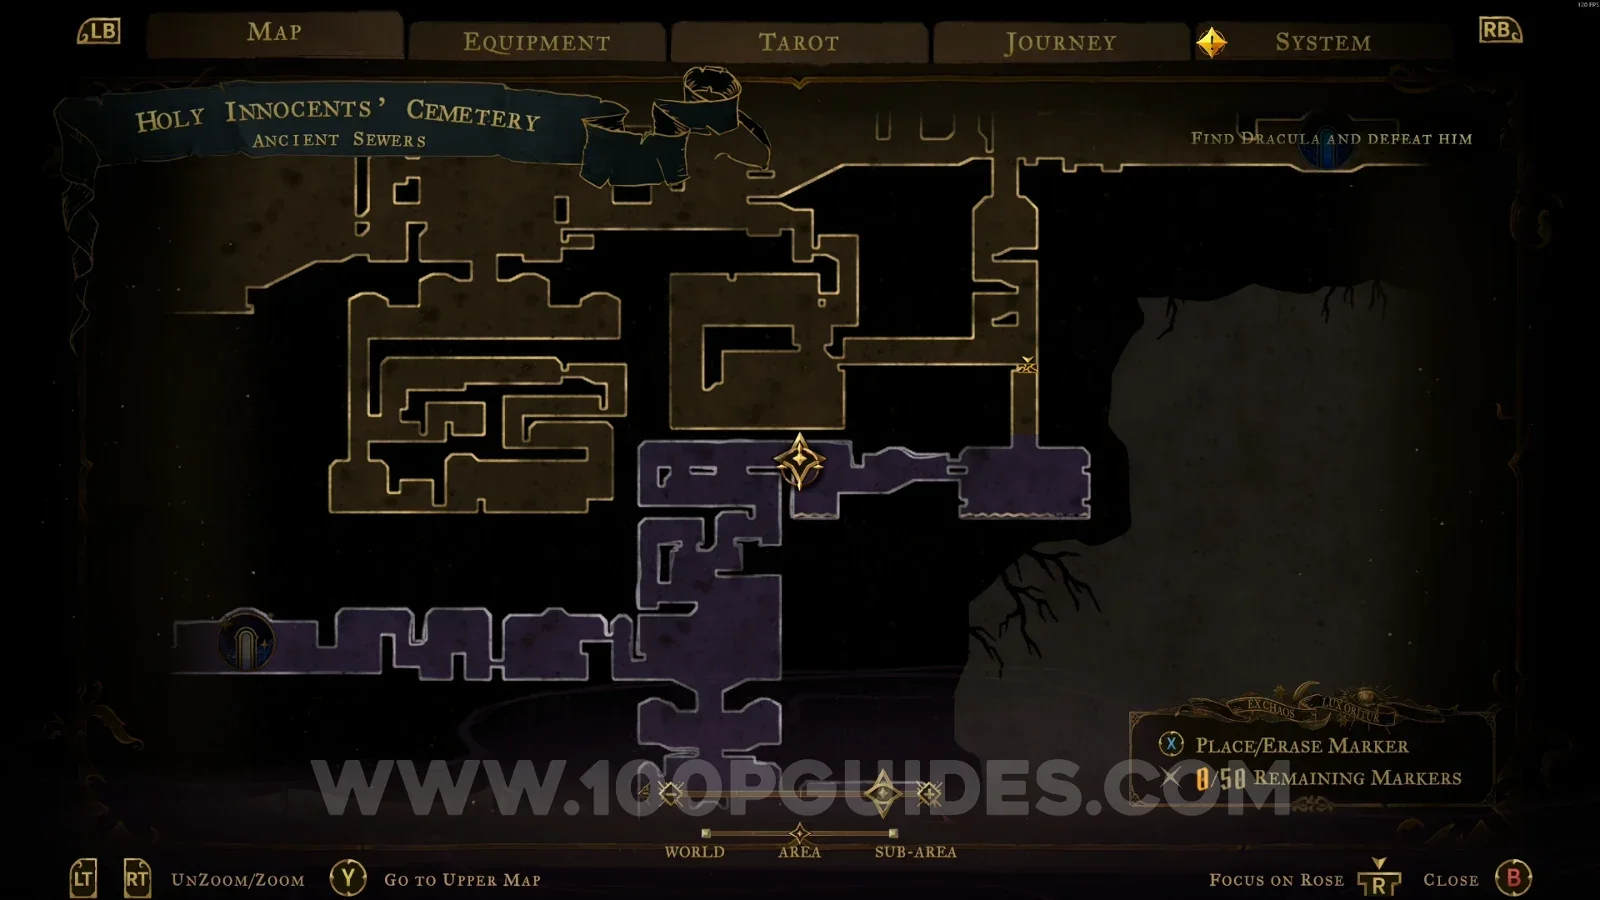
Castlevania Belmont's Curse Ancient Sewers: map marking the location of Blue Book #2 Castlevania Belmont's Curse Ancient Sewers: Blue Book #2 in the marked area

Haunted Coffin #5

Use the Smash arcane power to break the floor and reach the coffin.
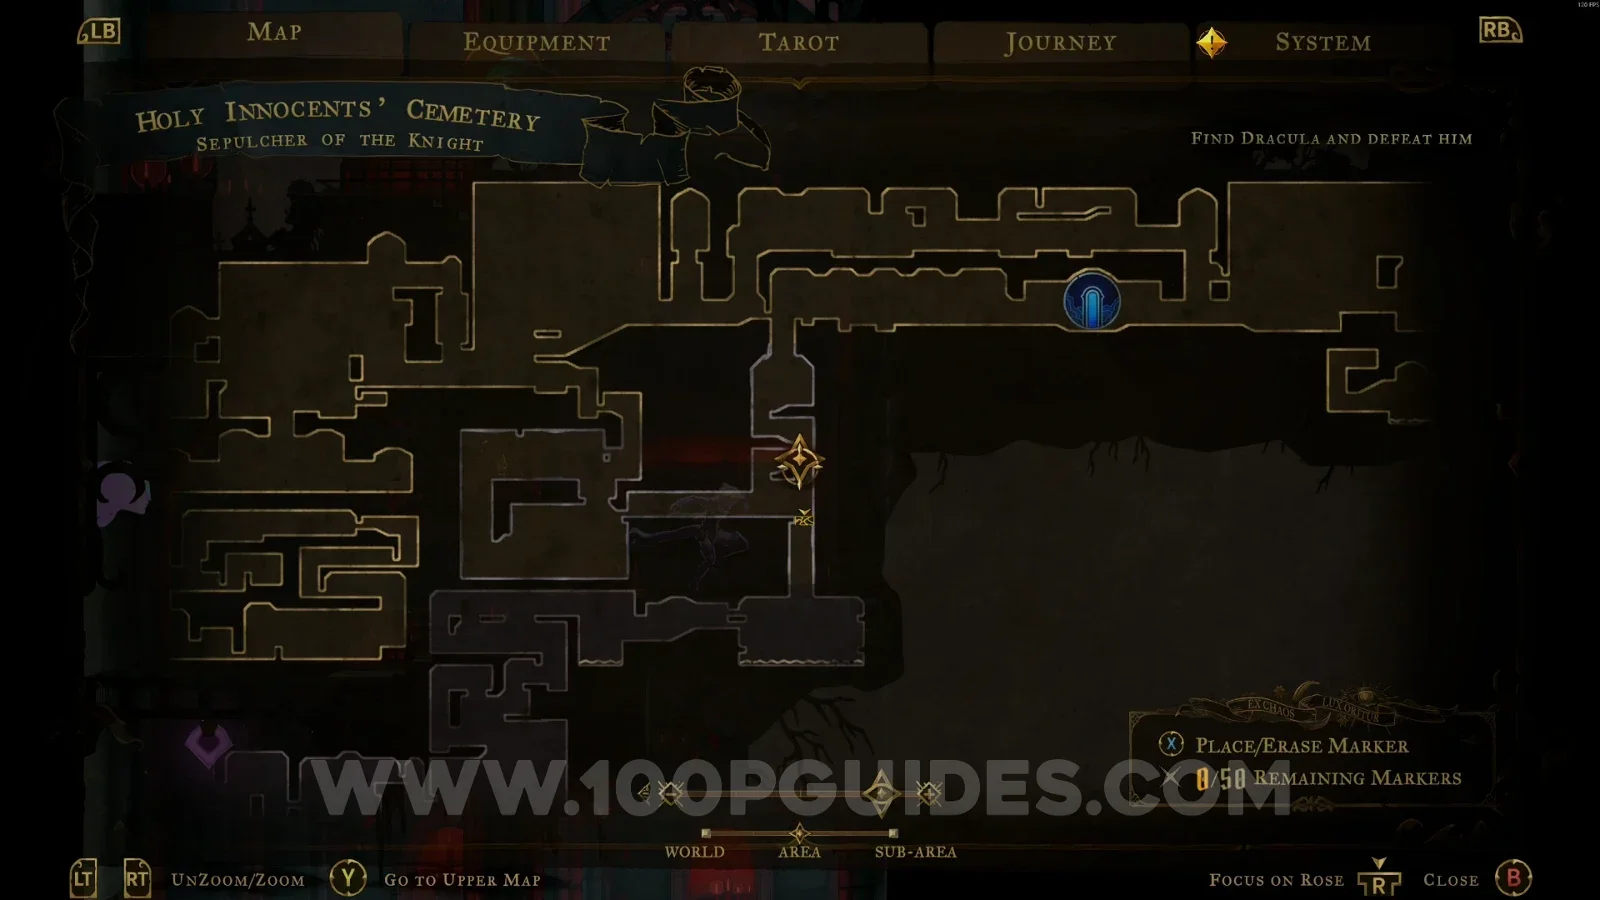
Castlevania Belmont's Curse Ancient Sewers: using the Smash arcane power to break the floor Castlevania Belmont's Curse Ancient Sewers: dropping through the broken floor toward Haunted Coffin #5 Castlevania Belmont's Curse Ancient Sewers: Haunted Coffin #5 below the broken floor

Brave Heart Fragment #3

Right after the previous coffin, head left to find this.
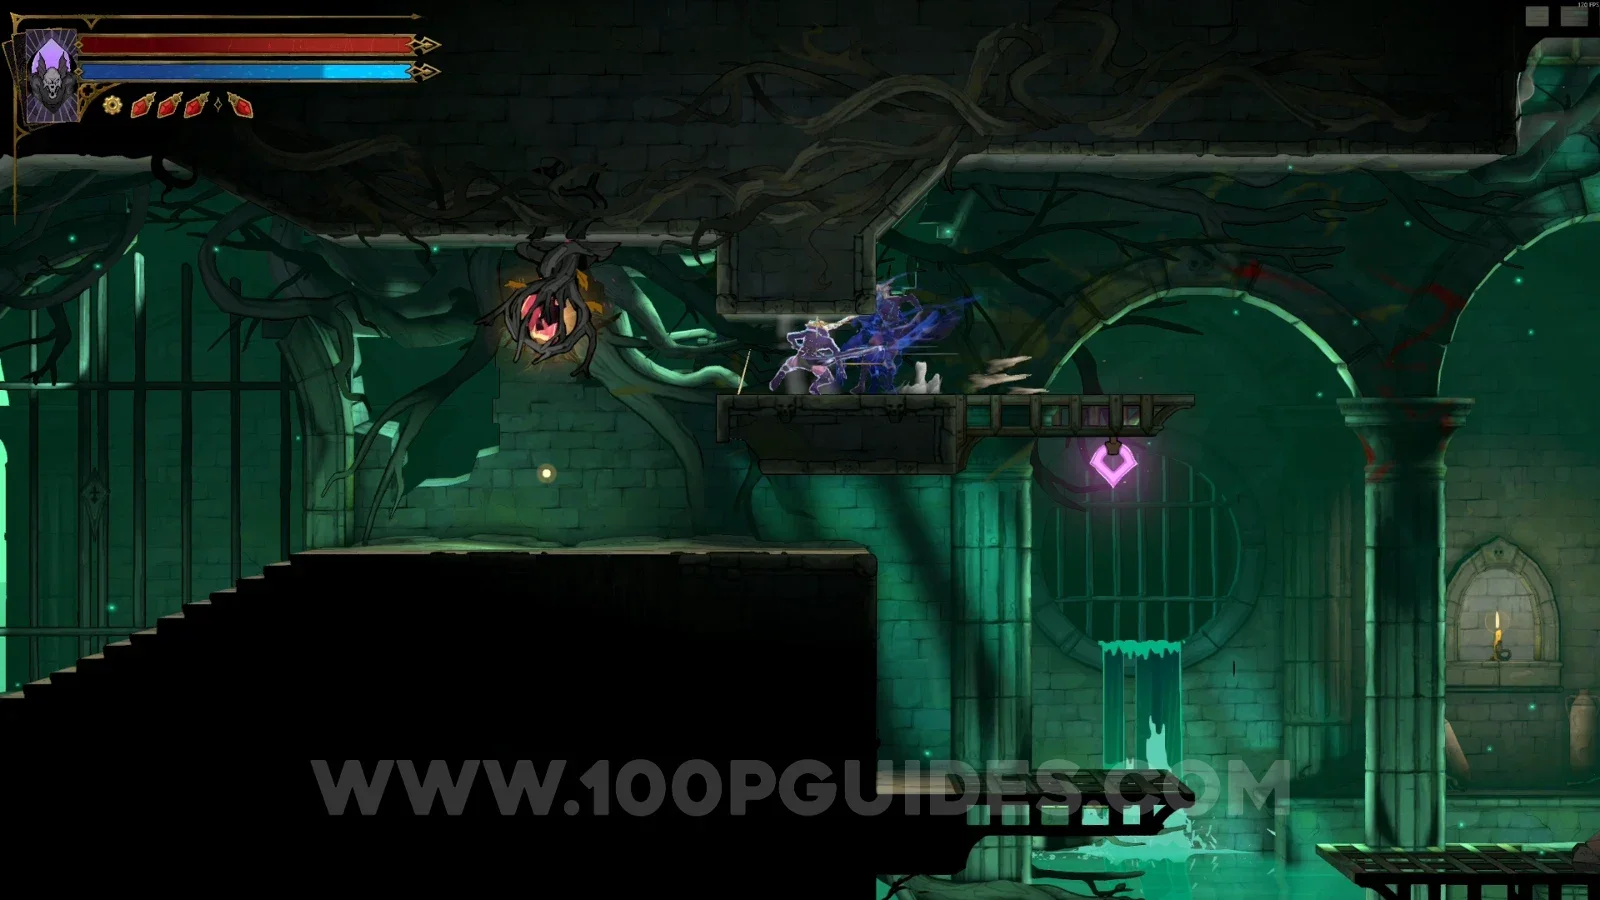
Castlevania Belmont's Curse Ancient Sewers: Brave Heart Fragment #3 to the left of Haunted Coffin #5

These are all the collectibles and secrets in Holy Innocents' Cemetery.

Video Guide

Previous
Previous

Castlevania: Belmont’s Curse Main Hall All Collectibles

Next
Next

Castlevania: Belmont’s Curse Catacombs of Paris All Collectibles