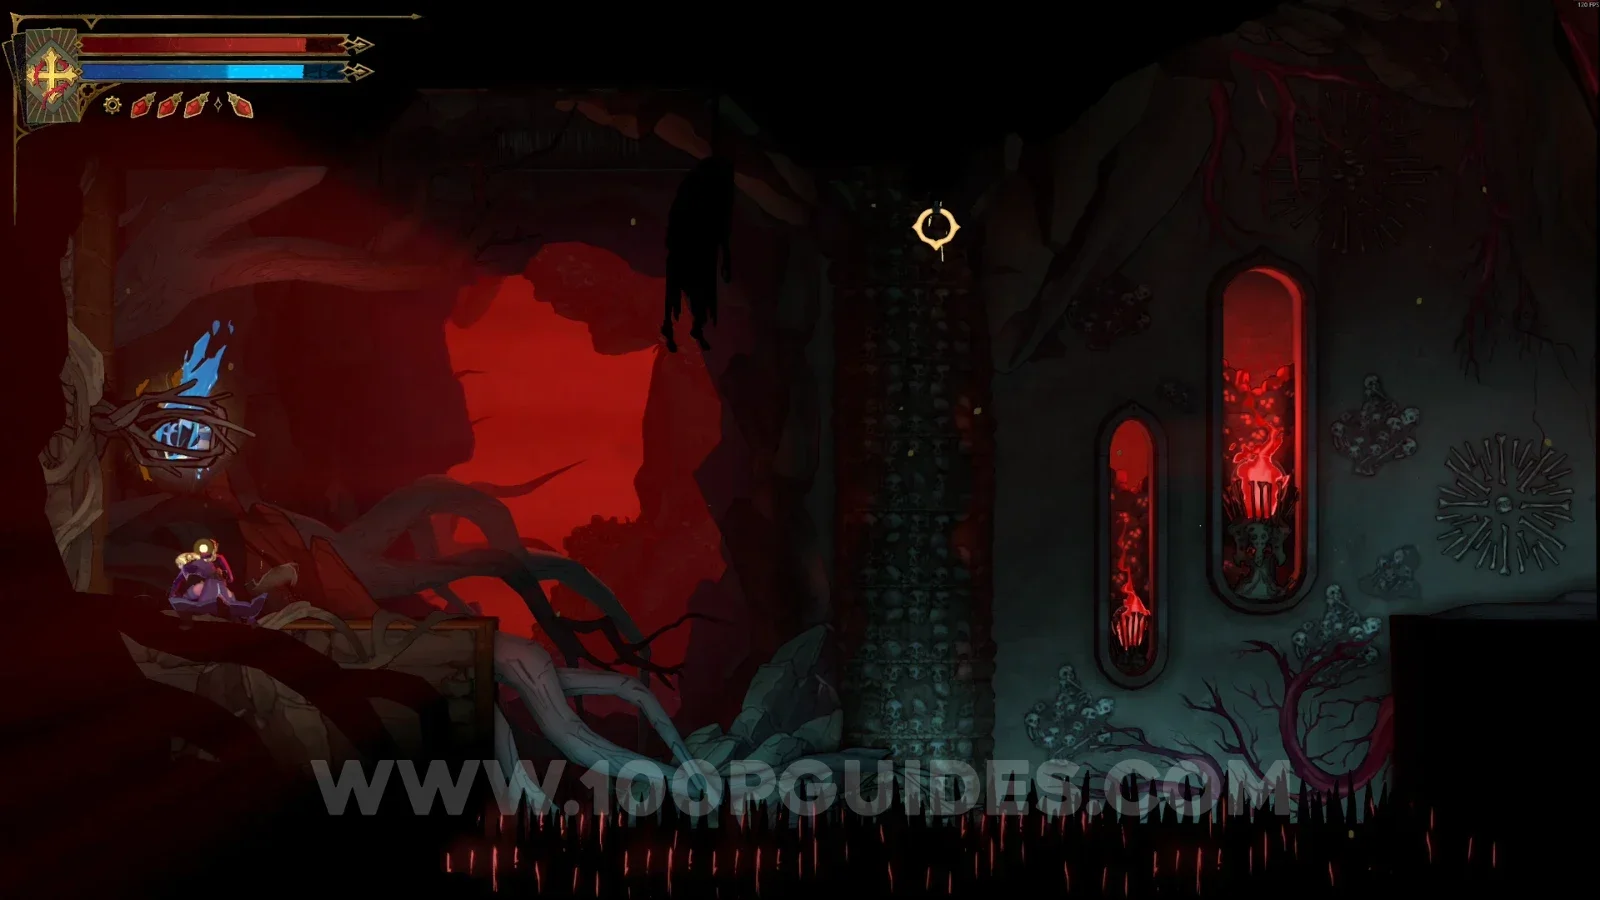
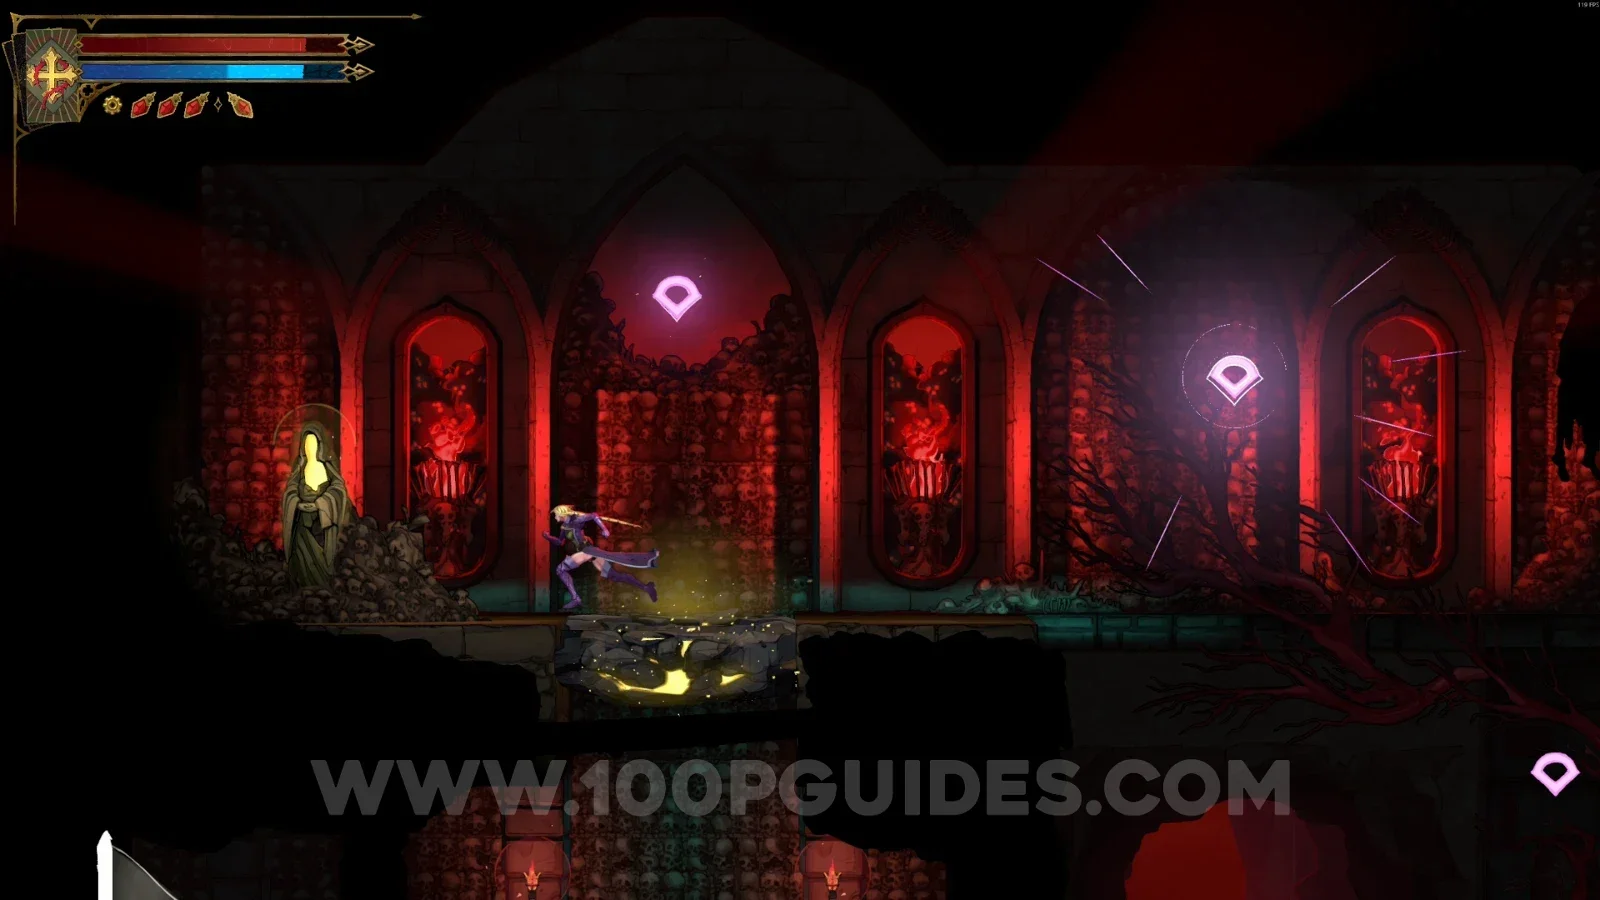
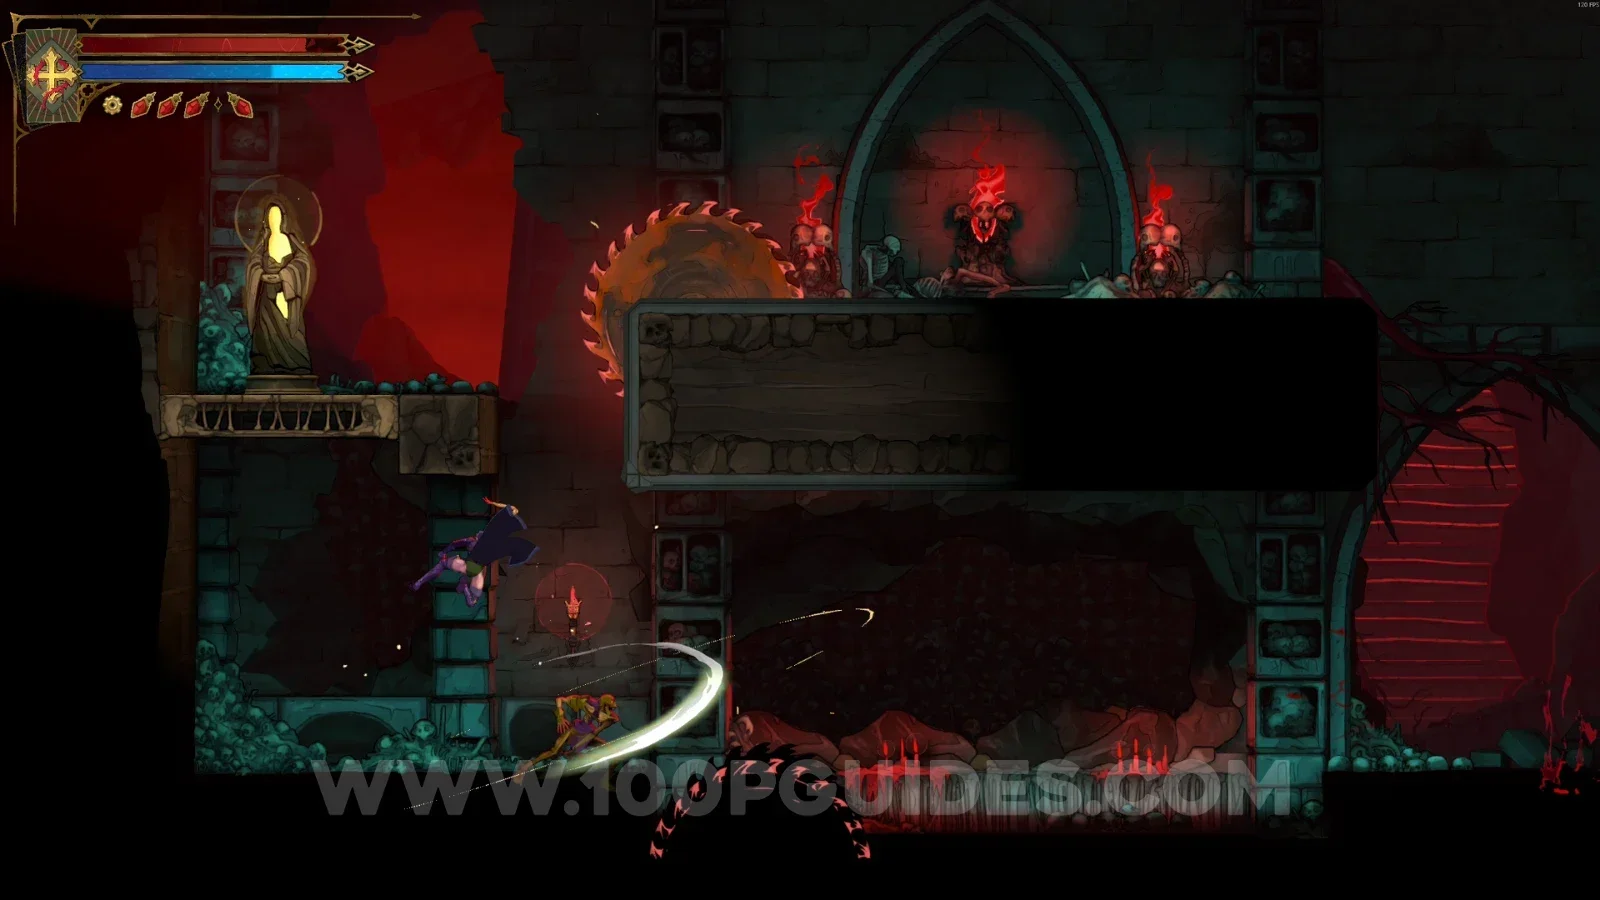
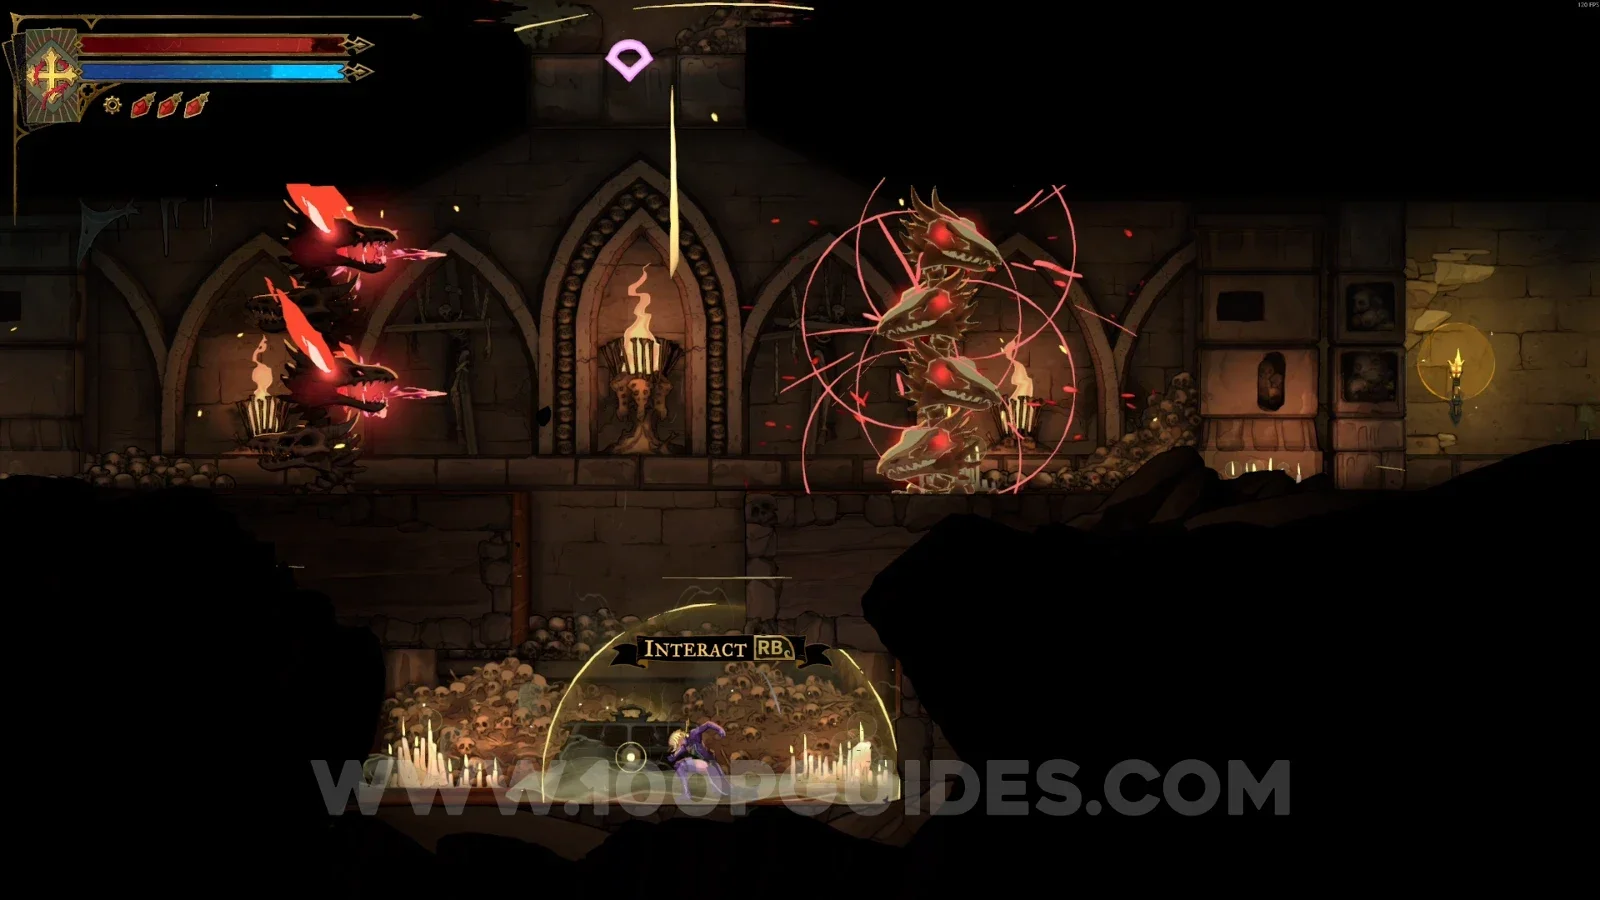
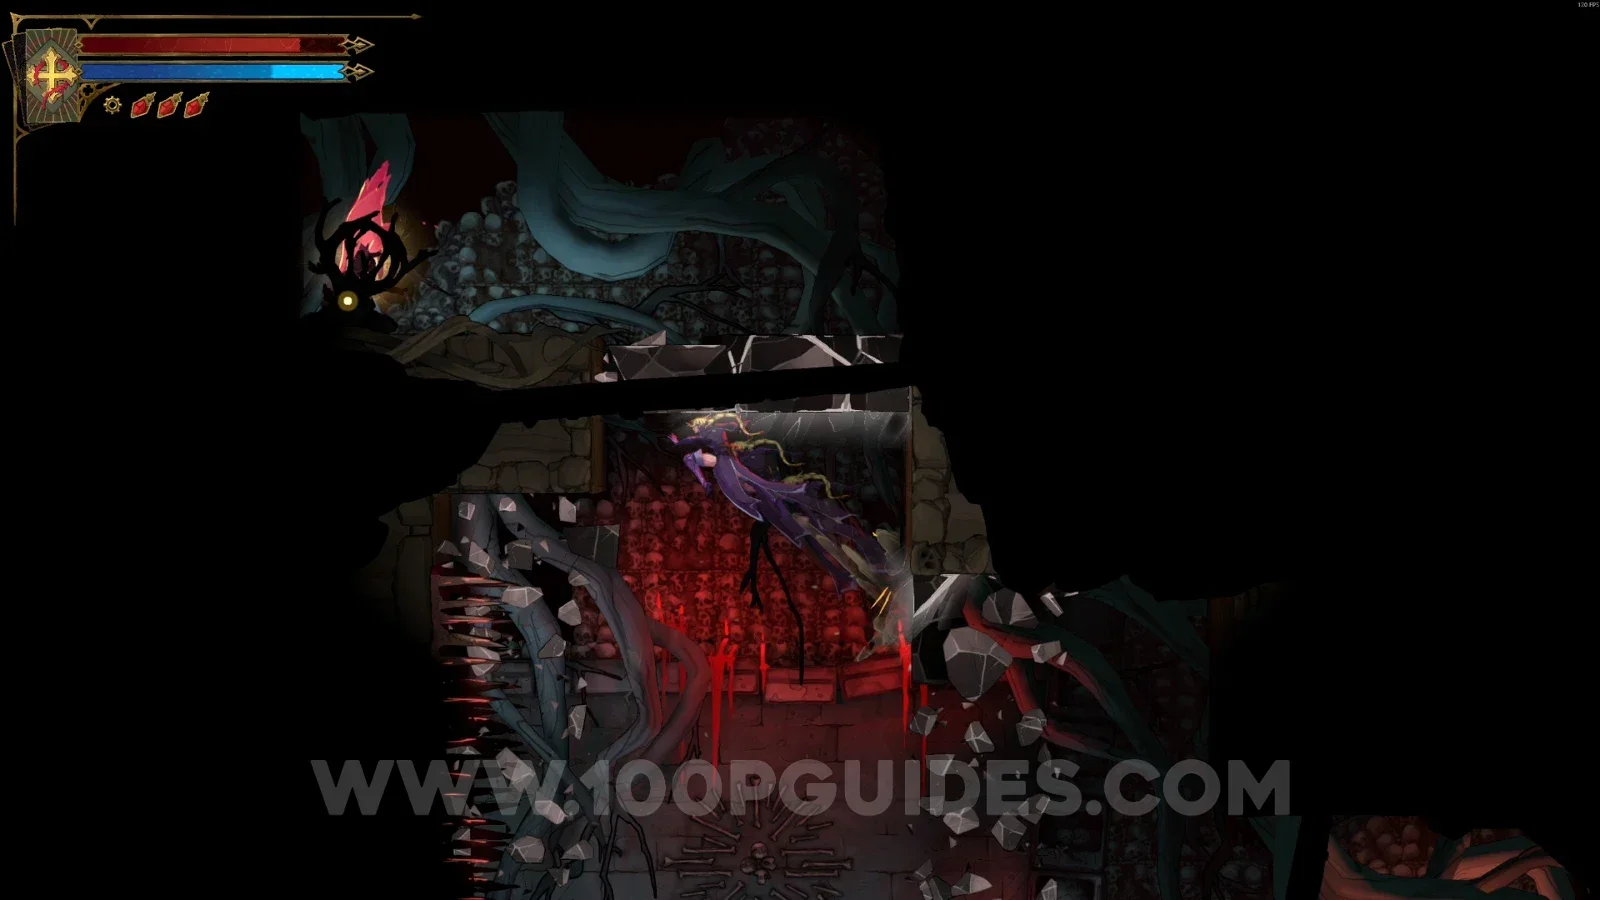
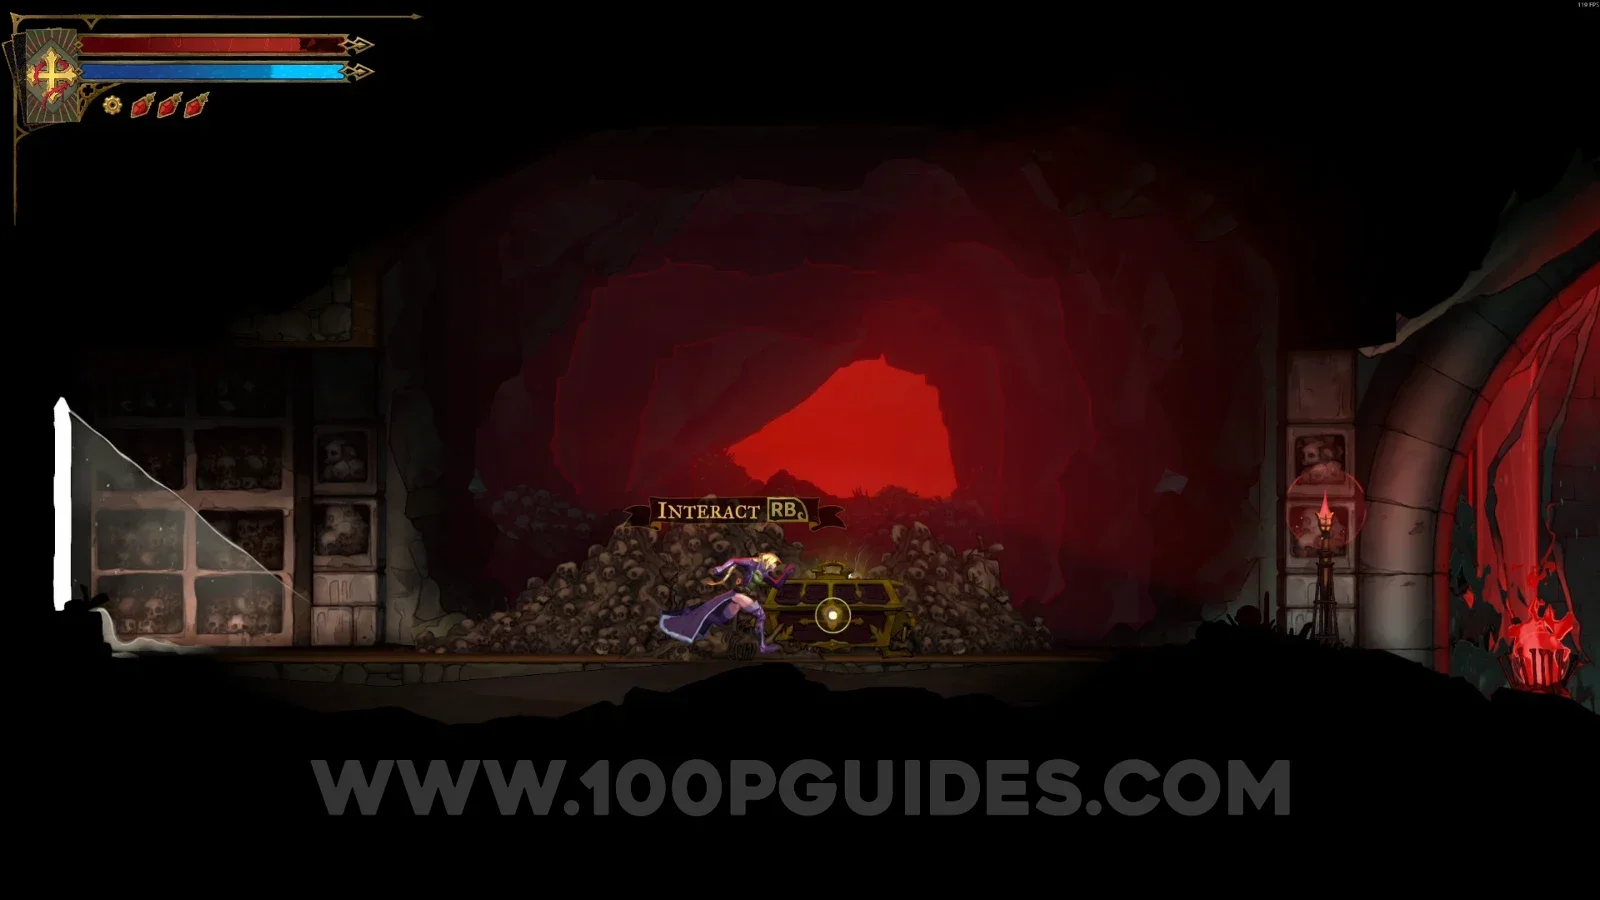
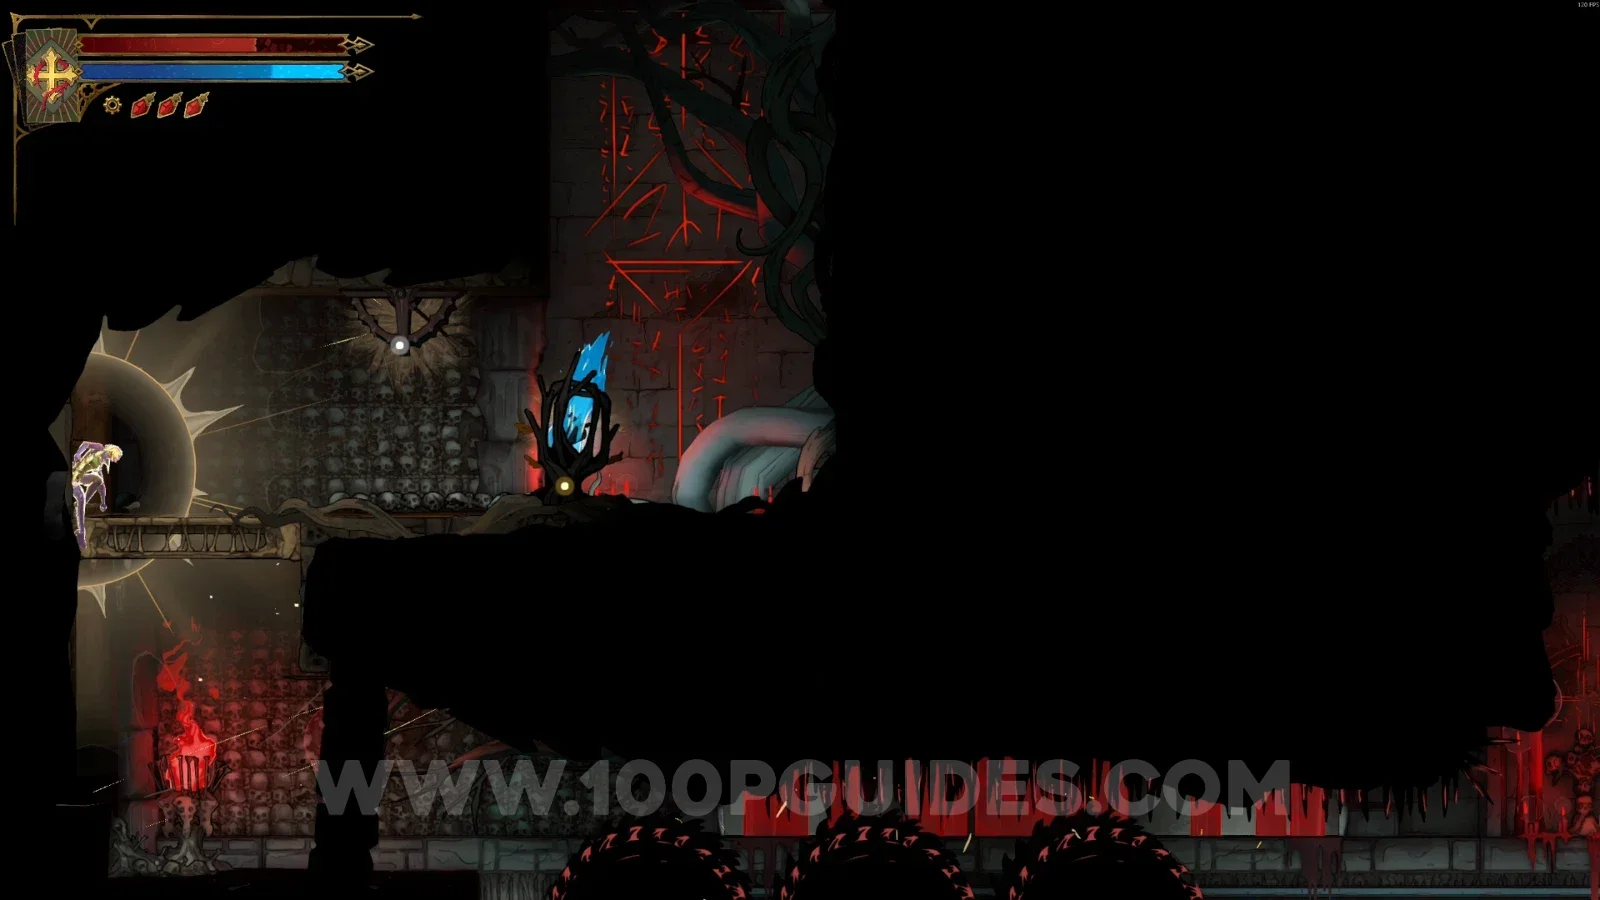
Castlevania: Belmont’s Curse Catacombs of Paris All Collectibles

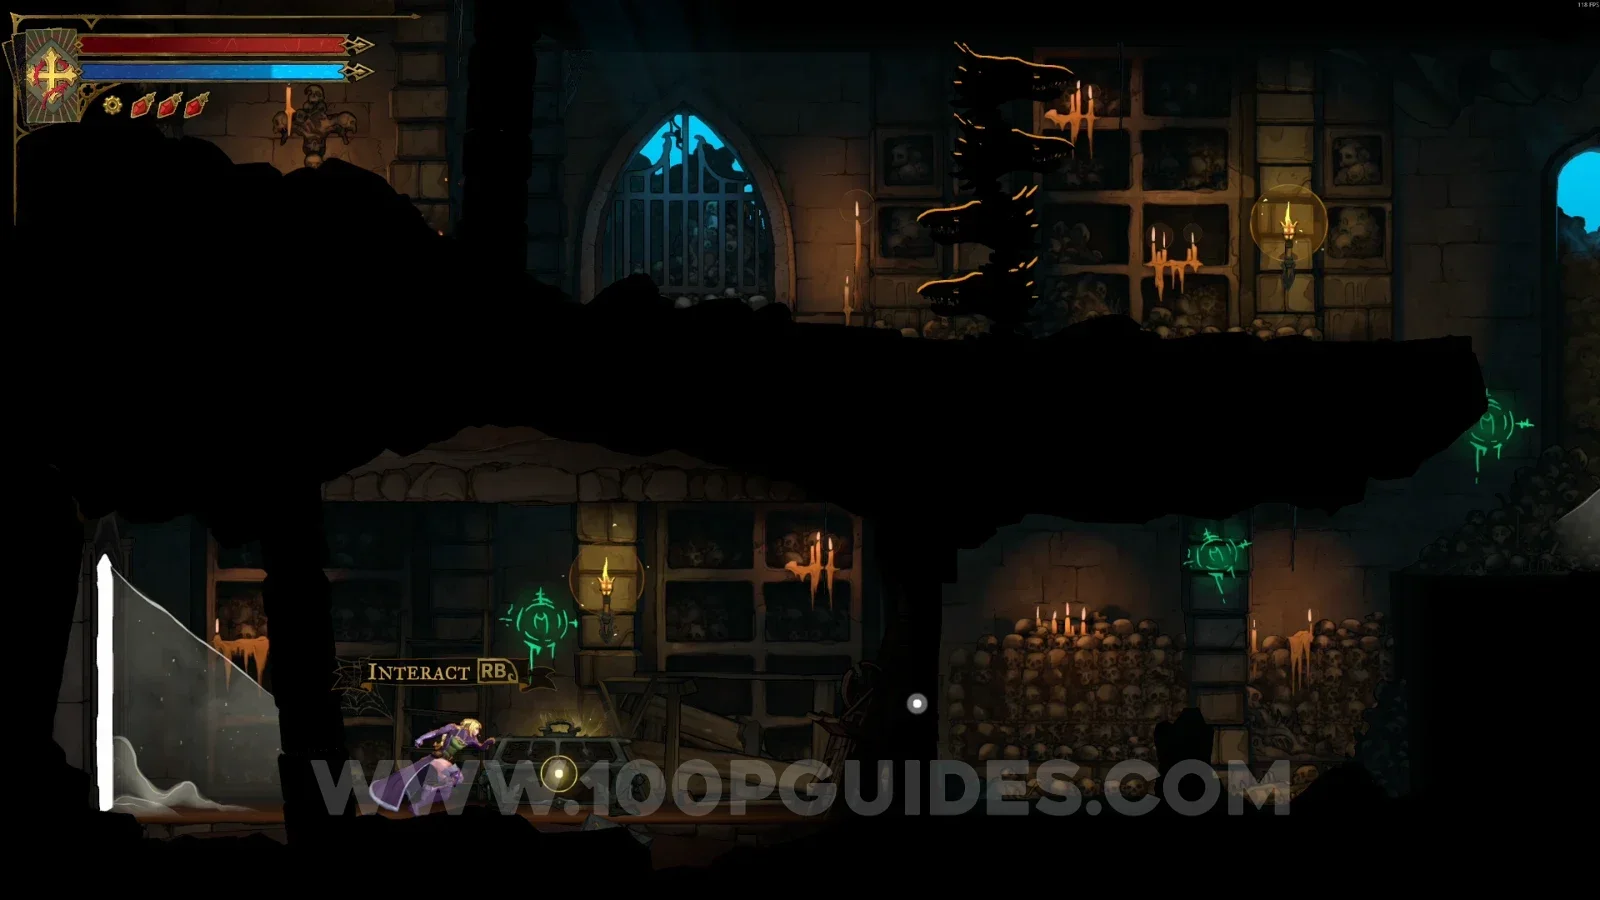
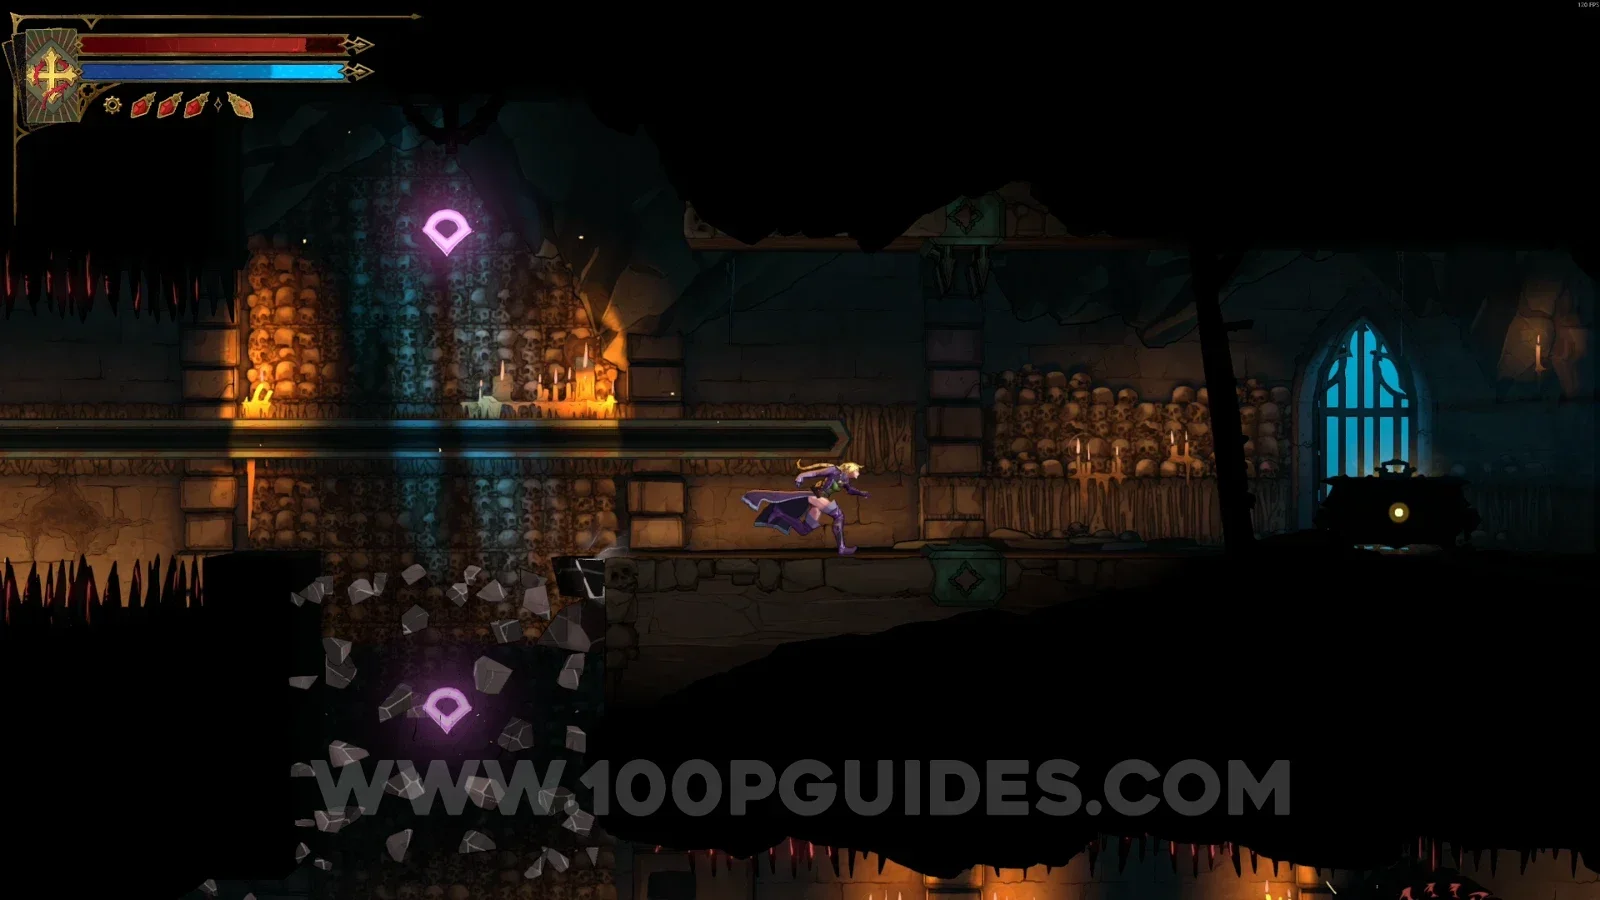
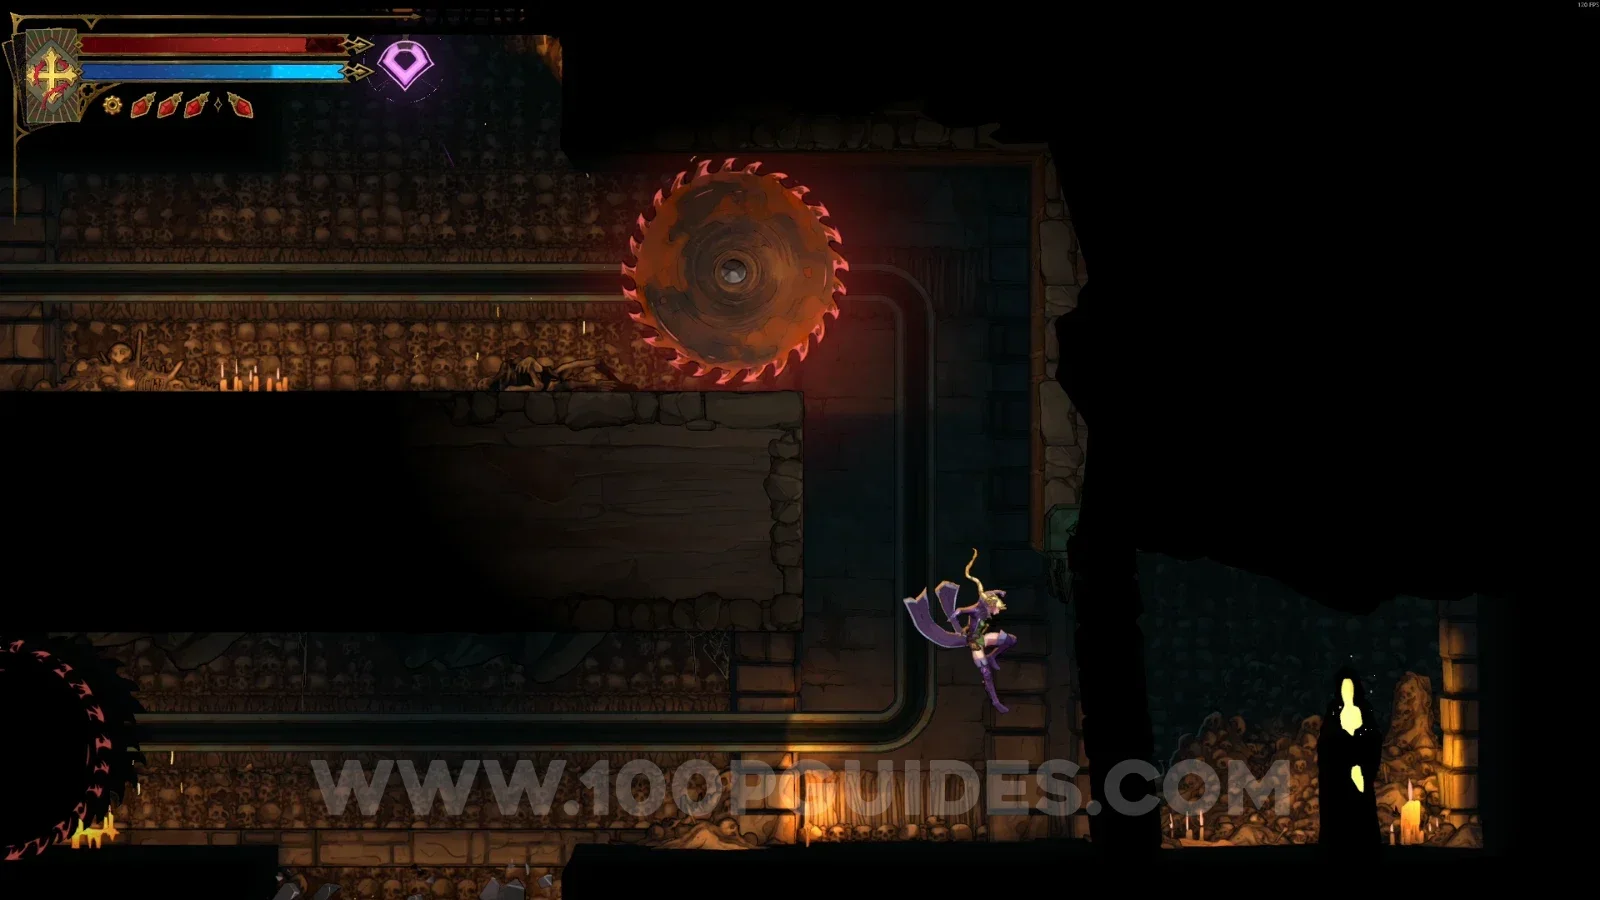
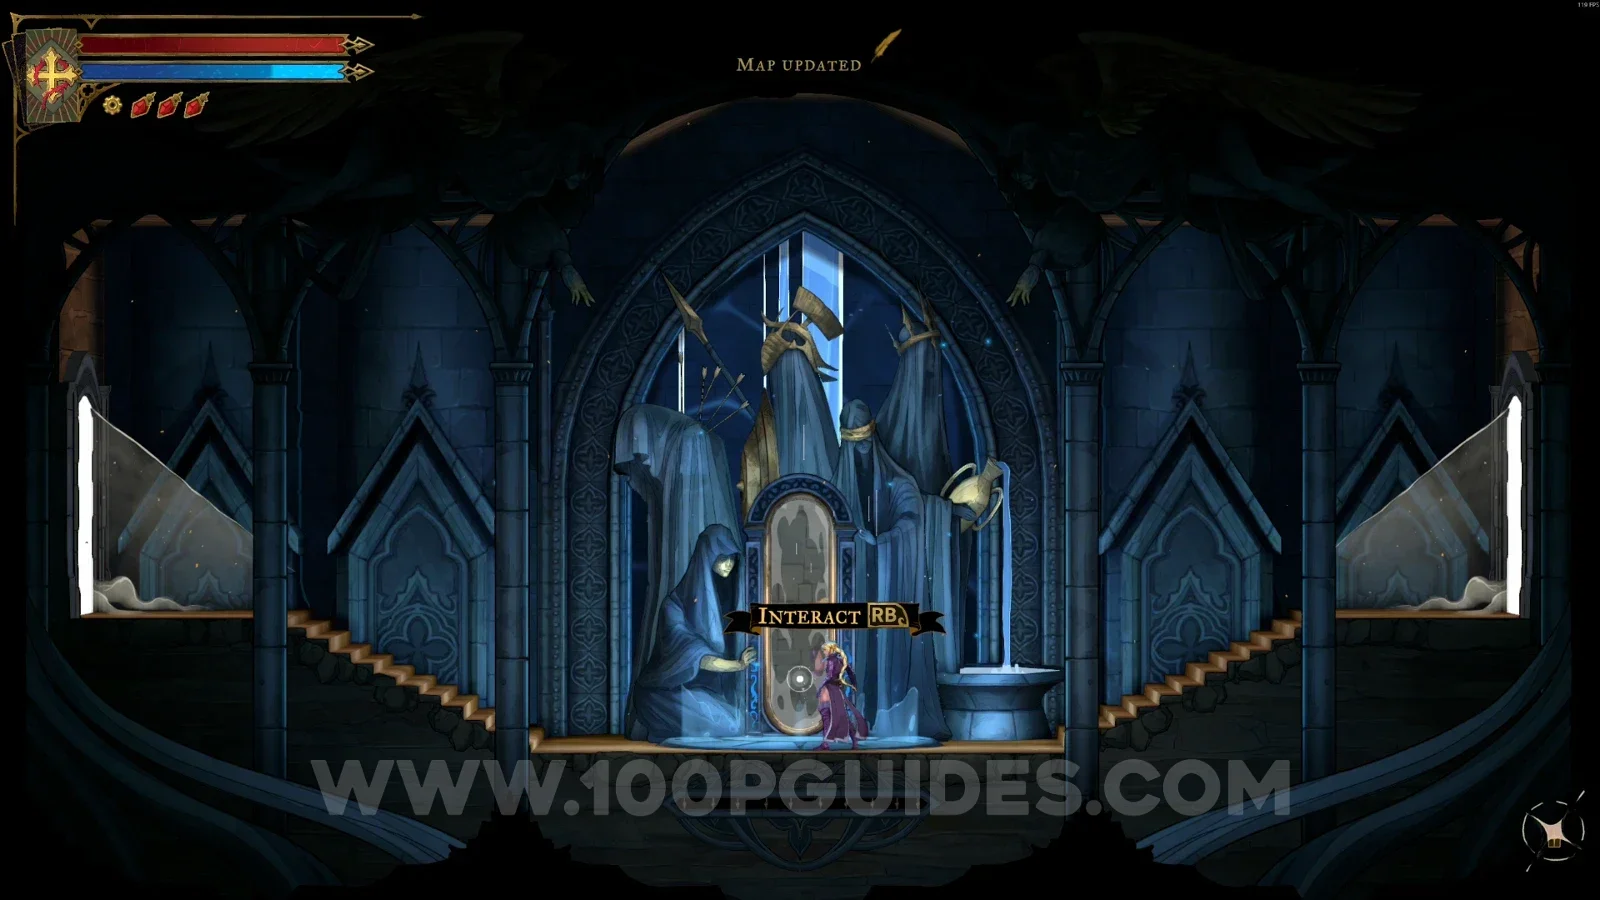
This guide will show you the location of all collectibles in Catacombs Of Paris in Castlevania: Belmont's Curse.

Collecting everything is required to get the Perfectionist Hunter Trophy / Achievement.

Catacomb Entrance

XP Statue #1

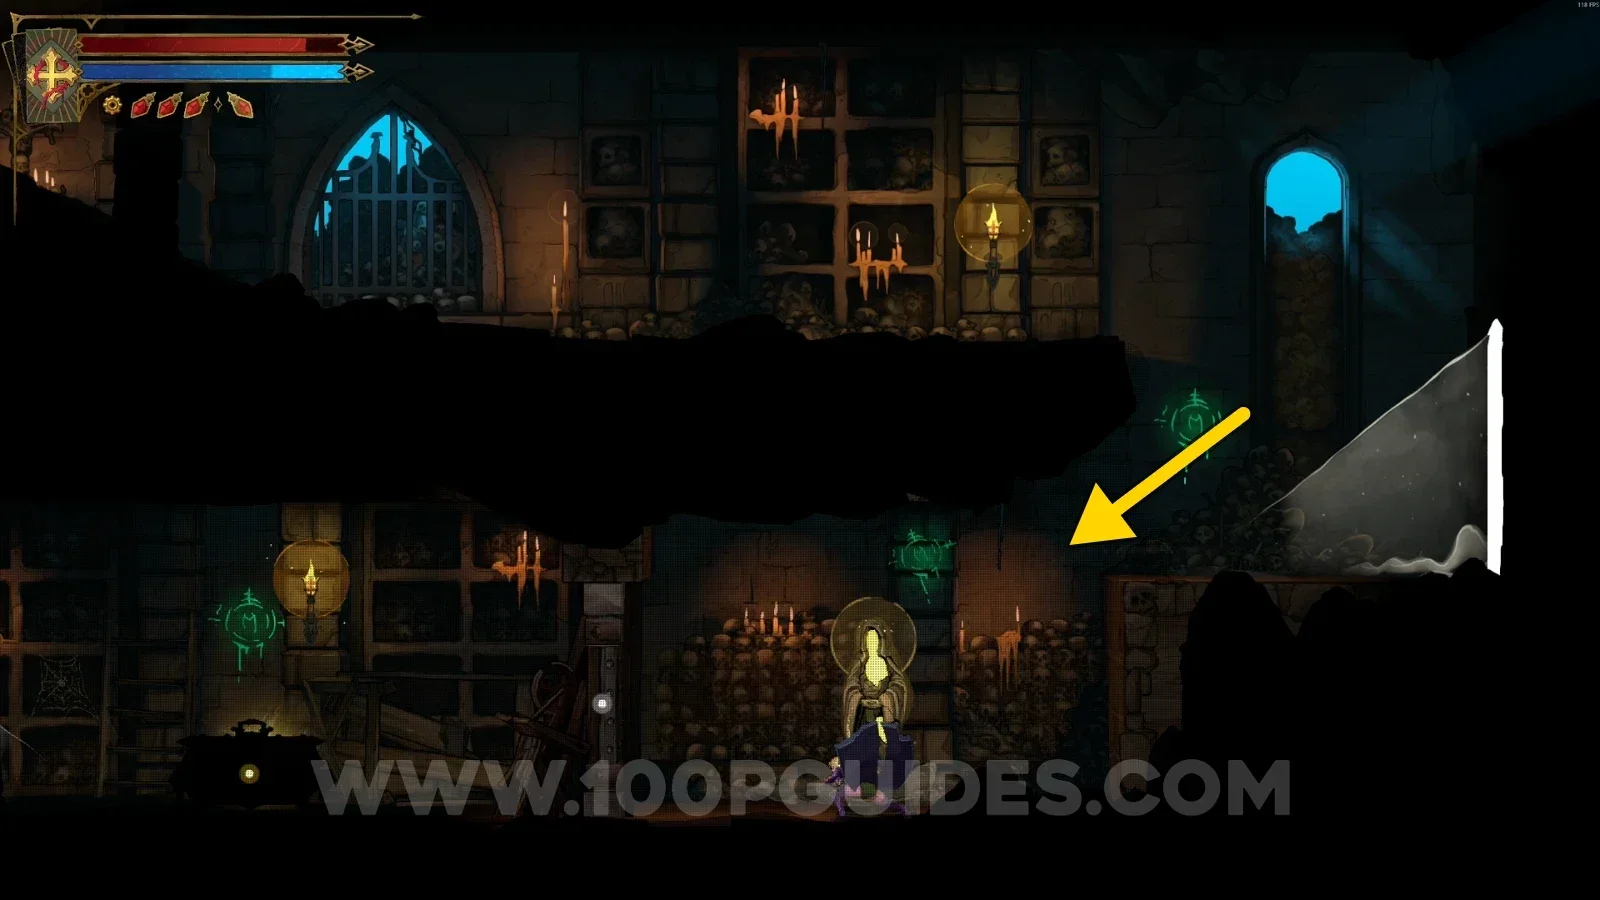
In the area marked on the map, on the right side.
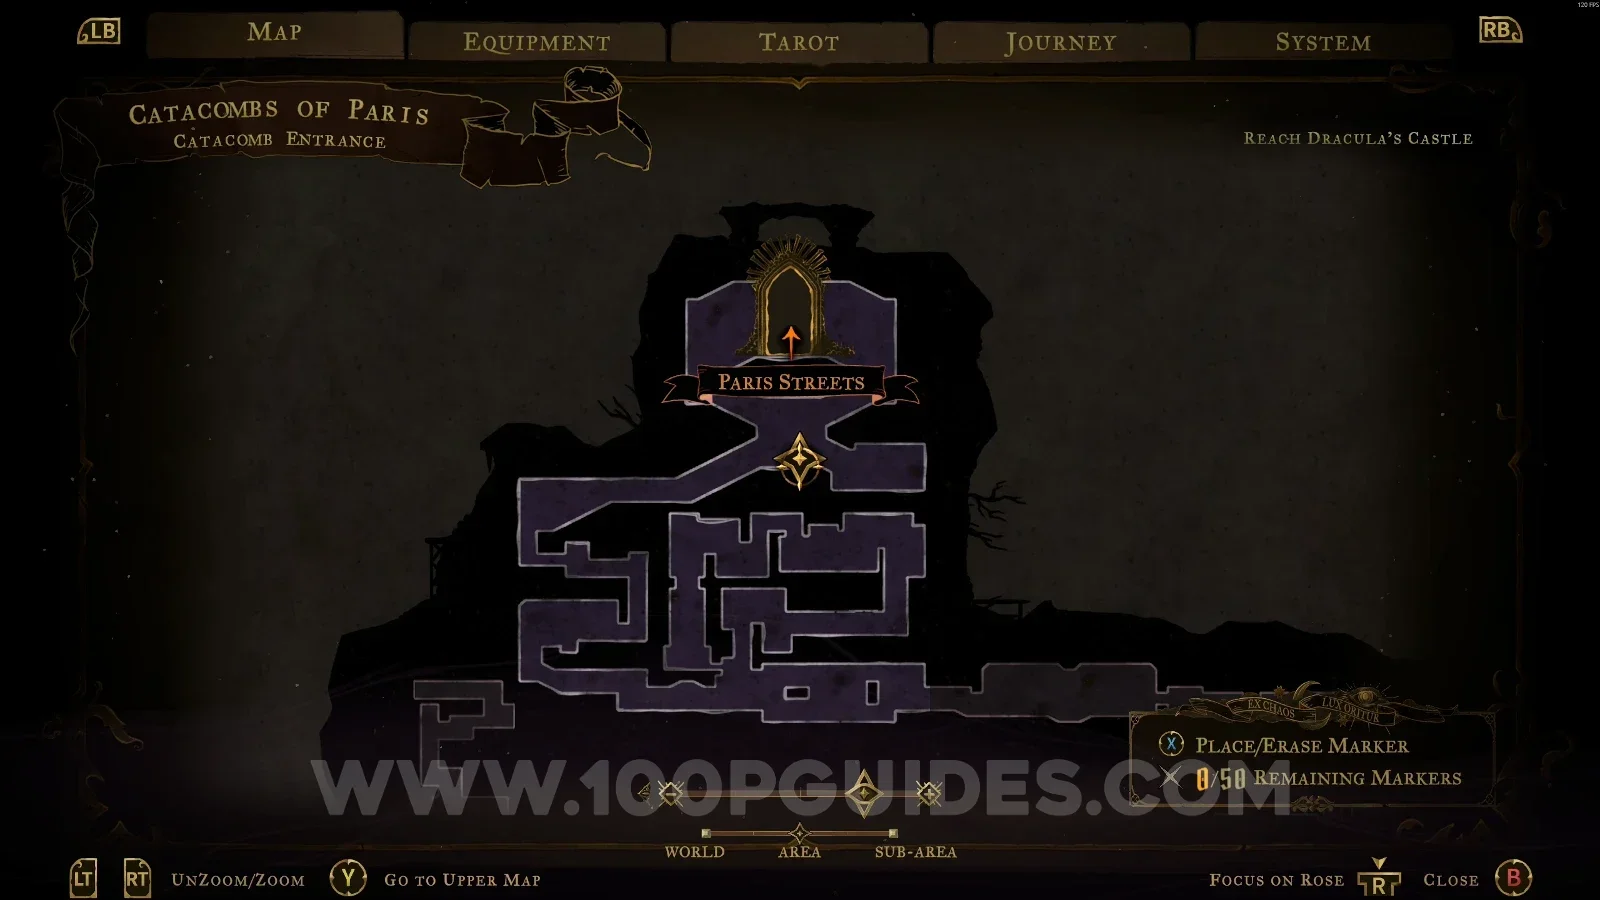
Castlevania Belmonts Curse Catacomb Entrance: map marking the area of XP Statue #1 Castlevania Belmonts Curse Catacomb Entrance: XP Statue #1 on the right side of the marked area

XP Statue #2

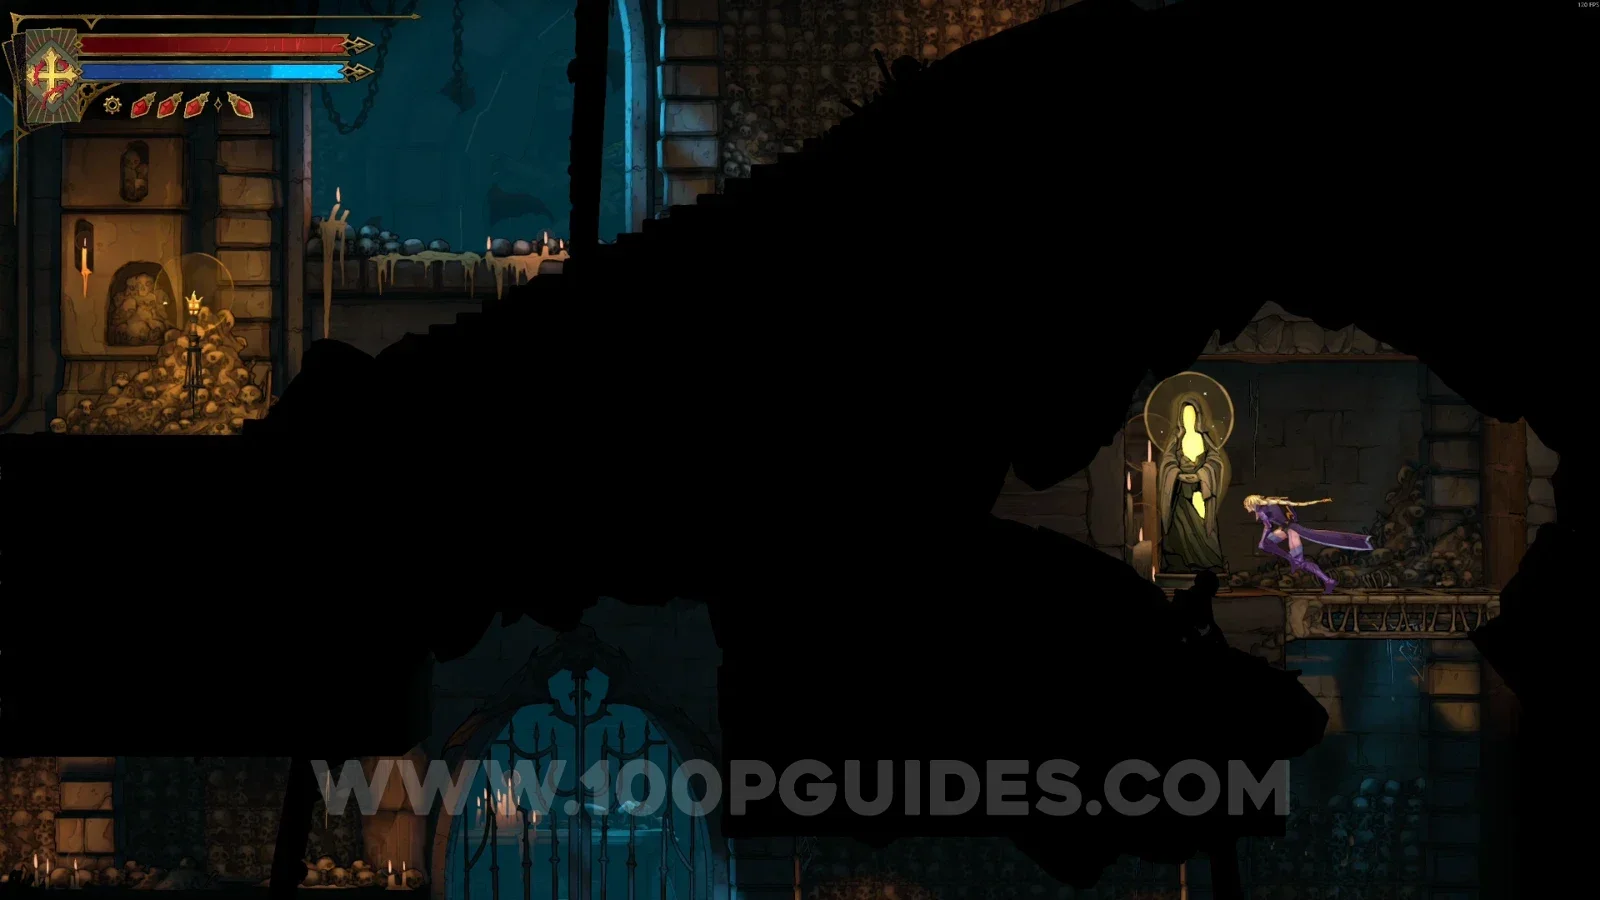
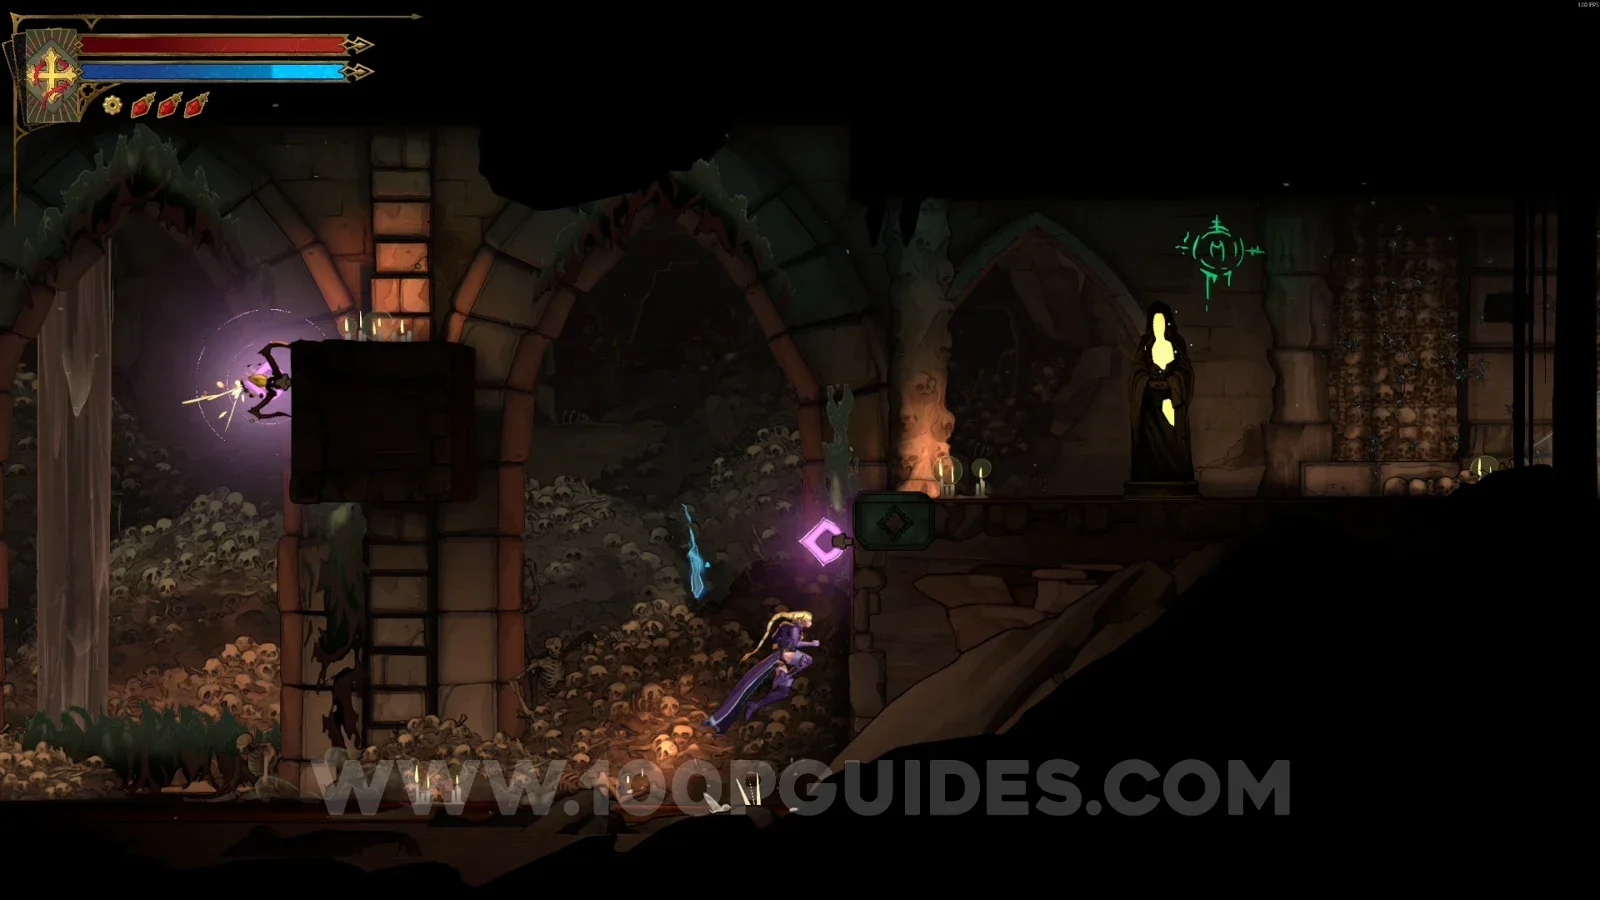
In the area marked on the map, there's a secret room with the XP Statue just above the platform.
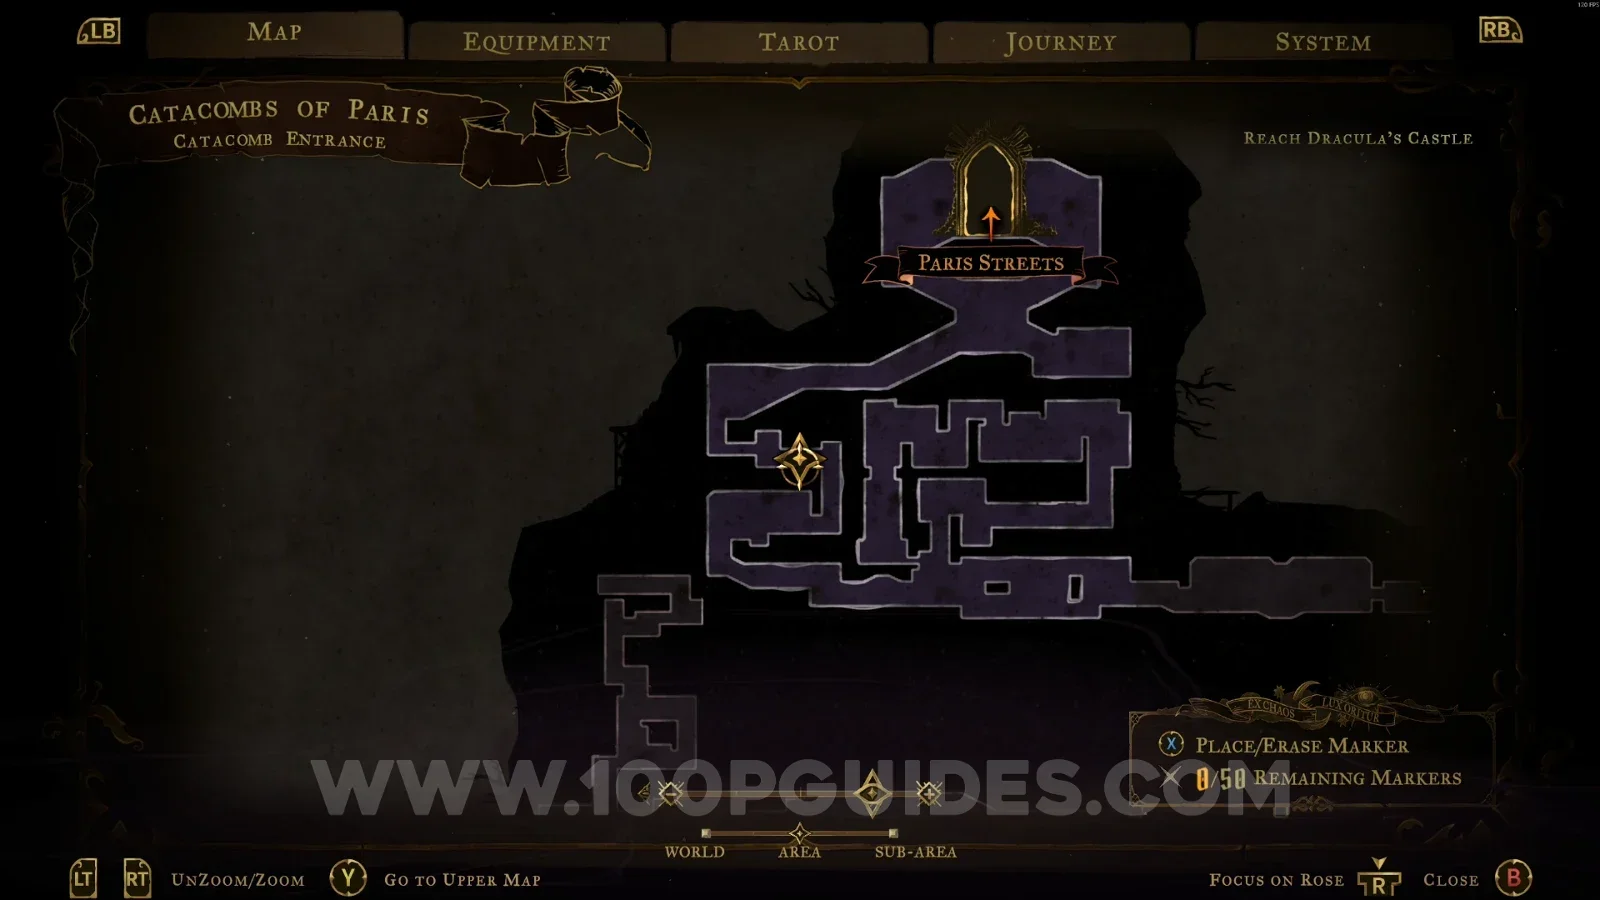
Castlevania Belmonts Curse Catacomb Entrance: map marking the area of XP Statue #2 Castlevania Belmonts Curse Catacomb Entrance: the secret room hiding XP Statue #2 Castlevania Belmonts Curse Catacomb Entrance: XP Statue #2 just above the platform in the secret room

Brave Heart Fragment #1

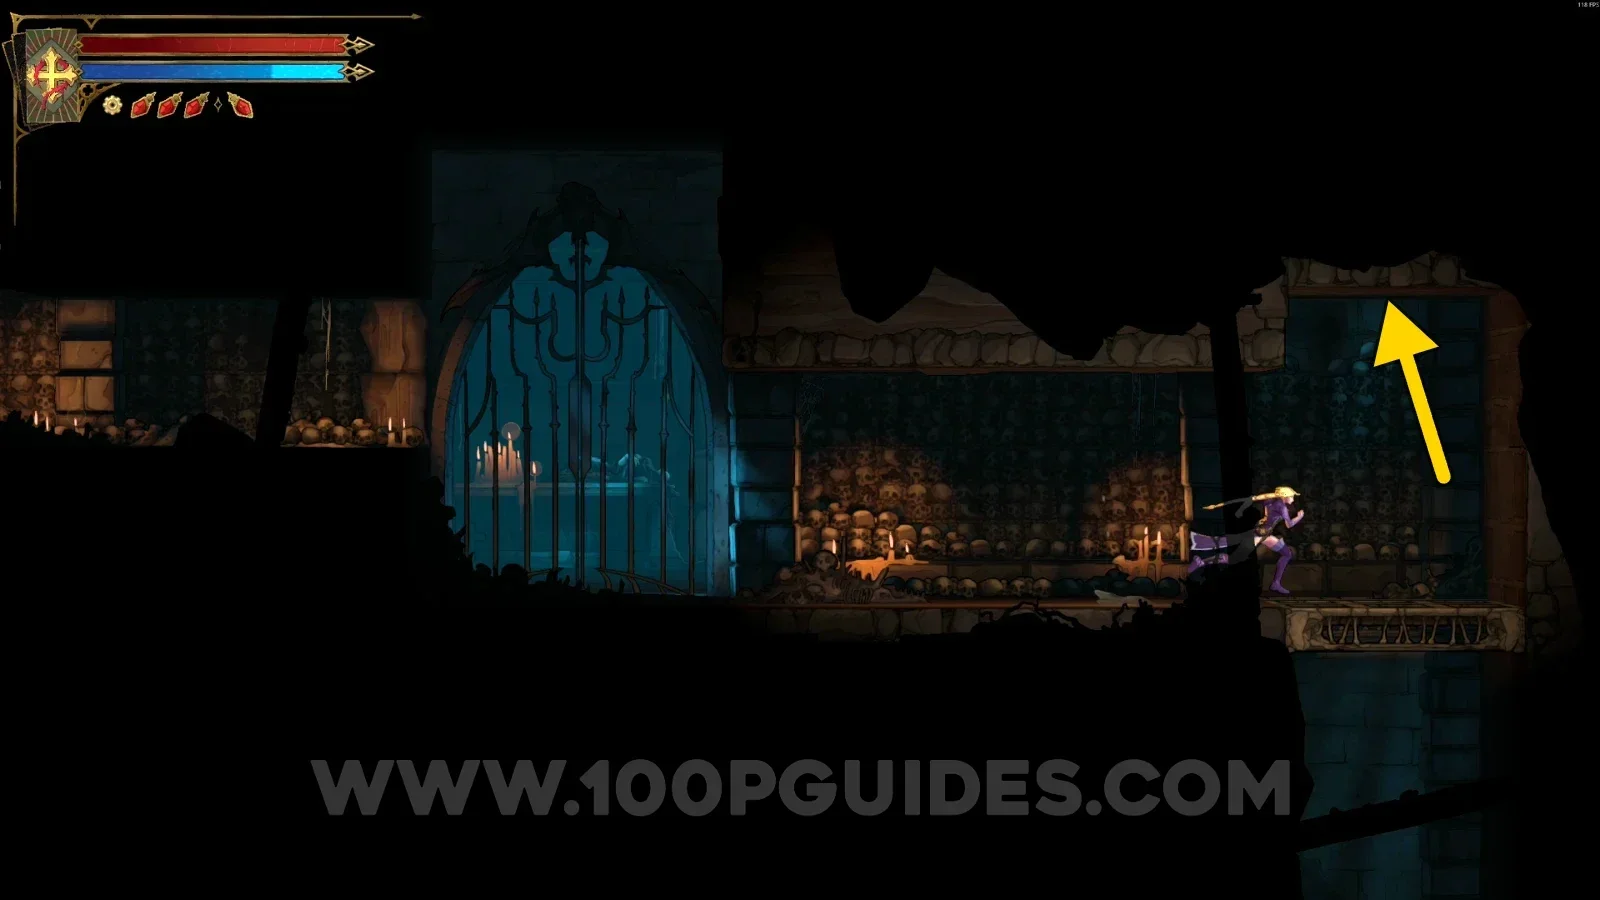
In the area marked on the map, go around through the upper part to reach this Brave Heart Fragment.
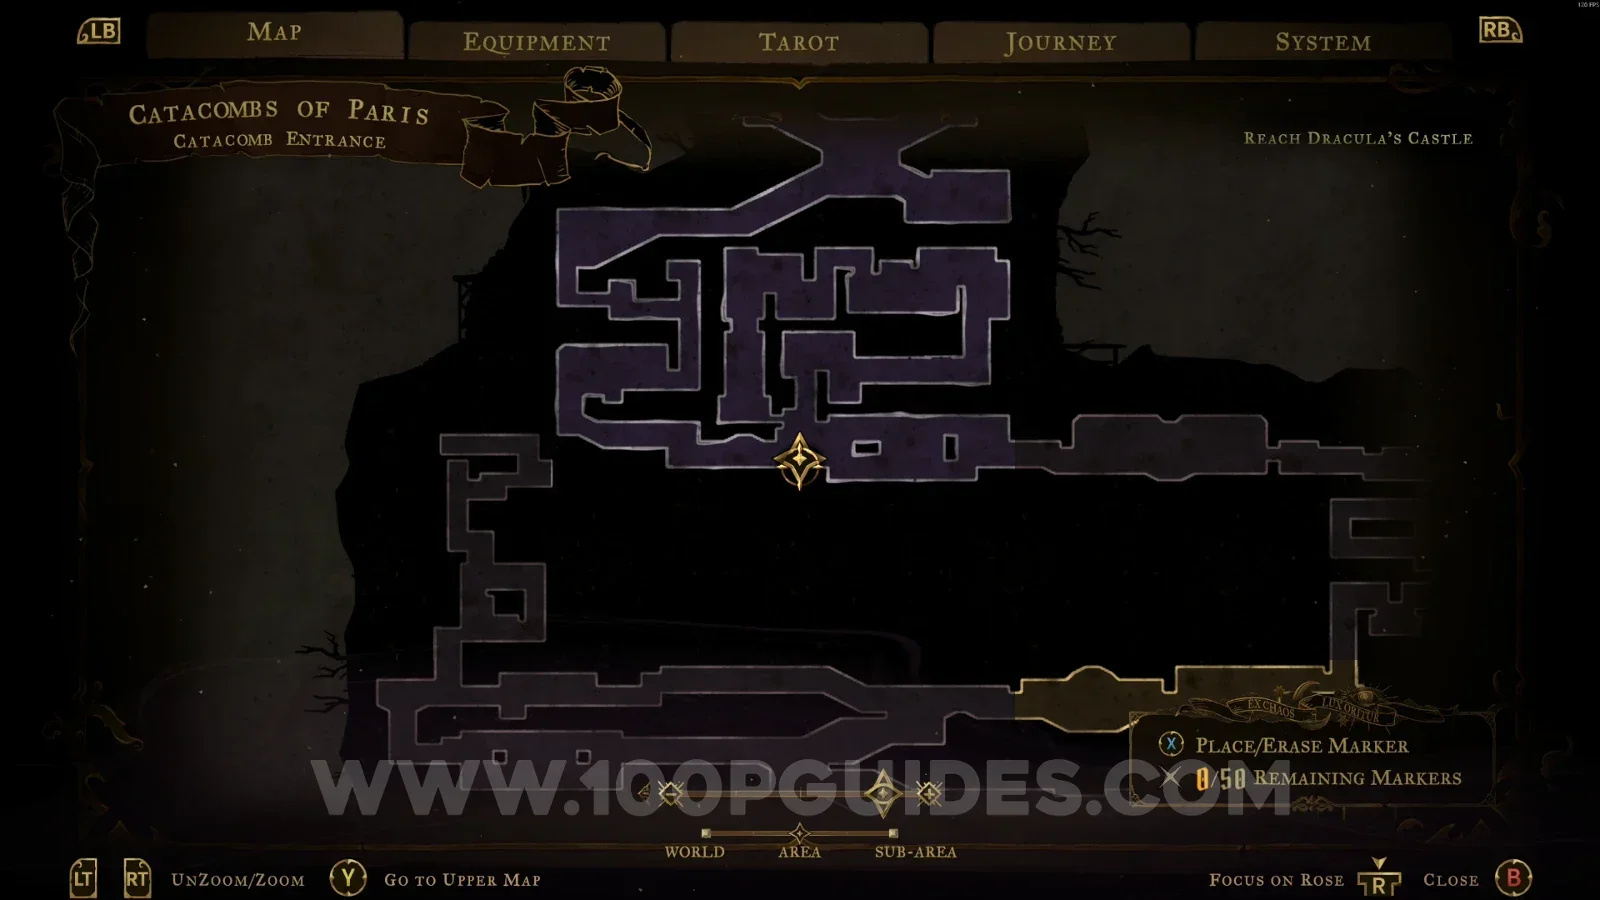
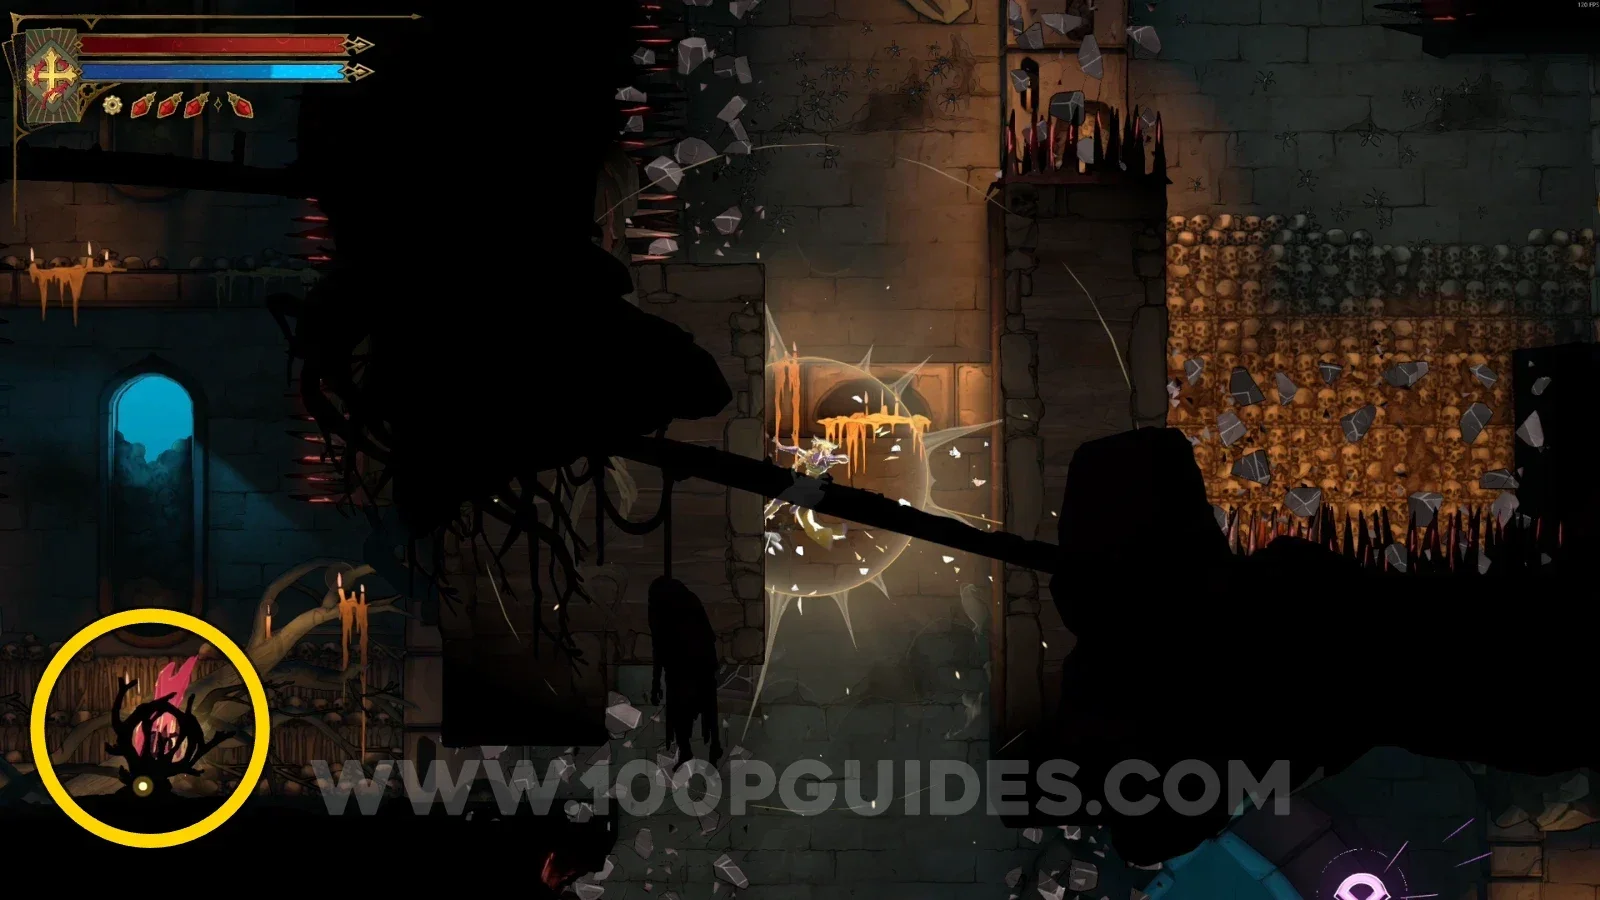
Castlevania Belmonts Curse Catacomb Entrance: map marking the area of Brave Heart Fragment #1 Castlevania Belmonts Curse Catacomb Entrance: Brave Heart Fragment #1 reached through the upper part

XP Statue #3

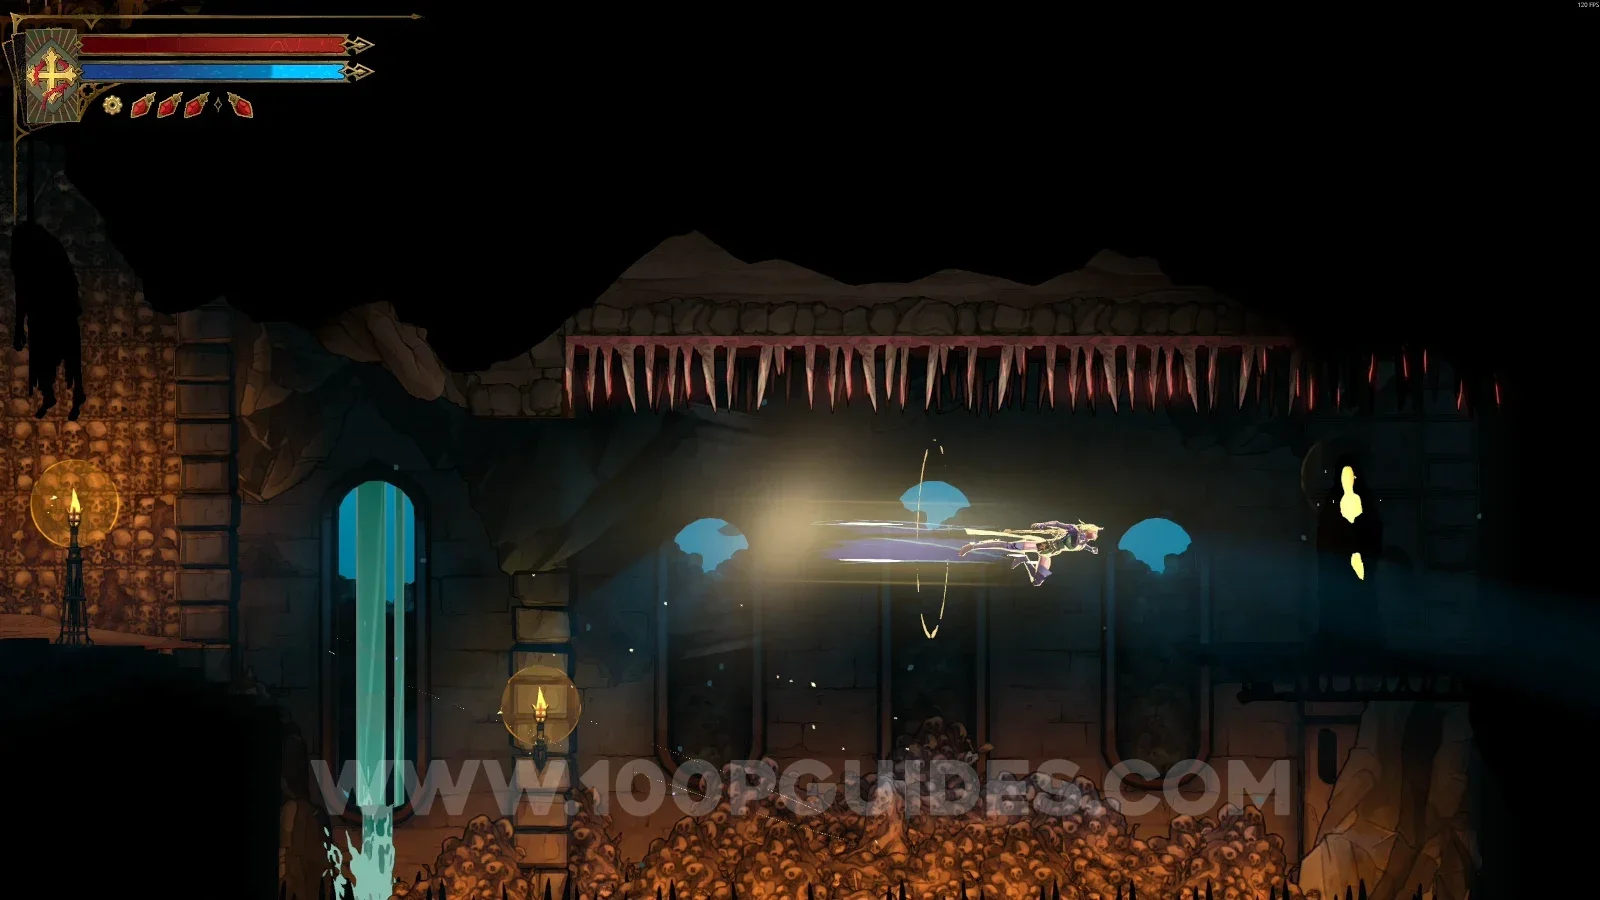
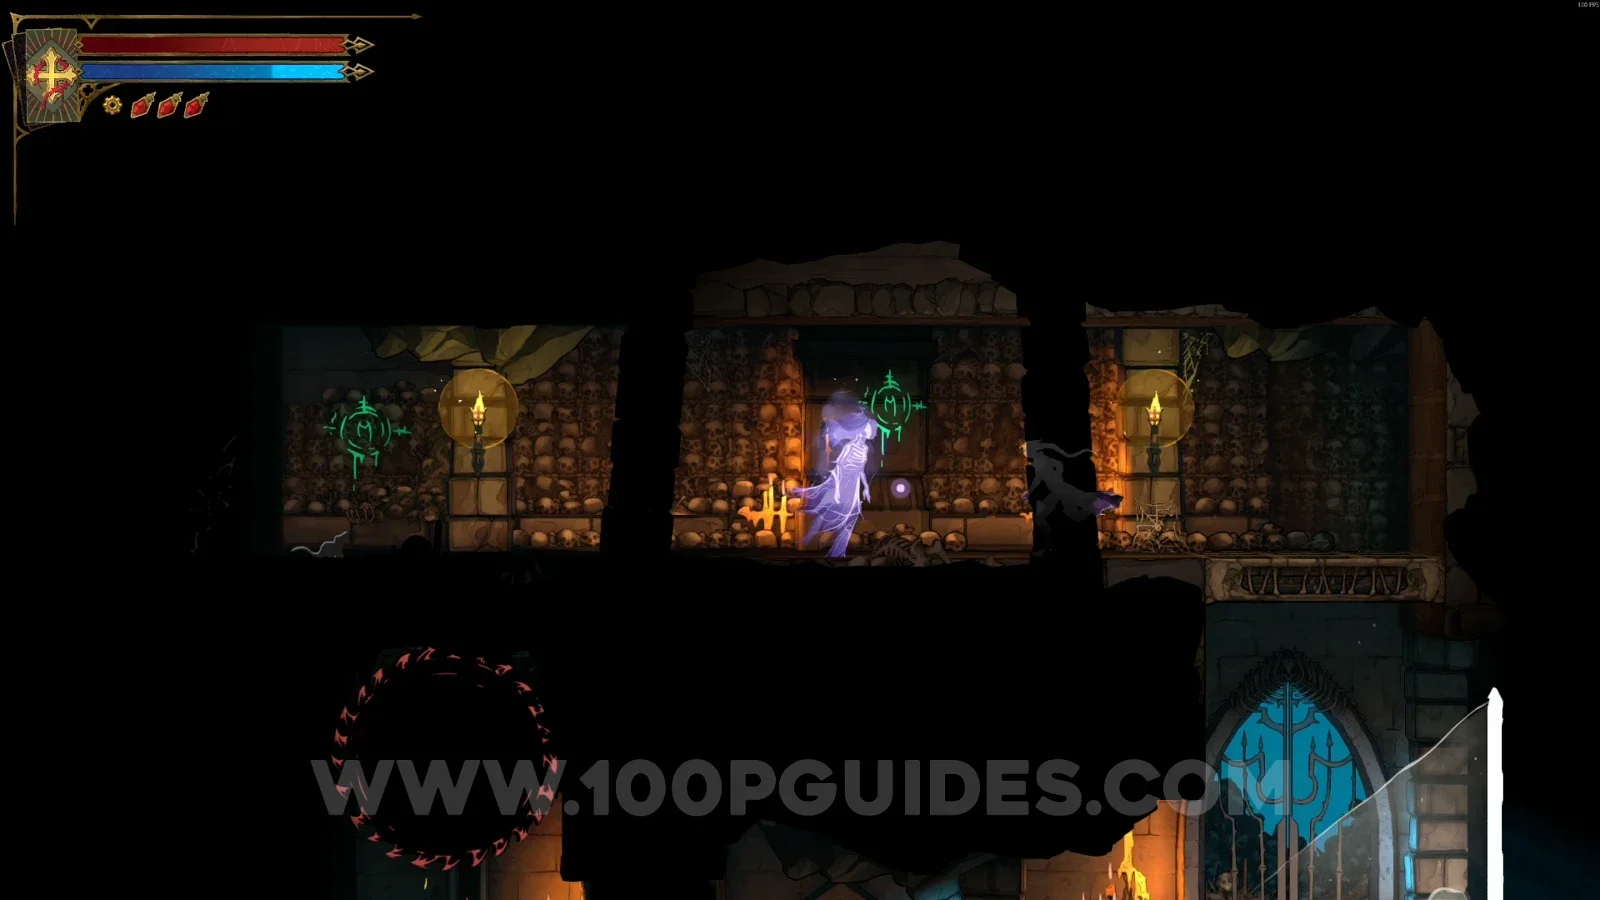
In the area marked on the map, you can use the slide to reveal a secret room.
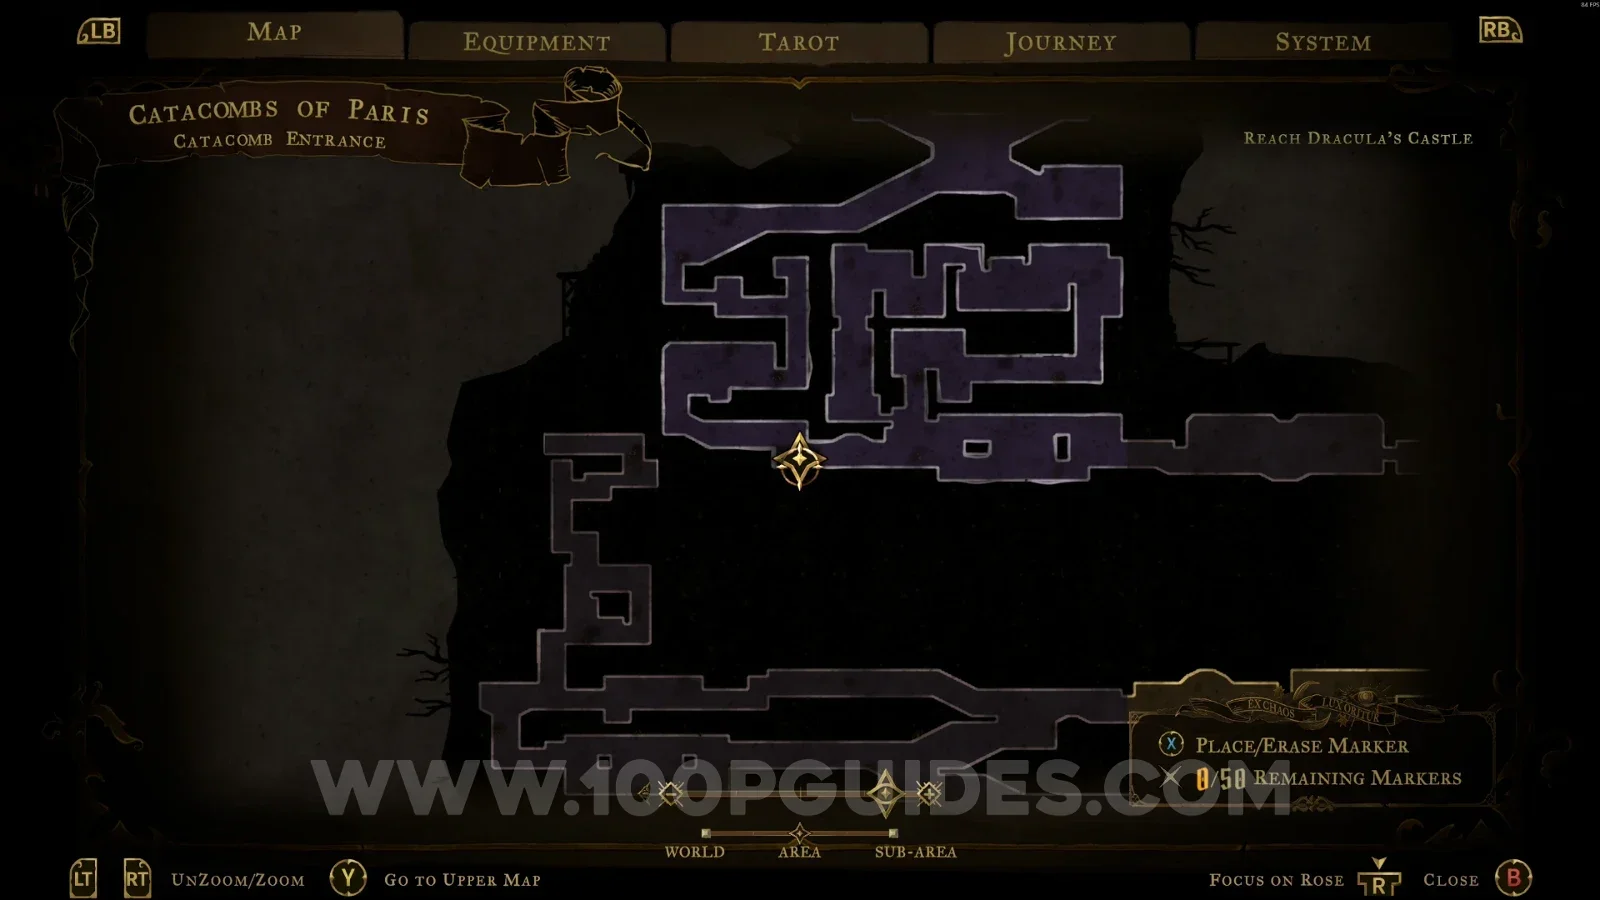
Castlevania Belmonts Curse Catacomb Entrance: map marking the area of XP Statue #3 Castlevania Belmonts Curse Catacomb Entrance: using the slide to reveal the secret room with XP Statue #3

Relic #1: Specter's Whisper

Same area as before, but you have to reach it from the other side.
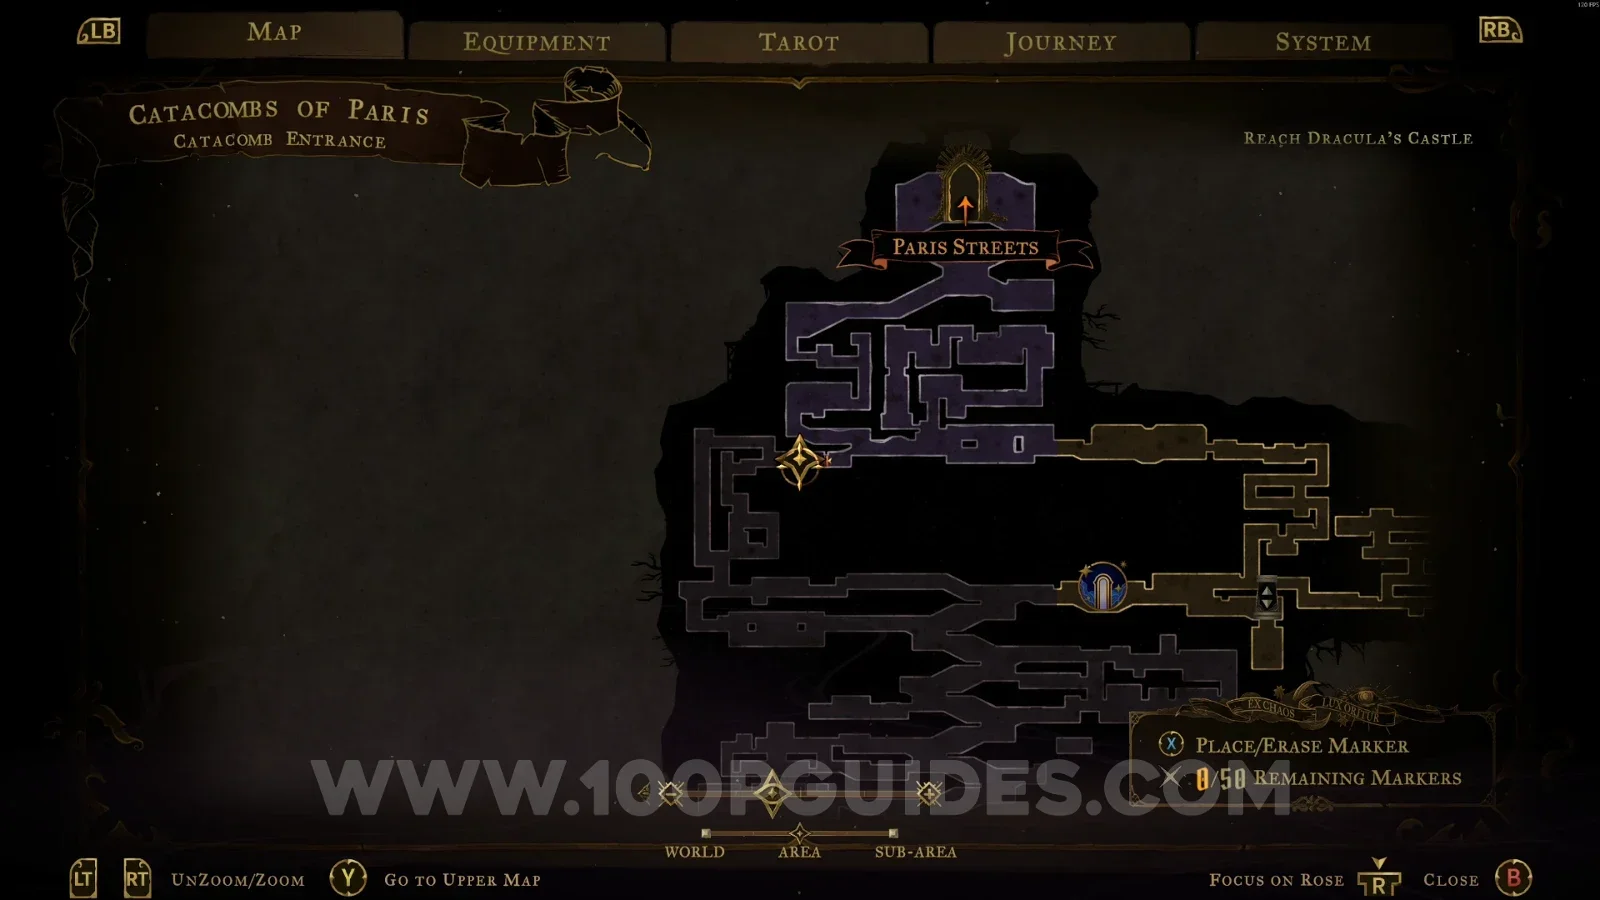
Castlevania Belmonts Curse Catacomb Entrance: reaching Relic #1 Specter's Whisper from the other side Castlevania Belmonts Curse Catacomb Entrance: Relic #1 Specter's Whisper in the same area as XP Statue #3

Path Of The Abyss

Relic #2: Mourning Bead + XP Statue #4

In the area marked on the map, use the slide to reveal a secret area. In the next area, you'll find the relic at the top and the XP Statue on the lower level.
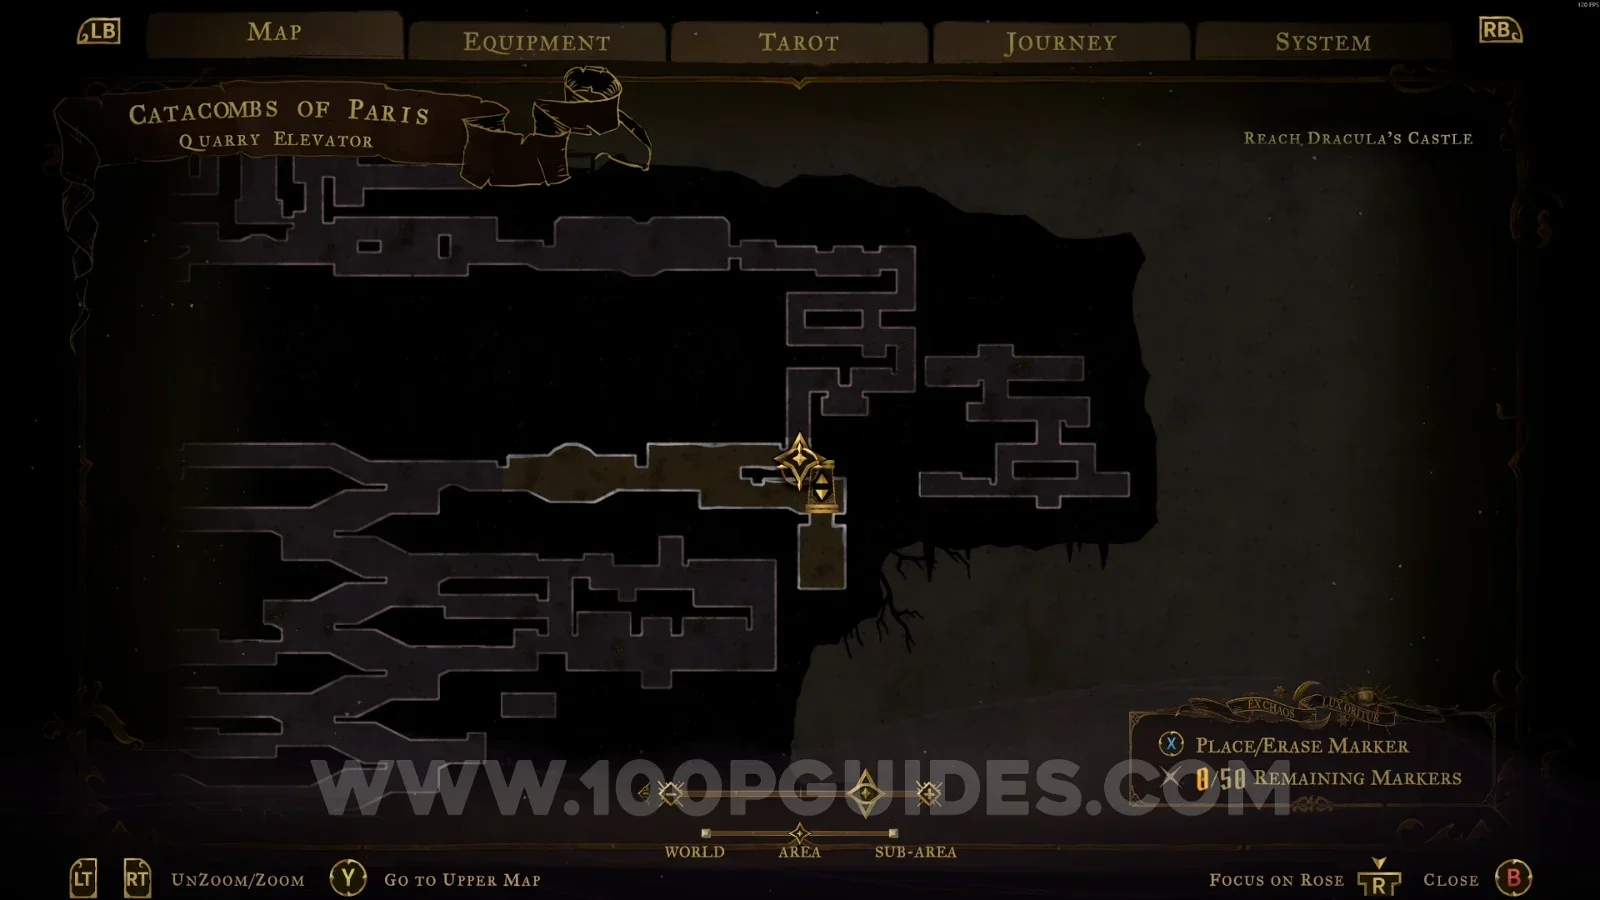
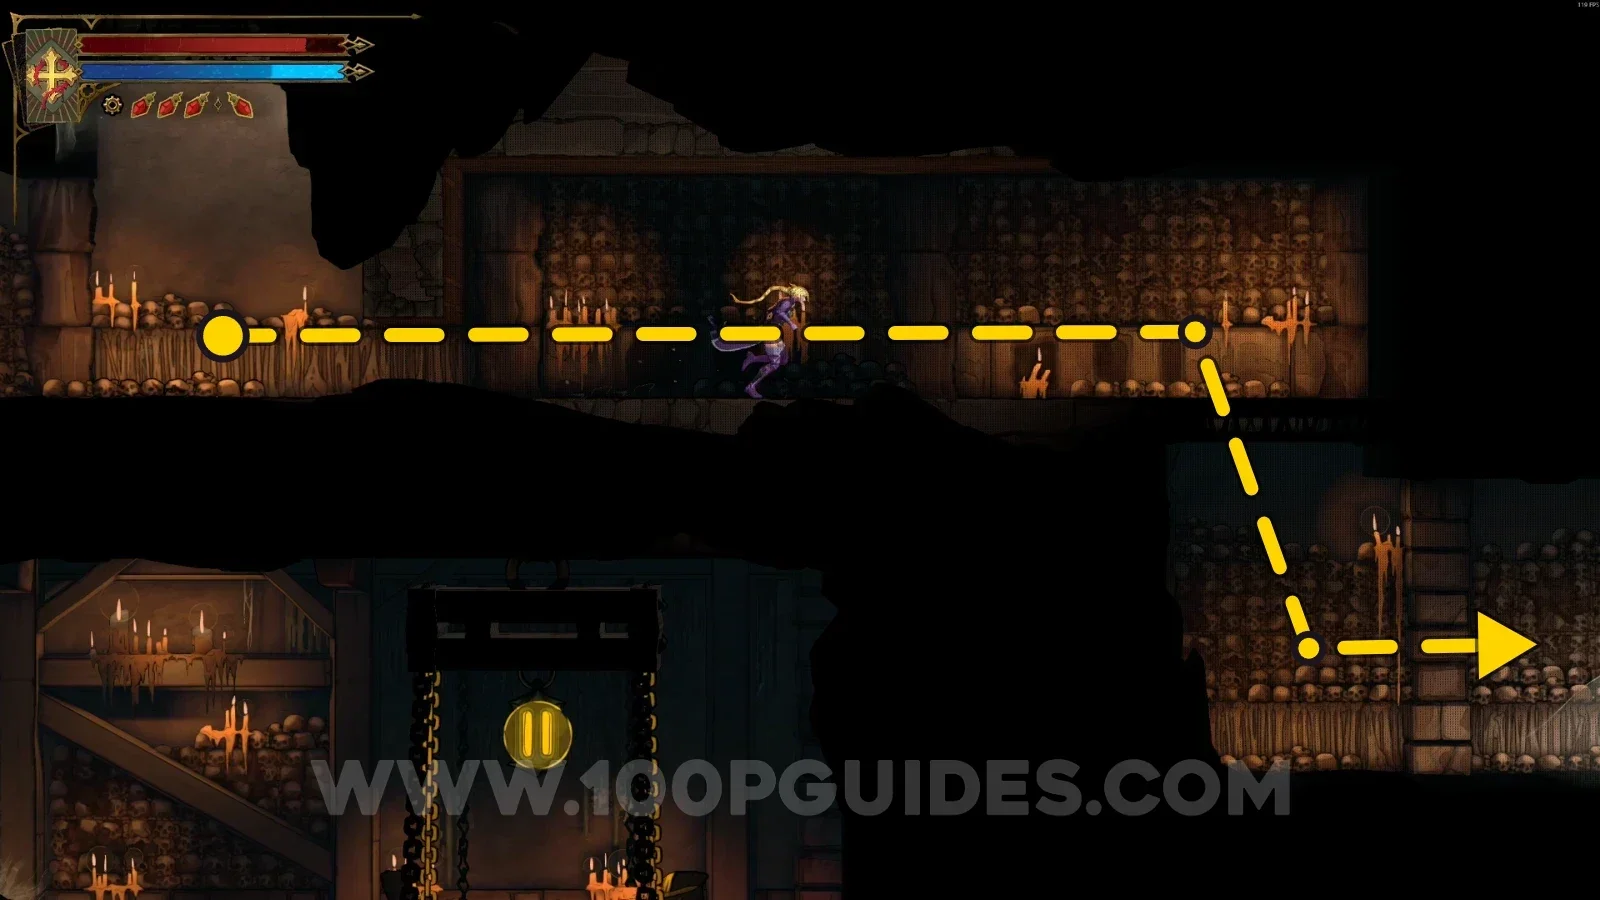
Castlevania Belmonts Curse Path Of The Abyss: map marking the area of Relic #2 Mourning Bead and XP Statue #4 Castlevania Belmonts Curse Path Of The Abyss: using the slide to reveal a secret area Castlevania Belmonts Curse Path Of The Abyss: Relic #2 Mourning Bead at the top of the next area Castlevania Belmonts Curse Path Of The Abyss: XP Statue #4 on the lower level of the next area

Quarry Elevator

Mirror of Life #1

In the area marked on the map.
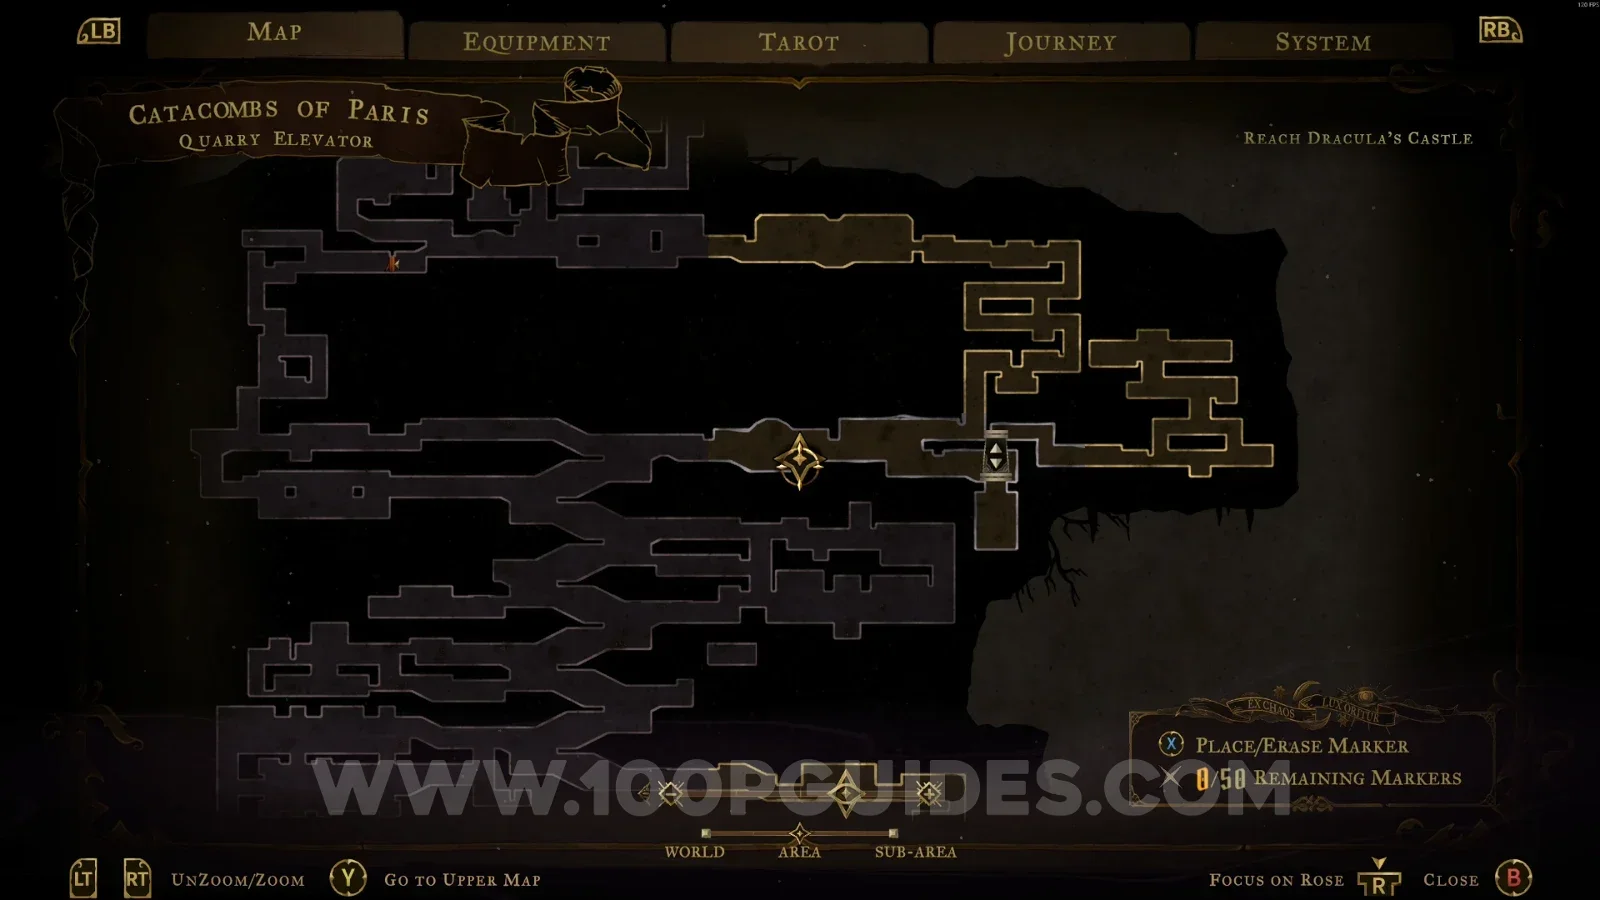
Castlevania Belmonts Curse Quarry Elevator: map marking the area of Mirror of Life #1 Castlevania Belmonts Curse Quarry Elevator: Mirror of Life #1 in the marked area

Charnel Galleries

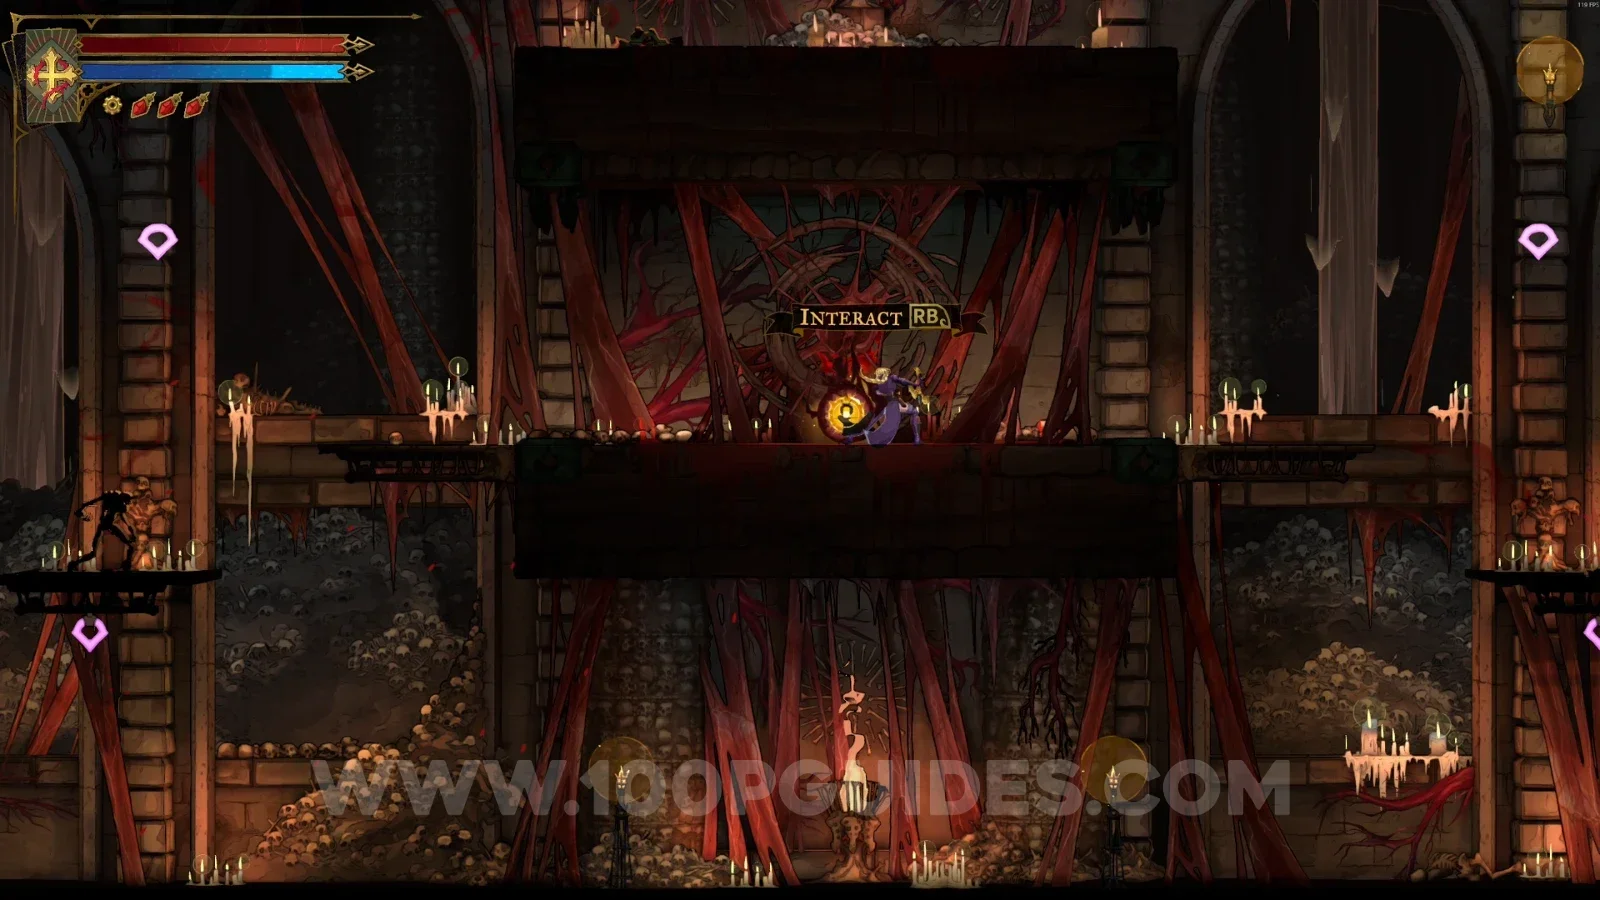
Clue: The Shadow

Climb to the top of the area to find this clue.
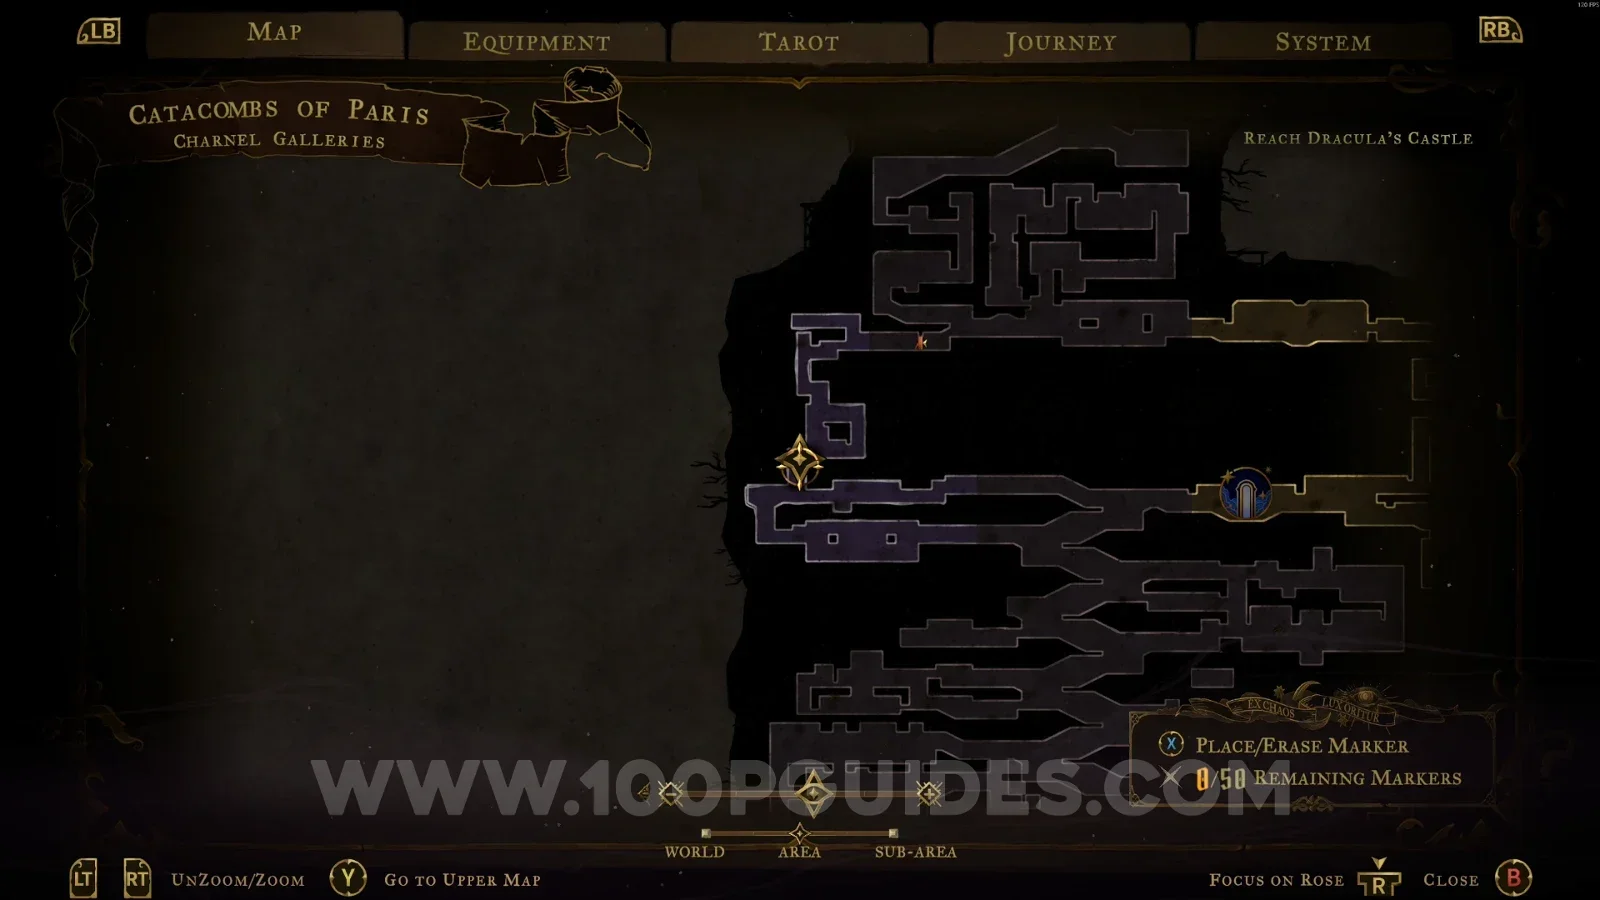
Castlevania Belmonts Curse Charnel Galleries: climbing to the top of the area toward the clue Castlevania Belmonts Curse Charnel Galleries: Clue The Shadow found at the top of the area

XP Statue #5

In the area marked on the map, after defeating some enemies.
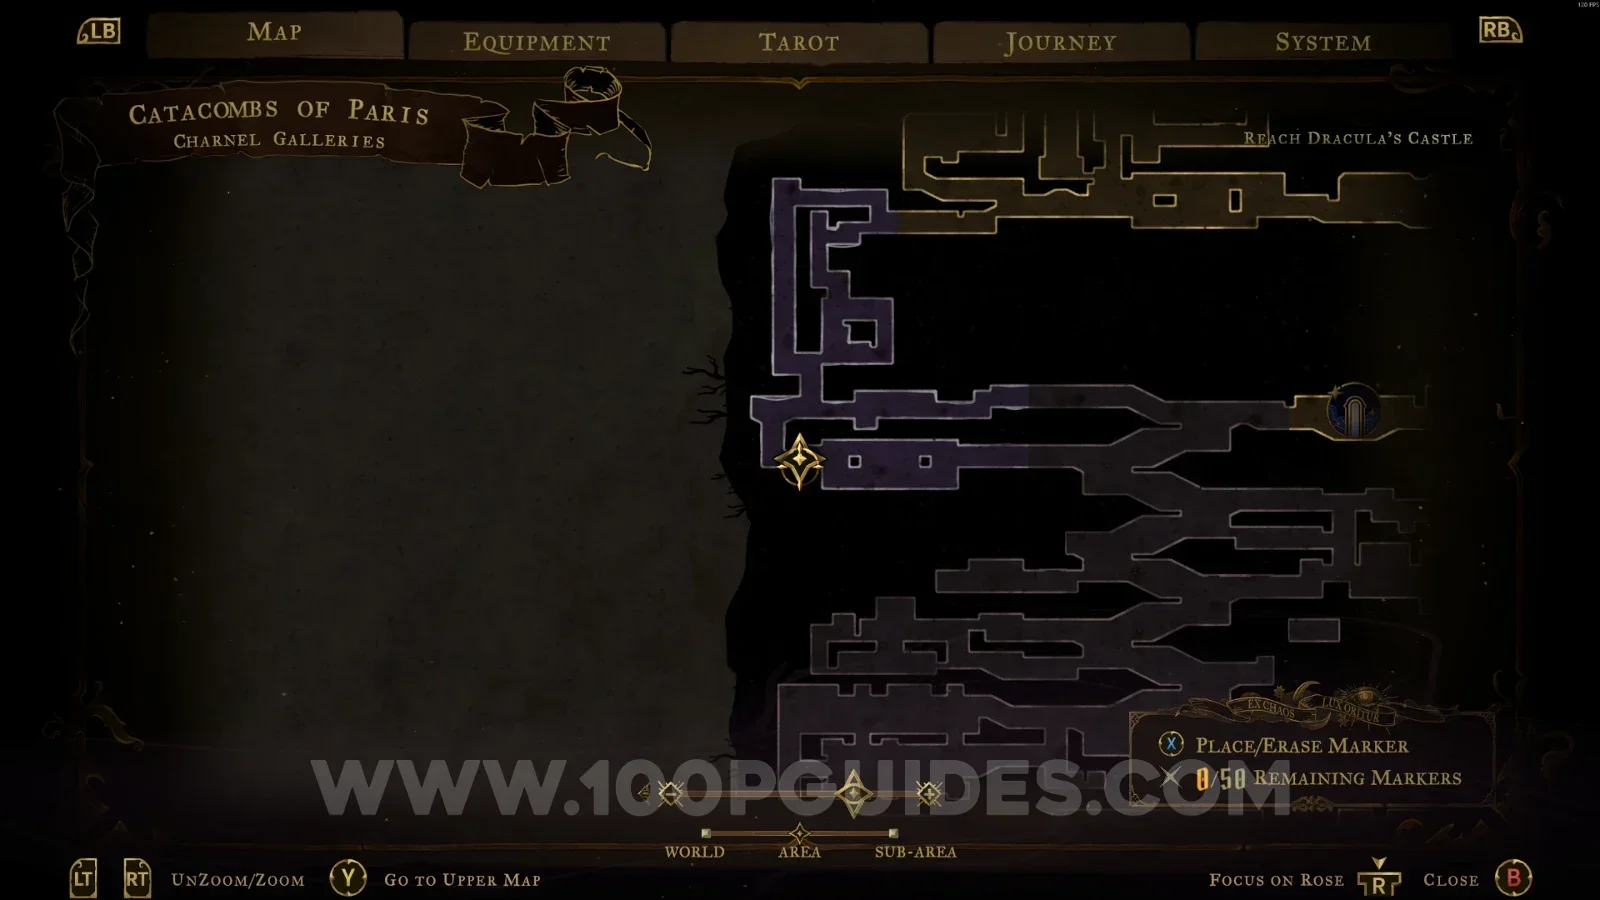
Castlevania Belmonts Curse Charnel Galleries: map marking the area of XP Statue #5 Castlevania Belmonts Curse Charnel Galleries: XP Statue #5 after defeating some enemies

Crossroads Of The Dead

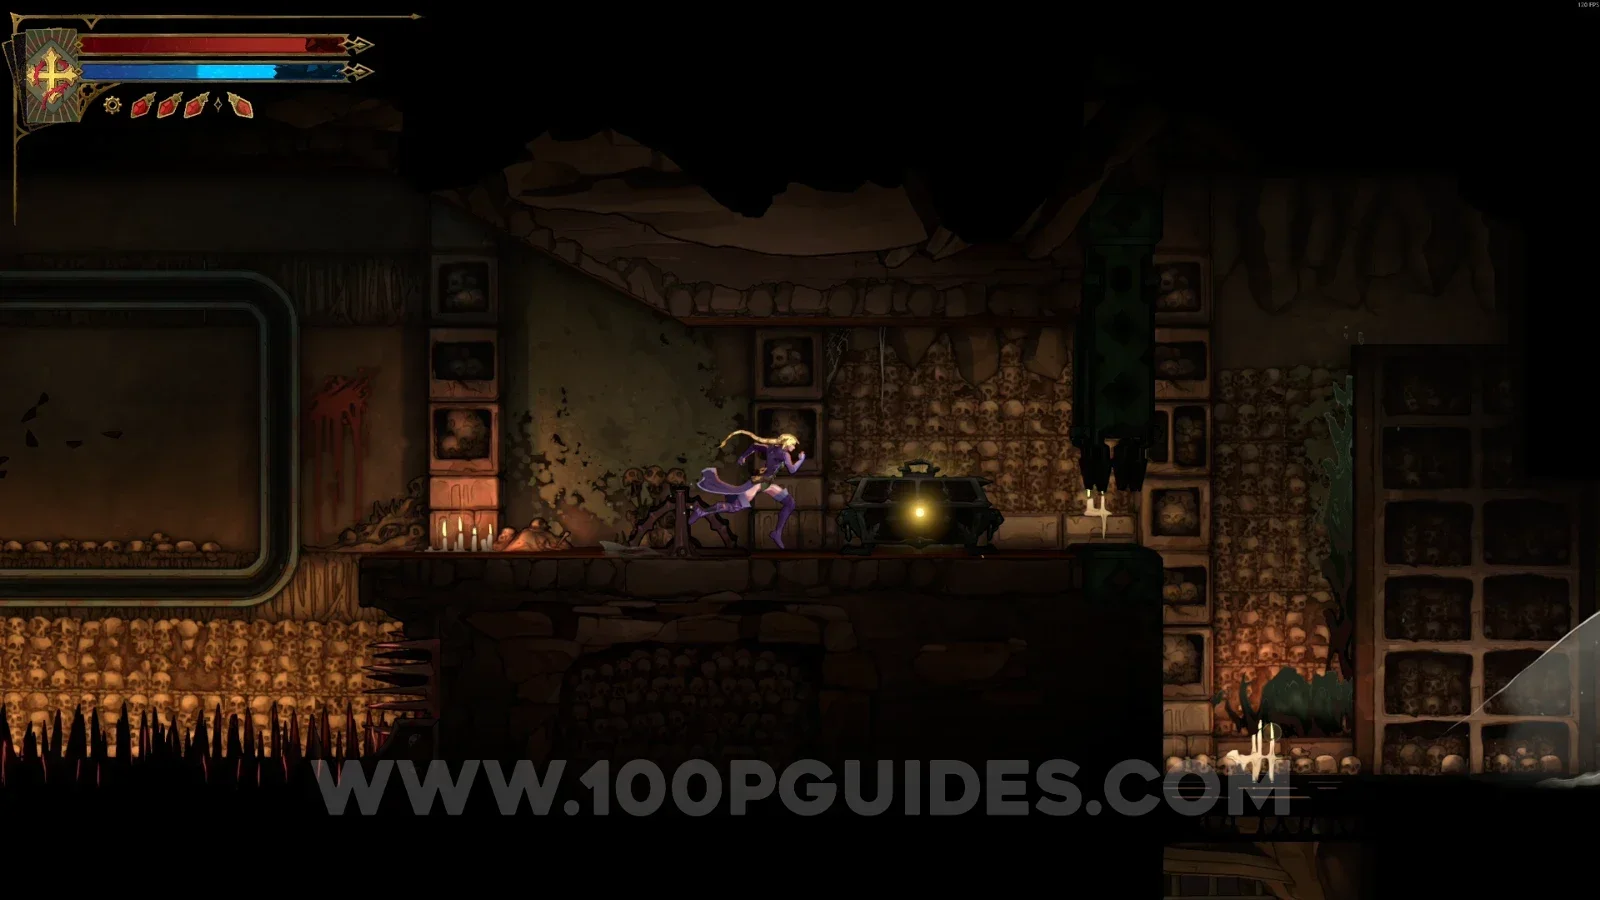
Weapon #1: Pair Of Longswords

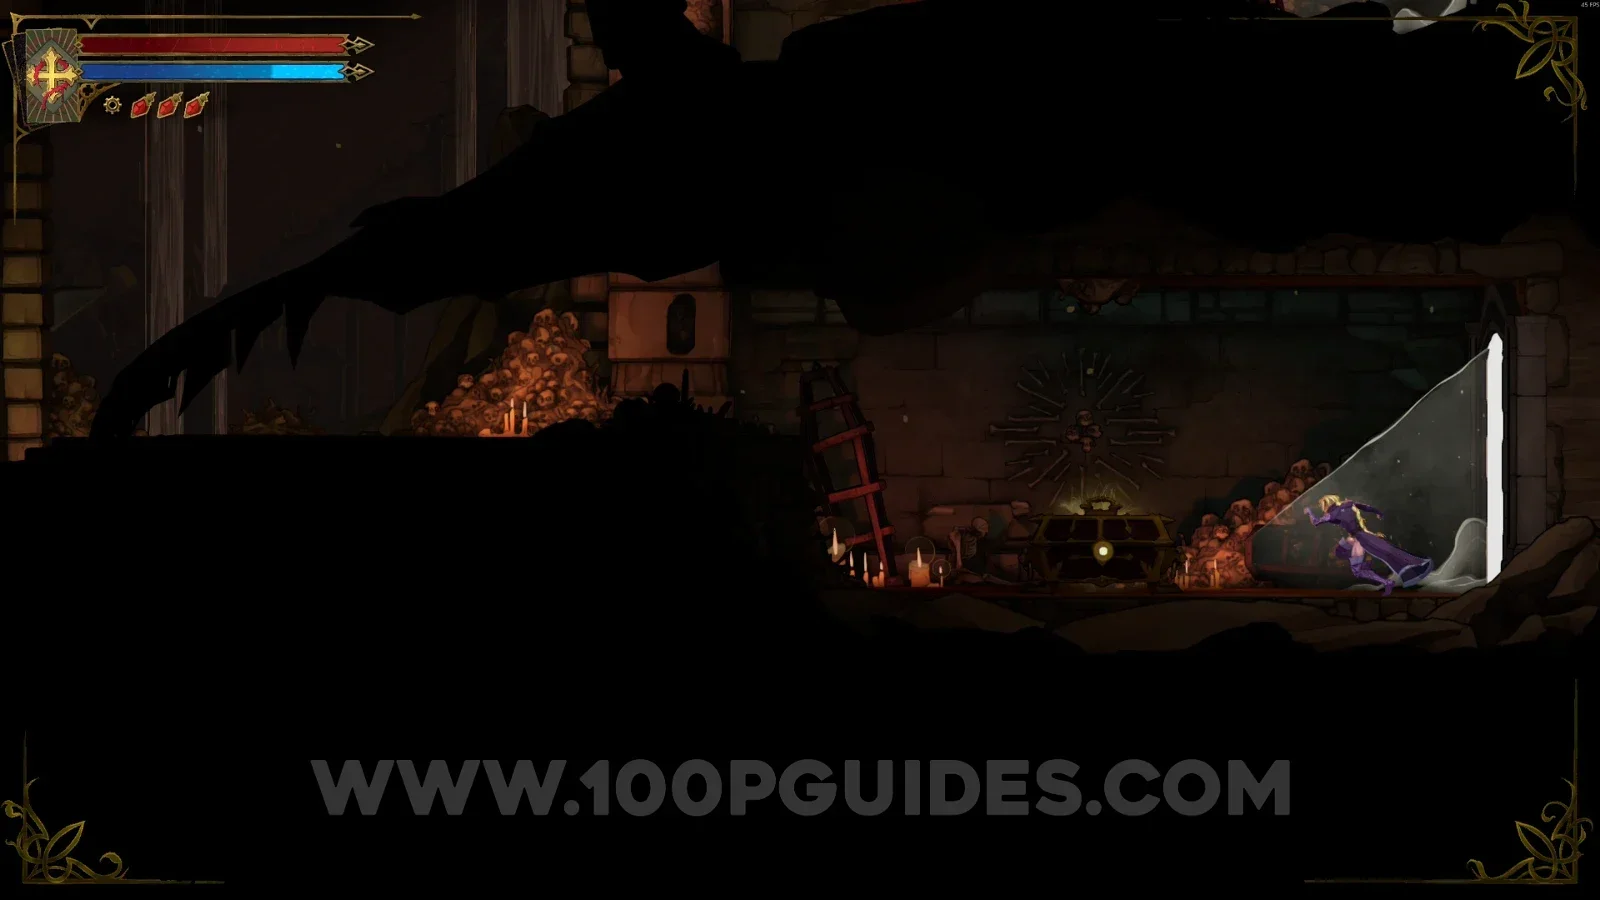
Inside the chest, which can be reached from the Chamber of Whispers area.
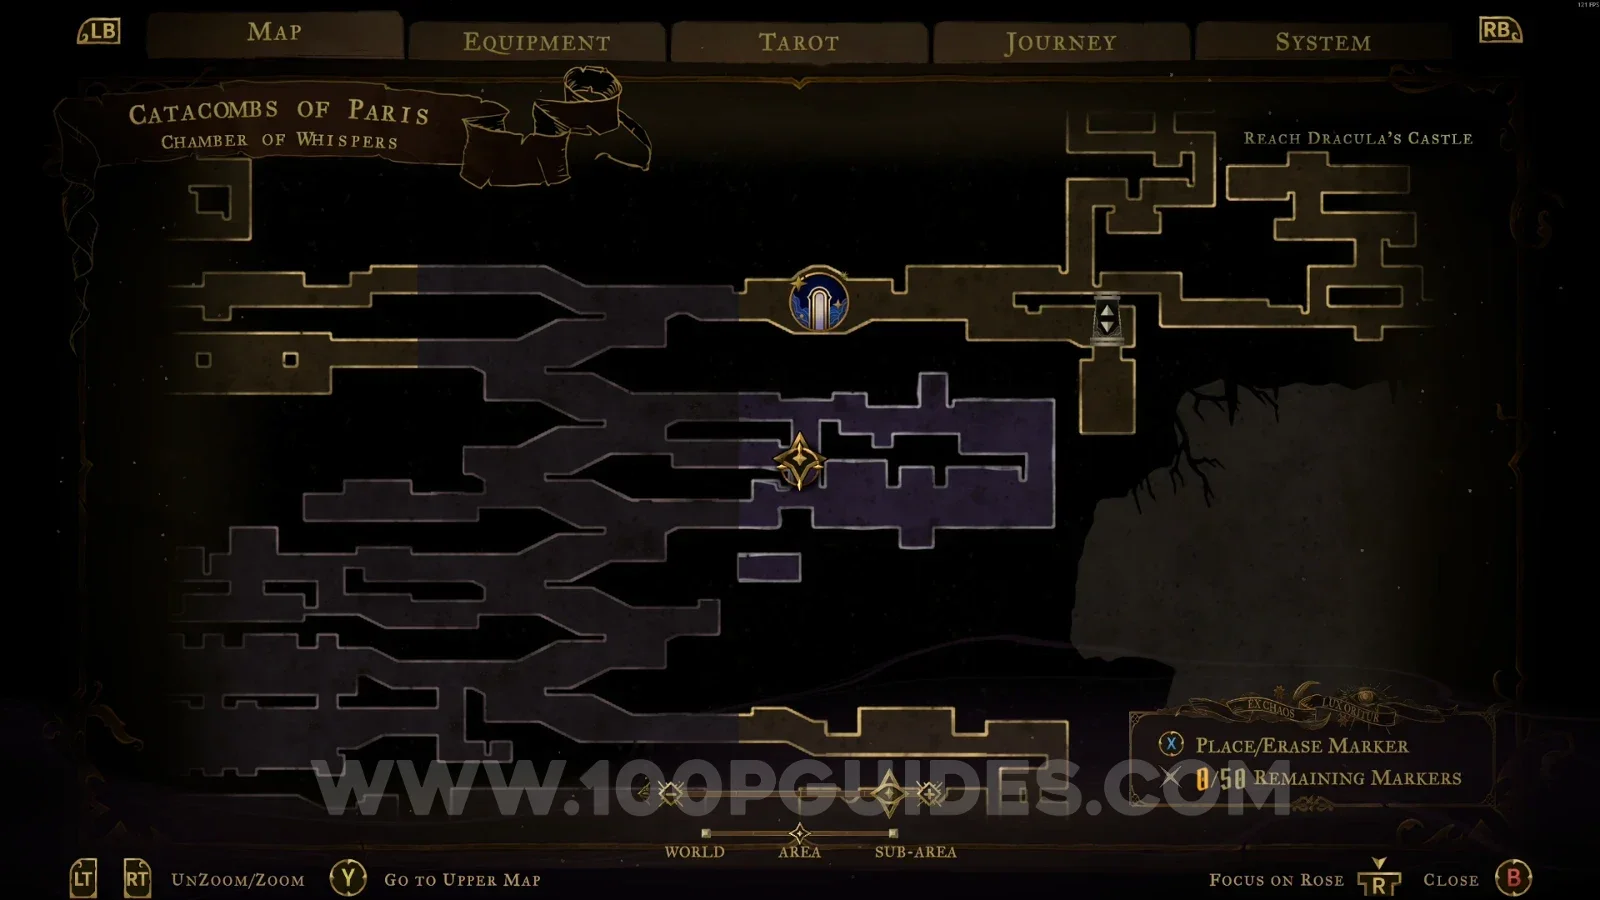
Castlevania Belmonts Curse Crossroads Of The Dead: the way to the chest from the Chamber of Whispers area Castlevania Belmonts Curse Crossroads Of The Dead: chest holding Weapon #1 Pair Of Longswords

Chamber Of Whispers

XP Statue #6 + Wise Heart Fragment #1

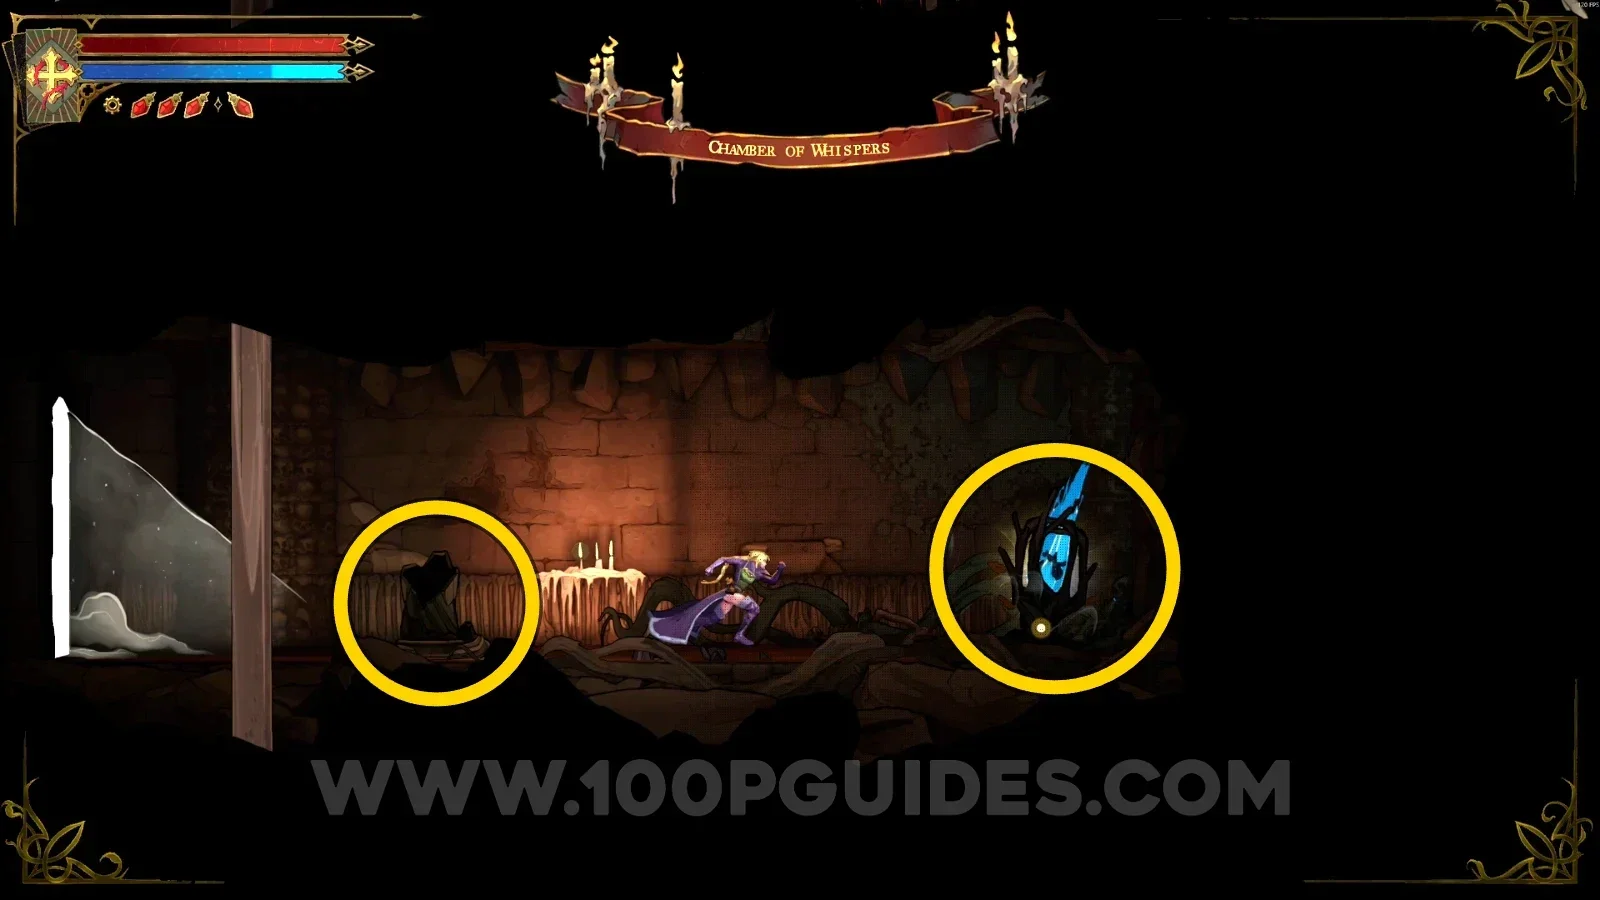
Jump to the upper part of the area in Crossroads of the Dead to reveal a secret room with the XP Statue and the Wise Heart.
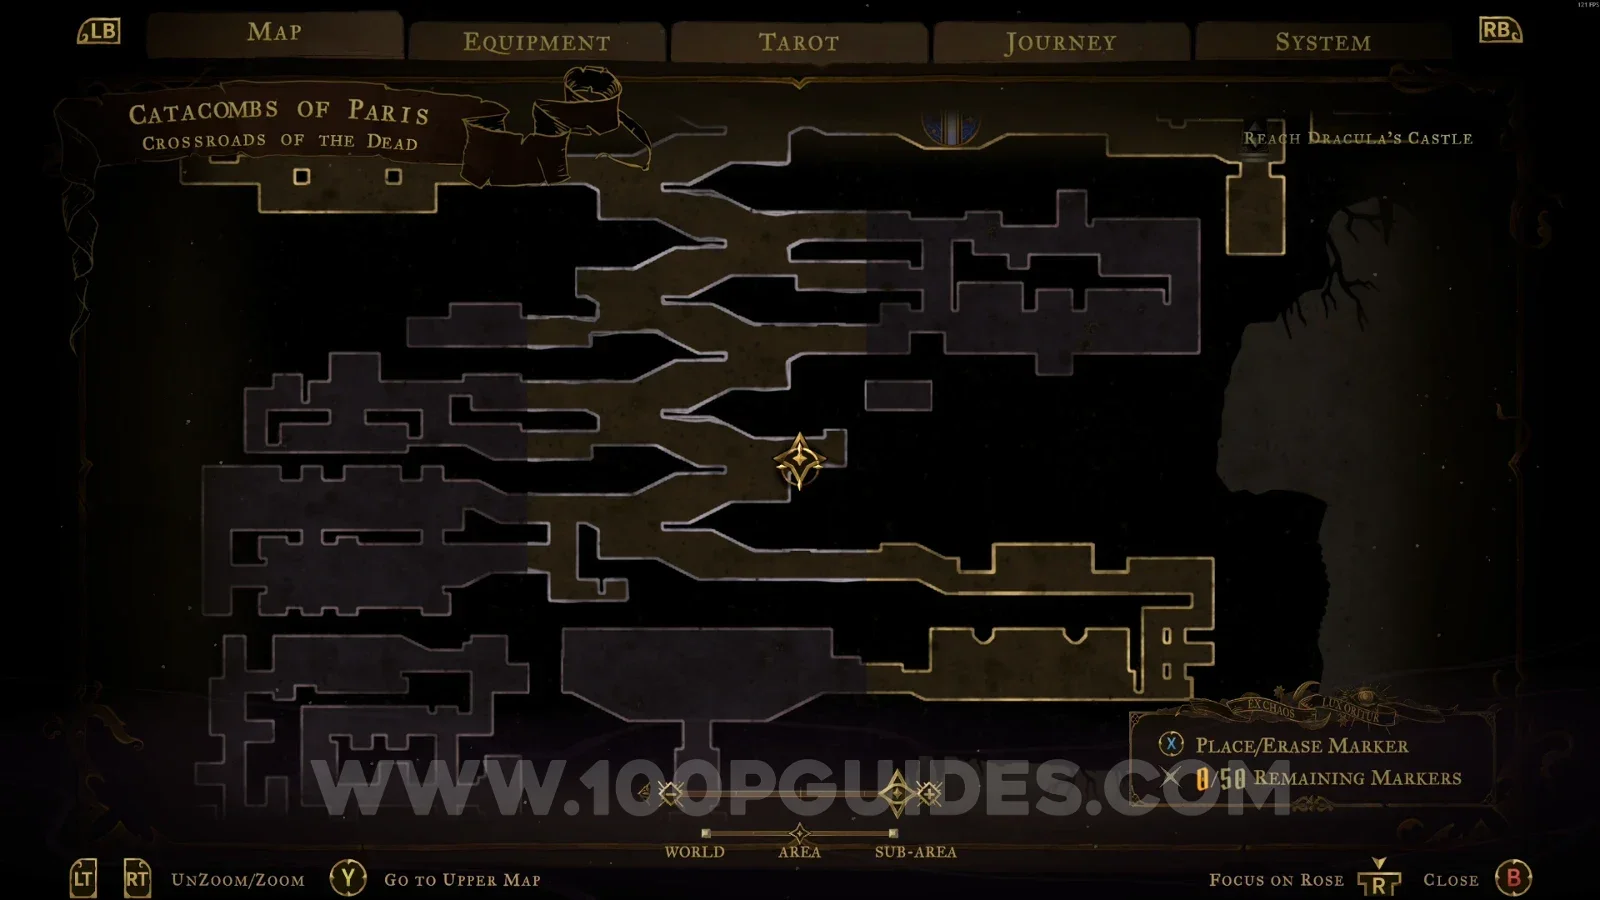
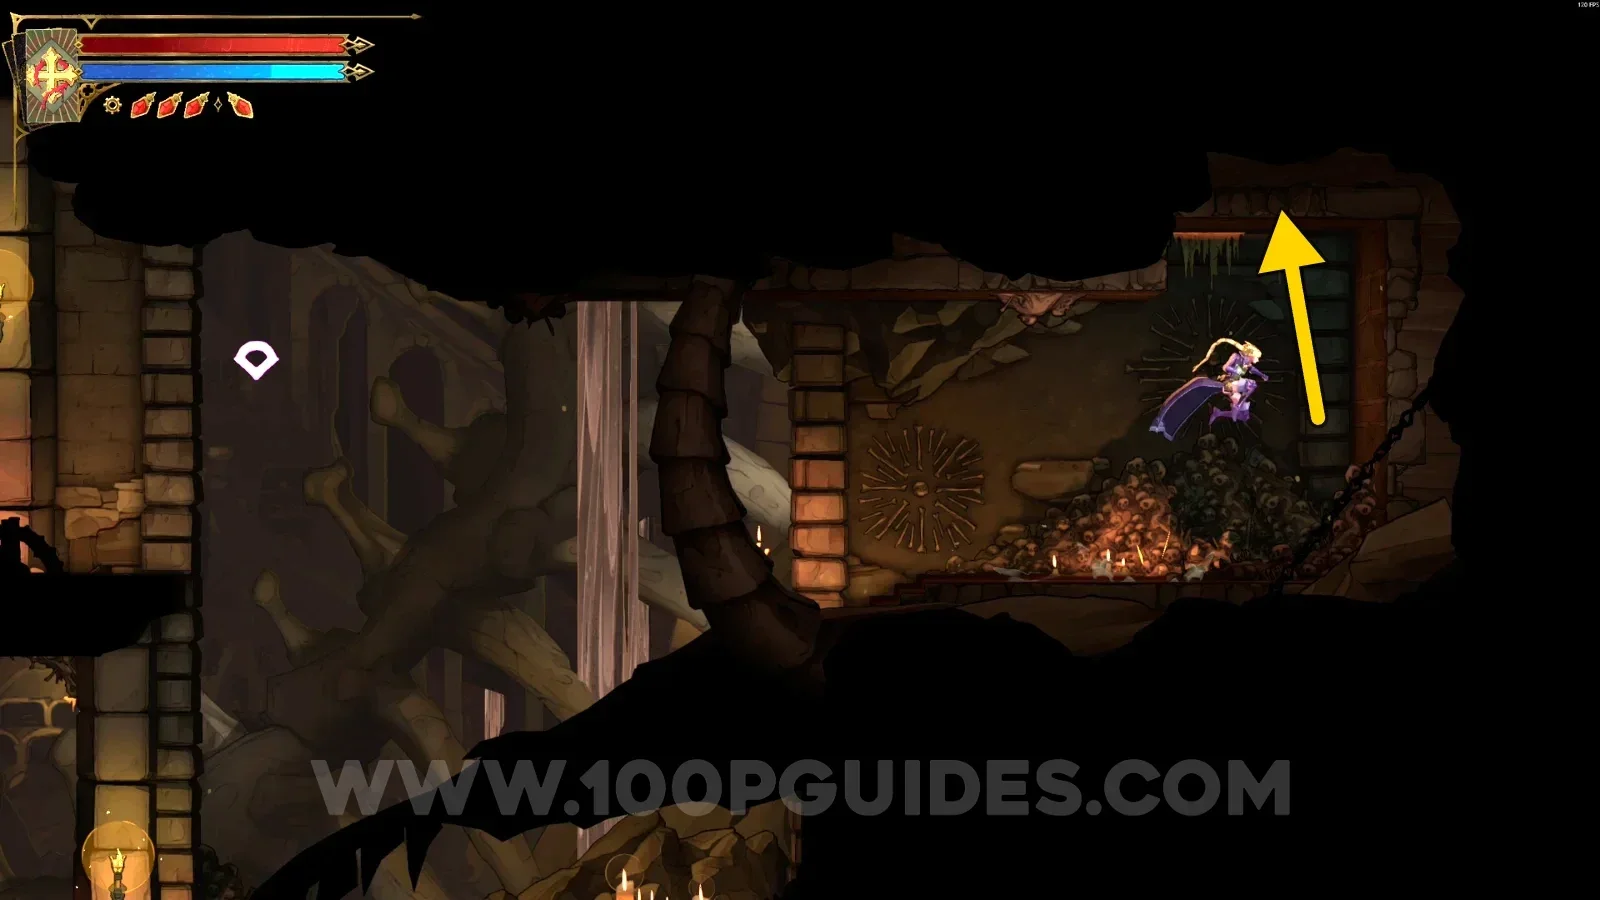
Castlevania Belmonts Curse: jumping to the upper part of Crossroads of the Dead to reveal a secret room Castlevania Belmonts Curse Chamber Of Whispers: XP Statue #6 in the secret room Castlevania Belmonts Curse Chamber Of Whispers: Wise Heart Fragment #1 in the secret room

Gallery Of Teeth

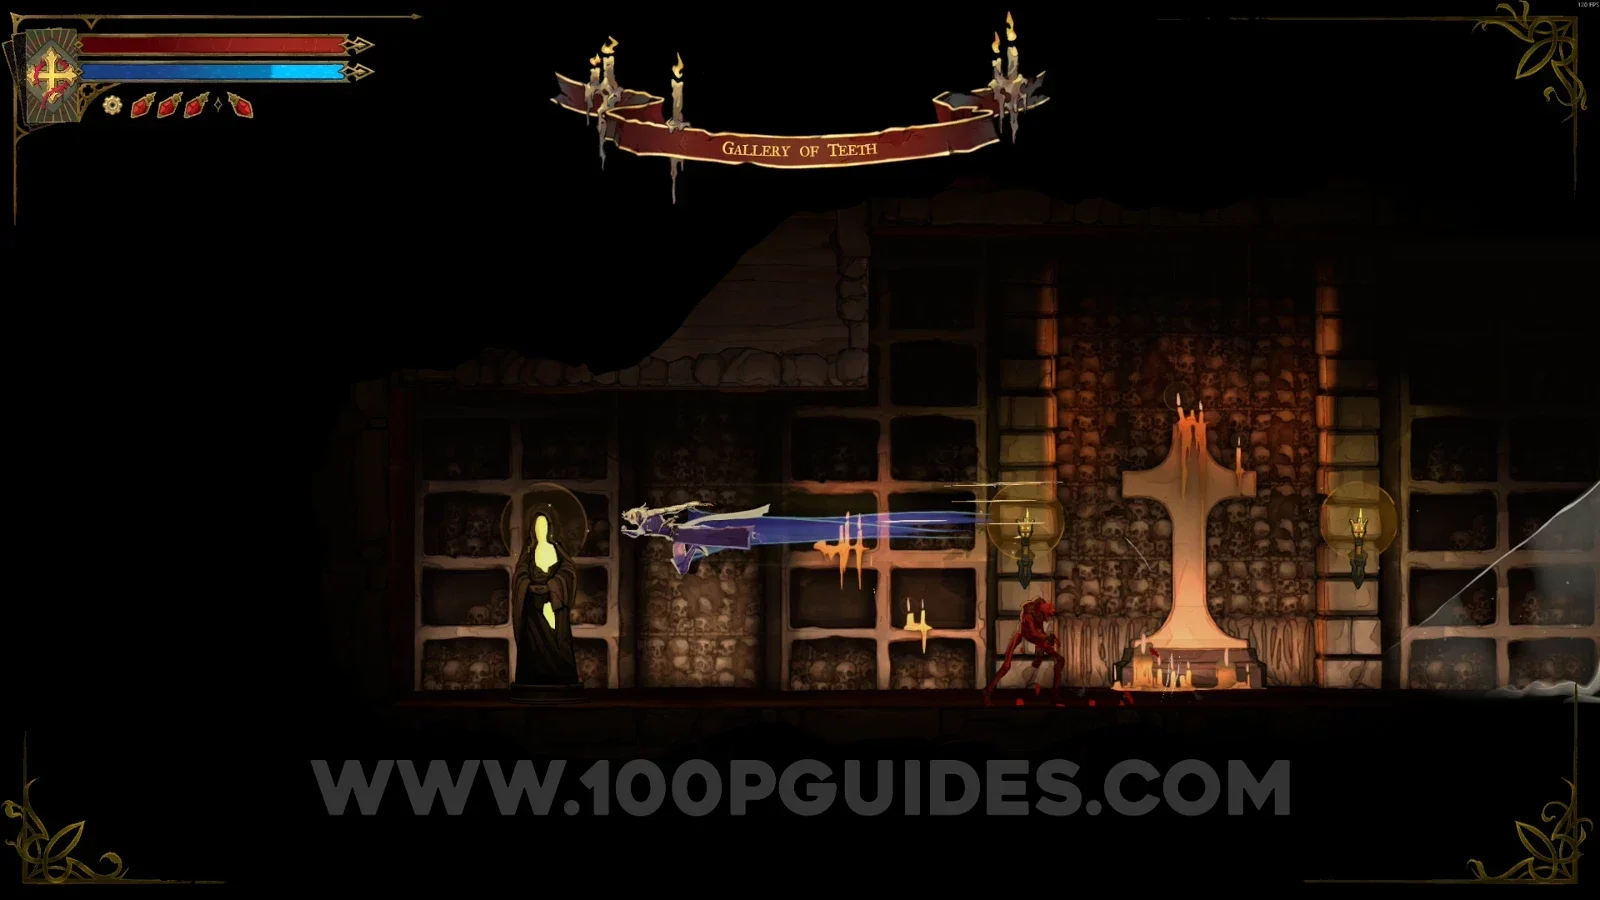
XP Statue #7

In the area marked on the map.
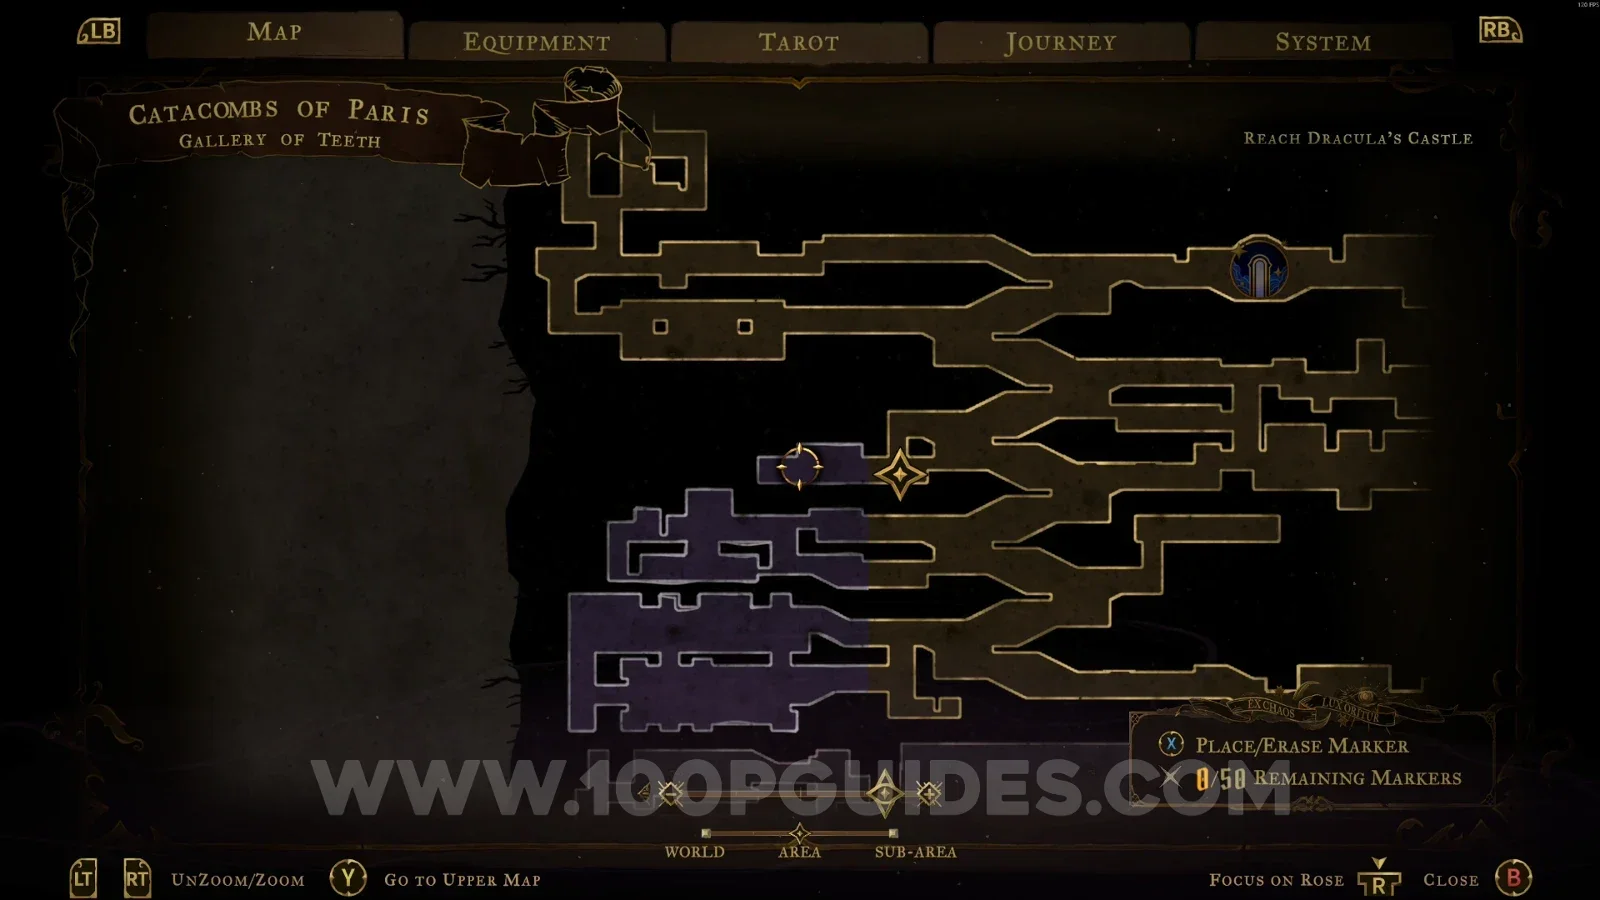
Castlevania Belmonts Curse Gallery Of Teeth: map marking the area of XP Statue #7 Castlevania Belmonts Curse Gallery Of Teeth: XP Statue #7 in the area marked on the map

XP Statue #8

In the area marked on the map, you have to go down and loop around behind the XP Statue to reach it.
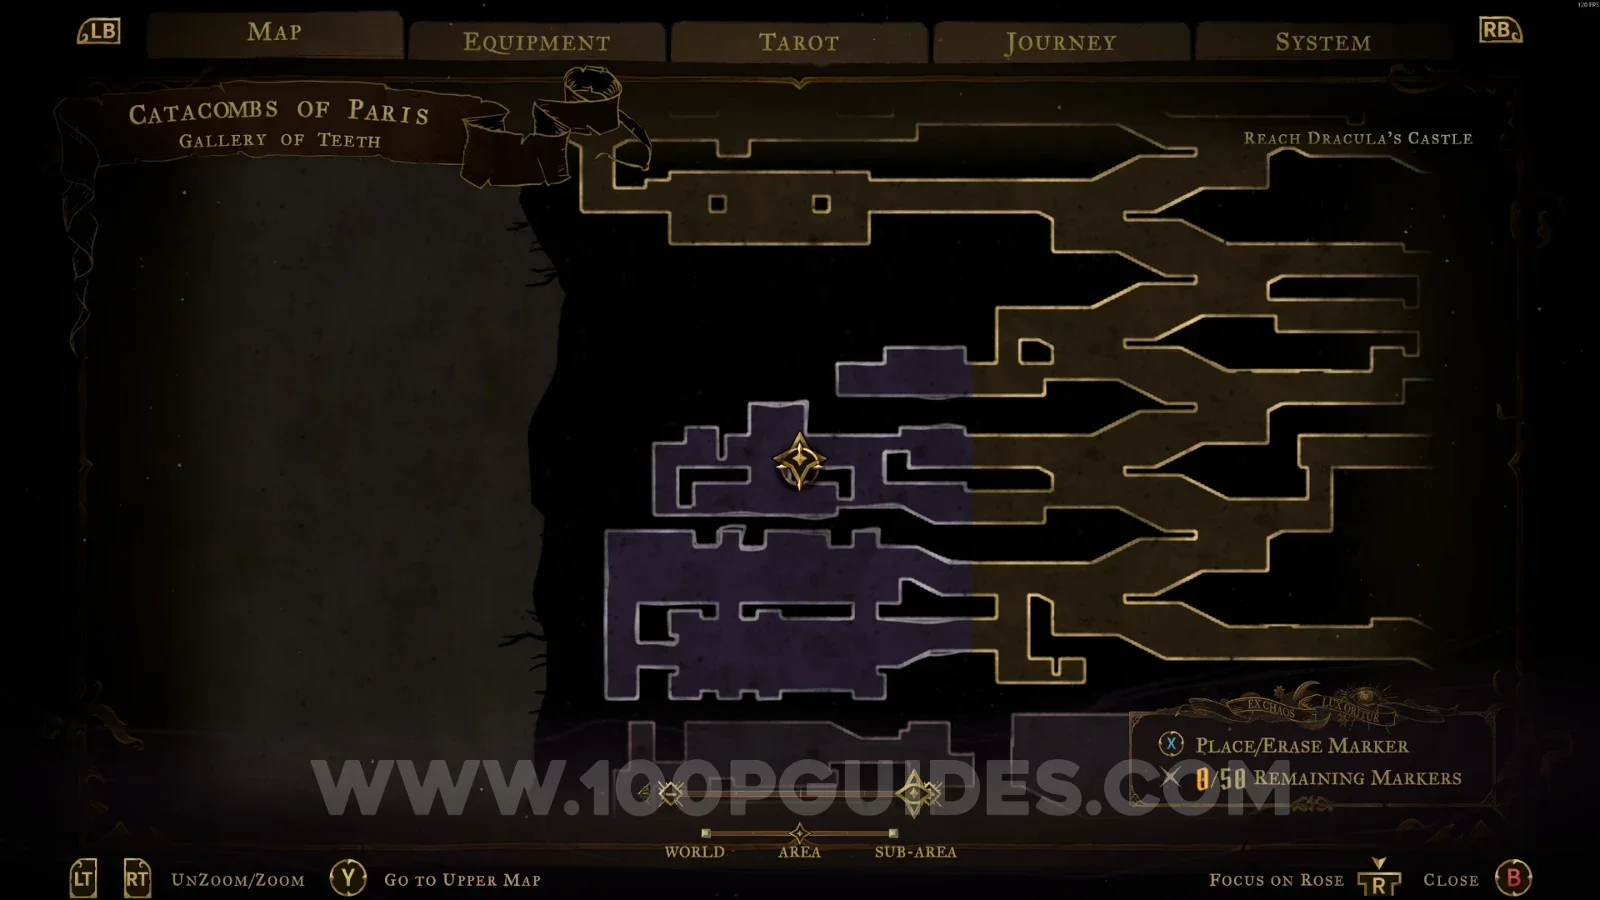
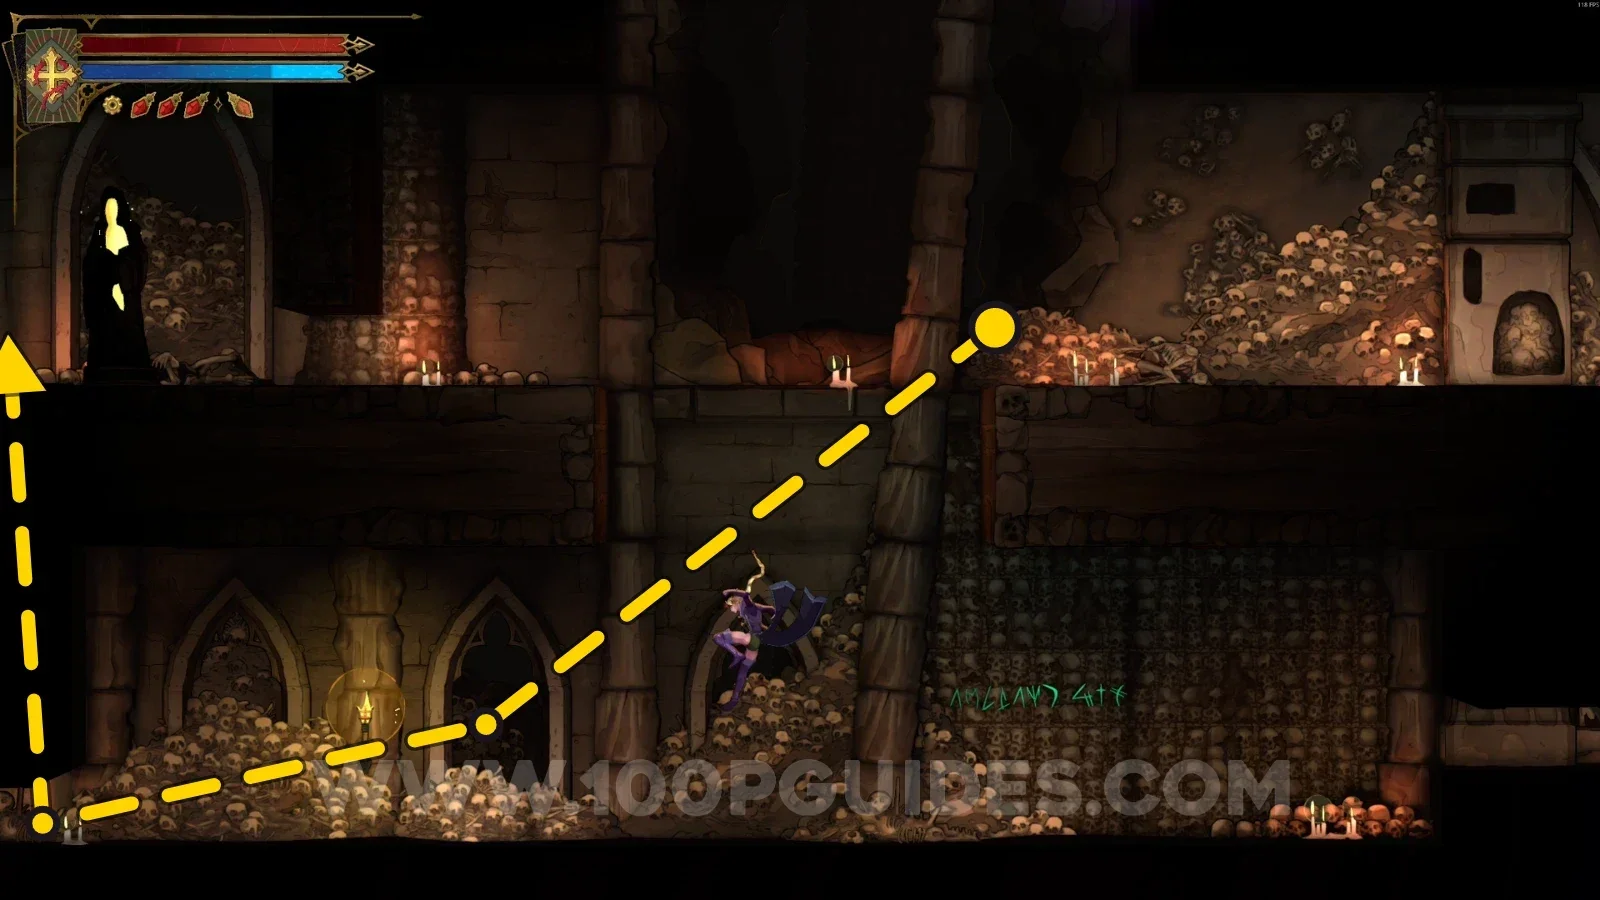
Castlevania Belmonts Curse Gallery Of Teeth: going down to loop around behind XP Statue #8 Castlevania Belmonts Curse Gallery Of Teeth: XP Statue #8 reached from behind after the loop

Jaws Of Limbo

Relic #1: Necro Charm + XP Statue #9

Break the wall on the left side of the area to reveal a secret room. Inside, you'll find an XP Statue, and the relic is at the end of the path.
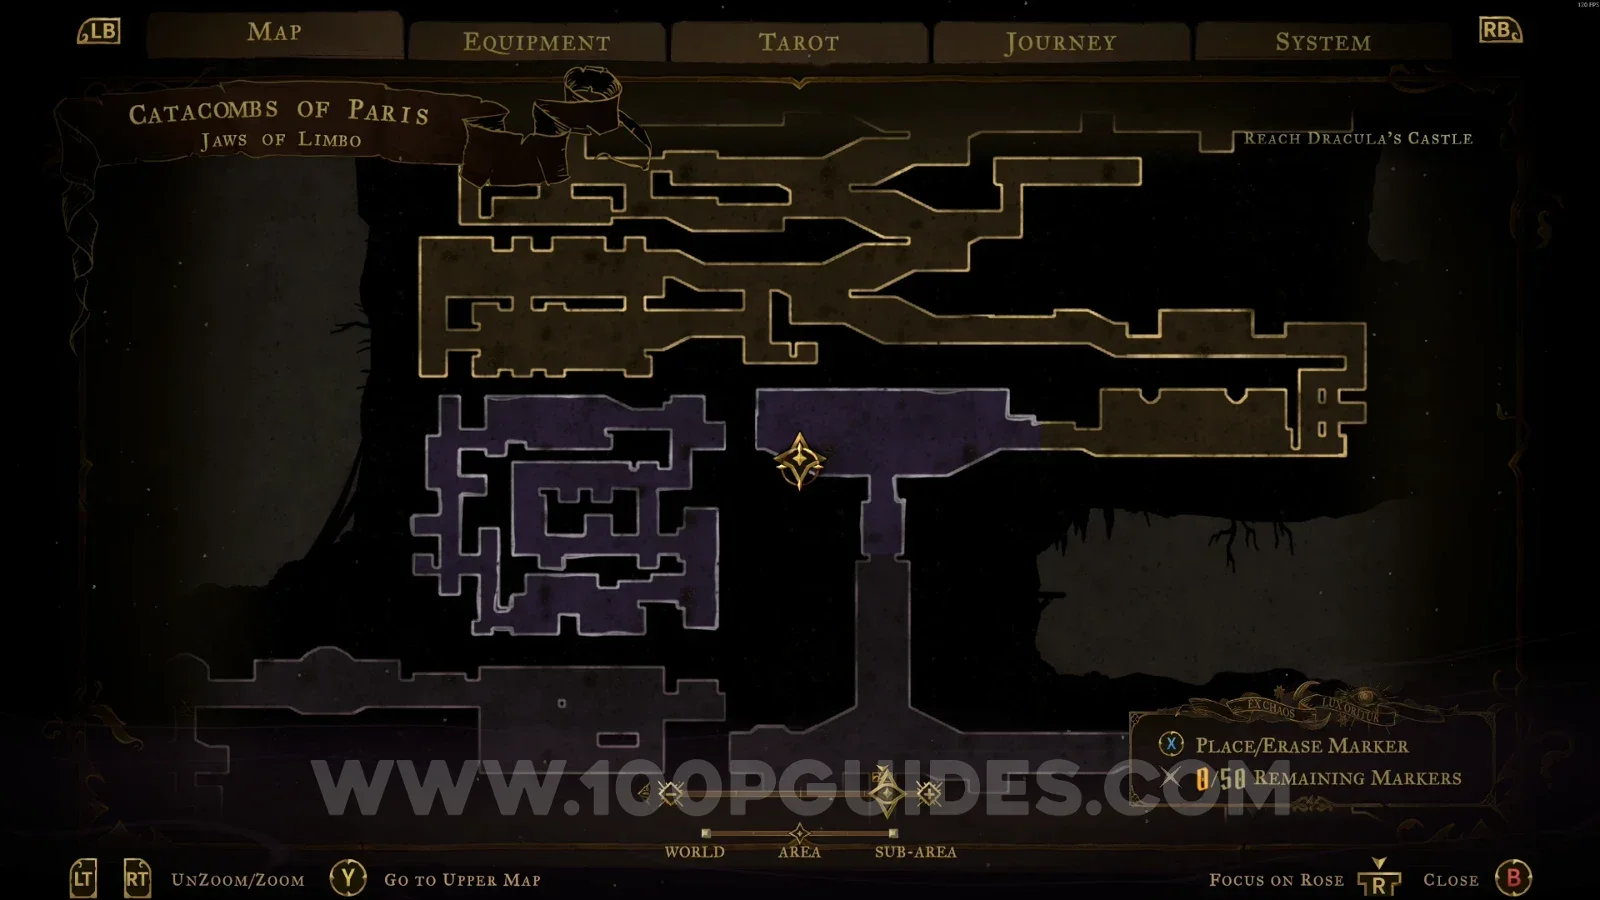
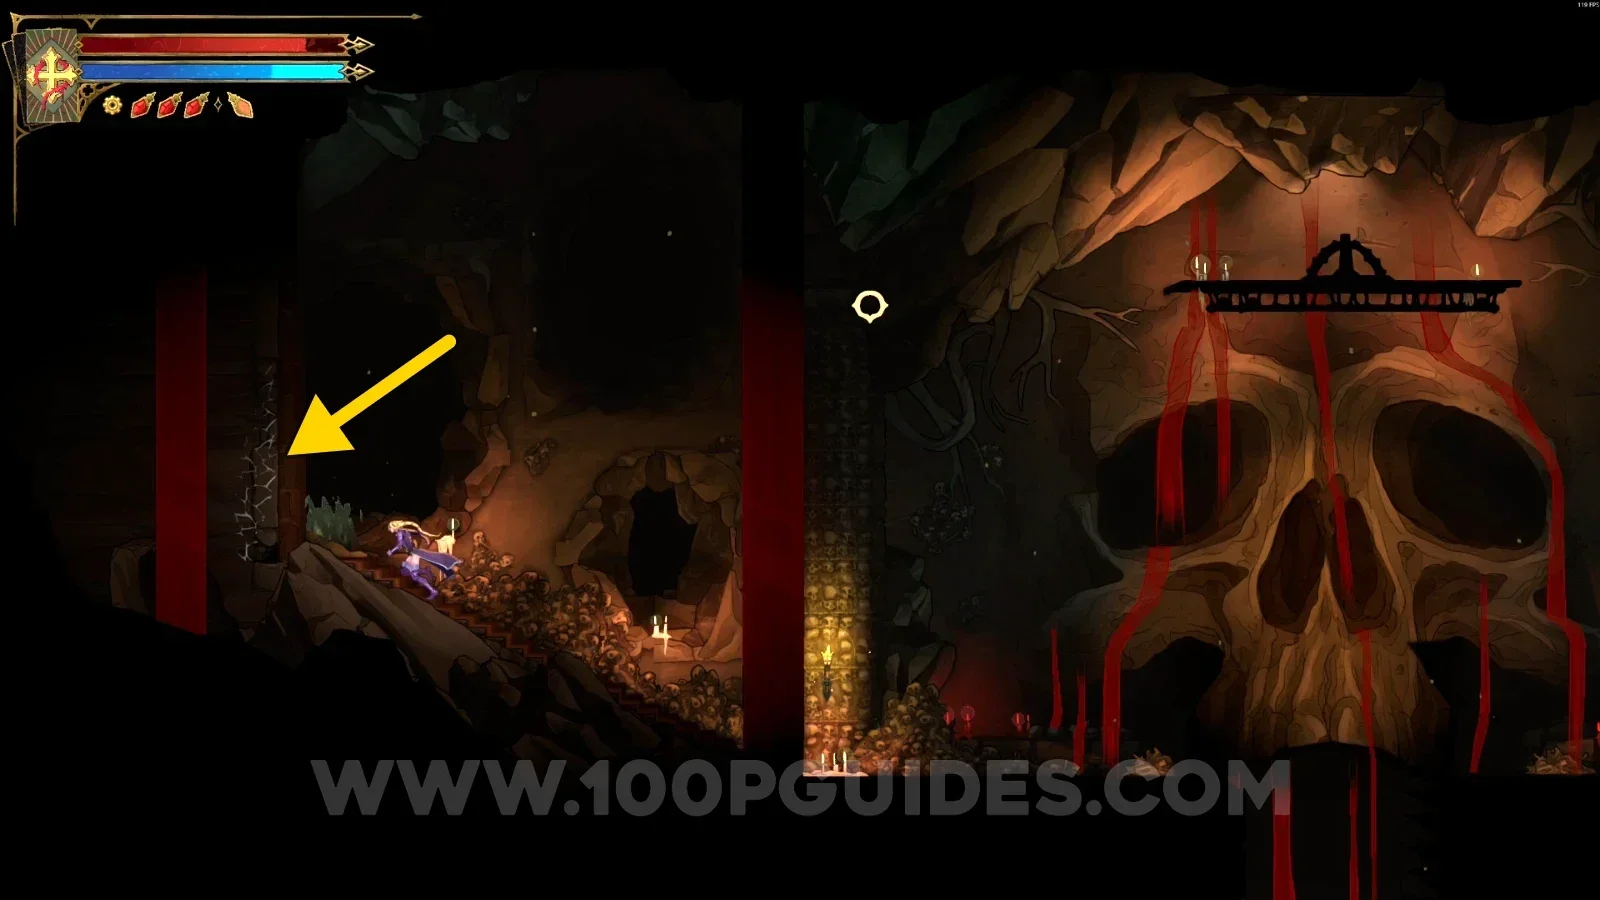
Castlevania Belmonts Curse Jaws Of Limbo: breaking the wall on the left side of the area Castlevania Belmonts Curse Jaws Of Limbo: the secret room revealed behind the broken wall Castlevania Belmonts Curse Jaws Of Limbo: XP Statue #9 inside the secret room Castlevania Belmonts Curse Jaws Of Limbo: Relic #1 Necro Charm at the end of the secret path

Throat Of Hell

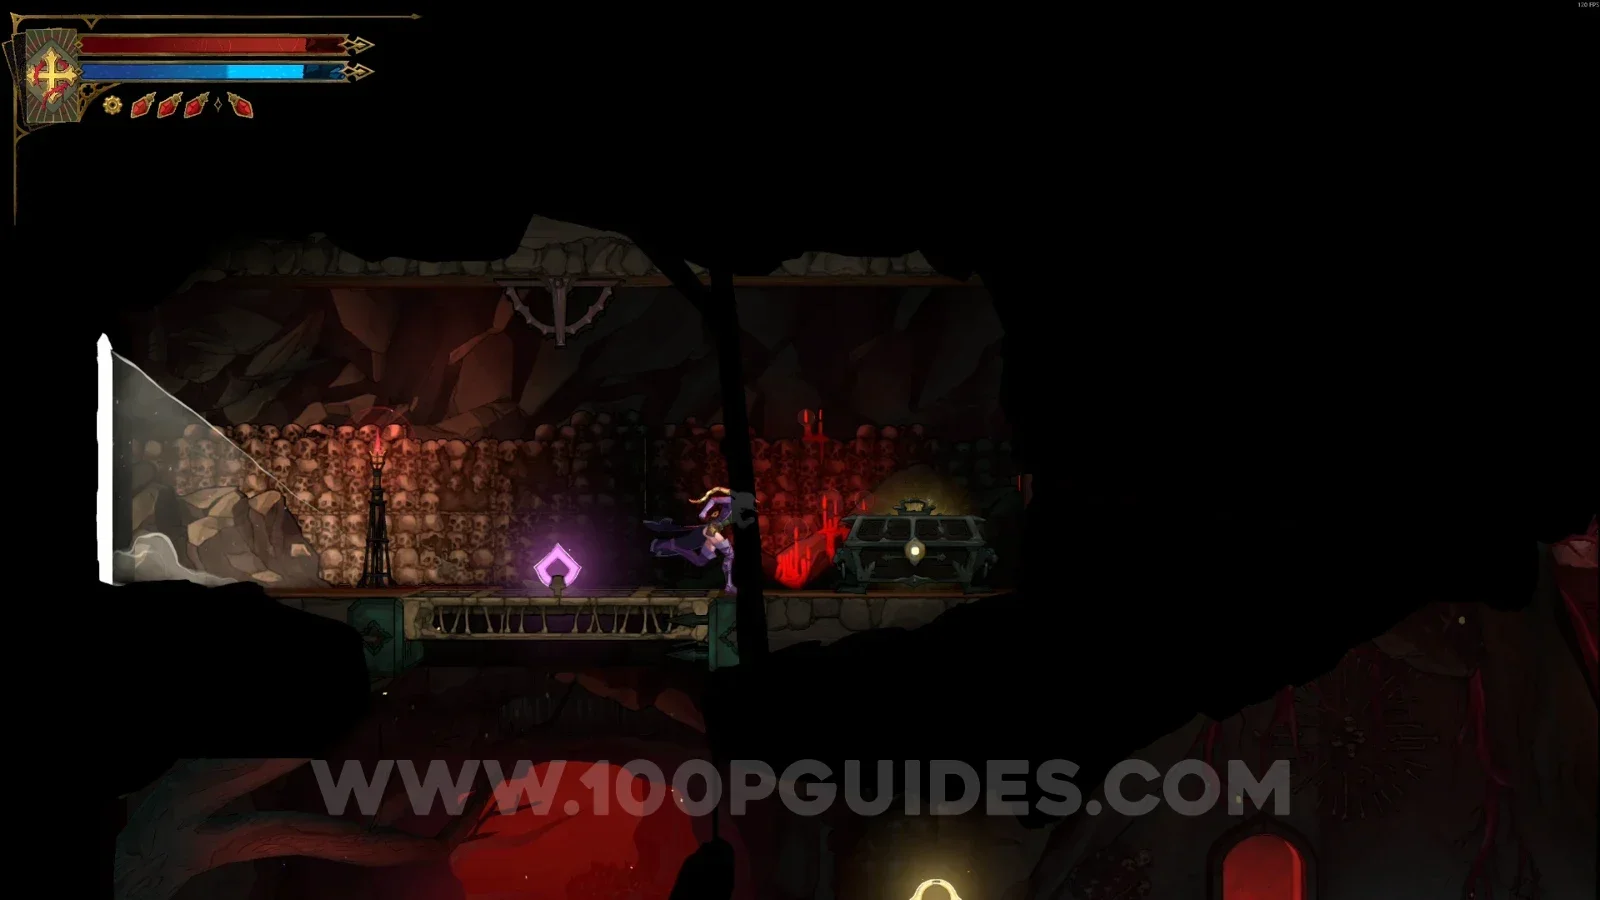
Relic #3: Ebony Claw

Use the Arcane Whip to hang for a few seconds. This will reveal an area on the left side with the chest containing the relic.
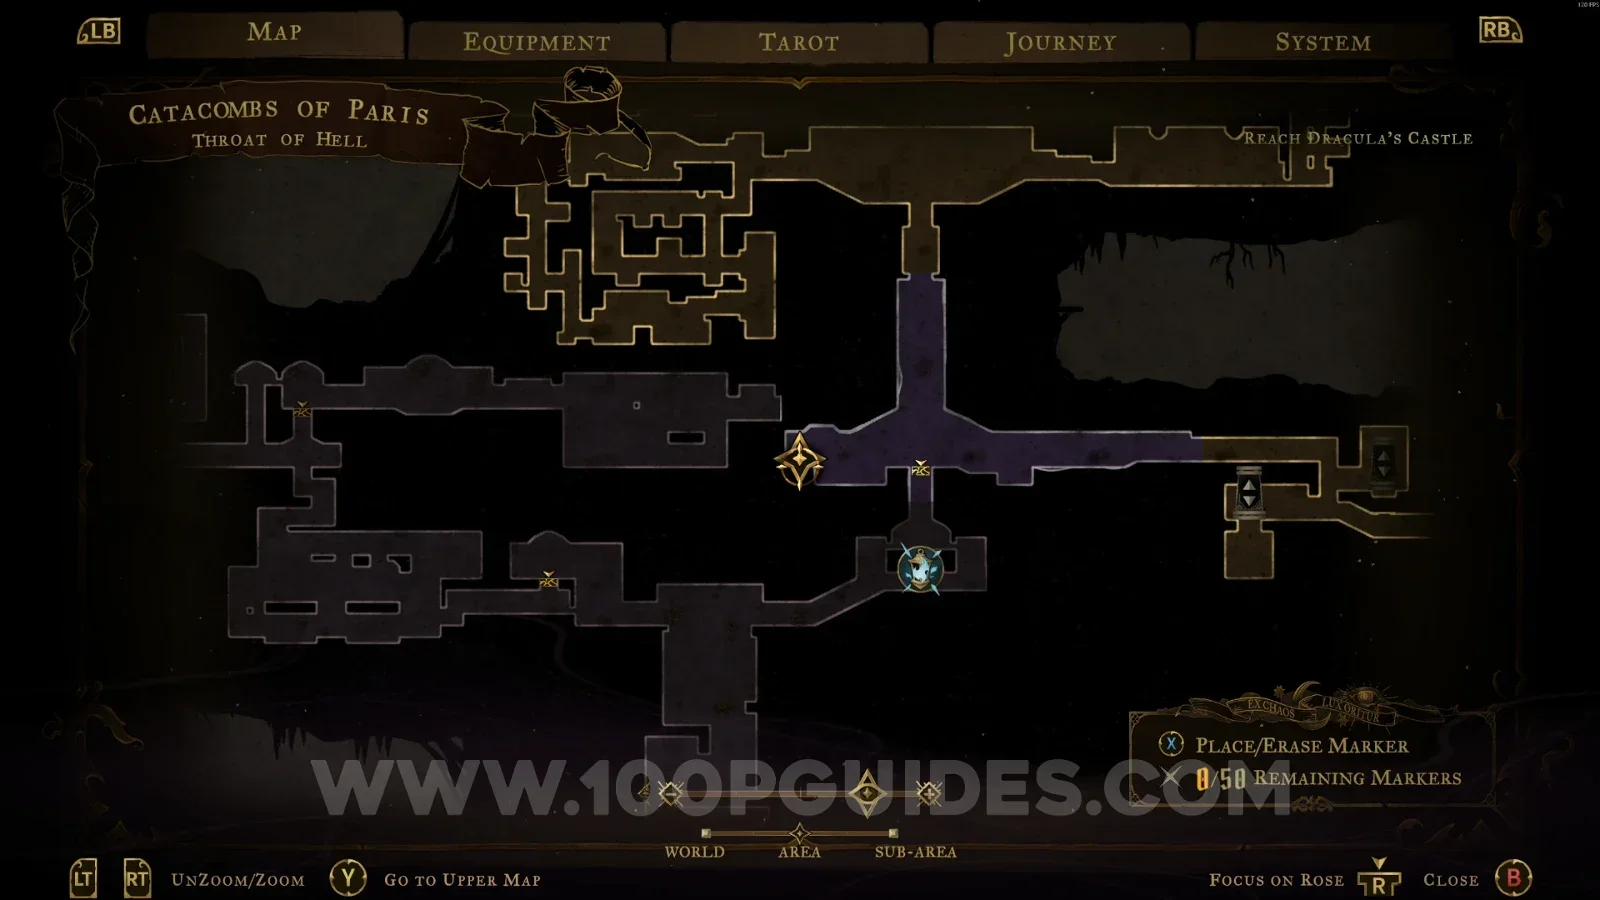
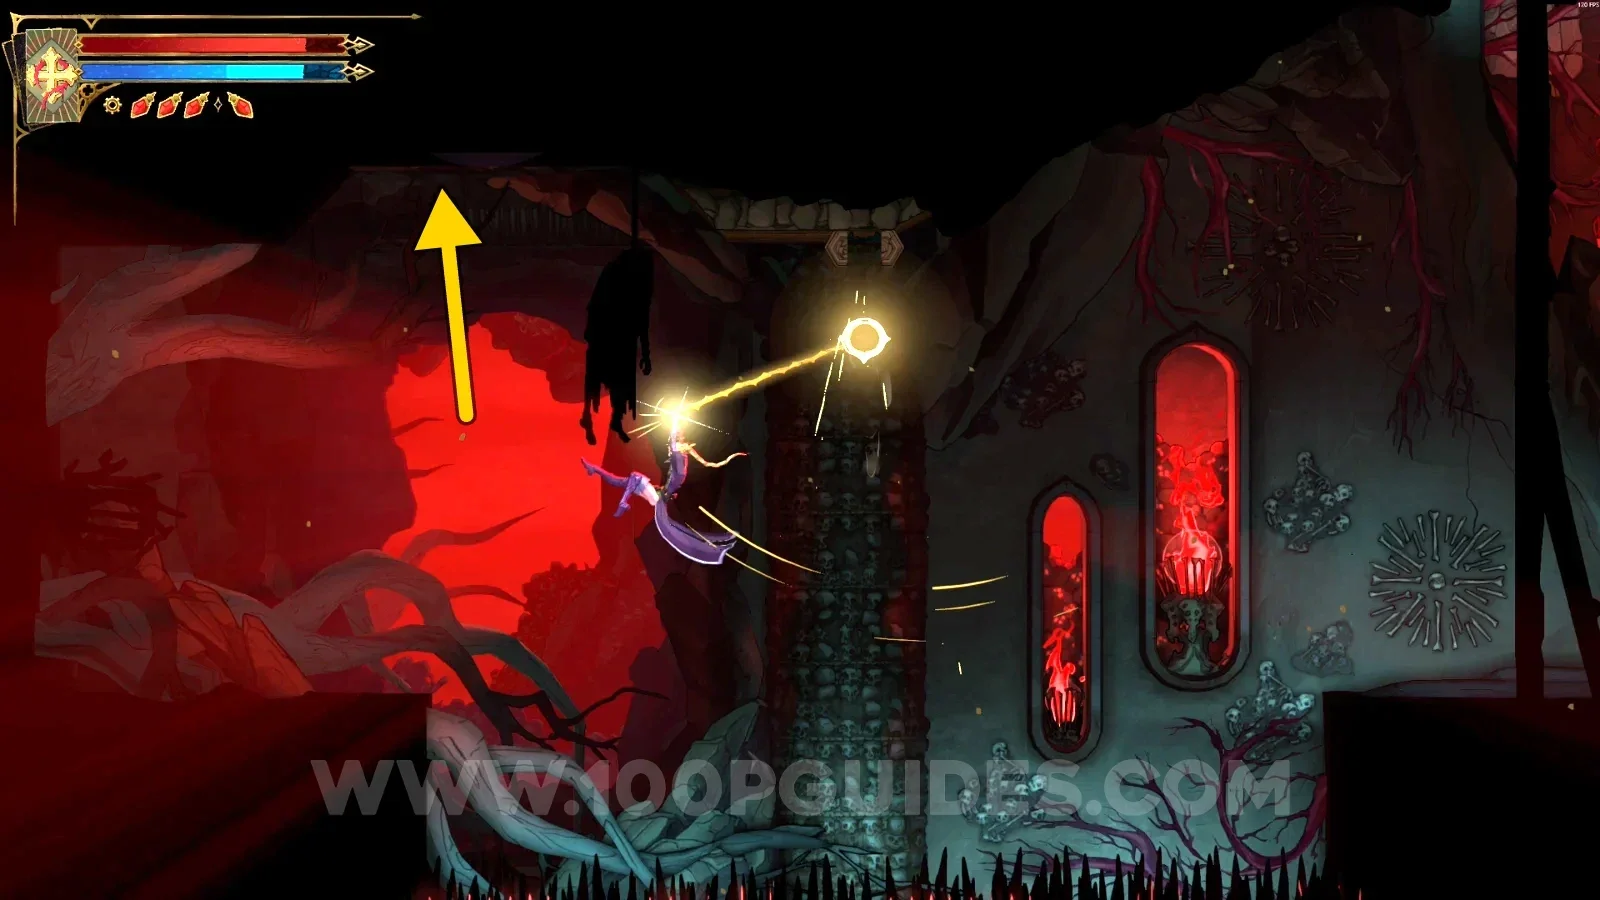
Castlevania Belmonts Curse Throat Of Hell: hanging with the Arcane Whip for a few seconds Castlevania Belmonts Curse Throat Of Hell: hidden area revealed on the left side Castlevania Belmonts Curse Throat Of Hell: chest containing Relic #3 Ebony Claw

Wise Heart Fragment #2

Same area as the previous collectible, on the left side.
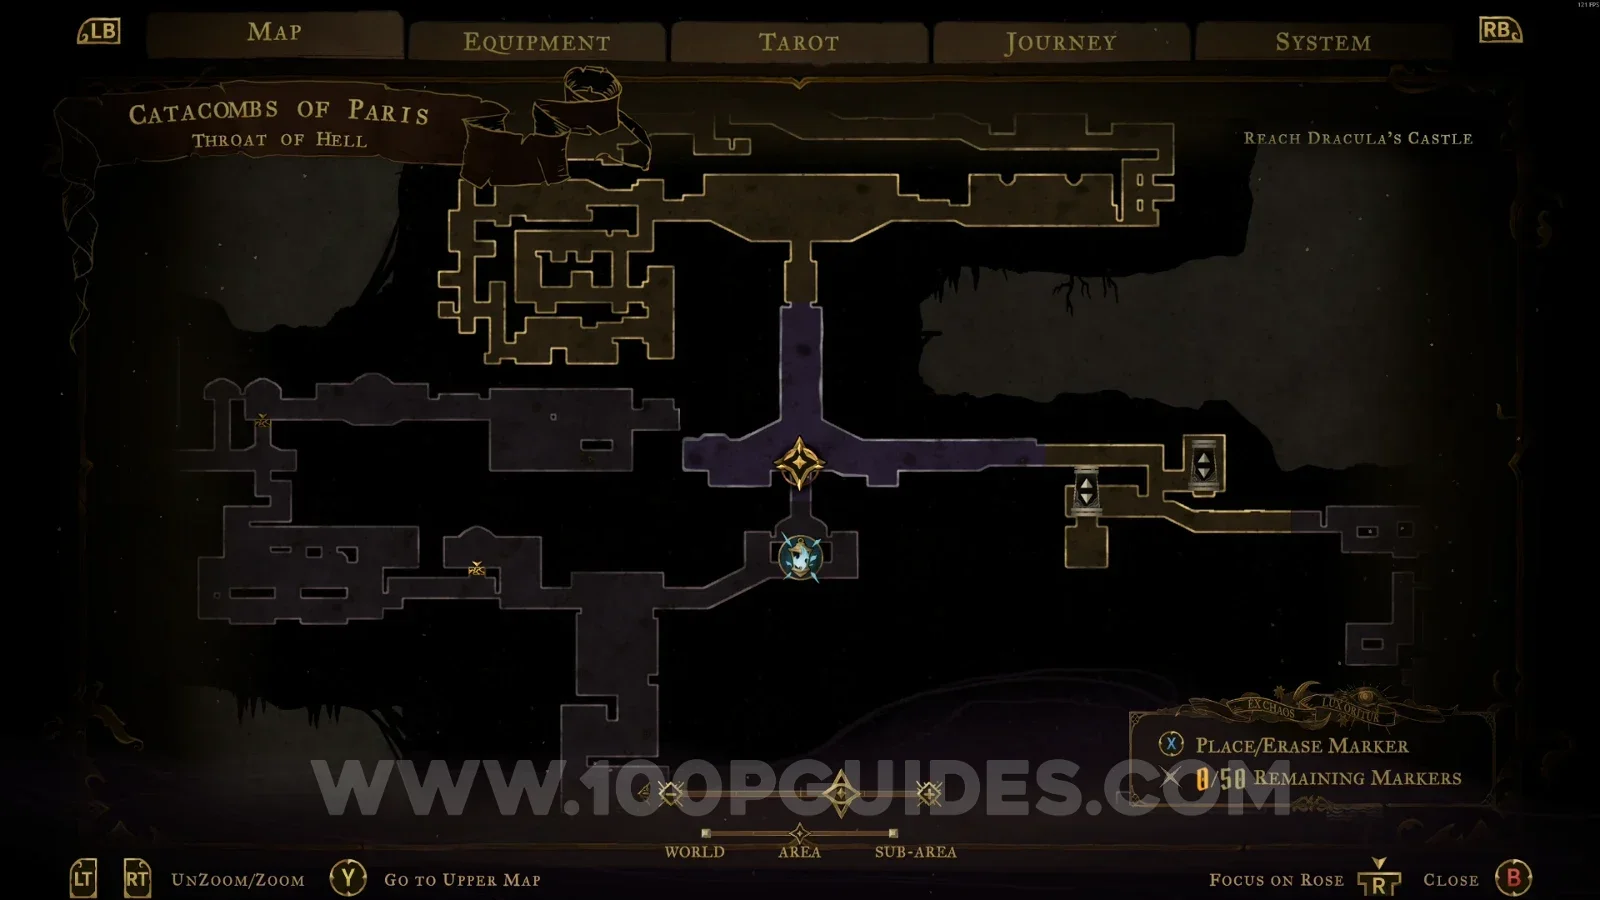
Castlevania Belmonts Curse Throat Of Hell: left side of the Ebony Claw area toward Wise Heart Fragment #2 Castlevania Belmonts Curse Throat Of Hell: Wise Heart Fragment #2 on the left side

Realm Of Old Night

XP Statue #10

On the left side of the area.
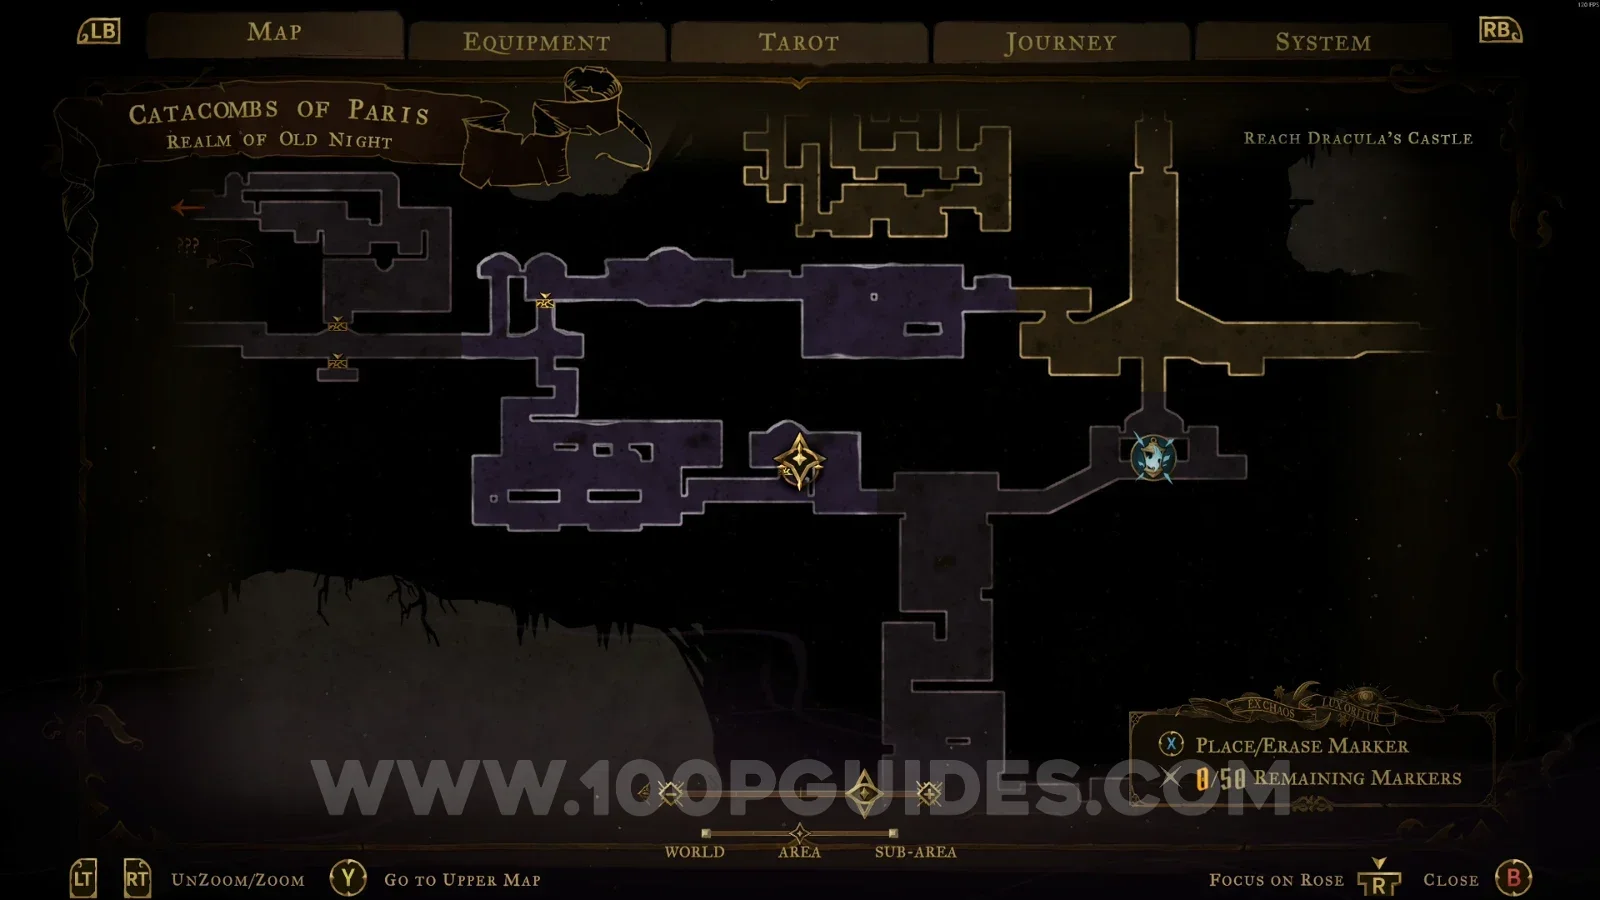
Castlevania Belmonts Curse Realm Of Old Night: the way to XP Statue #10 on the left side Castlevania Belmonts Curse Realm Of Old Night: XP Statue #10 on the left side of the area

XP Statue #11 - #12

In the area marked on the map, you'll find two XP Statues, one on the left side and the other on the right side.
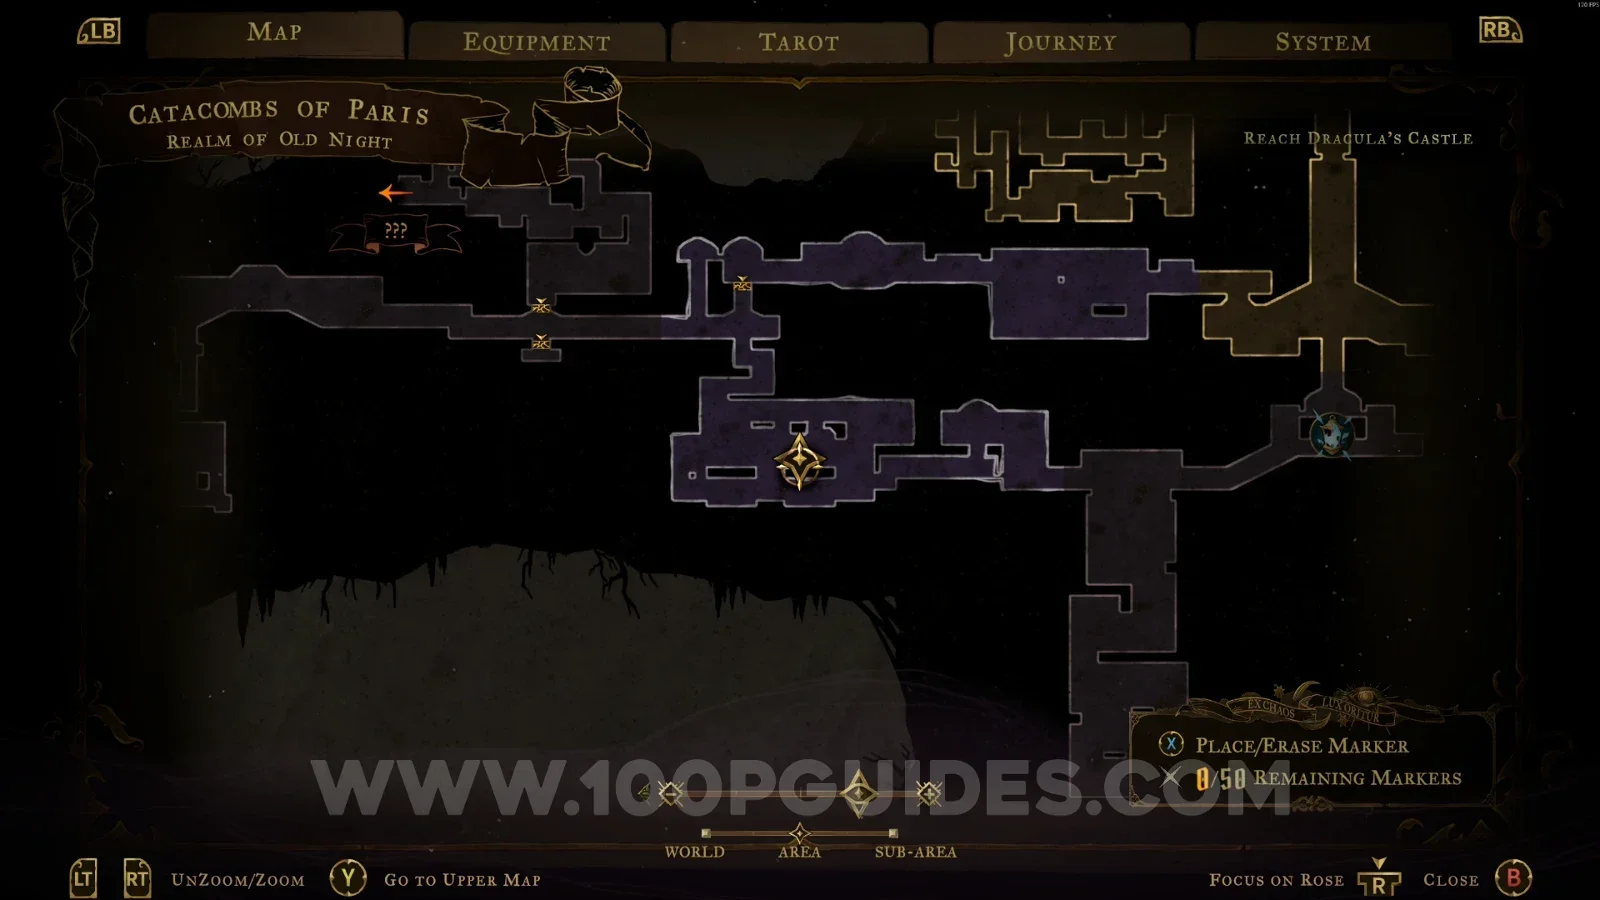
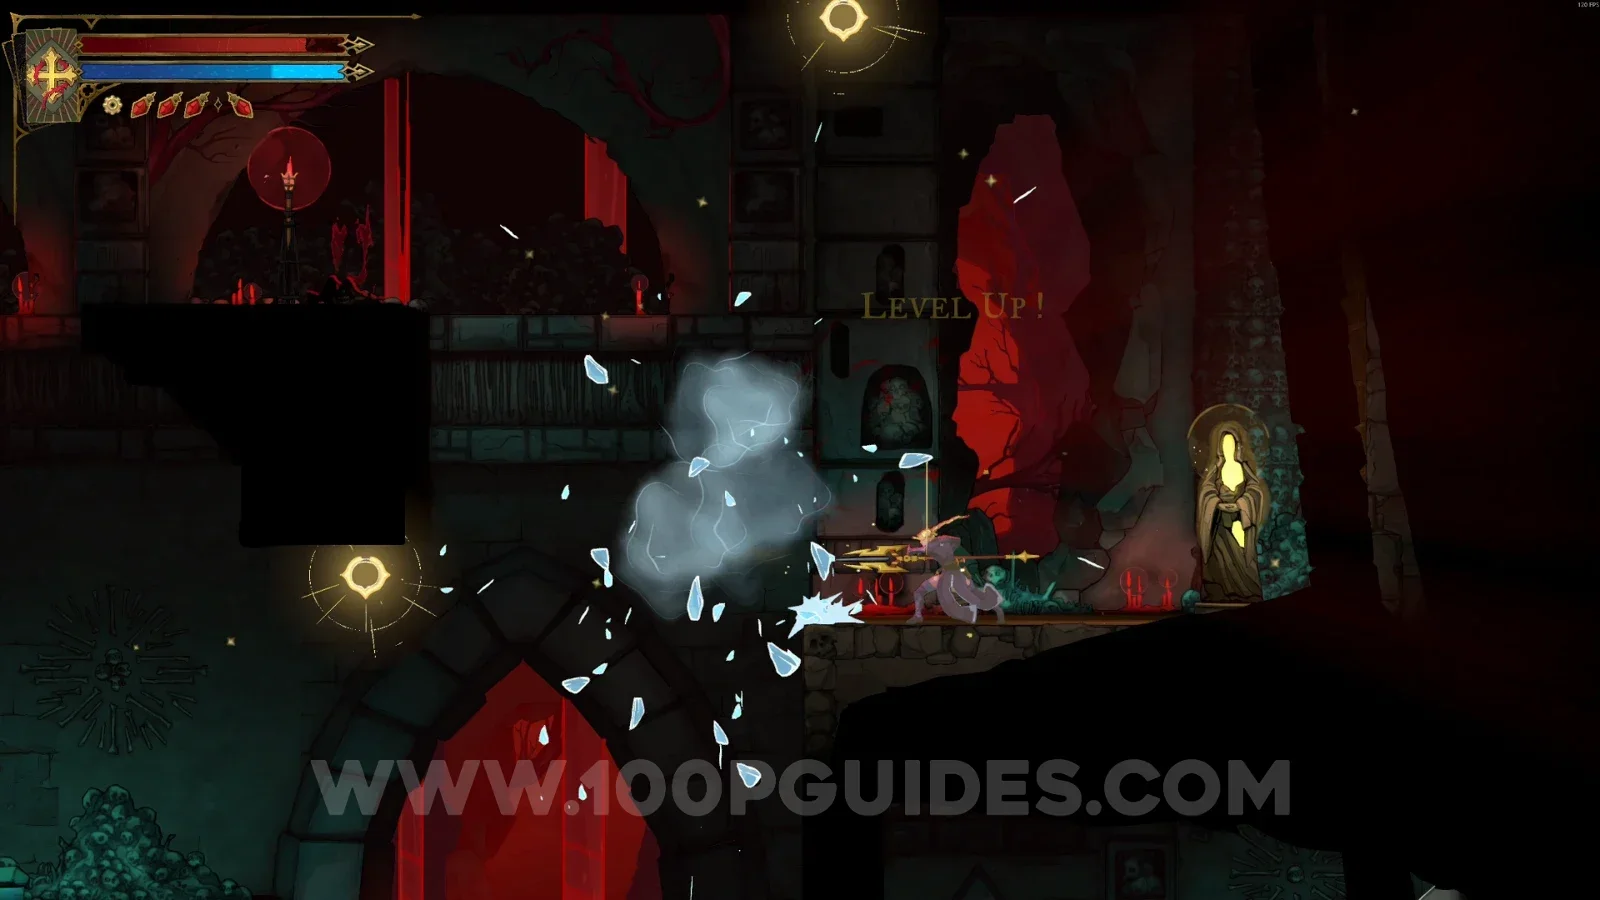
Castlevania Belmonts Curse Realm Of Old Night: map marking the area of XP Statues #11 and #12 Castlevania Belmonts Curse Realm Of Old Night: XP Statue #11 on the left side of the area Castlevania Belmonts Curse Realm Of Old Night: XP Statue #12 on the right side of the area

Mirror of Life #2

In the area marked on the map.
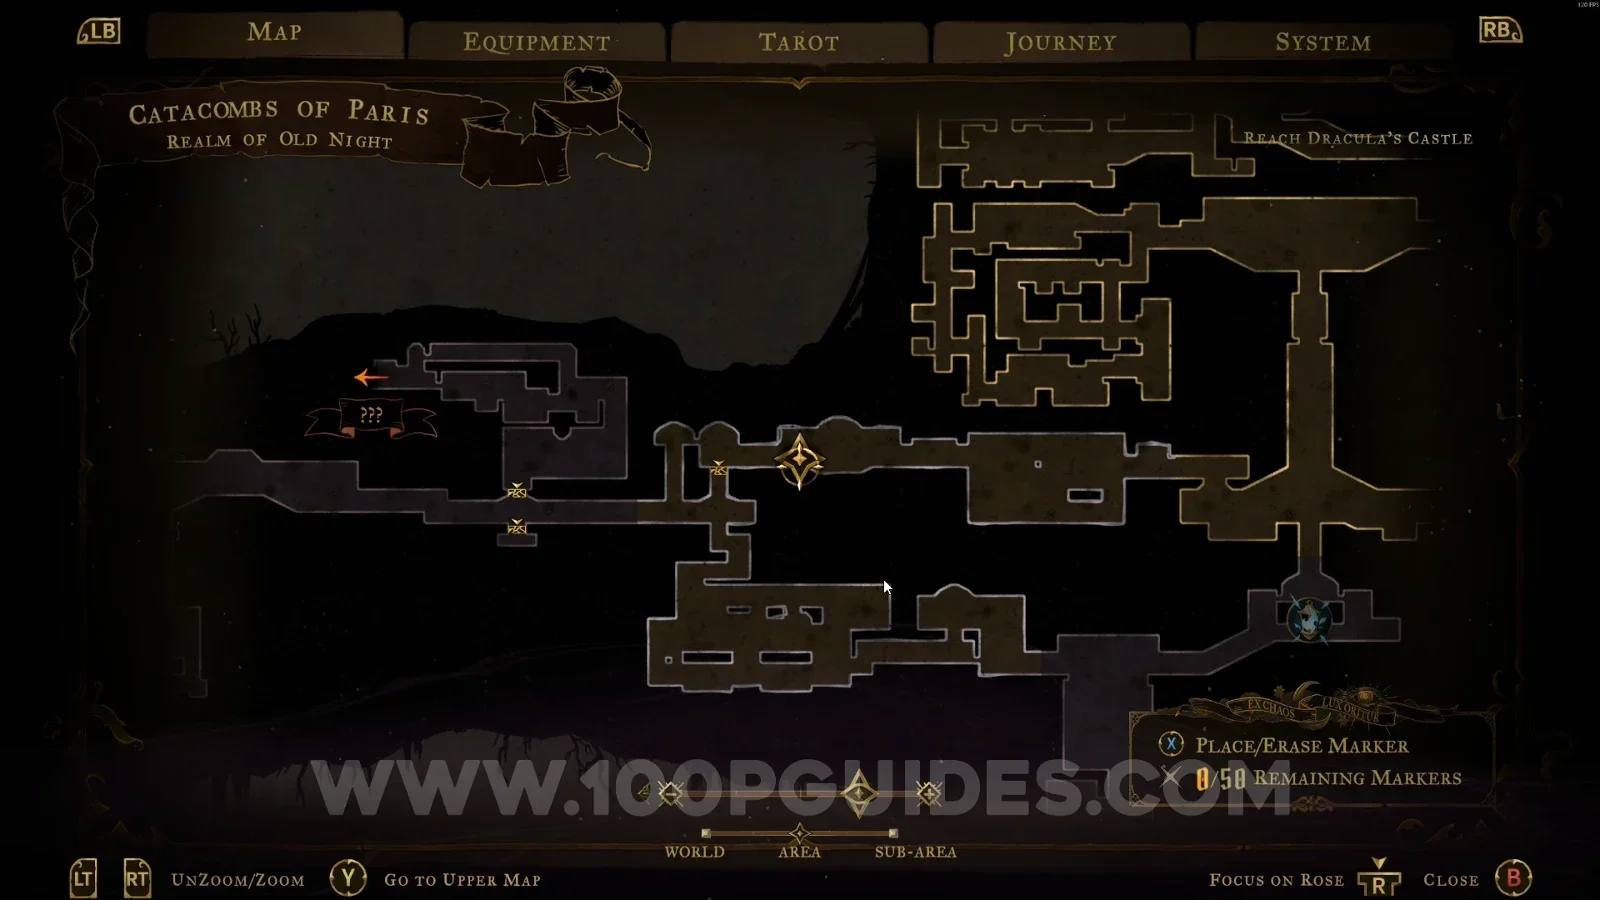
Castlevania Belmonts Curse Realm Of Old Night: Mirror of Life #2 in the area marked on the map

Antechamber Of Sin

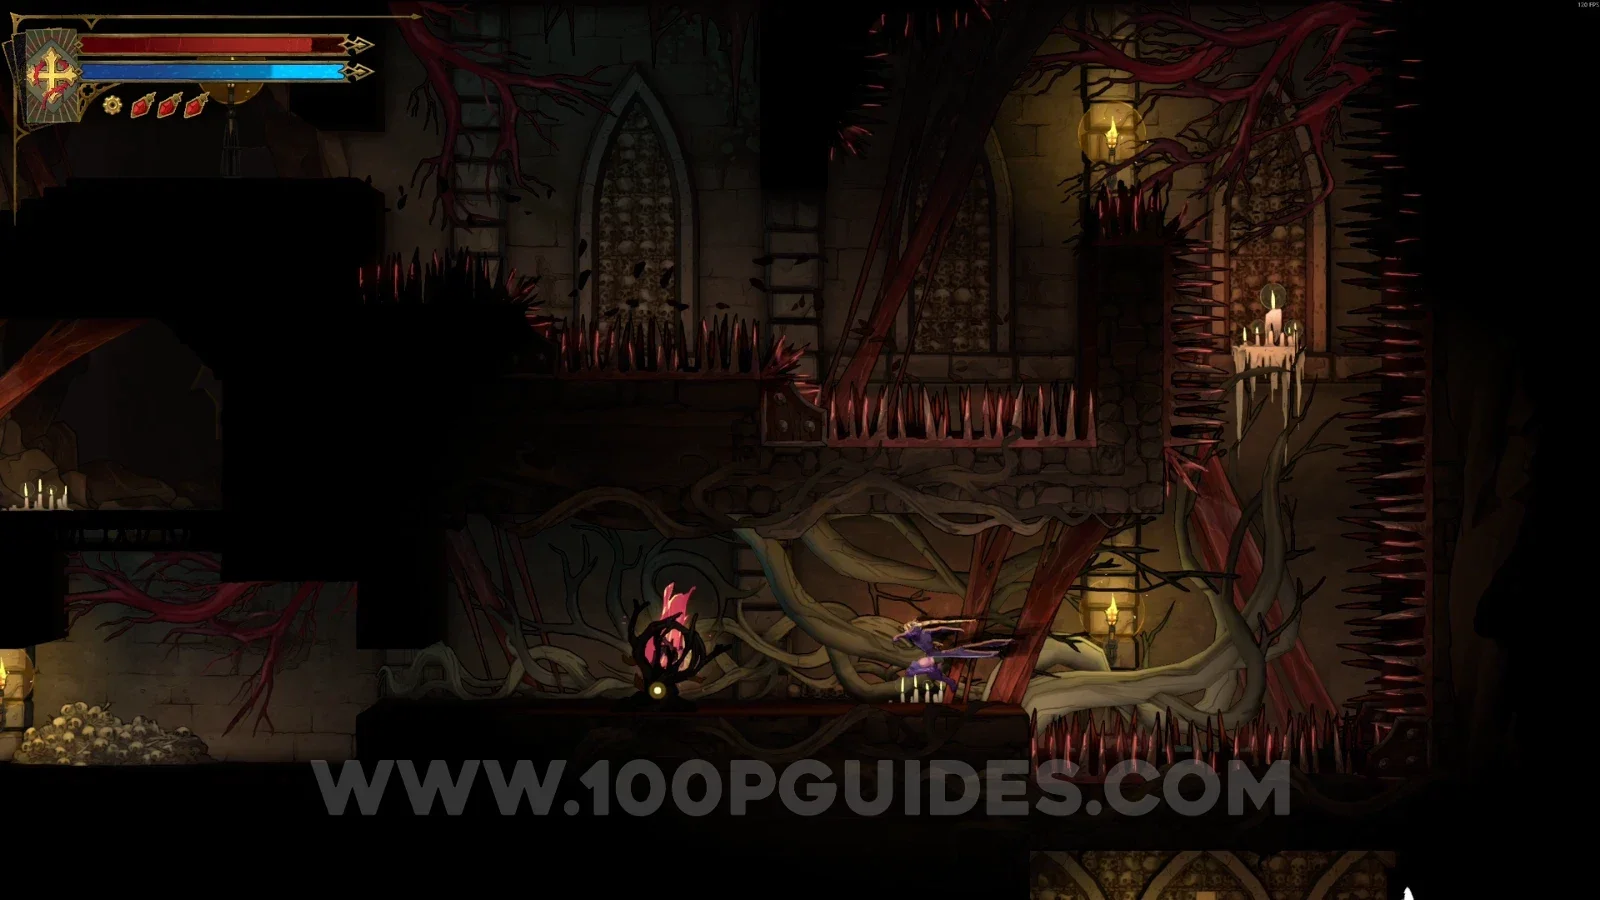
XP Statue #13 - #14 + Relic #4: Forsaken Ring

To reach this area, you'll have to go through Holy Innocents' Cemetery > Mausoleum of the Kings. After getting past the path with the spikes, climb to the upper part to find the XP Statues. Then follow the single path, use the Arcane Power (Smash), and reach the chest with the relic.
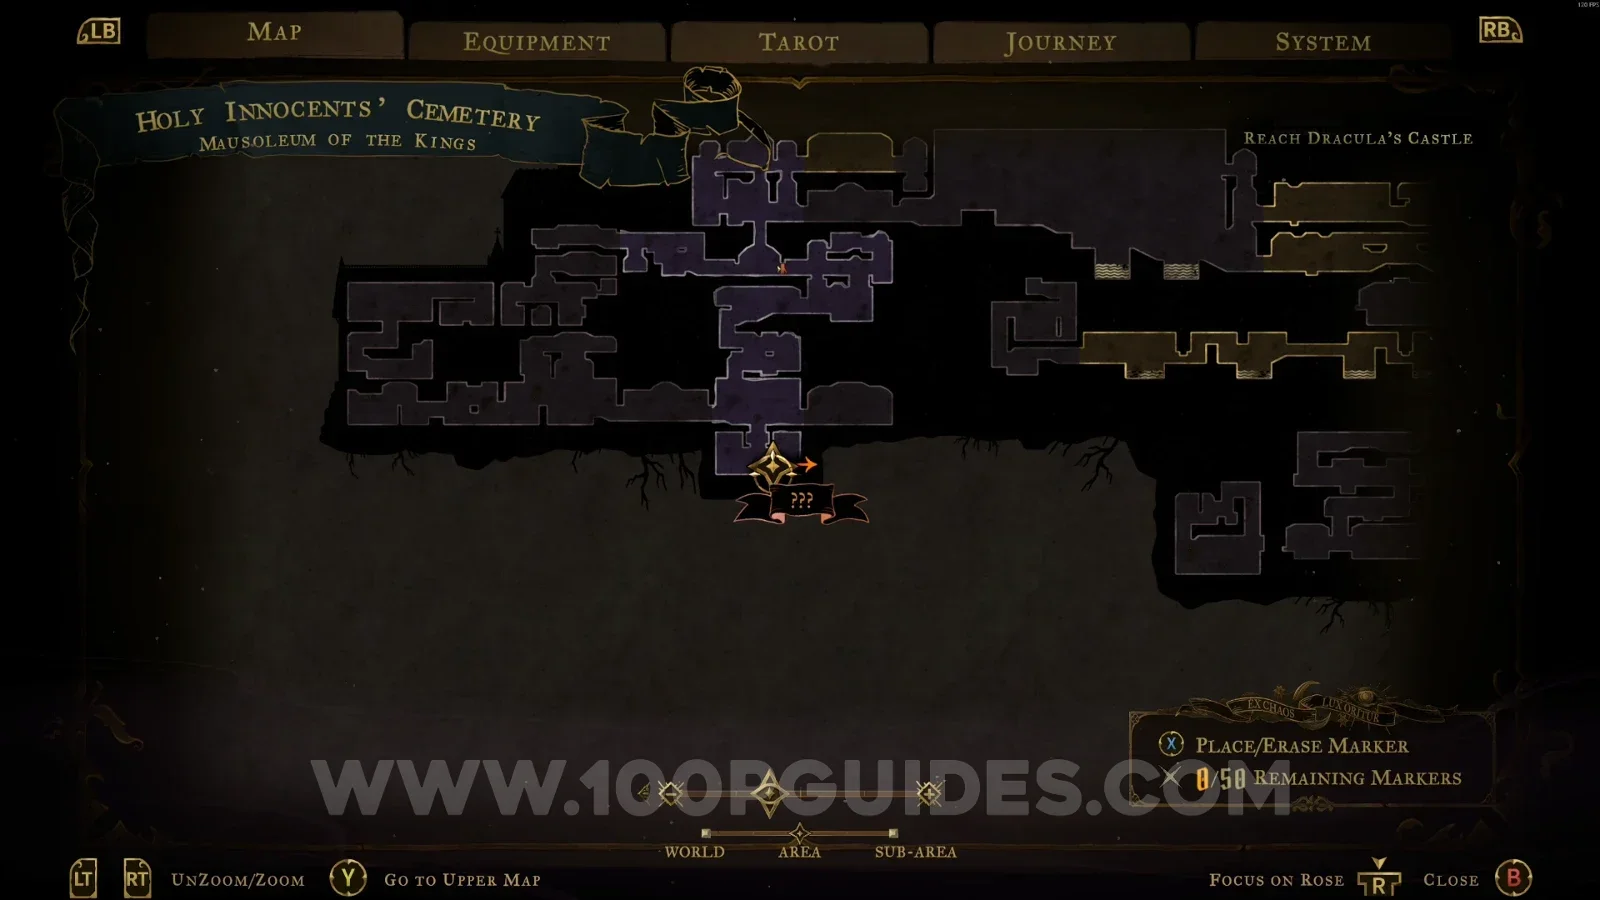
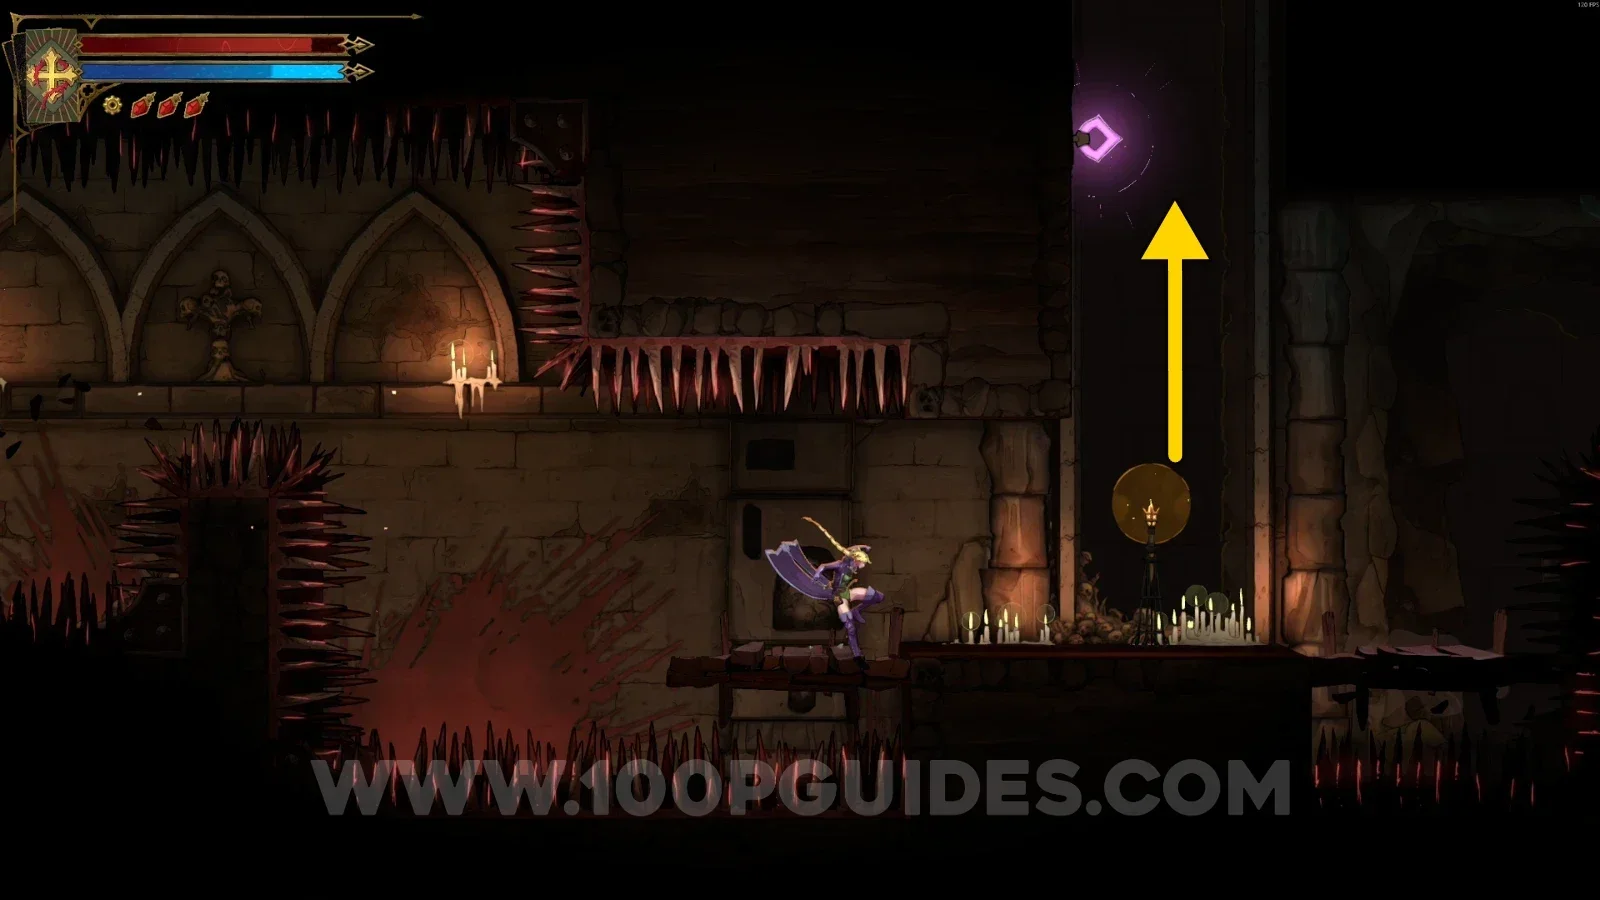
Castlevania Belmonts Curse Antechamber Of Sin: XP Statues #13 and #14 in the upper part past the spikes Castlevania Belmonts Curse Antechamber Of Sin: using the Arcane Power Smash on the single path Castlevania Belmonts Curse Antechamber Of Sin: chest with Relic #4 Forsaken Ring

Circle Of Greed

Clue: The Miser

Next to the Gate.
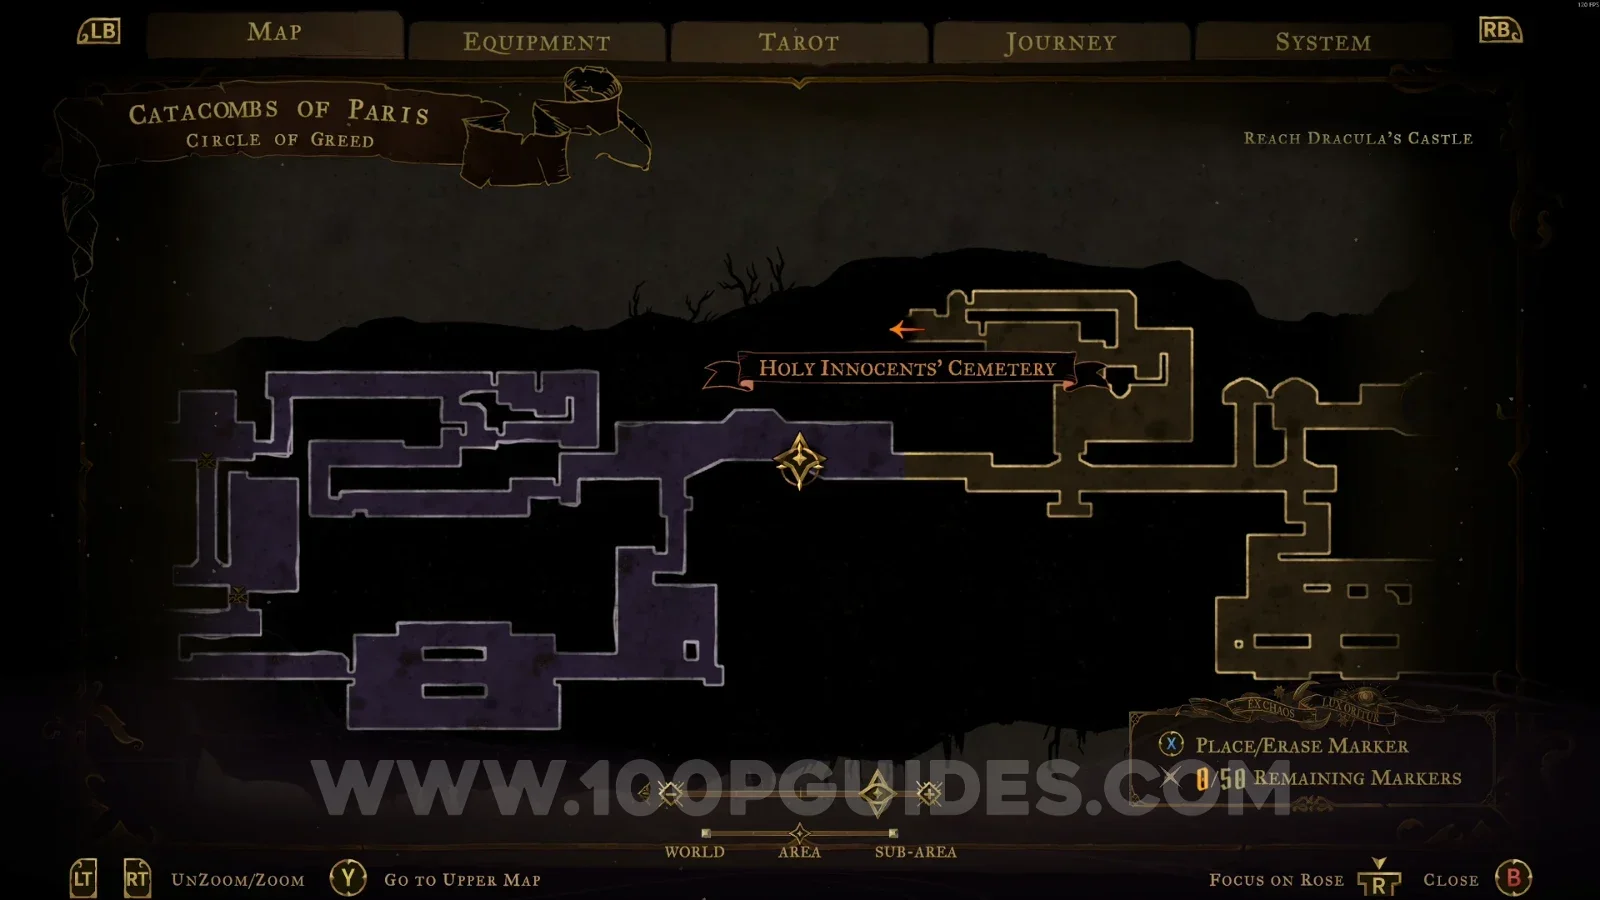
Castlevania Belmonts Curse Circle Of Greed: the Gate where the clue The Miser lies Castlevania Belmonts Curse Circle Of Greed: Clue The Miser next to the Gate

Brave Heart Fragment #2

Go around the area on the right side to find it.
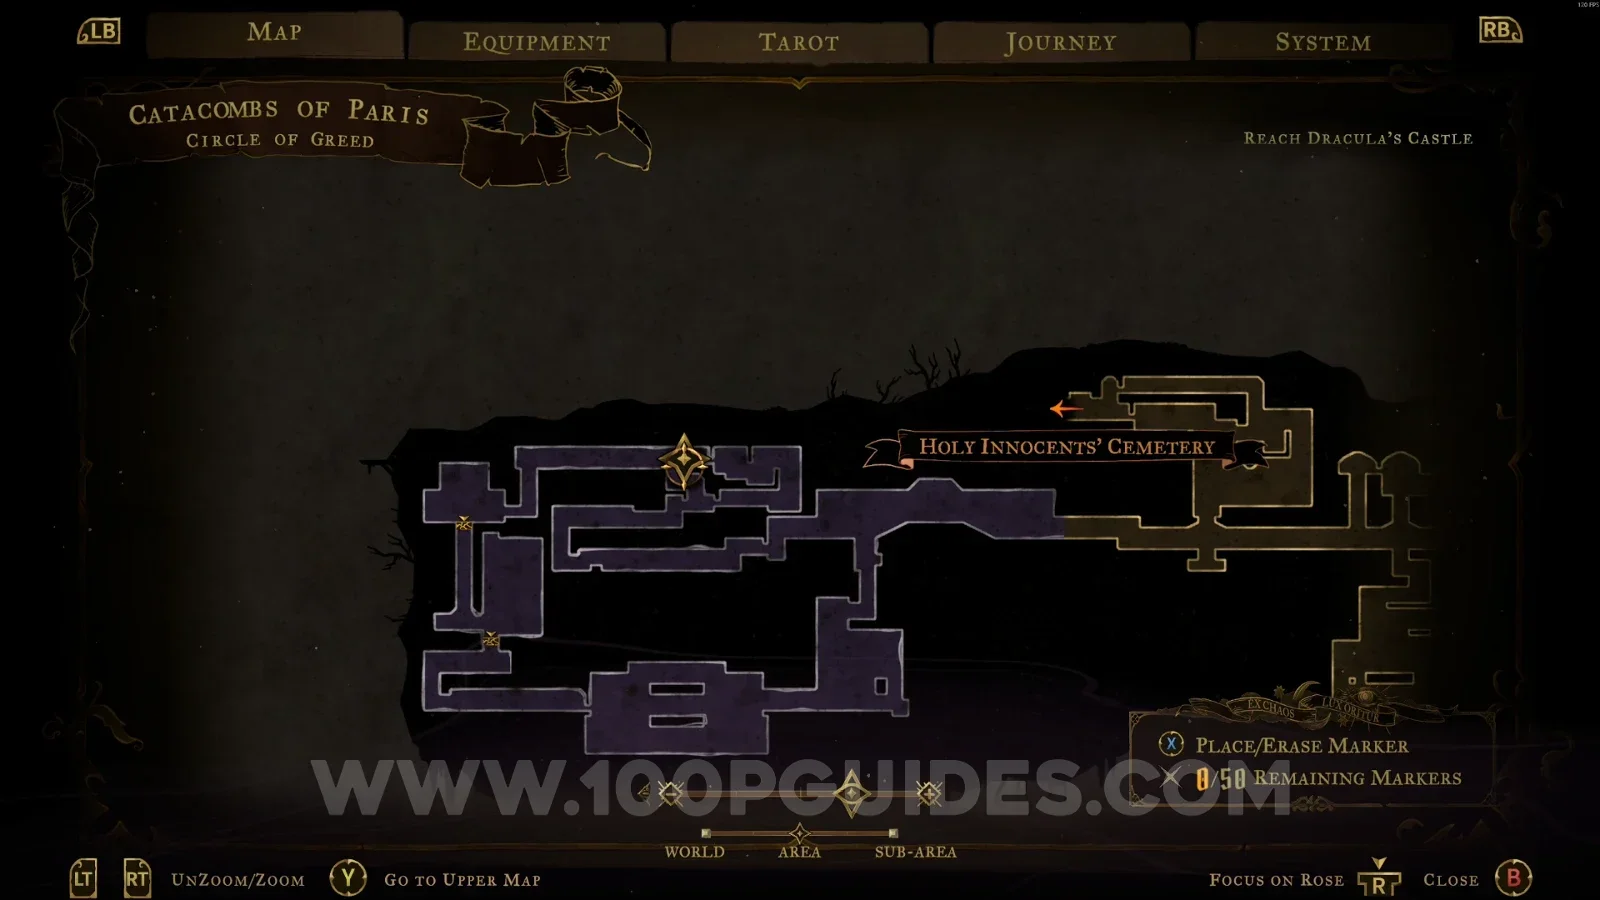
Castlevania Belmonts Curse Circle Of Greed: going around the right side of the area Castlevania Belmonts Curse Circle Of Greed: Brave Heart Fragment #2 on the right side route

Relic #5: Oozing Eye

In the center of the area, after defeating the enemies.
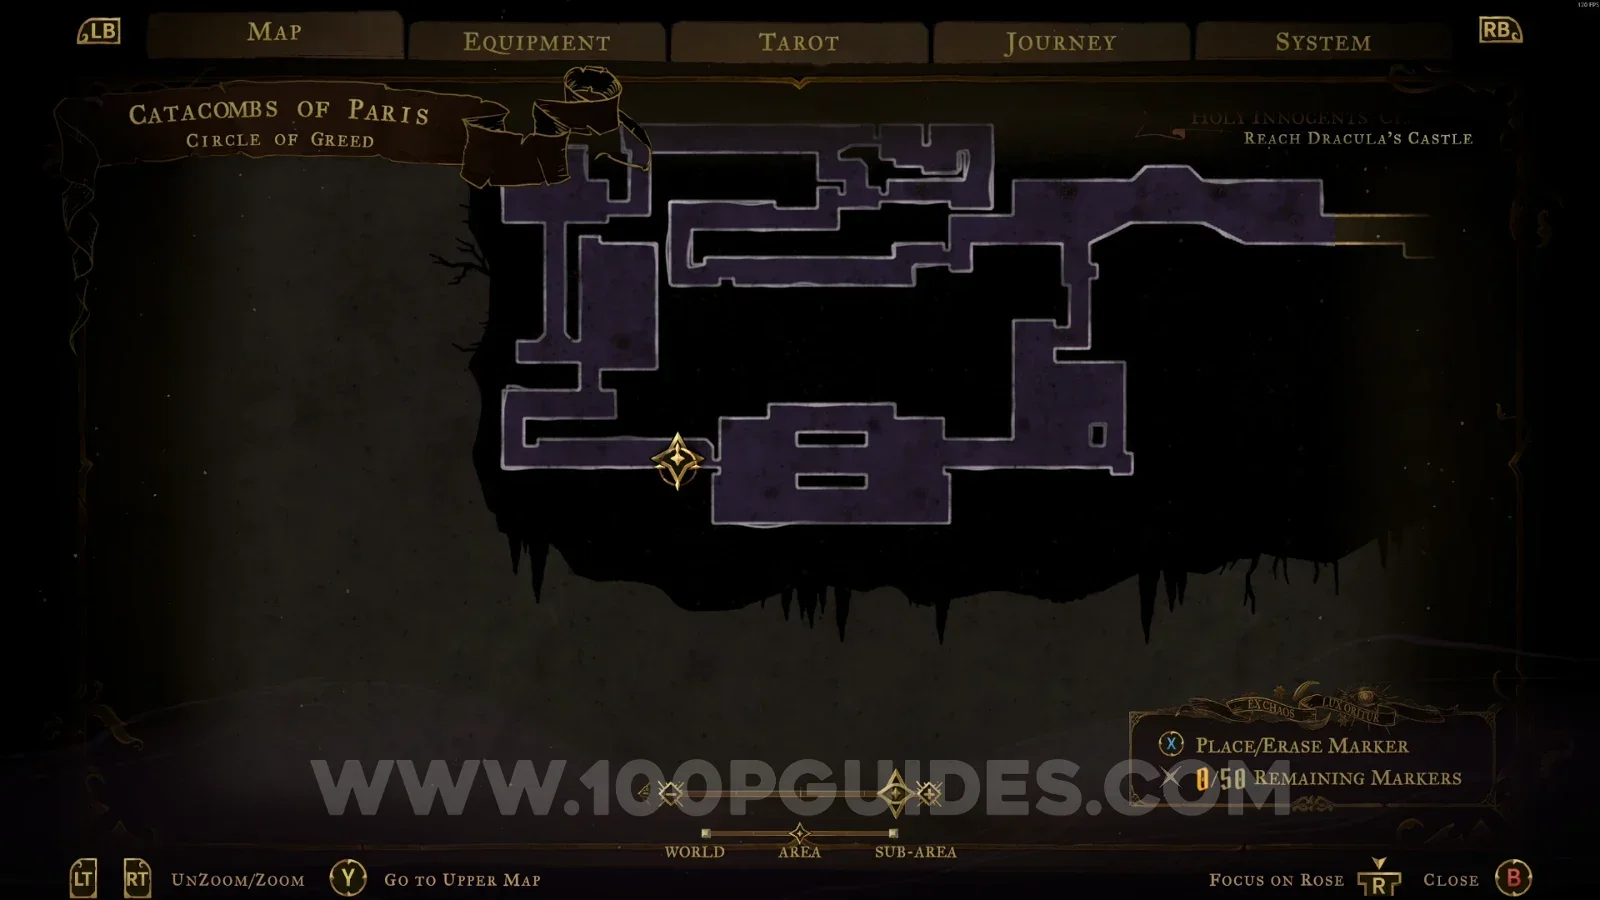
Castlevania Belmonts Curse Circle Of Greed: defeating the enemies in the center of the area Castlevania Belmonts Curse Circle Of Greed: Relic #5 Oozing Eye in the center of the area

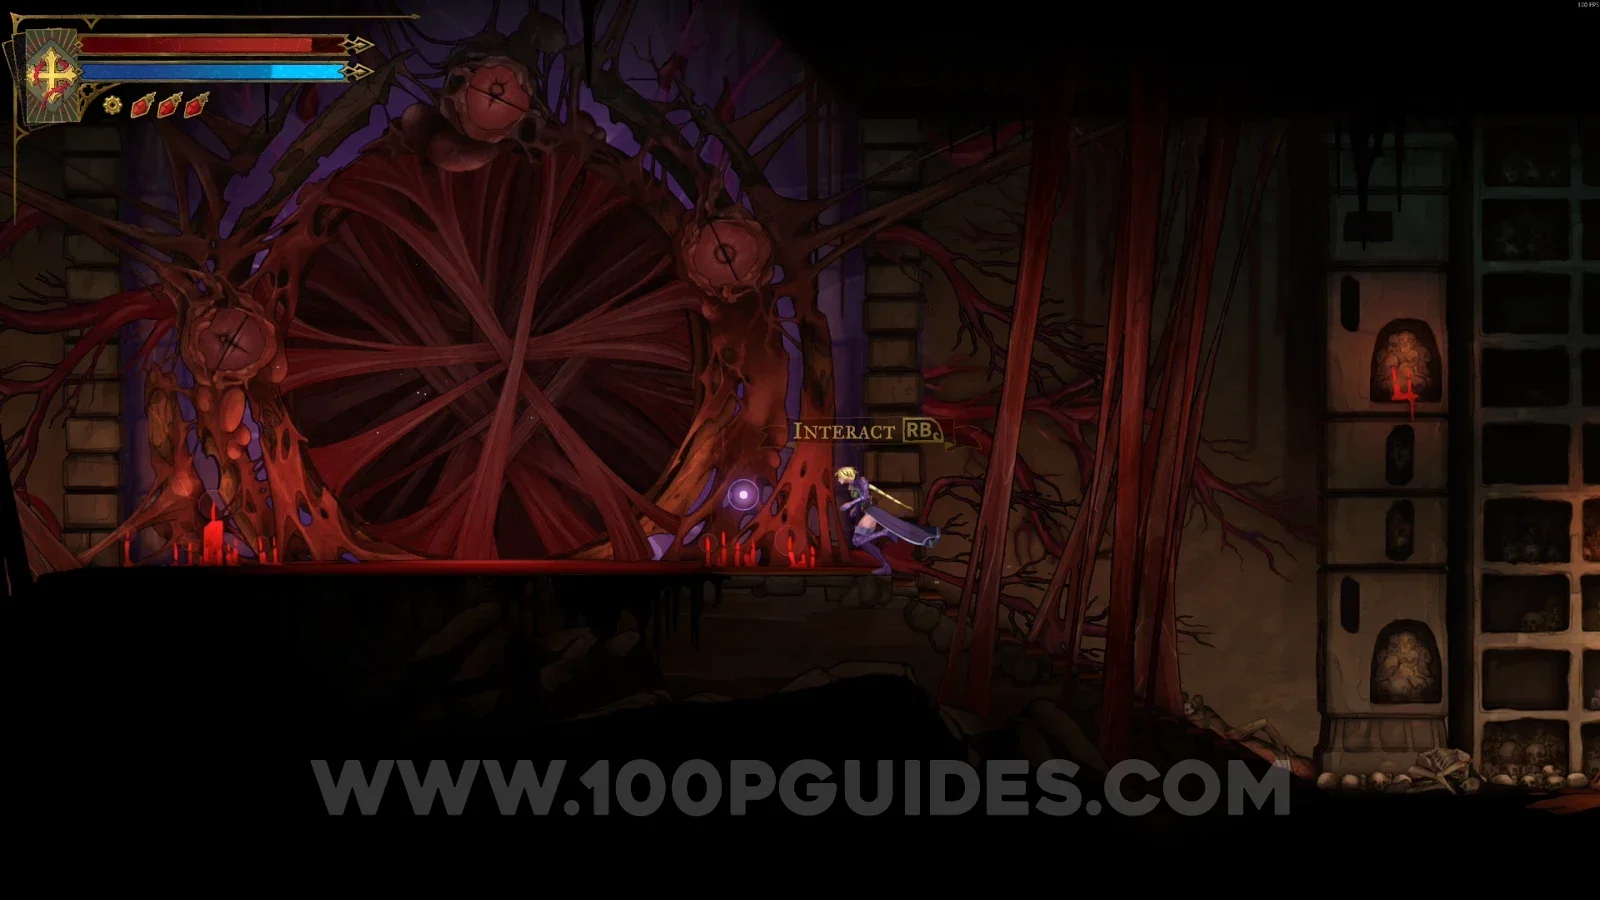
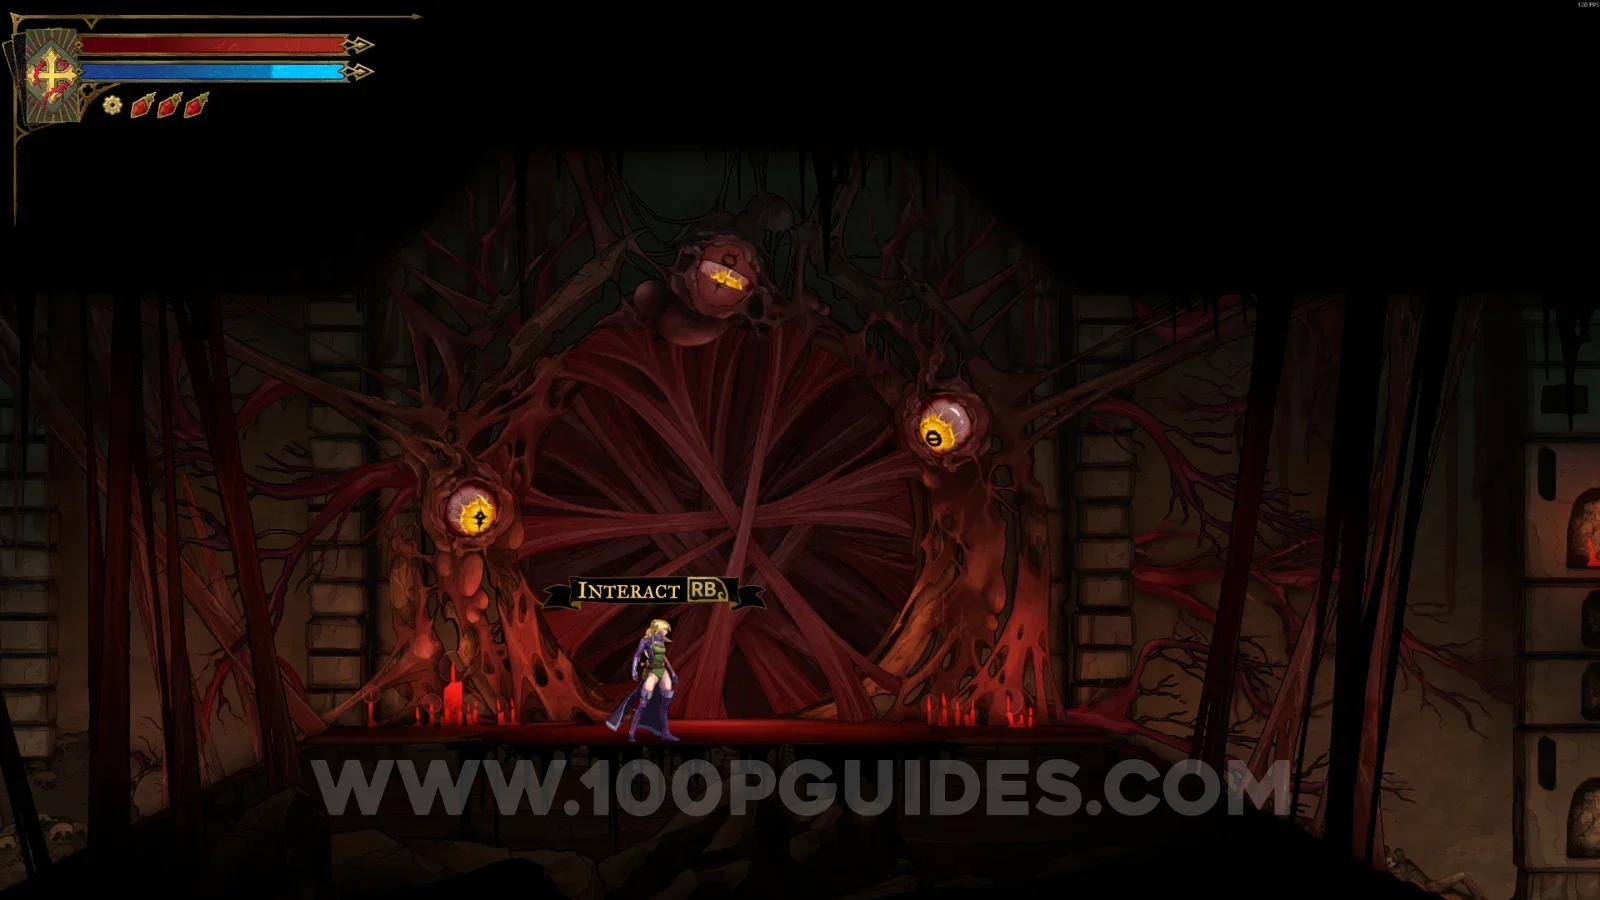
Gate Of Flesh + Arcana #1: Wheel Of Chaos + Ferryman's Obol

Equip the Thrilling Eye, Oozing Eye, and Trembling Eye relics. Then interact with the door to enter the boss area.
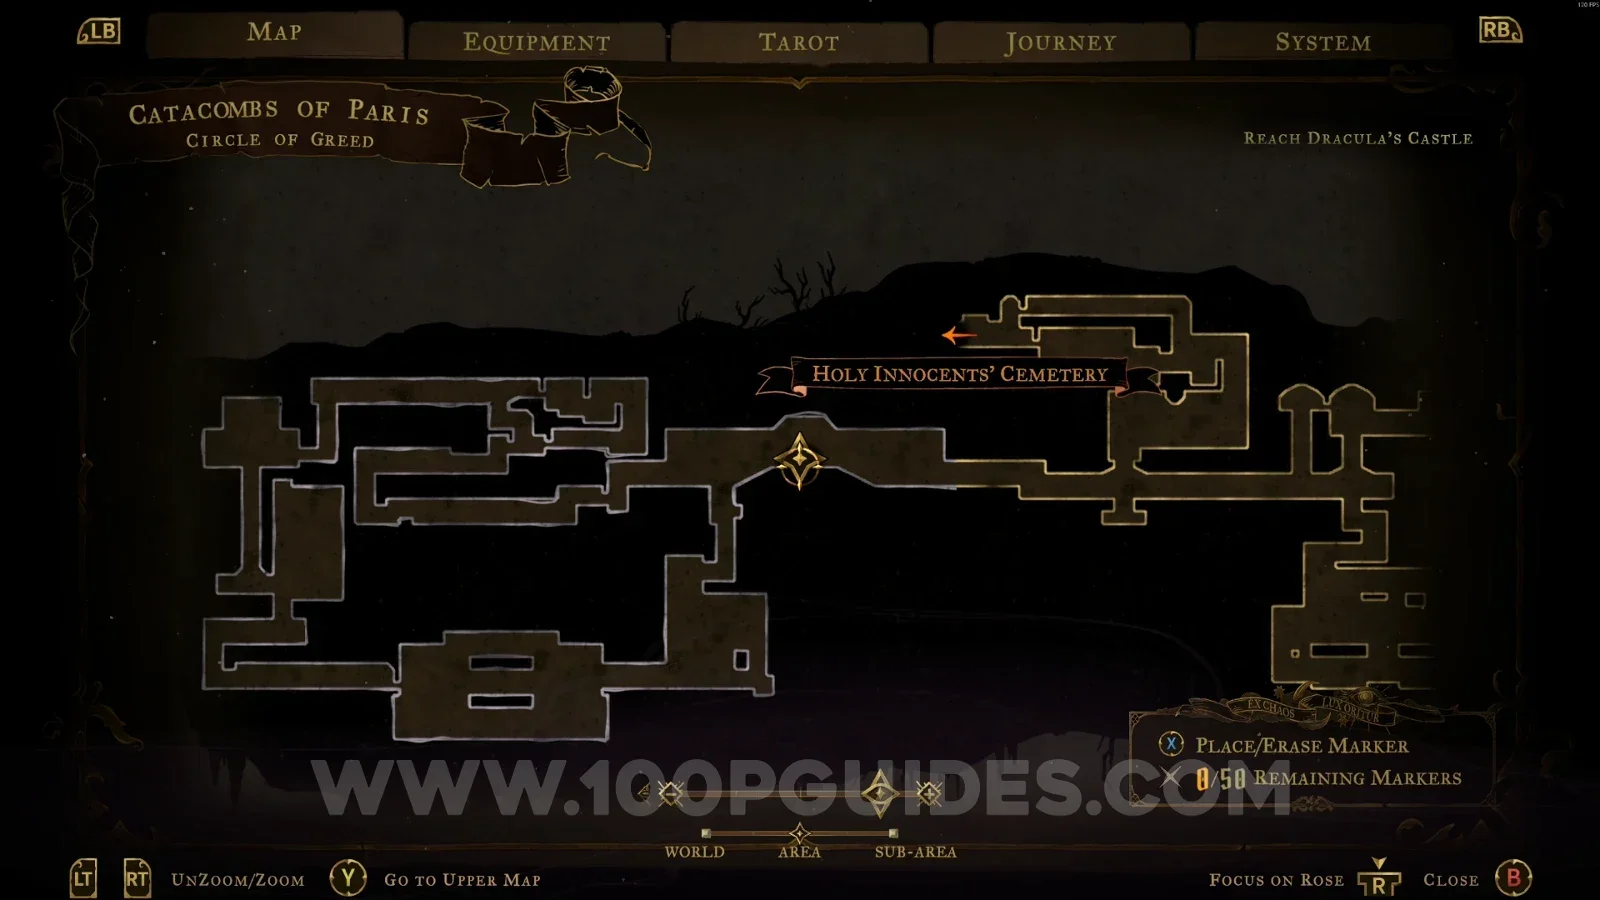
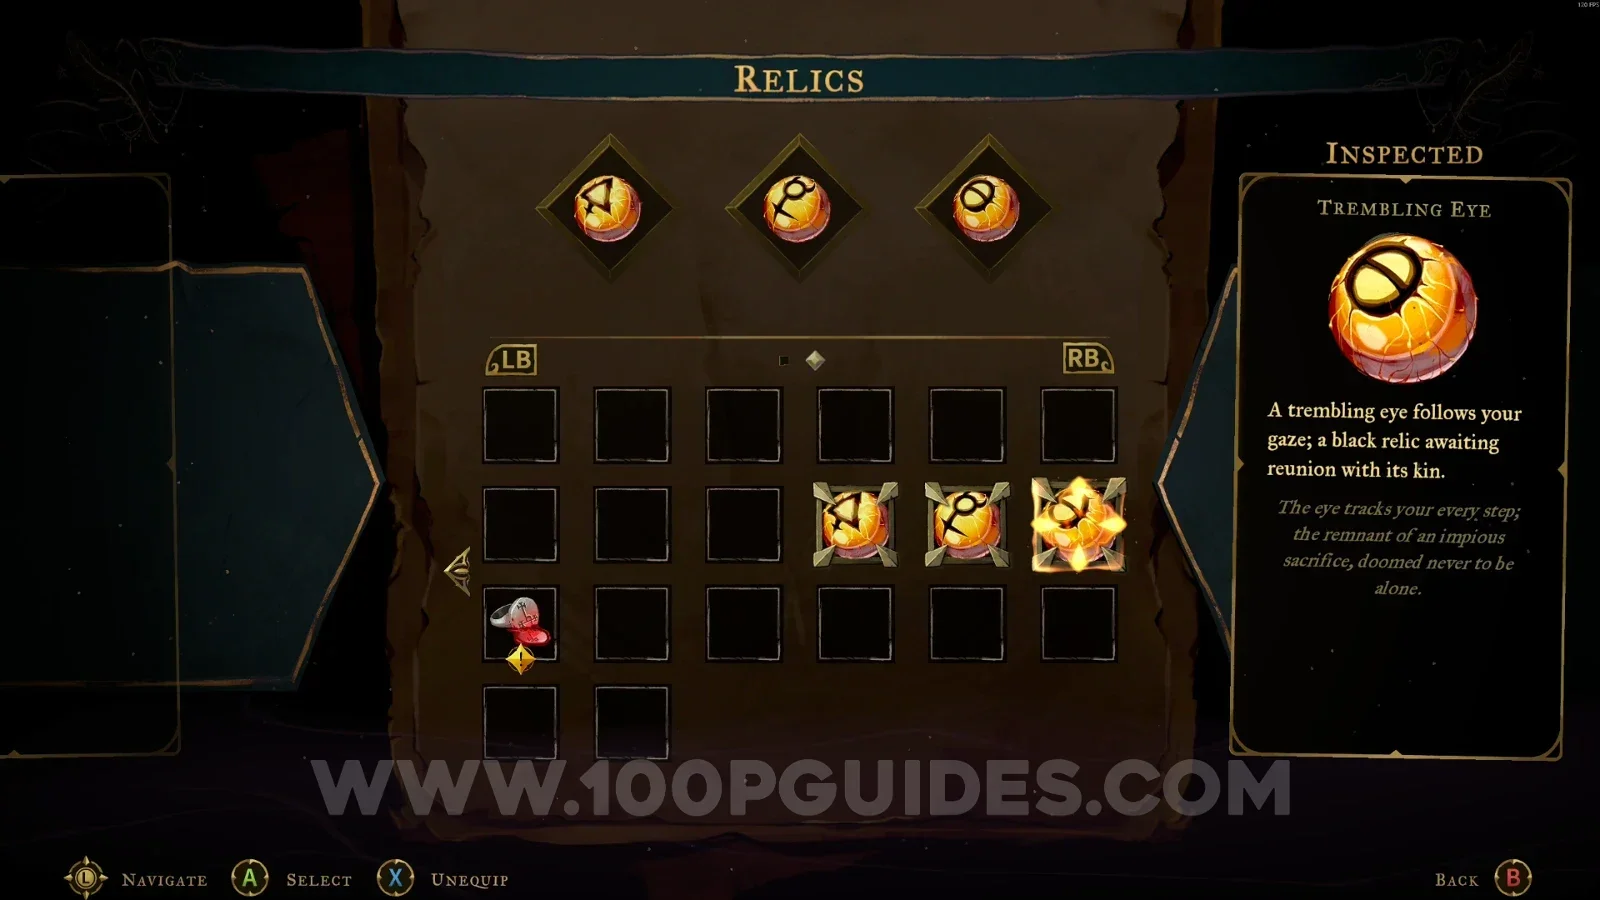
Castlevania Belmonts Curse Circle Of Greed: equipping the Thrilling Eye, Oozing Eye and Trembling Eye relics Castlevania Belmonts Curse Circle Of Greed: interacting with the Gate Of Flesh door Castlevania Belmonts Curse Circle Of Greed: entering the boss area through the Gate Of Flesh

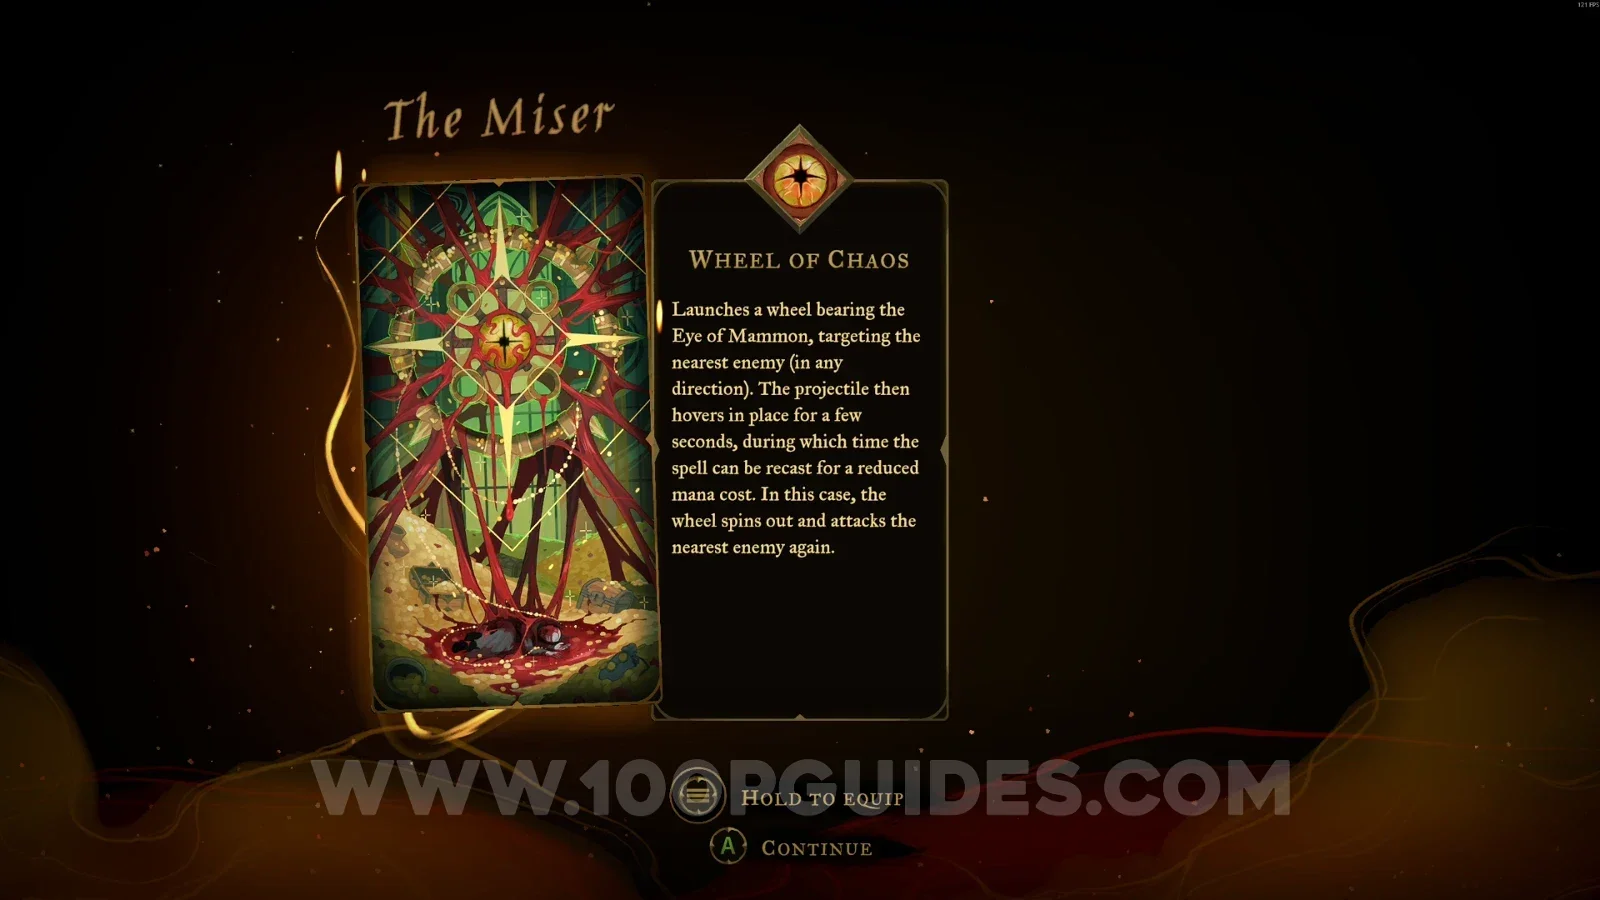
Defeat Mammon (The Miser) to get the Wheel of Chaos arcana.
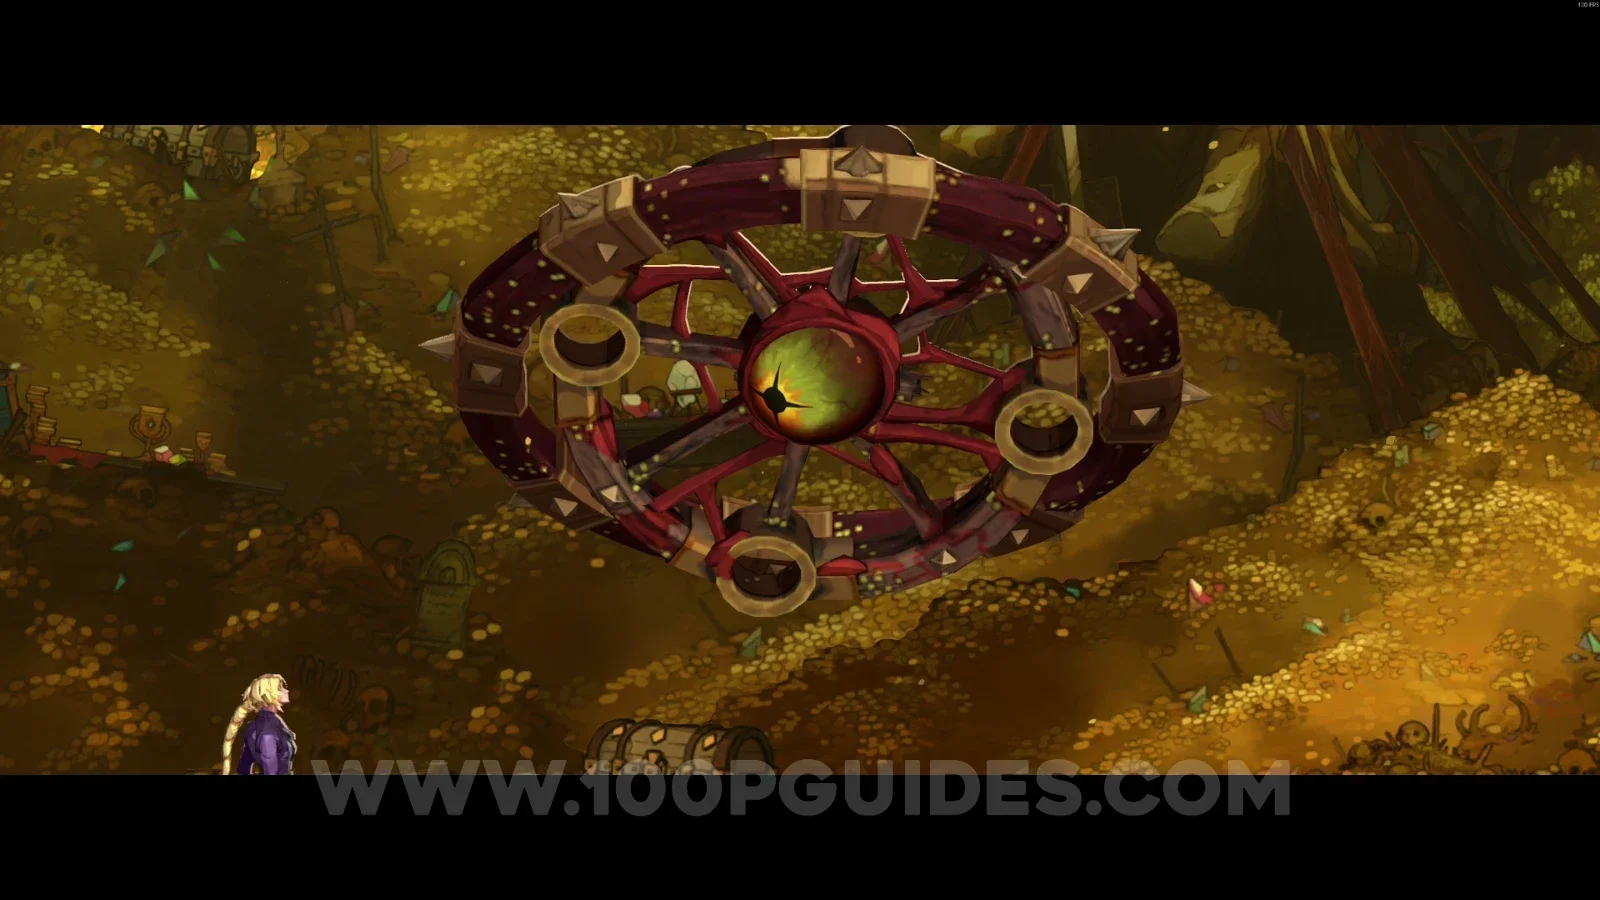
Castlevania Belmonts Curse Circle Of Greed: boss fight against Mammon, The Miser Castlevania Belmonts Curse Circle Of Greed: Wheel of Chaos arcana obtained after defeating Mammon

Same area as before. Interact with the chest to get the Ferryman's Obol (Required to get the Freezing Path arcana).
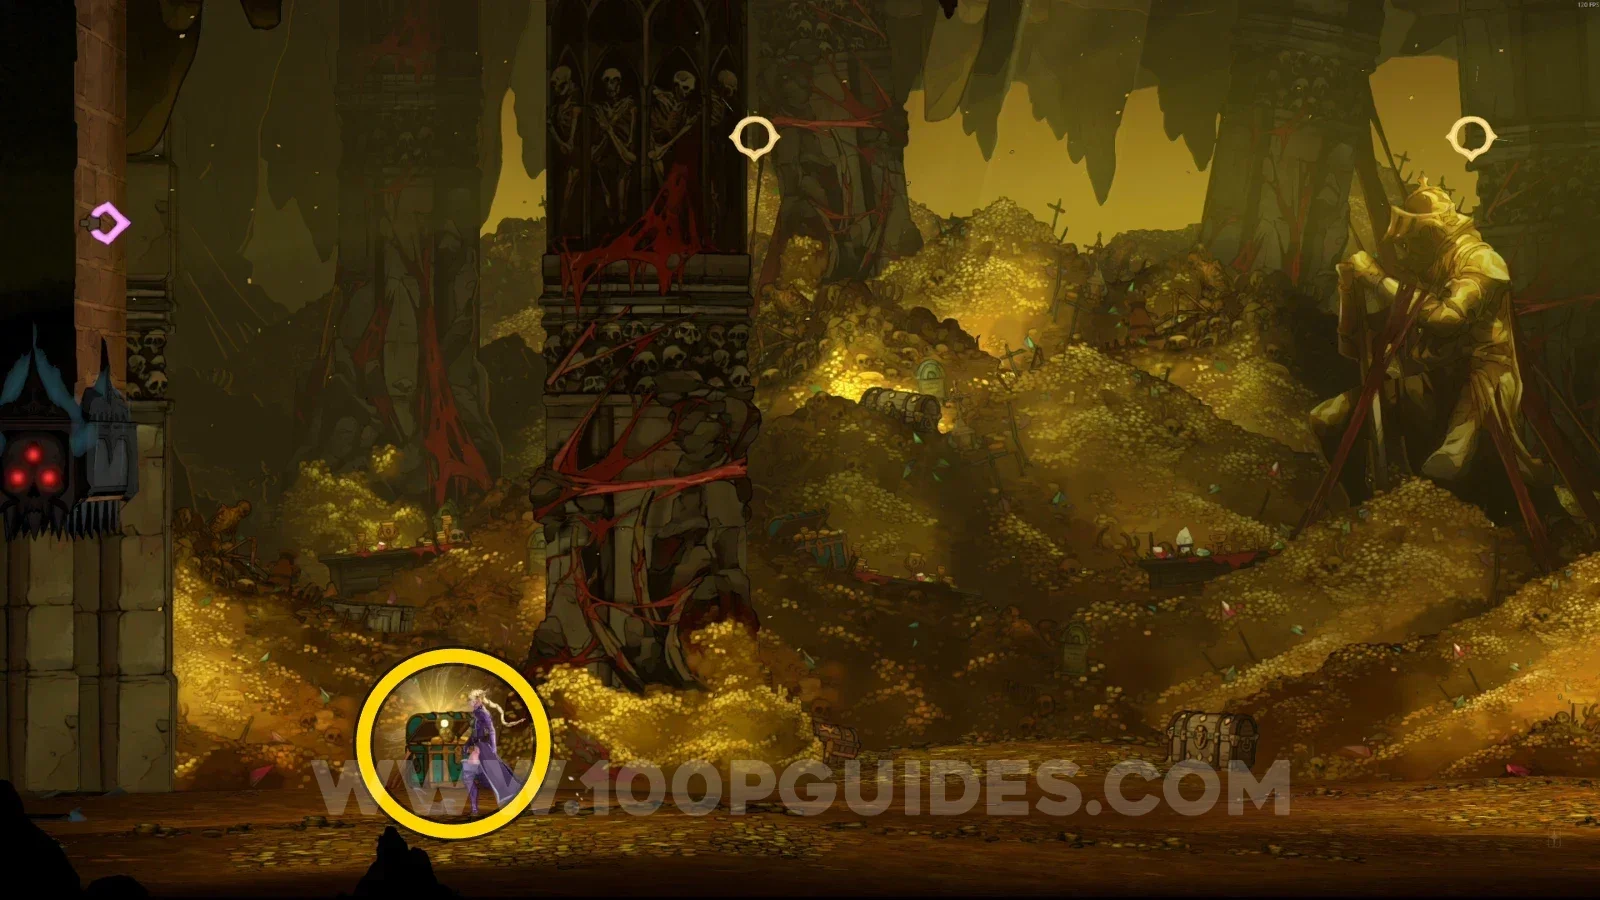
Castlevania Belmonts Curse Circle Of Greed: chest holding the Ferryman's Obol in the boss area

Collapsed Path Of Orpheus

XP Statue #15 - #16 + Weapon #2: Gungnir

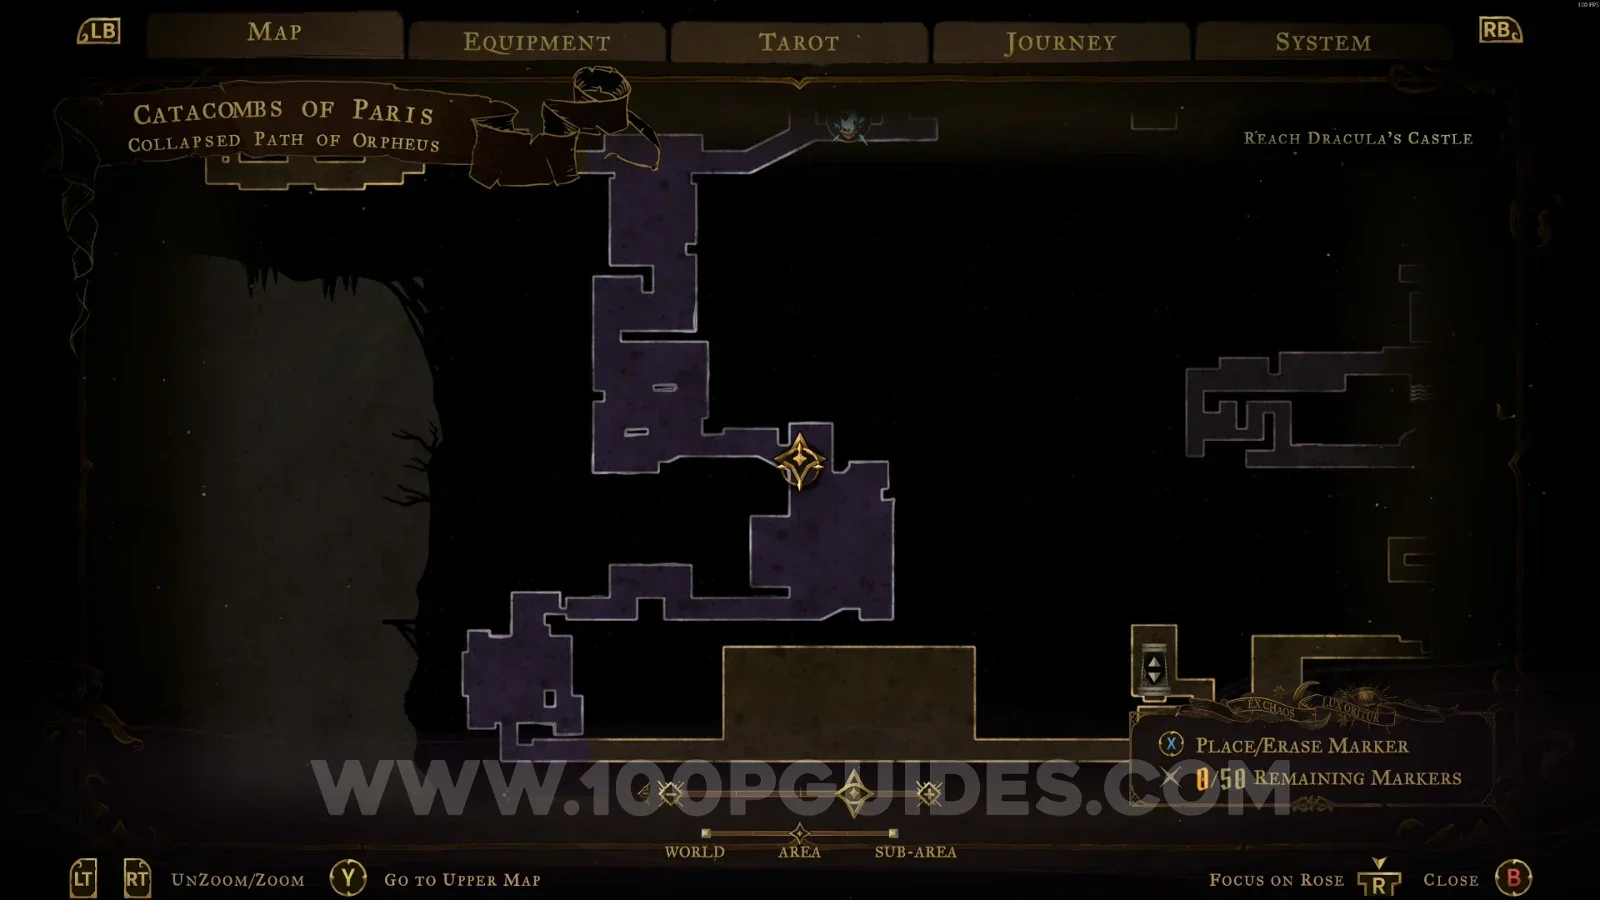
While in the Throat of Hell, use the Smash arcane power to drop down to the Collapsed Path of Orpheus area and get these statues and the weapon.
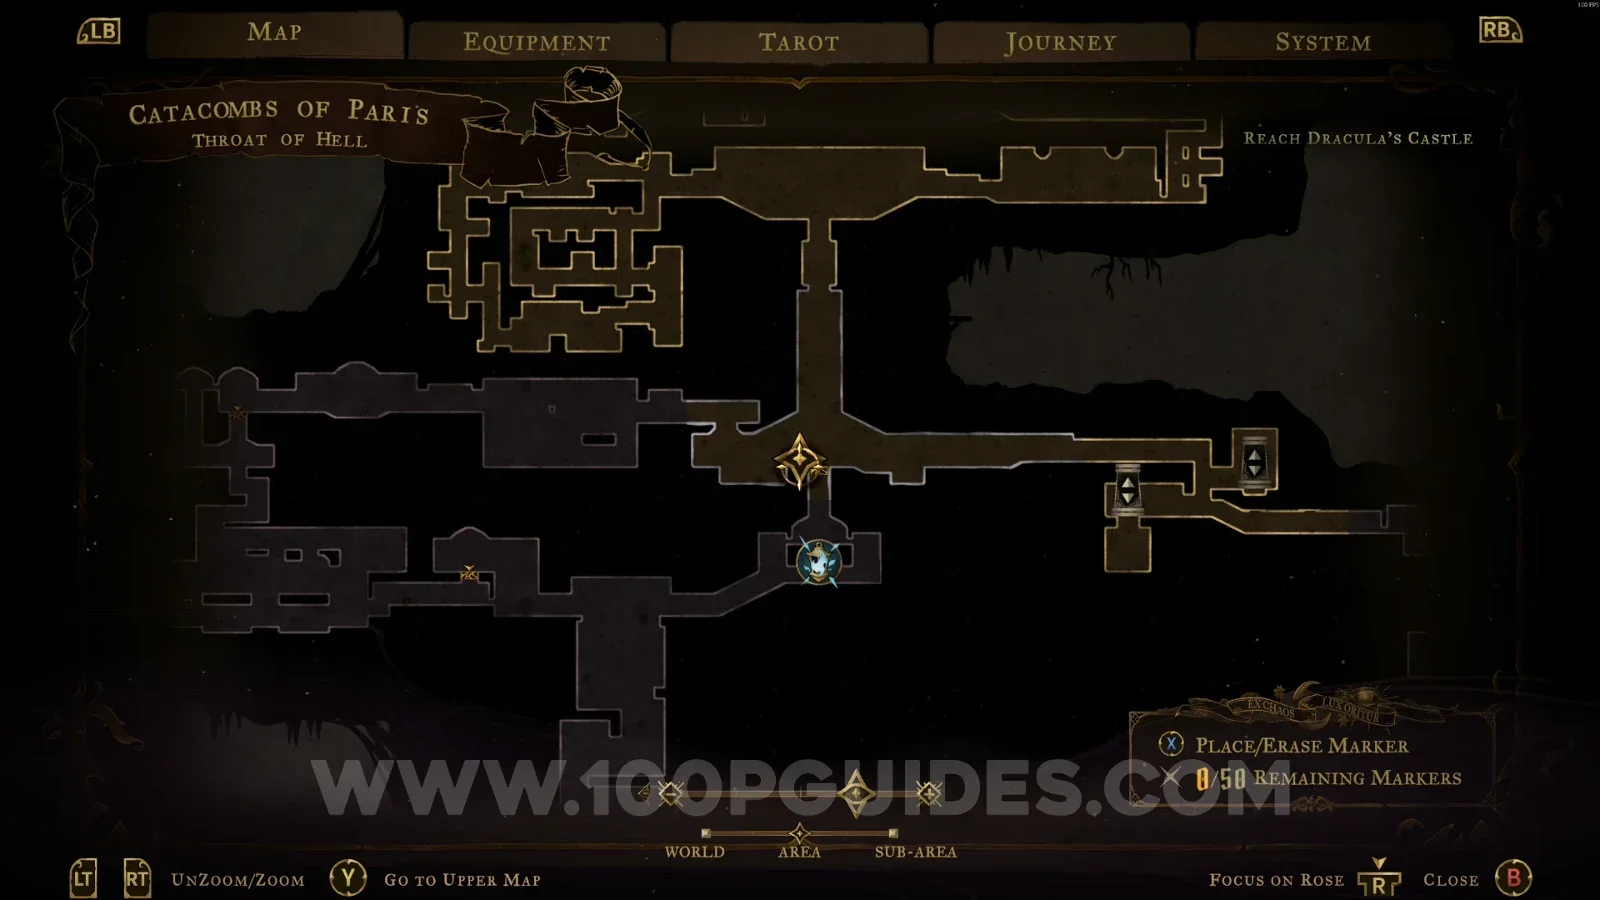
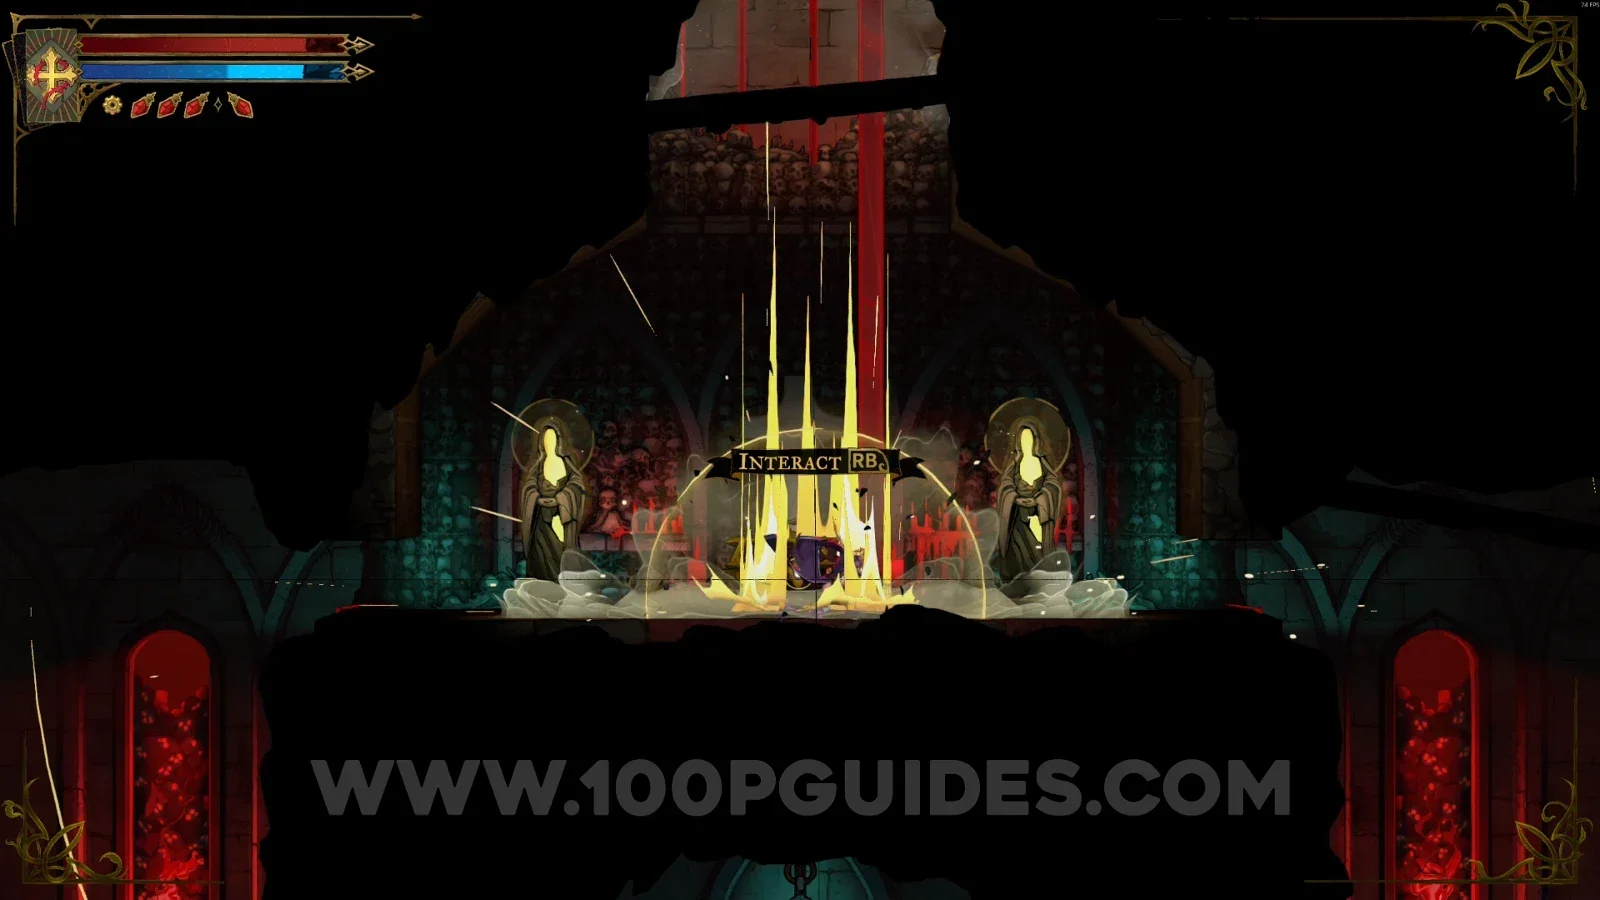
Castlevania Belmonts Curse: using Smash in the Throat of Hell to drop to the Collapsed Path Of Orpheus Castlevania Belmonts Curse Collapsed Path Of Orpheus: XP Statues #15 and #16 and Weapon #2 Gungnir

Ferryman's Wharf + Arcana #2: Freezing Path

Enter the Ferryman's Wharf and give the Ferryman's Obol to the Ferryman. He'll give you the Freezing Path arcana.
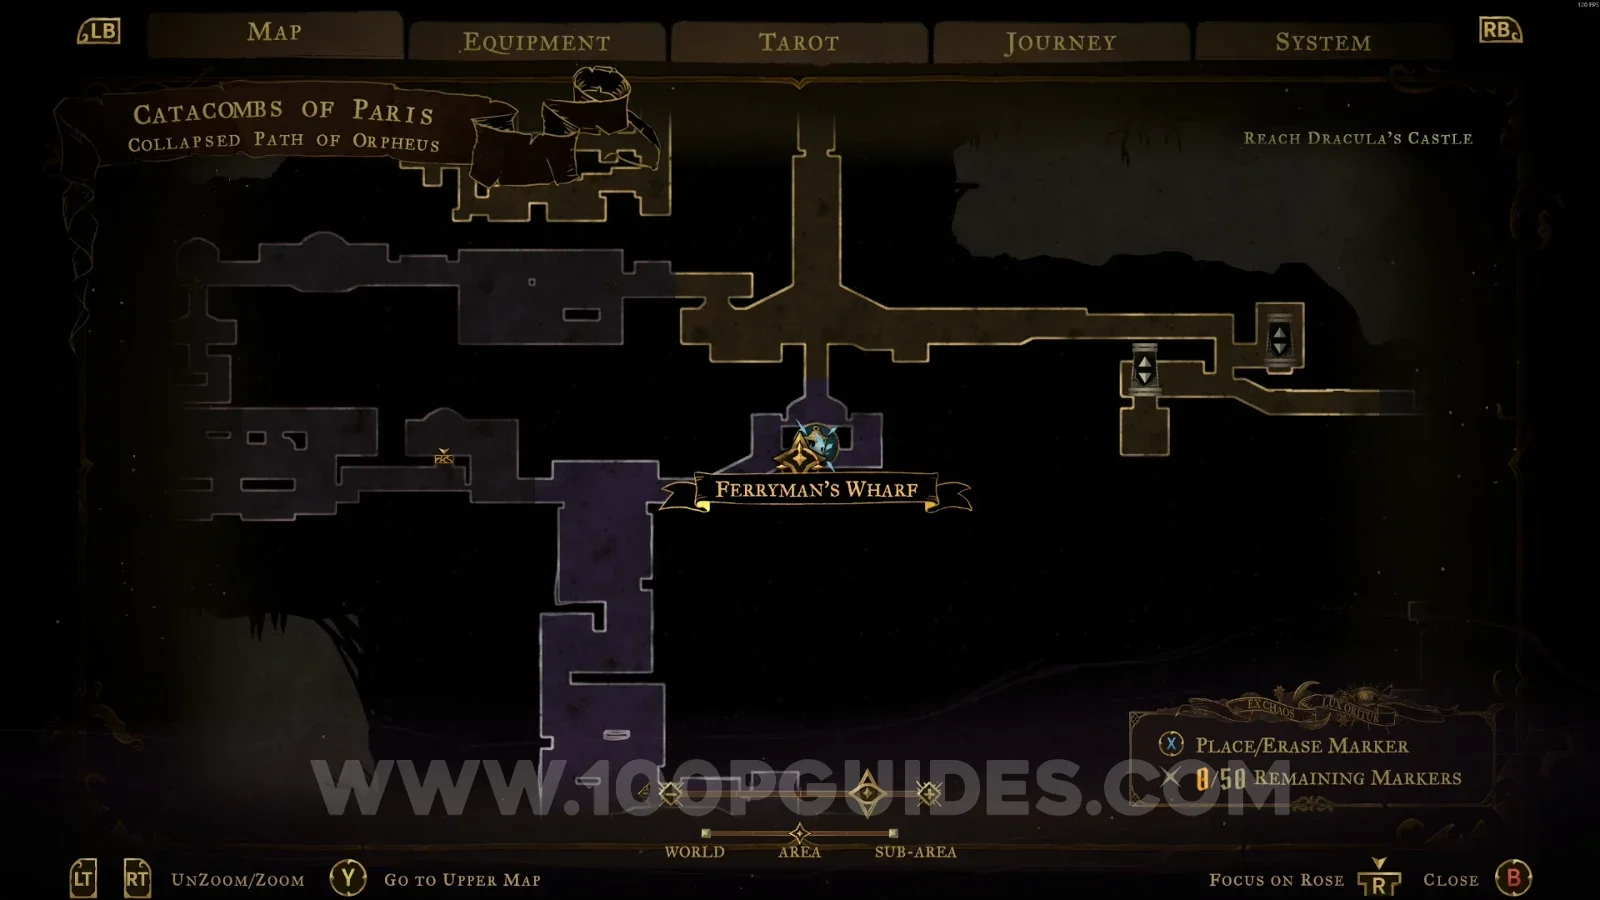
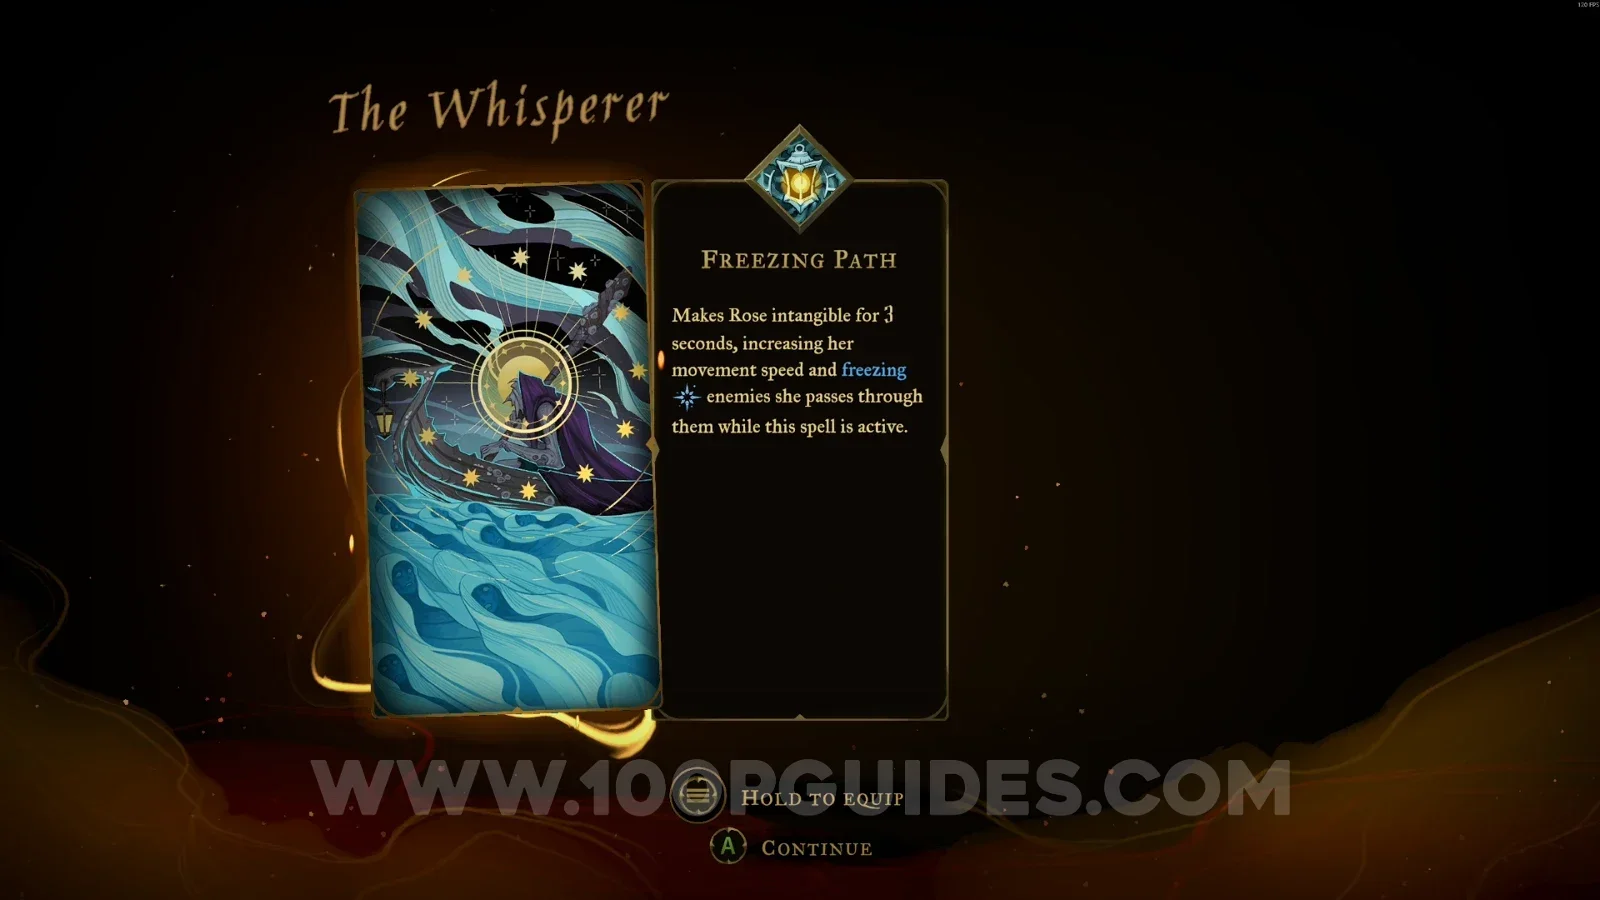
Castlevania Belmonts Curse Ferryman's Wharf: giving the Ferryman's Obol to the Ferryman Castlevania Belmonts Curse Ferryman's Wharf: The Freezing Path arcana received from the Ferryman

XP Statue #17

Same area, on the right side. Break the wall to reveal the secret room containing the statue.
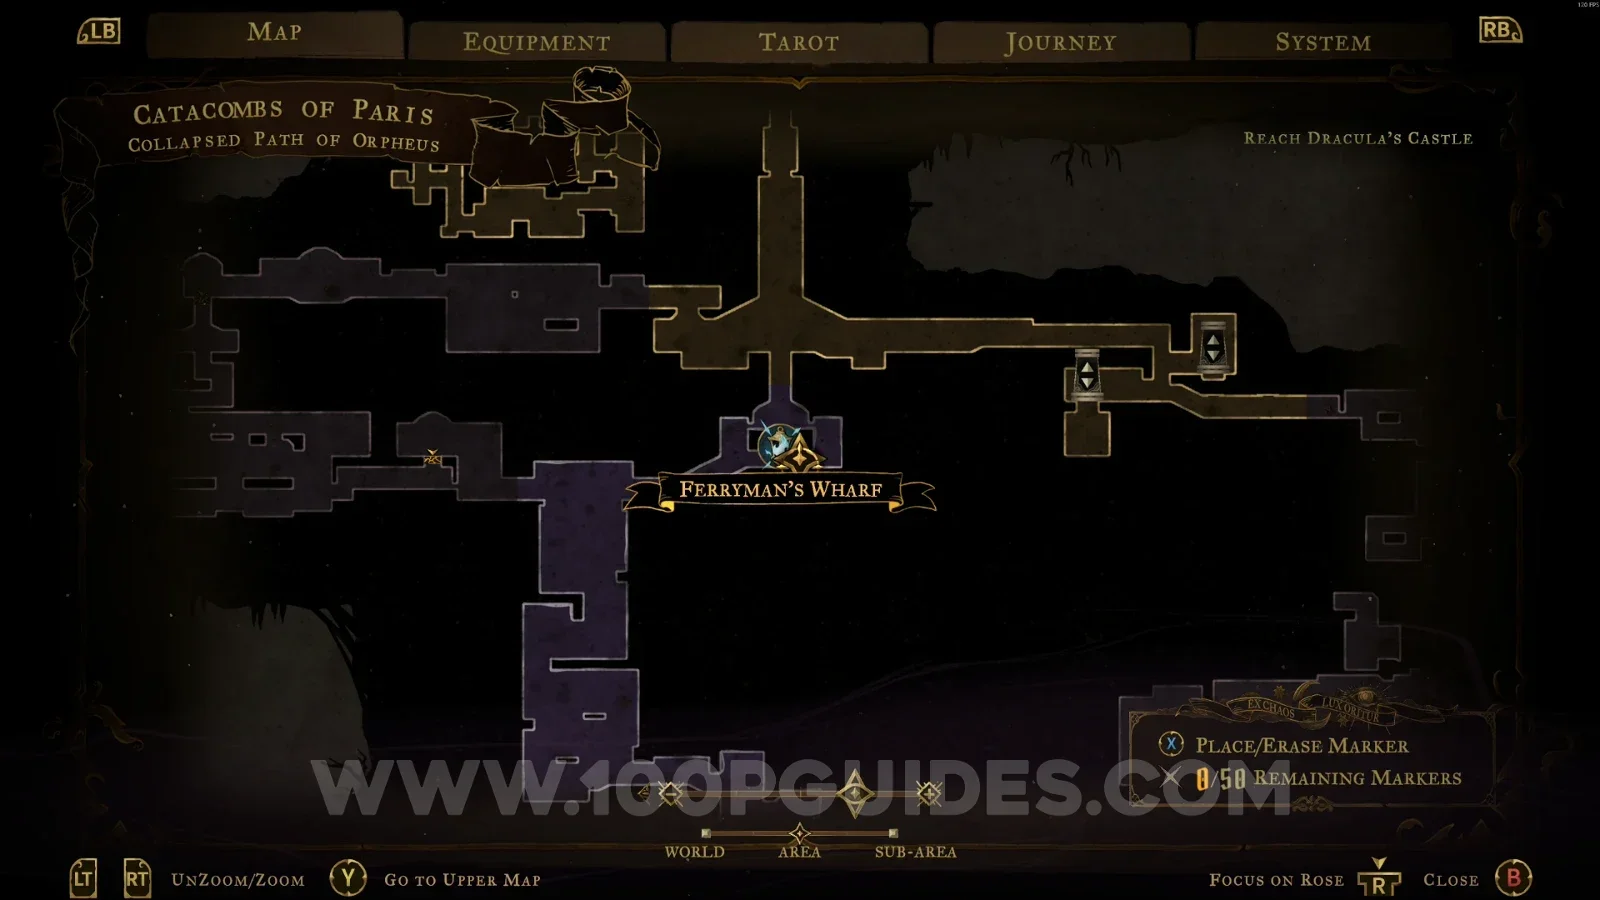
Castlevania Belmonts Curse Collapsed Path Of Orpheus: breaking the wall on the right side Castlevania Belmonts Curse Collapsed Path Of Orpheus: XP Statue #17 in the secret room

XP Statue #18

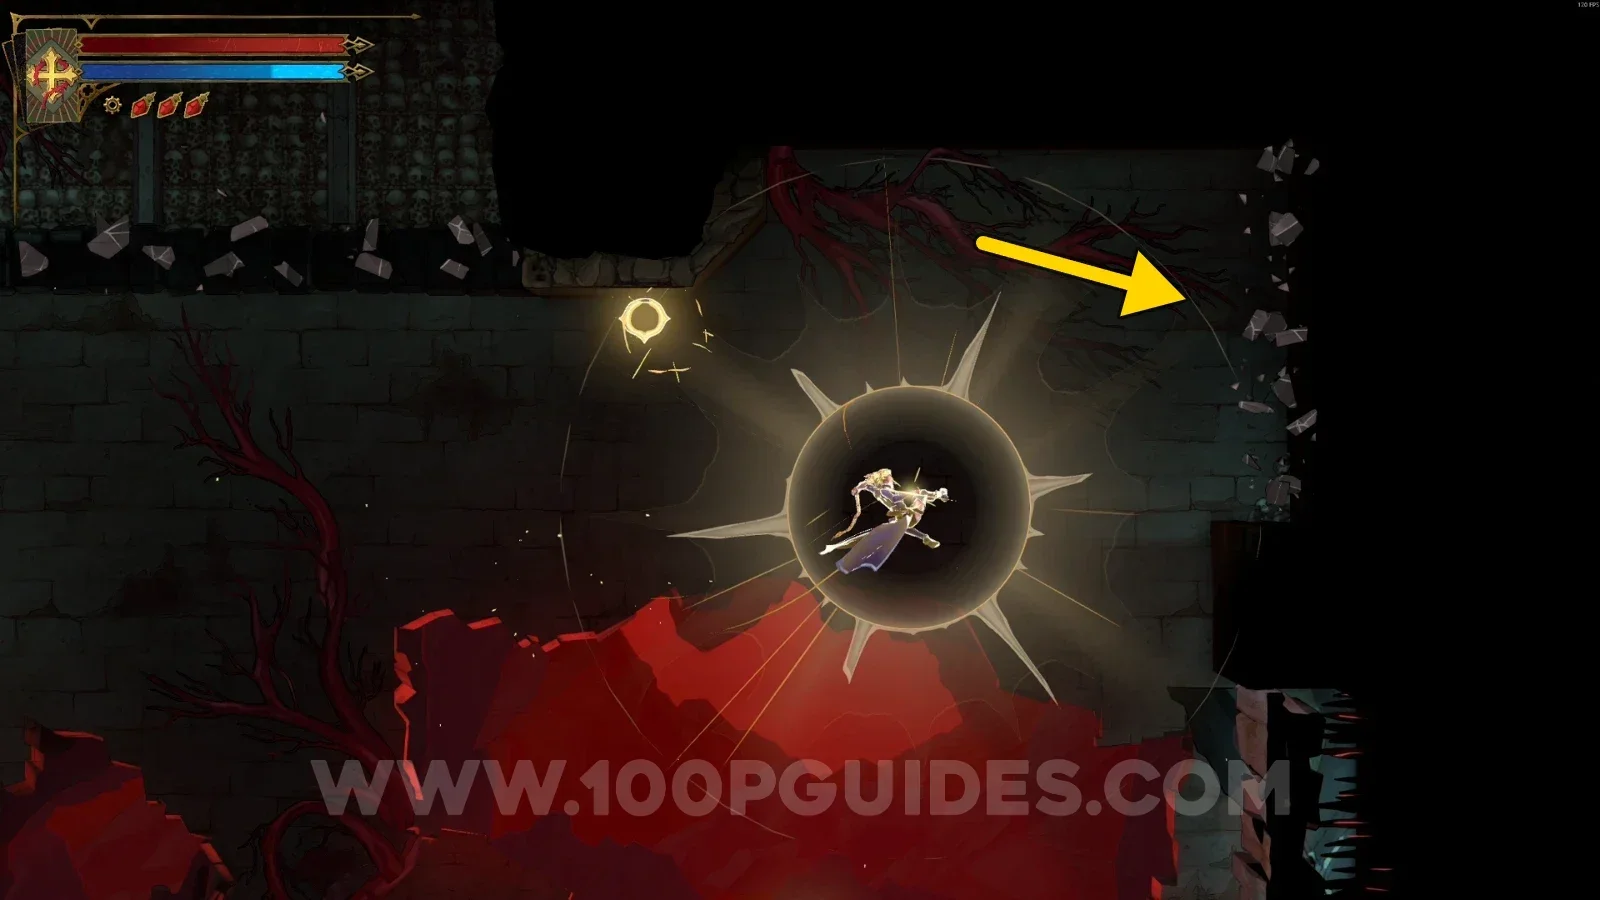
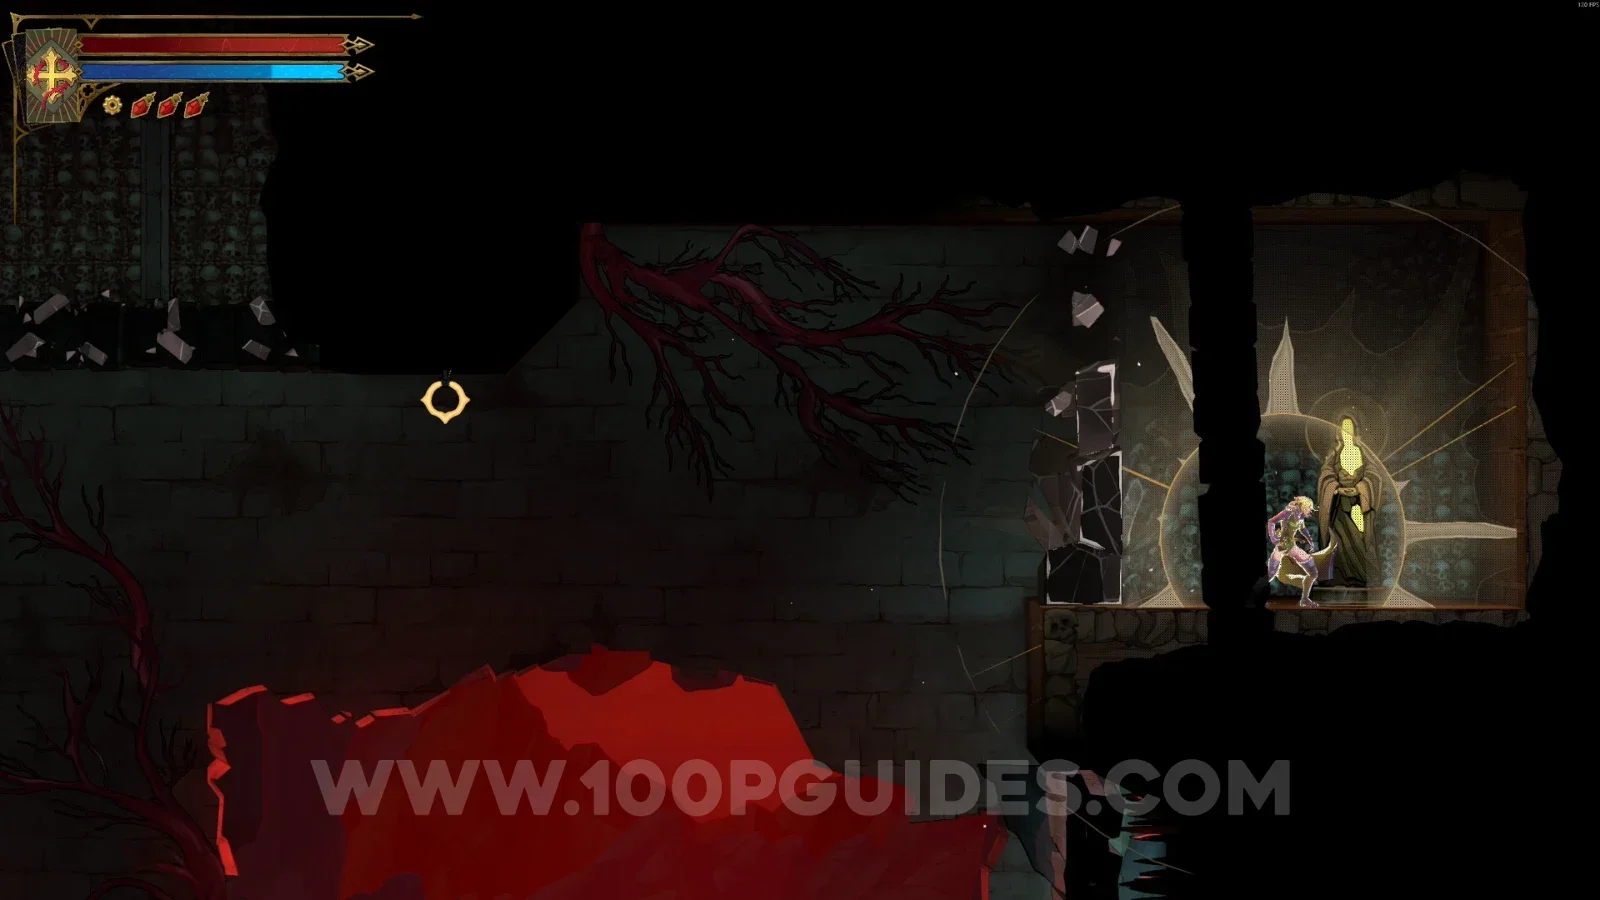
Use the Holy Light arcane power to pass through the wall and reveal the secret room containing a statue.

Castlevania Belmonts Curse Collapsed Path Of Orpheus: using Holy Light to pass through the wall Castlevania Belmonts Curse Collapsed Path Of Orpheus: secret room revealed beyond the wall Castlevania Belmonts Curse Collapsed Path Of Orpheus: XP Statue #18 inside the secret room

Blood Pits

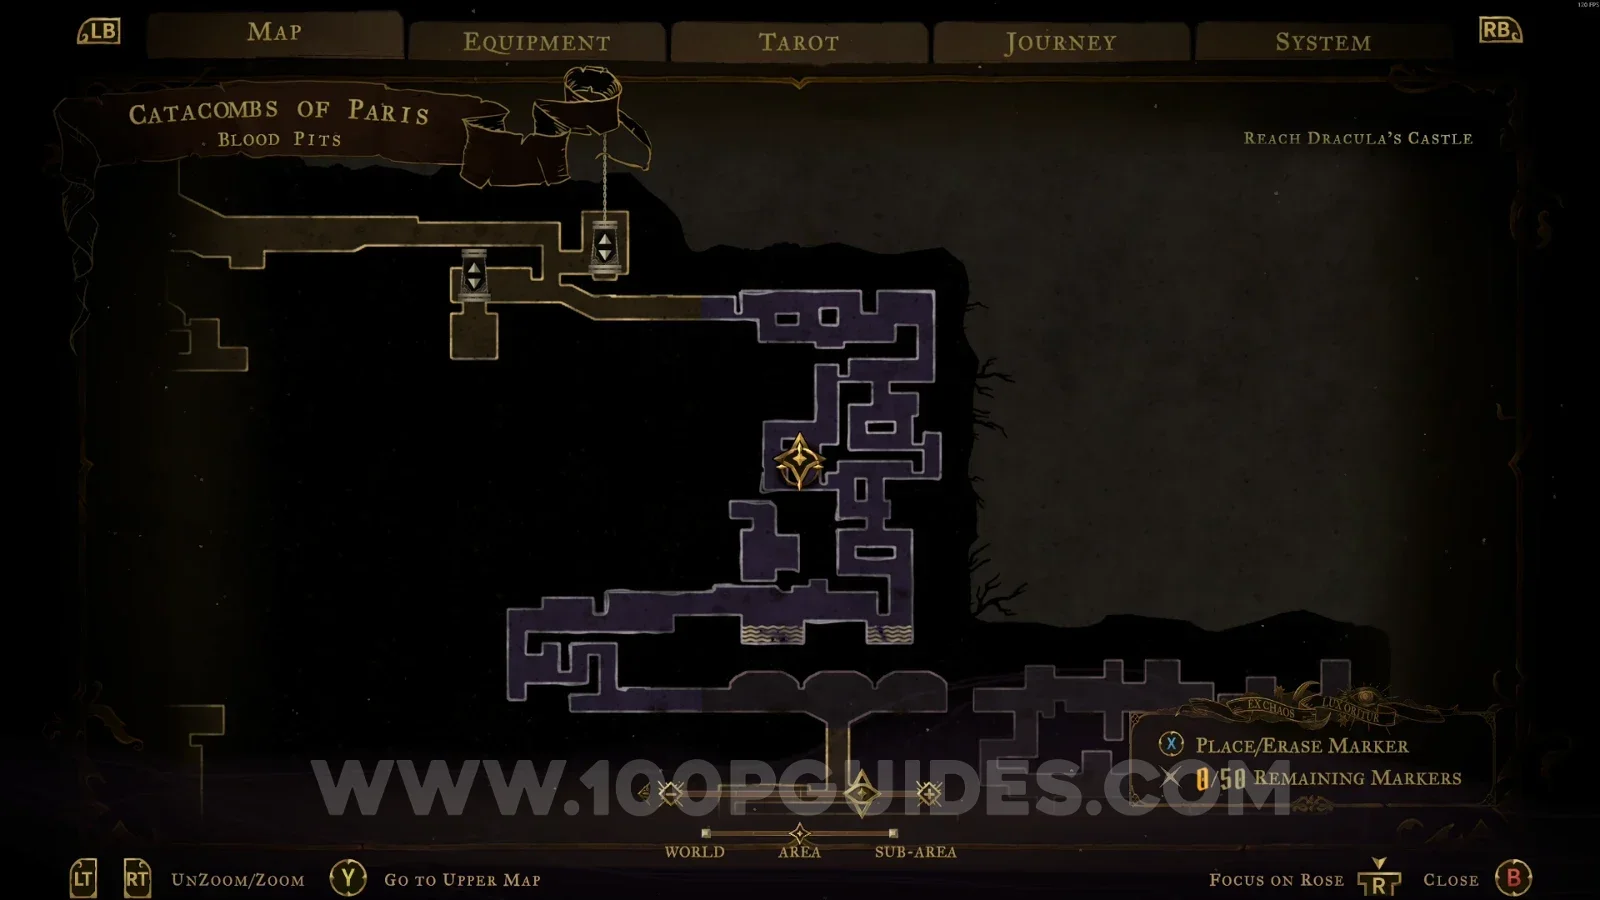
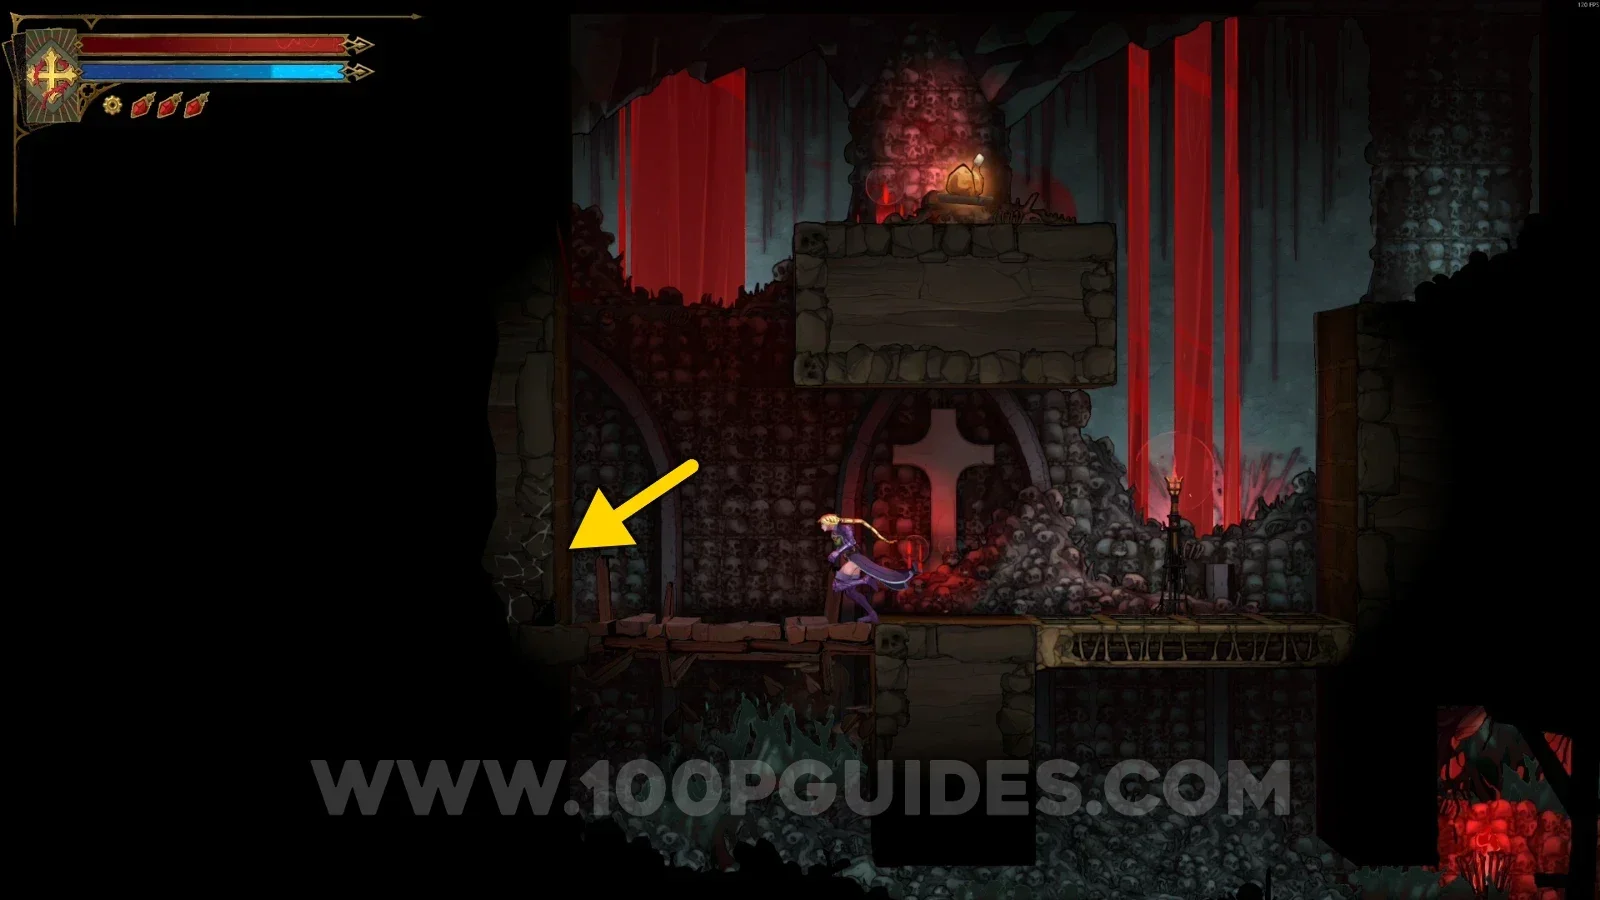
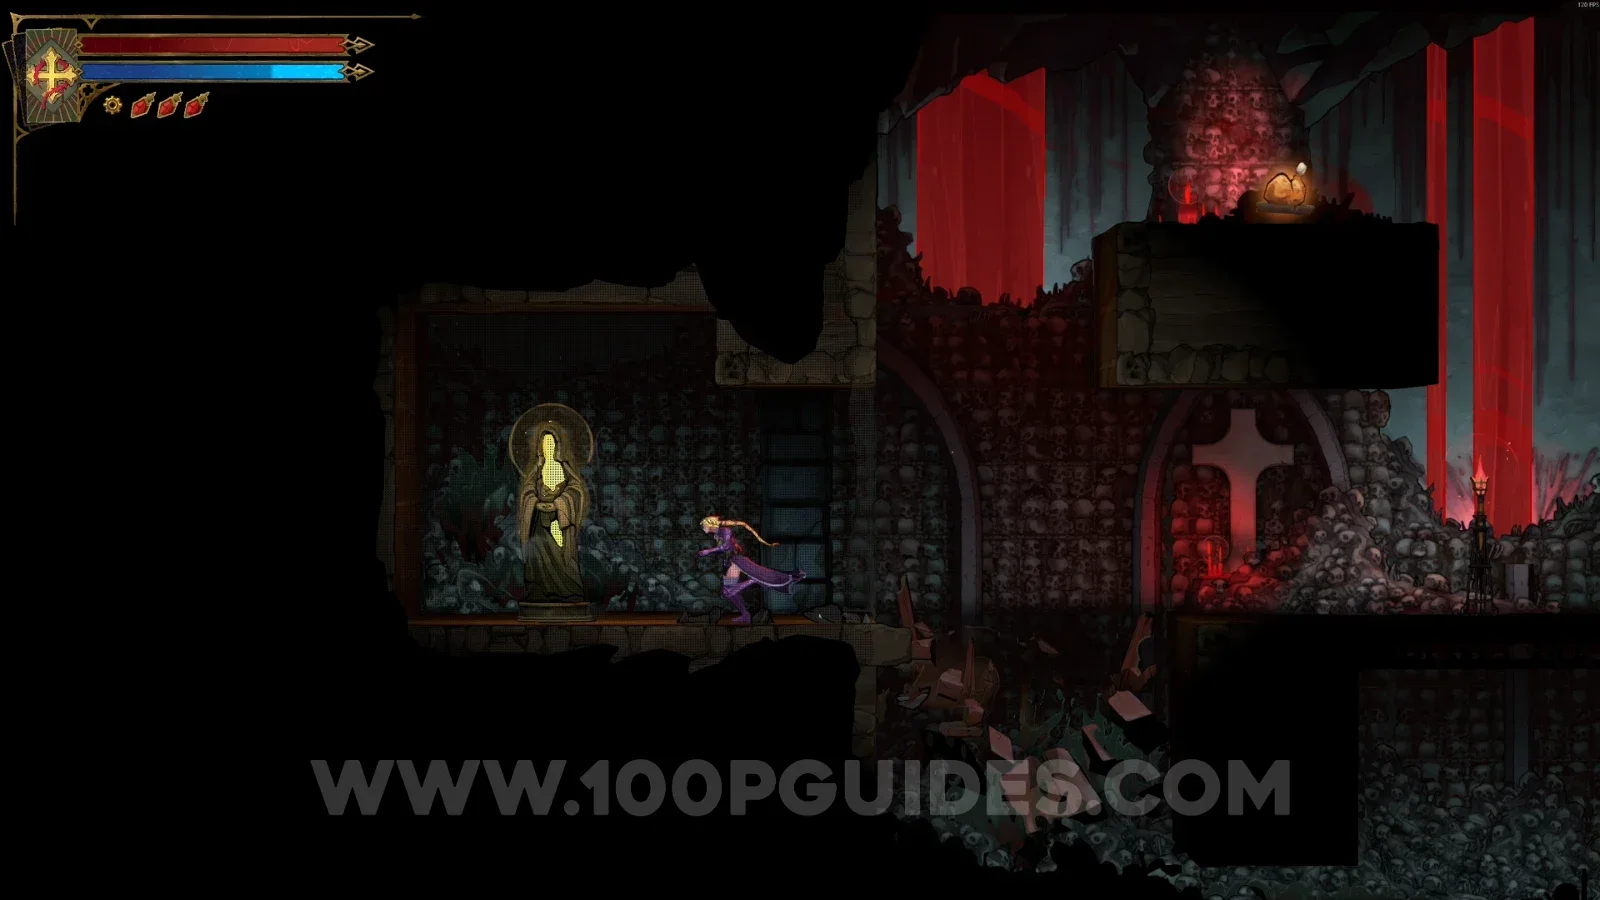
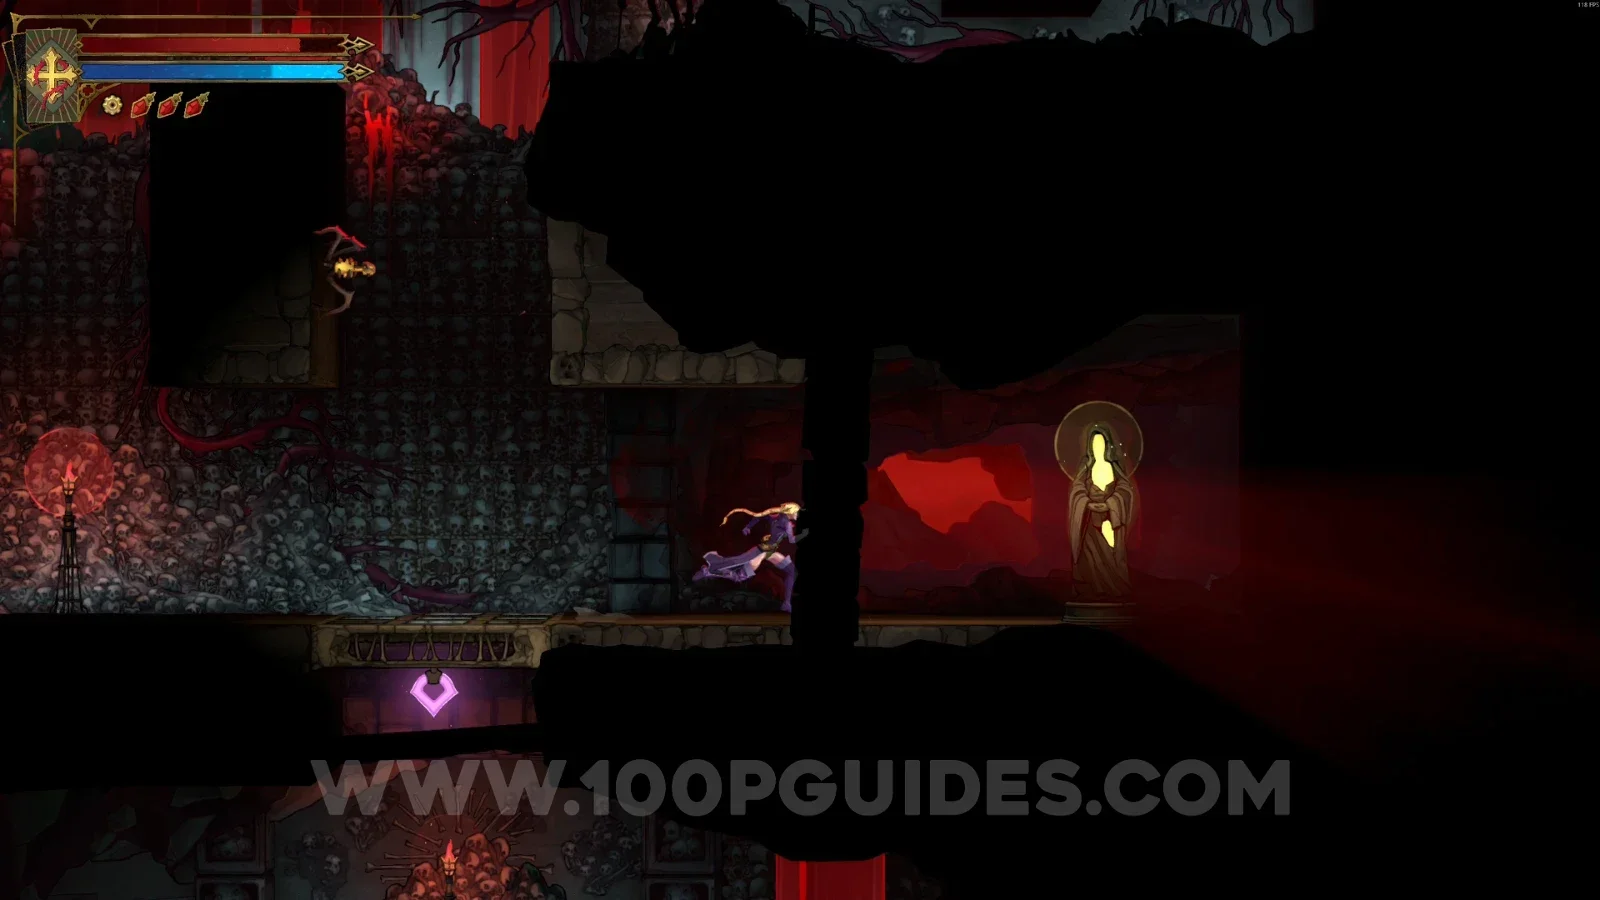
XP Statue #19

Break the wall on the left side to reveal the secret room containing the statue.
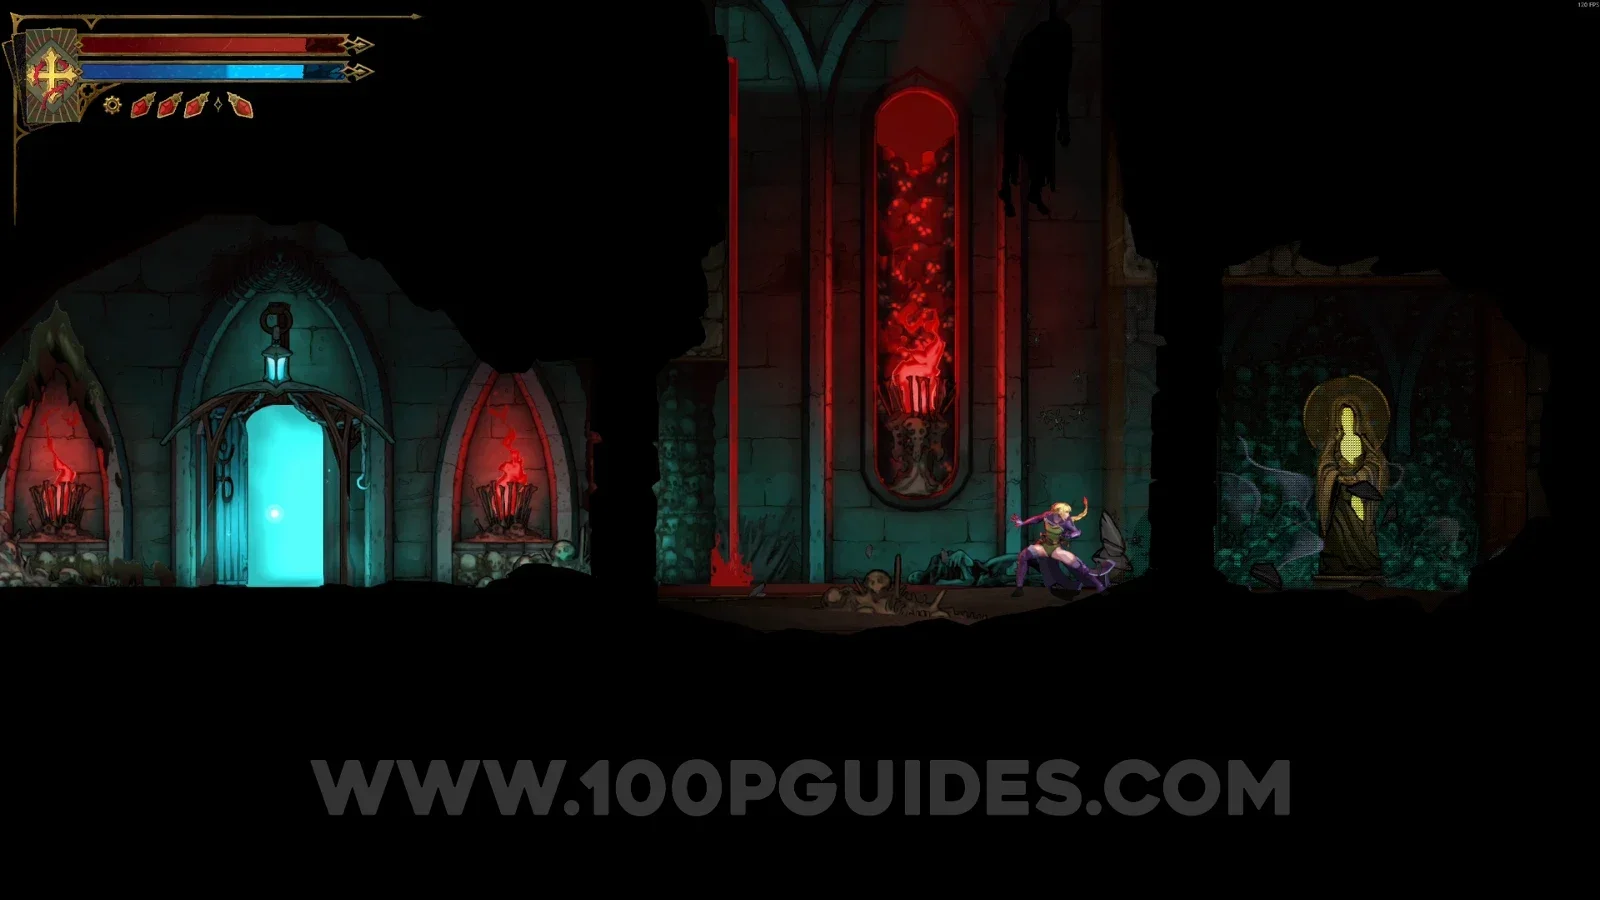
Castlevania Belmonts Curse Blood Pits: breaking the wall on the left side of the area Castlevania Belmonts Curse Blood Pits: secret room revealed behind the broken left wall Castlevania Belmonts Curse Blood Pits: XP Statue #19 inside the secret room

XP Statue #20

On the right side of the area.
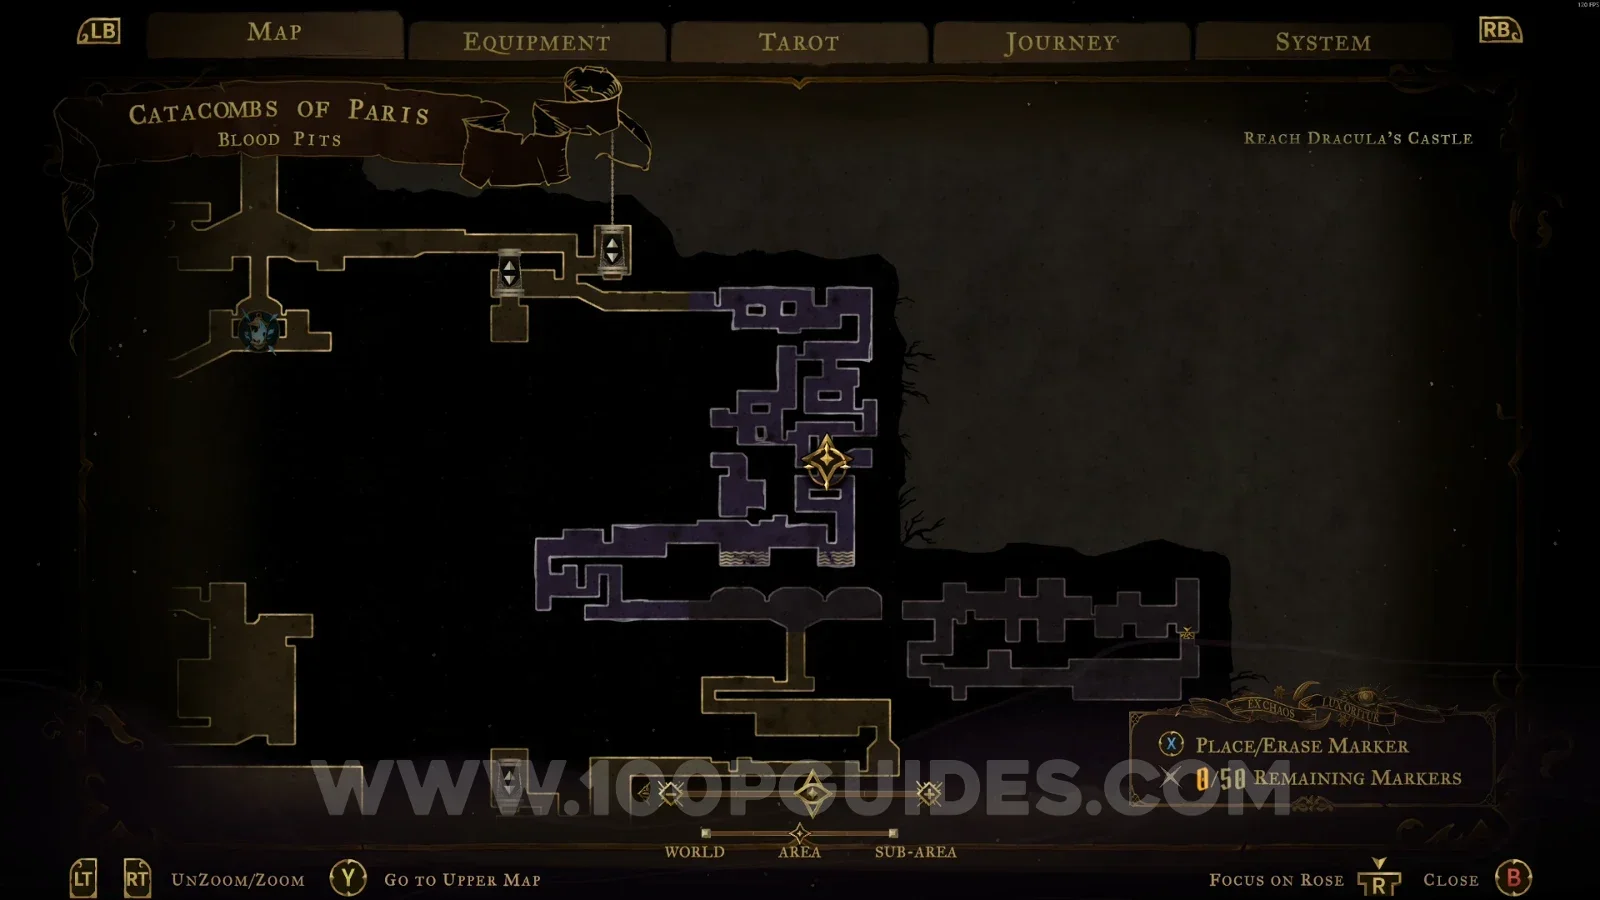
Castlevania Belmonts Curse Blood Pits: the way to XP Statue #20 on the right side of the area Castlevania Belmonts Curse Blood Pits: XP Statue #20 on the right side of the area

Brave Heart Fragment #3

Use the Arcane Whip to climb to the upper part and reveal a secret room. At the end of the path, you'll find the Brave Heart.
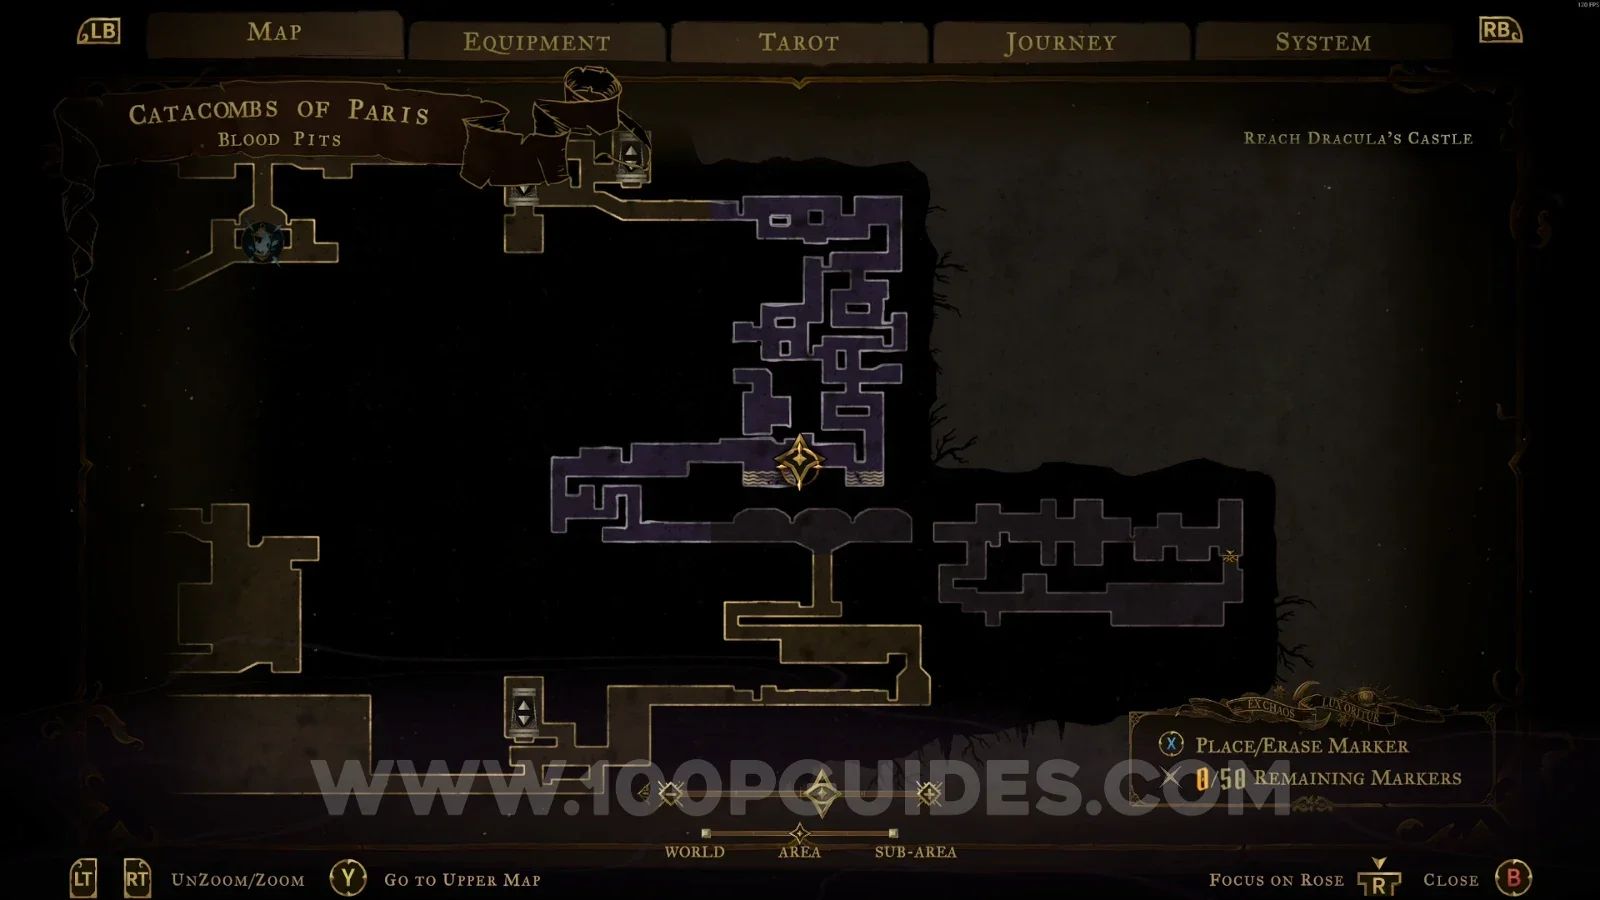
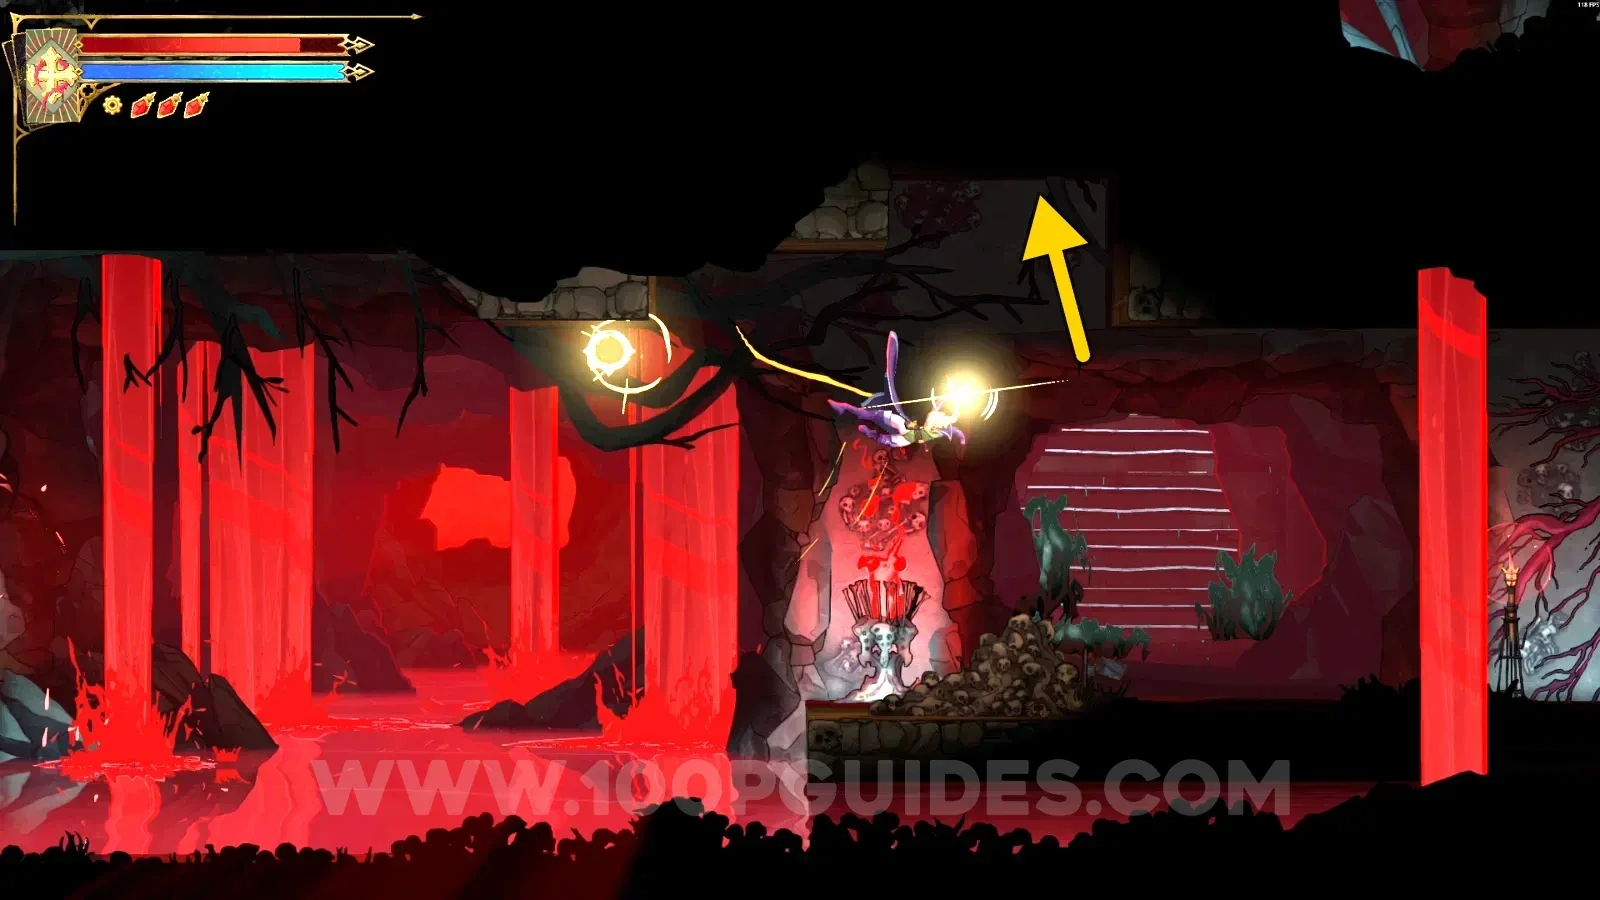
Castlevania Belmonts Curse Blood Pits: using the Arcane Whip to climb to the upper part Castlevania Belmonts Curse Blood Pits: secret room revealed in the upper part of the area Castlevania Belmonts Curse Blood Pits: Brave Heart Fragment #3 at the end of the secret path

Hall Of The Fallen Angels

Weapon #3: Whip

In the chest in the center of the area.
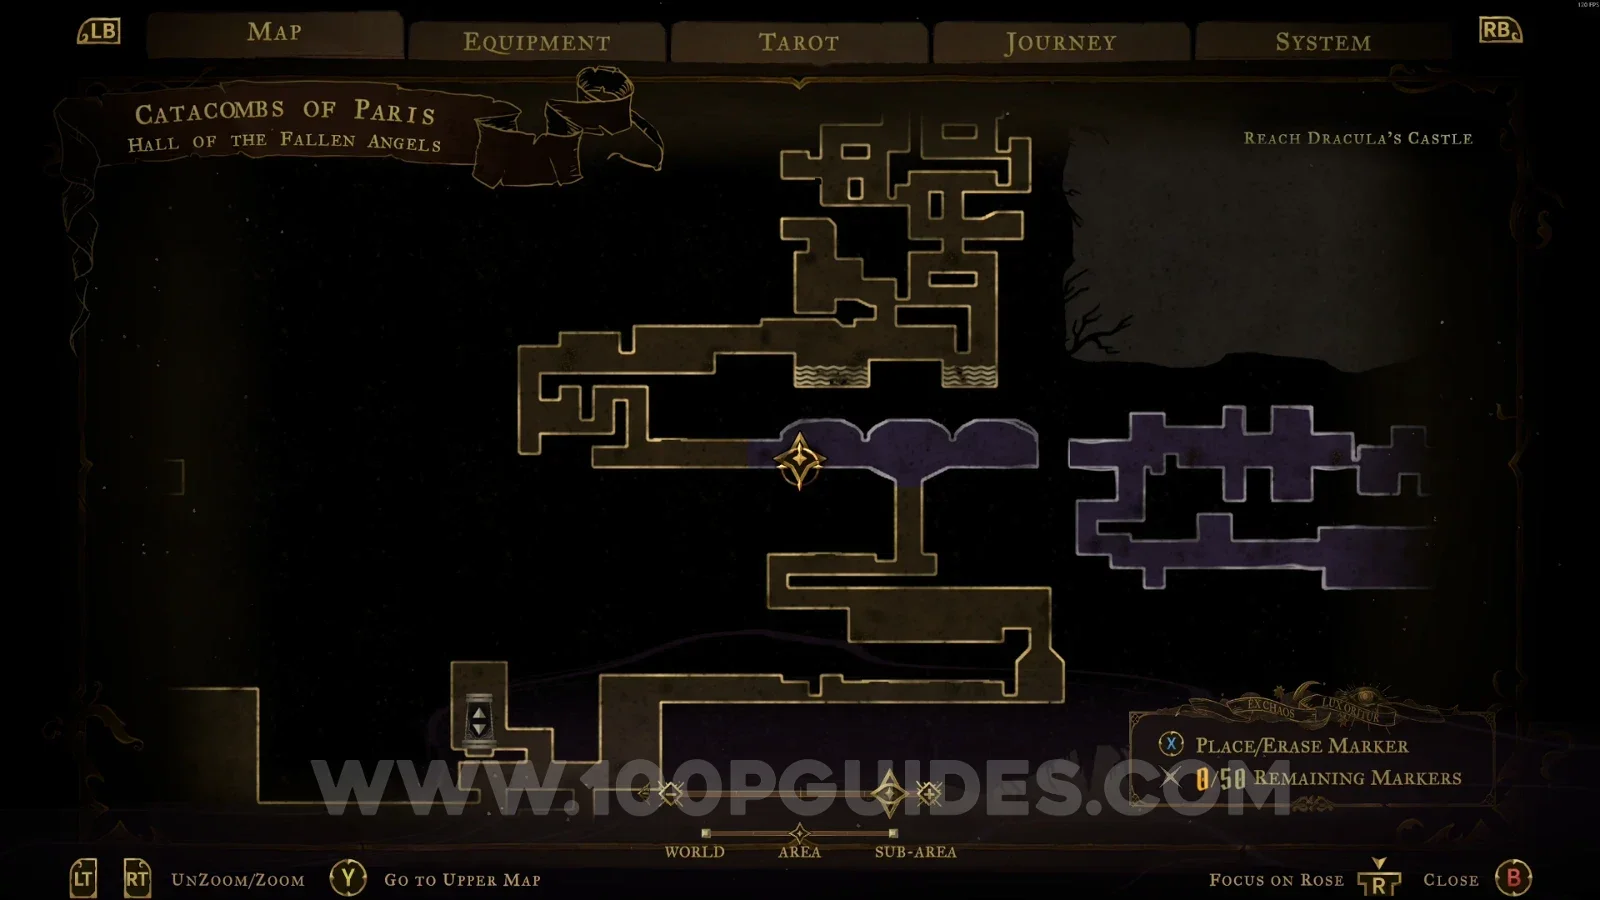
Castlevania Belmonts Curse Hall Of The Fallen Angels: the chest in the center of the area Castlevania Belmonts Curse Hall Of The Fallen Angels: Weapon #3 Whip obtained from the chest

Wise Heart Fragment #2

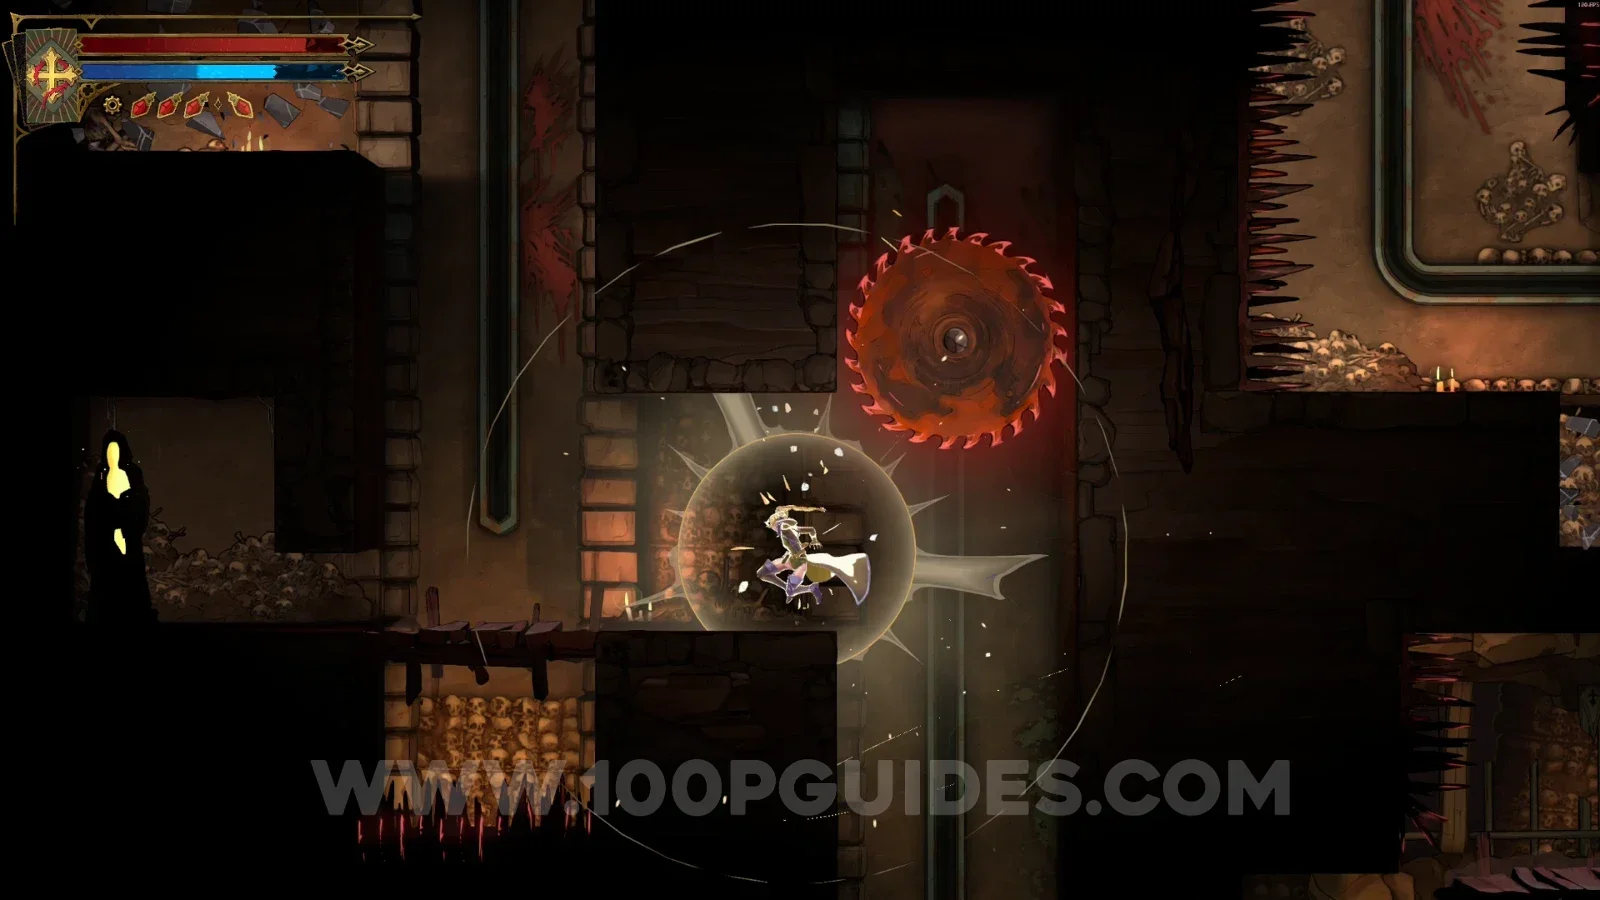
Break the wall on the right side of the area and follow the single path past the saws to find this Wise Heart at the end.
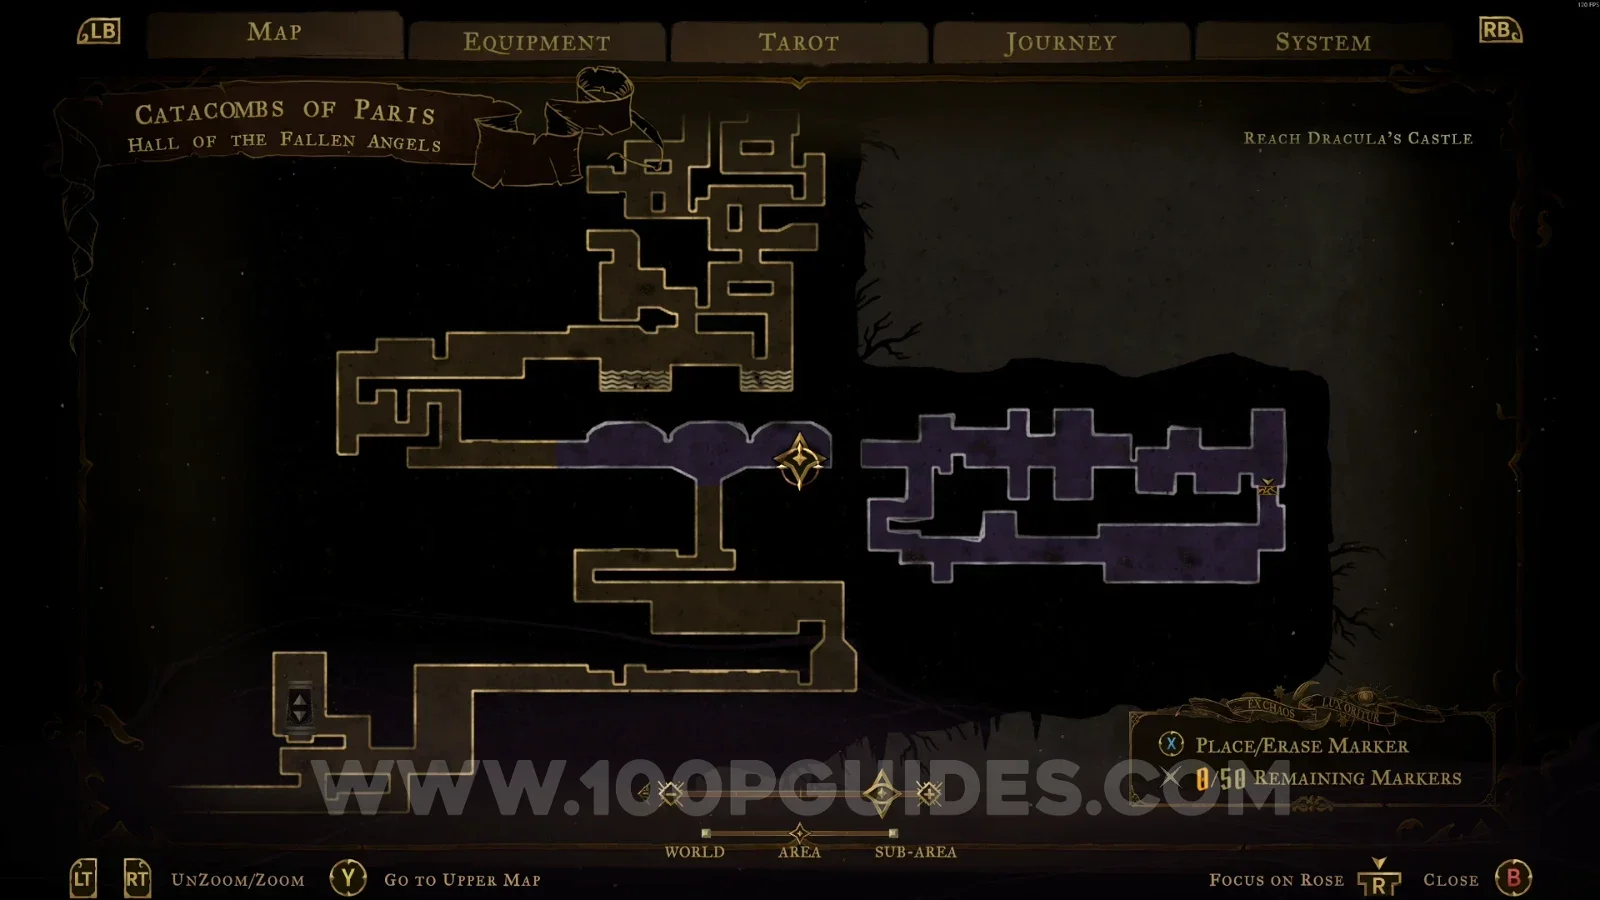
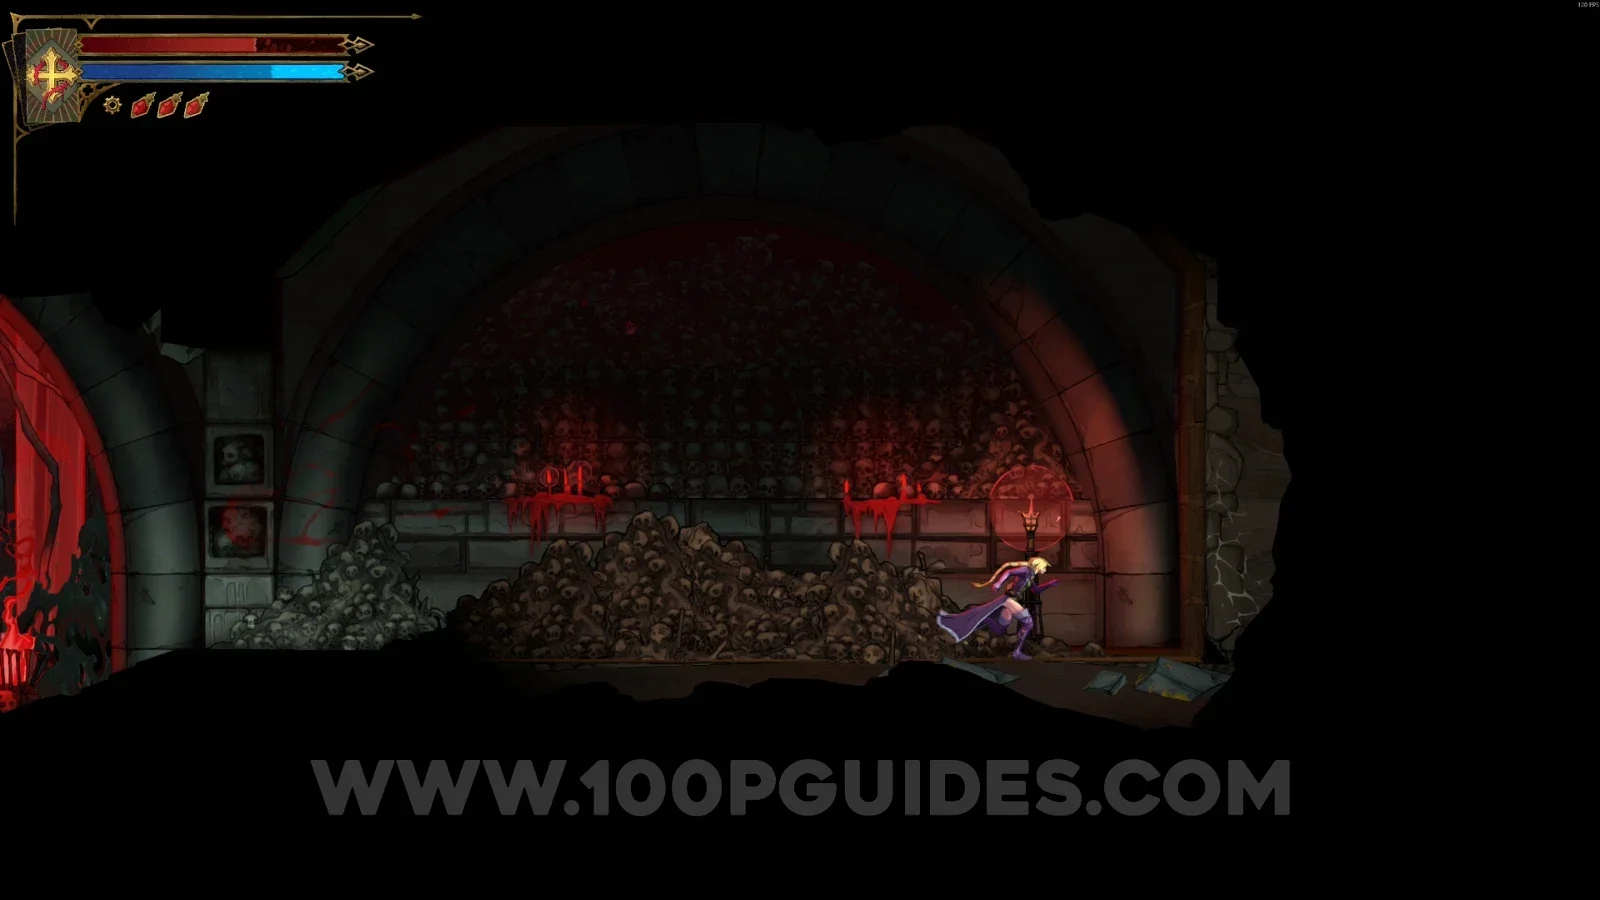
Castlevania Belmonts Curse Hall Of The Fallen Angels: breaking the wall on the right side Castlevania Belmonts Curse Hall Of The Fallen Angels: the single path past the saws Castlevania Belmonts Curse Hall Of The Fallen Angels: Wise Heart Fragment #2 at the end of the path

These are all the collectibles and secrets in the Catacombs of Paris.

Video Guide

Previous
Previous

Castlevania: Belmont’s Curse Holy Innocents’ Cemetery All Collectibles

Next
Next

Castlevania: Belmont’s Curse Paris Streets All Collectibles