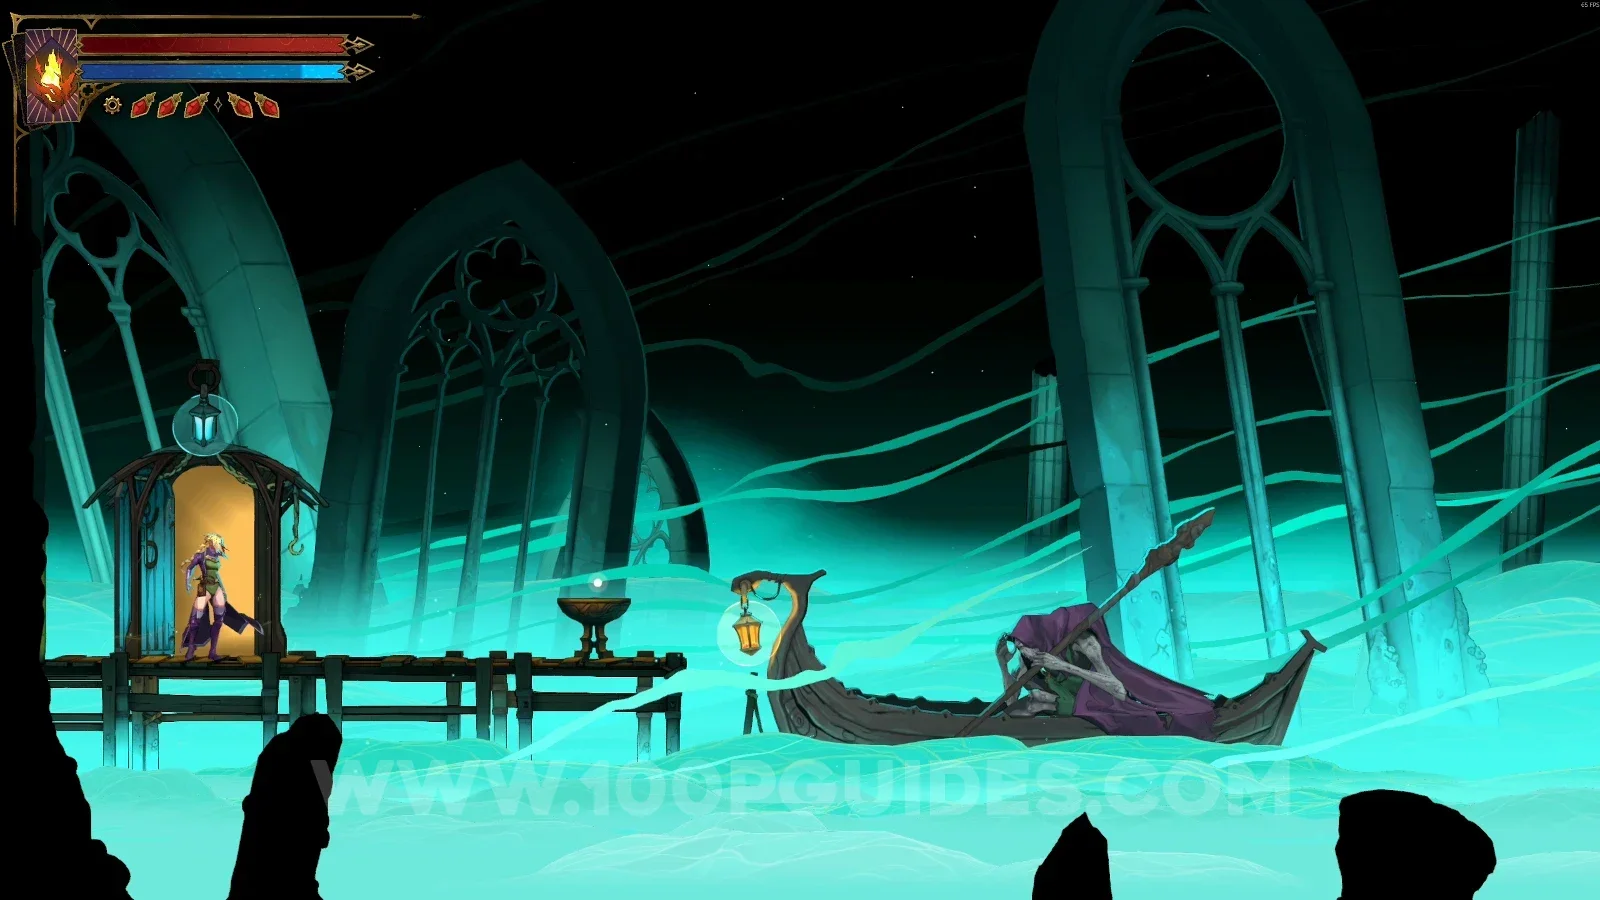
Castlevania: Belmont’s Curse Paris Streets All Collectibles

This guide will show you the location of all collectibles in Paris Streets in Castlevania: Belmont's Curse.

Collecting everything is required to get the Perfectionist Hunter Trophy / Achievement.


Bank Of The River Seine

Arcana: Cursed Flame

Story-related: you start the game with this arcana.
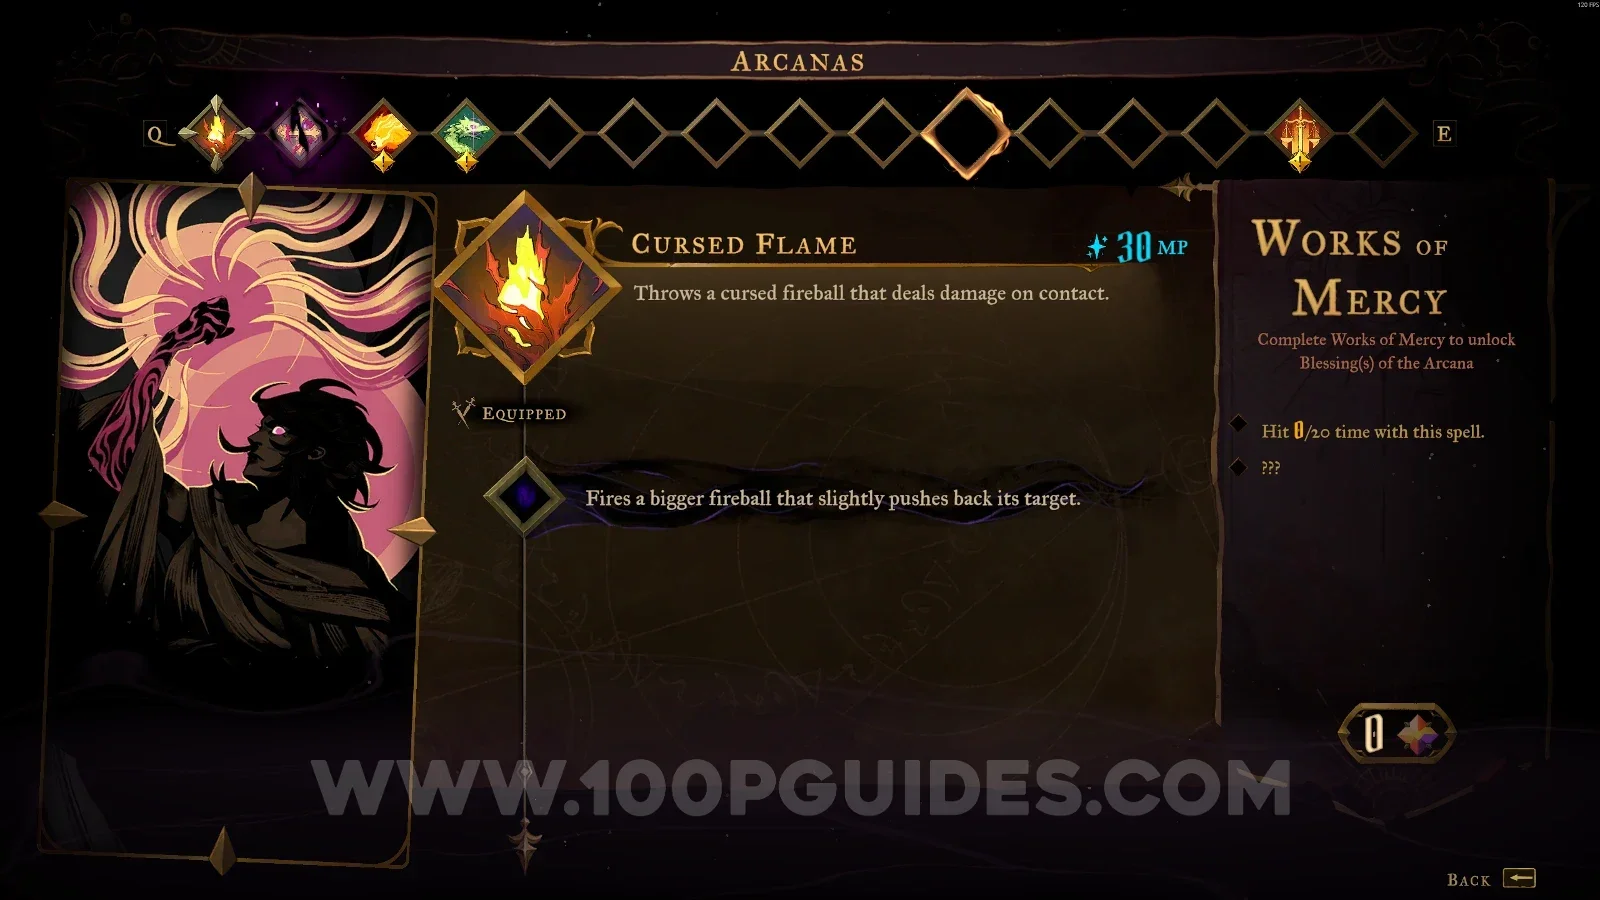
Castlevania Belmonts Curse Bank Of The River Seine: Cursed Flame arcana owned from the start of the game

Weapon #1: Longsword

Story-related: you start the game with this weapon.
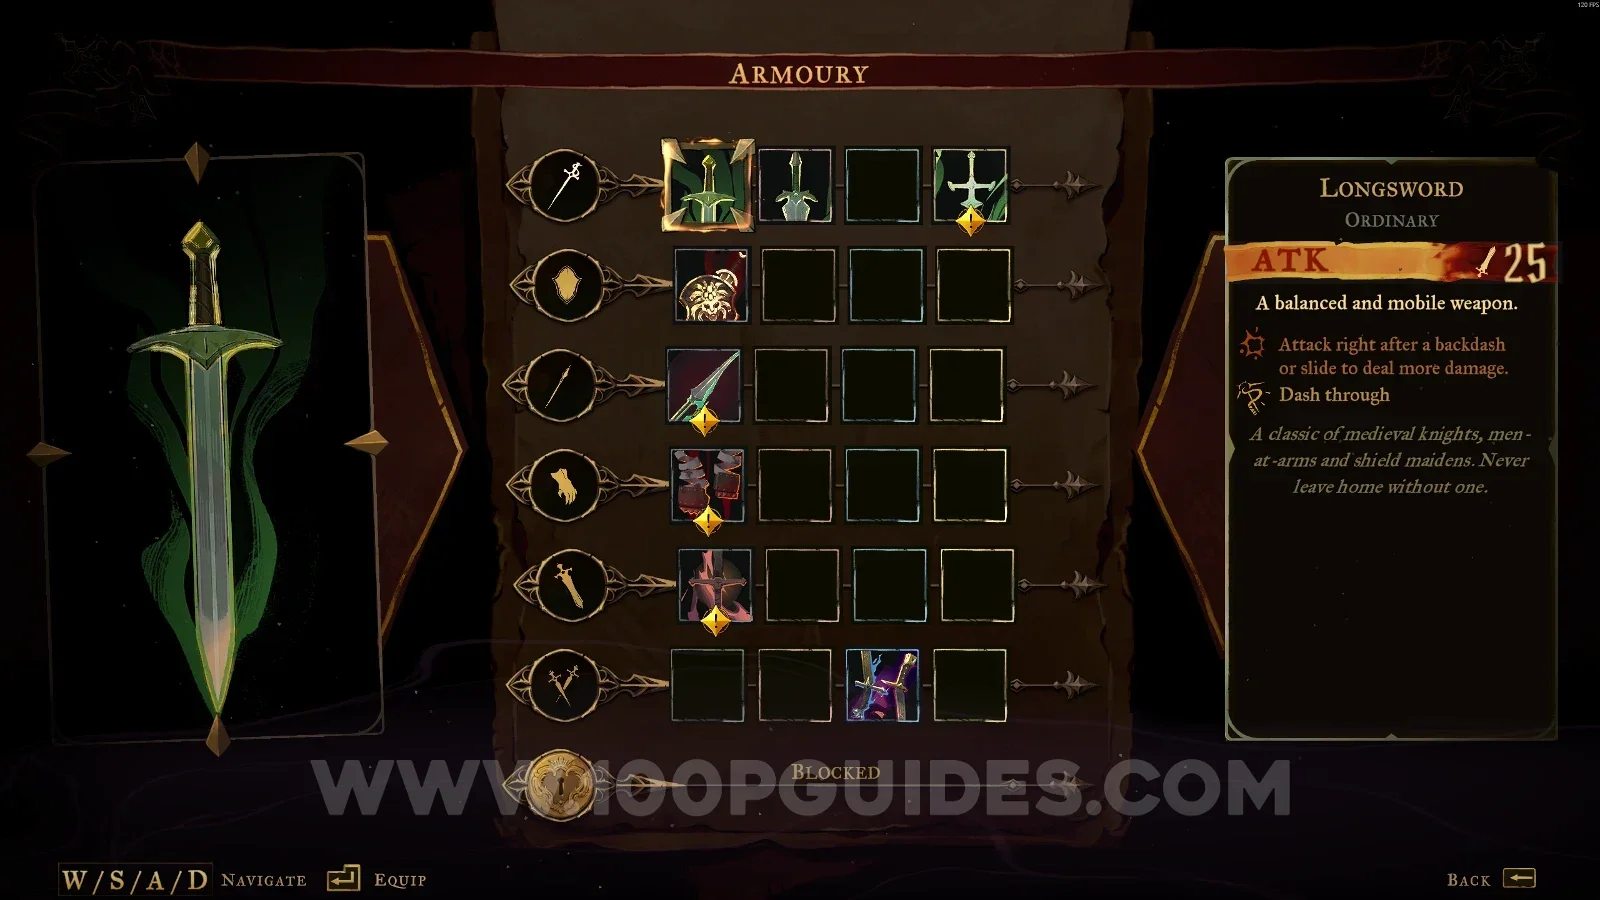
Castlevania Belmonts Curse Bank Of The River Seine: the Longsword, weapon #1 held from the start

Clue: The Cursed

Story-related: you start the game with this clue.
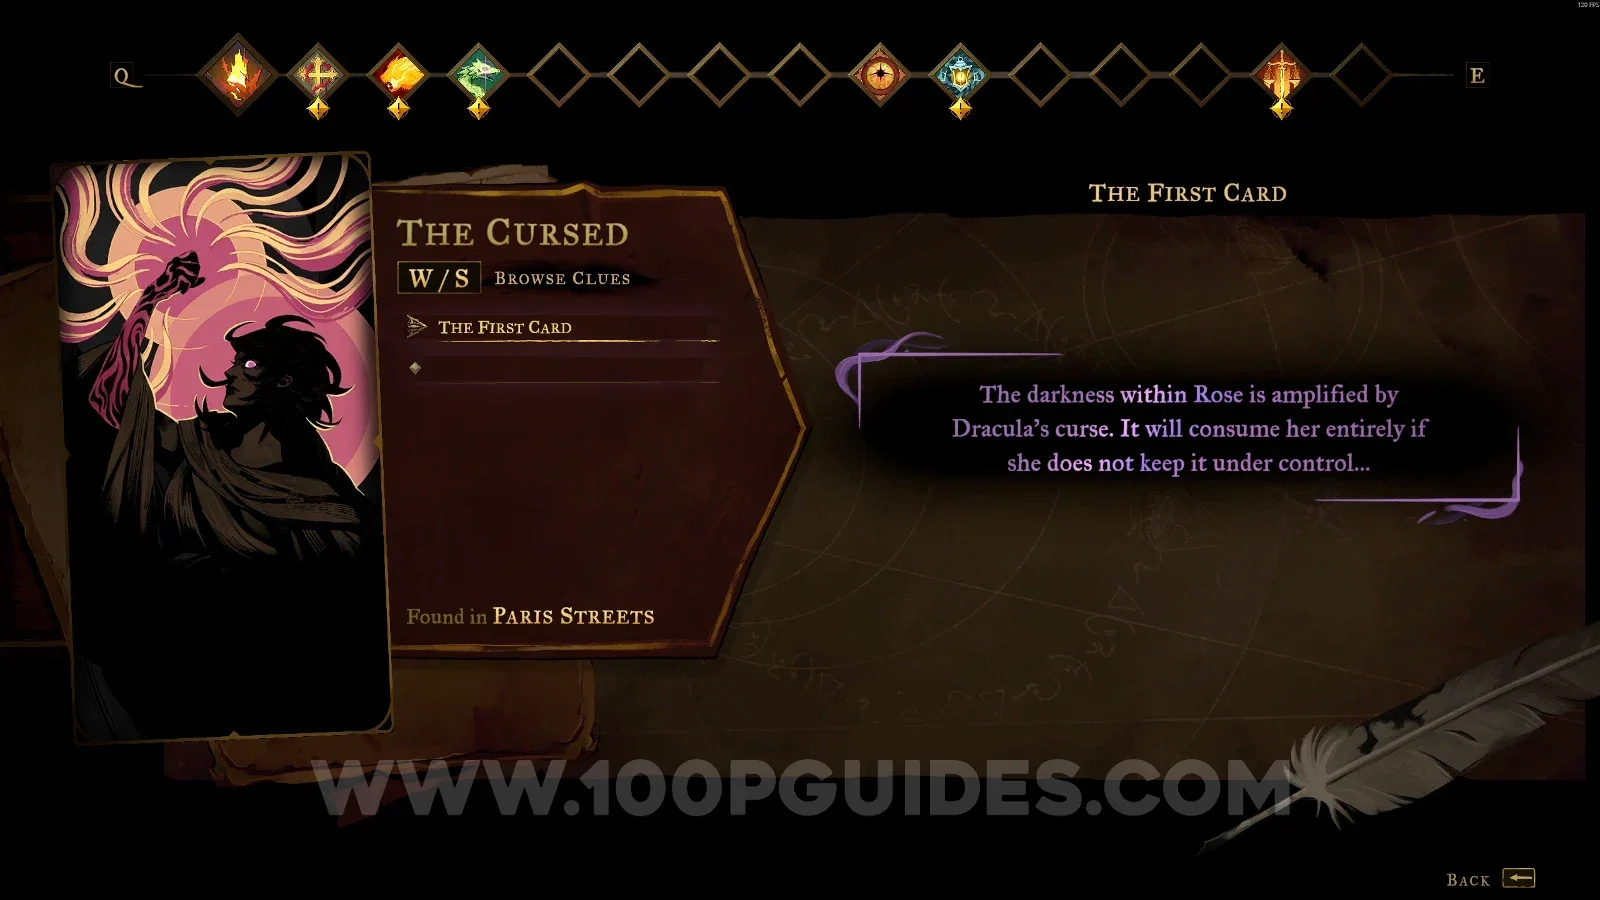
Castlevania Belmonts Curse Bank Of The River Seine: clue The Cursed received at the start of the game

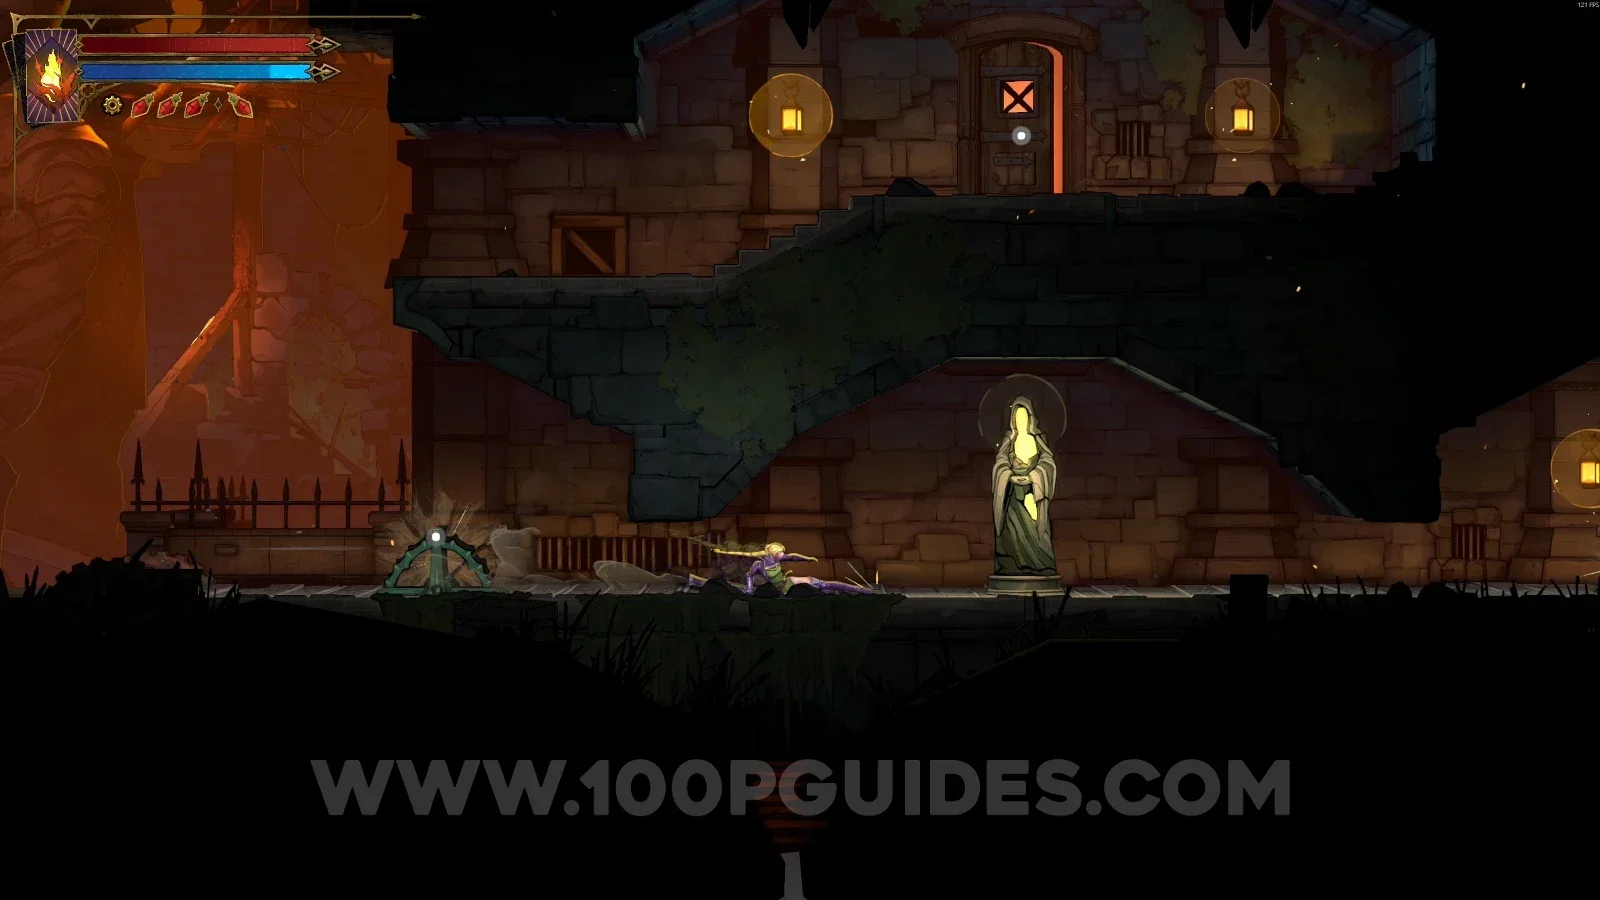
Street Of The Tomb Masons

XP Statue #1

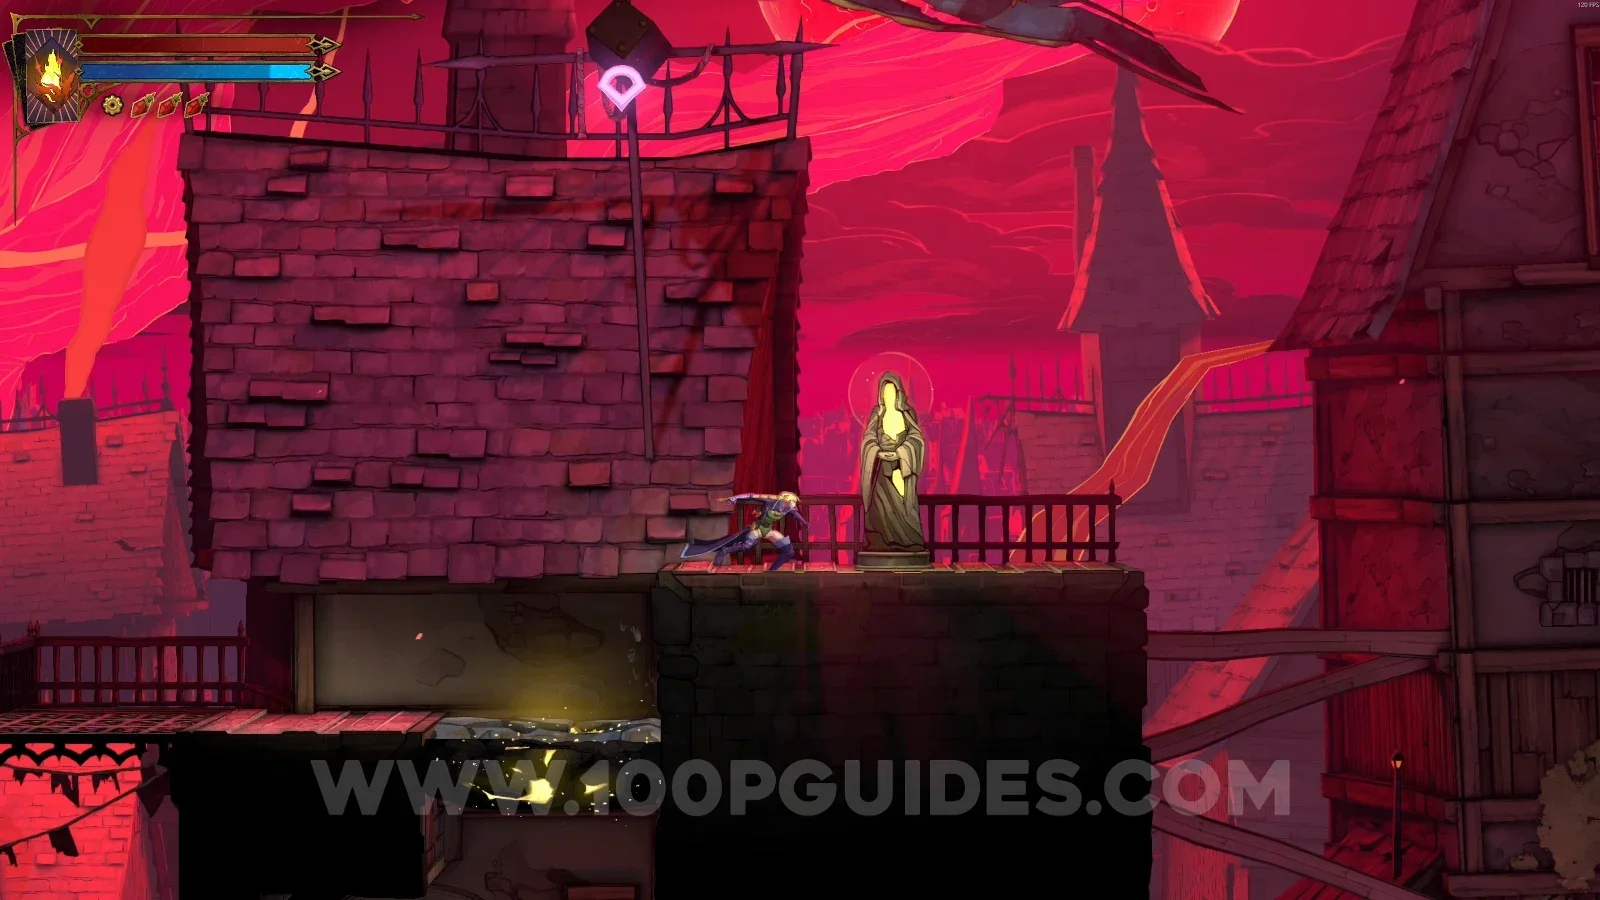
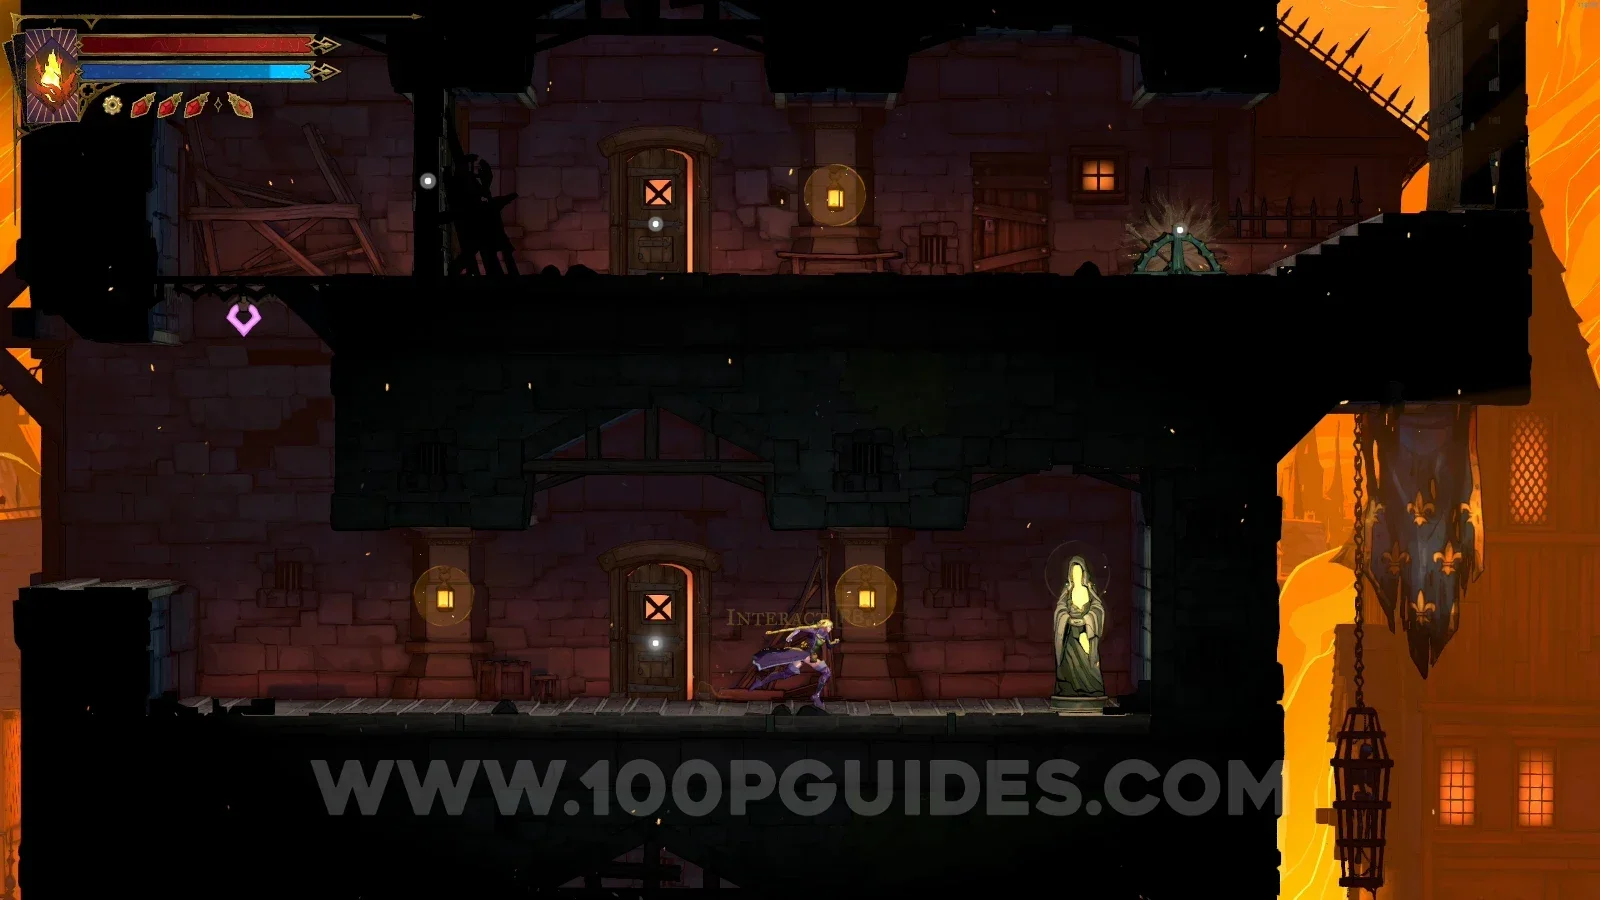
In the upper section, next to a floor you can break with the dive ability.
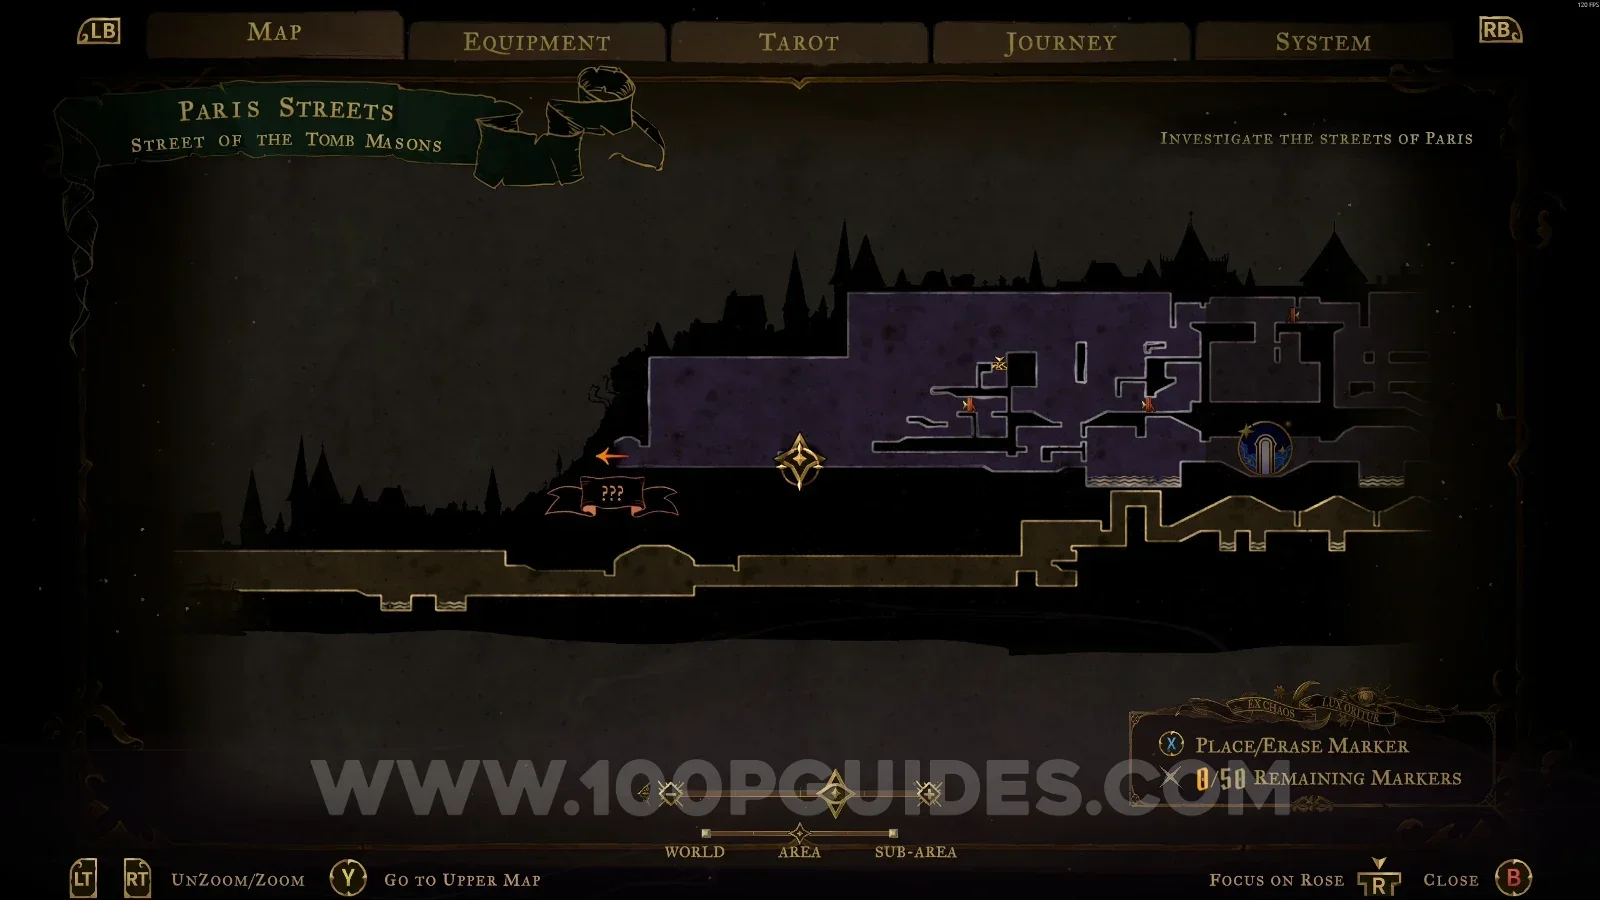
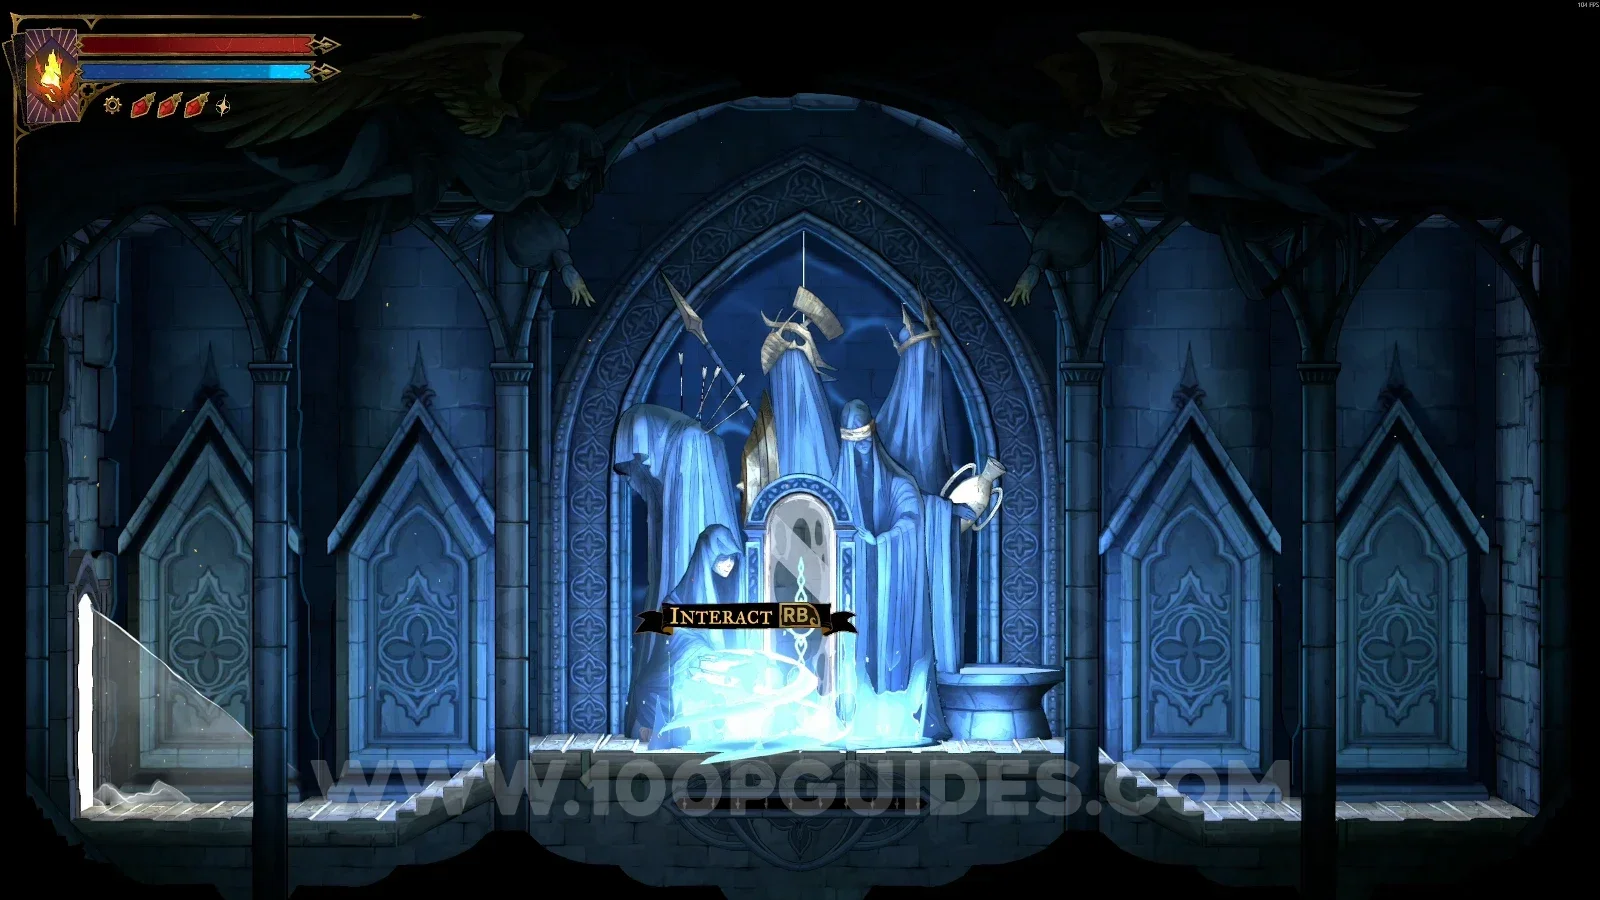
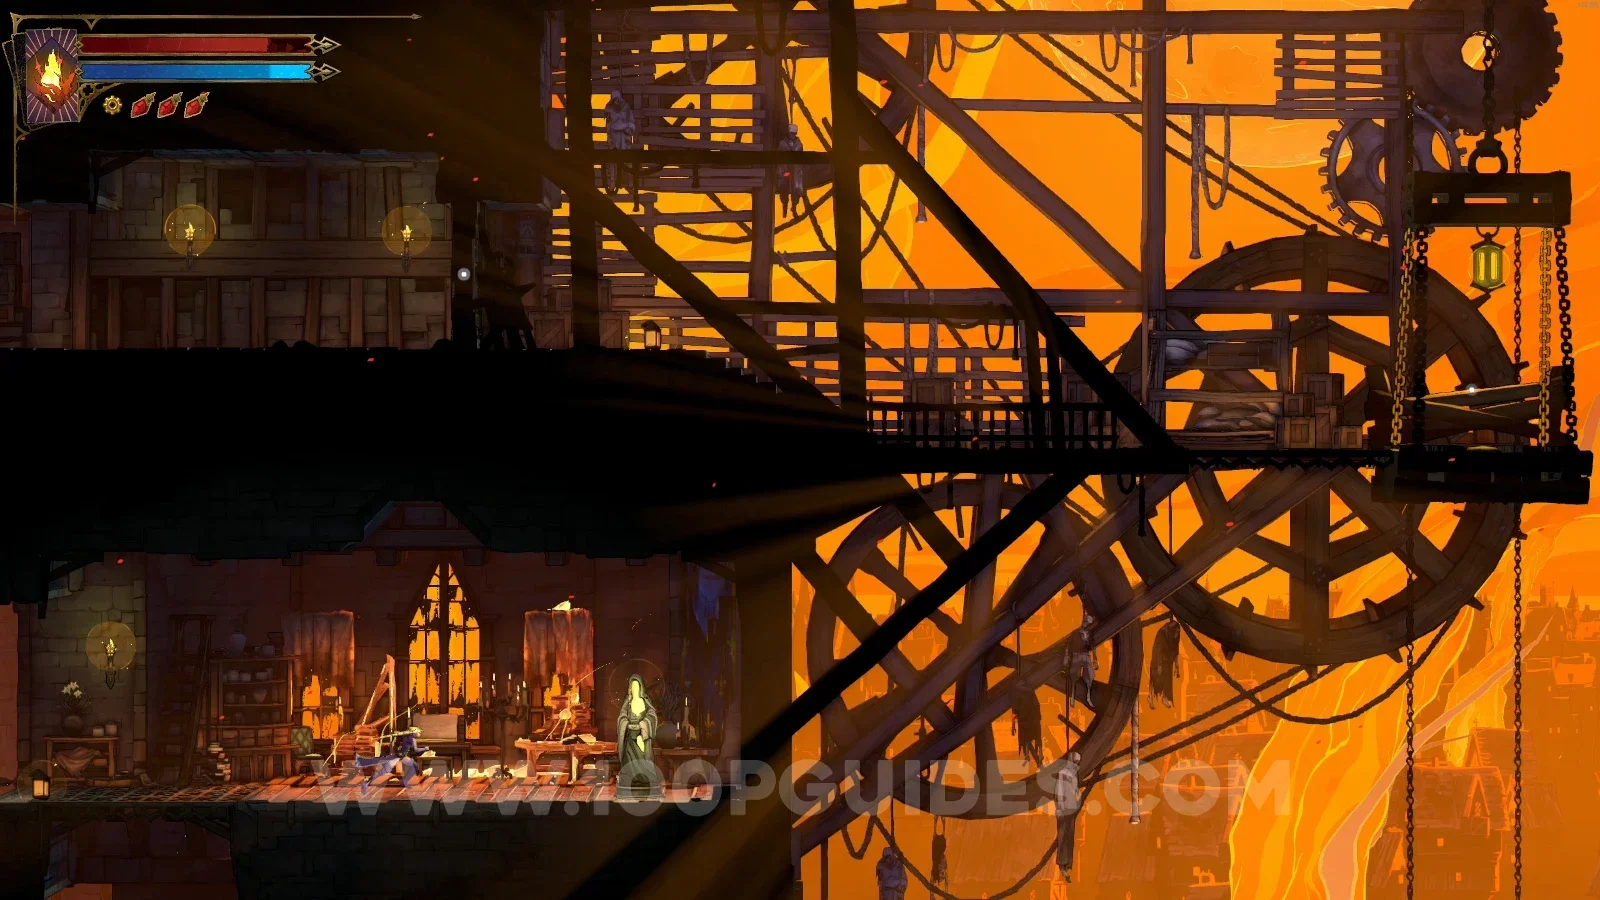
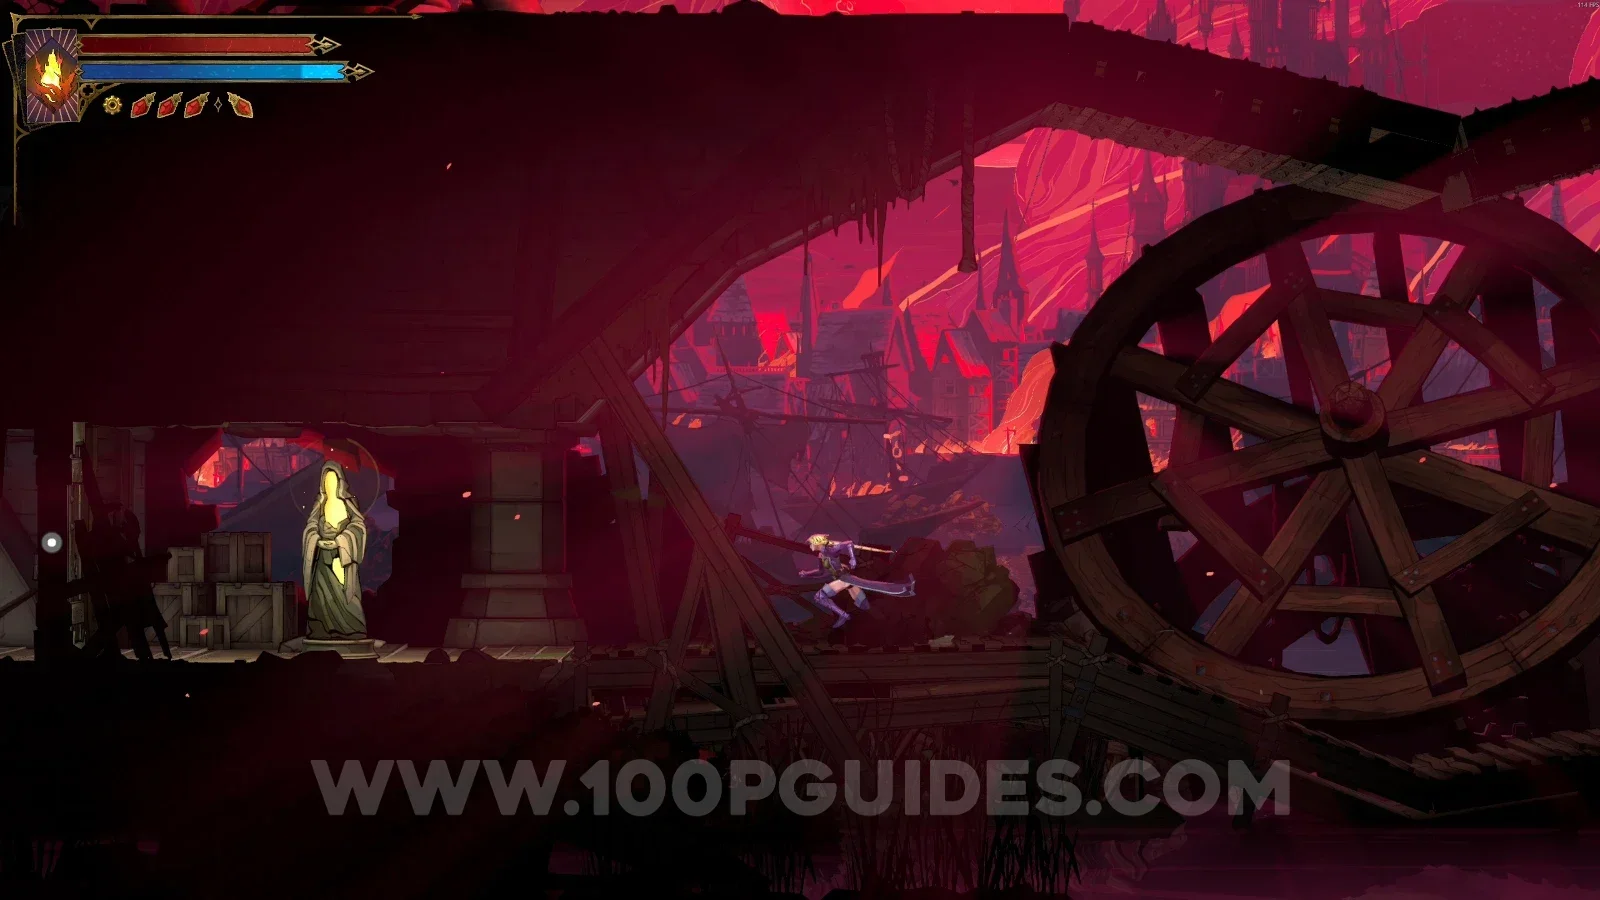
Castlevania Belmonts Curse Street Of The Tomb Masons: upper section floor breakable with the dive ability Castlevania Belmonts Curse Street Of The Tomb Masons: XP Statue #1 next to the breakable floor

Clue: The Whisperer + Relic #1: Thrilling Eye

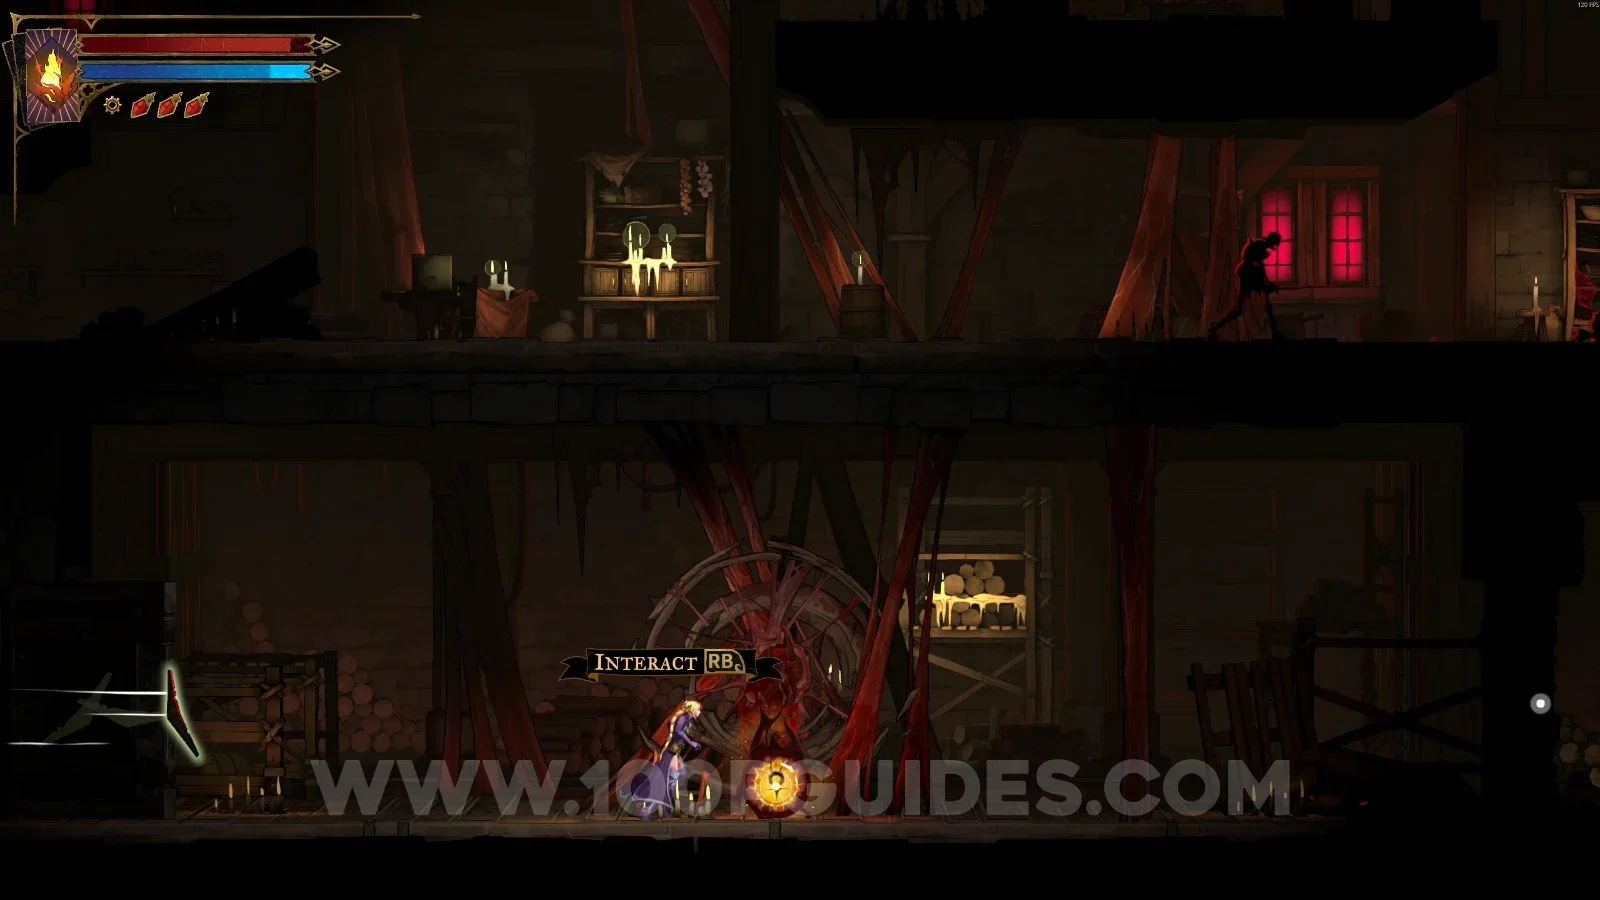
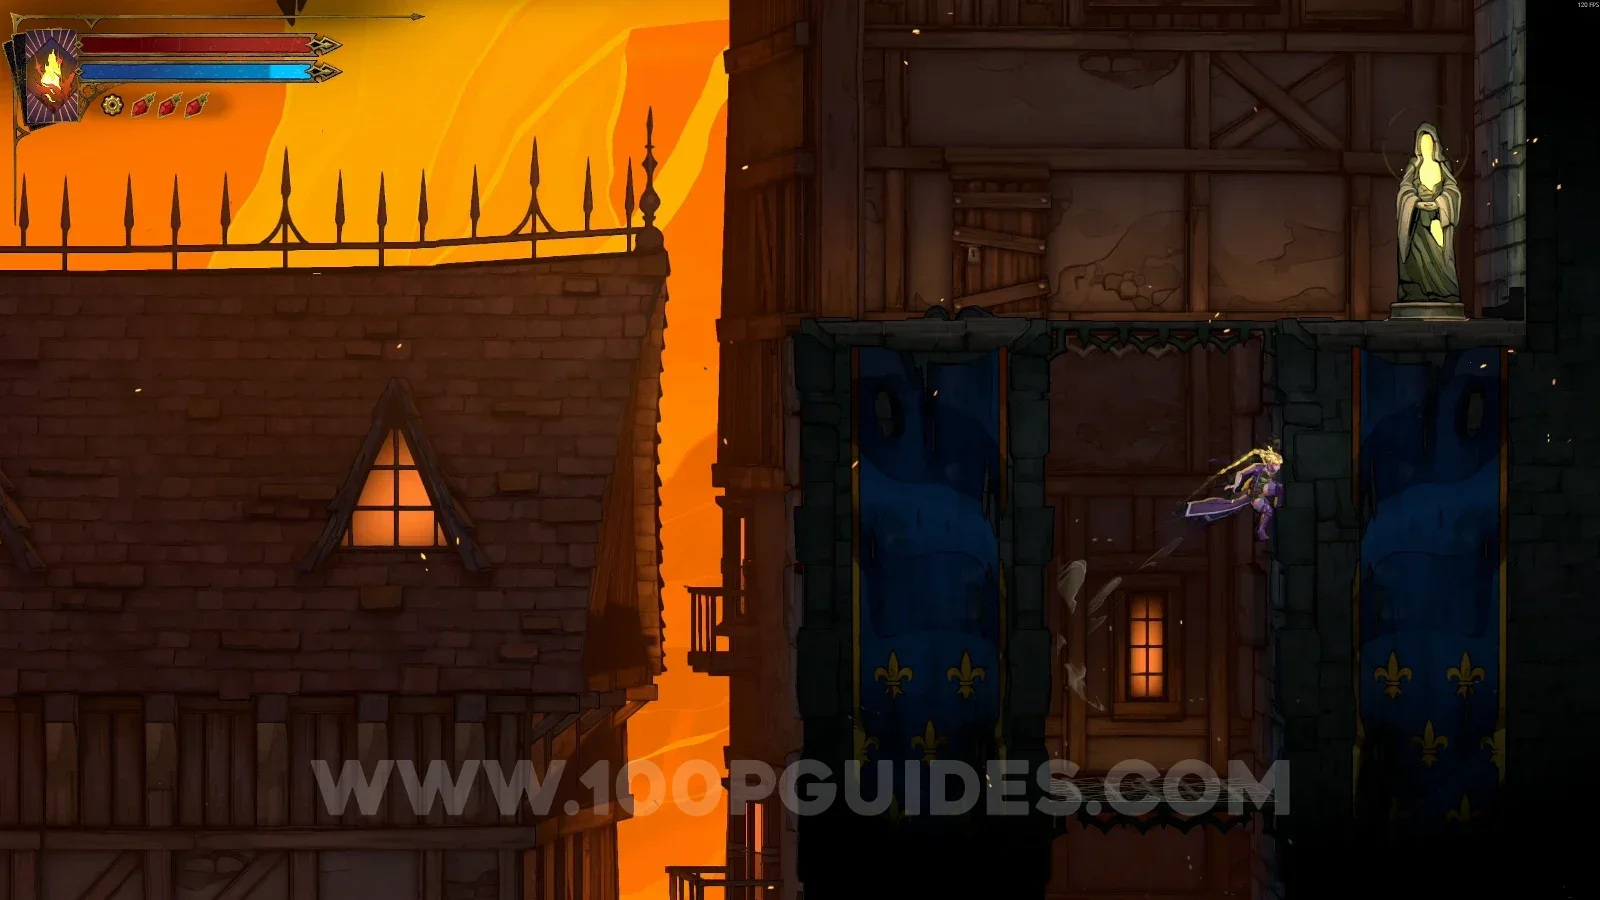
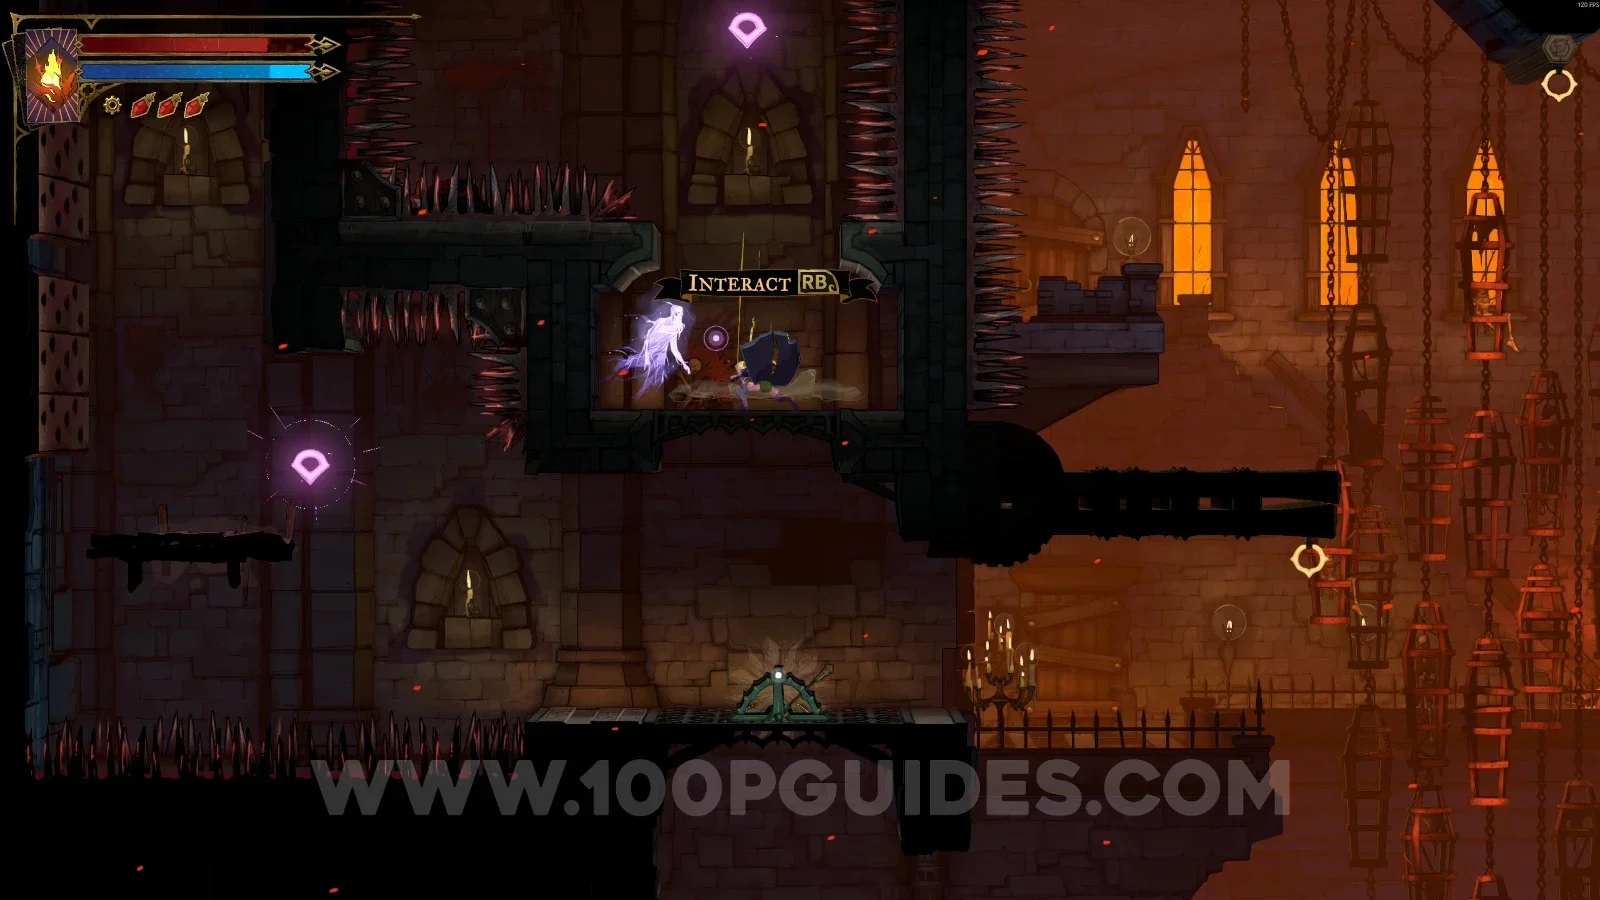
Same area as the previous statue. Use the dive ability and go through the door. Inside the new room you'll find this clue, and the relic is on the lowest level of the room.
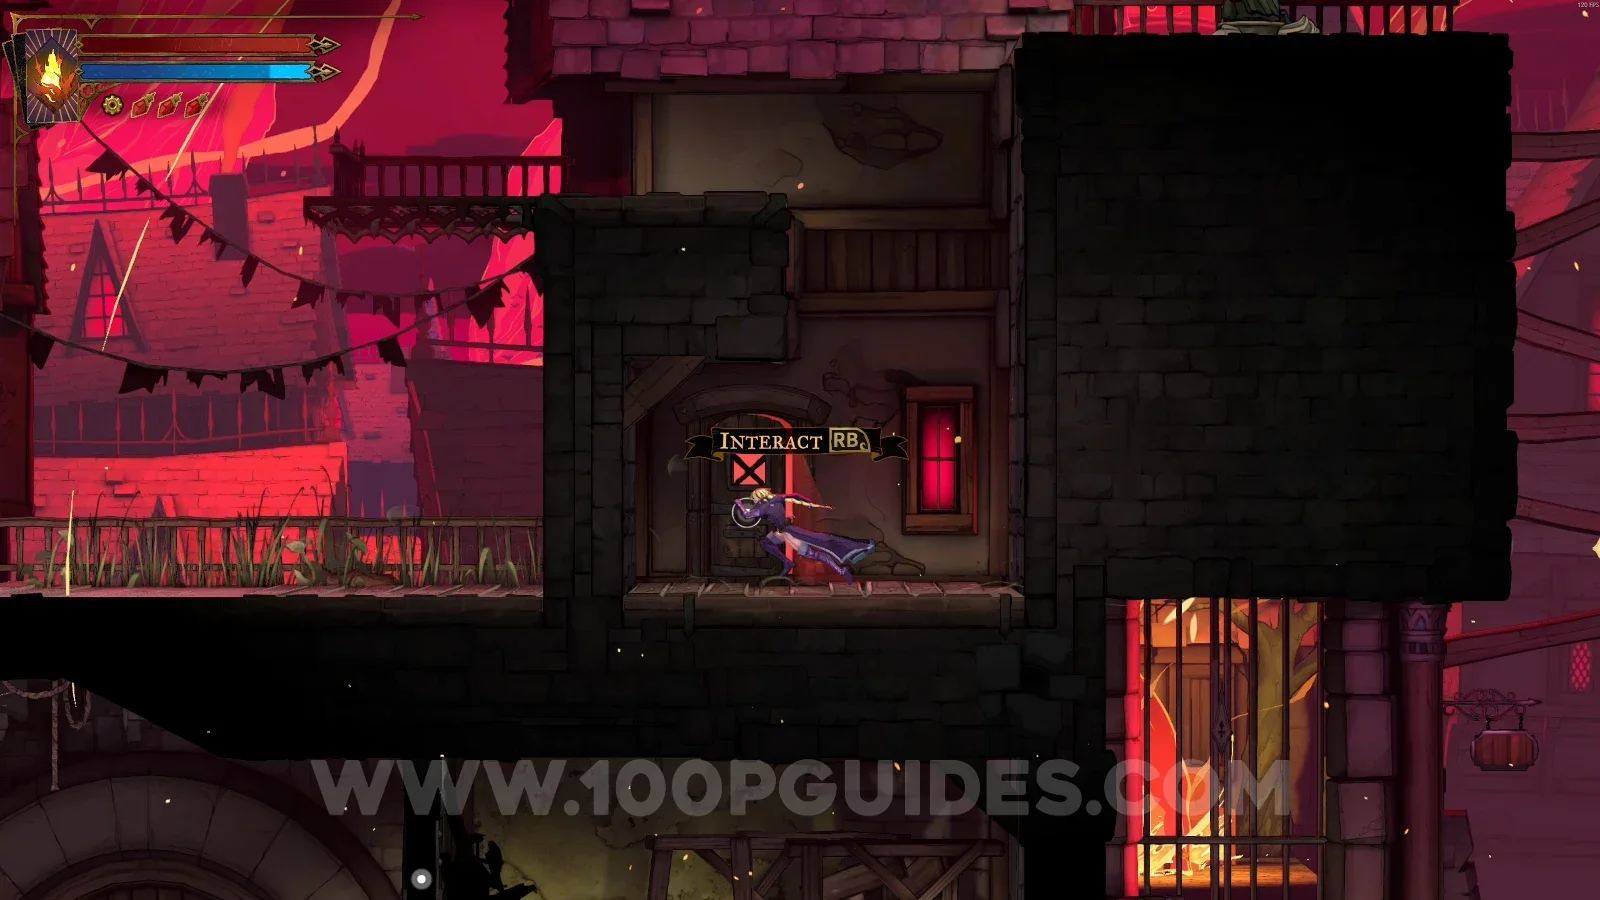
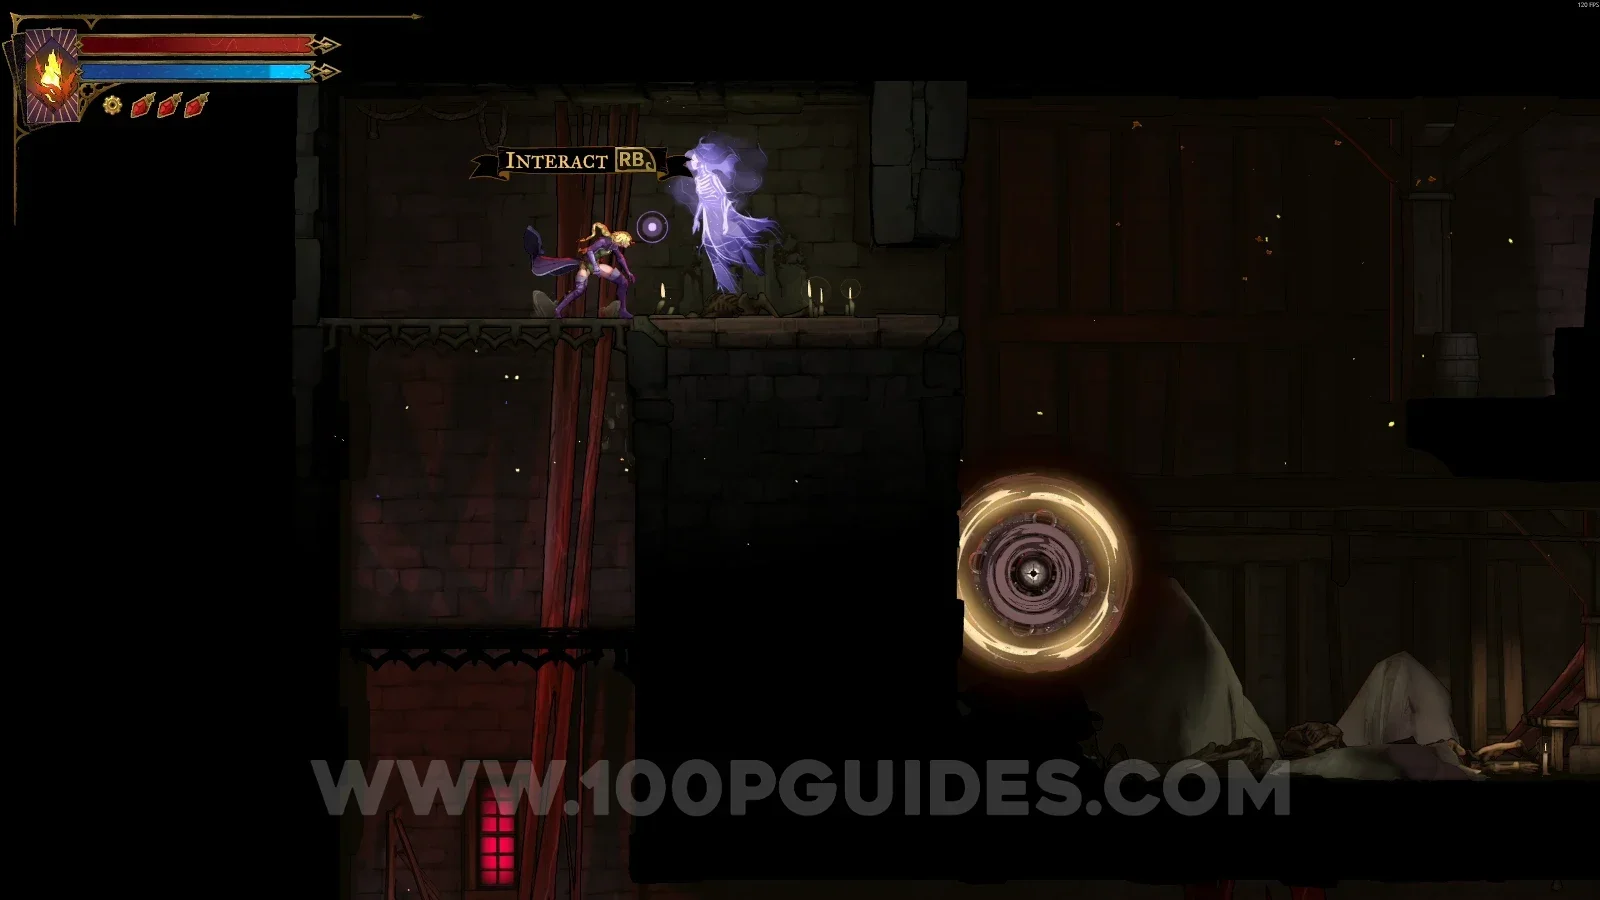
Castlevania Belmonts Curse Street Of The Tomb Masons: diving down to the door near XP Statue #1 Castlevania Belmonts Curse Street Of The Tomb Masons: clue The Whisperer inside the room behind the door Castlevania Belmonts Curse Street Of The Tomb Masons: Relic #1 Thrilling Eye on the lowest level of the room

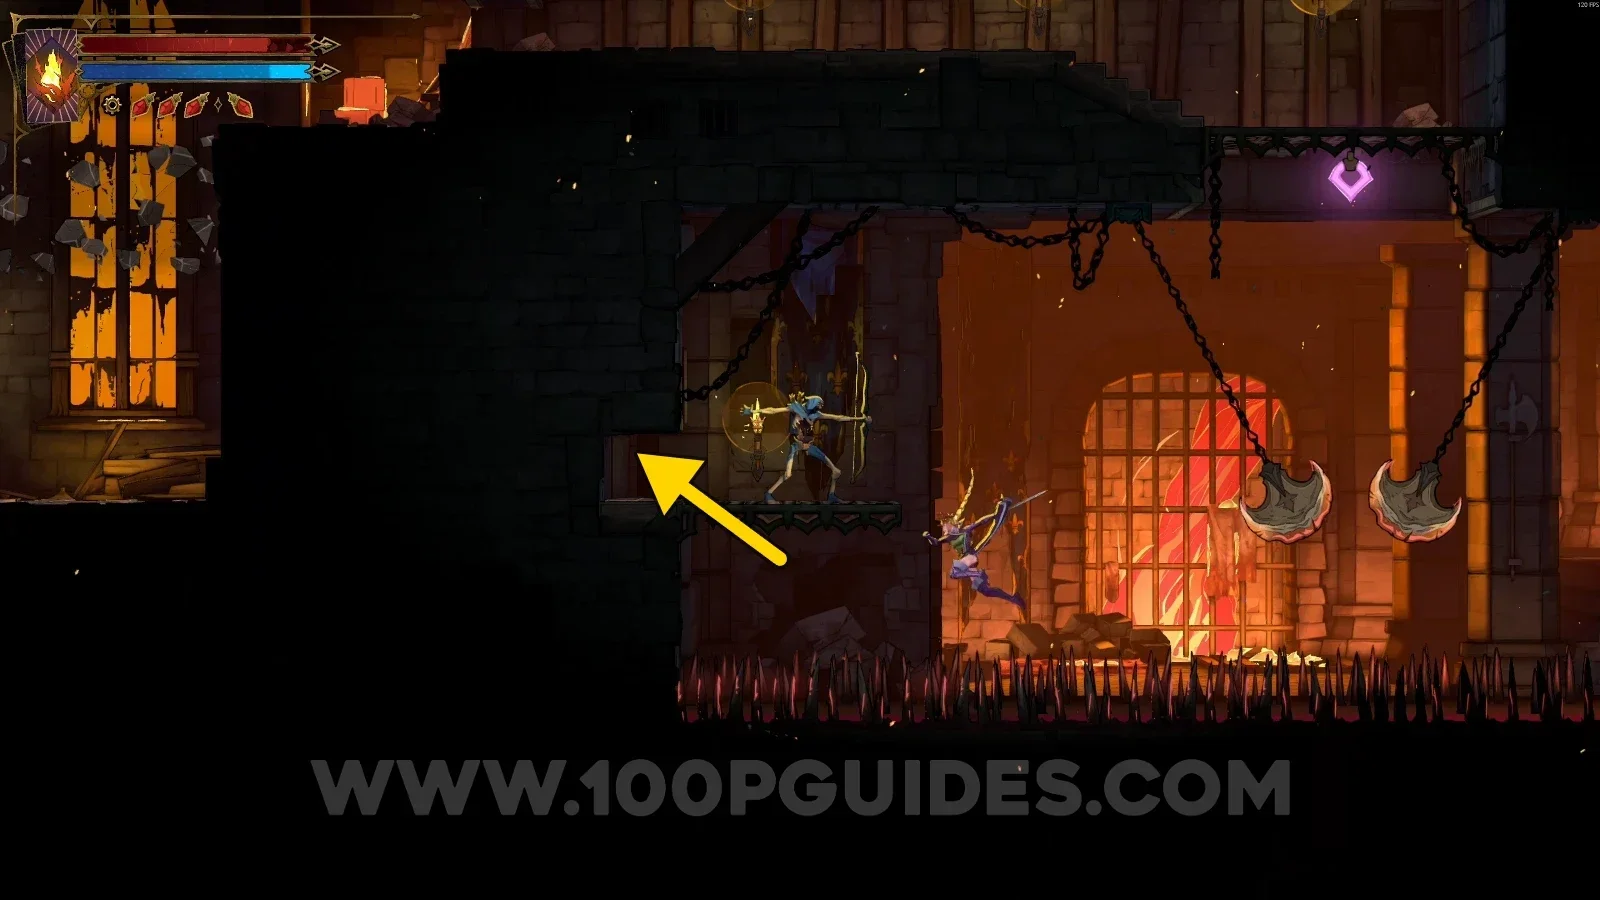
XP Statue #2

On the left side of the area, jump to the upper part to reveal a secret room containing the statue.
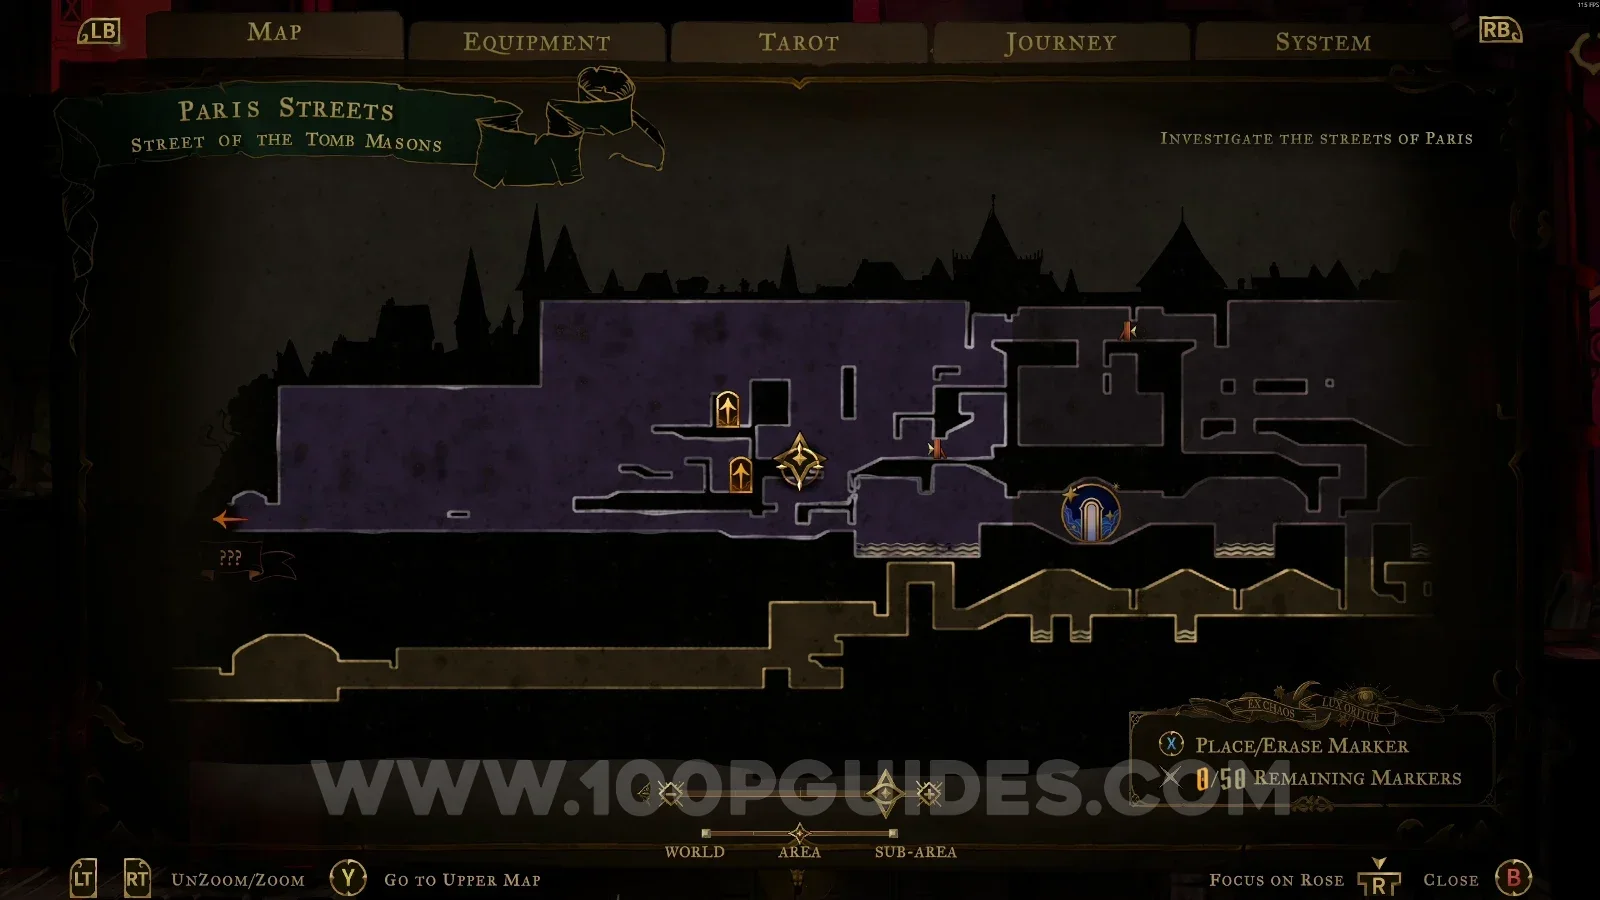
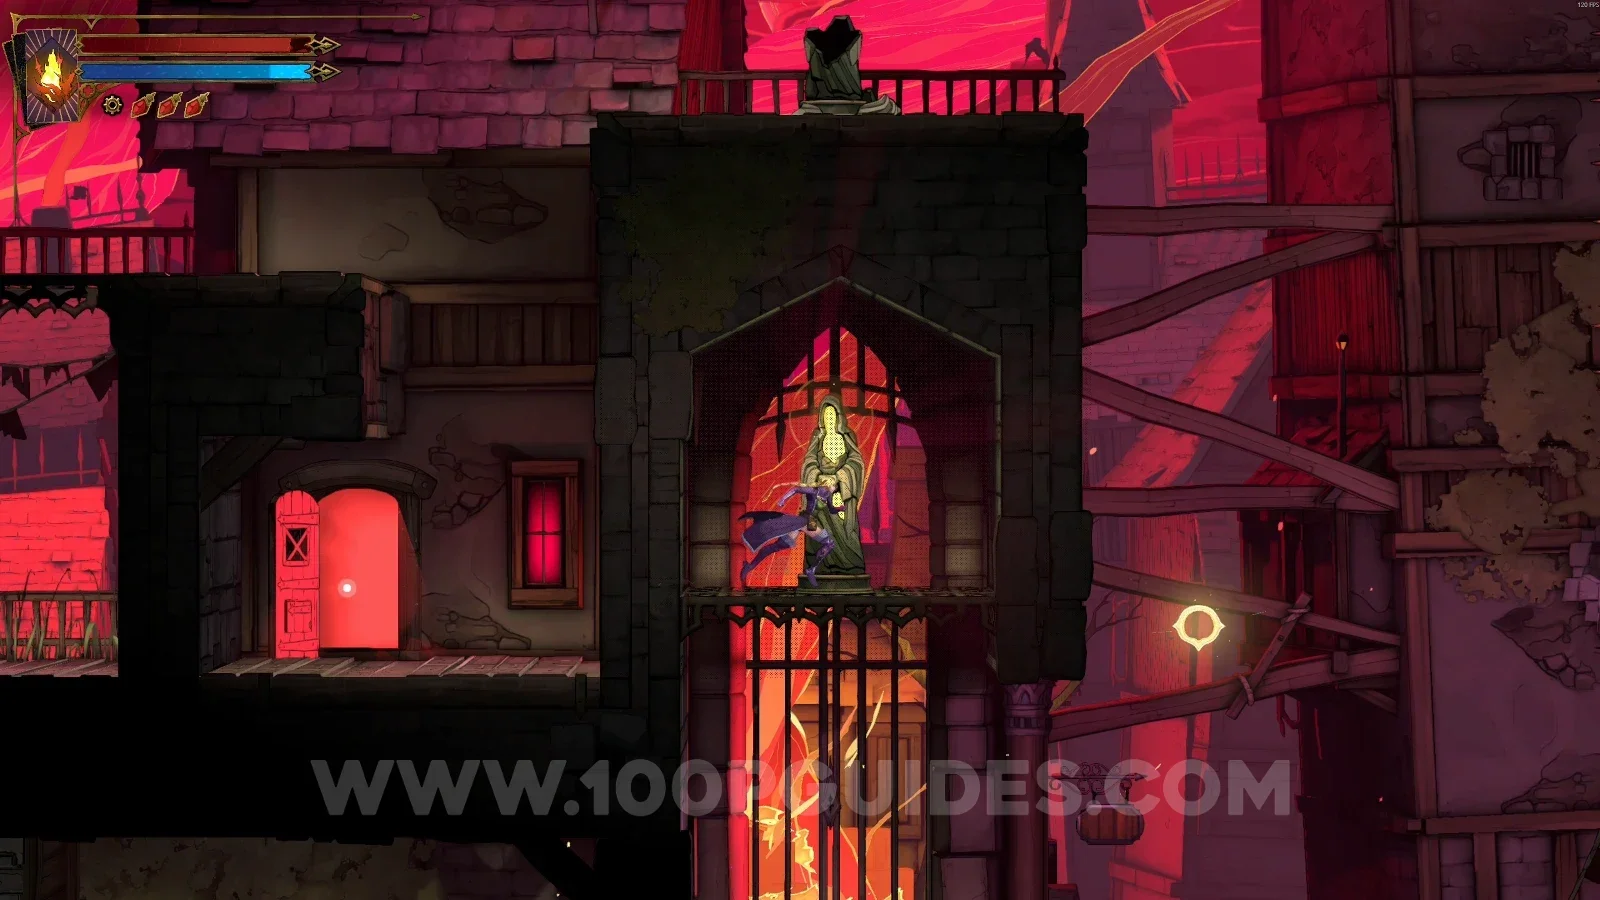
Castlevania Belmonts Curse Street Of The Tomb Masons: jumping to the upper left part to reveal a secret room Castlevania Belmonts Curse Street Of The Tomb Masons: XP Statue #2 inside the secret room on the left side

XP Statue #3

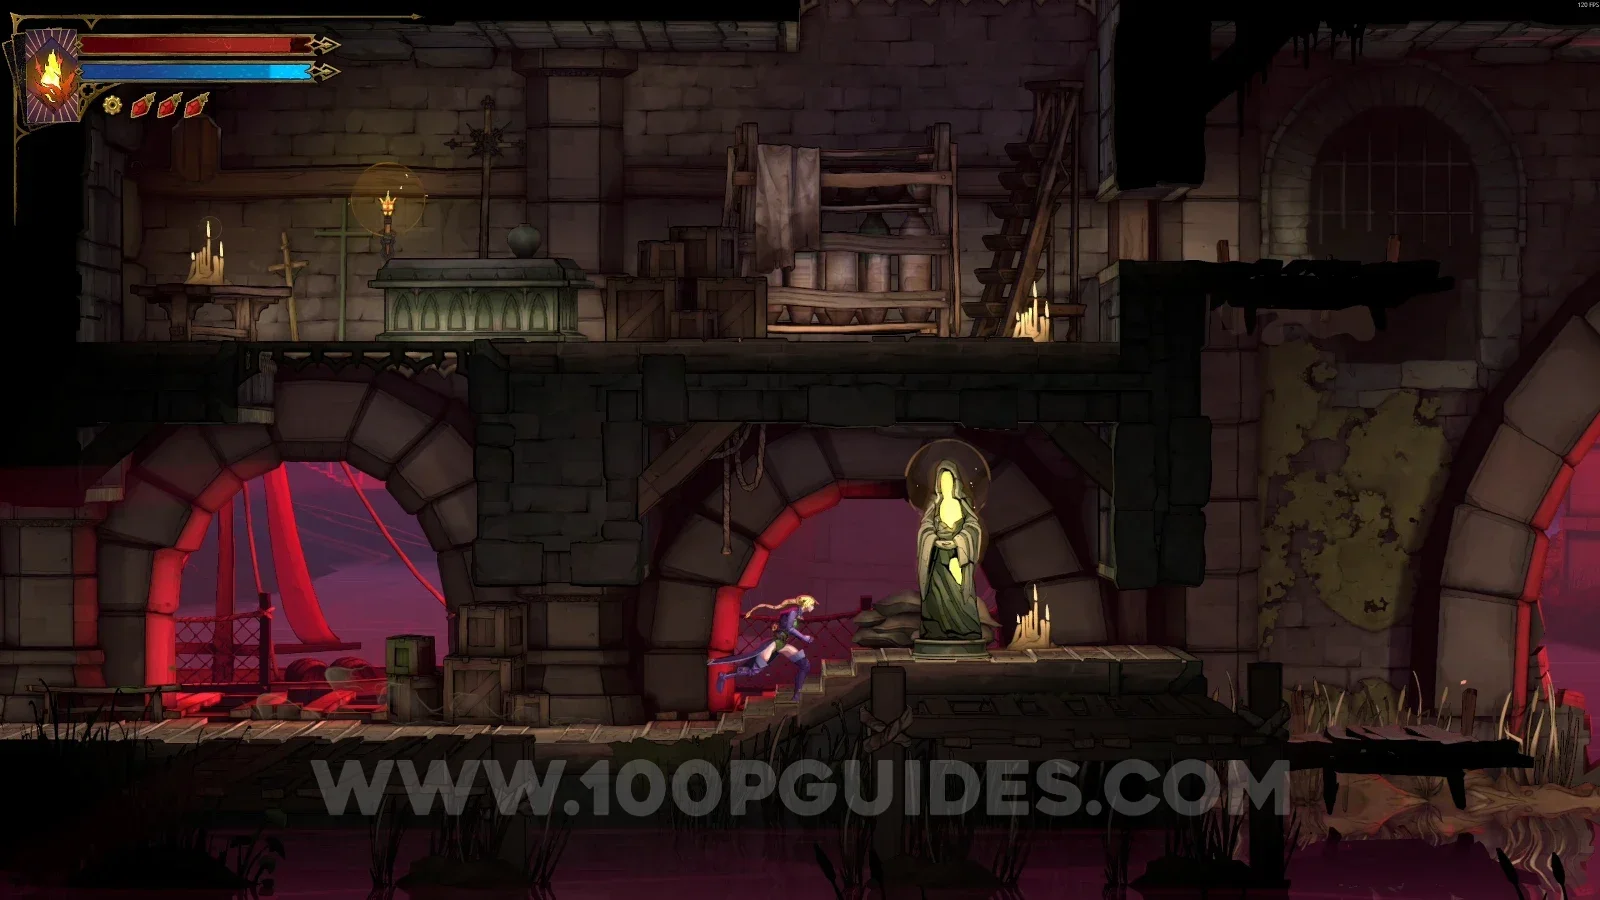
Go down to the lower section to find this statue.
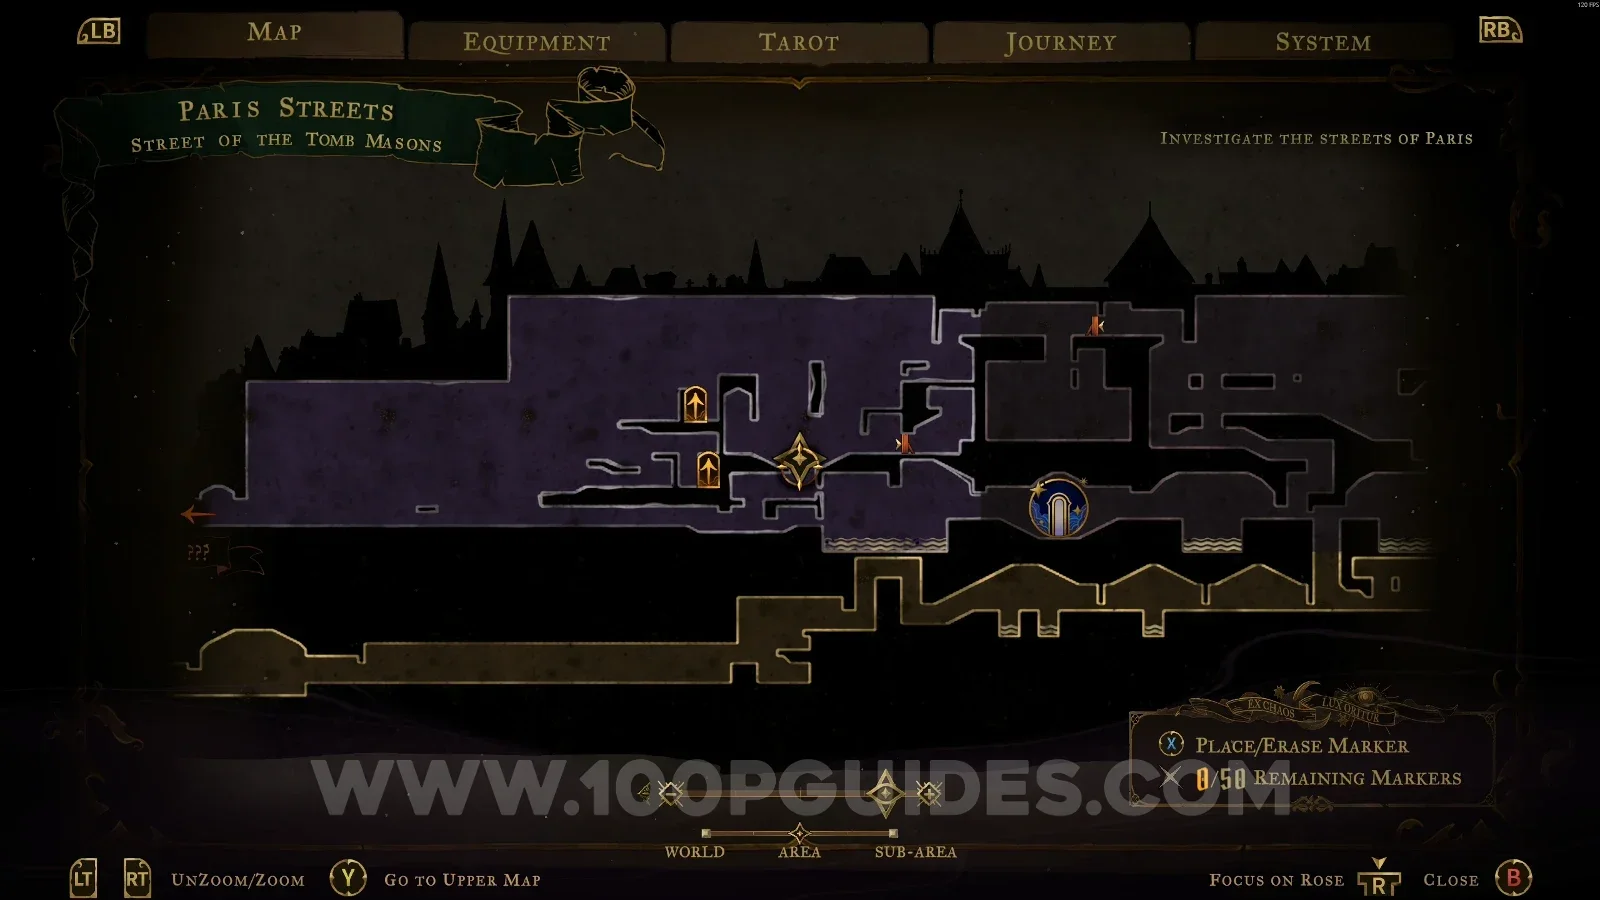
Castlevania Belmonts Curse Street Of The Tomb Masons: heading down to the lower section for XP Statue #3 Castlevania Belmonts Curse Street Of The Tomb Masons: XP Statue #3 in the lower section

XP Statue #4

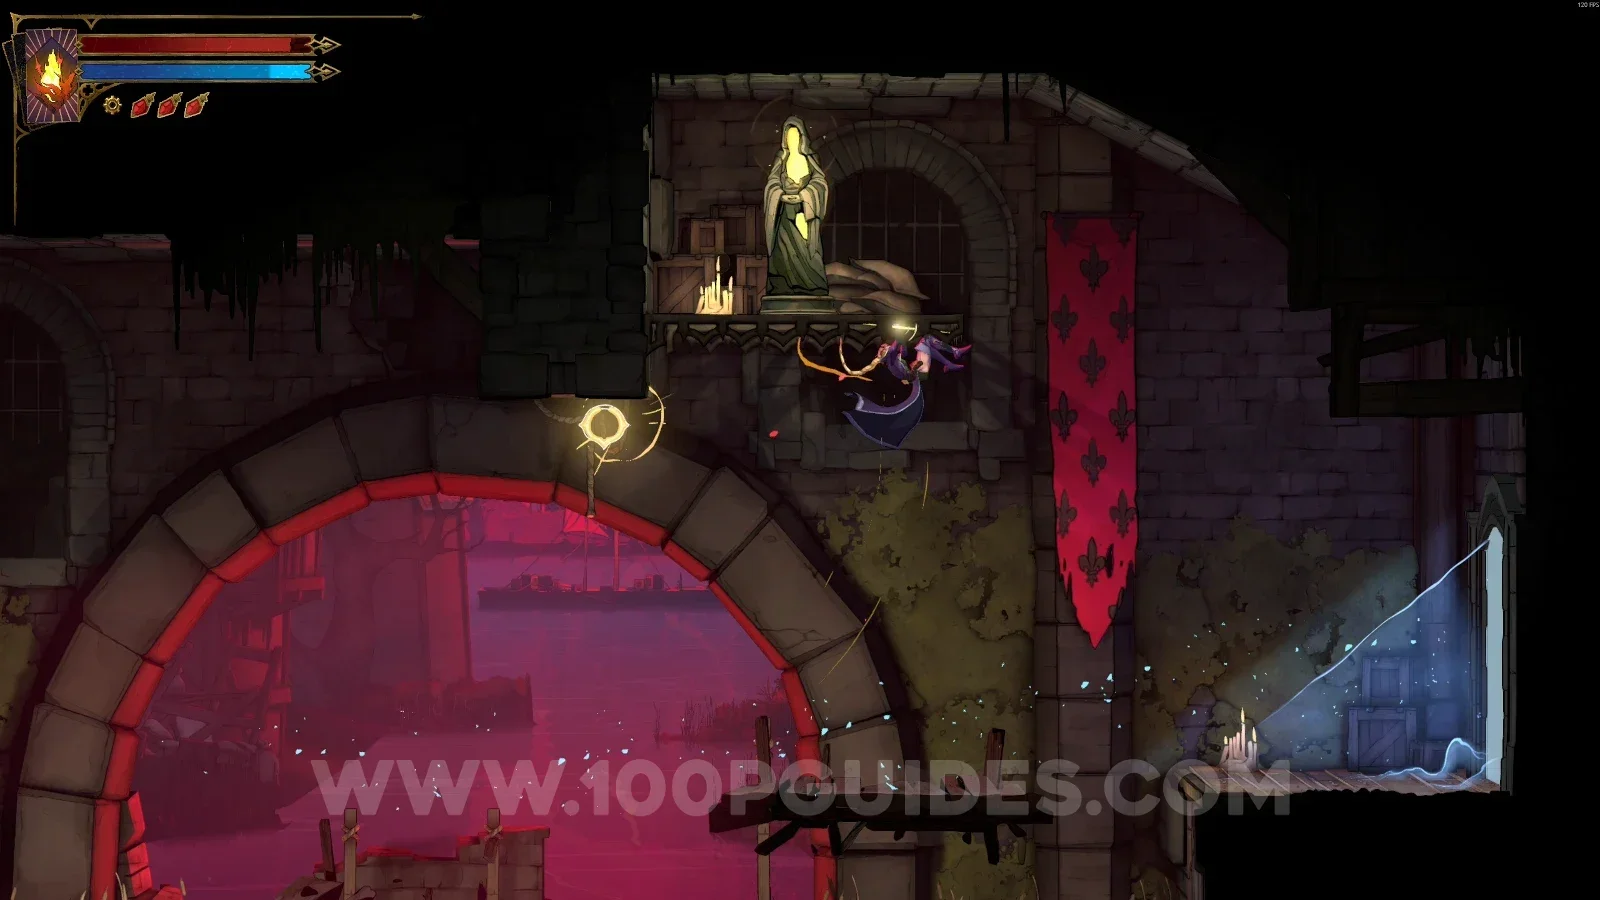
Same area as the previous statue, on the right side.
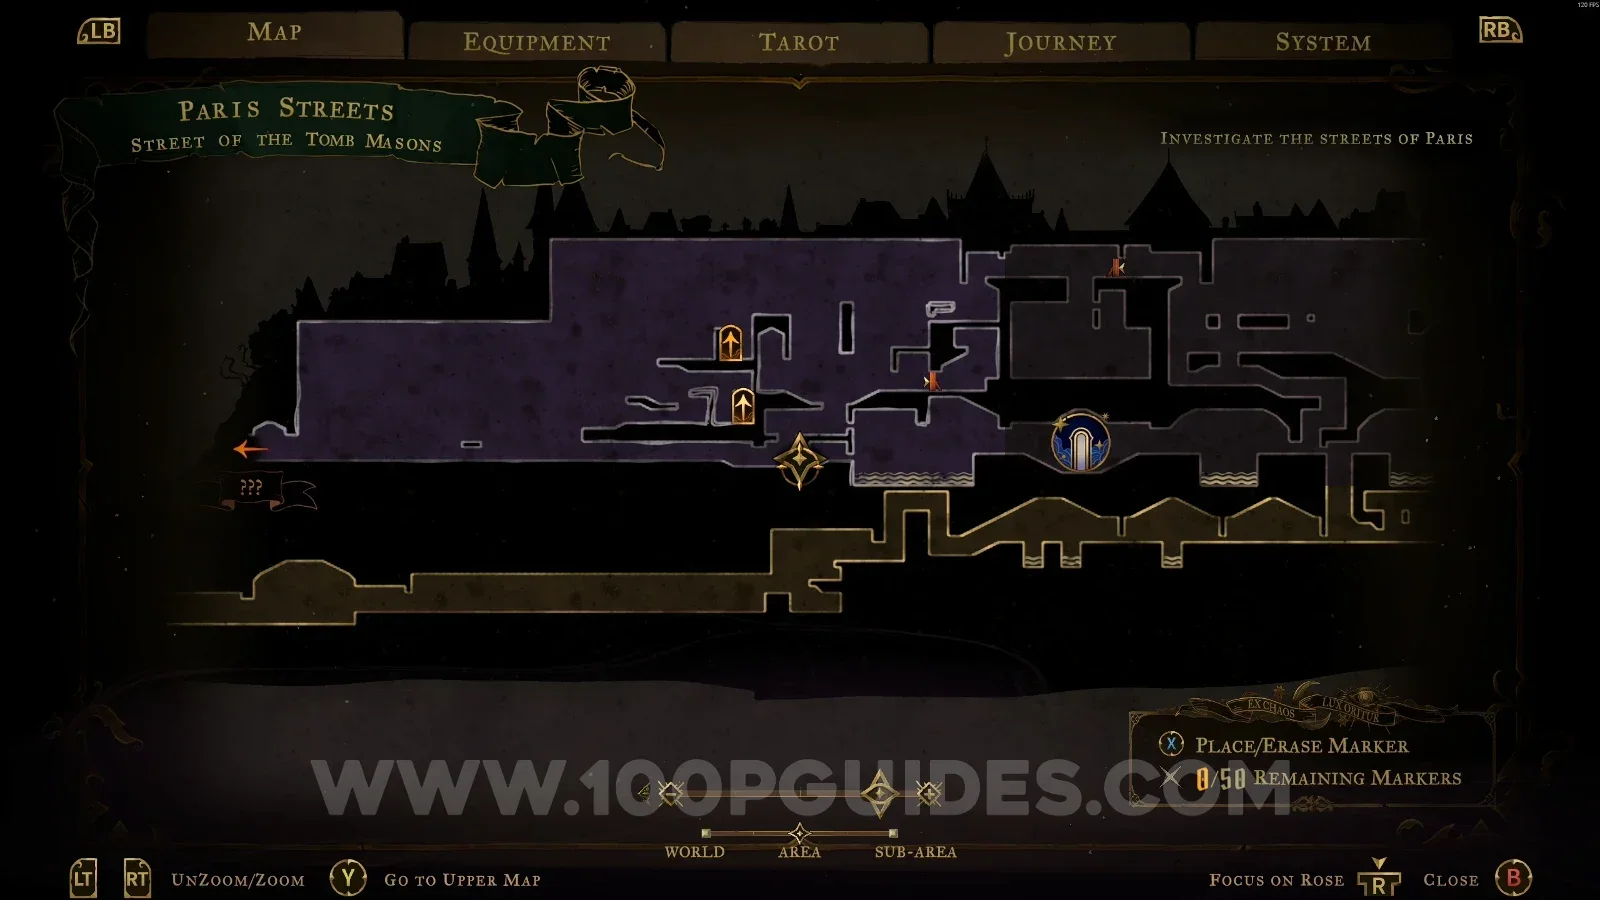
Castlevania Belmonts Curse Street Of The Tomb Masons: right side of the lower section where XP Statue #4 sits Castlevania Belmonts Curse Street Of The Tomb Masons: XP Statue #4 on the right side of the lower section

XP Statue #5 - #6 + Wise Heart Fragment #1

Go through the door marked on the map to find 2 XP Statues inside, then exit through the door in the lower area of the room and go up to find the Wise Heart.
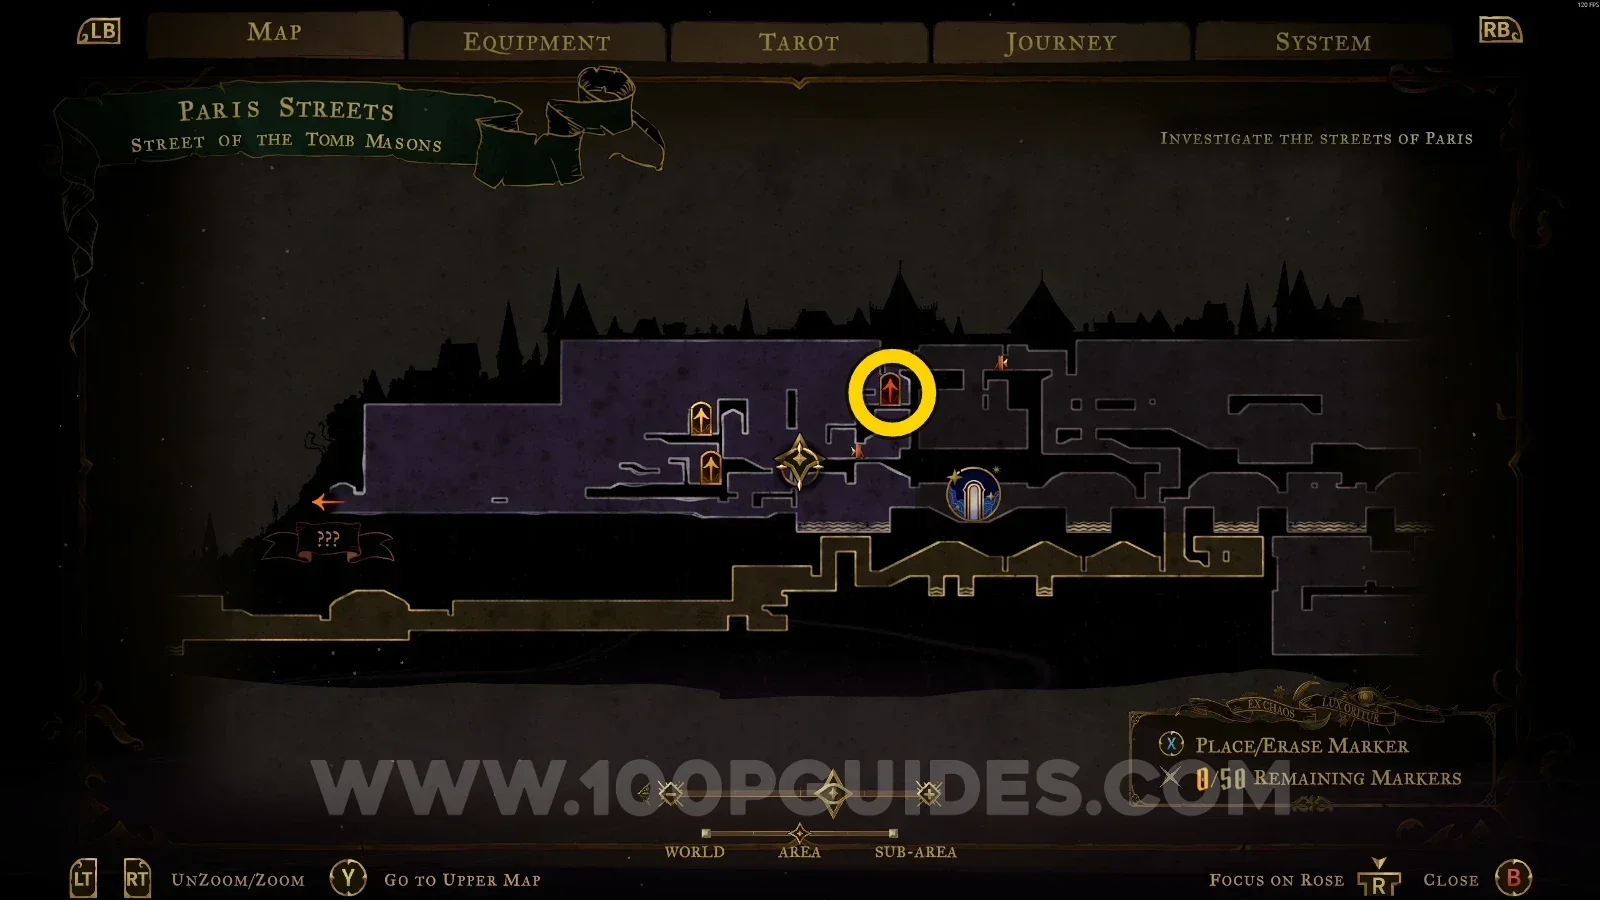
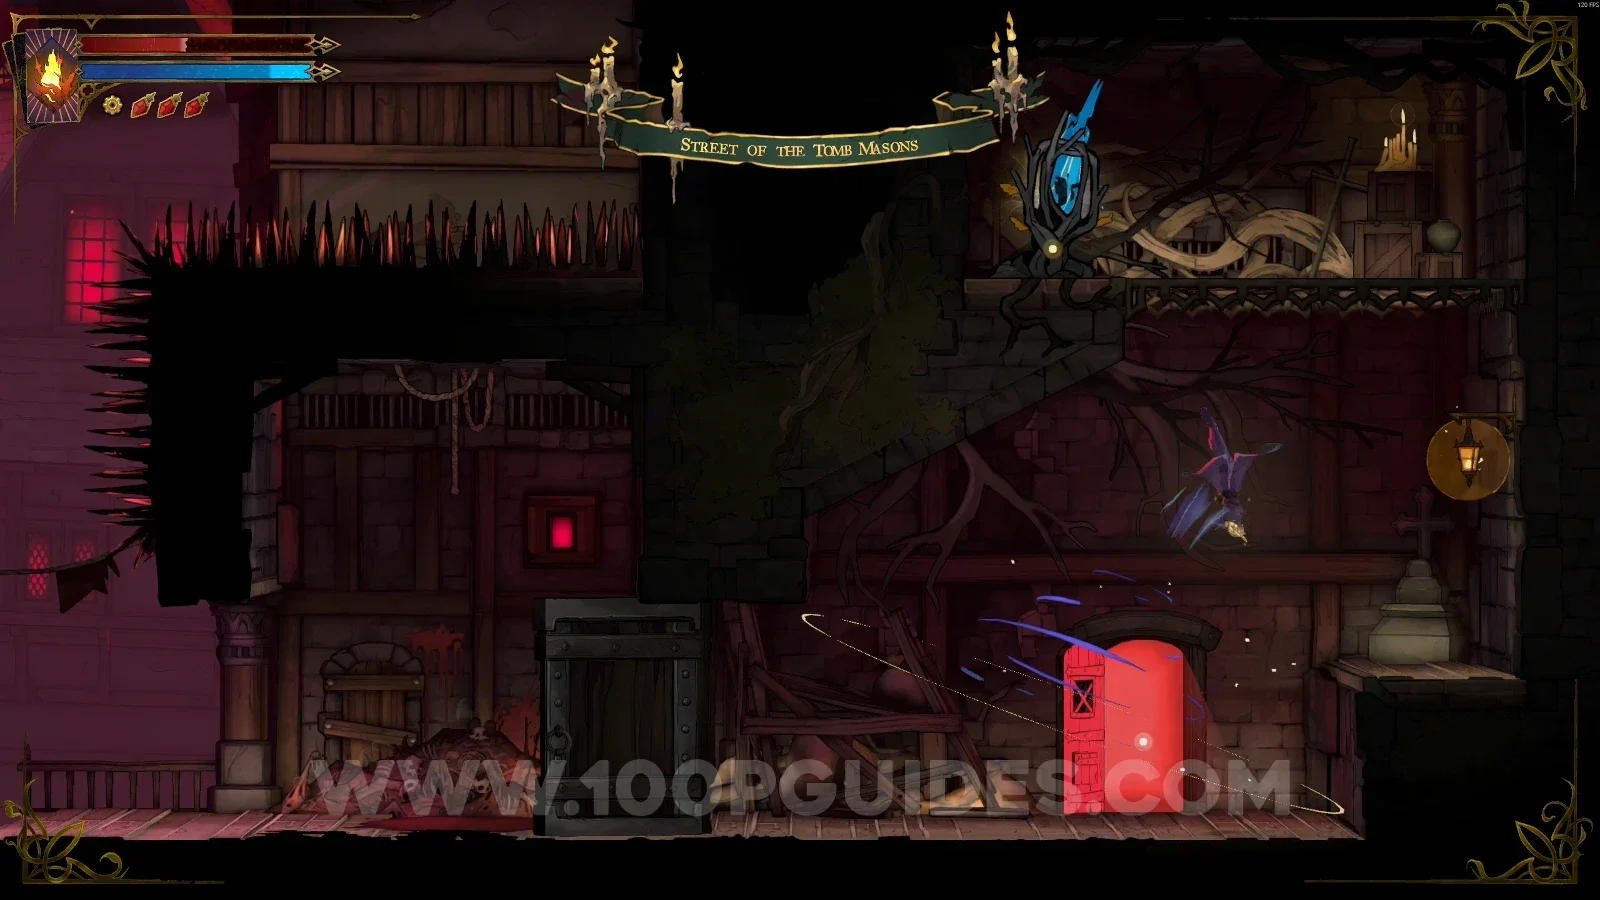
Castlevania Belmonts Curse Street Of The Tomb Masons: XP Statues #5 and #6 inside the room behind the marked door Castlevania Belmonts Curse Street Of The Tomb Masons: Wise Heart Fragment #1 up from the room's lower door

Ruined Market

Relic #2: Dark Sigil

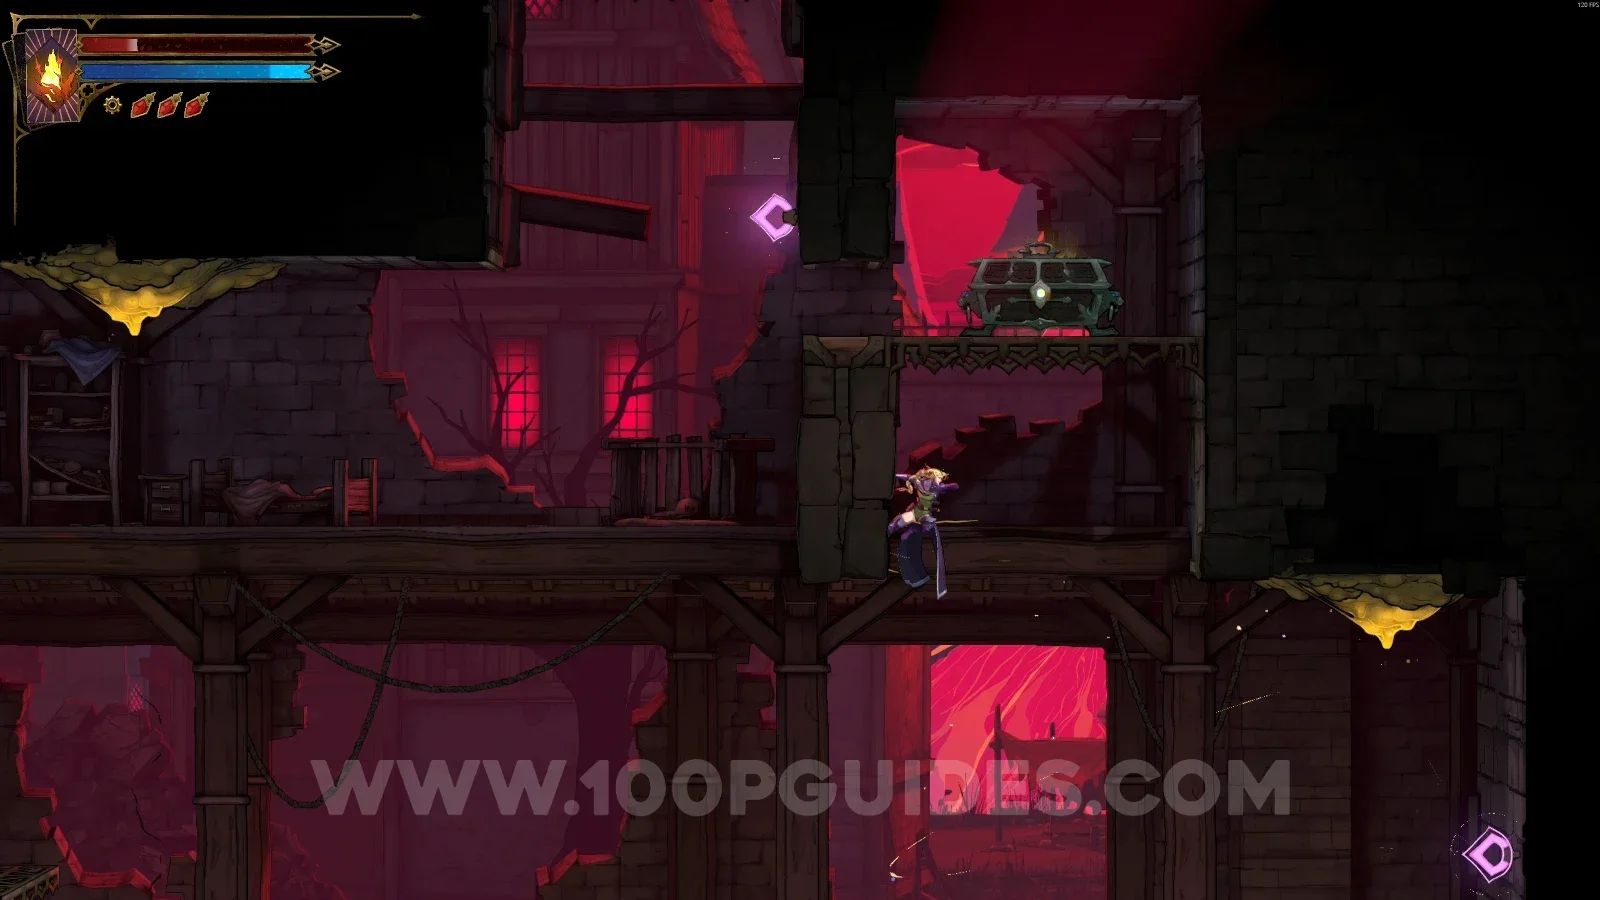
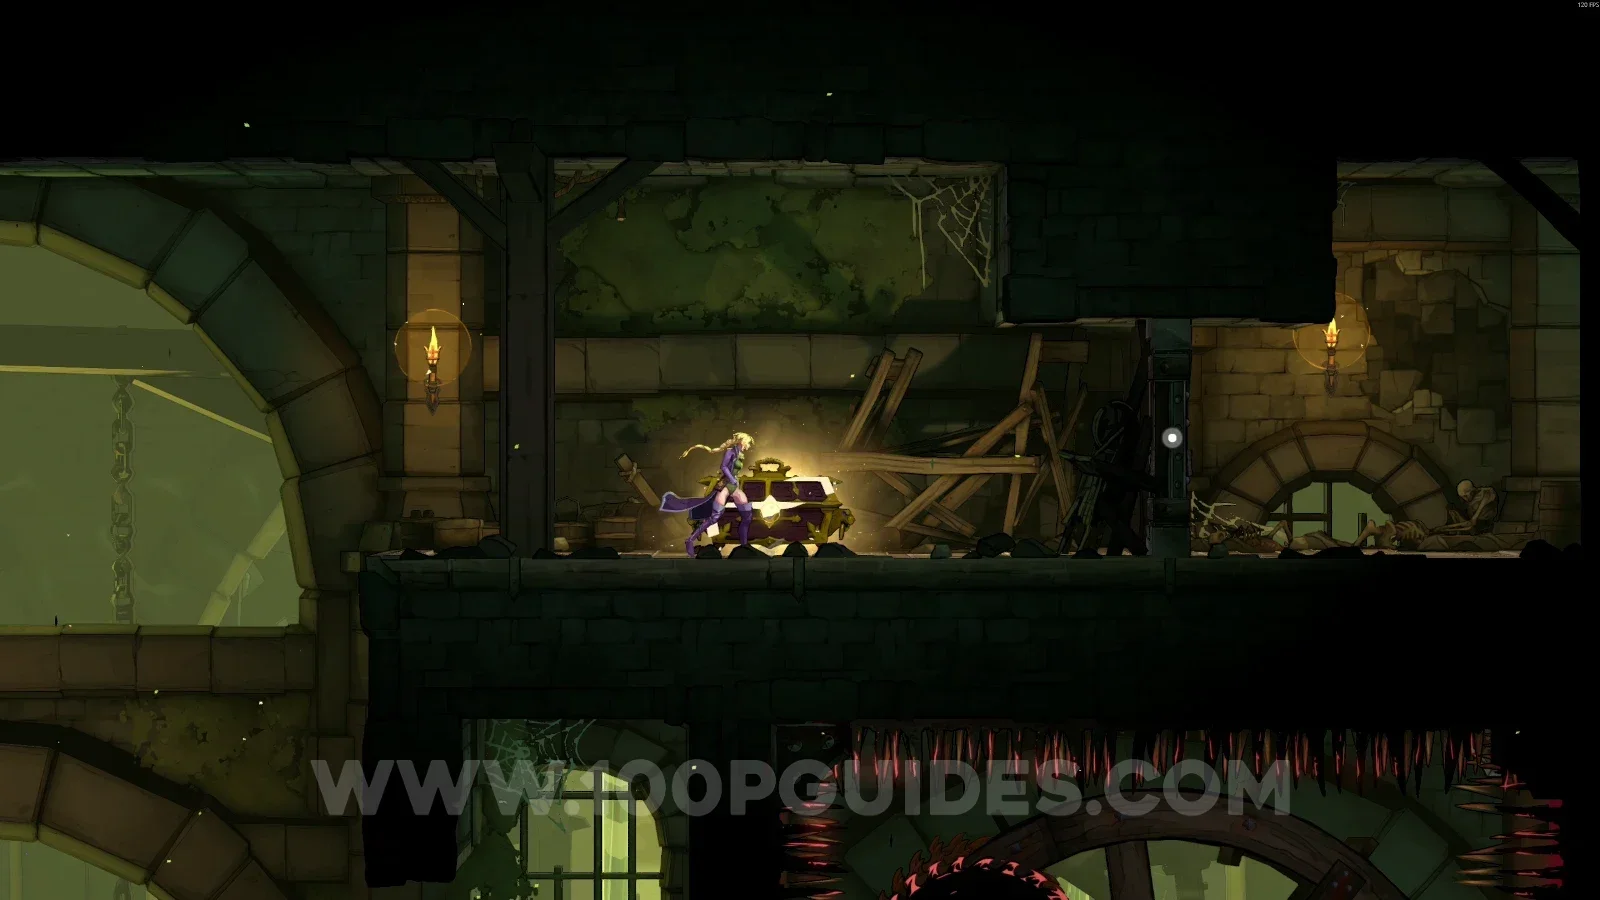
After defeating the enemies in the area, use the grappling hook to reach the chest.
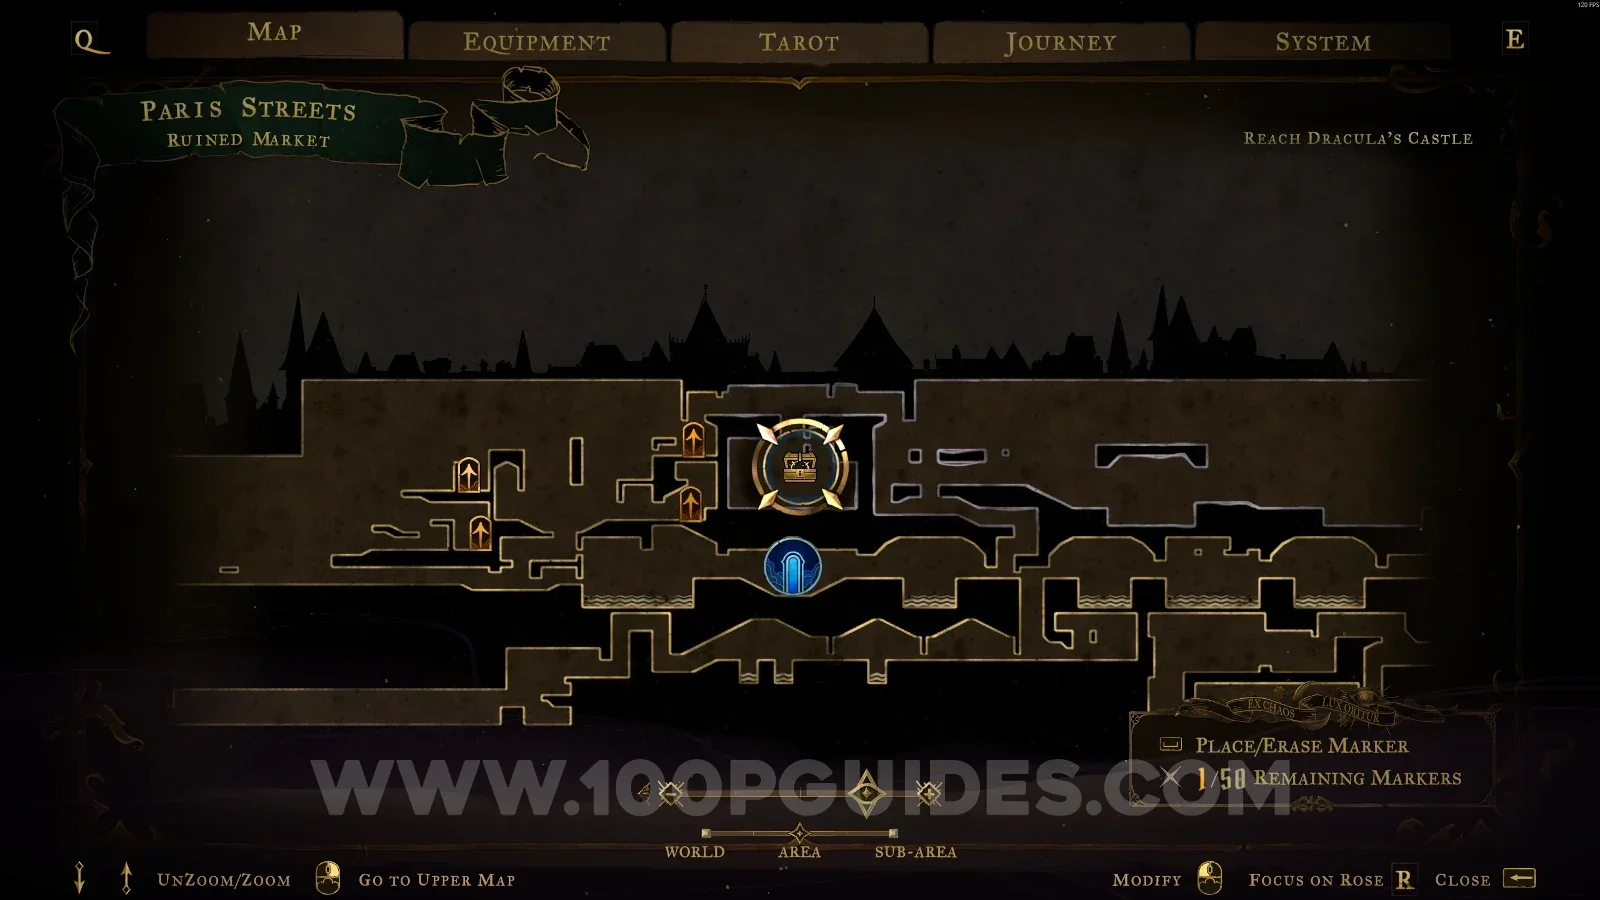
Castlevania Belmonts Curse Ruined Market: grappling hook up to the chest after defeating the enemies Castlevania Belmonts Curse Ruined Market: Relic #2 Dark Sigil from the chest reached with the grappling hook

Blue Book #1

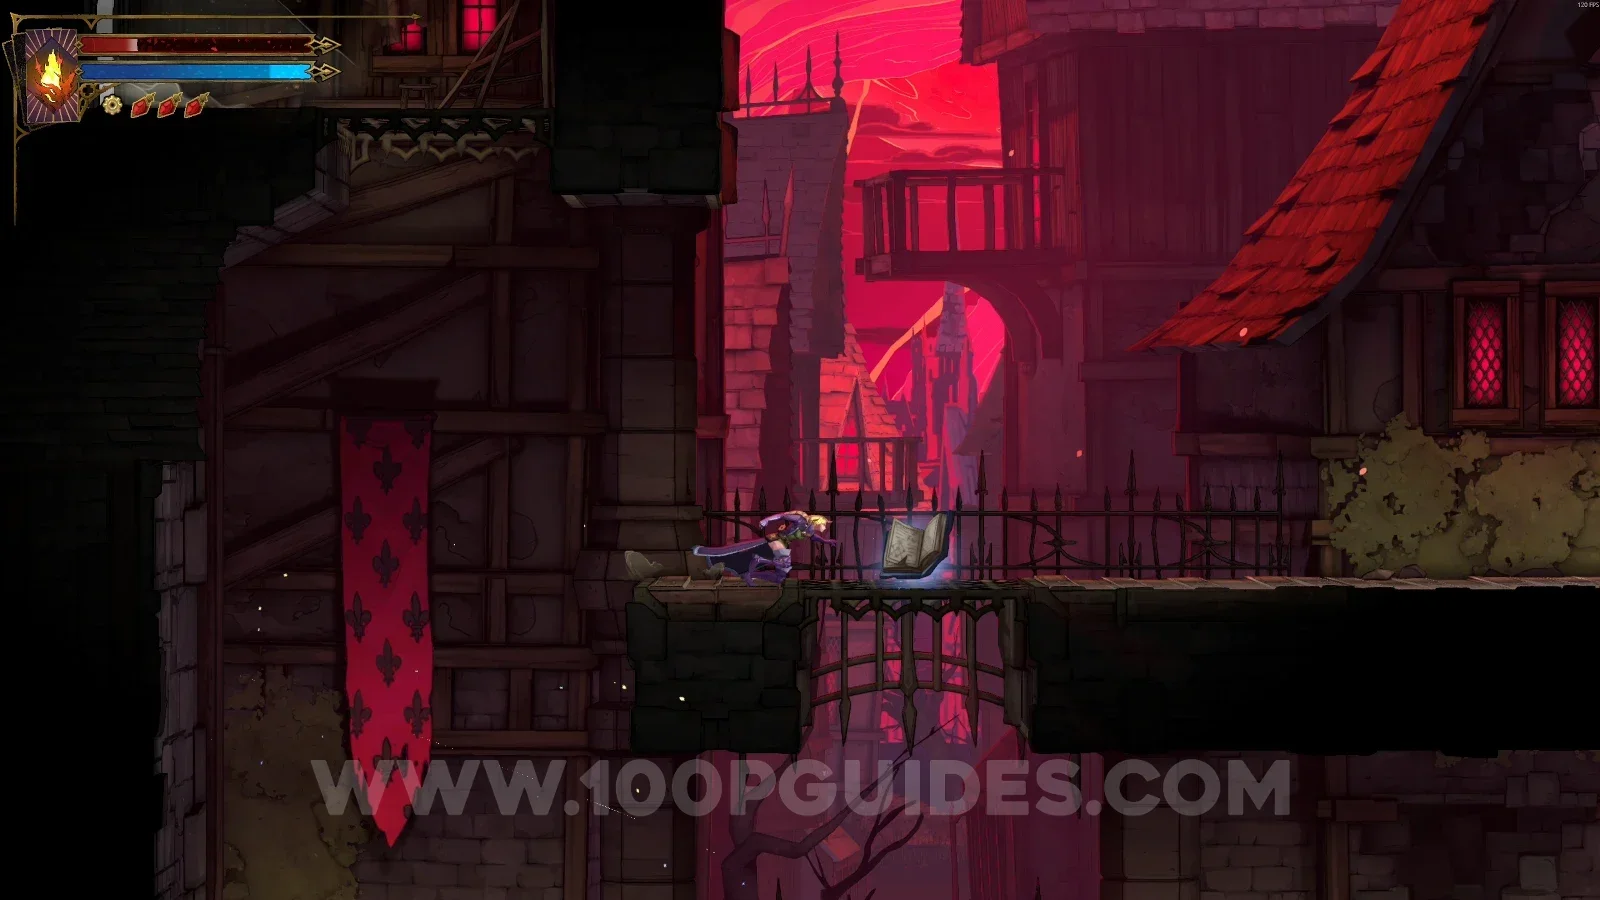
In the upper part of the area.
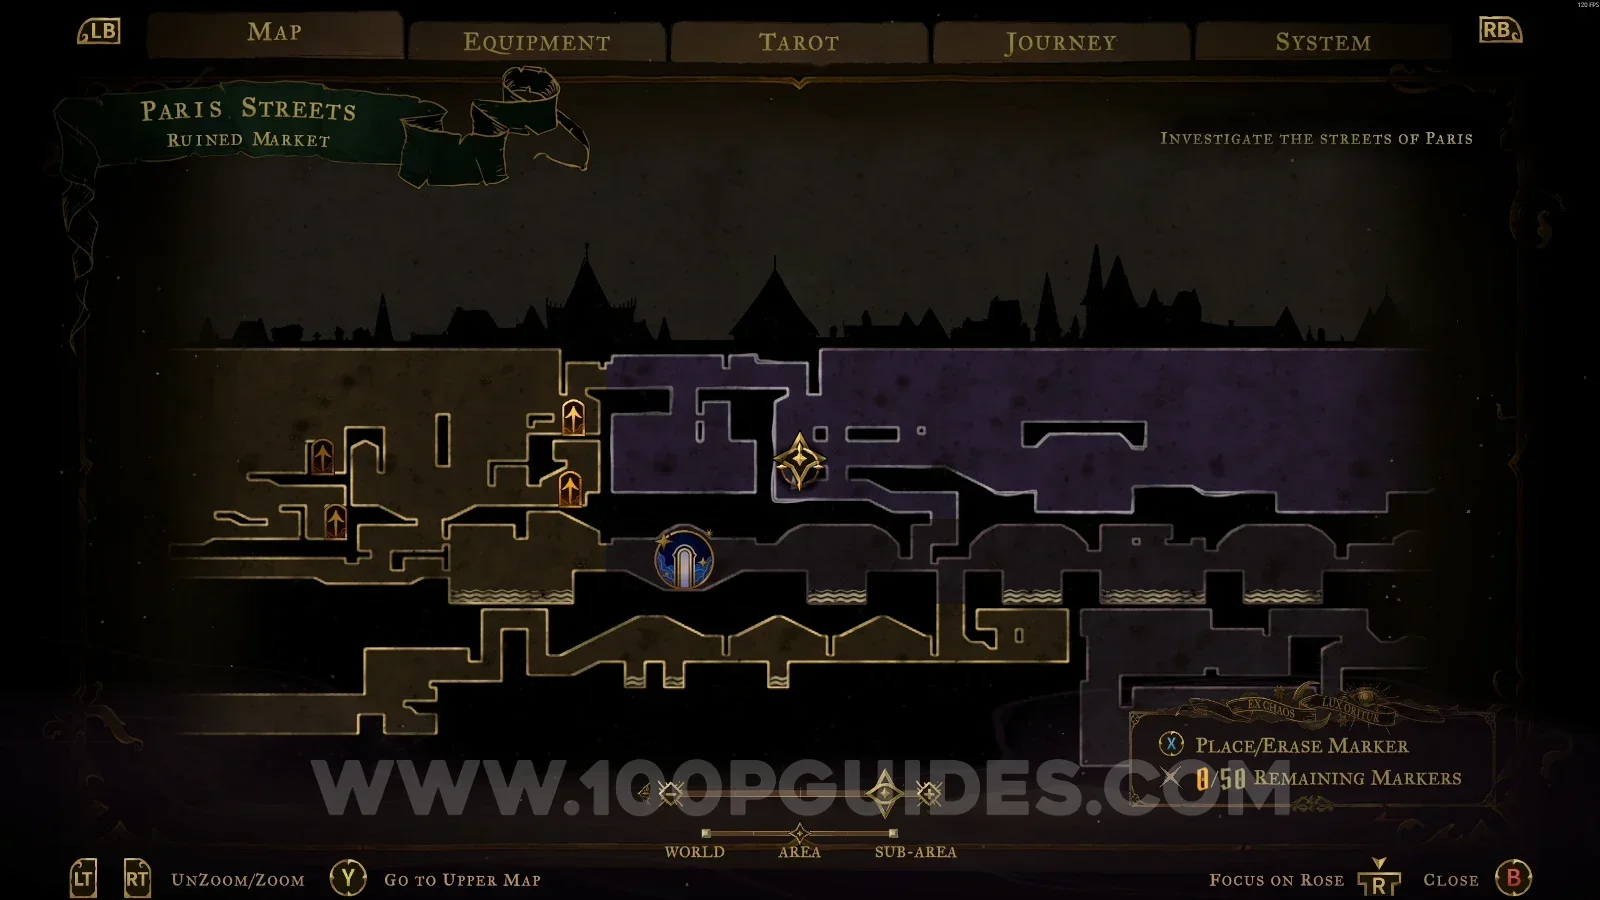
Castlevania Belmonts Curse Ruined Market: upper part of the area where Blue Book #1 sits Castlevania Belmonts Curse Ruined Market: Blue Book #1 in the upper part of the area

Clue: The Fallen + XP Statue #7

In the upper part of the area you'll find the clue, and right below it the statue.
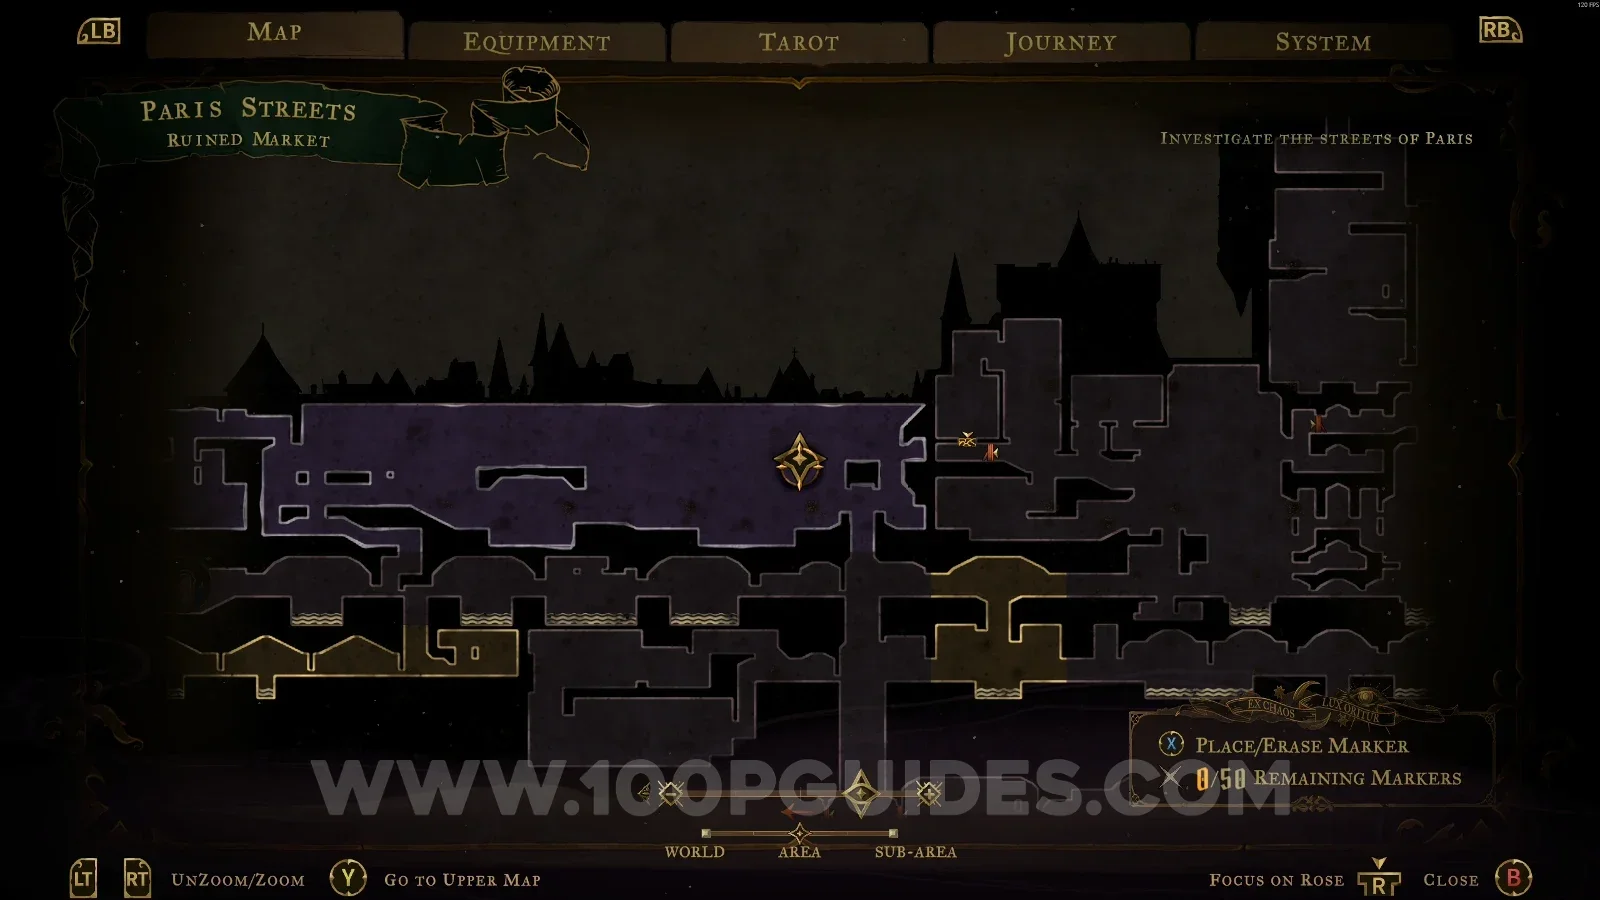
Castlevania Belmonts Curse Ruined Market: upper part of the area holding a clue and an XP statue Castlevania Belmonts Curse Ruined Market: clue The Fallen in the upper part of the area Castlevania Belmonts Curse Ruined Market: XP Statue #7 right below the clue The Fallen

Undercity

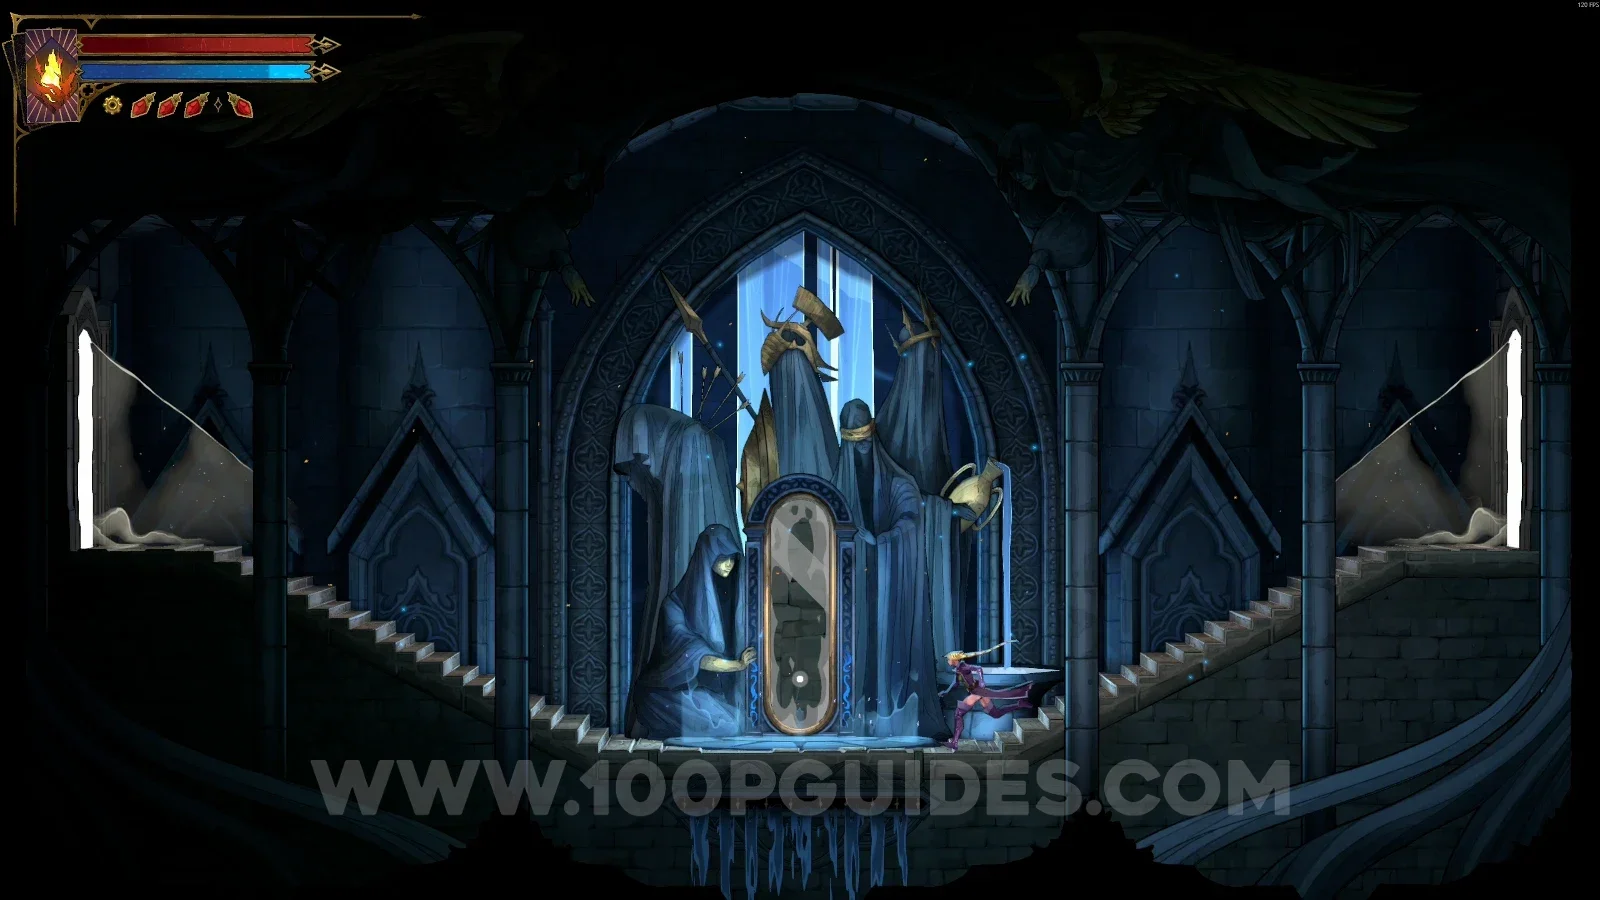
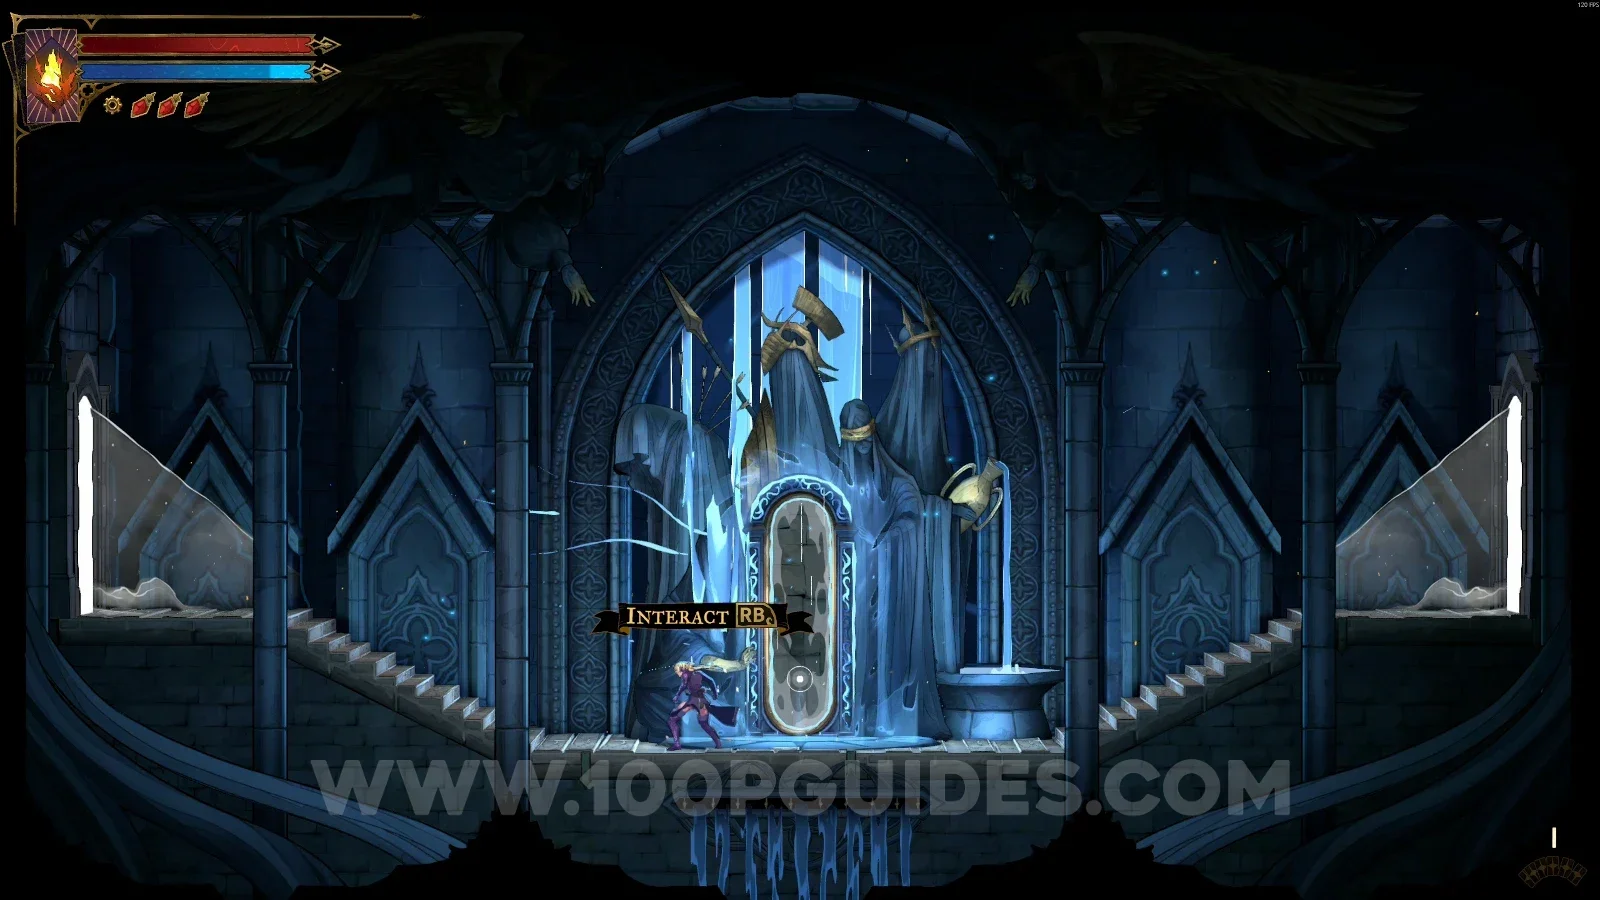
Mirror of Life #1

Left side of the area.
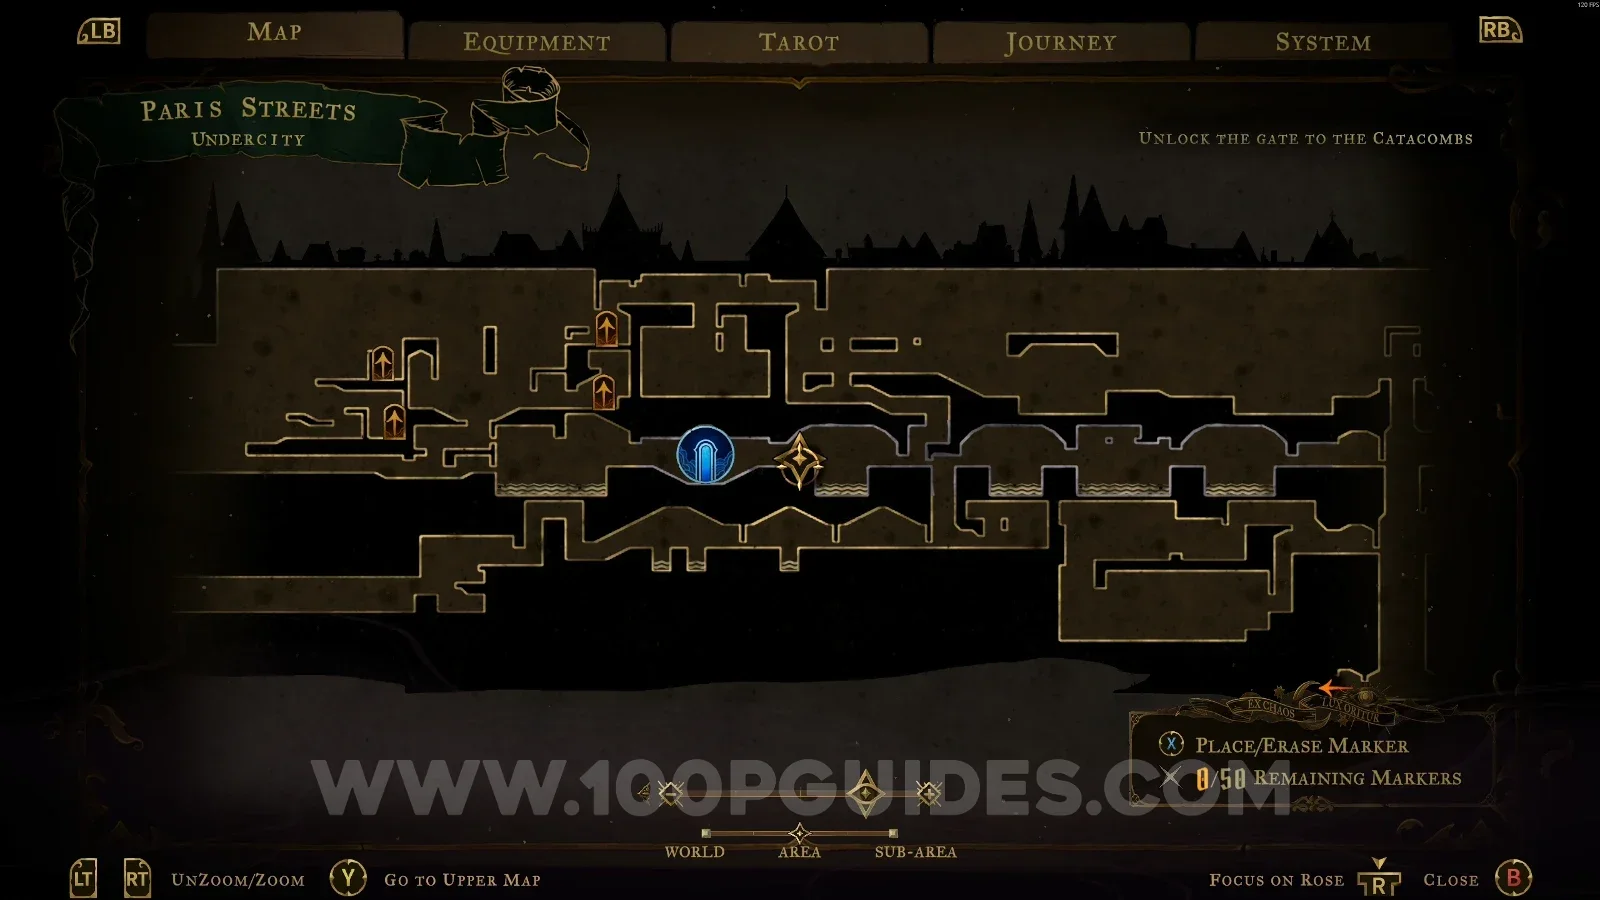
Castlevania Belmonts Curse Undercity: left side of the area where Mirror of Life #1 stands Castlevania Belmonts Curse Undercity: Mirror of Life #1 on the left side of the area

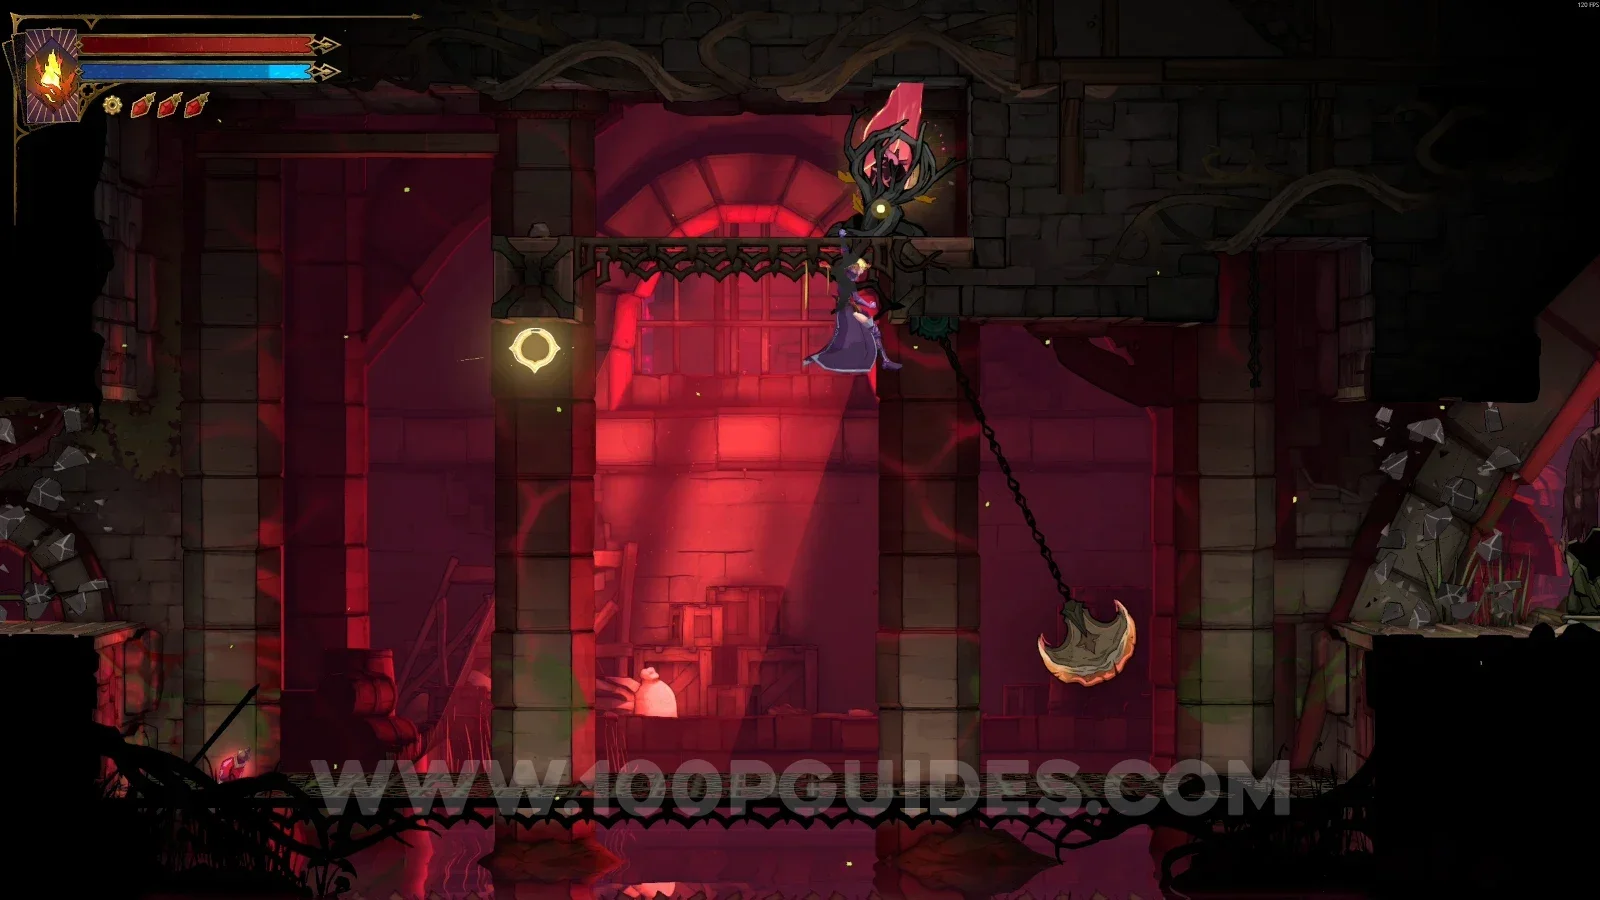
XP Statue #8 + Brave Heart #1

After jumping to the other side of the area, you'll see the statue right in front of you. Keep going left using the Holy Light ability and you'll face some enemies. The Brave Heart will be at the top of the area.
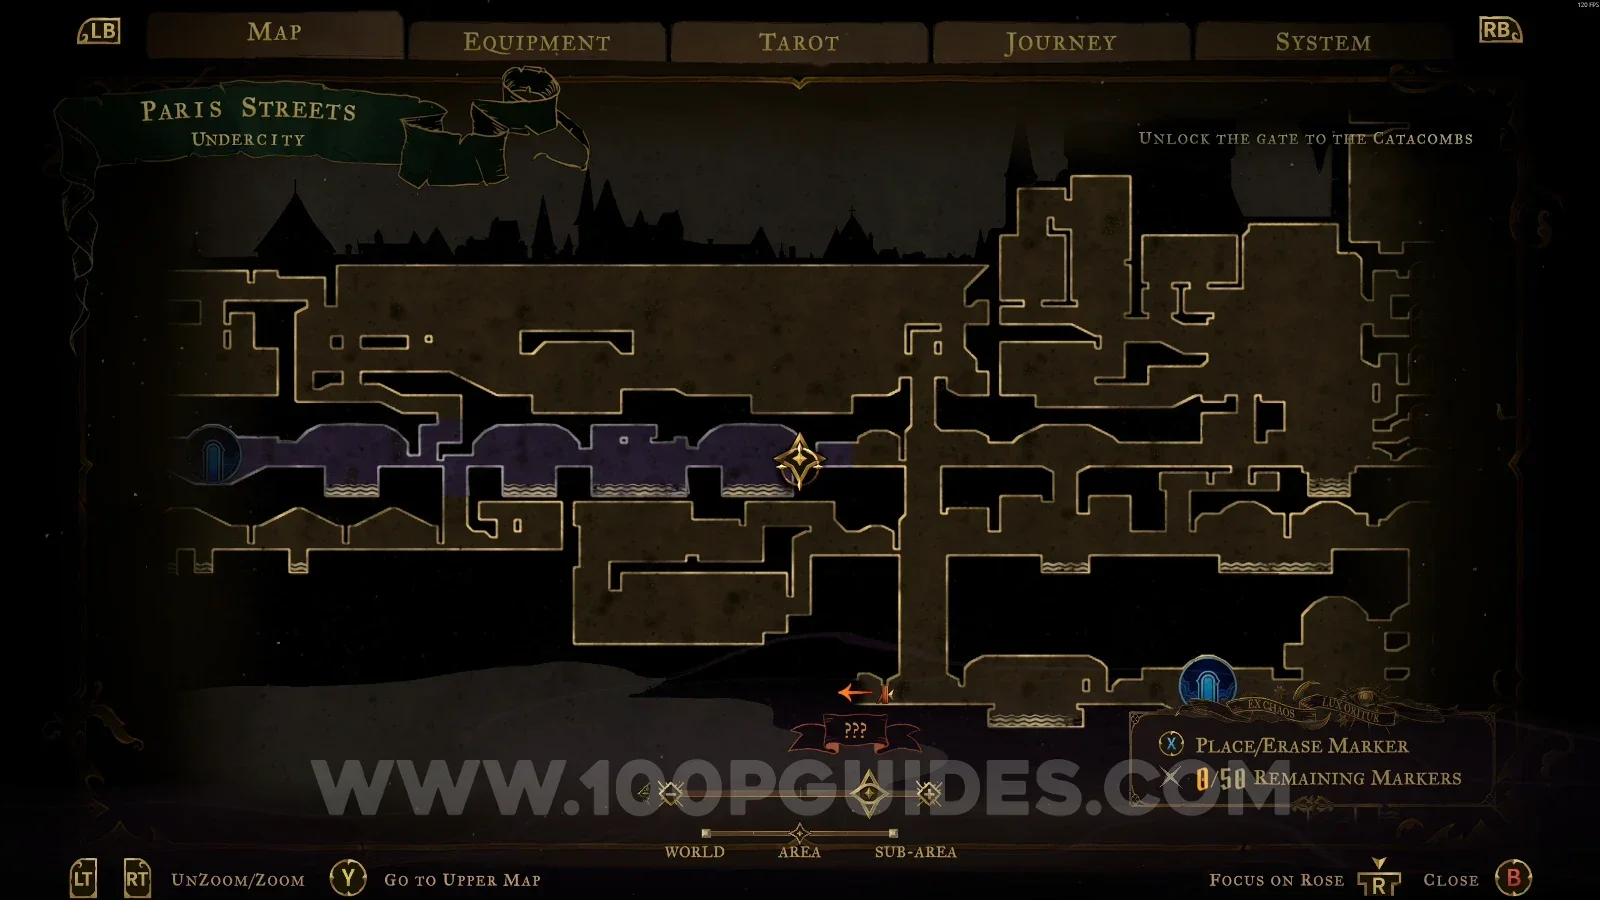
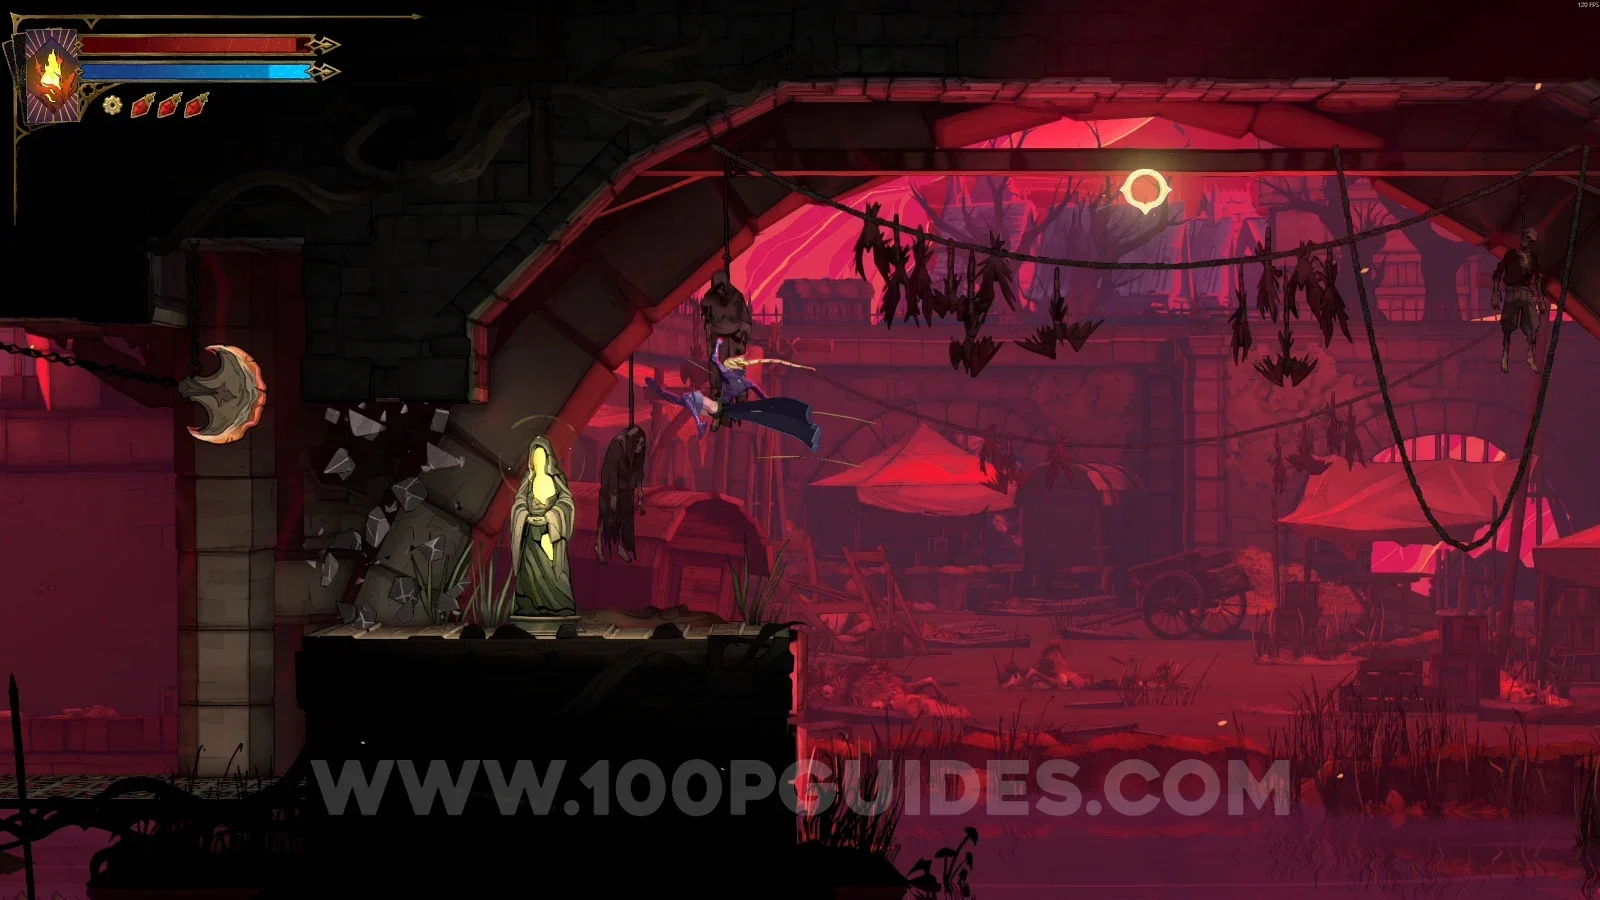
Castlevania Belmonts Curse Undercity: XP Statue #8 right in front after jumping to the other side Castlevania Belmonts Curse Undercity: going left with the Holy Light ability and facing enemies Castlevania Belmonts Curse Undercity: Brave Heart #1 at the top of the area

Central Sewer Drain

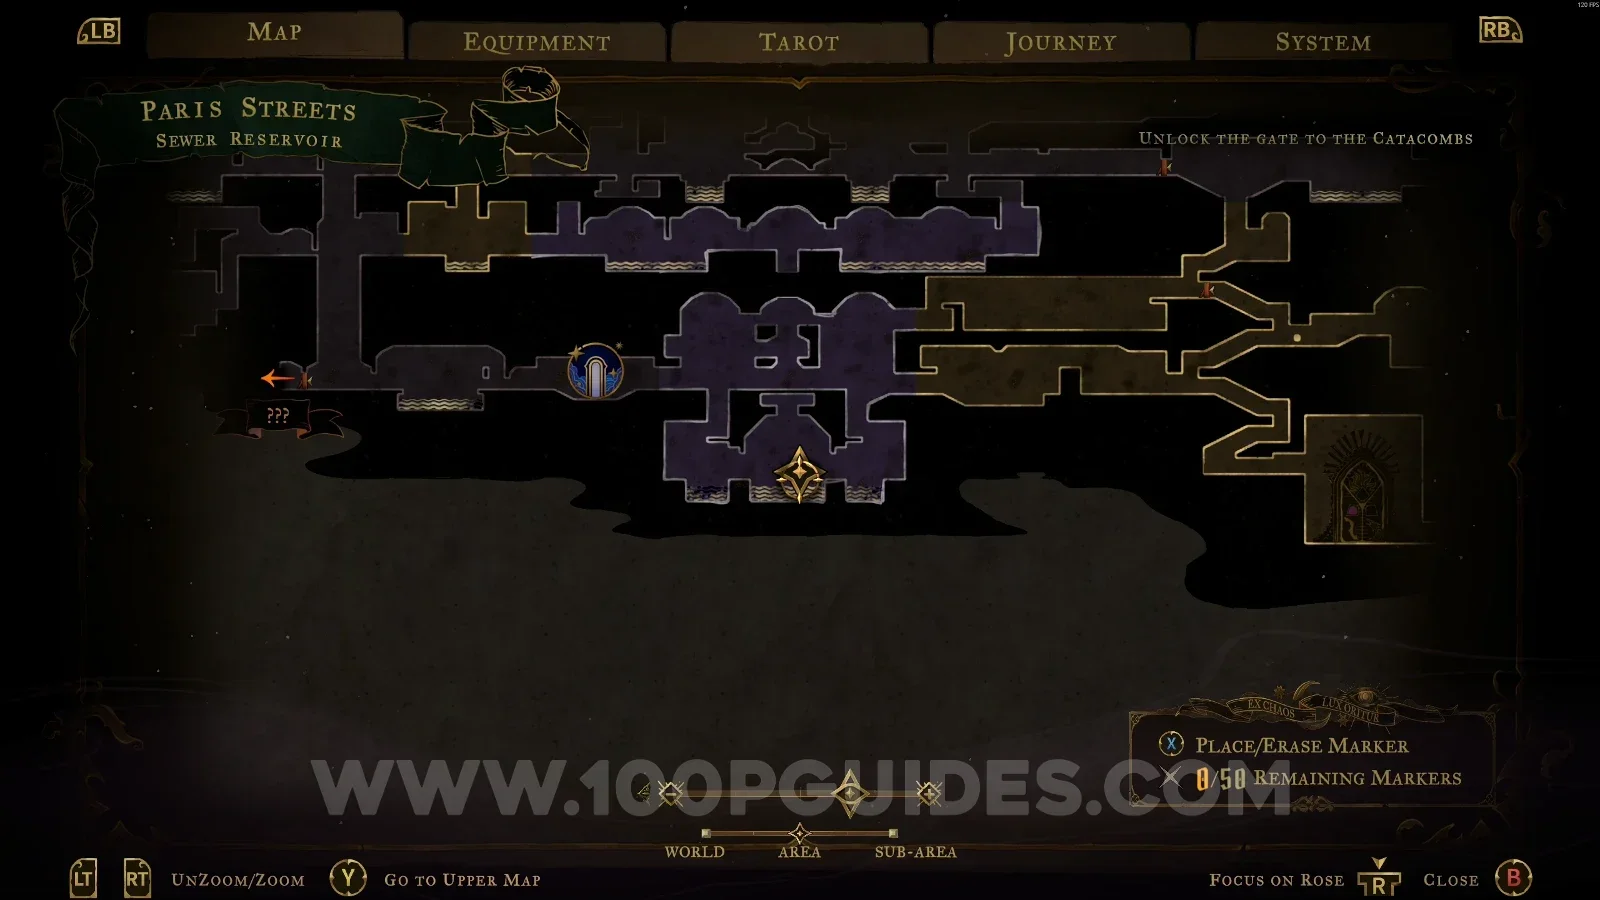
Mirror of Life #2

In the area marked on the map.
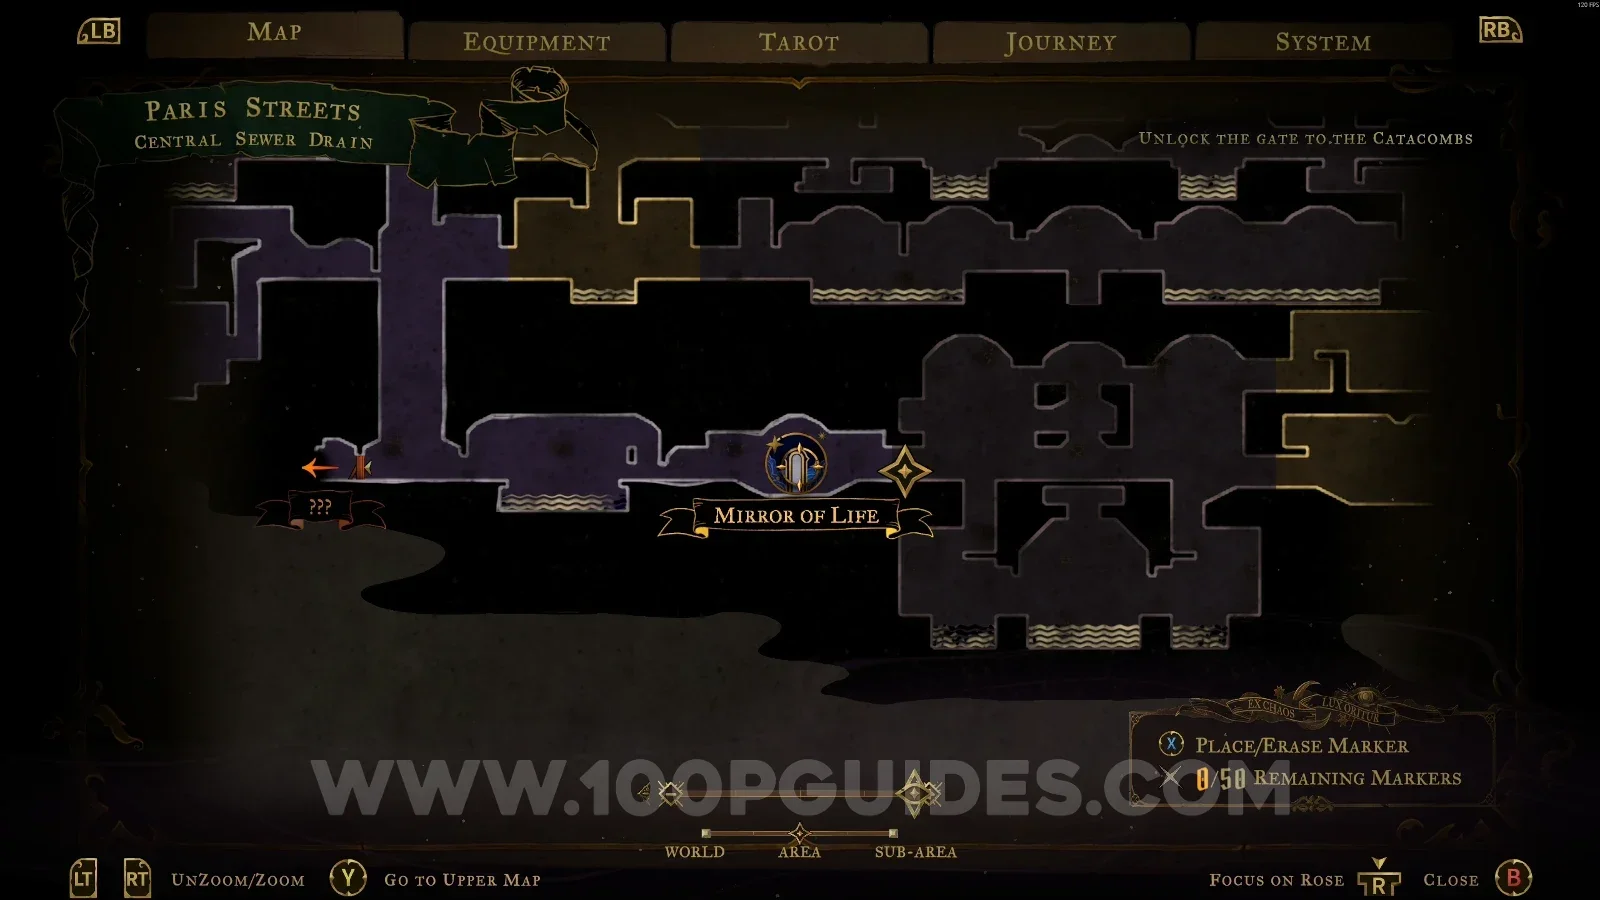
Castlevania Belmonts Curse Central Sewer Drain: map showing the marked area of the collectible Castlevania Belmonts Curse Central Sewer Drain: the collectible found in the area marked on the map

Relic #3: Twilight Gem

In the area marked on the map, you'll have to go around the area using your Arcane Whip until you reach the chest.
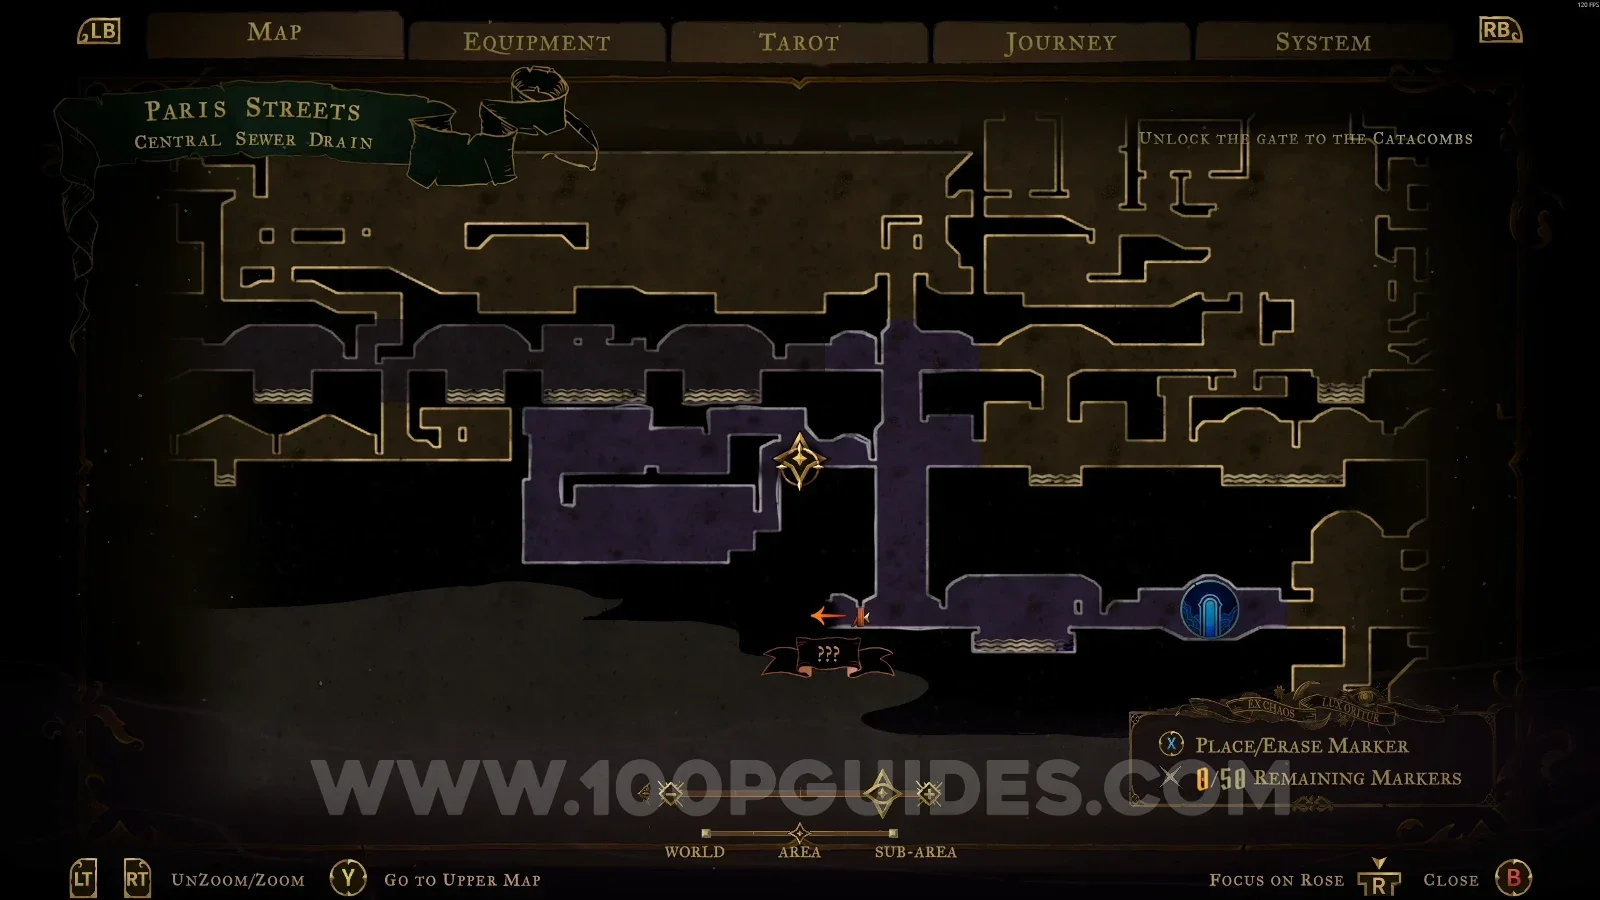
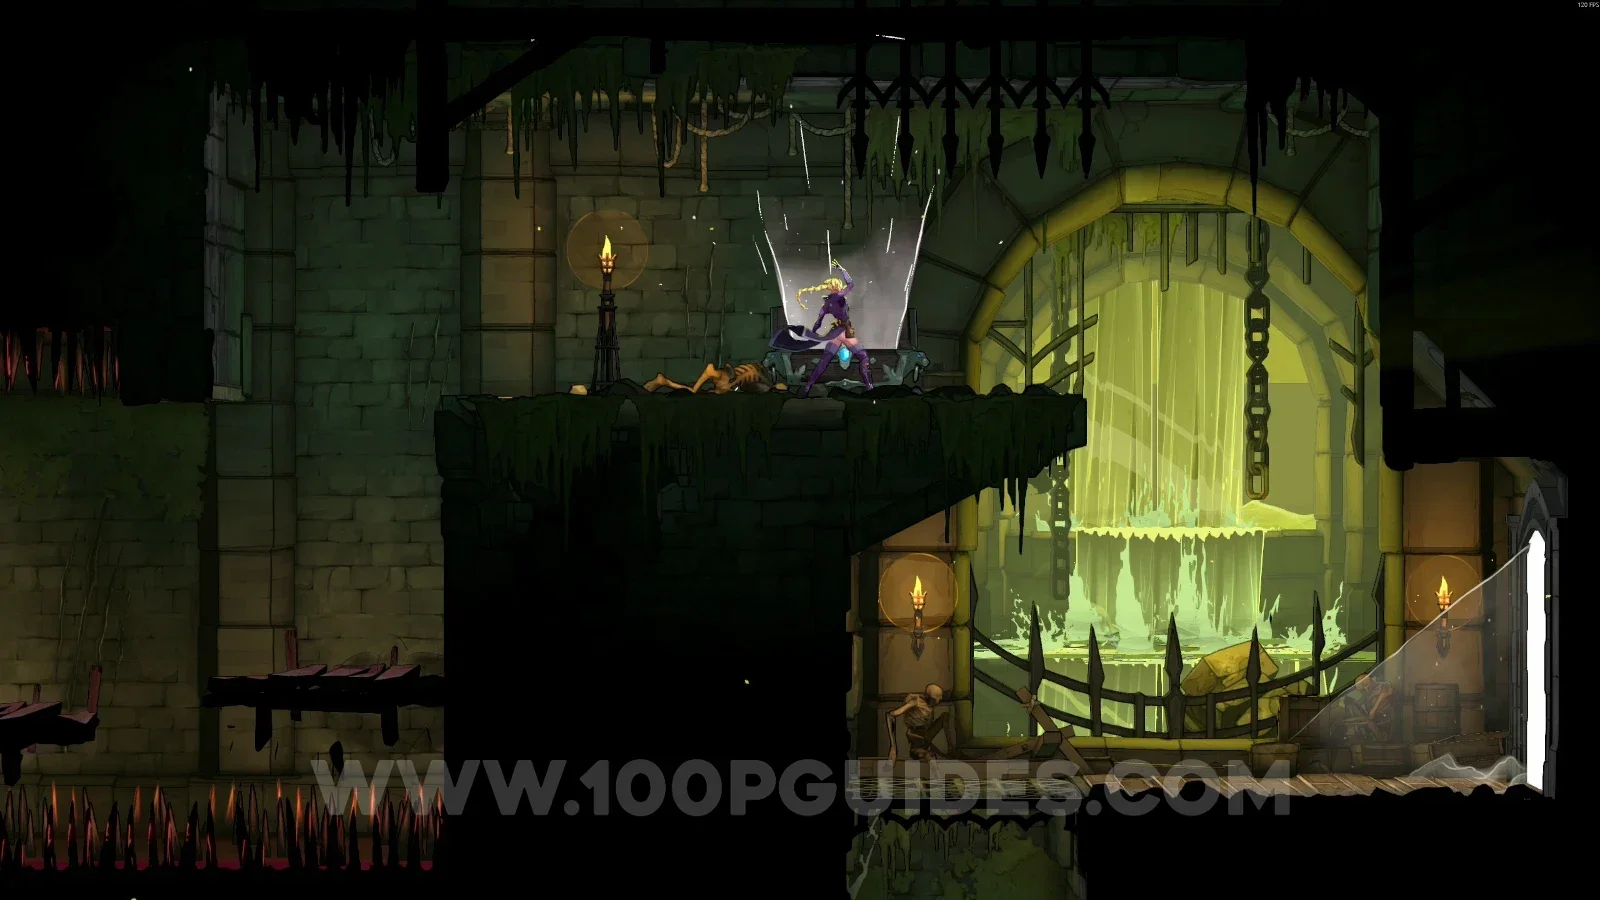
Castlevania Belmonts Curse Central Sewer Drain: map marking the area of Relic #3 Twilight Gem Castlevania Belmonts Curse Central Sewer Drain: Arcane Whip route to the chest with Relic #3 Twilight Gem

XP Statue #9

In the upper part of the area marked on the map.
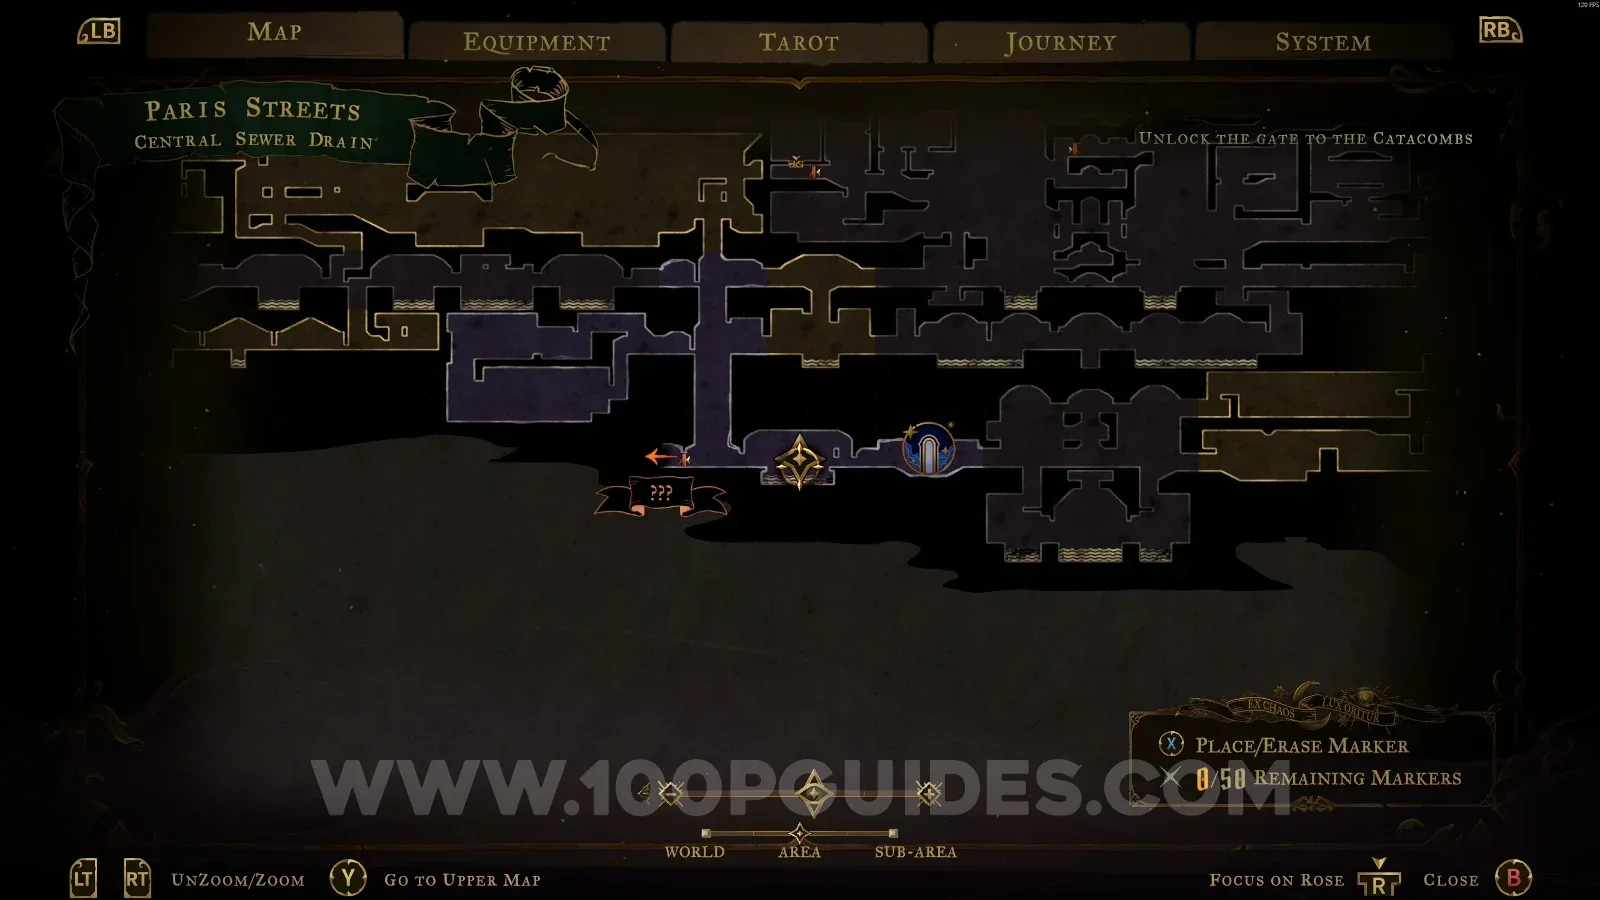
Castlevania Belmonts Curse Central Sewer Drain: map marking the area of XP Statue #9 Castlevania Belmonts Curse Central Sewer Drain: XP Statue #9 in the upper part of the marked area

Sewer Reservoir

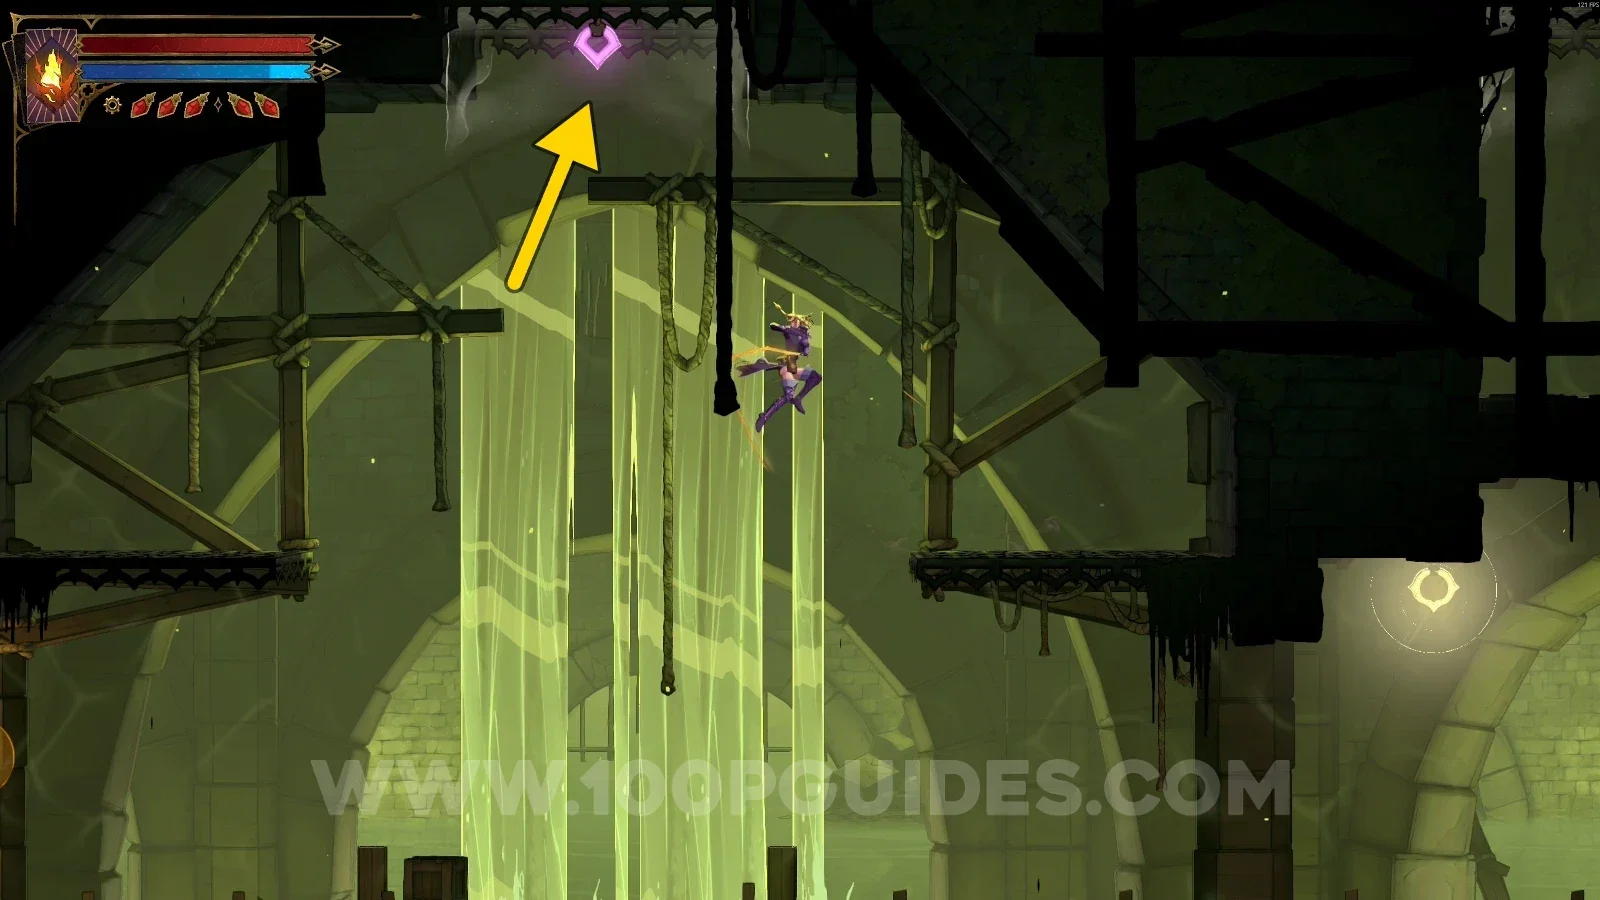
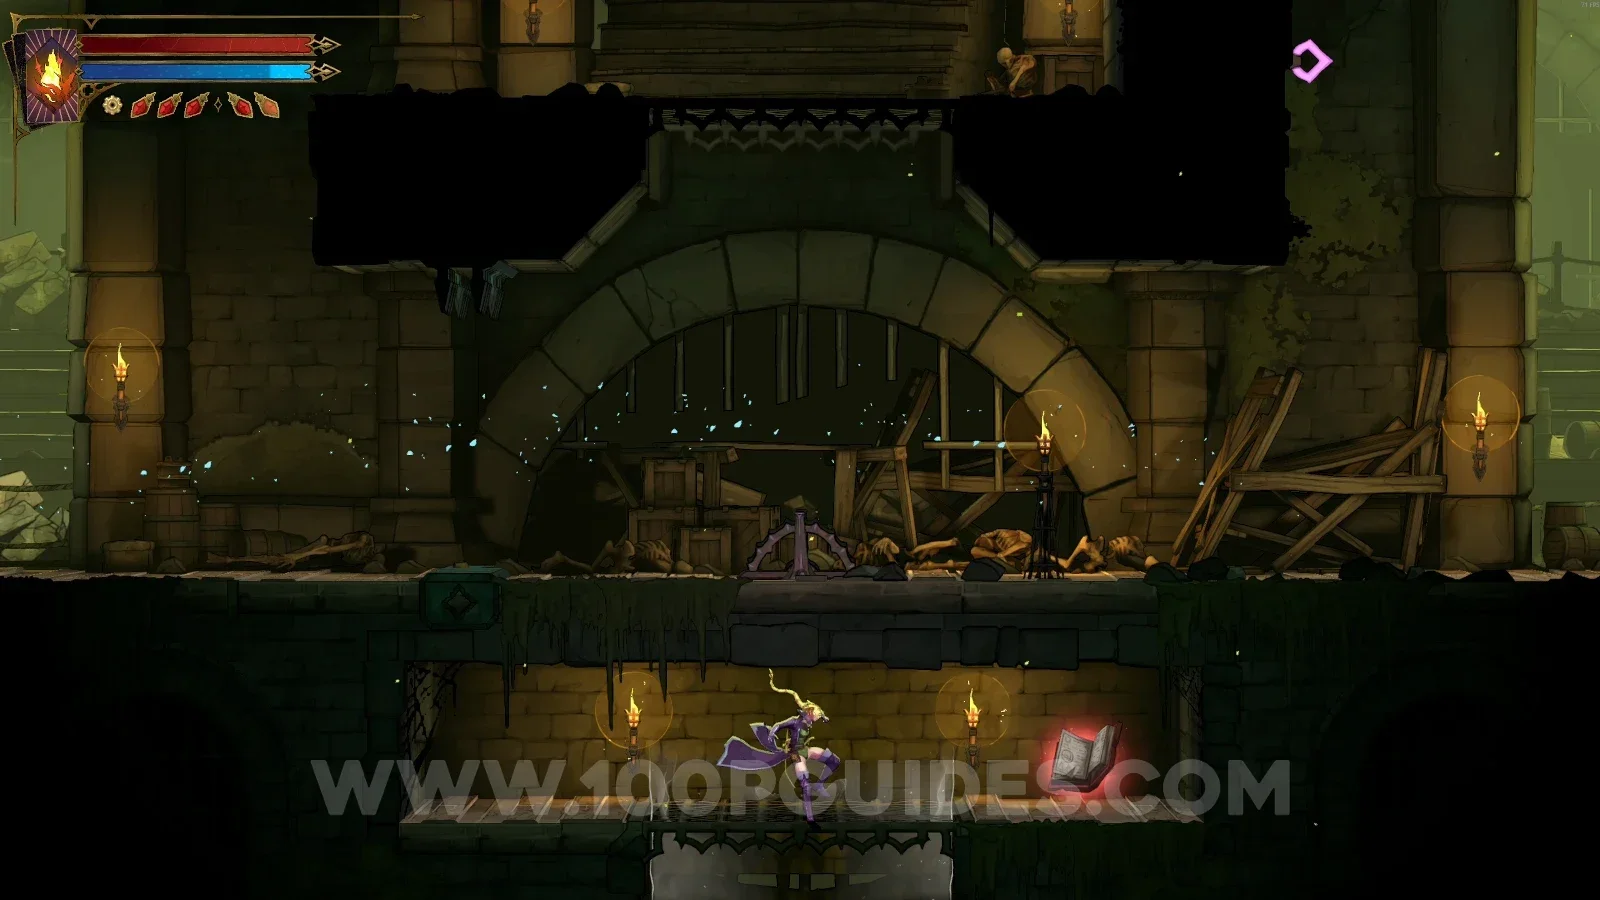
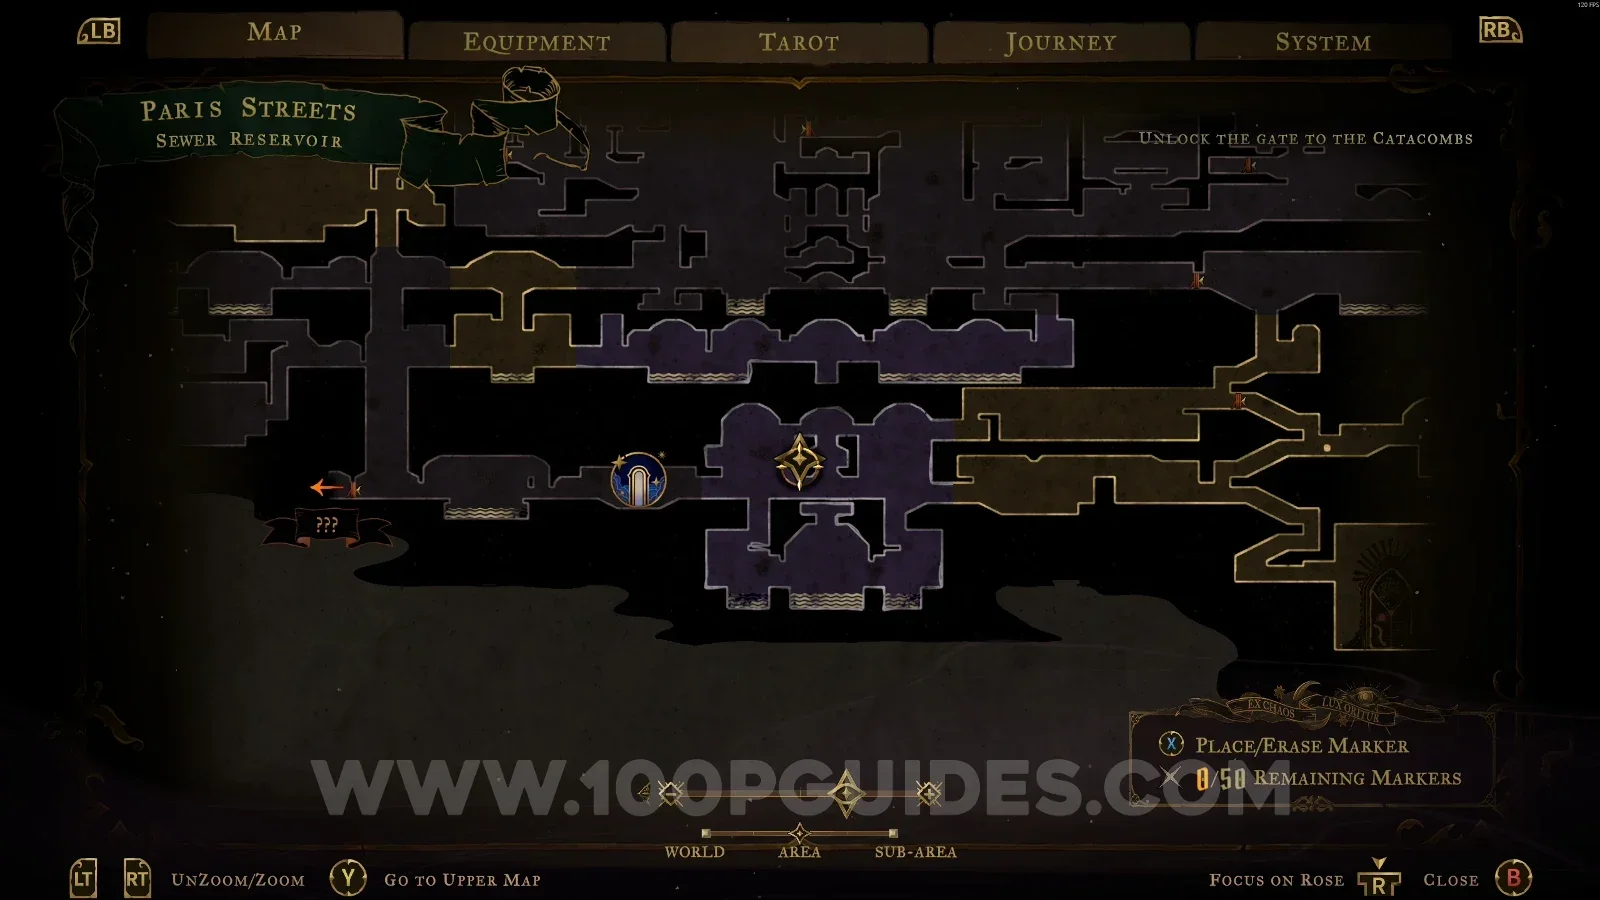
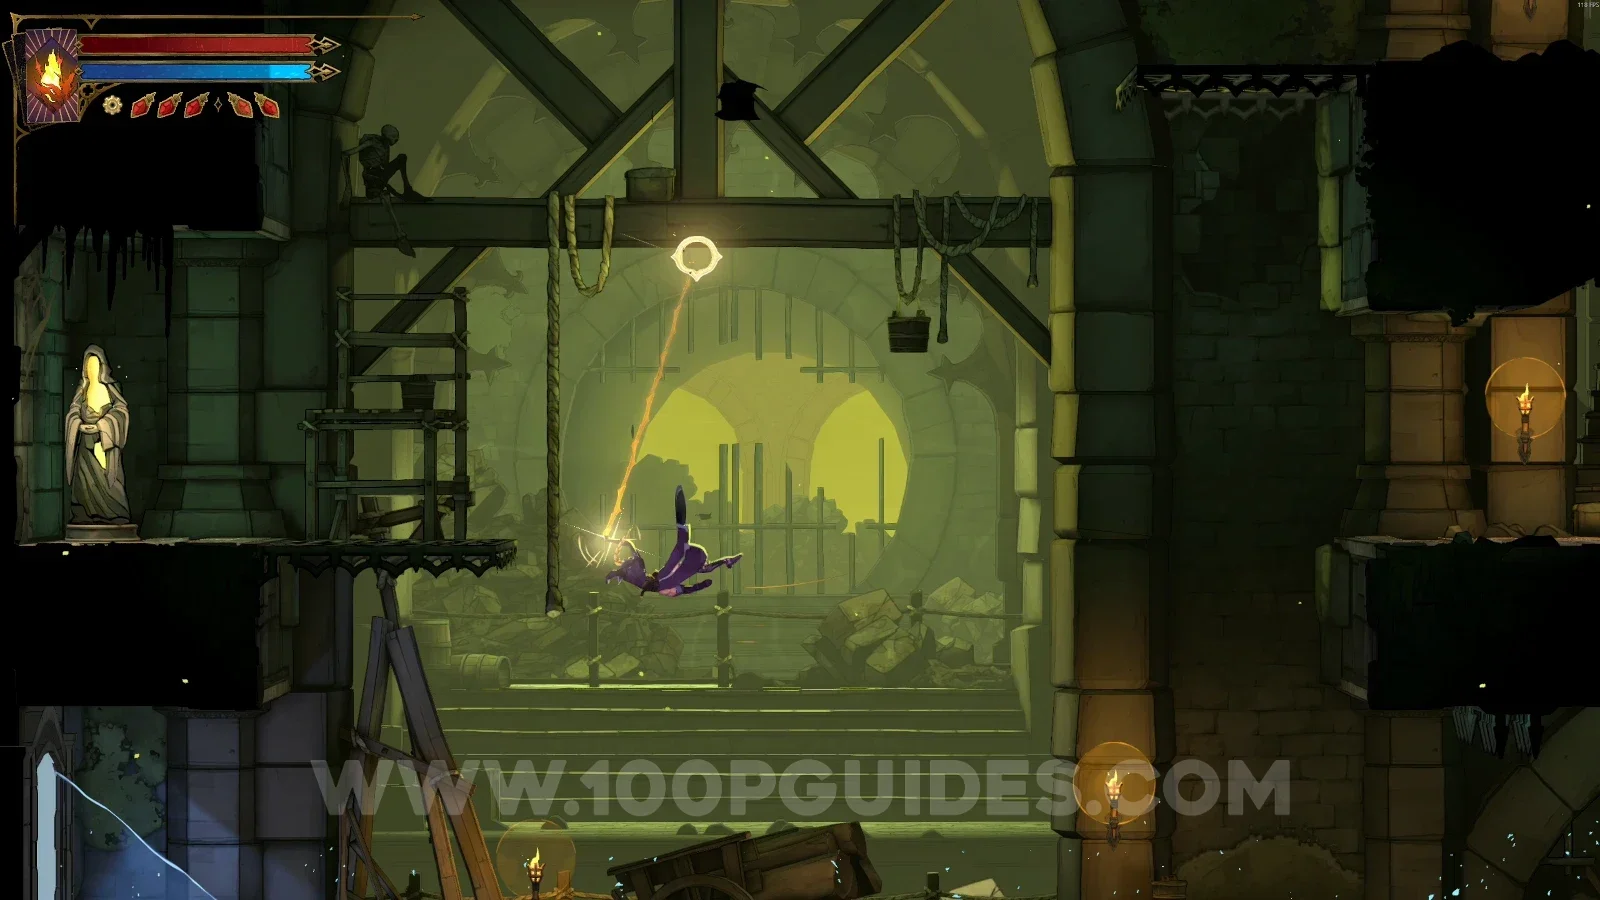
Red Book #1

In the area marked on the map, use the Arcane Whip to climb to the platform above and reach this Red Book.

Castlevania Belmonts Curse Sewer Reservoir: map marking the area of Red Book #1 Castlevania Belmonts Curse Sewer Reservoir: climbing to the platform above with the Arcane Whip Castlevania Belmonts Curse Sewer Reservoir: Red Book #1 on the platform above

XP Statue #10

You'll have to use the Arcane Whip to reach this statue.

Castlevania Belmonts Curse Sewer Reservoir: using the Arcane Whip to reach XP Statue #10 Castlevania Belmonts Curse Sewer Reservoir: XP Statue #10 reached with the Arcane Whip

Weapon #2: Cestus

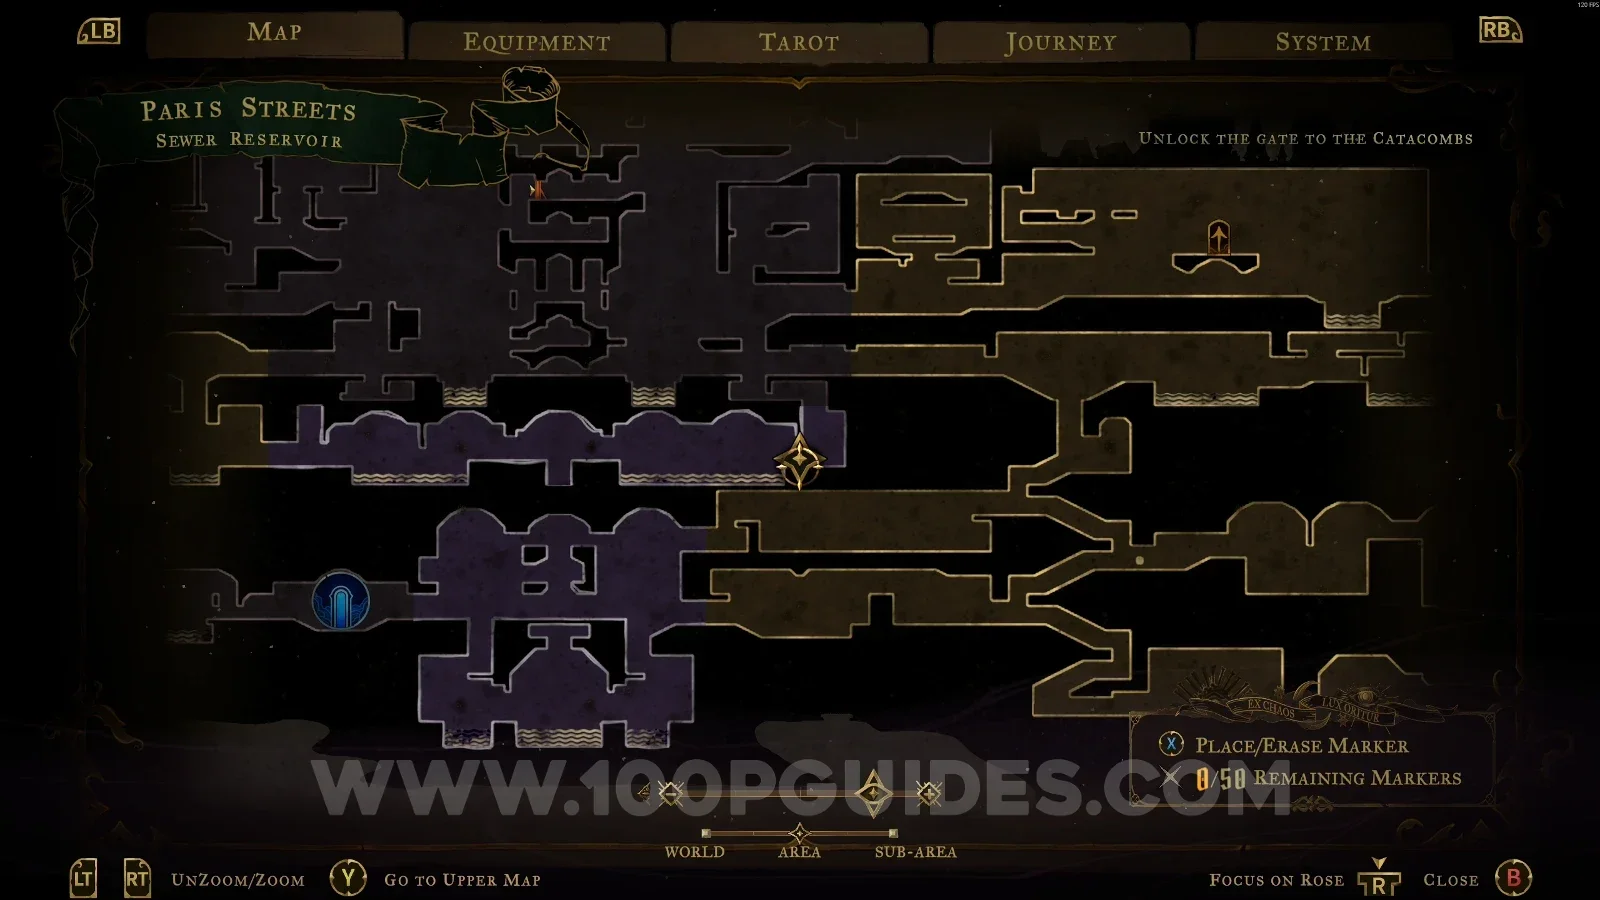
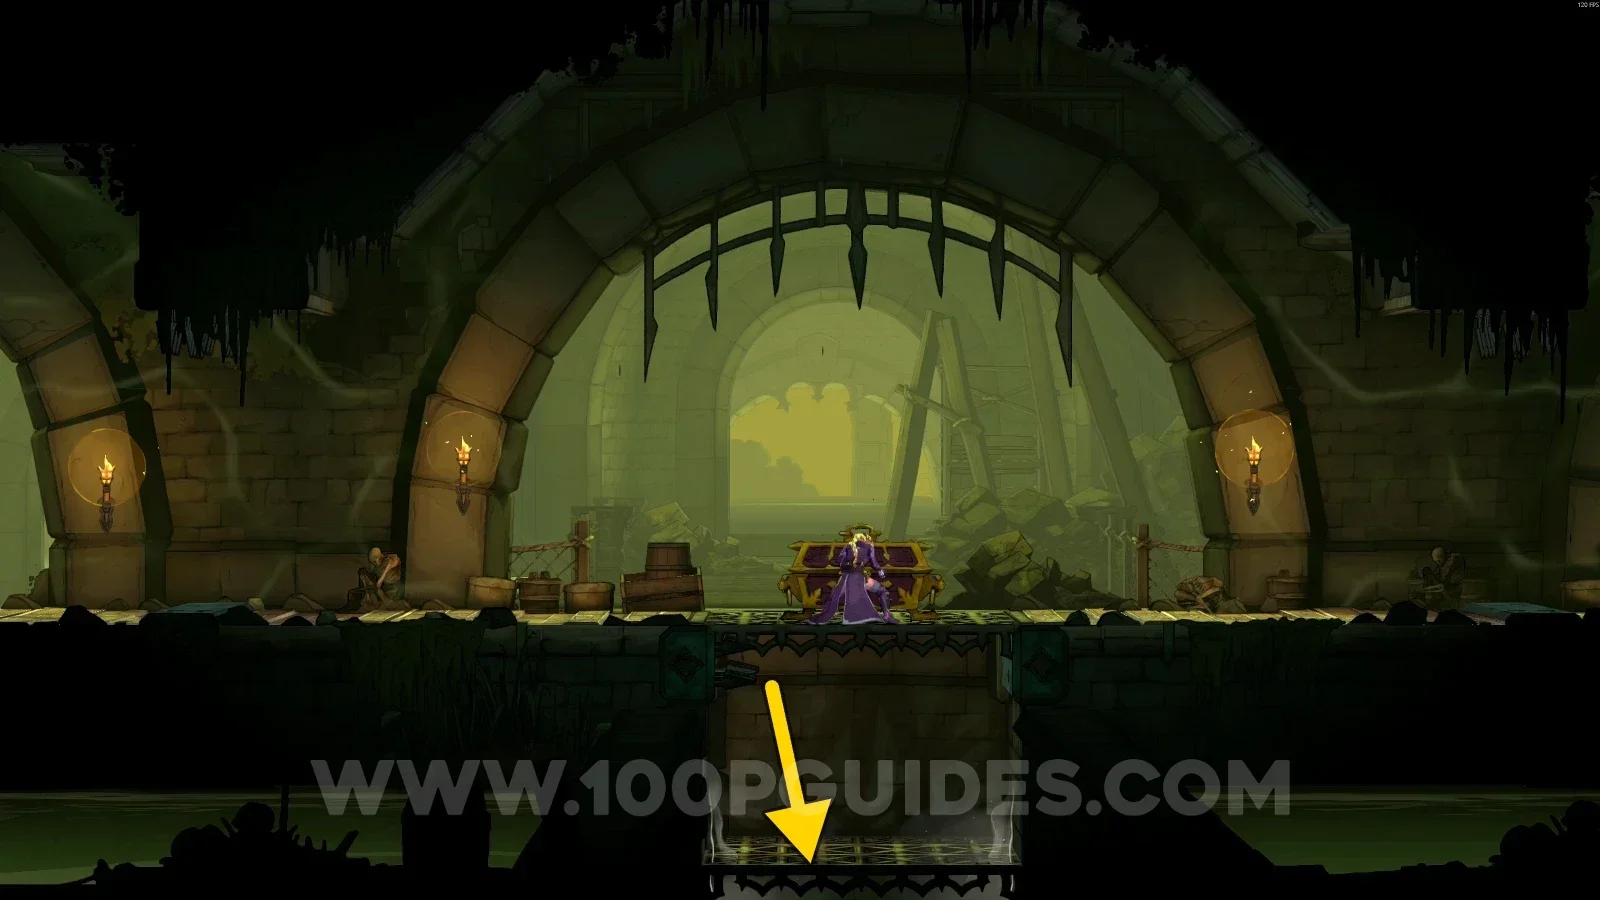
In the area marked on the map, head left and open the chest in the middle of the area to get the weapon. Then drop down below the chest to connect the upper part of the map with the lower part.

Castlevania Belmonts Curse Sewer Reservoir: chest in the middle of the area holding Weapon #2 Cestus Castlevania Belmonts Curse Sewer Reservoir: dropping below the Cestus chest to link the upper and lower map

XP Statue #11

In the area marked on the map, go down and use the slide on the left side, then go down again to reach the statue.

Castlevania Belmonts Curse Sewer Reservoir: map marking the area of XP Statue #11 Castlevania Belmonts Curse Sewer Reservoir: slide on the left side on the way down to XP Statue #11 Castlevania Belmonts Curse Sewer Reservoir: XP Statue #11 at the bottom past the slide

Path Of The Rat

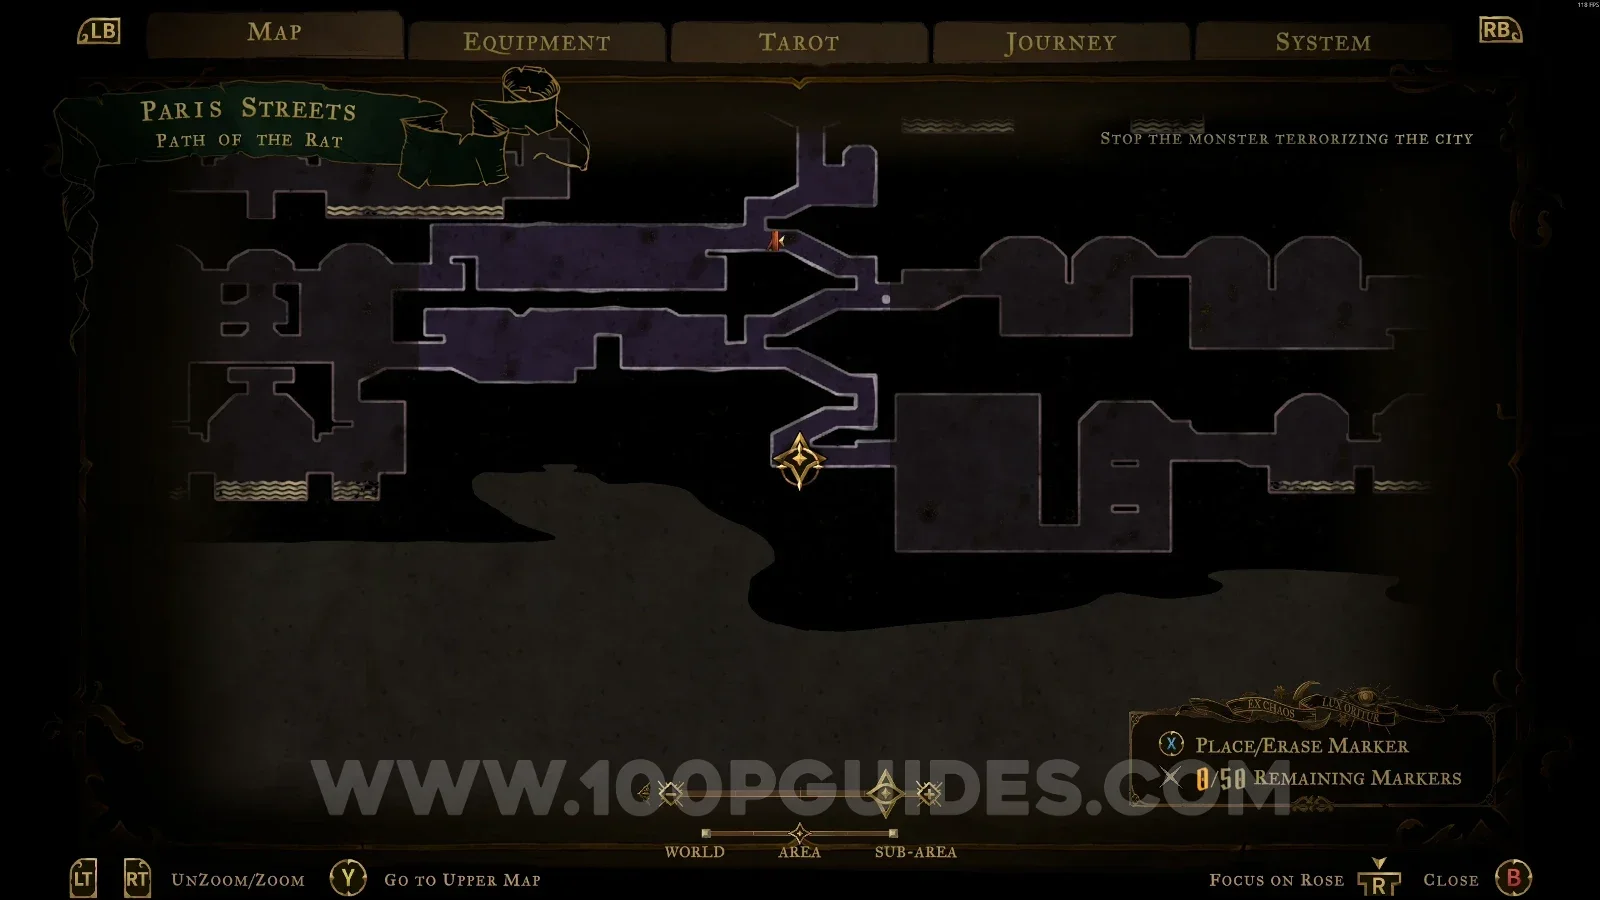
XP Statue #12

In the area marked on the map, use the Arcane Whip to reach the statue.

Castlevania Belmonts Curse Path Of The Rat: map marking the area of XP Statue #12 Castlevania Belmonts Curse Path Of The Rat: XP Statue #12 reached with the Arcane Whip

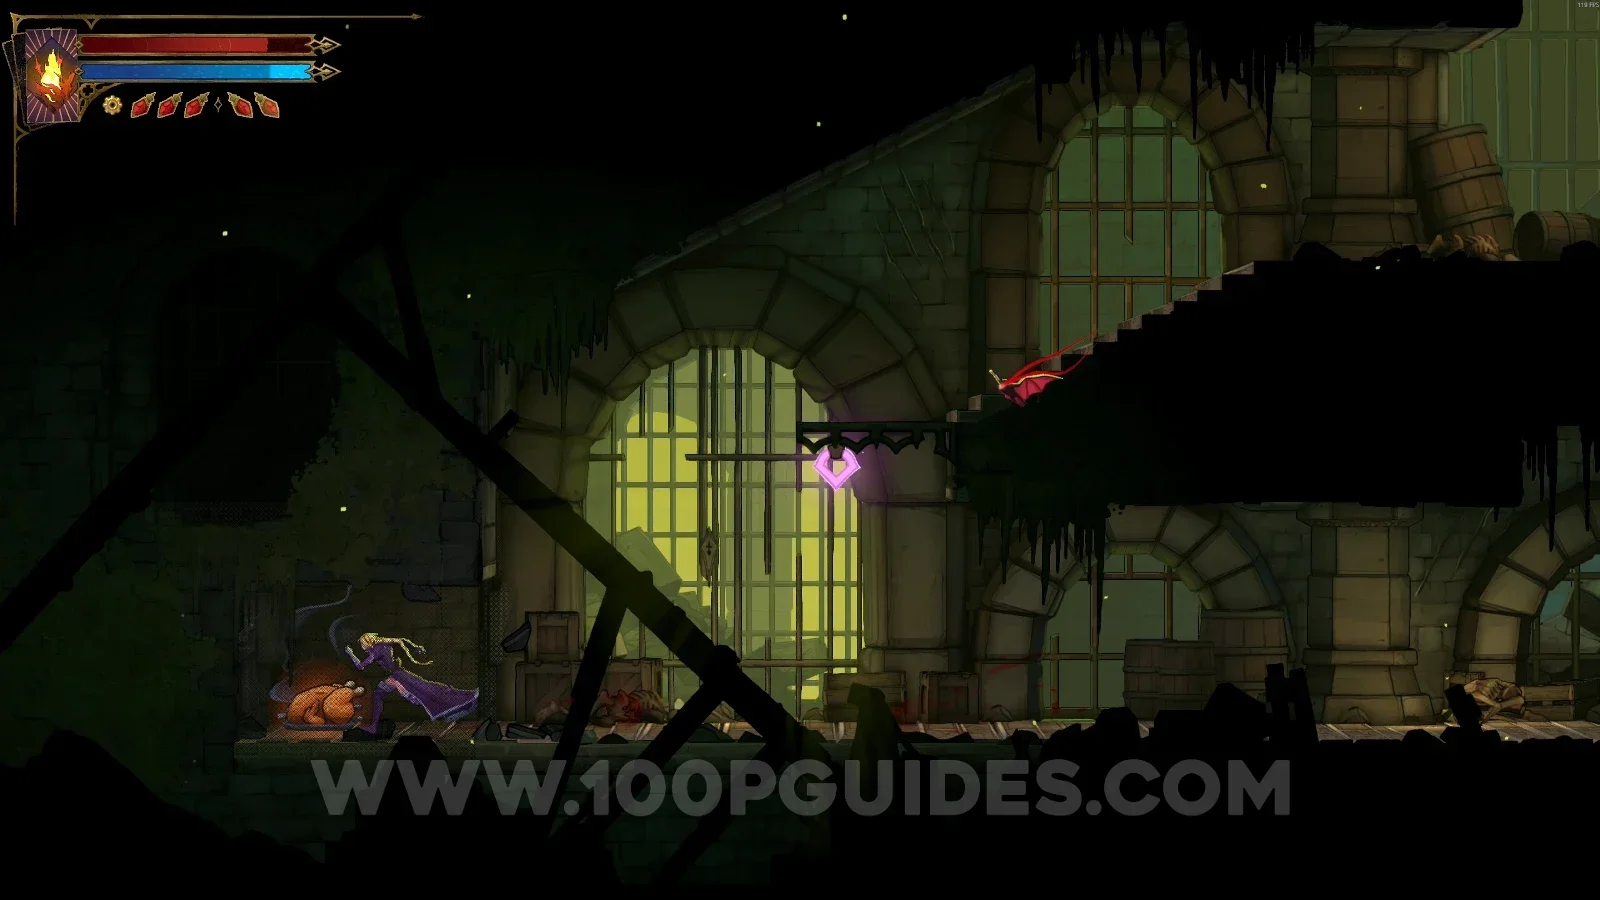
Chicken #1

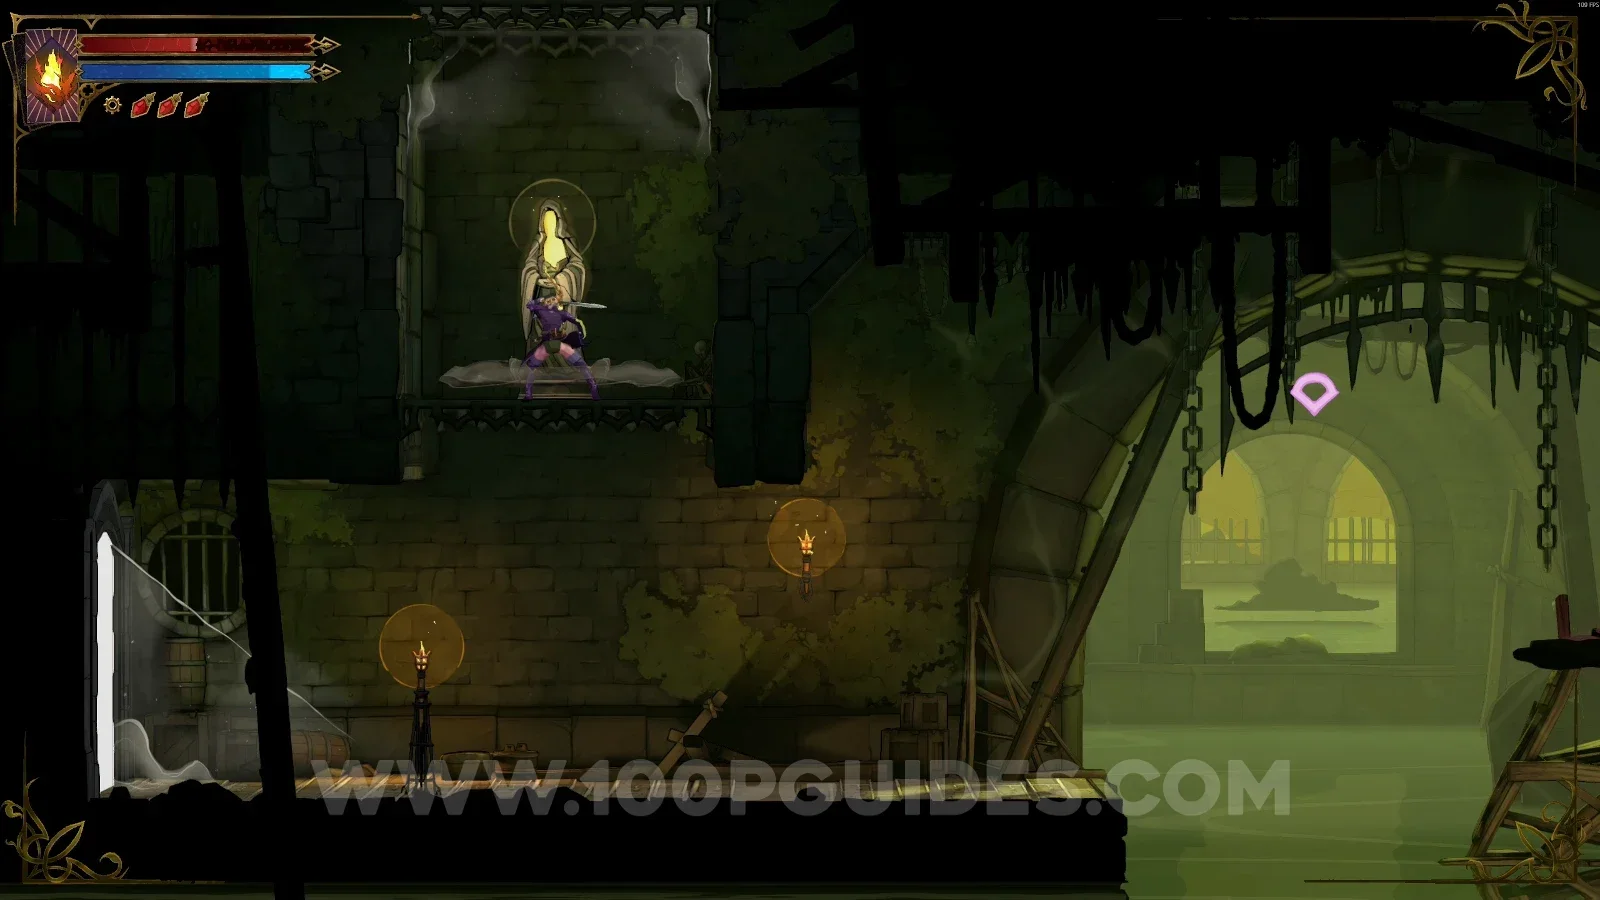
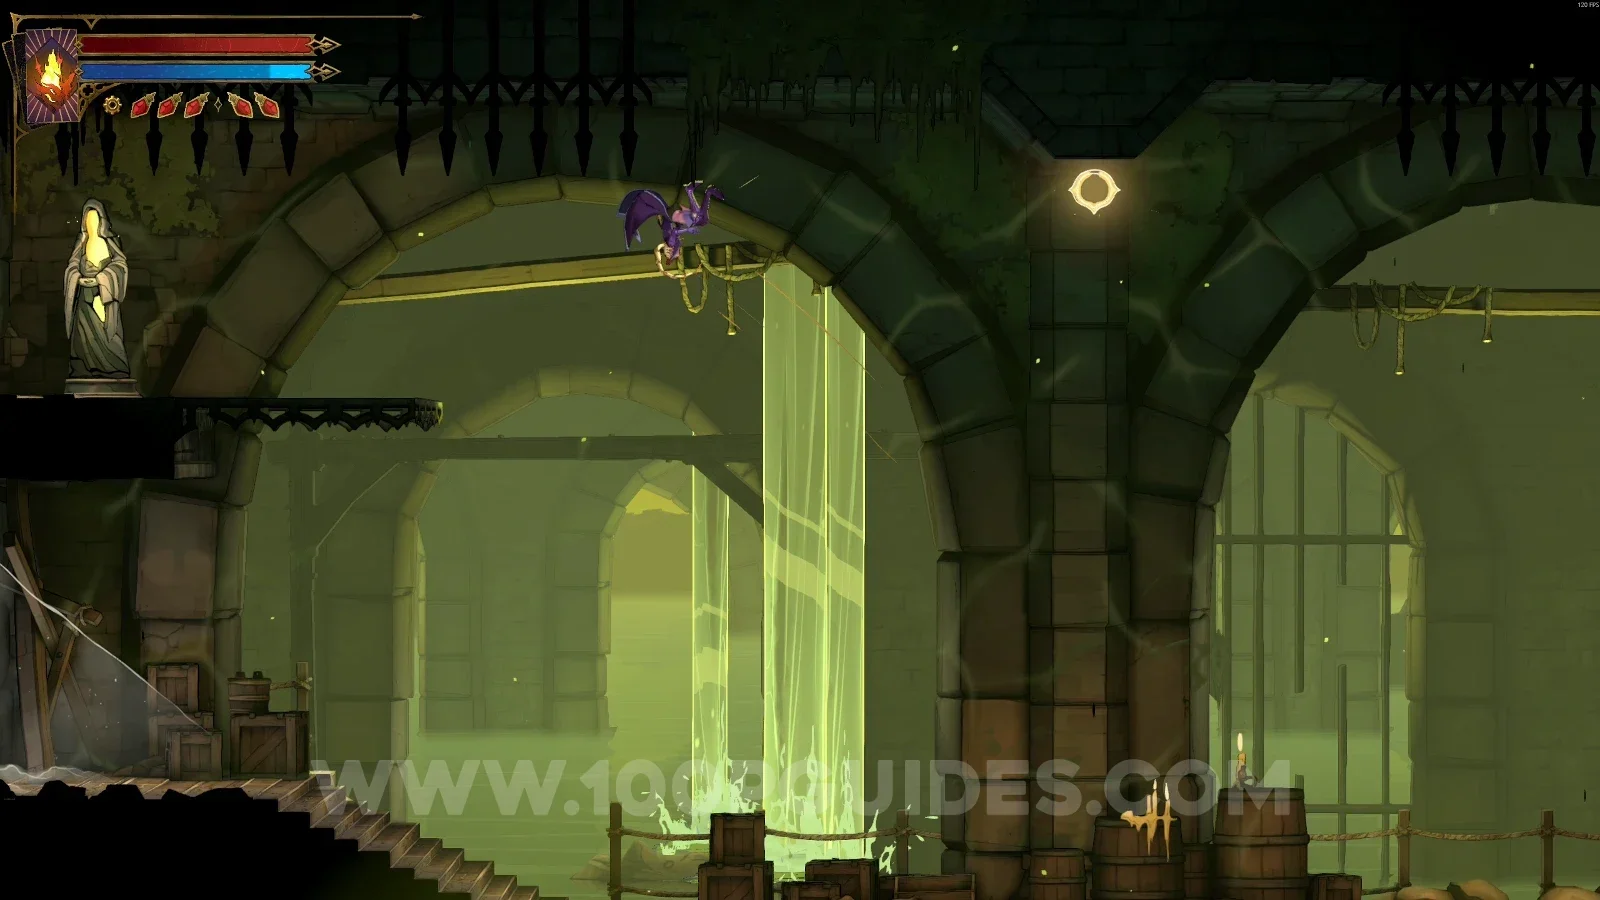
Break the wall on the left side to reveal a secret room.

Castlevania Belmonts Curse Path Of The Rat: breakable wall on the left side hiding a secret room Castlevania Belmonts Curse Path Of The Rat: Chicken #1 inside the secret room behind the left wall

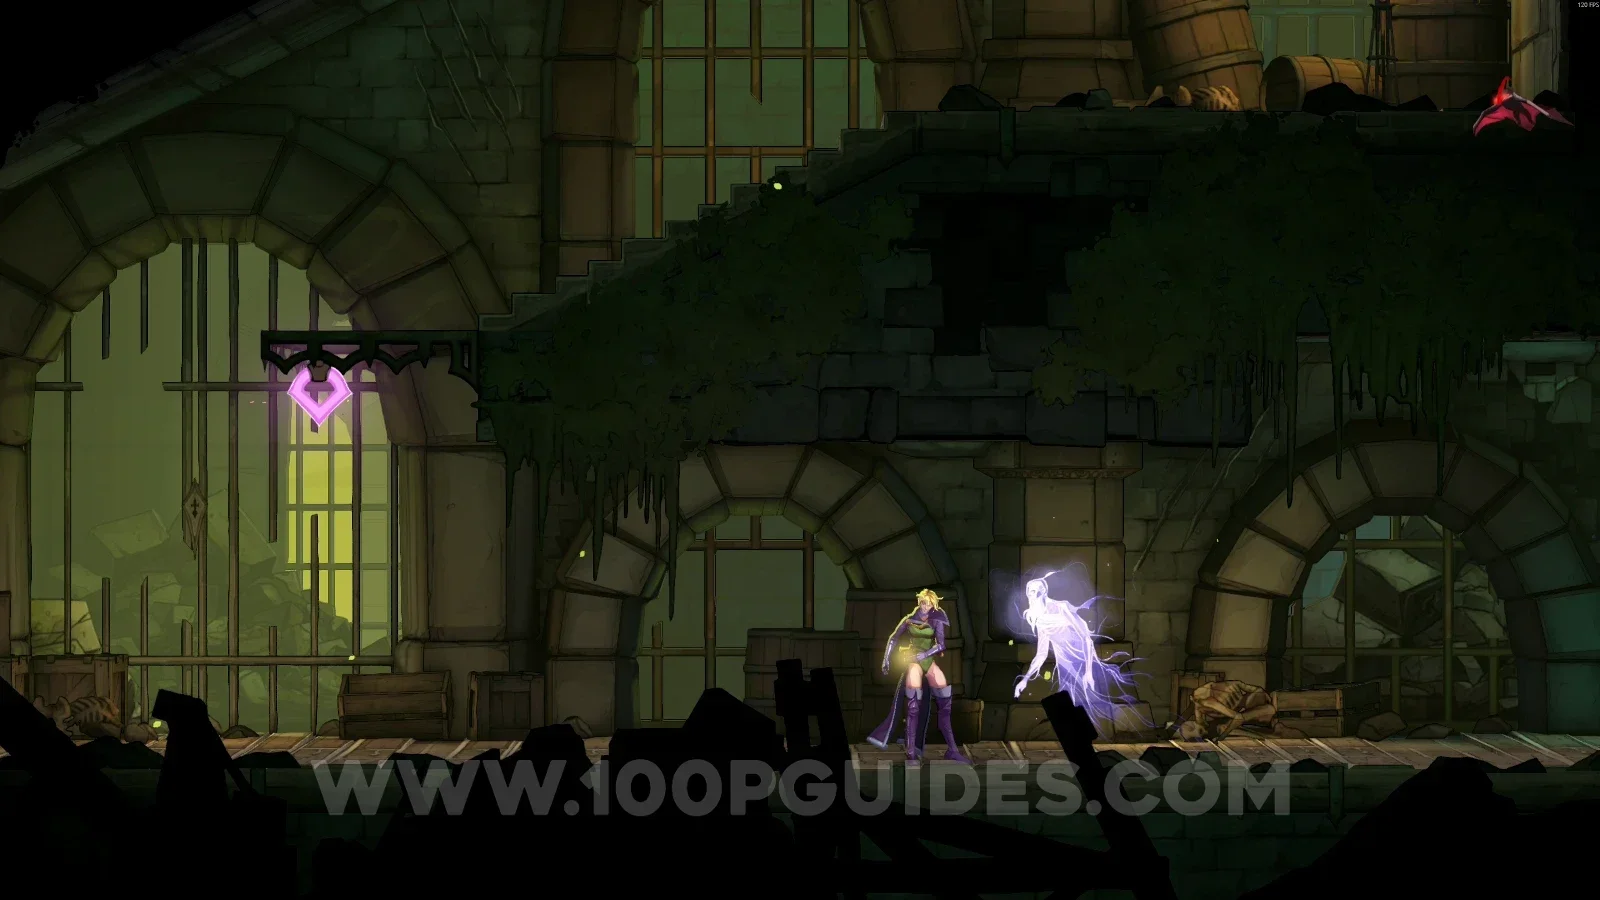
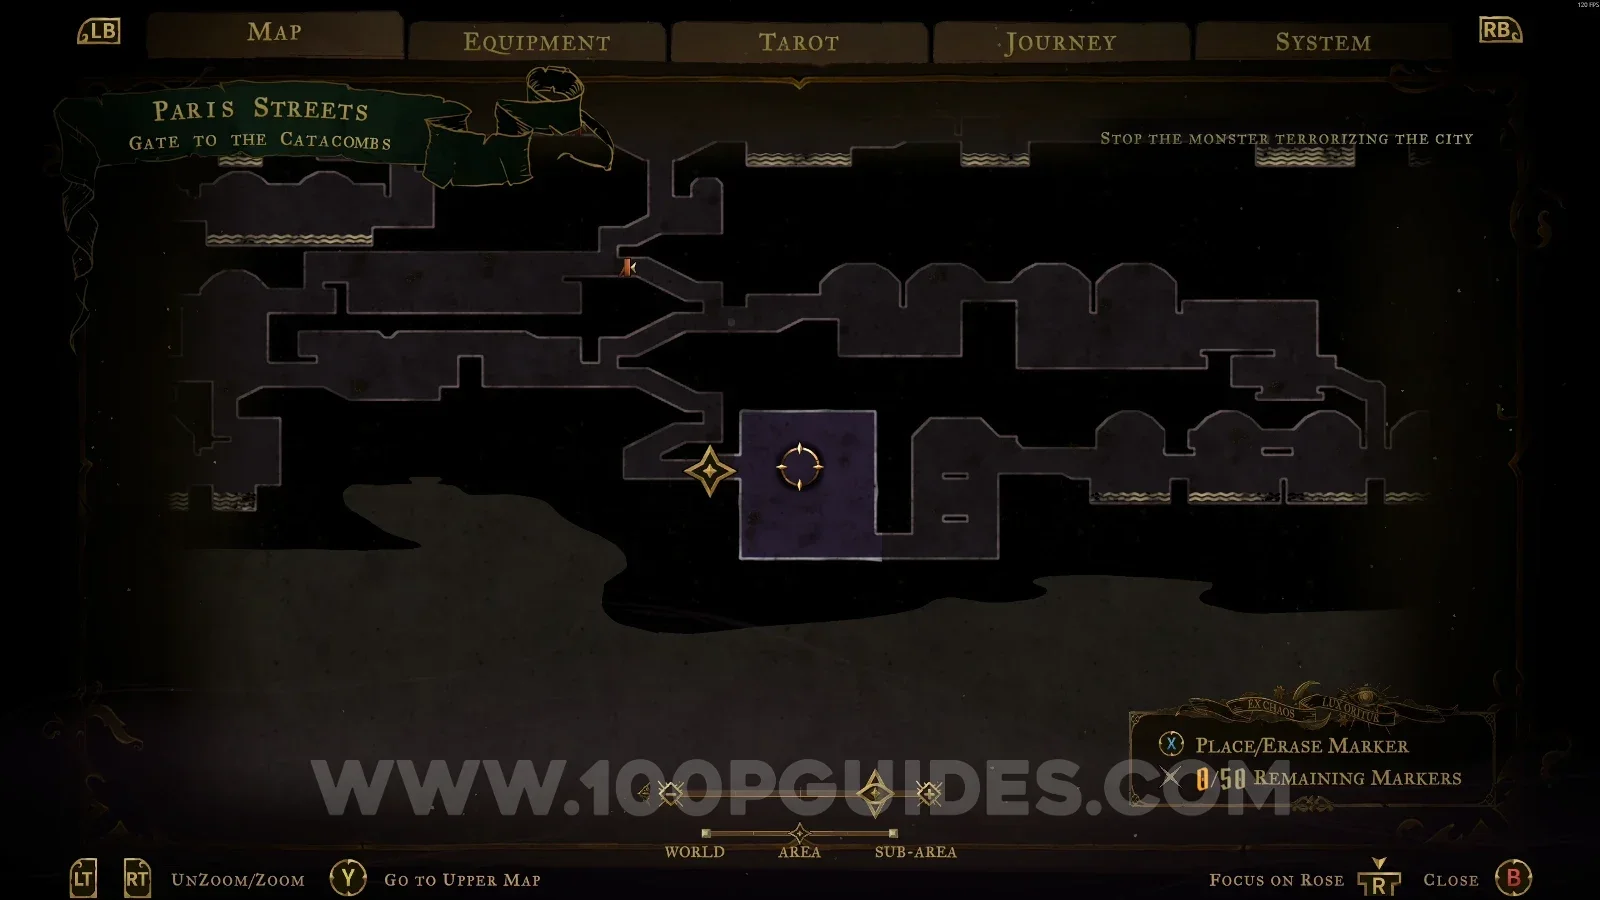
Clue: The Fallen

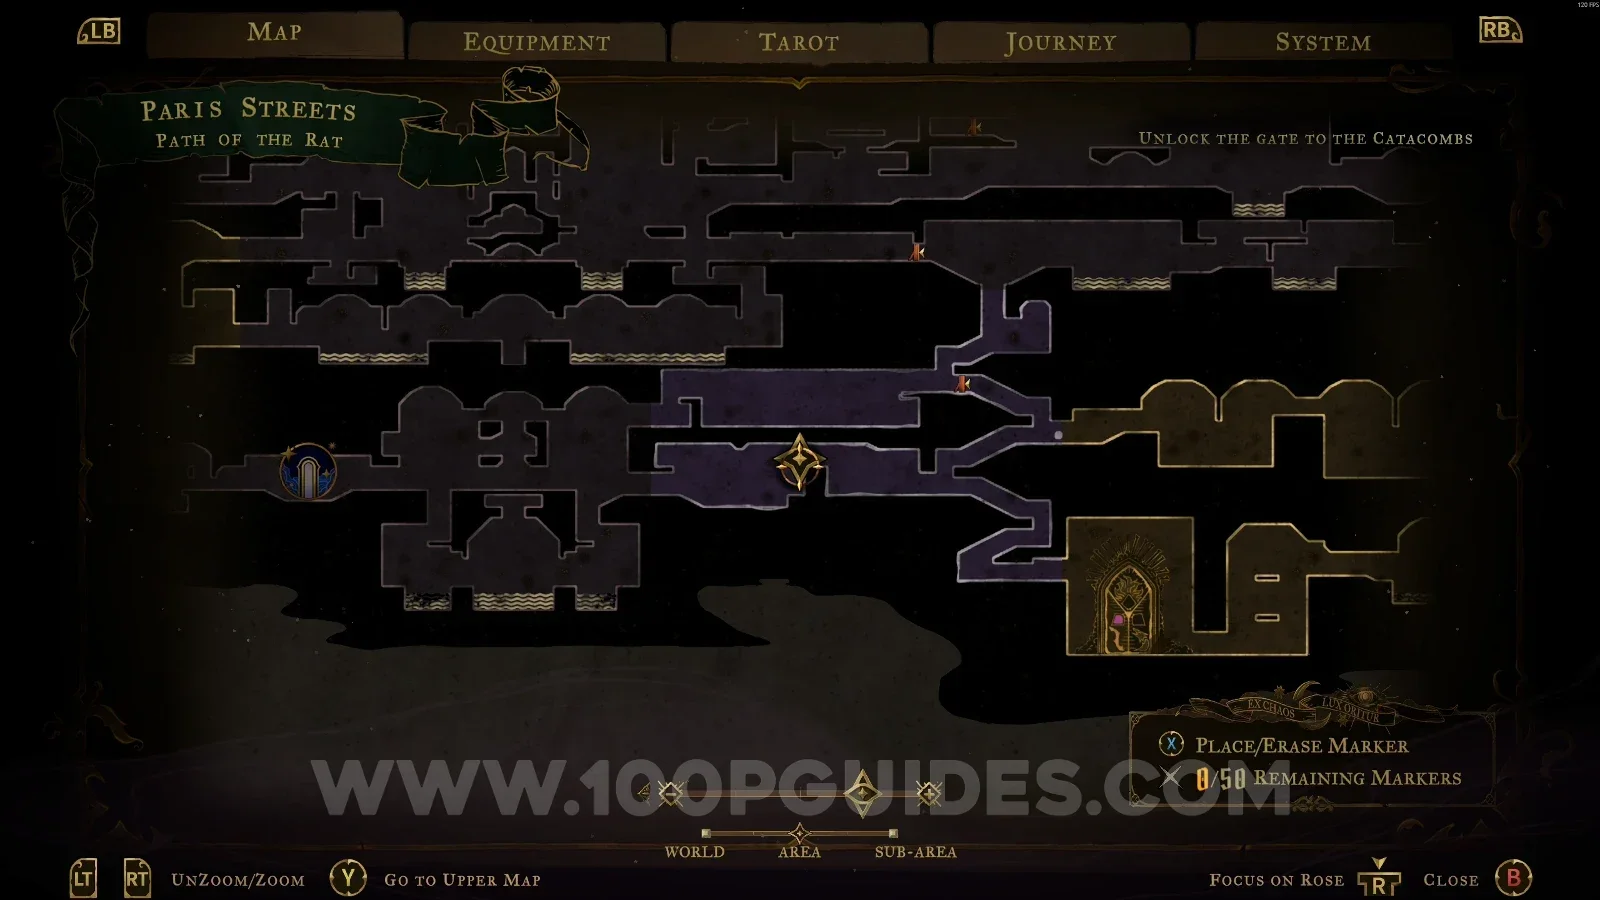
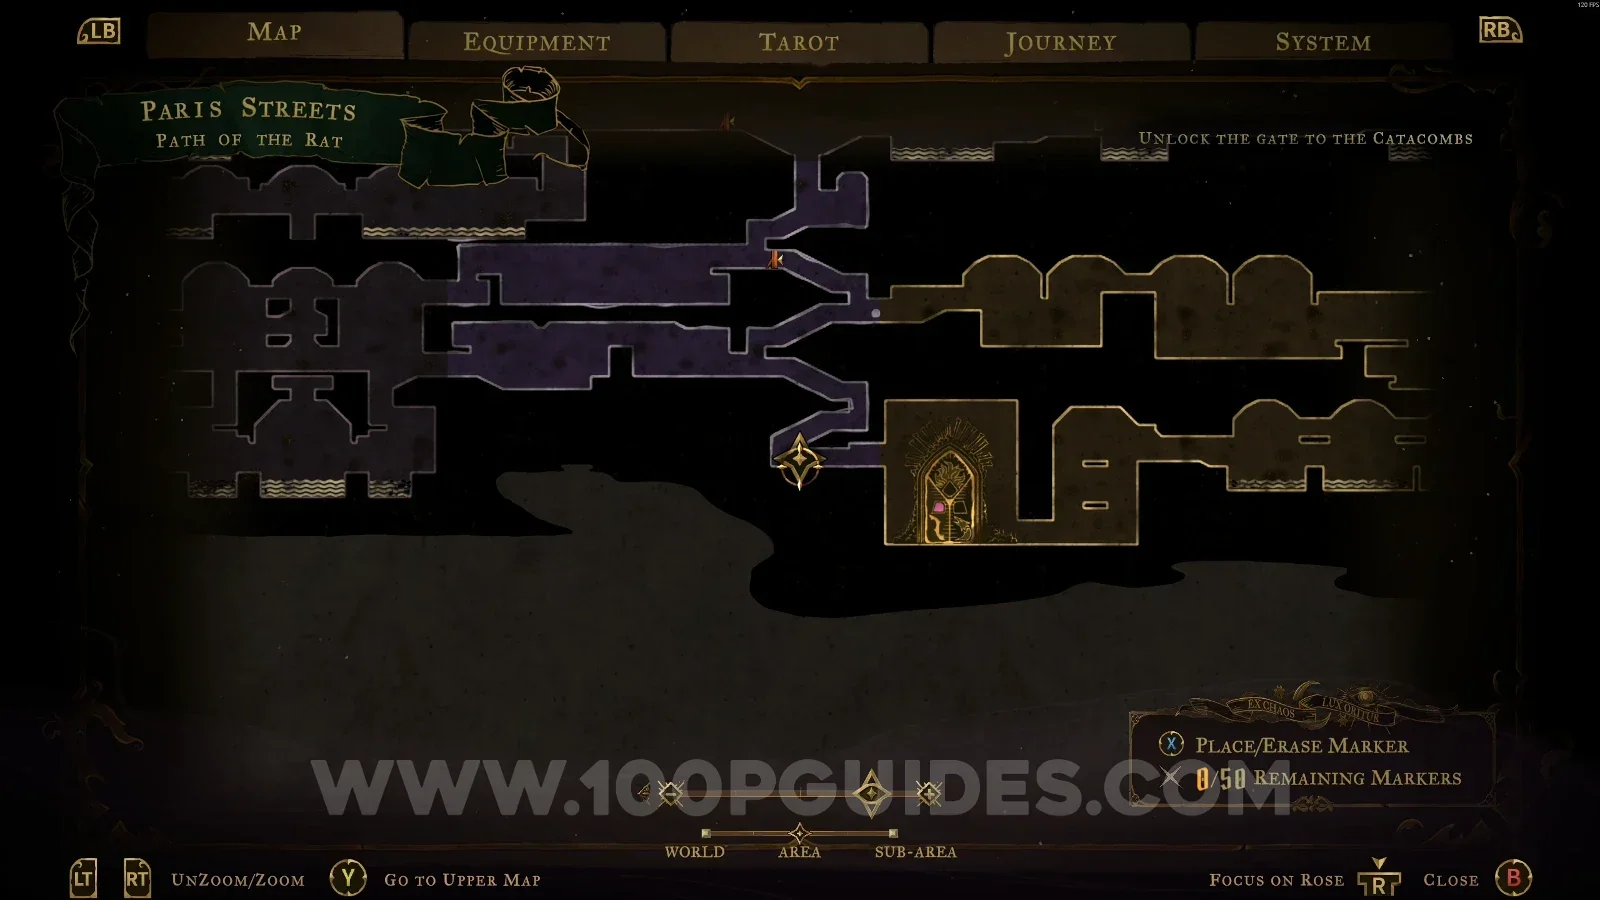
In the area marked on the map, talk to the ghost to get the clue about The Fallen.

Castlevania Belmonts Curse Path Of The Rat: map marking the ghost with the clue The Fallen Castlevania Belmonts Curse Path Of The Rat: talking to the ghost to get the clue about The Fallen

Gate To The Catacombs

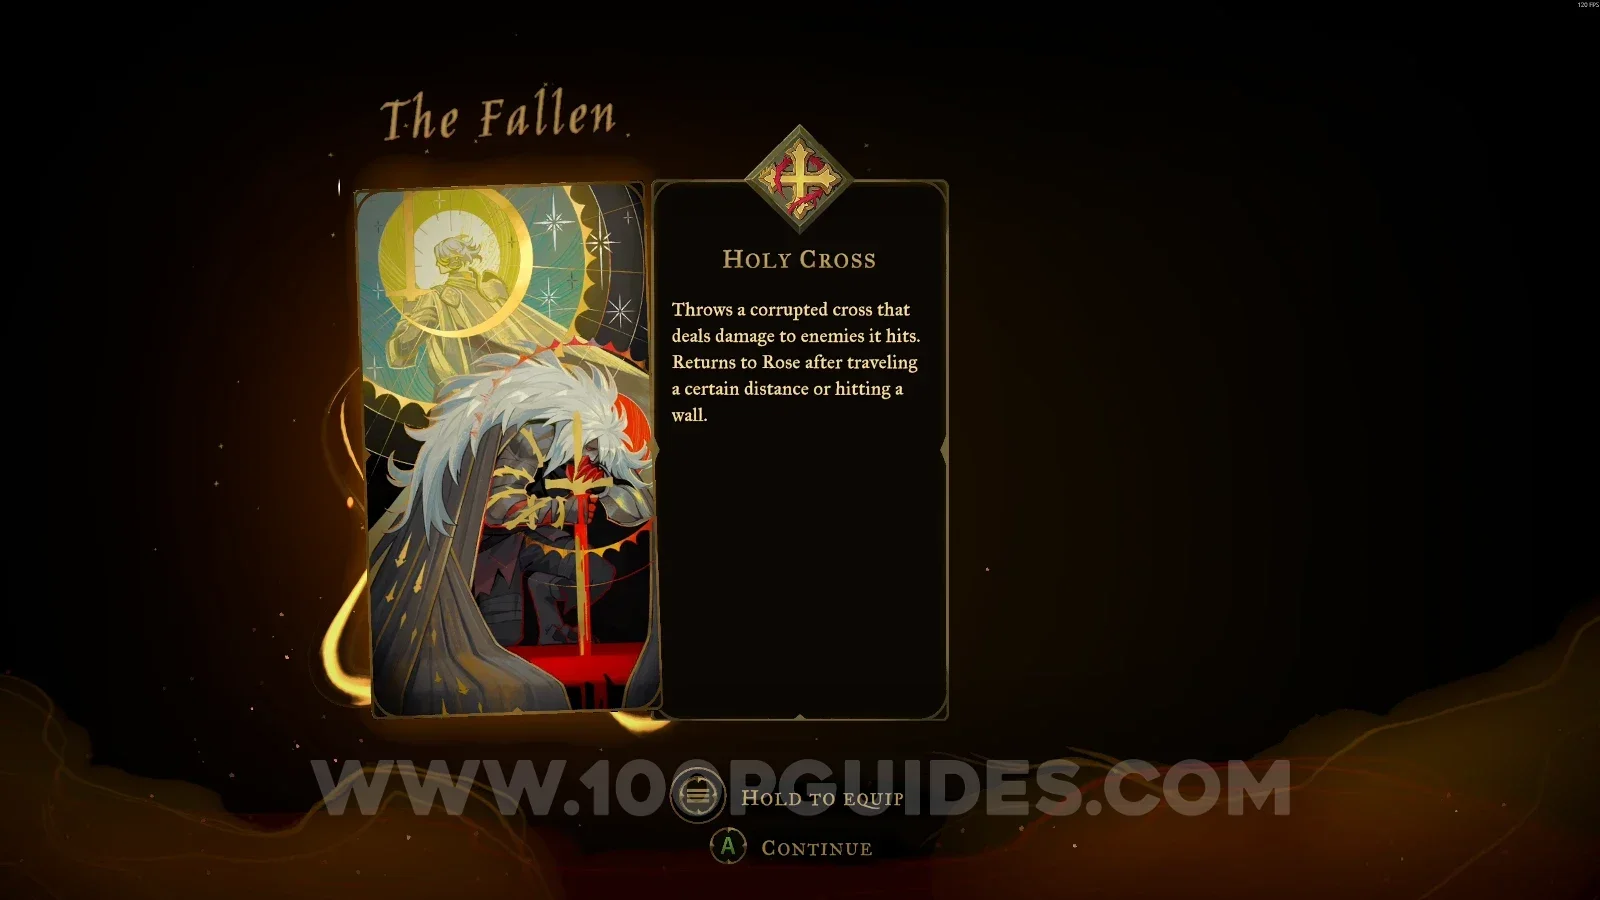
Arcana: Holy Cross

Obtained by defeating the boss The Fallen.

Castlevania Belmonts Curse Gate To The Catacombs: boss fight against The Fallen Castlevania Belmonts Curse Gate To The Catacombs: Holy Cross arcana obtained by defeating The Fallen

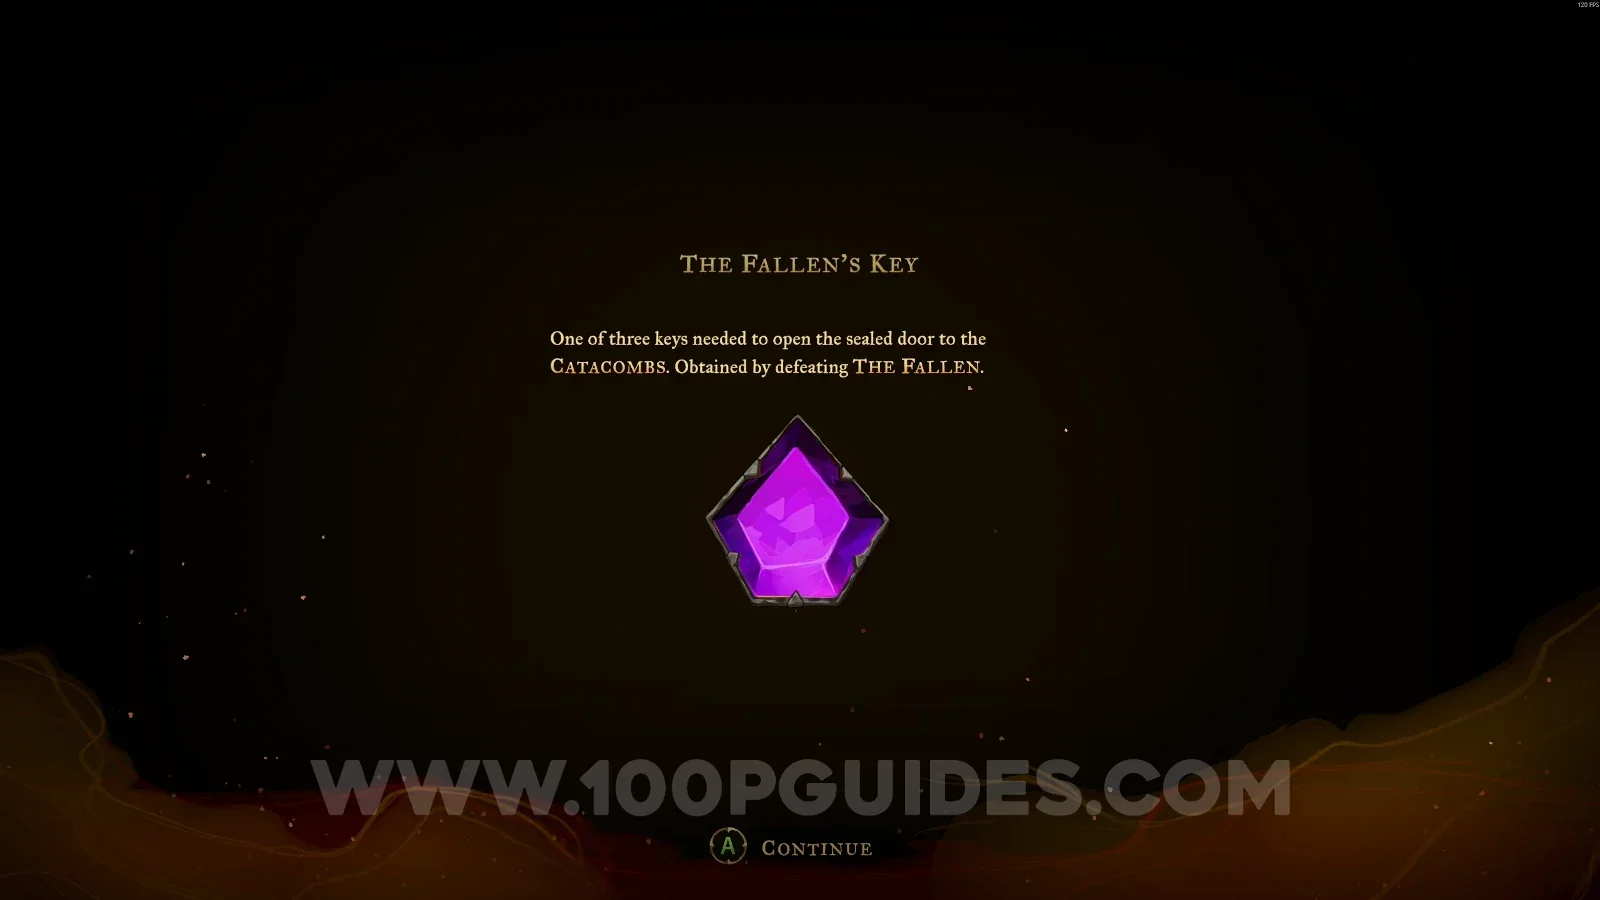
The Fallen's Key

Obtained by defeating the boss The Fallen.

Castlevania Belmonts Curse Gate To The Catacombs: The Fallen's Key obtained by defeating the boss The Fallen

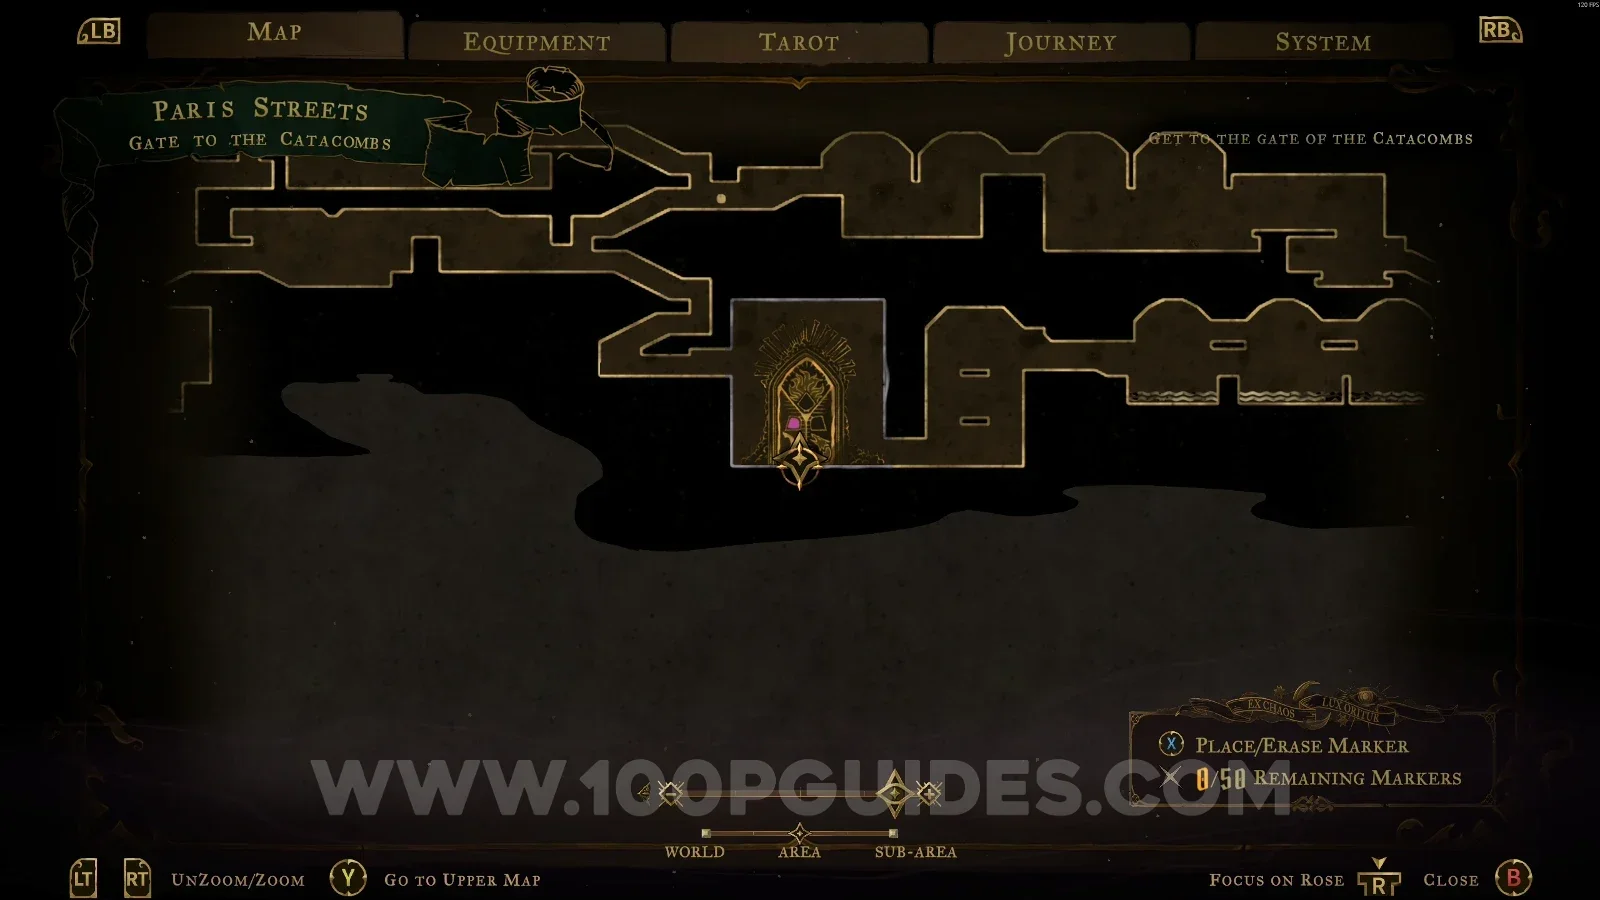
Gate Keys

After defeating Joan (The Warrior) and Medusa (The Prophetess), use the keys on the gate to go to the Catacombs.

Castlevania Belmonts Curse Gate To The Catacombs: using the keys from Joan and Medusa on the Catacombs gate

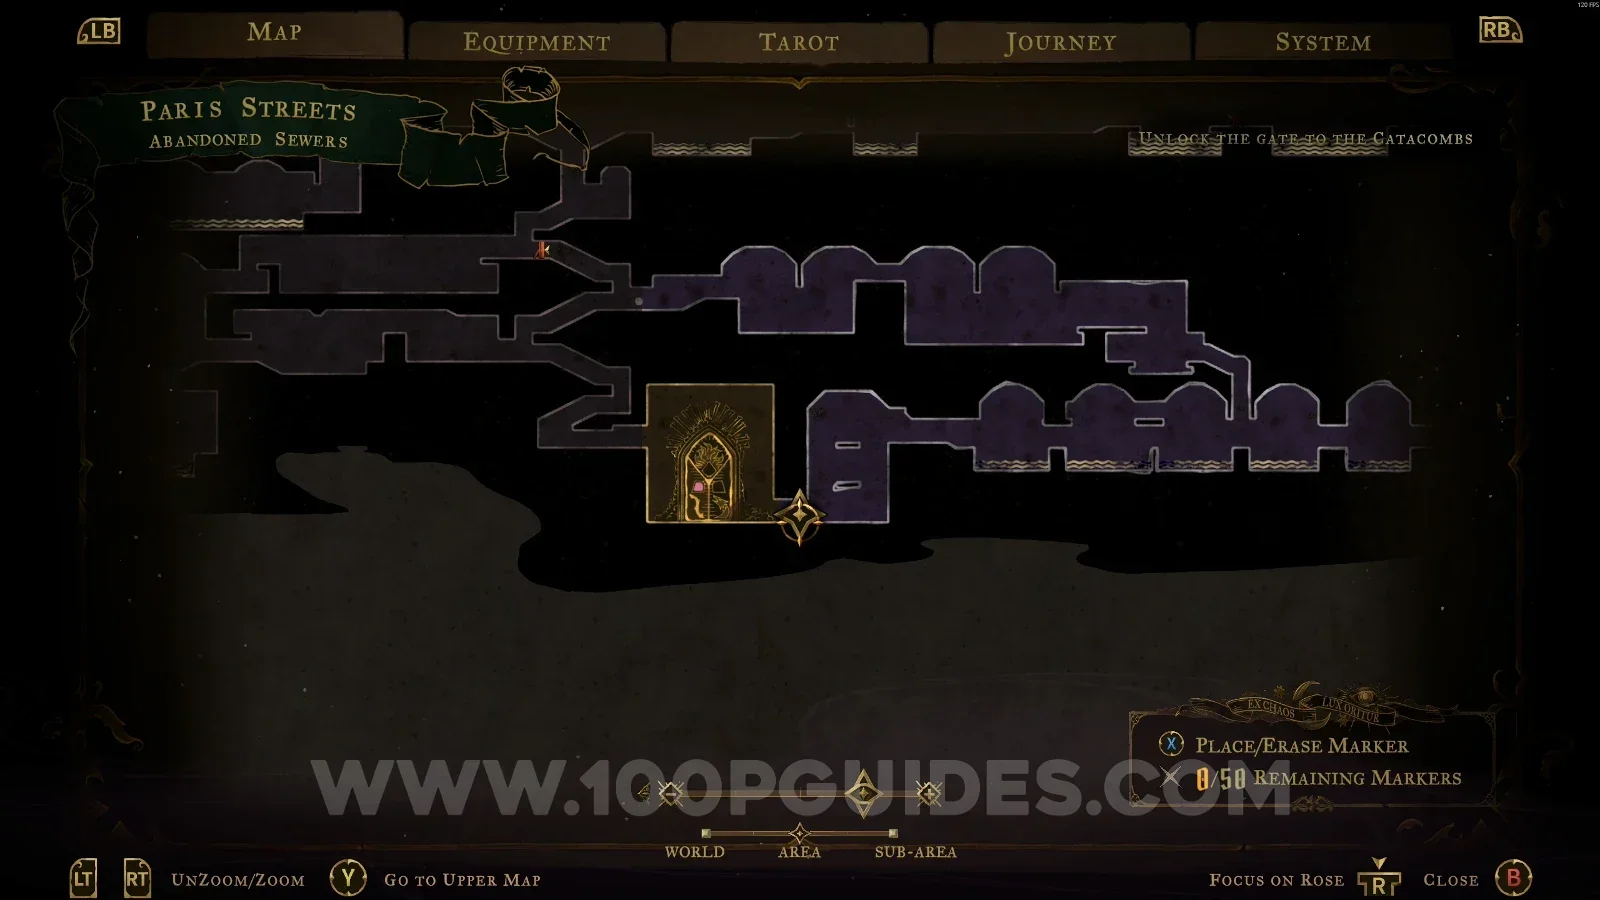
Abandoned Sewers

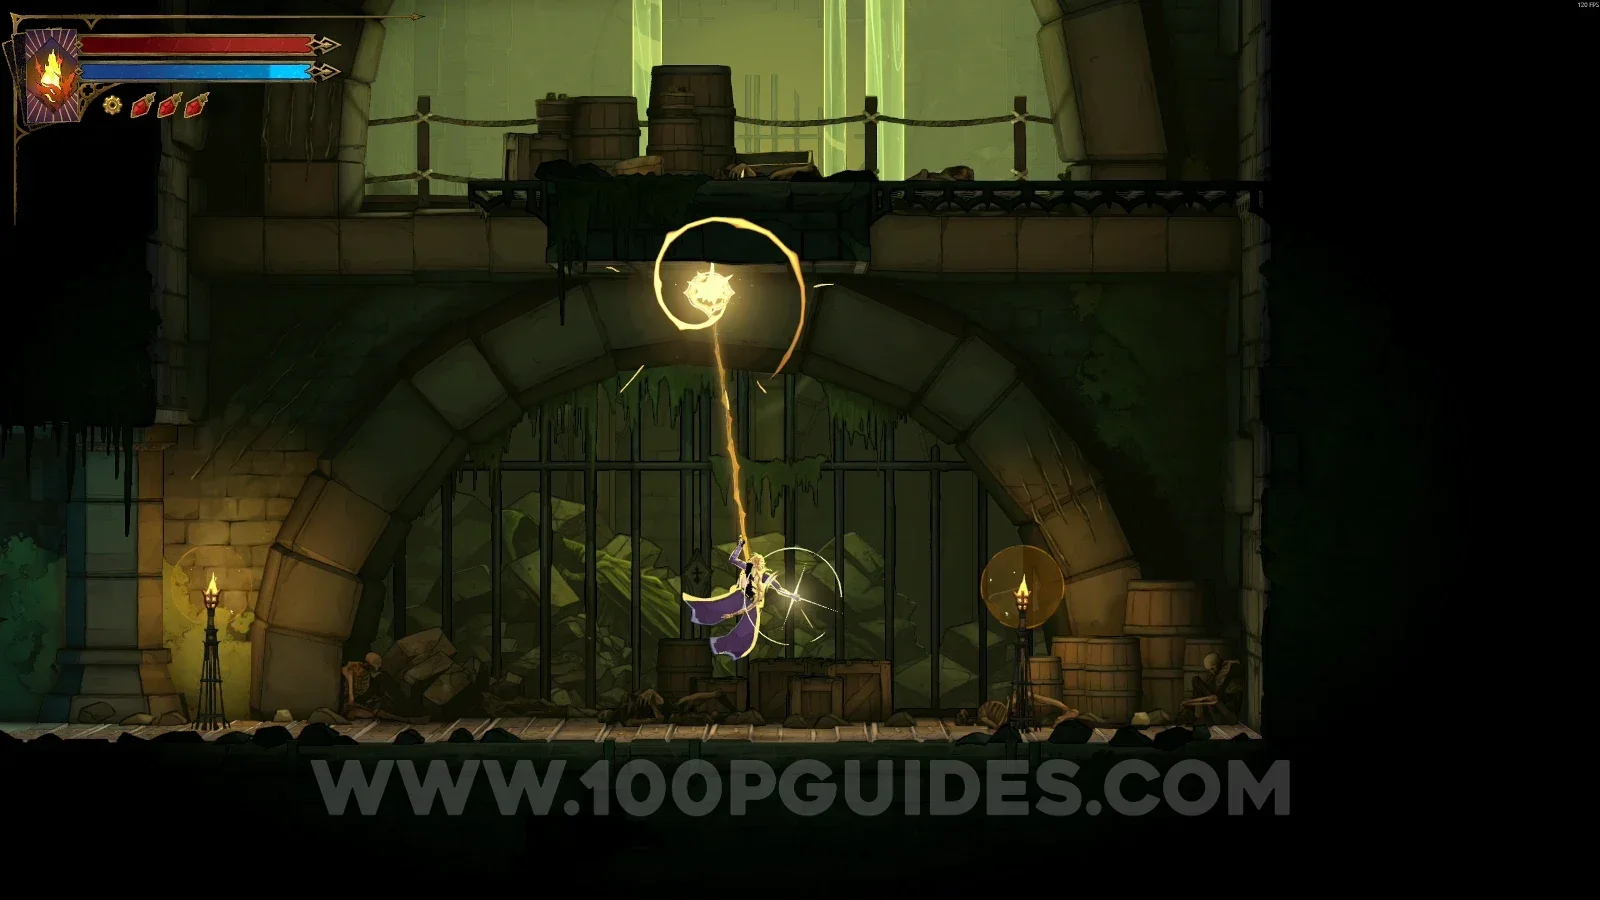
Arcane Power #1: Arcane Whip

Right after defeating The Fallen, leave the room to get this arcane power.

Castlevania Belmonts Curse Abandoned Sewers: leaving the room right after defeating The Fallen Castlevania Belmonts Curse Abandoned Sewers: Arcane Power #1 Arcane Whip obtained after The Fallen

XP Statue #13

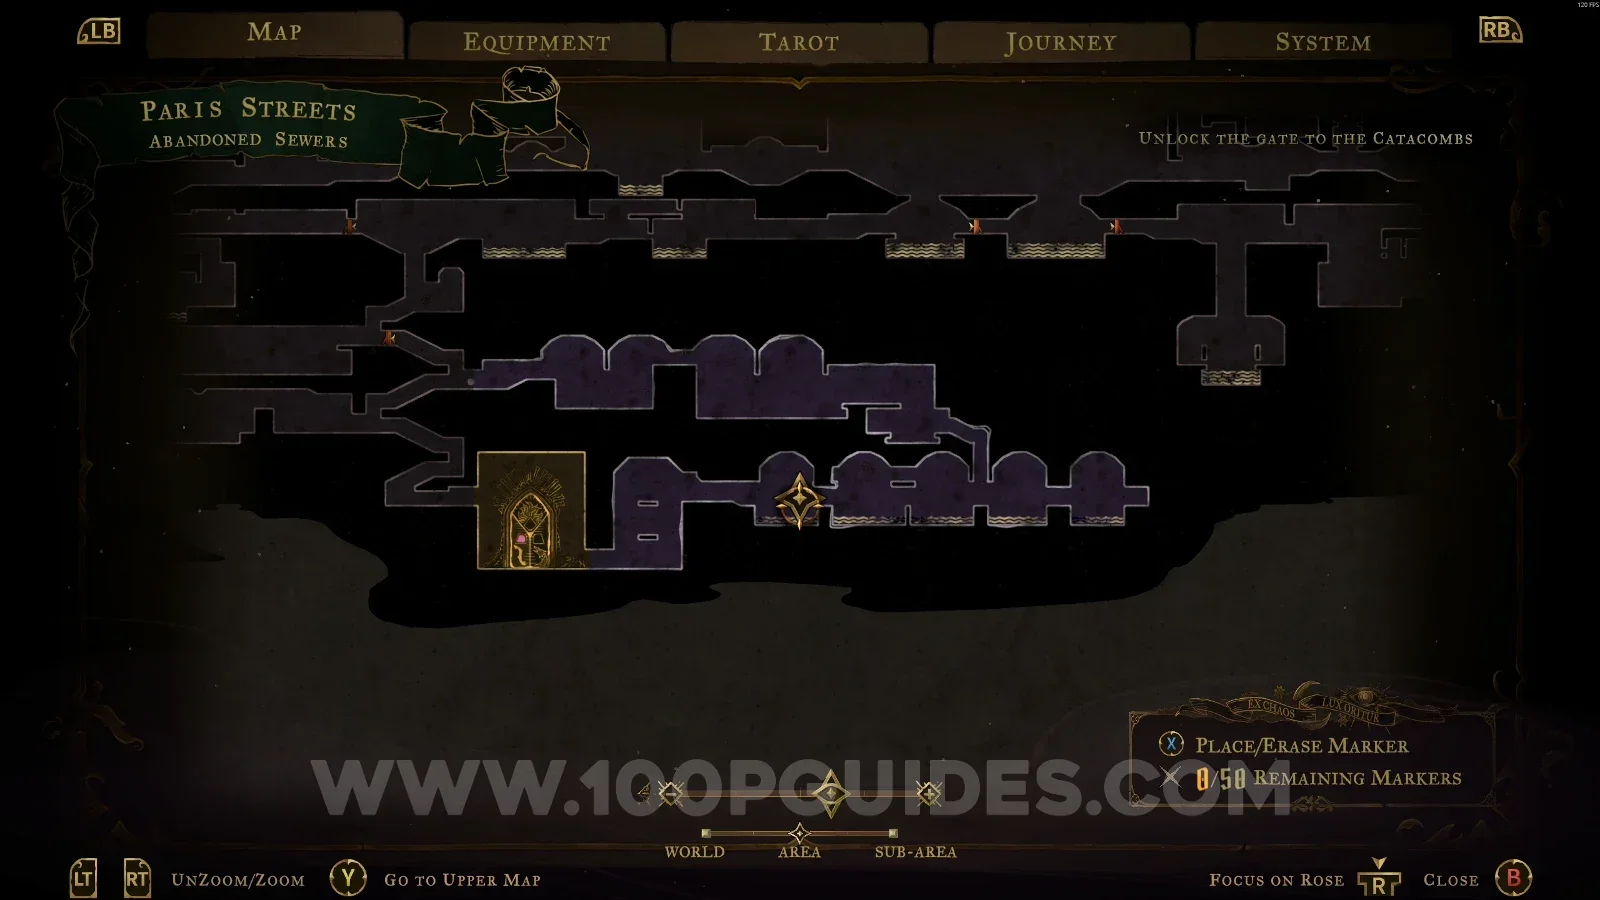
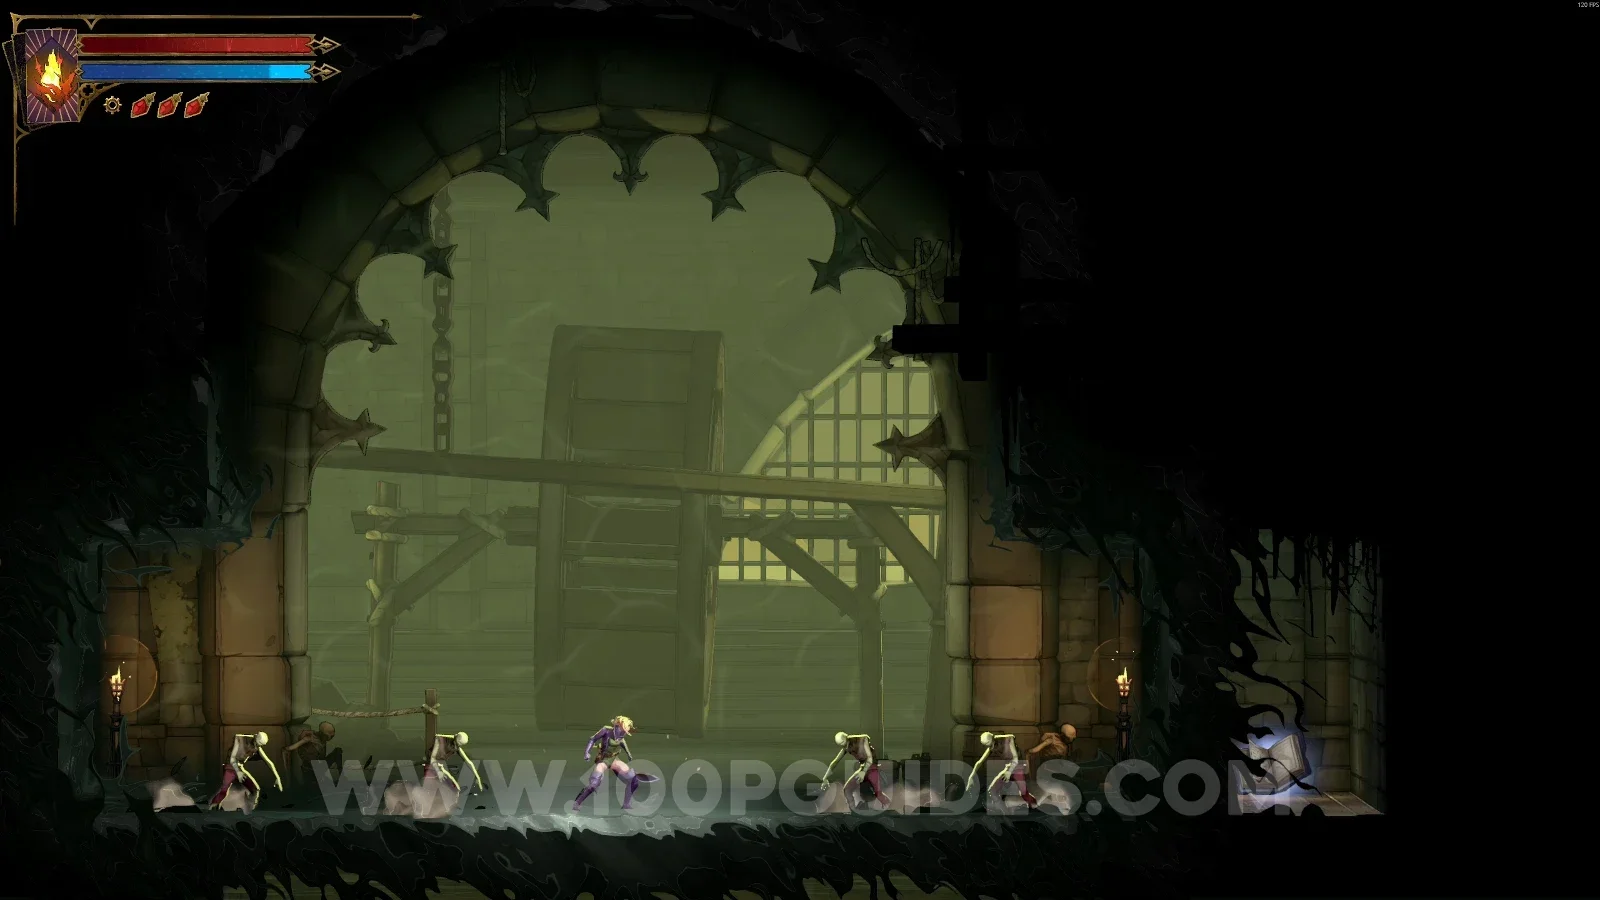
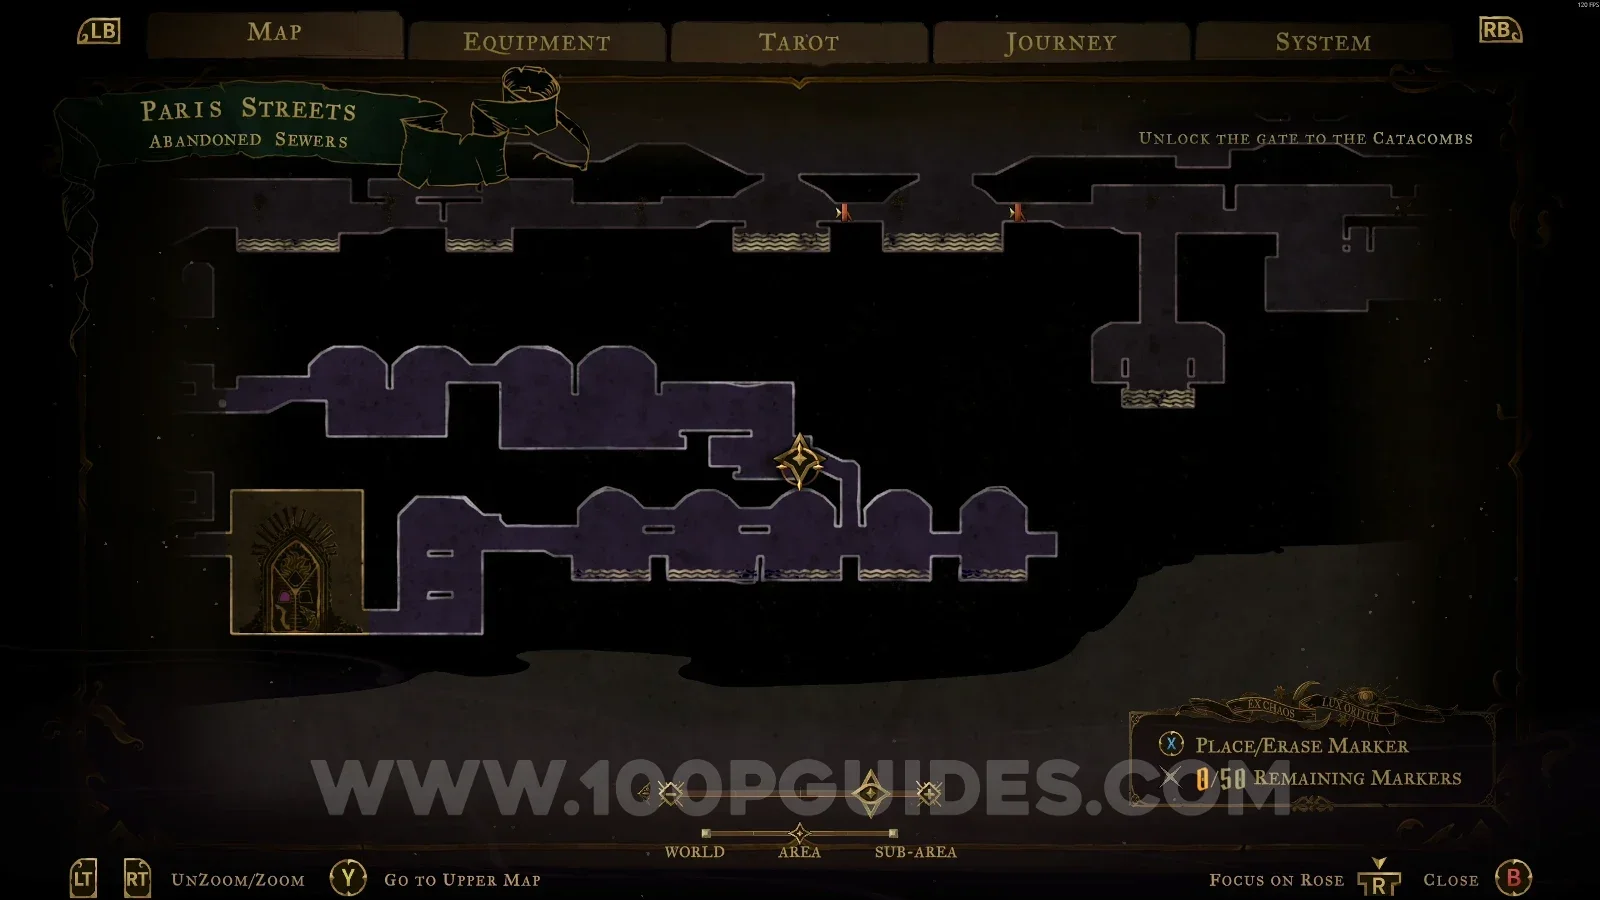
In a small secret room in the area marked on the map.

Castlevania Belmonts Curse Abandoned Sewers: map marking the small secret room of XP Statue #13 Castlevania Belmonts Curse Abandoned Sewers: XP Statue #13 in a small secret room

Blue Book #2

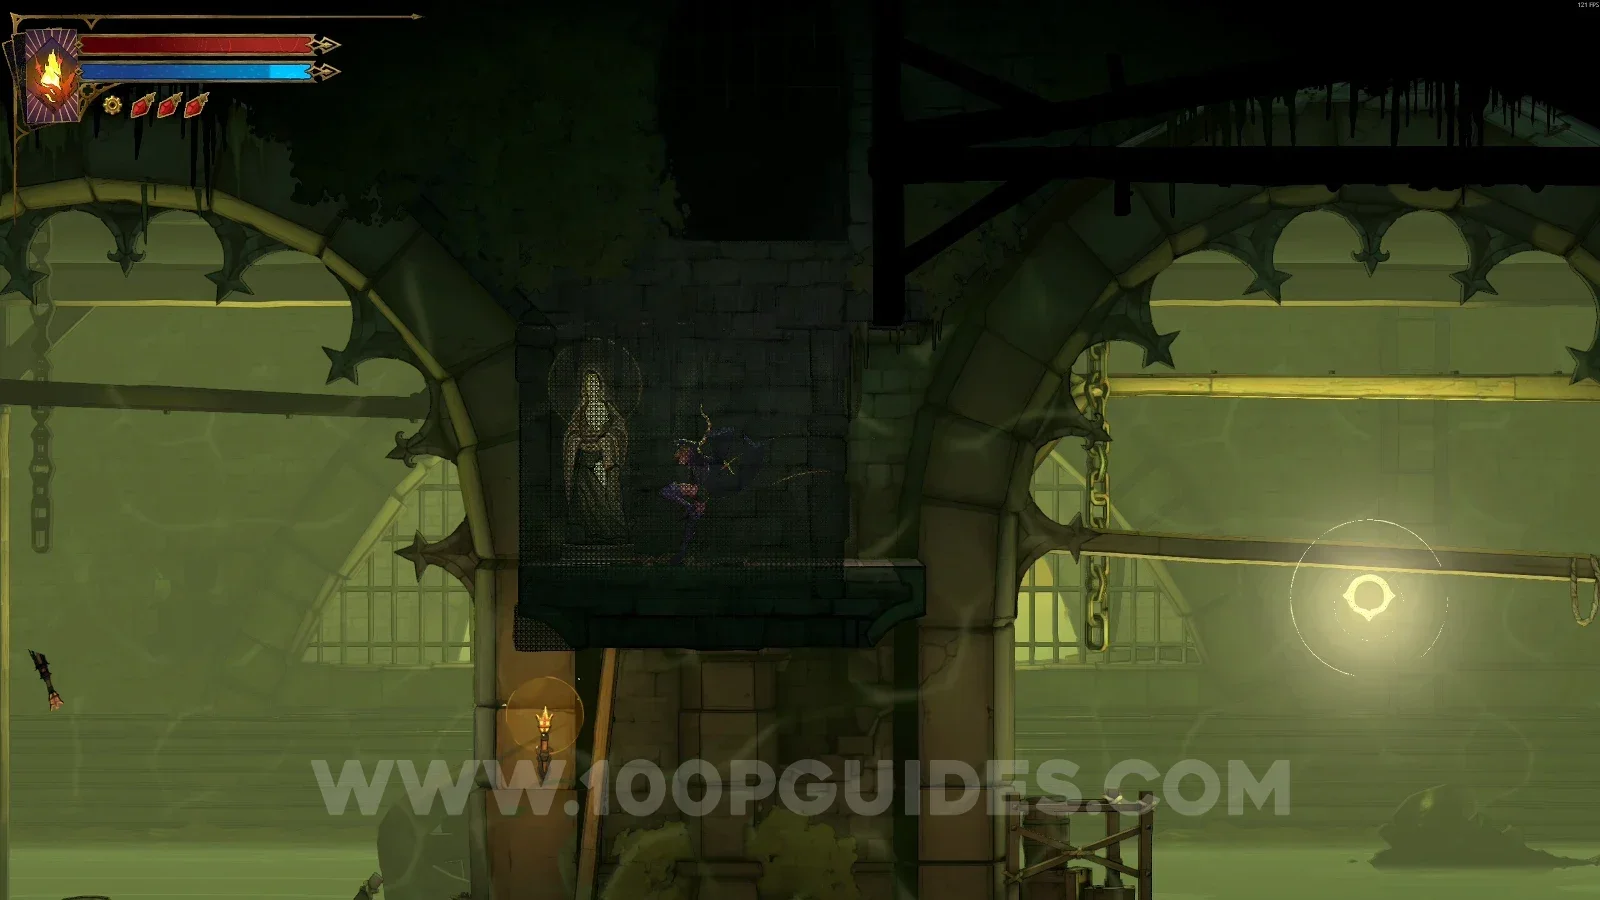
In the area marked on the map, pass through the wall using the Holy Light ability, defeat the enemies, and grab the book.

Castlevania Belmonts Curse Abandoned Sewers: passing through the wall with Holy Light toward Blue Book #2 Castlevania Belmonts Curse Abandoned Sewers: Blue Book #2 grabbed after defeating the enemies

XP Statue #14

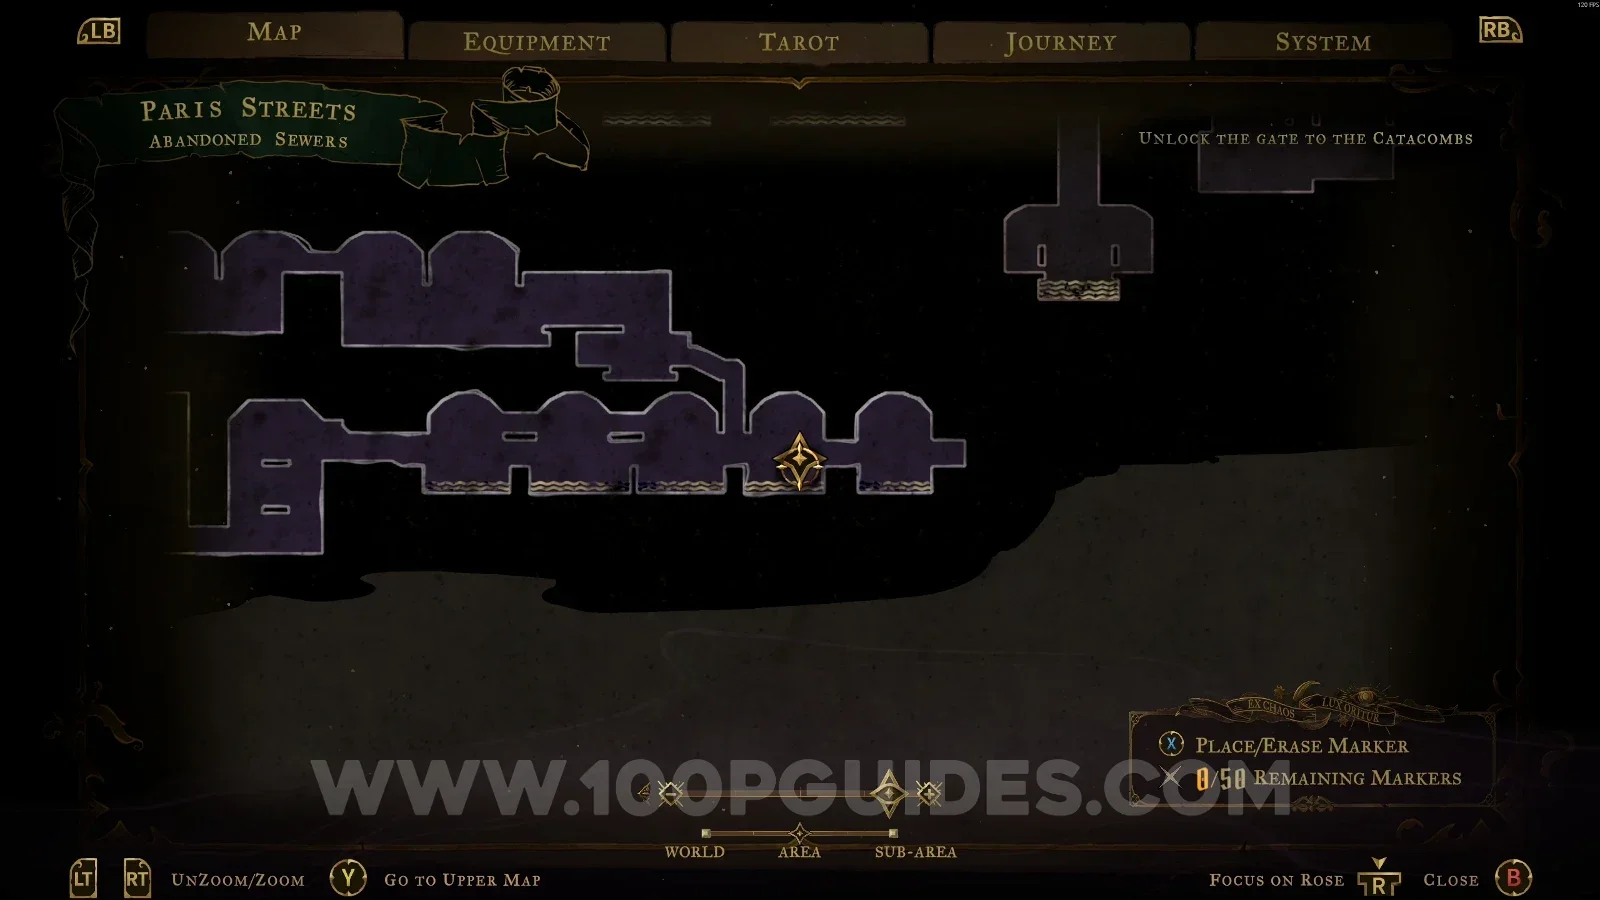
In the area marked on the map, in the lower part.

Castlevania Belmonts Curse Abandoned Sewers: map marking the area of XP Statue #14 Castlevania Belmonts Curse Abandoned Sewers: XP Statue #14 in the lower part of the marked area

Court of Miracles

XP Statue #15

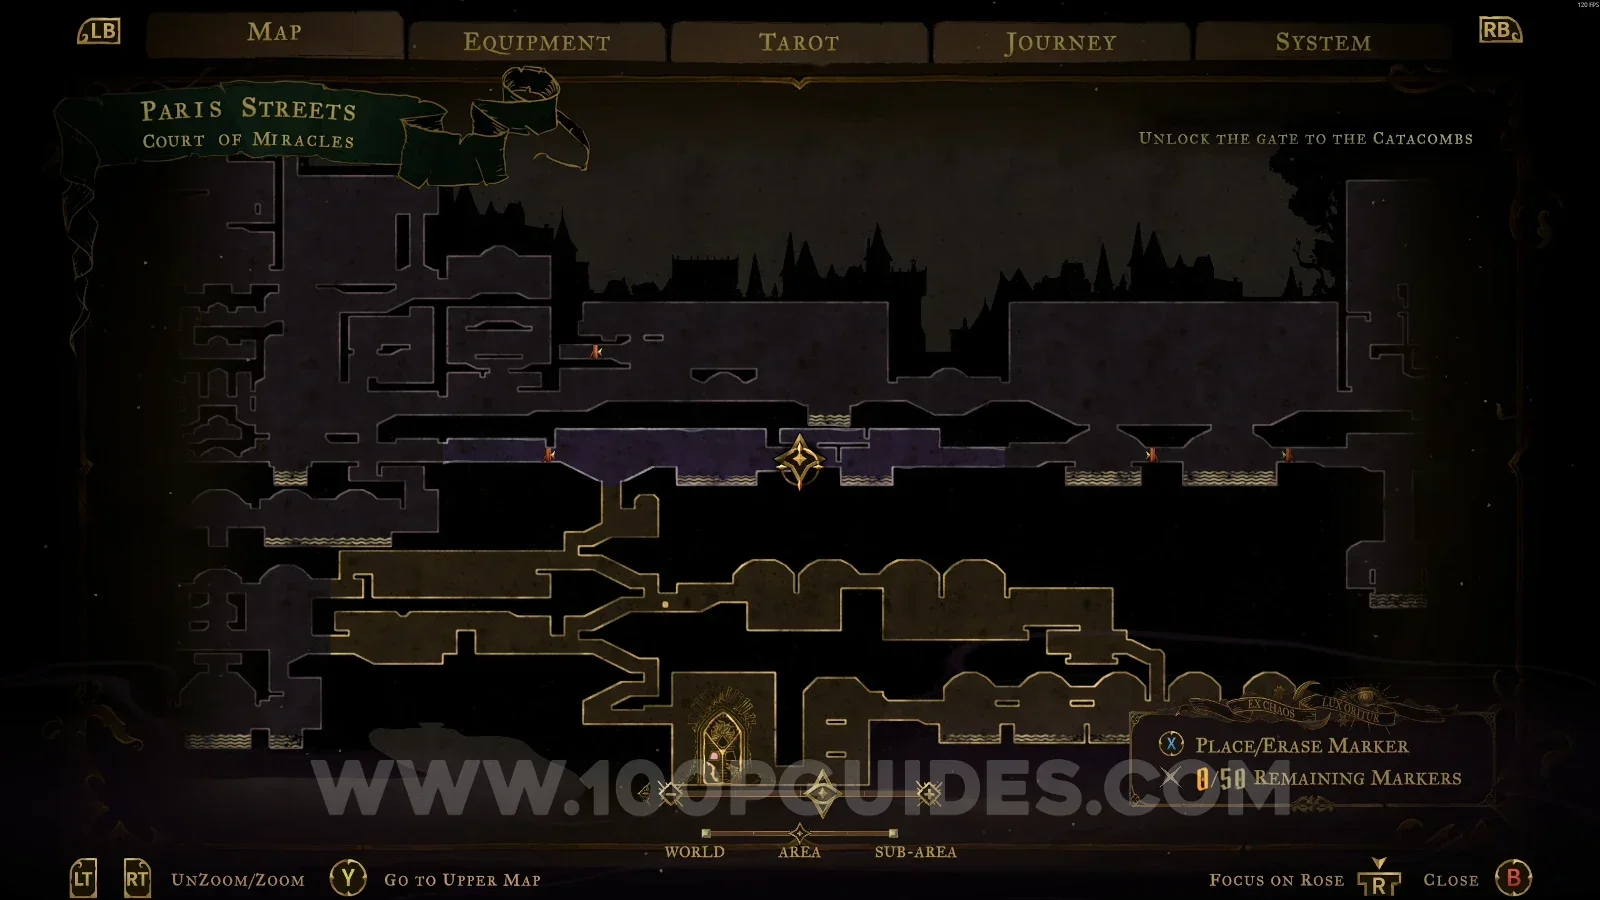
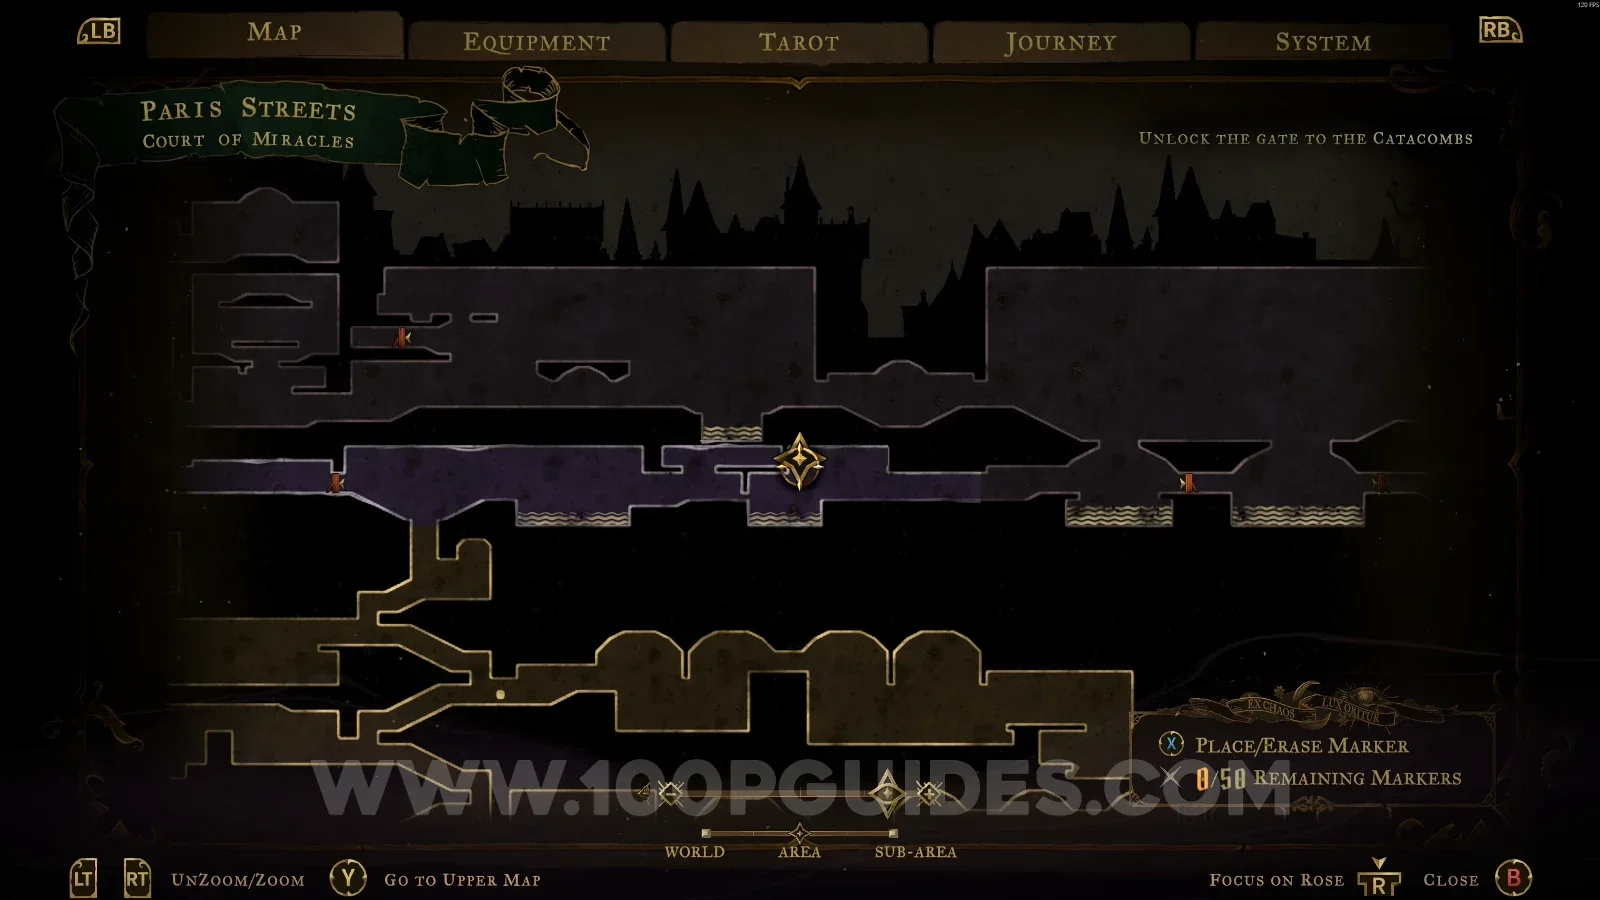
In the area marked on the map.

Castlevania Belmonts Curse Court of Miracles: map marking the area of XP Statue #15 Castlevania Belmonts Curse Court of Miracles: XP Statue #15 in the marked area

XP Statue #16

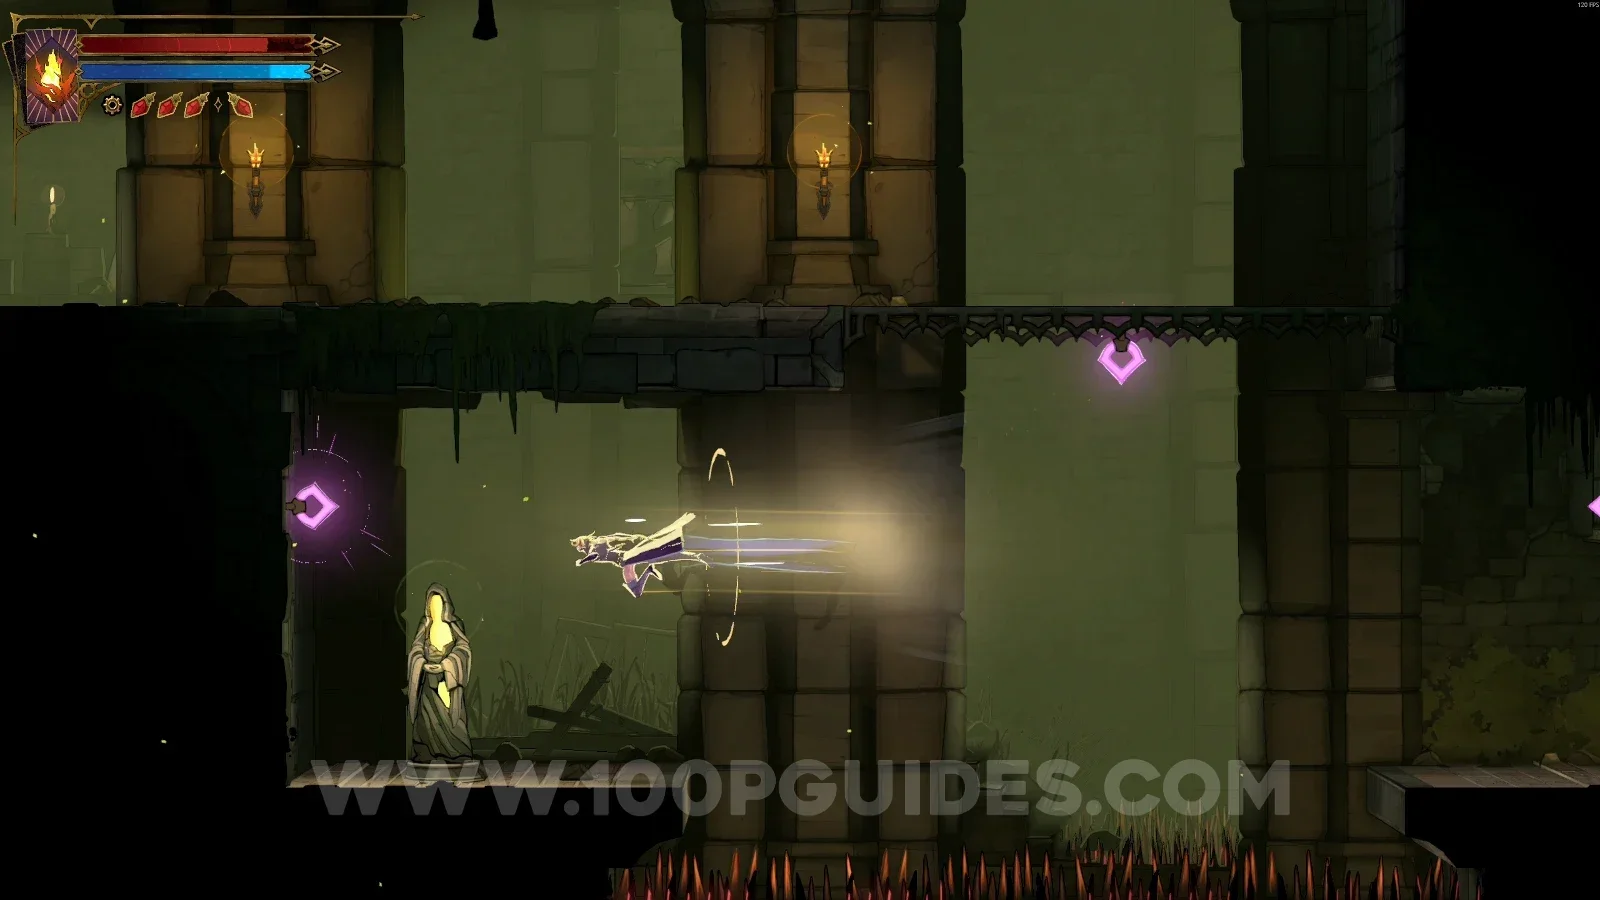
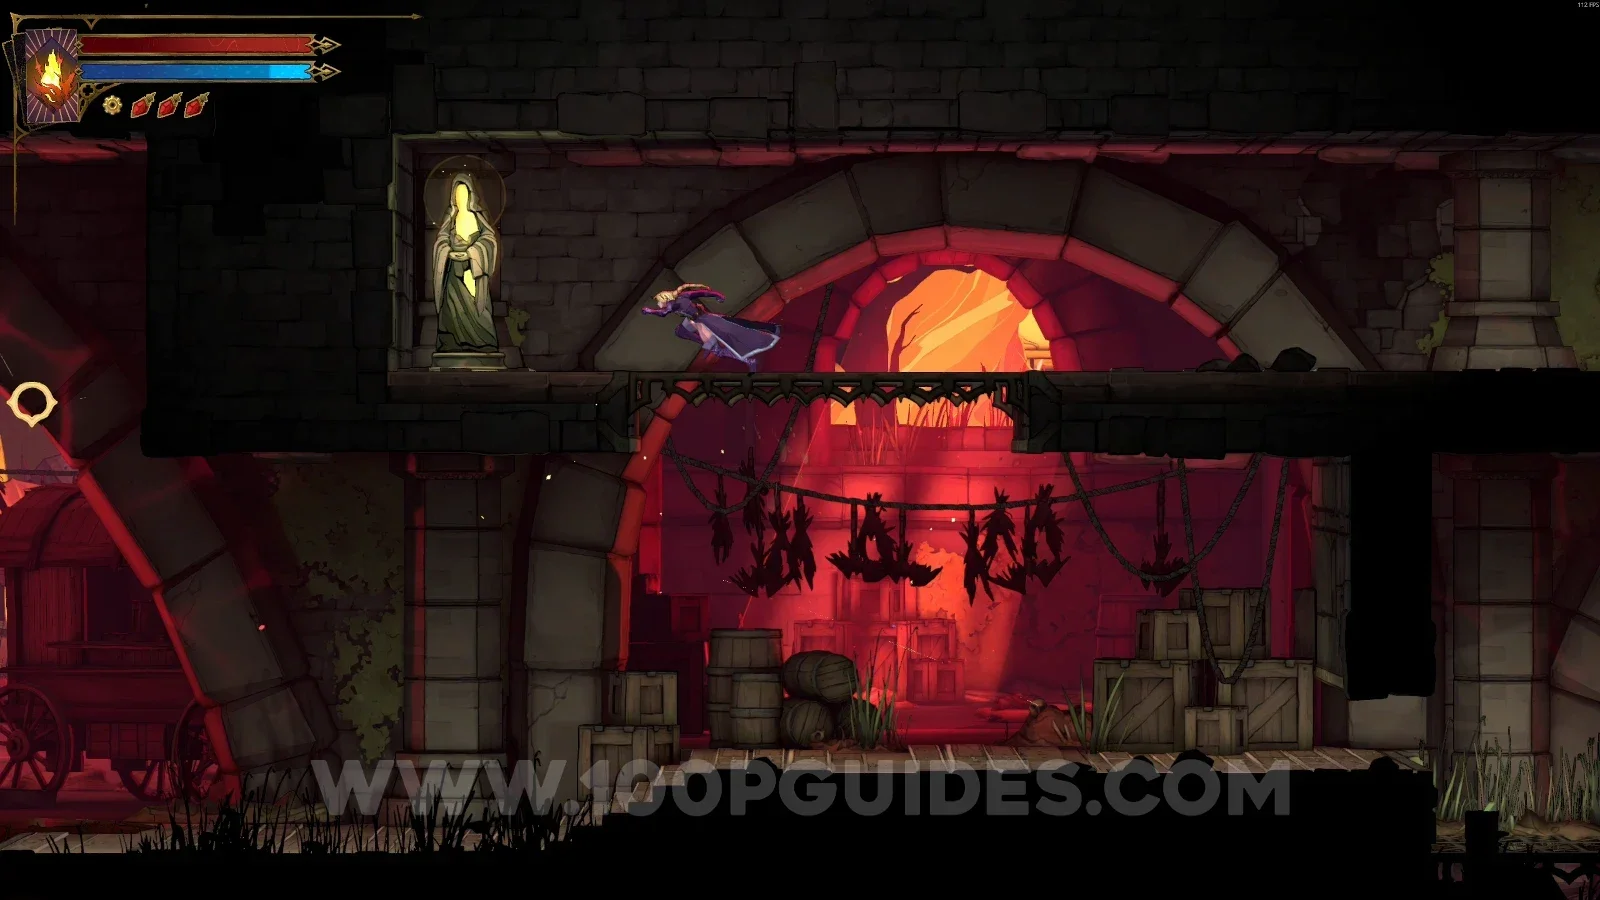
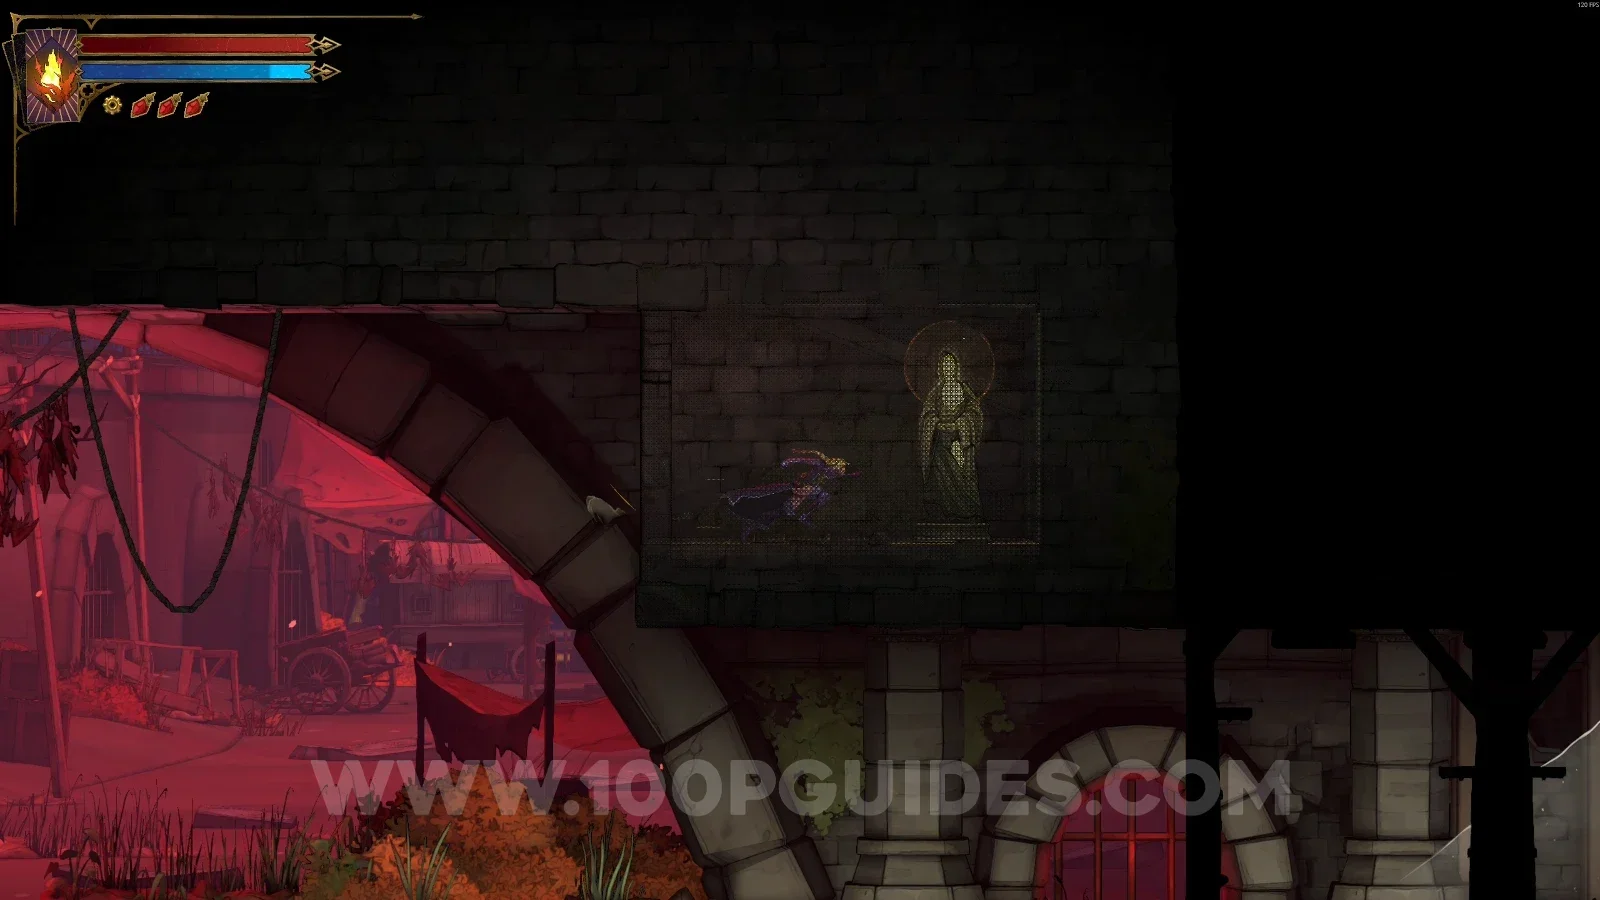
In the area marked on the map, use the Arcane Whip to reveal the small secret room.

Castlevania Belmonts Curse Court of Miracles: using the Arcane Whip to reveal a small secret room Castlevania Belmonts Curse Court of Miracles: XP Statue #16 inside the small secret room

XP Statue #17

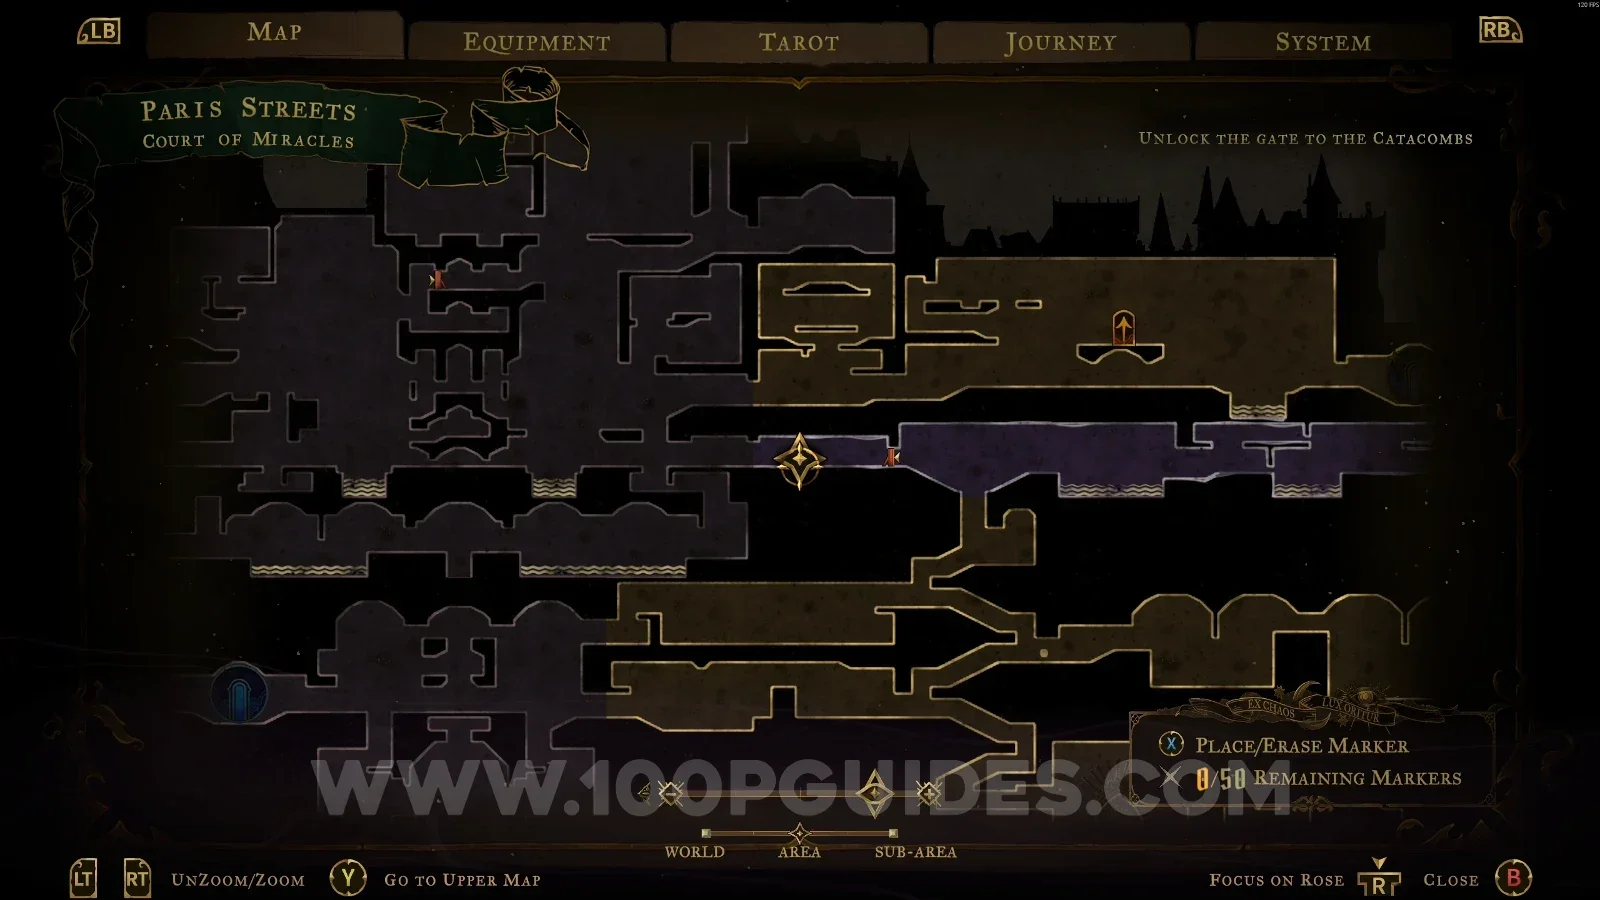
In the area marked on the map.

Castlevania Belmonts Curse Court of Miracles: map marking the area of XP Statue #17 Castlevania Belmonts Curse Court of Miracles: XP Statue #17 in the marked area

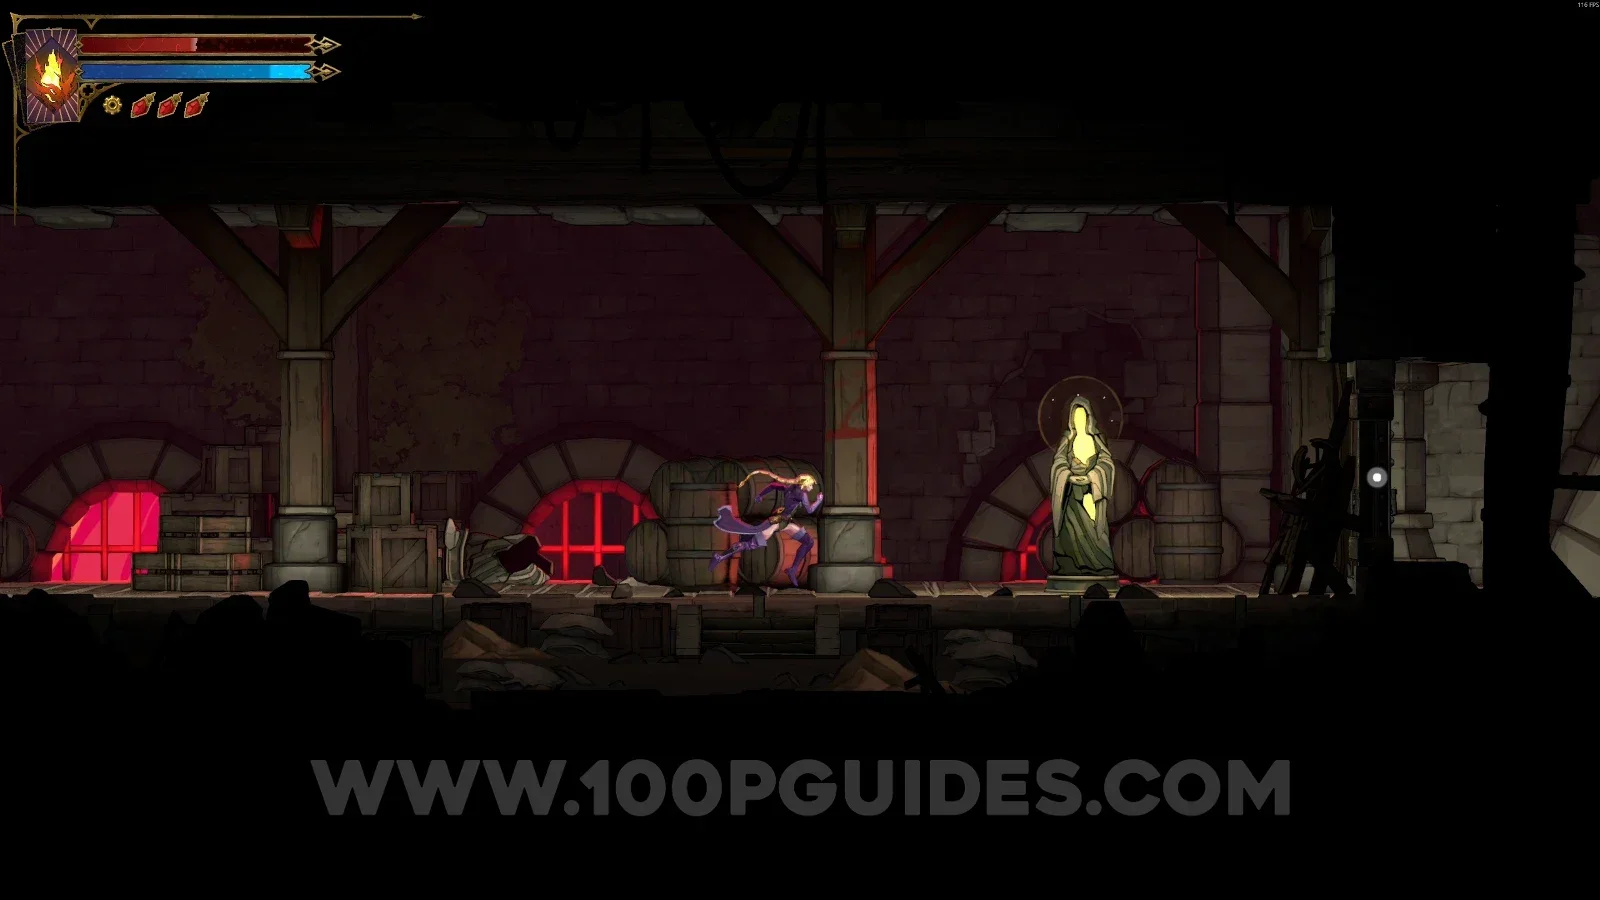
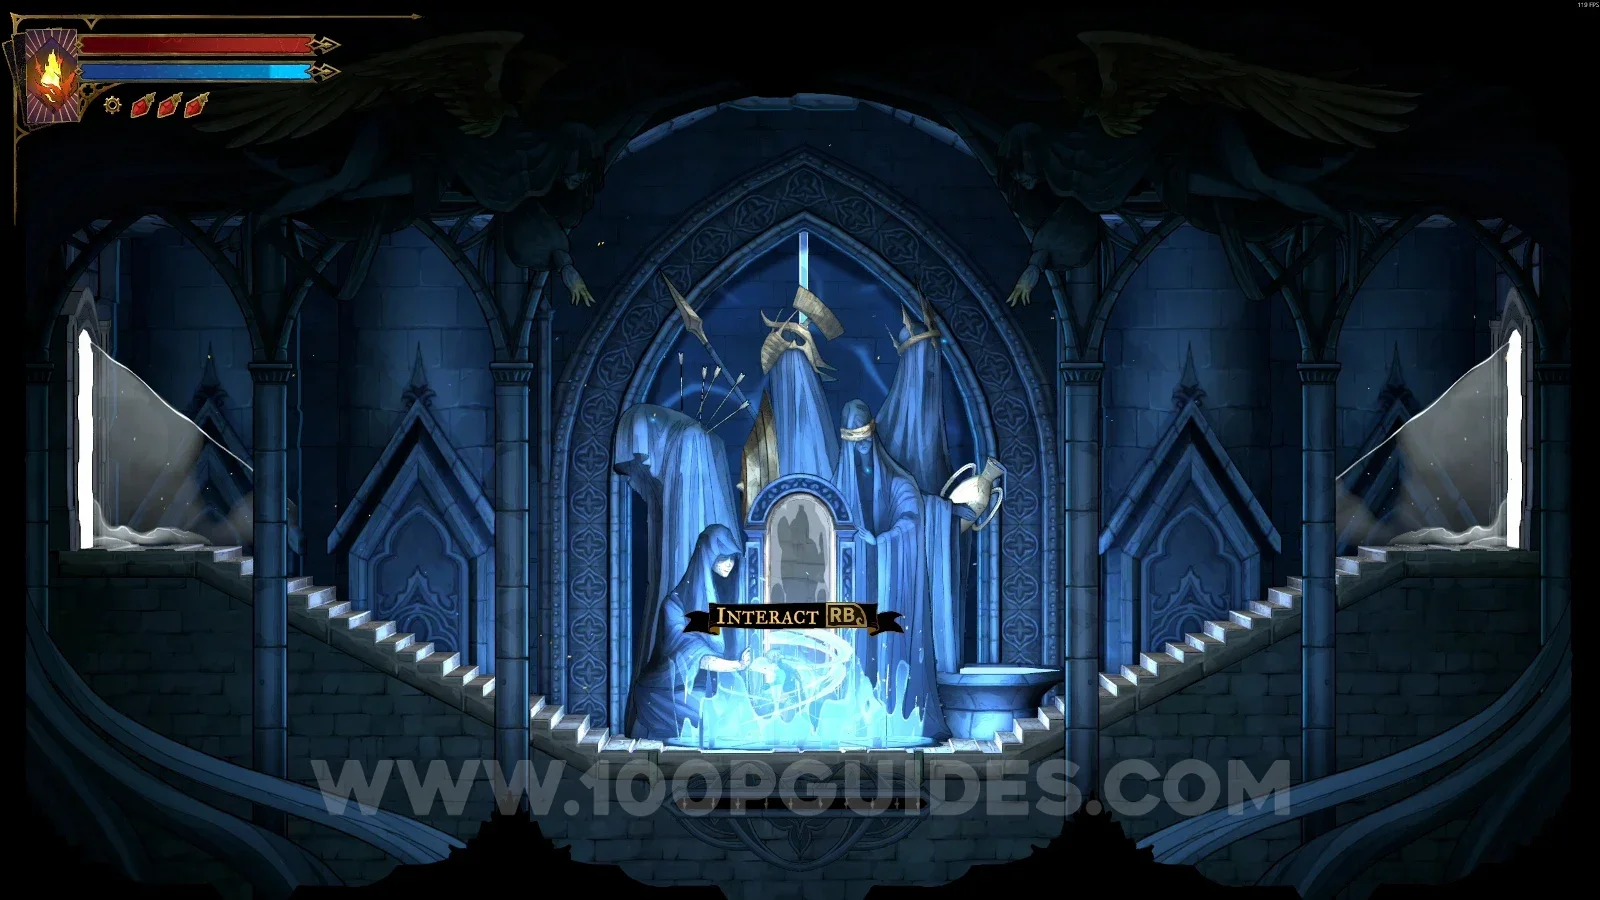
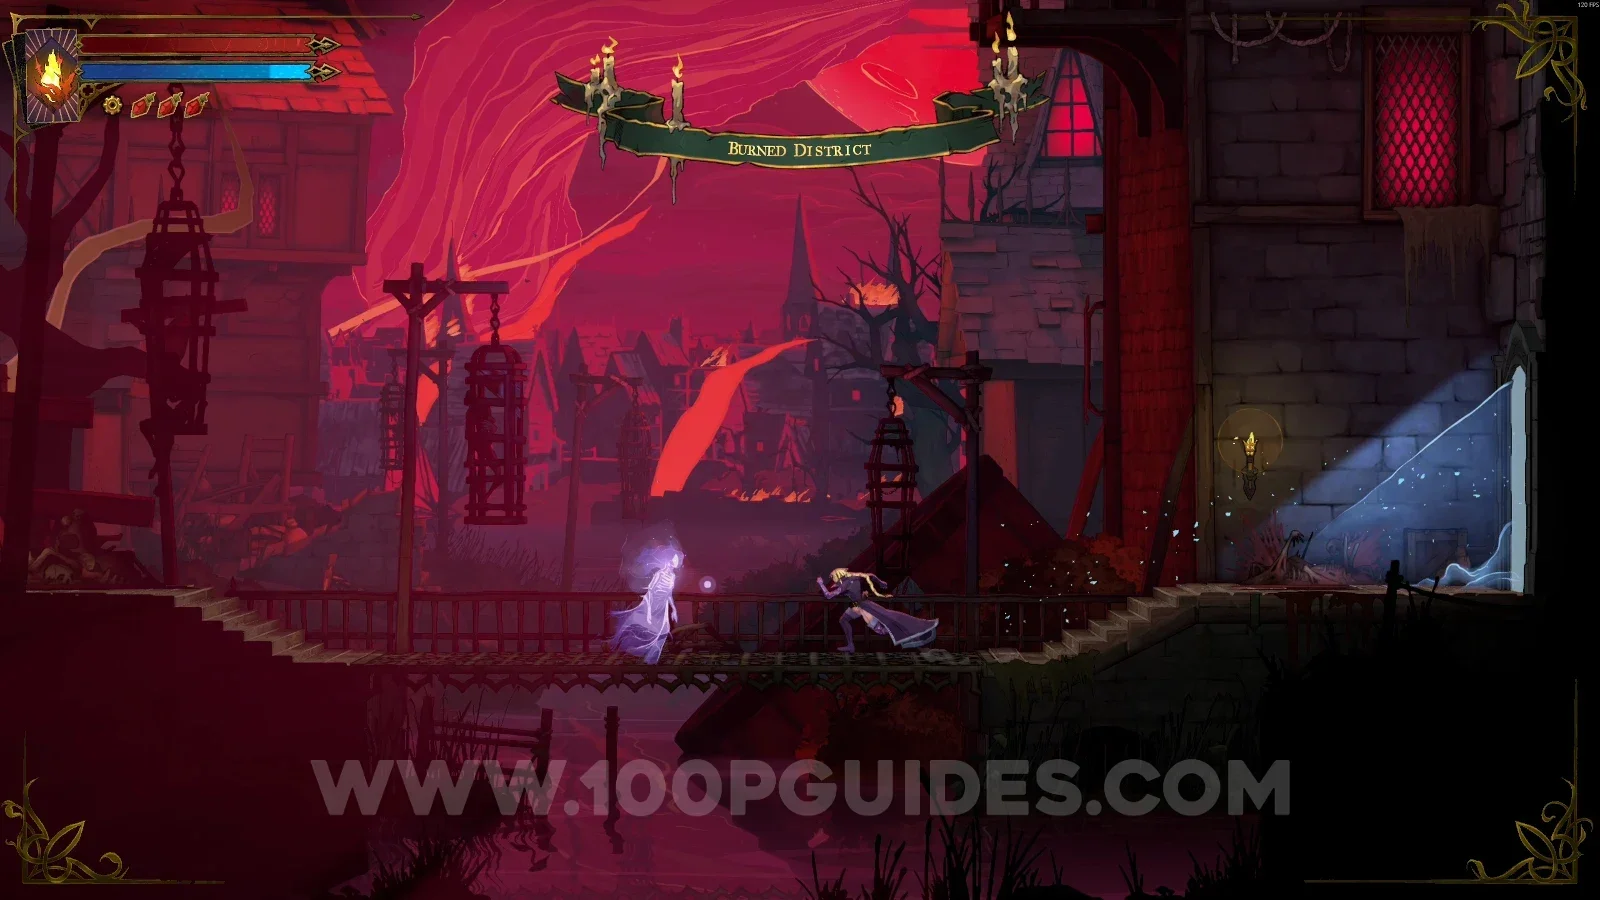
Burned District

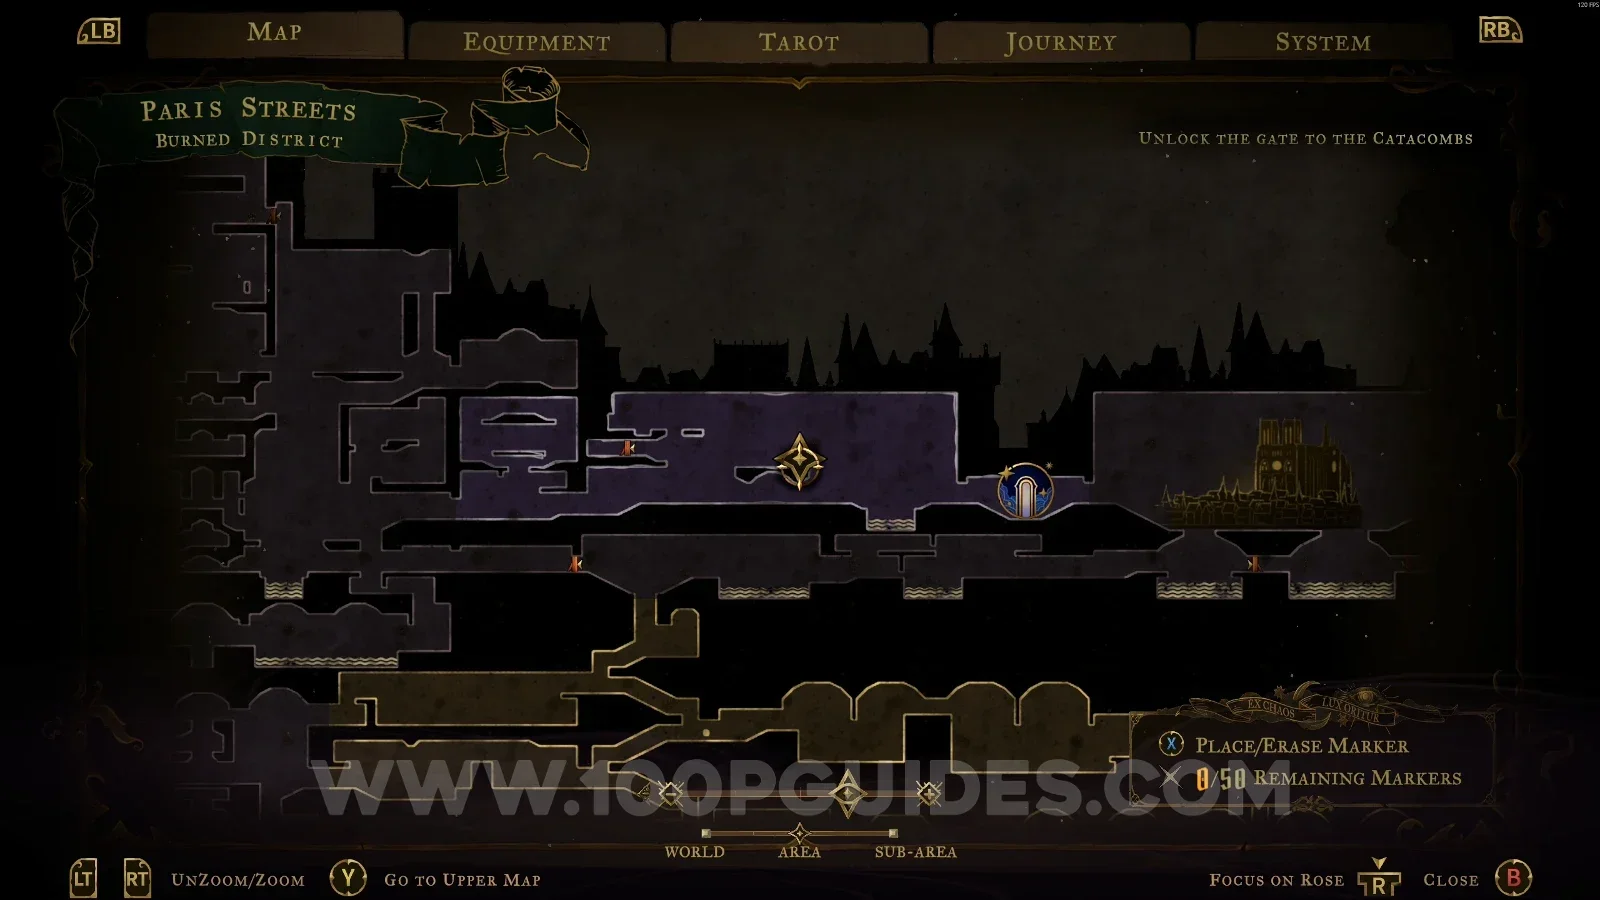
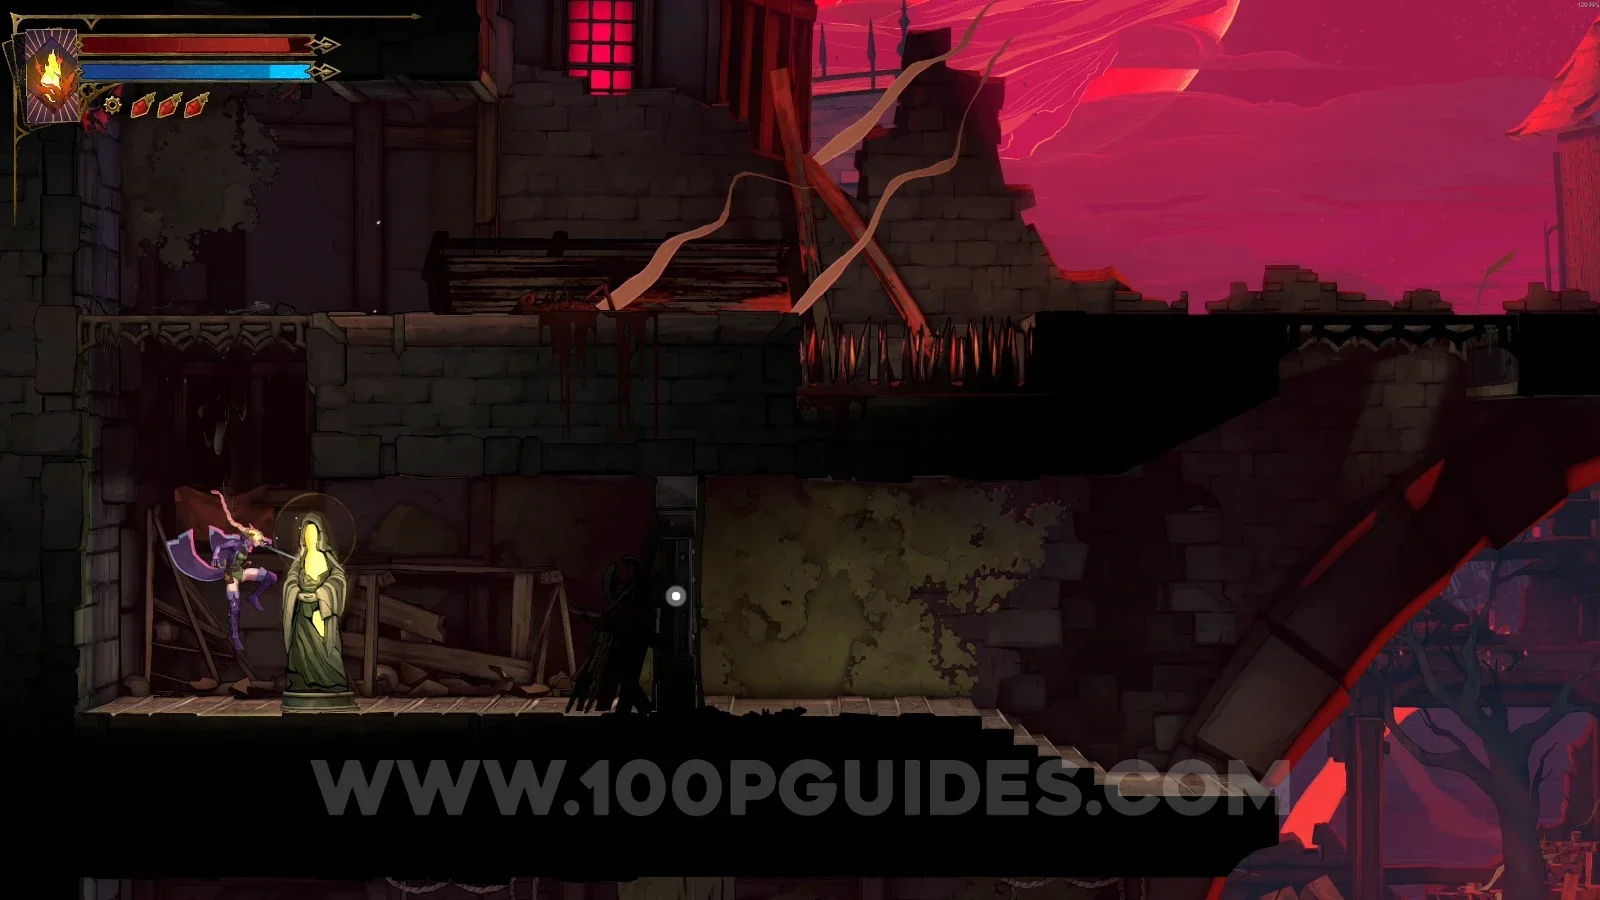
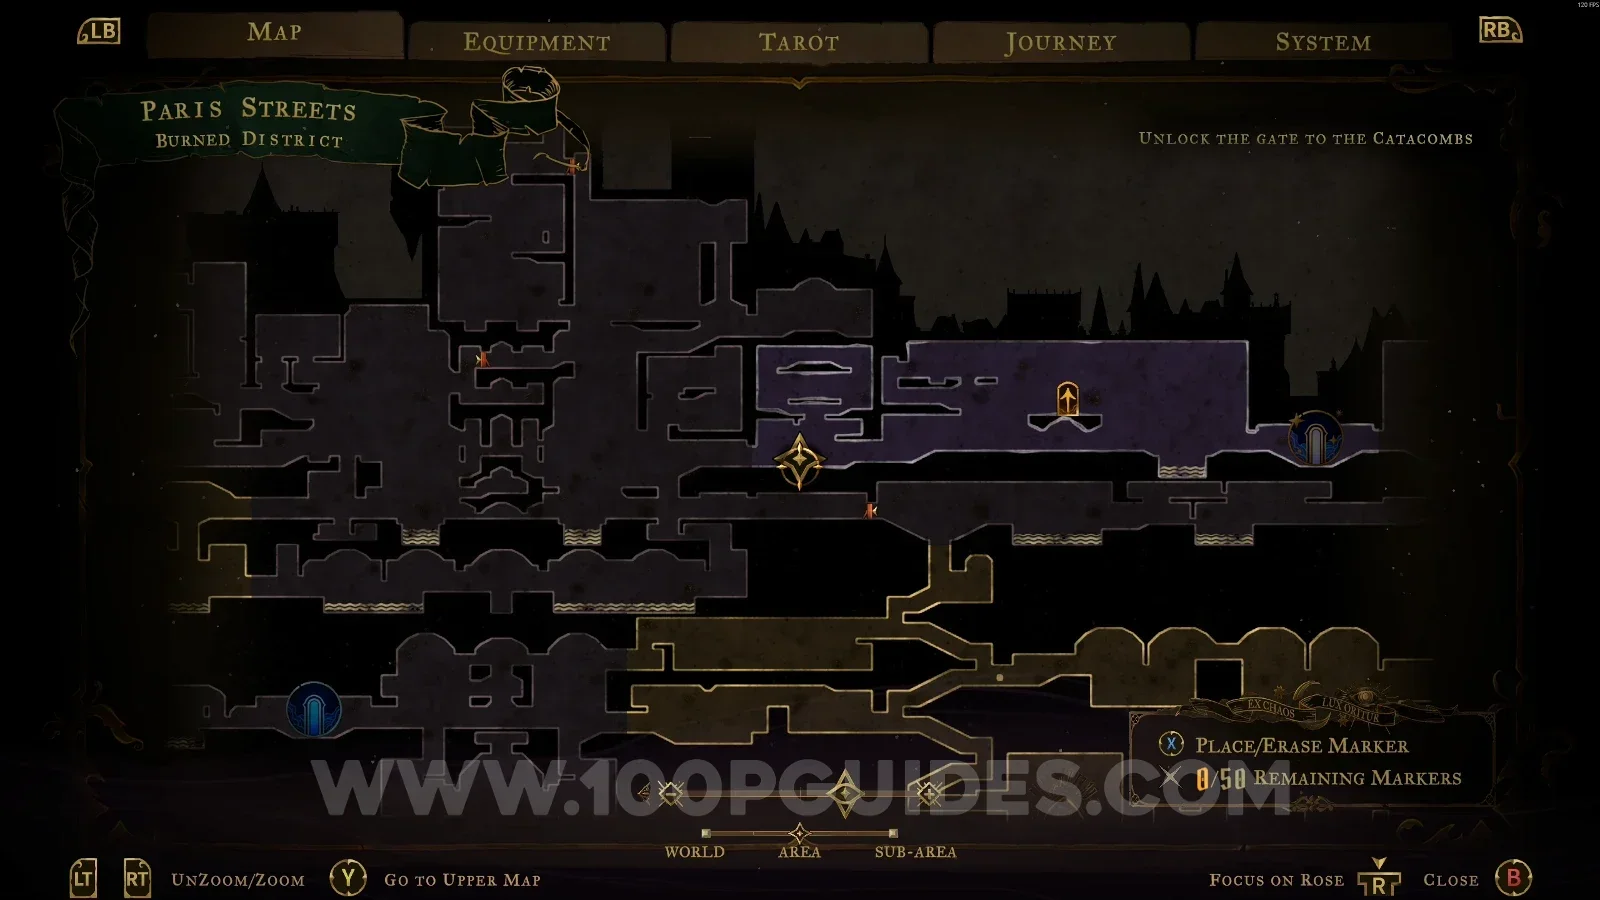
Mirror of Life #3

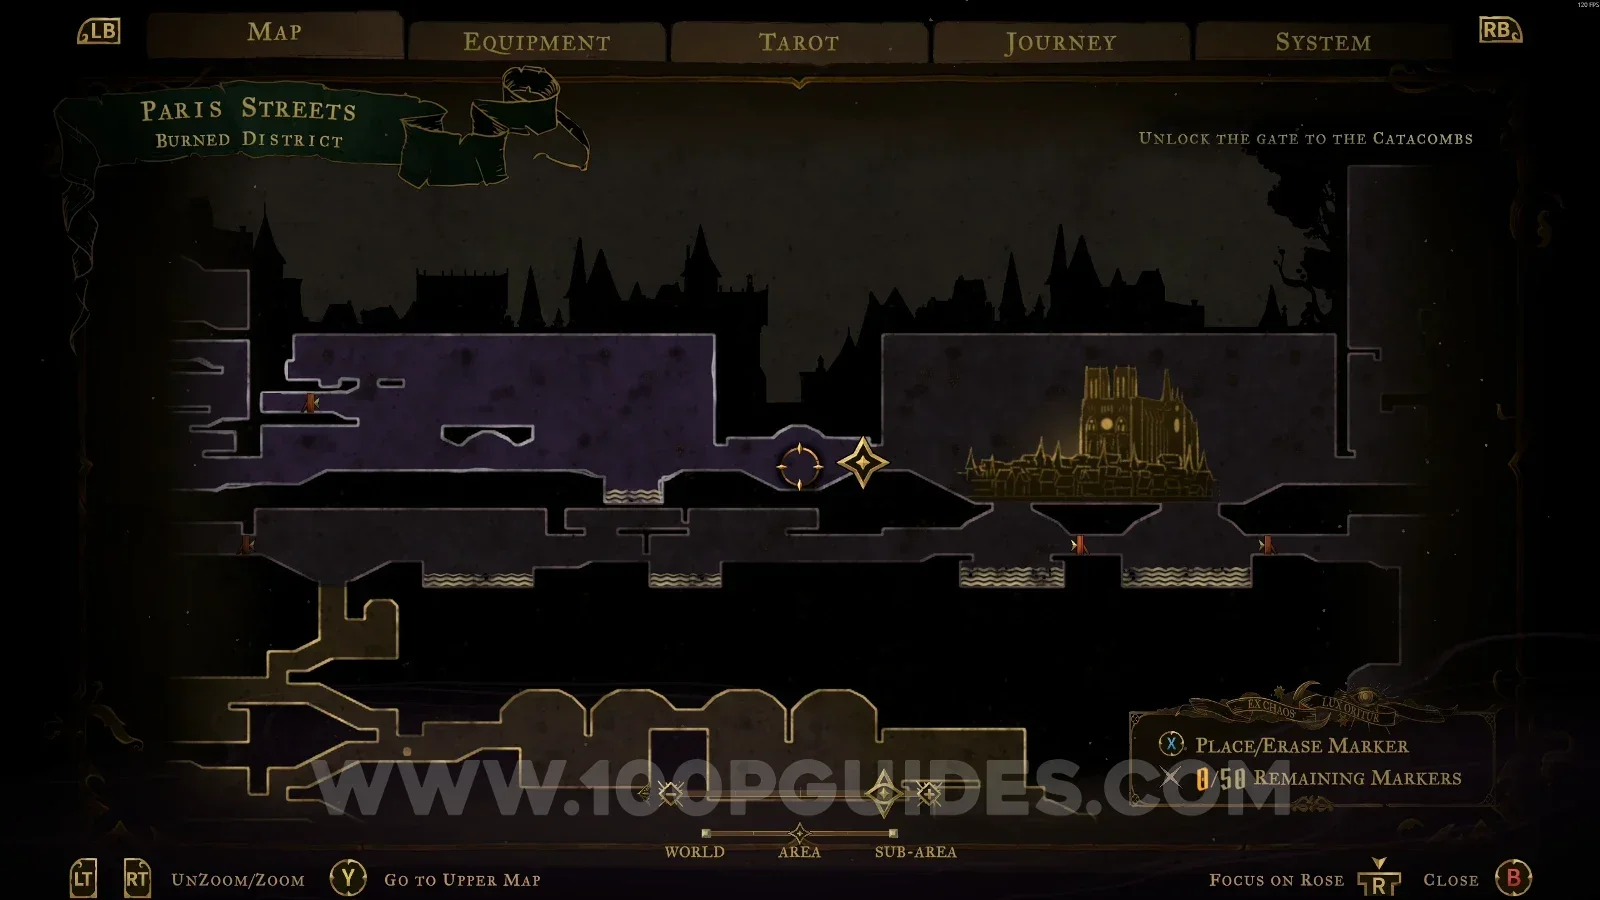
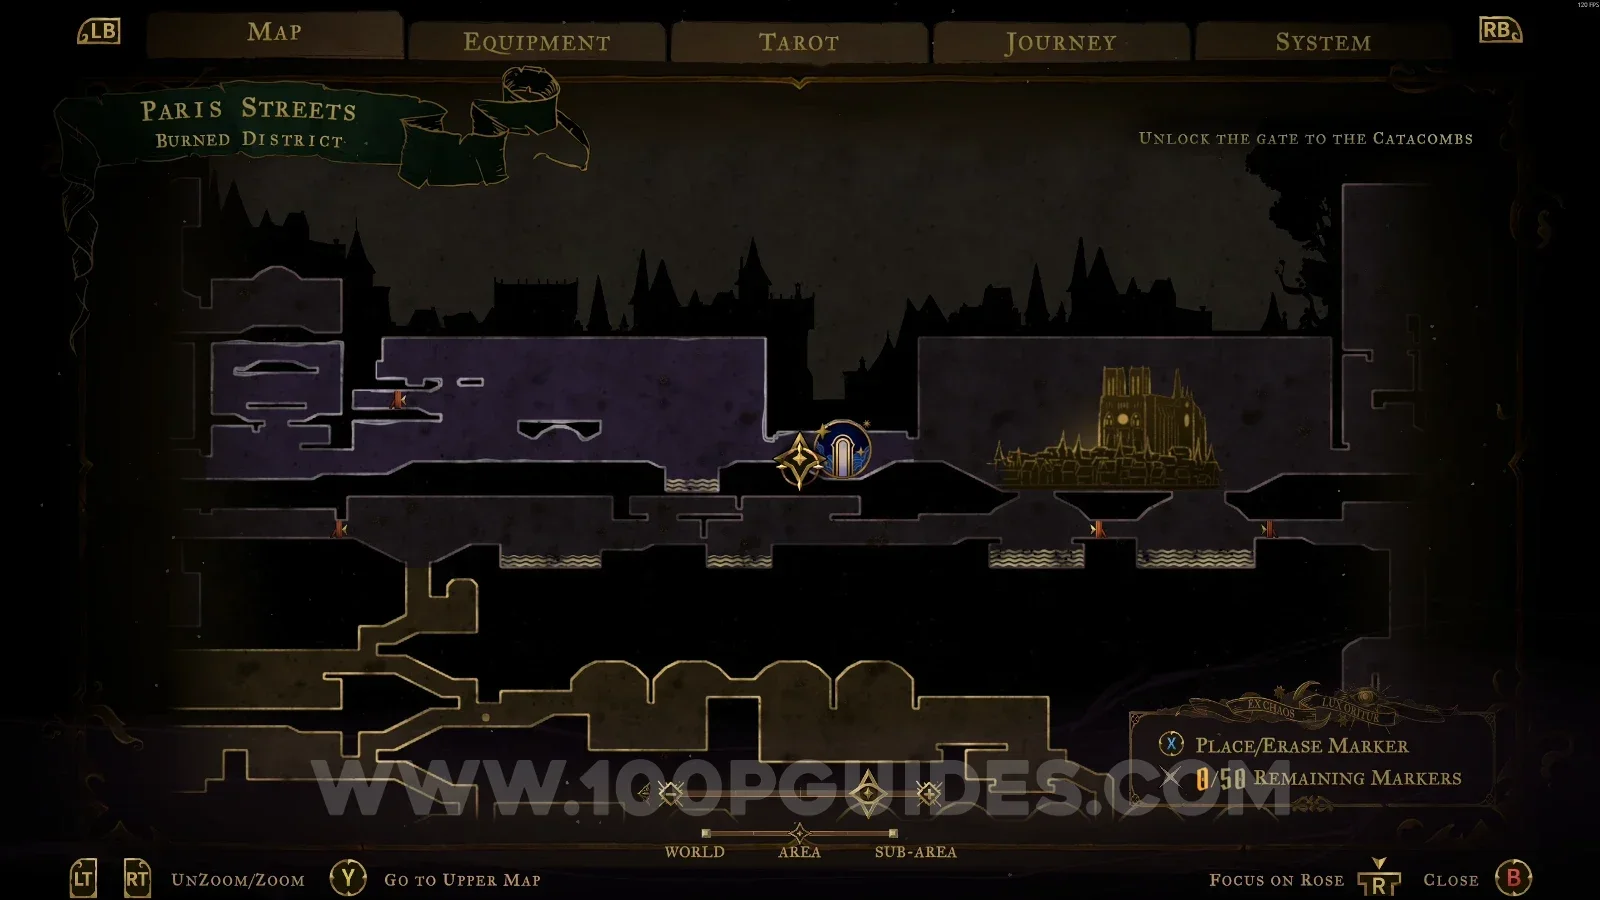
In the area marked on the map.

Castlevania Belmonts Curse Burned District: map marking the area of Mirror of Life #3 Castlevania Belmonts Curse Burned District: Mirror of Life #3 in the marked area

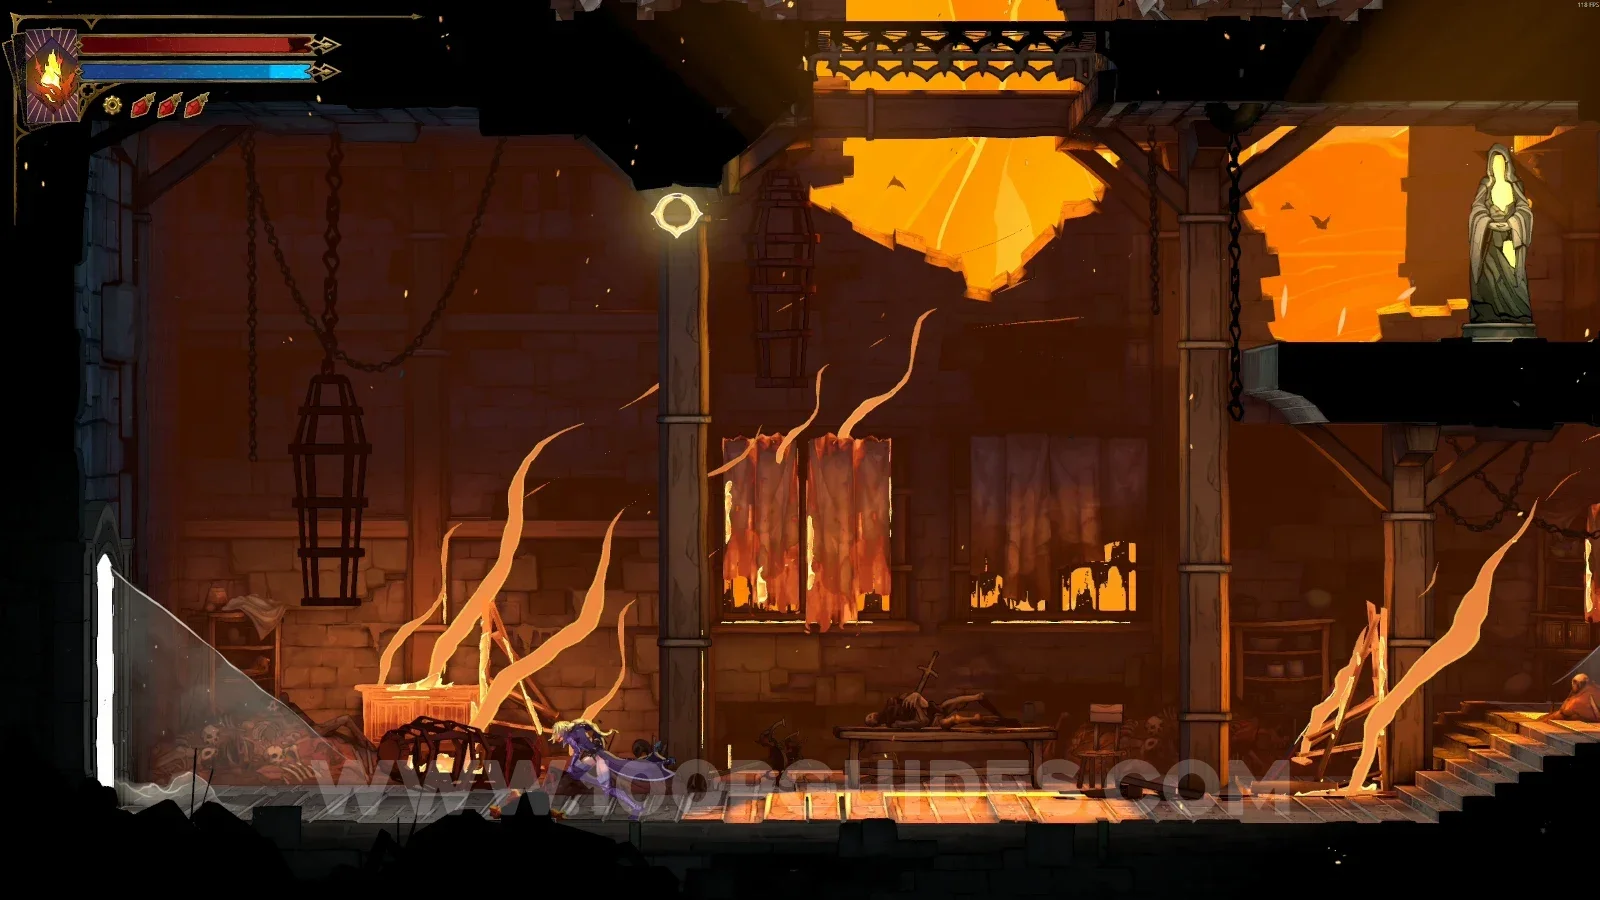
Clue: The Warrior

Right after the Mirror of Life.

Castlevania Belmonts Curse Burned District: path right after Mirror of Life #3 leading to a clue Castlevania Belmonts Curse Burned District: clue The Warrior right after the Mirror of Life

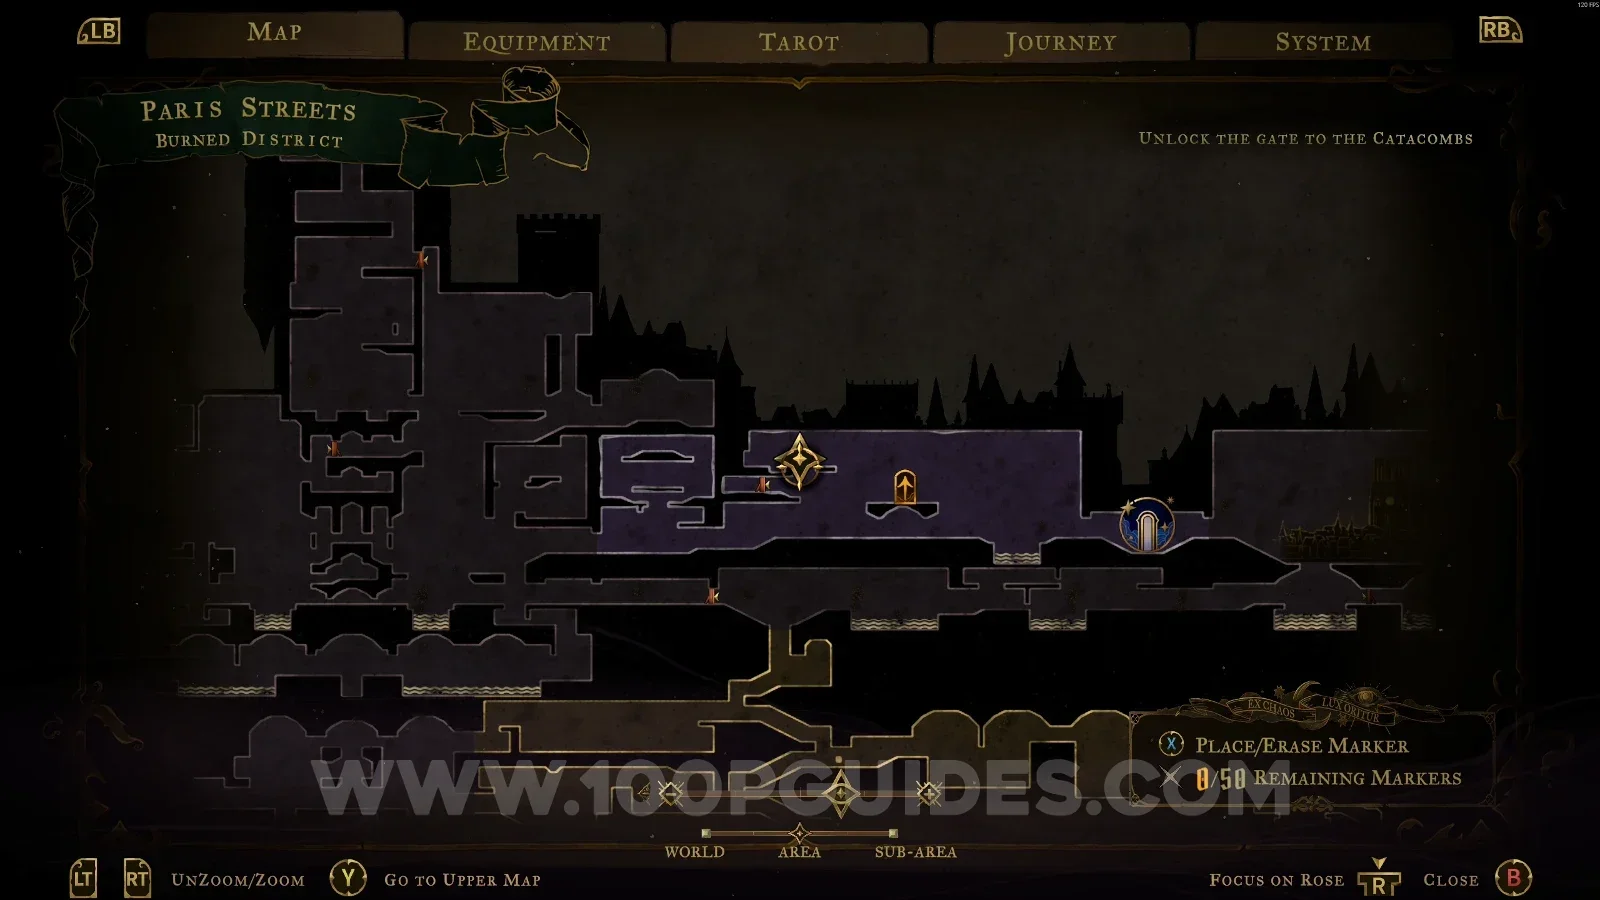
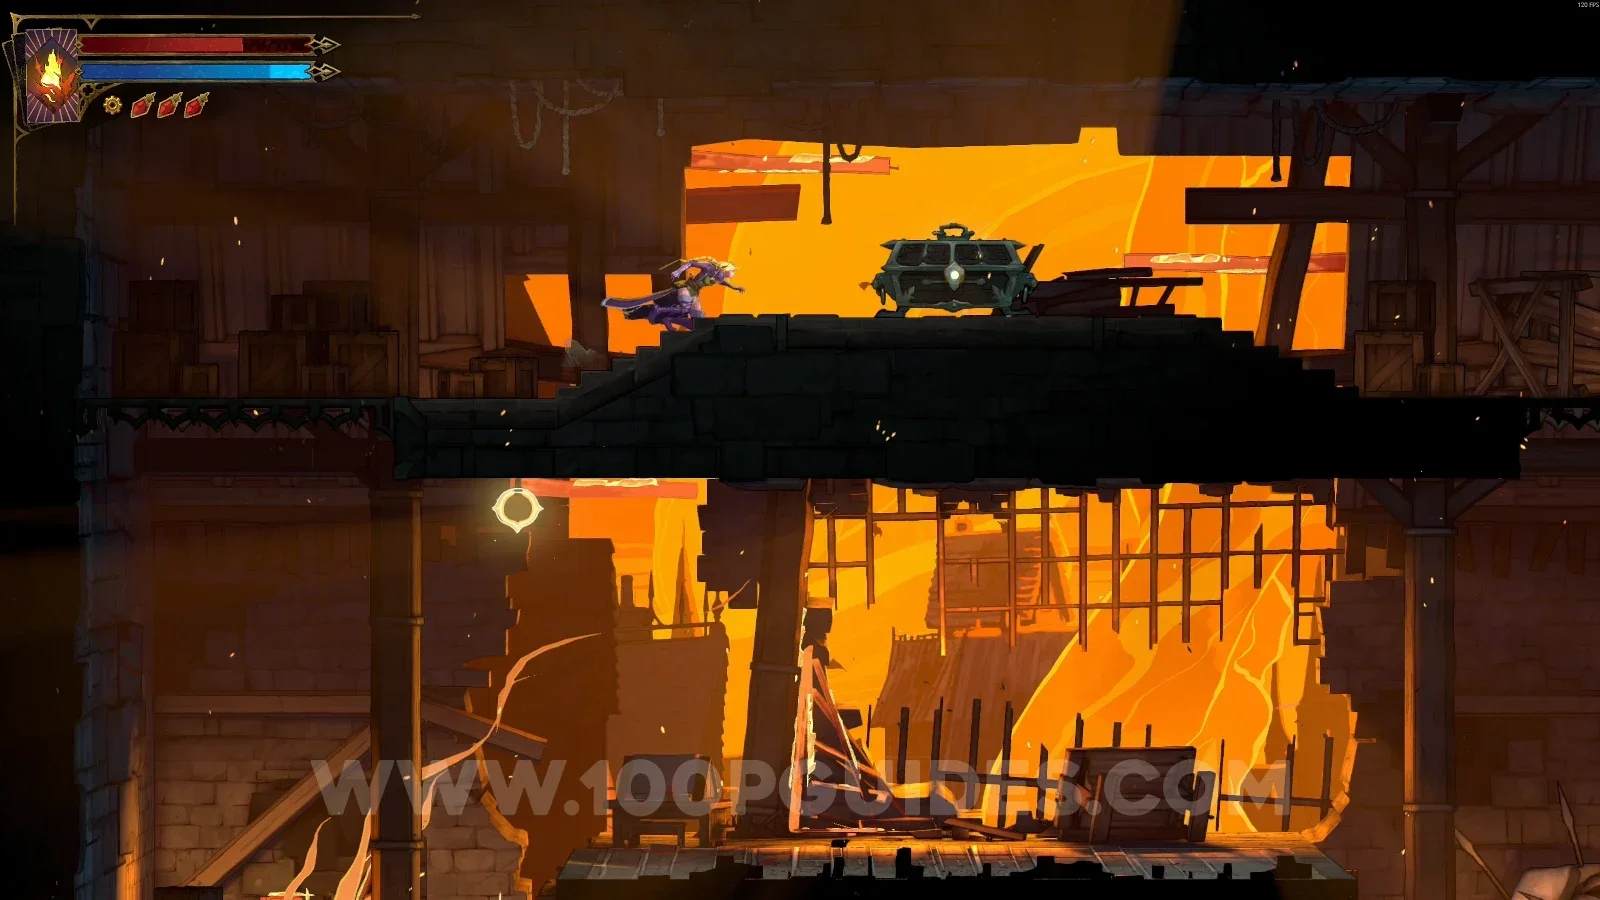
XP Statue #18 + Relic #4: Crypt Key

In the area marked on the map, go through the door and use the slide on the right side next to the door to find the statue. Then, in the upper part of the area, you'll find the chest with the relic inside.

Castlevania Belmonts Curse Burned District: XP Statue #18 found via the slide right of the door Castlevania Belmonts Curse Burned District: chest with Relic #4 Crypt Key in the upper part of the area

XP Statue #19

In the area marked on the map, break the wall on the left to reveal a secret room, then go down to find this statue.

Castlevania Belmonts Curse Burned District: breaking the wall on the left to reveal a secret room Castlevania Belmonts Curse Burned District: XP Statue #19 down inside the secret room

XP Statue #20 + Relic #5: Shadow Veil

In the area marked on the map, the statue is on the right side and the chest with the relic is at the top of the area.

Castlevania Belmonts Curse Burned District: map marking the area of XP Statue #20 and Relic #5 Castlevania Belmonts Curse Burned District: XP Statue #20 on the right side of the marked area Castlevania Belmonts Curse Burned District: chest with Relic #5 Shadow Veil at the top of the area

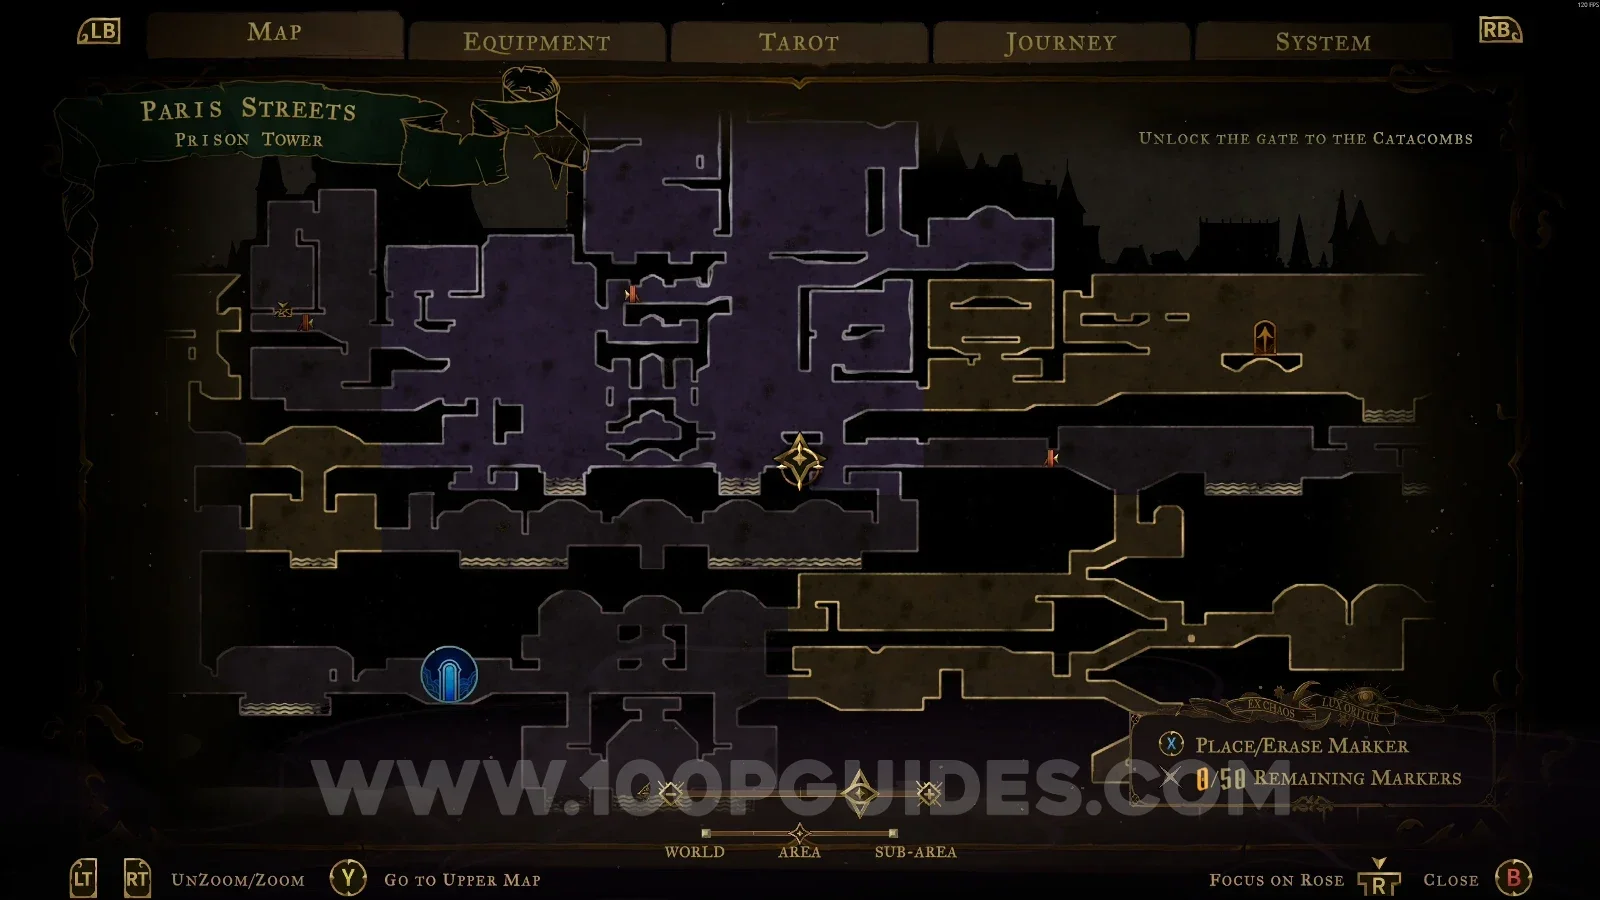
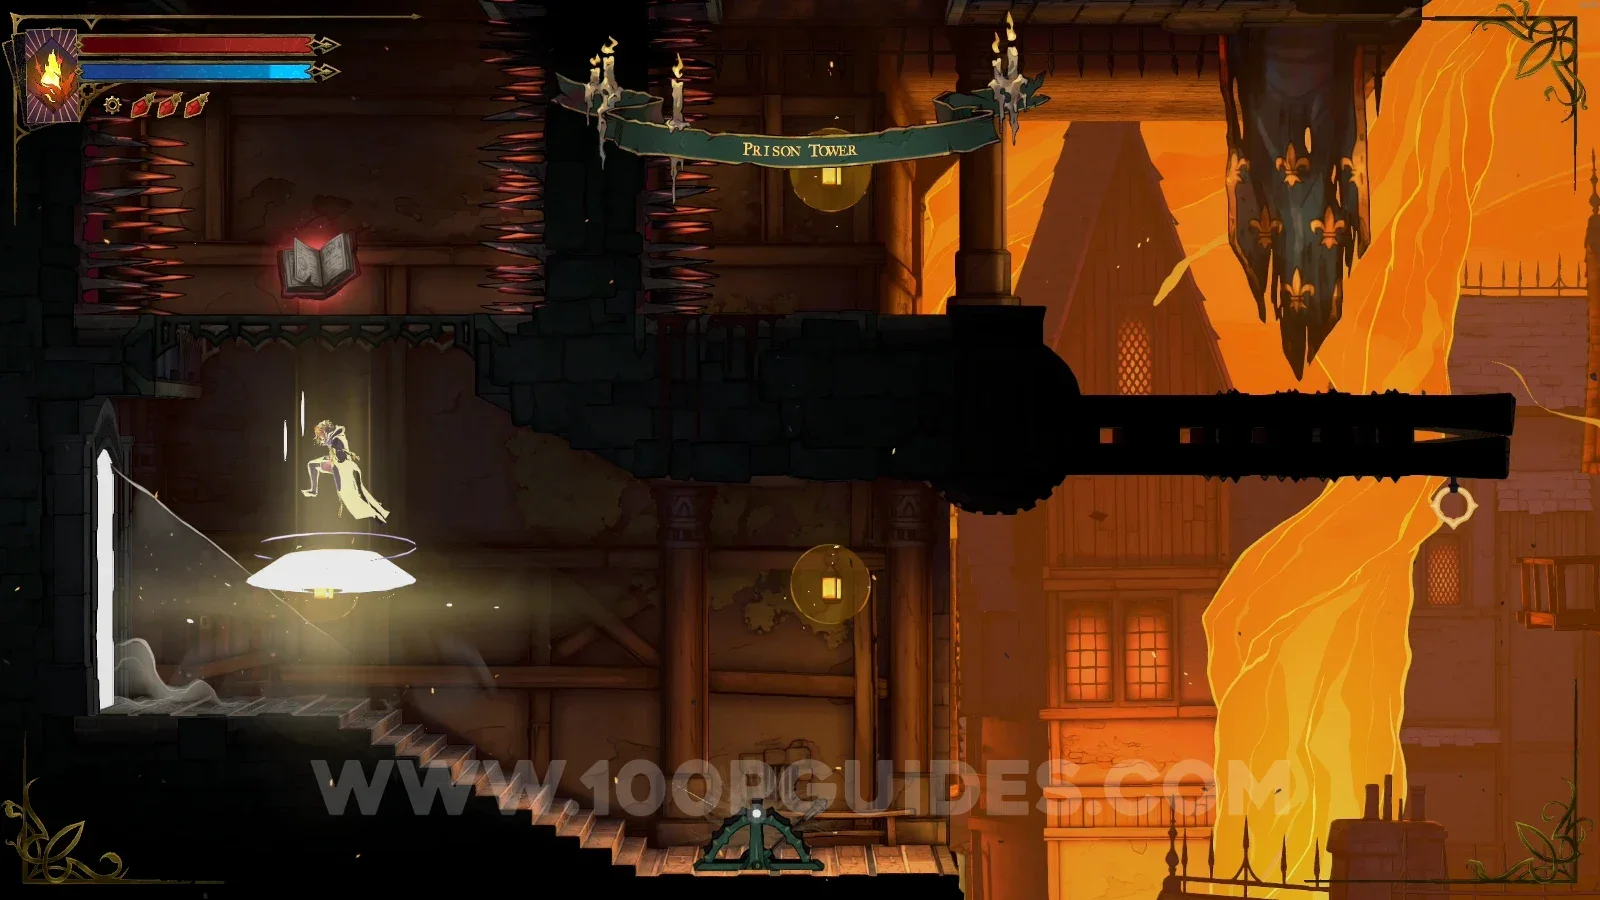
Prison Tower

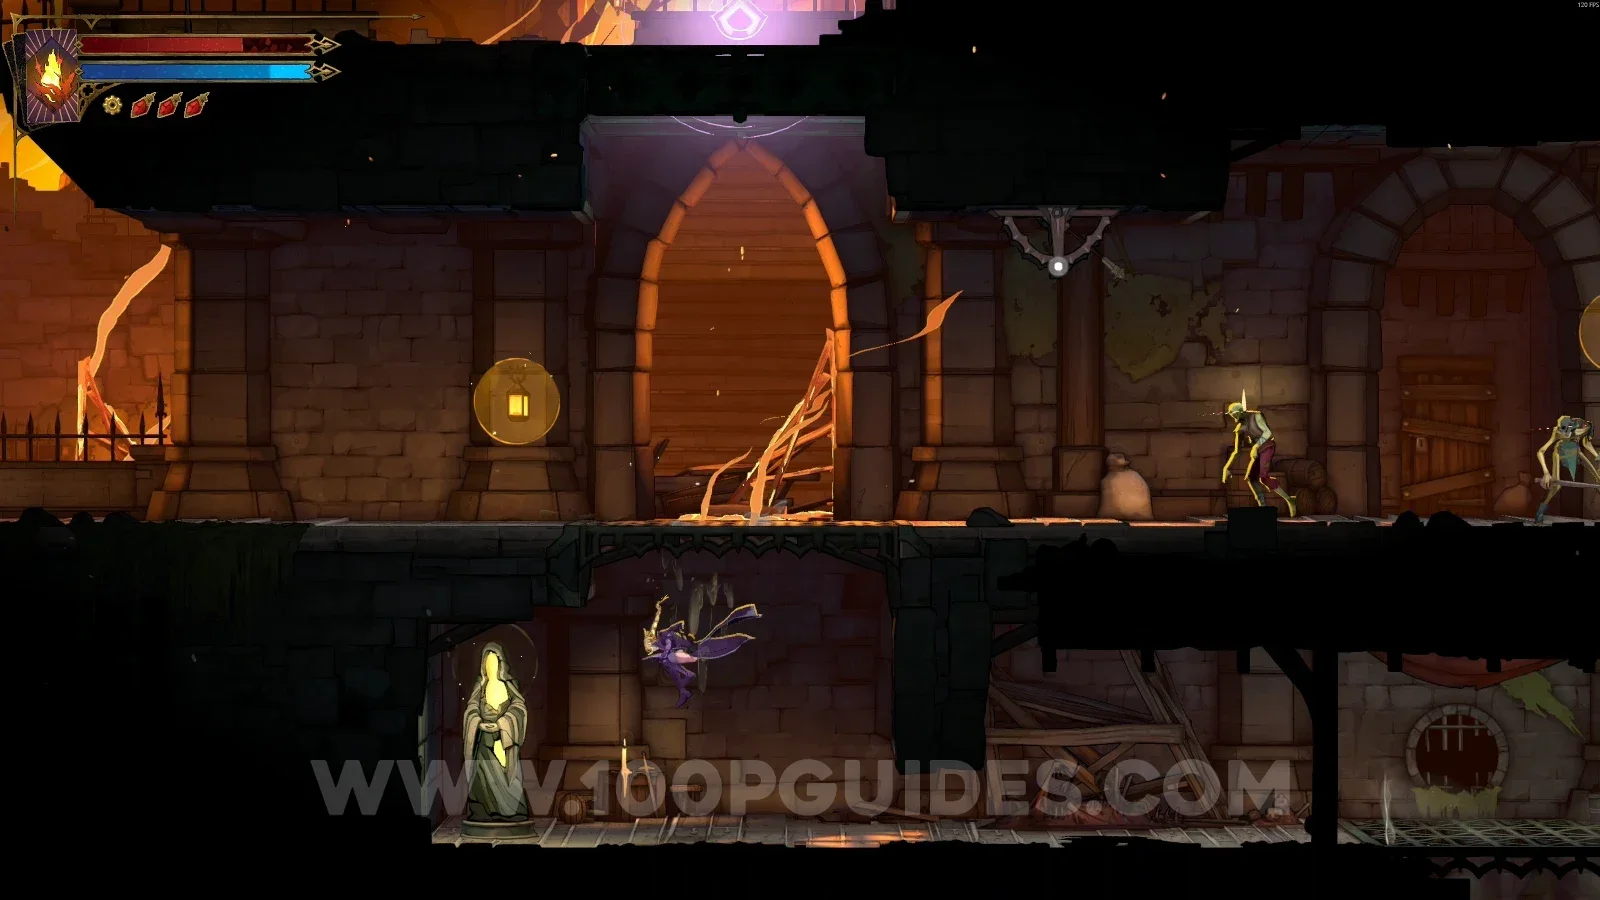
XP Statue #21

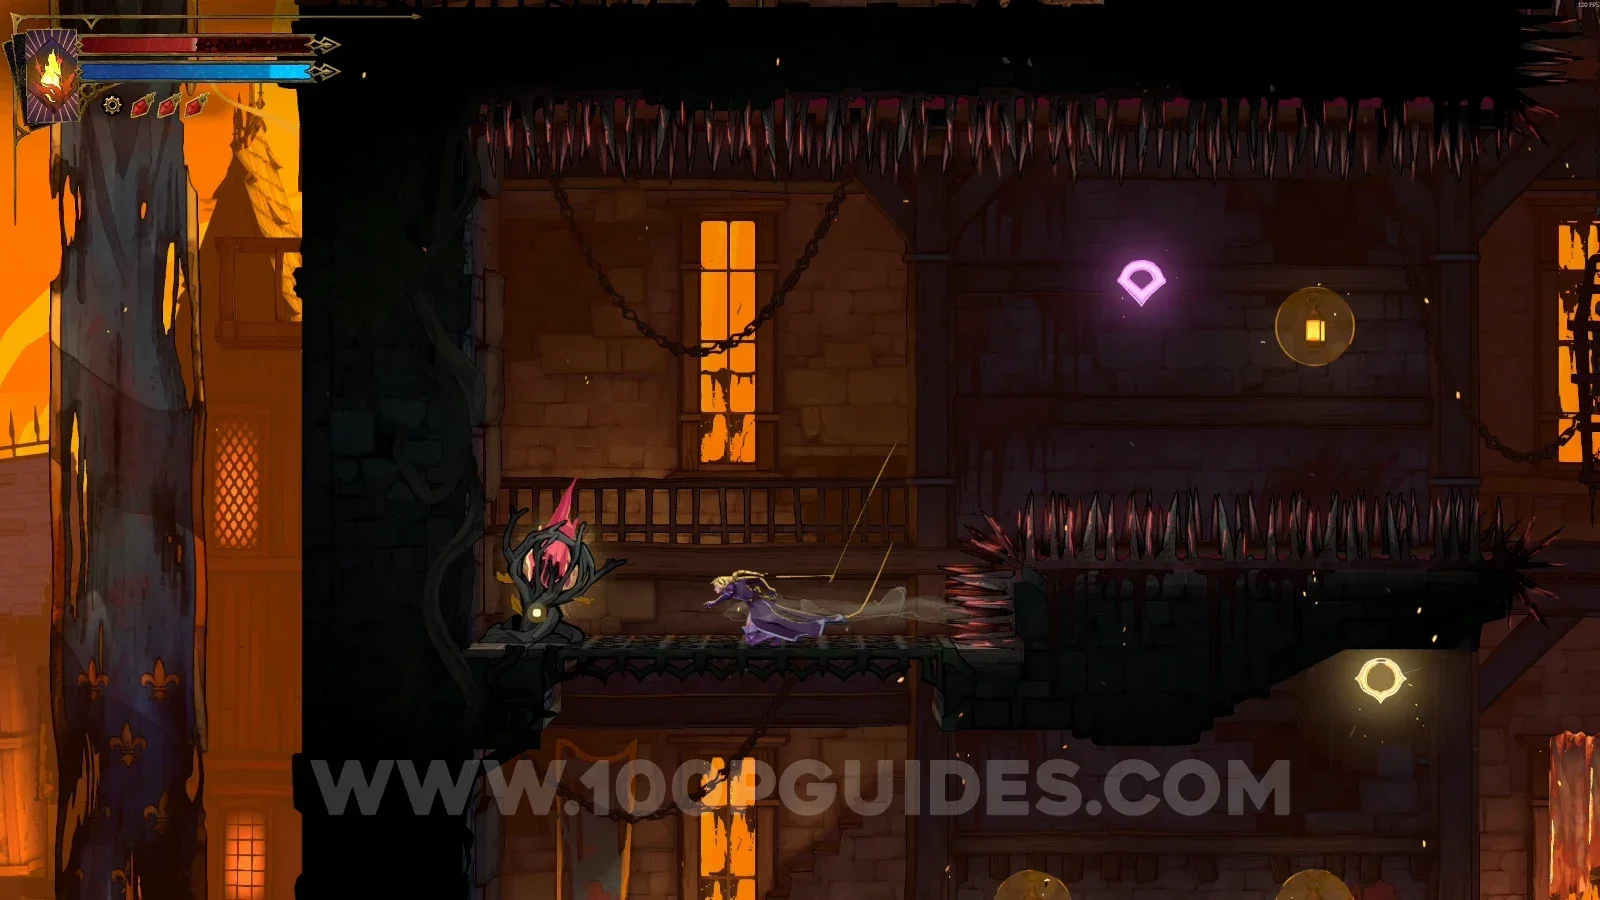
Go down the platform and break the statue.

Castlevania Belmonts Curse Prison Tower: going down the platform toward XP Statue #21 Castlevania Belmonts Curse Prison Tower: breaking XP Statue #21 below the platform

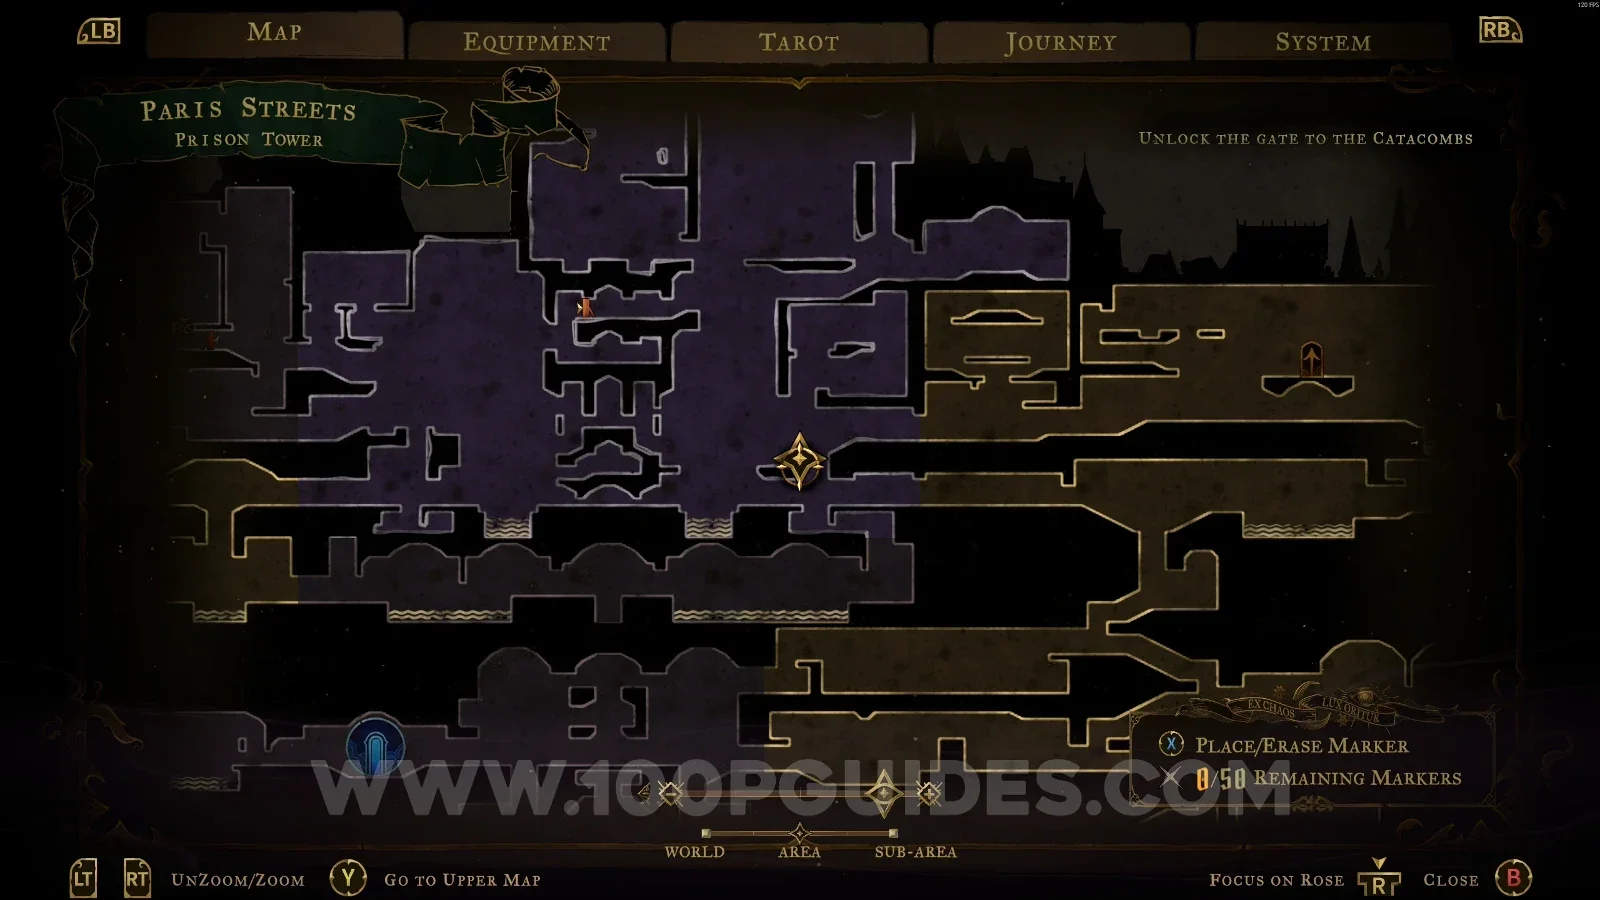
Brave Heart Fragment #2

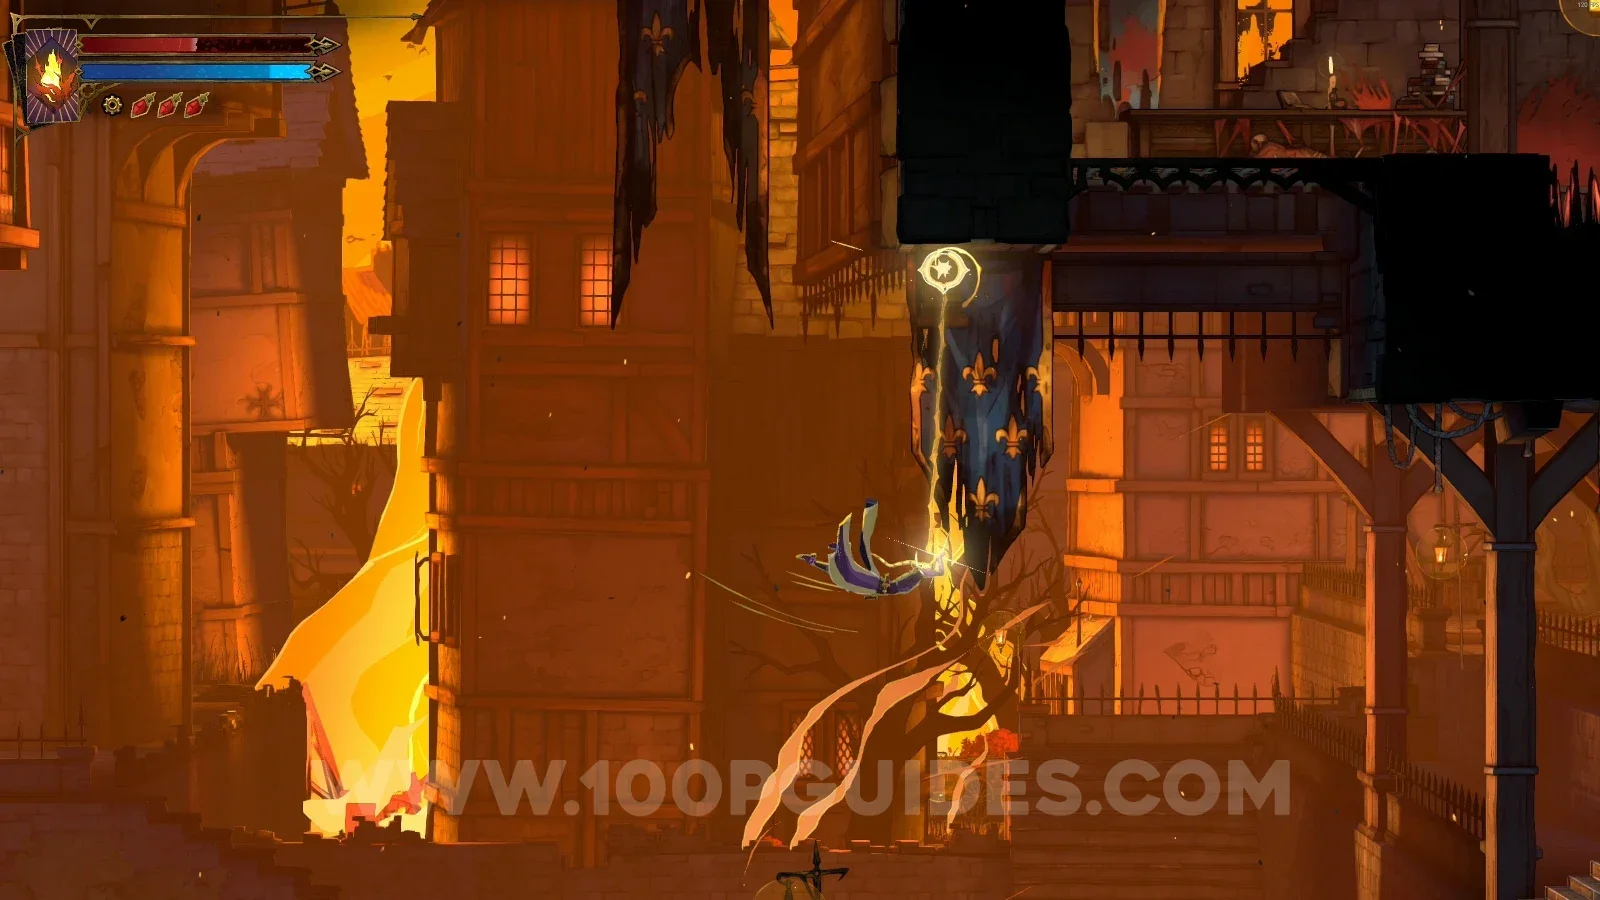
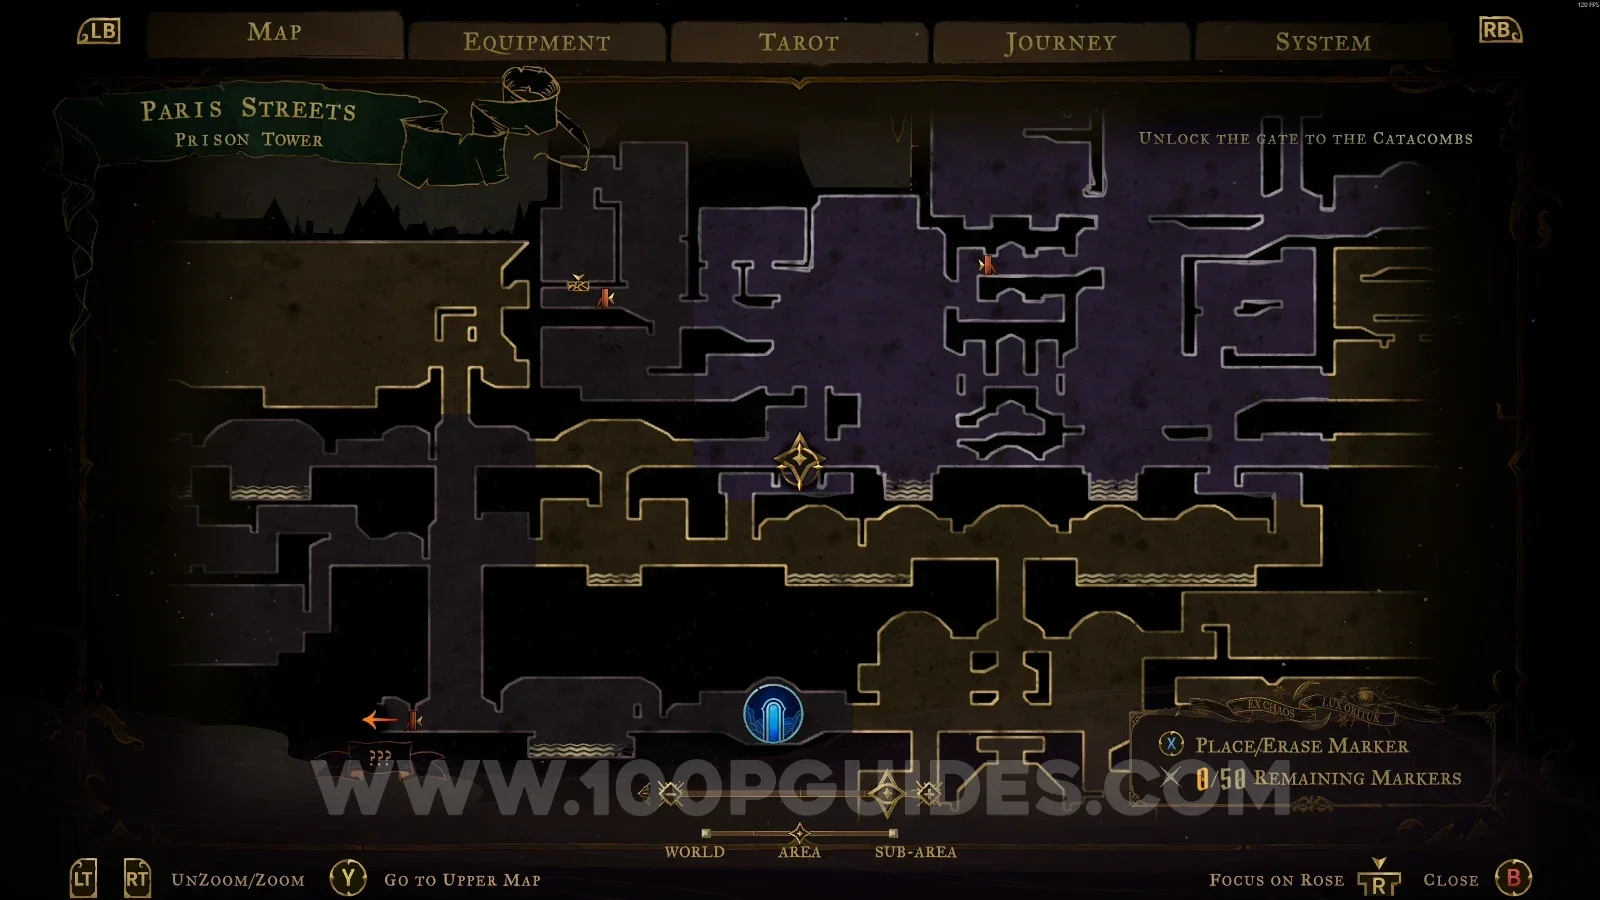
In the area marked on the map, use the Arcane Whip to climb up to the Brave Heart.

Castlevania Belmonts Curse Prison Tower: map marking the area of Brave Heart Fragment #2 Castlevania Belmonts Curse Prison Tower: climbing up with the Arcane Whip toward the Brave Heart Castlevania Belmonts Curse Prison Tower: Brave Heart Fragment #2 at the top of the climb

XP Statue #22

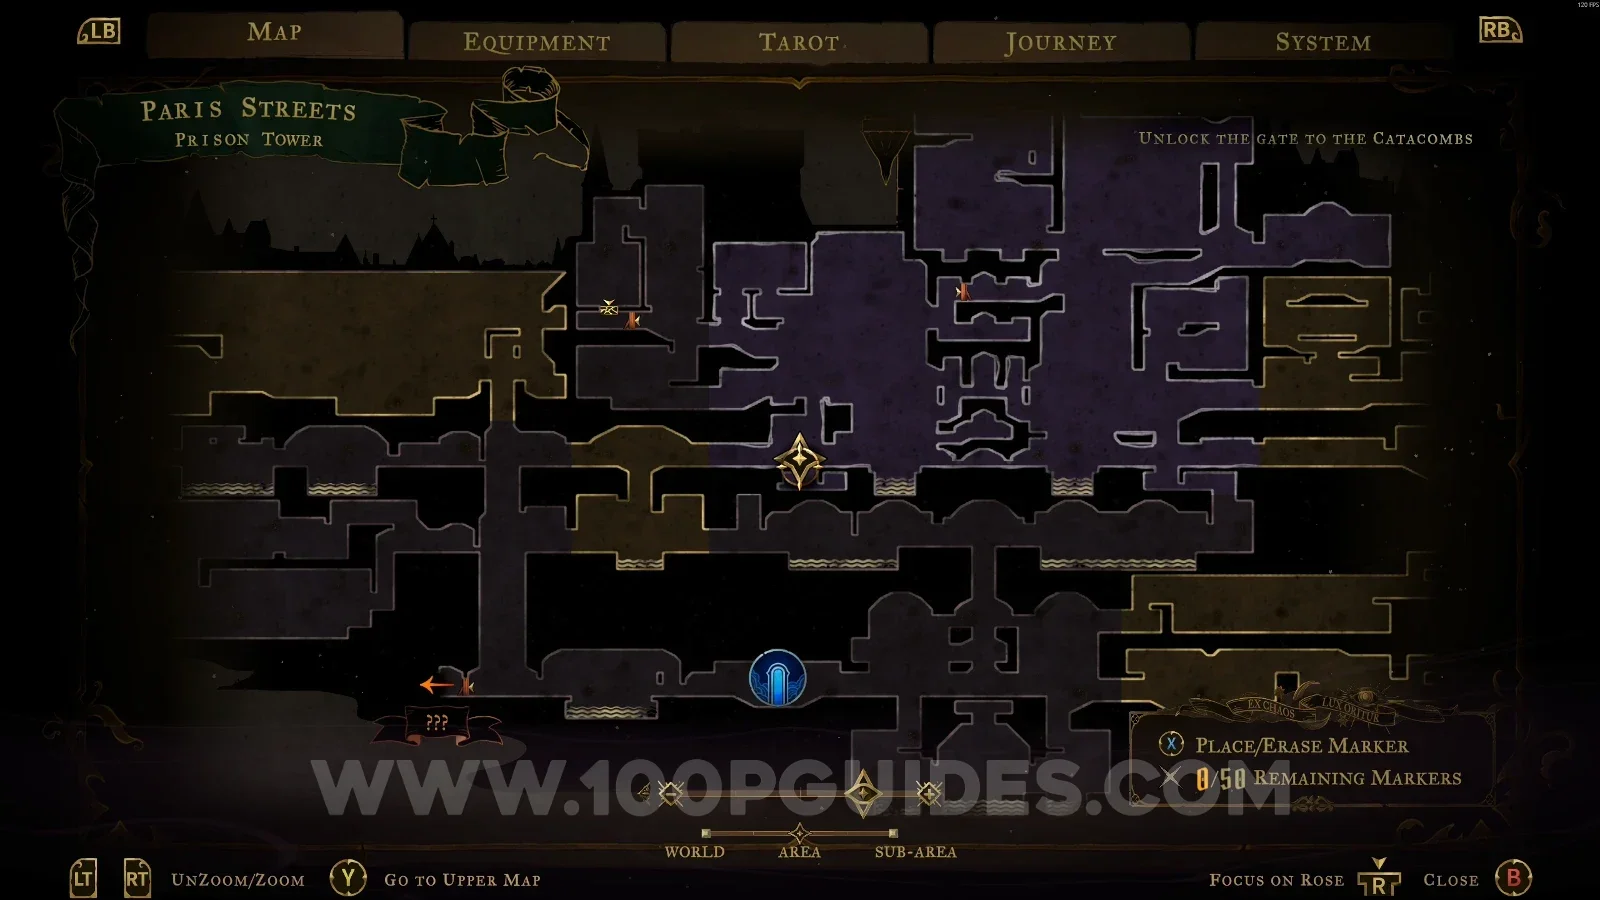
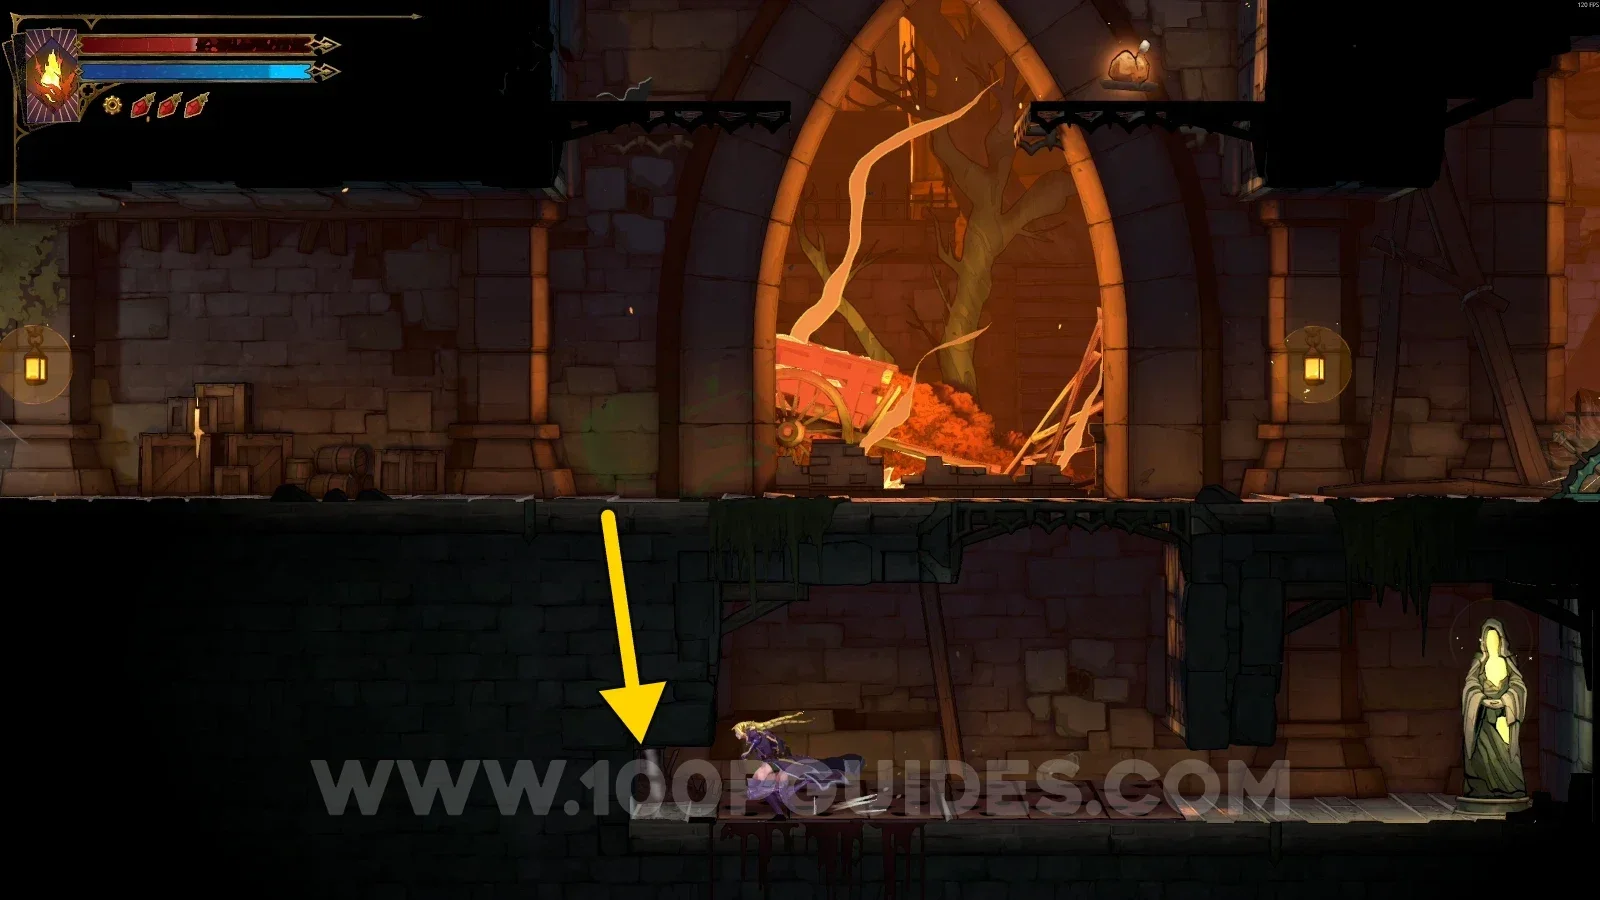
Go down to the lower part of the marked area.

Castlevania Belmonts Curse Prison Tower: map marking the area of XP Statue #22 Castlevania Belmonts Curse Prison Tower: XP Statue #22 in the lower part of the marked area

Red Book #2

In the upper part of the area marked on the map.
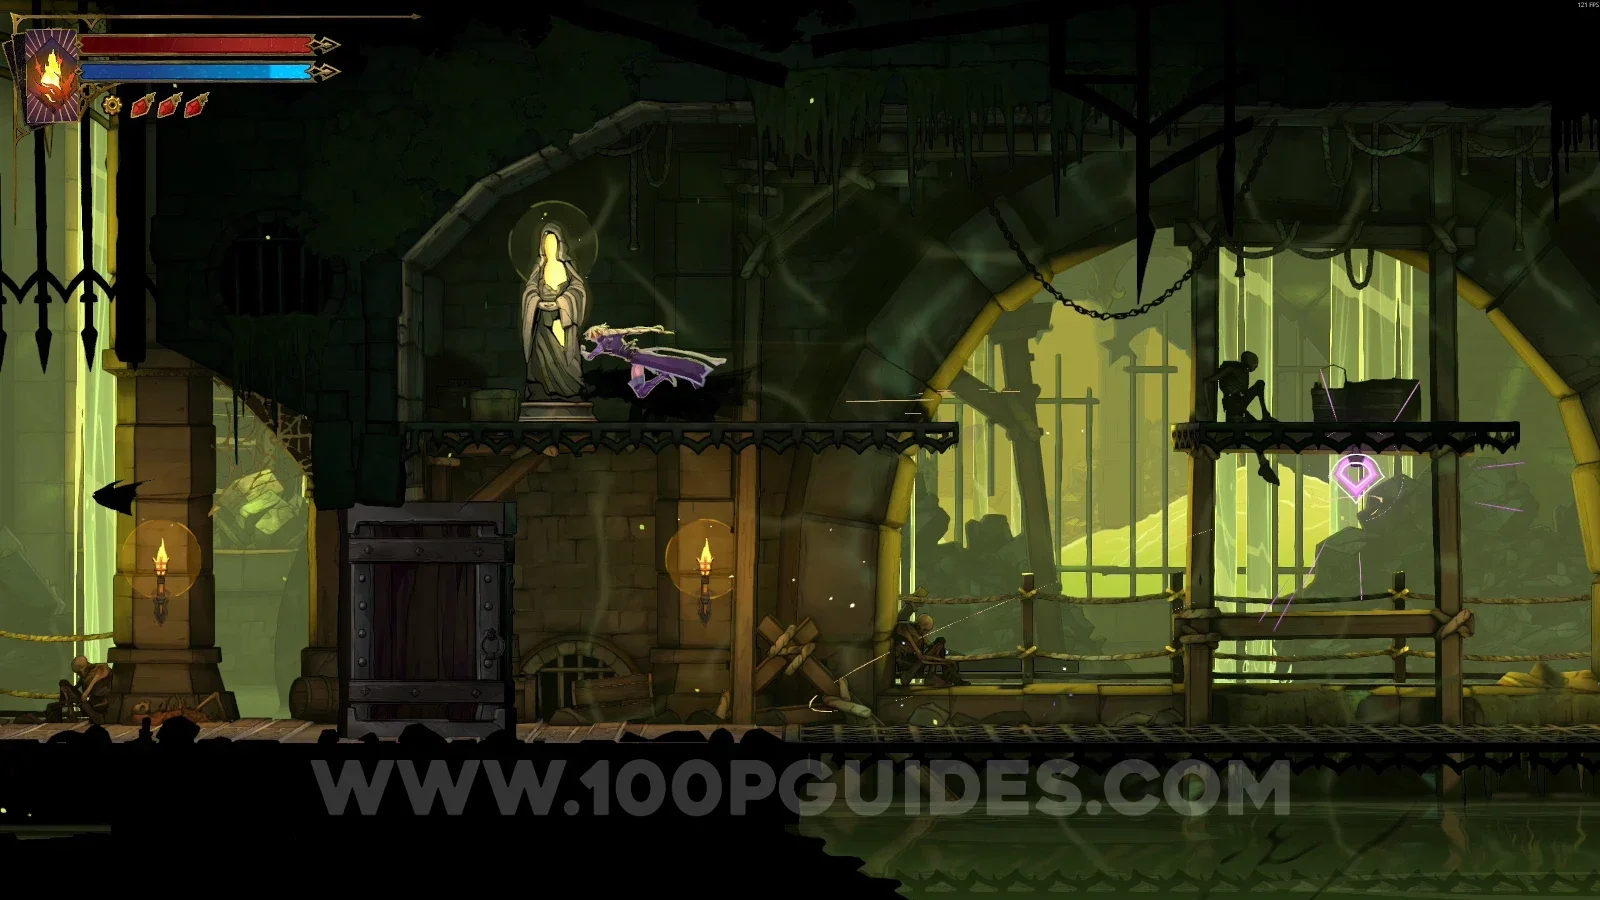
Castlevania Belmonts Curse Prison Tower: map marking the area of Red Book #2 Castlevania Belmonts Curse Prison Tower: Red Book #2 in the upper part of the marked area

XP Statue #23

In the area marked on the map.
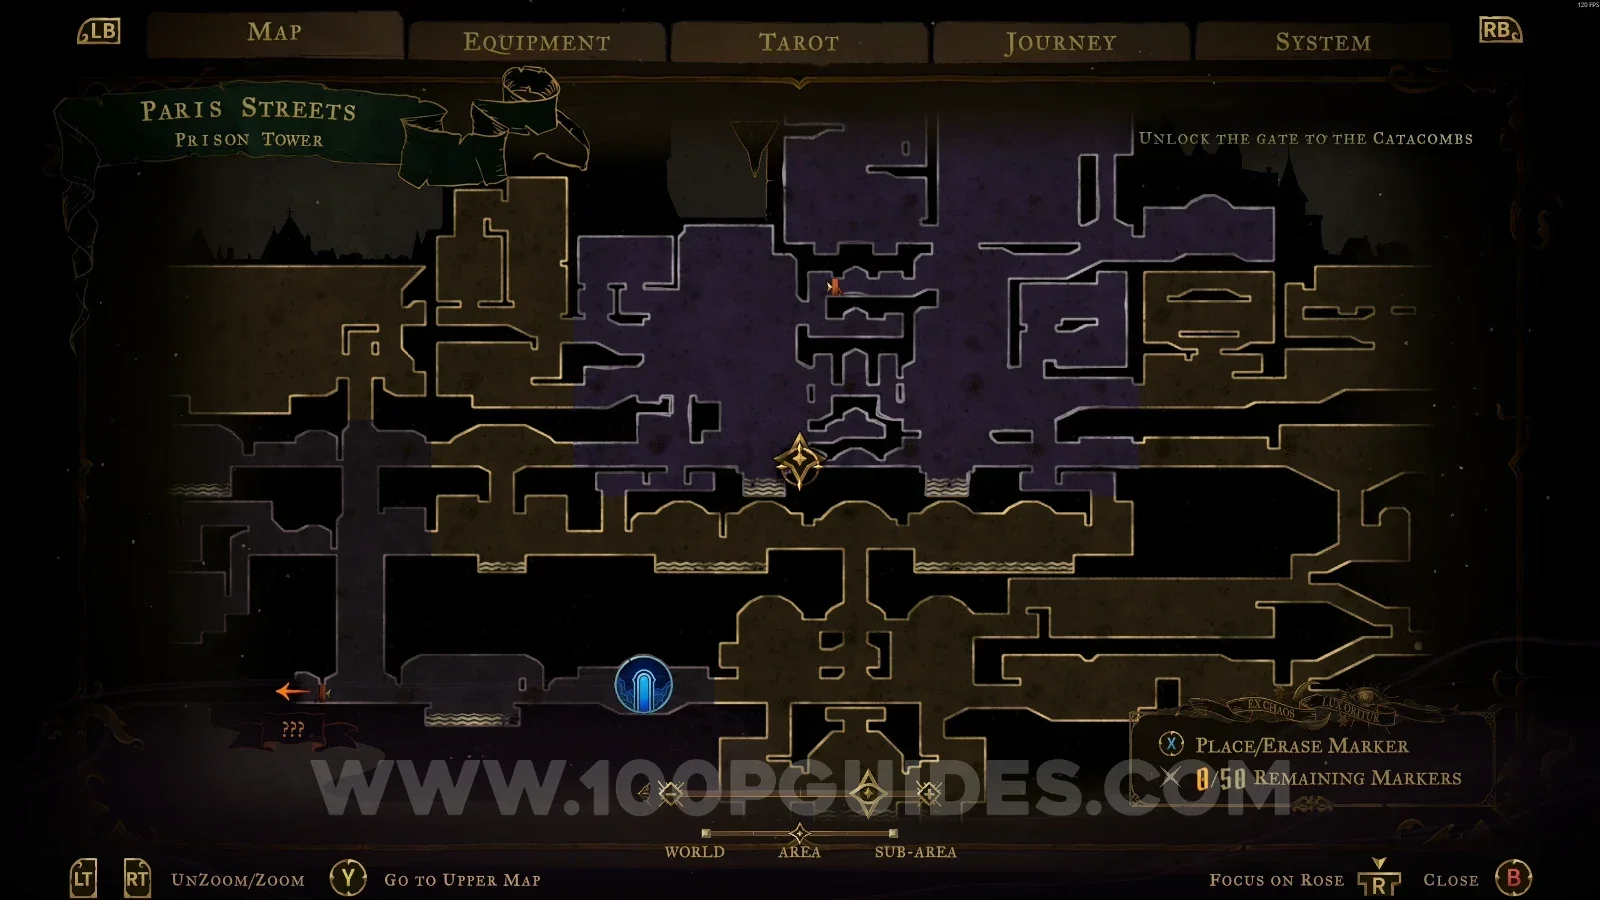
Castlevania Belmonts Curse Prison Tower: map marking the area of XP Statue #23 Castlevania Belmonts Curse Prison Tower: XP Statue #23 in the marked area

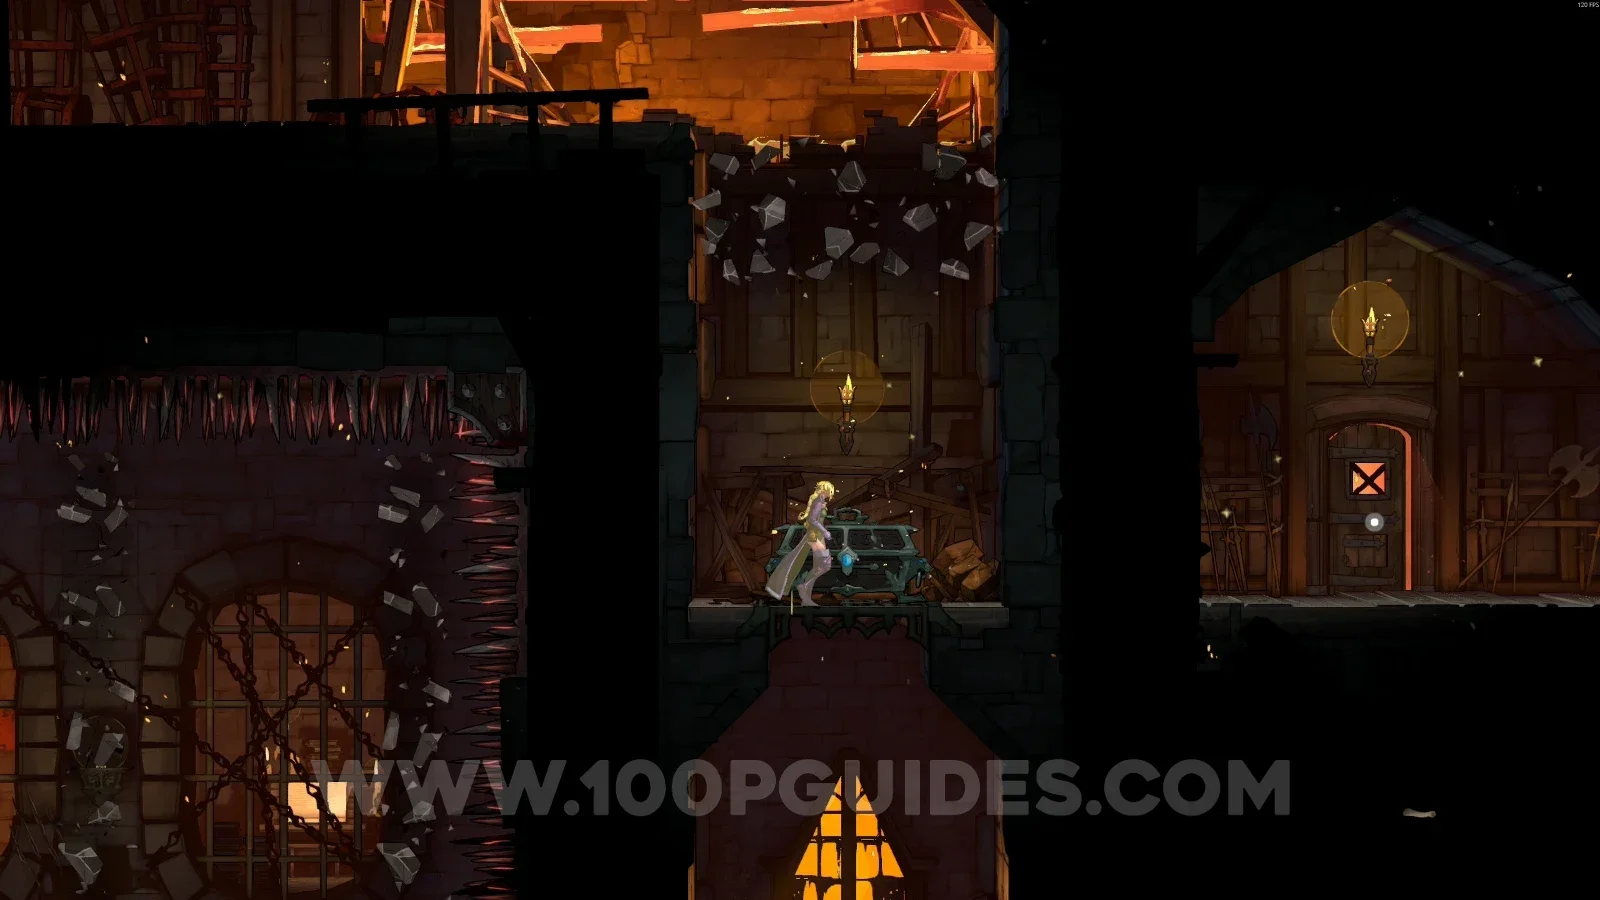
XP Statue #24 + Chicken #2 + Relic #6: Obsidian Fang

In the area marked on the map, go through the door to another room. On the right side of this new room you'll find a statue and a chicken, and on the left side you'll find the chest with the relic.
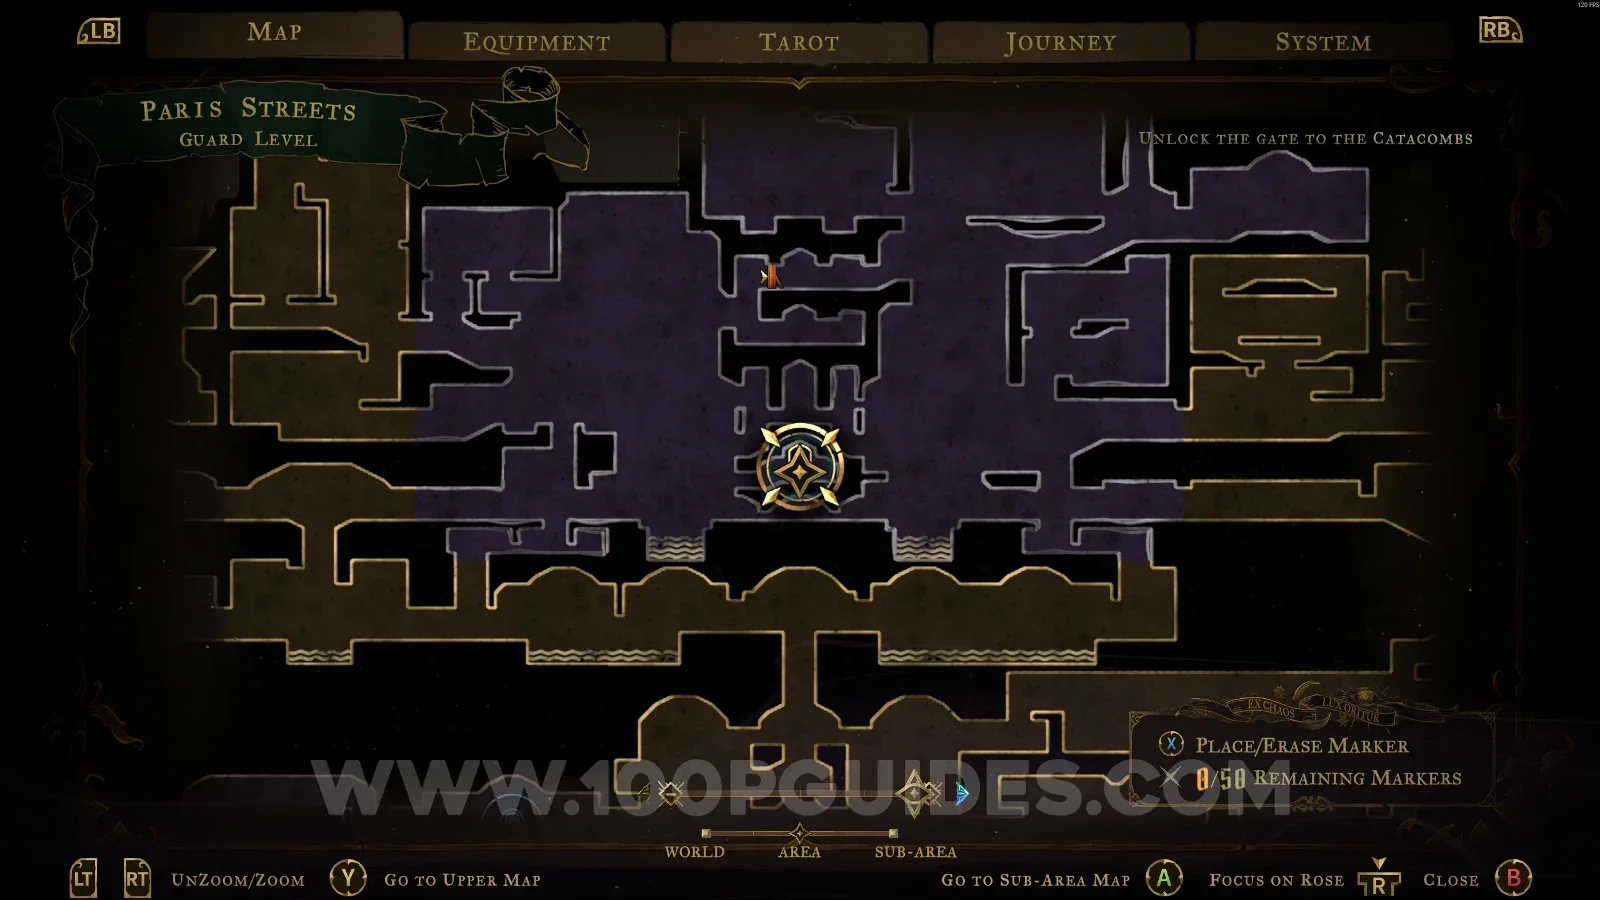
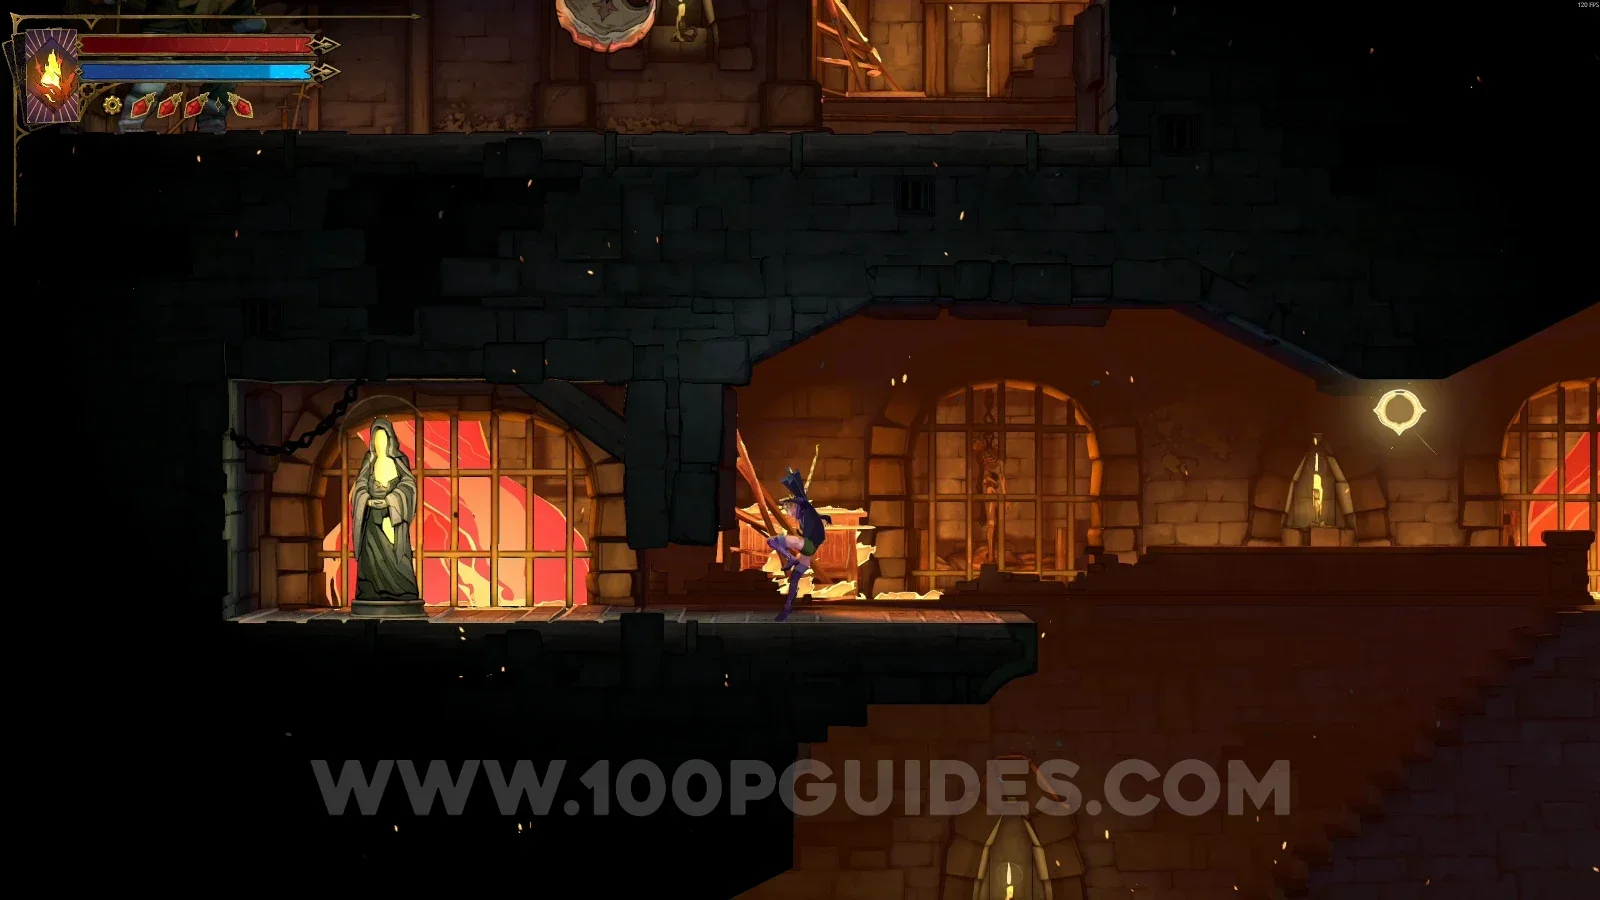
Castlevania Belmonts Curse Prison Tower: door in the marked area leading to another room Castlevania Belmonts Curse Prison Tower: XP Statue #24 on the right side of the new room Castlevania Belmonts Curse Prison Tower: Chicken #2 on the right side of the new room Castlevania Belmonts Curse Prison Tower: chest with Relic #6 Obsidian Fang on the left side of the room

XP Statue #25

In the area marked on the map.
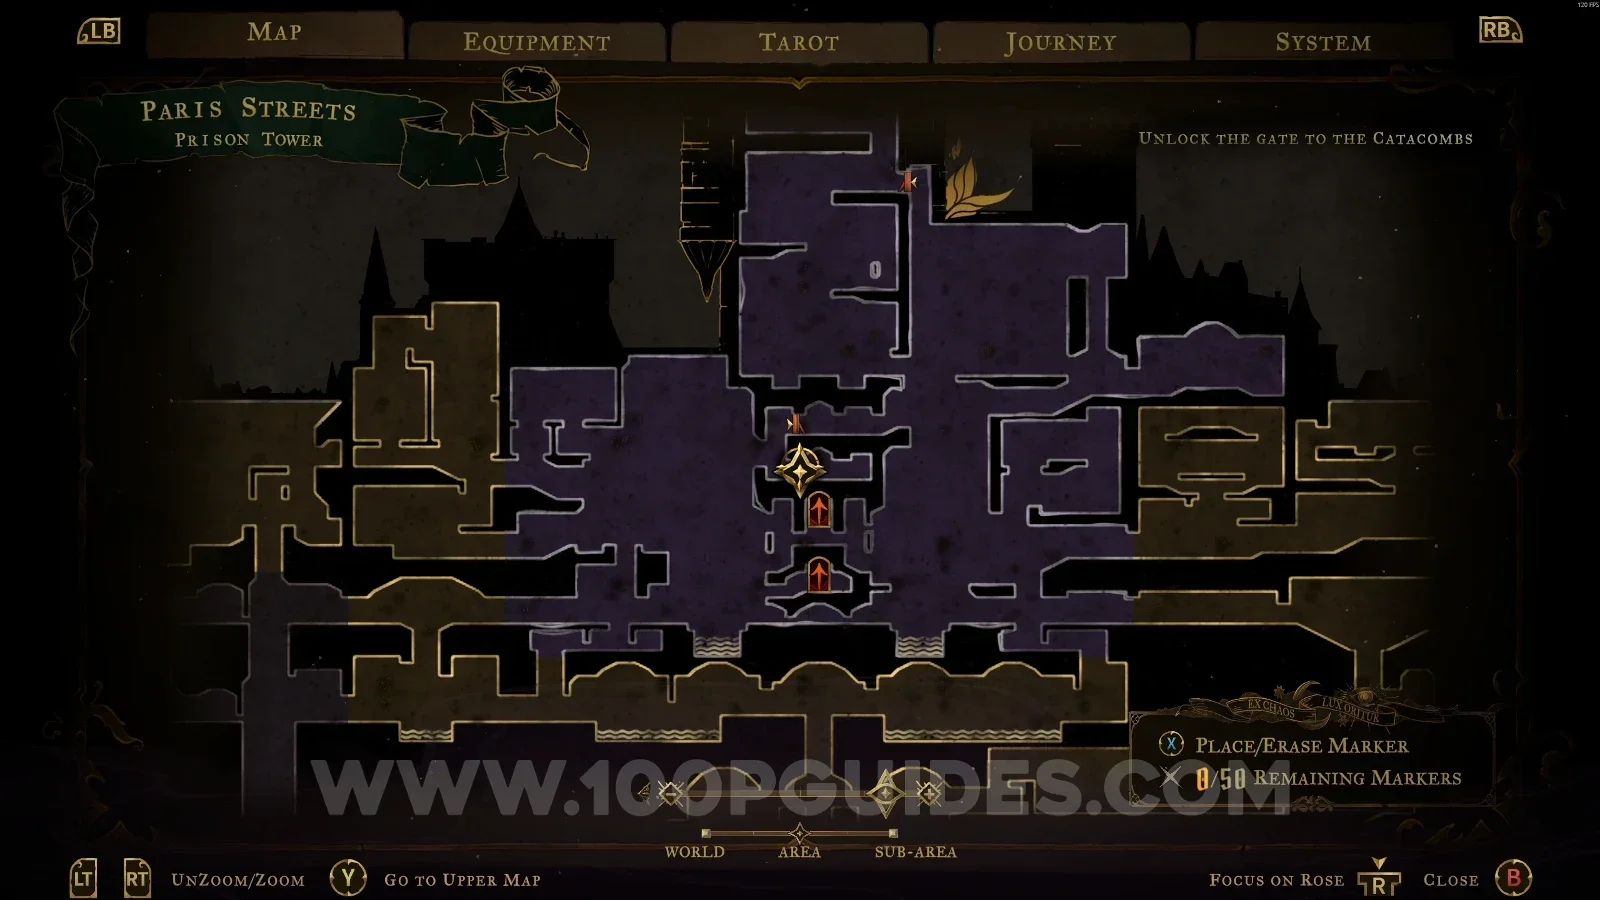
Castlevania Belmonts Curse Prison Tower: map marking the area of XP Statue #25 Castlevania Belmonts Curse Prison Tower: XP Statue #25 in the marked area

Wise Heart Fragment #2

In the area marked on the map, go through the door, and inside the new room you'll find this Wise Heart.
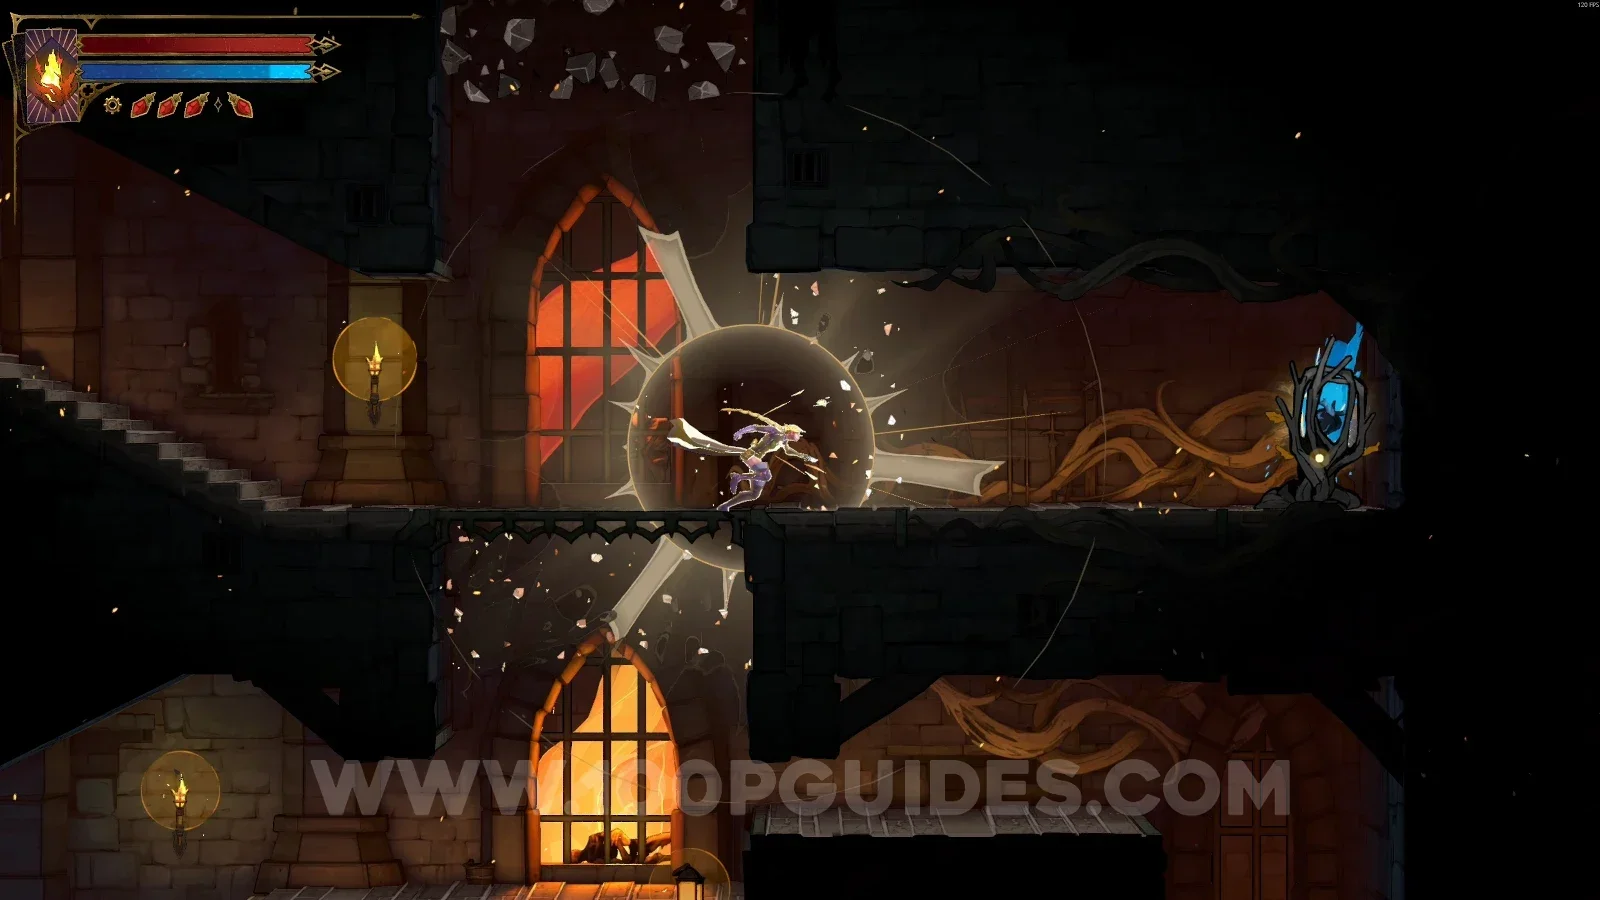
Castlevania Belmonts Curse Prison Tower: door in the marked area leading to a new room Castlevania Belmonts Curse Prison Tower: Wise Heart Fragment #2 inside the new room

Mirror of Life #4 + XP Statue #26

In the area marked on the map, you'll find a Mirror of Life and a statue at the top of the area.
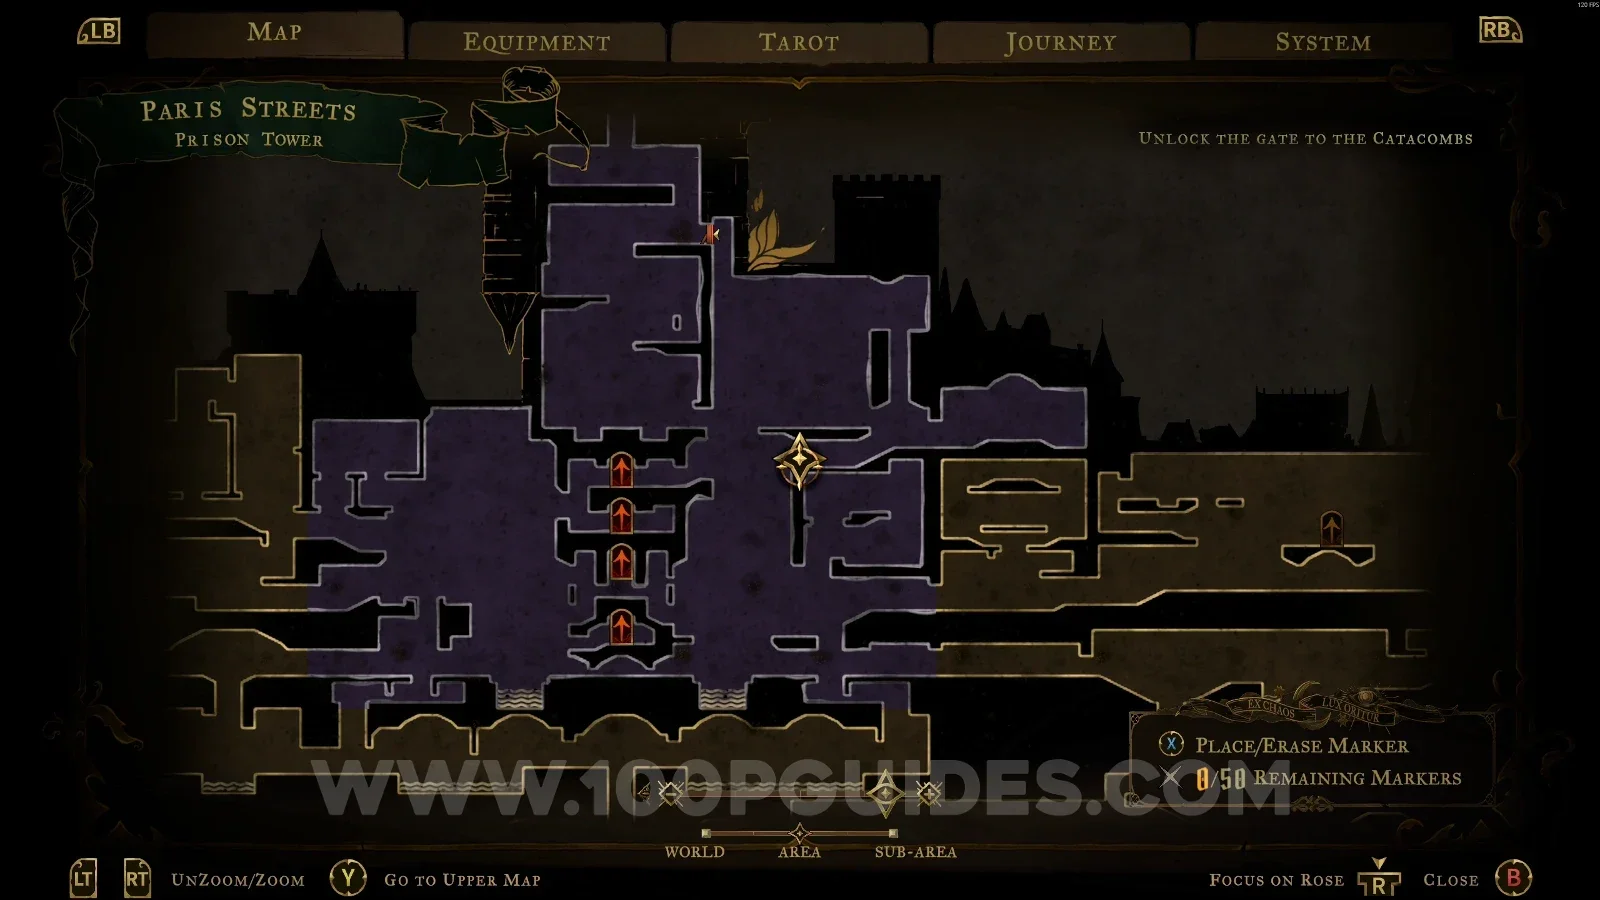
Castlevania Belmonts Curse Prison Tower: map marking the area of Mirror of Life #4 and XP Statue #26 Castlevania Belmonts Curse Prison Tower: Mirror of Life #4 in the marked area Castlevania Belmonts Curse Prison Tower: XP Statue #26 at the top of the area

Upper Tower

Blue Book #3 + Clue: The Warrior

At the top of the area marked on the map, break the wall and grab the book, then go down and interact with the ghost to get the clue.
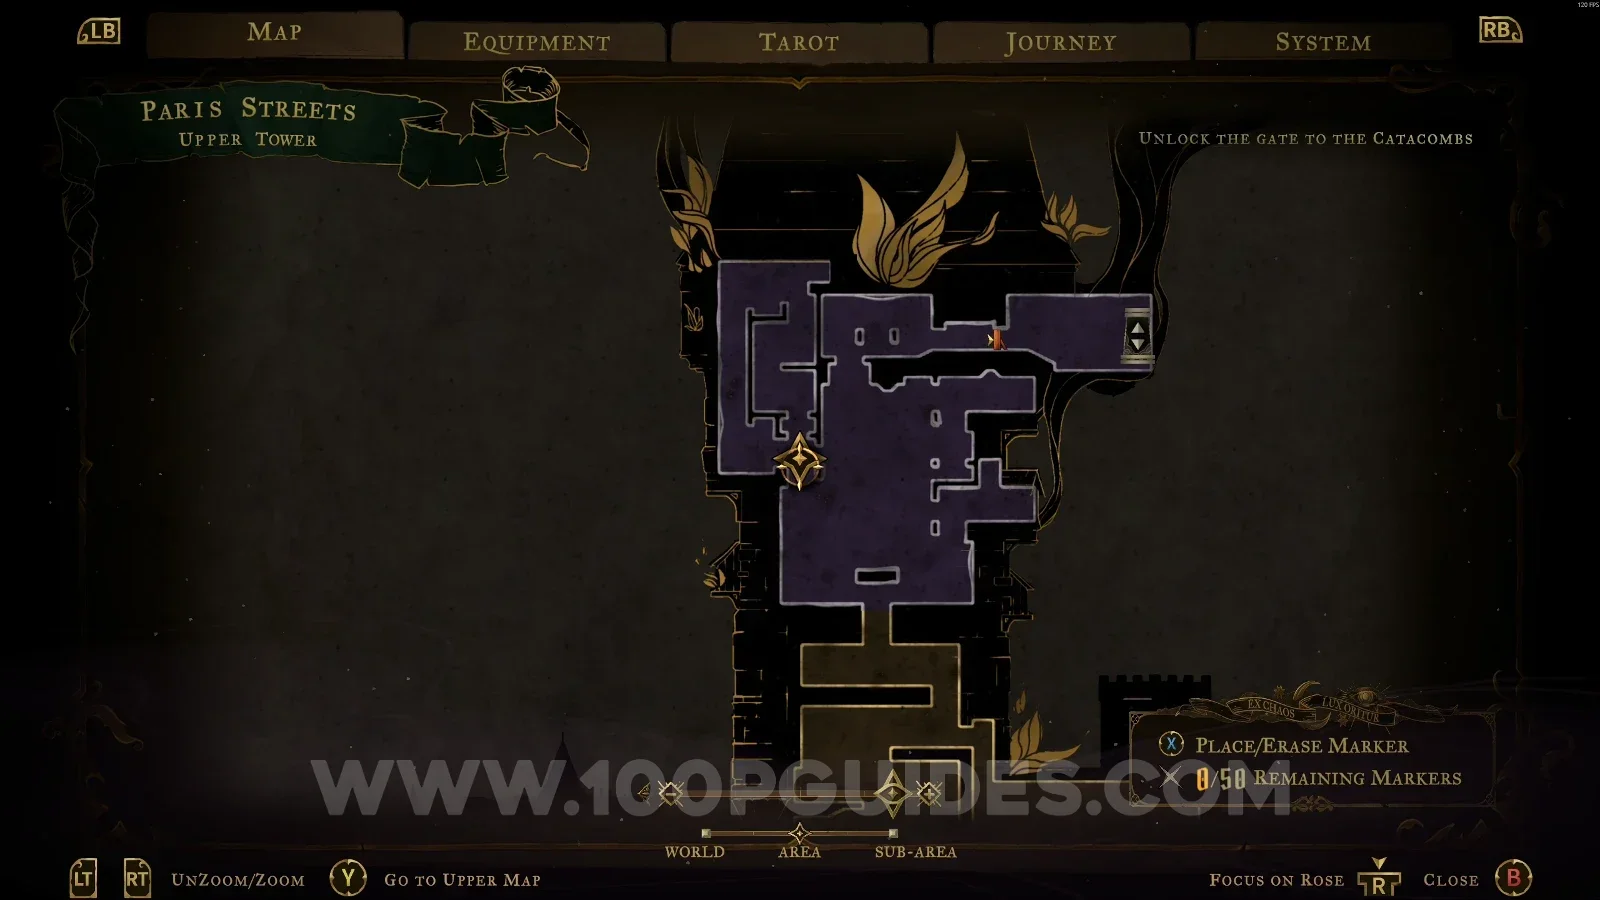
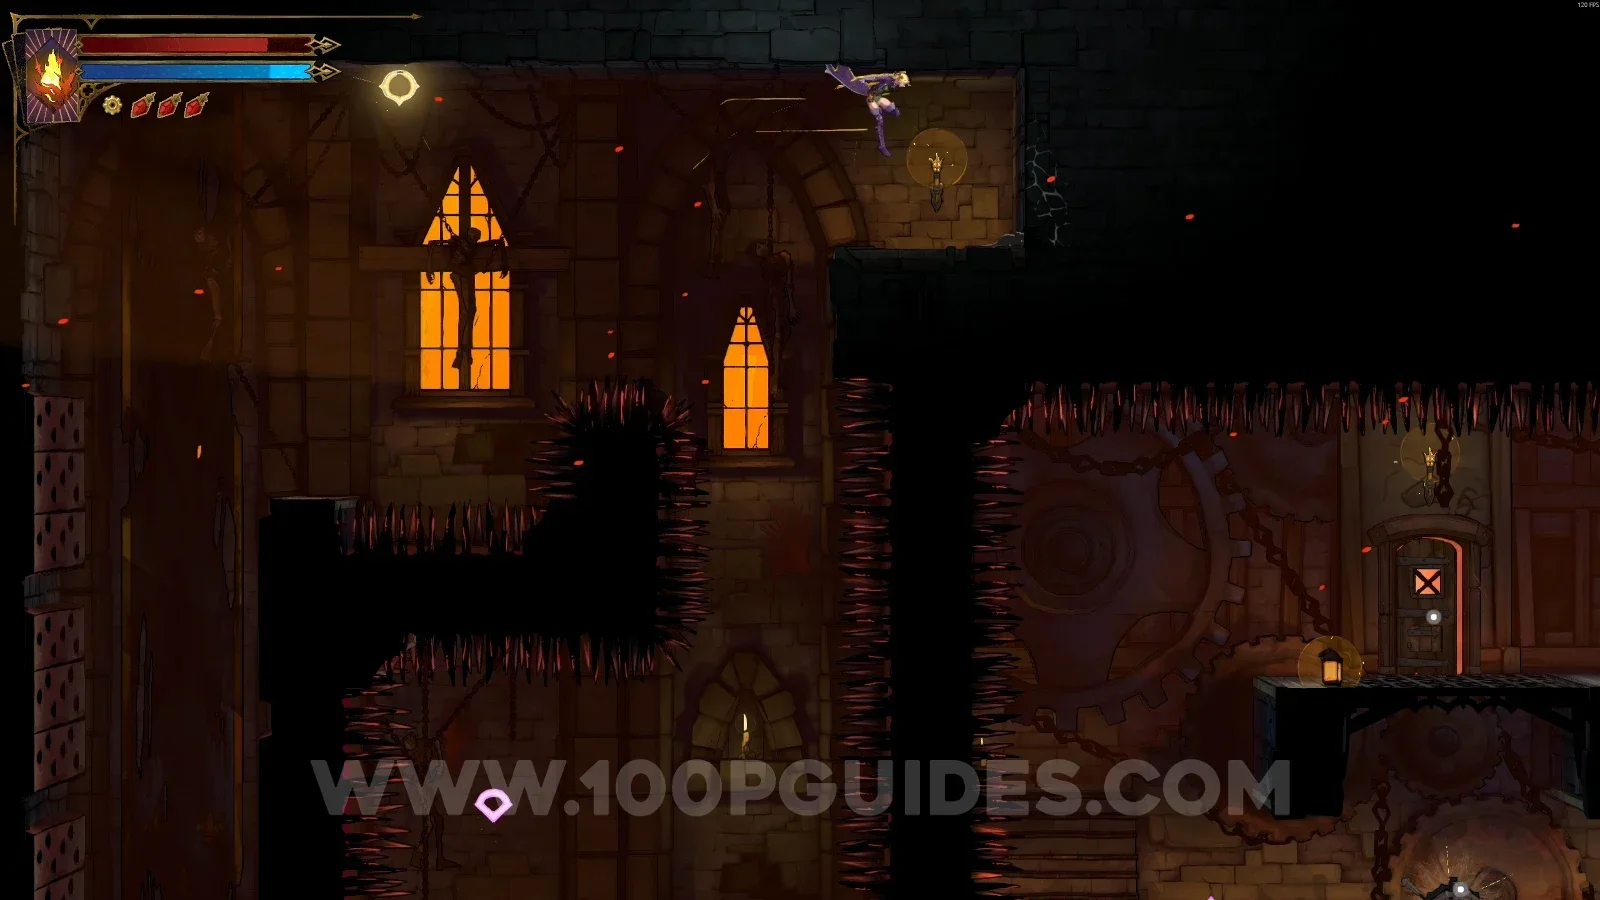
Castlevania Belmonts Curse Upper Tower: breaking the wall at the top of the marked area Castlevania Belmonts Curse Upper Tower: Blue Book #3 behind the broken wall Castlevania Belmonts Curse Upper Tower: ghost further down giving the clue The Warrior

XP Statue #27

In the area marked on the map.
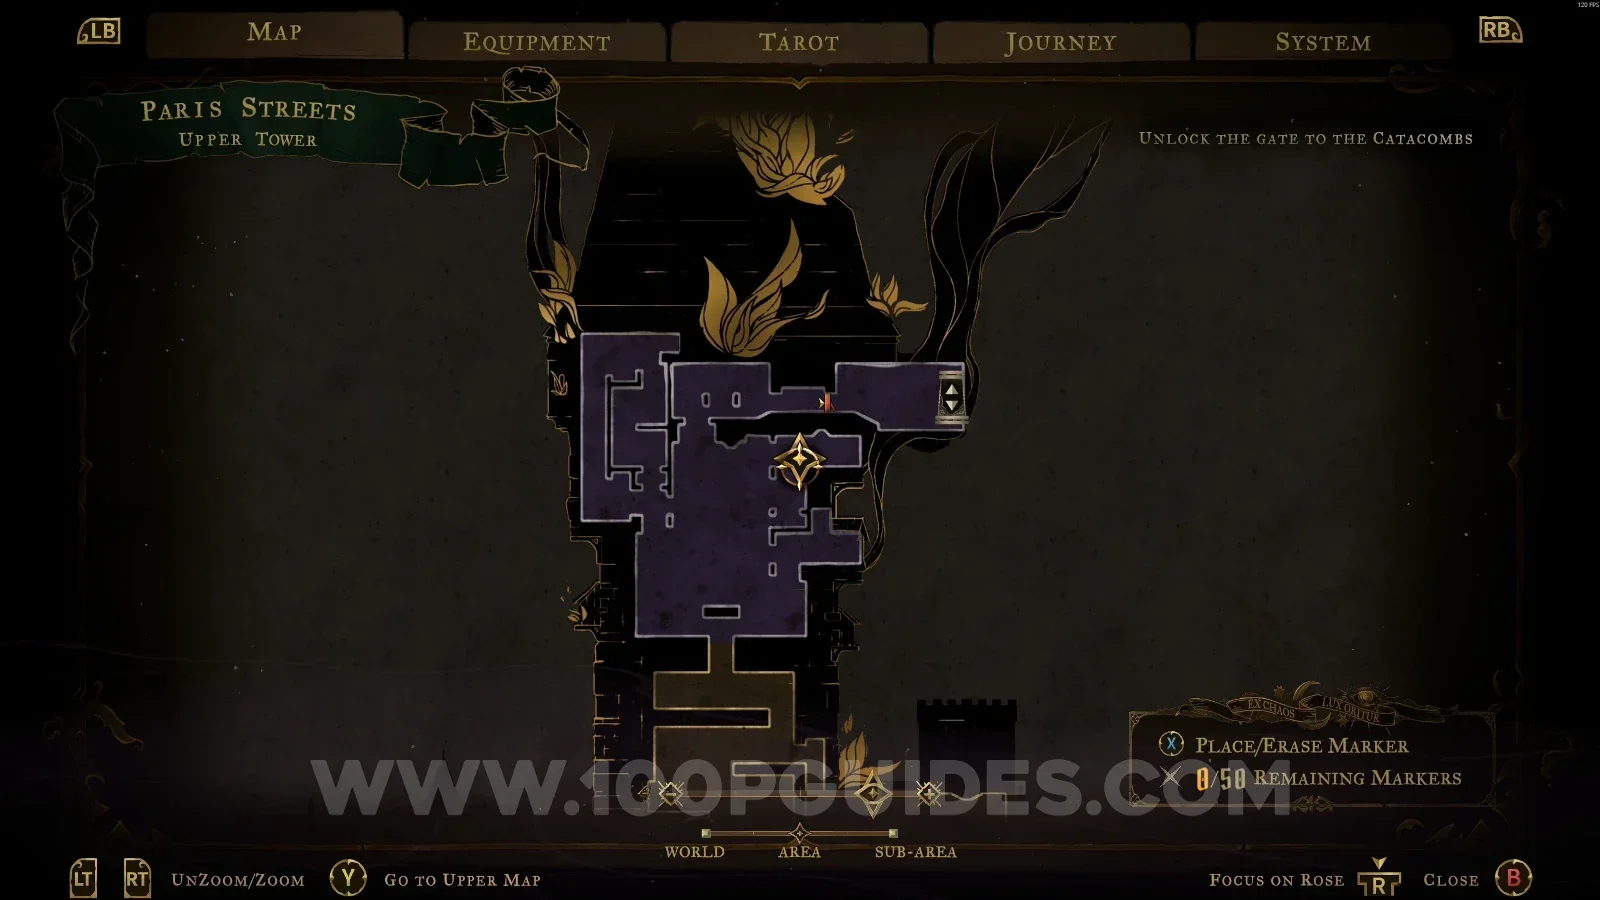
Castlevania Belmonts Curse Upper Tower: map marking the area of XP Statue #27 Castlevania Belmonts Curse Upper Tower: XP Statue #27 in the marked area

Arcana: Infernal Pyre

At the top of the area, go through the door and keep climbing until the boss fight against Joan (The Warrior). After defeating her, you'll get this arcana.
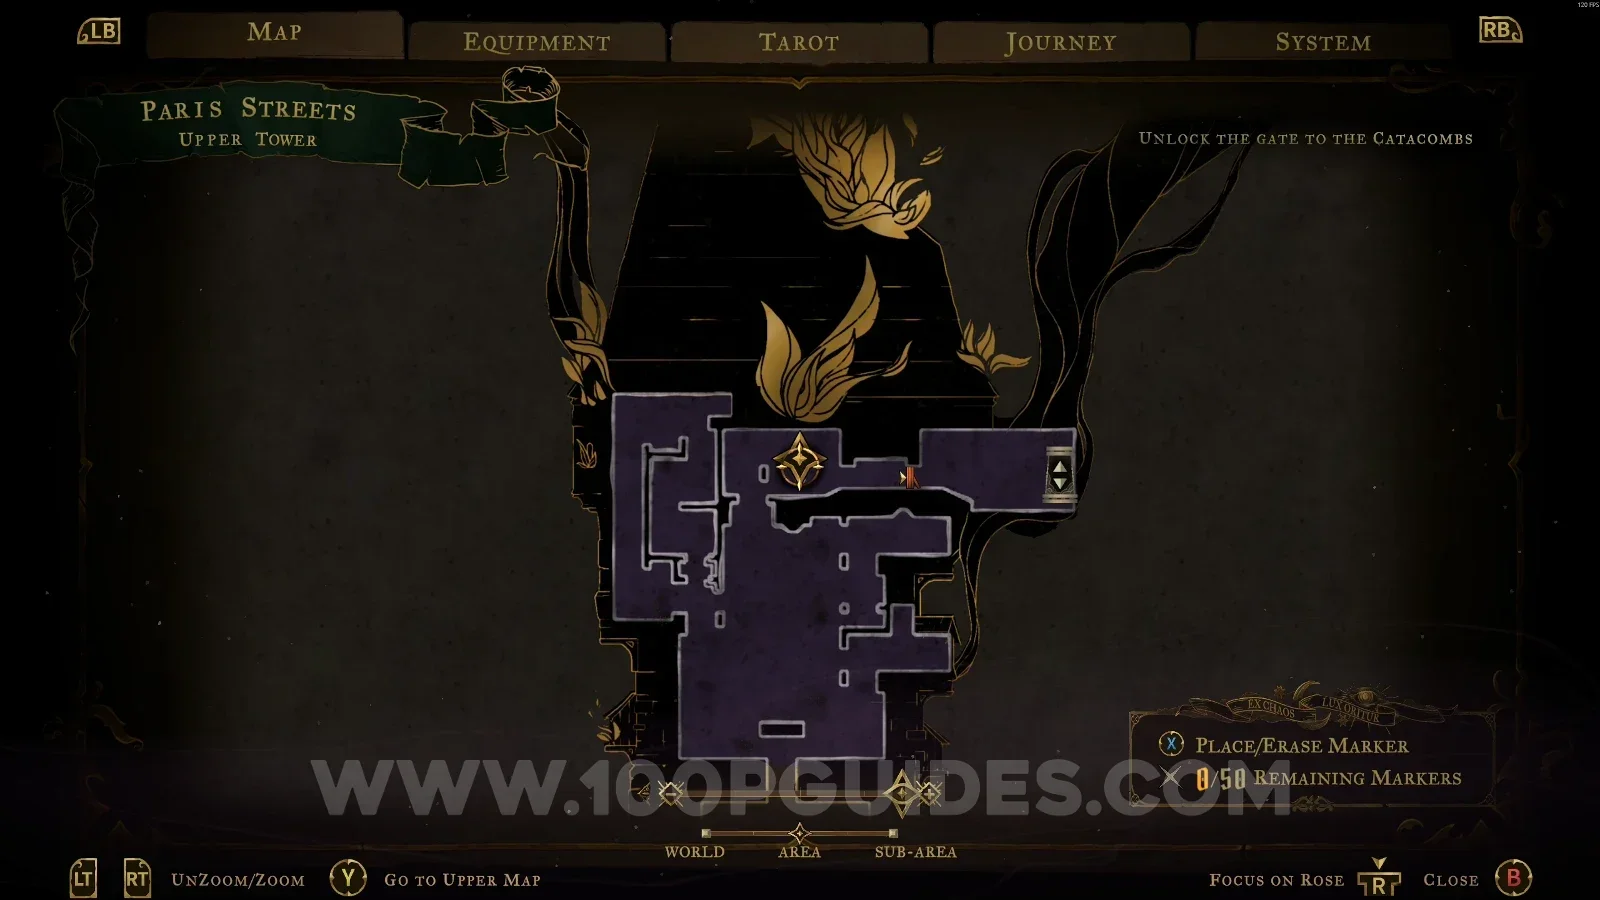
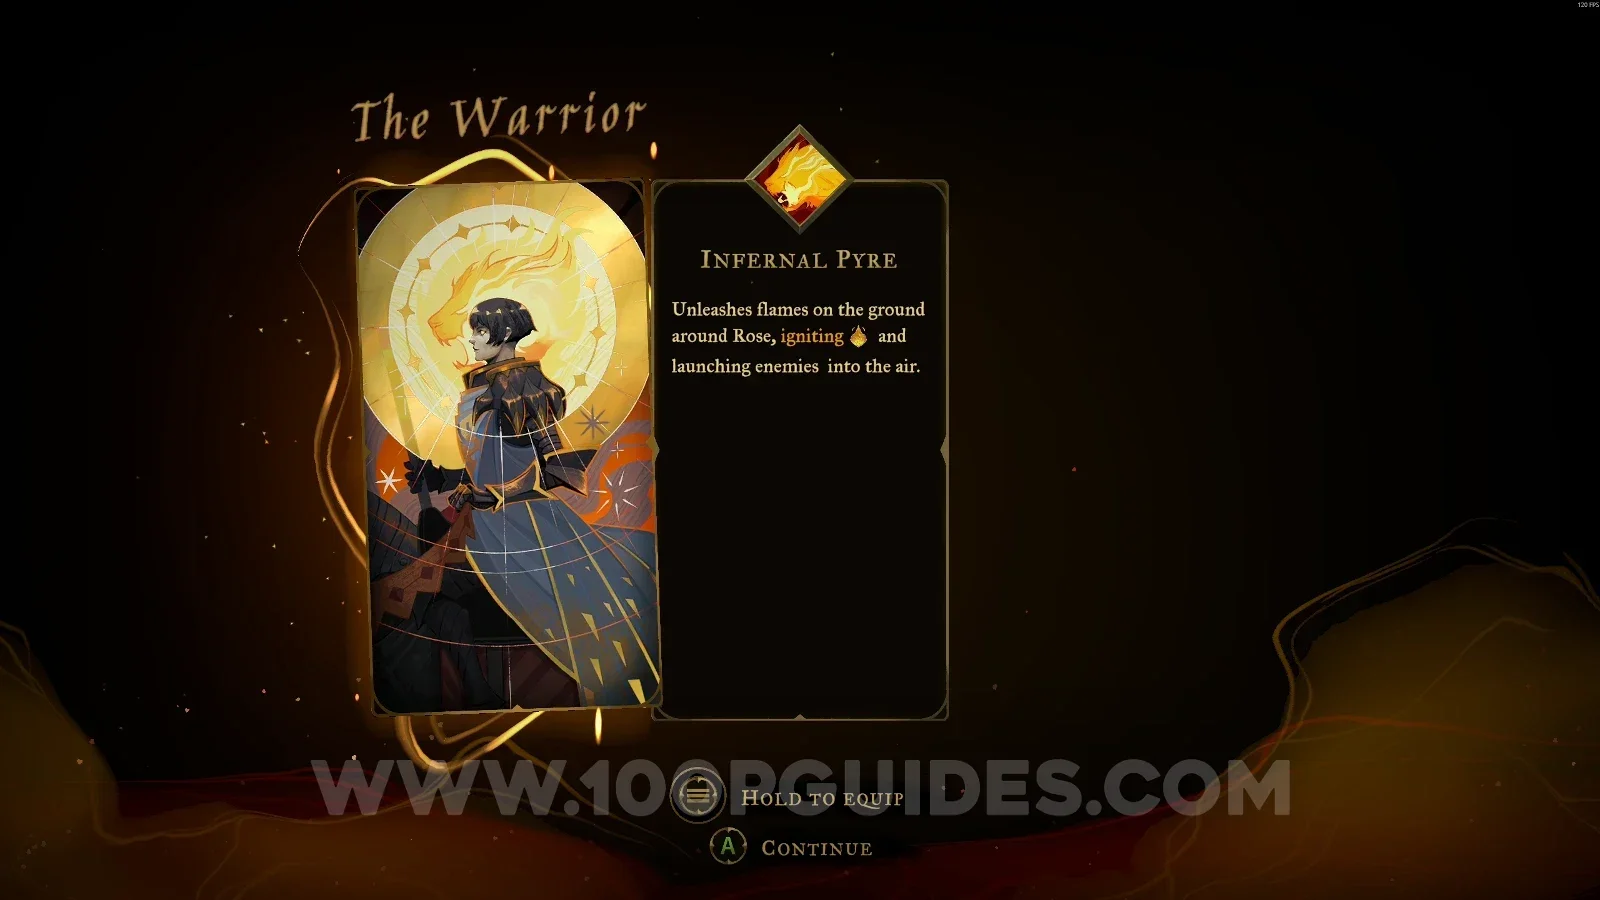
Castlevania Belmonts Curse Upper Tower: boss fight against Joan (The Warrior) after climbing past the door Castlevania Belmonts Curse Upper Tower: Infernal Pyre arcana earned by defeating Joan

The Warrior's Key

Obtained after defeating Joan (The Warrior).
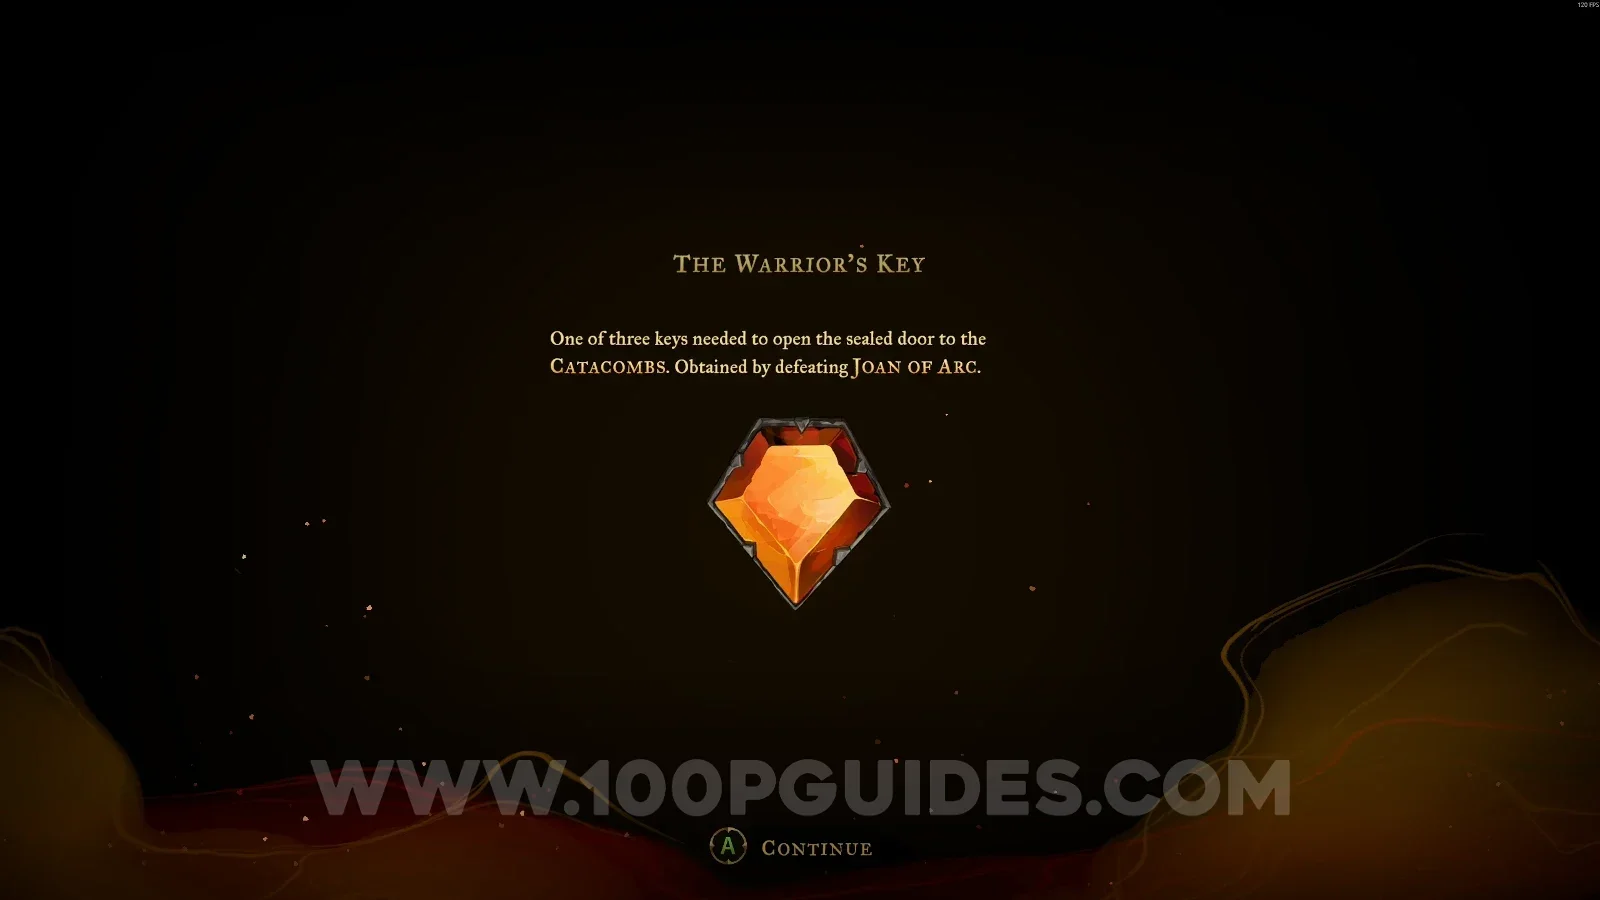
Castlevania Belmonts Curse Upper Tower: The Warrior's Key obtained after defeating Joan (The Warrior)

Weapon #3: Burnt Sword of Fierbois

Can be obtained after defeating Joan (The Warrior). It will be on the ground.
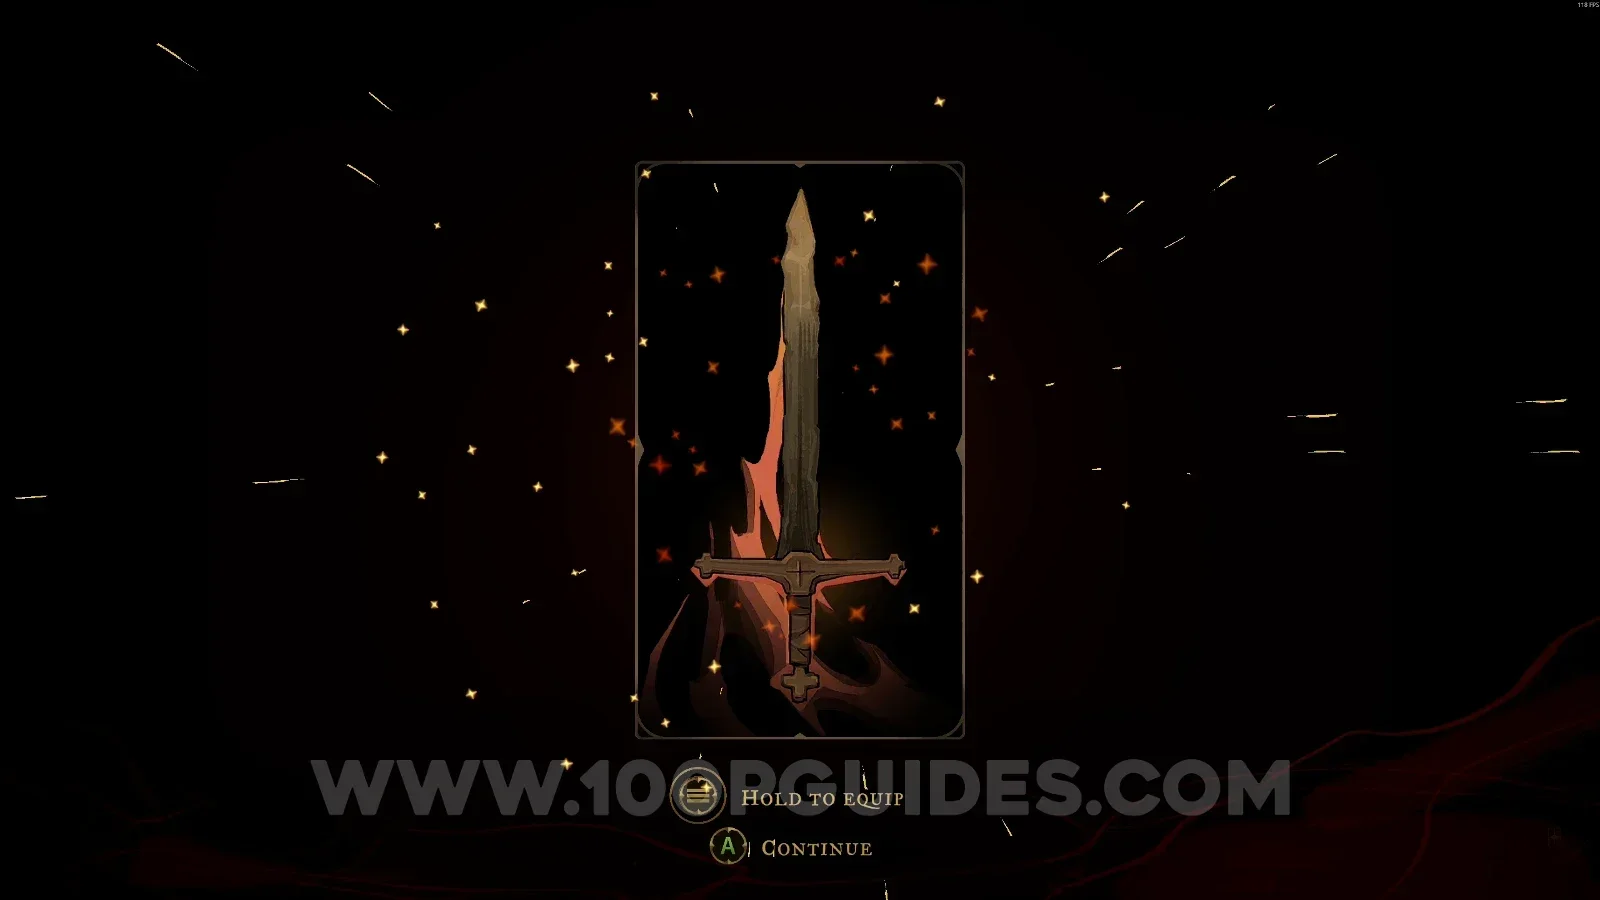
Castlevania Belmonts Curse Upper Tower: Weapon #3 Burnt Sword of Fierbois on the ground after Joan

Arcane Power #2: Holy Light

Obtained after defeating Joan (The Warrior).
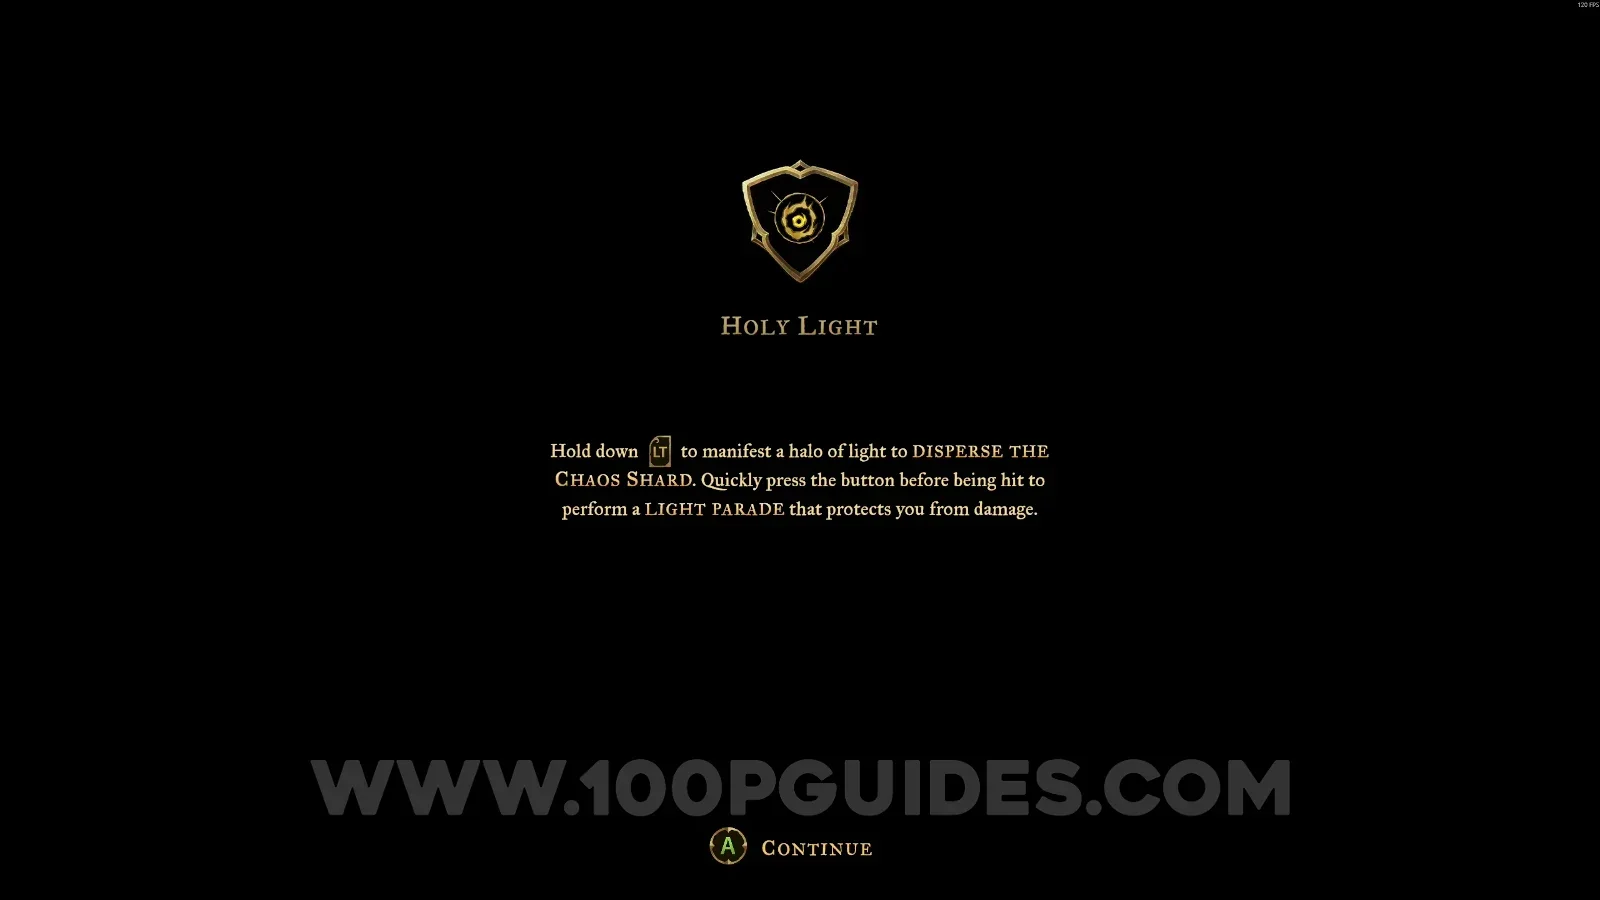
Castlevania Belmonts Curse Upper Tower: Arcane Power #2 Holy Light obtained after defeating Joan

Red Book #3

Same area as the previous collectible. Keep going down and you'll see a spot where you can use the slide. Use it to get this Red Book.
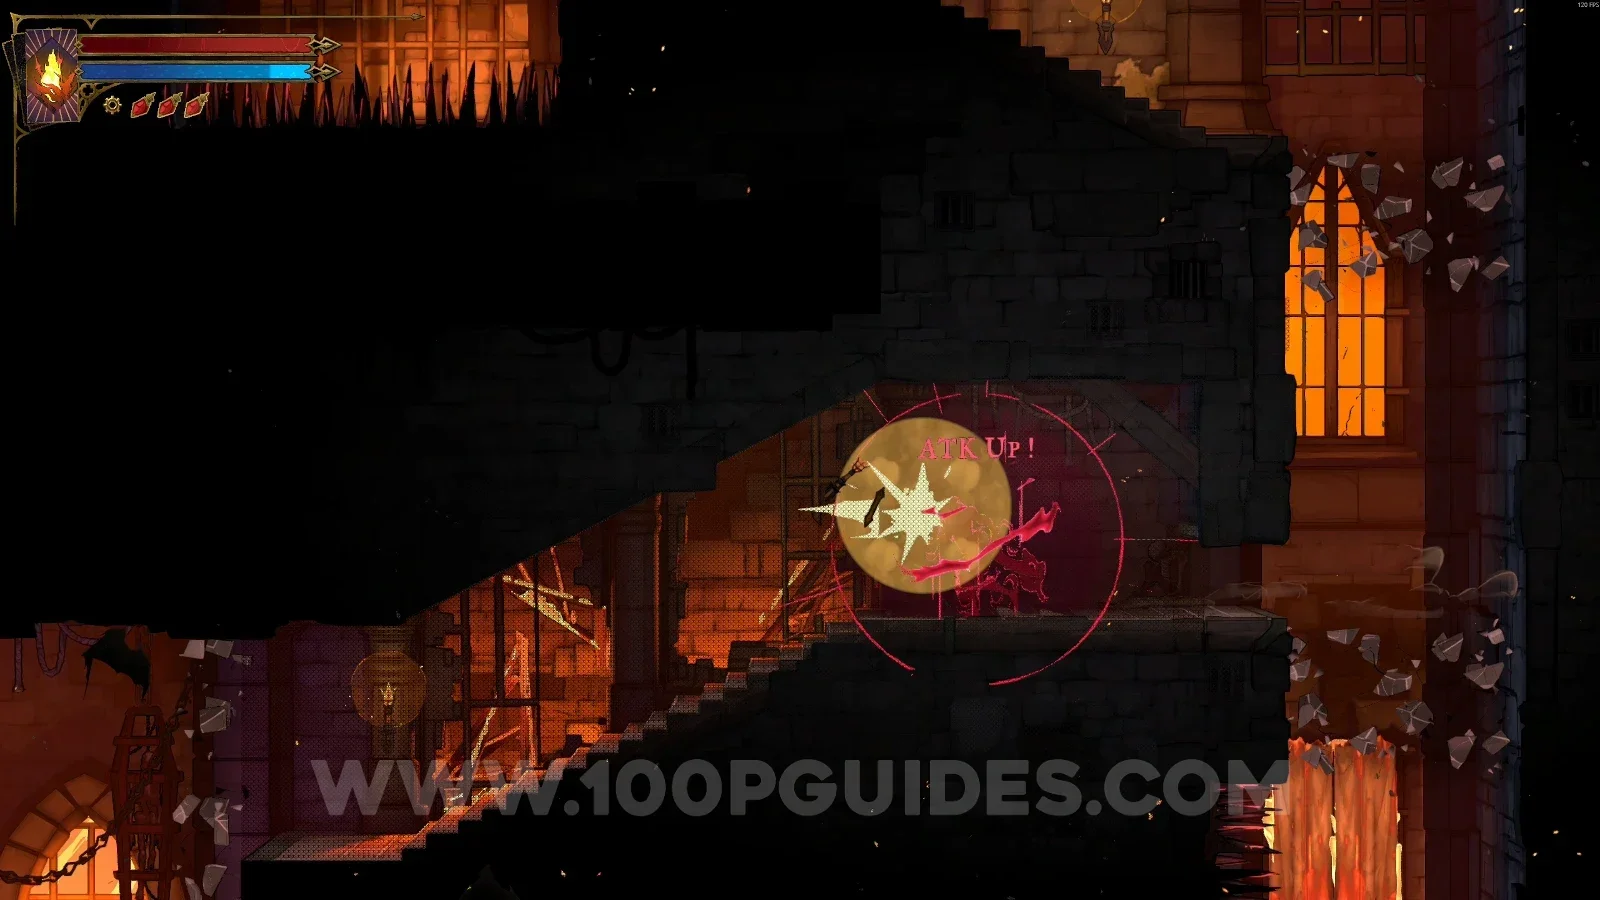
Castlevania Belmonts Curse Upper Tower: slide spot further down the same area Castlevania Belmonts Curse Upper Tower: Red Book #3 reached by using the slide

Guard Storehouse

Wise Heart Fragment #3

In the area marked on the map, climb to the upper part using the Arcane Whip, then use the Smash ability to break the floor and reach this upgrade.
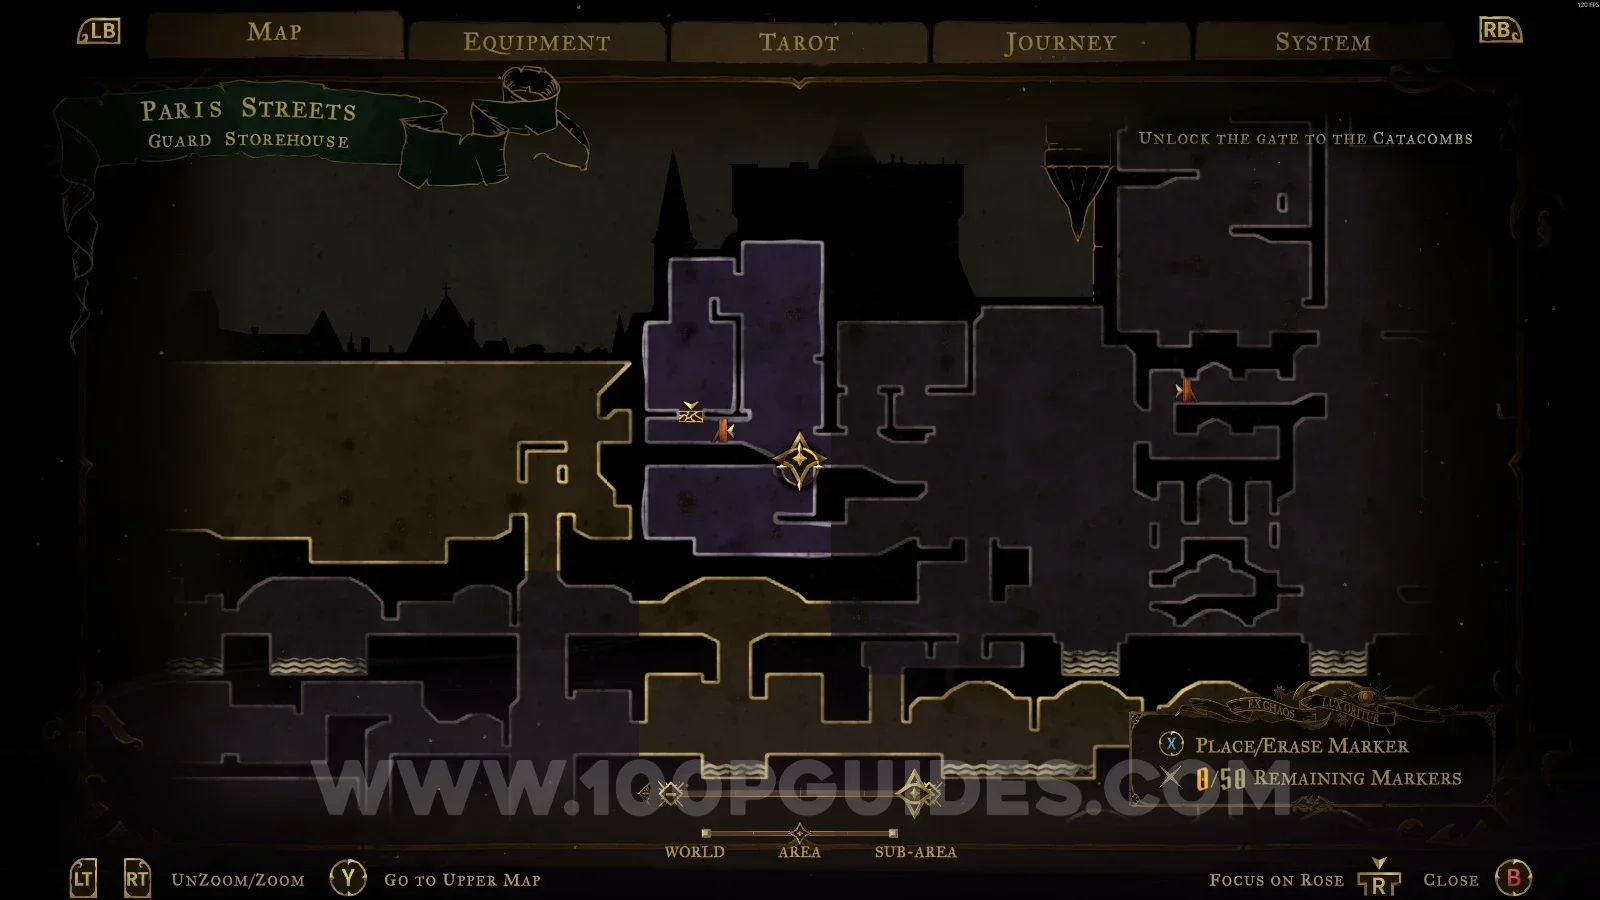
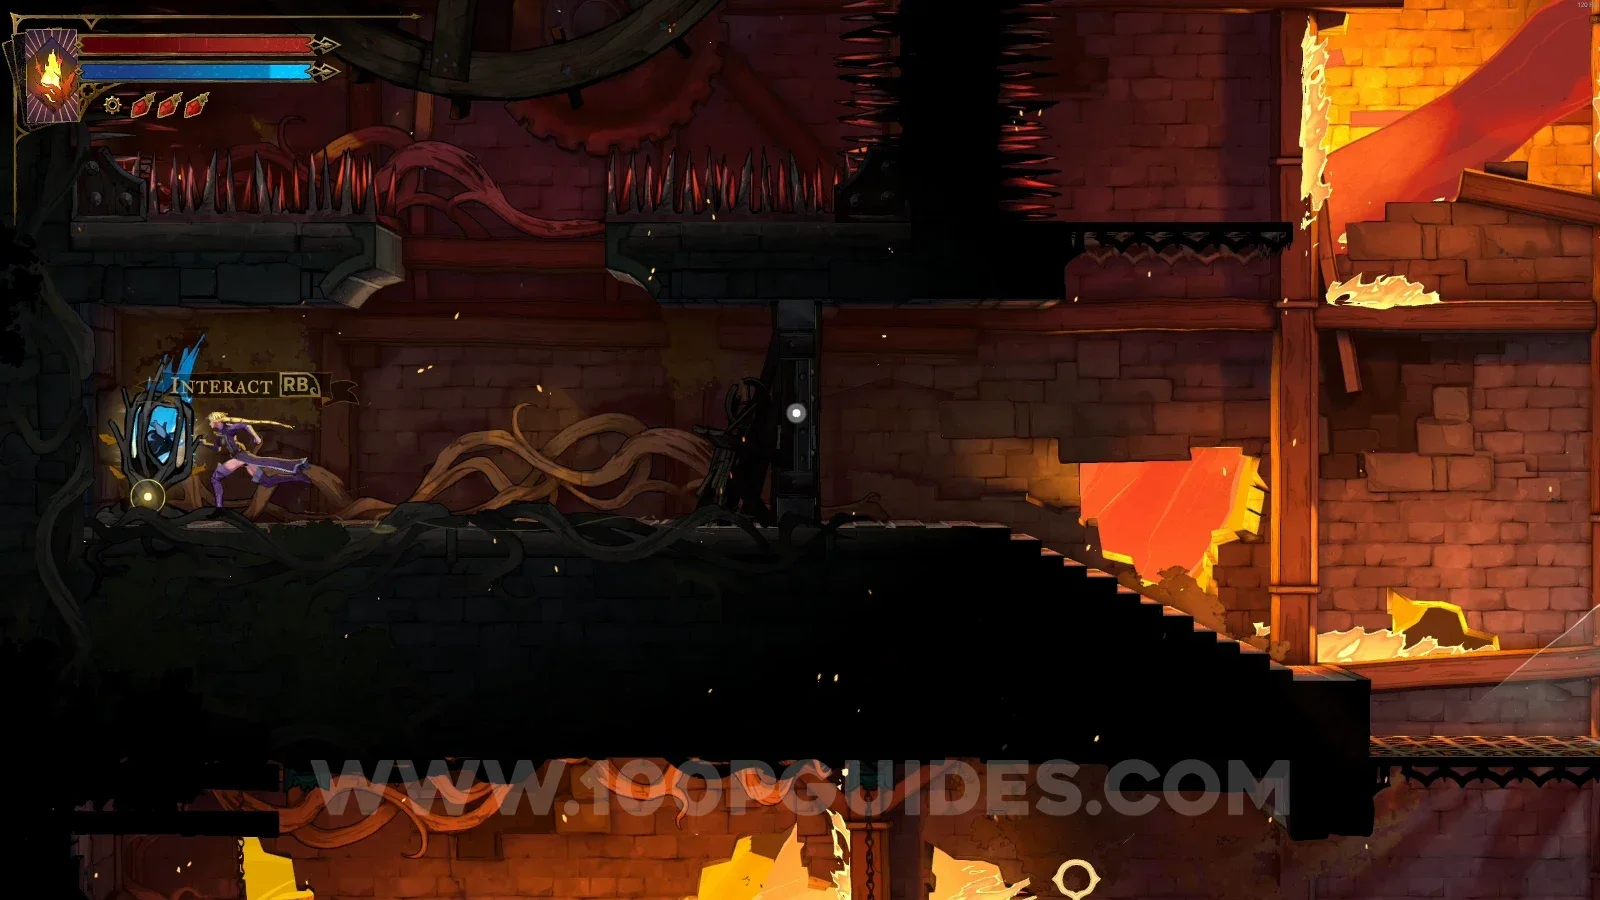
Castlevania Belmonts Curse Guard Storehouse: climbing to the upper part with the Arcane Whip Castlevania Belmonts Curse Guard Storehouse: Wise Heart Fragment #3 below the floor broken with Smash

Bridge Of The Millers

XP Statue #28

In the area marked on the map.
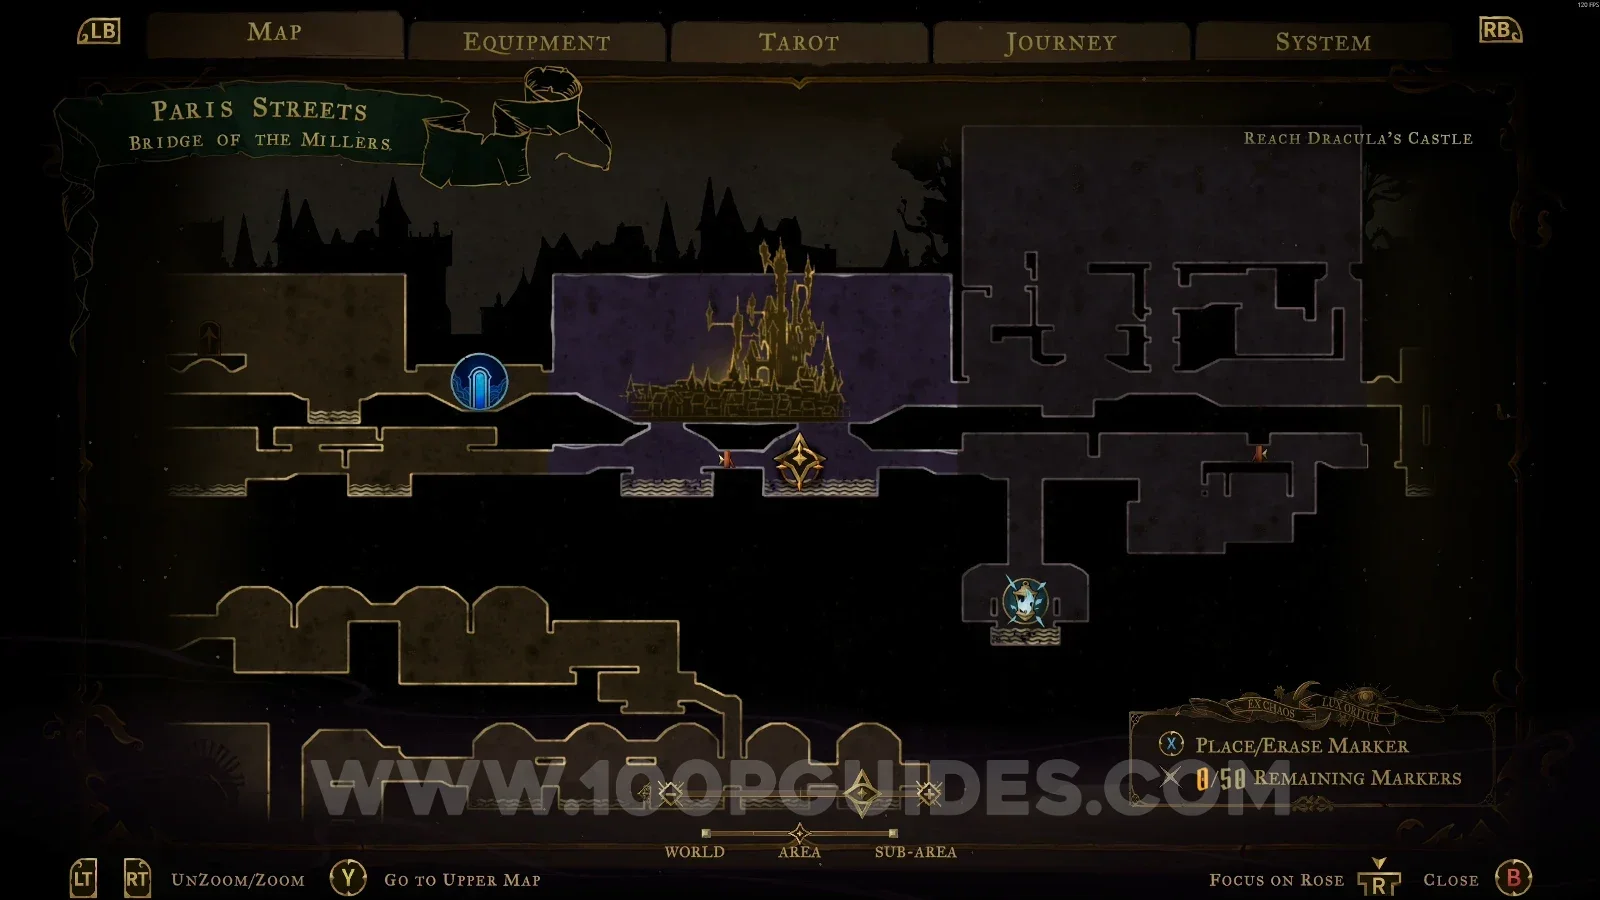
Castlevania Belmonts Curse Bridge Of The Millers: map marking the area of XP Statue #28 Castlevania Belmonts Curse Bridge Of The Millers: XP Statue #28 in the marked area

Court of justice

3 Clues: The Miser

In the area marked on the map, go through the door, destroy the wall to the right of the door, and use the slide to grab the clue. Then go back and grab the other two clues, one in the top right of the room and the other in the top left.
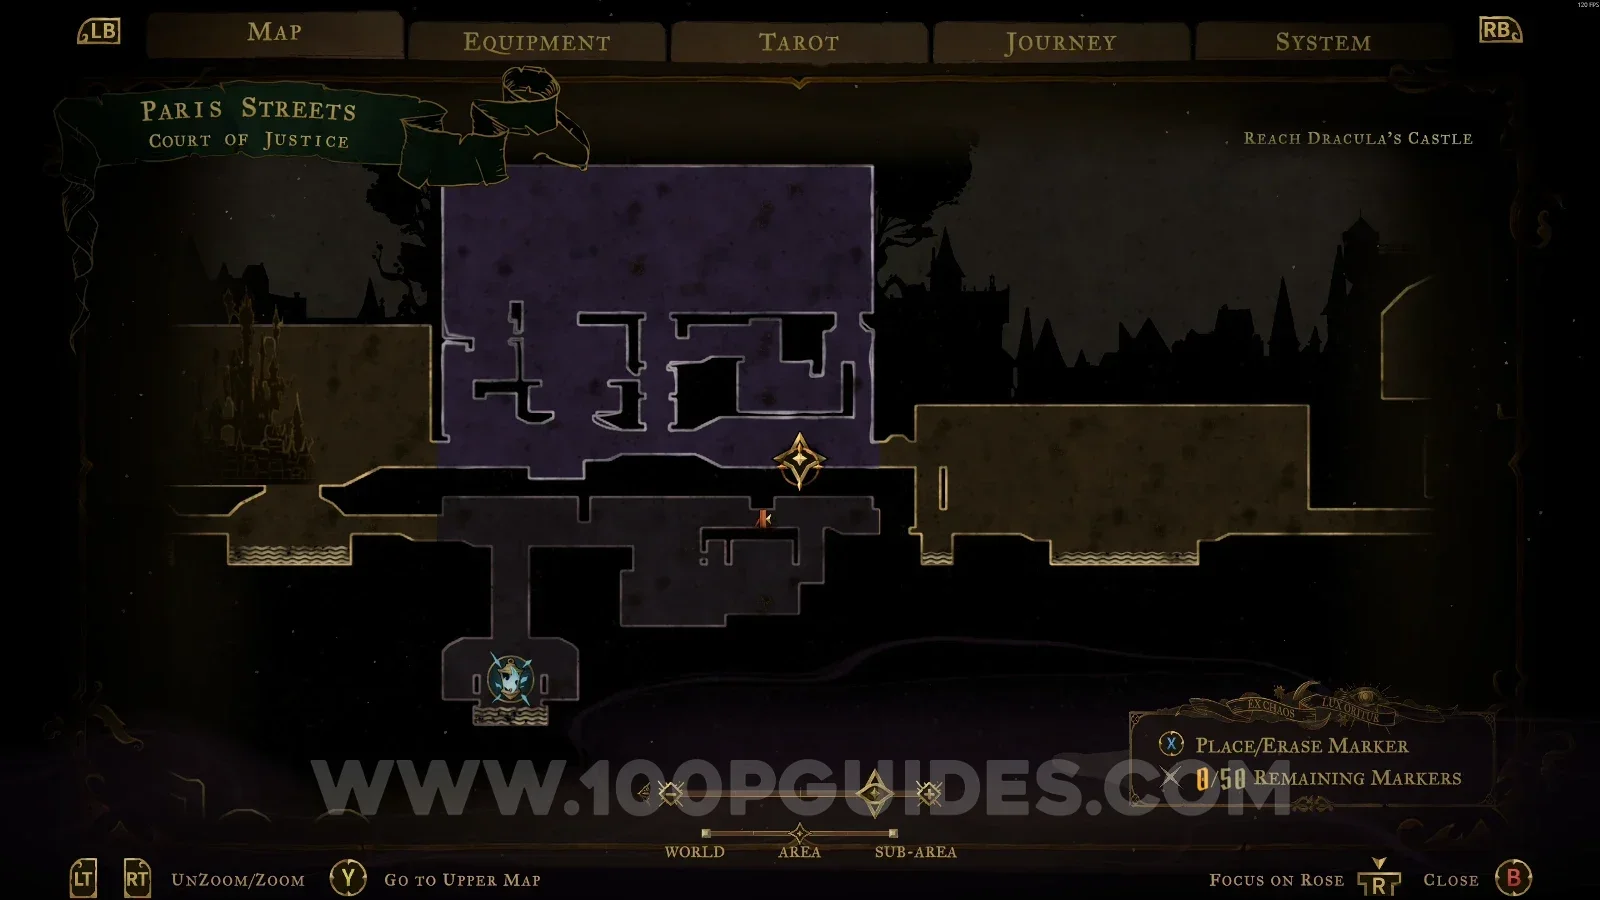
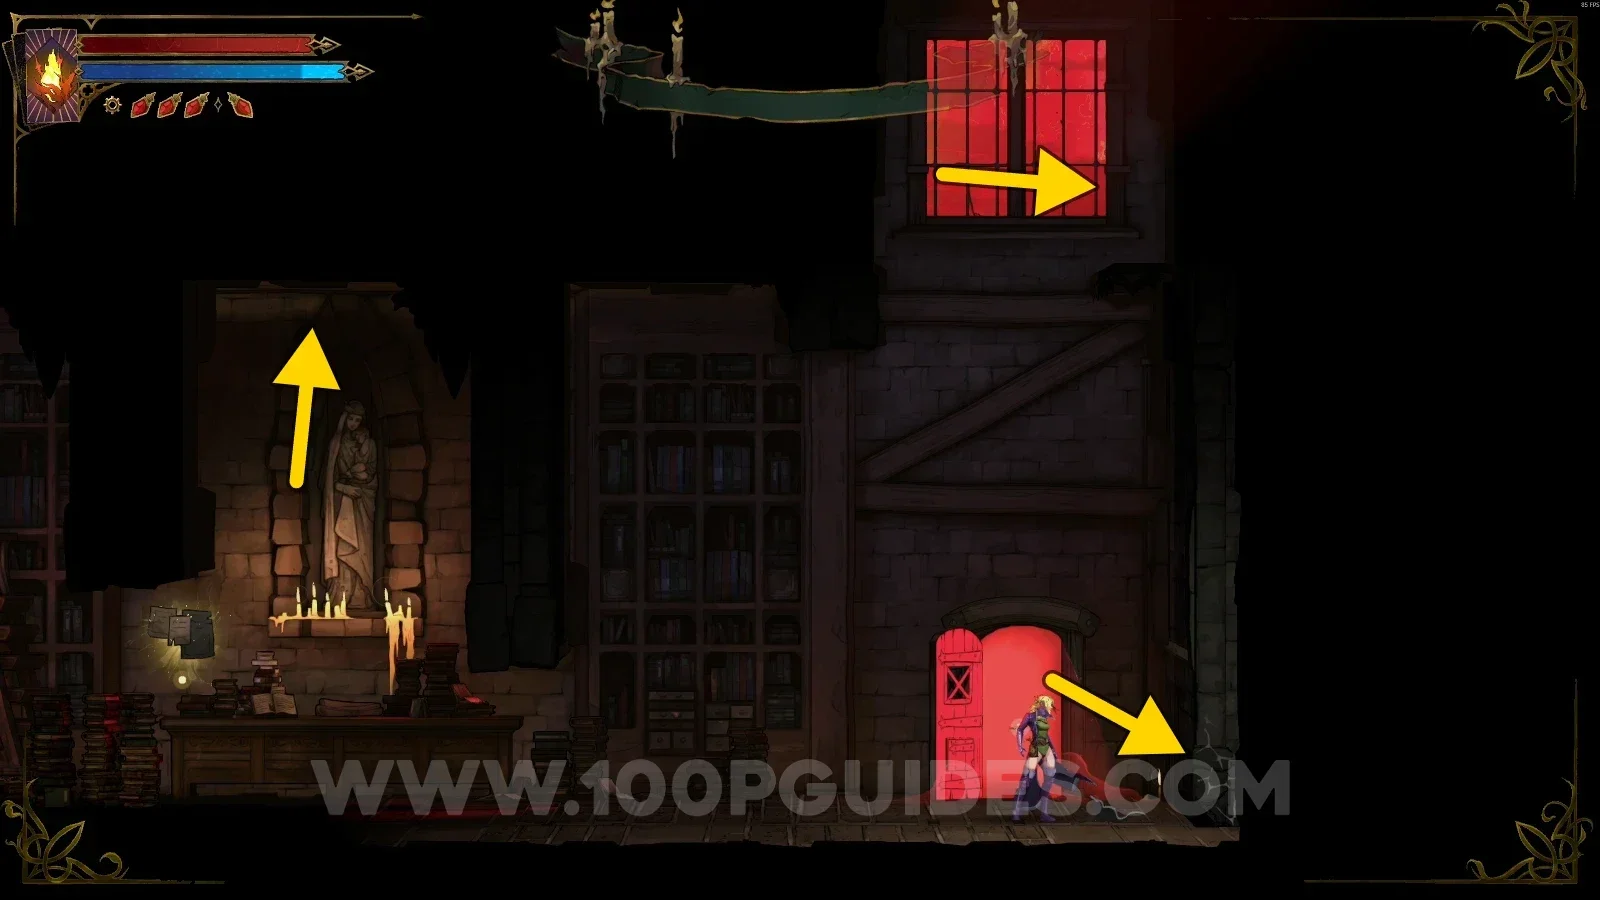
Castlevania Belmonts Curse Court of justice: breaking the wall right of the door and sliding to a Miser clue Castlevania Belmonts Curse Court of justice: the other Miser clues at the top right and top left of the room

Clue: The Judge

Same area as before. Leave the room and climb using your Arcane Whip until you reach the door of the yellow room. Go inside and follow the single path to The Judge, then interact with him to get this clue.
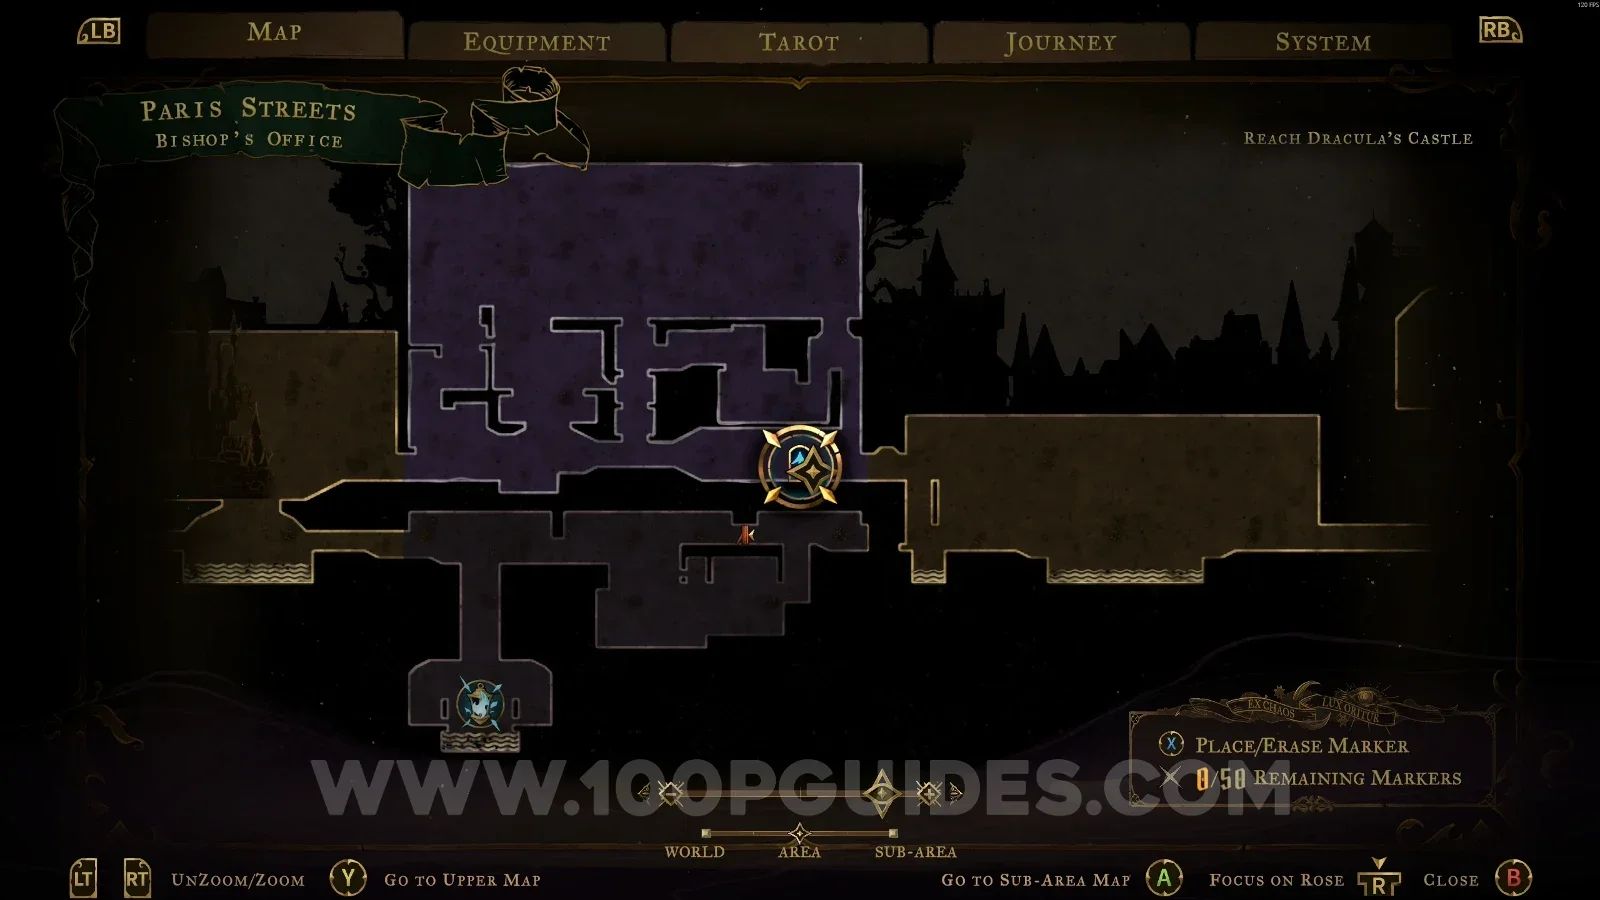
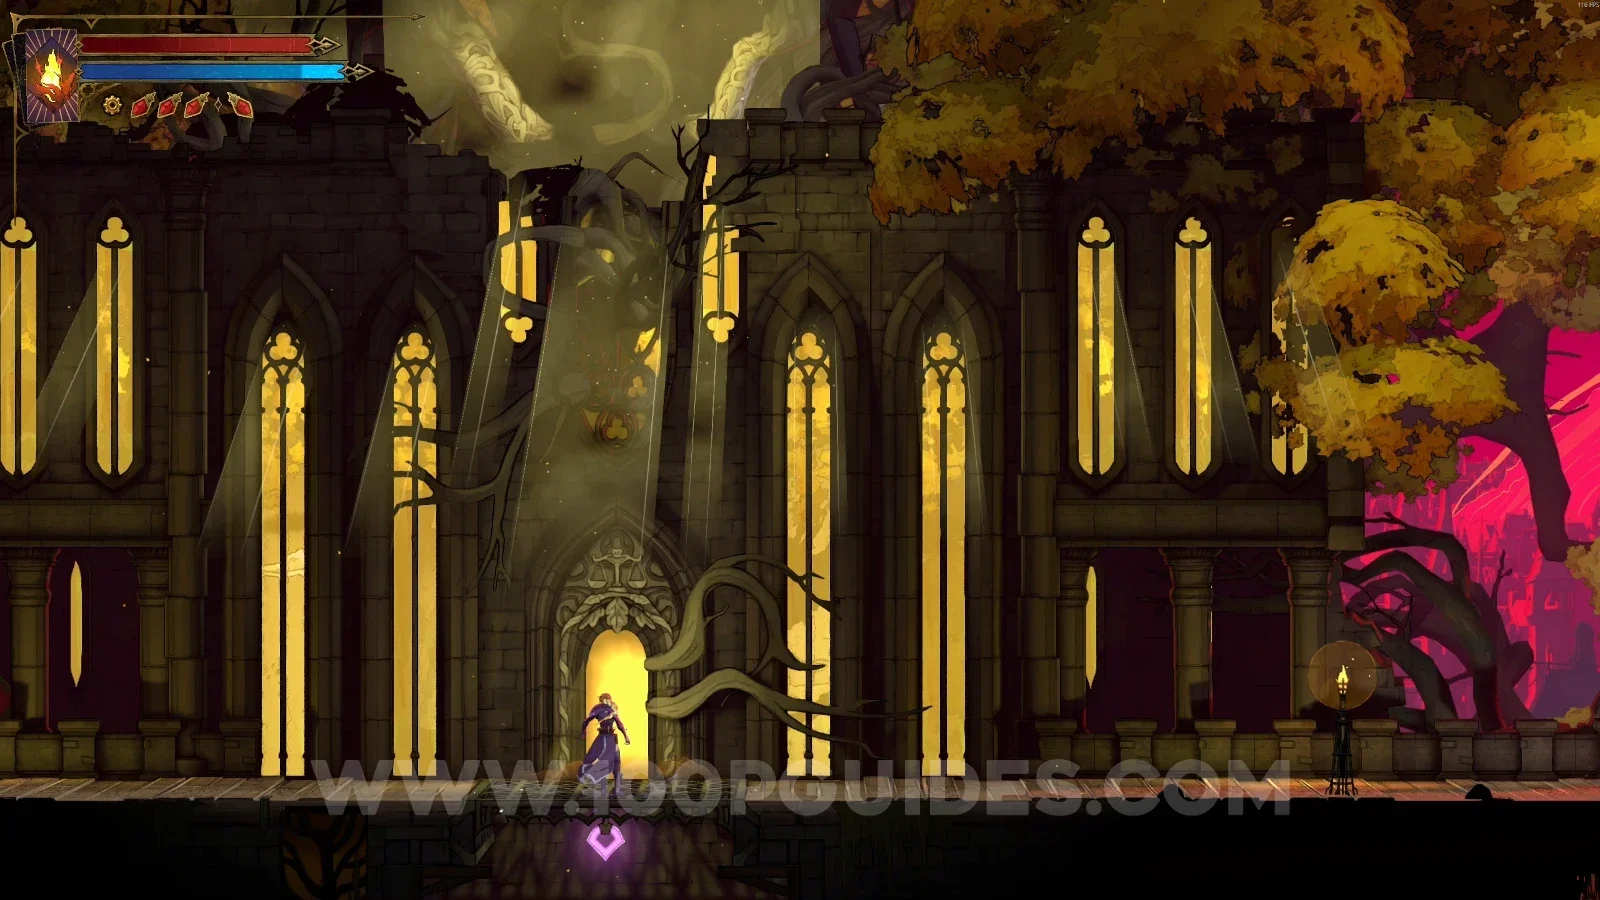
Castlevania Belmonts Curse Court of justice: climbing with the Arcane Whip to the door of the yellow room Castlevania Belmonts Curse Court of justice: single path inside the yellow room leading to The Judge Castlevania Belmonts Curse Court of justice: interacting with The Judge to get his clue

Arcana: Chains of Justice + Weapon #4: Valmanway

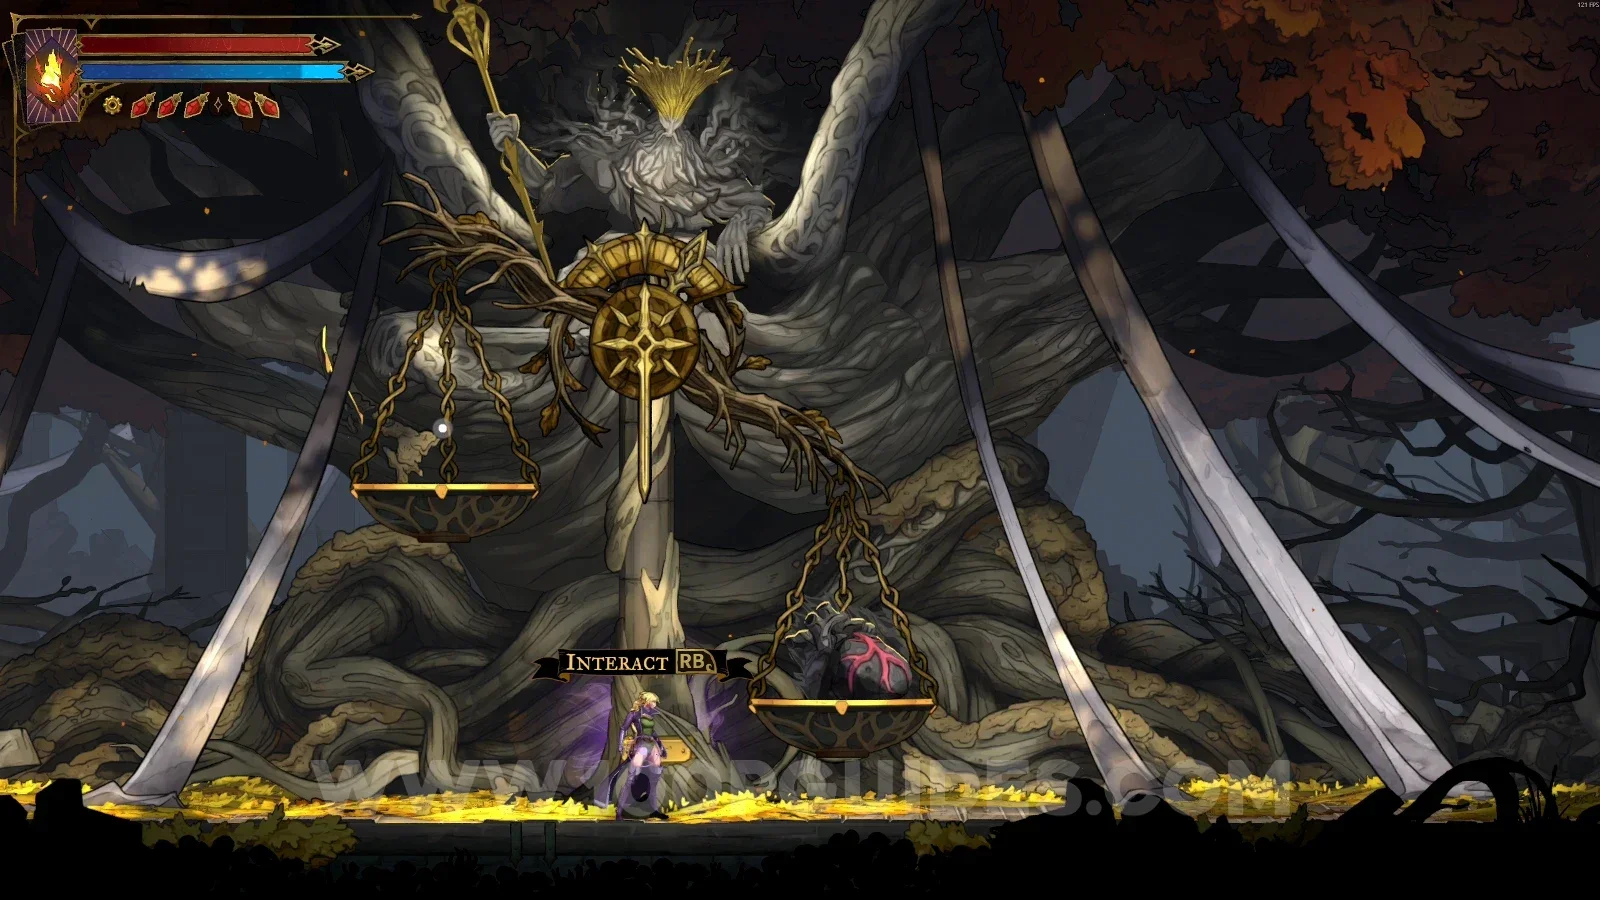
Now, once you have 3 levels of Health / Mana upgrades, you can interact with The Judge's scale to get this arcana and this weapon.
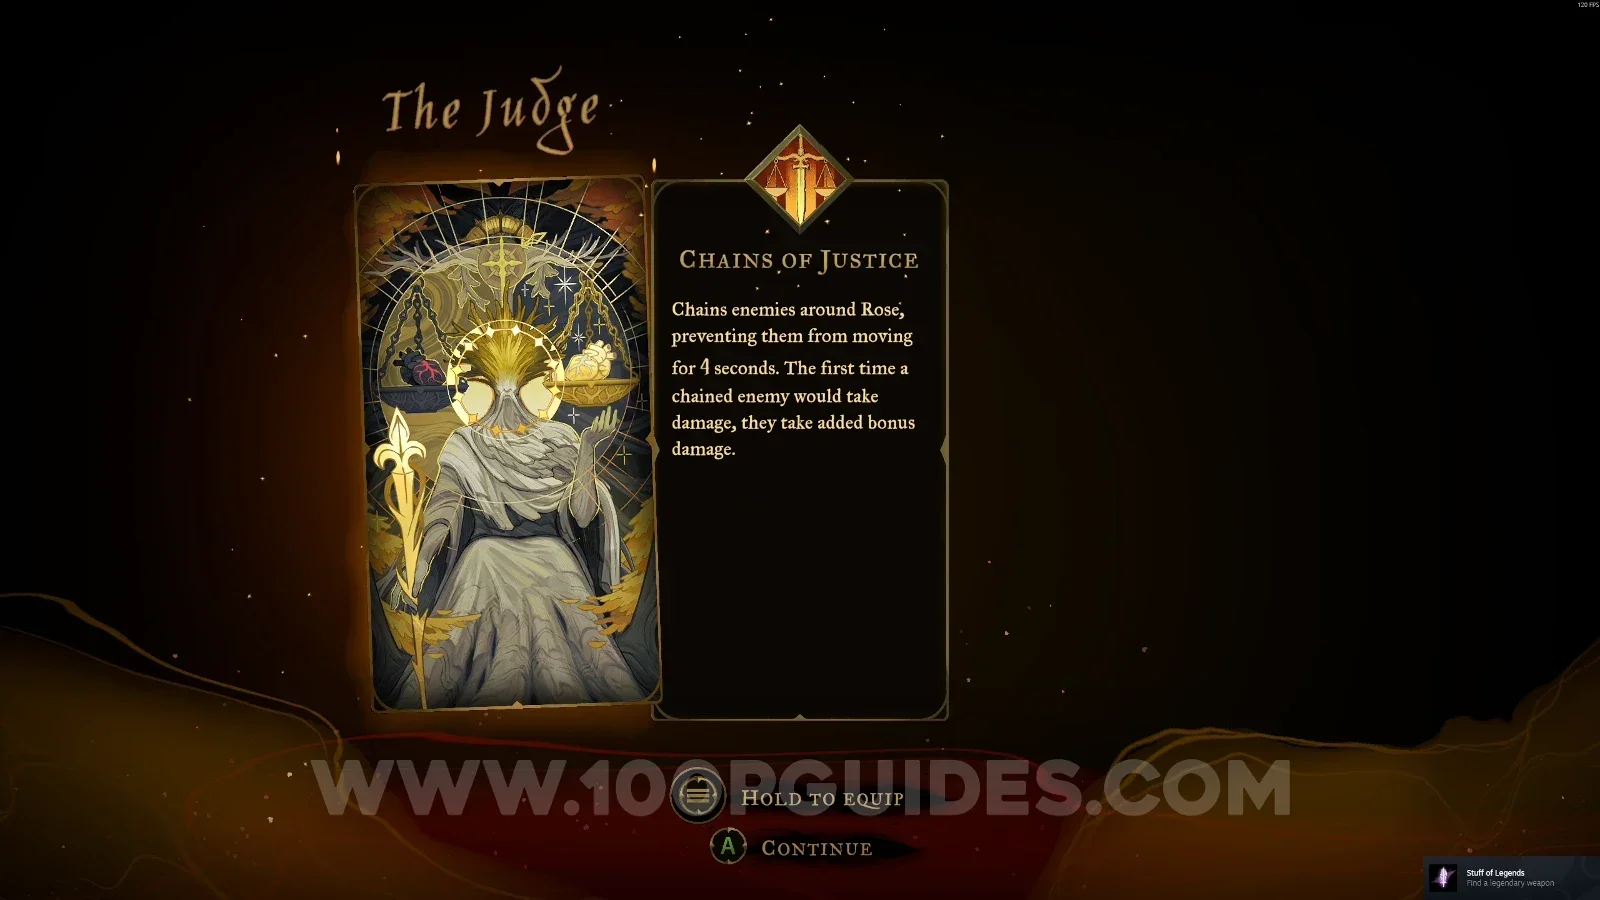
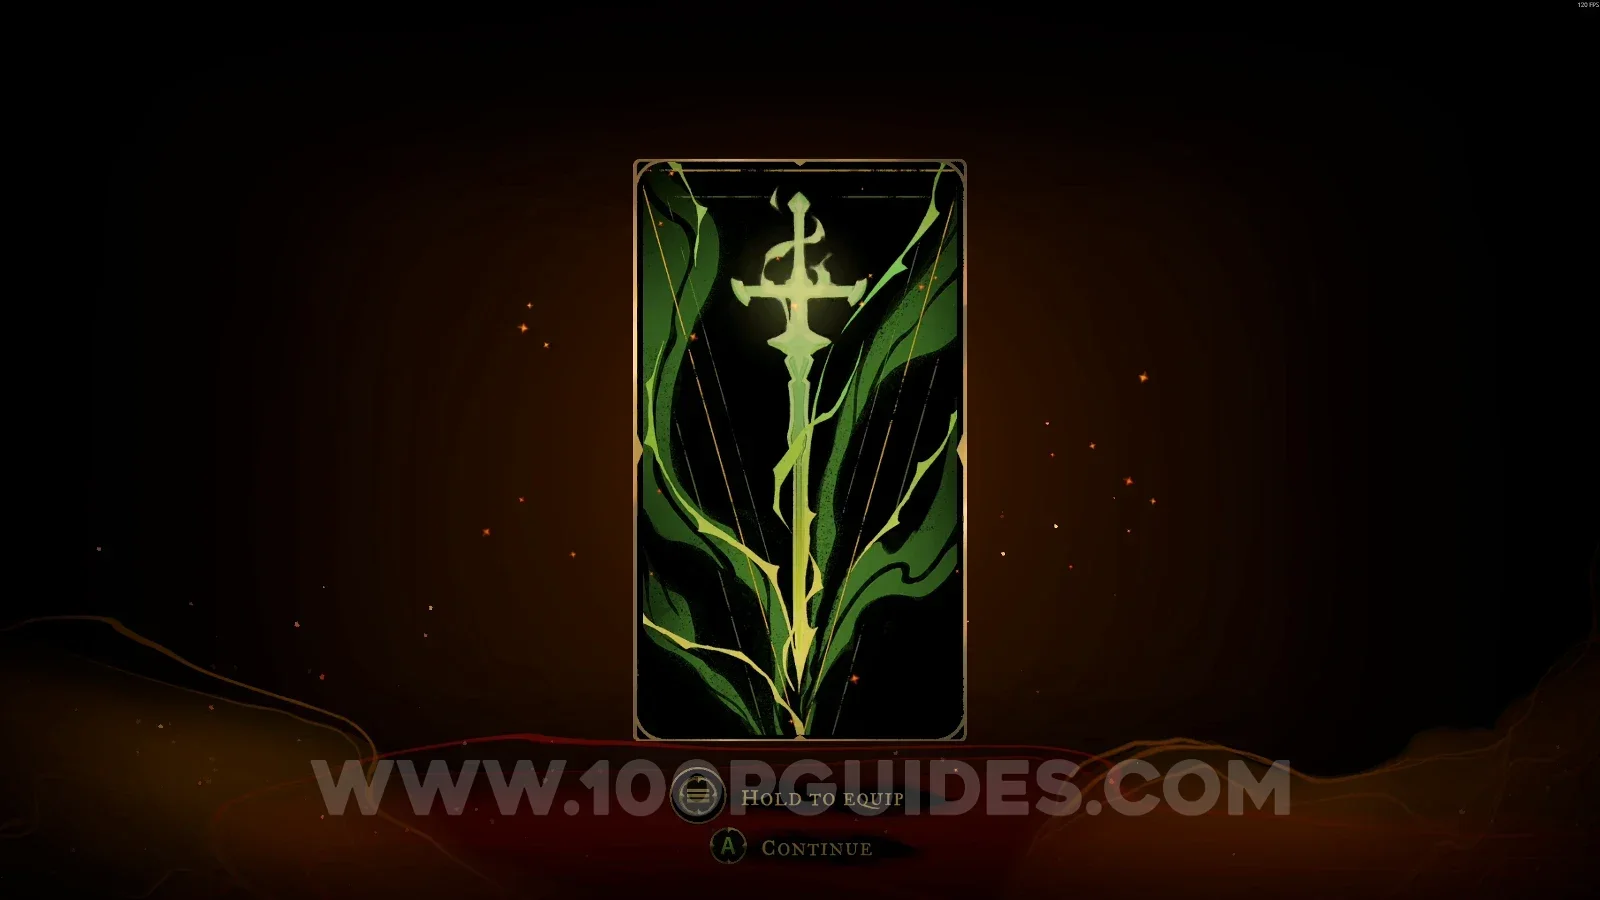
Castlevania Belmonts Curse Court of justice: The Judge's scale used after 3 levels of Health / Mana upgrades Castlevania Belmonts Curse Court of justice: Chains of Justice arcana and Weapon #4 Valmanway from the scale

Brave Heart Fragment #3

After leaving The Judge's room, go left and use your Arcane Whip to reach the top, where you'll find this upgrade.
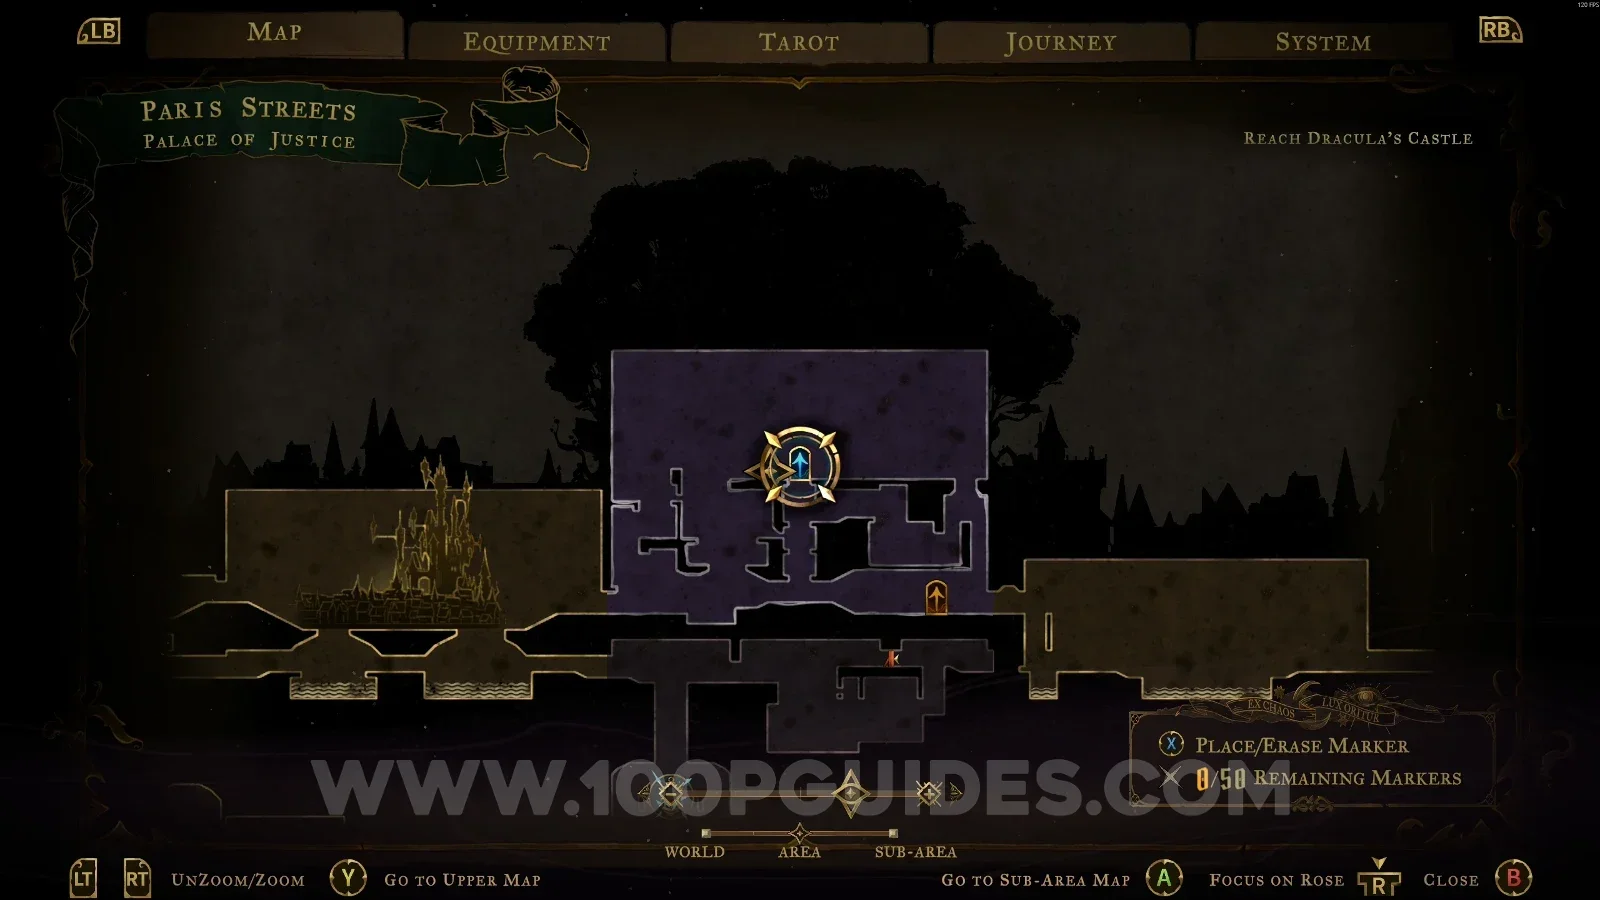
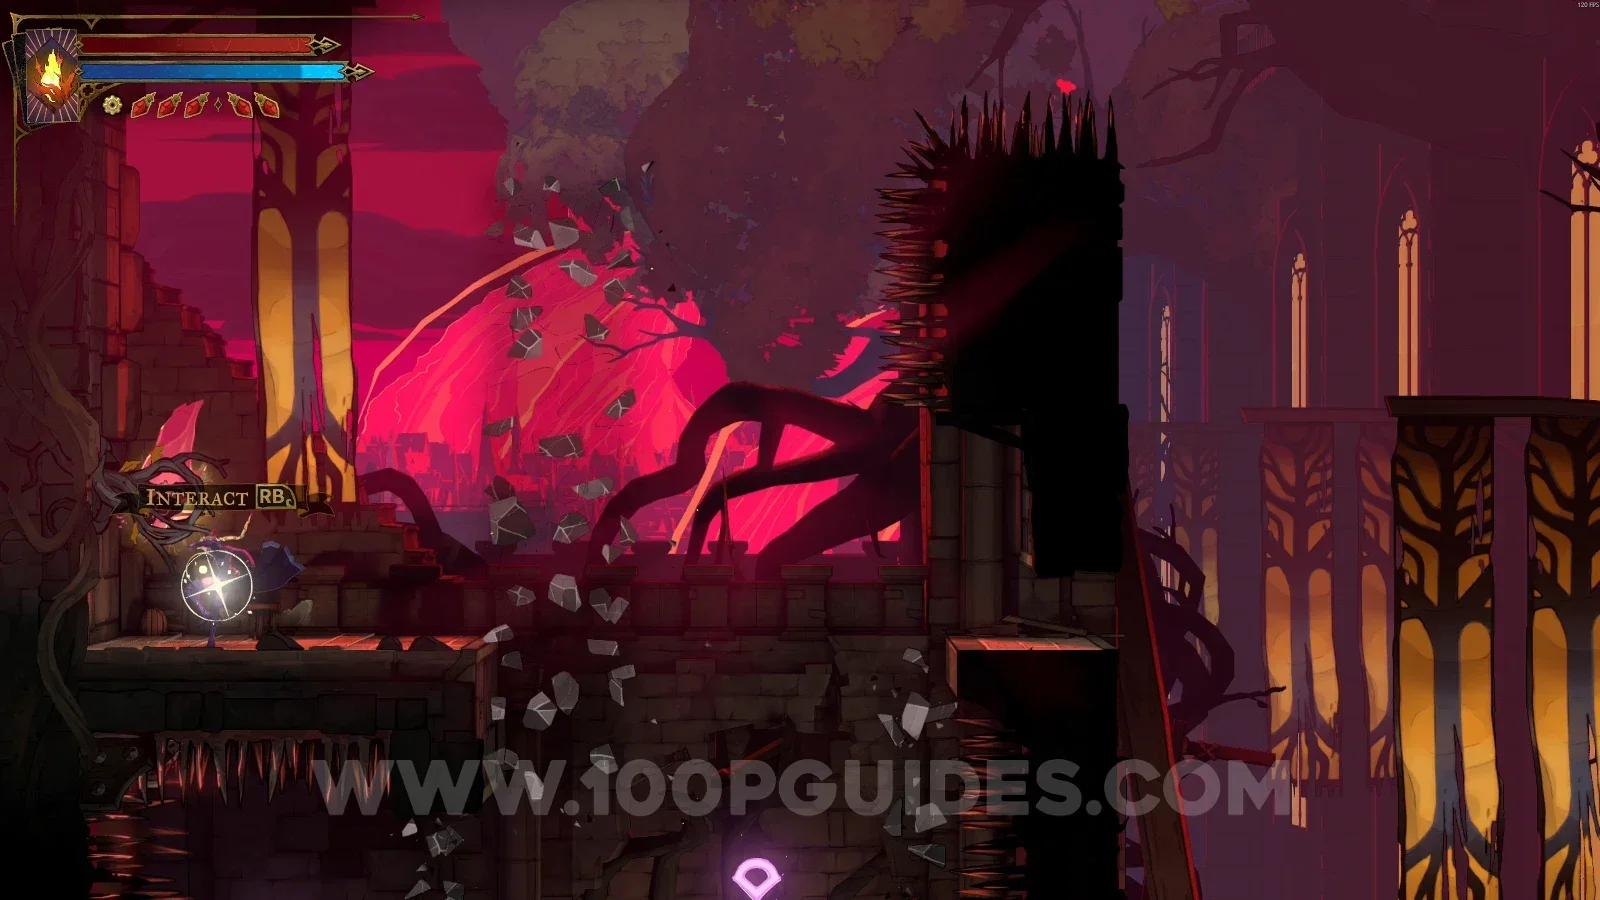
Castlevania Belmonts Curse Court of justice: going left from The Judge's room and climbing with the Arcane Whip Castlevania Belmonts Curse Court of justice: Brave Heart Fragment #3 at the top of the climb

Justice District Sewers

Weapon #5: Bastard Sword

In the area marked on the map, use your Arcane Whip to reach the chest.
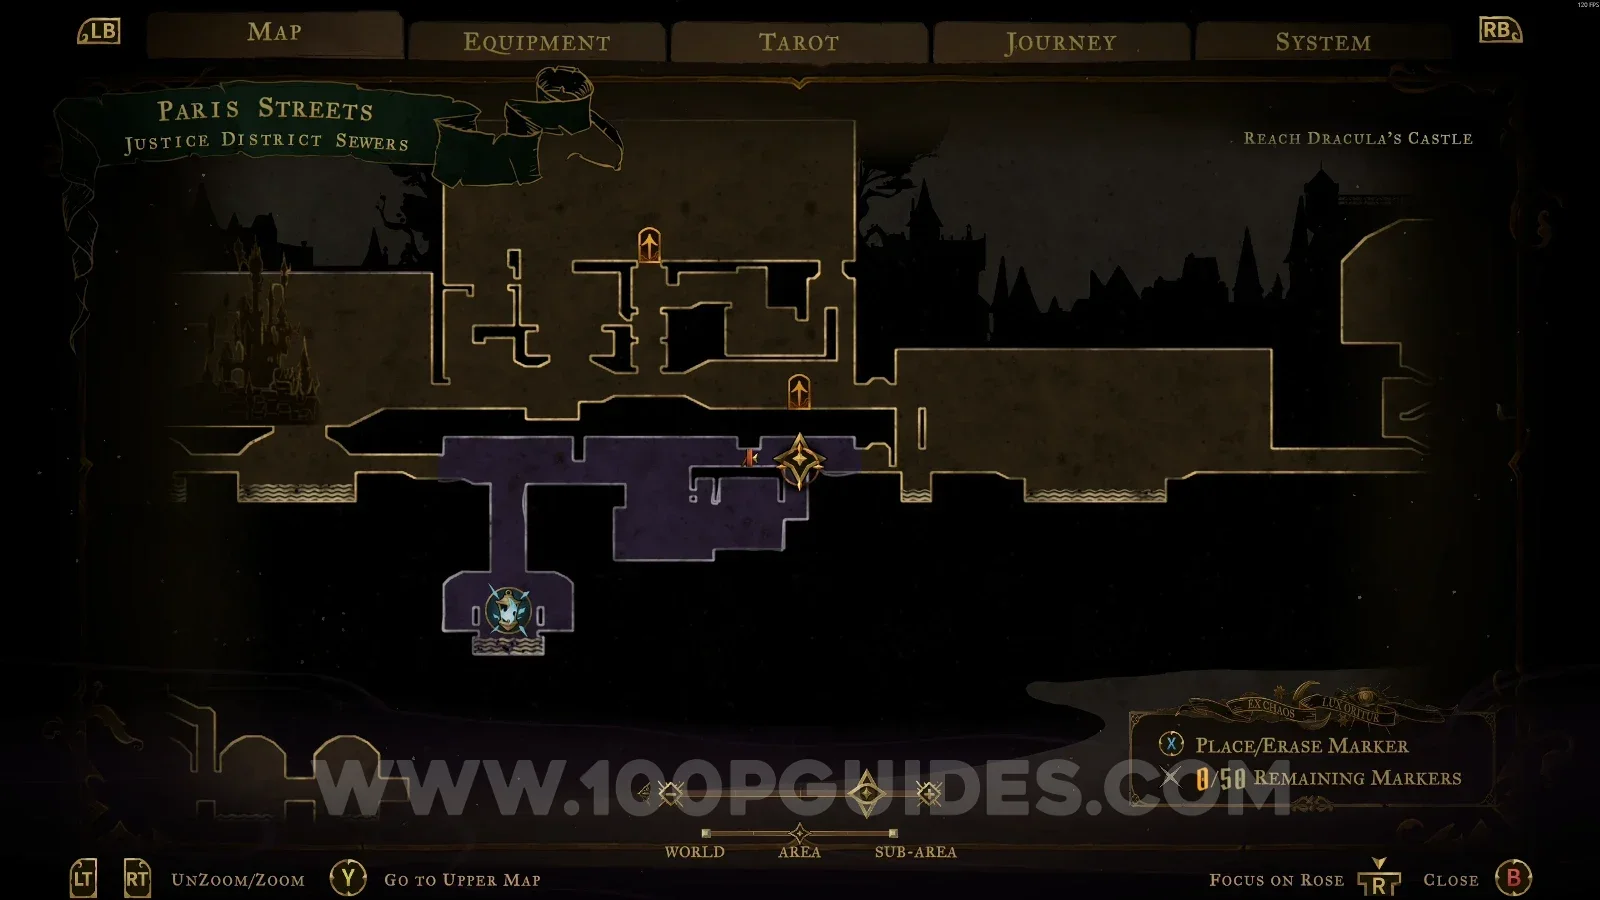
Castlevania Belmonts Curse Justice District Sewers: map marking the chest with Weapon #5 Bastard Sword Castlevania Belmonts Curse Justice District Sewers: reaching the Bastard Sword chest with the Arcane Whip

Ferryman's Wharf

In the area marked on the map.
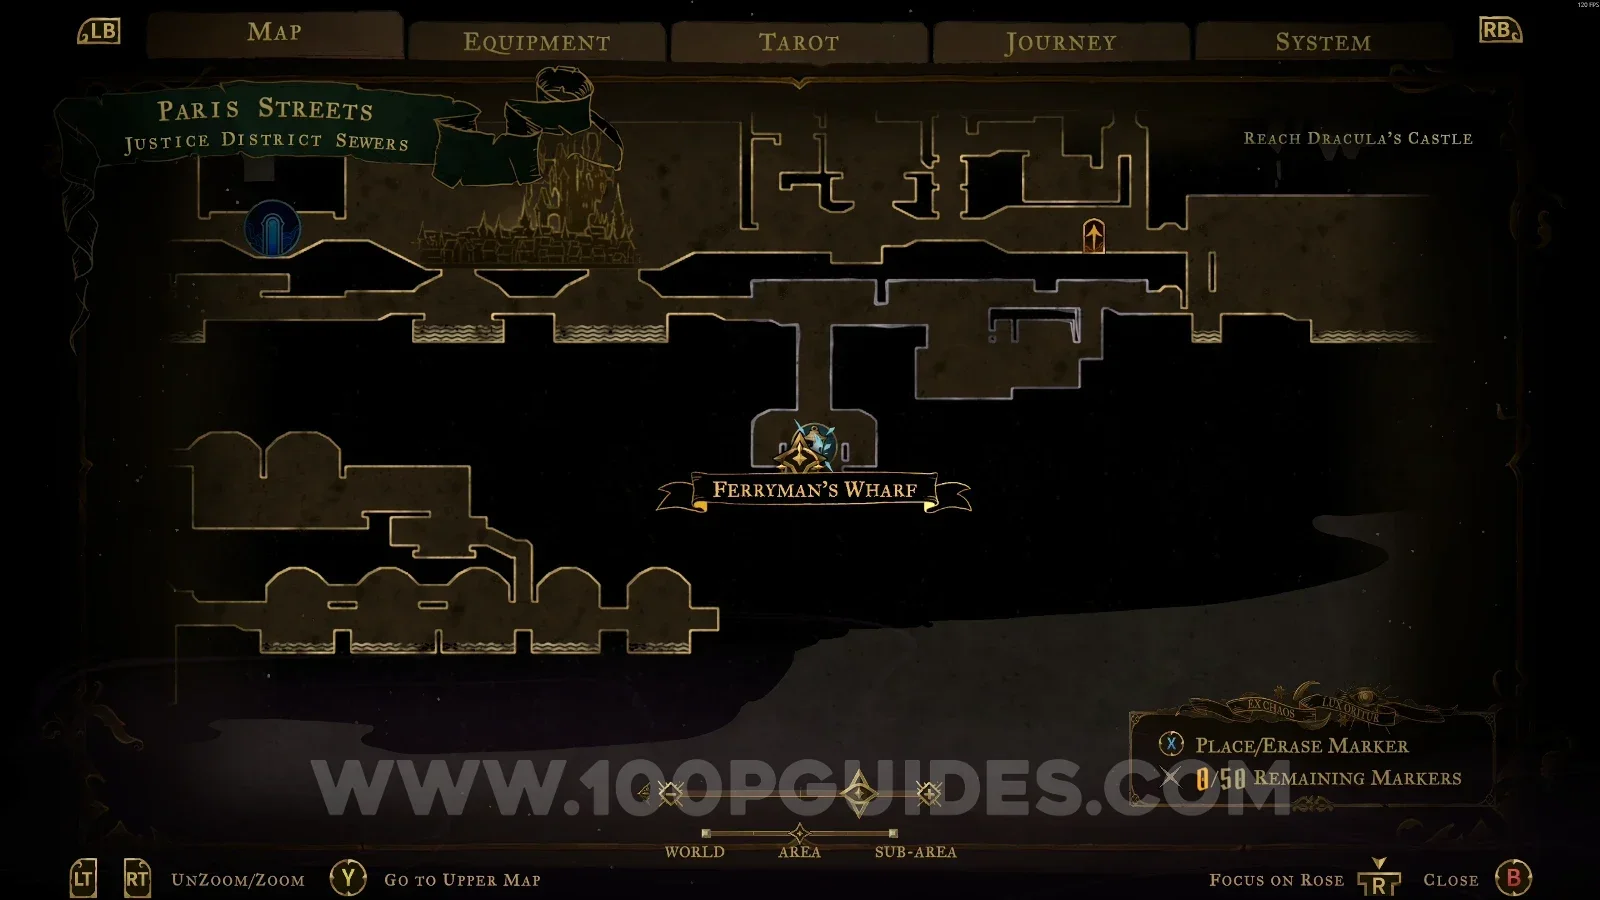
Castlevania Belmonts Curse Justice District Sewers: map marking the way to Ferryman's Wharf Castlevania Belmonts Curse Justice District Sewers: reaching Ferryman's Wharf in the marked area

Video Guide

Previous
Previous

Castlevania: Belmont’s Curse Catacombs of Paris All Collectibles

Next
Next

Castlevania: Belmont’s Curse All Collectible Locations