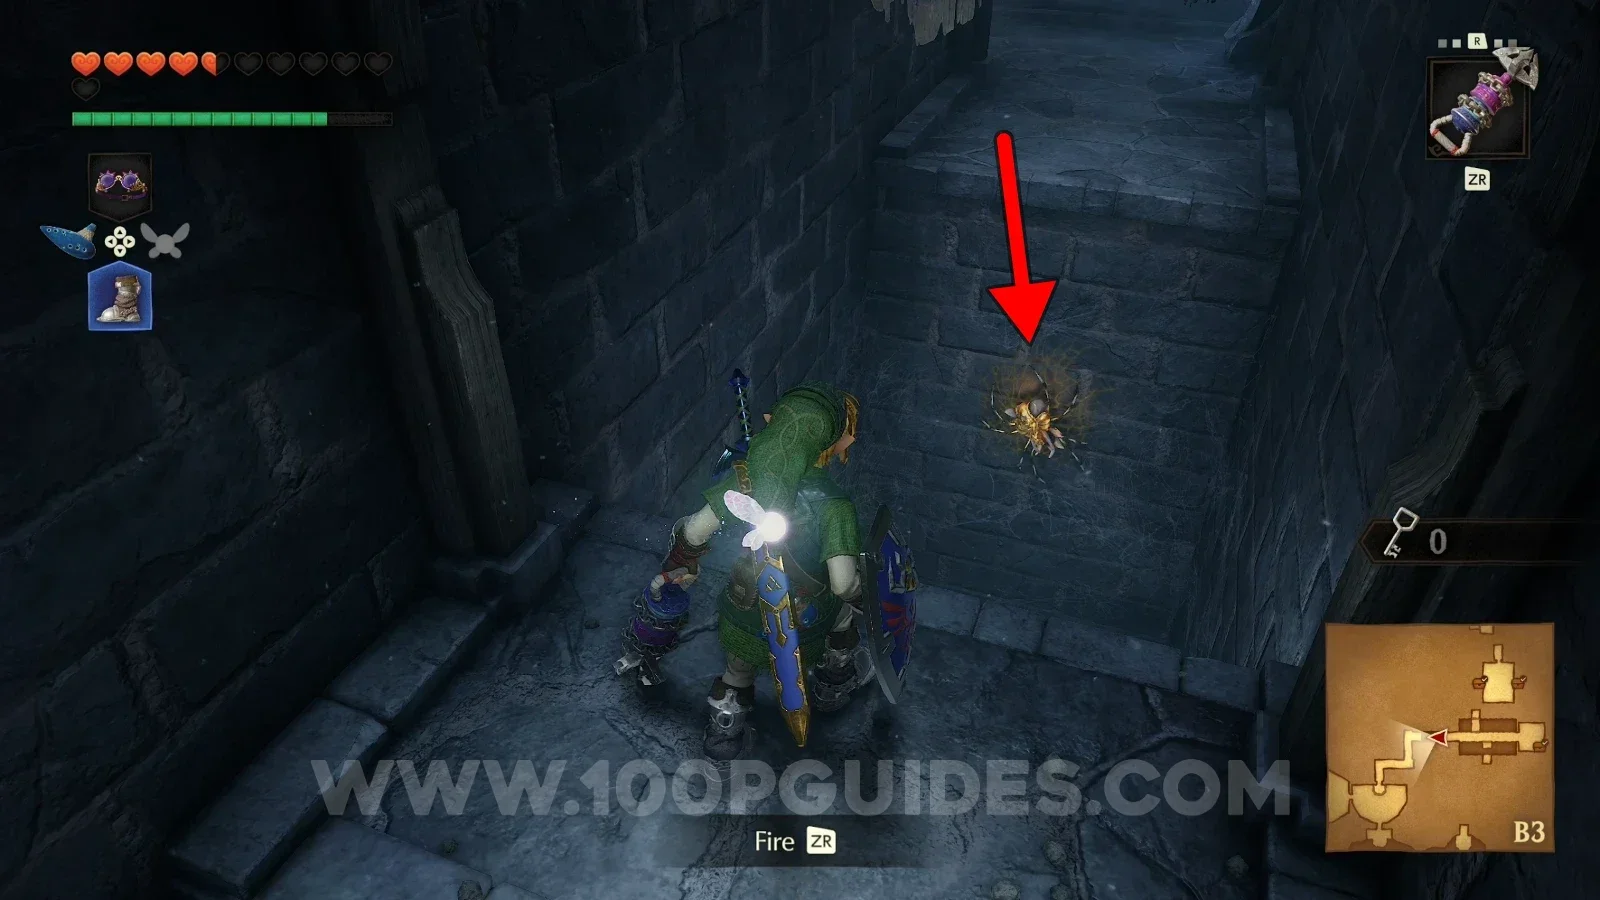
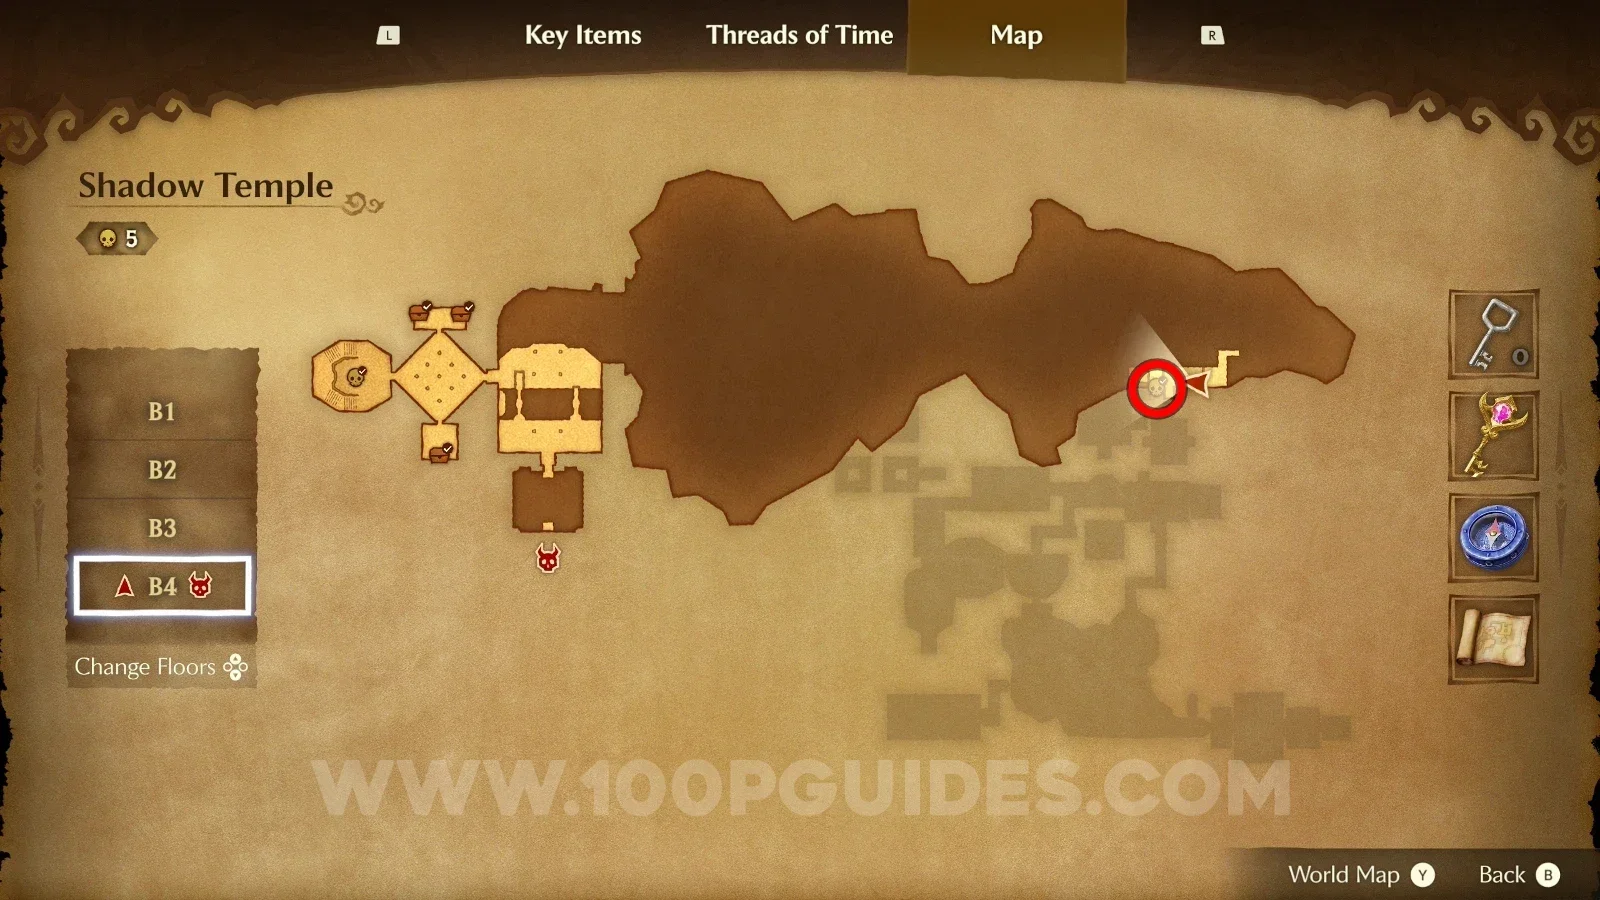
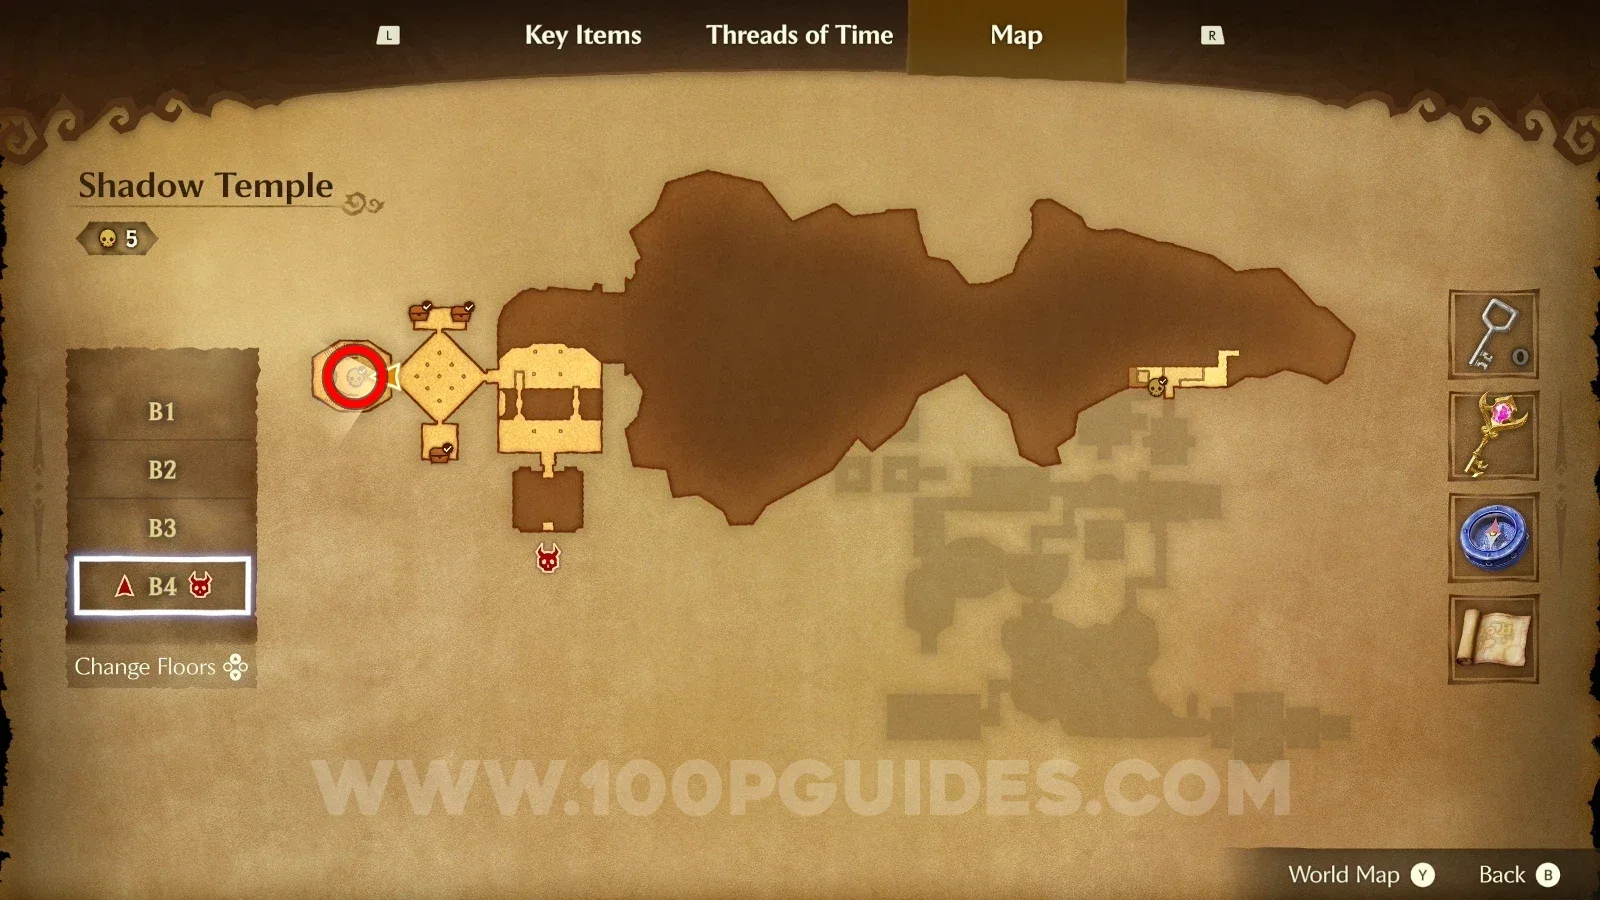
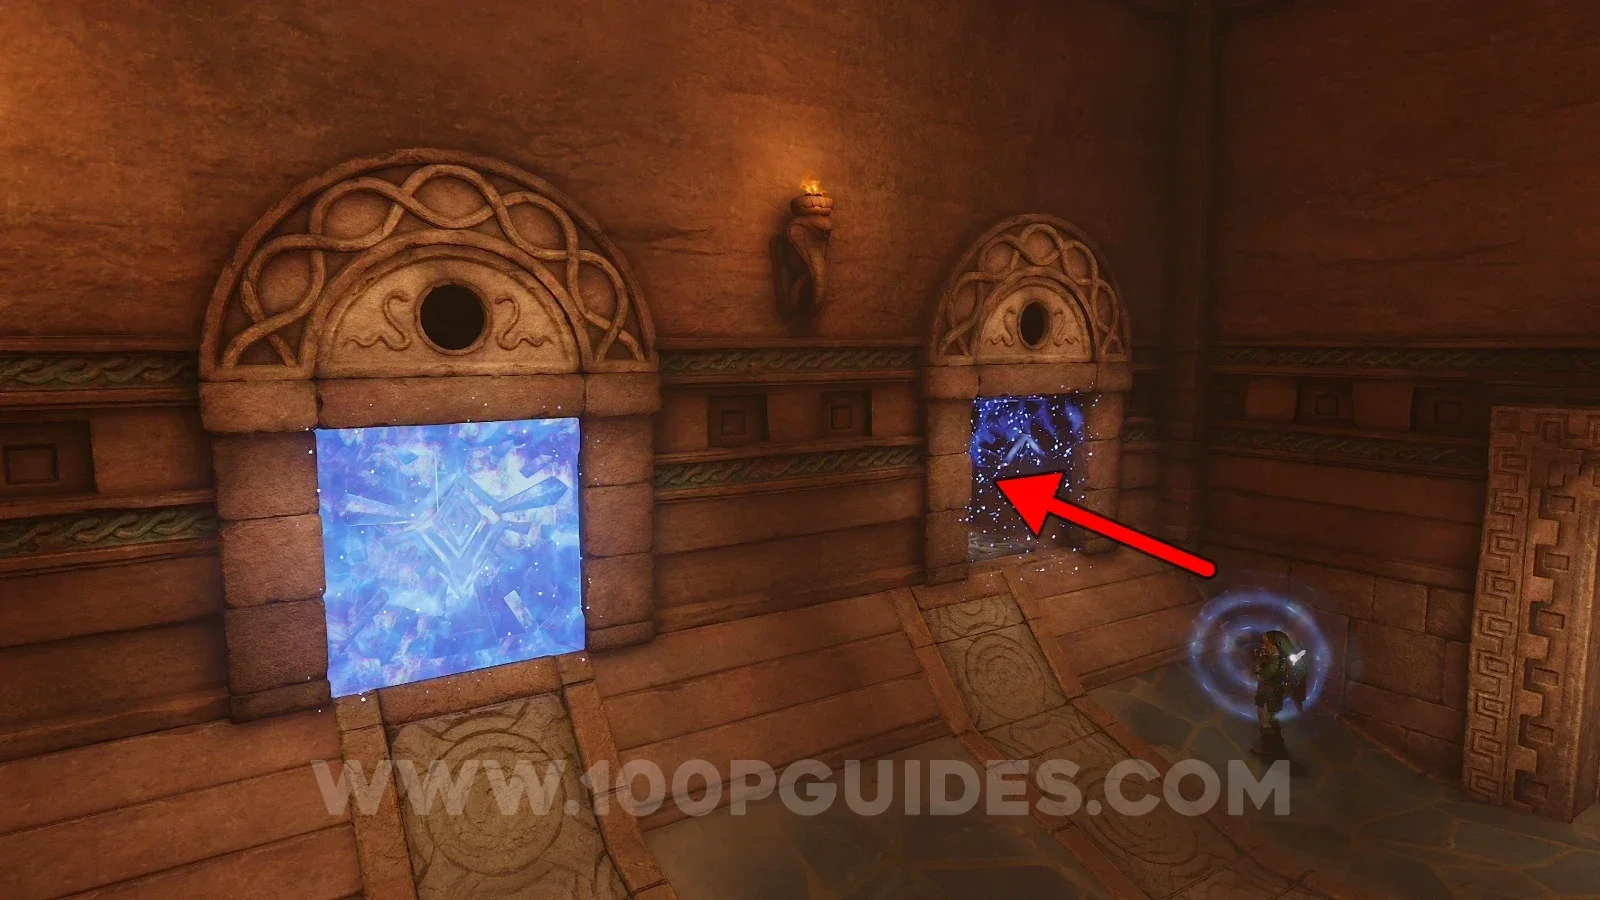
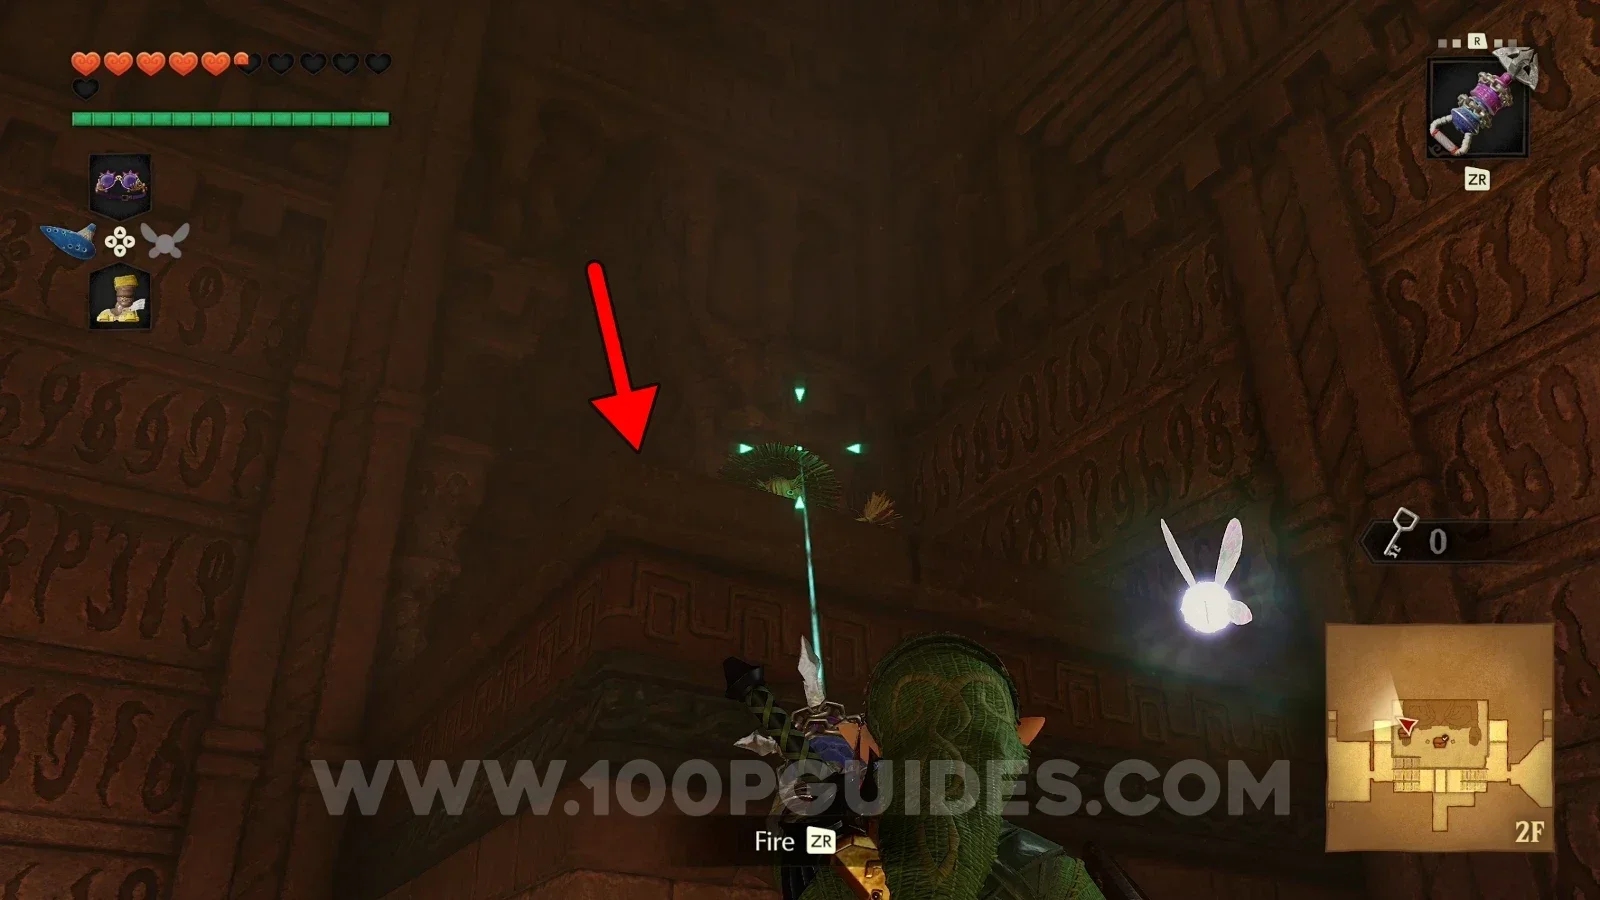
Zelda Ocarina of Time Remake All 100 Gold Skulltula Locations

The Gold Skulltulas are a special type of enemy that acts as a collectible. By talking to the Cursed Rich Man in Kakariko Village, you can get different rewards depending on how many Gold Skulltulas you have found. This guide will show you where to find all 100 Gold Skulltulas and all the rewards you can get for collecting them.

Guide Notes - read before you start

To avoid unnecessary backtracking, the locations in this guide are sorted by area and by era.

We'll cover every area as child Link first, then every area as adult Link. A few of them require doing something as child Link and then returning as adult Link; these are covered between the child era and the adult era.

Please note that several areas have some Gold Skulltulas that can't be obtained on your first visit, as they may require a certain amount of story progress or certain powers/tools you haven't acquired yet.

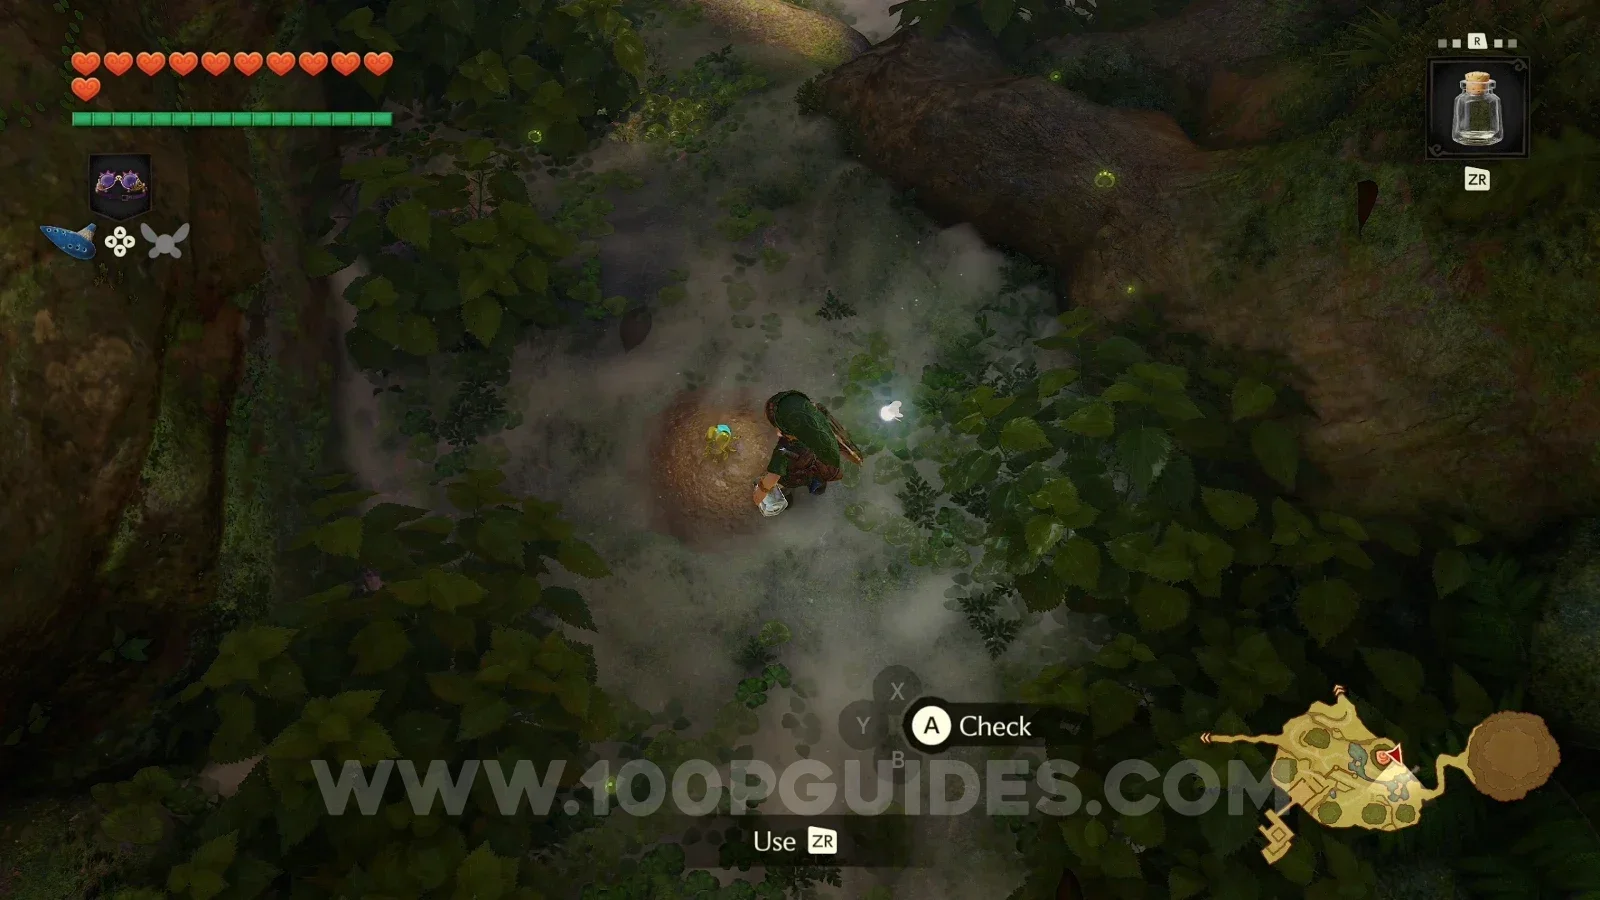
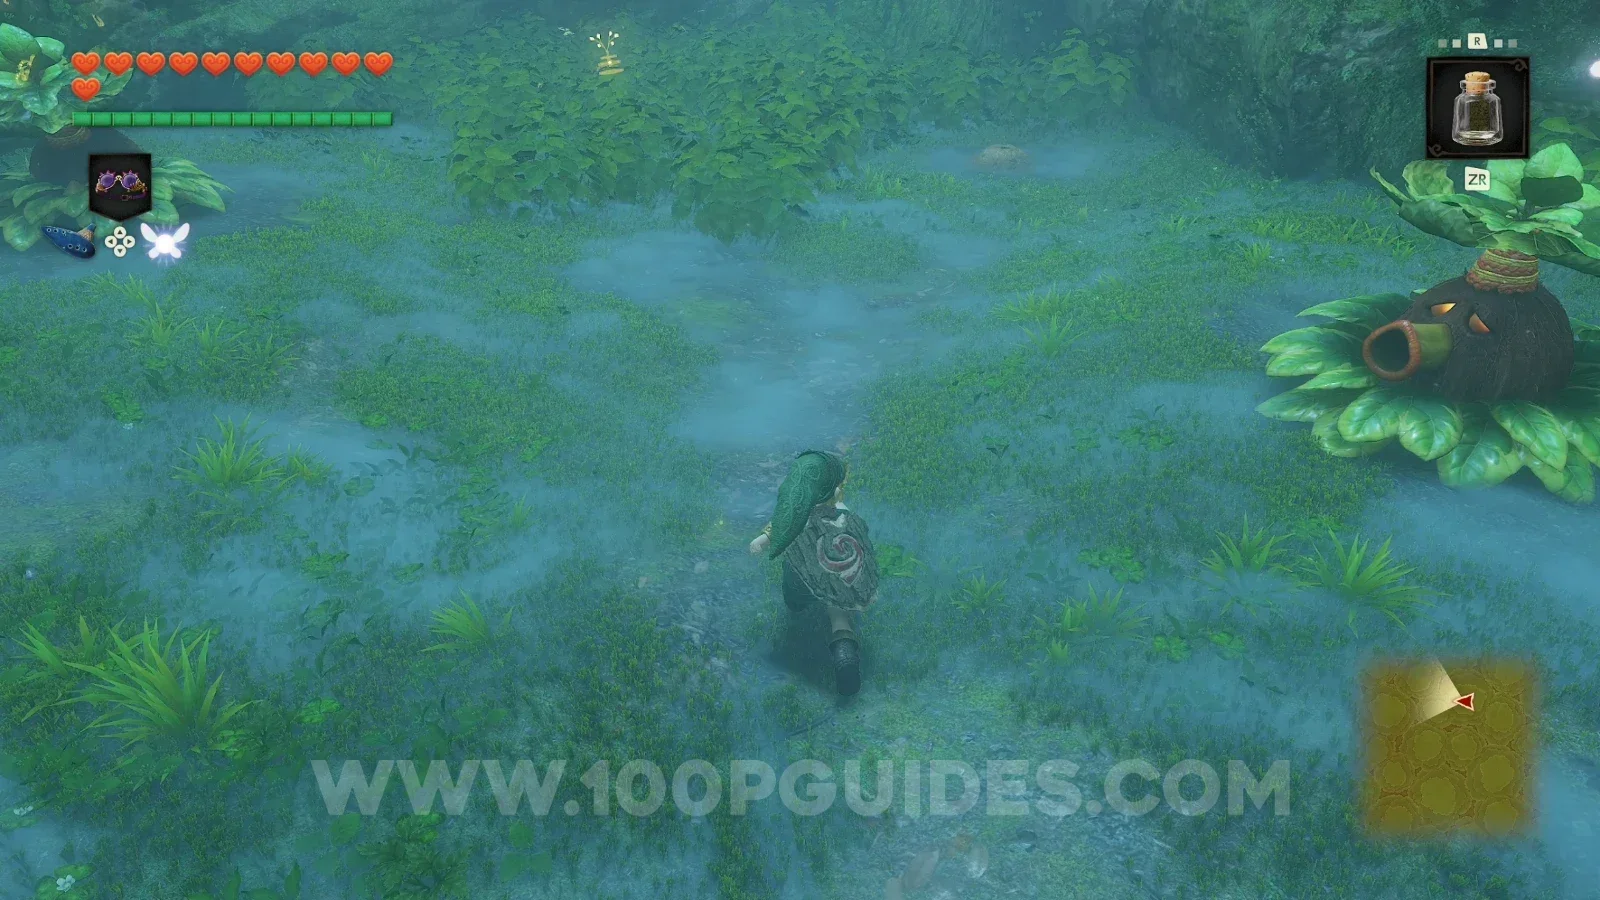
Some Gold Skulltulas will require the use of bugs to reveal them. A very easy way to get bugs is to go to the patch of grass against the cliff just outside Kakariko Village. Cut the grass with your sword and you'll see a lot of bugs. Use empty bottles to catch them. You can return to this spot anytime you need more bugs, as they respawn.
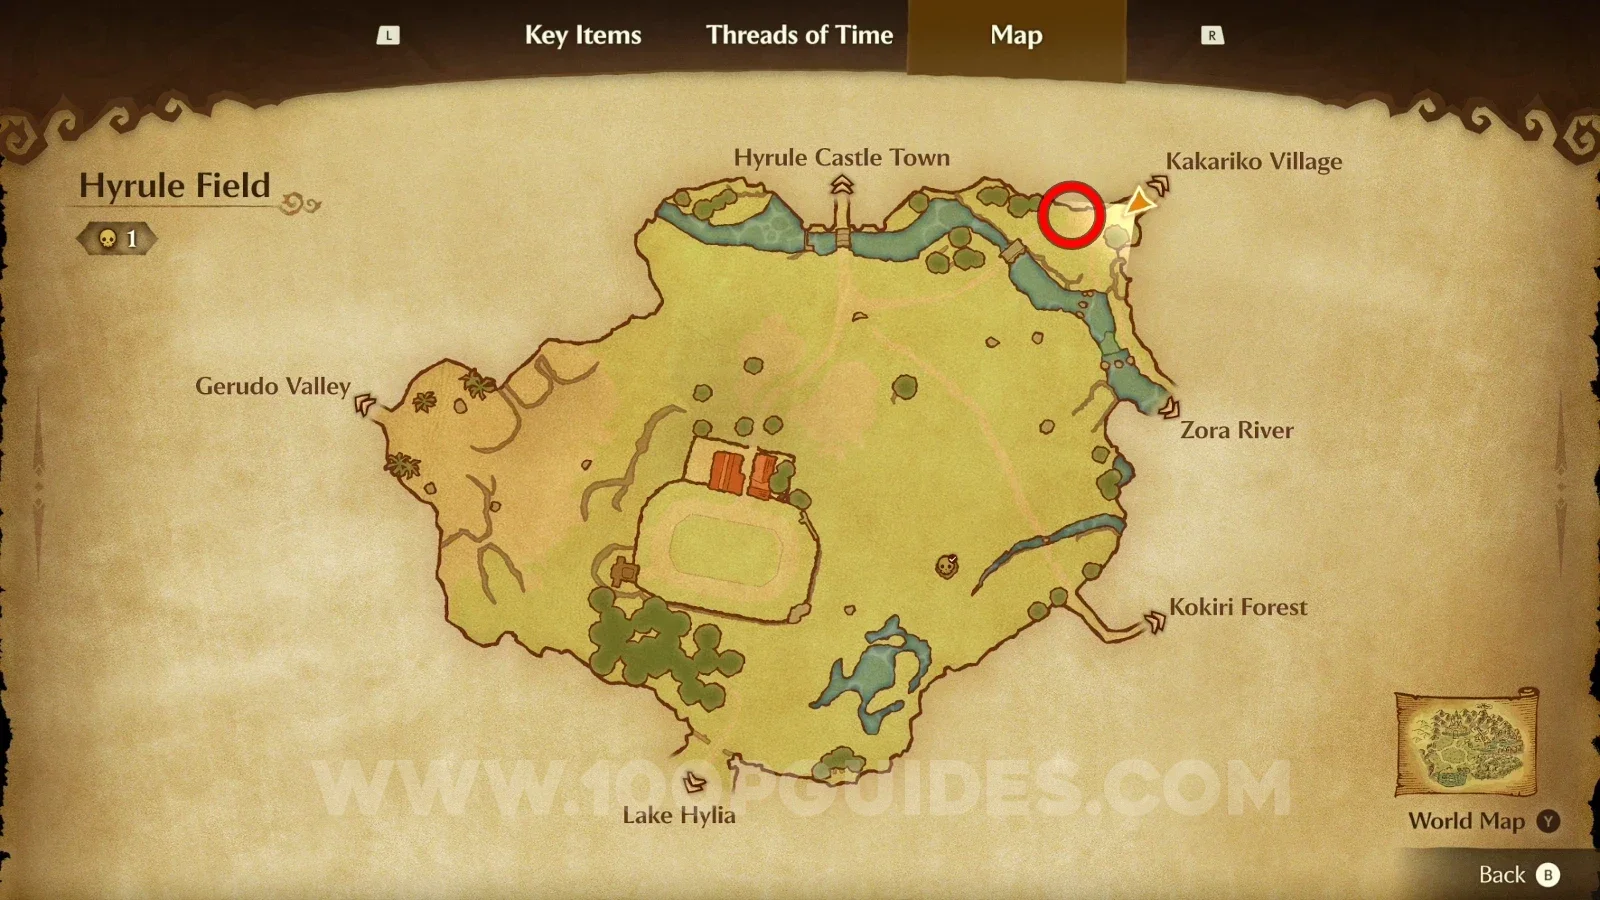
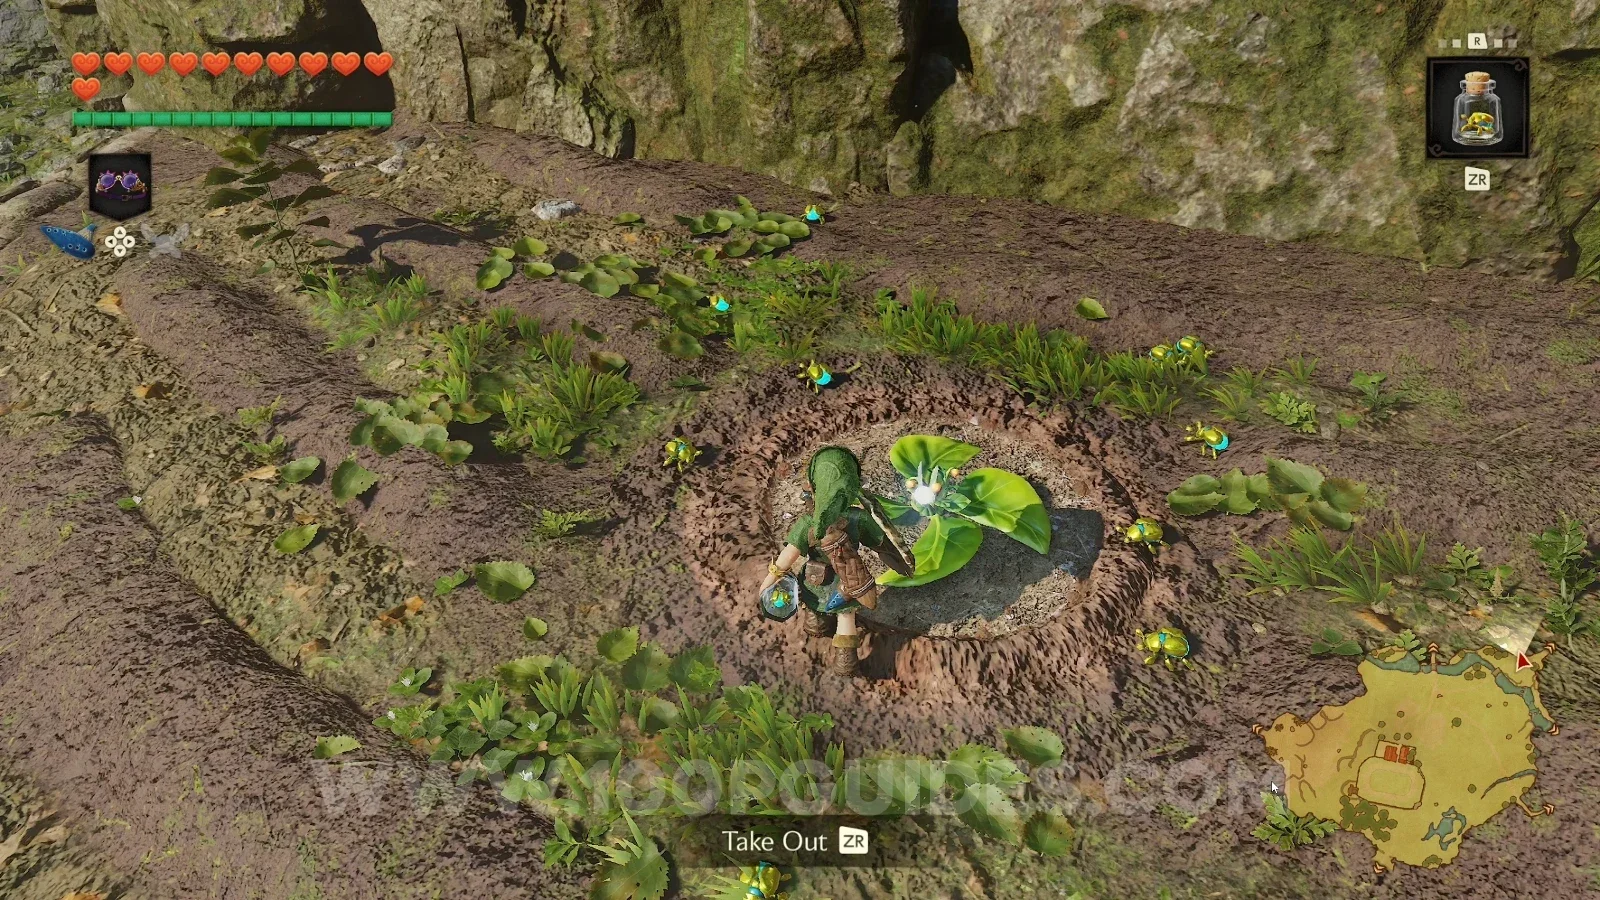
Zelda Ocarina of Time Remake: grass patch against the cliff just outside Kakariko Village, a spot to find bugs Zelda Ocarina of Time Remake: catching bugs in an empty bottle after cutting the grass outside Kakariko Village

CHILD ERA

Kokiri Forest - Child Era

Gold Skulltula #1

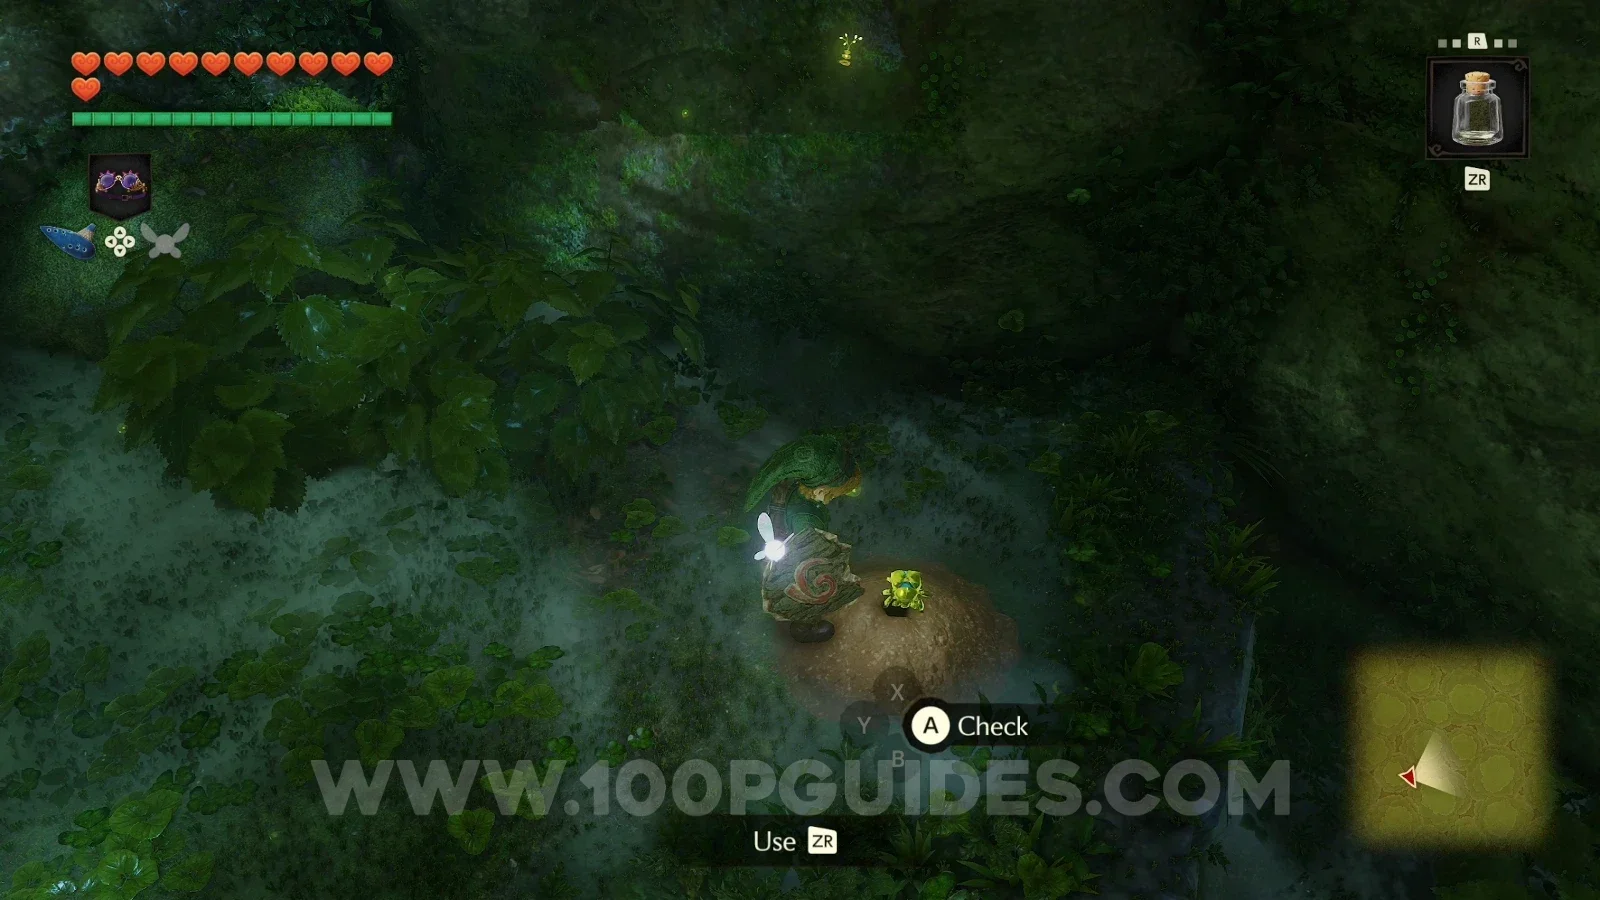
Behind the item shop, release a bug near the soft soil patch to reveal the Gold Skulltula.
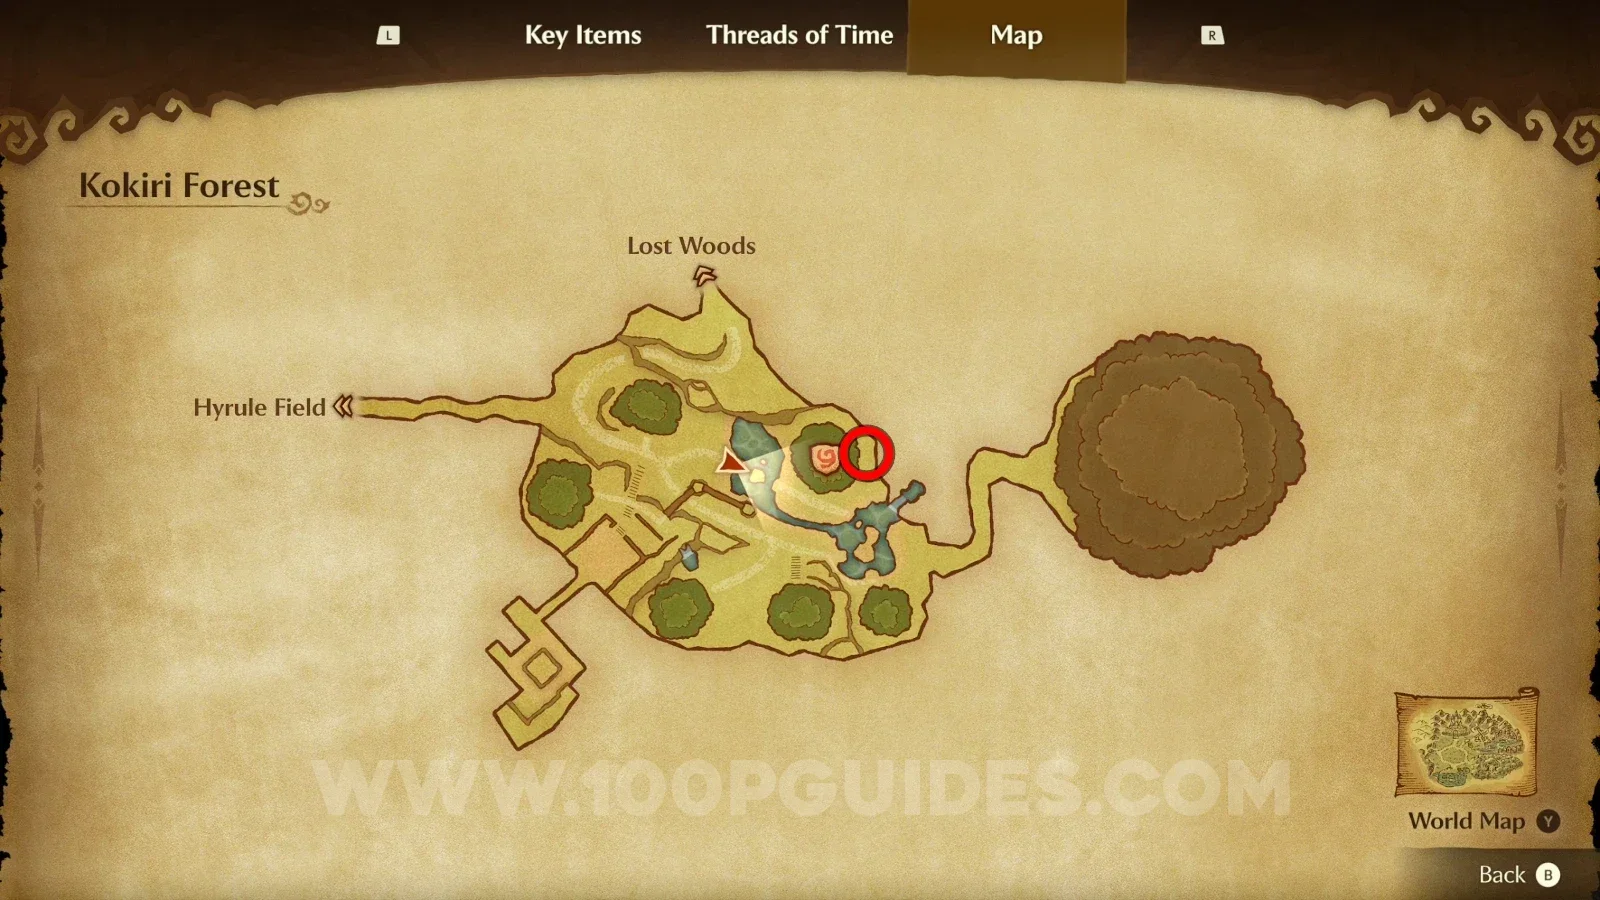
Zelda Ocarina of Time Remake Kokiri Forest: the soft soil patch behind the item shop for Gold Skulltula #1 Zelda Ocarina of Time Remake Kokiri Forest: Gold Skulltula #1 revealed by a bug at the soft soil behind the item shop

Gold Skulltula #2 (Nighttime)

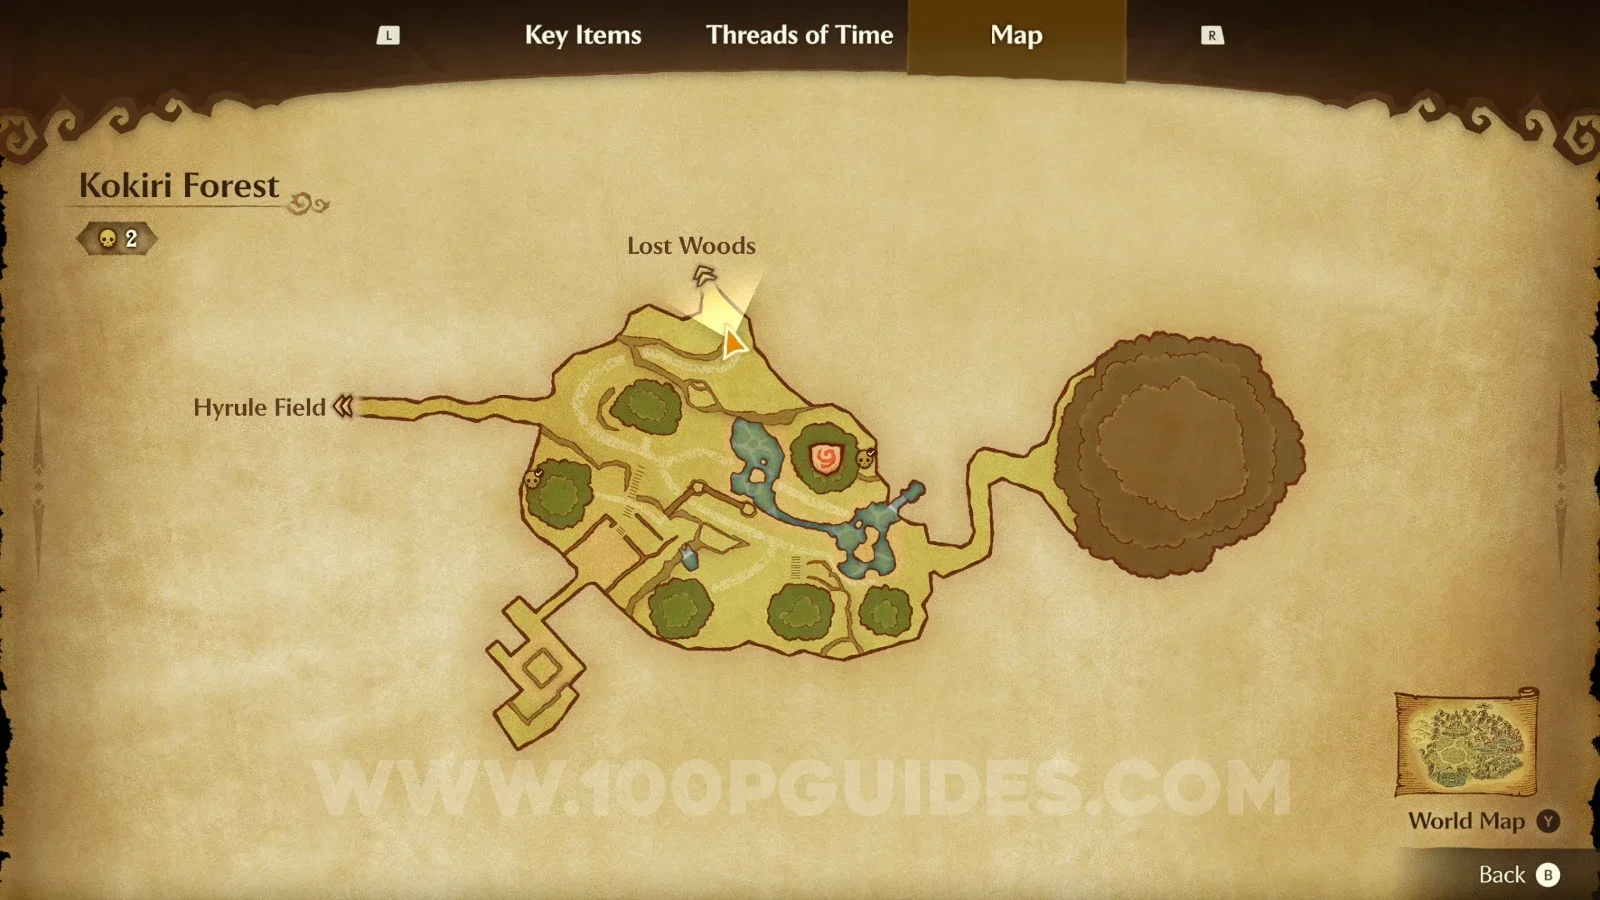
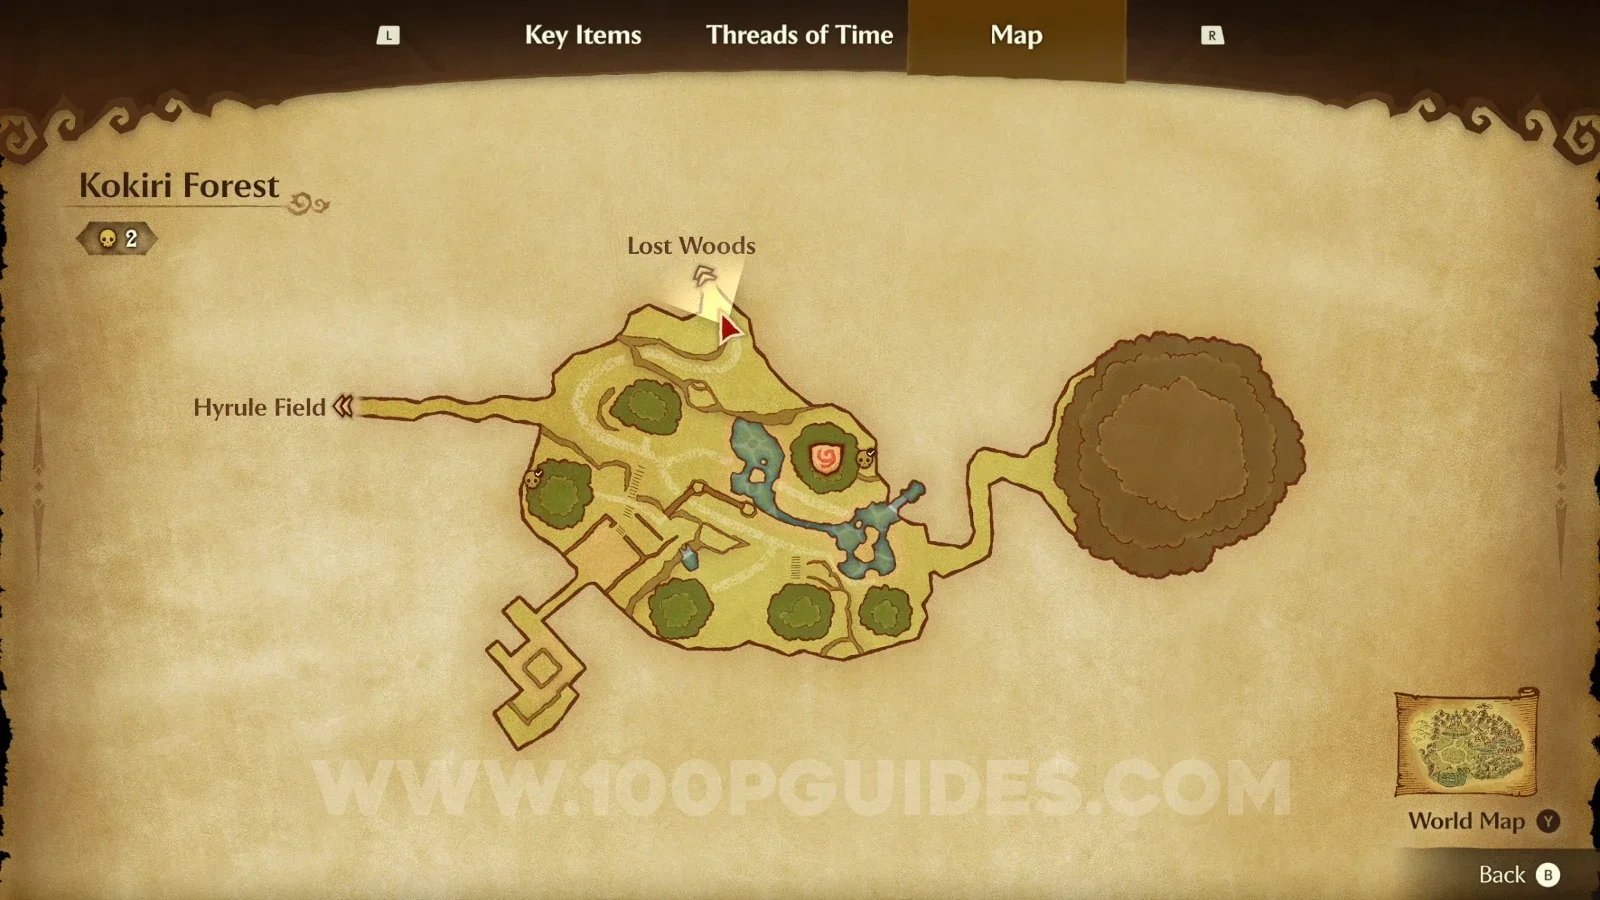
Behind the westernmost Kokiri hut, at nighttime.
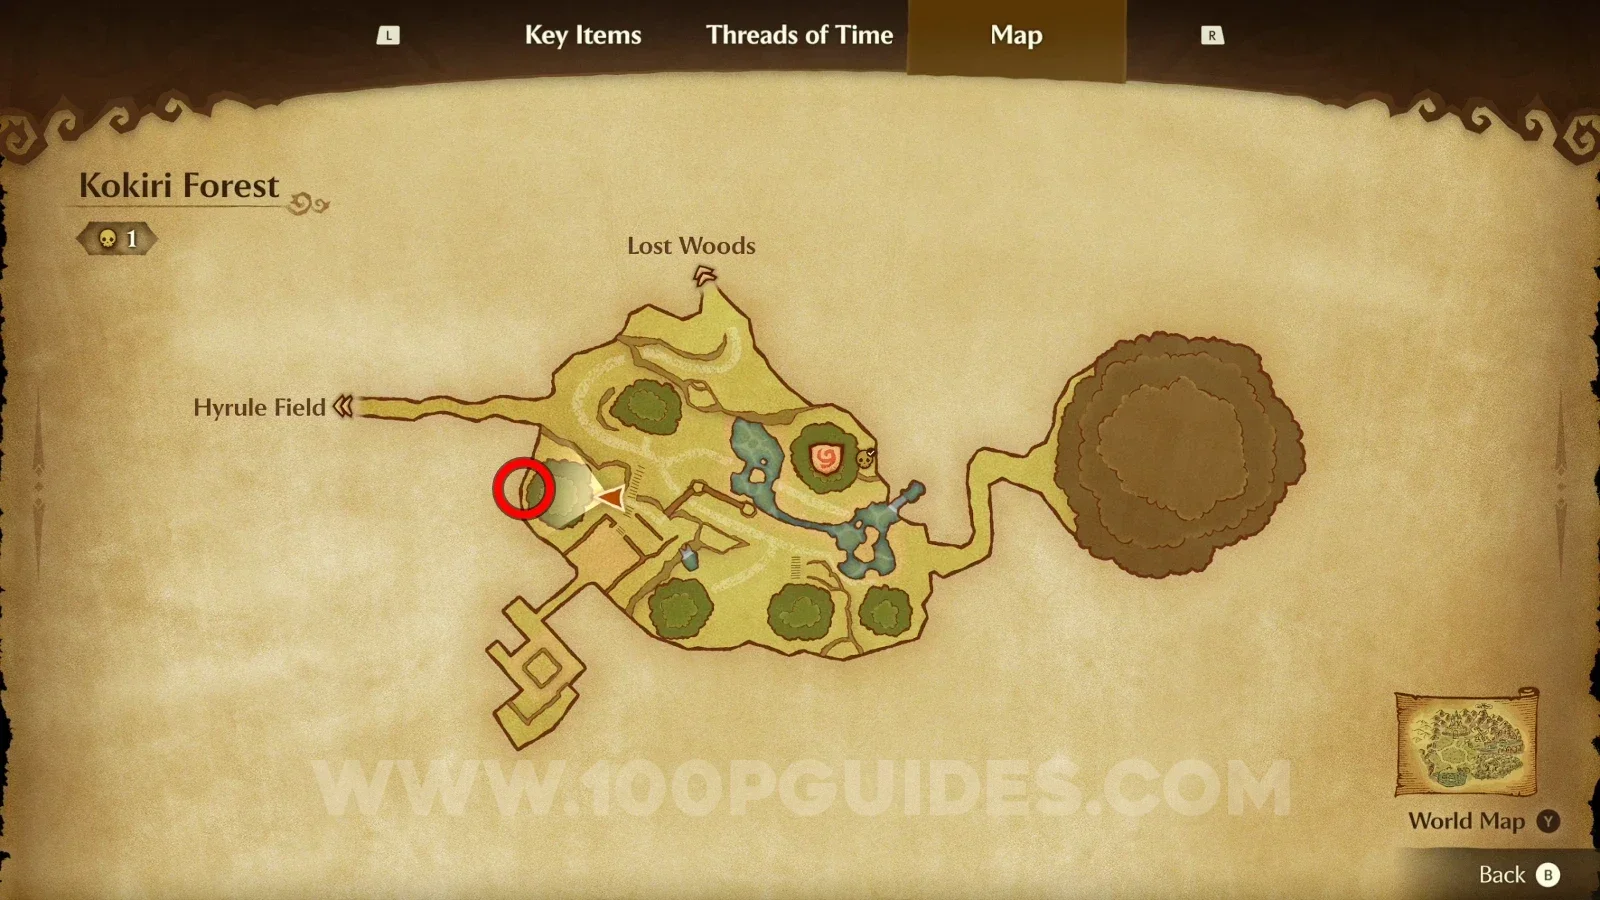
Zelda Ocarina of Time Remake Kokiri Forest: the westmost Kokiri hut at night, approach to Gold Skulltula #2 Zelda Ocarina of Time Remake Kokiri Forest: Gold Skulltula #2 behind the westmost Kokiri hut at night

Great Deku Tree - Child Era

Gold Skulltula #3

Step on the button to raise the platforms, then look to the left from the second platform.
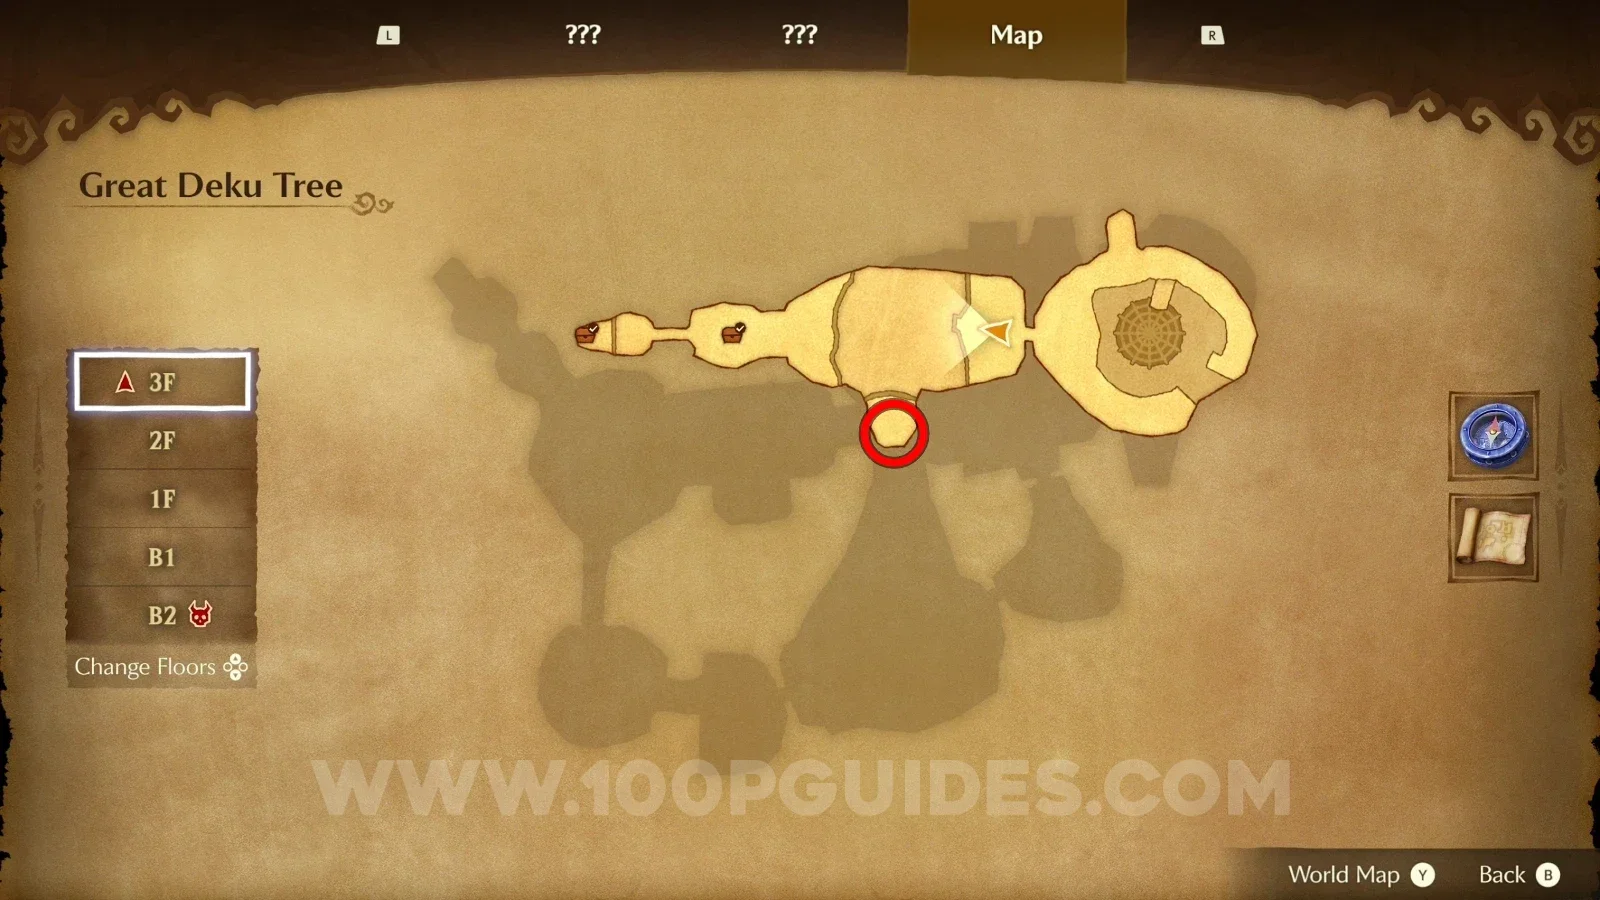
Zelda Ocarina of Time Remake Great Deku Tree: the button that raises the platforms for Gold Skulltula #3 Zelda Ocarina of Time Remake Great Deku Tree: Gold Skulltula #3 seen to the left of the second platform

Gold Skulltula #4-5

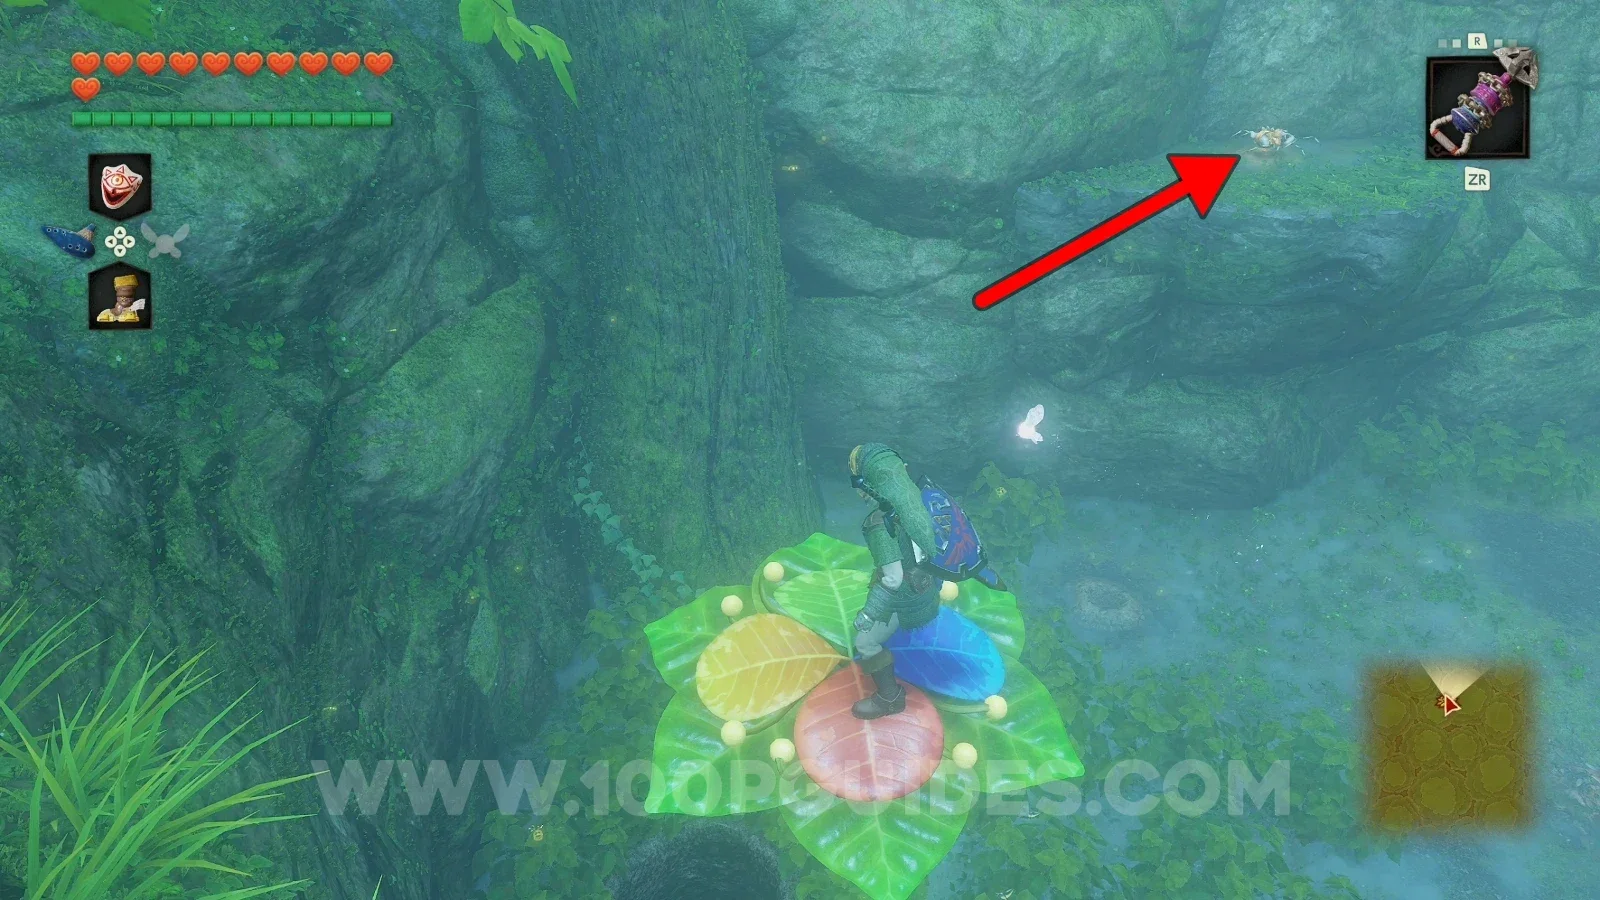
Drop down the big hole on 1F, get out of the water and turn around to find the first Gold Skulltula on the vines that you can use to climb back up the hole. After this, get out of the water again and you'll see another Gold Skulltula on the right side, next to the circular platform in the water.
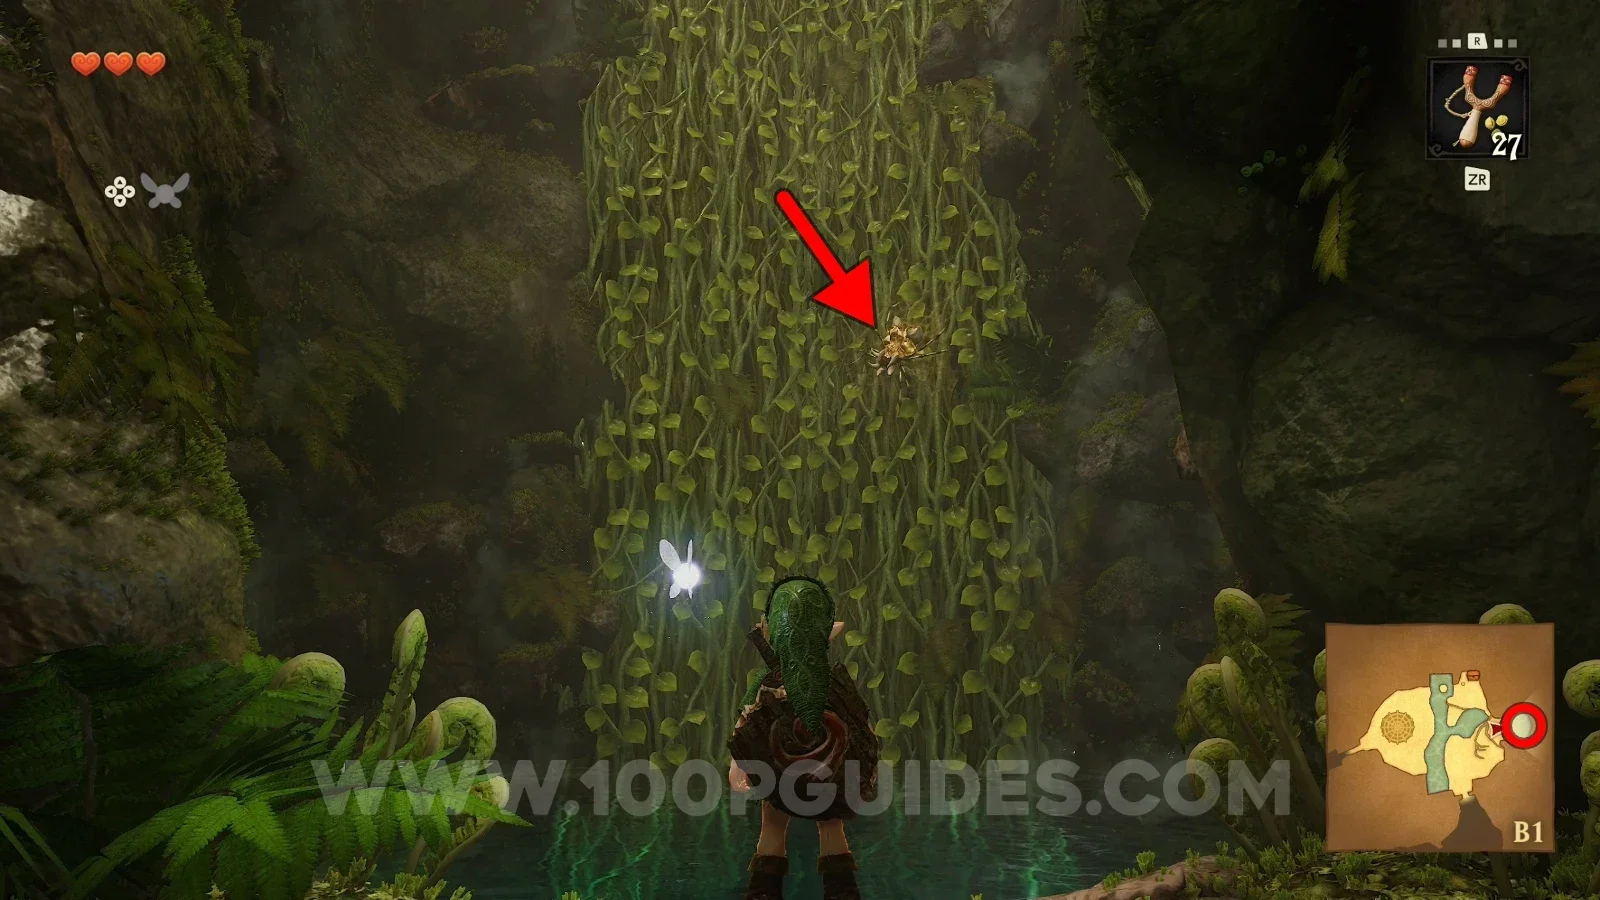
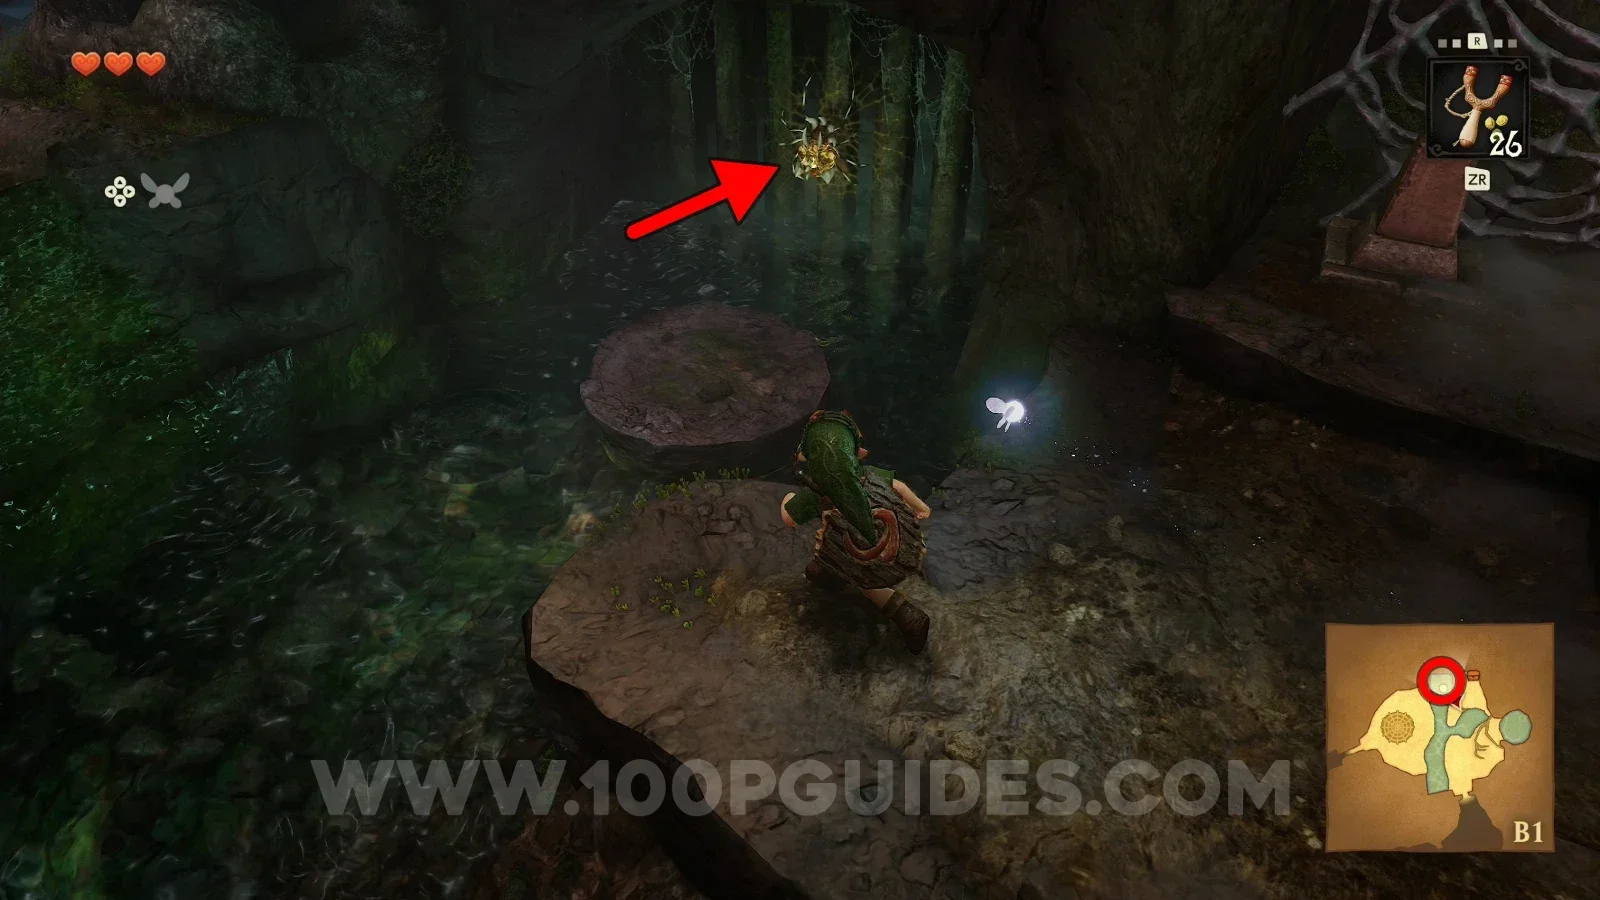
Zelda Ocarina of Time Remake Great Deku Tree: Gold Skulltula #4 on the vines below the big 1F hole Zelda Ocarina of Time Remake Great Deku Tree: Gold Skulltula #5 next to the circular platform in the water

Gold Skulltula #6

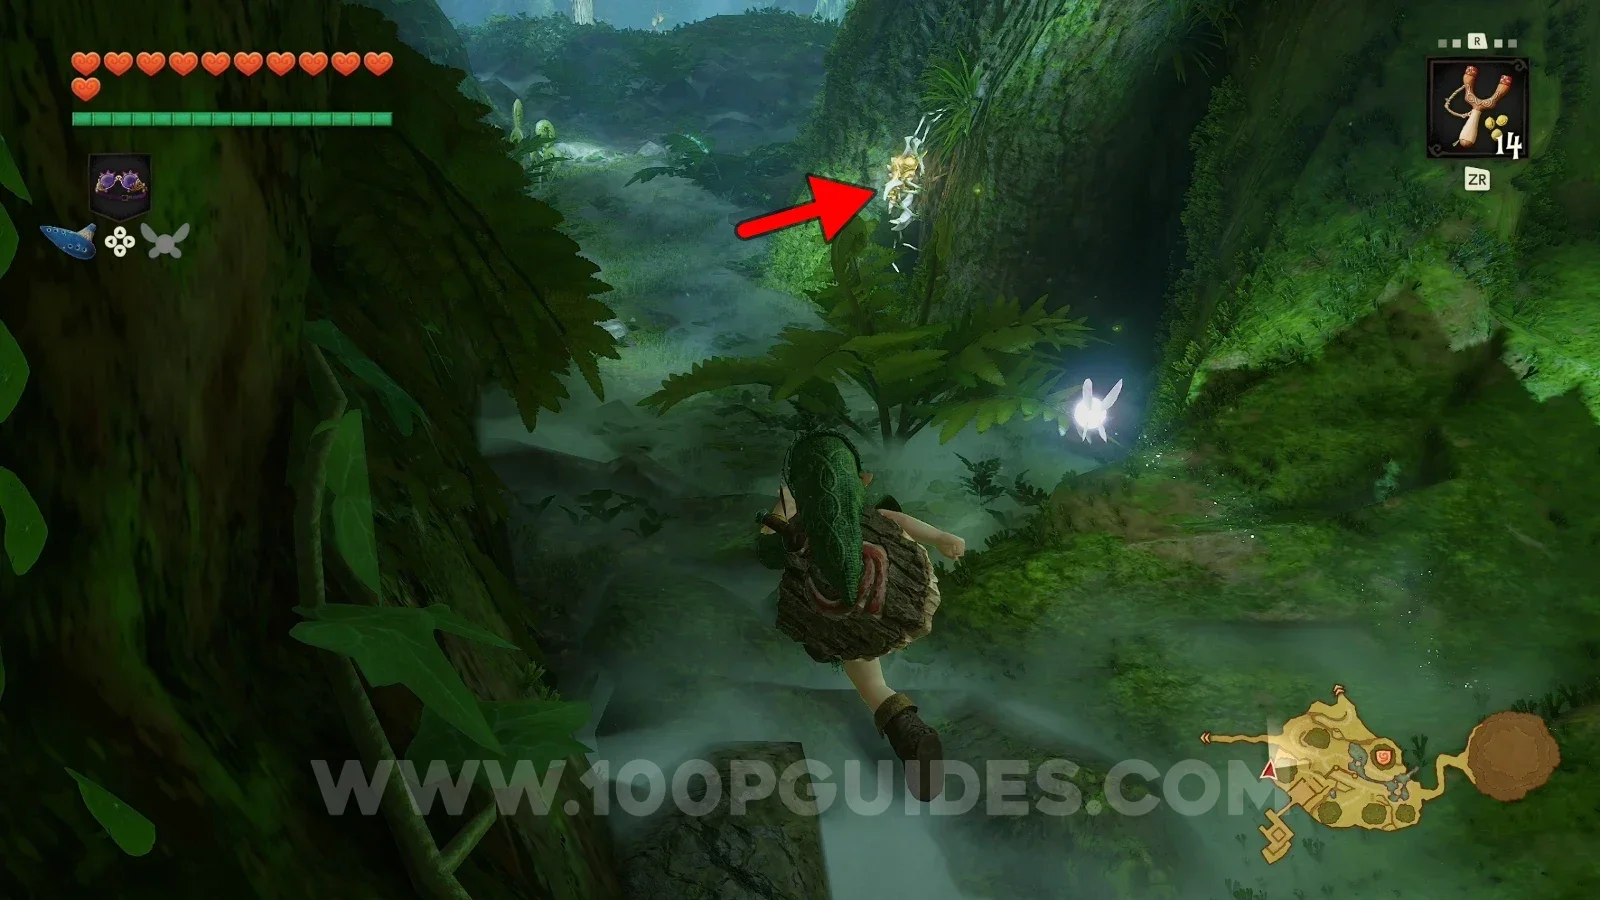
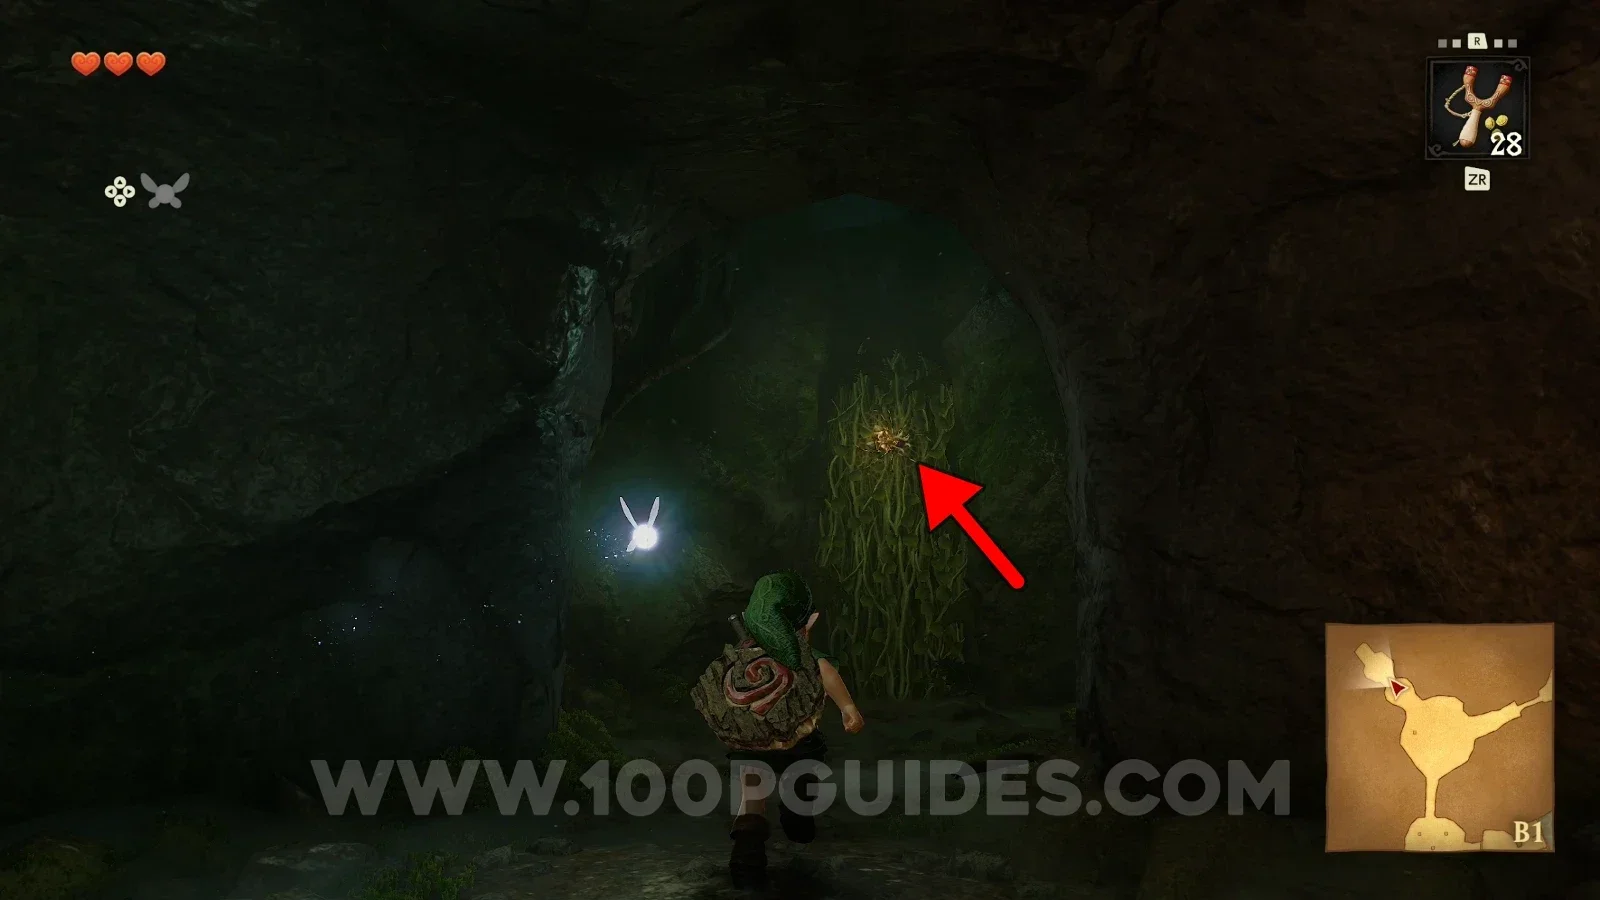
On the vines at the end of the tunnel.
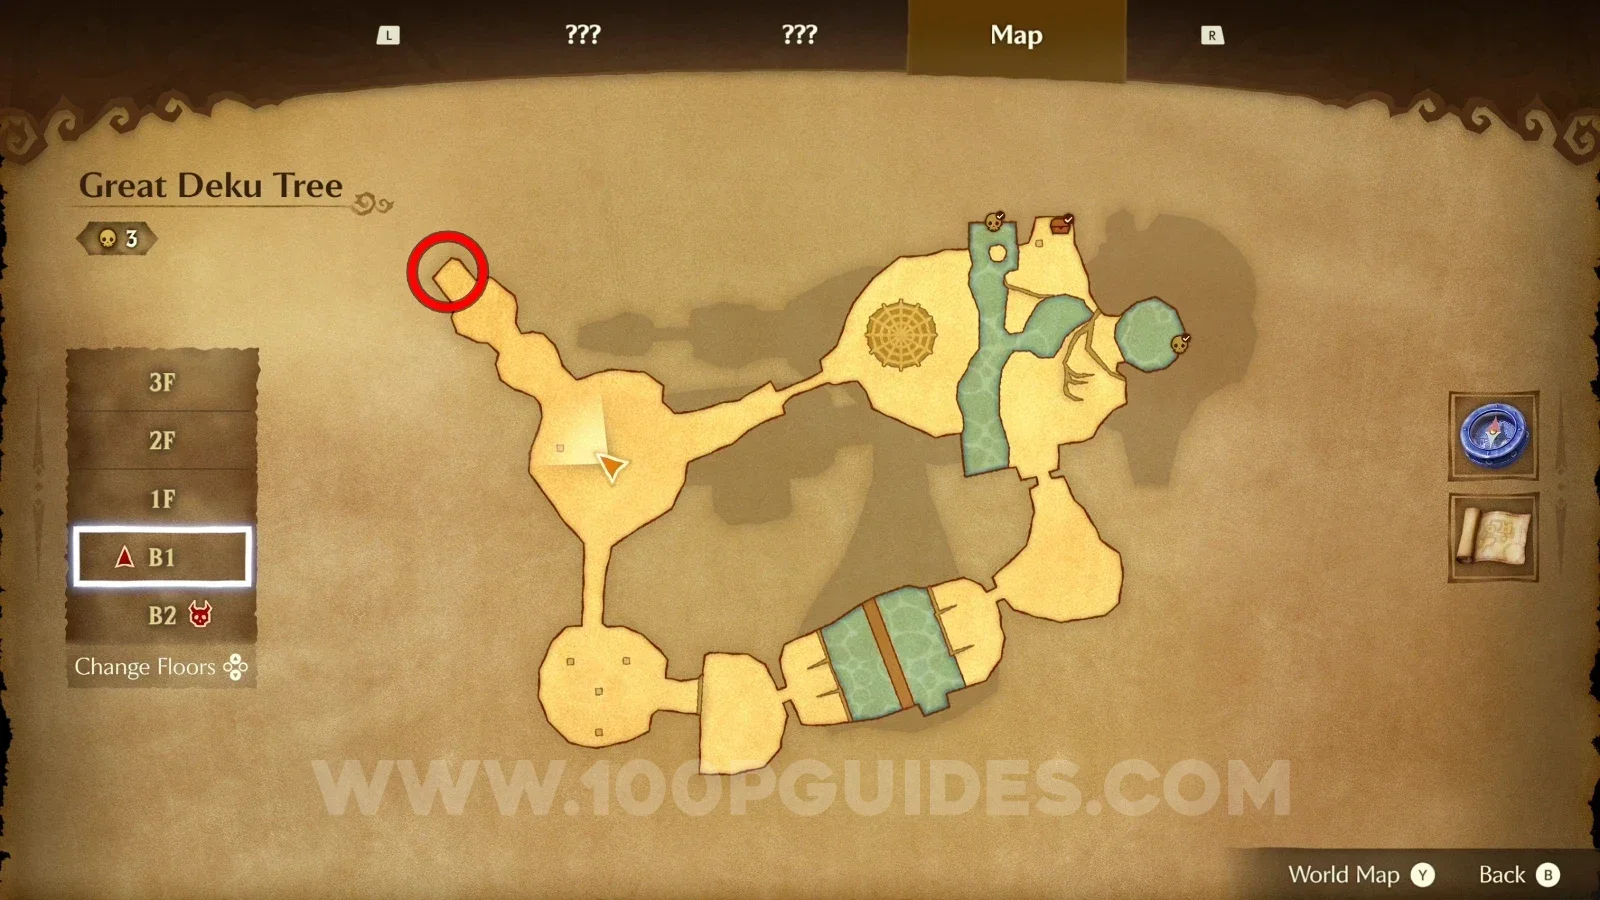
Zelda Ocarina of Time Remake Great Deku Tree: the tunnel leading to Gold Skulltula #6 Zelda Ocarina of Time Remake Great Deku Tree: Gold Skulltula #6 on the vines at the end of the tunnel

Hyrule Field - Child Era

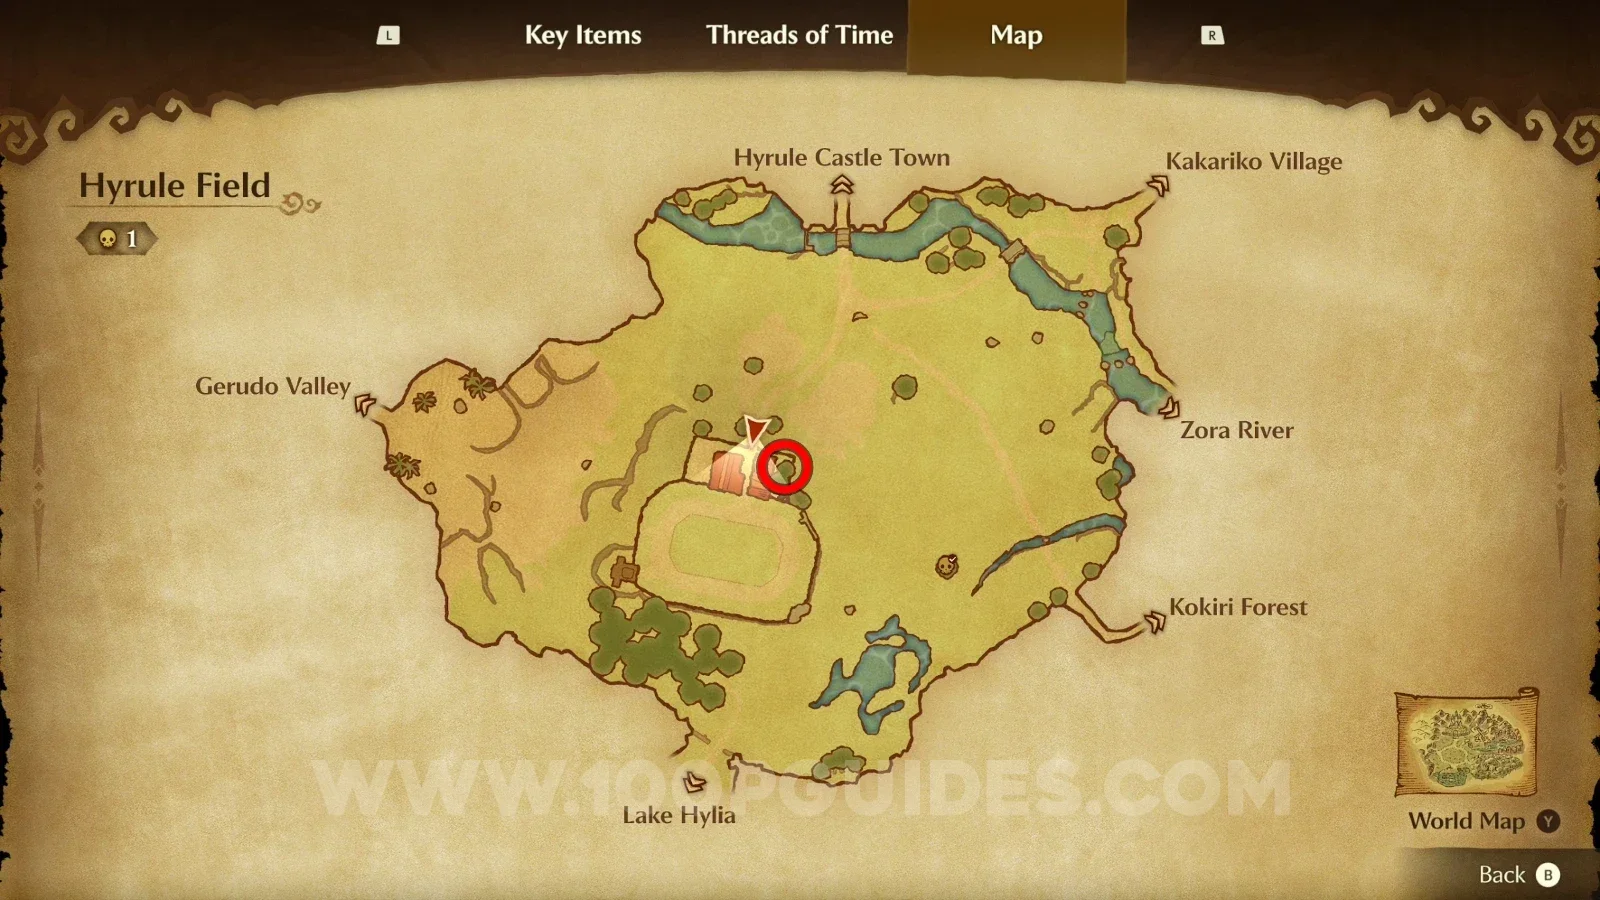
Gold Skulltula #7

Roll into the tree to knock down the Gold Skulltula.
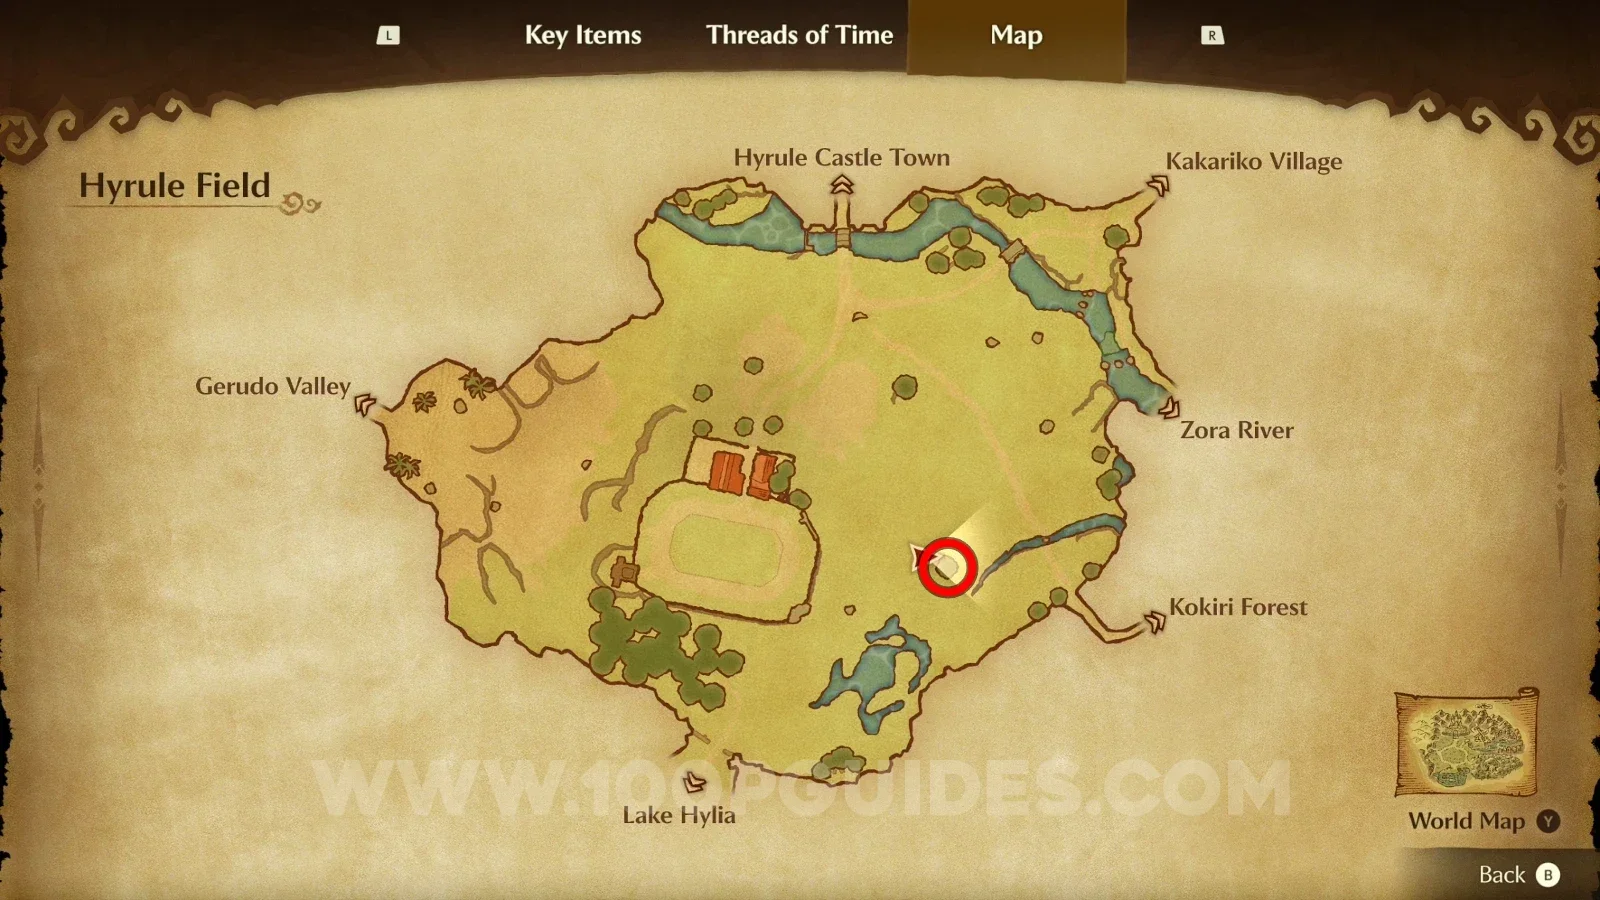
Zelda Ocarina of Time Remake Hyrule Field: the tree to roll into for Gold Skulltula #7 Zelda Ocarina of Time Remake Hyrule Field: Gold Skulltula #7 knocked down from the tree

Gold Skulltula #8

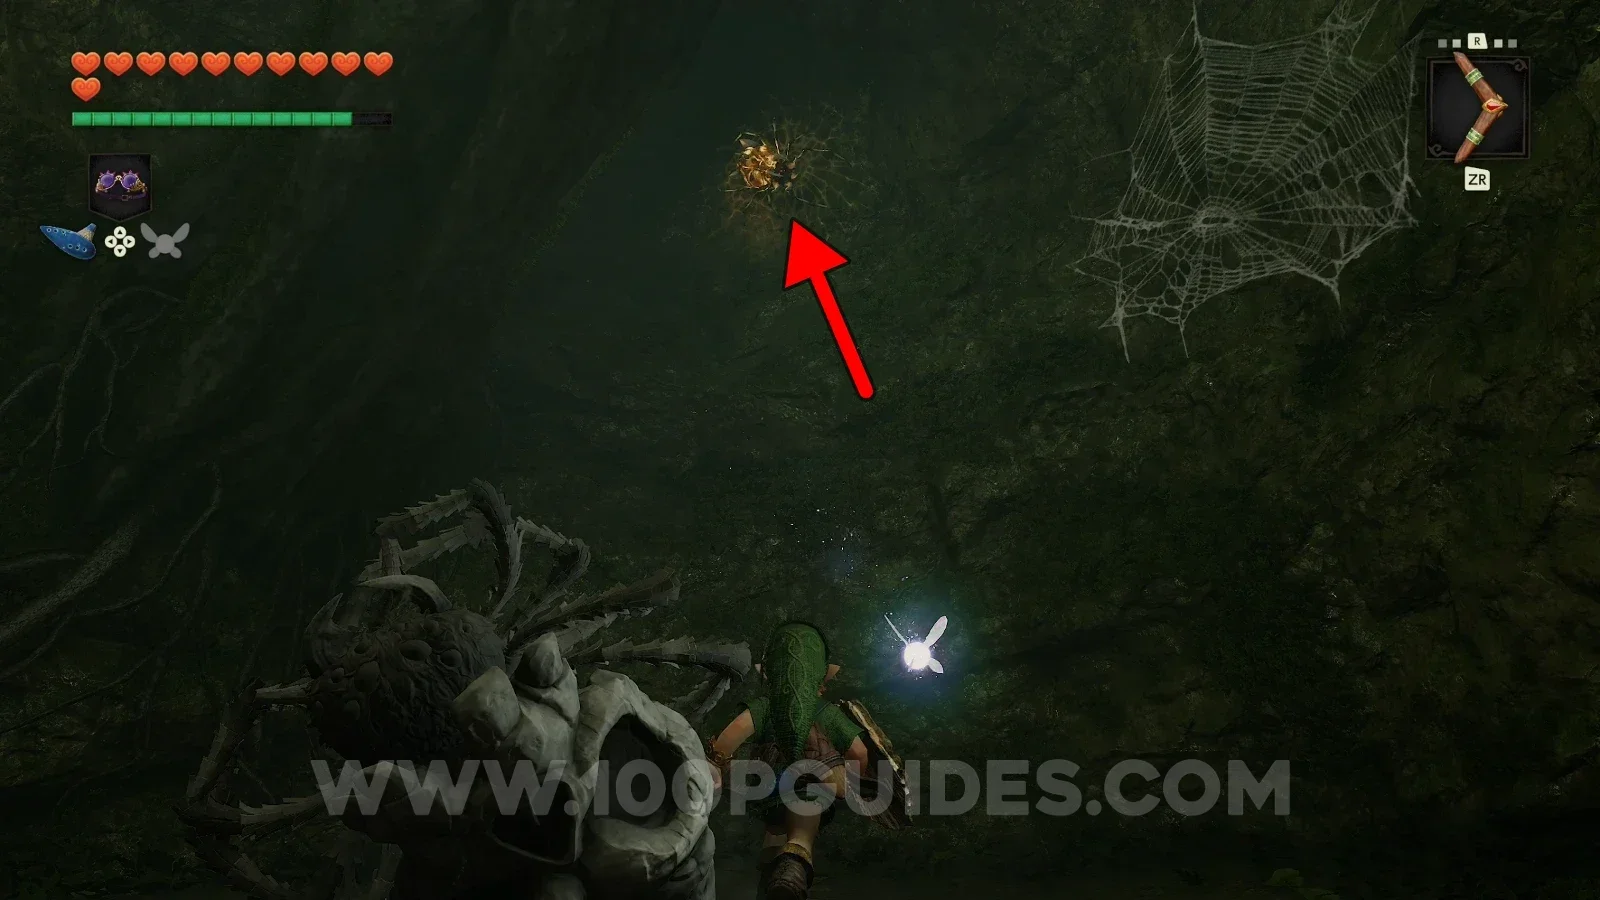
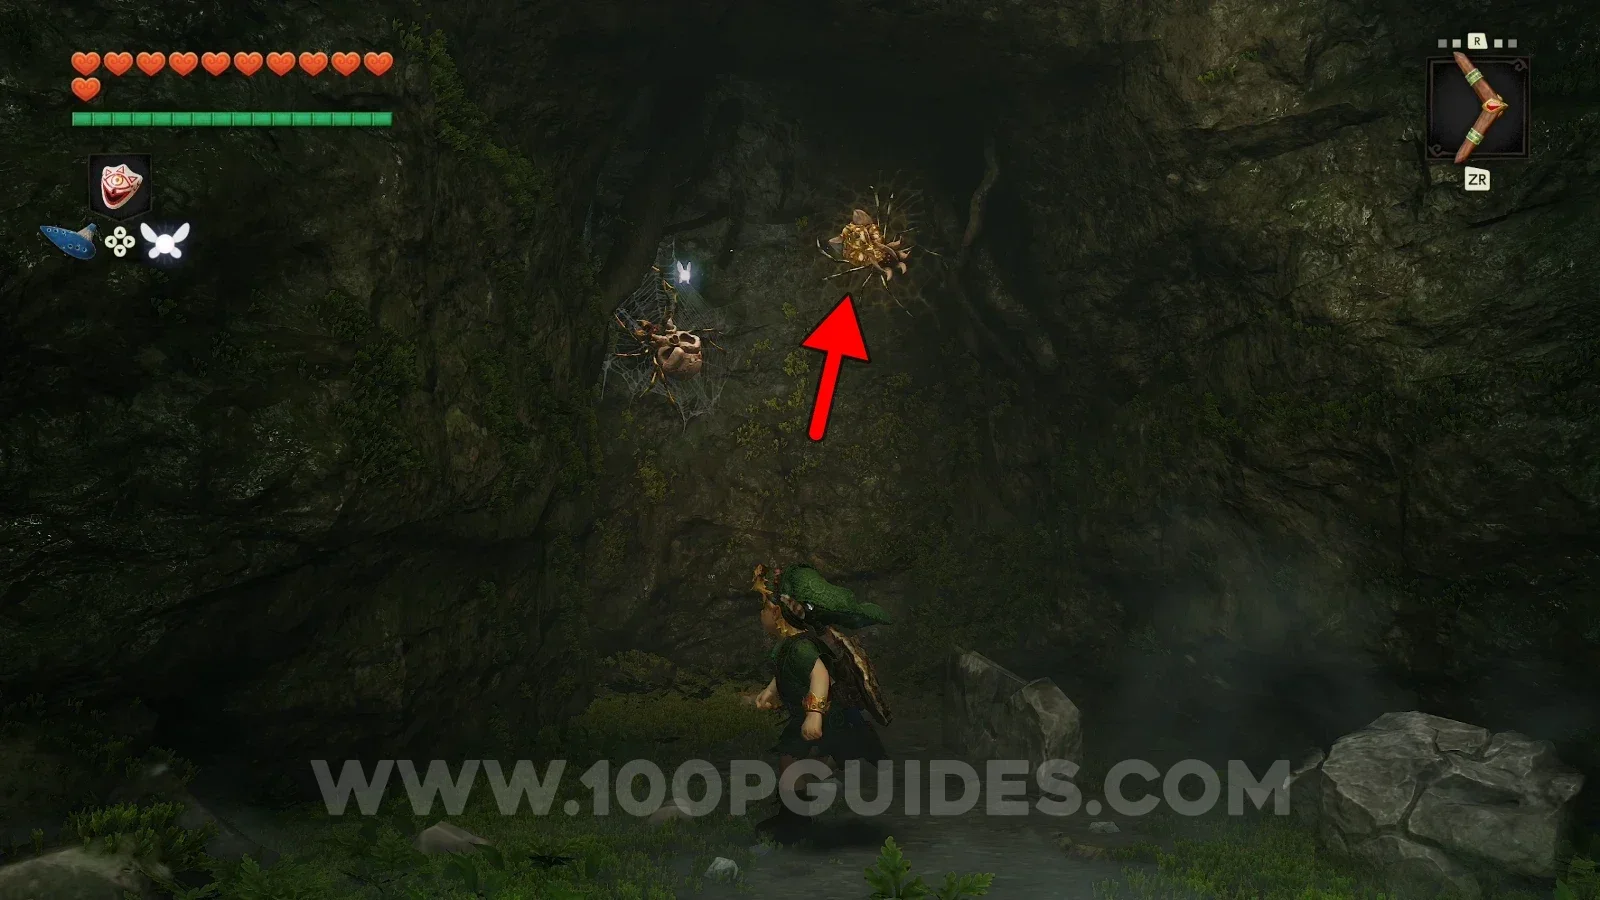
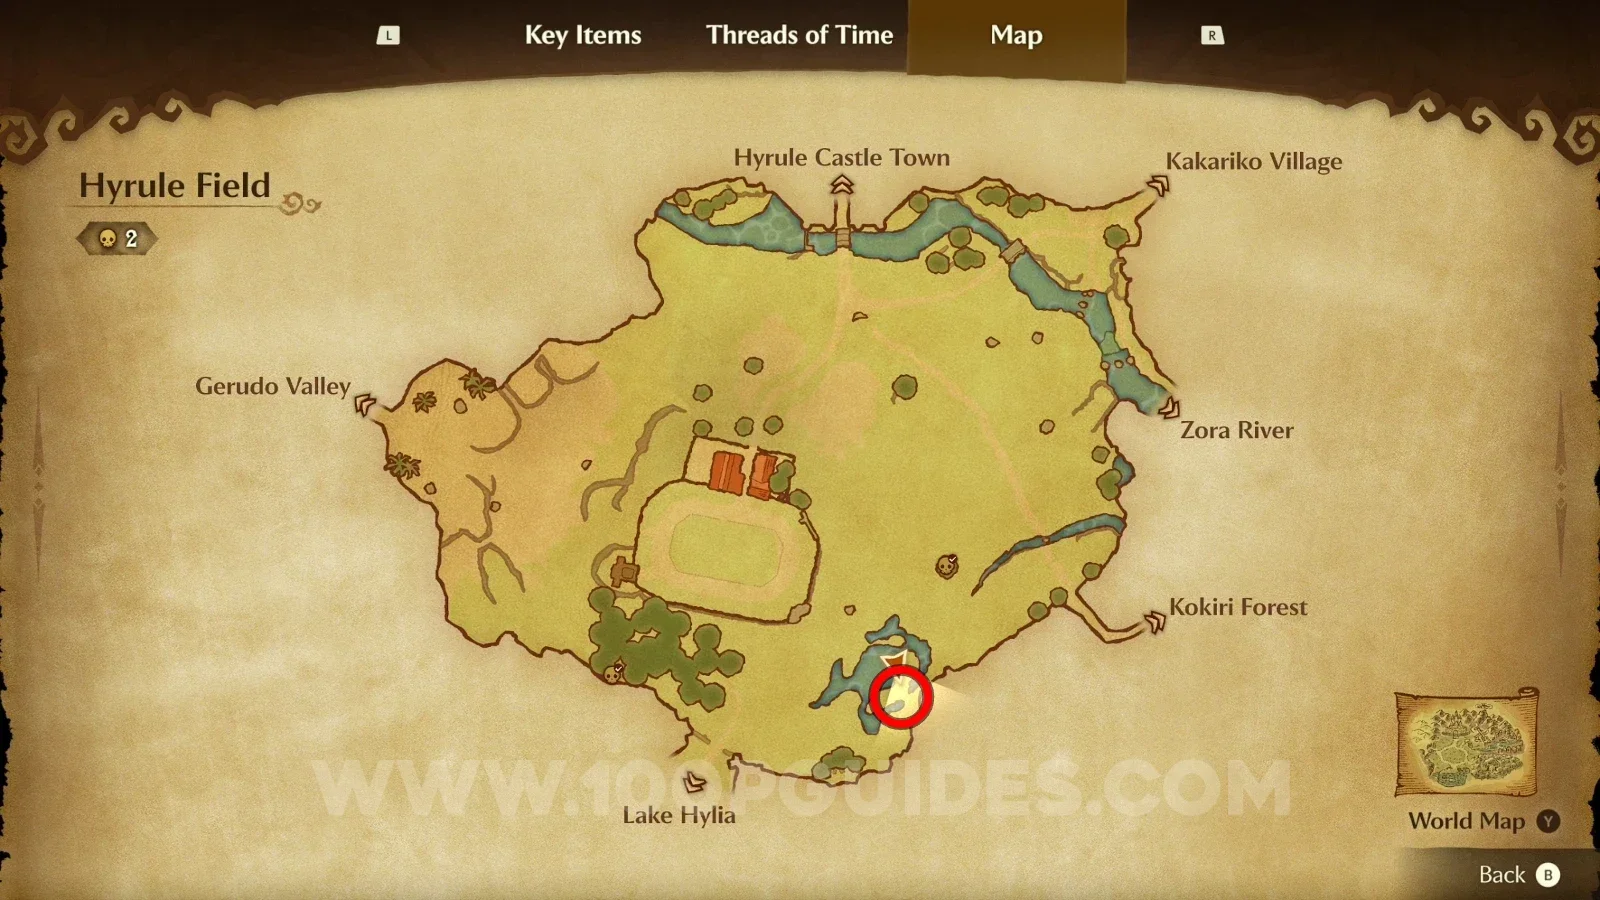
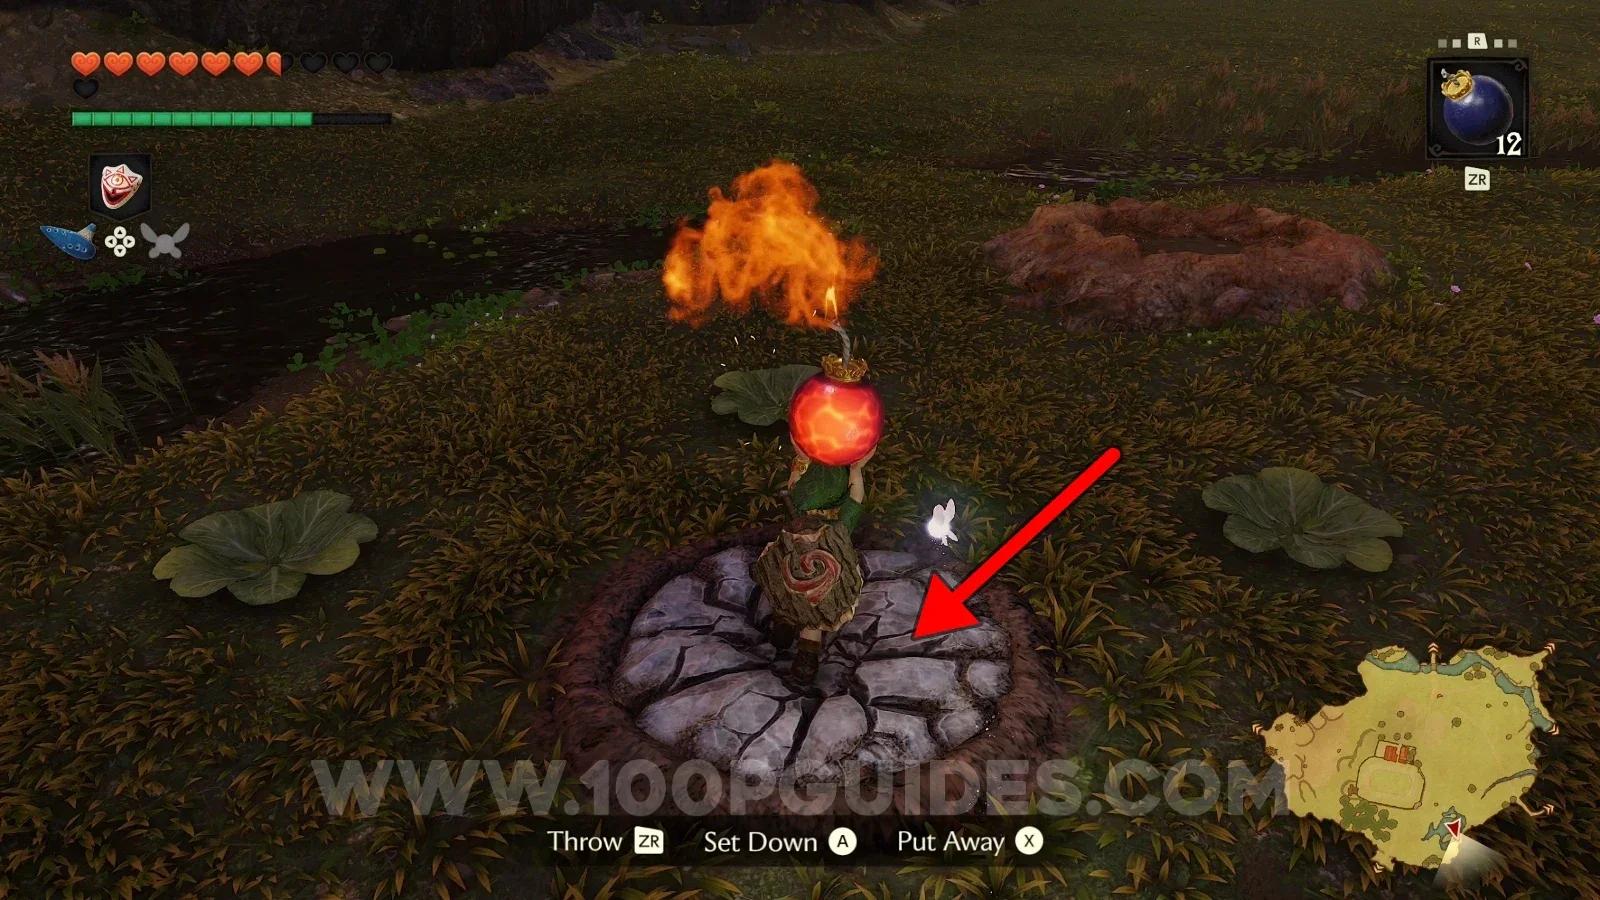
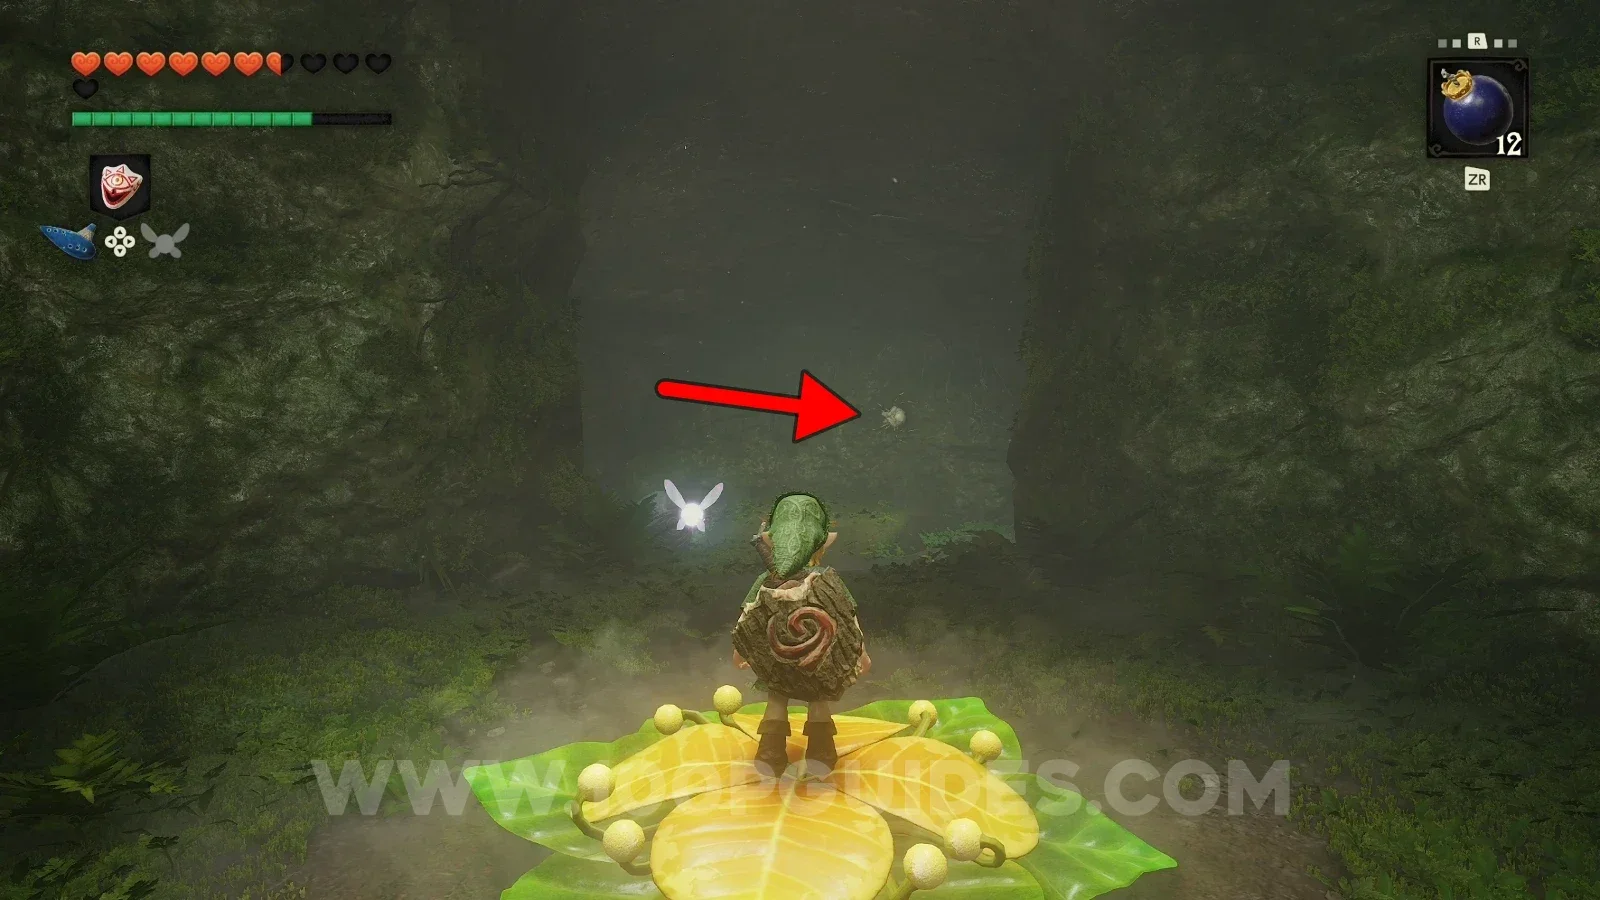
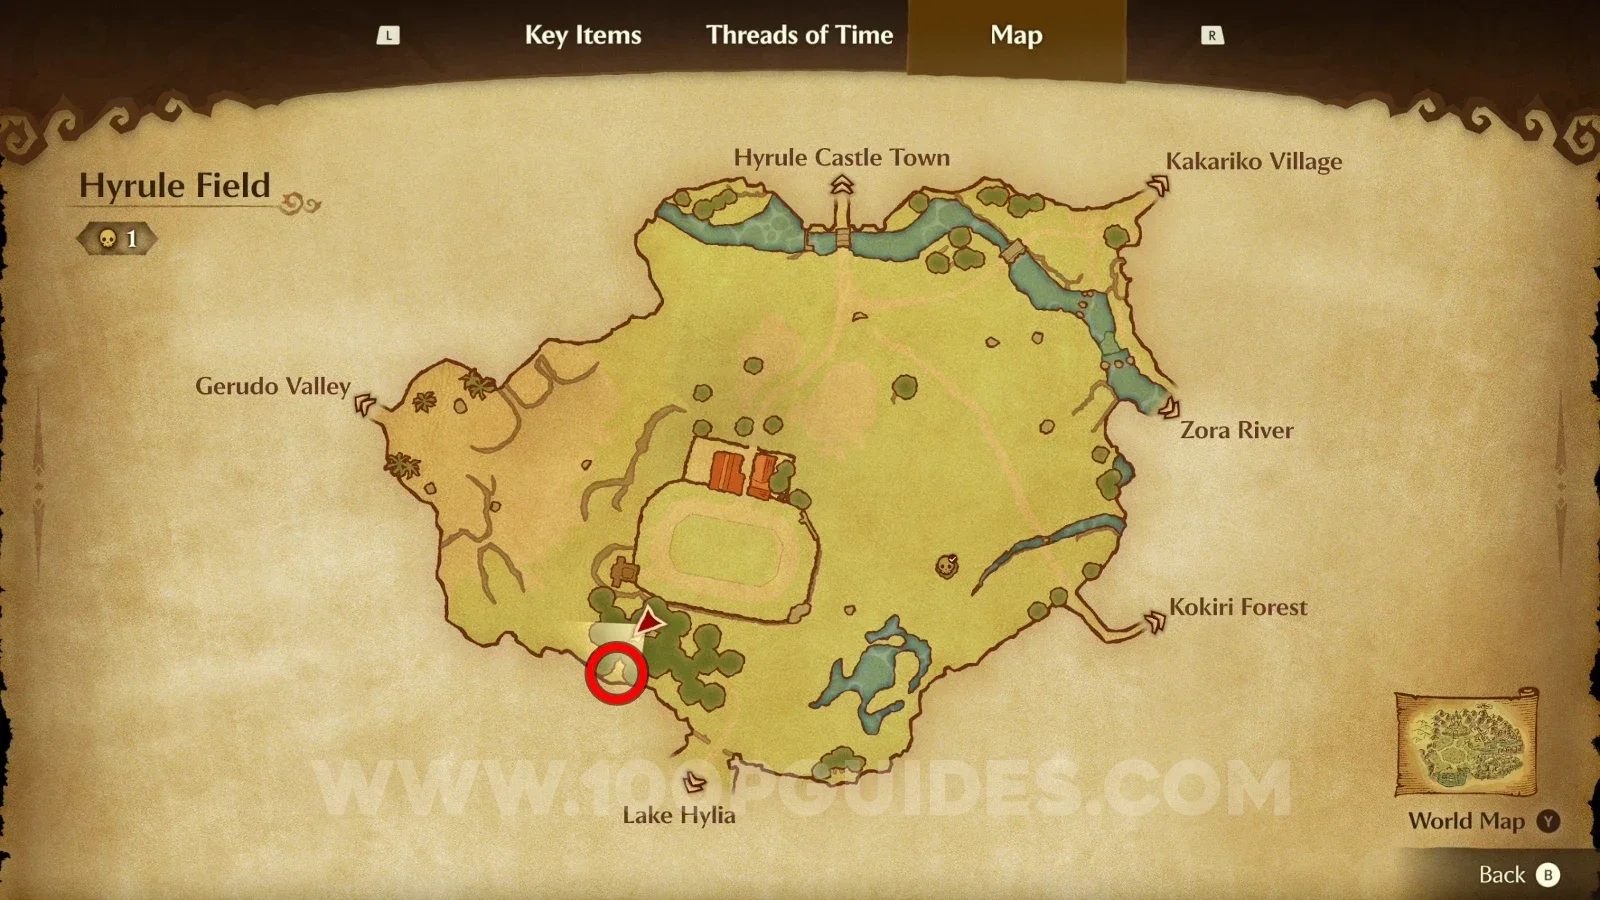
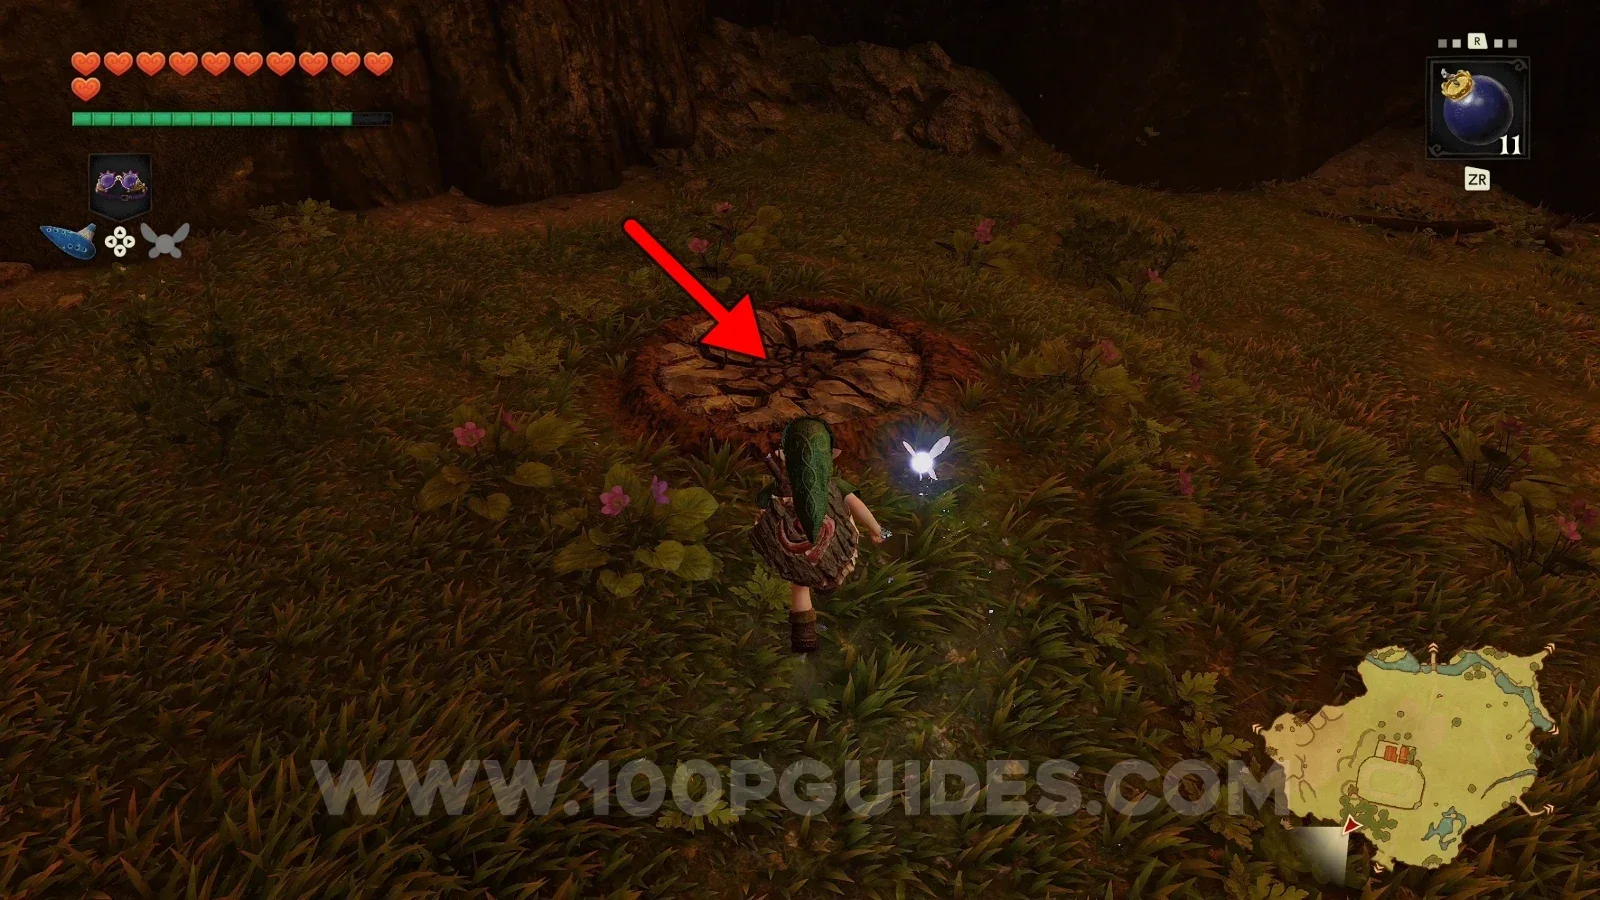
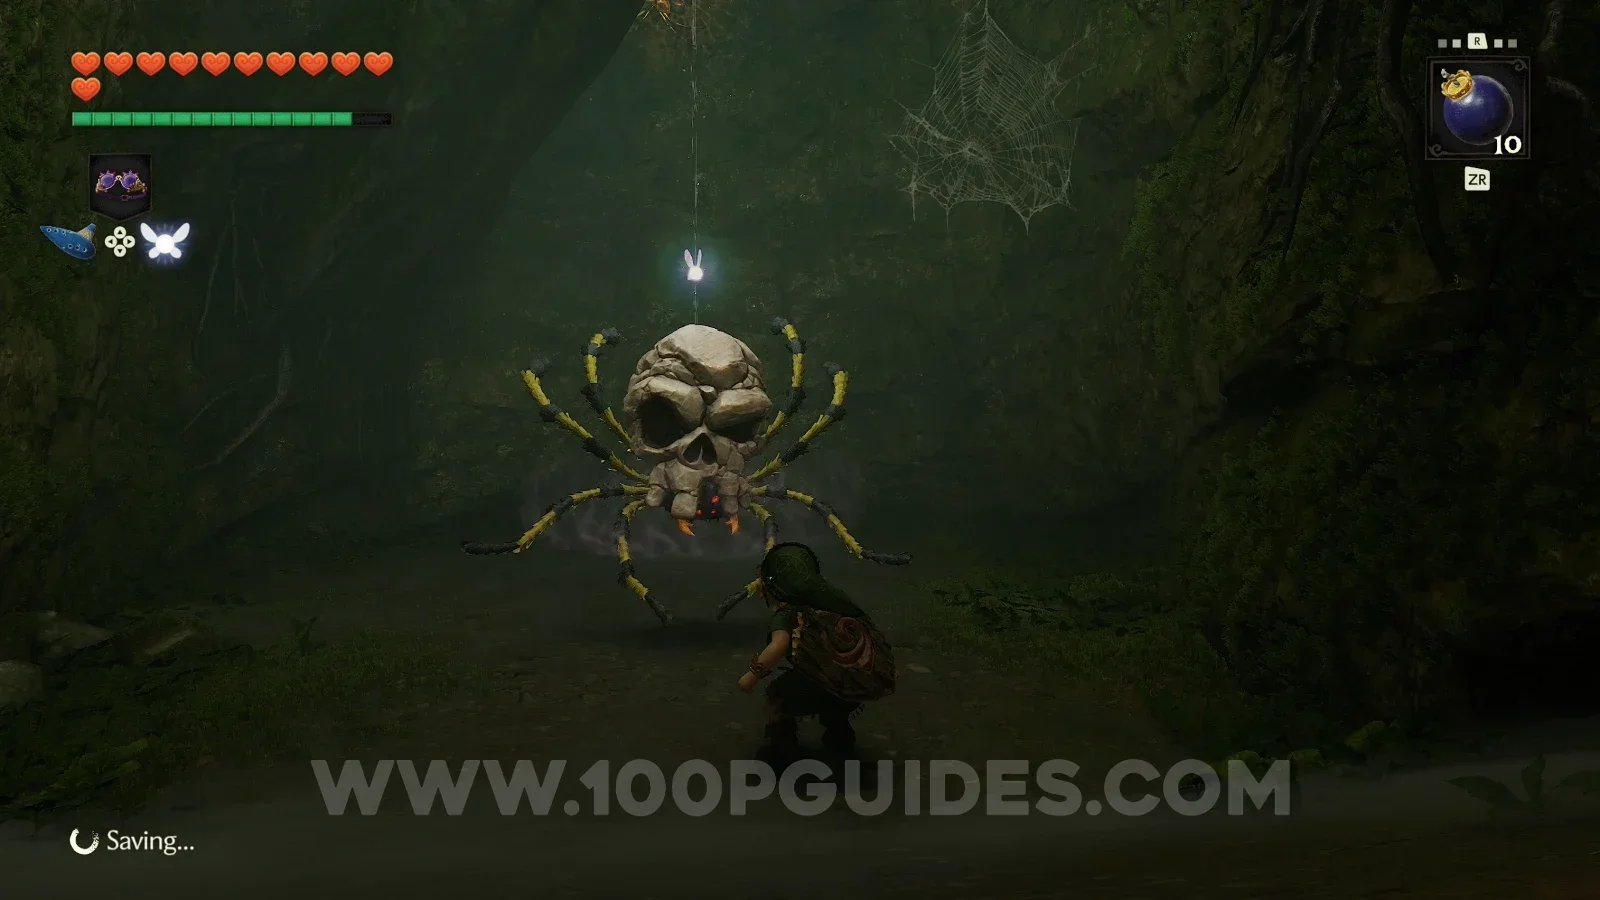
Place a bomb to open the circular hole in the ground and drop down to enter a cave. Defeat the spider enemy and look behind it to find the Gold Skulltula on the wall.

Zelda Ocarina of Time Remake Hyrule Field: bombing the circular hole in the ground for Gold Skulltula #8 Zelda Ocarina of Time Remake Hyrule Field: dropping down the opened hole into the cave of Gold Skulltula #8 Zelda Ocarina of Time Remake Hyrule Field: the spider enemy guarding the cave of Gold Skulltula #8 Zelda Ocarina of Time Remake Hyrule Field: Gold Skulltula #8 on the cave wall behind the spider enemy

Hyrule Castle Town - Child Era

Gold Skulltula #9

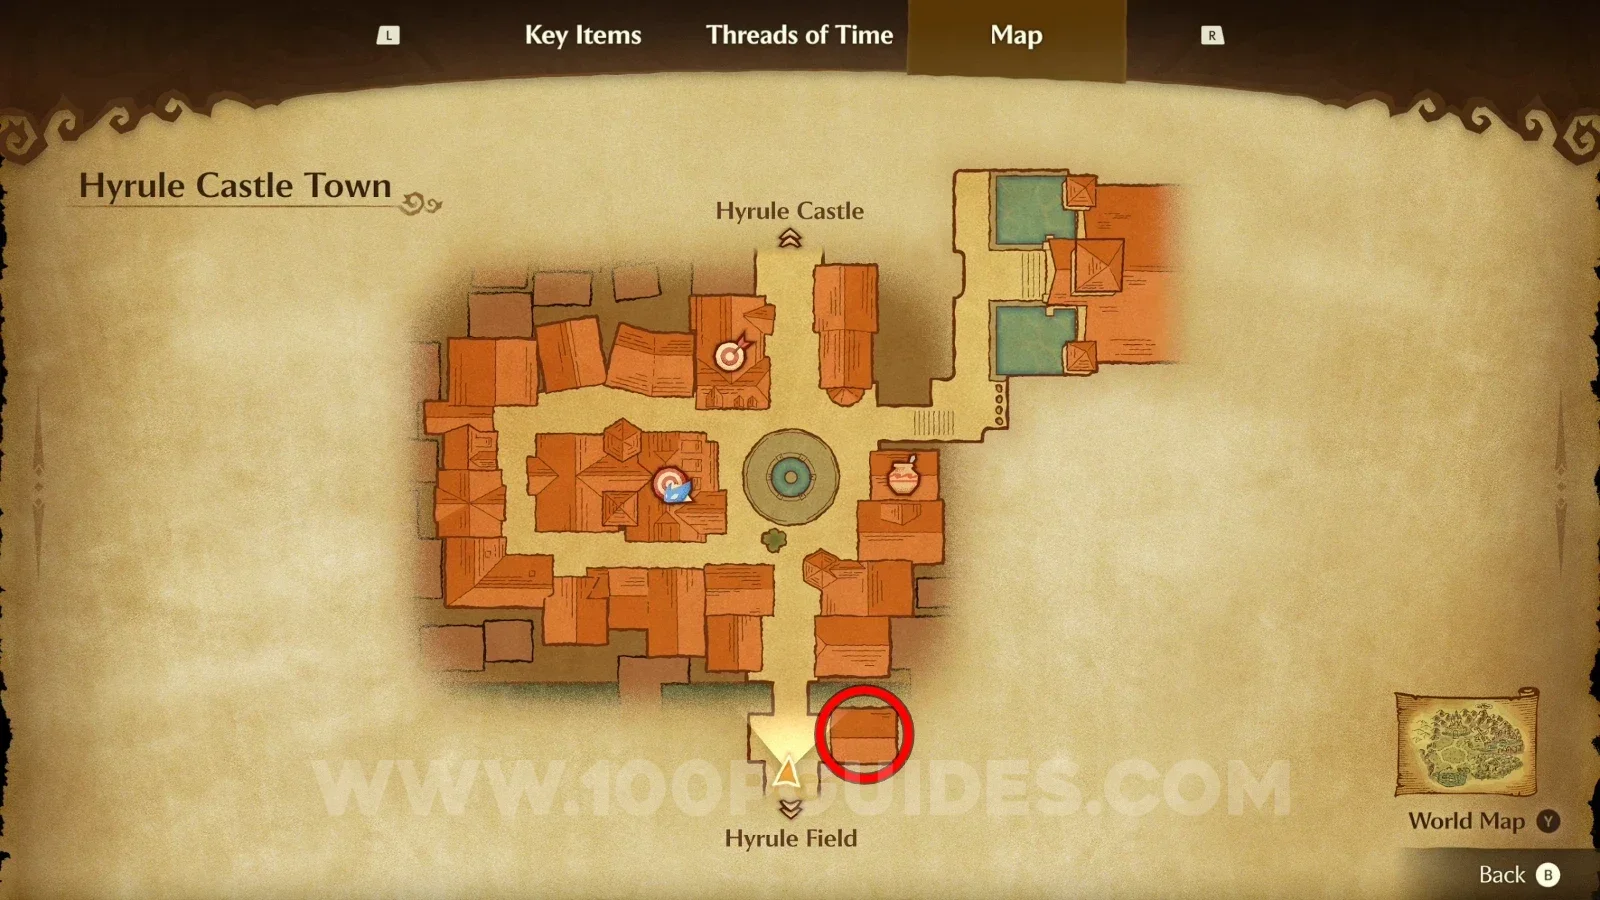
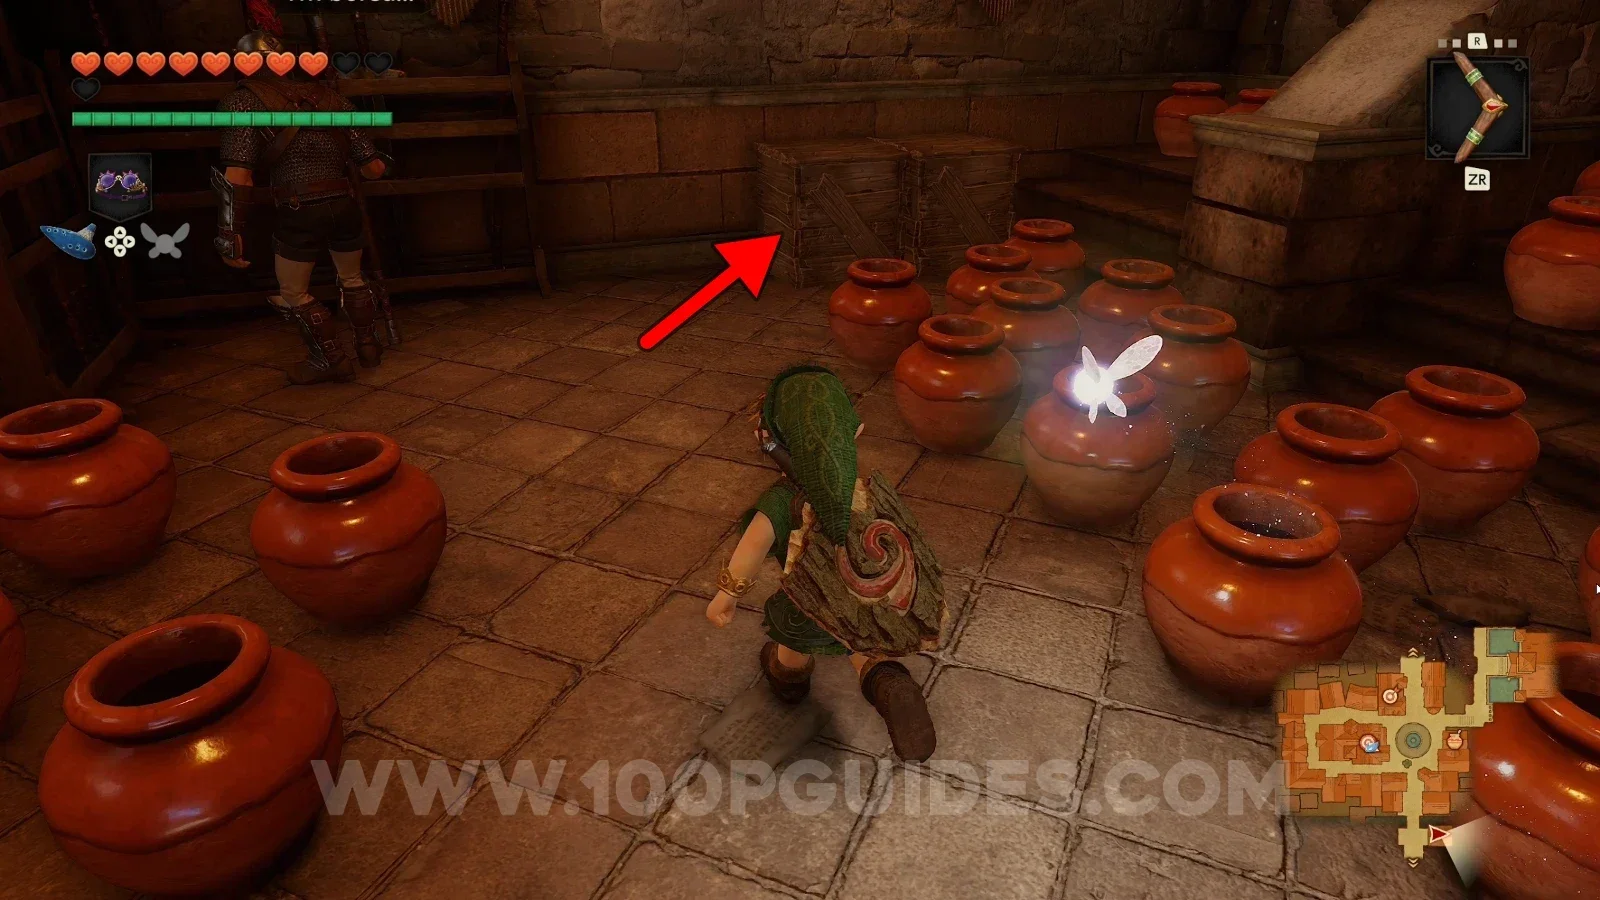
Enter the building filled with pots next to the entrance and roll into the wooden box at the end of the room to reveal the Gold Skulltula.

Zelda Ocarina of Time Remake Hyrule Castle Town: the building filled with pots next to the entrance, Gold Skulltula #9 Zelda Ocarina of Time Remake Hyrule Castle Town: Gold Skulltula #9 inside the wooden box at the end of the pot room

Hyrule Castle - Child Era

Gold Skulltula #10

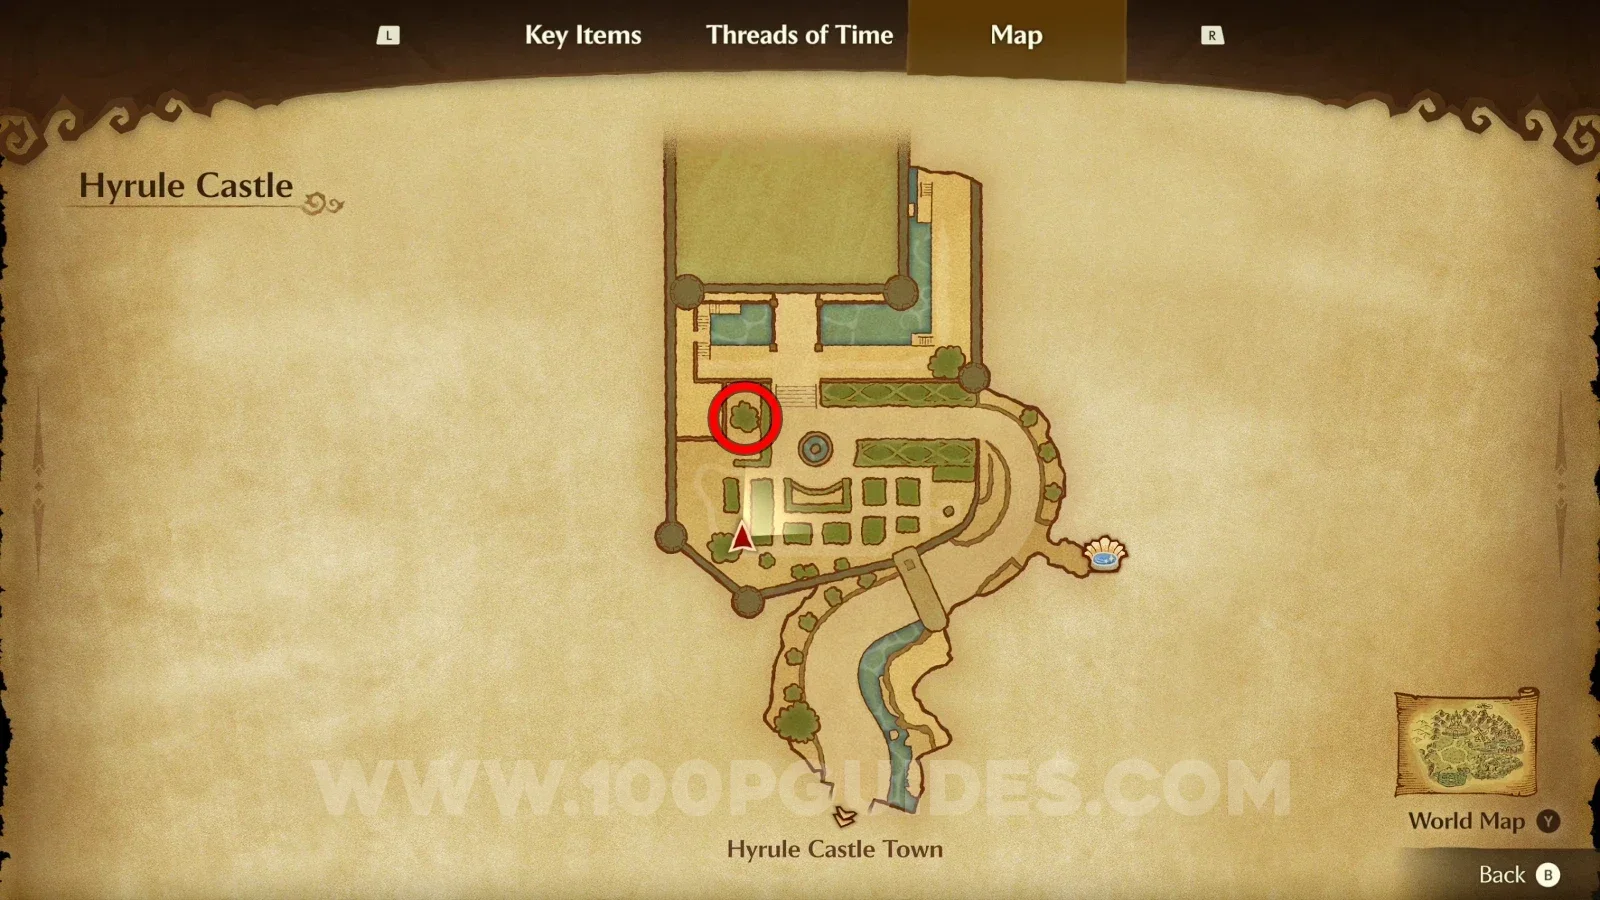
Roll into the tree to knock down the Gold Skulltula.
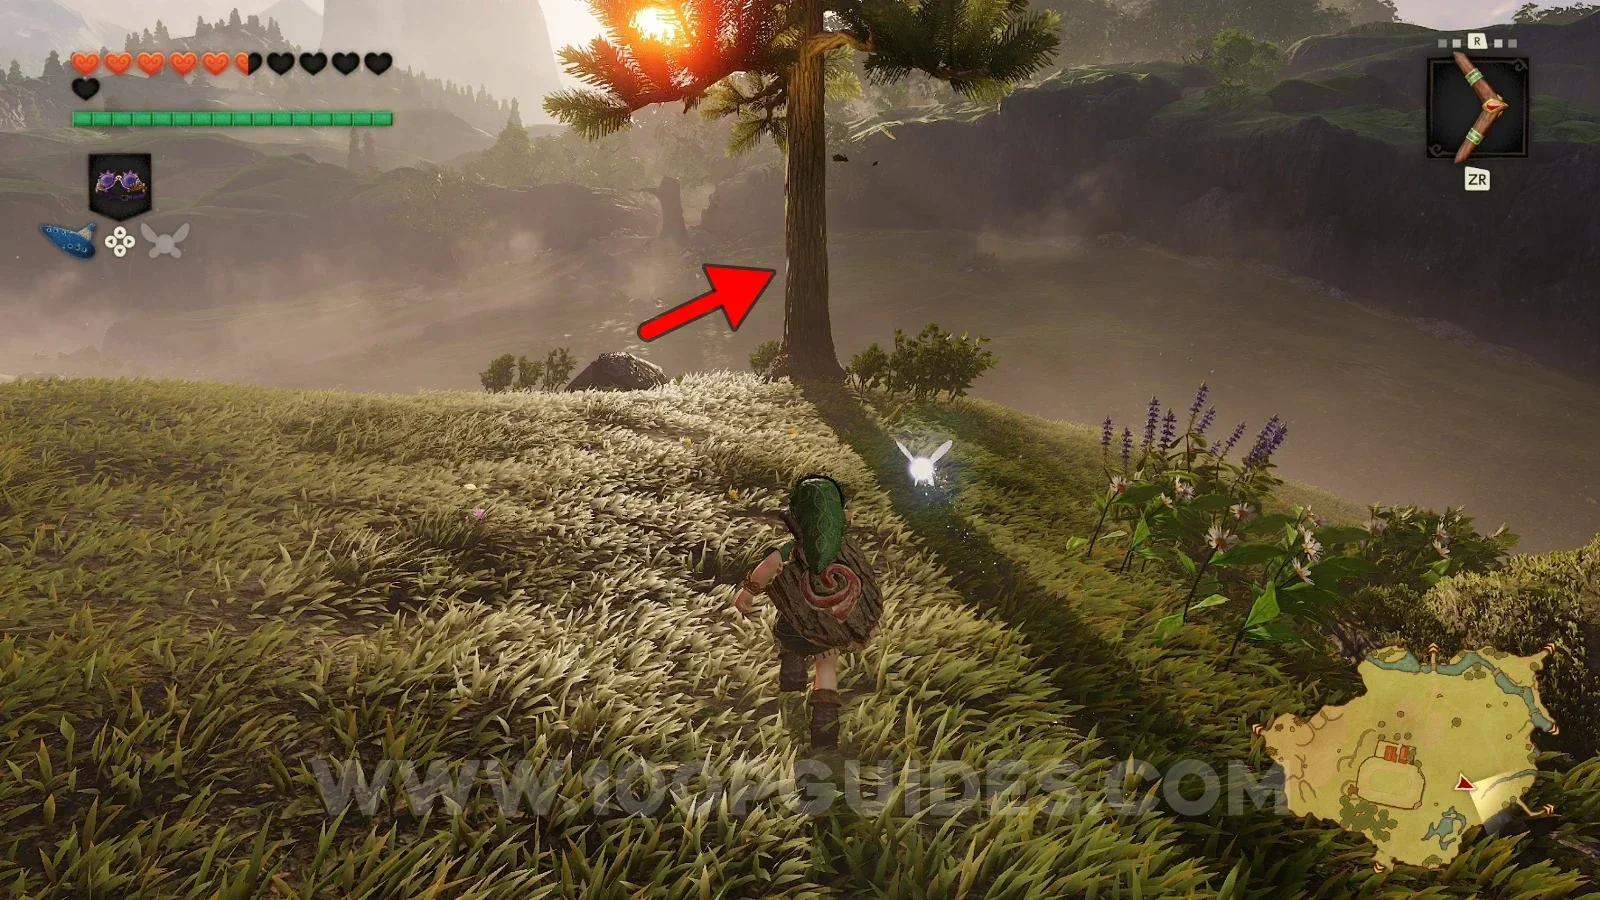
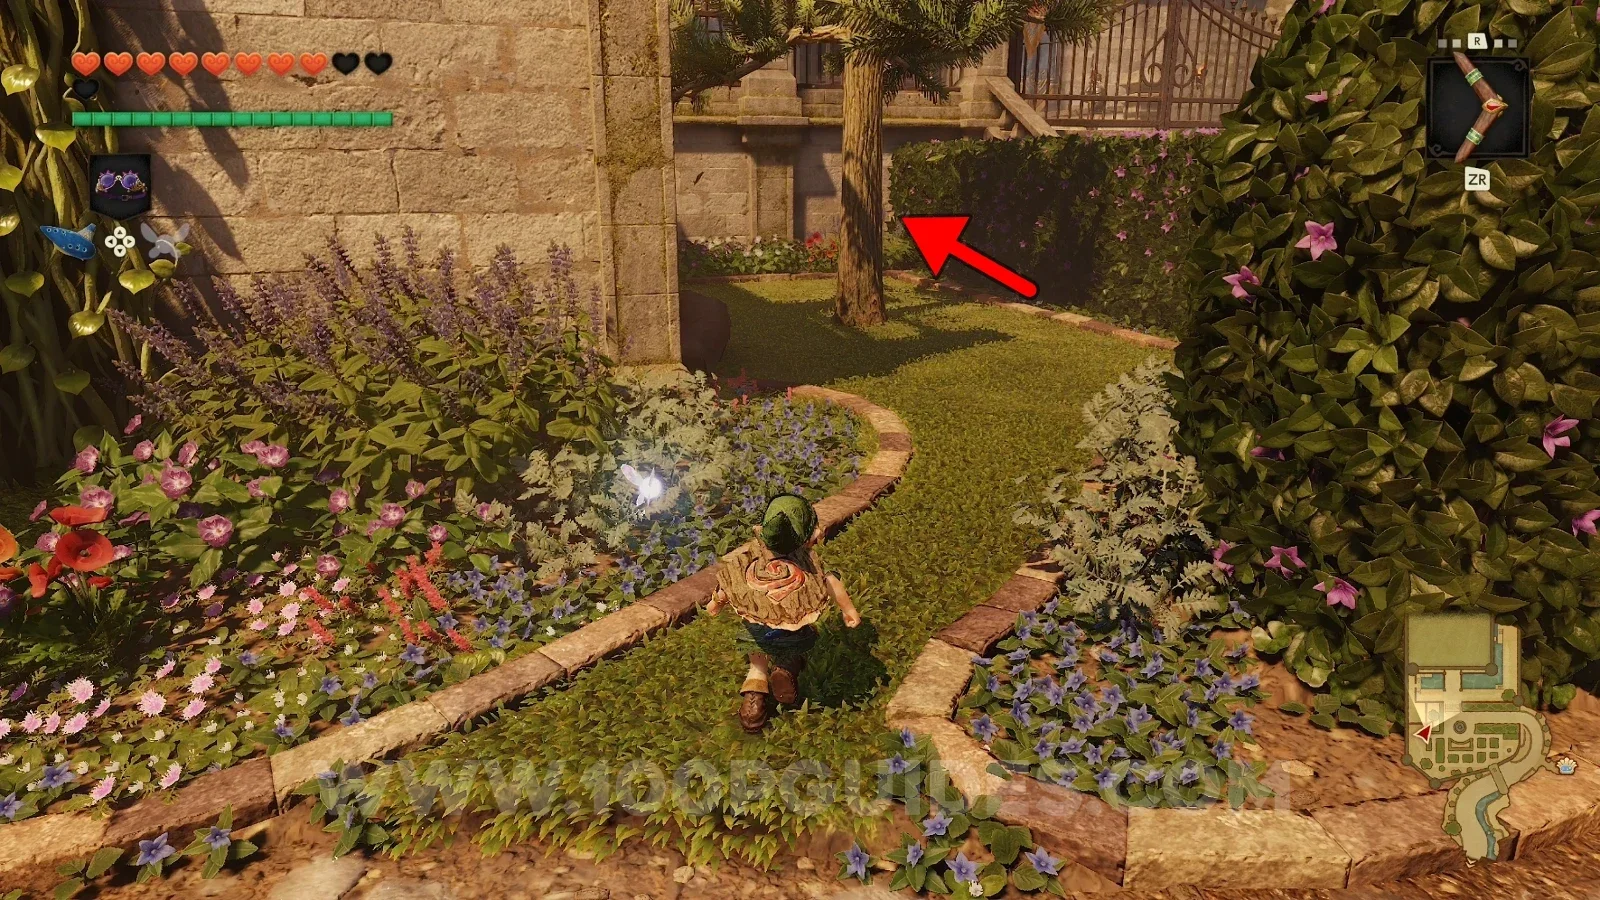
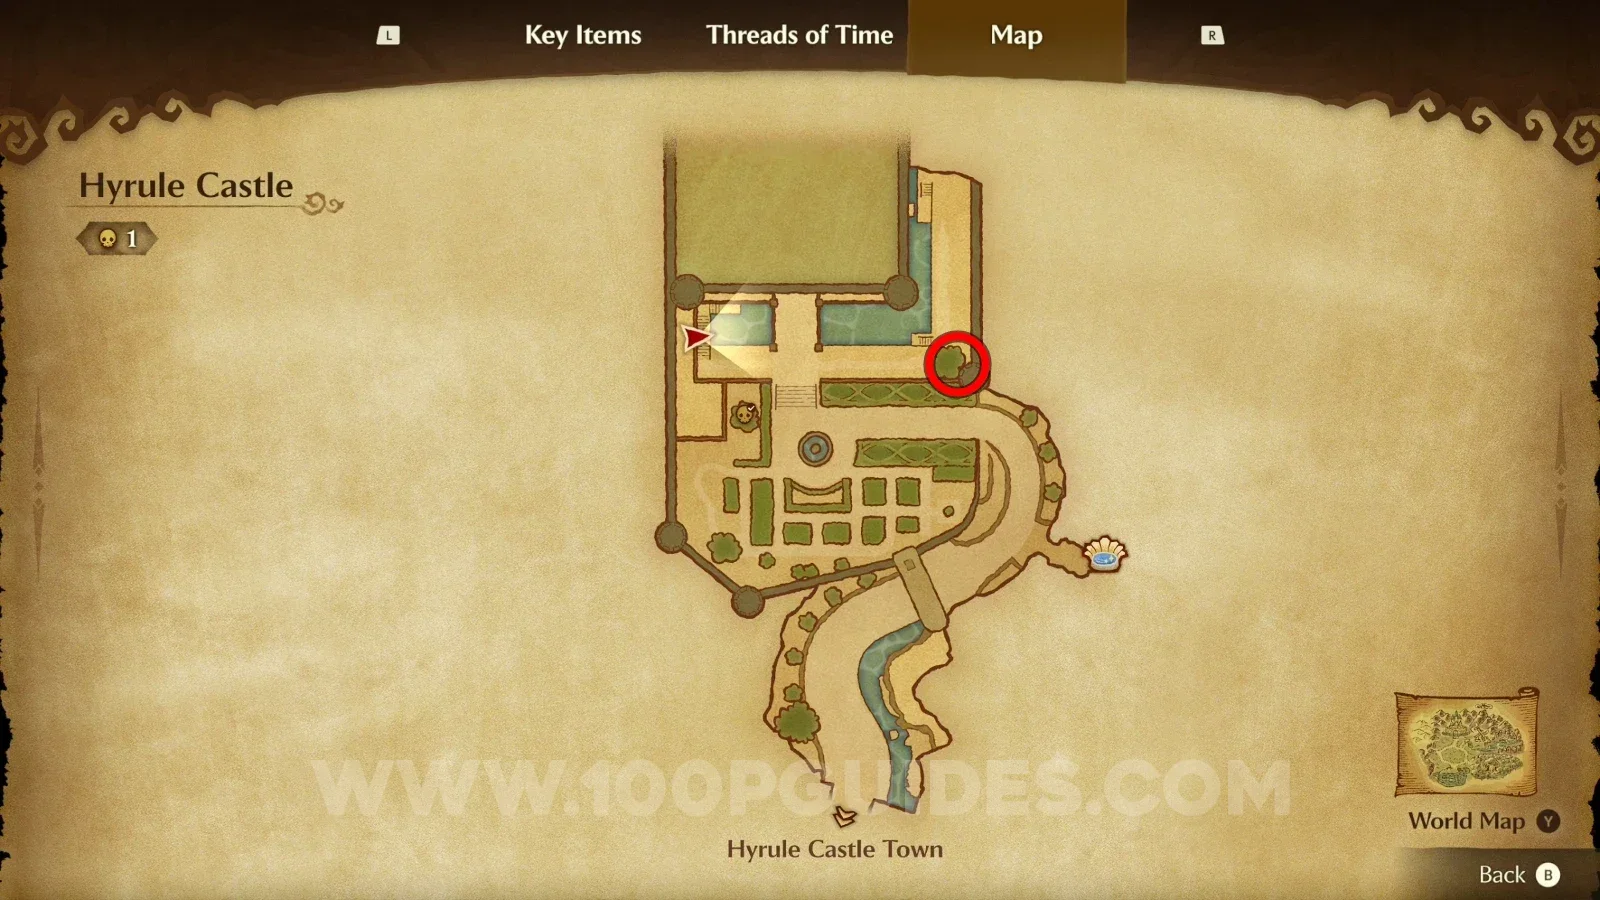
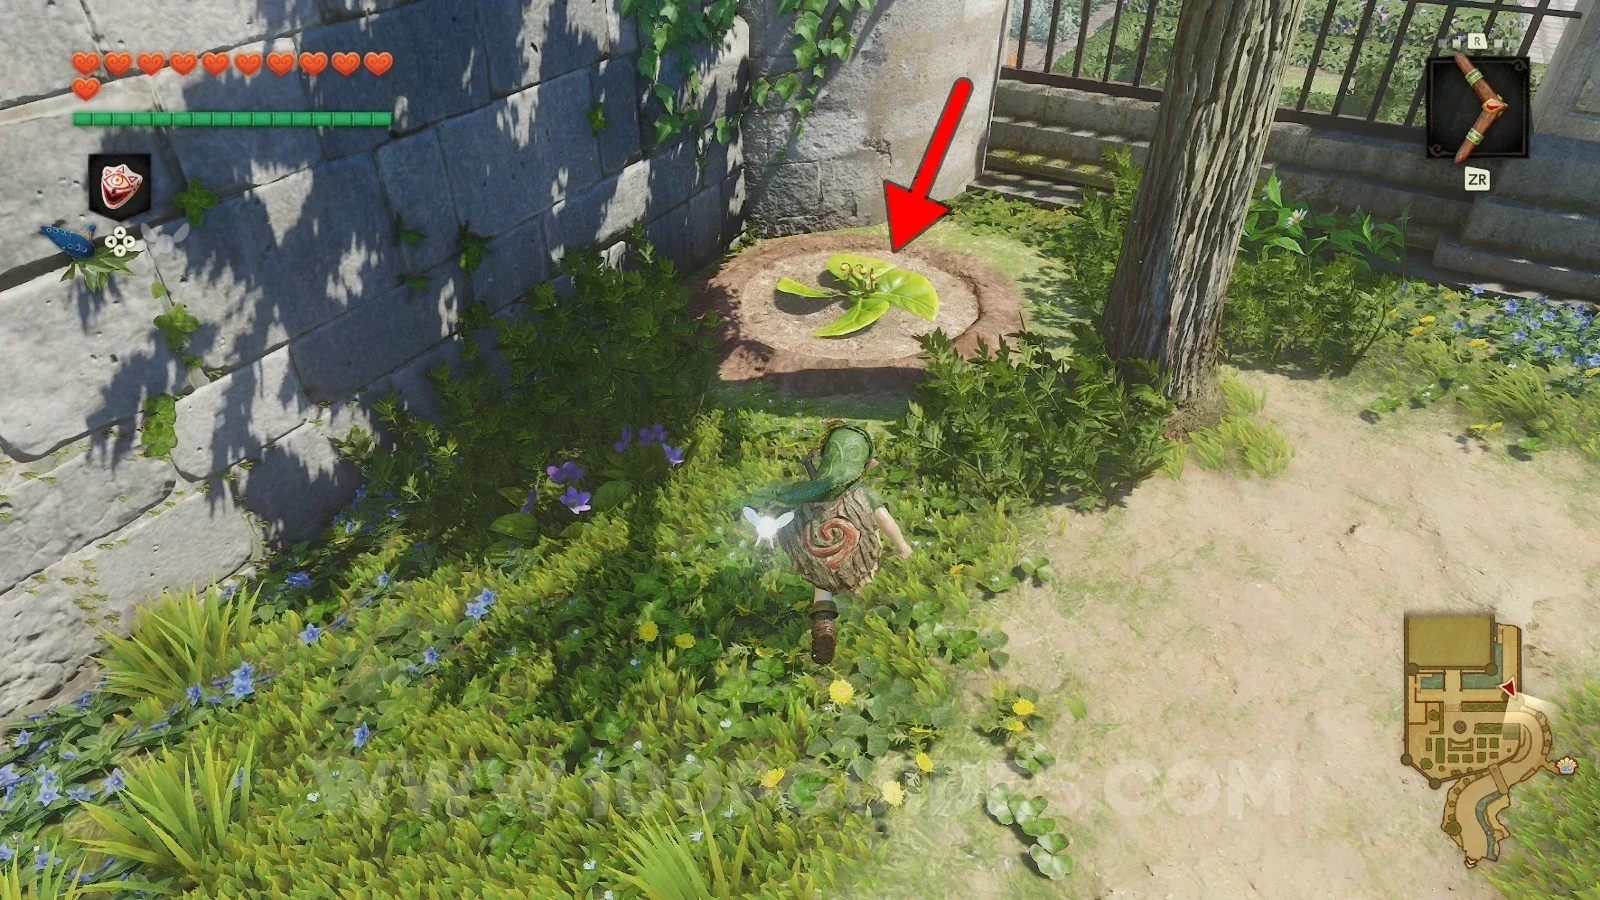
Zelda Ocarina of Time Remake Hyrule Castle: the tree to roll into for Gold Skulltula #10 Zelda Ocarina of Time Remake Hyrule Castle: Gold Skulltula #10 knocked down from the tree

Gold Skulltula #11

Swim to the other side to avoid being detected by the guards, then play the Song of Storms to open the hole in the ground and drop into it. Use a bomb to break the wall and find the Gold Skulltula.

Zelda Ocarina of Time Remake Hyrule Castle: swimming to the other side past the guards toward Gold Skulltula #11 Zelda Ocarina of Time Remake Hyrule Castle: playing the Song of Storms to open the hole for Gold Skulltula #11 Zelda Ocarina of Time Remake Hyrule Castle: bombing the wall inside the hole to reach Gold Skulltula #11 Zelda Ocarina of Time Remake Hyrule Castle: Gold Skulltula #11 behind the bombed wall below the Song of Storms hole

Lon Lon Ranch - Child Era

Gold Skulltula #12

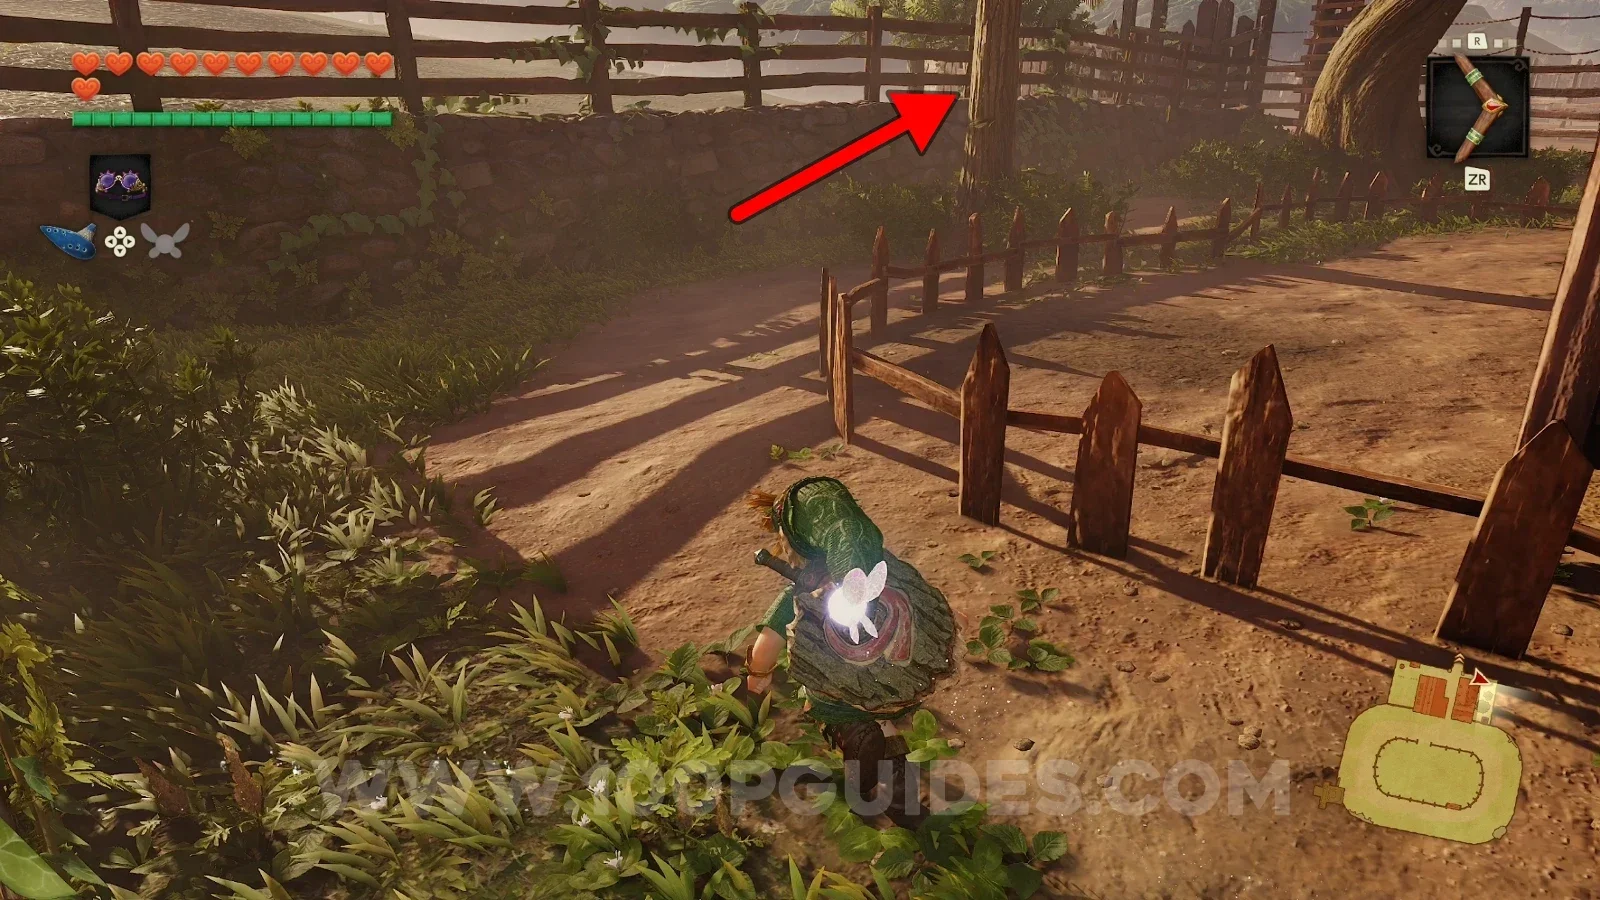
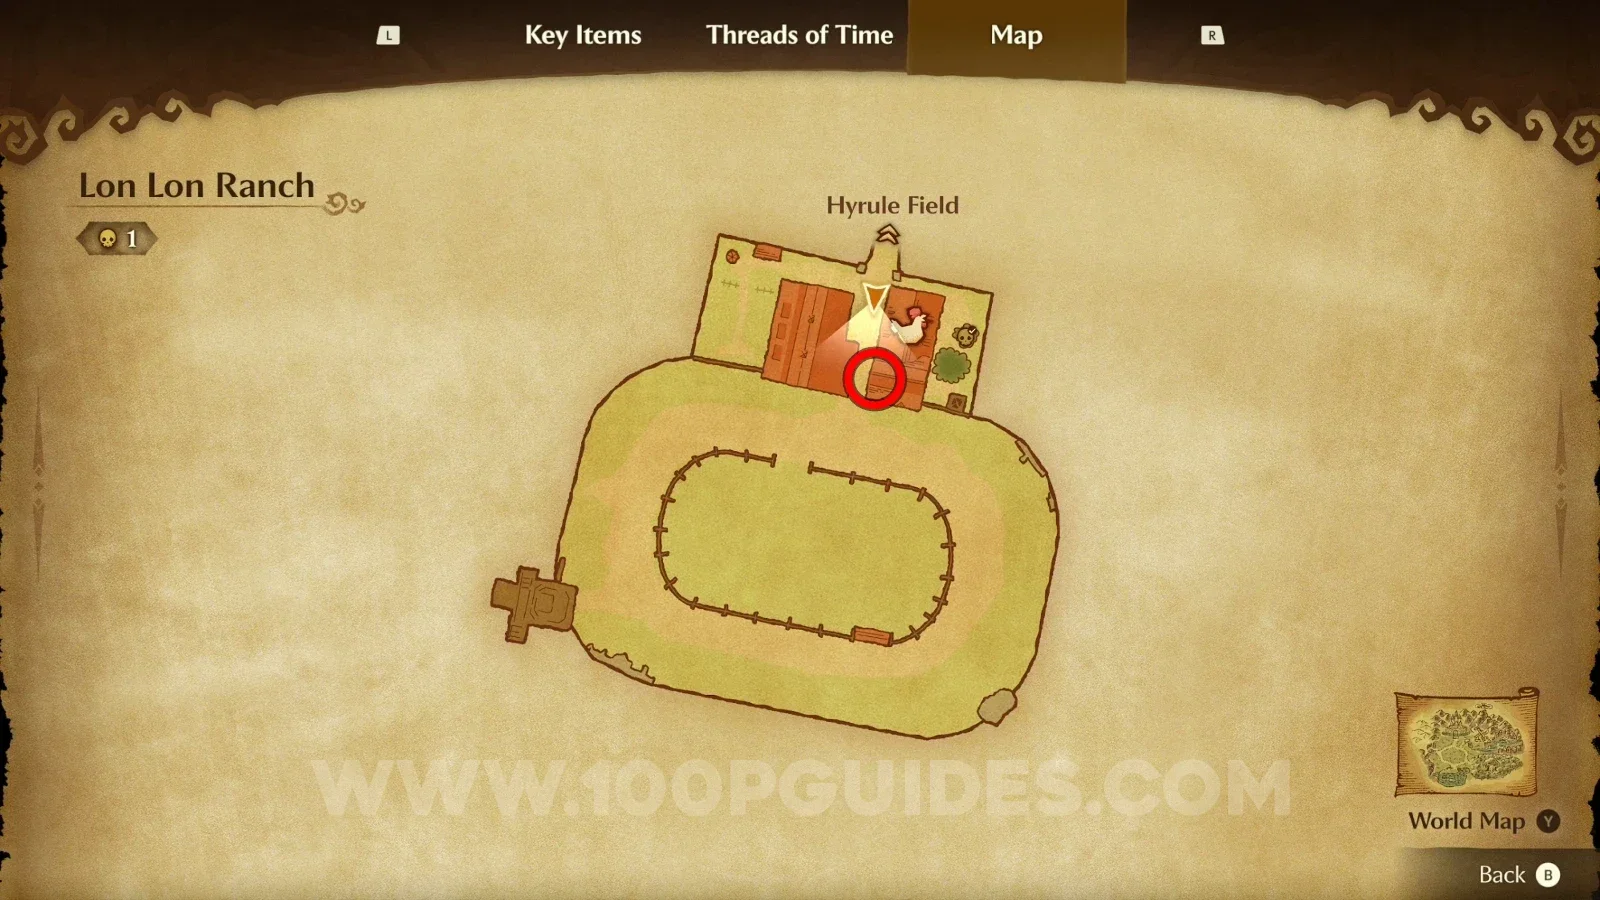
Turn left as soon as you enter the ranch and follow the path to find a tree. Roll into it to knock down the Gold Skulltula.

Zelda Ocarina of Time Remake Lon Lon Ranch: the path to the left of the entrance leading to the tree of Gold Skulltula #12 Zelda Ocarina of Time Remake Lon Lon Ranch: Gold Skulltula #12 knocked down by rolling into the tree

Gold Skulltula #13 (Nighttime)

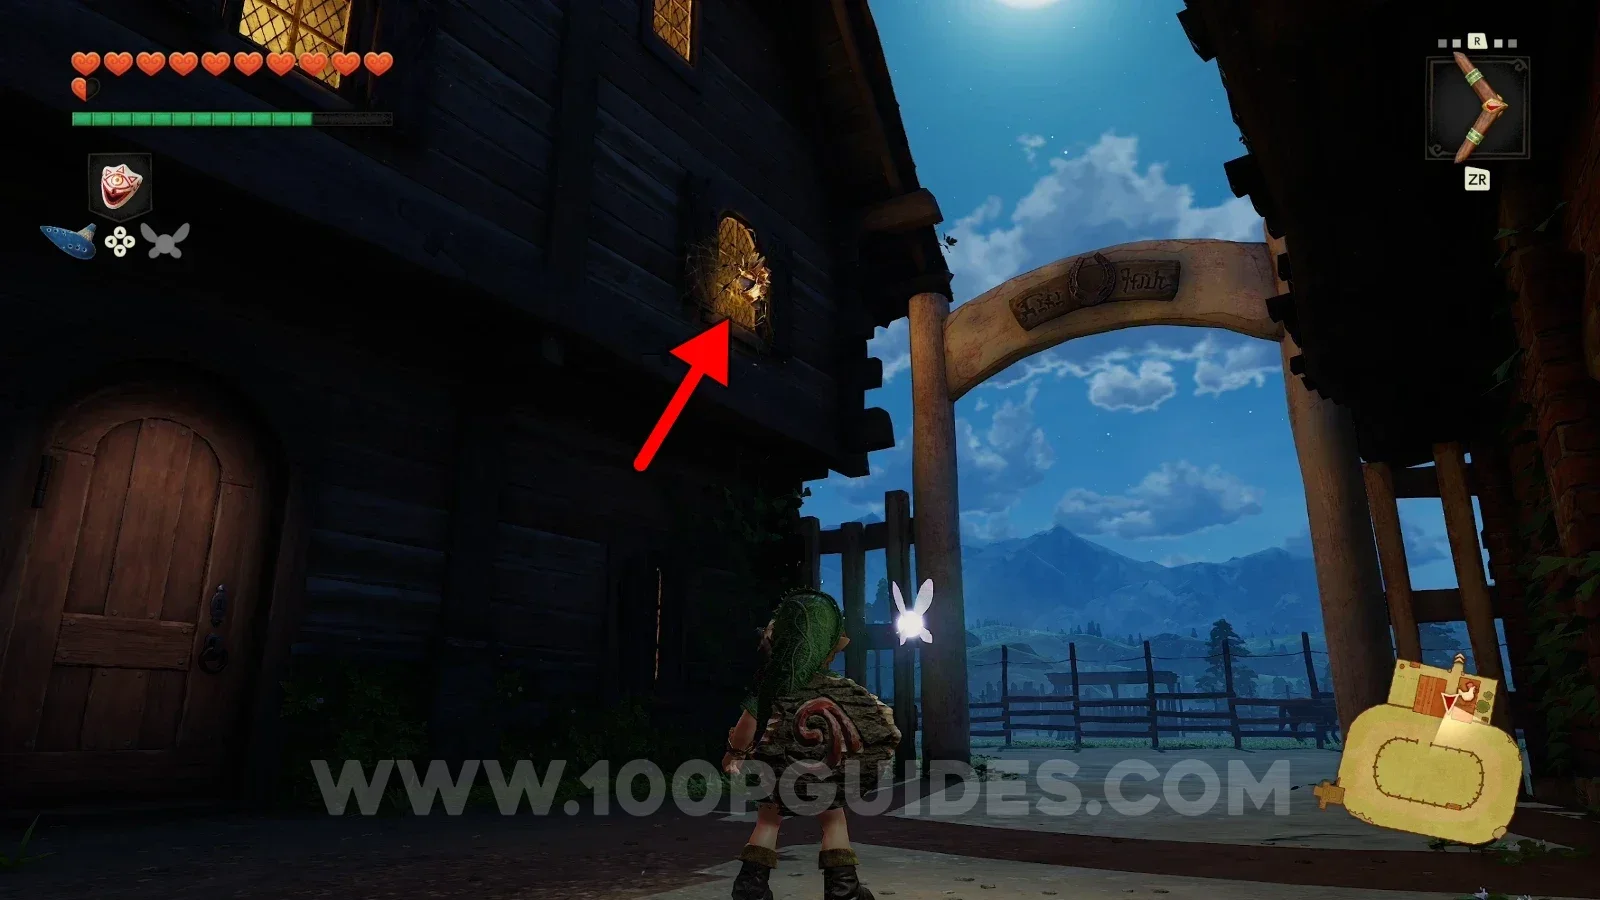
Enter Lon Lon Ranch and go straight while looking up at the windows of the building to your left. You'll find a Gold Skulltula on the window nearest the horseshoe sign.

Zelda Ocarina of Time Remake Lon Lon Ranch: the building windows near the horseshoe sign at night, Gold Skulltula #13 Zelda Ocarina of Time Remake Lon Lon Ranch: Gold Skulltula #13 on the window closer to the horseshoe sign

Gold Skulltula #14 (Nighttime)

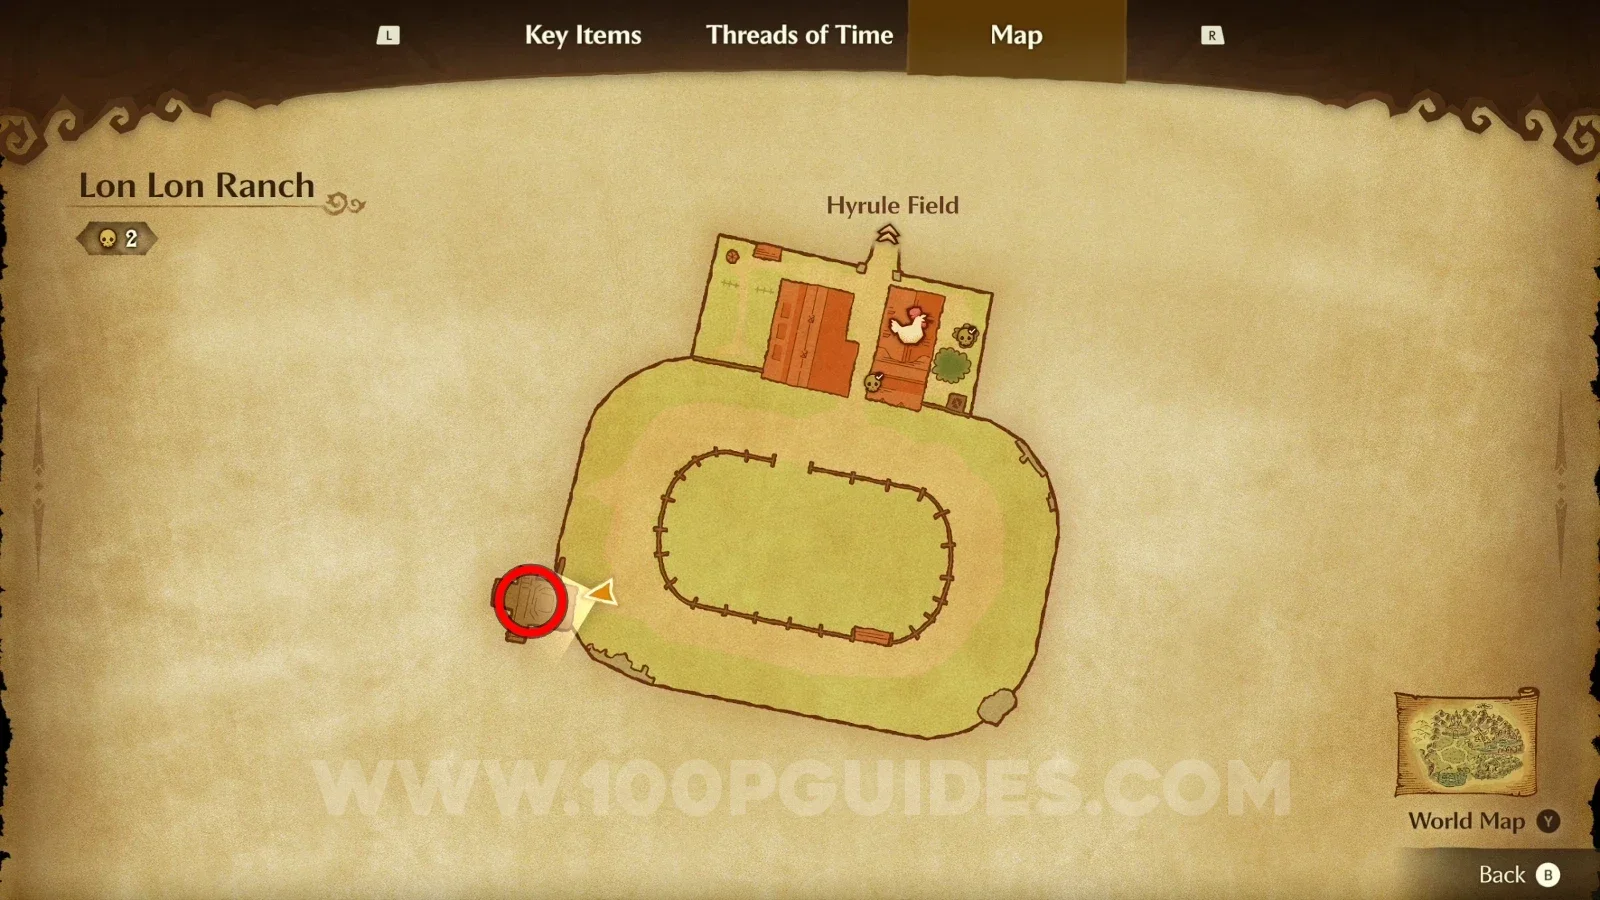
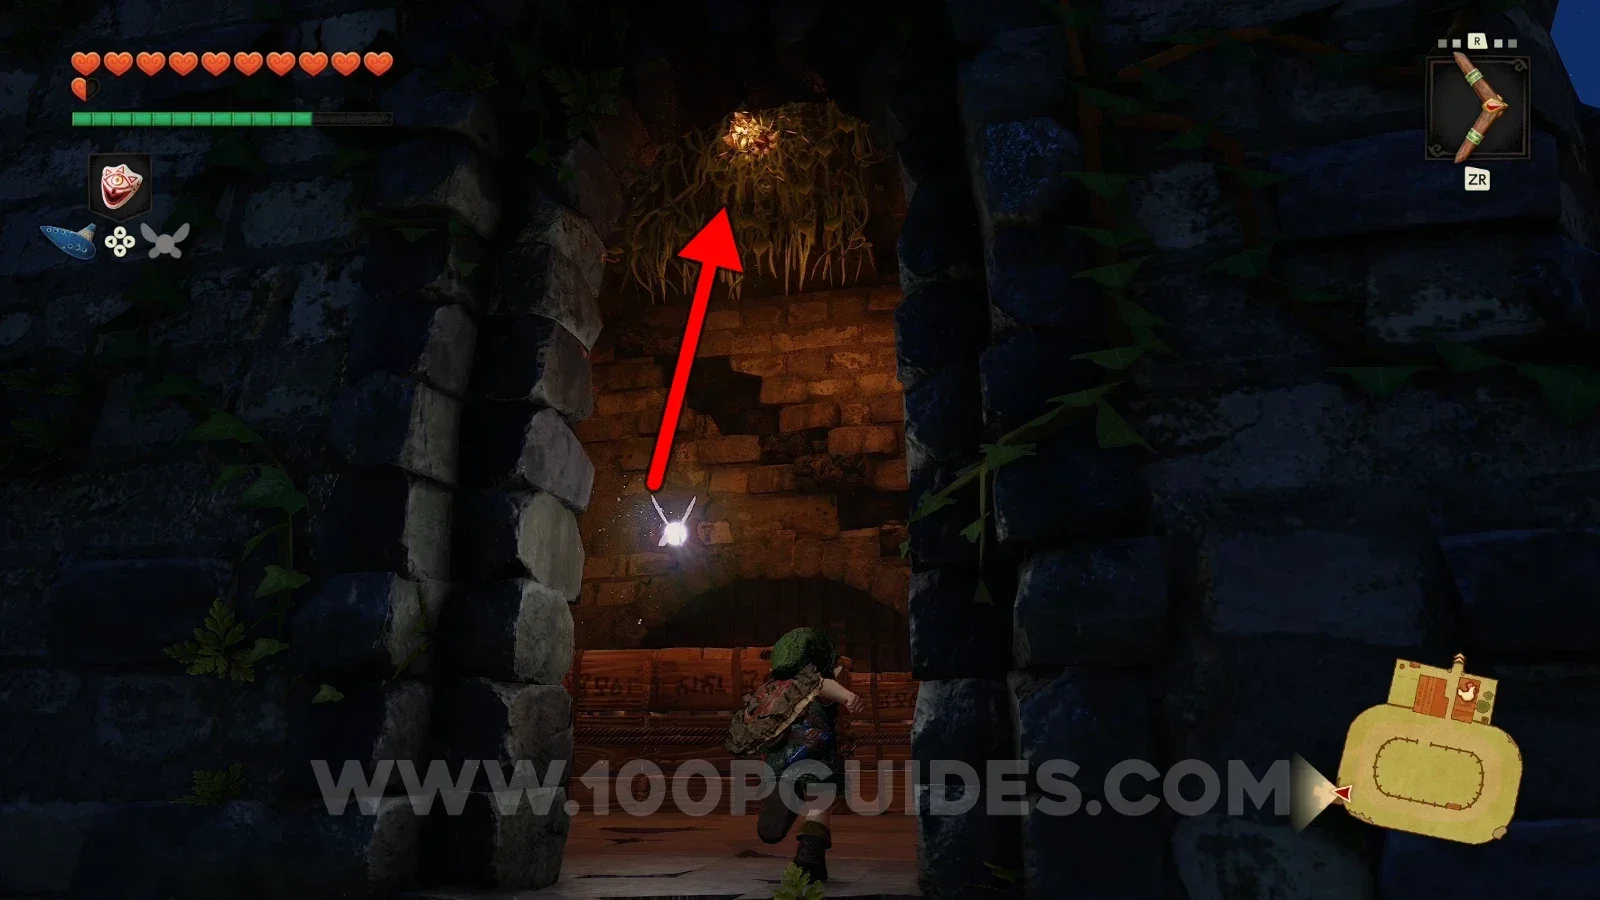
Enter the small building to the southwest and look up to find the Gold Skulltula on the vines.

Zelda Ocarina of Time Remake Lon Lon Ranch: the small southwest building at night, location of Gold Skulltula #14 Zelda Ocarina of Time Remake Lon Lon Ranch: Gold Skulltula #14 on the vines inside the small southwest building

Kakariko Village - Child Era

Gold Skulltula #15

Roll into the tree to knock down the Gold Skulltula.

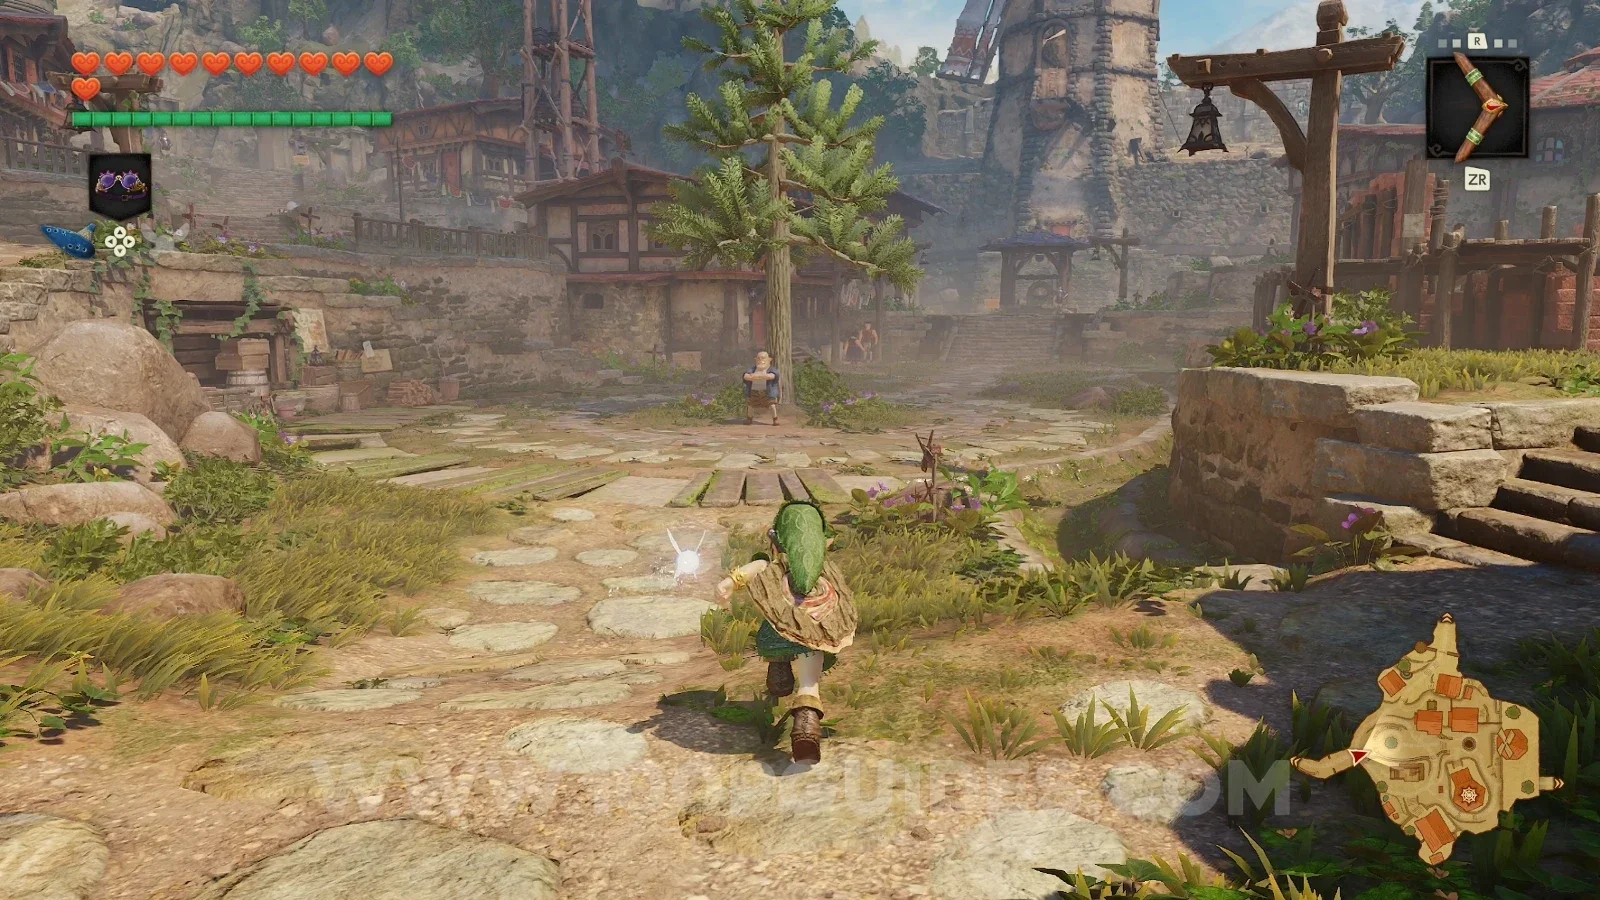
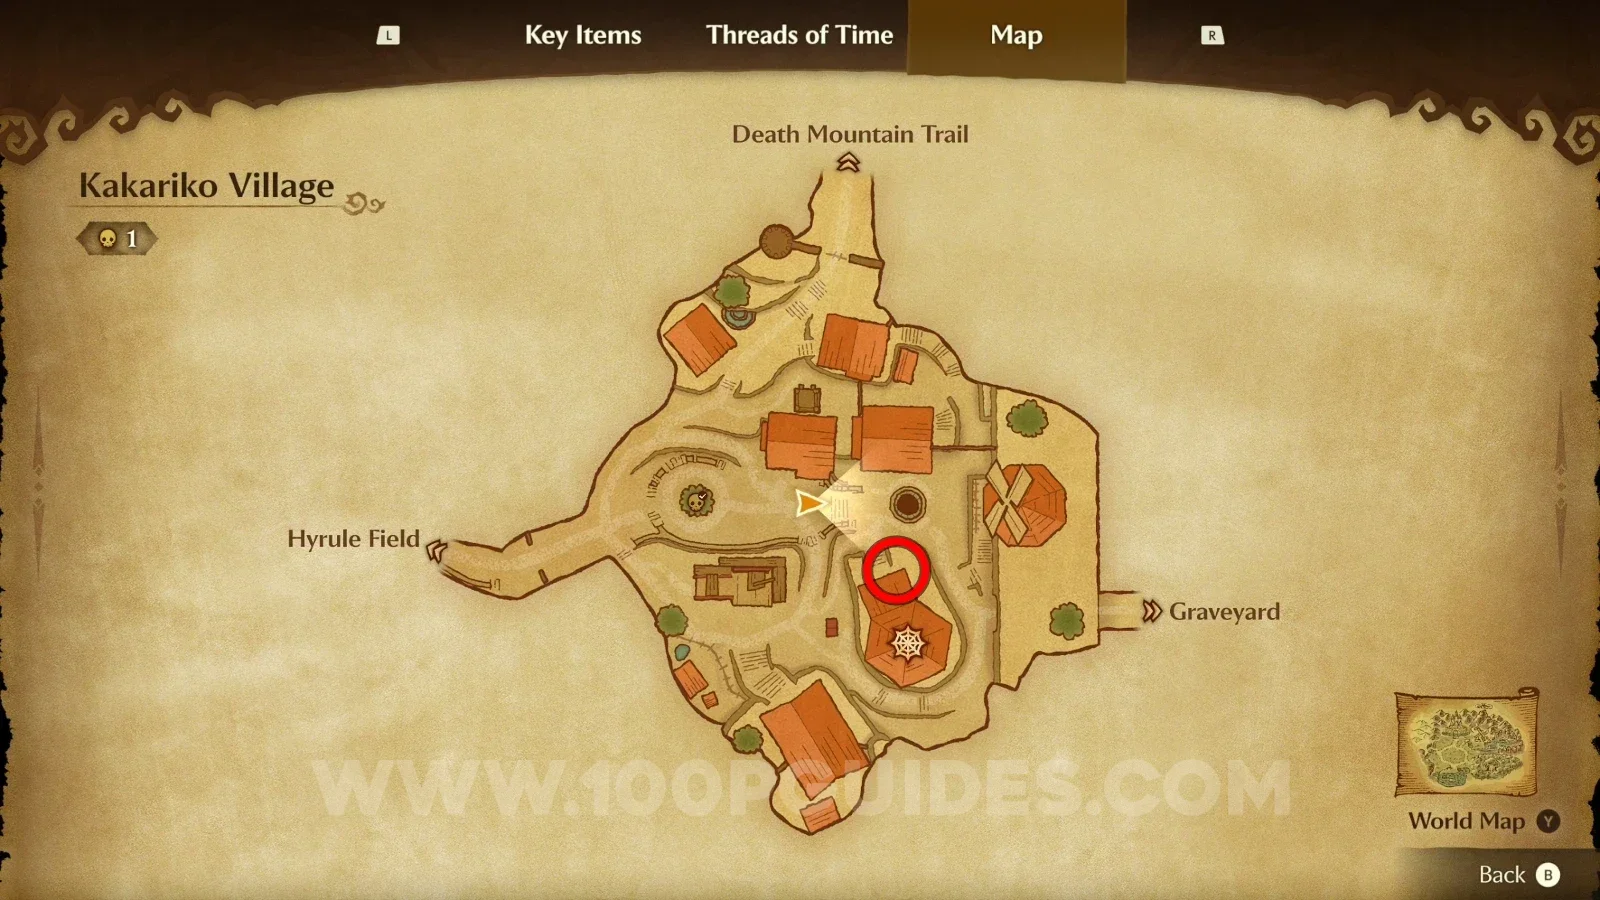
Zelda Ocarina of Time Remake Kakariko Village: the tree to roll into for Gold Skulltula #15 Zelda Ocarina of Time Remake Kakariko Village: Gold Skulltula #15 knocked down from the tree

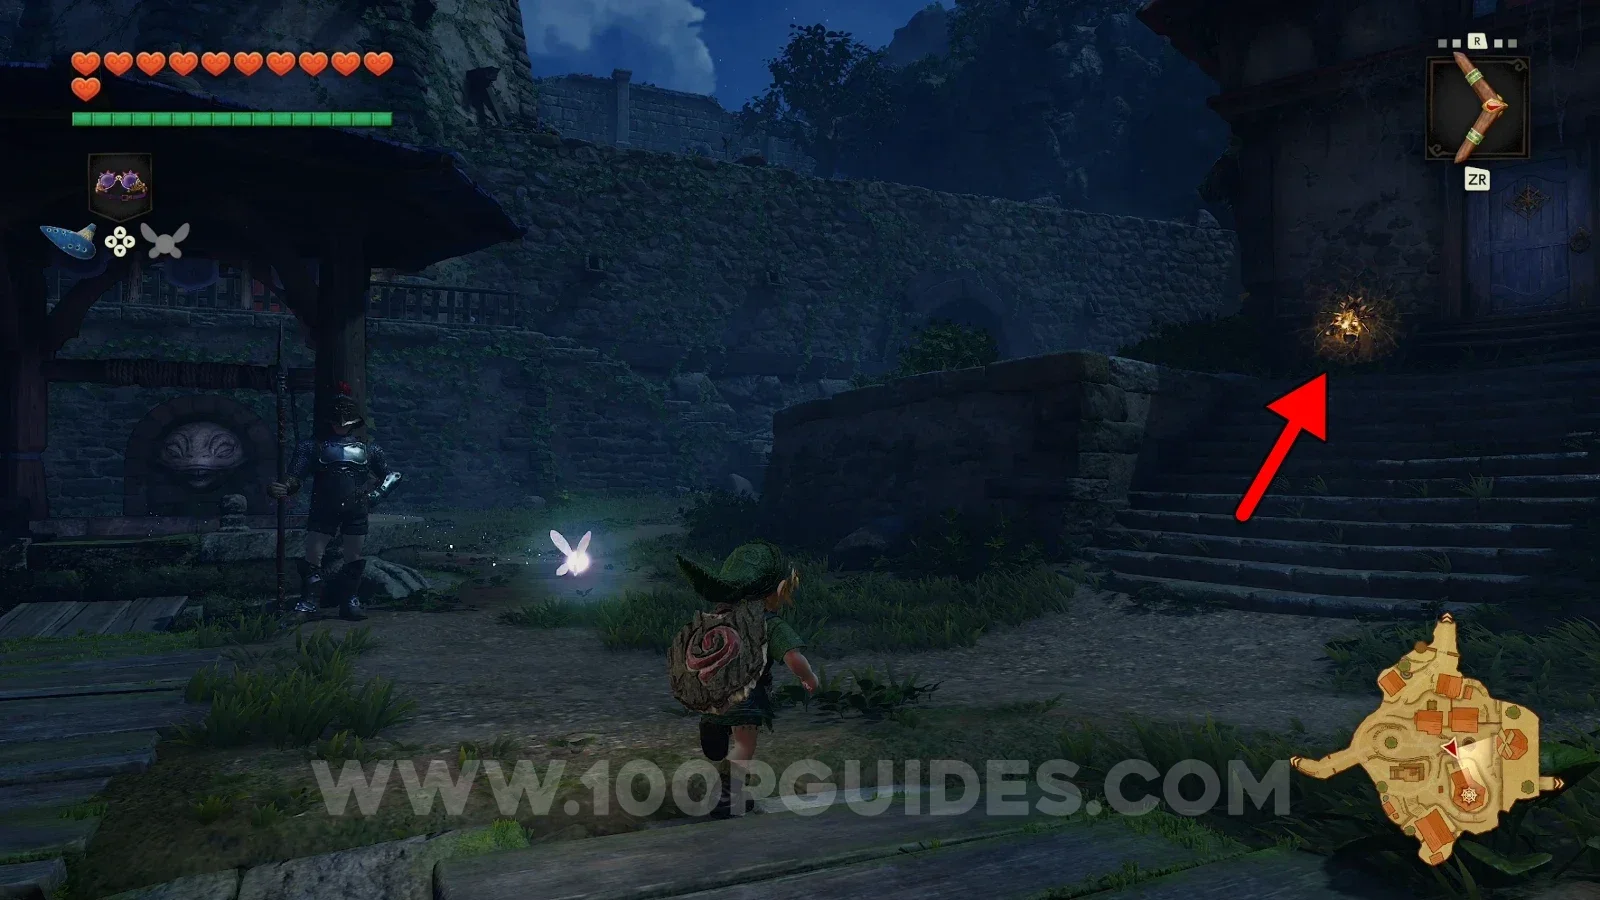
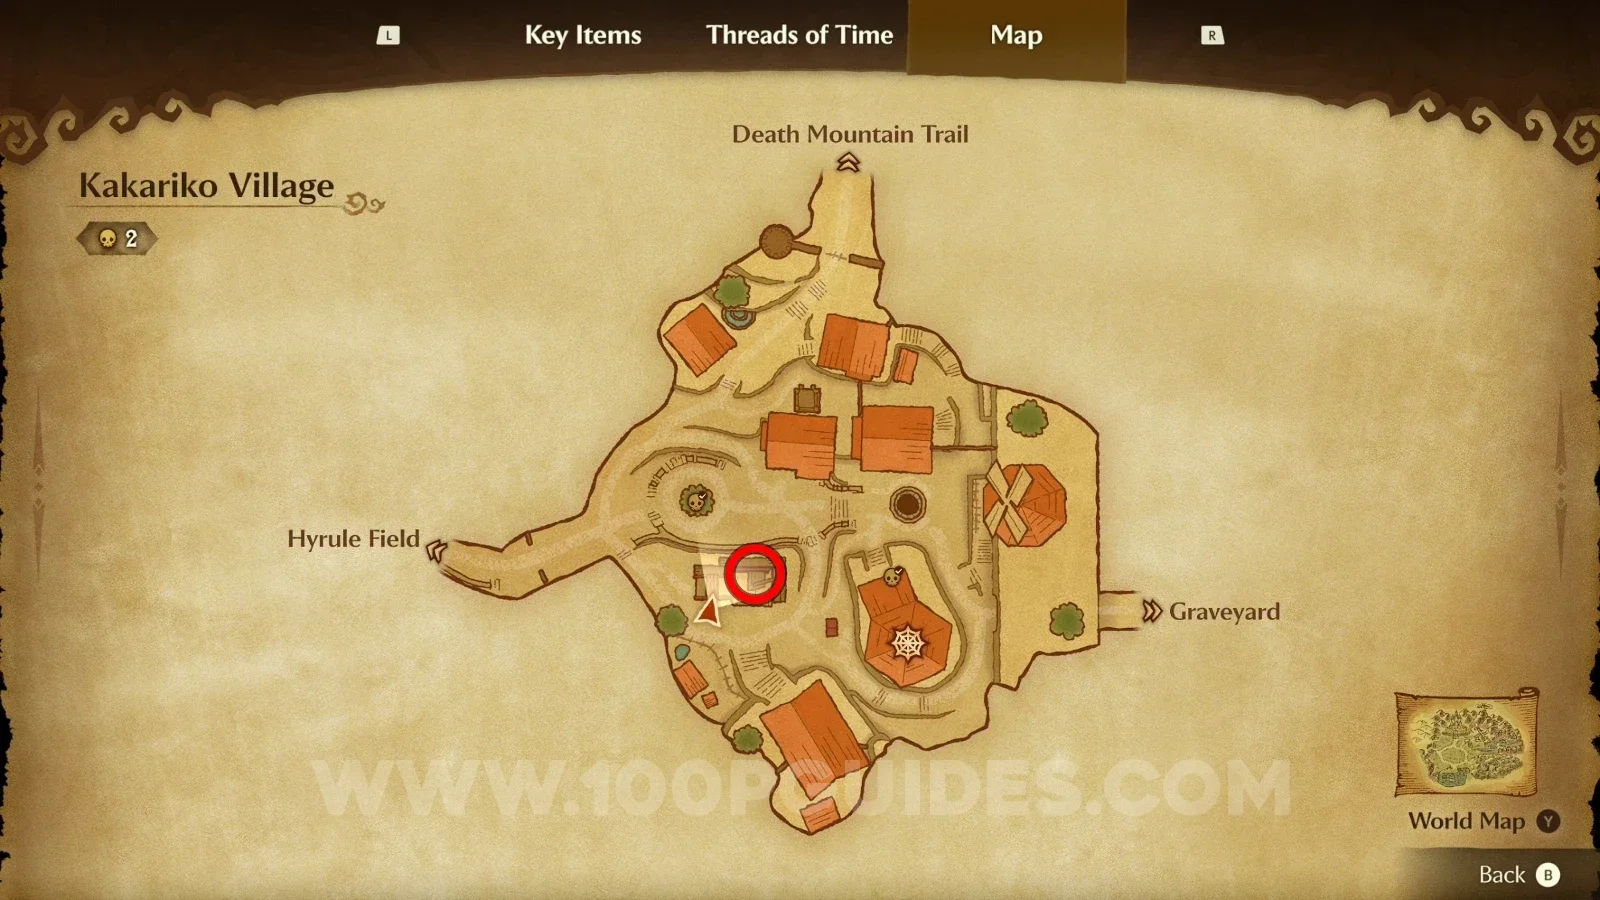
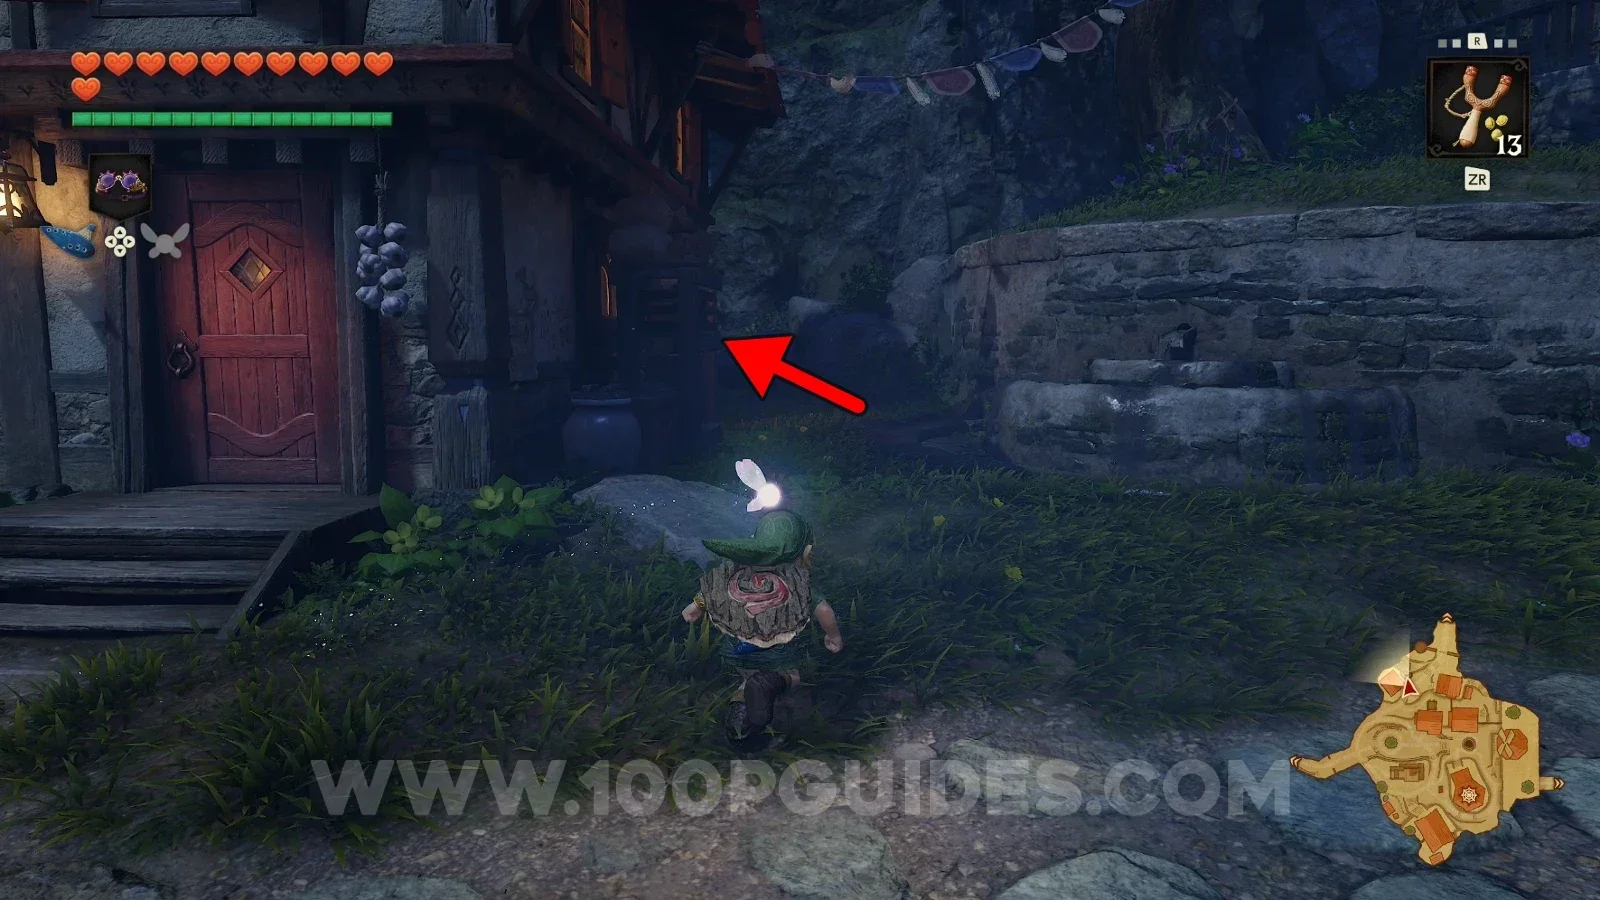
Gold Skulltula #16 (Nighttime)

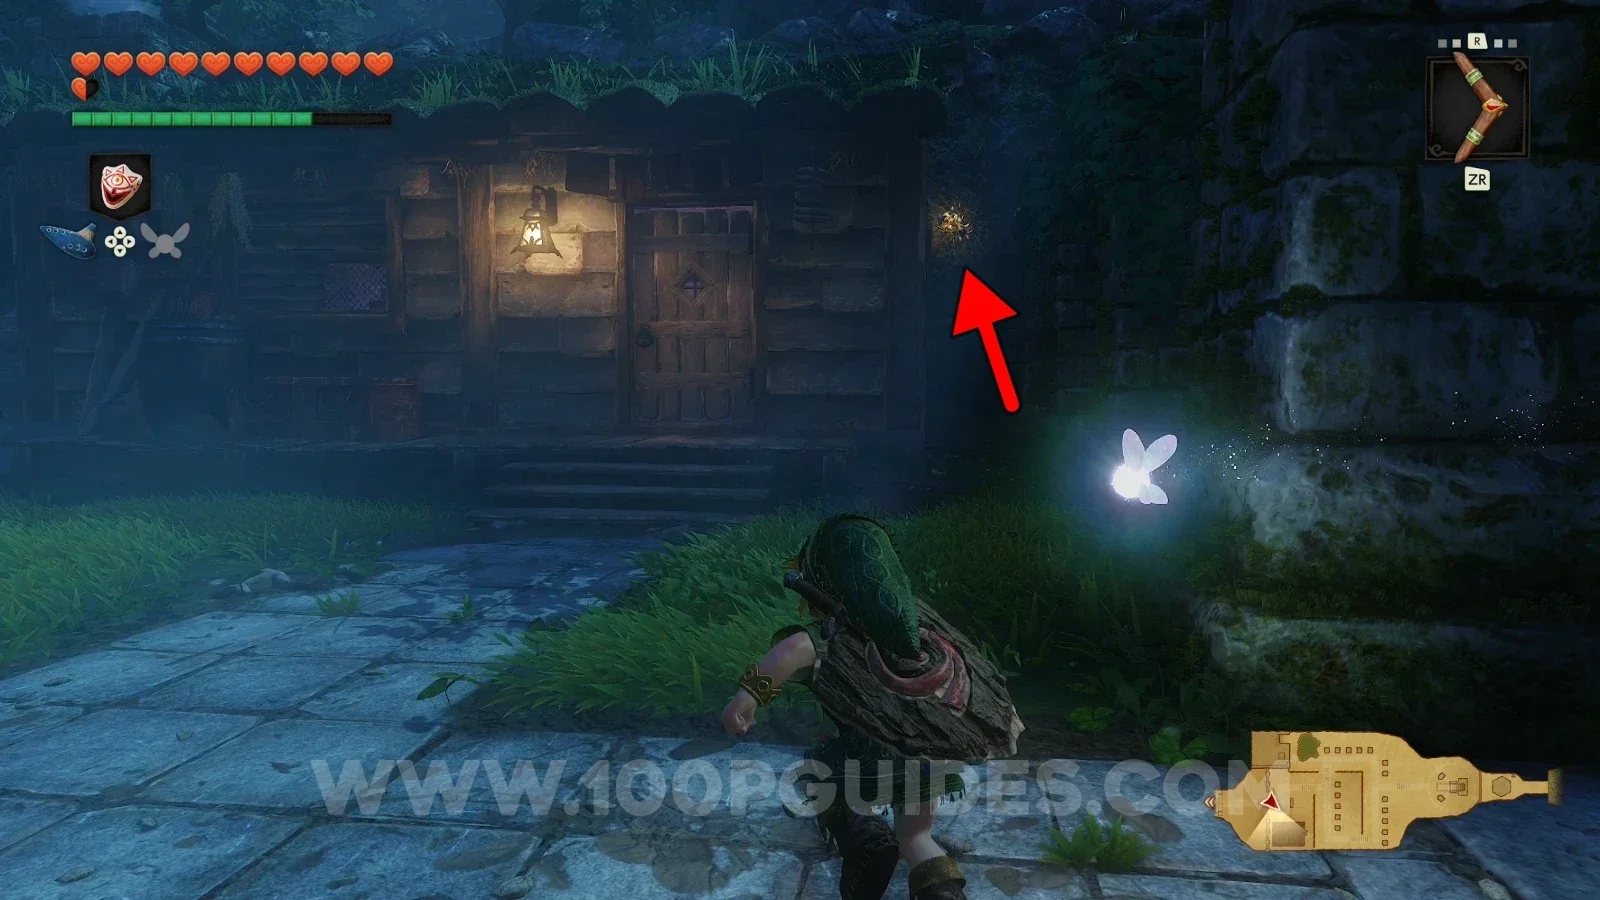
Next to the door of the building to the right of the well (this is the building where you can receive rewards depending on how many Gold Skulltulas you have found).

Zelda Ocarina of Time Remake Kakariko Village: the reward building right of the well at night, Gold Skulltula #16 Zelda Ocarina of Time Remake Kakariko Village: Gold Skulltula #16 next to the door of the reward building

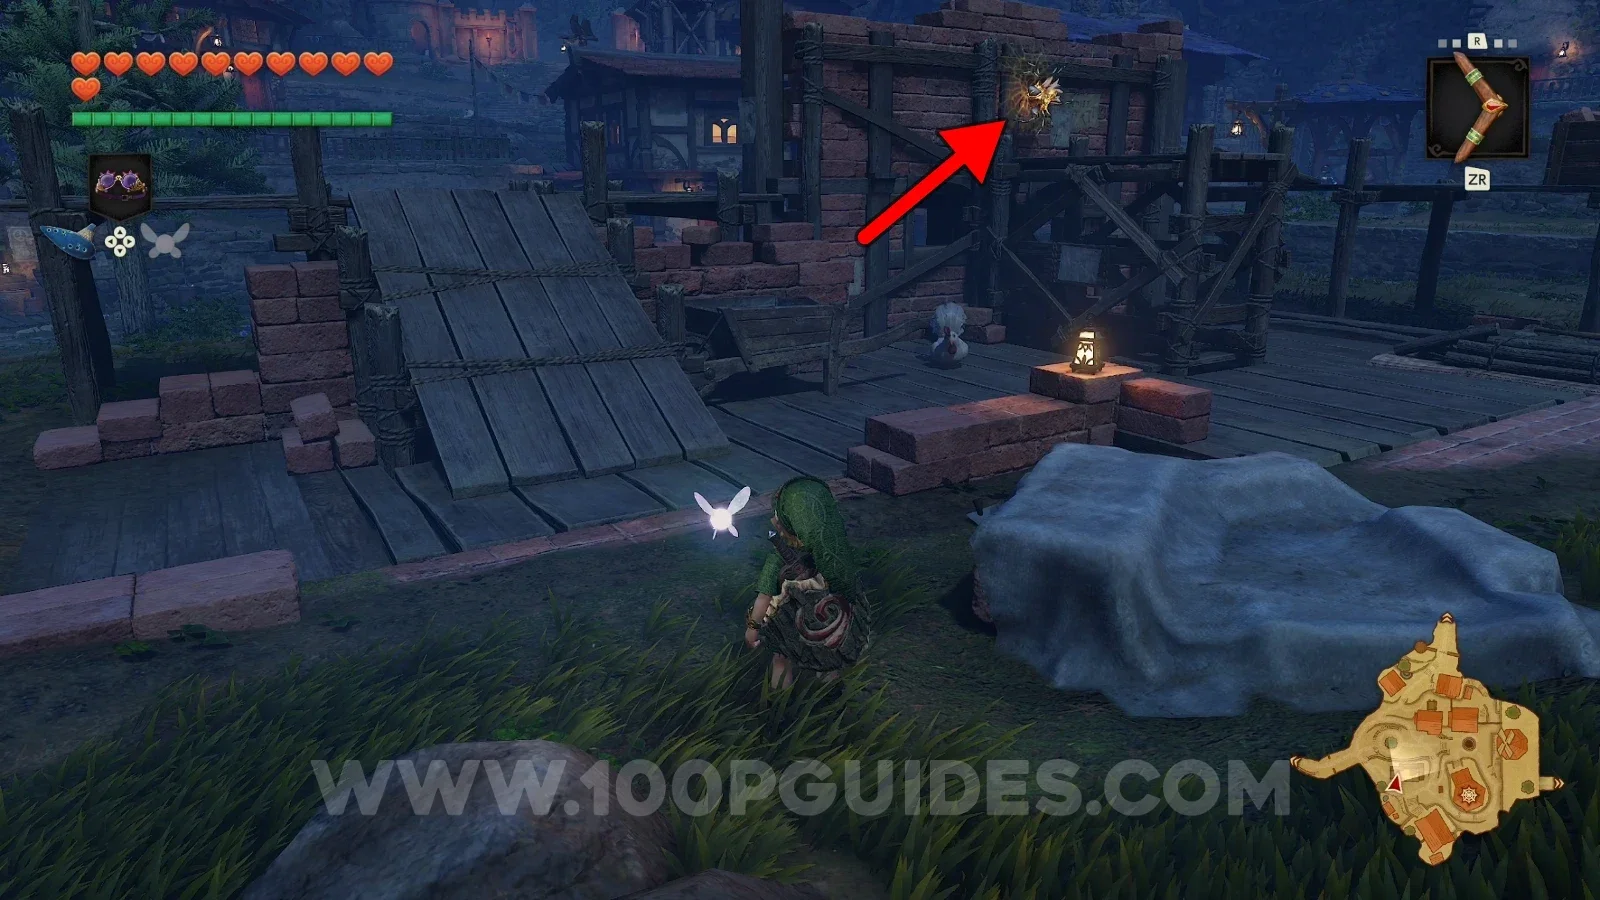
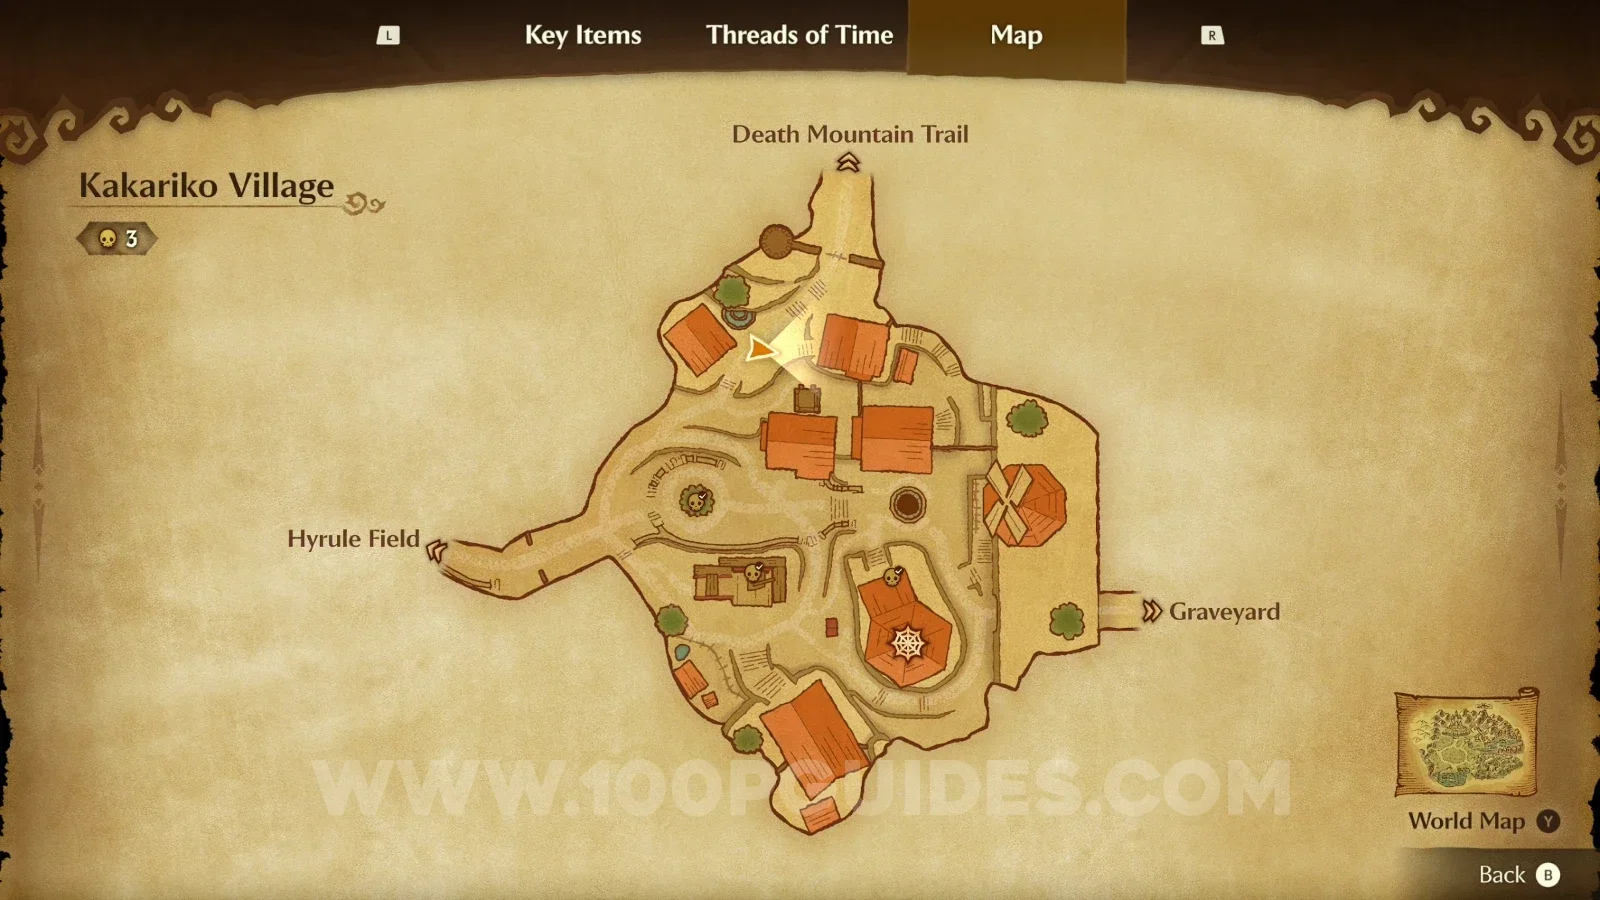
Gold Skulltula #17 (Nighttime)

On the brick wall above the wooden platform.

Zelda Ocarina of Time Remake Kakariko Village: the wooden platform below the brick wall of Gold Skulltula #17 Zelda Ocarina of Time Remake Kakariko Village: Gold Skulltula #17 on the brick wall above the wooden platform at night

Gold Skulltula #18 (Nighttime)

On the ladder of the watchtower.

Zelda Ocarina of Time Remake Kakariko Village: the watchtower at night, location of Gold Skulltula #18 Zelda Ocarina of Time Remake Kakariko Village: Gold Skulltula #18 on the ladder of the watchtower

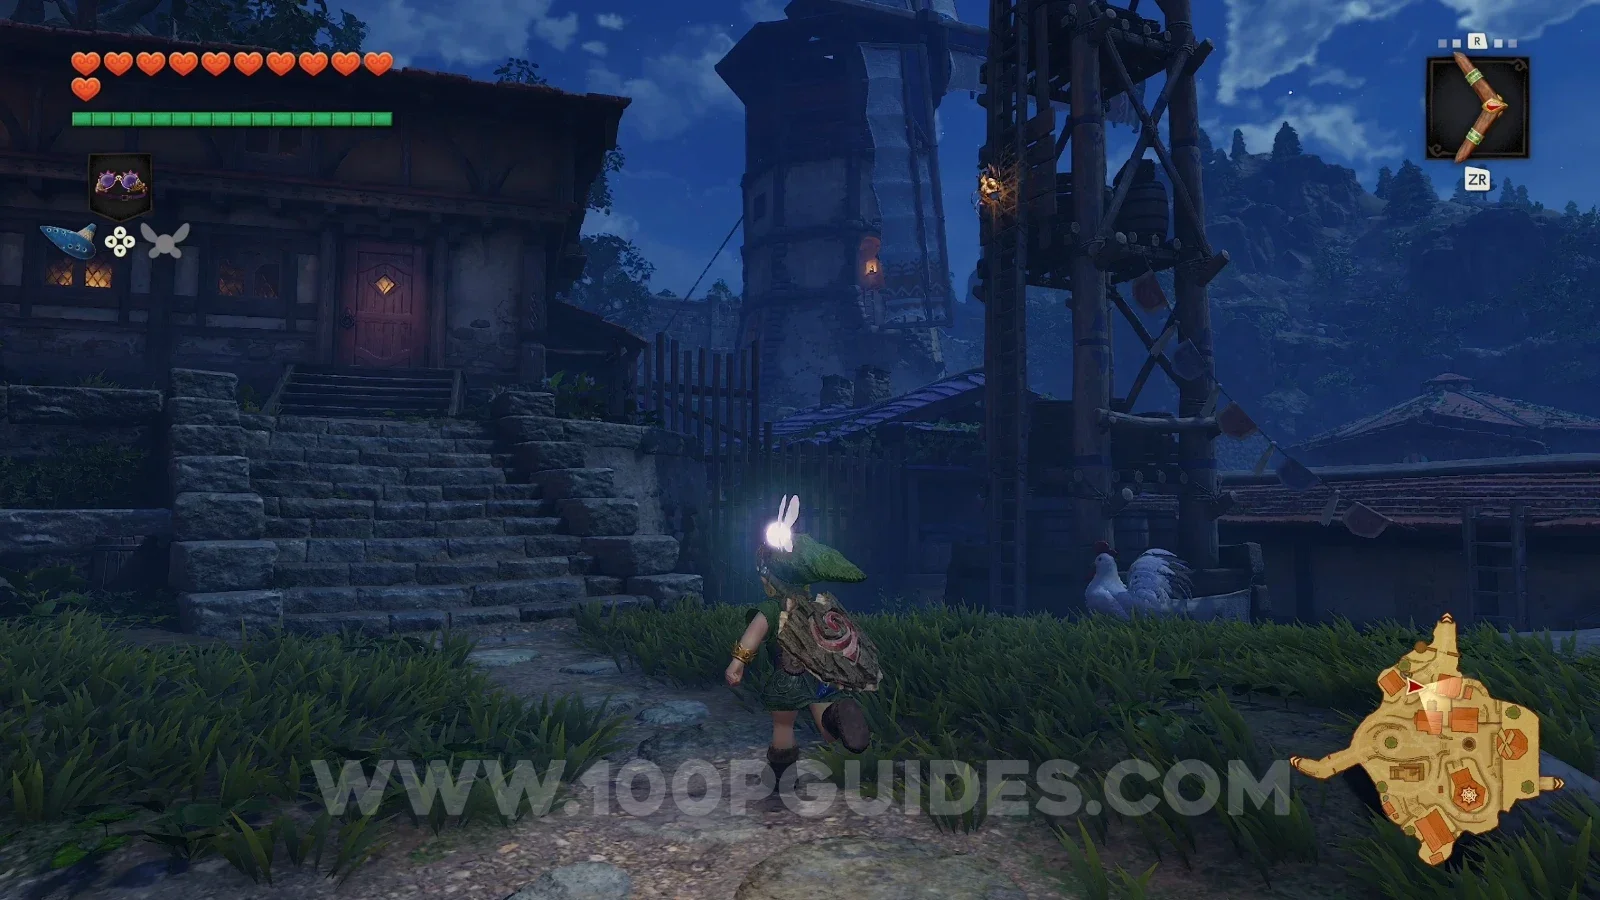
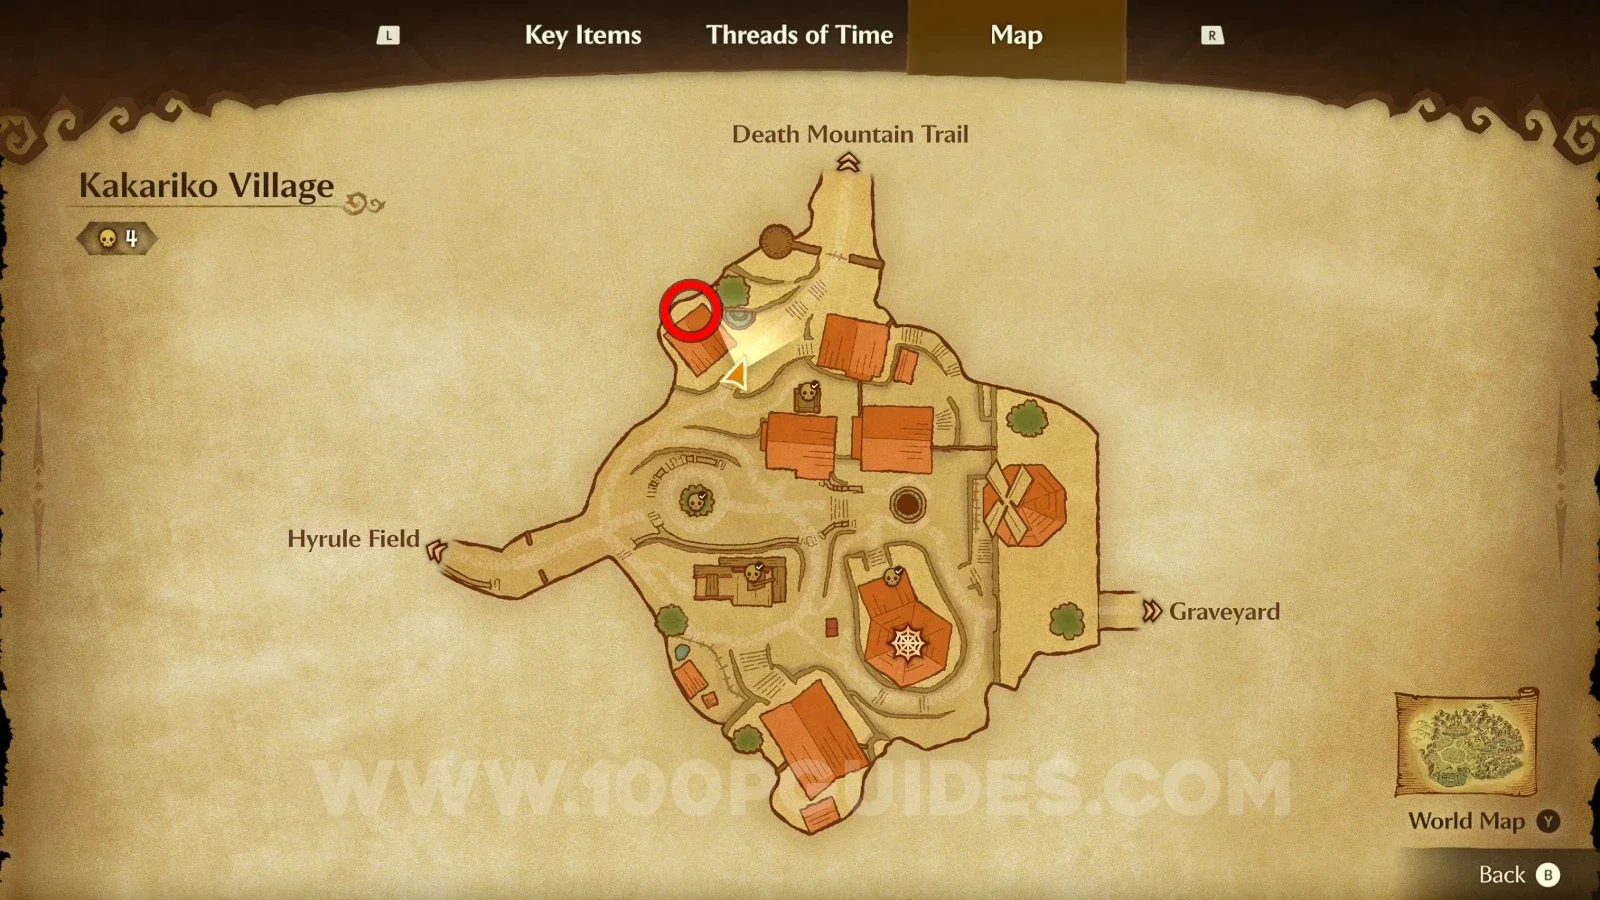
Gold Skulltula #19 (Nighttime)

Behind the building to the northwest of the village.

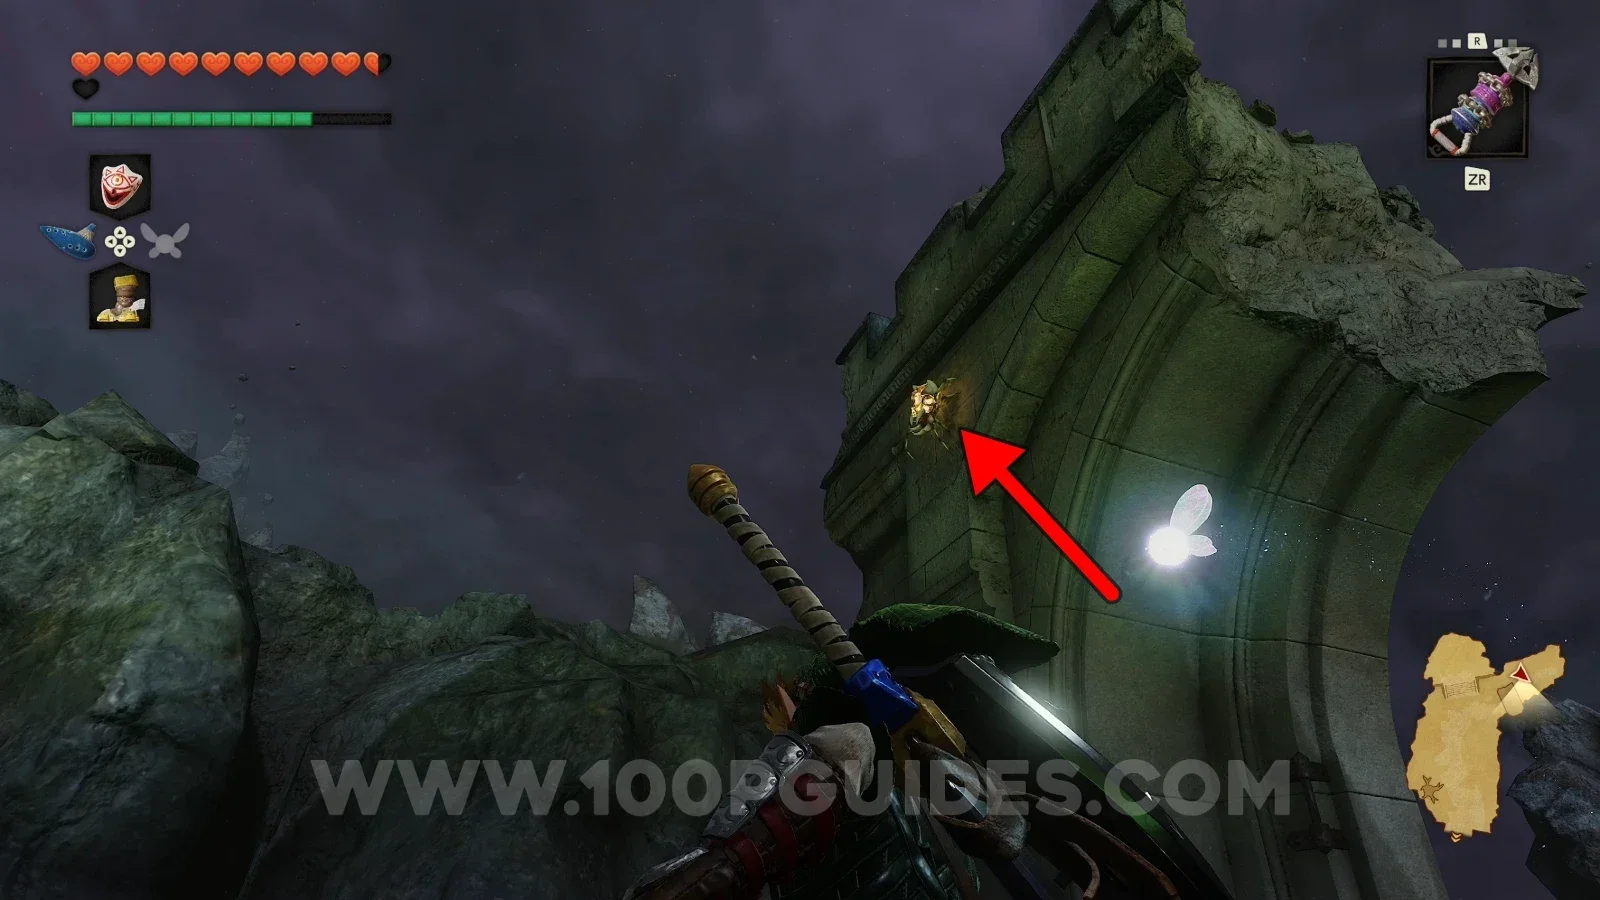
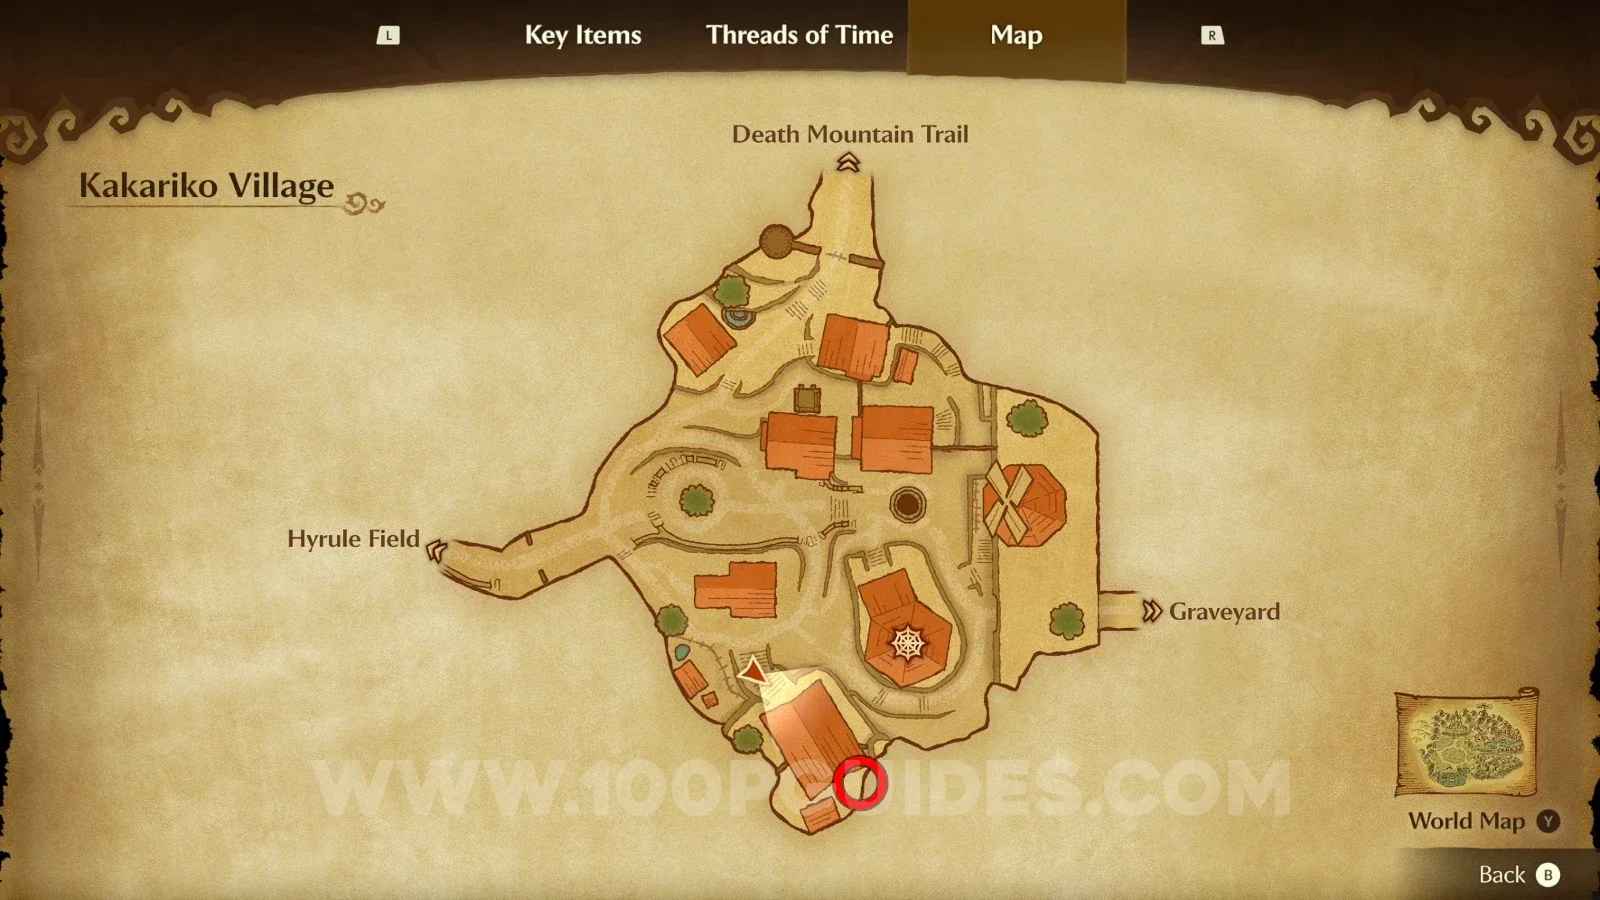
Zelda Ocarina of Time Remake Kakariko Village: the northwest building at night, hiding Gold Skulltula #19 Zelda Ocarina of Time Remake Kakariko Village: Gold Skulltula #19 behind the northwest building

Graveyard - Child Era

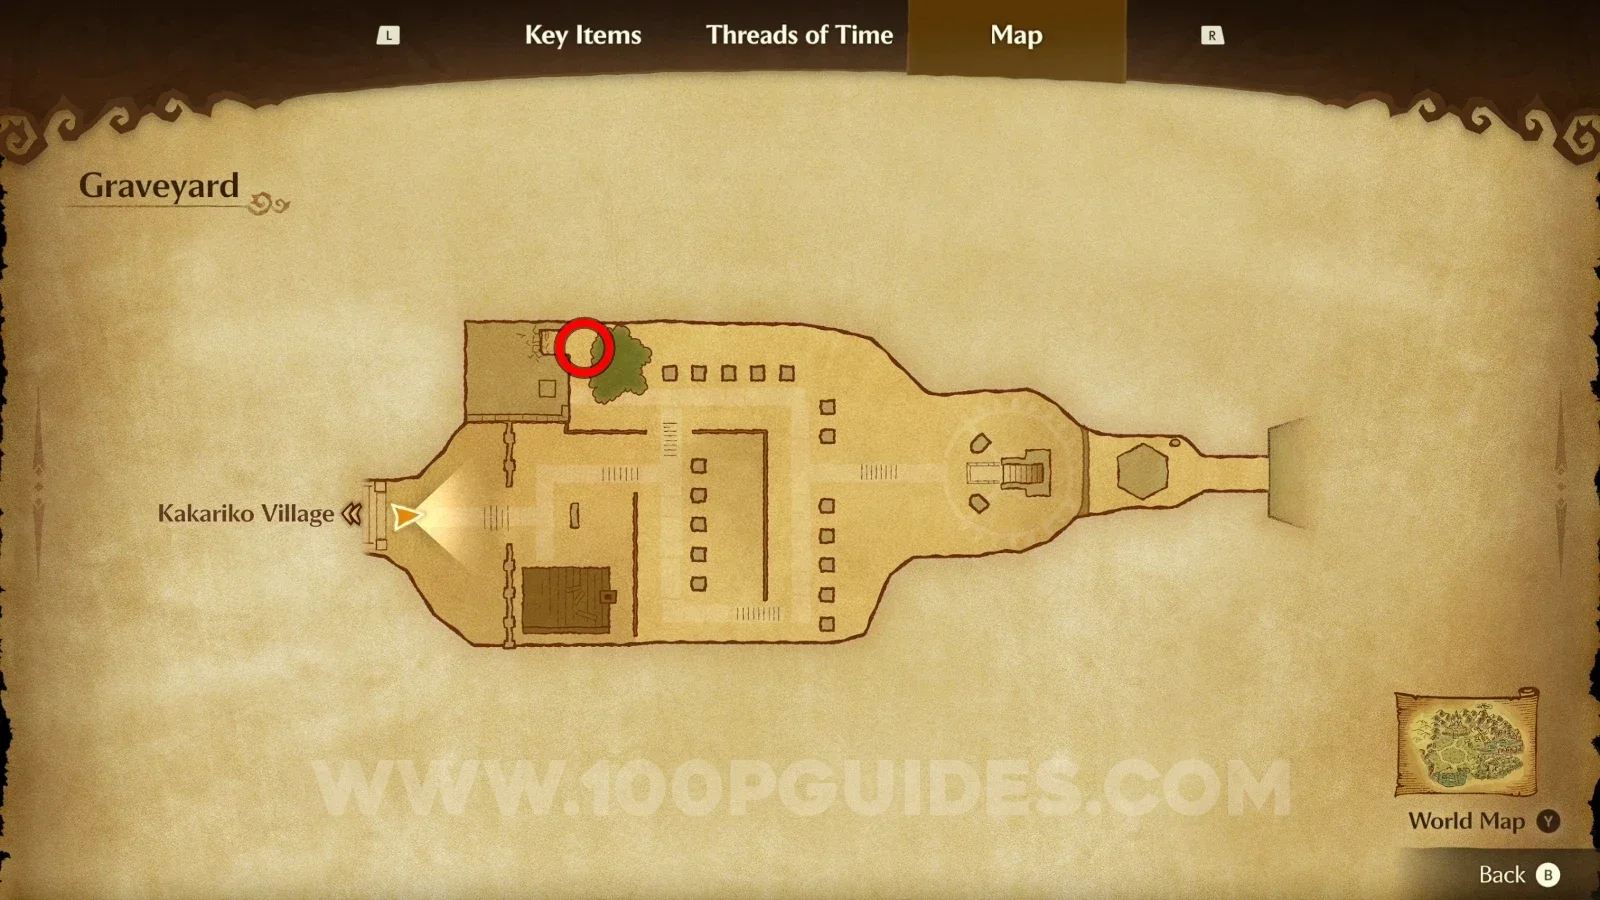
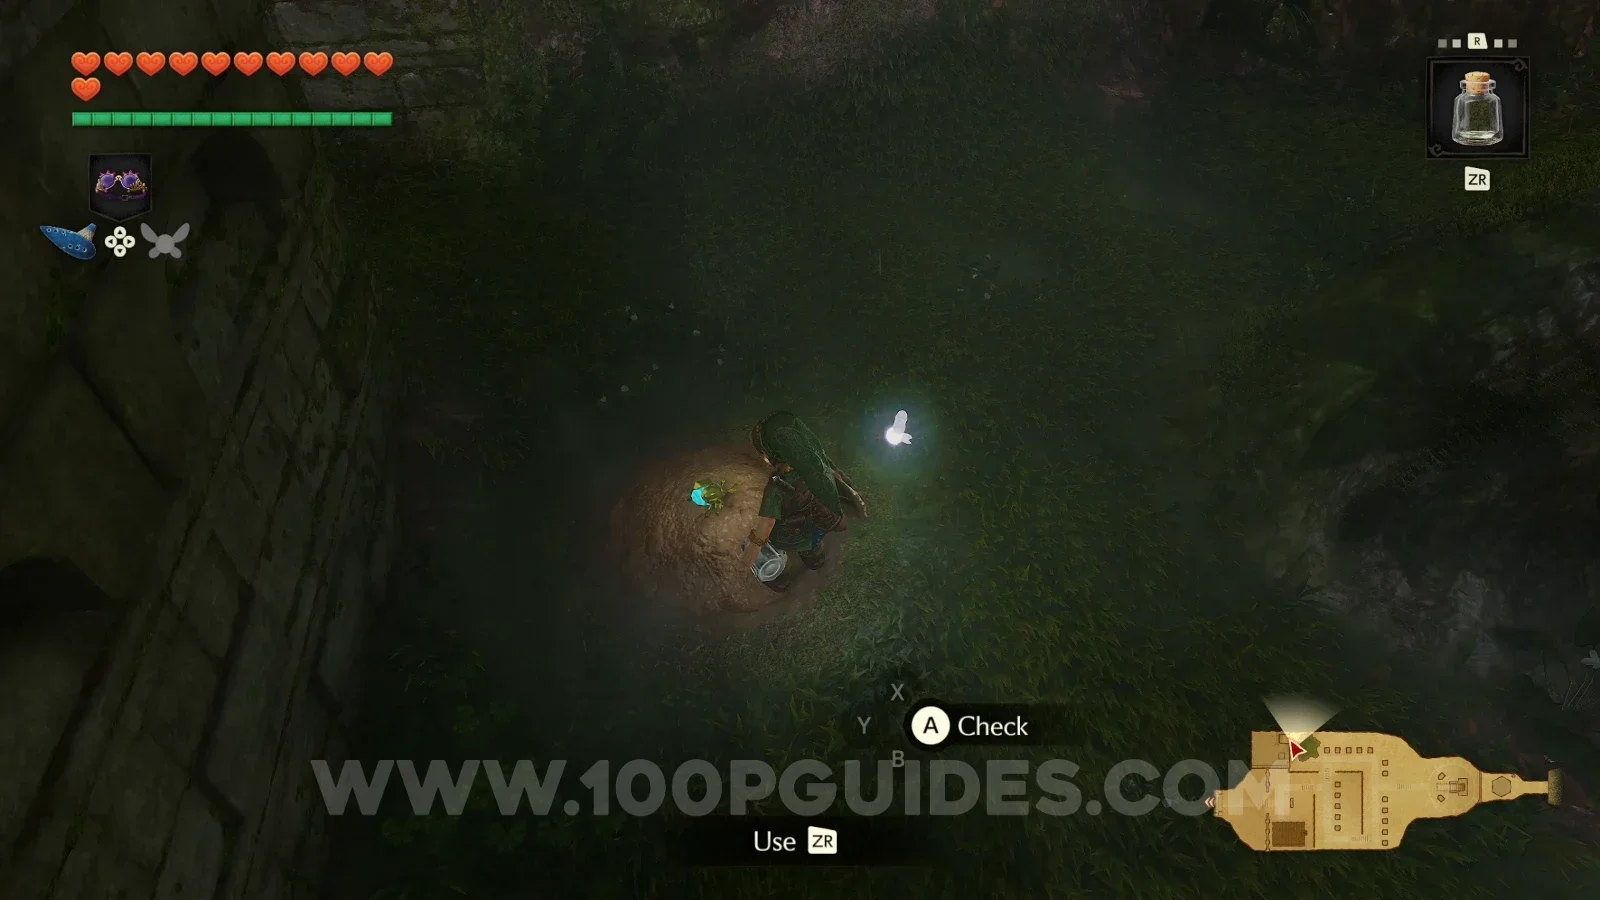
Gold Skulltula #20 (Nighttime)

Go up the stairs to the left and look left to find a soft soil patch next to the tree. Release a bug near the hole to reveal the Gold Skulltula.

Zelda Ocarina of Time Remake Graveyard: the soft soil patch next to the tree up the left stairs, Gold Skulltula #20 Zelda Ocarina of Time Remake Graveyard: Gold Skulltula #20 revealed by releasing a bug near the soft soil at night

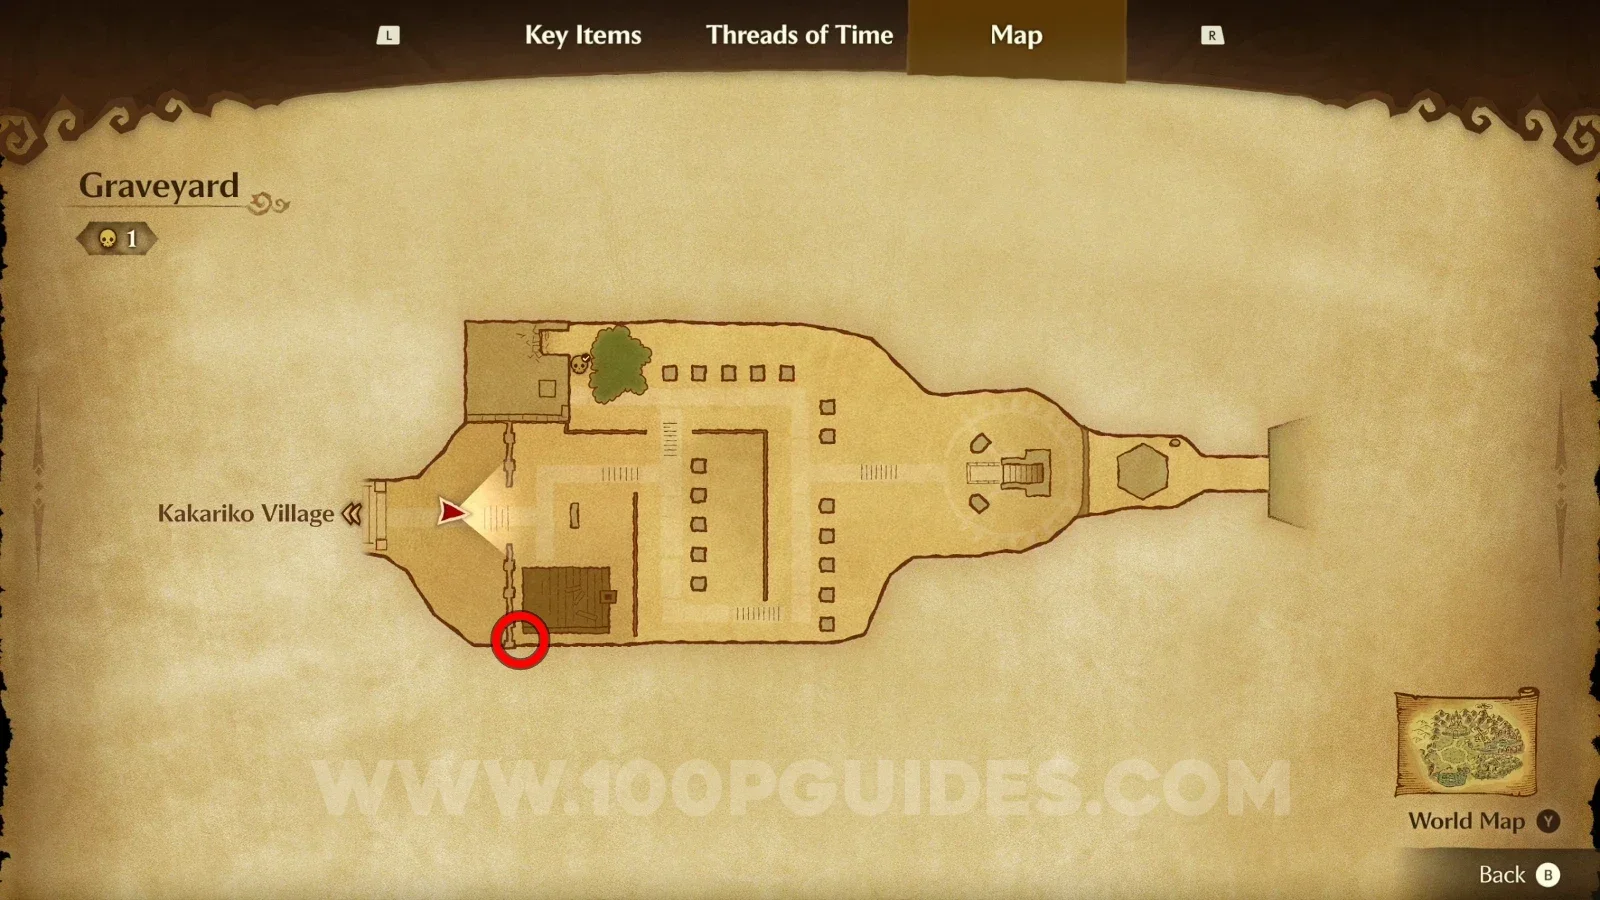
Gold Skulltula #21 (Nighttime)

Go up the short stairs leading to the wide stone tablet and look to the right to find the Gold Skulltula in the gap between the building and the wall.

Zelda Ocarina of Time Remake Graveyard: the short stairs leading to the wide stone tablet, Gold Skulltula #21 Zelda Ocarina of Time Remake Graveyard: Gold Skulltula #21 in the gap between the building and the wall

Lost Woods - Child Era

Gold Skulltula #22

Enter the Lost Woods from Kokiri Forest, then go left and left again to find a soft soil patch. Release a bug near the hole to reveal the Gold Skulltula.

Zelda Ocarina of Time Remake Lost Woods: the soft soil patch reached by going left twice, Gold Skulltula #22 Zelda Ocarina of Time Remake Lost Woods: Gold Skulltula #22 revealed by releasing a bug near the soft soil

Gold Skulltula #23

Enter the Lost Woods from Kokiri Forest, then go right > left > right > left then left once more to reach an area with two Big Deku Scrubs and a soft soil patch. Release a bug near the hole to reveal the Gold Skulltula.

Zelda Ocarina of Time Remake Lost Woods: the area with two Big Deku Scrubs and a soft soil patch, Gold Skulltula #23 Zelda Ocarina of Time Remake Lost Woods: Gold Skulltula #23 revealed by a bug near the soft soil by the Deku Scrubs

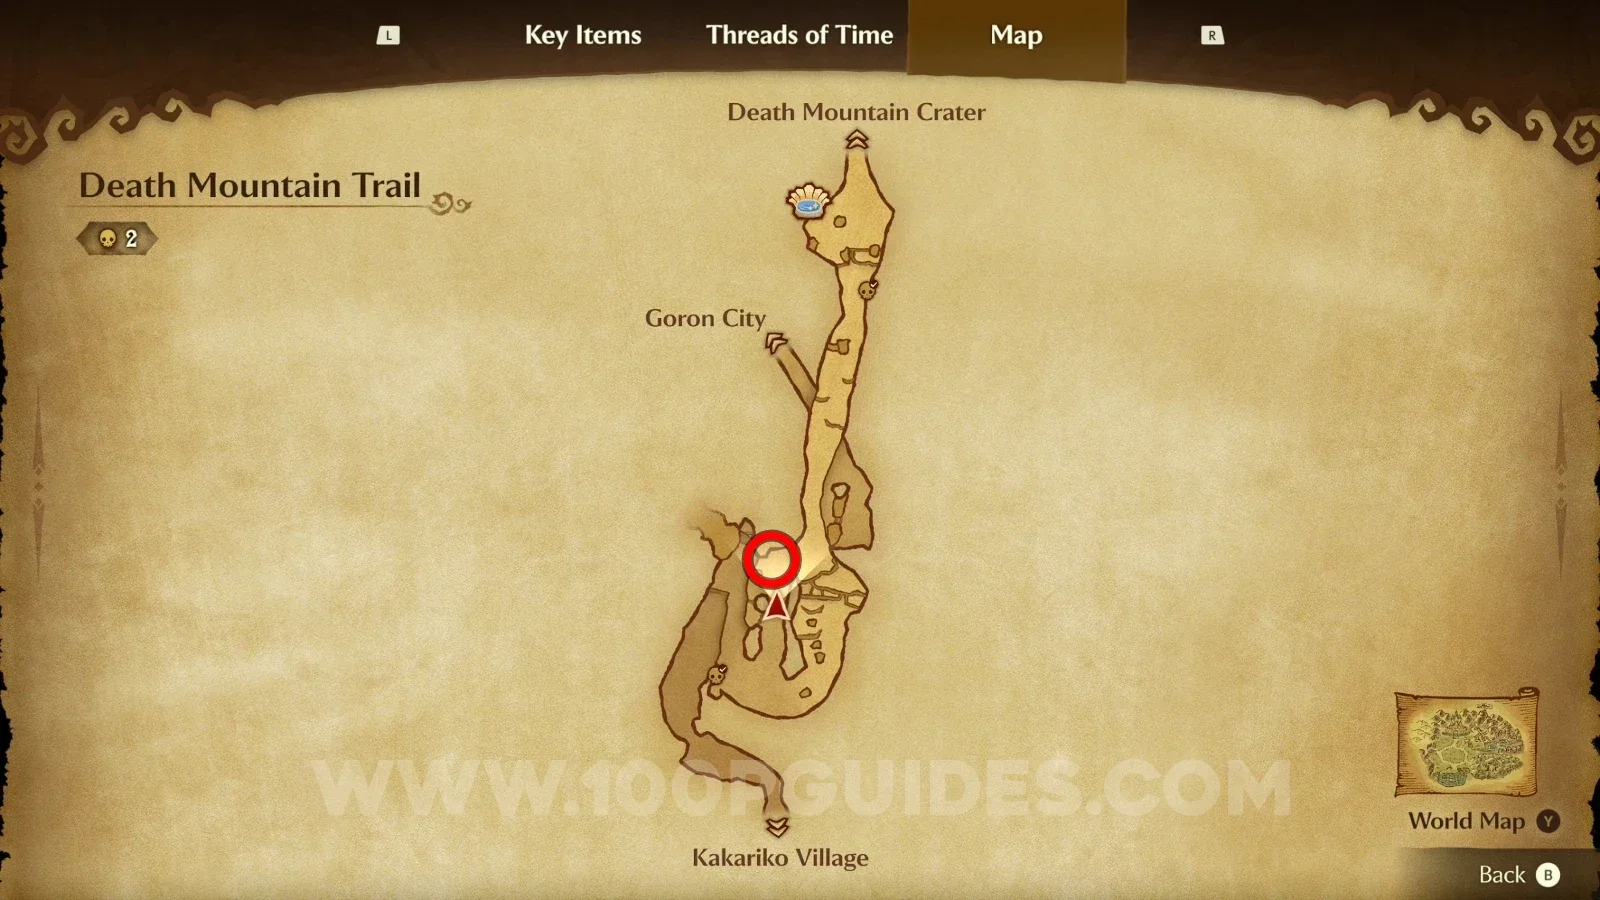
Death Mountain Trail - Child Era

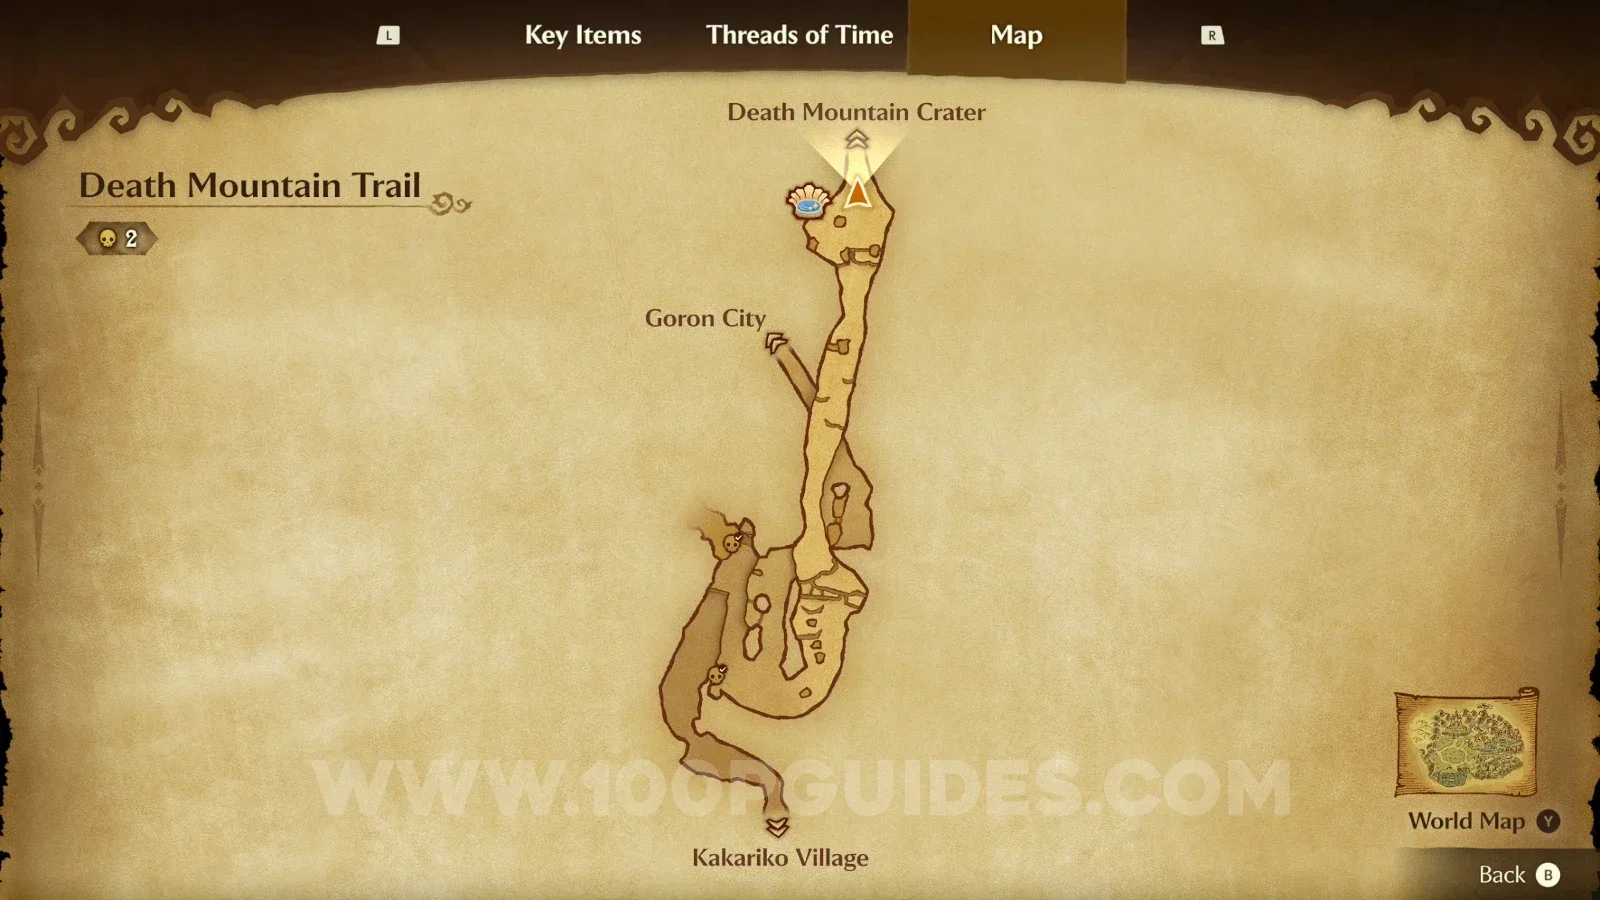
Gold Skulltula #24

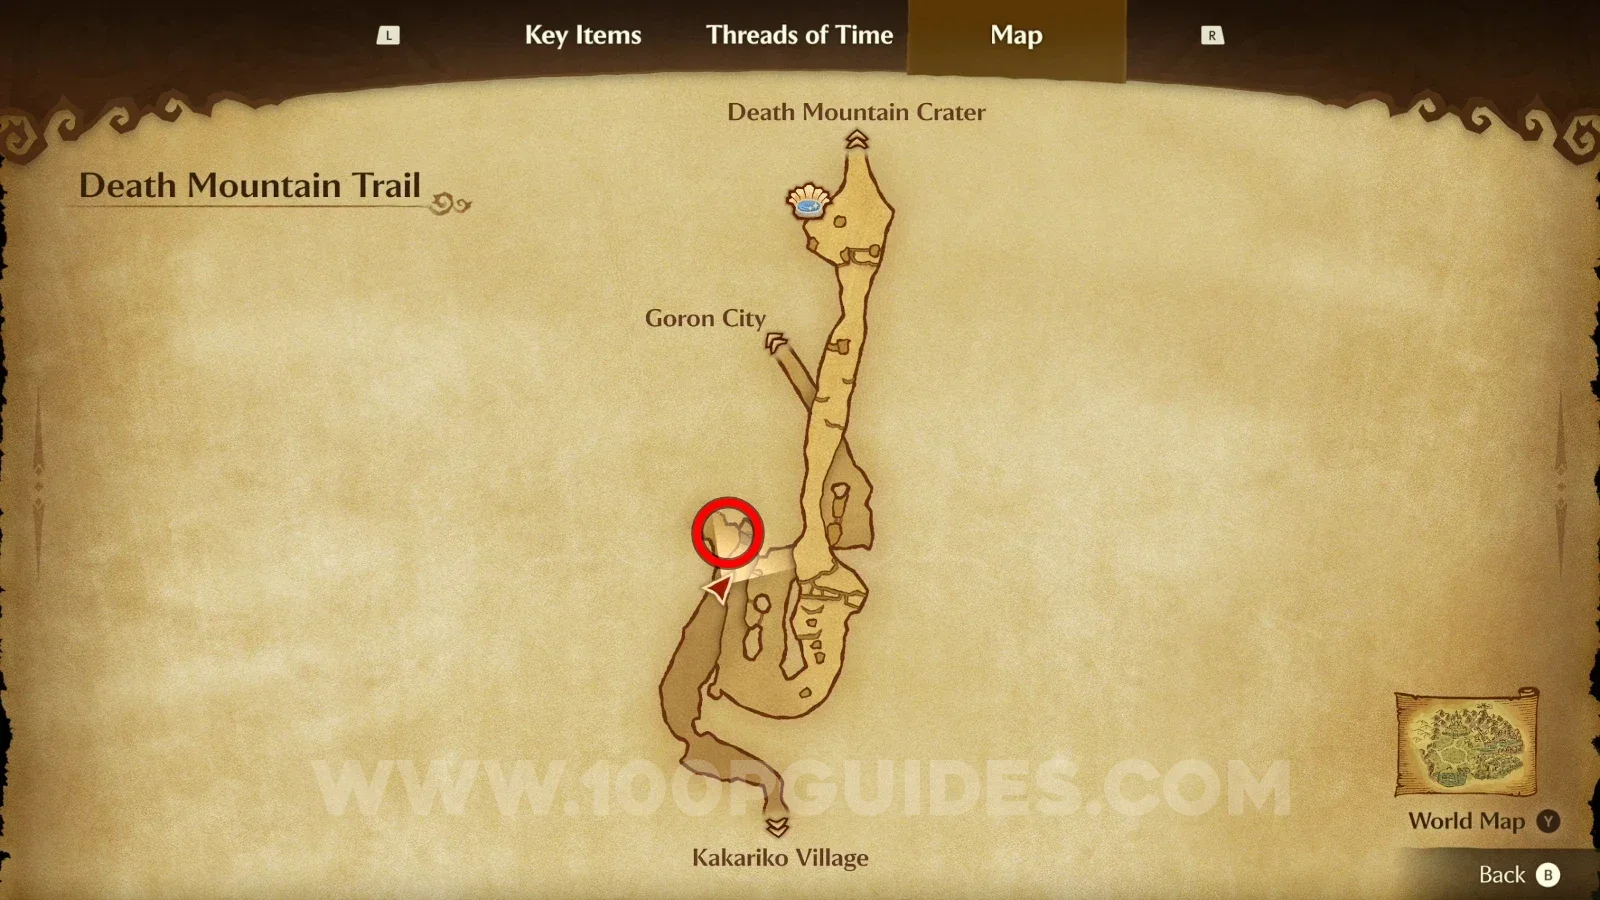
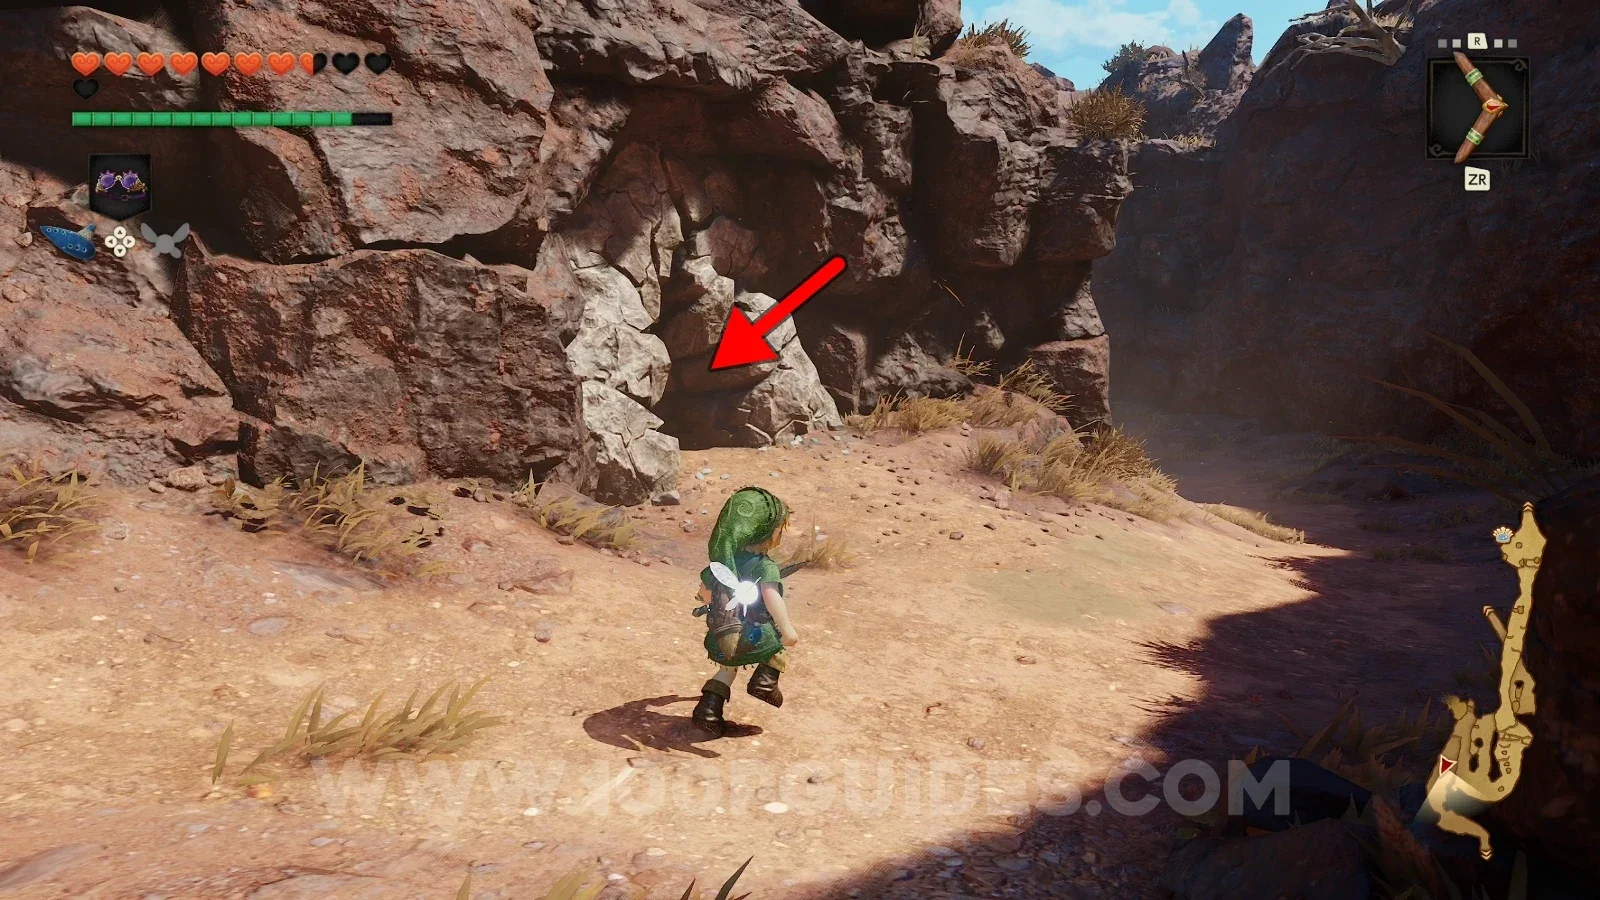
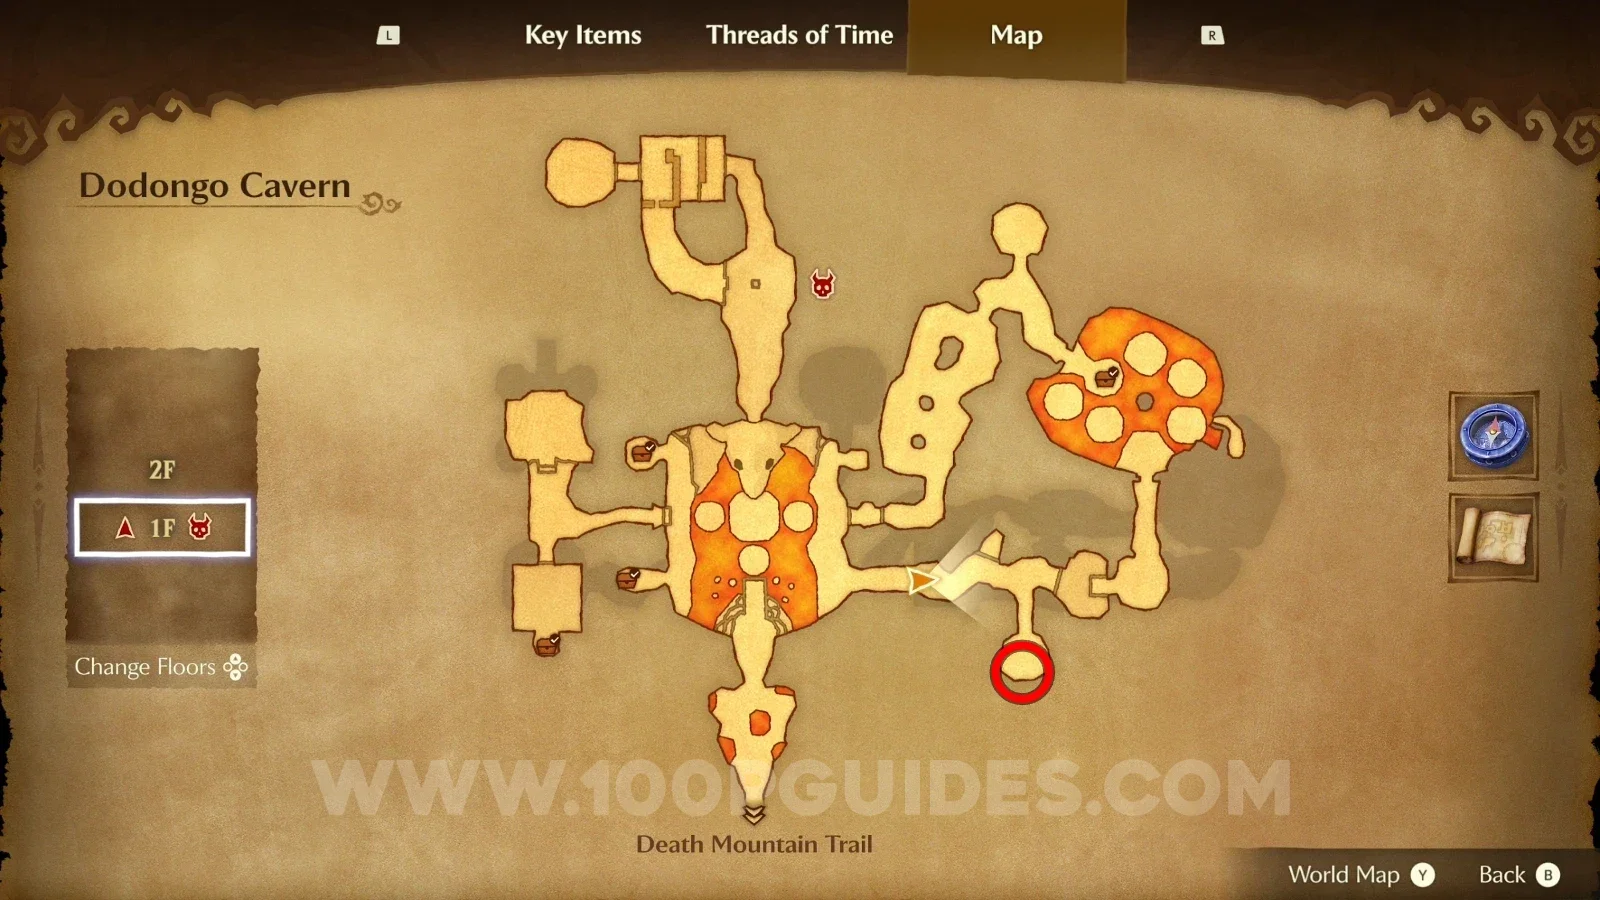
Release a bug near the soft soil patch next to the entrance to Dodongo Cavern to reveal the Gold Skulltula.

Zelda Ocarina of Time Remake Death Mountain Trail: the soft soil patch next to the Dodongo Cavern entrance Zelda Ocarina of Time Remake Death Mountain Trail: Gold Skulltula #24 revealed by a bug near the soft soil

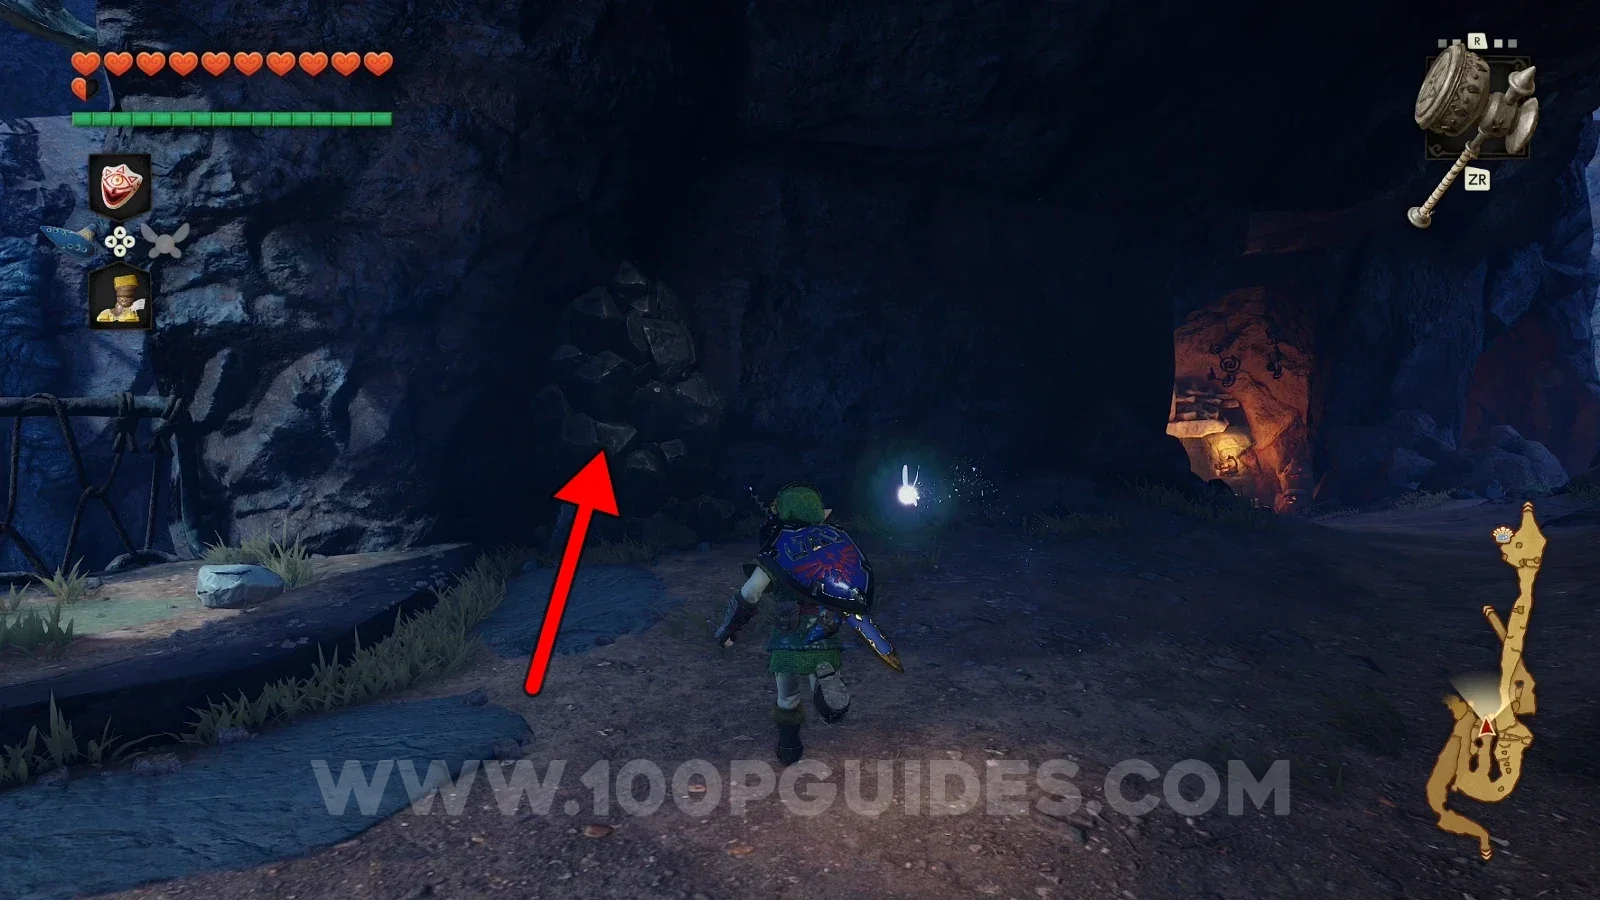
Gold Skulltula #25

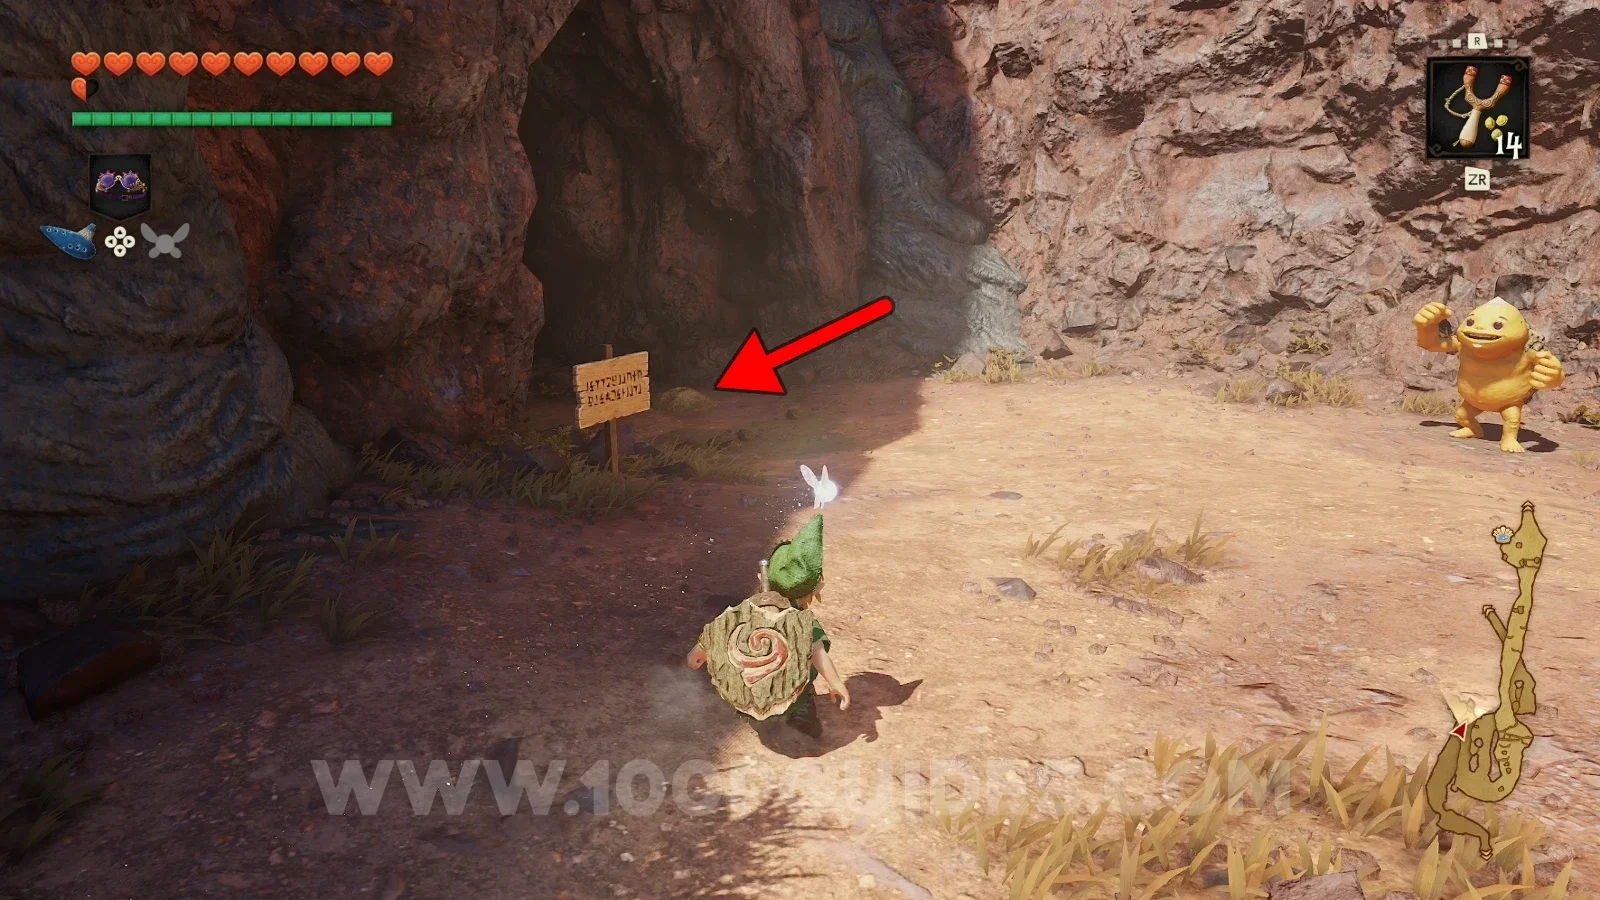
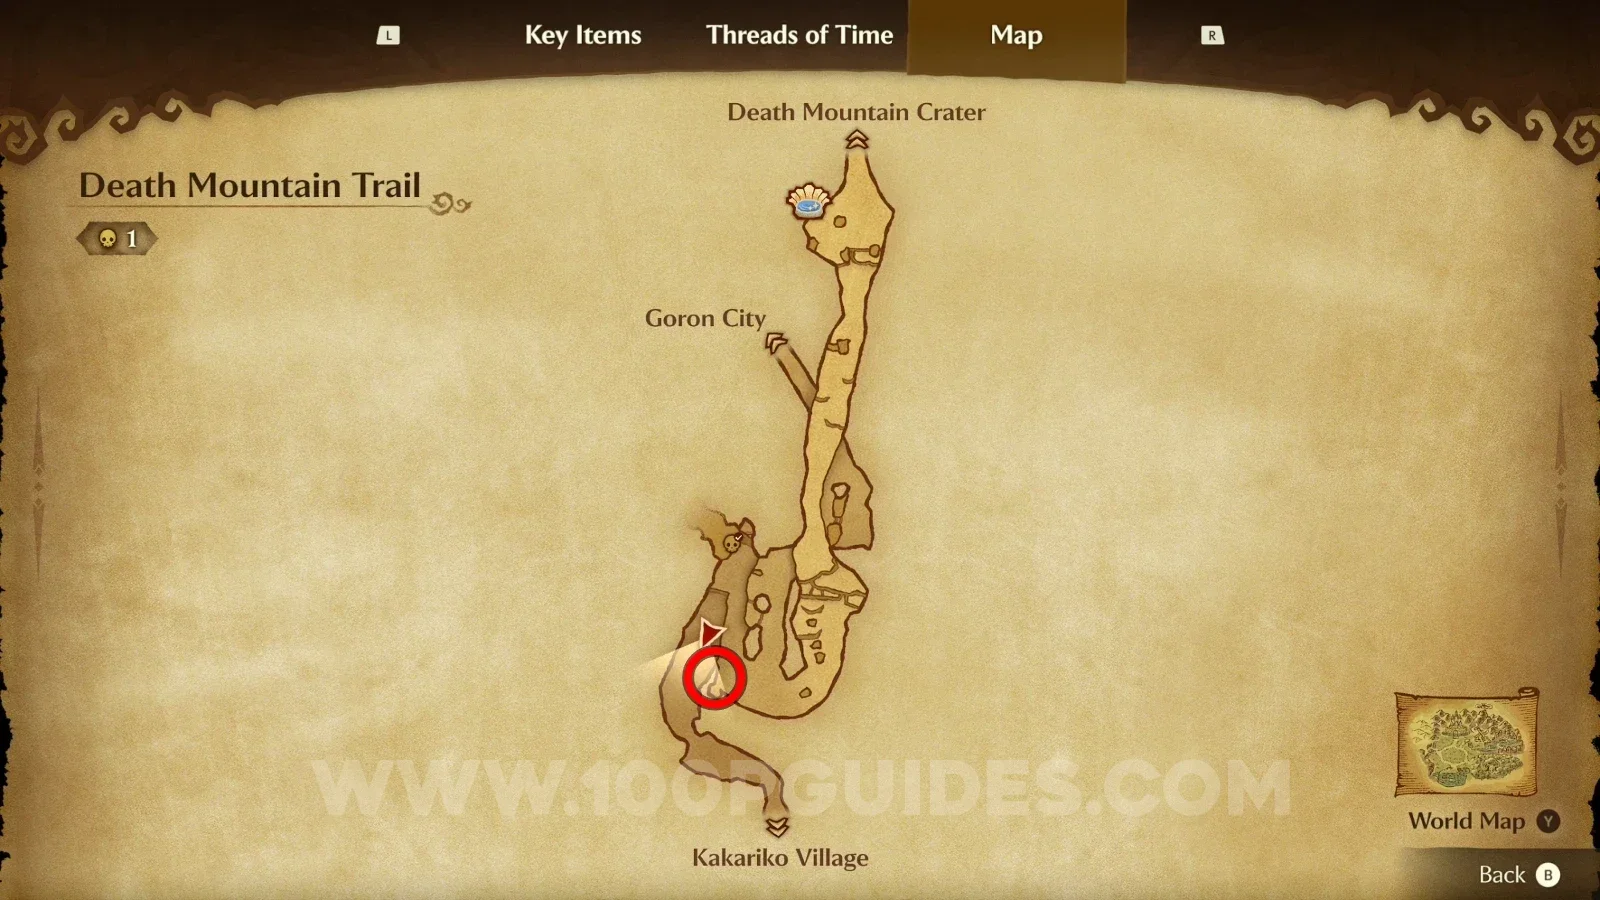
Break the wall with a bomb to reveal a small cave with a Gold Skulltula.

Zelda Ocarina of Time Remake Death Mountain Trail: the breakable wall to bomb for Gold Skulltula #25 Zelda Ocarina of Time Remake Death Mountain Trail: Gold Skulltula #25 inside the small cave behind the wall

Dodongo Cavern - Child Era

Gold Skulltula #26

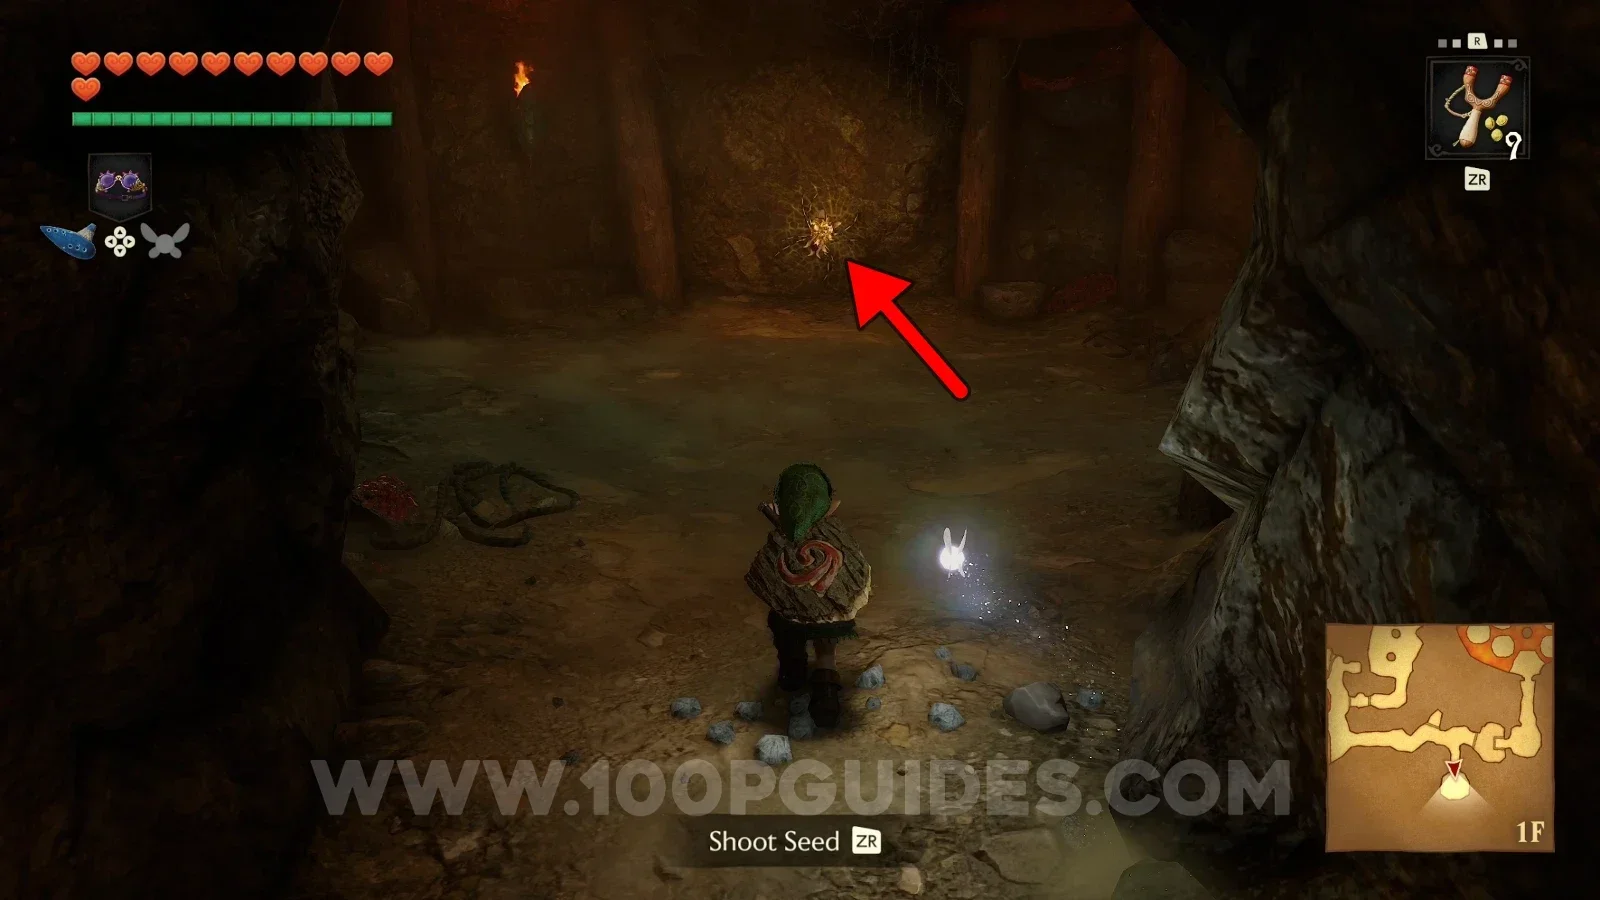
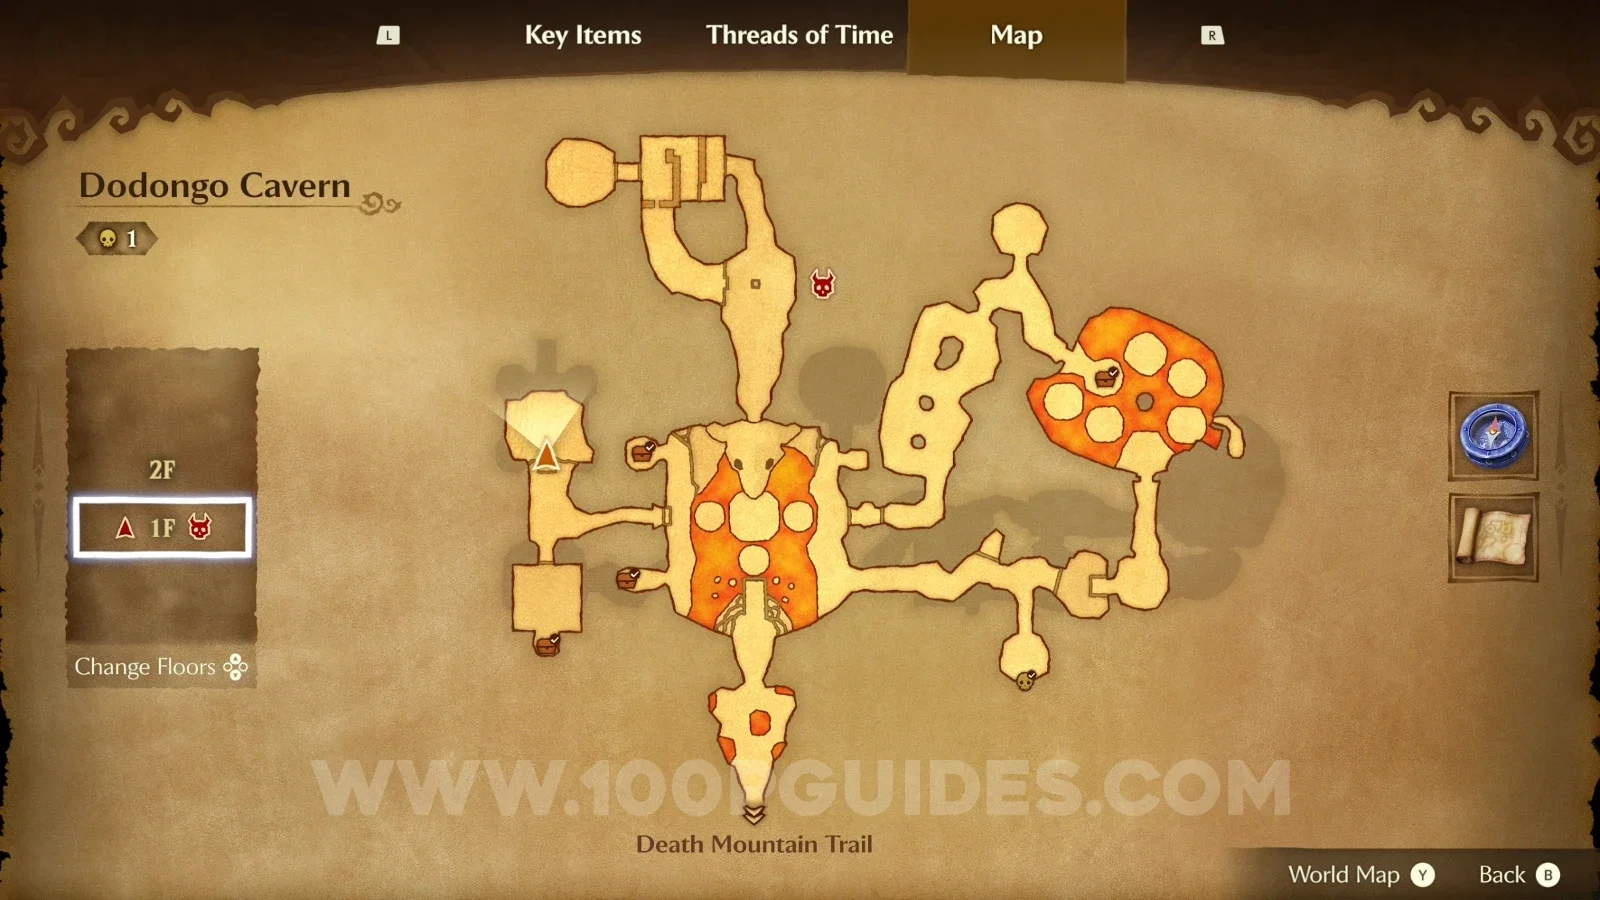
Turn right and you'll find the Gold Skulltula on the wall at the end.

Zelda Ocarina of Time Remake Dodongo Cavern: turning right toward the wall of Gold Skulltula #26 Zelda Ocarina of Time Remake Dodongo Cavern: Gold Skulltula #26 on the wall at the end

Gold Skulltula #27

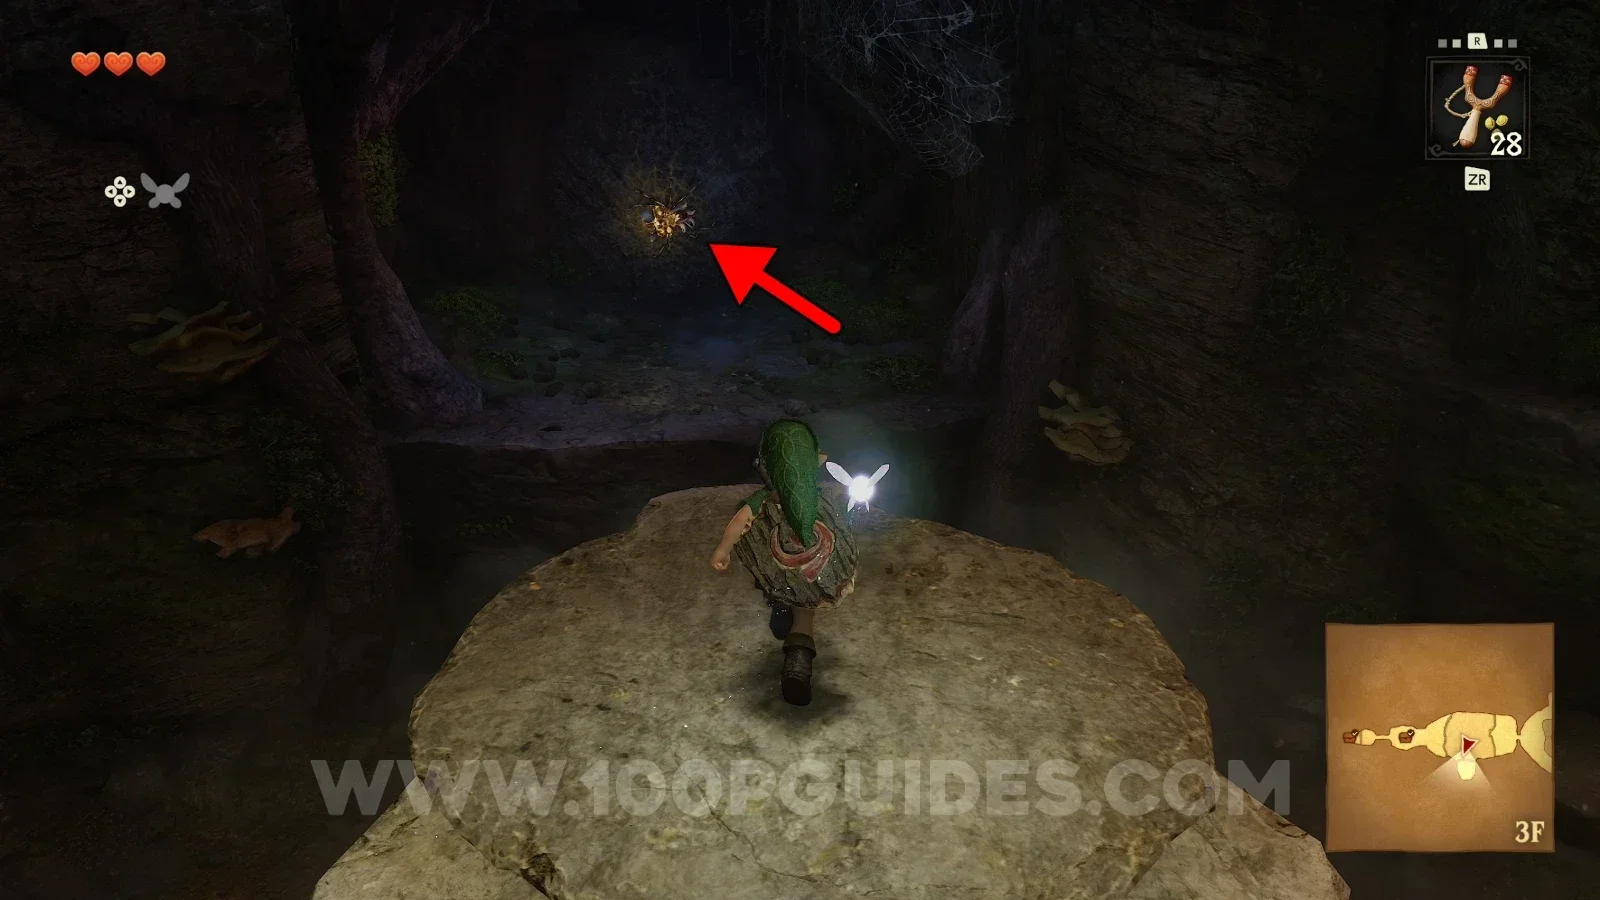
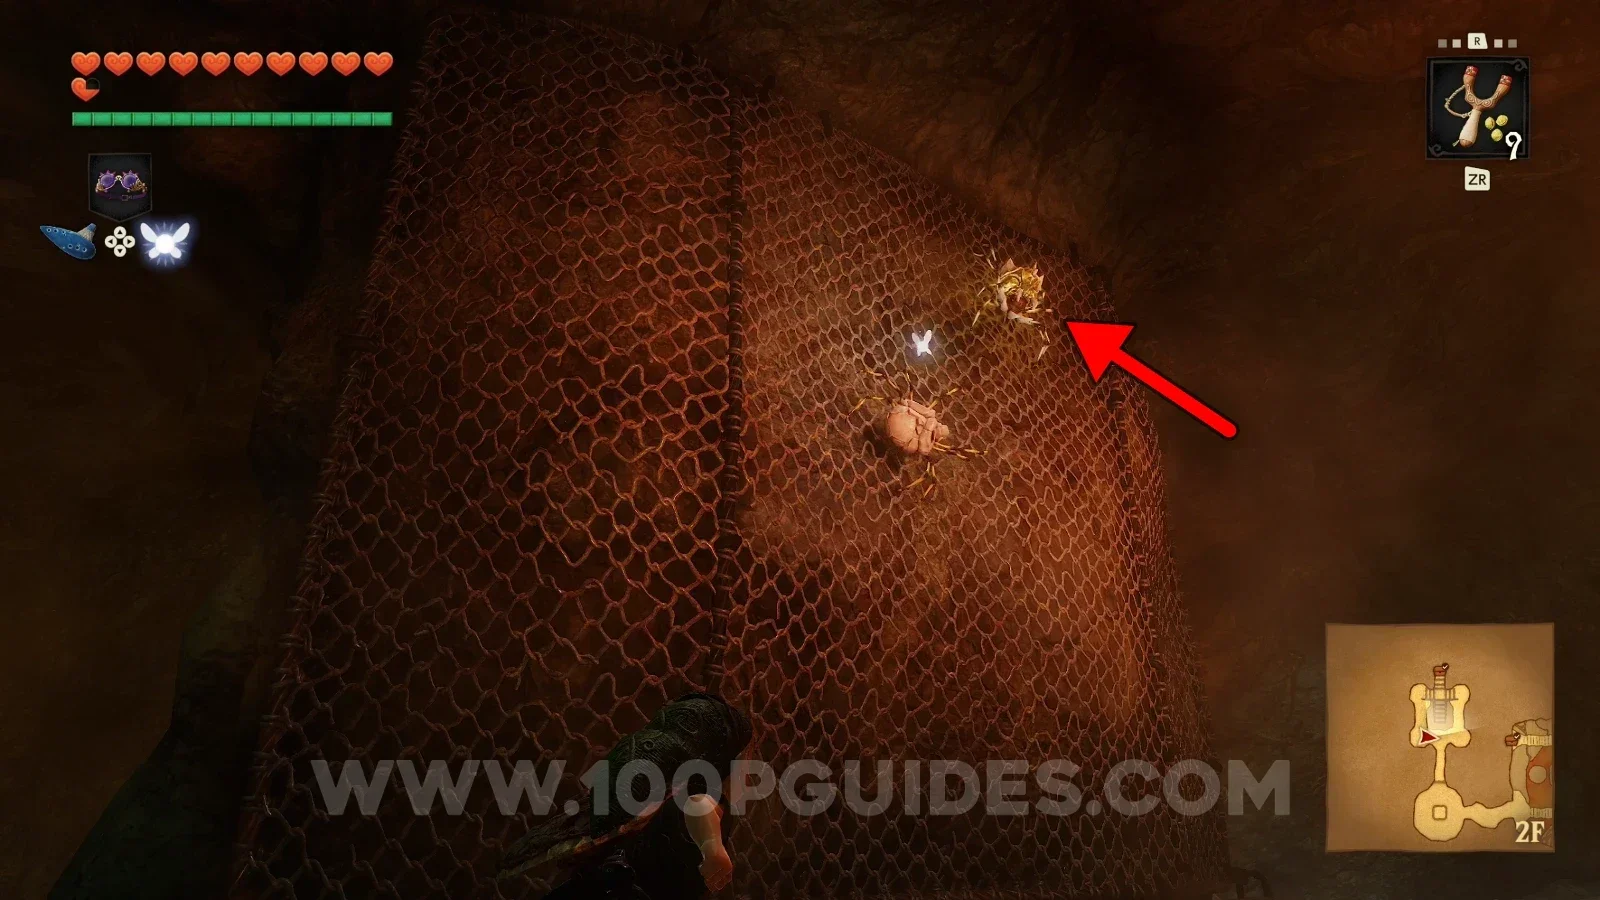
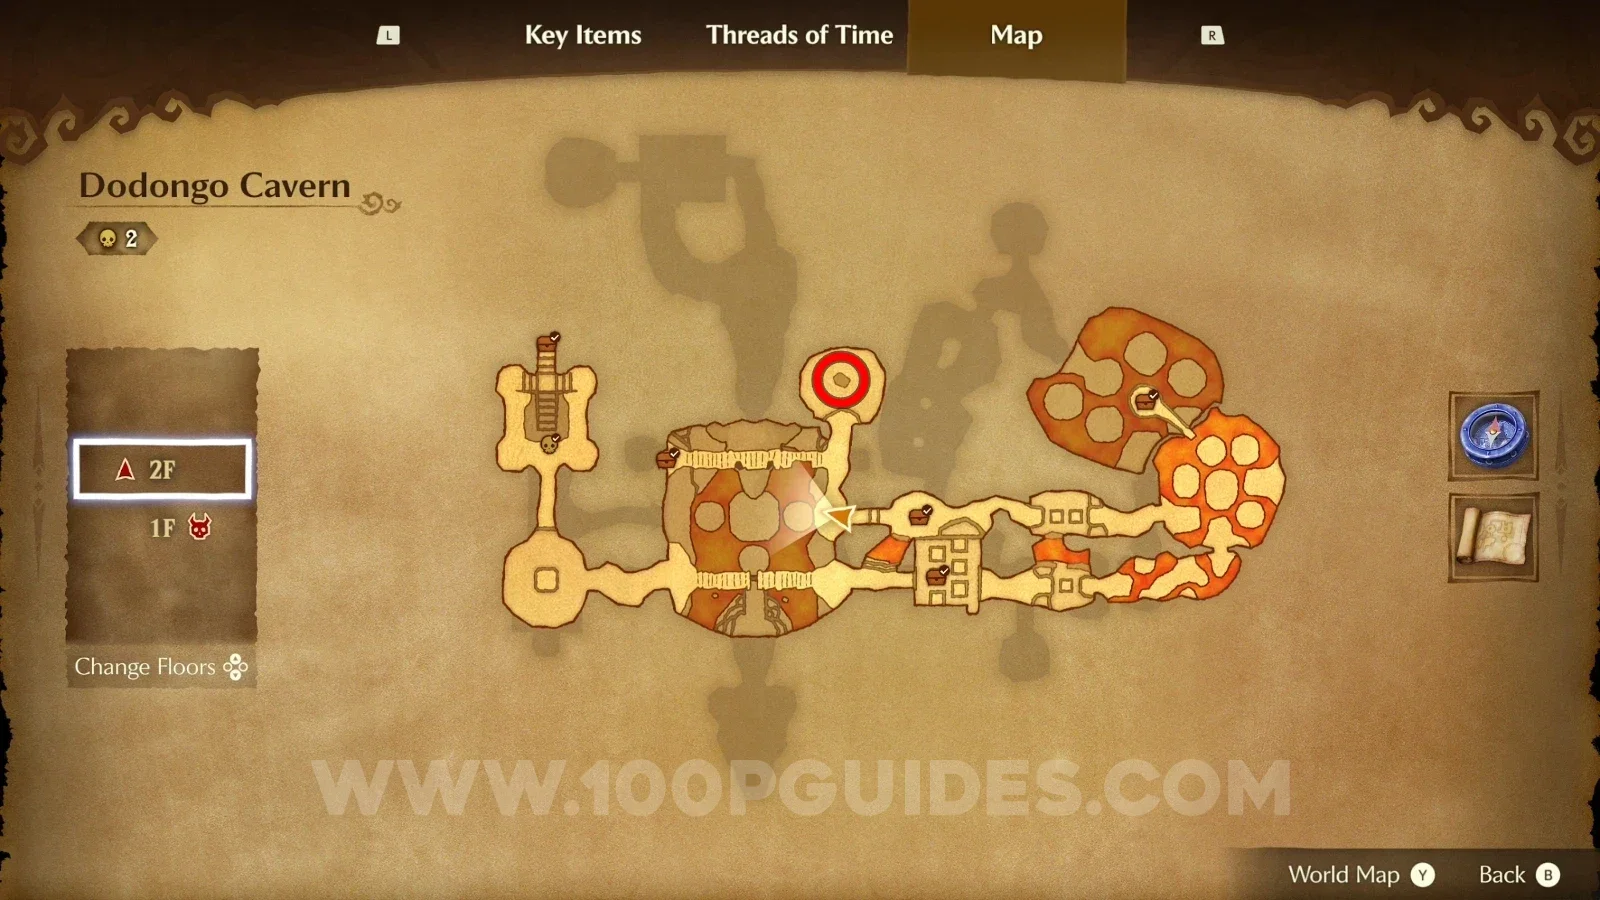
Go upstairs then go either left or right, then turn around after the ramp to find the Gold Skulltula on the net.

Zelda Ocarina of Time Remake Dodongo Cavern: the ramp upstairs leading to Gold Skulltula #27 Zelda Ocarina of Time Remake Dodongo Cavern: Gold Skulltula #27 on the net behind the ramp

Gold Skulltula #28

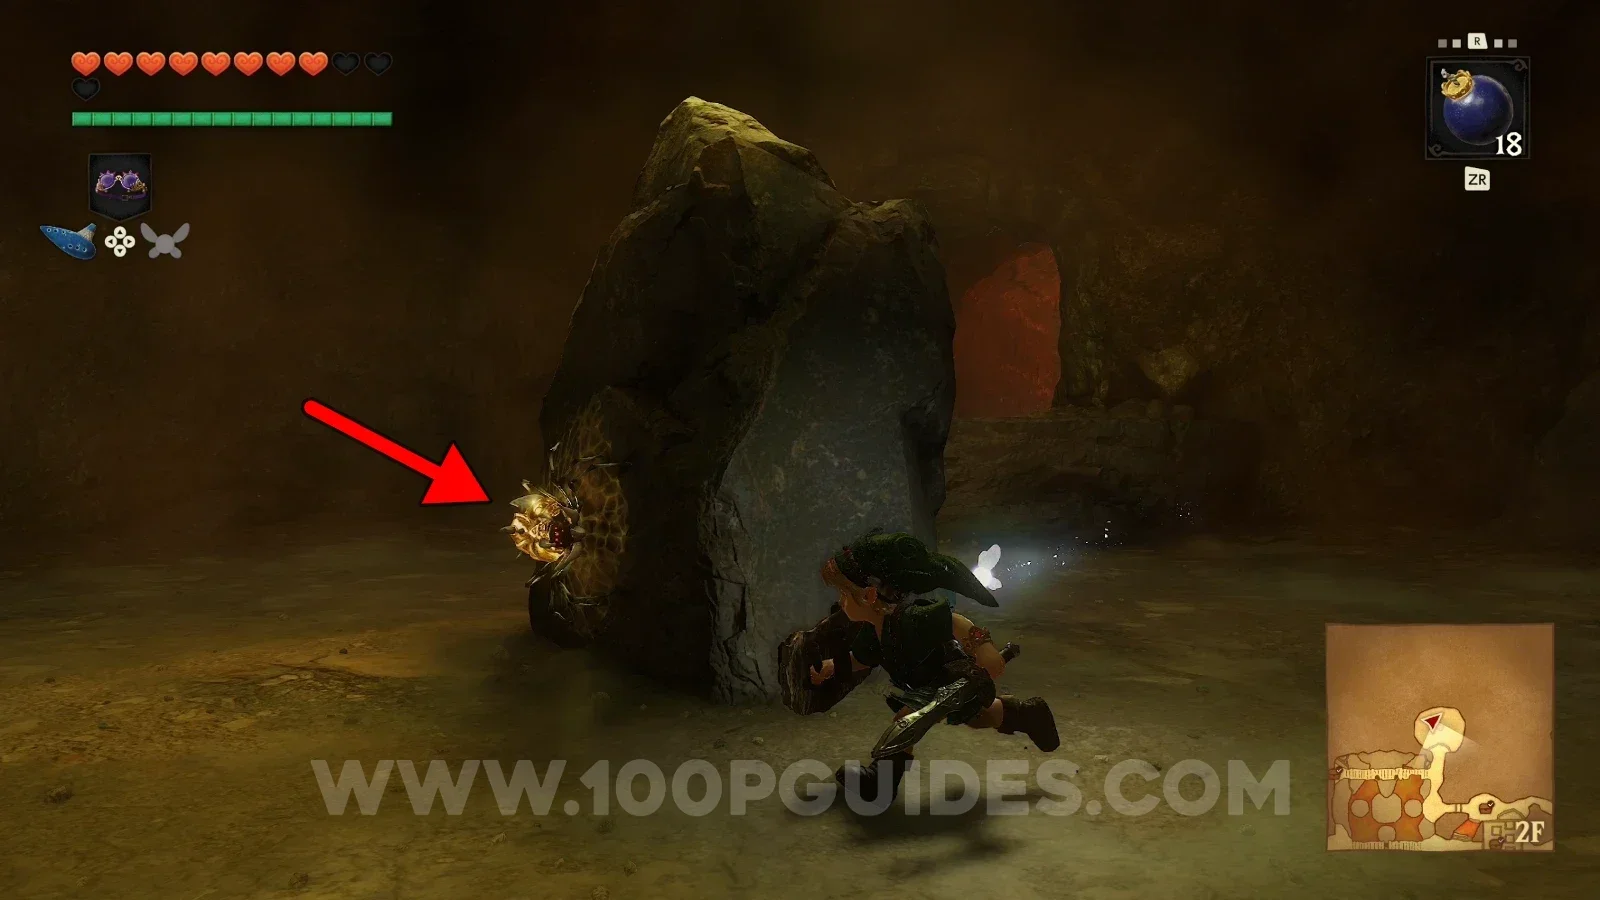
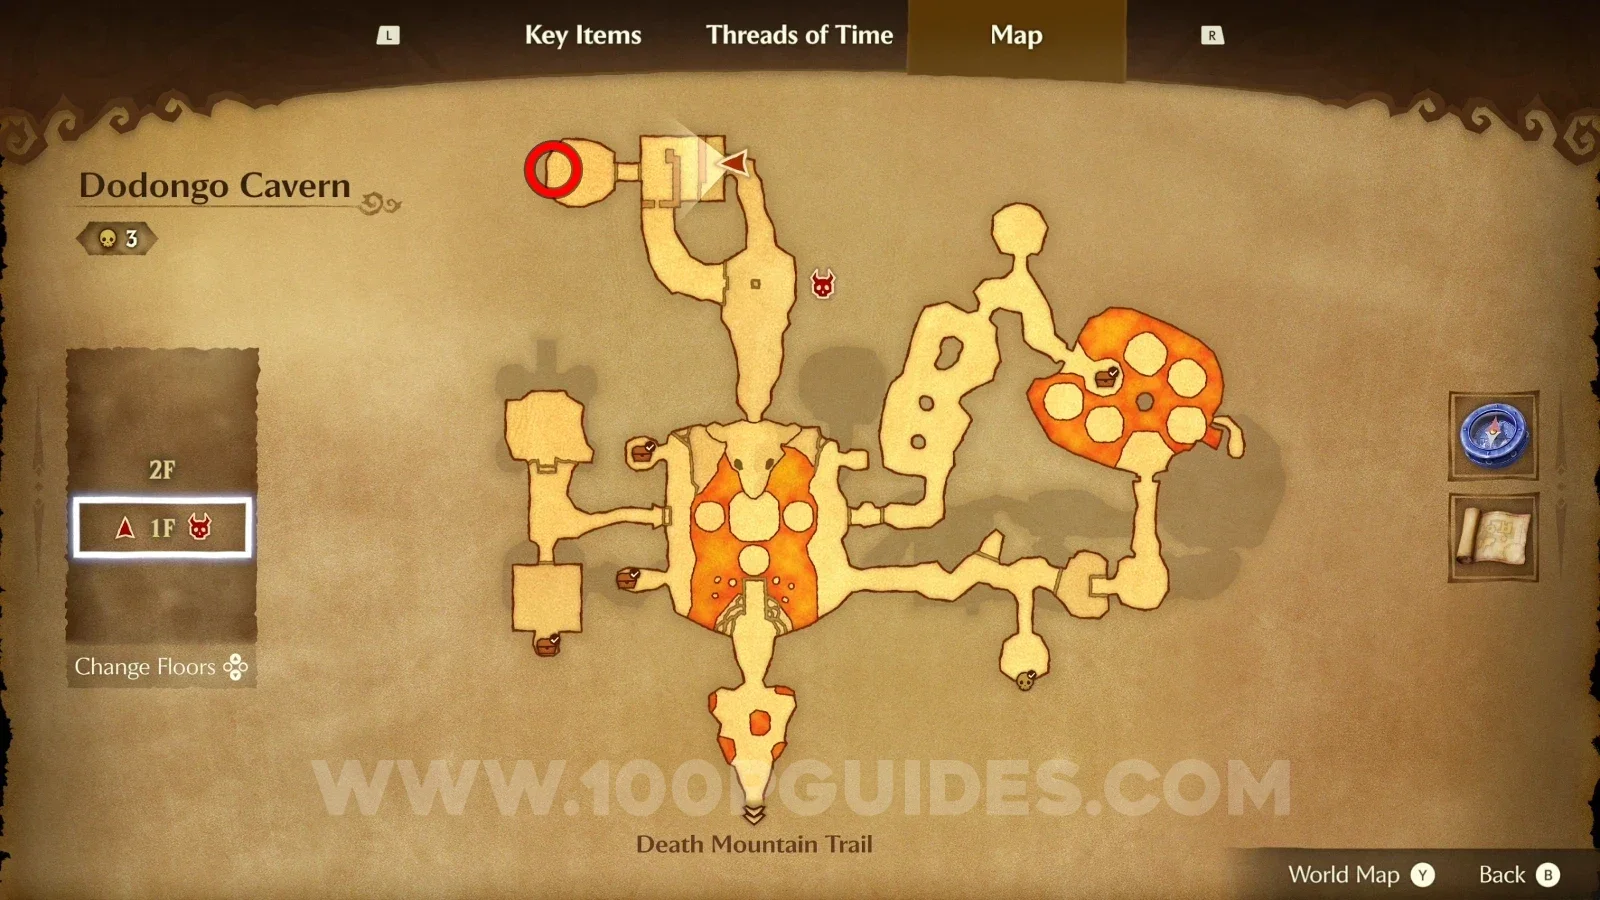
Turn right and break the wall with a bomb to reveal a cave with a big rock at the center. The Gold Skulltula is right behind that rock.

Zelda Ocarina of Time Remake Dodongo Cavern: the breakable wall to the right to bomb for Gold Skulltula #28 Zelda Ocarina of Time Remake Dodongo Cavern: Gold Skulltula #28 behind the big rock at the center of the cave

Gold Skulltula #29

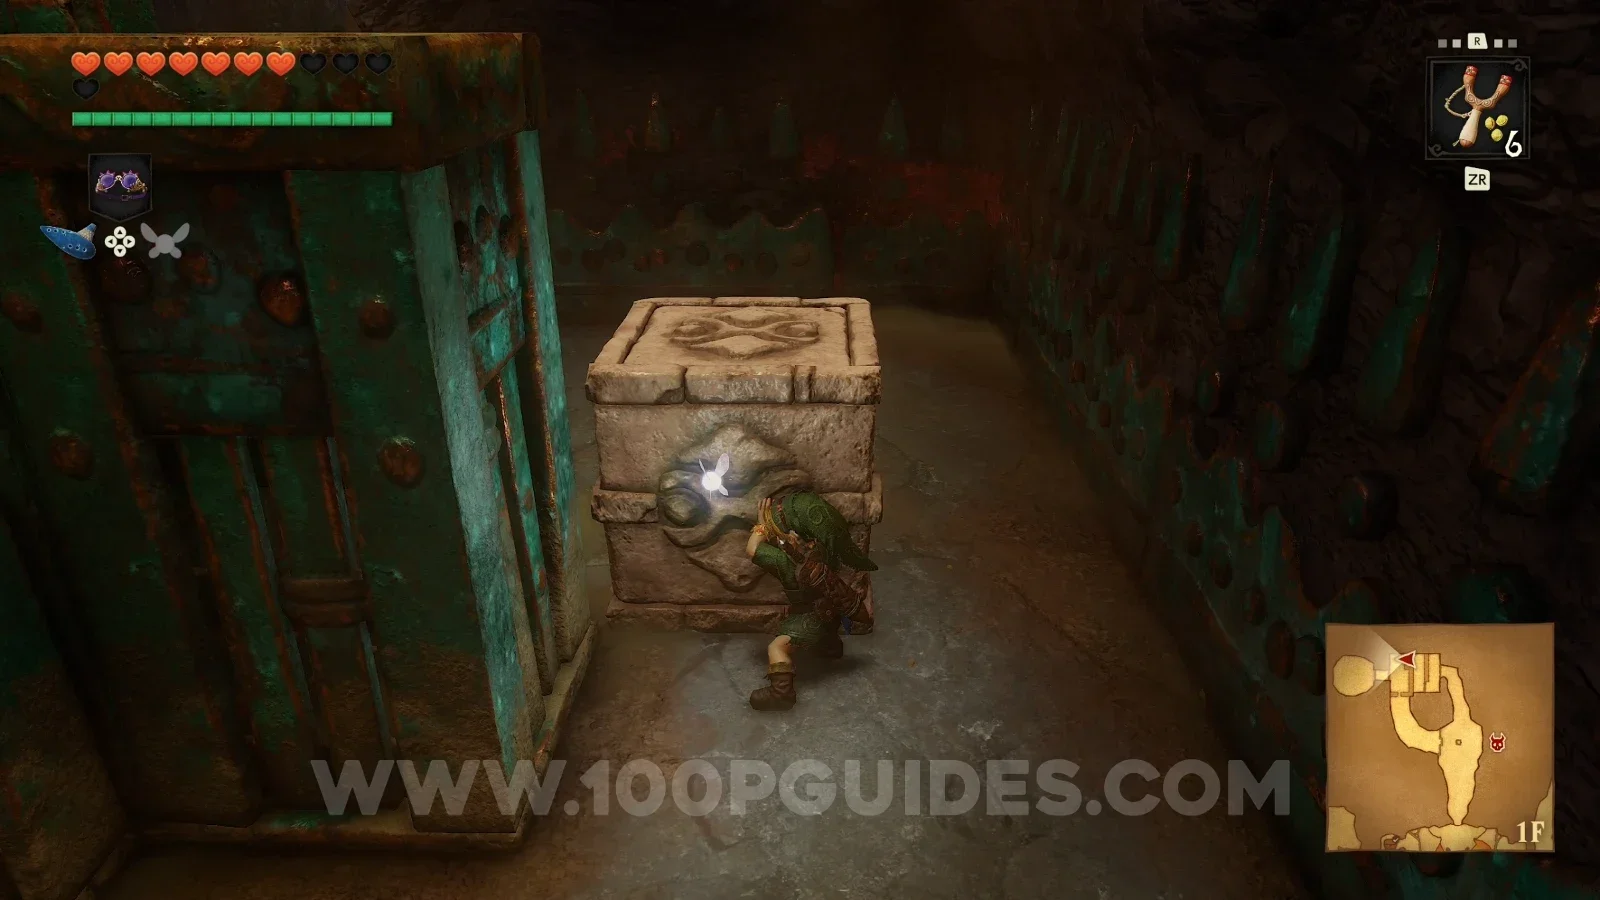
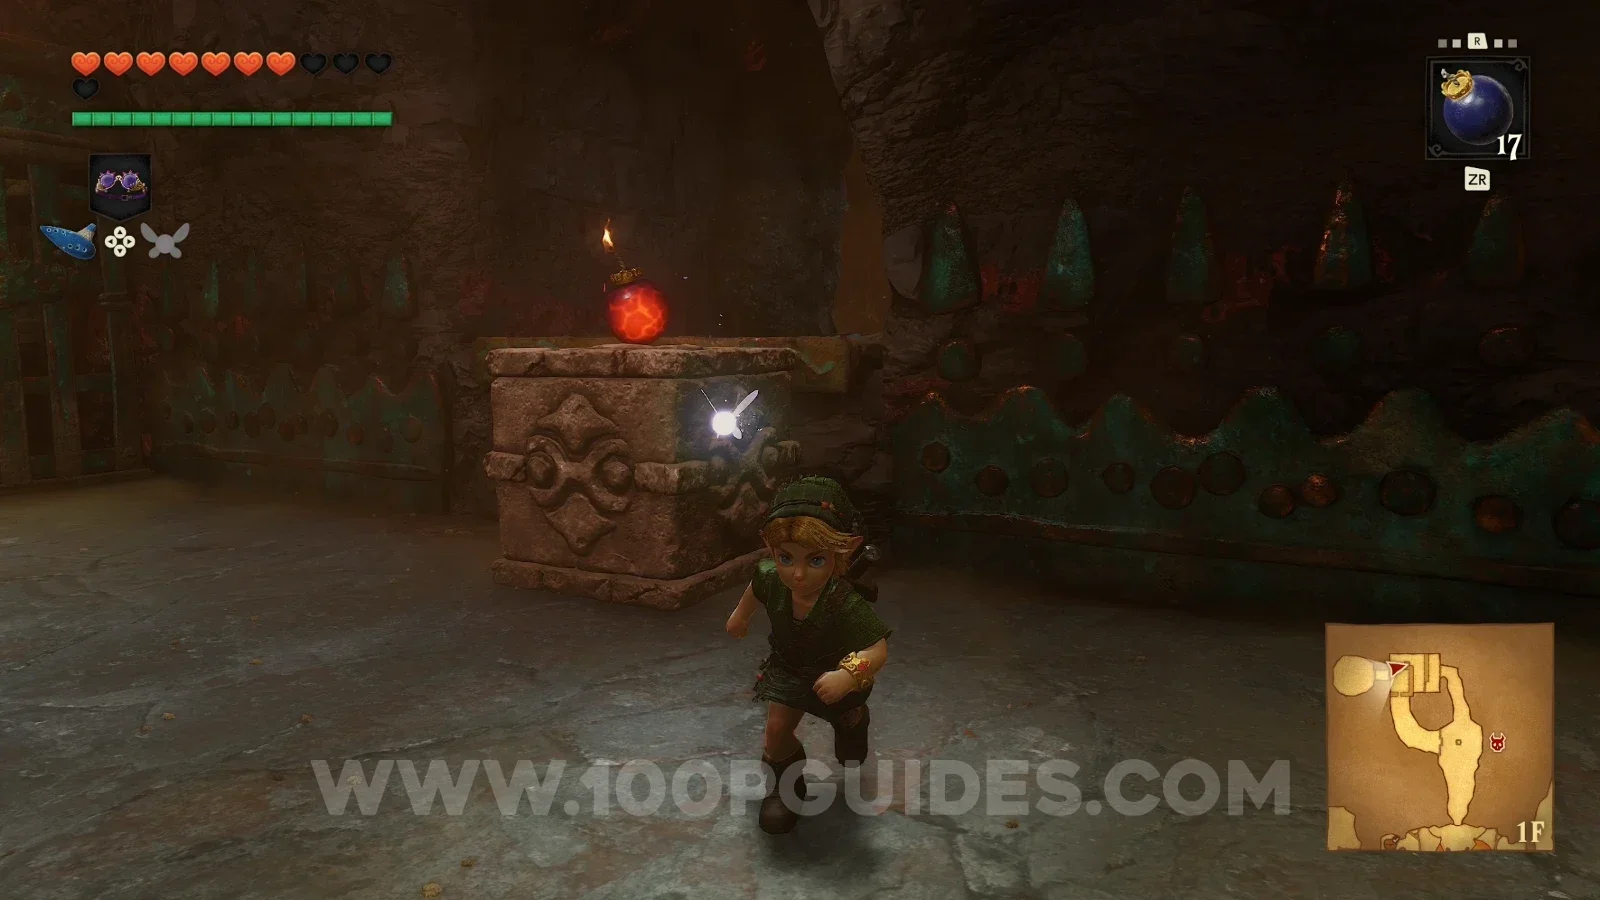
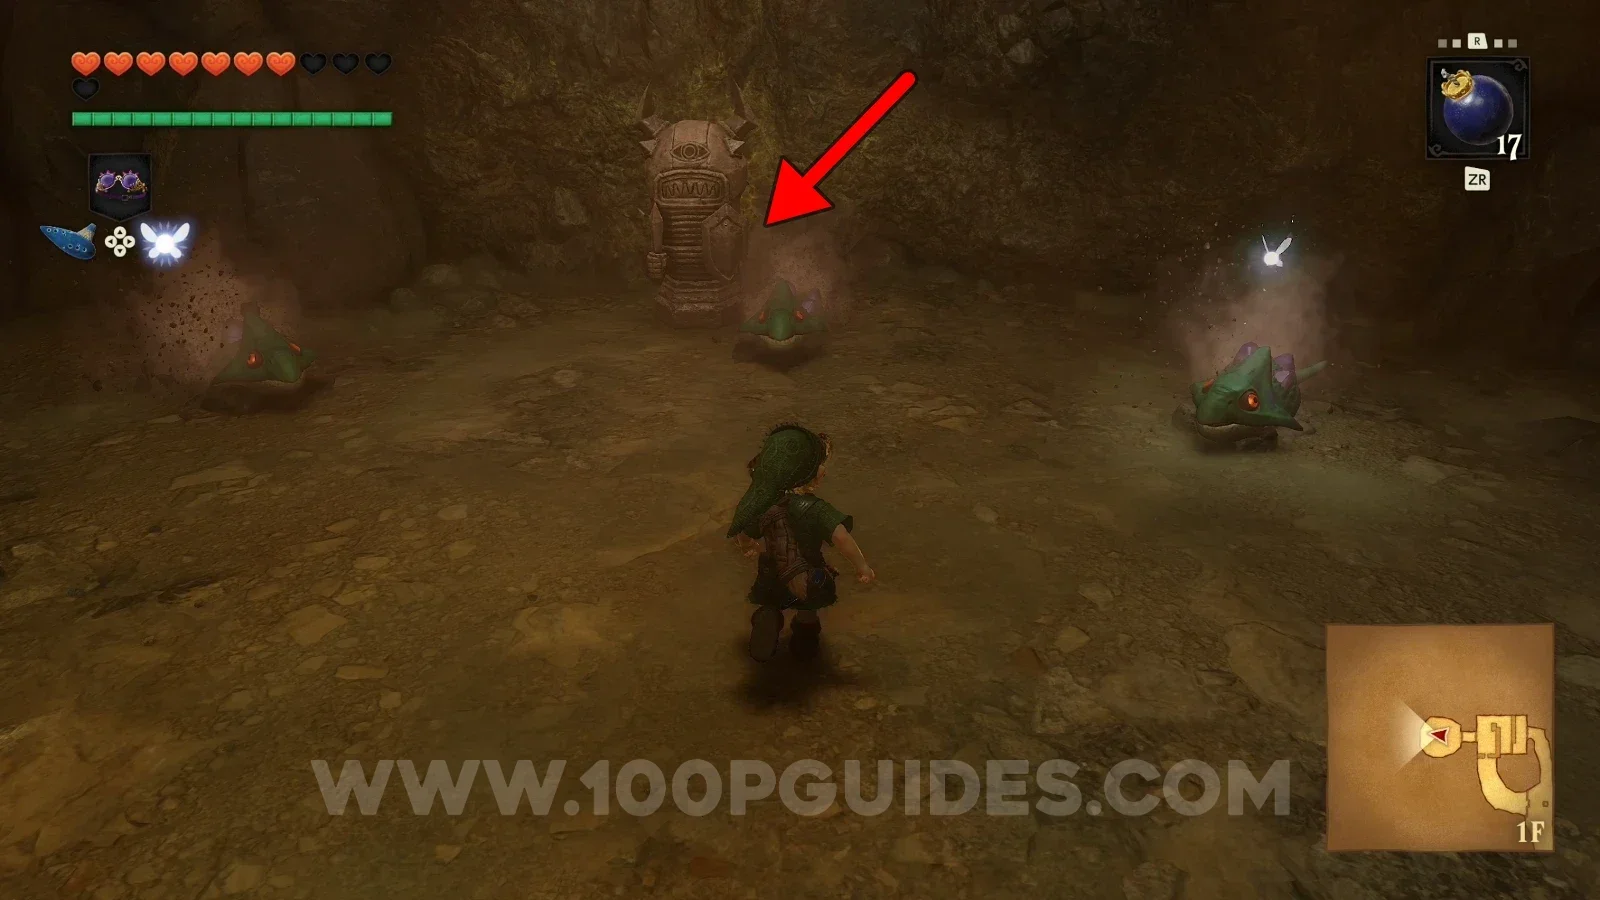
Push the block to place it next to the breakable wall, then put a bomb on it to destroy the wall. The Gold Skulltula is hidden behind the statue at the end (which is actually an enemy).

Zelda Ocarina of Time Remake Dodongo Cavern: pushing the block next to the breakable wall for Gold Skulltula #29 Zelda Ocarina of Time Remake Dodongo Cavern: placing a bomb on the block to destroy the wall for Gold Skulltula #29 Zelda Ocarina of Time Remake Dodongo Cavern: the statue enemy at the end of the room hiding Gold Skulltula #29 Zelda Ocarina of Time Remake Dodongo Cavern: Gold Skulltula #29 hidden behind the statue at the end

Goron City - Child Era

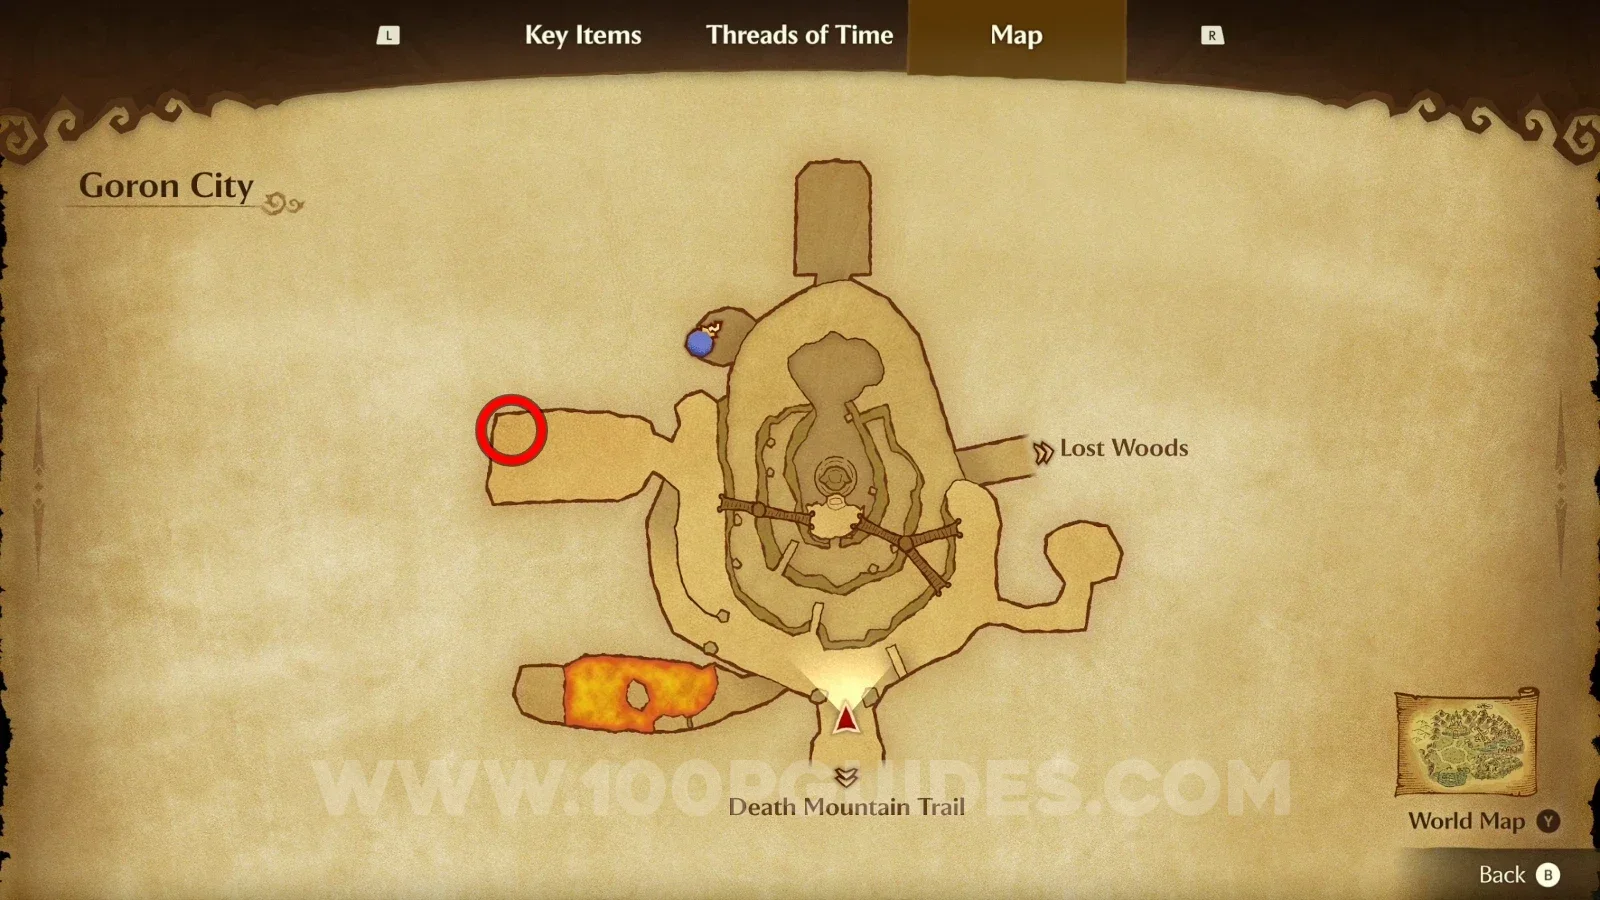
Gold Skulltula #30

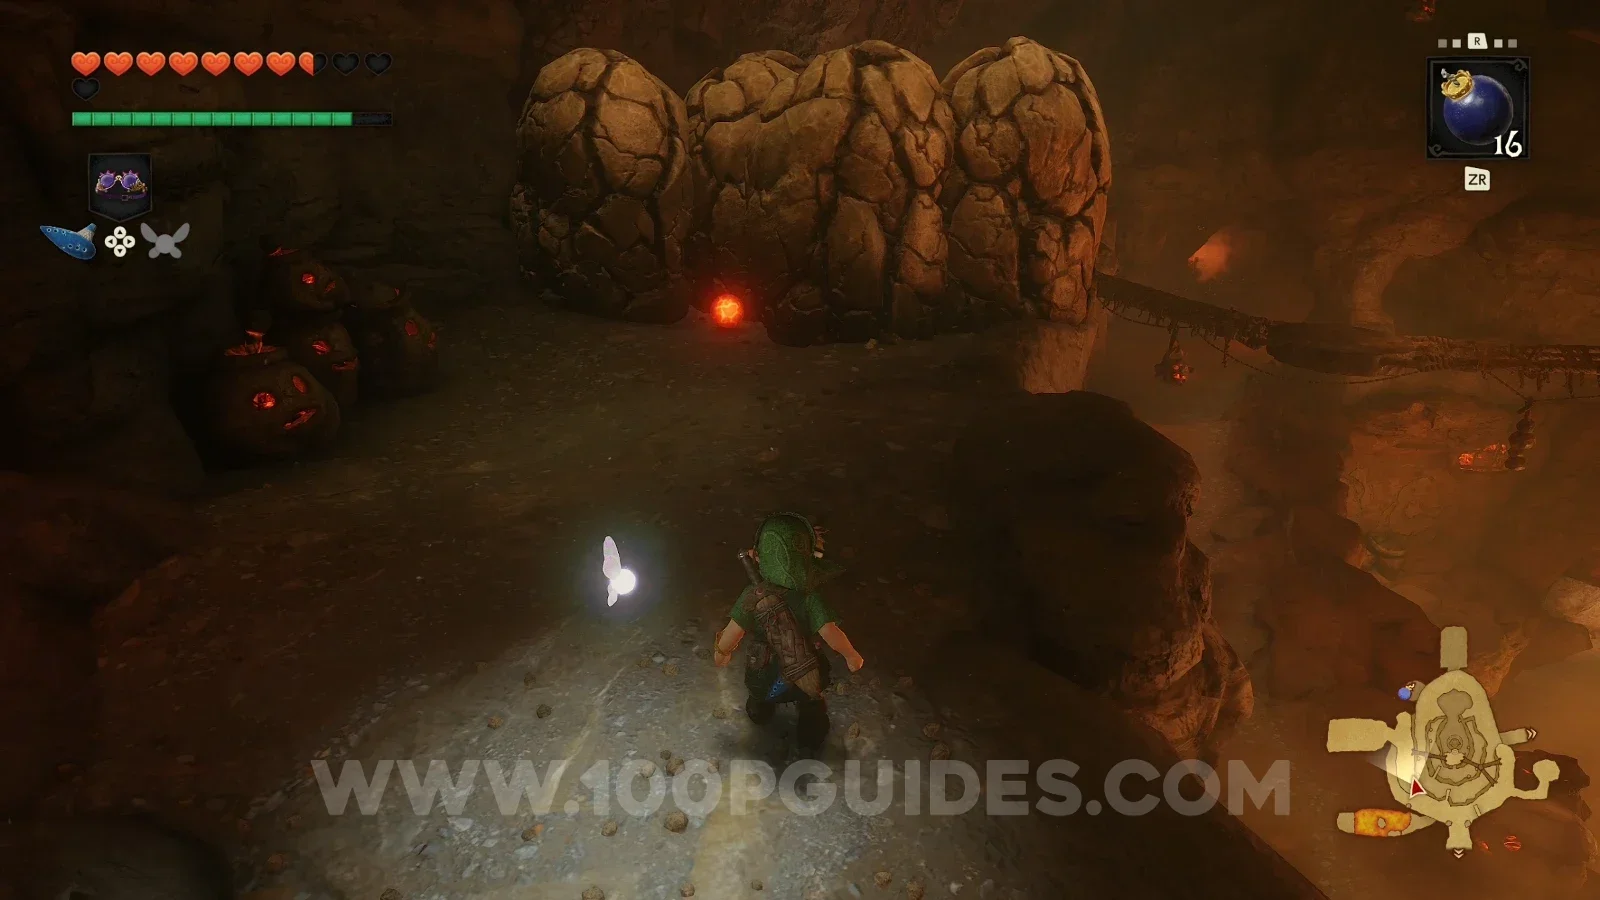
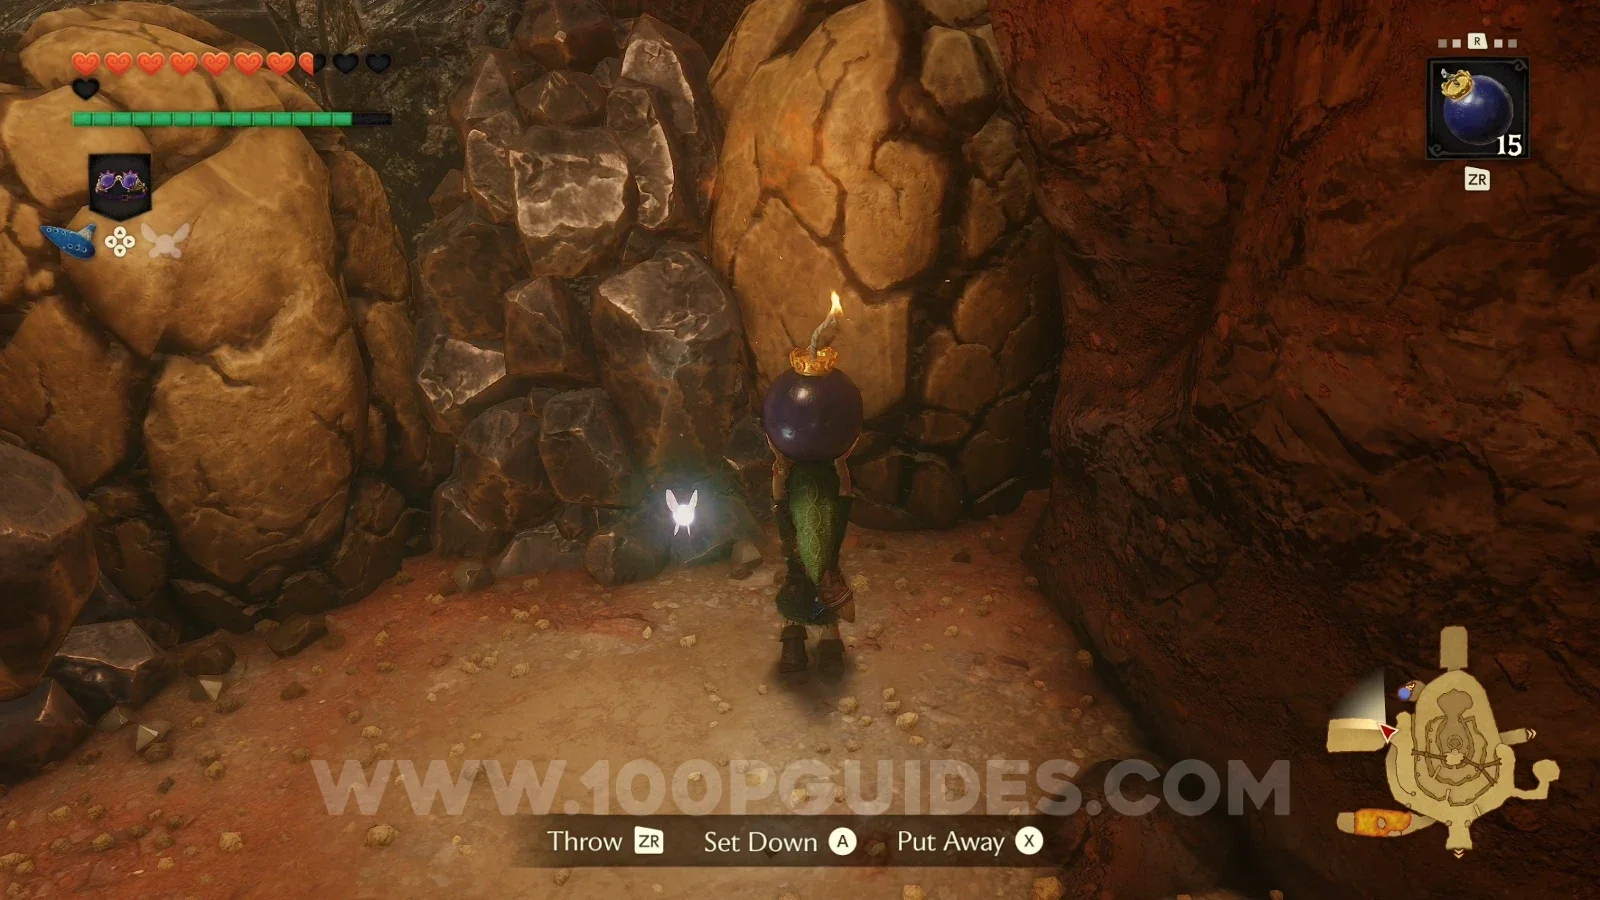
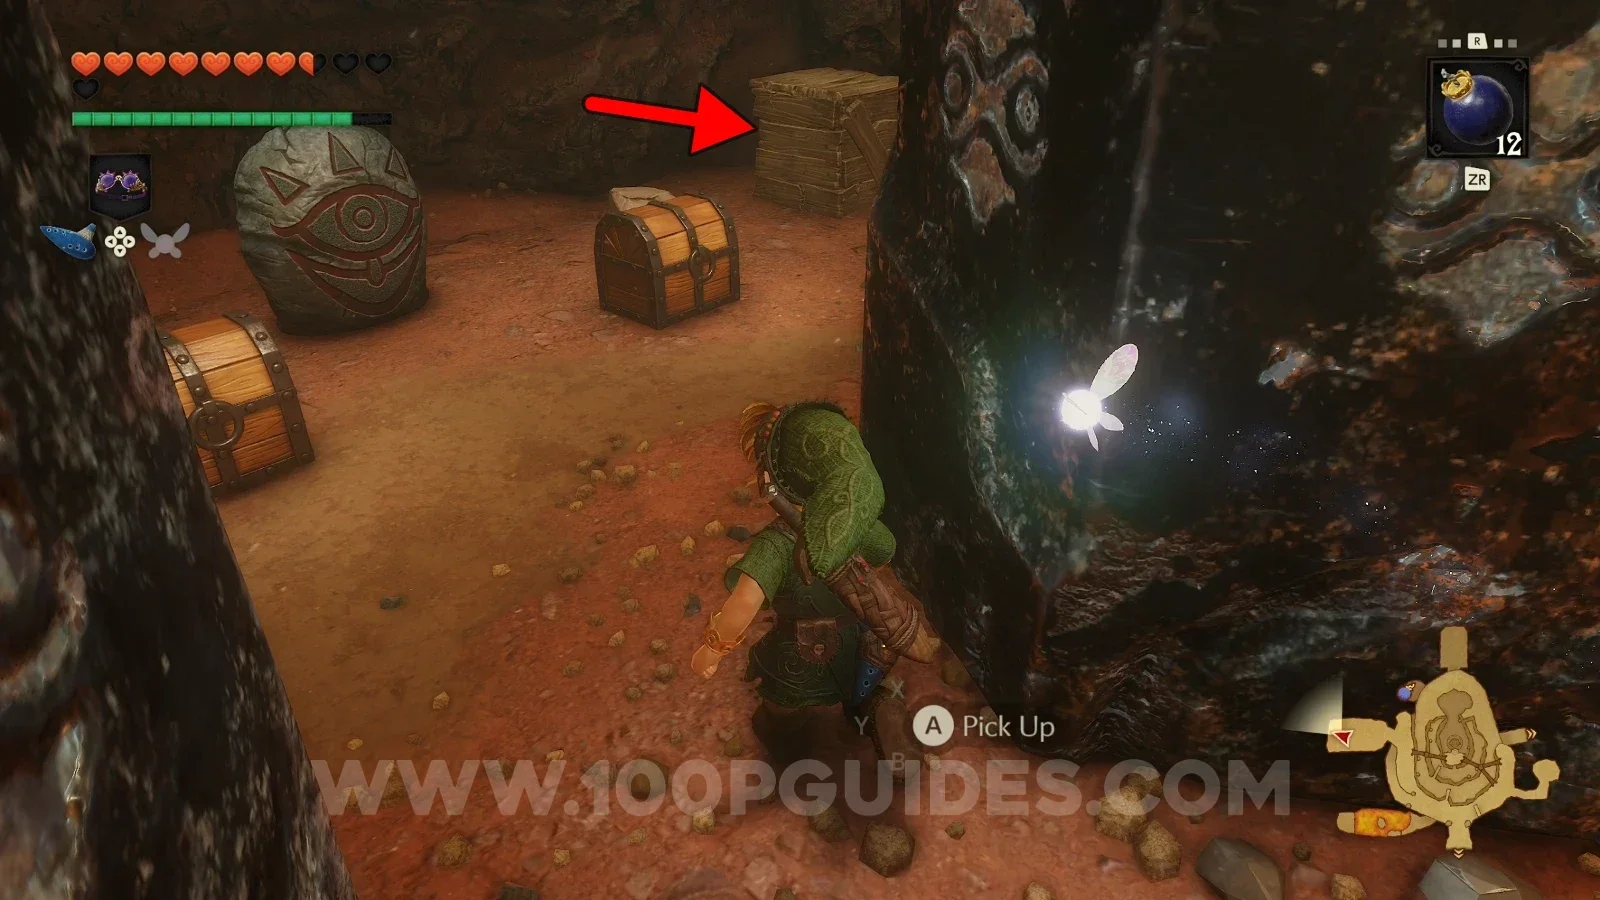
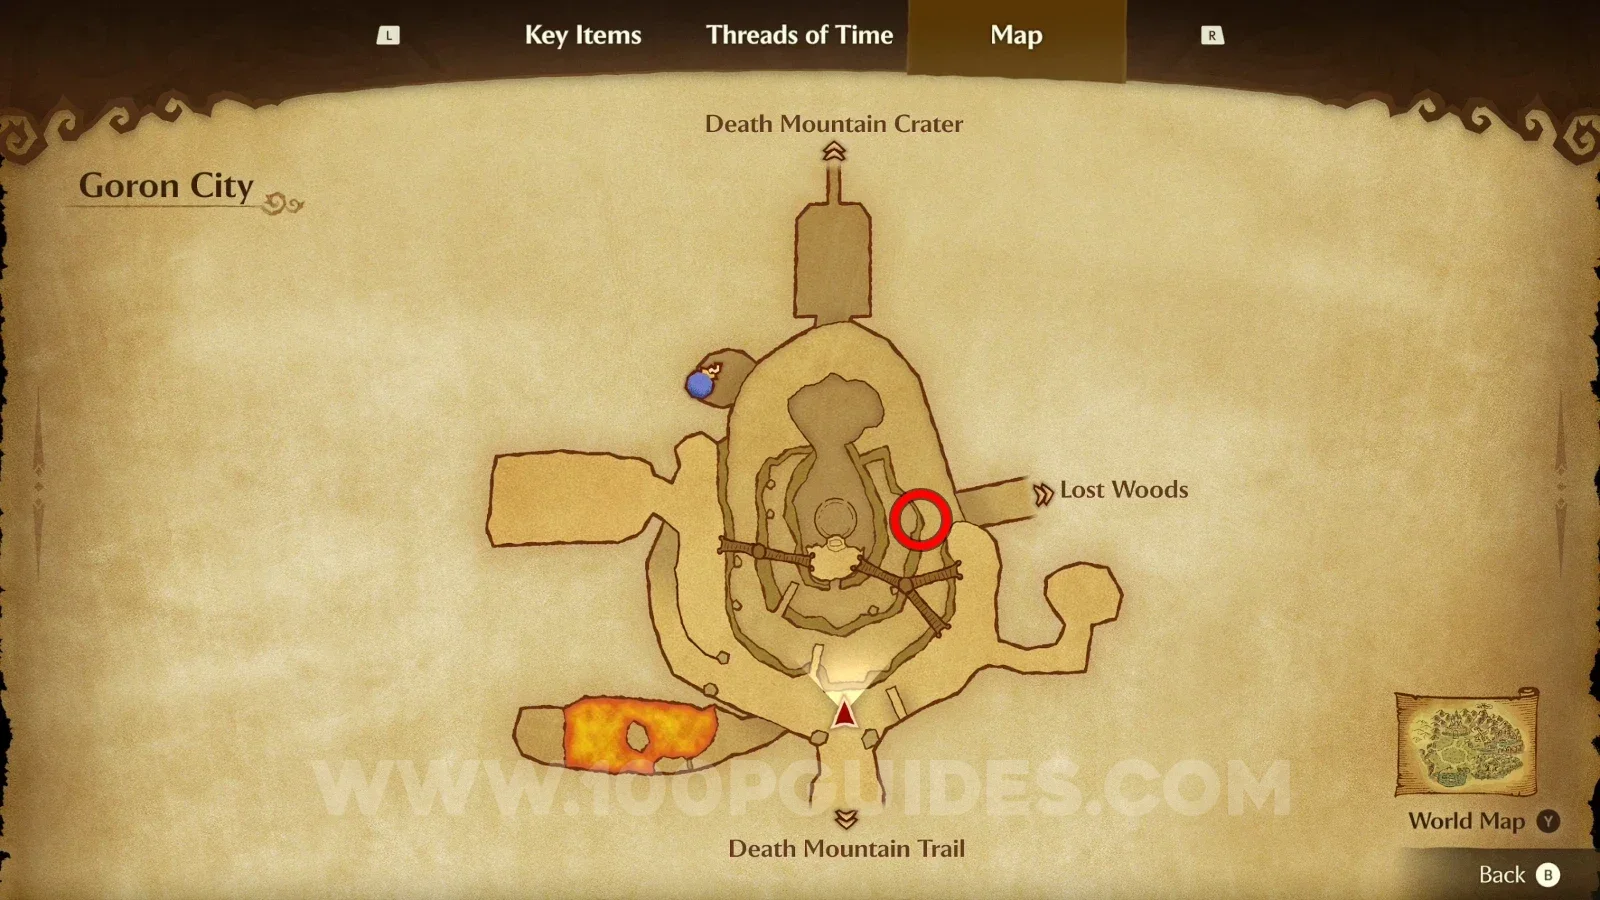
Use a bomb to destroy the rocks to the left, and go past them to find more breakable rocks to your left. Keep using bombs to destroy the rocks until you get to the end, where you can find 2 chests and a wooden box. Roll into the wooden box to break it. The Gold Skulltula is inside that box.

Zelda Ocarina of Time Remake Goron City: bombing the rocks to the left on the way to Gold Skulltula #30 Zelda Ocarina of Time Remake Goron City: more breakable rock to the left on the path to Gold Skulltula #30 Zelda Ocarina of Time Remake Goron City: the two chests and wooden box at the end of the path, Gold Skulltula #30 Zelda Ocarina of Time Remake Goron City: Gold Skulltula #30 found inside the broken wooden box

Death Mountain Crater - Child Era

Gold Skulltula #31

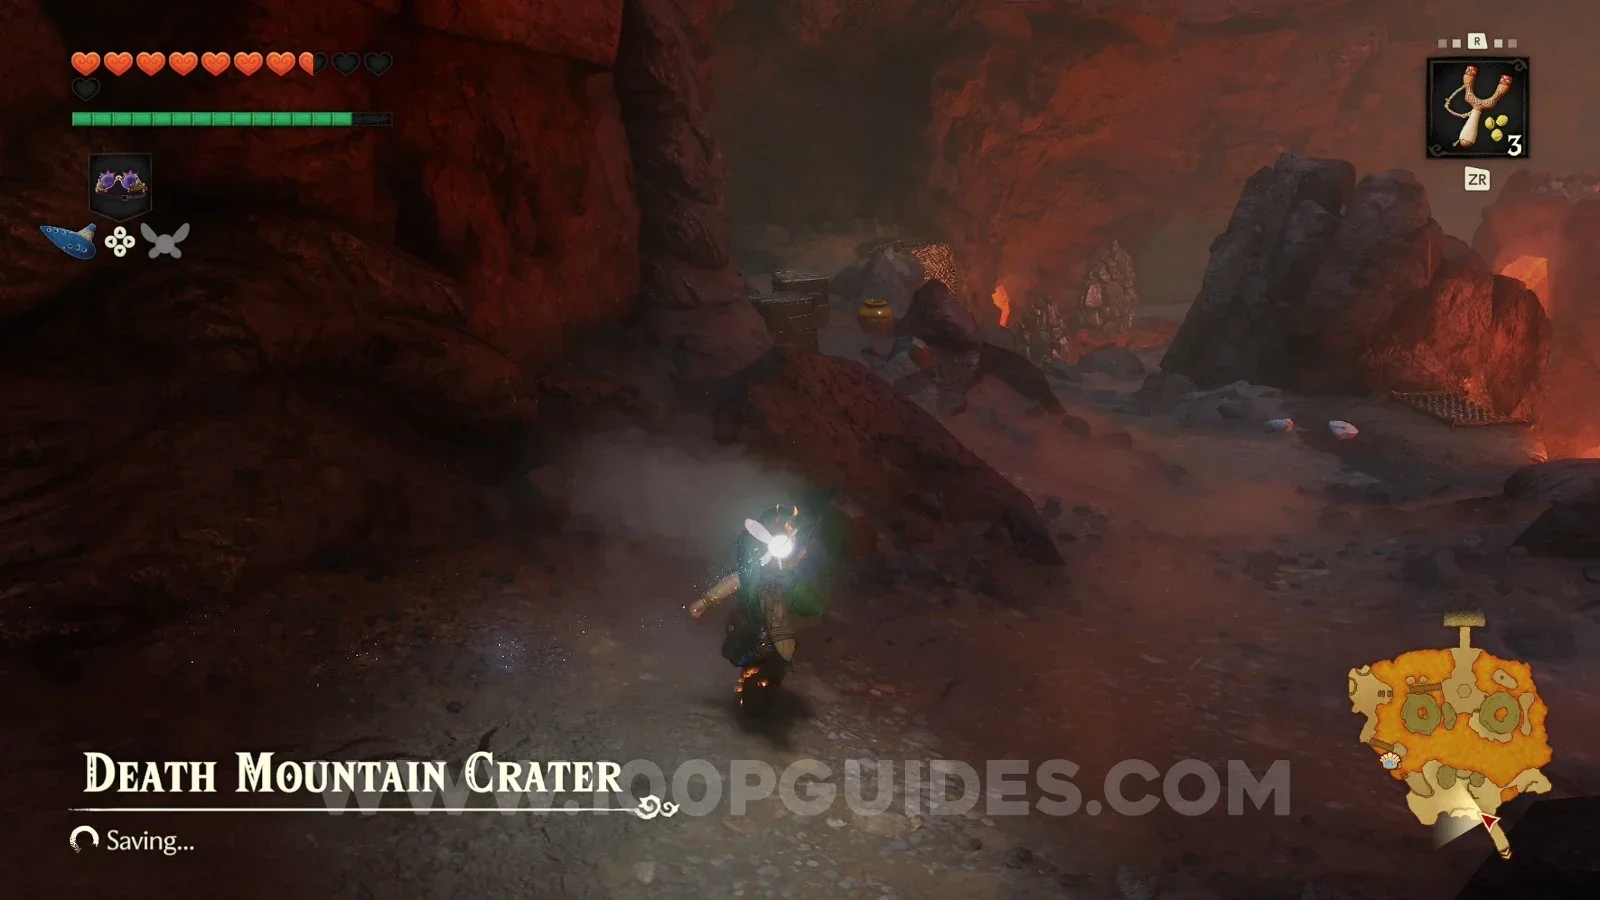
Go to the top of Death Mountain Trail and enter Death Mountain Crater. As soon as you enter, look for the two wooden boxes to your left, then roll into them to break them and find the Gold Skulltula. Be quick, as you'll take damage constantly from the extreme heat.

Zelda Ocarina of Time Remake Death Mountain Crater: the two wooden boxes left of the entrance, Gold Skulltula #31 Zelda Ocarina of Time Remake Death Mountain Crater: Gold Skulltula #31 revealed after breaking the wooden boxes

Gold Skulltula #32

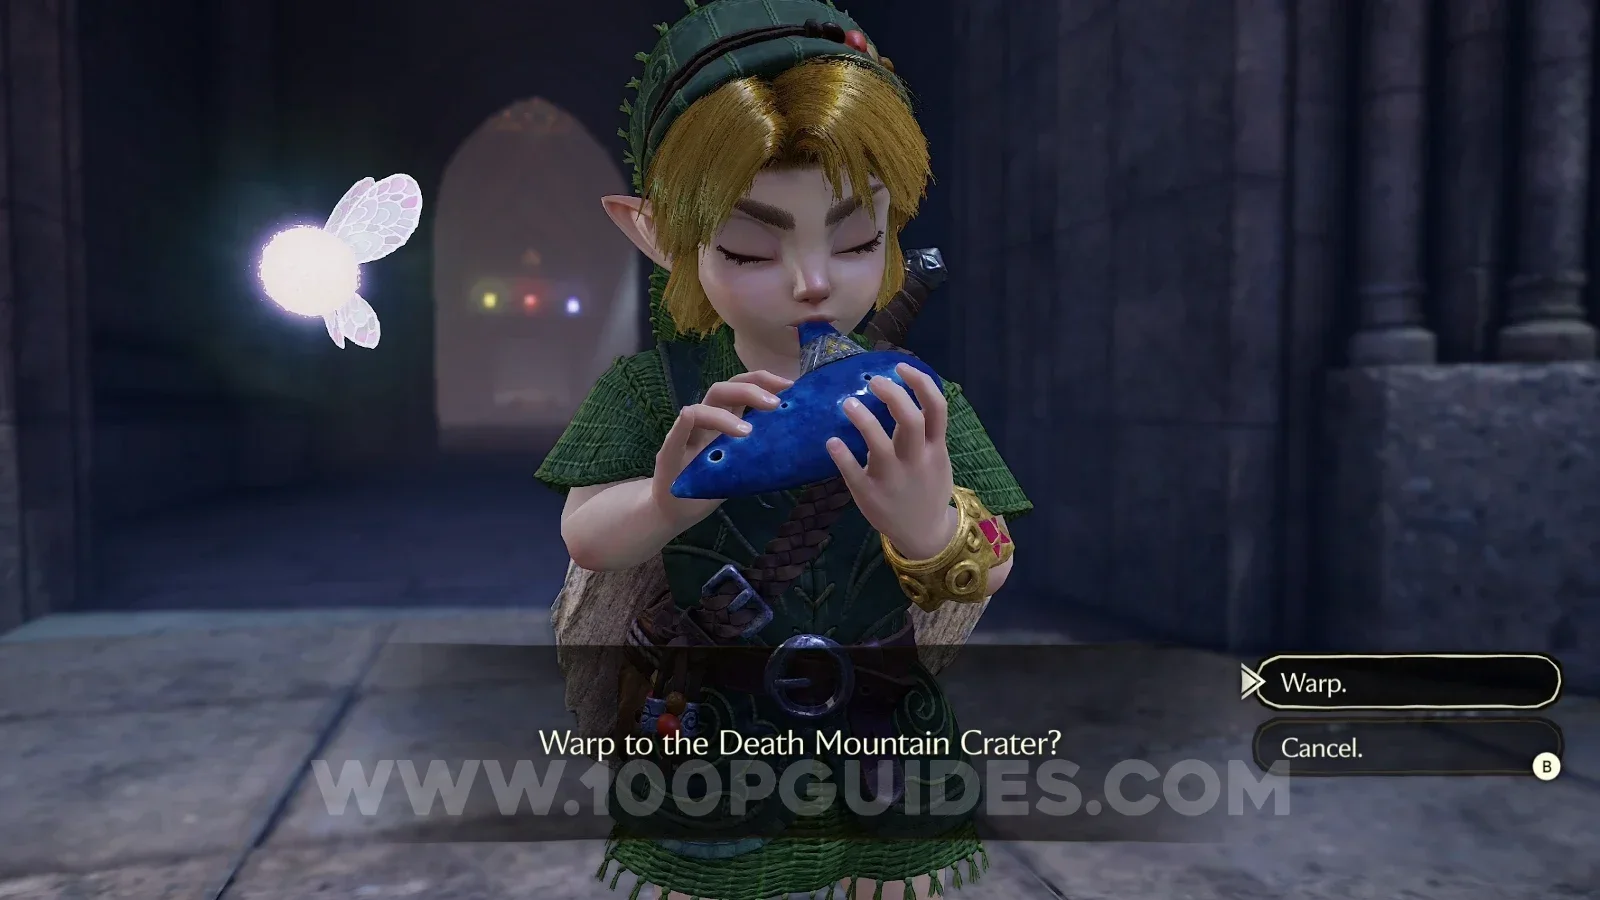
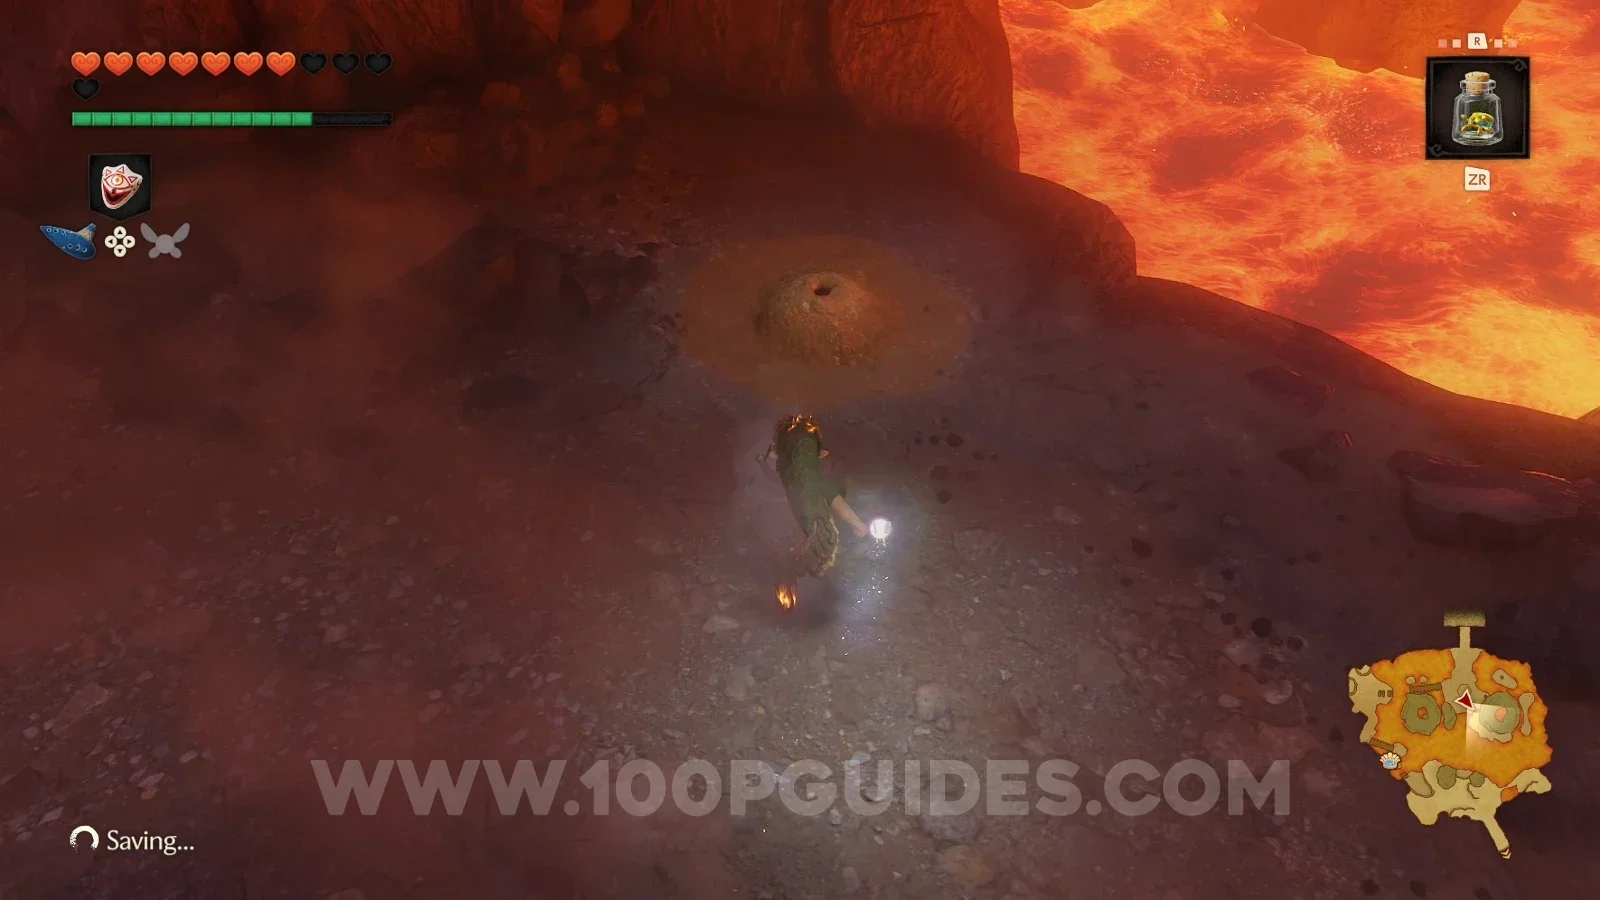
Warp to Death Mountain Crater by playing the Bolero of Fire song, then immediately turn around to find a soft soil patch. As always, release a bug near the hole to reveal the Gold Skulltula.

Zelda Ocarina of Time Remake Death Mountain Crater: the soft soil patch behind the Bolero of Fire warp point Zelda Ocarina of Time Remake Death Mountain Crater: Gold Skulltula #32 revealed by a bug near the soft soil

Zora River - Child Era

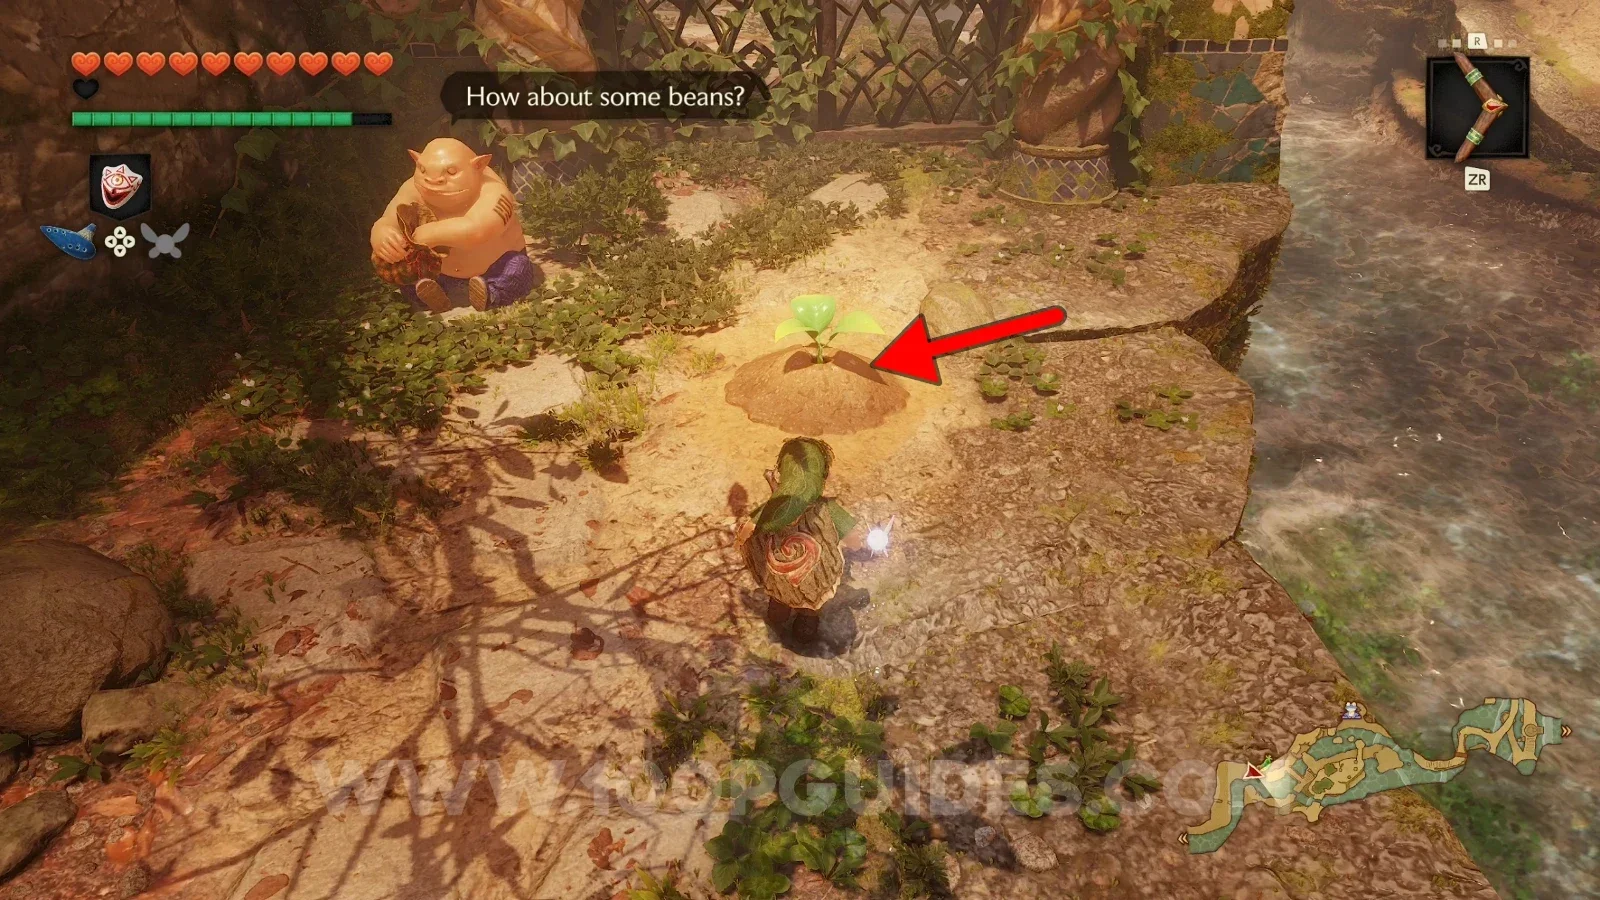
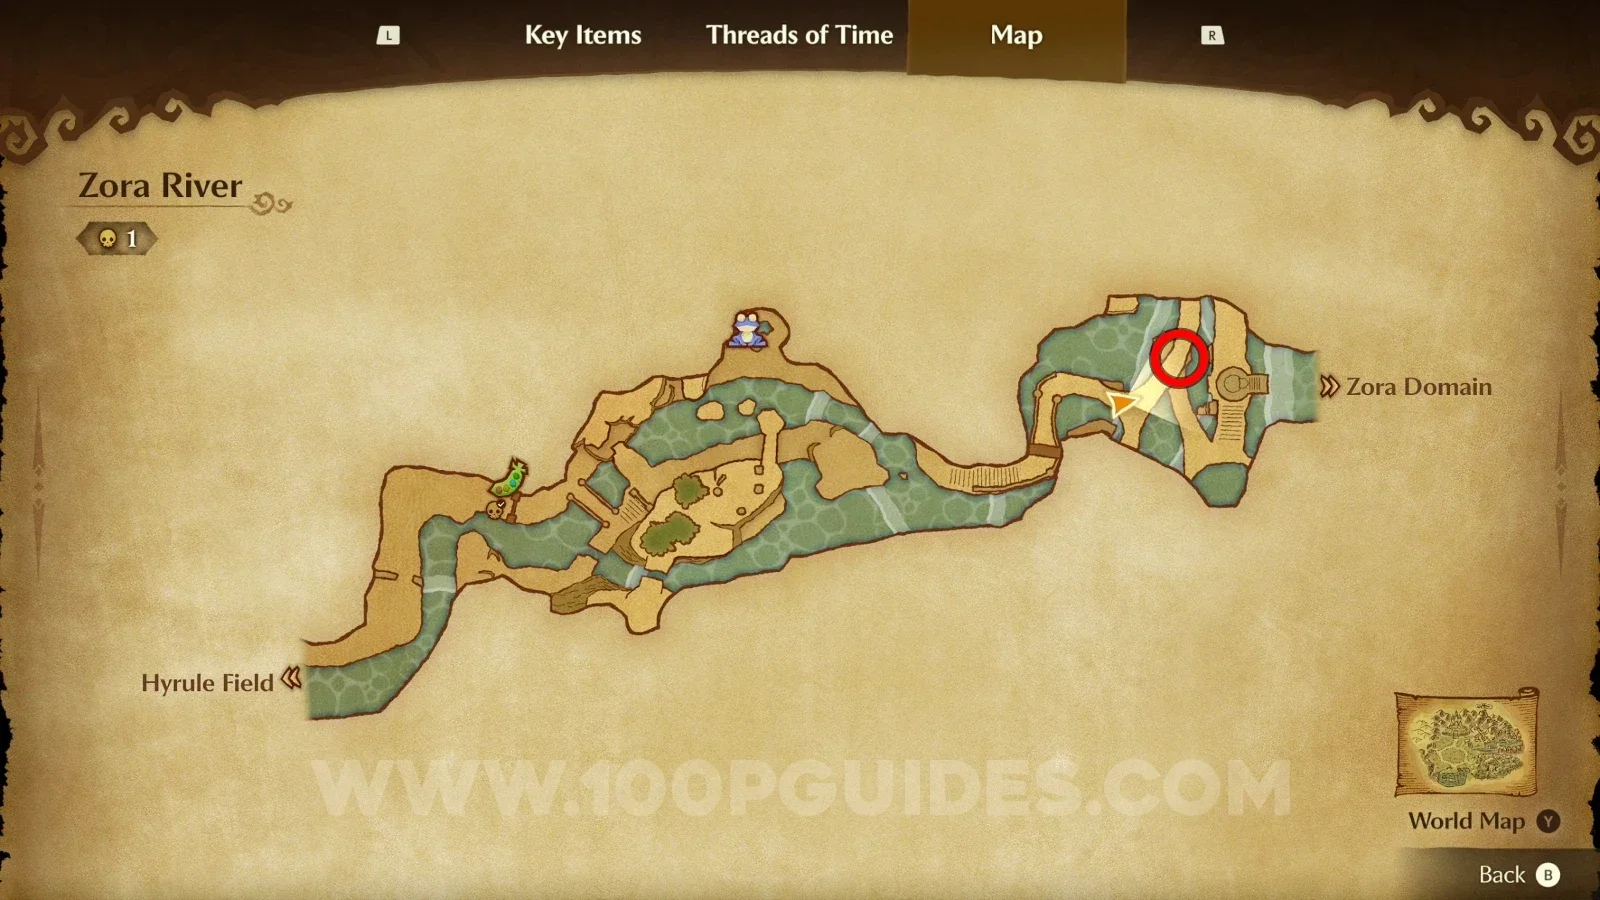
Gold Skulltula #33

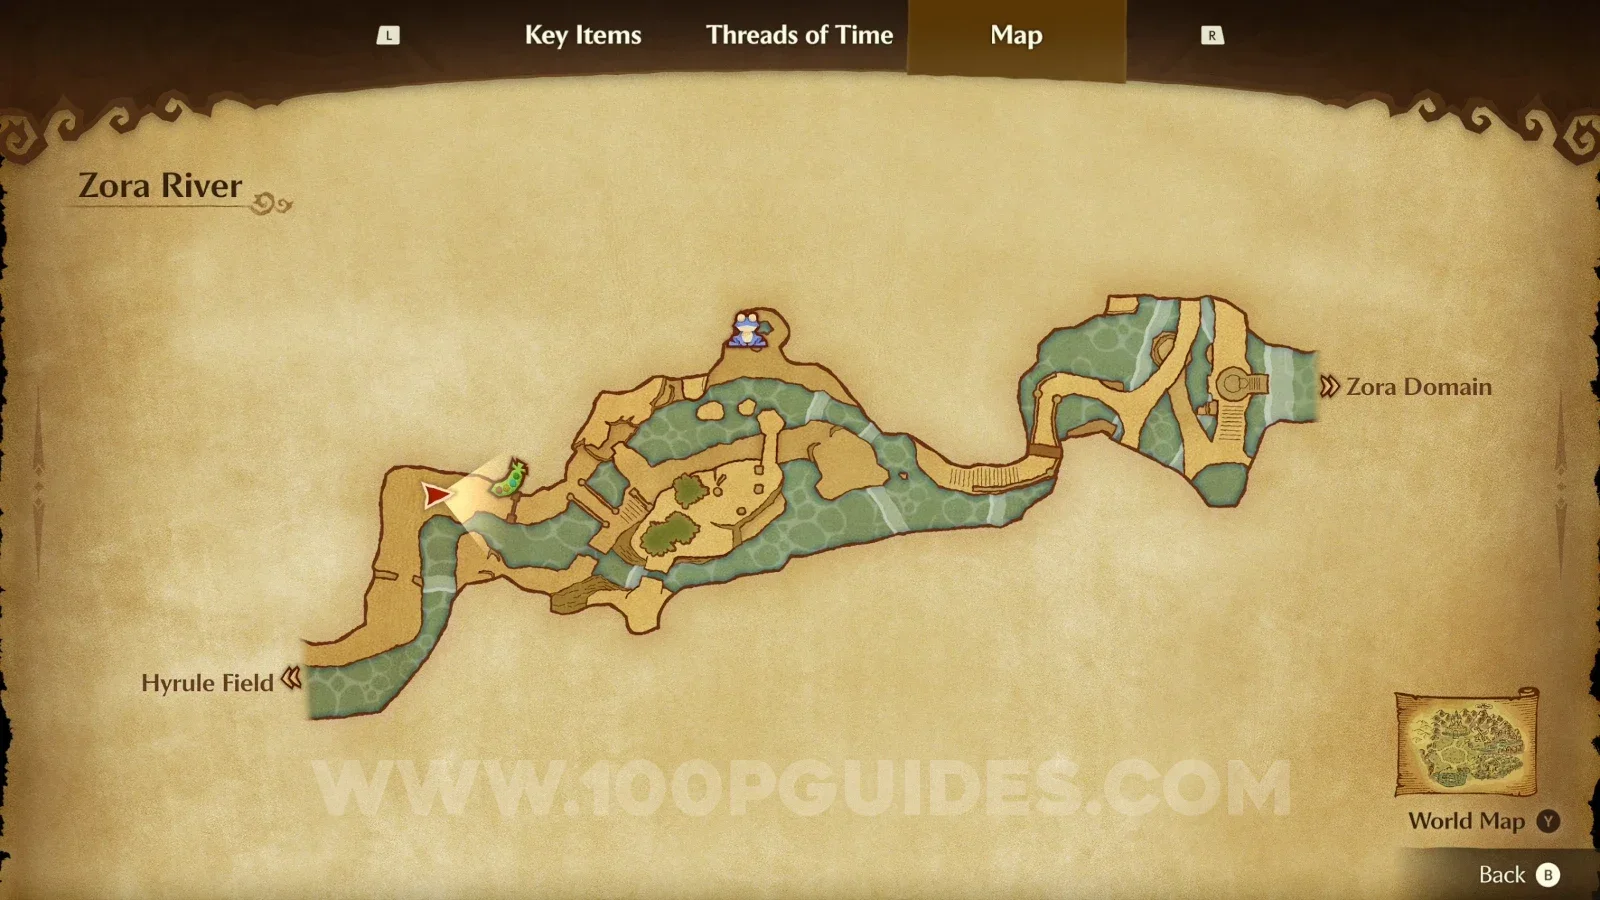
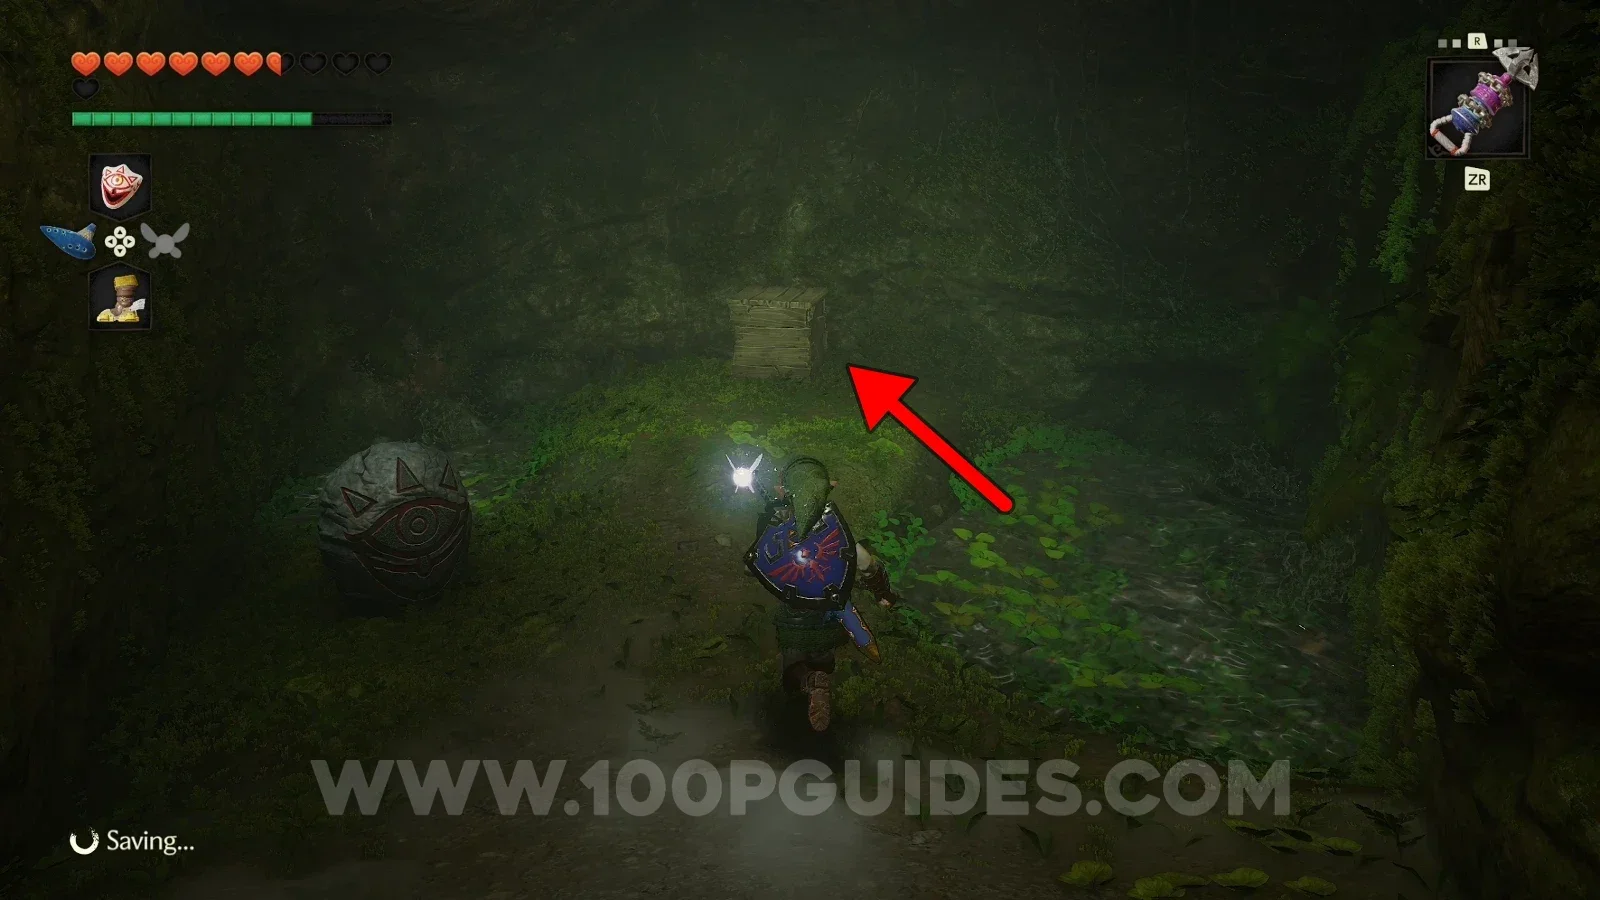
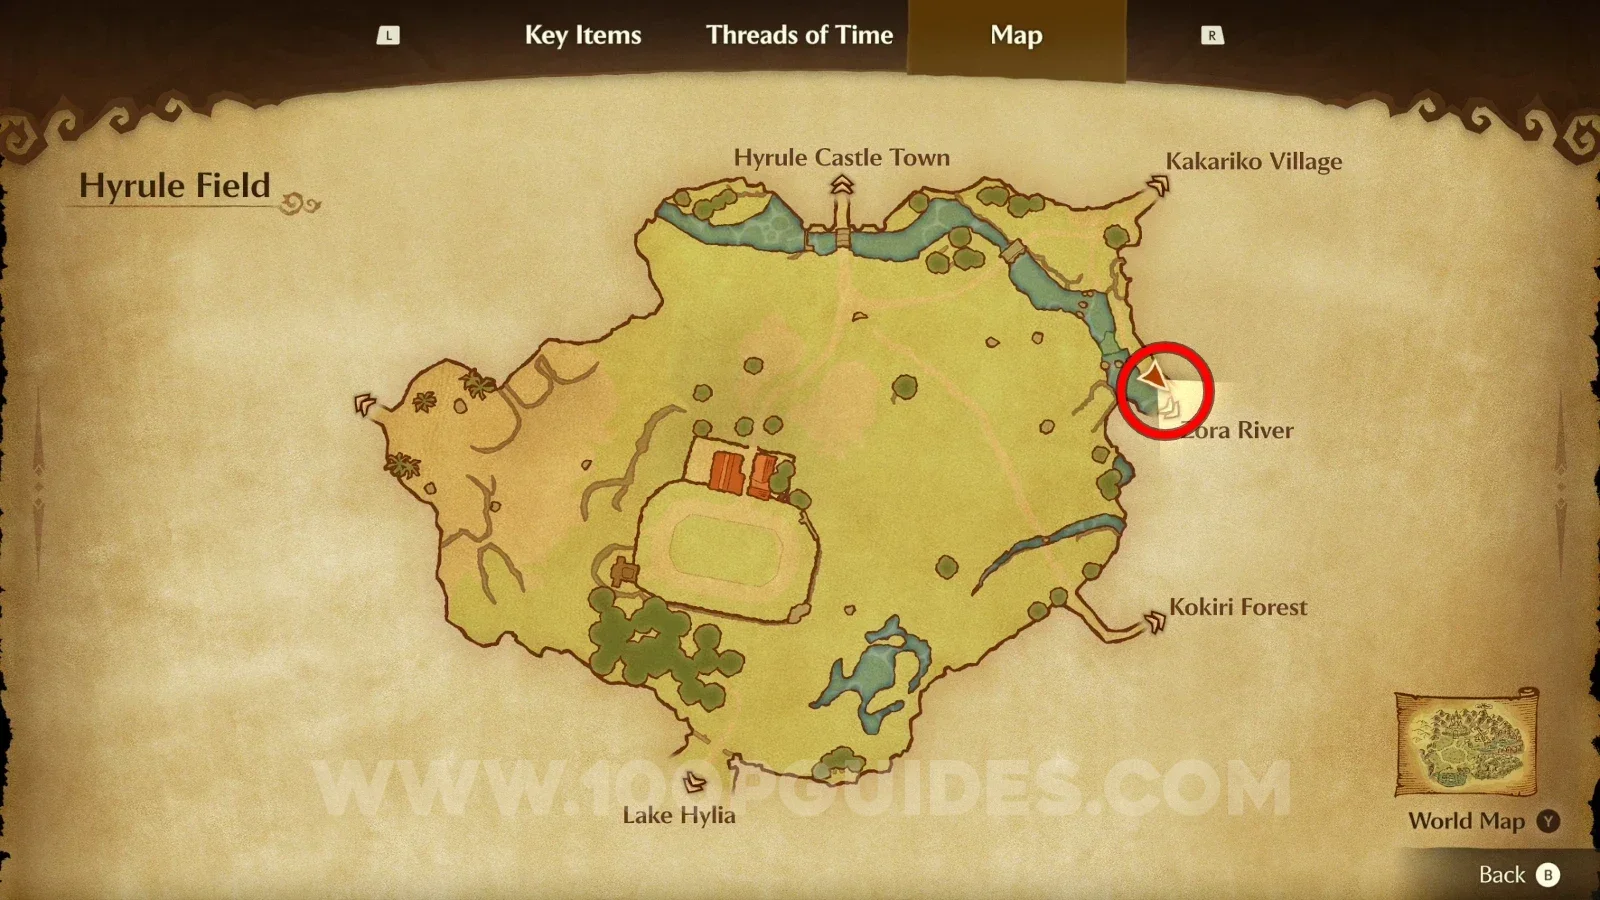
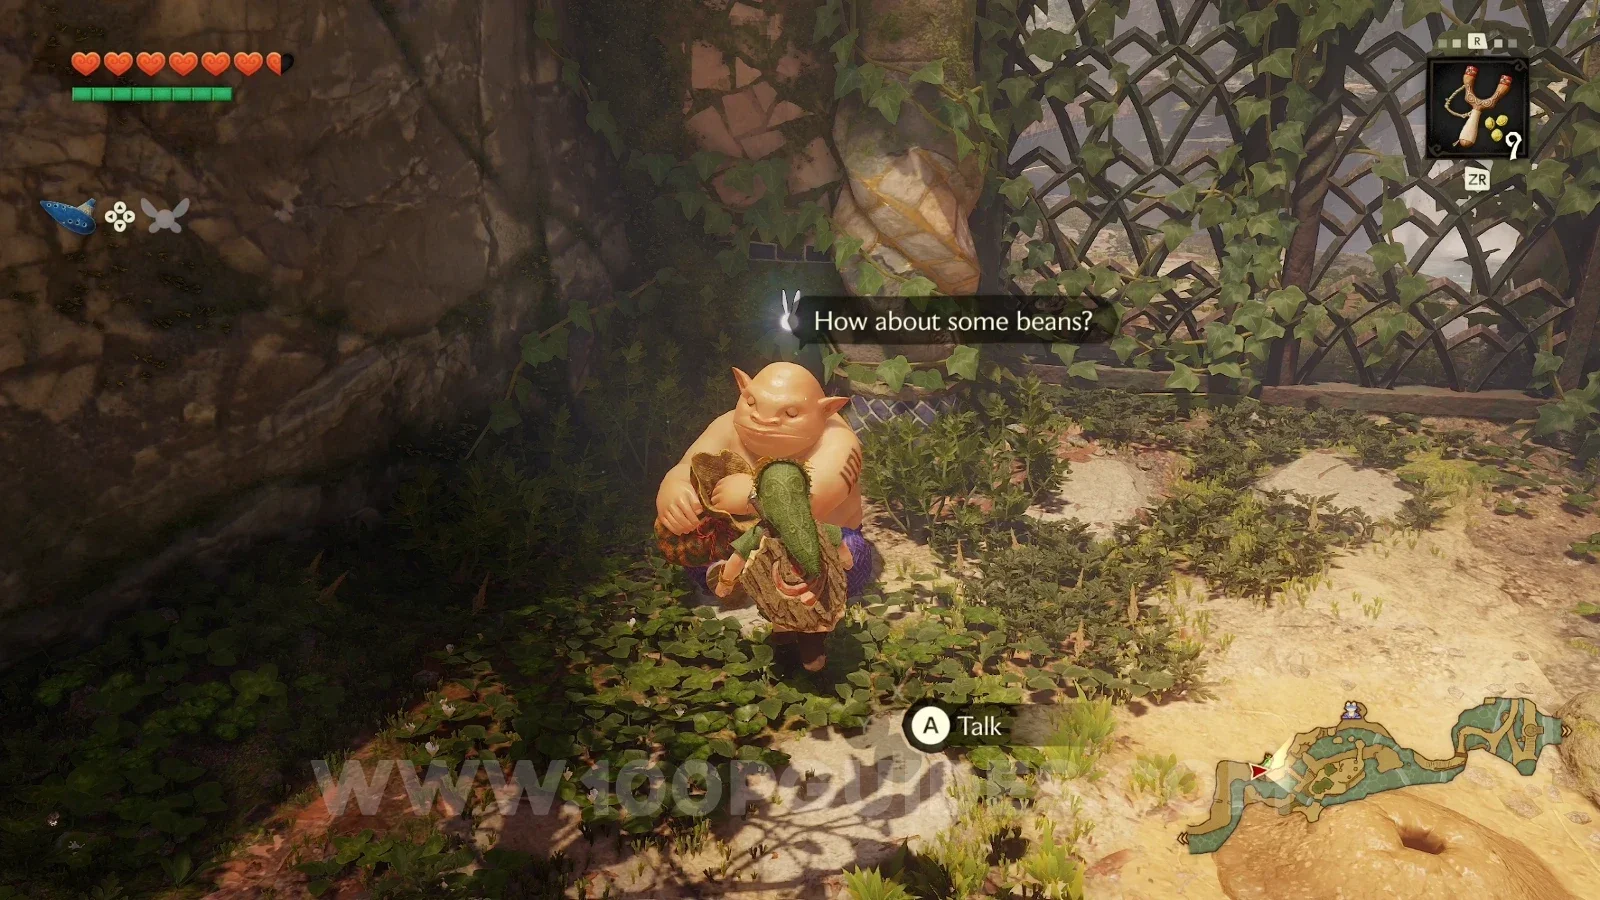
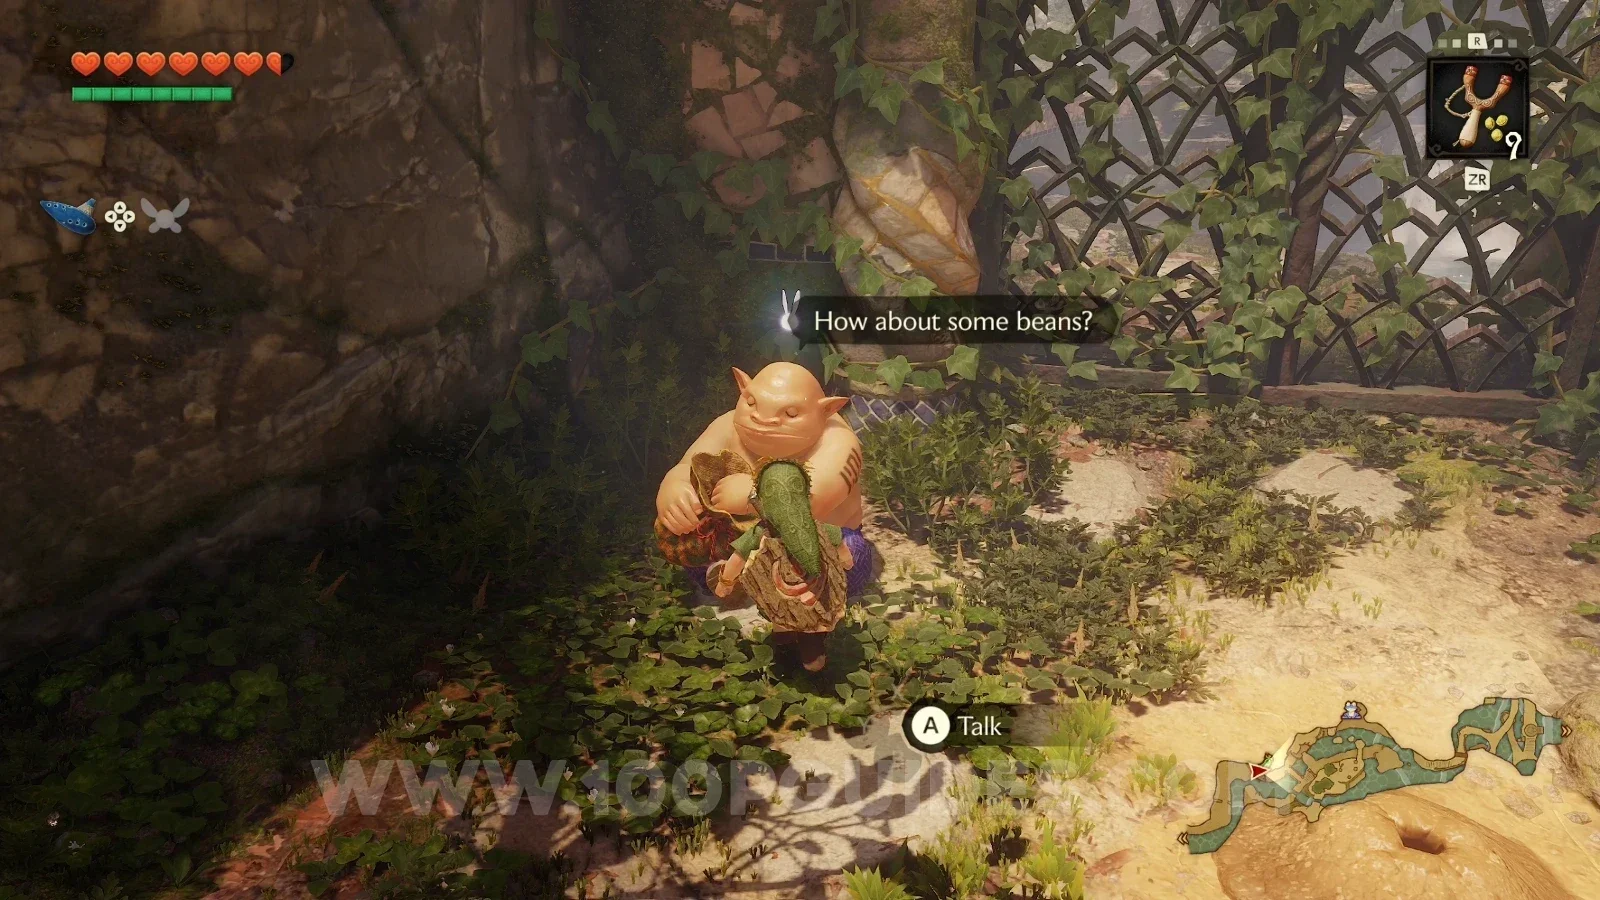
Release a bug near the soft soil patch next to the NPC that sells Magic Beans.

Zelda Ocarina of Time Remake Zora River: the soft soil patch next to the Magic Beans seller, Gold Skulltula #33 Zelda Ocarina of Time Remake Zora River: Gold Skulltula #33 revealed by releasing a bug near the soft soil

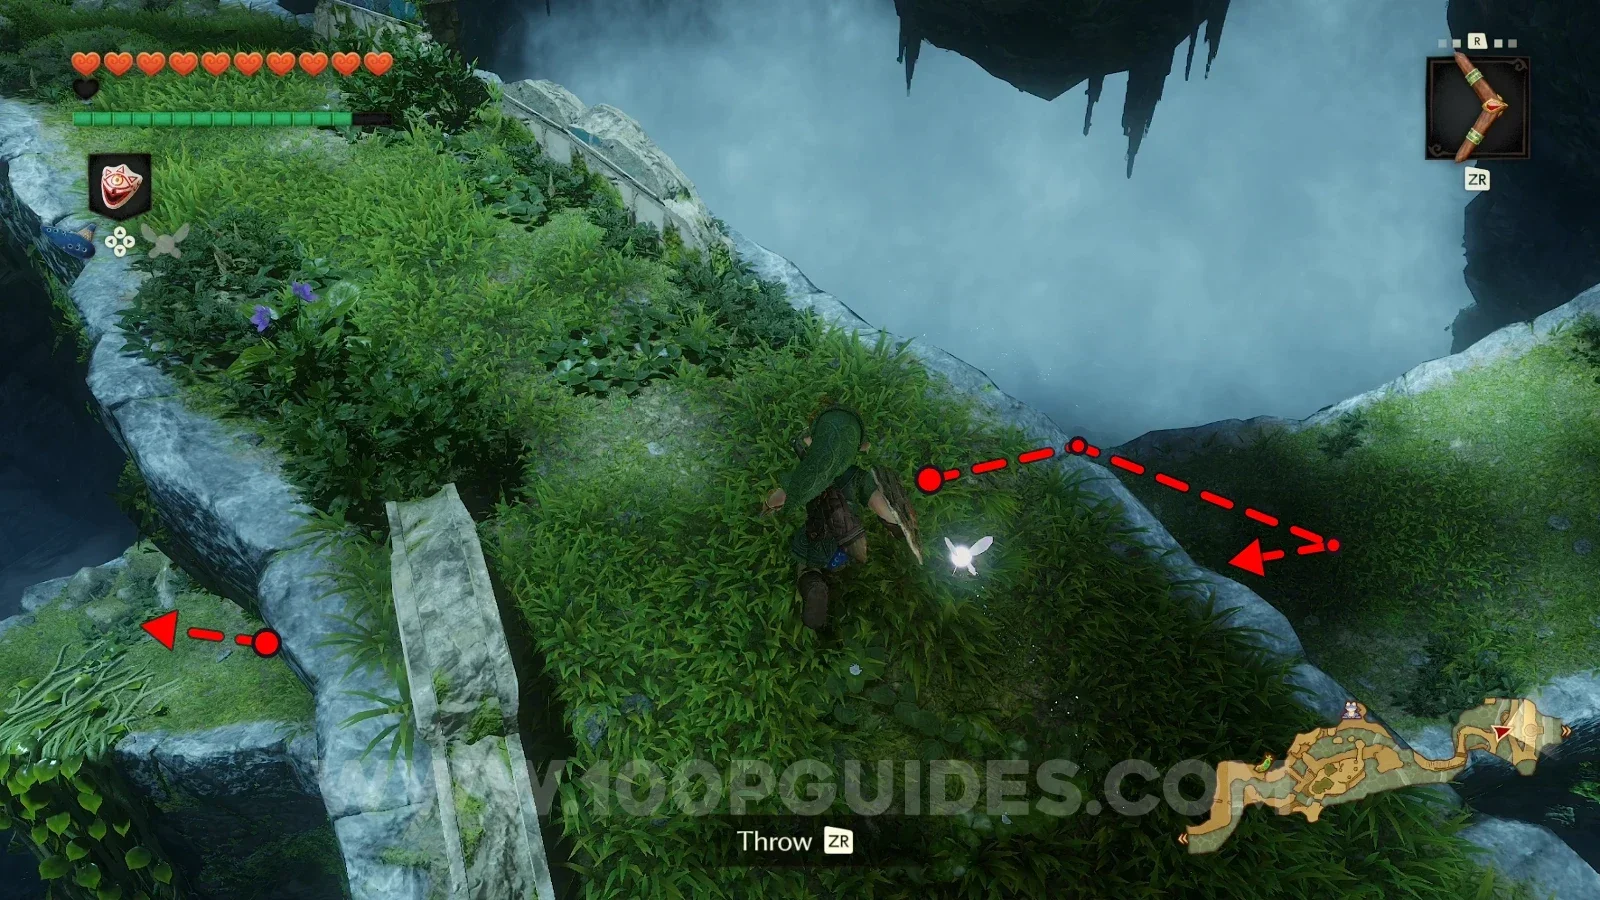
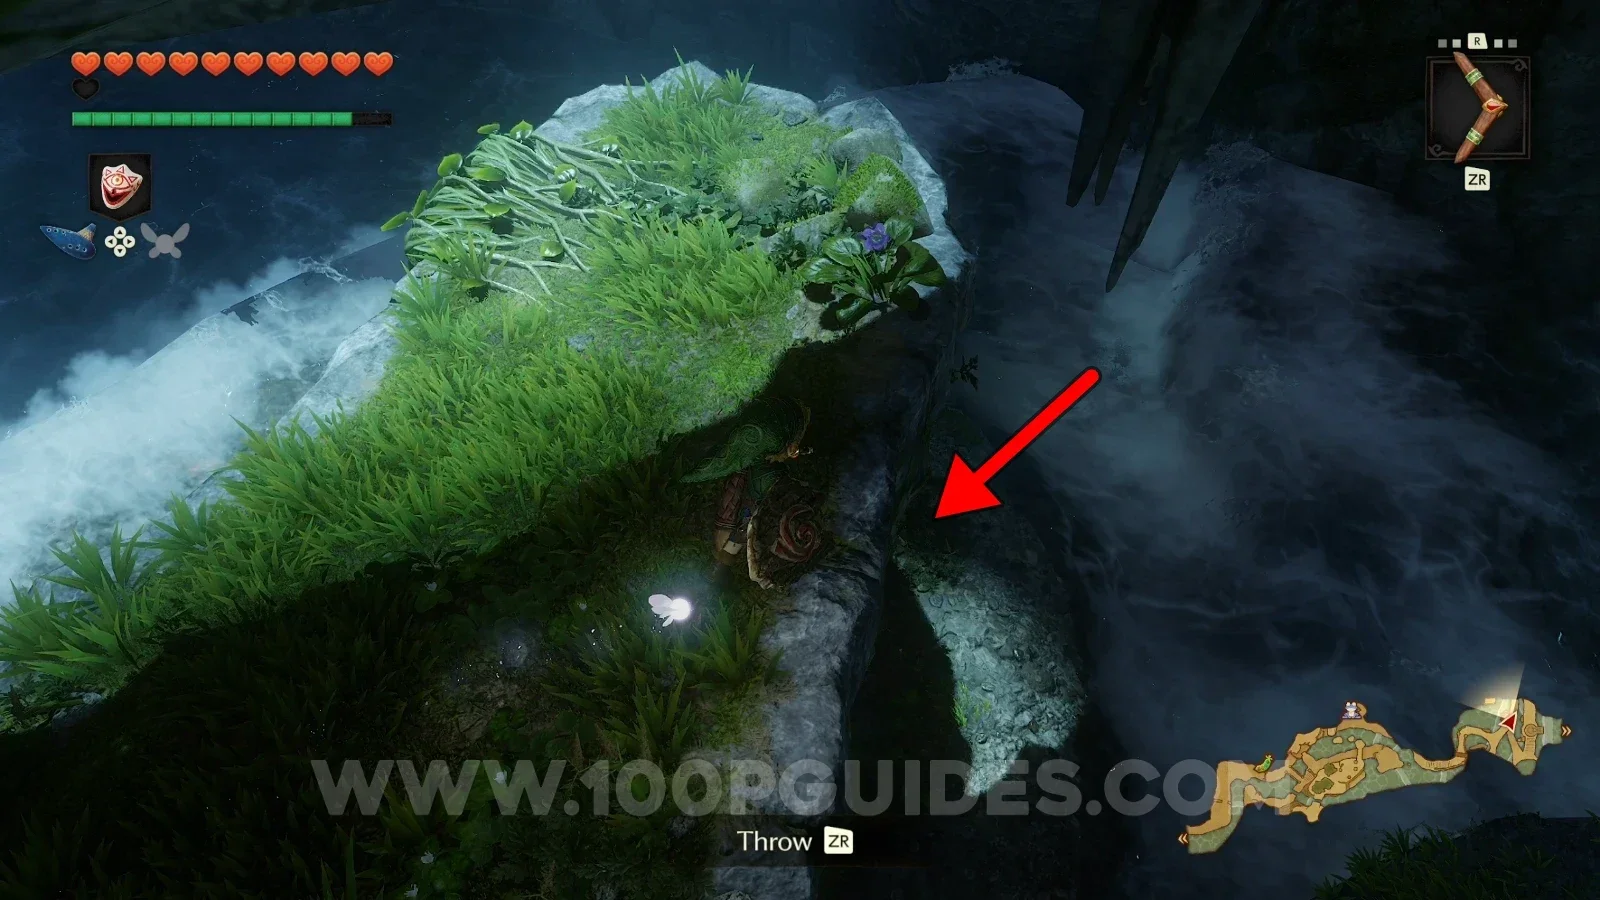
Gold Skulltula #34 (Nighttime)

Drop down to the bridge below, then head down the path where the vines lead down. The Gold Skulltula is on the opposite side of the vines.

Zelda Ocarina of Time Remake Zora River: dropping down to the bridge below at night toward Gold Skulltula #34 Zelda Ocarina of Time Remake Zora River: the path with the vines leading down to Gold Skulltula #34 Zelda Ocarina of Time Remake Zora River: Gold Skulltula #34 on the opposite side of the vines

Lake Hylia - Child Era

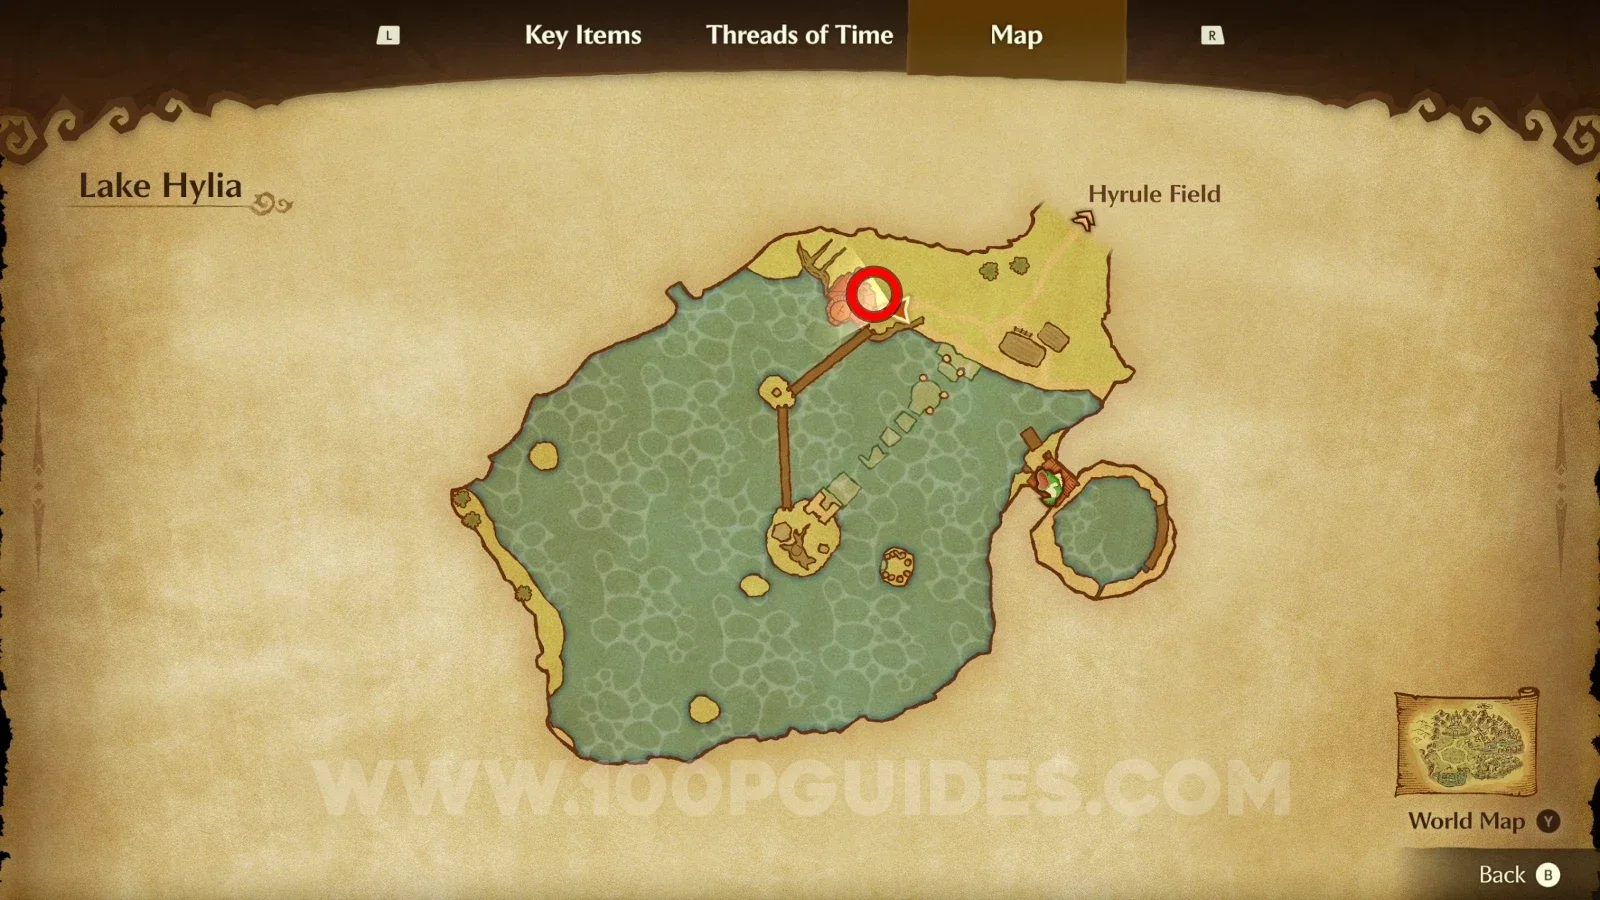
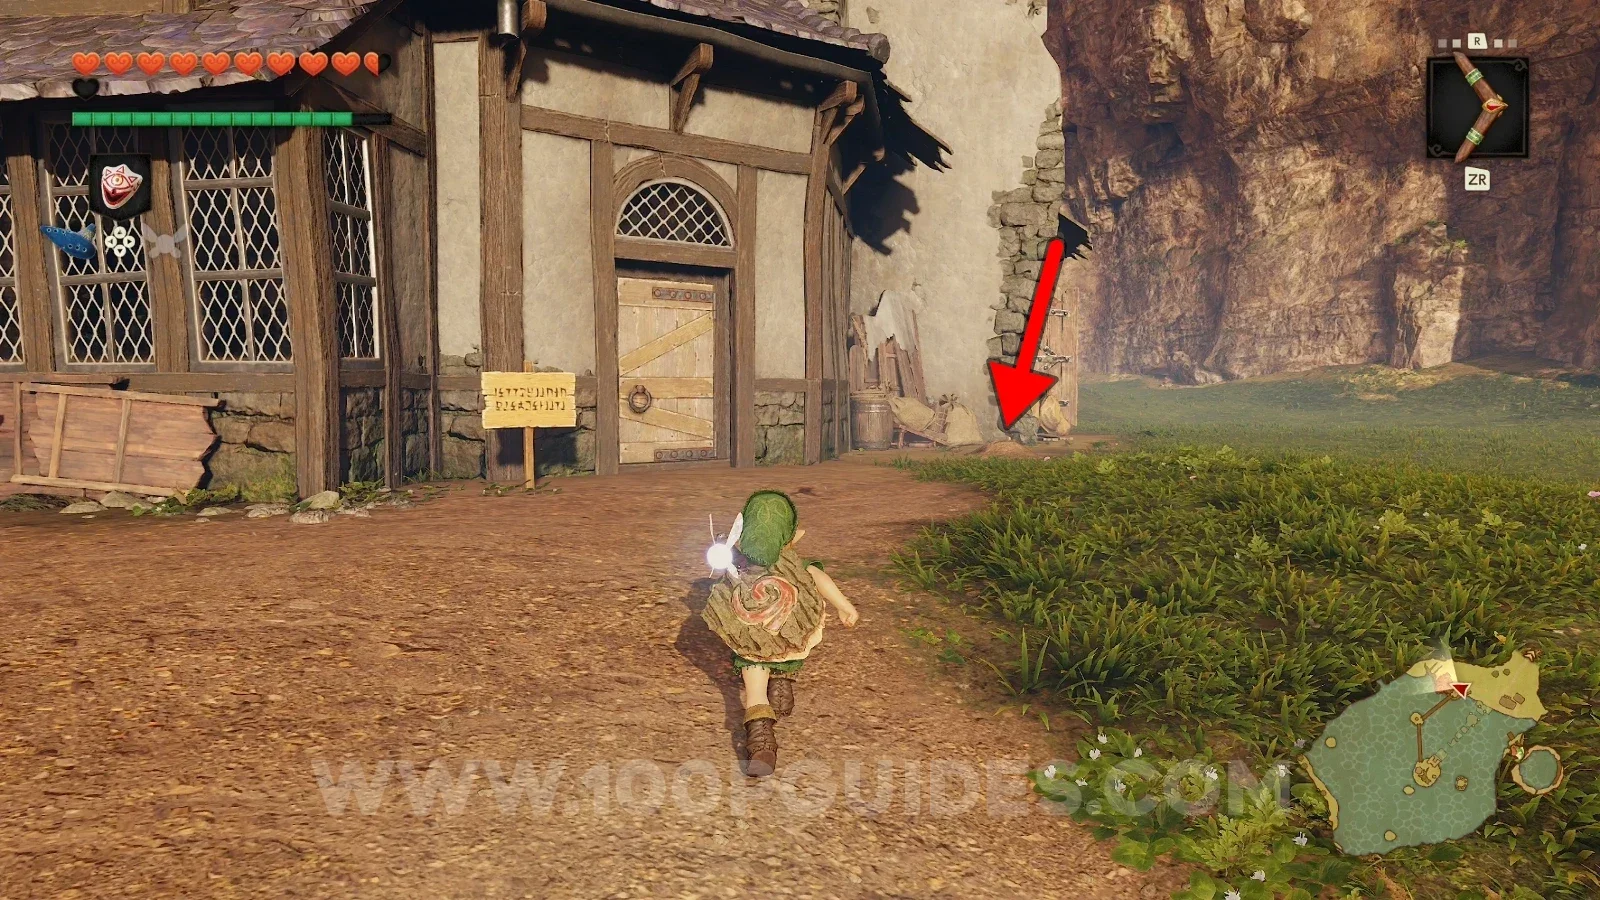
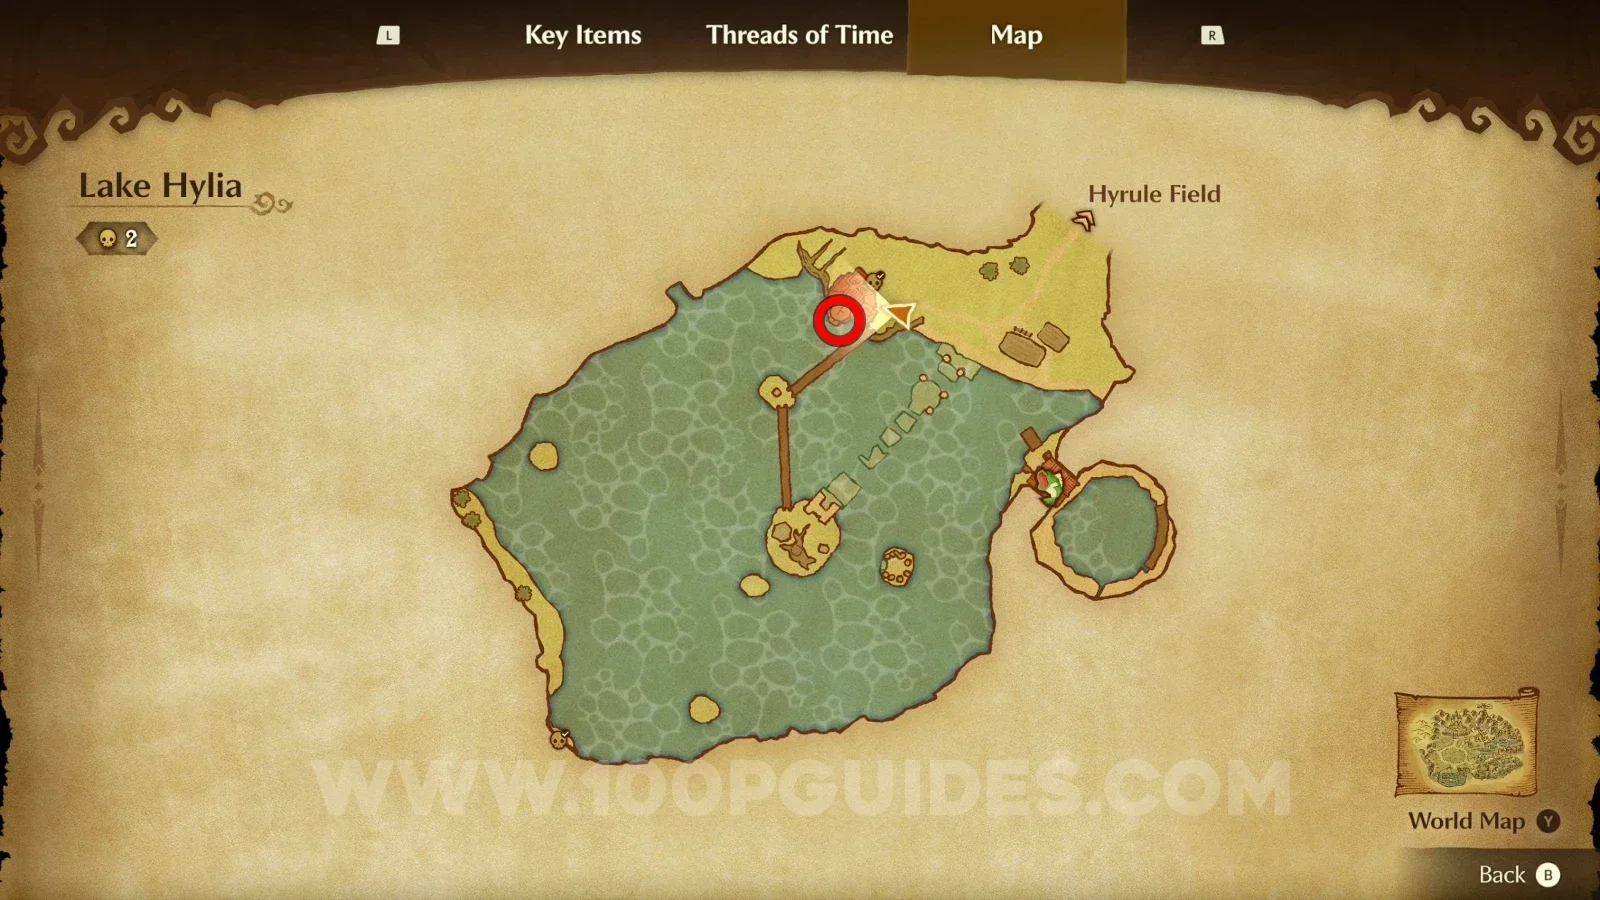
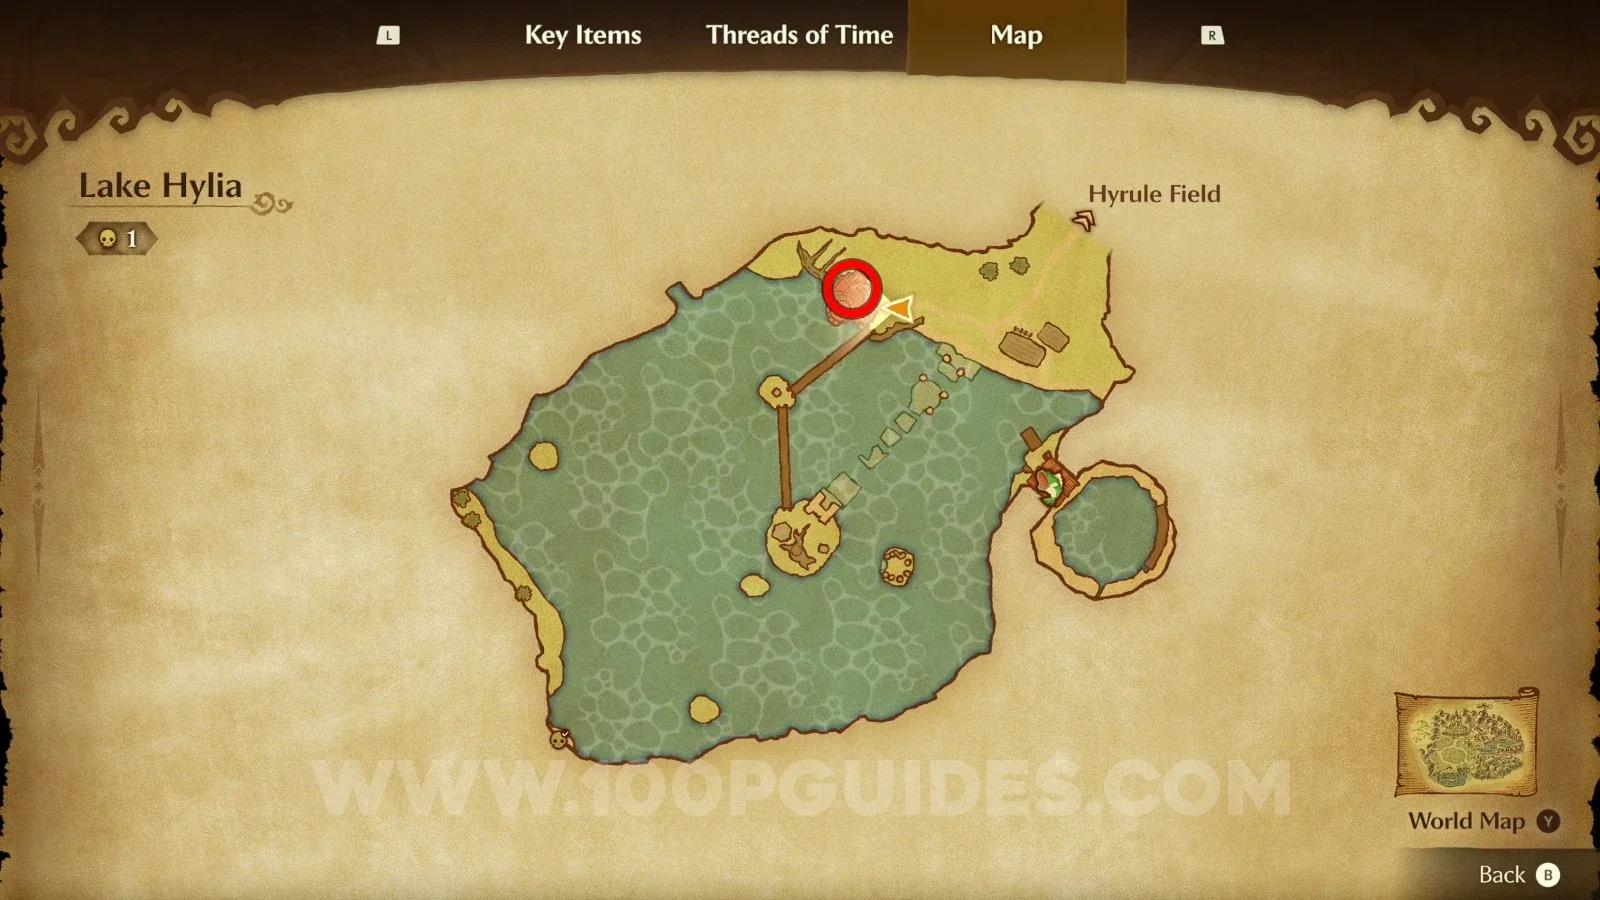
Gold Skulltula #35

Release a bug near the soft soil patch next to the building's door.

Zelda Ocarina of Time Remake Lake Hylia: the soft soil patch next to the building's door, Gold Skulltula #35 Zelda Ocarina of Time Remake Lake Hylia: Gold Skulltula #35 revealed by releasing a bug near the soft soil

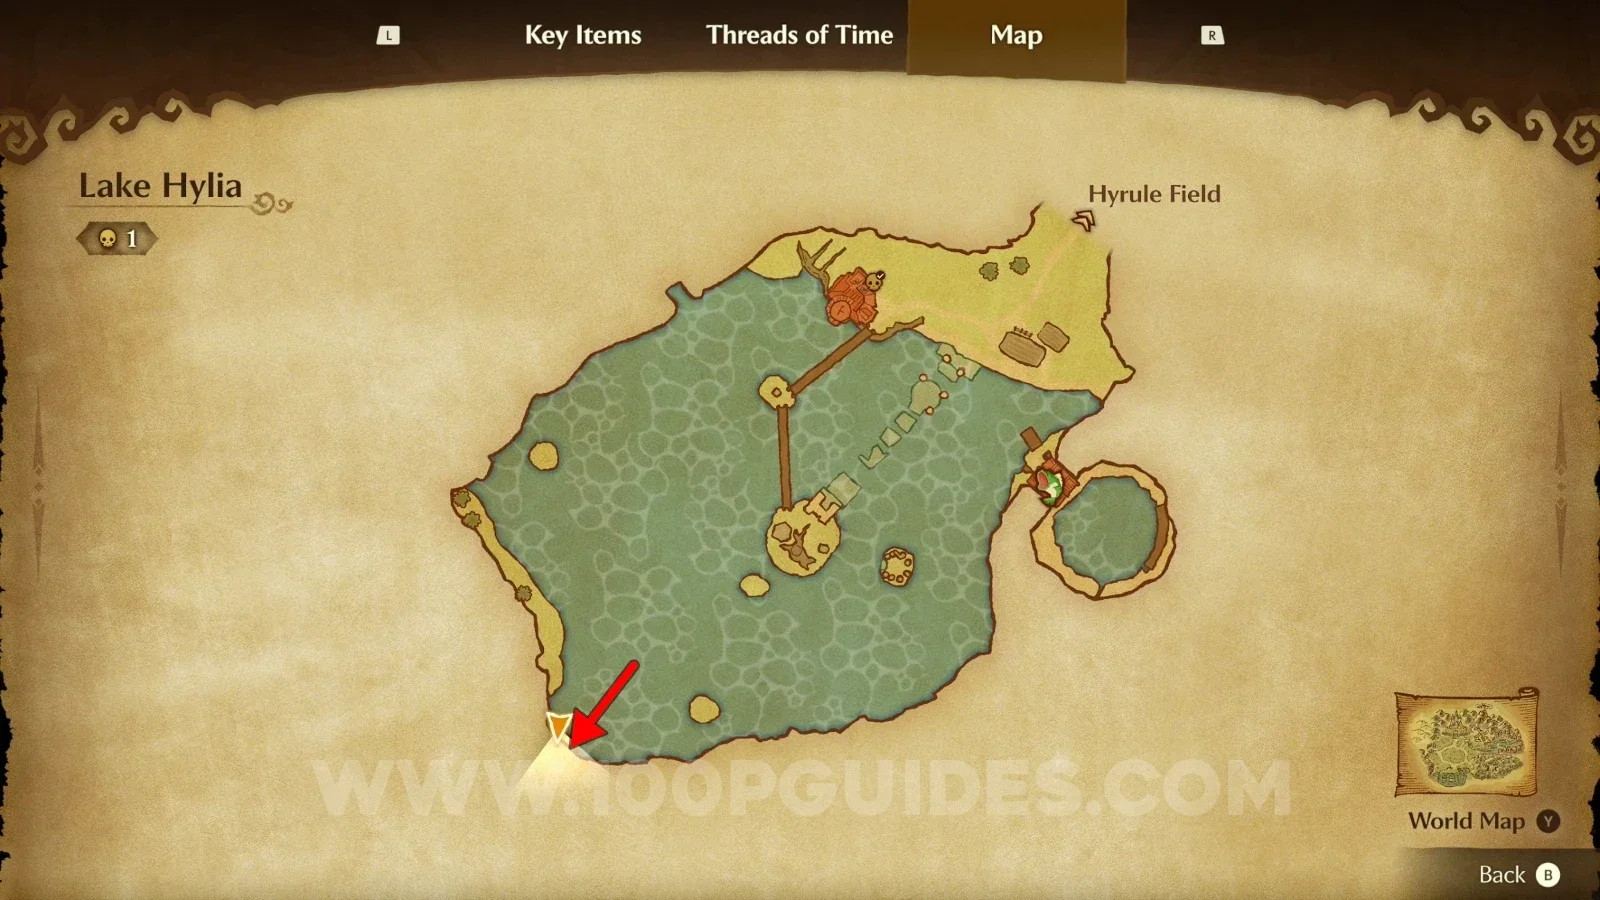
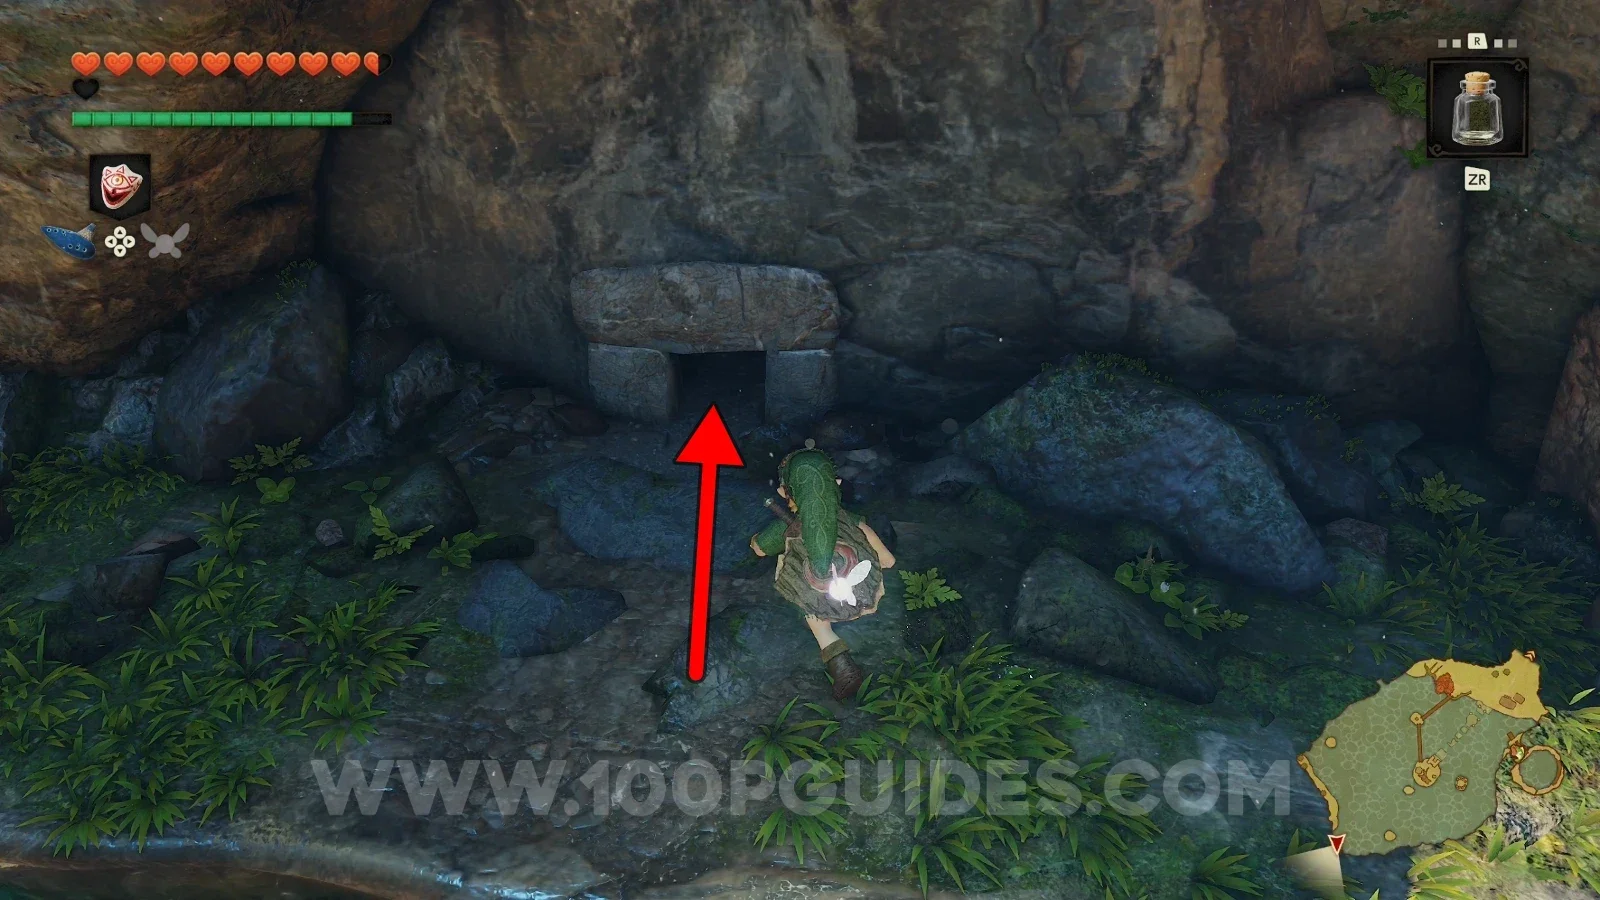
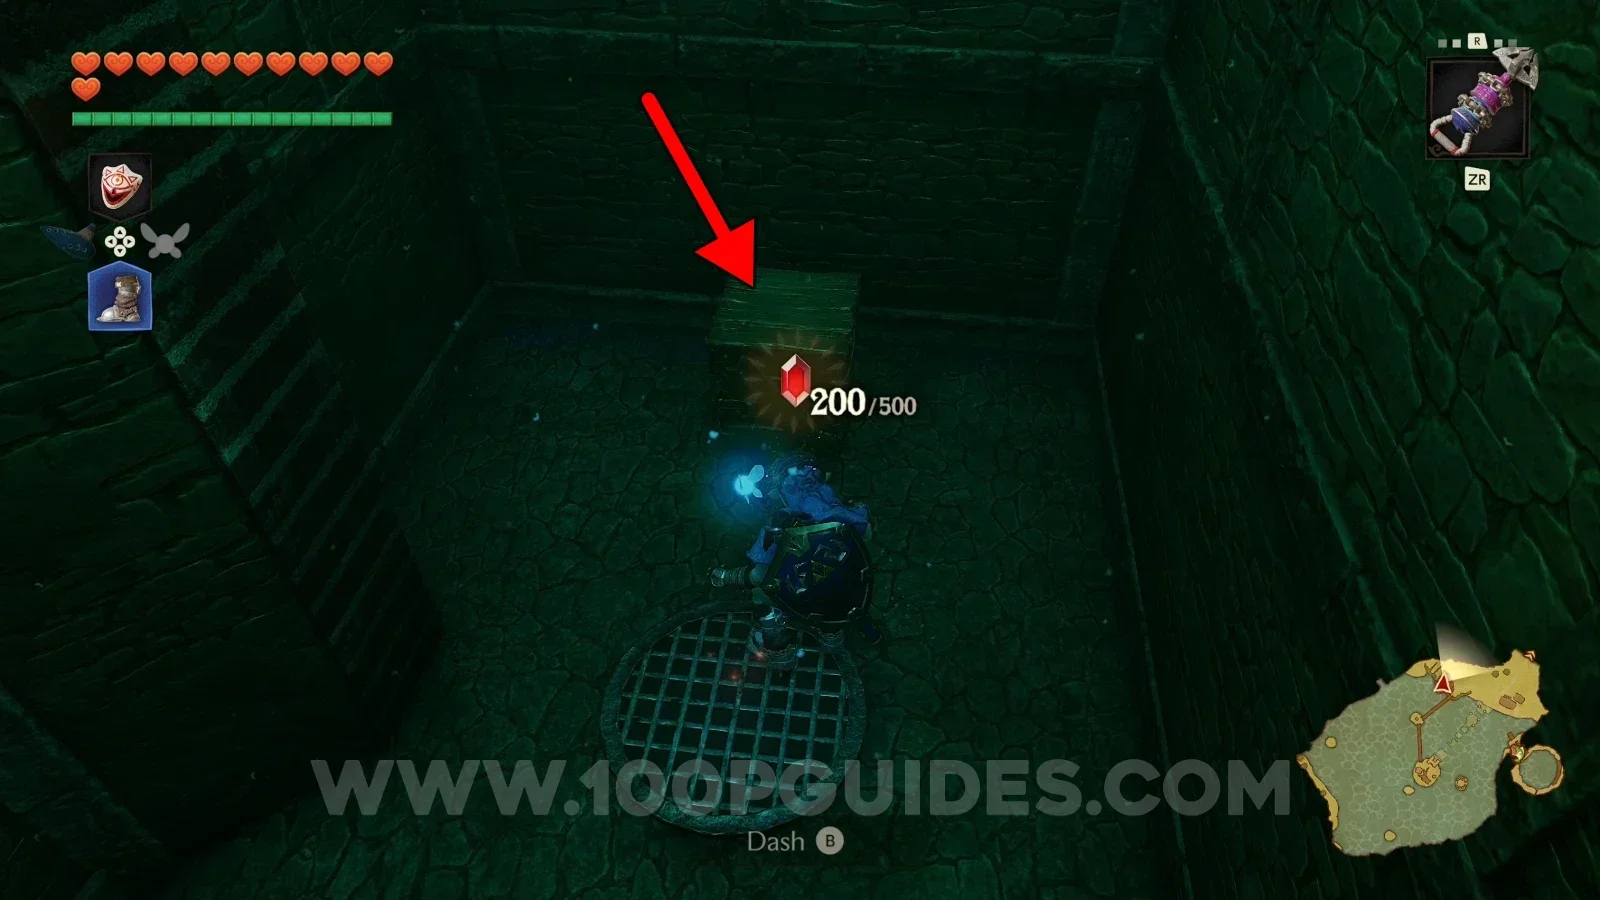
Gold Skulltula #36

Crawl through the small hole to enter a cave with a Gold Skulltula right in front of you.

Zelda Ocarina of Time Remake Lake Hylia: the small hole to crawl through for Gold Skulltula #36 Zelda Ocarina of Time Remake Lake Hylia: Gold Skulltula #36 right in front of you inside the cave

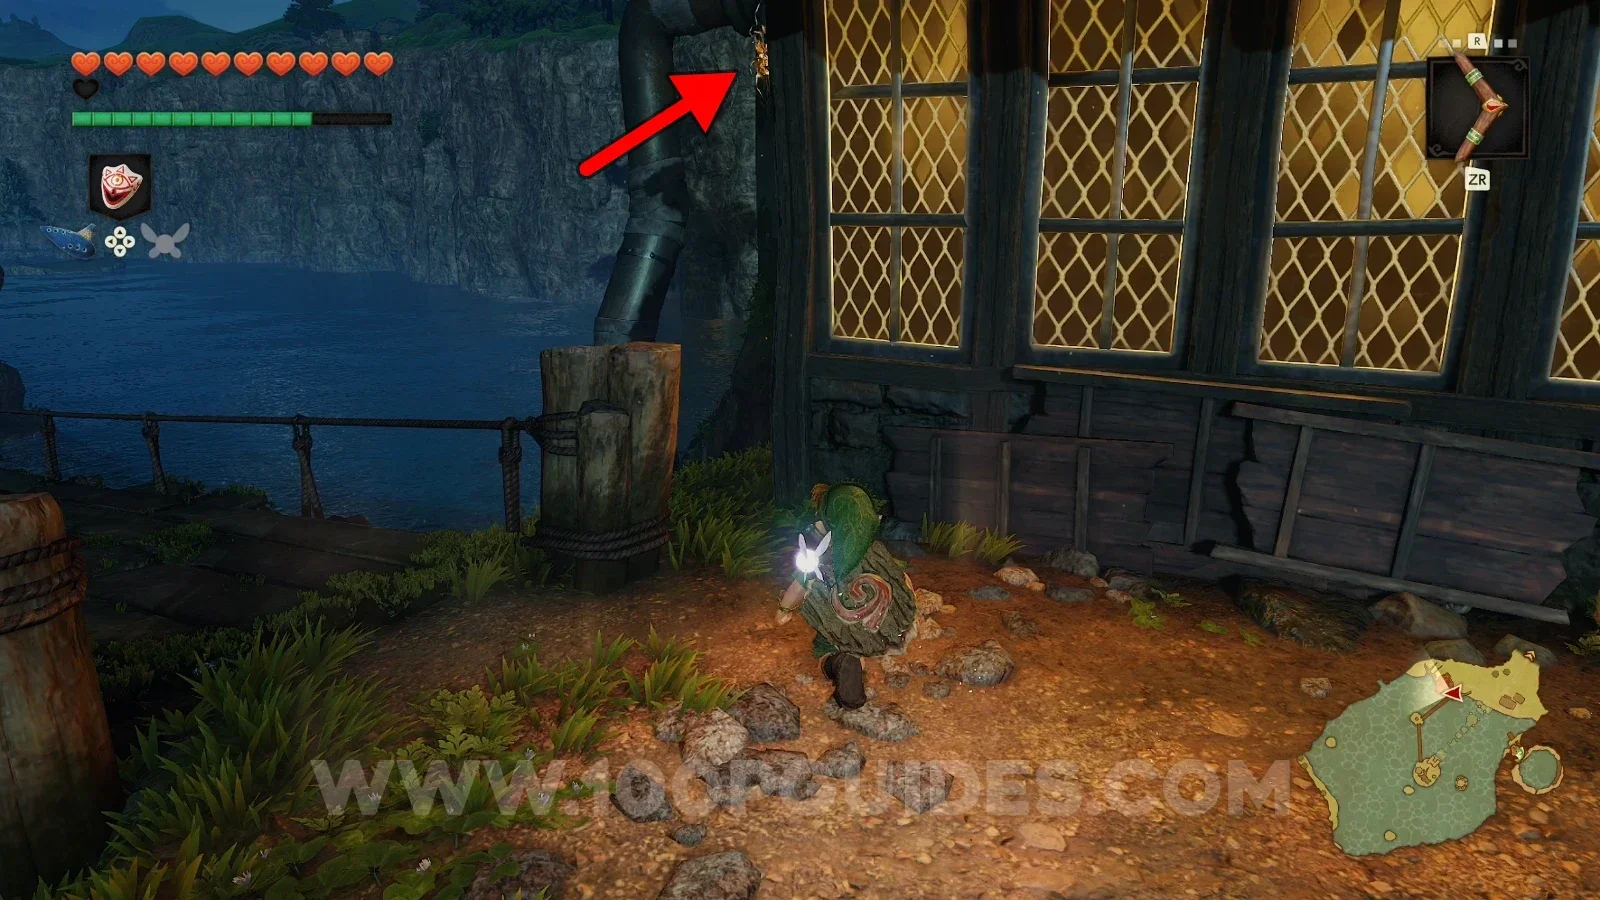
Gold Skulltula #37 (Nighttime)

On the left side of the Lakeside Laboratory in Lake Hylia.

Zelda Ocarina of Time Remake Lake Hylia: the Lakeside Laboratory at night, location of Gold Skulltula #37 Zelda Ocarina of Time Remake Lake Hylia: Gold Skulltula #37 on the left side of the Lakeside Laboratory

Zora Fountain - Child Era

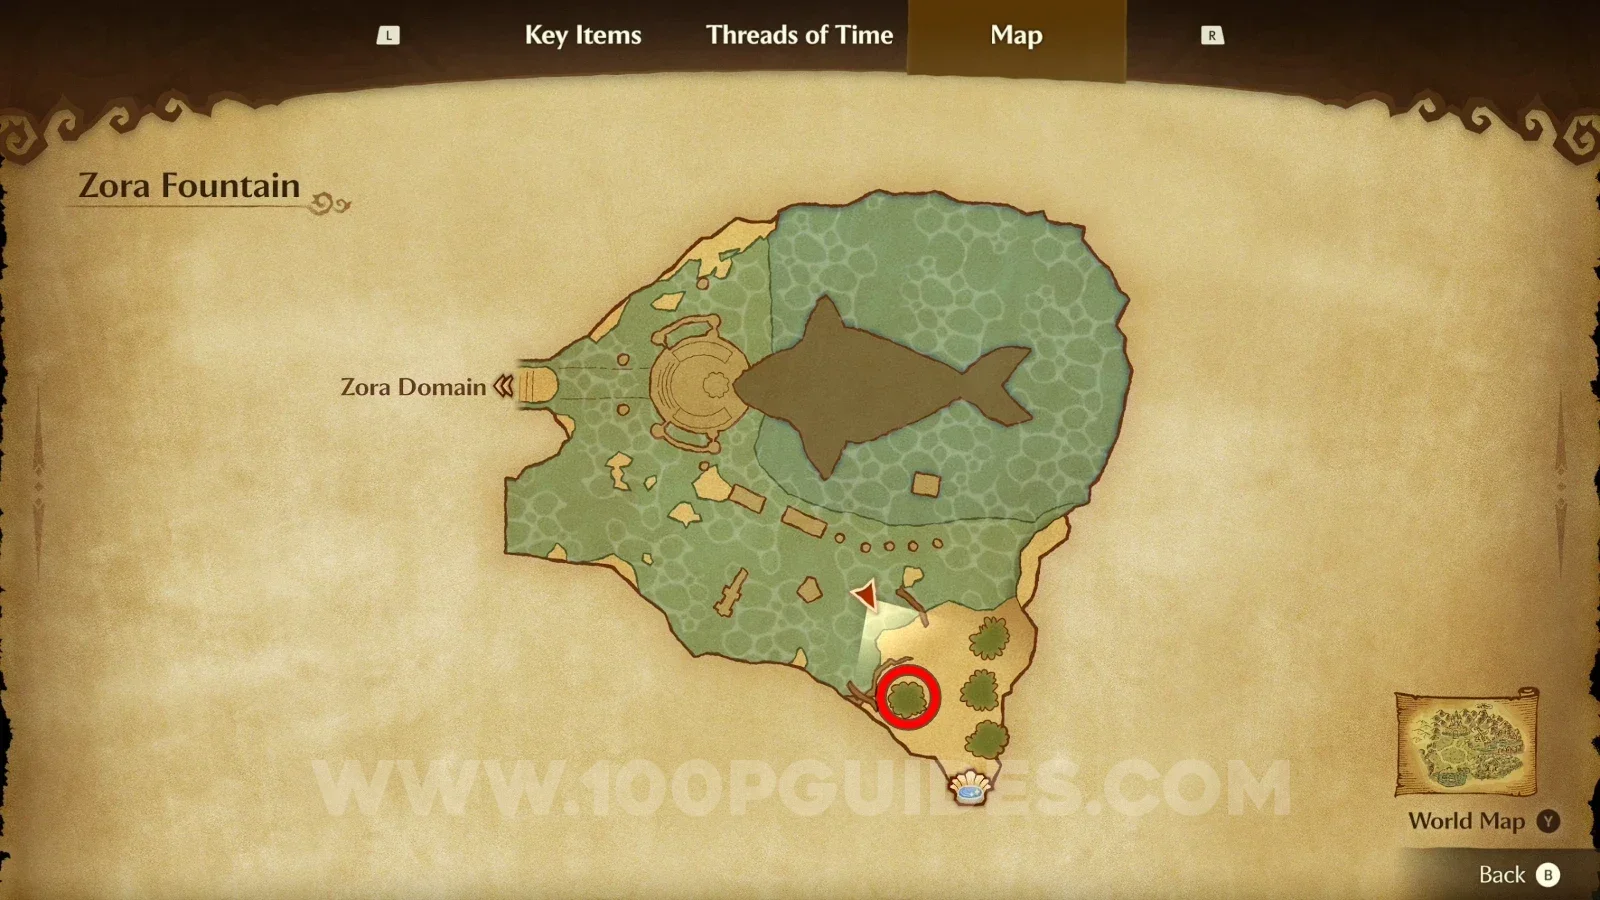
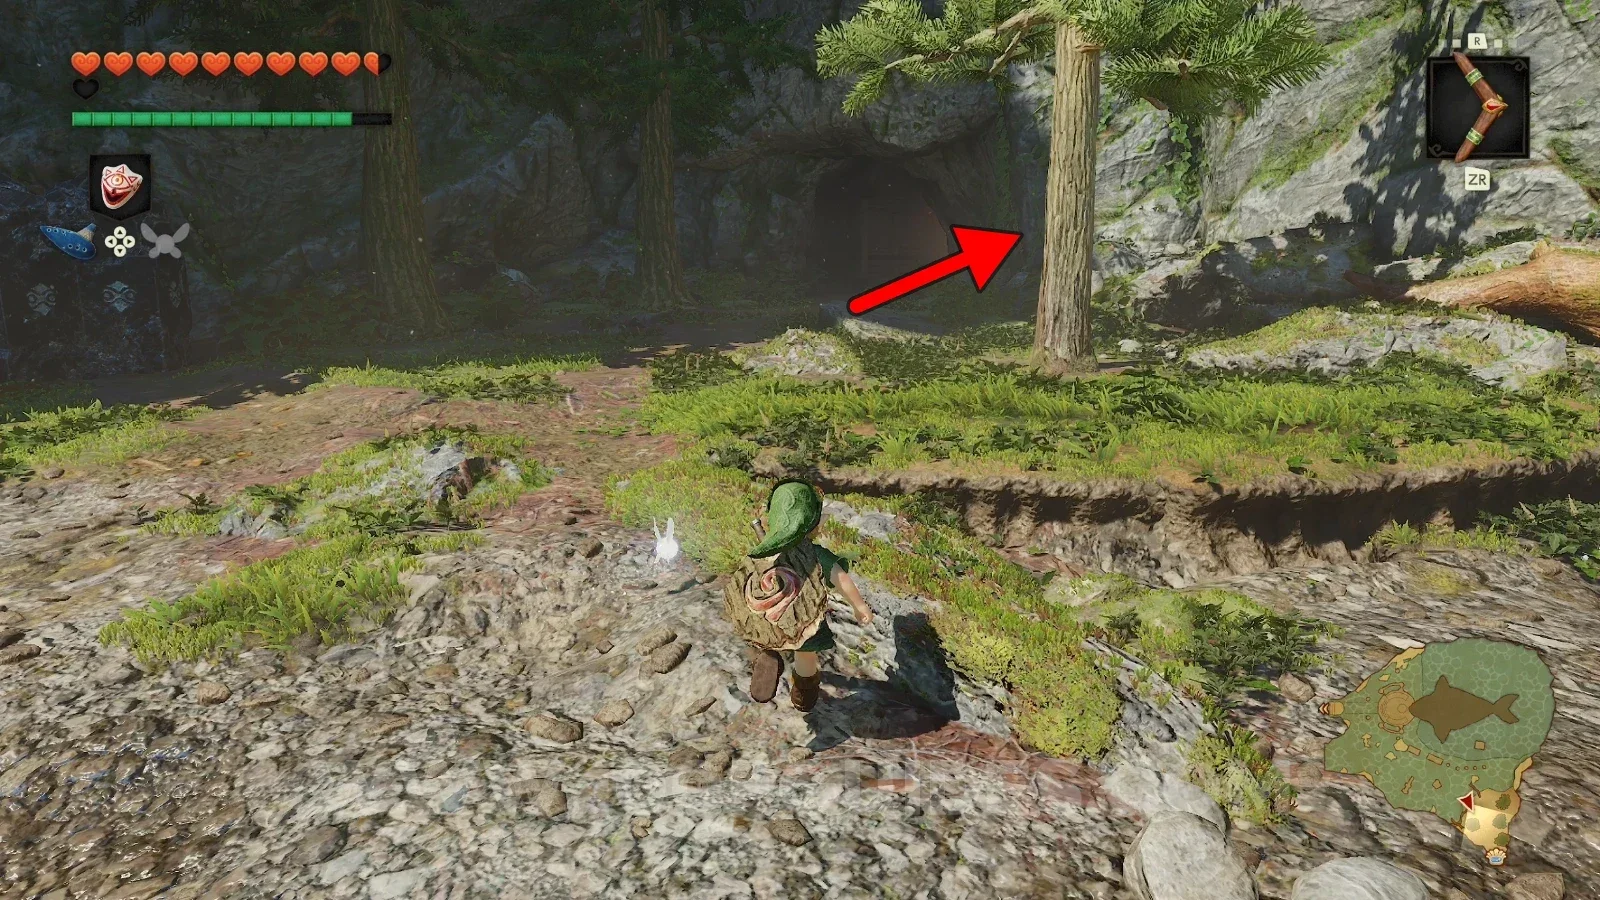
Gold Skulltula #38

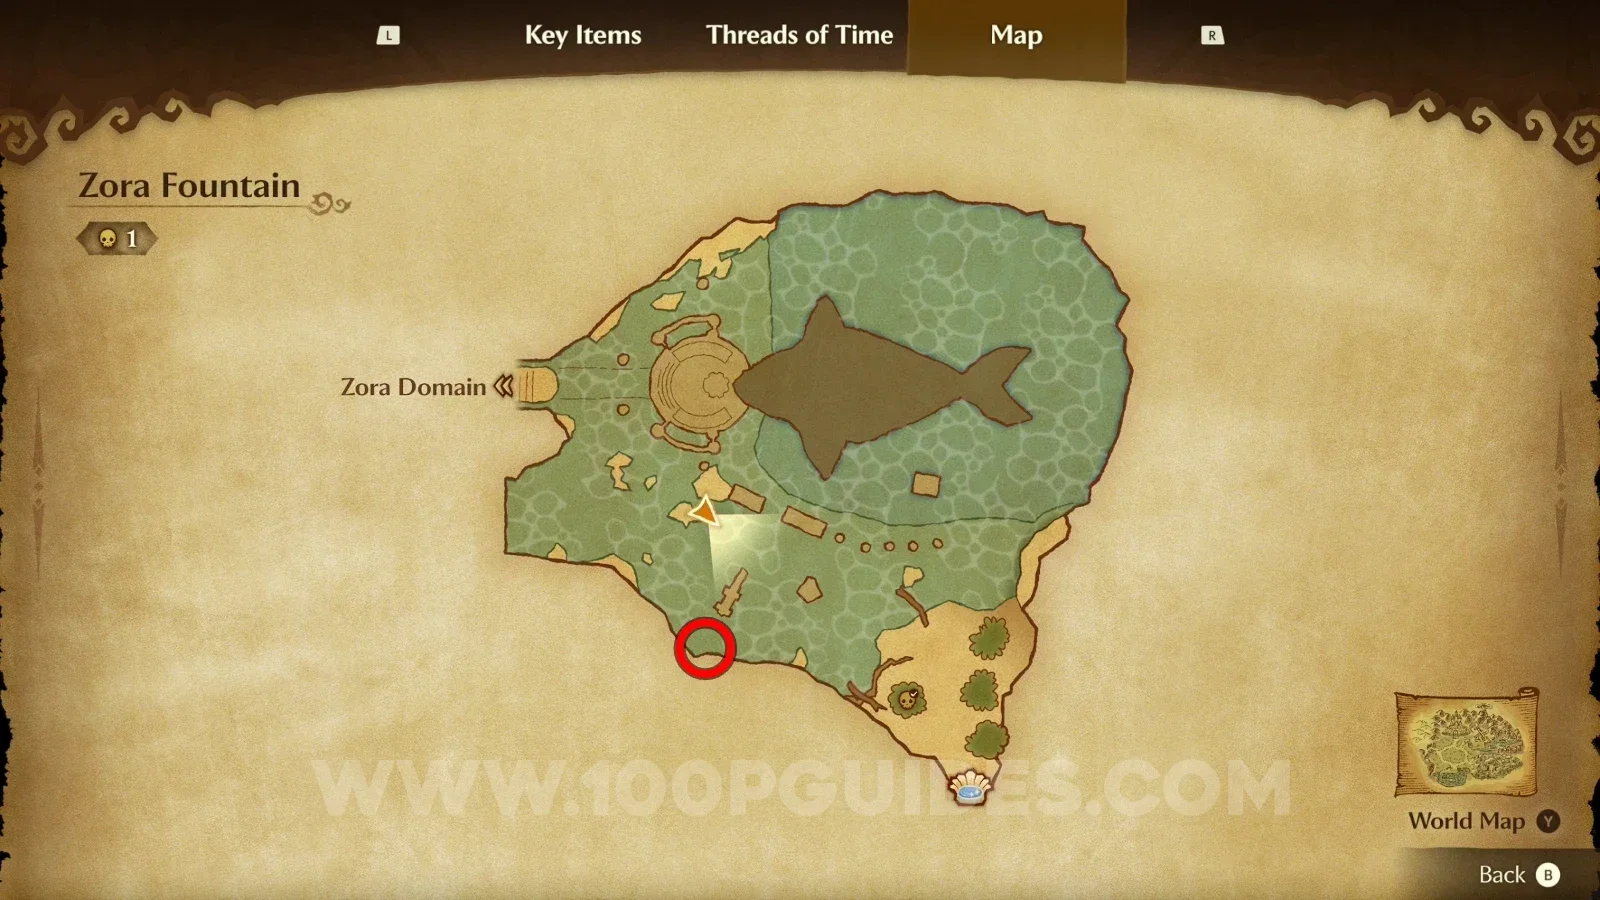
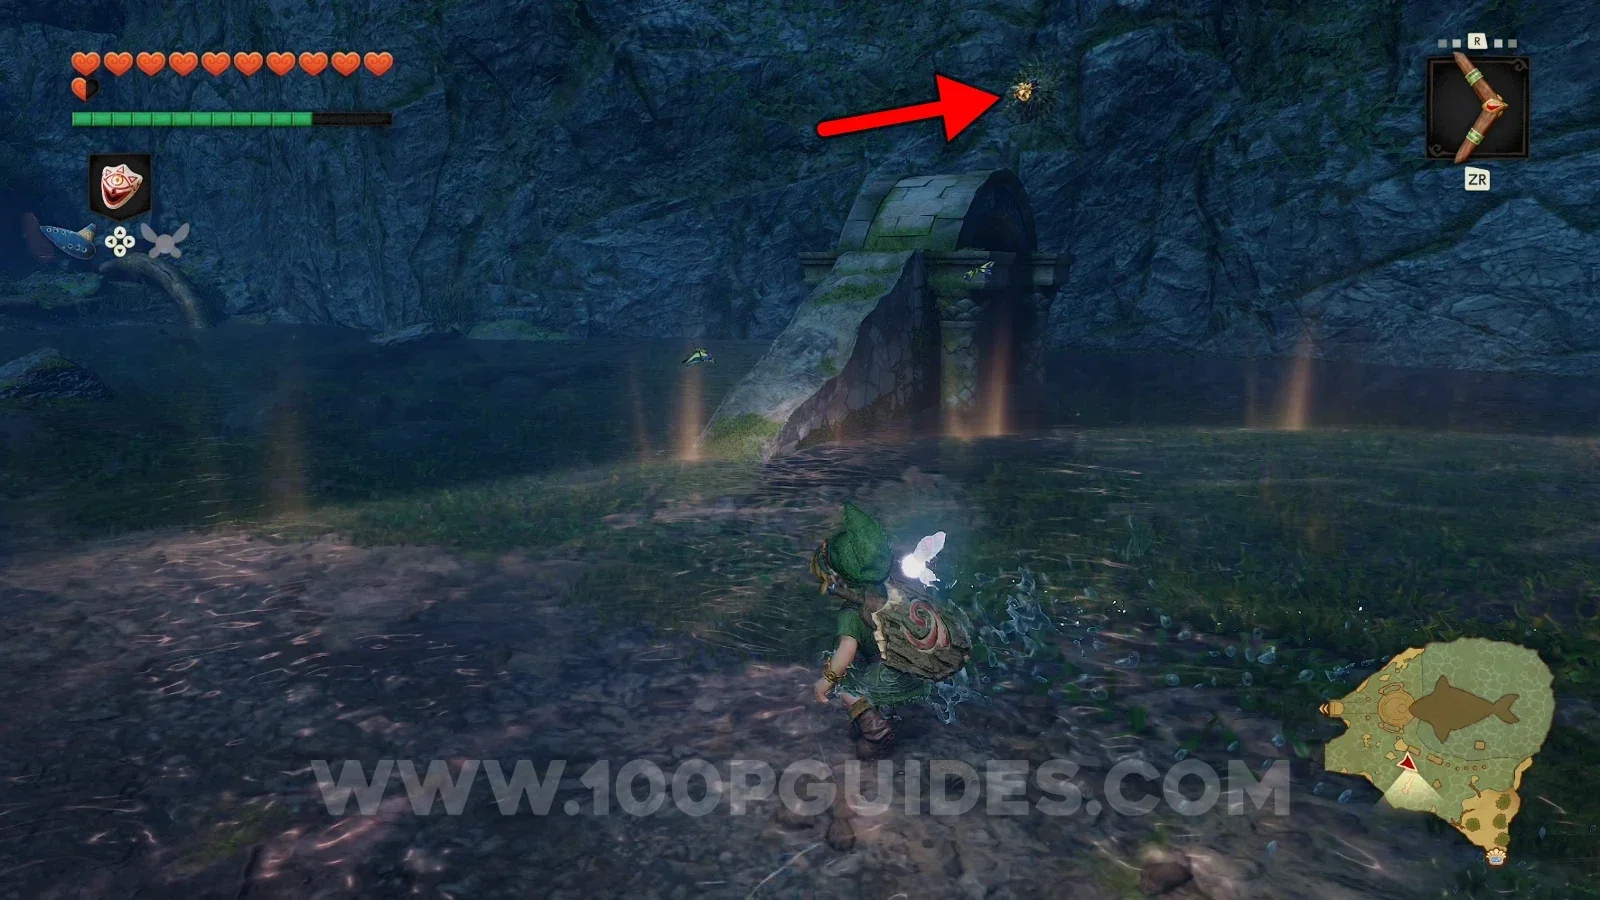
Roll into the tree to the right to knock down the Gold Skulltula.

Zelda Ocarina of Time Remake Zora Fountain: the tree to the right to roll into for Gold Skulltula #38 Zelda Ocarina of Time Remake Zora Fountain: Gold Skulltula #38 knocked down from the tree

Gold Skulltula #39 (Nighttime)

Go up the ramp of the stone structure and use your boomerang to defeat the Gold Skulltula and grab the medal.

Zelda Ocarina of Time Remake Zora Fountain: the ramp of the stone structure at night leading to Gold Skulltula #39 Zelda Ocarina of Time Remake Zora Fountain: using the boomerang on Gold Skulltula #39 to defeat it and grab the medal

Lord Jabu-Jabu's Belly - Child Era

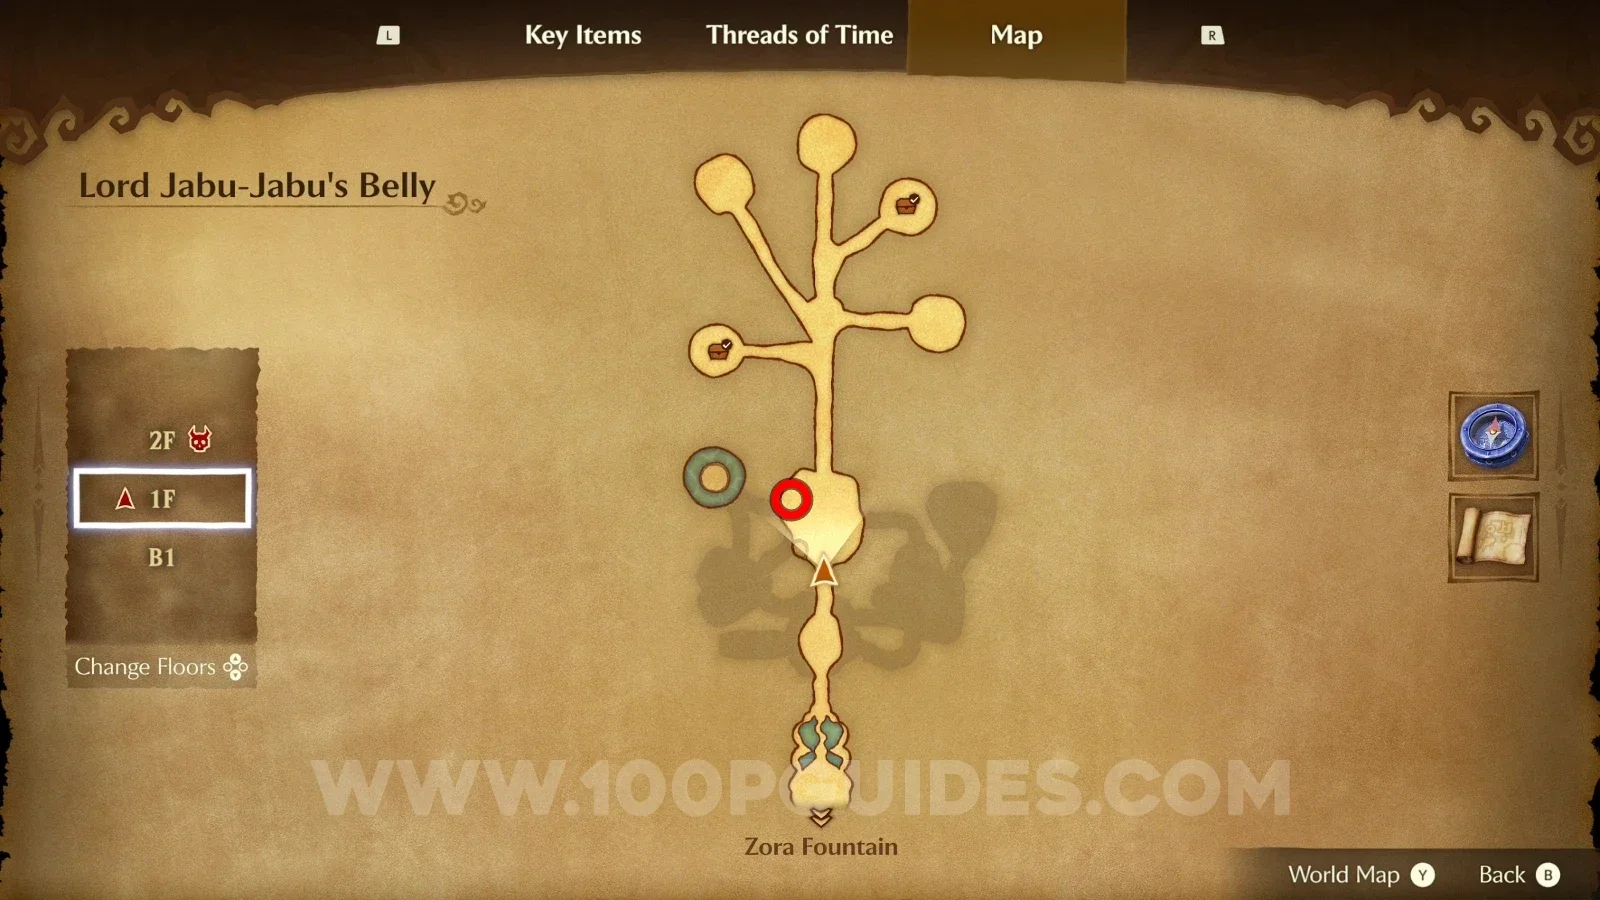
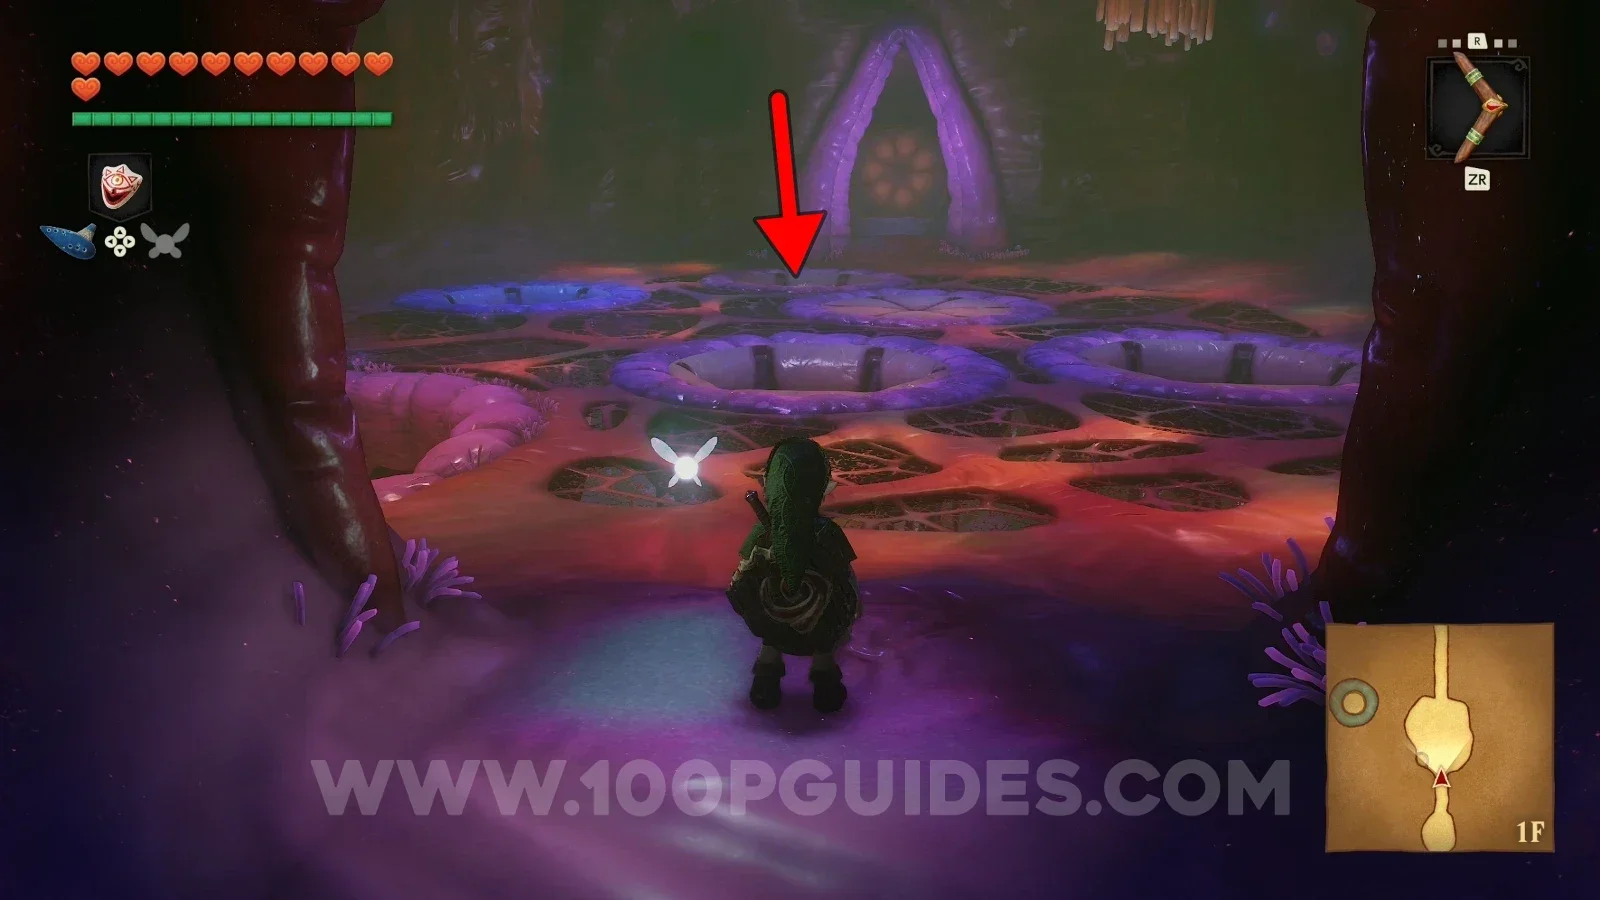
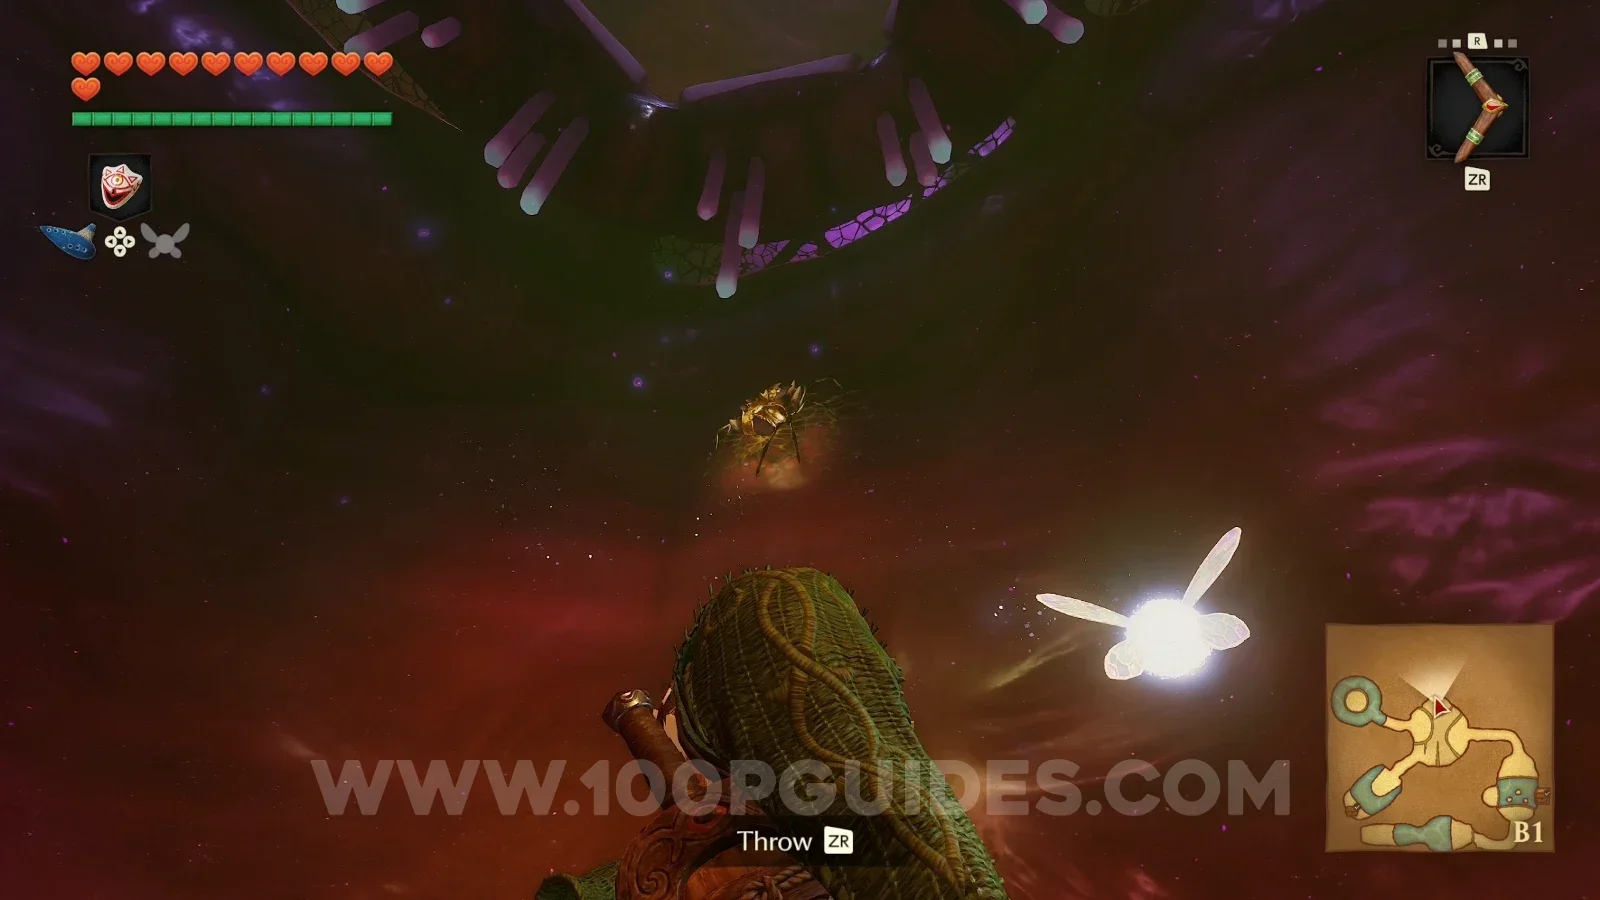
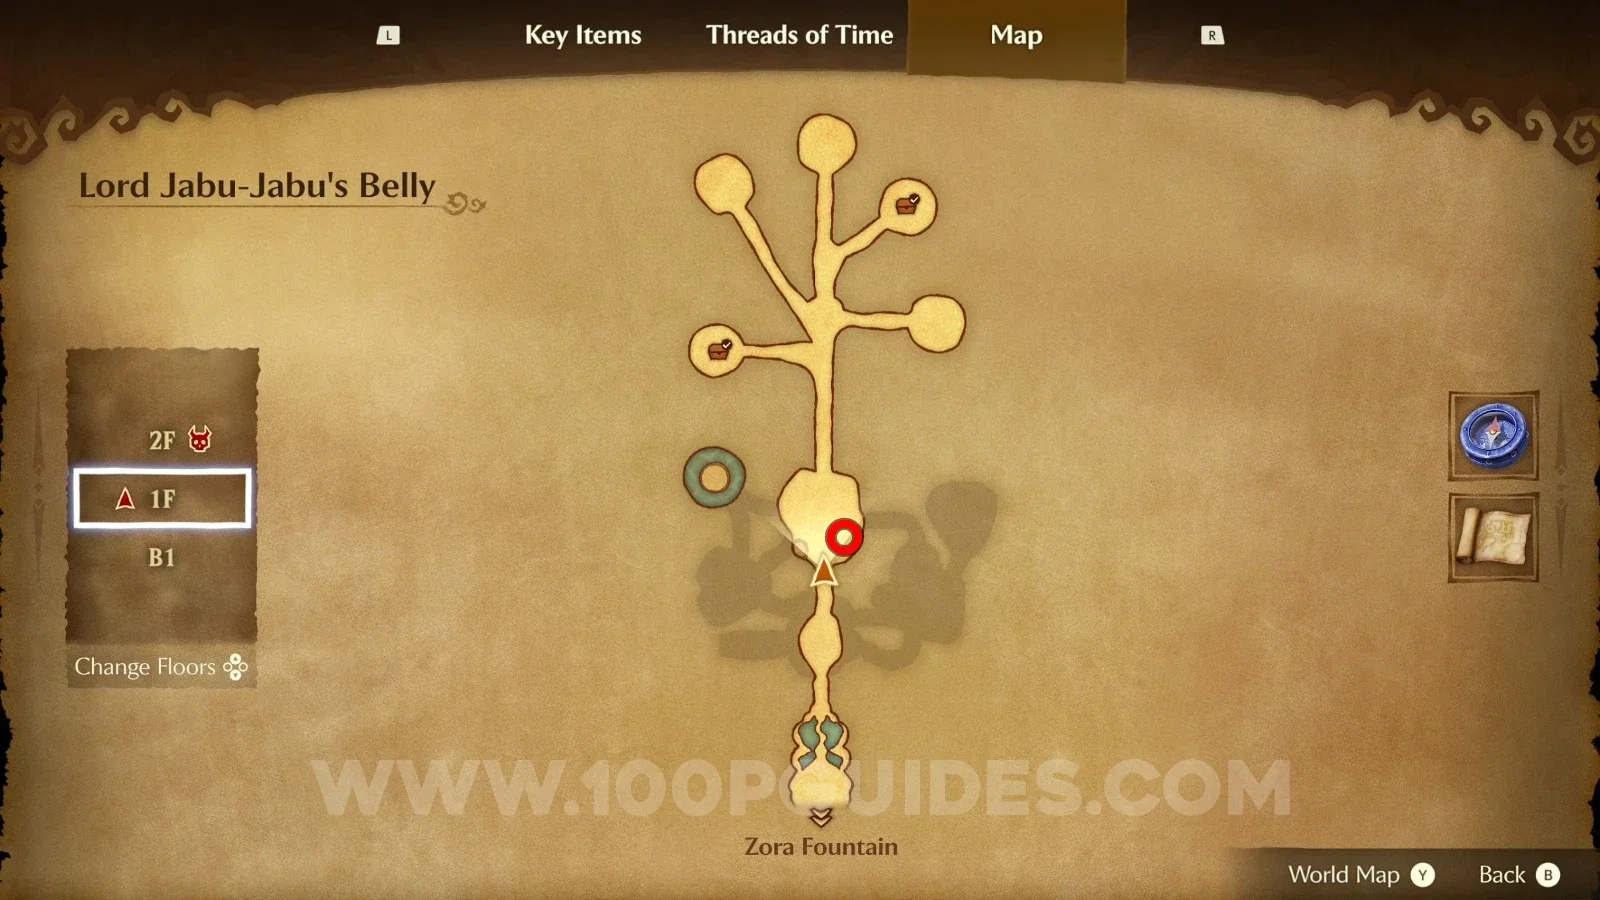
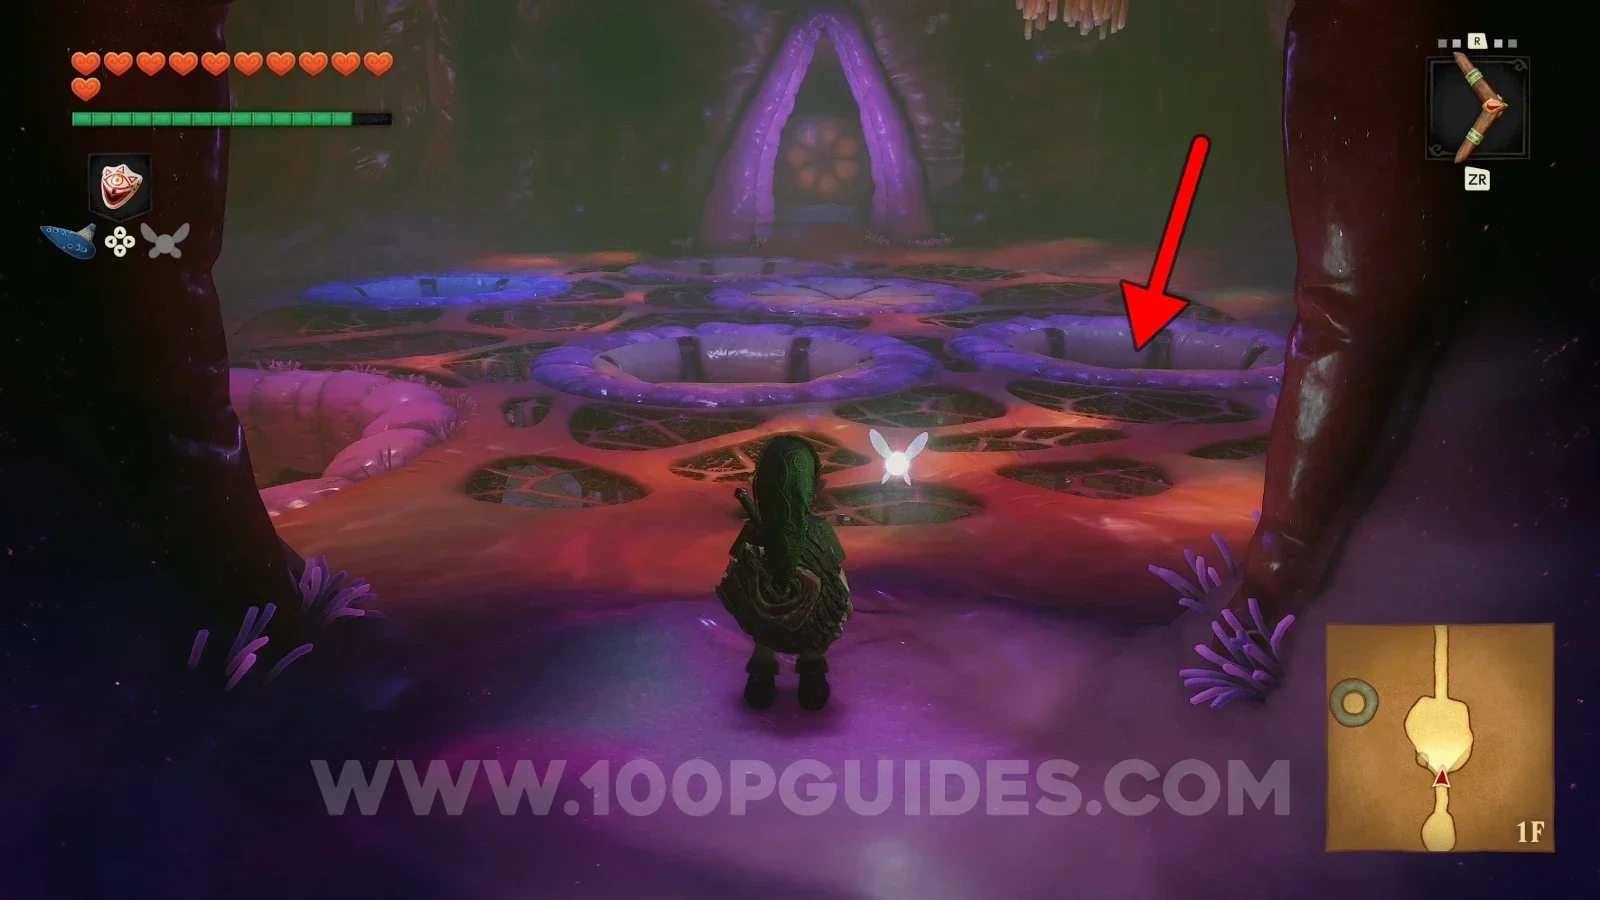
Gold Skulltula #40

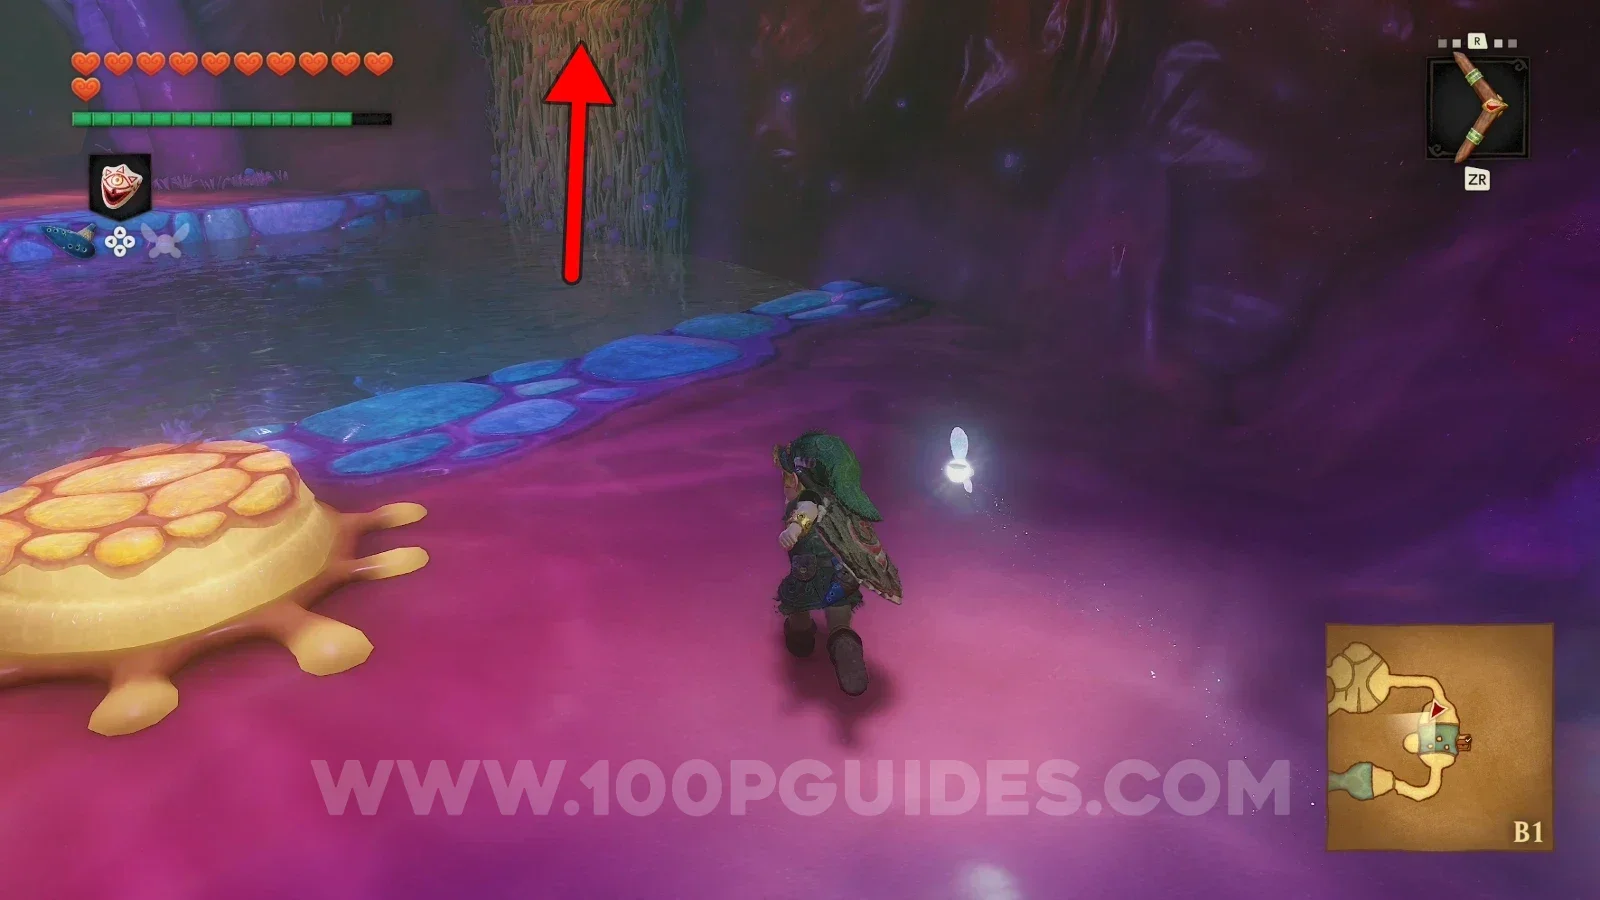
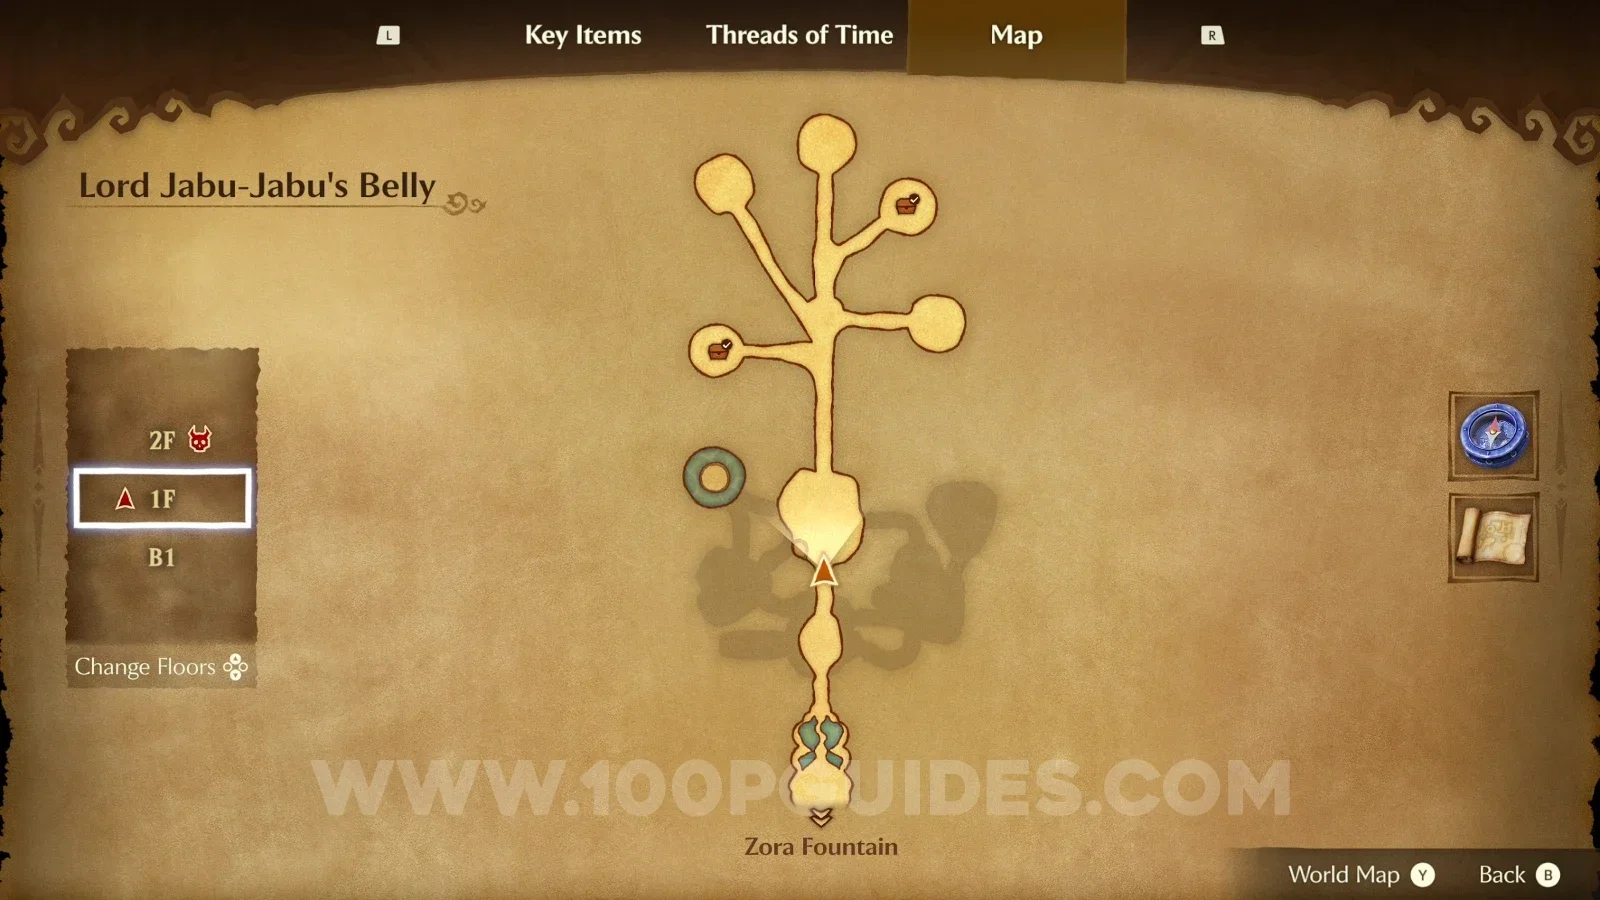
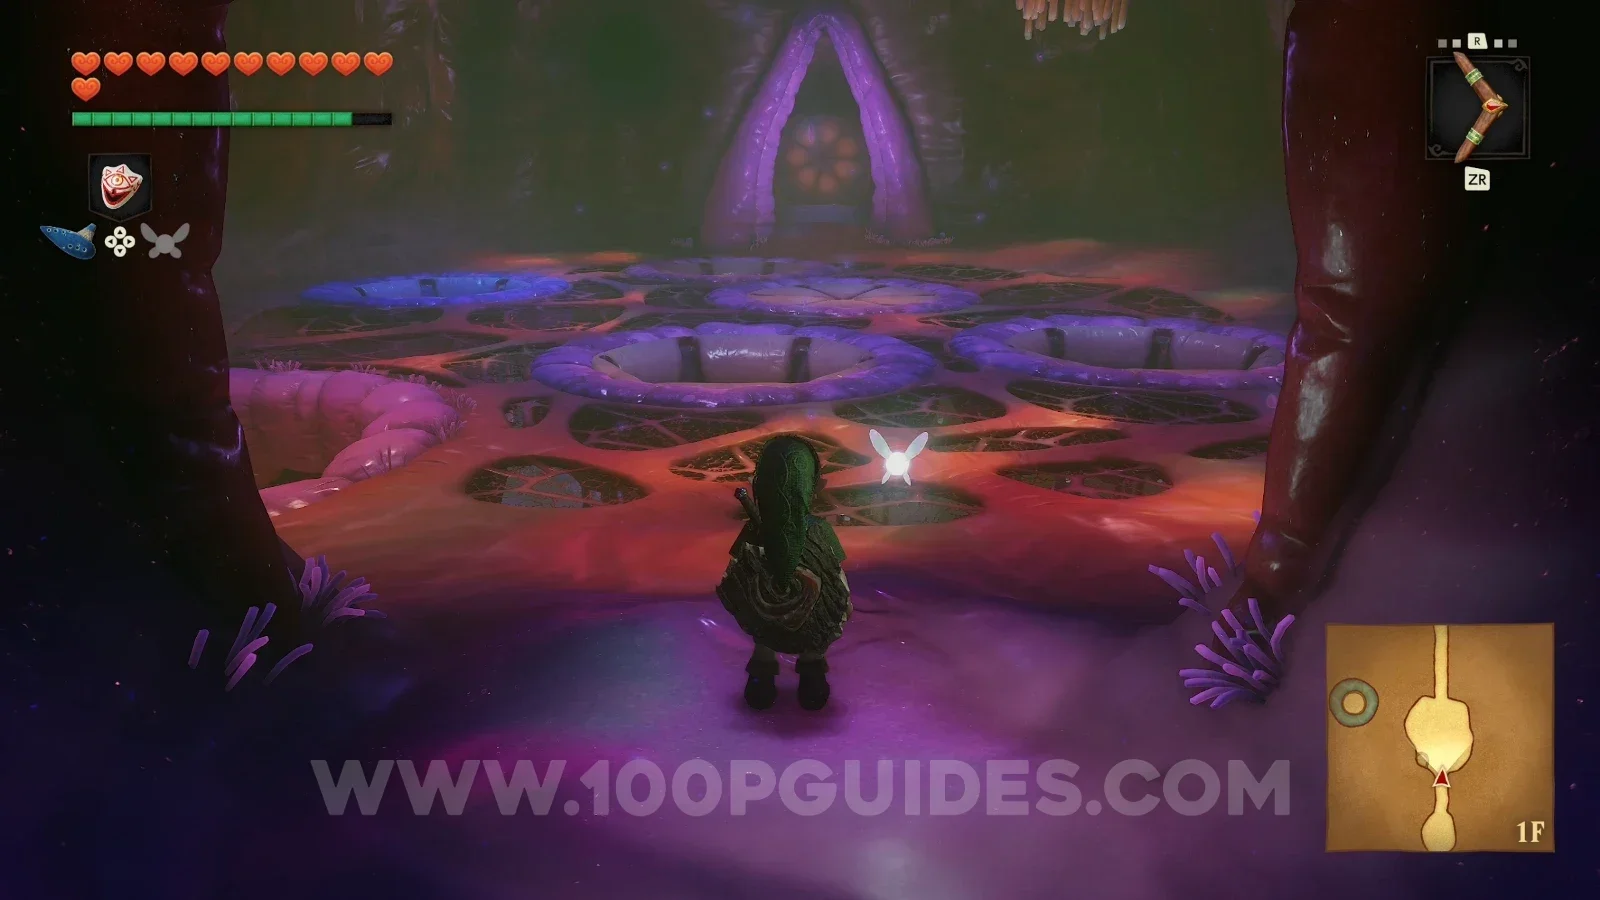
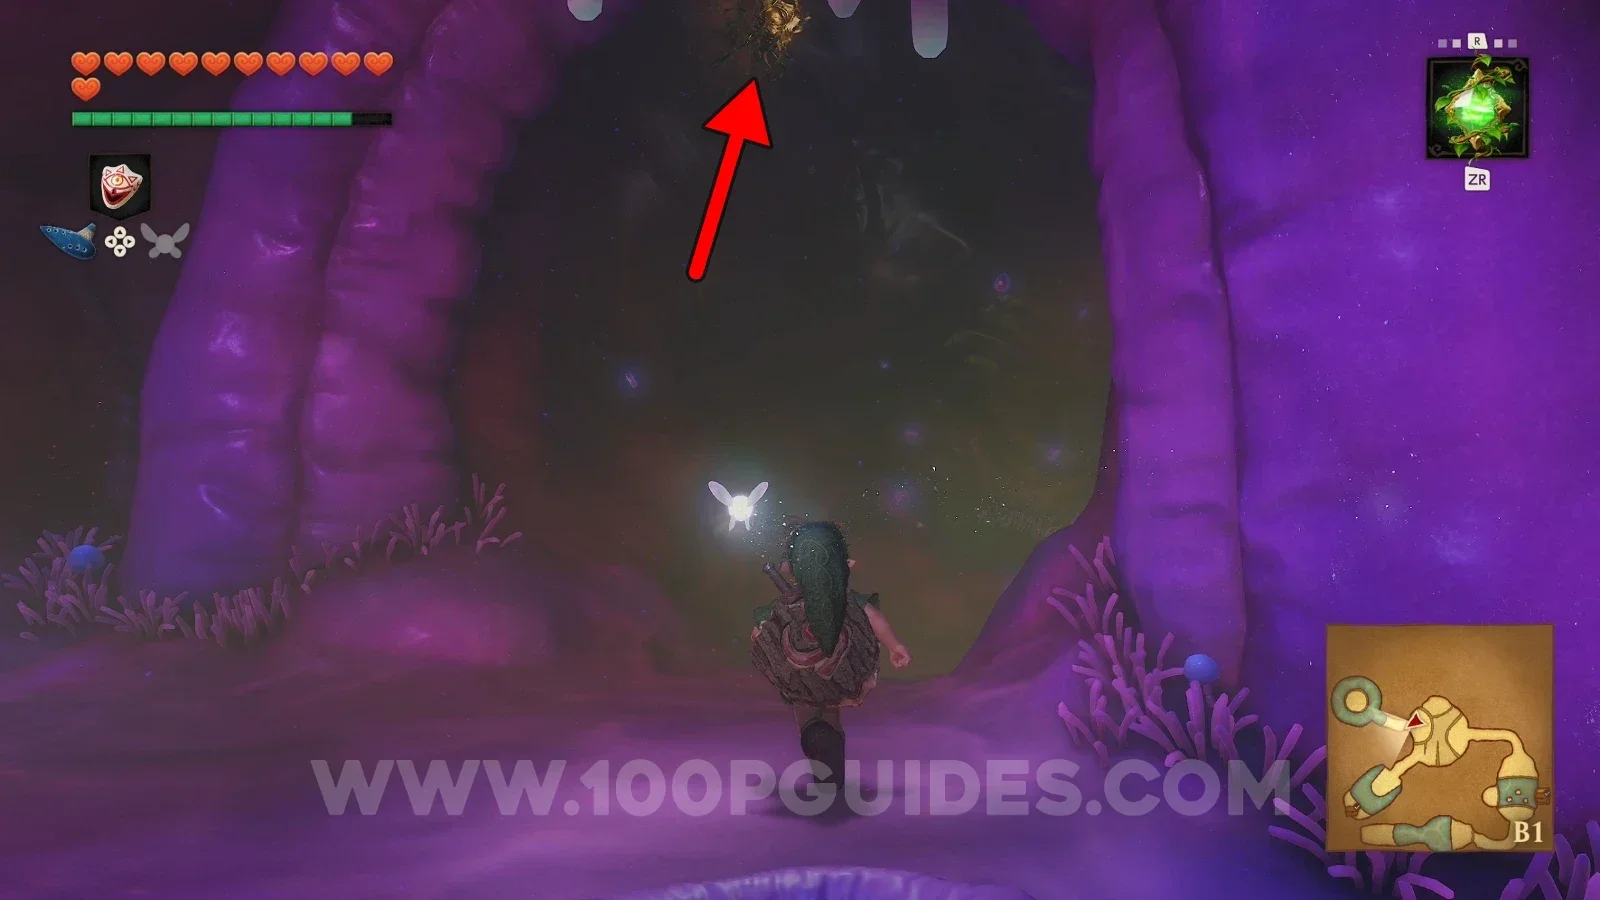
Drop down the hole on the other side of the room, then look up toward that same hole to see the Gold Skulltula. Use the boomerang to reach it, then use it again to get the medal.

Zelda Ocarina of Time Remake Lord Jabu-Jabu's Belly: the hole at the other side of the room for Gold Skulltula #40 Zelda Ocarina of Time Remake Lord Jabu-Jabu's Belly: looking up at the hole to spot Gold Skulltula #40 Zelda Ocarina of Time Remake Lord Jabu-Jabu's Belly: using the boomerang to reach Gold Skulltula #40 and its medal

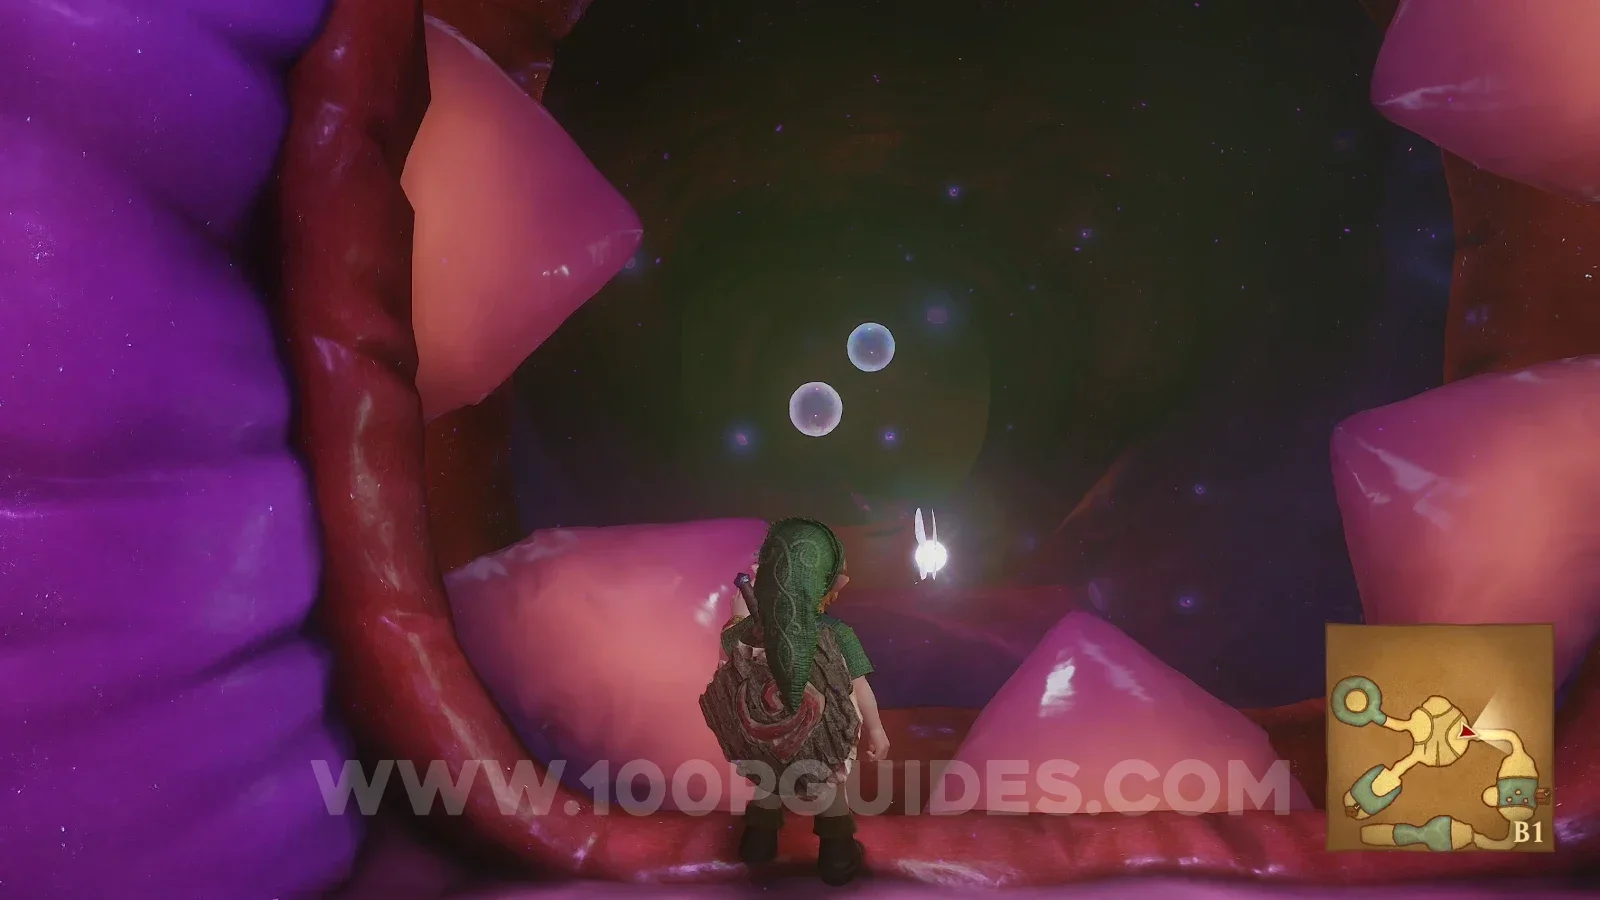
Gold Skulltula #41

Drop down the nearest hole to your right, open the door and go through the tunnel with the bouncing bubbles, then climb the vines on the right of the room to find the Gold Skulltula.

Zelda Ocarina of Time Remake Lord Jabu-Jabu's Belly: dropping down the closer right hole toward Gold Skulltula #41 Zelda Ocarina of Time Remake Lord Jabu-Jabu's Belly: the door to the tunnel with bouncing bubbles, Gold Skulltula #41 Zelda Ocarina of Time Remake Lord Jabu-Jabu's Belly: the bouncing bubbles tunnel on the way to Gold Skulltula #41 Zelda Ocarina of Time Remake Lord Jabu-Jabu's Belly: Gold Skulltula #41 on the vines to the right of the room

Gold Skulltula #42

Drop down the second hole to the left, then, as soon as you land, look up at the tunnel entrance to find the Gold Skulltula. Use the boomerang to get it.

Zelda Ocarina of Time Remake Lord Jabu-Jabu's Belly: dropping down the second hole to the left for Gold Skulltula #42 Zelda Ocarina of Time Remake Lord Jabu-Jabu's Belly: looking up in the tunnel entrance at Gold Skulltula #42 Zelda Ocarina of Time Remake Lord Jabu-Jabu's Belly: getting Gold Skulltula #42 with the boomerang

Gold Skulltula #43
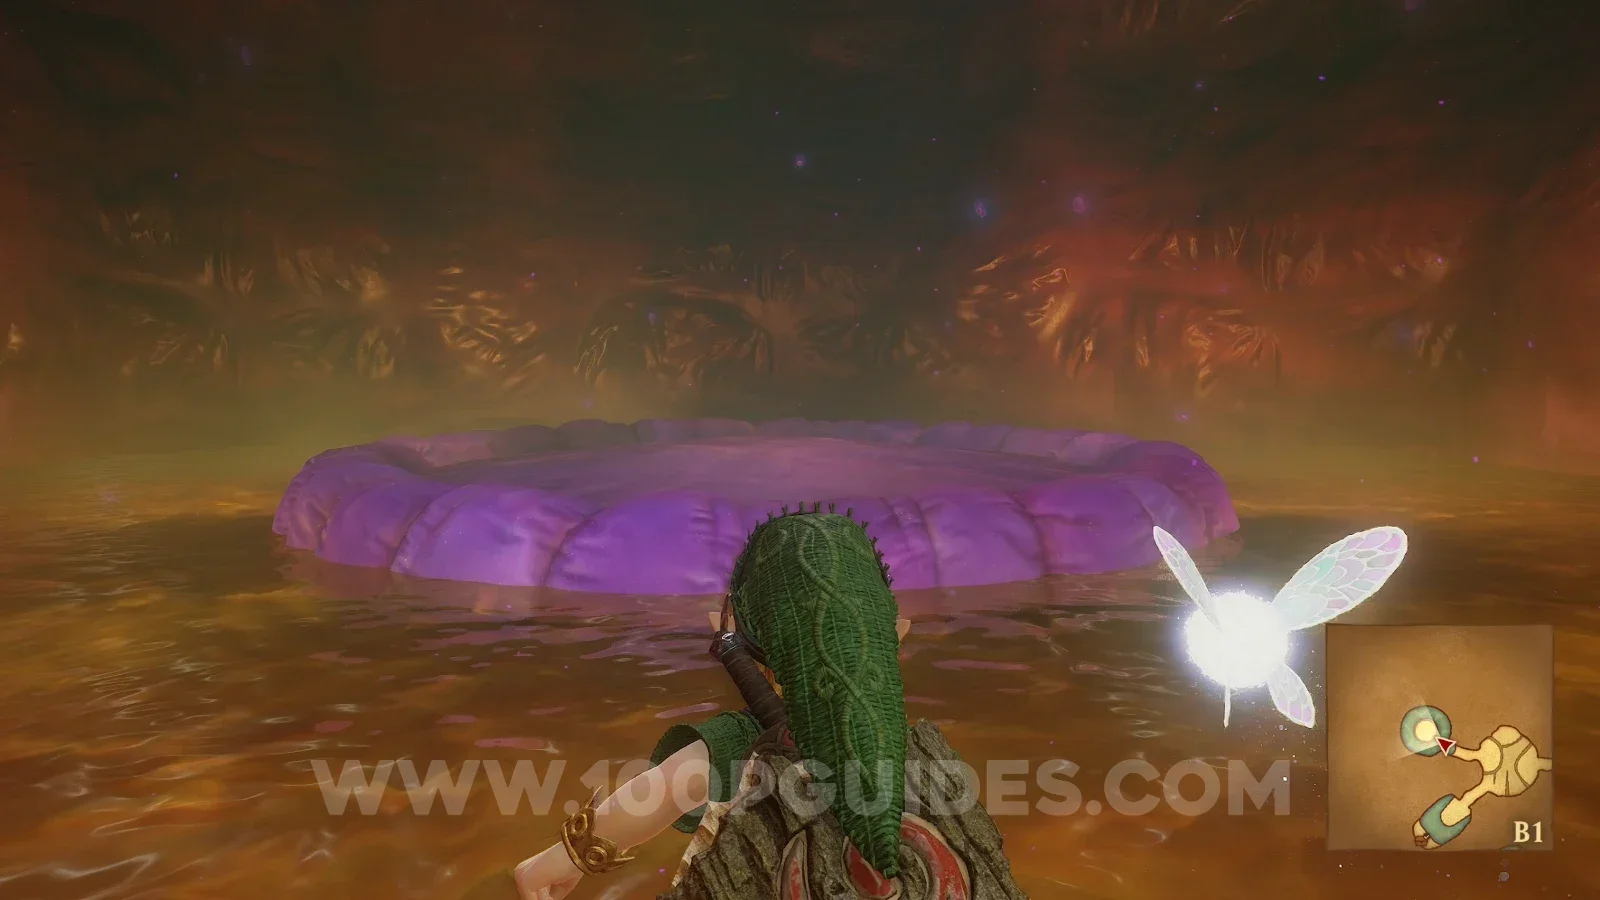
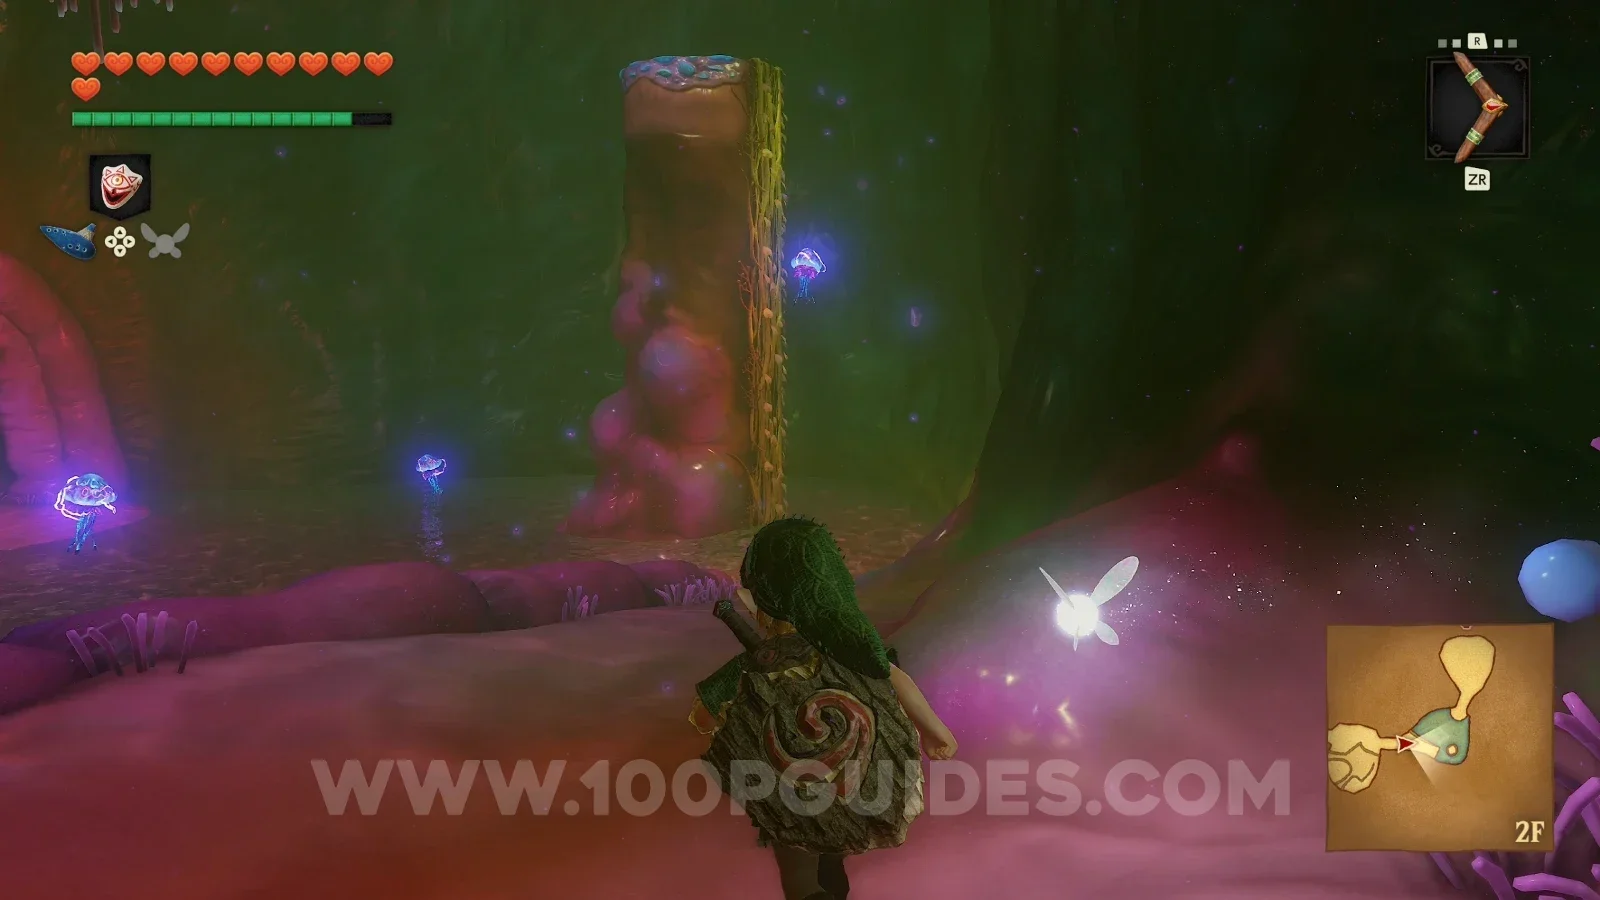
From the previous Gold Skulltula, continue through the tunnel and step on the circular purple platform to go up, then follow the only possible path until you reach a room with water and a tall pillar with vines. The Gold Skulltula is on that pillar.

Zelda Ocarina of Time Remake Lord Jabu-Jabu's Belly: the circular purple platform in the tunnel toward Gold Skulltula #43 Zelda Ocarina of Time Remake Lord Jabu-Jabu's Belly: Gold Skulltula #43 on the tall pillar with vines in the water room

Bottom of the Well - Child Era

Gold Skulltula #44

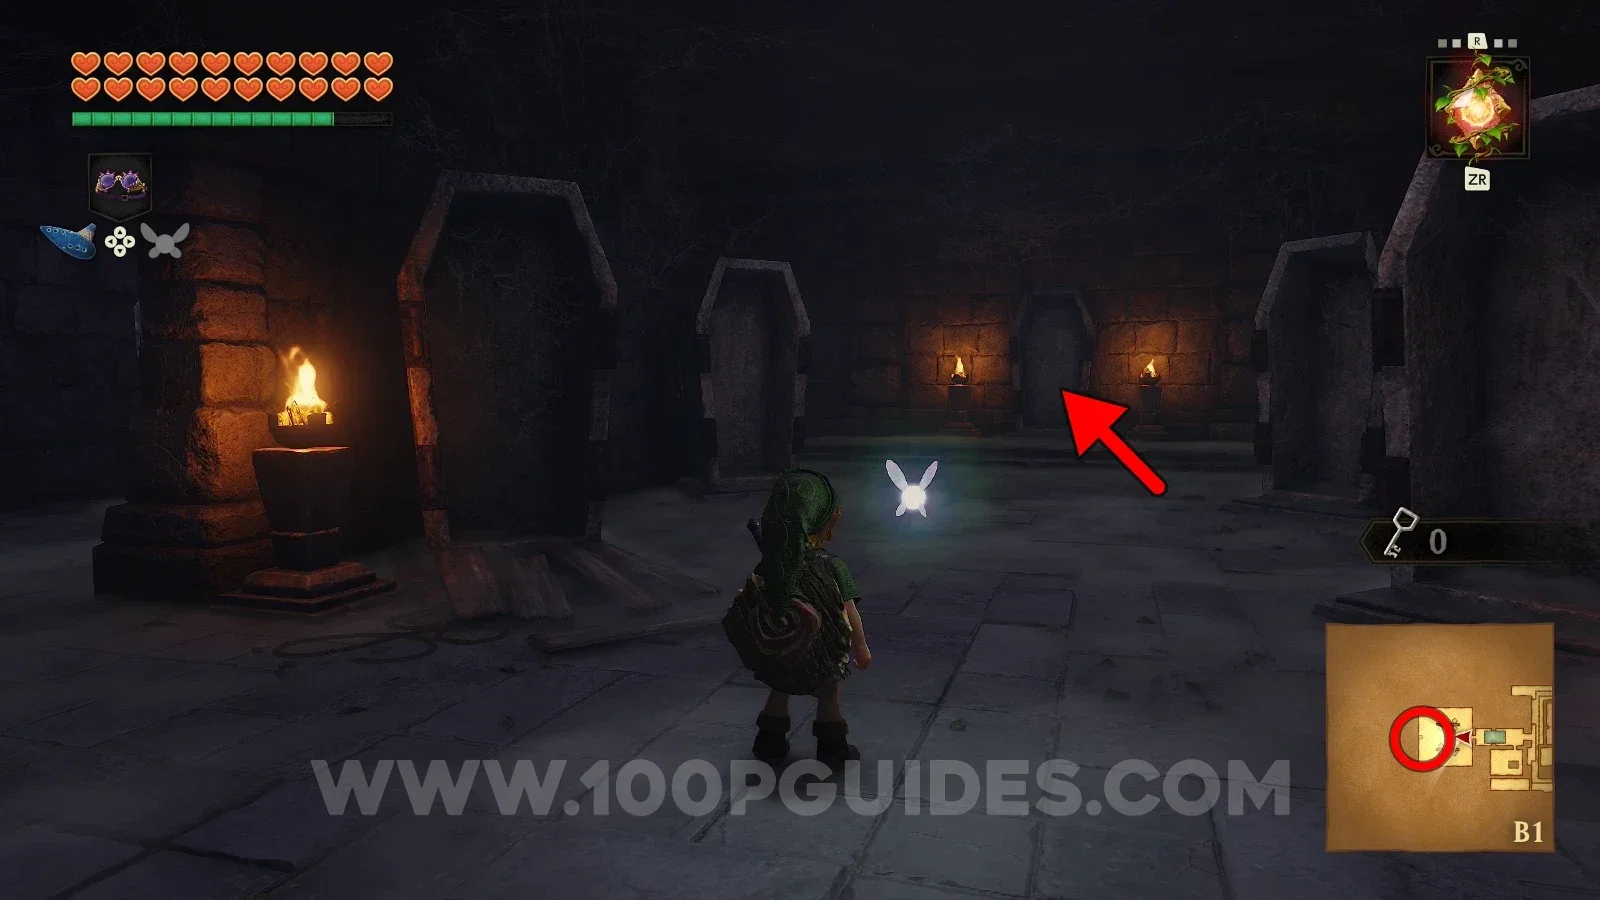
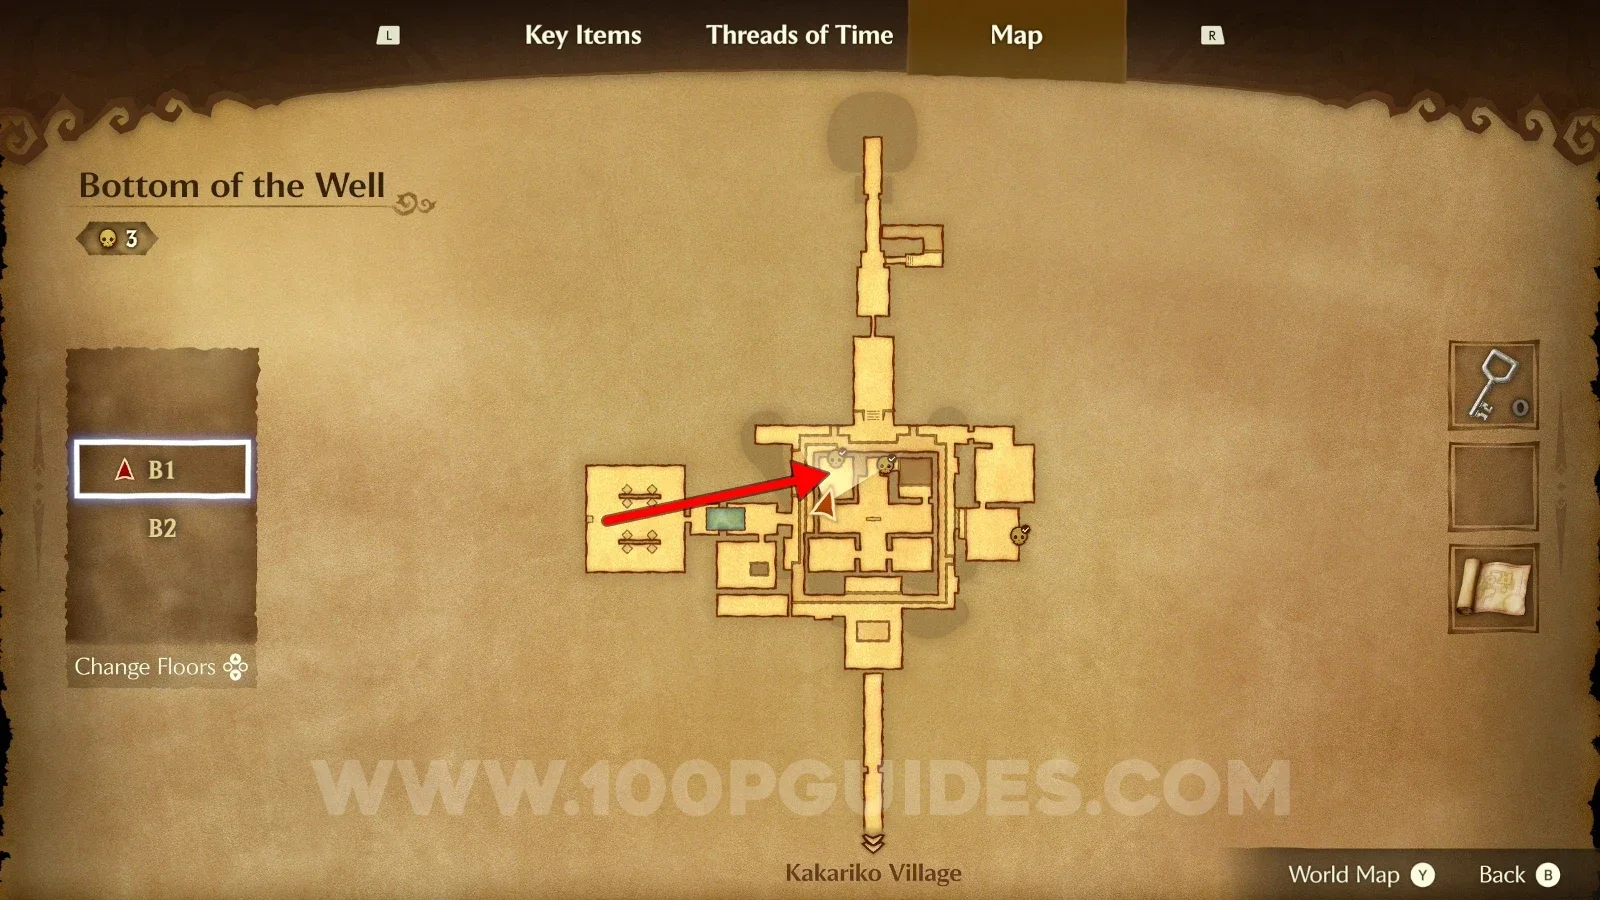
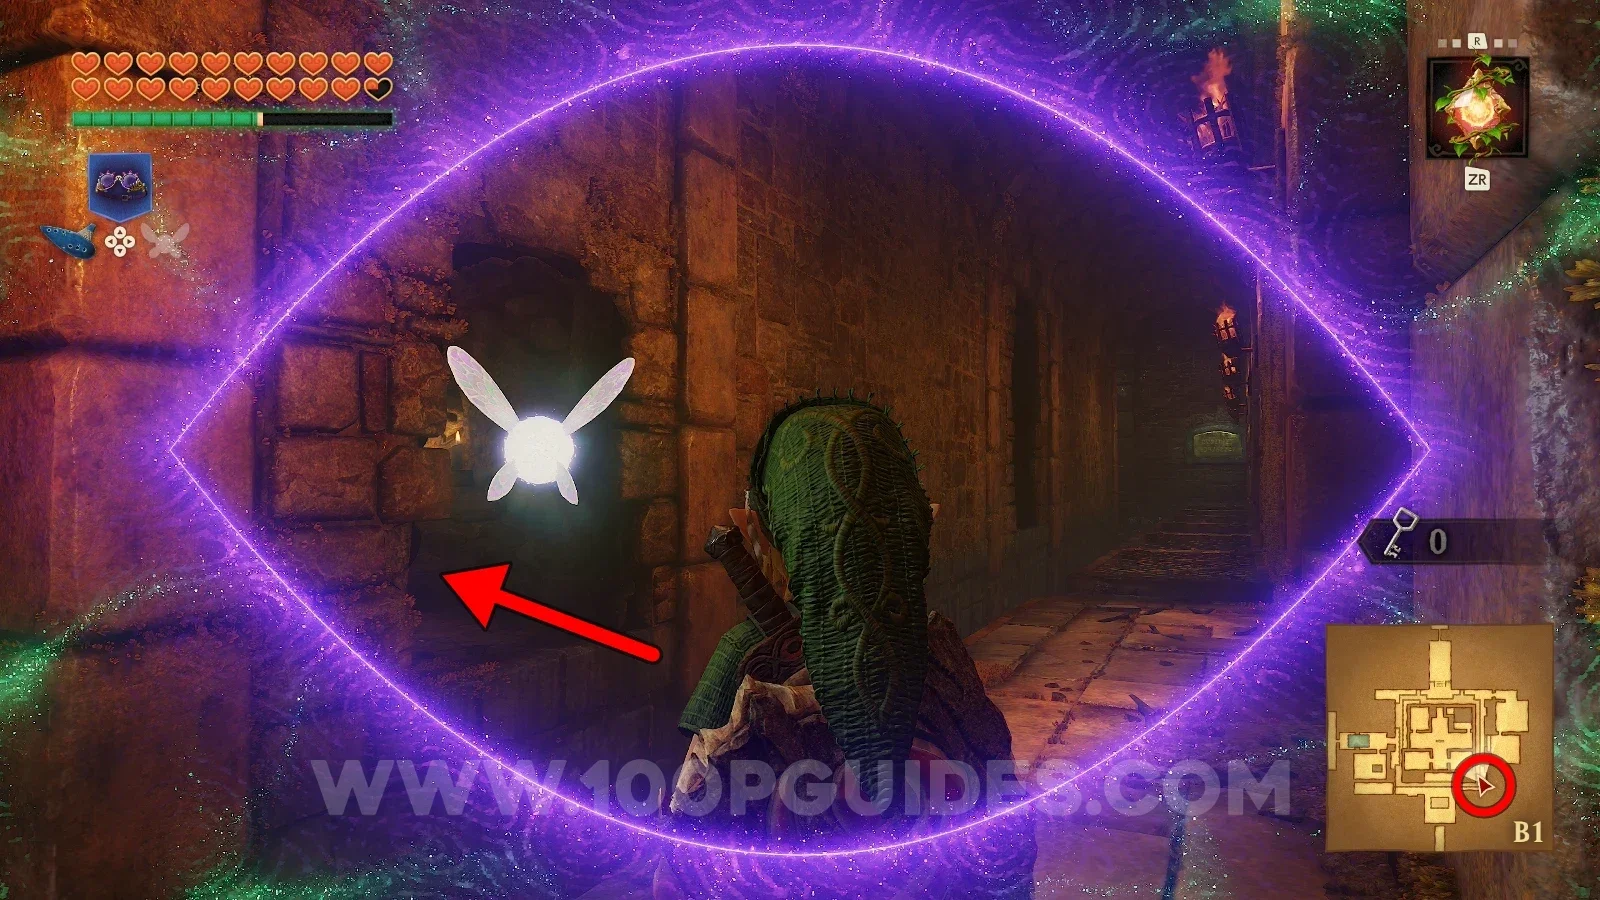
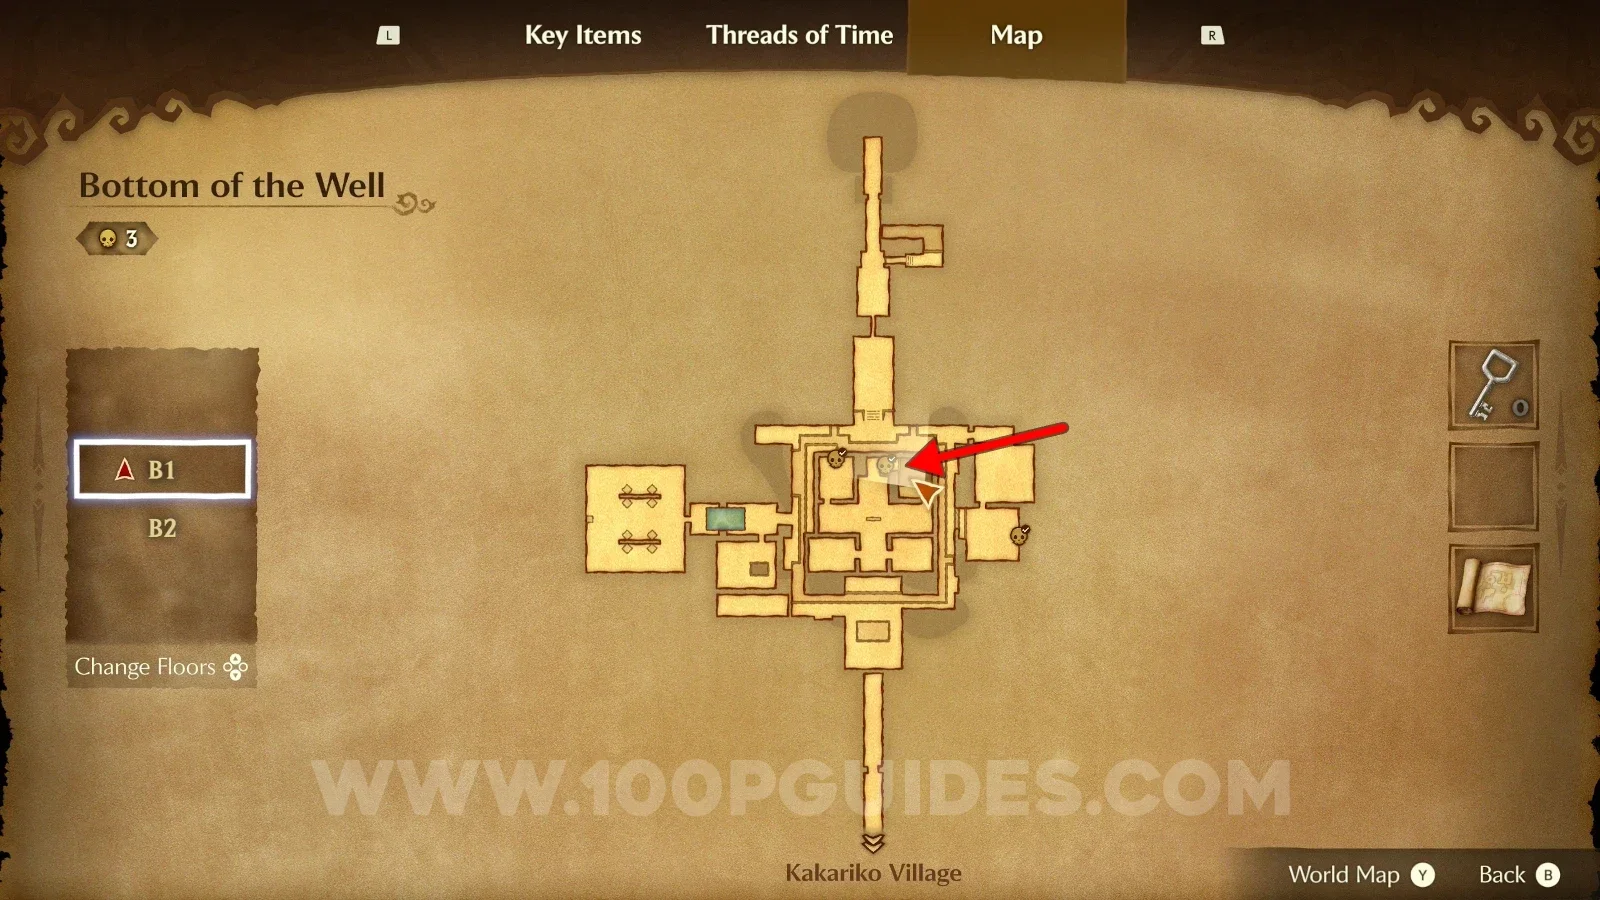
Go to the room full of coffins to the west of the dungeon and burn the web on the farthest coffin to get a key. Go to the central room and use the key to enter the top-left room to find this Gold Skulltula.

Zelda Ocarina of Time Remake Bottom of the Well: burning the web on the further coffin for the key to Gold Skulltula #44 Zelda Ocarina of Time Remake Bottom of the Well: Gold Skulltula #44 inside the top-left room of the central room

Gold Skulltula #45

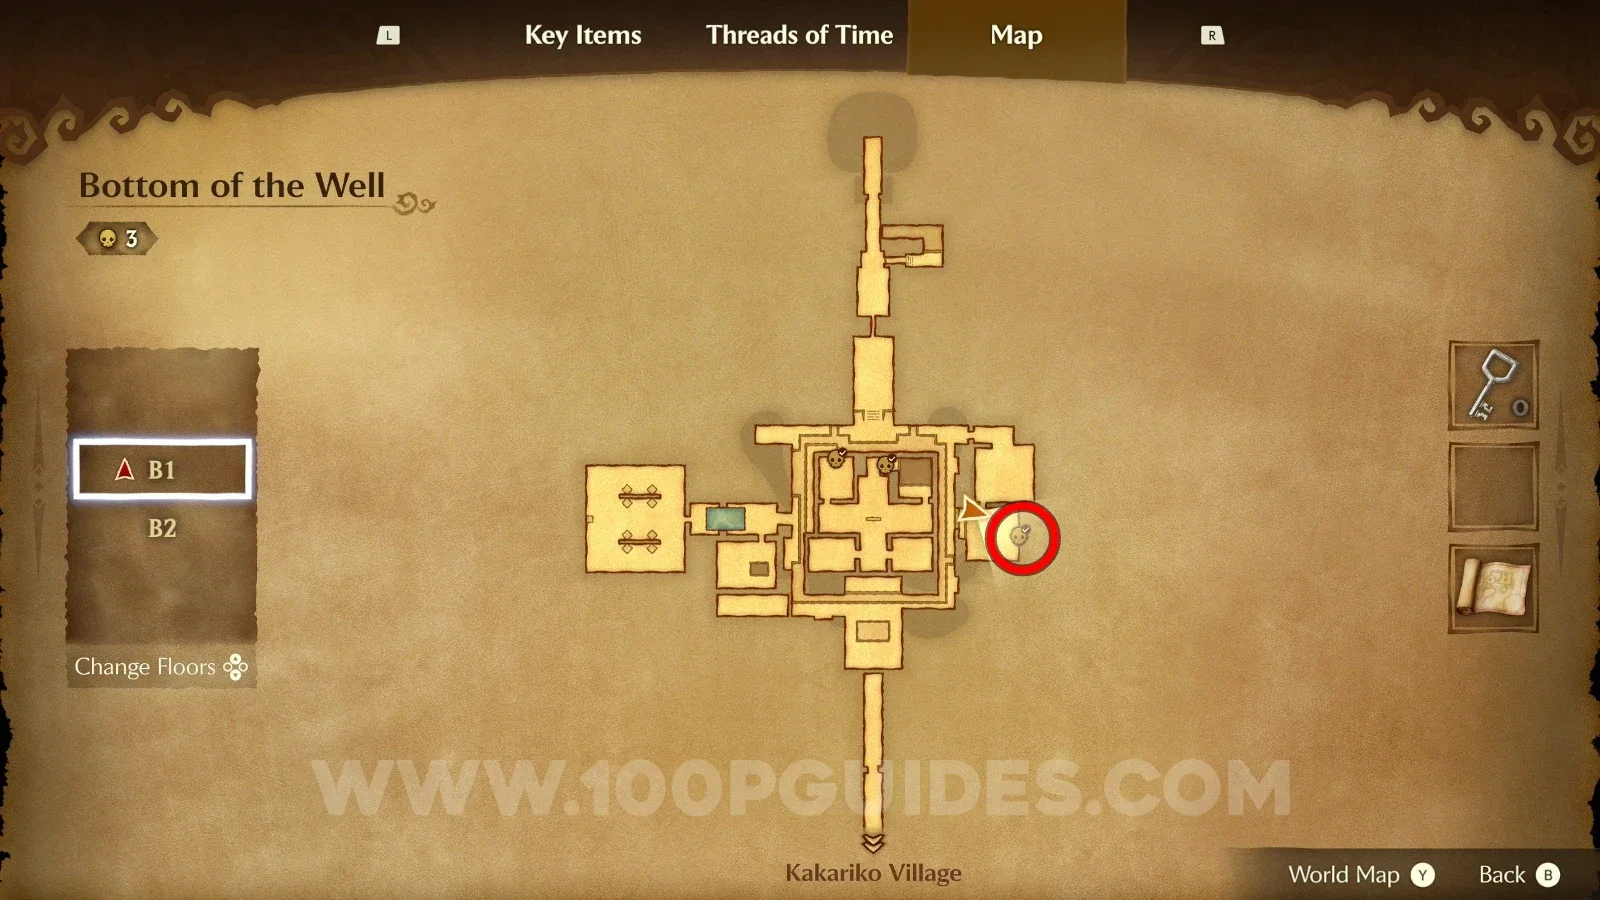
From the southeast corner, enter the first hidden room and open the chest to get a key, then go to the central room and use the key to enter the top-right room where you can find the Gold Skulltula.

Zelda Ocarina of Time Remake Bottom of the Well: the chest with the key in the first hidden room, Gold Skulltula #45 Zelda Ocarina of Time Remake Bottom of the Well: Gold Skulltula #45 inside the top-right room of the central room

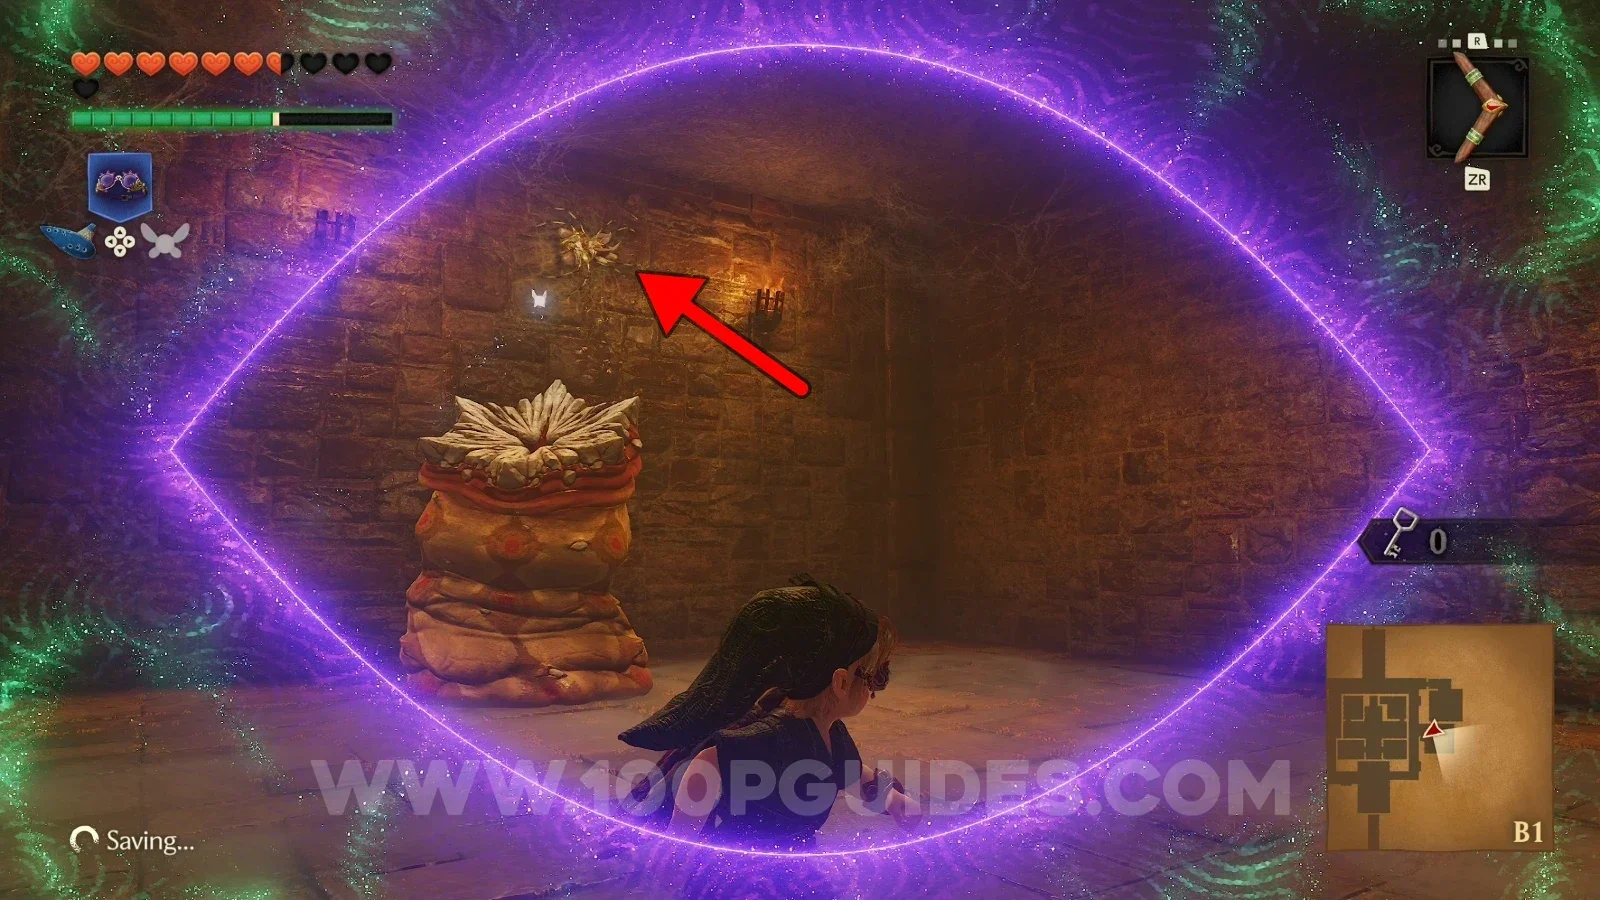
Gold Skulltula #46

Go northeast then south to reach the room with the Gold Skulltula.

Zelda Ocarina of Time Remake Bottom of the Well: heading northeast then south toward Gold Skulltula #46 Zelda Ocarina of Time Remake Bottom of the Well: Gold Skulltula #46 inside the room reached by going northeast then south

Gerudo Valley - Child Era

Gold Skulltula #47 (Nighttime)

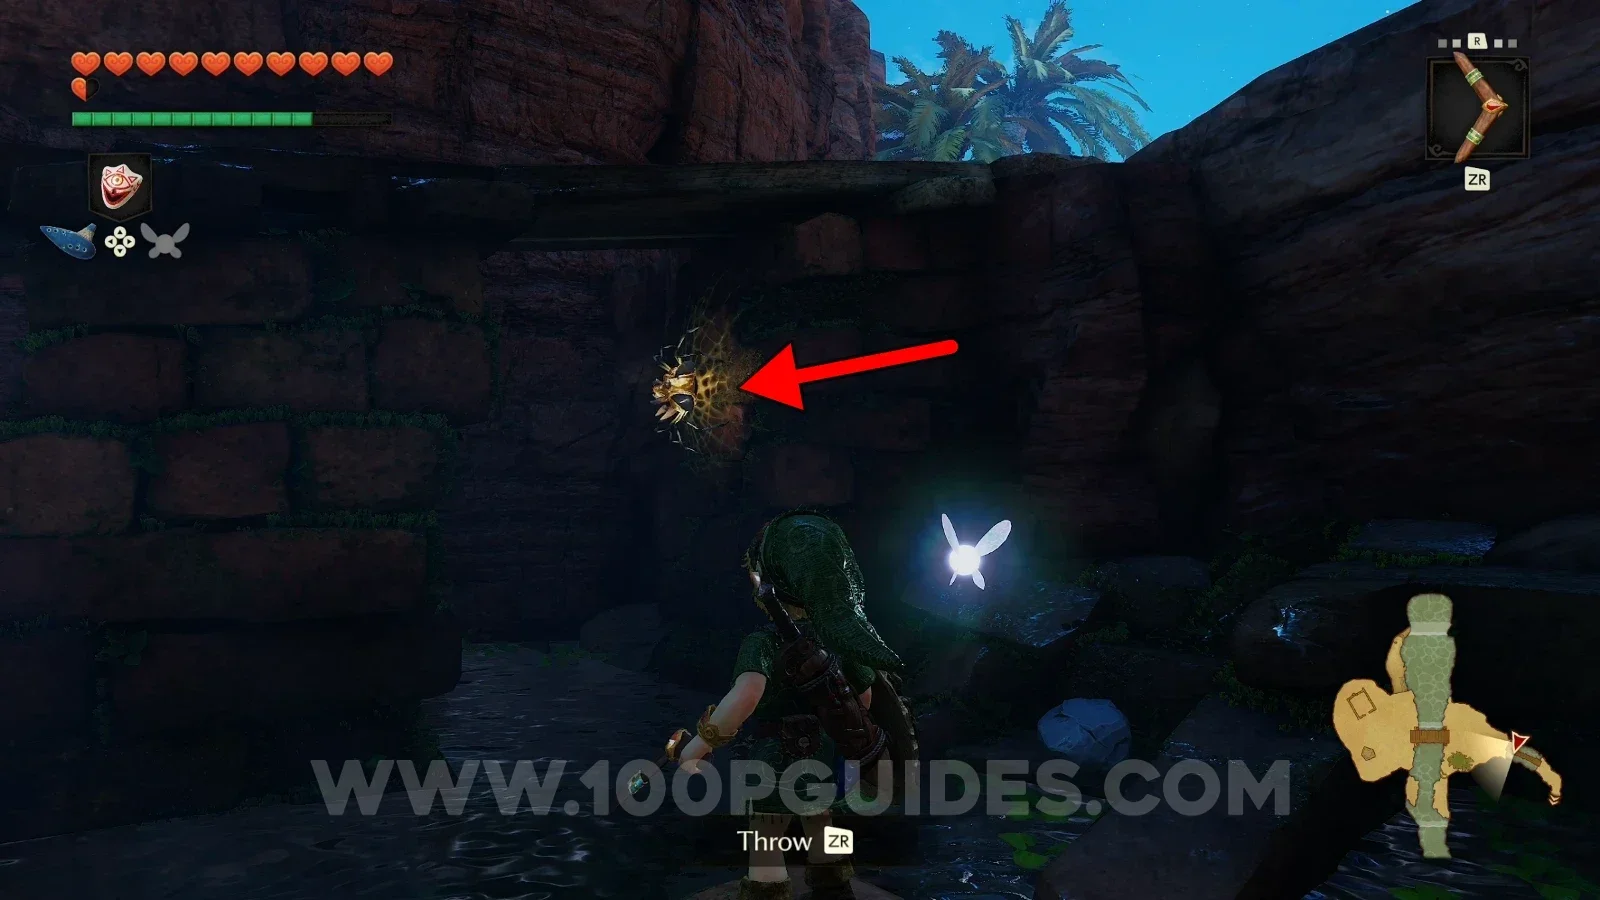
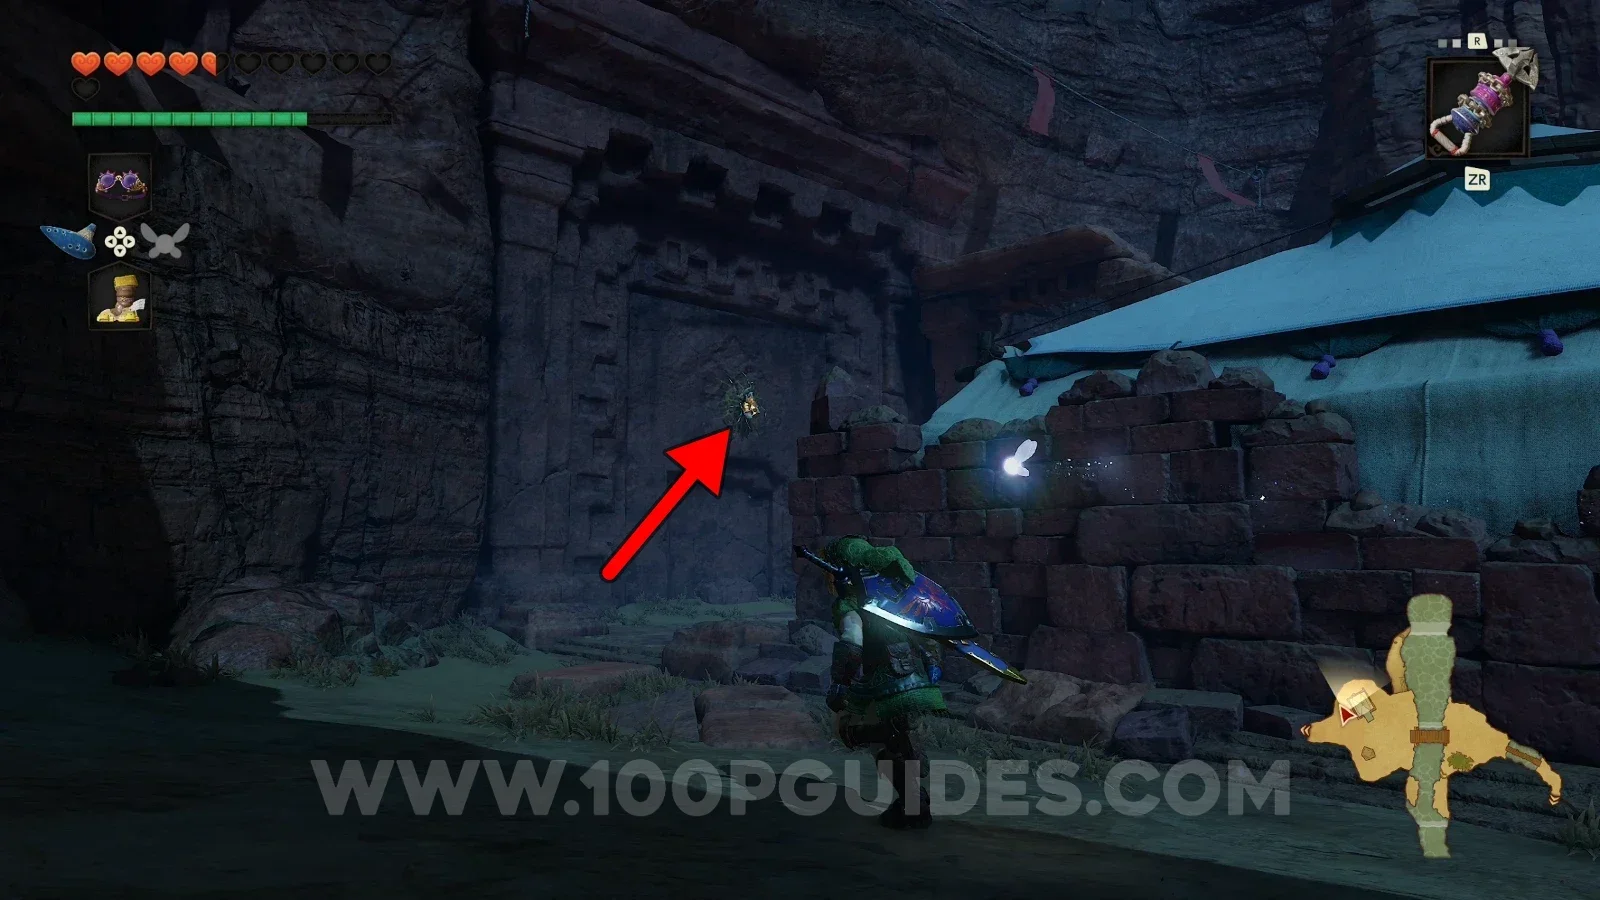
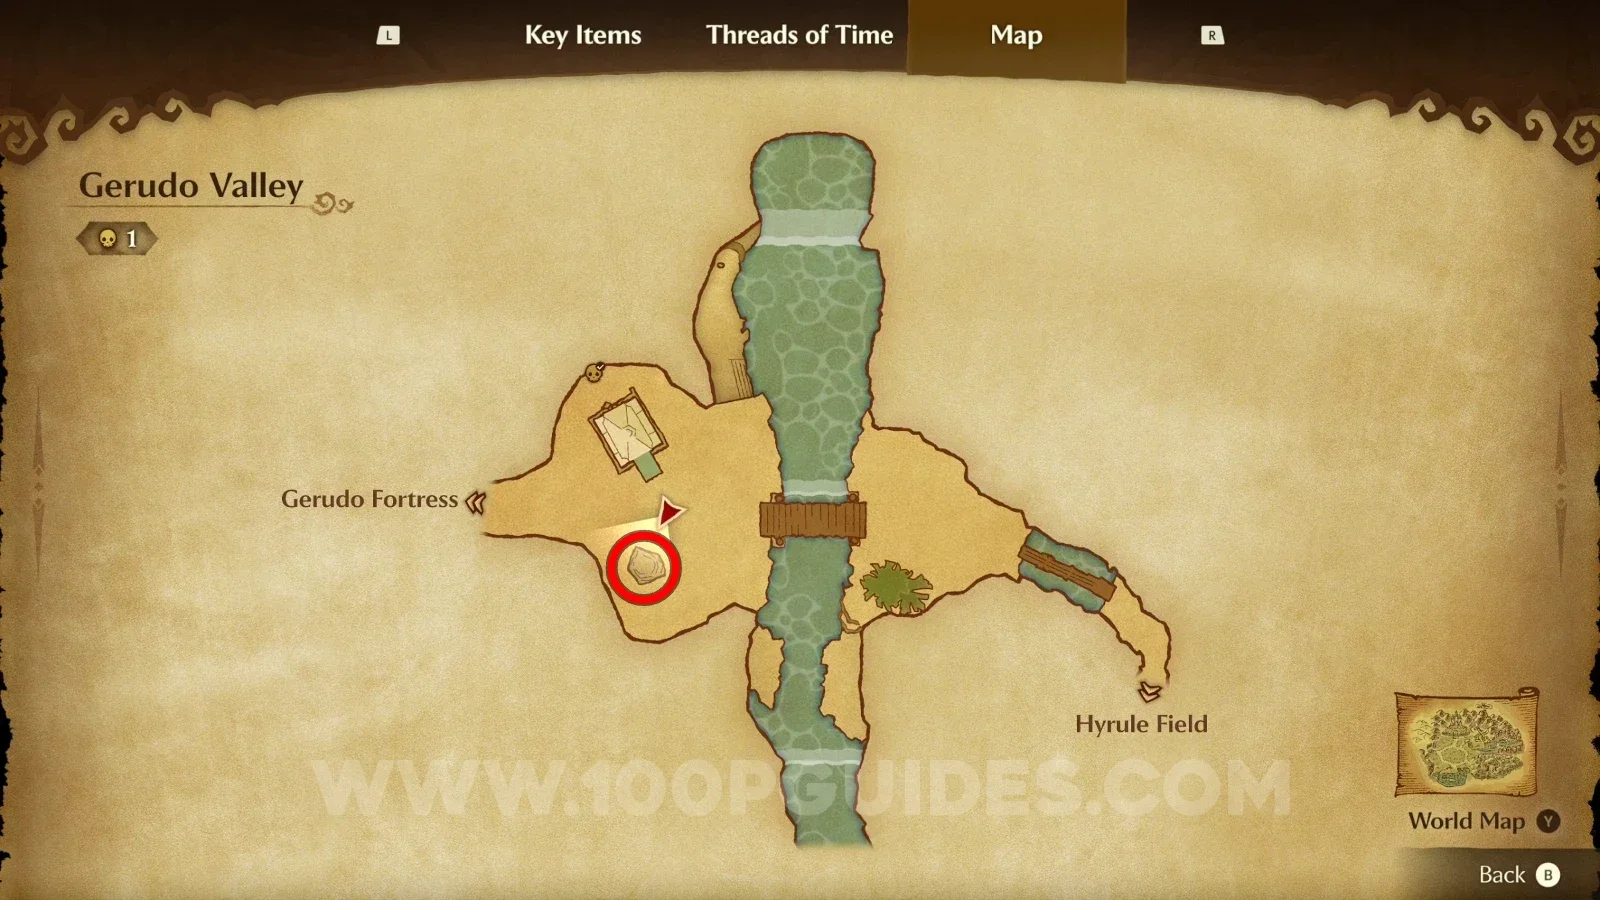
Under the first bridge of the area.

Zelda Ocarina of Time Remake Gerudo Valley: the first bridge of the area at night, Gold Skulltula #47 Zelda Ocarina of Time Remake Gerudo Valley: Gold Skulltula #47 under the first bridge

Gold Skulltula #48

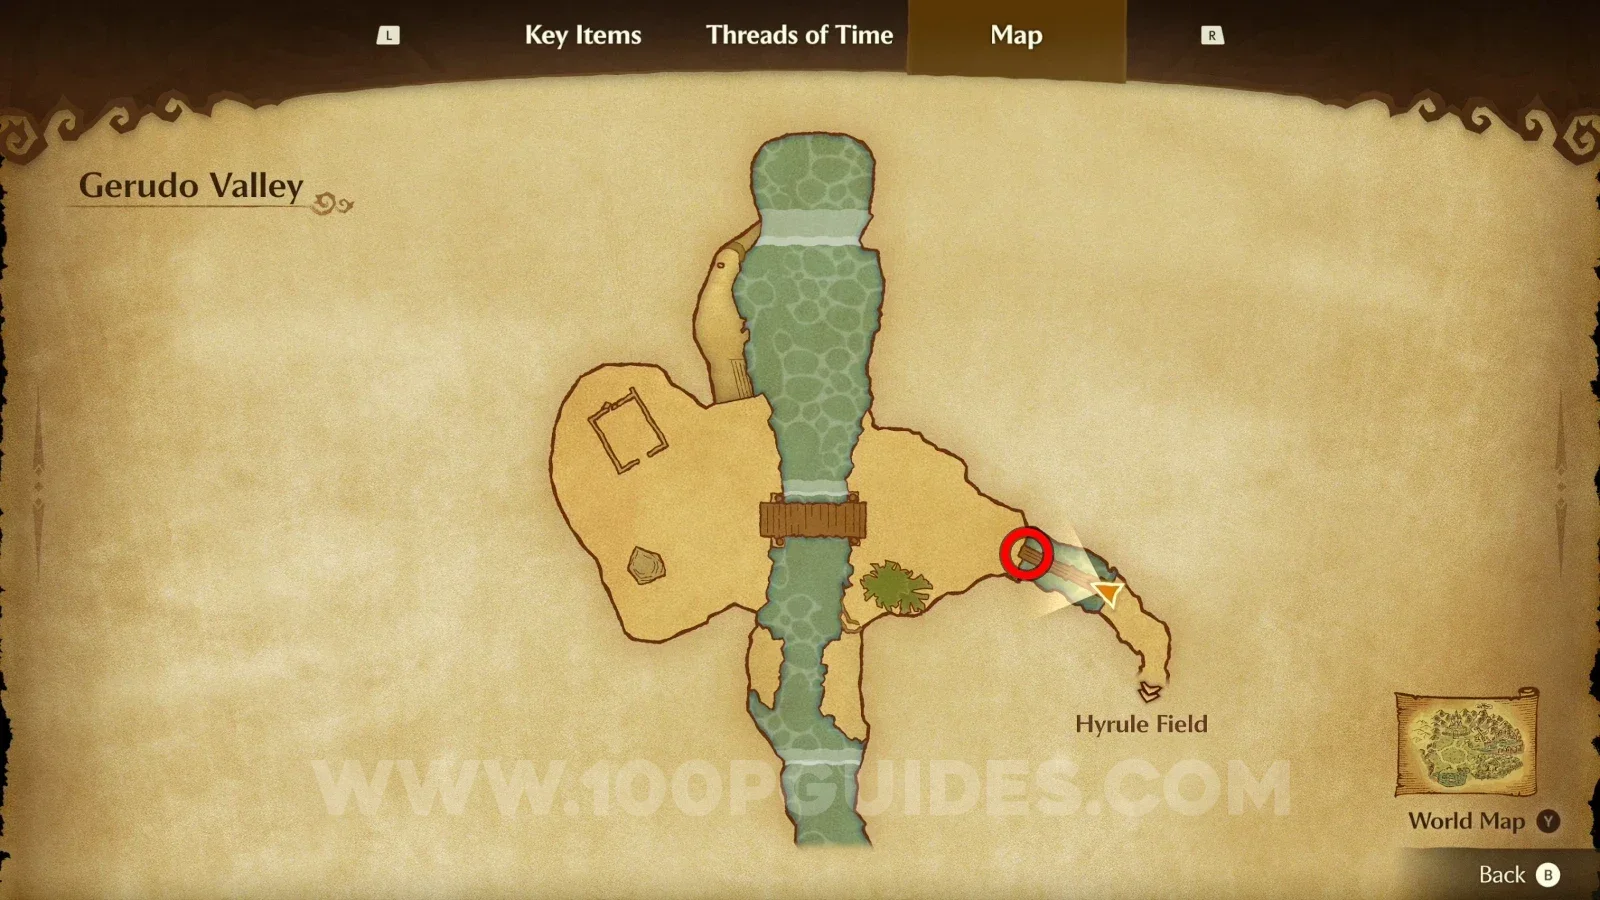
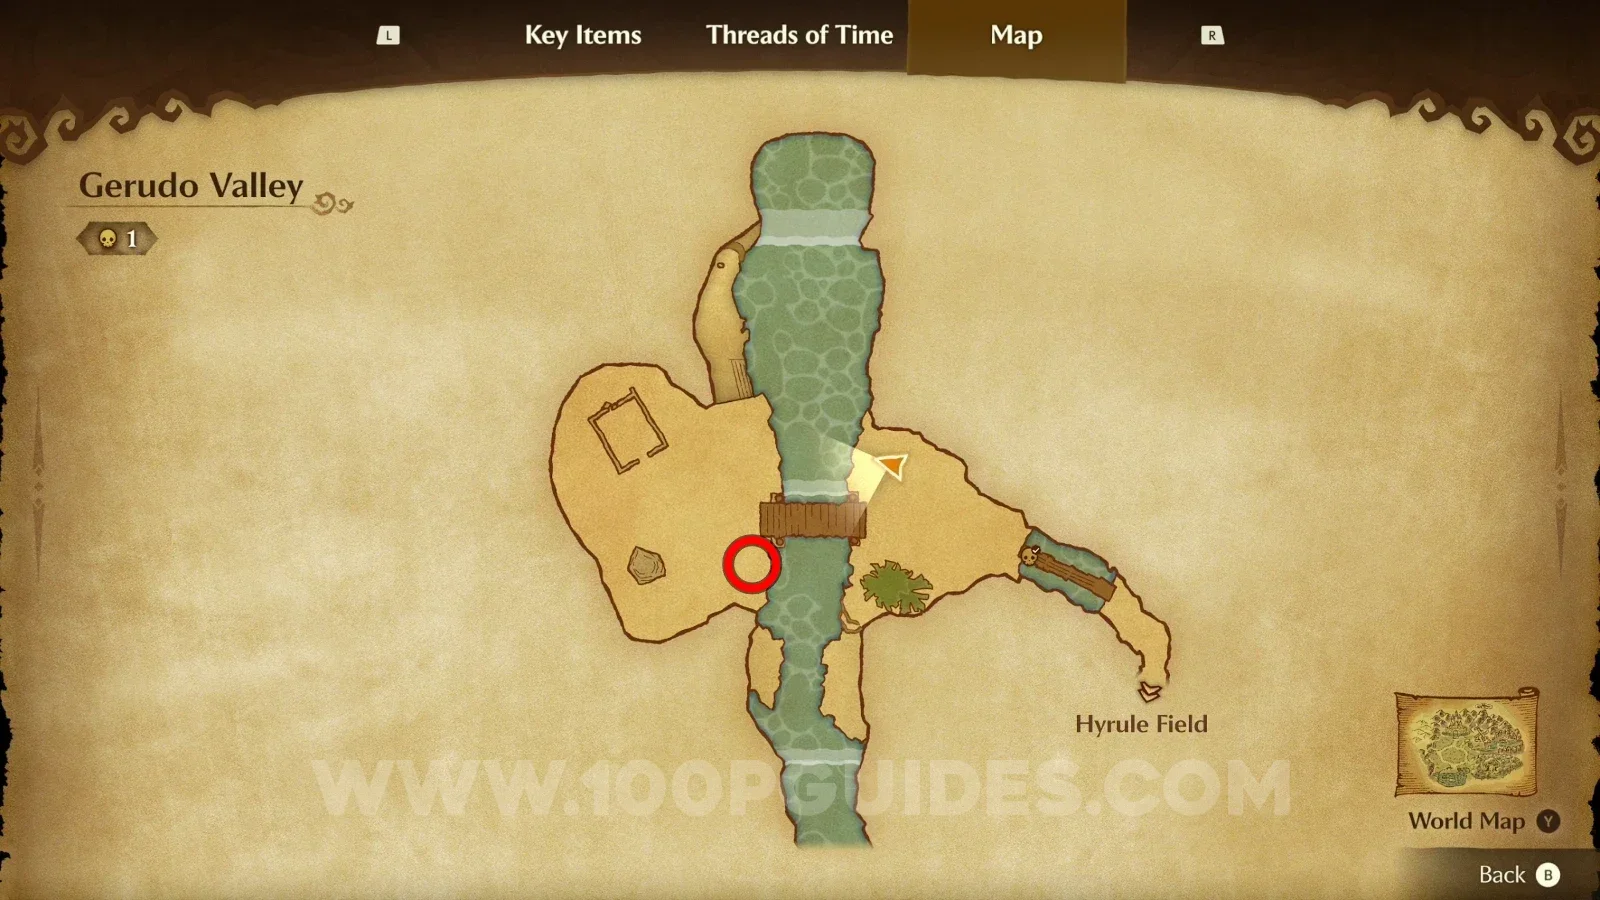
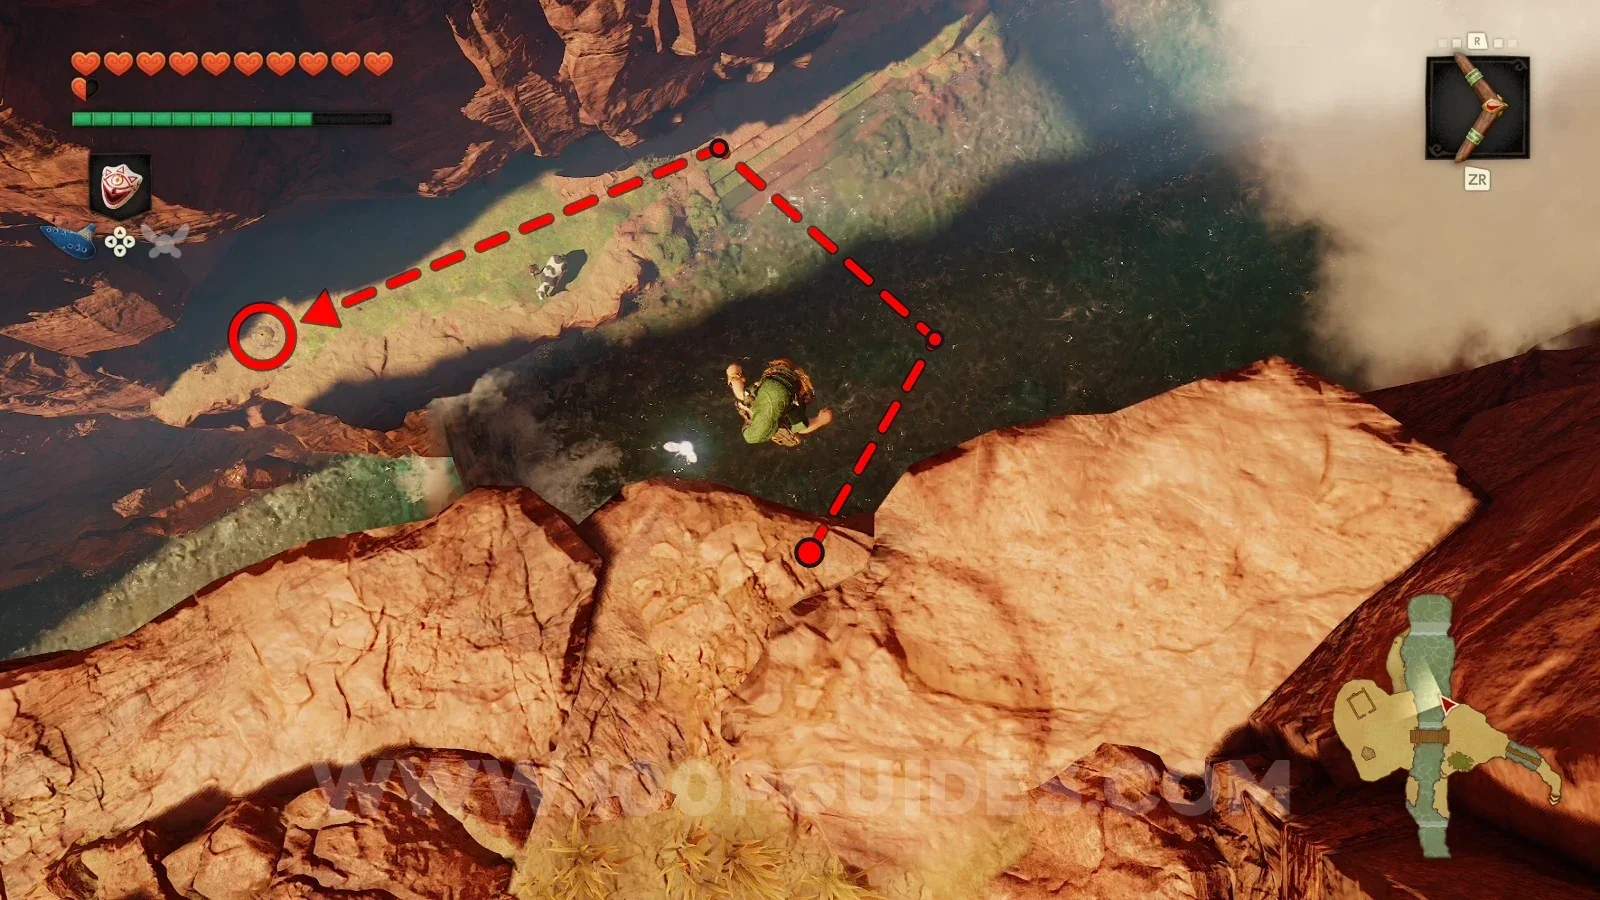
Drop down to the river and get out onto the ground, then go past the NPC with the cow to find a soft soil patch. Release a bug near the hole to reveal the Gold Skulltula.

Zelda Ocarina of Time Remake Gerudo Valley: dropping down to the river toward Gold Skulltula #48 Zelda Ocarina of Time Remake Gerudo Valley: the soft soil patch past the NPC with the cow, Gold Skulltula #48 Zelda Ocarina of Time Remake Gerudo Valley: Gold Skulltula #48 revealed by releasing a bug near the soft soil

Evil Desert Colossus - Child Era

Gold Skulltula #49

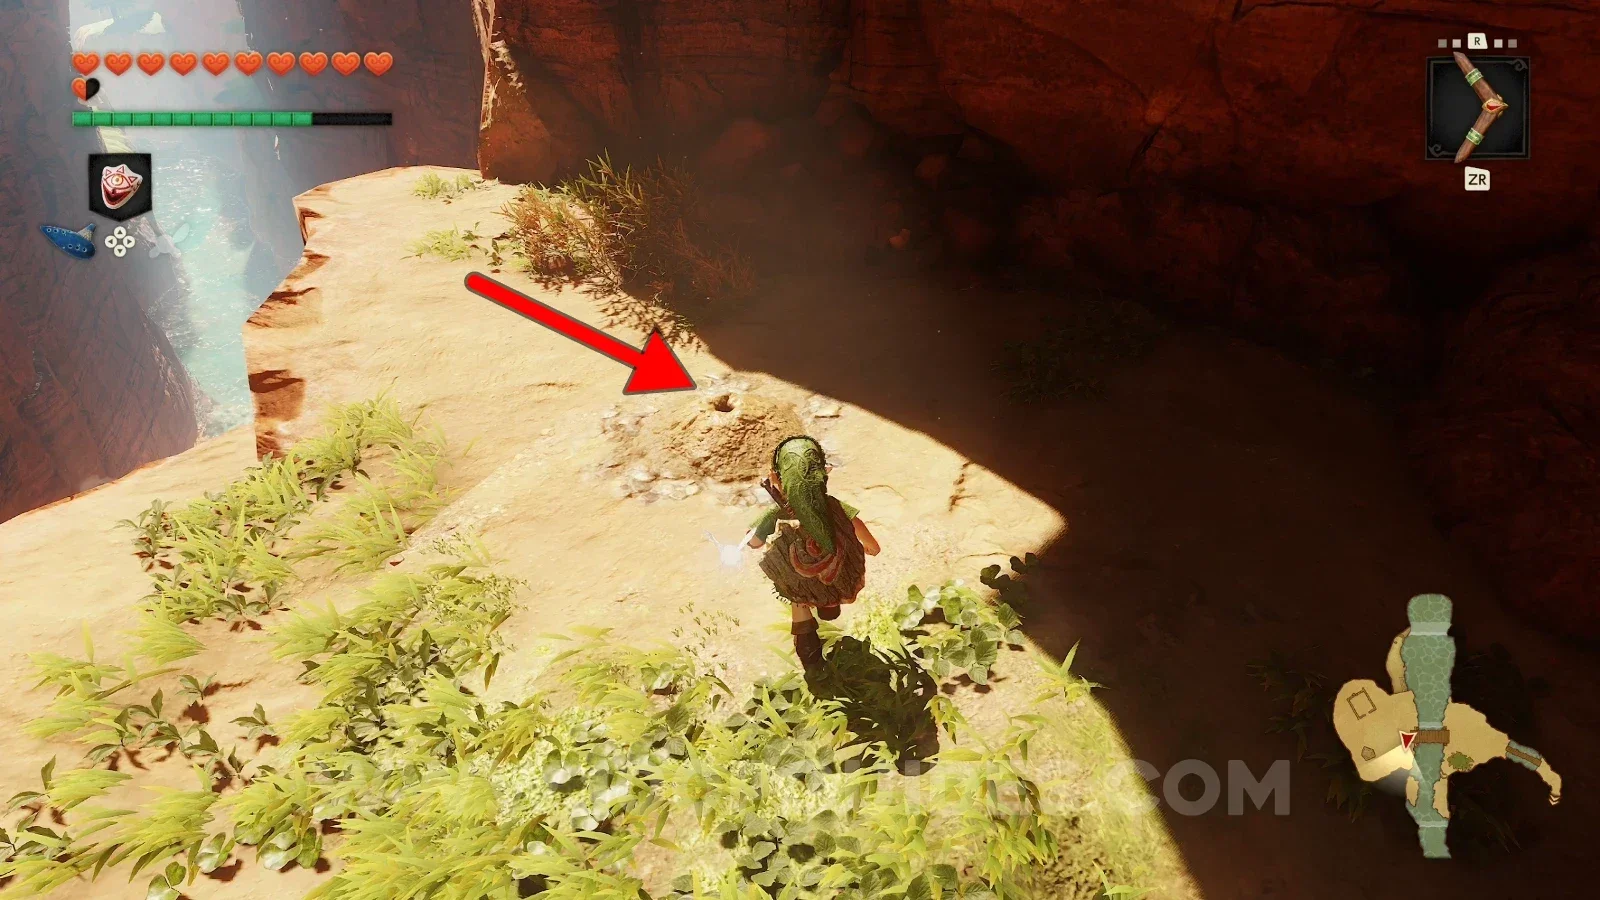
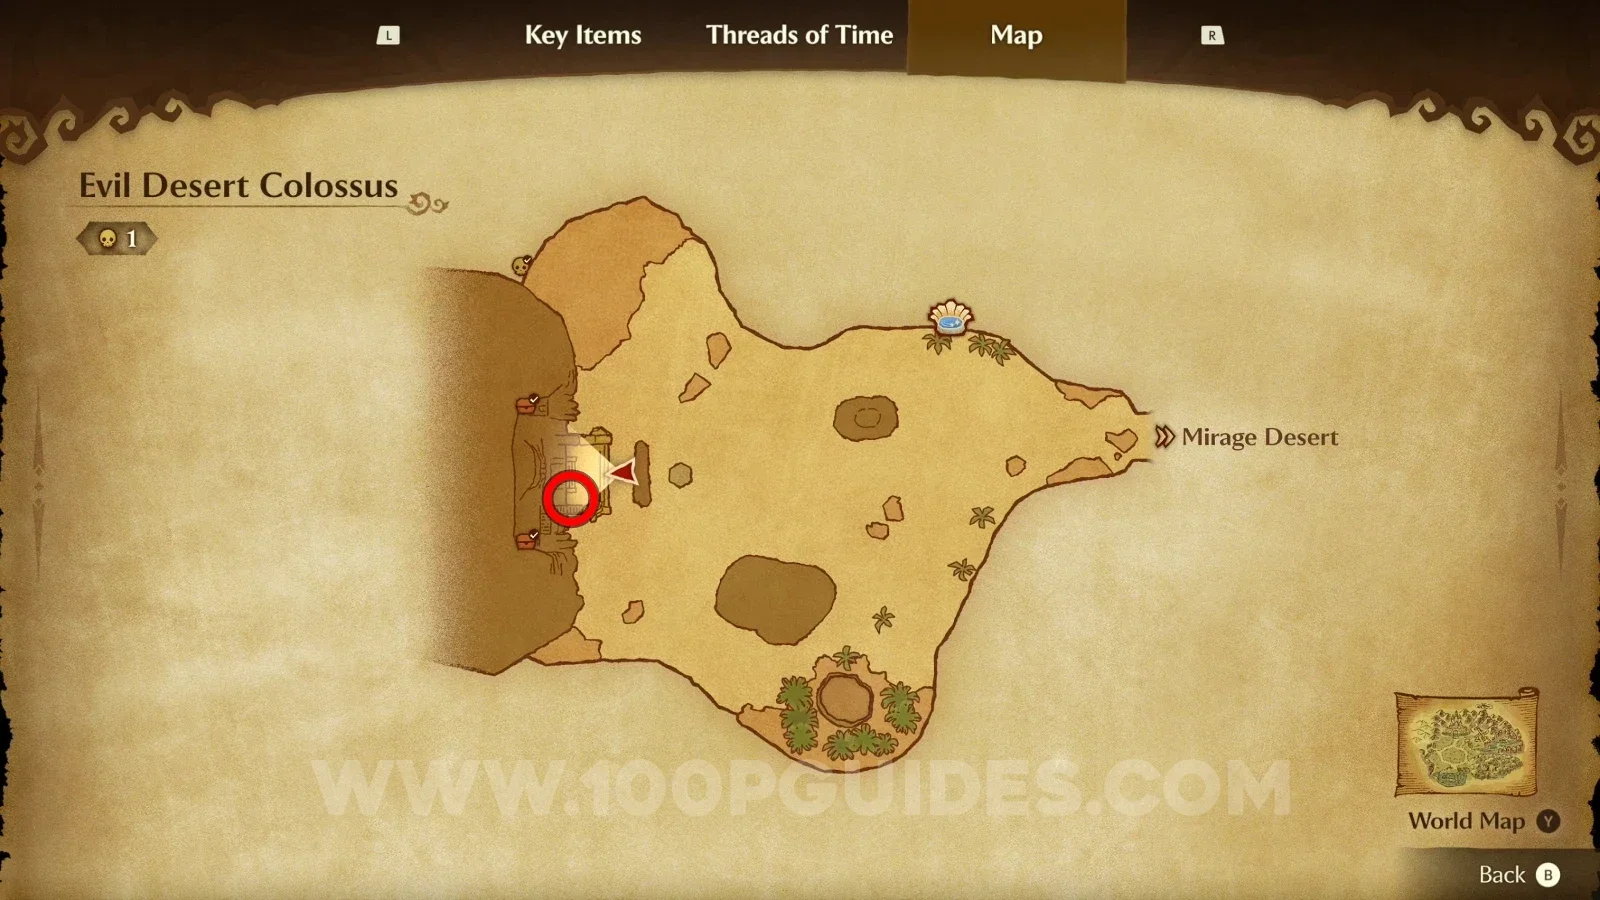
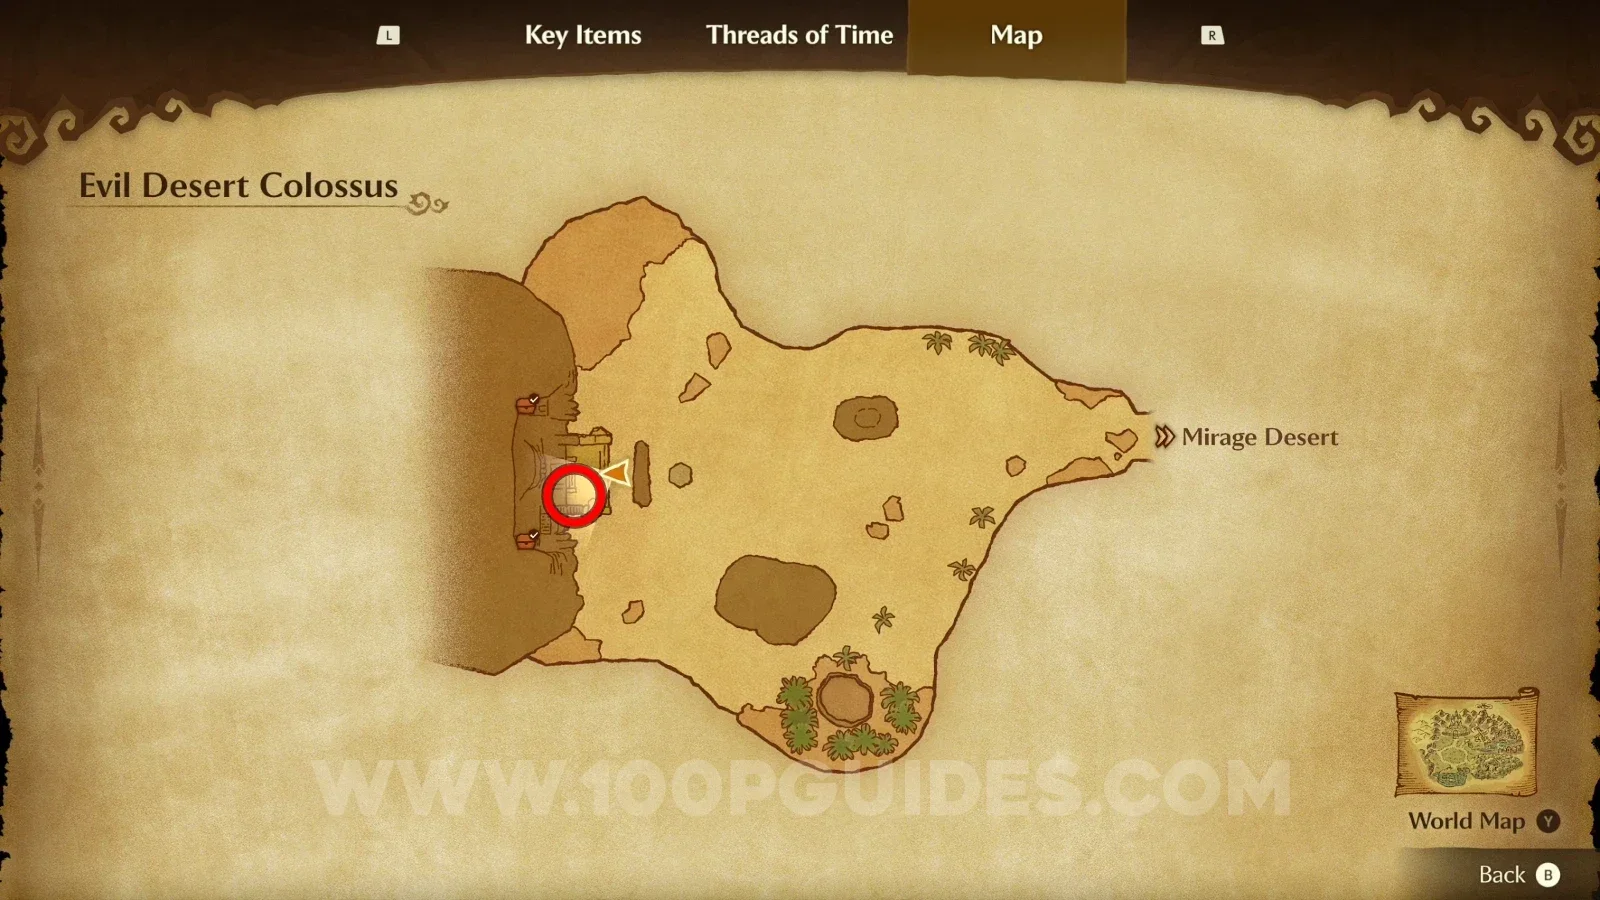
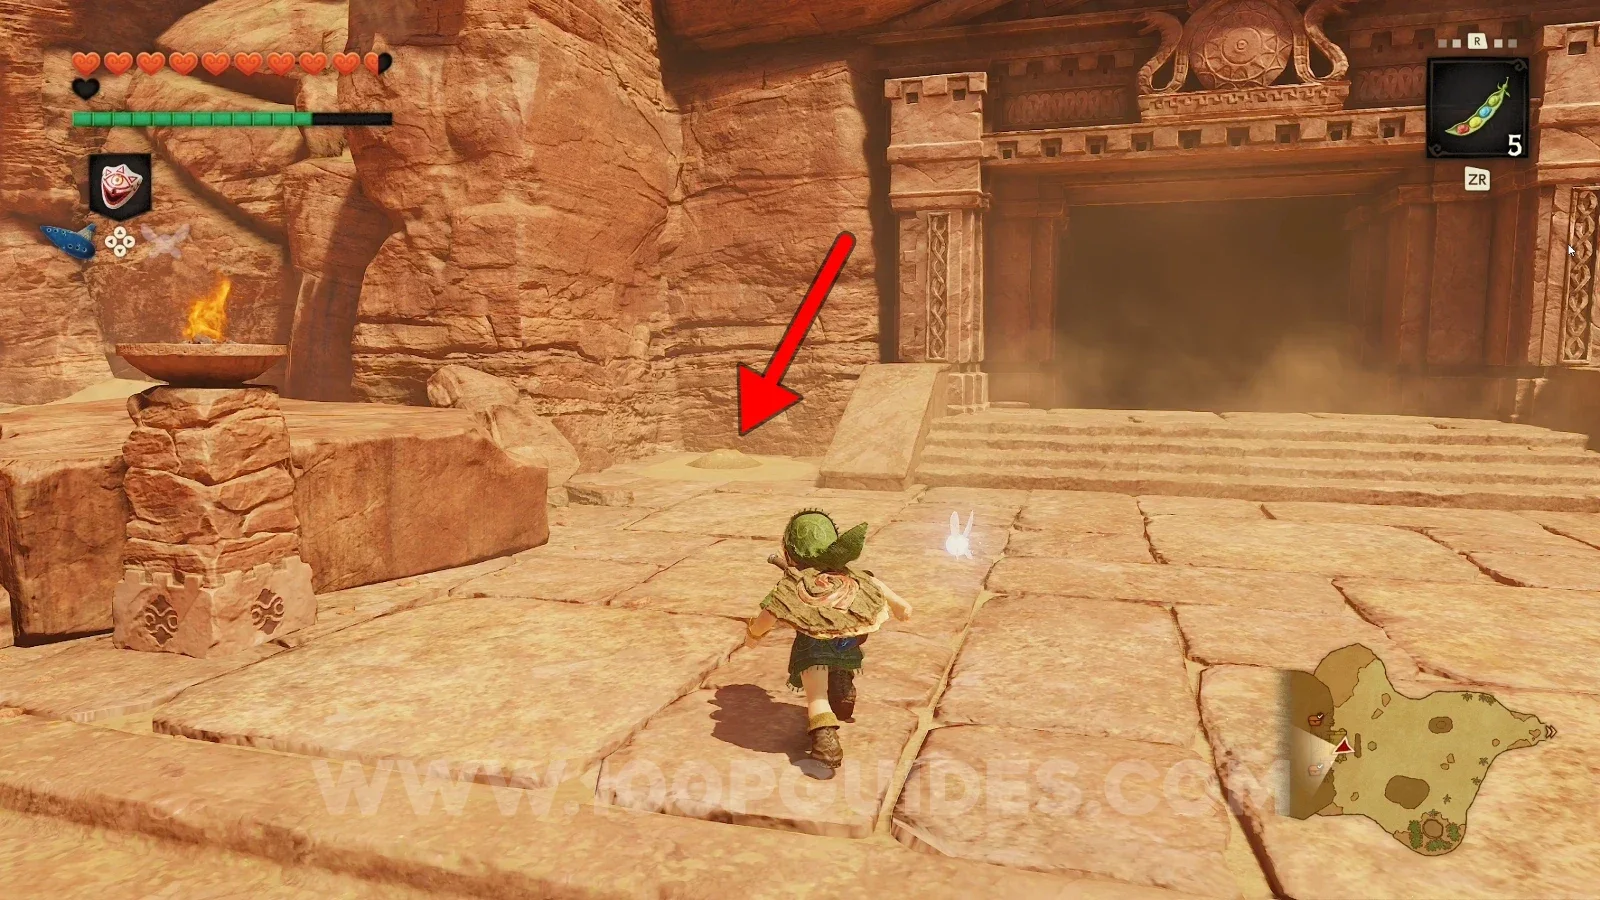
Release a bug near the soft soil patch to the left of the Spirit Temple's entrance.

Zelda Ocarina of Time Remake Evil Desert Colossus: the soft soil left of the Spirit Temple's entrance, Gold Skulltula #49 Zelda Ocarina of Time Remake Evil Desert Colossus: Gold Skulltula #49 revealed by releasing a bug near the soft soil

Spirit Temple - Child Era

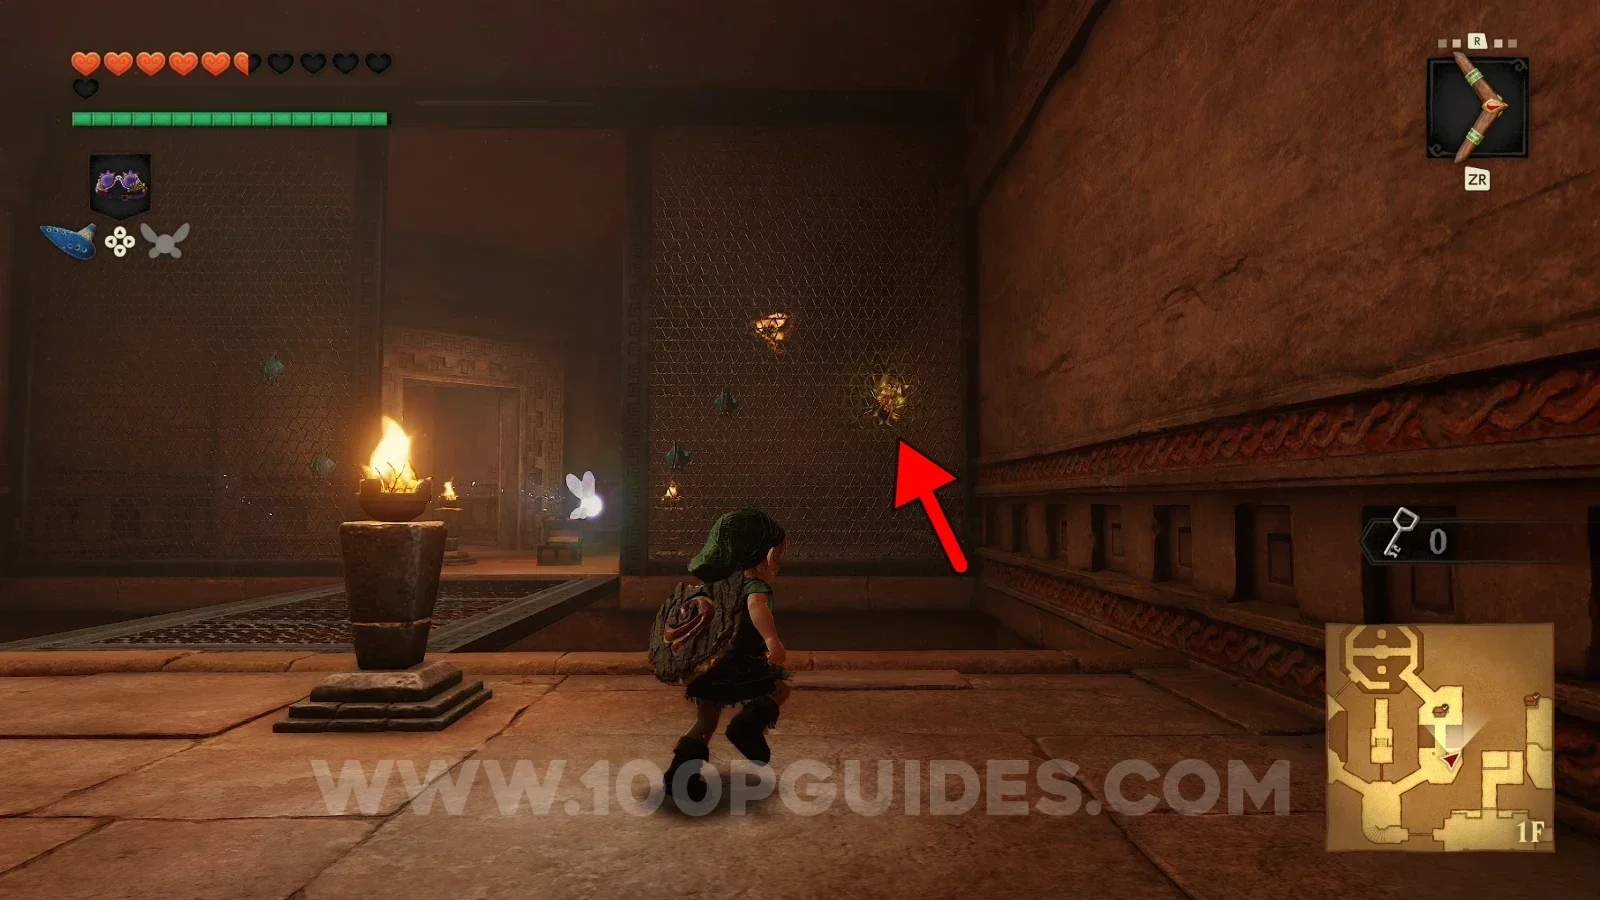
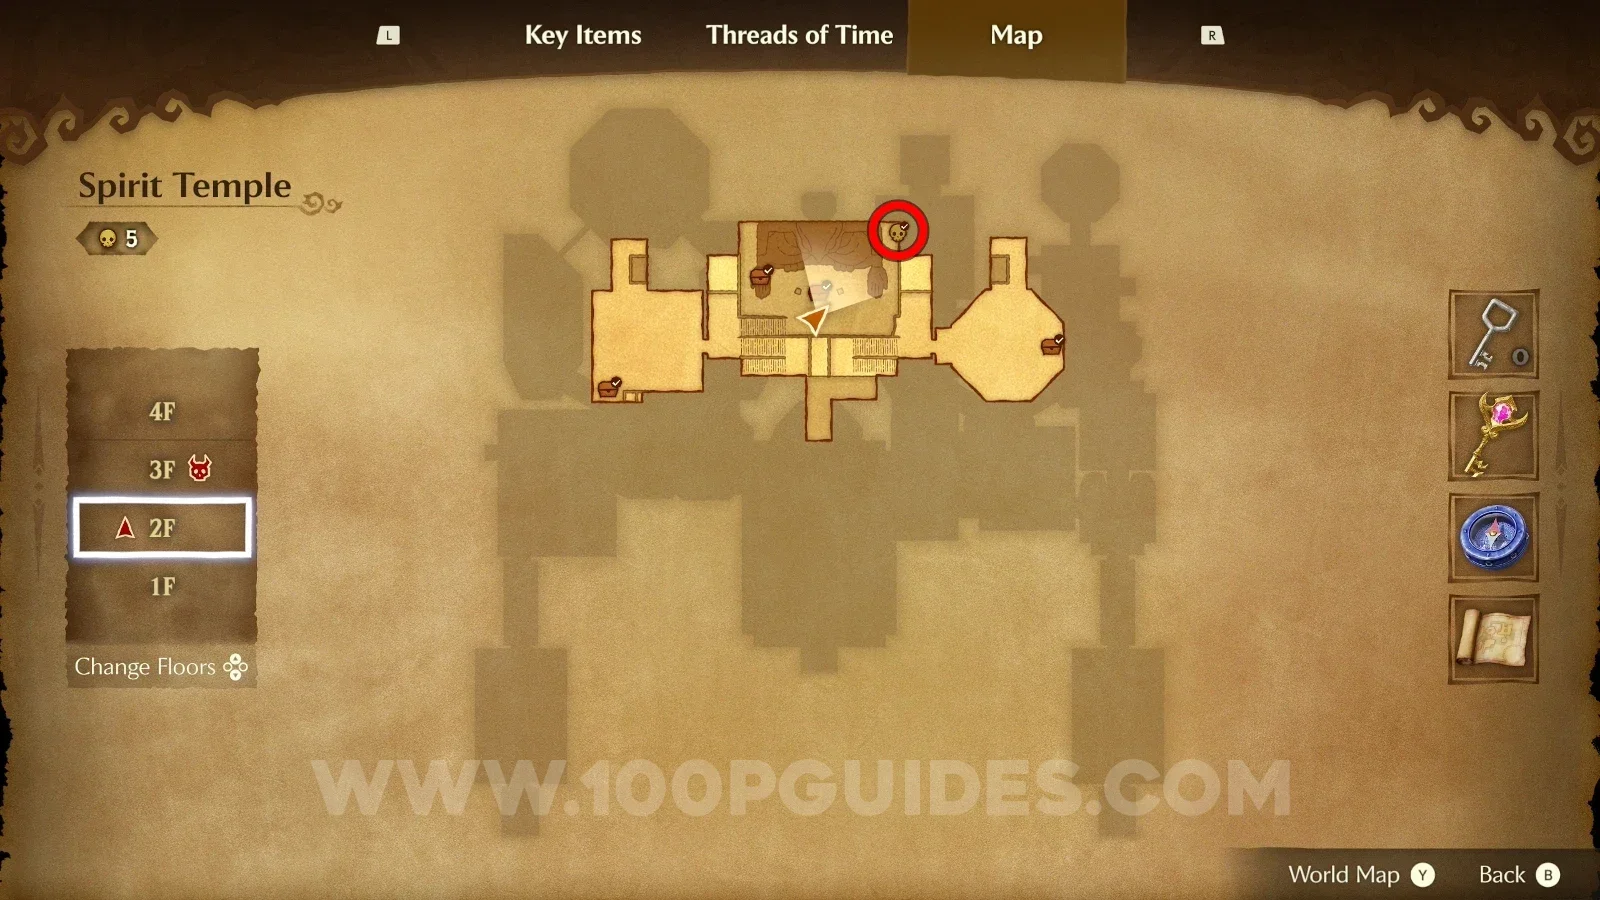
Gold Skulltula #50

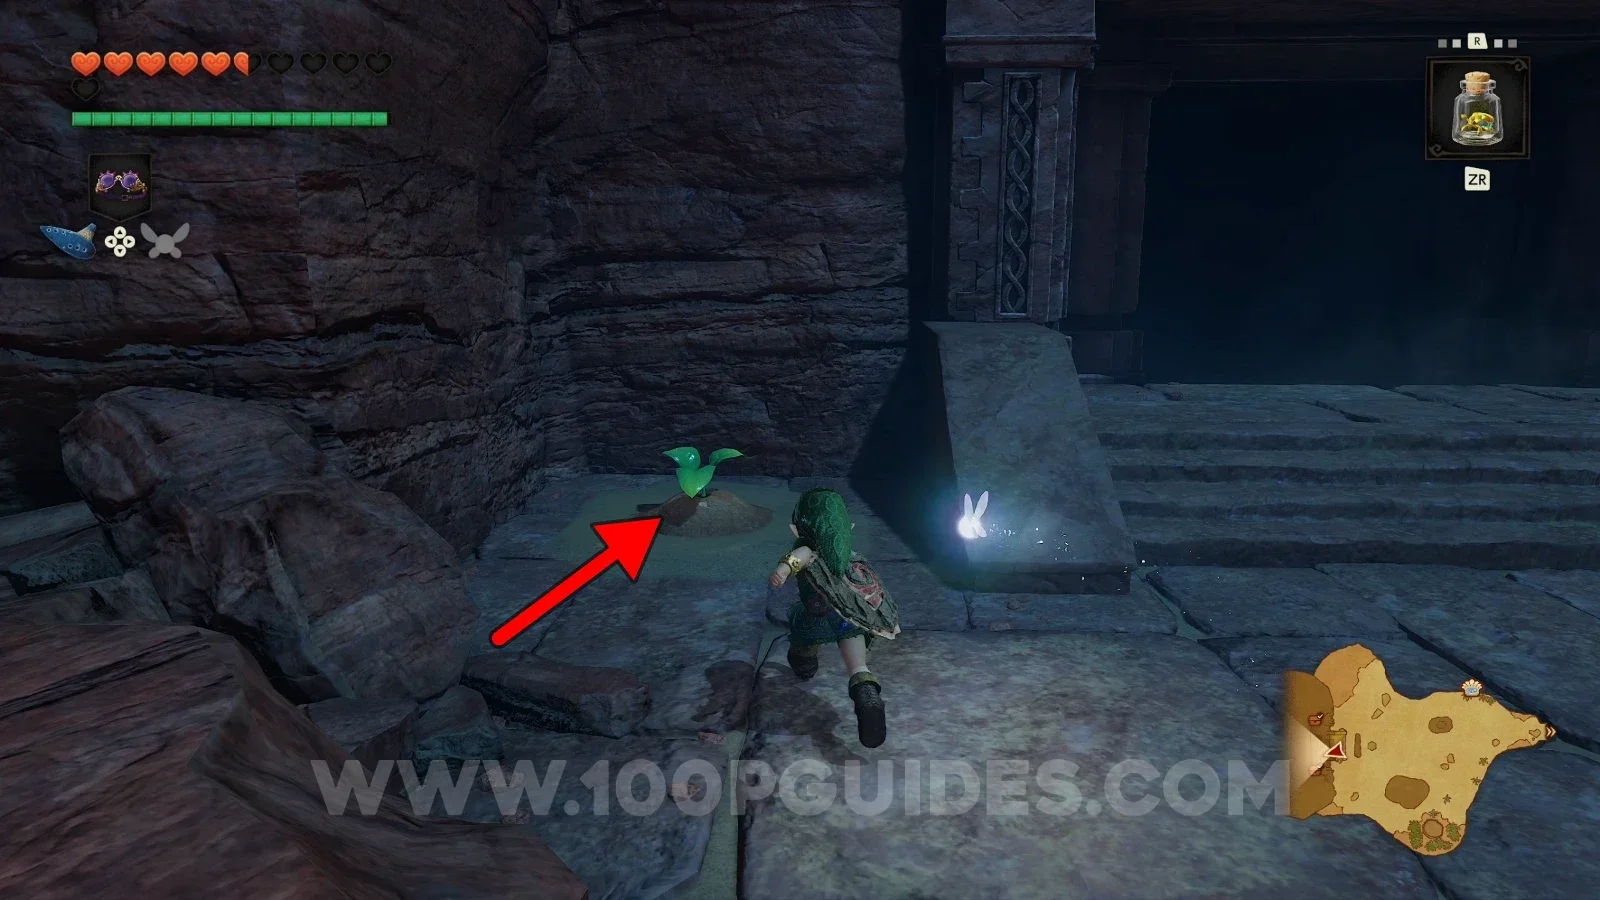
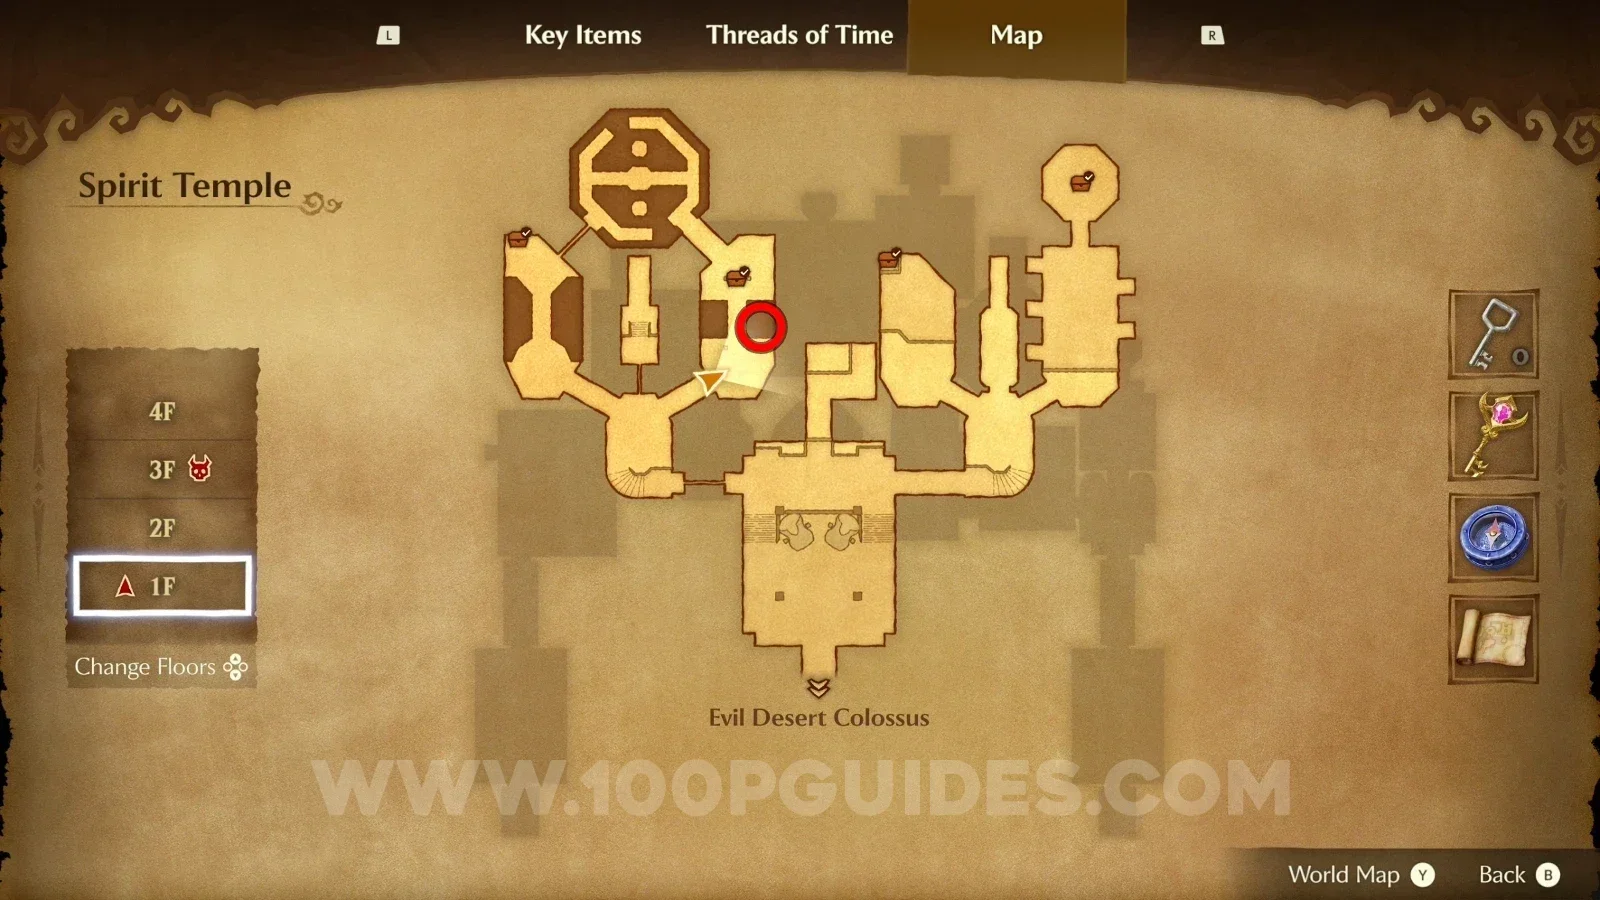
On the metal grate, in plain sight.

Zelda Ocarina of Time Remake Spirit Temple: the metal grate in the room of Gold Skulltula #50 Zelda Ocarina of Time Remake Spirit Temple: Gold Skulltula #50 in plain sight on the metal grate

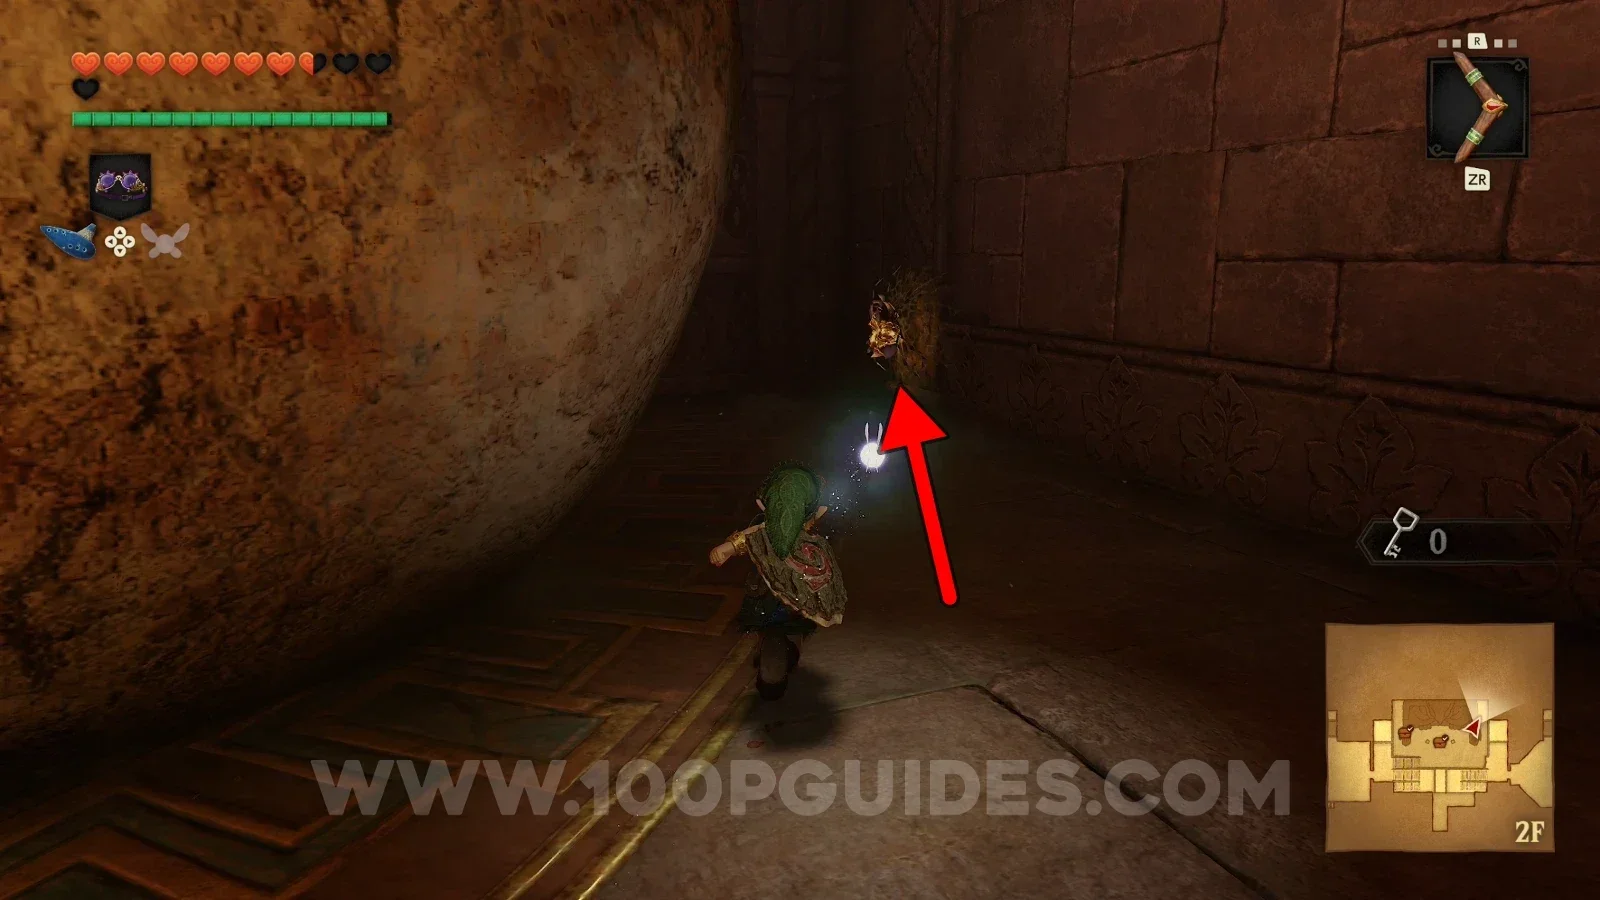
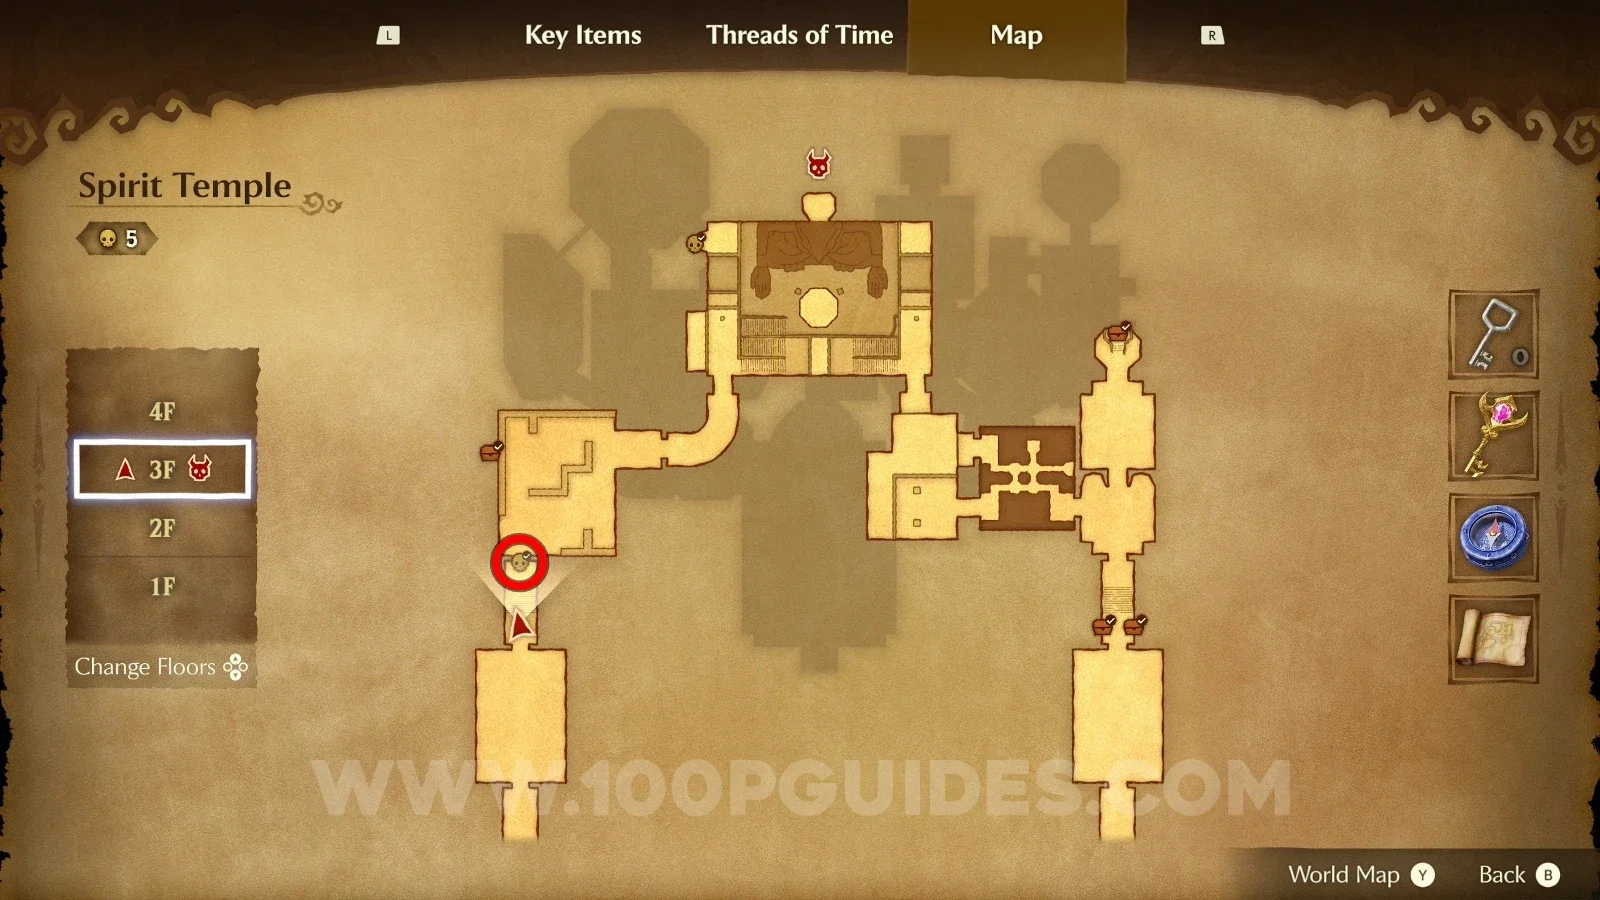
Gold Skulltula #51

To the right, in the gap between the massive statue and the wall.

Zelda Ocarina of Time Remake Spirit Temple: the massive statue with Gold Skulltula #51 in the gap to its right Zelda Ocarina of Time Remake Spirit Temple: Gold Skulltula #51 in the gap between the massive statue and the wall

Gold Skulltula #52

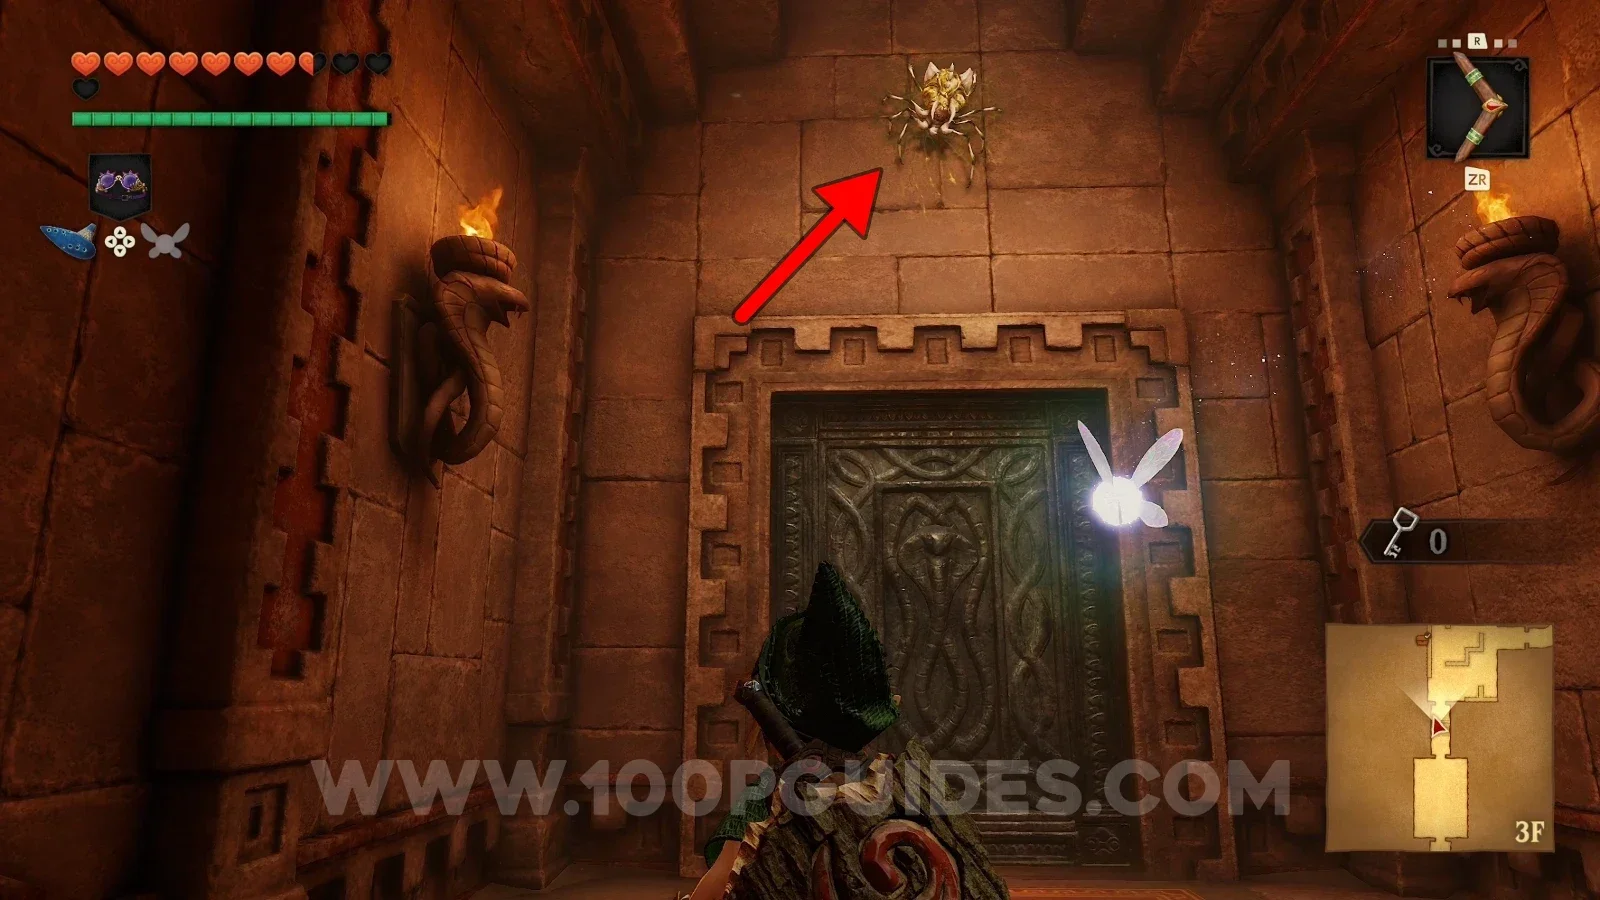
Right on top of the door you just came through.

Zelda Ocarina of Time Remake Spirit Temple: the door you just crossed, with Gold Skulltula #52 above it Zelda Ocarina of Time Remake Spirit Temple: Gold Skulltula #52 right on top of the door

CHILD & ADULT ERA

Hyrule Field - Child & Adult Era

Gold Skulltula #53

As child Link, break open the hole in the ground with a bomb, drop down and defeat the regular Skulltula. After doing that, return there as adult Link and roll into the wooden box to reveal the Gold Skulltula.

Zelda Ocarina of Time Remake Hyrule Field: bombing the hole in the ground as child Link for Gold Skulltula #53 Zelda Ocarina of Time Remake Hyrule Field: defeating the regular Skulltula below the hole for Gold Skulltula #53 Zelda Ocarina of Time Remake Hyrule Field: returning as adult Link to the wooden box for Gold Skulltula #53 Zelda Ocarina of Time Remake Hyrule Field: Gold Skulltula #53 revealed by rolling into the wooden box

Lost Woods - Child & Adult Era

Gold Skulltula #54

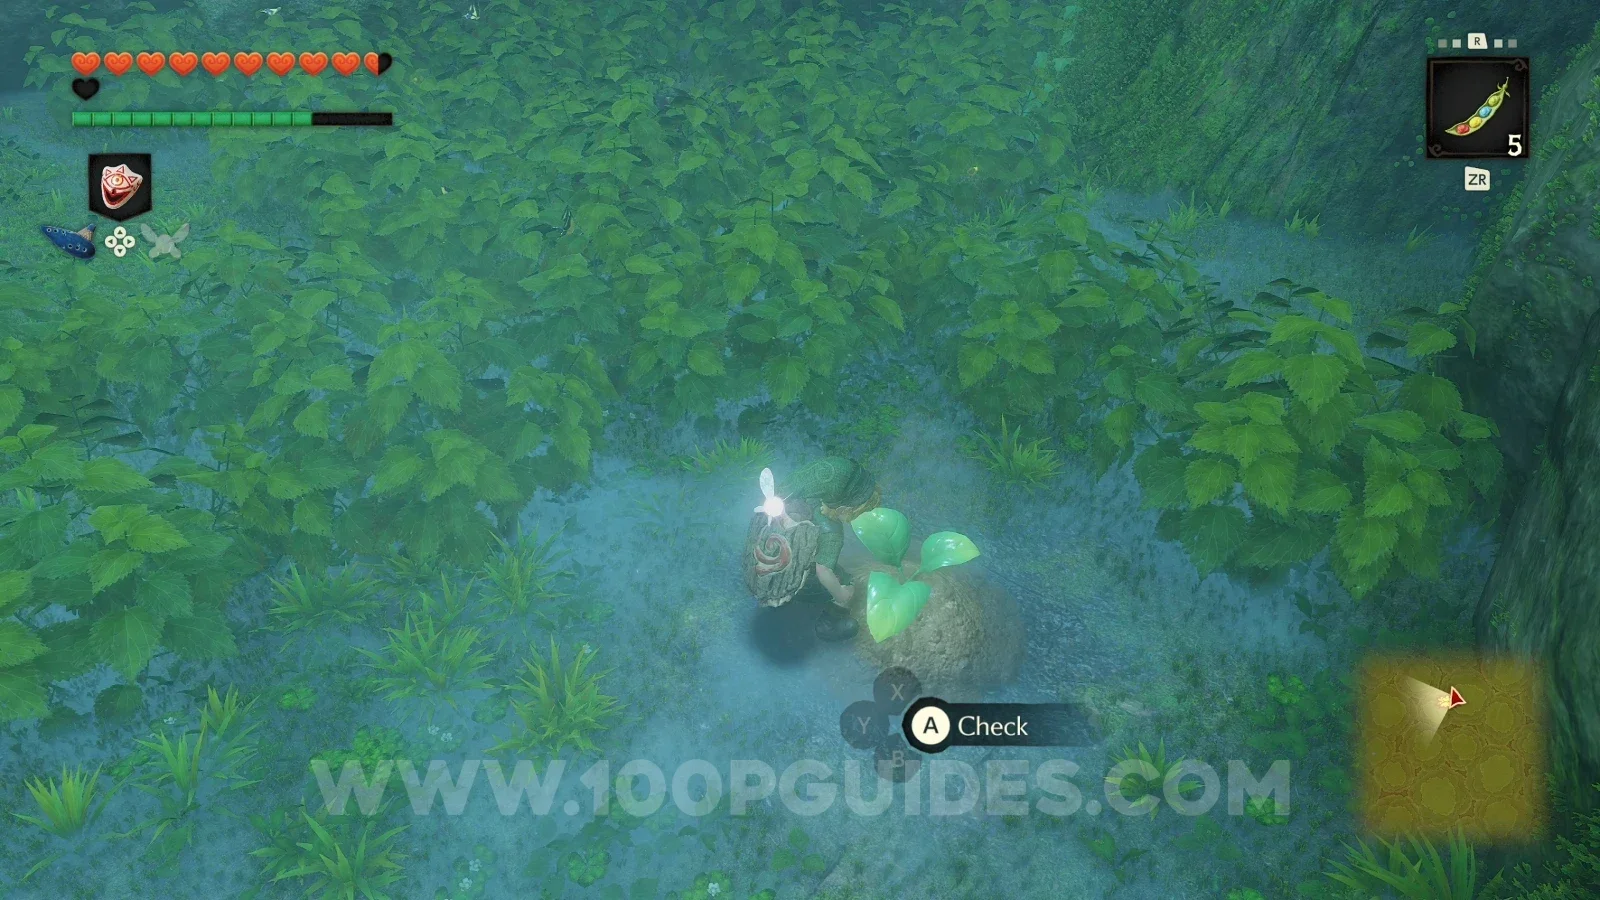
First, go to Zora River as child Link and buy some Magic Beans from the NPC. Enter the Lost Woods area from Kokiri Forest and go right > left > right > left > left to reach an area with two Big Deku Scrubs and a soft soil patch. Plant a Magic Bean in the soft soil patch and return there as adult Link to ride the plant and reach the Gold Skulltula.

Zelda Ocarina of Time Remake Lost Woods: buying Magic beans at Zora River as child Link for Gold Skulltula #54 Zelda Ocarina of Time Remake Lost Woods: the soft soil patch by the two Big Deku Scrubs for Gold Skulltula #54 Zelda Ocarina of Time Remake Lost Woods: riding the Magic Bean plant as adult Link toward Gold Skulltula #54 Zelda Ocarina of Time Remake Lost Woods: Gold Skulltula #54 reached from the Magic Bean plant

Evil Desert Colossus - Child & Adult Era

Gold Skulltula #55 (Nighttime)

First, buy some Magic Beans from the NPC at Zora River as child Link. Plant a Magic Bean in the soft soil patch to the left of the Spirit Temple's entrance, then return there as adult Link during nighttime and ride the plant to reach the Gold Skulltula.

Zelda Ocarina of Time Remake Evil Desert Colossus: buying Magic Beans at Zora River as child Link, Gold Skulltula #55 Zelda Ocarina of Time Remake Evil Desert Colossus: planting a Magic Bean left of the Spirit Temple's entrance Zelda Ocarina of Time Remake Evil Desert Colossus: riding the Magic Bean plant as adult Link at night, Gold Skulltula #55 Zelda Ocarina of Time Remake Evil Desert Colossus: Gold Skulltula #55 reached from the Magic Bean plant at night

ADULT ERA

Kokiri Forest - Adult Era

Gold Skulltula #56

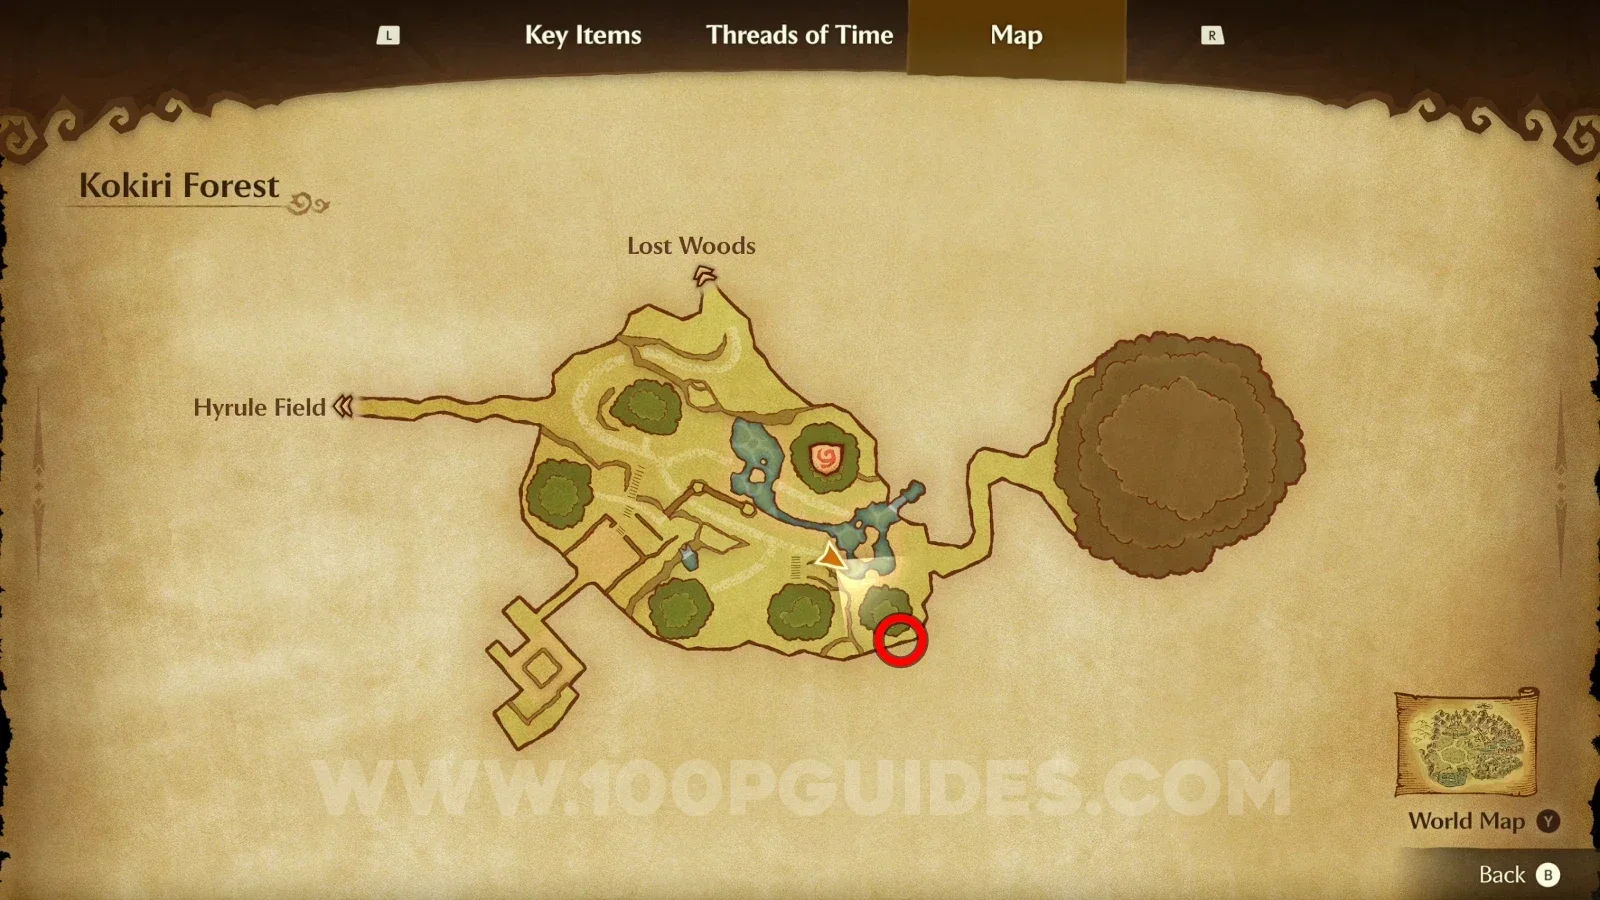
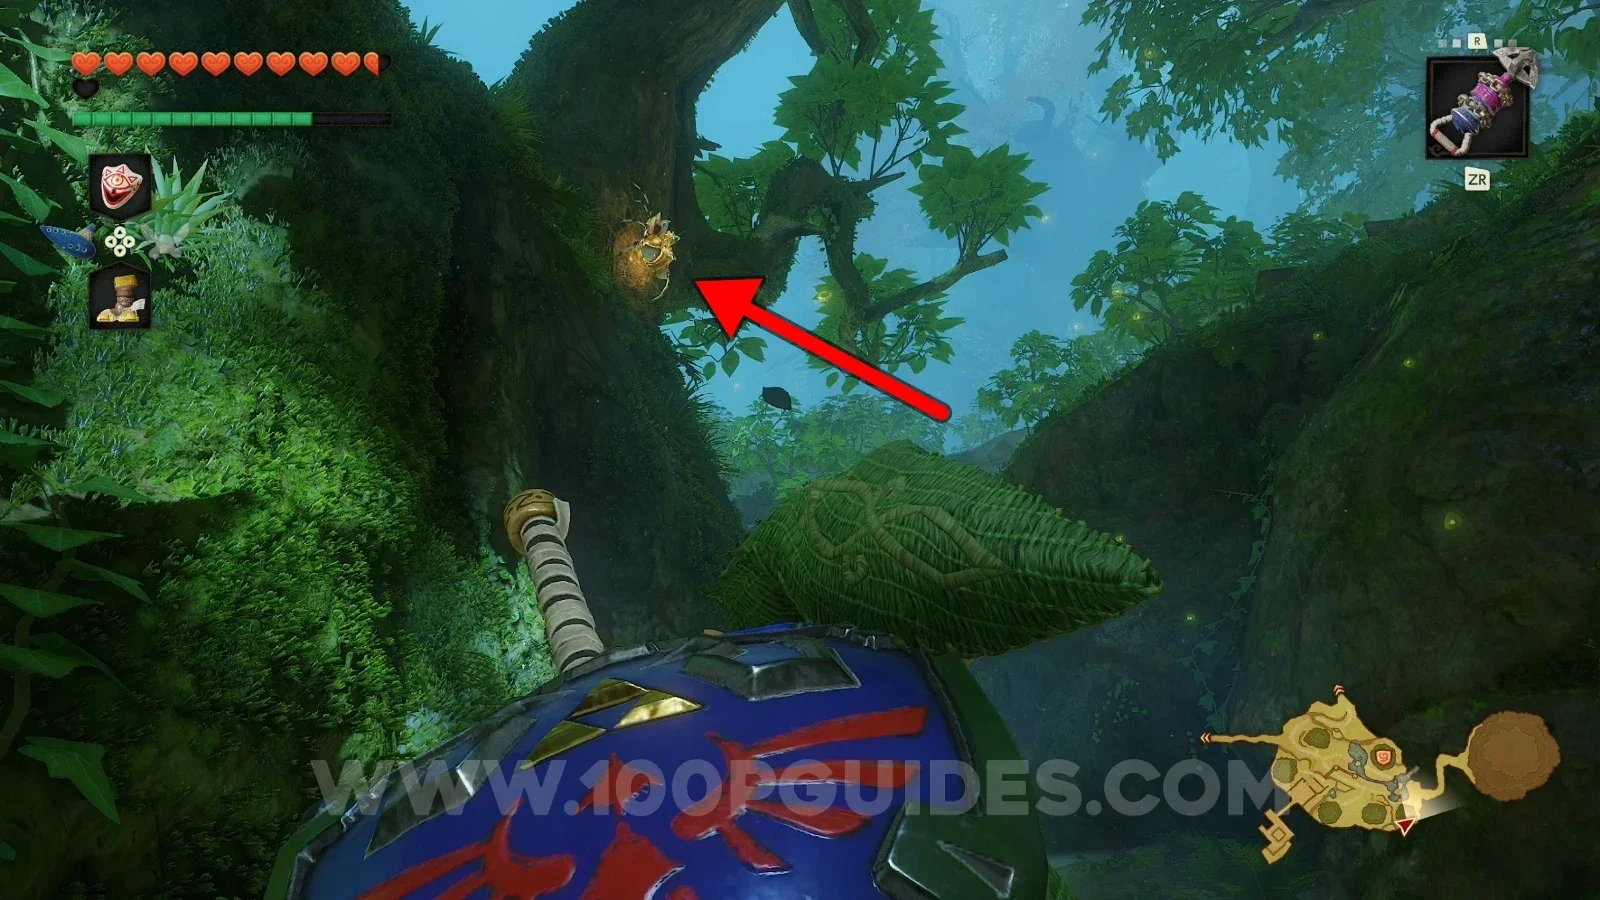
Behind the Kokiri hut in the southeast of the area.

Zelda Ocarina of Time Remake Kokiri Forest: the southeast Kokiri hut as adult Link, Gold Skulltula #56 Zelda Ocarina of Time Remake Kokiri Forest: Gold Skulltula #56 behind the Kokiri hut at the southeast

Ganondorf's Castle - Adult Era

Gold Skulltula #57

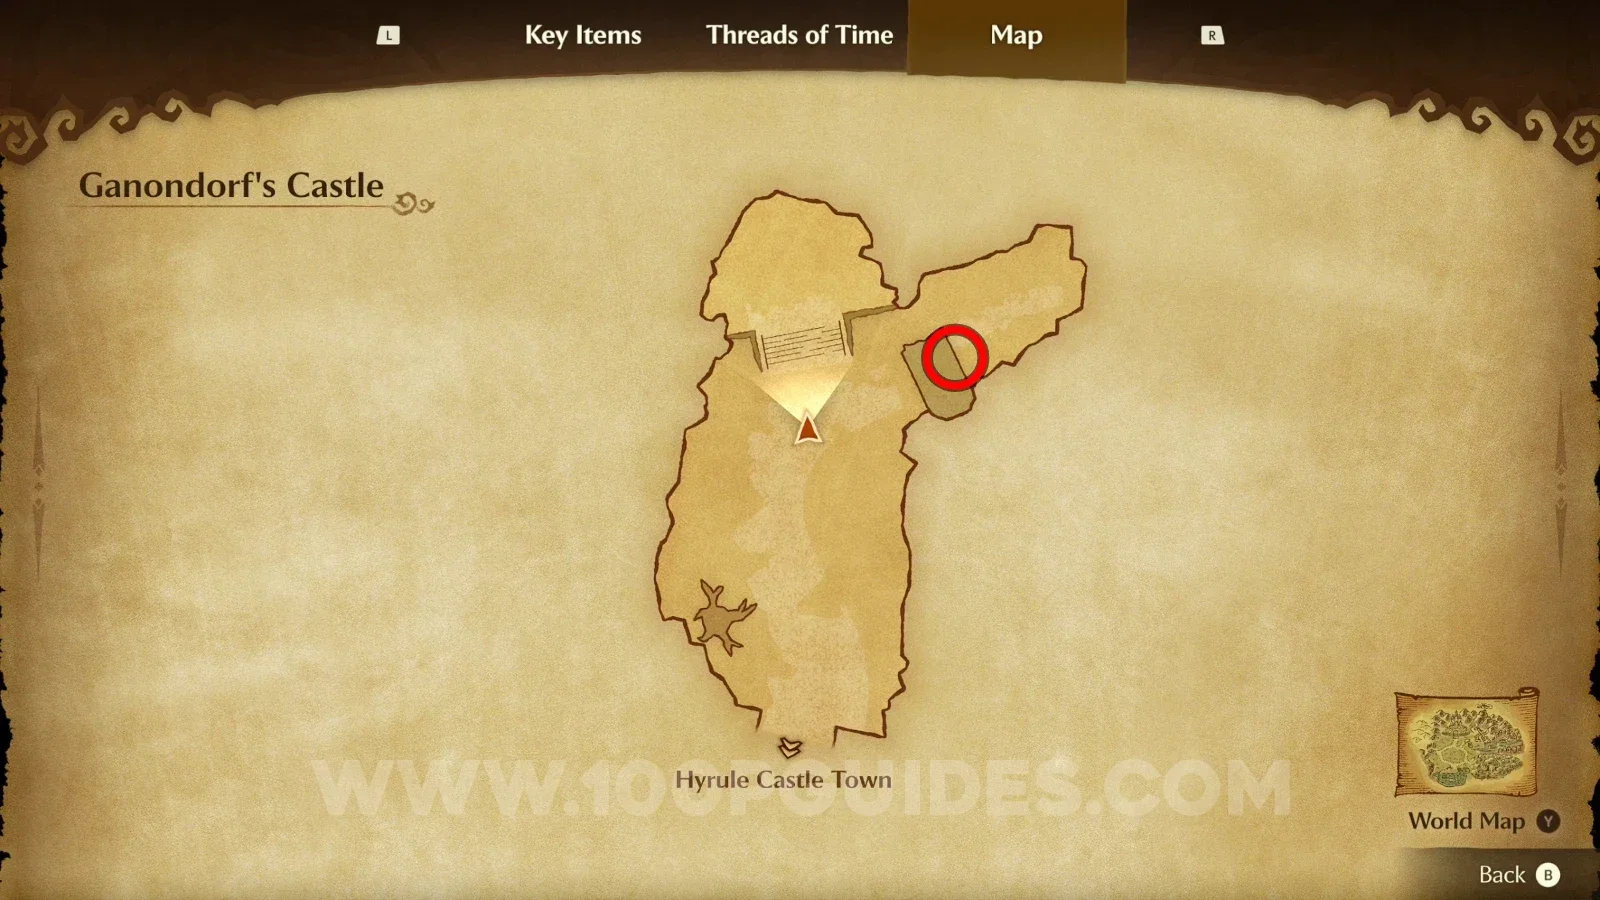
To the right just before the bridge leading to the castle, on the other side of the broken structure.

Zelda Ocarina of Time Remake Ganondorf's Castle: the broken structure right of the bridge, Gold Skulltula #57 Zelda Ocarina of Time Remake Ganondorf's Castle: Gold Skulltula #57 at the other side of the broken structure

Kakariko Village - Adult Era

Gold Skulltula #58

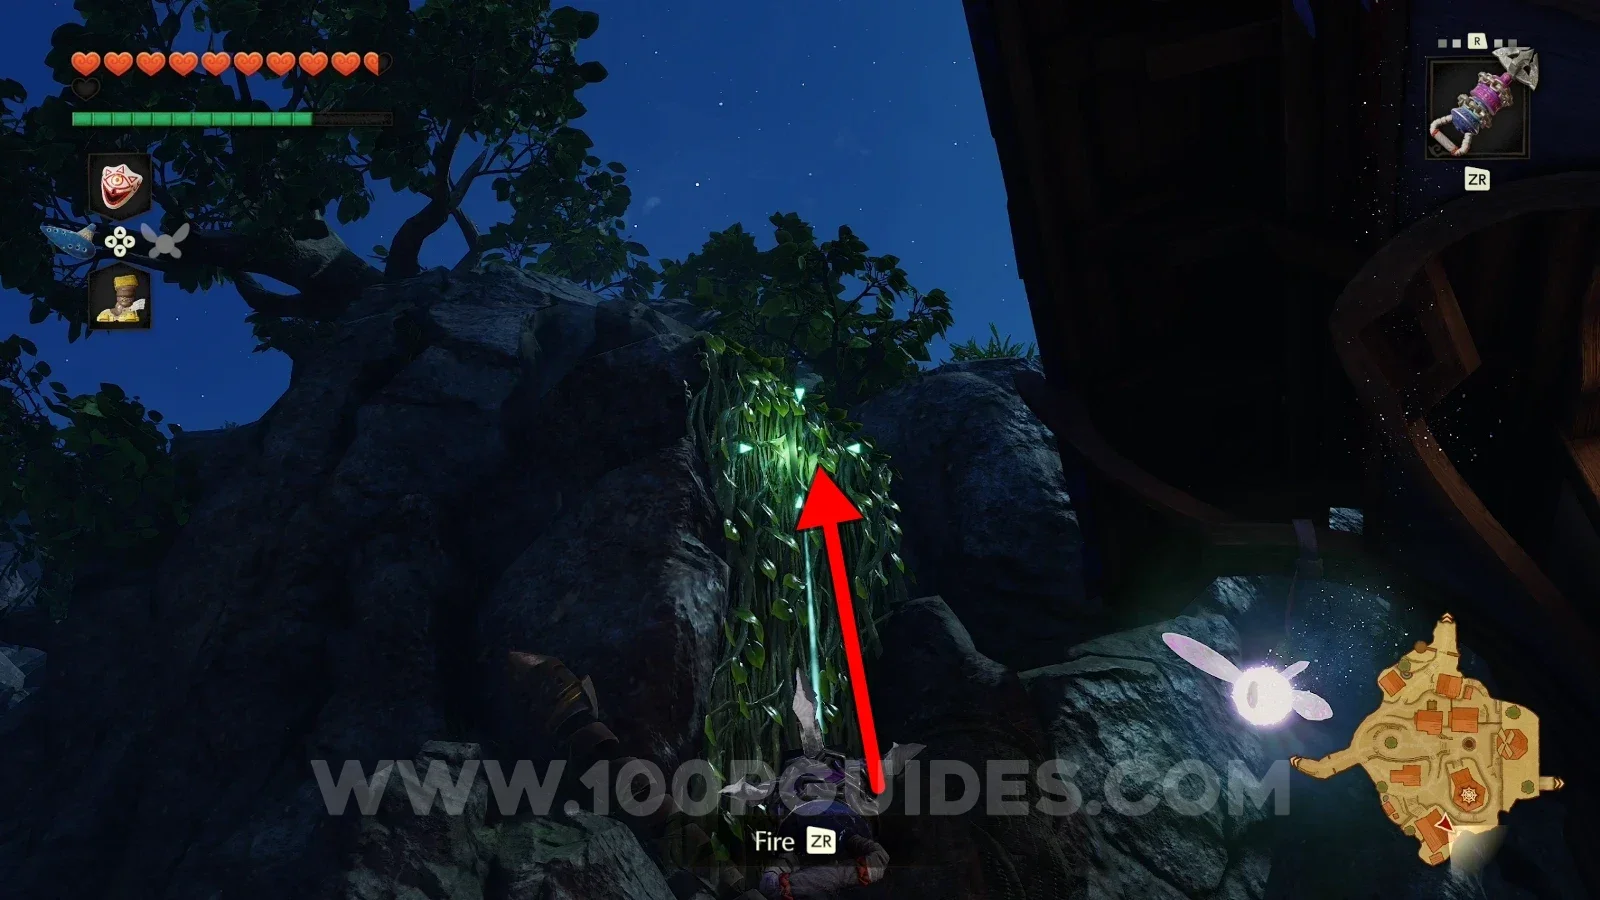
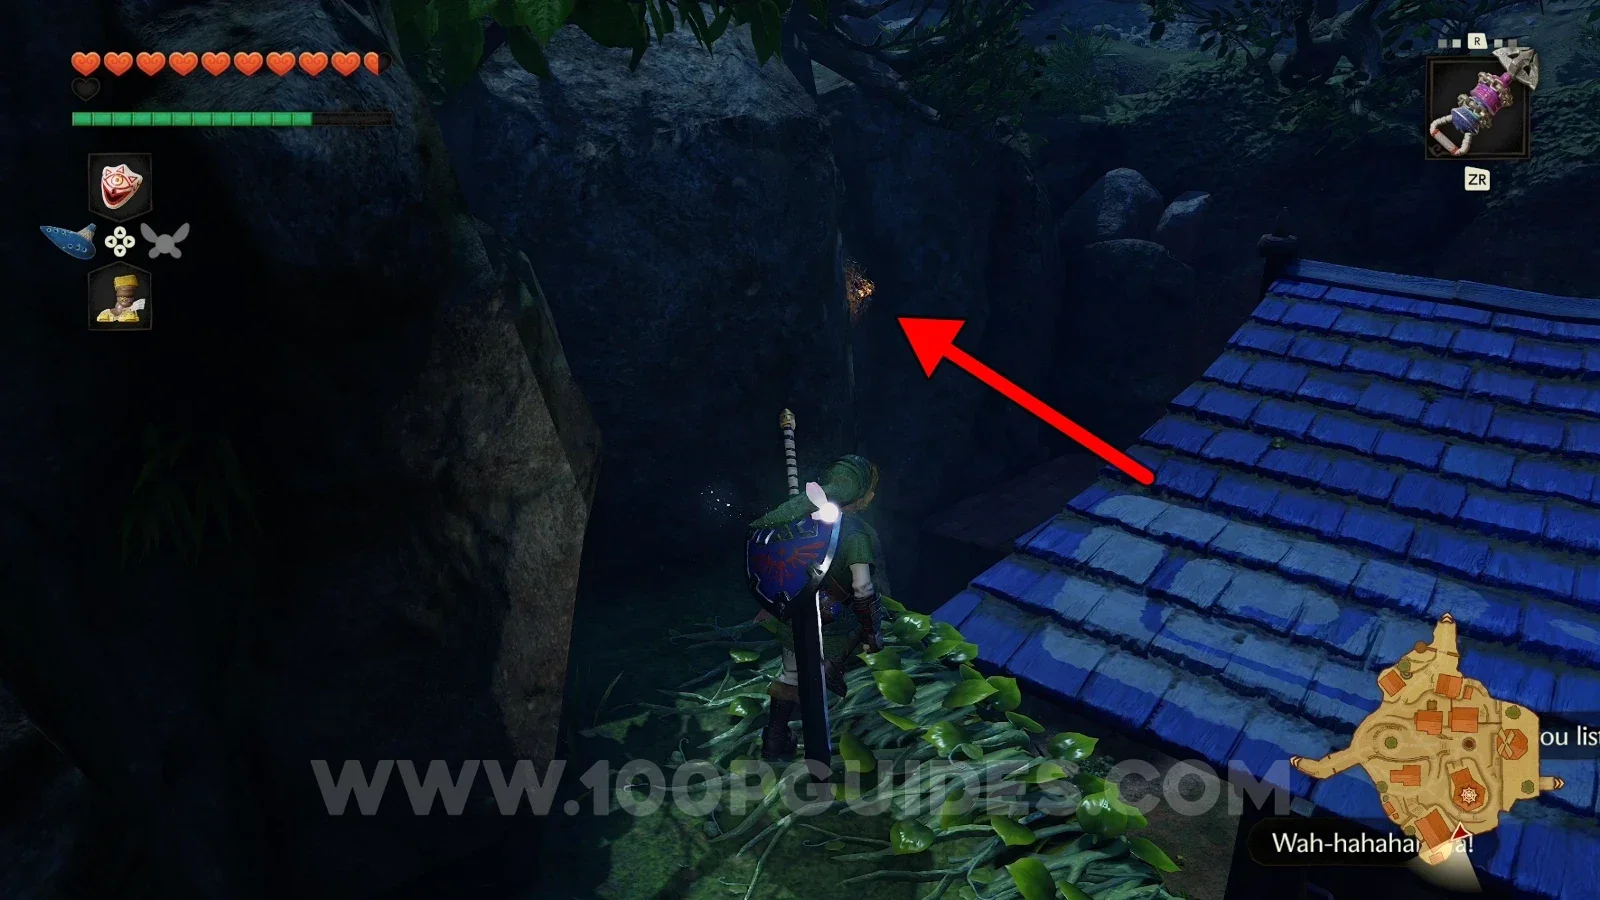
Go to the left of the southernmost house and use the hookshot on the vines, then jump to the roof and use the hookshot to defeat the Gold Skulltula and pick up the medal.

Zelda Ocarina of Time Remake Kakariko Village: hookshot on the vines left of the southmost house, Gold Skulltula #58 Zelda Ocarina of Time Remake Kakariko Village: jumping to the roof of the southmost house for Gold Skulltula #58 Zelda Ocarina of Time Remake Kakariko Village: using the hookshot on Gold Skulltula #58 to grab the medal

Sacred Grove - Adult Era

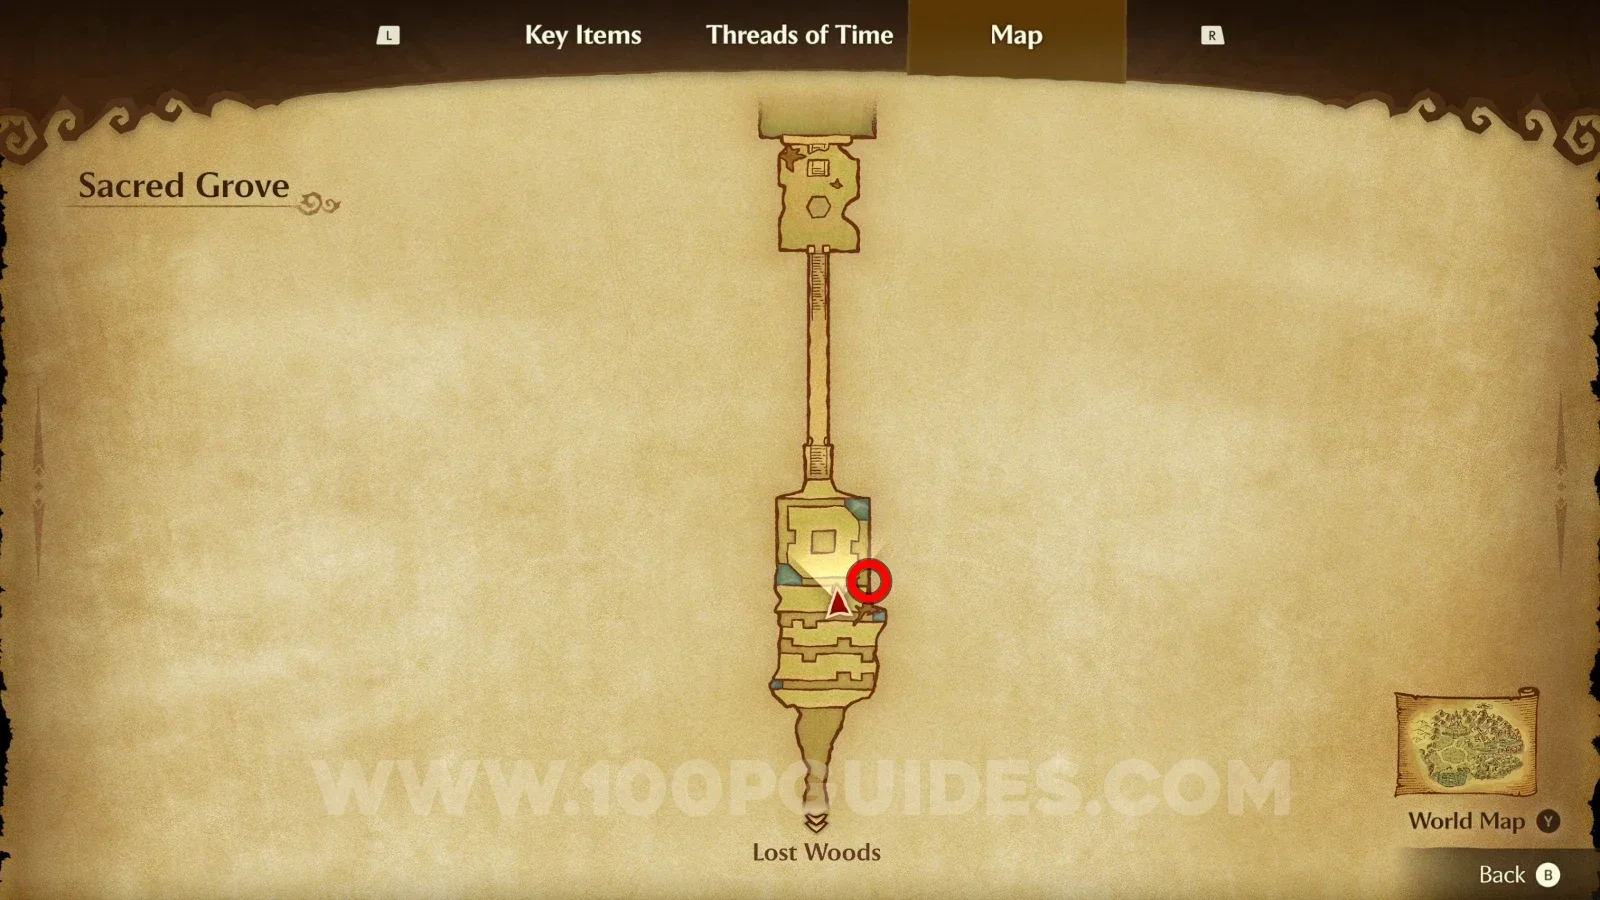
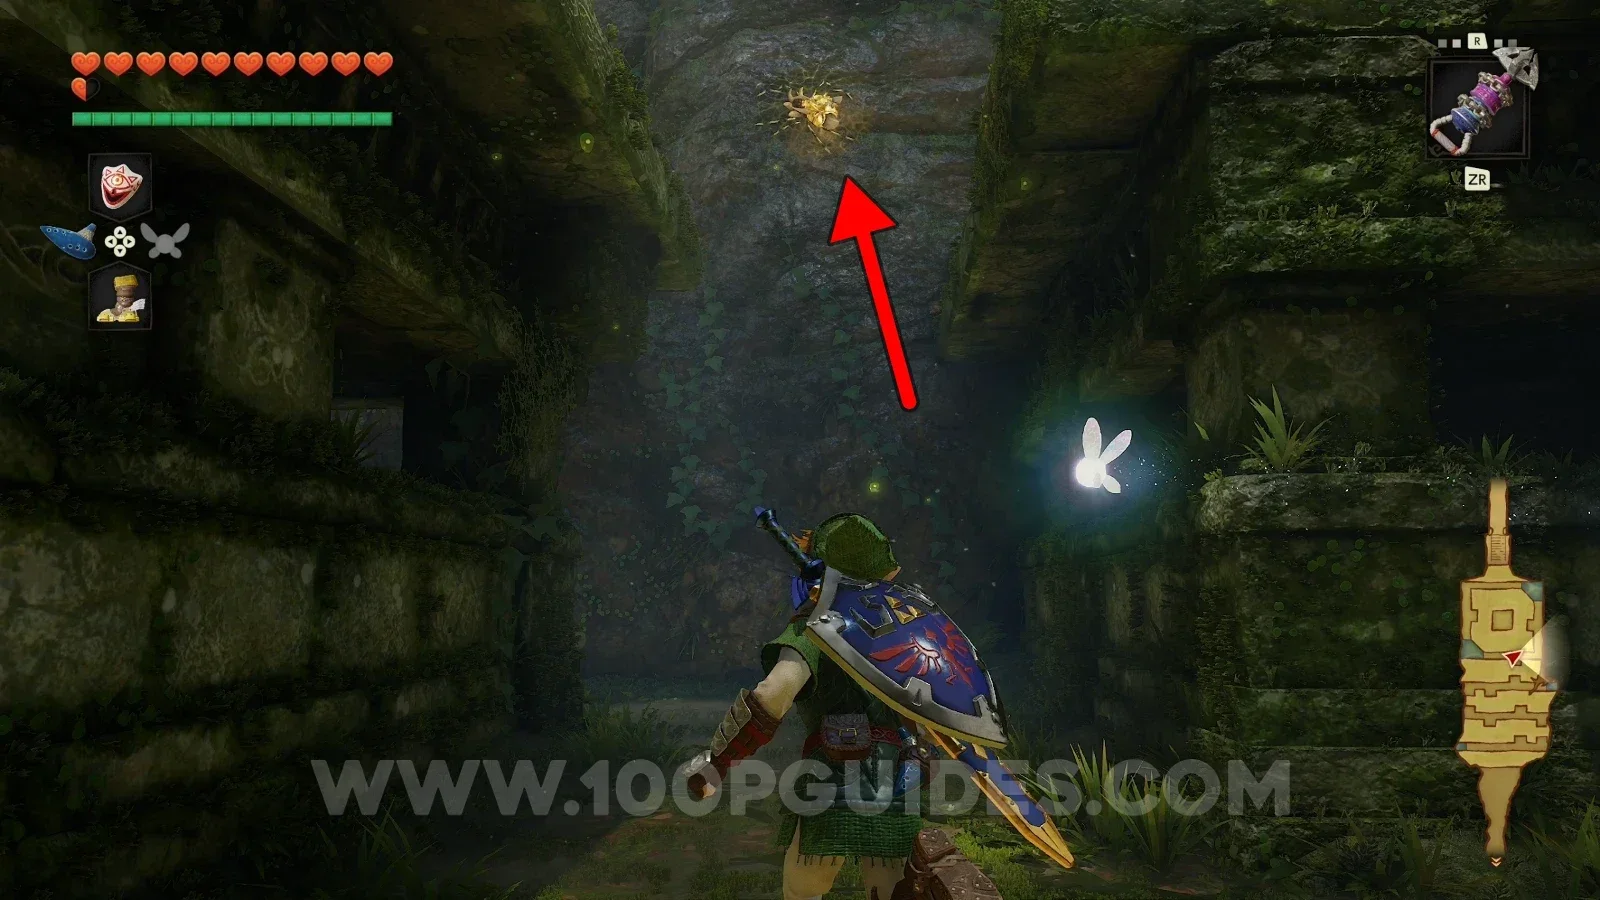
Gold Skulltula #59

Turn right and look up to find the Gold Skulltula on the wall.
Zelda Ocarina of Time Remake Sacred Grove: turning right and looking up toward Gold Skulltula #59 Zelda Ocarina of Time Remake Sacred Grove: Gold Skulltula #59 on the wall

Death Mountain Trail - Adult Era

Gold Skulltula #60

Use the Megaton Hammer to break the rock to the right. The Gold Skulltula is right there.

Zelda Ocarina of Time Remake Death Mountain Trail: smashing the rock on the right with the Megaton Hammer, Gold Skulltula #60 Zelda Ocarina of Time Remake Death Mountain Trail: Gold Skulltula #60 behind the broken rock

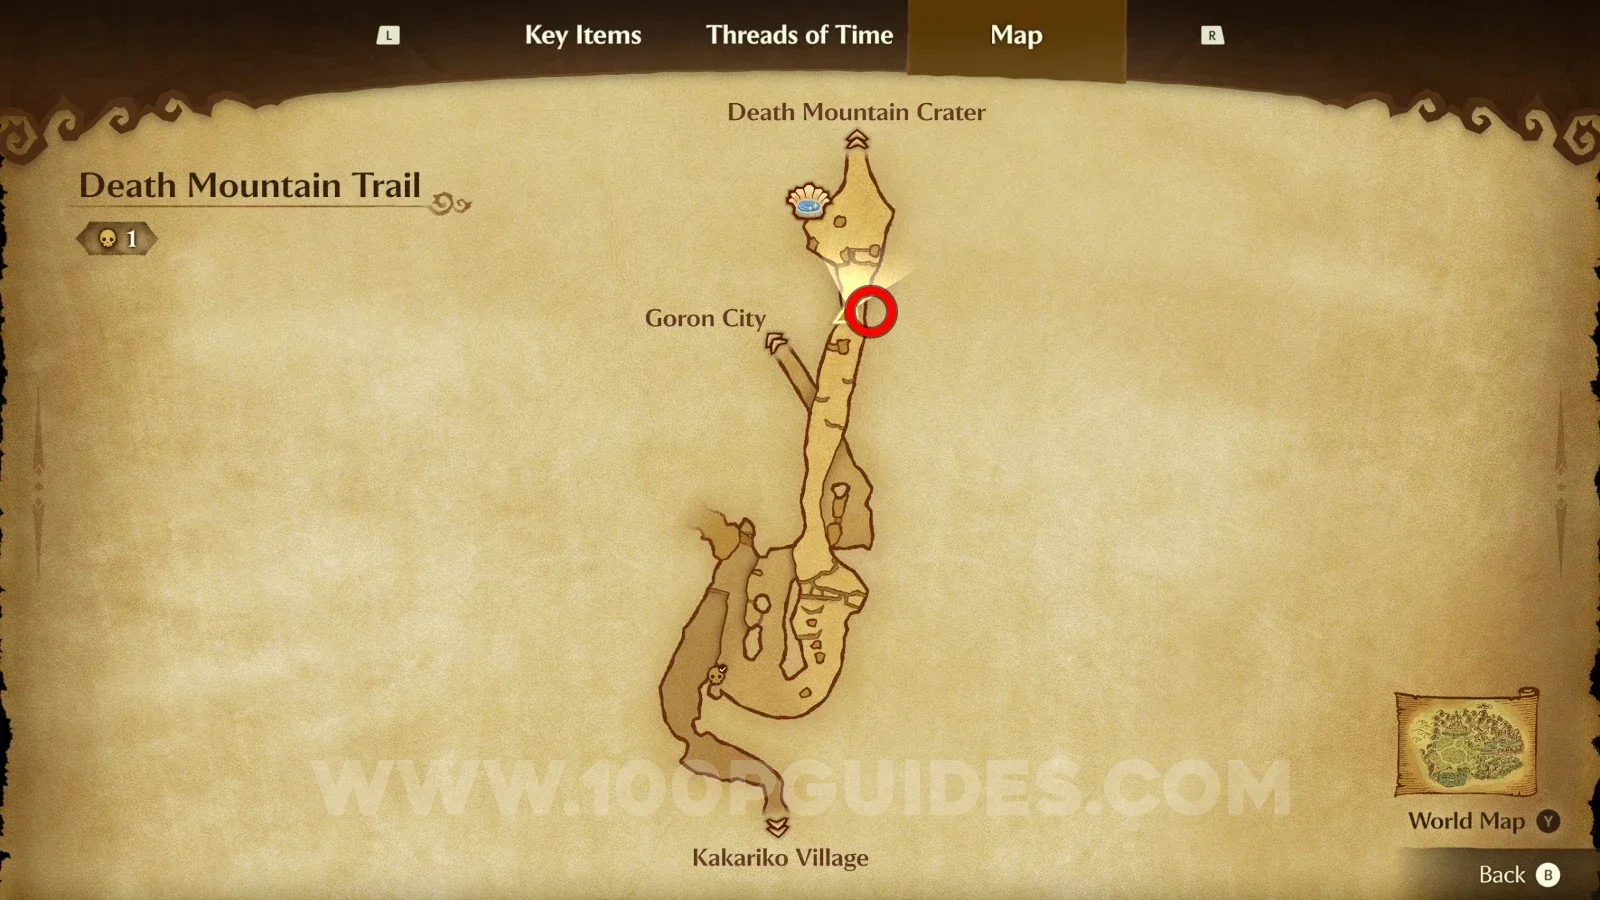
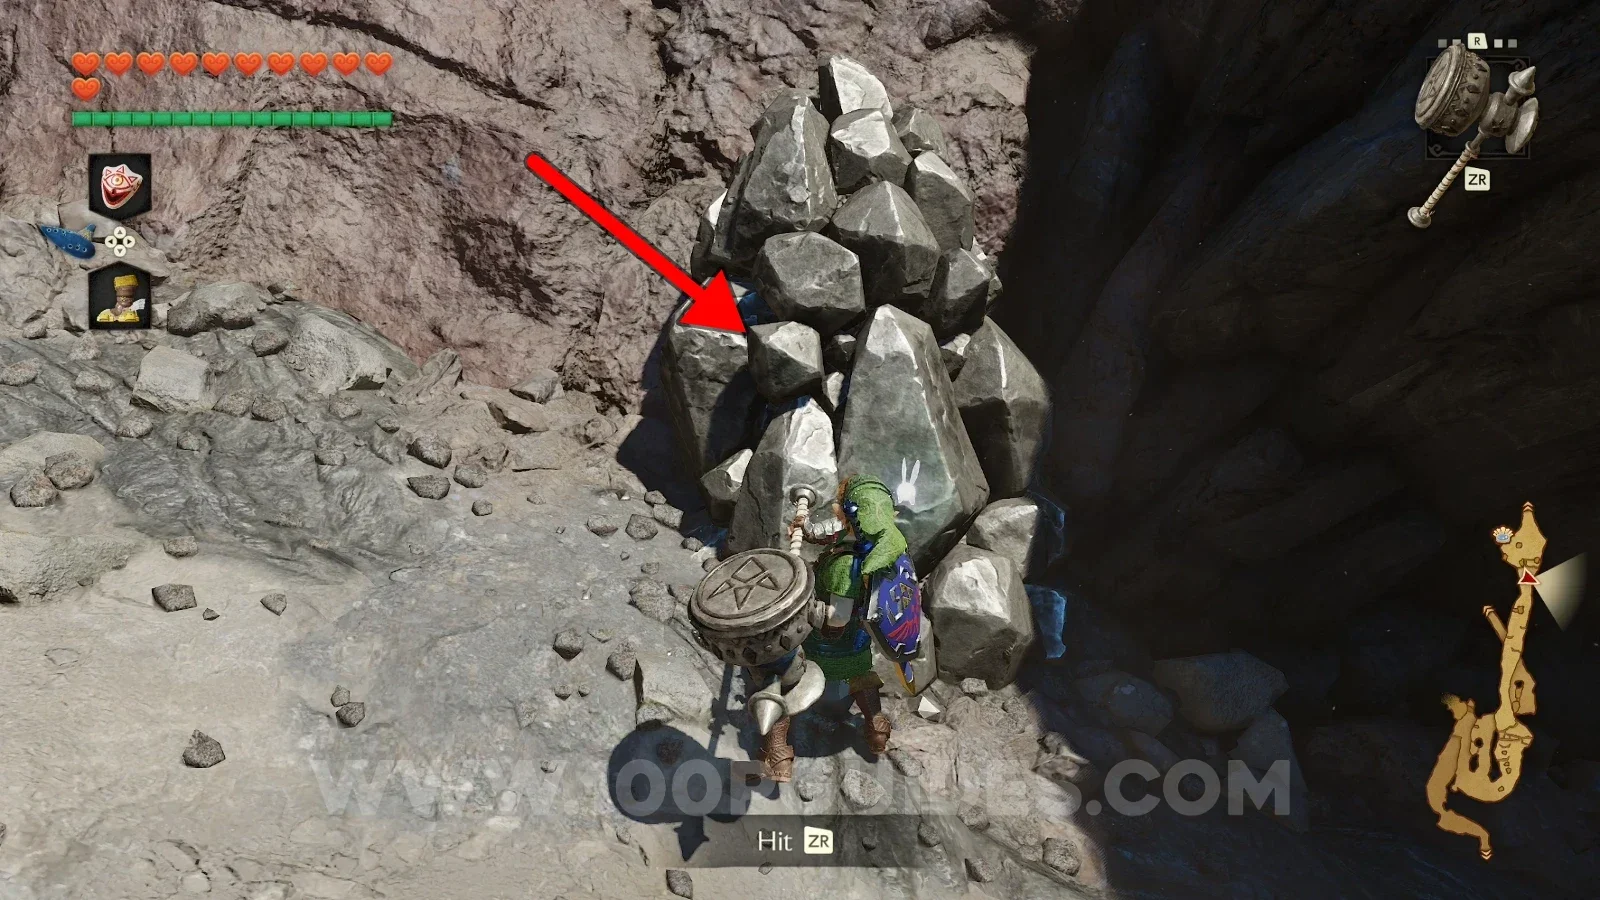
Gold Skulltula #61 (Nighttime)

Use the Megaton Hammer to destroy the rocks just to the left of the entrance to Goron City. The Gold Skulltula is right behind them.

Zelda Ocarina of Time Remake Death Mountain Trail: rocks left of the Goron City entrance at night, Gold Skulltula #61 Zelda Ocarina of Time Remake Death Mountain Trail: Gold Skulltula #61 behind the rocks broken with the Megaton Hammer

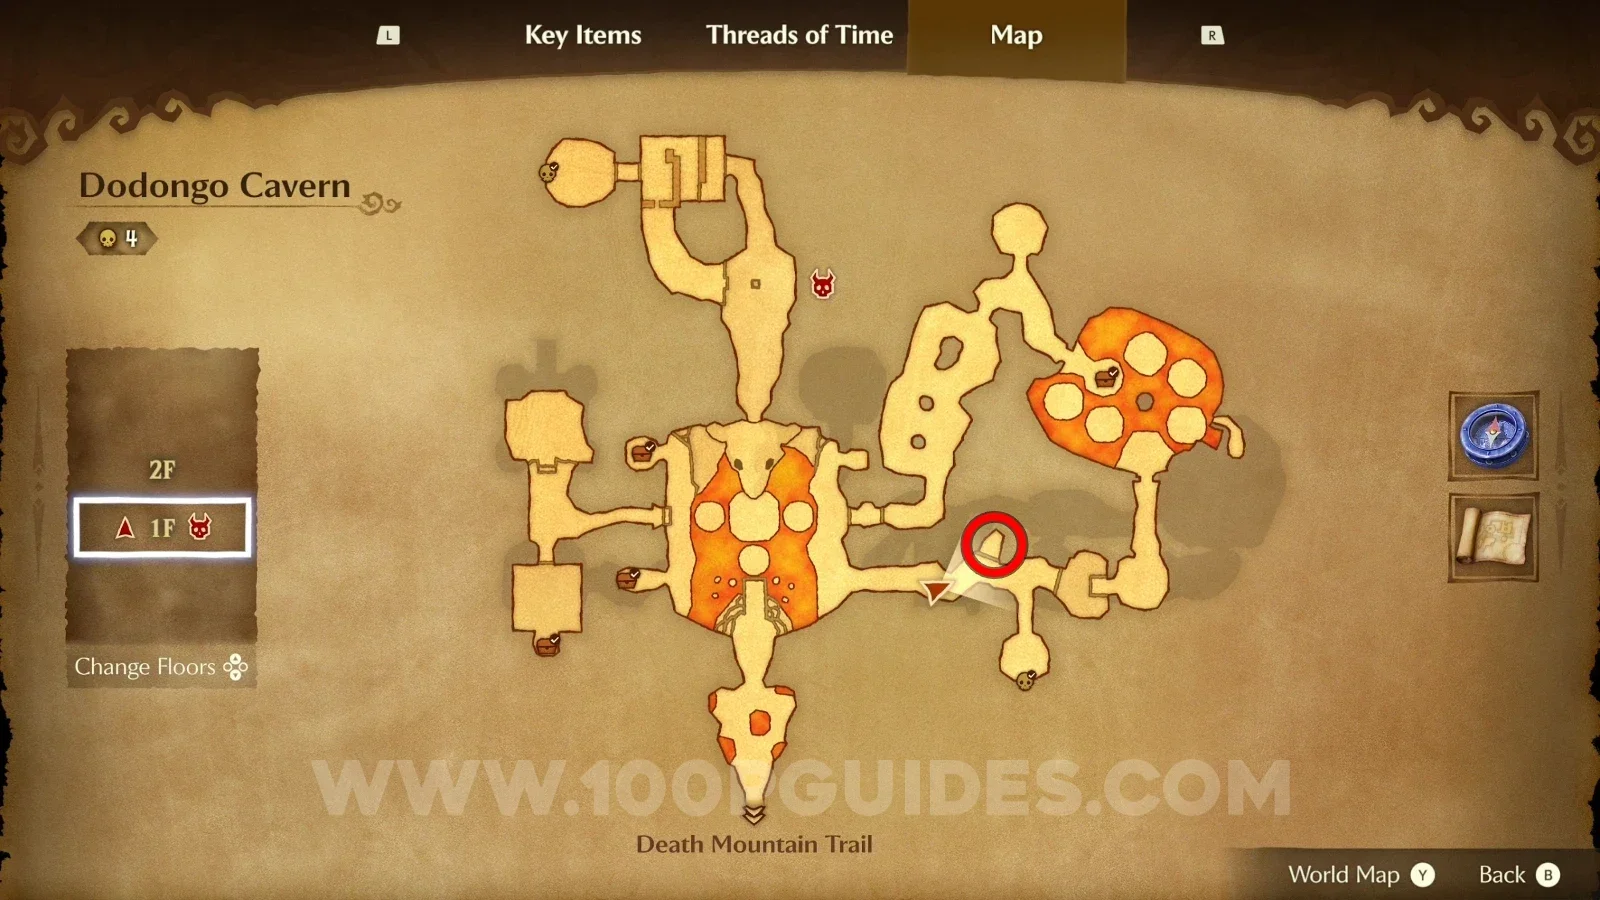
Dodongo Cavern - Adult Era

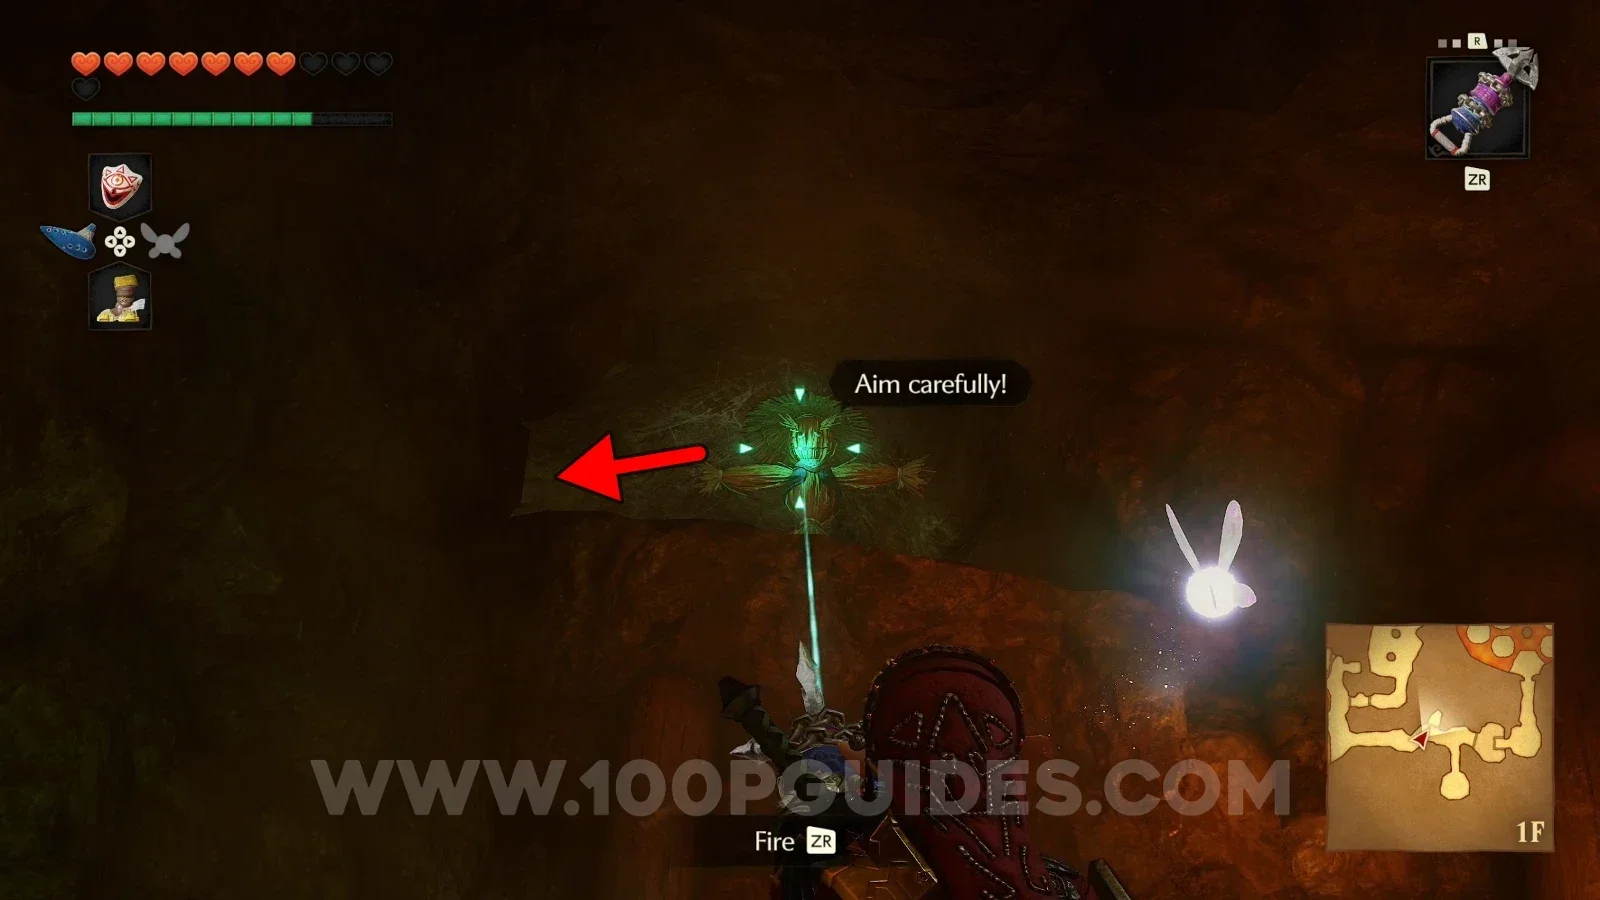
Gold Skulltula #62

Look for an opening to the left and play the Scarecrow Song to spawn a scarecrow, then hook into it to reach the Gold Skulltula.

Zelda Ocarina of Time Remake Dodongo Cavern: the opening to the left where the Scarecrow Song spawns a scarecrow Zelda Ocarina of Time Remake Dodongo Cavern: Gold Skulltula #62 reached by hooking into the scarecrow

Goron City - Adult Era

Gold Skulltula #63

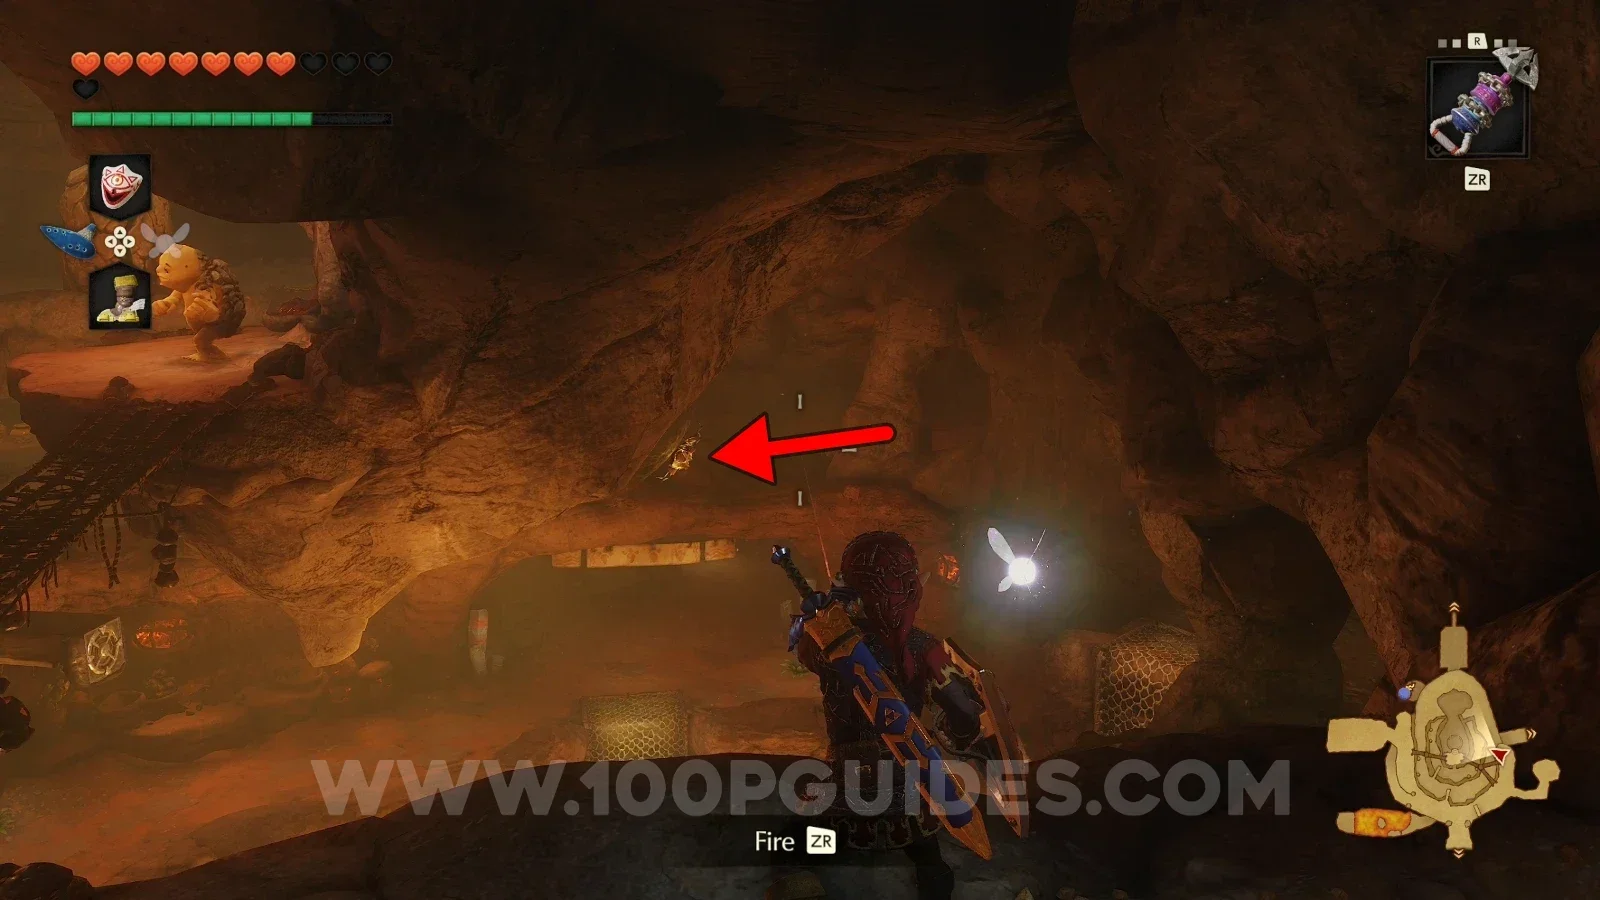
From the entrance to Goron City, go all the way to the right, then look left to find the Gold Skulltula on the back of the platform.

Zelda Ocarina of Time Remake Goron City: going all the way right from the entrance toward Gold Skulltula #63 Zelda Ocarina of Time Remake Goron City: Gold Skulltula #63 on the backside of the platform

Zora River - Adult Era

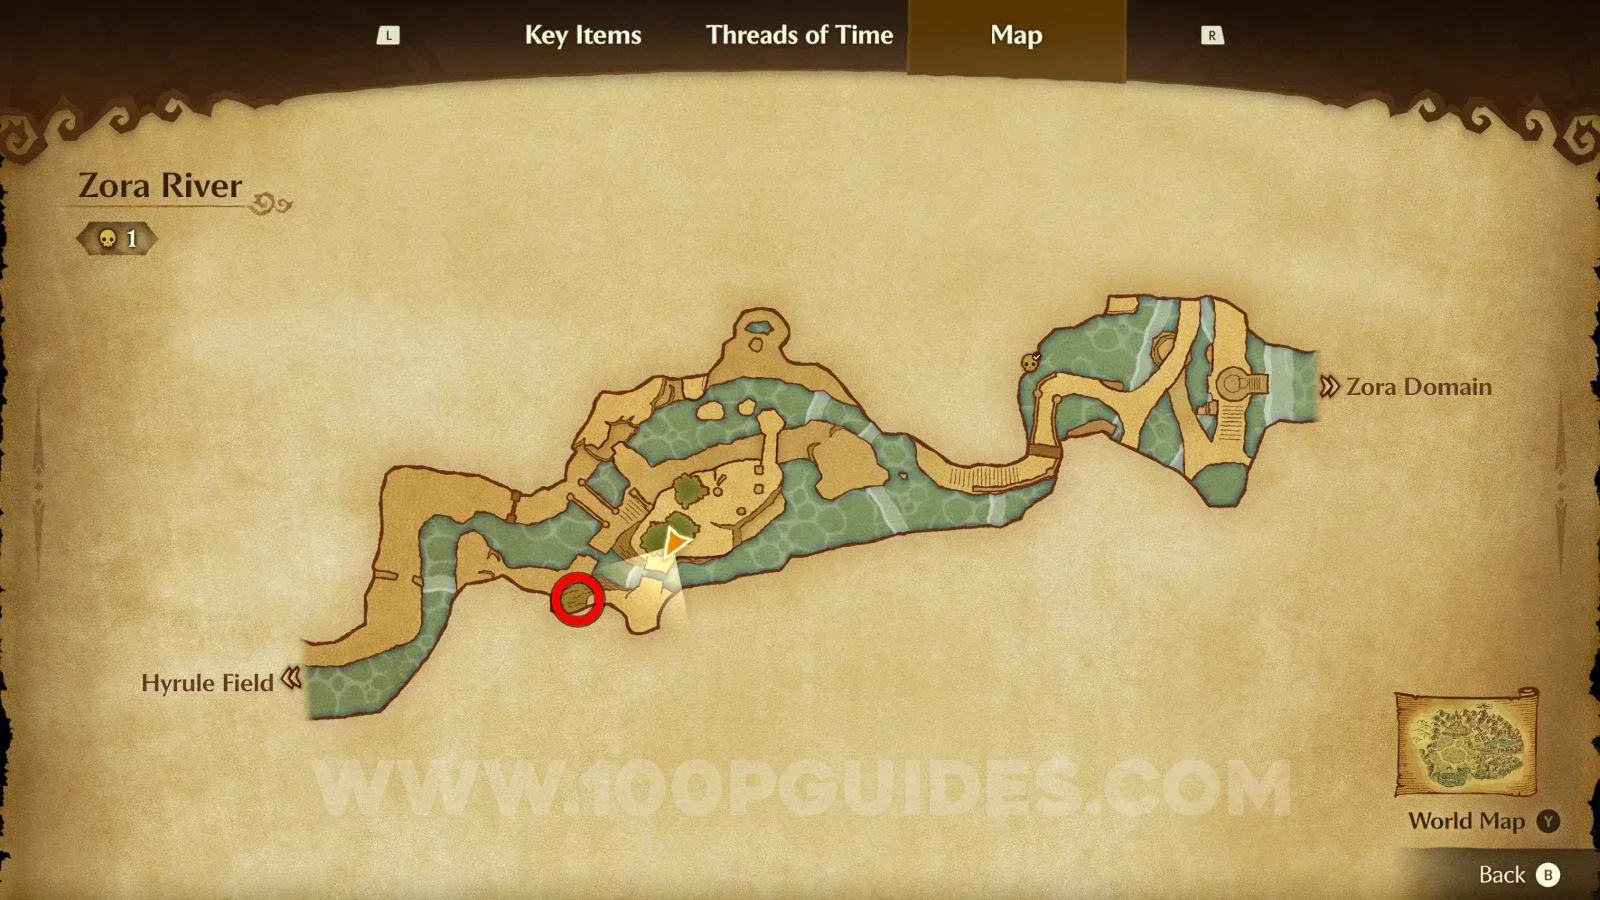
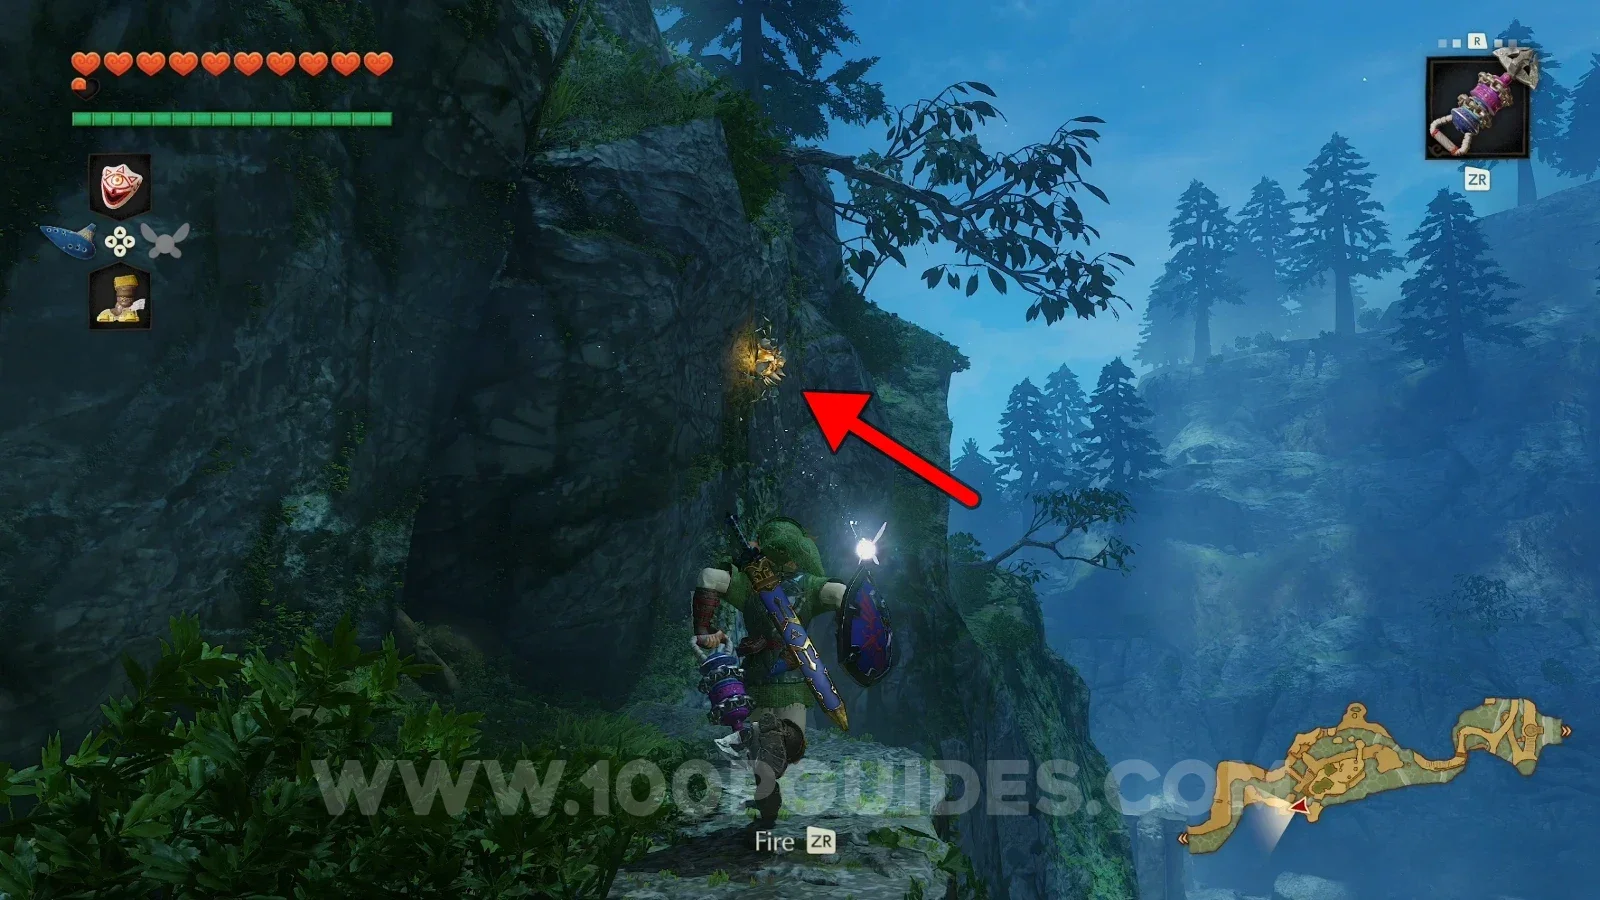
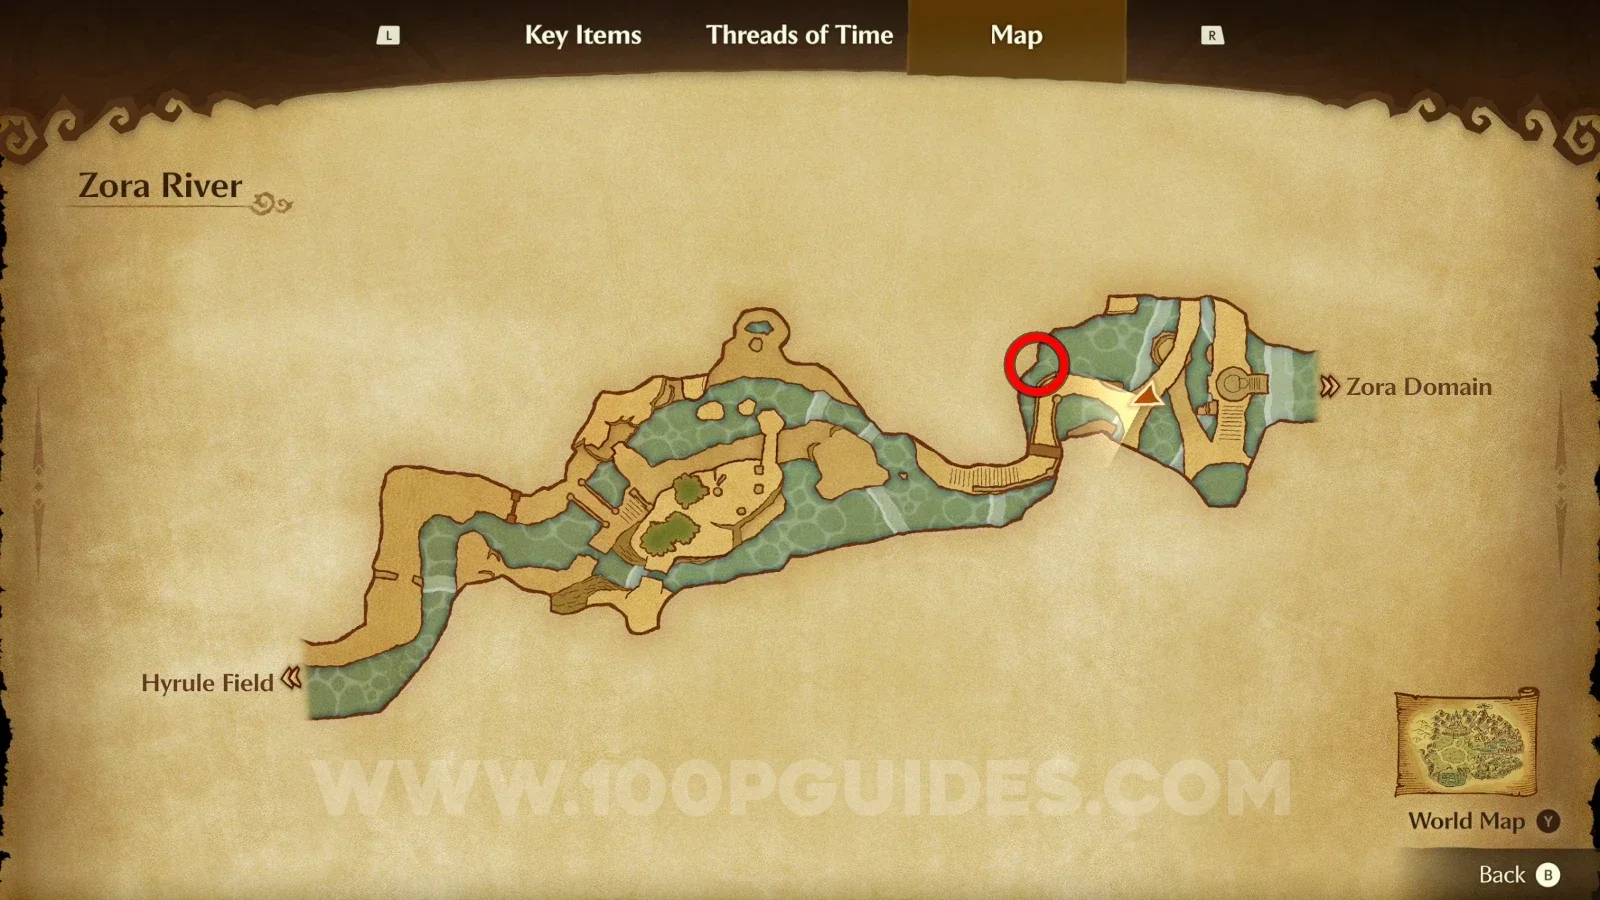
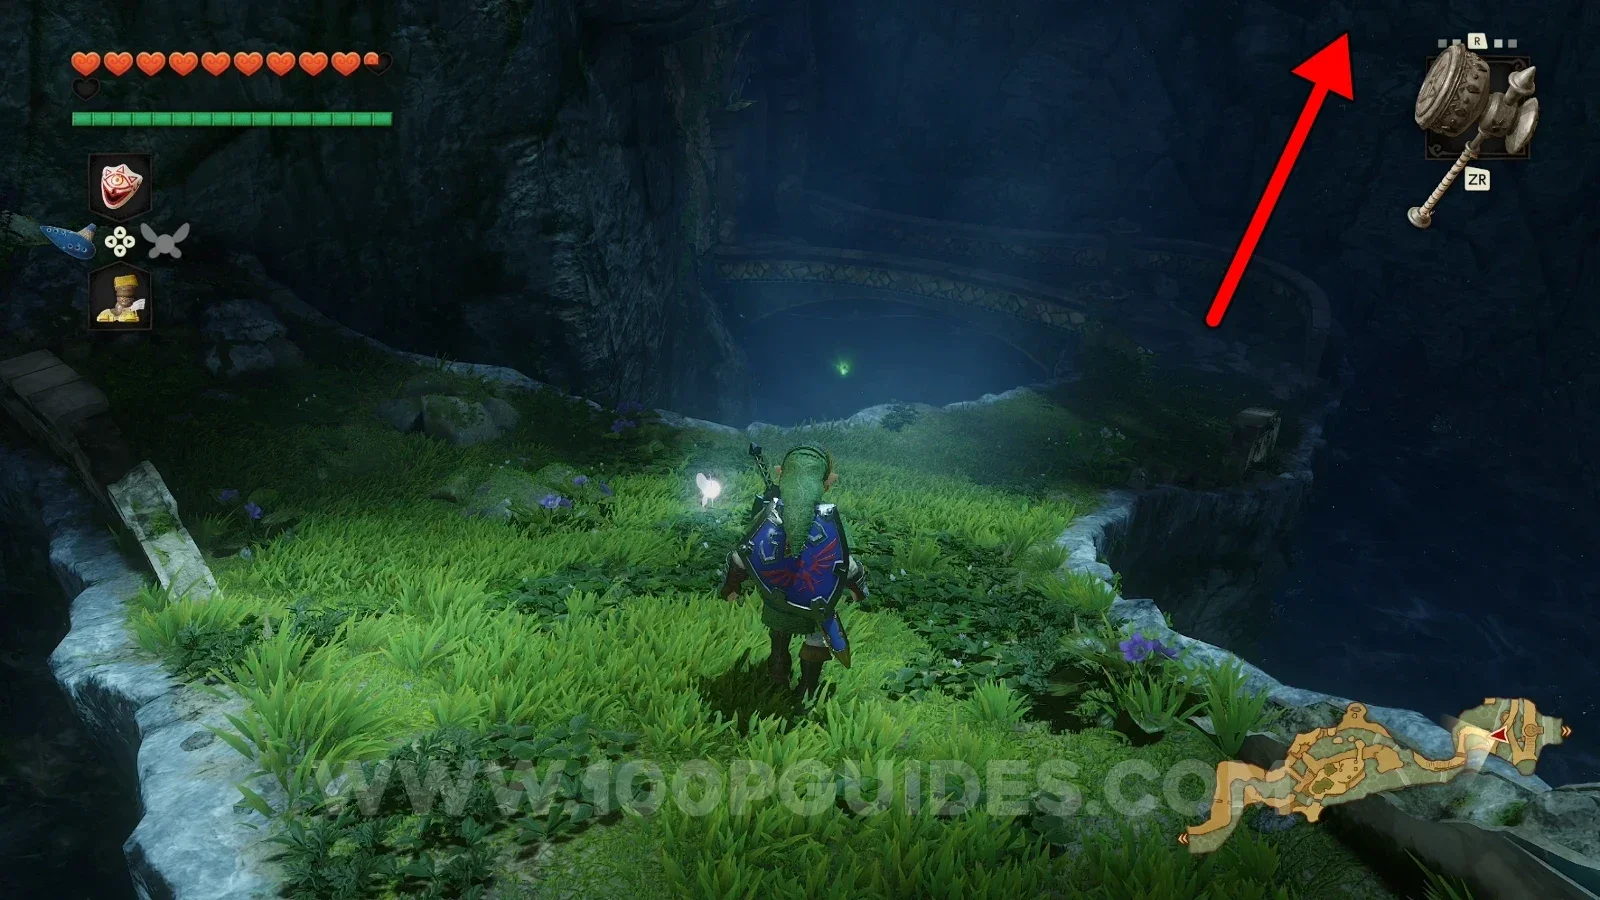
Gold Skulltula #64 (Nighttime)

Jump to the other side of the broken bridge and turn right to find the Gold Skulltula on the wall. Use the hookshot to get it.
Zelda Ocarina of Time Remake Zora River: the broken bridge to jump across at night for Gold Skulltula #64 Zelda Ocarina of Time Remake Zora River: Gold Skulltula #64 on the wall to the right, reached with the hookshot

Gold Skulltula #65 (Nighttime)

Go right at the fork and look up to see the Gold Skulltula on the wall.

Zelda Ocarina of Time Remake Zora River: taking the right path at the fork at night toward Gold Skulltula #65 Zelda Ocarina of Time Remake Zora River: Gold Skulltula #65 high on the wall past the fork

Zora Domain - Adult Era

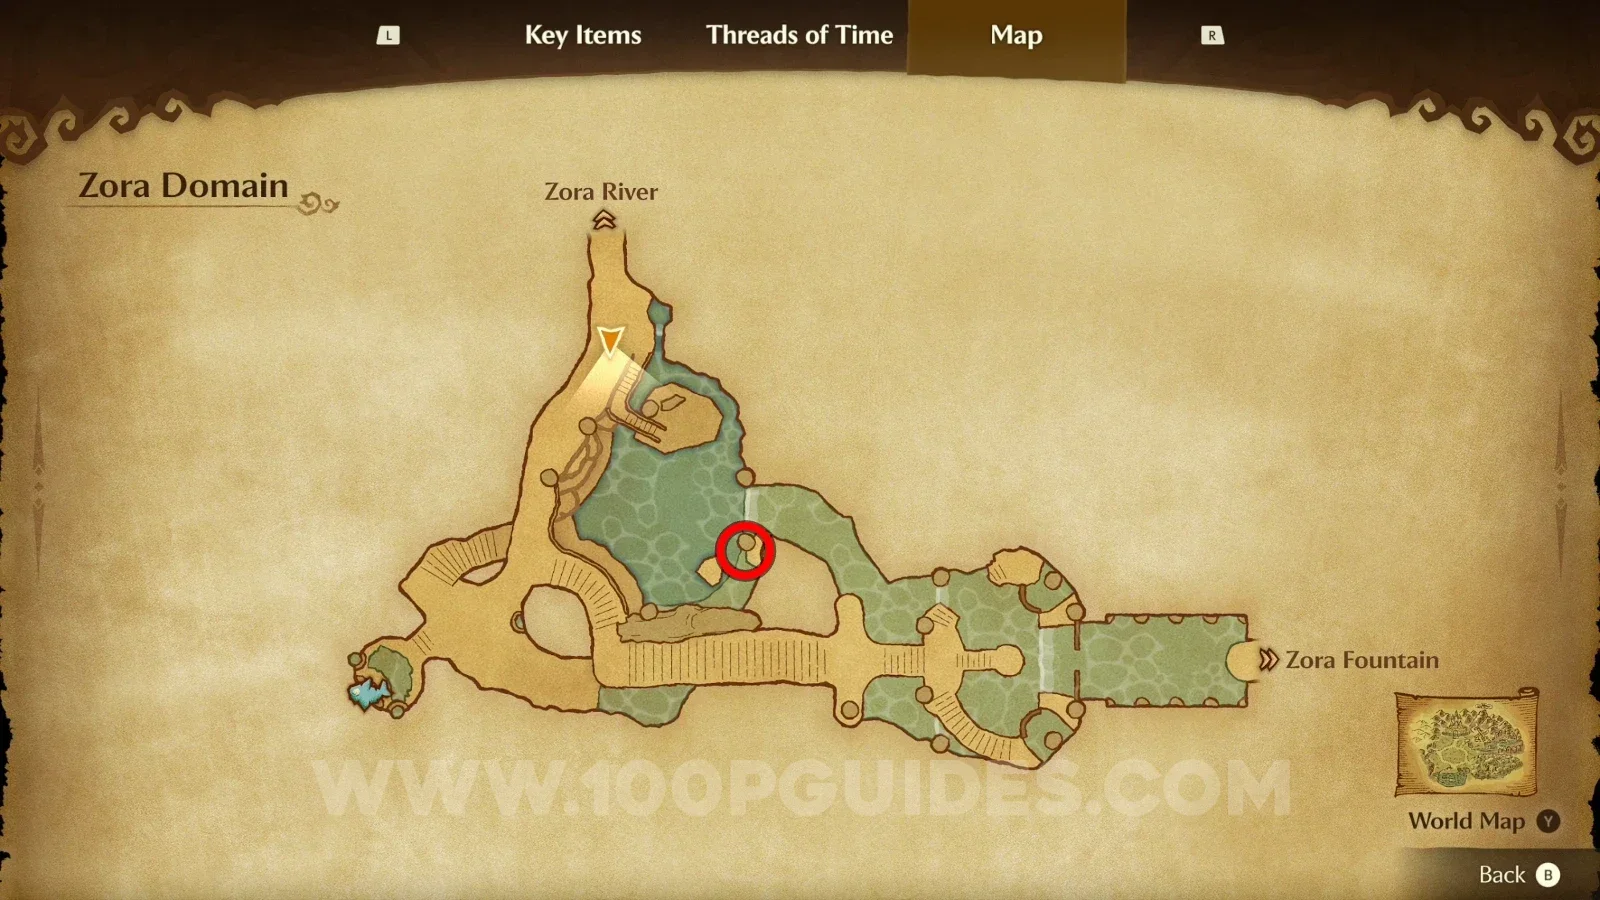
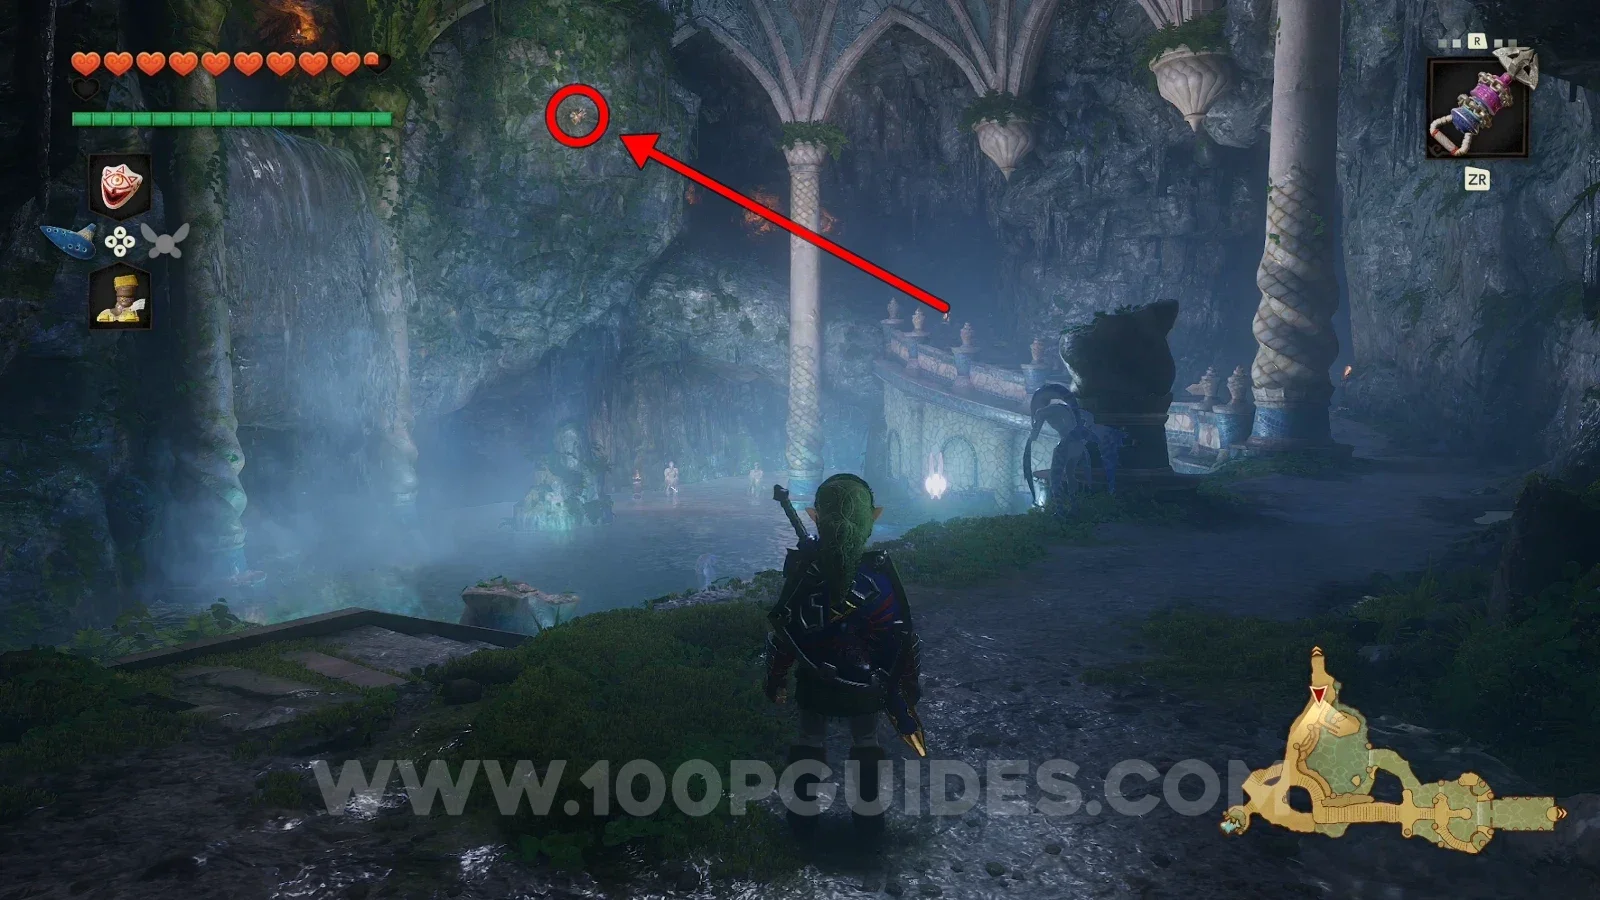
Gold Skulltula #66

On the wall to the right of the waterfall where you learned how to dive.

Zelda Ocarina of Time Remake Zora Domain: the waterfall where you learned how to dive, Gold Skulltula #66 Zelda Ocarina of Time Remake Zora Domain: Gold Skulltula #66 on the wall to the right of the waterfall

Lake Hylia - Adult Era

Gold Skulltula #67

Roll into the wooden box at the bottom of the pool inside the Lakeside Laboratory to find the Gold Skulltula. Use the Iron Boots and the Zora Tunic to reach it.

Zelda Ocarina of Time Remake Lake Hylia: the pool inside the Lakeside Laboratory, Gold Skulltula #67 Zelda Ocarina of Time Remake Lake Hylia: Gold Skulltula #67 from the wooden box at the bottom of the lab pool

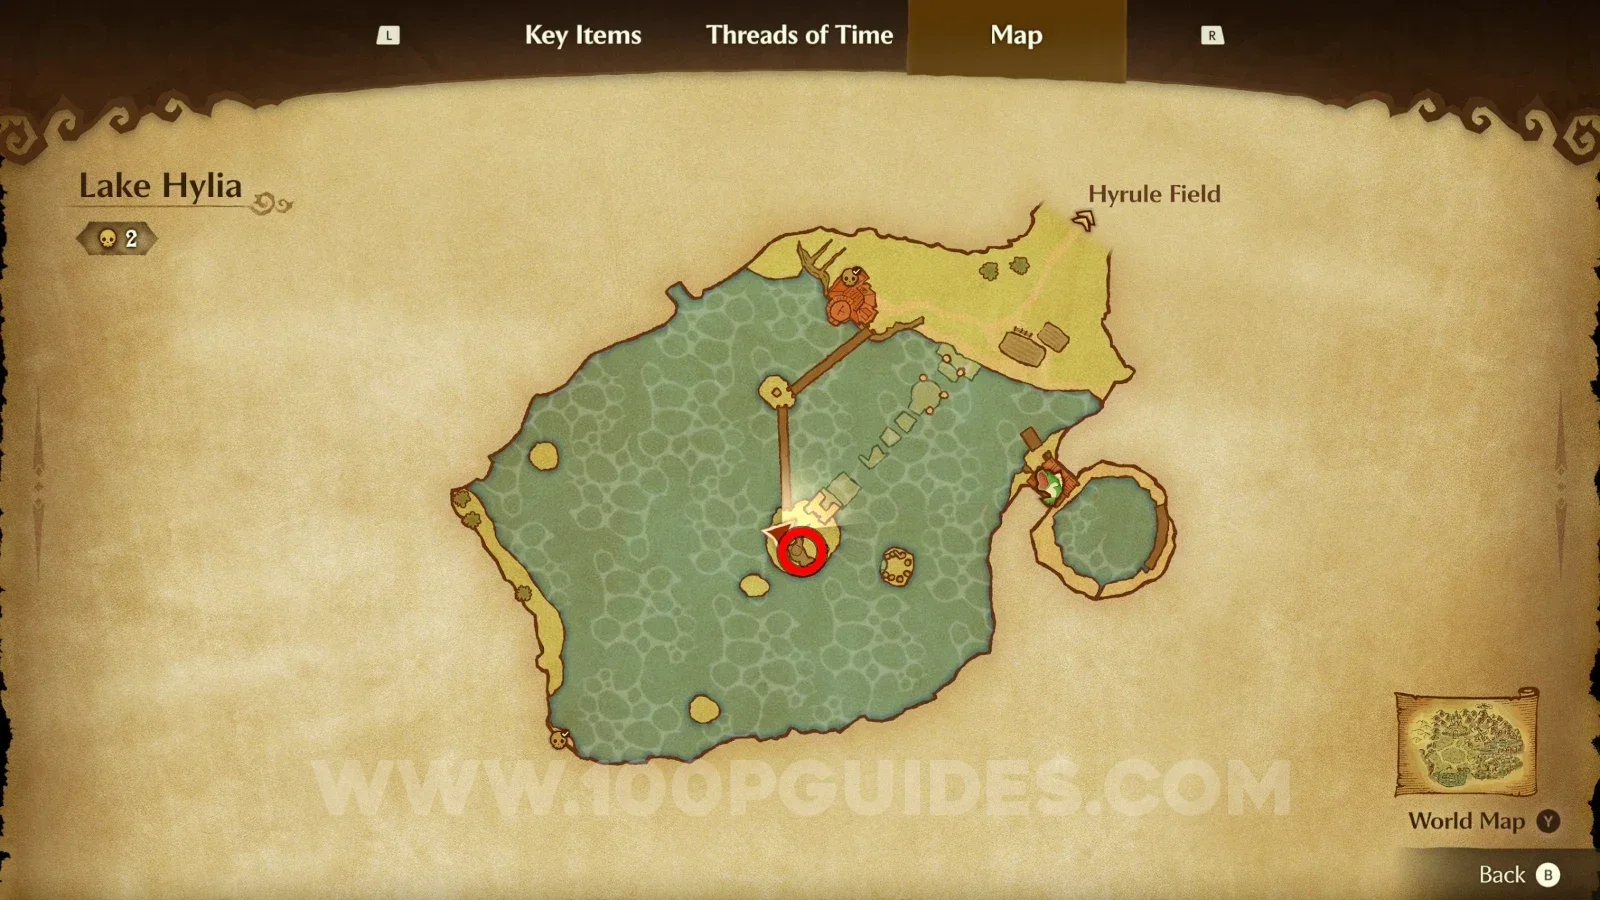
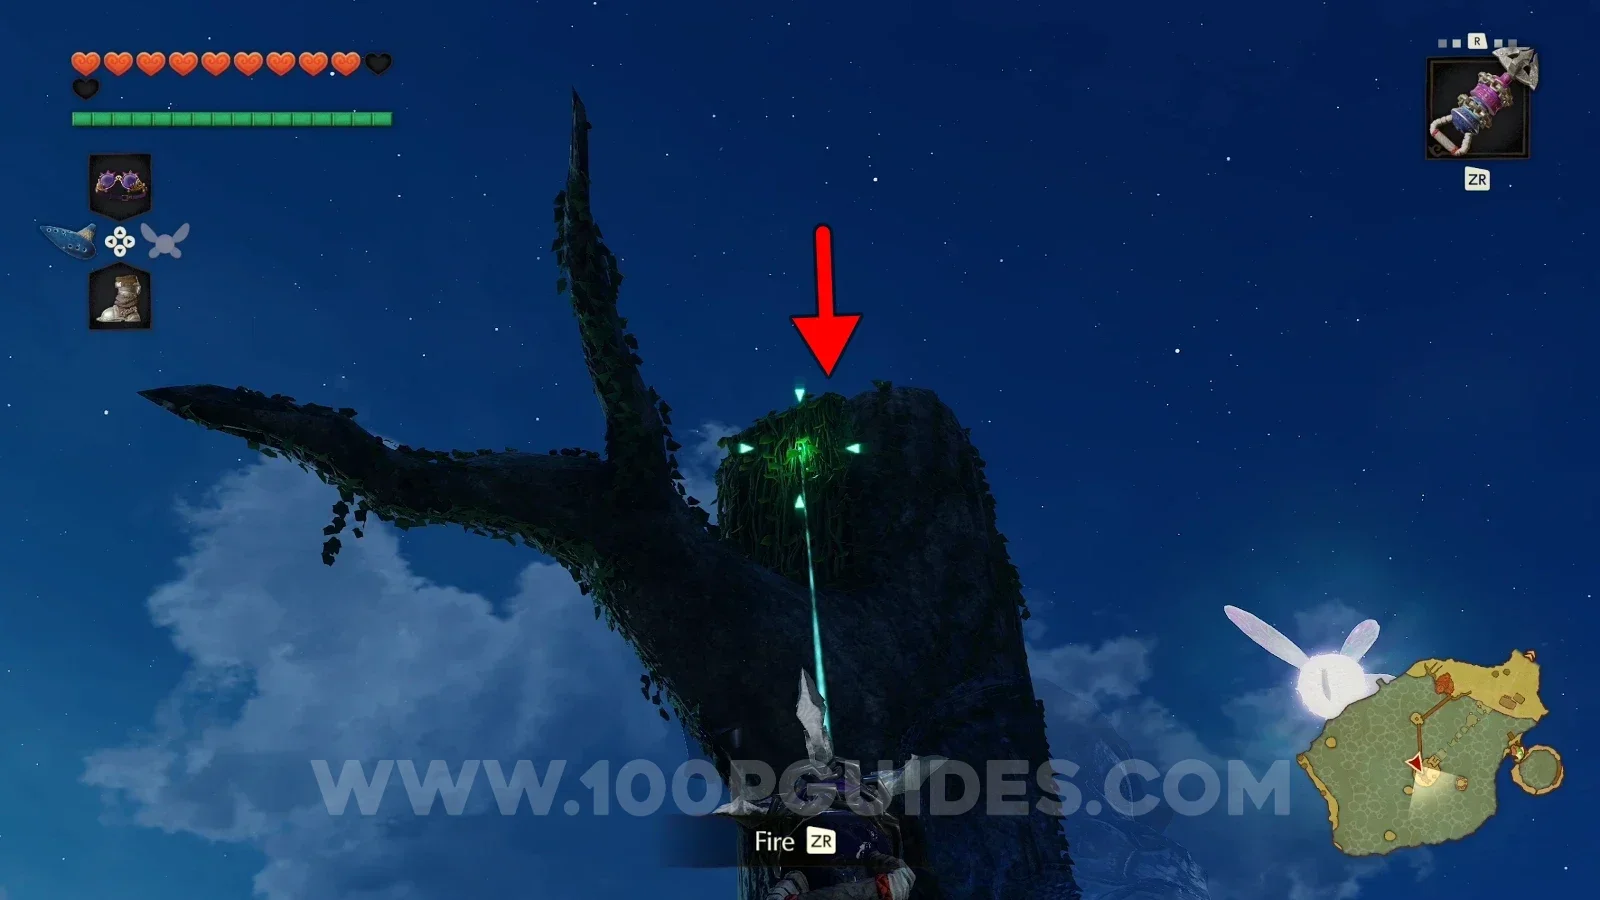
Gold Skulltula #68

At the top of the tree on the central island. Use the hookshot on the vines to reach it.

Zelda Ocarina of Time Remake Lake Hylia: the tree of the central island with vines for the hookshot, Gold Skulltula #68 Zelda Ocarina of Time Remake Lake Hylia: Gold Skulltula #68 at the top of the central island tree

Zora Fountain - Adult Era

Gold Skulltula #69 (Nighttime)

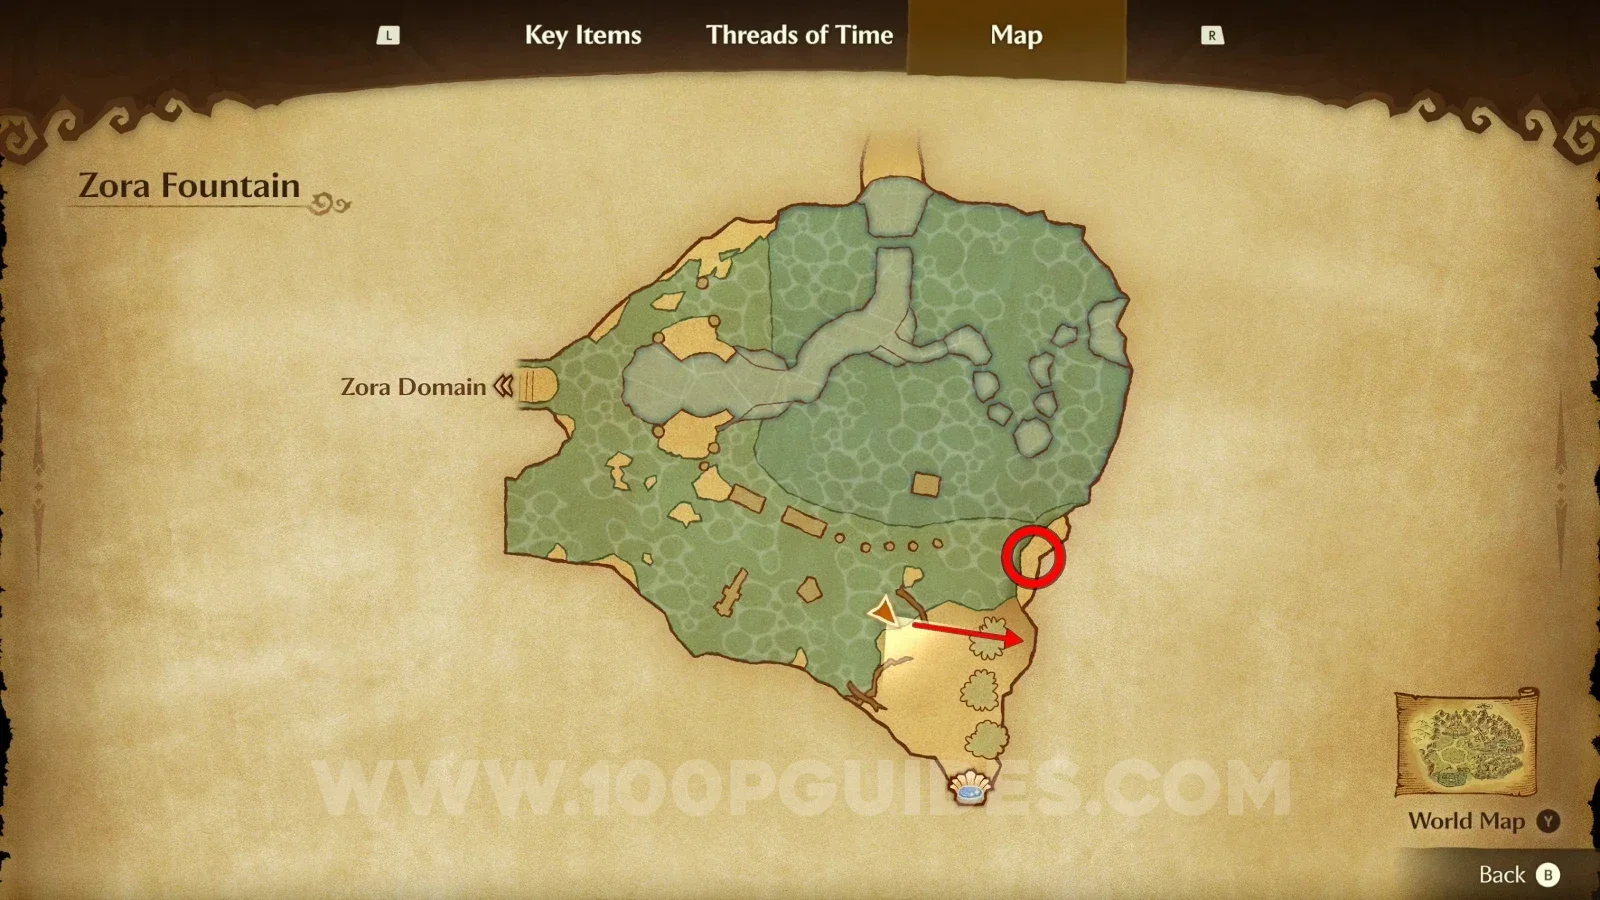
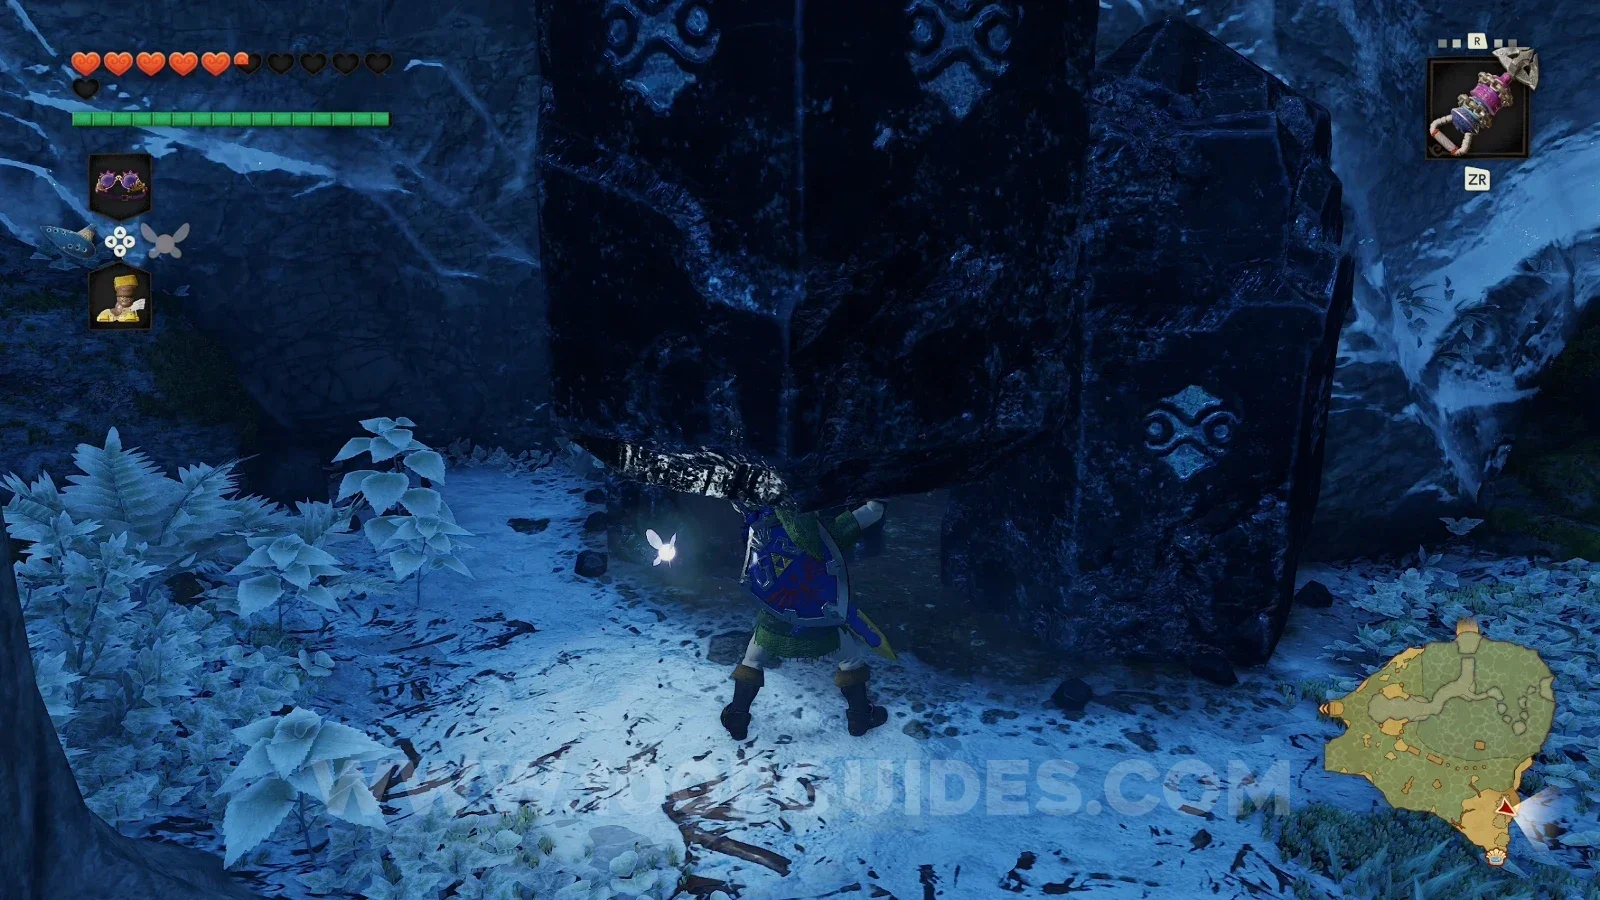
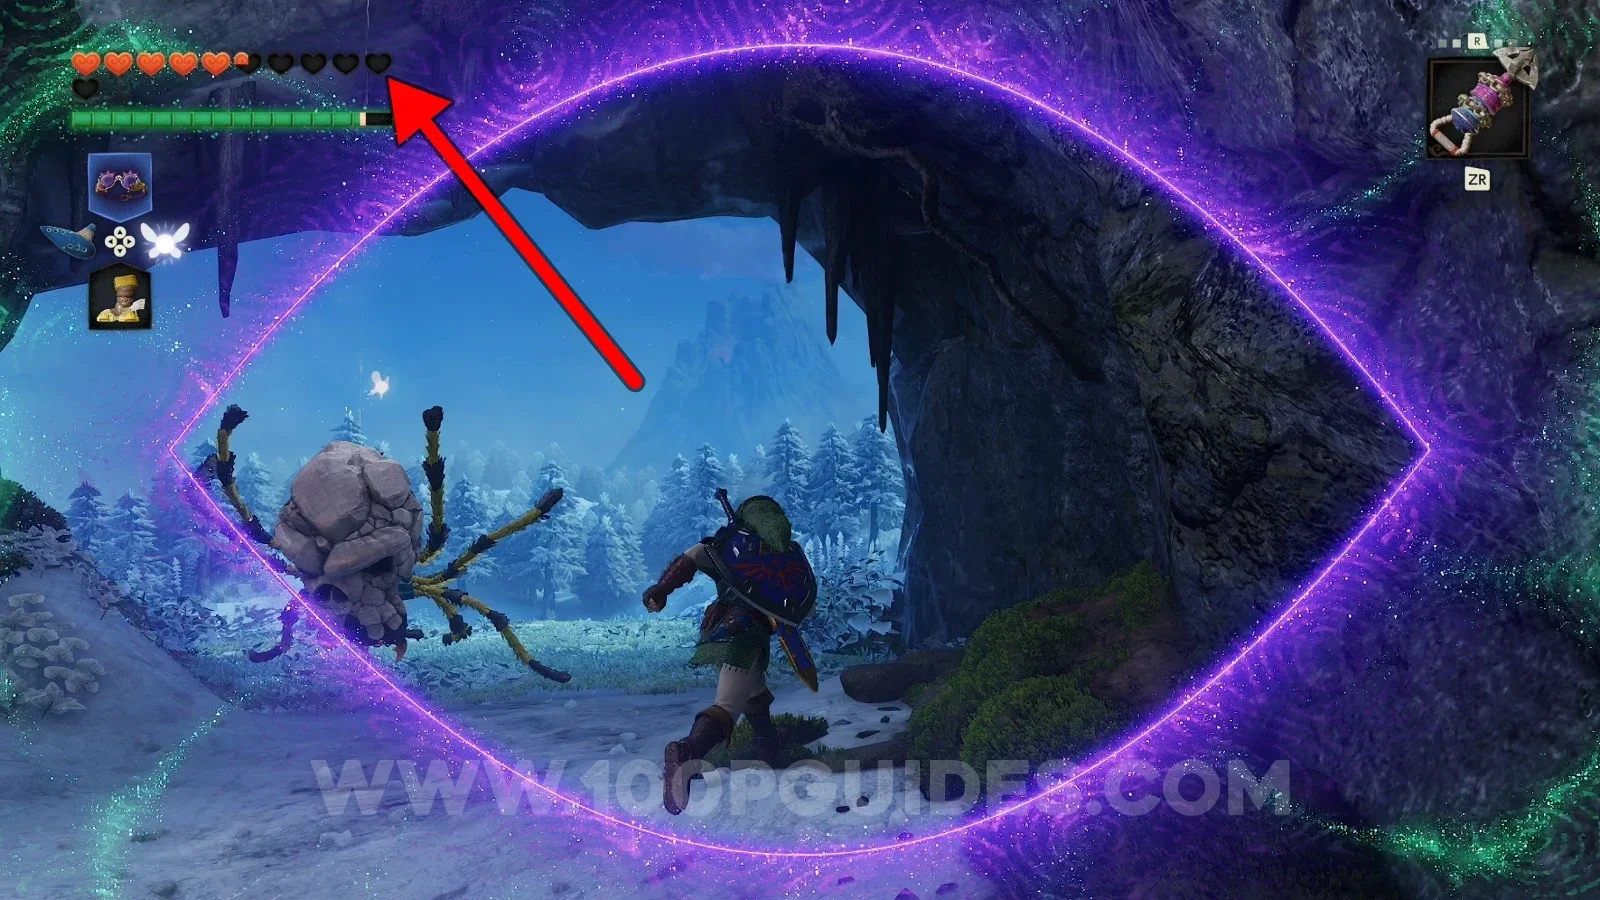
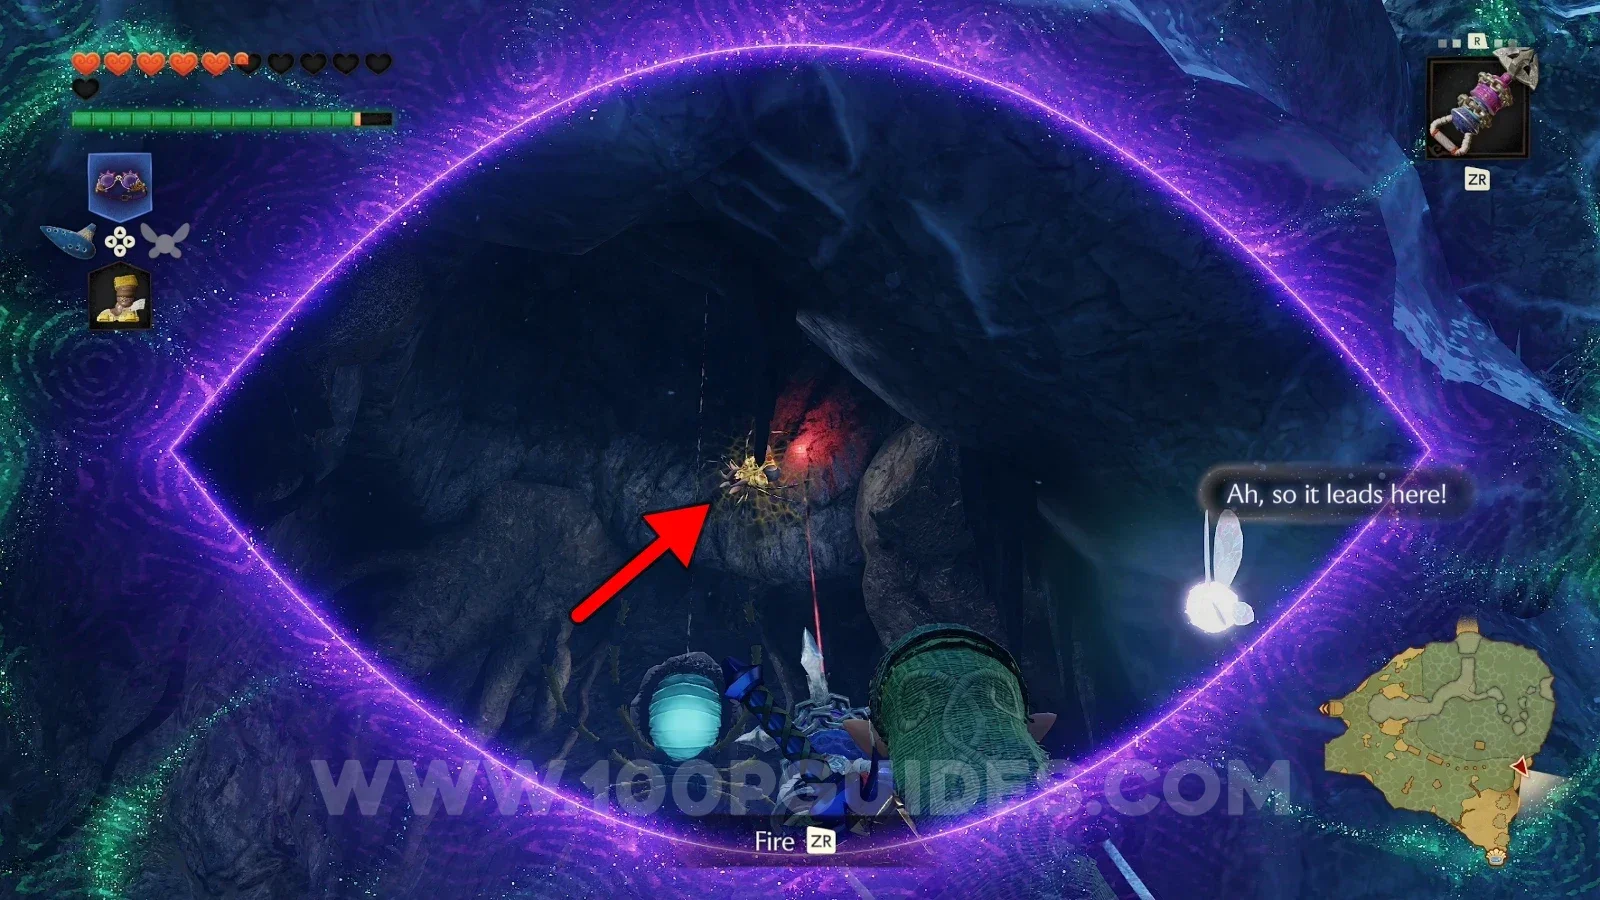
Grab the big black rocks to reveal a hidden cave (requires the silver gauntlets), then get to the other side of the cave (use the Lenses of Truth to see the spider enemies). After climbing some vines, go past the spider enemy, turn around and look up to find the Gold Skulltula.

Zelda Ocarina of Time Remake Zora Fountain: the big black rocks hiding the cave of Gold Skulltula #69 Zelda Ocarina of Time Remake Zora Fountain: crossing the hidden cave with the Lenses of Truth toward Gold Skulltula #69 Zelda Ocarina of Time Remake Zora Fountain: climbing the vines in the hidden cave past the spider enemy Zelda Ocarina of Time Remake Zora Fountain: Gold Skulltula #69 found by turning around and looking up

Forest Temple - Adult Era

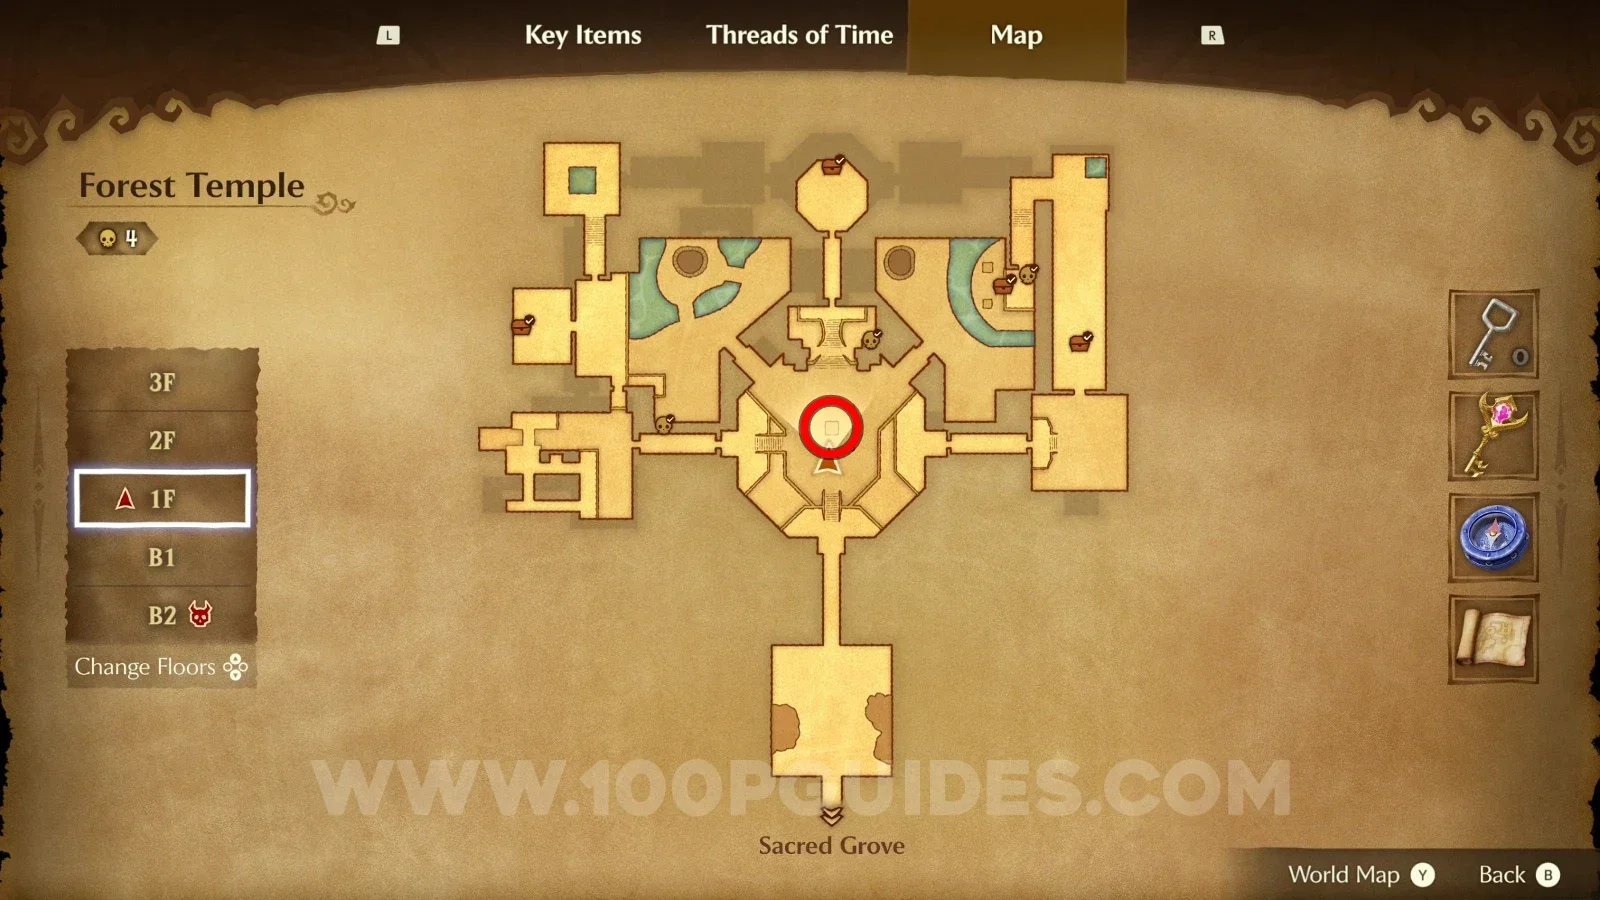
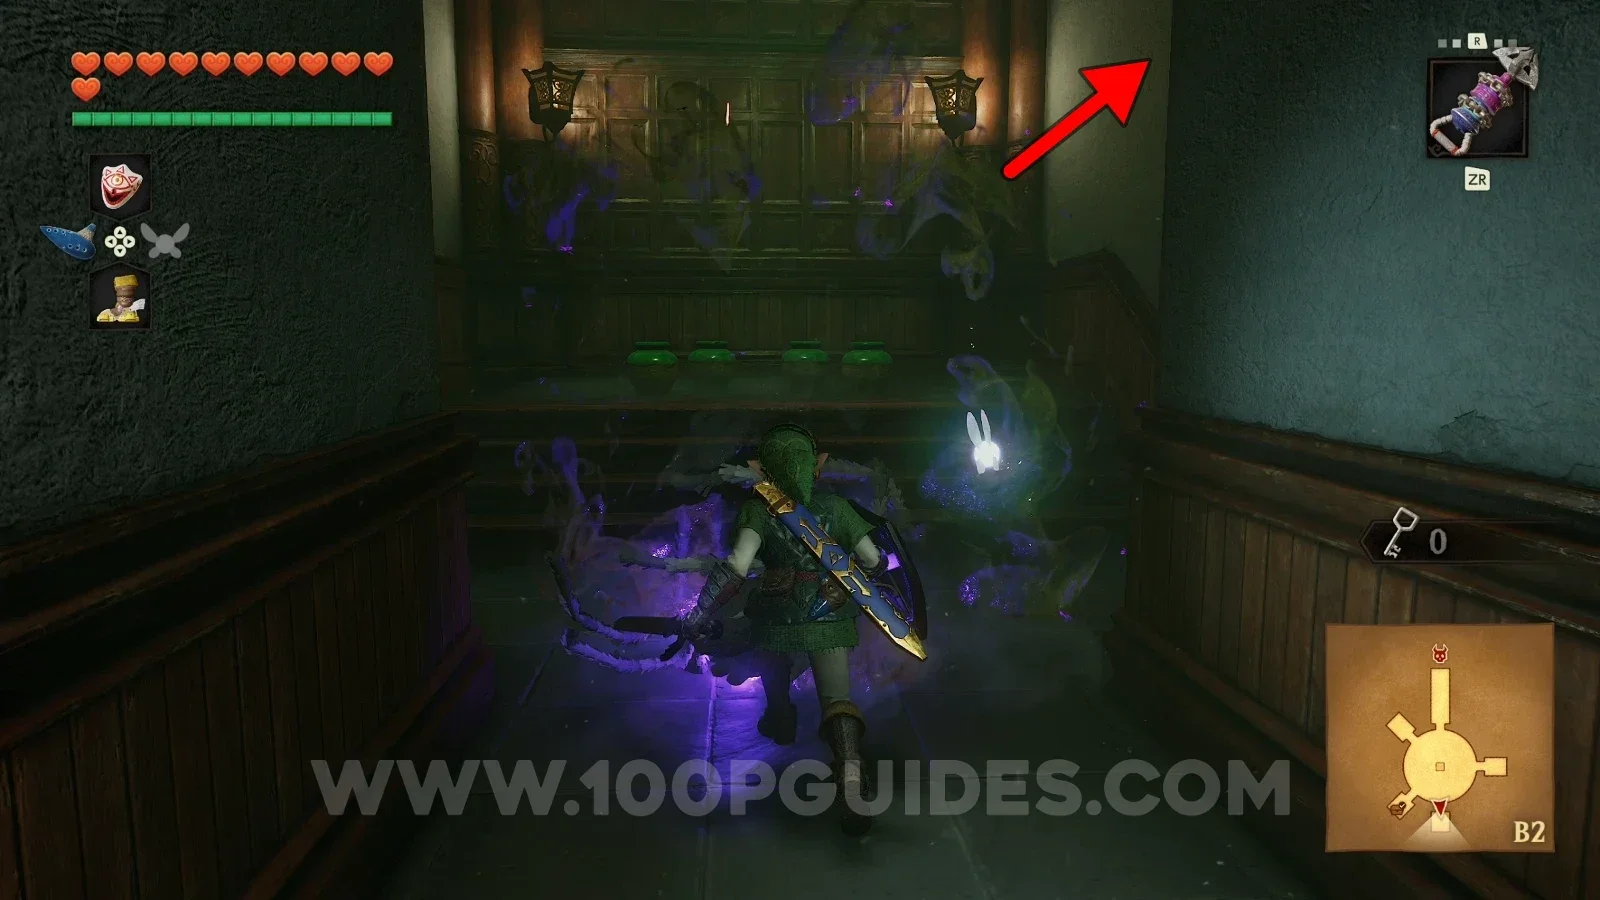
Gold Skulltula #70

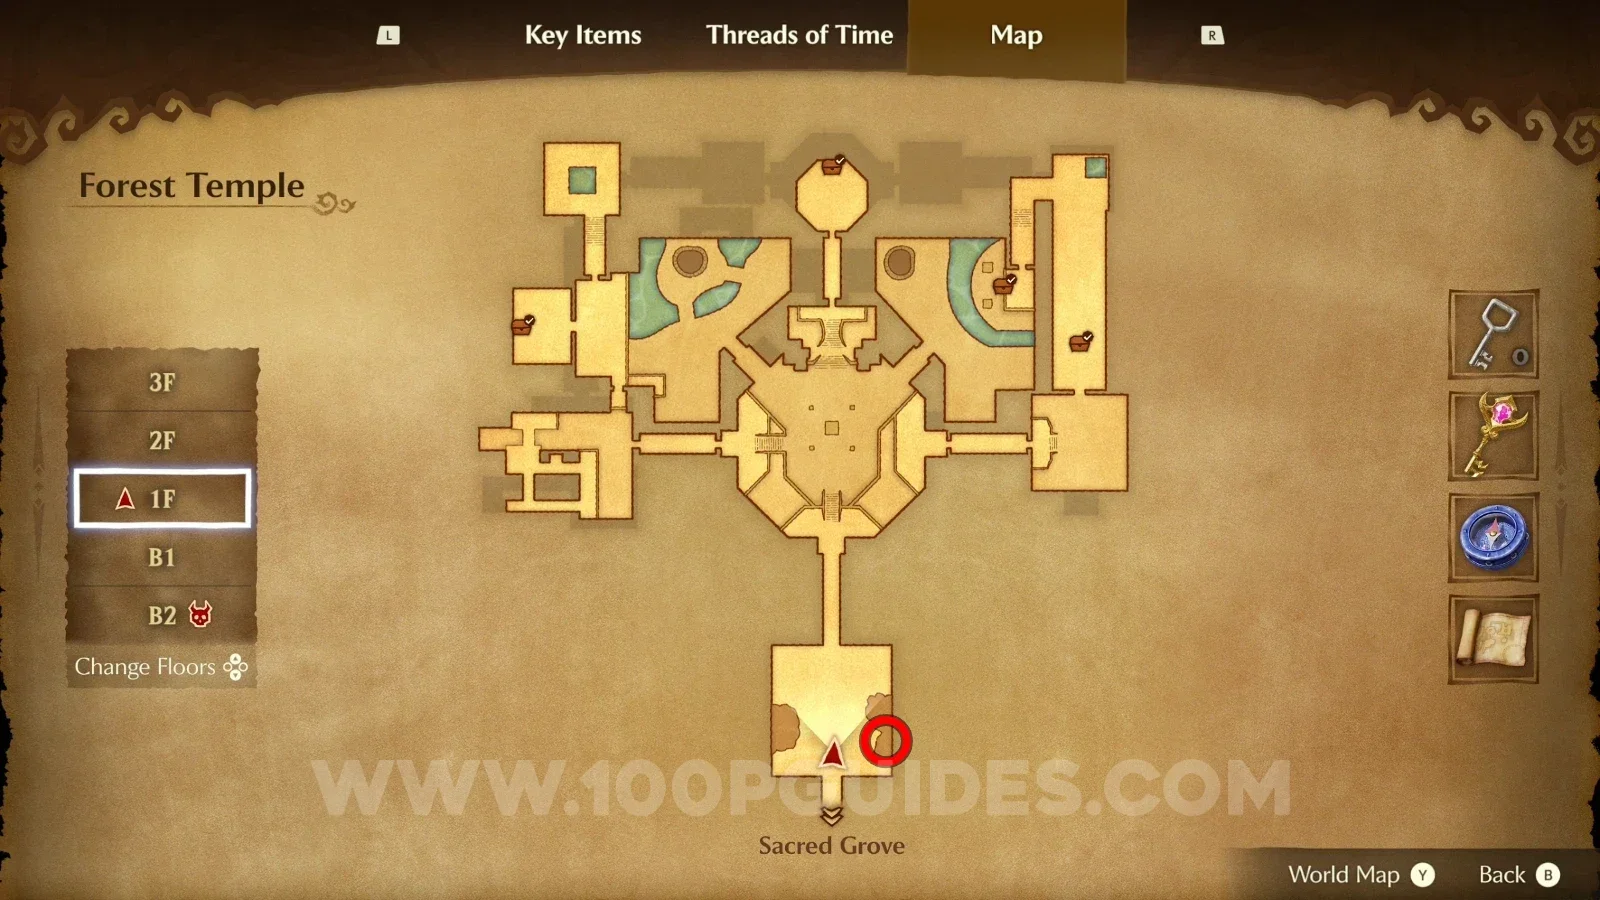
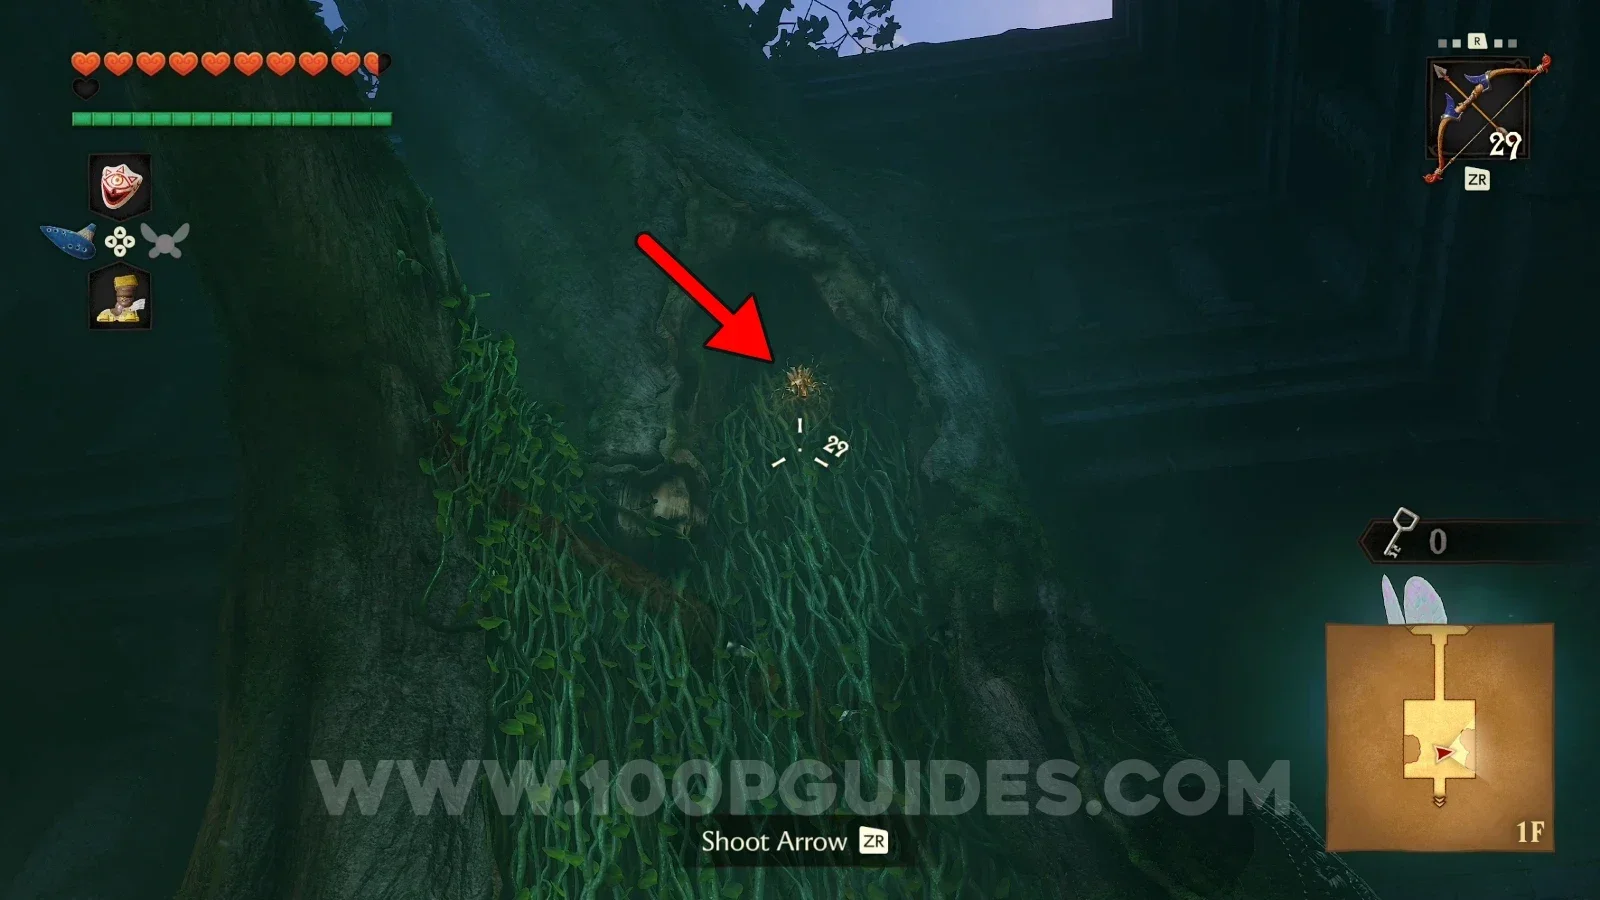
On the vines to the right of the Forest Temple's entrance.

Zelda Ocarina of Time Remake Forest Temple: the vines right of the entrance, location of Gold Skulltula #70 Zelda Ocarina of Time Remake Forest Temple: Gold Skulltula #70 on the vines to the right of the entrance

Gold Skulltula #71

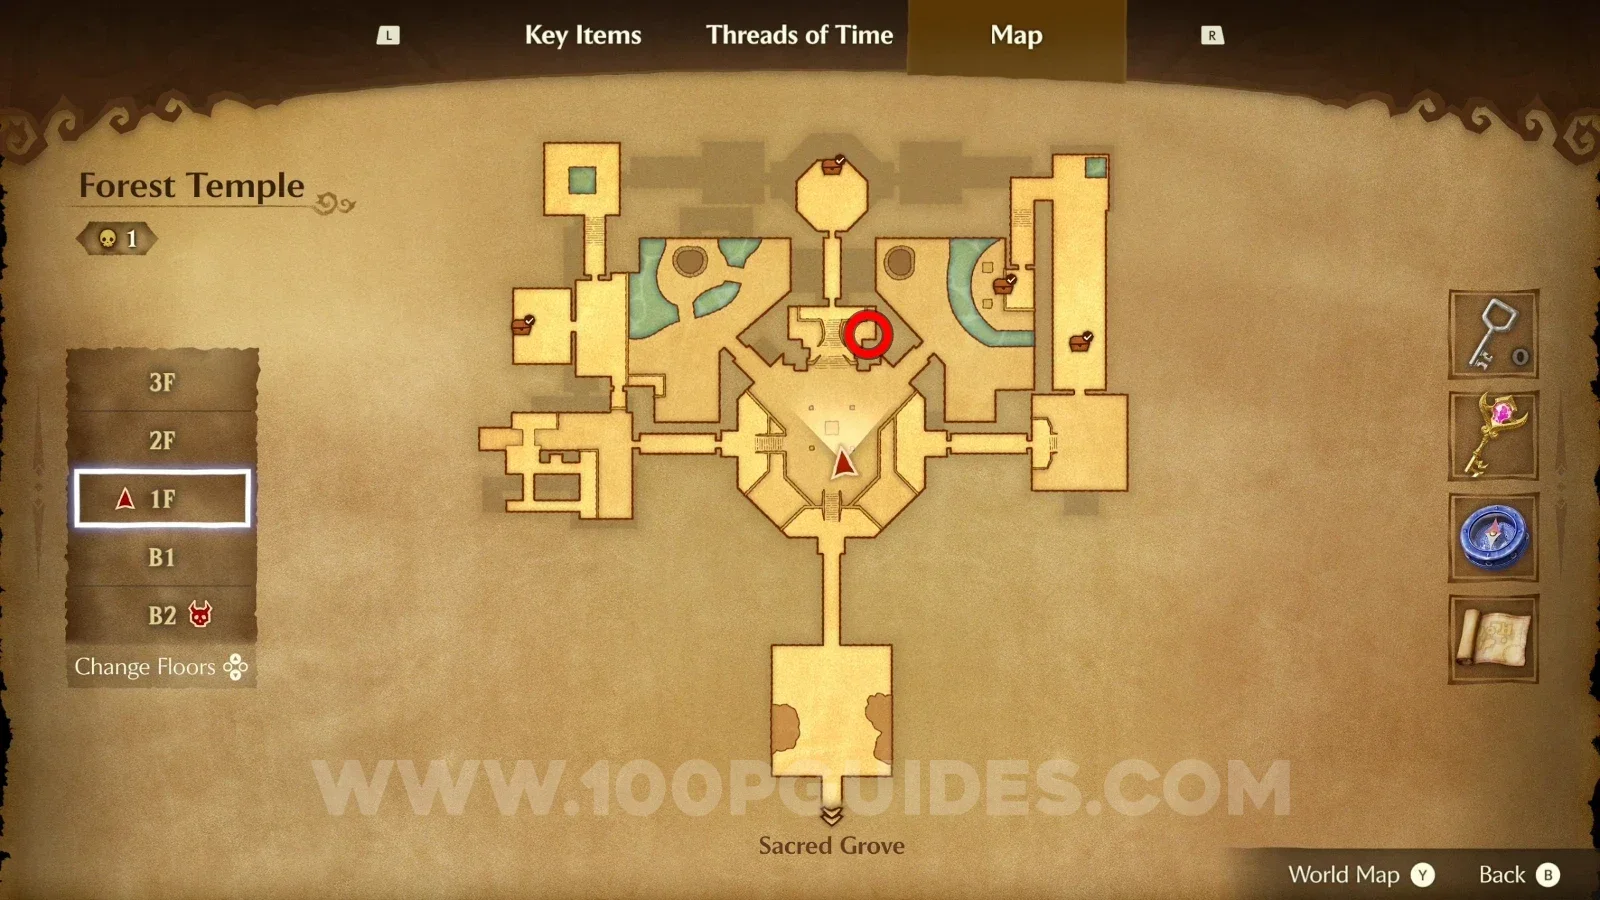
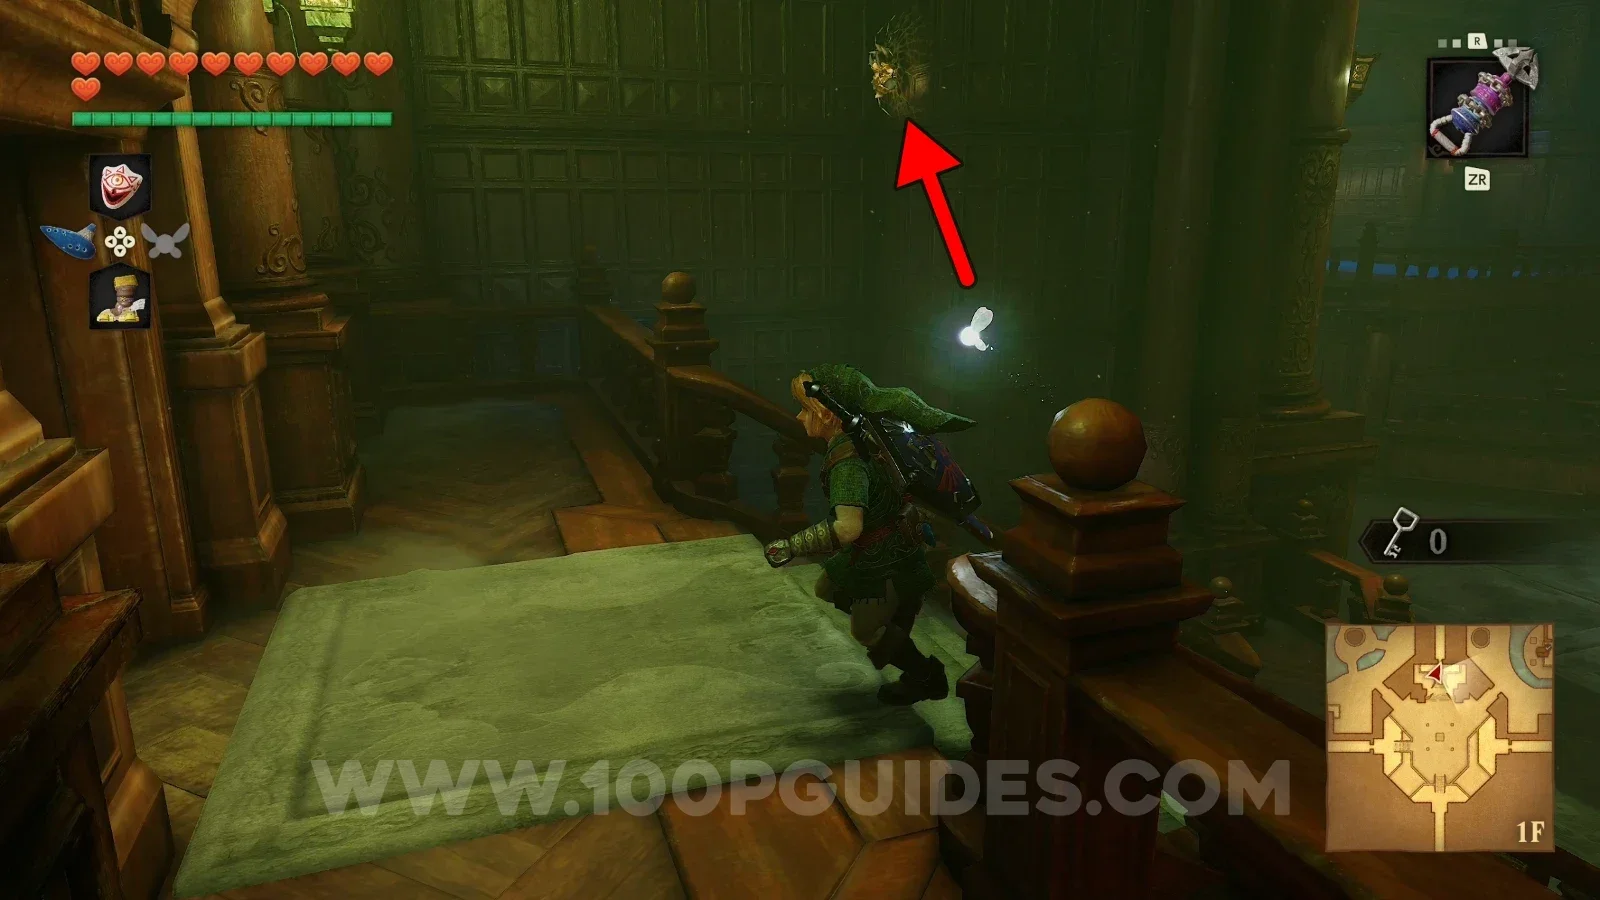
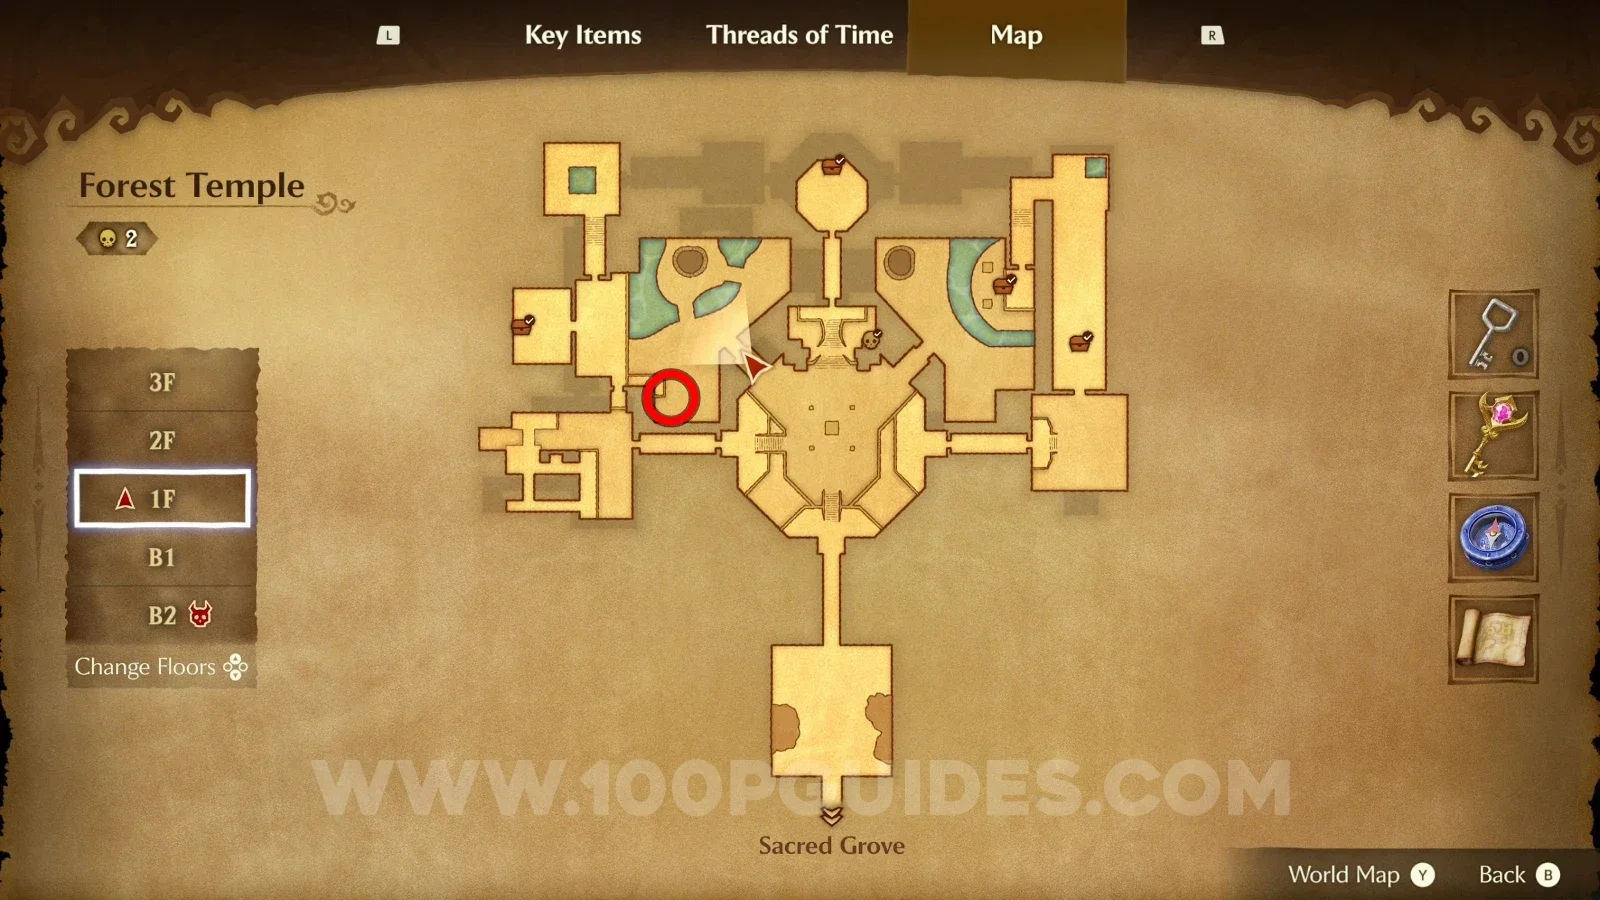
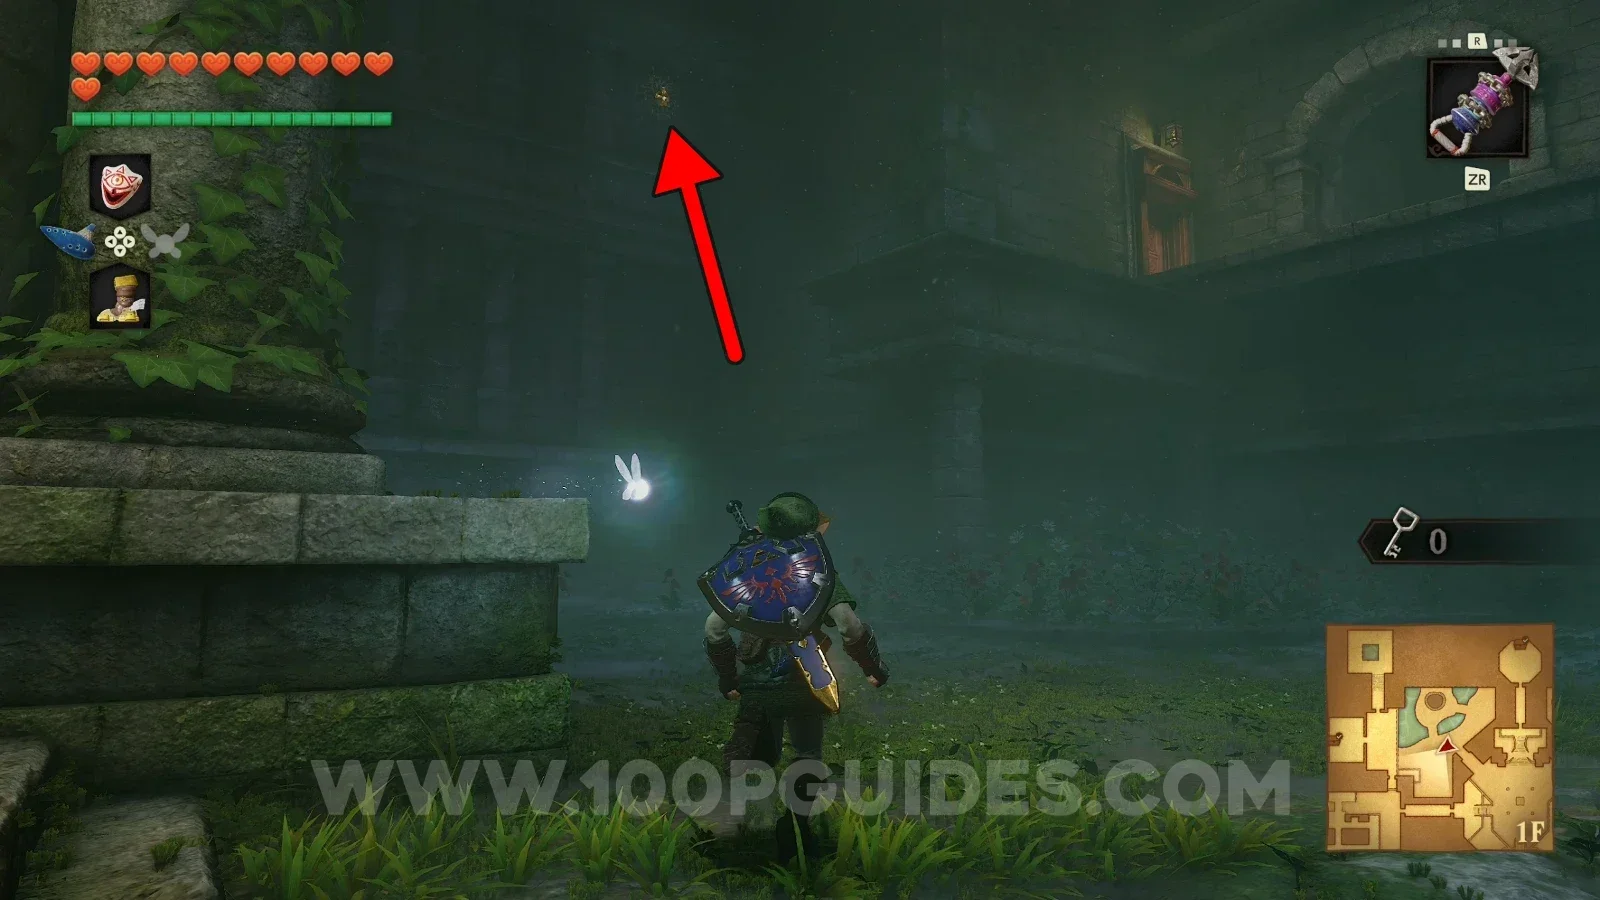
Go up the central stairs then look right to see the Gold Skulltula.

Zelda Ocarina of Time Remake Forest Temple: going up the central stairs toward Gold Skulltula #71 Zelda Ocarina of Time Remake Forest Temple: Gold Skulltula #71 to the right of the central stairs

Gold Skulltula #72

Turn left and look up to find the Gold Skulltula.

Zelda Ocarina of Time Remake Forest Temple: turning left and looking up toward Gold Skulltula #72 Zelda Ocarina of Time Remake Forest Temple: Gold Skulltula #72 high up on the left

Gold Skulltula #73

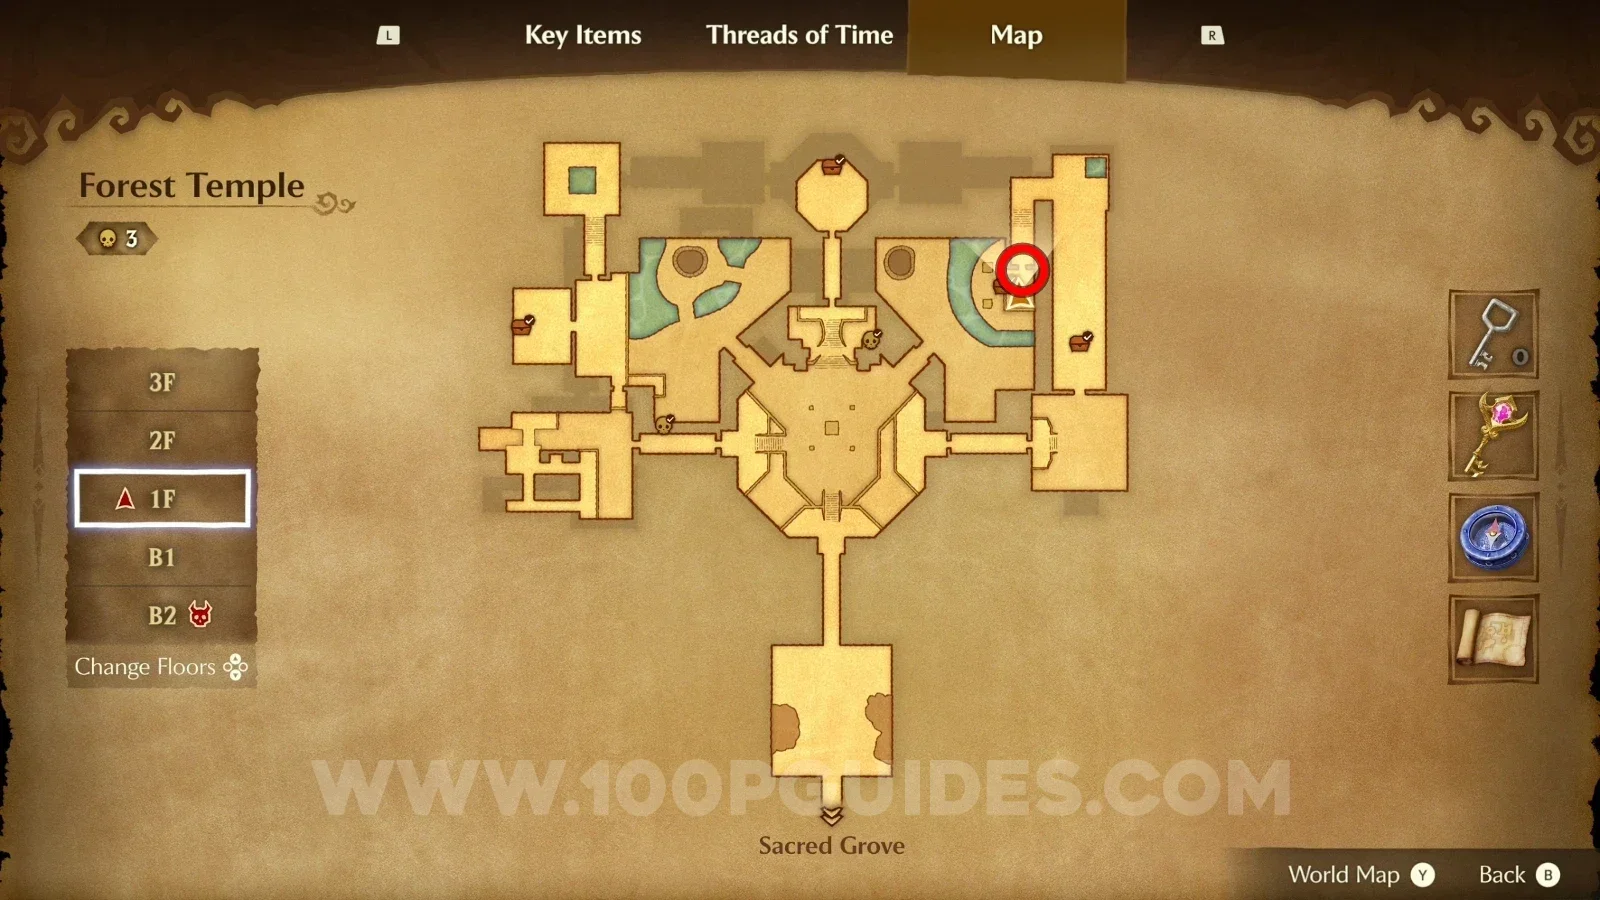
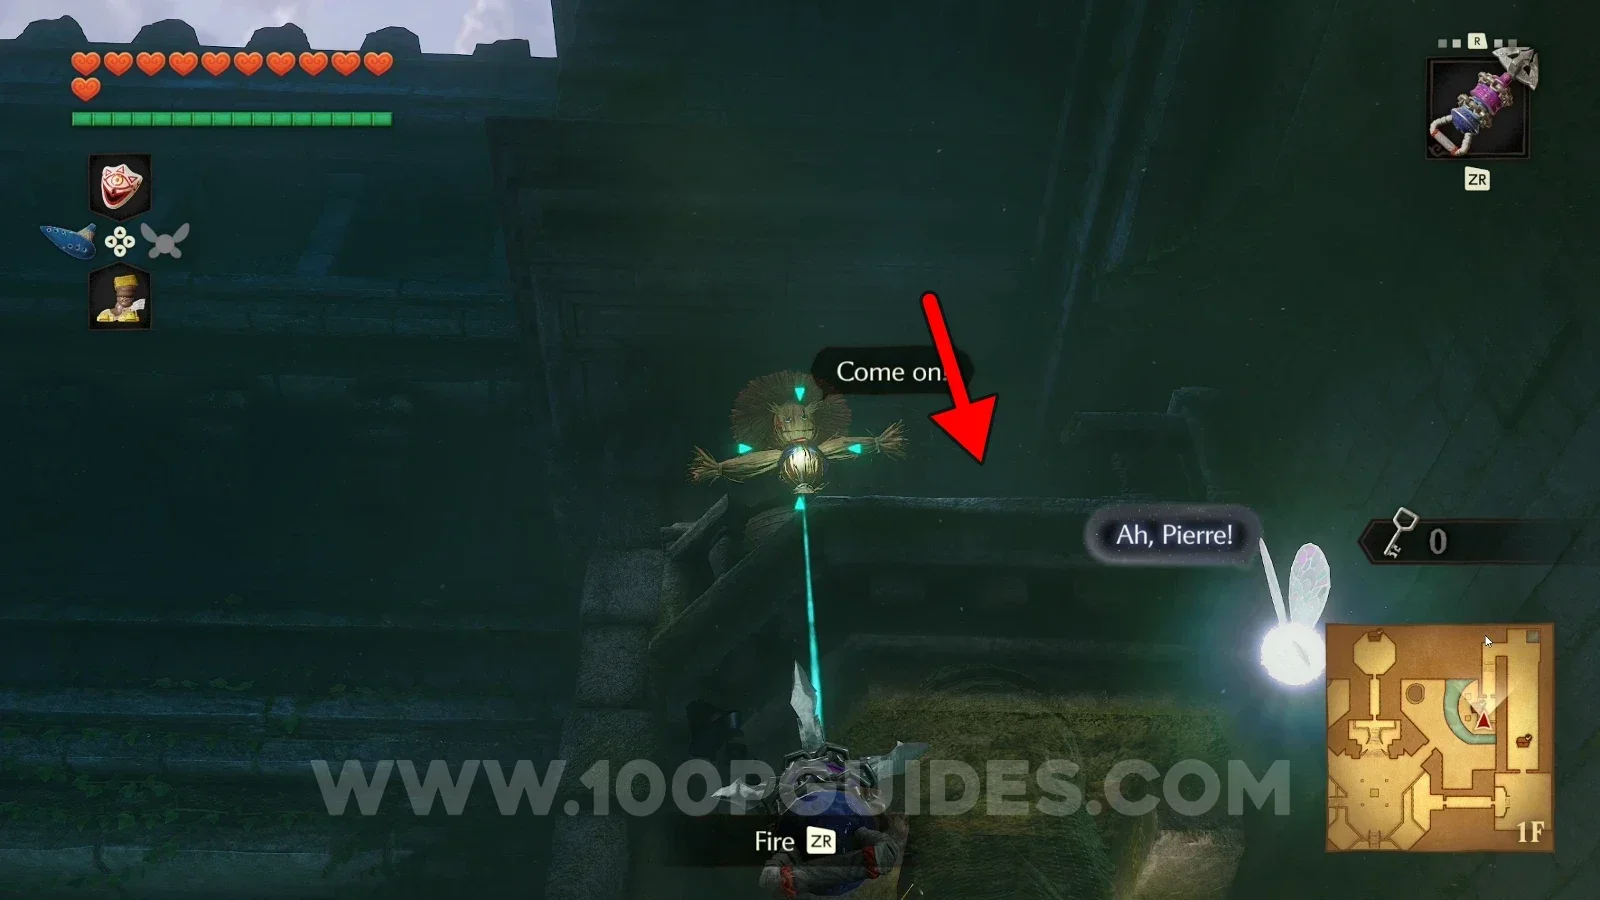
Play the Scarecrow Song to spawn a scarecrow, then hook into it to reach the Gold Skulltula.

Zelda Ocarina of Time Remake Forest Temple: spawning a scarecrow with the Scarecrow Song for Gold Skulltula #73 Zelda Ocarina of Time Remake Forest Temple: Gold Skulltula #73 reached by hooking into the scarecrow

Gold Skulltula #74

Go down the central elevator, then enter the room to the south to find the Gold Skulltula on the wall to the right.

Zelda Ocarina of Time Remake Forest Temple: the room south of the central elevator, Gold Skulltula #74 Zelda Ocarina of Time Remake Forest Temple: Gold Skulltula #74 on the wall to the right in the south room

Fire Temple - Adult Era

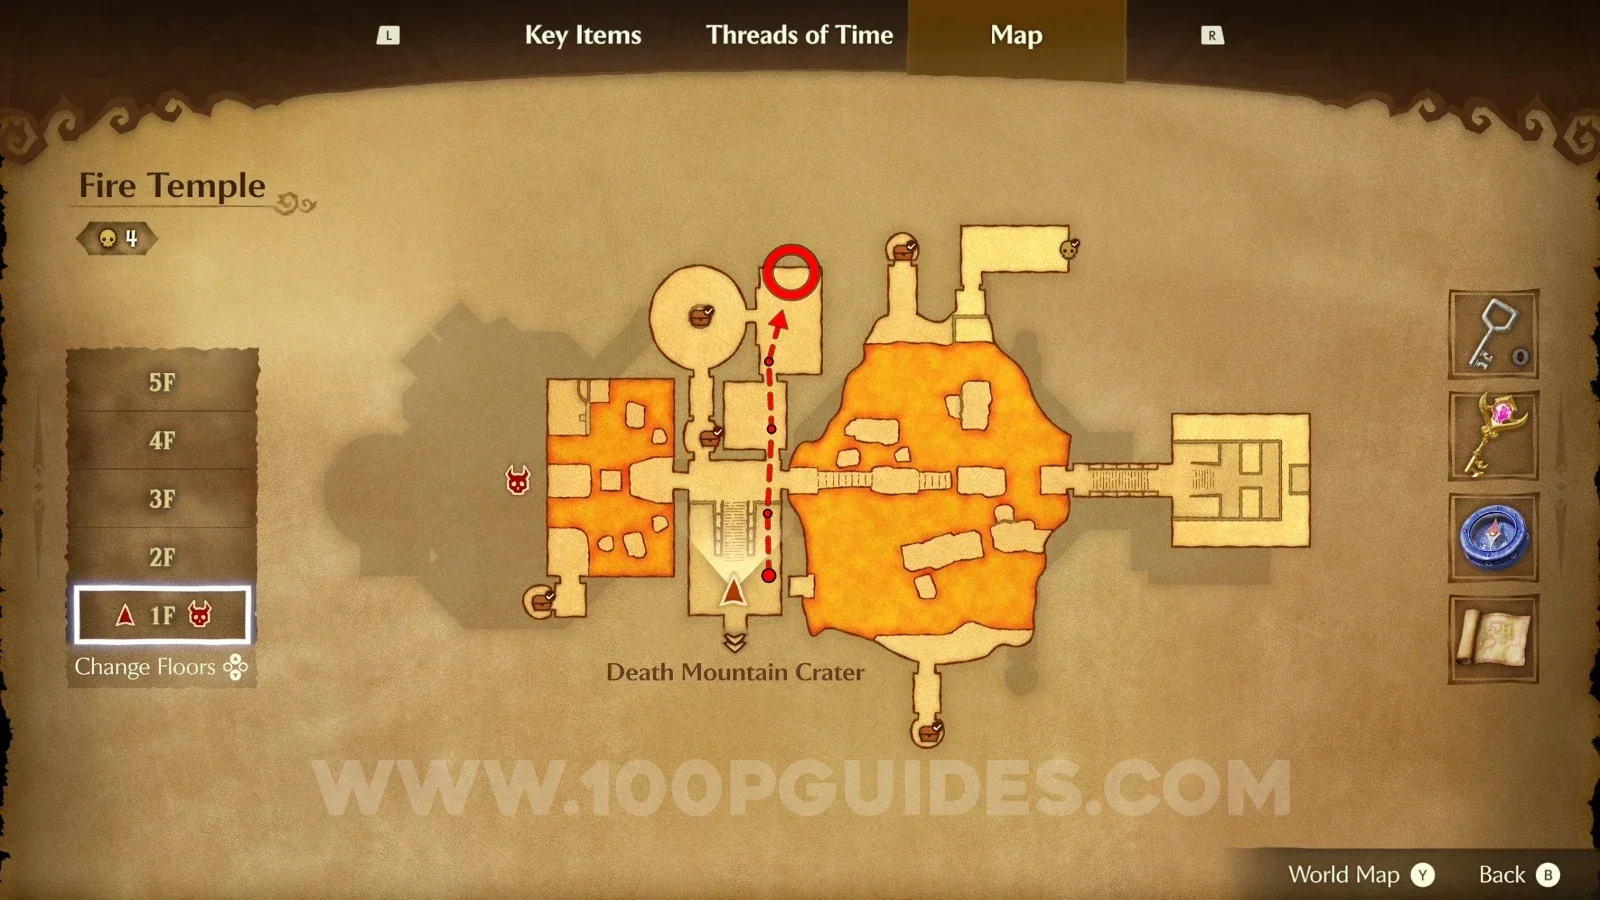
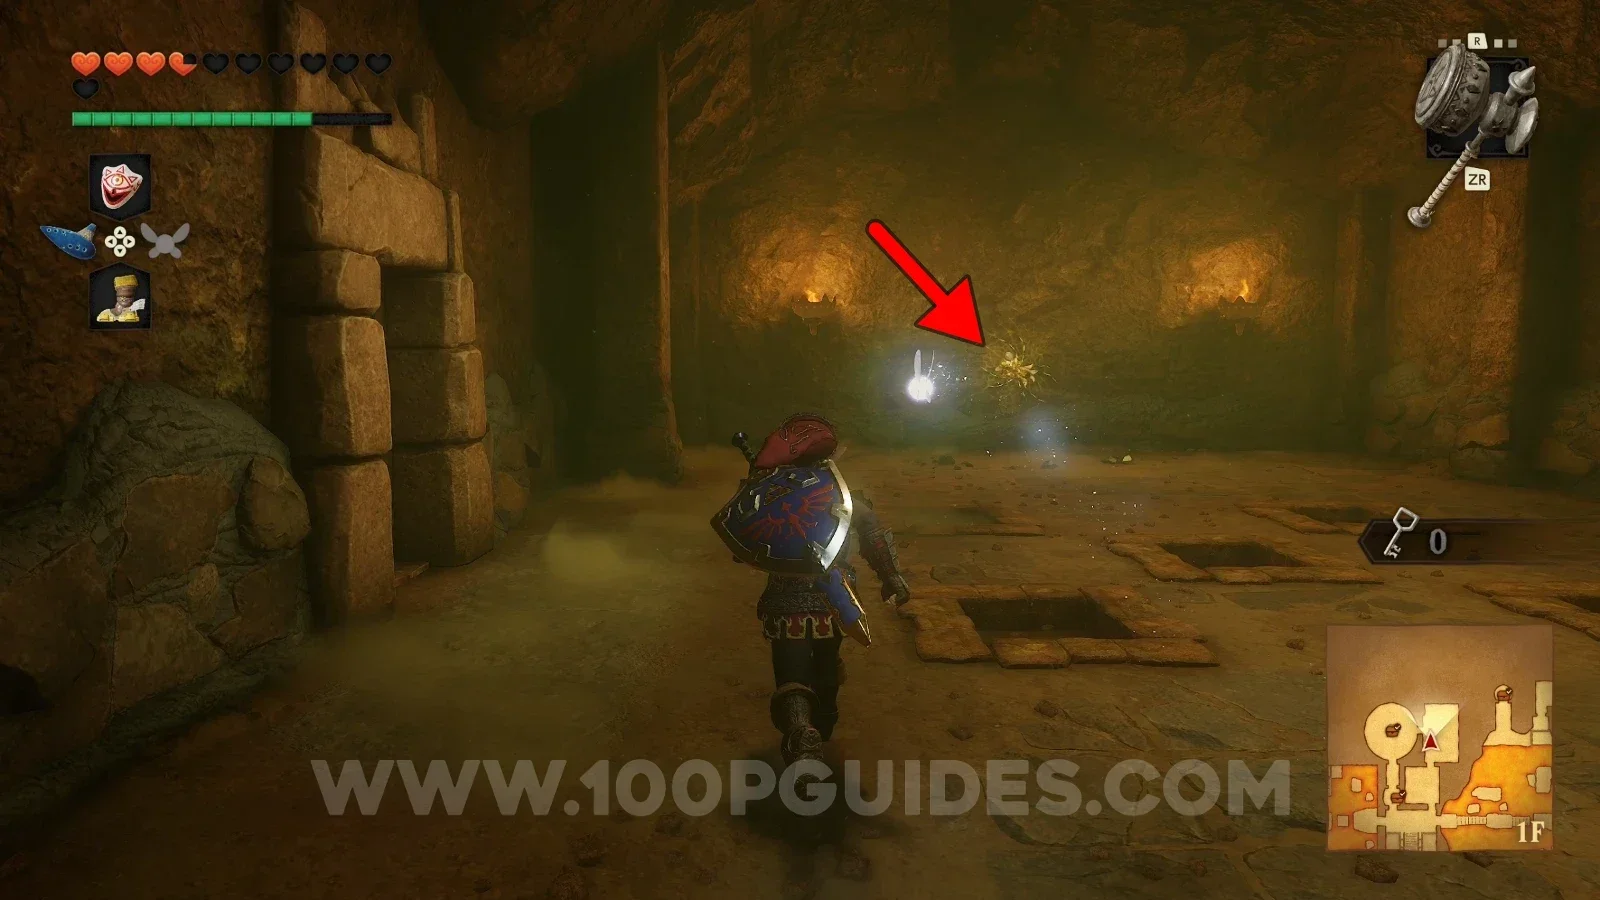
Gold Skulltula #75

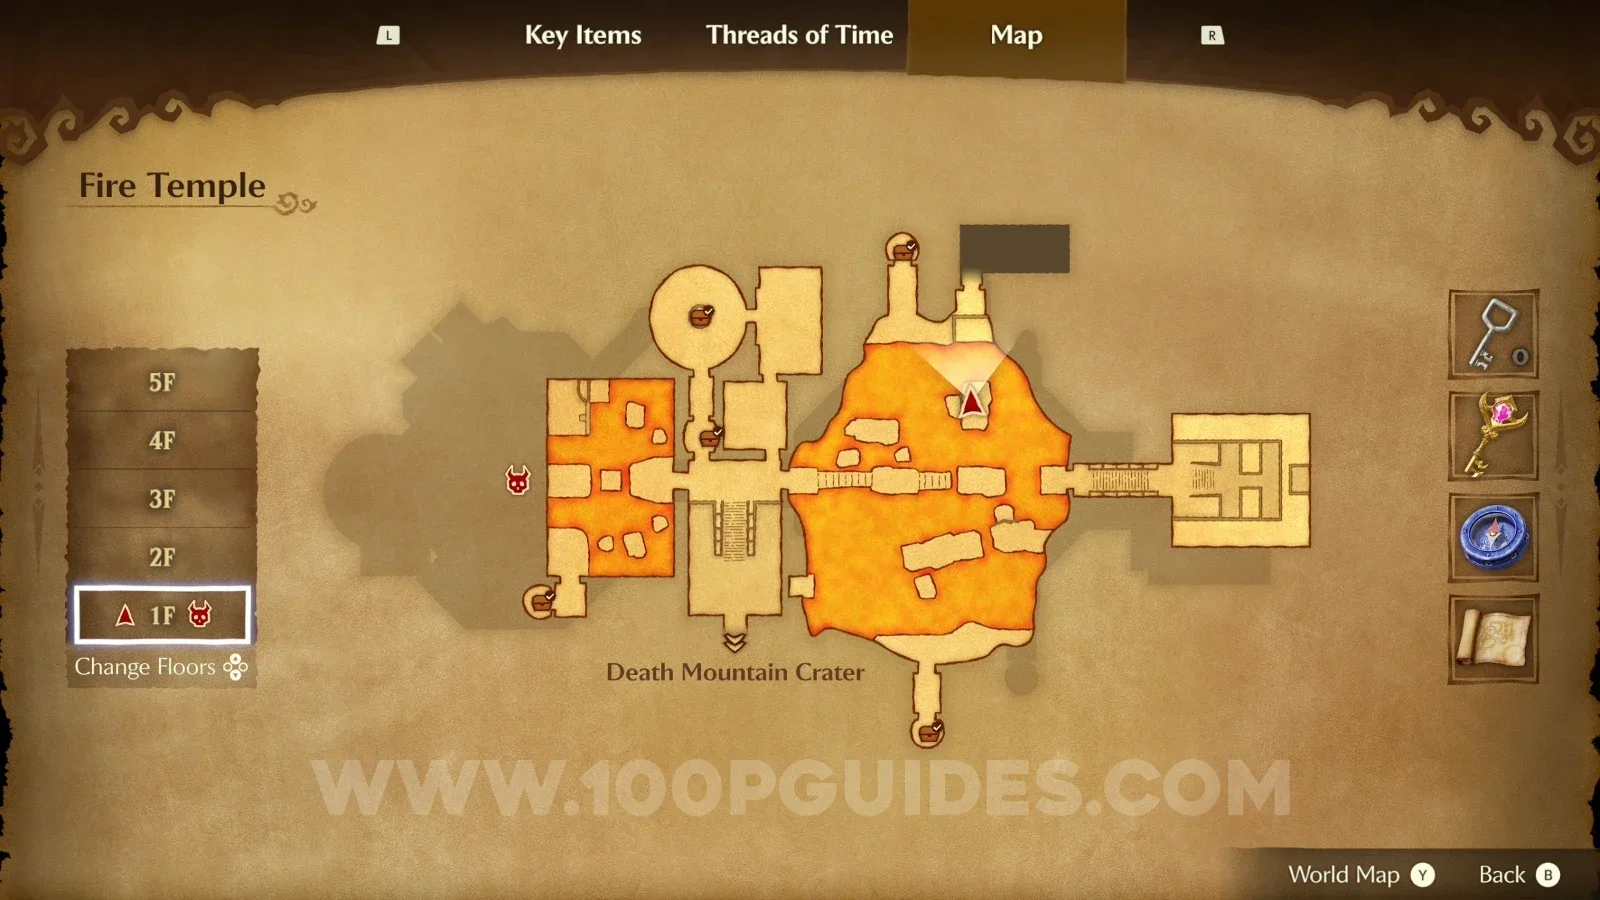
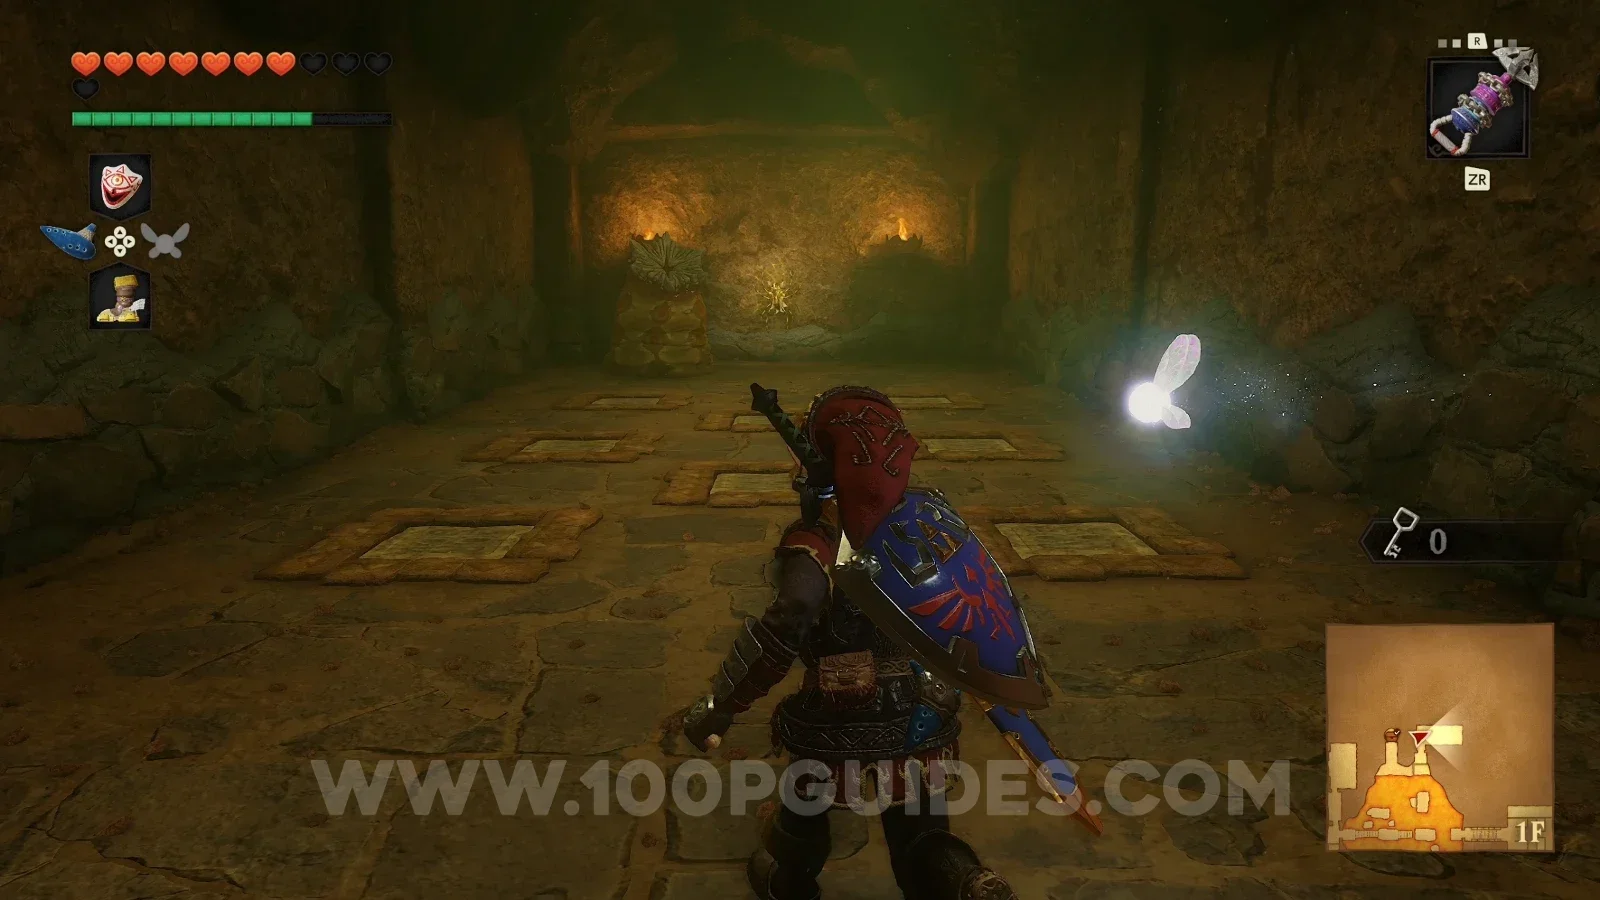
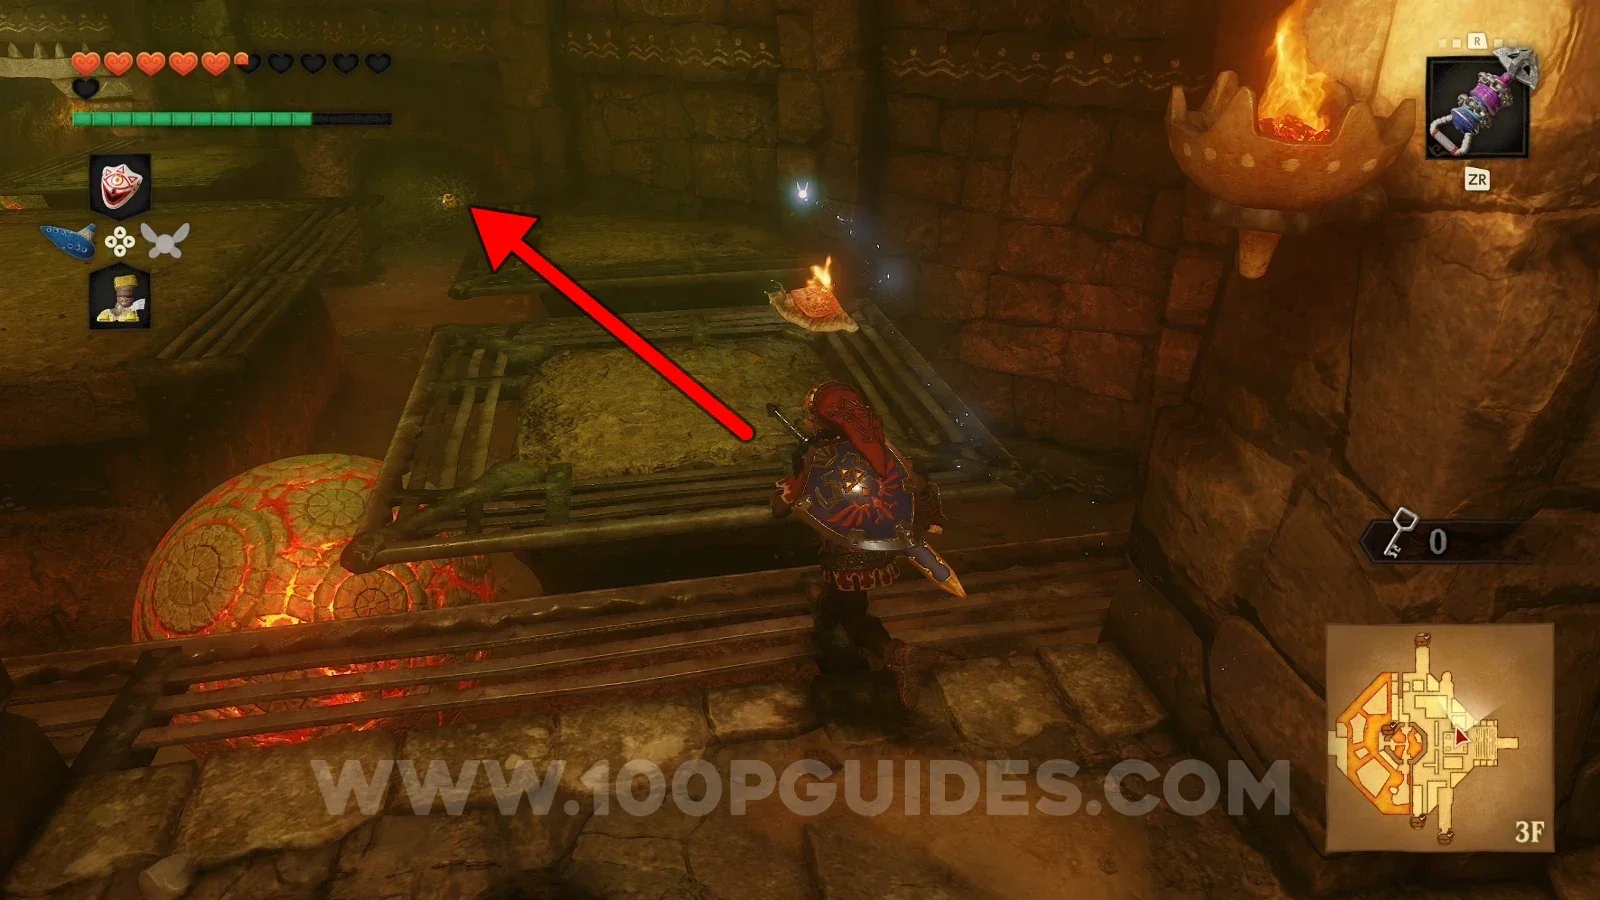
Enter the door to the right of the stairs and keep going straight until you reach a room with flying slabs. The Gold Skulltula is on the wall behind a statue enemy.

Zelda Ocarina of Time Remake Fire Temple: the flying slabs room past the door right of the stairs, Gold Skulltula #75 Zelda Ocarina of Time Remake Fire Temple: Gold Skulltula #75 on the wall behind a statue enemy

Gold Skulltula #76

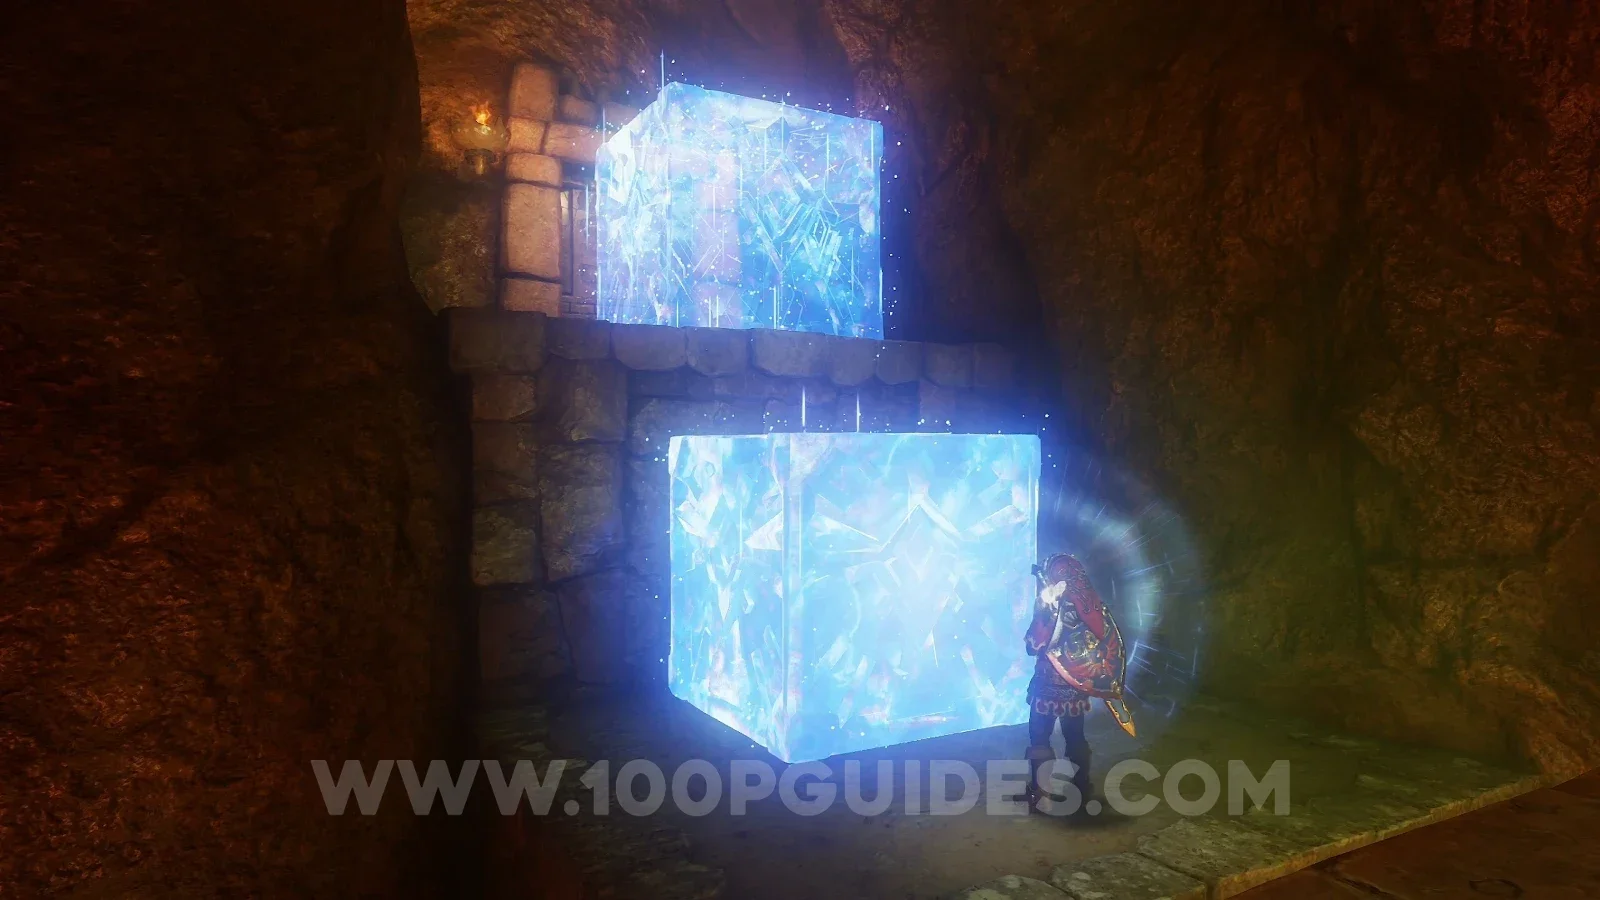
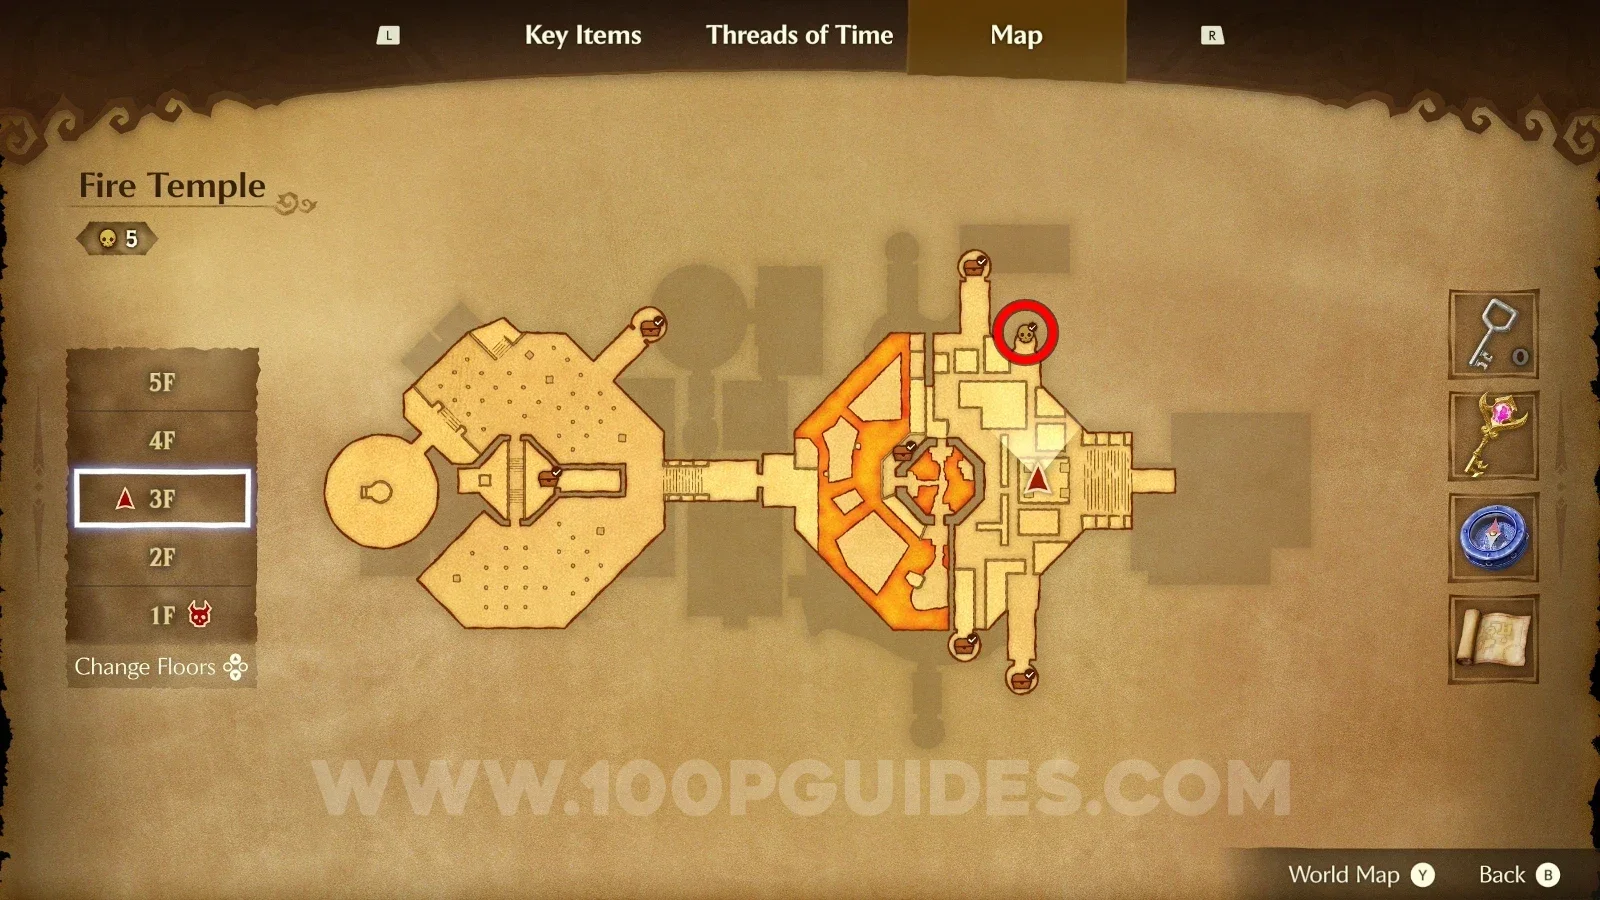
Go up from the rising platform and play the Song of Time to move the cube so you can climb up and enter the room where the Gold Skulltula is located.

Zelda Ocarina of Time Remake Fire Temple: going up from the rising platform toward Gold Skulltula #76 Zelda Ocarina of Time Remake Fire Temple: playing the Song of Time to move the cube for Gold Skulltula #76 Zelda Ocarina of Time Remake Fire Temple: Gold Skulltula #76 inside the room reached by climbing the cube

Gold Skulltula #77

In the room with rolling rocks, use a bomb on the breakable wall to reveal the Gold Skulltula behind it.

Zelda Ocarina of Time Remake Fire Temple: the breakable wall in the room with rolling rocks, Gold Skulltula #77 Zelda Ocarina of Time Remake Fire Temple: Gold Skulltula #77 revealed behind the bombed wall

Gold Skulltula #78-79

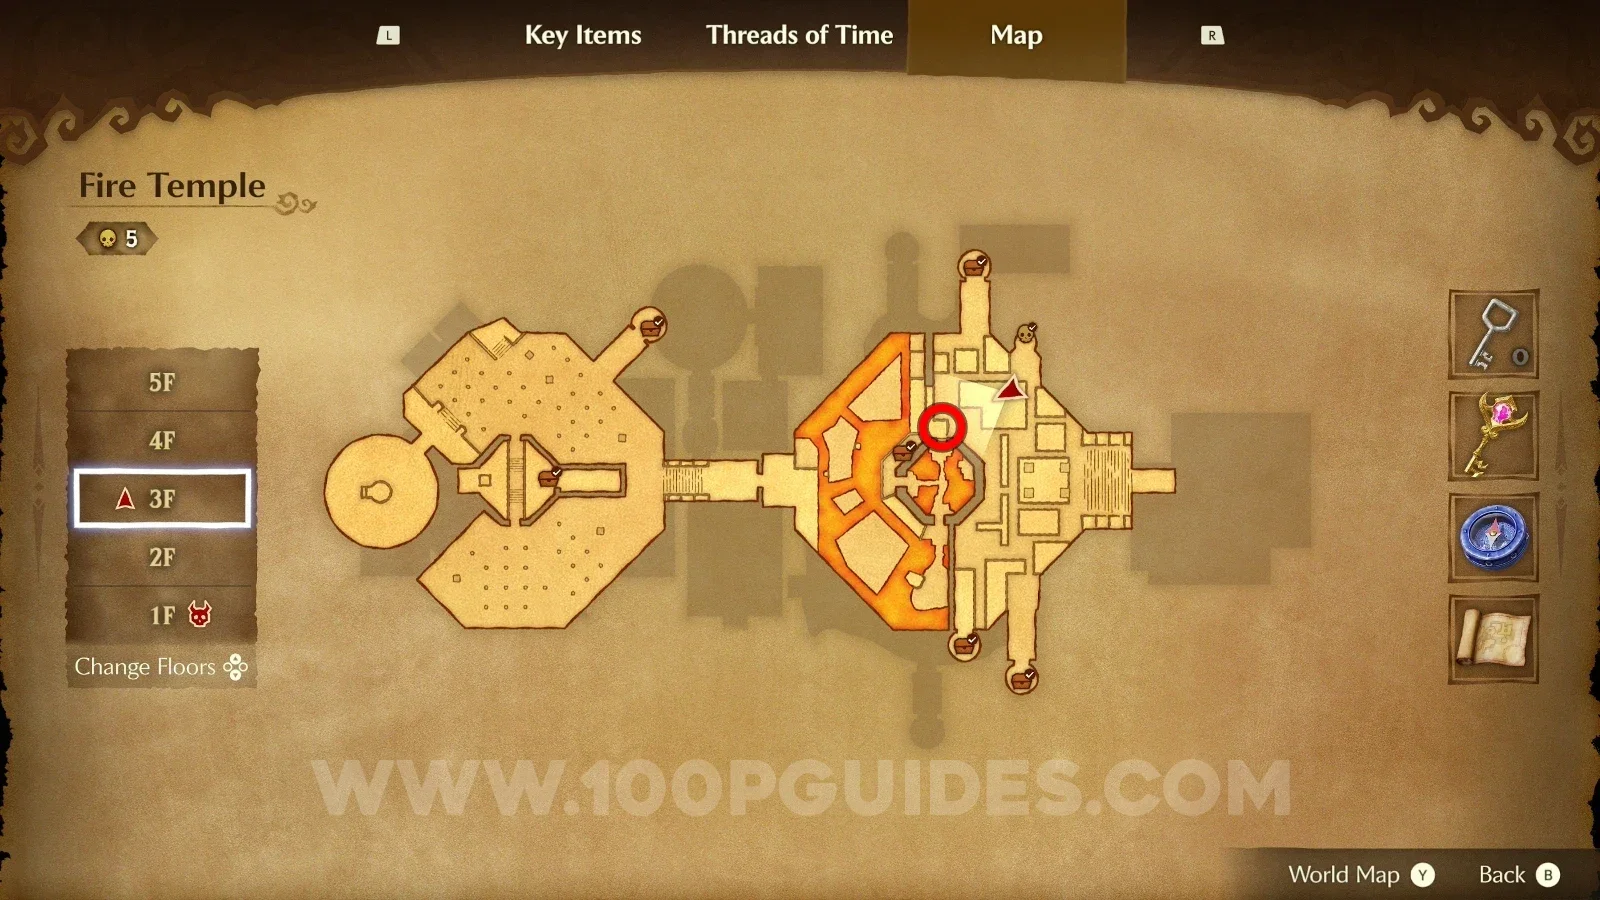
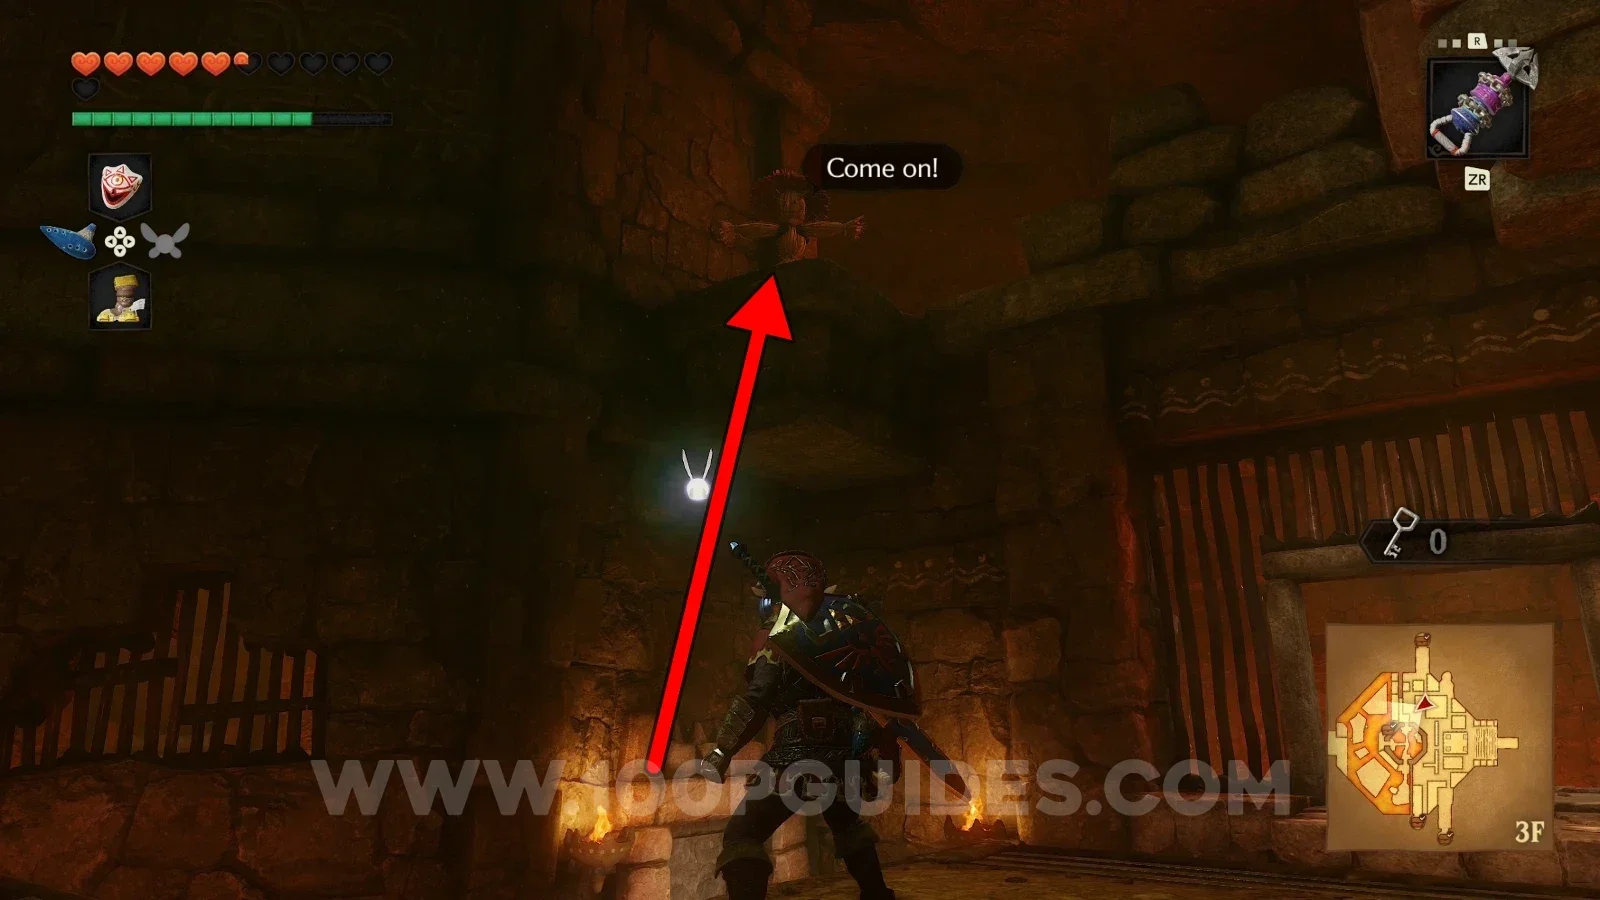
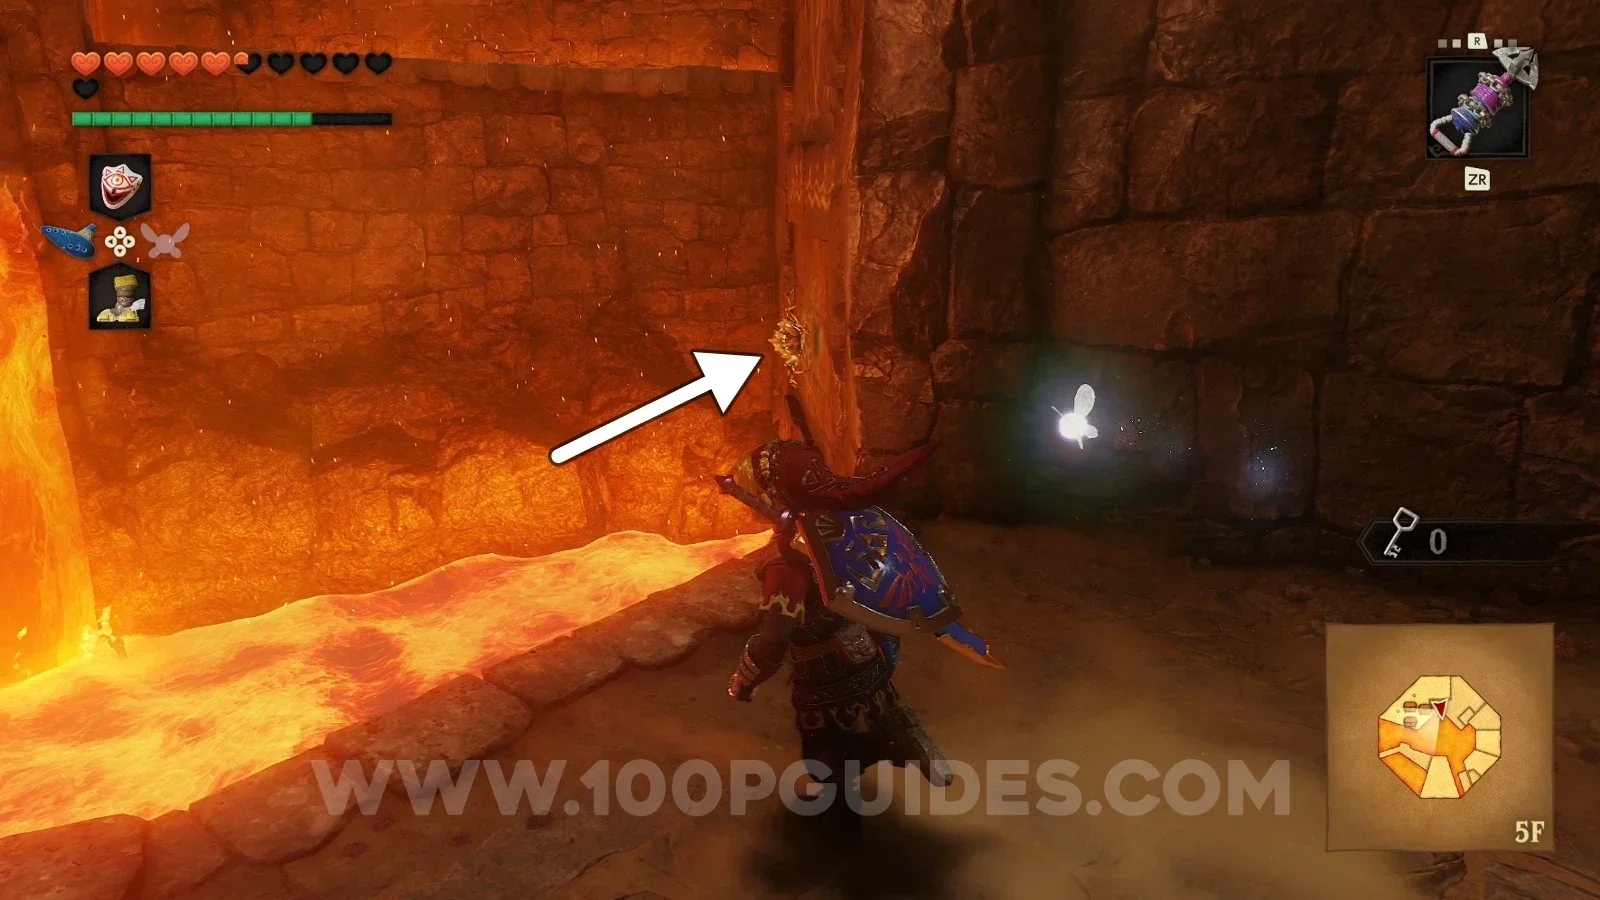
Right before leaving the room with rolling rocks for the room with lava, play the Scarecrow Song to spawn a scarecrow. Use the hookshot on the scarecrow, turn around and use the hookshot on the small platform. After going up, climb the two nets on the wall and look to the right before going through the door to find a Gold Skulltula, then go through the door to find another one on the wall near the lava.

Zelda Ocarina of Time Remake Fire Temple: spawning a scarecrow with the Scarecrow Song in the rolling rocks room Zelda Ocarina of Time Remake Fire Temple: hookshot to the small platform after the scarecrow, Gold Skulltula #78-79 Zelda Ocarina of Time Remake Fire Temple: Gold Skulltula #78 to the right after climbing the two nets on the wall Zelda Ocarina of Time Remake Fire Temple: Gold Skulltula #79 on the wall past the door after the nets

Ice Cavern - Adult Era

Gold Skulltula #80

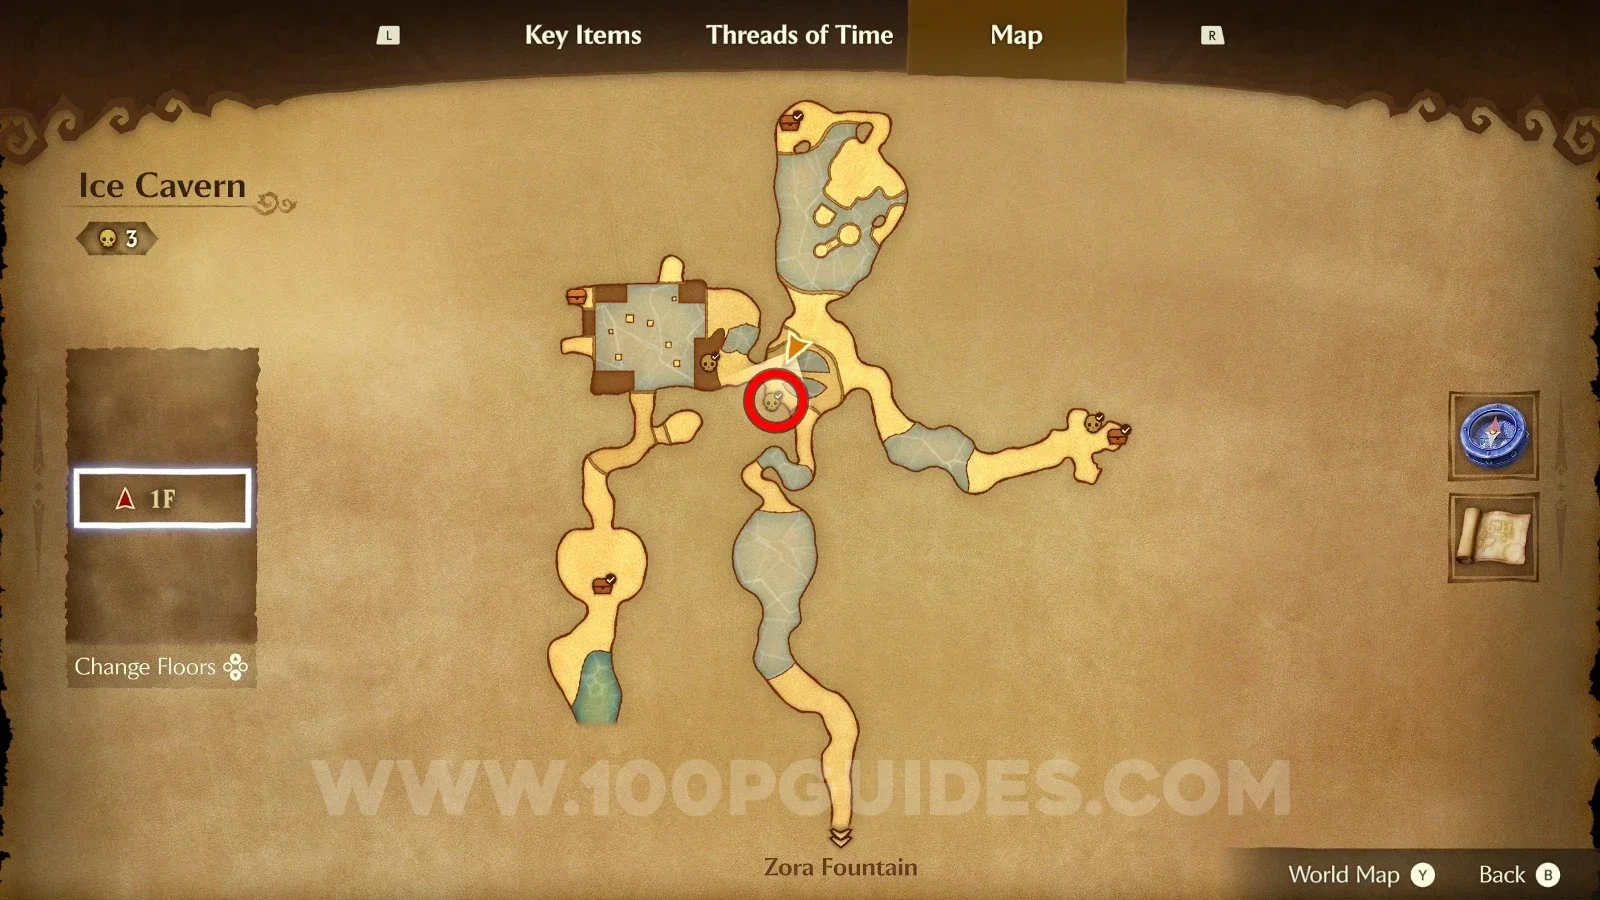
Get to the other side of the room with the spinning ice blades and turn around to find the Gold Skulltula.

Zelda Ocarina of Time Remake Ice Cavern: the room with the spinning ice blades on the way to Gold Skulltula #80 Zelda Ocarina of Time Remake Ice Cavern: Gold Skulltula #80 behind you at the other side of the ice blades room

Gold Skulltula #81

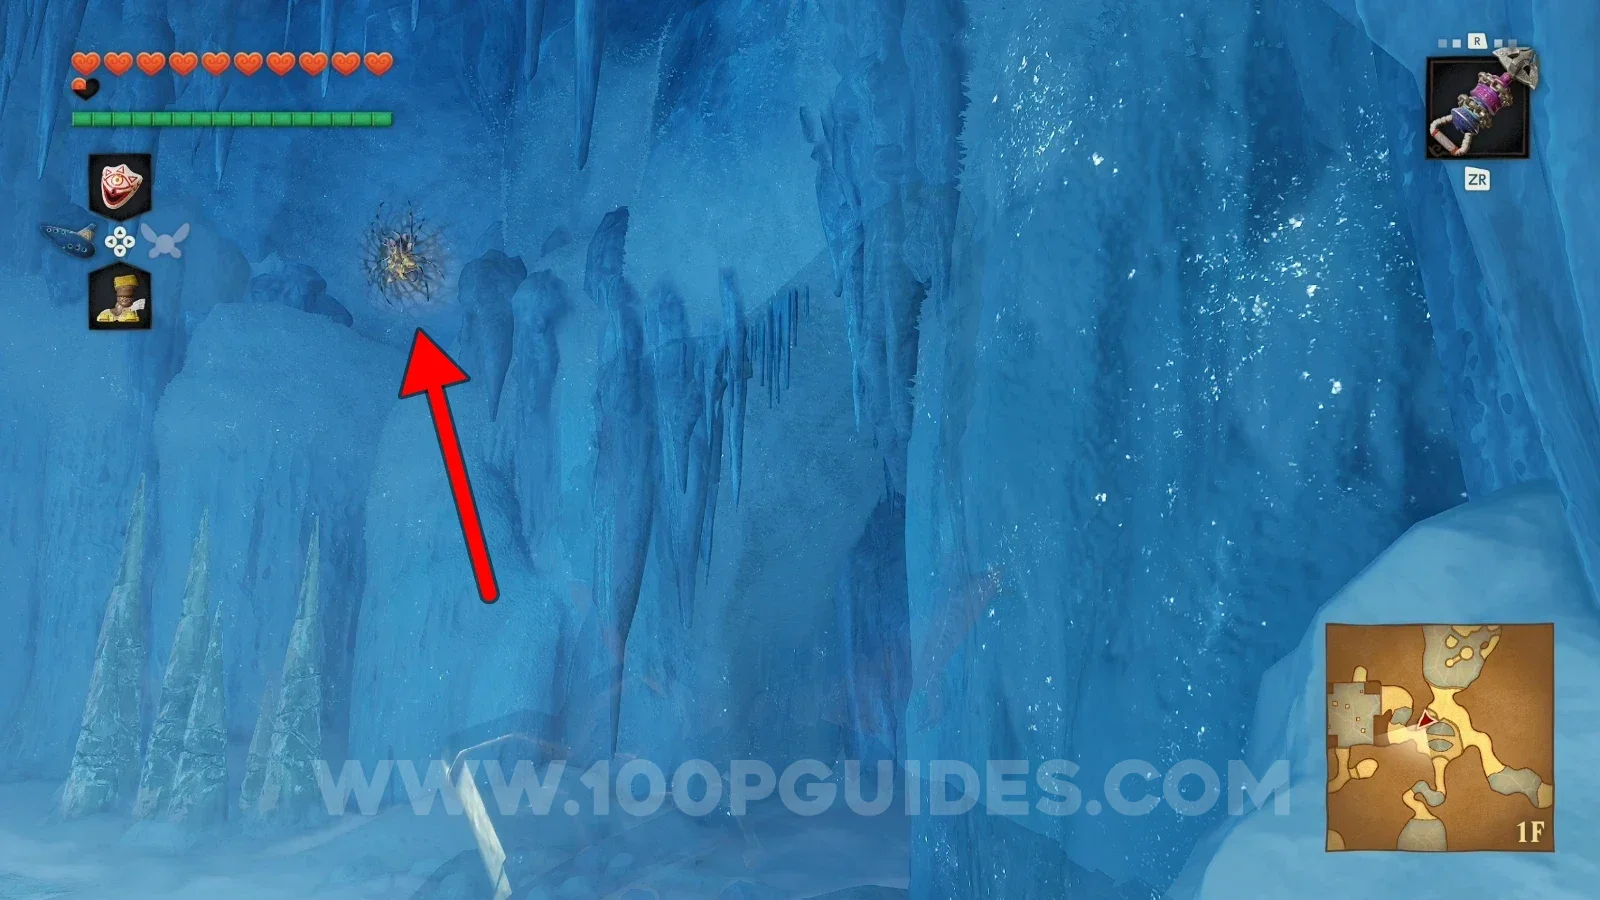
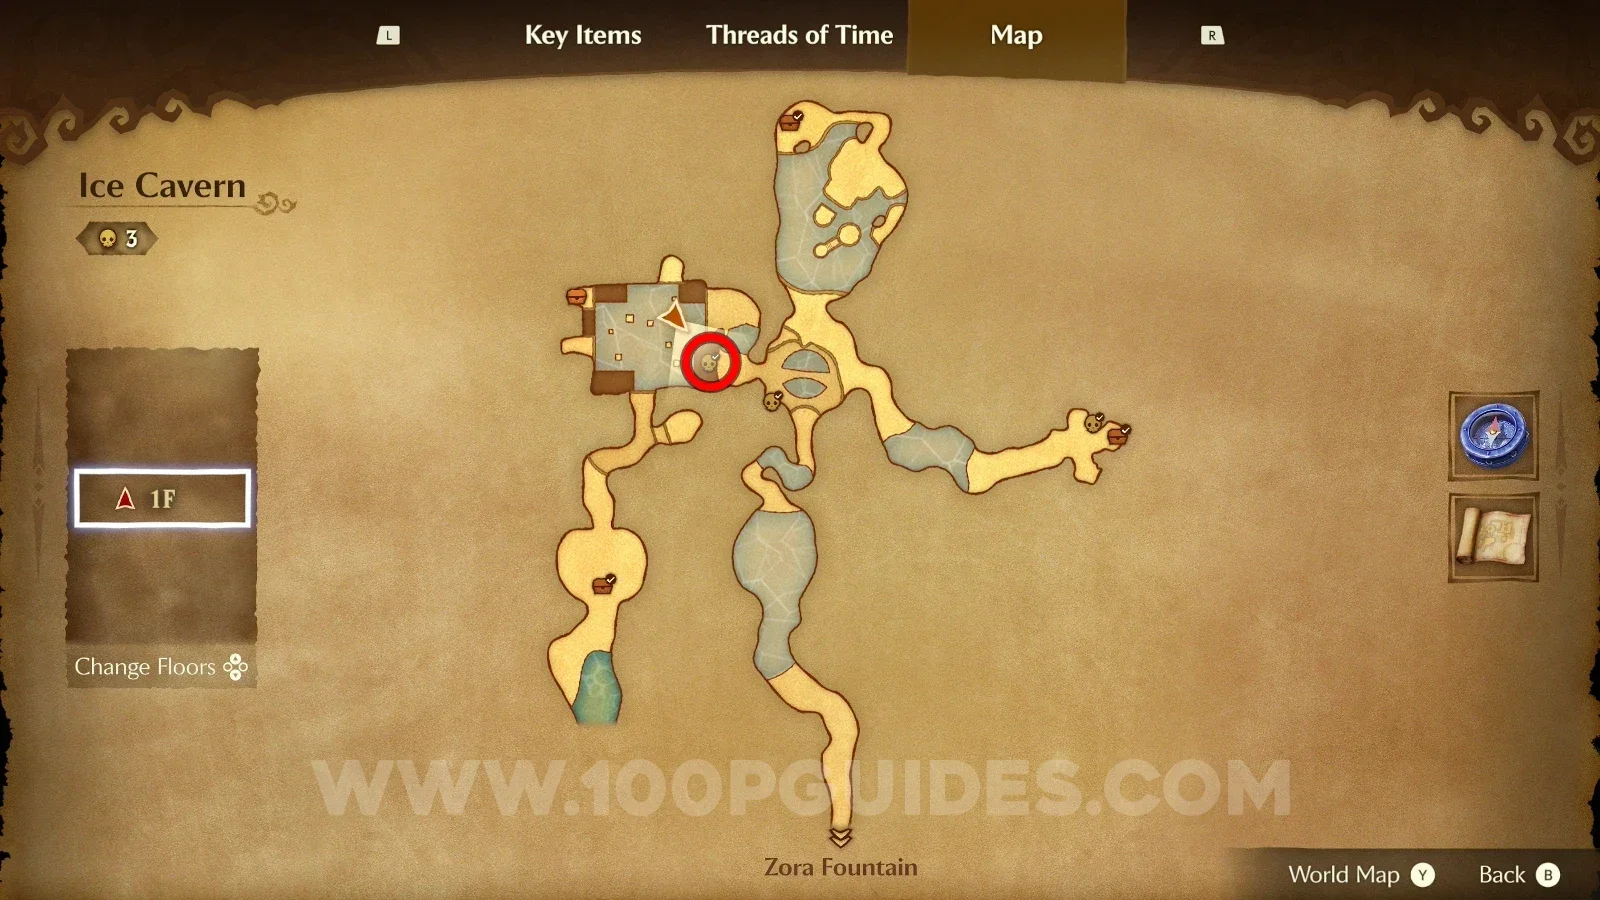
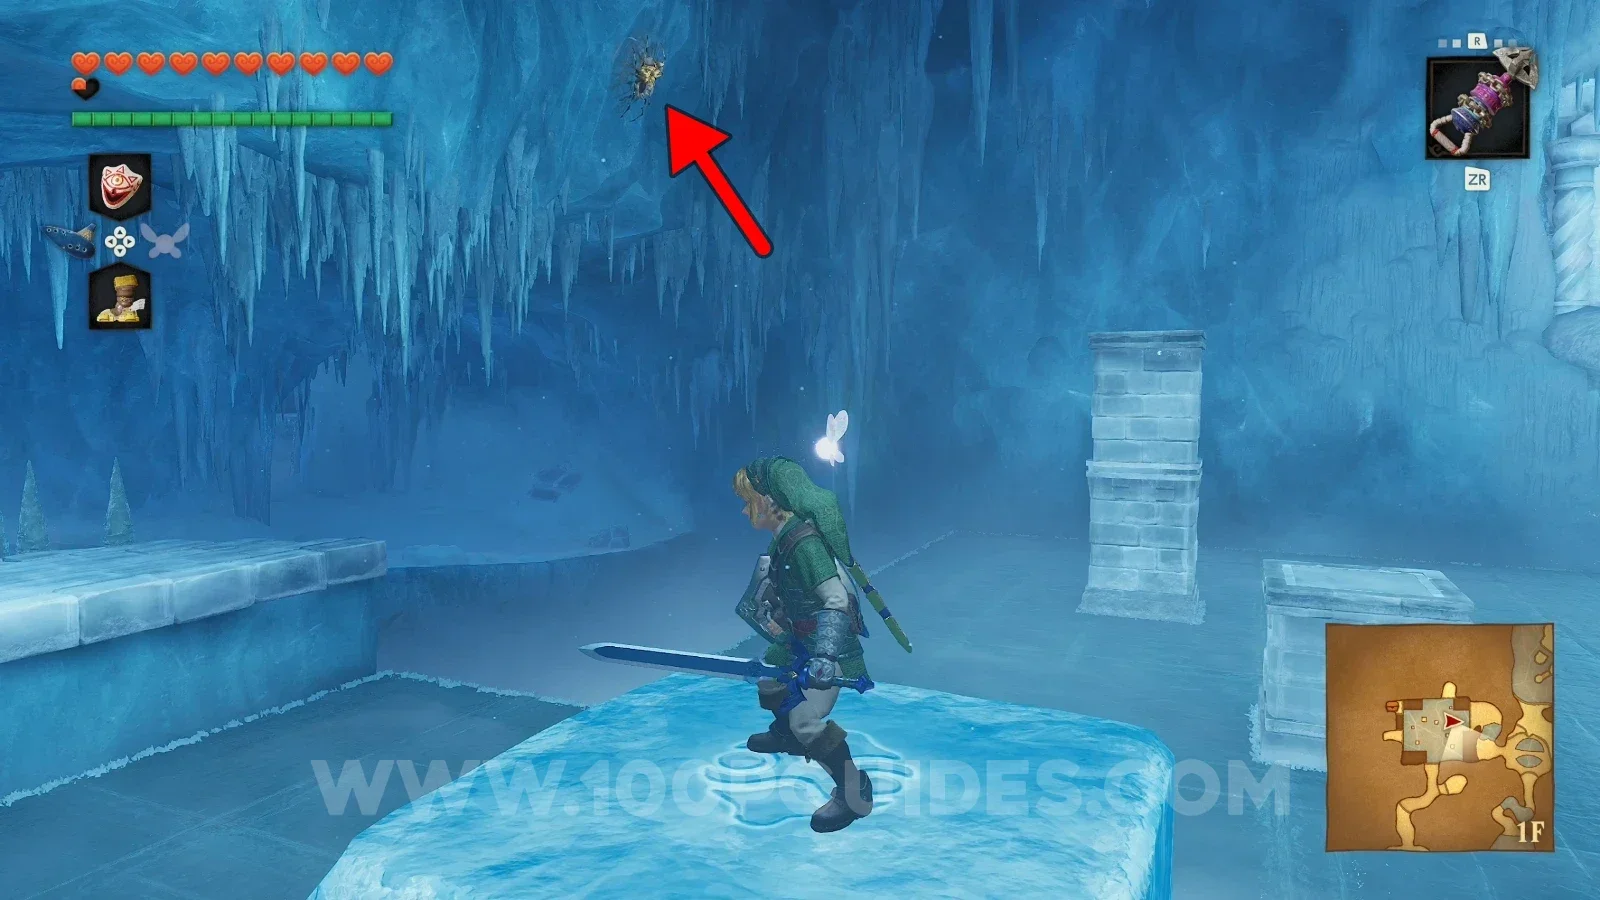
Step on the closest ice platform and look left to find a Gold Skulltula.

Zelda Ocarina of Time Remake Ice Cavern: stepping on the closest ice platform for Gold Skulltula #81 Zelda Ocarina of Time Remake Ice Cavern: Gold Skulltula #81 to the left of the closest ice platform

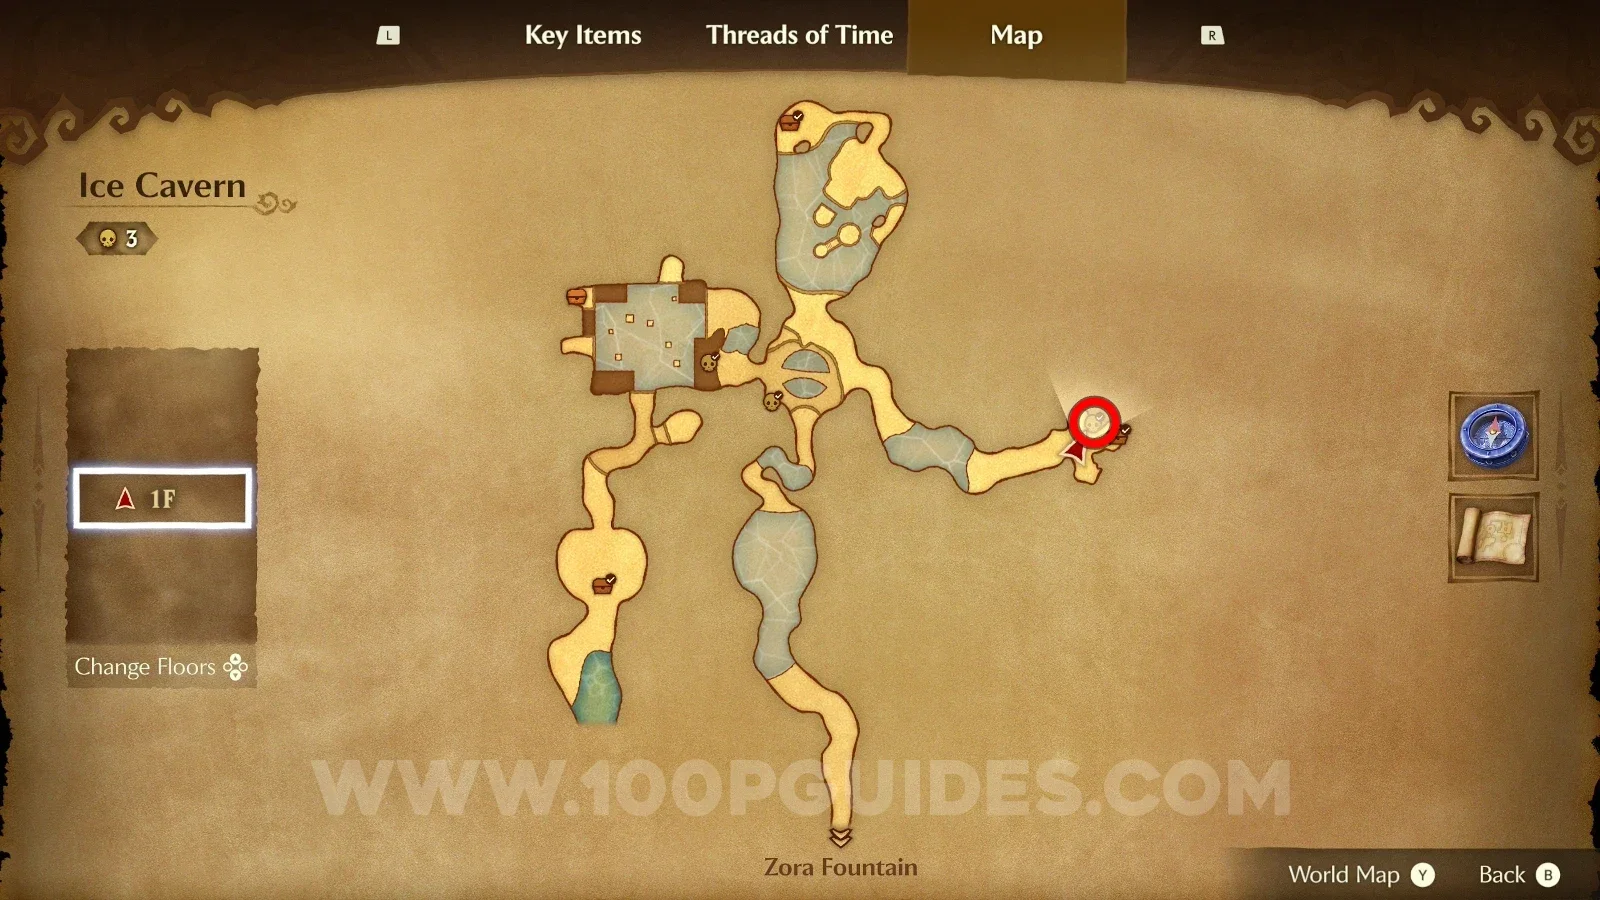
Gold Skulltula #82

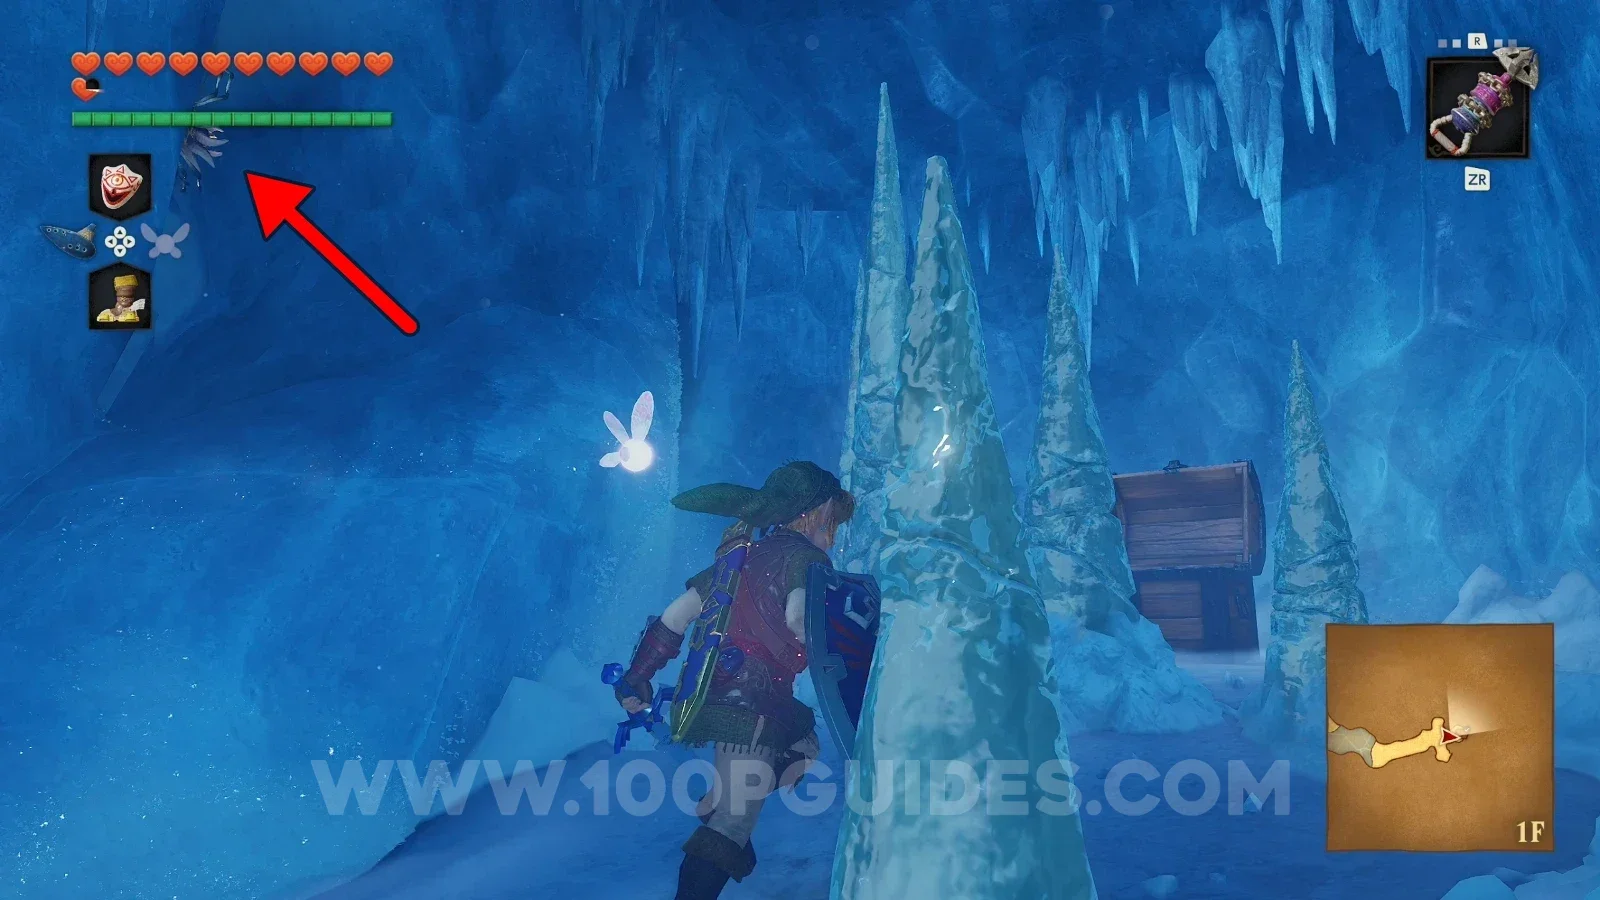
Get to the end of the tunnel and look left right before the chest.

Zelda Ocarina of Time Remake Ice Cavern: the end of the tunnel near the chest, Gold Skulltula #82 Zelda Ocarina of Time Remake Ice Cavern: Gold Skulltula #82 on the left right before the chest

Water Temple - Adult Era

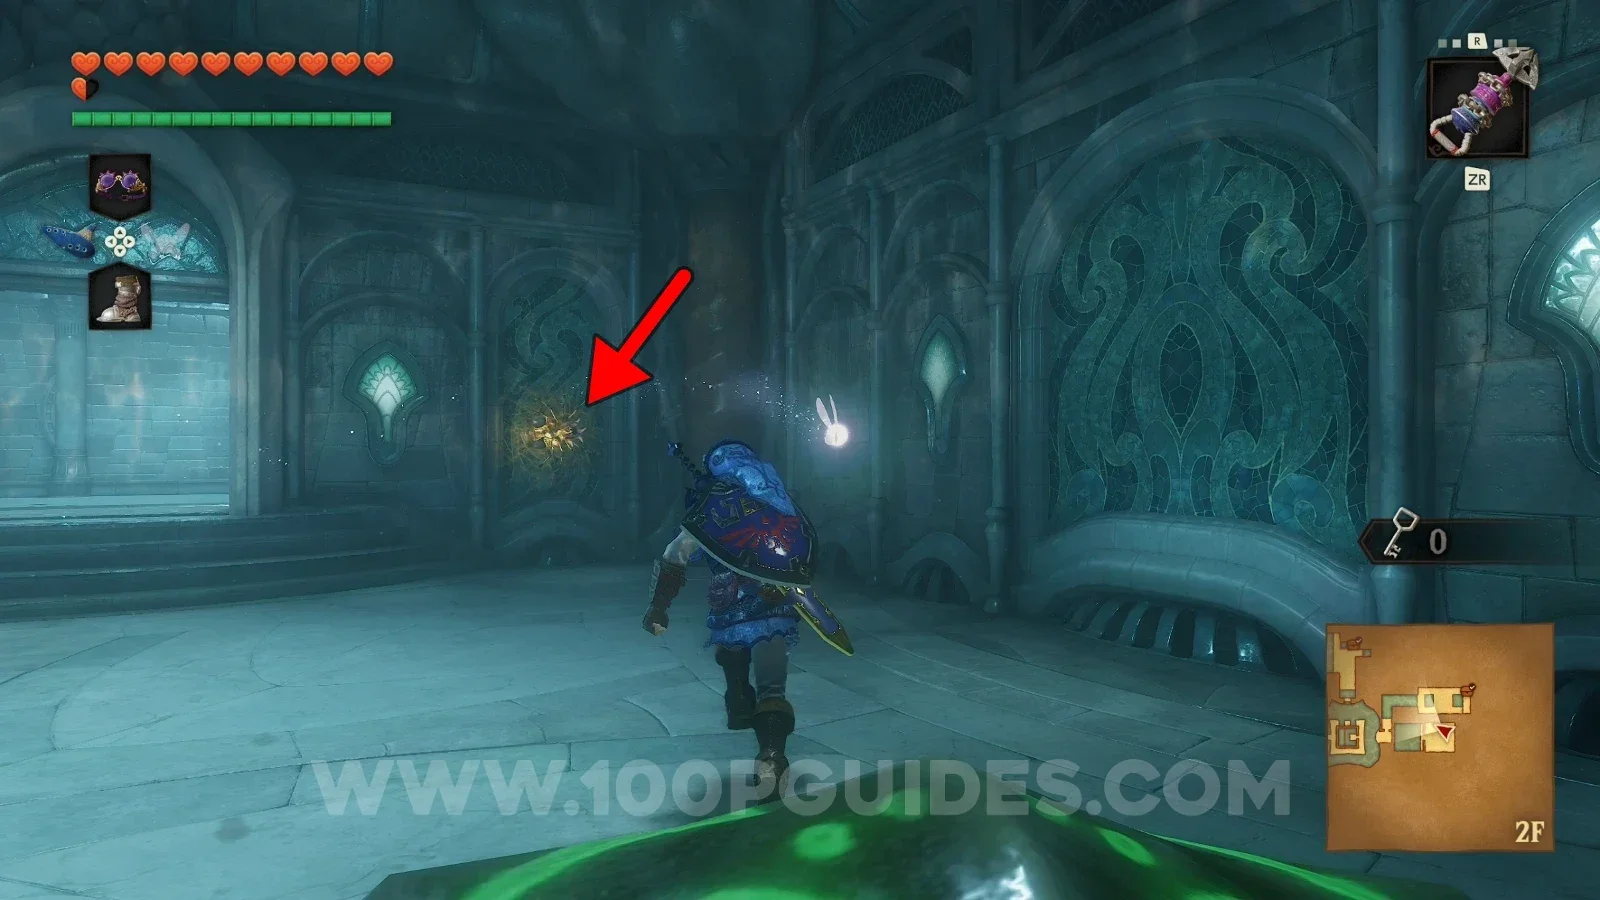
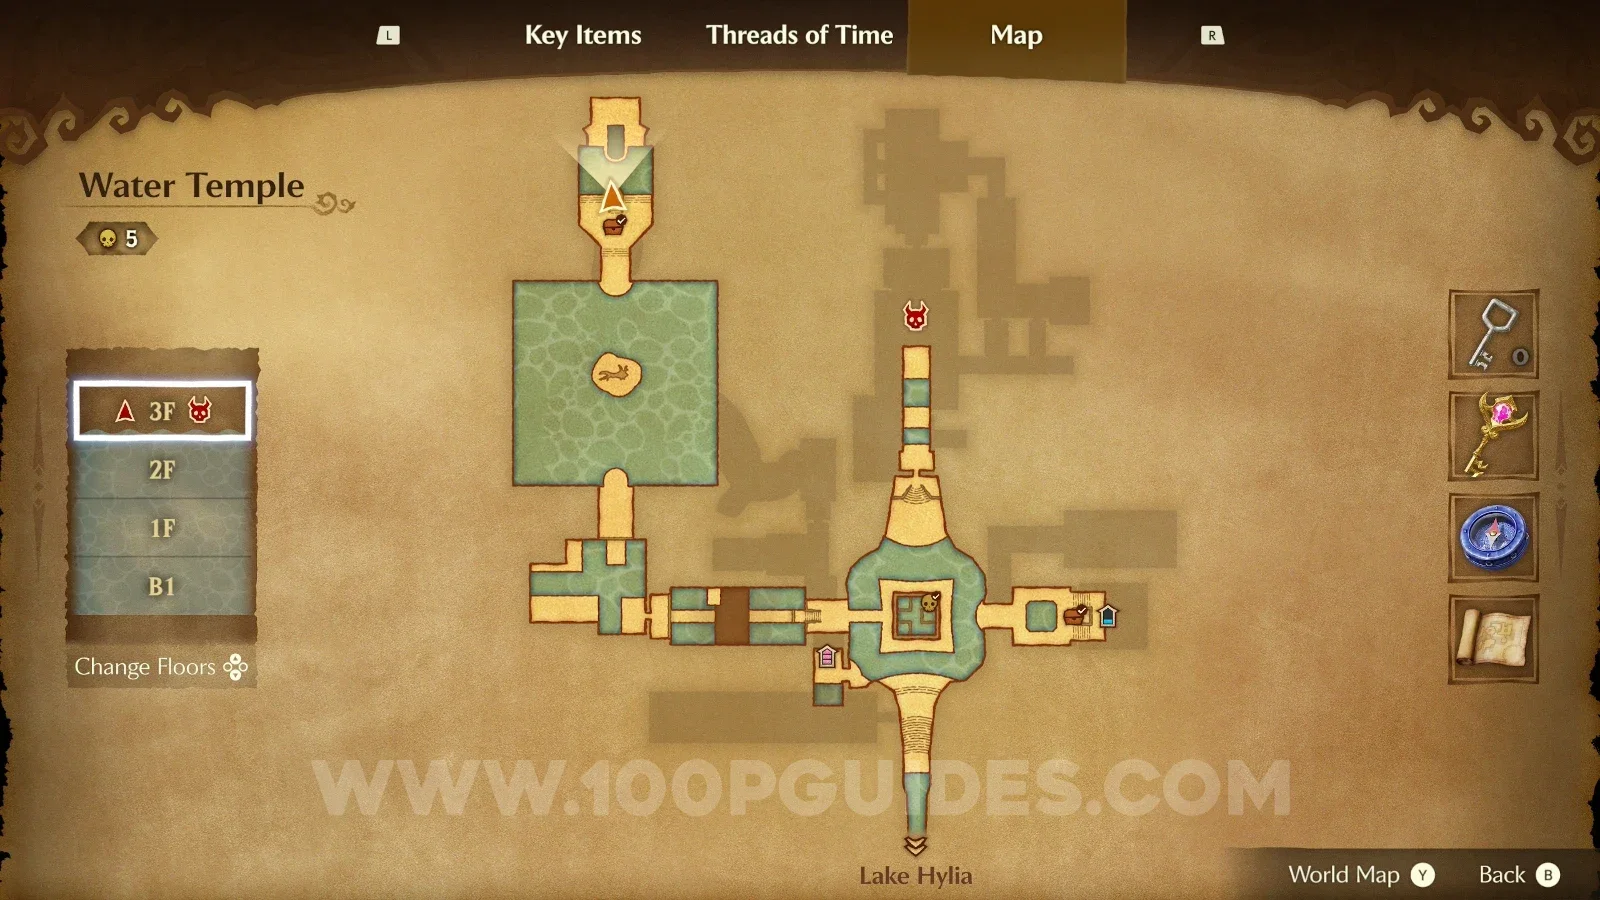
Gold Skulltula #83

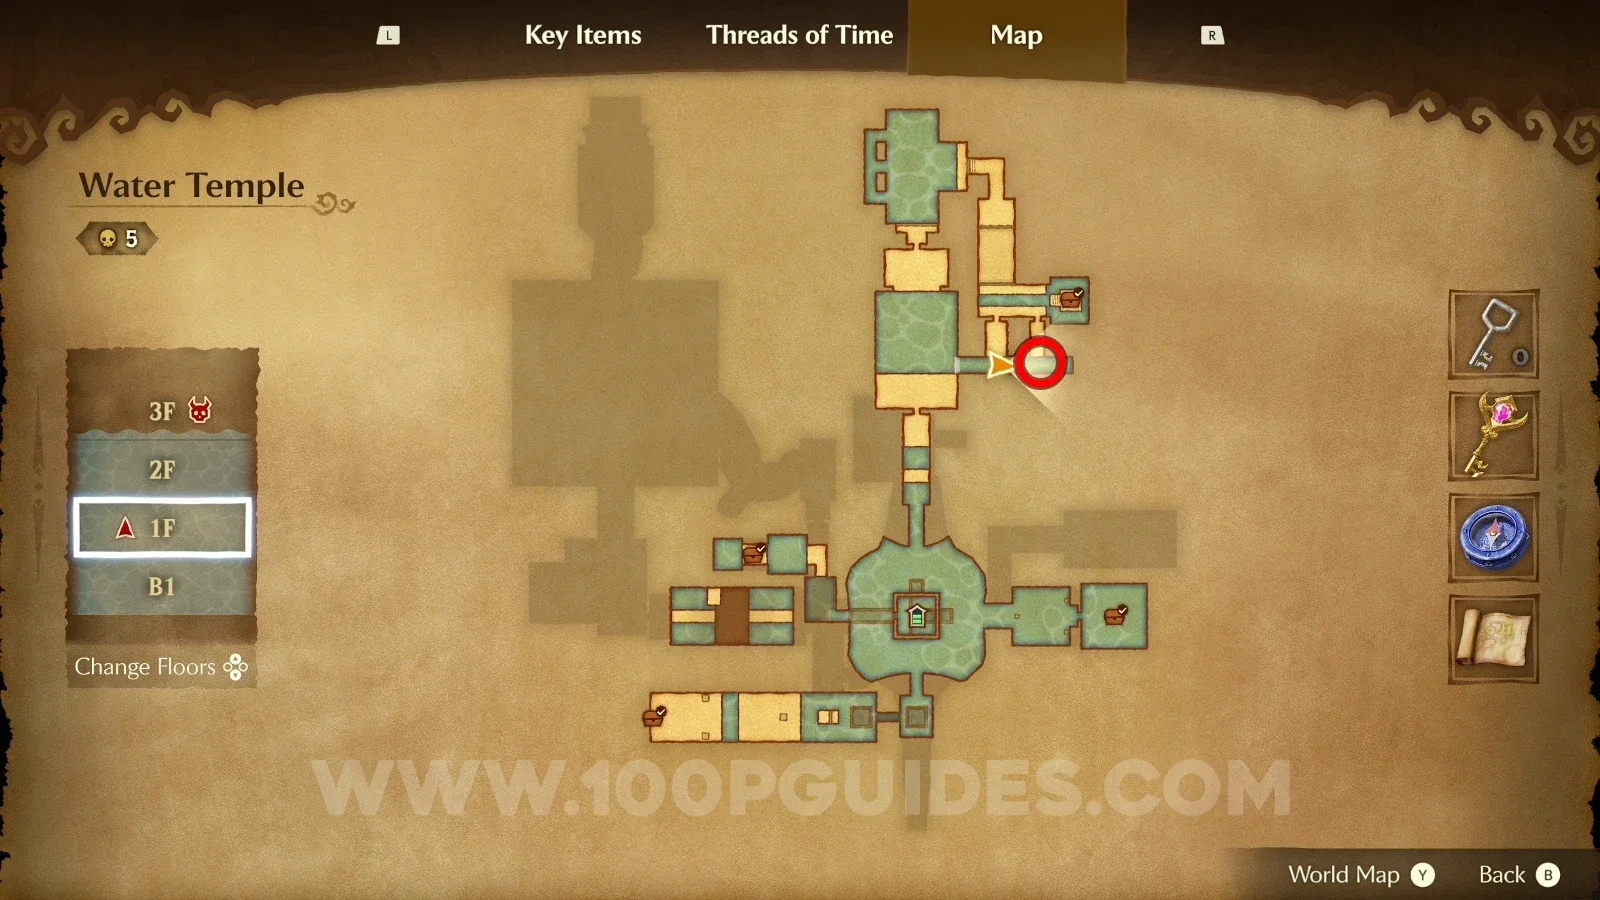
Set the water level to 1F and reach this room from the room below it. The Gold Skulltula is in plain sight.

Zelda Ocarina of Time Remake Water Temple: water level at 1F, entering the room from below for Gold Skulltula #83 Zelda Ocarina of Time Remake Water Temple: Gold Skulltula #83 in plain sight in the room

Gold Skulltula #84

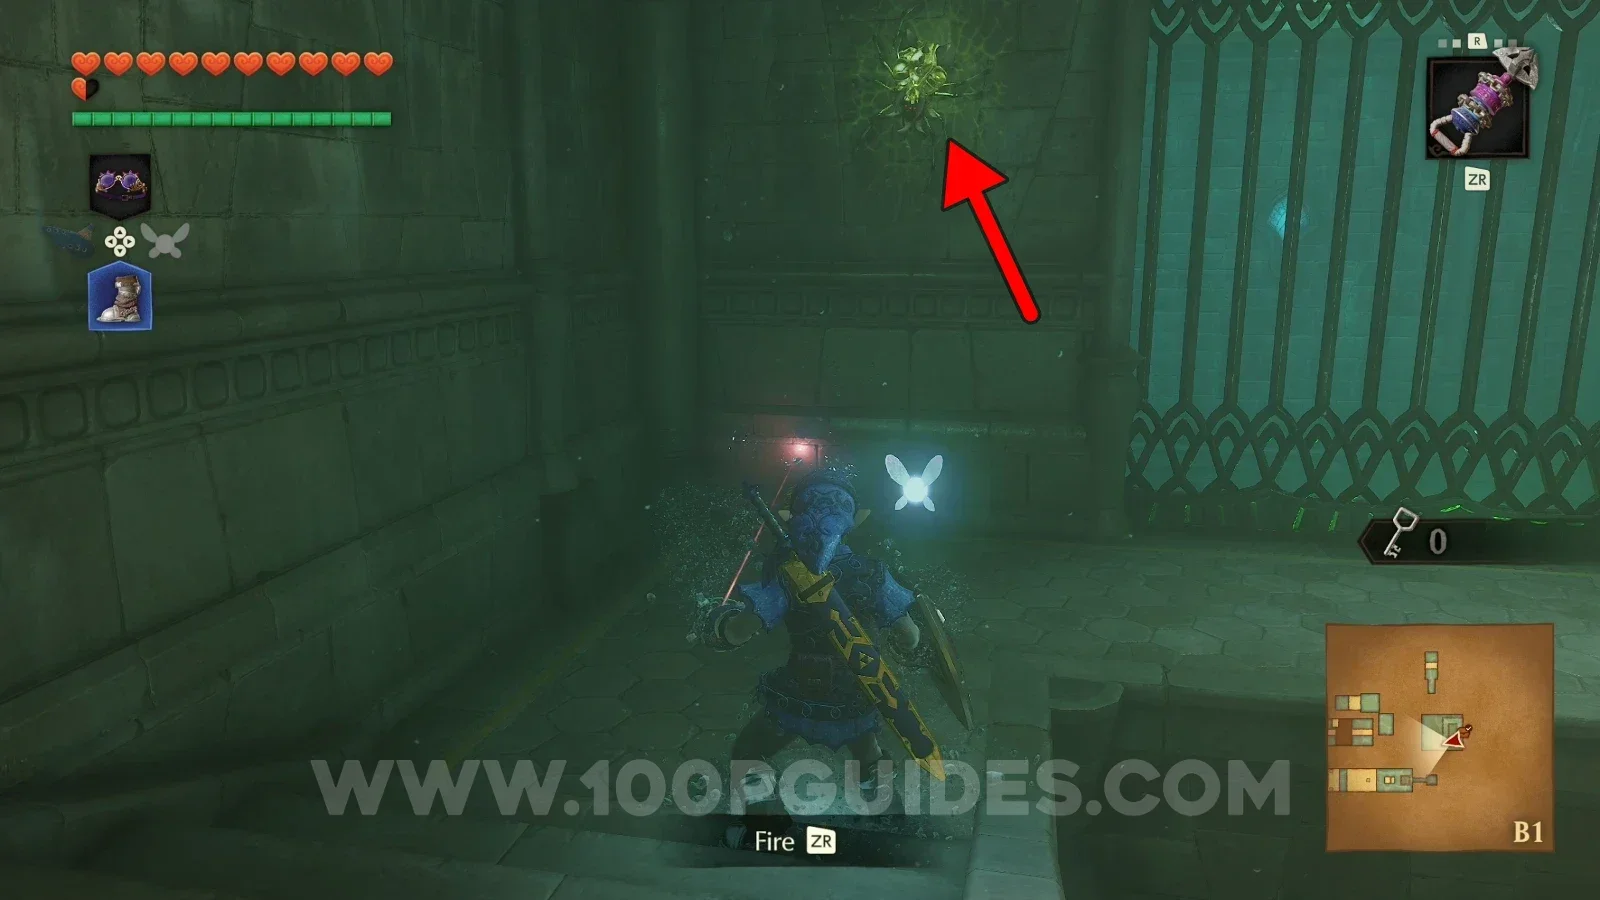
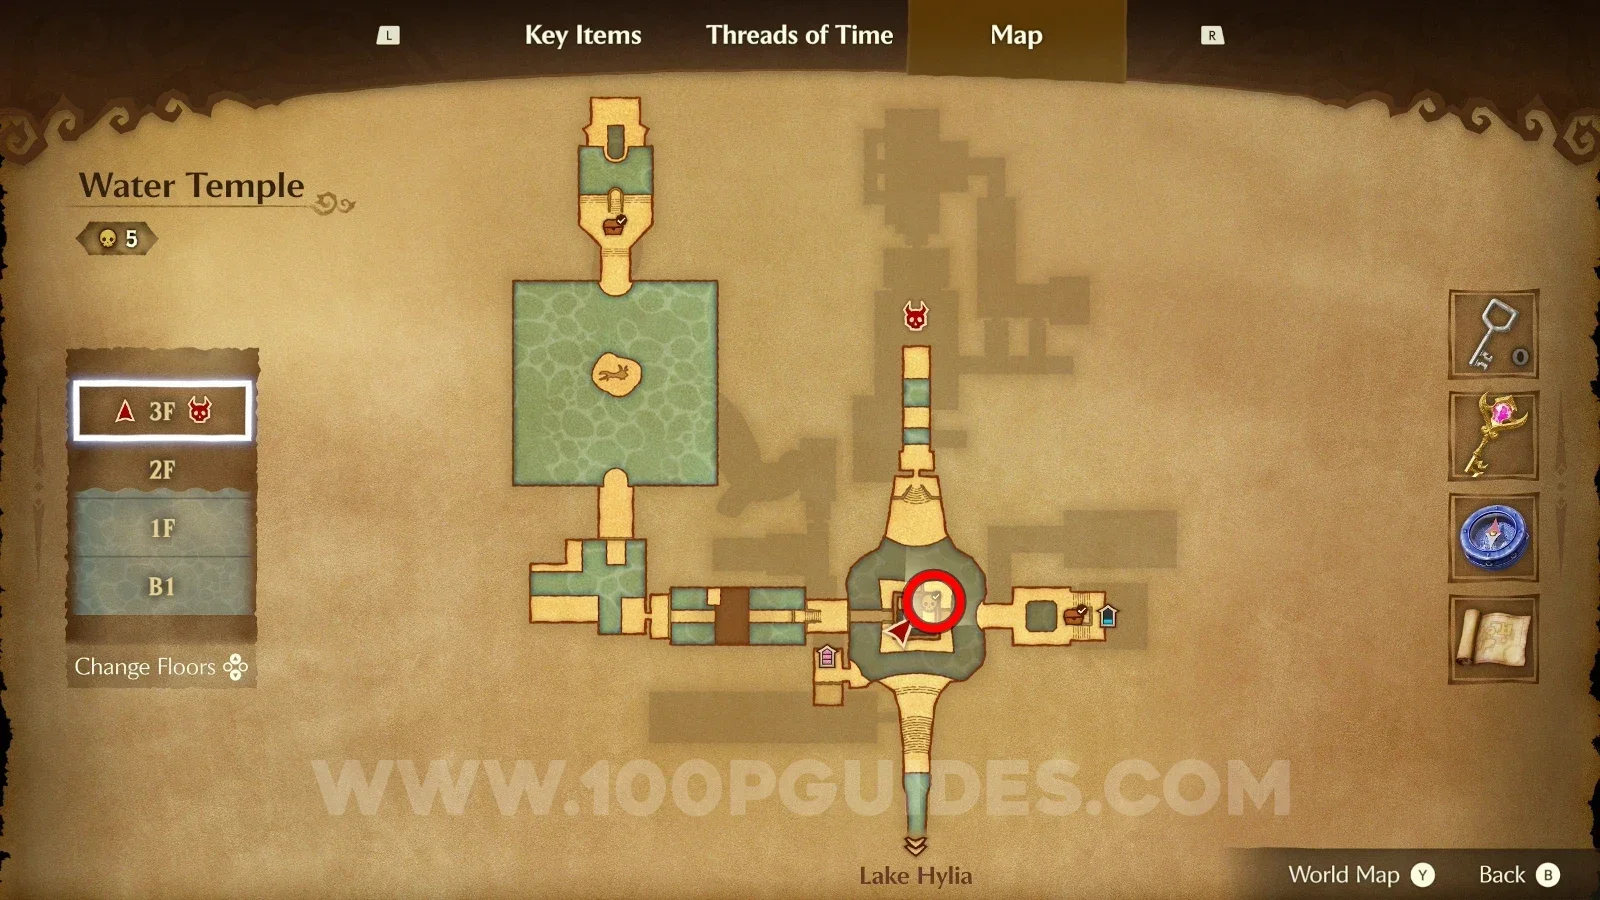
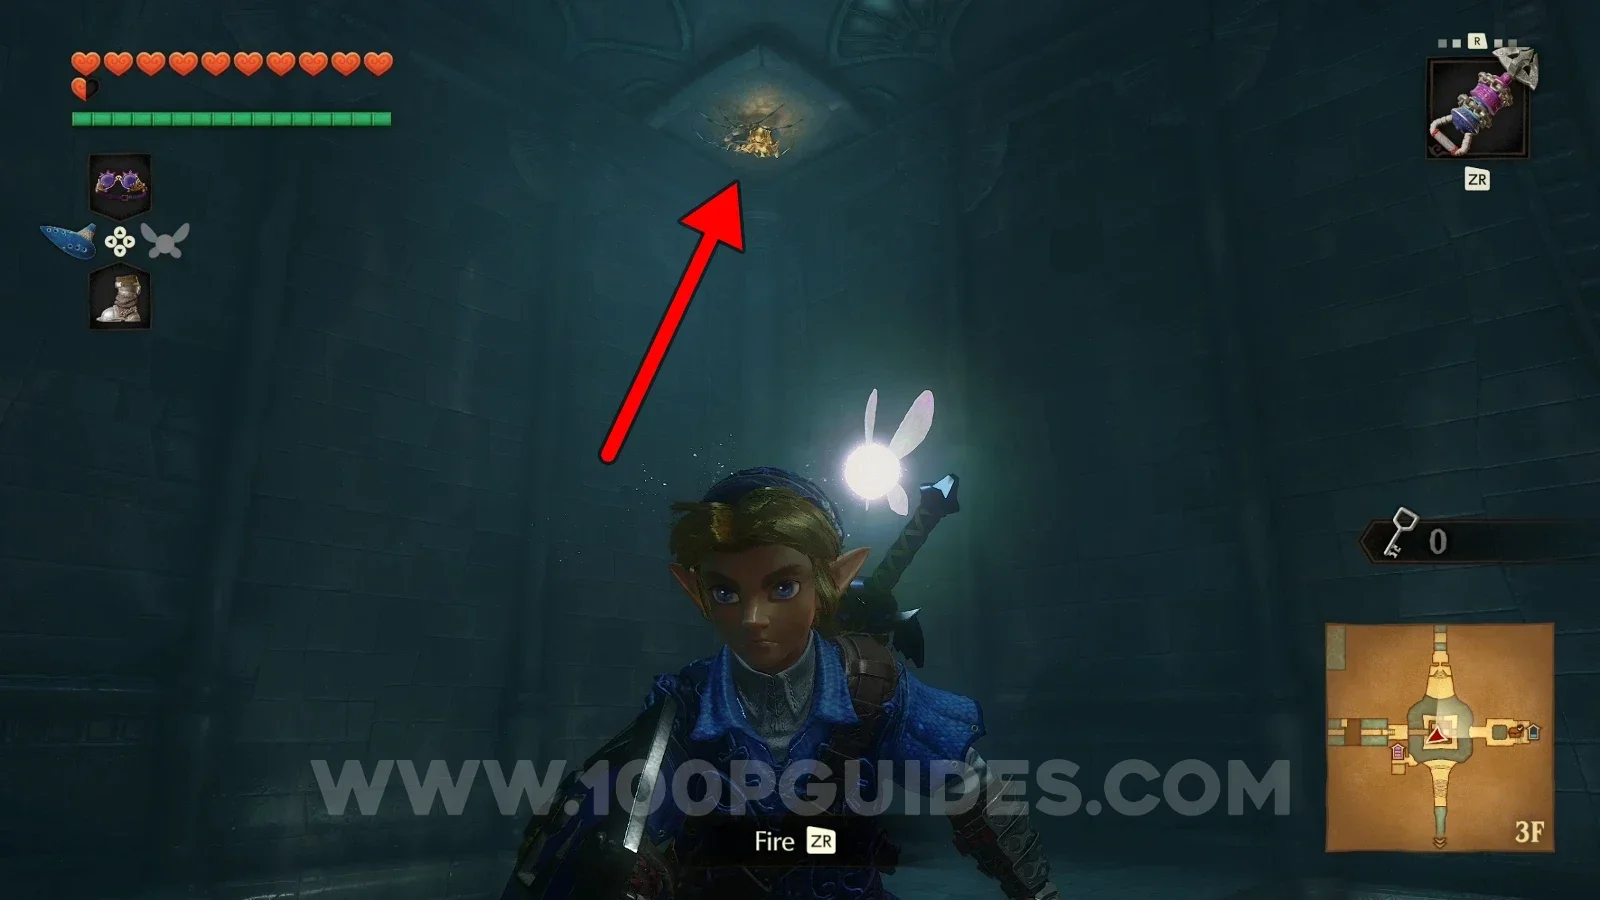
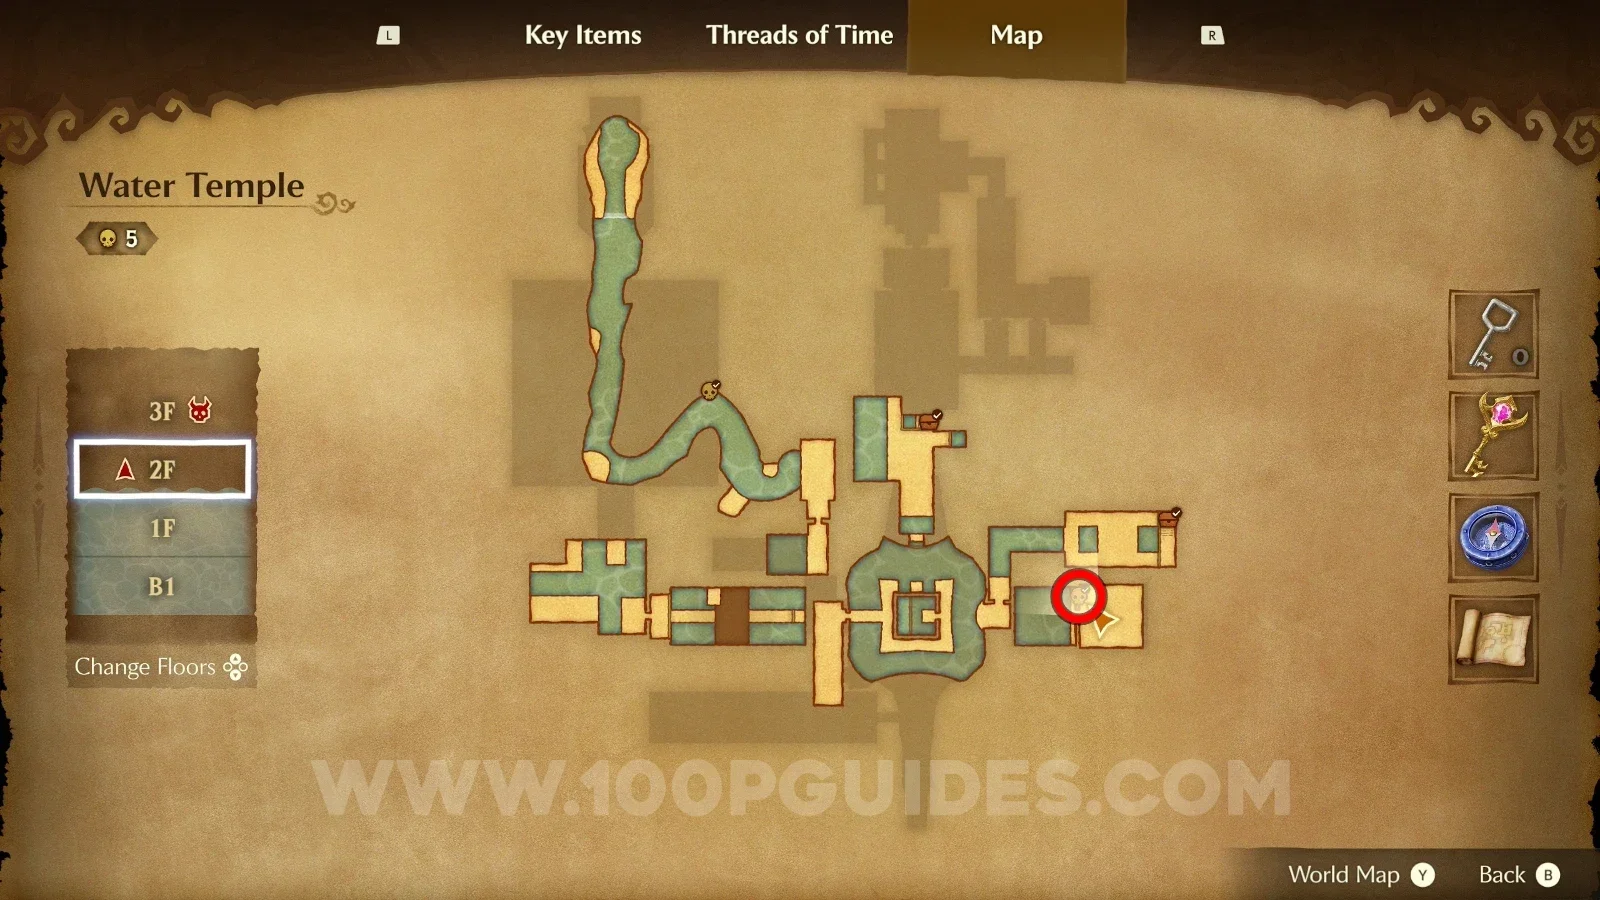
With the water level still at 1F, use the hookshot to climb up the central tower and look up in the opposite corner to find the Gold Skulltula.

Zelda Ocarina of Time Remake Water Temple: climbing the central tower with the hookshot at 1F water level, Gold Skulltula #84 Zelda Ocarina of Time Remake Water Temple: Gold Skulltula #84 high in the opposite corner of the central tower

Gold Skulltula #85

With the water level still at 1F, go to this room and you'll find the Gold Skulltula next to the entrance in plain sight.

Zelda Ocarina of Time Remake Water Temple: the room reached with the water level at 1F, Gold Skulltula #85 Zelda Ocarina of Time Remake Water Temple: Gold Skulltula #85 in plain sight next to the room entrance

Gold Skulltula #86

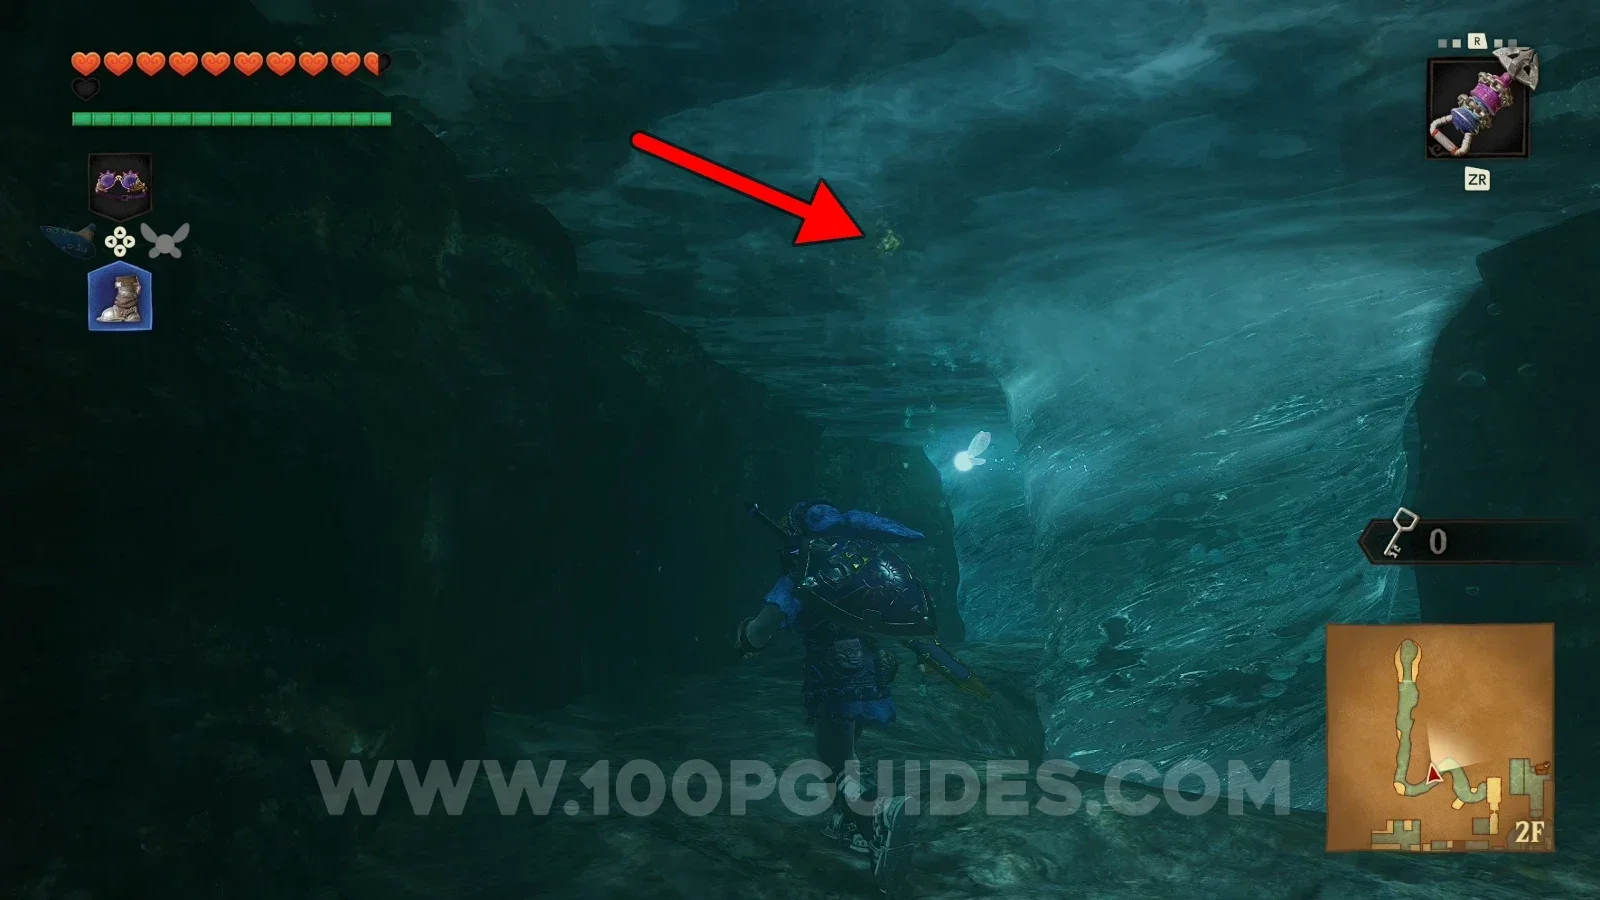
From the room right after the boss arena, look up and use the hookshot, then put on the Iron Boots and drop down into the water. Keep going through the tunnel with the whirlpools until you see the Gold Skulltula on the wall to the left, outside of the water.

Zelda Ocarina of Time Remake Water Temple: looking up to use the hookshot in the room after the boss arena Zelda Ocarina of Time Remake Water Temple: dropping into the water with the iron boots toward Gold Skulltula #86 Zelda Ocarina of Time Remake Water Temple: the underwater tunnel with whirlpools leading to Gold Skulltula #86 Zelda Ocarina of Time Remake Water Temple: Gold Skulltula #86 on the left wall outside of the water

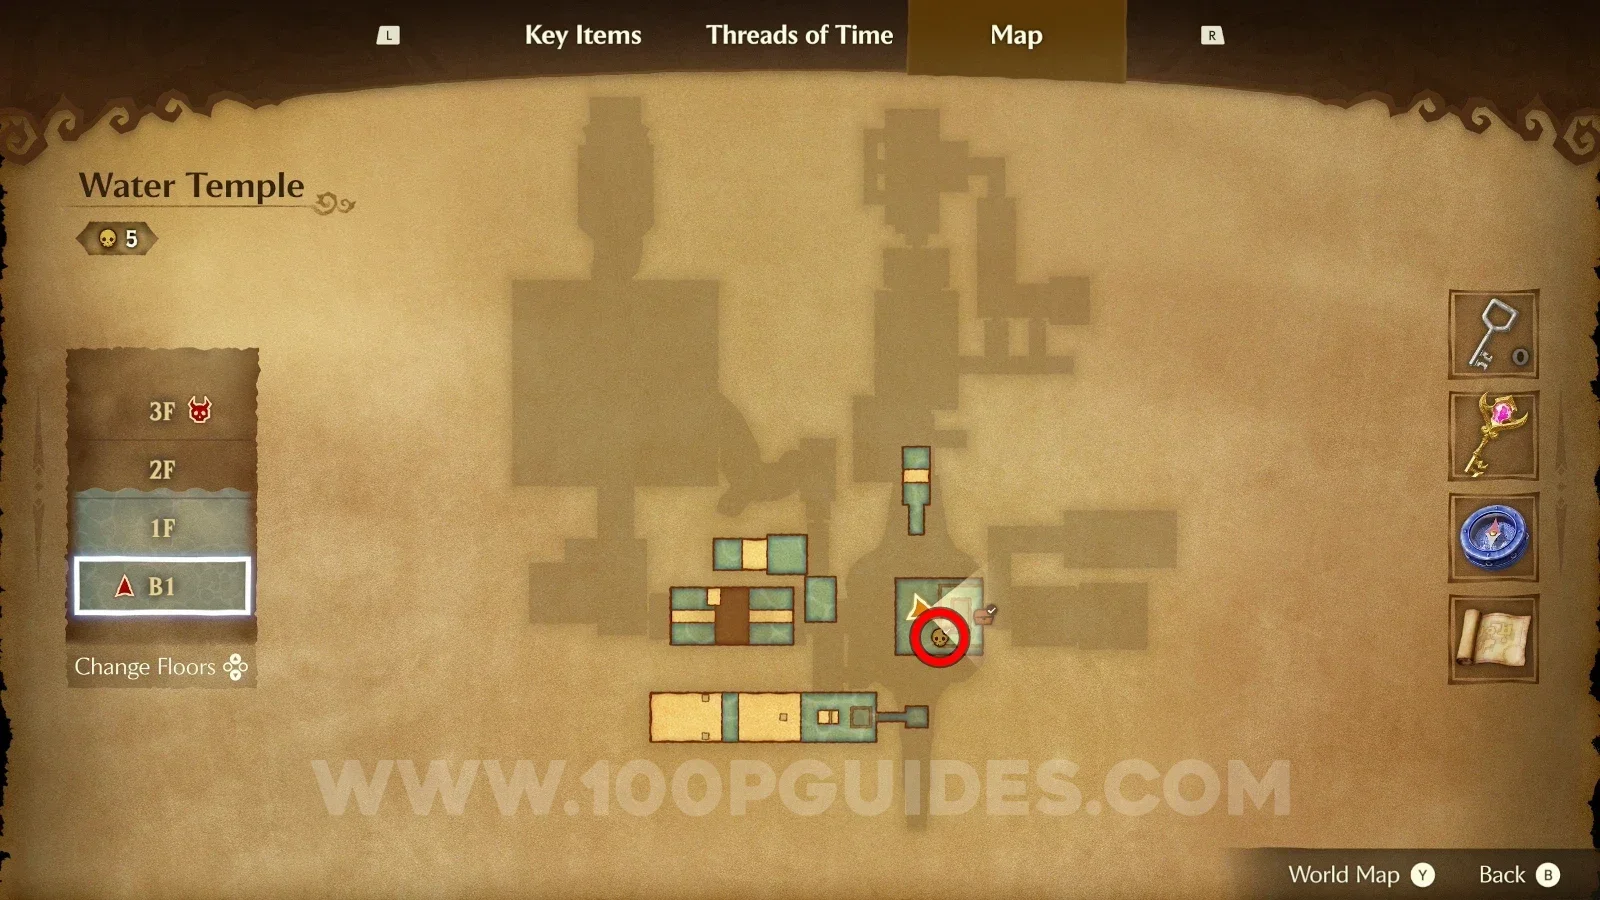
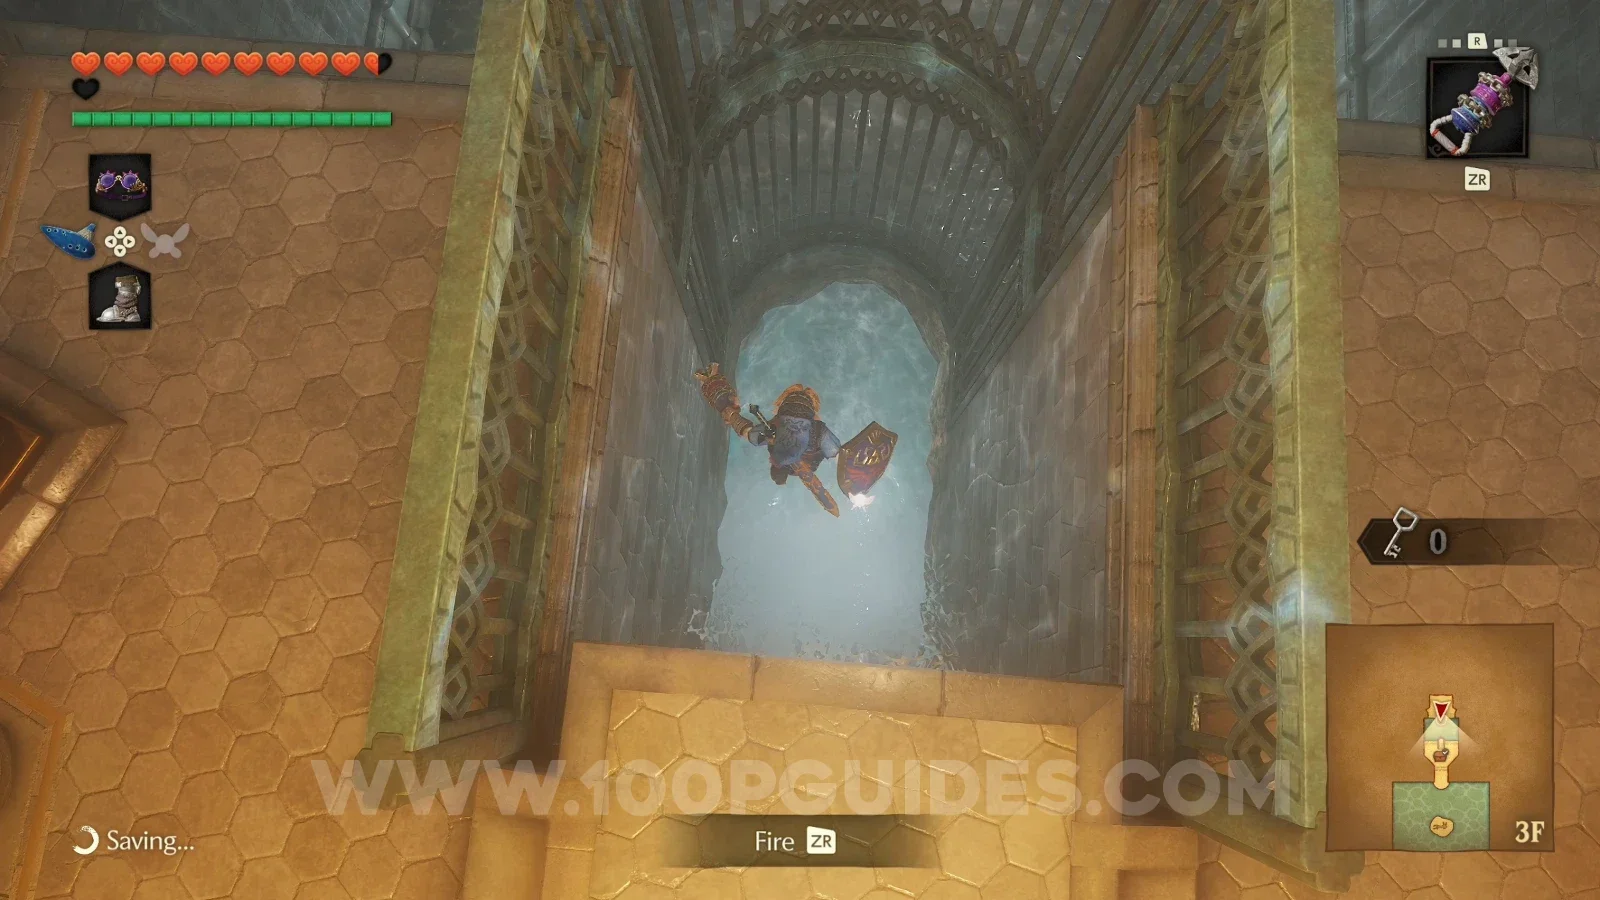
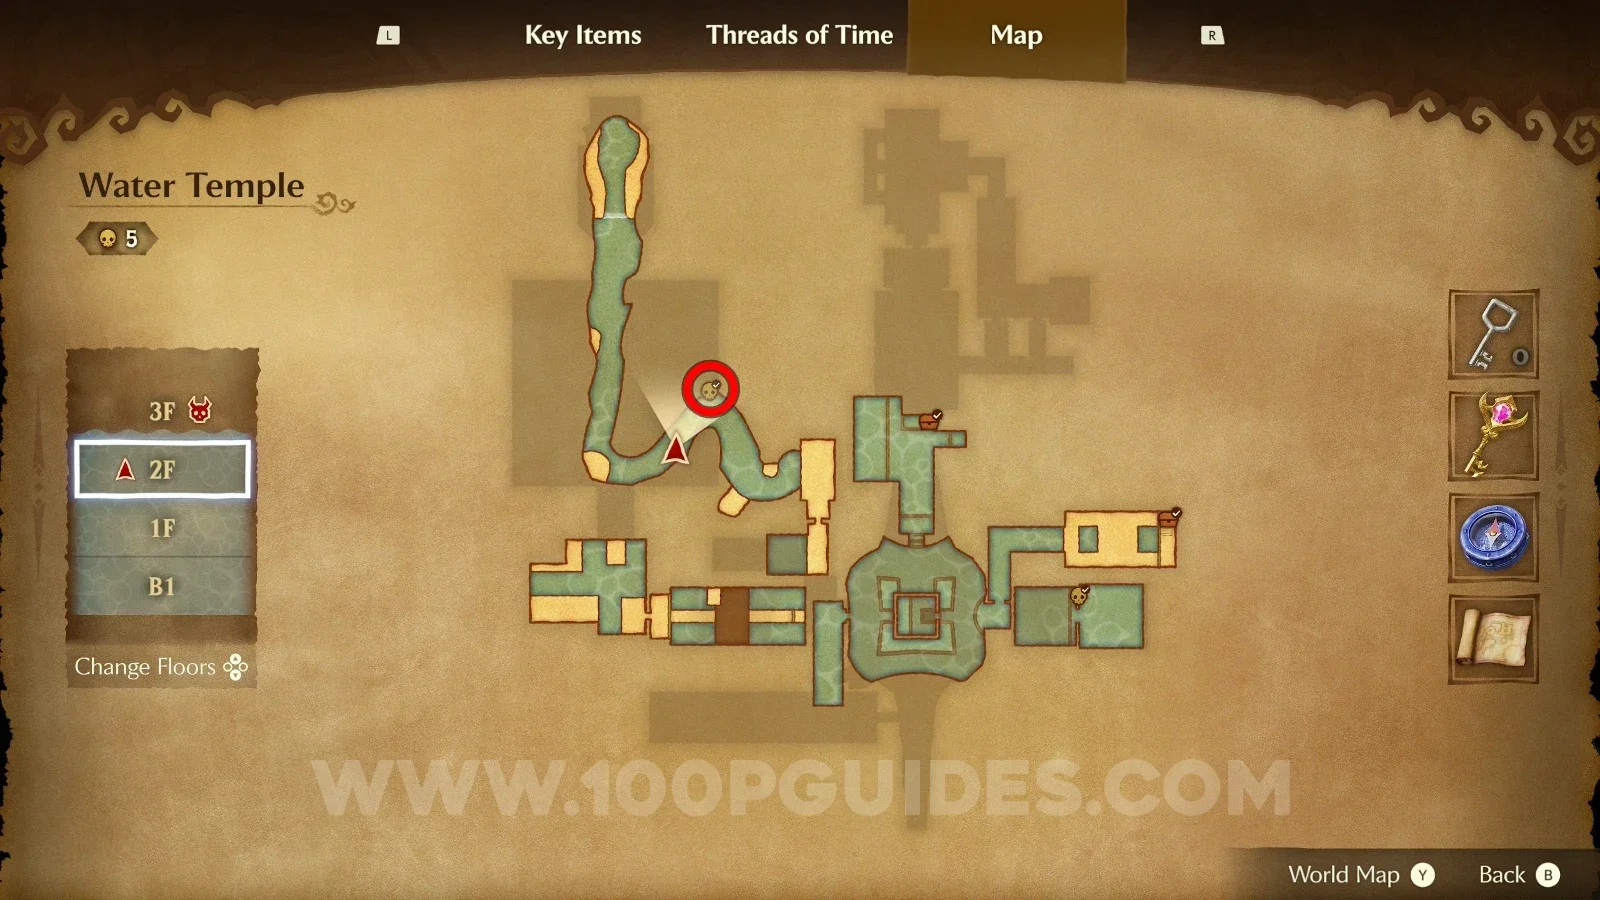
Gold Skulltula #87

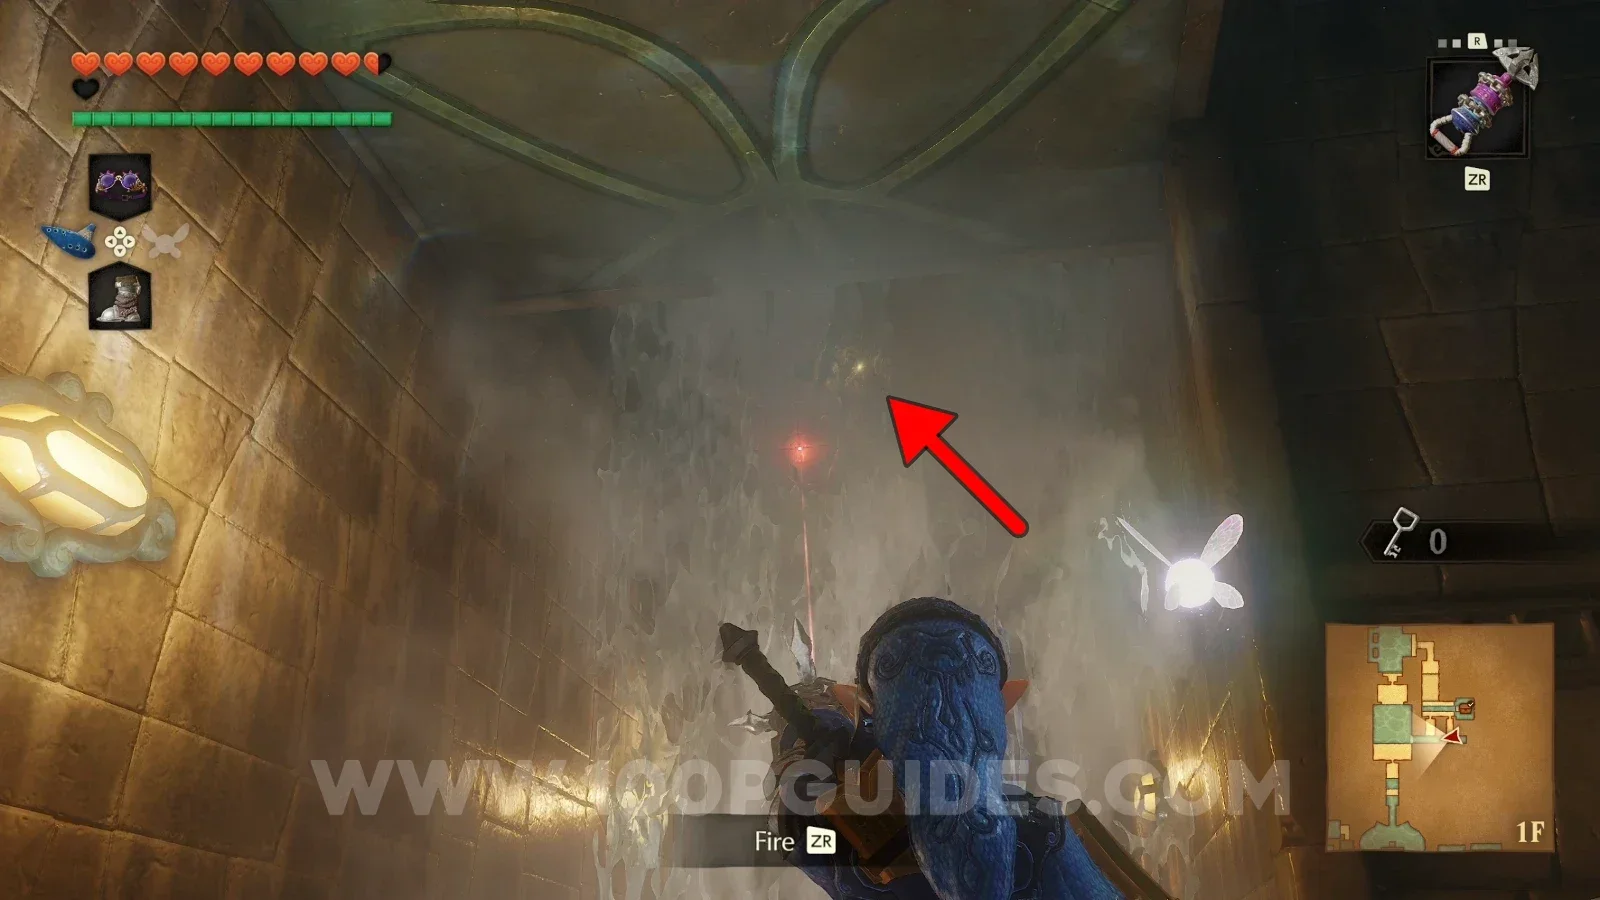
Pass through the falling water where the rocks come from and turn around to find the Gold Skulltula.

Zelda Ocarina of Time Remake Water Temple: the falling water where the rocks come from, Gold Skulltula #87 Zelda Ocarina of Time Remake Water Temple: Gold Skulltula #87 behind the falling water after turning around

Shadow Temple - Adult Era

Gold Skulltula #88

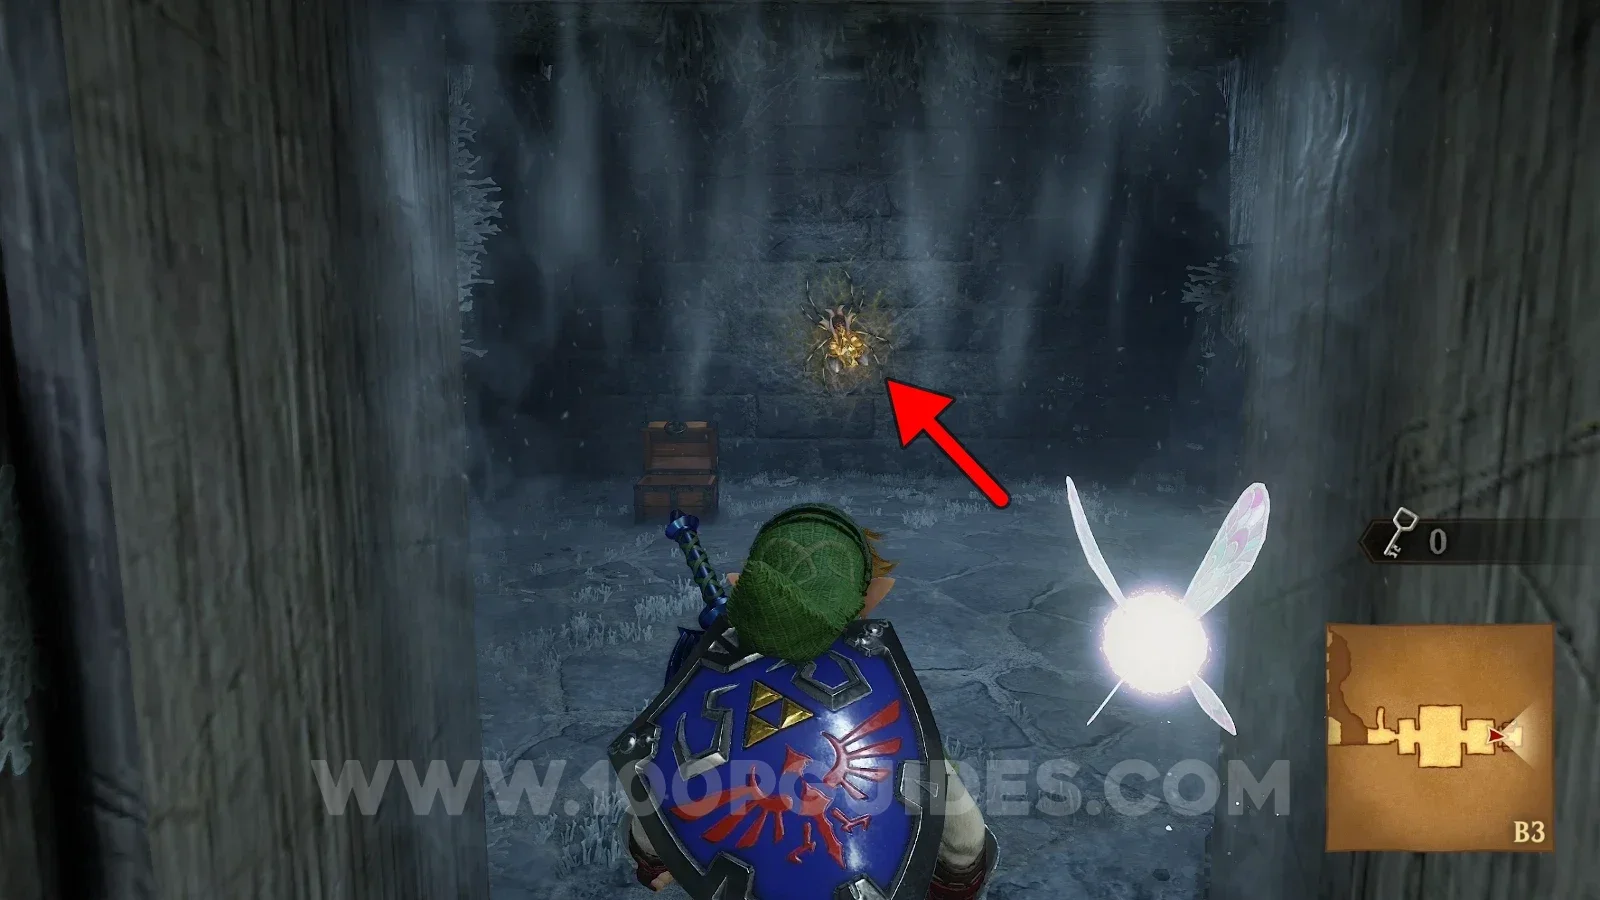
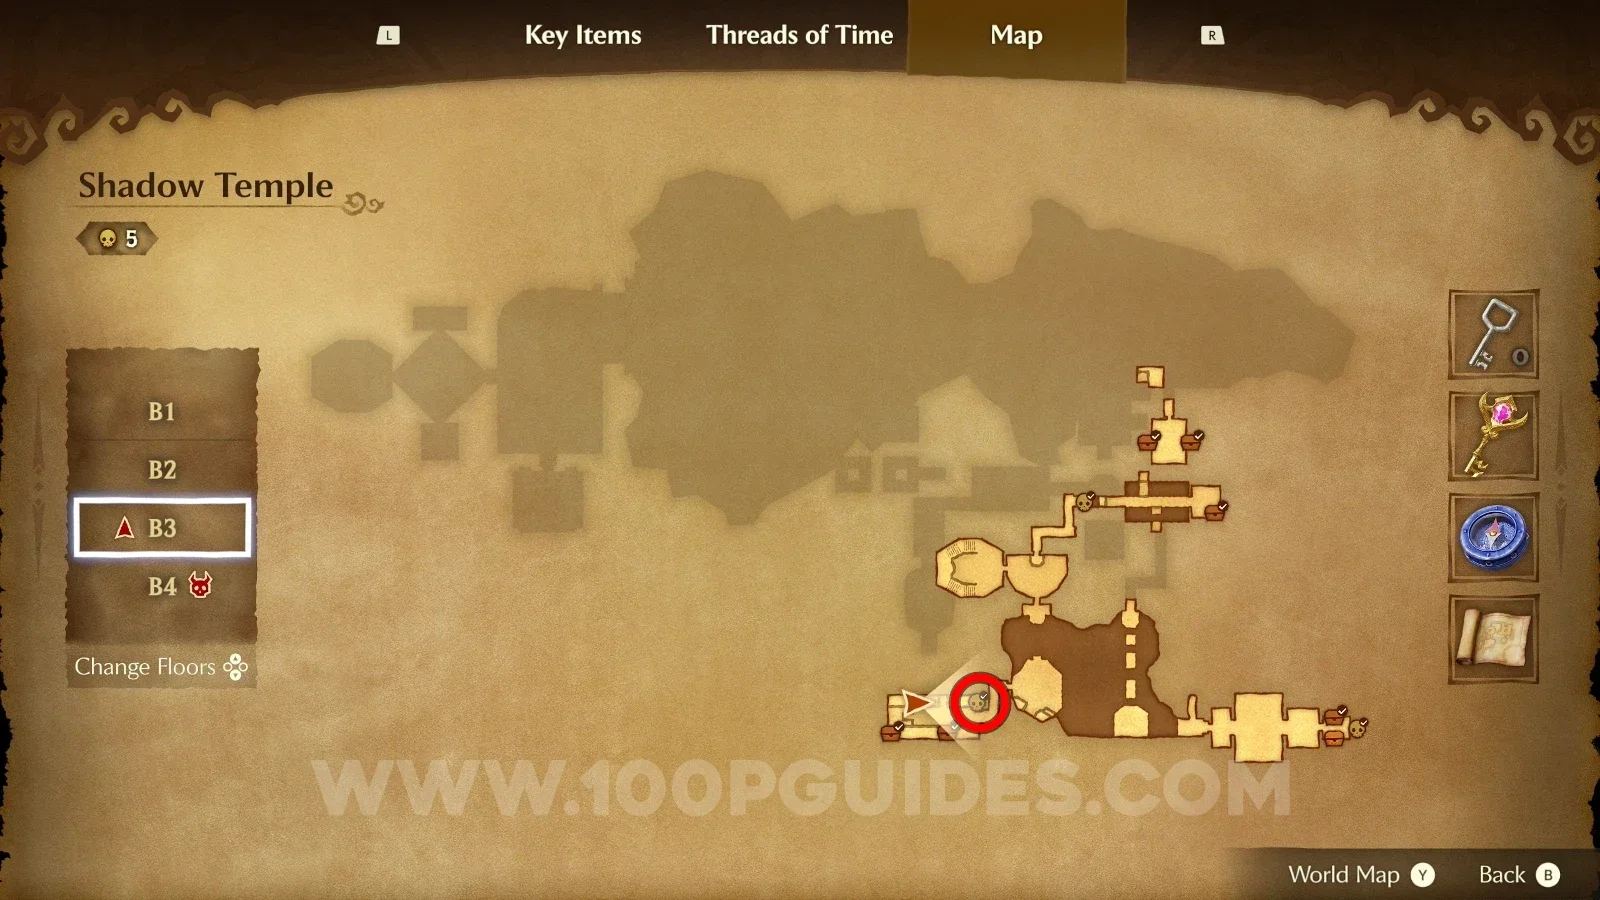
Behind the door on the other side of the room with the invisible spinning blades (use the Lenses of Truth to see the blades).

Zelda Ocarina of Time Remake Shadow Temple: the room with invisible spinning blades seen with the Lenses of Truth Zelda Ocarina of Time Remake Shadow Temple: Gold Skulltula #88 behind the door past the invisible blades

Gold Skulltula #89

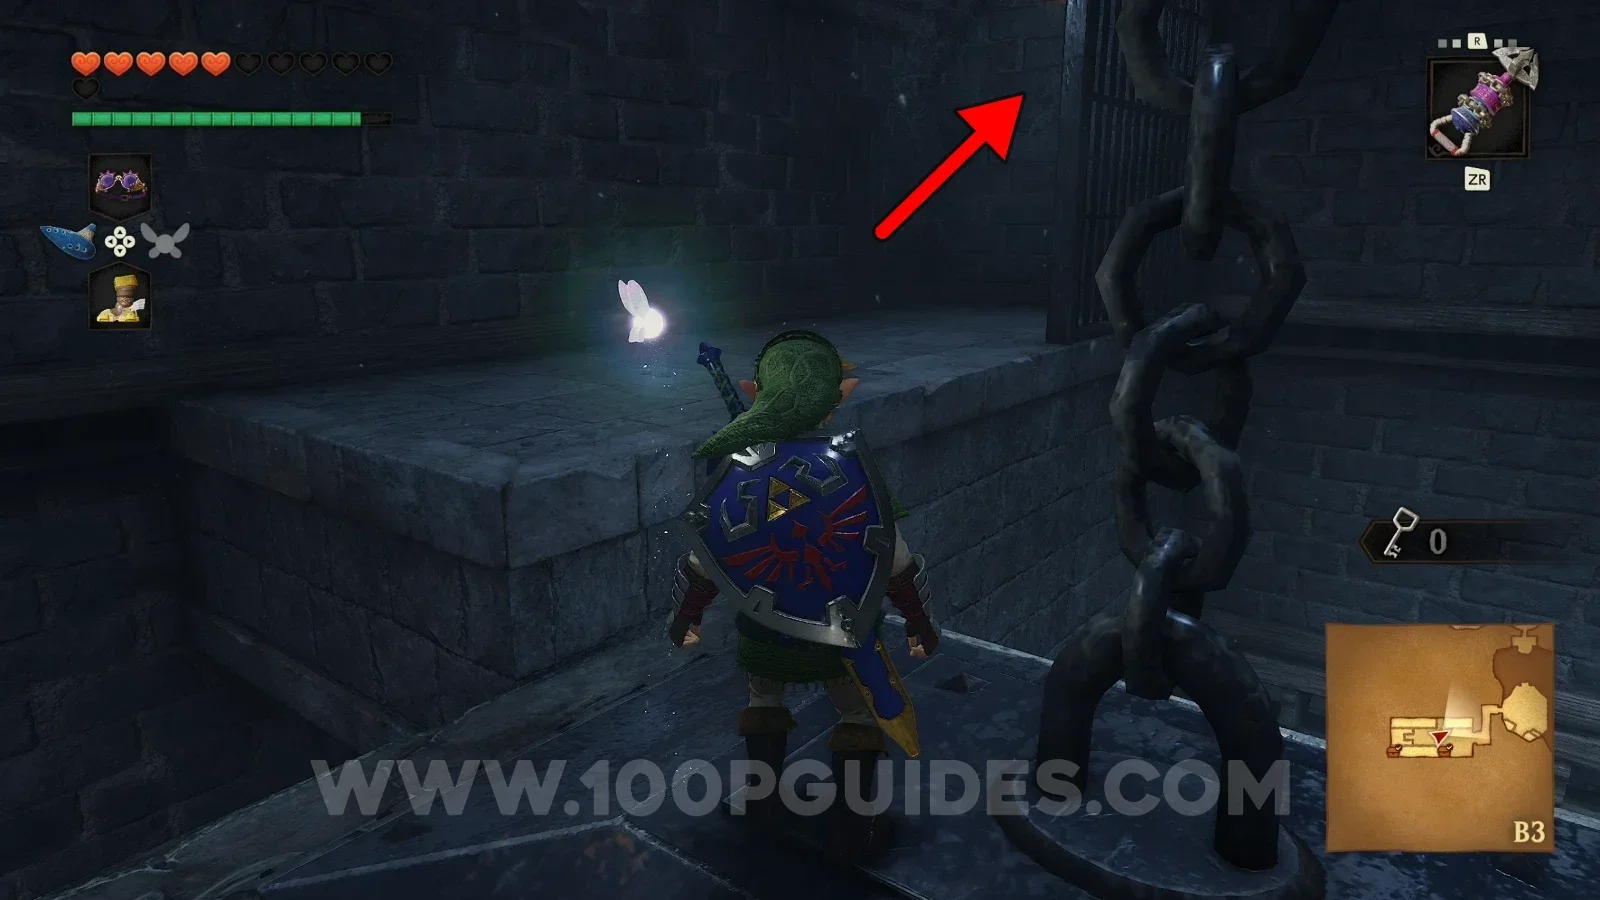
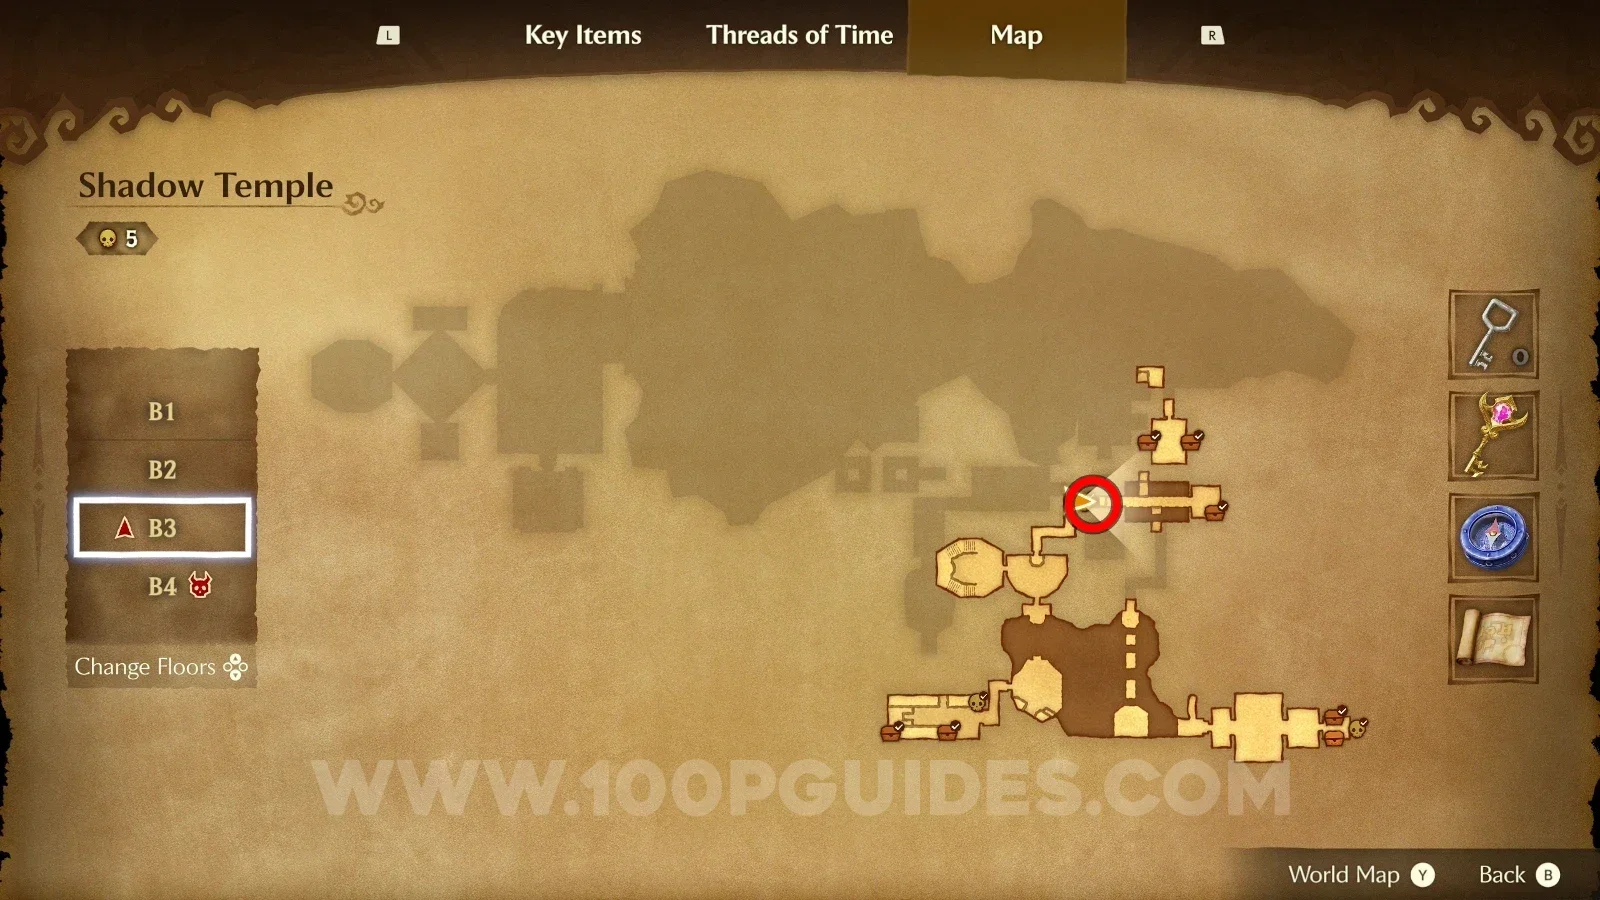
Get on top of the spike traps to reach the Gold Skulltula.

Zelda Ocarina of Time Remake Shadow Temple: climbing on top of the spike traps toward Gold Skulltula #89 Zelda Ocarina of Time Remake Shadow Temple: Gold Skulltula #89 reached from the top of the spike traps

Gold Skulltula #90

Turn around right after using the hookshot in the section with fans that push you back.

Zelda Ocarina of Time Remake Shadow Temple: the section with fans that push you back, Gold Skulltula #90 Zelda Ocarina of Time Remake Shadow Temple: Gold Skulltula #90 behind you after using the hookshot past the fans

Gold Skulltula #91

Play the Scarecrow Song to spawn a scarecrow at the top and use the hookshot on it to reach the Gold Skulltula.

Zelda Ocarina of Time Remake Shadow Temple: spawning a scarecrow at the top with the Scarecrow Song, Gold Skulltula #91 Zelda Ocarina of Time Remake Shadow Temple: Gold Skulltula #91 reached by hookshotting the scarecrow

Gold Skulltula #92

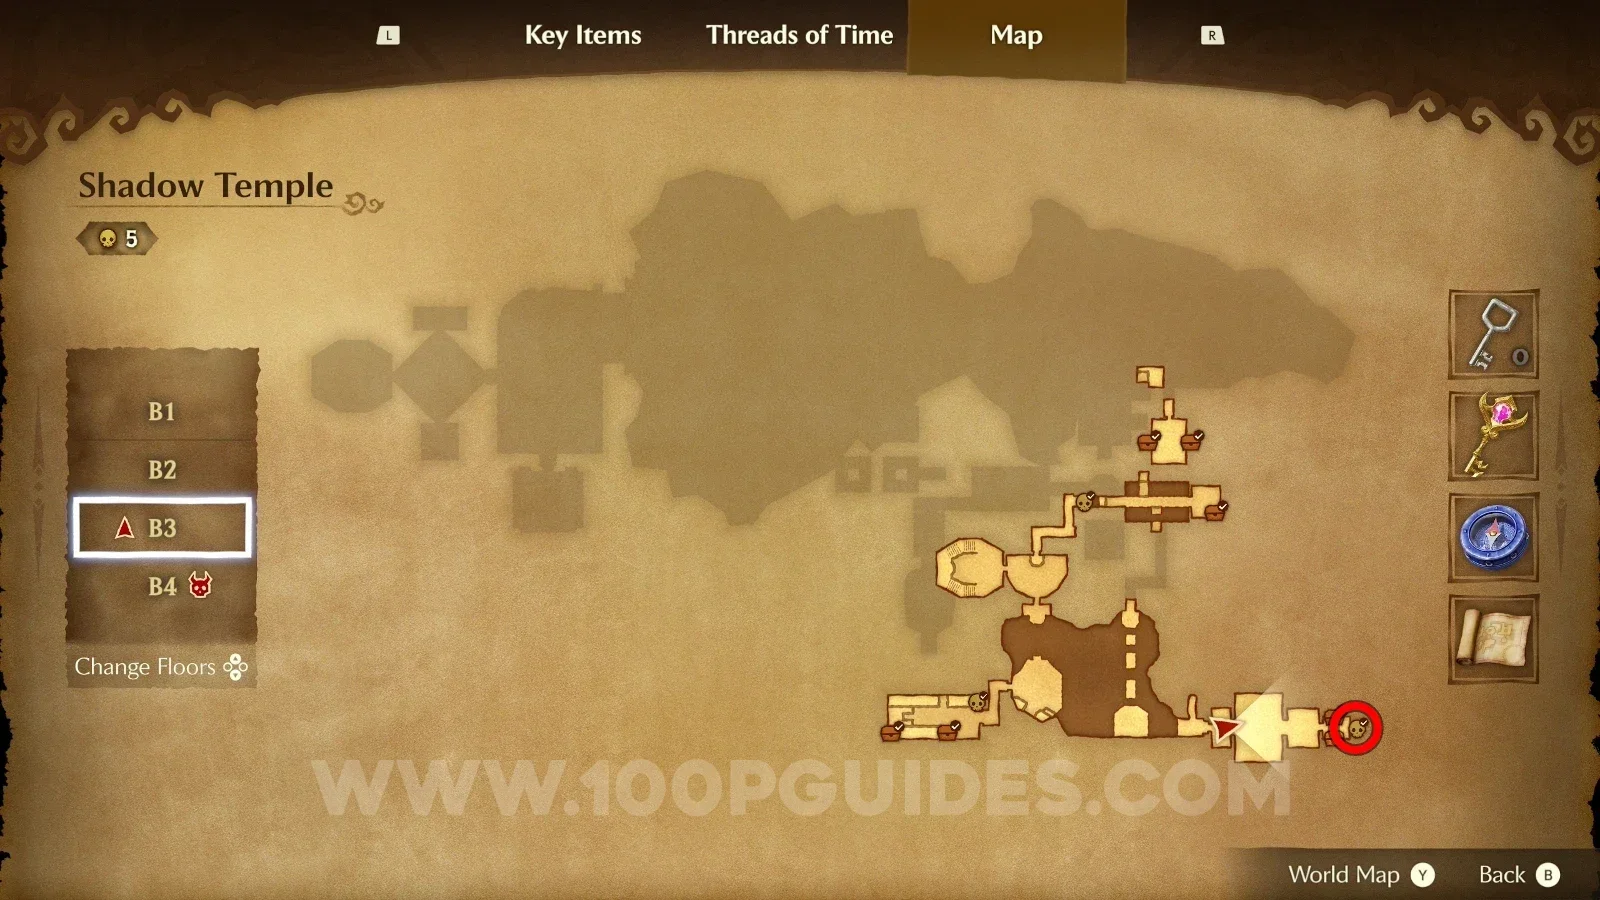
Throw bombs inside the three big rotating skulls to reveal the Gold Skulltula.

Zelda Ocarina of Time Remake Shadow Temple: throwing bombs inside the three big rotating skulls, Gold Skulltula #92 Zelda Ocarina of Time Remake Shadow Temple: Gold Skulltula #92 revealed after bombing the rotating skulls

Gerudo Valley - Adult Era

Gold Skulltula #93 (Nighttime)

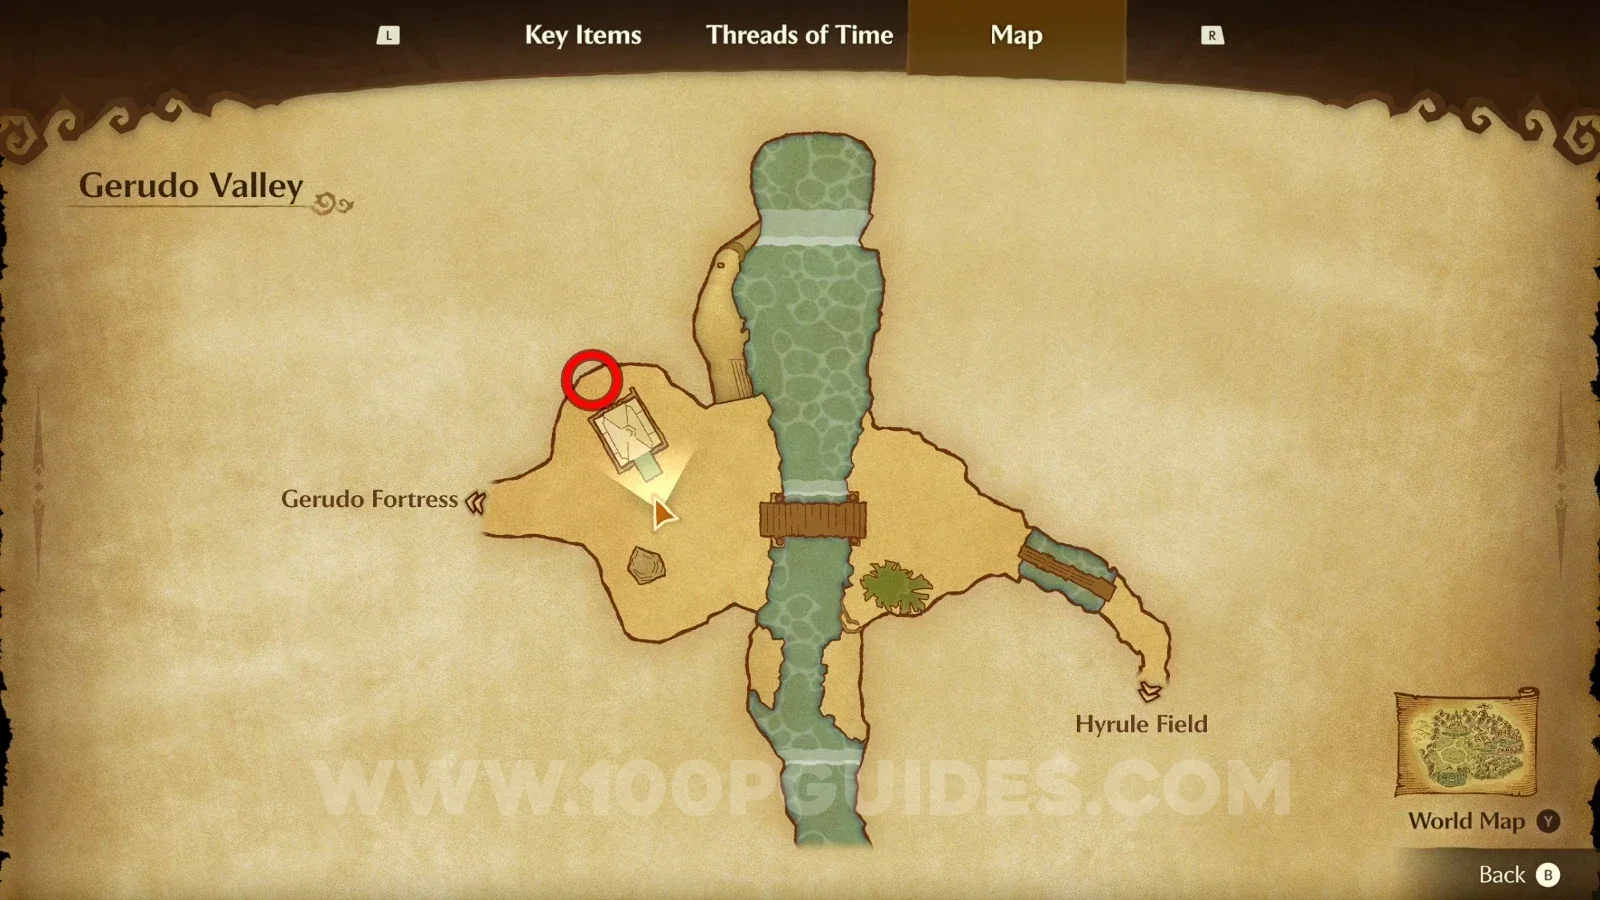
On the wall behind the building.

Zelda Ocarina of Time Remake Gerudo Valley: the building at night with Gold Skulltula #93 behind it Zelda Ocarina of Time Remake Gerudo Valley: Gold Skulltula #93 on the wall behind the building

Gold Skulltula #94 (Nighttime)

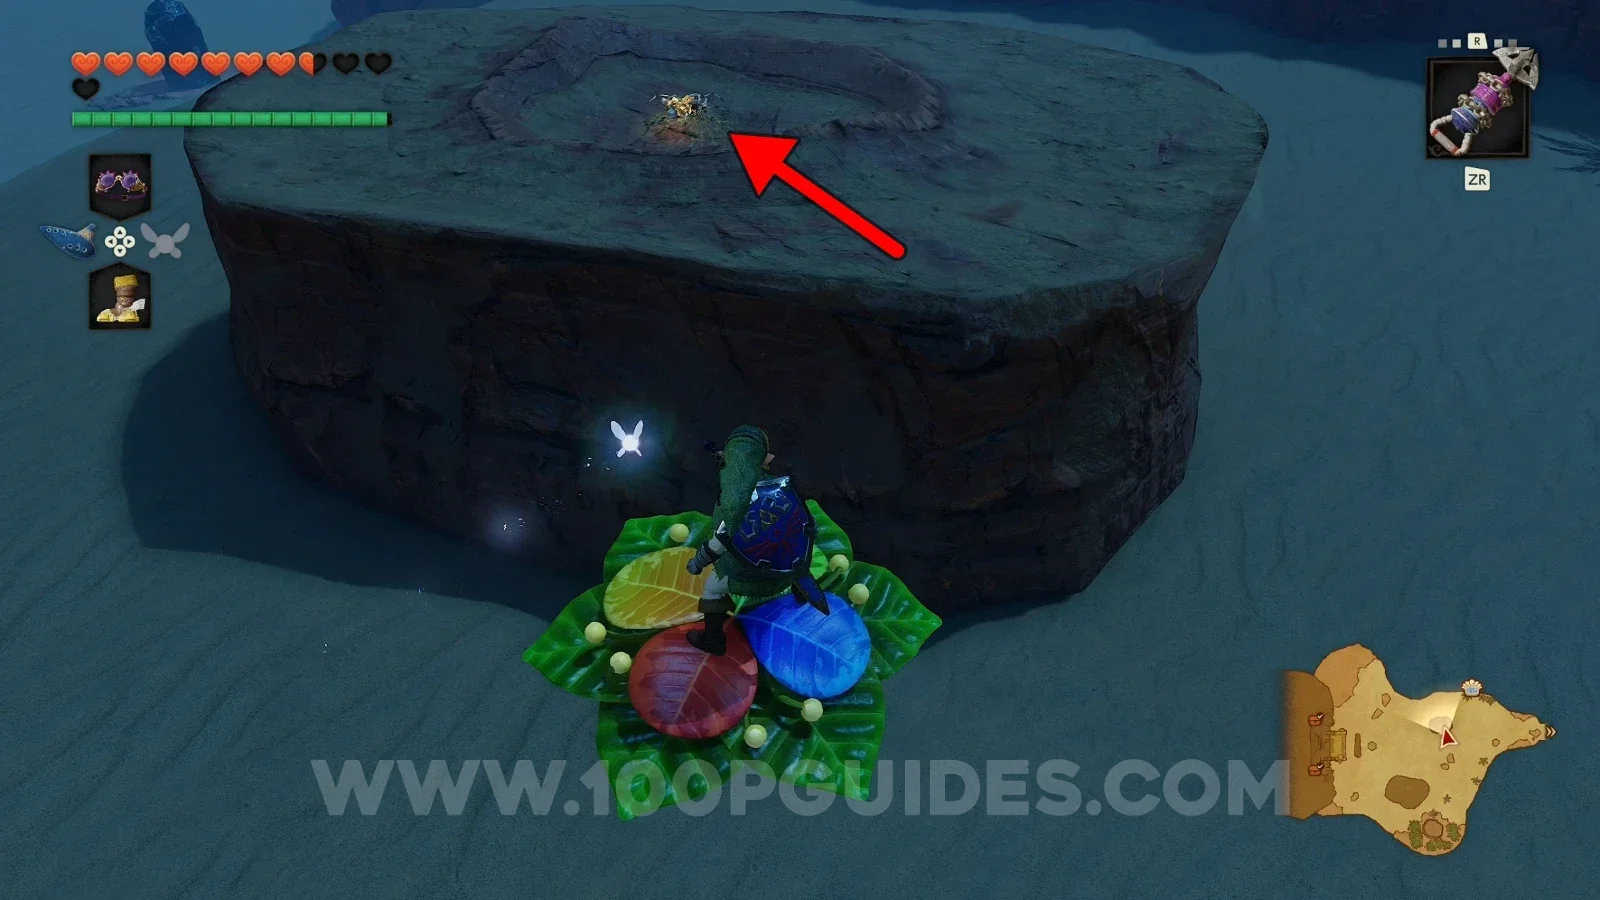
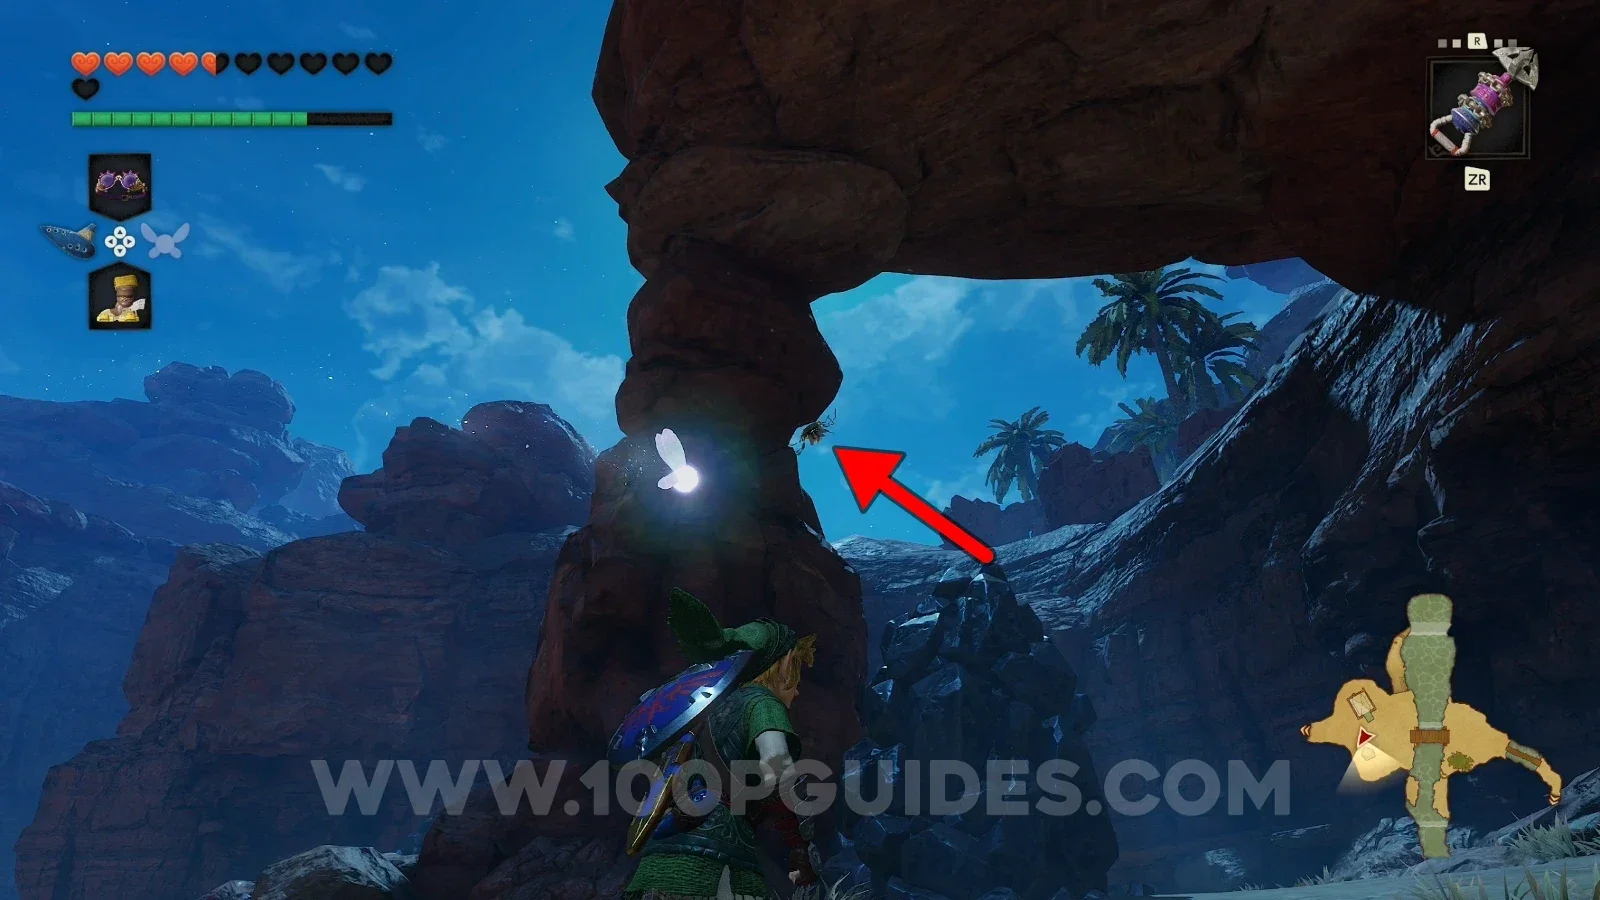
On the other side of the stone structure.

Zelda Ocarina of Time Remake Gerudo Valley: the stone structure at night hiding Gold Skulltula #94 Zelda Ocarina of Time Remake Gerudo Valley: Gold Skulltula #94 on the other side of the stone structure

Gerudo Fortress - Adult Era

Gold Skulltula #95 (Nighttime)

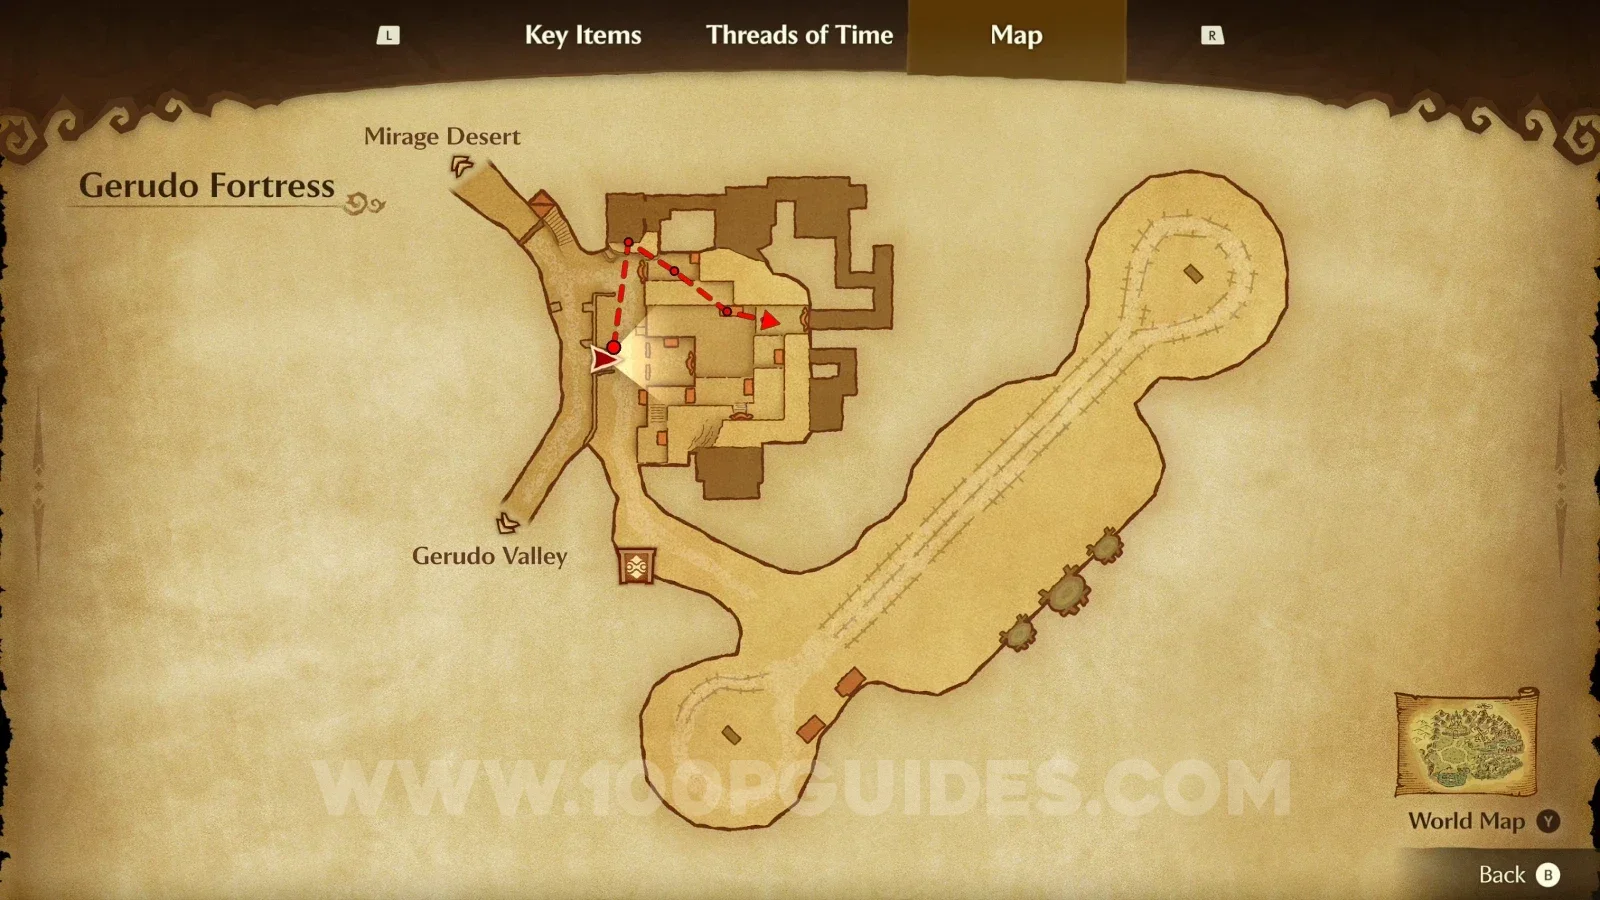
Go left and use the hookshot on the vines, then drop to the right and go up the ladder. From there, look for a red carpet on the right and jump from it to the left, then look up to find the Gold Skulltula on the wall.
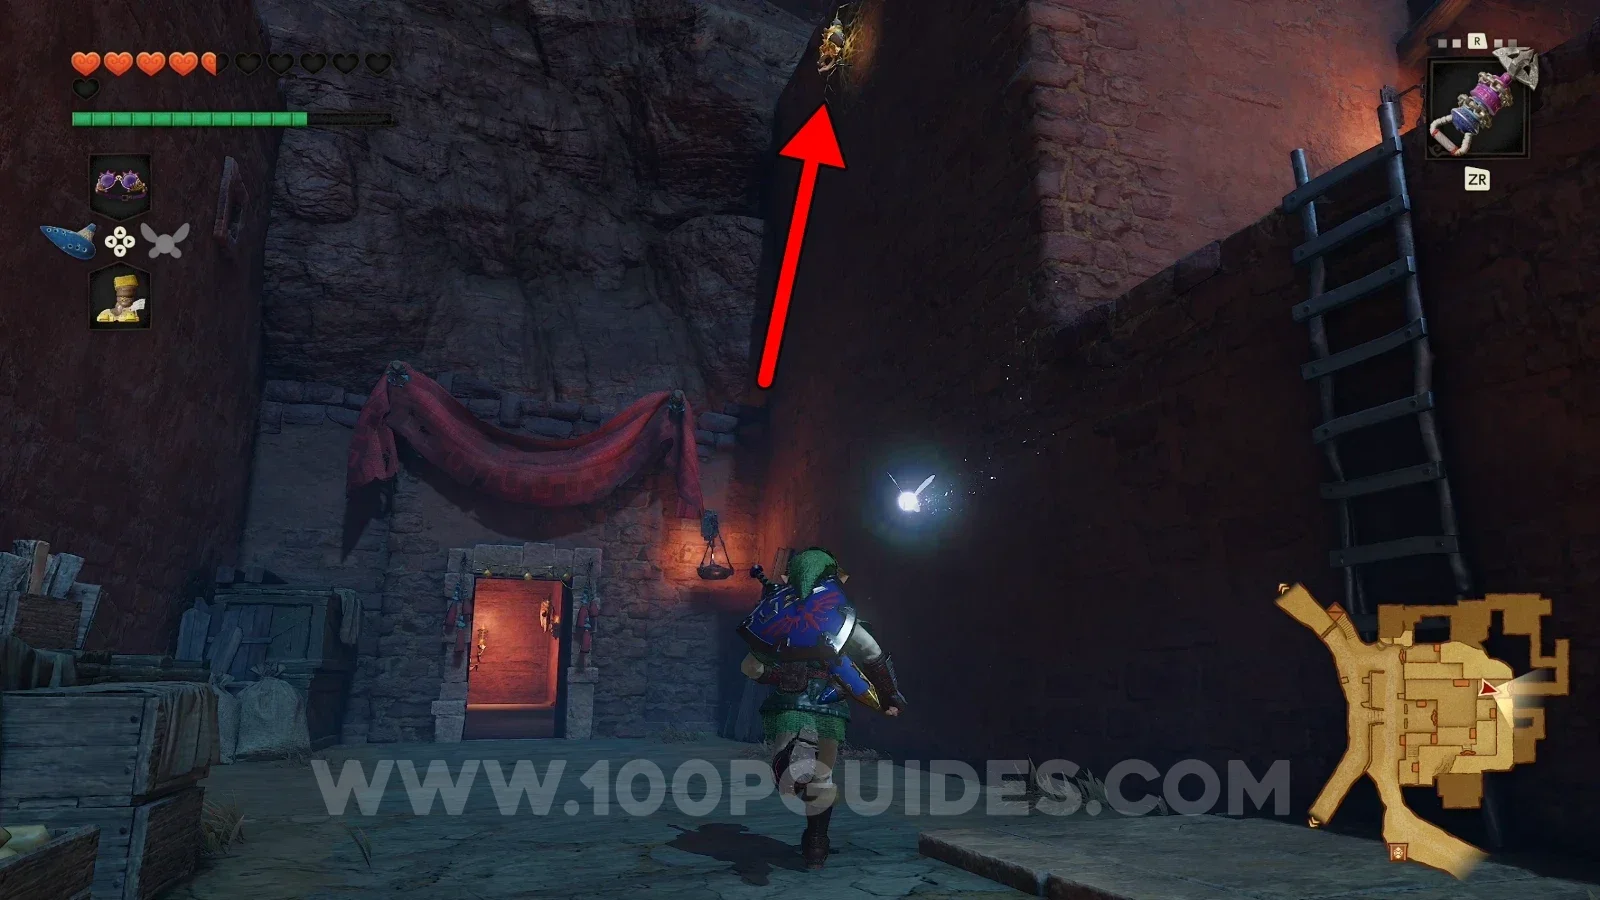
Zelda Ocarina of Time Remake Gerudo Fortress: the red carpet to jump from at night toward Gold Skulltula #95 Zelda Ocarina of Time Remake Gerudo Fortress: Gold Skulltula #95 on the wall above the jump from the red carpet

Gold Skulltula #96 (Nighttime)

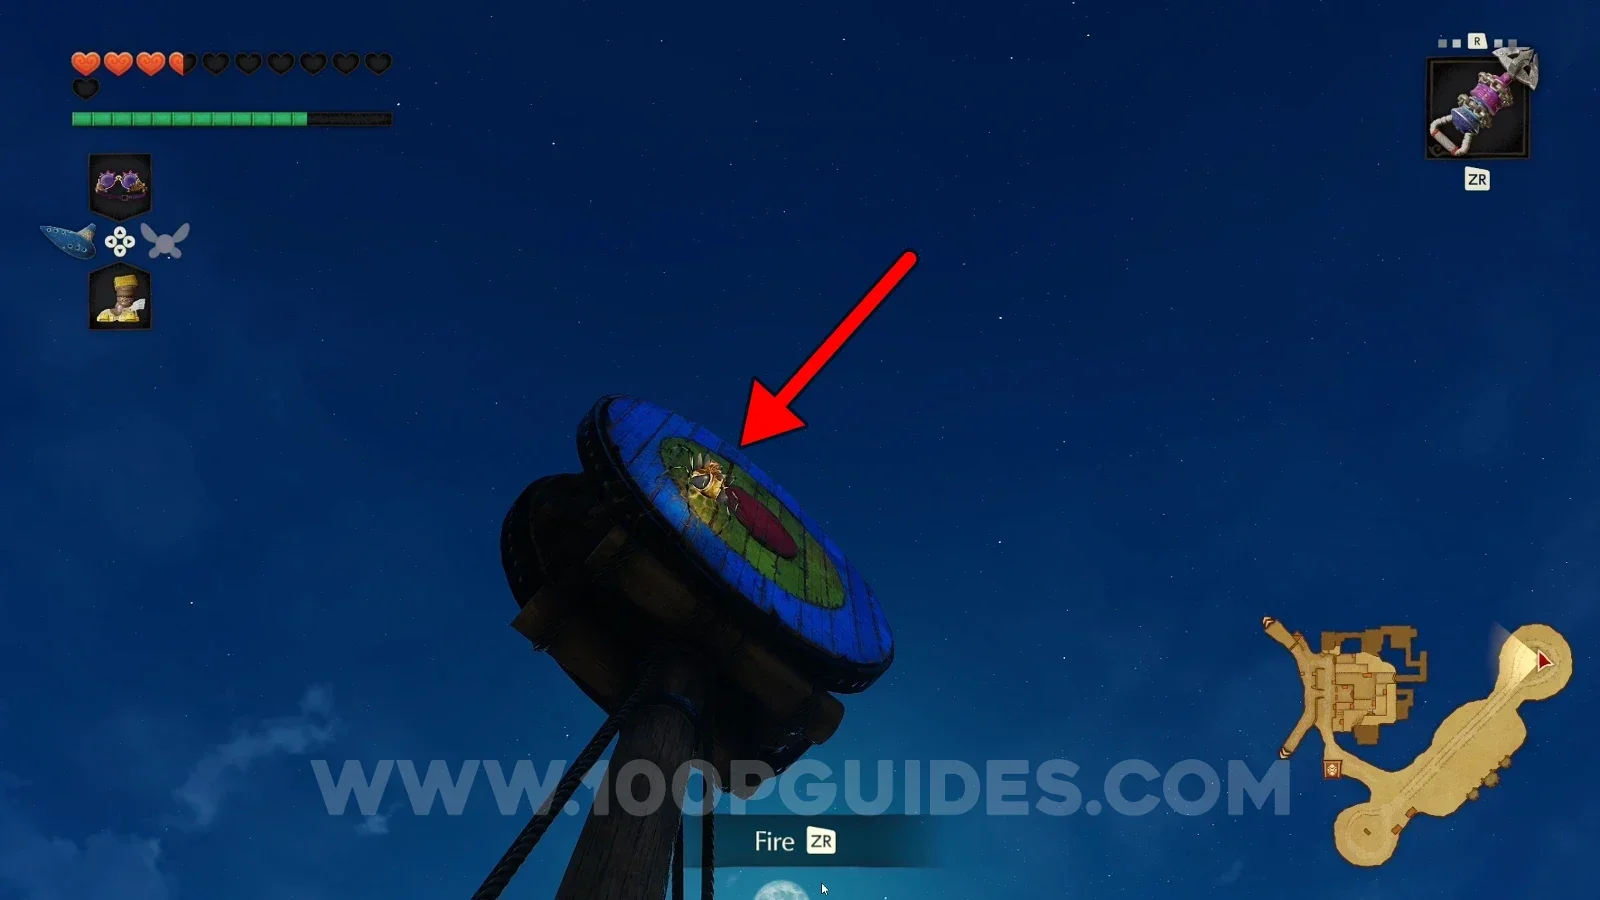
On the other side of the tall archery target.
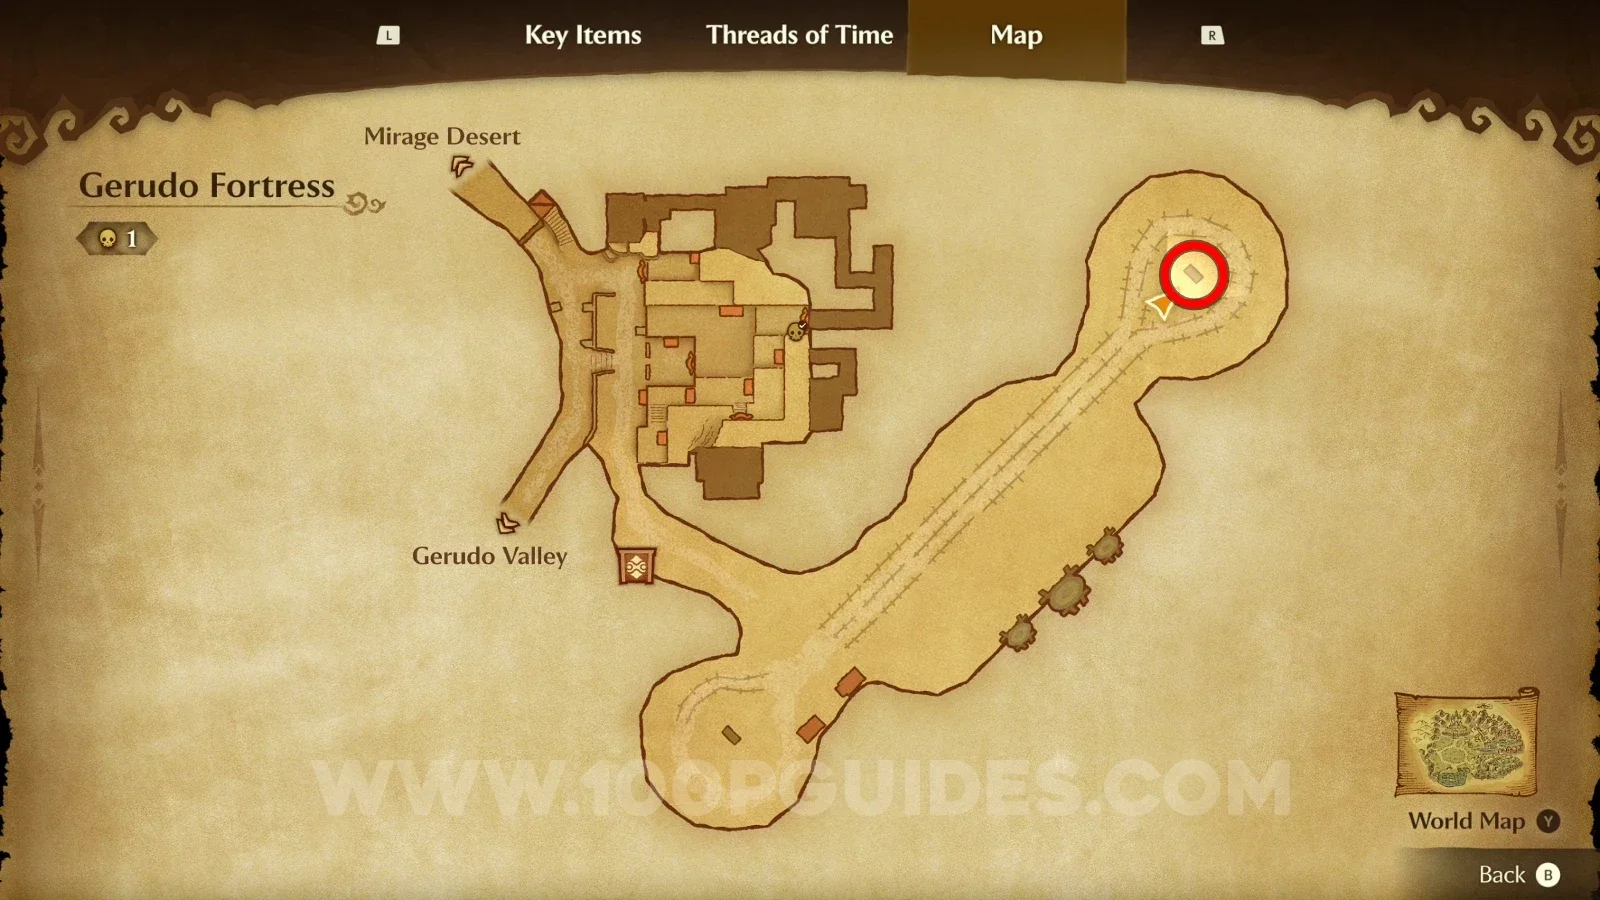
Zelda Ocarina of Time Remake Gerudo Fortress: the tall archery target at night, Gold Skulltula #96 Zelda Ocarina of Time Remake Gerudo Fortress: Gold Skulltula #96 on the other side of the tall archery target

Mirage Desert - Adult Era

Gold Skulltula #97

From Gerudo Fortress, enter the Mirage Desert and follow the flags until you reach a stone structure. Go down the ladder below the stone structure to find the Gold Skulltula.
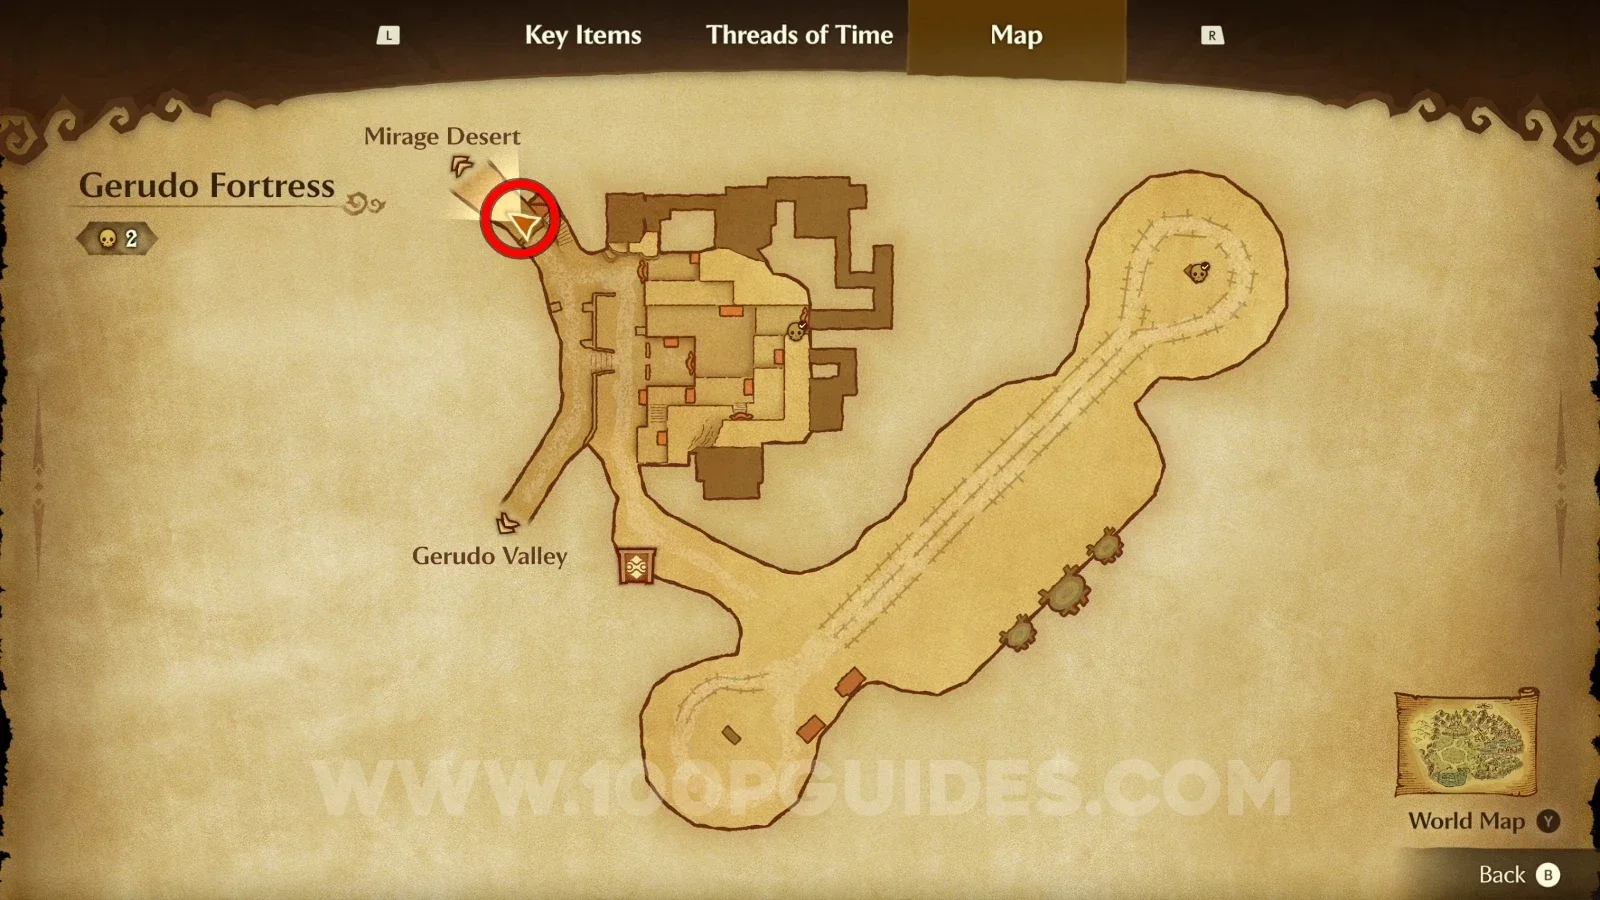
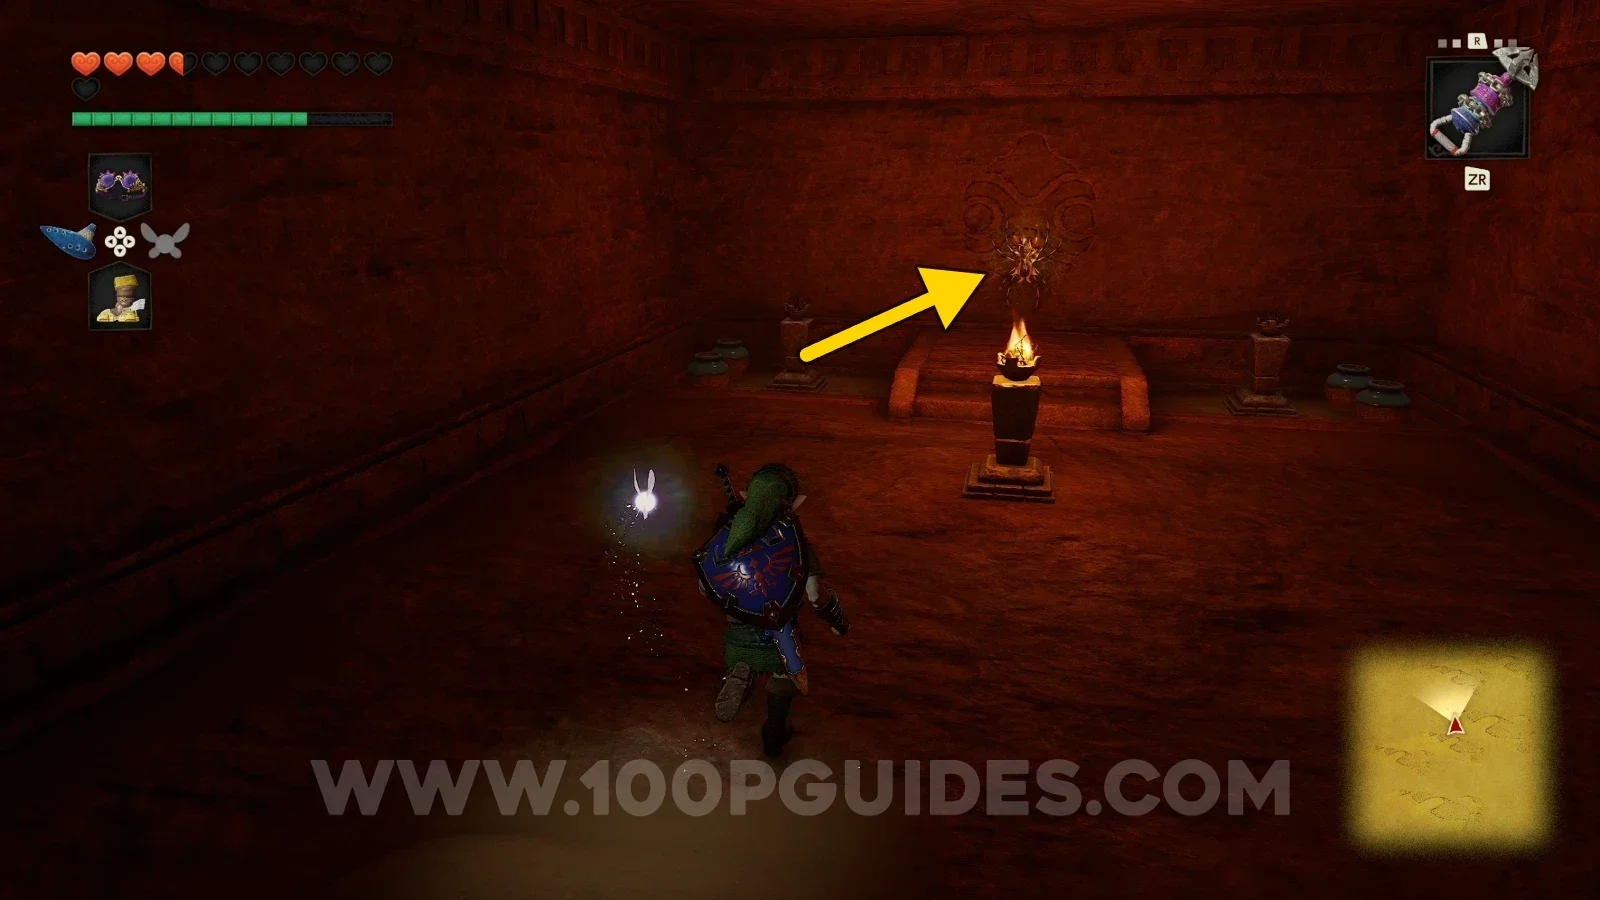
Zelda Ocarina of Time Remake Mirage Desert: the stone structure reached by following the flags, Gold Skulltula #97 Zelda Ocarina of Time Remake Mirage Desert: Gold Skulltula #97 down the ladder below the stone structure

Evil Desert Colossus - Adult Era

Gold Skulltula #98 (Nighttime)

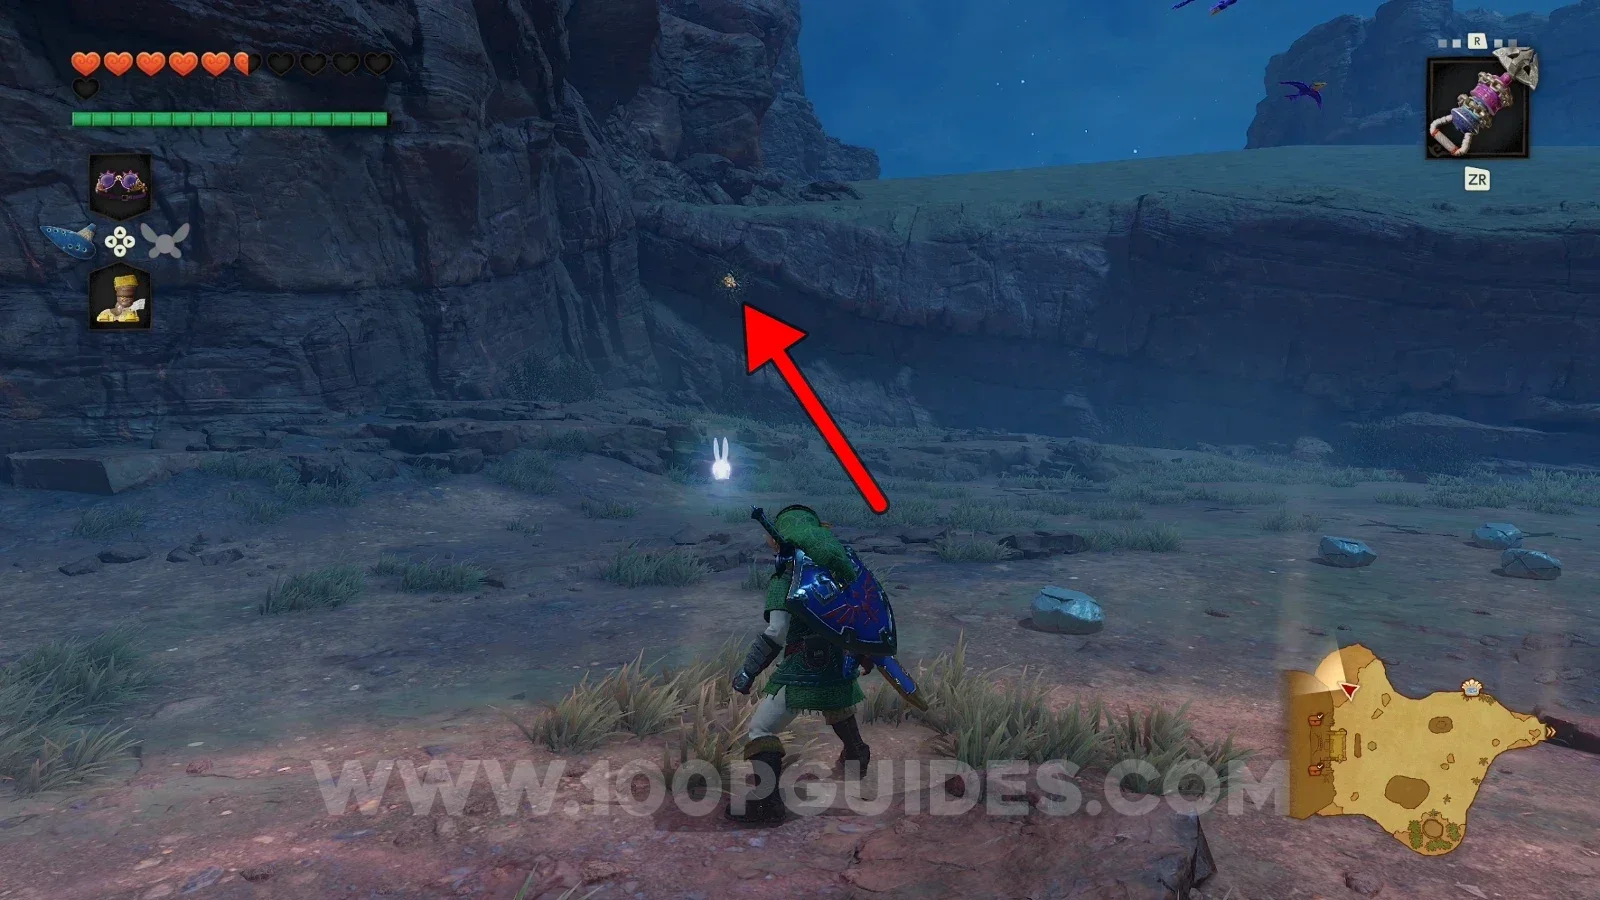
On the wall to the right of the Spirit Temple's entrance.
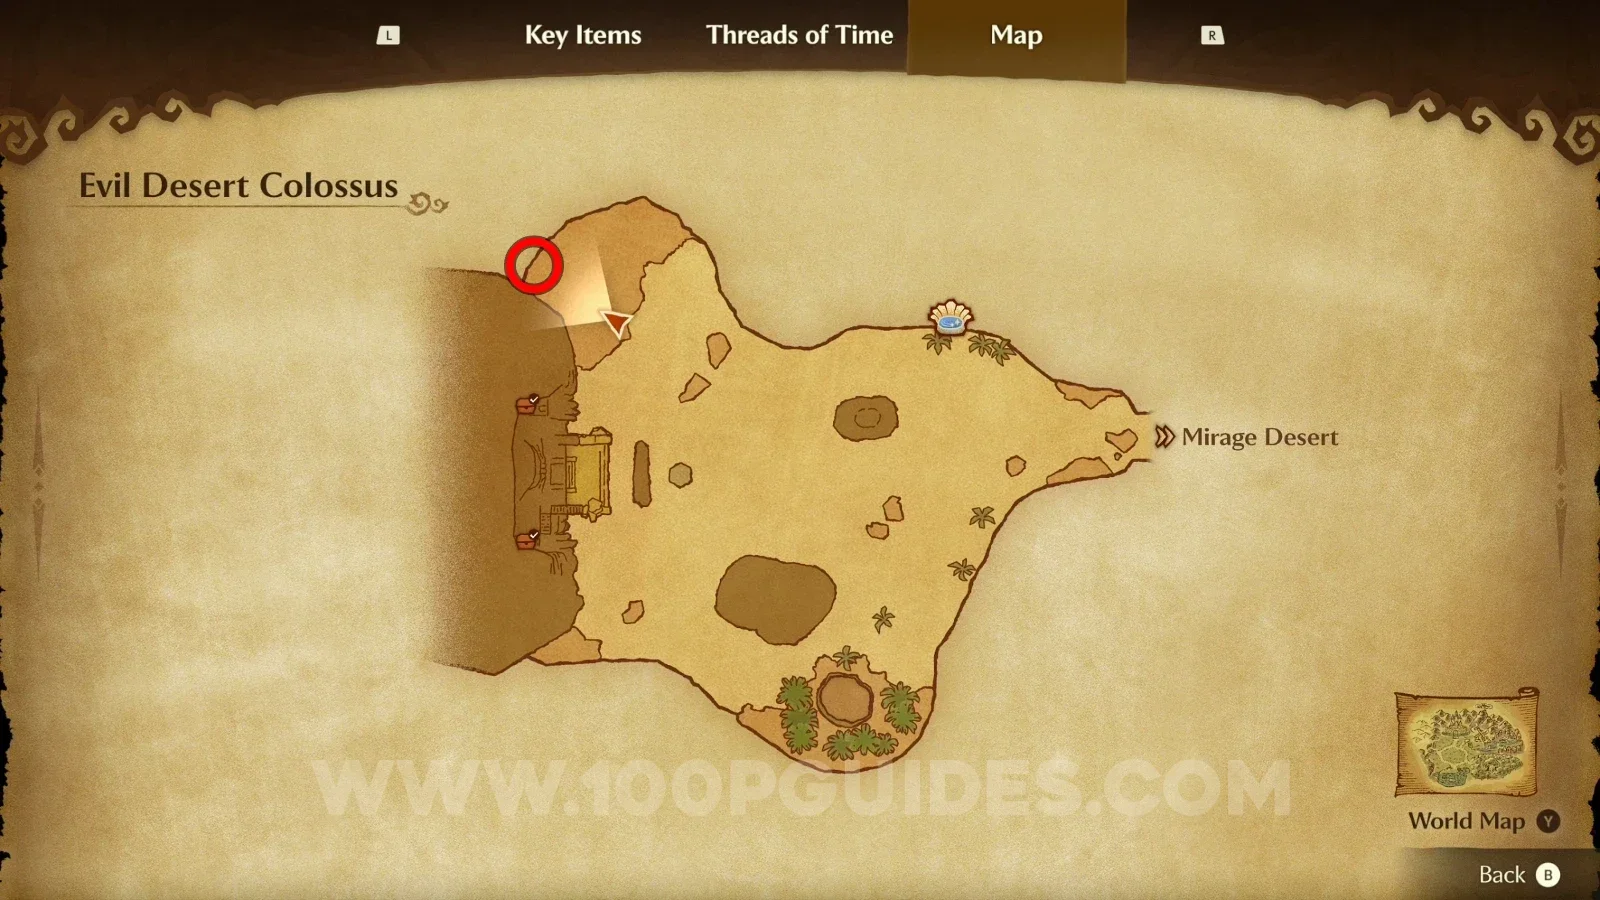
Zelda Ocarina of Time Remake Evil Desert Colossus: the Spirit Temple's entrance at night, Gold Skulltula #98 Zelda Ocarina of Time Remake Evil Desert Colossus: Gold Skulltula #98 on the wall right of the Spirit Temple's entrance

Spirit Temple - Adult Era

Gold Skulltula #99

Use the Song of Time to move the cube and get the Gold Skulltula right behind it.
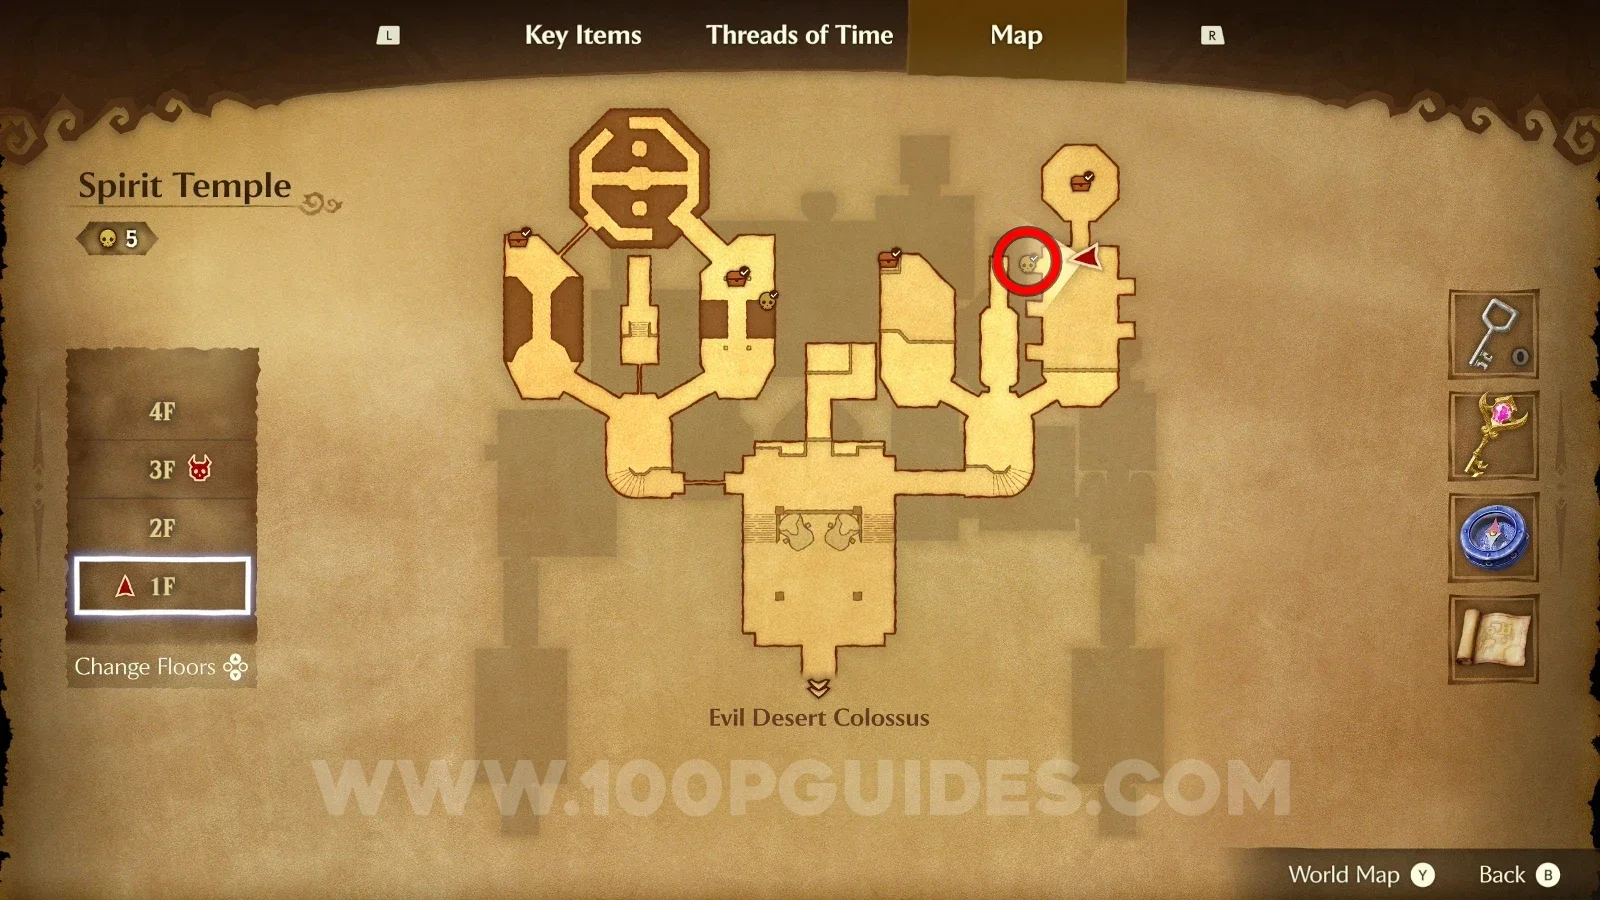
Zelda Ocarina of Time Remake Spirit Temple: playing the Song of Time to move the cube, Gold Skulltula #99 Zelda Ocarina of Time Remake Spirit Temple: Gold Skulltula #99 right behind the moved cube

Gold Skulltula #100

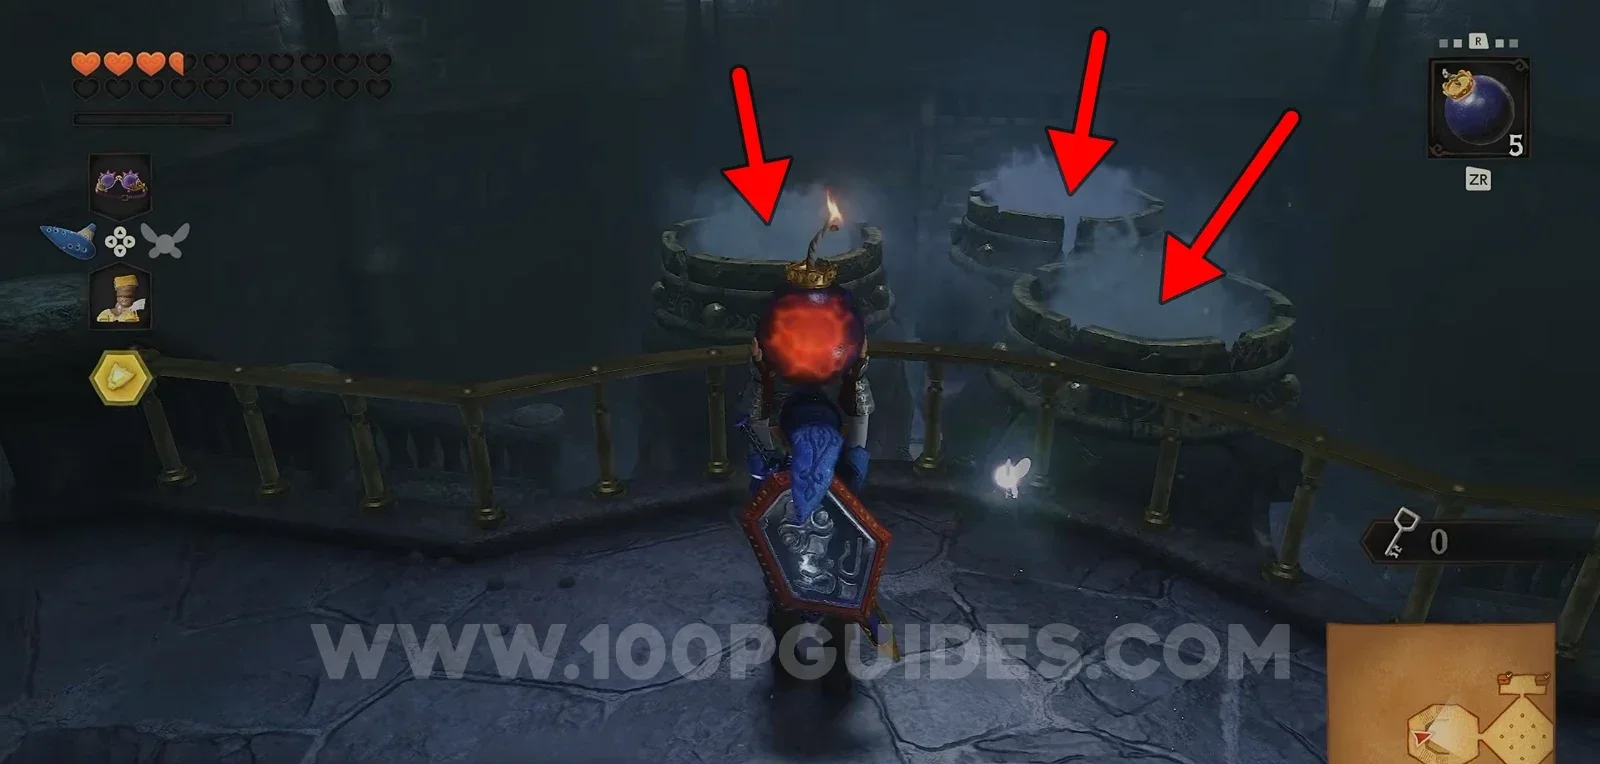
Use the hookshot on the right hand of the massive statue, then play the Scarecrow Song to spawn a scarecrow at the top, right in front of you. Use the hookshot on the scarecrow to reach the Gold Skulltula.
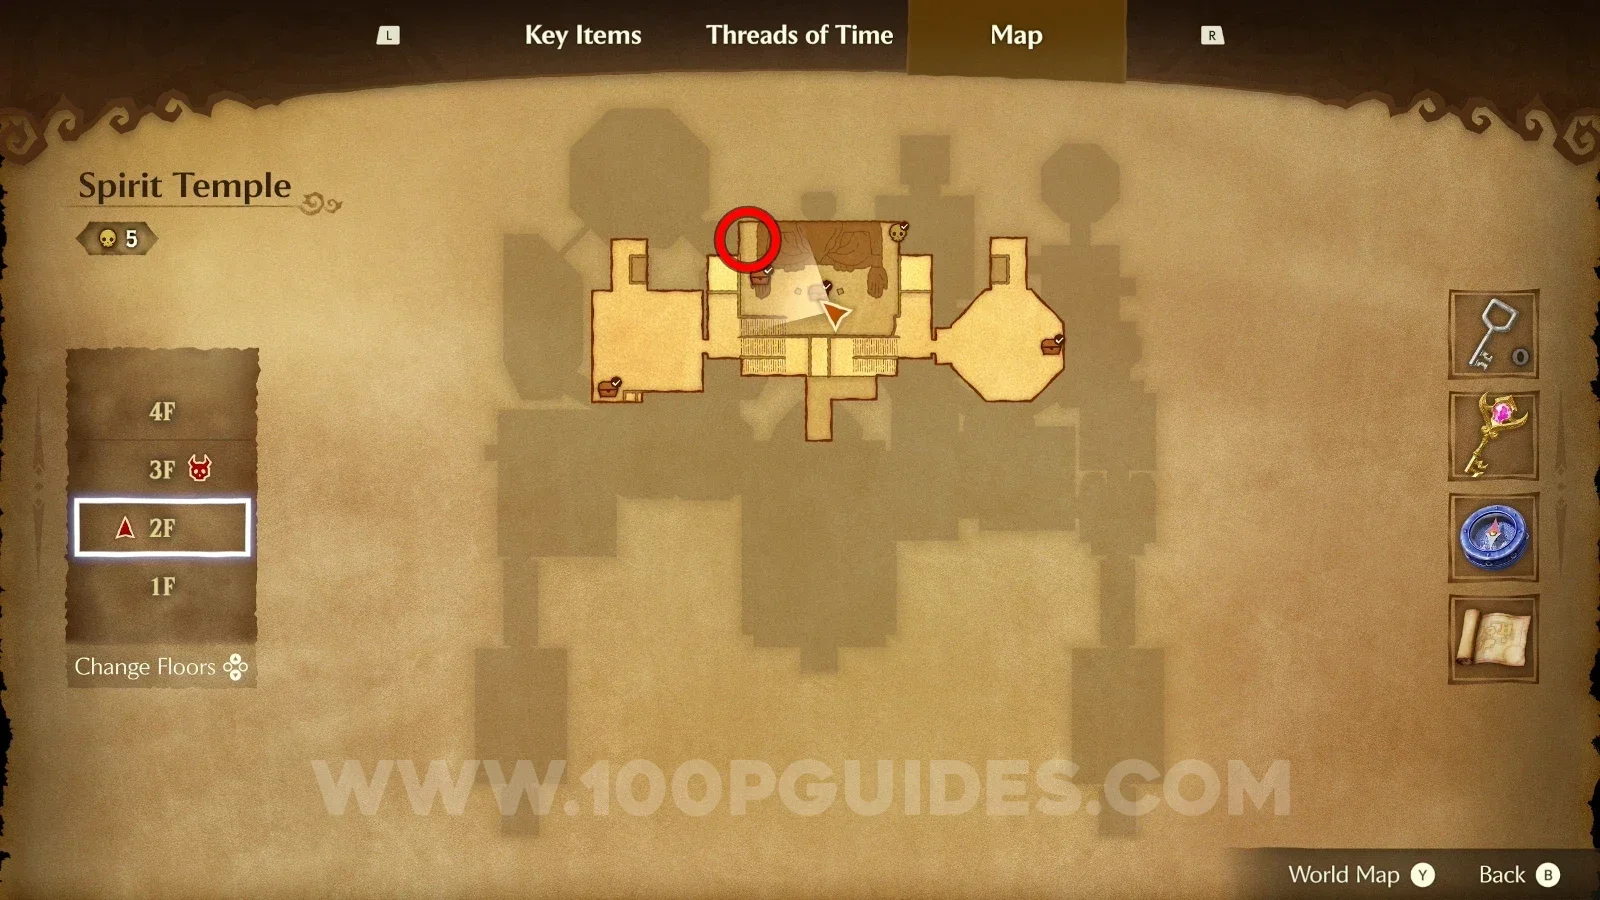
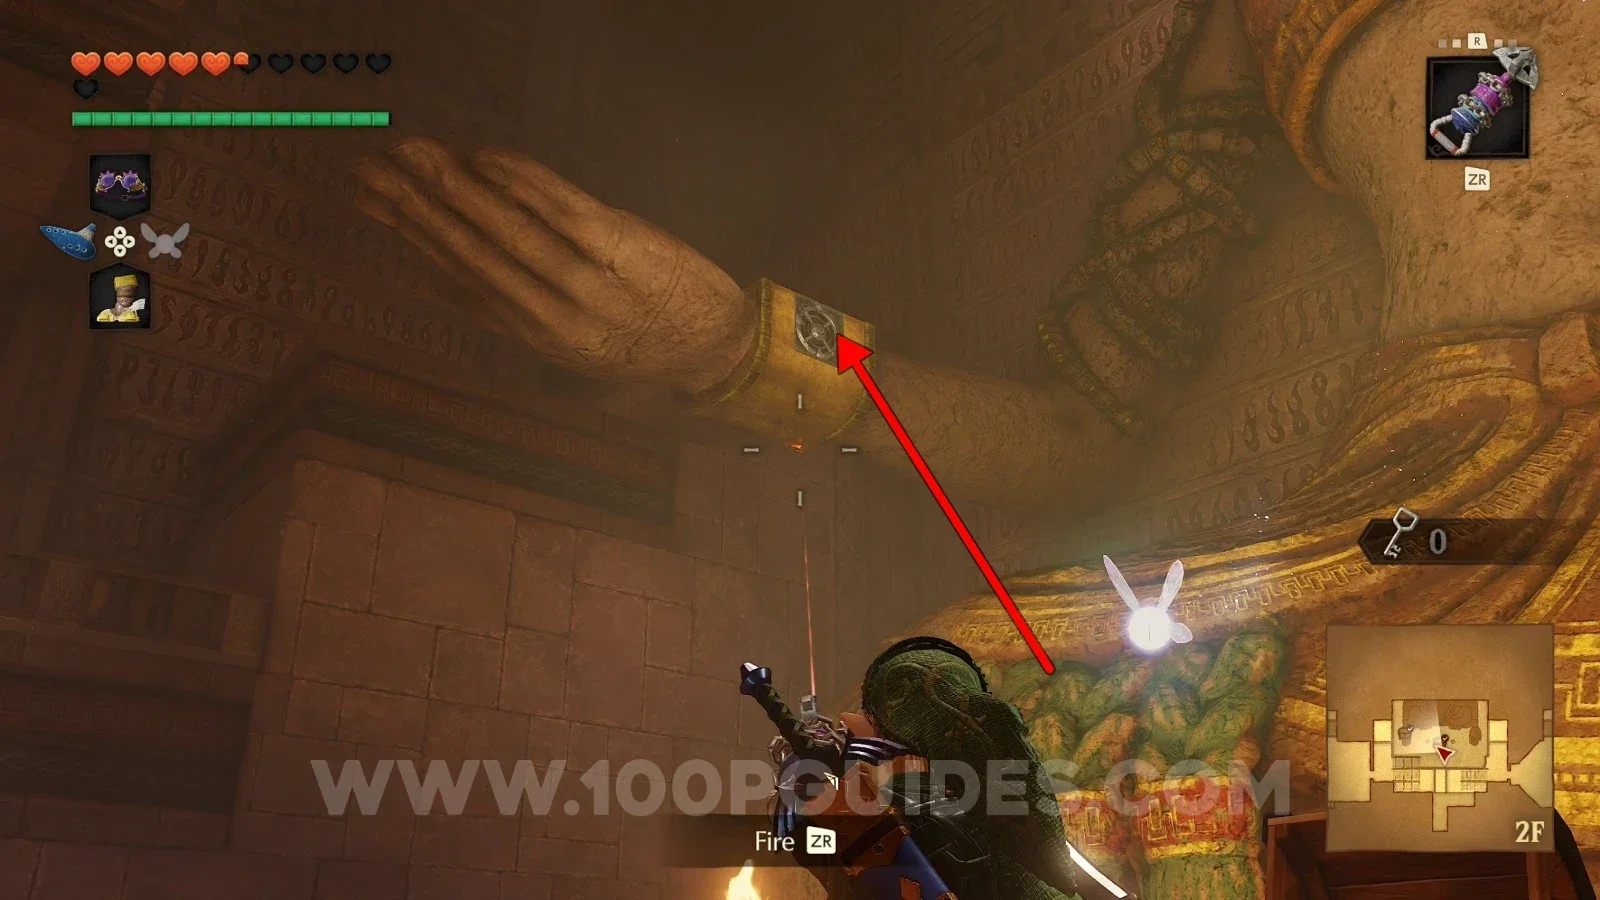
Zelda Ocarina of Time Remake Spirit Temple: hookshot on the right hand of the massive statue for Gold Skulltula #100 Zelda Ocarina of Time Remake Spirit Temple: the scarecrow spawned at the top with the Scarecrow Song, Gold Skulltula #100 Zelda Ocarina of Time Remake Spirit Temple: Gold Skulltula #100 reached by hookshotting the scarecrow

All rewards

You can talk to the Cursed Rich Man in Kakariko Village to receive rewards depending on the amount of Gold Skulltulas you have found.
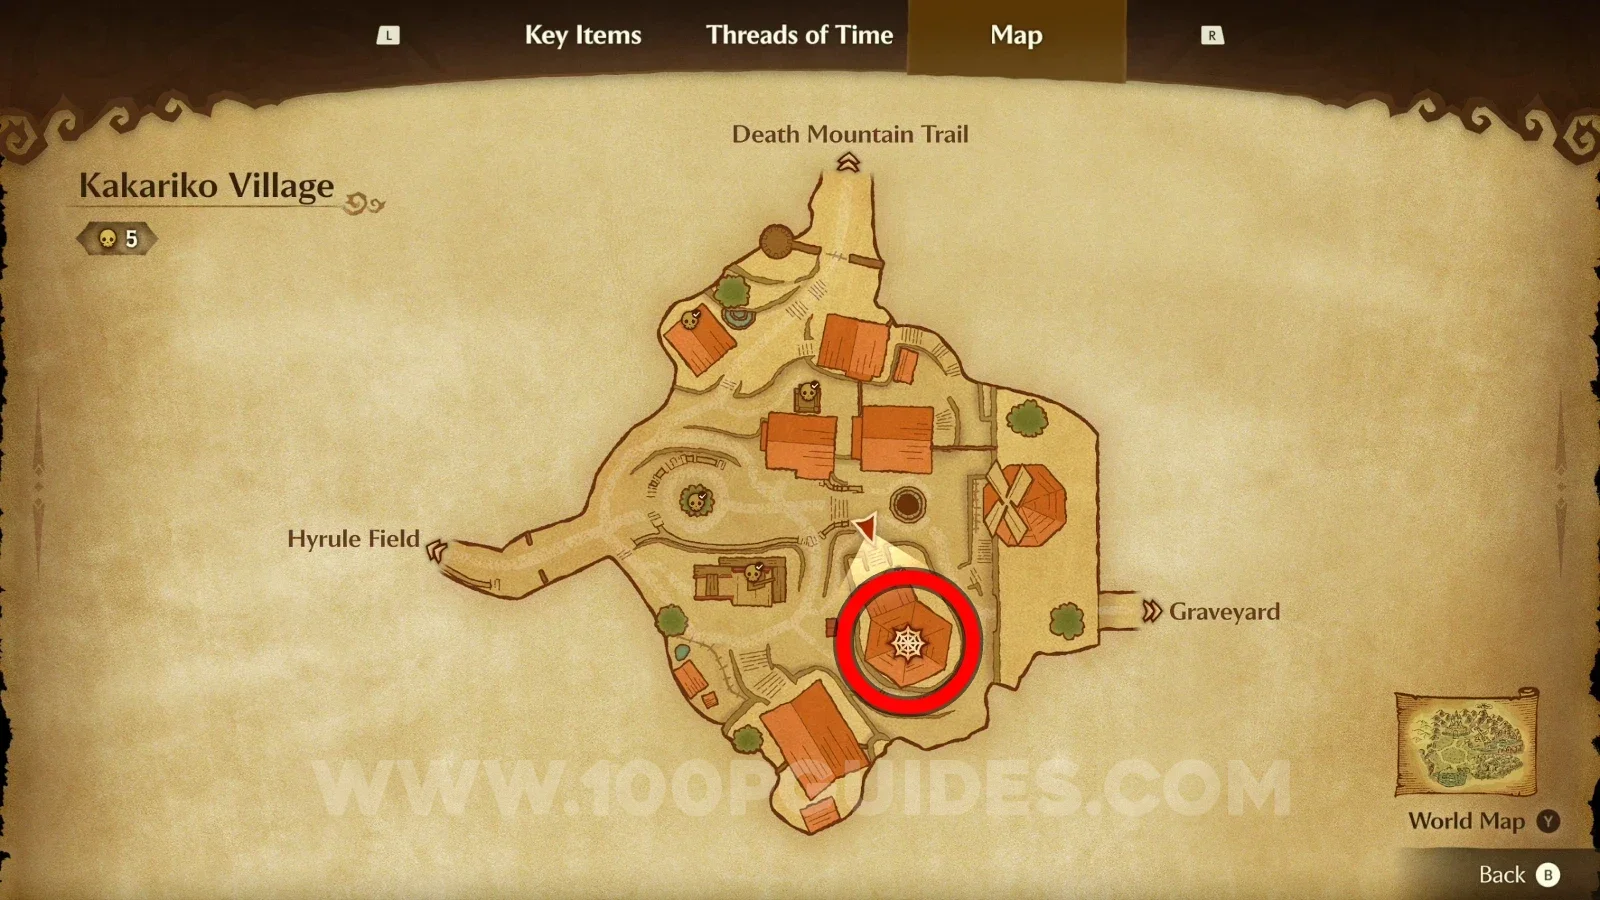
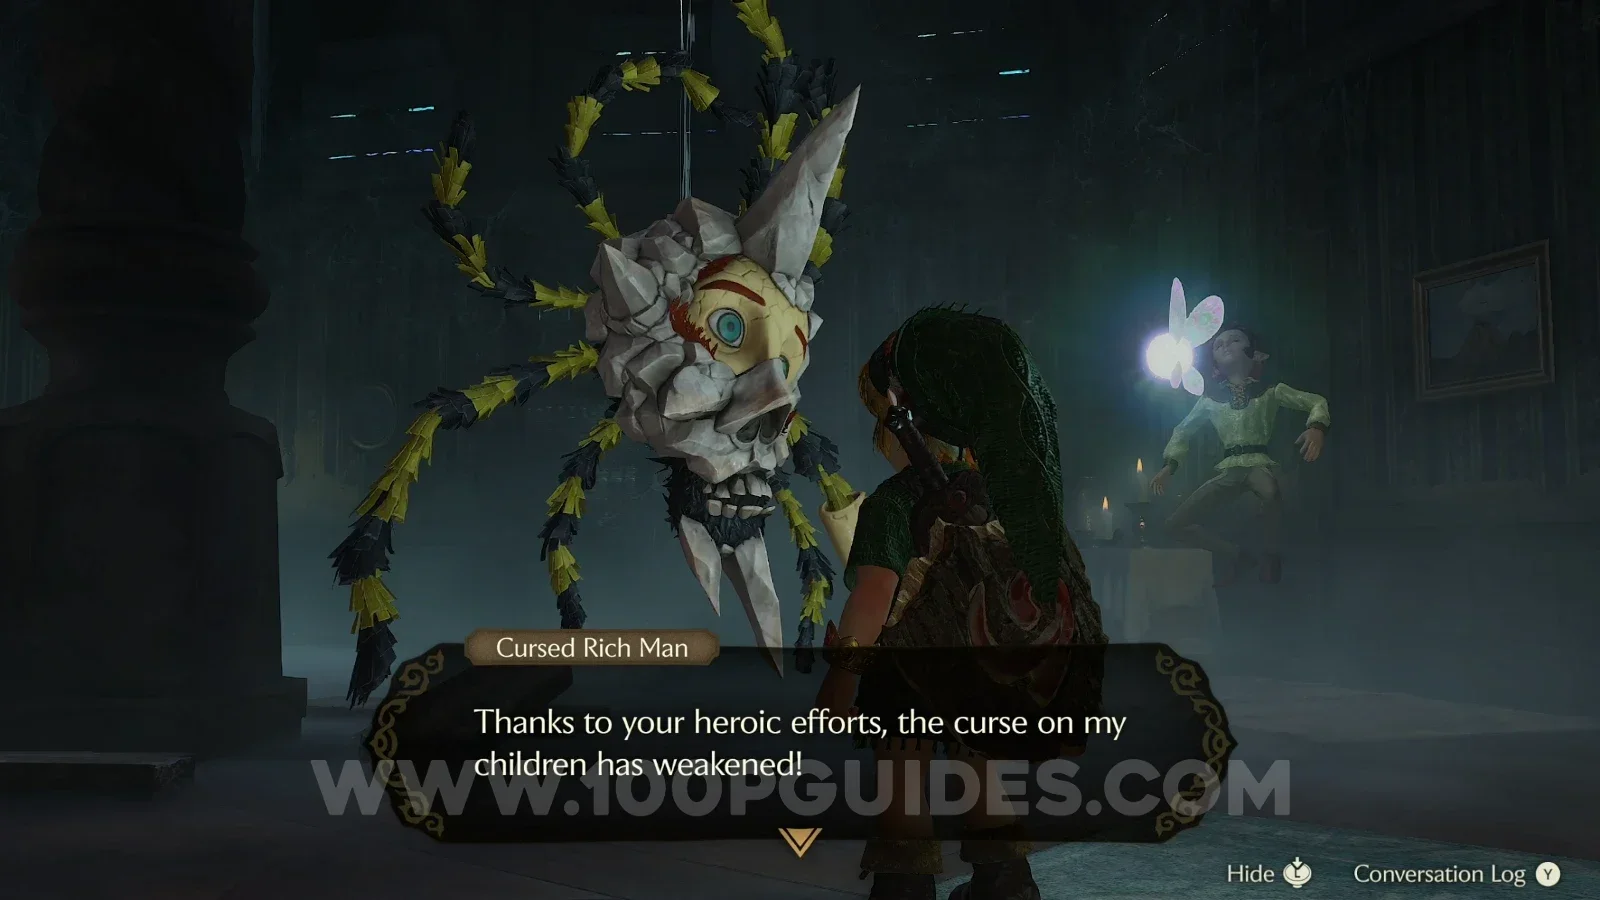
Zelda Ocarina of Time Remake Kakariko Village: talking to the Cursed Rich Man about Gold Skulltula rewards Zelda Ocarina of Time Remake Kakariko Village: a reward from the Cursed Rich Man for Gold Skulltulas found

Here's the full list of rewards:

  • 10 Skulltulas: Adult's Wallet (Increases rupee capacity to 500)
  • 20 Skulltulas: Echo Gem (Gold Skulltula sensor)
  • 30 Skulltulas: Giant's Wallet (Increases rupee capacity to 1000)
  • 40 Skulltulas: Bombchu x20
  • 50 Skulltulas: Piece of Heart
  • 100 Skulltulas: Unlimited Golden Rupees

After finding all 100 Gold Skulltulas, you'll get a Golden Rupee (worth 200 rupees) every time you talk to the Cursed Rich Man, basically allowing you to get unlimited rupees.

Previous
Previous

Zelda Ocarina of Time Remake 100% Walkthrough Part 9: Lord Jabu-Jabu

Next
Next

Zelda Ocarina of Time Remake 100% Walkthrough Part 8: Zora River, Zora Domain & Lake Hylia