Welcome to Part 9 of our 100% Walkthrough of Zelda Ocarina of Time Remake. With Ruto's Letter in hand, King Zora finally lets you through to Zora Fountain, where Lord Jabu-Jabu, the guardian of the Zoras, is waiting to swallow you whole. His belly is the third dungeon of the game.
Before going in, you visit your third Great Fairy to learn Farore's Wind. Inside, you find Princess Ruto, the Boomerang and four Gold Skulltulas, and then the last Spiritual Stone.
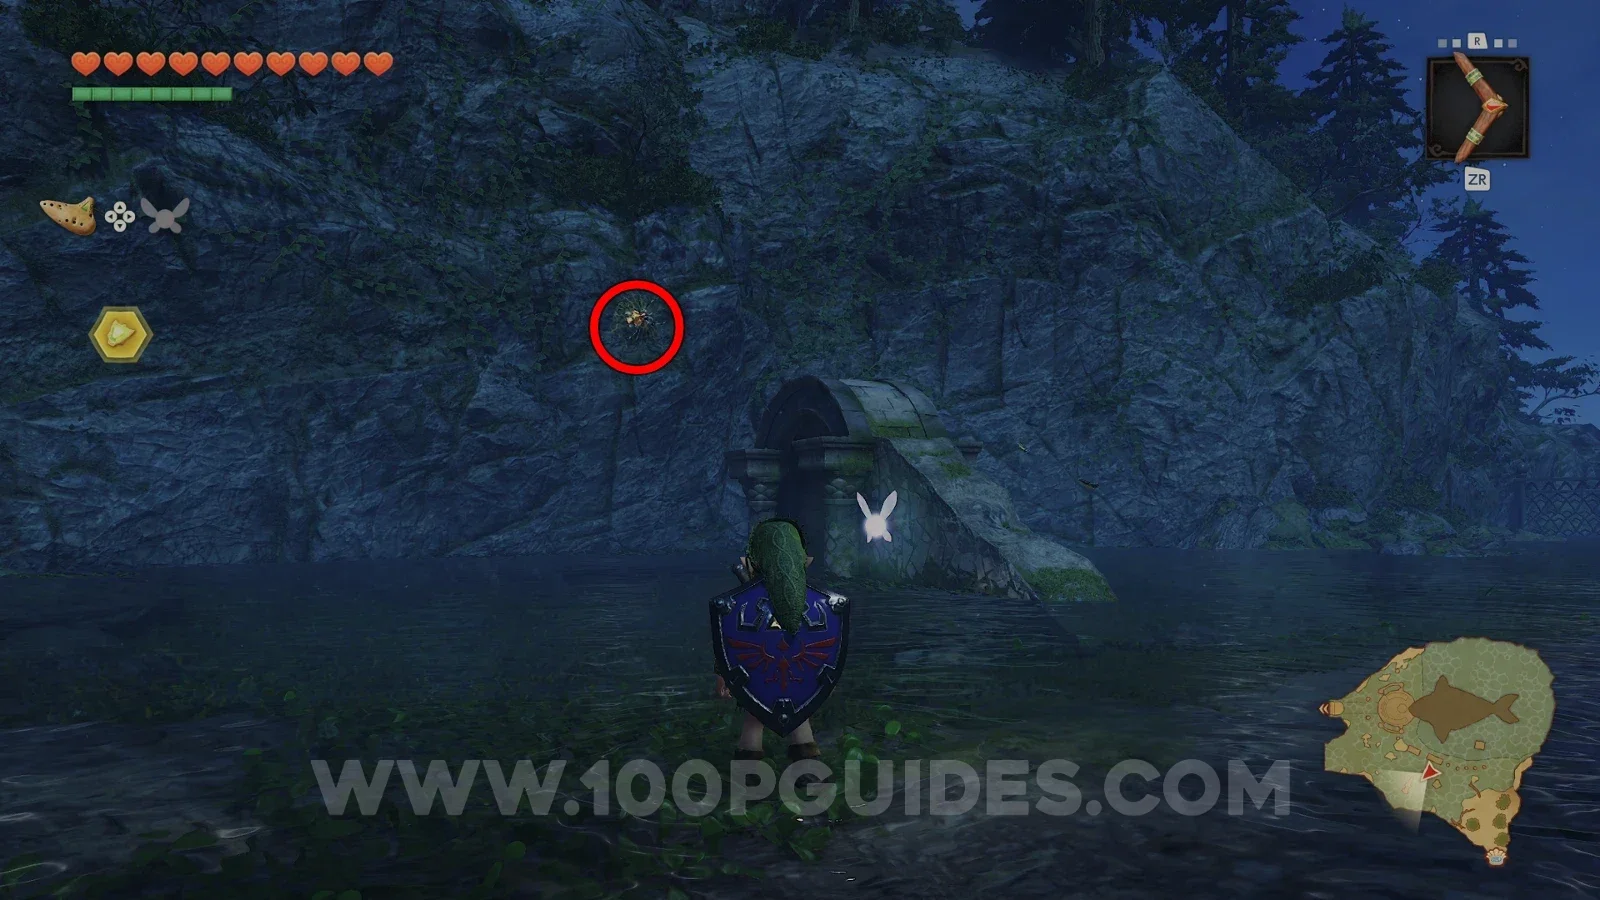
On the way out, the Boomerang gets you one more Gold Skulltula that only shows up at night.
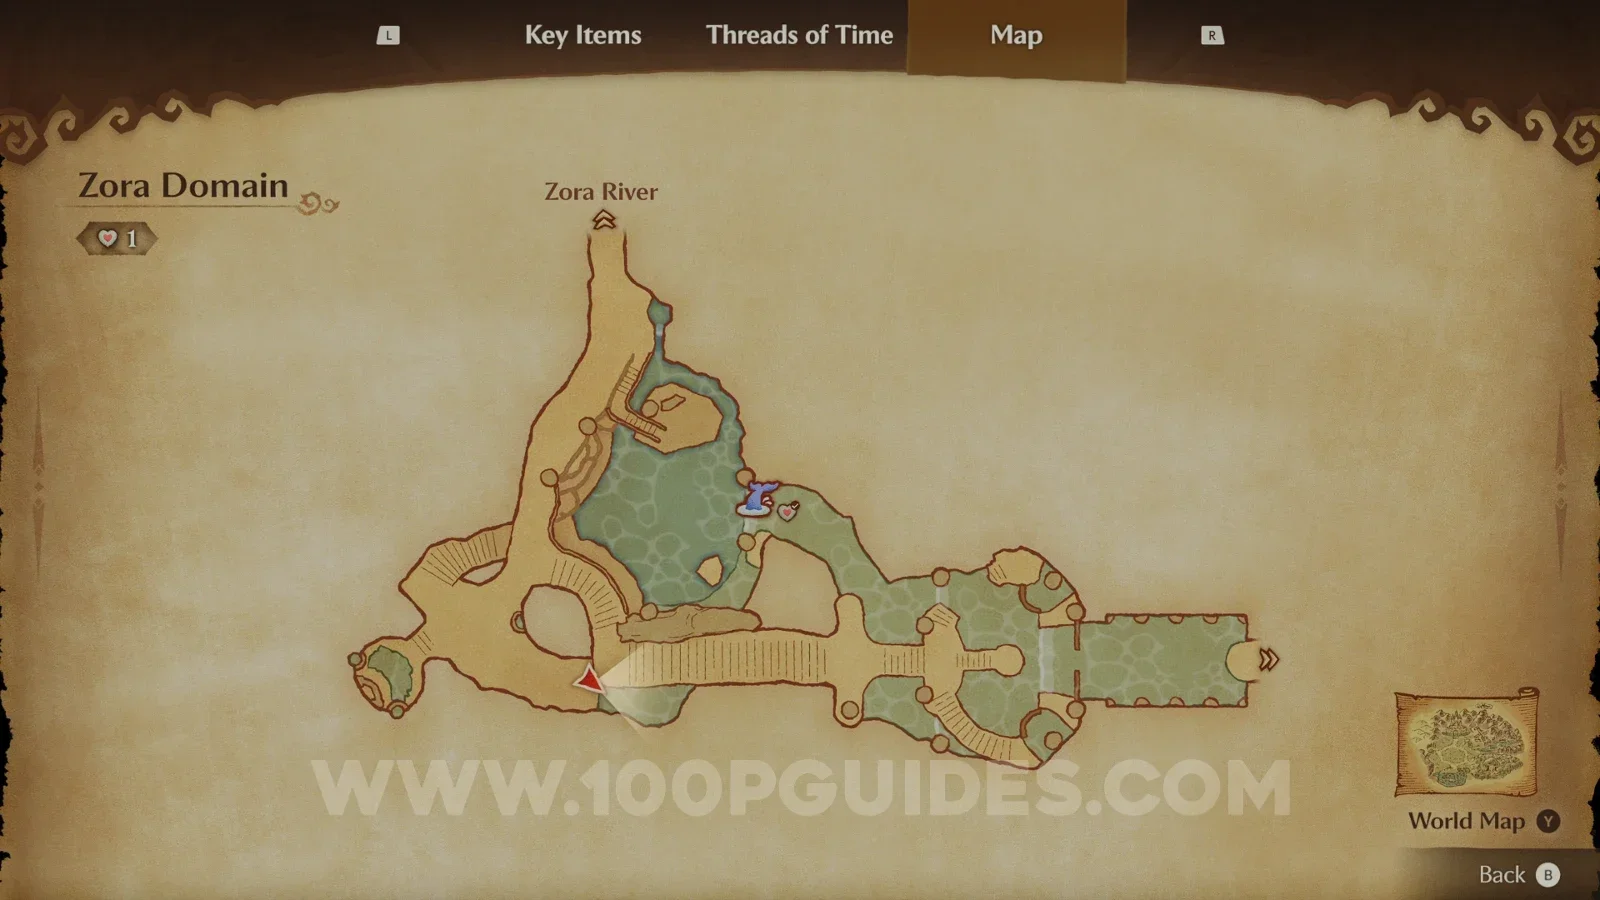
Zora domain
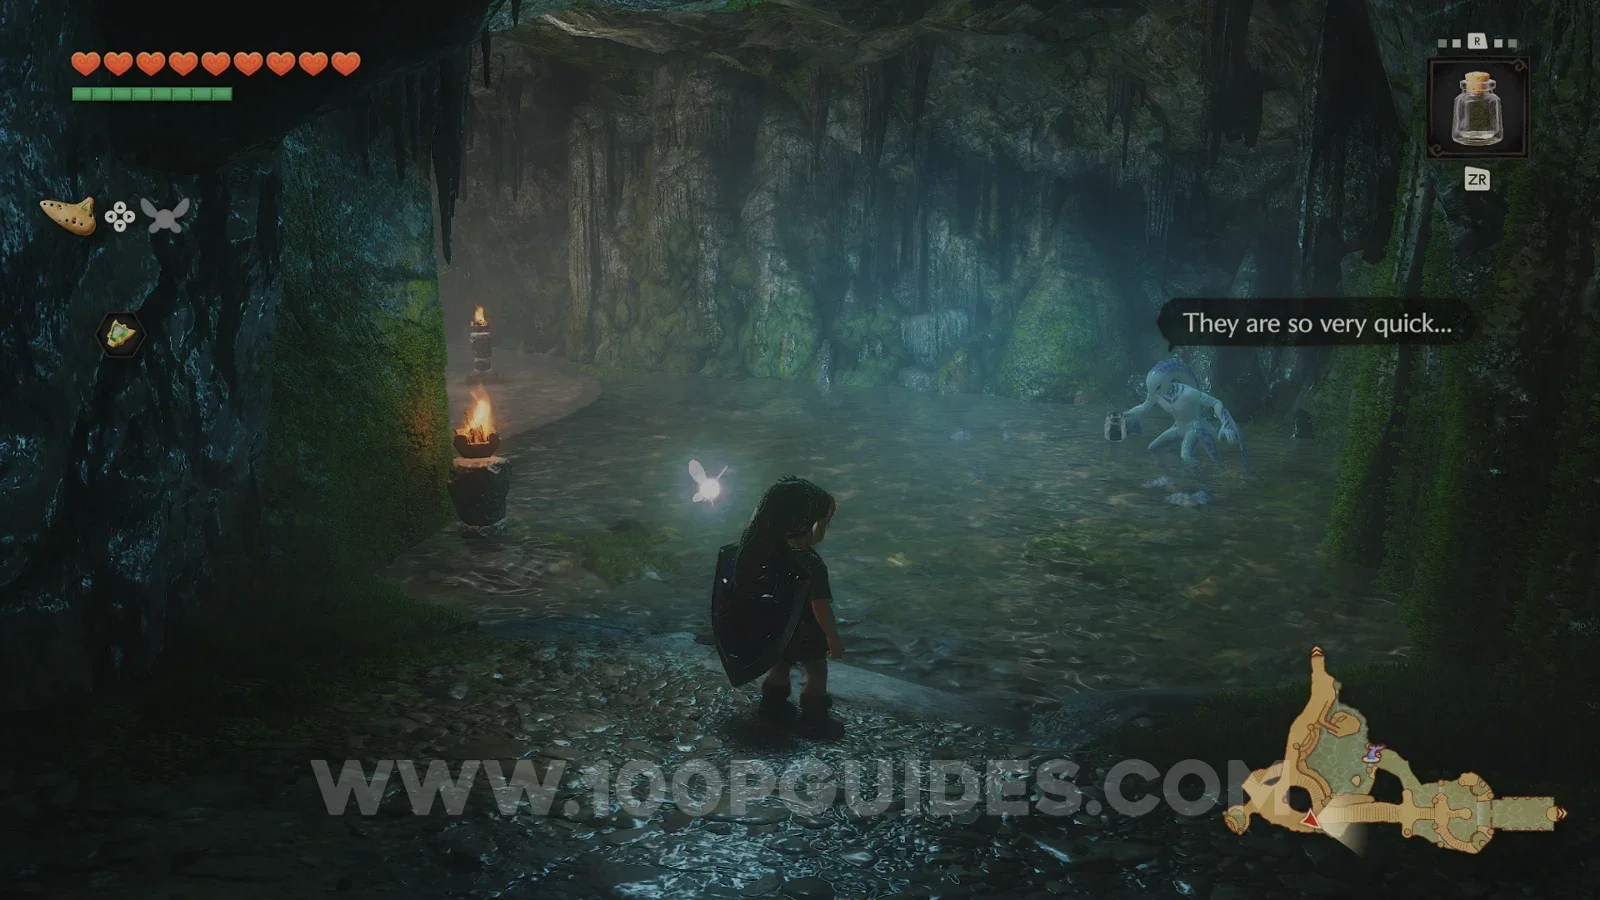
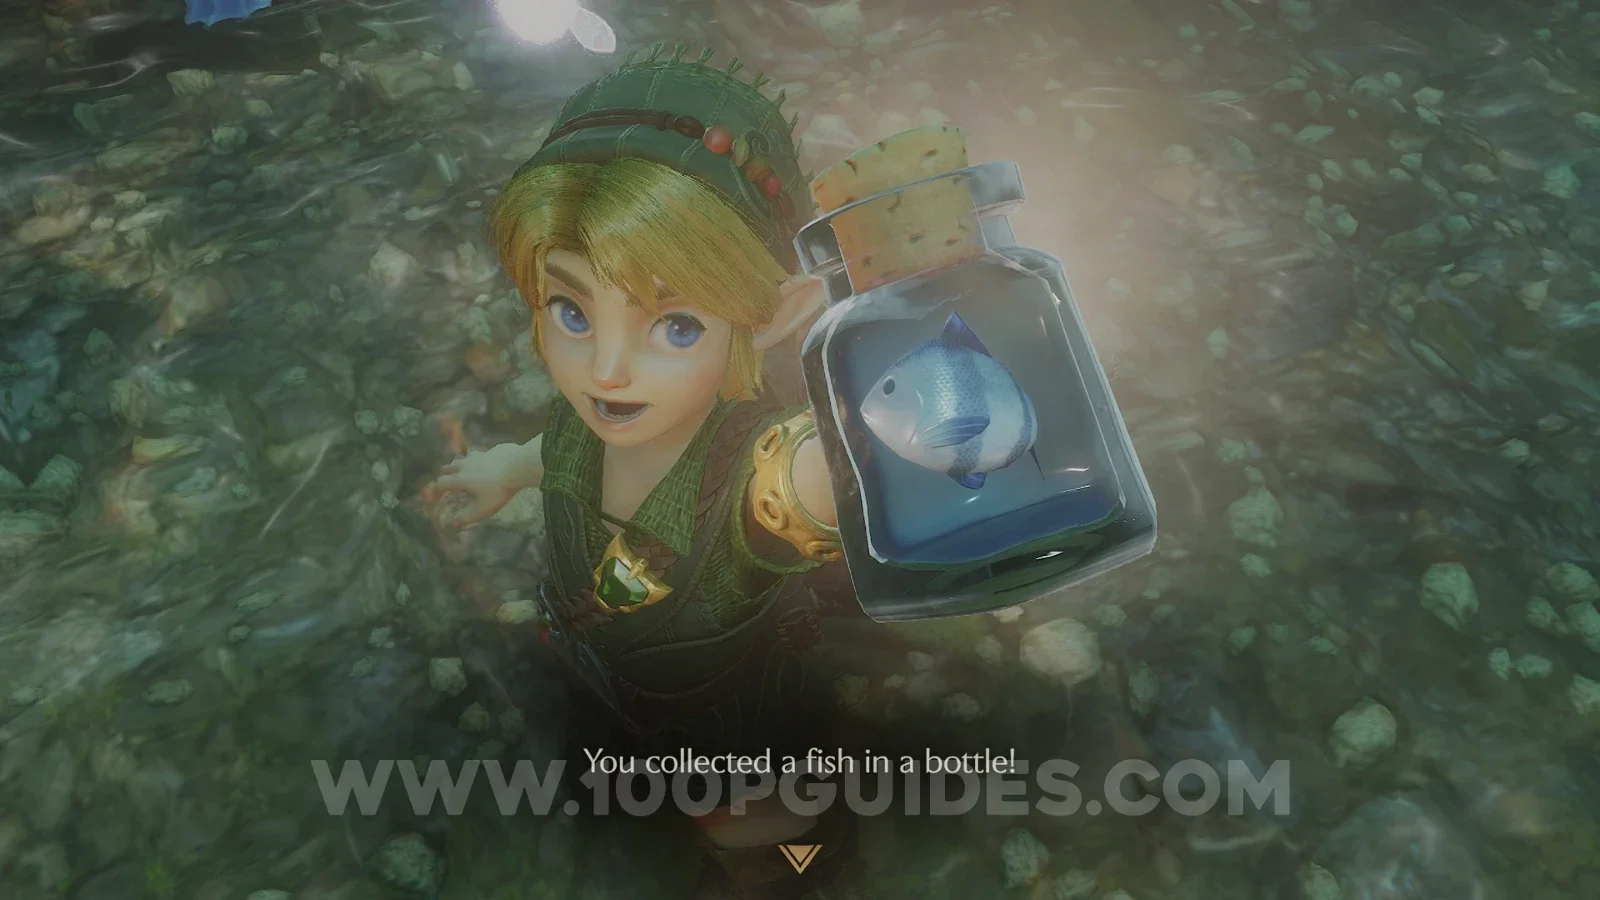
At the end of the last part, you opened the path to Zora Fountain by showing King Zora the letter in the bottle, which got him to move. Before going through, you will need a fish. Head down to the shallow water to the left of the shop and catch one with an empty bottle (you can also buy one from the shop, but catching one is free).
Zora Fountain
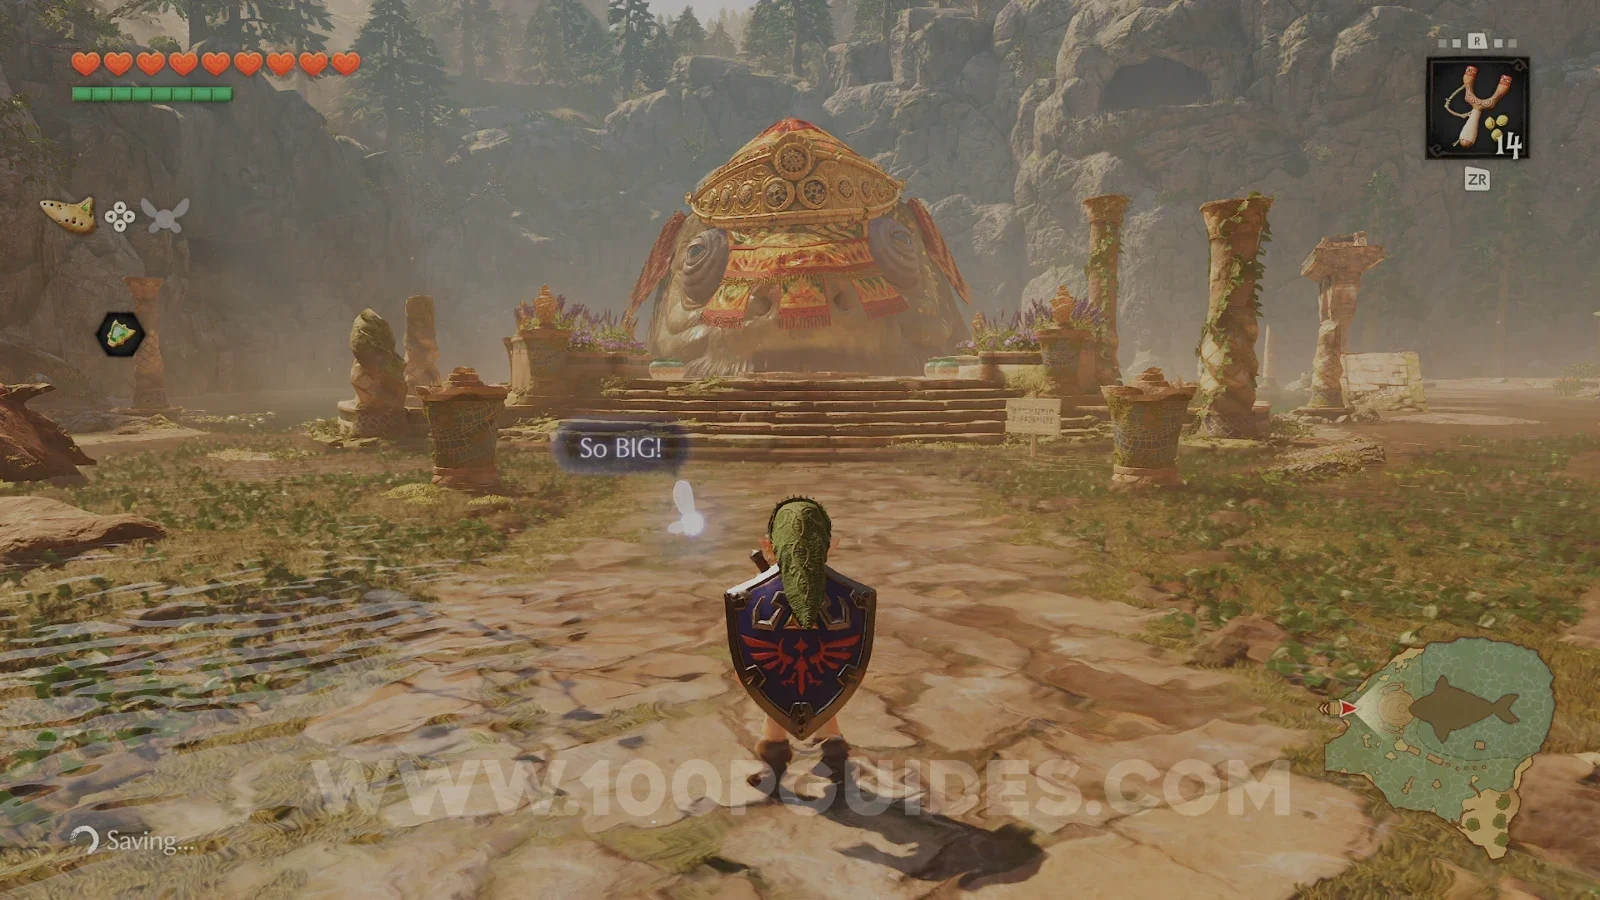
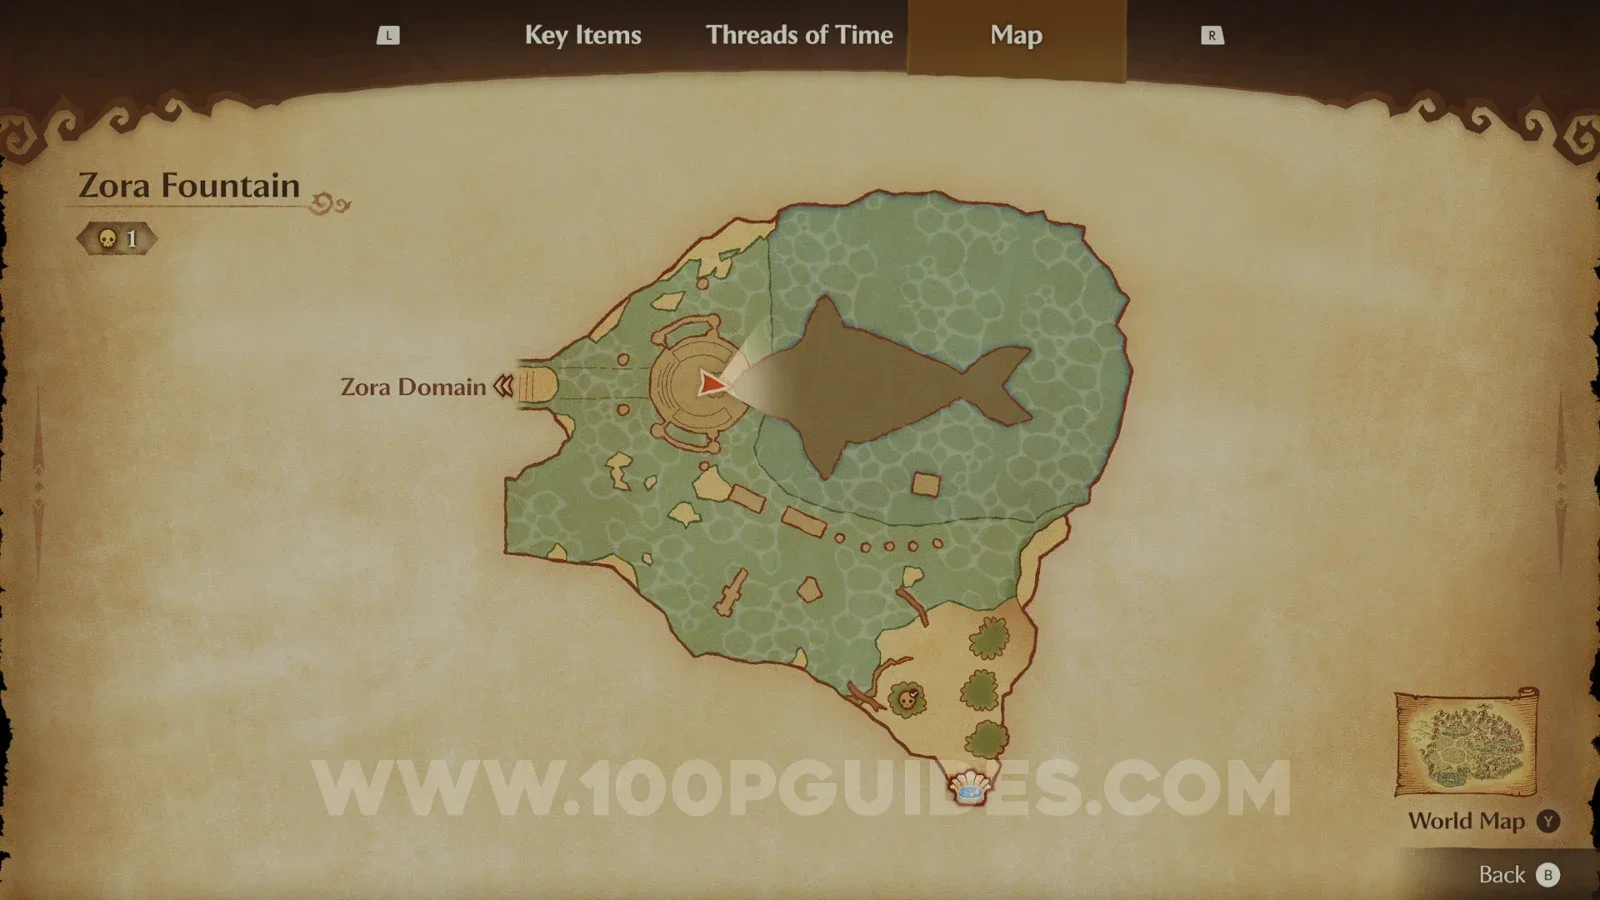
Now take the path behind King Zora to reach Zora Fountain. You will see Lord Jabu-Jabu right in front of you, but there are two things to do first.
First, follow the shallow water south until you reach a patch of land with some trees. Roll into the tall, narrow tree and a Gold Skulltula (31/100) will drop out.
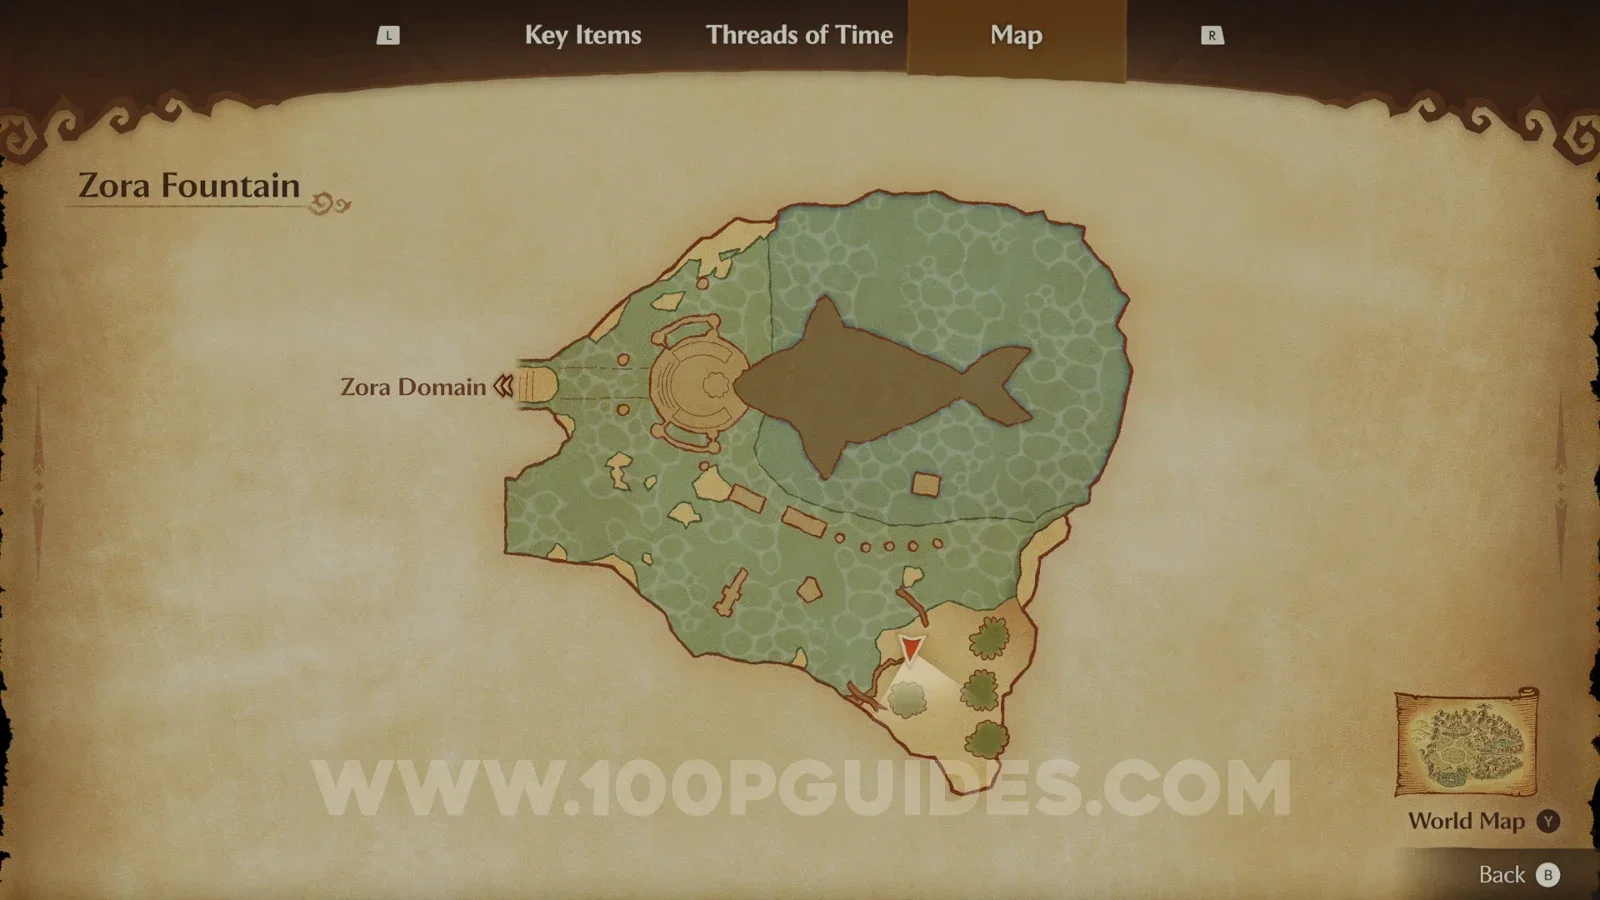
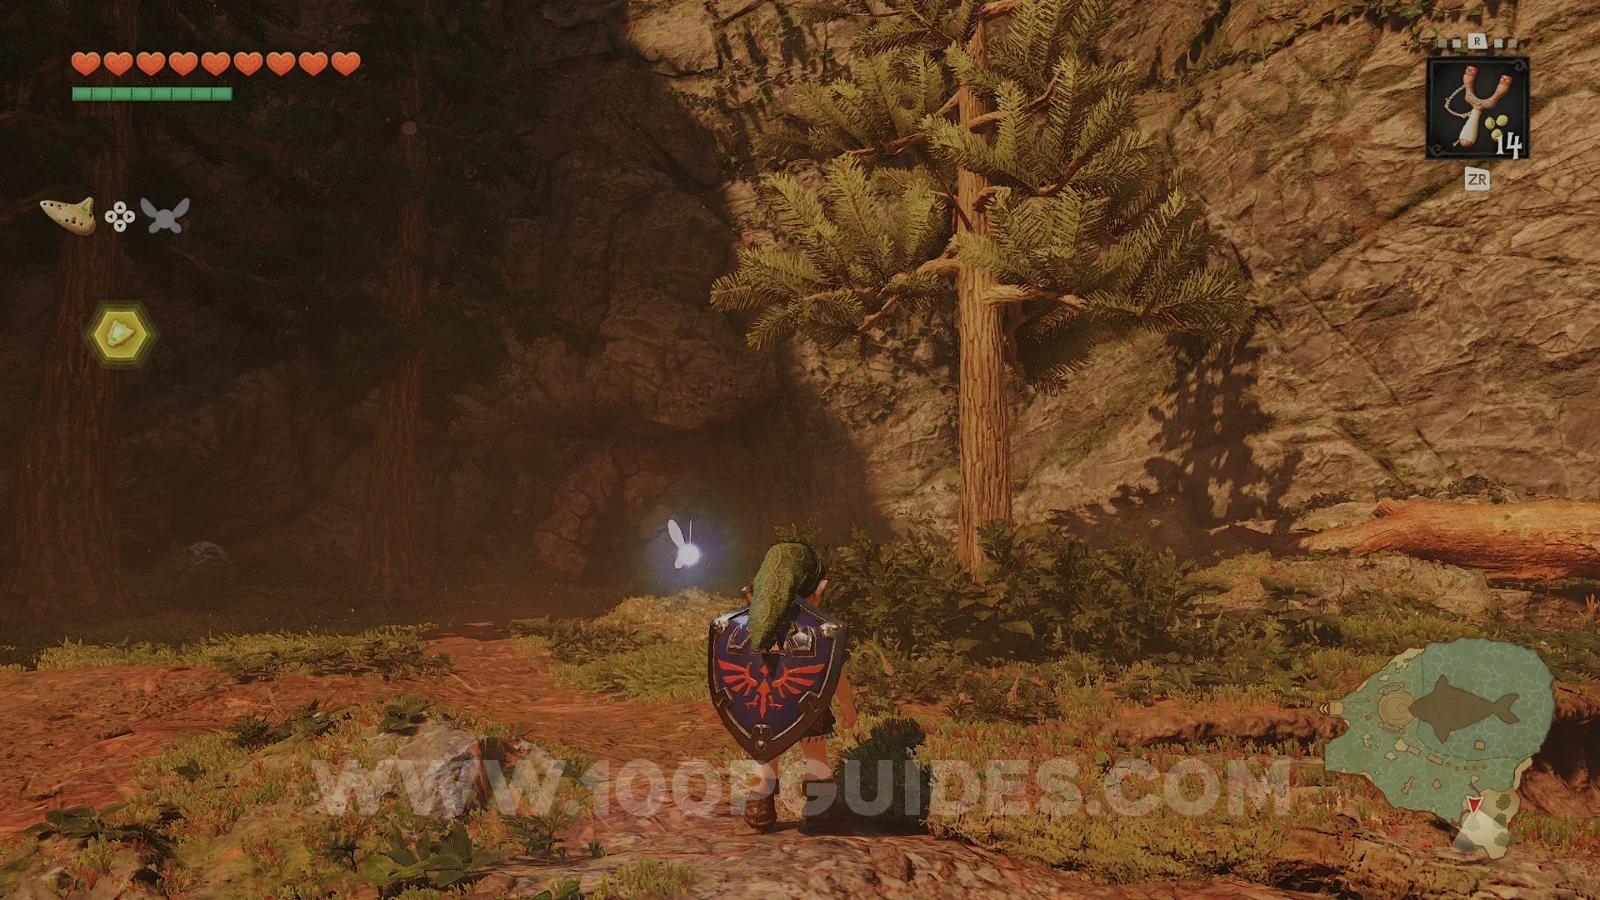
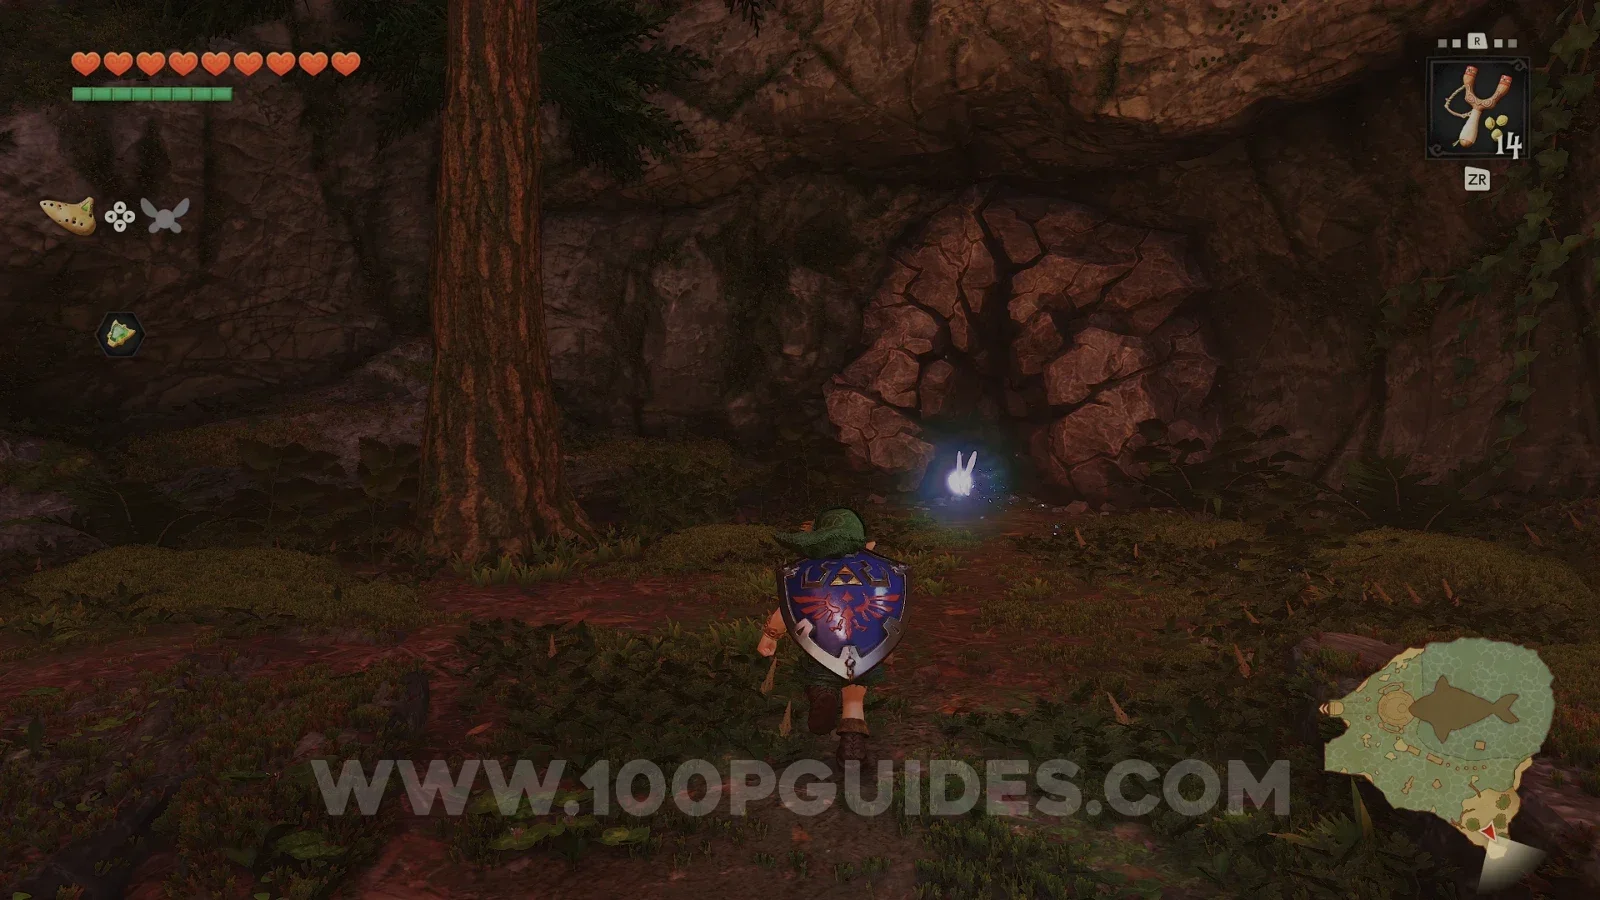
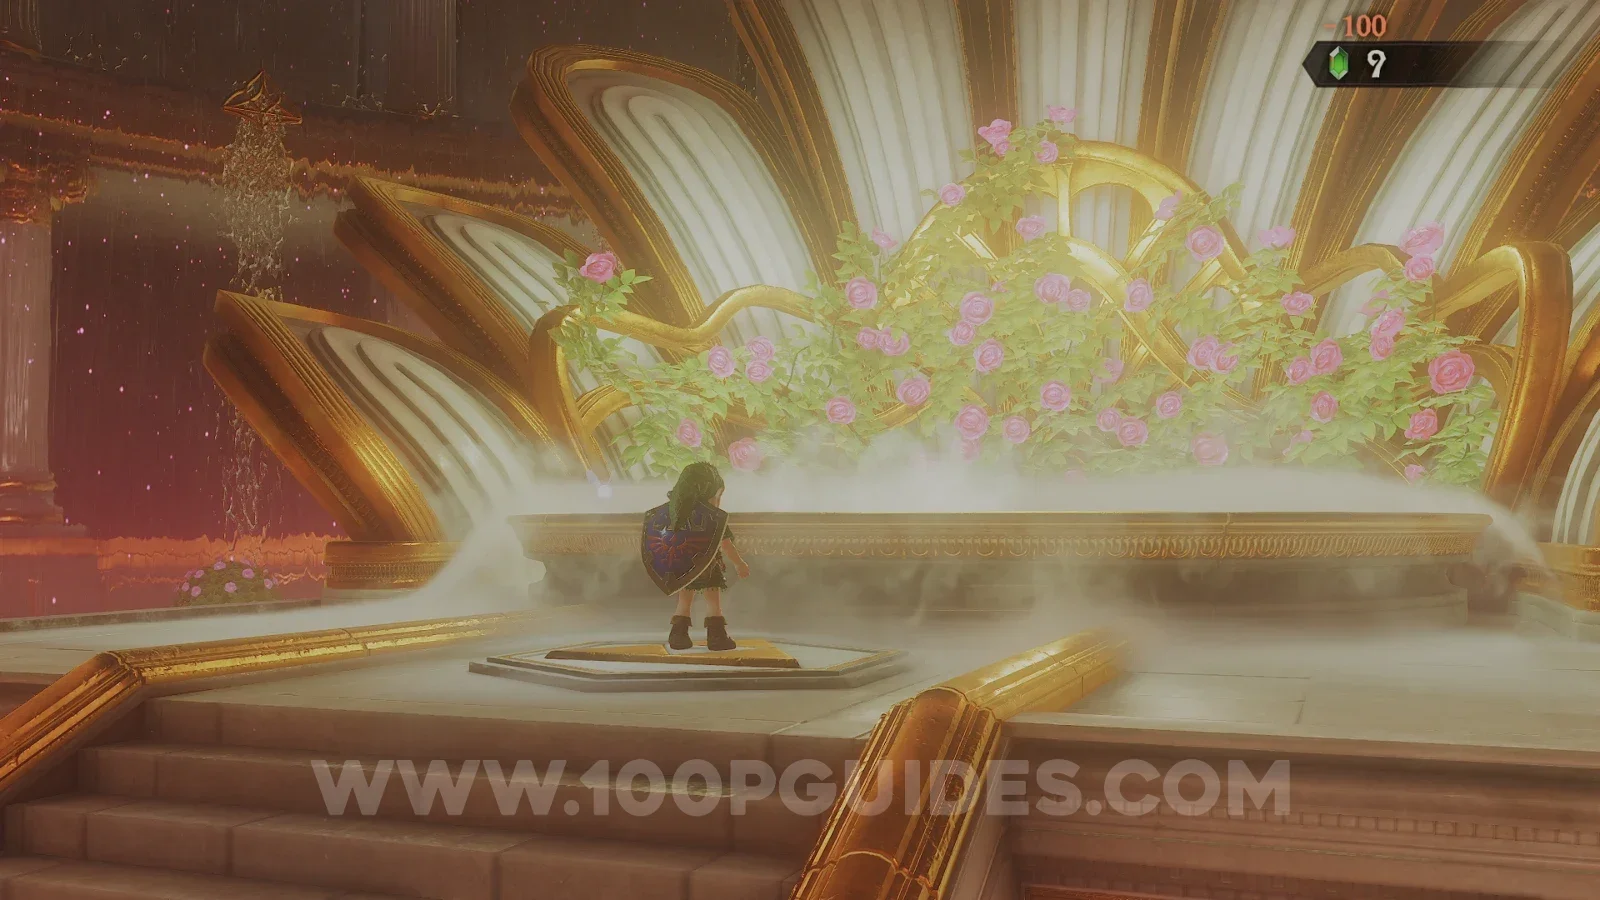
On that same patch of land, you will see a large cracked wall. Destroy it with a bomb and head inside to find another Great Fairy Fountain (3/6). Stand on the triforce, play Zelda's Lullaby and pay the 100 rupees to learn your second magic spell, Farore's Wind (2/3 Spells). This lets you set a warp point inside a dungeon and return to it whenever you cast the spell again.
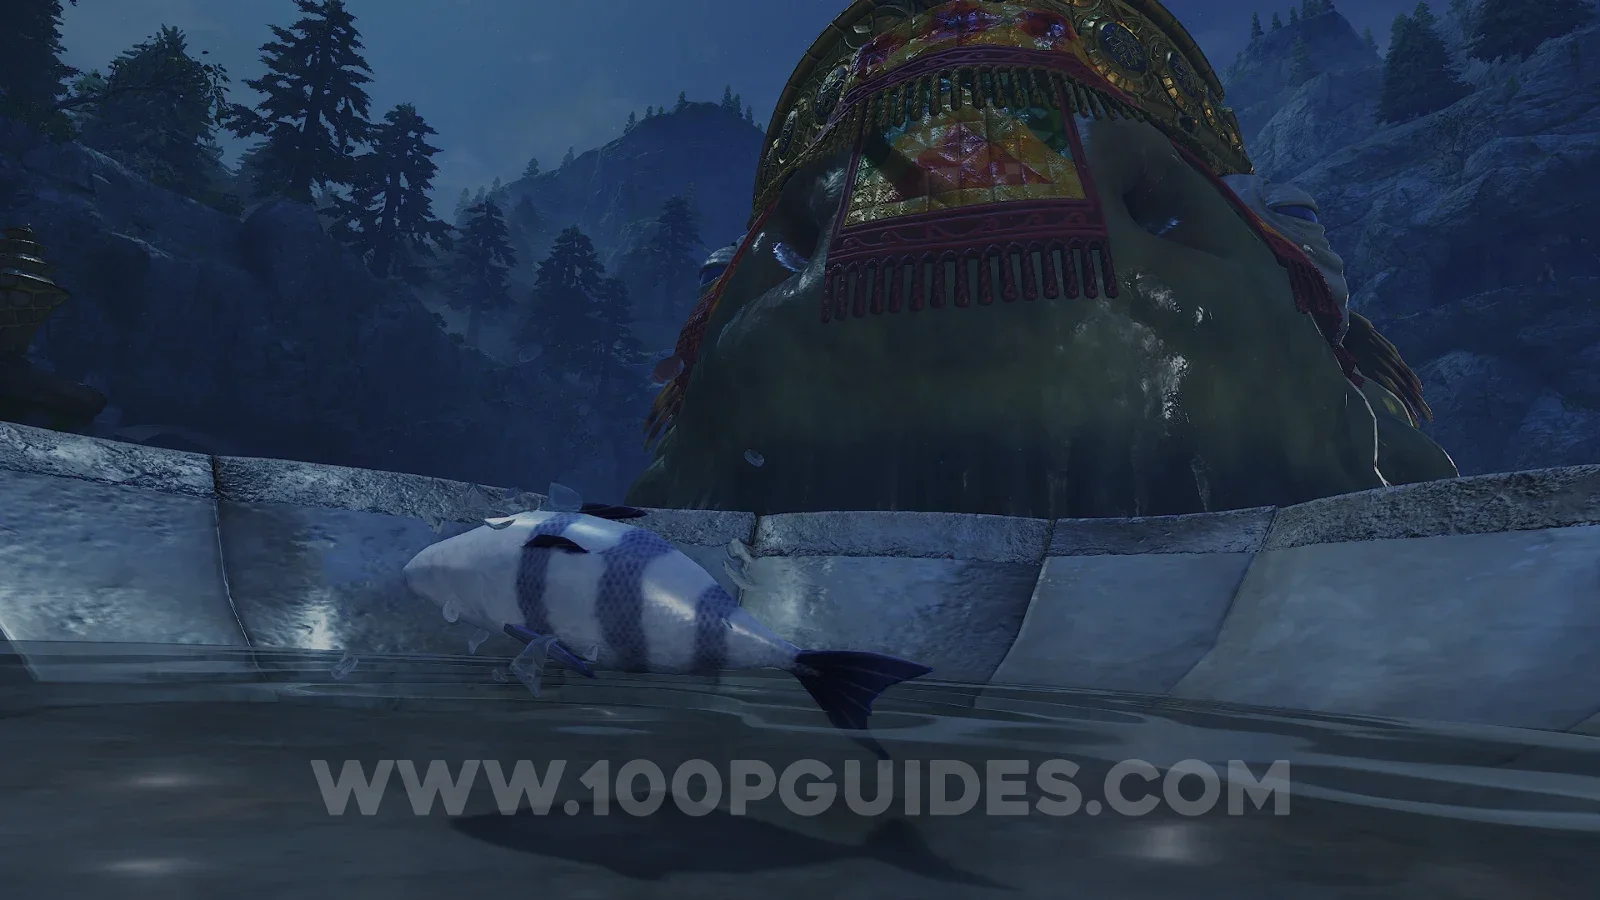
Now head back to Lord Jabu-Jabu and stand on the platform in front of his mouth. Take out the bottle with the fish and drop it in front of him. He will swallow the fish, and you along with it.
Lord Jabu-Jabu's Belly
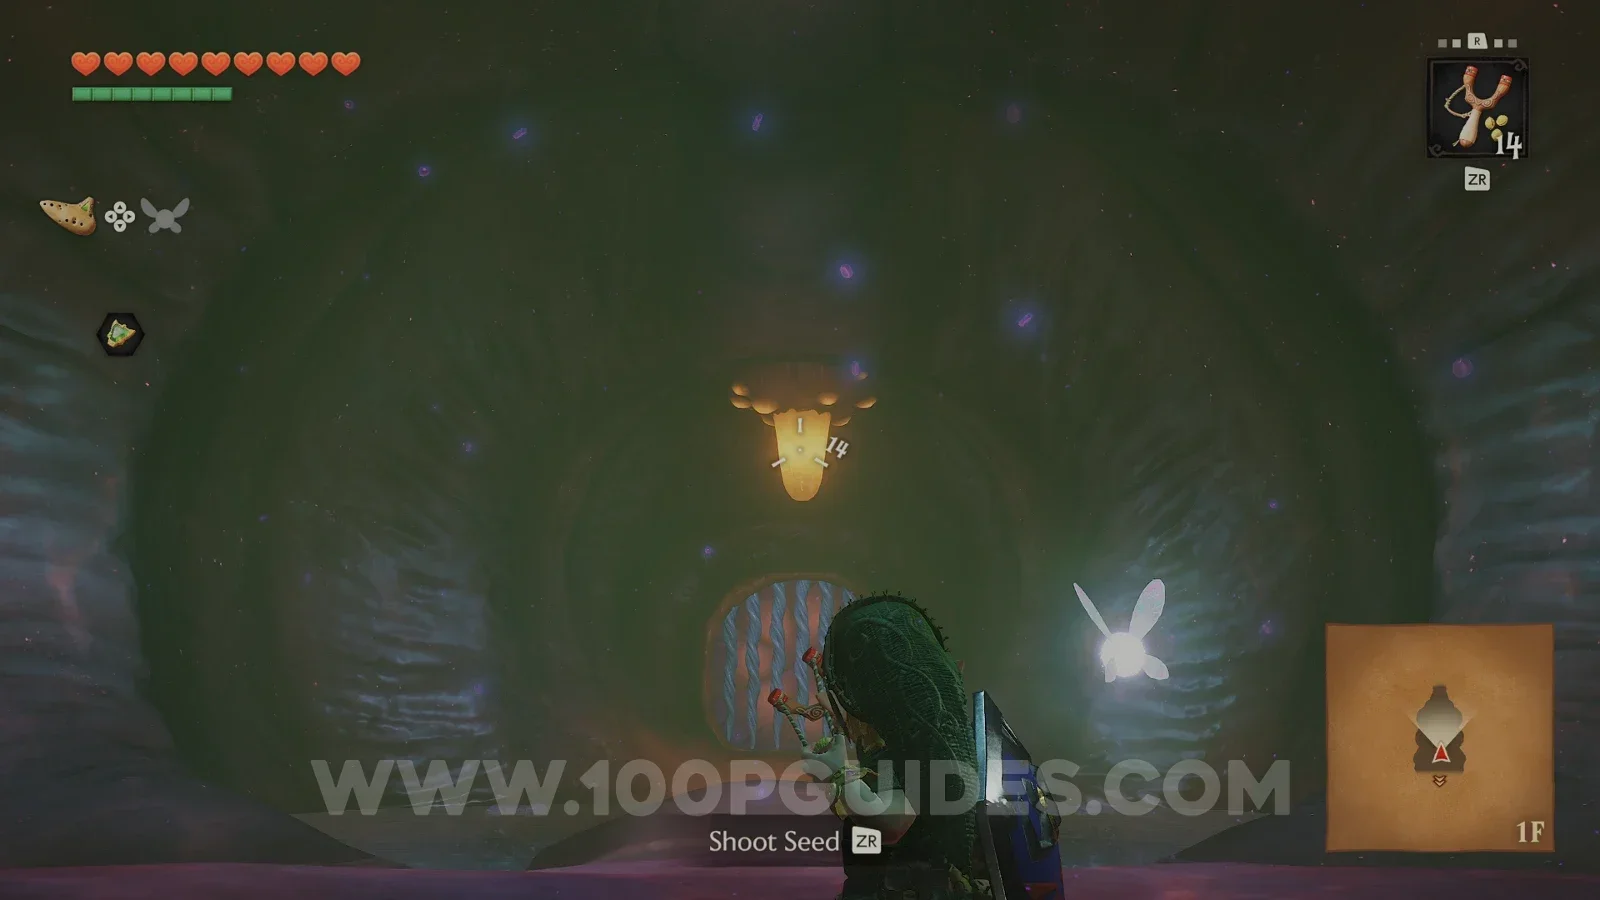
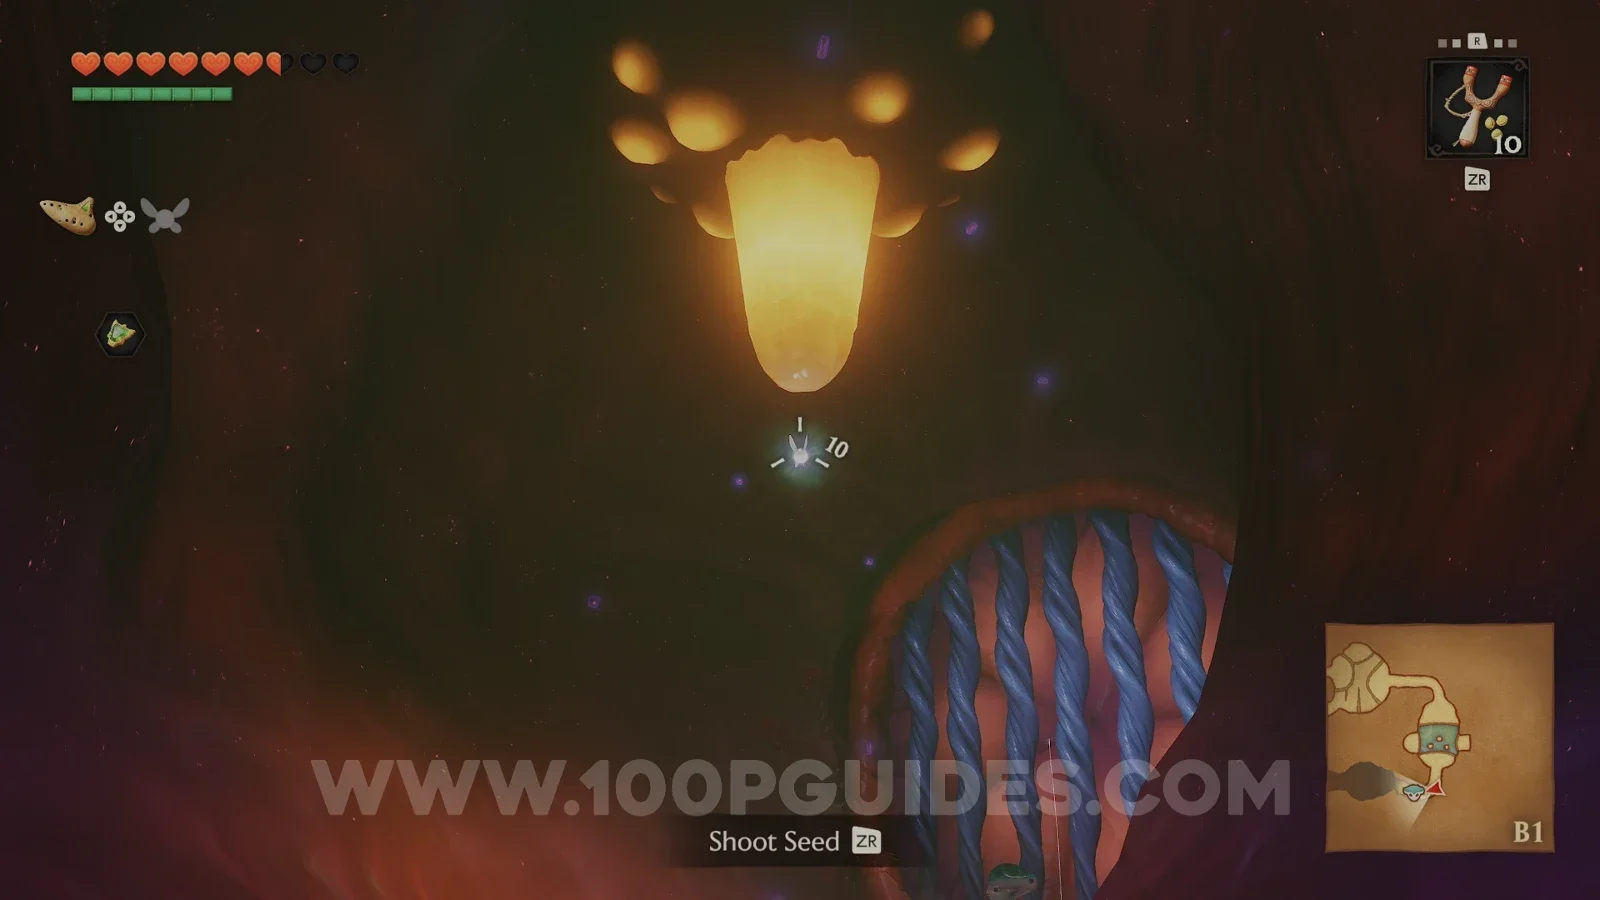
In the first room, use your slingshot to hit the glowing switch hanging from the ceiling to open the door.
In the next room, make your way past the electric jellyfish enemies. Don't hit them with your sword or you will get shocked. Instead, stun them with Deku Nuts or hit them with a Deku Stick. In the room after that you will meet Princess Ruto, who will fall down a hole.
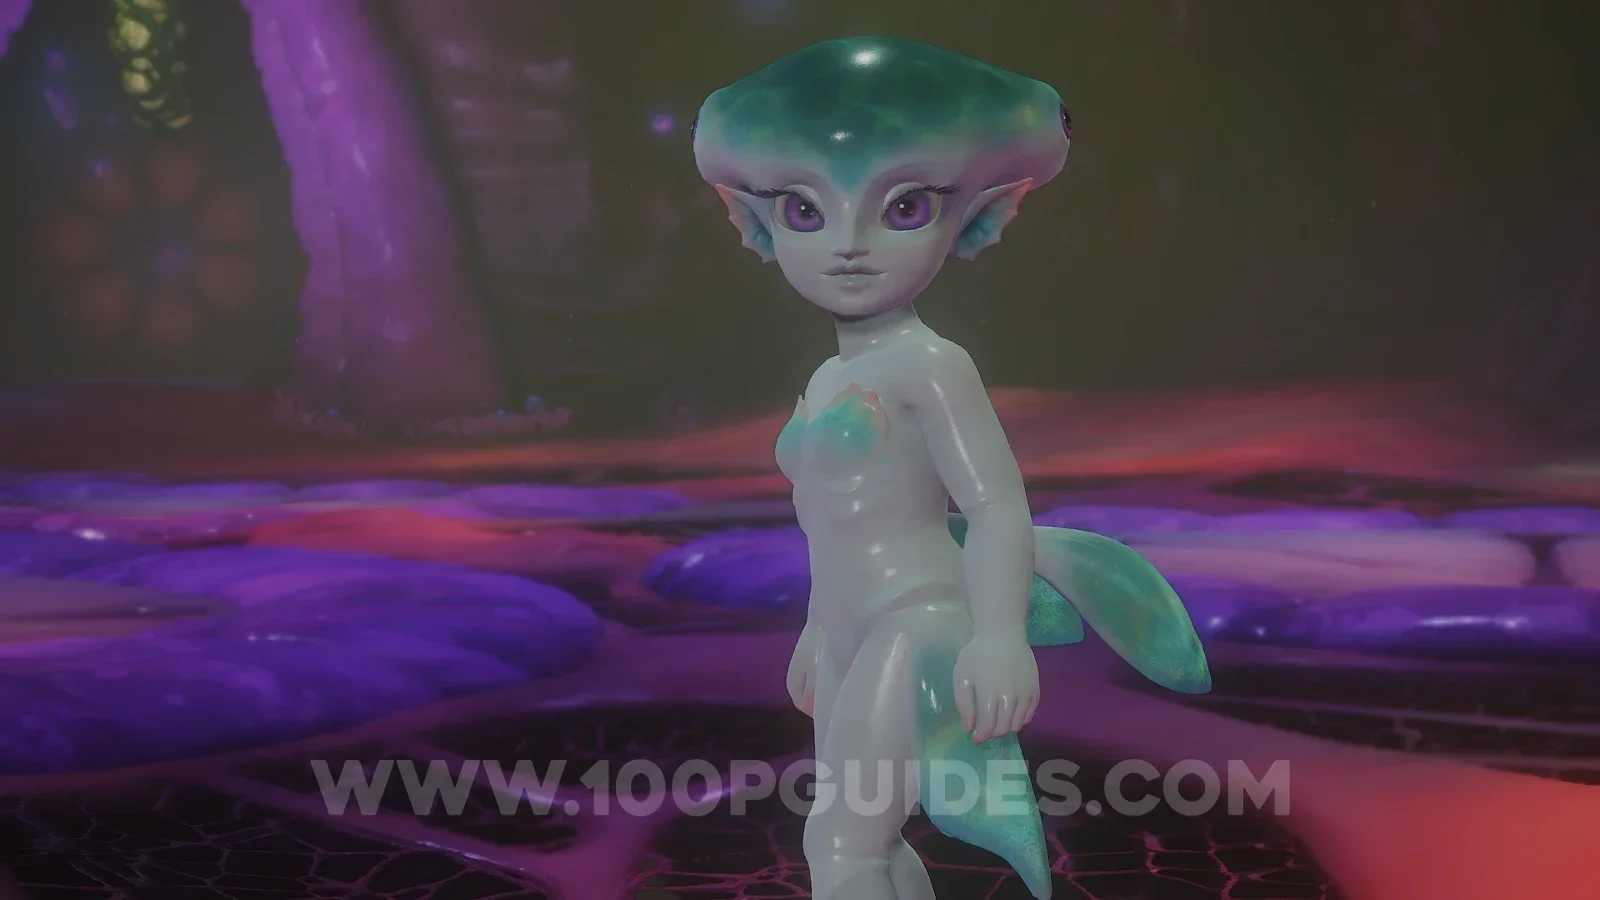
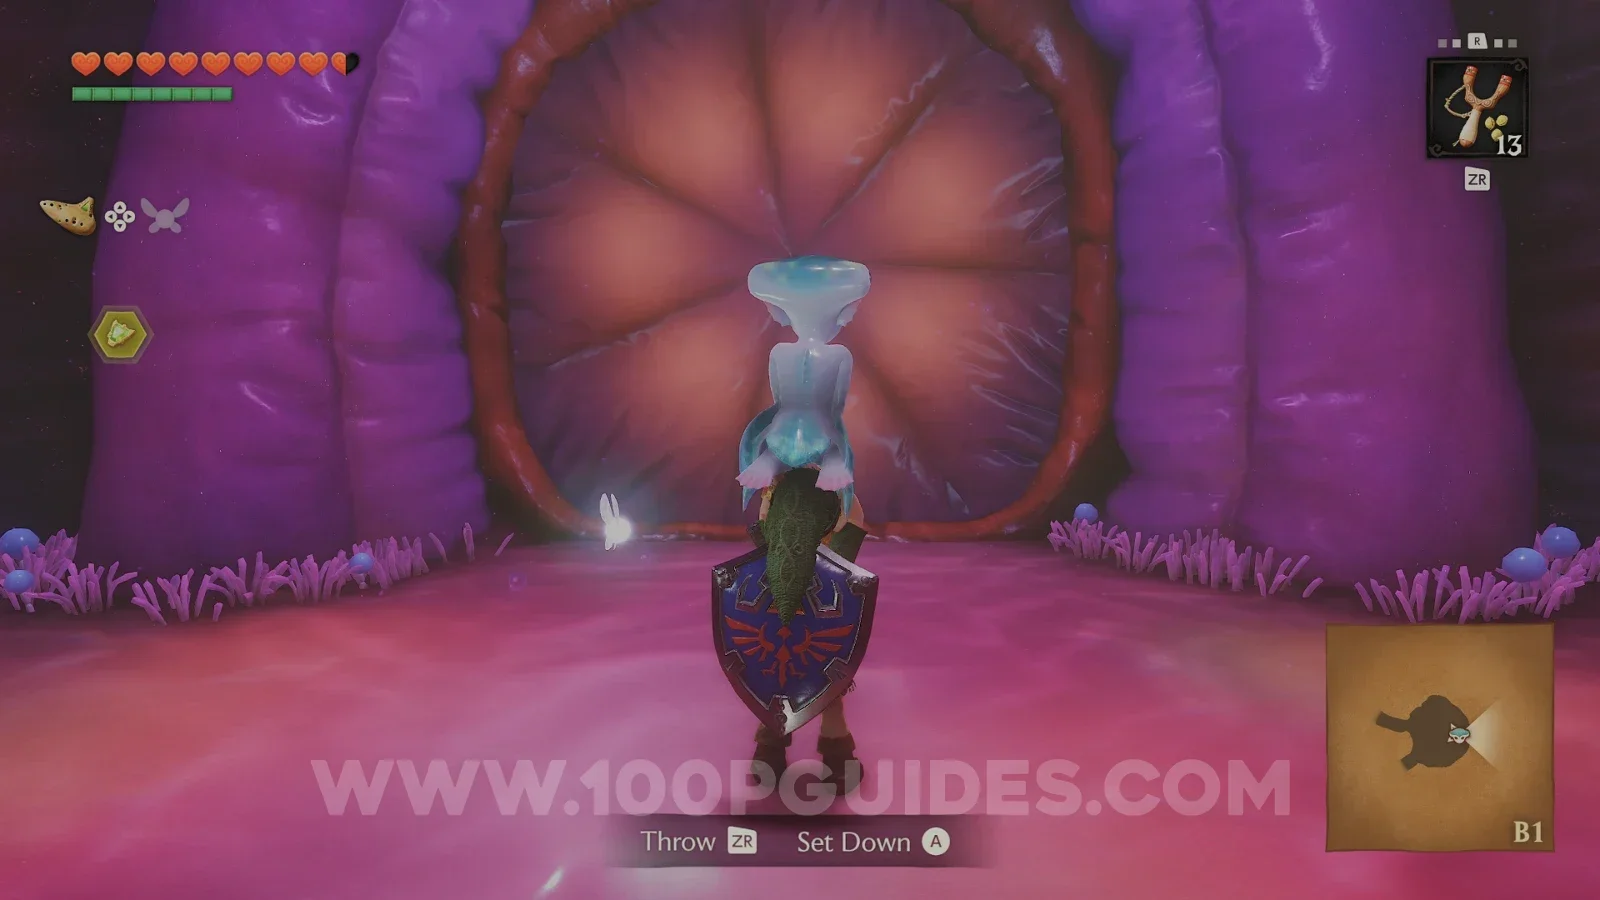
Jump down after her and talk to her, and she will let you carry her. From now on, you will be taking her with you through the dungeon, since her weight is needed for some of the switches. Unlike in the classic game, she will wait exactly where you leave her, even if you leave the dungeon.
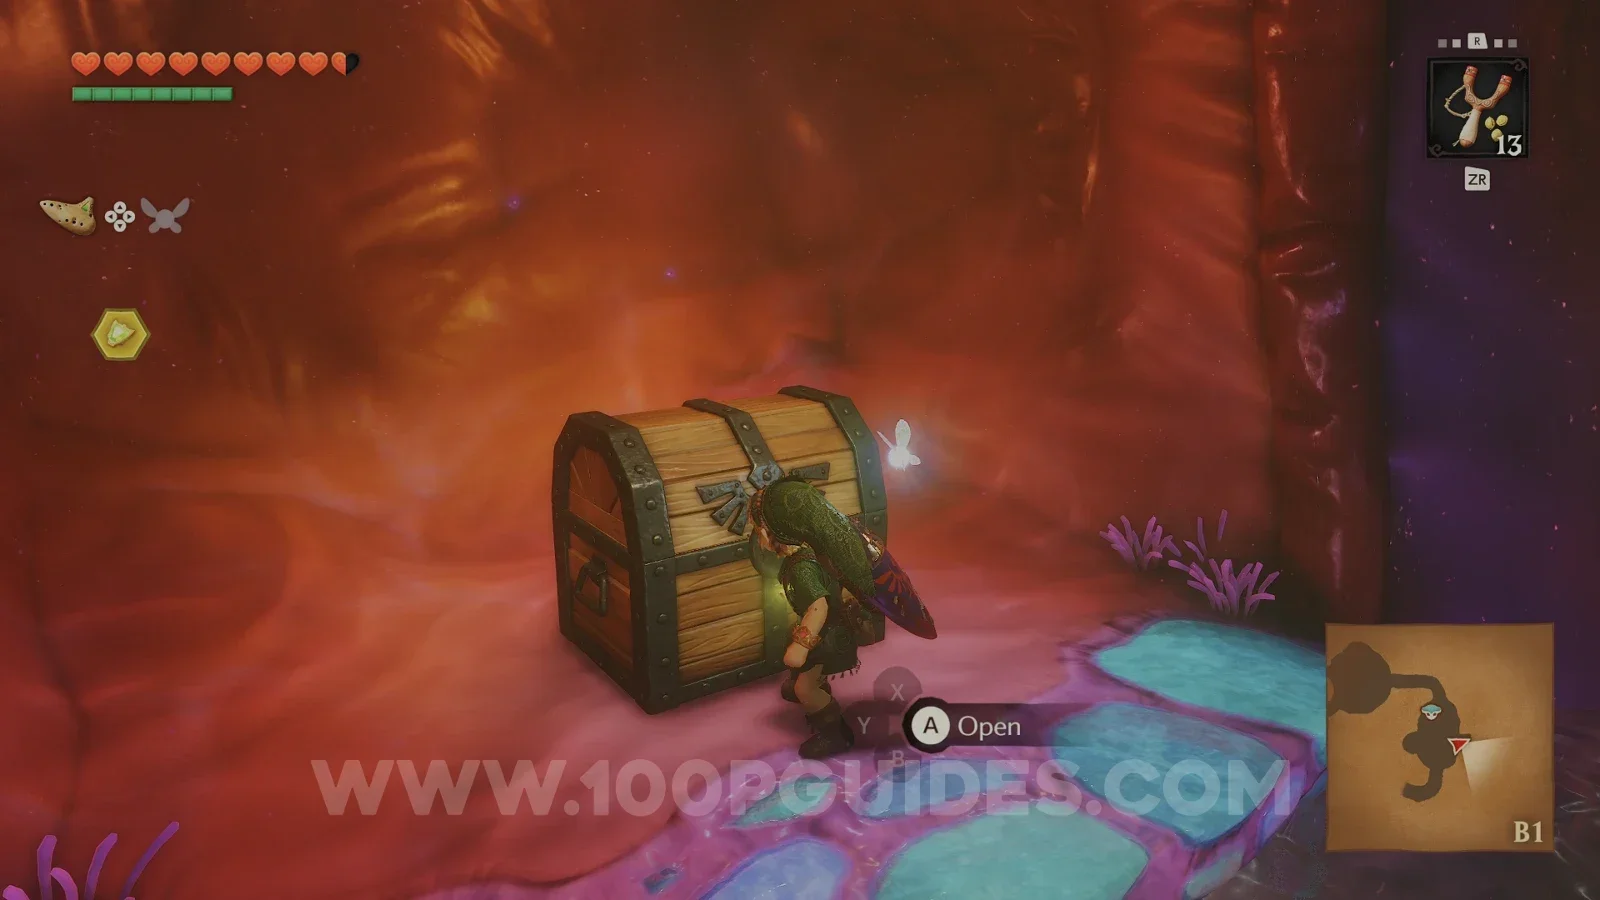
Carry Ruto through the eastern door and past the bubble enemies (you can throw her at them to pop them). You will soon reach a sunken room. Defeat the flying enemies here and step on the switch to raise the water. Then open the chest on the eastern side to get the Dungeon Map.
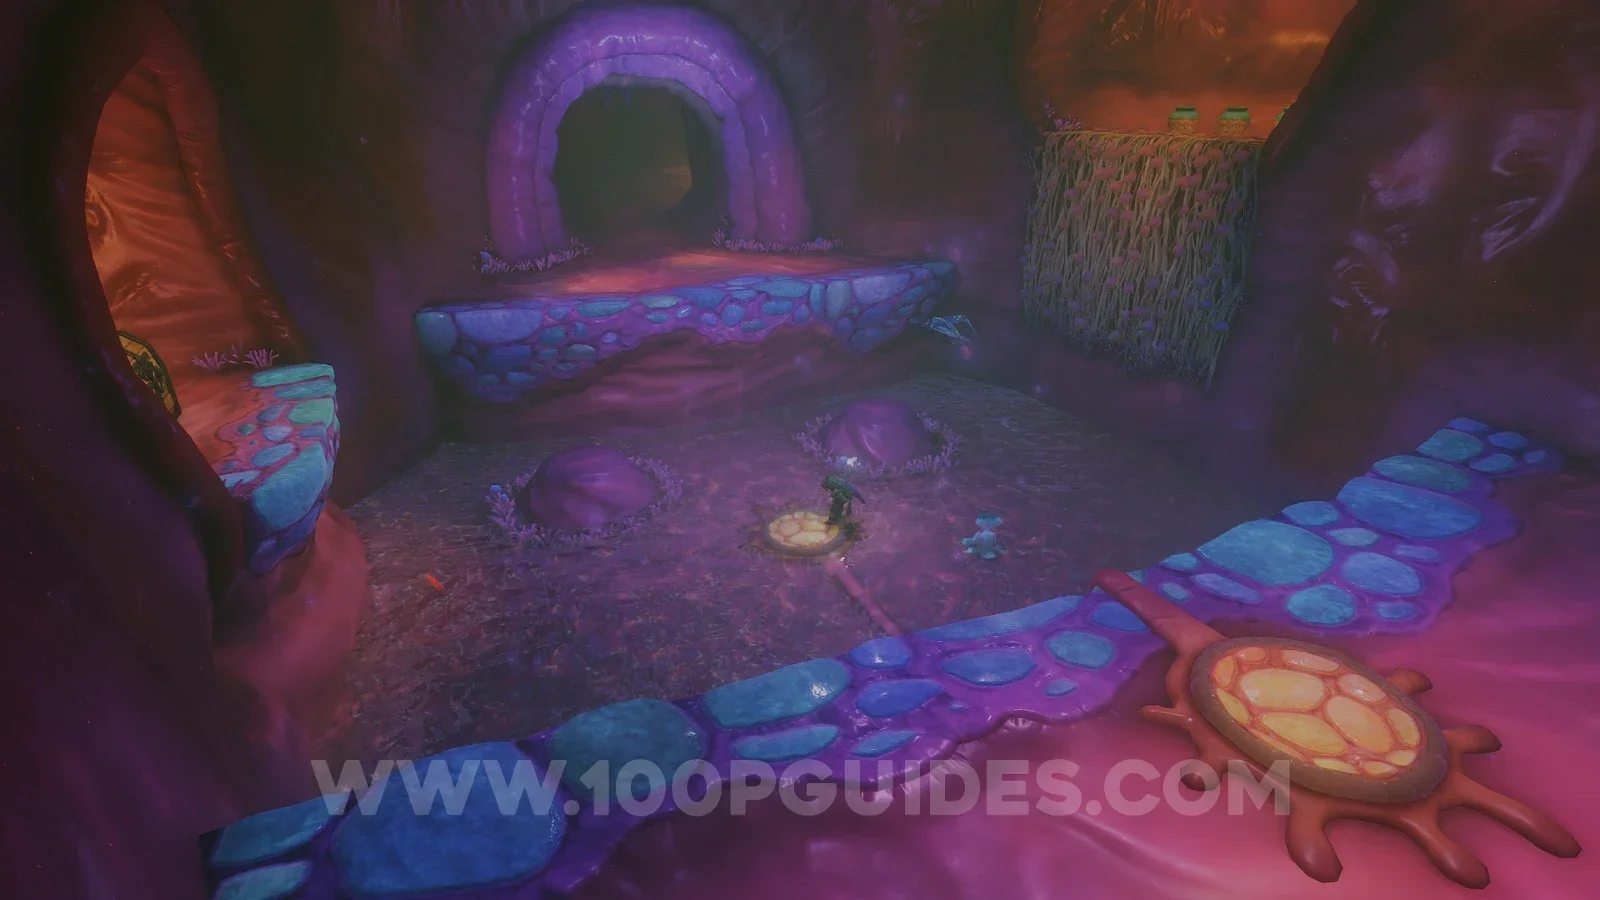
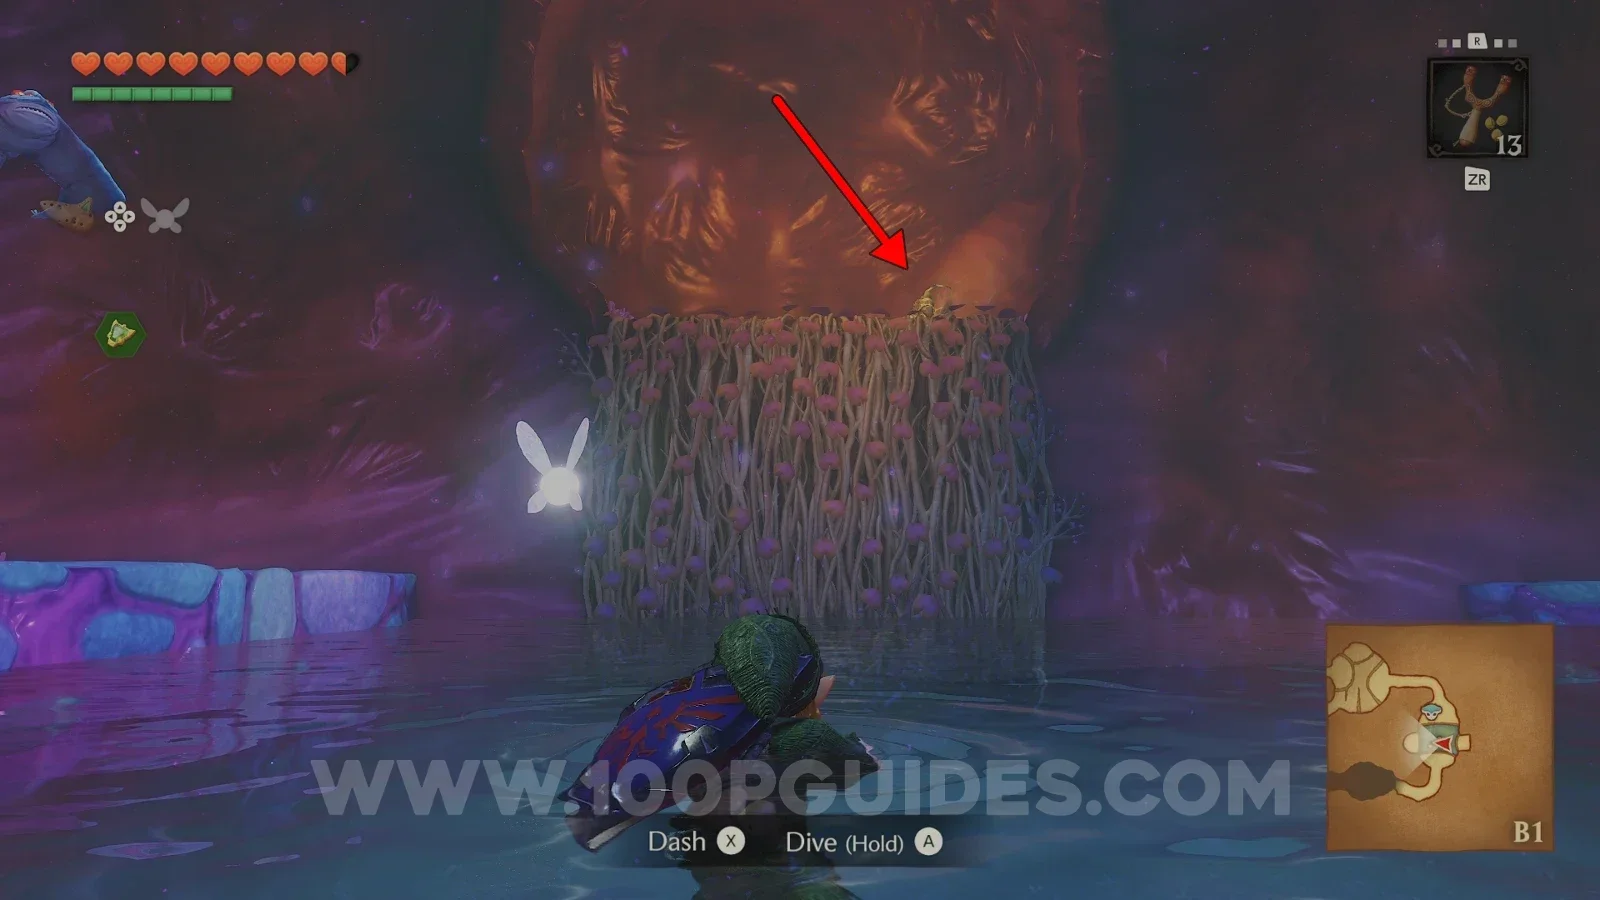
In this same room, climb the vines to the high ledge with the pots on the western side to find a Gold Skulltula (32/100).
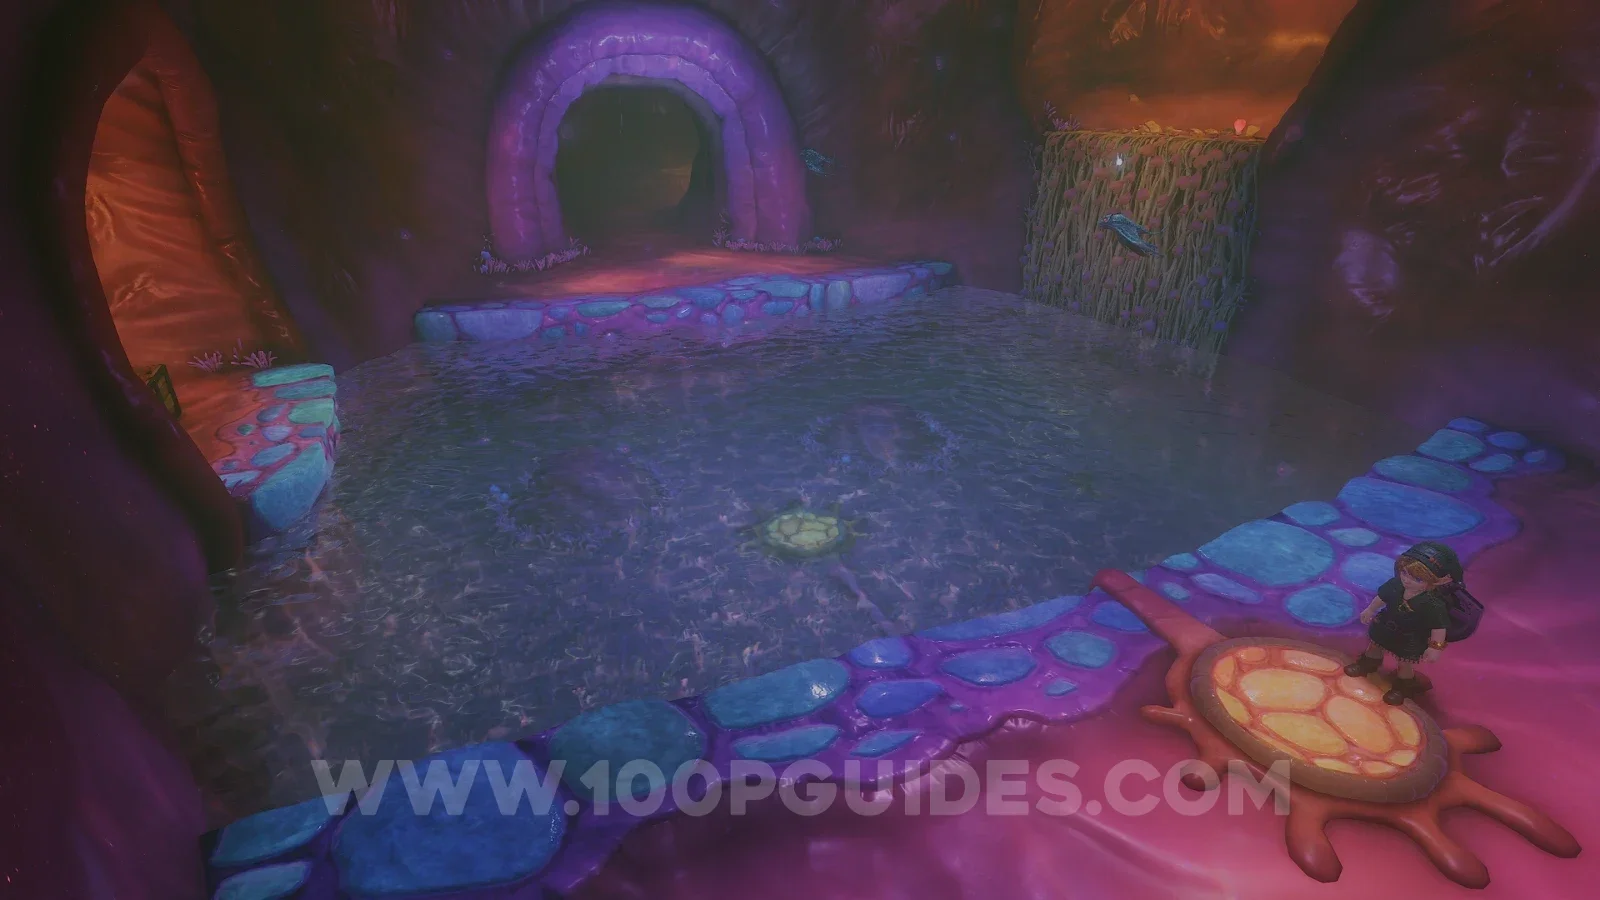
Next, lower the water again by standing on the upper switch close to where you entered the room. Carry Ruto, stand on one of the rocks at the bottom of the pit and throw her up to the other side. Then raise the water again and climb up to where she landed.
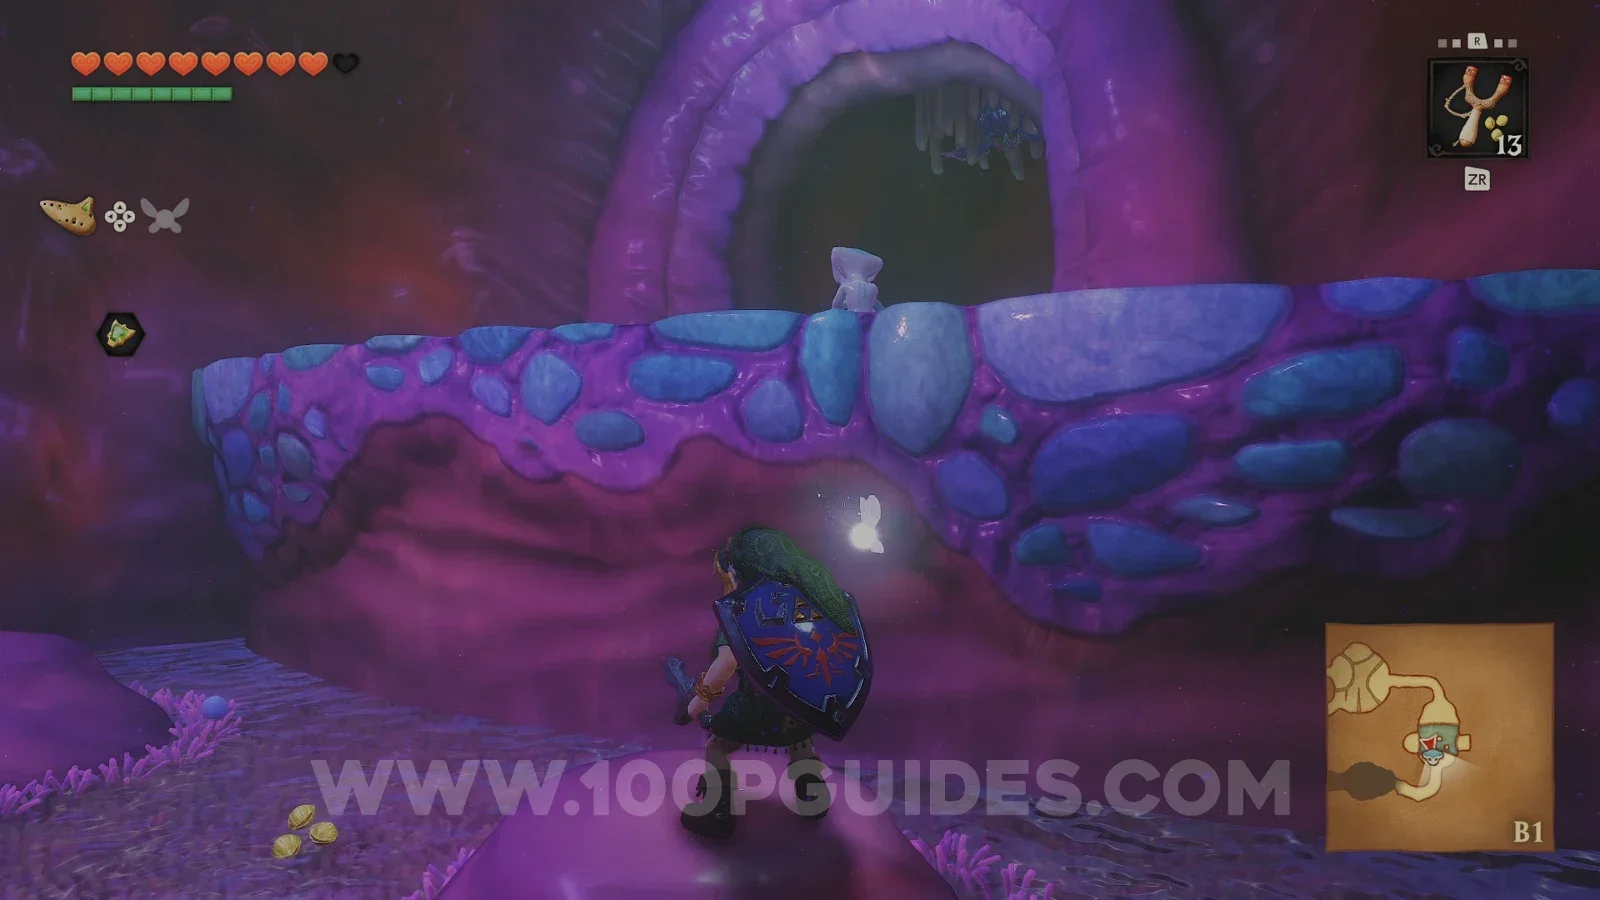
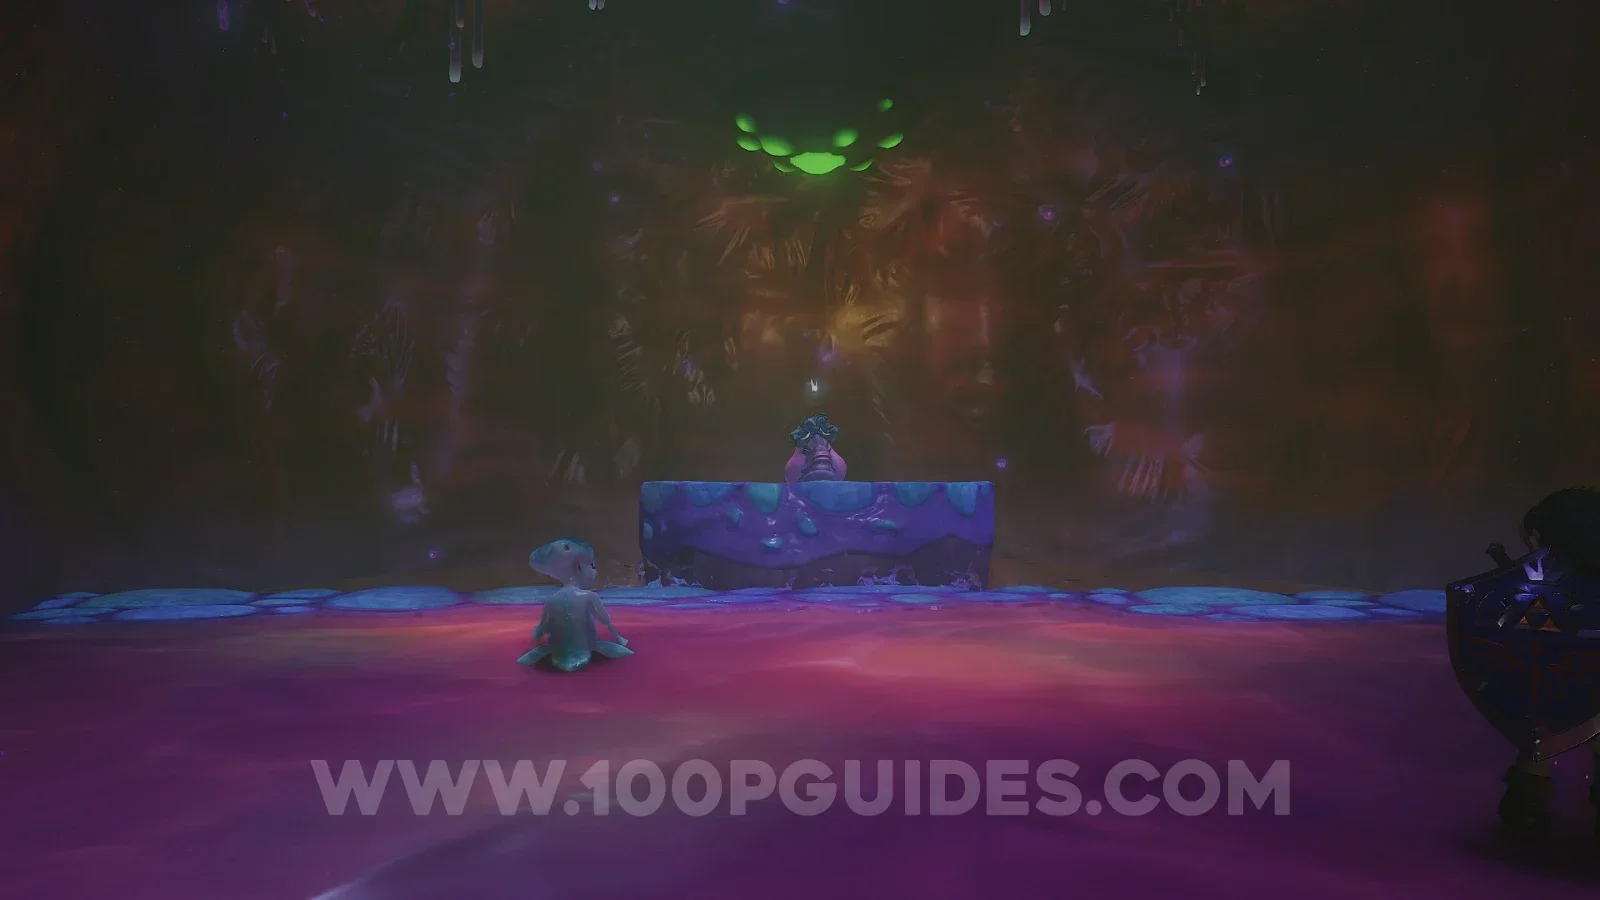
Grab Ruto and continue south. Watch out for the jellyfish and then shoot the hanging switch to open the door and continue. In the next room, shoot another switch and a lift will appear. Before riding the lift, dive down on the far side of the room to find an underwater passage. It leads to a Business Scrub that sells Deku Nuts, Deku Sticks and Business Scrub Seeds.
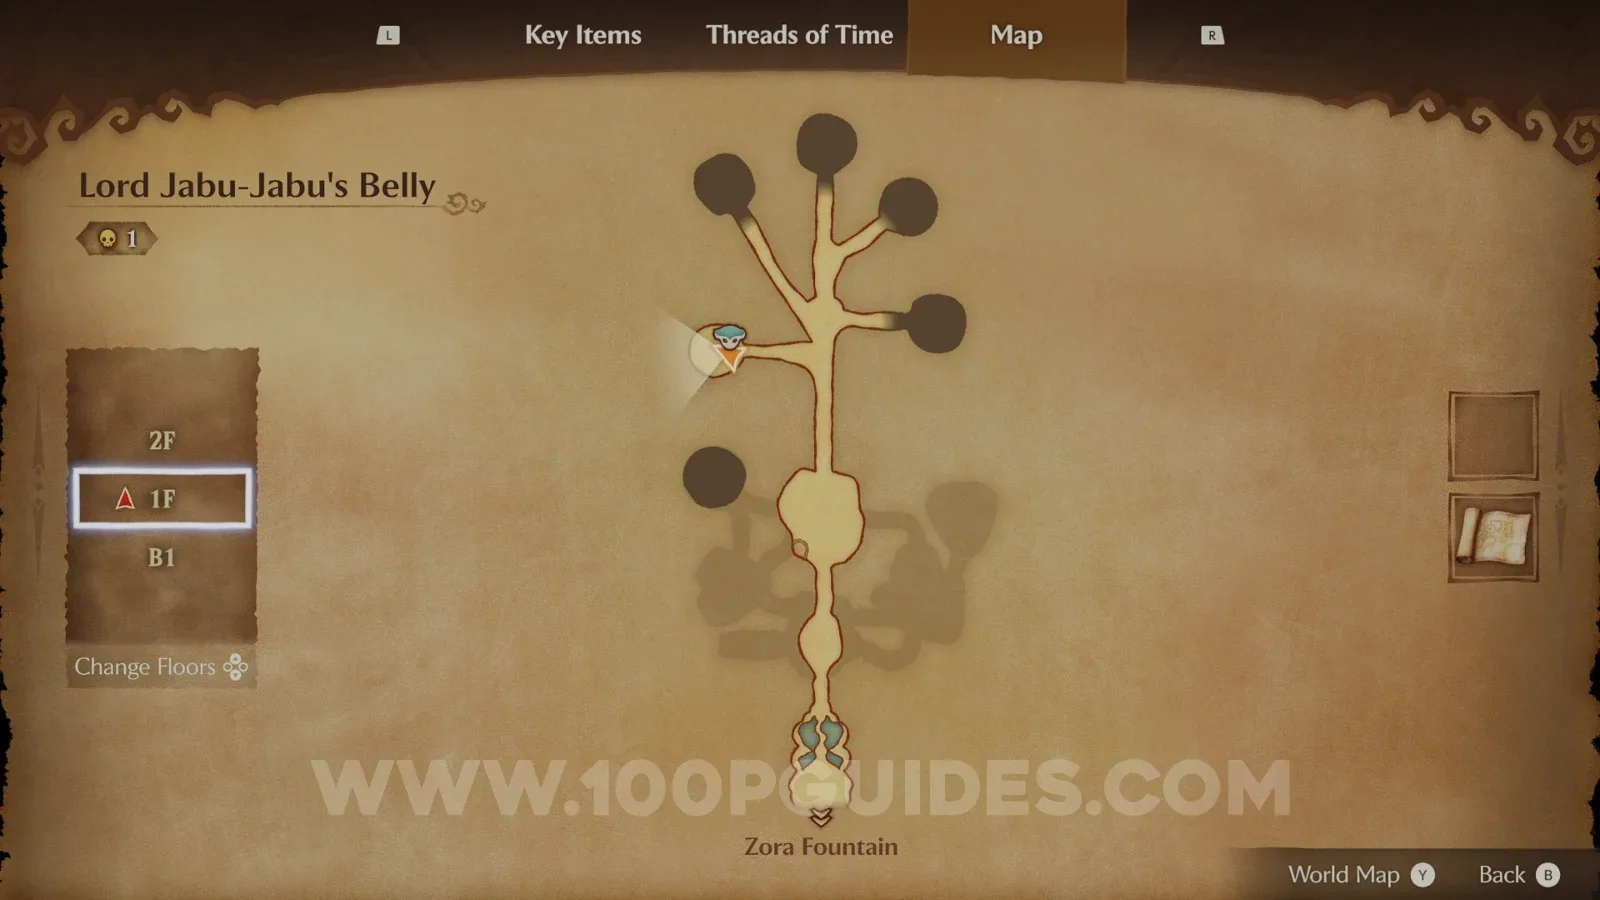
Now take the lift up to 1F with Ruto and head back to the room with the holes in the floor. From there, go north to reach an area with five corridors. Take the first corridor on the left by standing on the switch while holding Ruto, defeat all the flying enemies, and a chest will appear with the Boomerang.
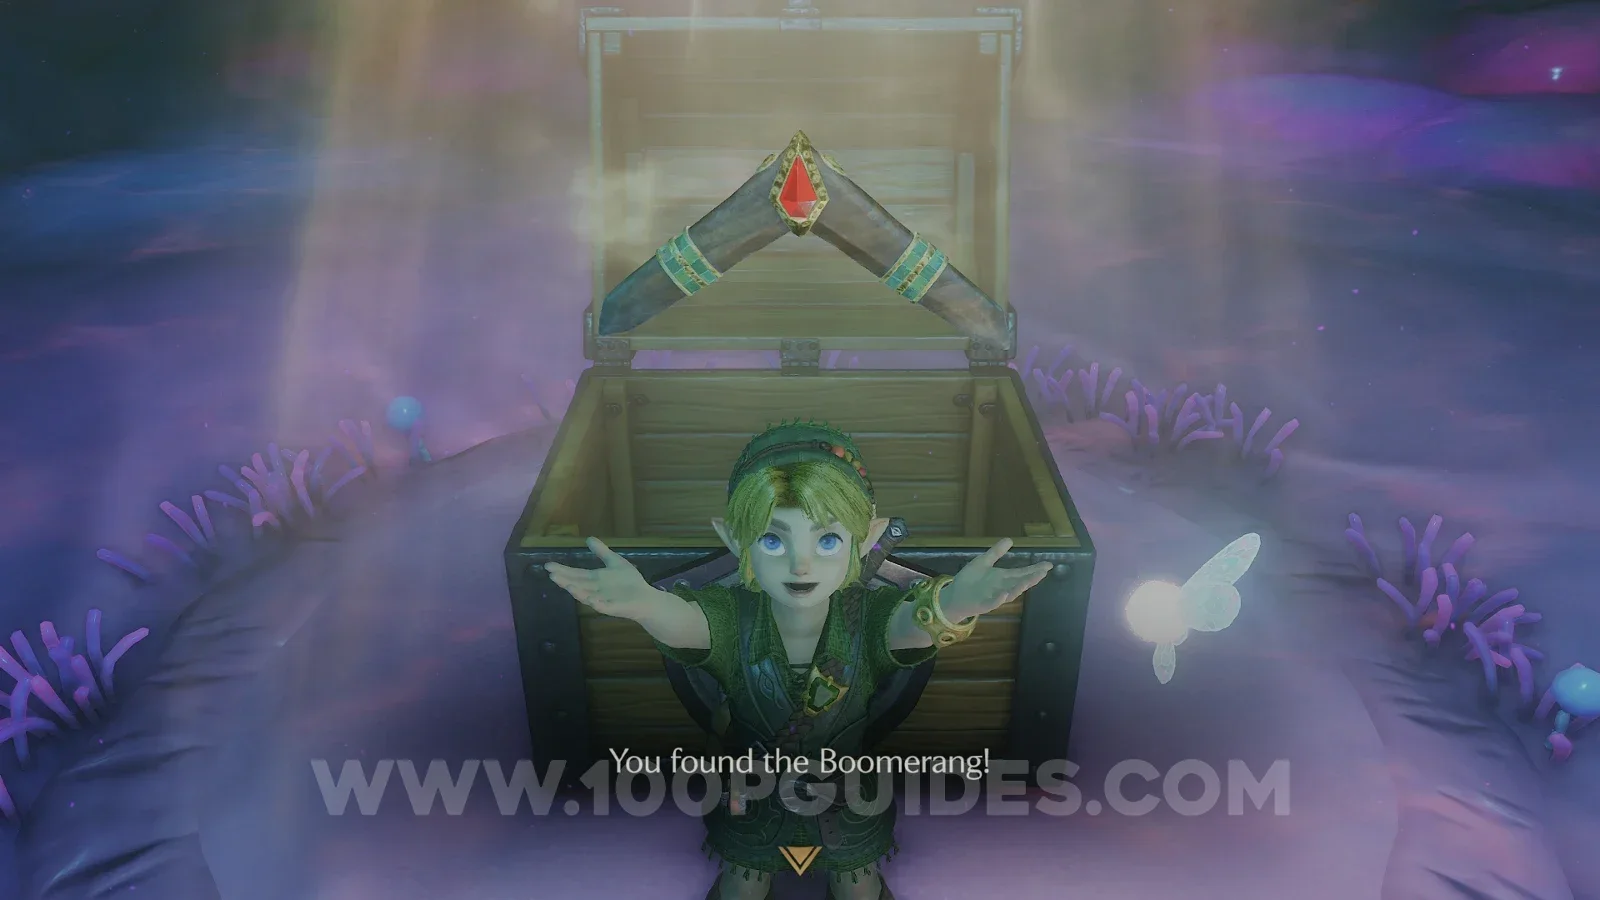
The Boomerang stuns enemies and hits switches from a distance, and it also brings back anything it touches. That includes Gold Skulltula tokens, so it will open up quite a few of them from now on.
Next, you have to get rid of the three parasites that are blocking the way forward. Each one is in a room at the end of a corridor. Start with the red one down the right corridor. Lock on to the thin part in the middle of it and keep hitting it with the Boomerang until it dies.
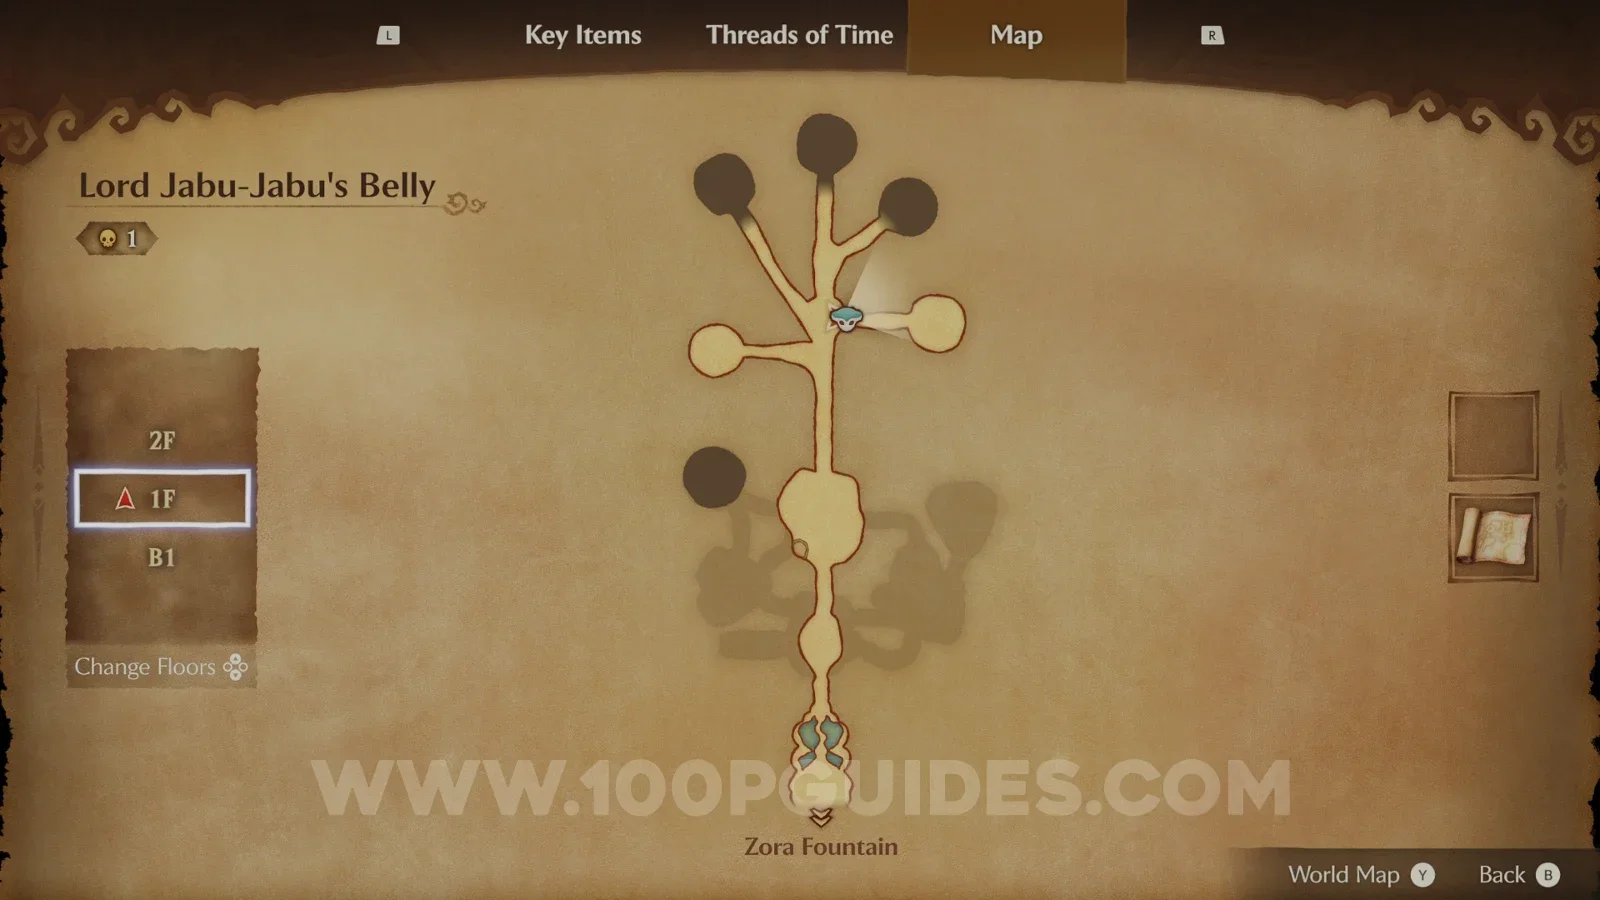
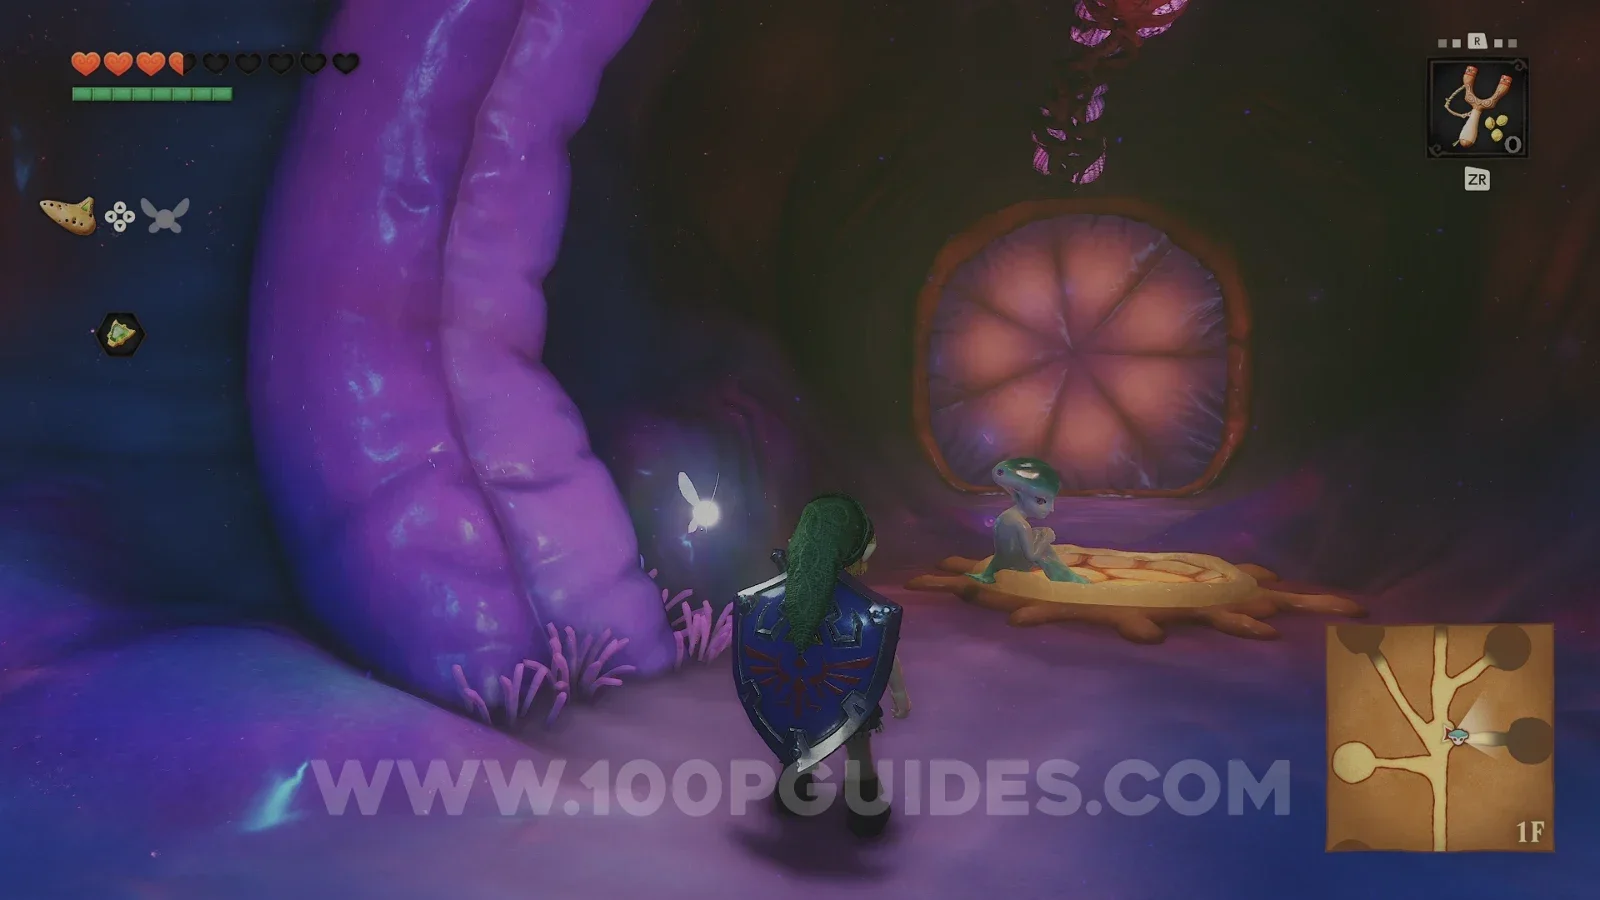
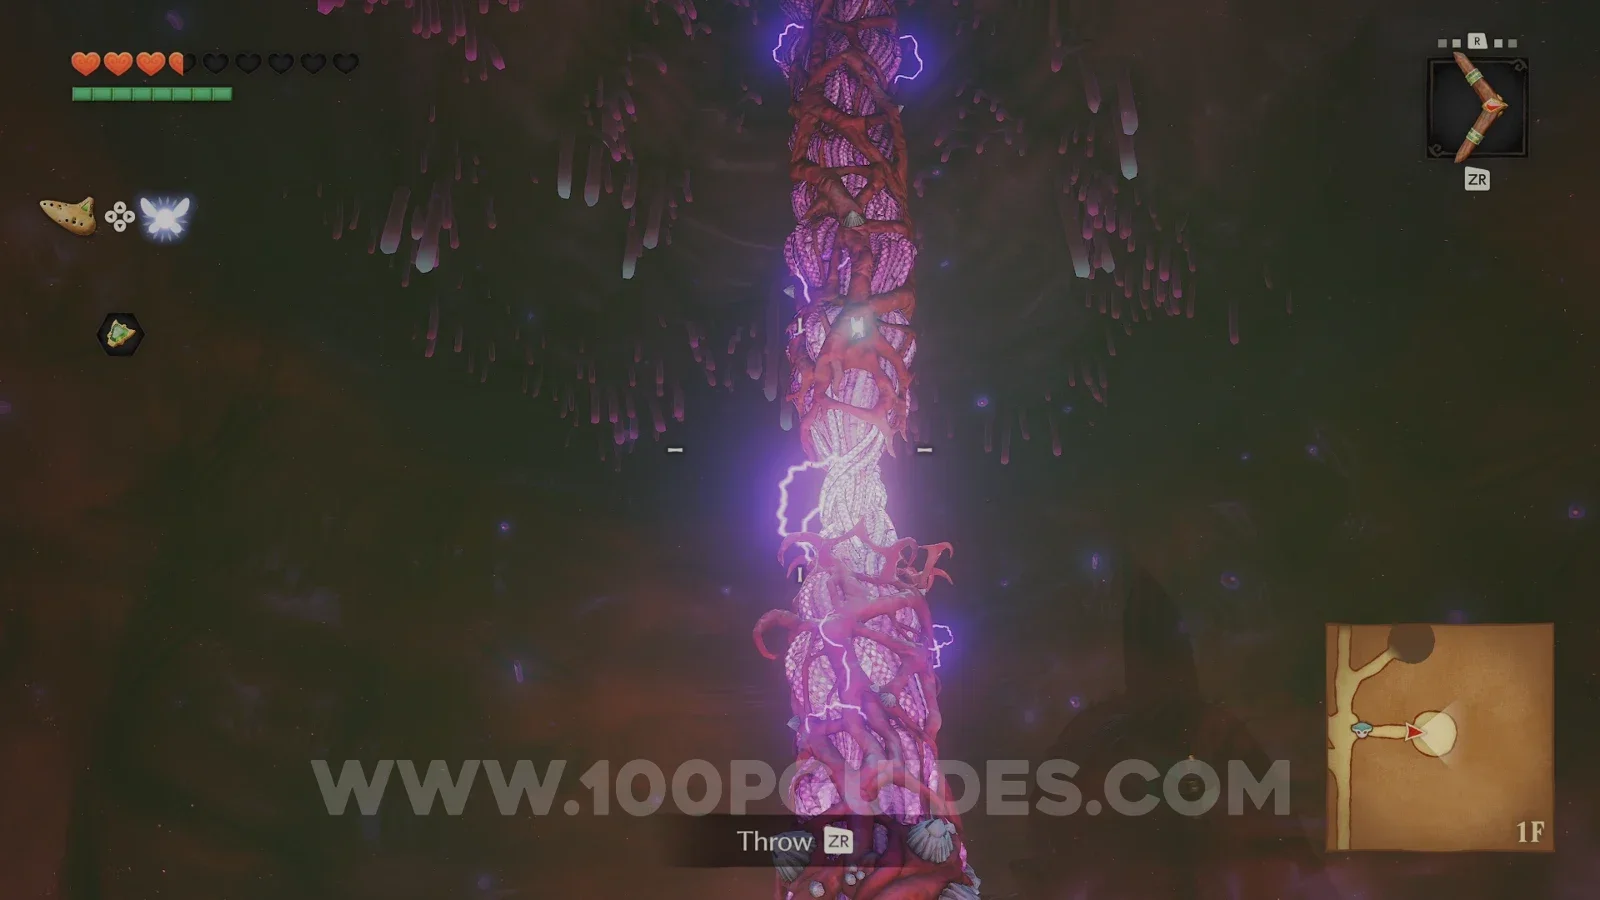
After destroying the first parasite, return to the central room, head into the northwestern room and defeat the blue parasite.
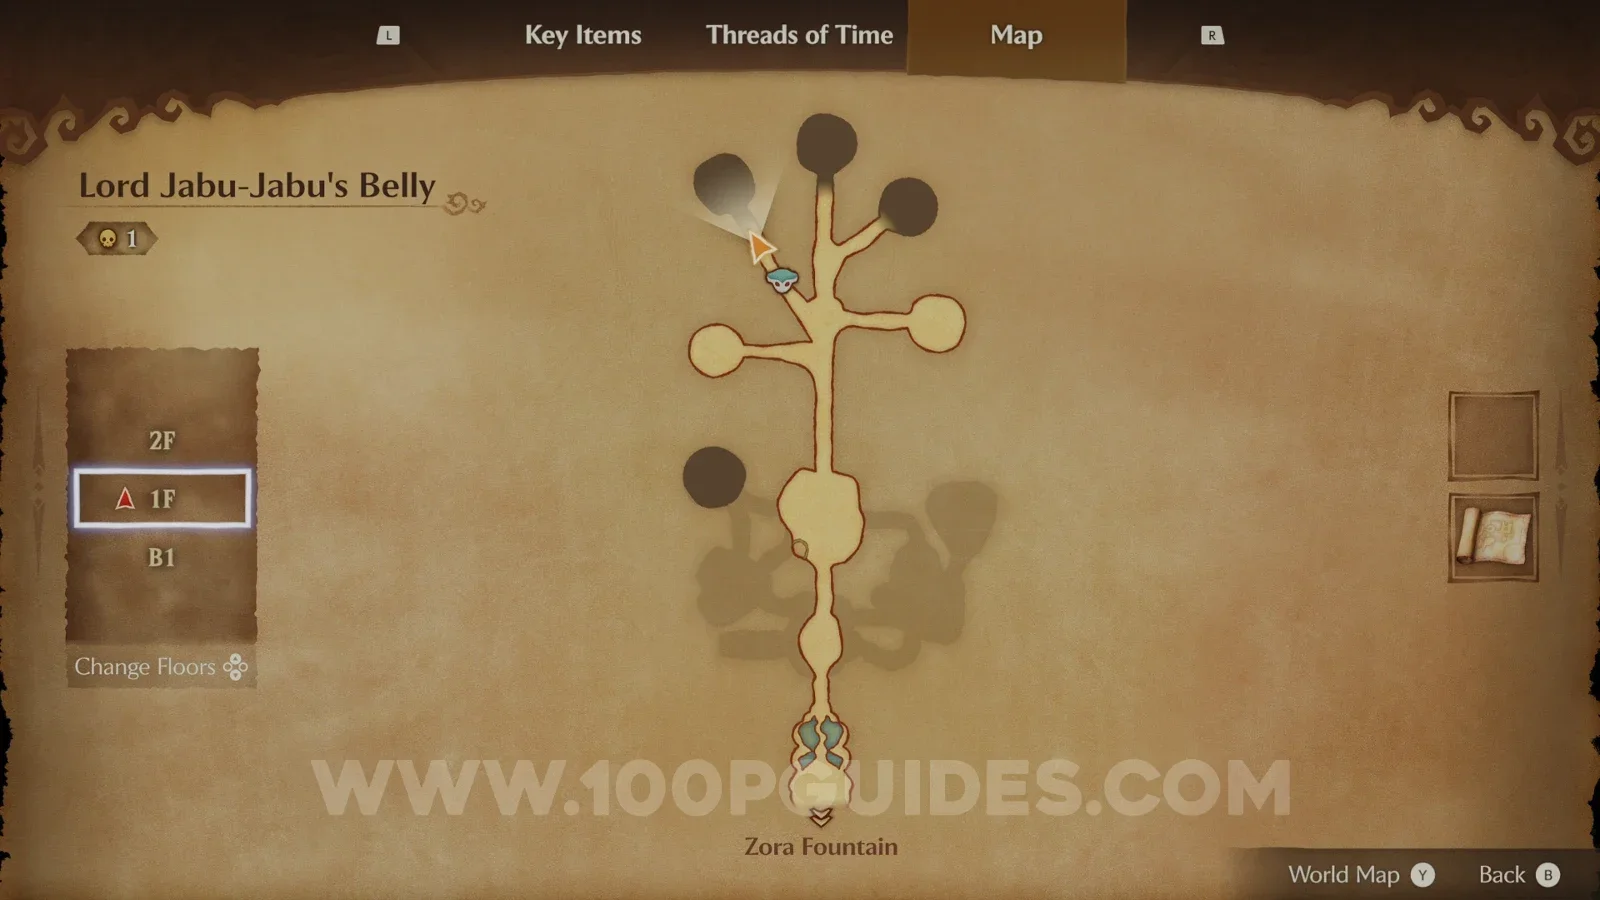
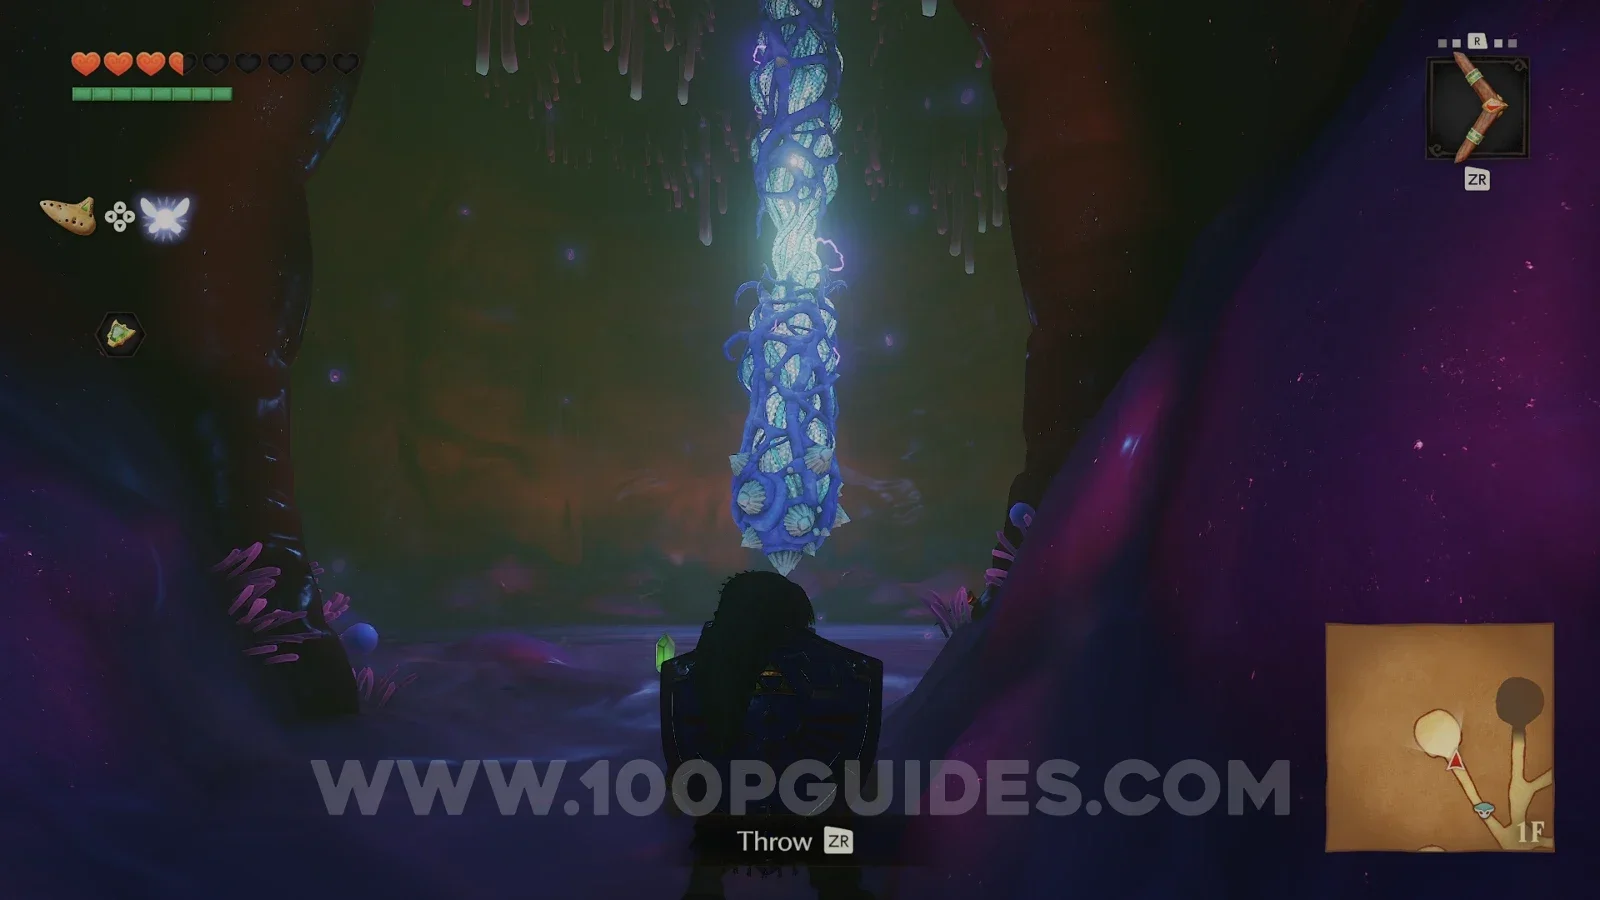
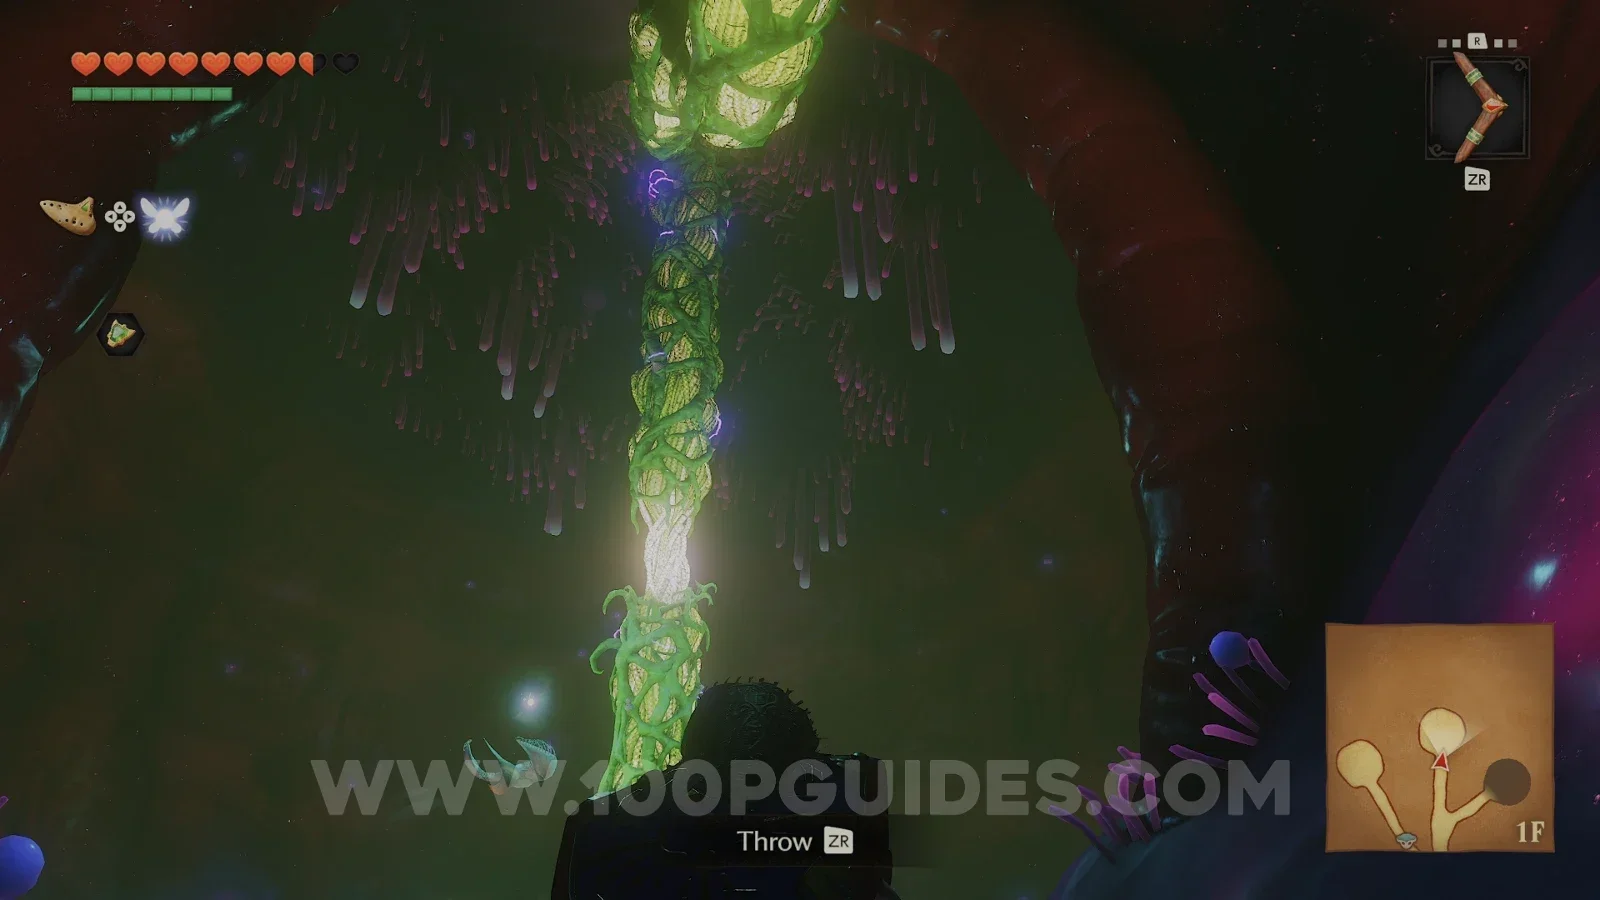
Then, head through the northern door and defeat the last parasite.
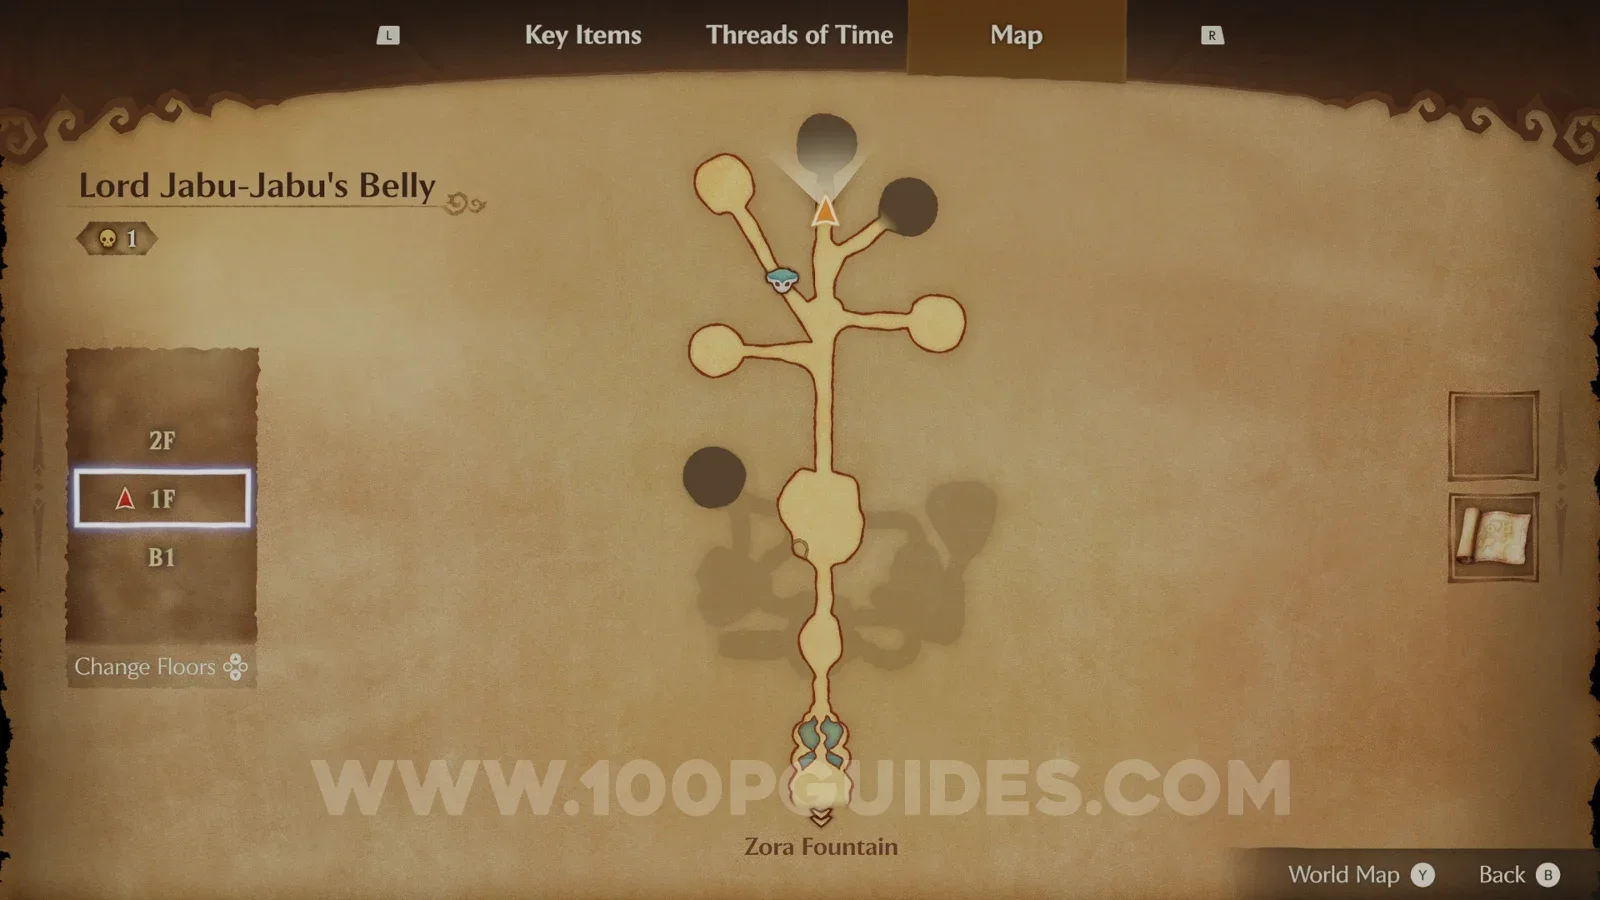
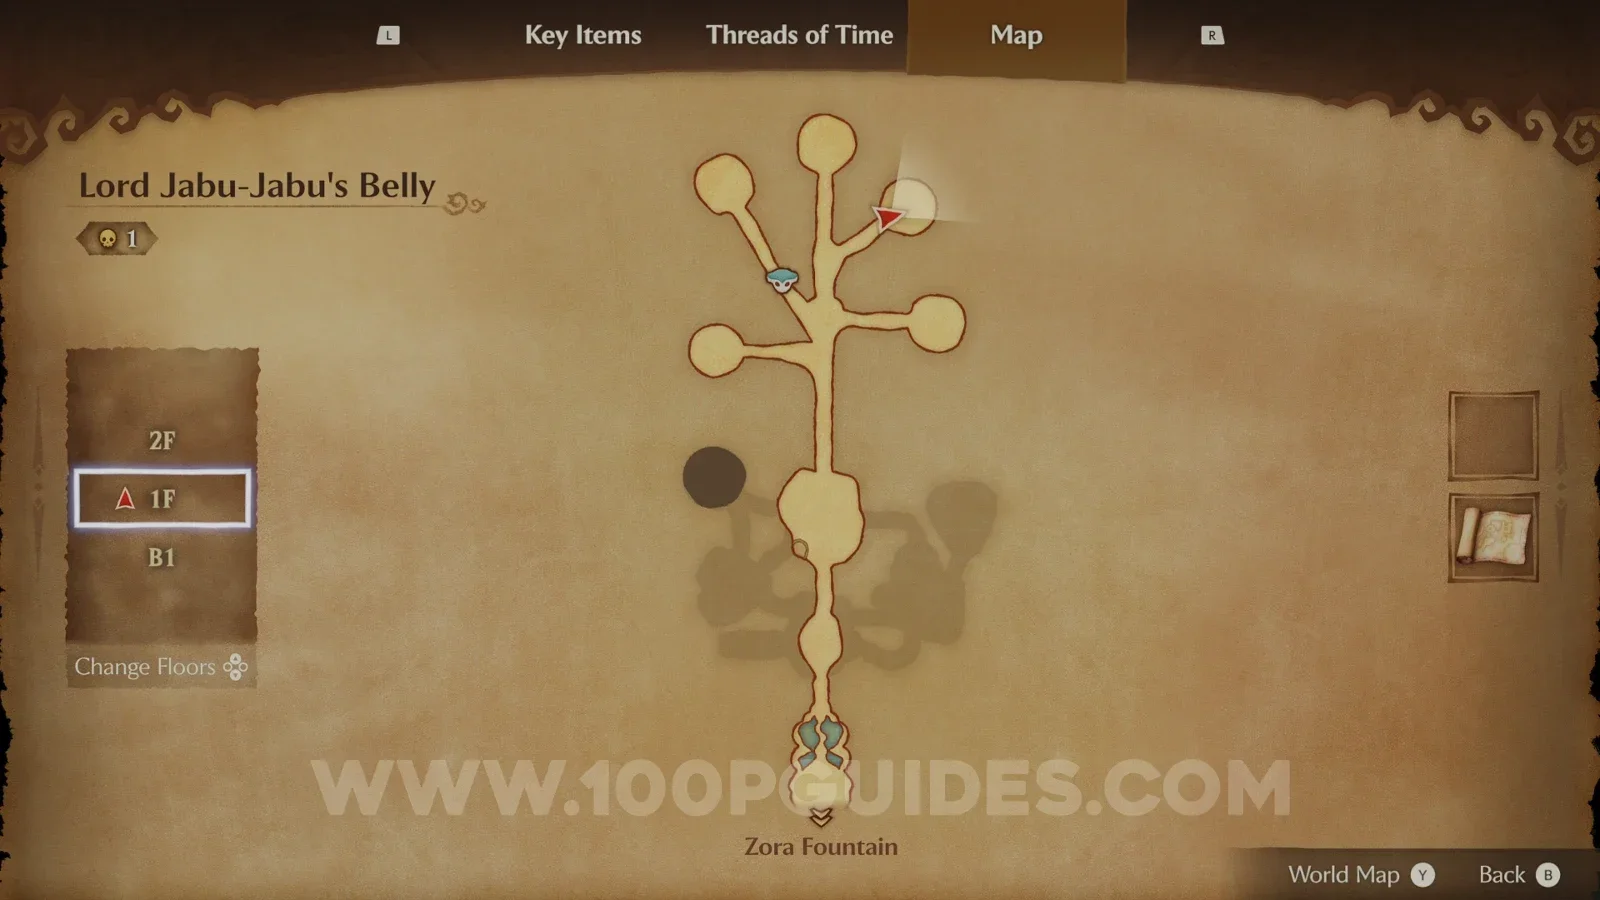
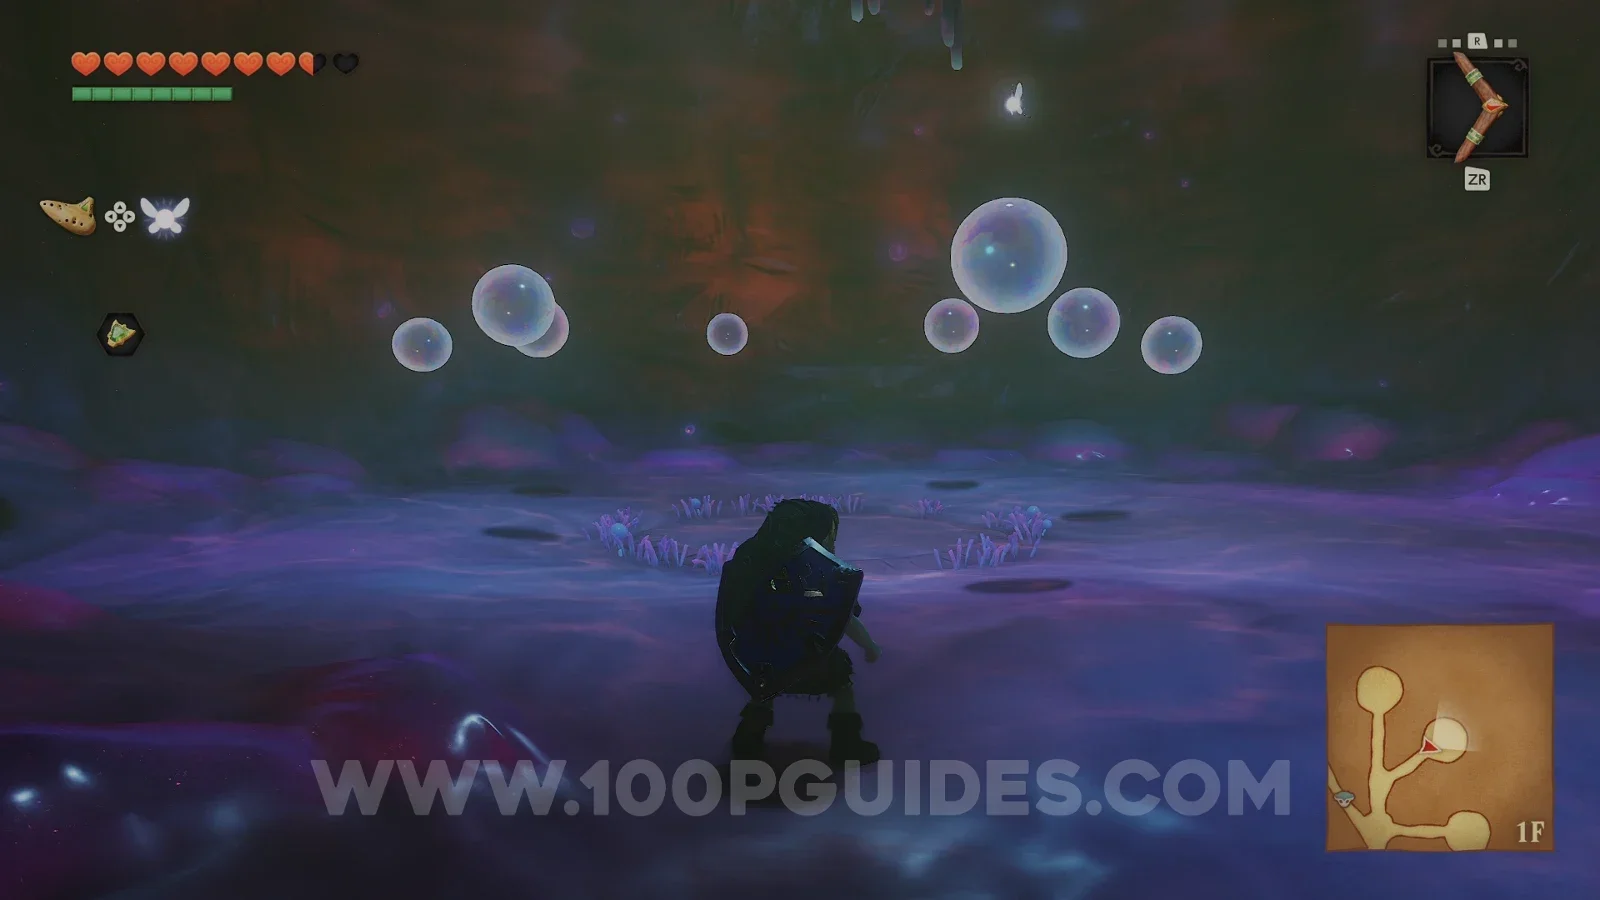
Finally, enter the room to the northeast. Inside, use the Boomerang to pop the swarm of bubble enemies and a chest will appear with the Compass.
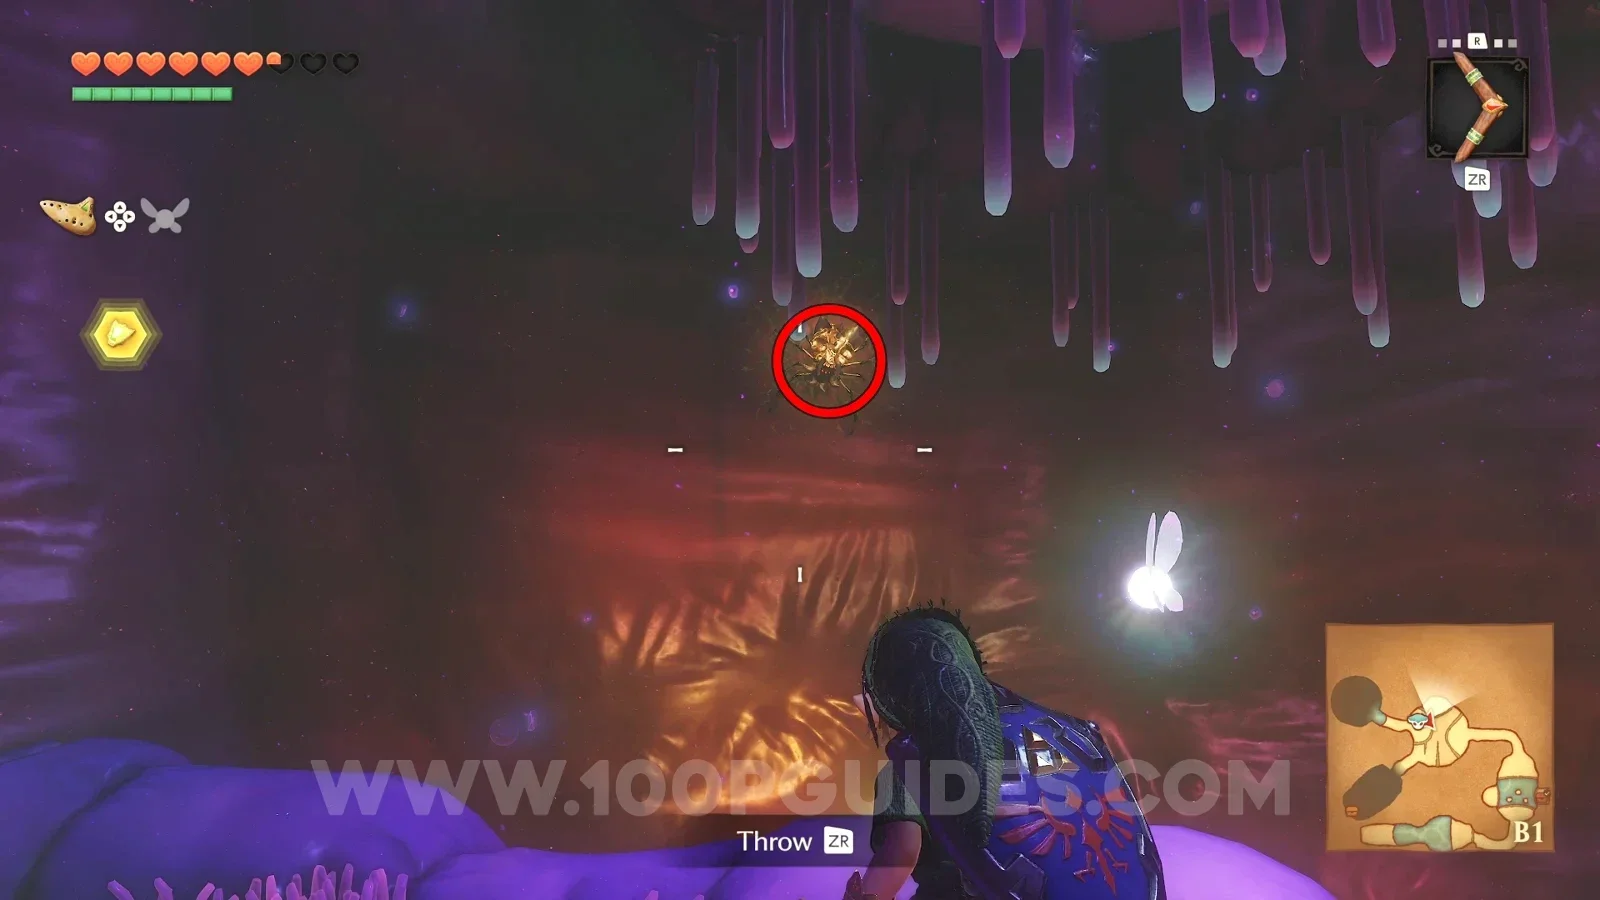
Next, carry Ruto back south to the room where the holes are and drop down the hole that the green parasite was blocking. From the ledge you land on, look right to see a Gold Skulltula (33/100) on the wall. Hit it with the Boomerang and then throw the Boomerang again to bring the token back to you.
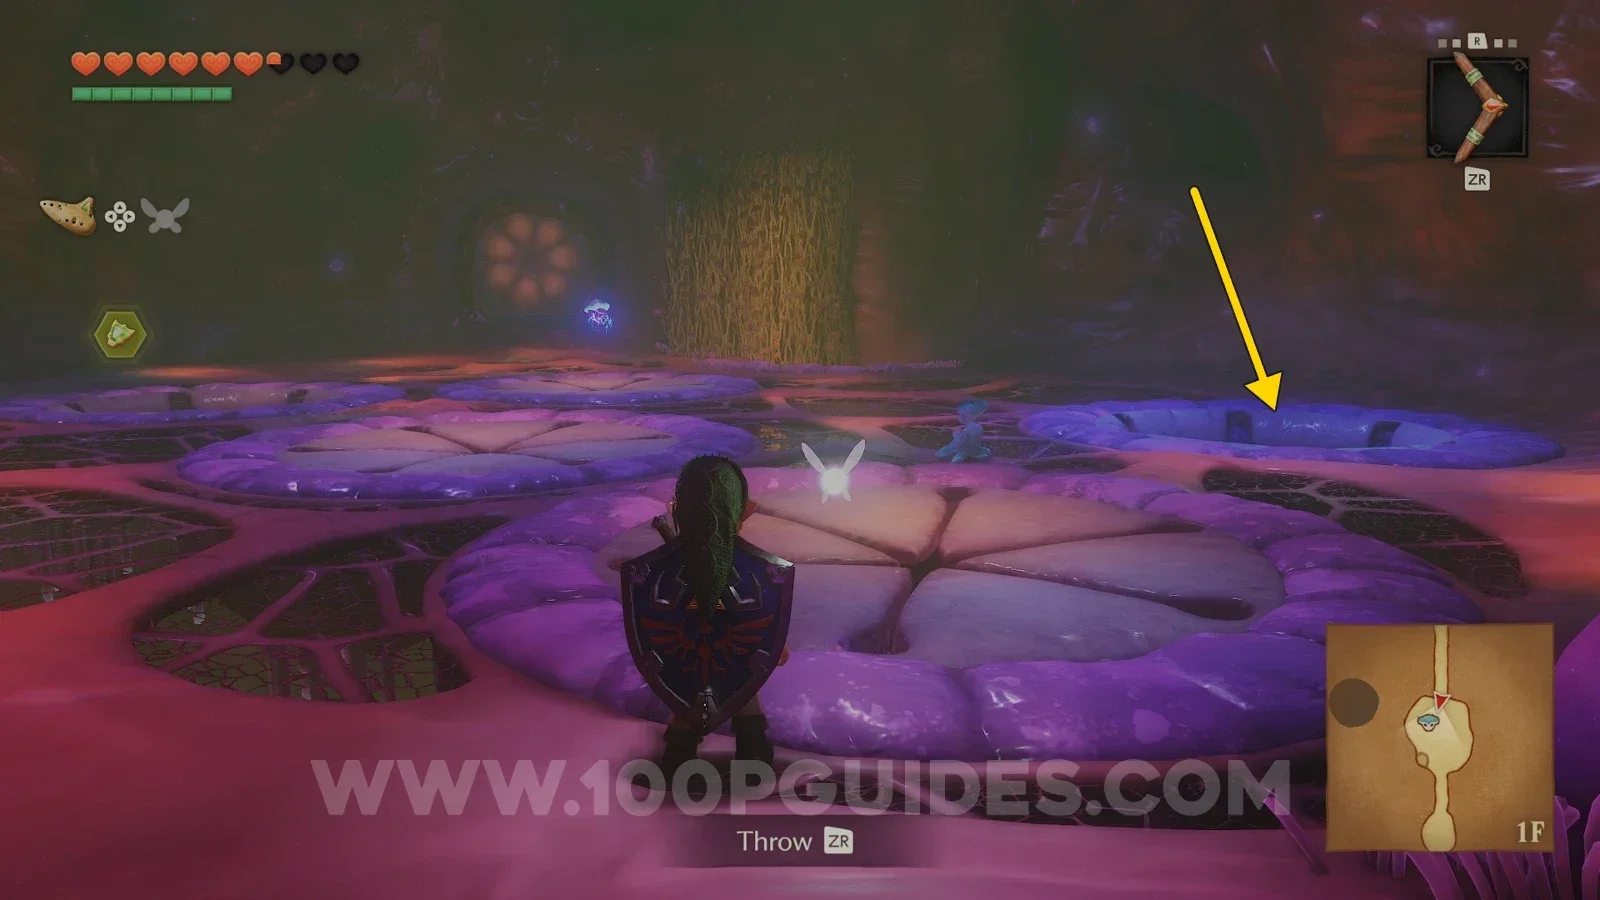
Next, drop down to the lower floor and go through the southwest door. In this room, stun the thrashing platform with the Boomerang so you can jump across to the other side, where you will find some pots and a small chest with a red rupee.
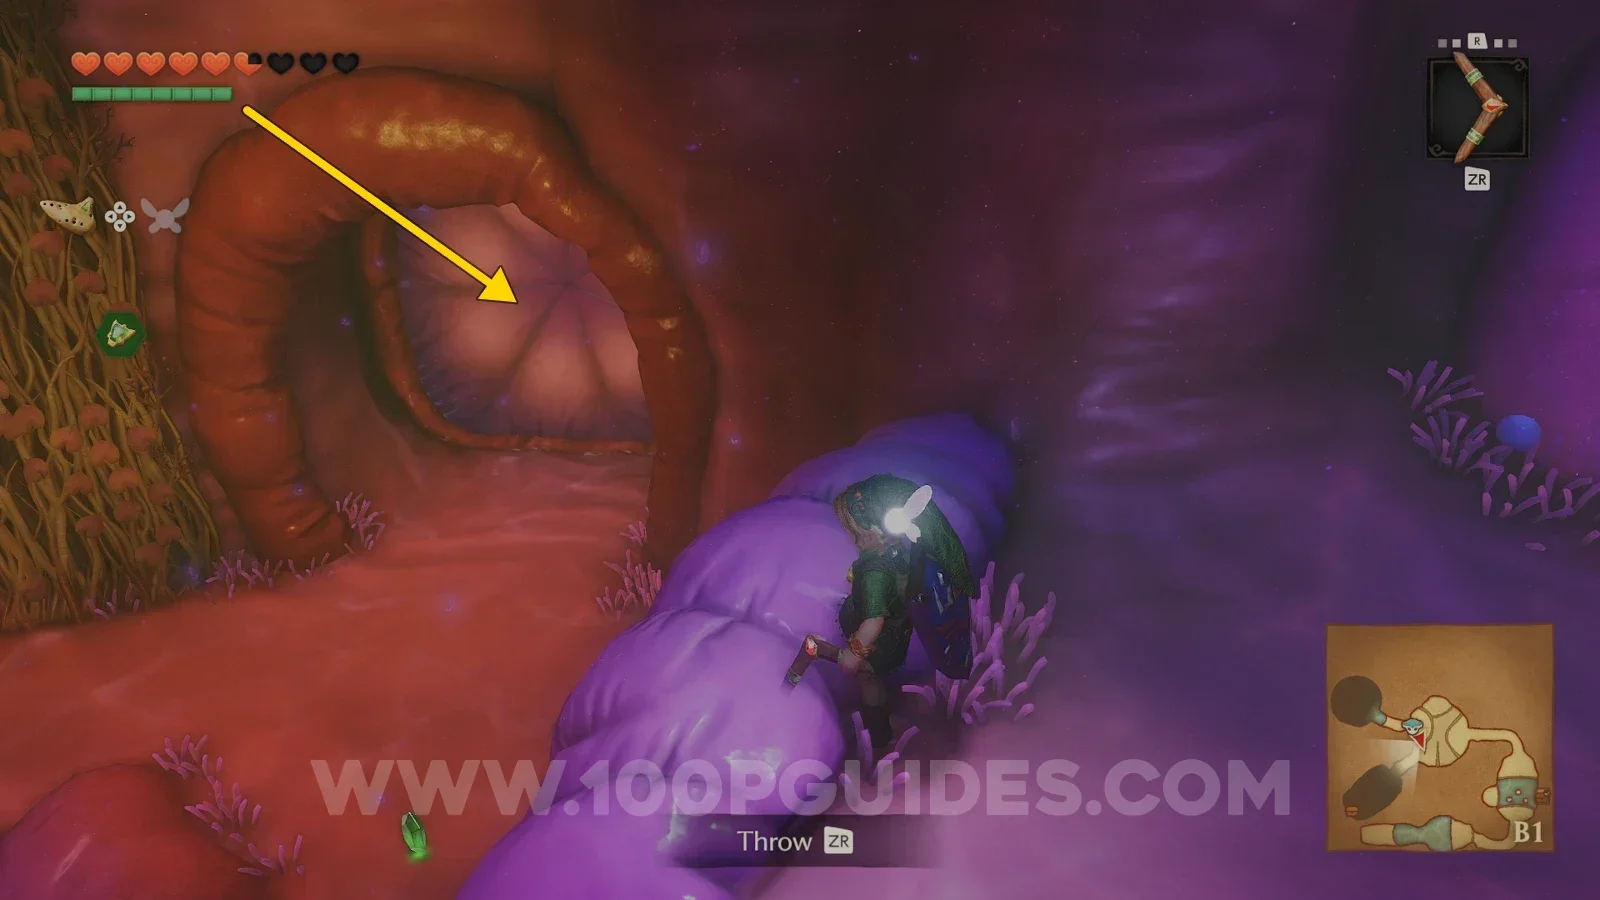
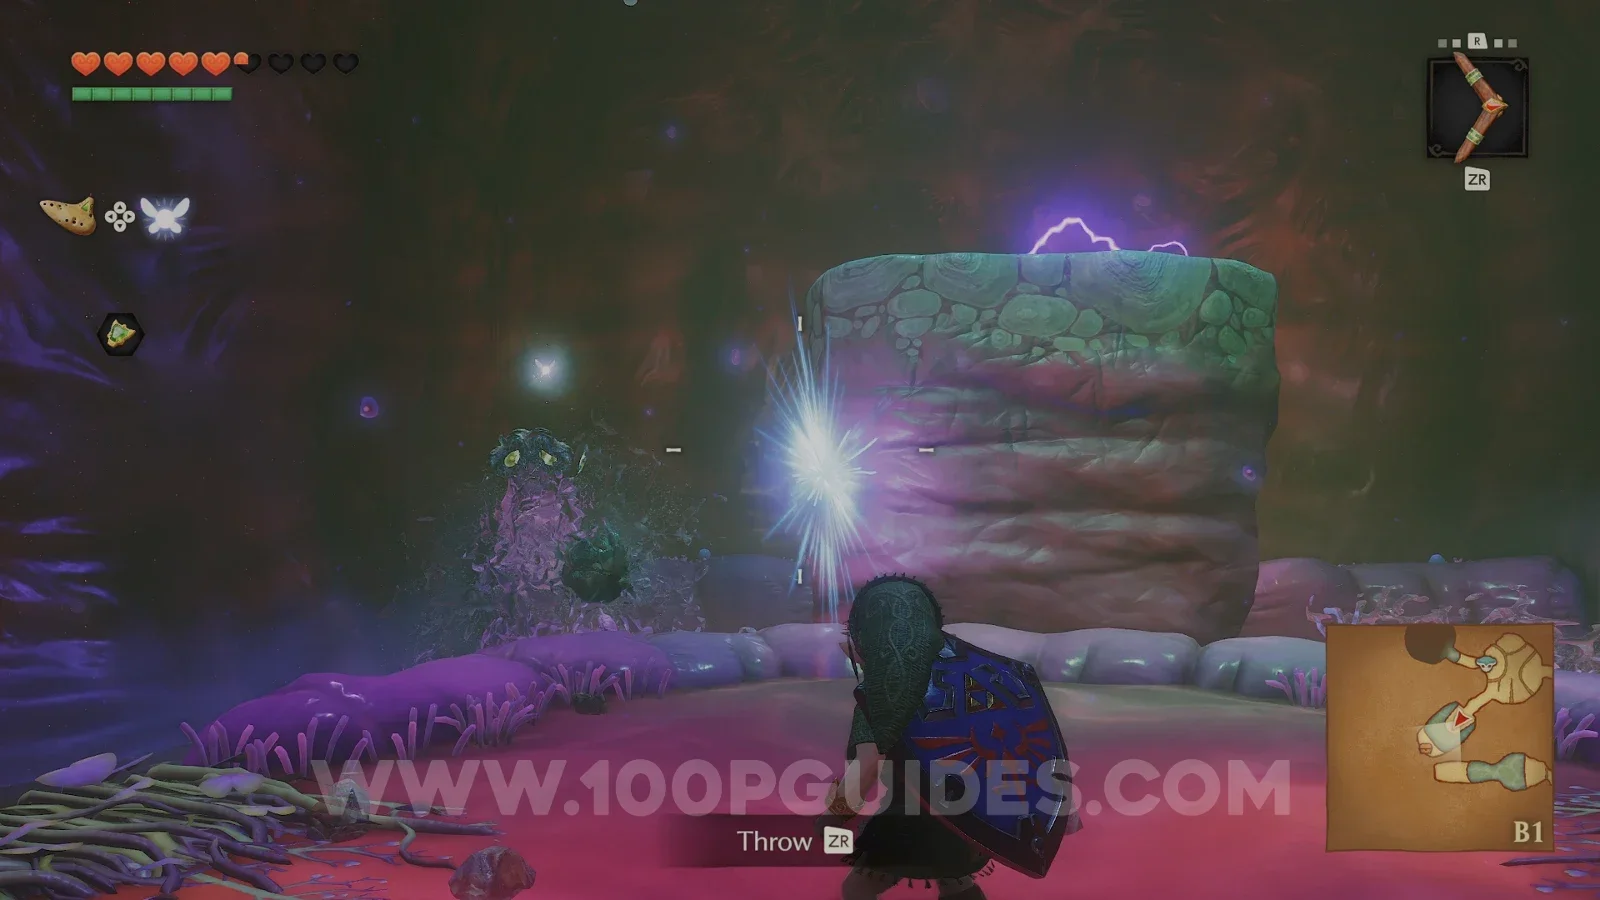
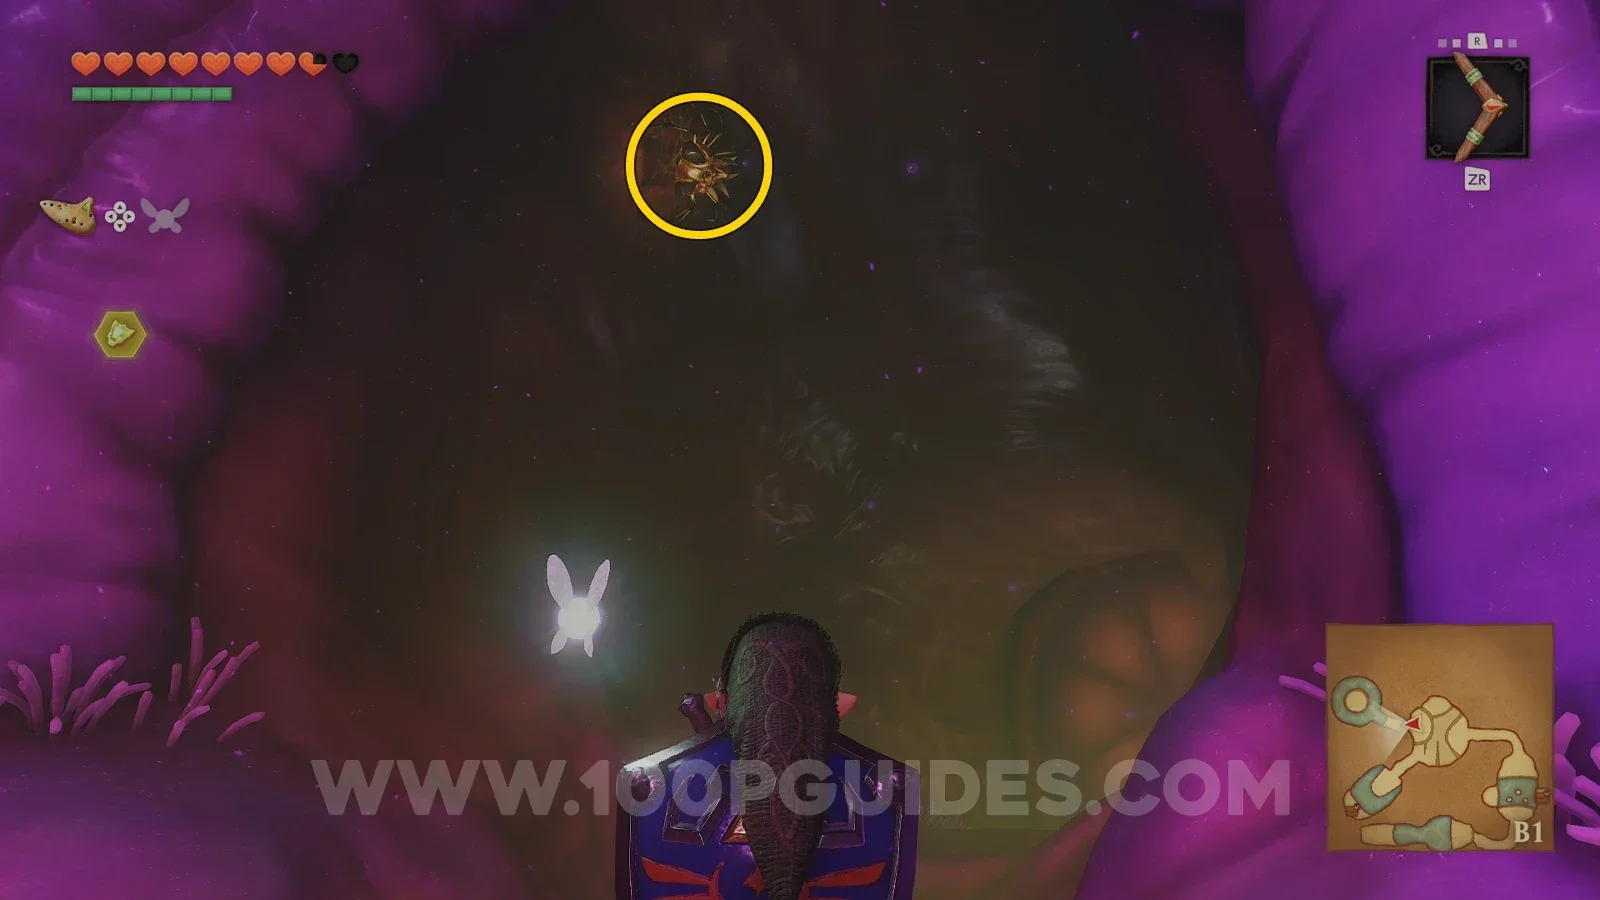
Head back out, climb the vines and drop back down to where the Gold Skulltula was and where you left Ruto. Then, head through the northwest corridor and look up to find another Gold Skulltula (34/100). Again, use the Boomerang to get it.
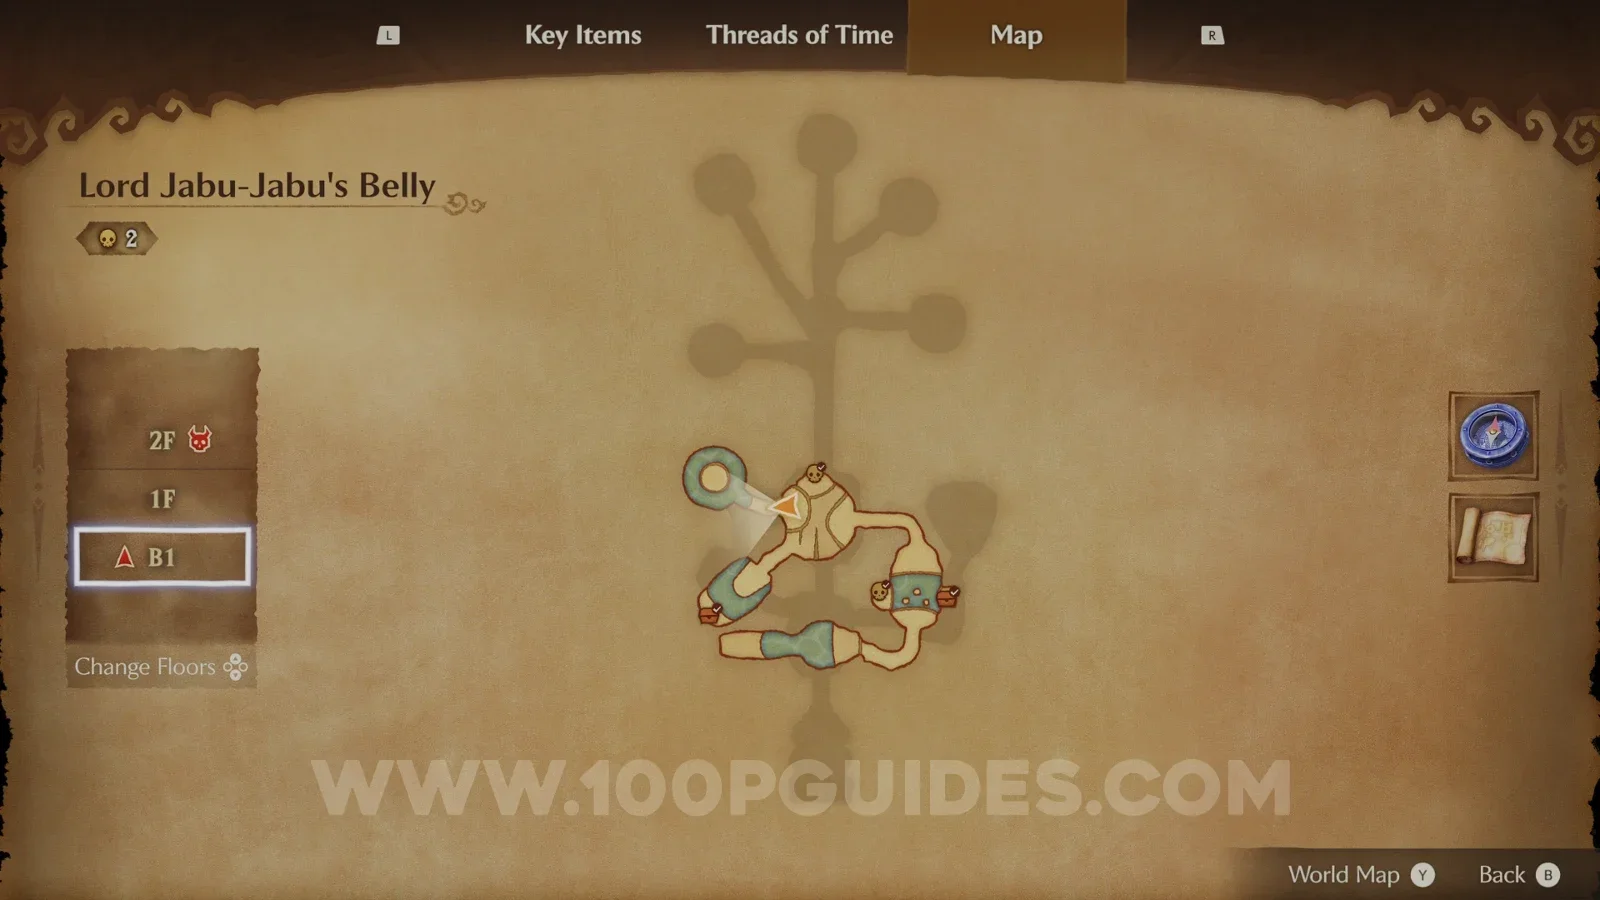
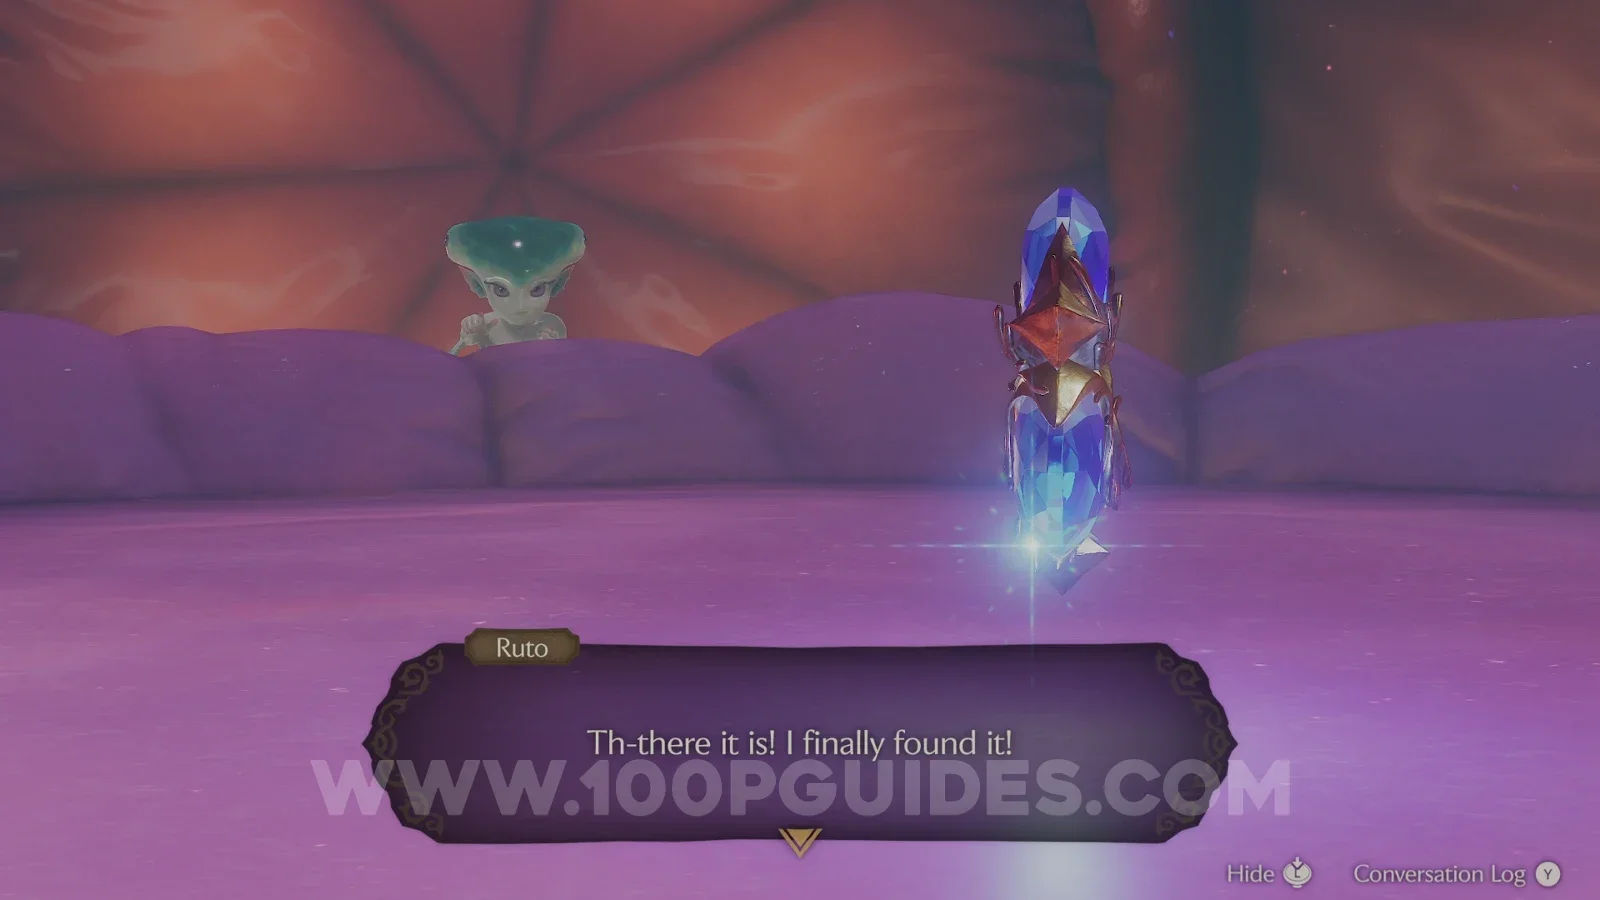
At the end of the corridor, you will reach a room with a platform that has the Spiritual Stone on it. Throw Ruto onto the platform and it will rise, taking her away. In her place, a mini boss called Big Octo will come down. To defeat it, stun it with the Boomerang, then run around behind it and hit the green spot on its back with a jump attack. Do this three times.
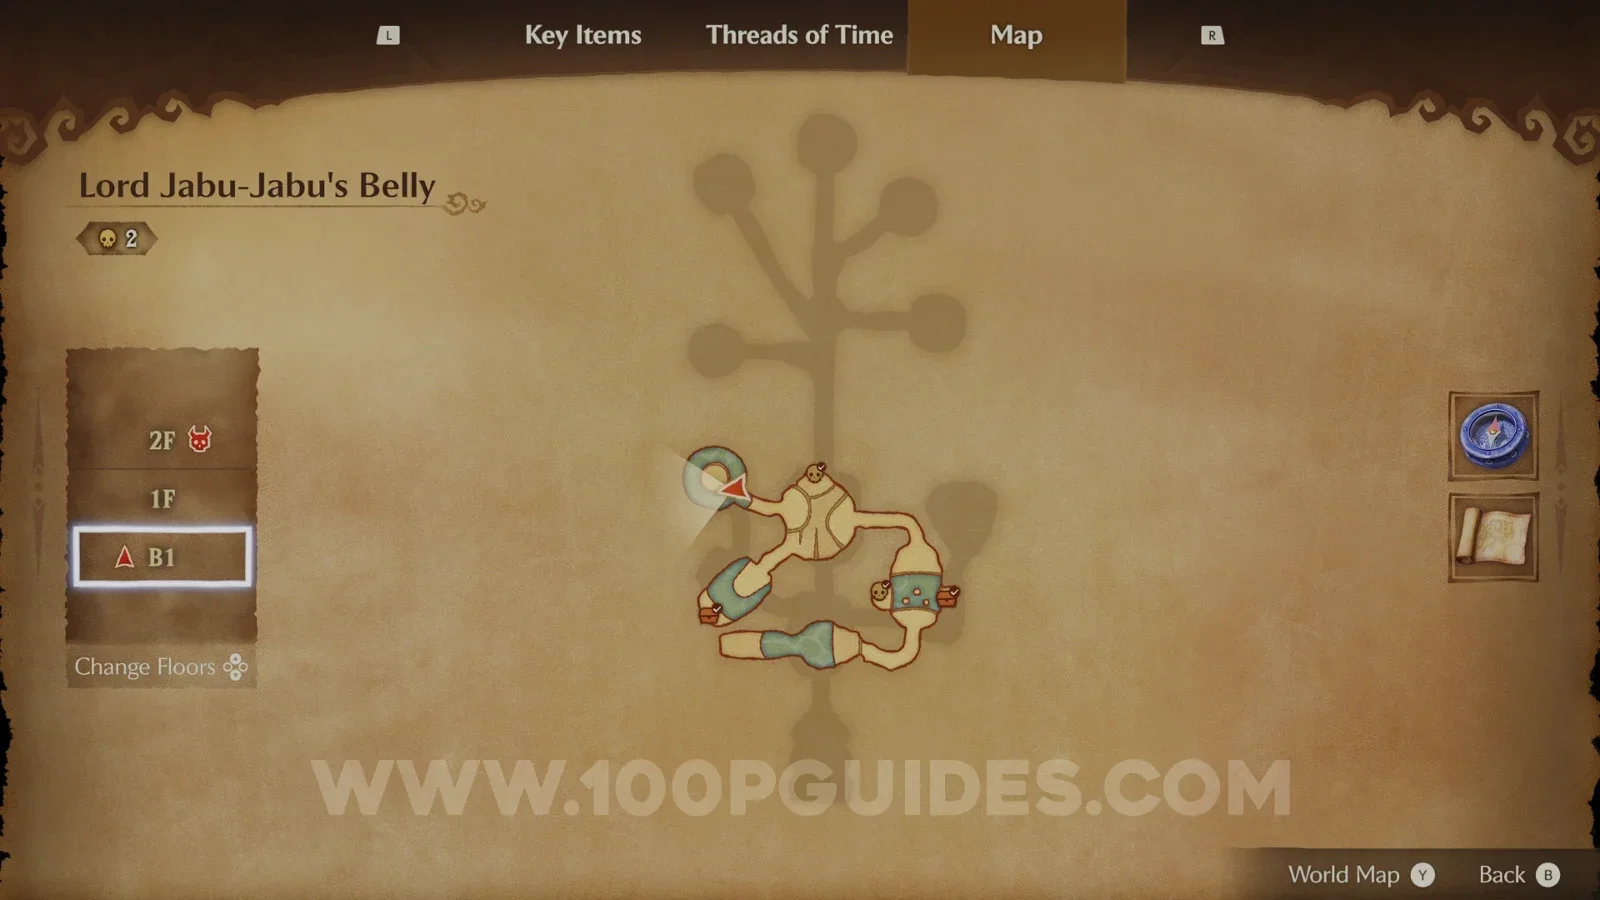
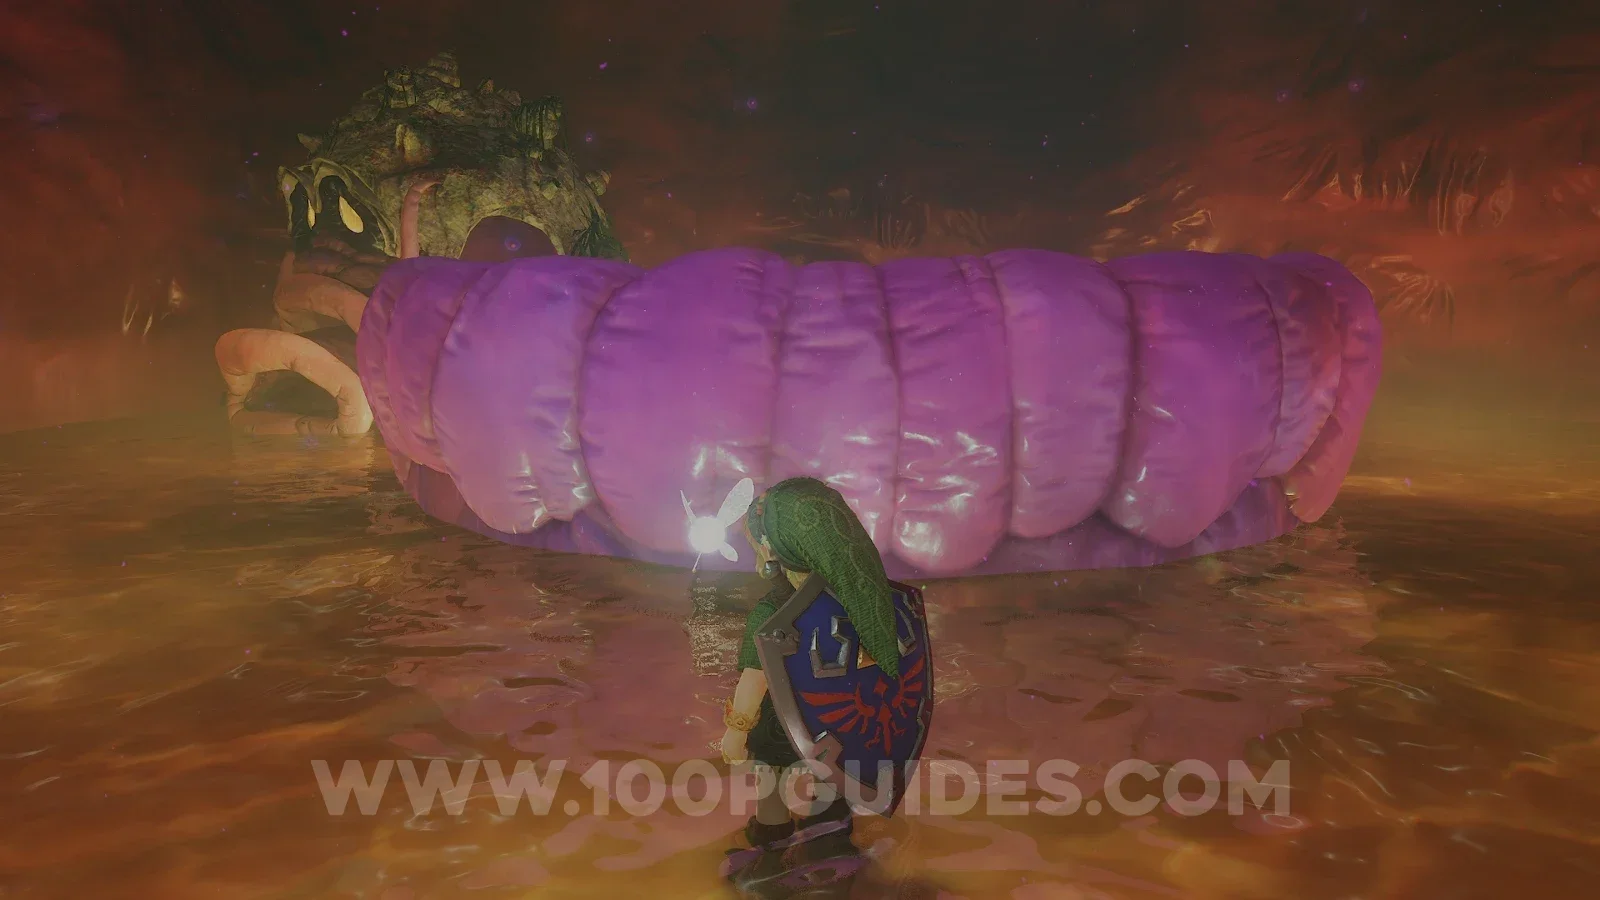
After the fight, ride the platform up to 2F. Here, cross the two swinging platforms (you can stun them with the Boomerang). Then, in the next room, put the small block on the switch to keep the next door open.
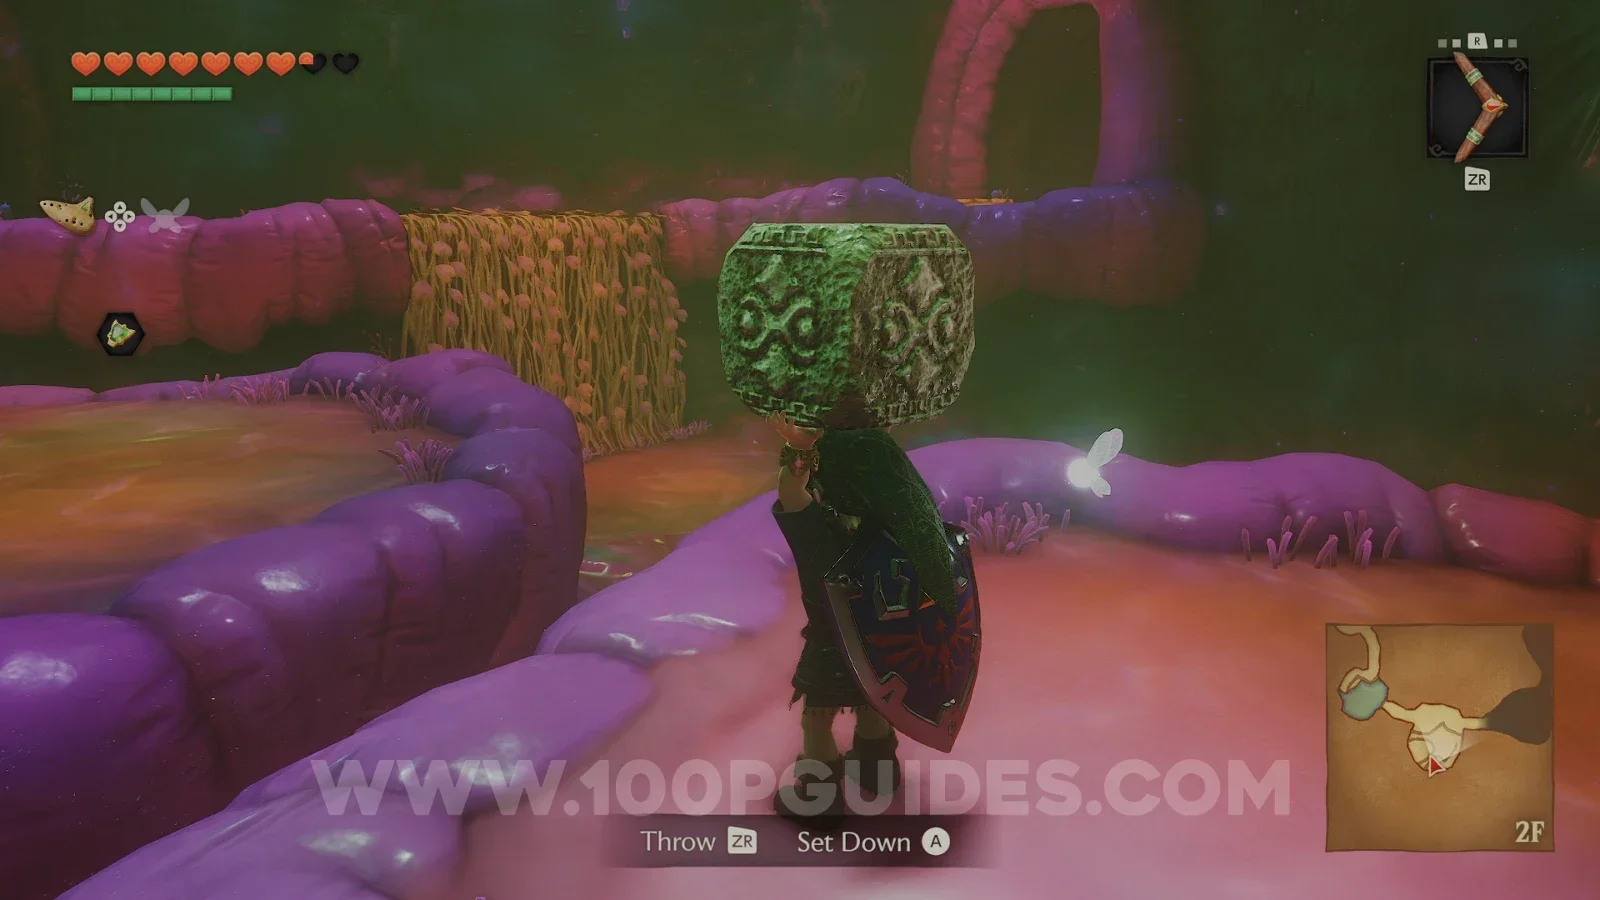
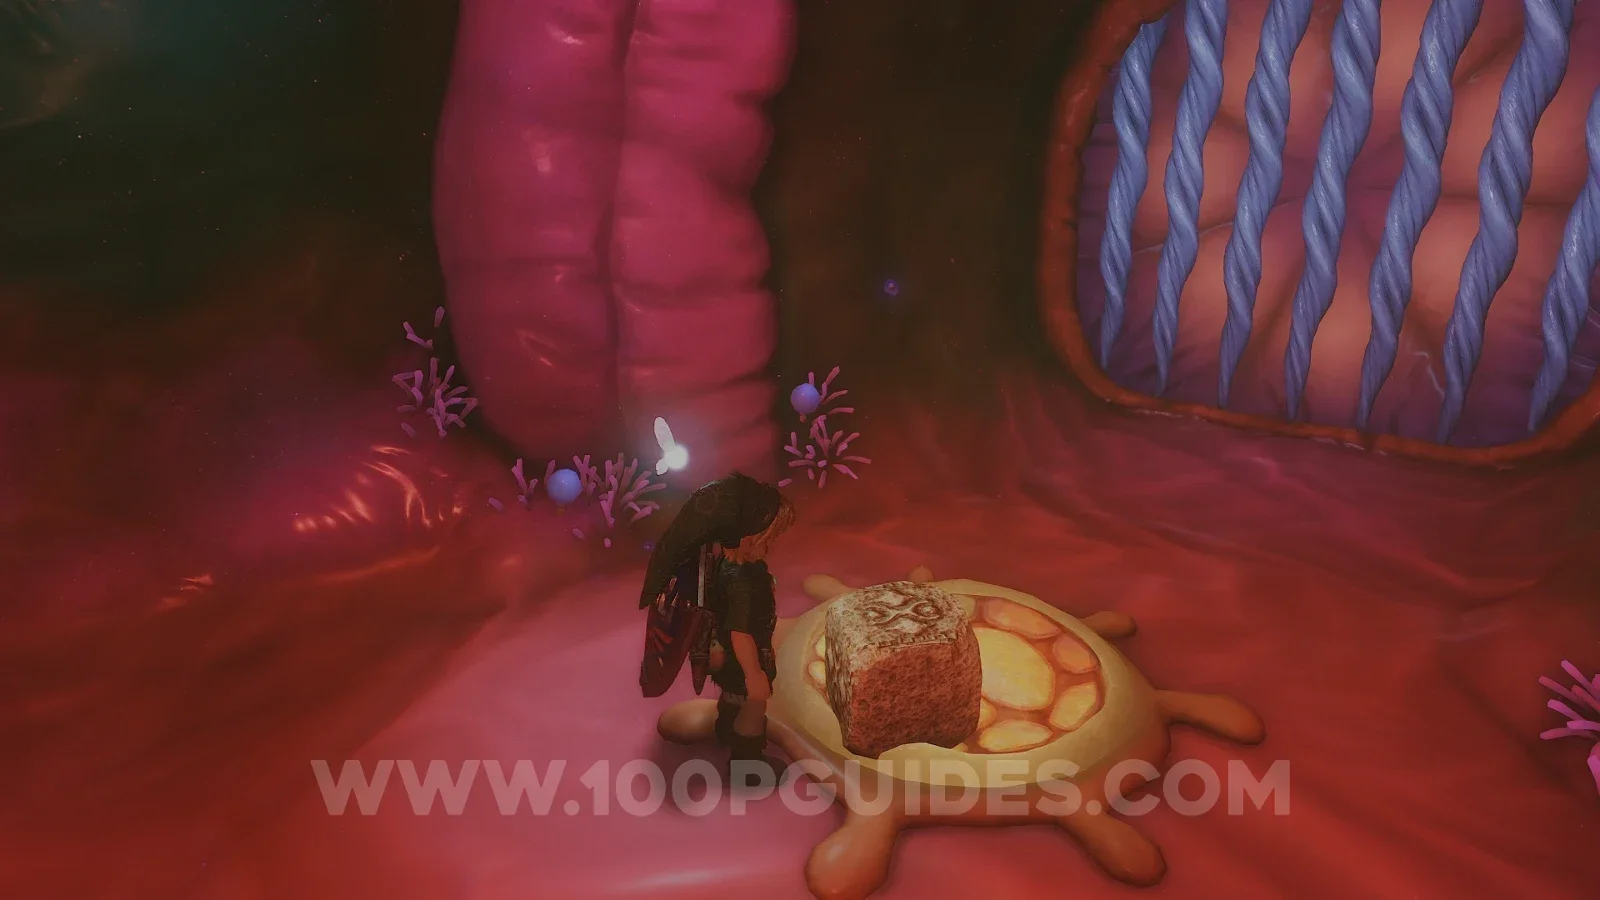
In the room with the tall pillar, climb the vines on the back of the pillar to find the last Gold Skulltula (35/100) of the dungeon.
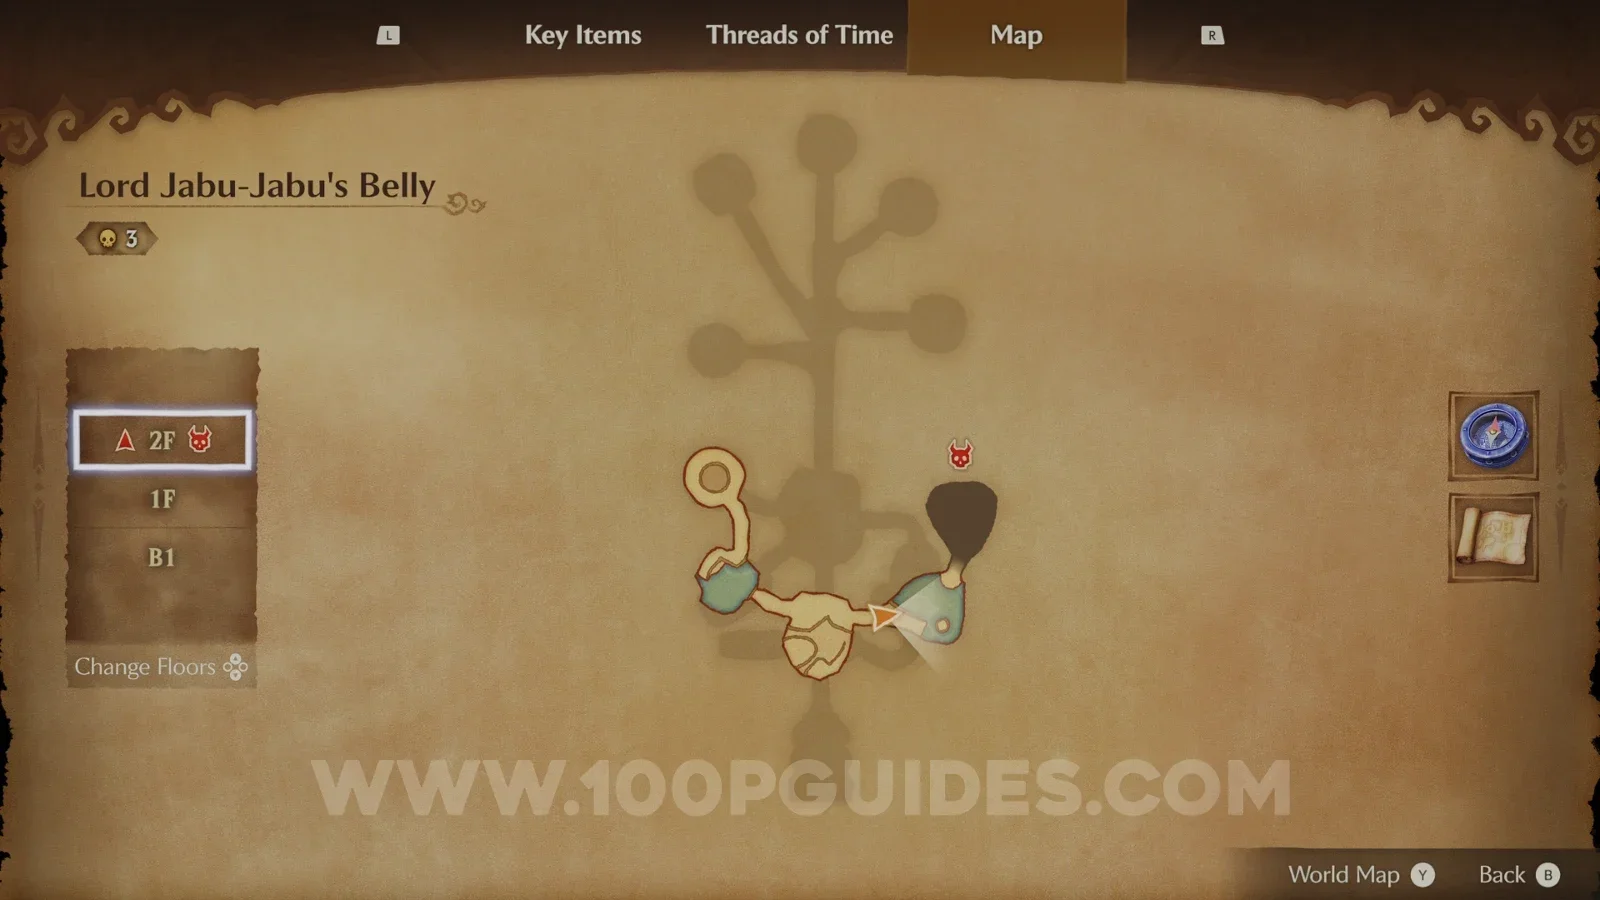
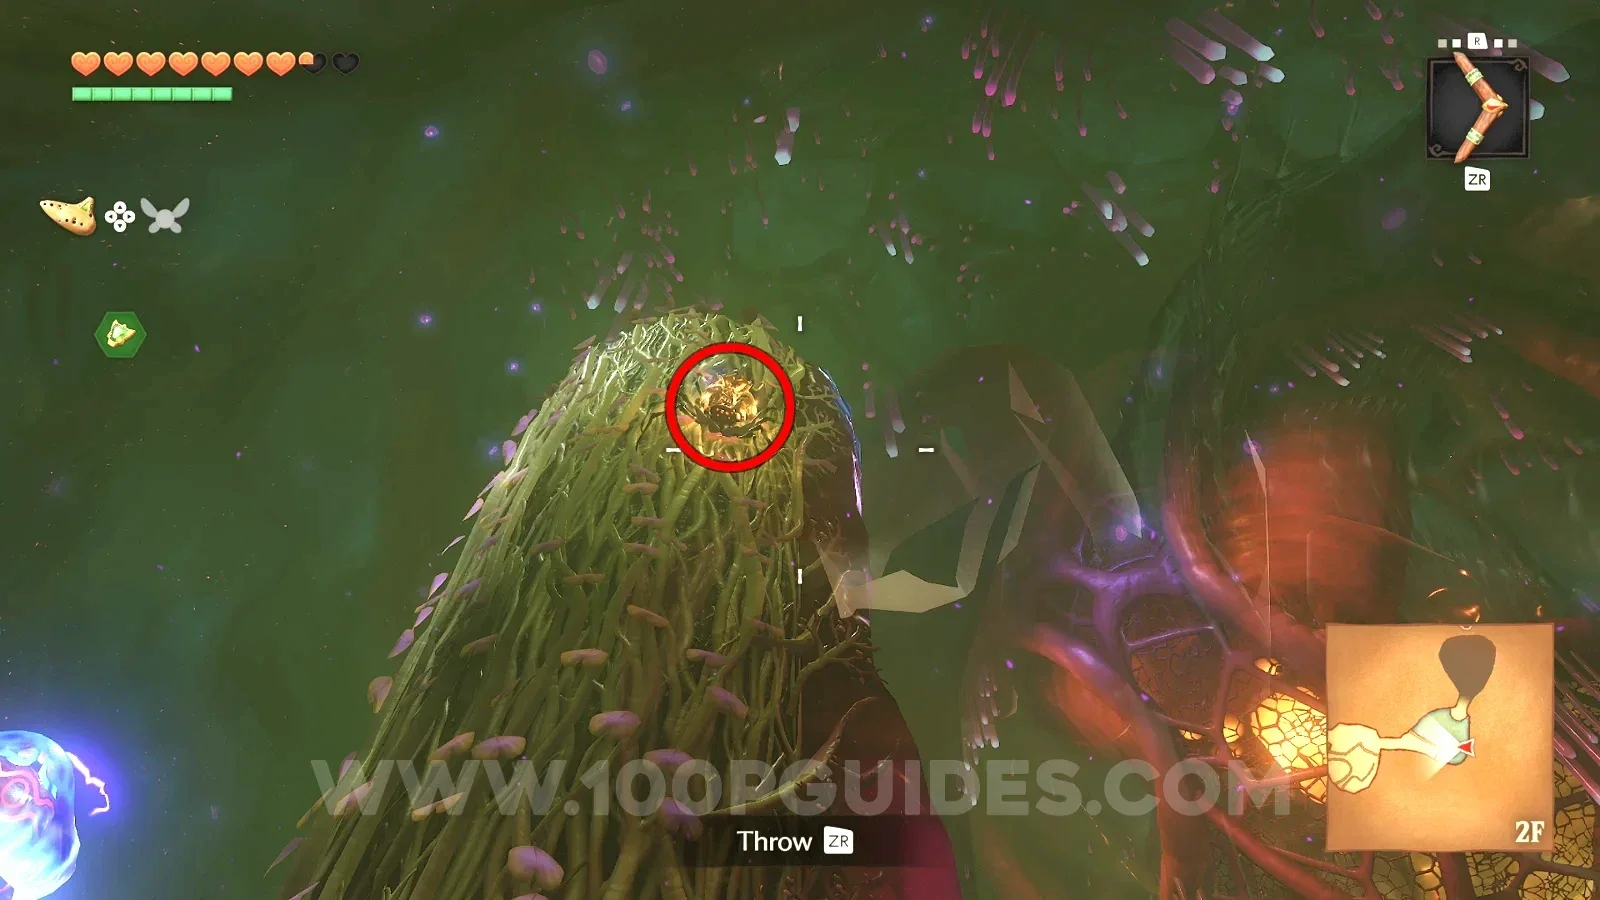
From the top of the pillar, throw the Boomerang through the gap to the left of the switch hanging from the ceiling behind the barrier. This opens the way to the boss.
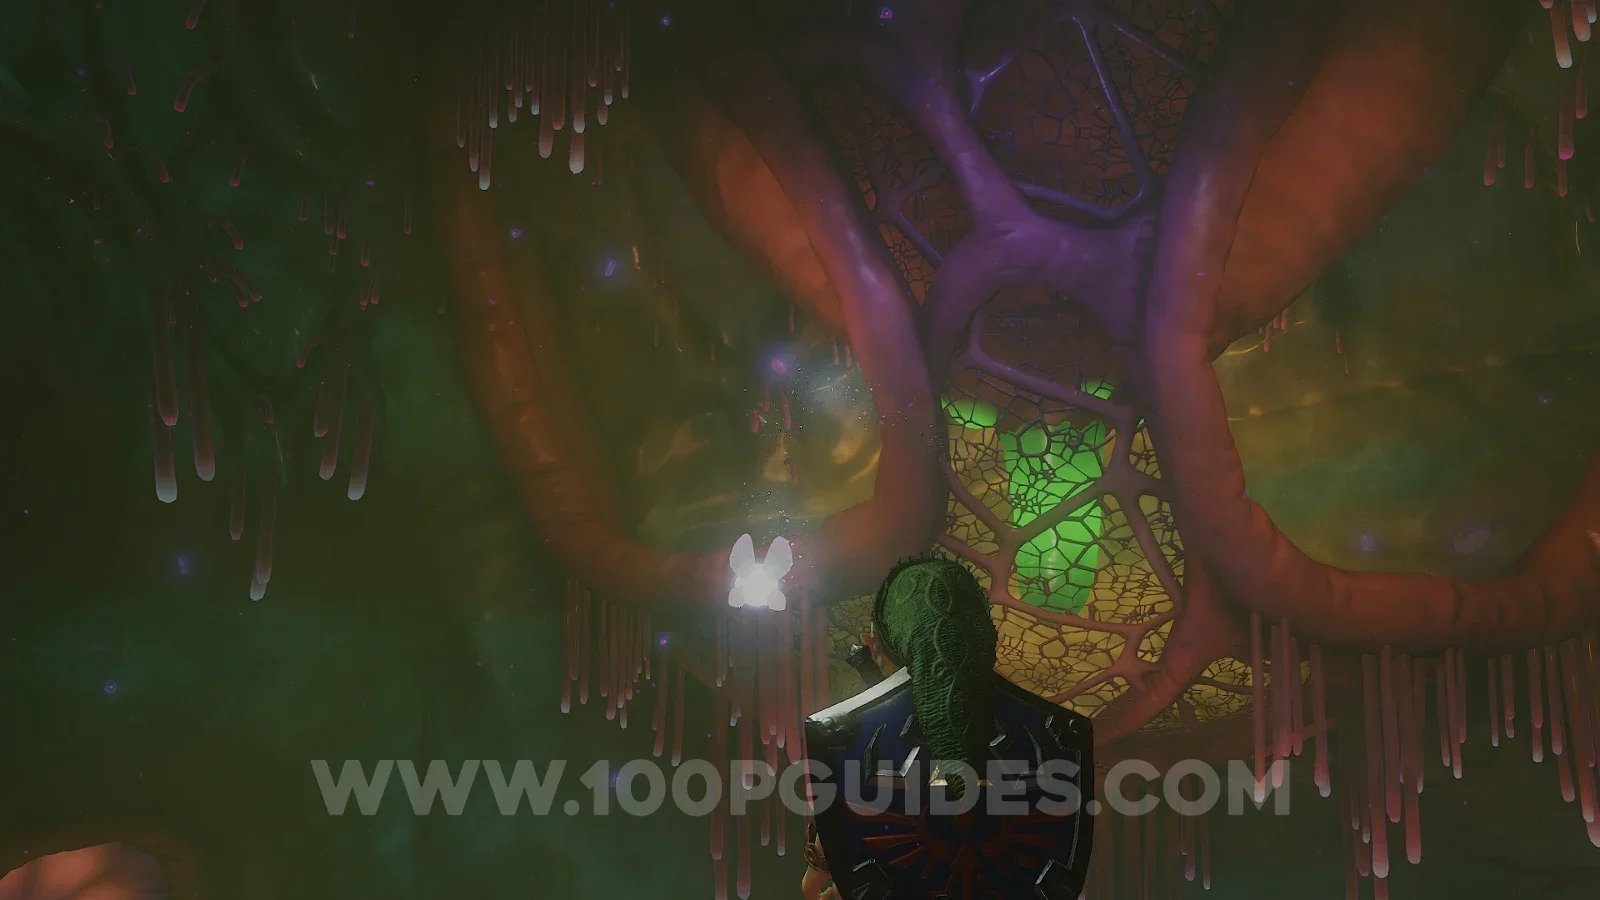
Barinade boss fight
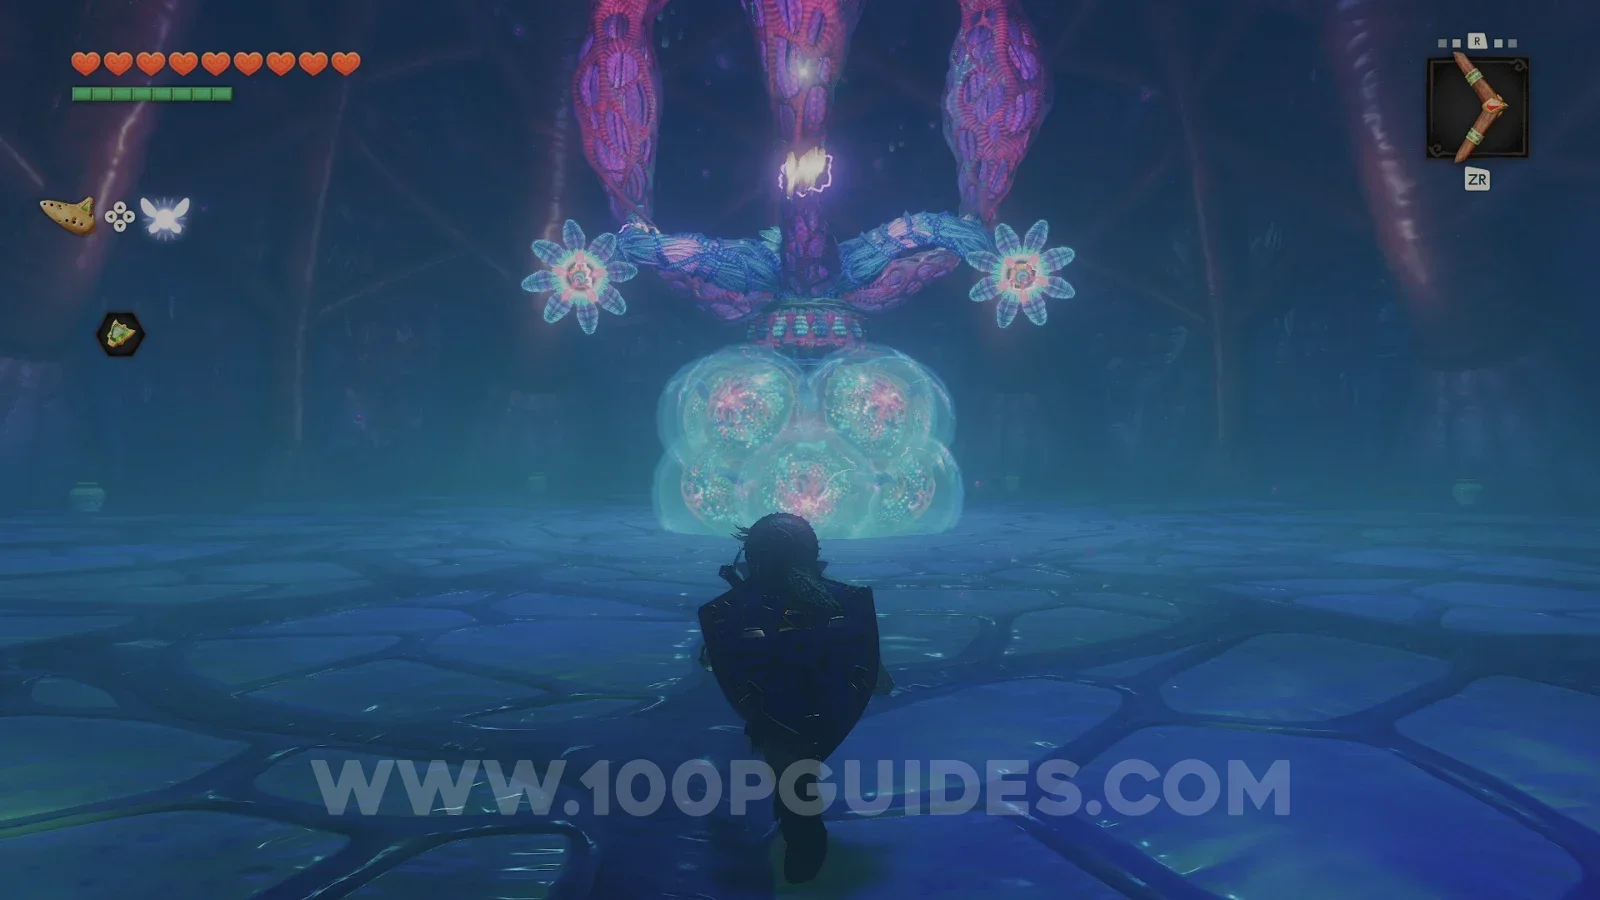
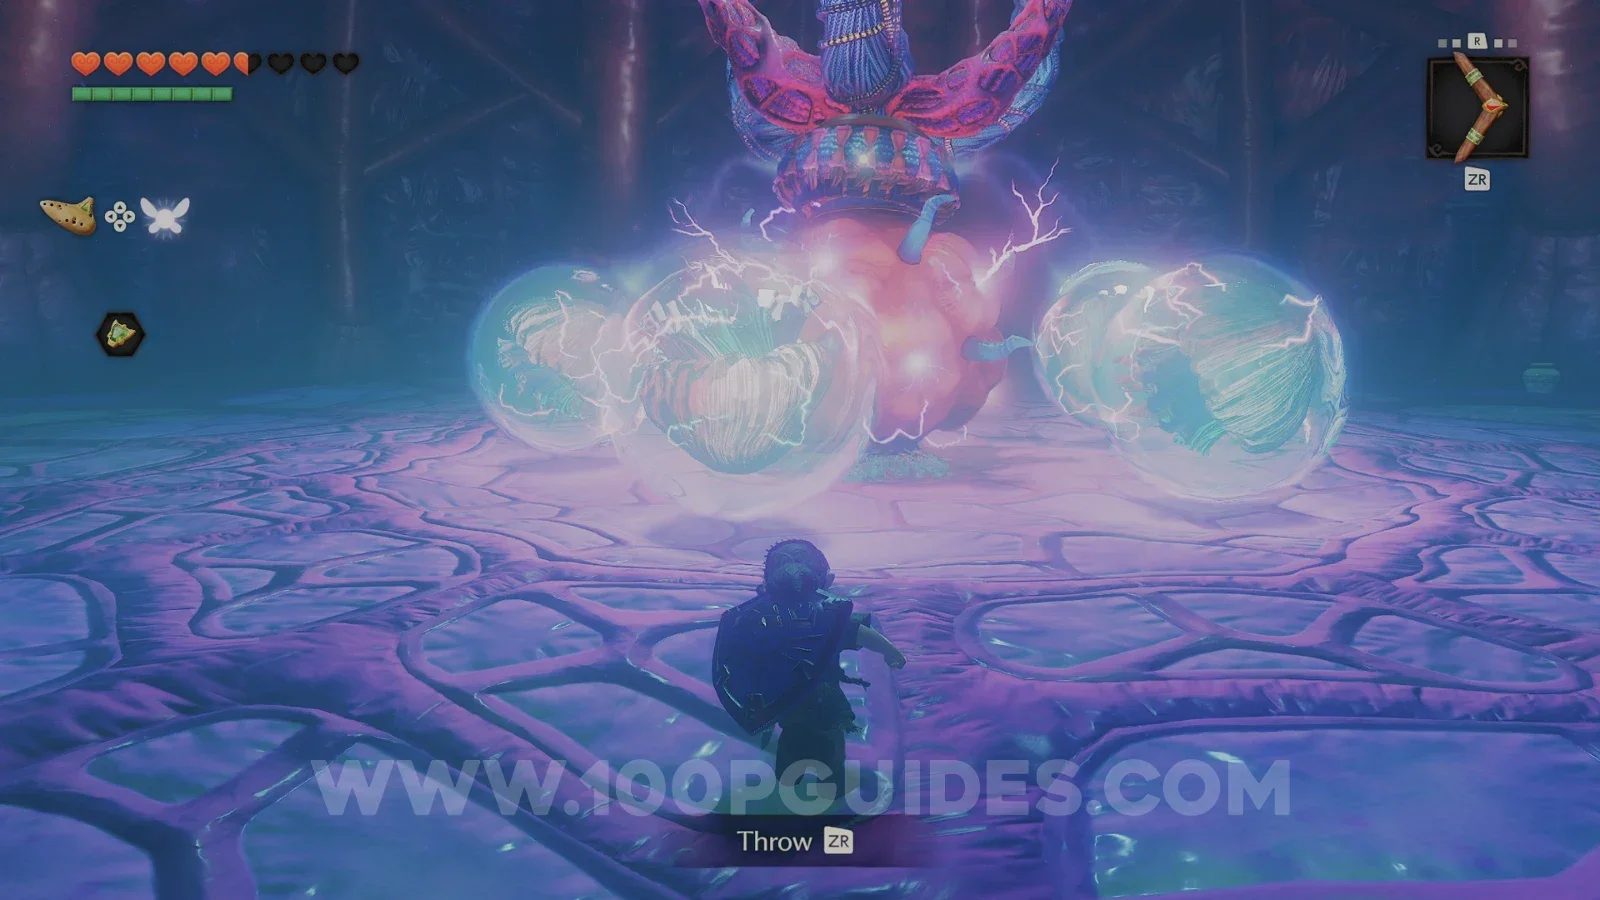
This boss starts attached to the ceiling by three tentacles. Lock on to them and cut all three with the Boomerang while you avoid the electric beams.
Once the boss is loose, it will spin around the room protected by a ring of jellyfish. Wait until the jellyfish stop moving and are no longer protected by electricity, then use your sword to destroy them. After this, the orange part of the boss's body will be revealed. Hit it with your Boomerang and it will start hovering. Hit the orange part with the Boomerang again and it will land with the orange part exposed. This is the time to hit it with your sword. Repeat these last steps a few times and the boss will fall.
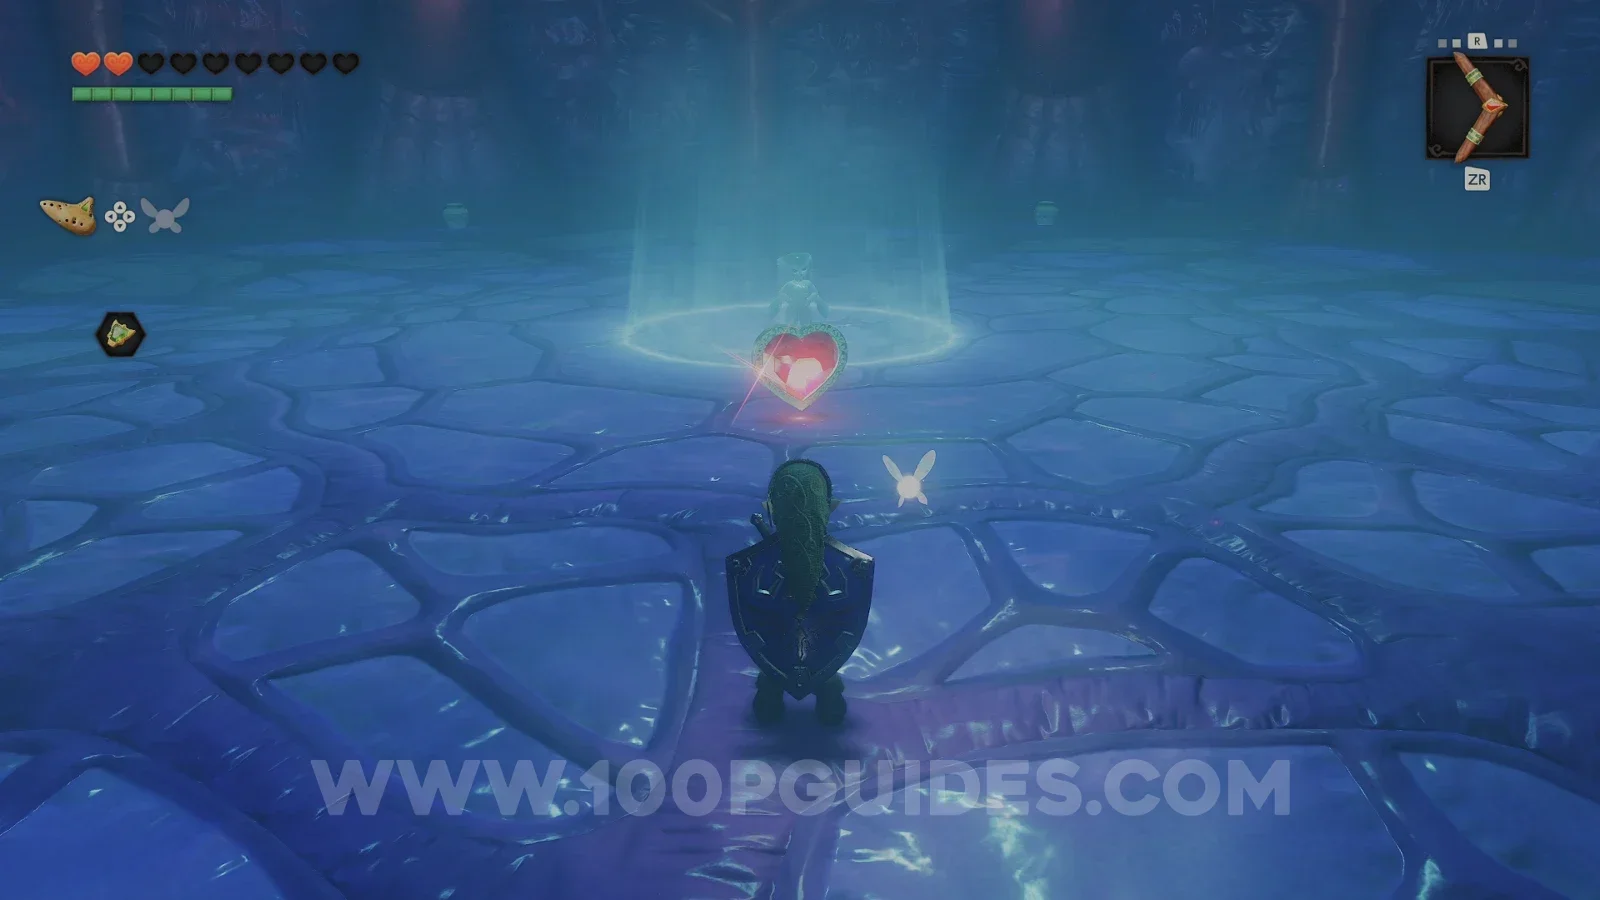
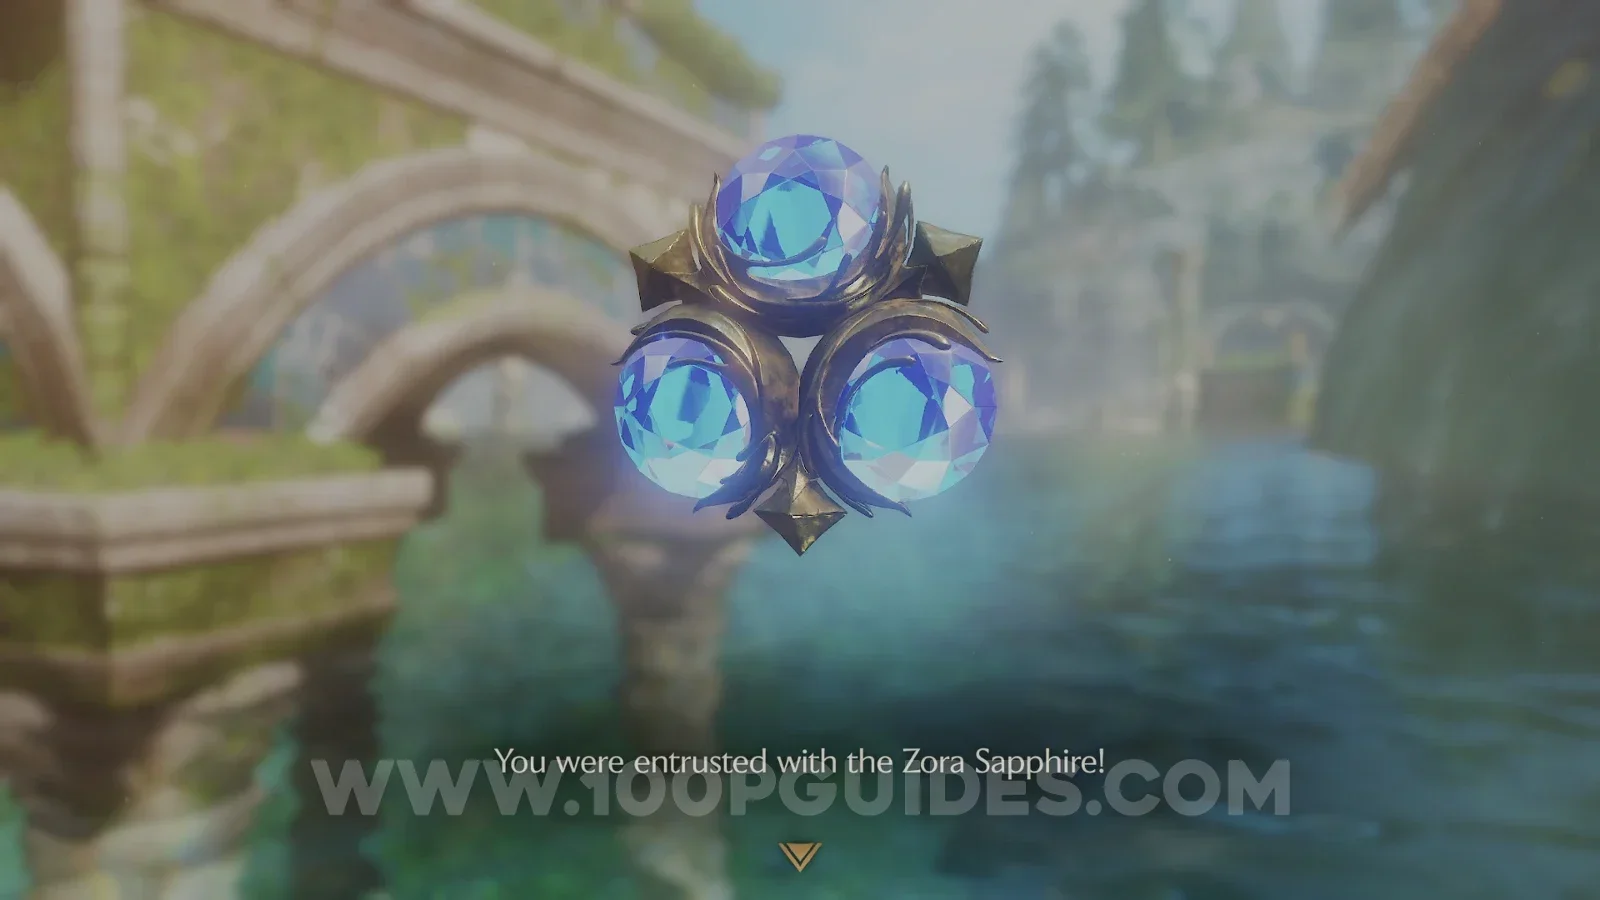
After defeating the boss, pick up the Heart Container and step into the blue light to leave. Once you are outside, Ruto will hand over the third Spiritual Stone (Zora's Sapphire).
Zora Fountain (with the Boomerang)
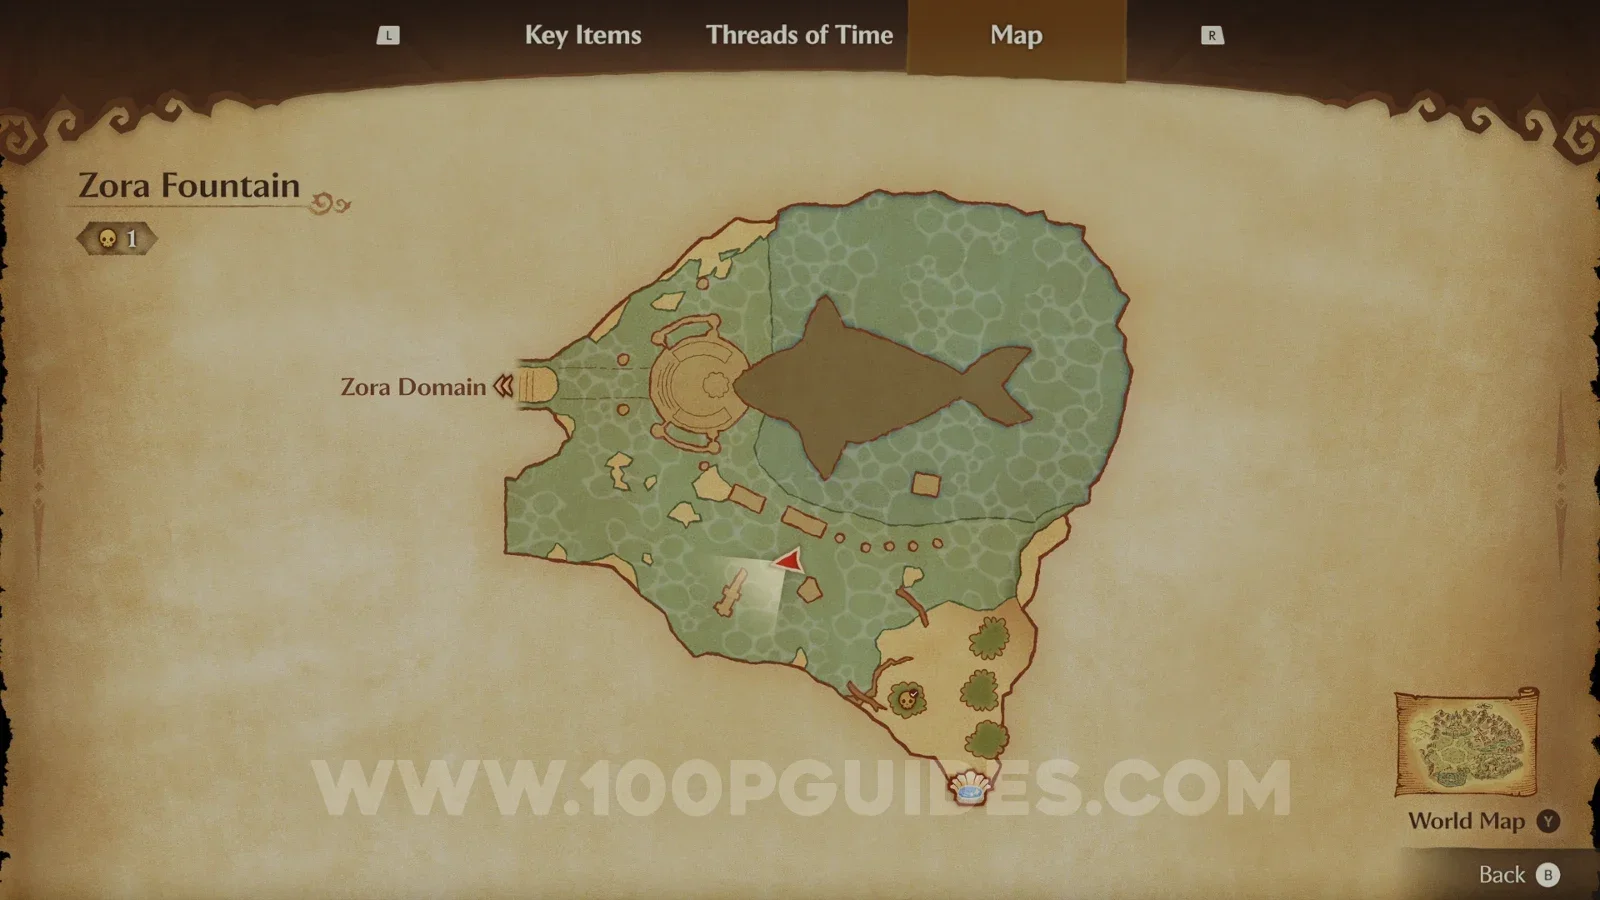
Before leaving Zora Fountain, play the Sun's Song to make it nighttime. Then look for a Gold Skulltula (36/100) on the wall next to the stone arch to the southwest of the area. Stand on the arch and throw your Boomerang at it. Then throw the Boomerang again to retrieve the token.
You now have all three Spiritual Stones, and the main story wants you to head to the Temple of Time. However, the Boomerang has just opened up a lot of things around Hyrule, and there is also the Happy Mask Shop to deal with, so that is what the next two parts are about.