Welcome to Part 17 of our 100% Walkthrough of Zelda Ocarina of Time Remake. With the Iron Boots and the Zora Tunic, you can finally reach the Water Temple at the bottom of Lake Hylia. It has a bit of a reputation, but the remake makes it a lot friendlier: the Iron Boots are on the D-pad and there are two fewer keys to find.
The whole temple is built around three spots where you play Zelda's Lullaby to change the water level. Along the way, you find four Small Keys and five Gold Skulltulas, defeat Dark Link for the Longshot and take on Morpha for a Heart Container and the Water Medallion.
Once the lake fills back up, you grab the Fire Arrows and one more Gold Skulltula at night before moving on.
Lake Hylia
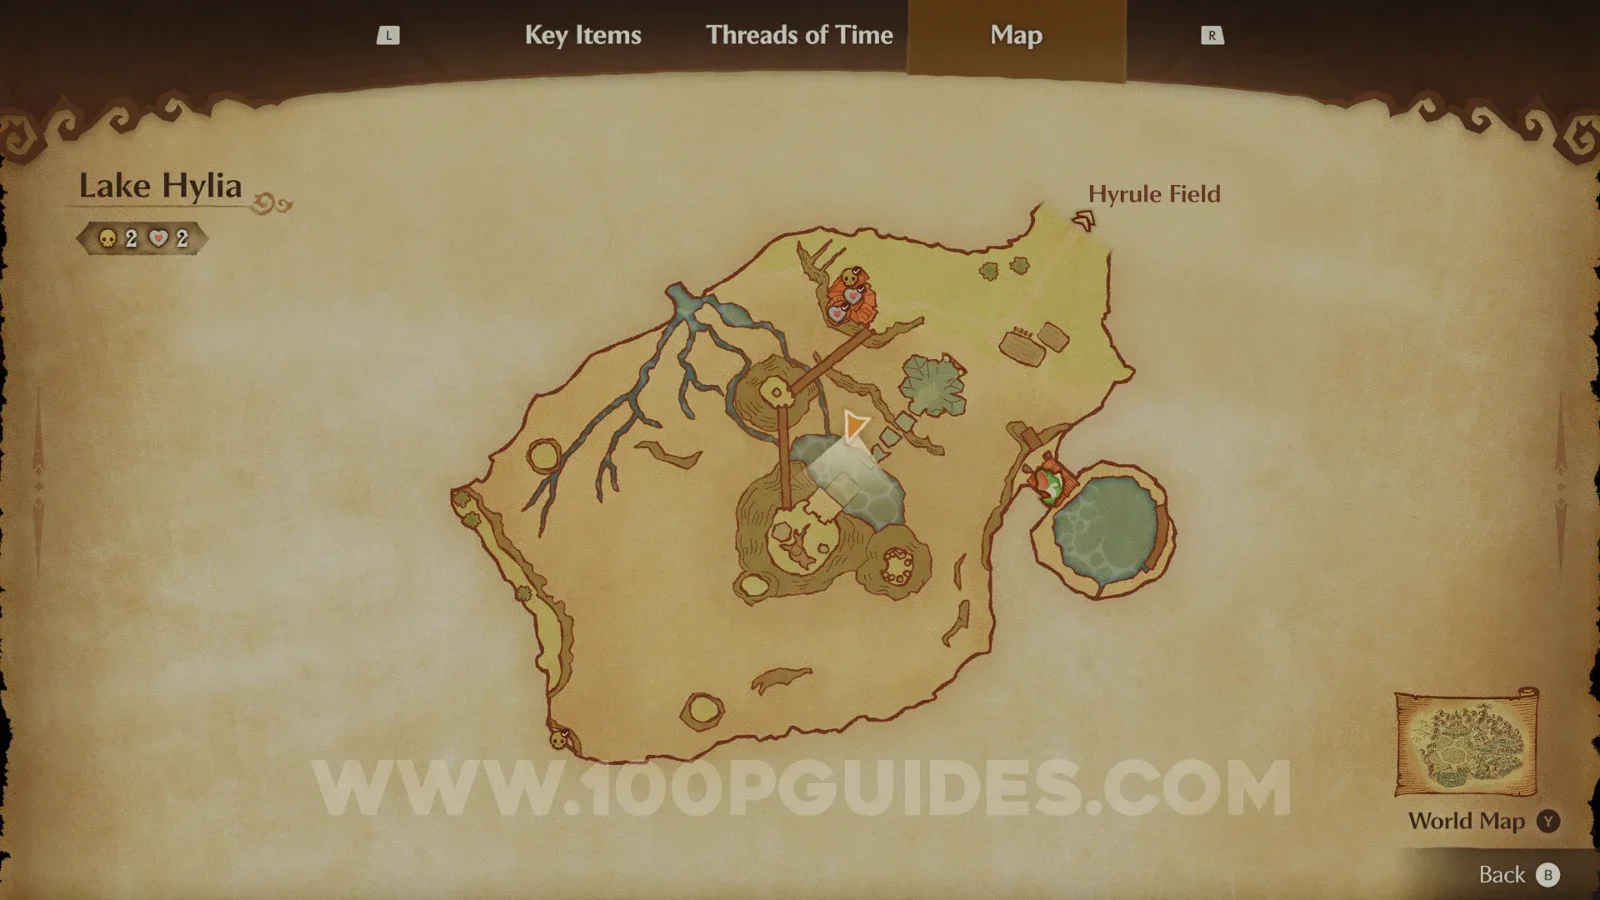
Play the Serenade of Water to warp to the island in the middle of Lake Hylia. Put on the Zora Tunic and the Iron Boots and sink to the bottom of the lake next to the island. In the ruins down there, use the Hookshot on the target above the gate to open it, then take off the boots and swim up into the temple.
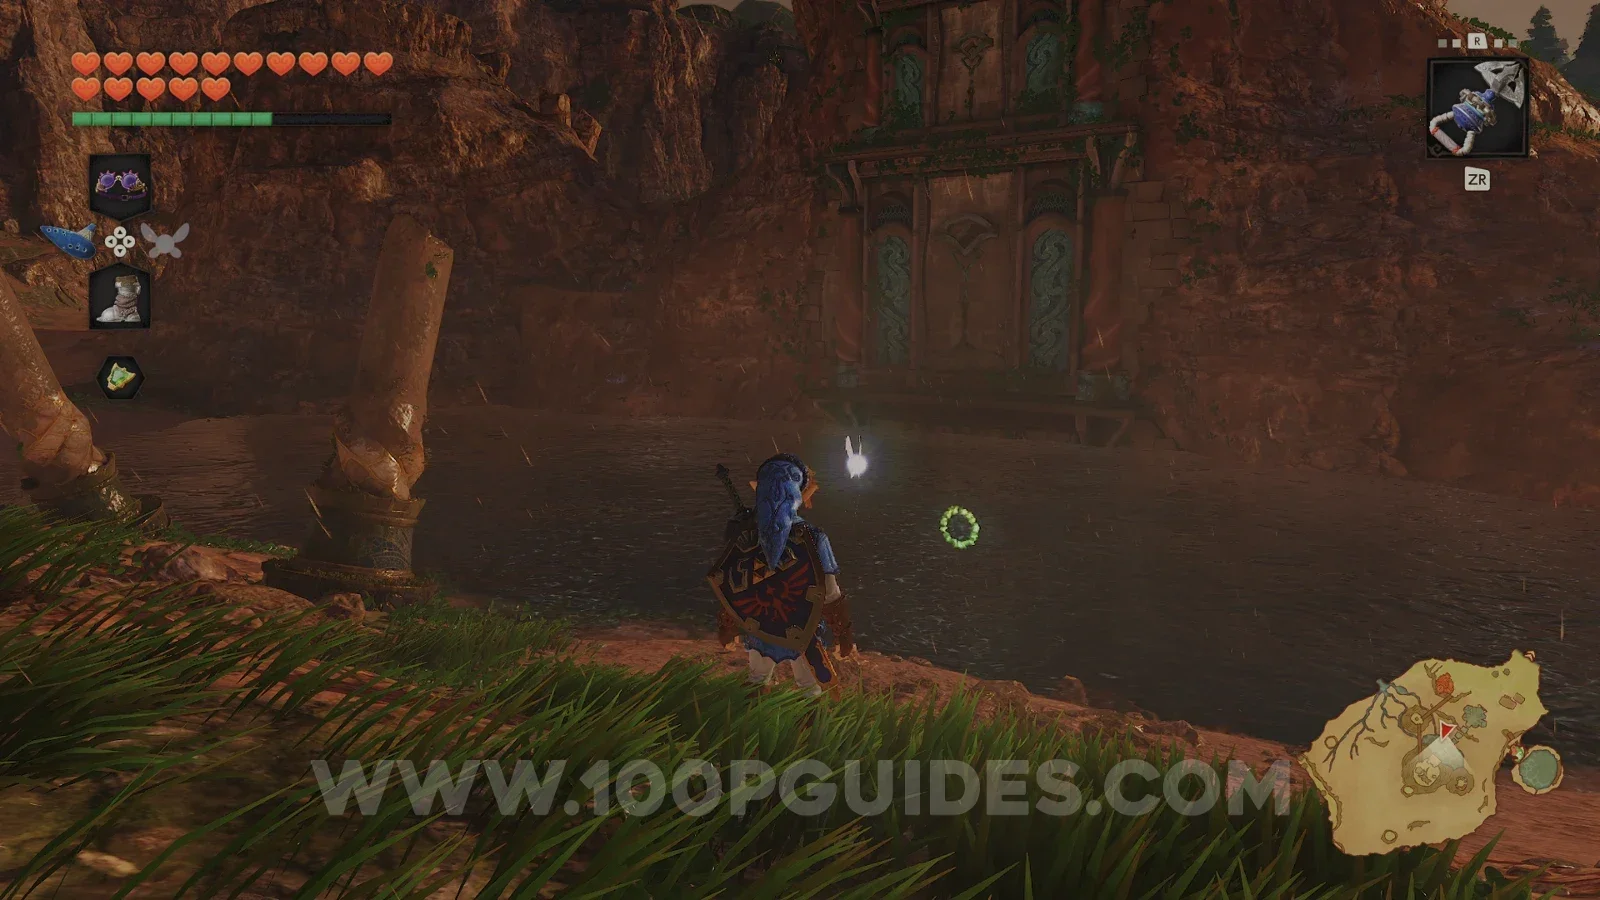
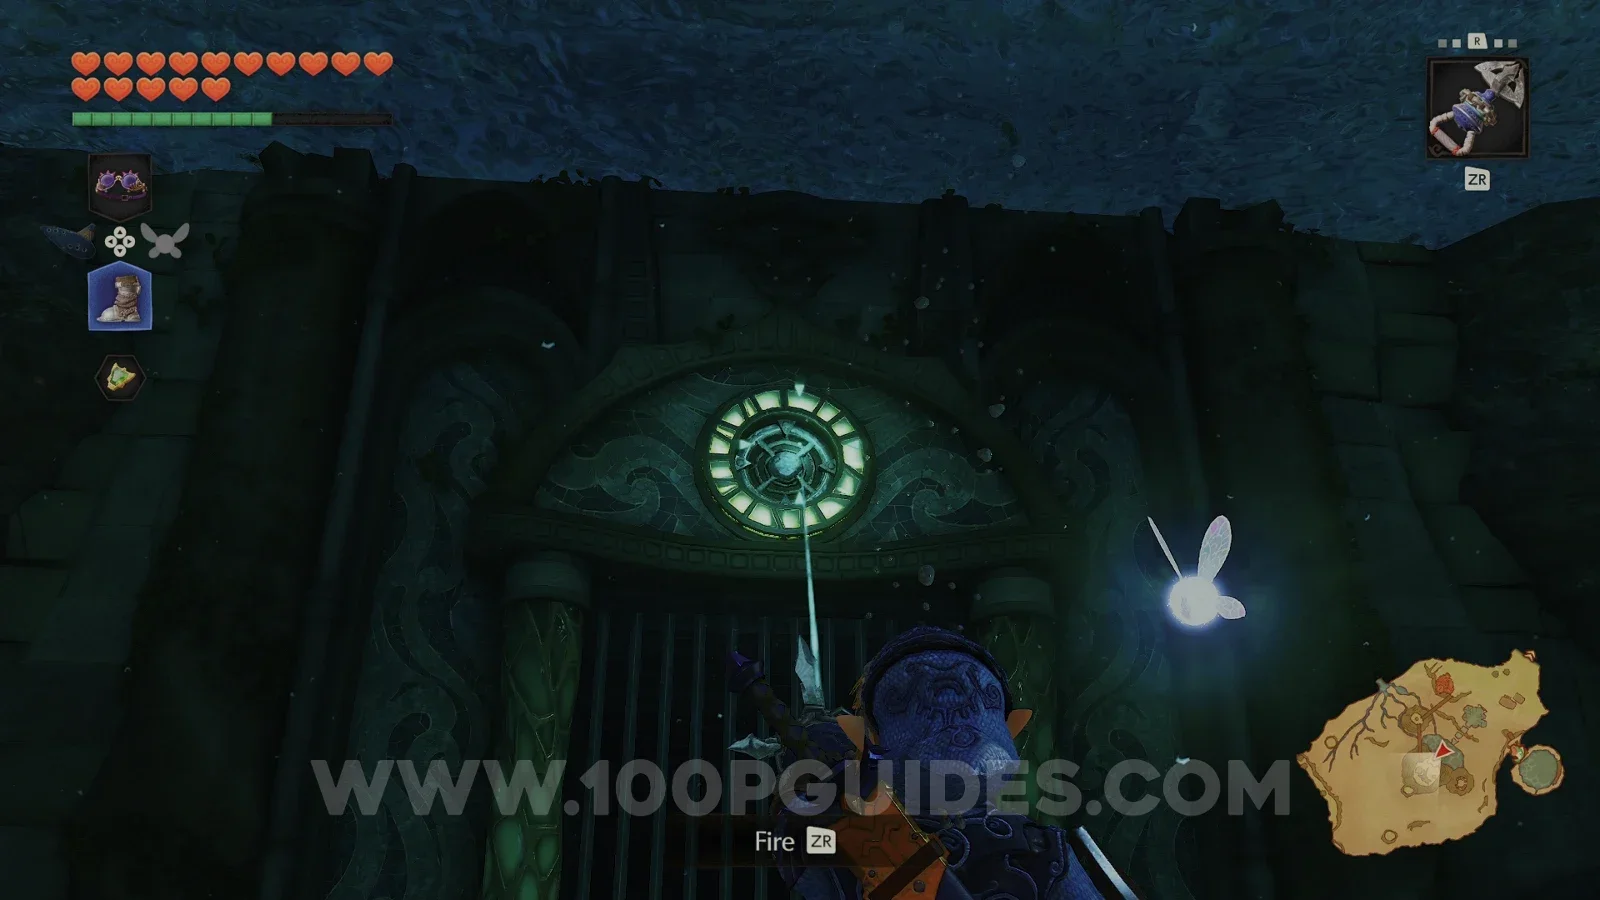
Water Temple
The main room is a tall chamber with a tower in the middle, and the water starts at its highest level. Sink down to 1F and go through the door with the two blue pillars at the bottom to the east. Inside, you will find Princess Ruto, now an adult. After she swims off, take off the boots and float up to find a large chest behind some bars. Open it to get the Dungeon Map.
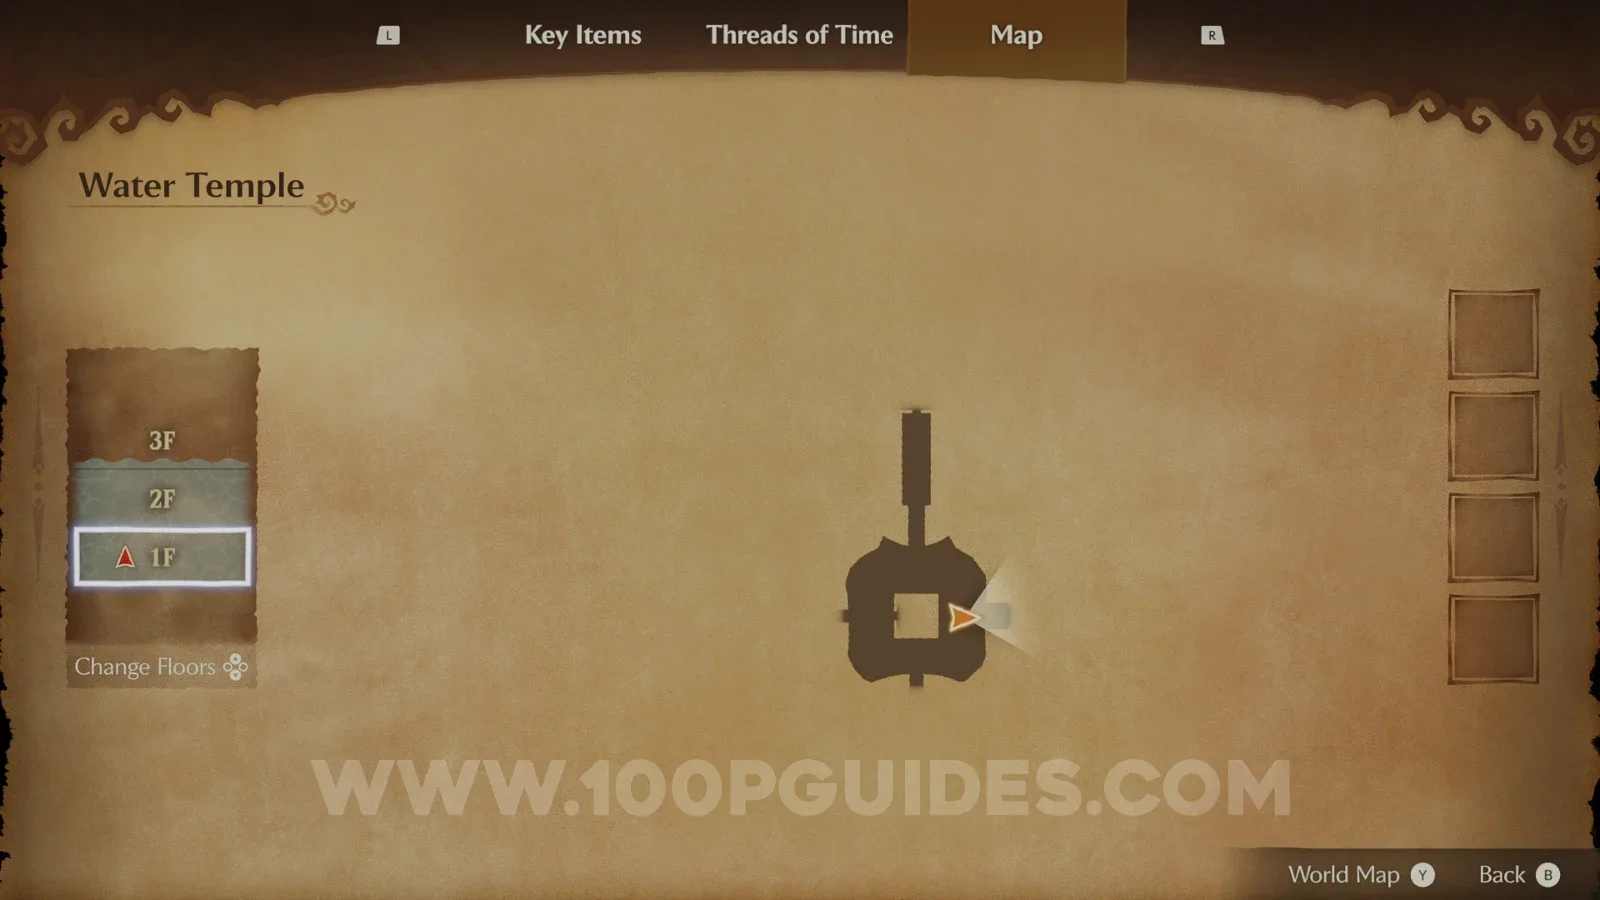
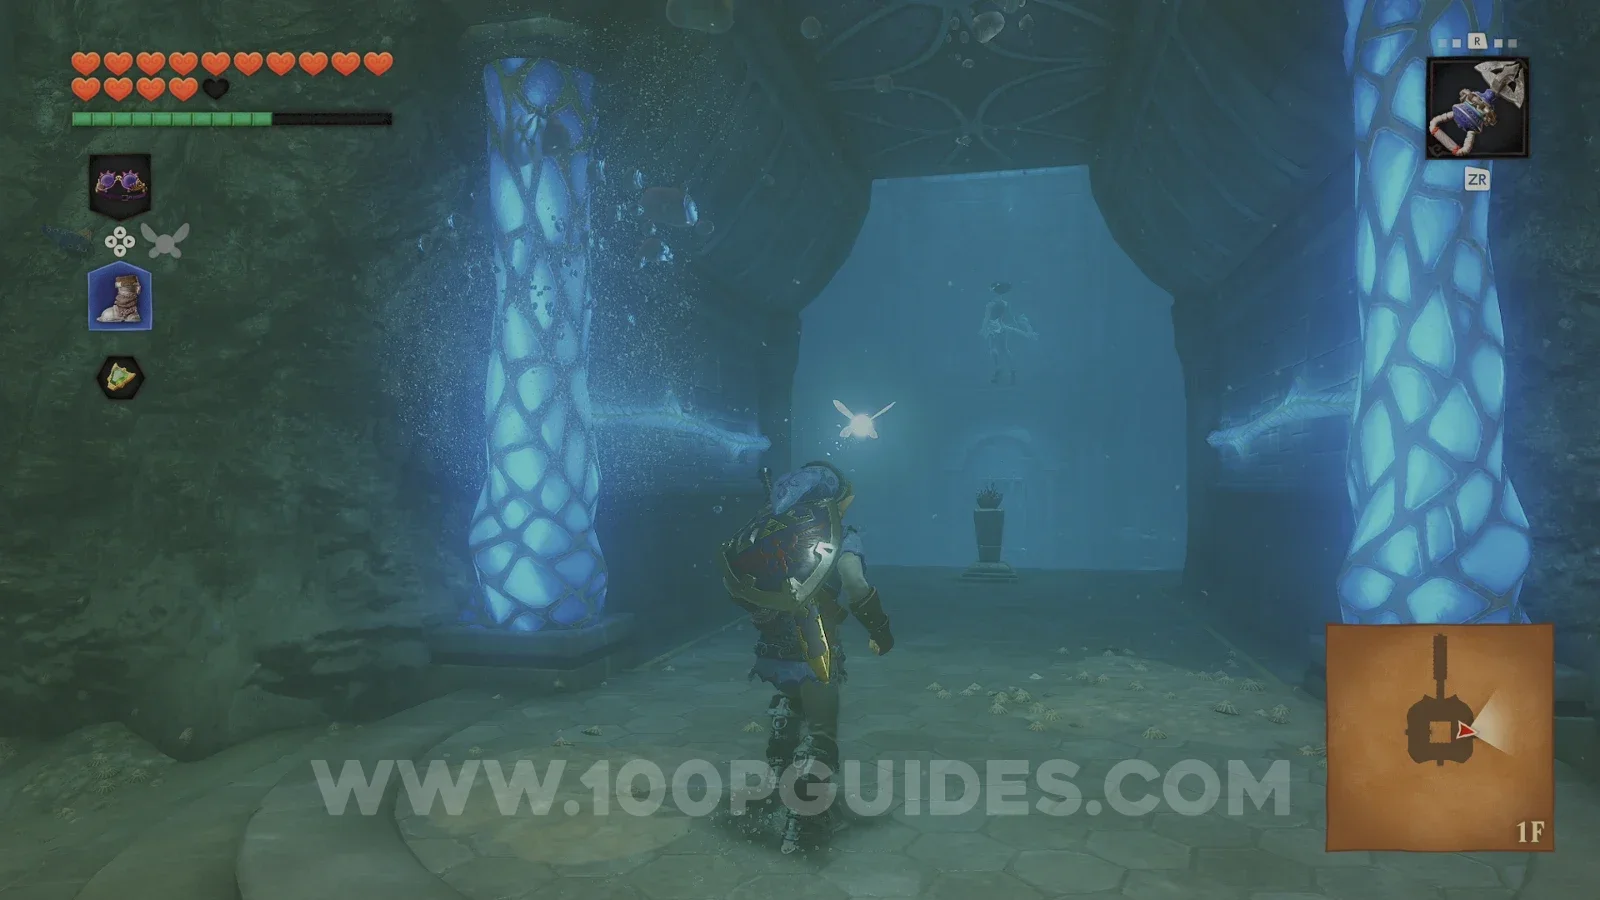
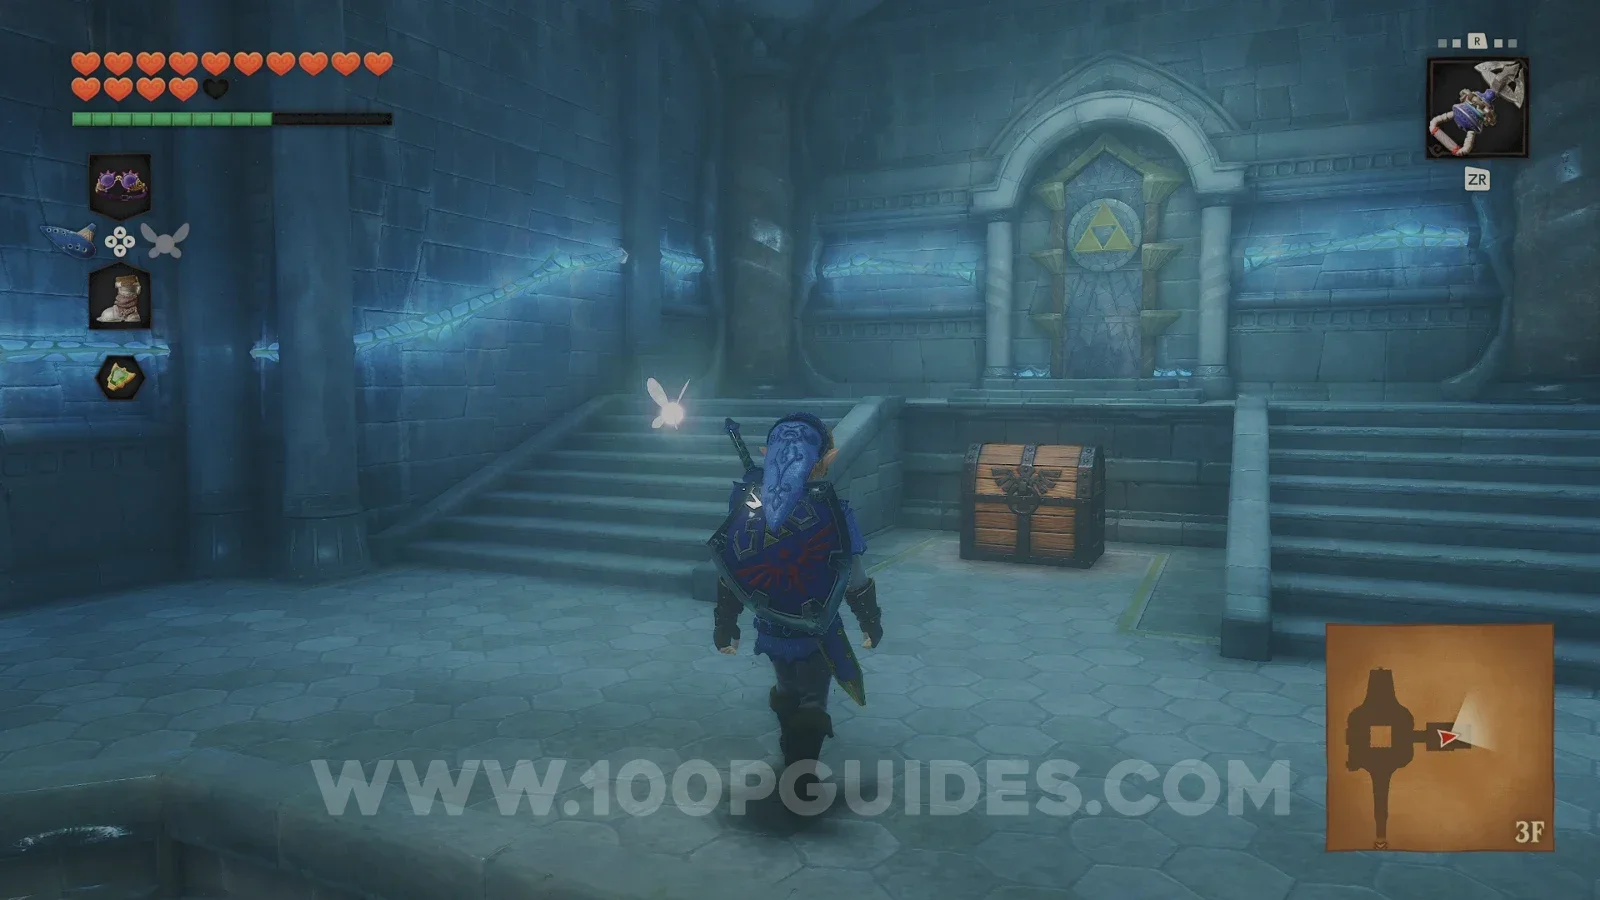
Right next to it you will find a triforce on the wall. Stand in front of it and play Zelda's Lullaby to lower the water all the way down to 1F.
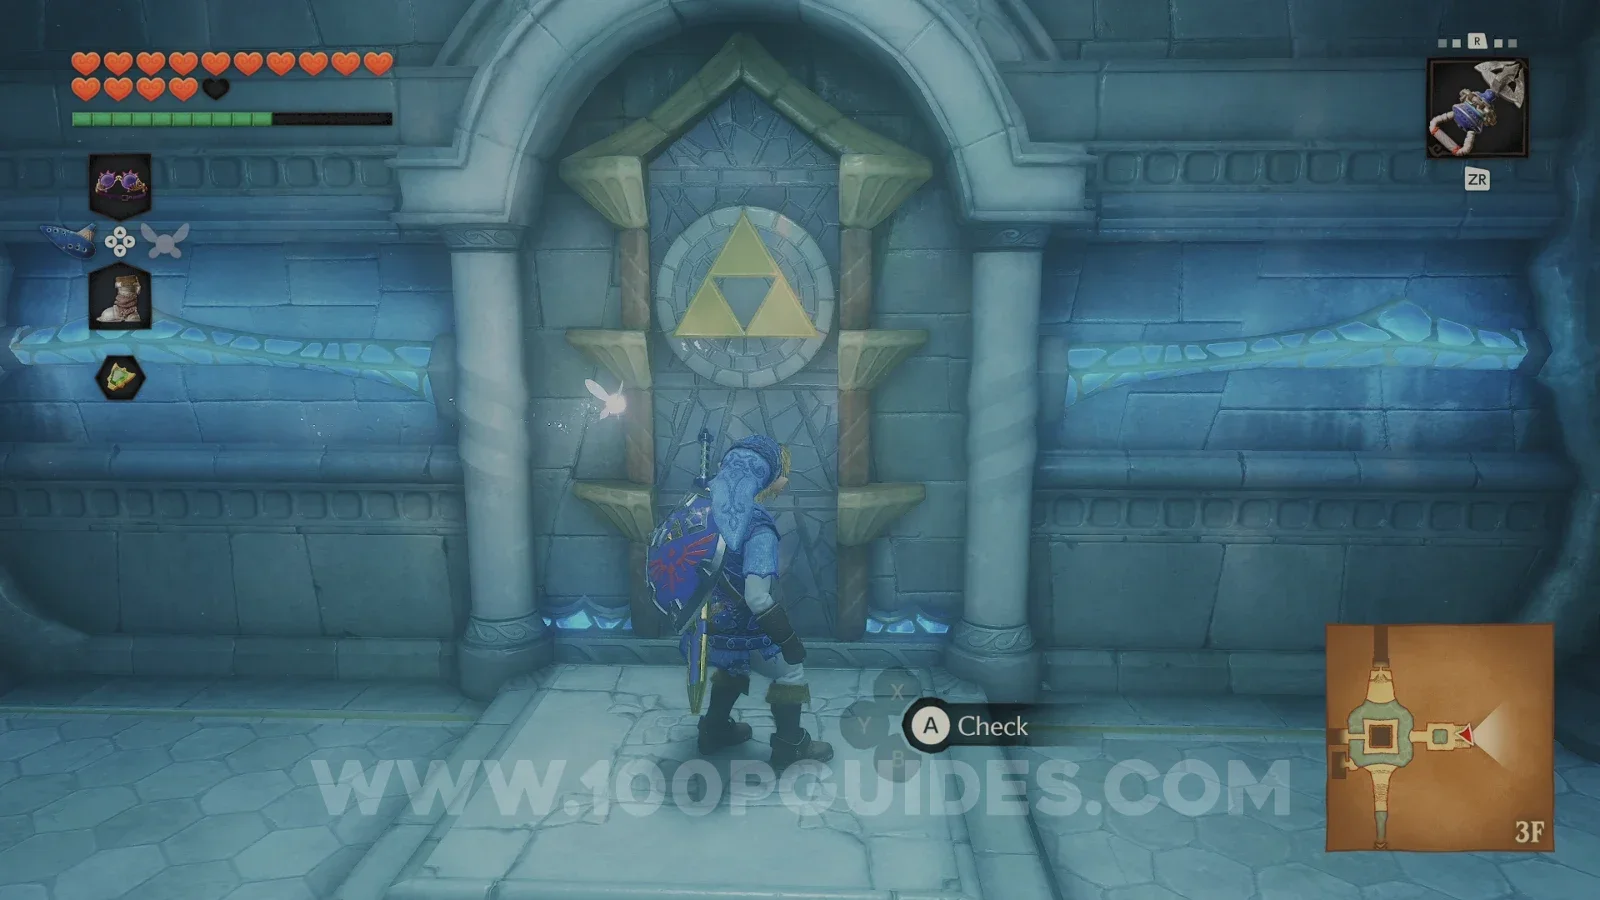
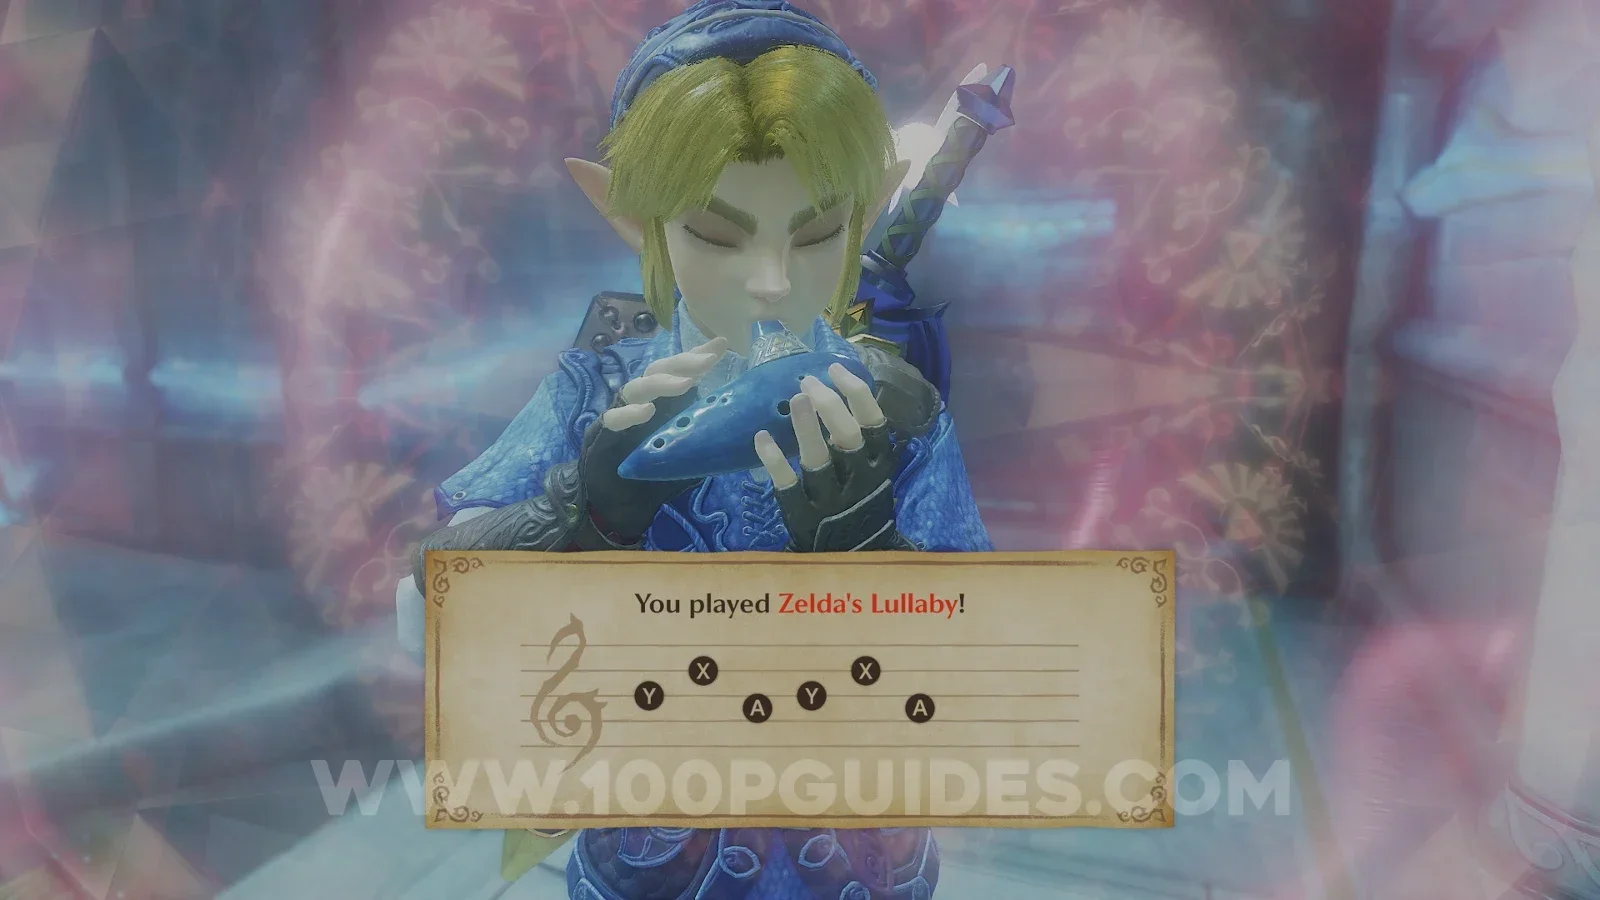
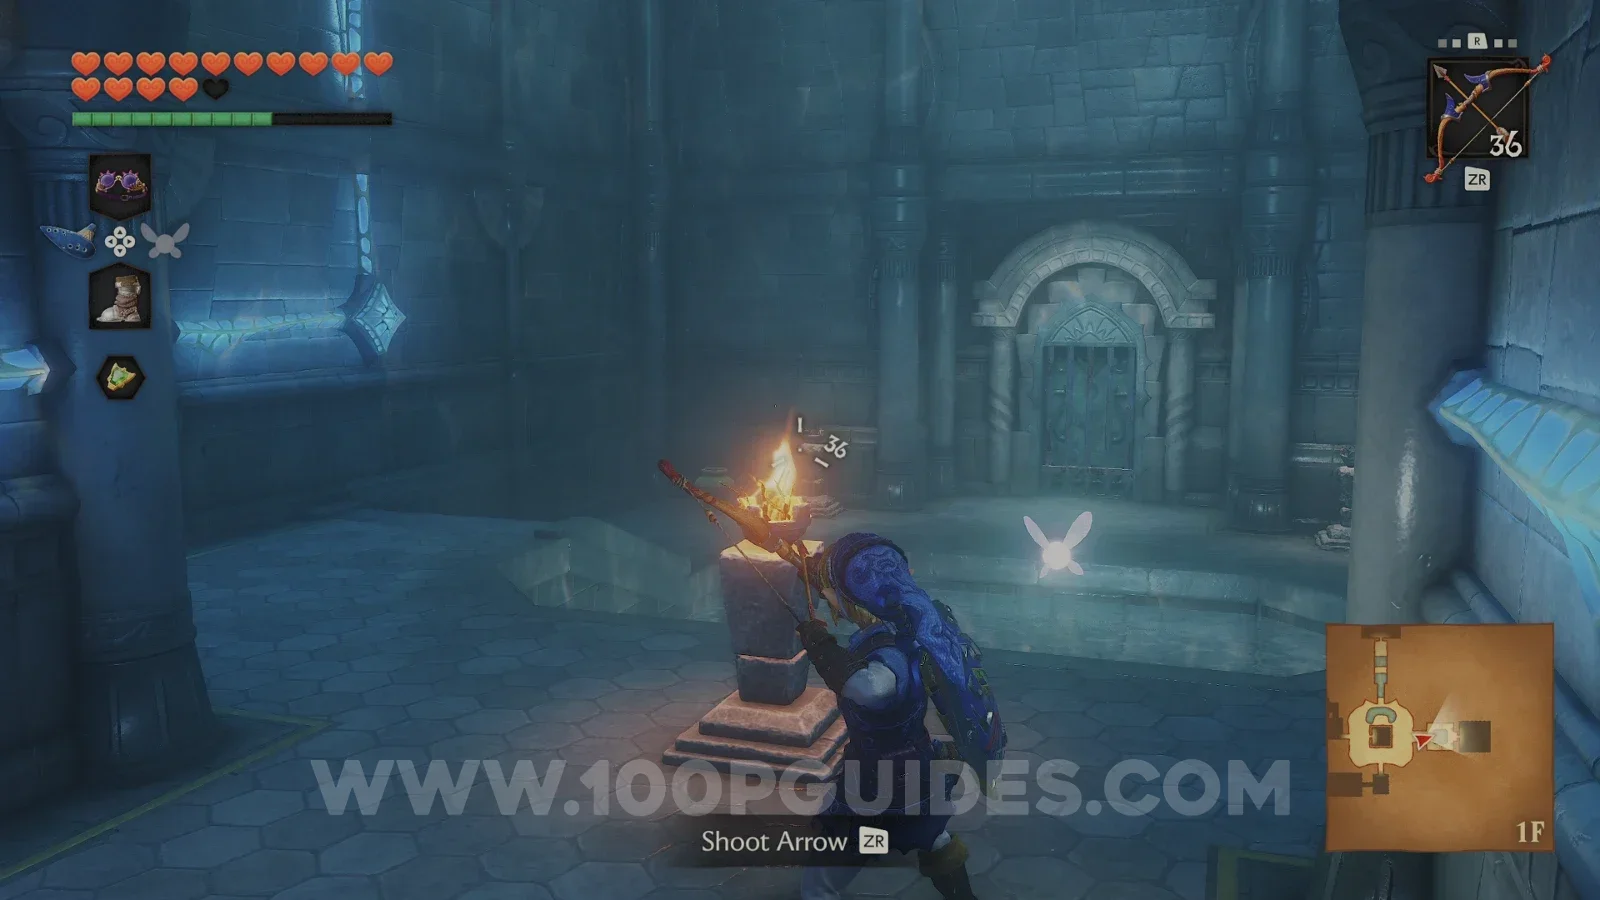
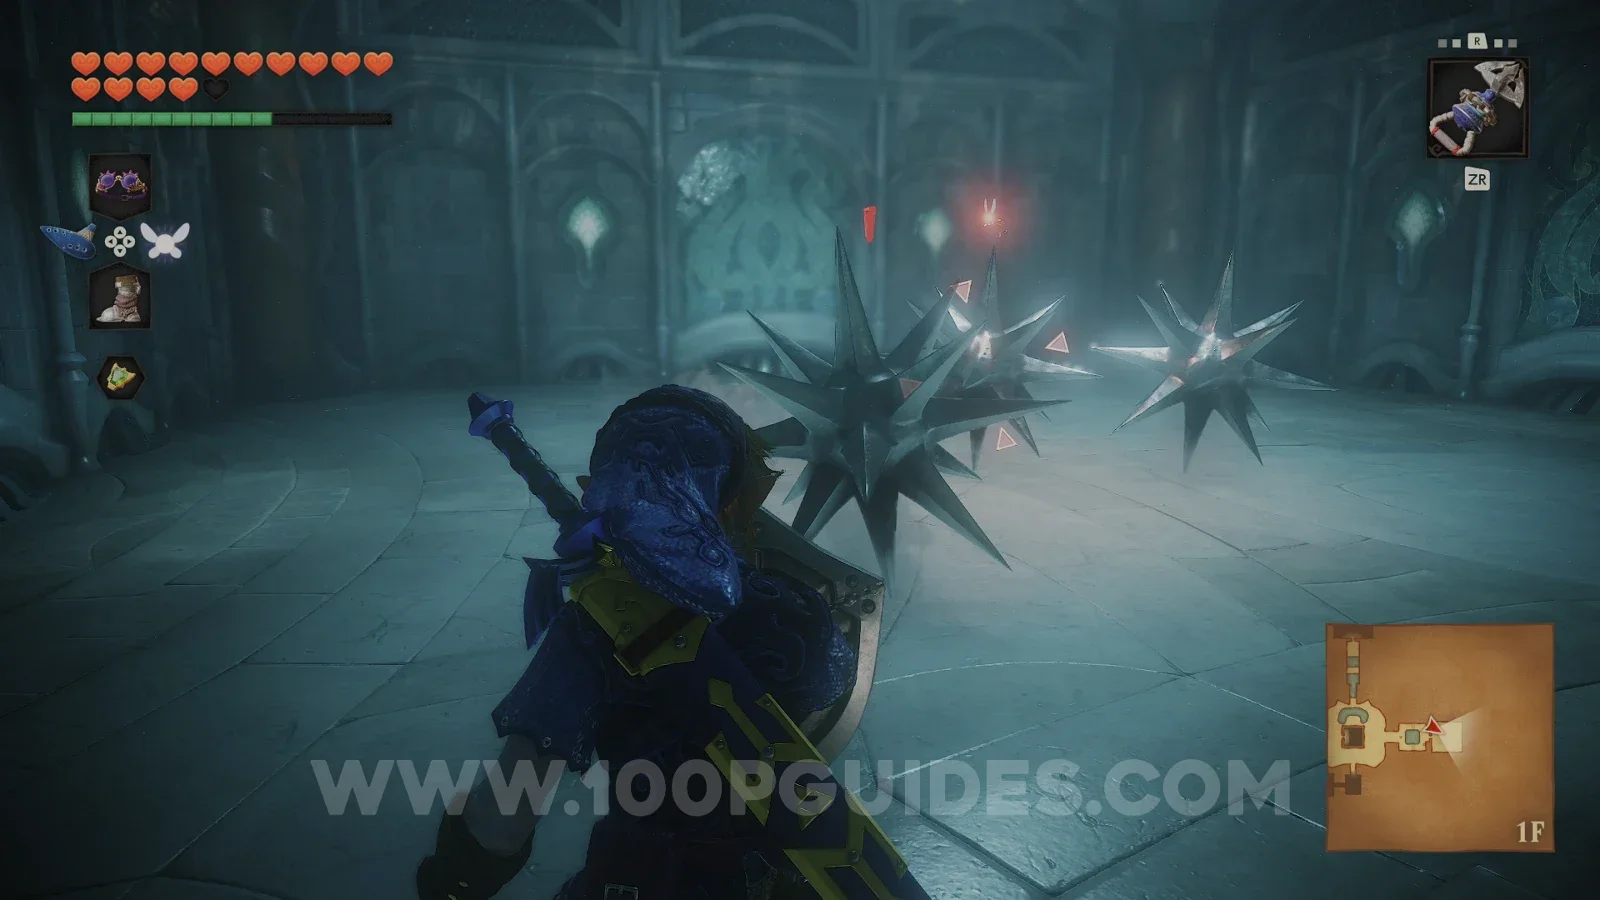
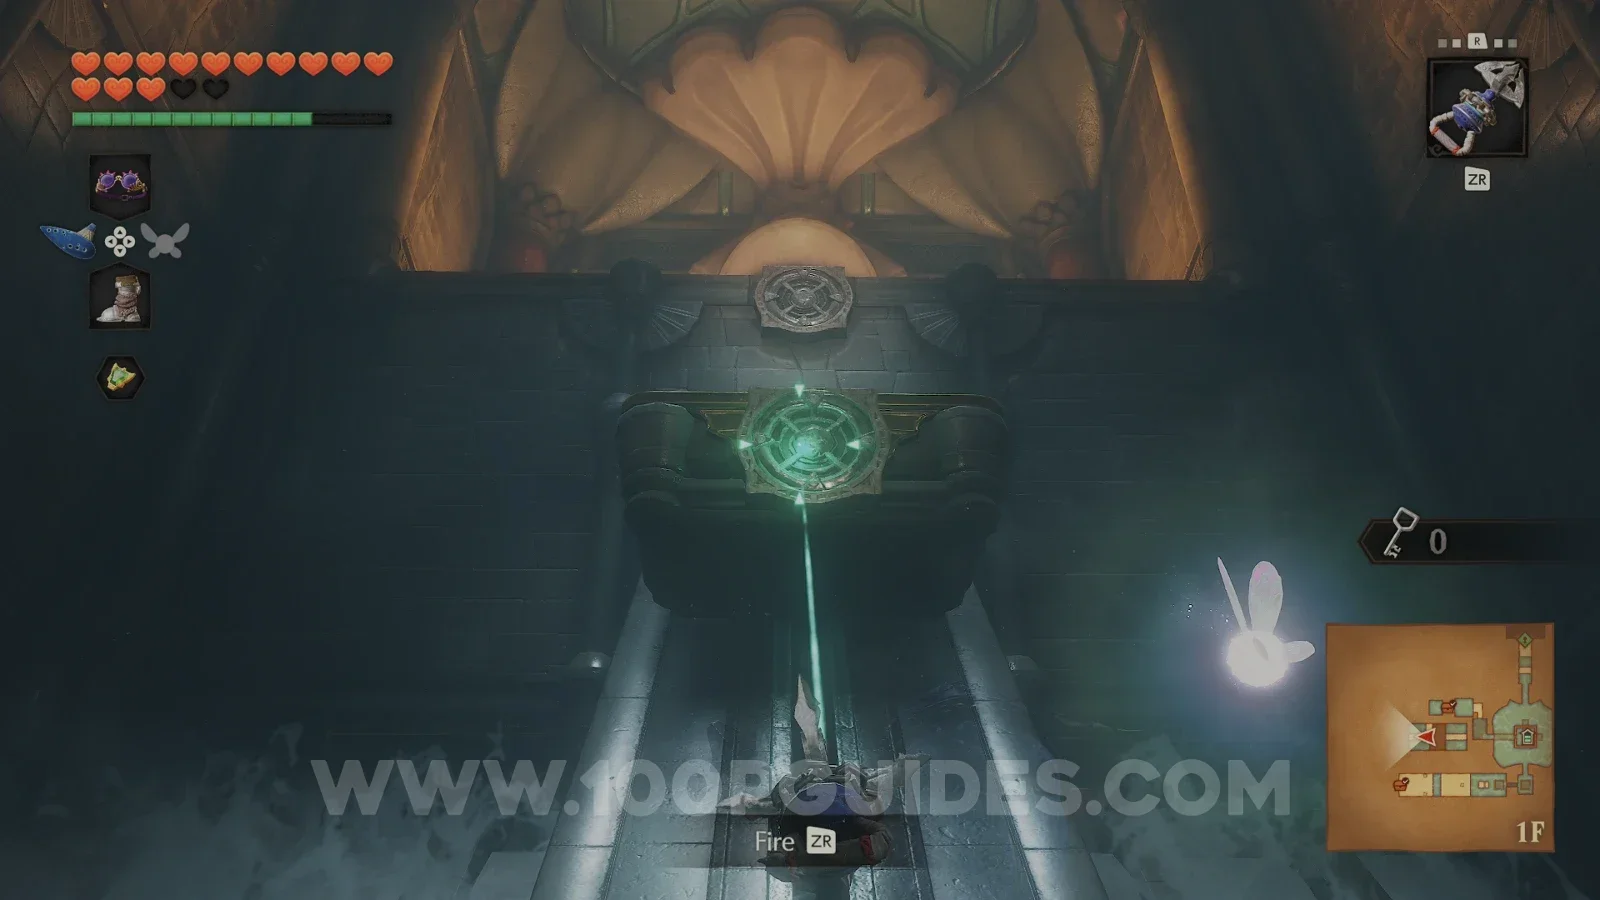
Down at the bottom, light the two unlit torches by shooting an arrow through the lit torch (or by using Din's Fire) to open the eastern door. Inside, defeat the three Spikes by blocking them with your shield and then hitting them with your sword or the Hookshot, and a chest will appear with a Small Key.
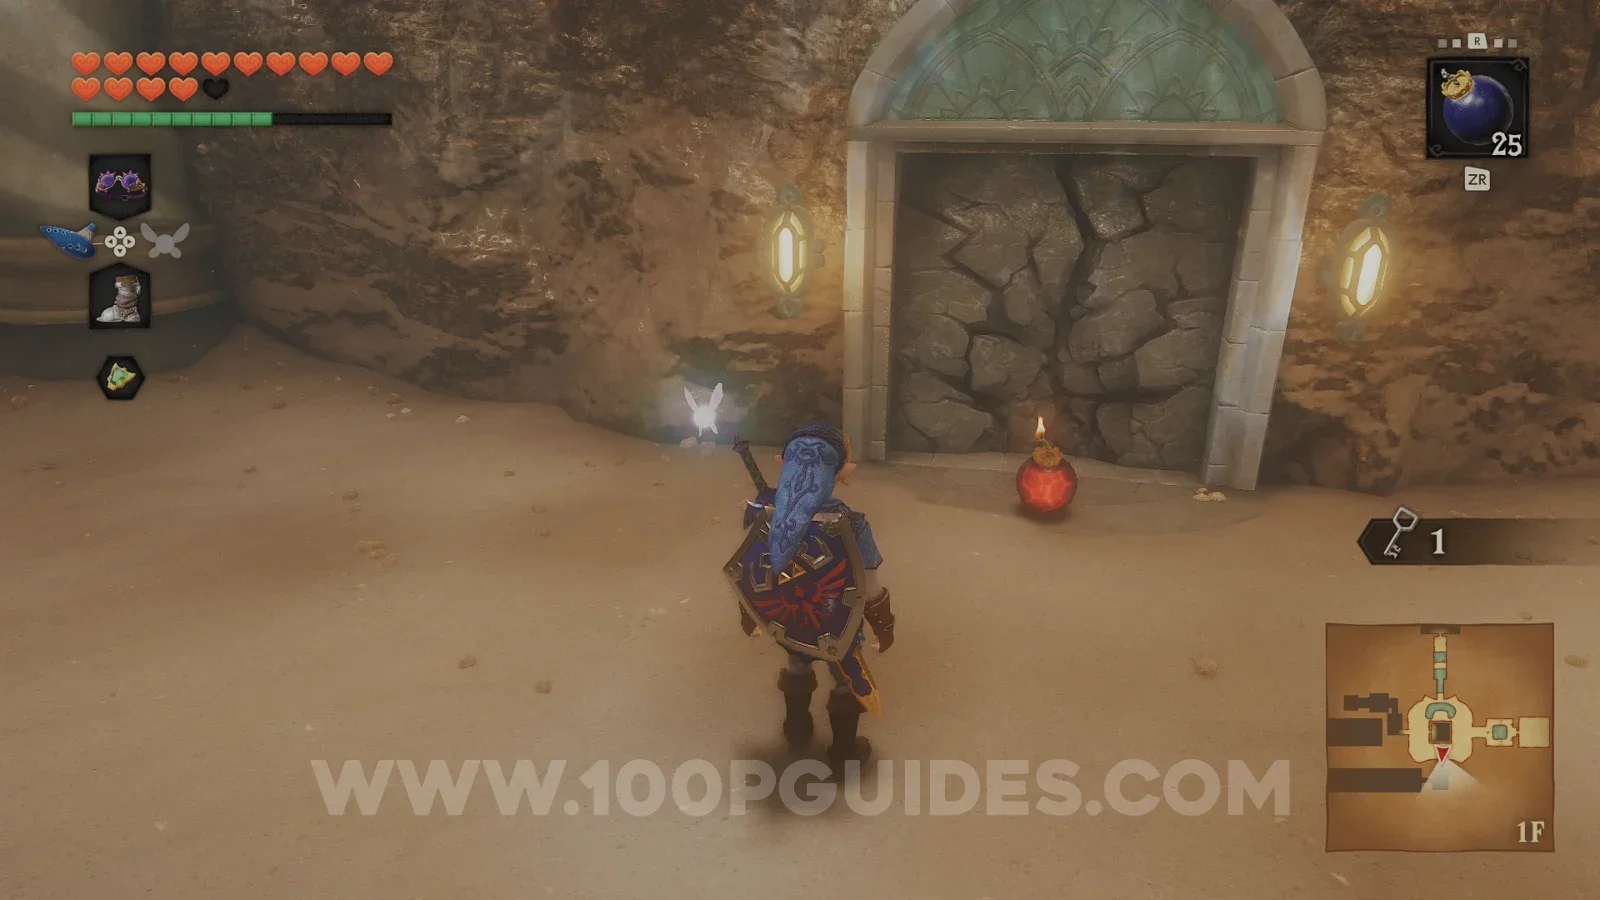
Back in the main room, use a bomb on the cracked wall on the southern side of the tower and put on the Iron Boots to sink down the hole to B1. Defeat the Shell Blade (hit the soft part inside with the Hookshot when it opens), then press the switch to raise a statue with a Hookshot target. Hookshot across and defeat the Like Like, using your bow first to be safe. Then open the large chest to get the Compass.
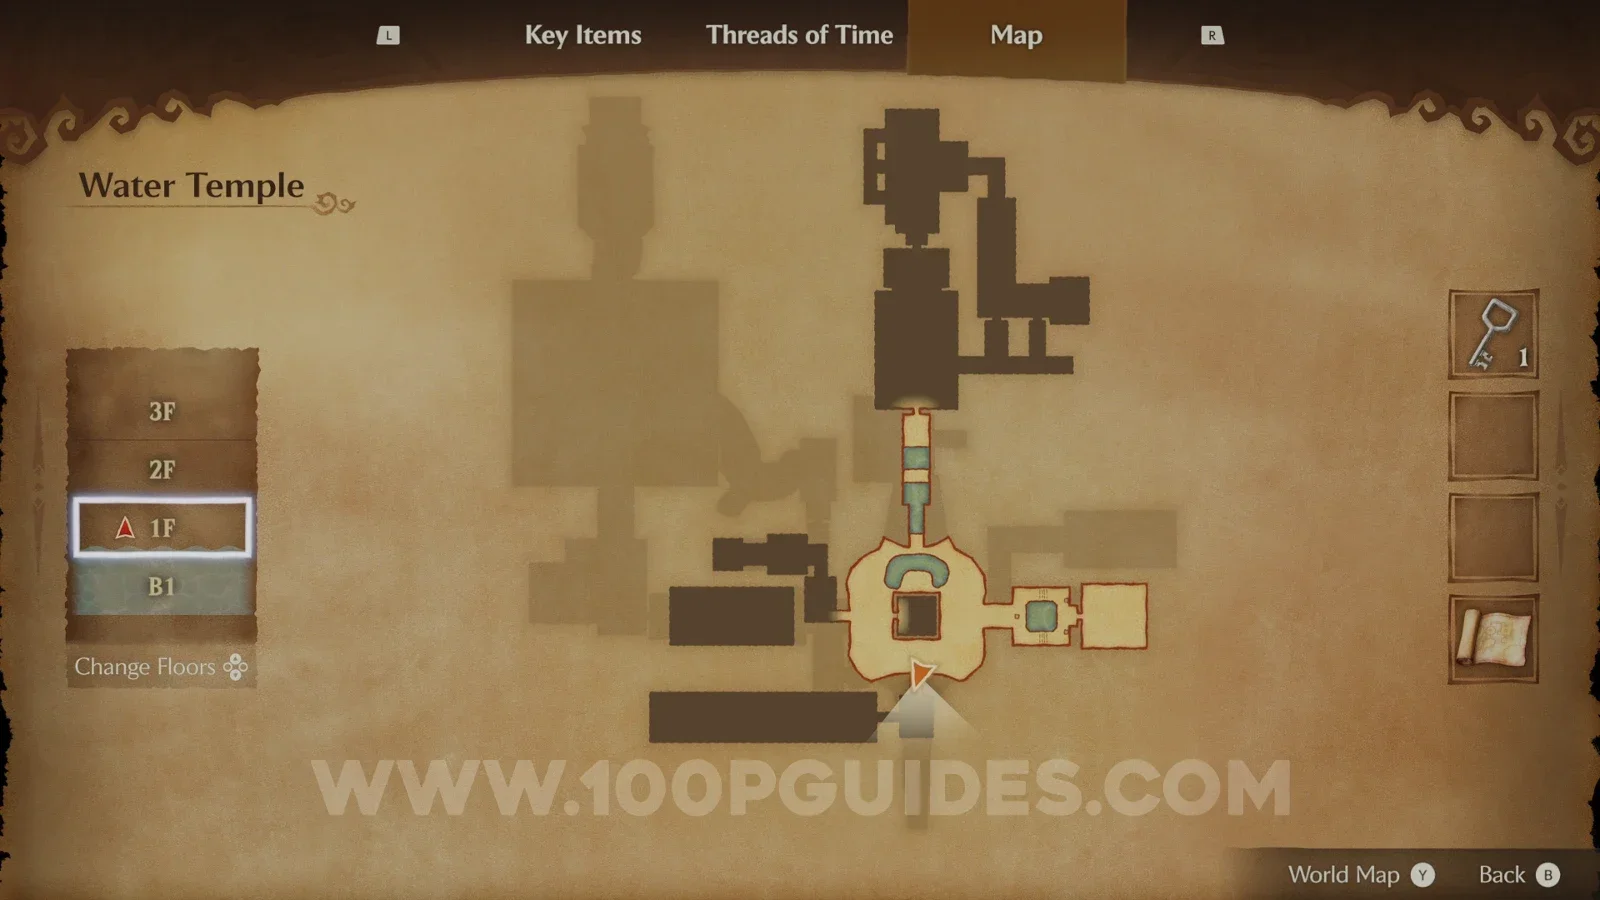
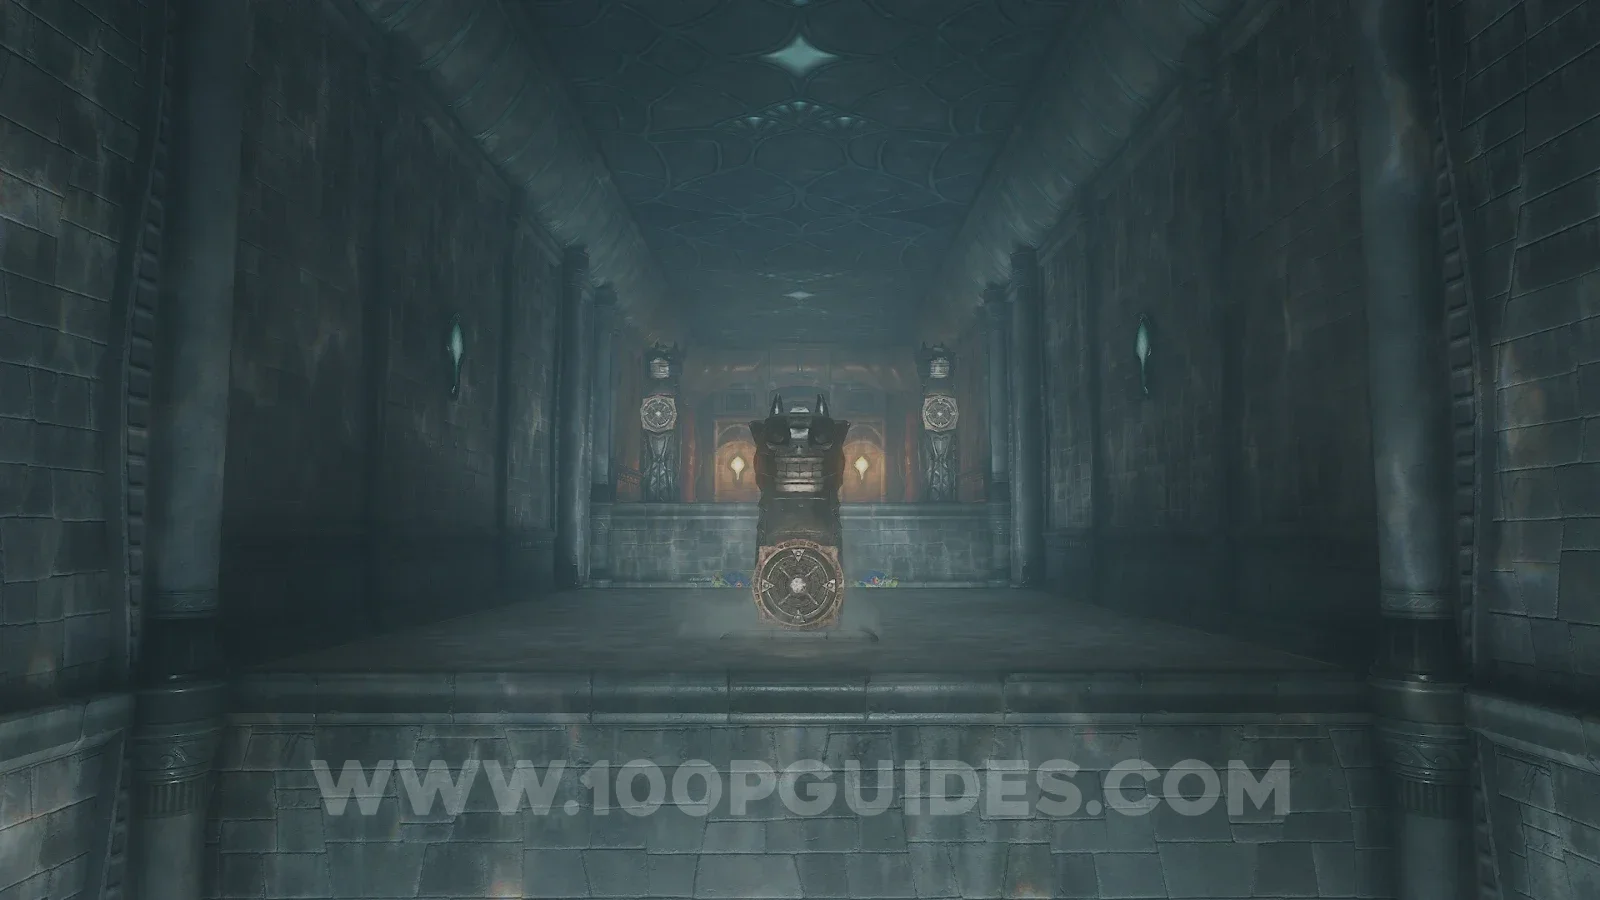
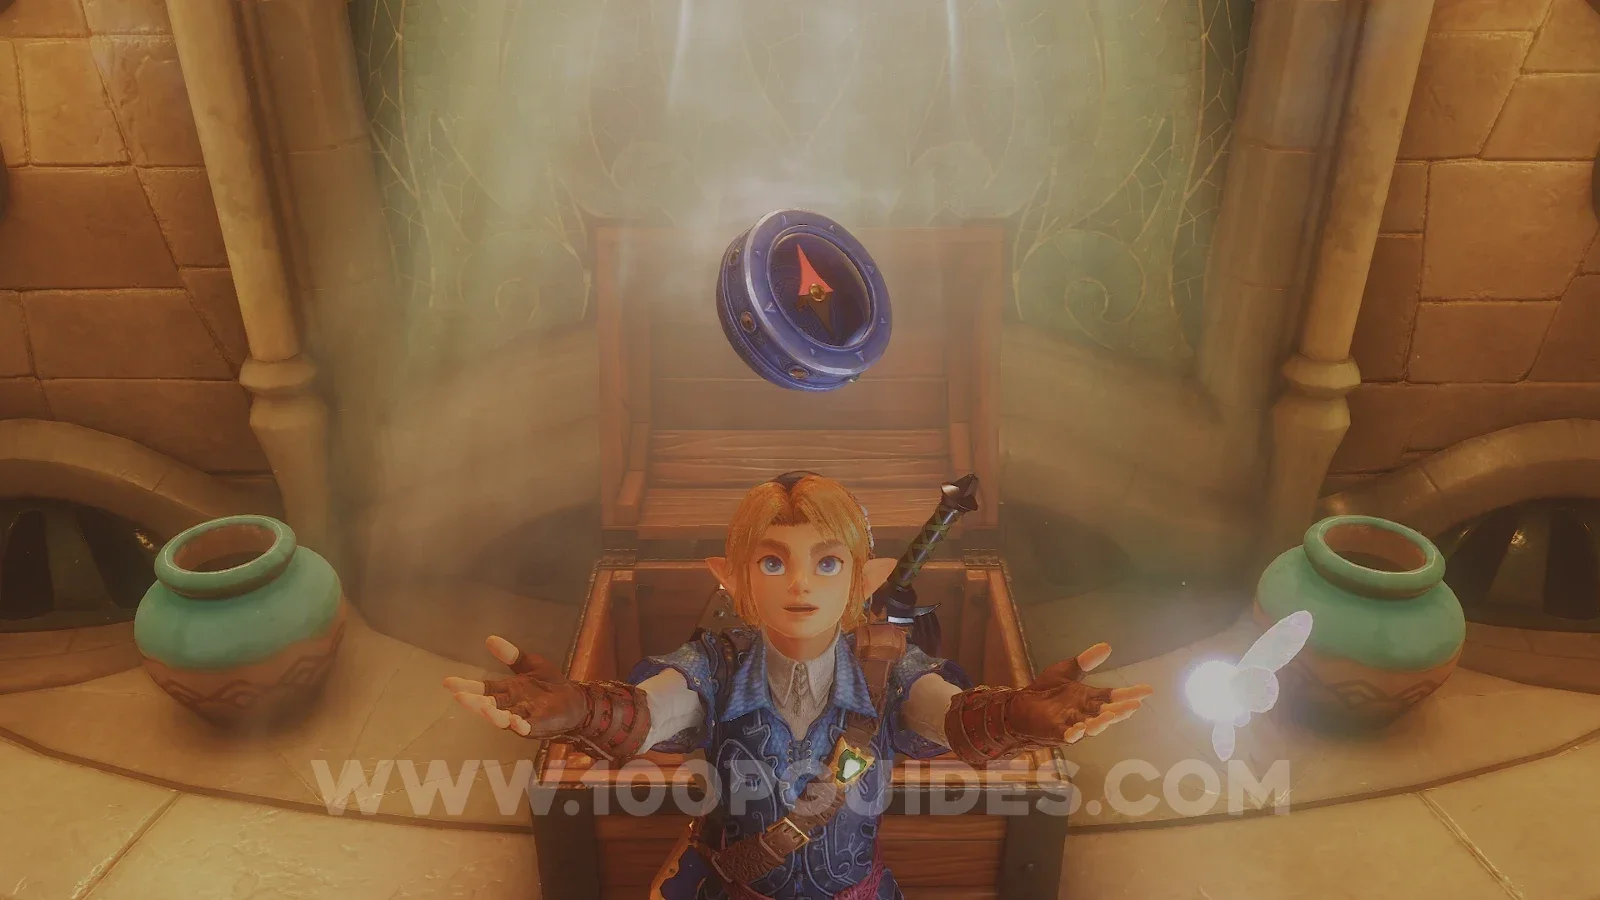
Next, return to the main central room and, on the western side of the tower, push the block into the pool and sink down after it. Then swim up above the shell.
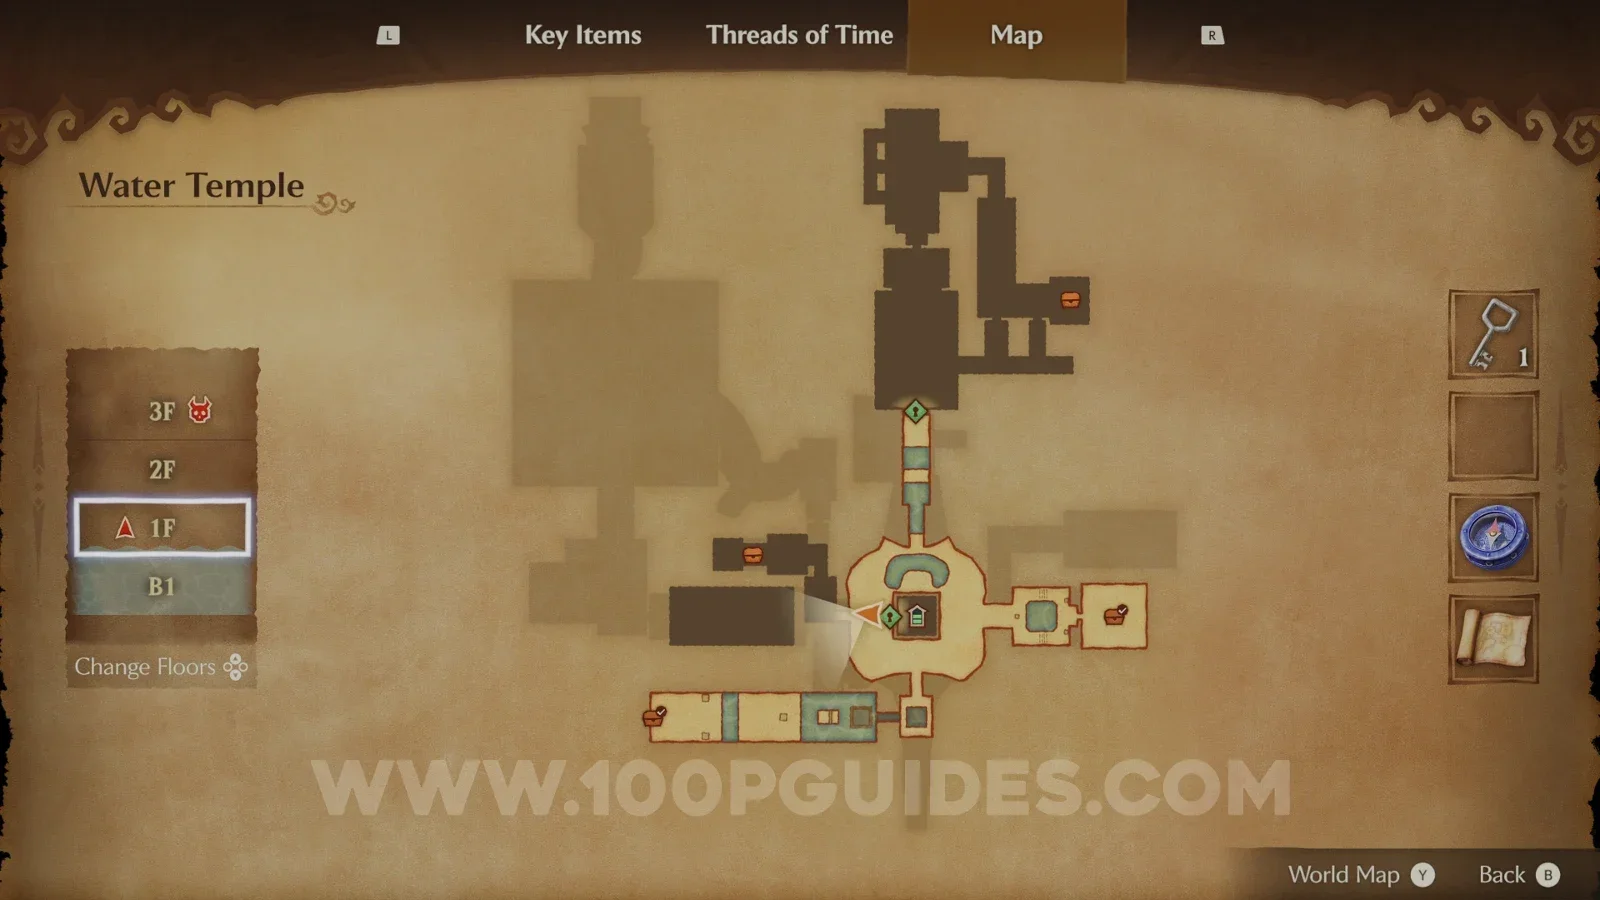
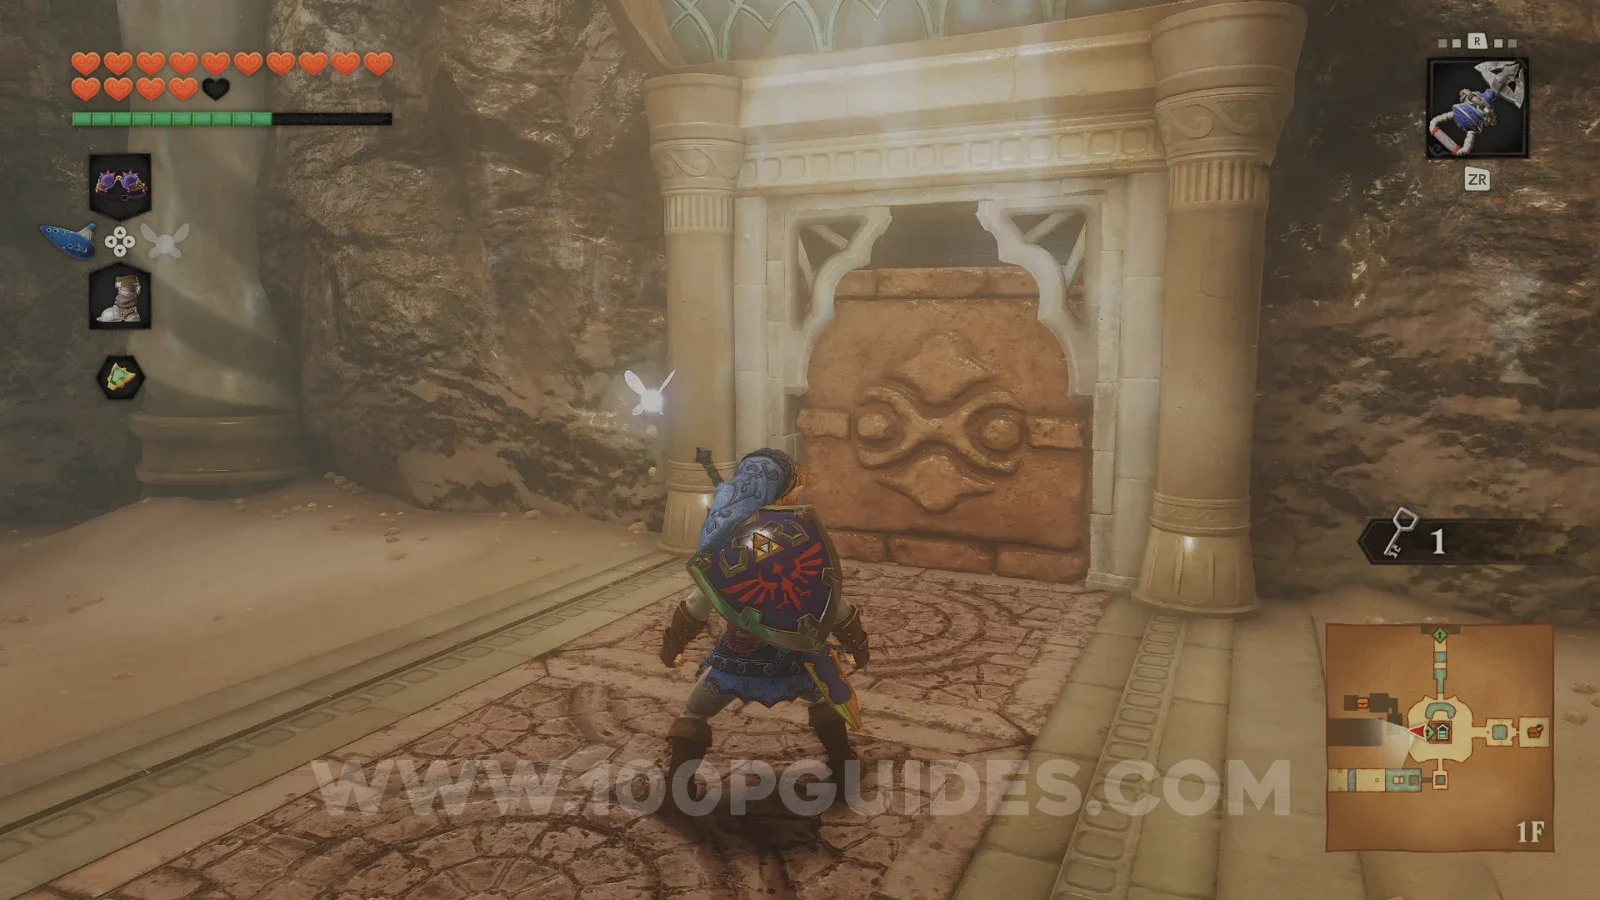
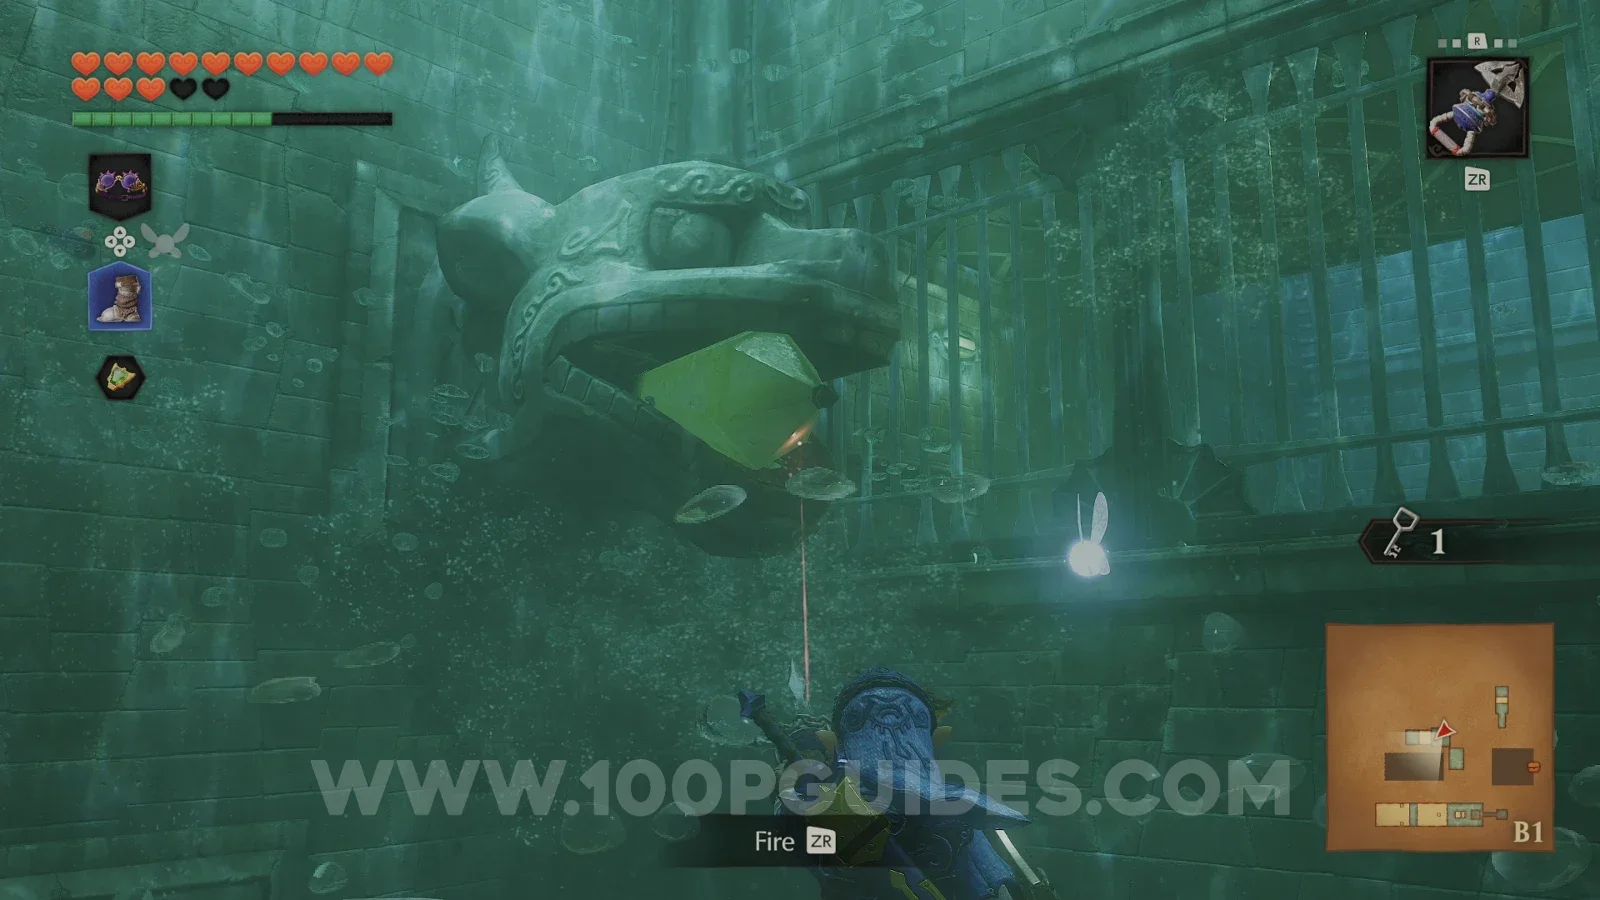
In the next room, put on the Iron Boots and sink into the whirlpool down to the long platform. From here, use the Hookshot on the switch in the snake's mouth to open the gate. Drift through it, putting the boots on and off as needed. Swim up above the Shell Blades to find a chest with a Small Key.
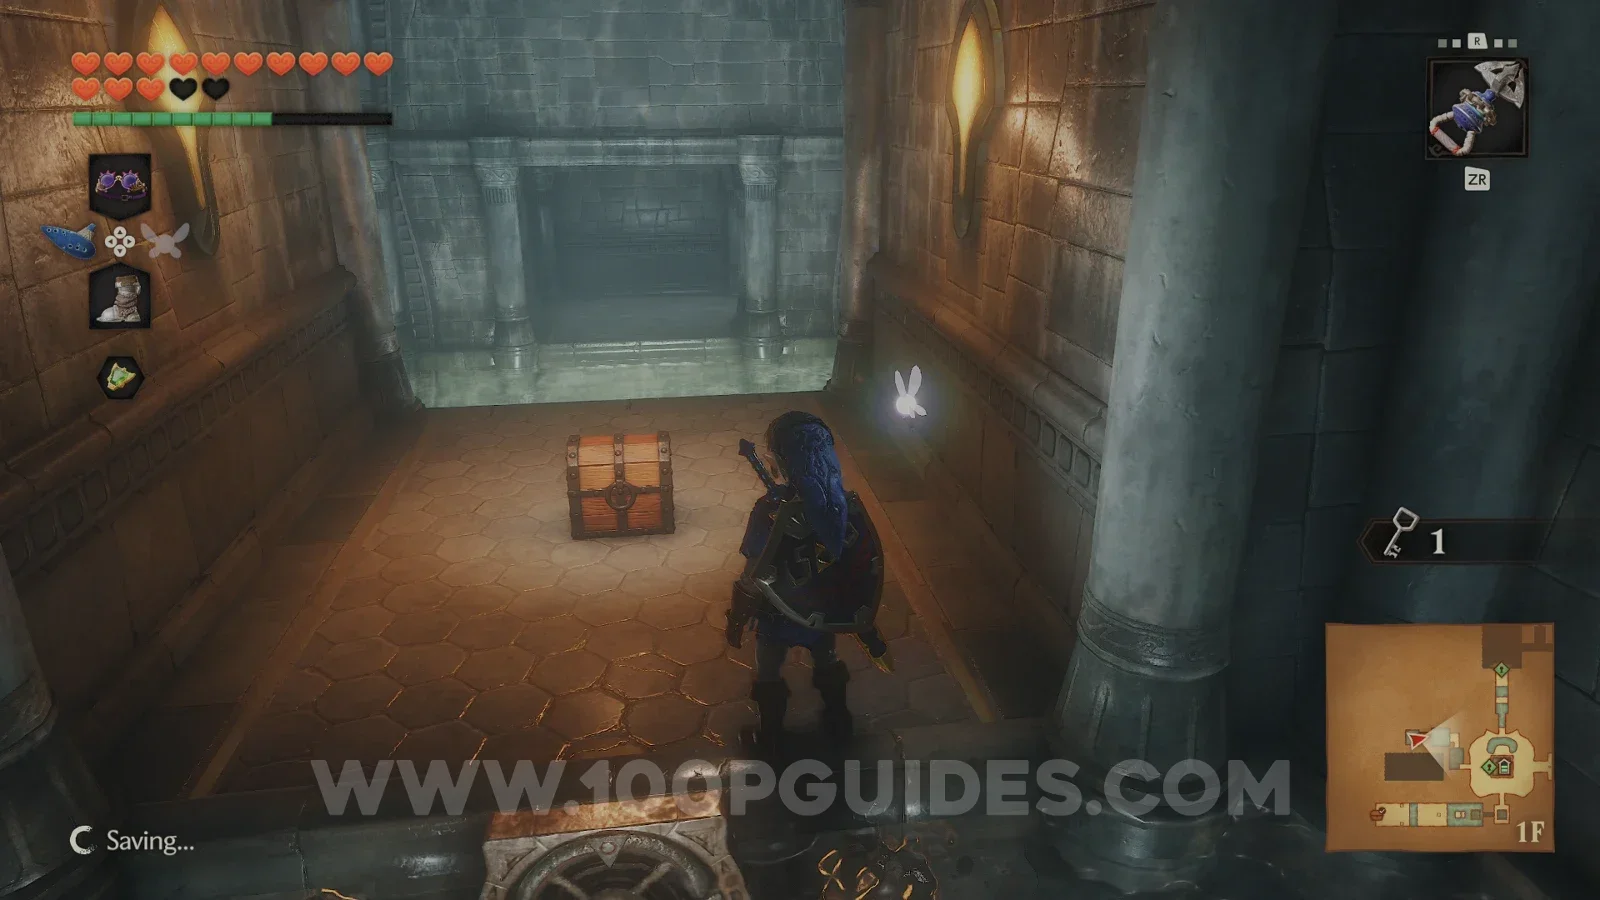
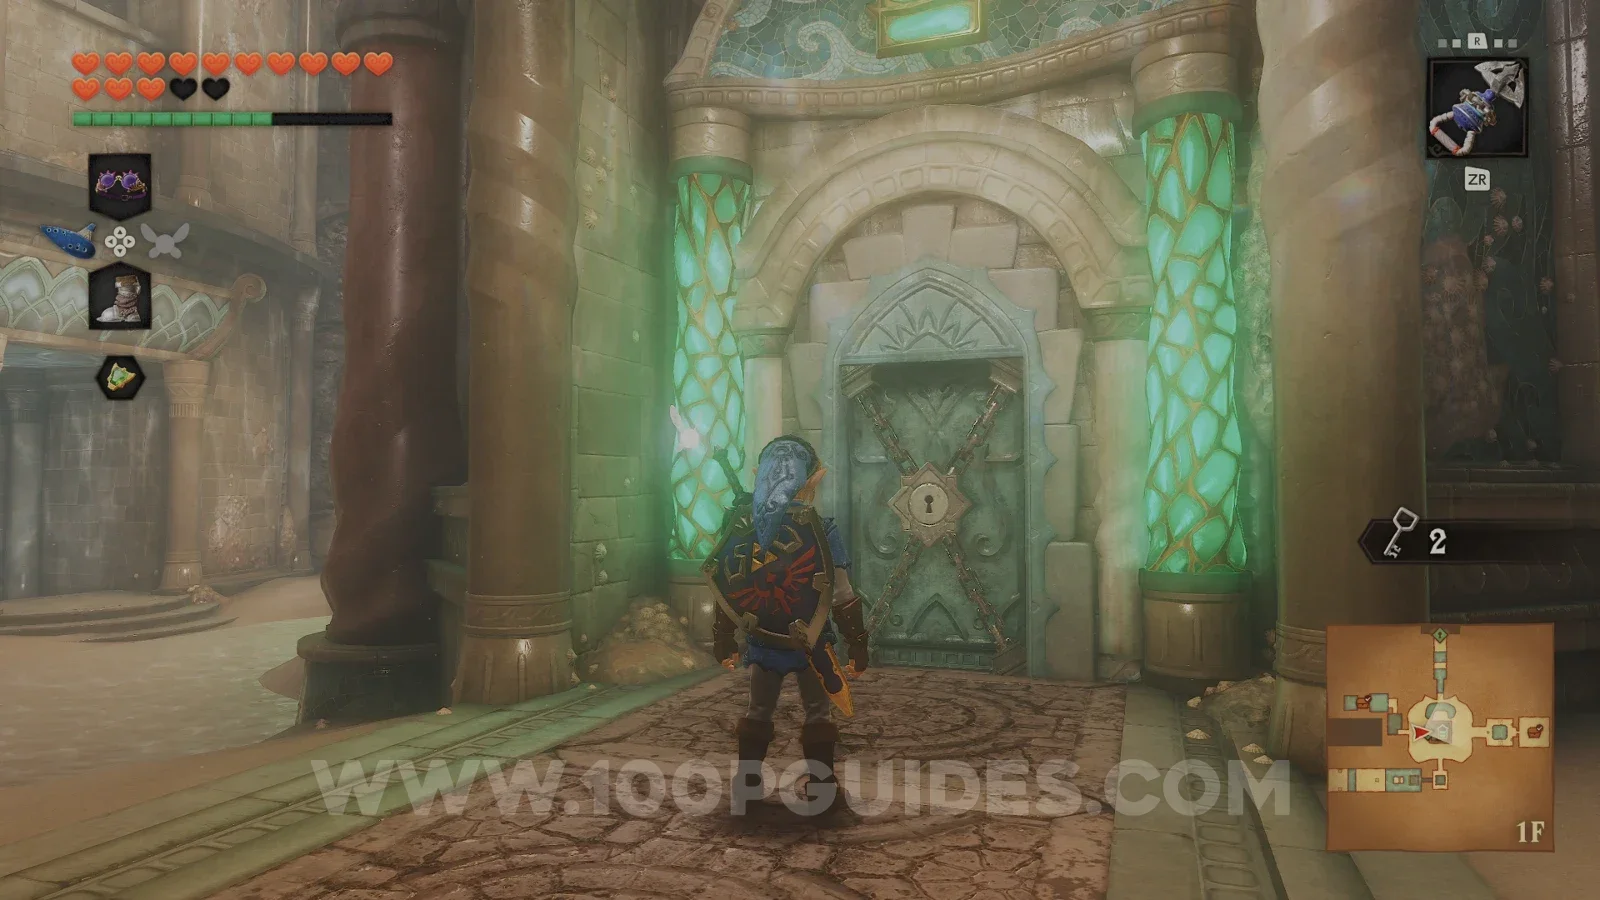
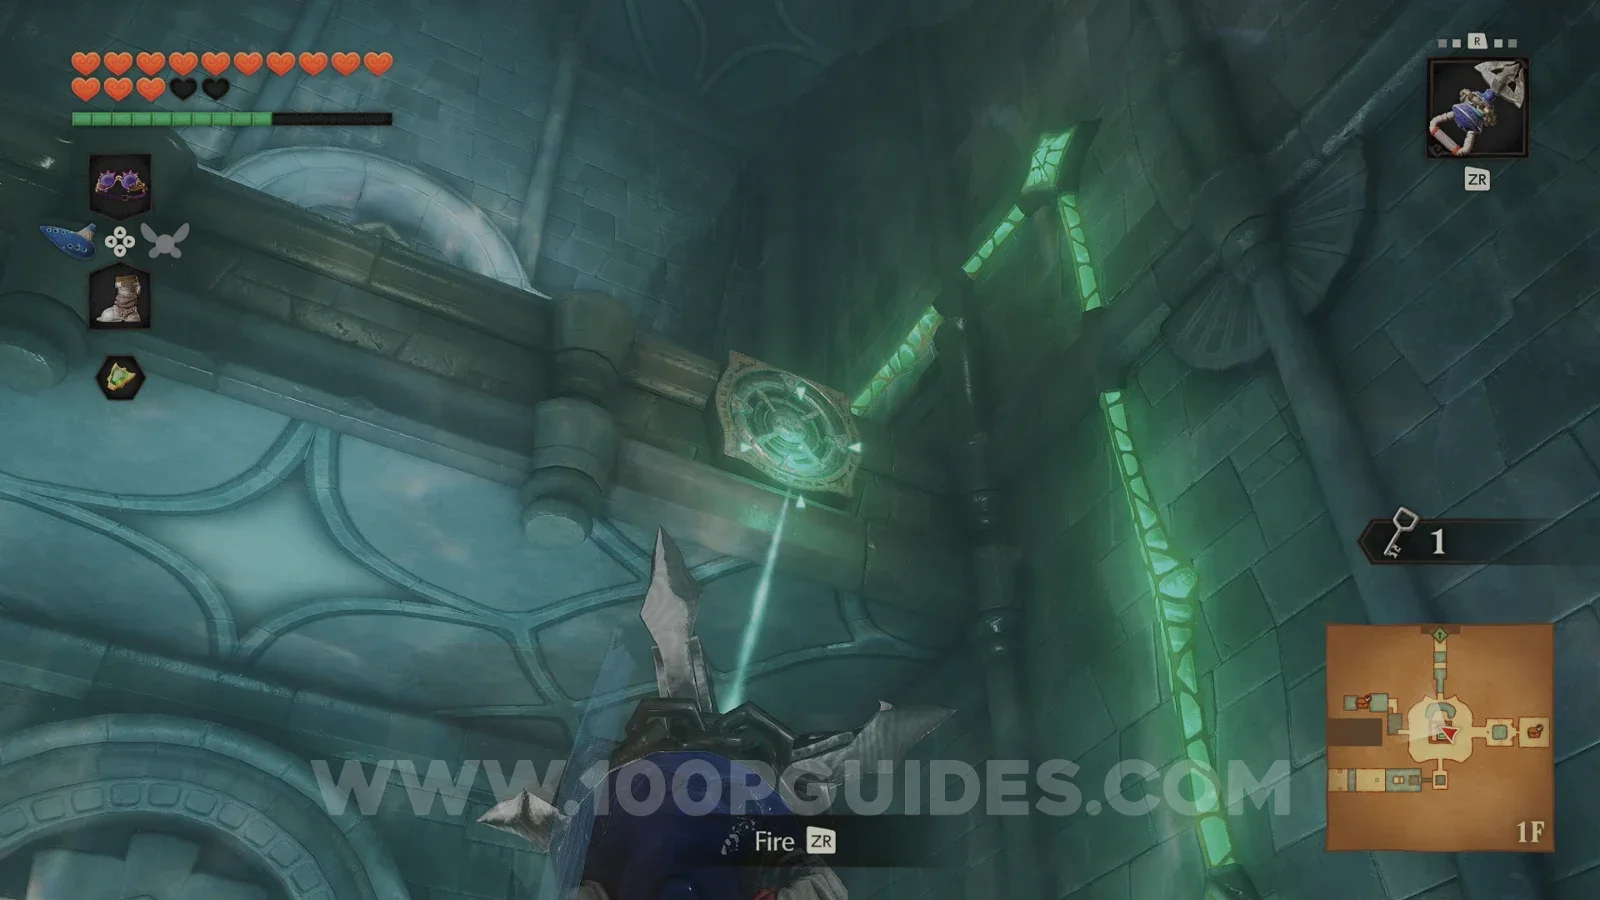
Now return to the main central room and go through the door with the green pillars at the base of the tower. Inside the tower, use the Hookshot to get up to the triforce on the wall and play Zelda's Lullaby to raise the water to 2F.
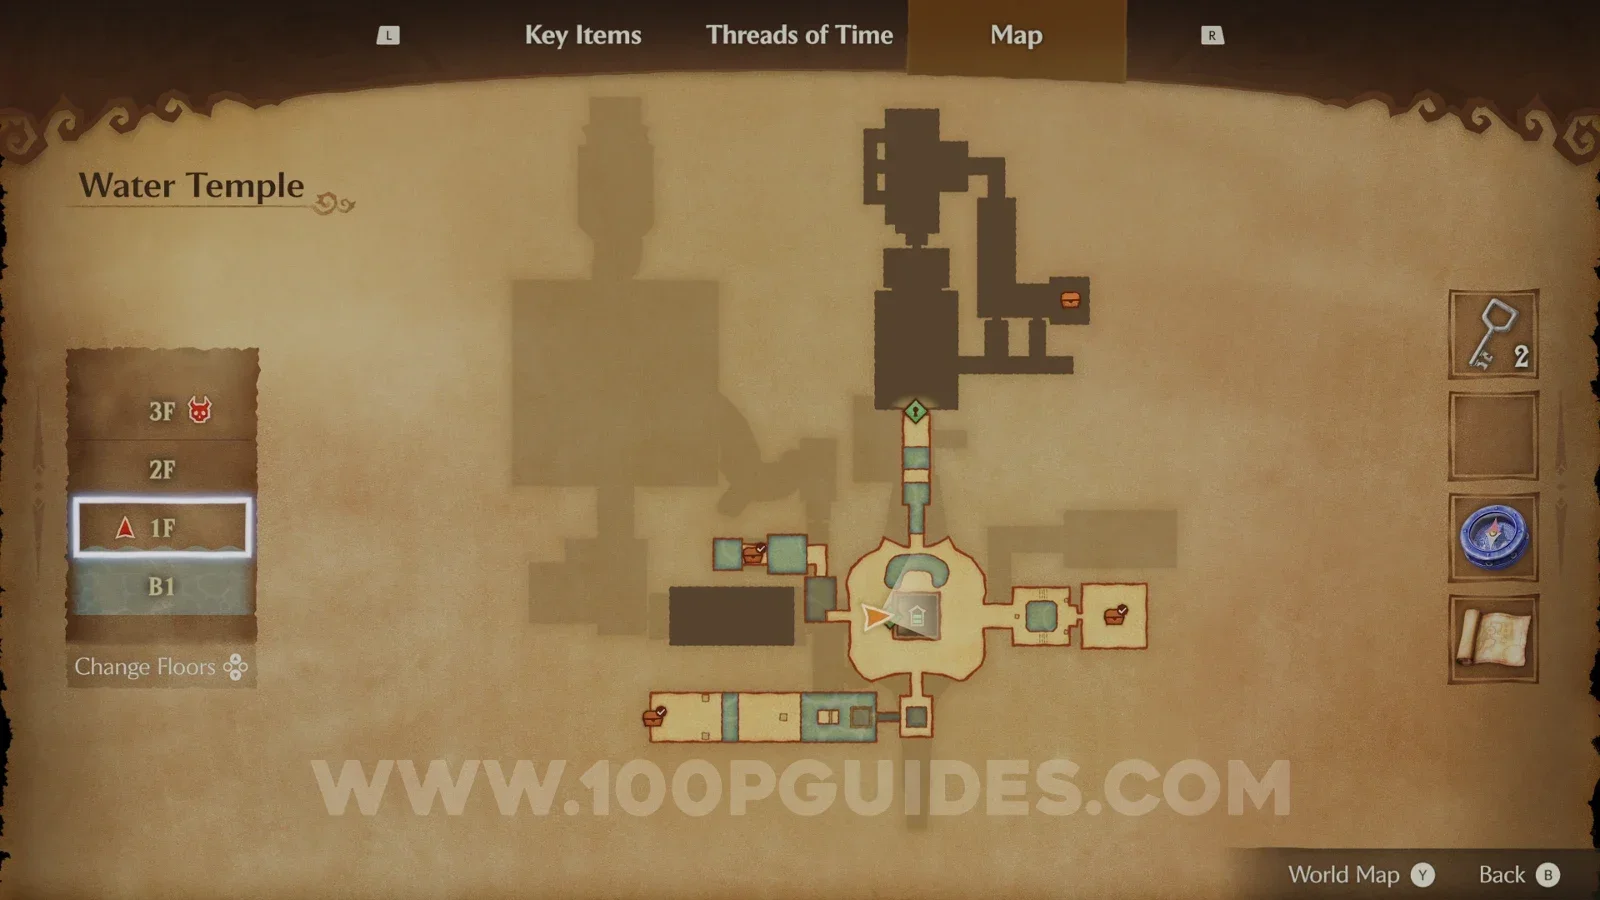
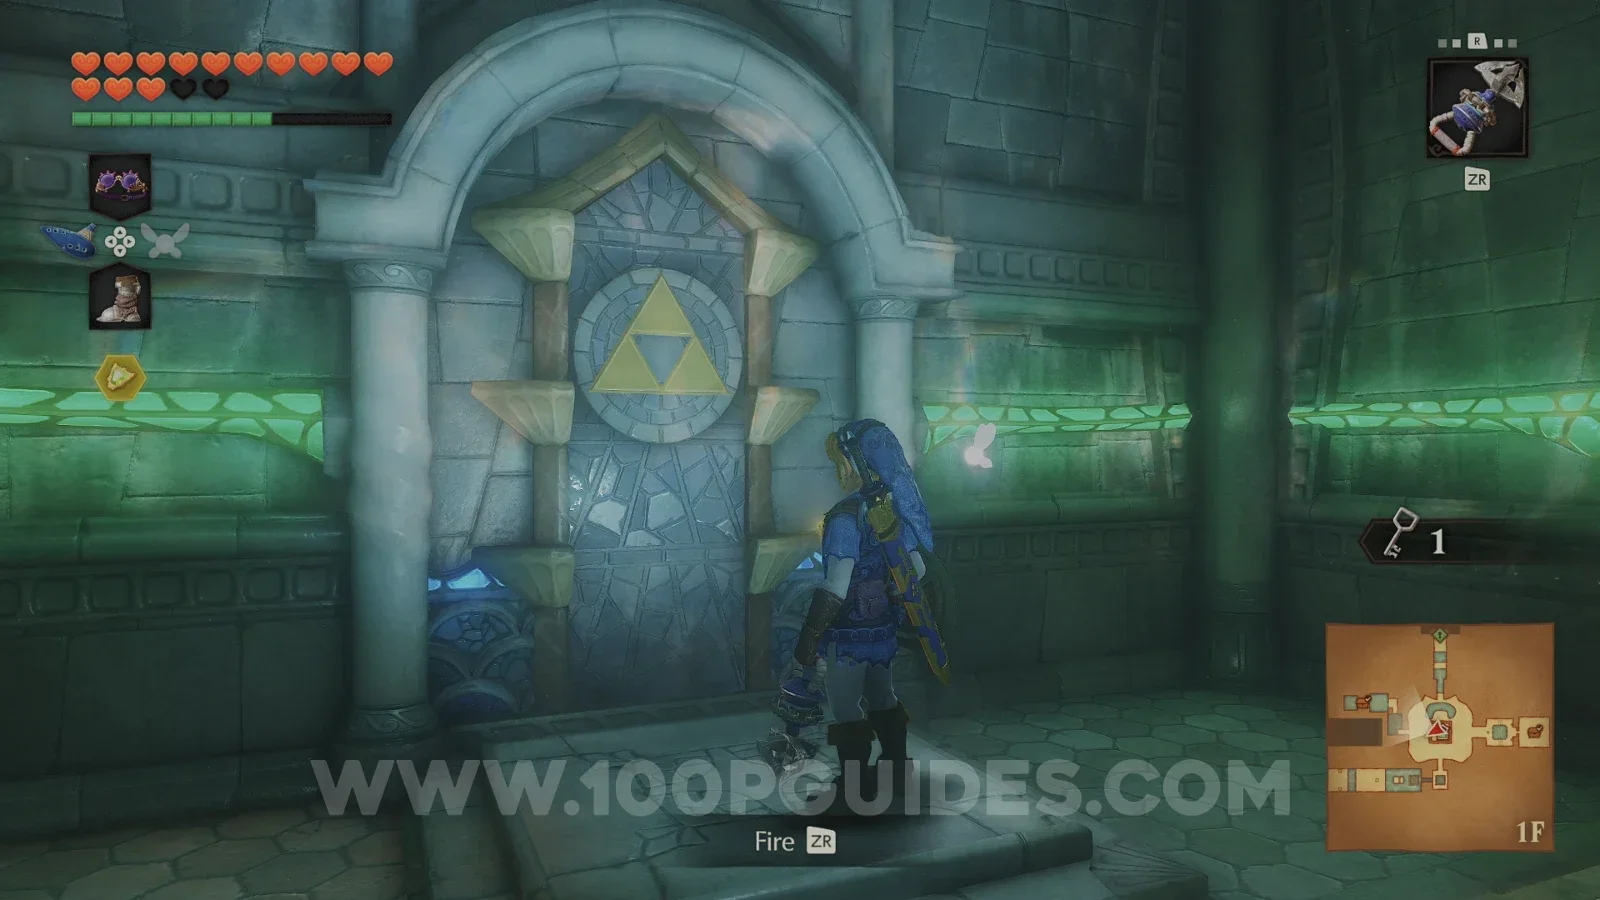
The block that was floating here has risen and left a hole. Sink down through it to the basement and defeat the three Spikes. Then use the Hookshot on the green switch, defeat the Shell Blade that drops down and swim up through the gate to find a small chest with a red rupee.
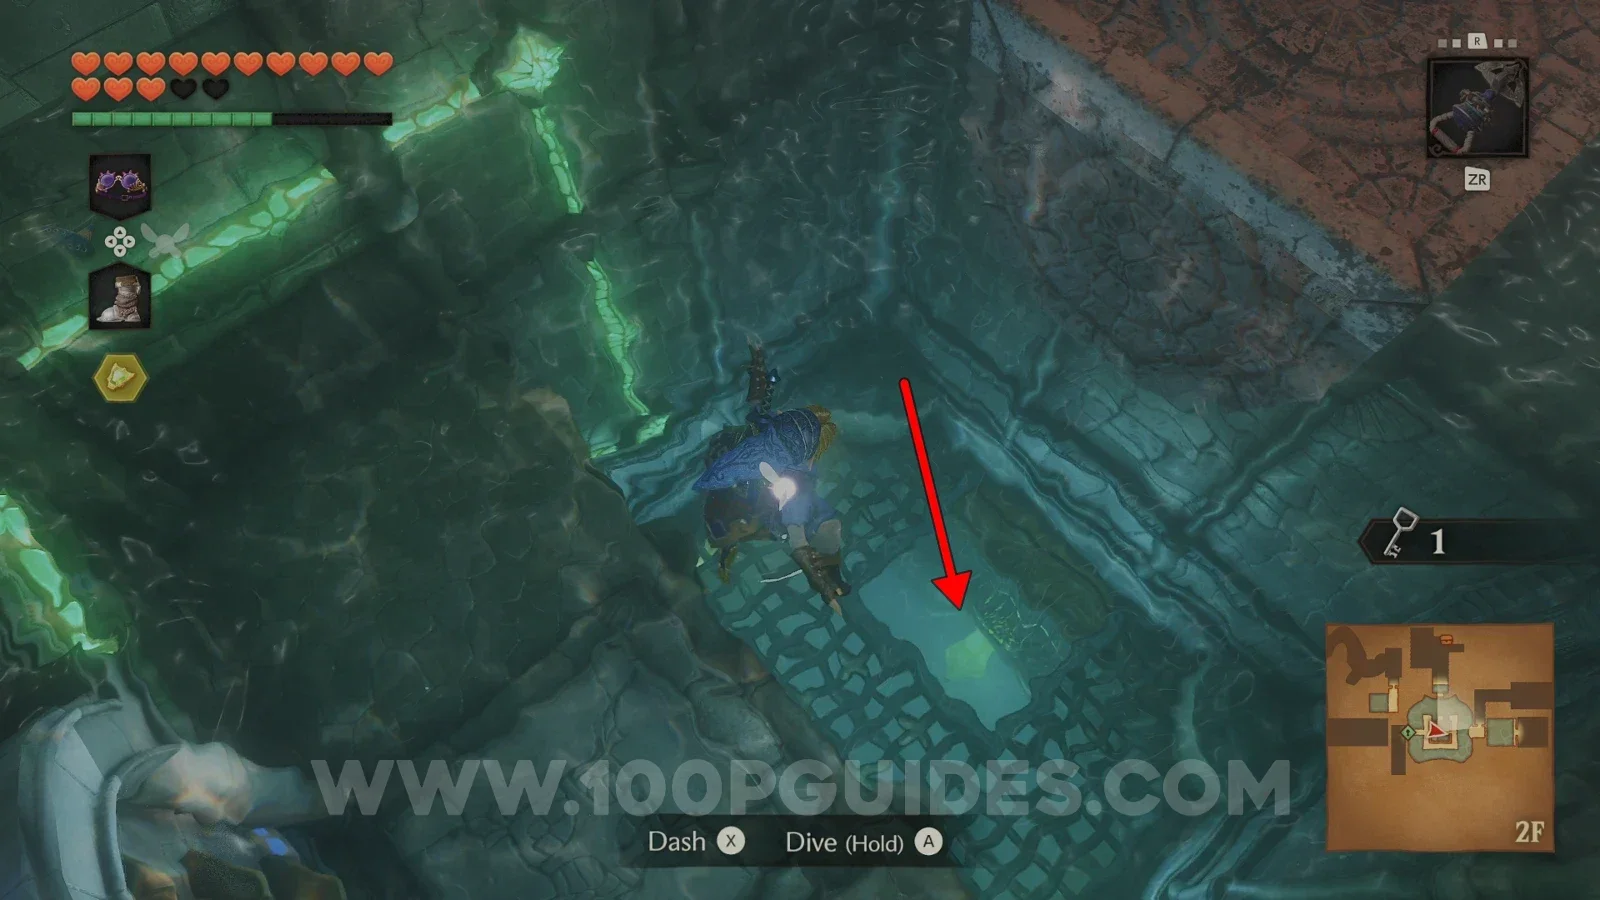
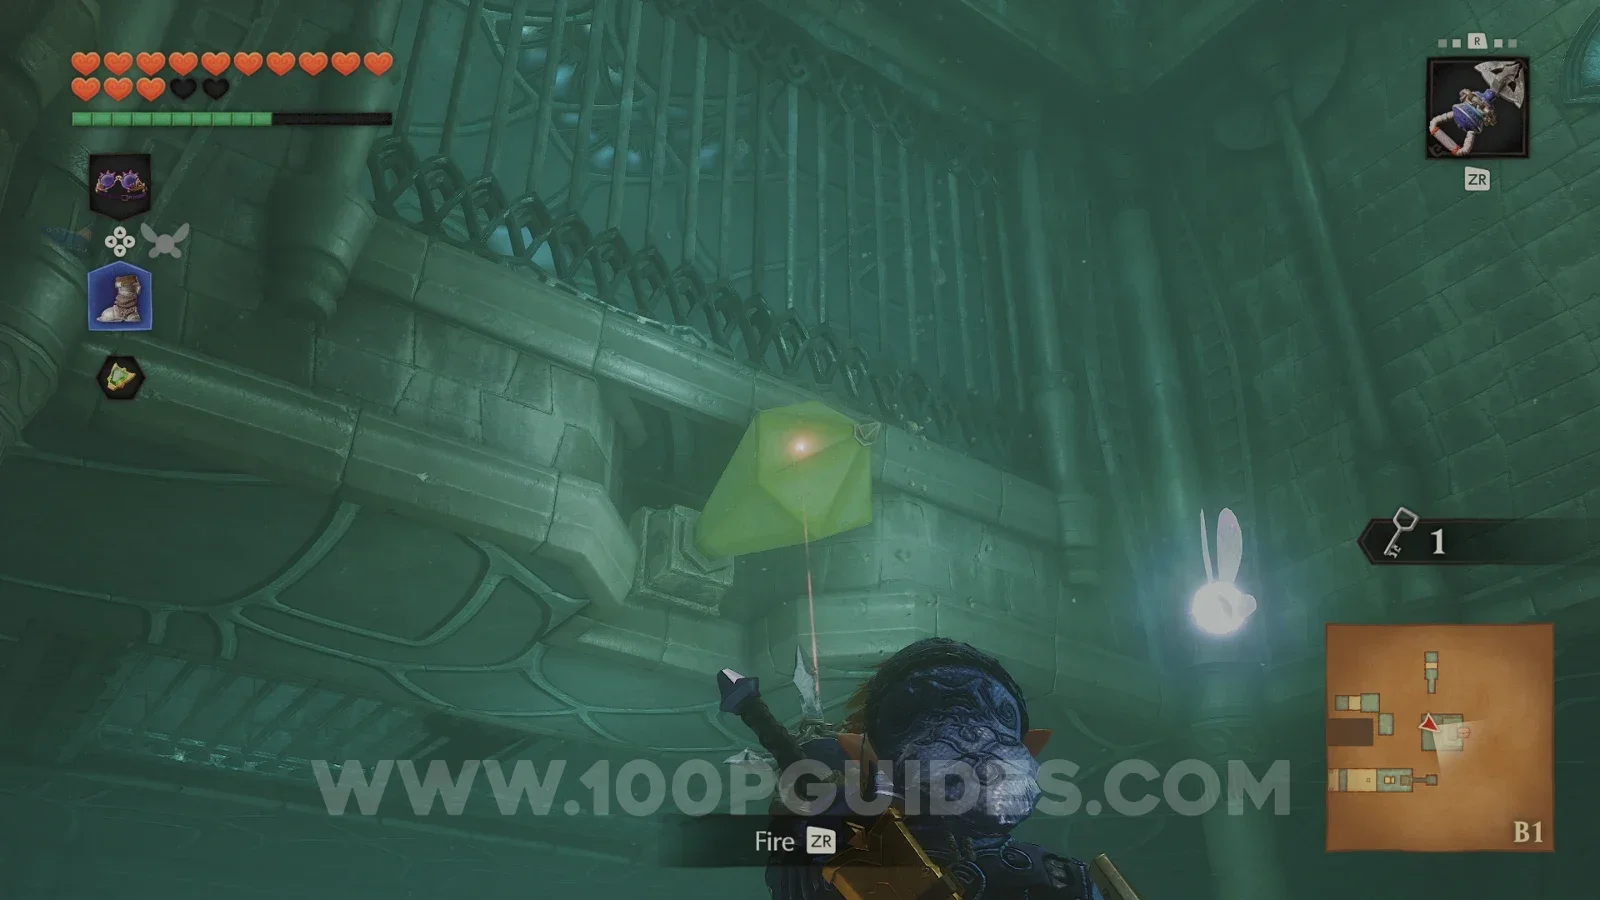
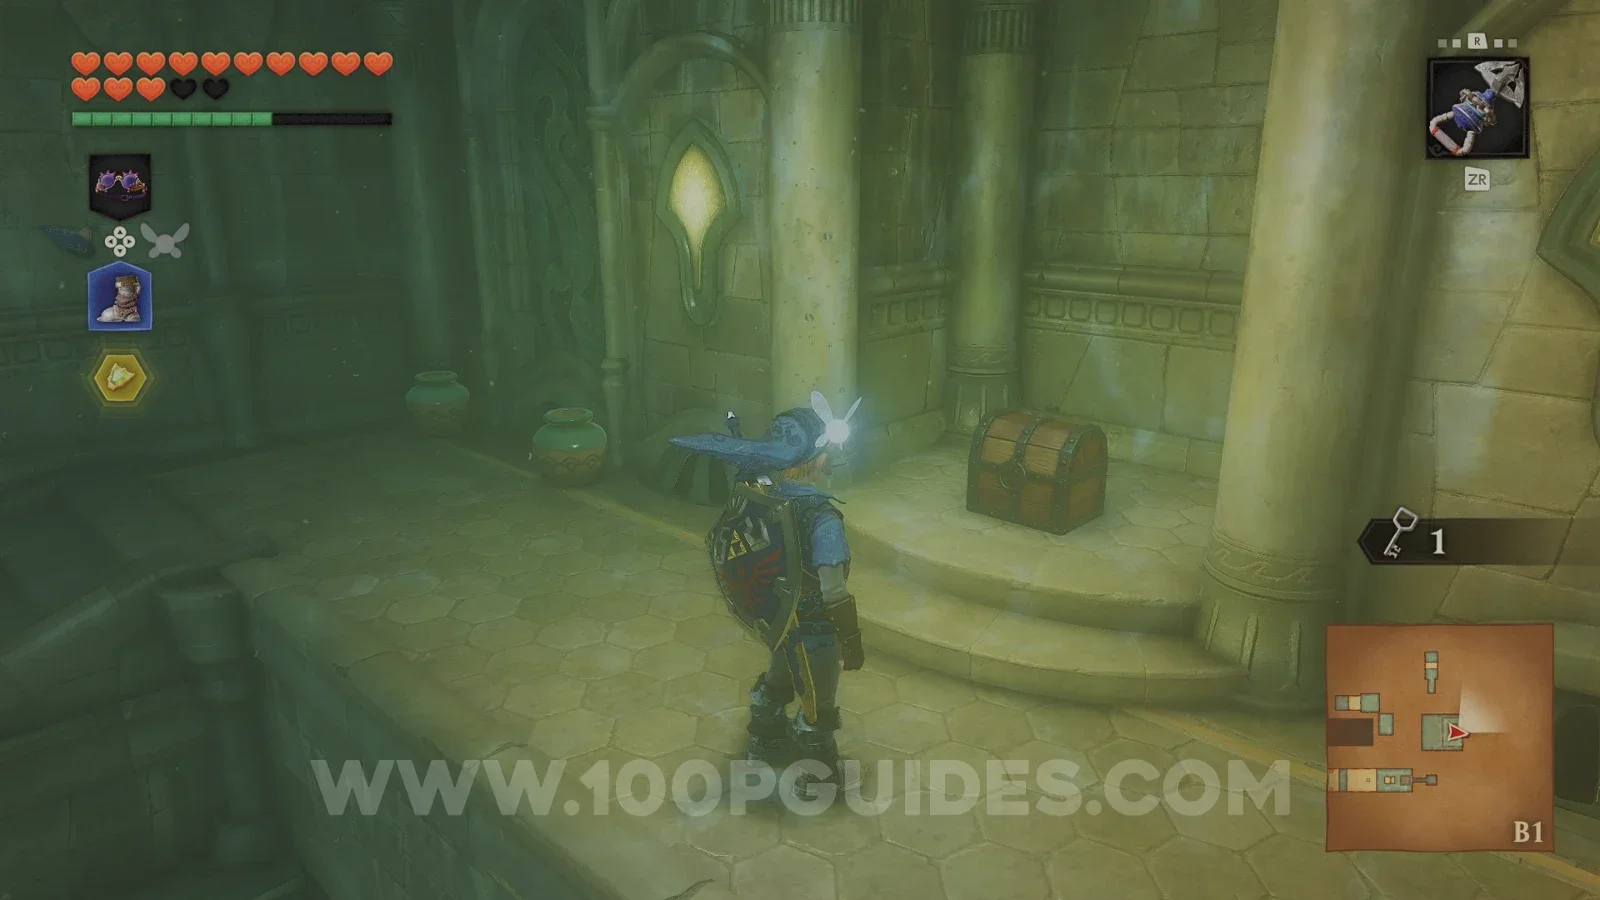
In the same room as the red rupee, look for a Gold Skulltula (75/100) on the wall and use the Hookshot to get it.
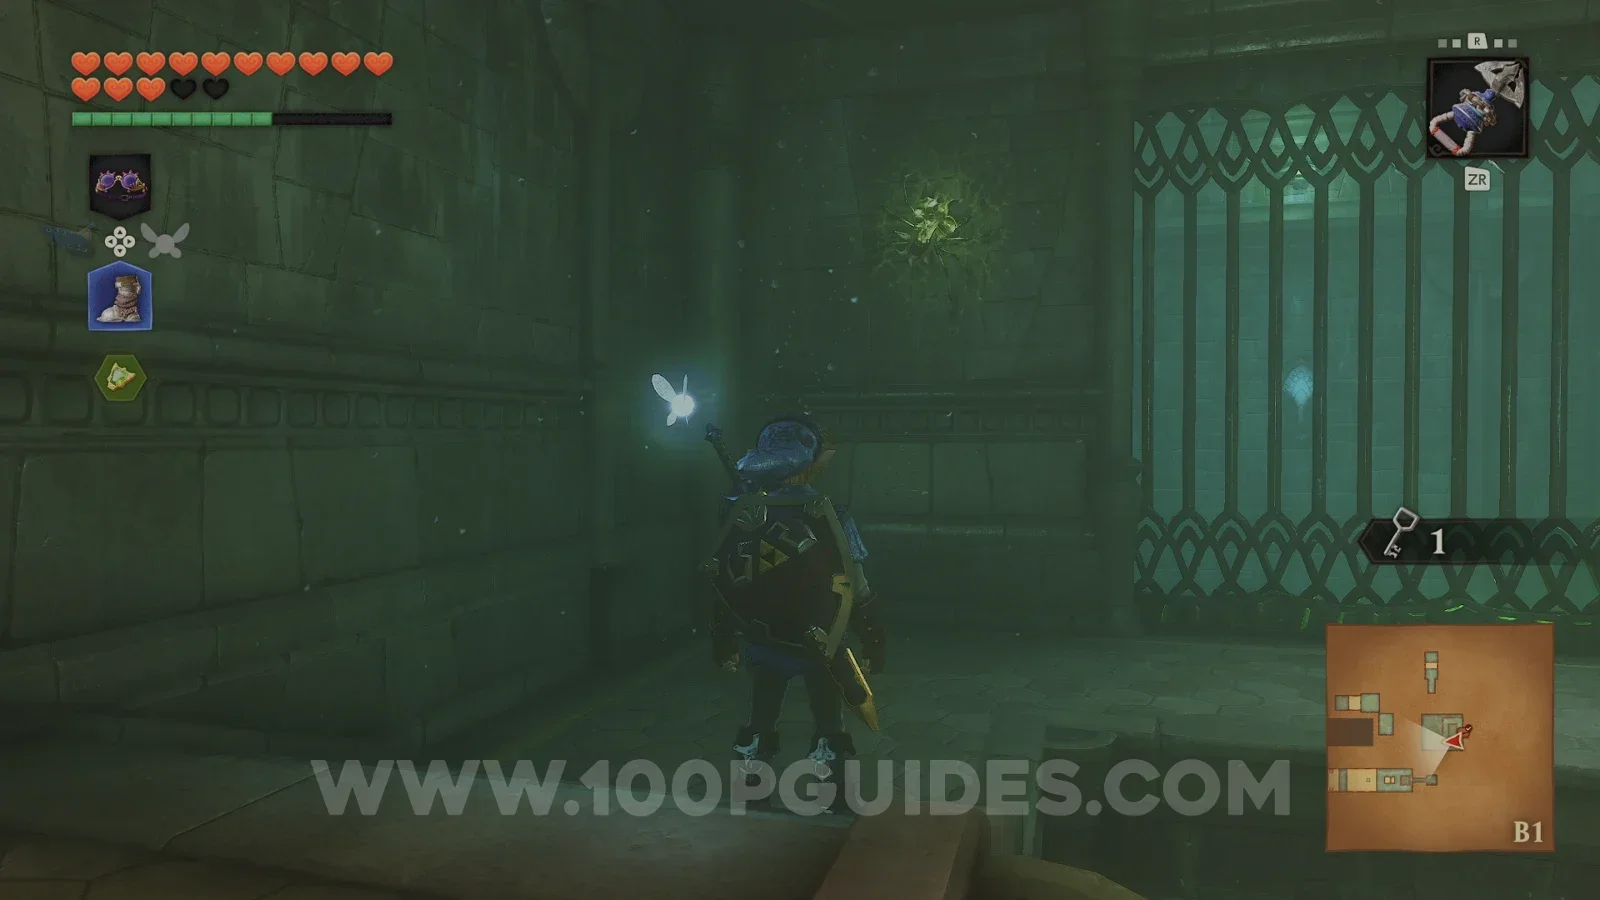
Next, use the Iron Boots to return to the eastern room where you met Ruto, then swim up to see a cracked wall. Stand on the ledge next to it and blow it up with a bomb. Defeat the Shell Blades inside, then turn around to find a Gold Skulltula (76/100) on the wall behind you.
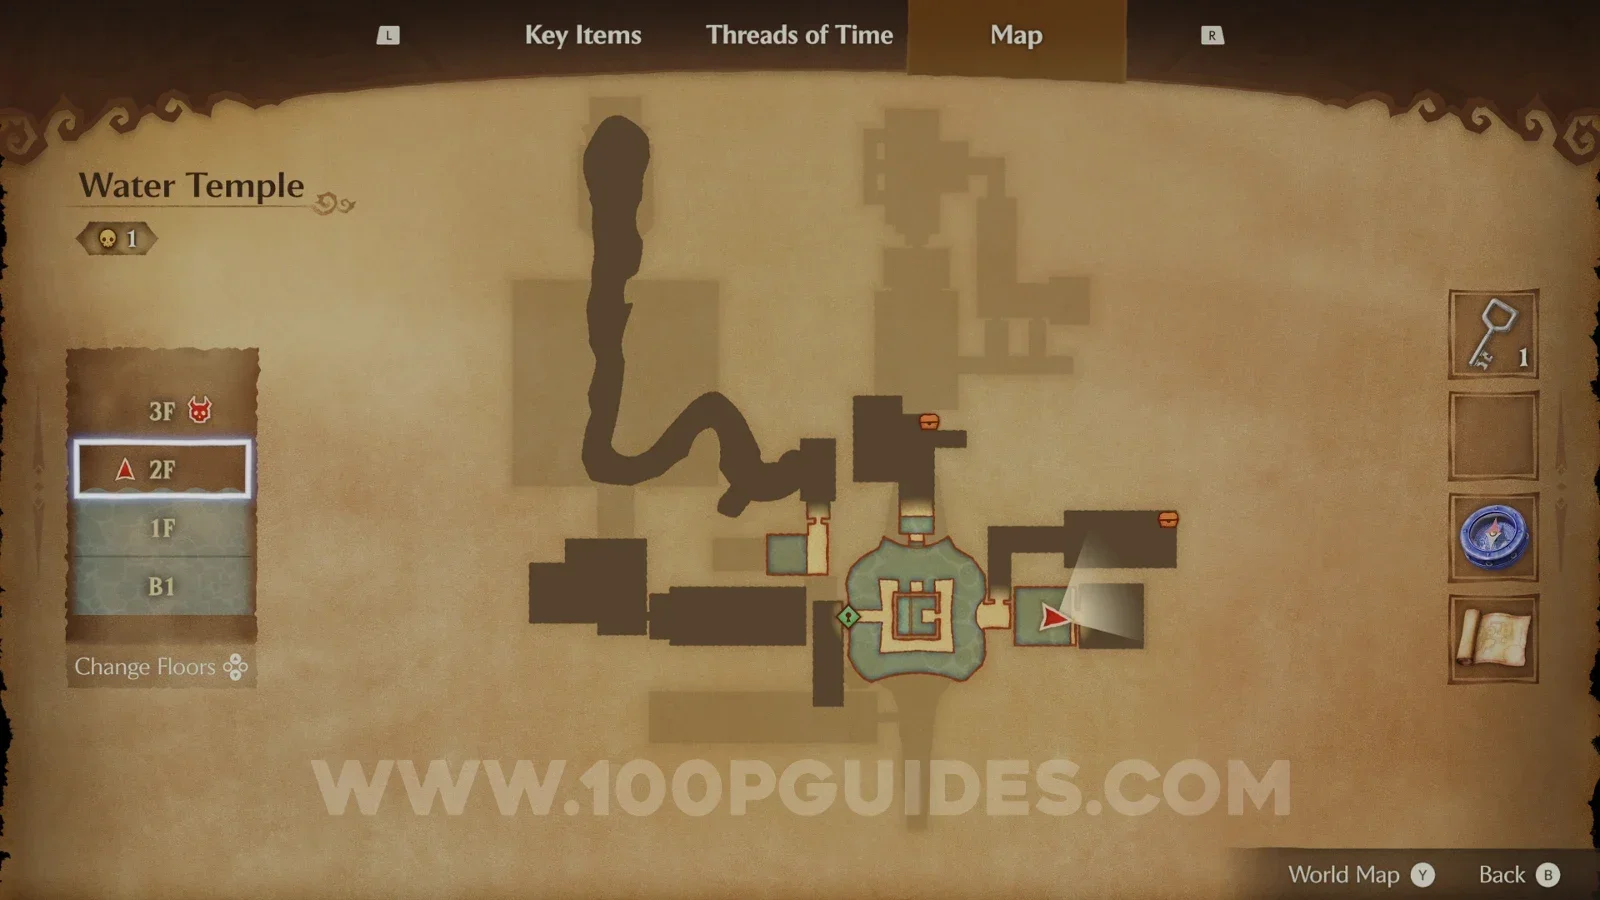
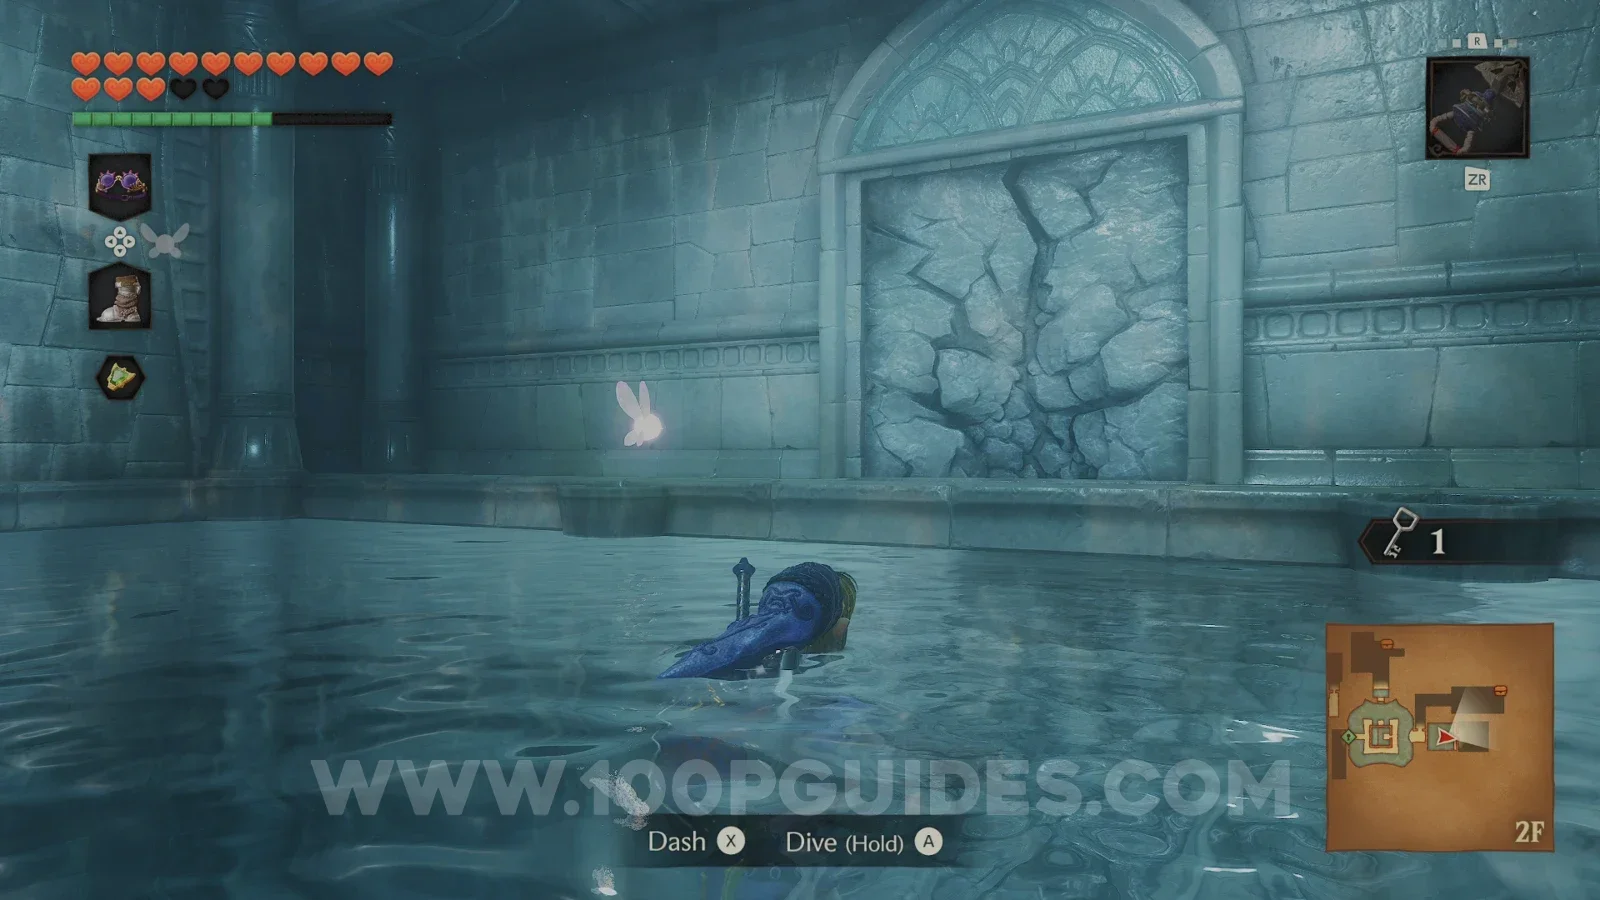
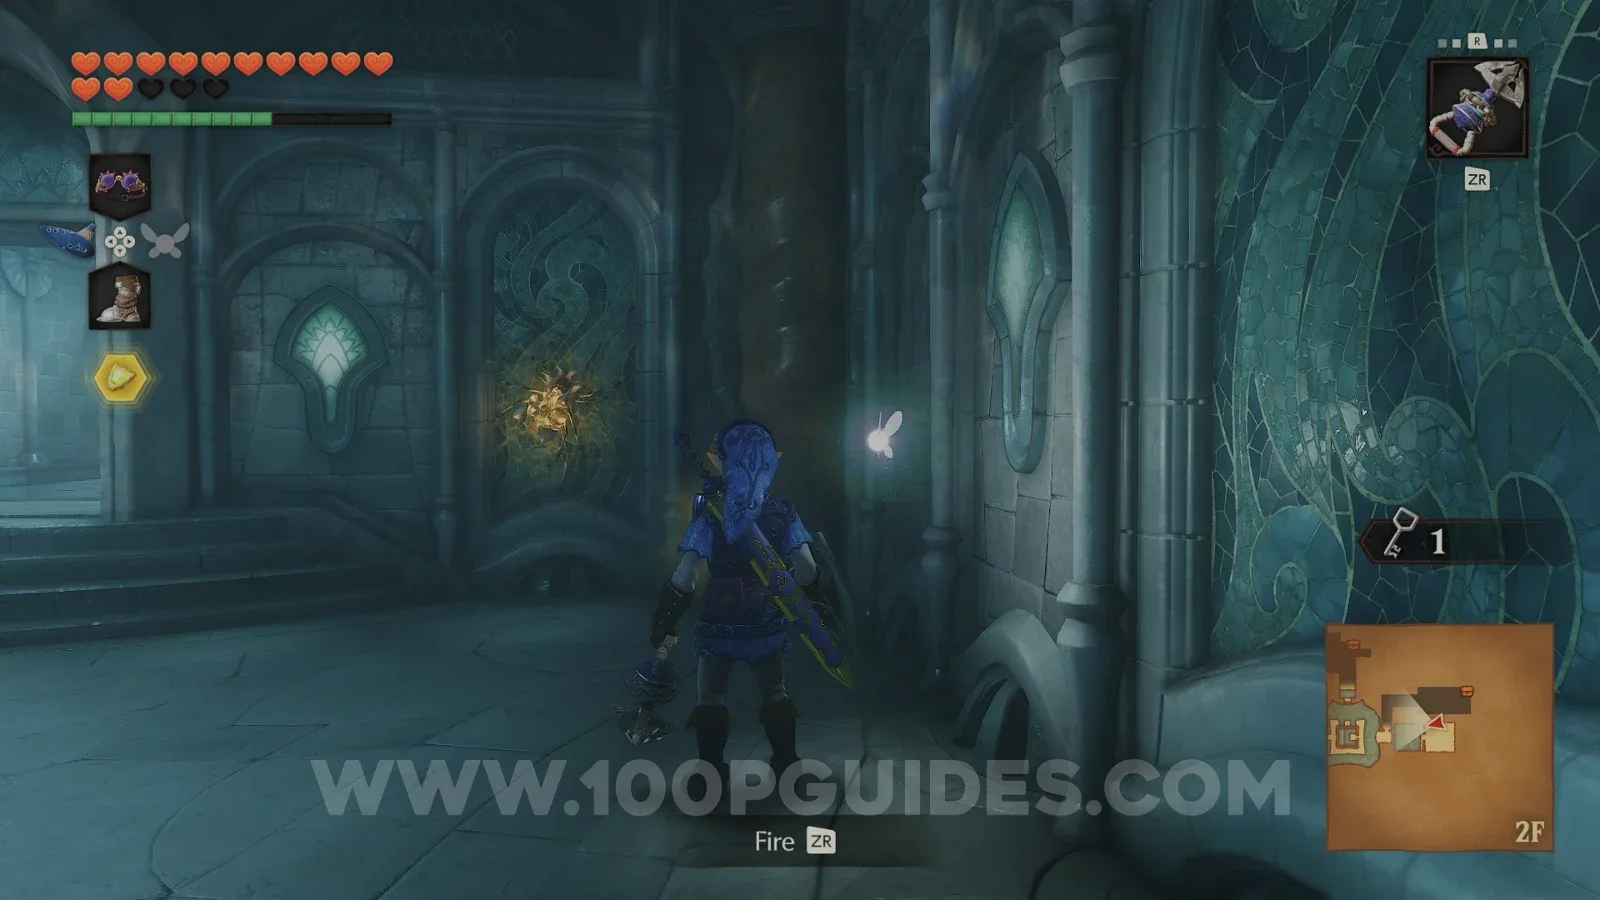
Return to the main central room and look for another cracked wall on 2F of the eastern side. Blow it up and sink down past the Stingers to reach a room with a geyser. Use the Hookshot on the switch to lower the geyser, then stand on it, hit the switch again and ride it up to a chest with a Small Key.
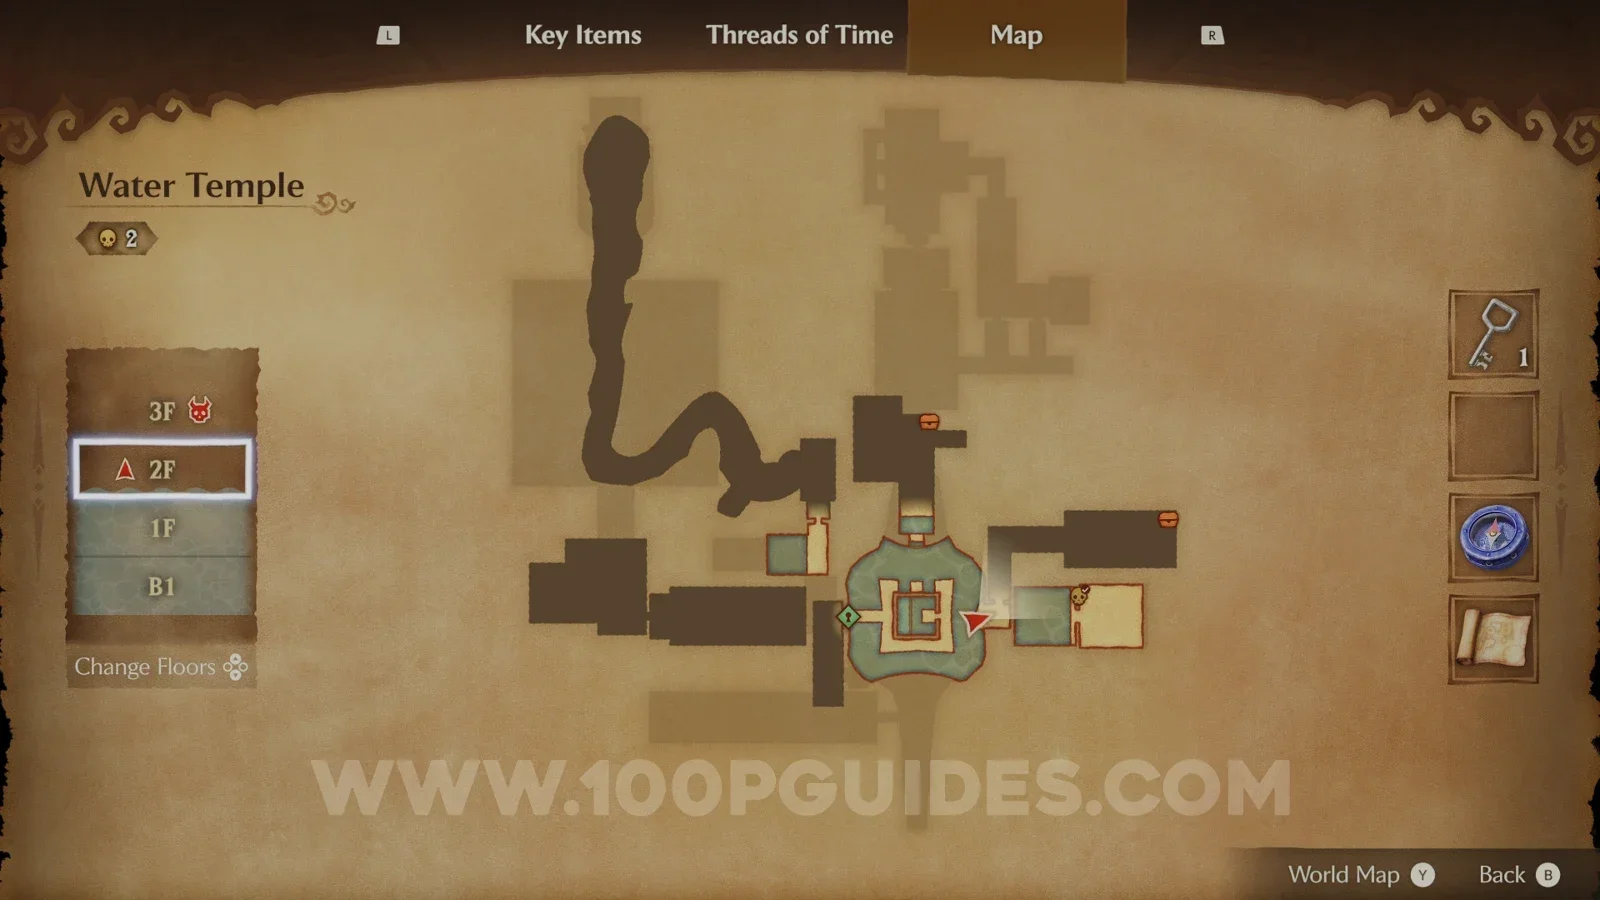
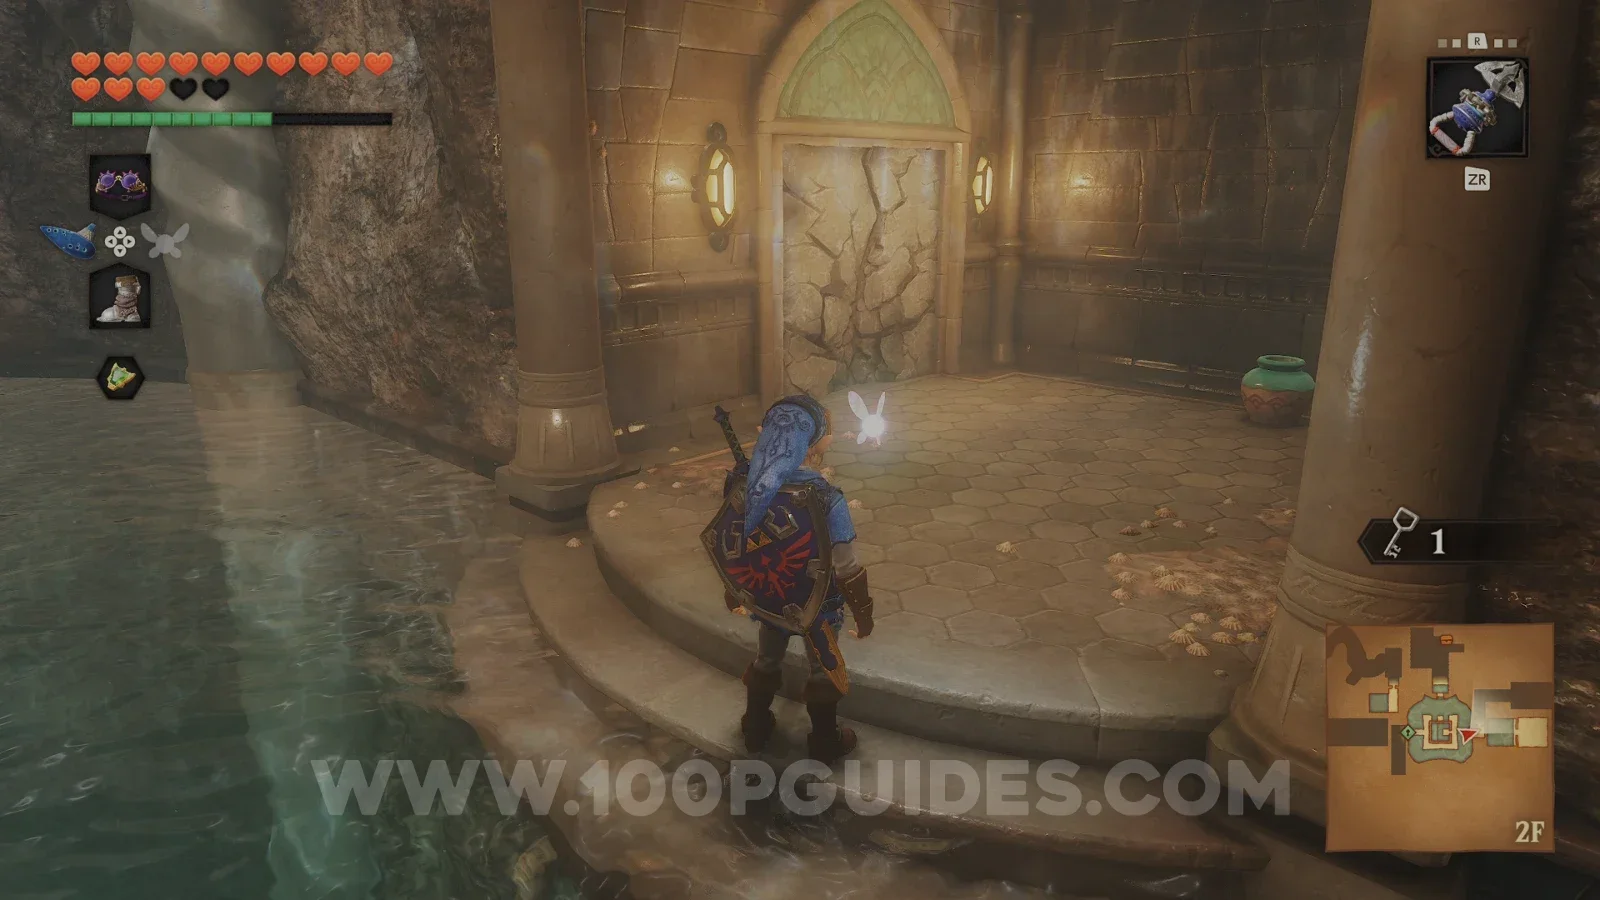
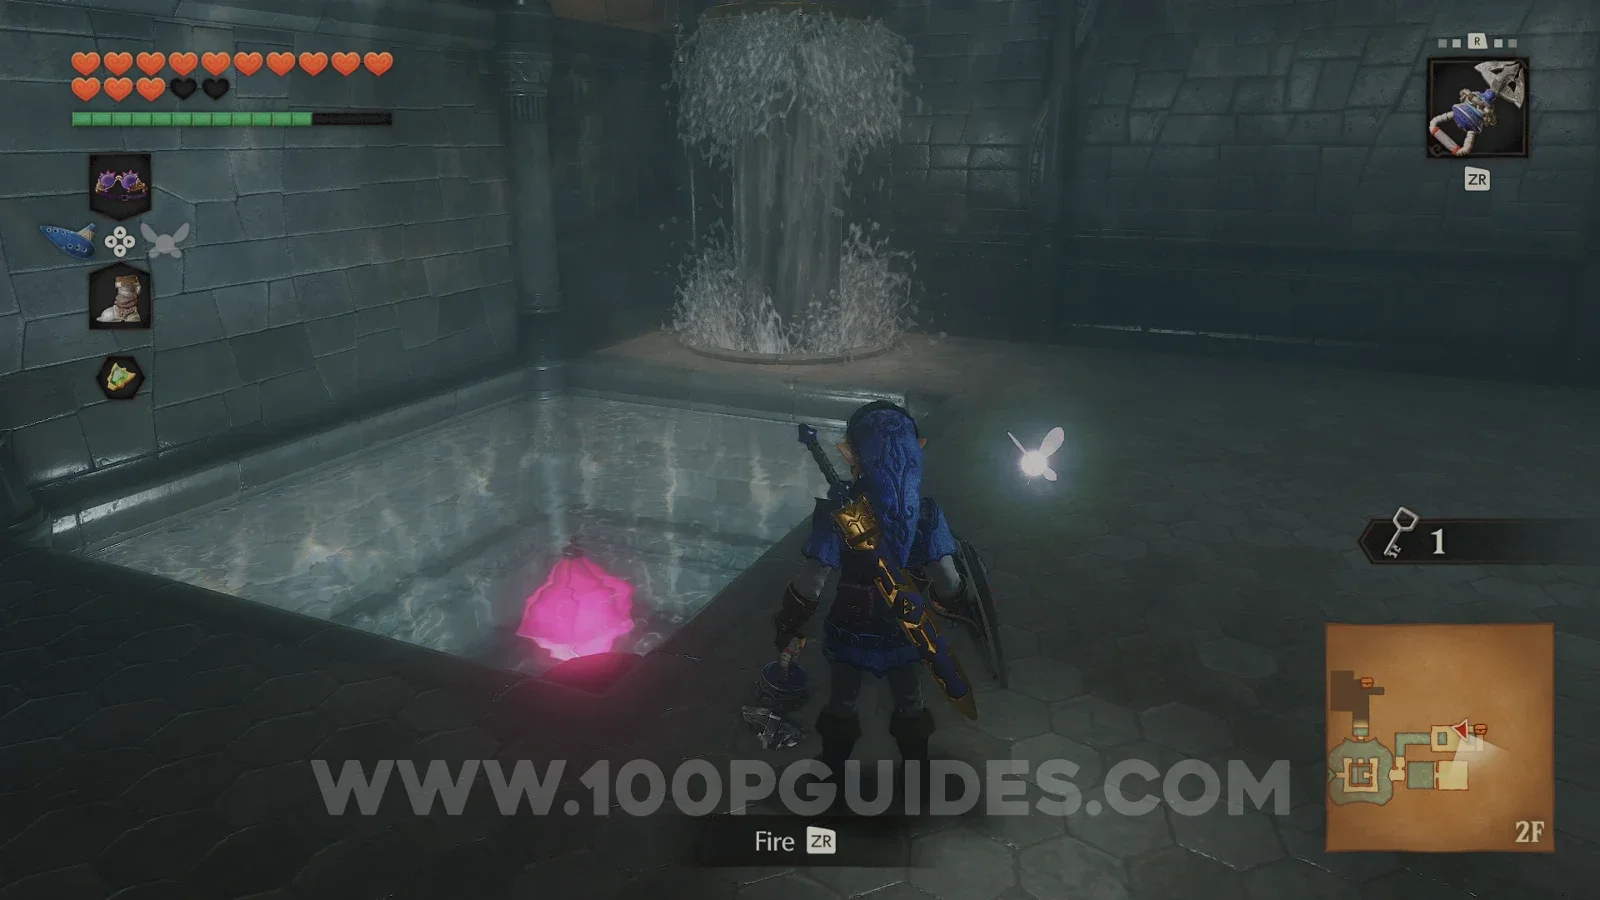
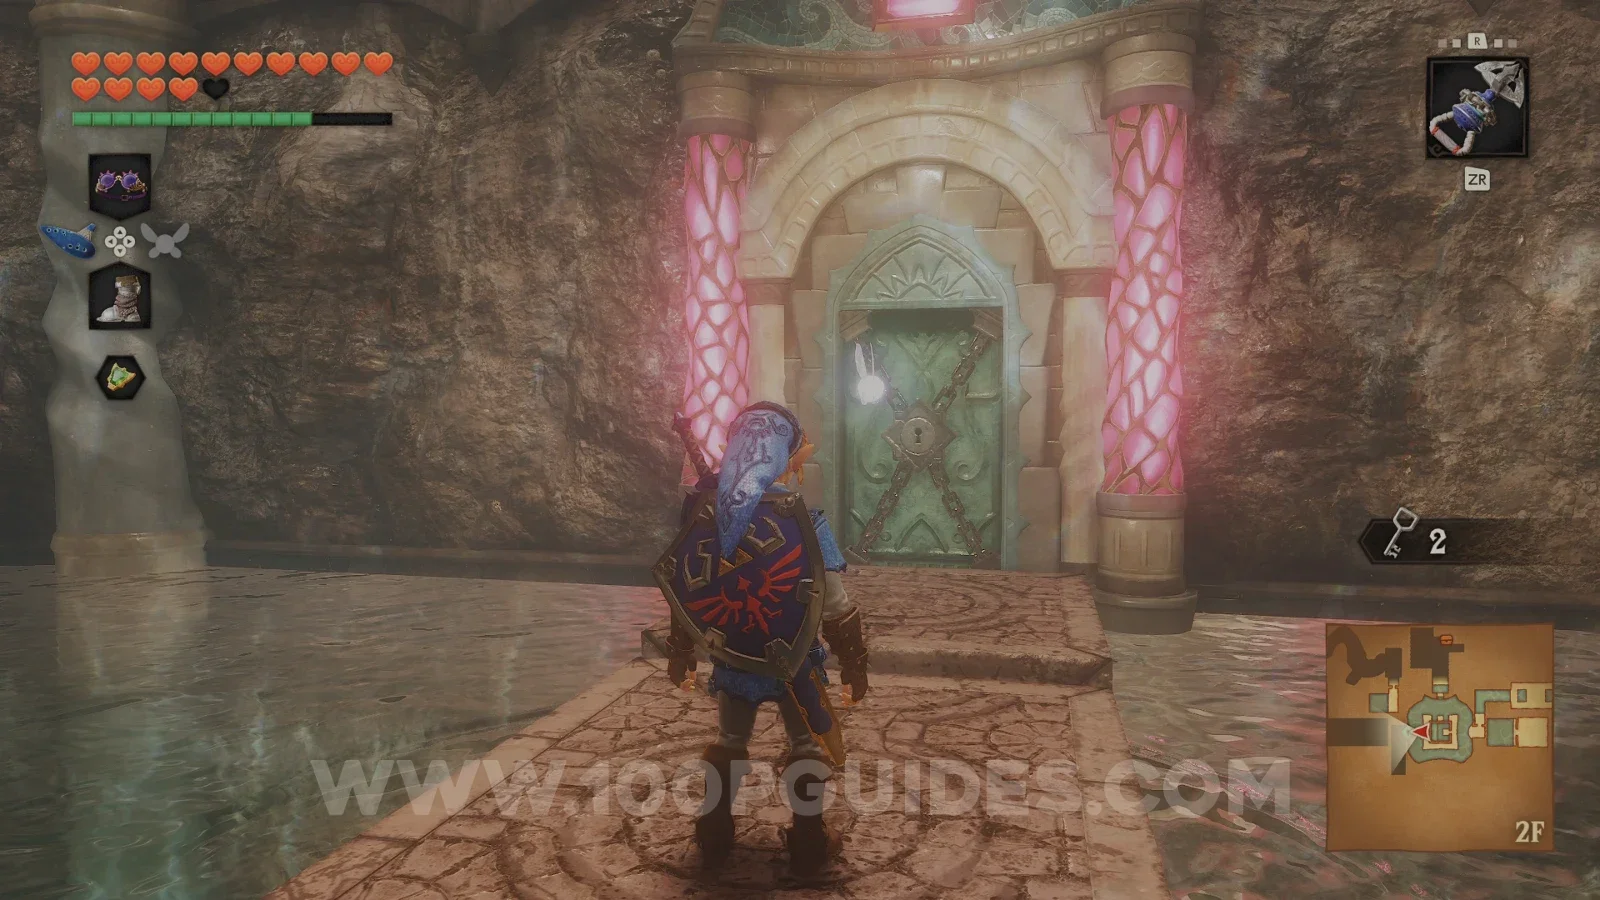
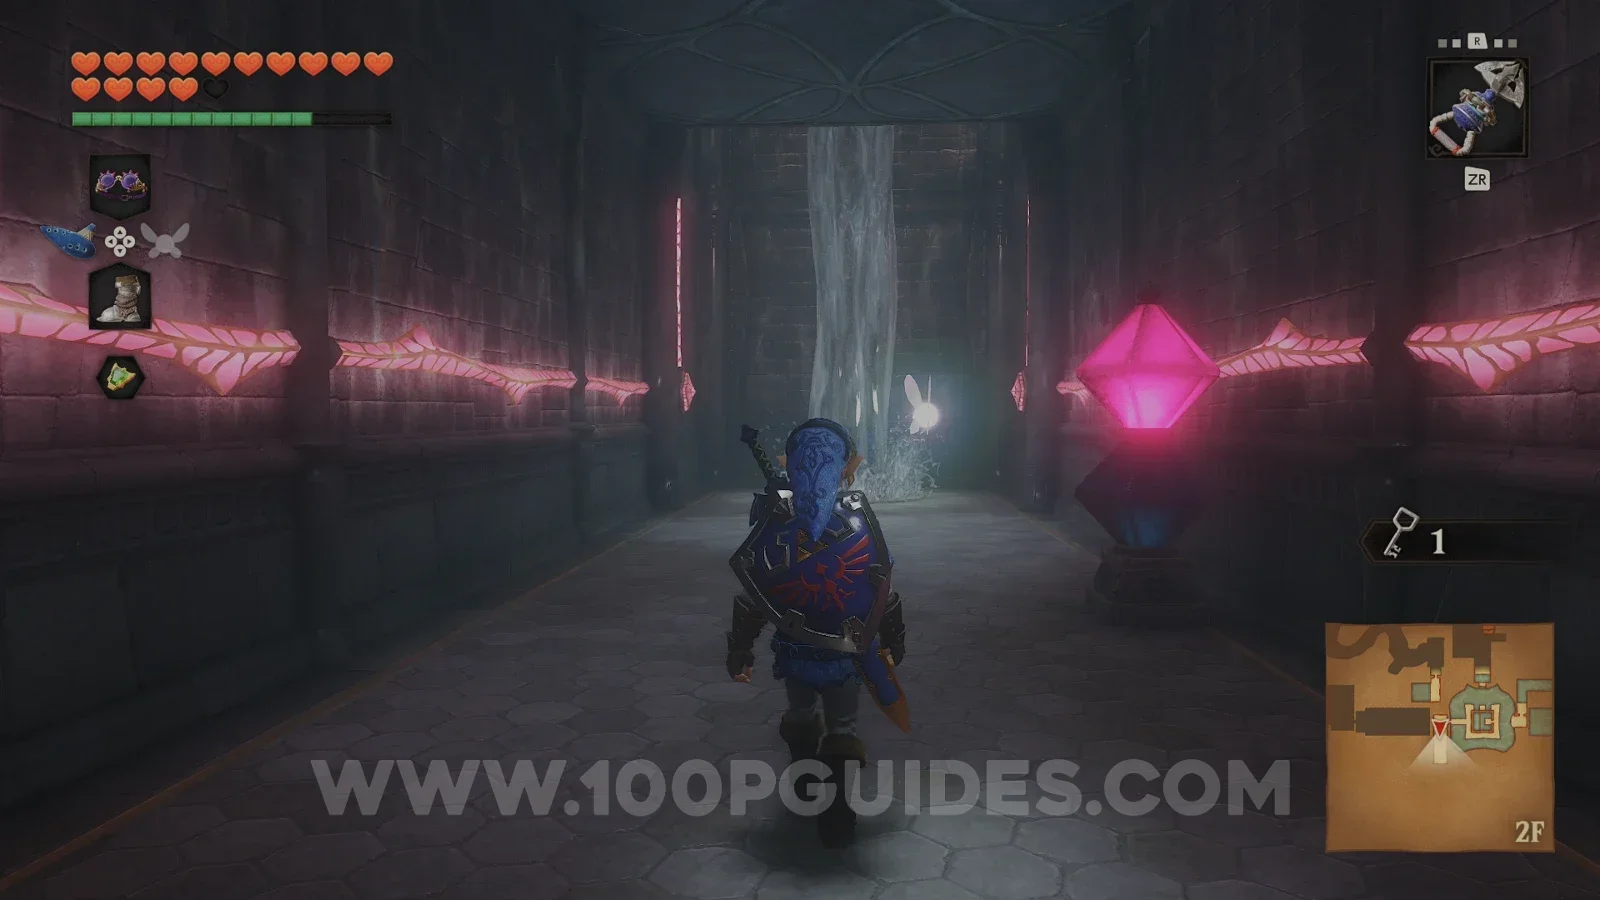
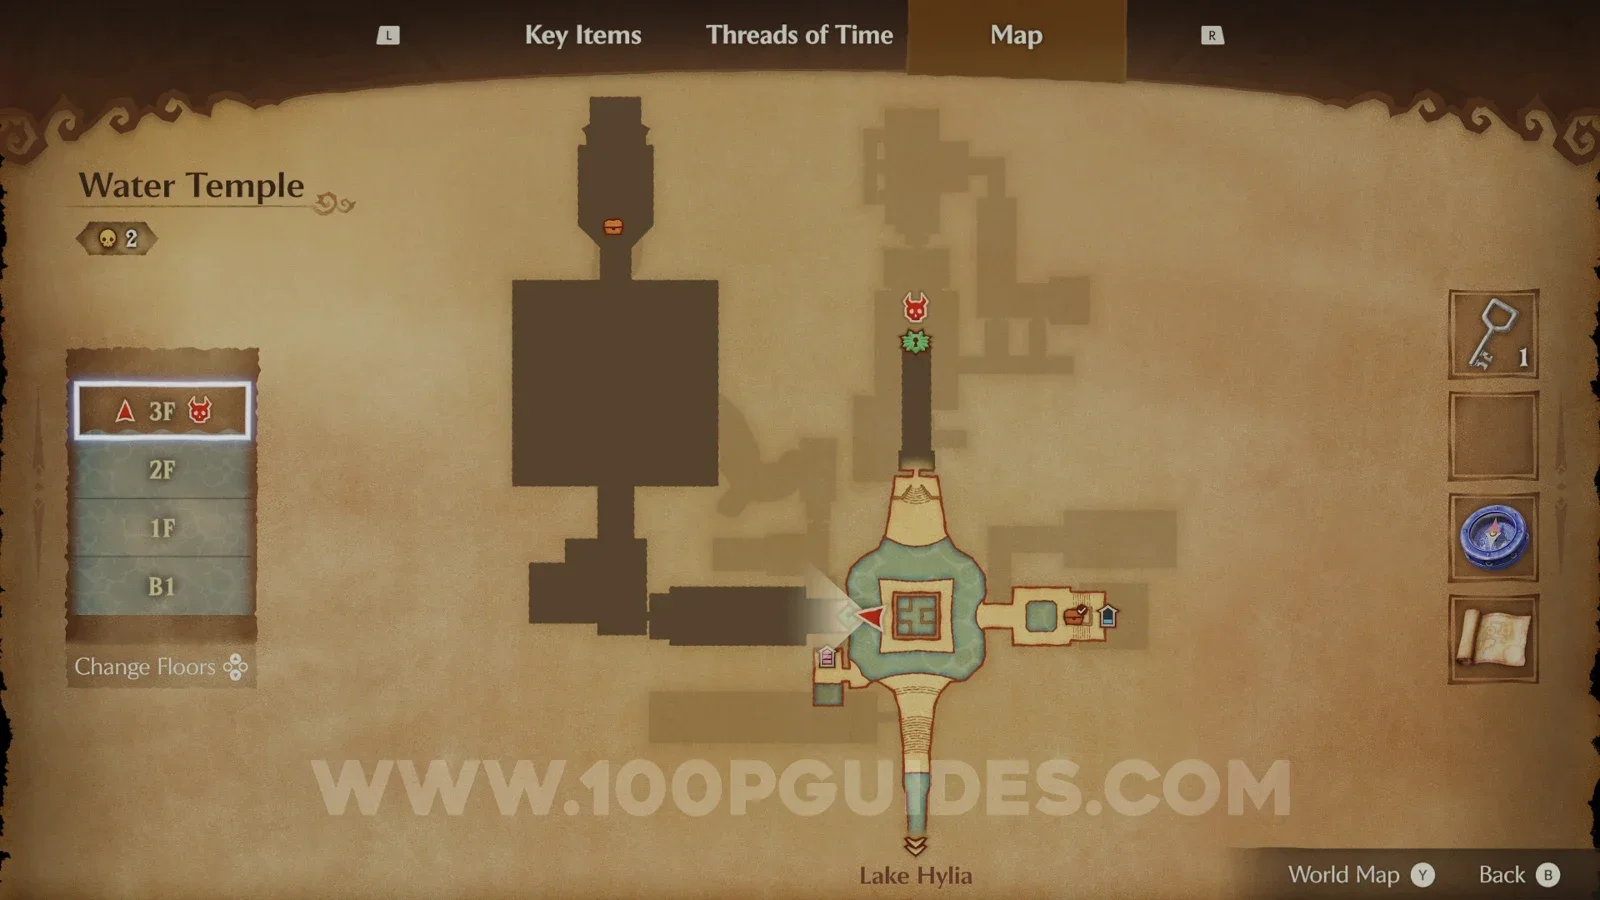
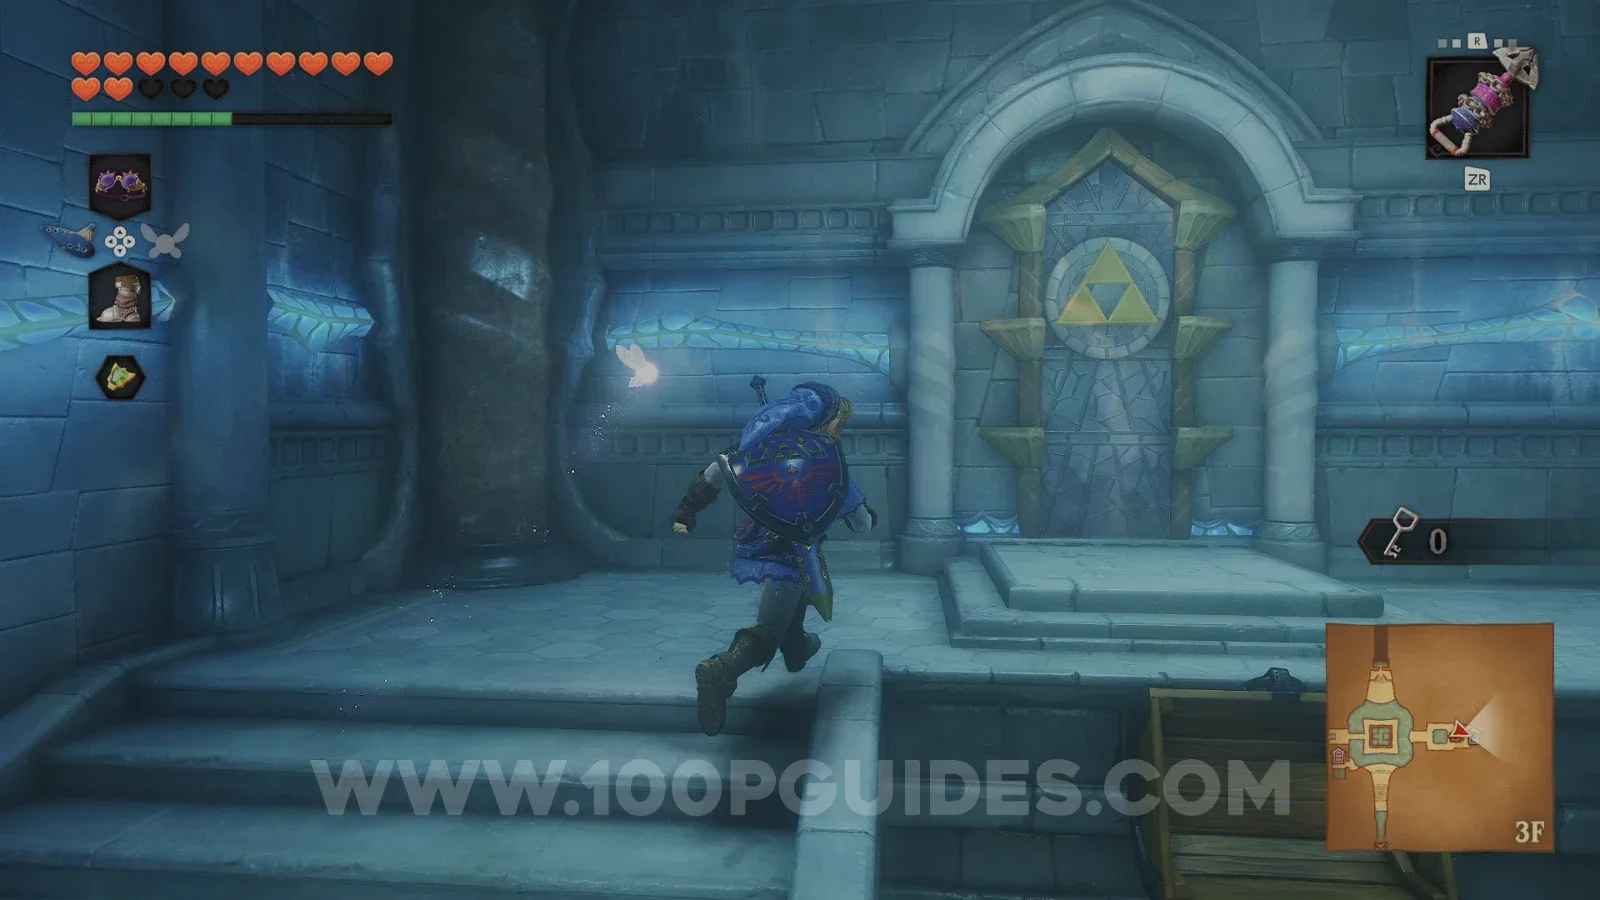
Now head to the western side of the main room and unlock the door with the red pillars. Lower the geyser in this room with the switch and ride it up to 3F. Here you will find the third triforce. Play Zelda's Lullaby to raise the water to its highest level.
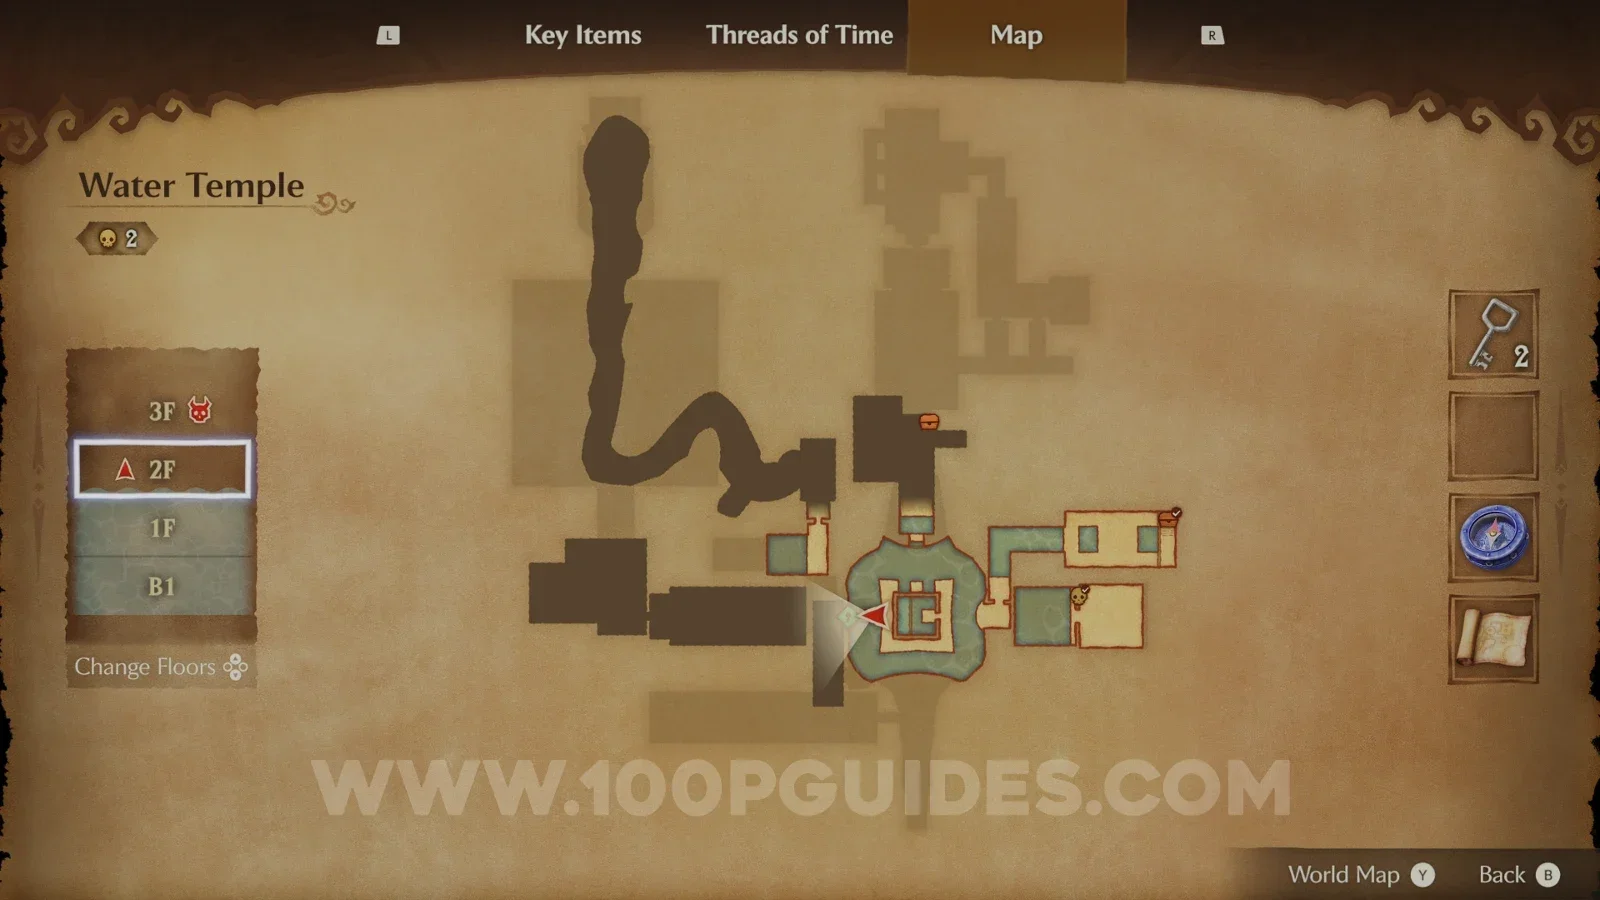
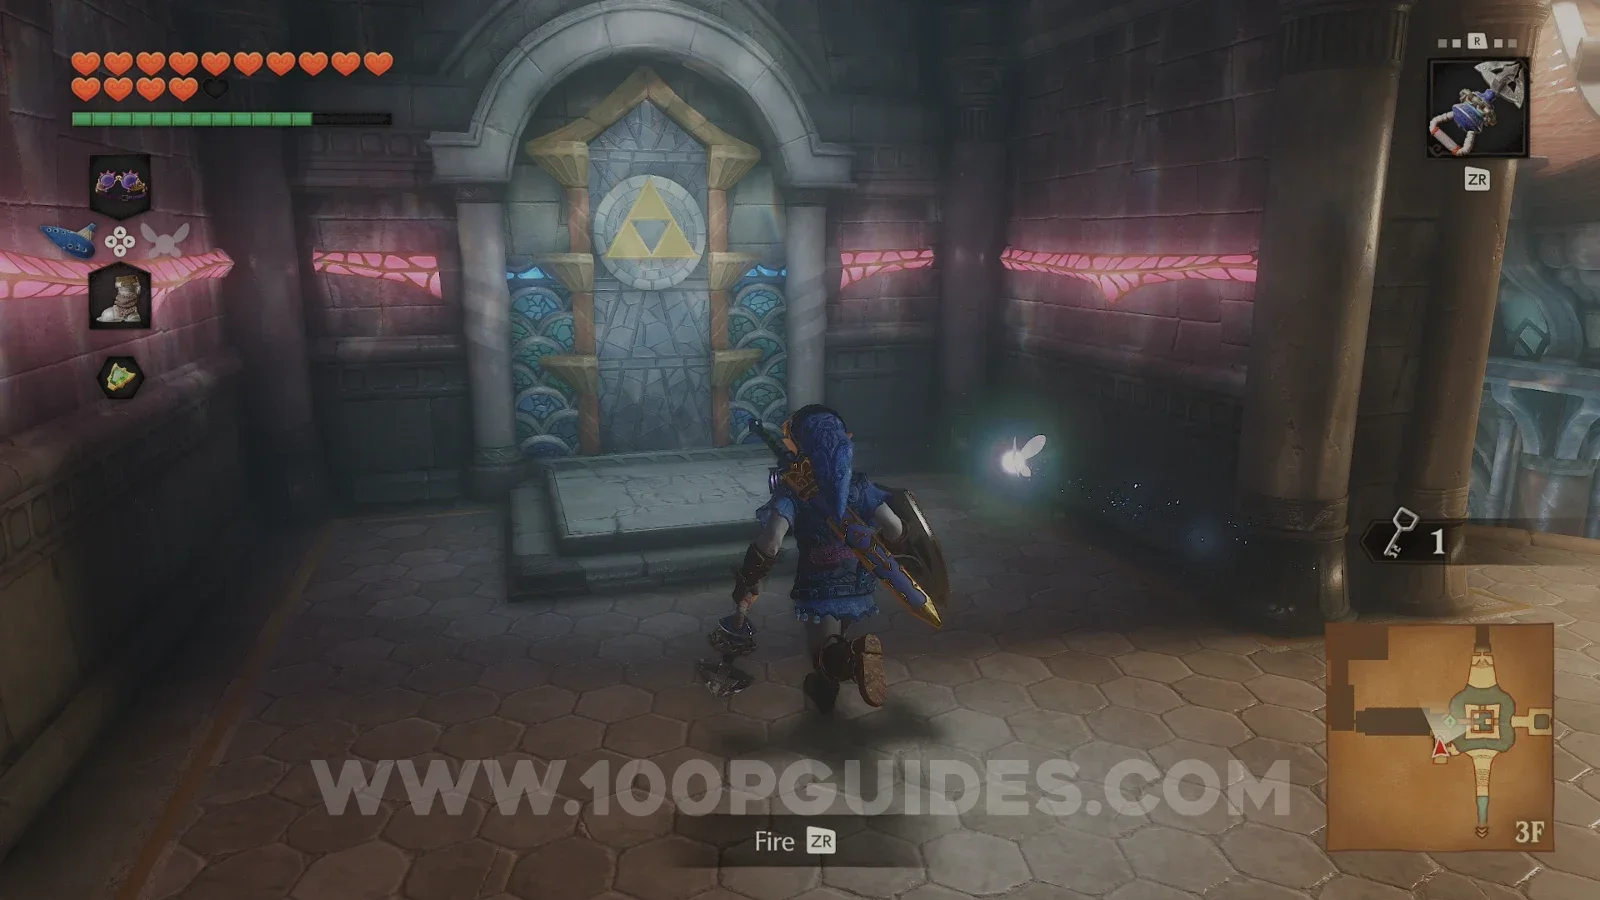
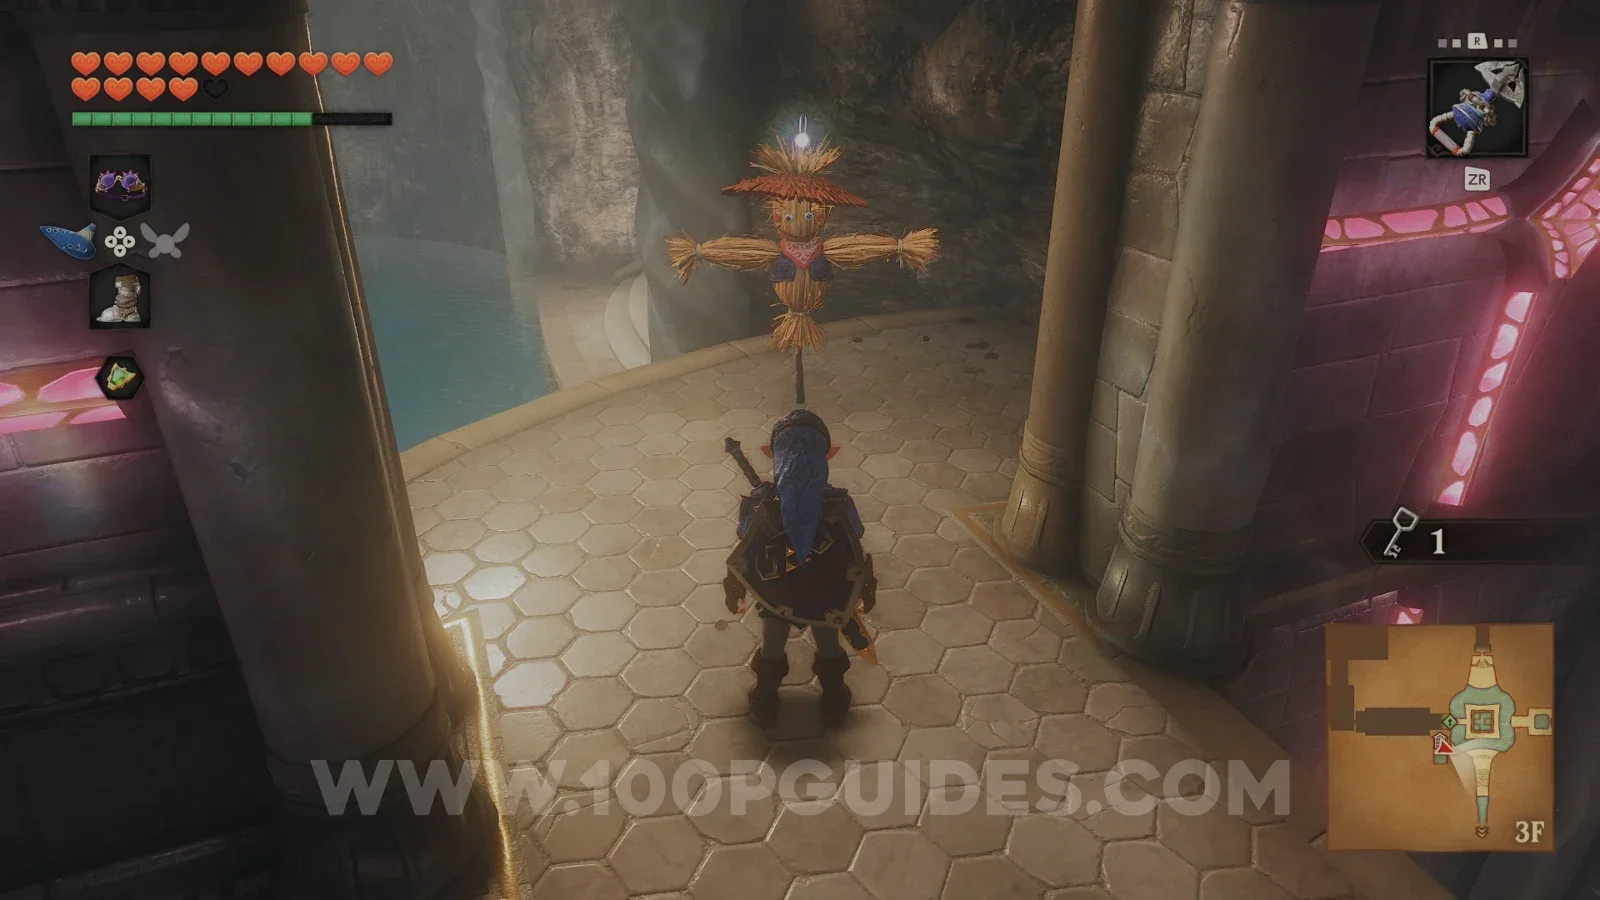
Quick tip: before dropping down, play the Scarecrow's Song to make a scarecrow appear here. This gives you a quick way back up to this triforce whenever you need to change the water.
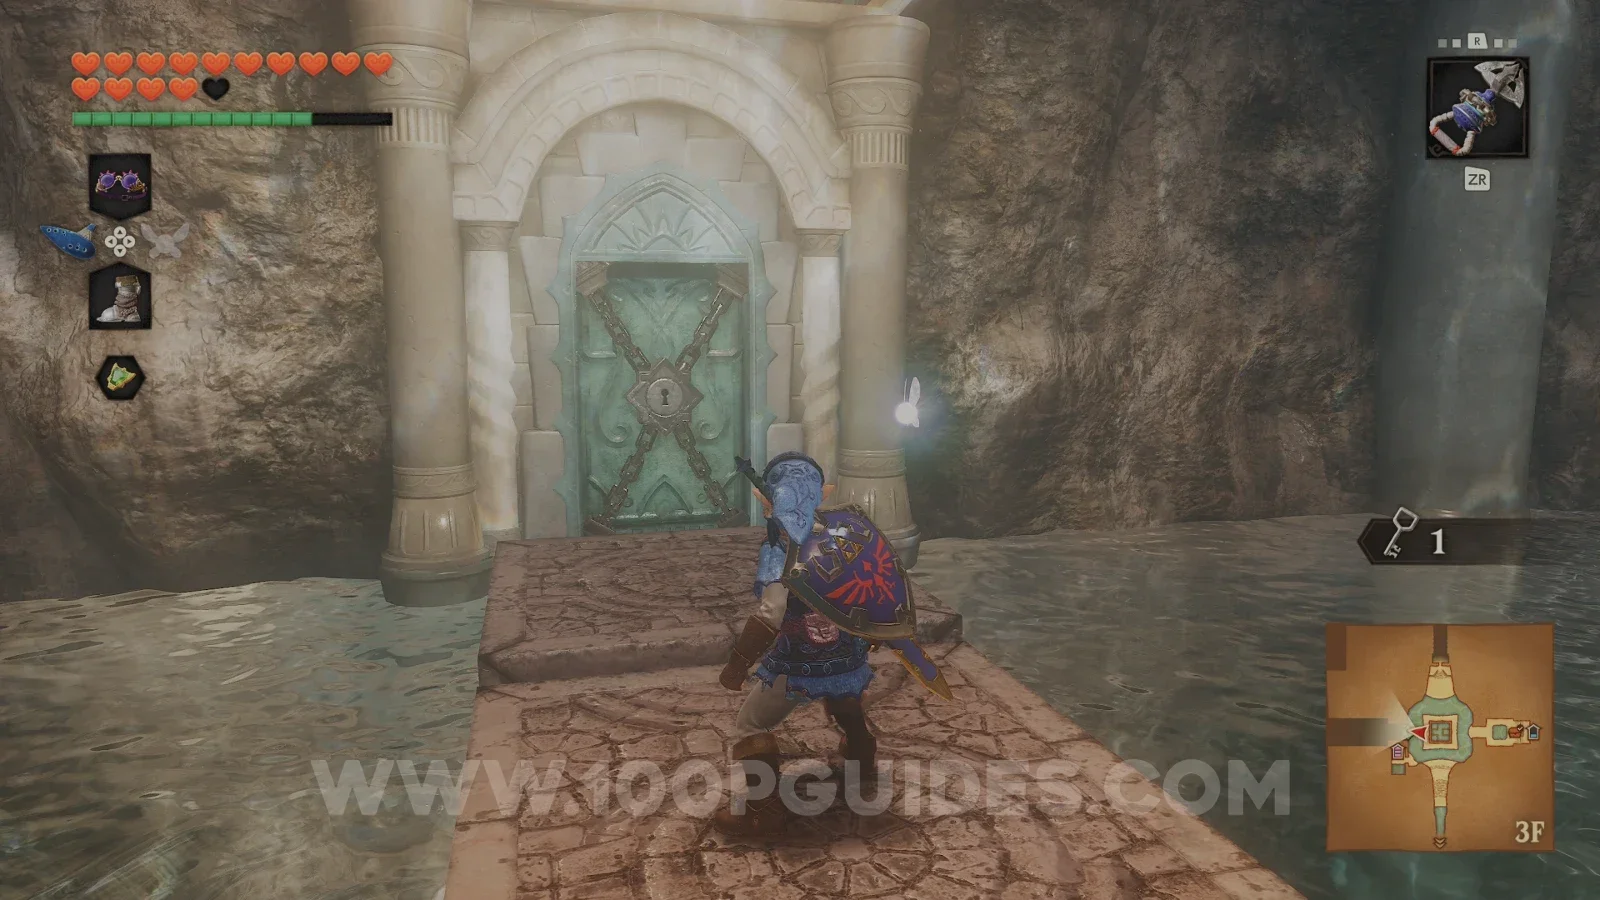
Next, unlock the door on 3F on the western side of the main room. In the next room, you have to cross a pit by using the Hookshot on the targets on platforms that keep dropping. Go from target to target, resting on the one platform that doesn't move.
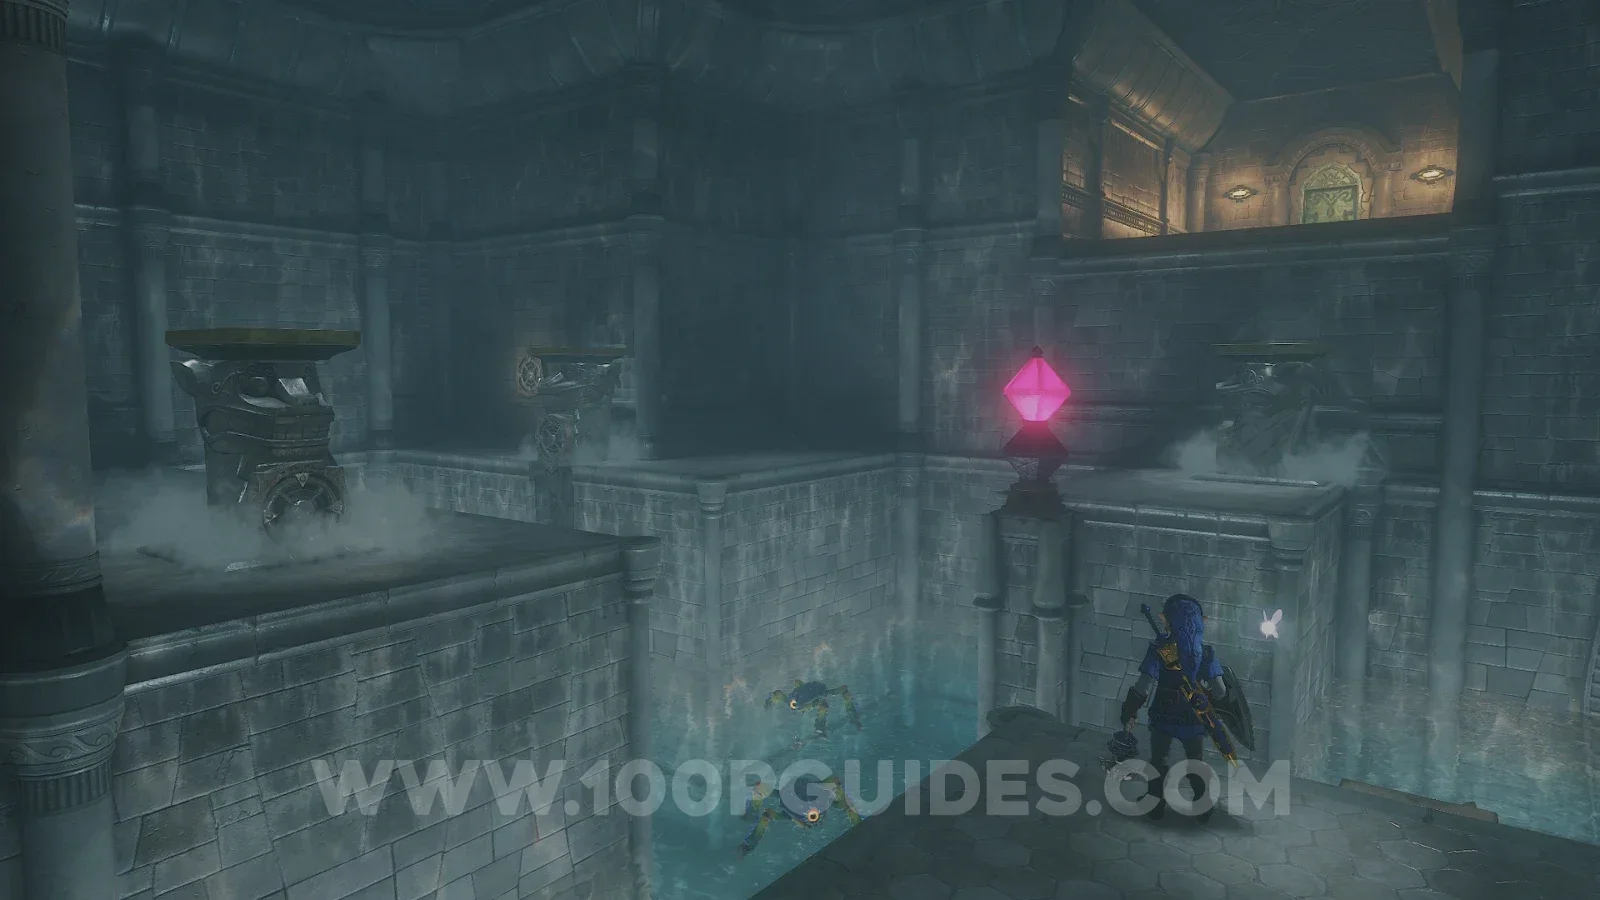
The next room is full of dragon statues that rise and sink with the water. Shoot the blue switch to raise the water, Hookshot to the western statue and lower the water again. Then Hookshot to the left of the northern statue, raise the water and Hookshot to the northeast. Finally, lower the water, stand on the final statue and hit the switch while standing on top of it to reach the door.
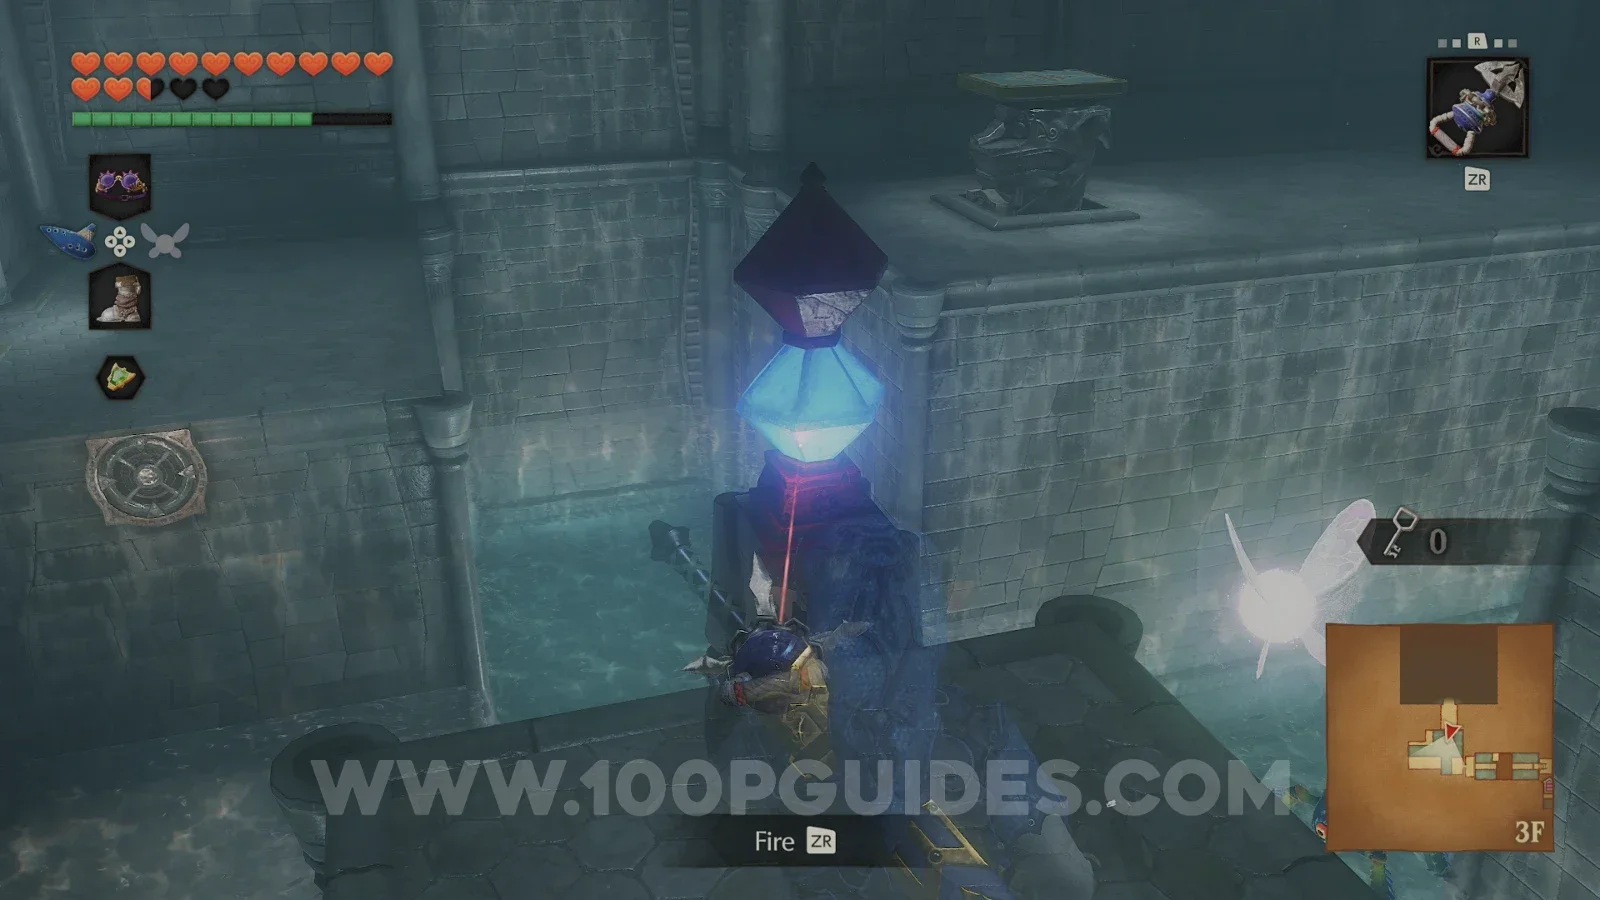
Go through the door to reach a strange misty room with a single tree in the middle. Walk to the far door and then turn back.
Dark Link boss fight
Dark Link copies everything you do with the Master Sword, so the trick is to not fight fair. For the first phase, just spam the Megaton Hammer. Then, during the second phase, dodge until he does an attack with a red trail, and then counter.
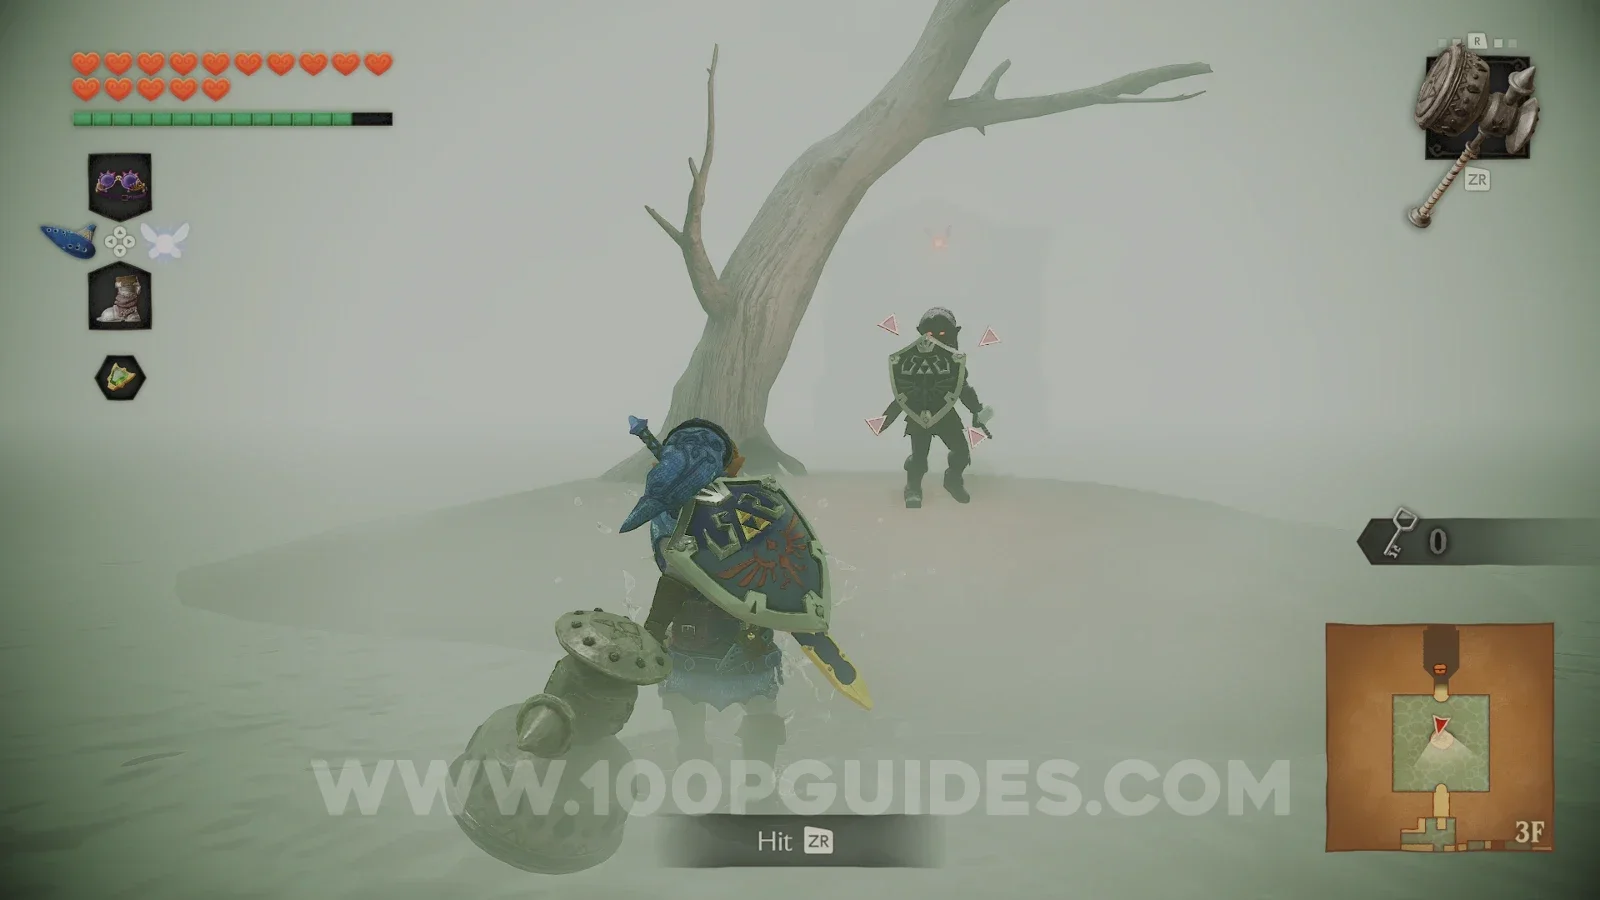
After the fight, go through the door to the north and open the chest to get the Longshot. This is an upgraded Hookshot with twice the reach.
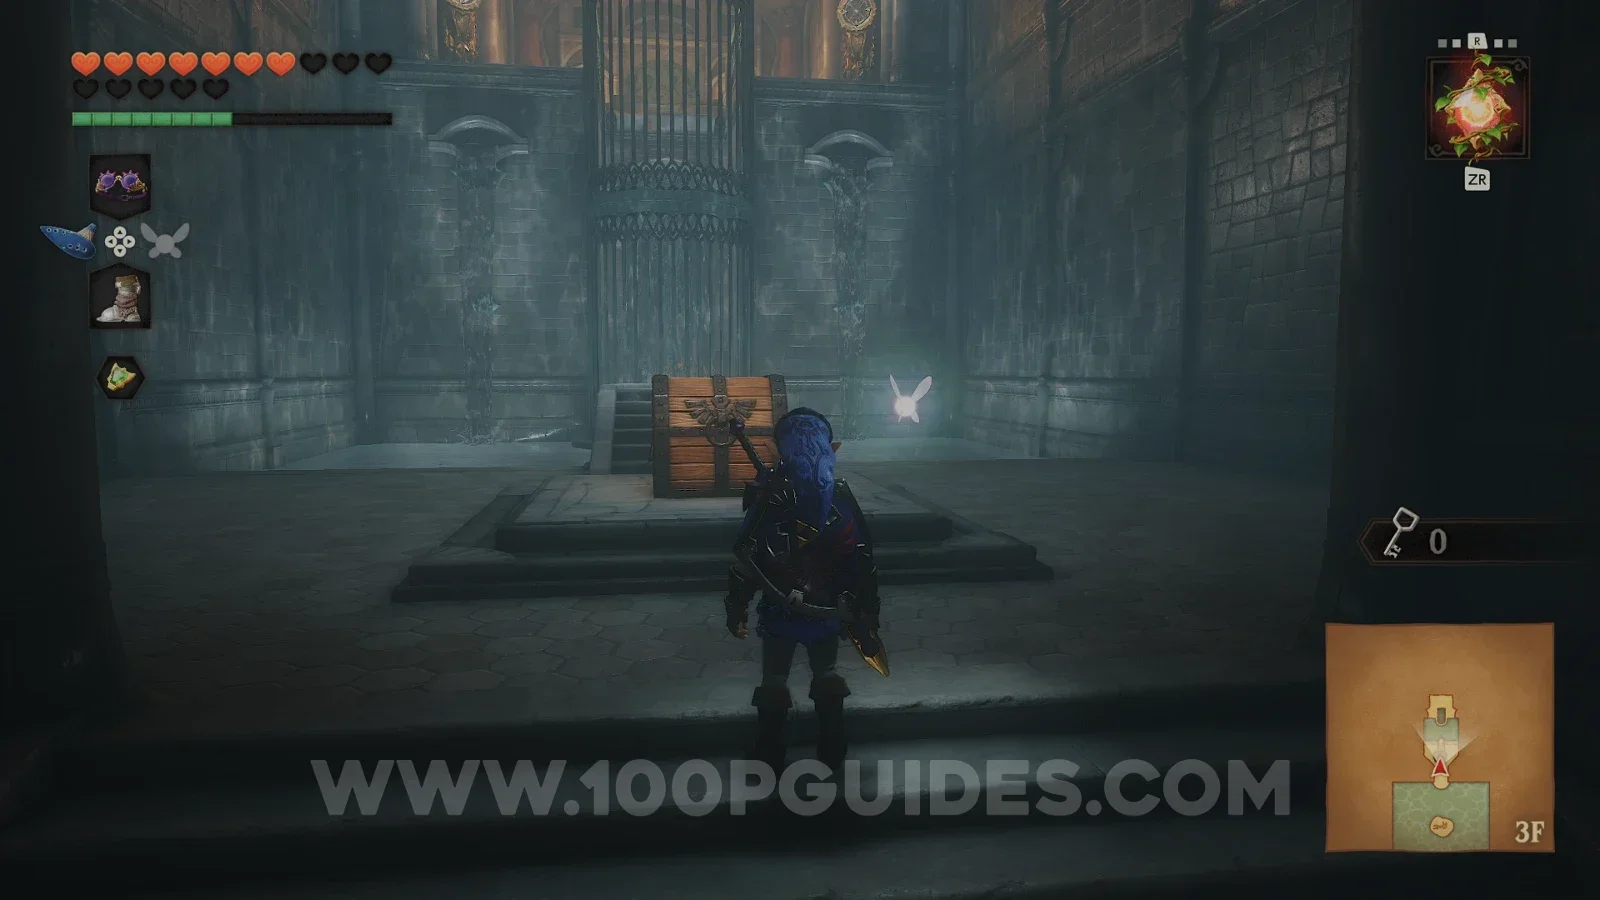
Use the Longshot on the high targets to leave the room, then drop down the pit with the waterfall to land in an underground river. Put on the Iron Boots to walk through the whirlpools without being pulled in. Once you reach the last part, just before the right turn, look up to see a Gold Skulltula (77/100). Use the Longshot to get it while you still have the boots on.
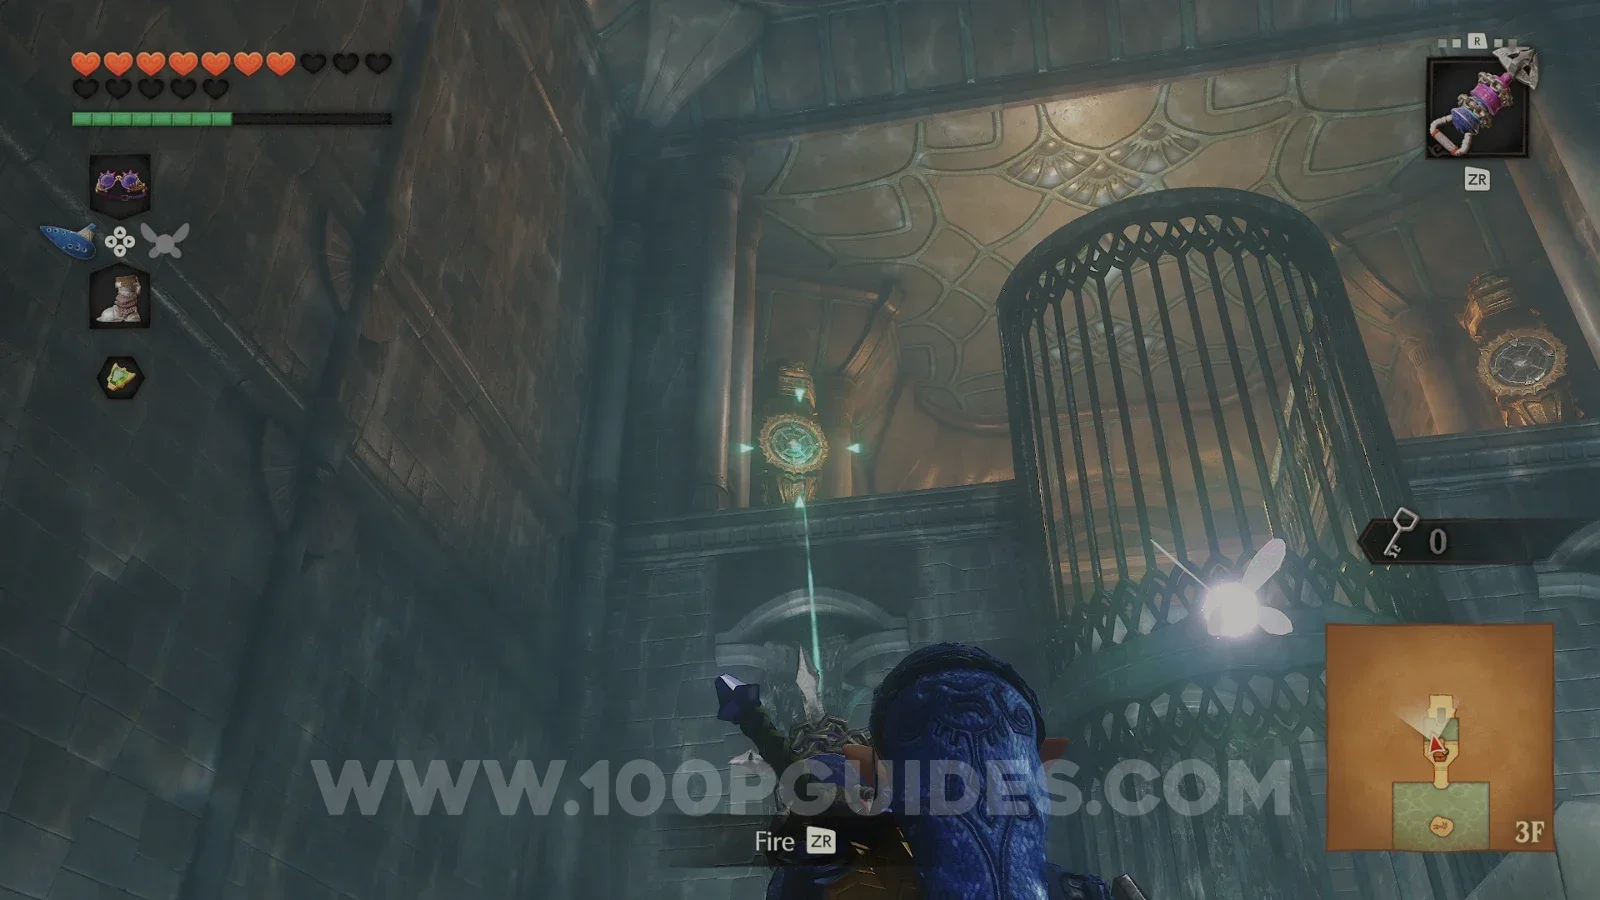
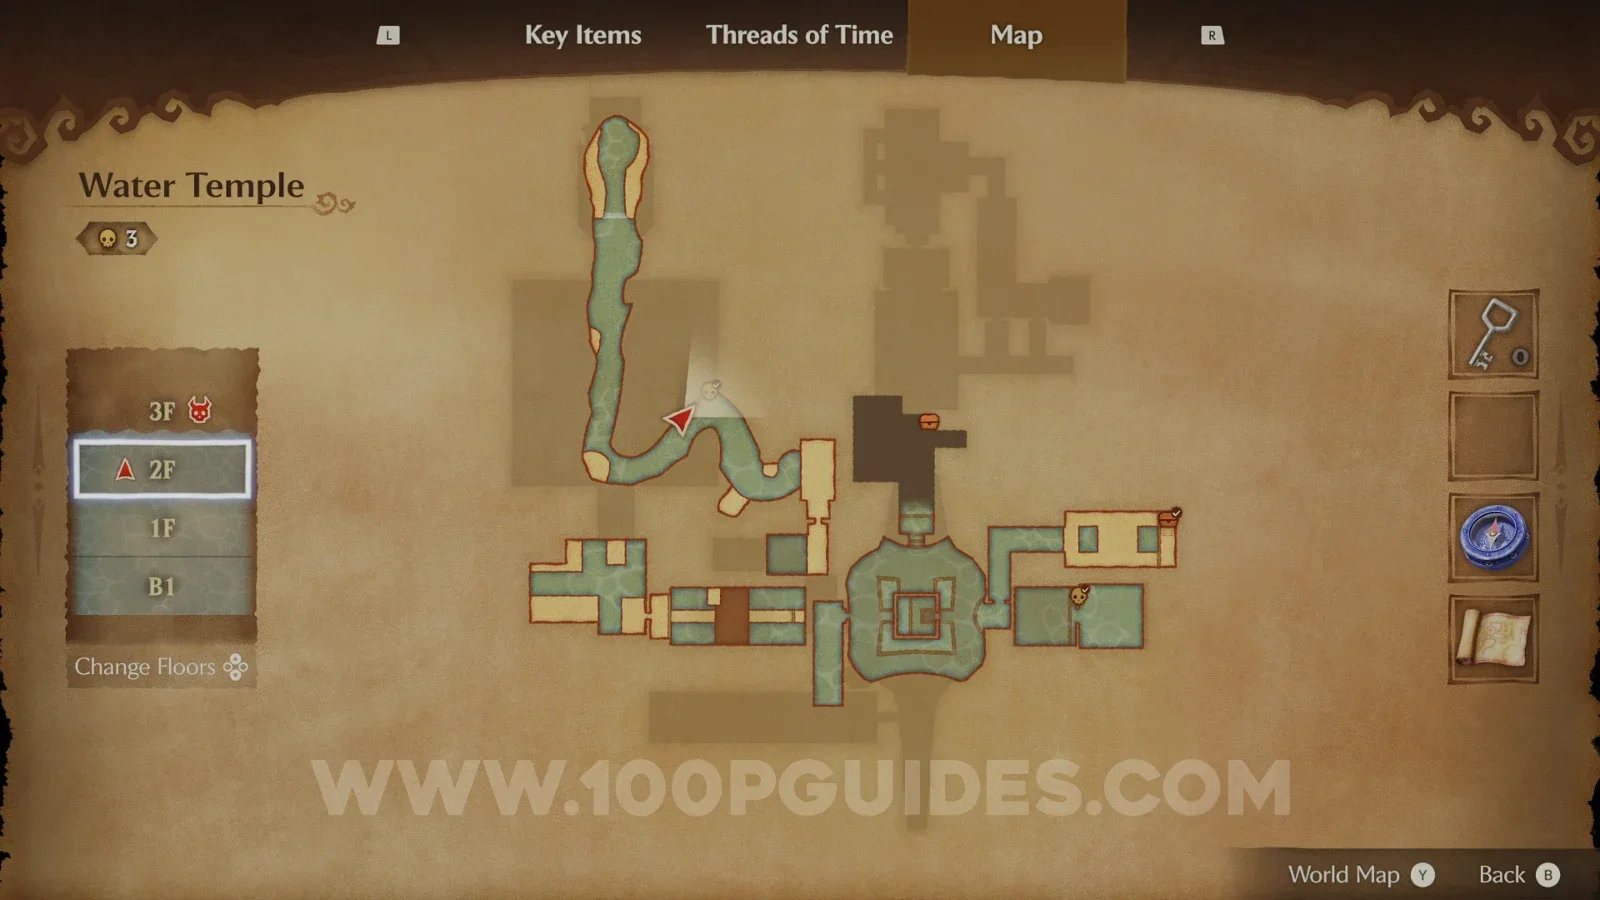
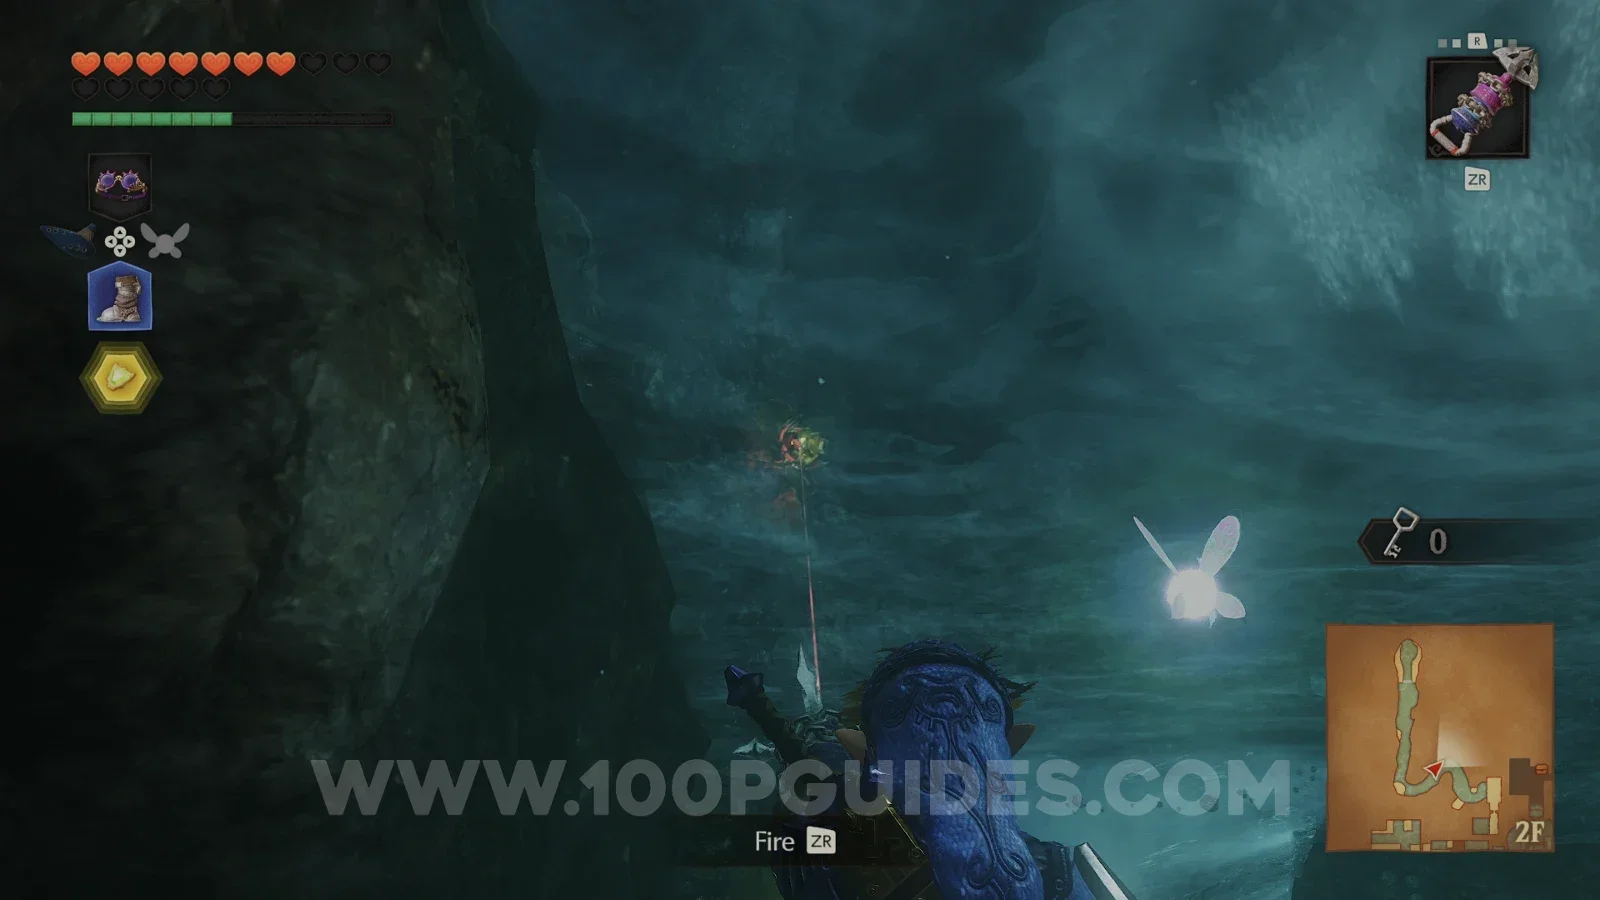
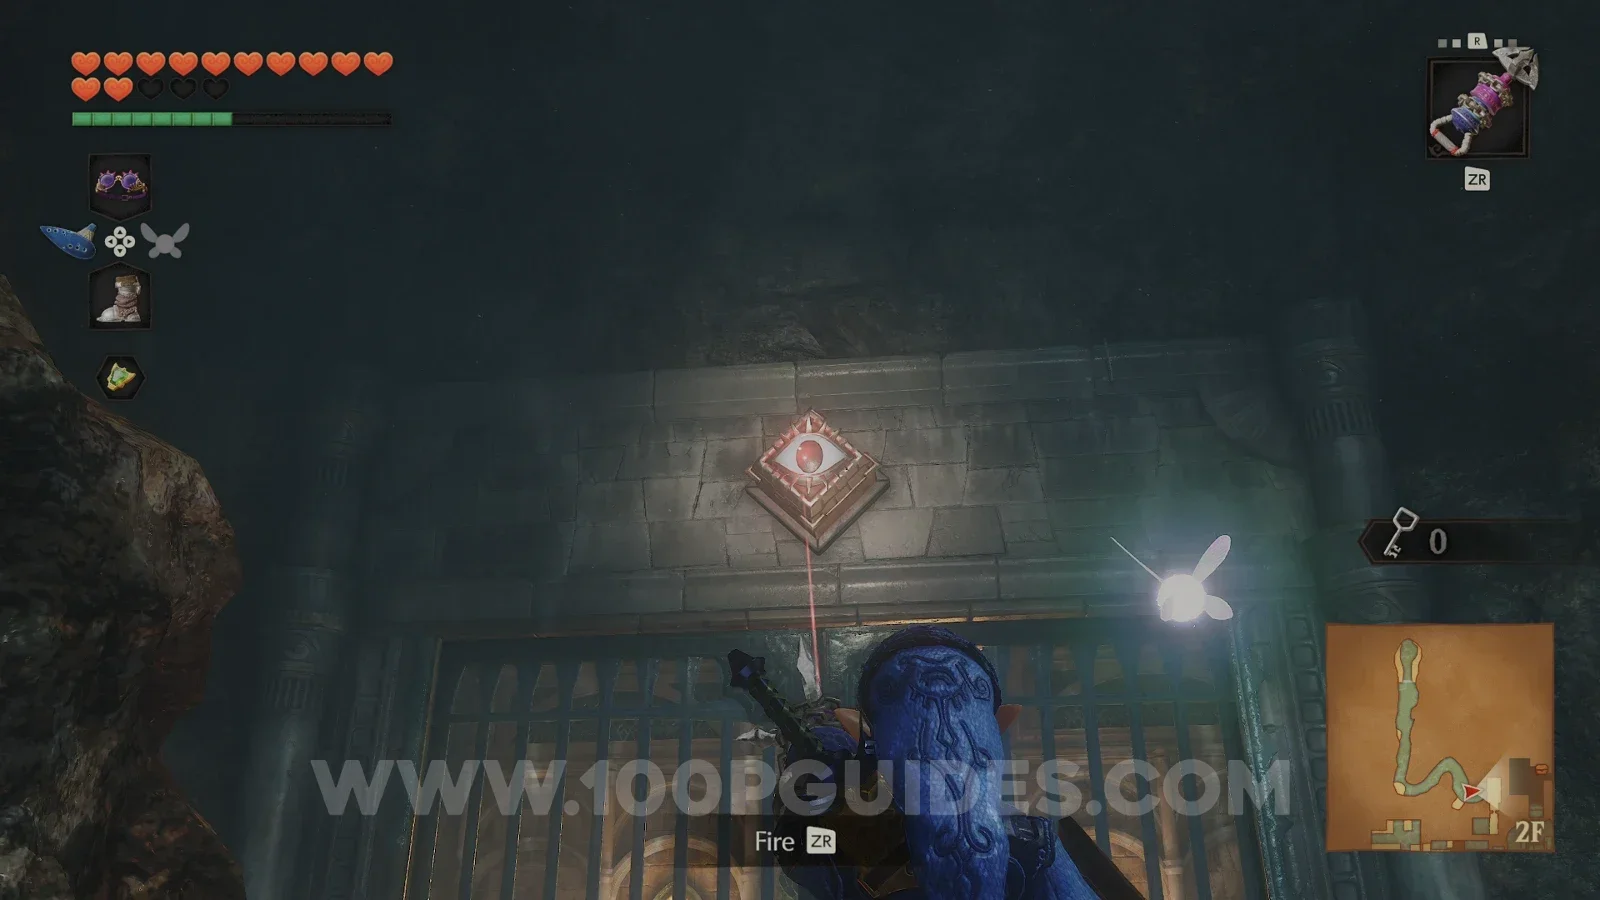
Past the last two whirlpools, you can find a pot with a fairy on the ledges. Then shoot the eye switch above the gate with your bow and use the Longshot to get through before it closes.
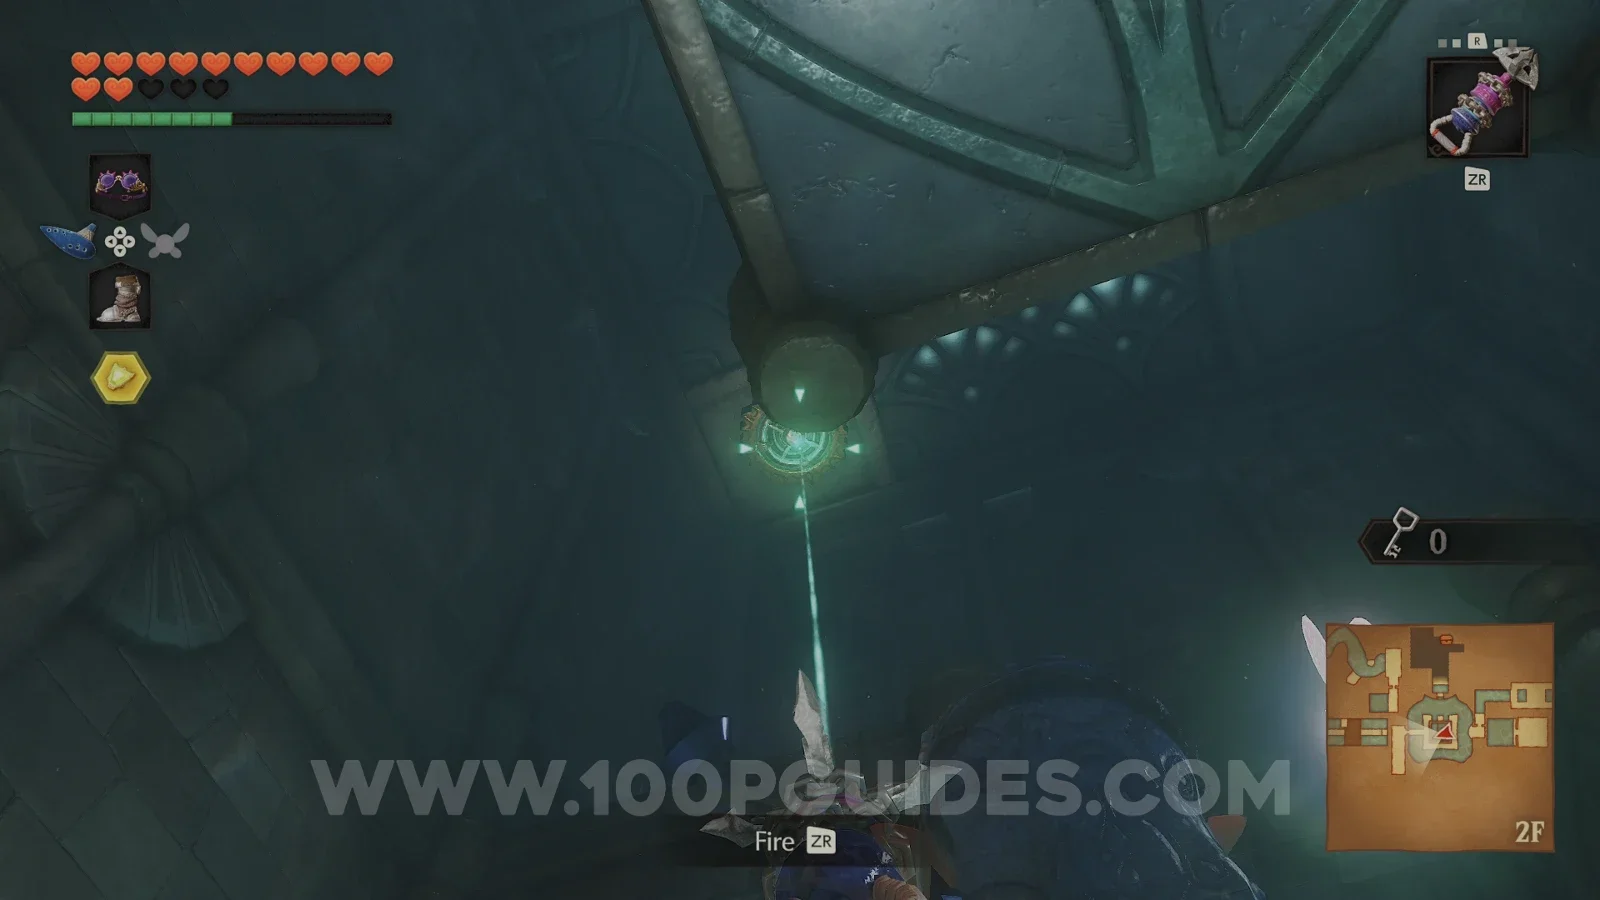
Now for a Gold Skulltula in the main room. Lower the water to 1F again by returning to the eastern side close to where Ruto was. Then head to the centre and go inside the tower. Raise the water from in here, then stand on the floating block and use the Longshot on the target at the very top of the tower's ceiling. You will find a Gold Skulltula (78/100) on the far side of the ceiling.
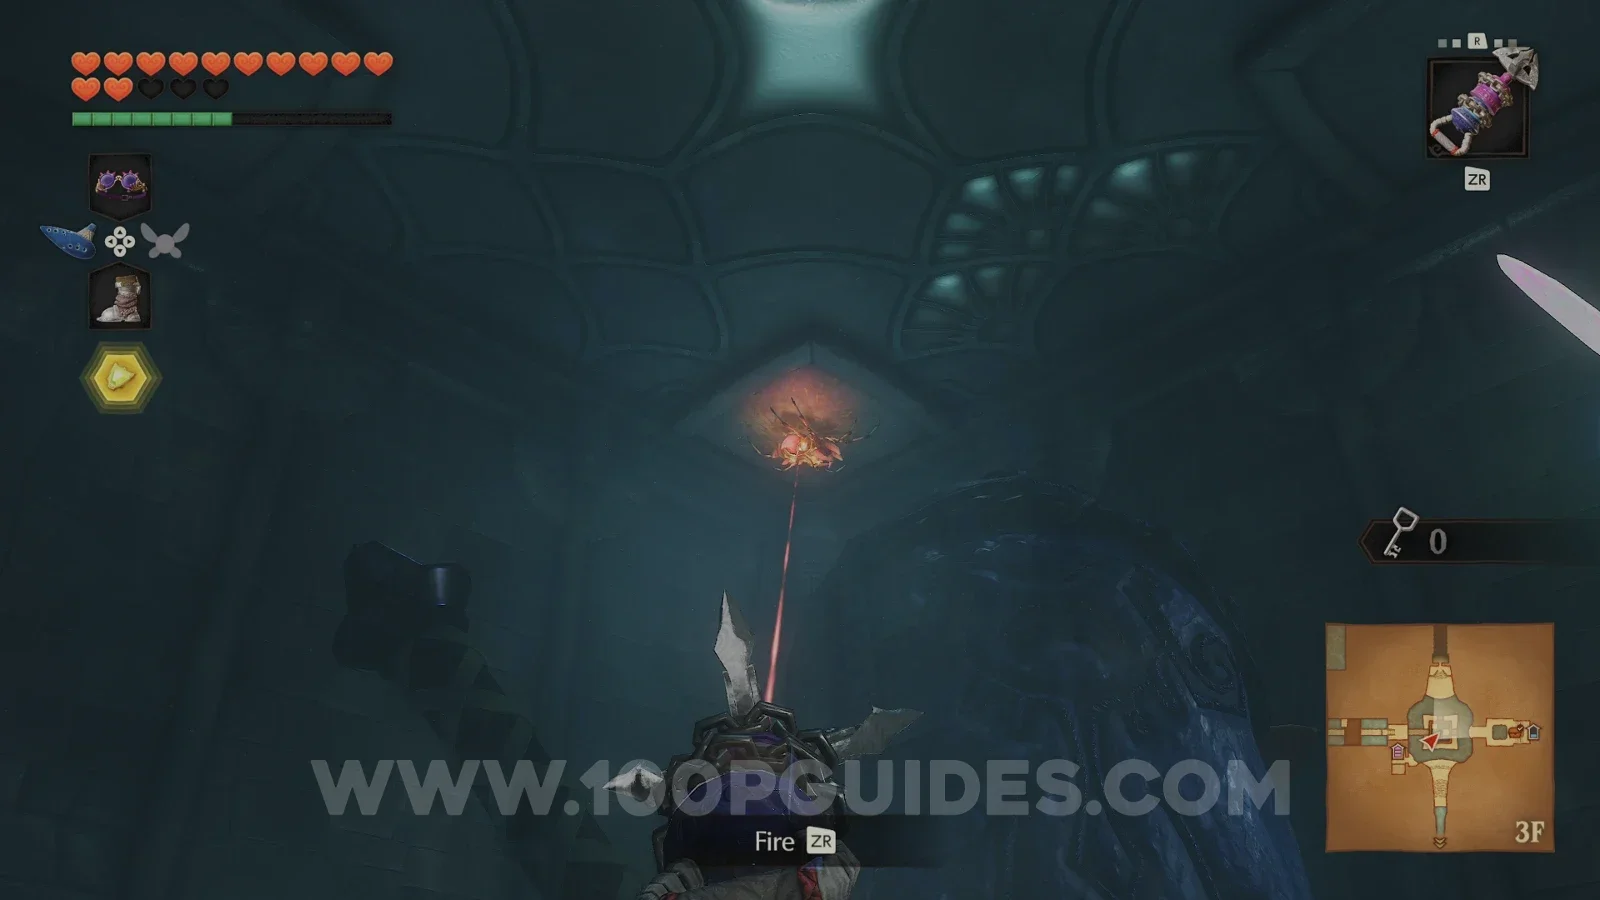
With the water at 2F, head to the northern side of the balcony around the tower. Shoot the eye switch on the far wall to reveal a target and use the Longshot on it. In the next room, sink into the water to the left and pull the block back. Then come back up out of the water, use the Longshot on the target in the ceiling of the alcove to the east and push the block north. This lets you reach the fenced chest with the last Small Key.
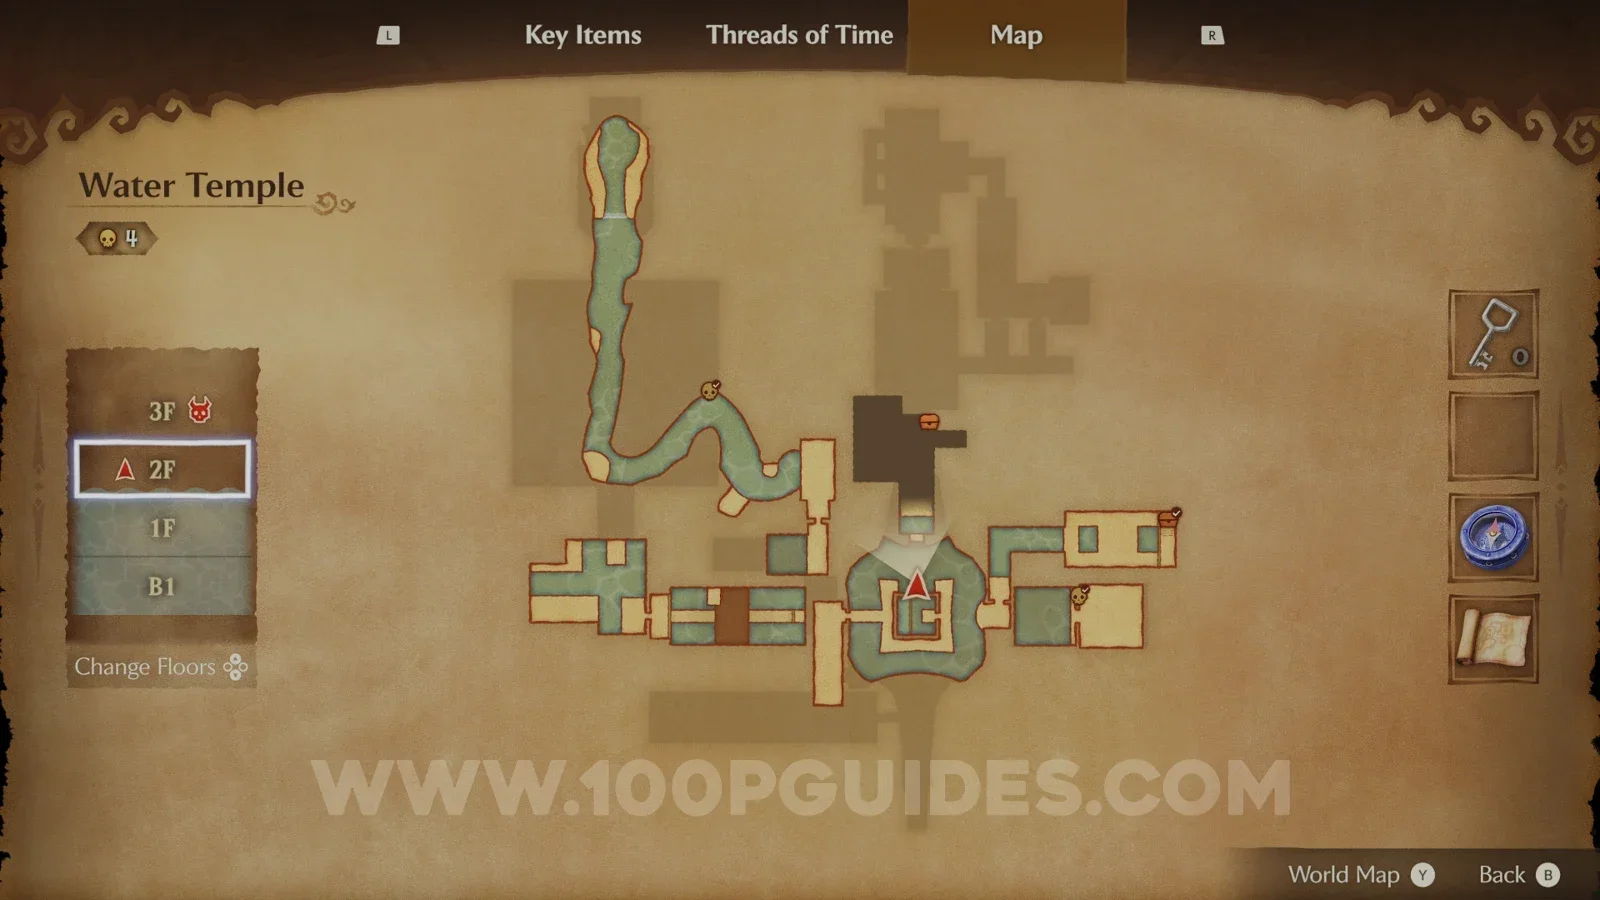
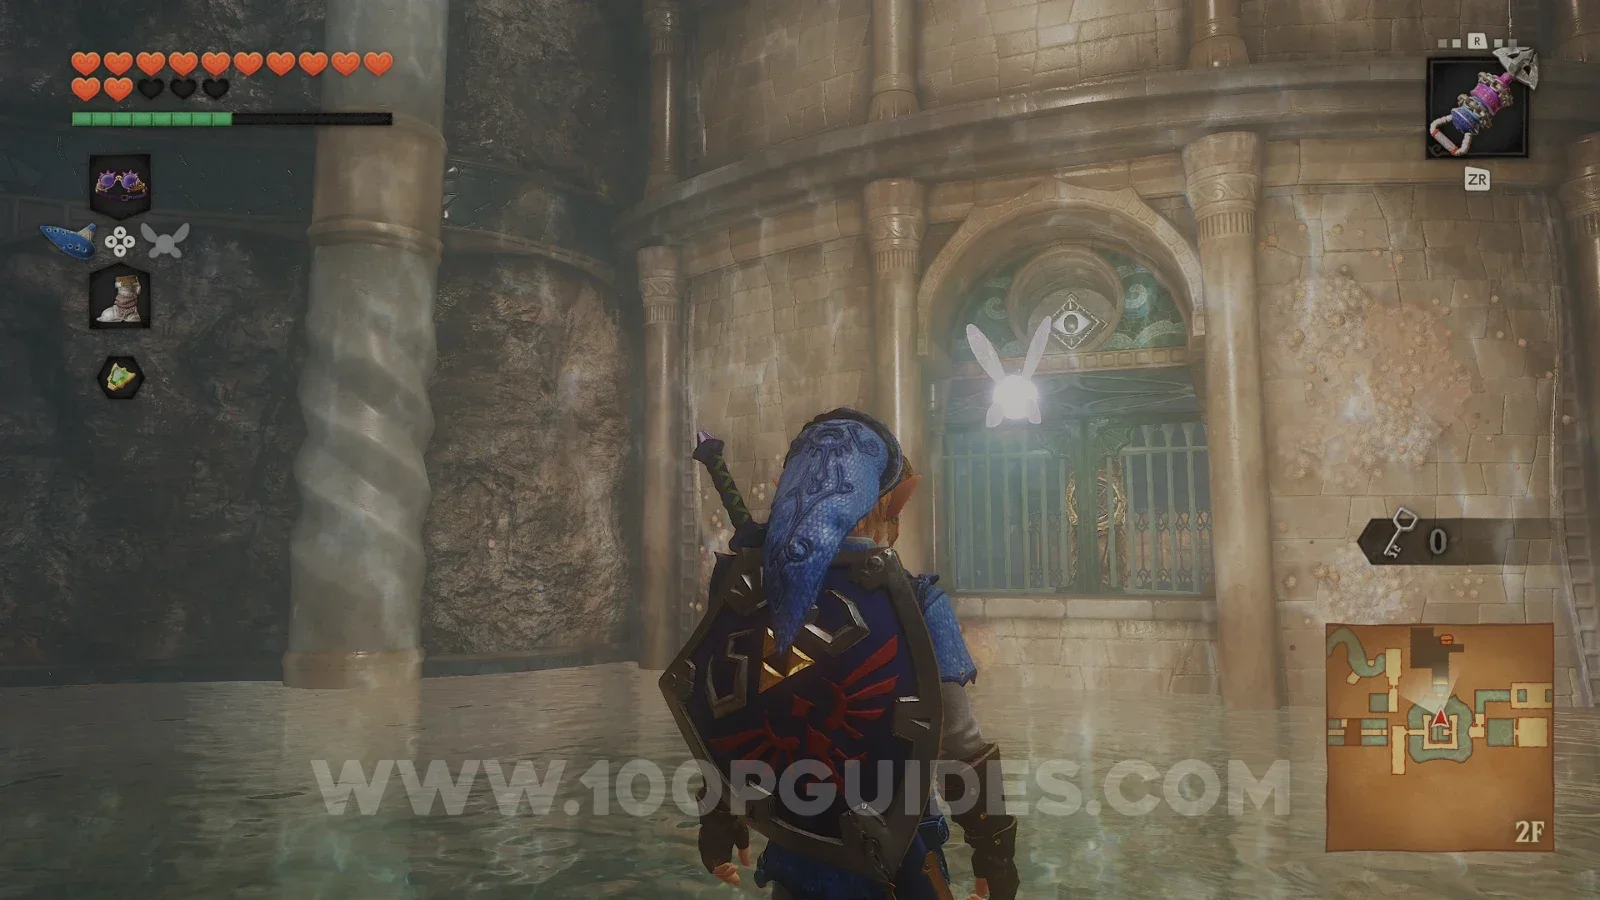
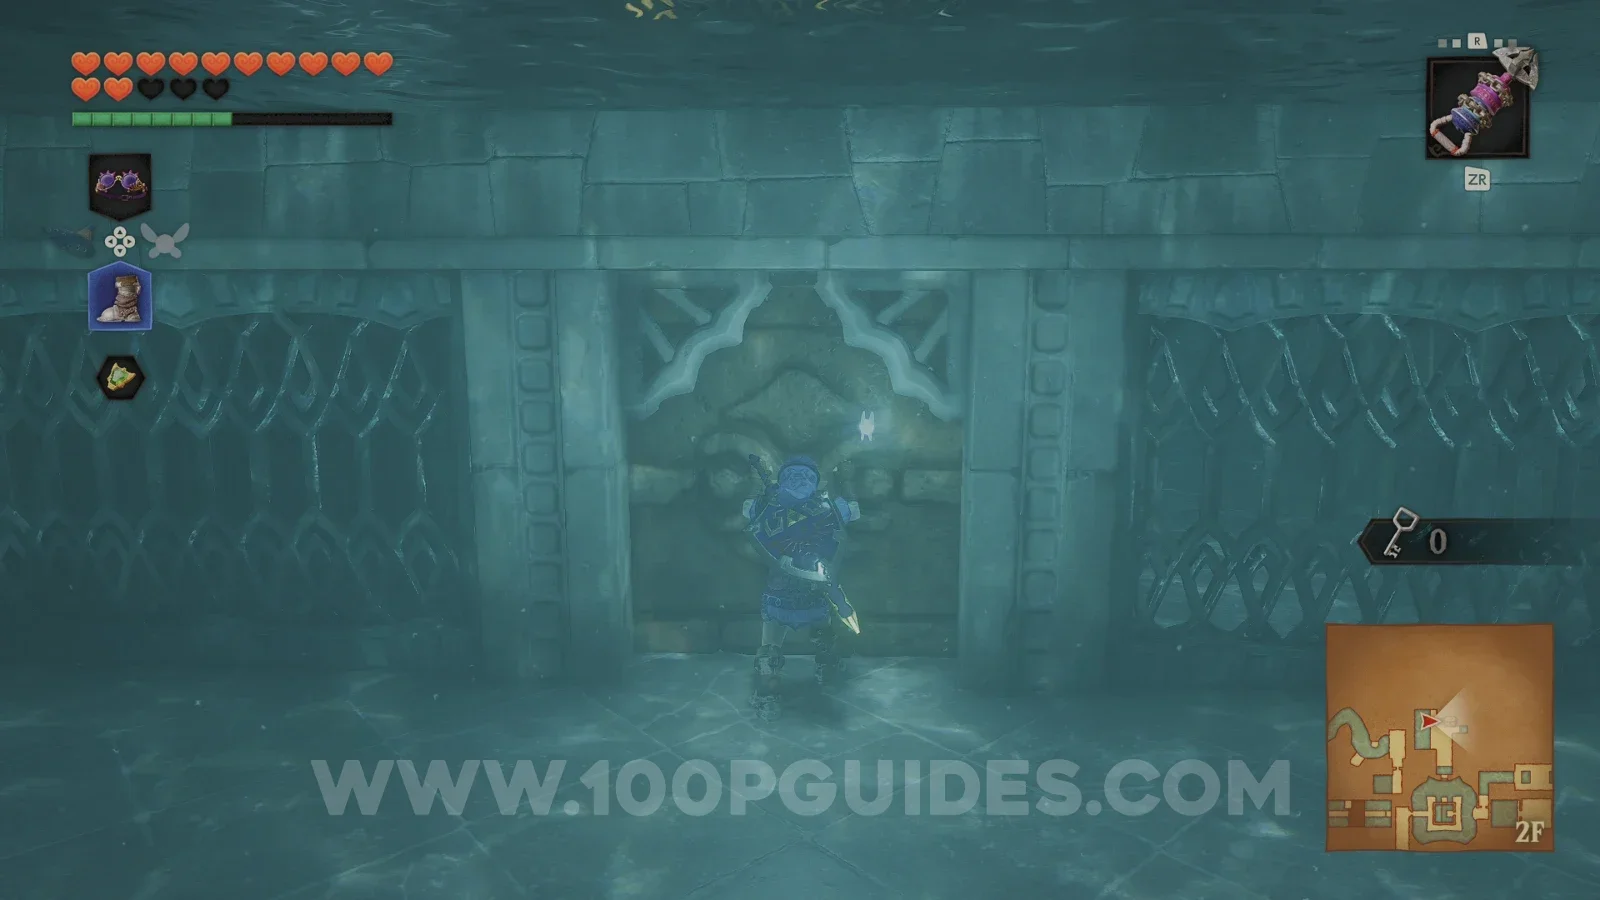
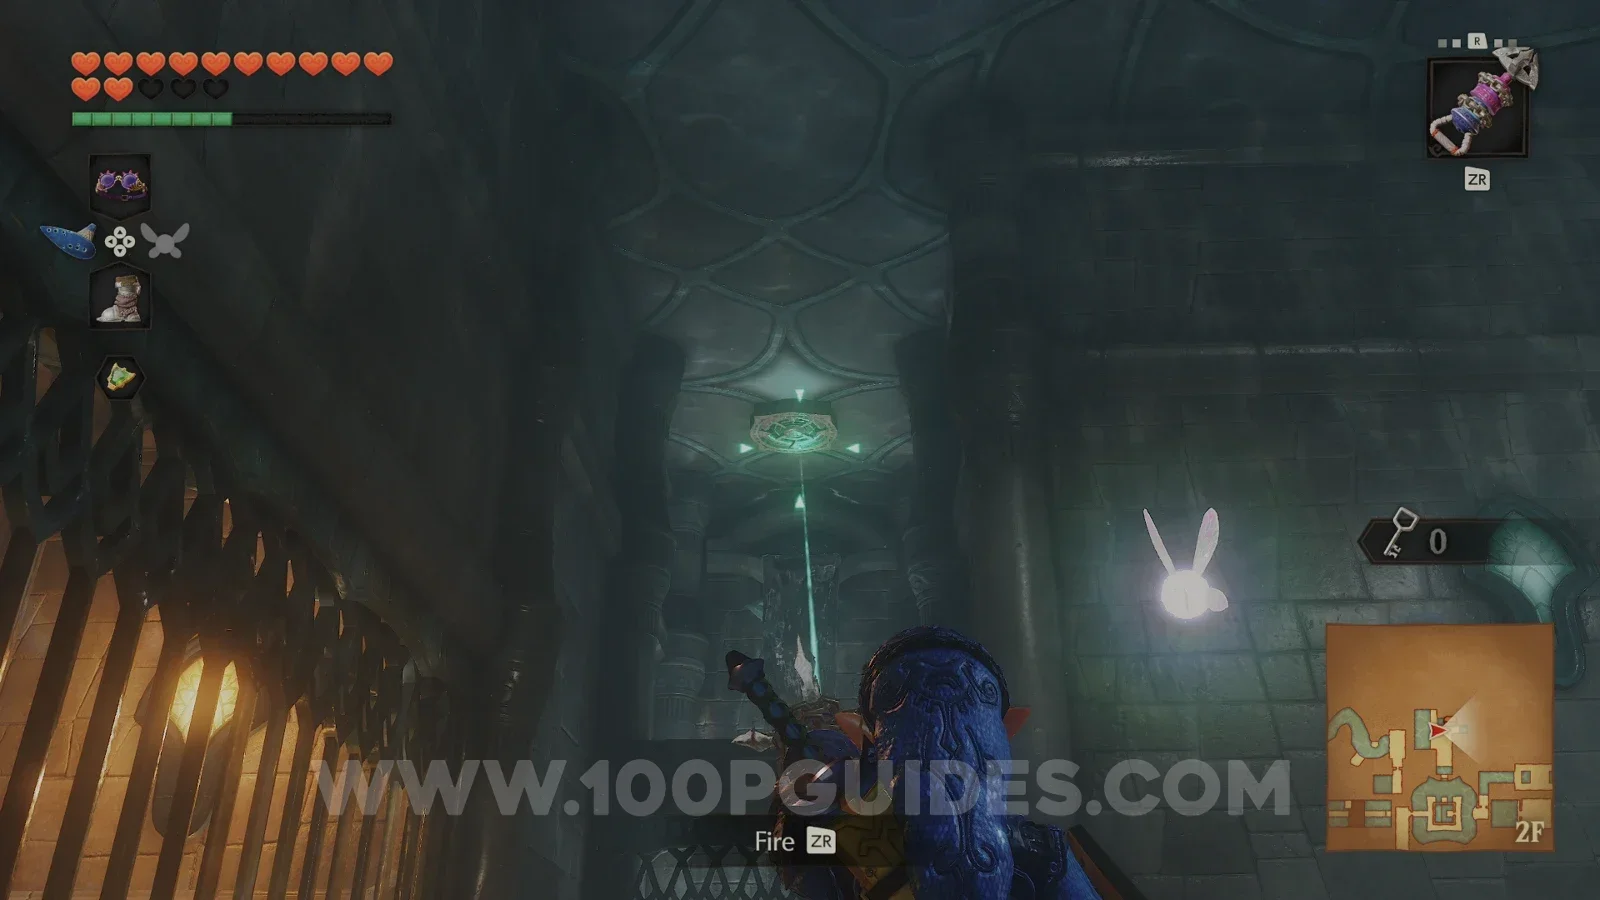
Next, return to the main central room, sink down the northern side to the pit in the basement and use the Longshot to reach the locked door. Unlock it, cross the room with the boulders and the whirlpools and continue north. Then use bombs to clear the Stingers out of the pool and to blow up the three cracked walls. Push the block onto the switch in the water to continue.
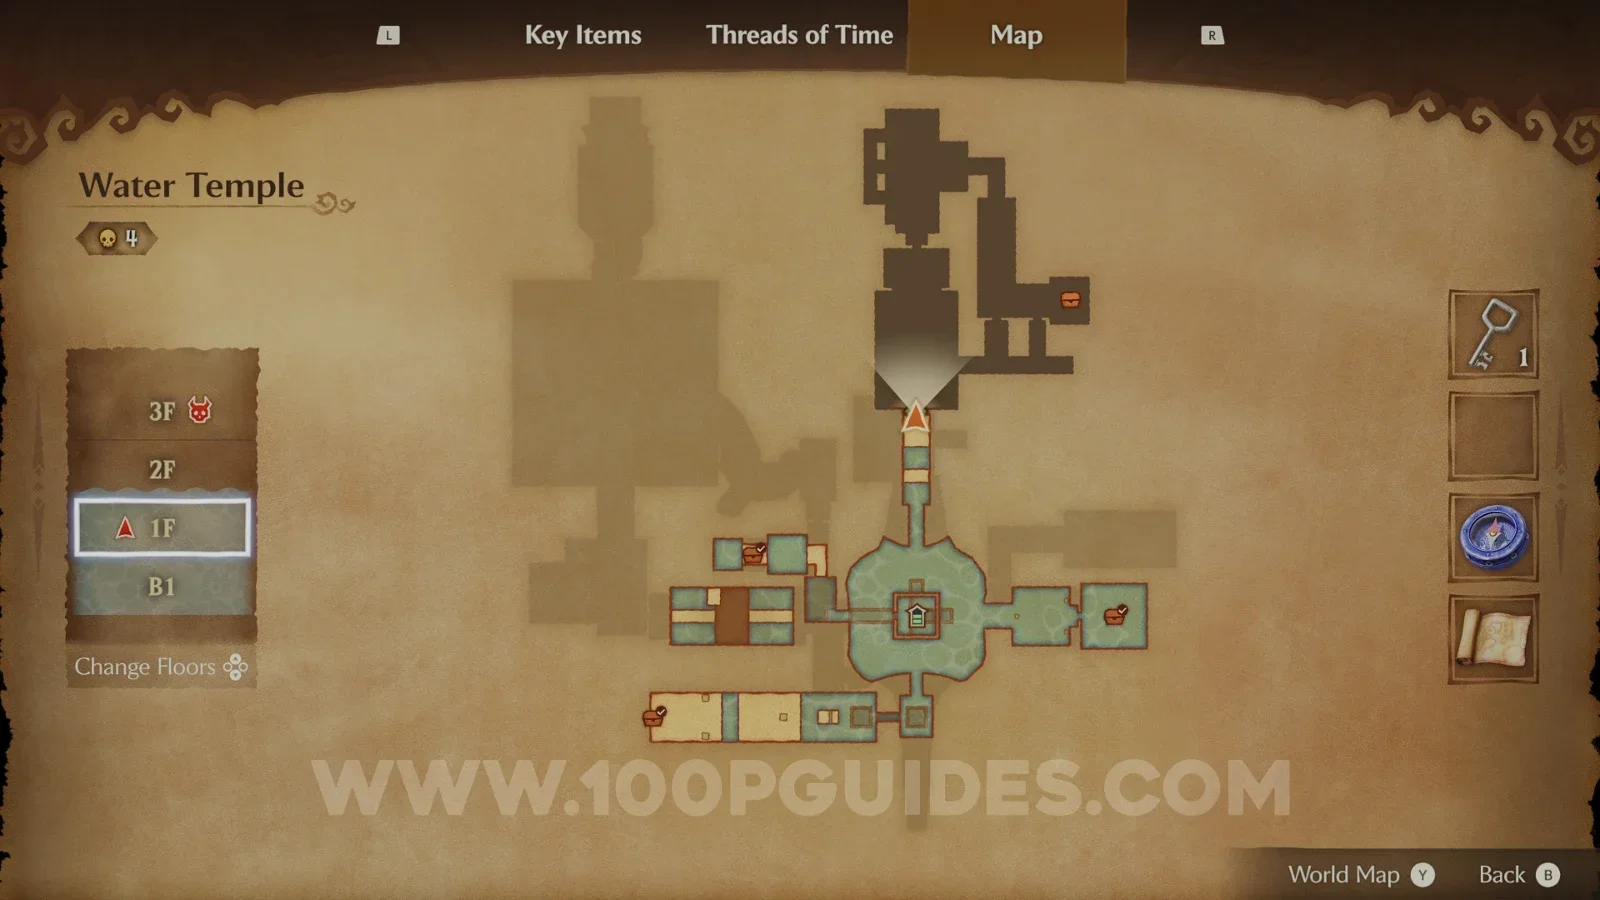
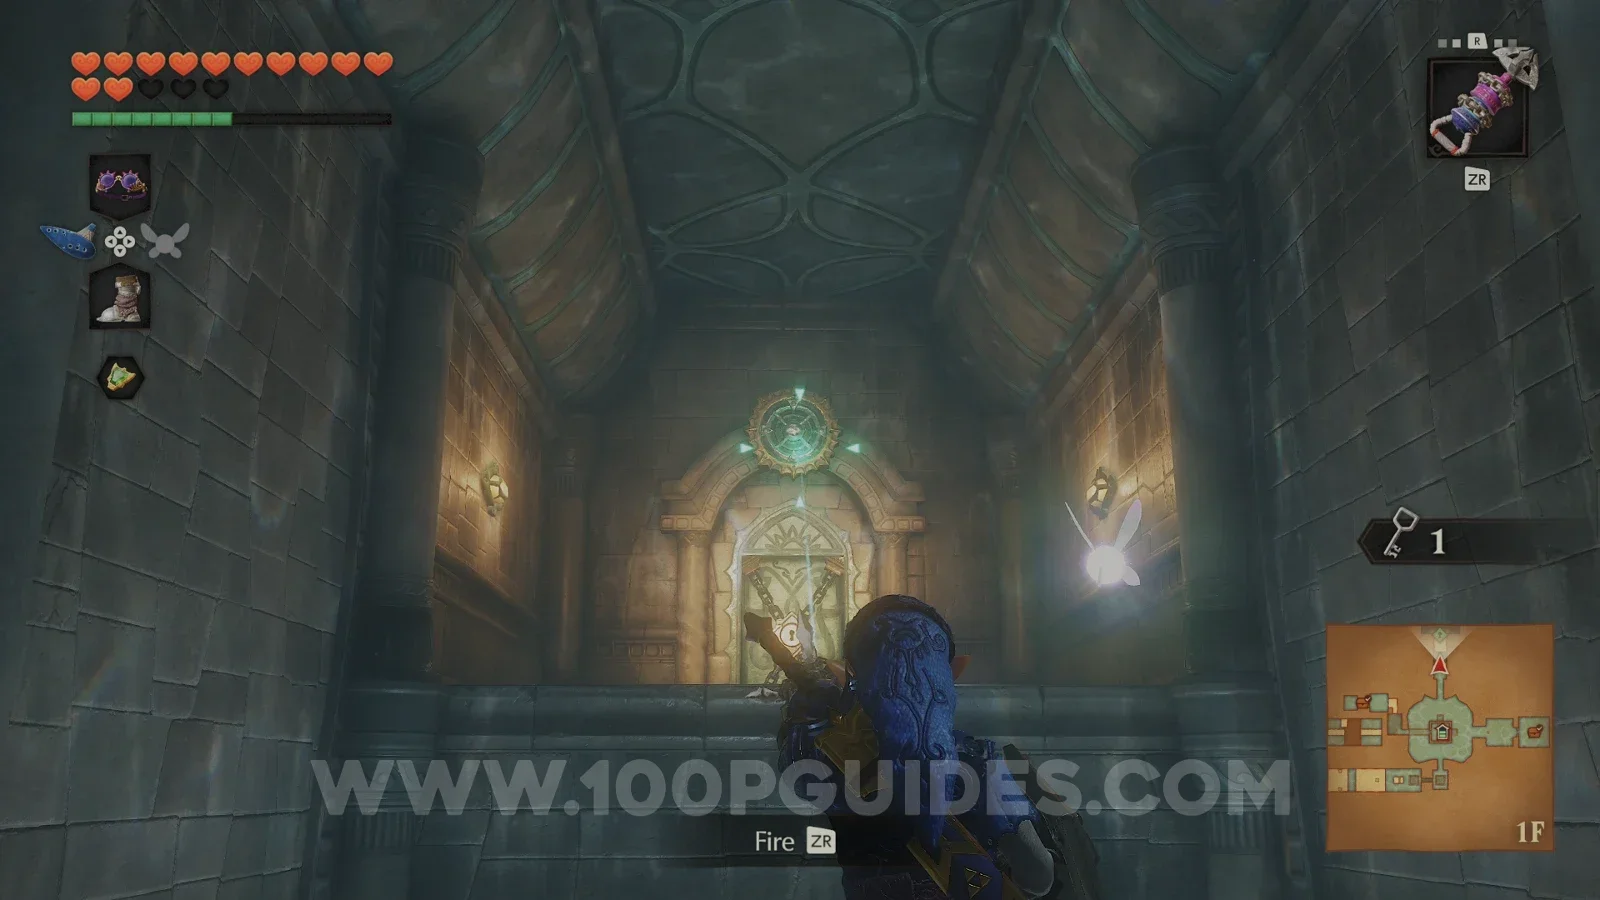
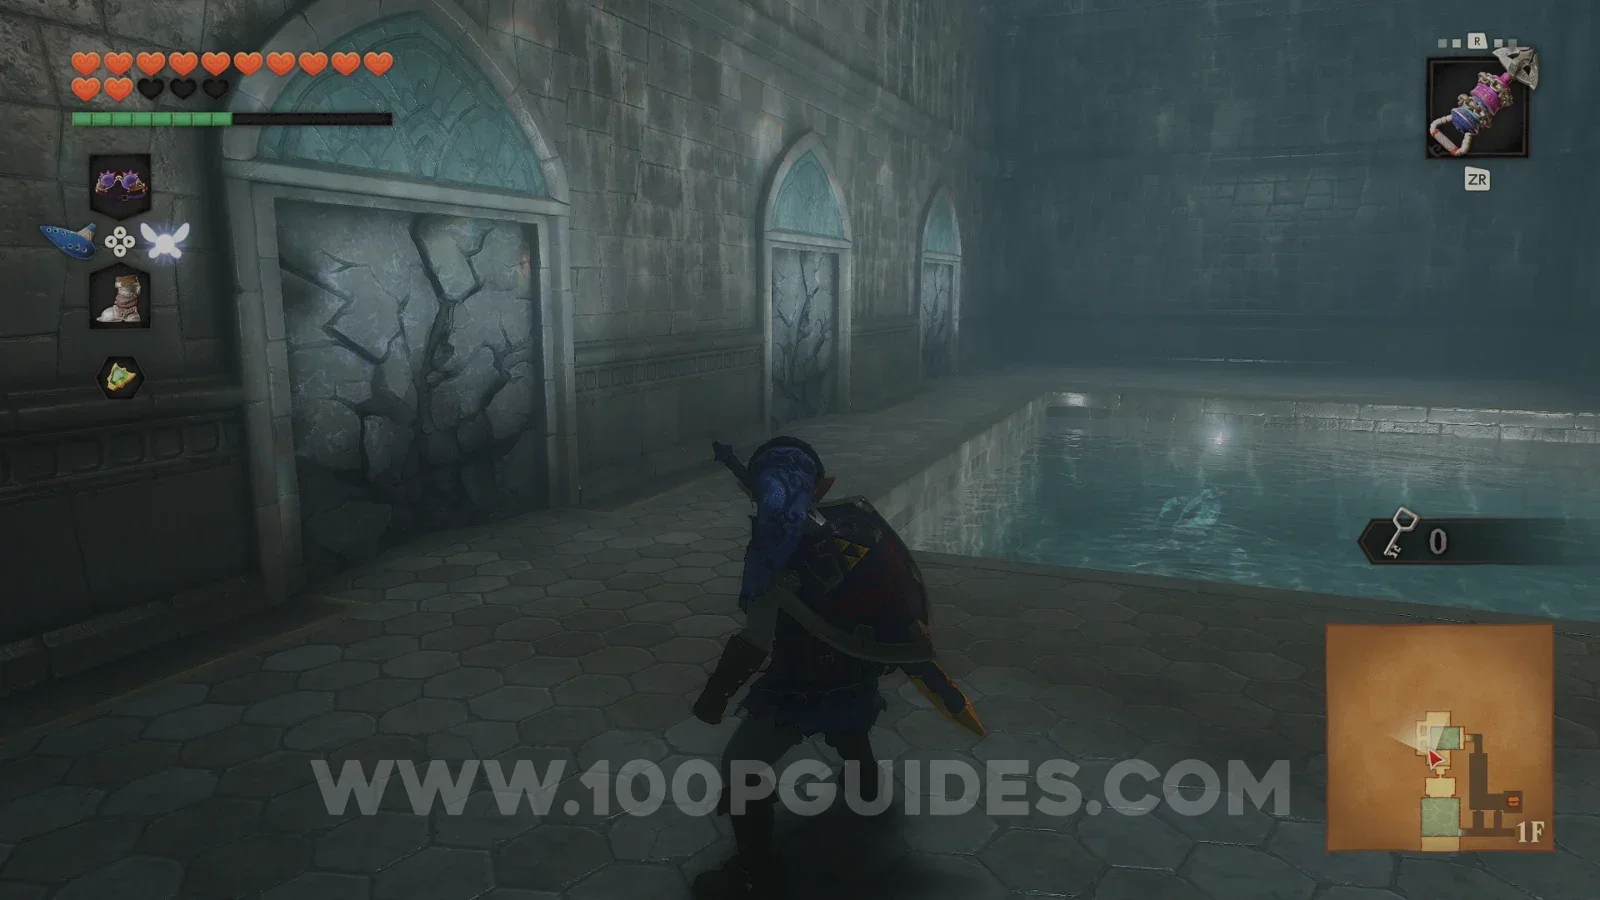
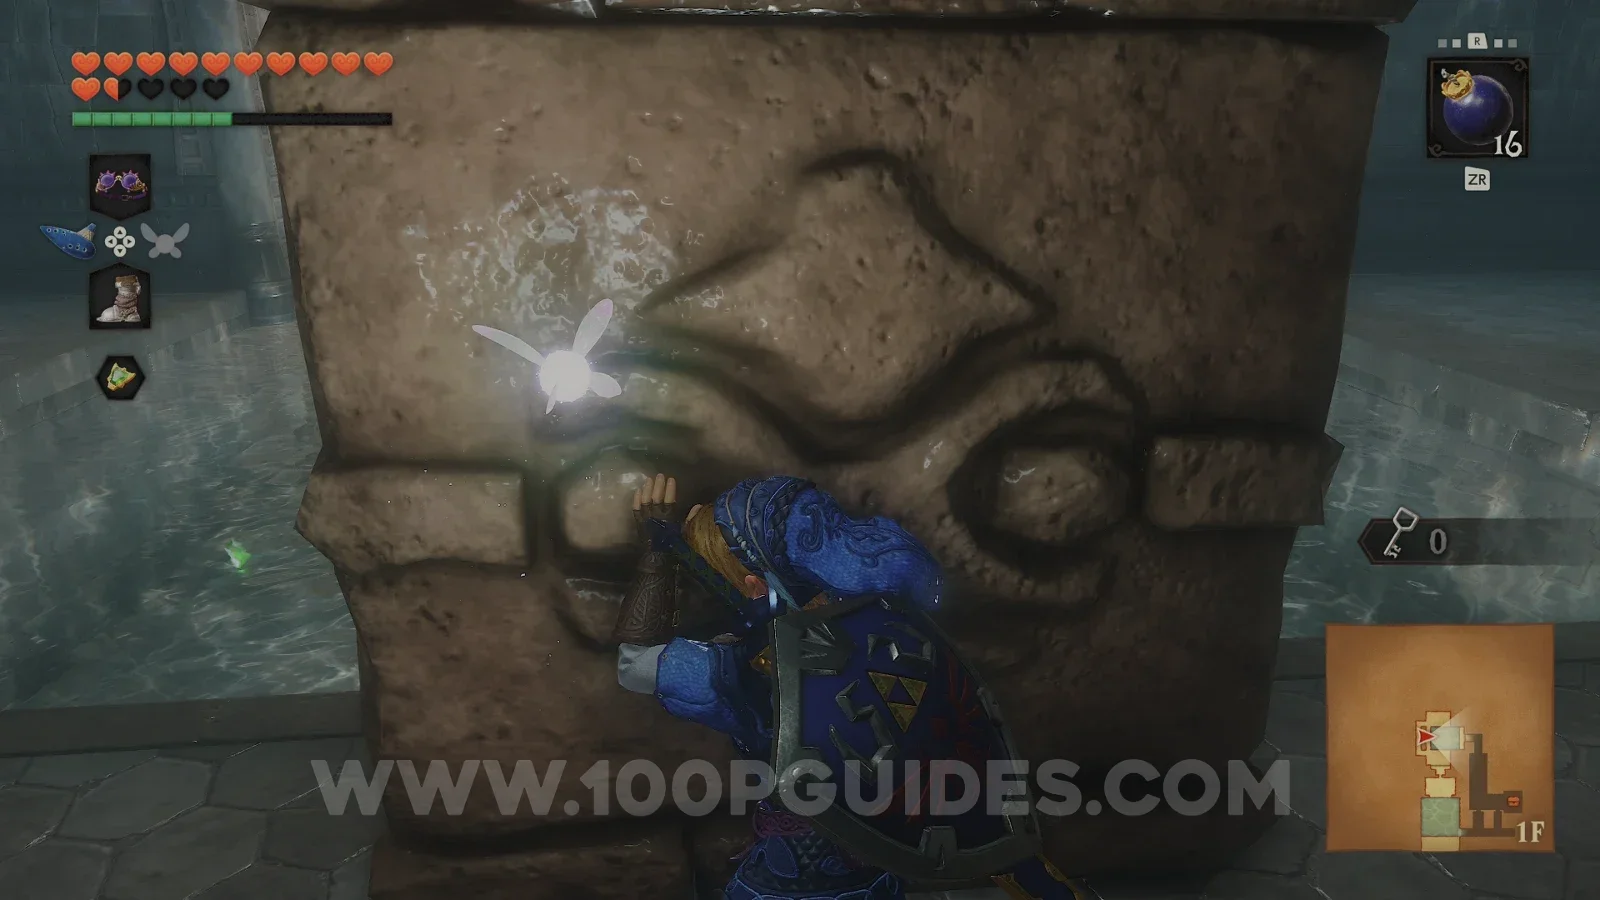
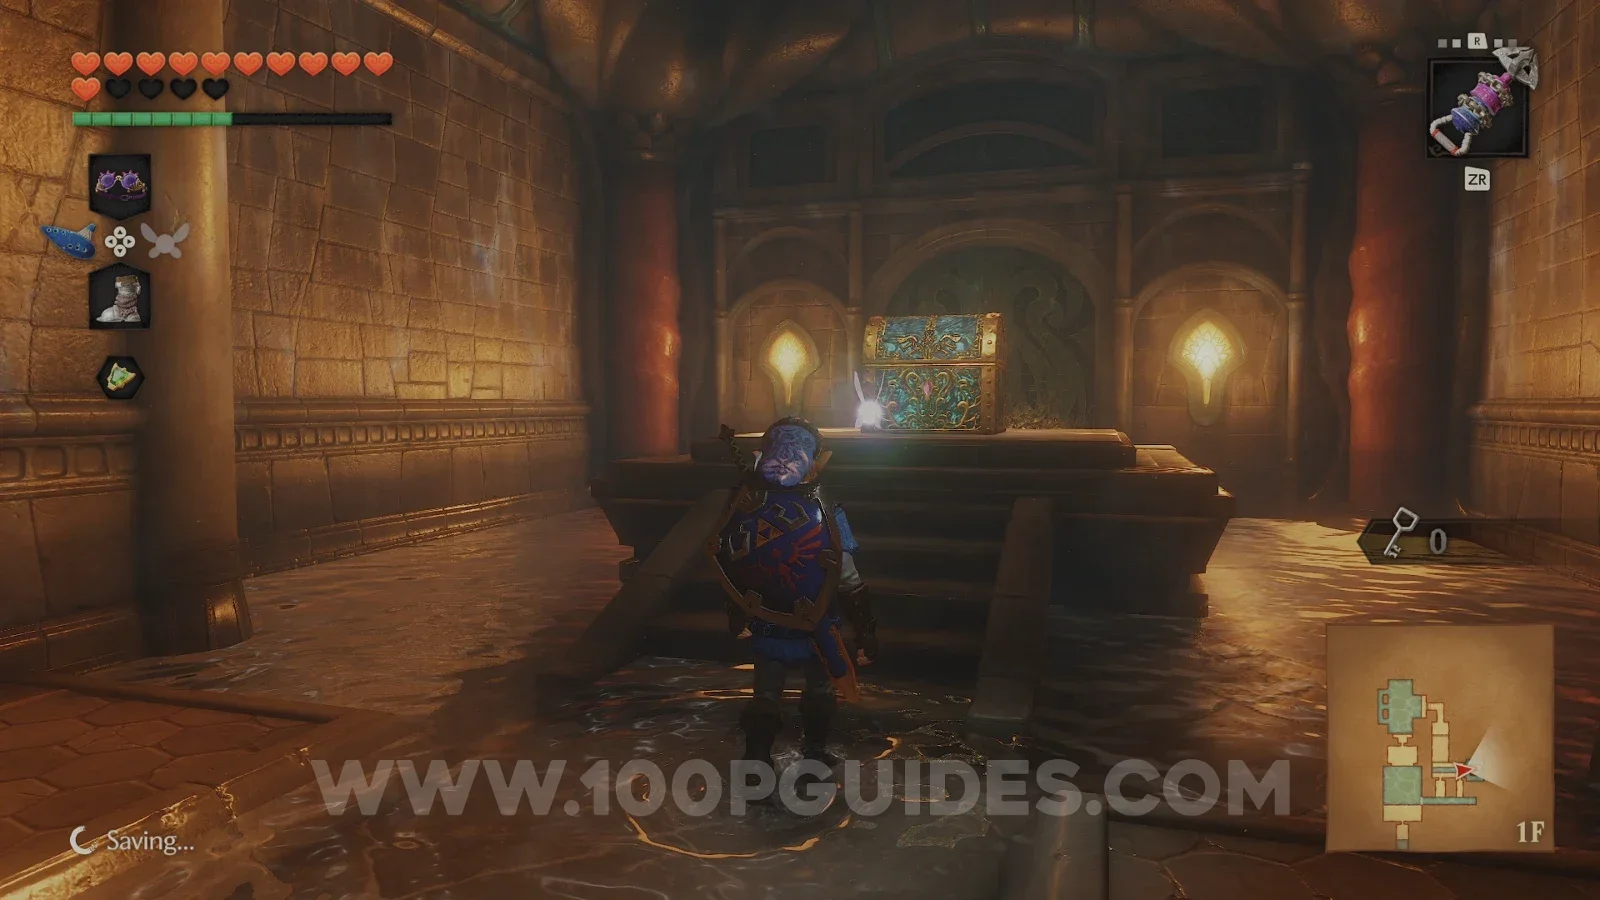
In the next room, press the switch and ride the platforms across to the other side. You will soon get to a corridor with boulders coming down from the left. Time it and head left to reach the door that will take you to the chest containing the Boss Key.
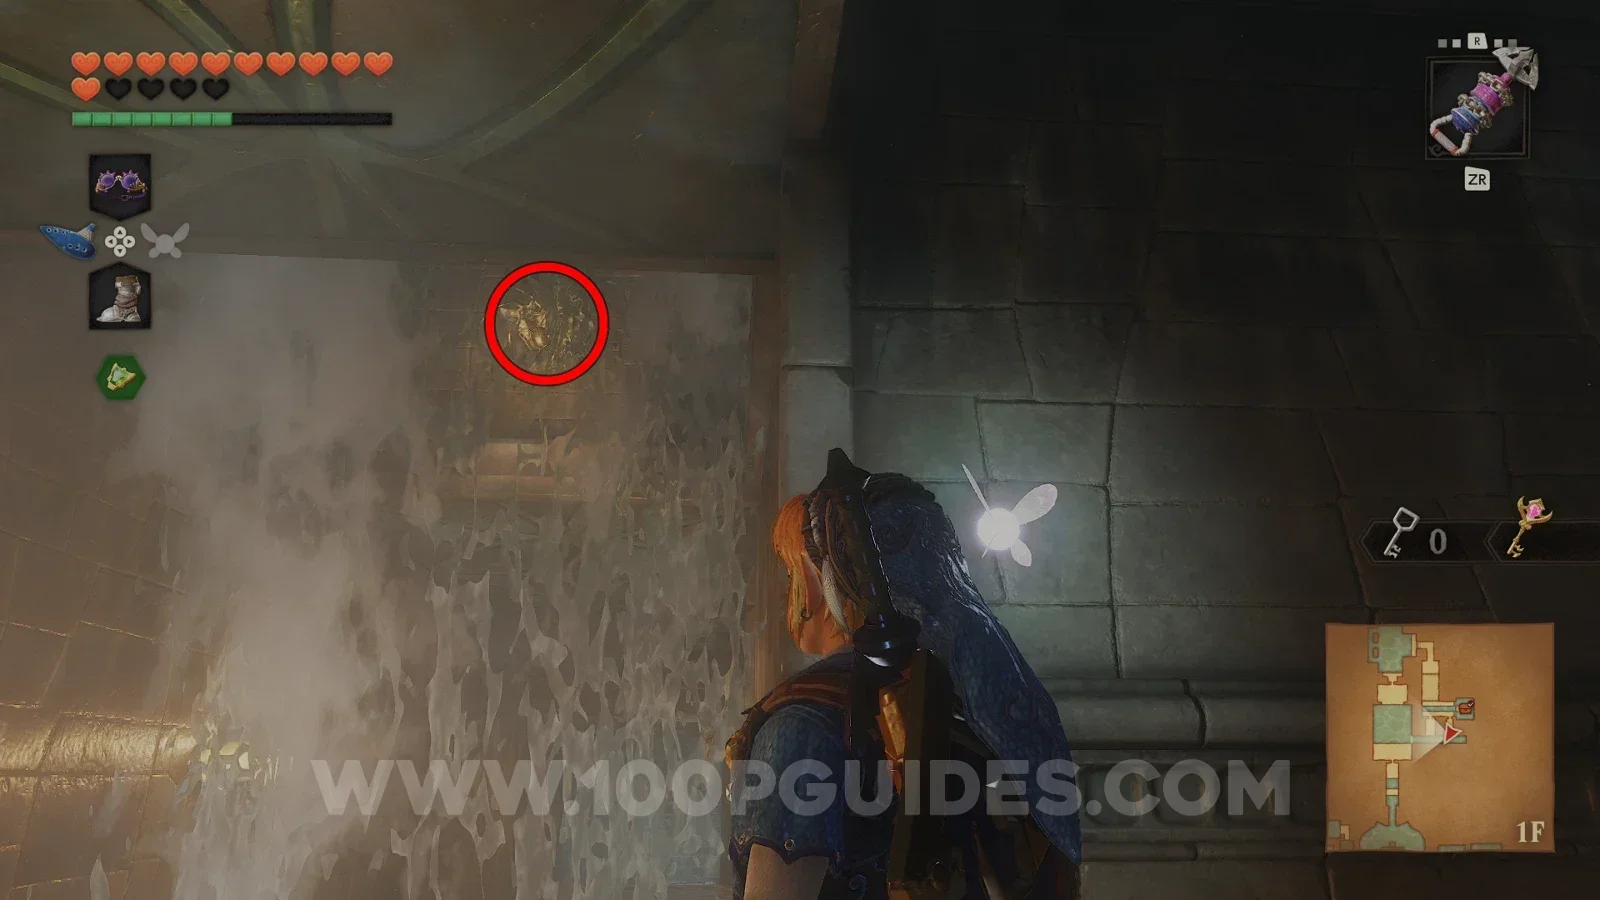
Head back out to the corridor with the boulders. You will see a small waterfall coming from above. The last Gold Skulltula (79/100) of the temple can be found behind it.
Now return to the main room. Play the Scarecrow's Song in the southwest corner of the tower room to get back up to the triforce on 3F, and raise the water to its highest level. Then use the Longshot to get to the northern door. In the next room, put on the Iron Boots to walk up the slope with the spikes and go through the boss door.
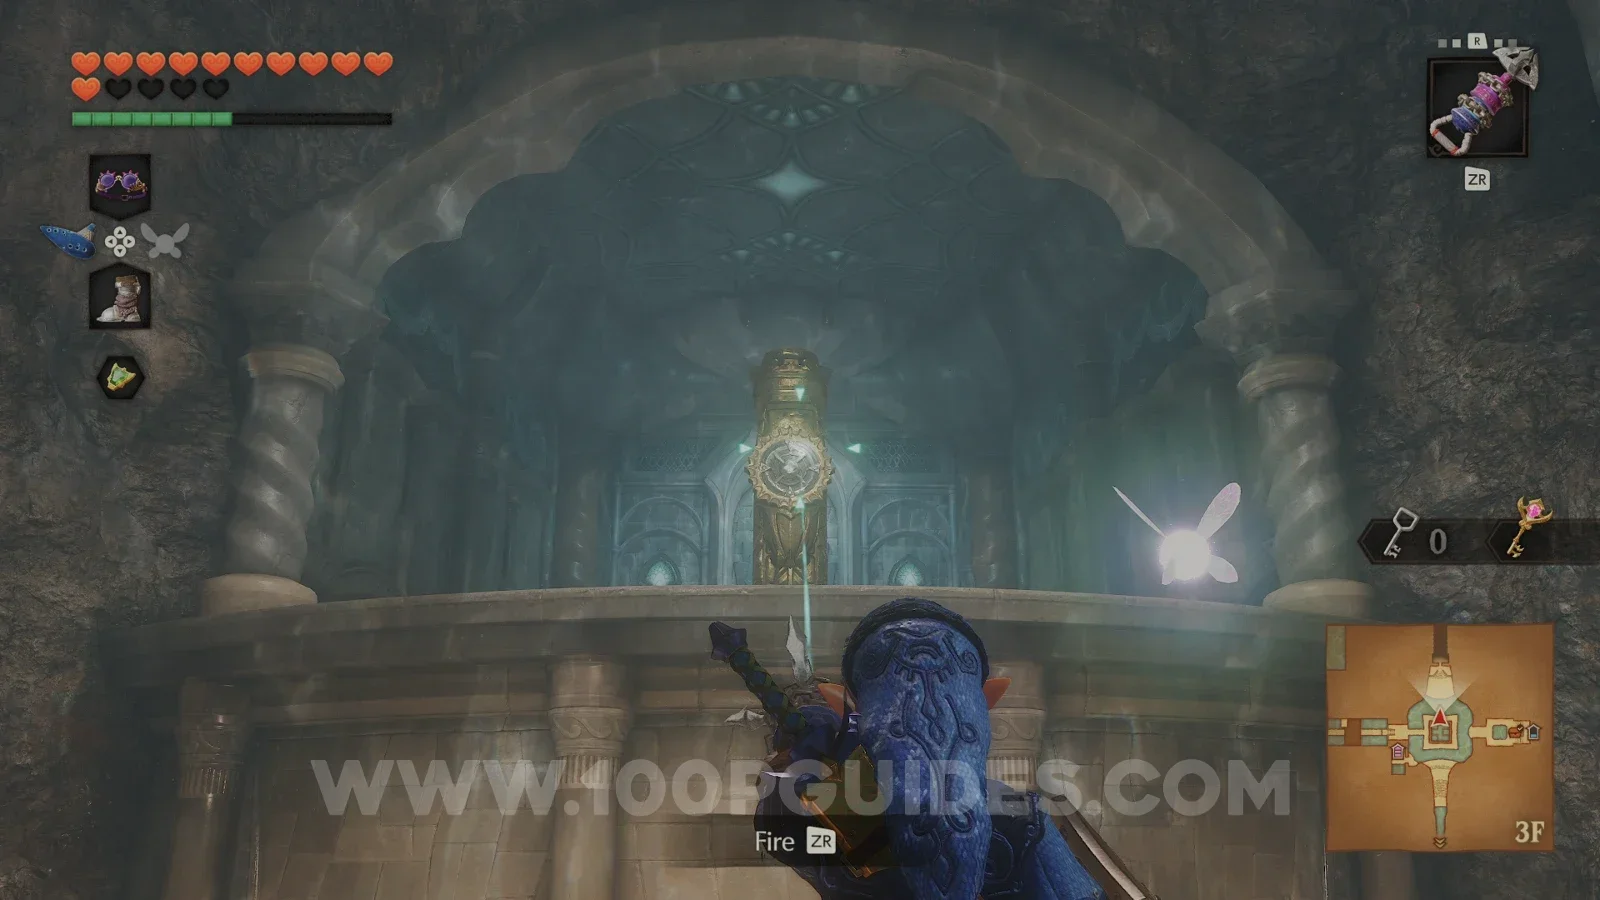
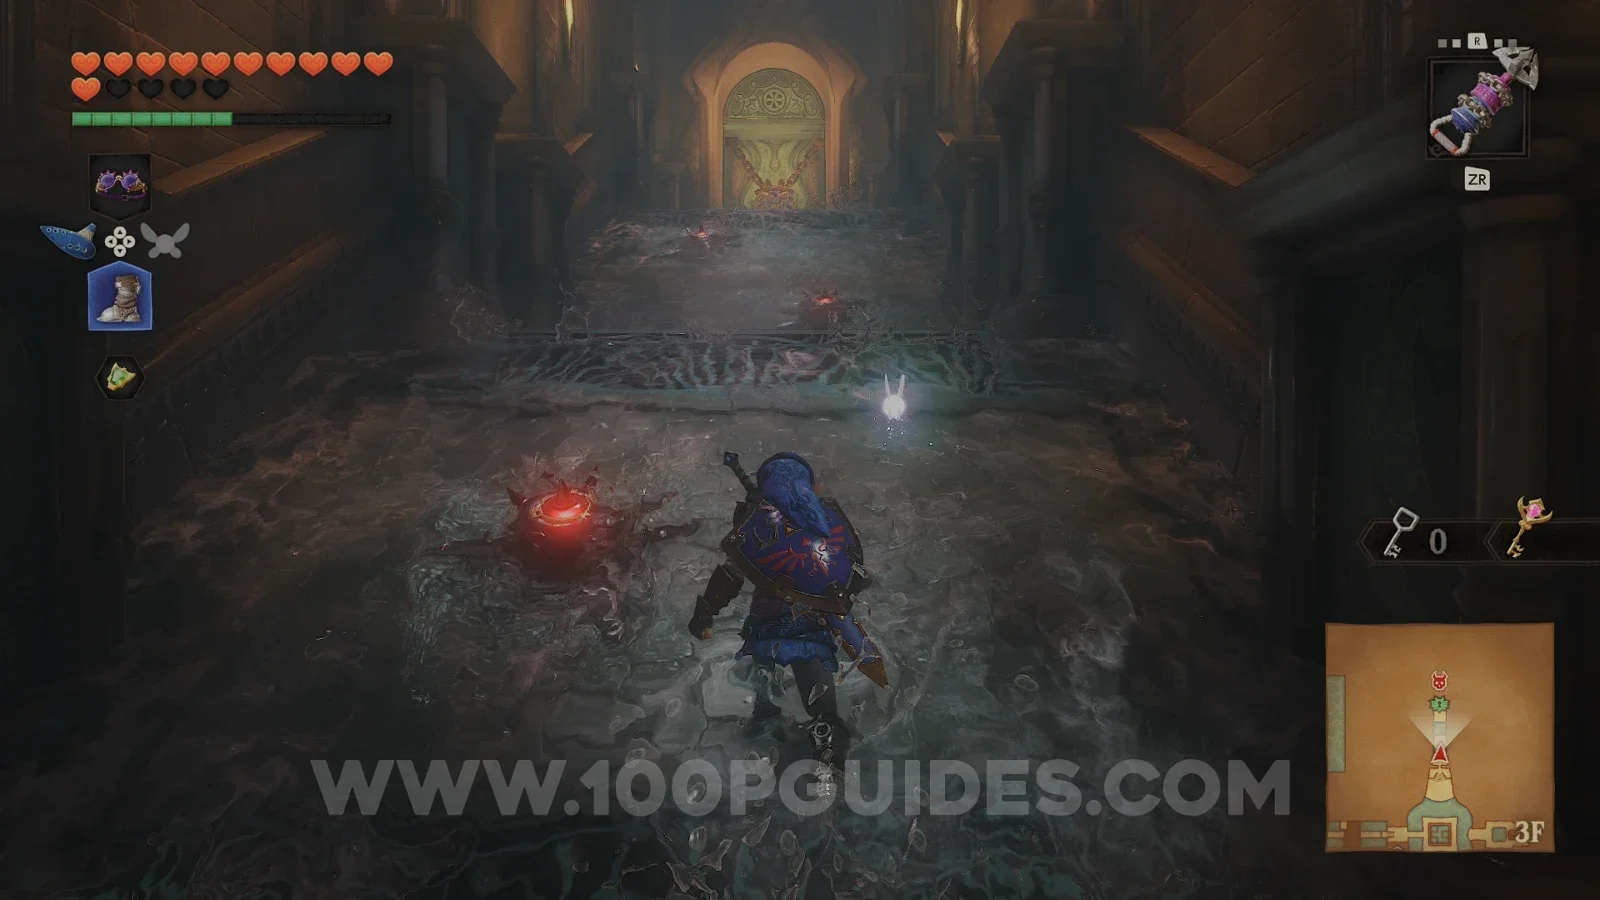
Morpha boss fight
Morpha is the small red ball inside the water, and it controls the tentacles that come out of the pool. Stay on the outer edge of the room, lock on to the red ball and use the Longshot to pull it out of the water. As soon as it lands next to you, hit it with your sword as many times as you can. A good trick is to pull it into one of the corners, since it struggles to get back into the water from there. You can also use the Longshot on it a second time as it tries to escape, before it gets back to the water.
If a tentacle grabs you, it will throw you around for a lot of damage. Use the Longshot on one of the targets on the walls to get out of the way.
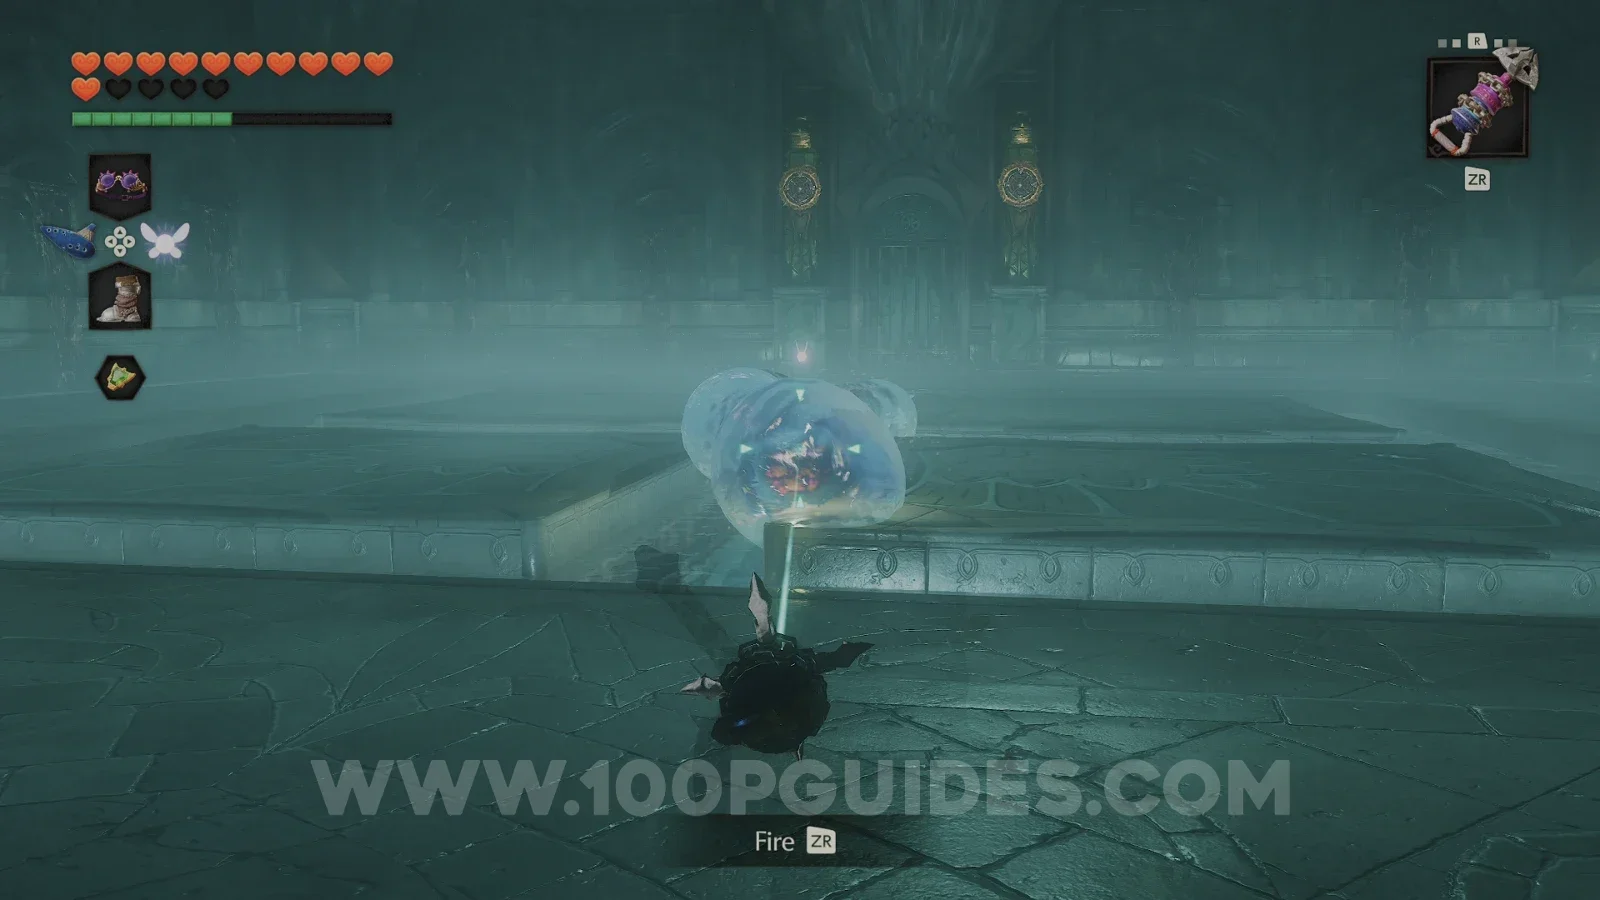
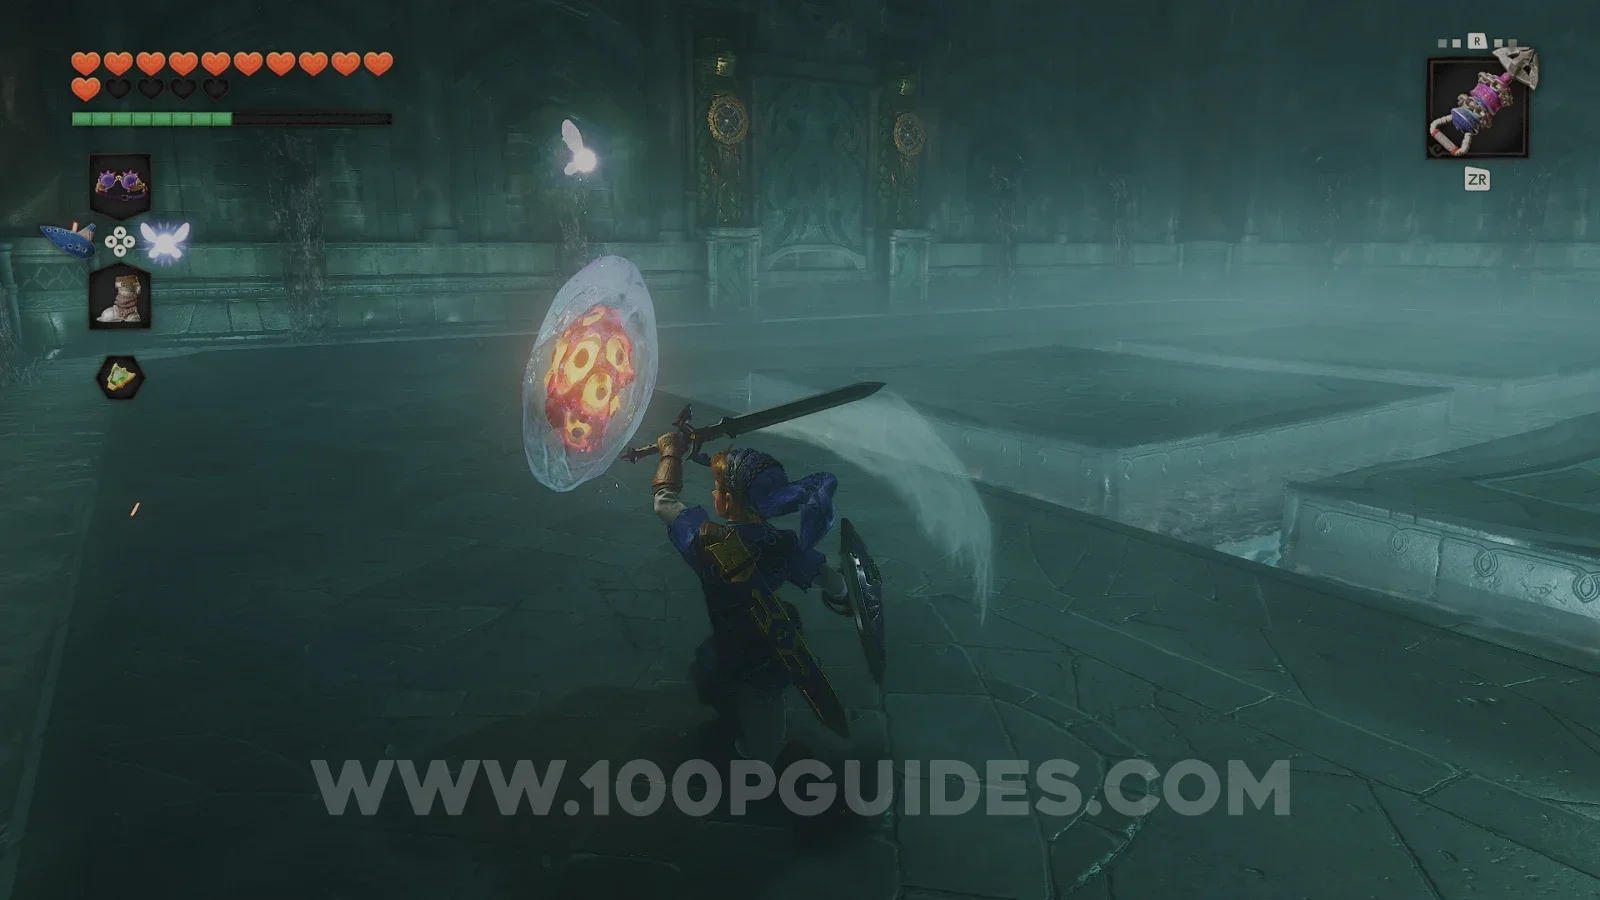
After the fight, pick up the Heart Container and step into the blue light. Ruto will then give you the Water Medallion.
Lake Hylia (refilled)
You will come out on the island in Lake Hylia, and the lake will fill back up. There is a plaque next to you on the island with a hint about the morning sun. If the sun is not rising (it looks like it may be scripted to rise as soon as you come out of the Water Temple), play the Sun's Song until it does, then stand next to the plaque and shoot an arrow at the rising sun to the east. The Fire Arrows will fall onto the small island nearby, so swim over and pick them up. They use magic and will be very handy for lighting torches from a distance.
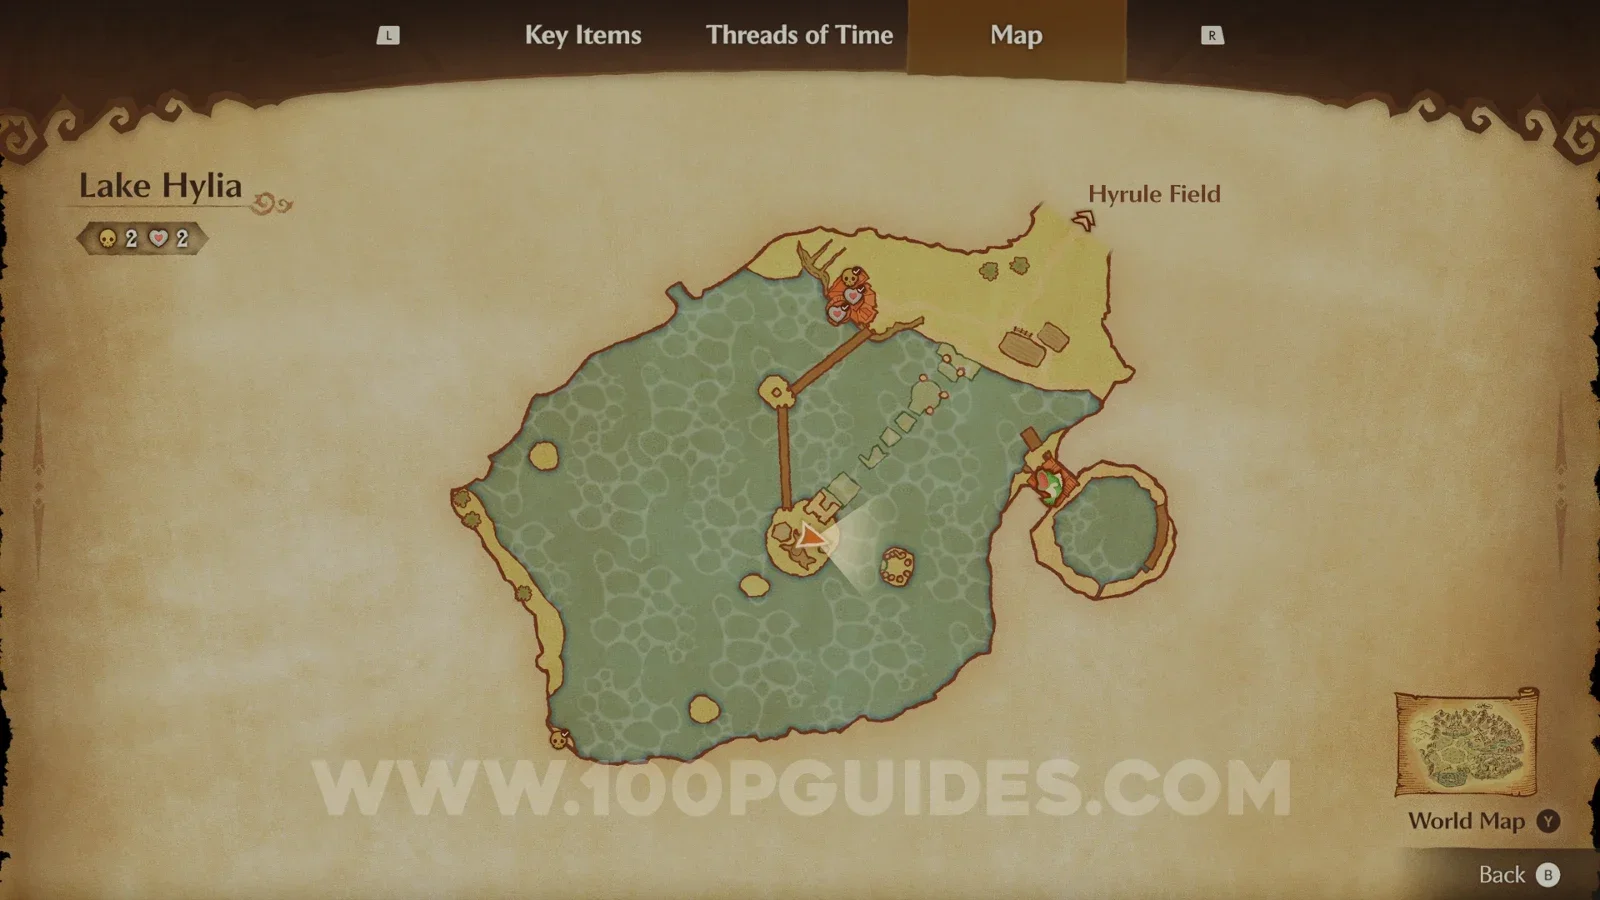
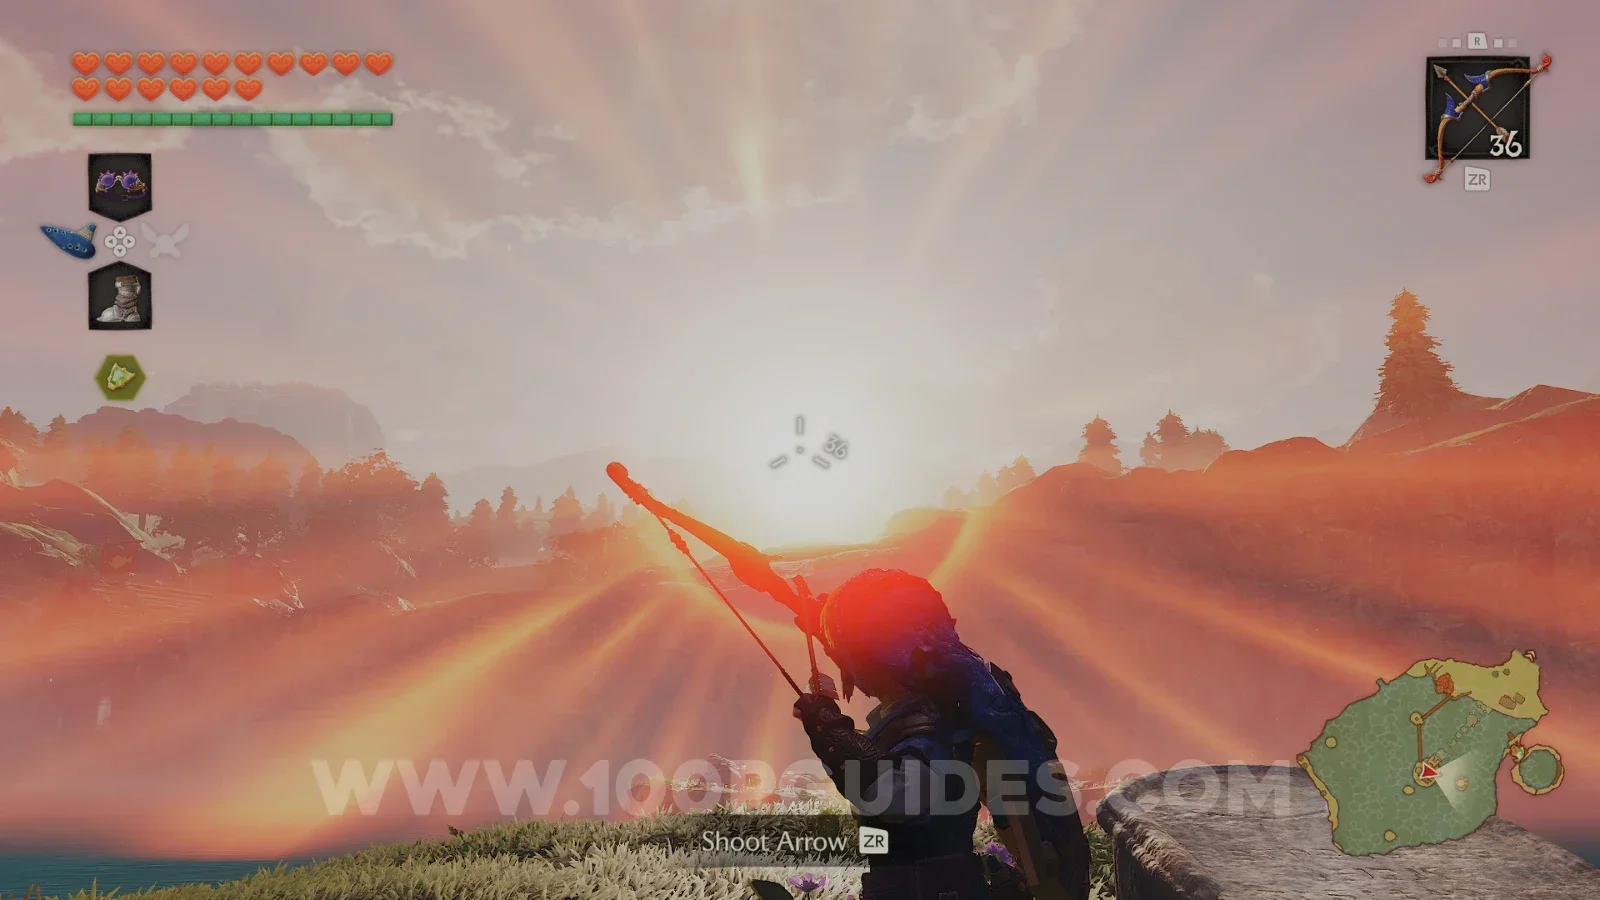
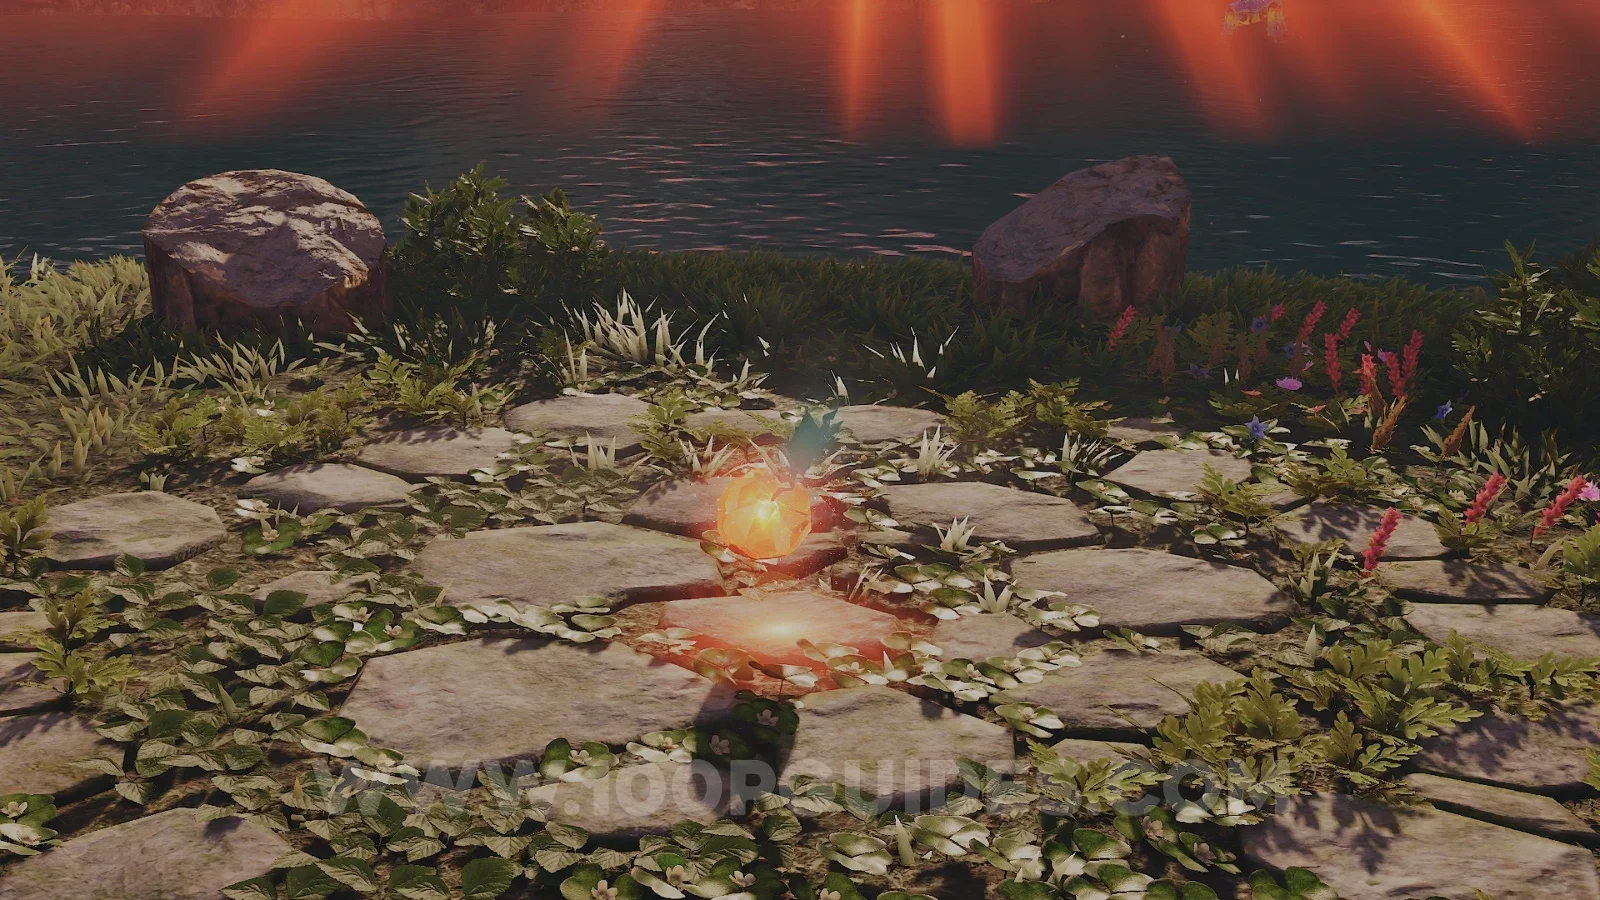
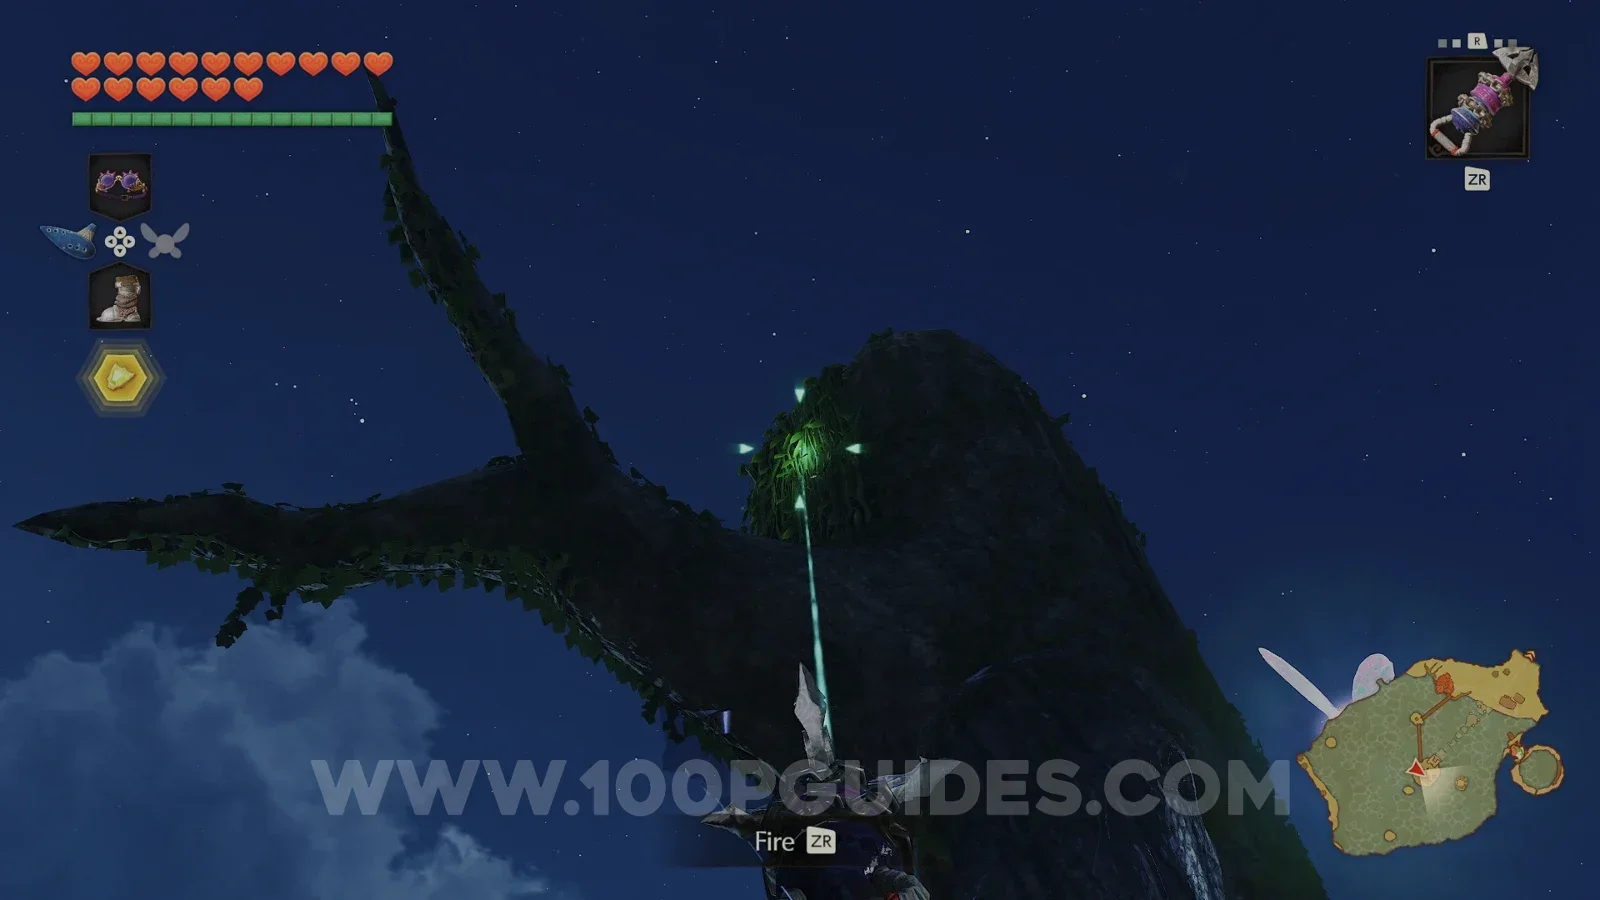
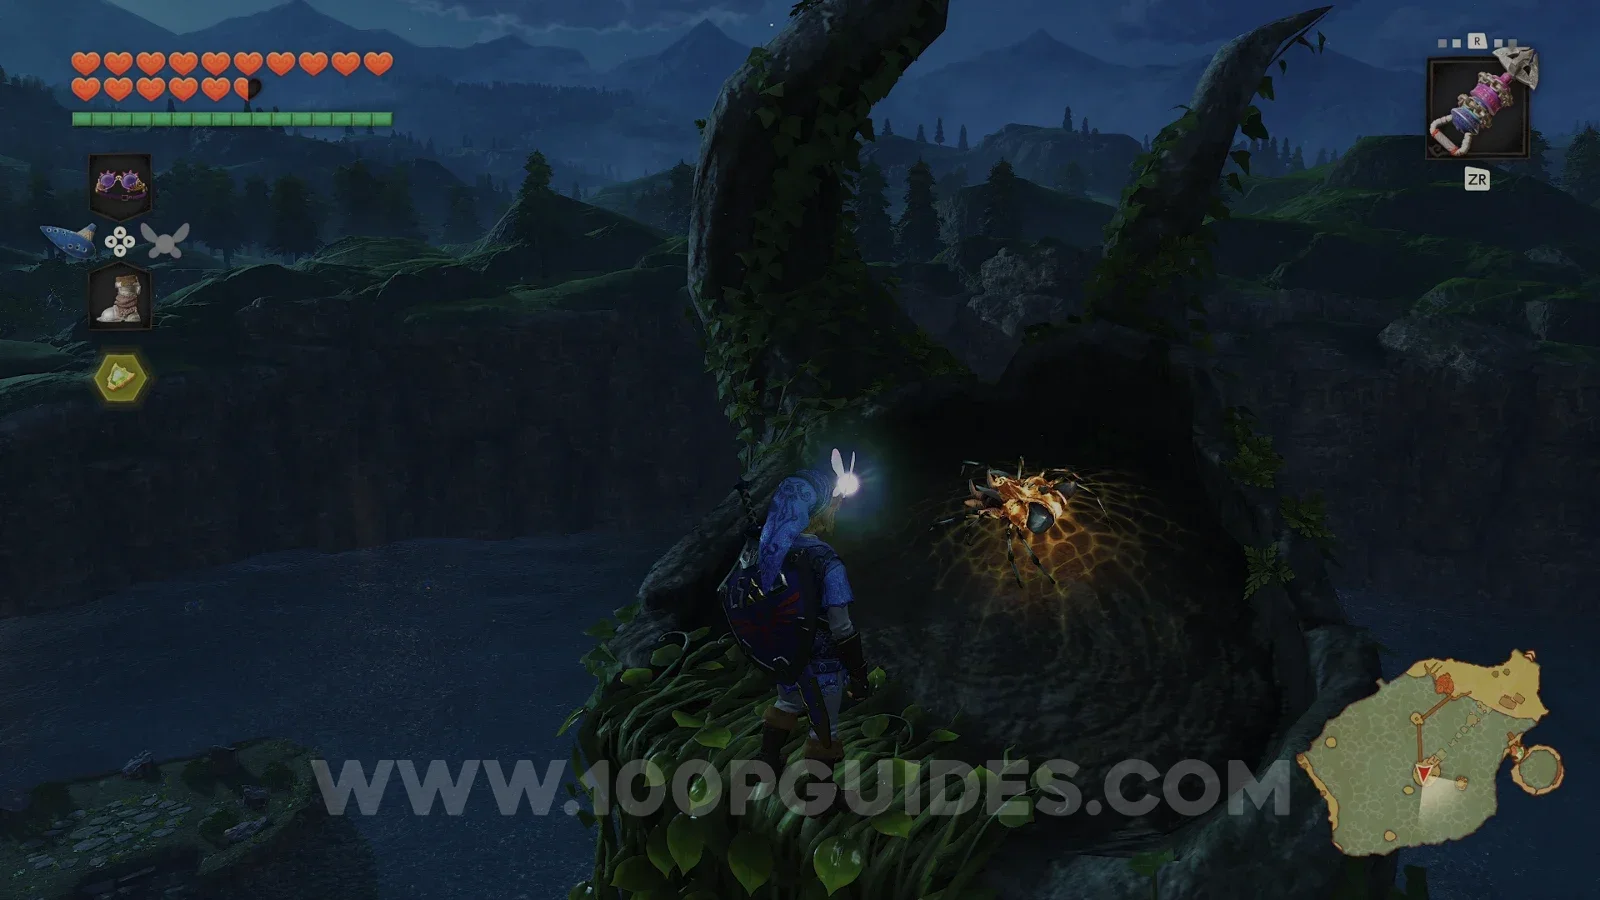
Next, play the Sun's Song to make it nighttime. Look at the big tree on the central island to find a Gold Skulltula (80/100) at the top, and use the Longshot to get it.
It's also worth mentioning that Zora's Domain thaws now that Morpha is gone. The Zora Shop opens again and, more importantly, so does the underwater shortcut between Zora's Domain and Lake Hylia.
That shortcut is exactly what you need for the next part, which is all about the Biggoron Sword, a long trading quest that gets you the best sword in the game.