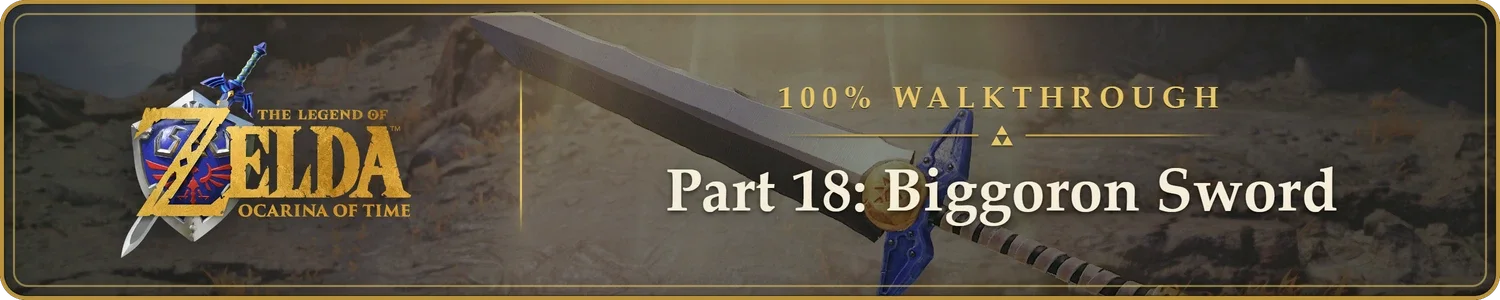
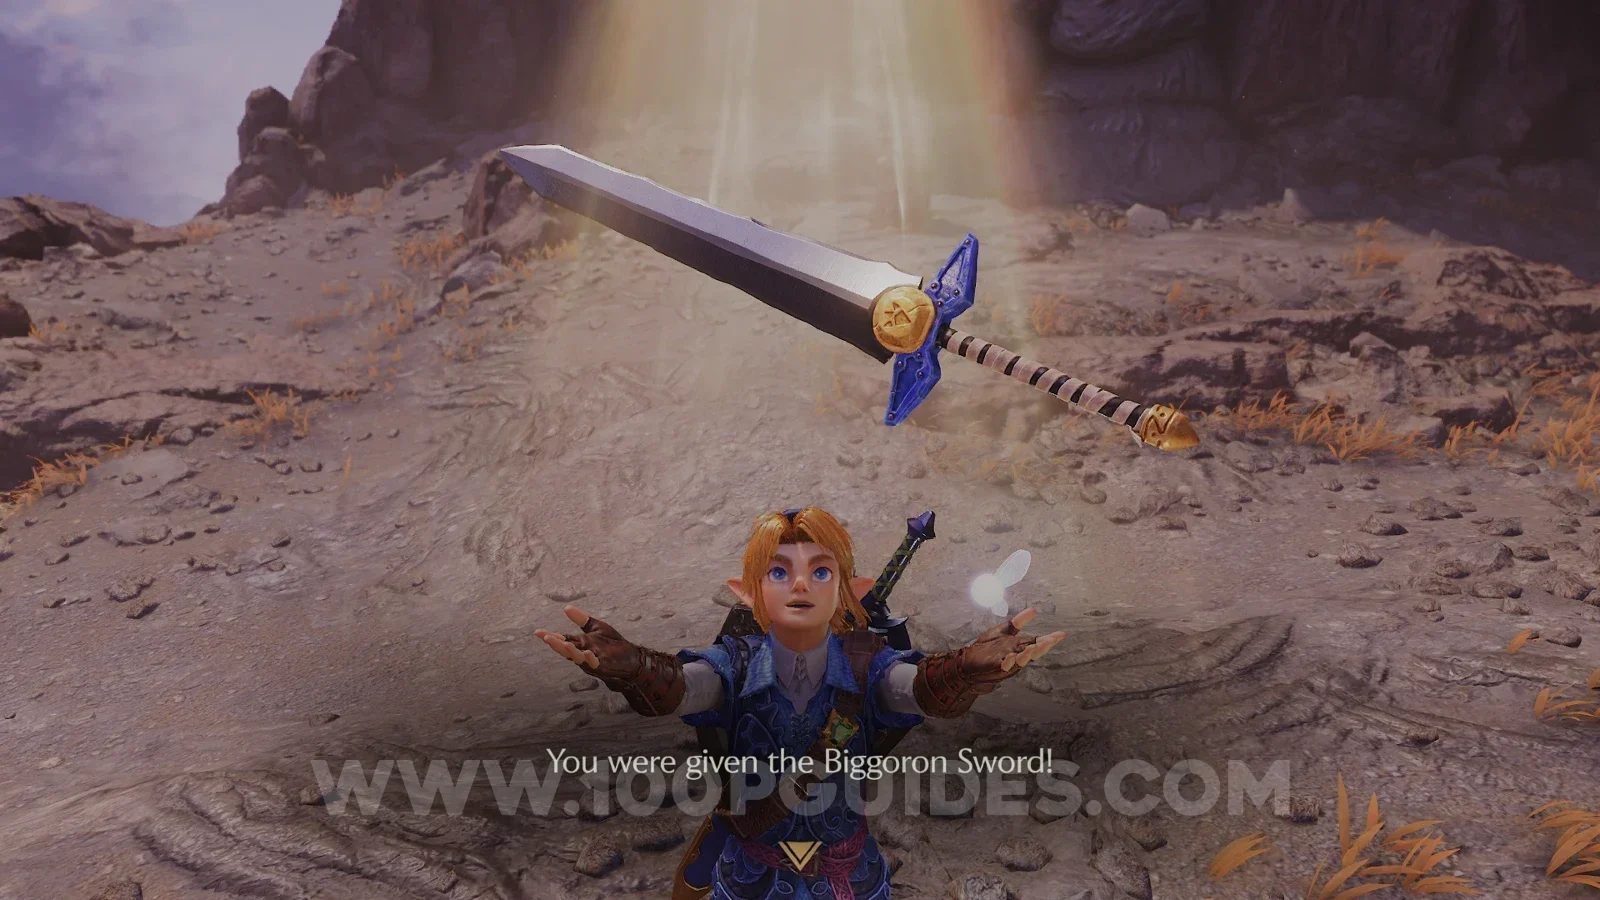
Welcome to Part 18 of our 100% Walkthrough of Zelda Ocarina of Time Remake. With the Water Medallion in hand, you take a break from the temples to go after the Biggoron Sword, the strongest sword in the game. It needs both hands, so you can't use your shield with it, but it hits twice as hard as the Master Sword and it never breaks.
You get it through a long trading quest that starts with an egg in Kakariko Village and sends you all over Hyrule, swapping one odd item for the next. Three of the trades are on a timer, and warp songs cancel the timer, so those have to be done on foot.
The quest has been open since you became an adult, but we left it until now on purpose. With the Water Temple finished, Zora's Domain has thawed and the underwater shortcut to Lake Hylia is open again, which makes the two tightest timers a lot easier. Your first step into Kakariko Village also sets off the next part of the story, so you learn the Nocturne of Shadow along the way.
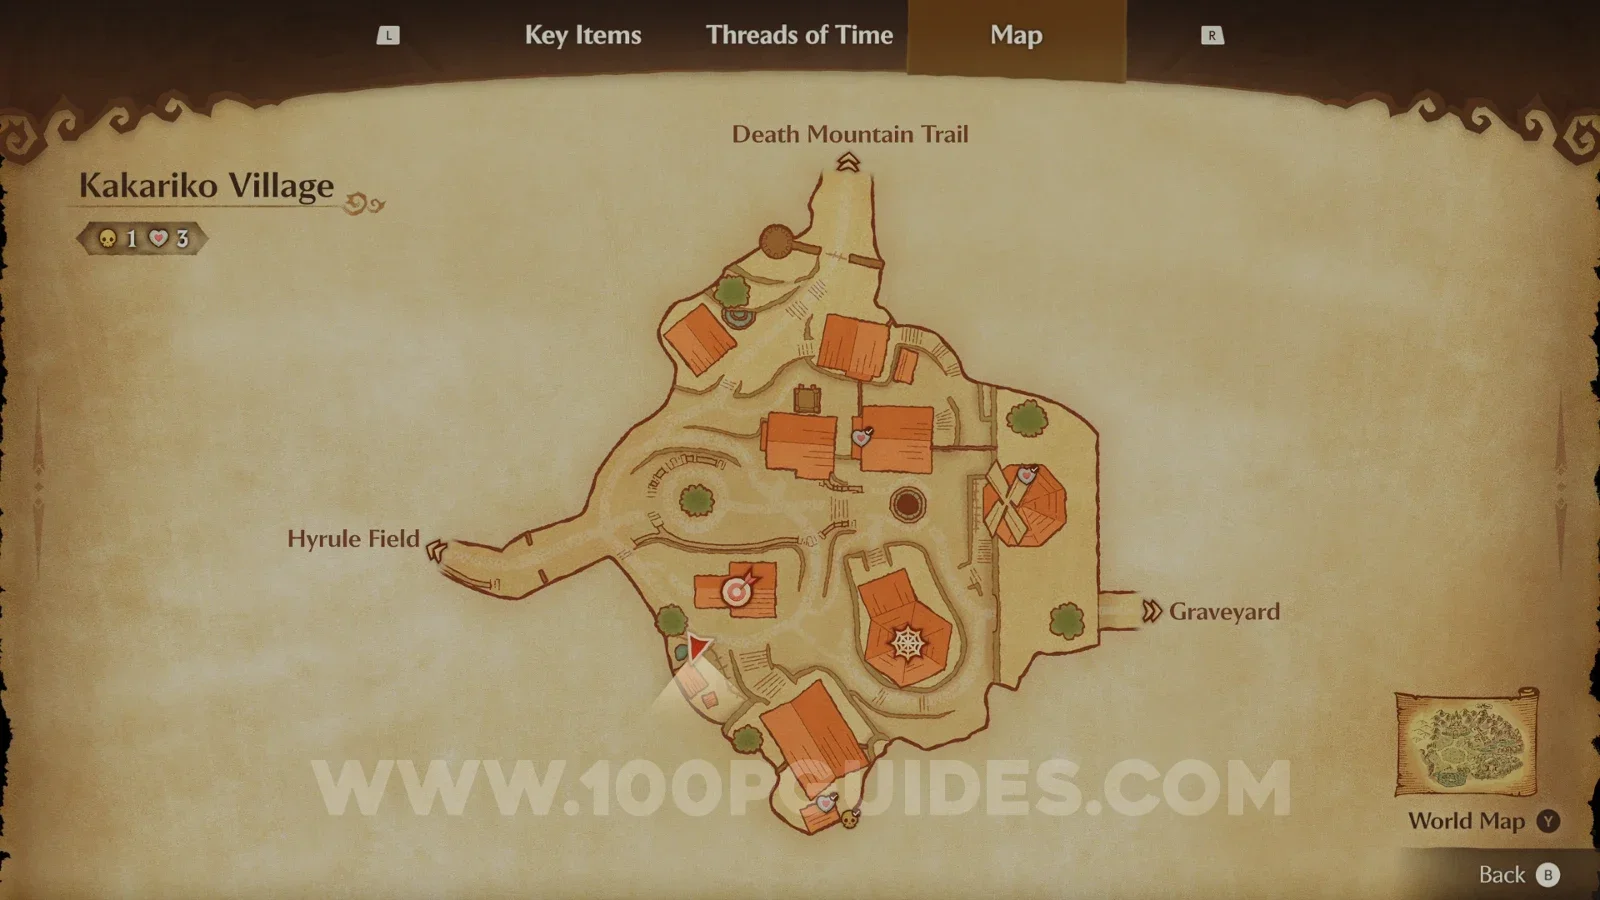
Kakariko Village
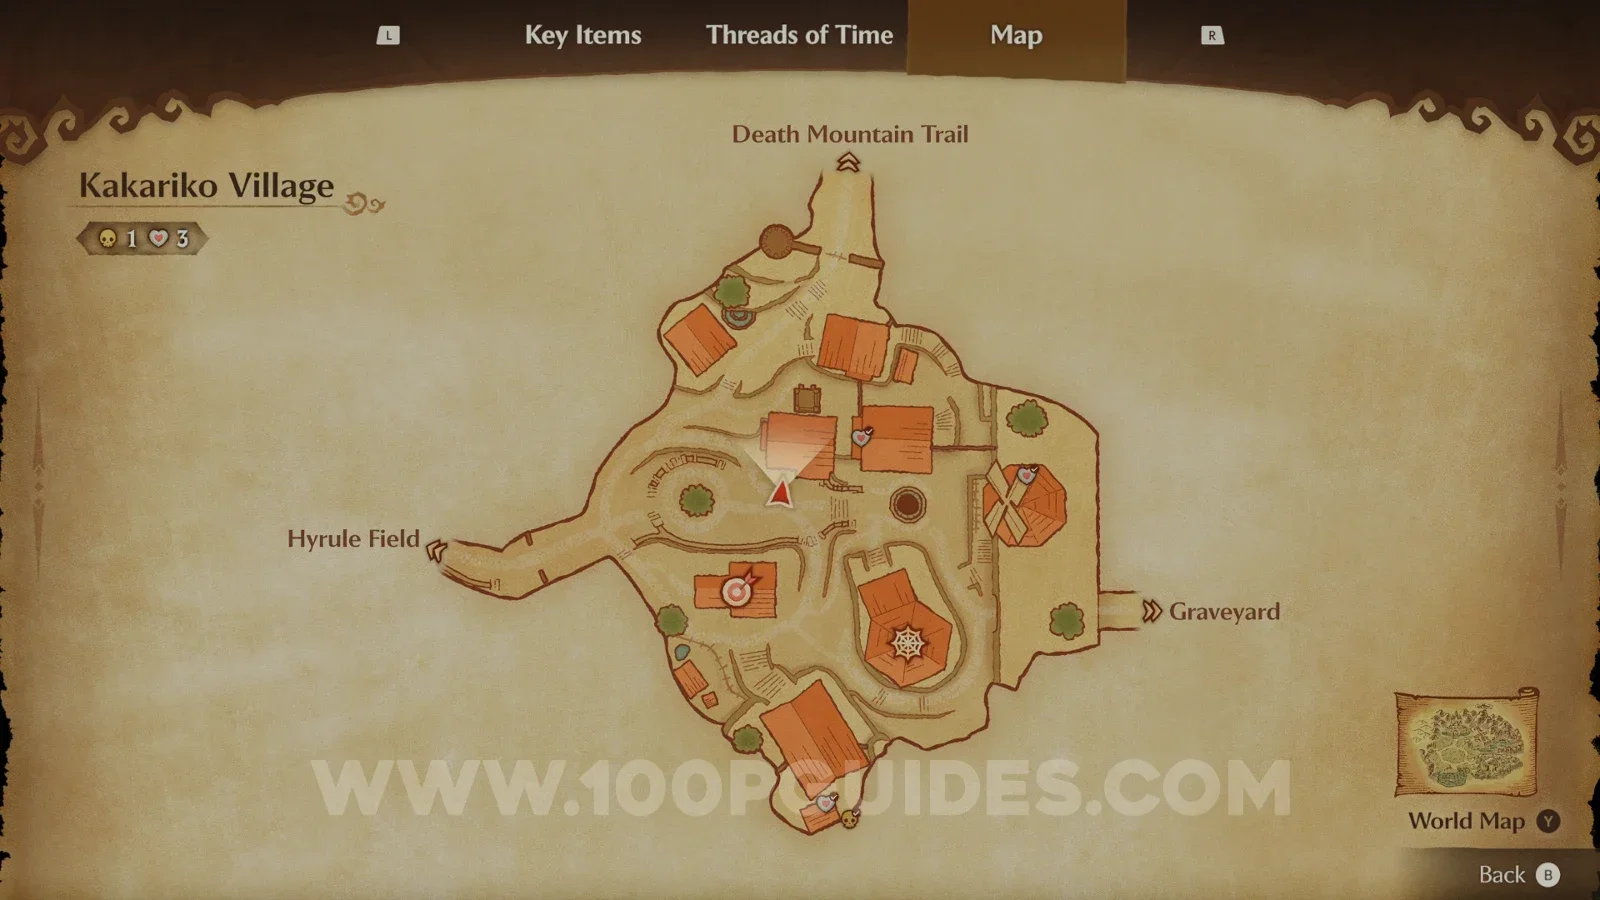
Head to Kakariko Village. Now that you have the Water Medallion, a scene will start as soon as you arrive. The village is burning, and something invisible breaks out of the well and knocks out both you and Sheik. When you wake up, Sheik will teach you the Nocturne of Shadow (Song 12/13), which warps you to the ledge above the graveyard.
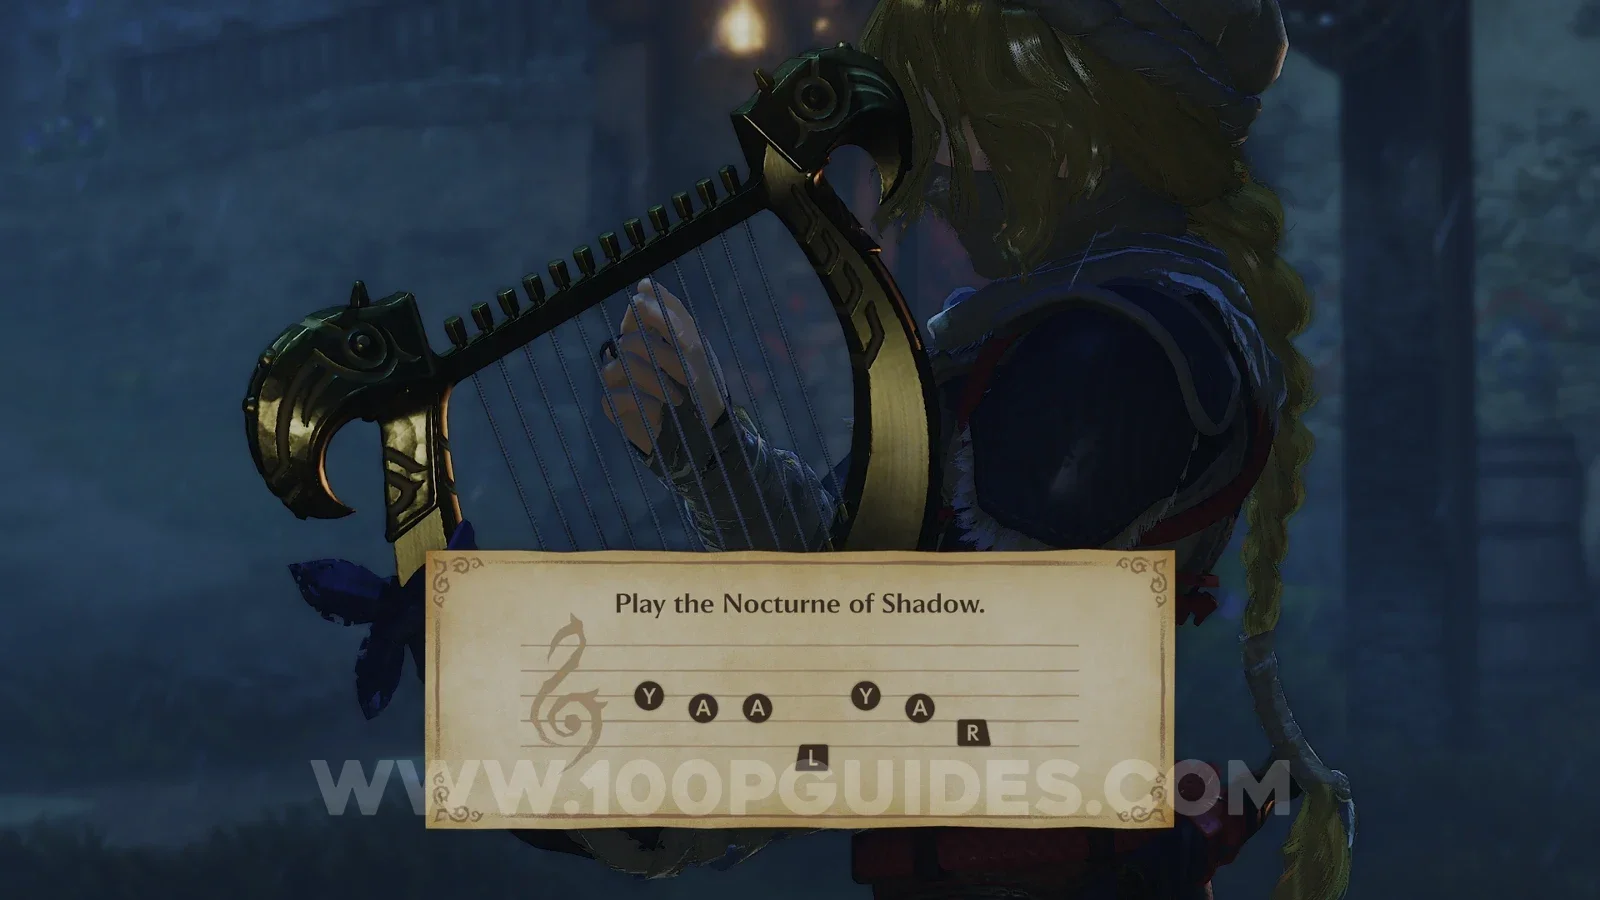
That is where the next temple is hiding, but it can wait until the next part.
Before you start trading, head to the windmill. Now that you have the Longshot from the Water Temple, you can finally reach the hidden chest high up in it.
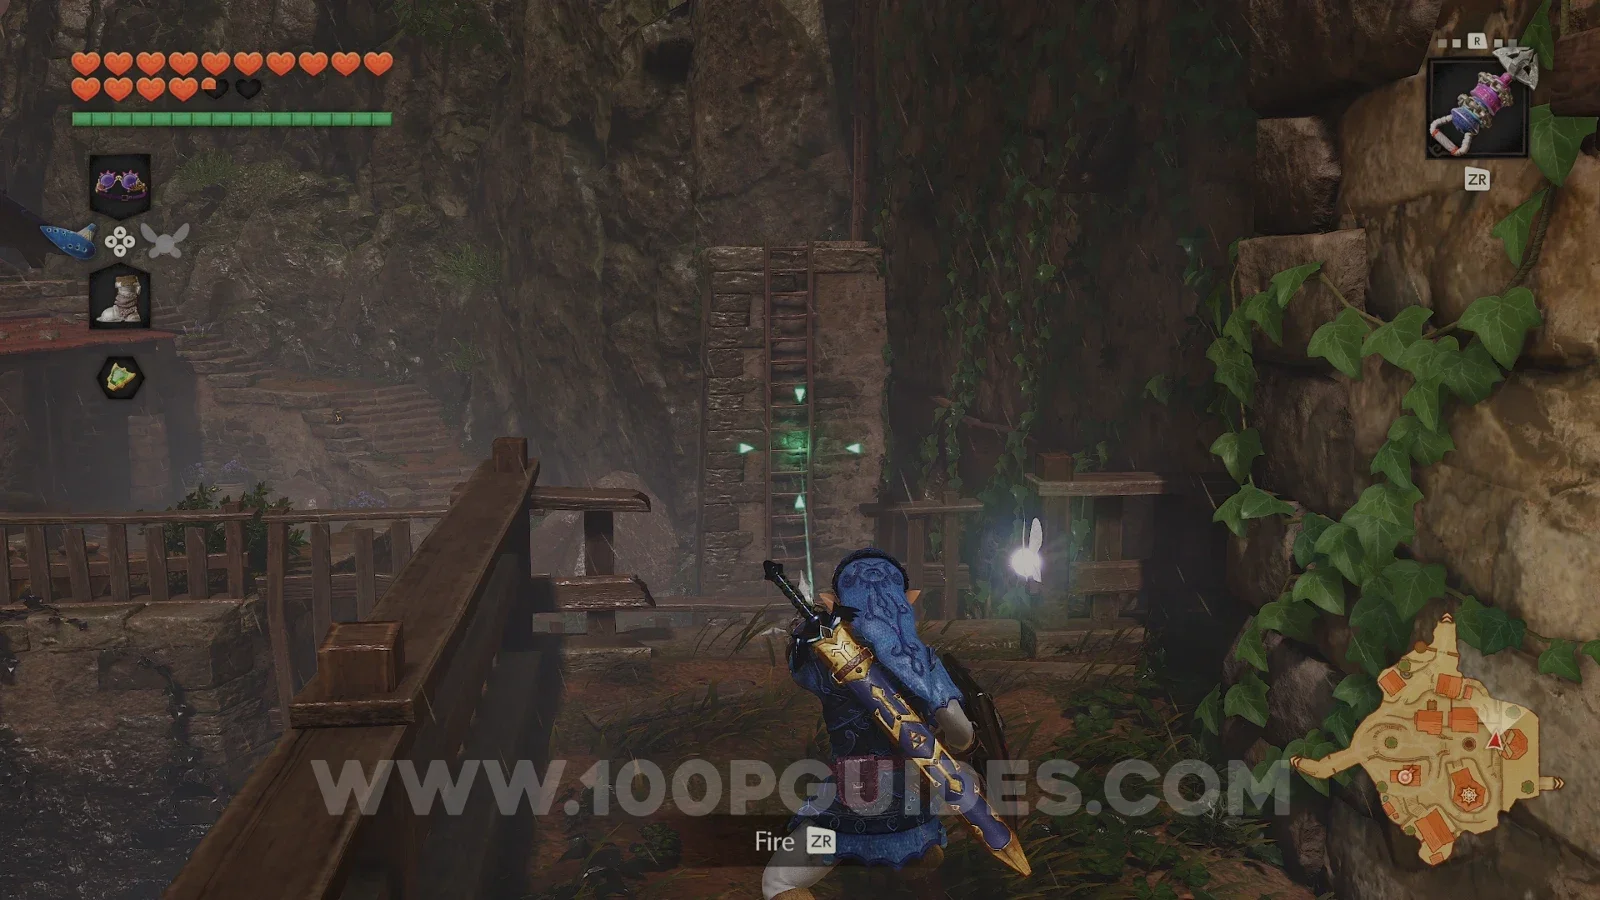
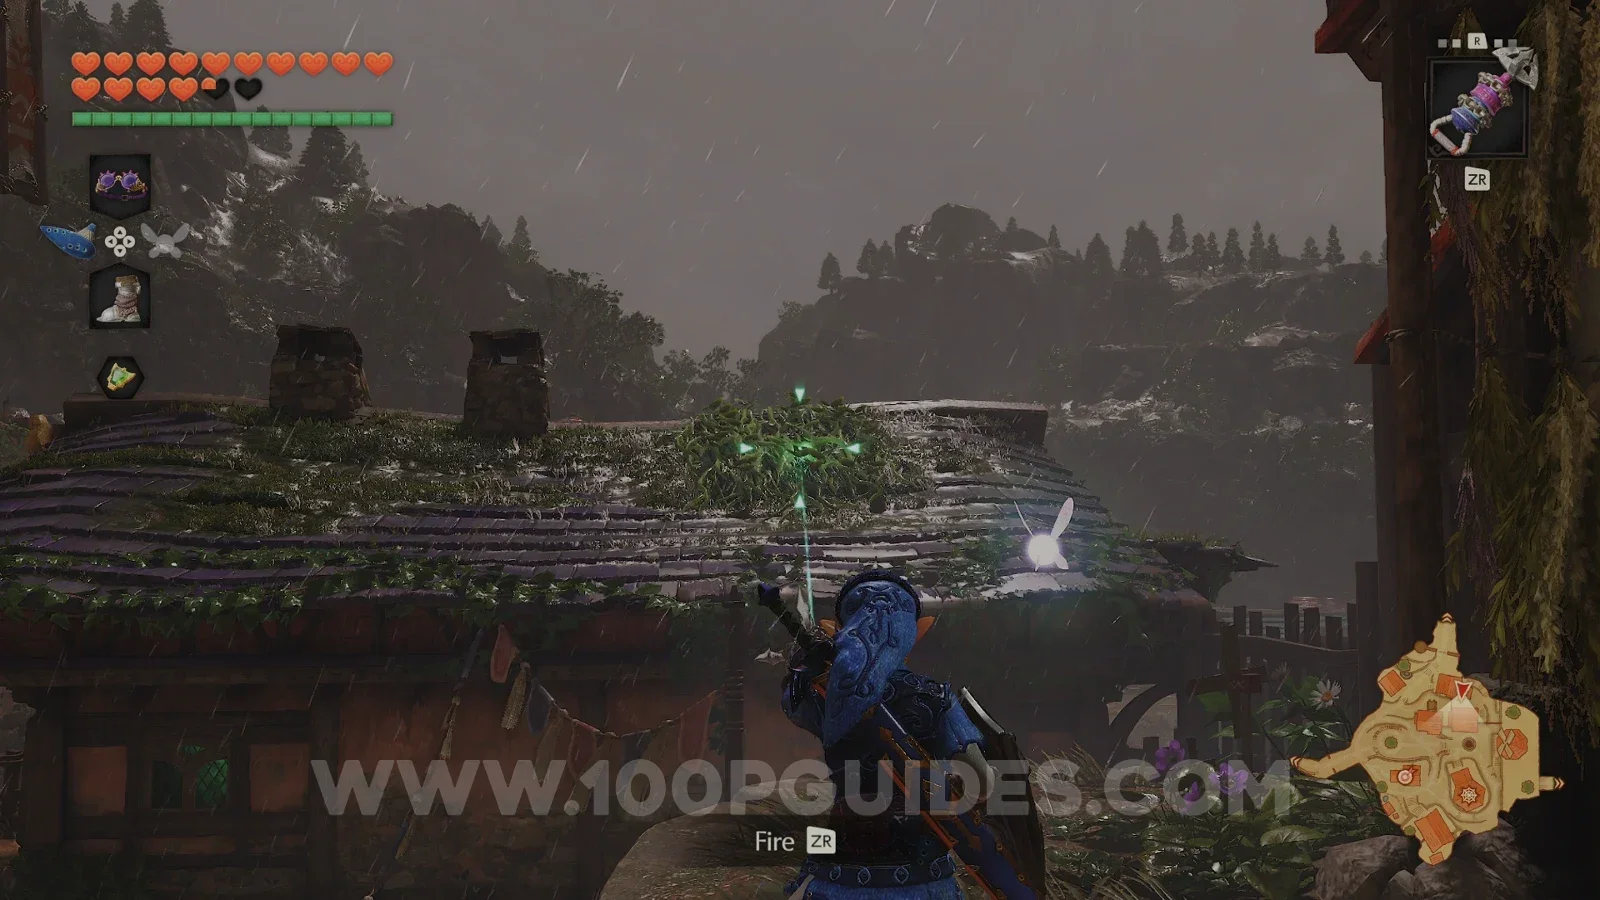
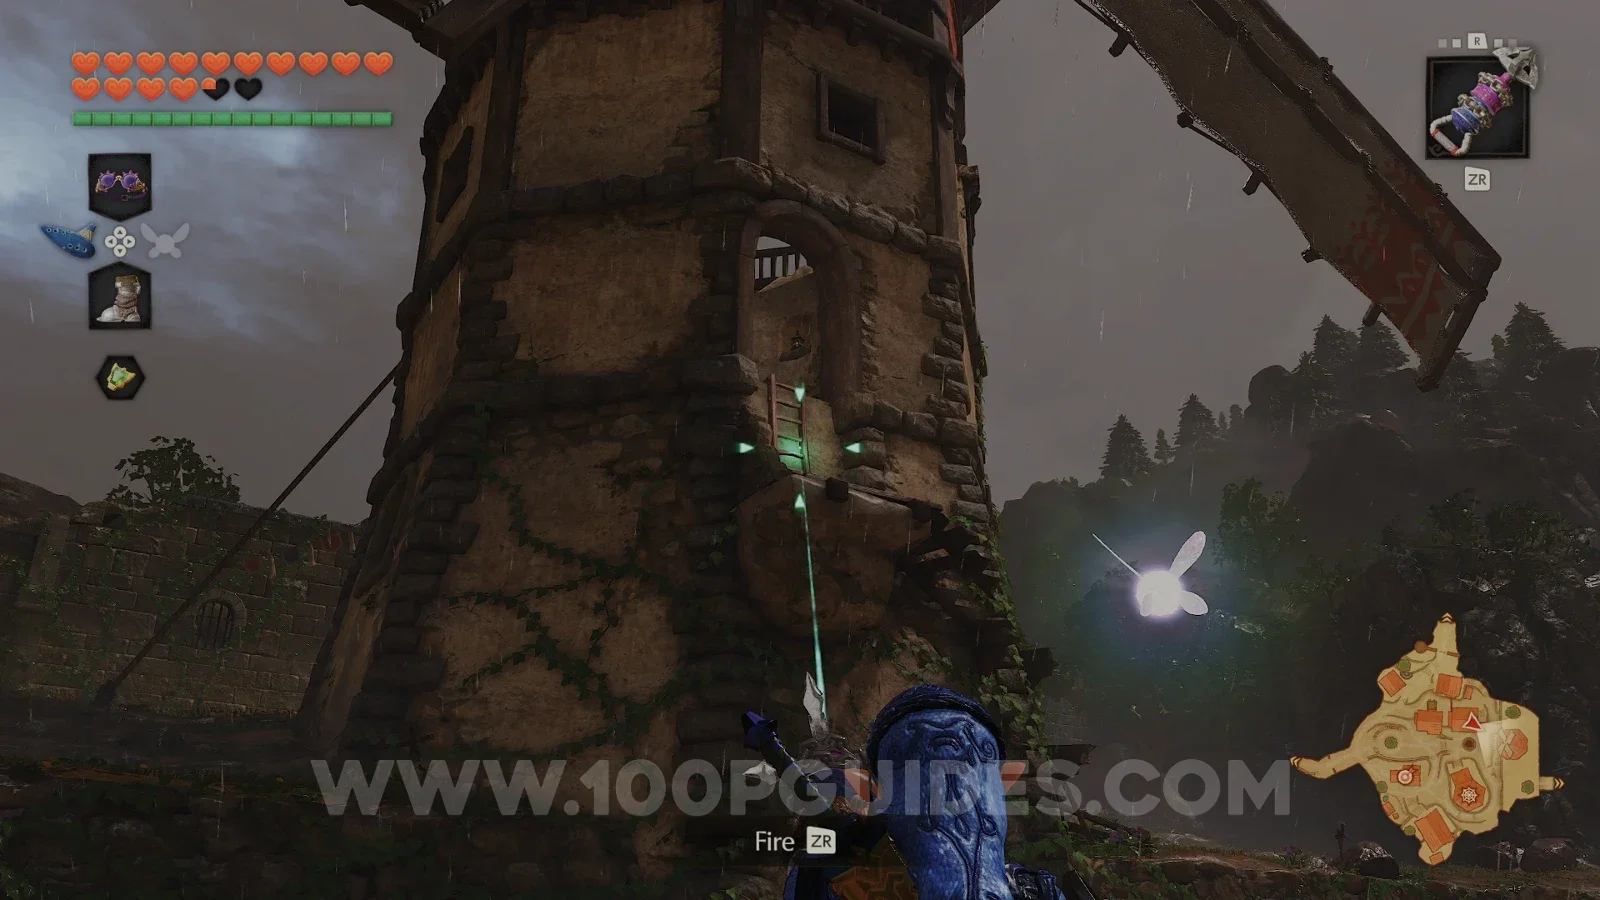
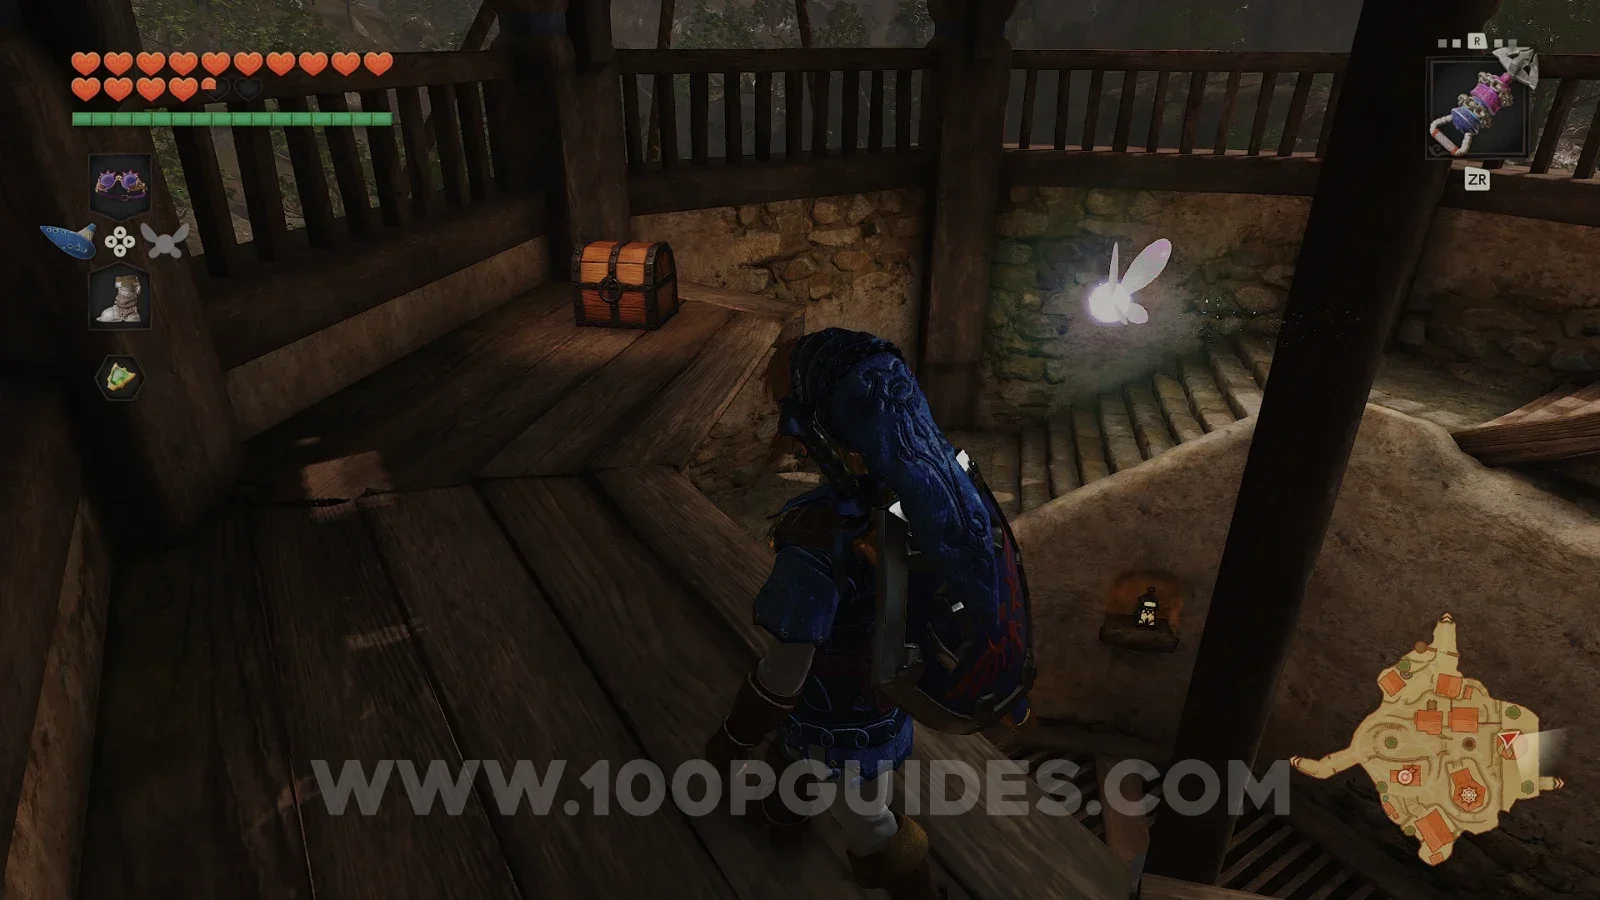
To get it, head up to the windmill door and go past it. Use the Hookshot to reach the ladder on the other side of the wooden fence (the same fence you glided over with the cucco as a child). Then, head up the stairs in front of you (not the ladder) and look left to hookshot to the blue roof using the vines. Then, stand on the edge of the roof and use the Longshot to grapple onto the upper ladder of the windmill, where you will find the chest with a purple rupee inside.
With that out of the way, it's time to start trading.
Pocket Egg
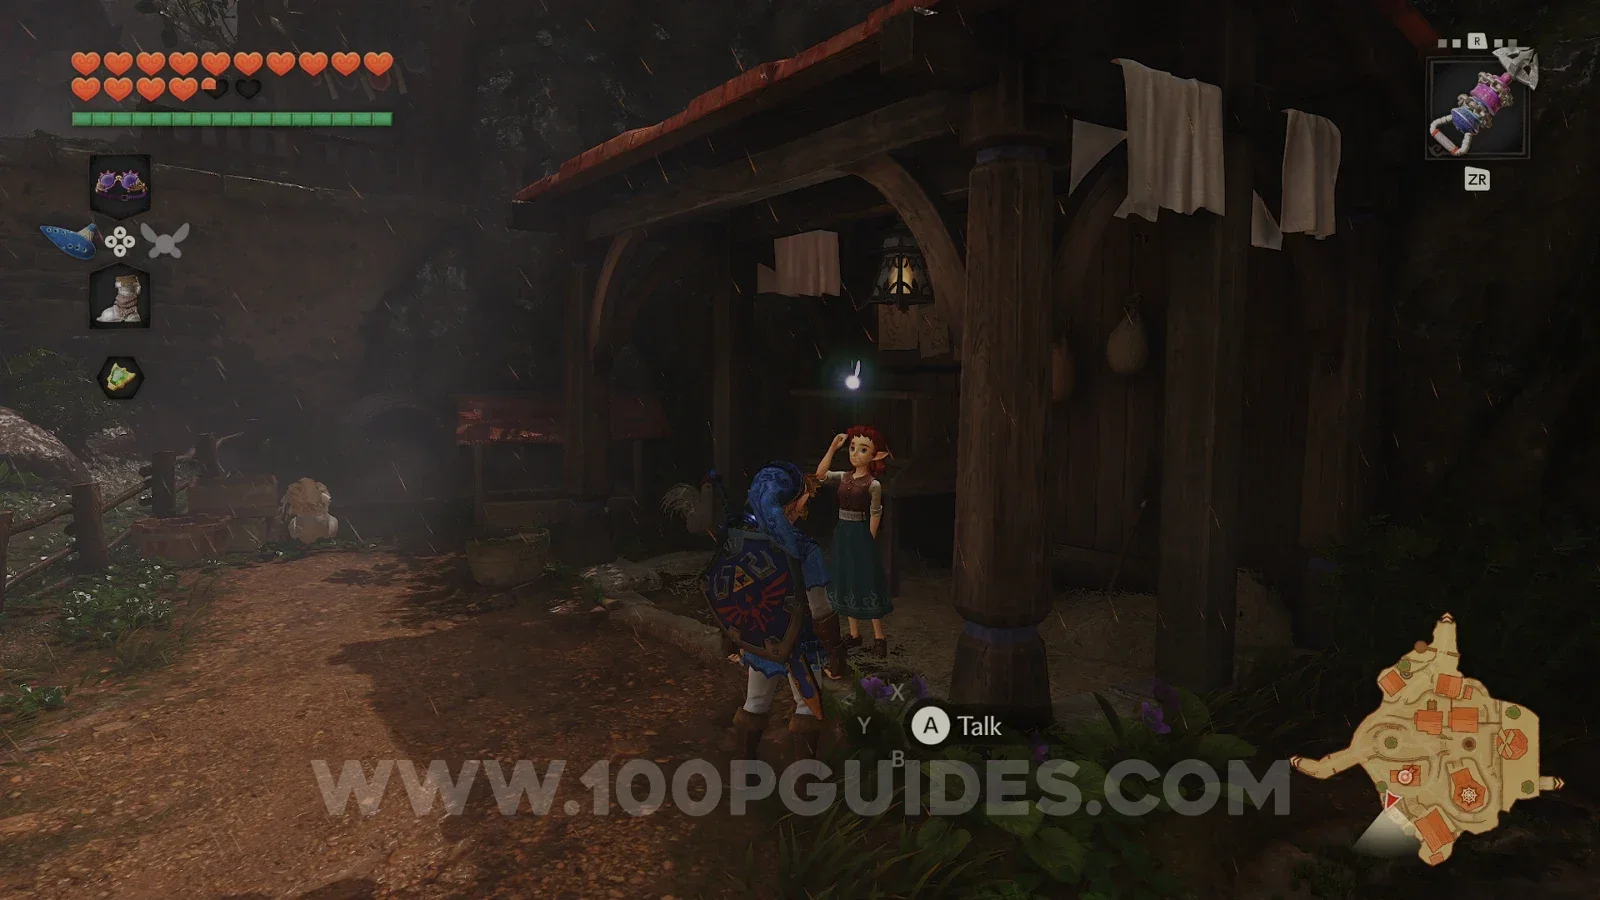
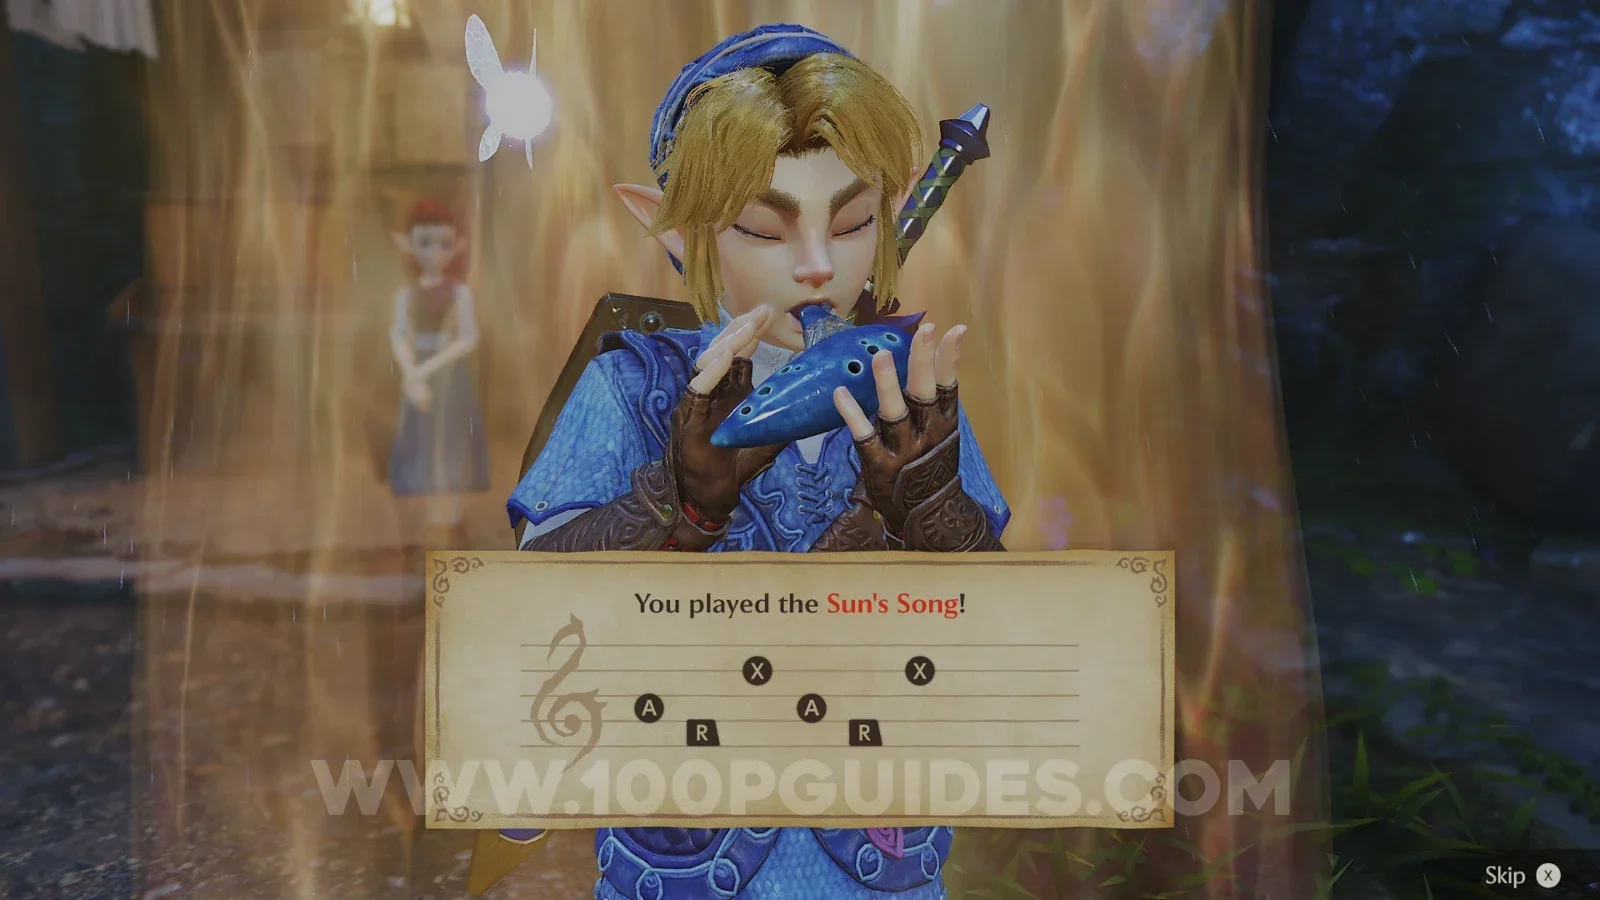
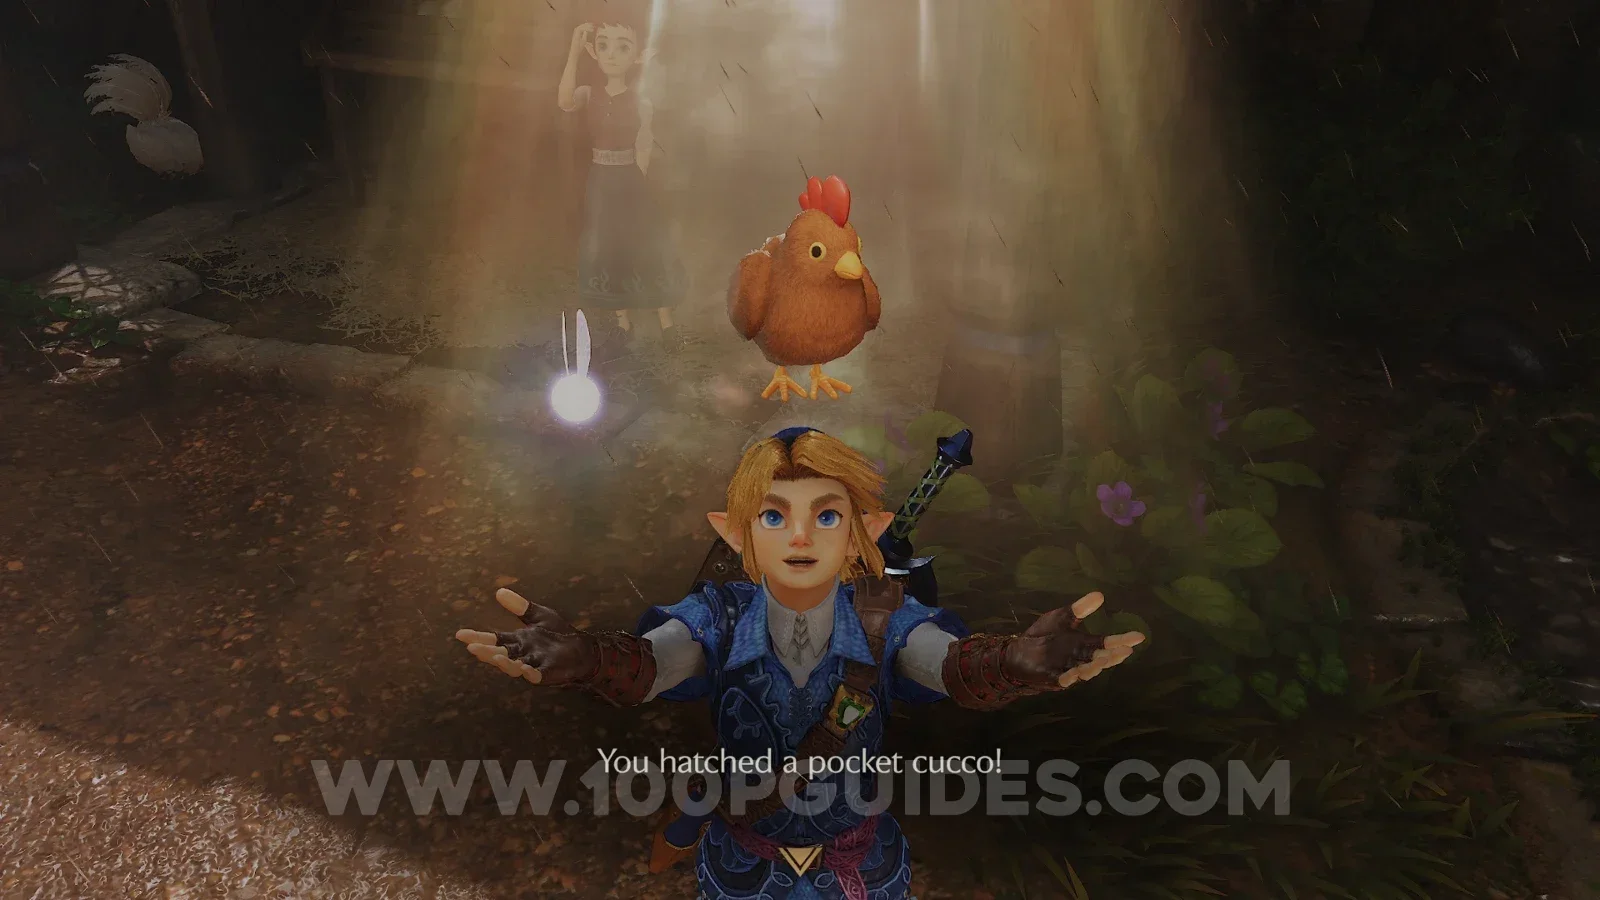
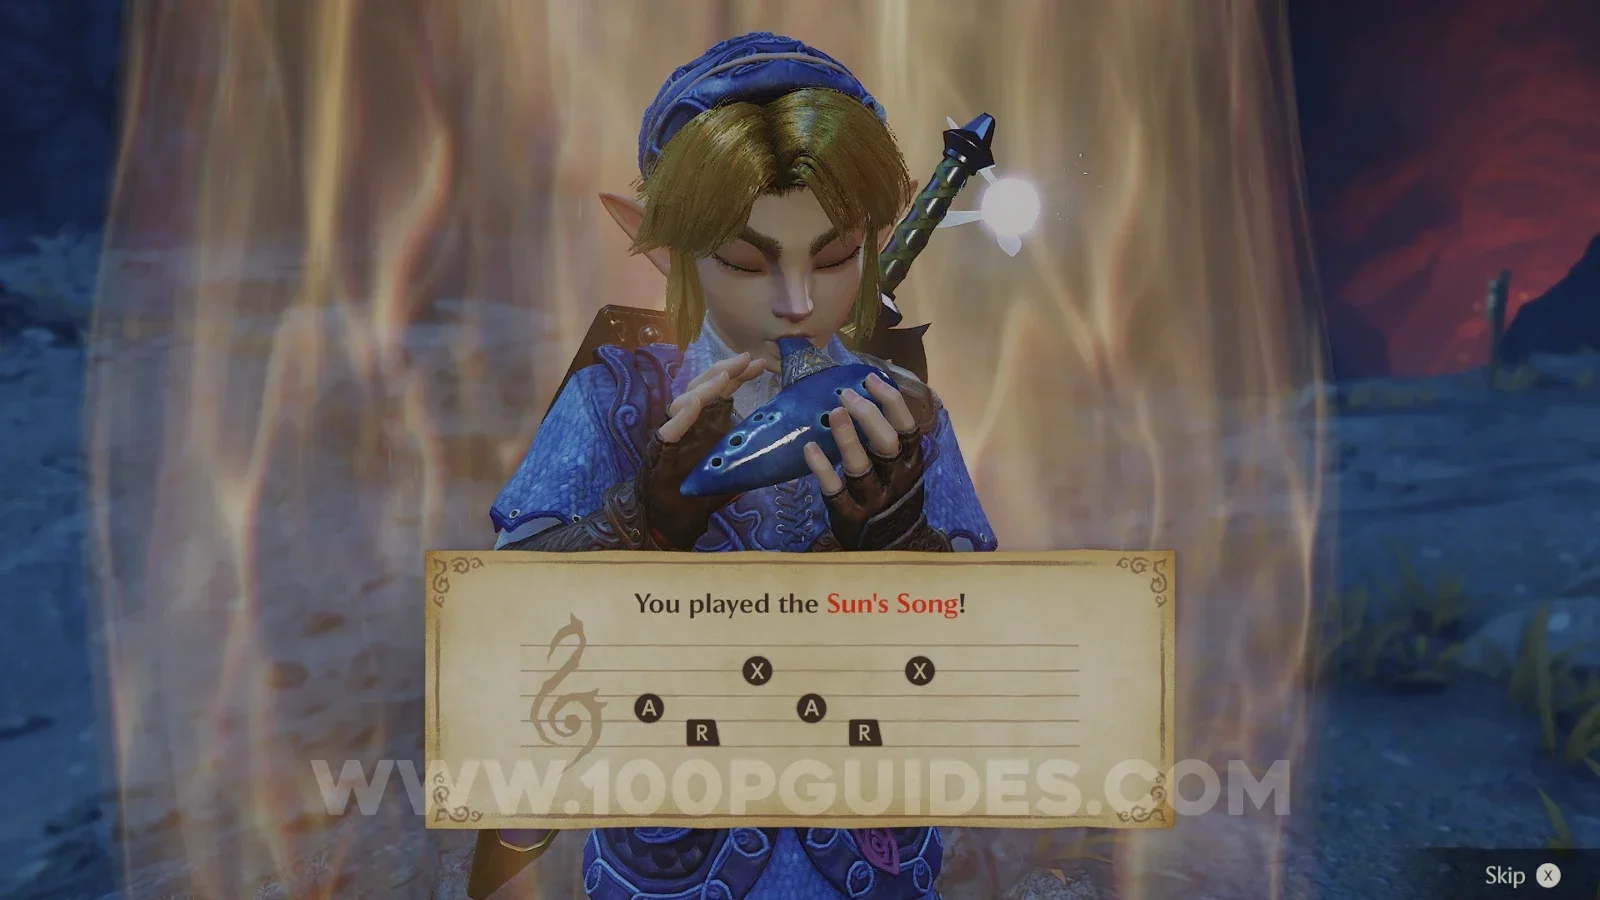
Talk to the Cucco Lady next to the pen in Kakariko and she will lend you the Pocket Egg. Just like the egg Malon gave you as a child, it needs time to hatch, so play the Sun's Song until it does and you will have the Pocket Cucco.
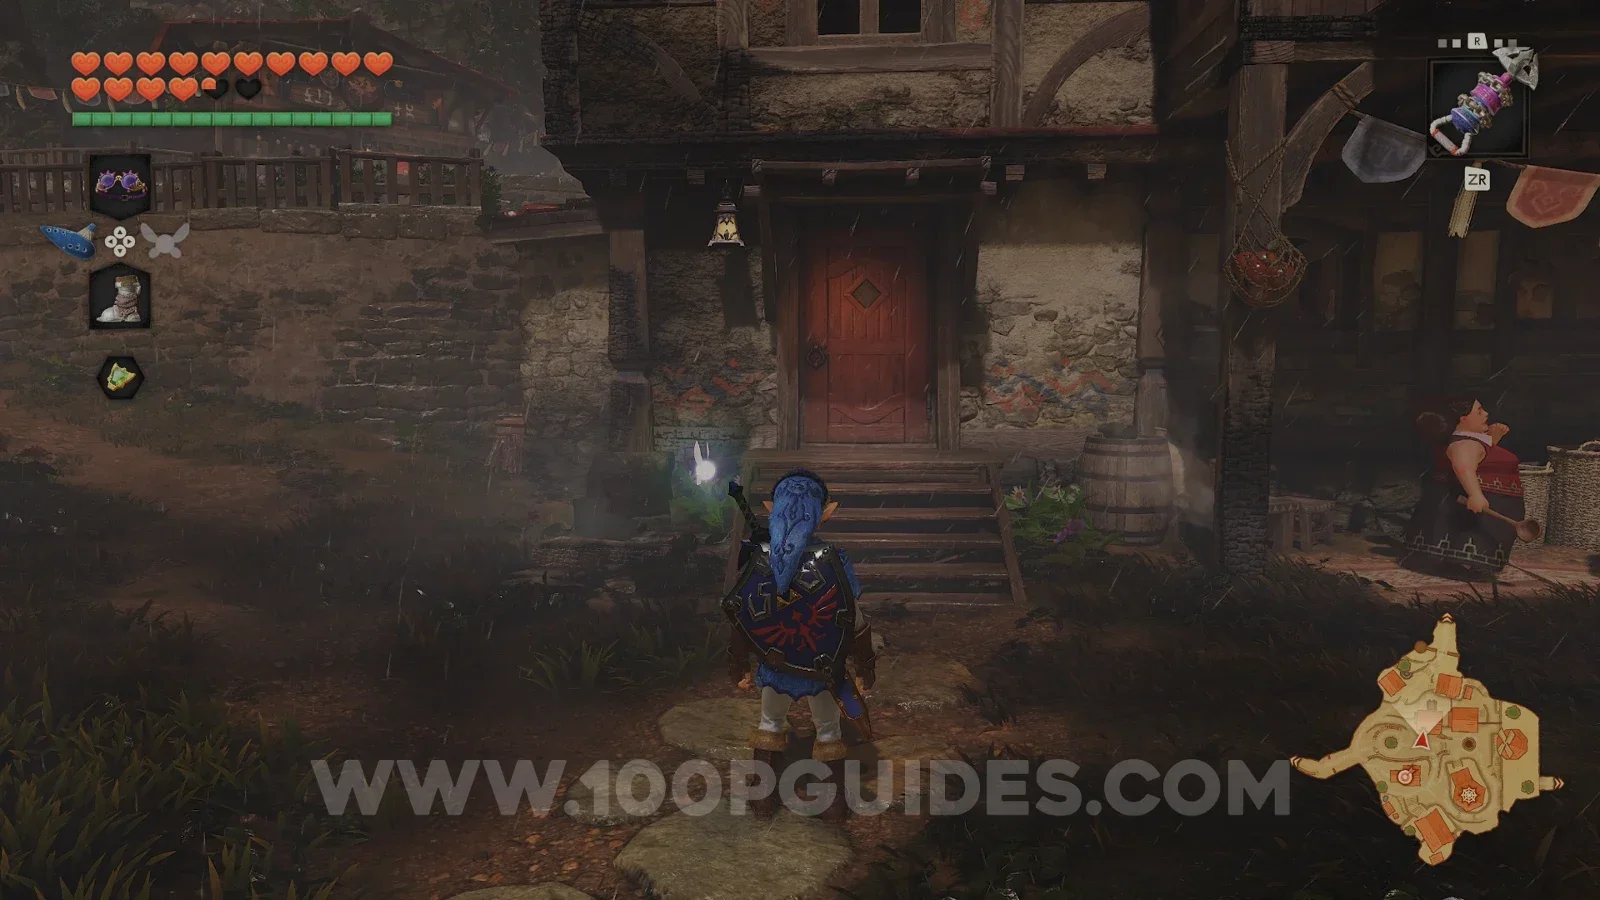
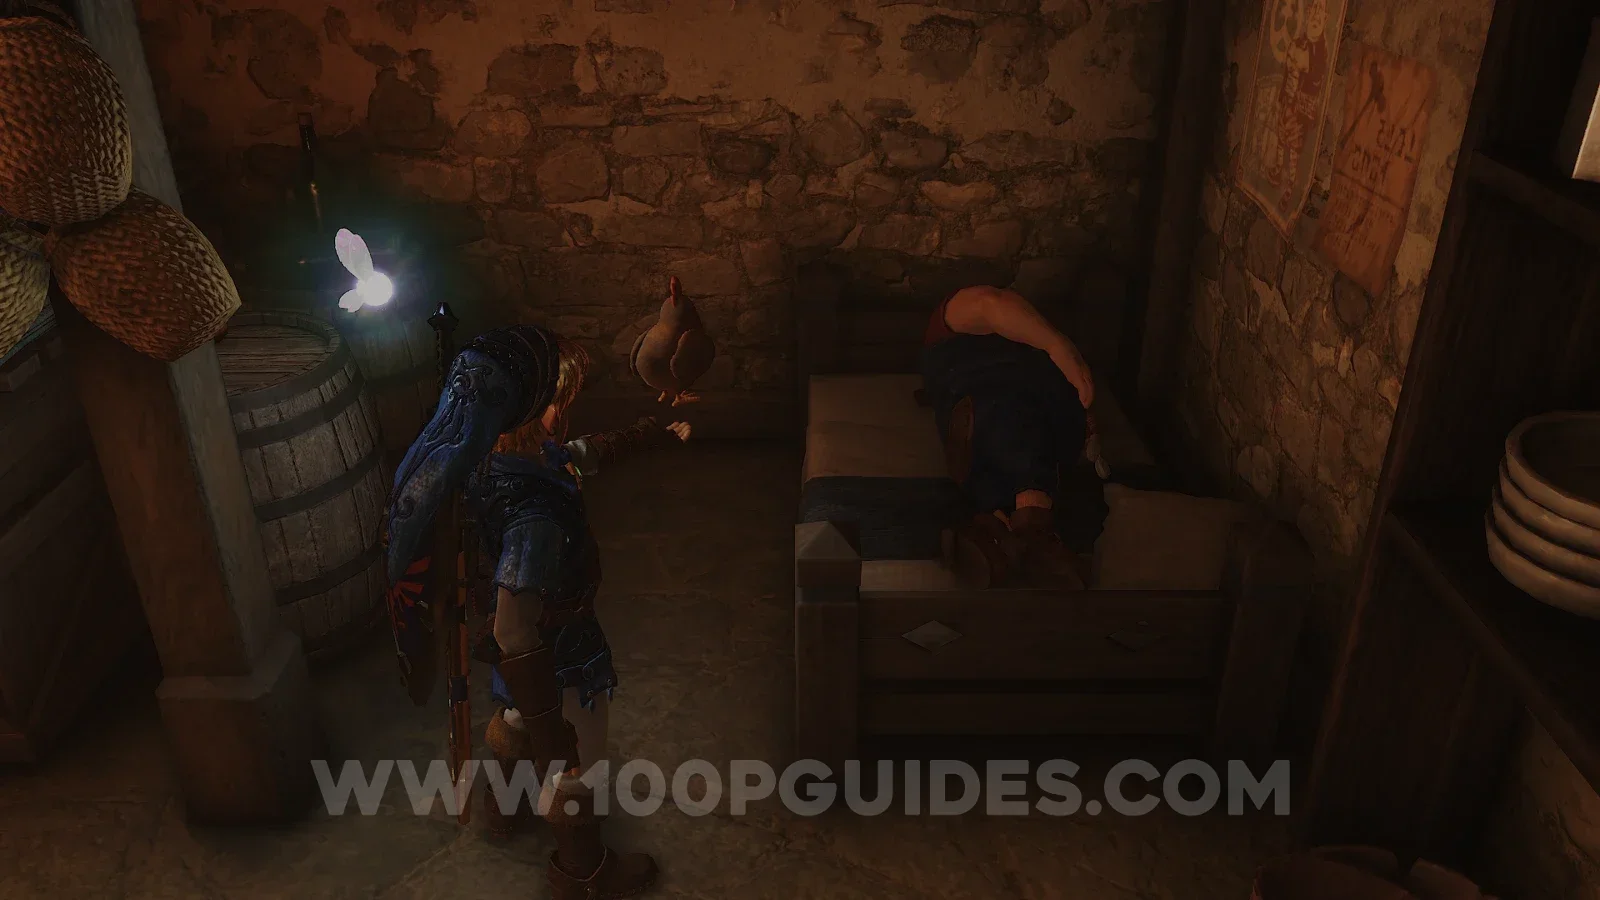
Next, enter the first house to the north in the centre of the village to find Talon asleep. Take out the Pocket Cucco next to him to wake him up, and he will head back to Lon Lon Ranch.
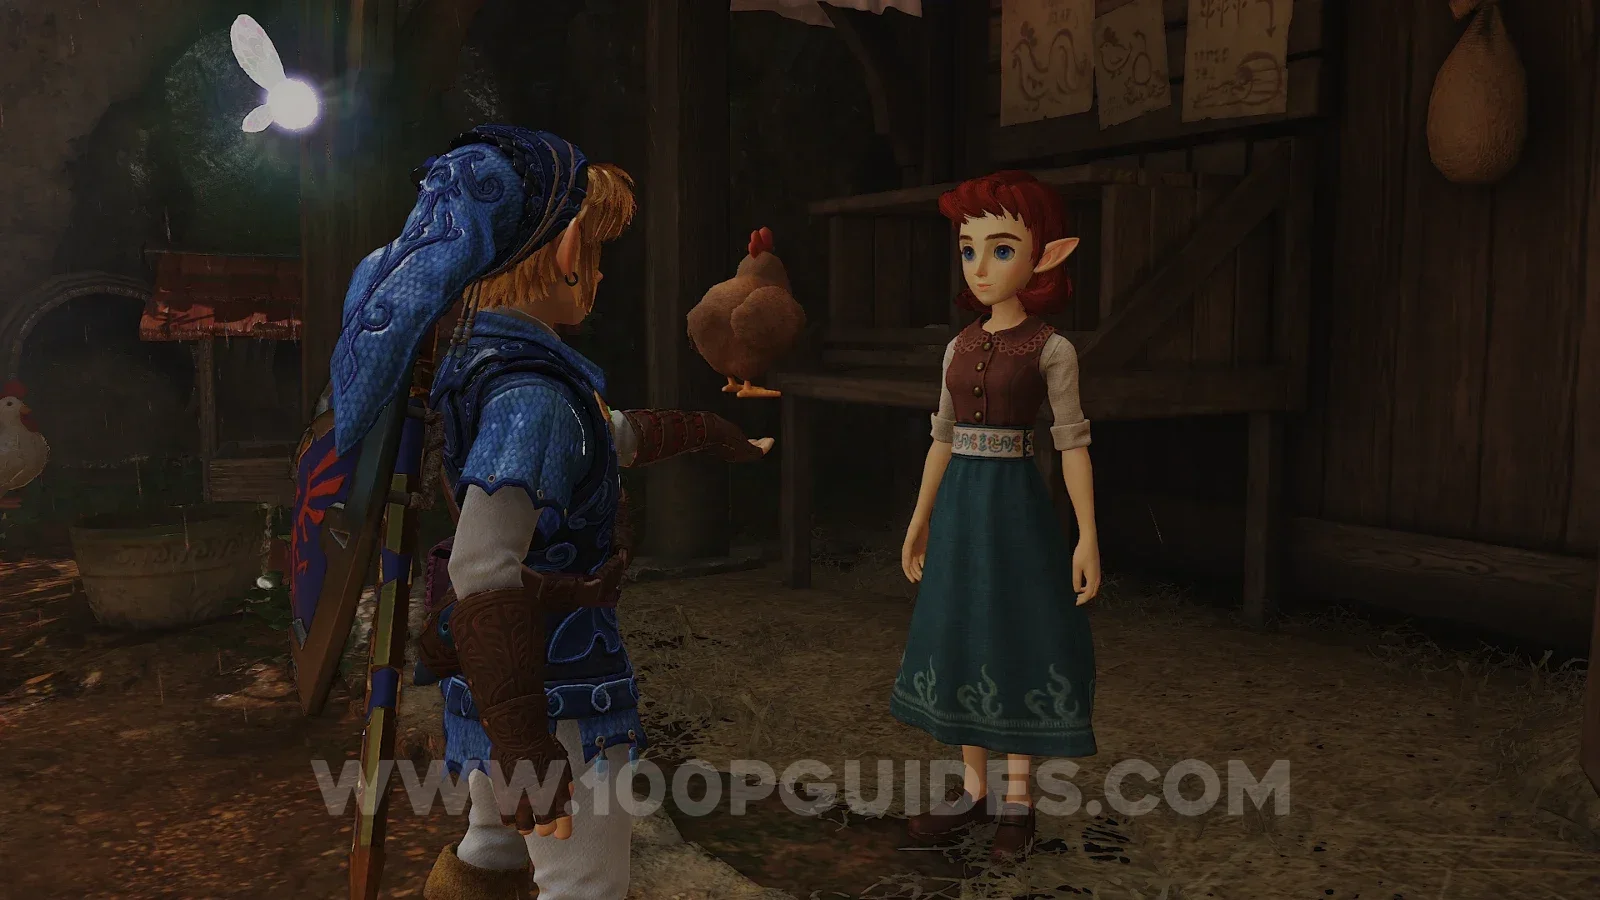
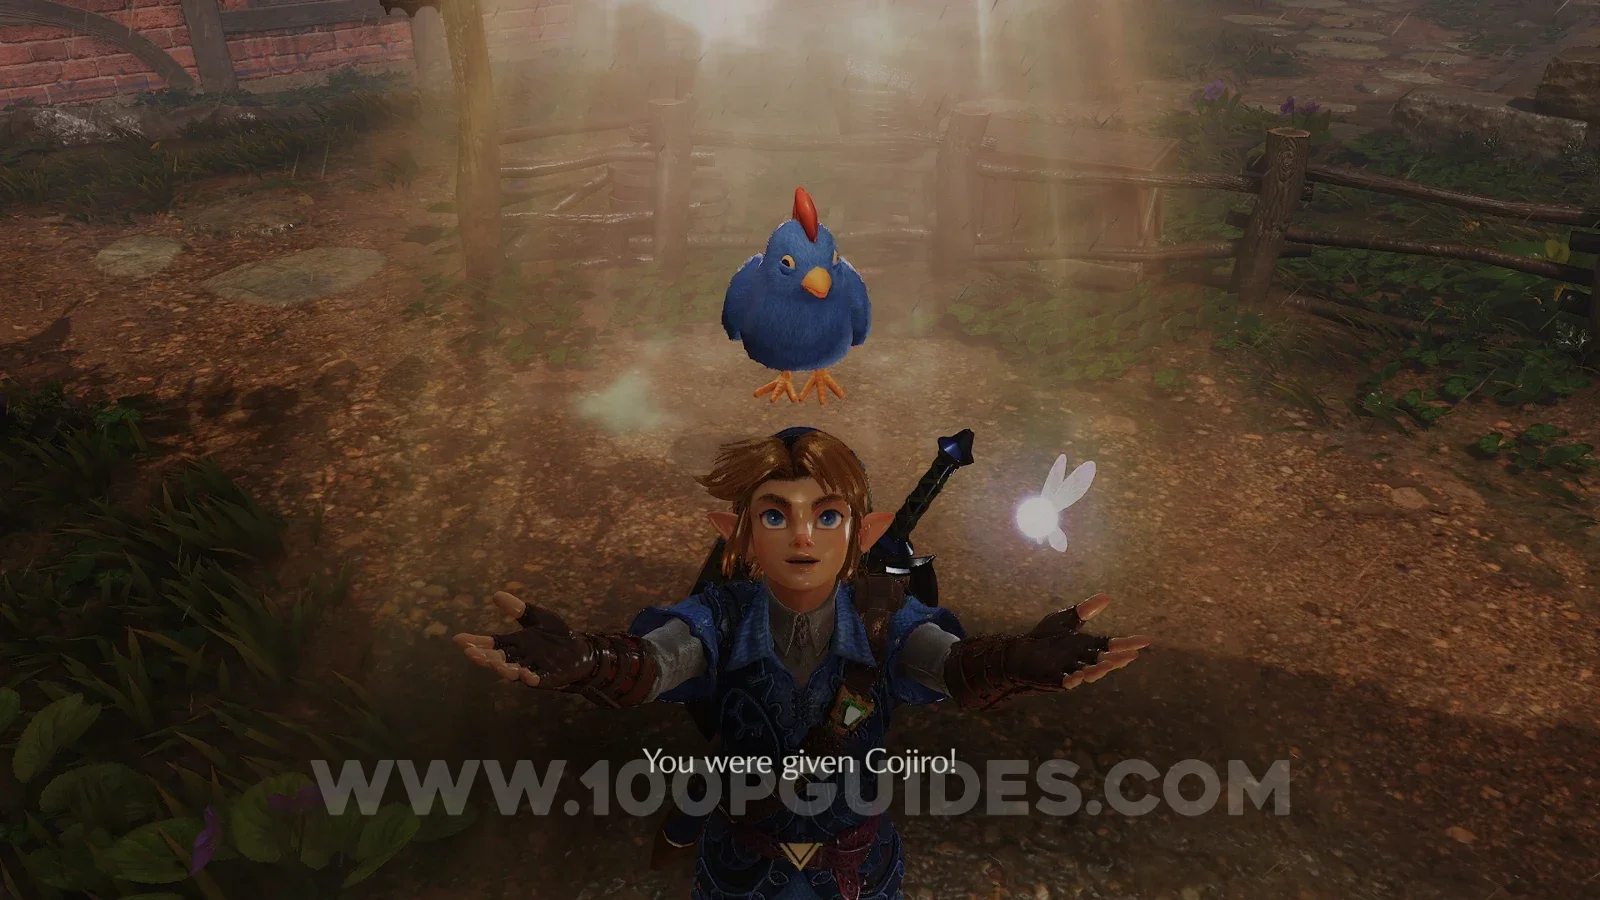
Now return to the Cucco Lady and show her the Pocket Cucco. She will trade it for Cojiro, a blue Cucco.
Odd Mushroom
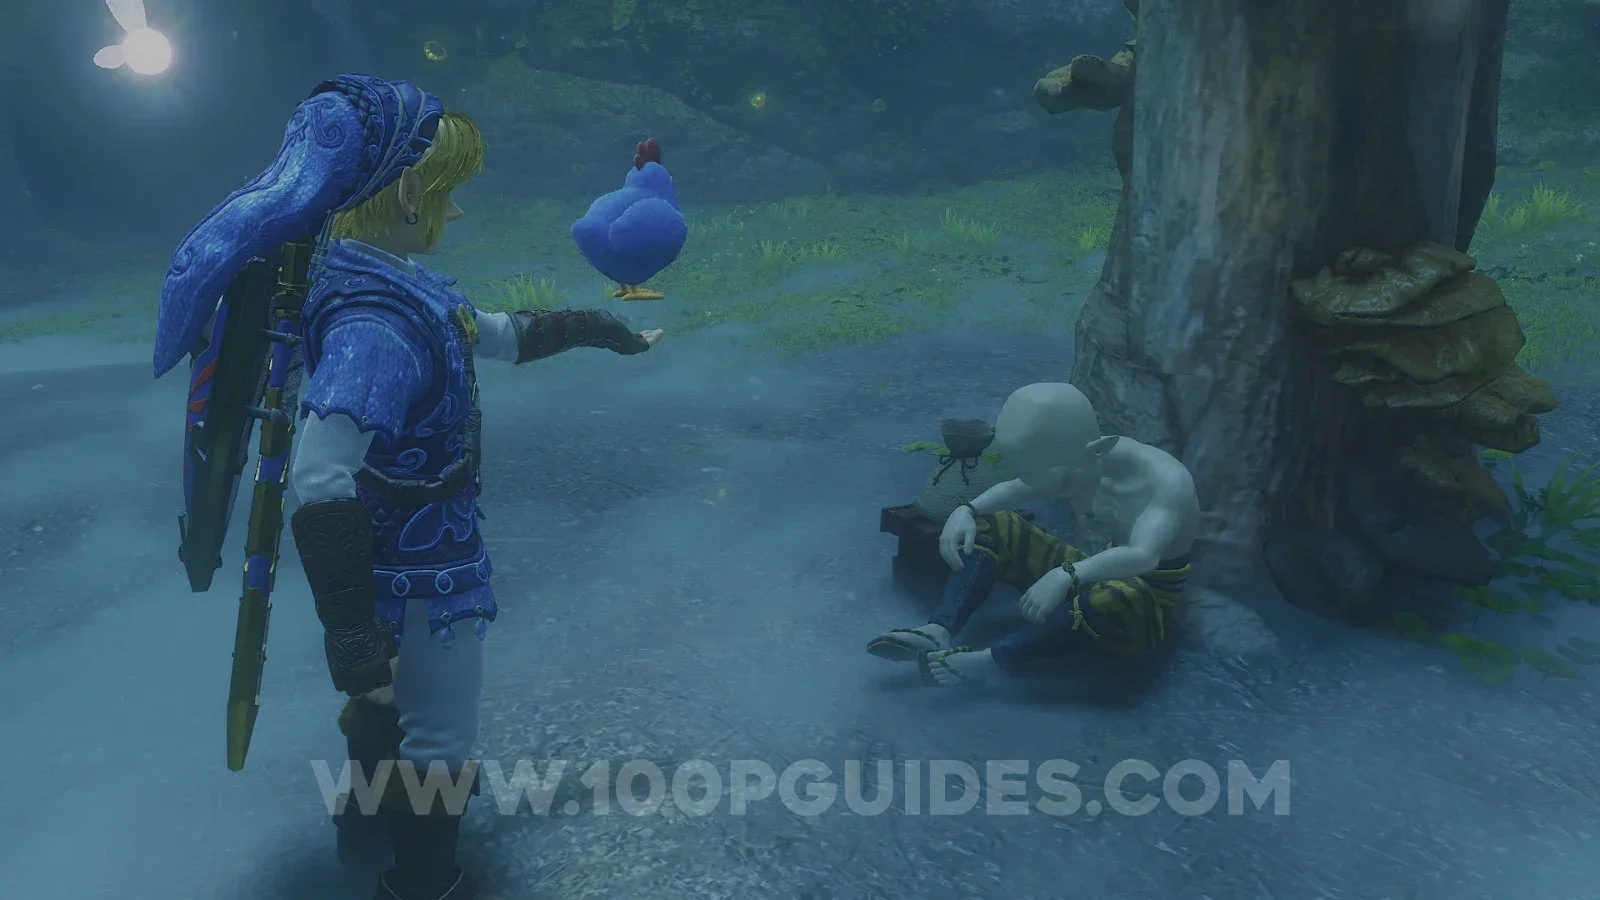
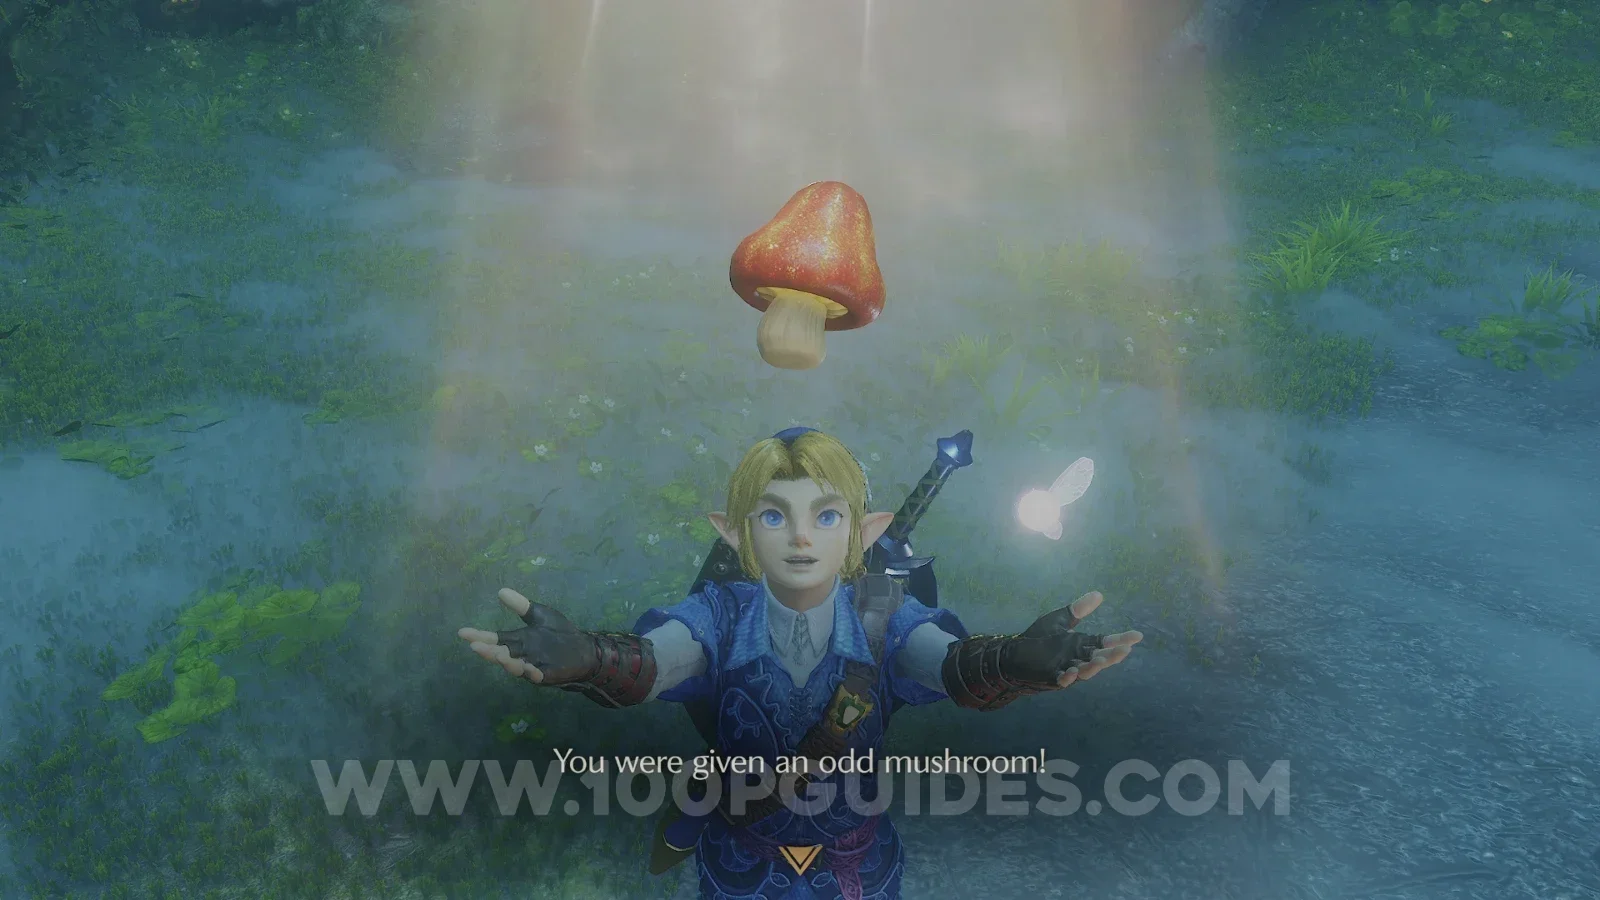
Next, head to the Lost Woods. From the entrance, go left to reach the tree trunk where the Skull Kid used to be as a child. You will find the Master Craftsman's Son sitting next to it. Show him Cojiro and he will give you the Odd Mushroom.
This is the first timed trade. You have 4 minutes to take the mushroom to Granny in Kakariko Village, and you can't use any warp songs. The fastest route is to return to the first room of the Lost Woods, go straight ahead and then left to reach the shortcut to Goron City. Leave Goron City through the main entrance and run down Death Mountain Trail to Kakariko Village.
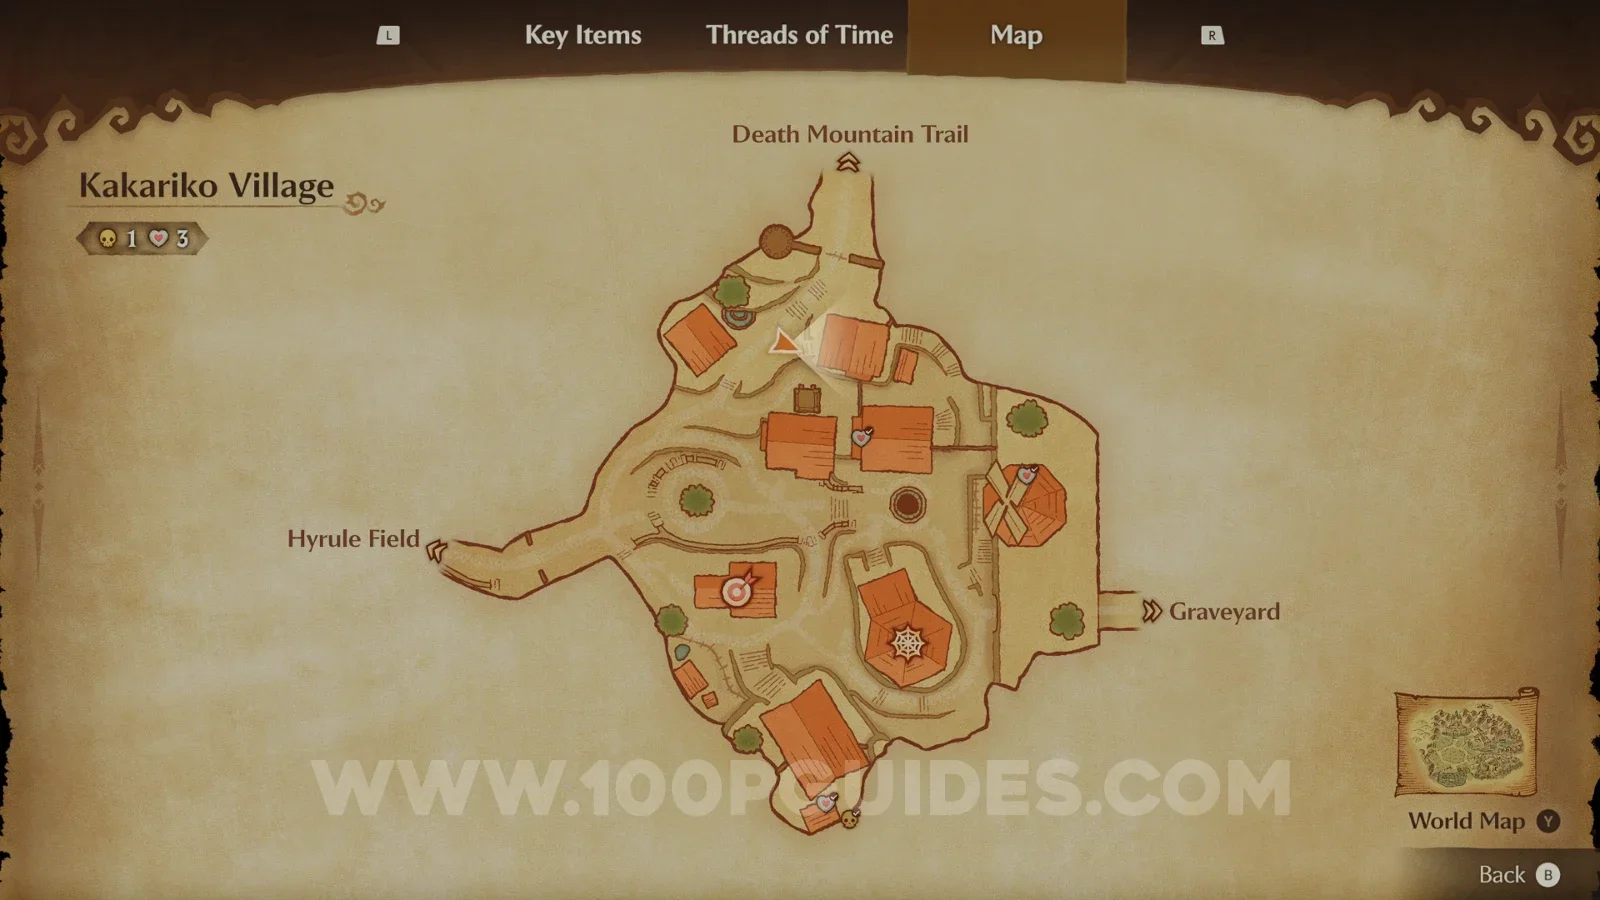
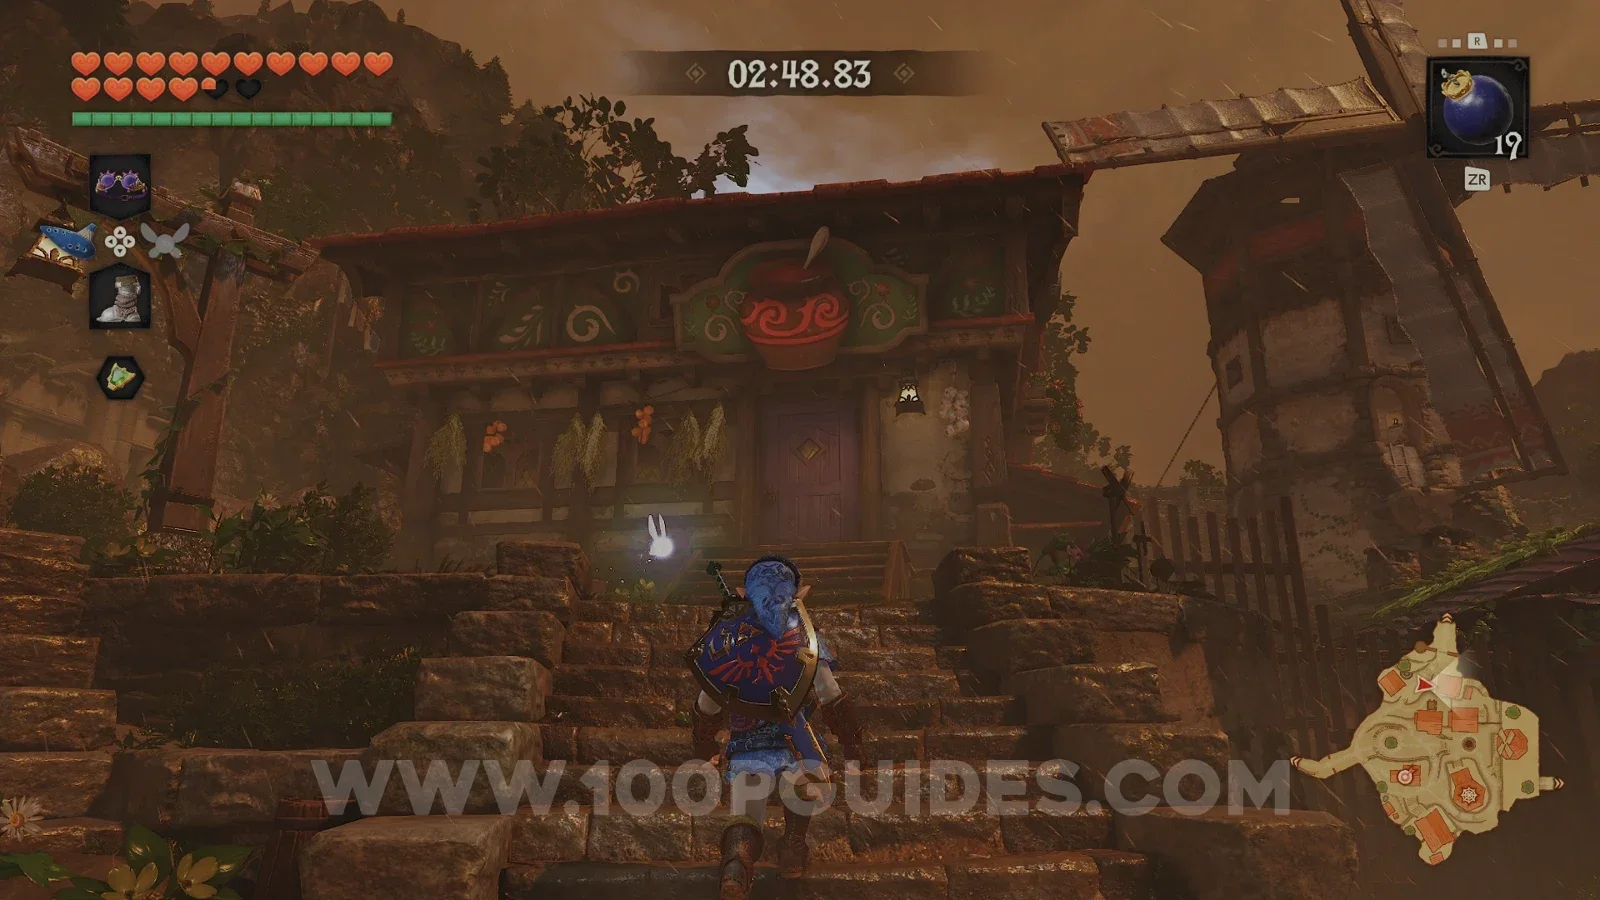
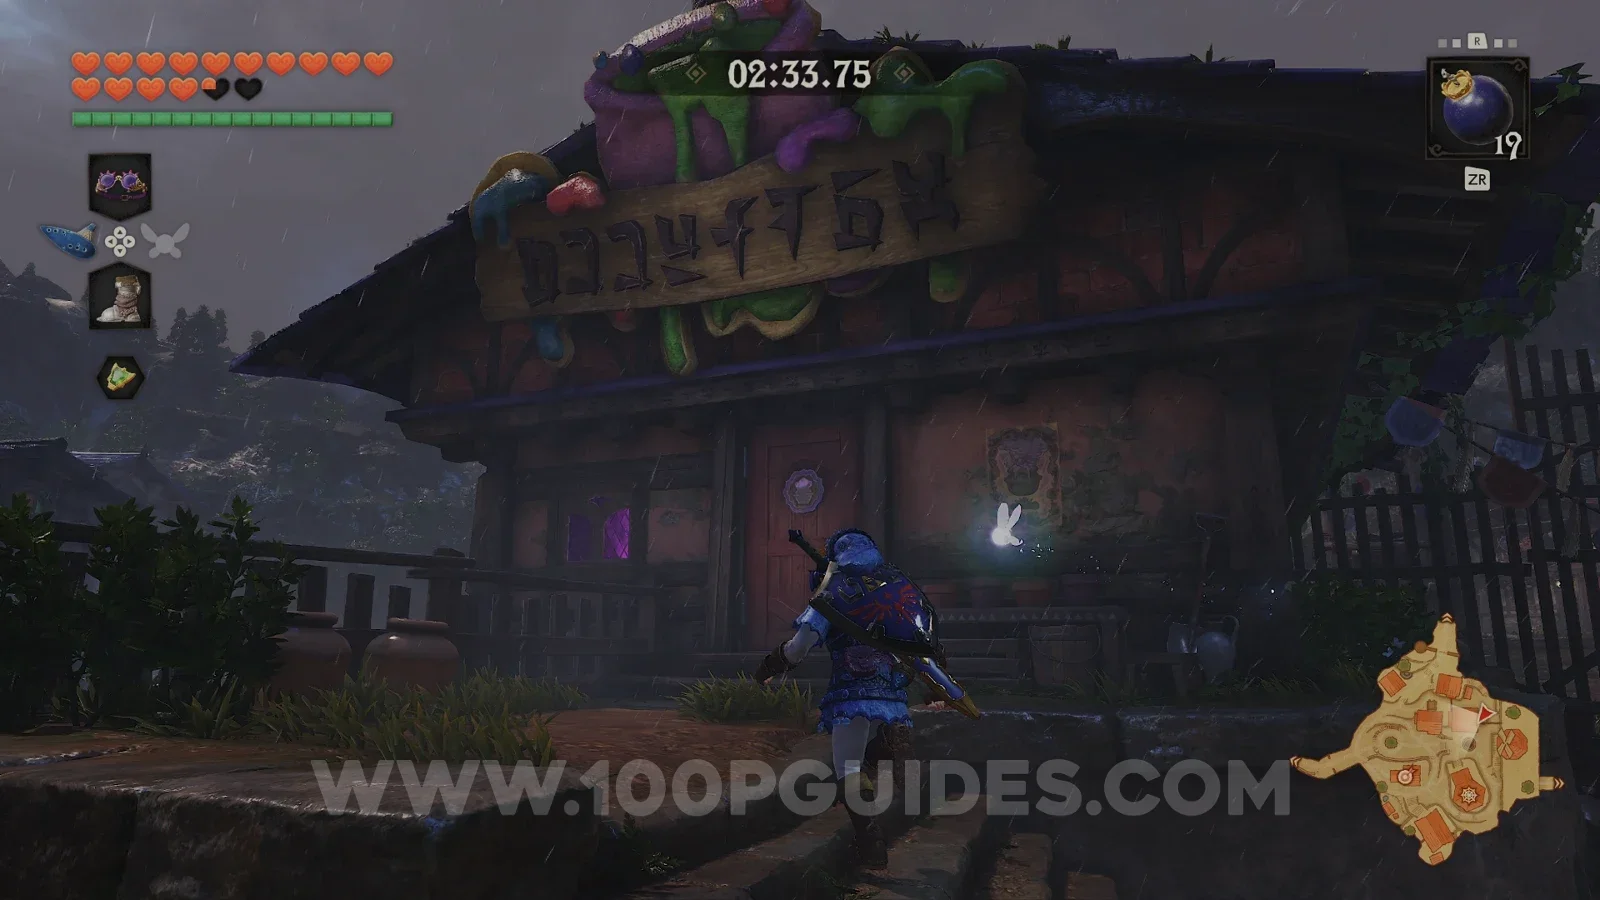
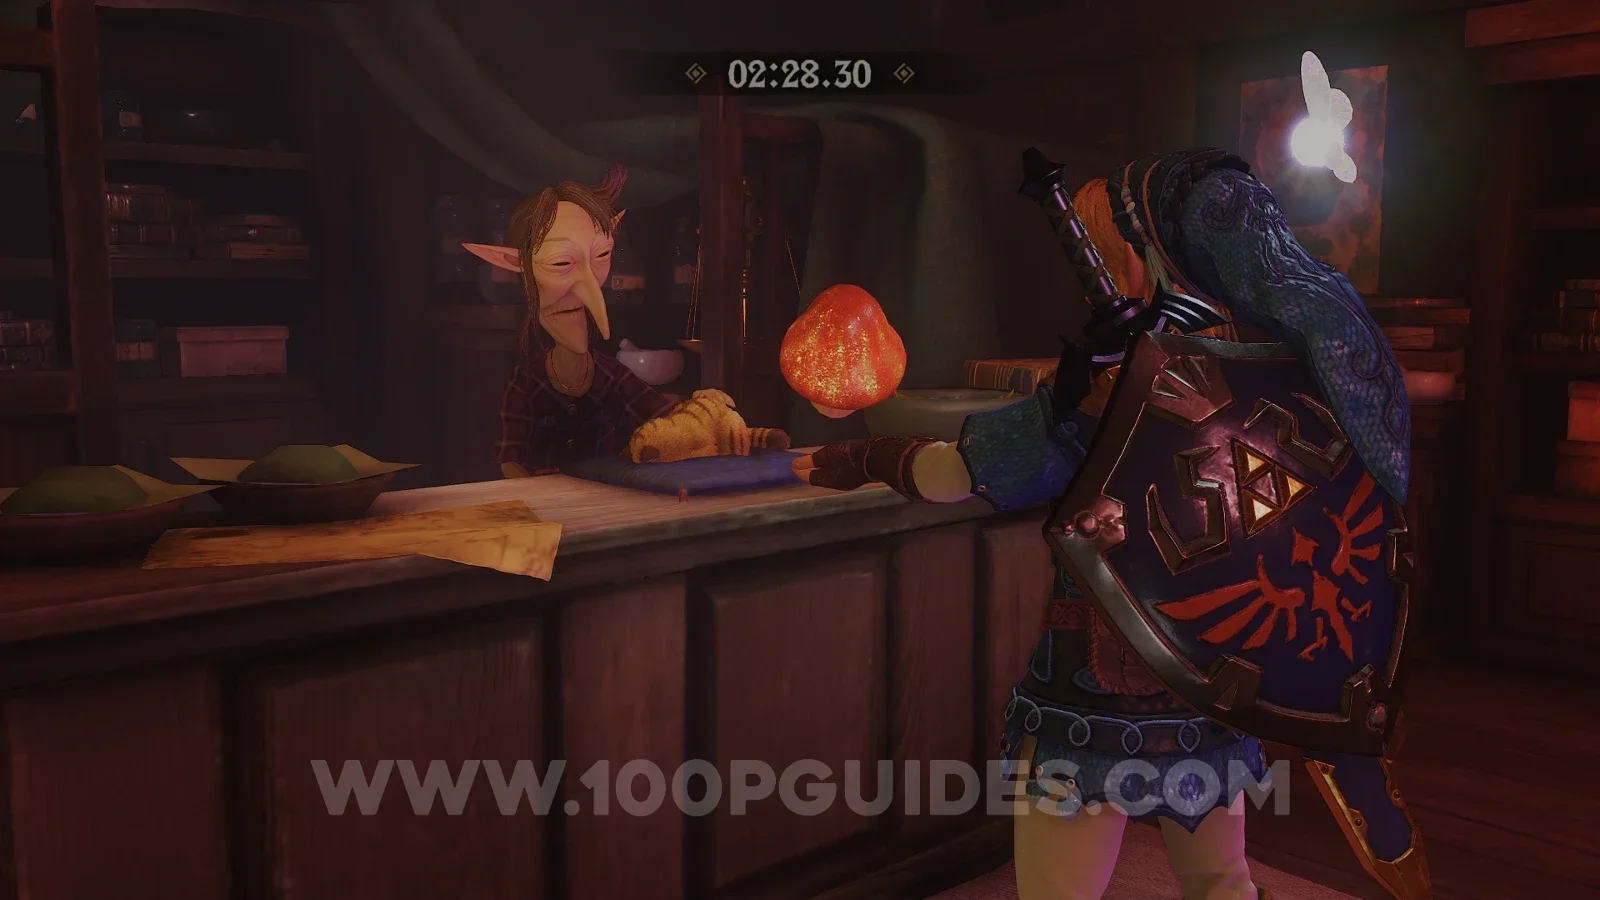
In the village, enter the Potion Shop just to your left and leave through its back door to reach the building behind it. Give the Odd Mushroom to Granny and she will make you an Odd Poultice. From now on, she will also sell you Blue Potions, which heal you and refill your magic.
Poacher's Saw
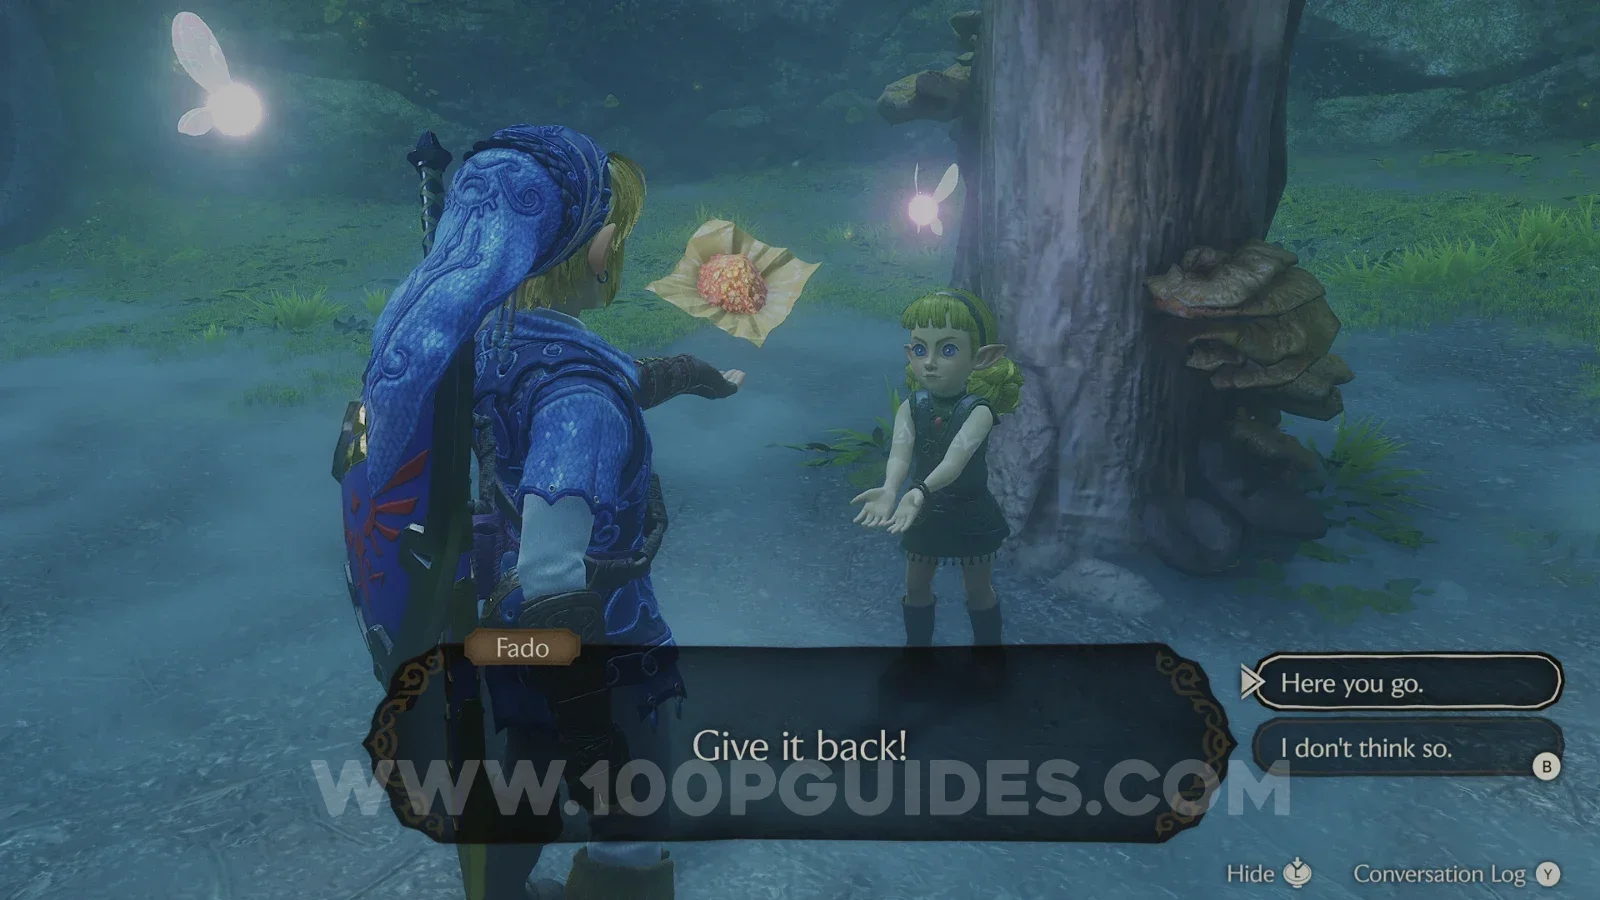
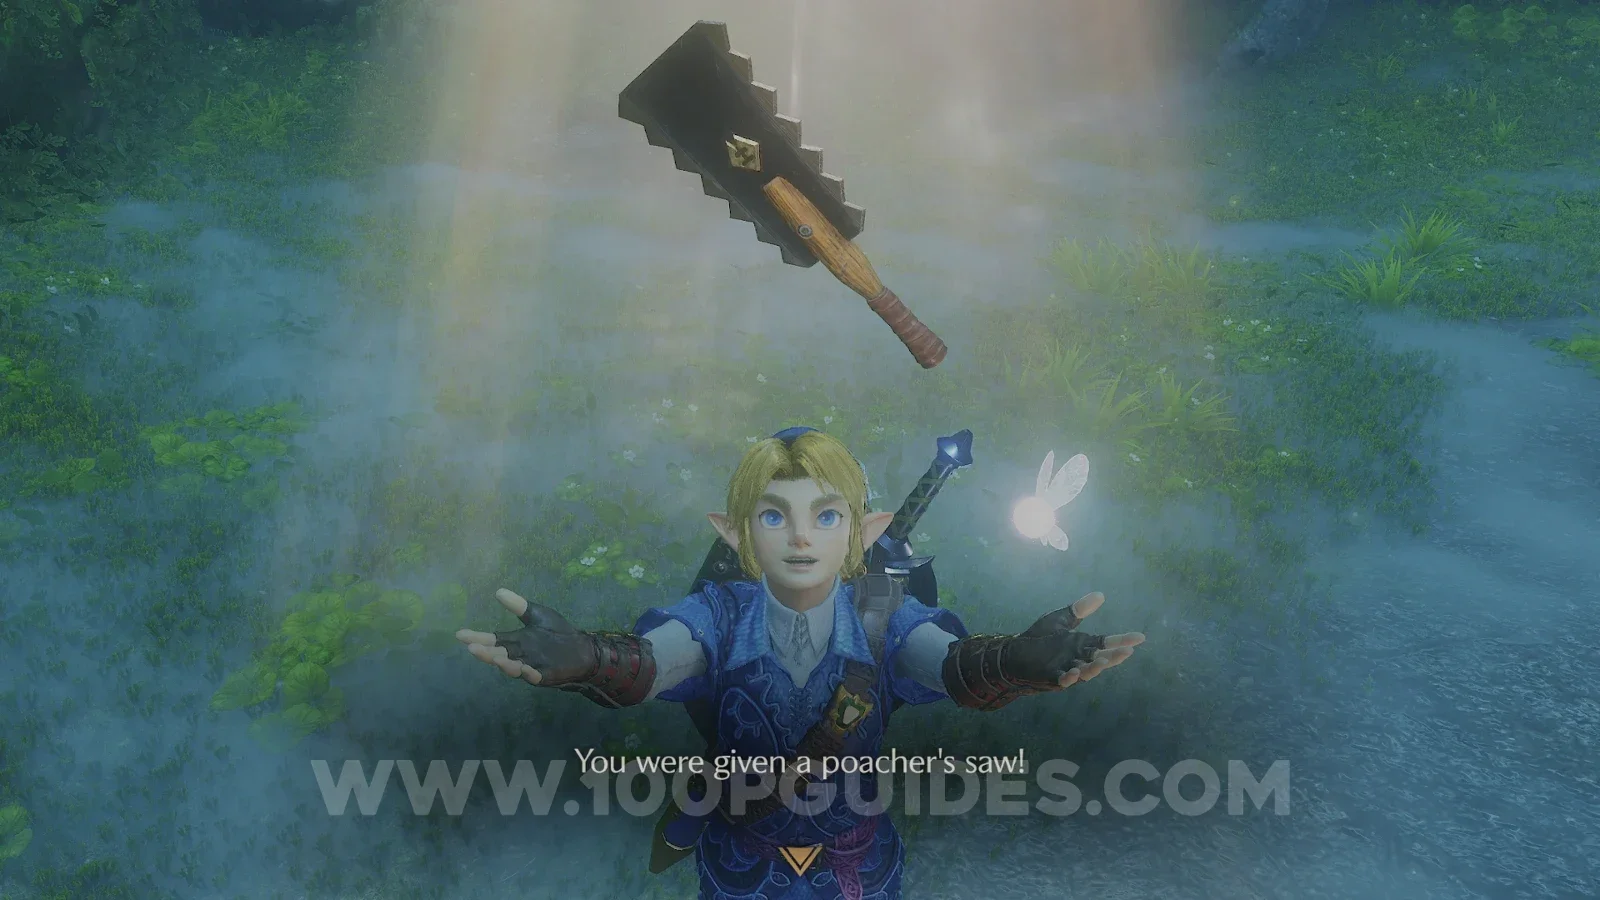
There is no timer this time, so take it easy. Return to the same tree trunk in the Lost Woods and you will find a Kokiri girl called Fado there instead. Give her the Odd Poultice and she will give you the Poacher's Saw.
Broken Goron Sword
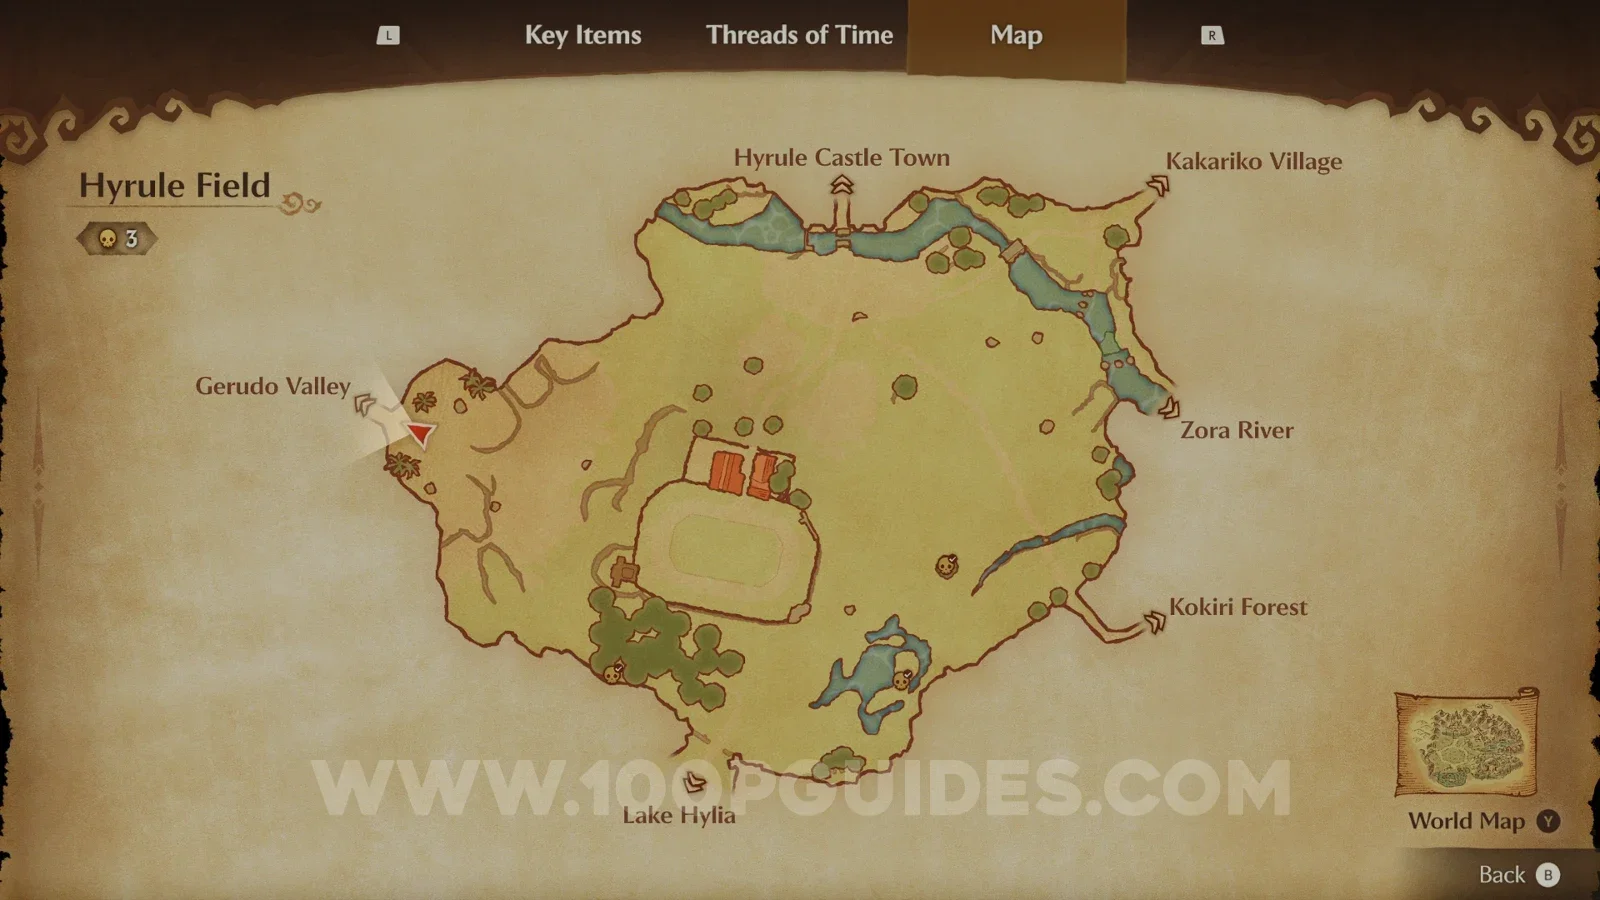
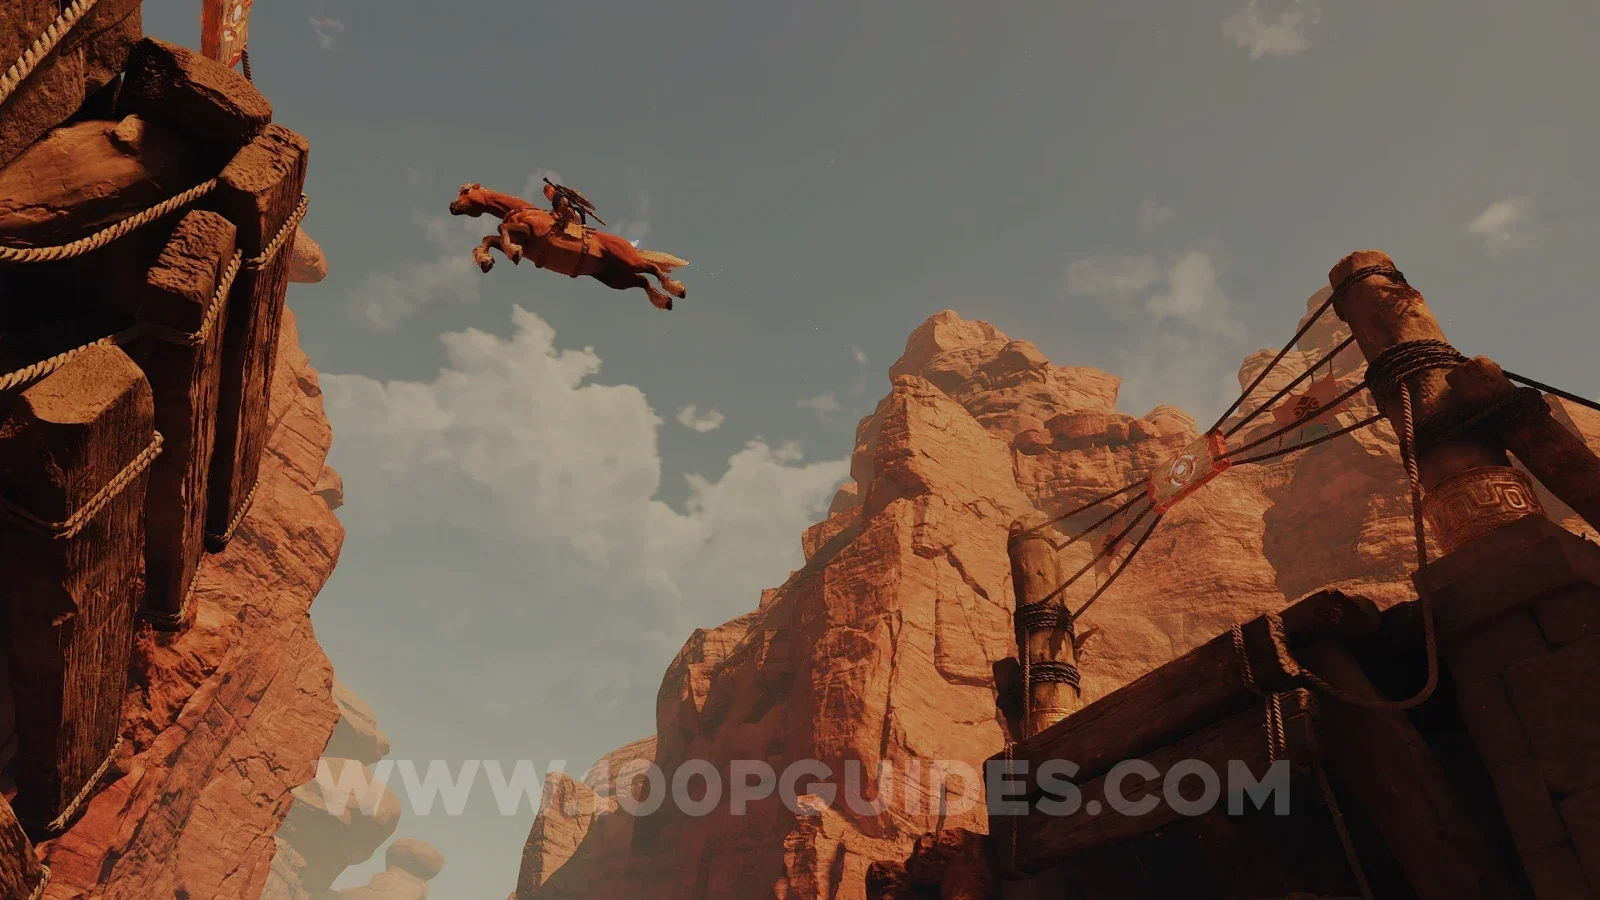
Next, exit to Hyrule Field, call Epona and ride to Gerudo Valley. The bridge over the canyon is broken, but Epona can jump it. Just ride straight at the gap at full speed. You can also use the Longshot on the post on the other side.
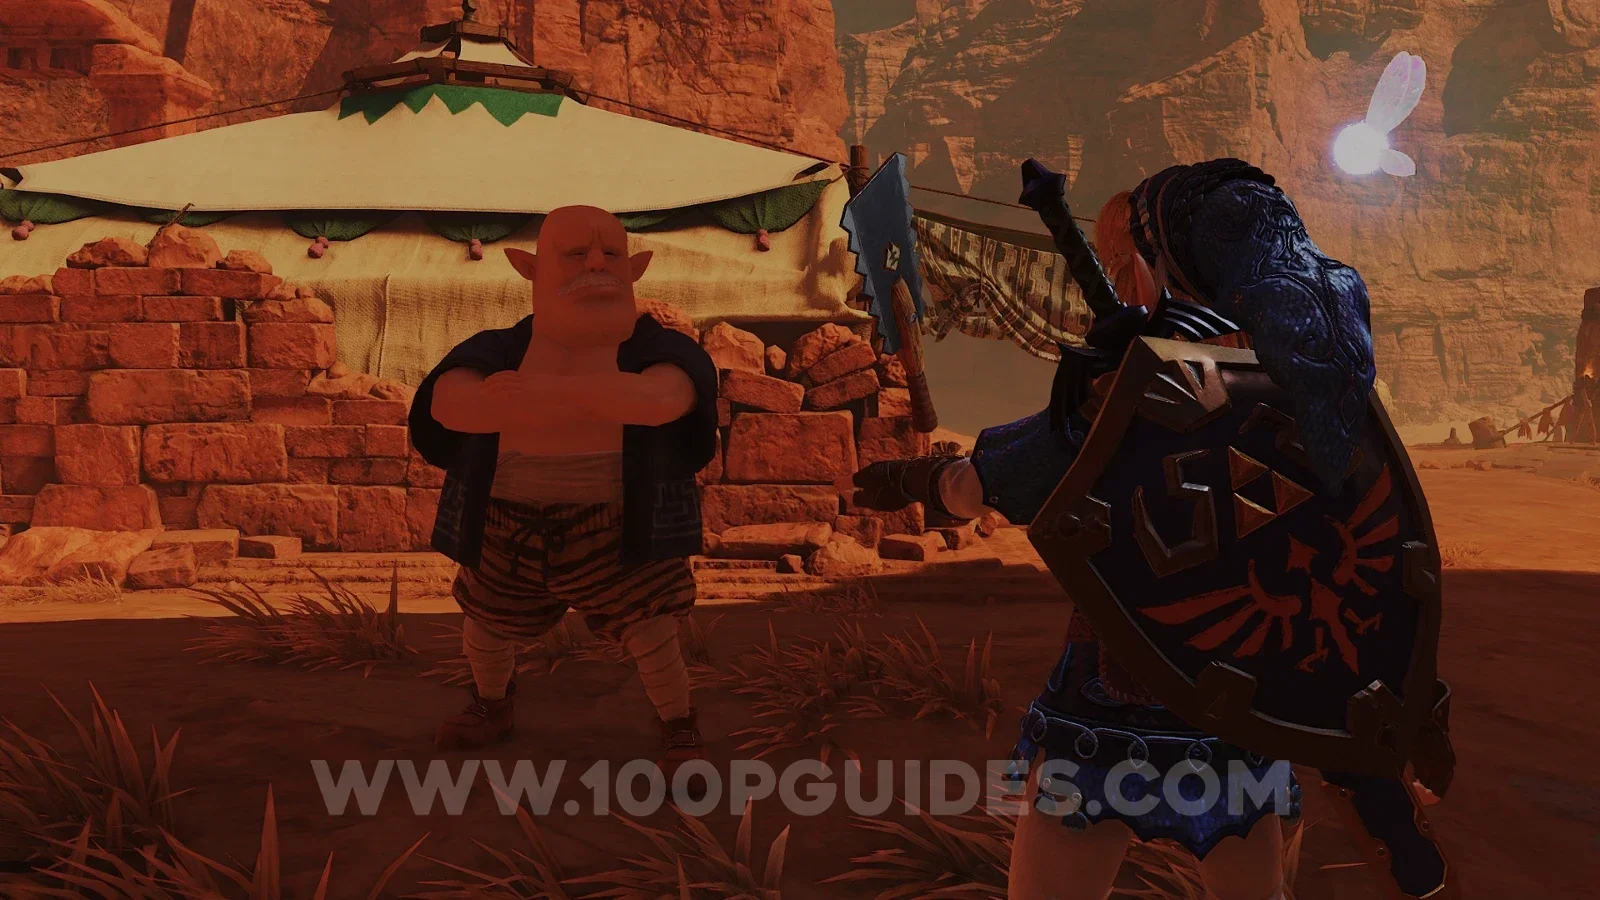
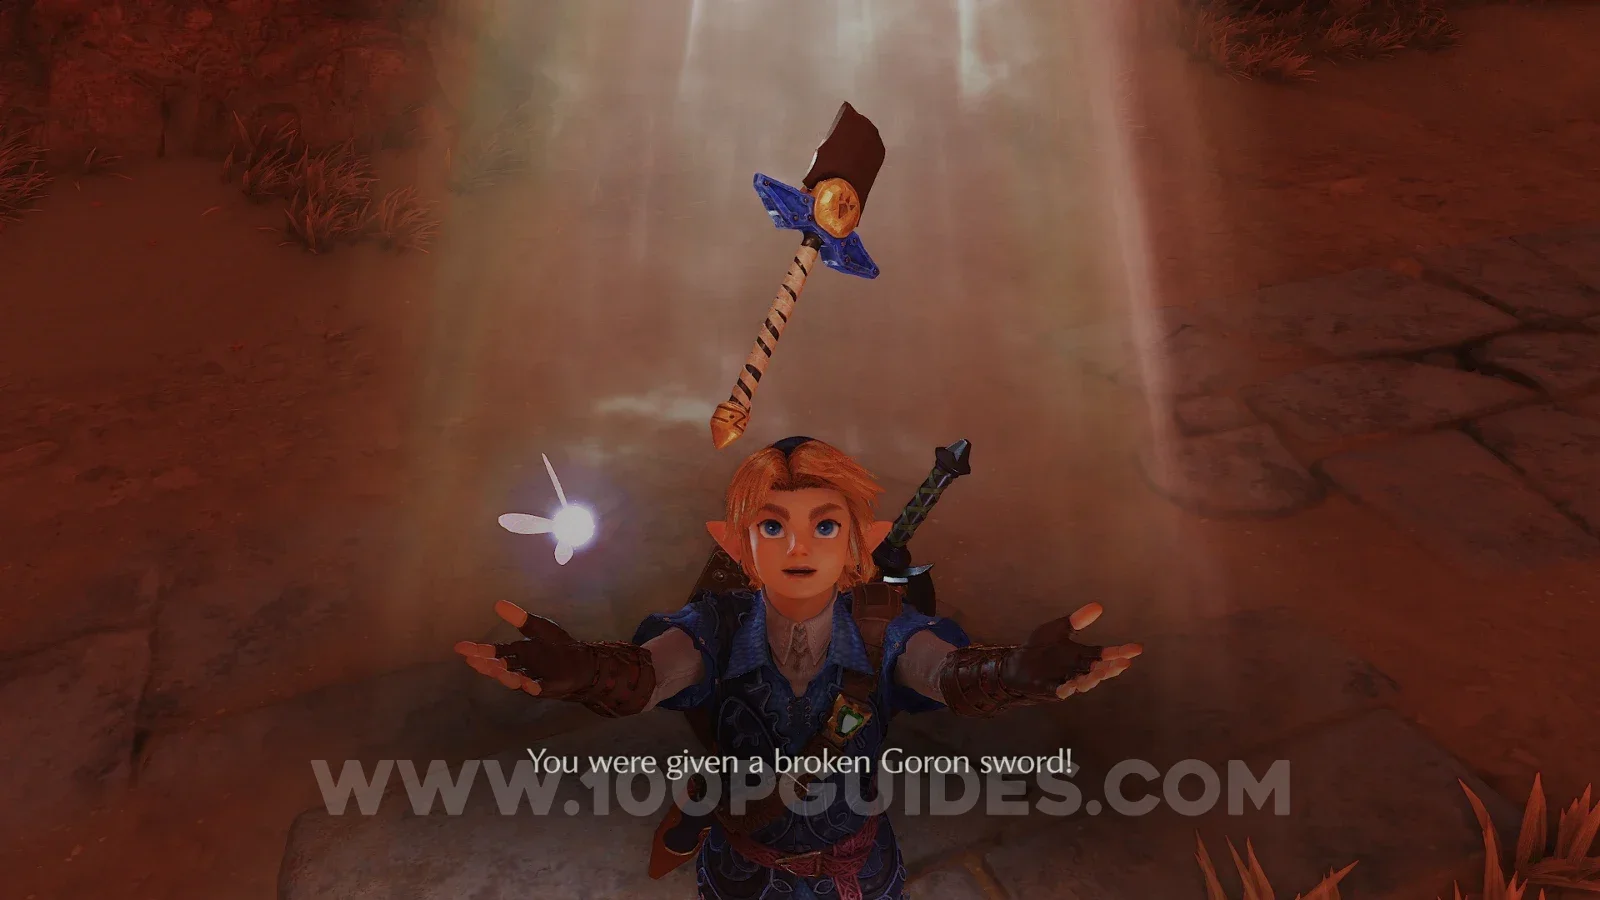
On the other side, talk to the Master Craftsman next to the tent and give him the Poacher's Saw. In return, he will give you the Broken Goron Sword.
Prescription
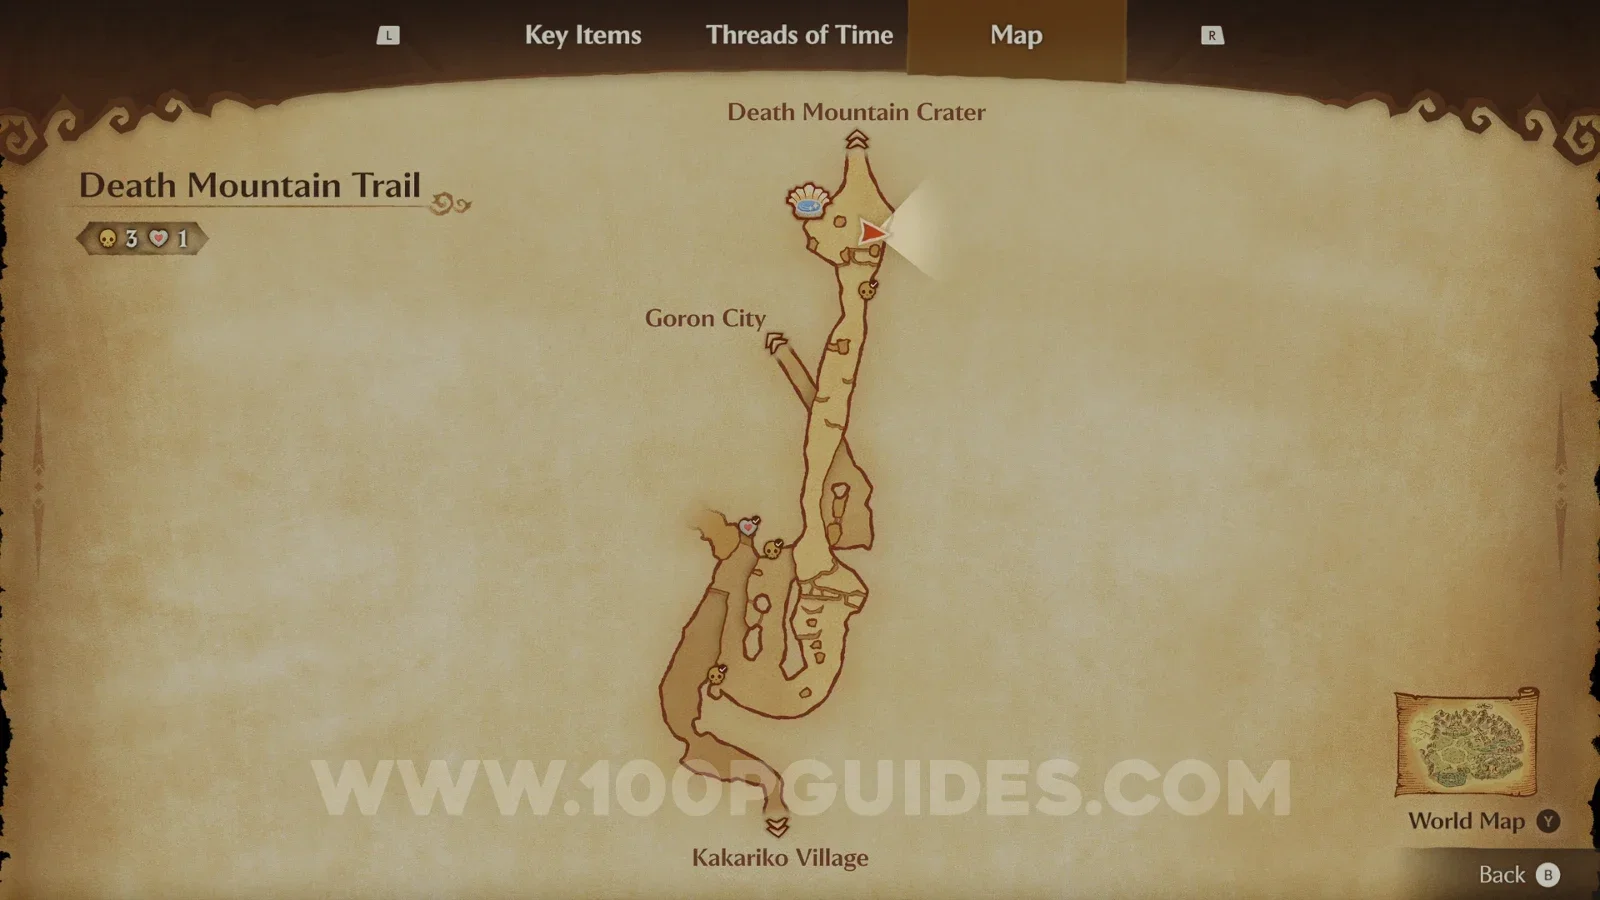
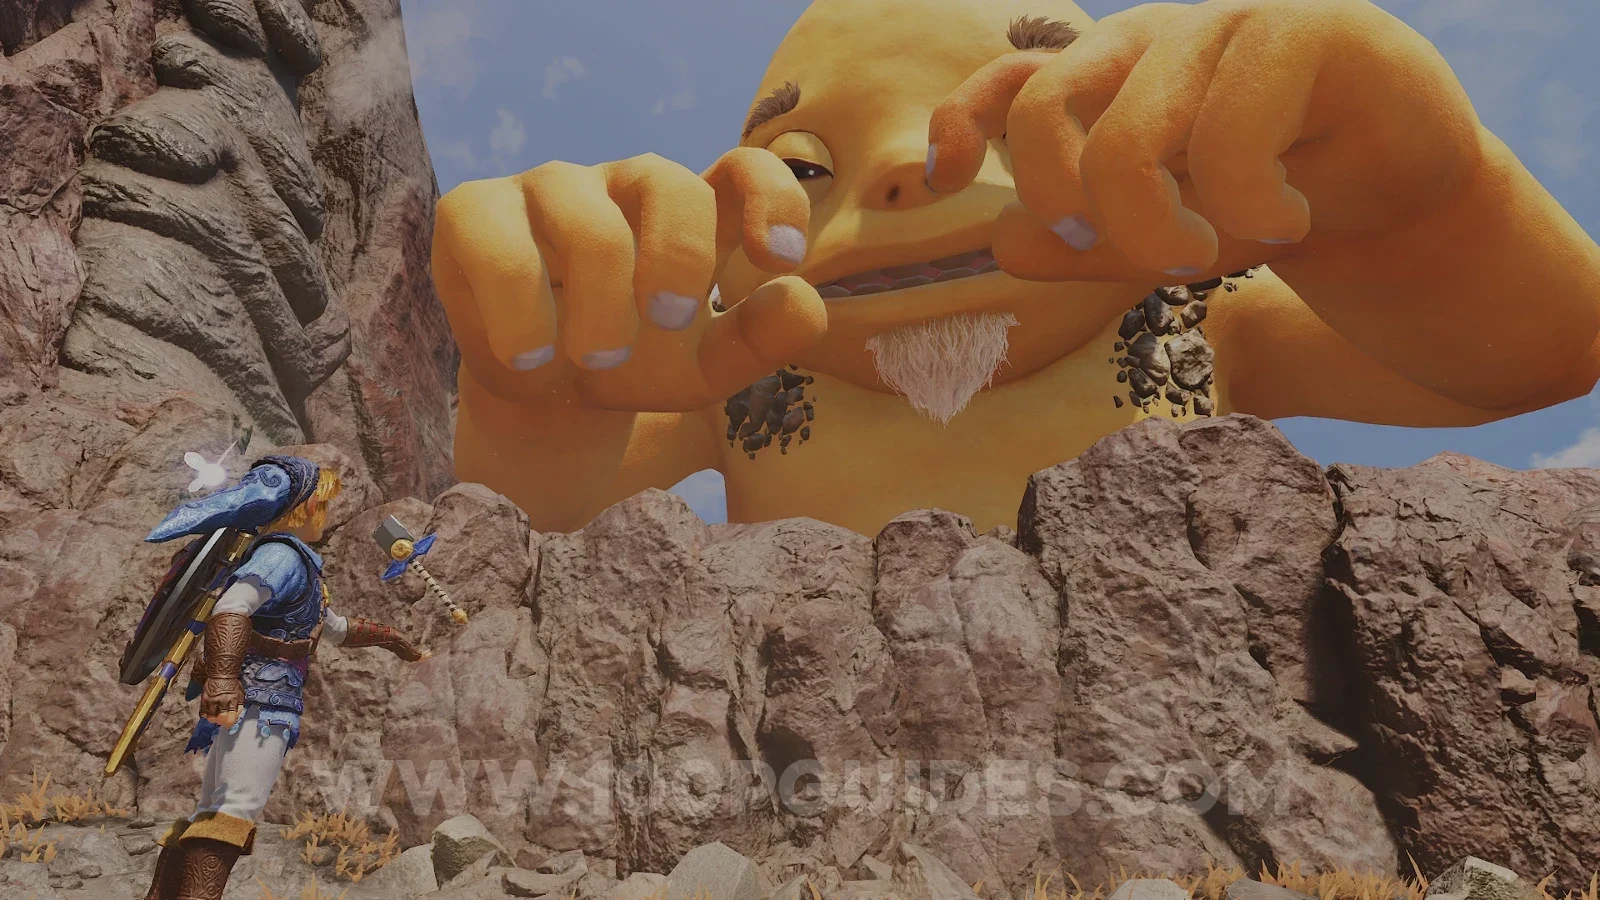
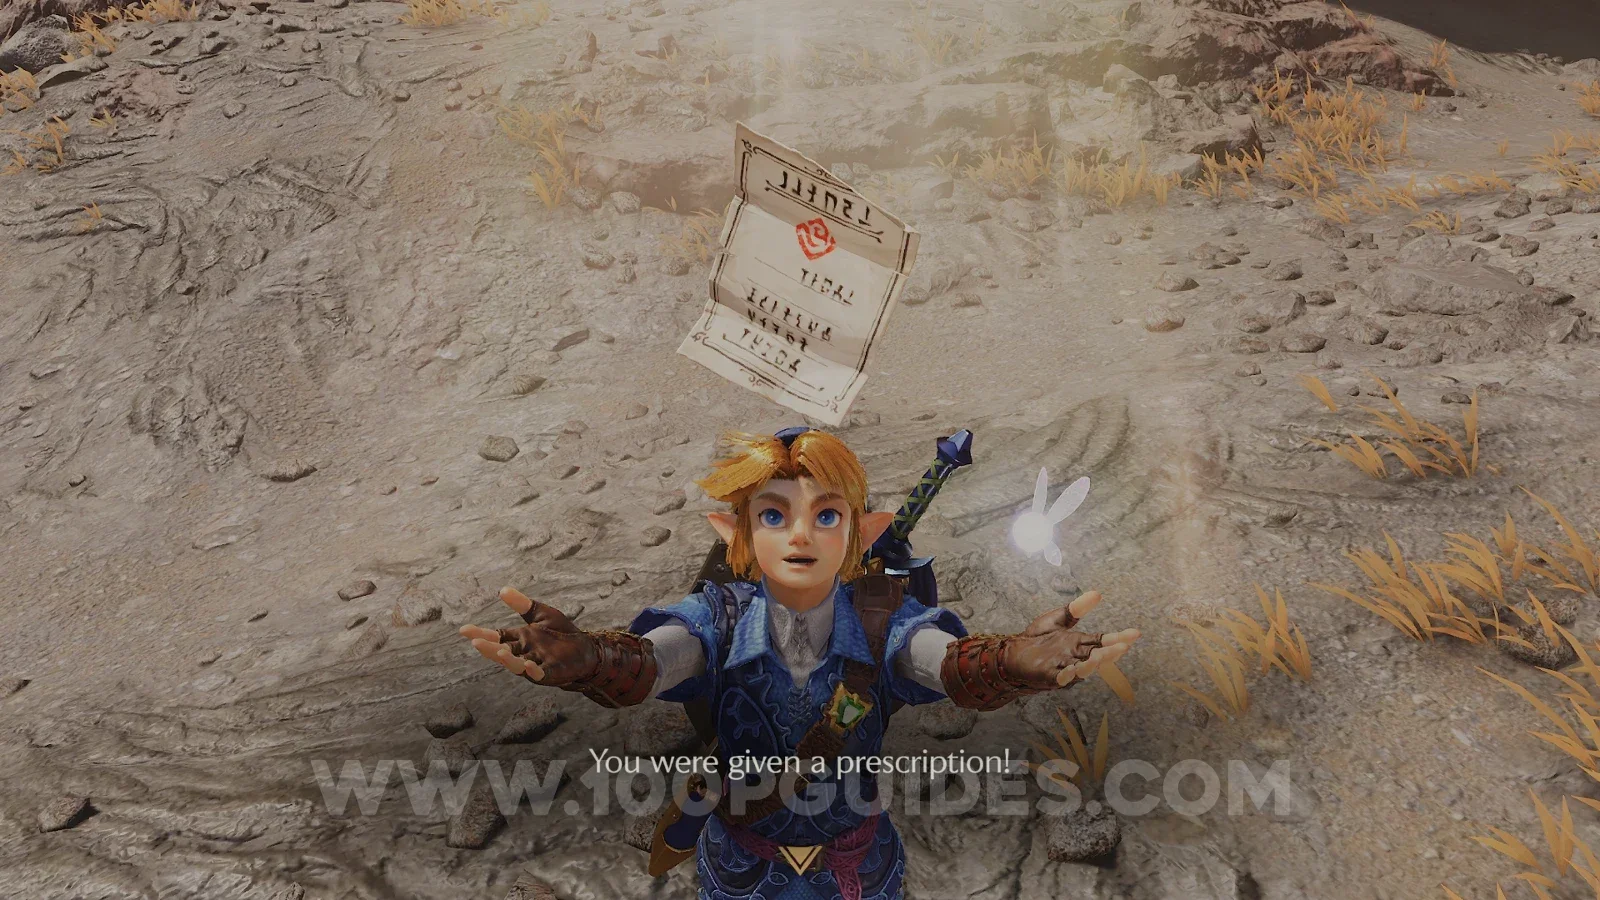
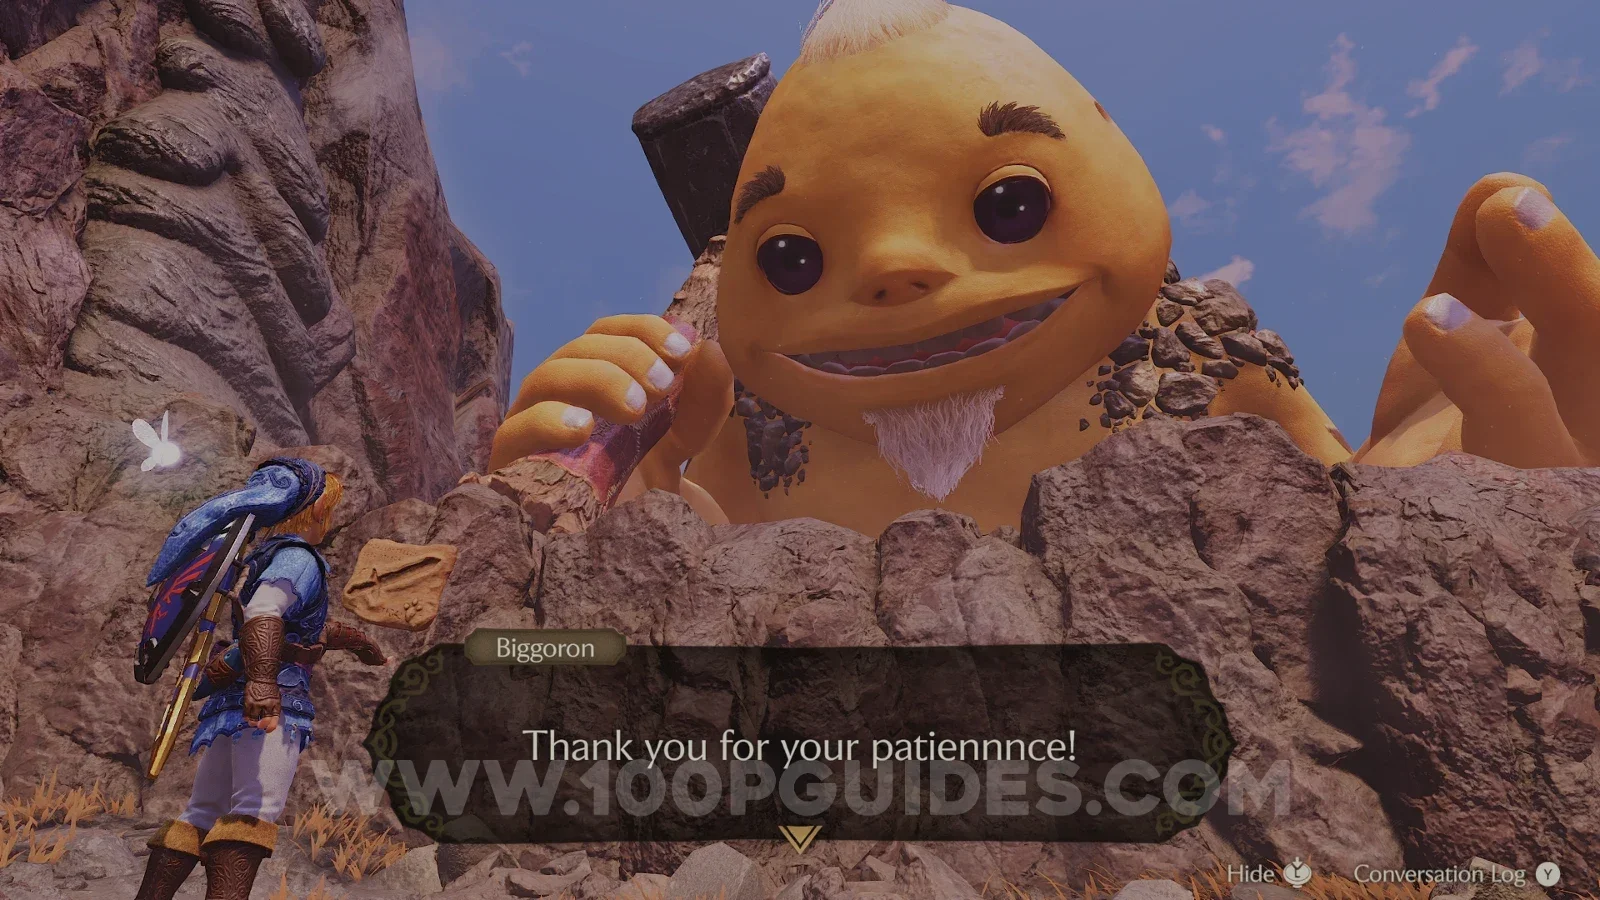
Now head to Death Mountain Trail and climb all the way to the summit. Next to the entrance of the Great Fairy Fountain you will find Biggoron, a giant Goron. Show him the Broken Goron Sword. He would love to fix it, but his eyes are irritated, so he gives you a Prescription for King Zora.
Eyeball Frog
Head to Zora's Domain, which is no longer frozen, and show the Prescription to King Zora. He will give you the Eyeball Frog. You will have to talk to him first if you haven't talked to him since finishing the Water Temple.
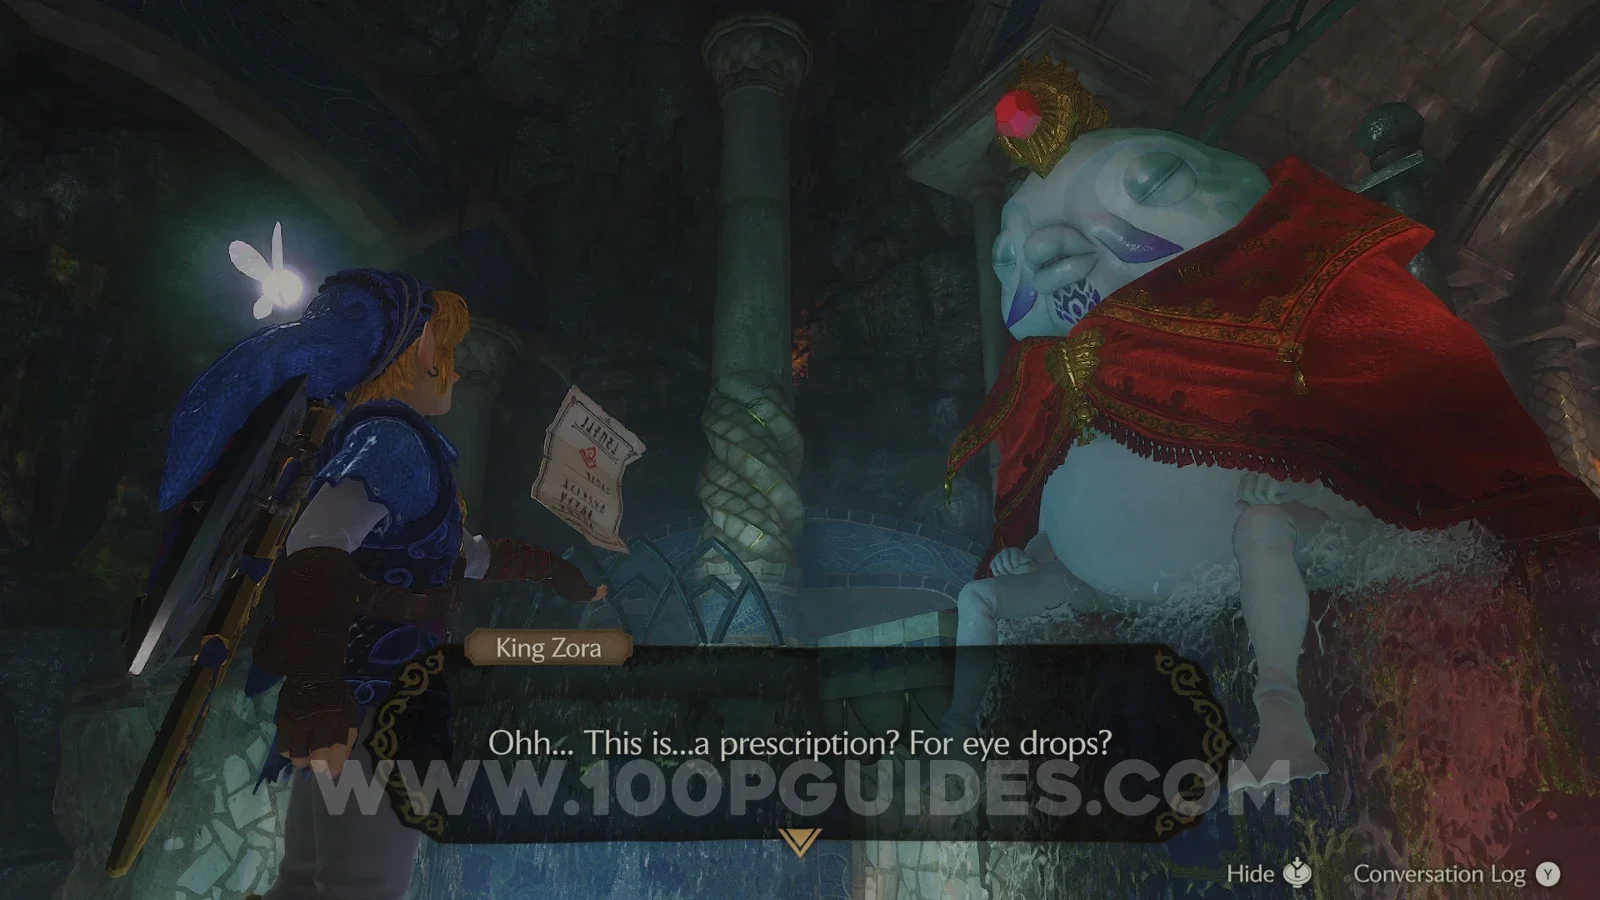
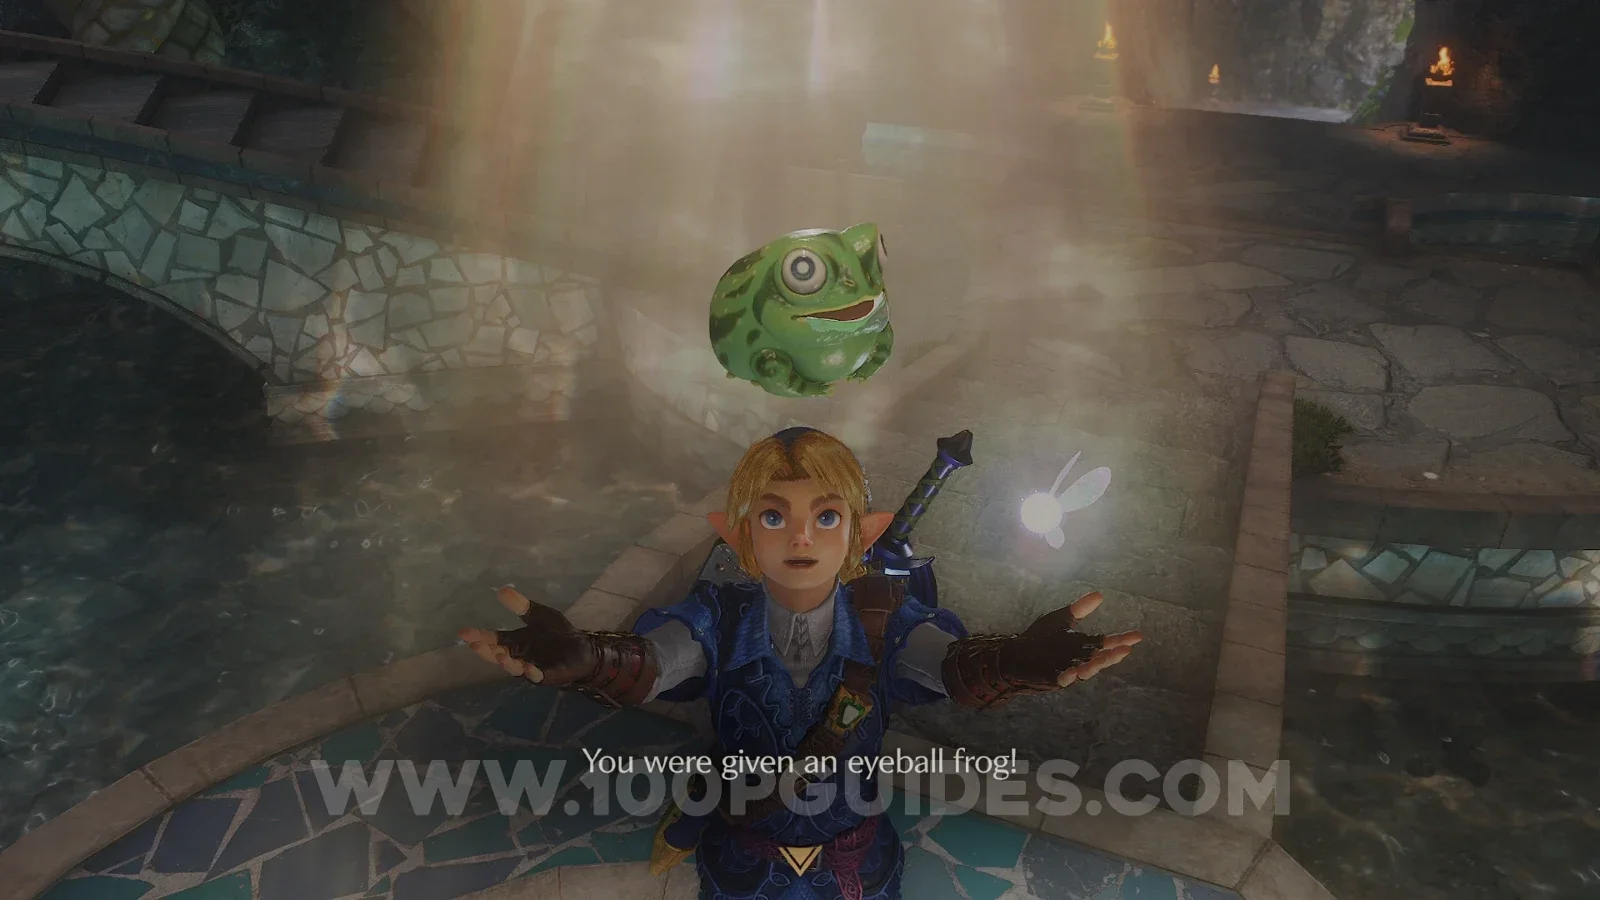
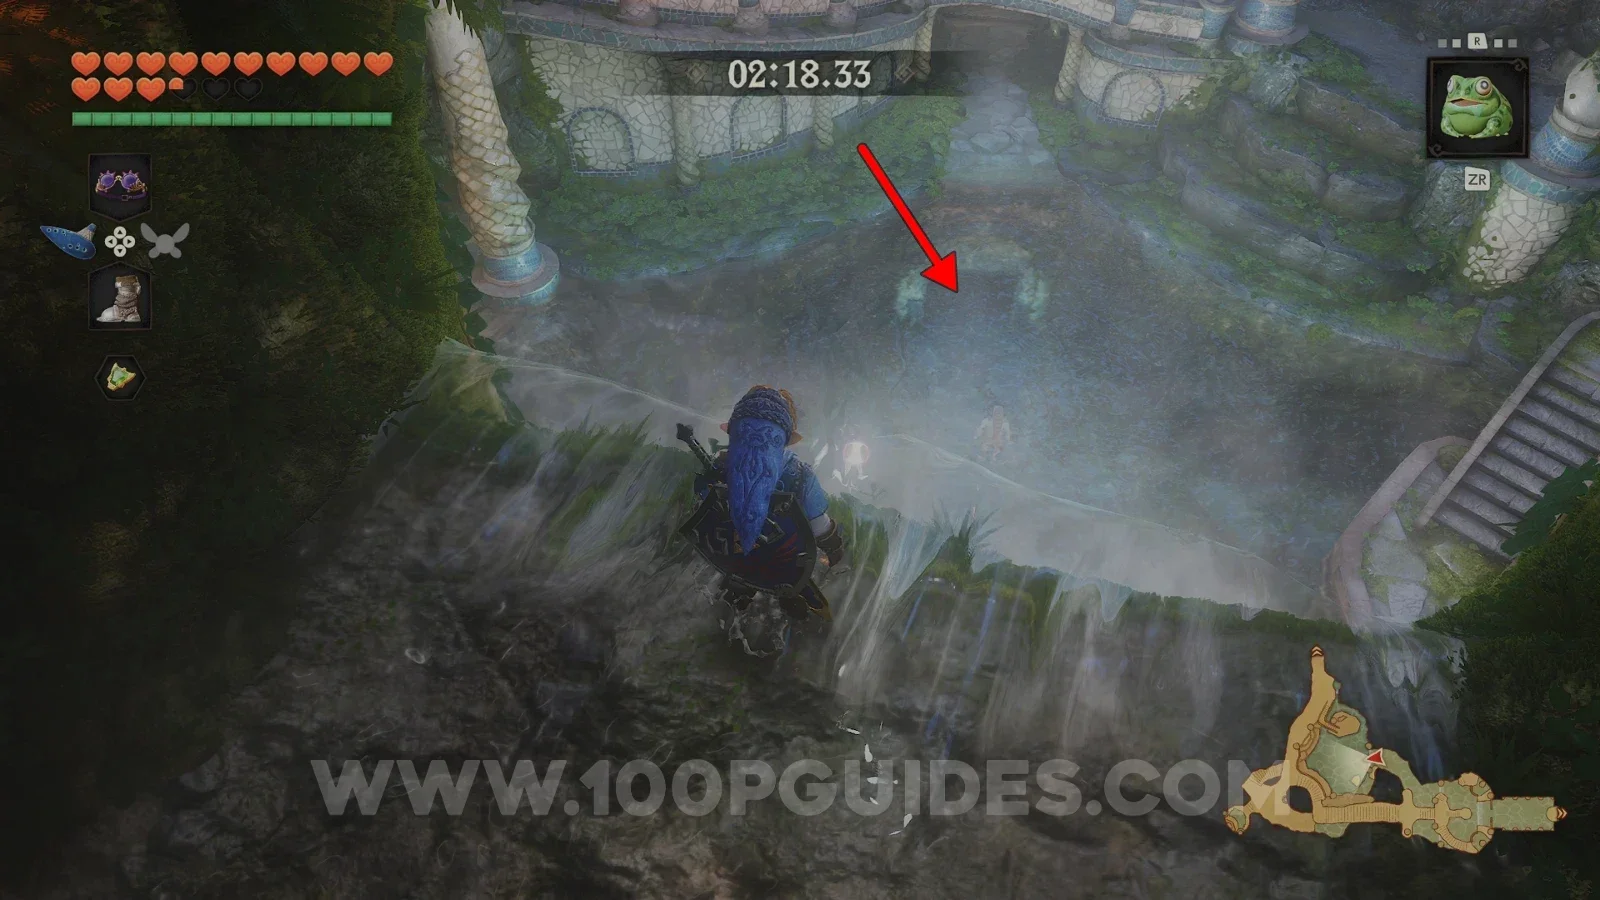
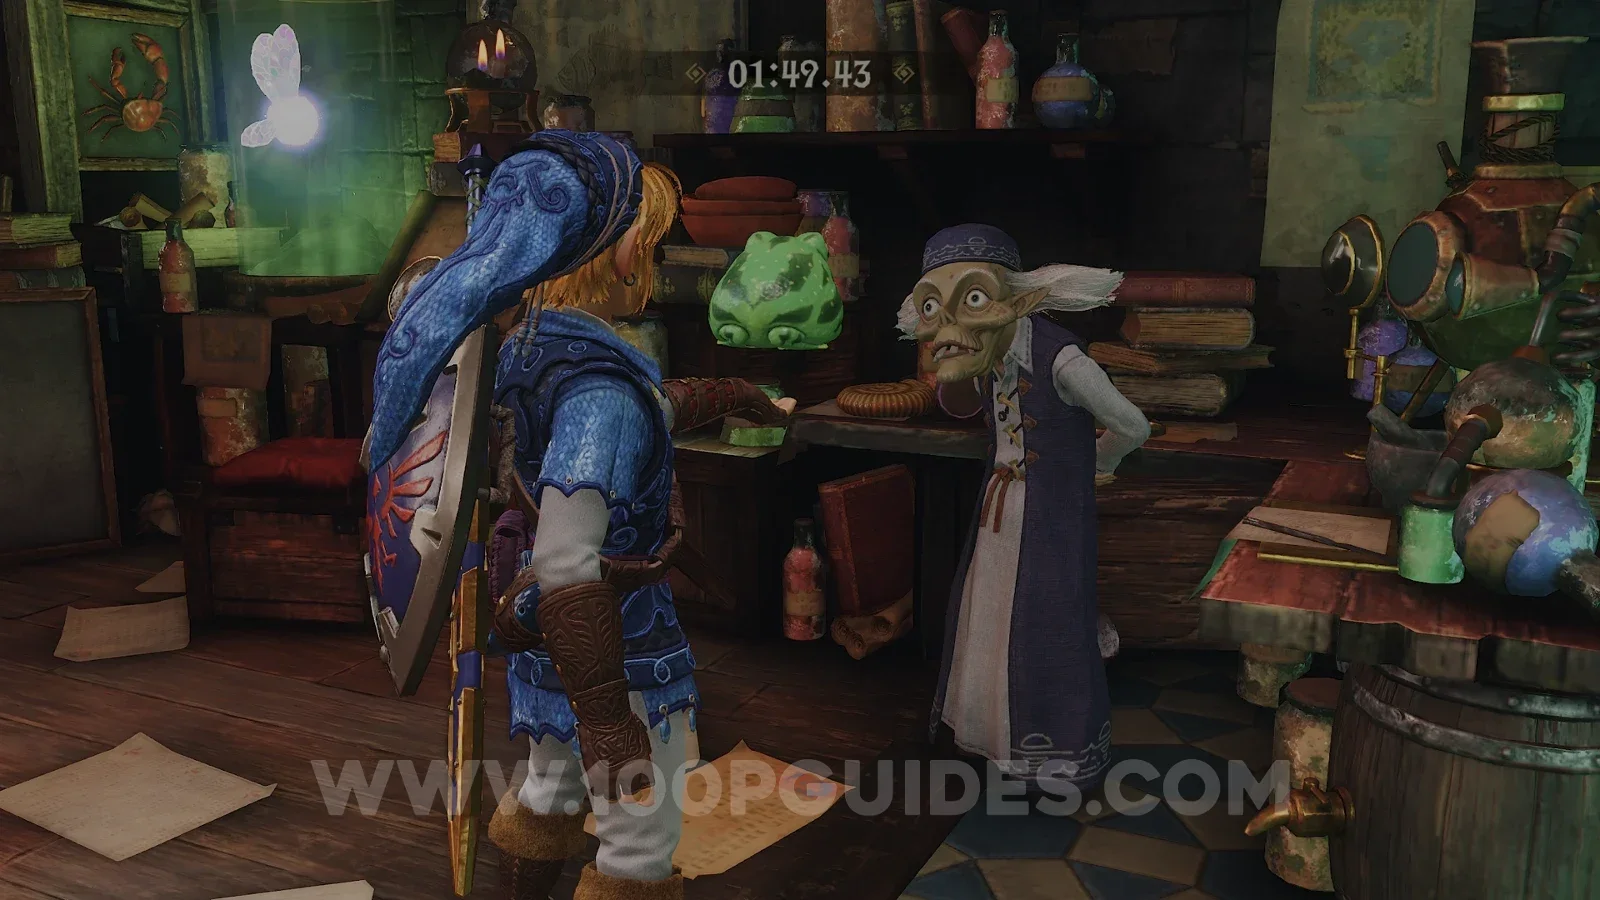
This is the second timed trade, and it's the tightest one. You have 2 minutes and 30 seconds to take the frog to the scientist in the Observatory at Lake Hylia. Drop into the pool at the bottom of Zora's Domain and dive through the underwater tunnel to come out in Lake Hylia. From there, head to the Observatory, the building to the northwest.
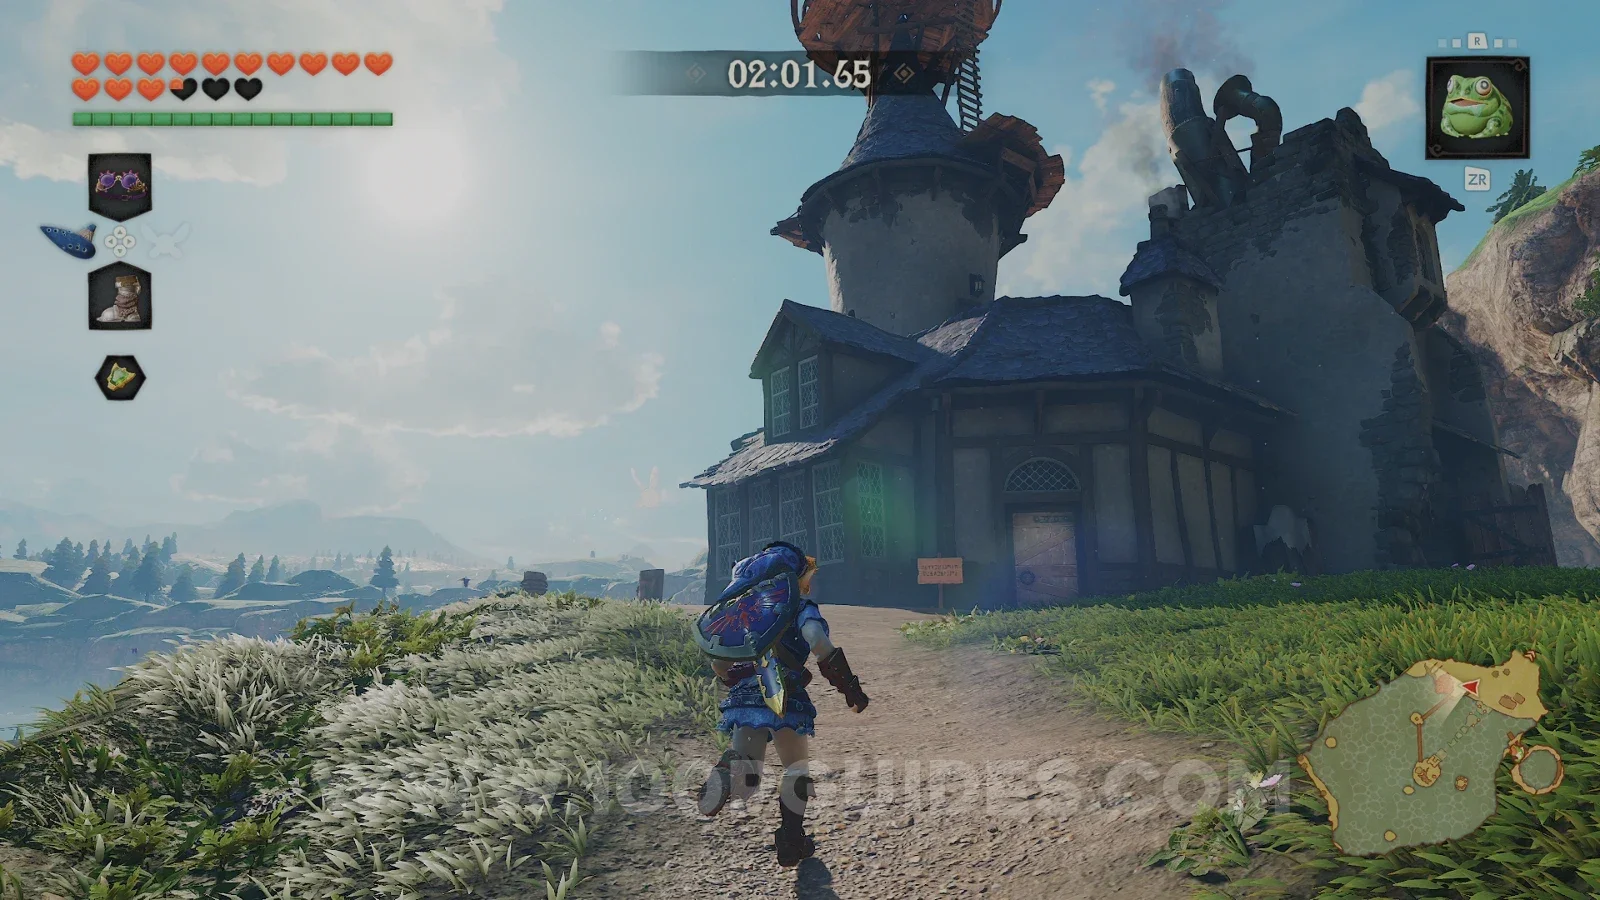
Give the Eyeball Frog to the scientist and he will make you the Specialty Eye Drops.
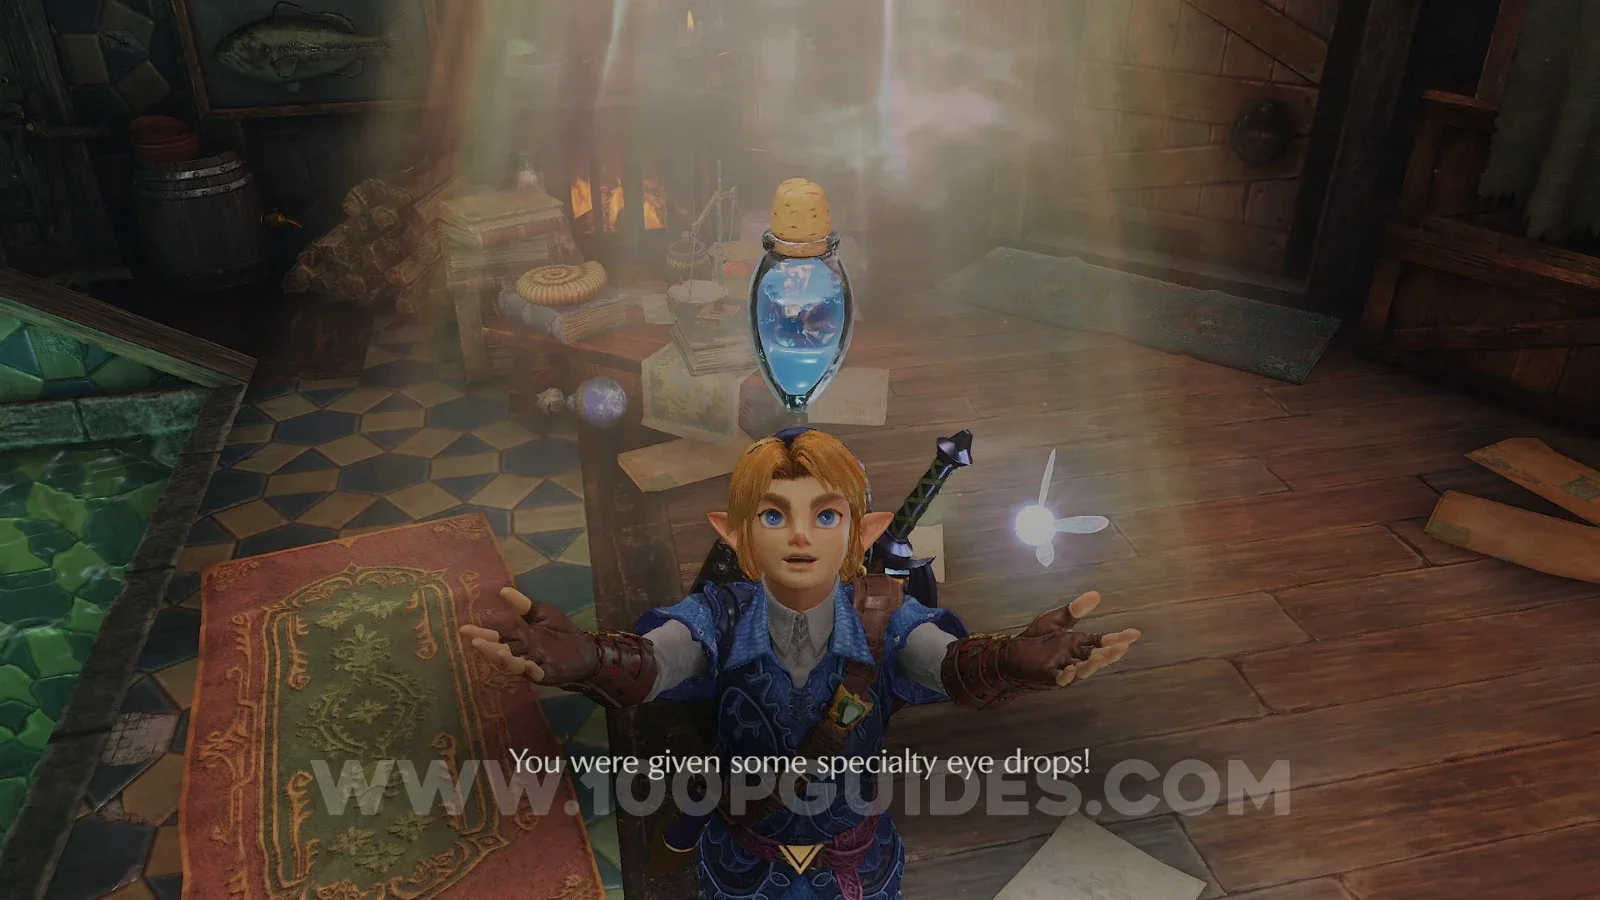
Specialty Eye Drops
This is the last timed trade. You have 3 minutes to take the eye drops to Biggoron at the summit of Death Mountain Trail. The fastest route is to dive back through the tunnel to Zora's Domain and leave to Zora River. From there, go down the stairs on the left and dive into the pool that takes you to the Lost Woods.
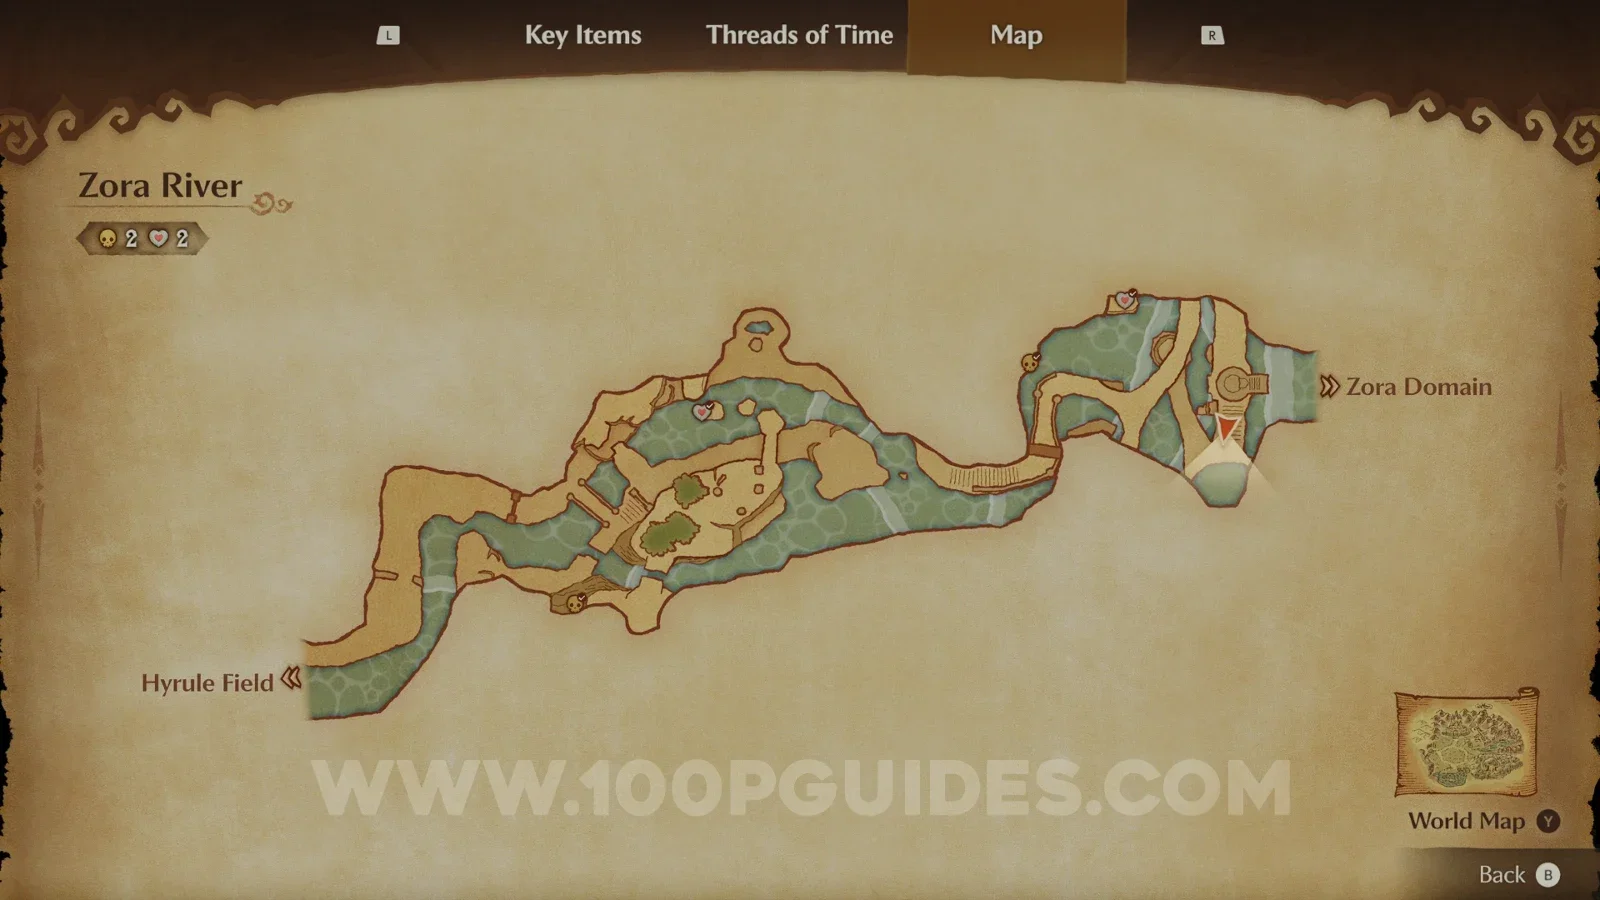
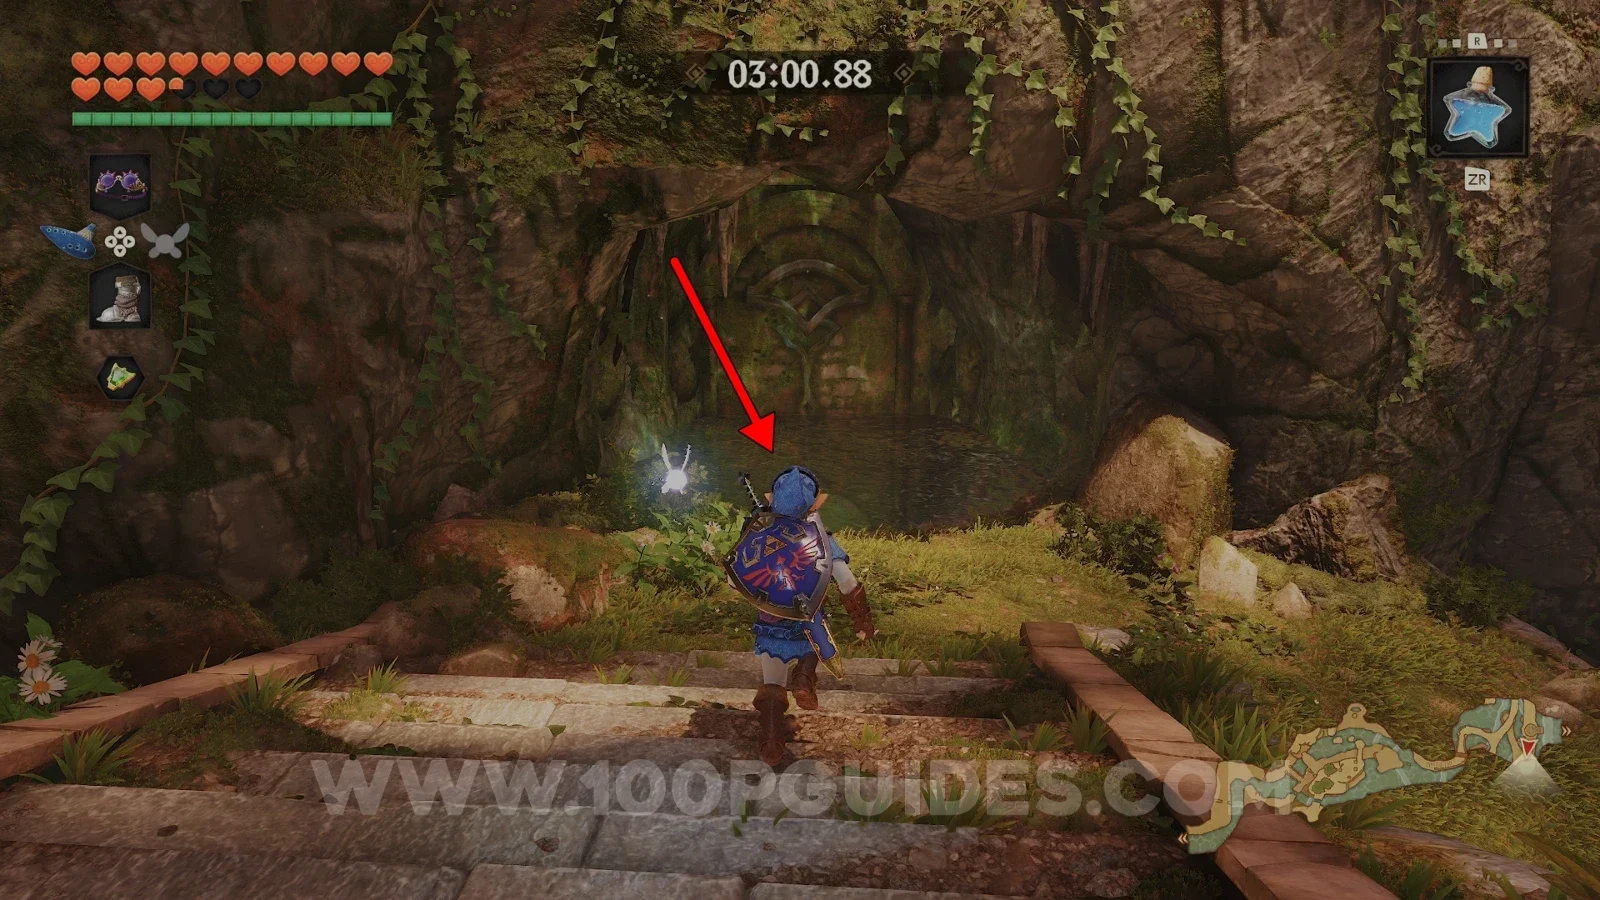
Get out of the water, go straight and then right to enter Goron City. Leave Goron City through the main entrance and climb to the summit of Death Mountain Trail.
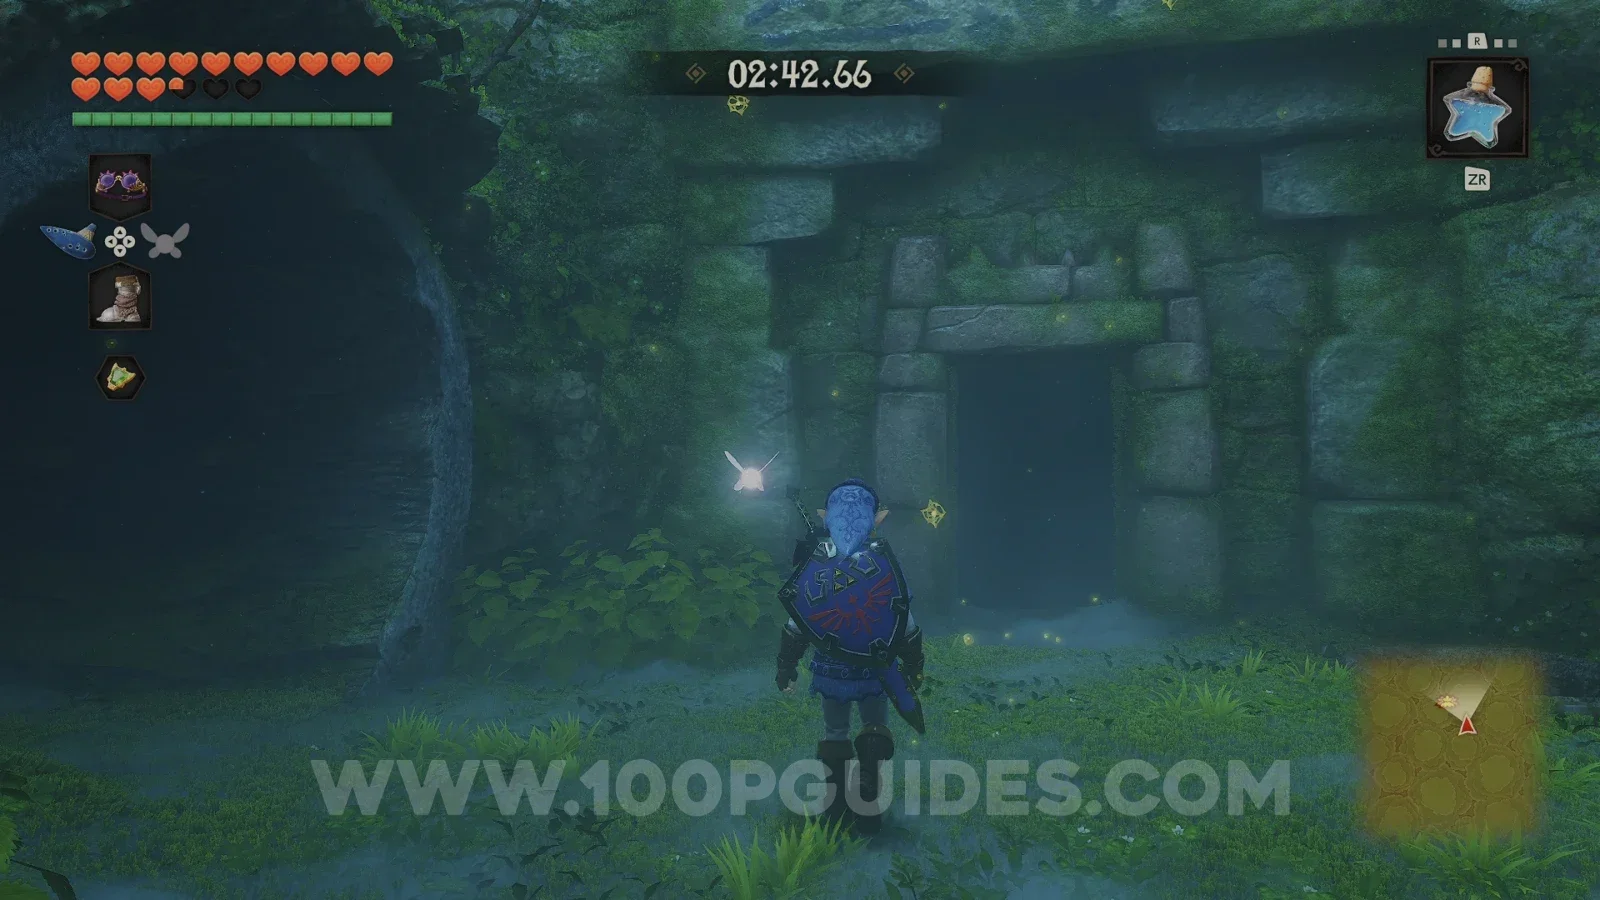
Give the eye drops to Biggoron and he will hand you a receipt for the sword. All that is left is to wait.
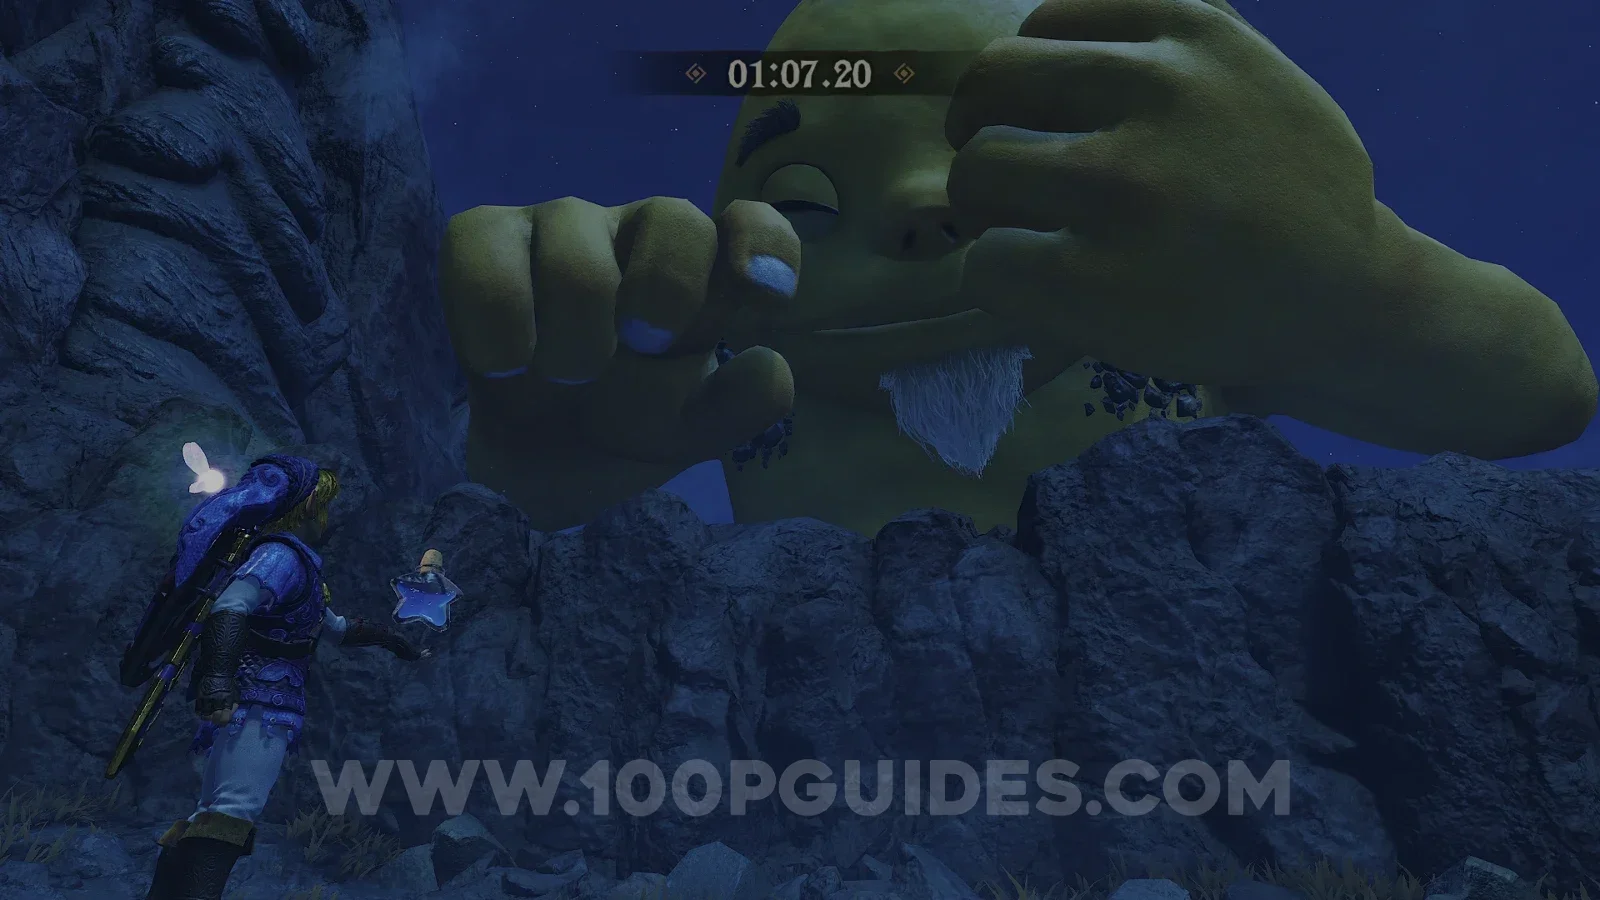
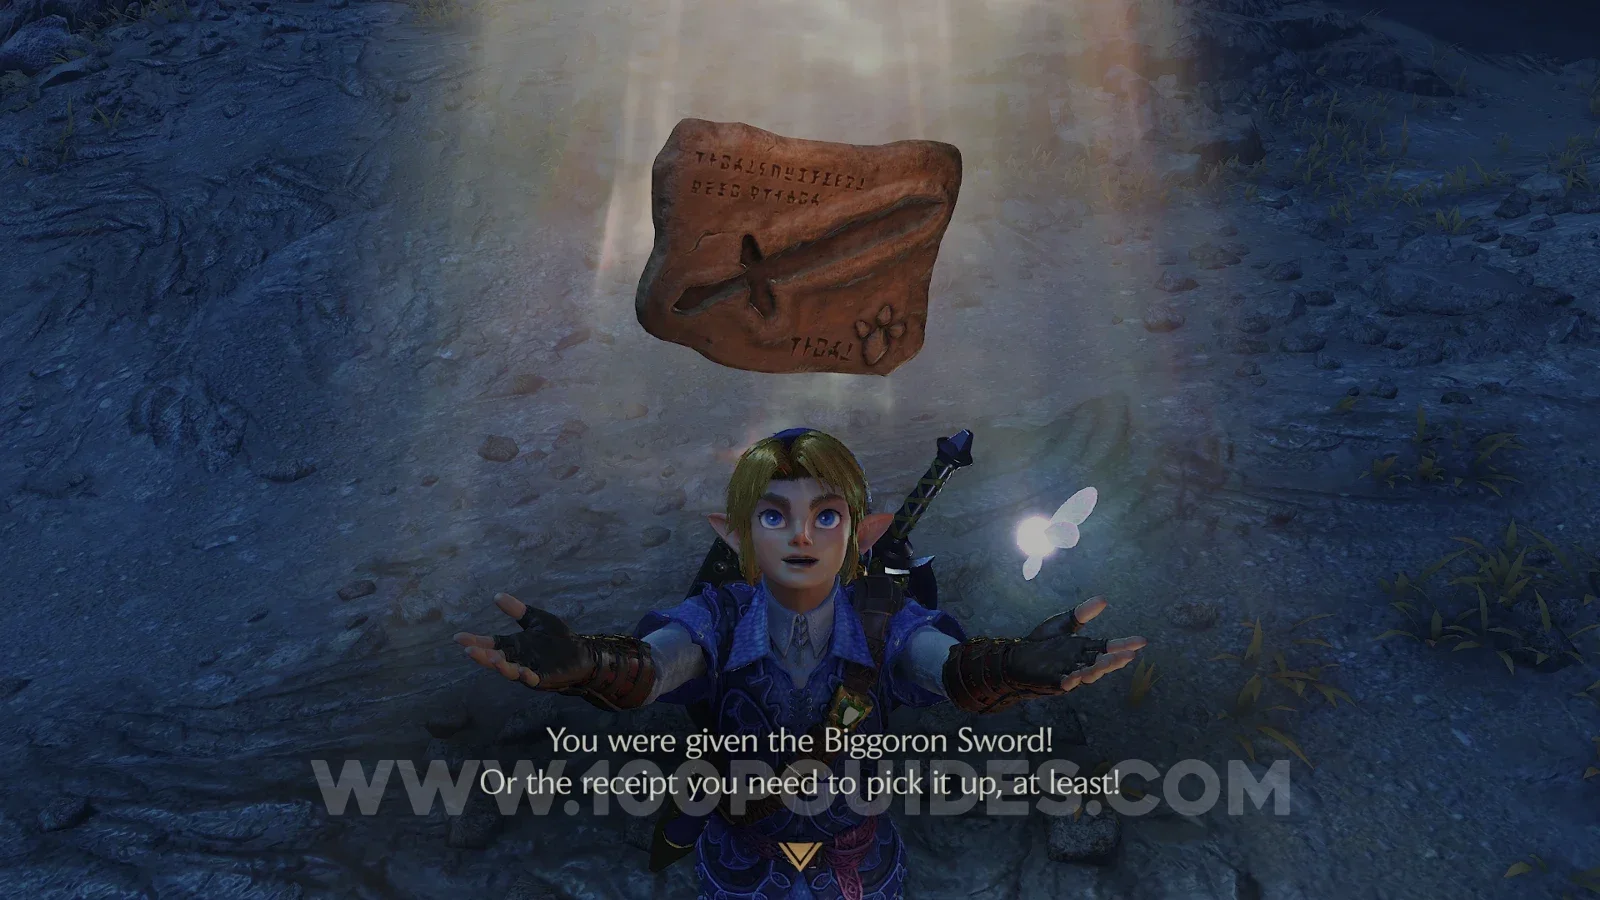
Biggoron Sword
Biggoron needs three days to fix the sword. Play the Sun's Song a few times to make the days go by. You can talk to him at any point to ask how long is left. Once he is done, show him the receipt to get the Biggoron Sword.
Lon Lon Ranch
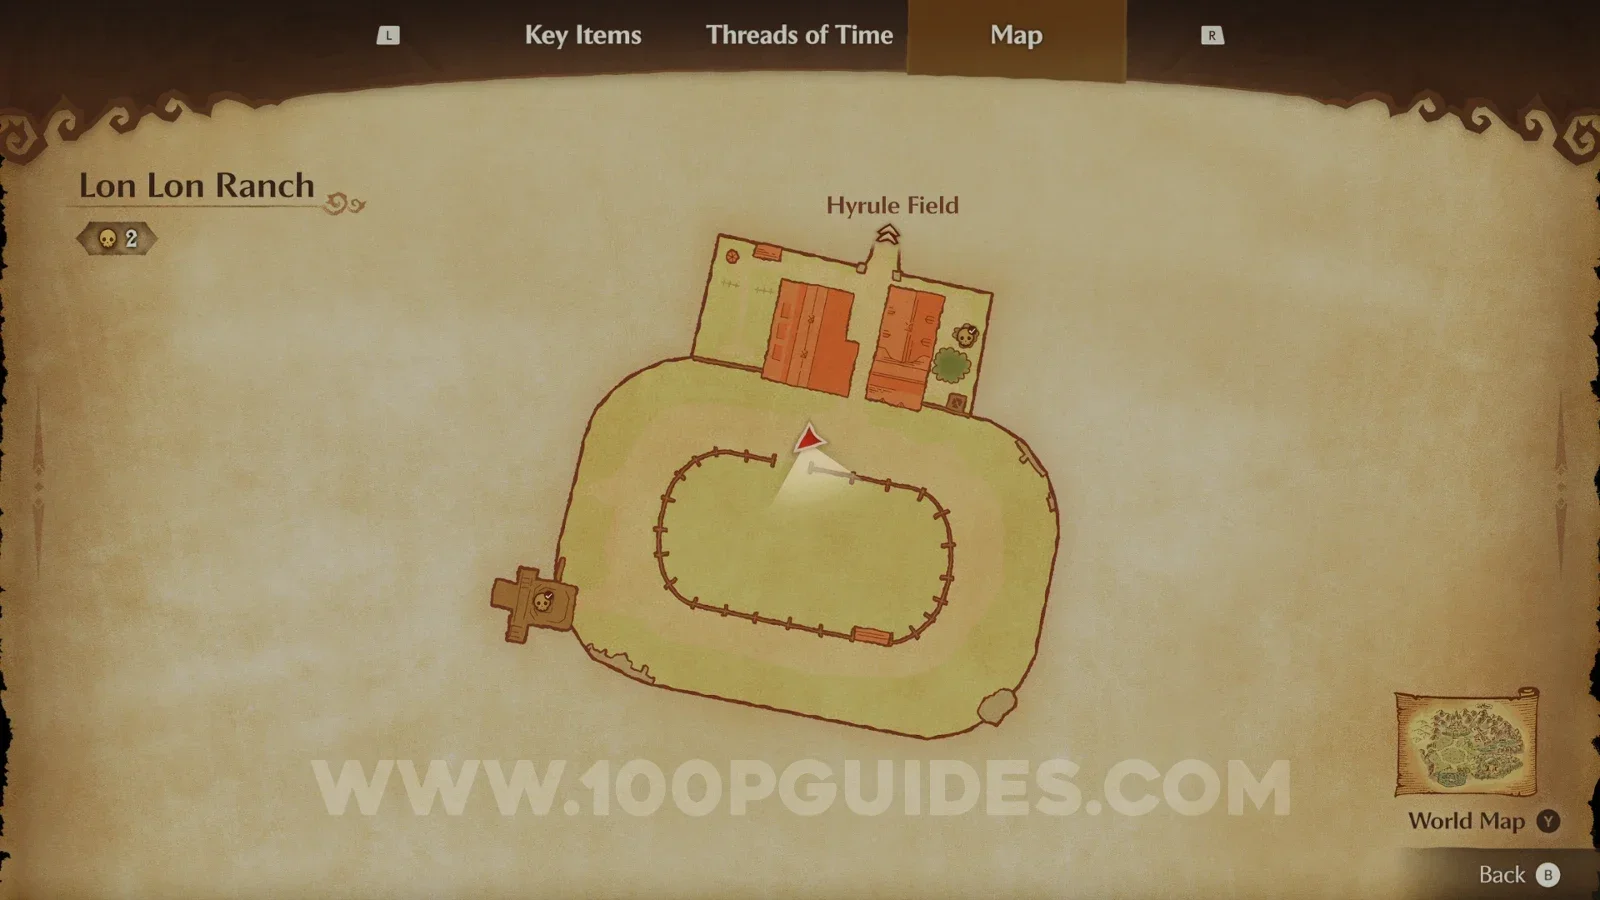
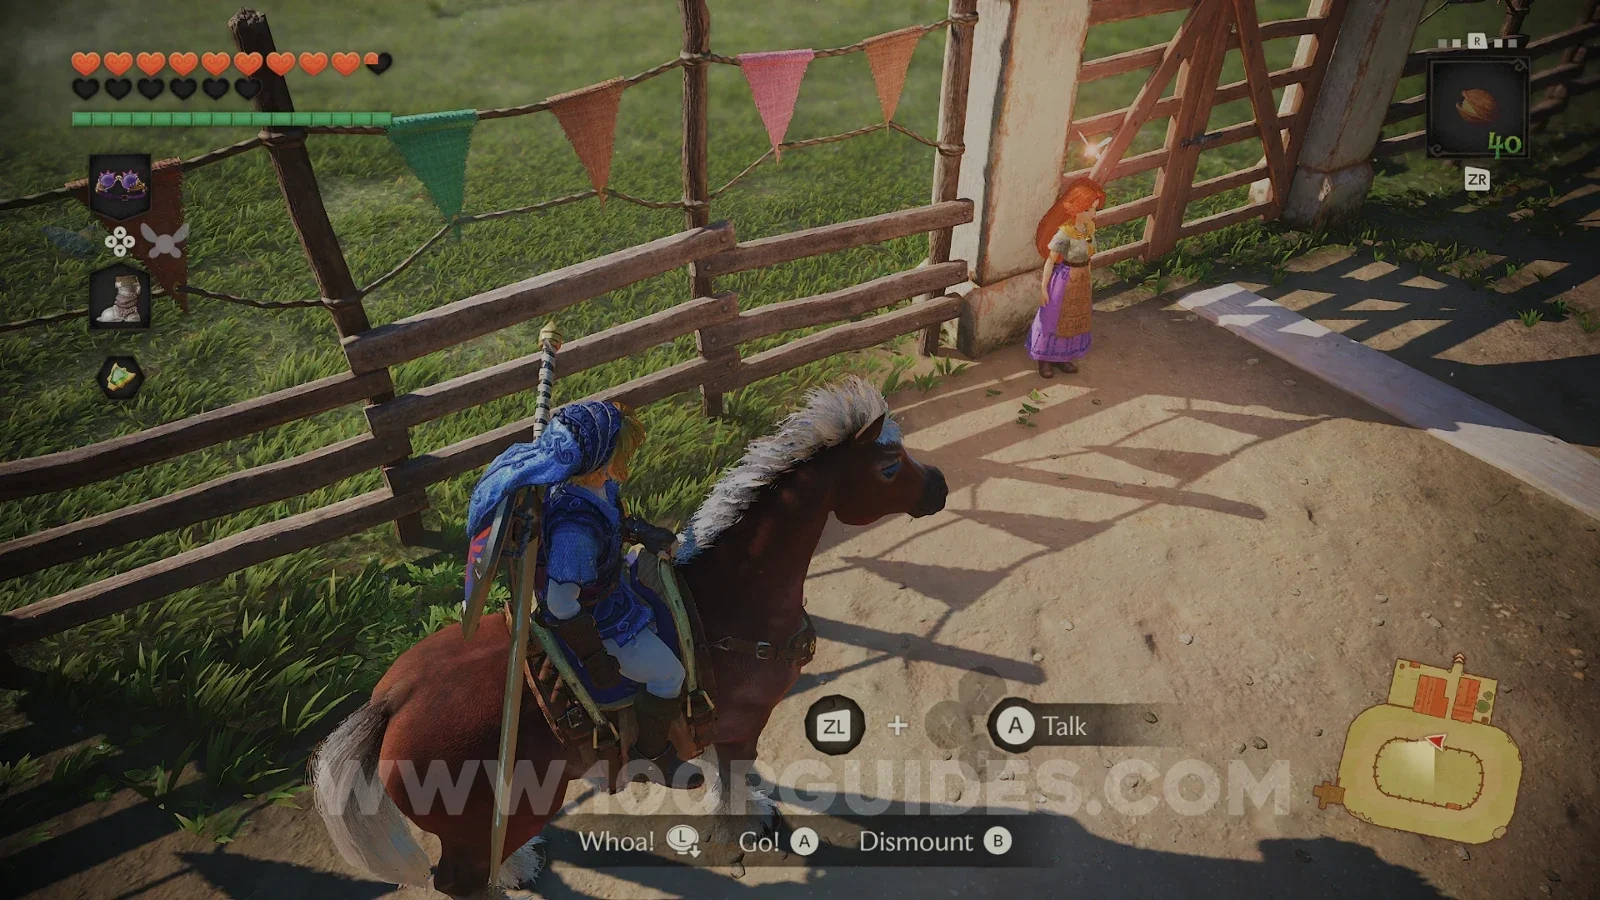
One last thing for this part. Now that Talon is awake, he has gone back to Lon Lon Ranch and Malon is in charge of the corral again. Ride Epona into the ranch and talk to Malon to try her obstacle course. If you finish the two laps fast enough (under 40 seconds), a cow will be delivered to your house in Kokiri Forest, giving you free milk whenever you want.
With the Biggoron Sword on your back, it's time to play the Nocturne of Shadow and see what is waiting above the graveyard.