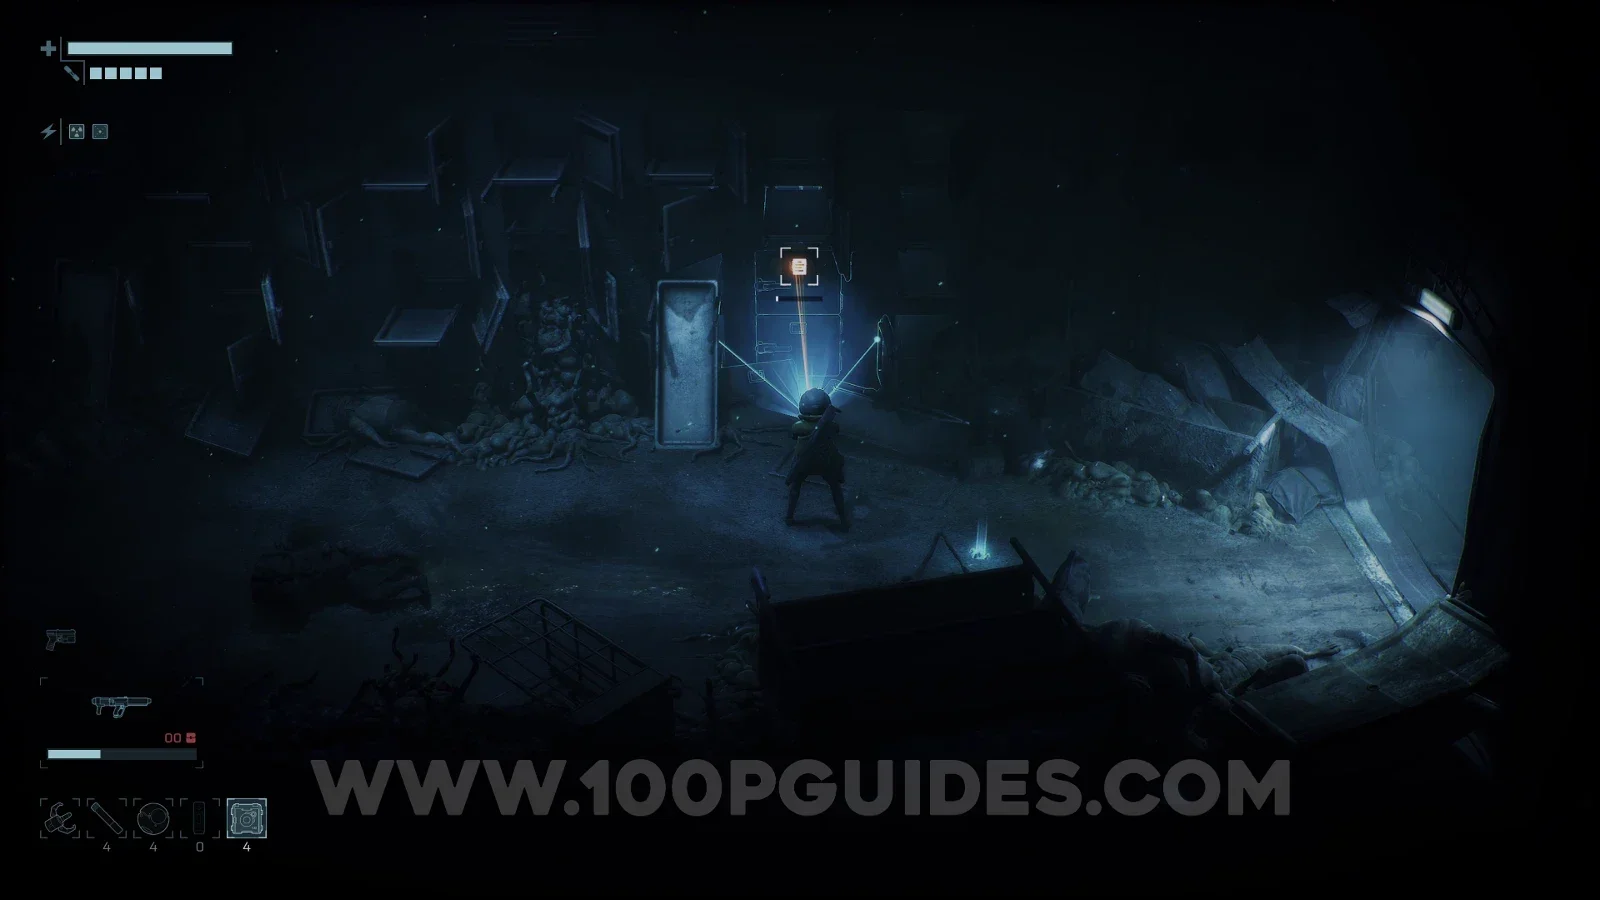
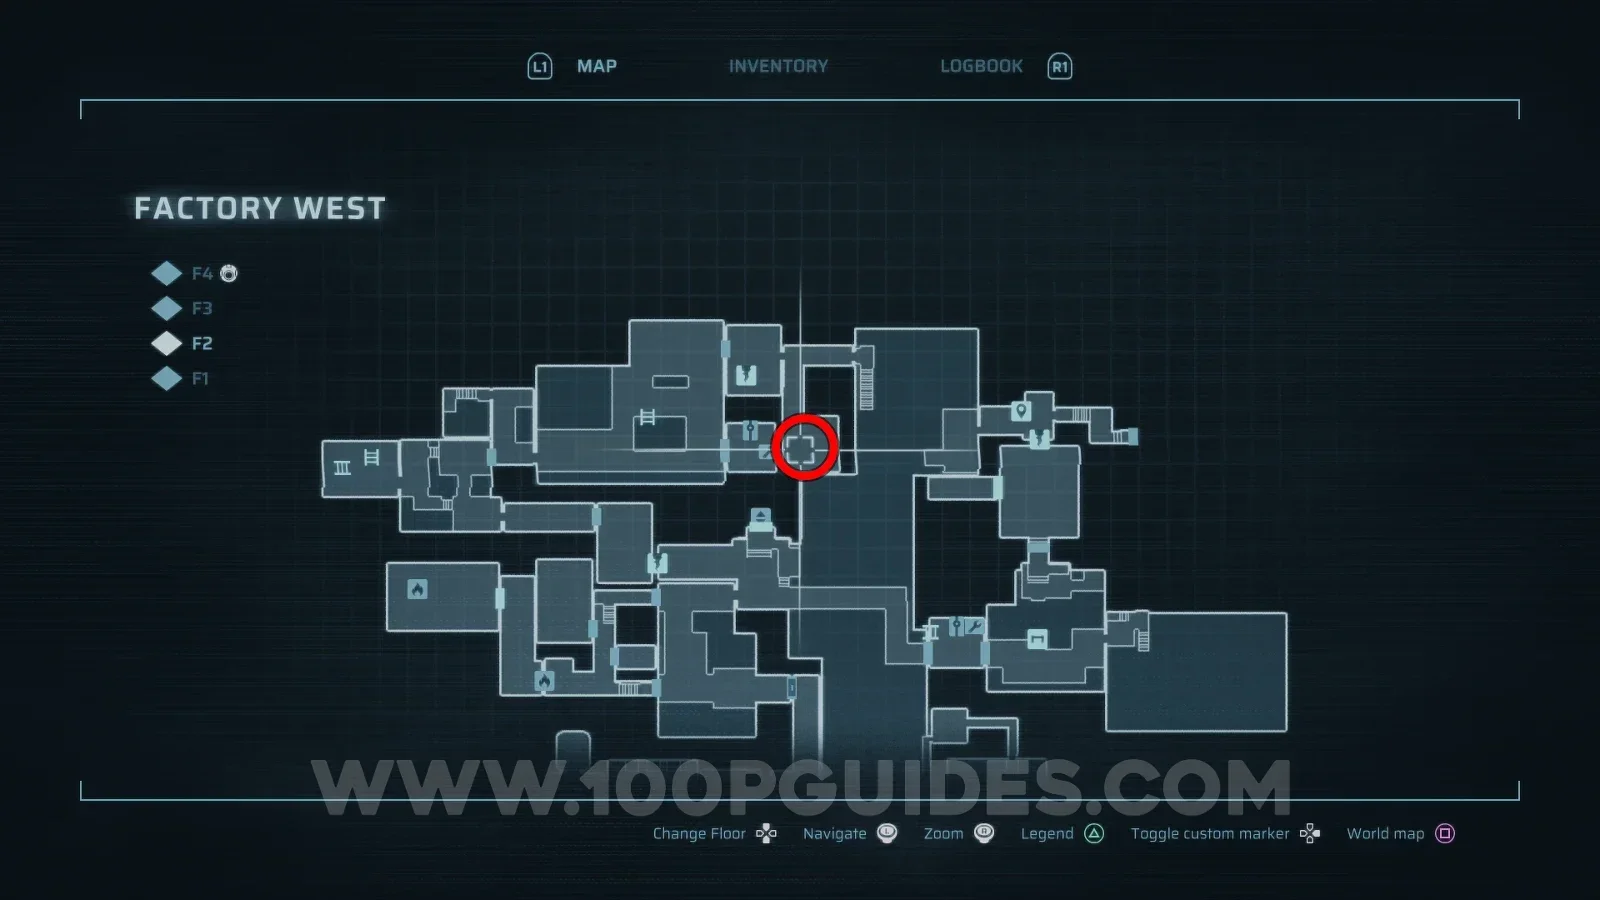
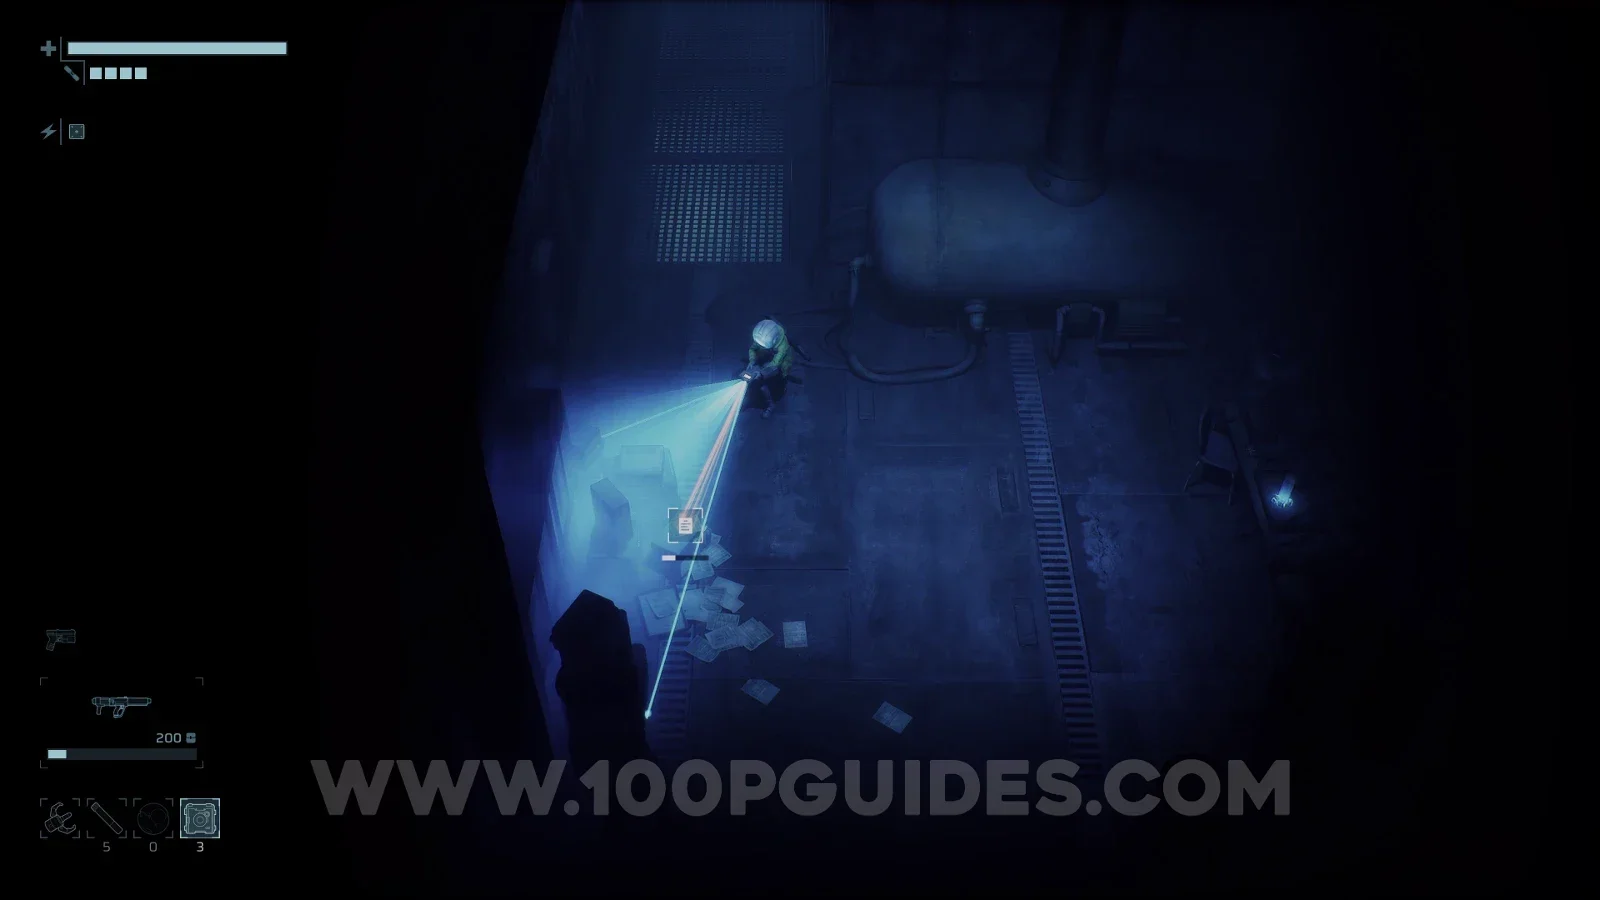
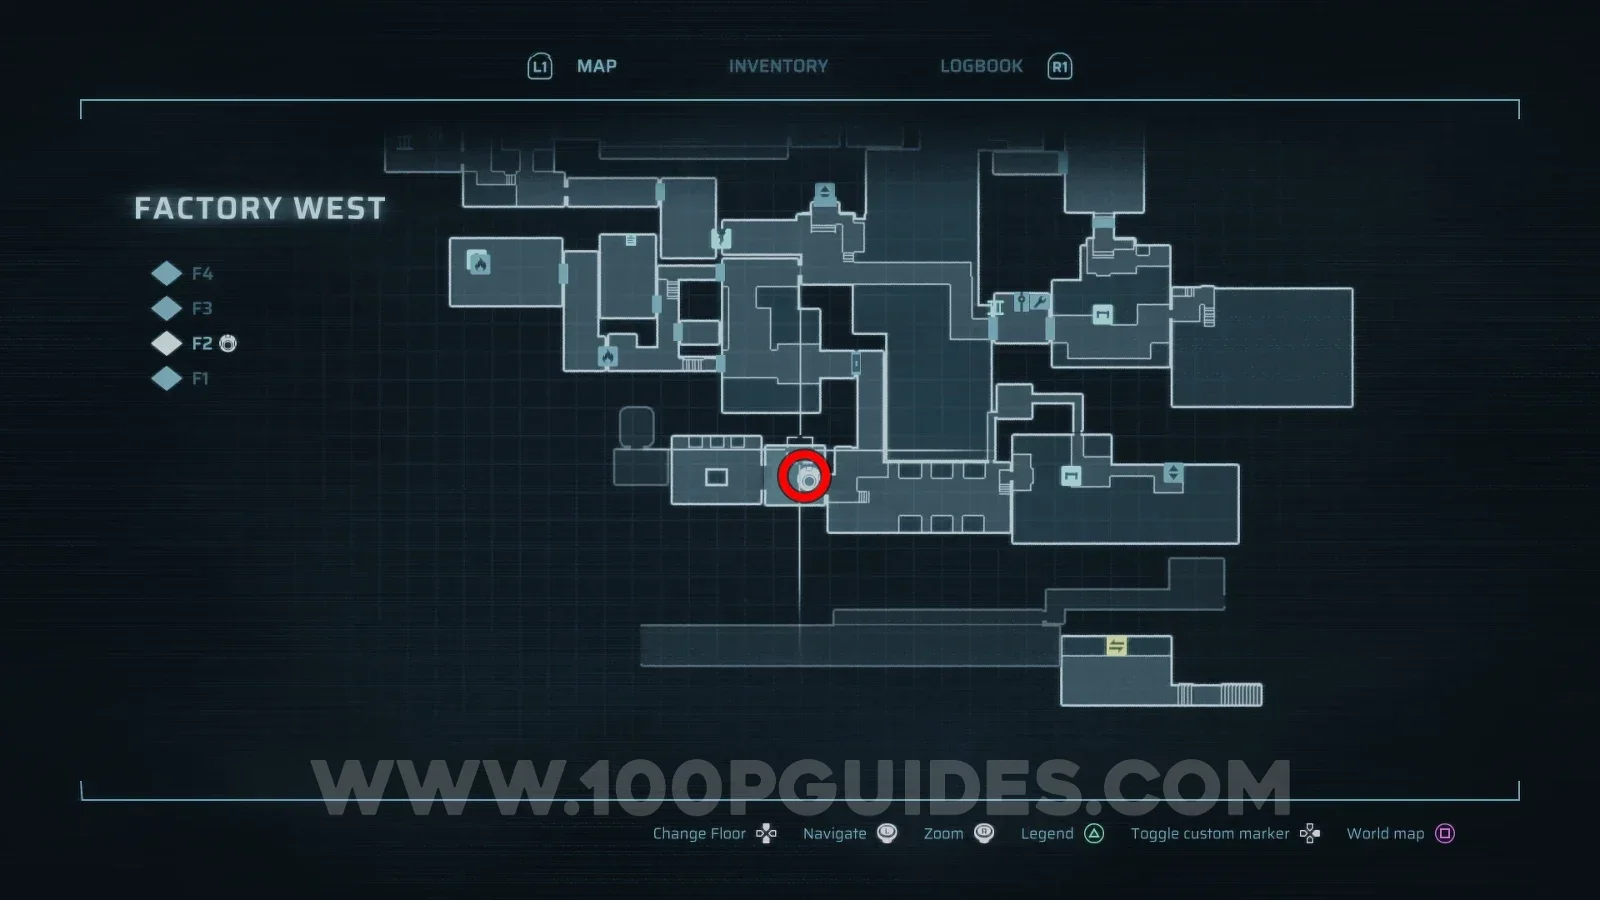
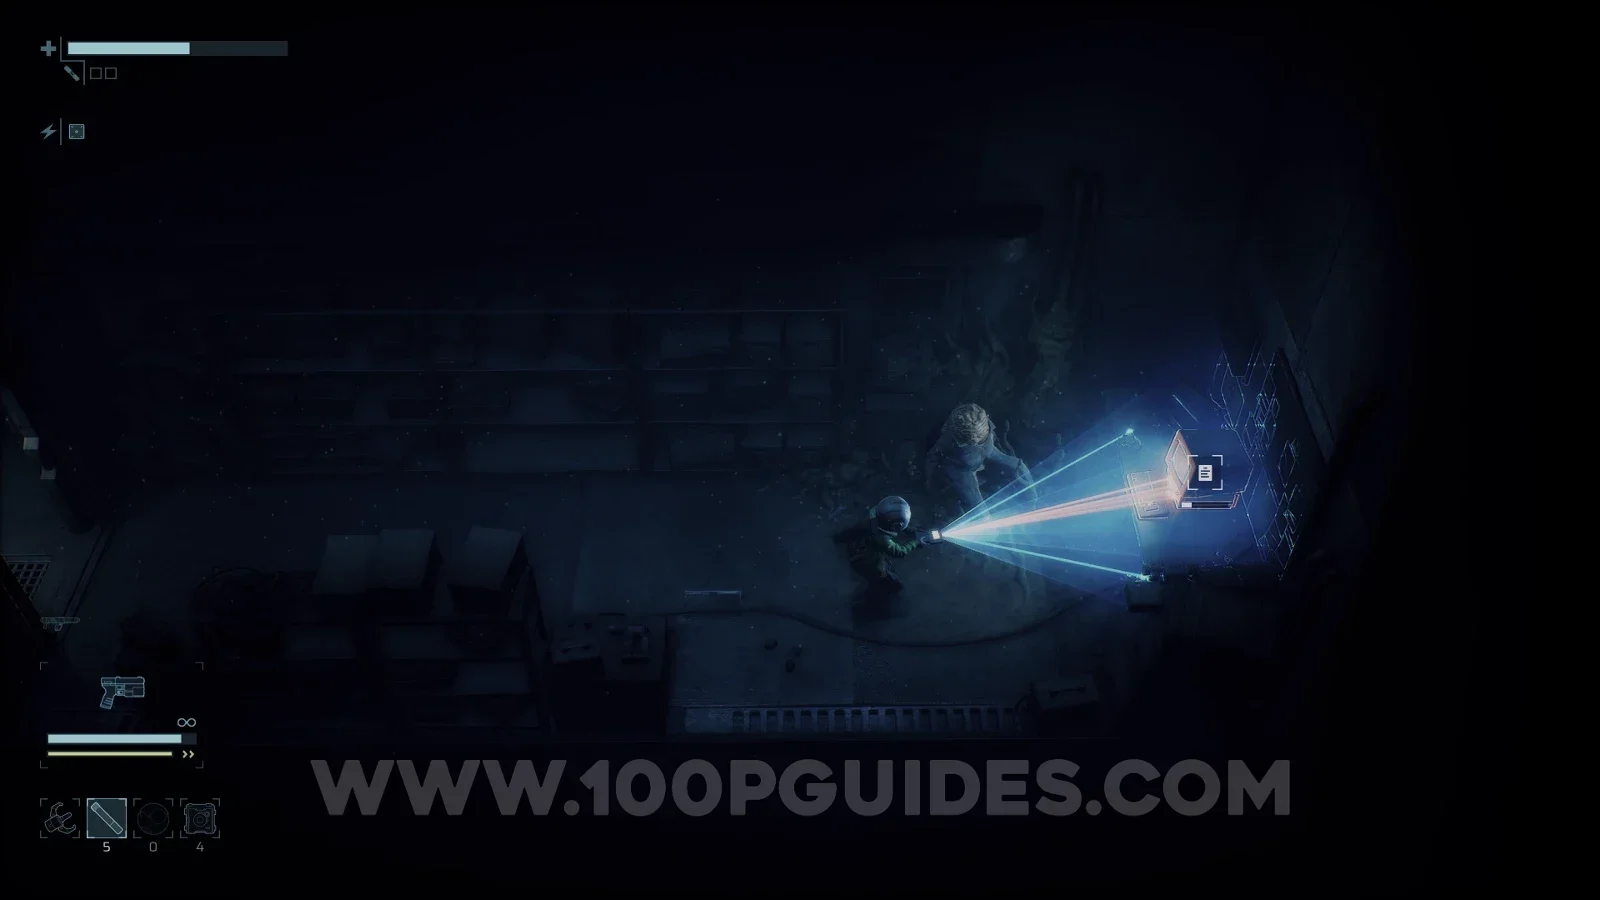
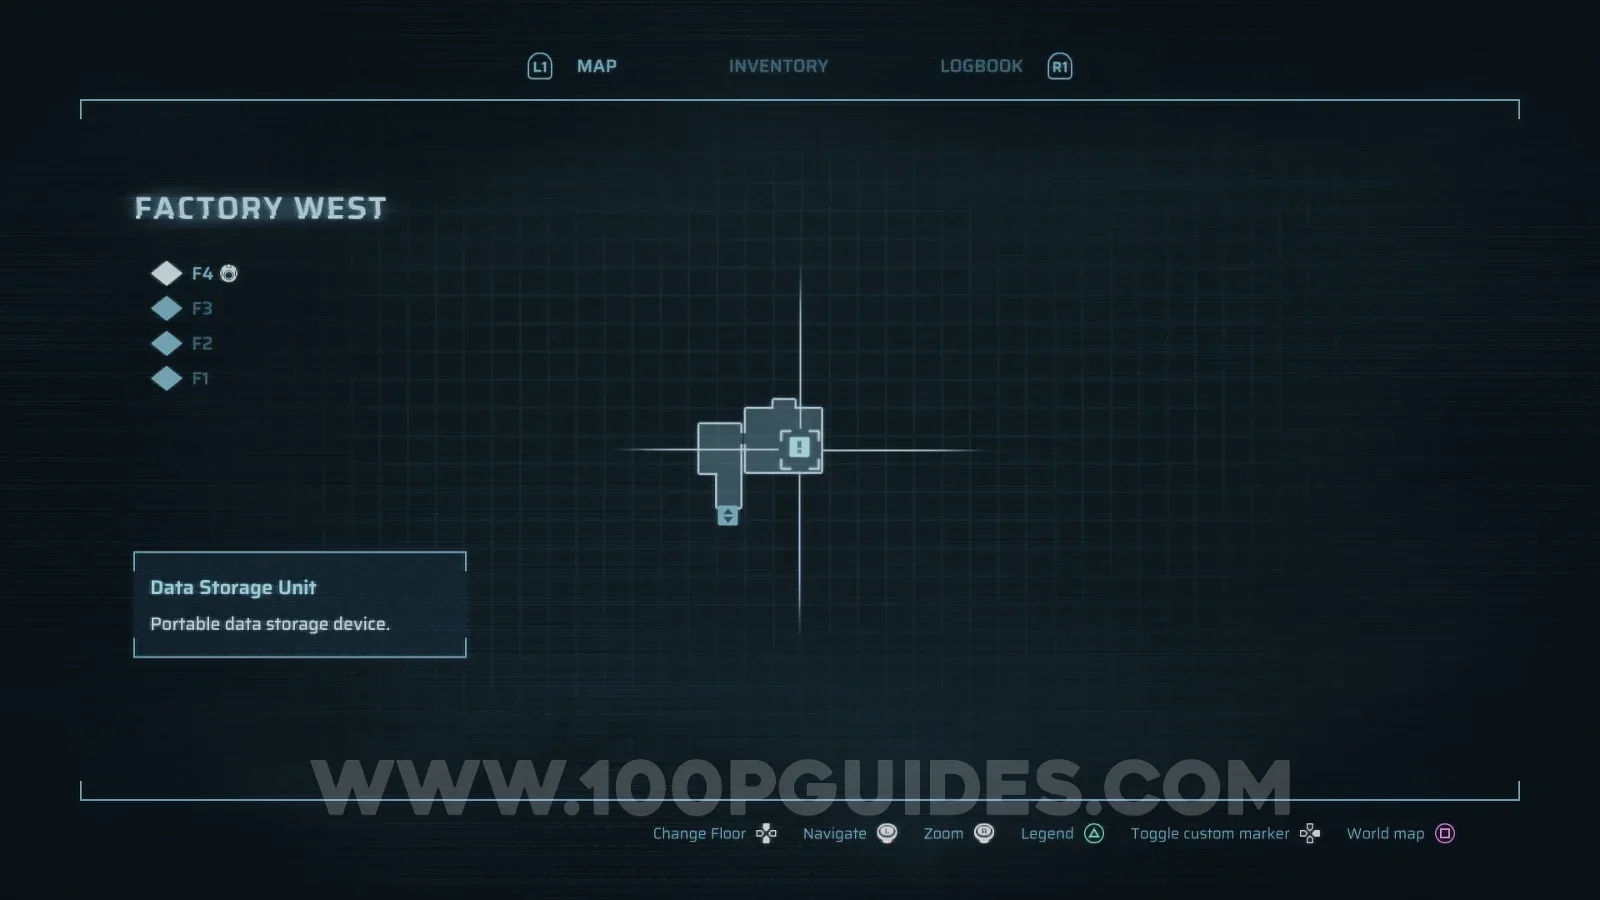
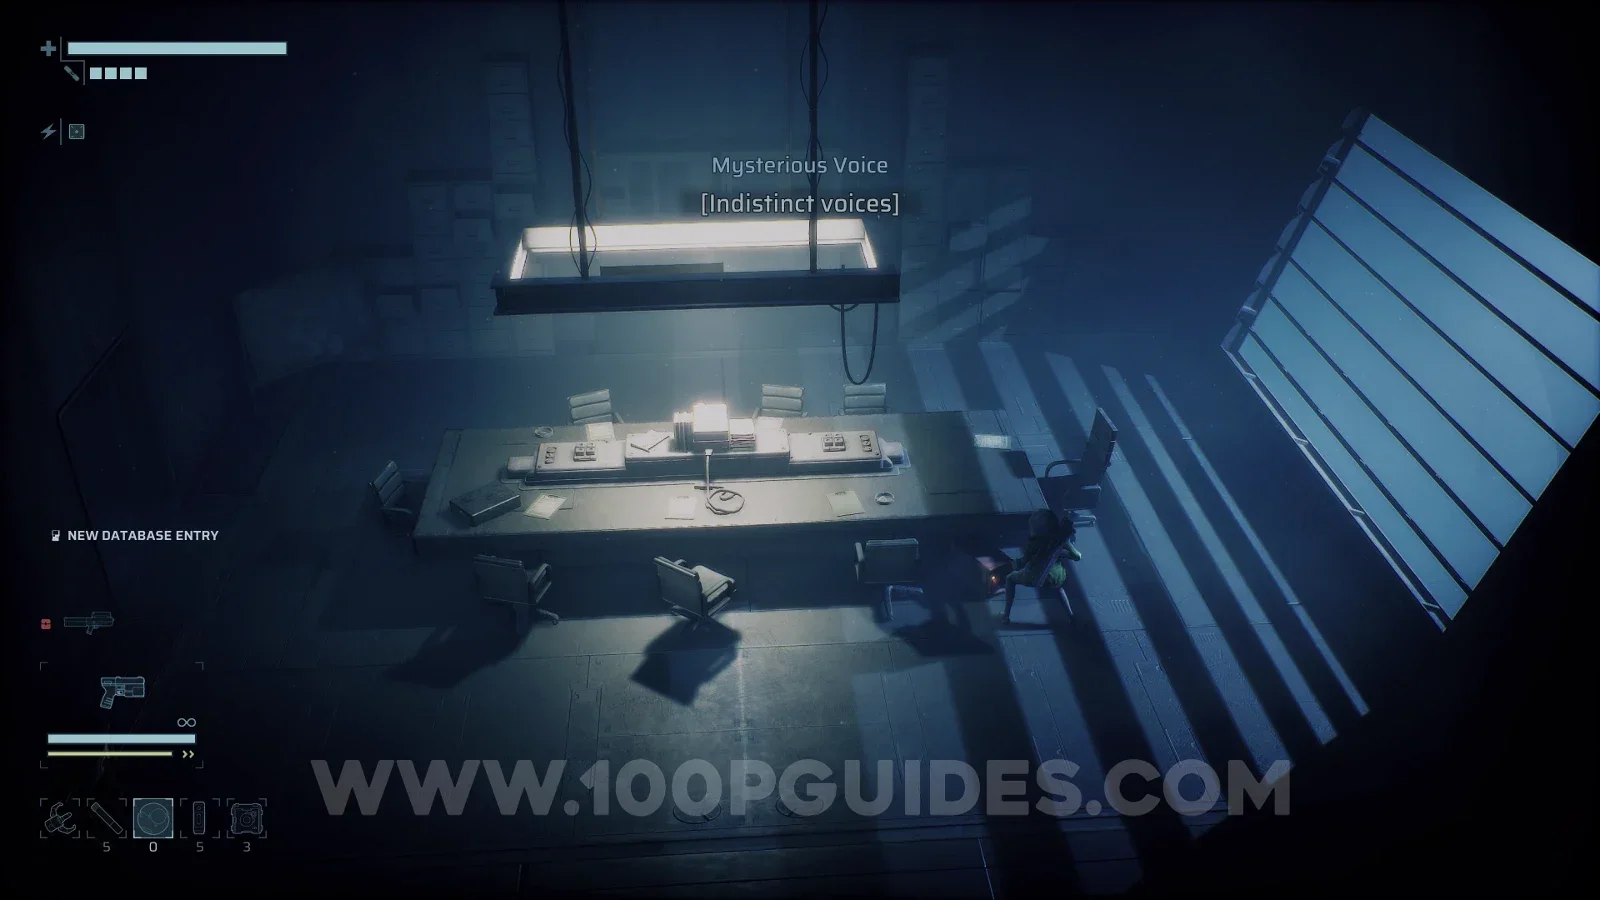
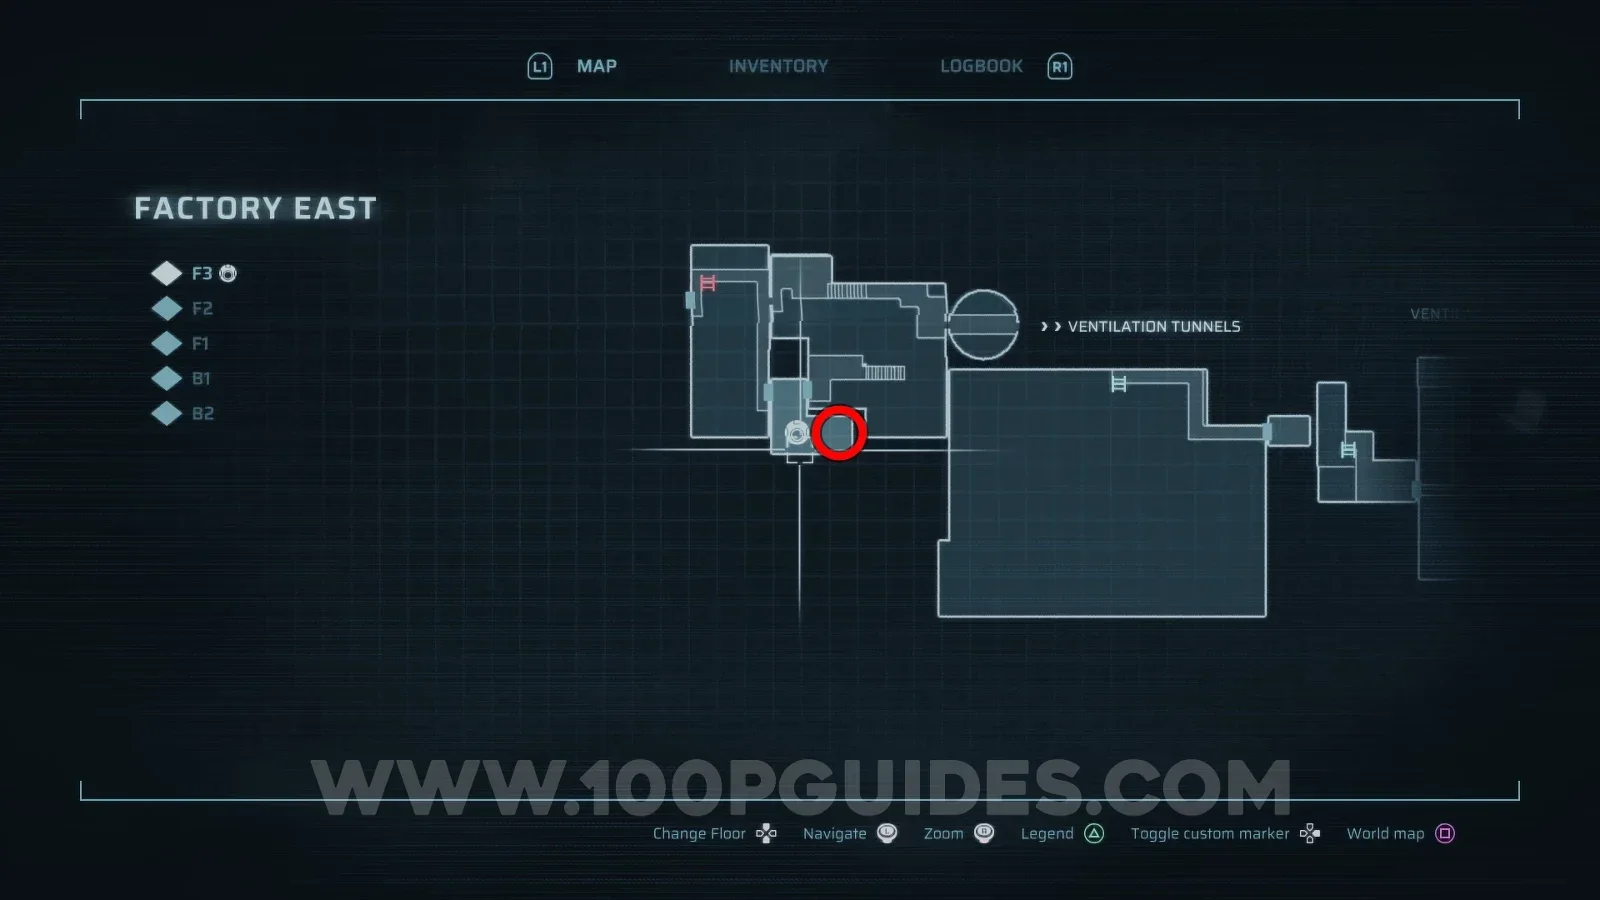
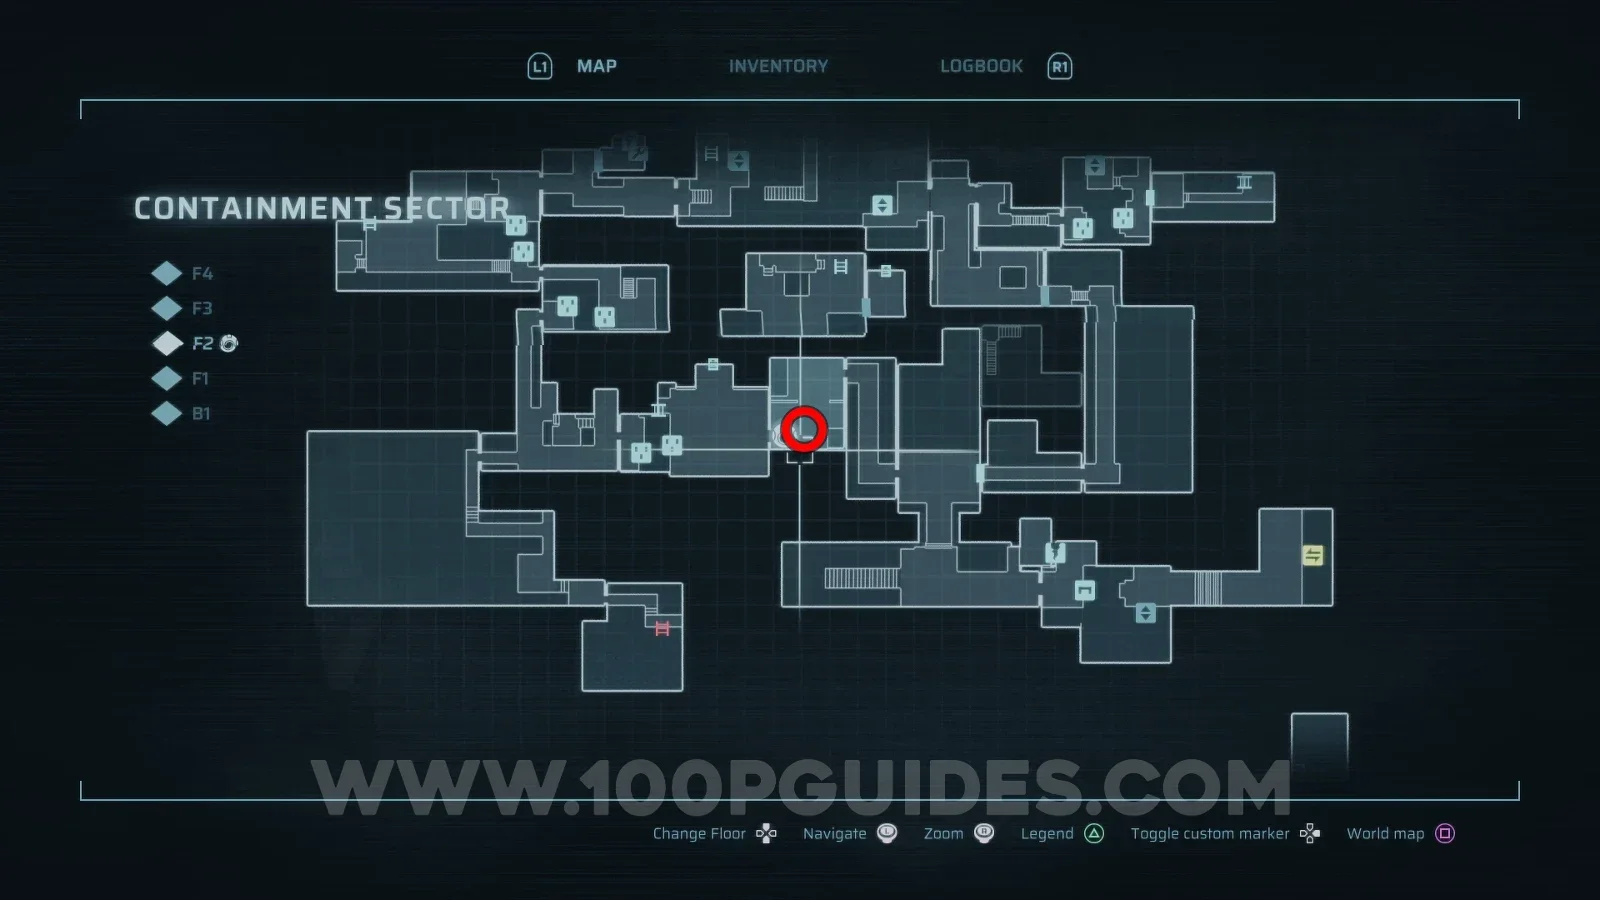
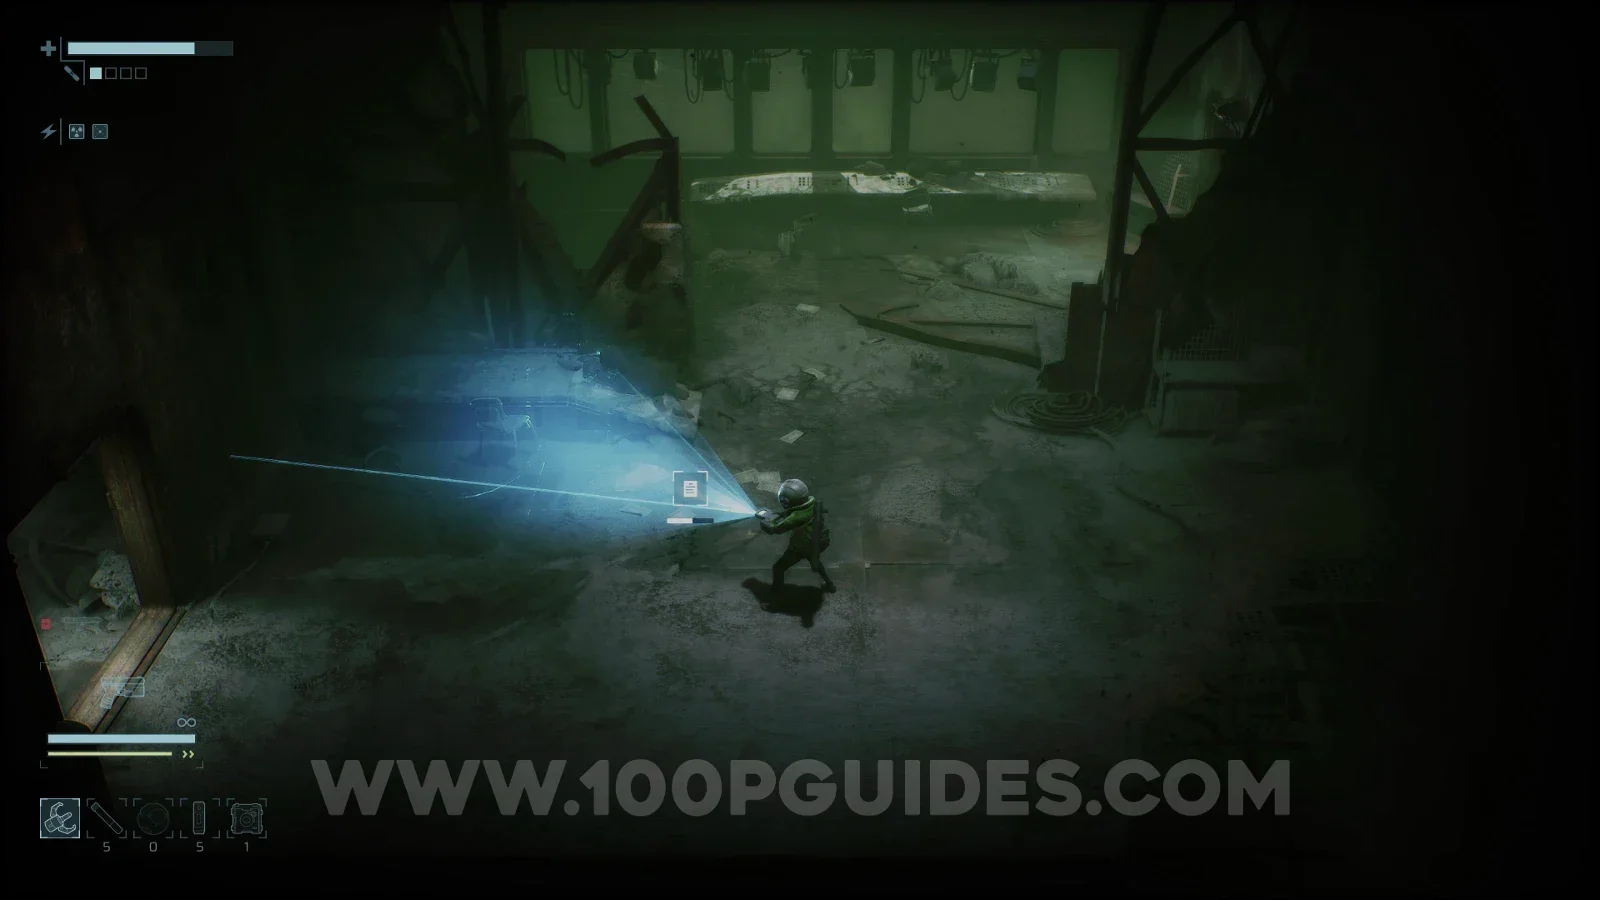
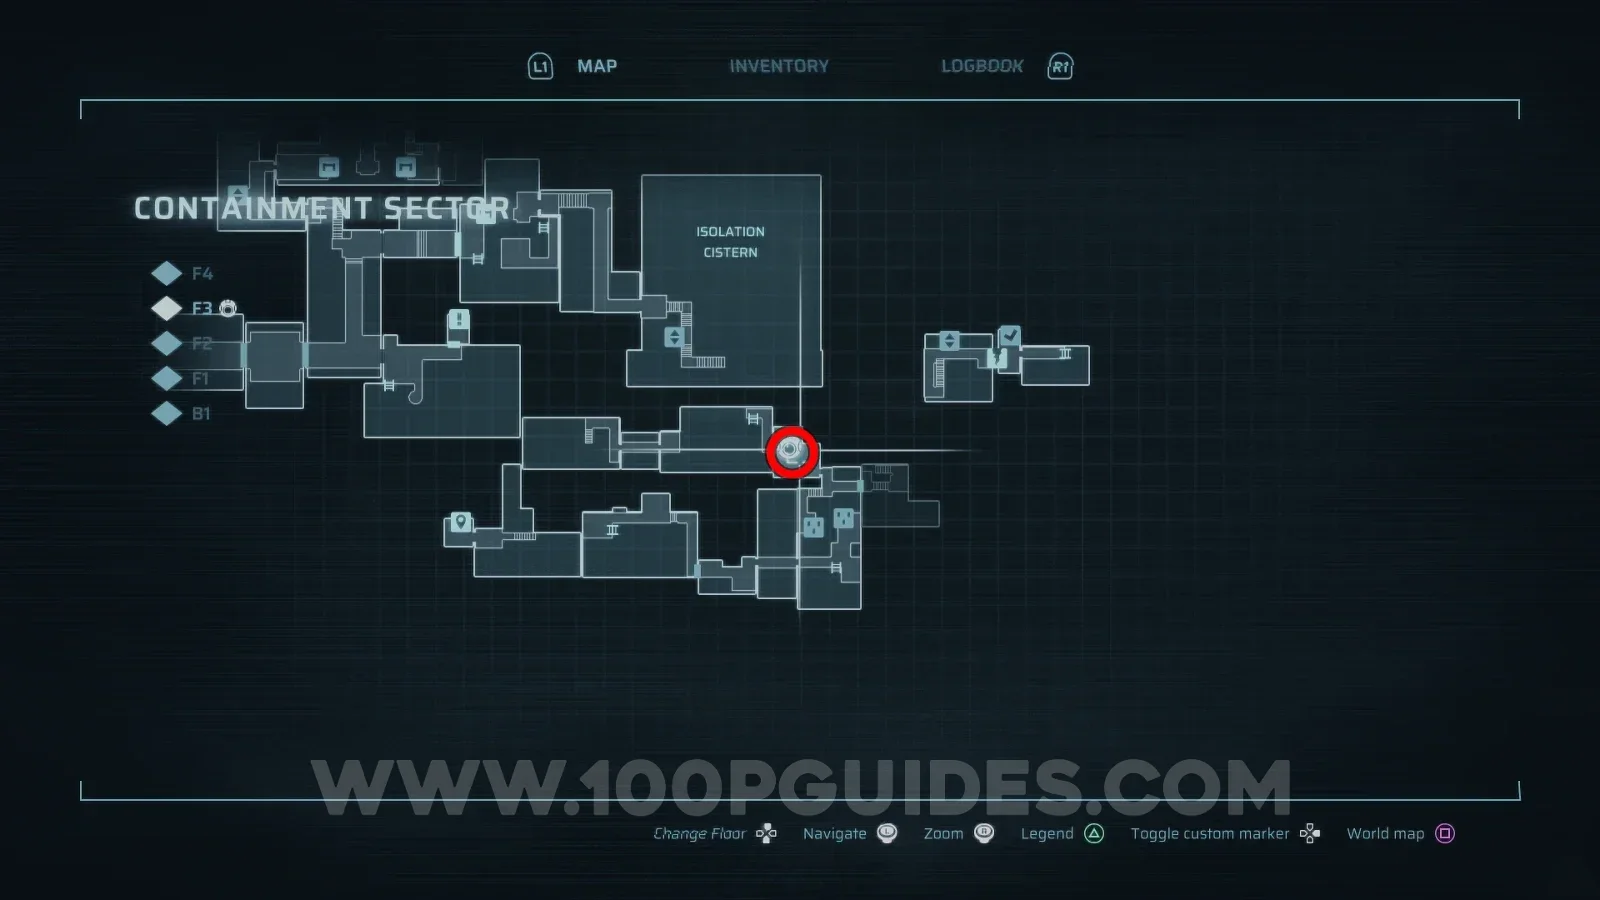
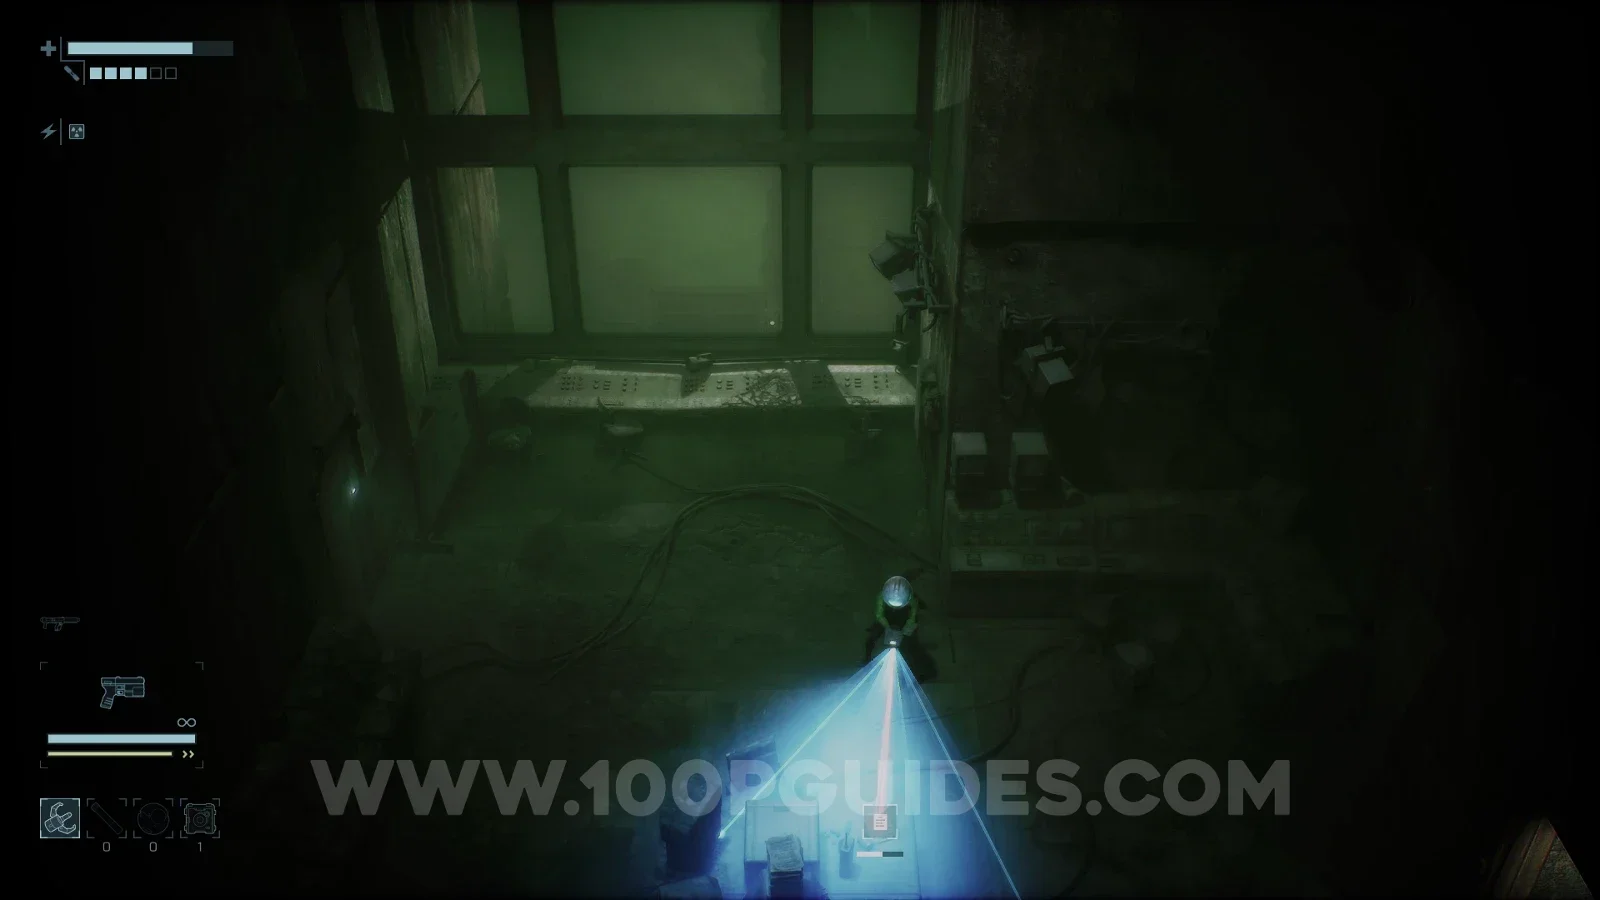
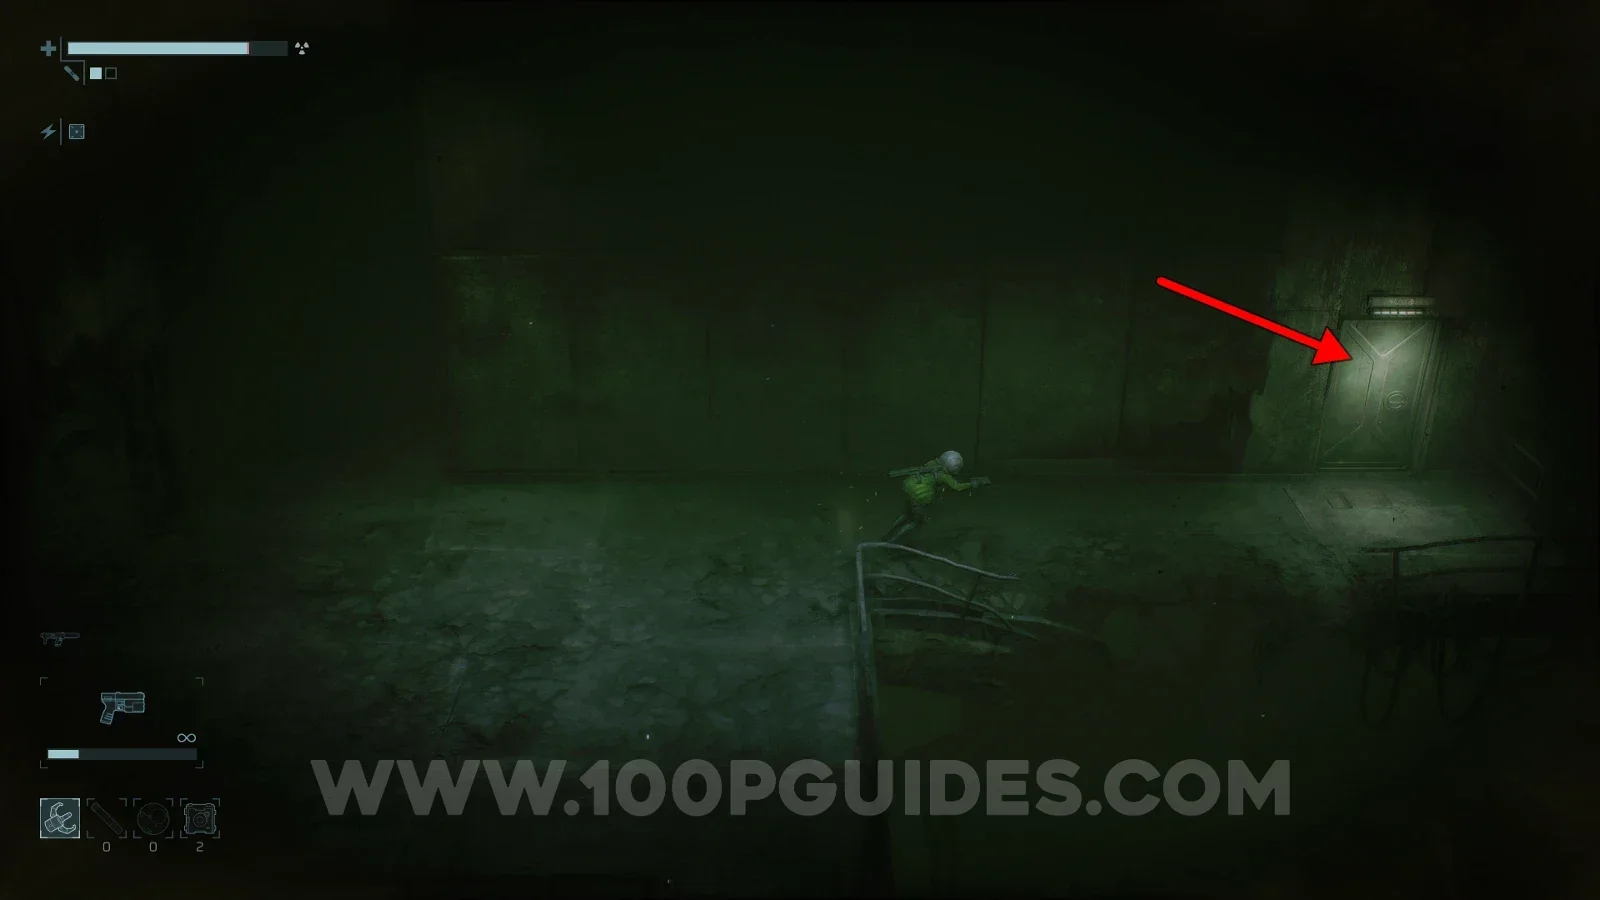
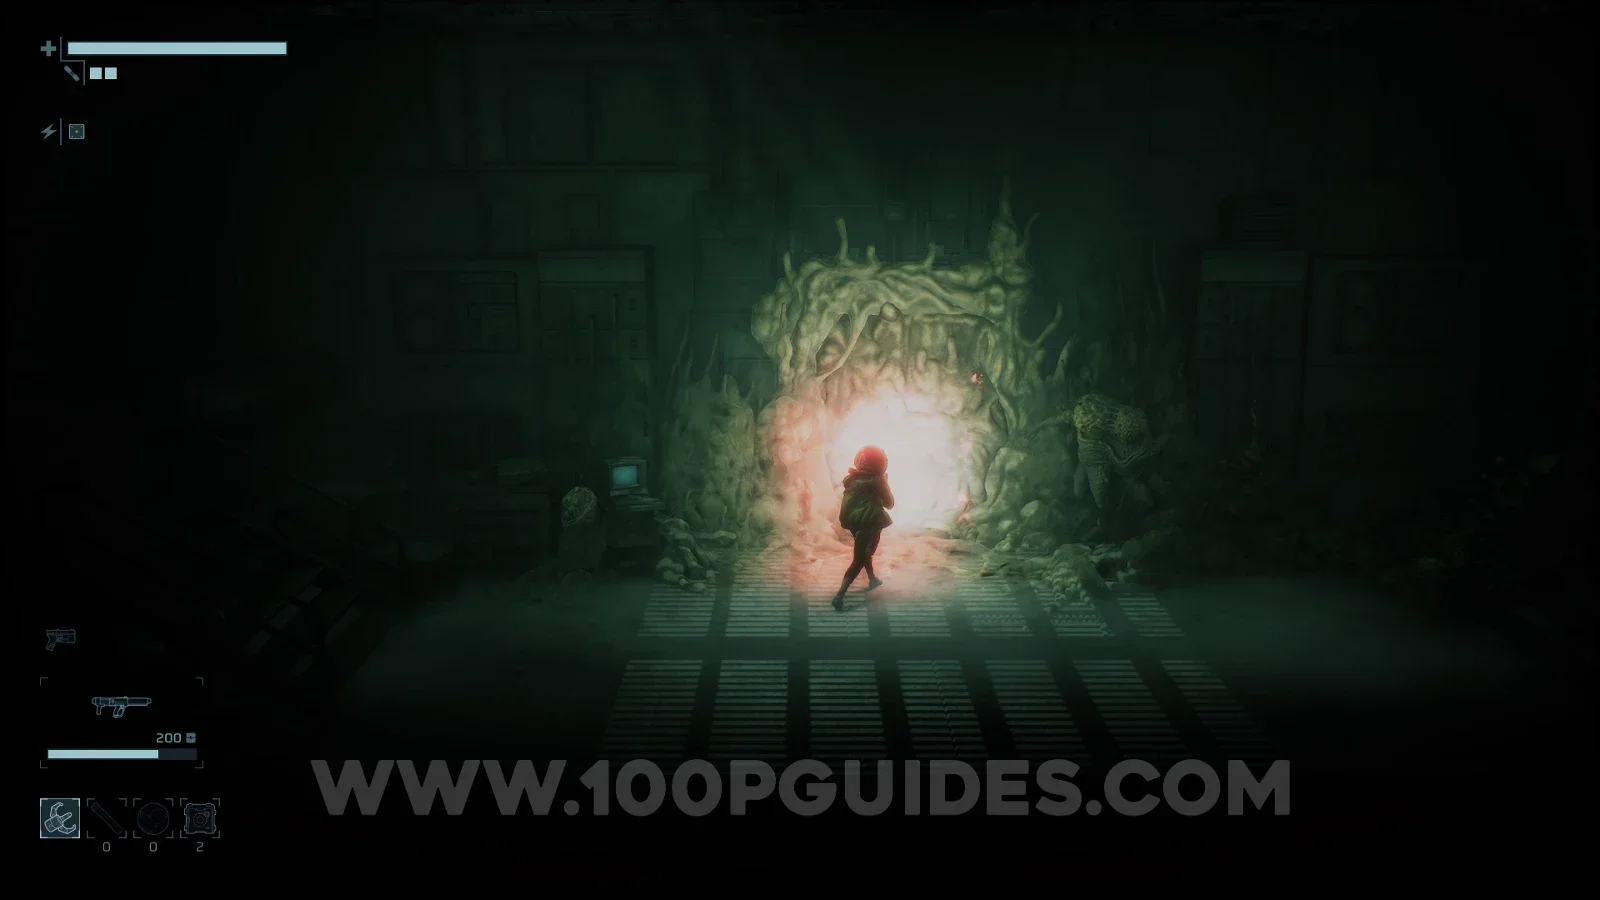
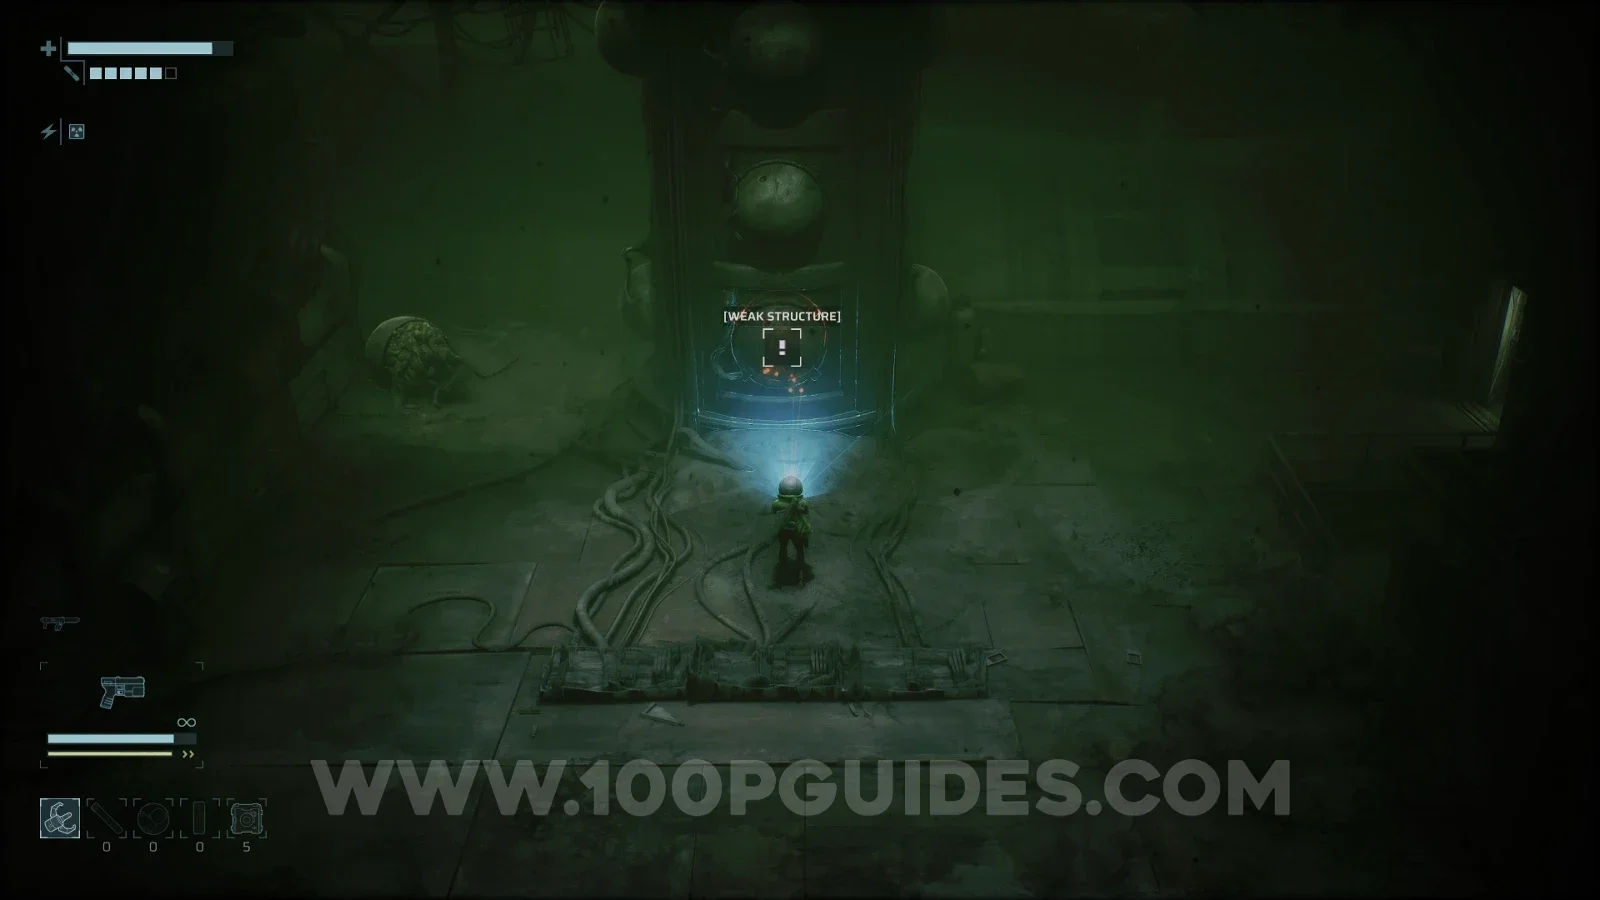
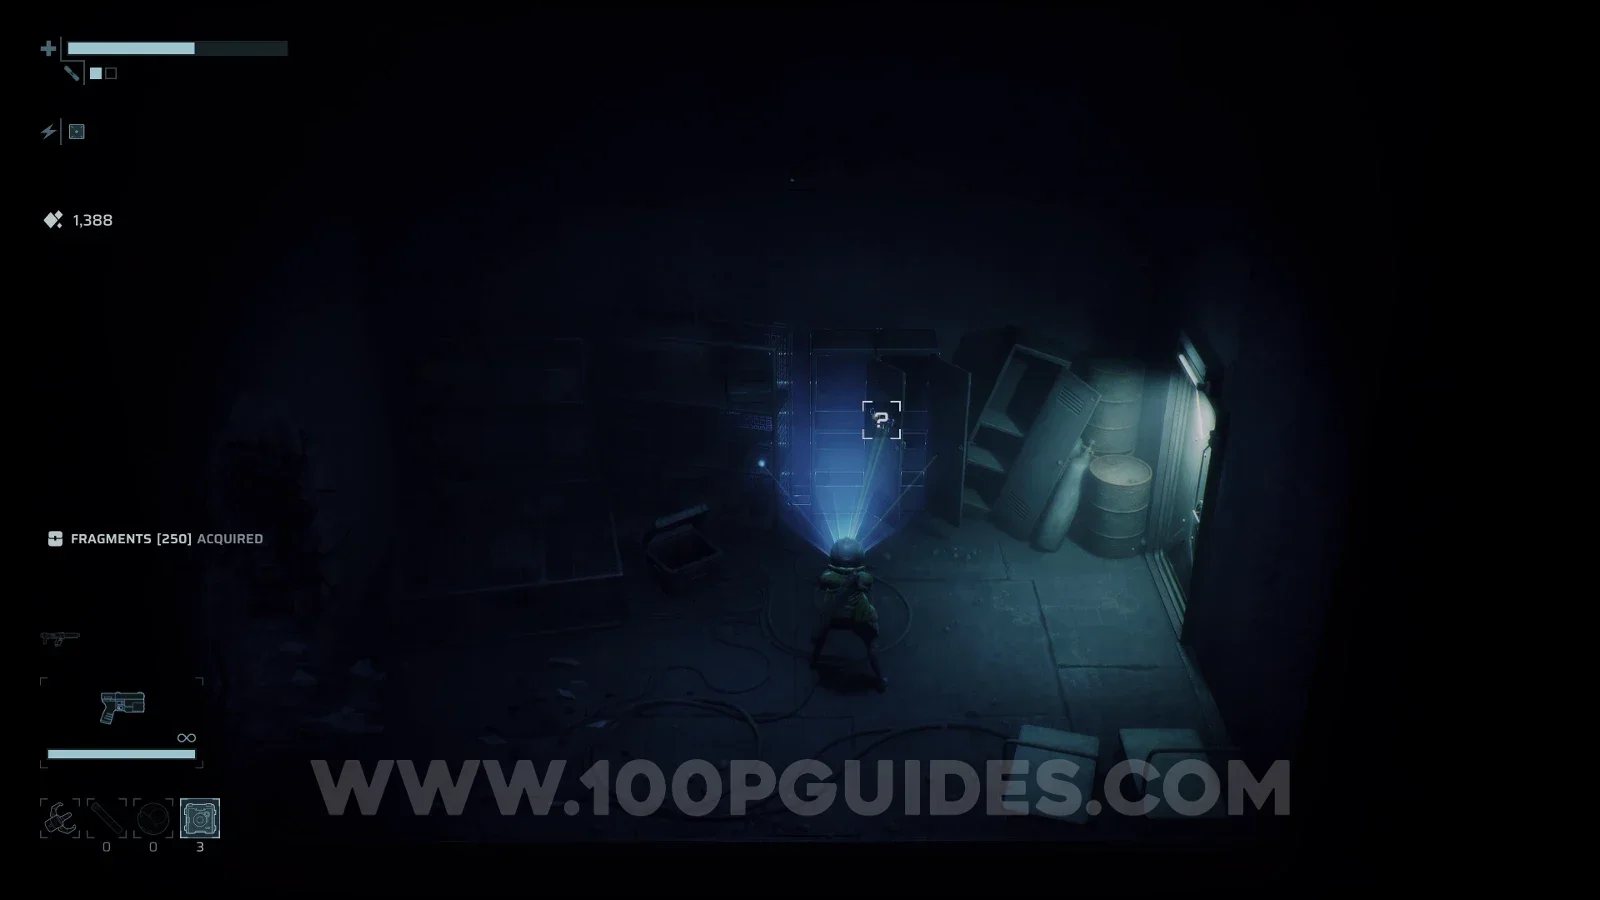
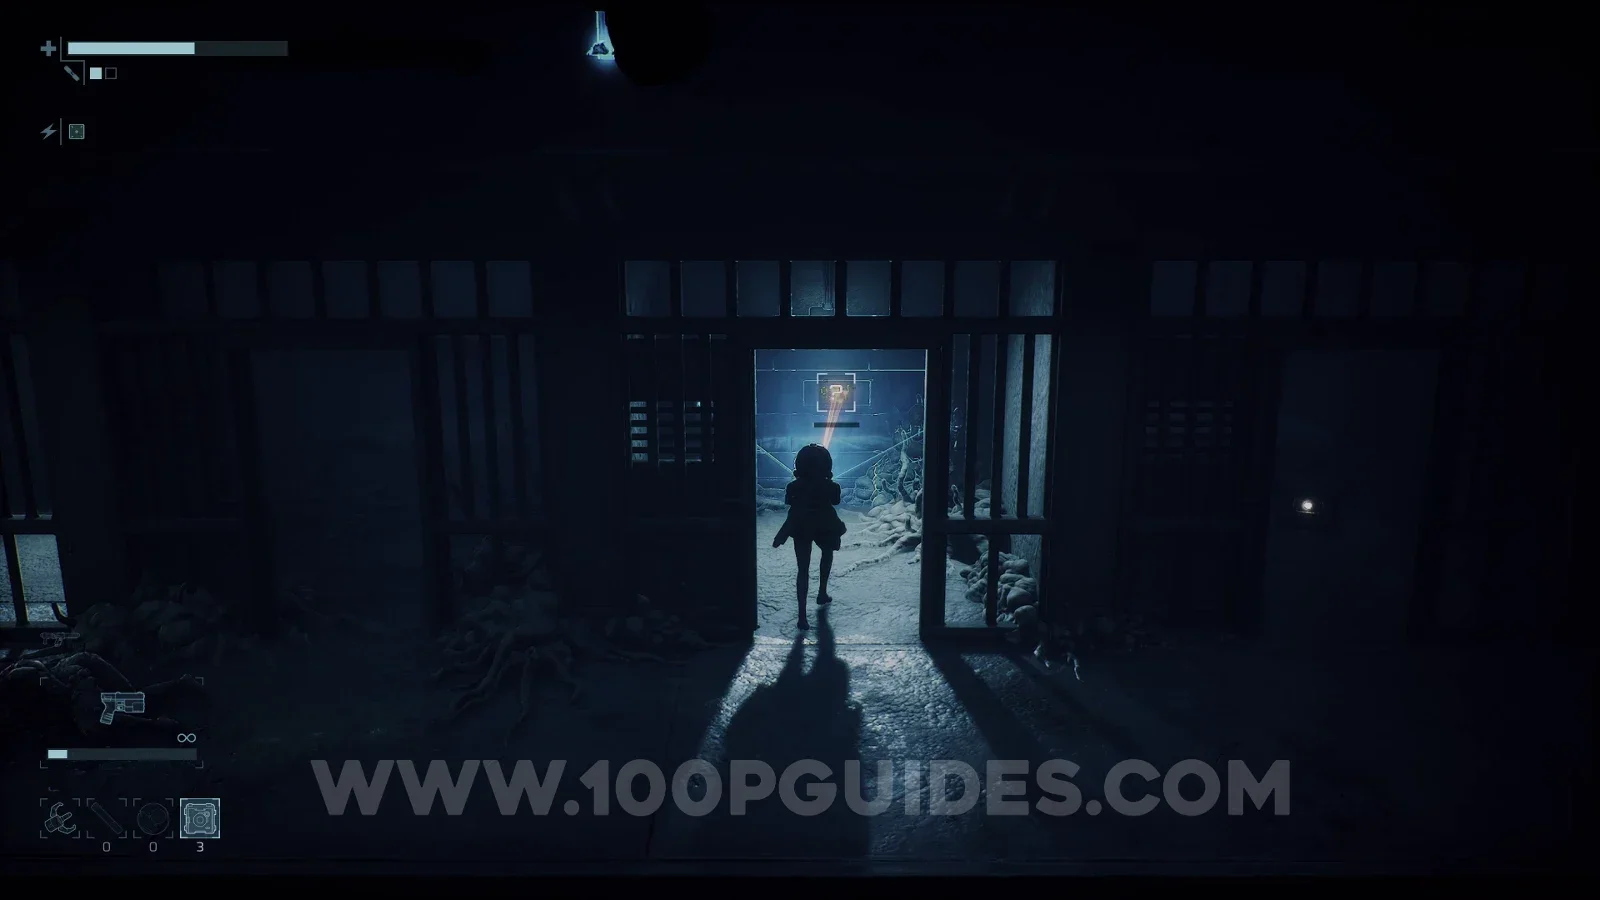
End of Abyss 100% Logbook Guide (All Notes, Codes, Creatures, Data Shards)

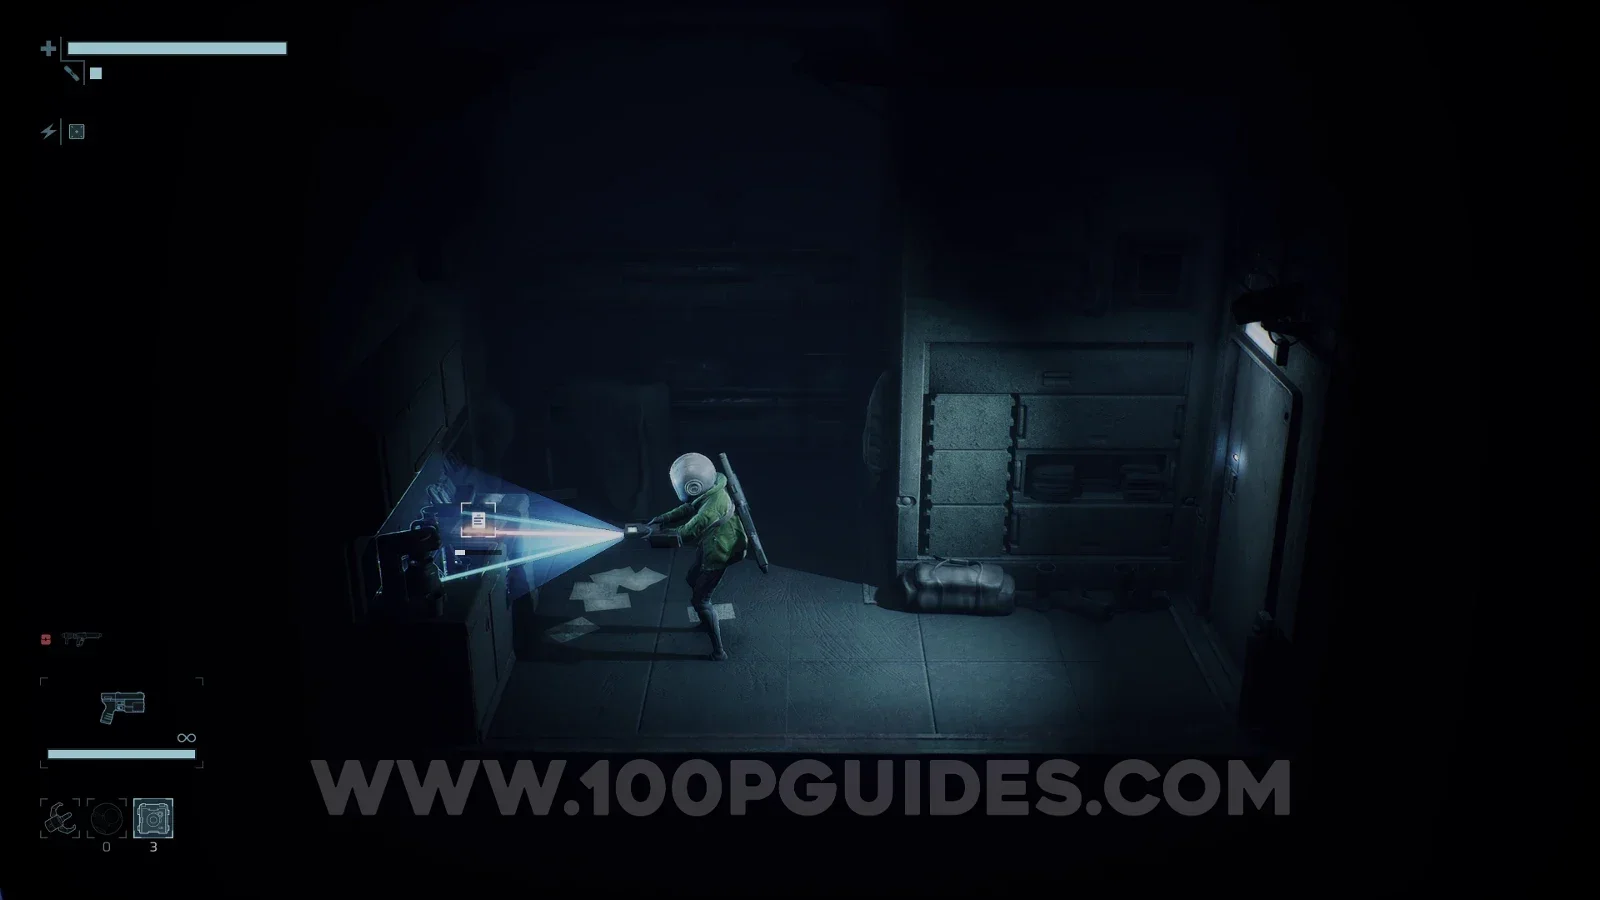
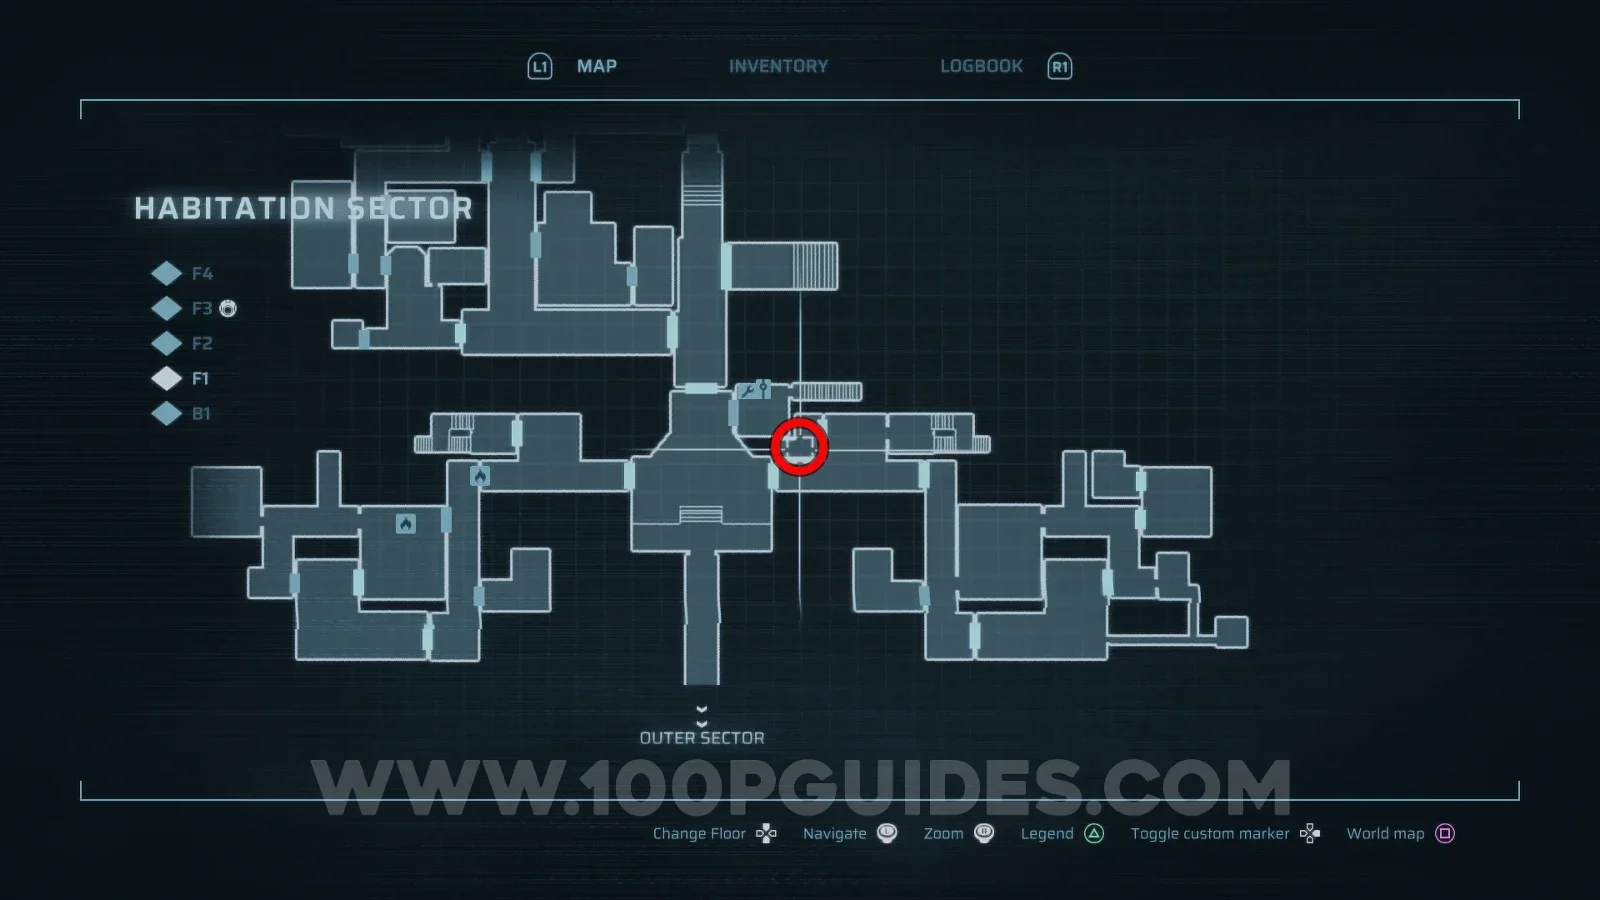
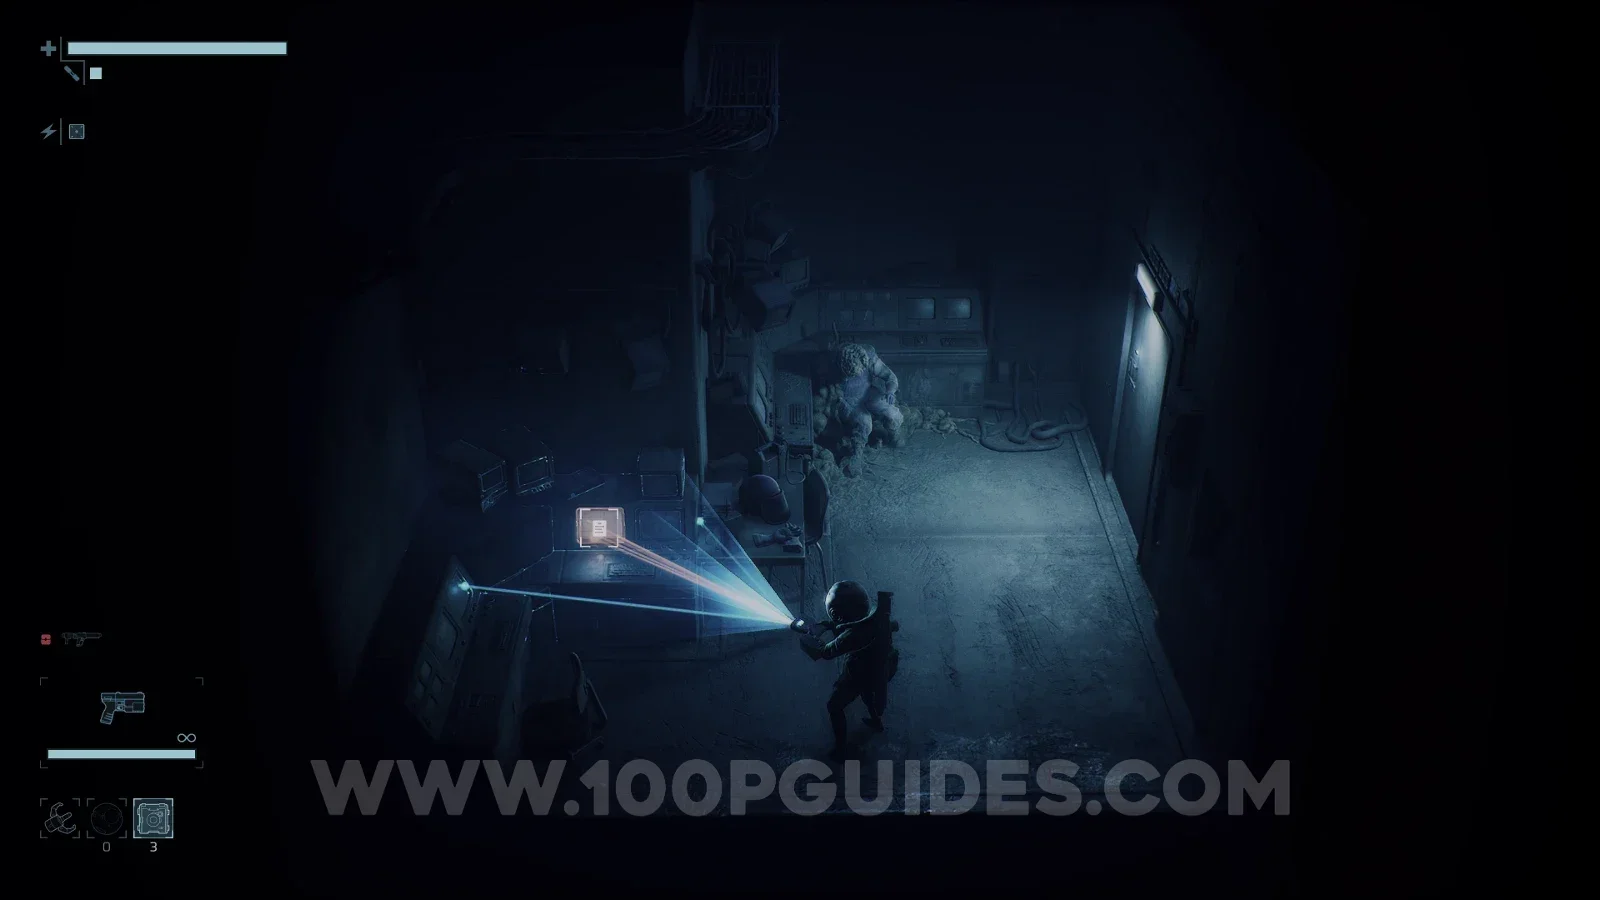
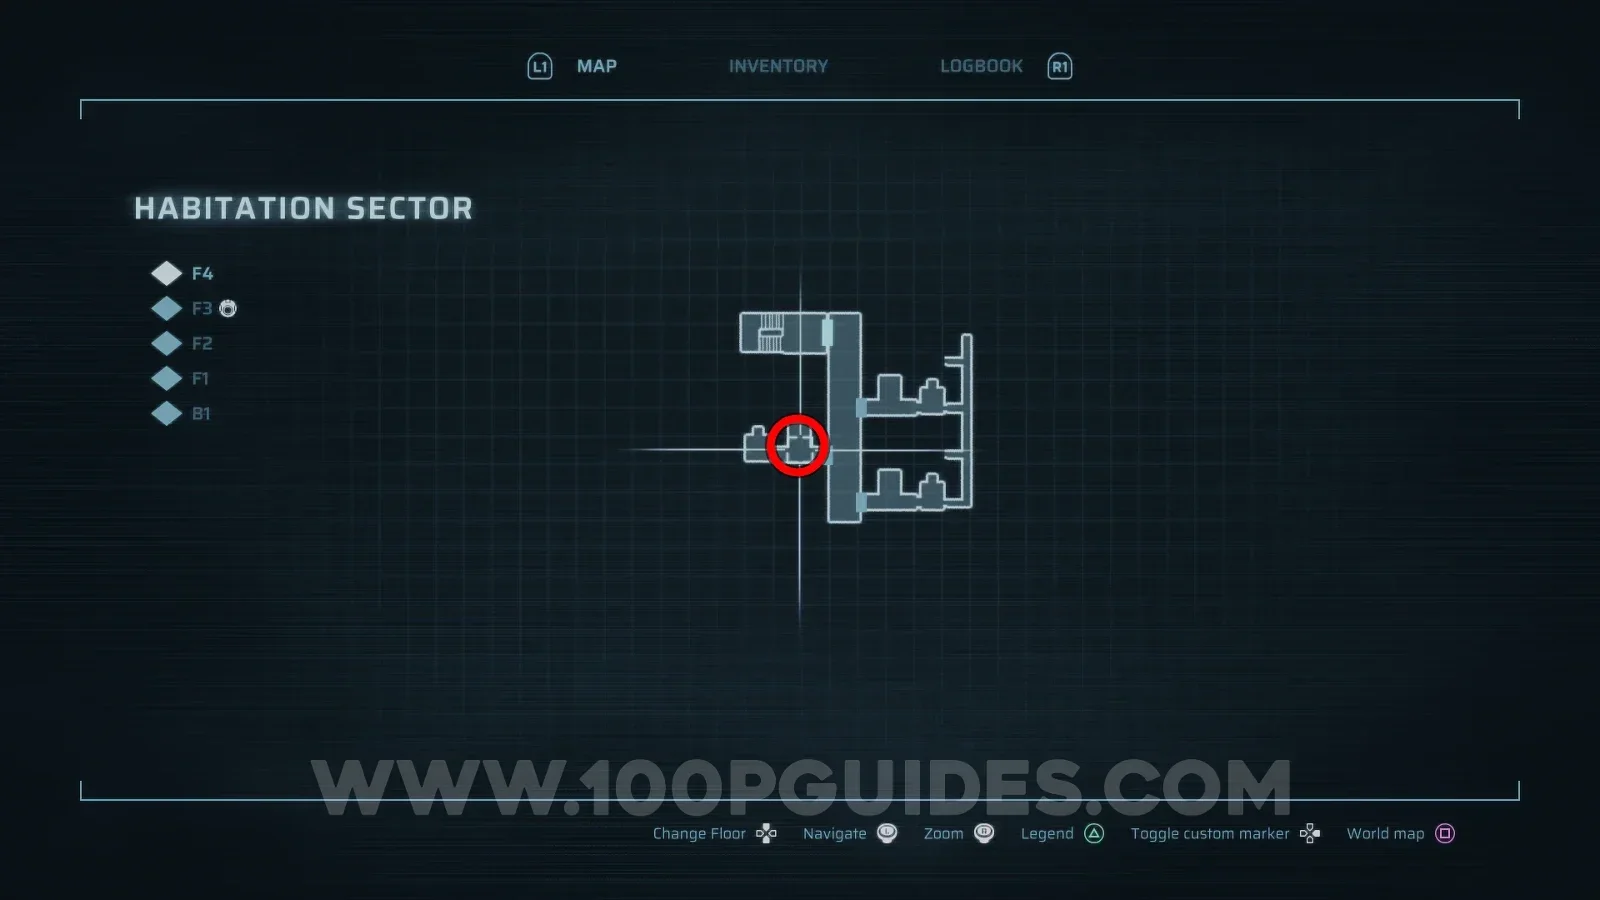
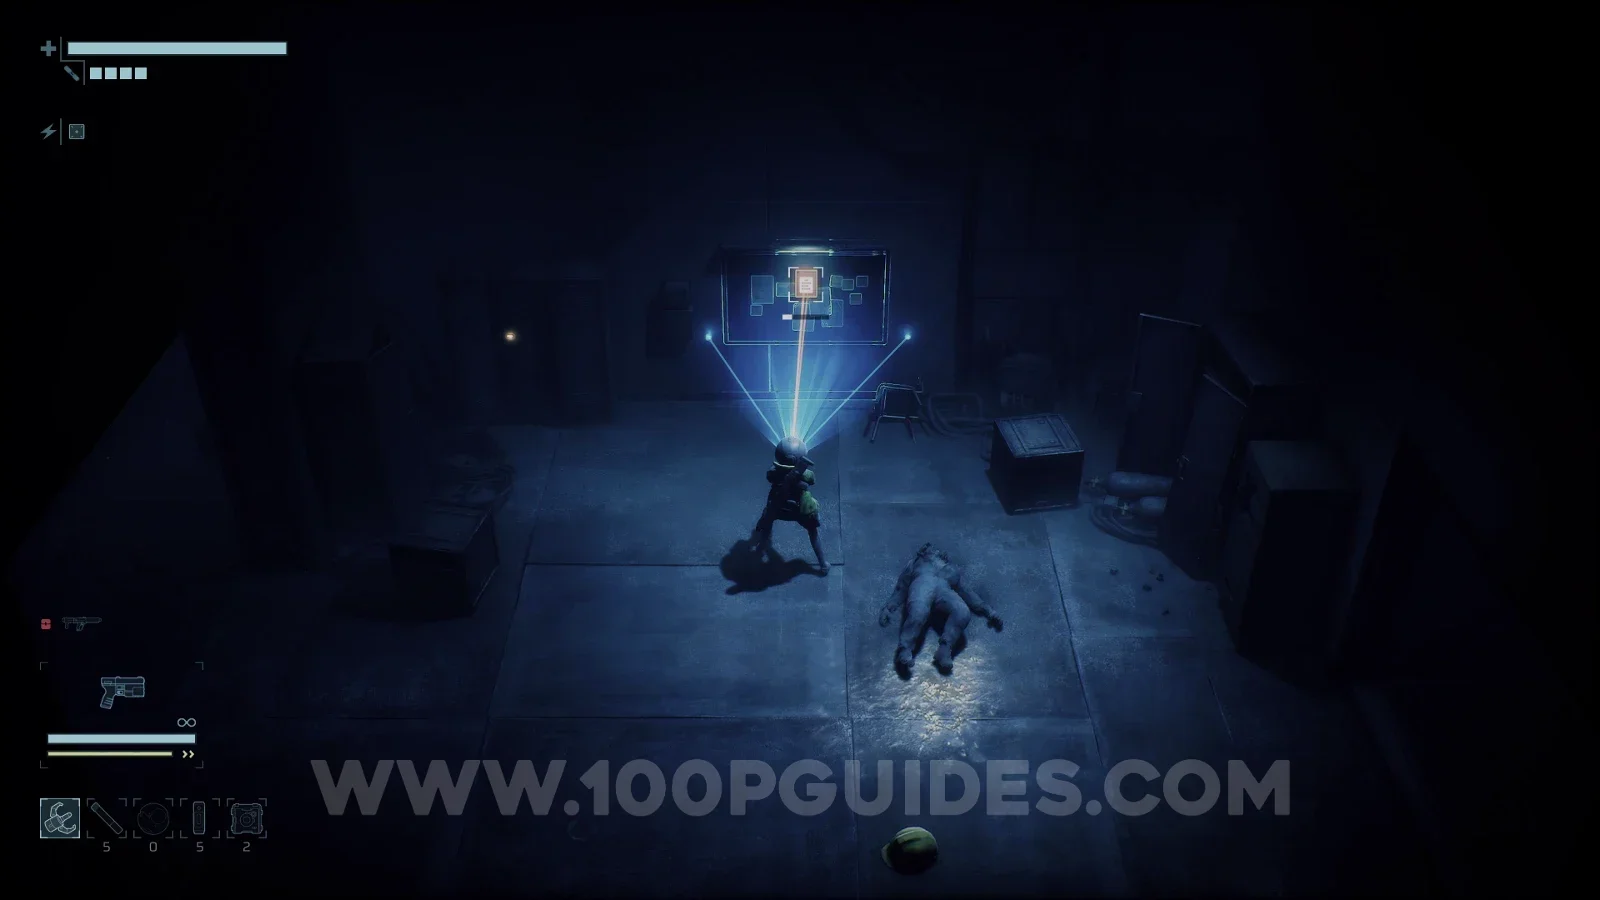
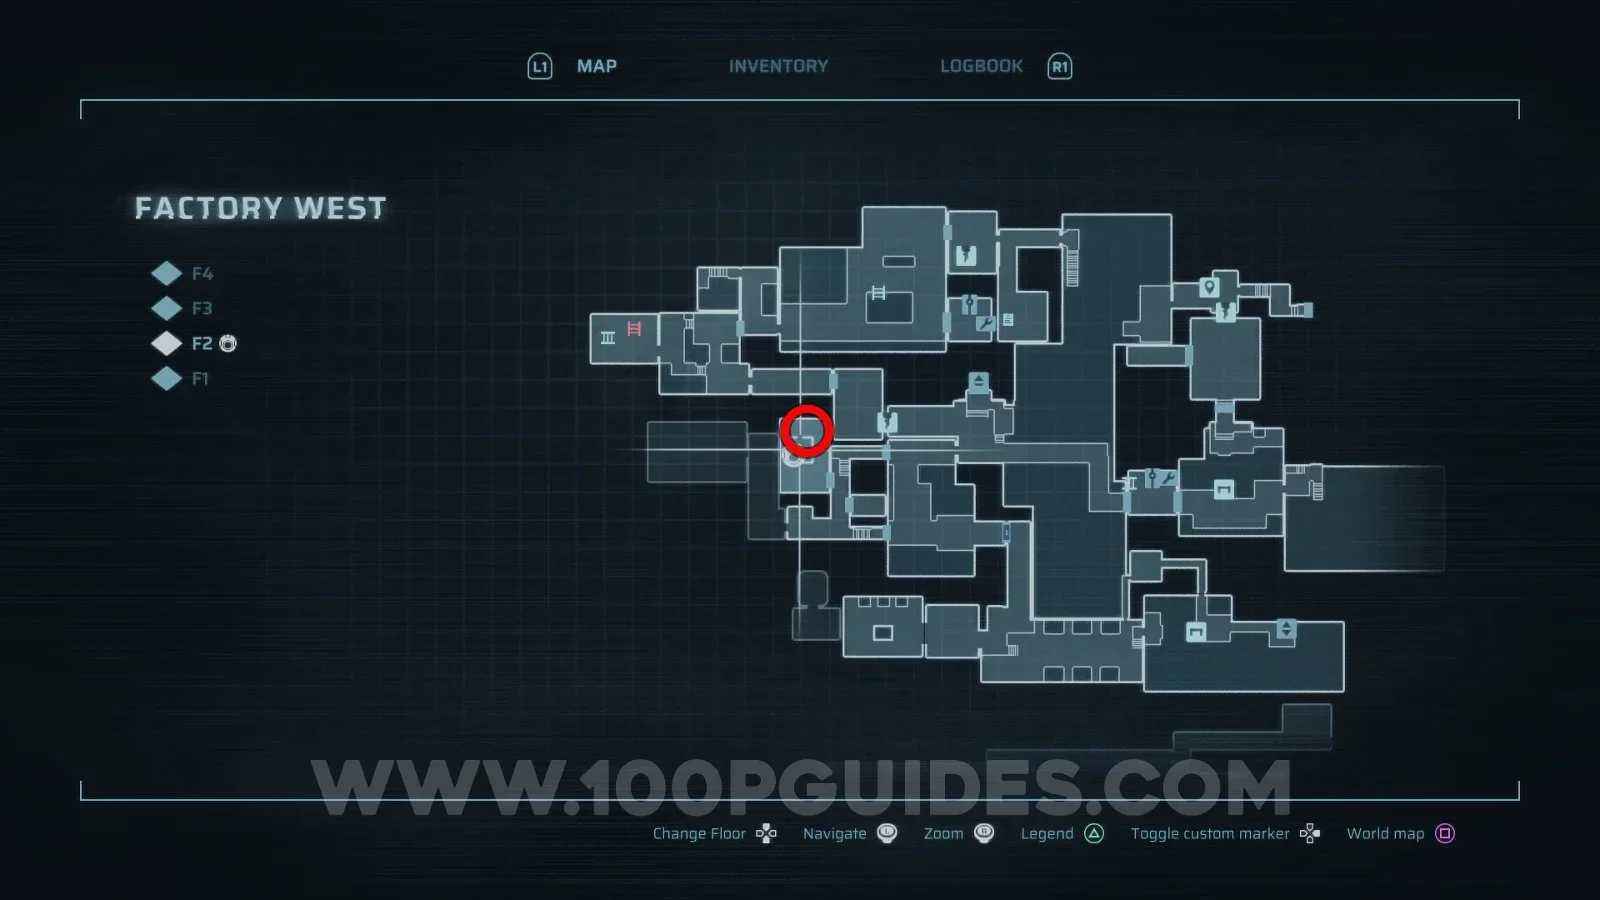
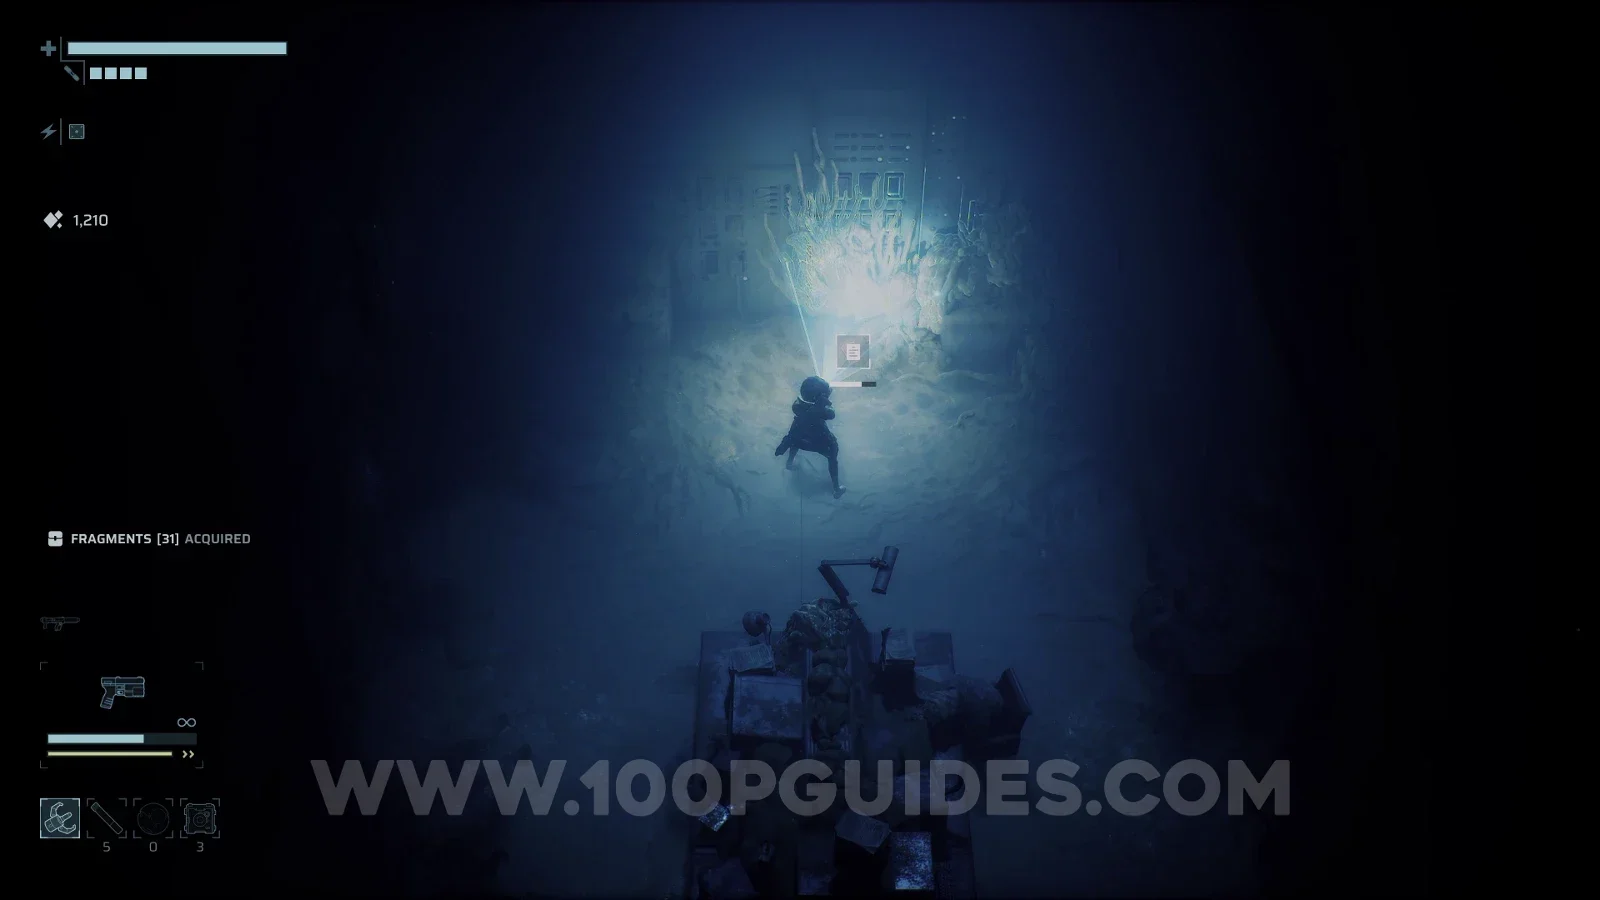
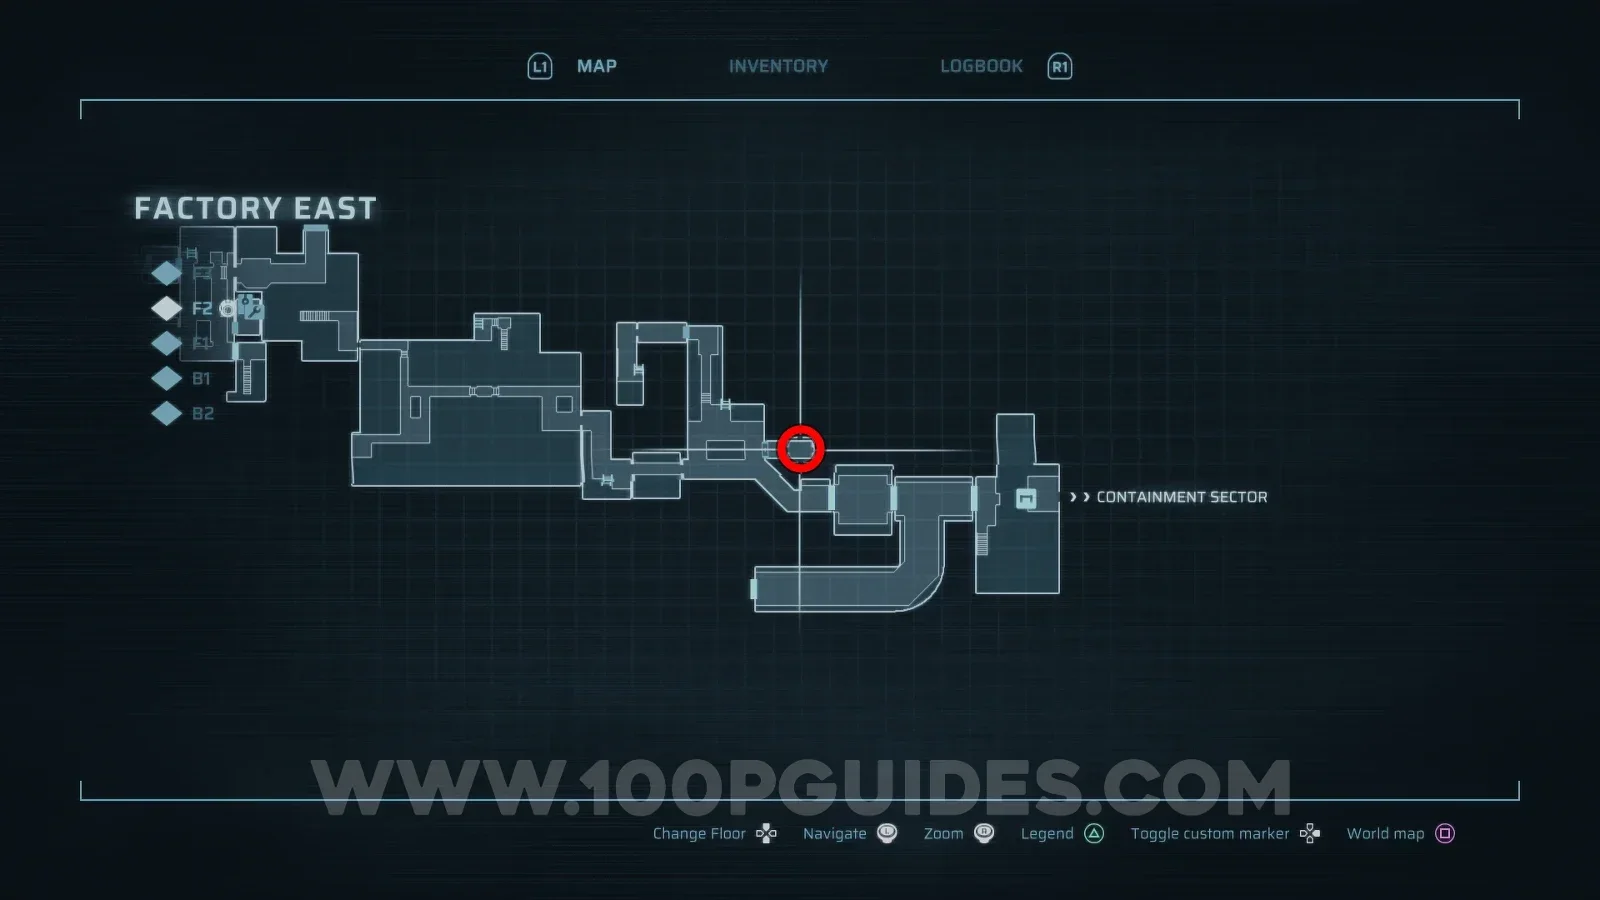
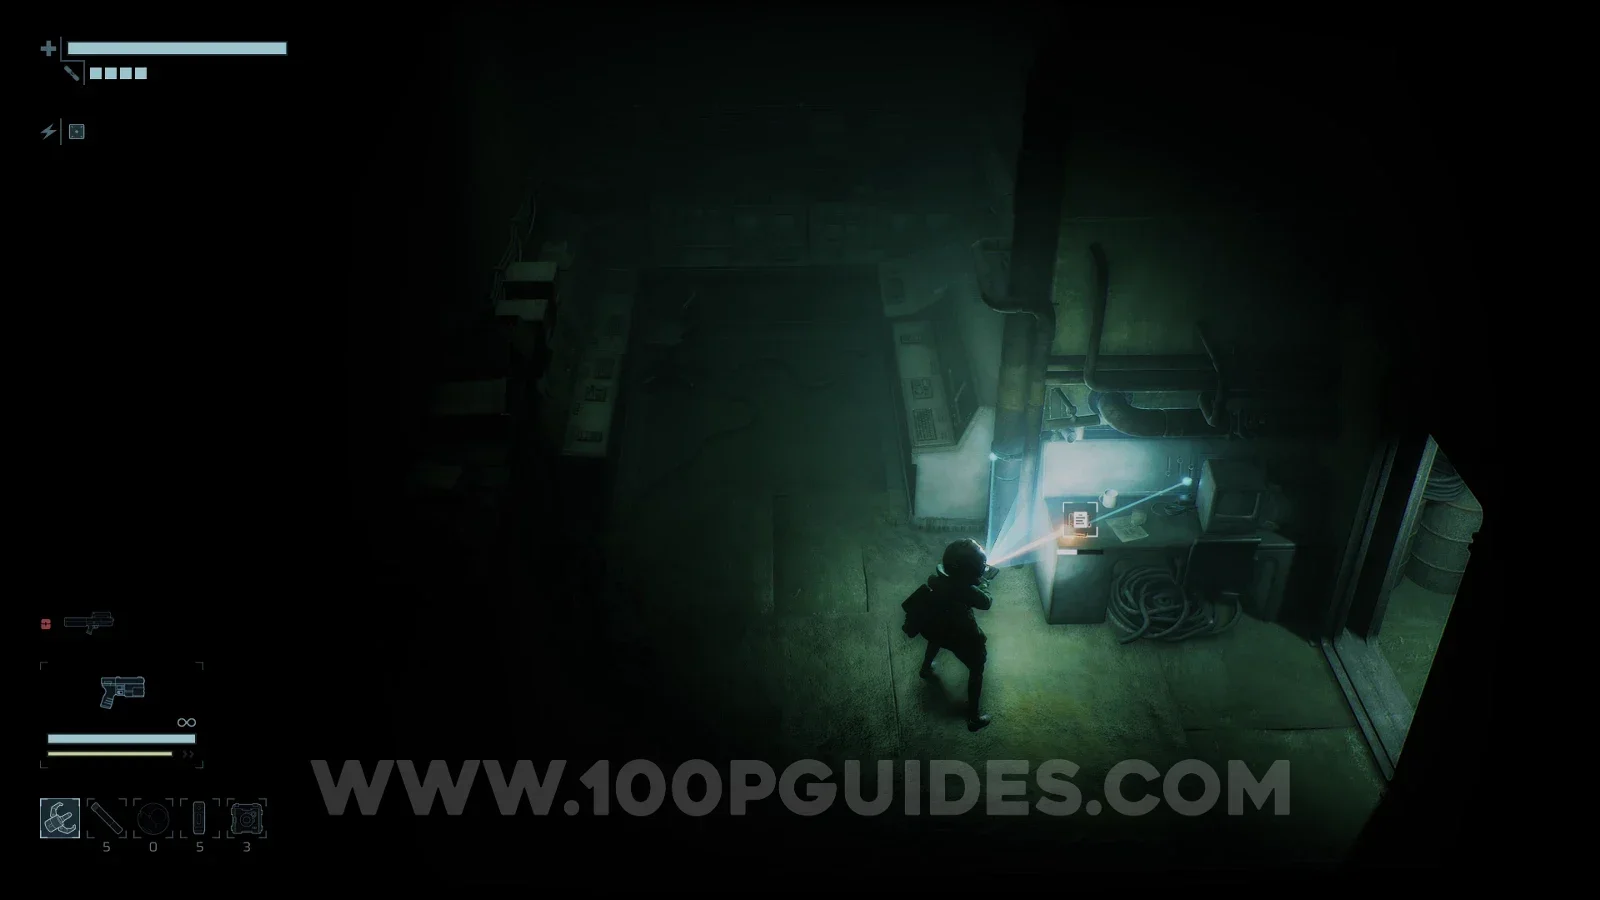
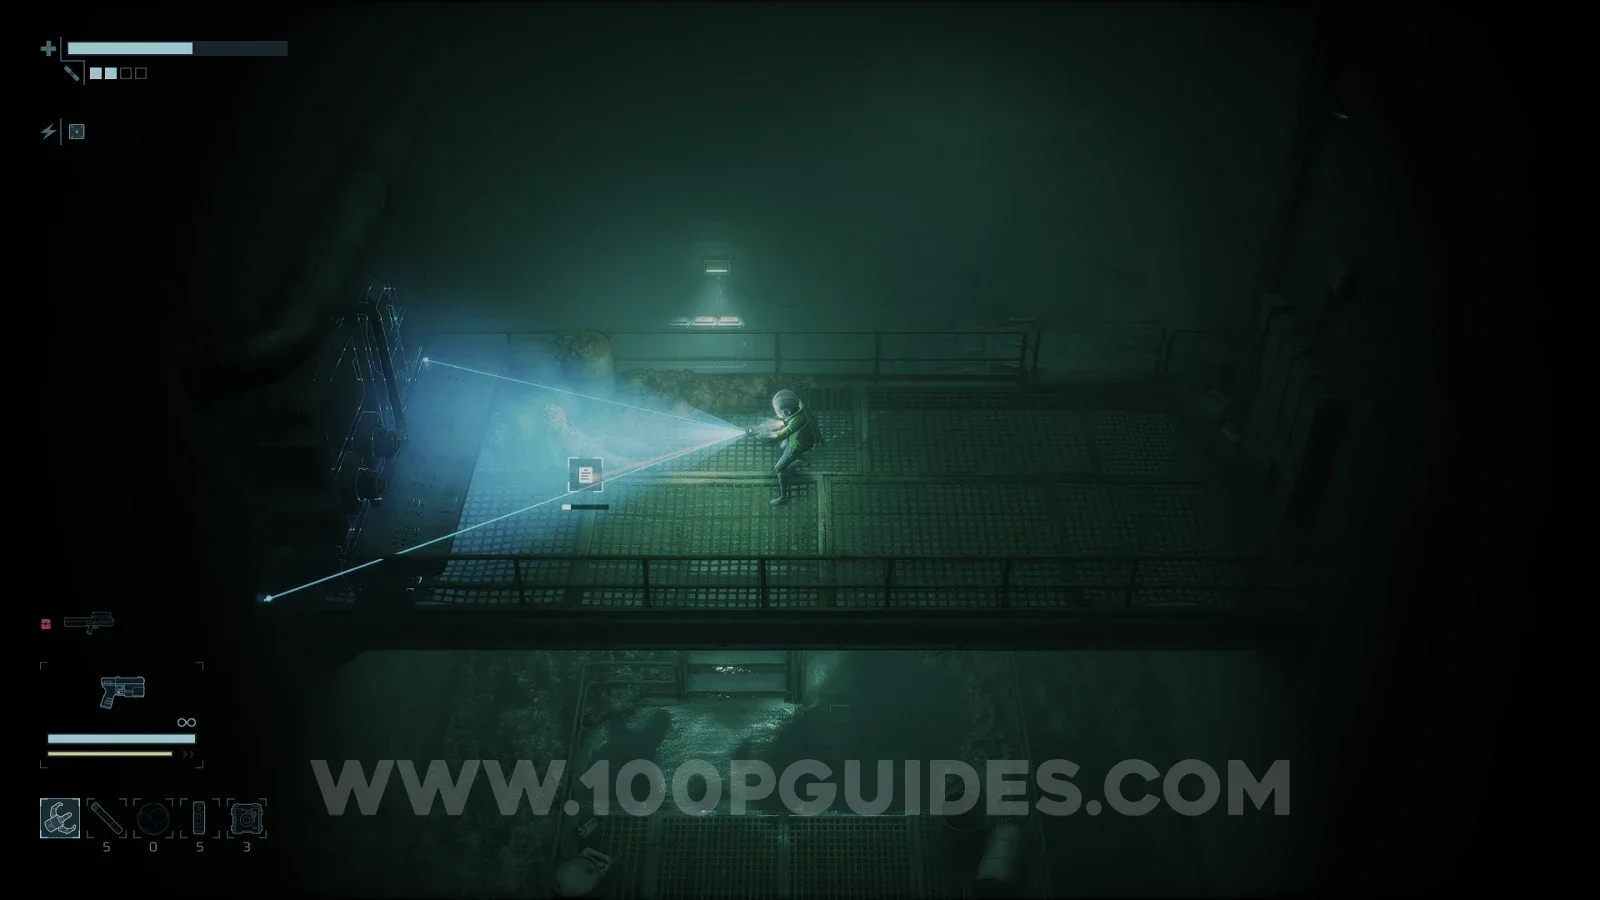
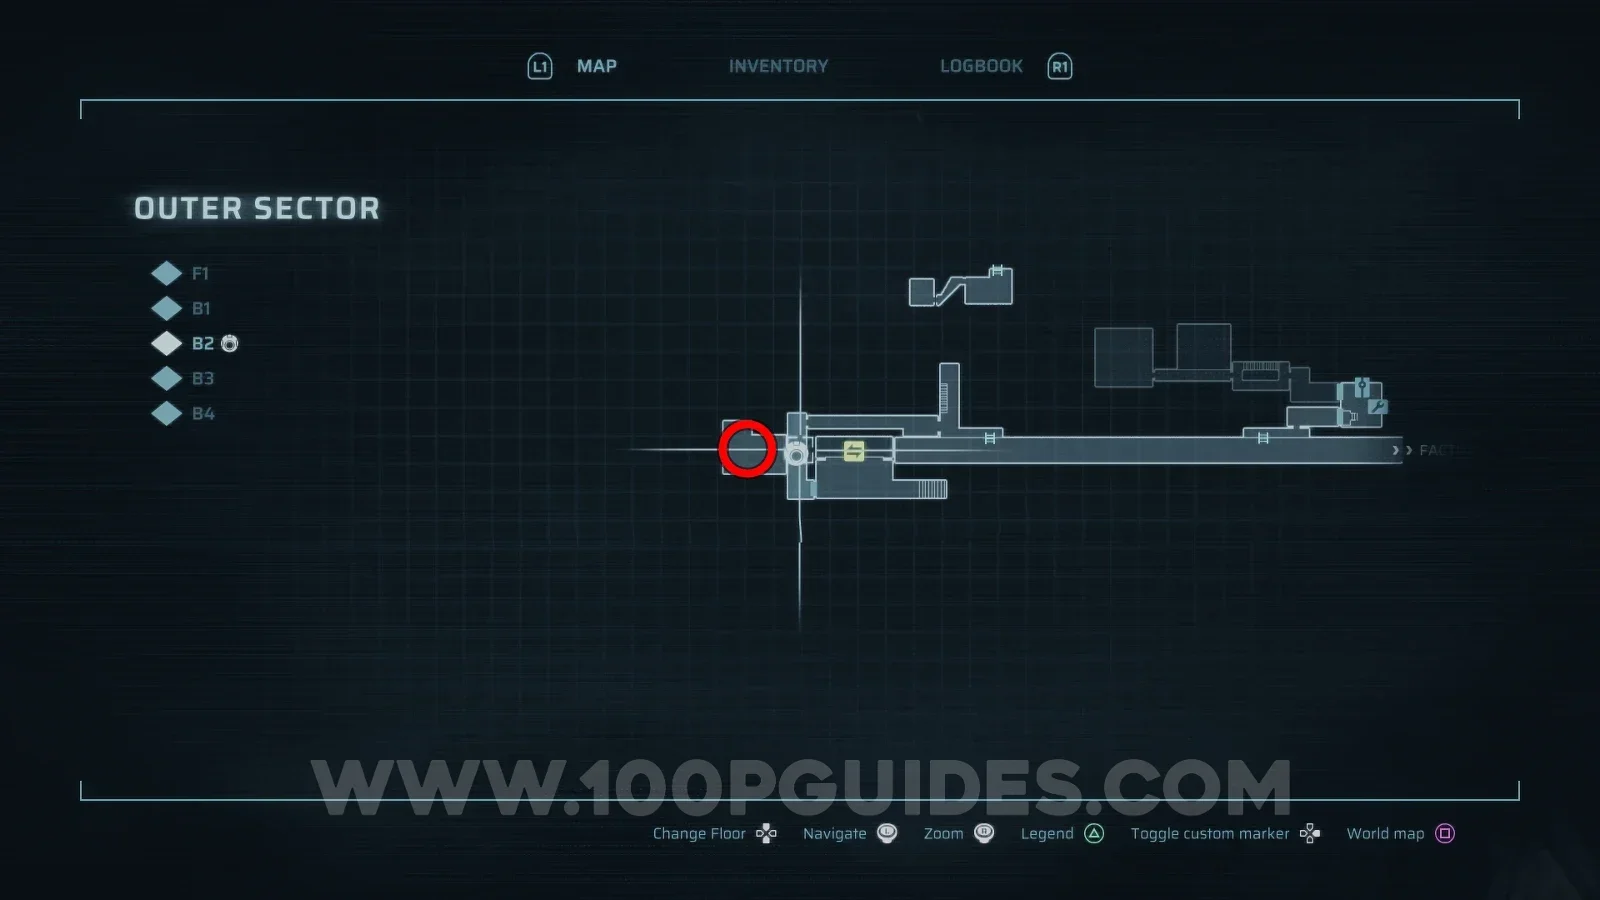
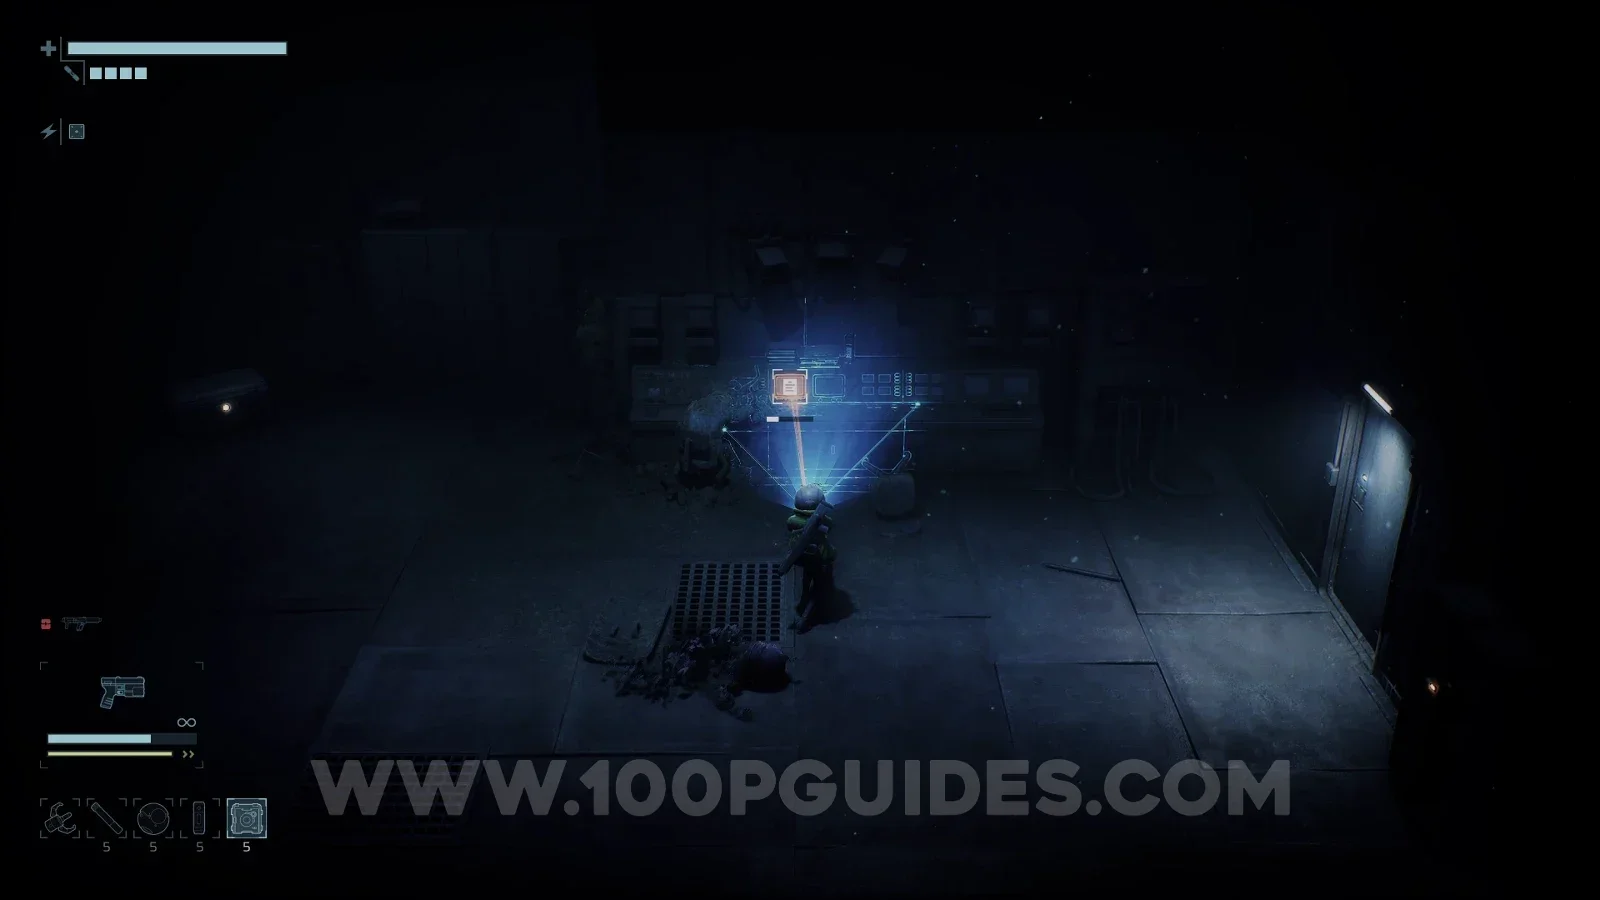
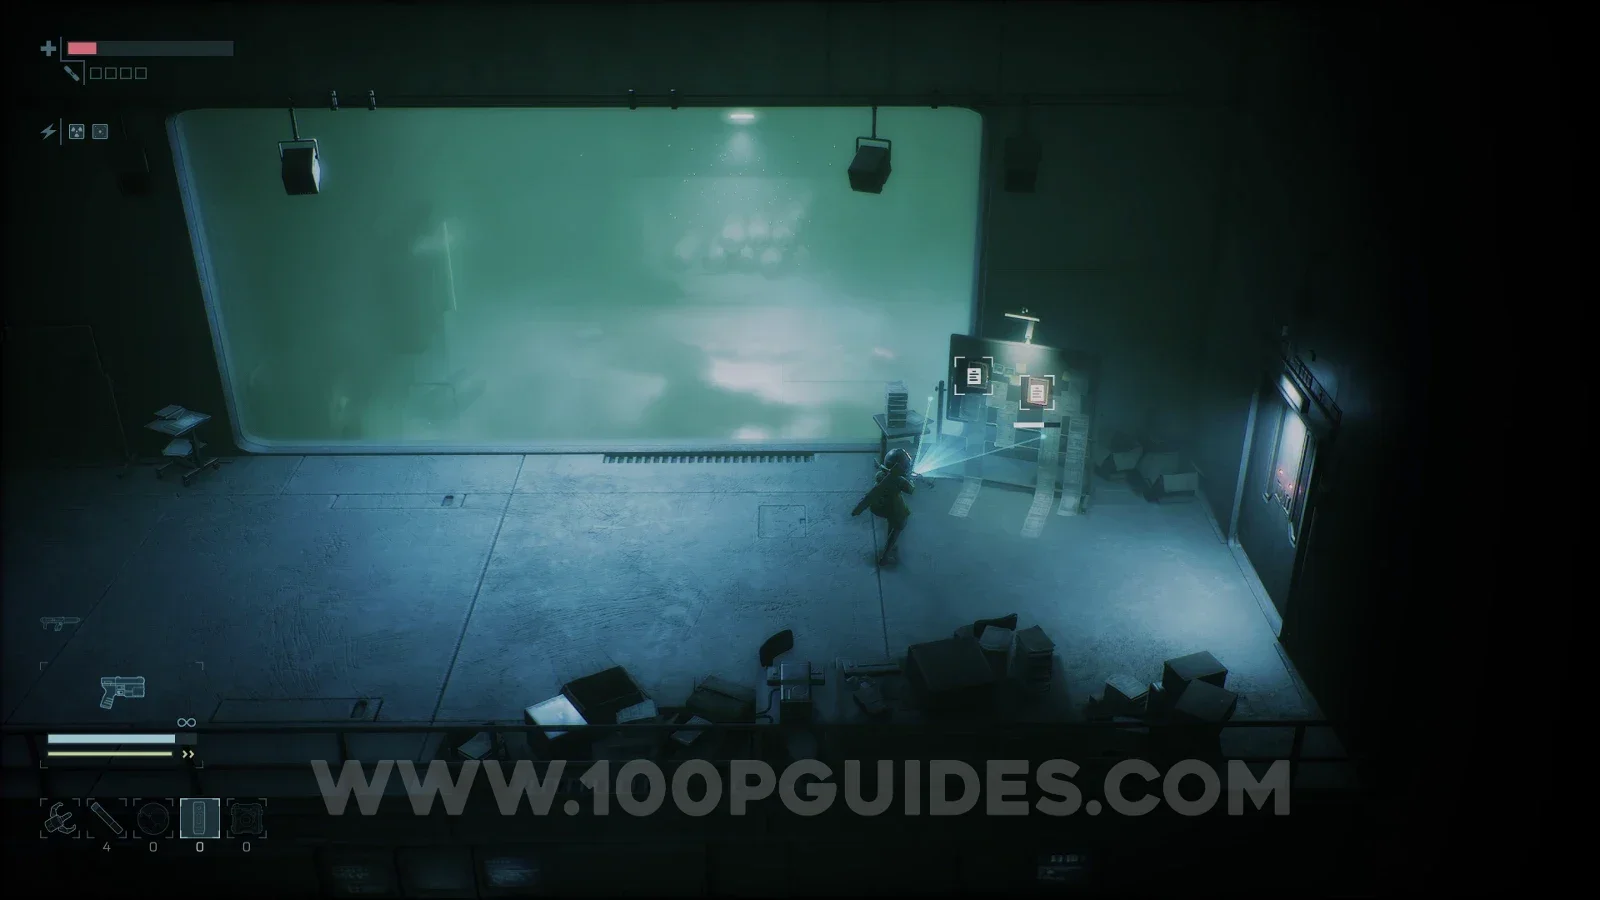
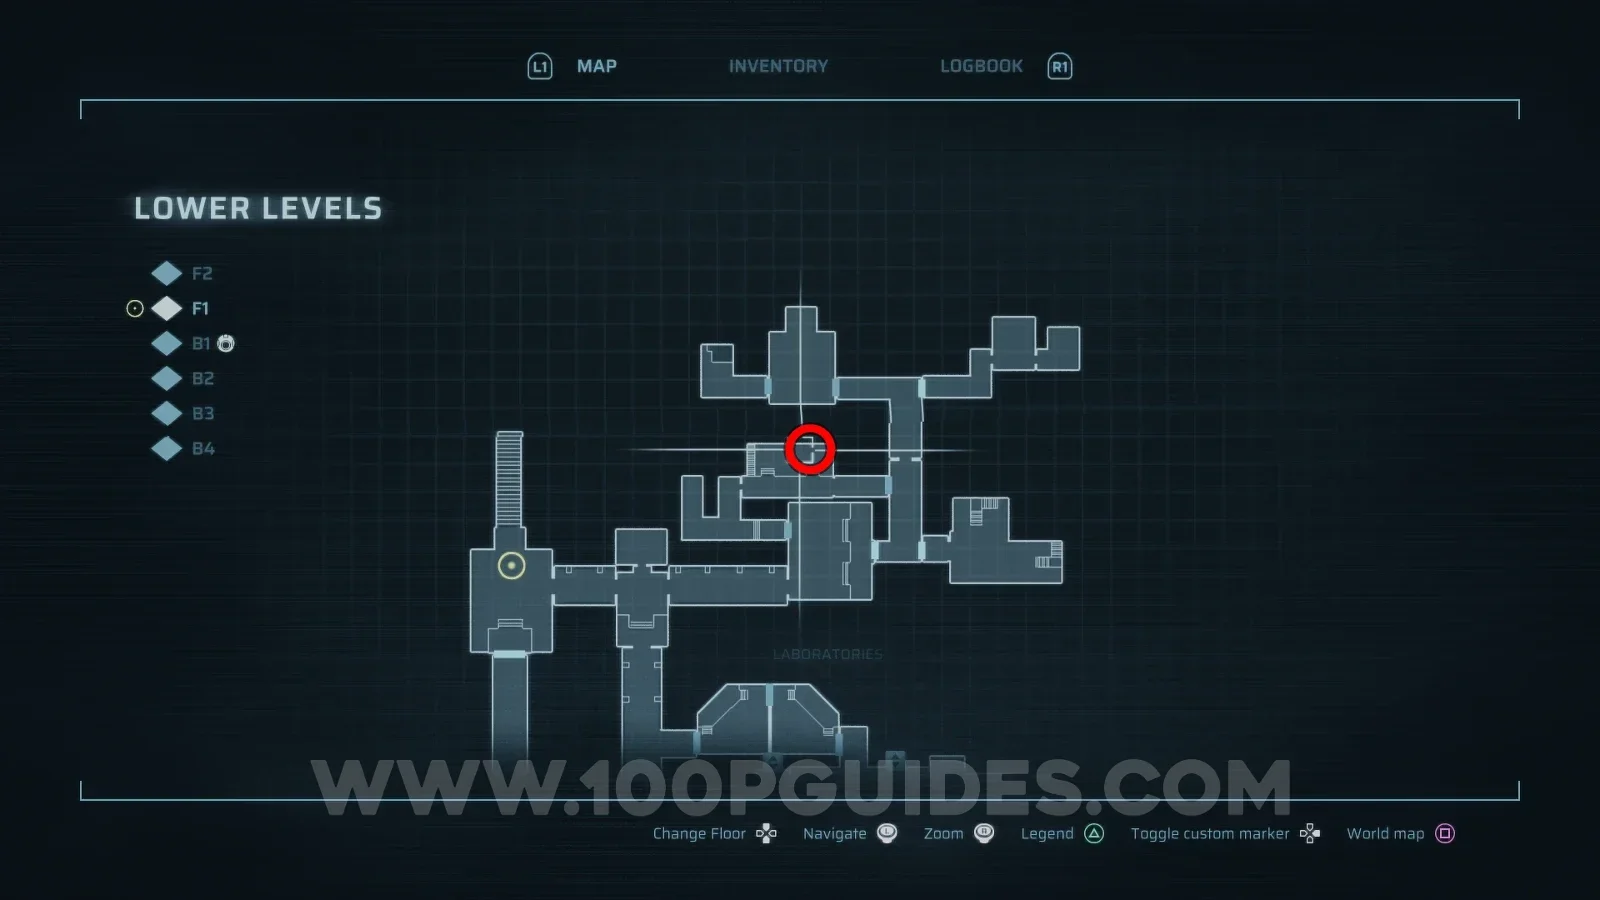
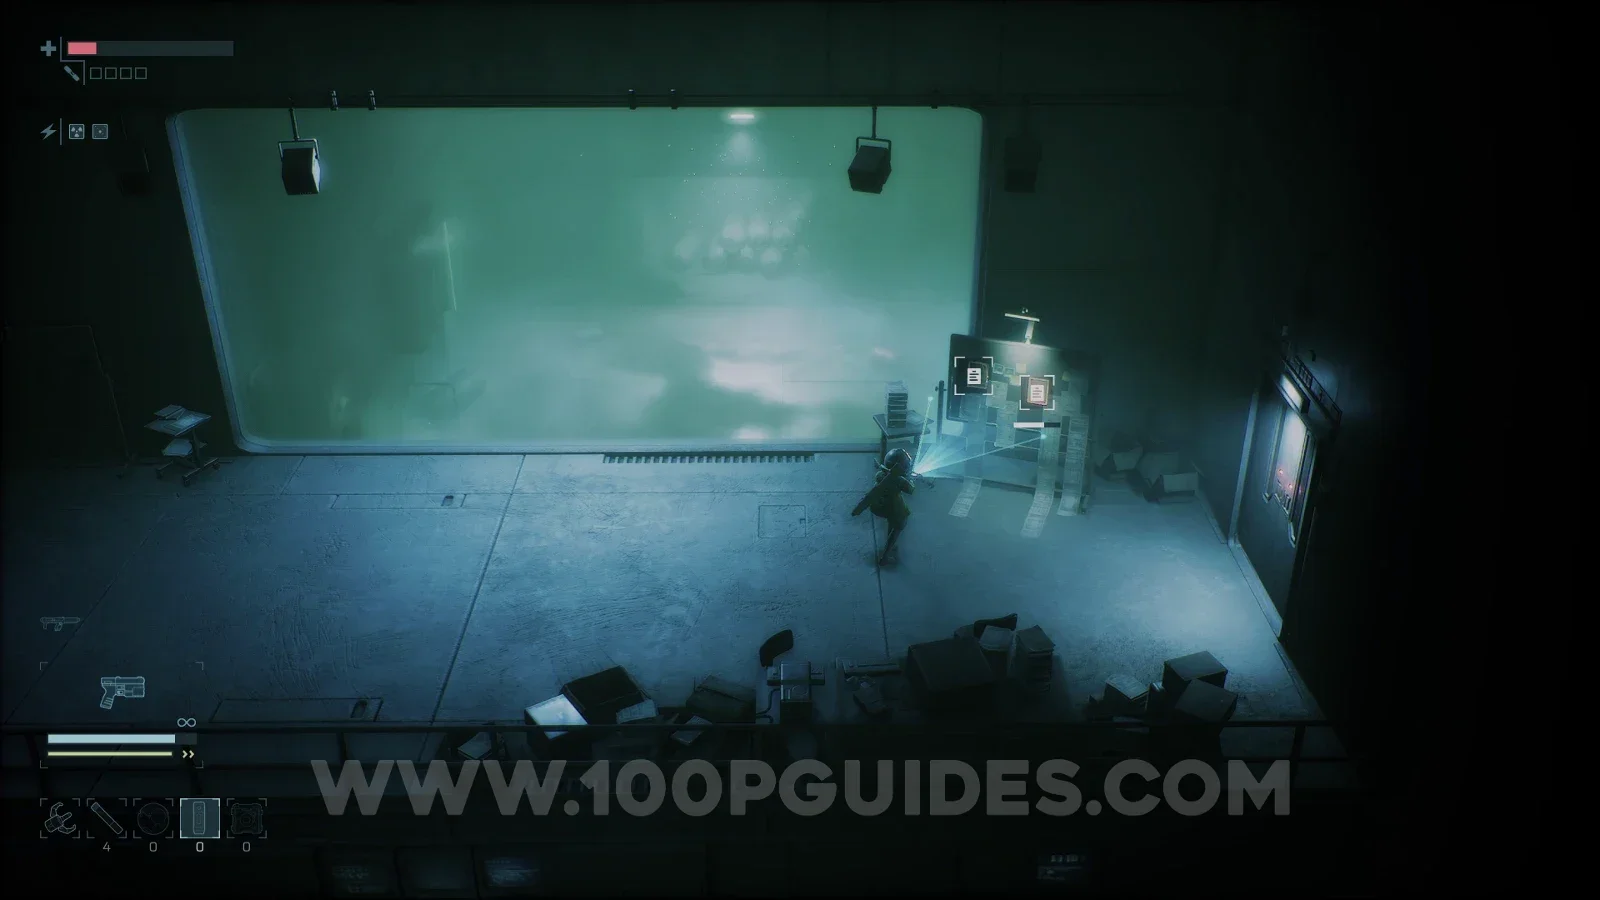
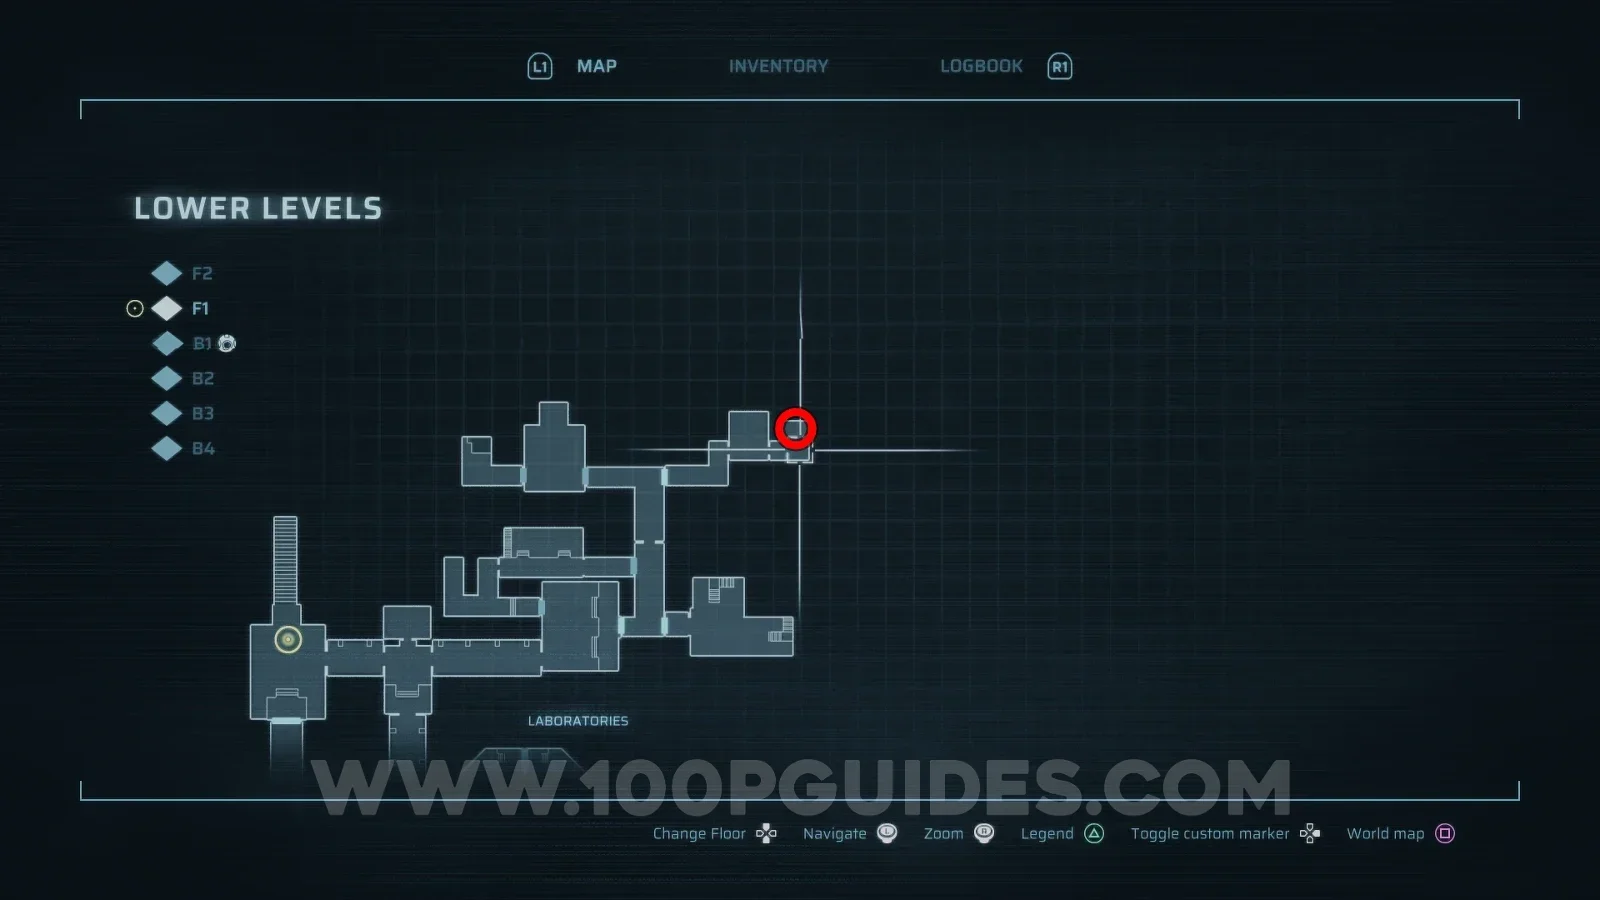
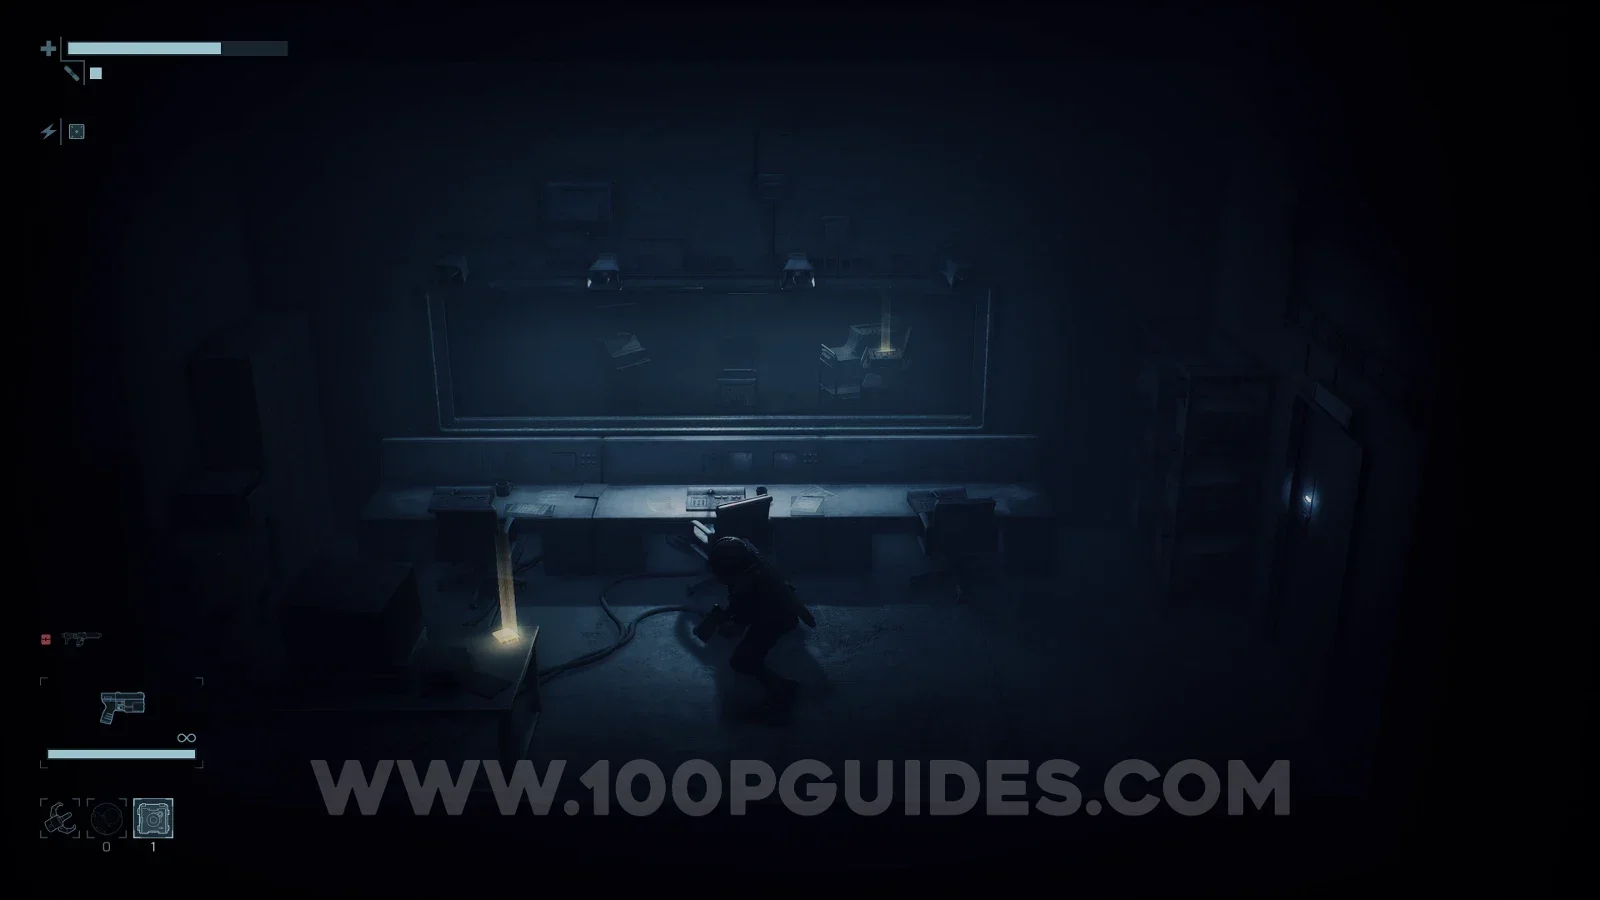
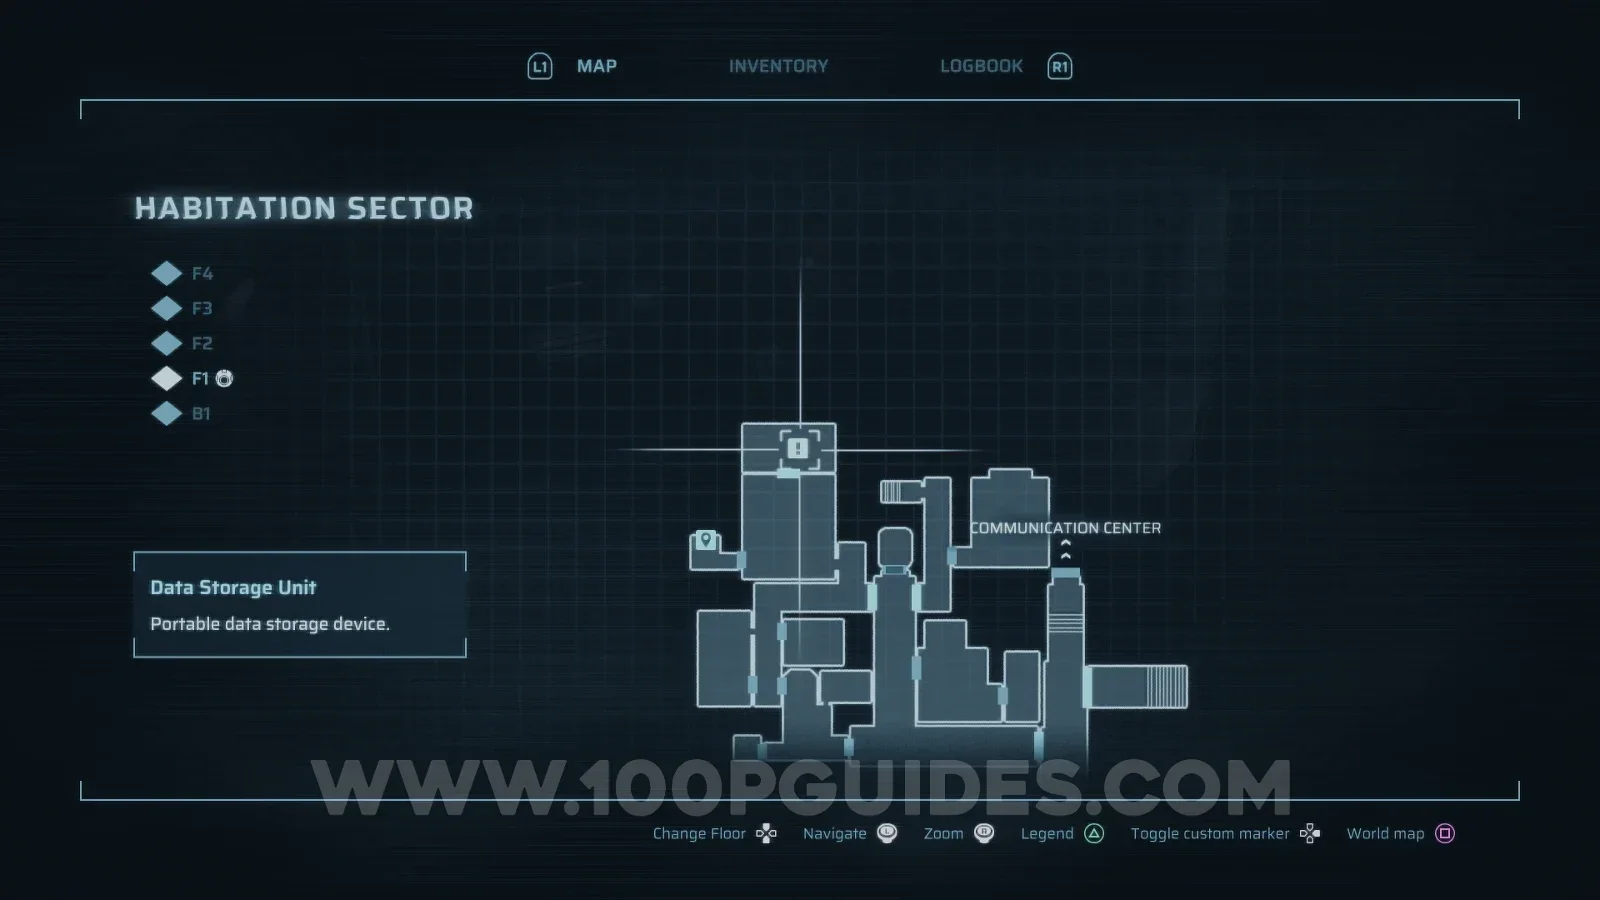
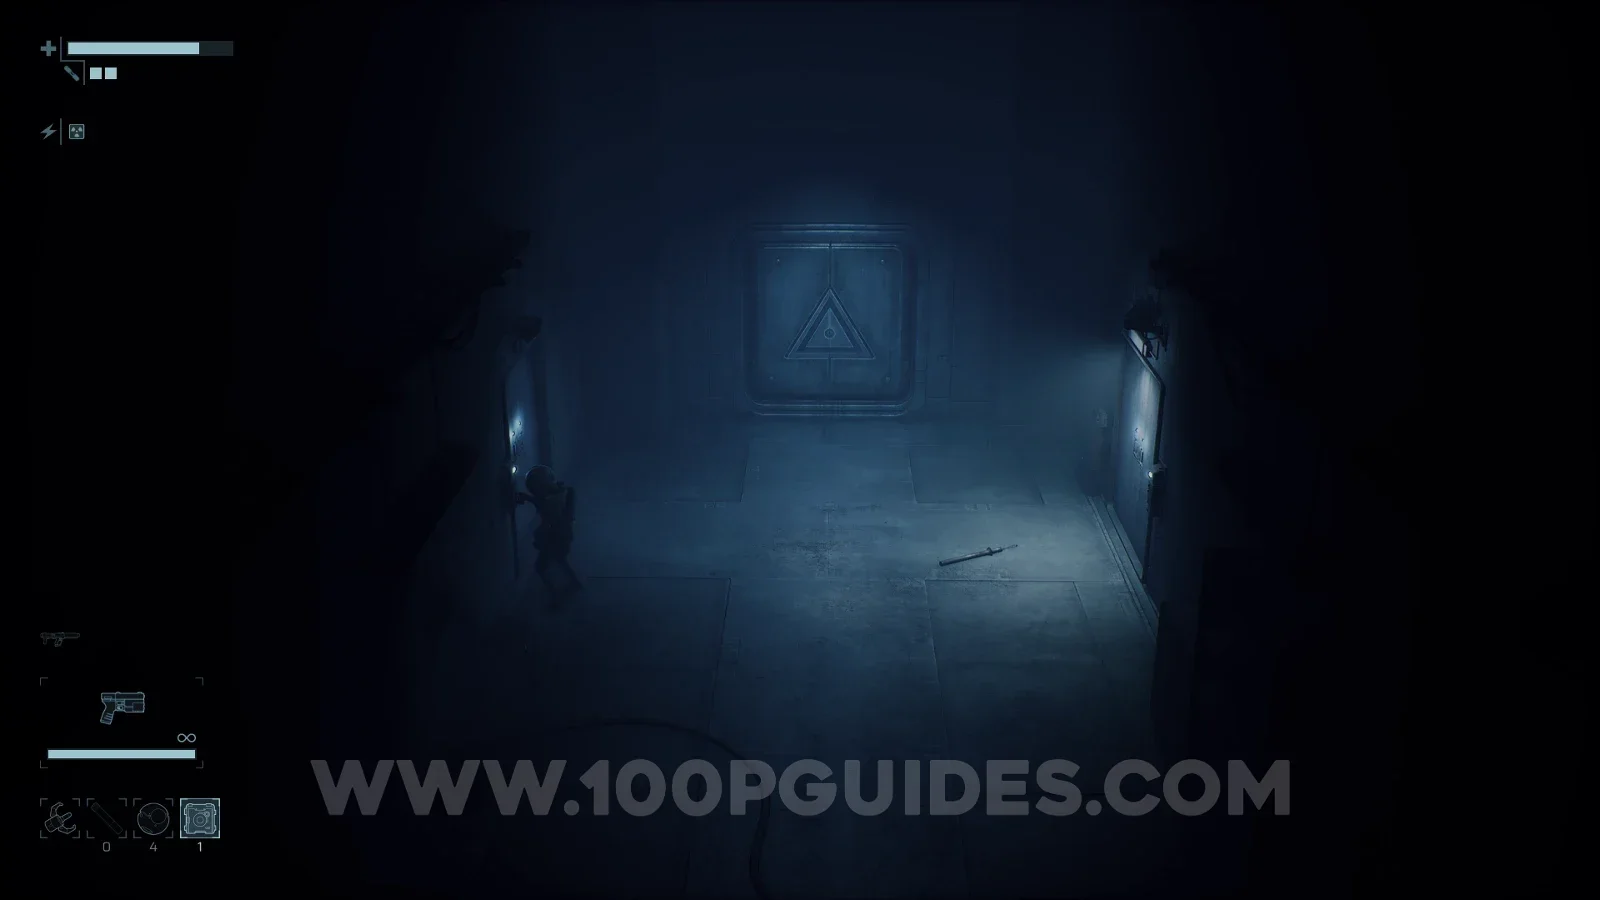
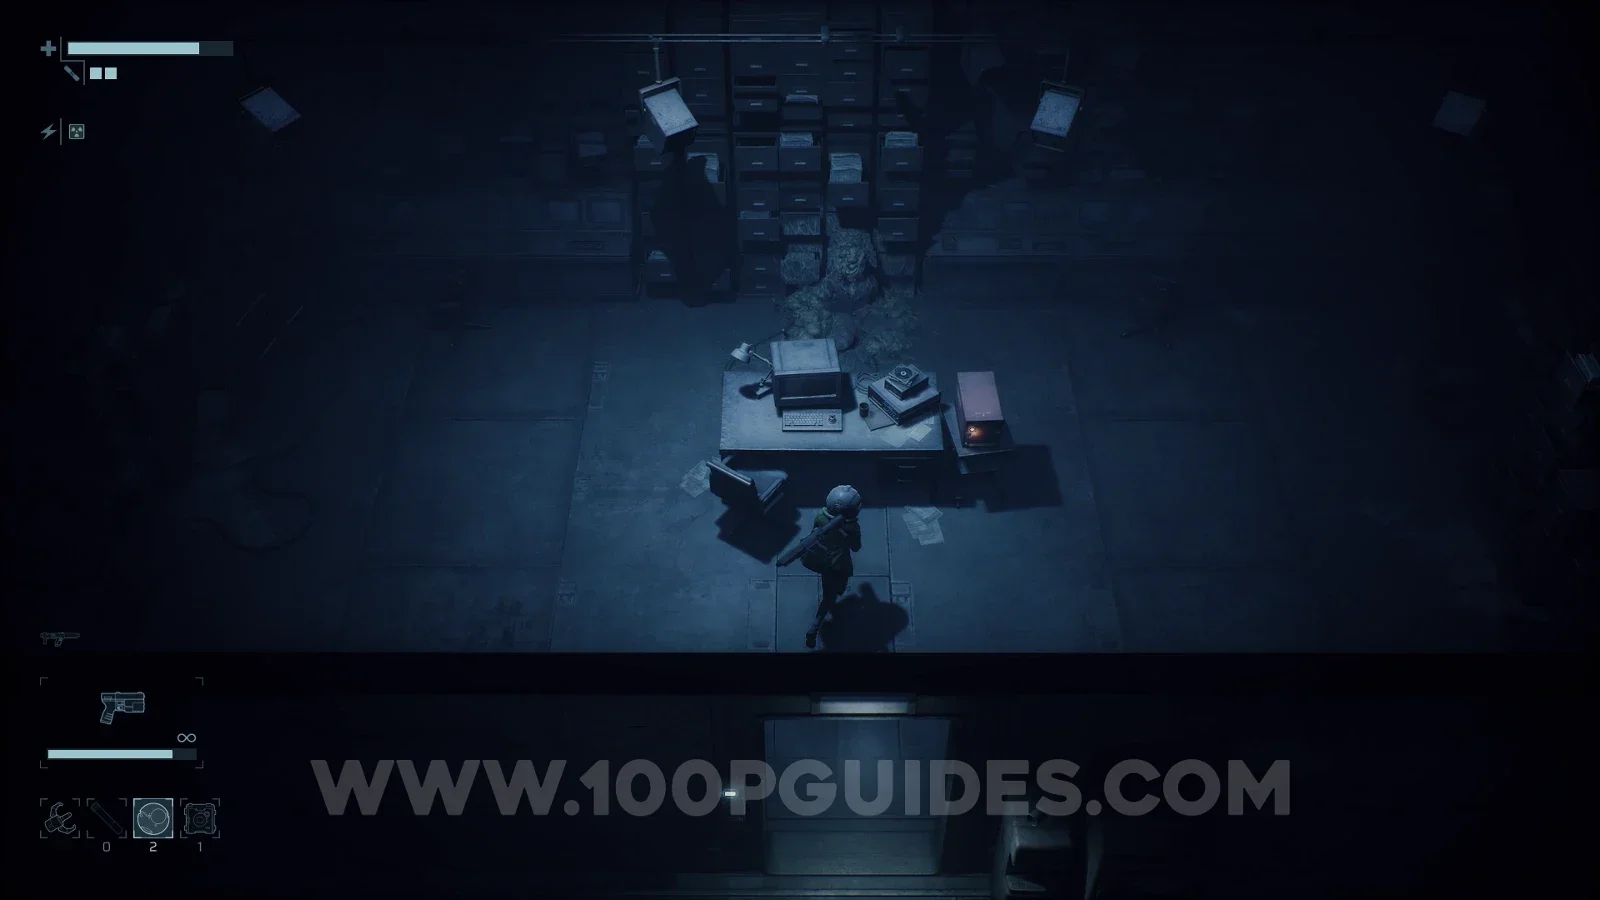
This guide will show you where to find everything to 100% the Logbook in End of Abyss. This includes all Creatures, All Notes, All Data Shards and All Codes.

The trophies tied to the Logbook are:
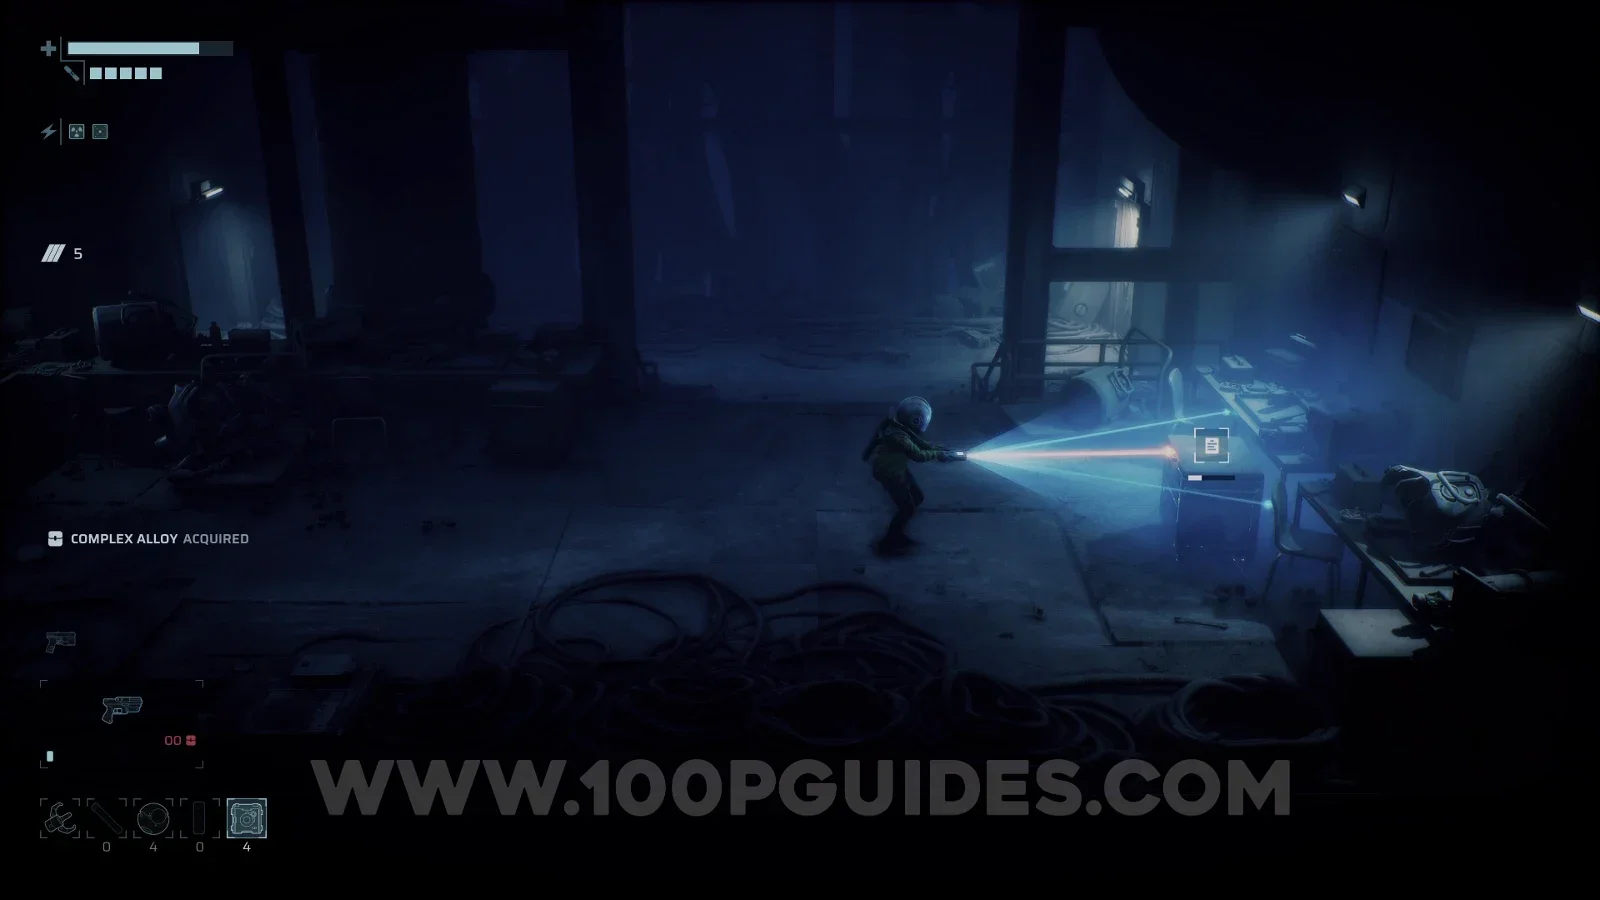
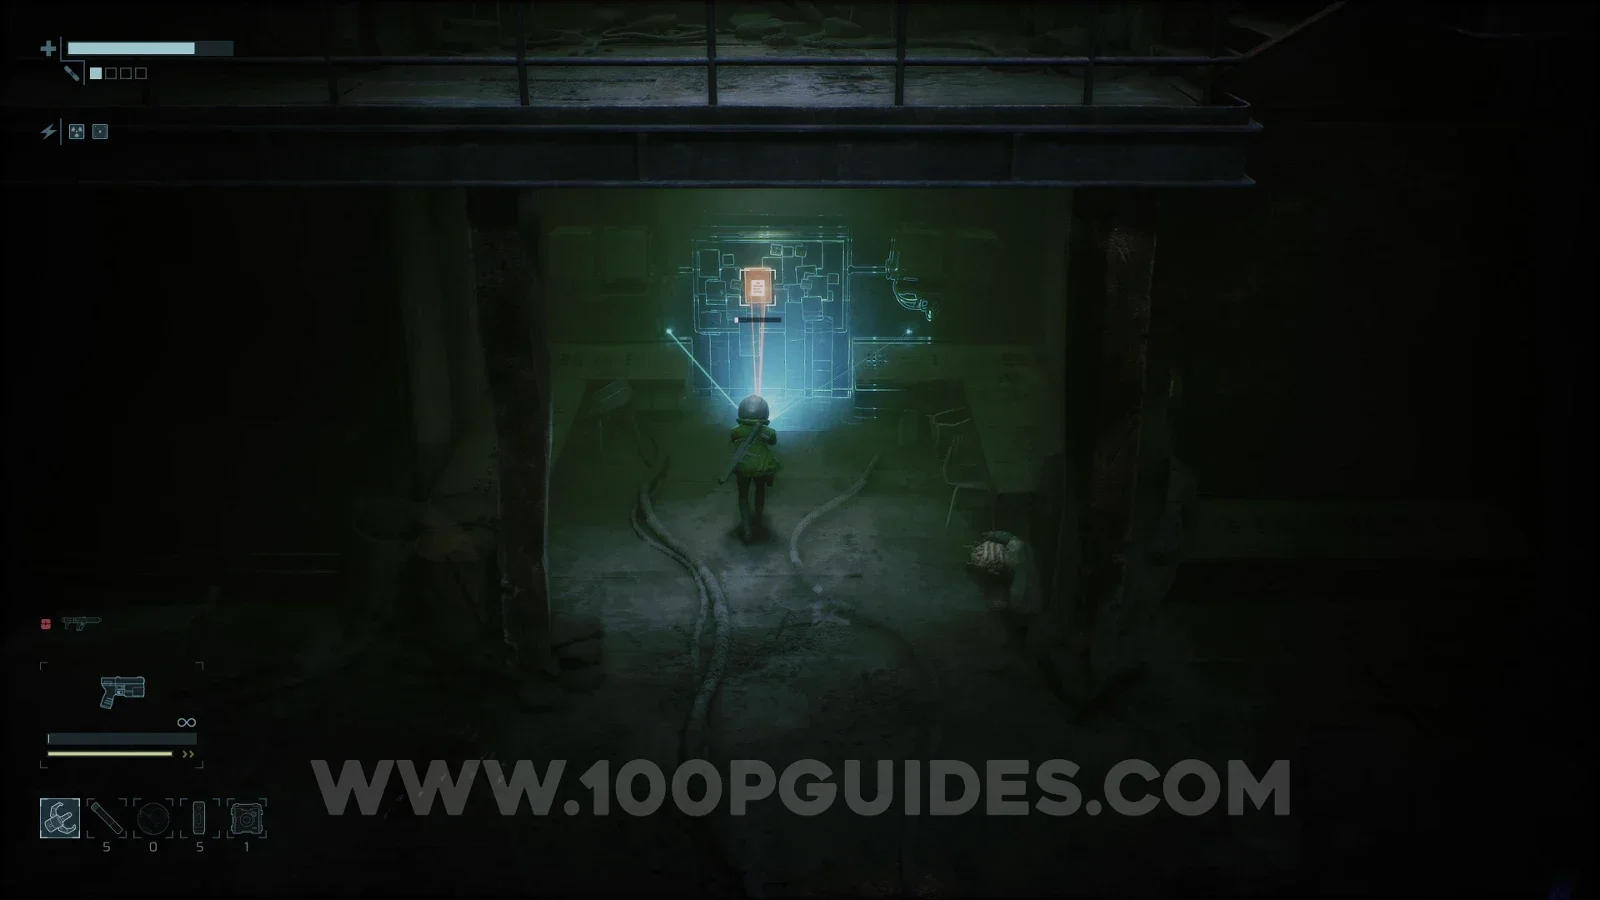
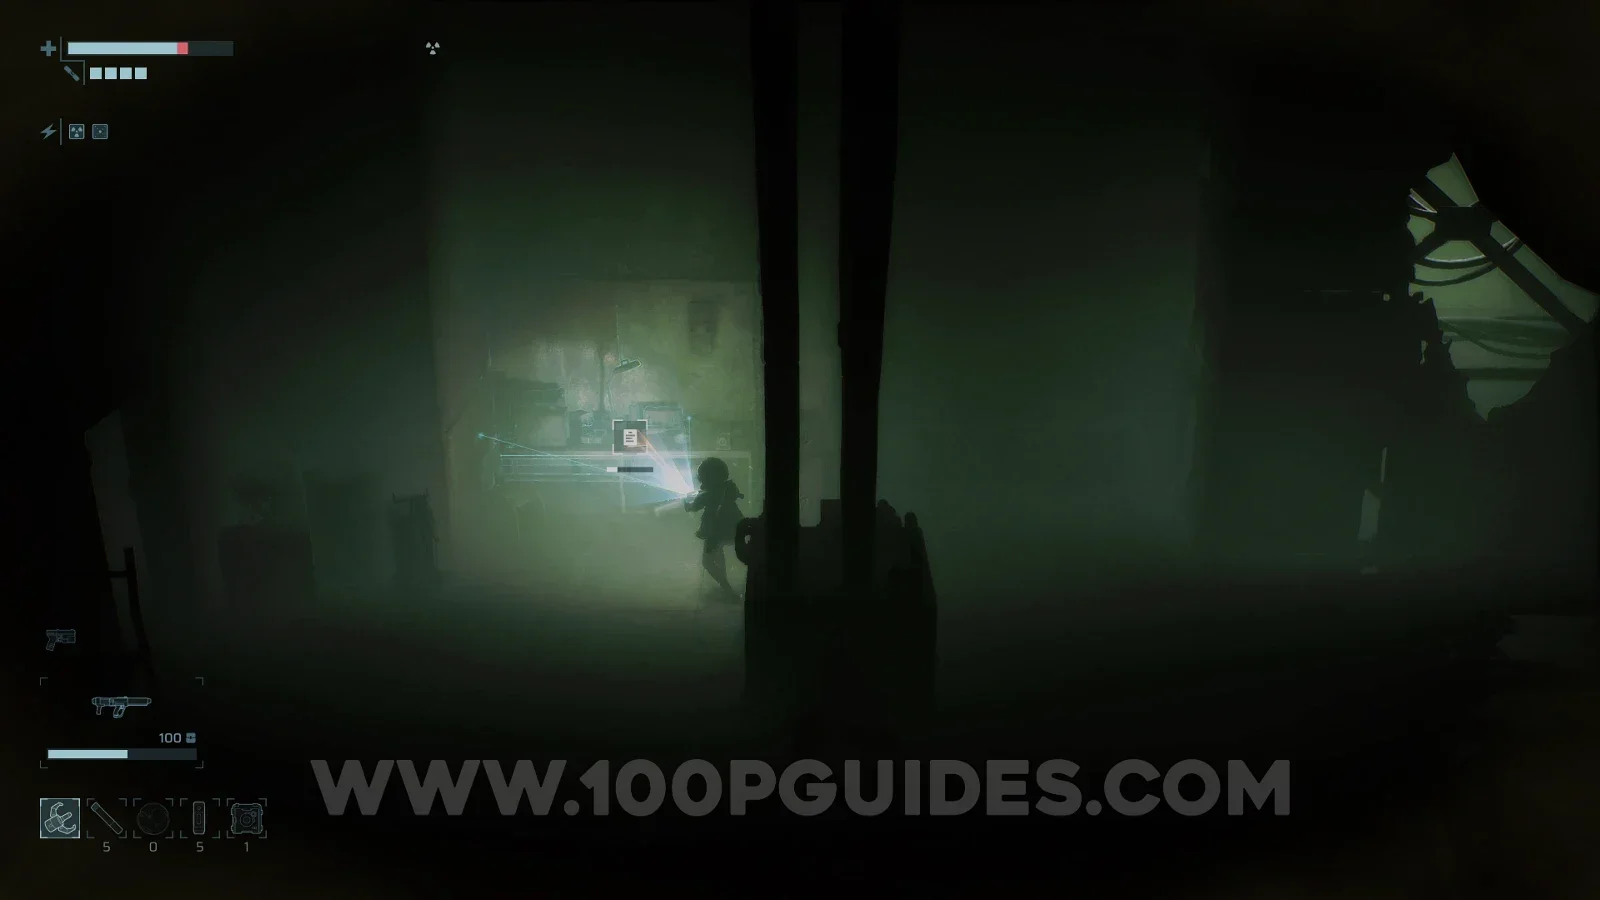
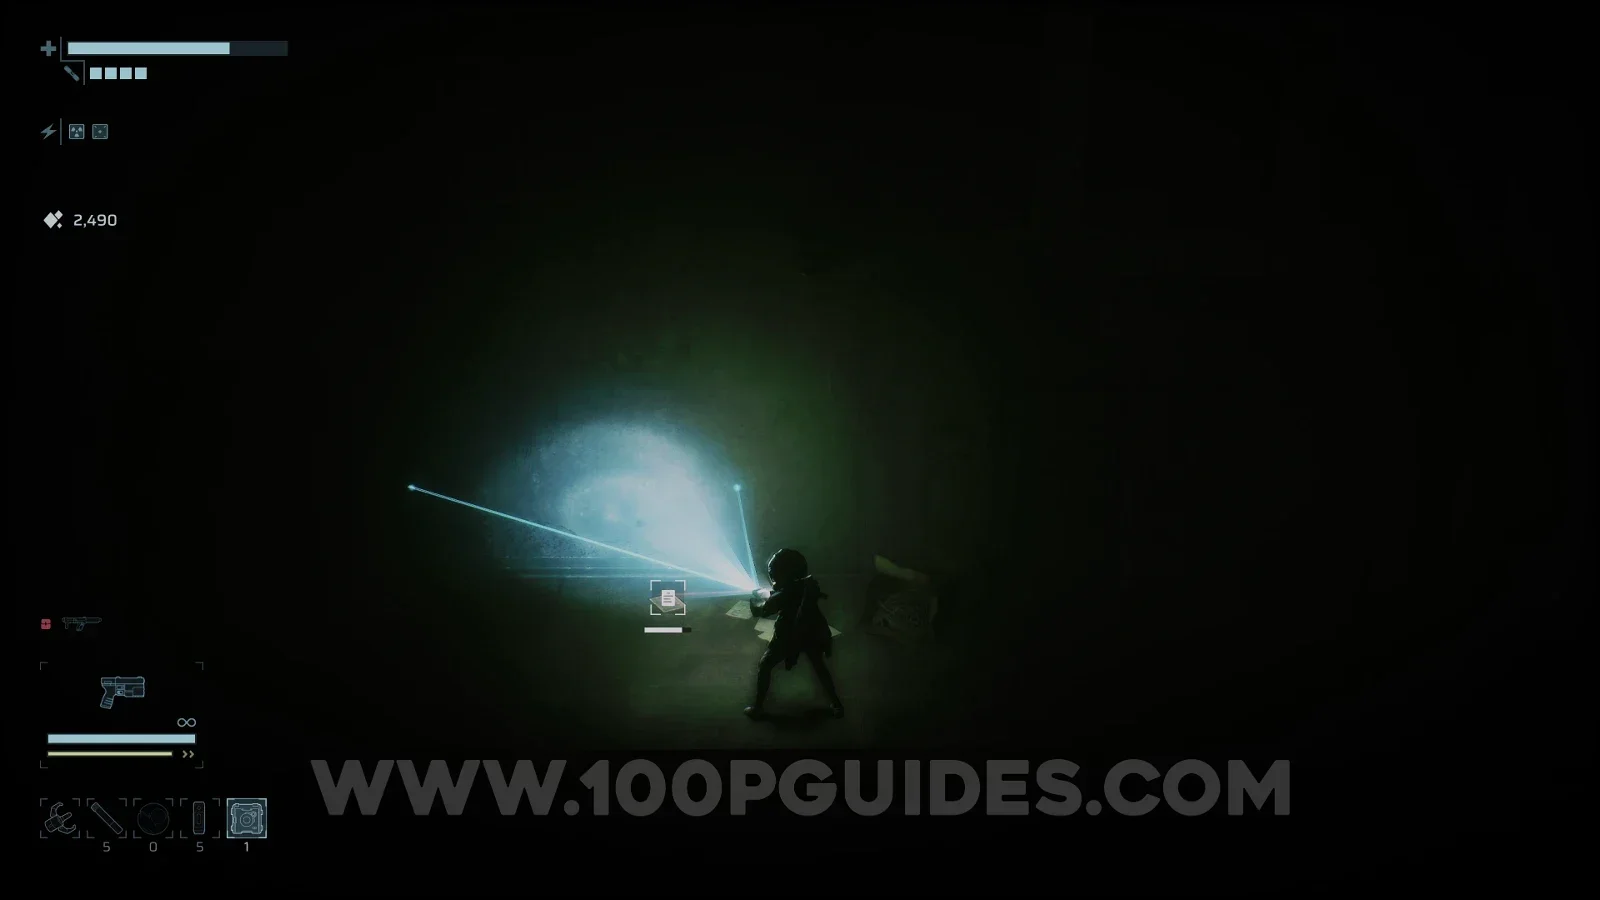
CompletionistCompletionist: Obtained by scanning everything. To use your scanner press and then once you have targeted something that can be scanned, hold until the bar fills up.
ZoologistZoologist: Scan every creature. None are missable. Bosses are added to the Logbook automatically after you defeat them. NPCs and rare enemies that do not respawn can also be found in specific locations around the map, even if they are not alive. Most creatures will spawn in a lot of different places throughout the game. This guide will show you at least one location where spawns are guaranteed.

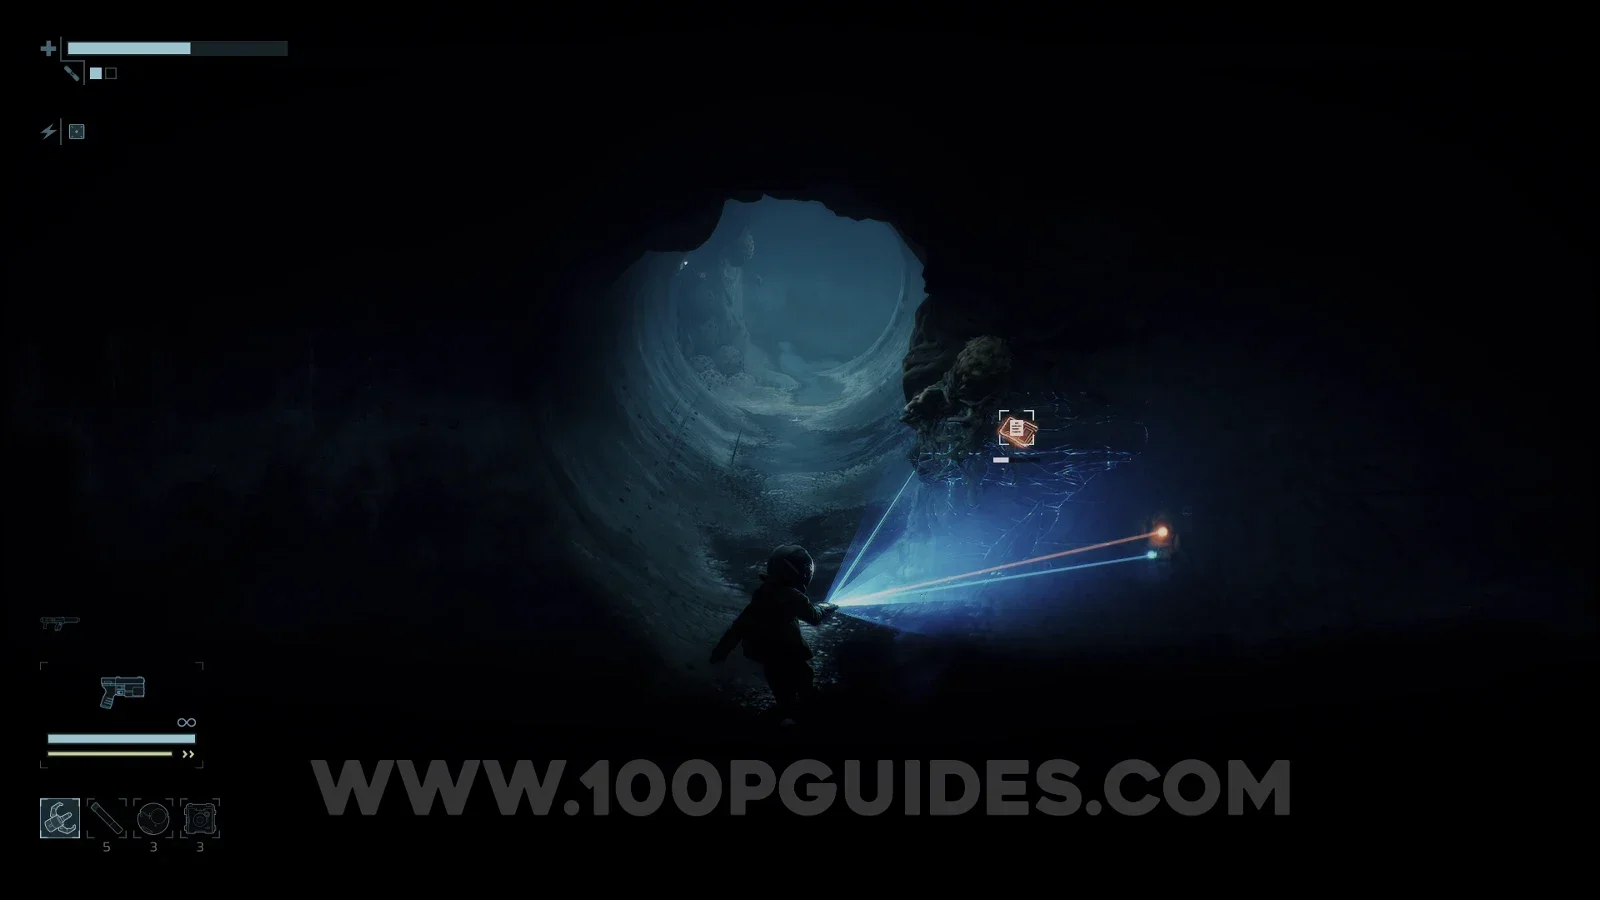
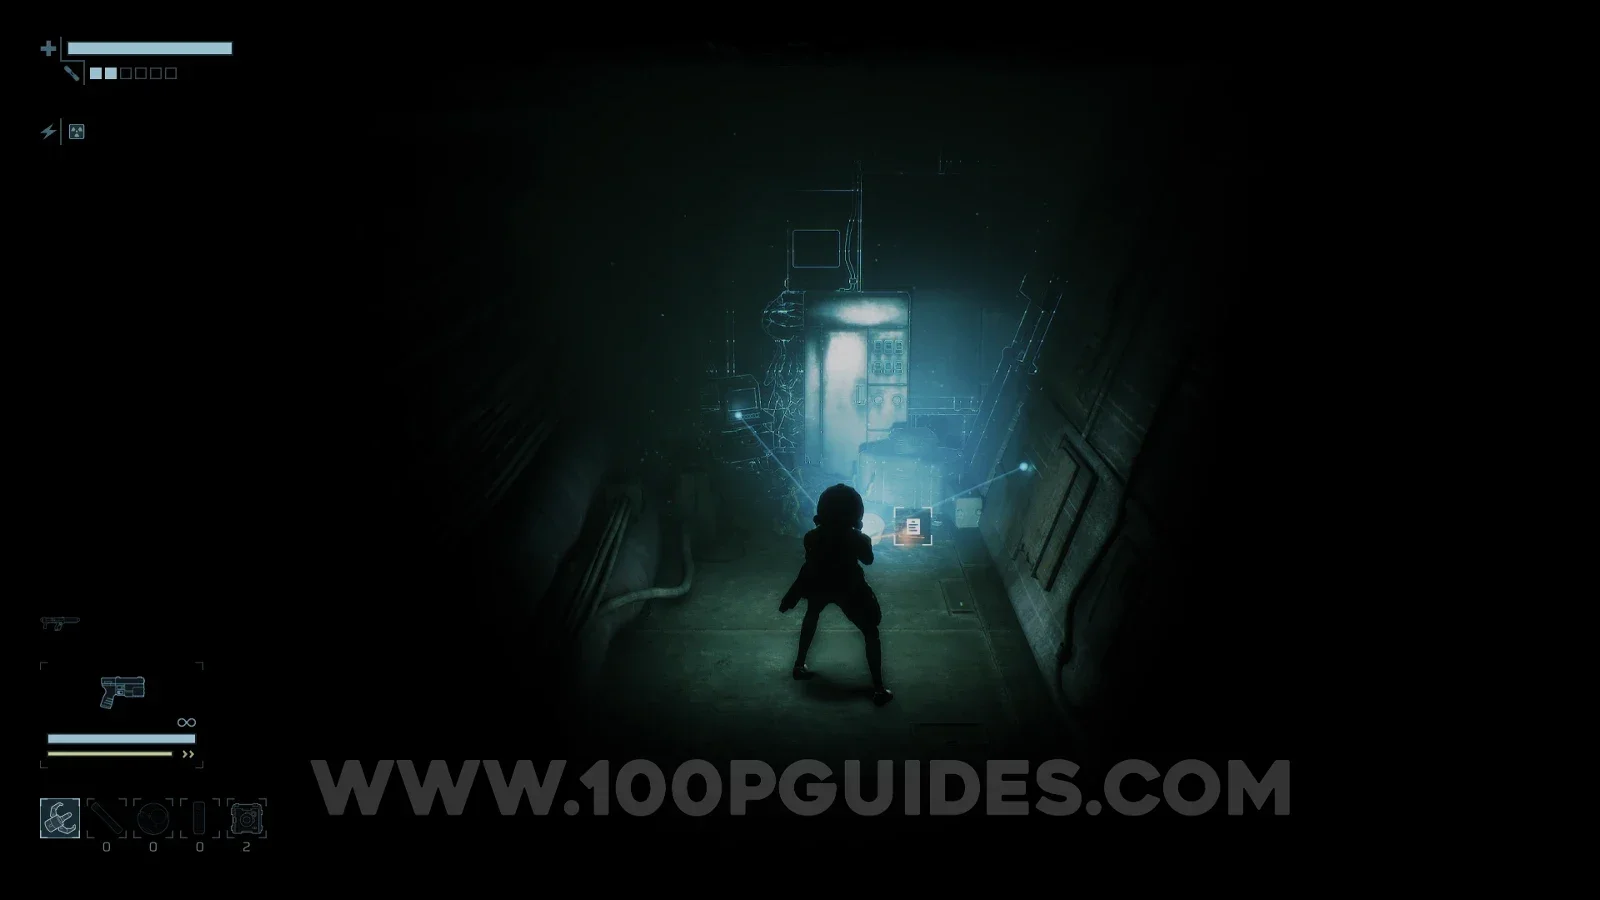
ArchivistArchivist: Scan every note. These are lore items scattered throughout the game.

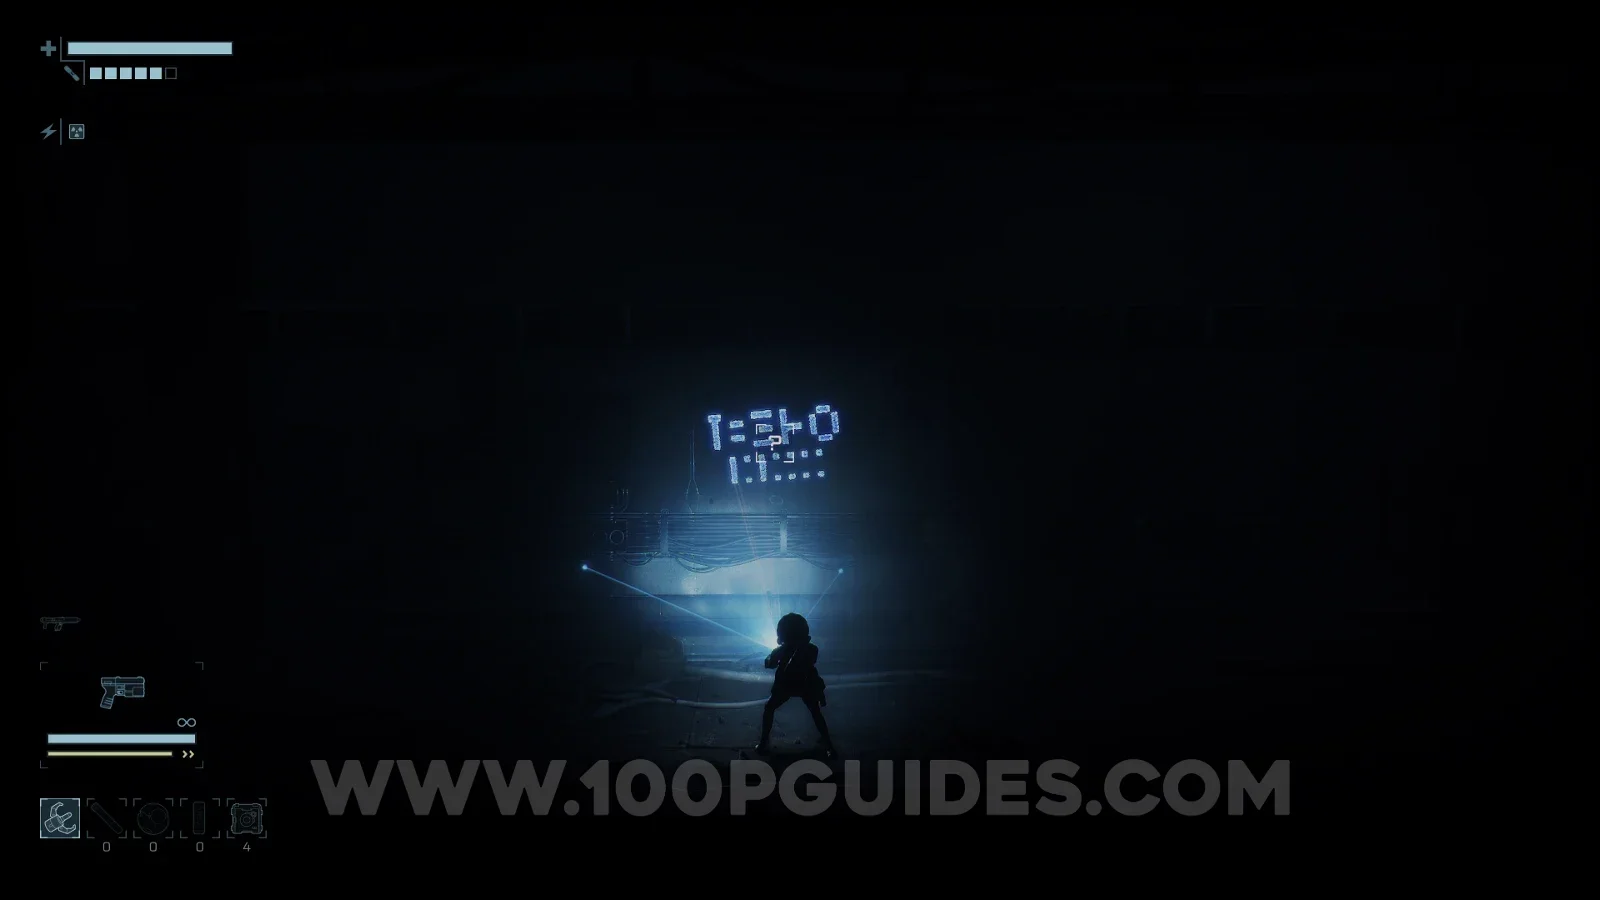
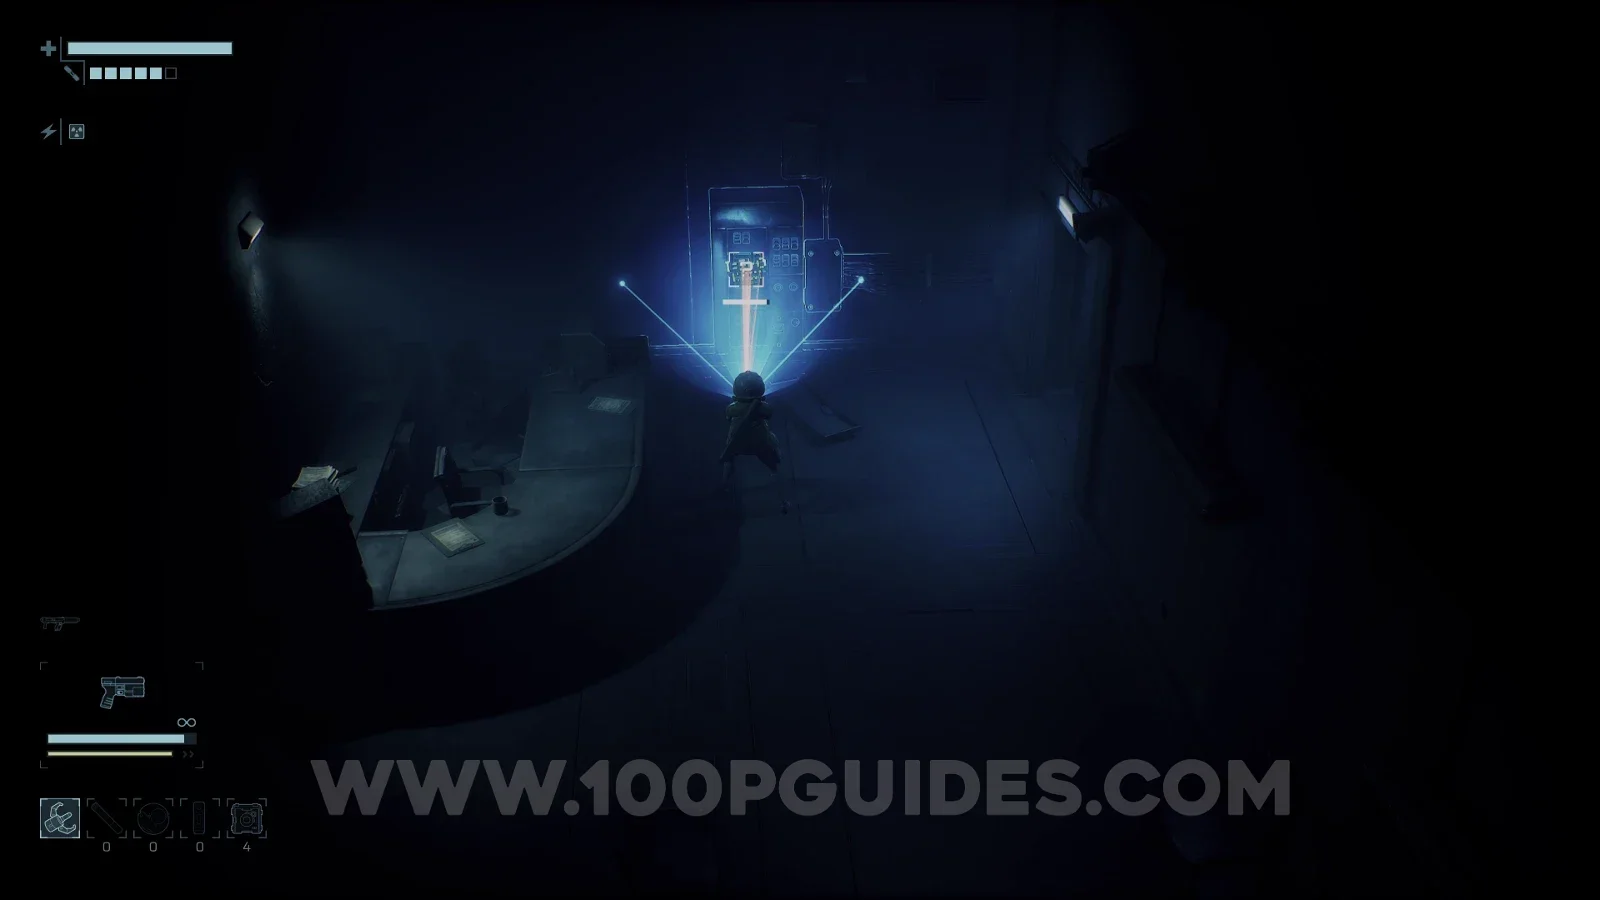
CryptographerCryptographer: Scan all codes. These can only be seen while using the scanner. It's also worth noting that to activate codes, you need to find the Cryptograph key item in the Lower Levels. This will allow you to activate them through the Logbook. THIS WILL DISABLE TROPHIES ON THAT SAVE!
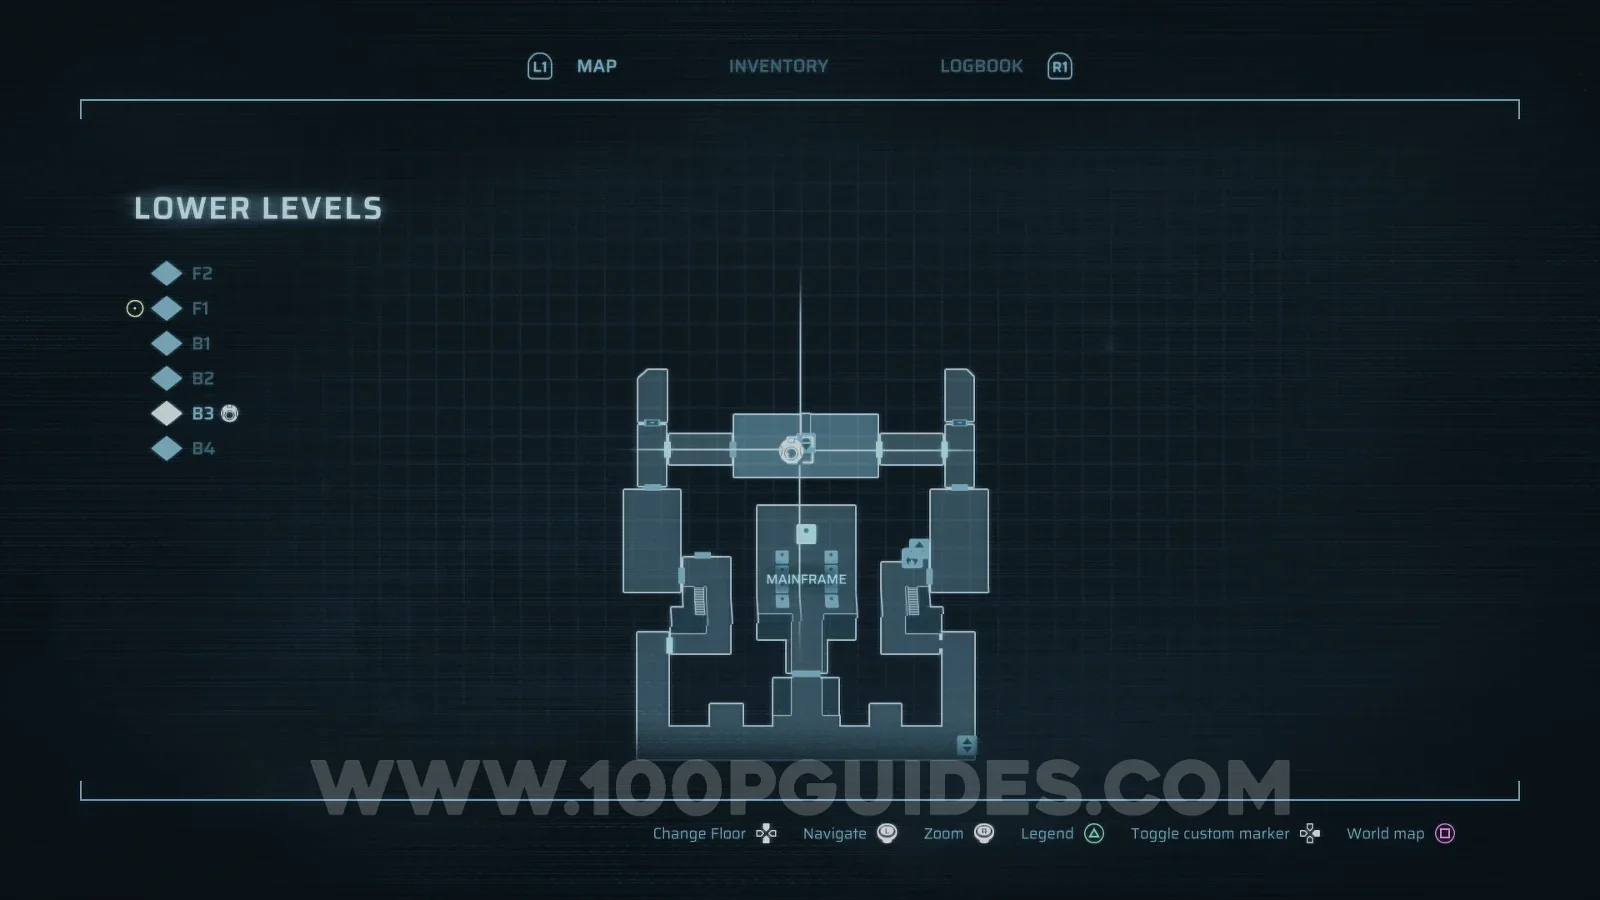
DefragmentedDefragmented: Find all Data Shards. These are used to get the true ending of the game. Take them back to the Mainframe on B3 of the Lower Levels, then defeat the final boss.

This list follows the same order as the in-game list that can be seen in the Logbook menu.

Nothing is missable and everything can be scanned after finishing the main story.

Creatures

42 entries
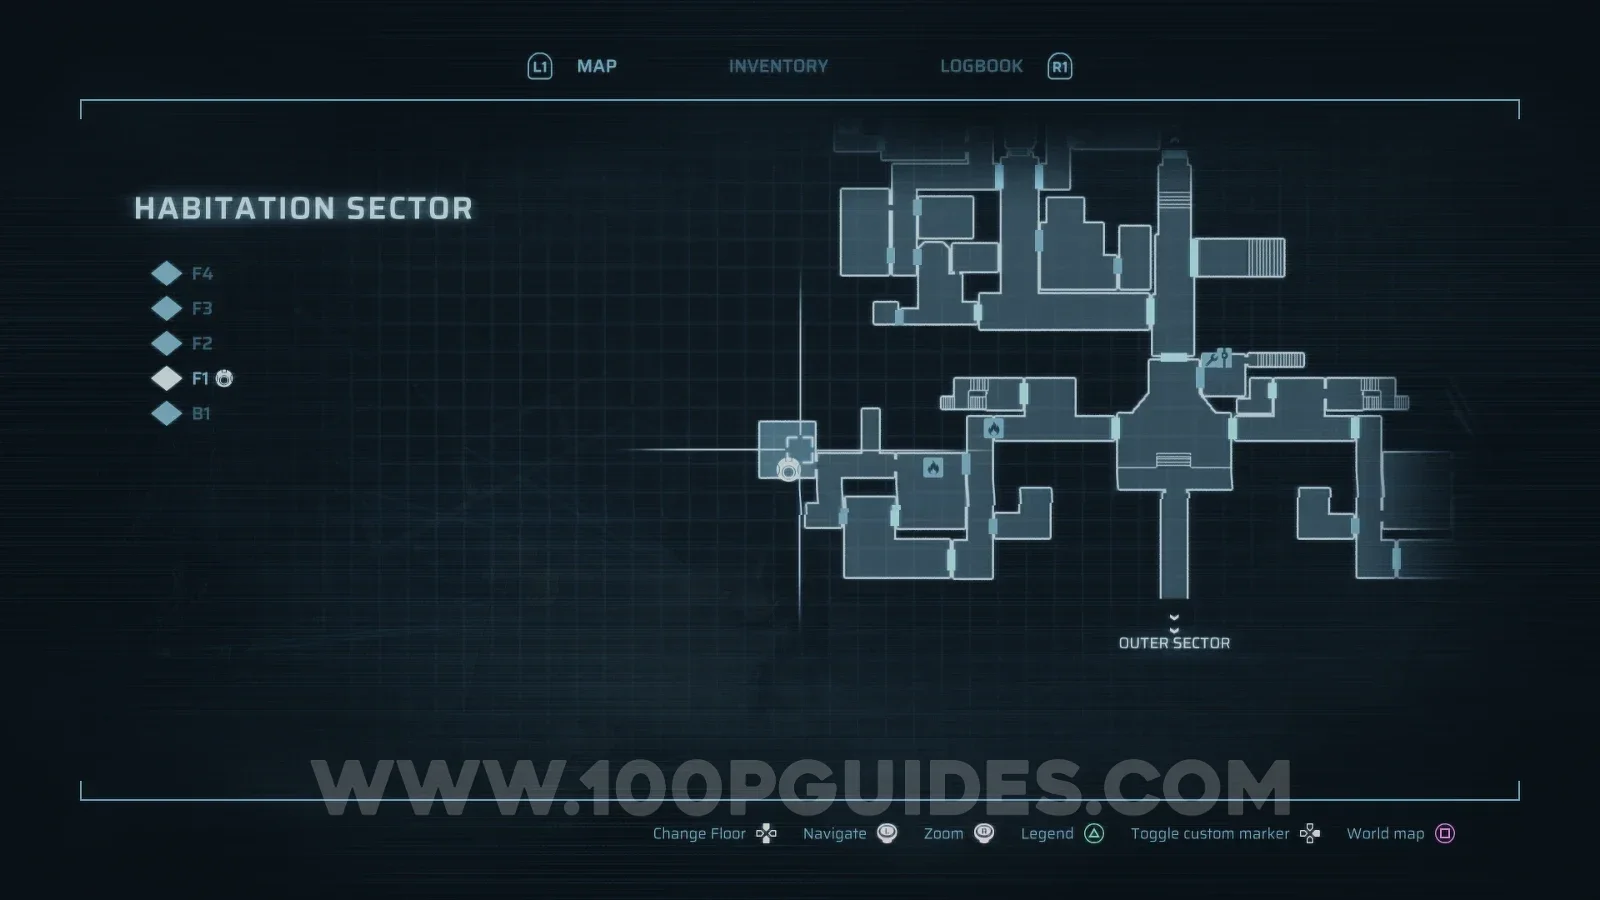
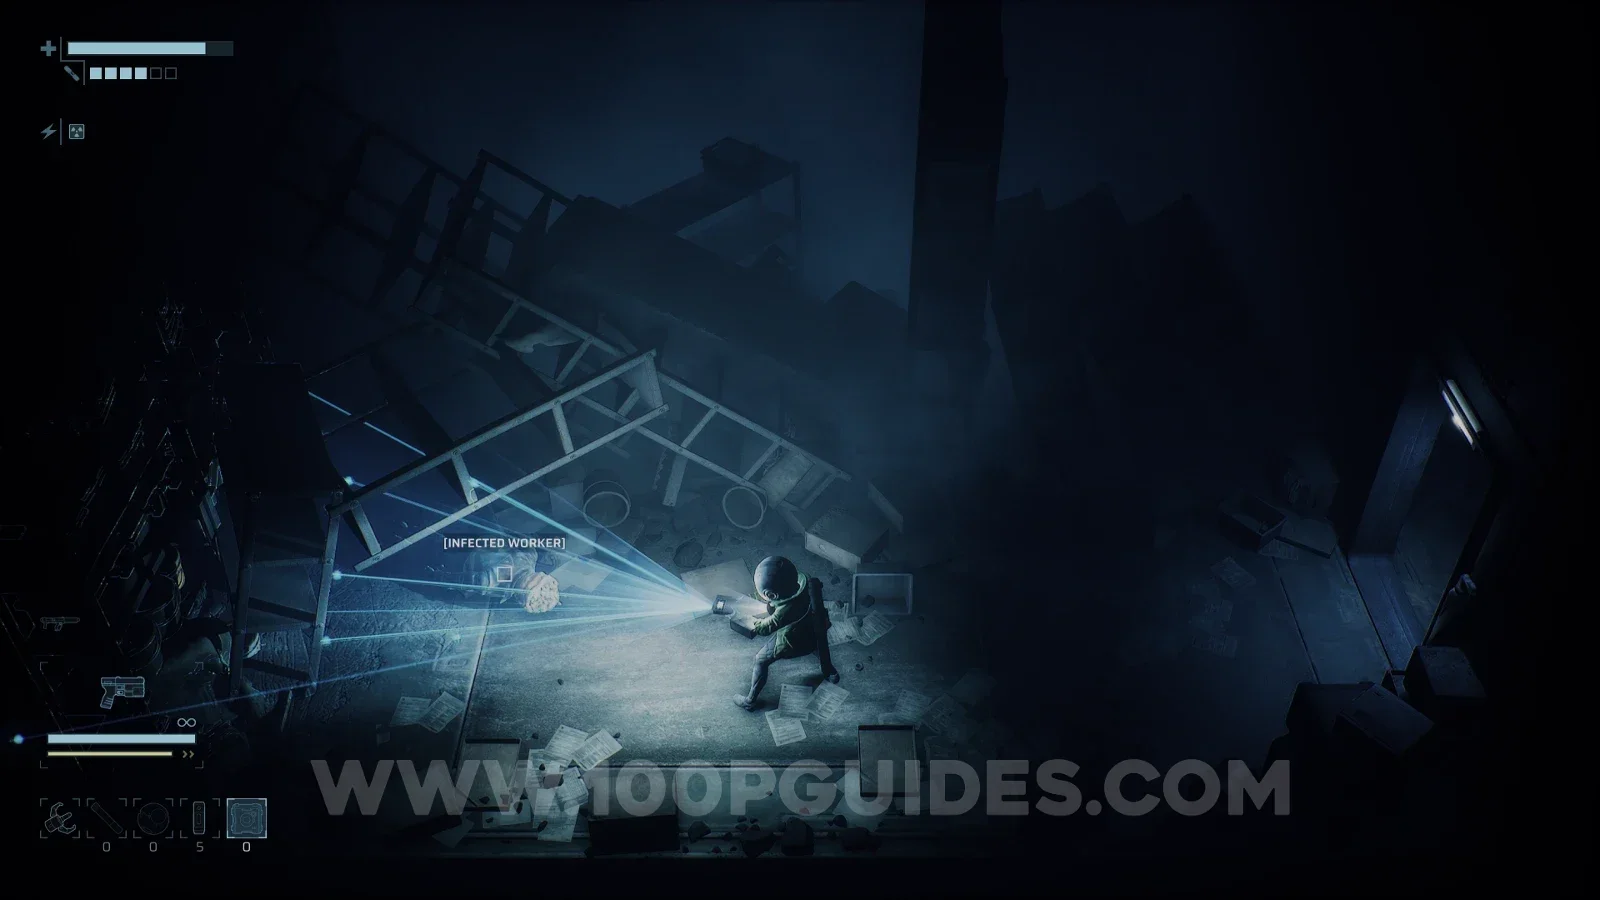
CR-001

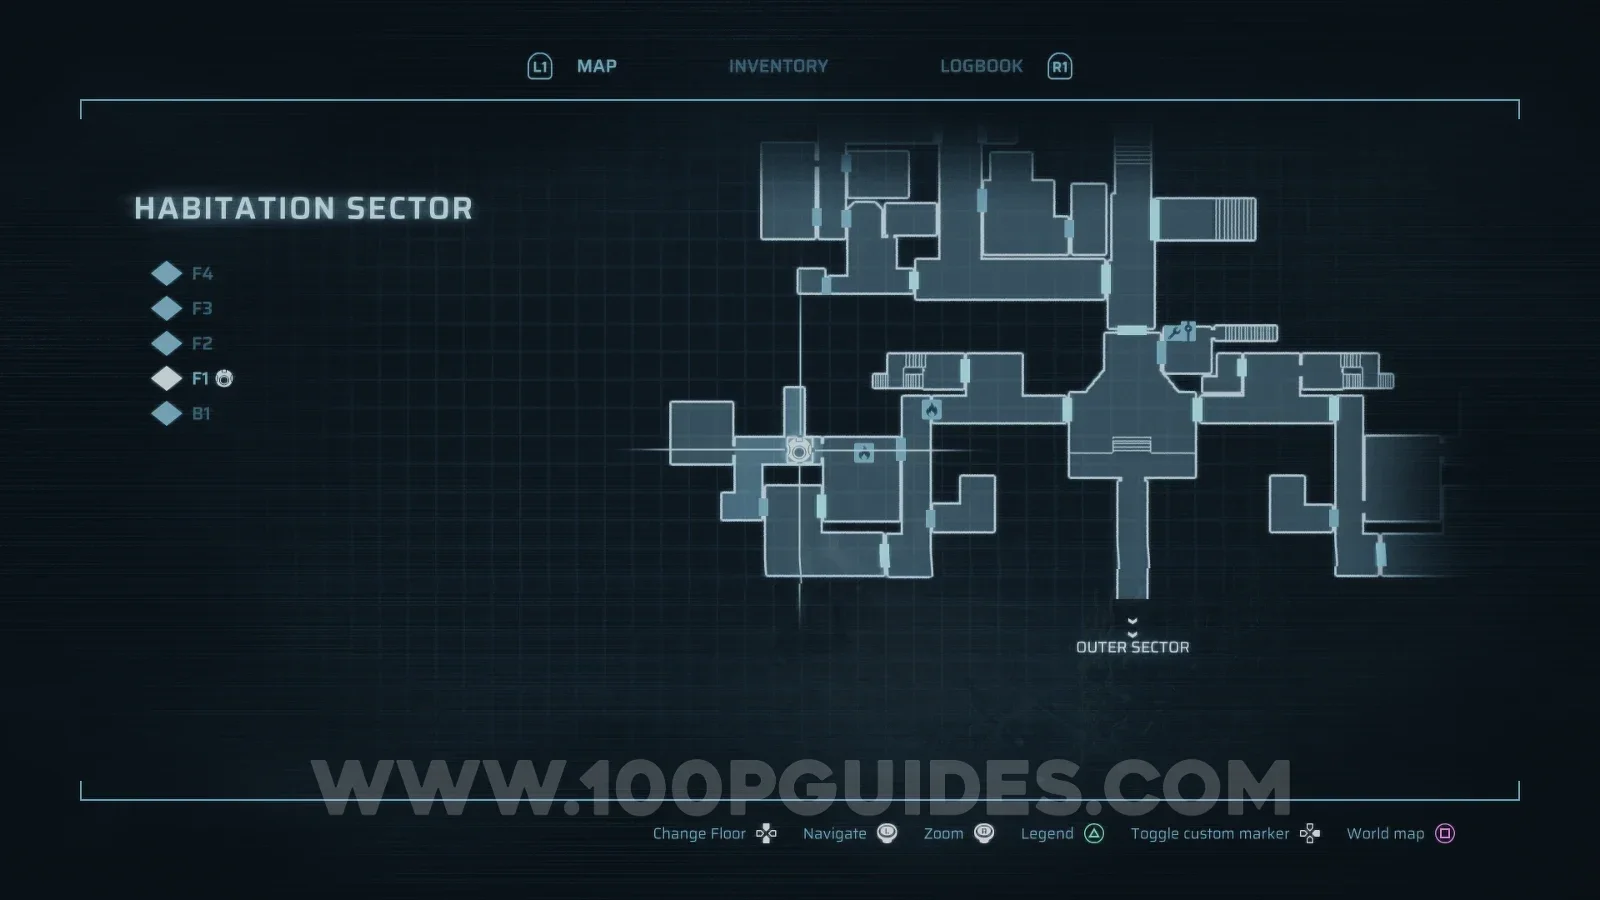
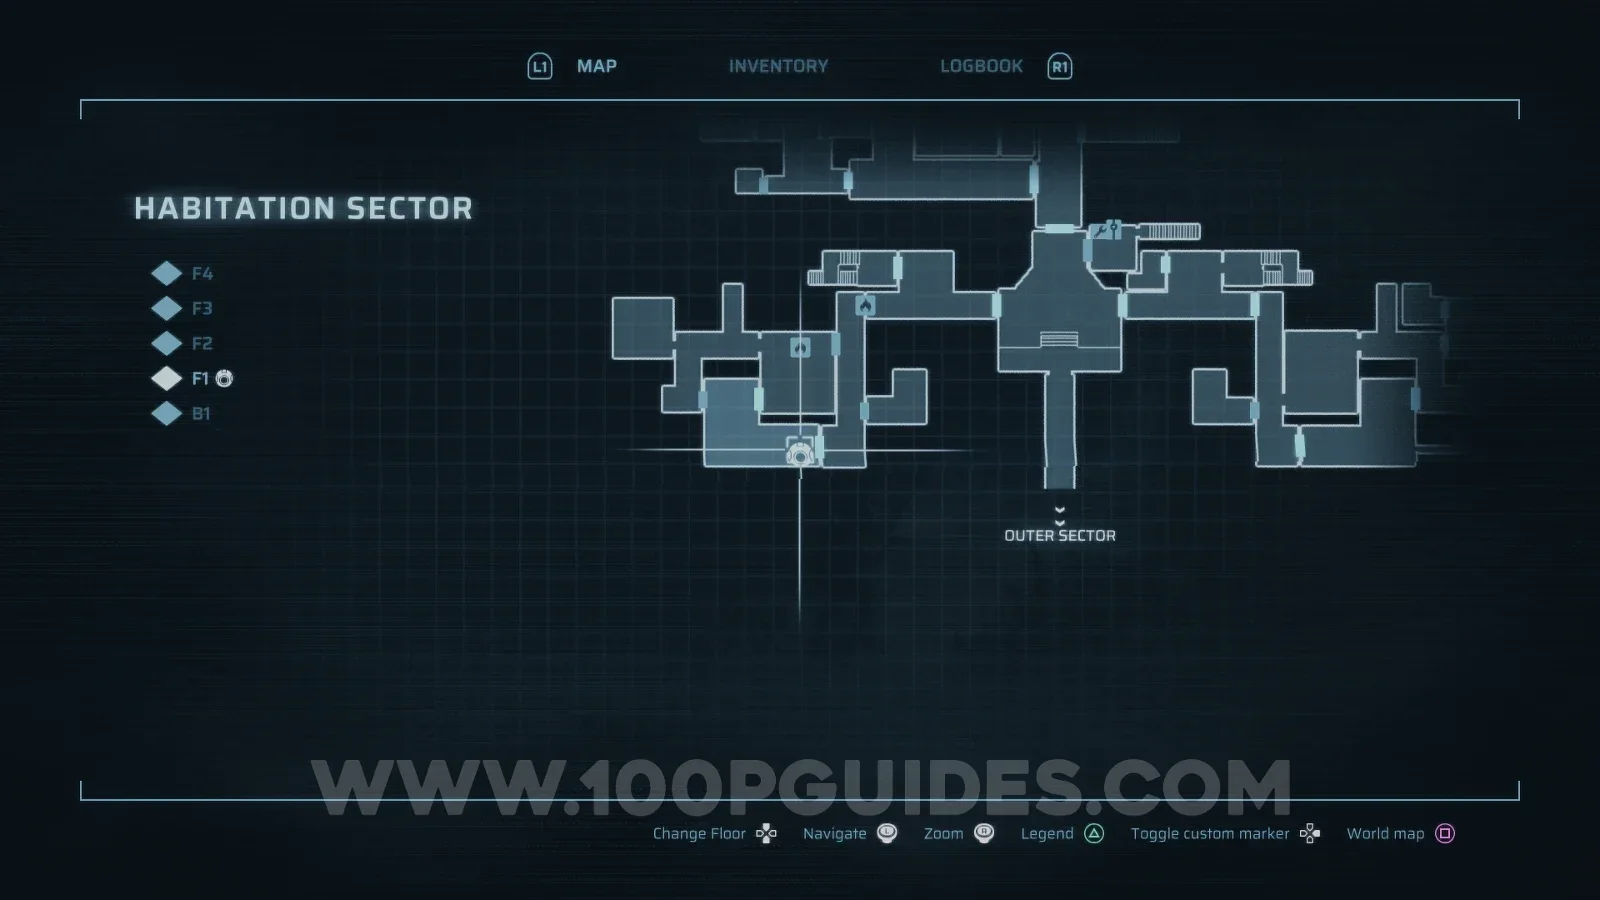
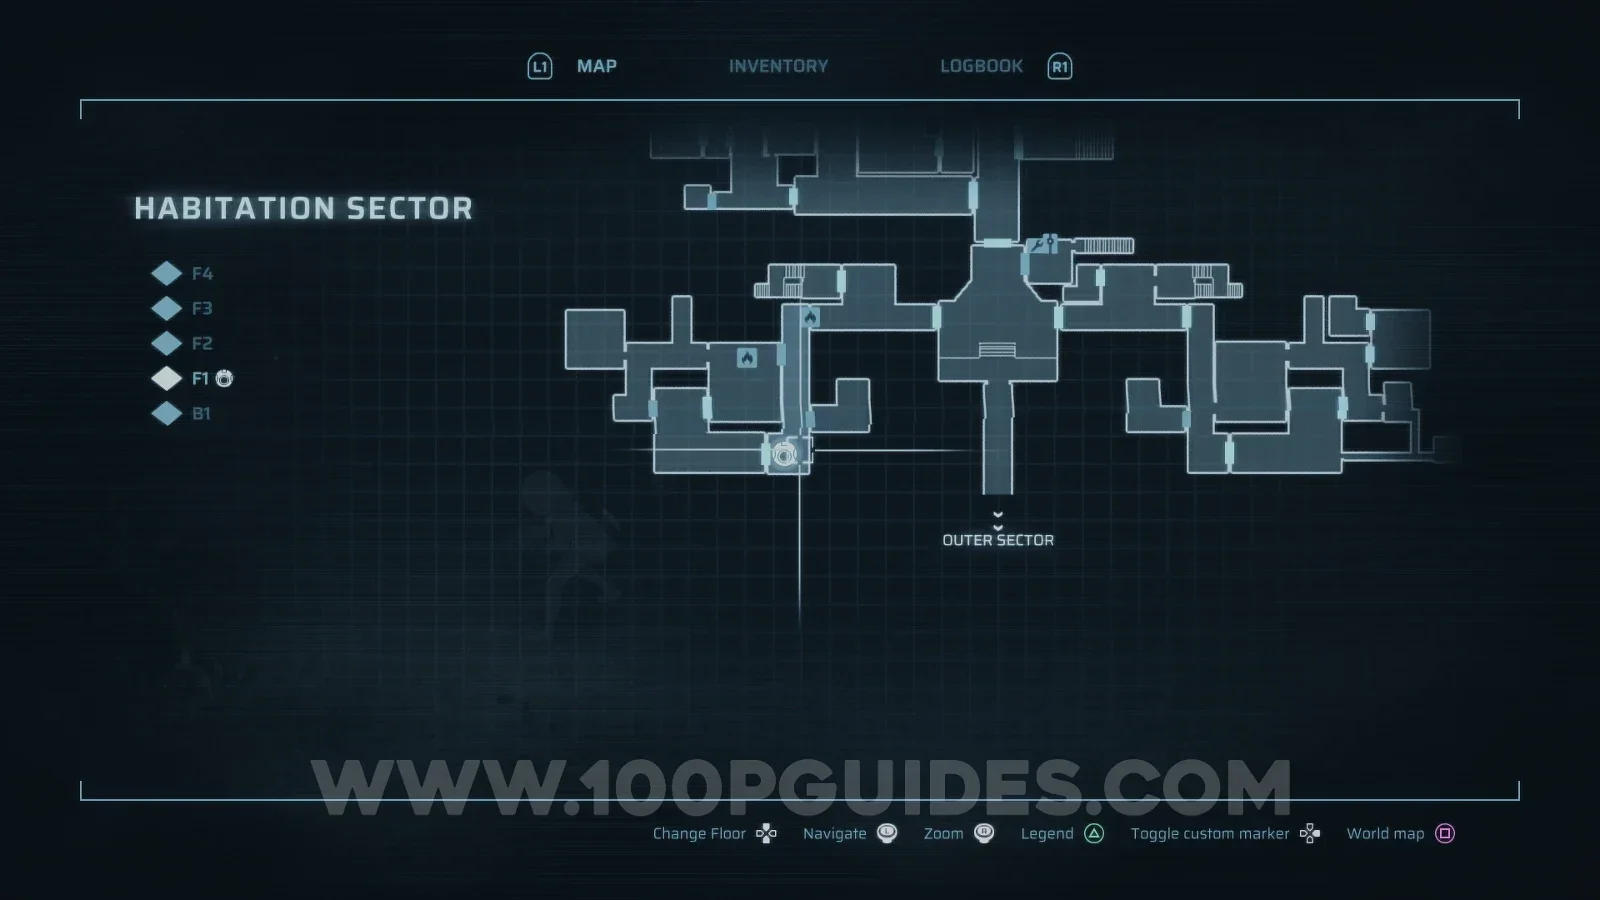
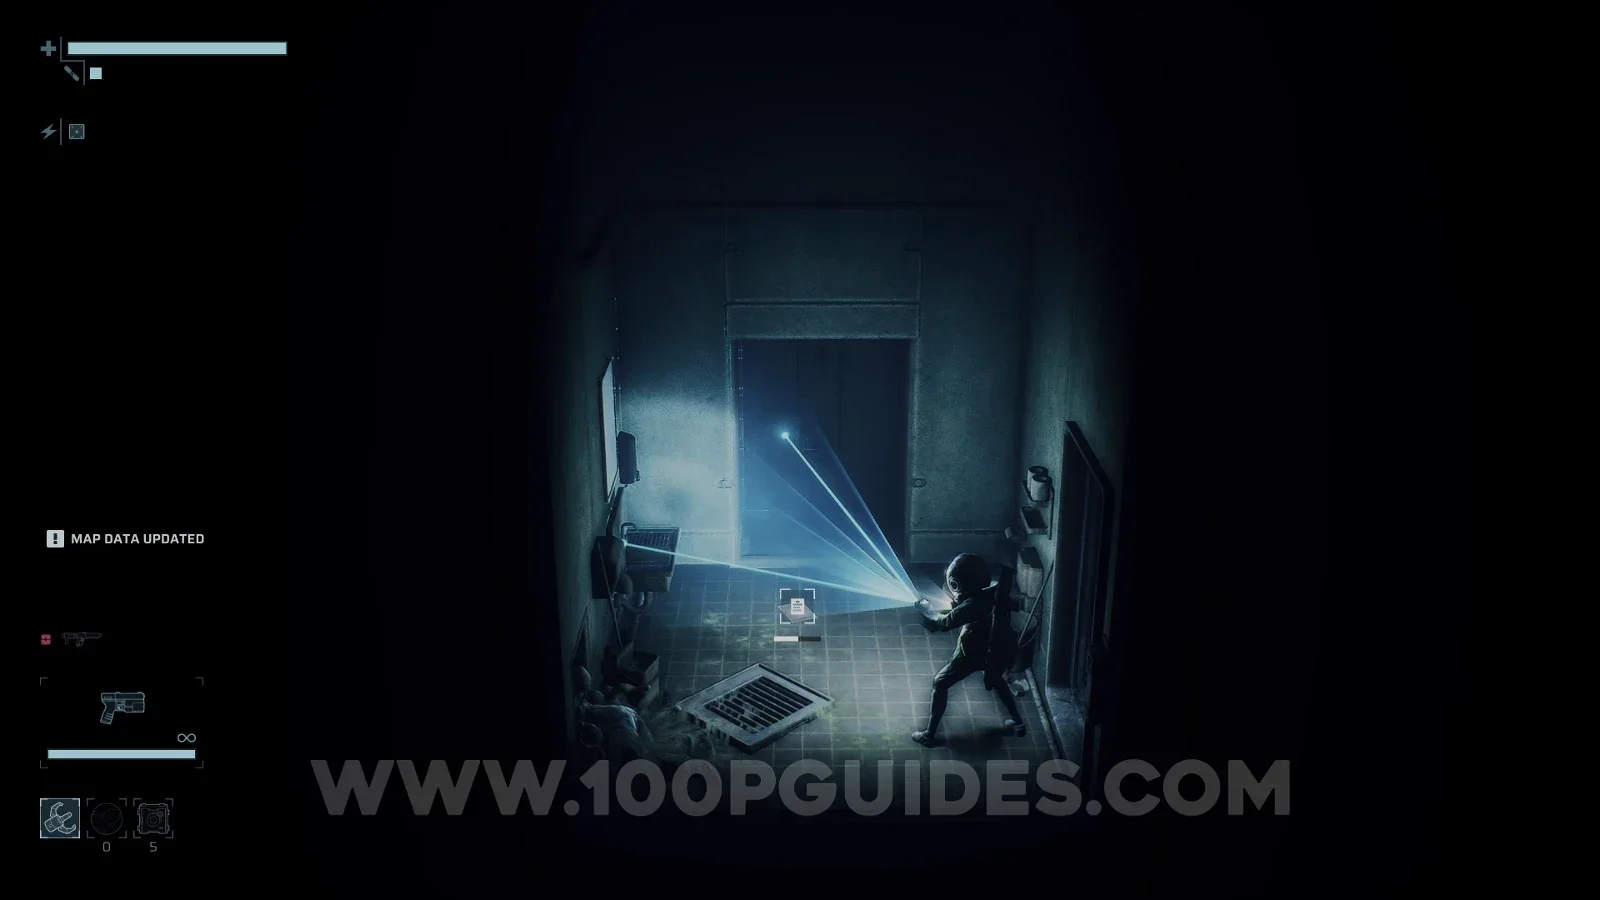
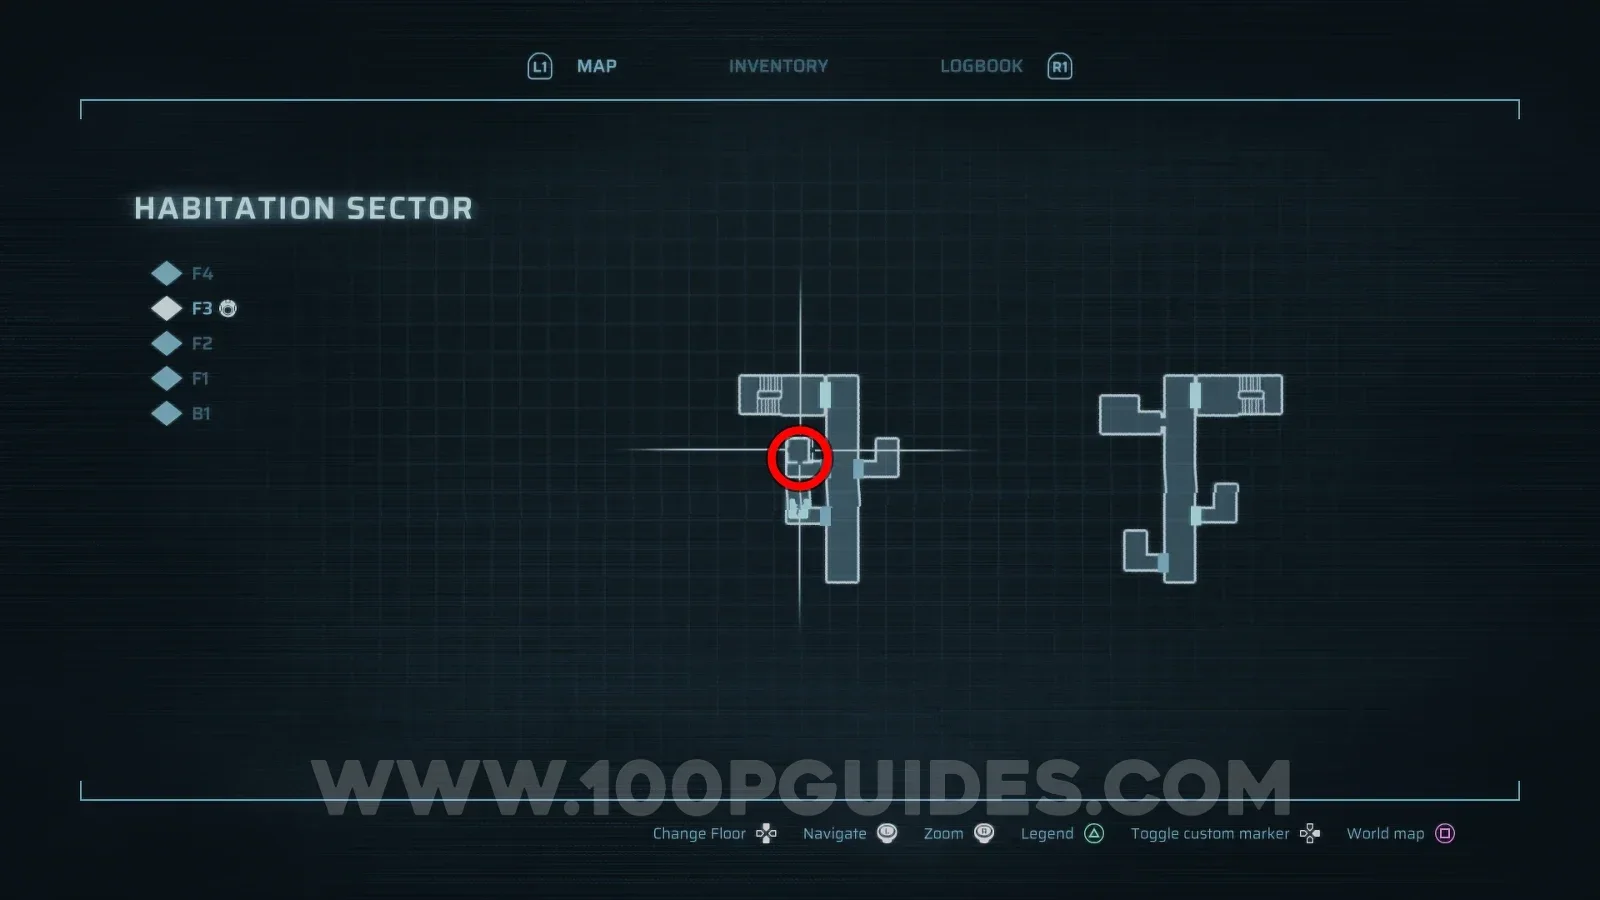
Infected Worker

Habitation Sector > F1

Found in Block A.

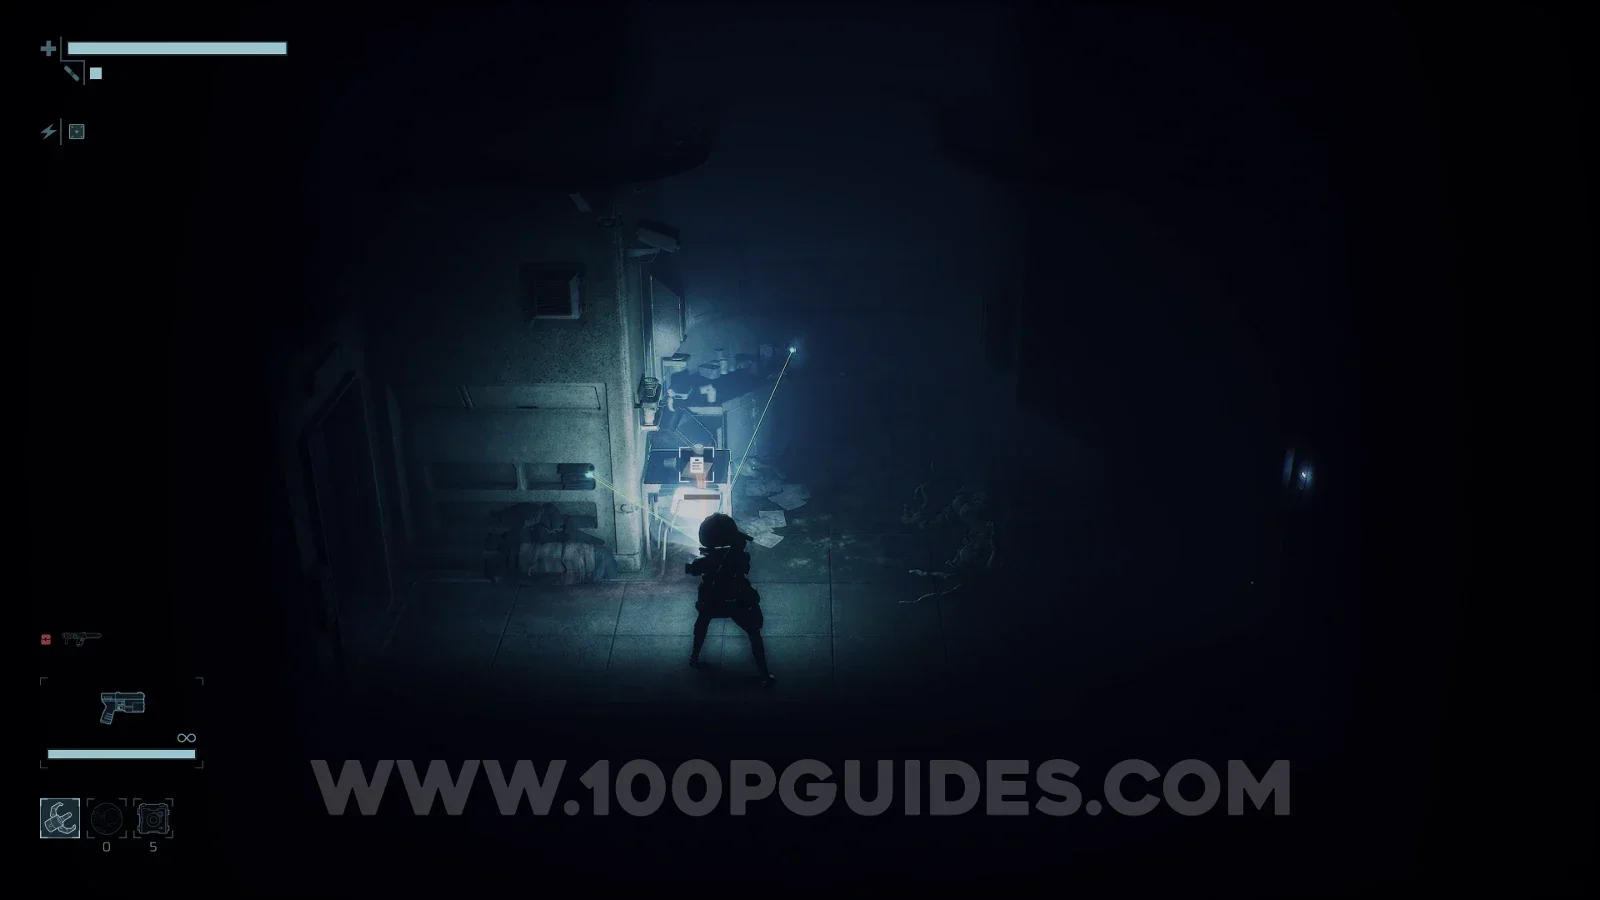
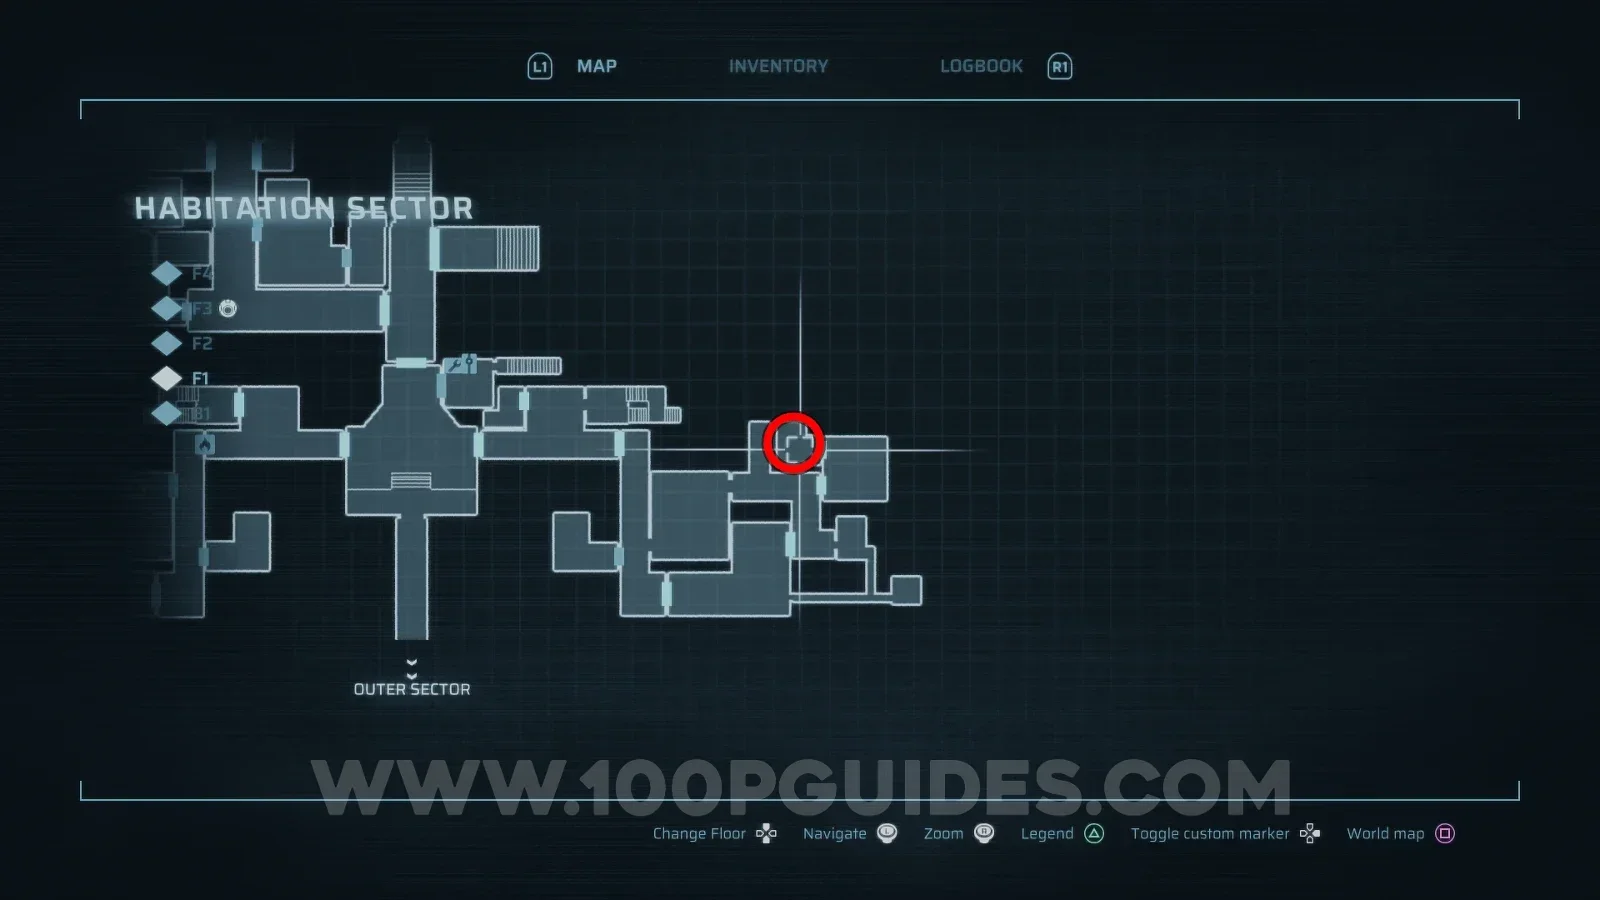
End of Abyss 100% Logbook Checklist Screenshot 1 End of Abyss 100% Logbook Checklist Screenshot 2
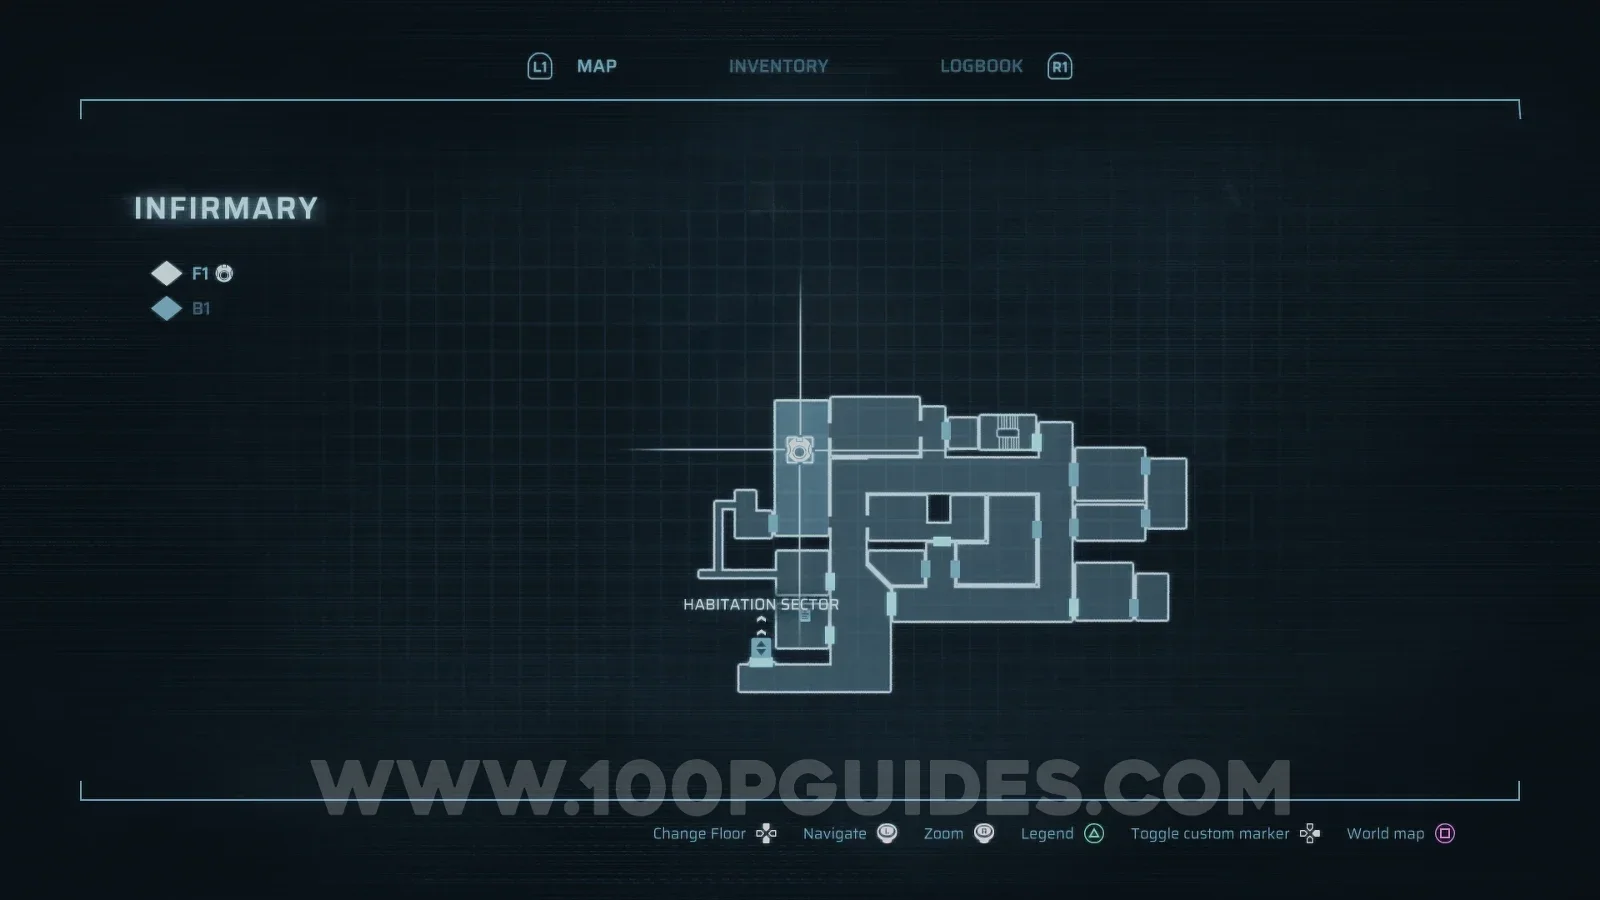
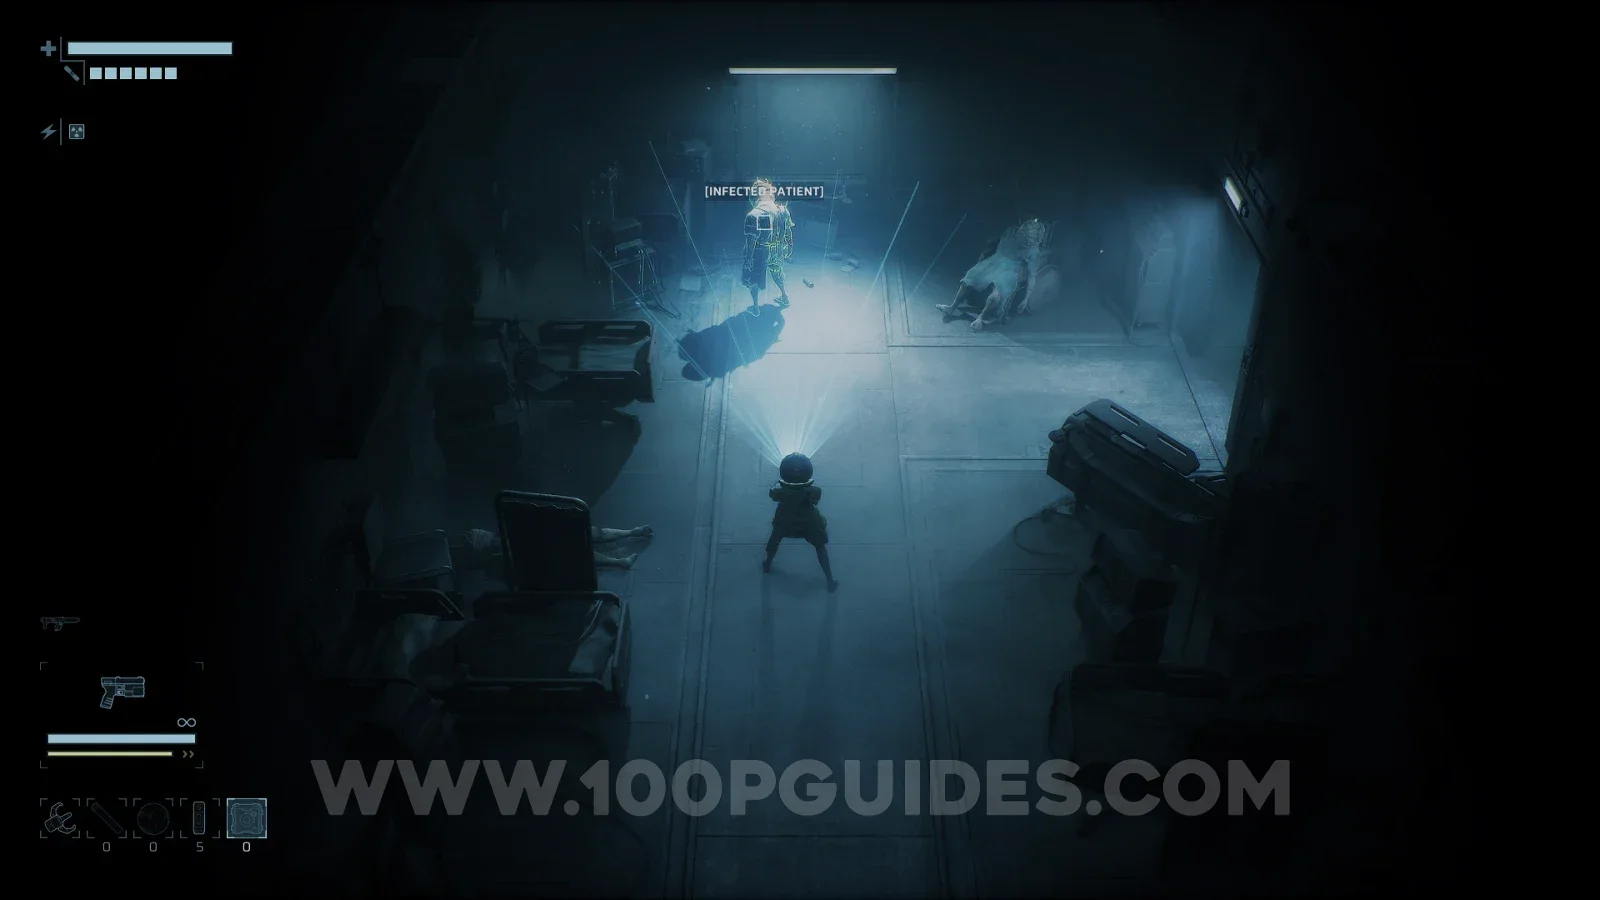
CR-002

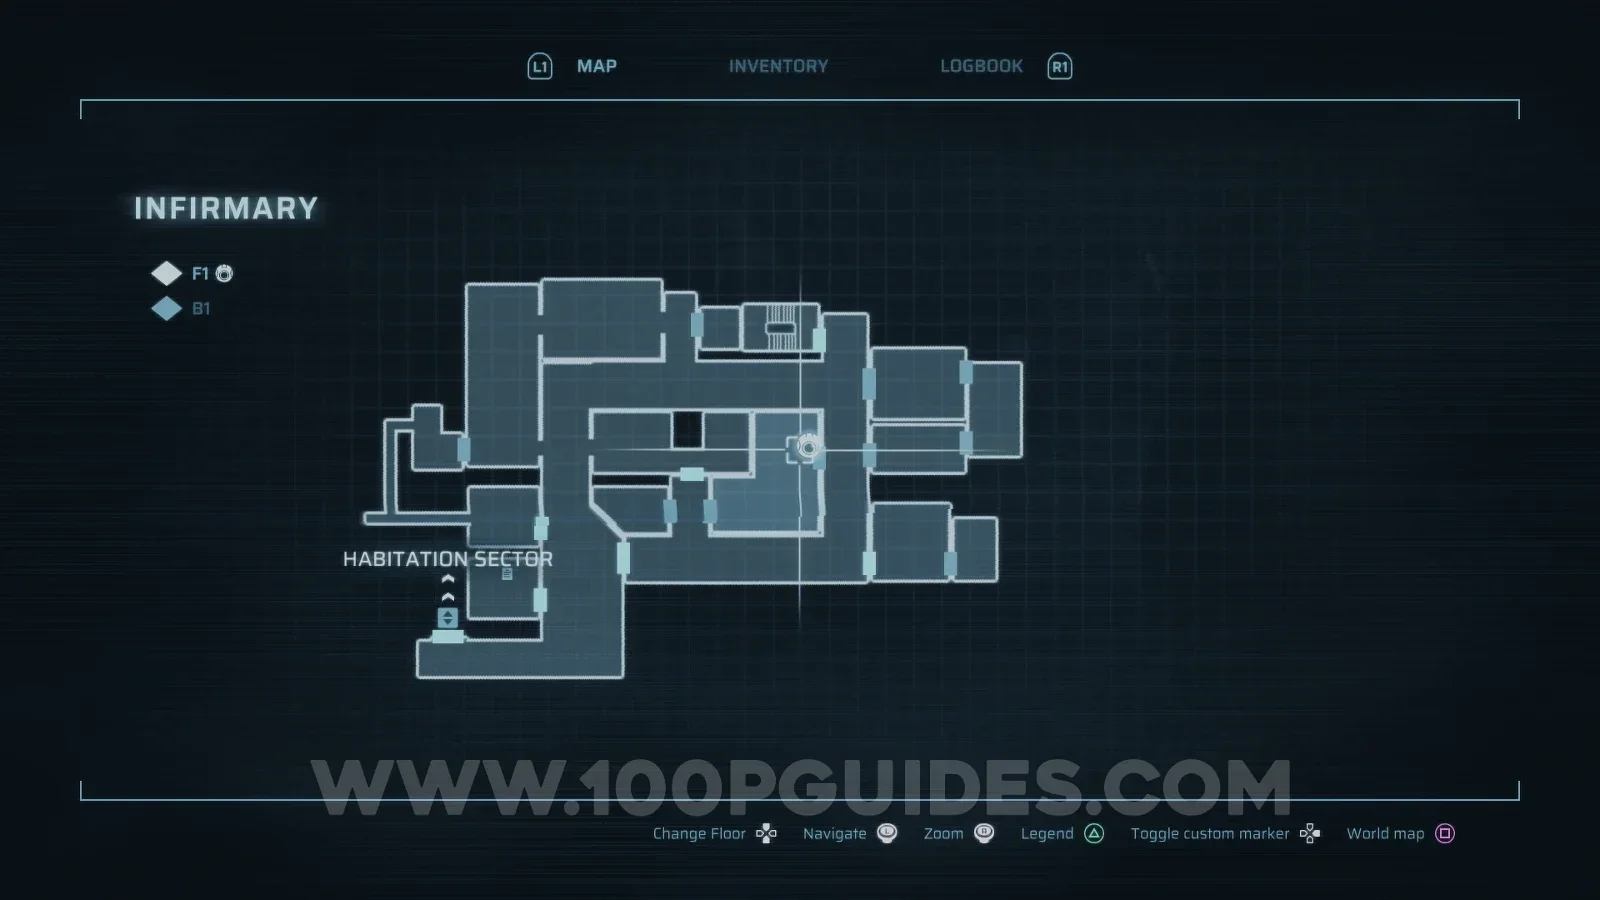
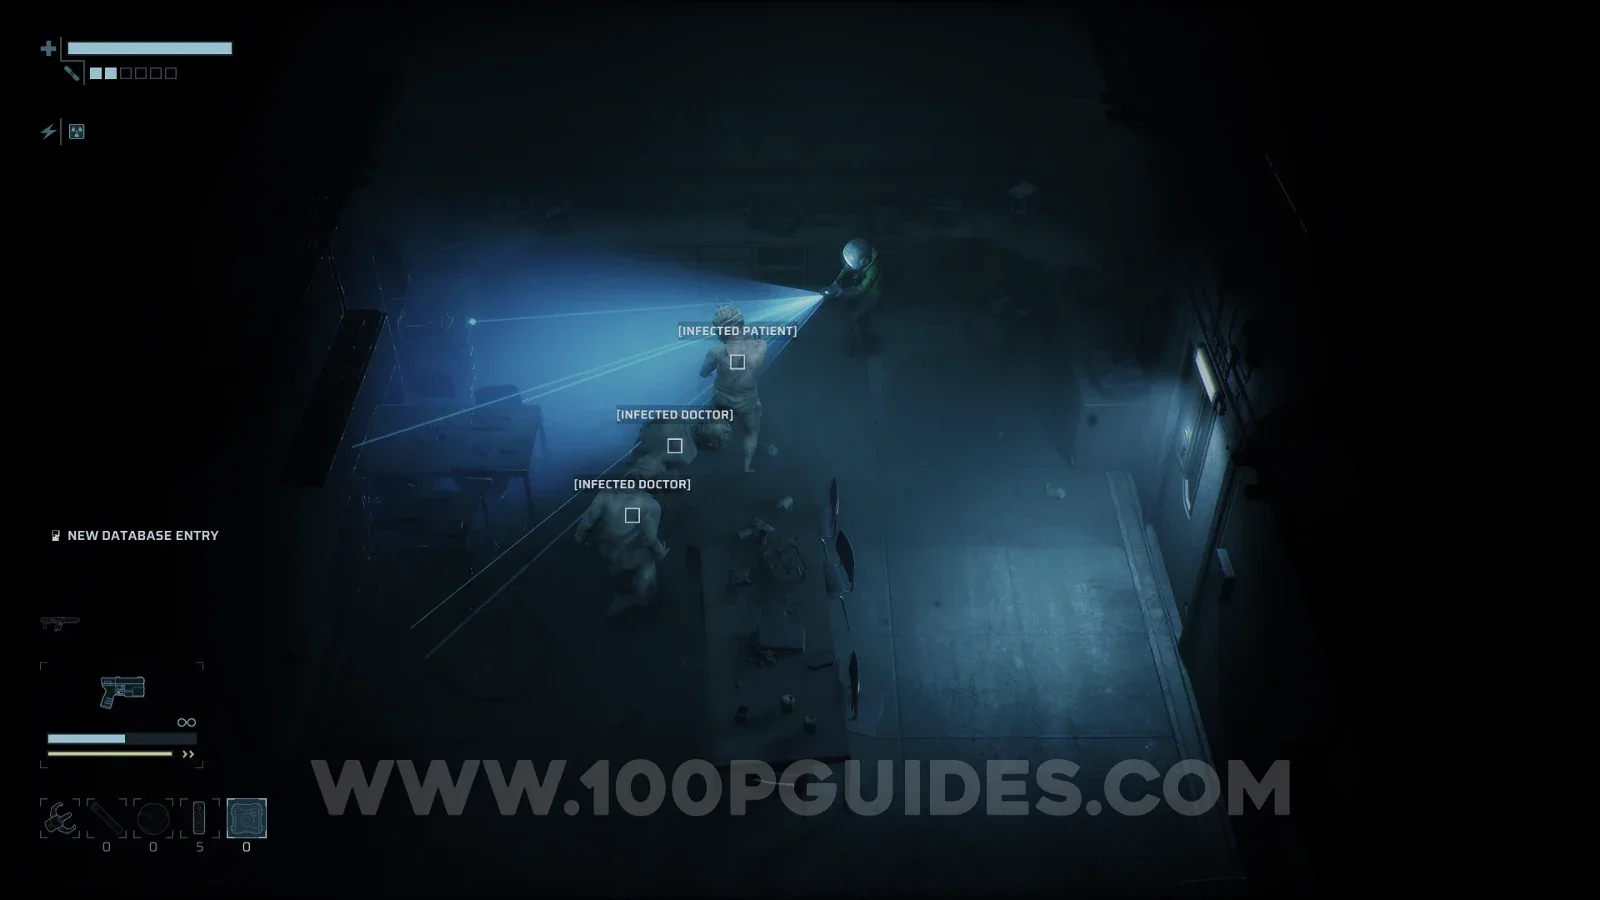
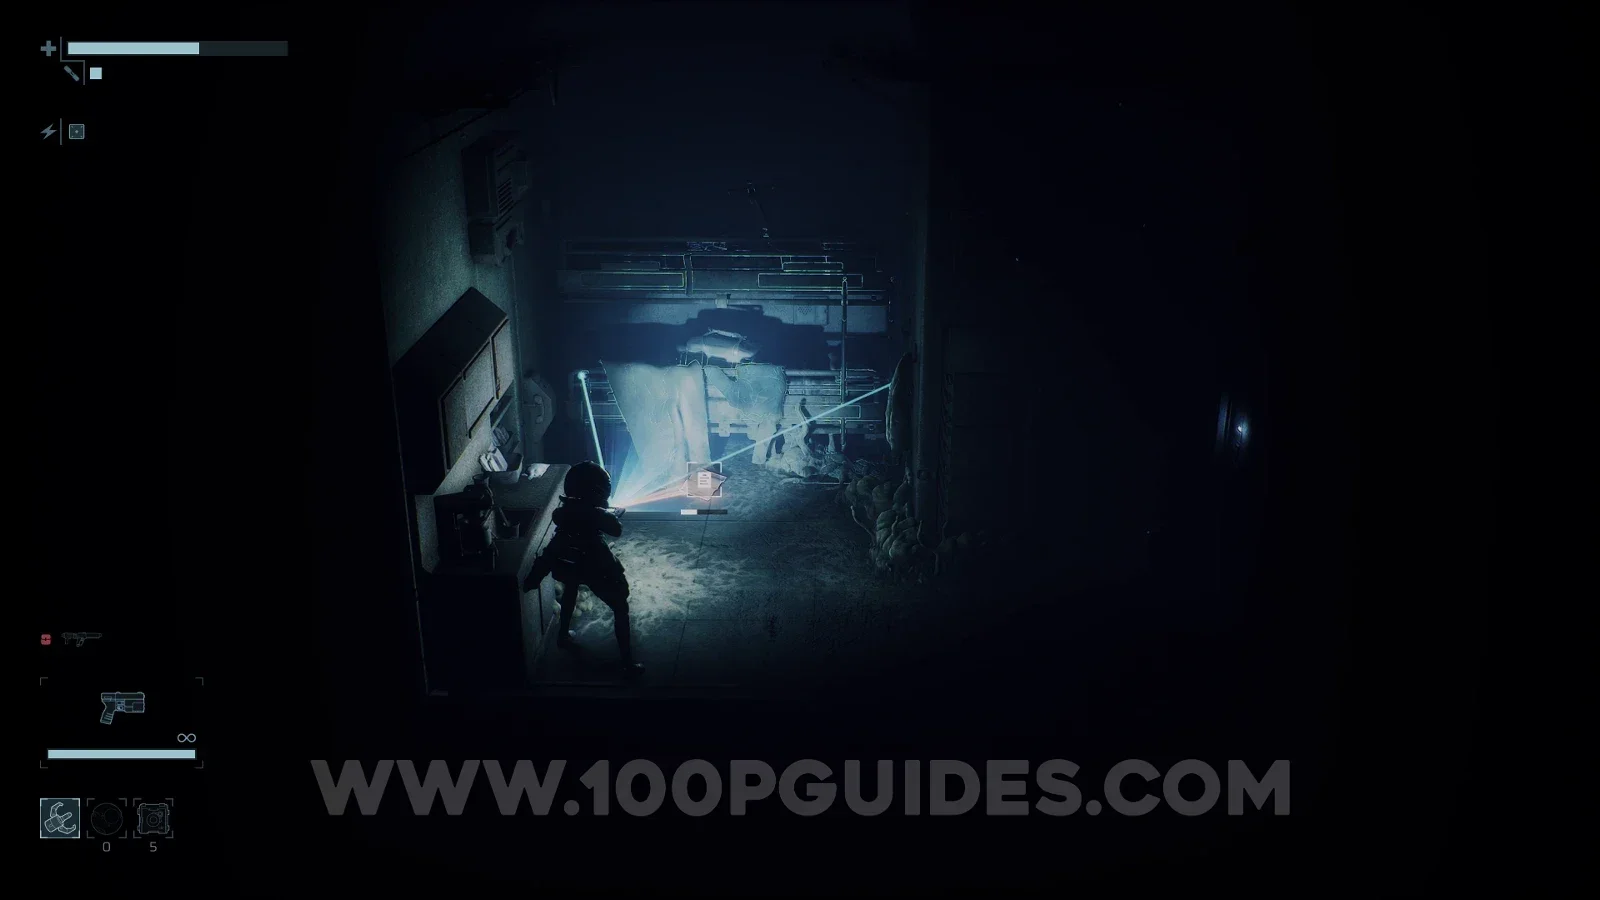
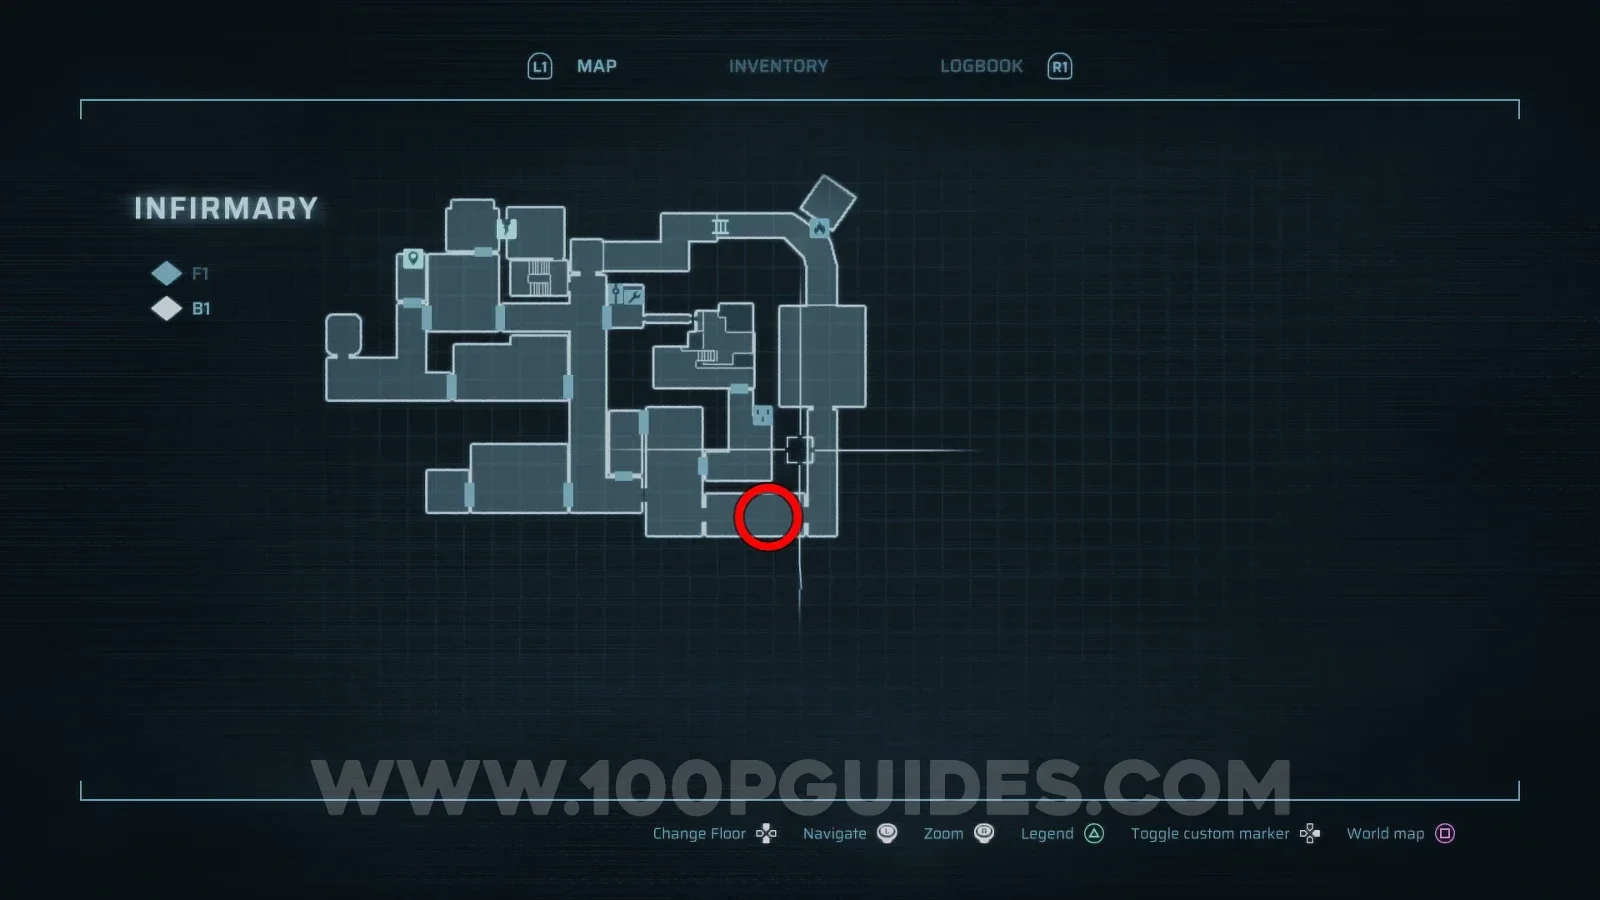
Infected Patient

Infirmary > F1
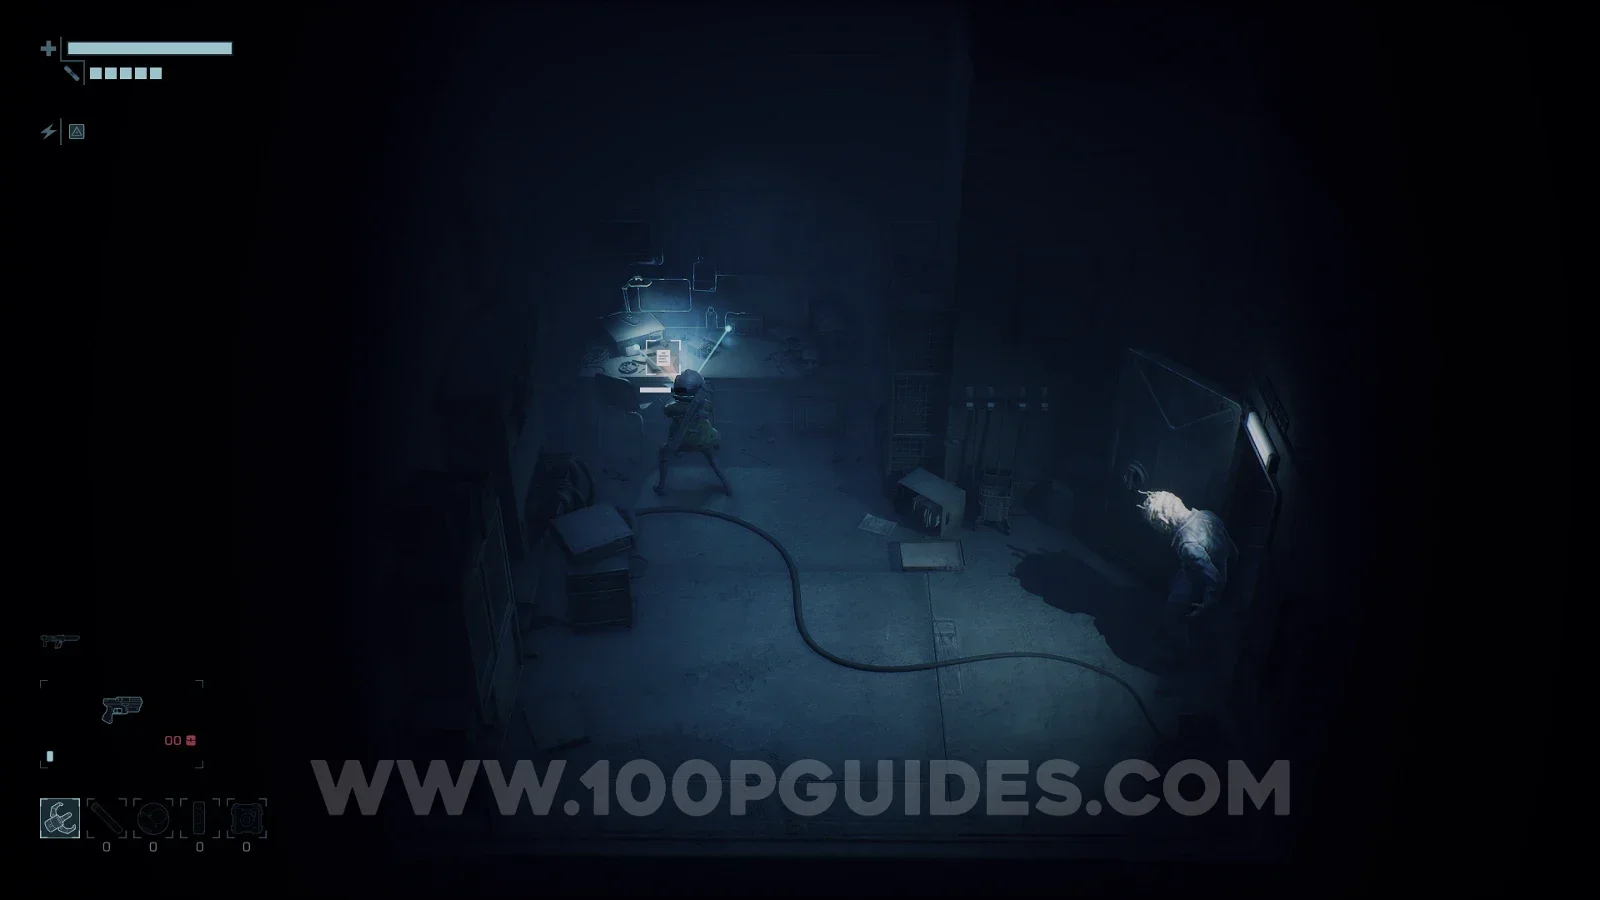
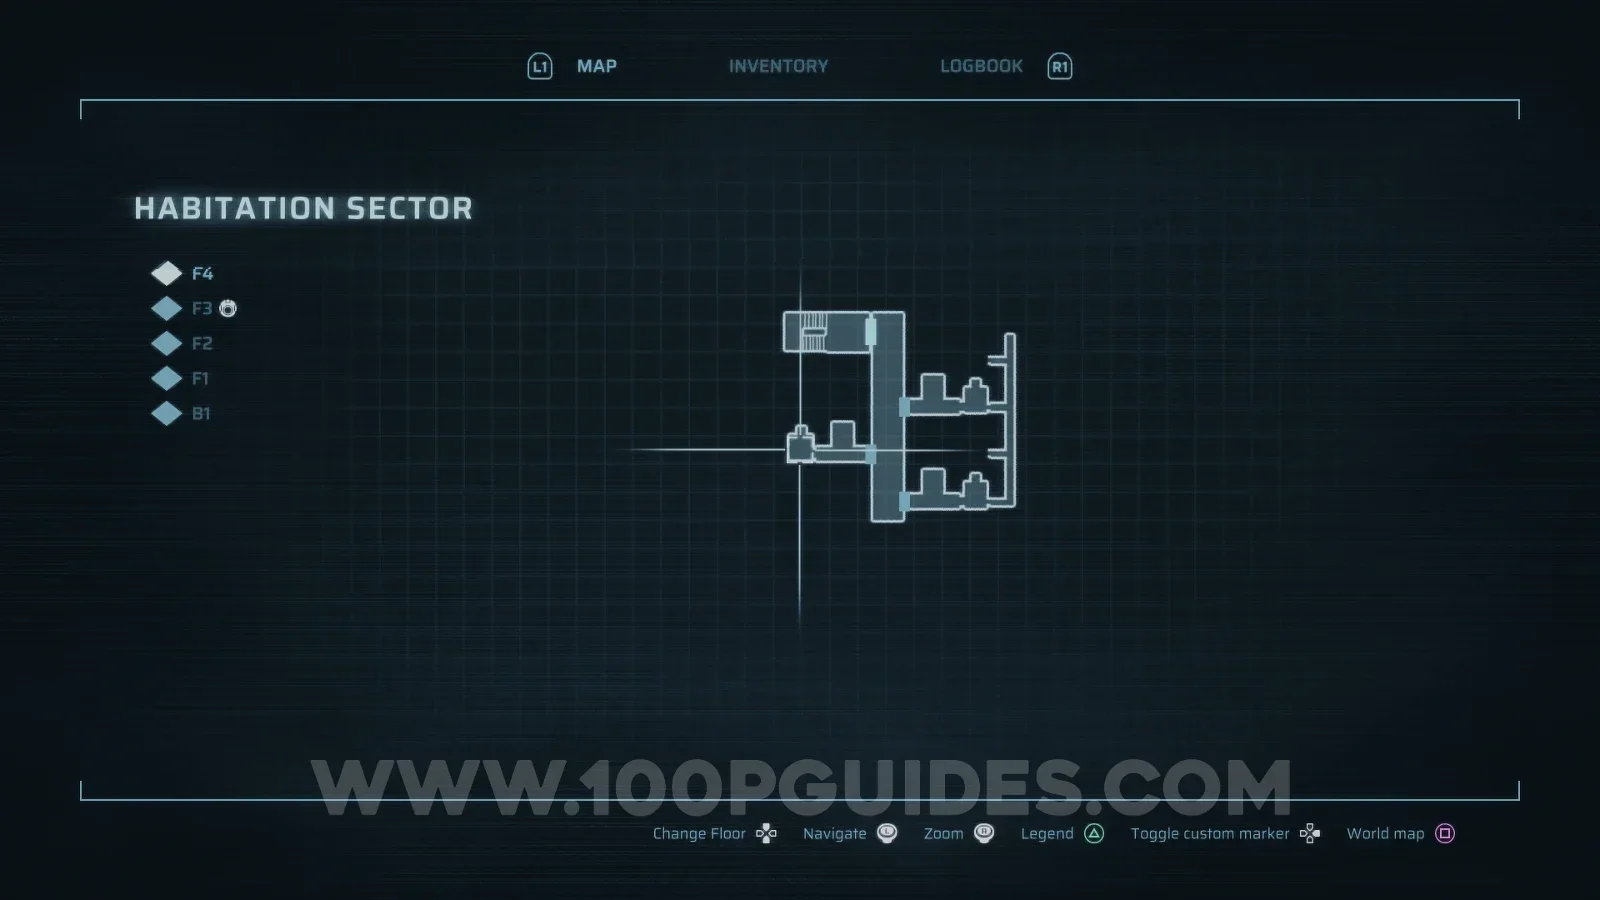
End of Abyss 100% Logbook Checklist Screenshot 3 End of Abyss 100% Logbook Checklist Screenshot 4
CR-003

Infected Doctor

Infirmary > F1
End of Abyss 100% Logbook Checklist Screenshot 5 End of Abyss 100% Logbook Checklist Screenshot 6
CR-004

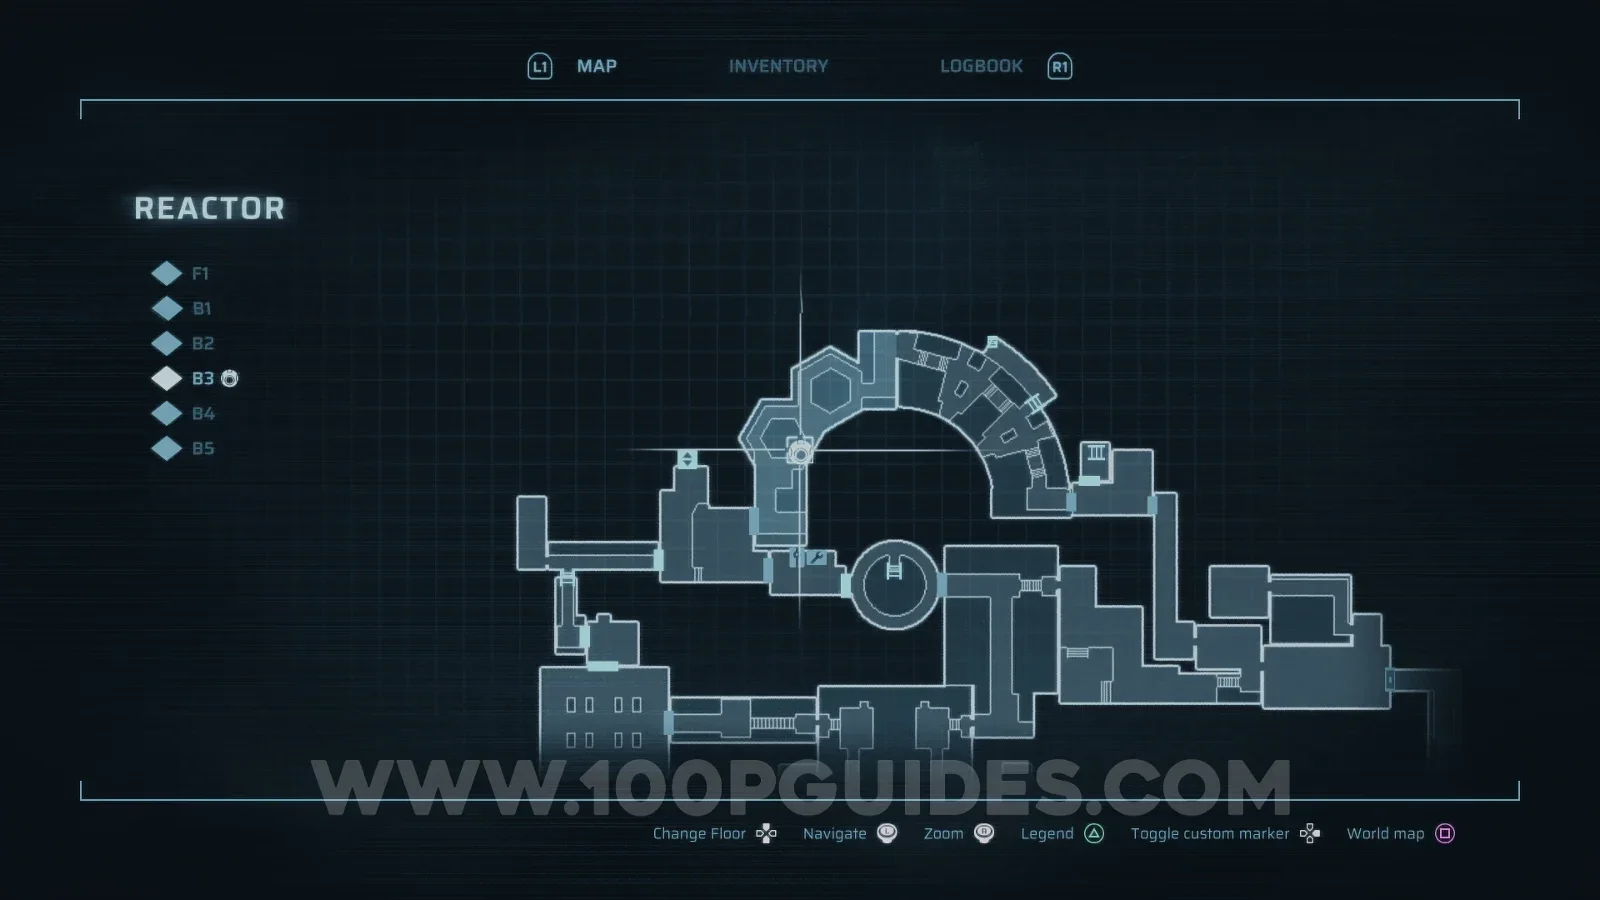
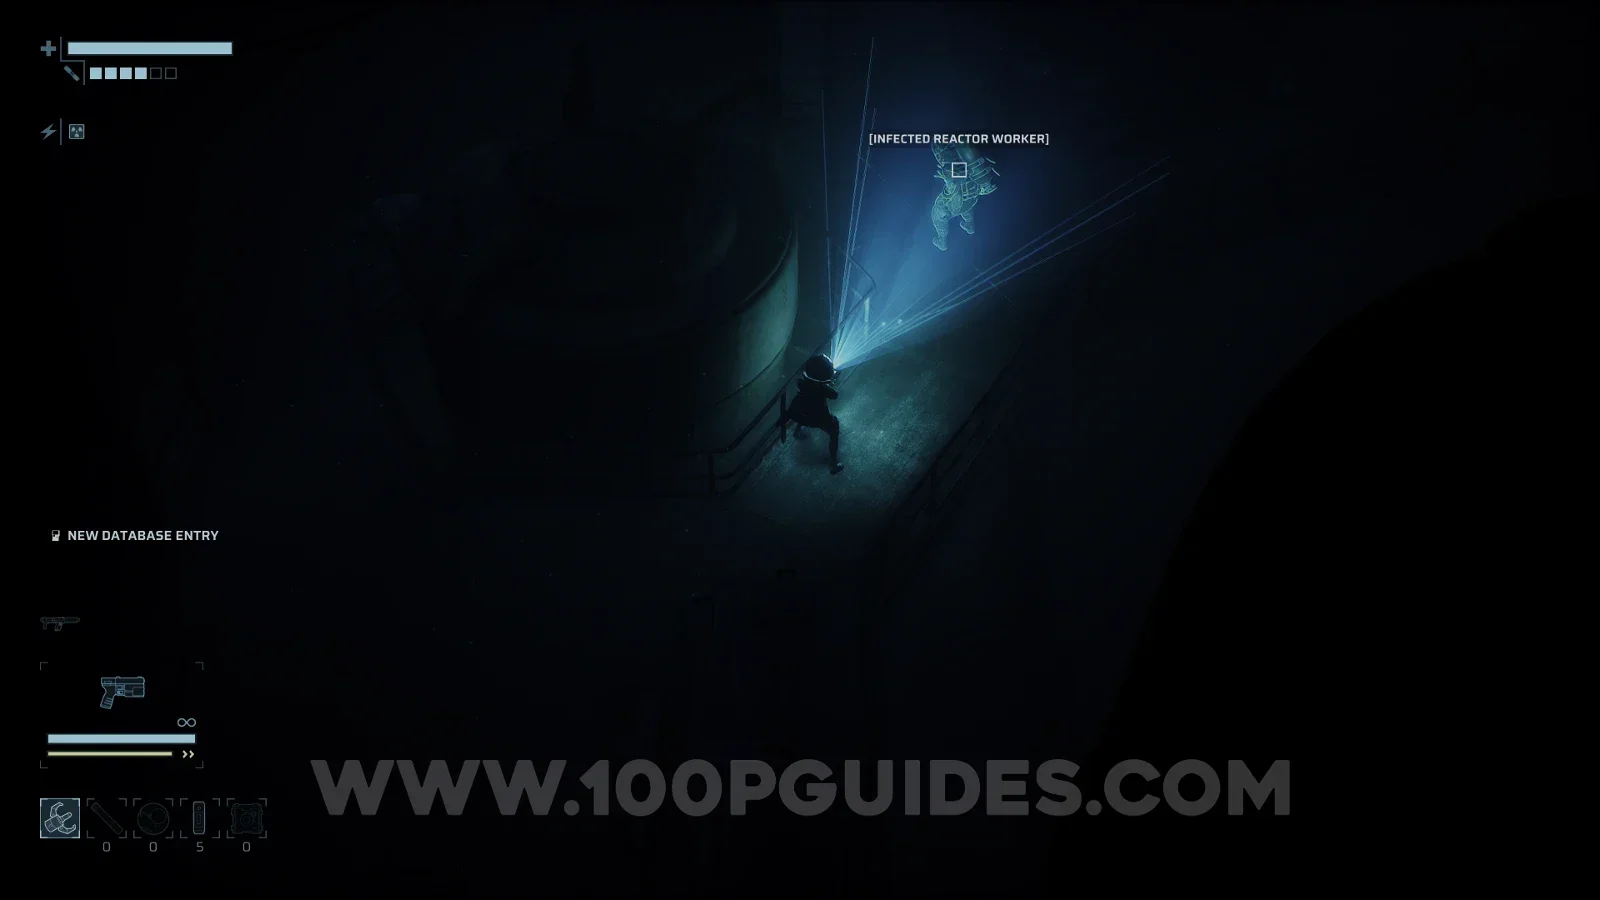
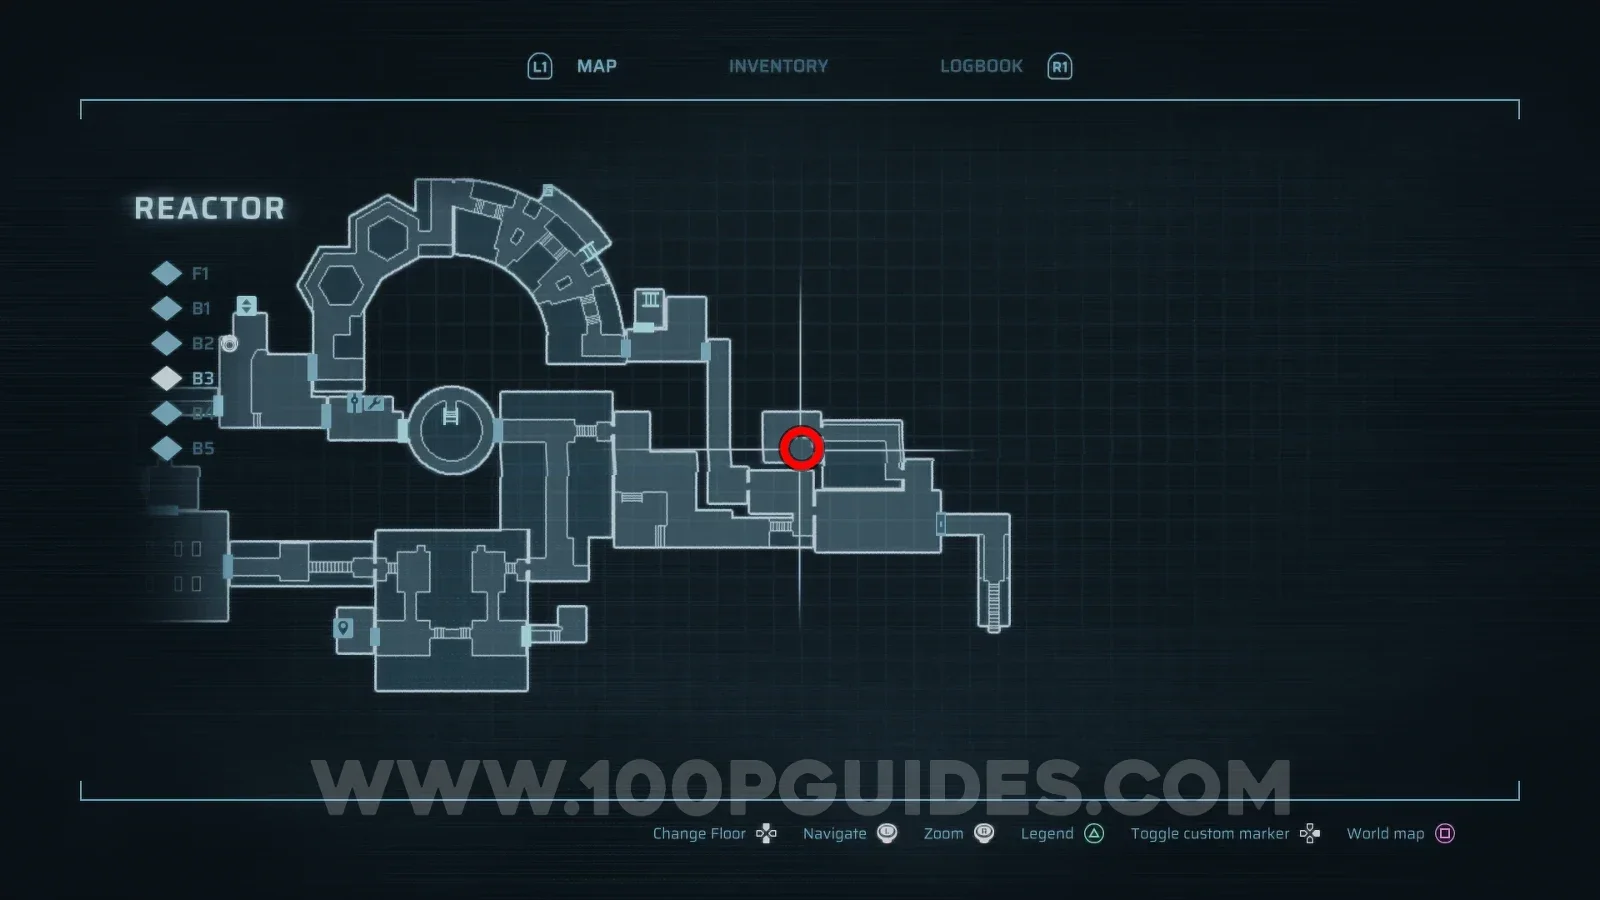
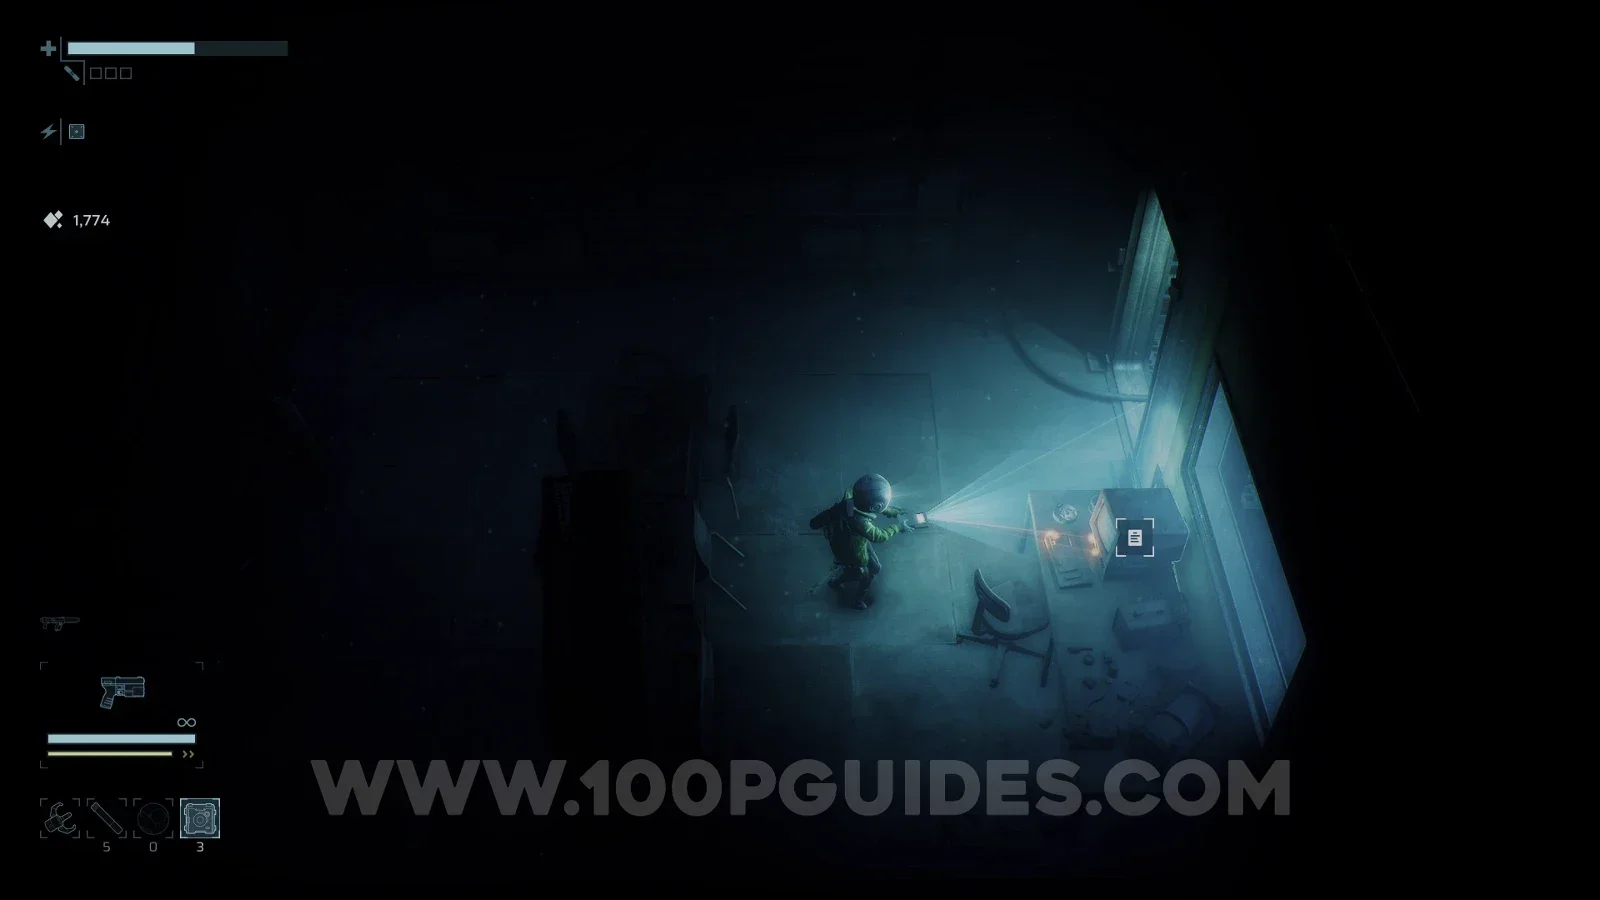
Infected Reactor Worker

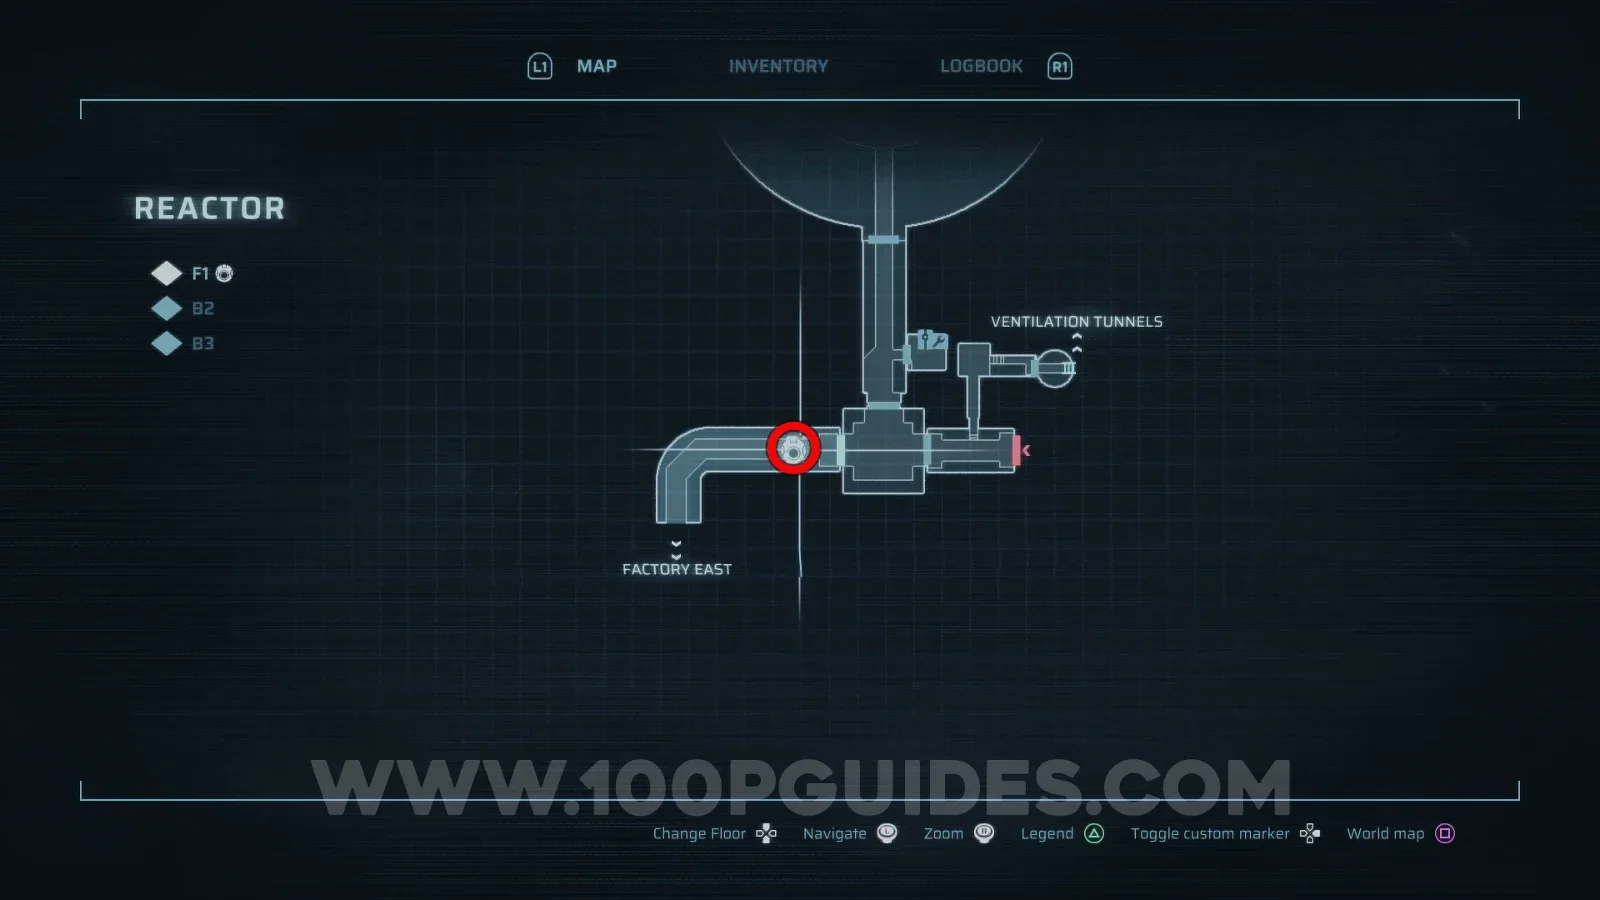
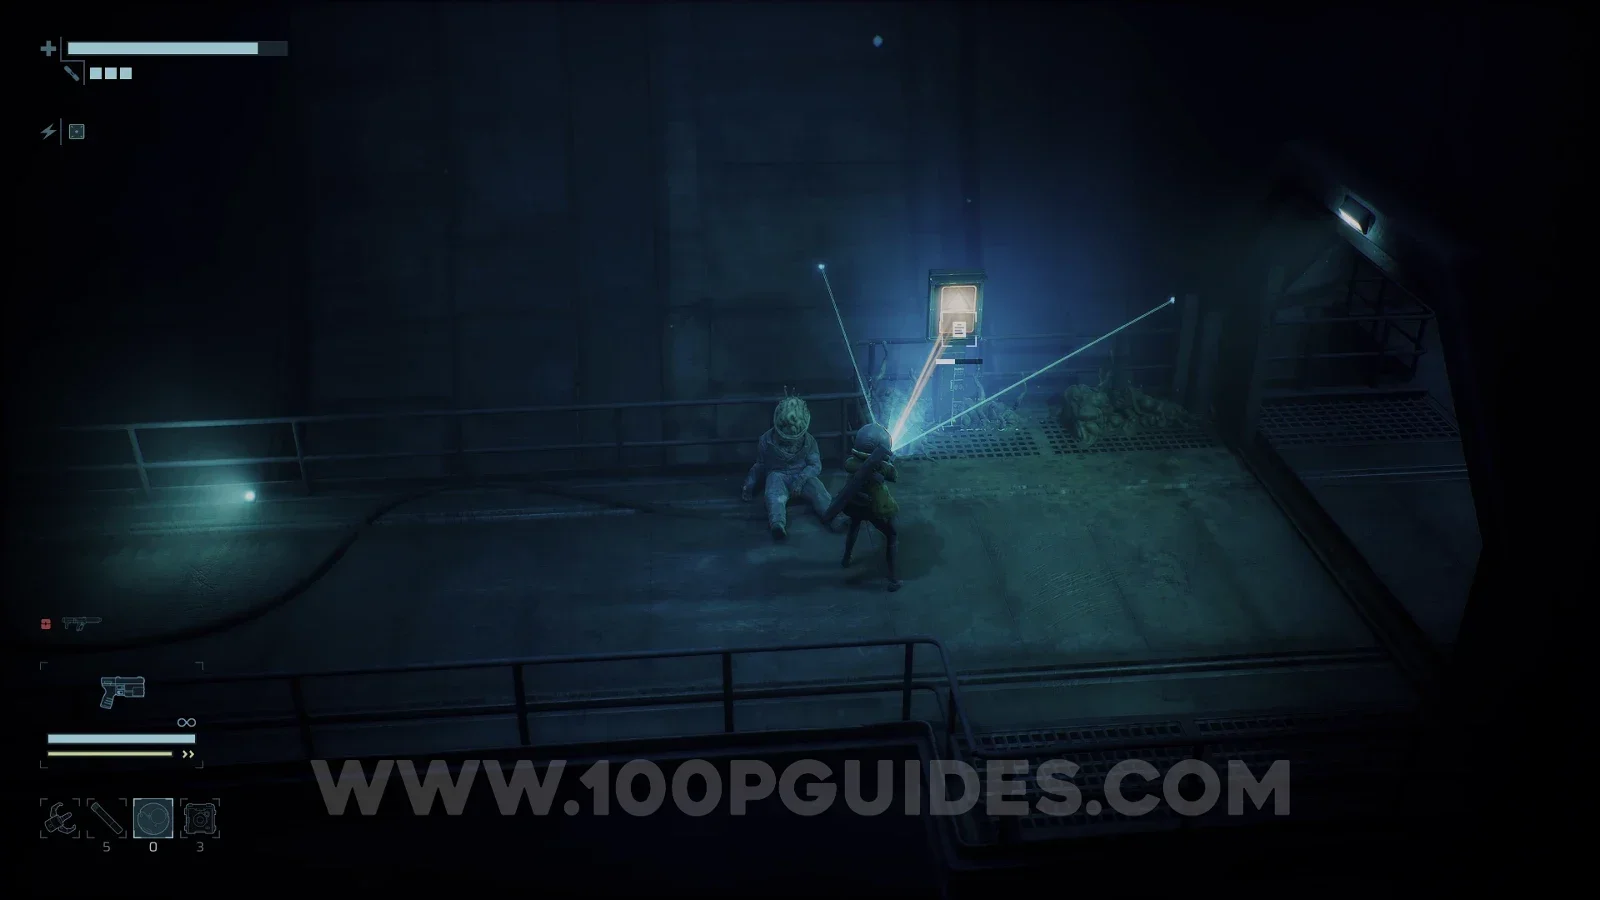
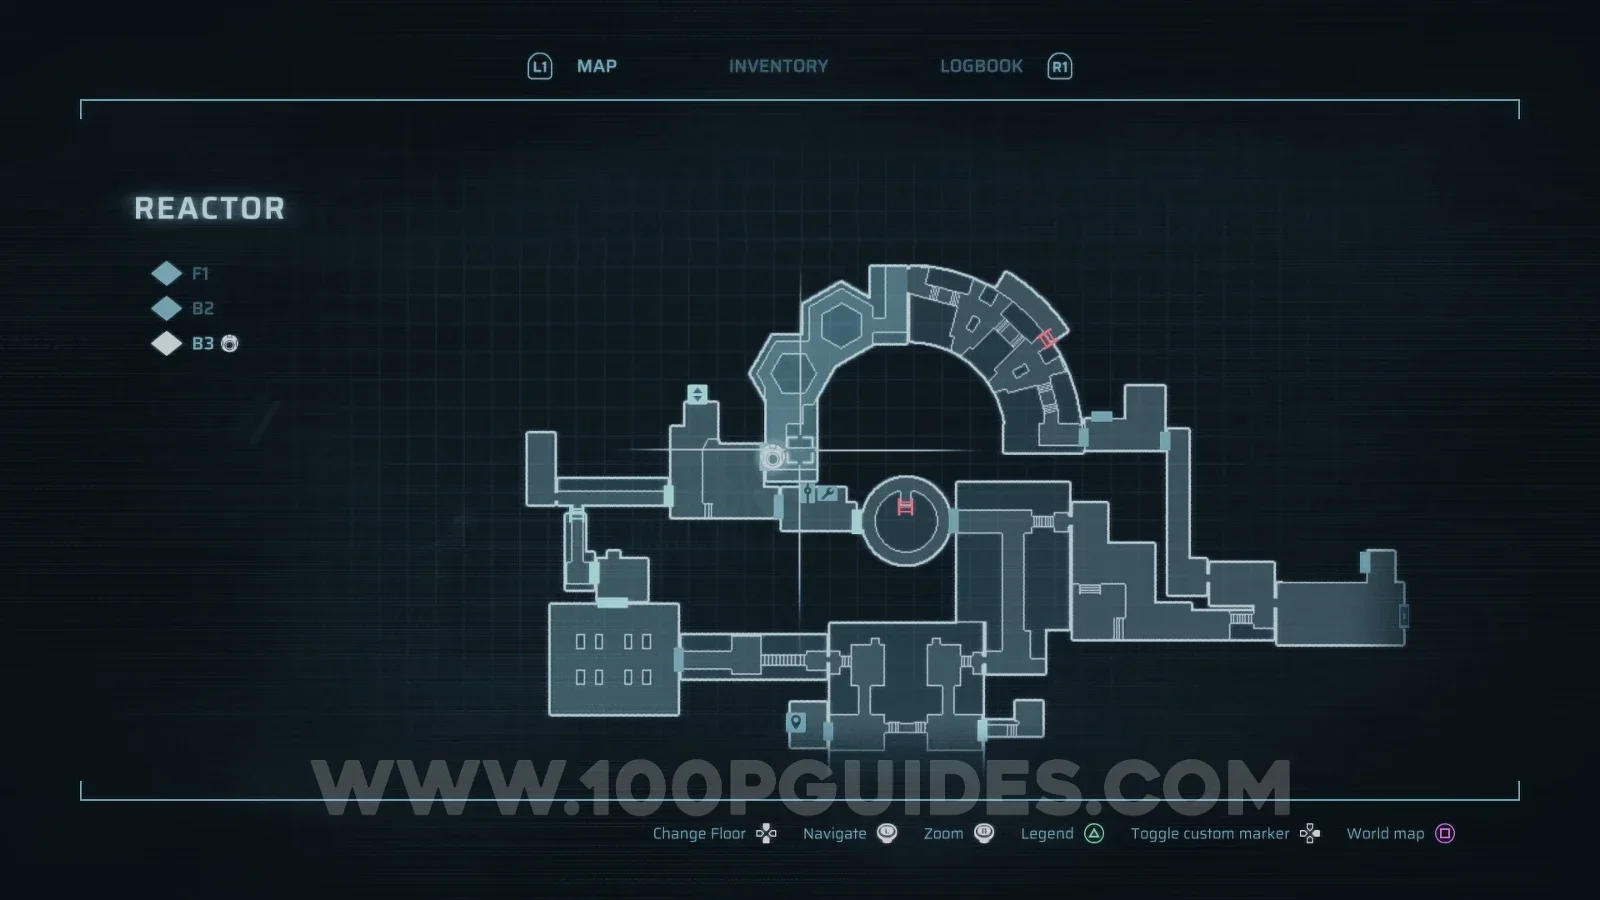
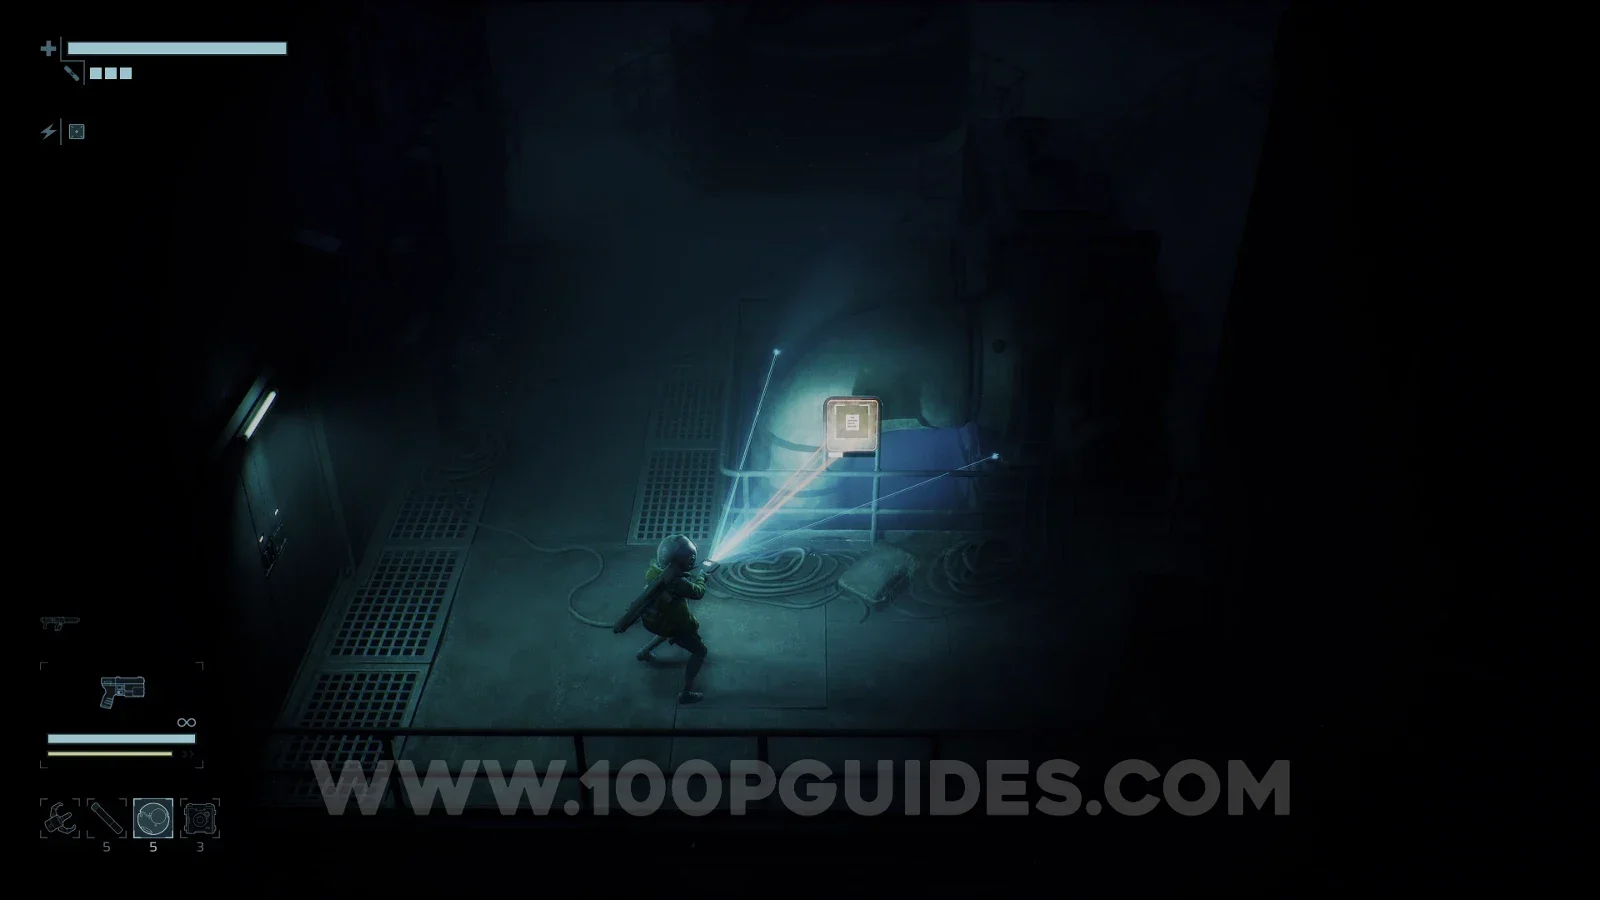
Reactor > B3
End of Abyss 100% Logbook Checklist Screenshot 7 End of Abyss 100% Logbook Checklist Screenshot 8
CR-005

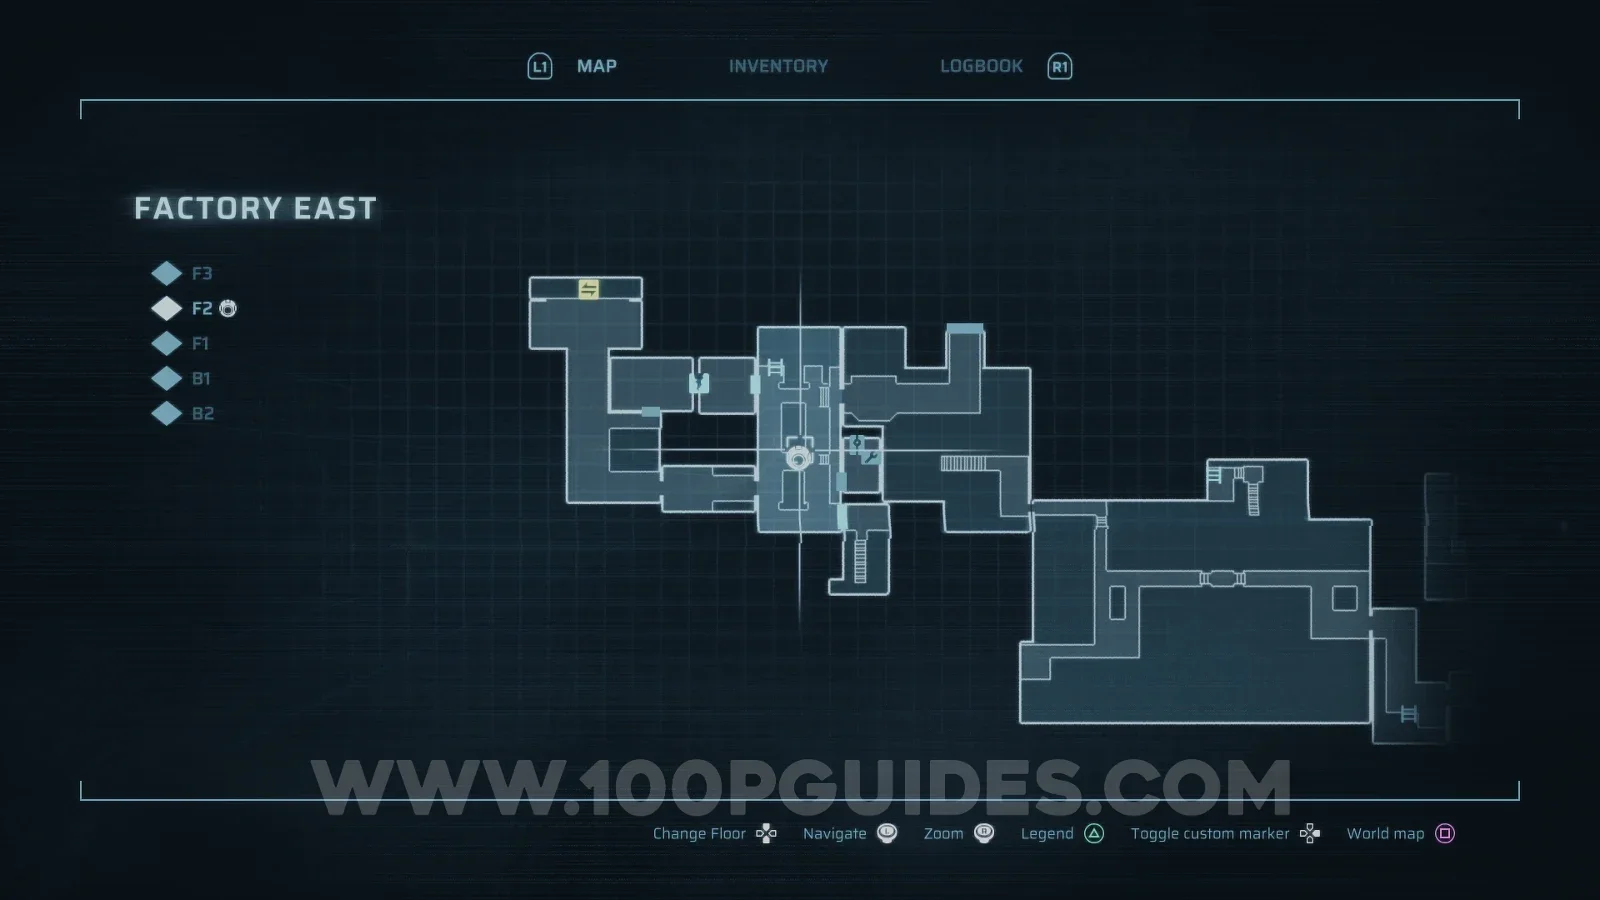
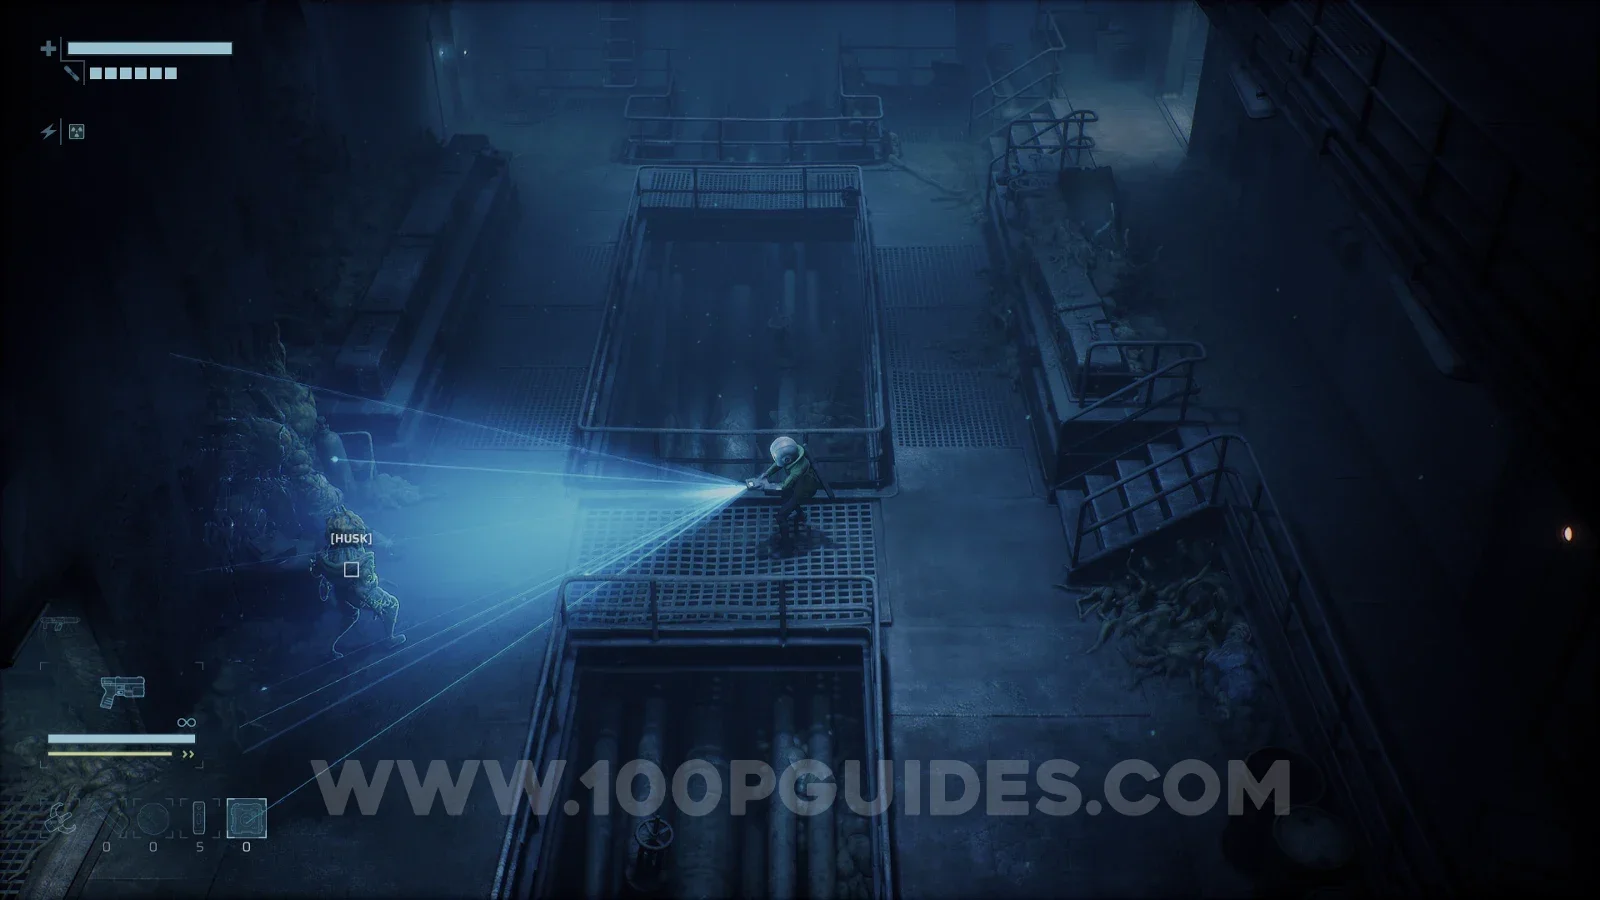
Husk

Factory East > F2

Area outside the first safe room.

End of Abyss 100% Logbook Checklist Screenshot 9 End of Abyss 100% Logbook Checklist Screenshot 10
CR-006

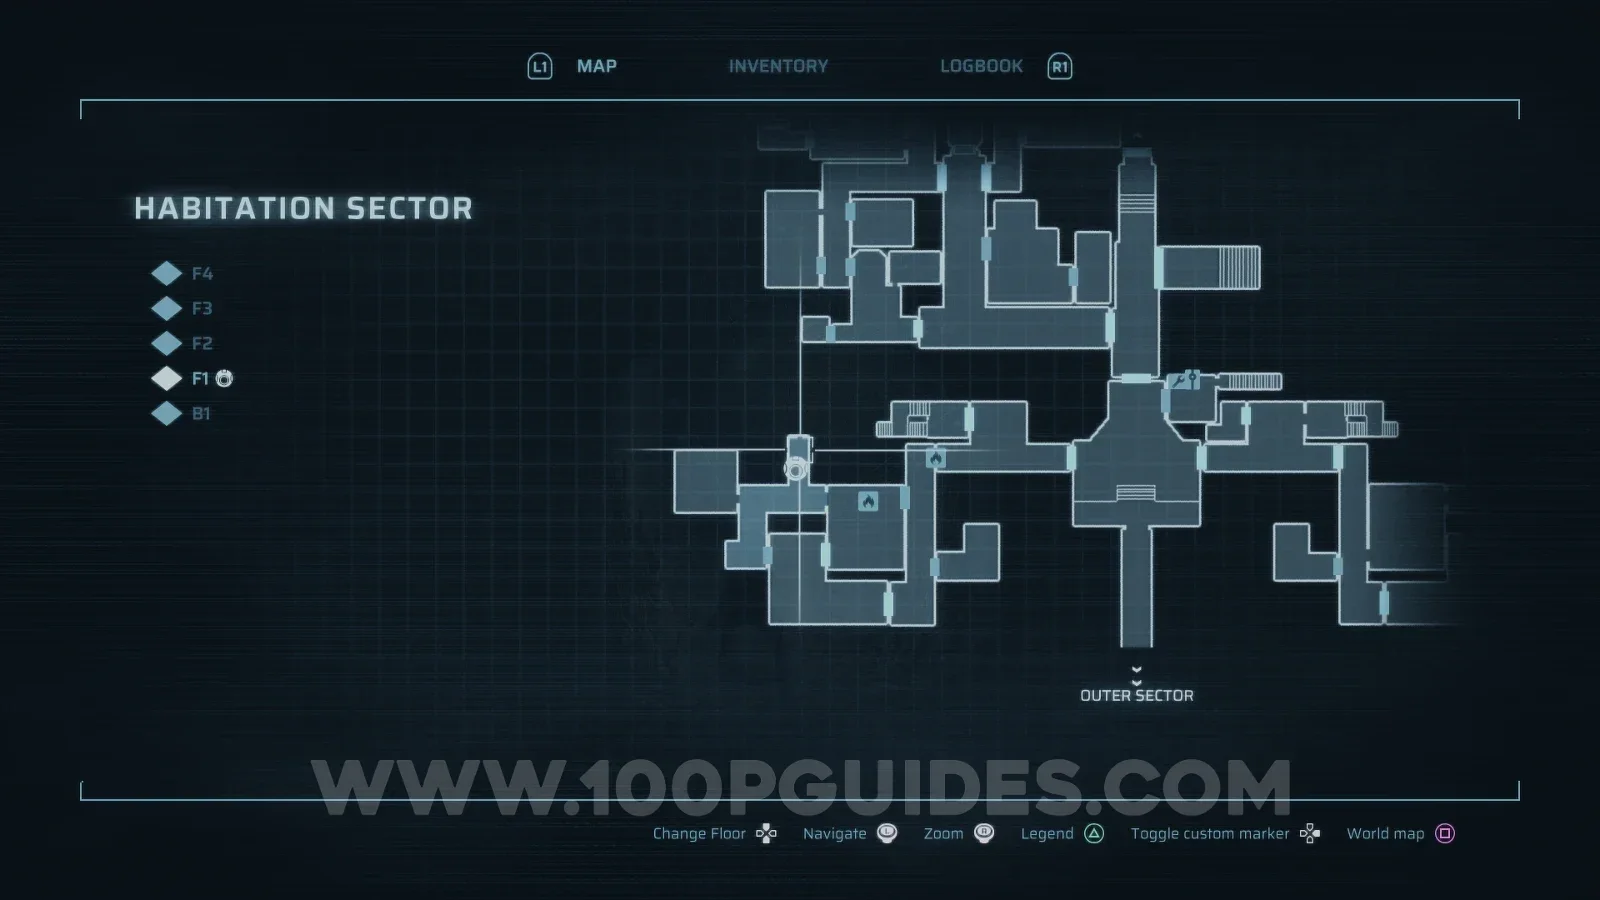
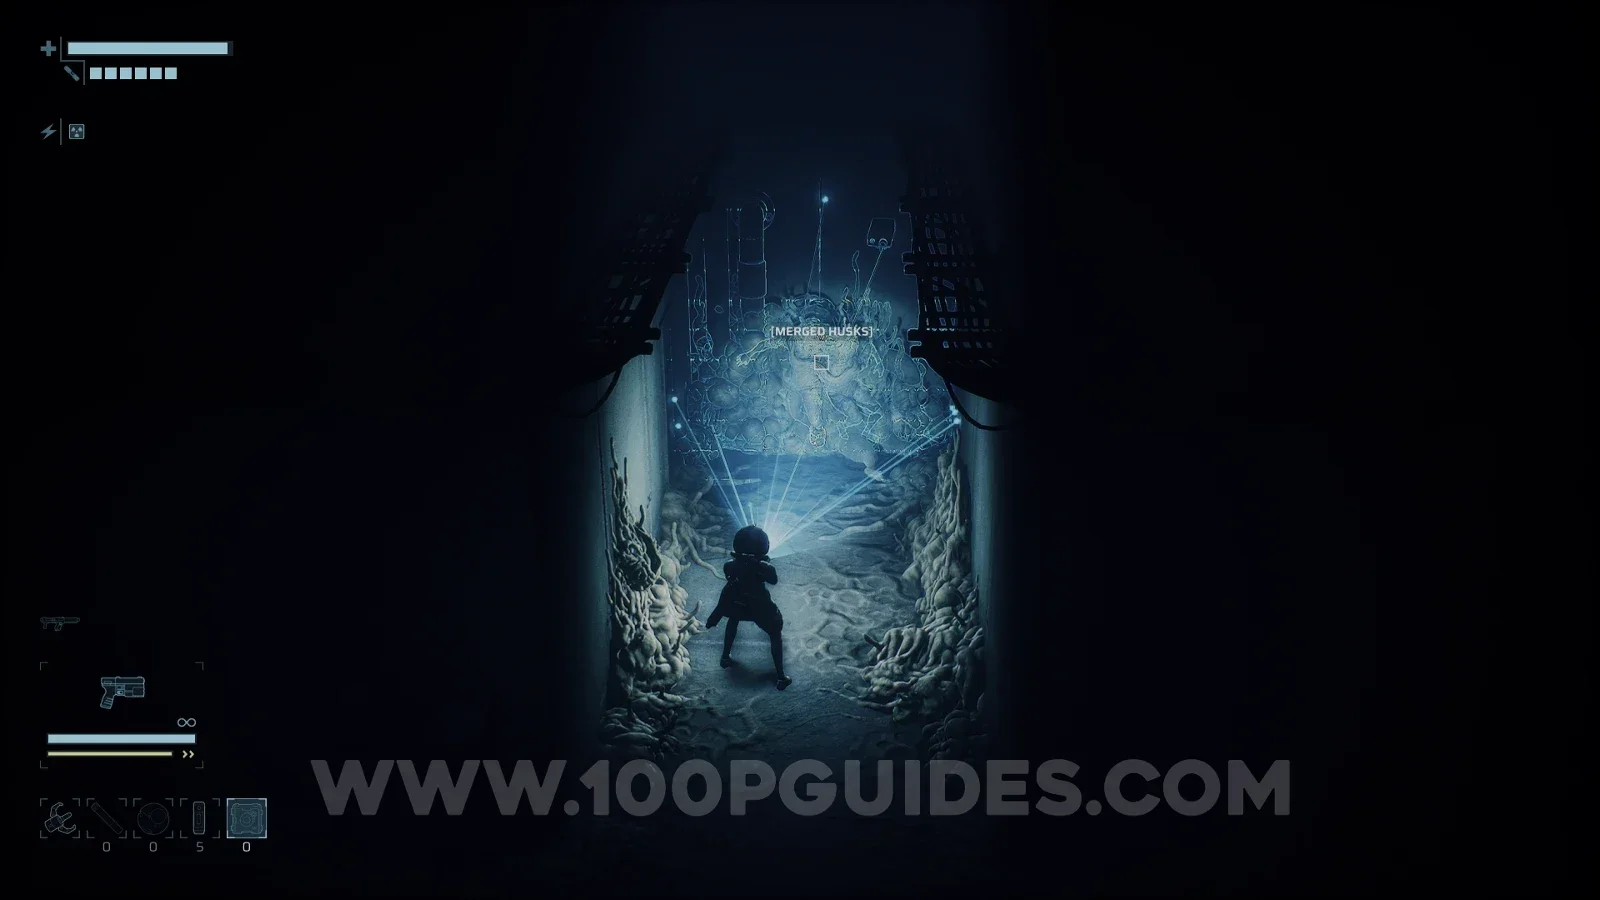
Merged Husks

Habitation Sector > F1

Found in Block A.

End of Abyss 100% Logbook Checklist Screenshot 11 End of Abyss 100% Logbook Checklist Screenshot 12
CR-007

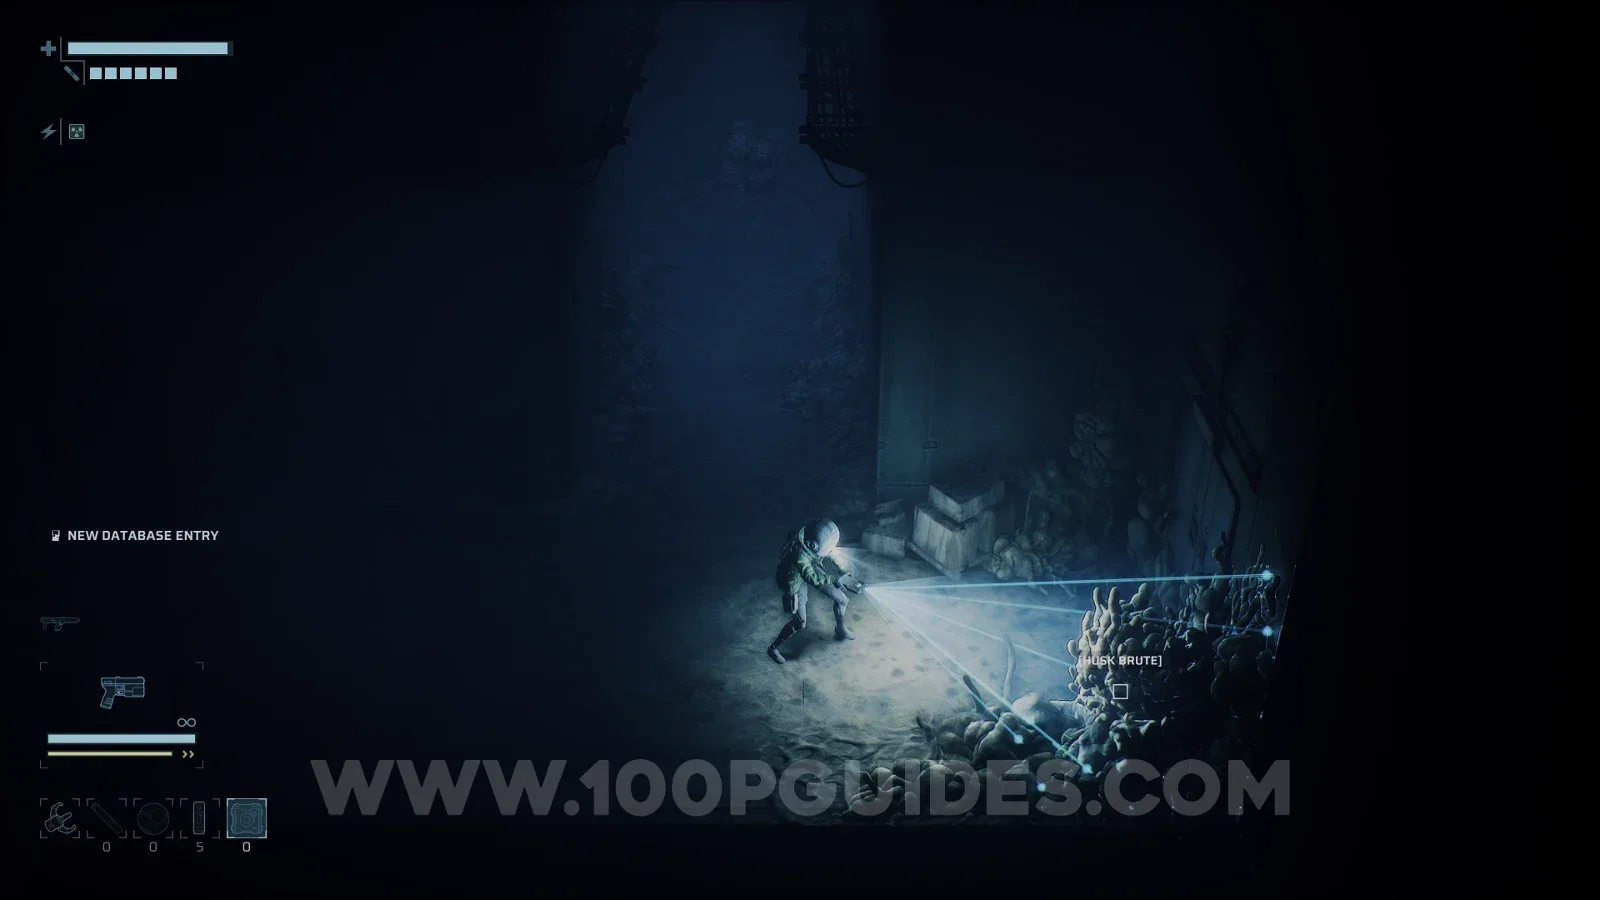
Husk Brute

Habitation Sector > F1

Found in Block A.

End of Abyss 100% Logbook Checklist Screenshot 13 End of Abyss 100% Logbook Checklist Screenshot 14
CR-008

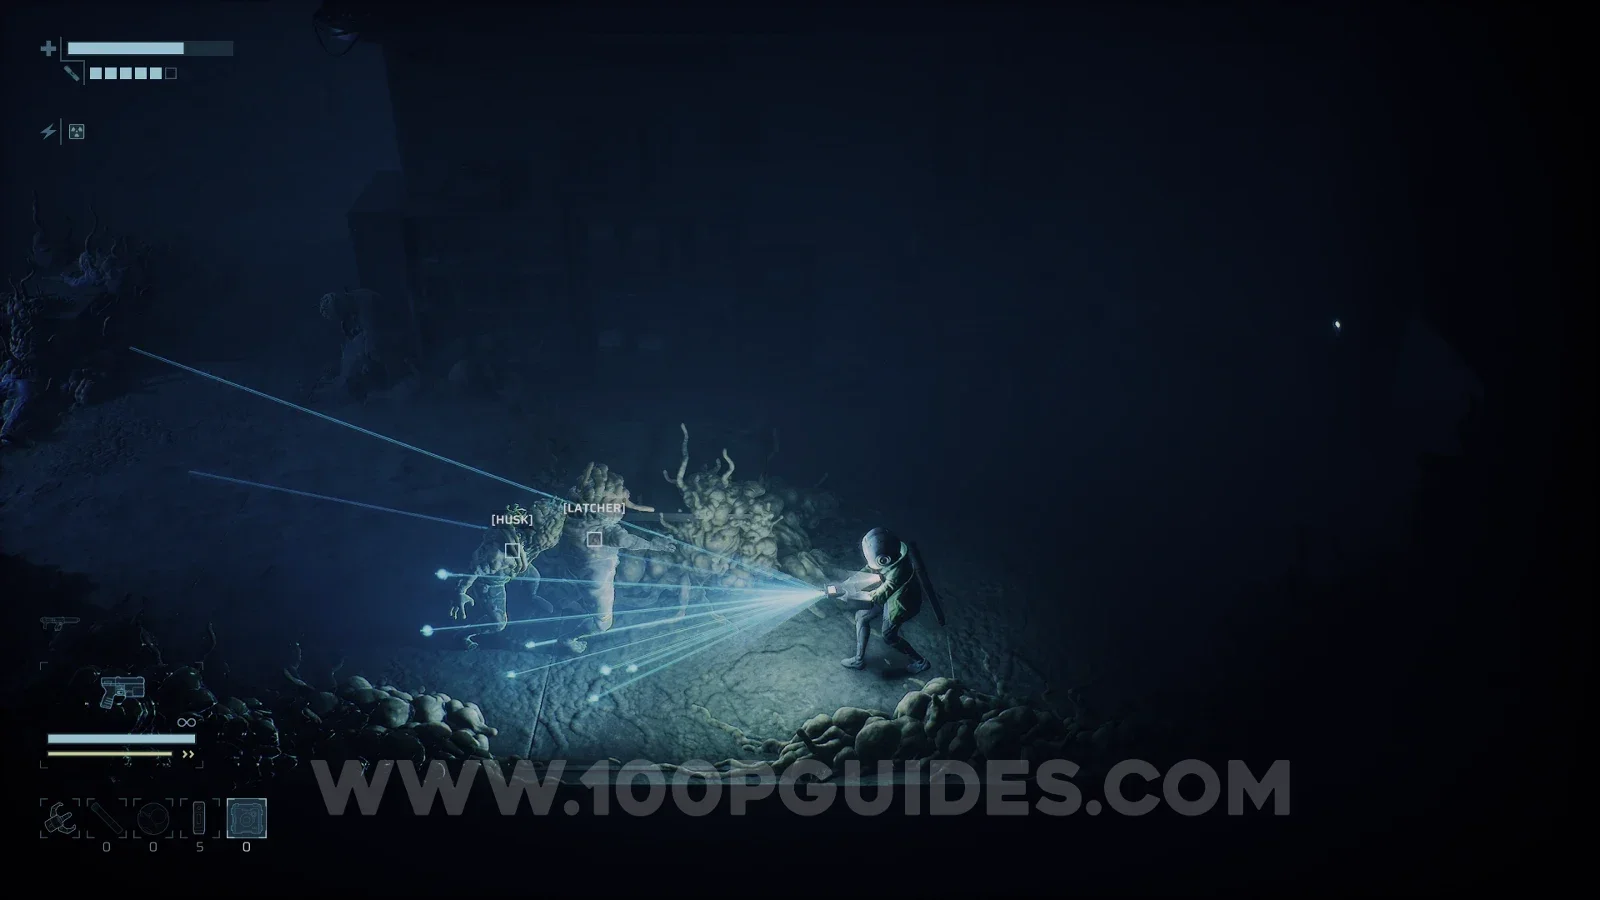
Latcher

Habitation Sector > F1

Found in Block A.

End of Abyss 100% Logbook Checklist Screenshot 15 End of Abyss 100% Logbook Checklist Screenshot 16
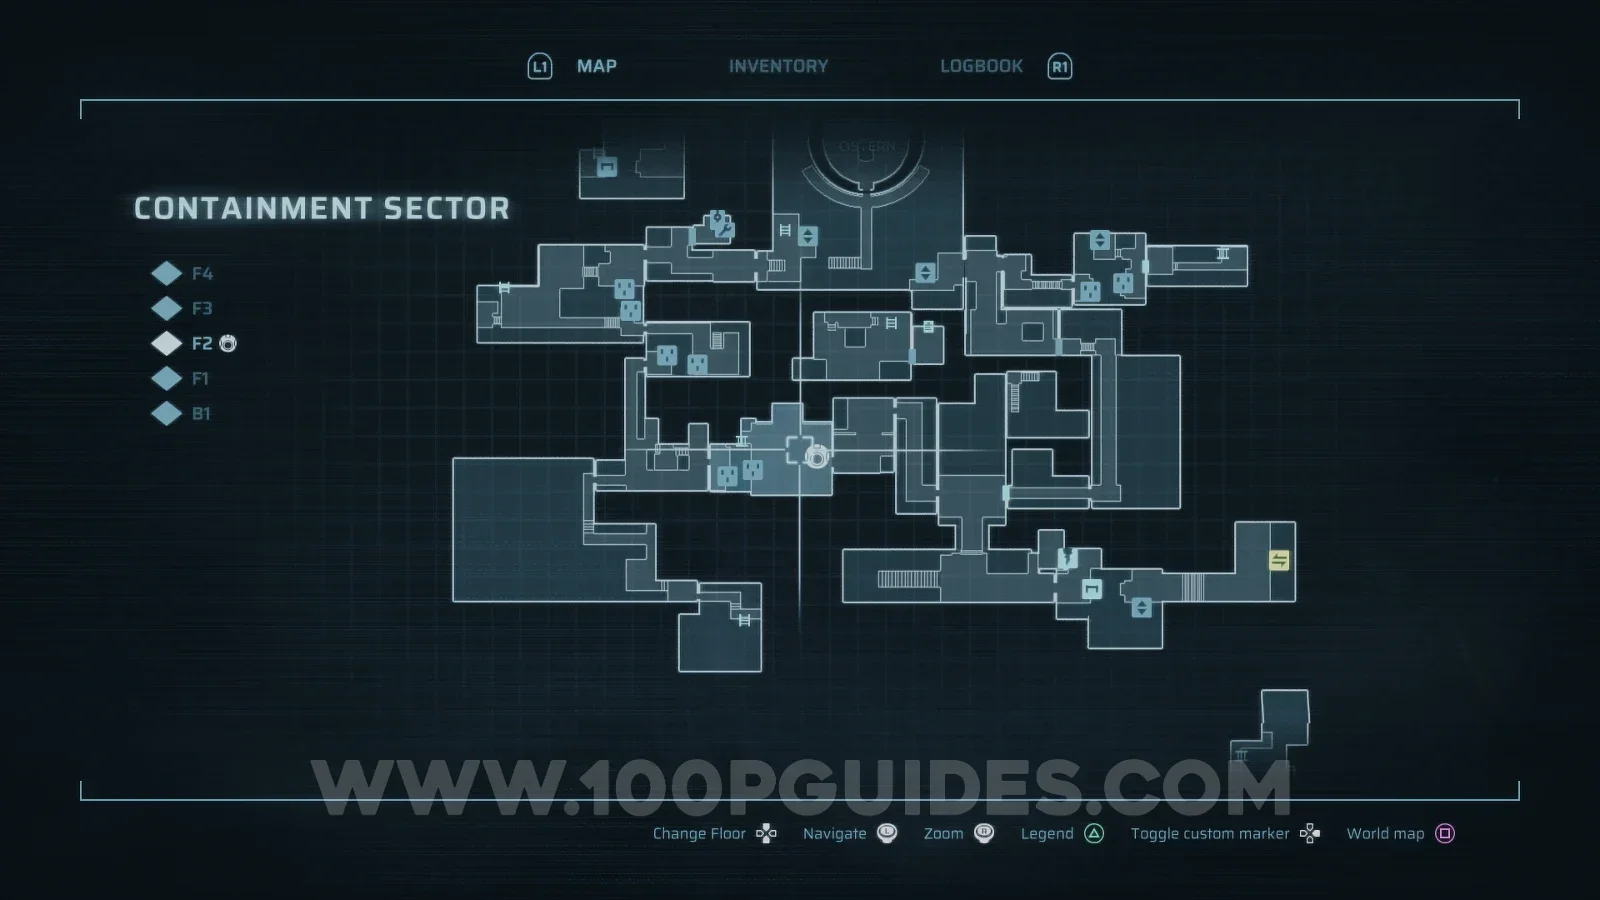
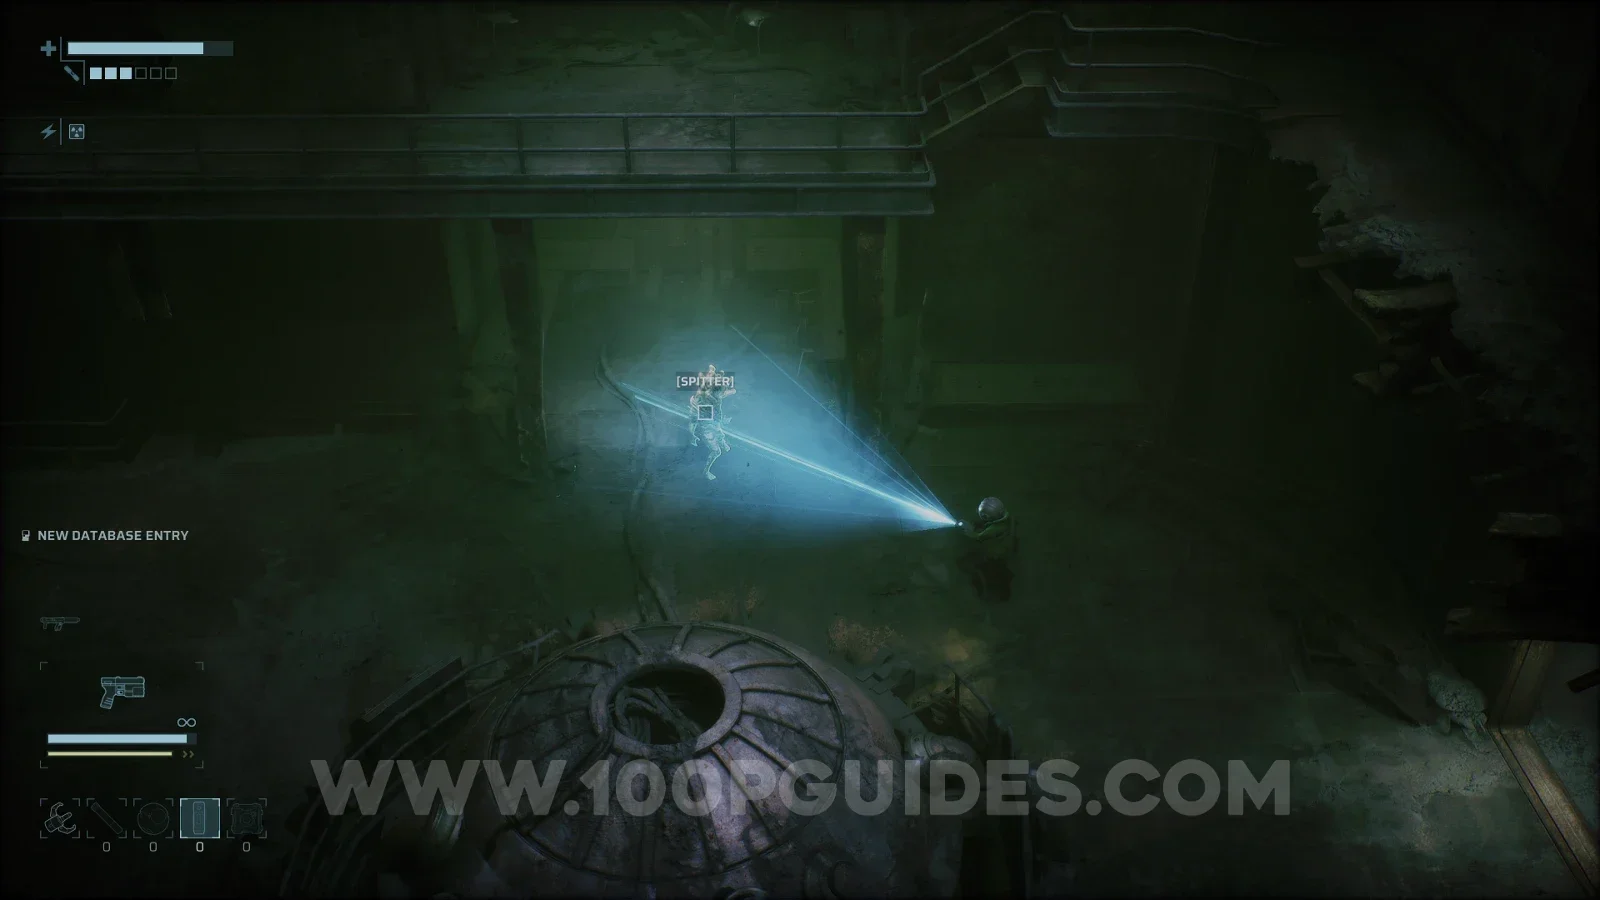
CR-009

Spitter

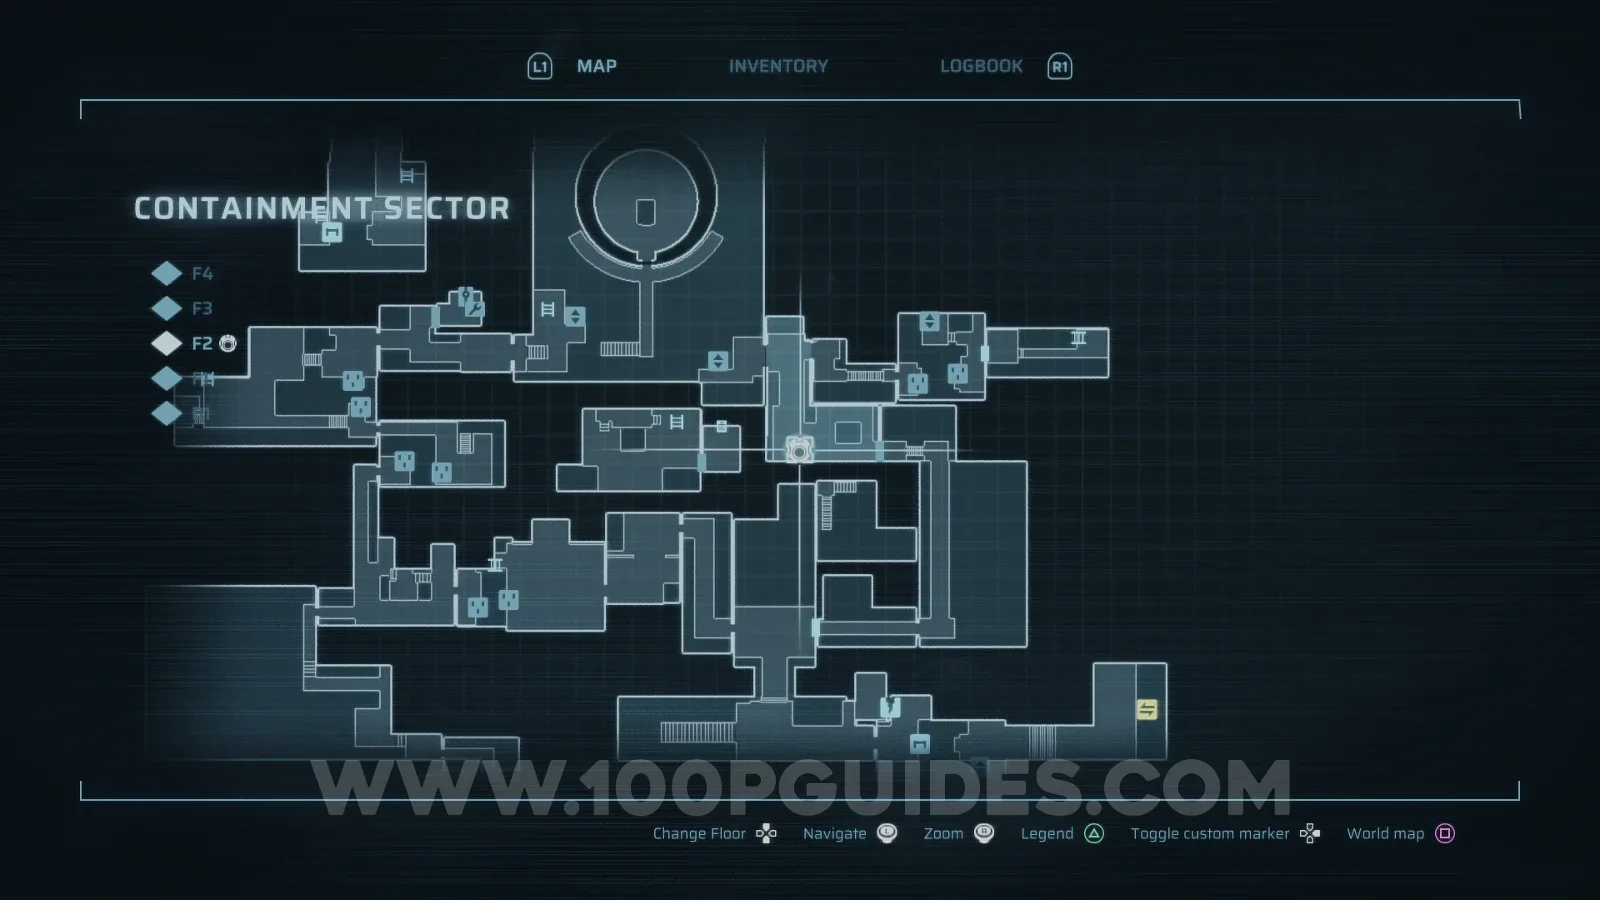
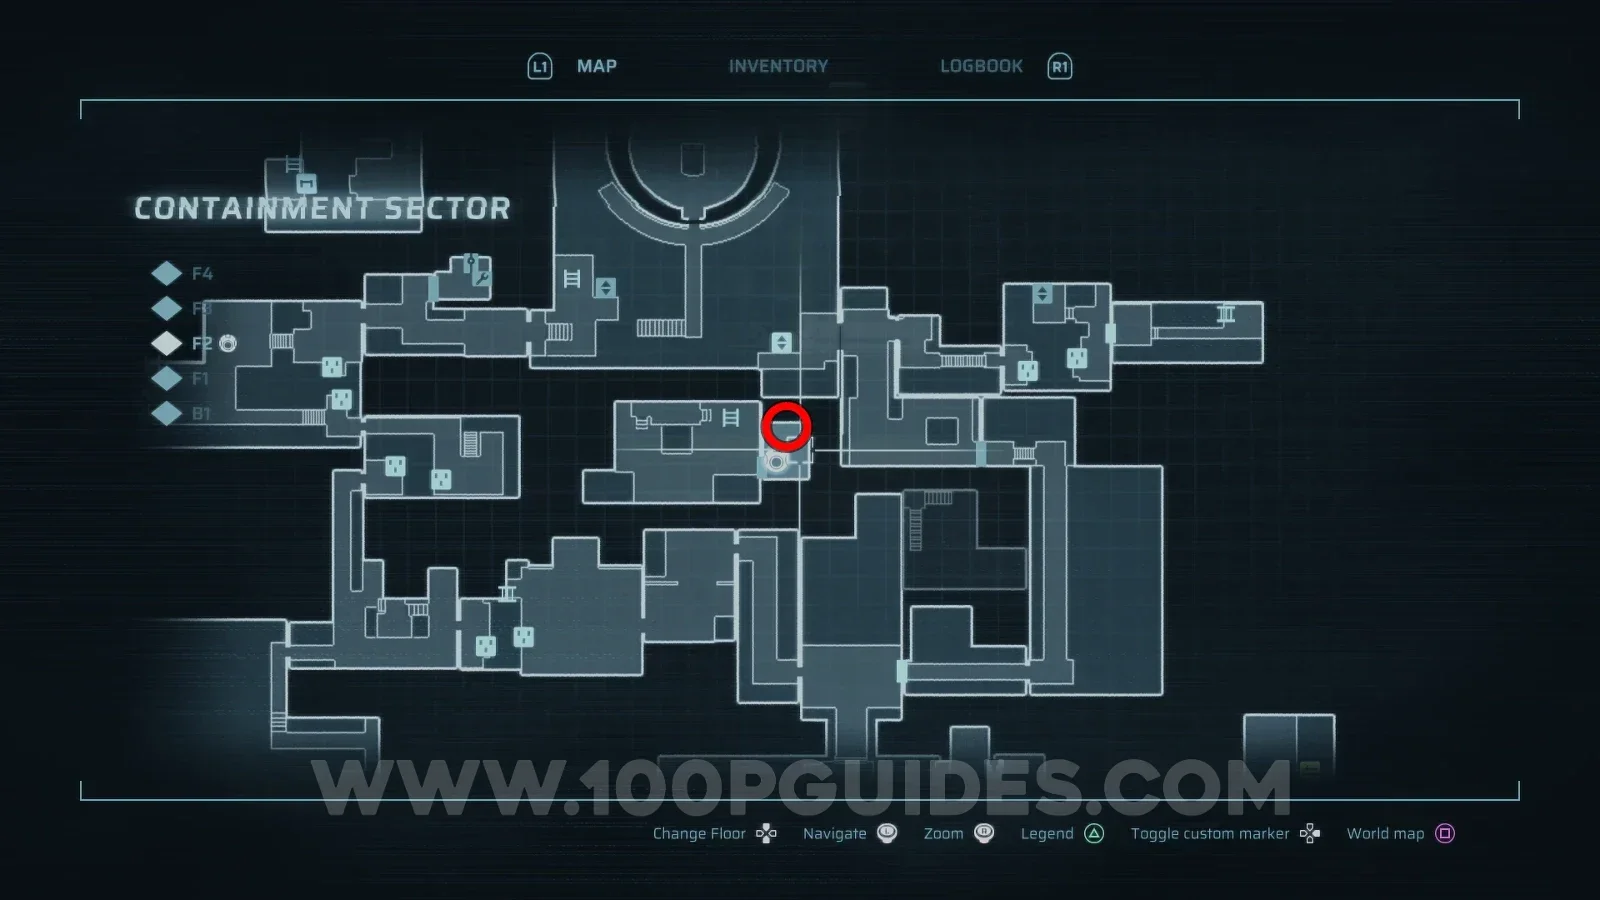
Containment Sector > F2
End of Abyss 100% Logbook Checklist Screenshot 51 End of Abyss 100% Logbook Checklist Screenshot 52
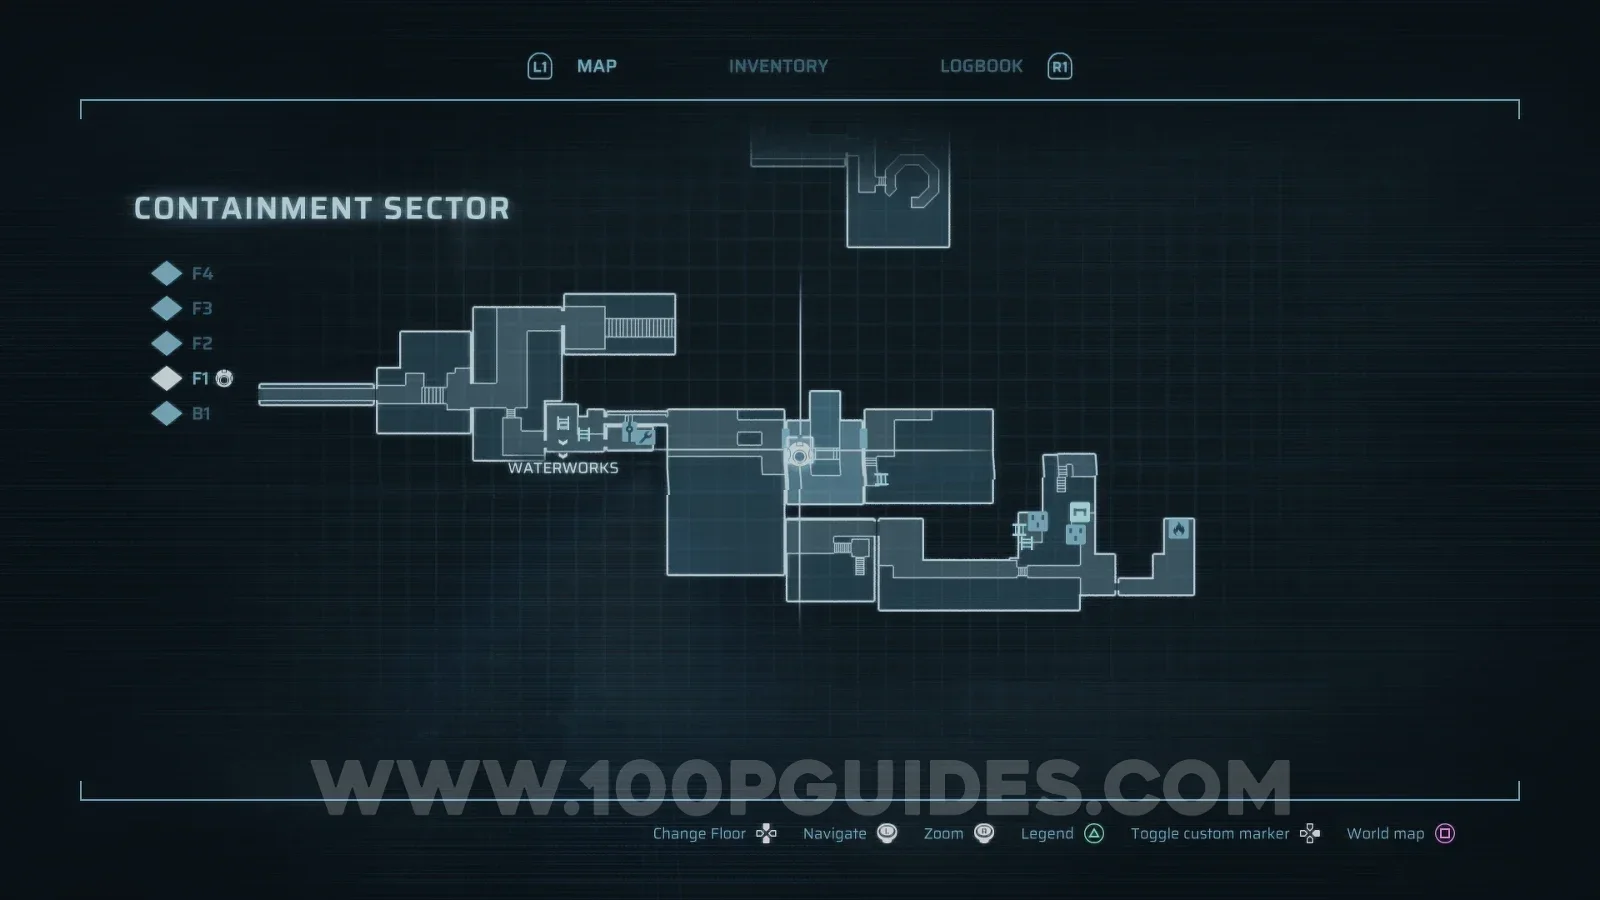
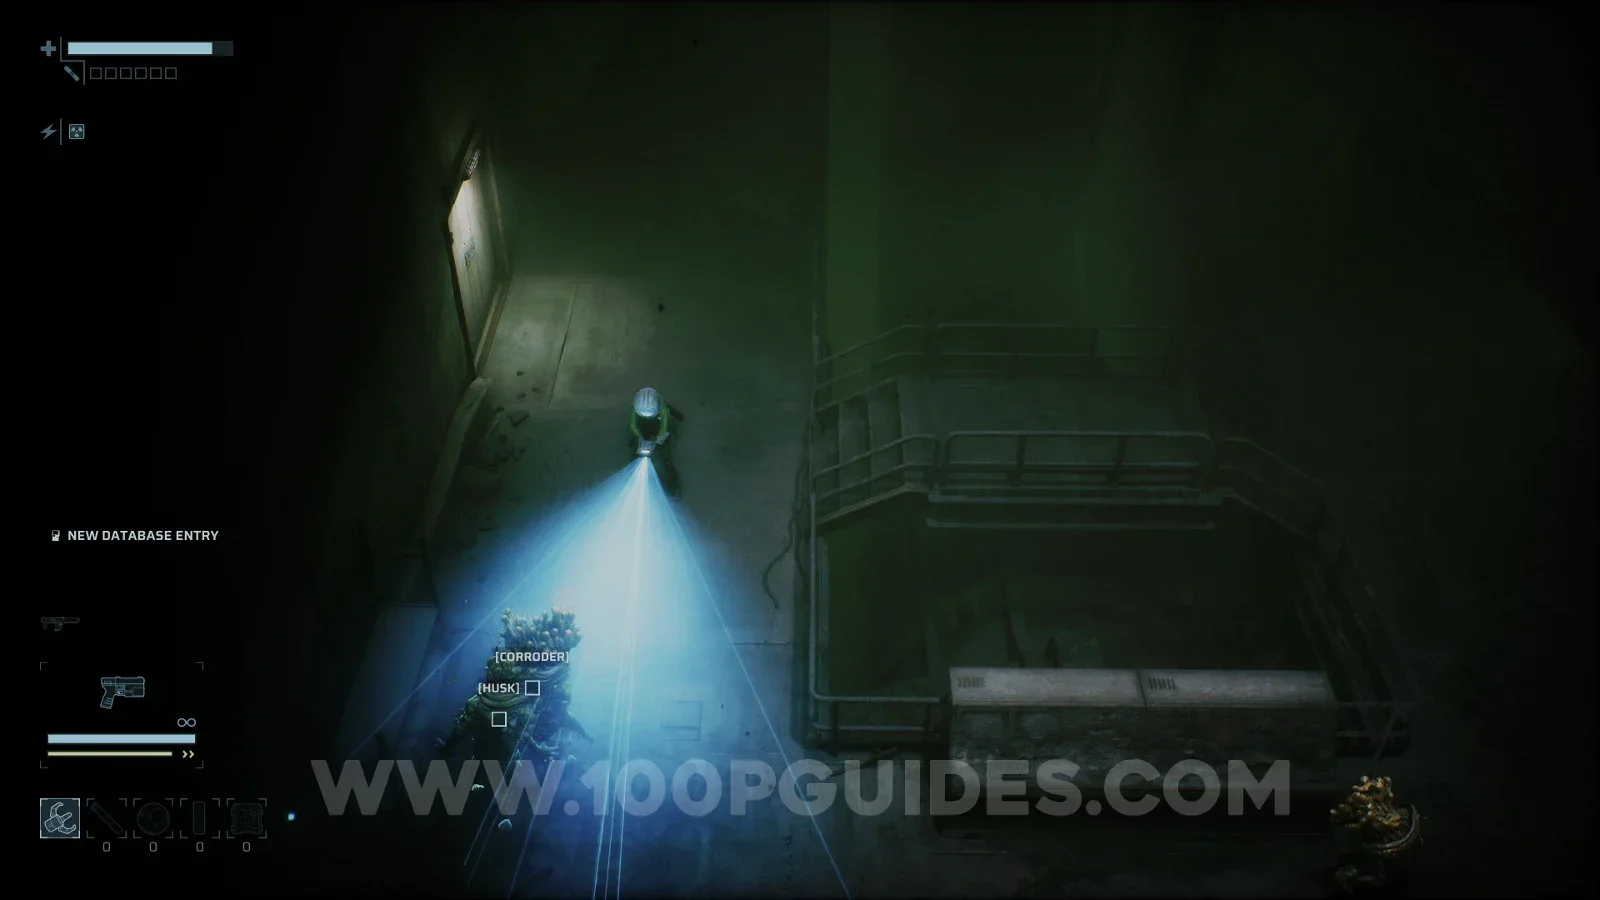
CR-010

Corroder

Containment Sector > F1
End of Abyss 100% Logbook Checklist Screenshot 53 End of Abyss 100% Logbook Checklist Screenshot 54
CR-011

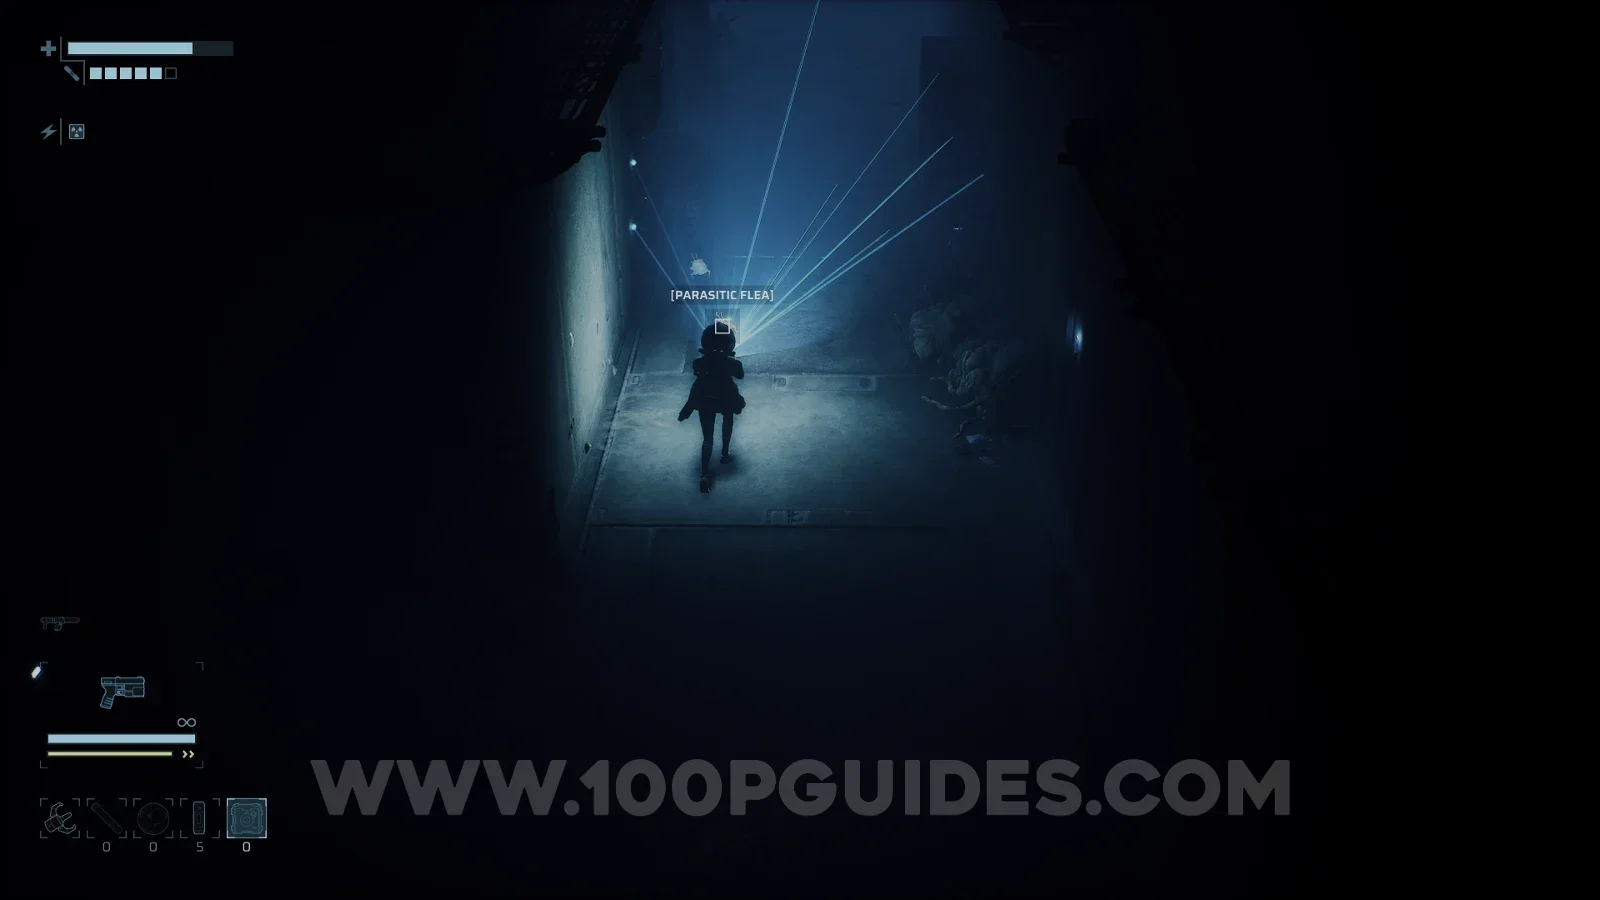
Parasitic Flea

Habitation Sector > F1

Found in Block A.

End of Abyss 100% Logbook Checklist Screenshot 17 End of Abyss 100% Logbook Checklist Screenshot 18
CR-012

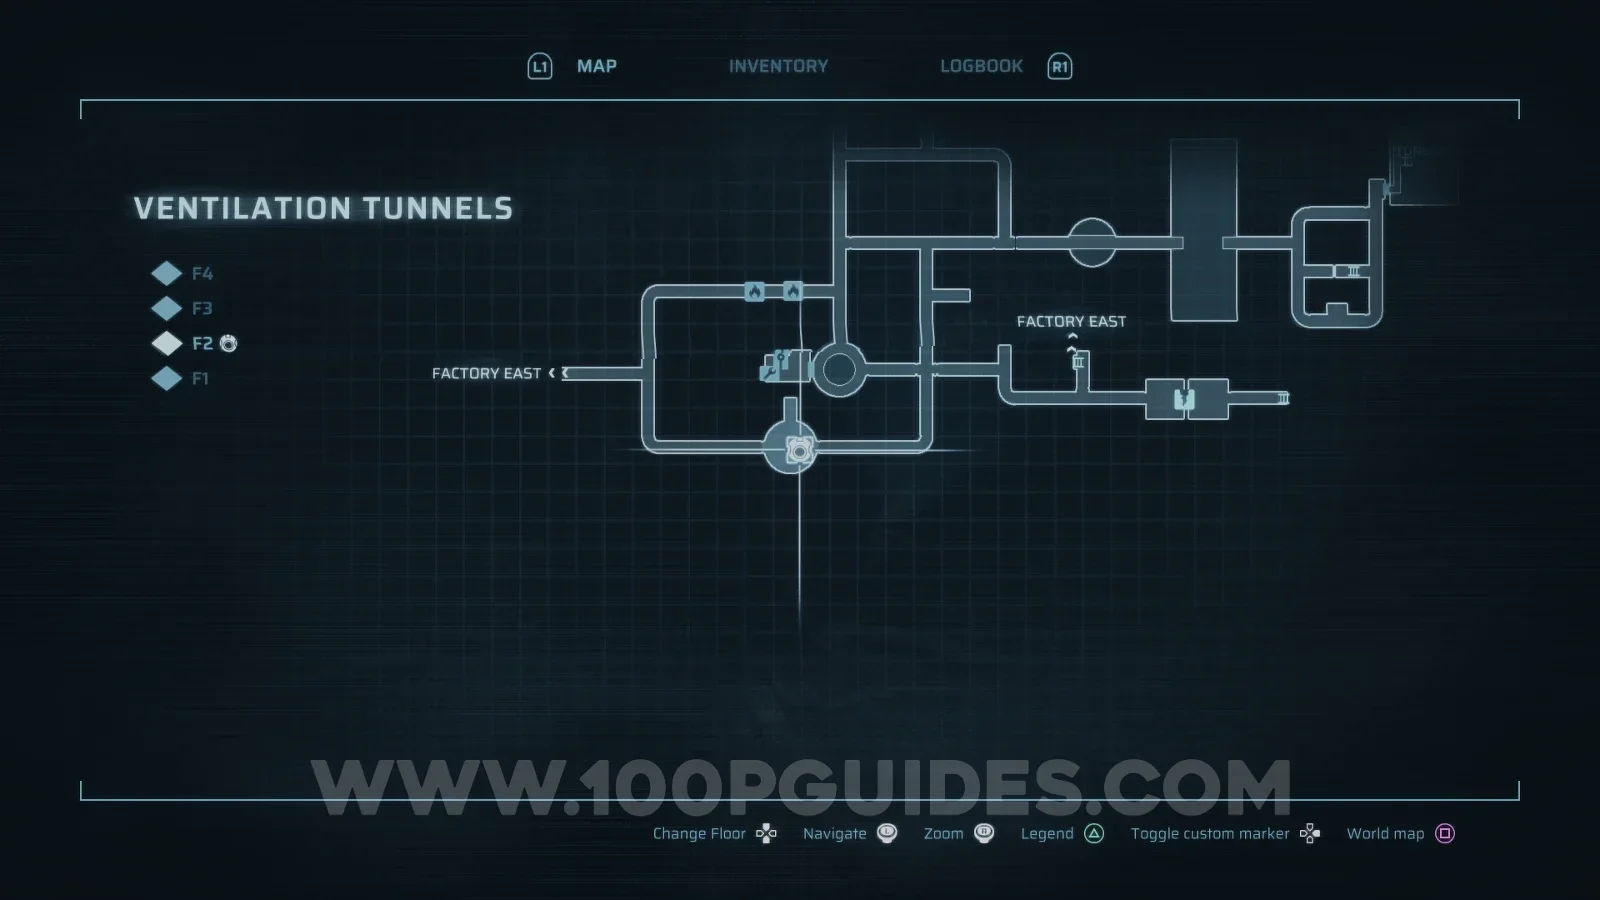
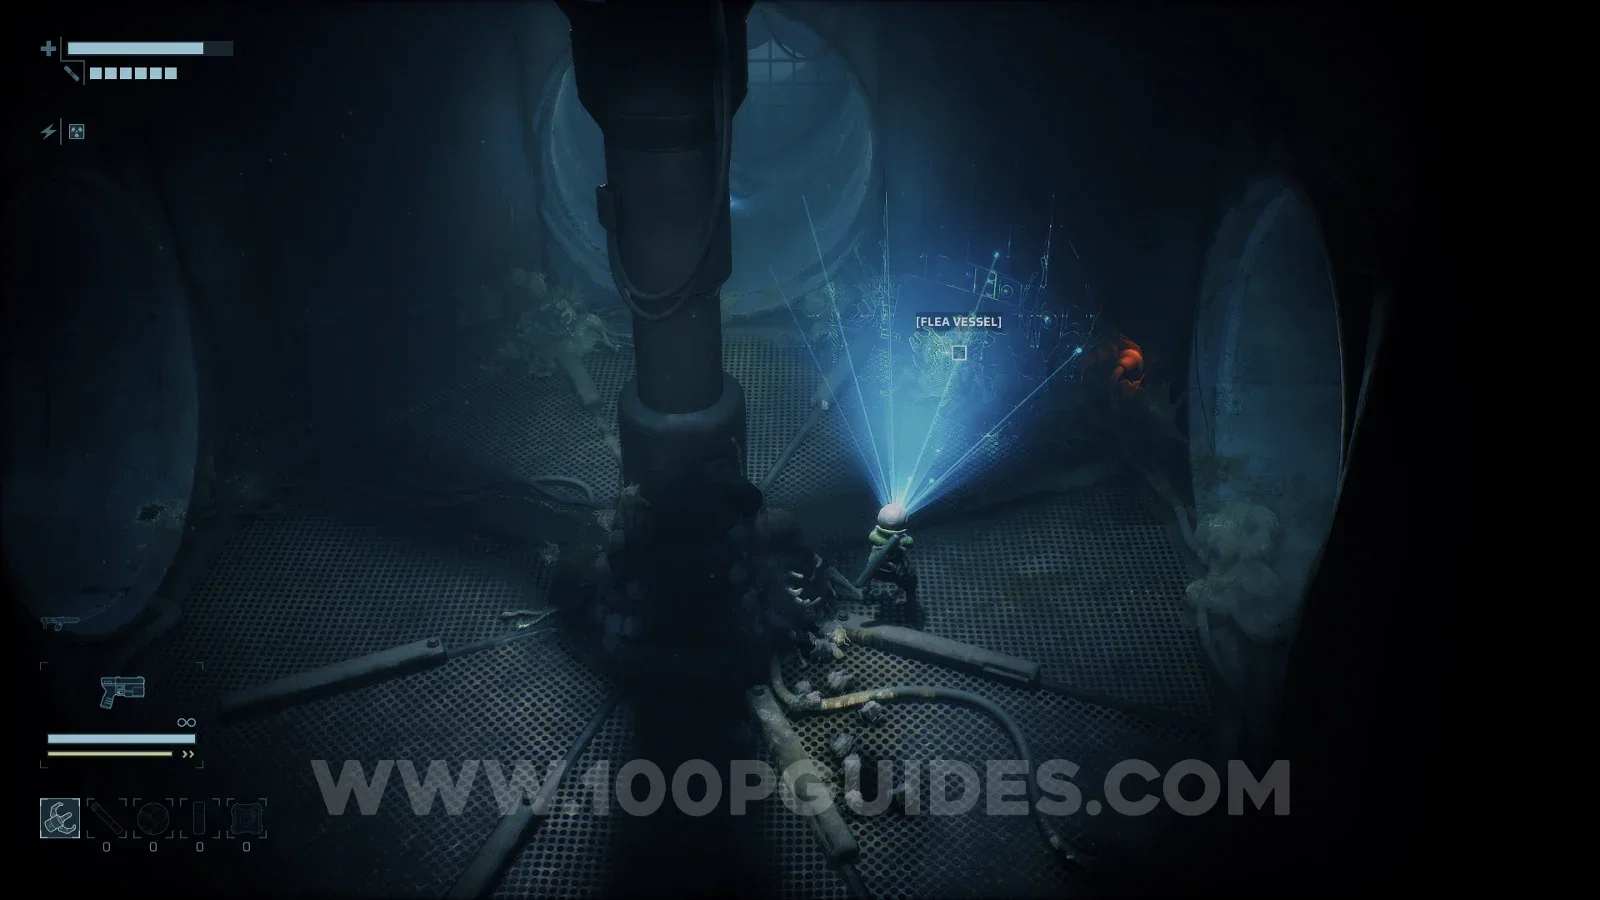
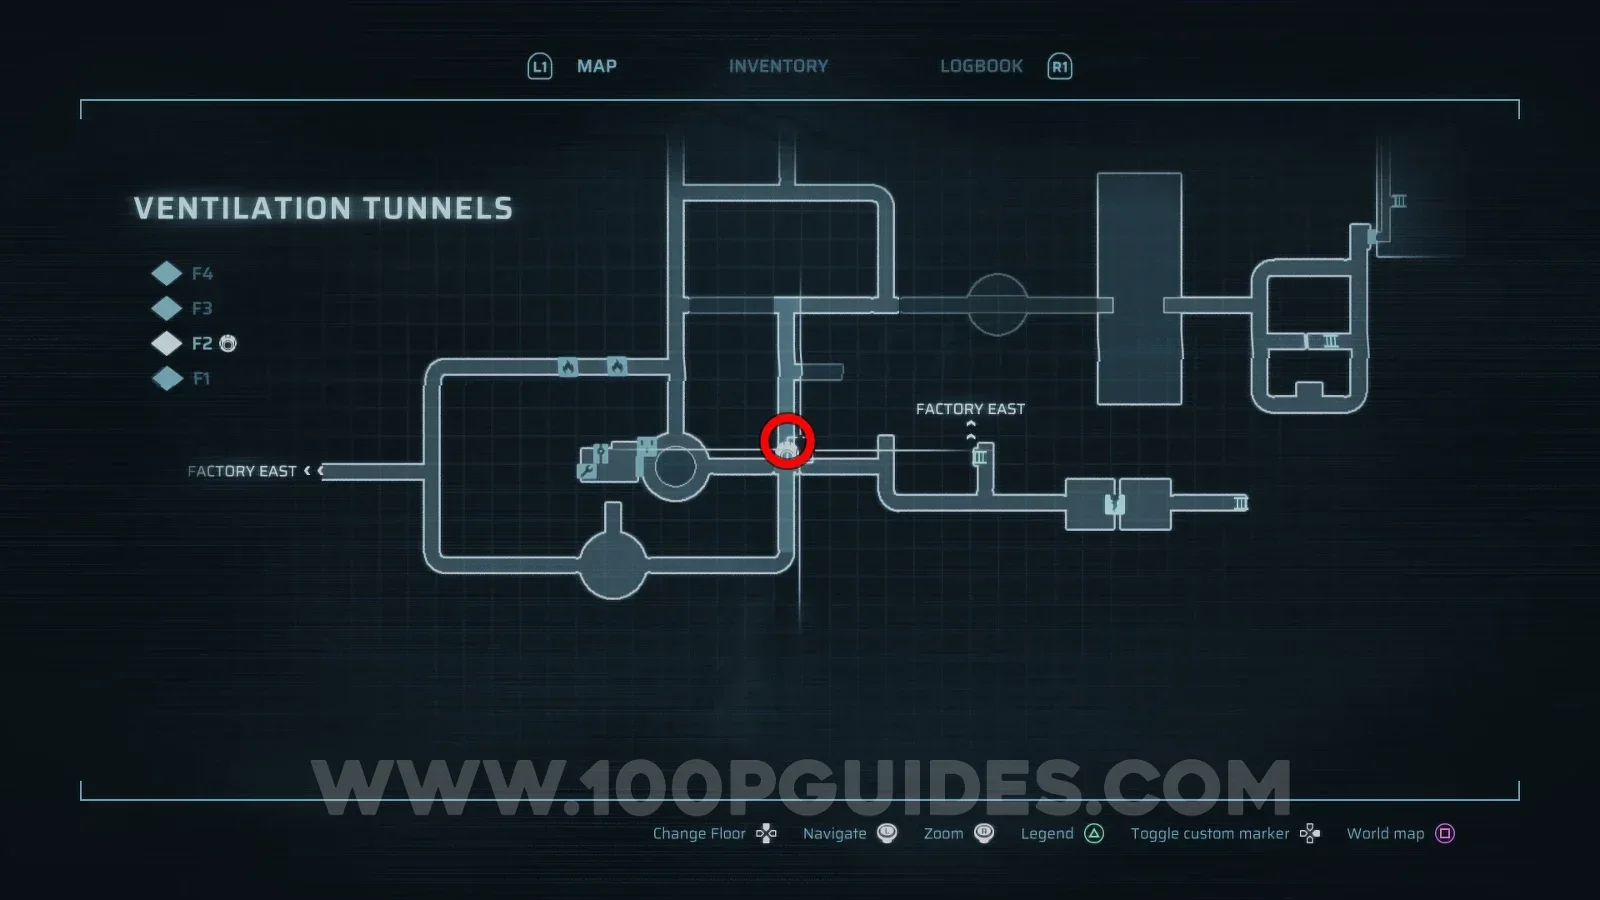
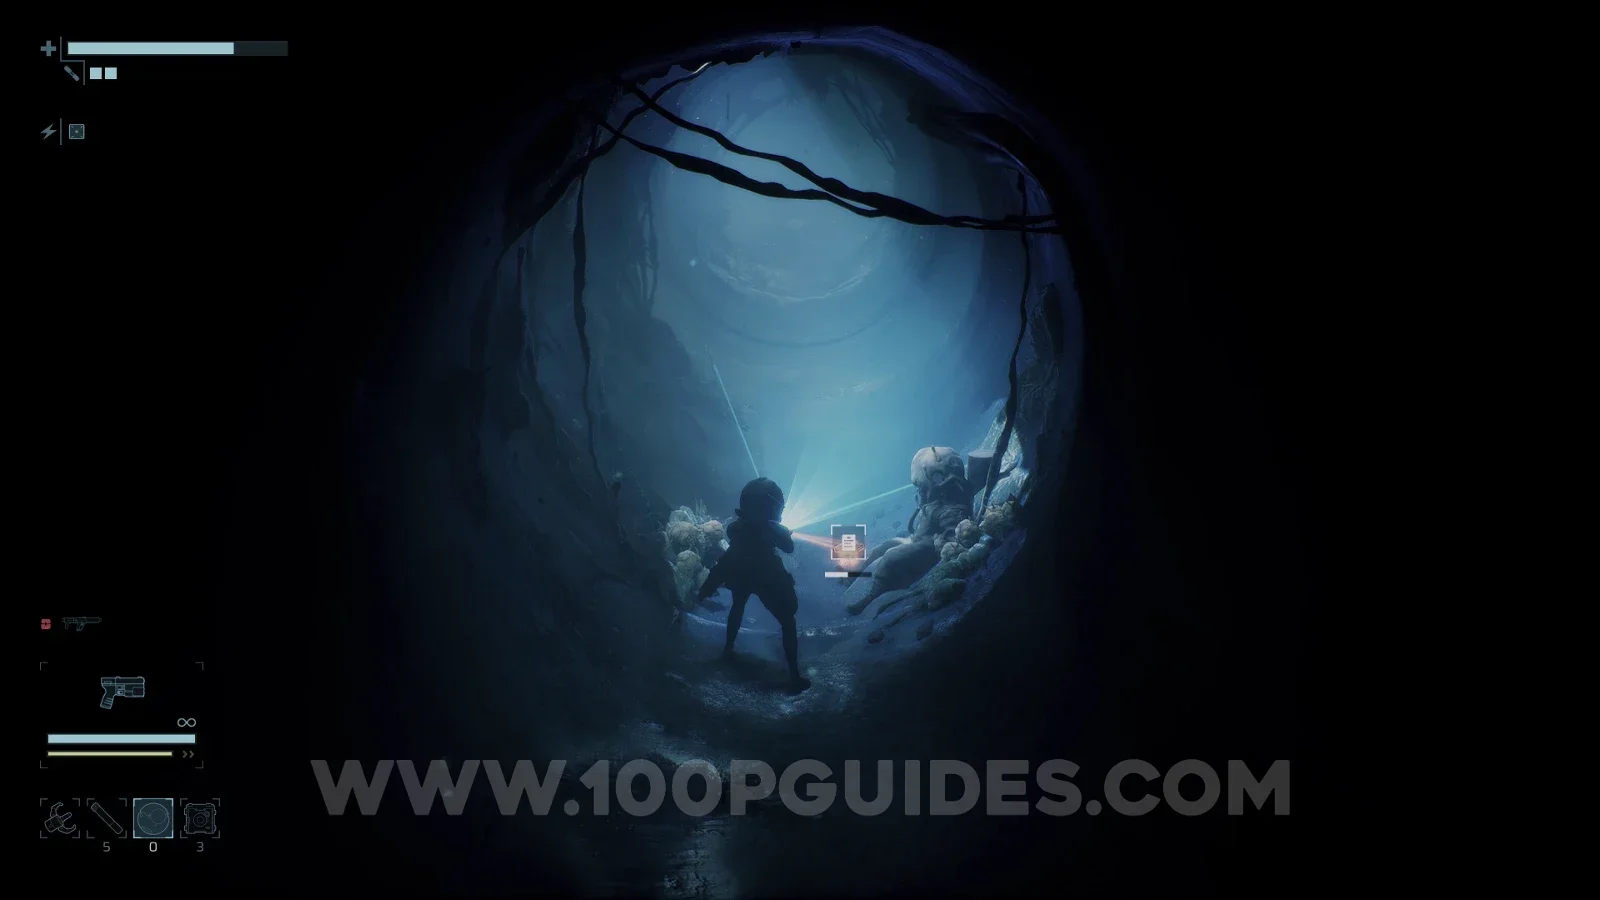
Flea Vessel

Ventilation Tunnels > F2
End of Abyss 100% Logbook Checklist Screenshot 55 End of Abyss 100% Logbook Checklist Screenshot 56
CR-013

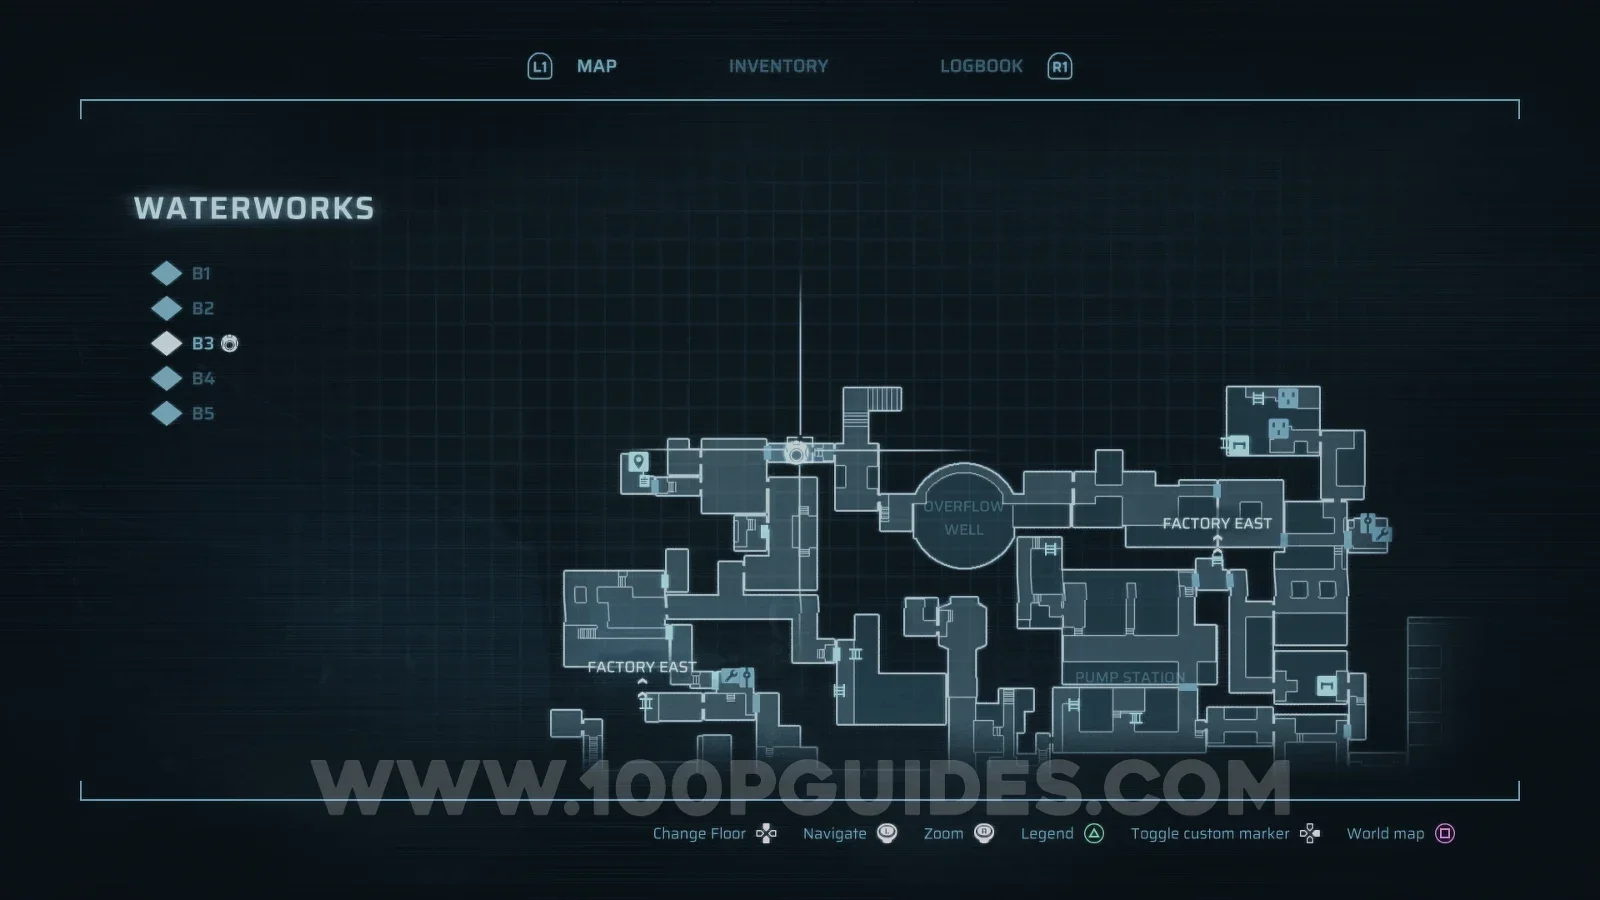
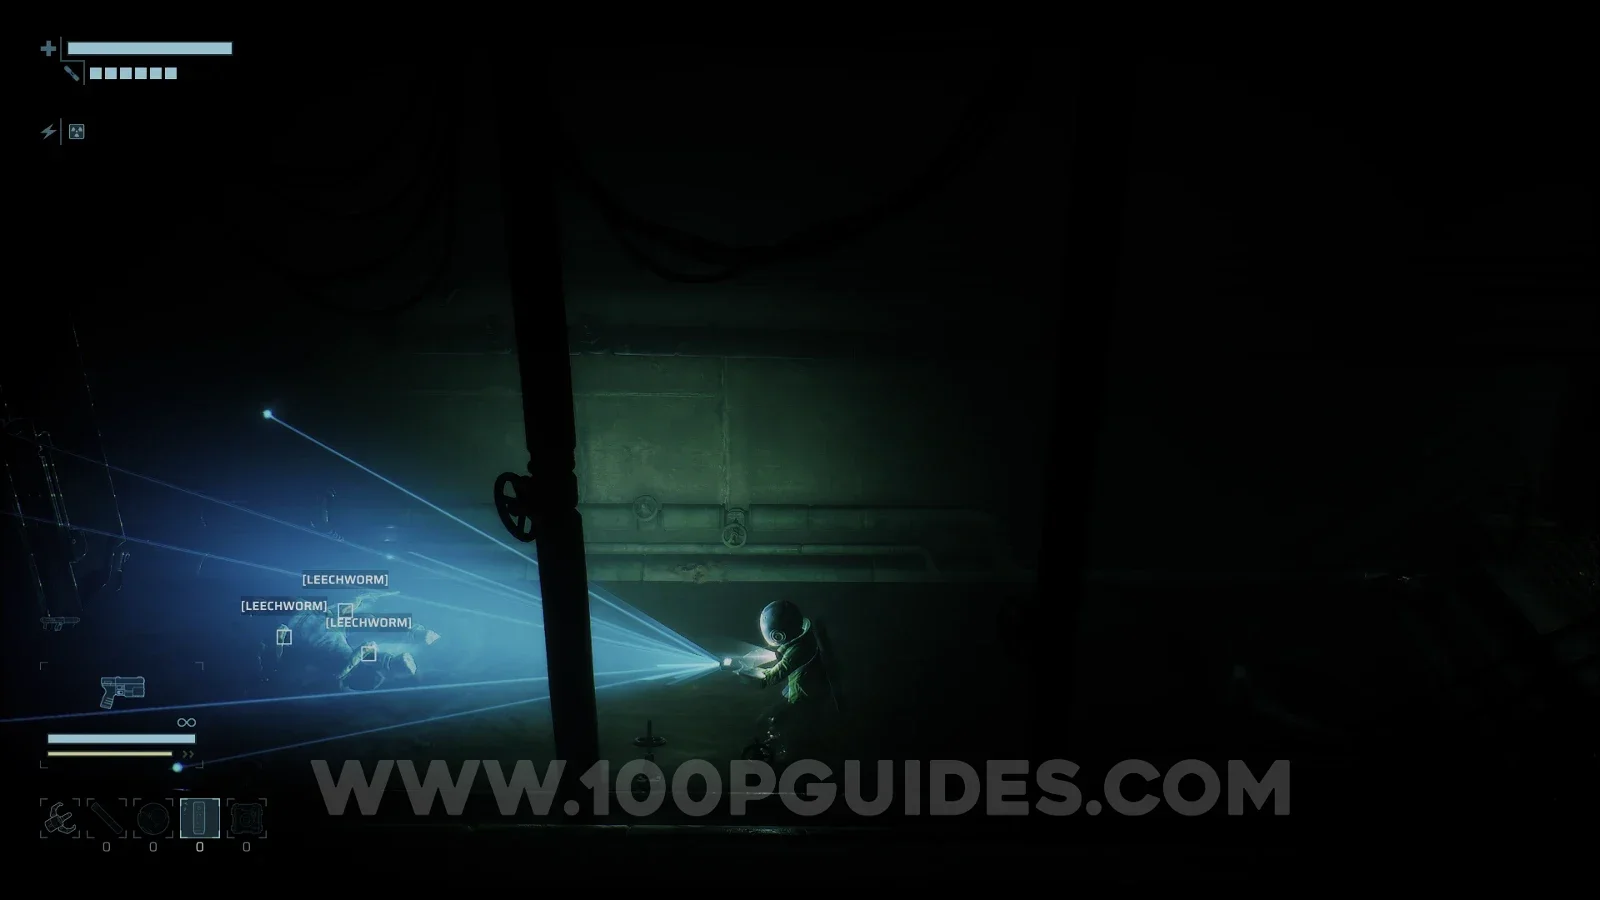
Leechworm

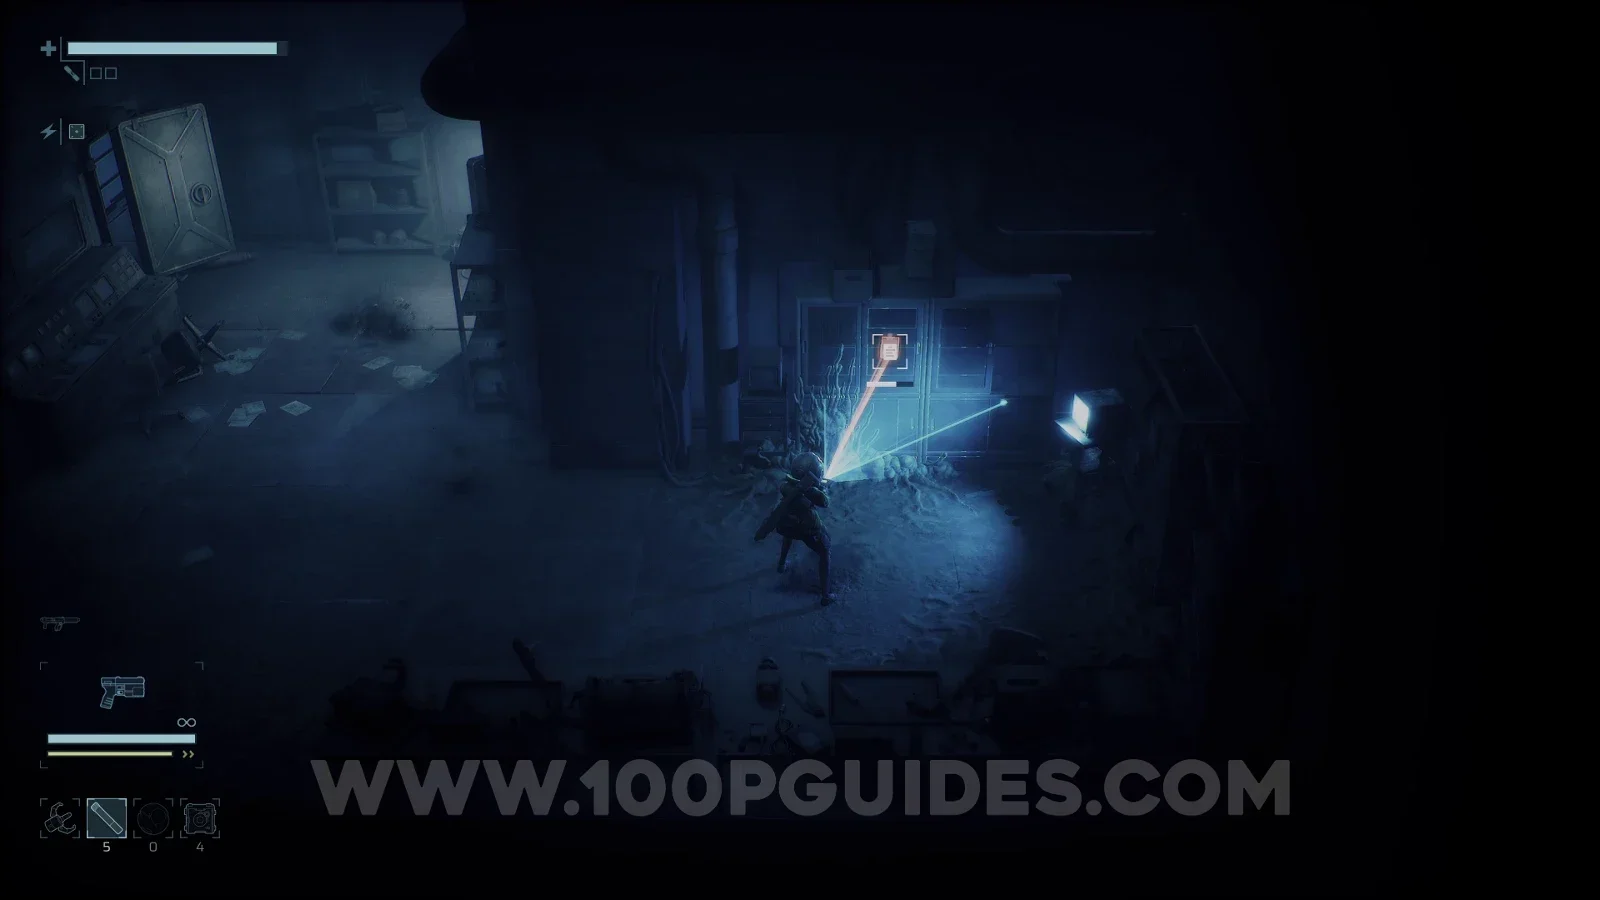
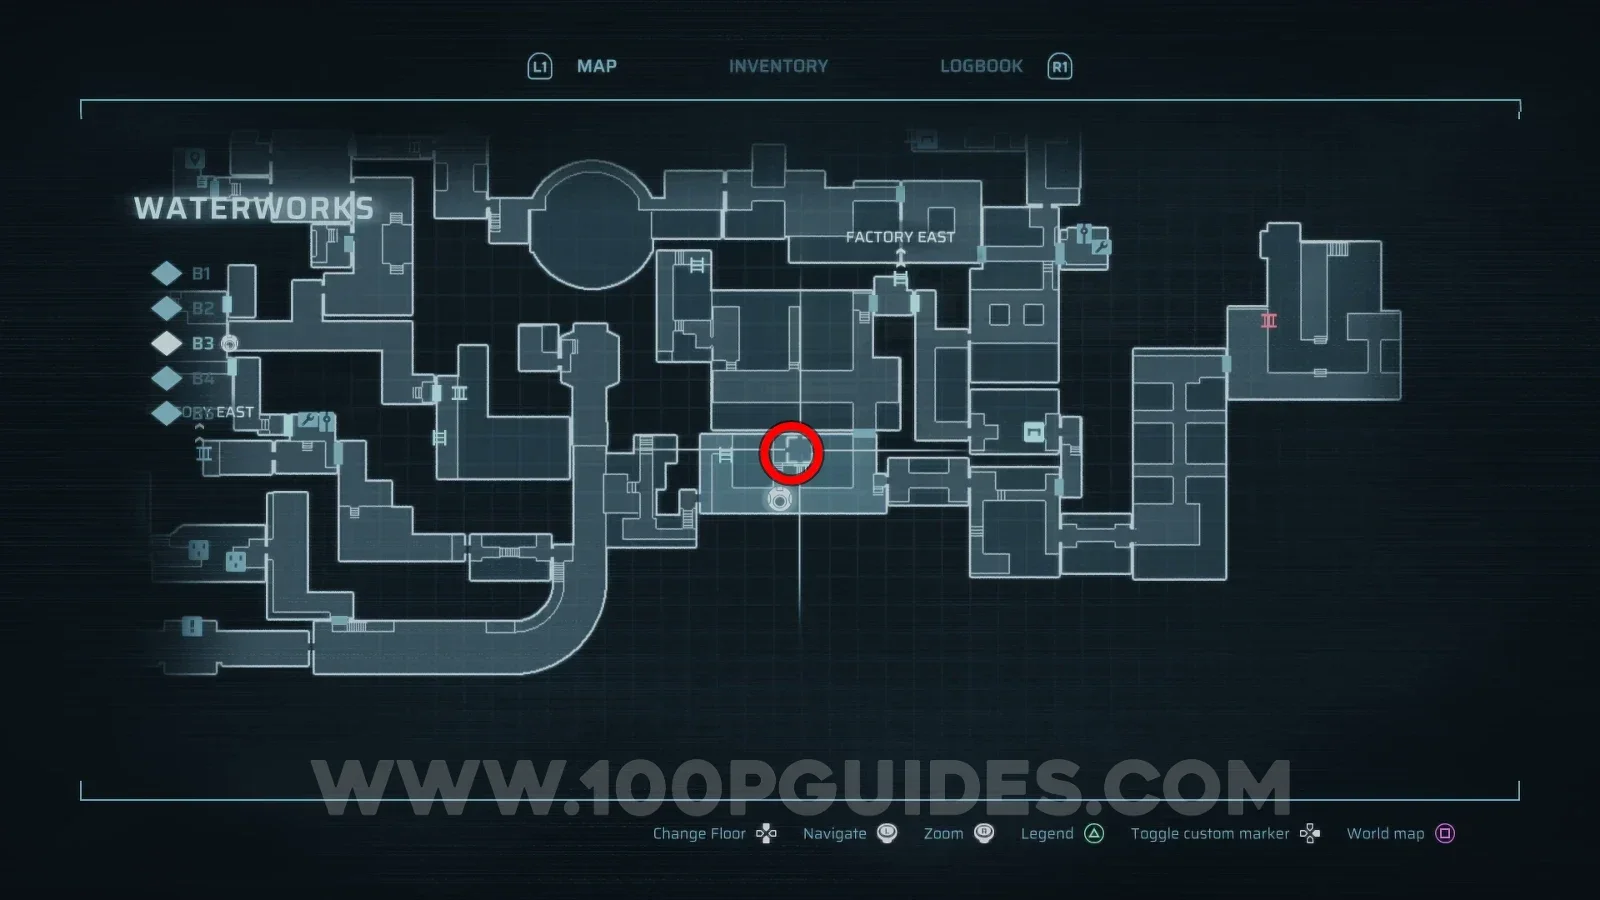
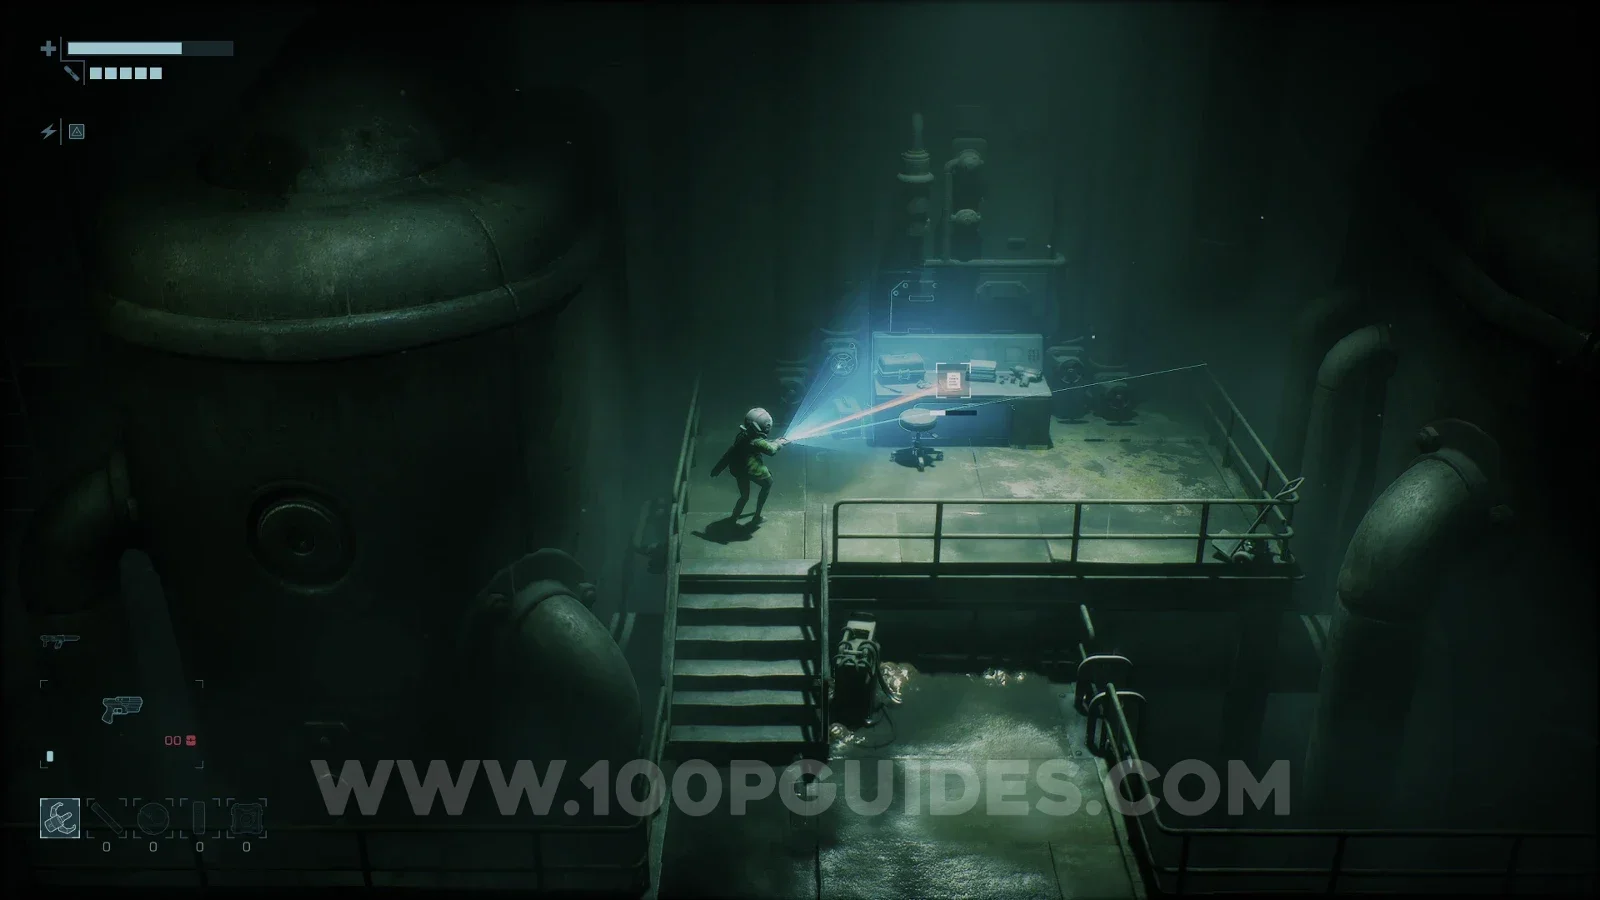
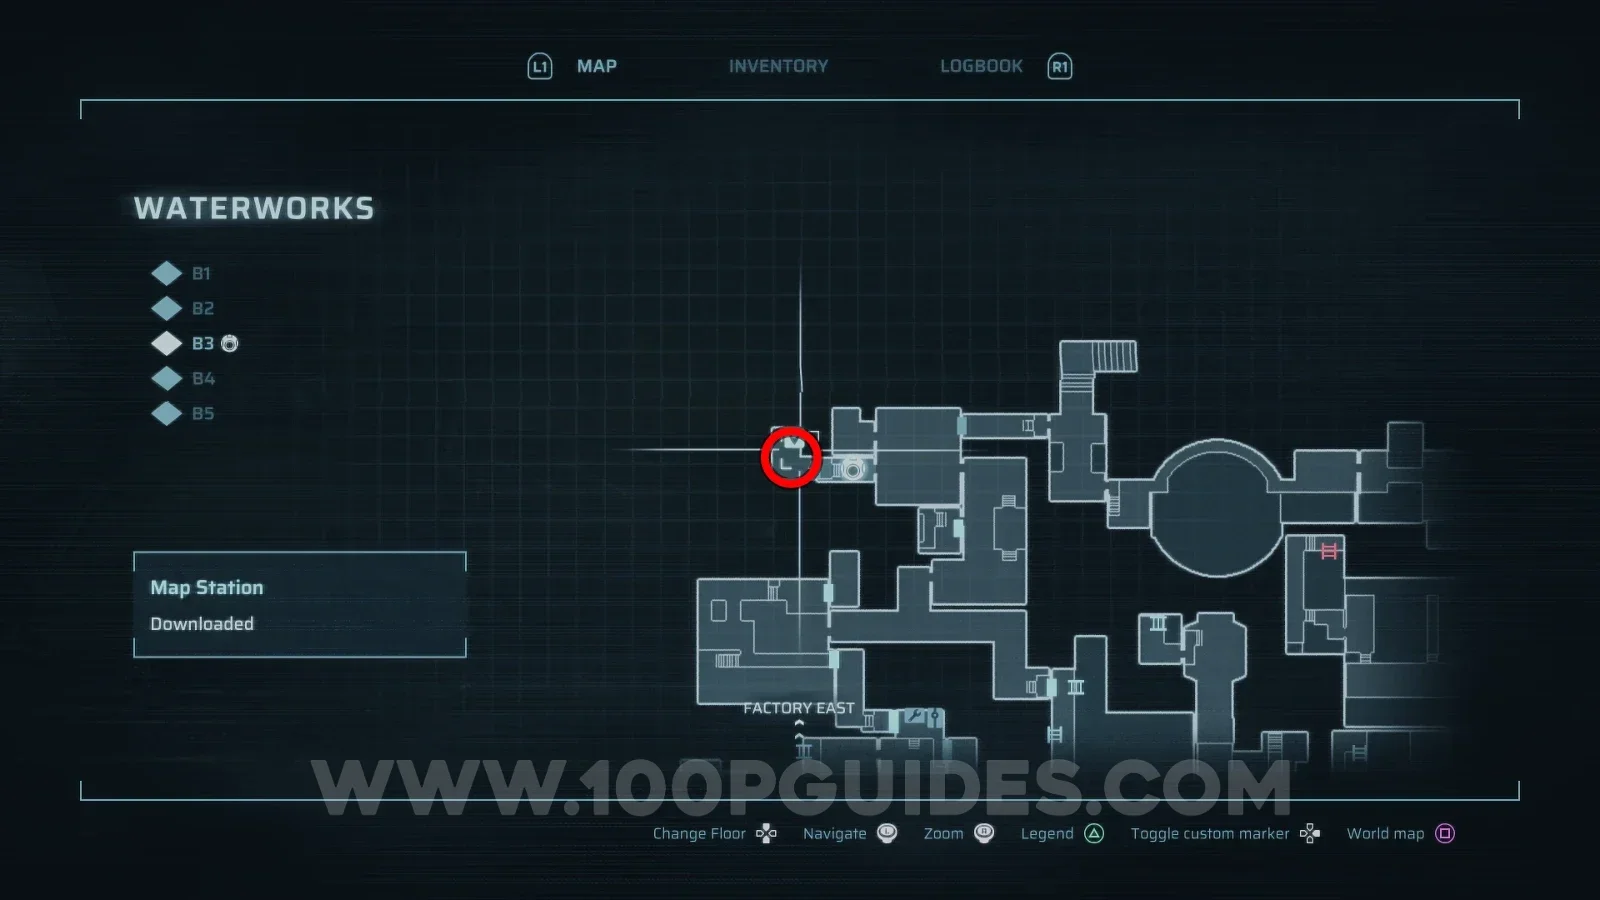
Waterworks > B3
End of Abyss 100% Logbook Checklist Screenshot 57 End of Abyss 100% Logbook Checklist Screenshot 58
CR-014

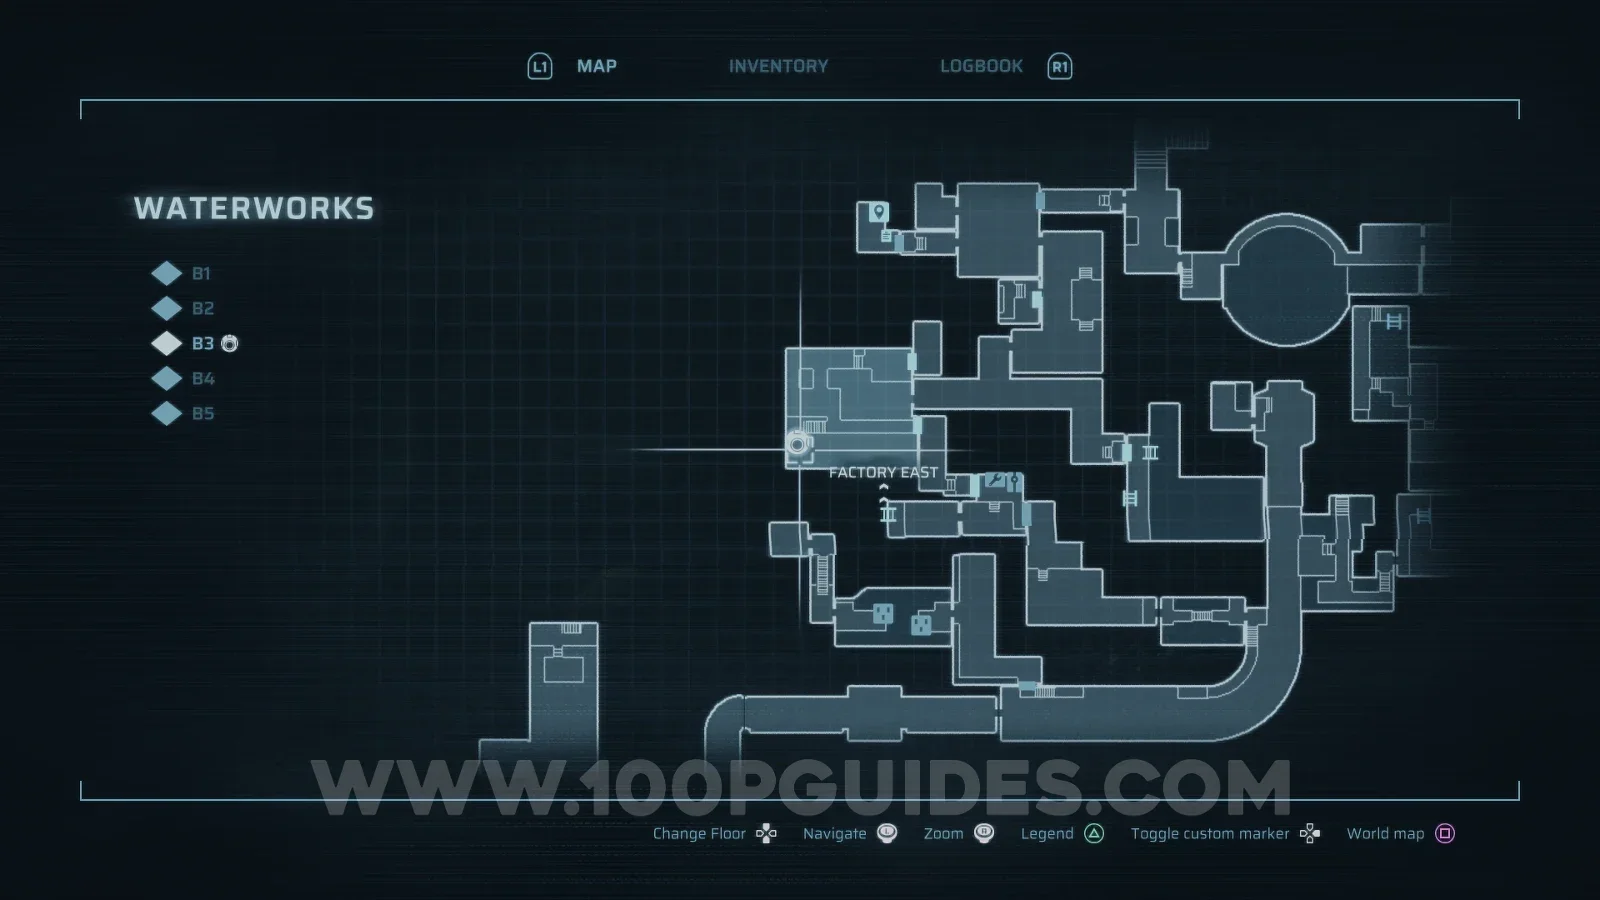
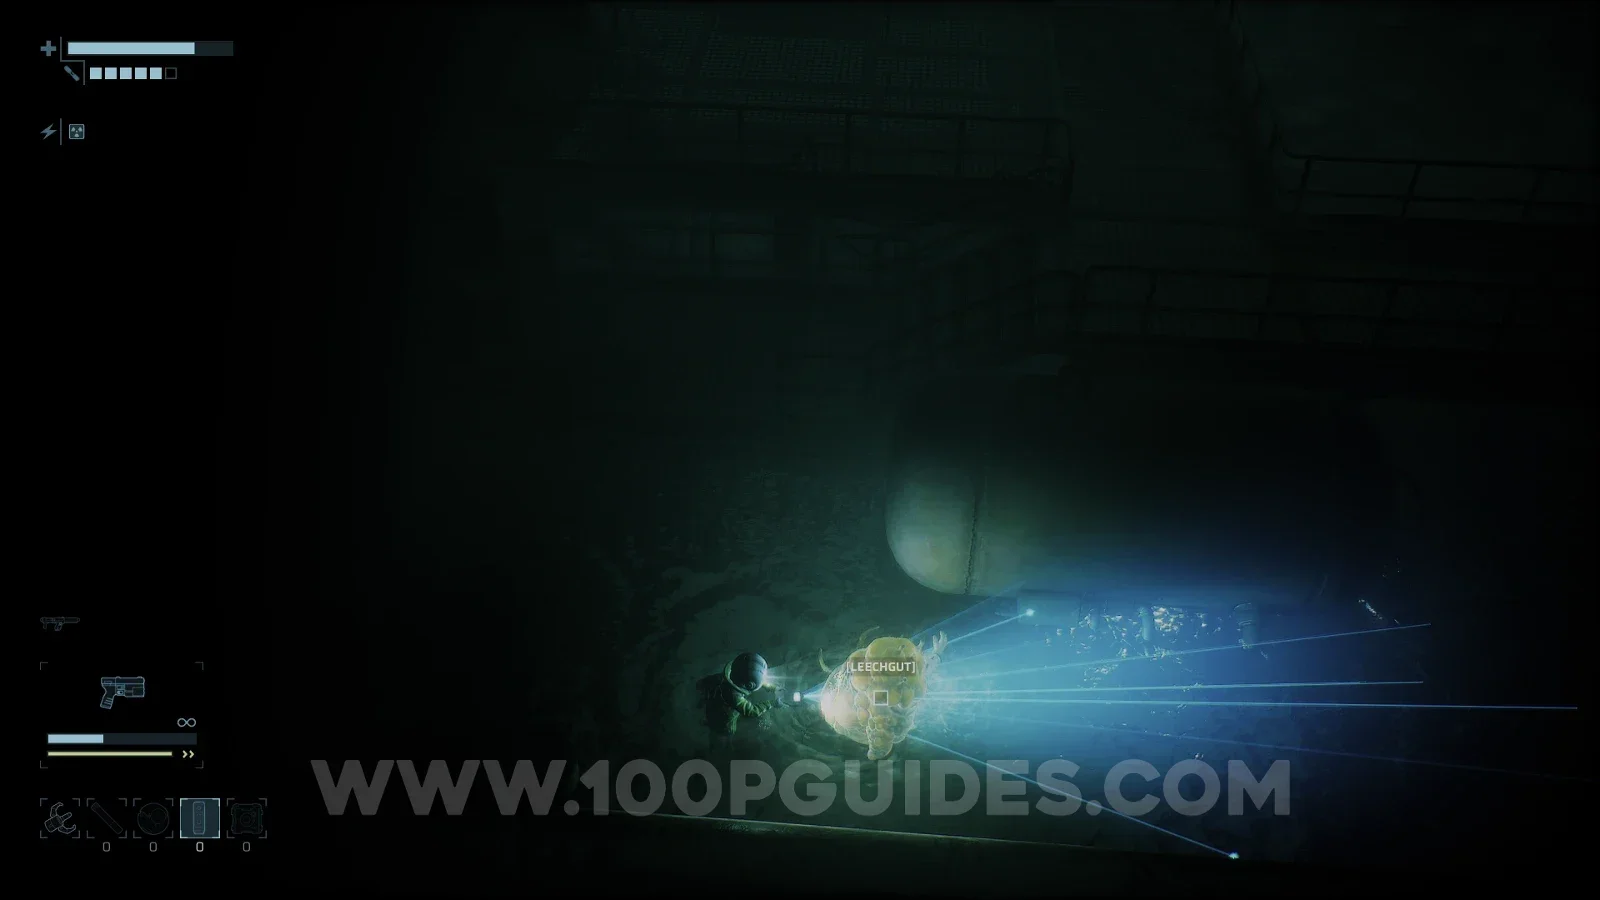
Leechgut

Waterworks > B3
End of Abyss 100% Logbook Checklist Screenshot 59 End of Abyss 100% Logbook Checklist Screenshot 60
CR-015

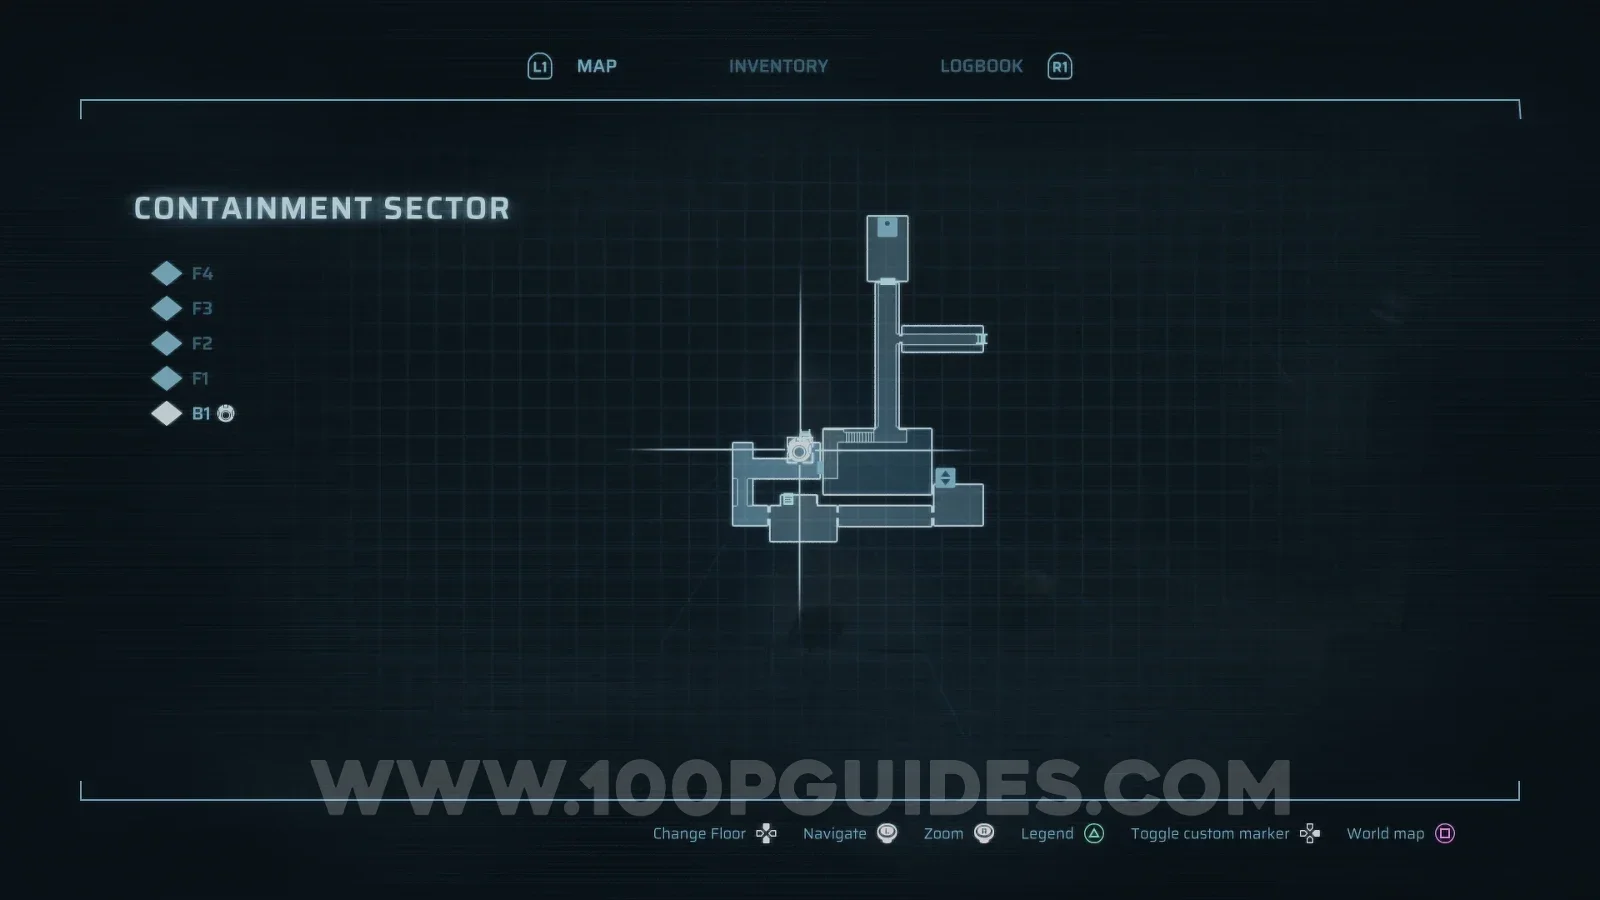
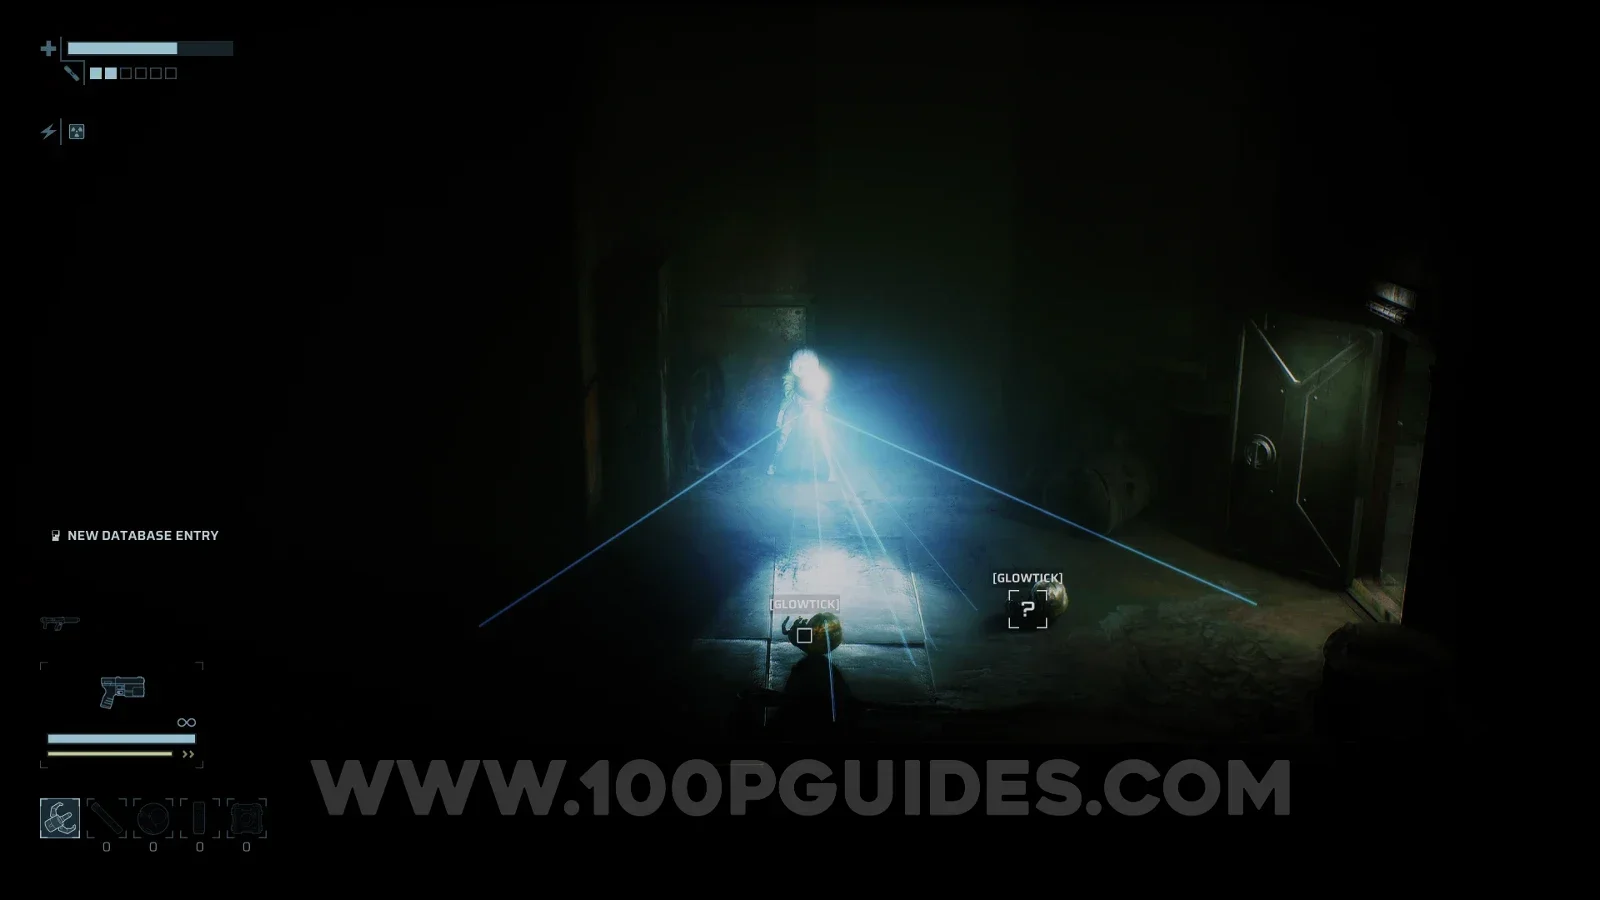
Glowtick

Containment Sector > B1
End of Abyss 100% Logbook Checklist Screenshot 61 End of Abyss 100% Logbook Checklist Screenshot 62
CR-016

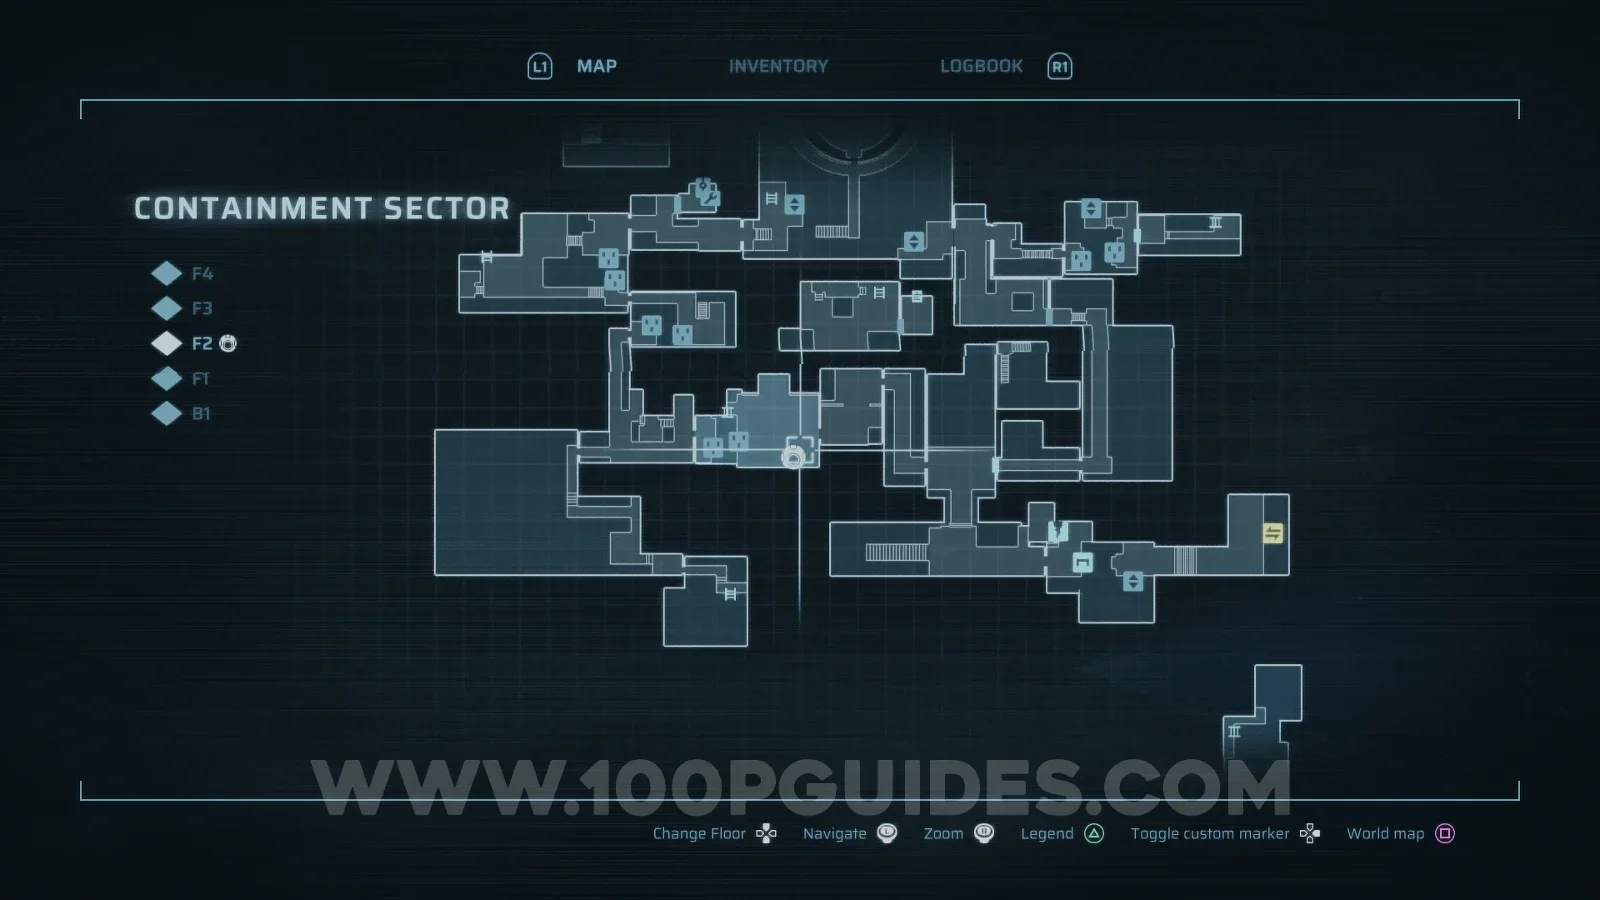
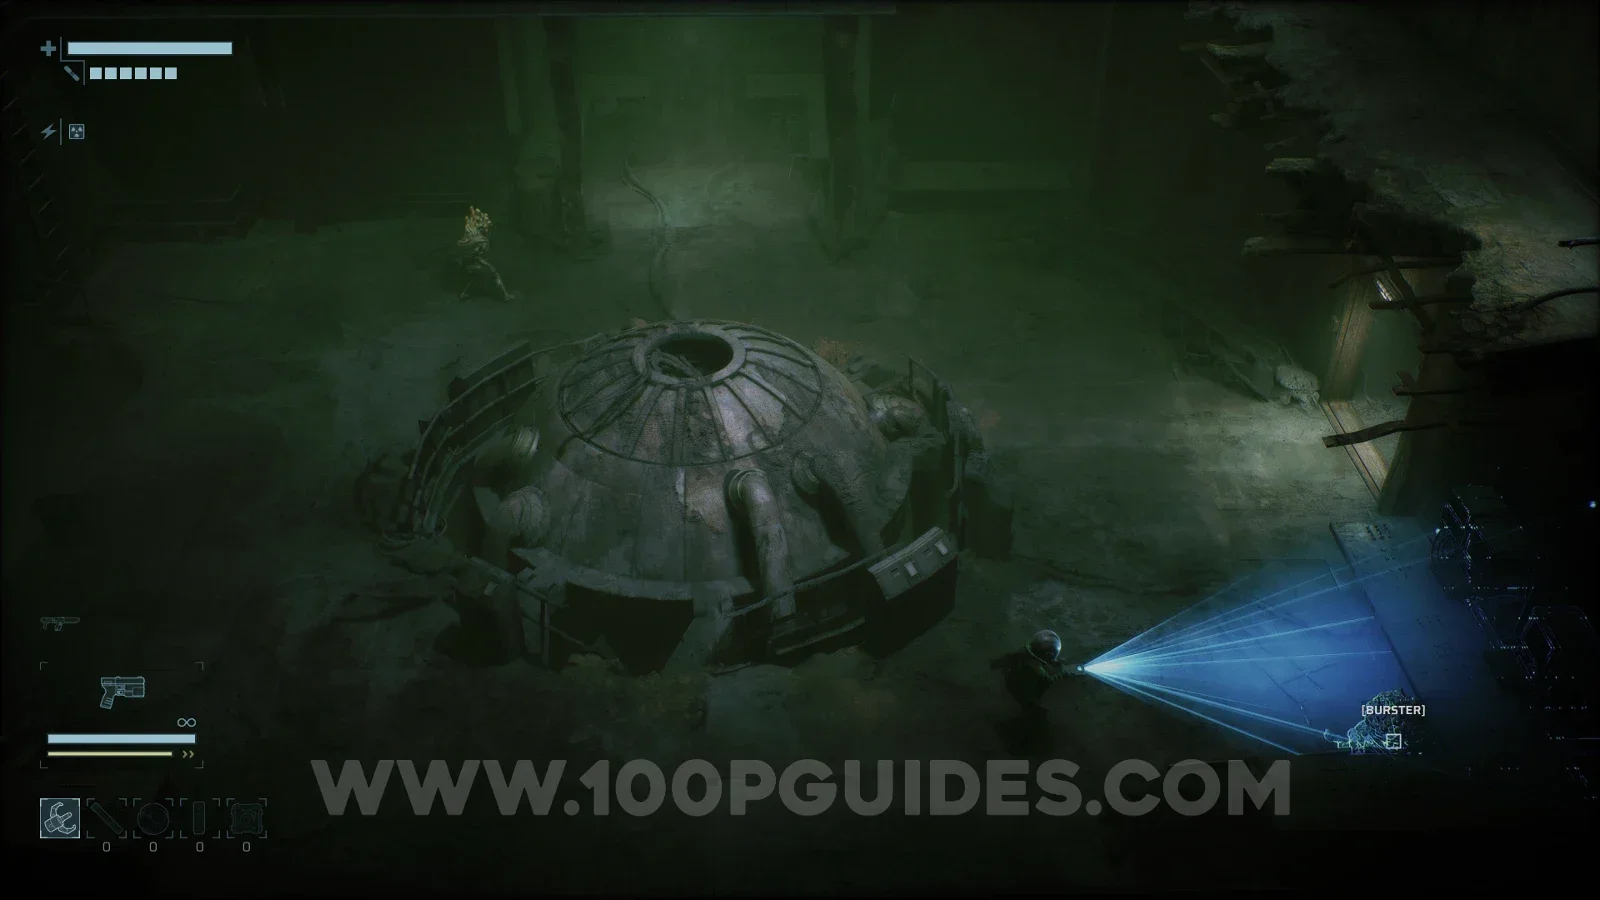
Burster

Containment Sector > F2
End of Abyss 100% Logbook Checklist Screenshot 63 End of Abyss 100% Logbook Checklist Screenshot 64
CR-017

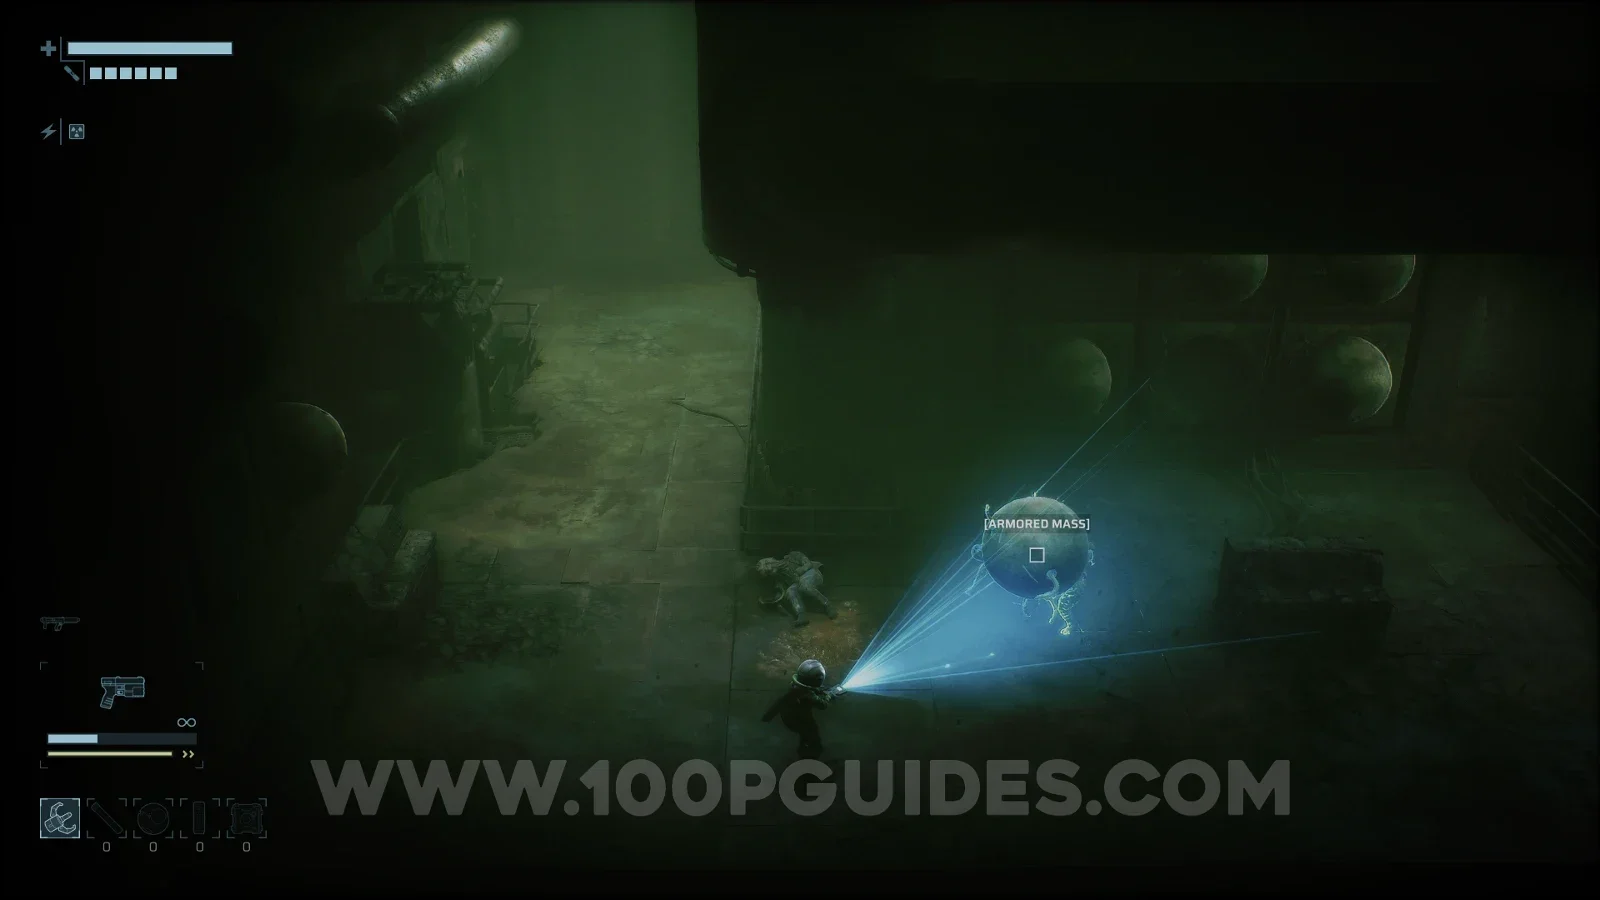
Armored Mass

Containment Sector > F2
End of Abyss 100% Logbook Checklist Screenshot 65 End of Abyss 100% Logbook Checklist Screenshot 66
CR-018

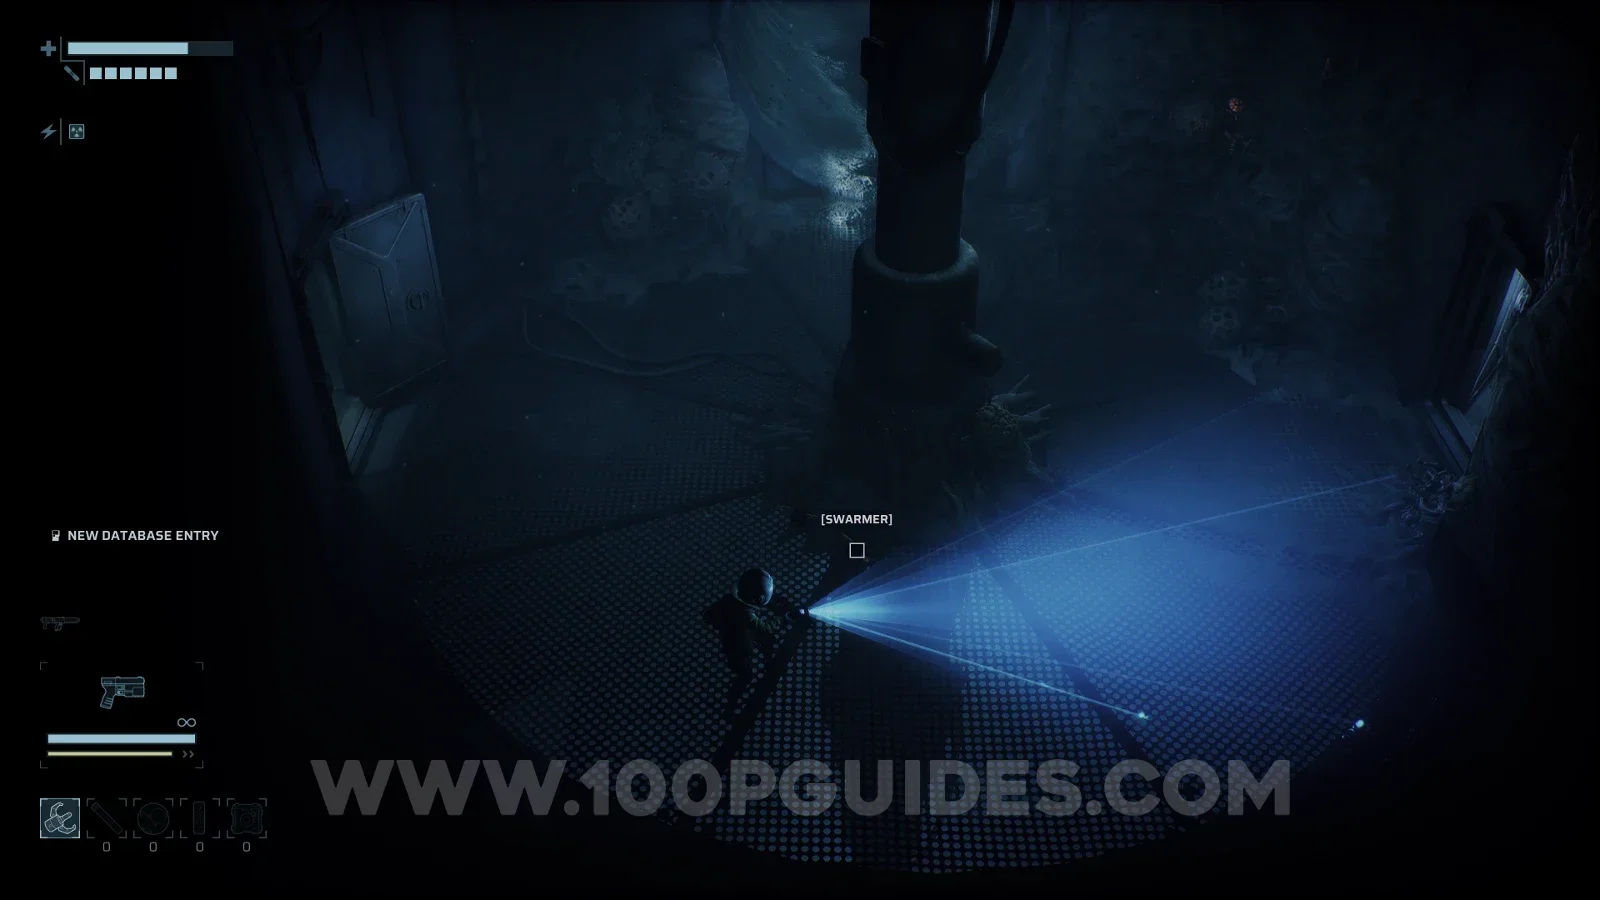
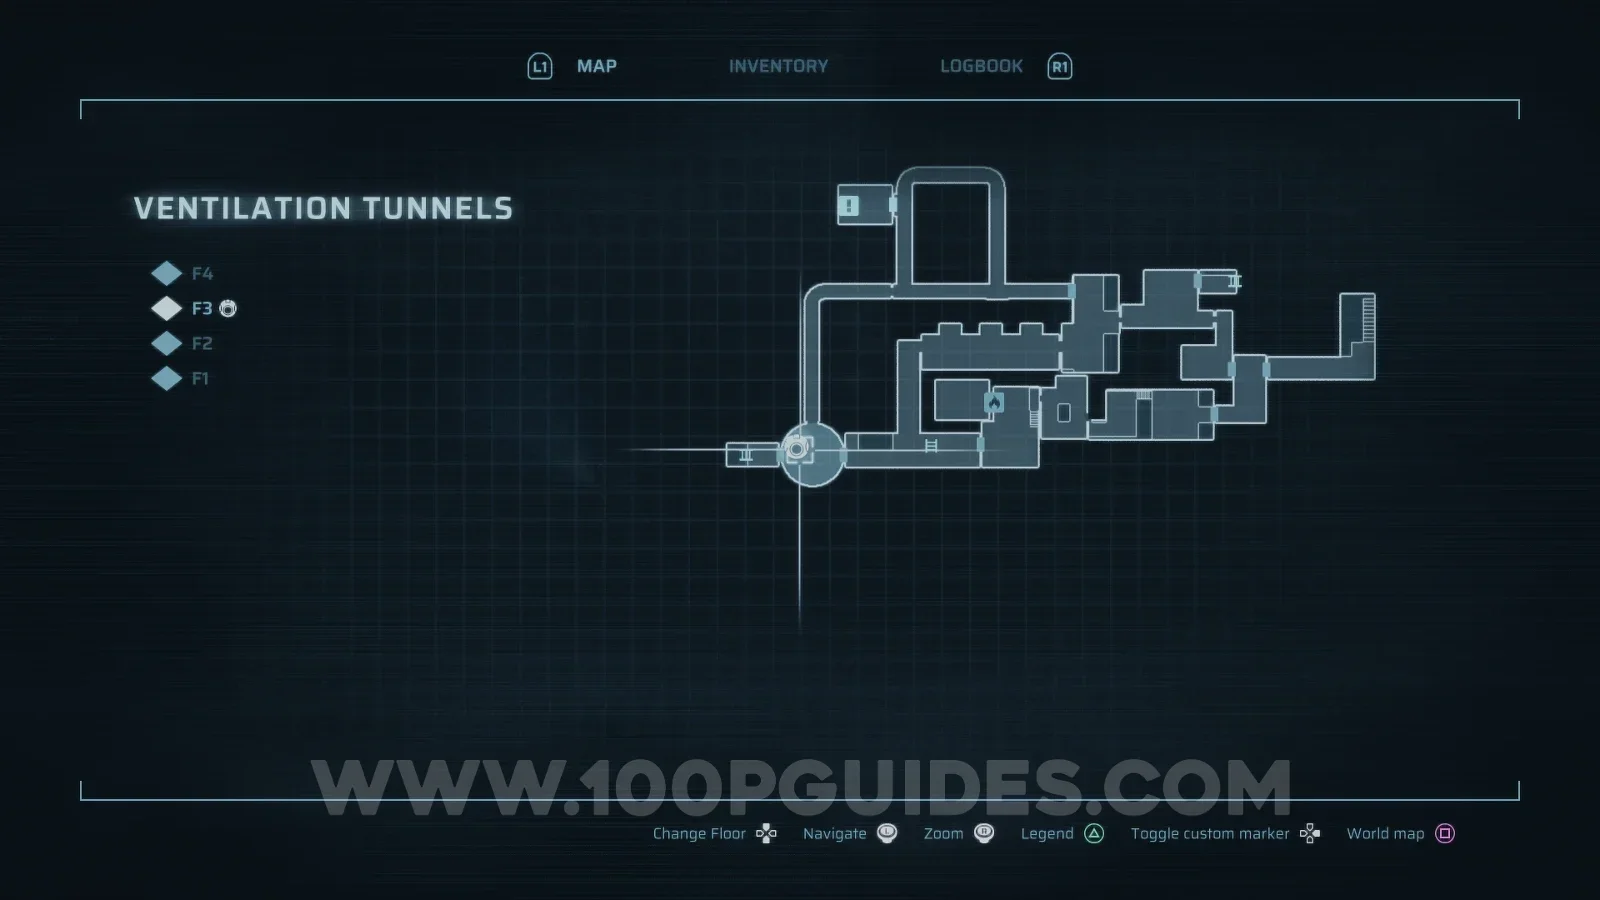
Swarmer

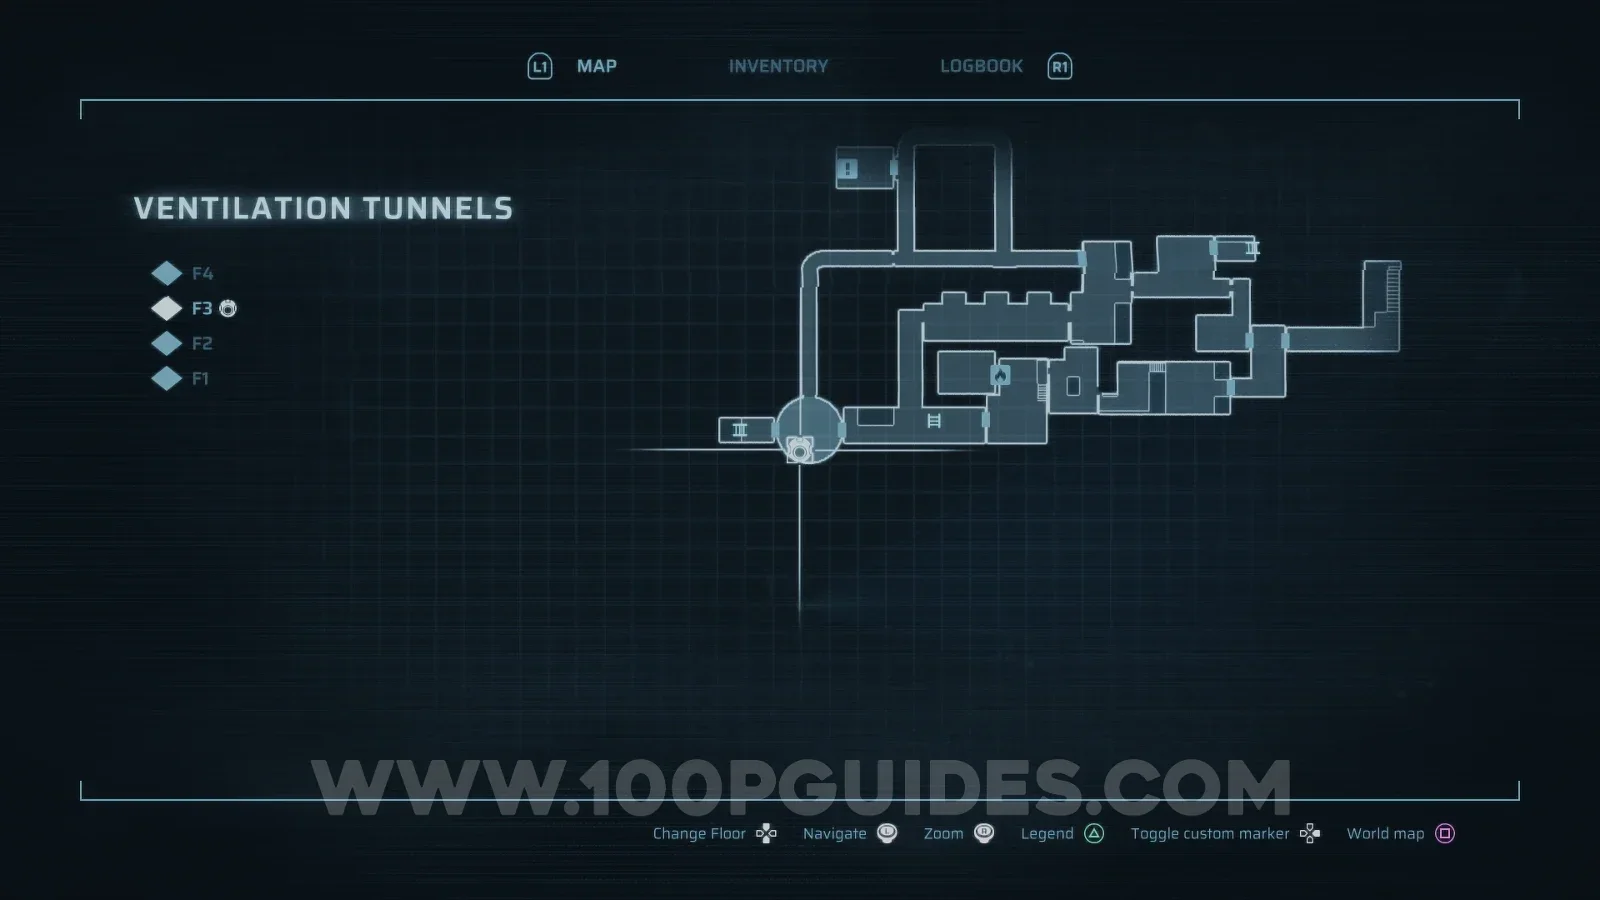
Ventilation Tunnels > F3
End of Abyss 100% Logbook Checklist Screenshot 67 End of Abyss 100% Logbook Checklist Screenshot 68
CR-019

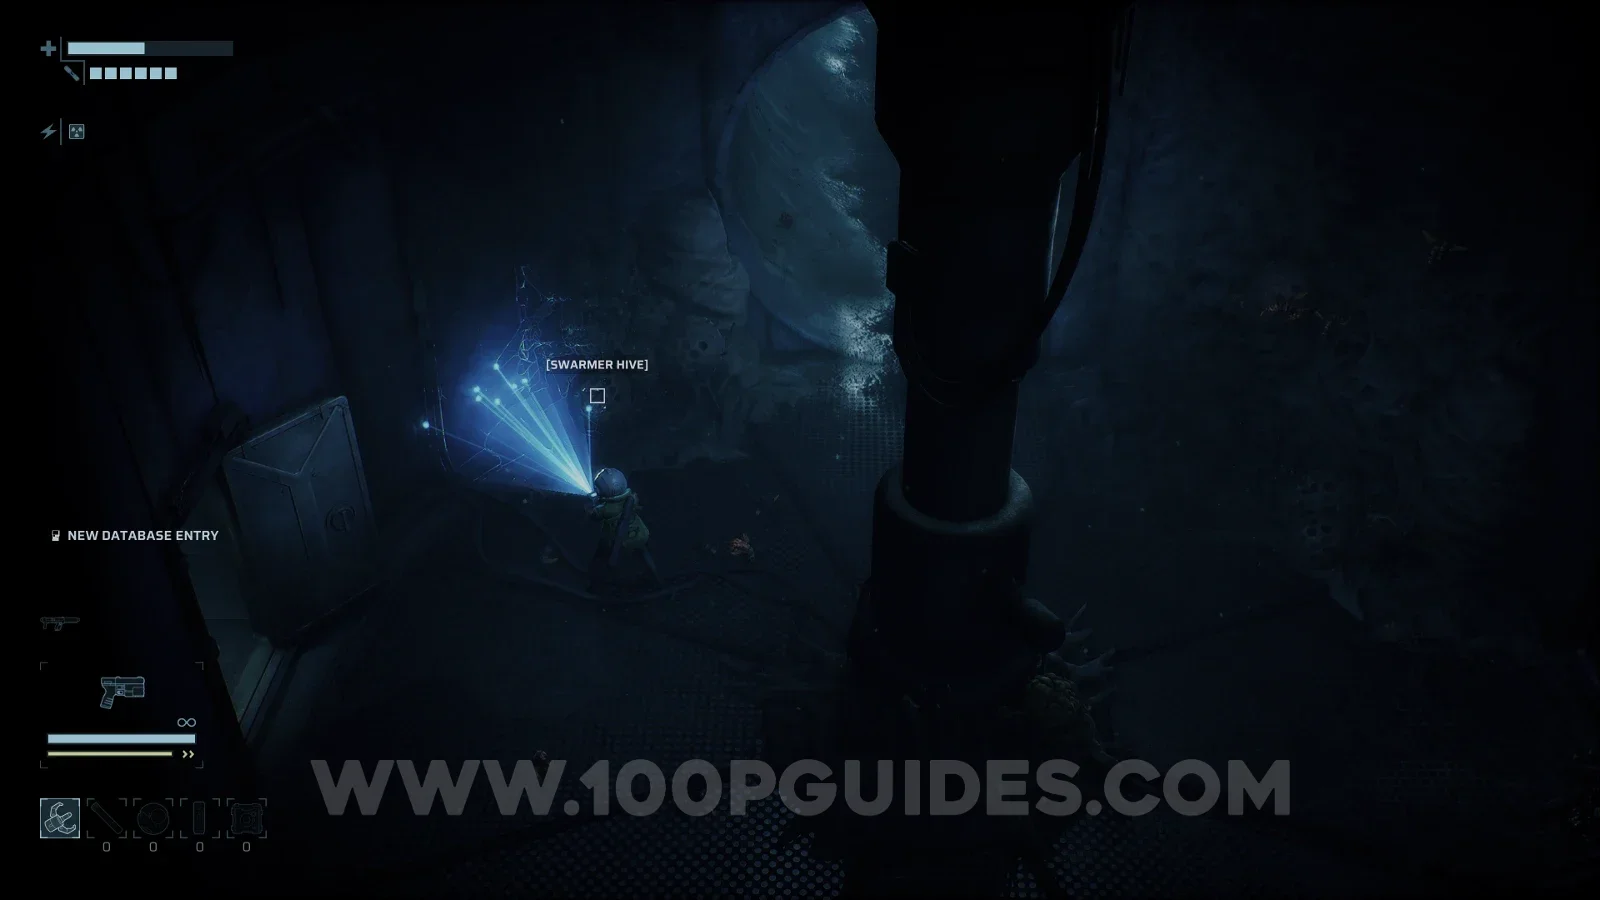
Swarmer Hive

Ventilation Tunnels > F3
End of Abyss 100% Logbook Checklist Screenshot 69 End of Abyss 100% Logbook Checklist Screenshot 70
CR-020

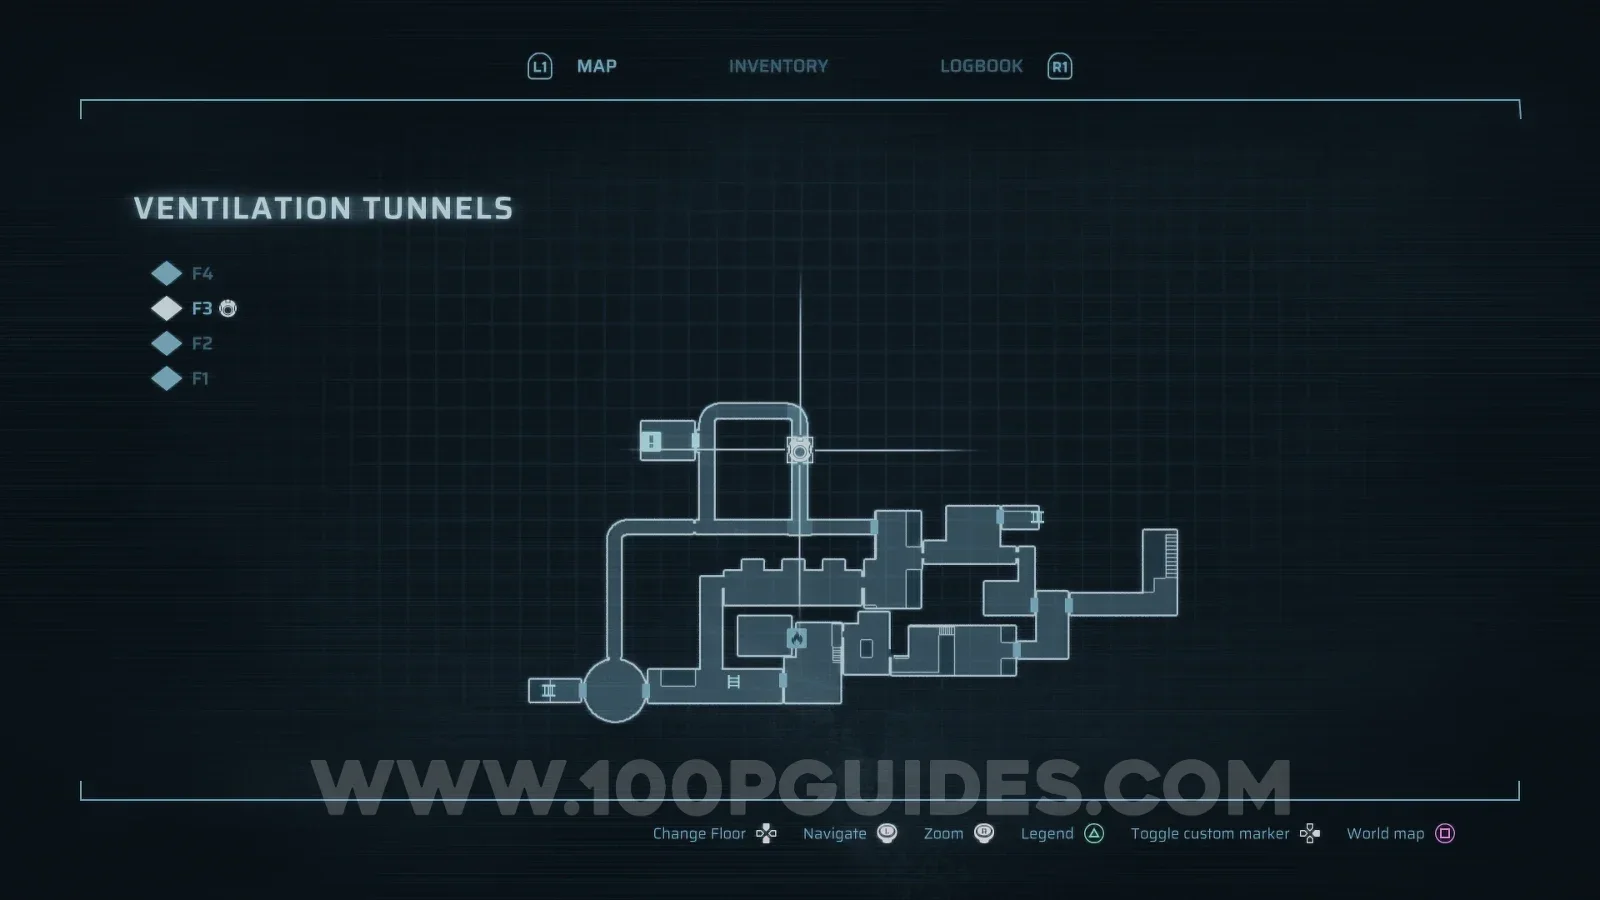
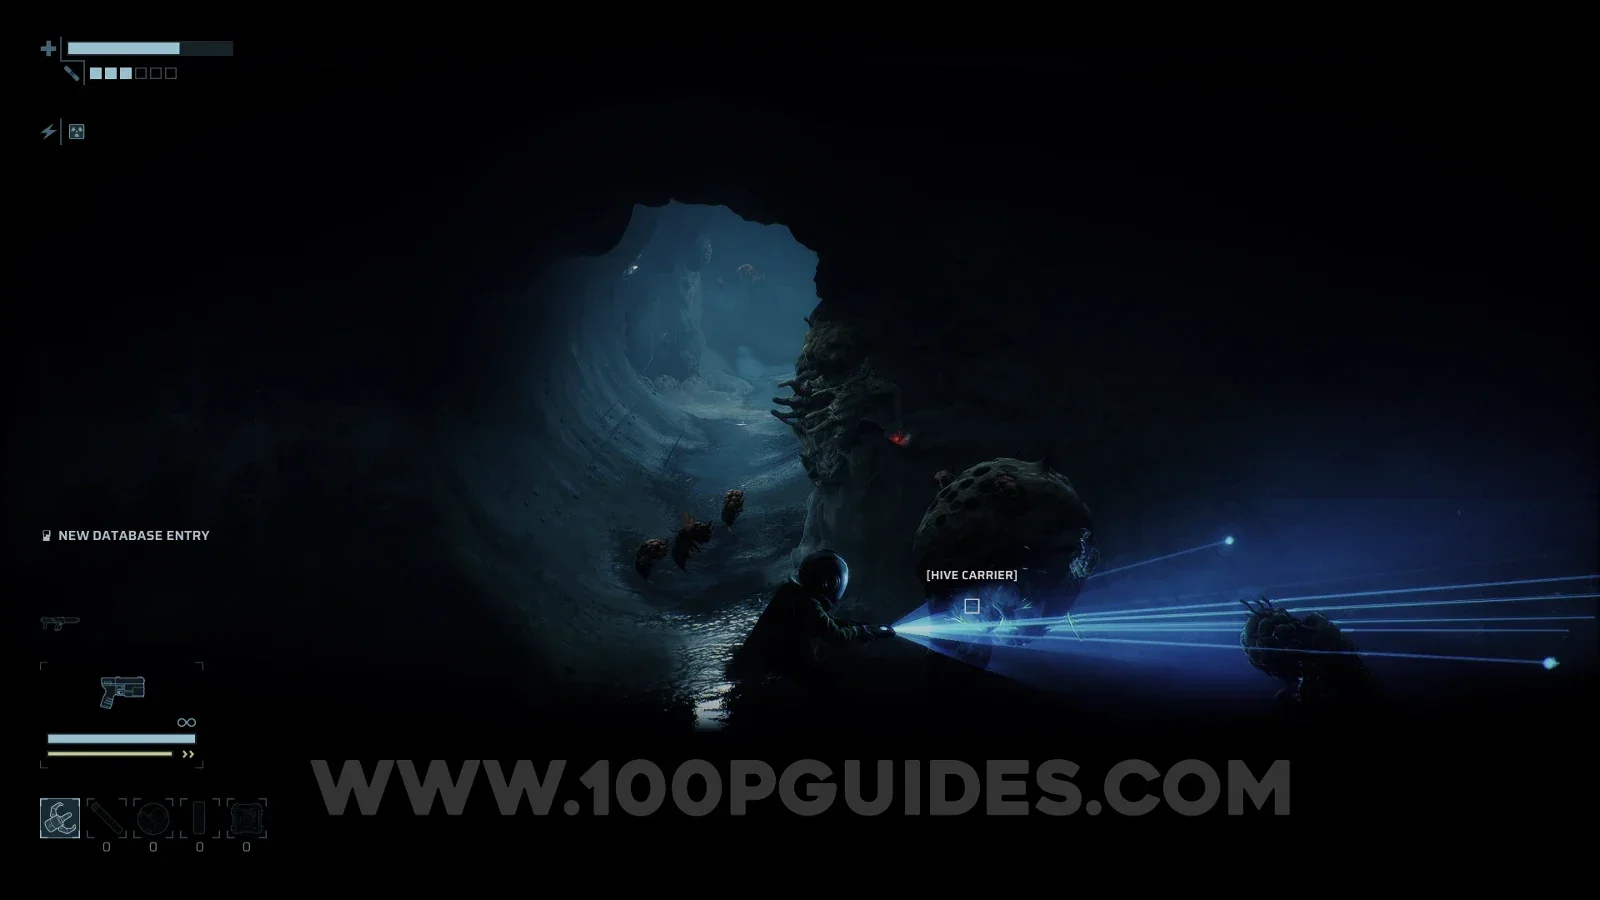
Hive Carrier

Ventilation Tunnels > F3
End of Abyss 100% Logbook Checklist Screenshot 71 End of Abyss 100% Logbook Checklist Screenshot 72
CR-021

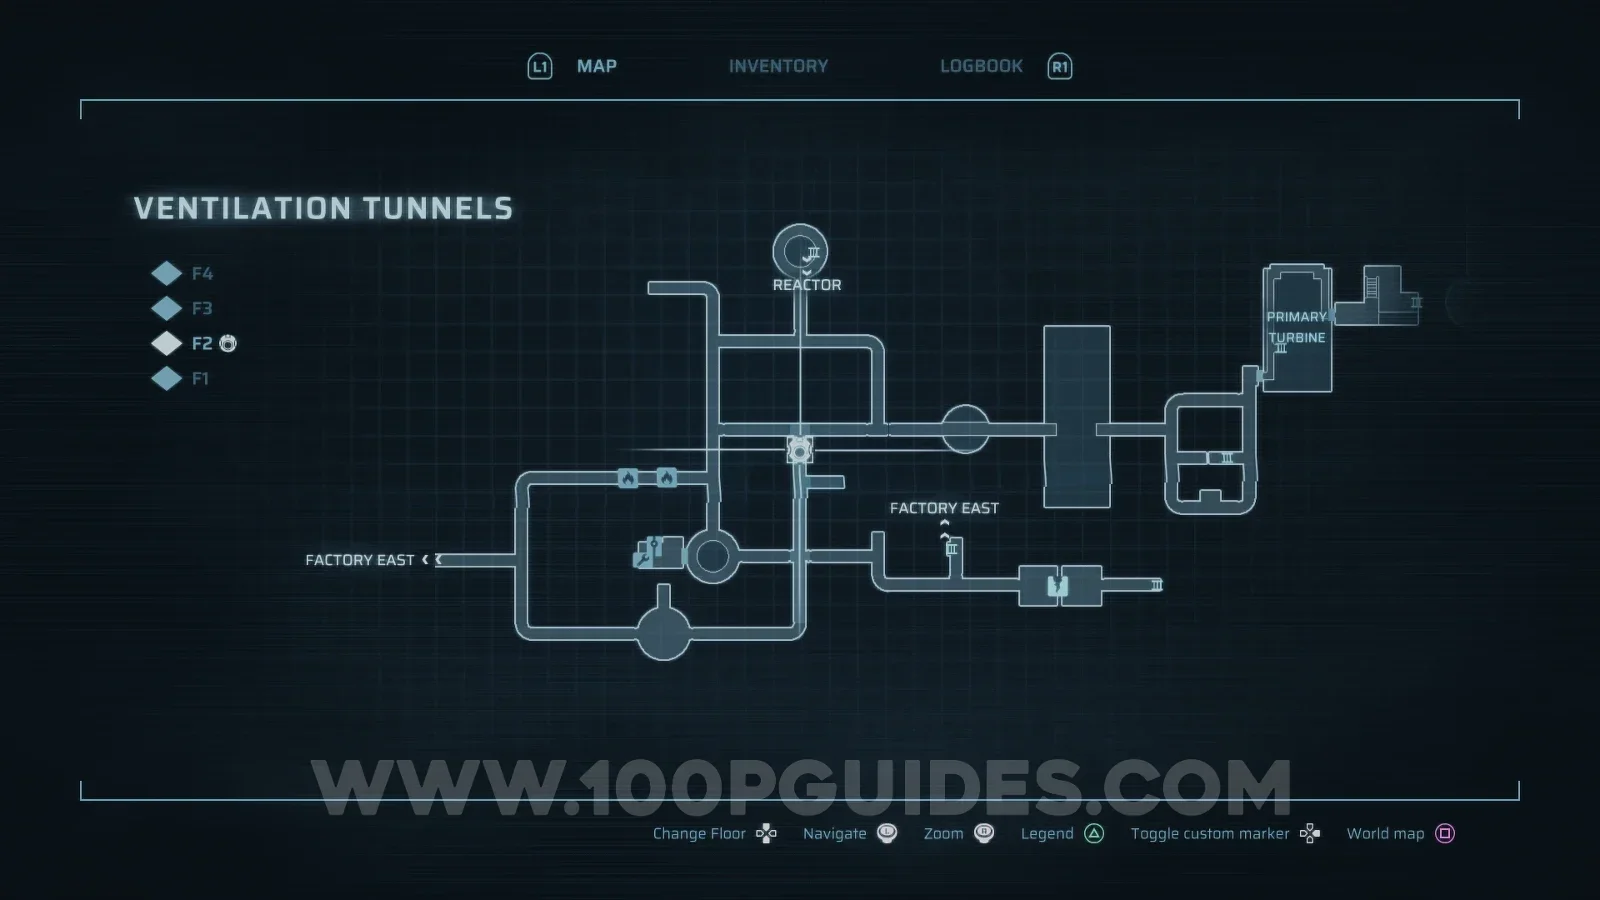
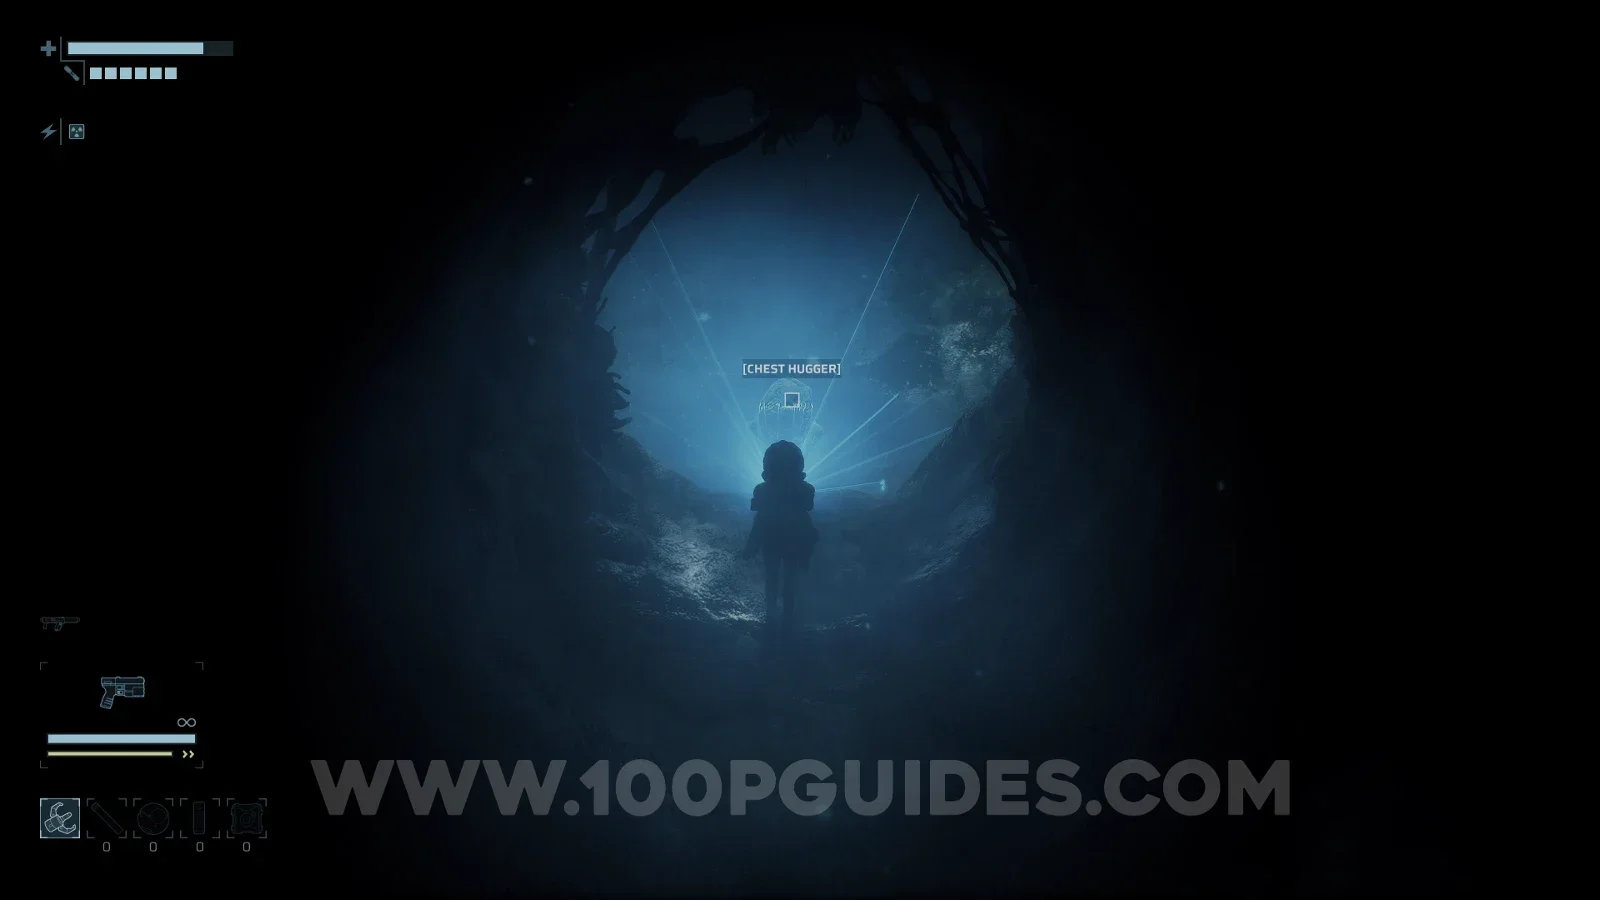
Chest Hugger

Ventilation Tunnels > F2
End of Abyss 100% Logbook Checklist Screenshot 73 End of Abyss 100% Logbook Checklist Screenshot 74
CR-022

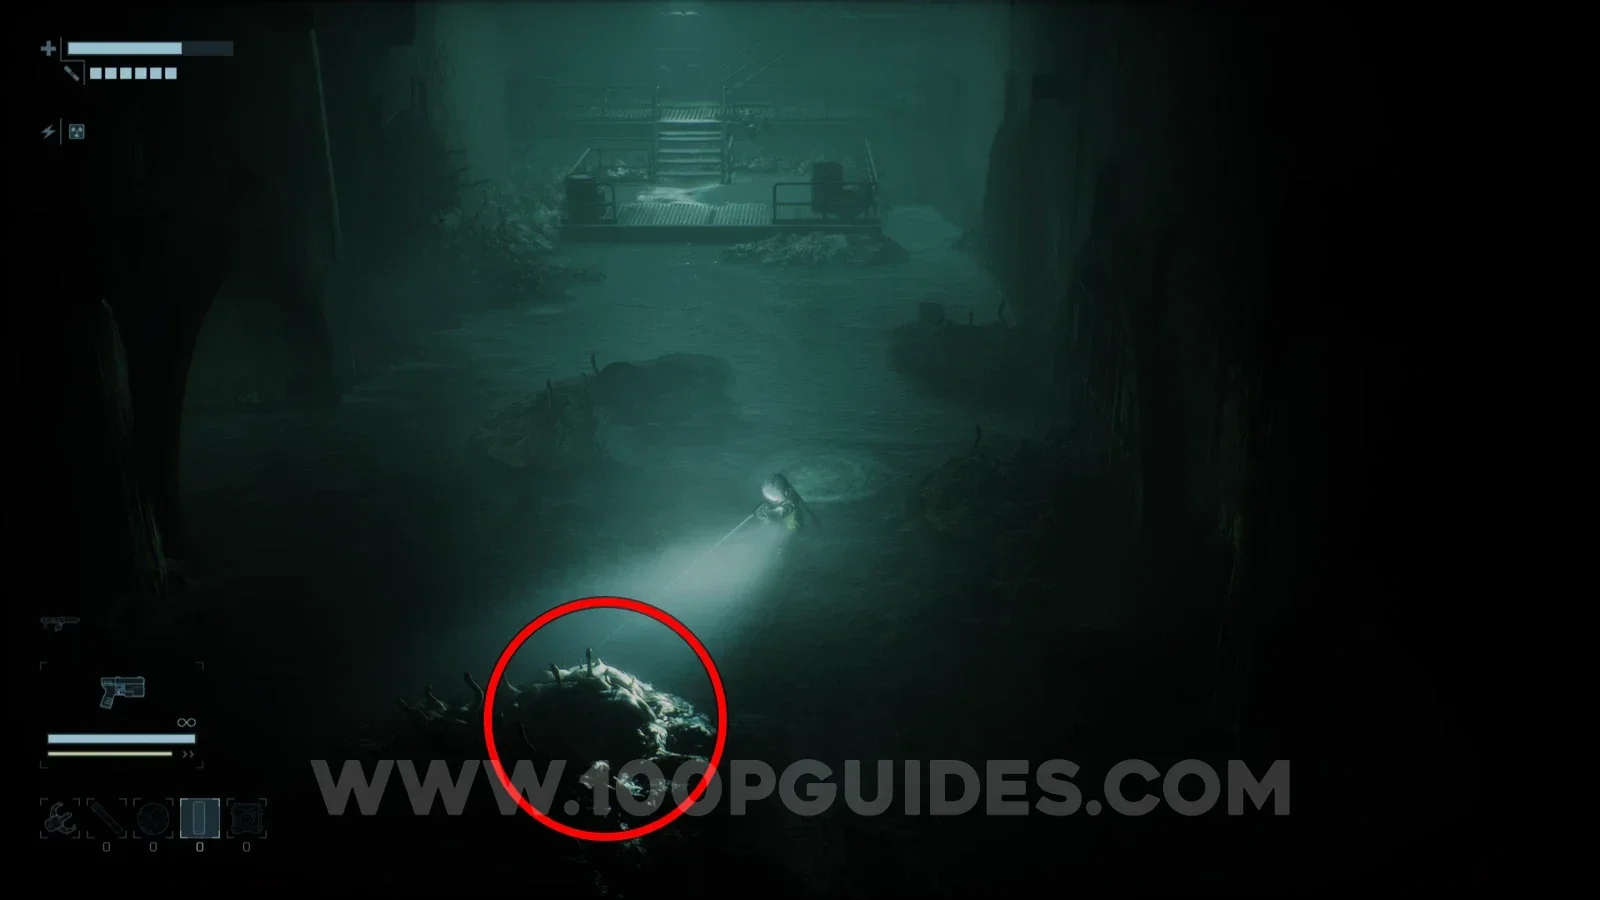
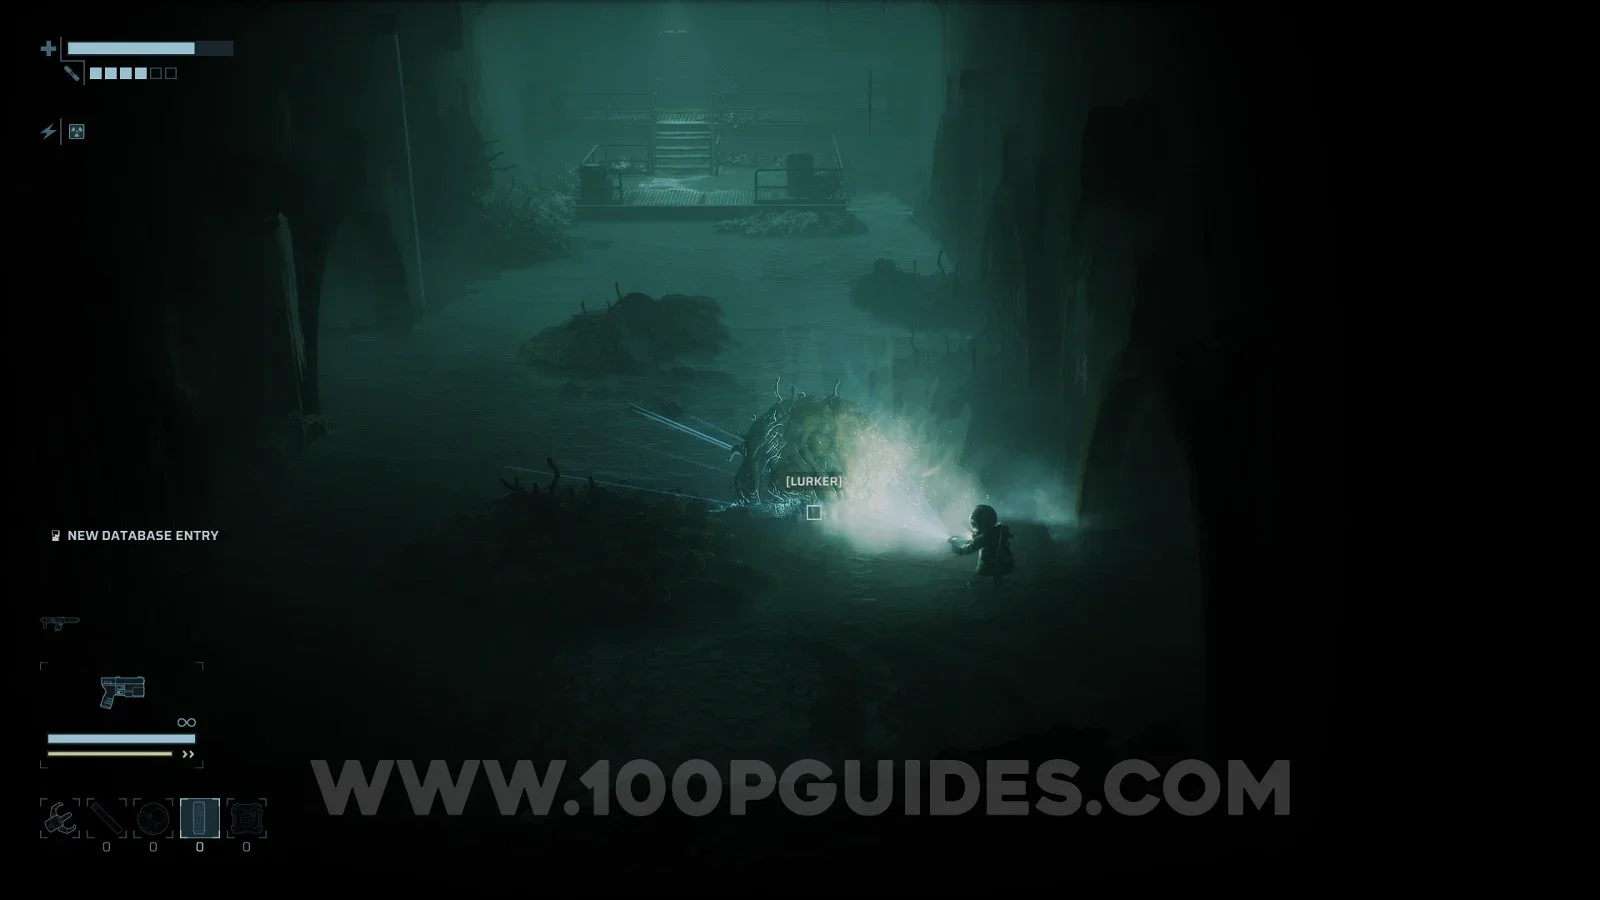
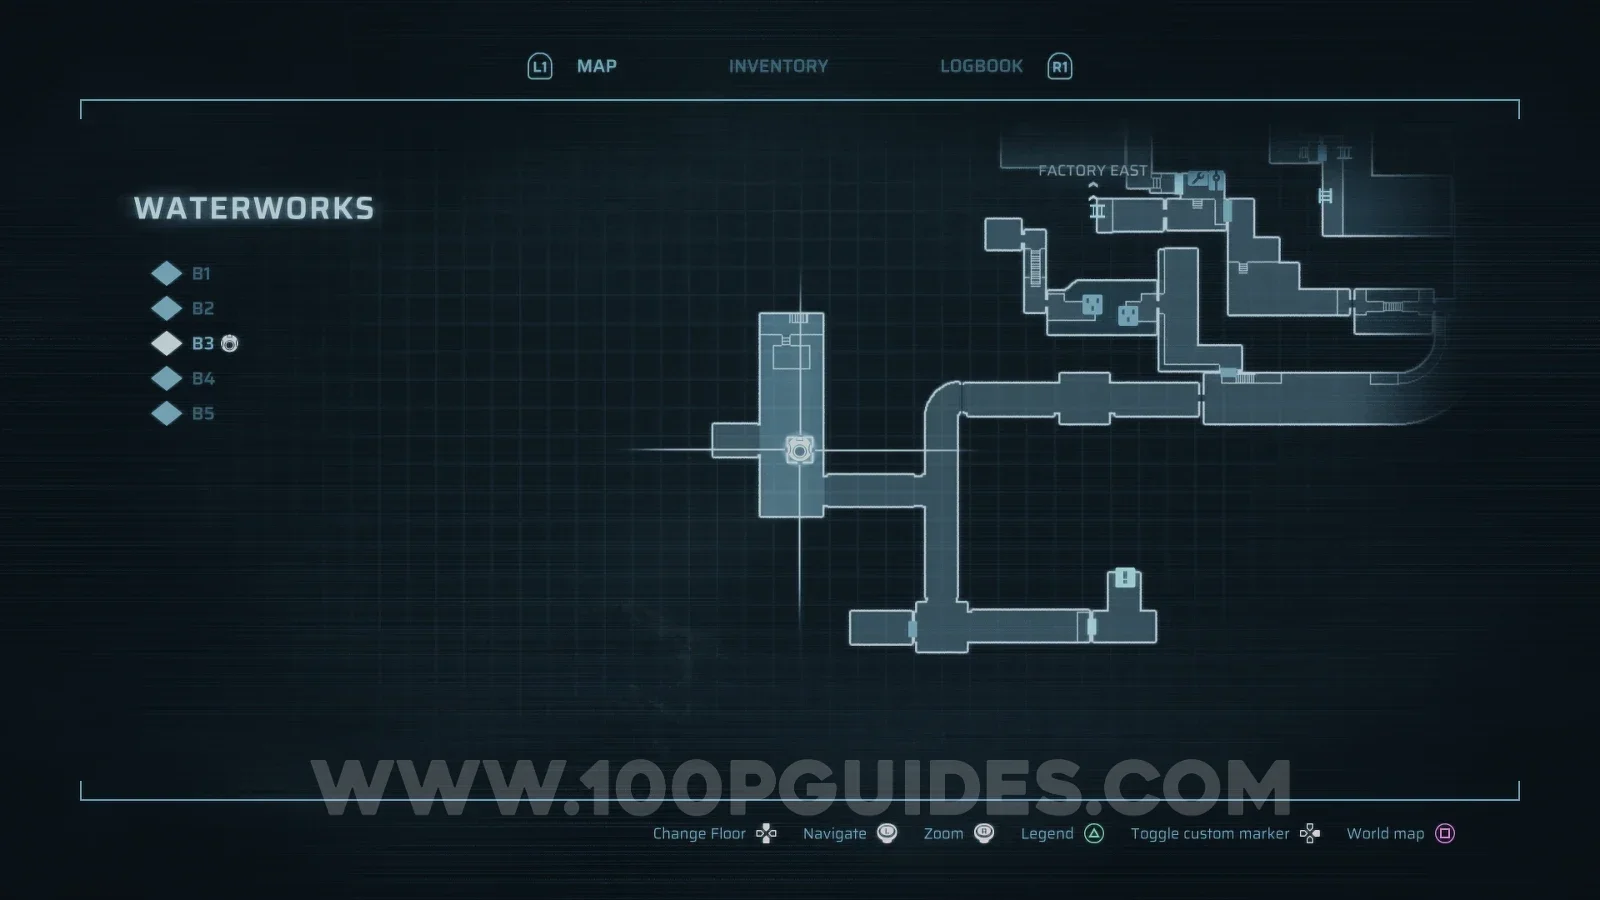
Lurker

Waterworks > B3

You will need to shoot it before you can scan it.
End of Abyss 100% Logbook Checklist Screenshot 75 End of Abyss 100% Logbook Checklist Screenshot 76 End of Abyss 100% Logbook Checklist Screenshot 77
CR-023

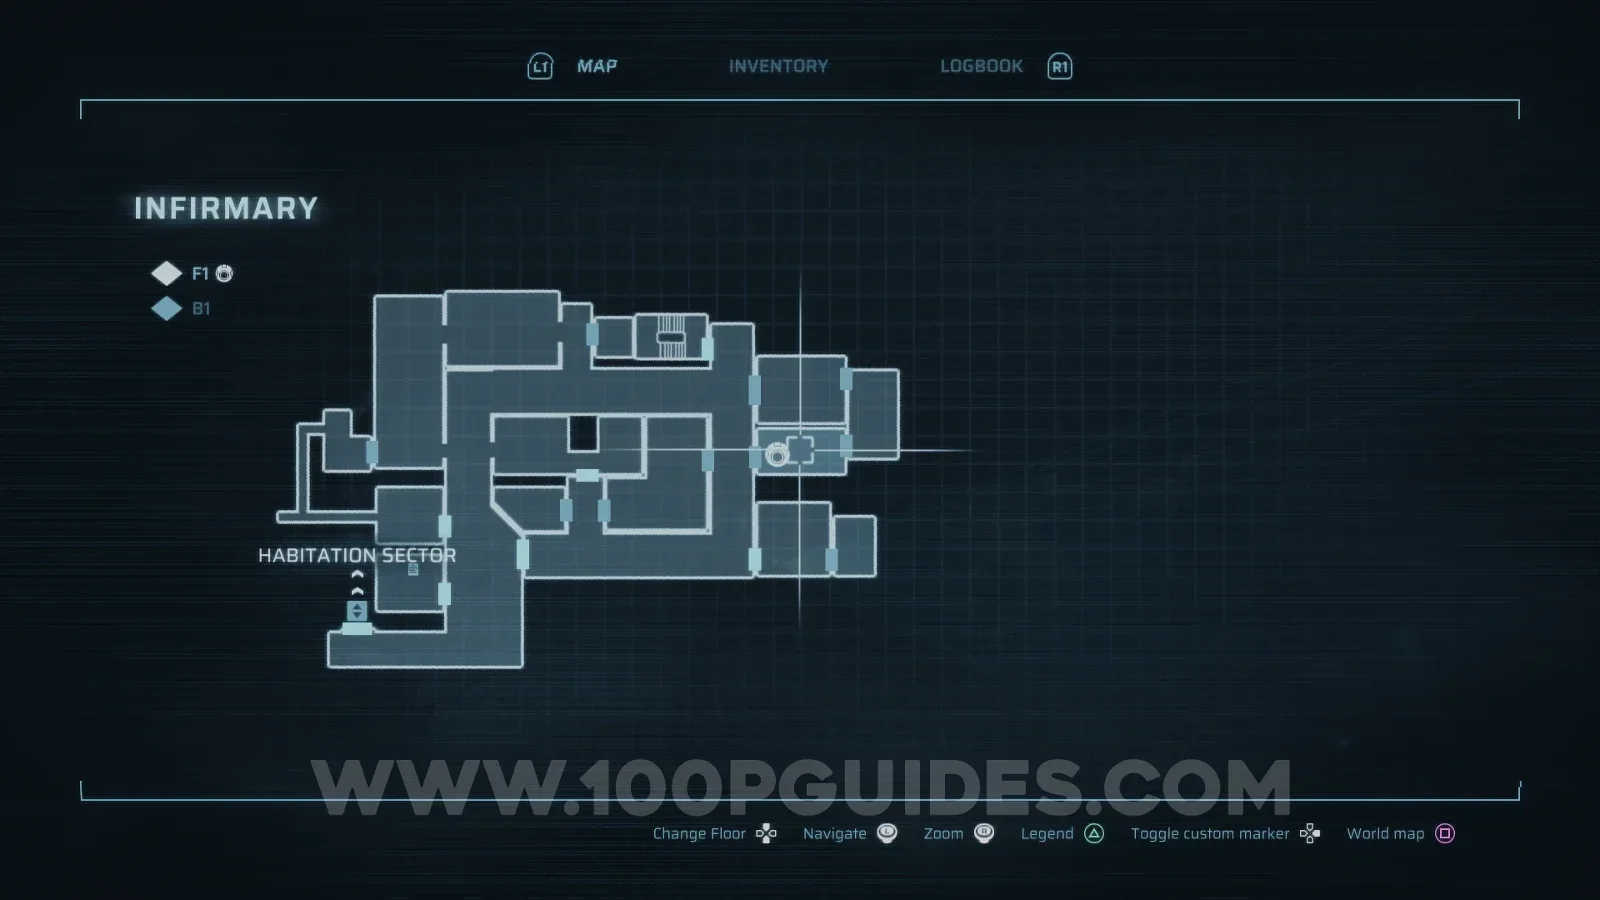
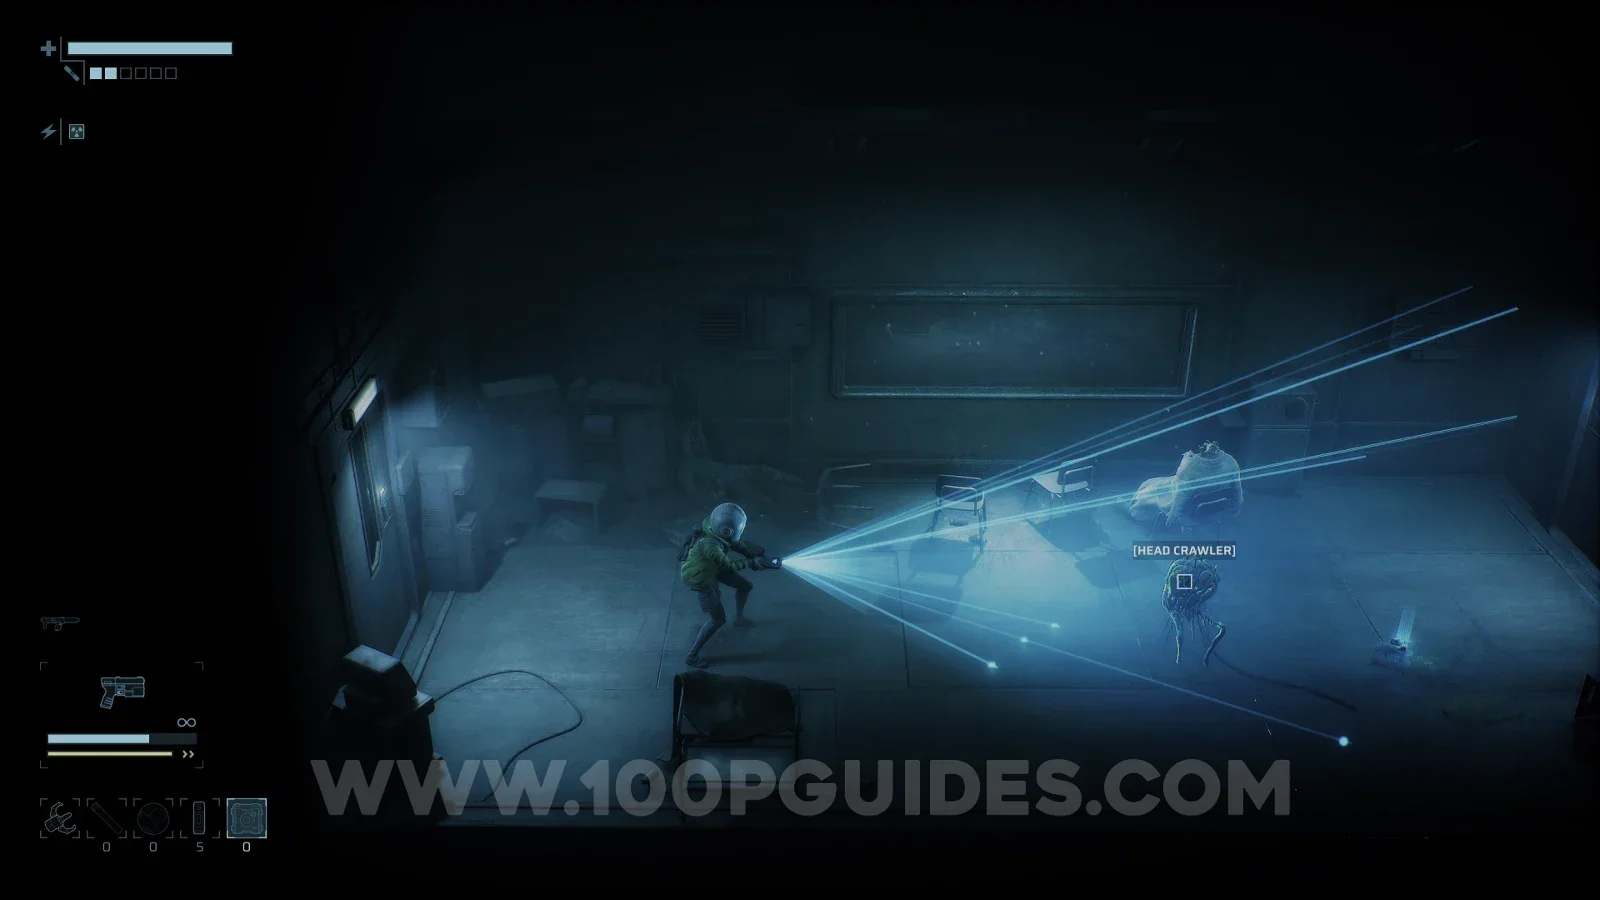
Head Crawler

Infirmary > F1
End of Abyss 100% Logbook Checklist Screenshot 19 End of Abyss 100% Logbook Checklist Screenshot 20
CR-024

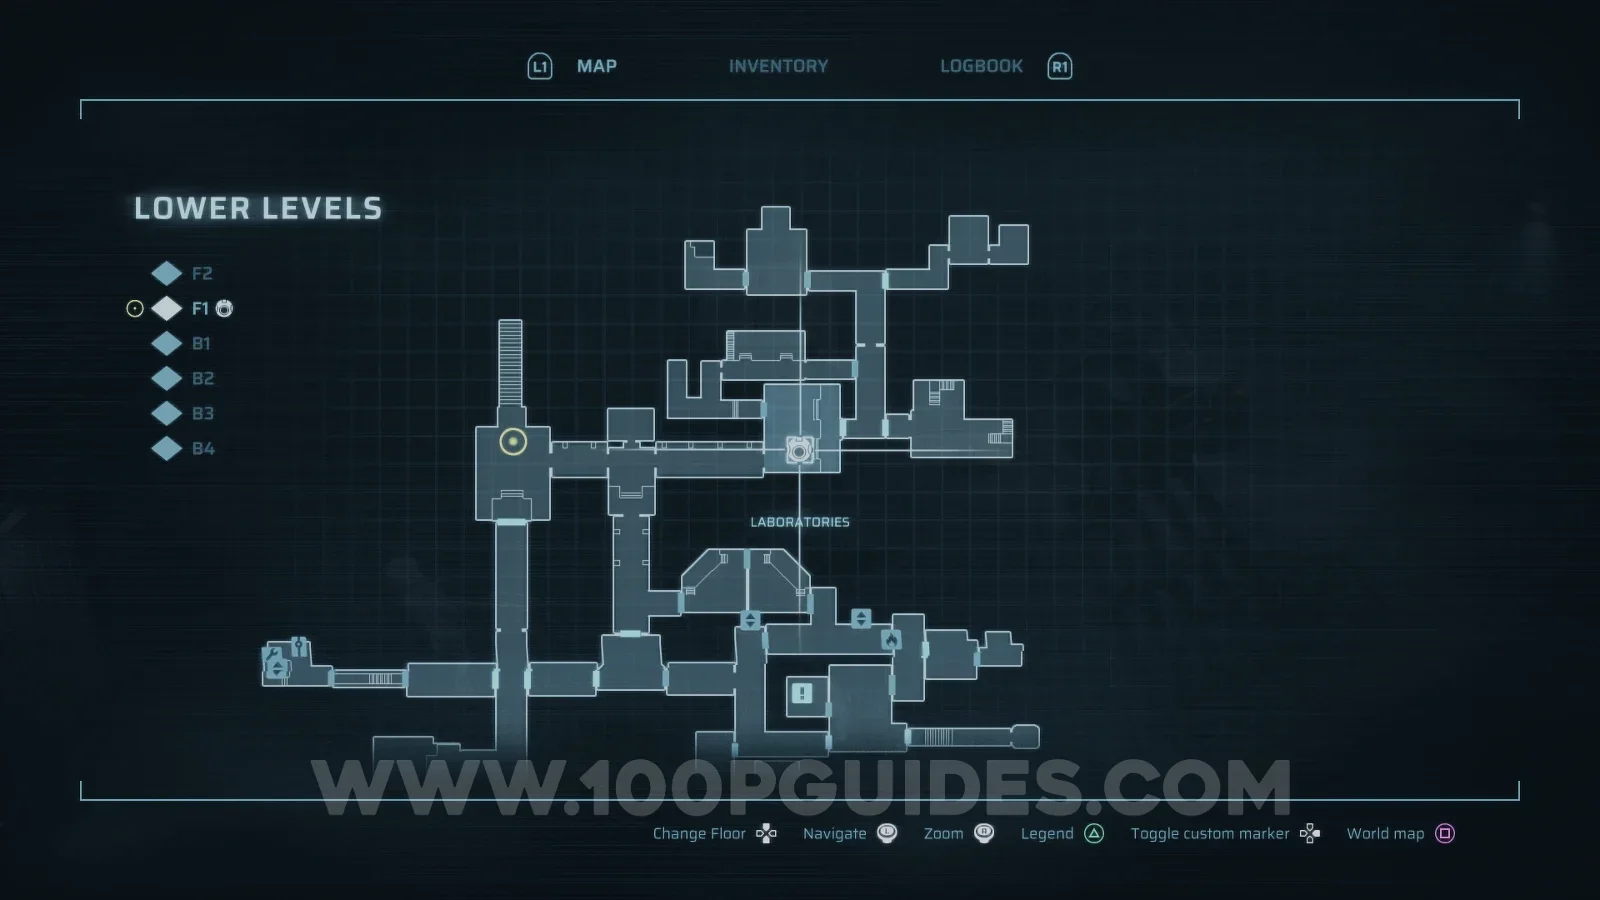
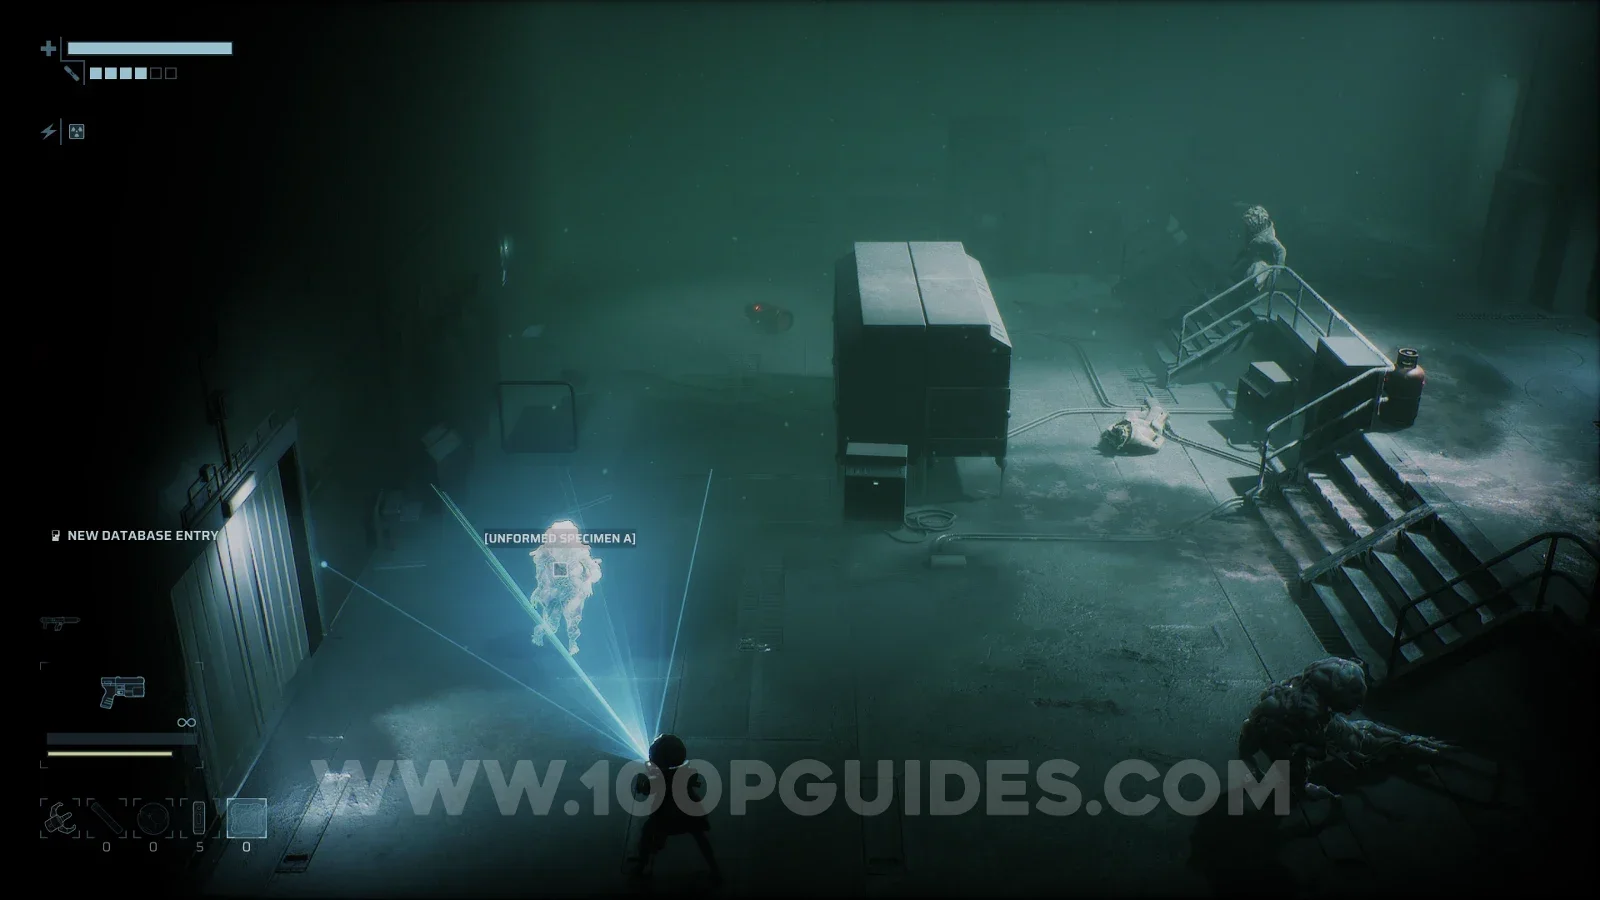
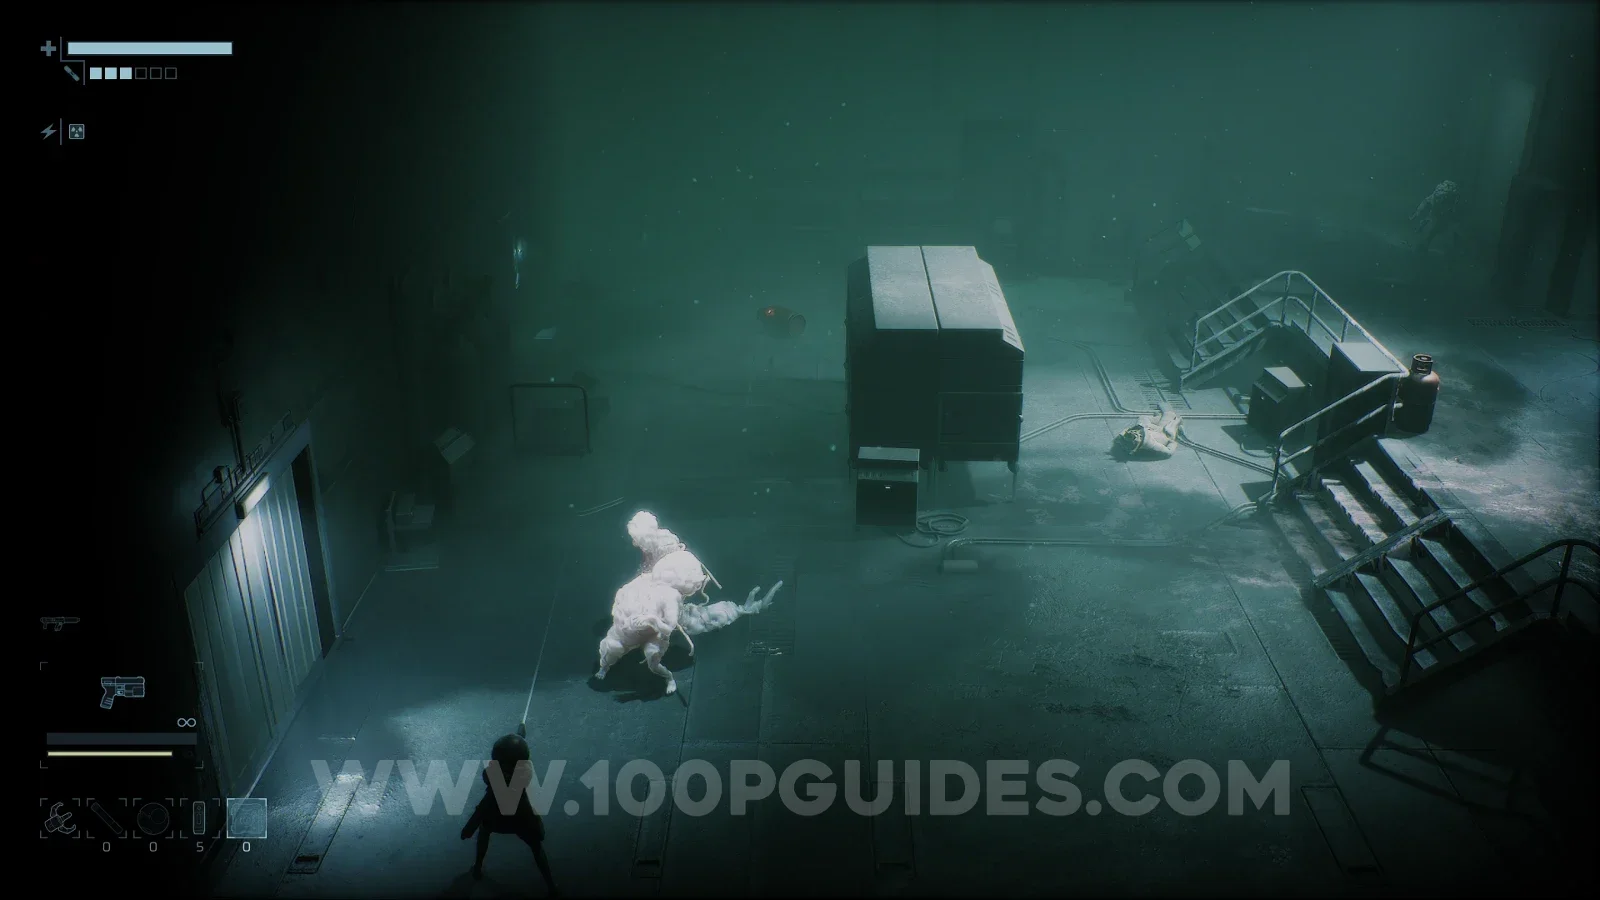
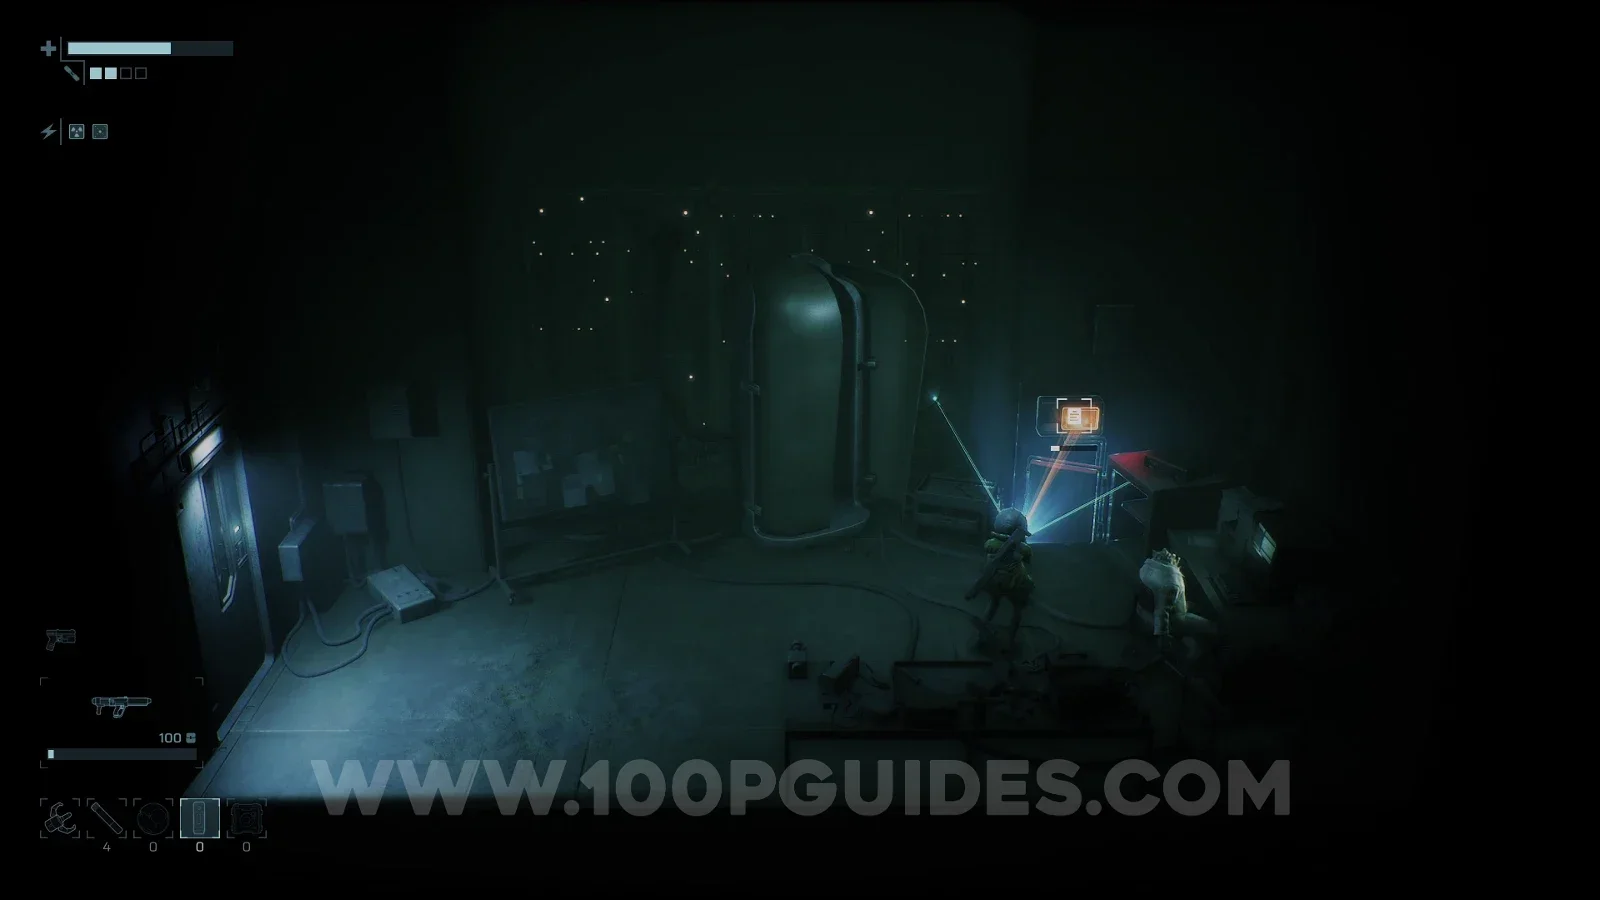
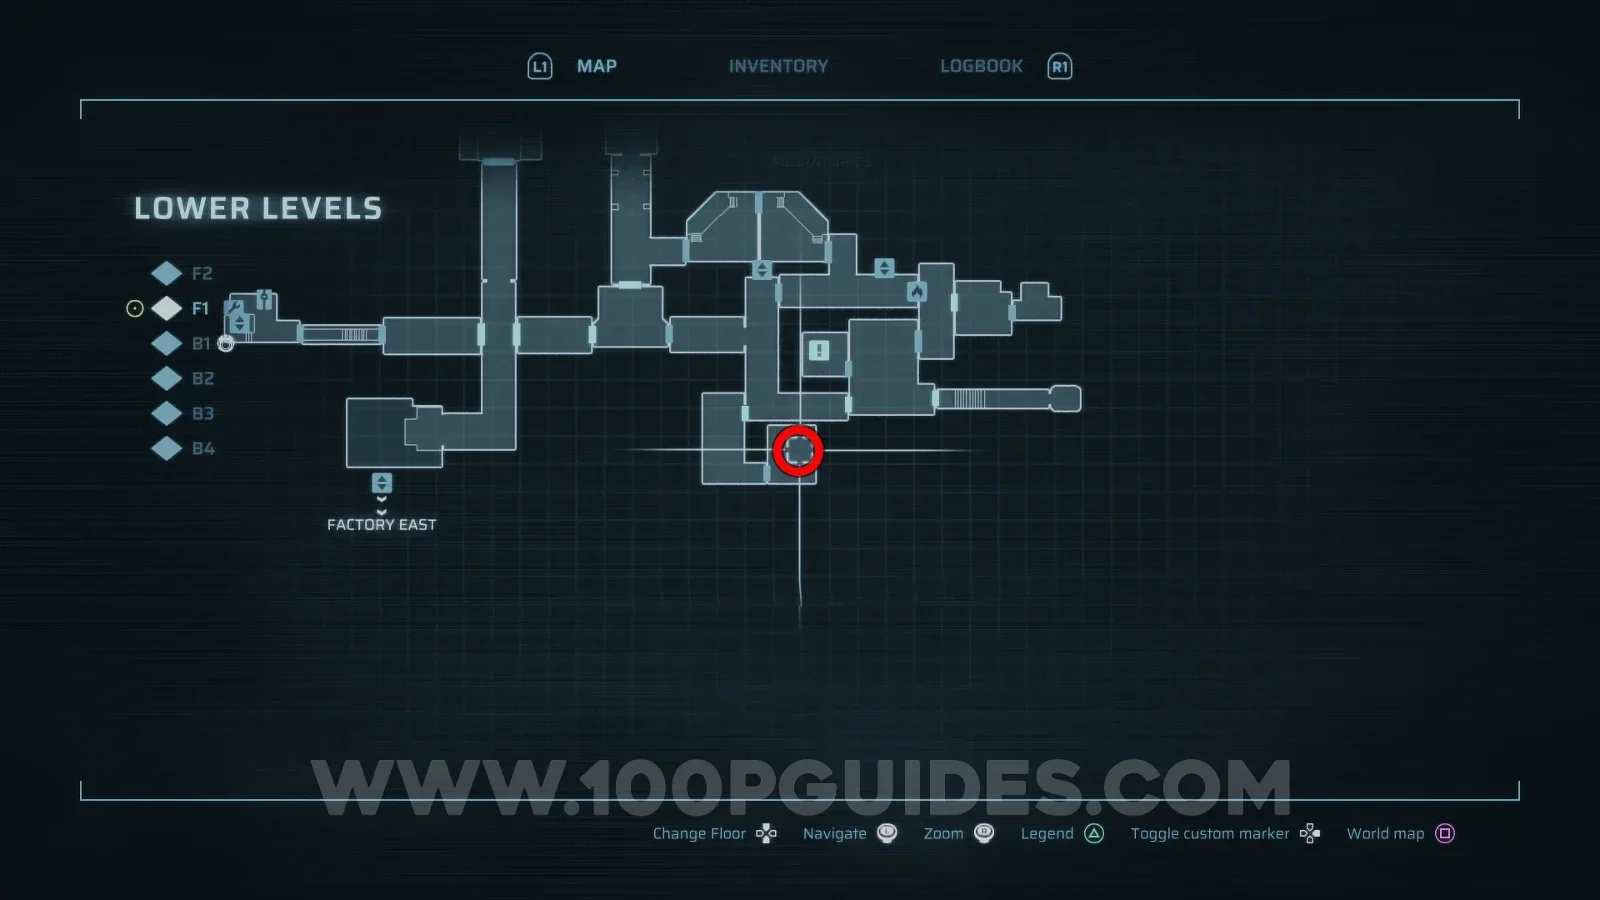
Unformed Specimen A

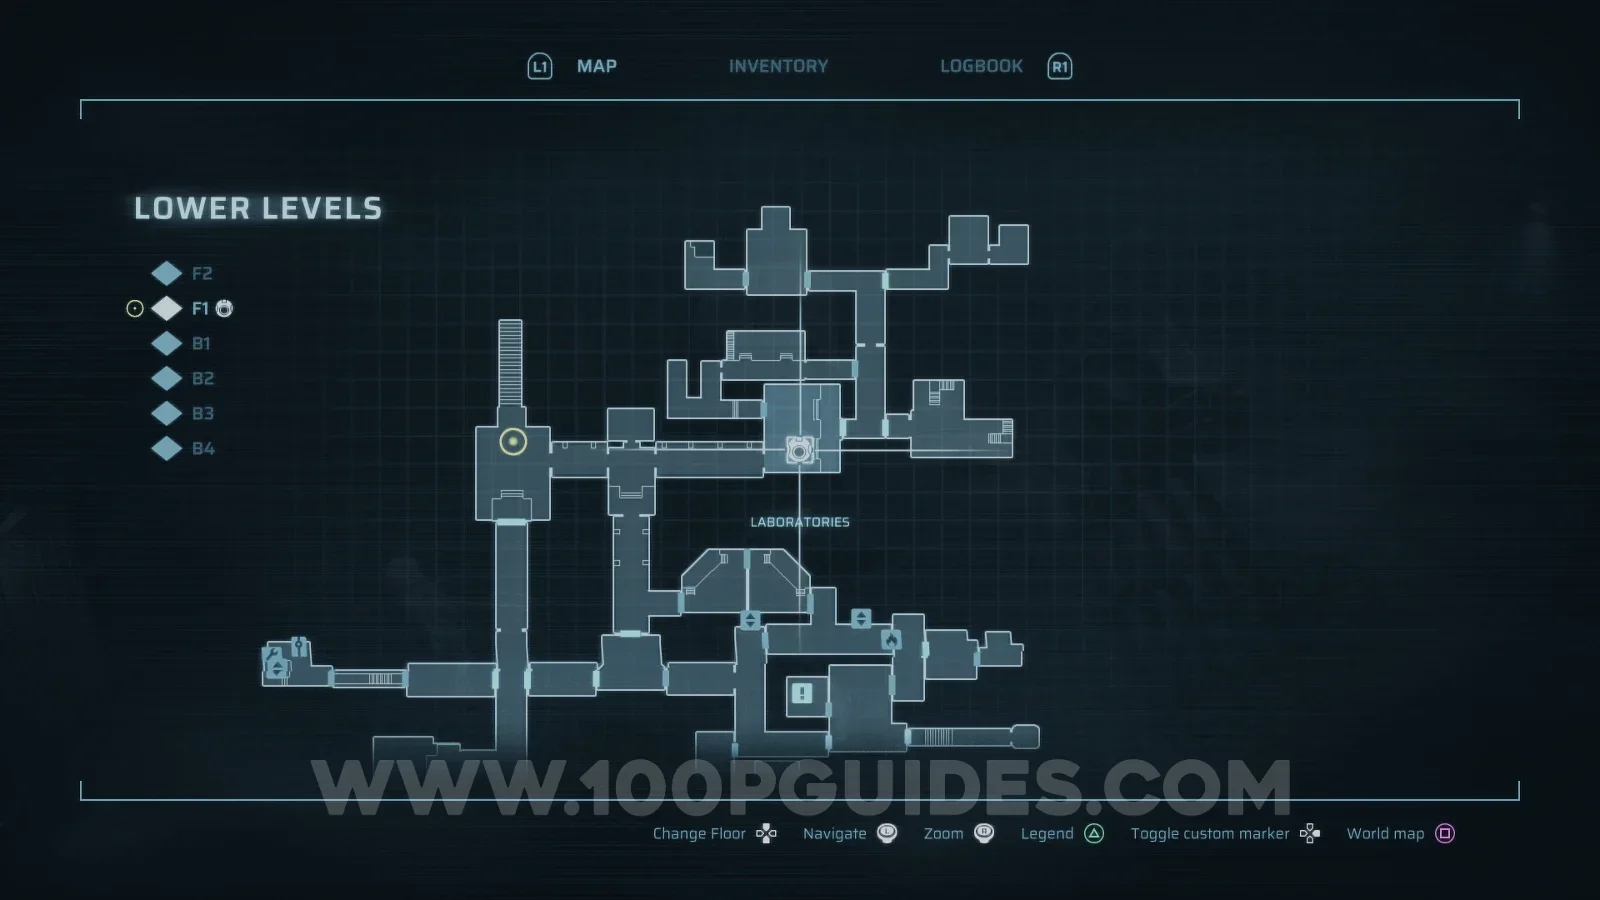
Lower Levels > F1
End of Abyss 100% Logbook Checklist Screenshot 78 End of Abyss 100% Logbook Checklist Screenshot 79
CR-025

Unformed Specimen B

Lower Levels > F1
End of Abyss 100% Logbook Checklist Screenshot 80 End of Abyss 100% Logbook Checklist Screenshot 81
CR-026

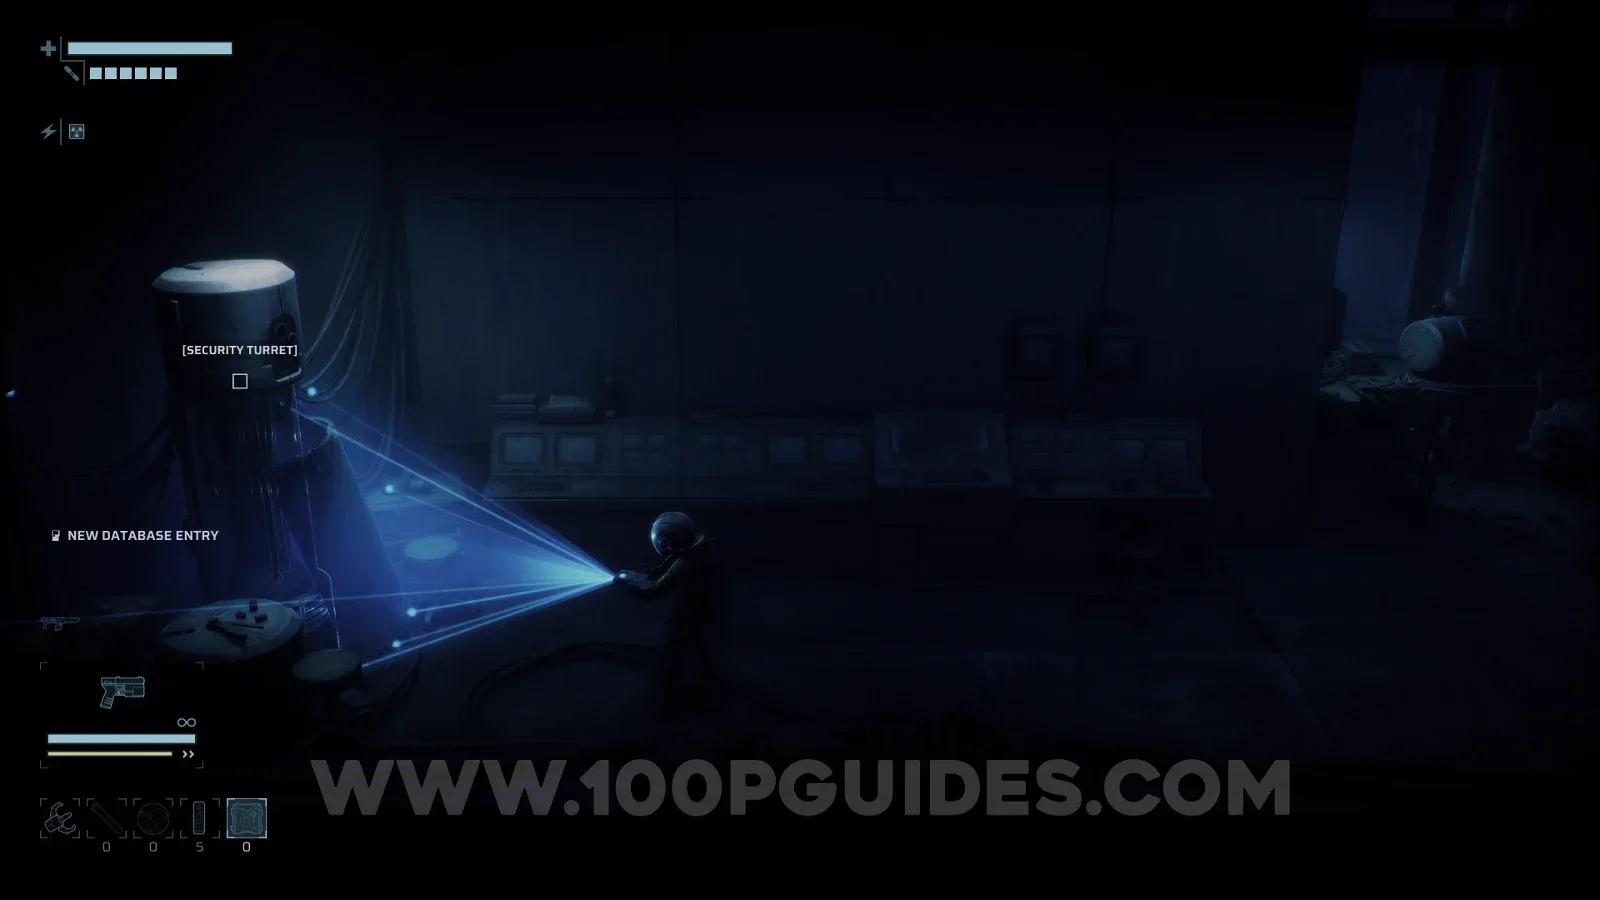
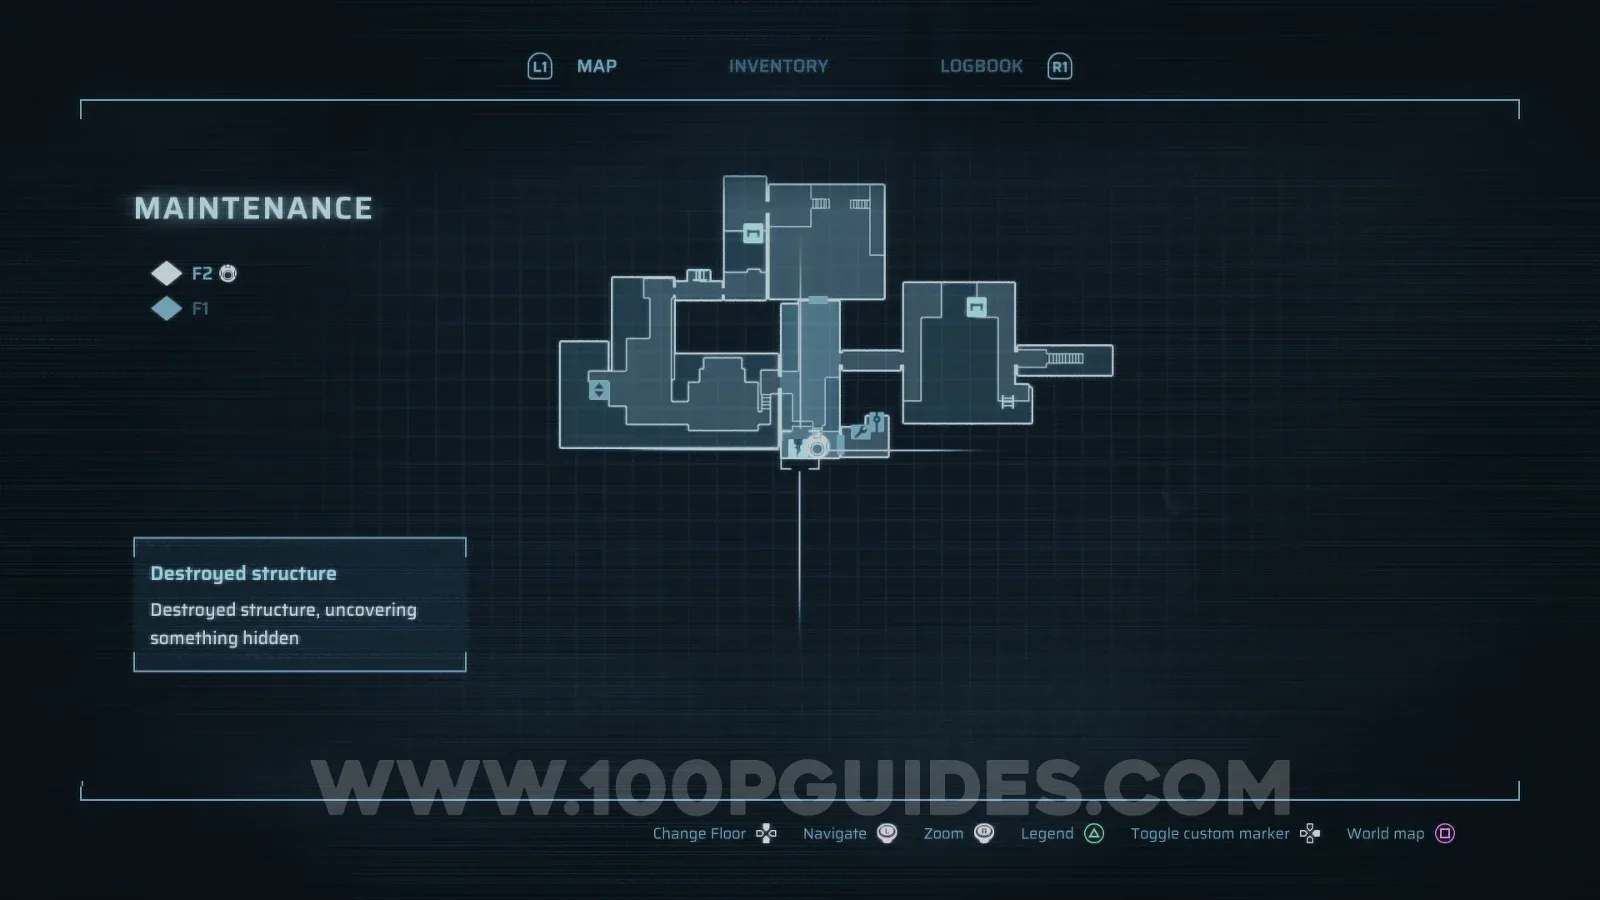
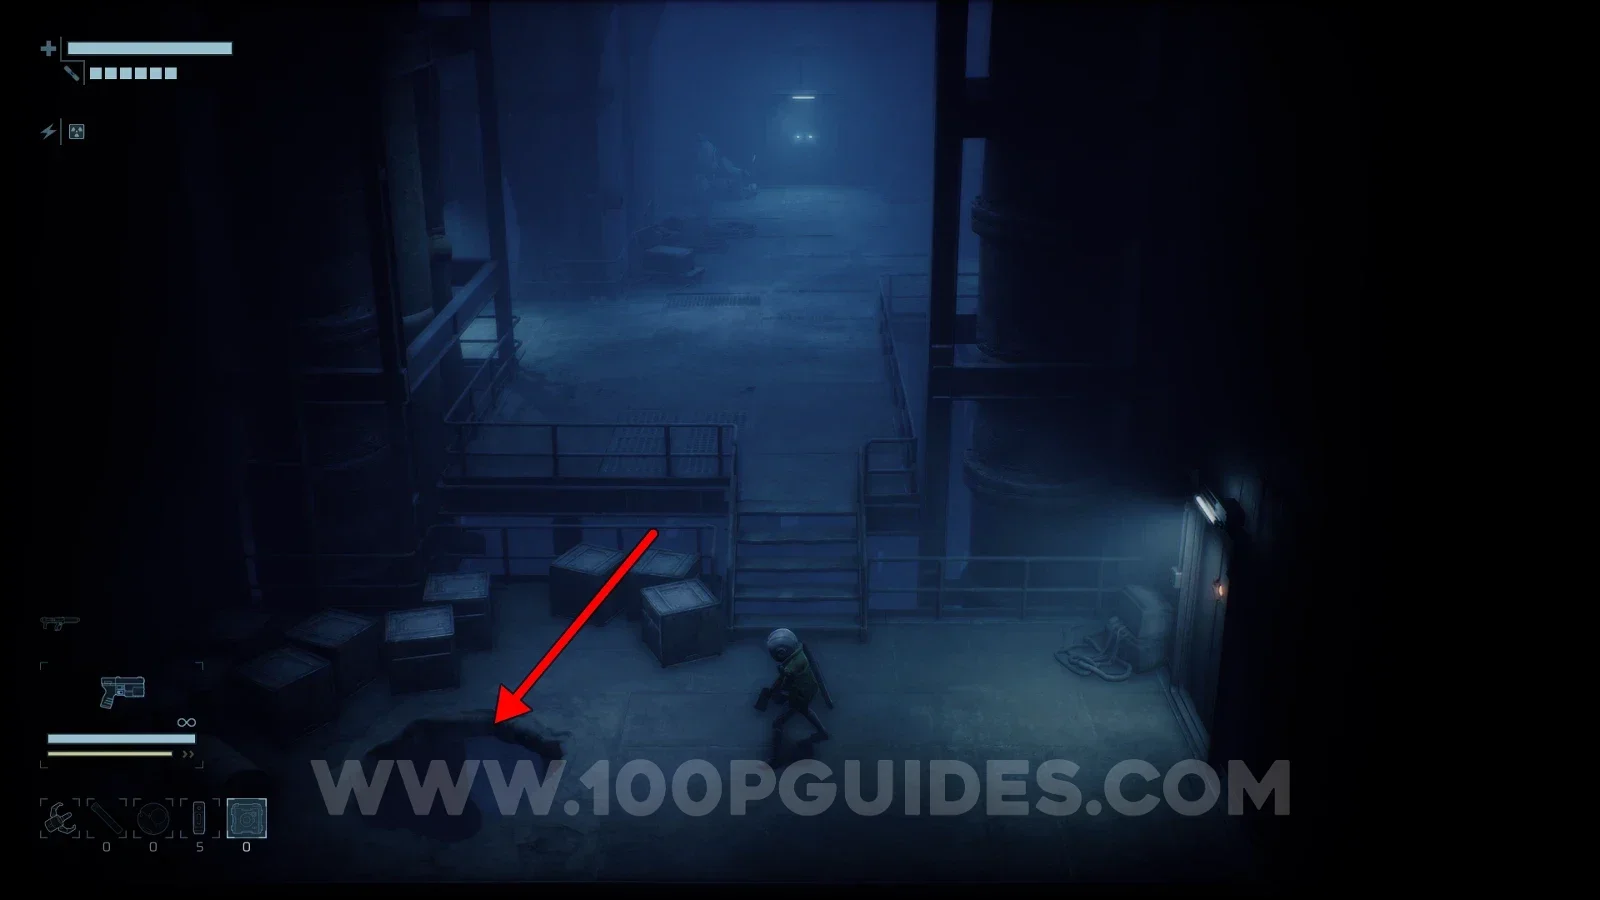
Security Turret

Maintenance > F1

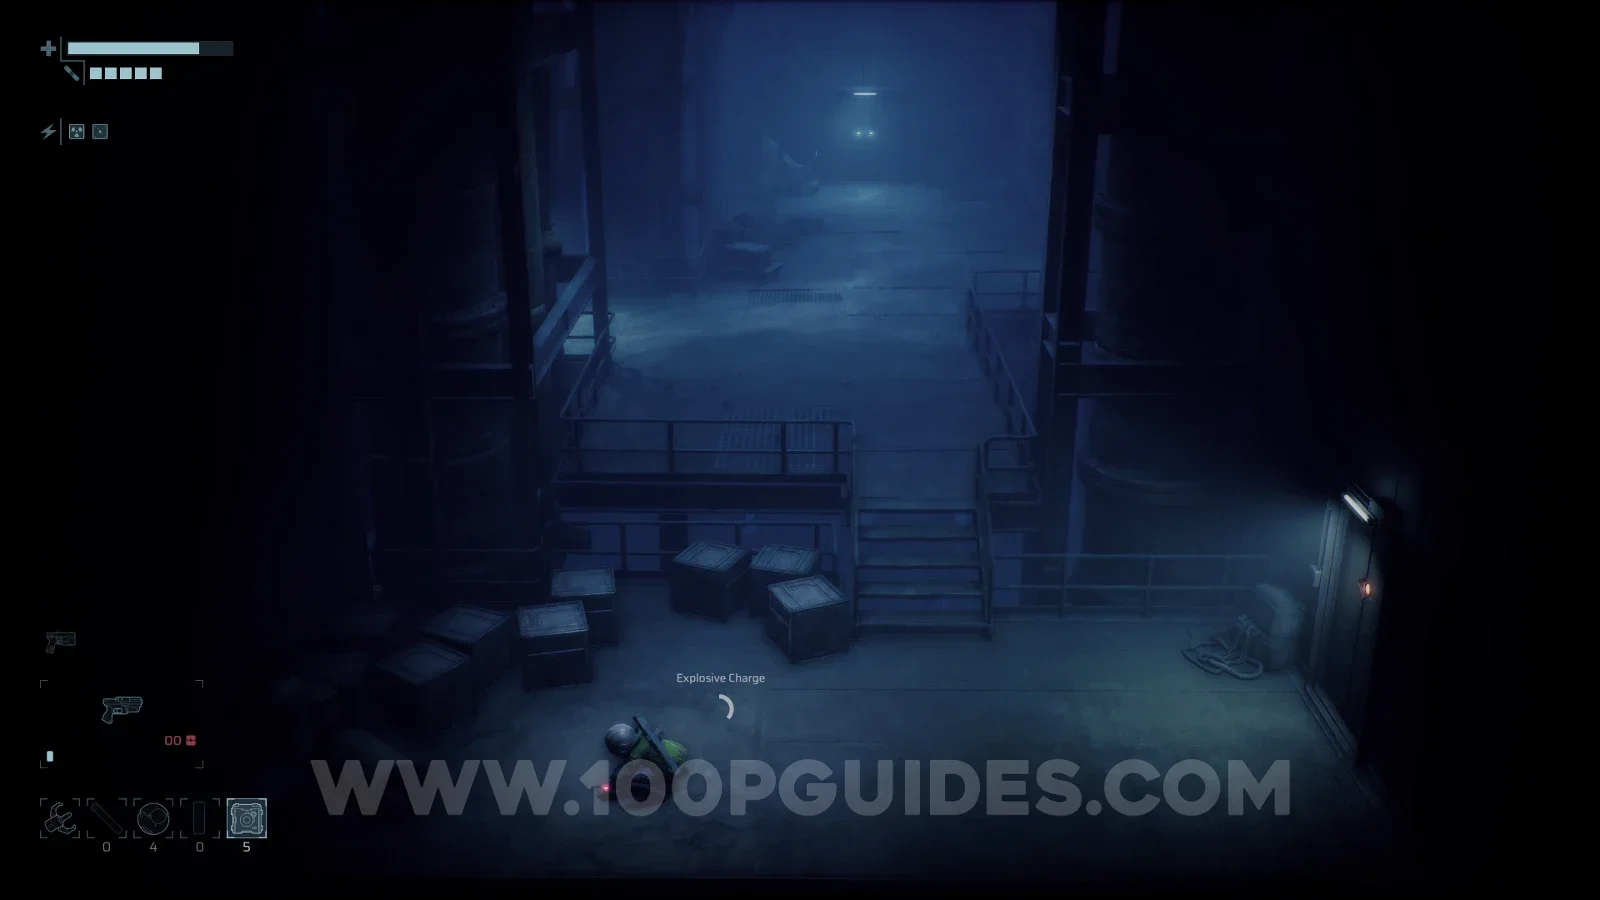
Use an explosive charge to blow a hole through the floor next to the safe room on F2. You will find the disabled turret to the left in the room below.
End of Abyss 100% Logbook Checklist Screenshot 82 End of Abyss 100% Logbook Checklist Screenshot 83 End of Abyss 100% Logbook Checklist Screenshot 84
CR-027

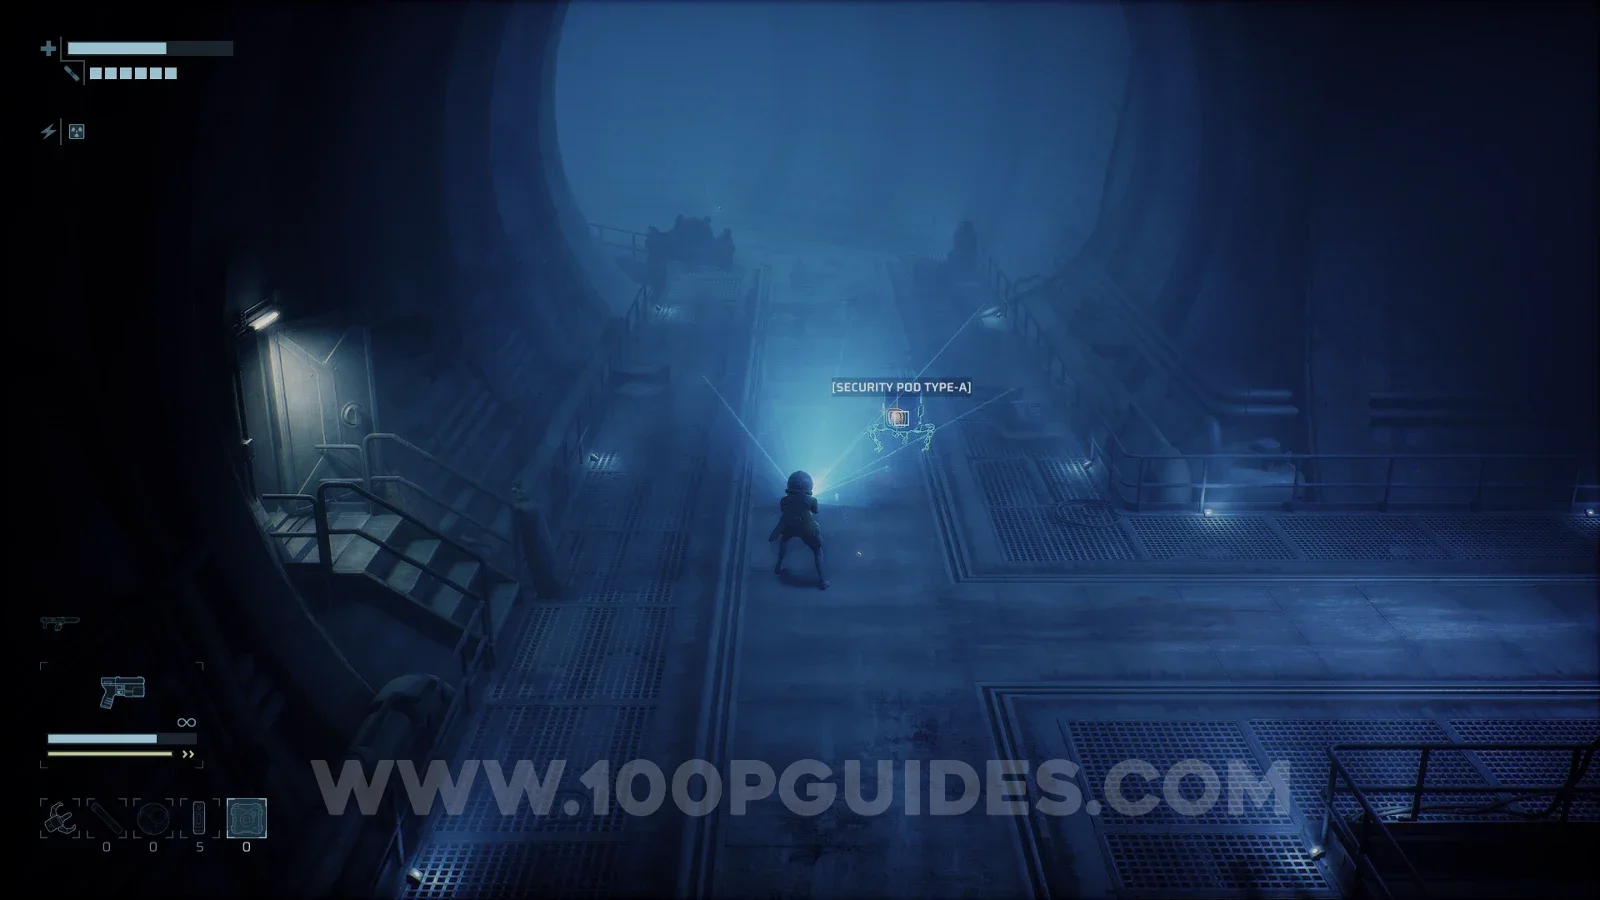
Security Pod Type-A

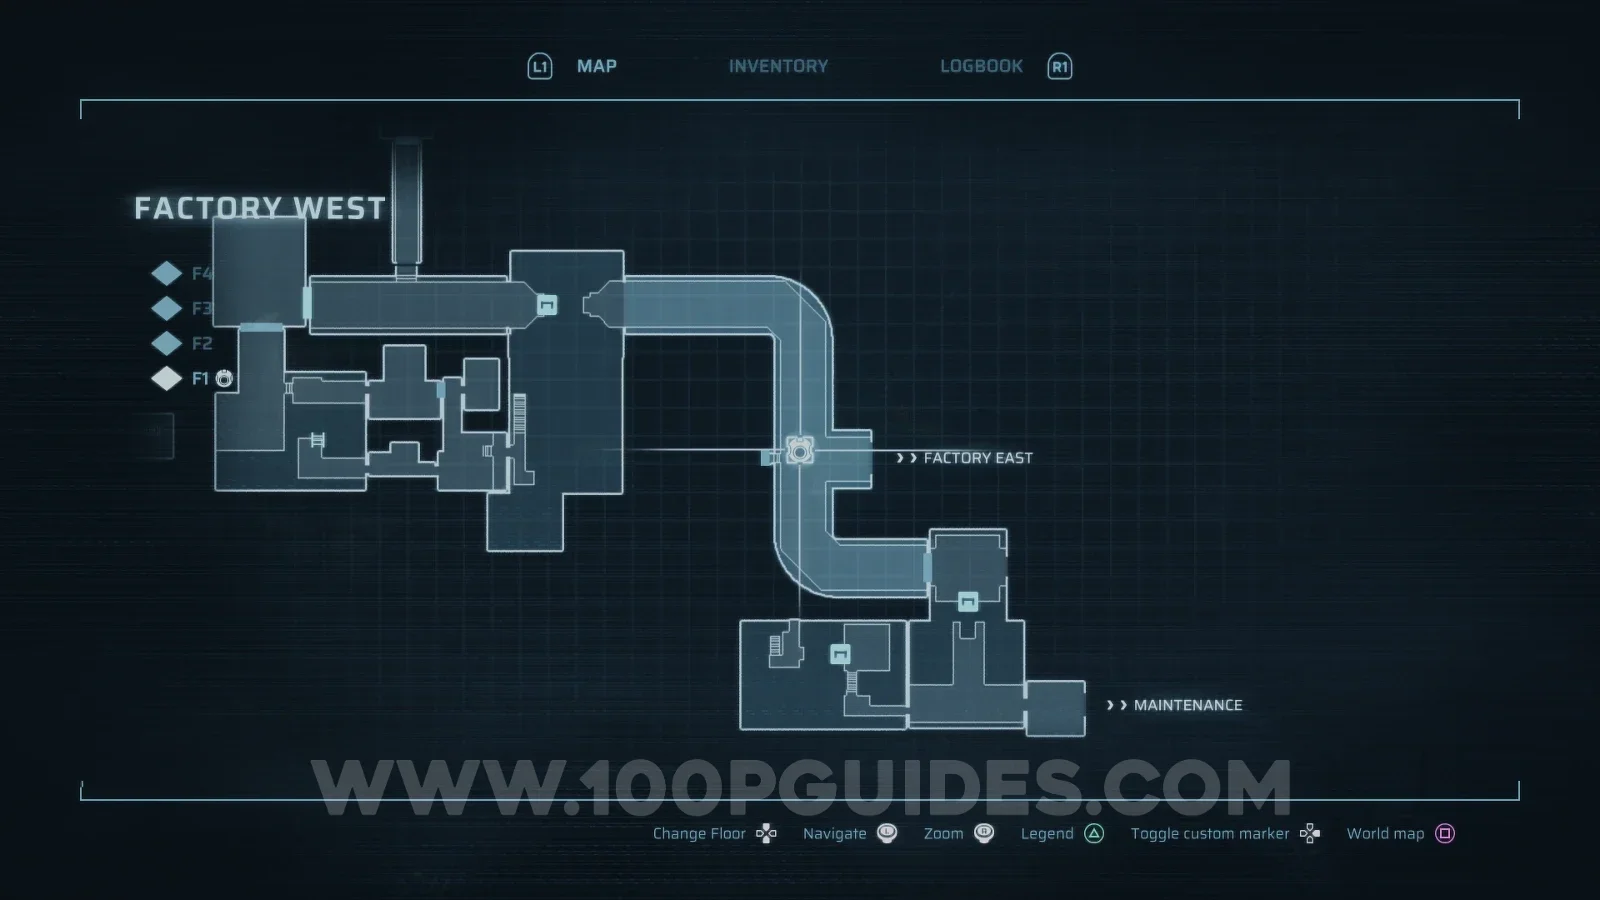
Factory West > F1
End of Abyss 100% Logbook Checklist Screenshot 85 End of Abyss 100% Logbook Checklist Screenshot 86
CR-028

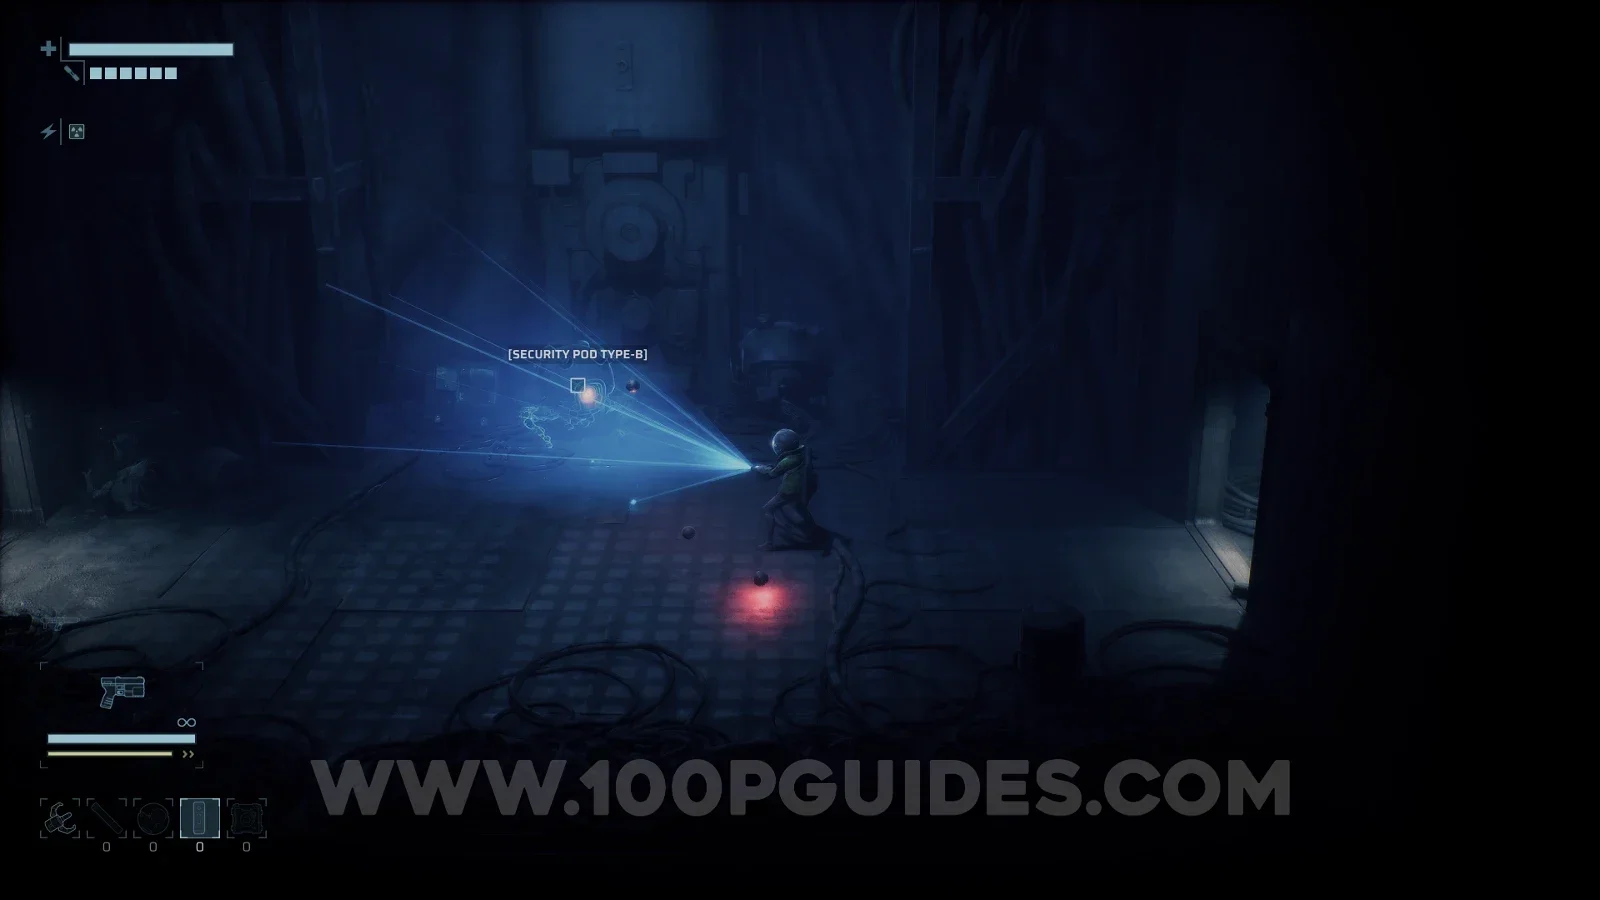
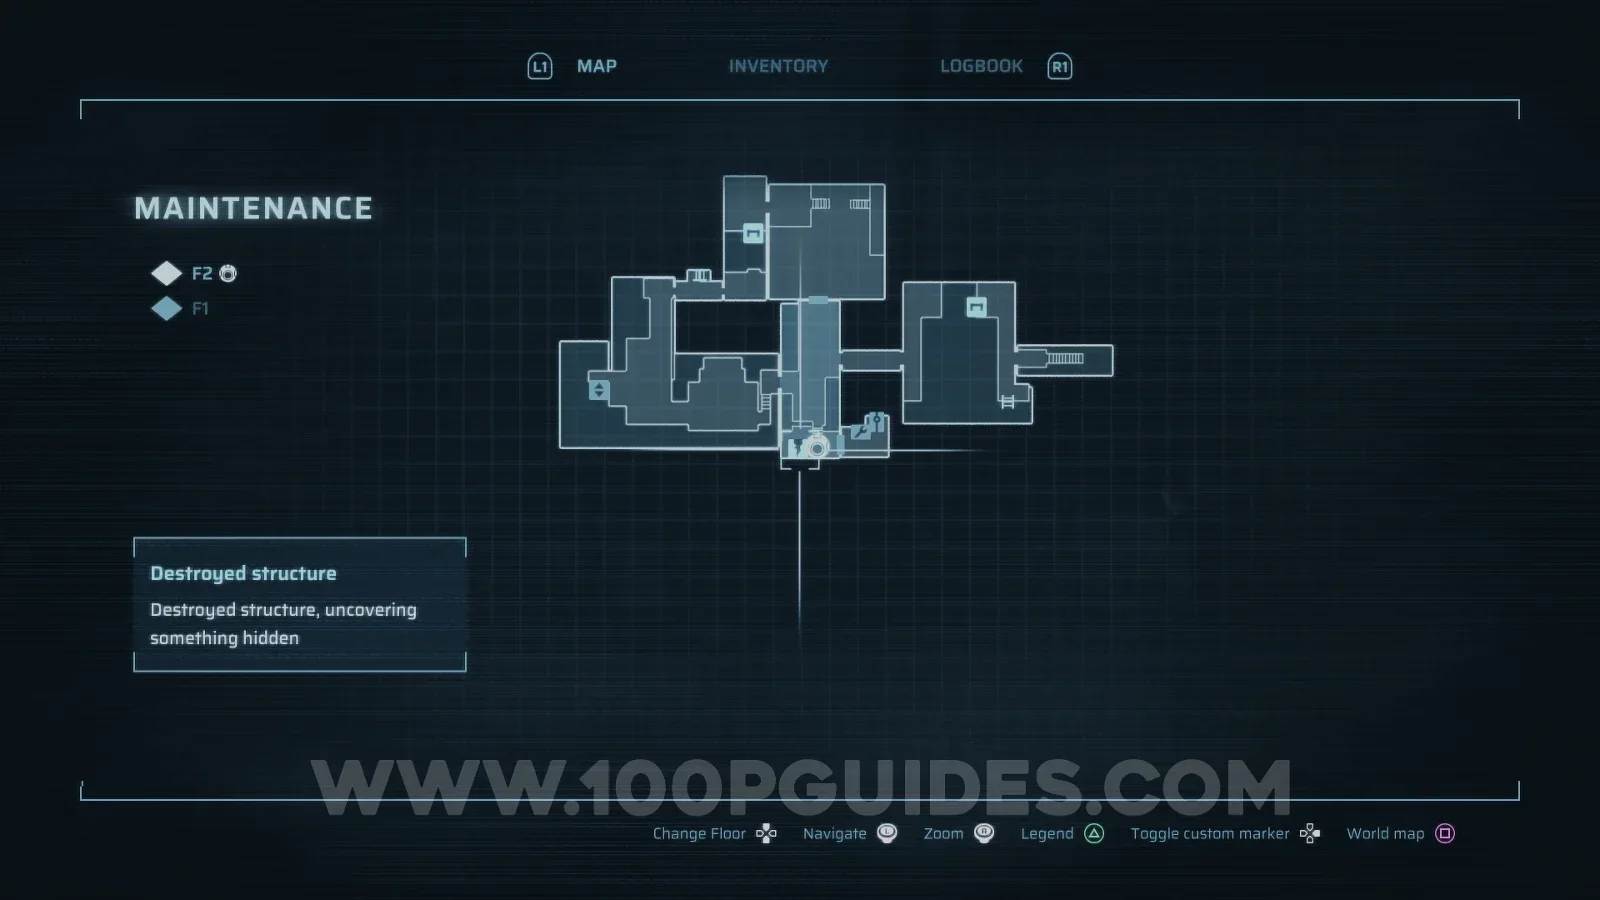
Security Pod Type-B

Maintenance > F1

Use an explosive charge to blow a hole through the floor next to the safe room on F2. Drop down through the hole and go through to the room on the left.
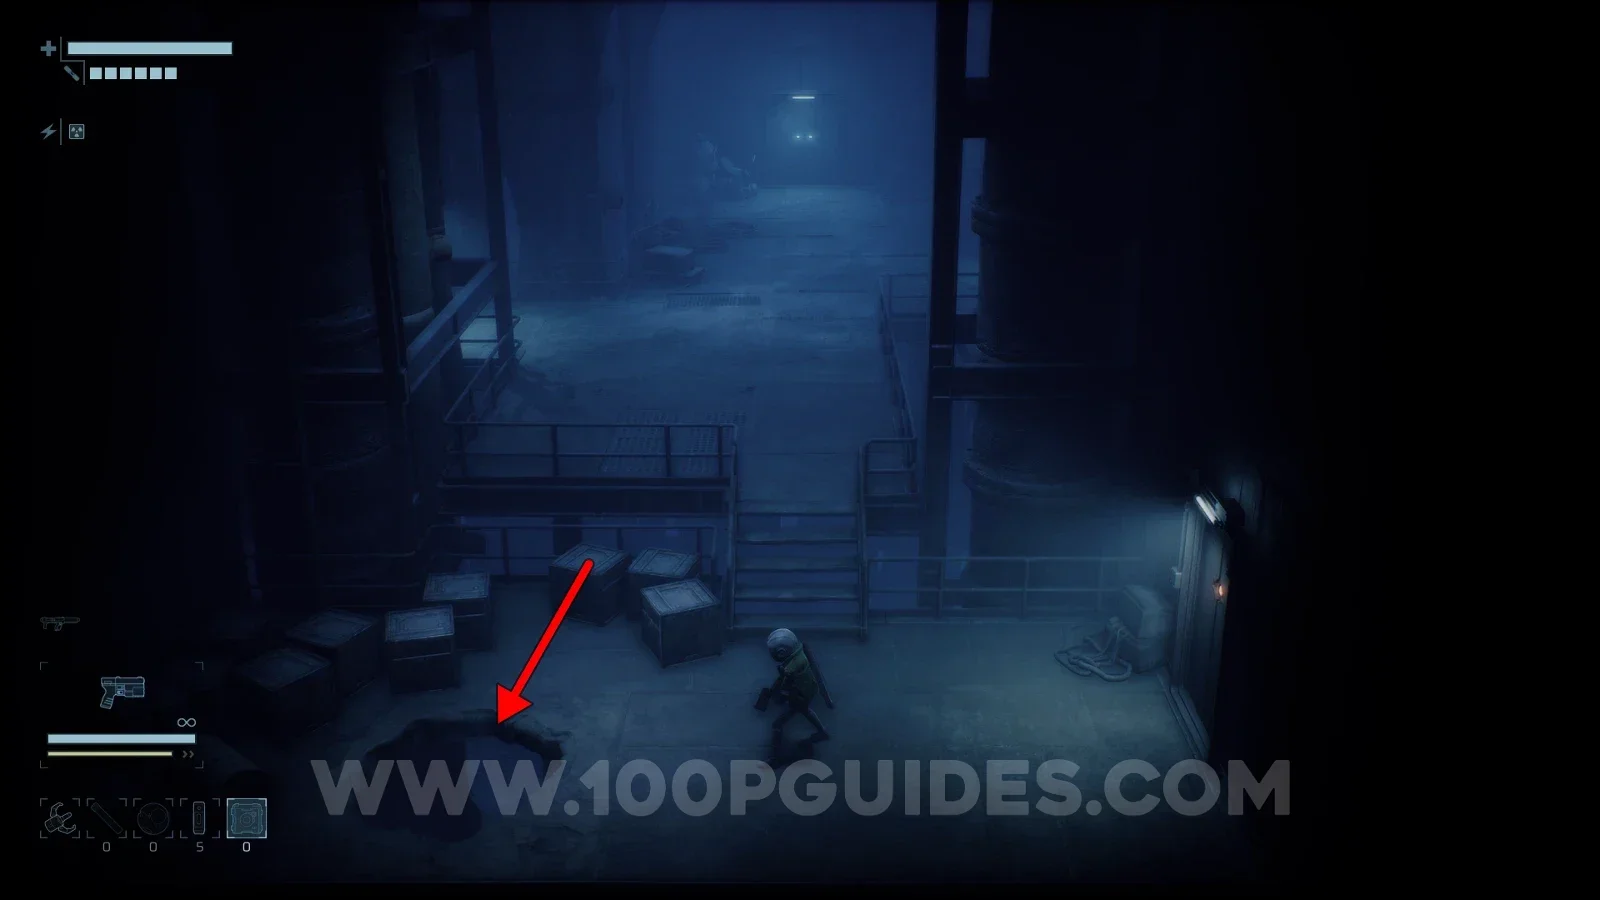
End of Abyss 100% Logbook Checklist Screenshot 87 End of Abyss 100% Logbook Checklist Screenshot 88 End of Abyss 100% Logbook Checklist Screenshot 89
CR-029

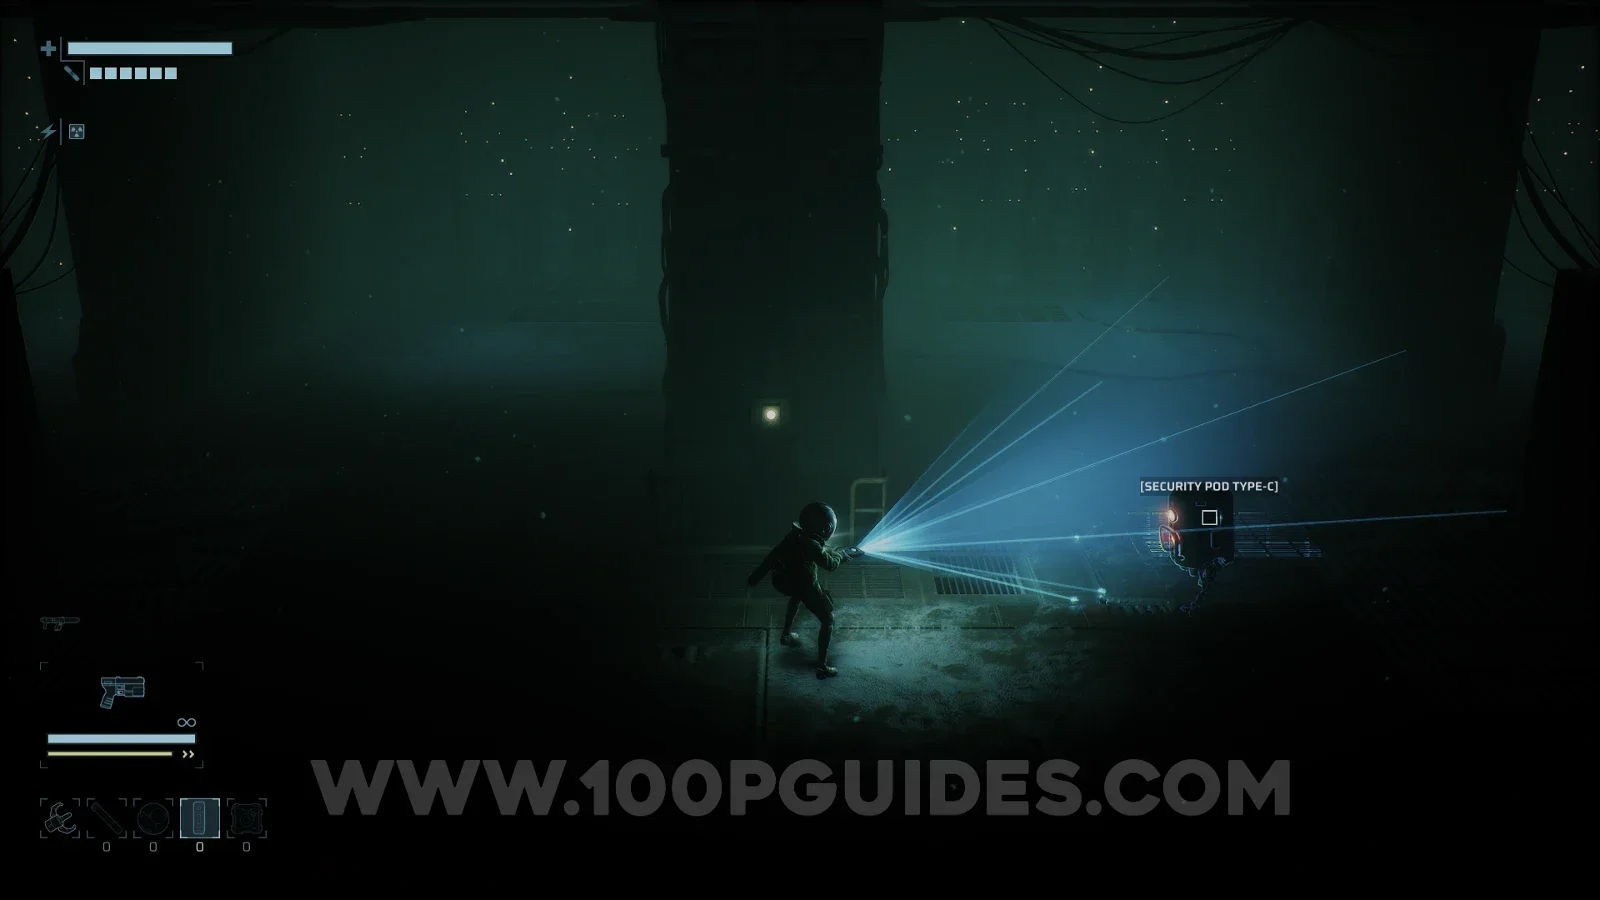
Security Pod Type-C

Lower Levels > B4

Ride the small lift down from B3.

End of Abyss 100% Logbook Checklist Screenshot 90 End of Abyss 100% Logbook Checklist Screenshot 91 End of Abyss 100% Logbook Checklist Screenshot 92
CR-030

Captain

NPC
Lower Levels > B1

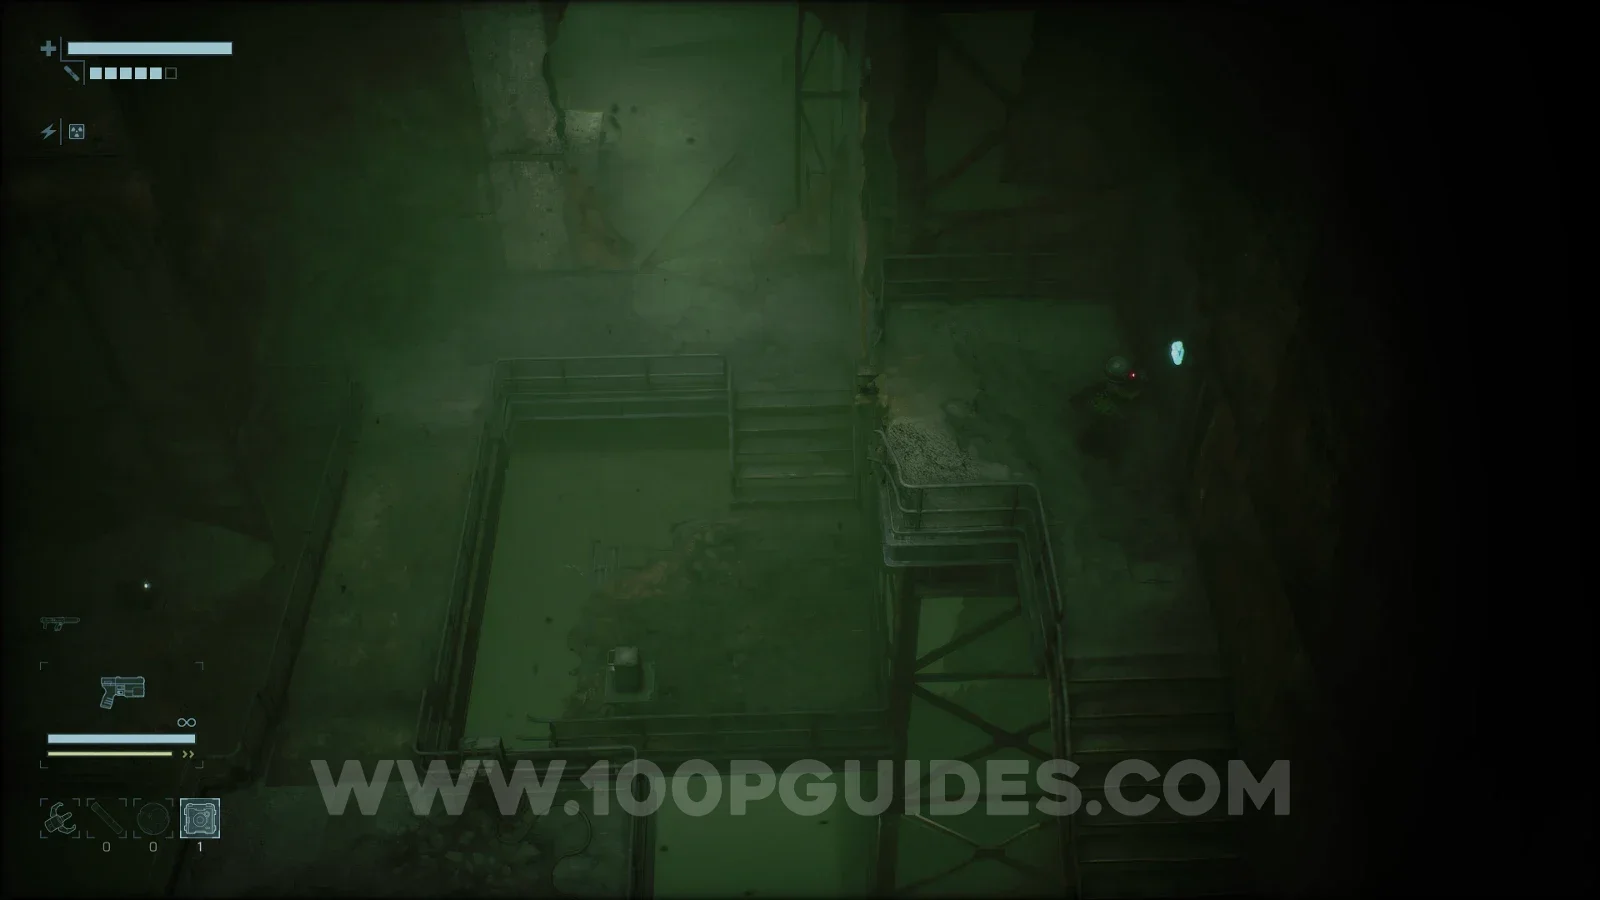
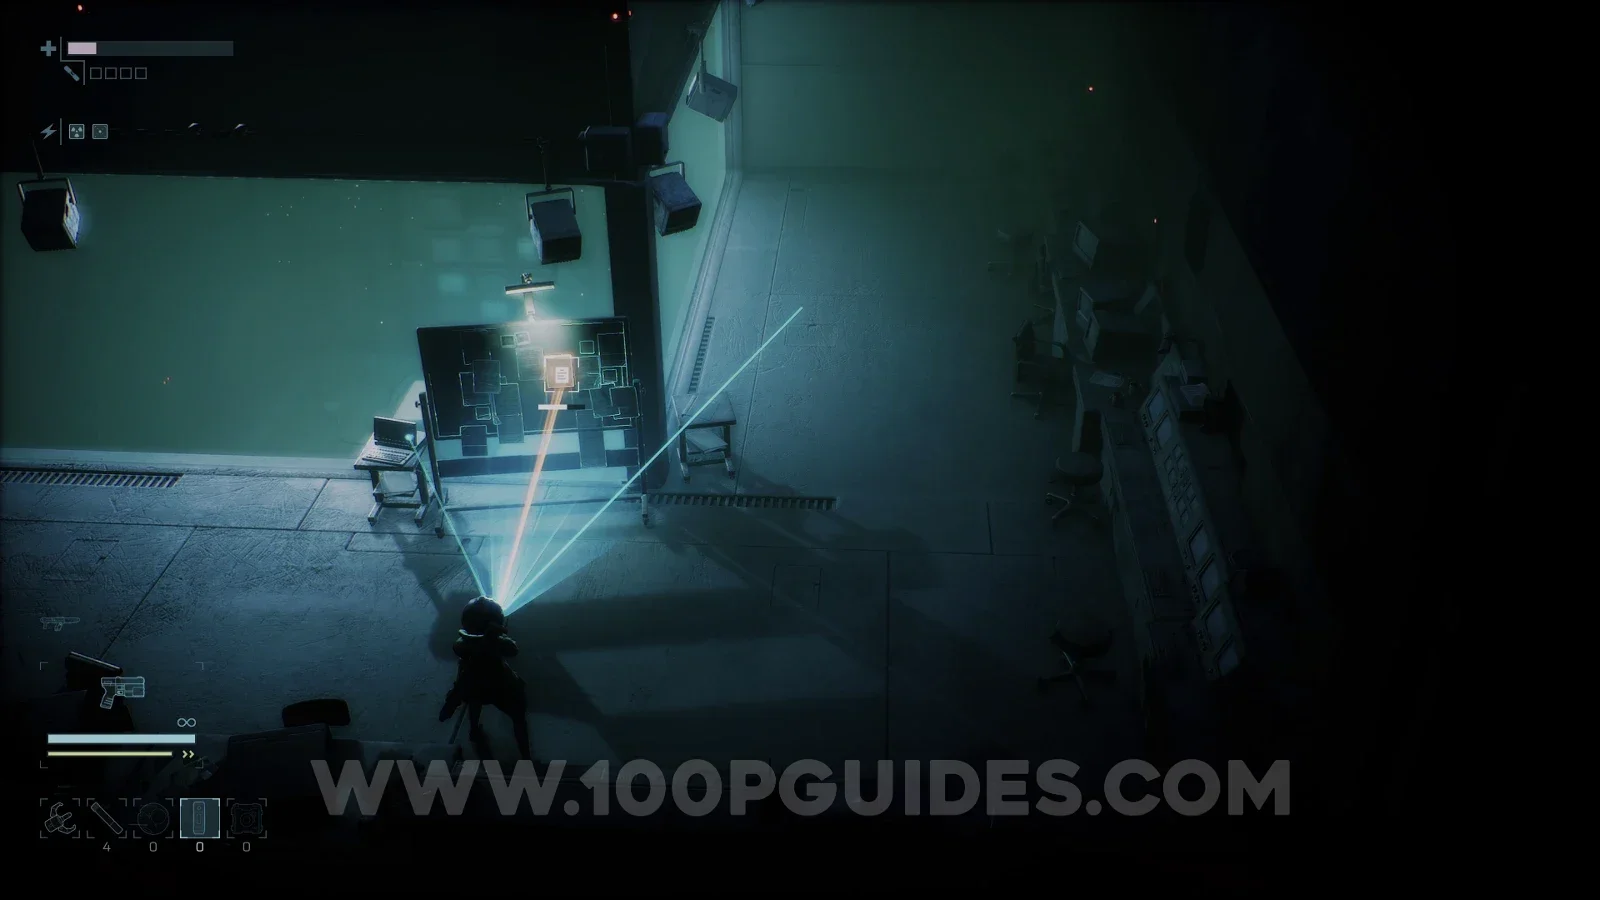
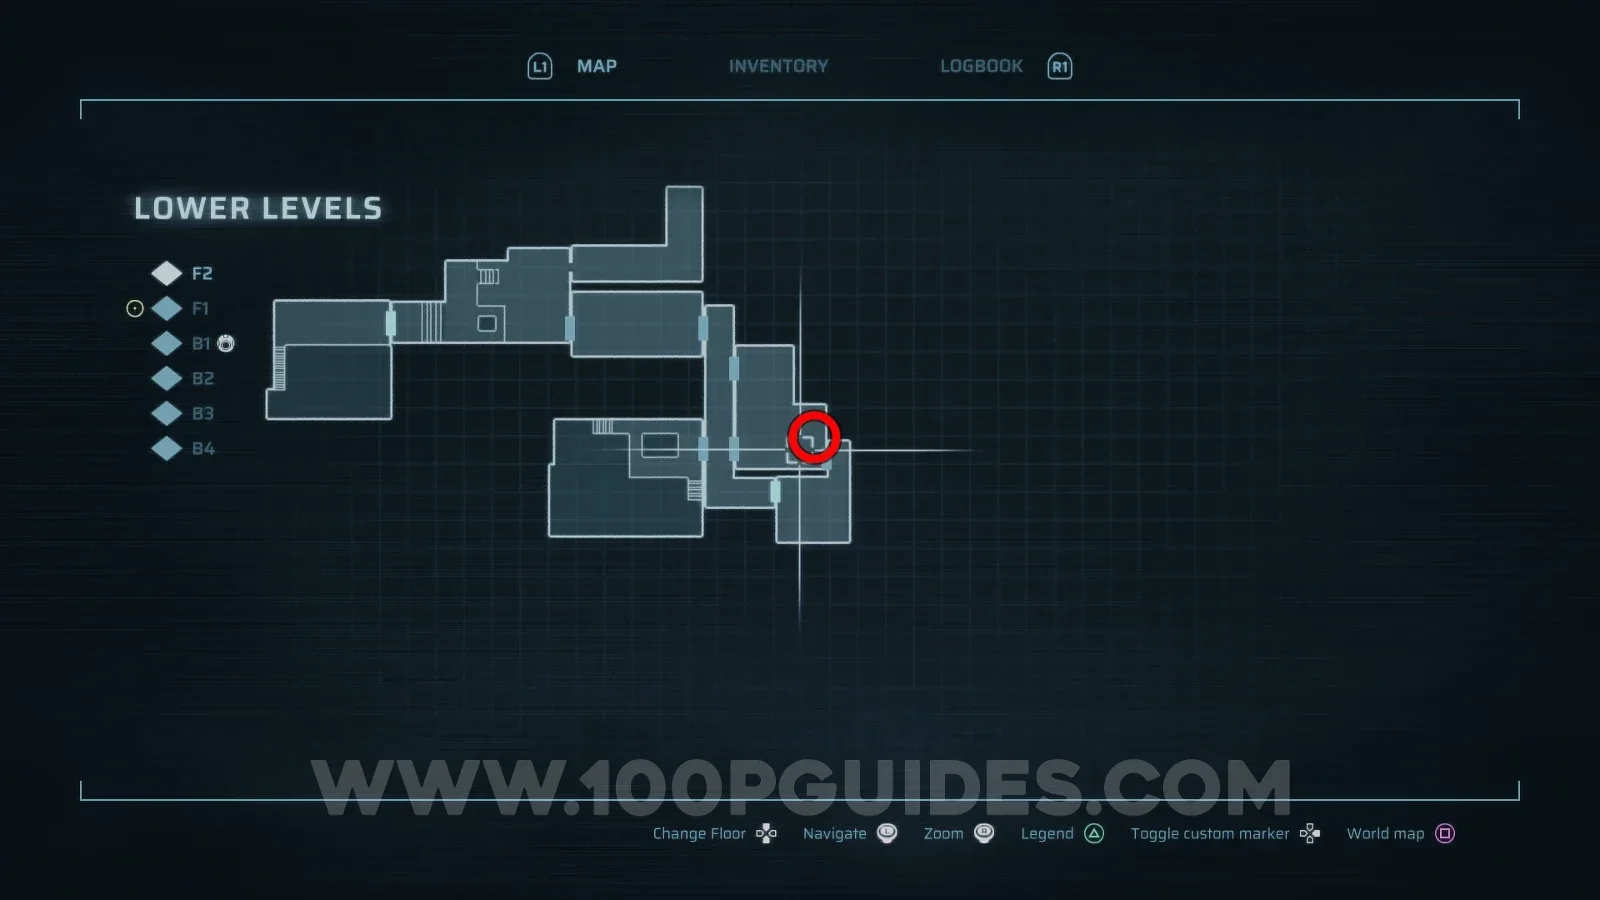
One of the NPCs that appears throughout the game. You can scan him during any of the encounters, however if you didn't you can find him in the upper right corner of the final boss fight arena.
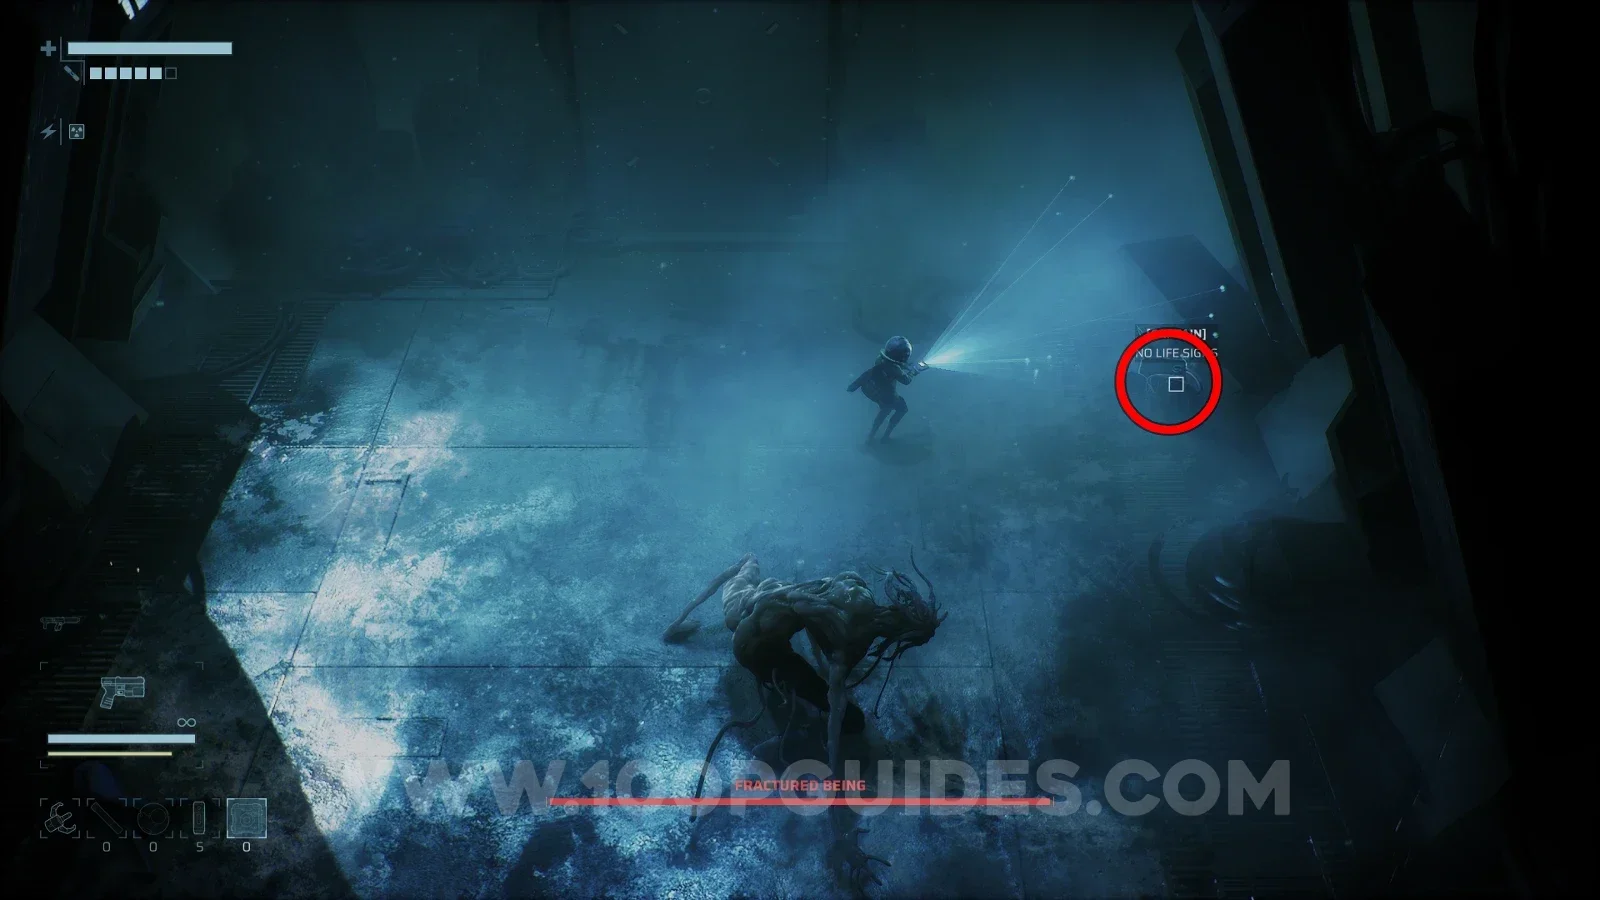
End of Abyss 100% Logbook Checklist Screenshot 21
CR-031

Soldier C-12

NPC
Communication Center > F1

One of the NPCs that appears throughout the game. You can scan him during any of the encounters, however if you didn't you can find him in the room to the right on F1 at the end of the game. To reach this room, ride the lift down from F2.
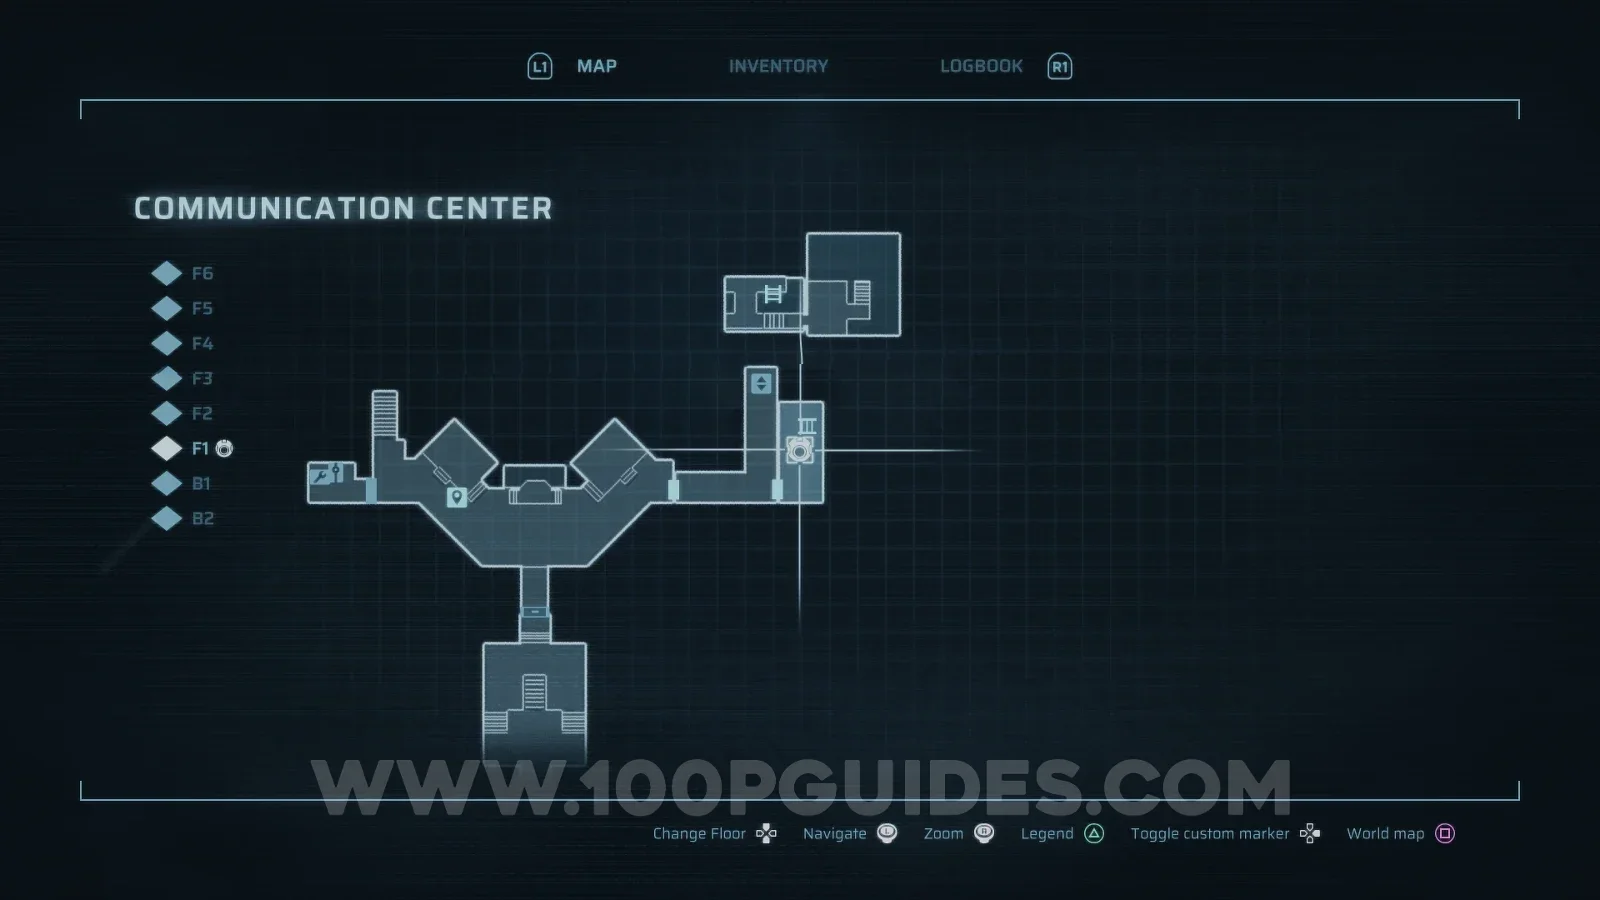
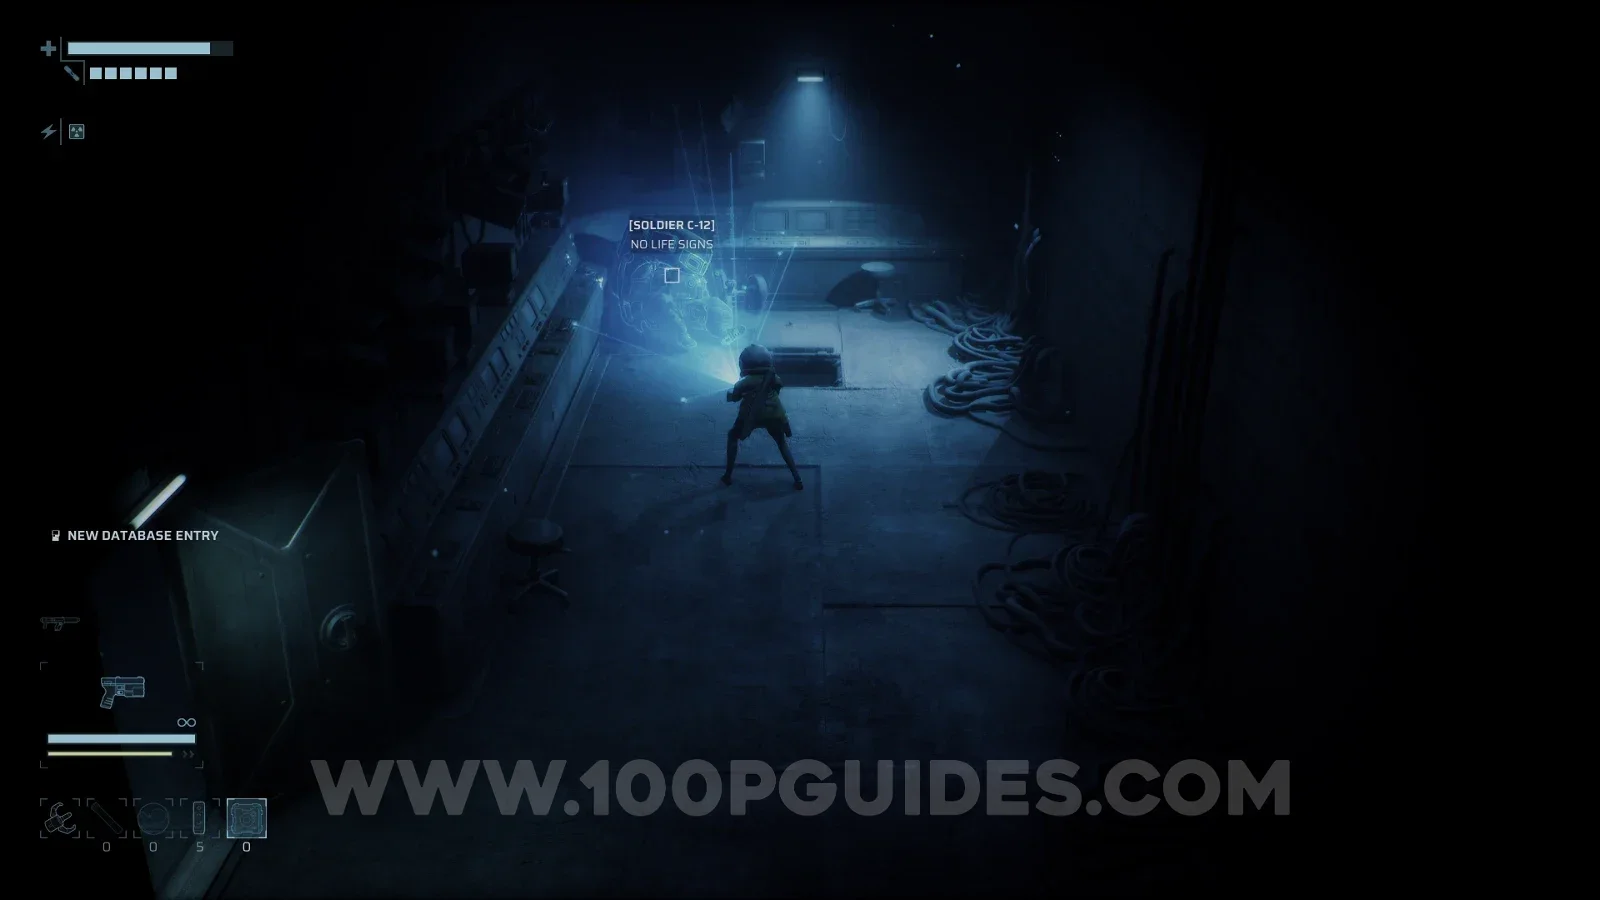
End of Abyss 100% Logbook Checklist Screenshot 93 End of Abyss 100% Logbook Checklist Screenshot 94
CR-032

Soldier O-14

NPC
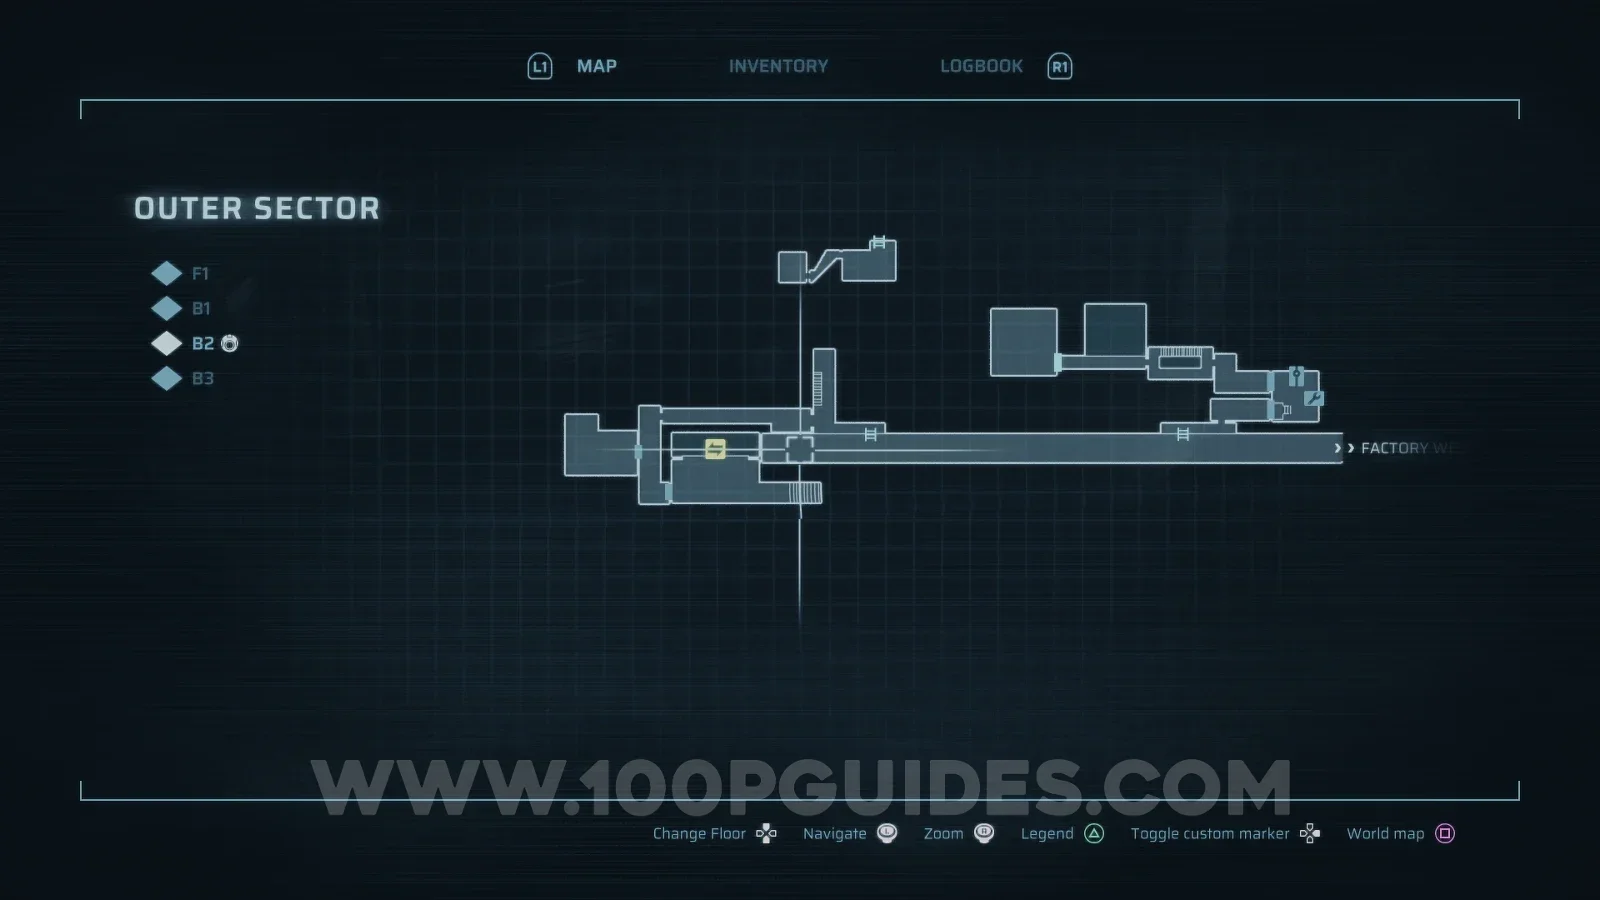
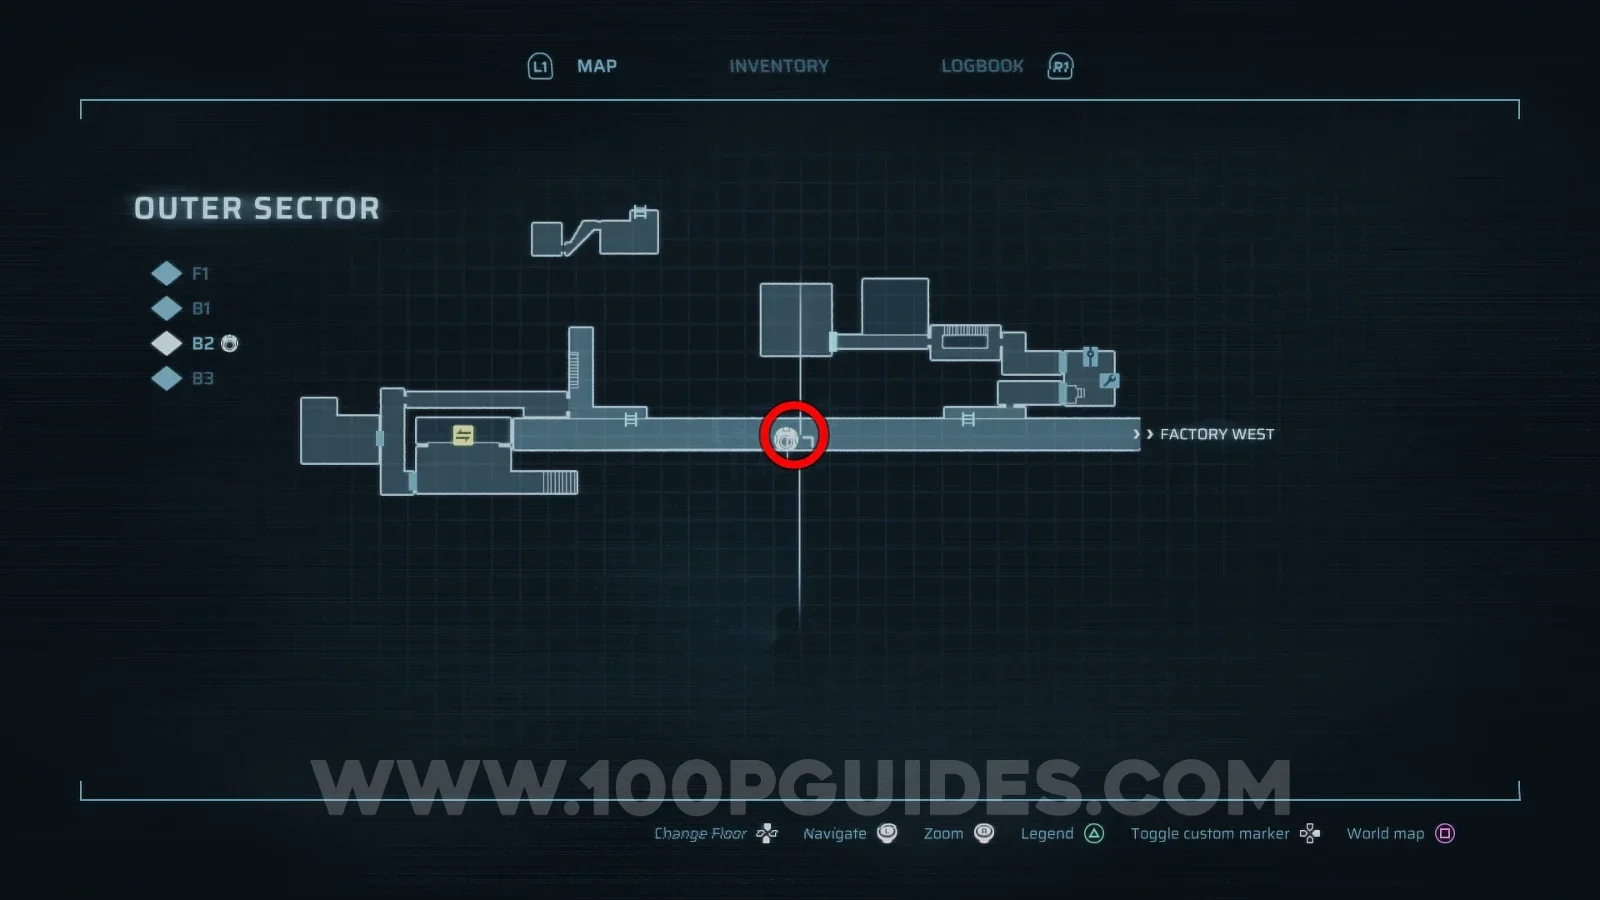
Outer Sector > B2

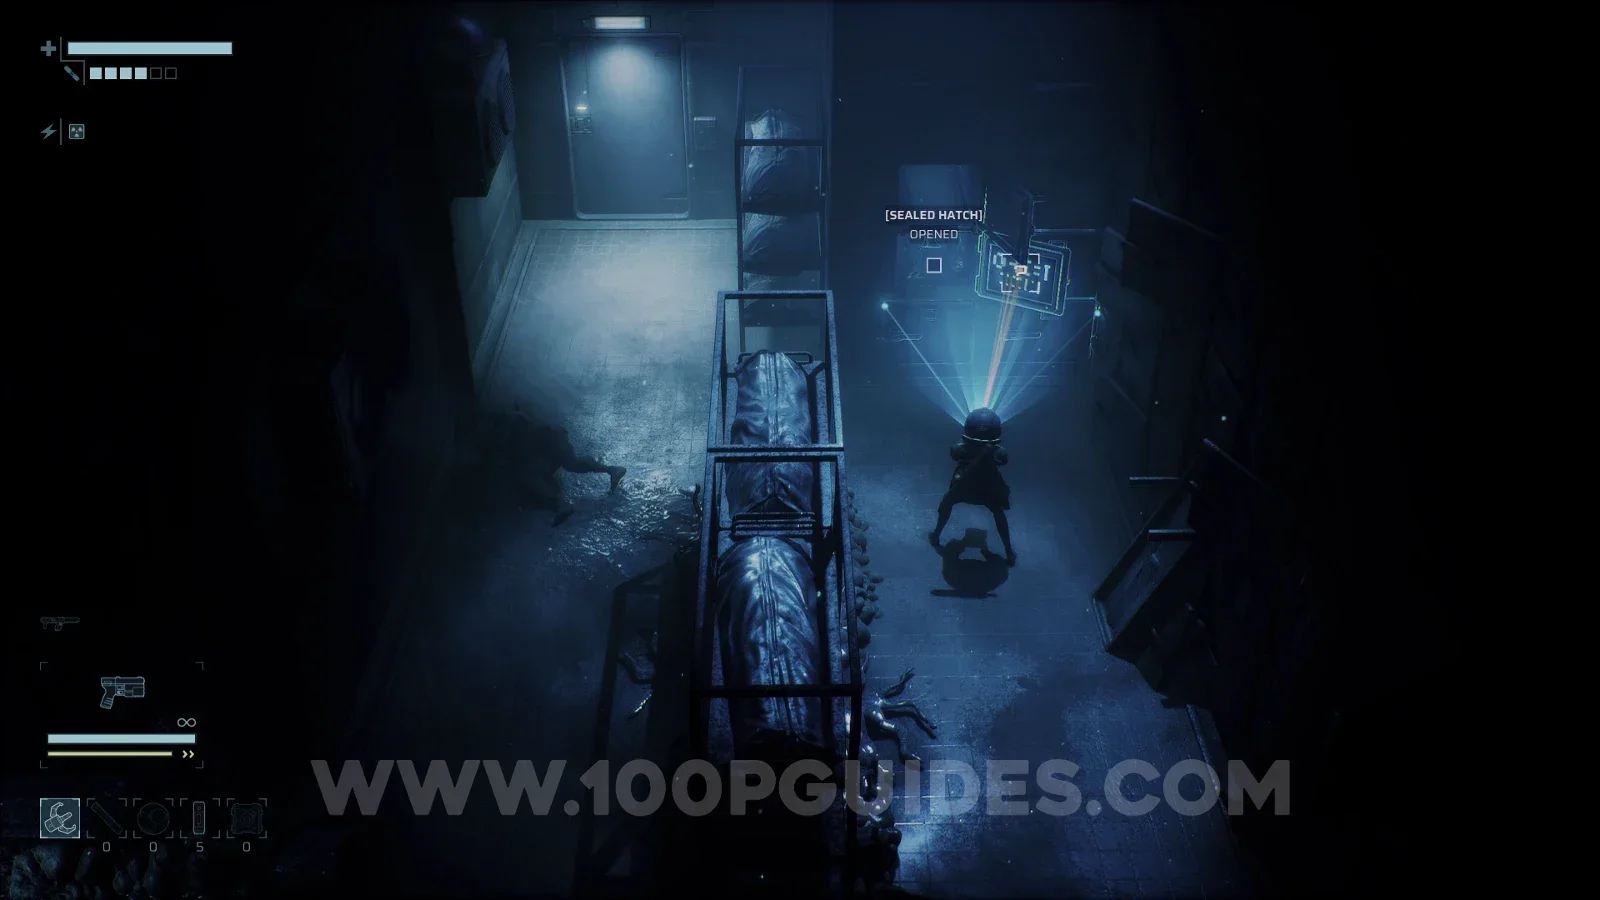
One of the NPCs you encounter throughout the game. If you didn't scan him during these encounters you can find his corpse in the Outer Sector.

Show moreShow less

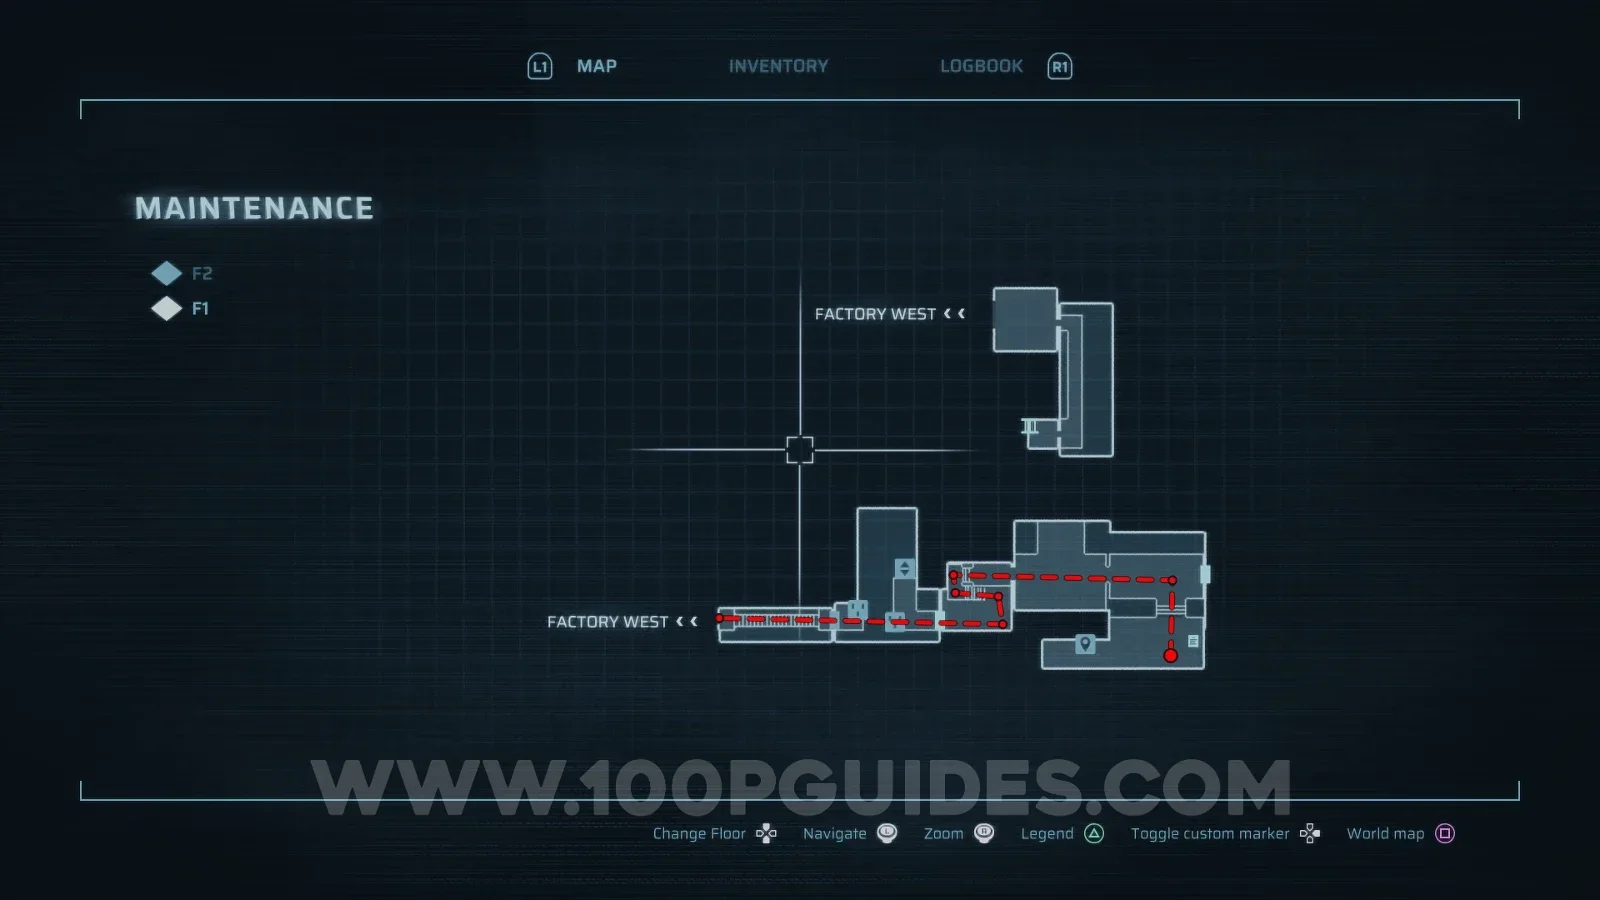
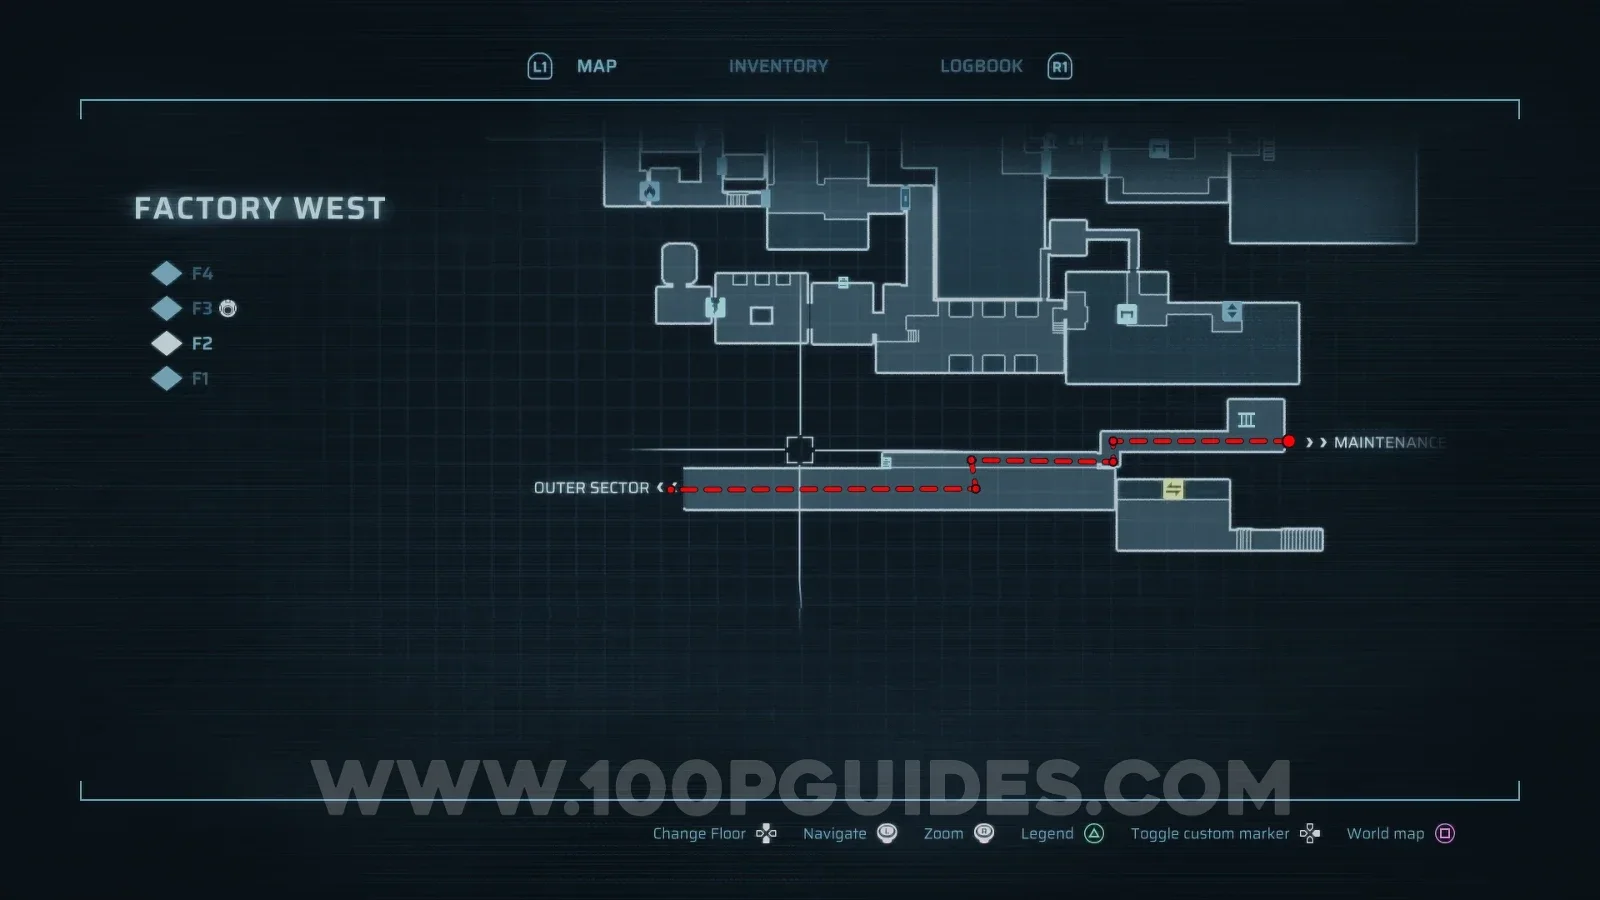
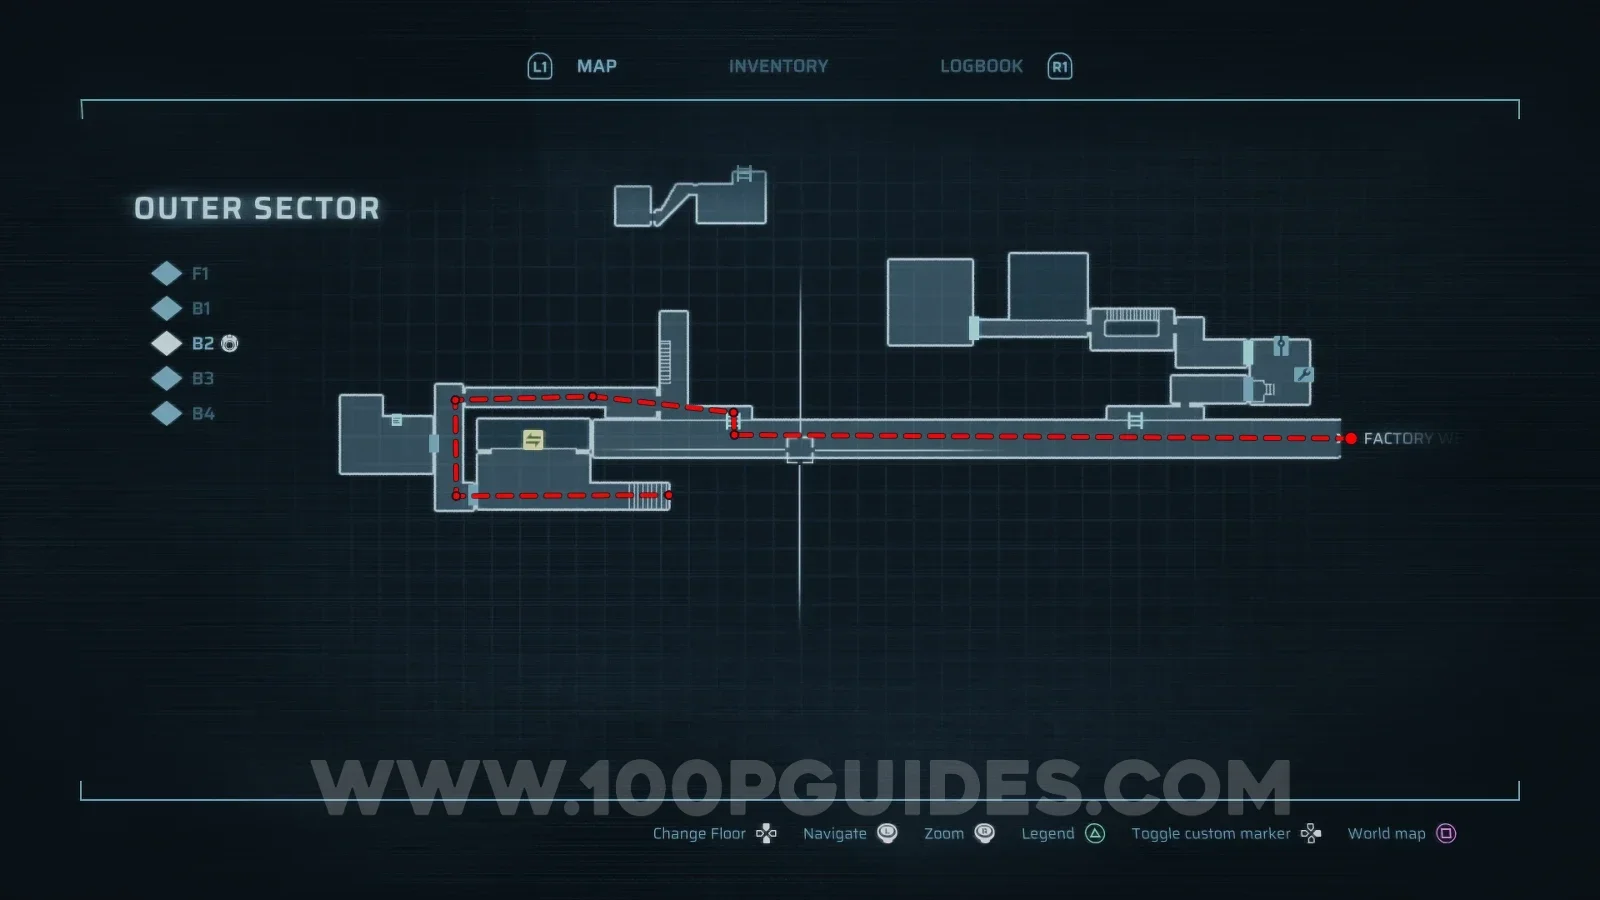
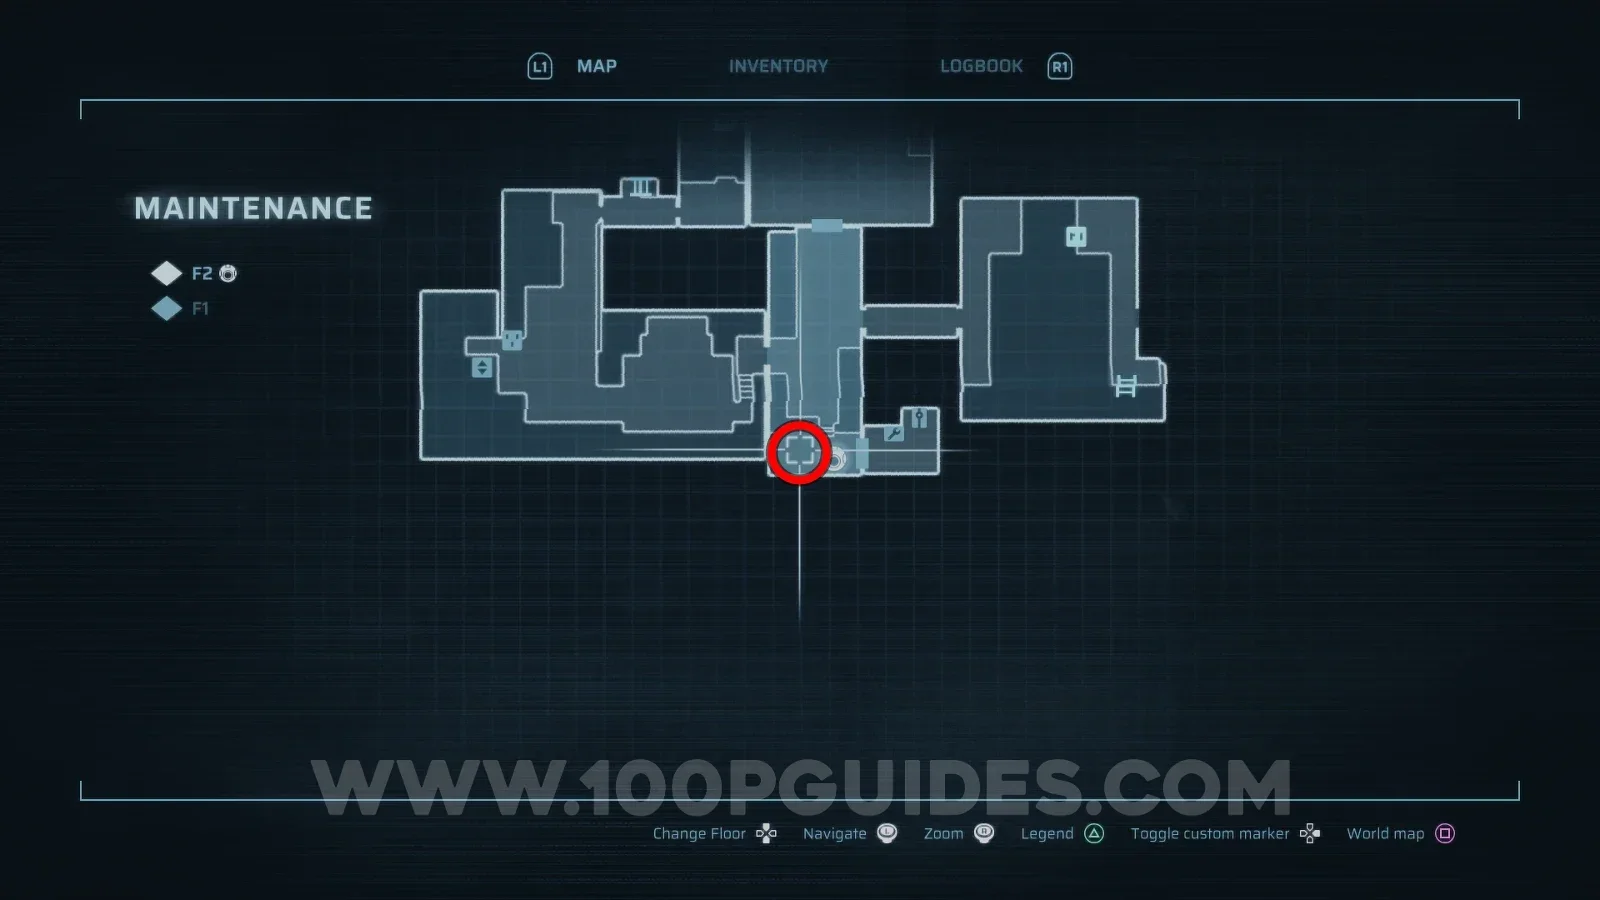
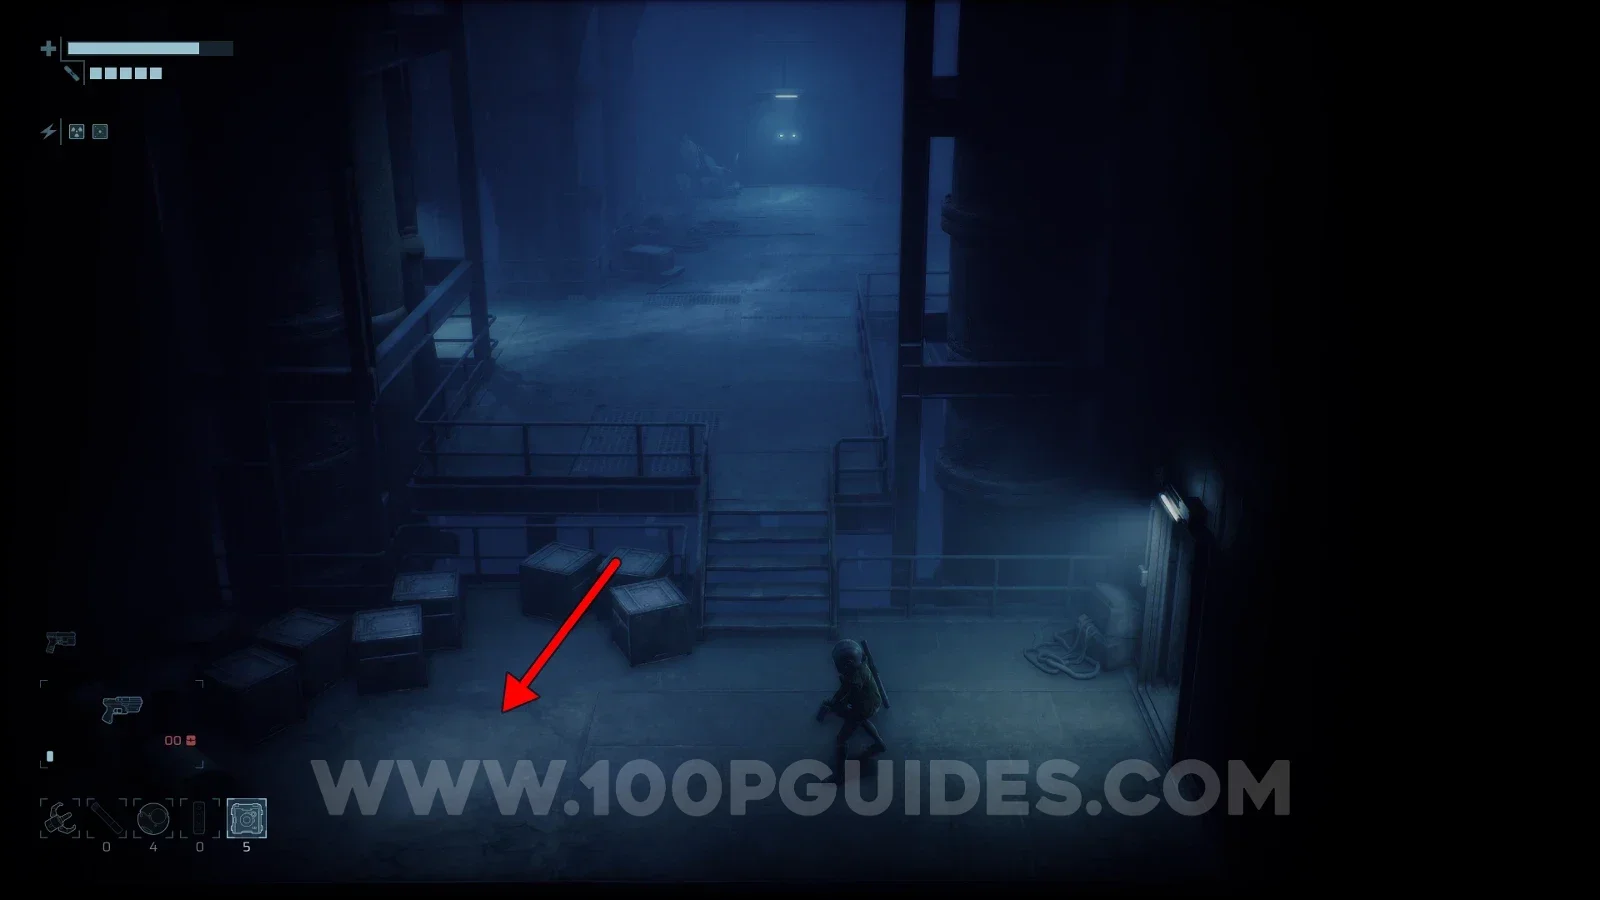
Getting back there isn't as simple as backtracking along the path you took at the start of the game. The lift won't be operational, so you will have to use an alternative route.

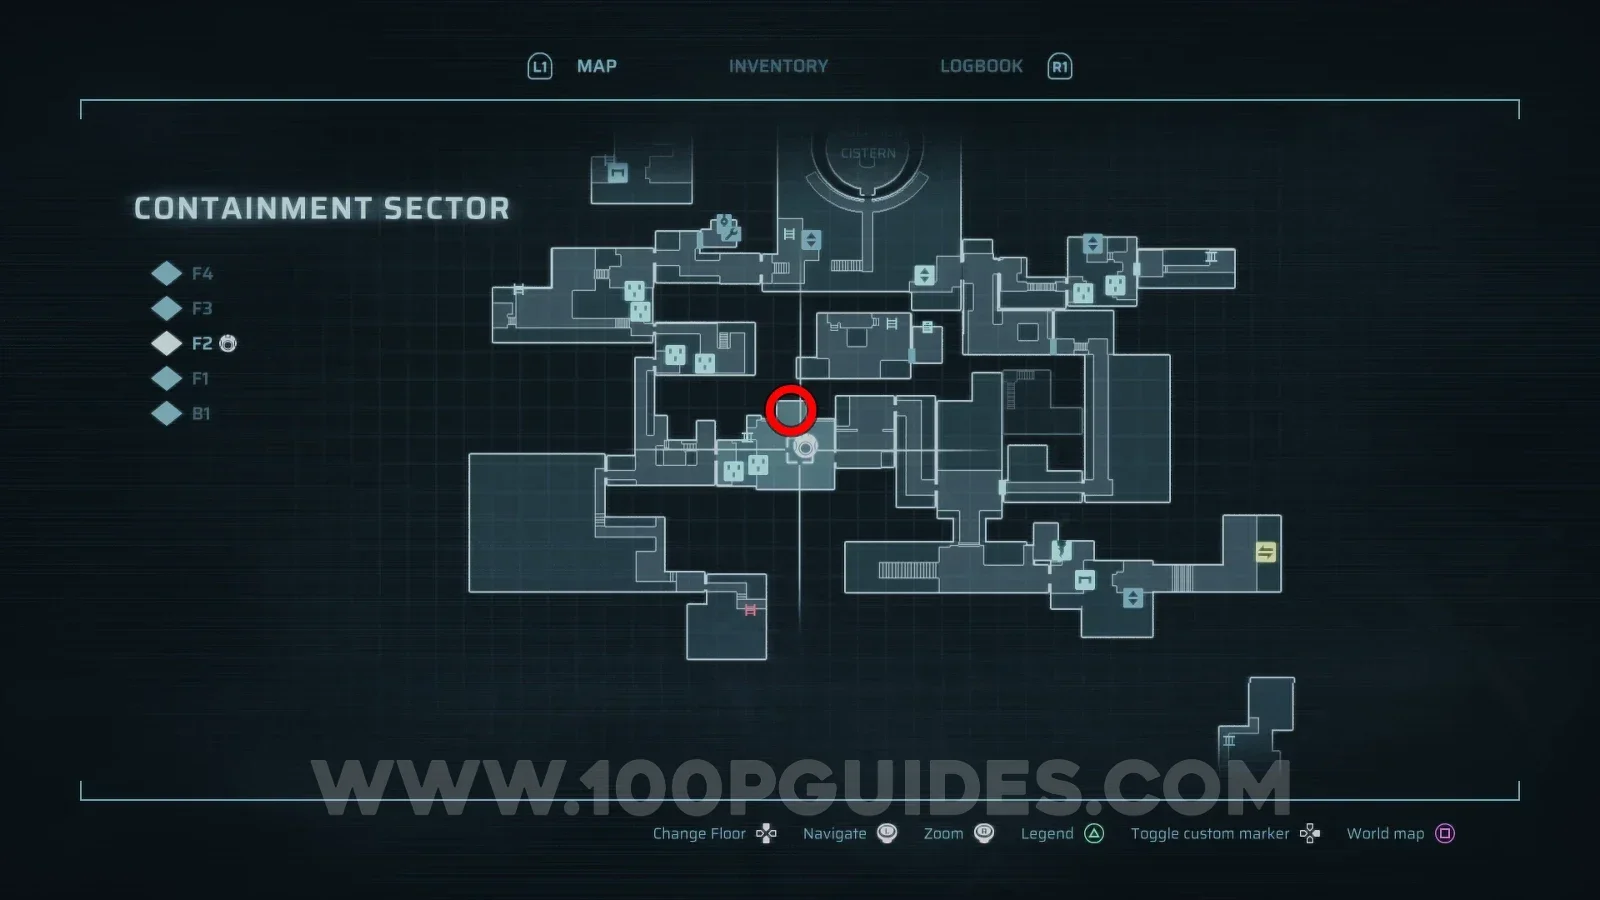
To do this, head to Maintenance > F2 and use an Explosive Charge on the floor just outside the safe room. This will blast a hole that you can jump down. From the room below, head left and continue along this path until you reach the Outer Sector's Shuttle, with the Outer Sector itself just past it.
End of Abyss 100% Logbook Checklist Screenshot 95 End of Abyss 100% Logbook Checklist Screenshot 96 End of Abyss 100% Logbook Checklist Screenshot 97 End of Abyss 100% Logbook Checklist Screenshot 98 End of Abyss 100% Logbook Checklist Screenshot 99

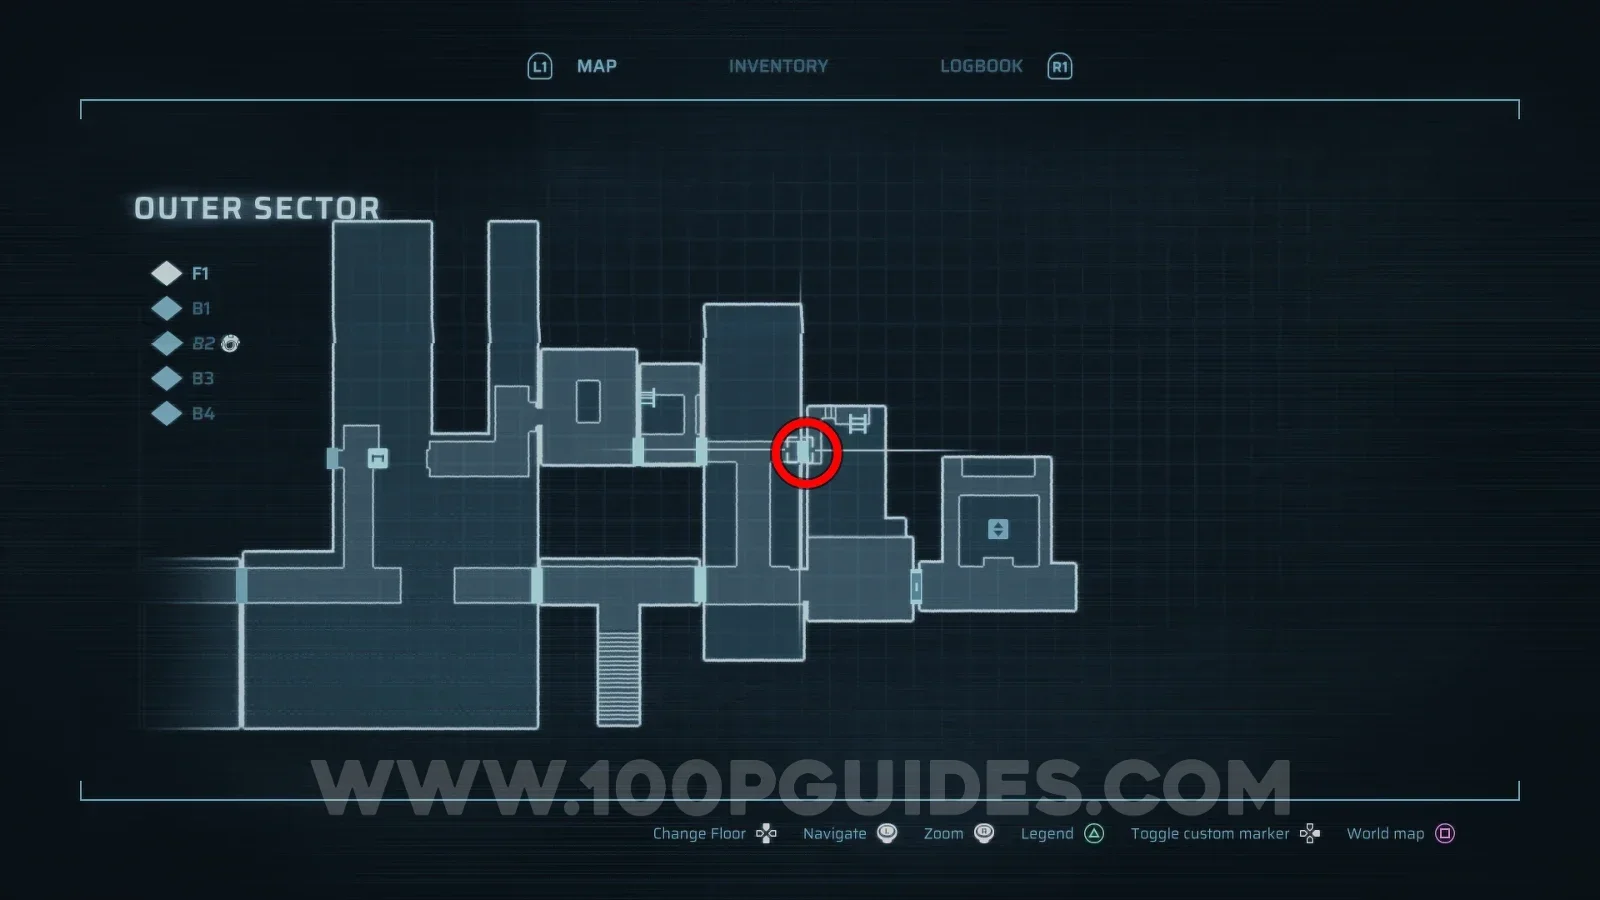
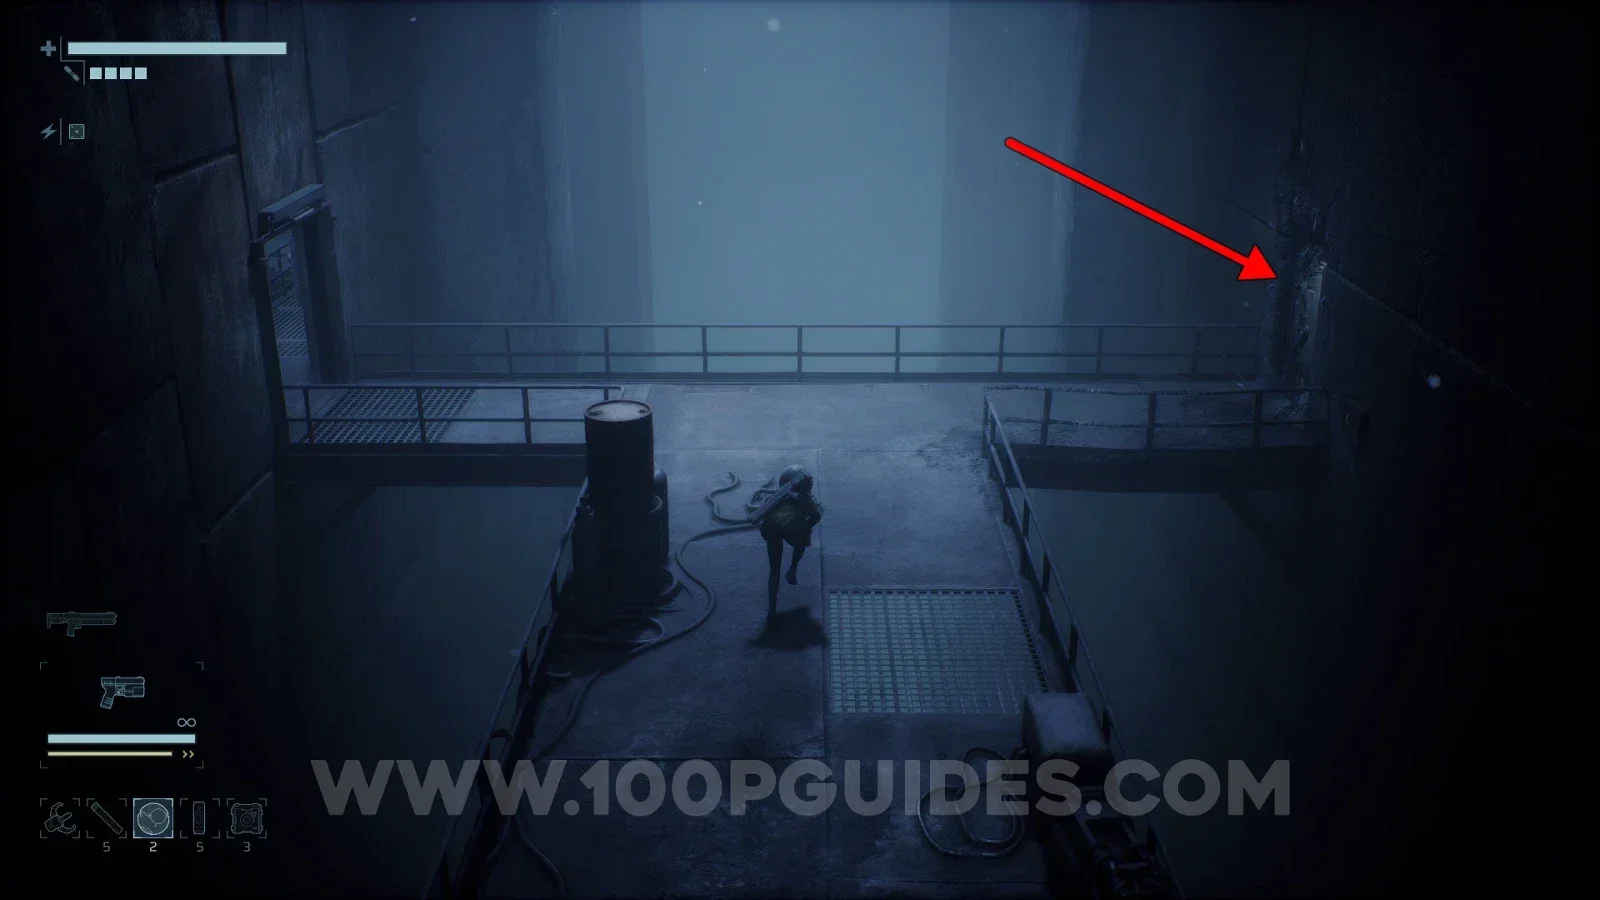
Now that you are back in the Outer Sector where the game began, head through the now open door in the top right of F1. Inside, head down the ladder, use an Explosive Charge to open a hole in the ground and jump down. You will then be ambushed by a large group of enemies. Defeat them and then scan the corpse.
End of Abyss 100% Logbook Checklist Screenshot 100 End of Abyss 100% Logbook Checklist Screenshot 101 End of Abyss 100% Logbook Checklist Screenshot 102 End of Abyss 100% Logbook Checklist Screenshot 103
CR-033

Soldier E-19

NPC
Lower Levels > F1

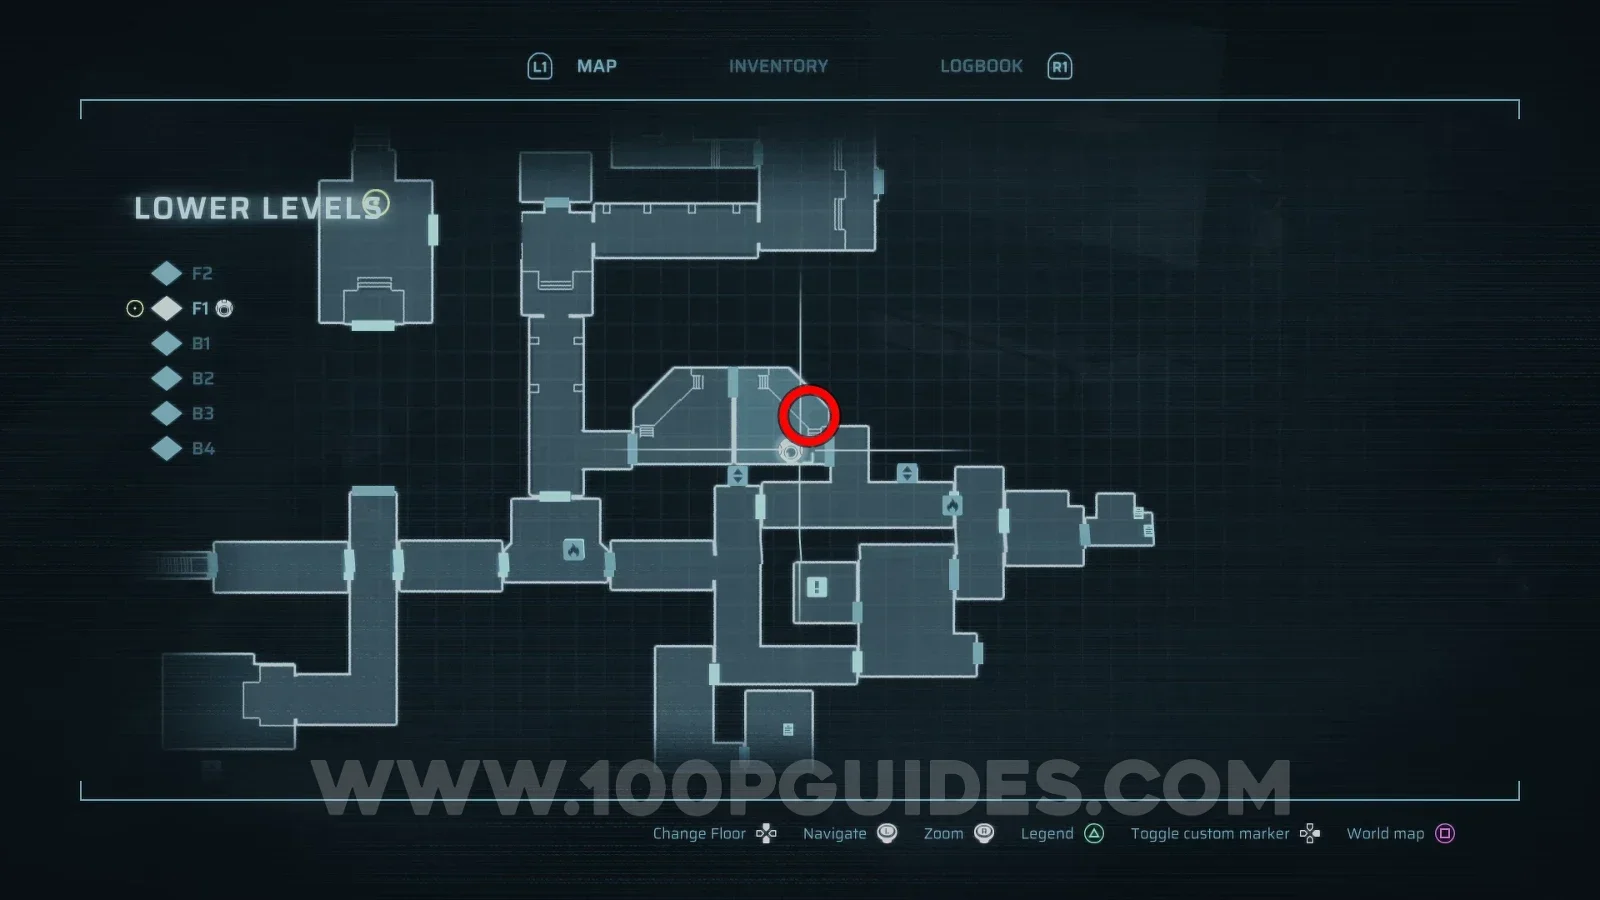
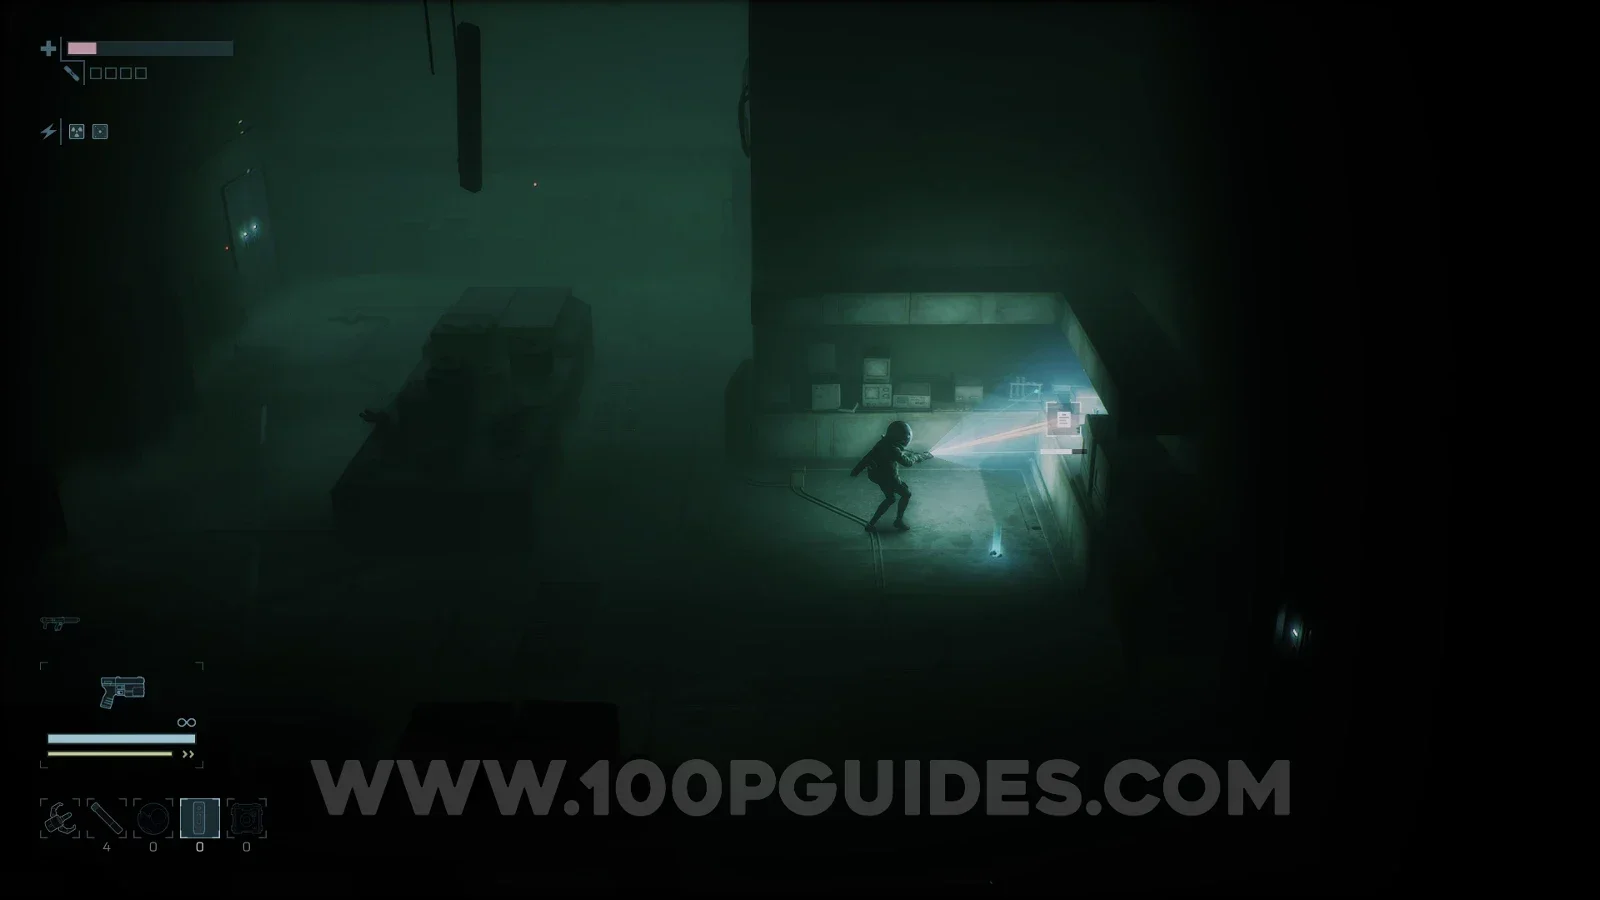
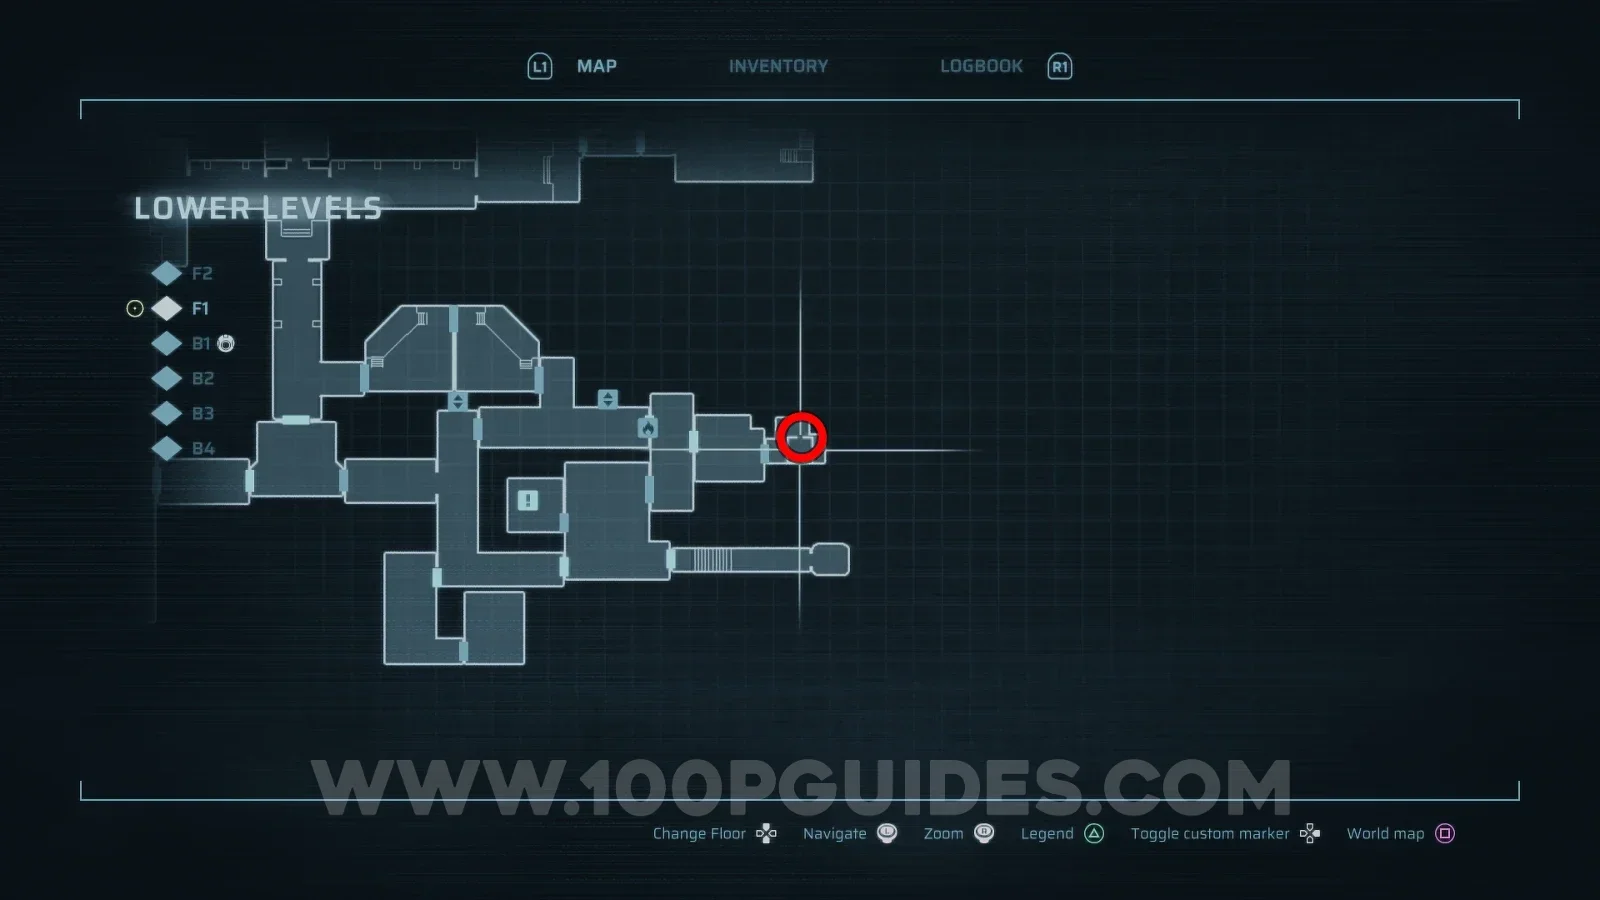
One of the NPCs you encounter throughout the game. If you didn't scan him during these encounters you can find his corpse in the room just before the final boss fight in the Lower Levels area.
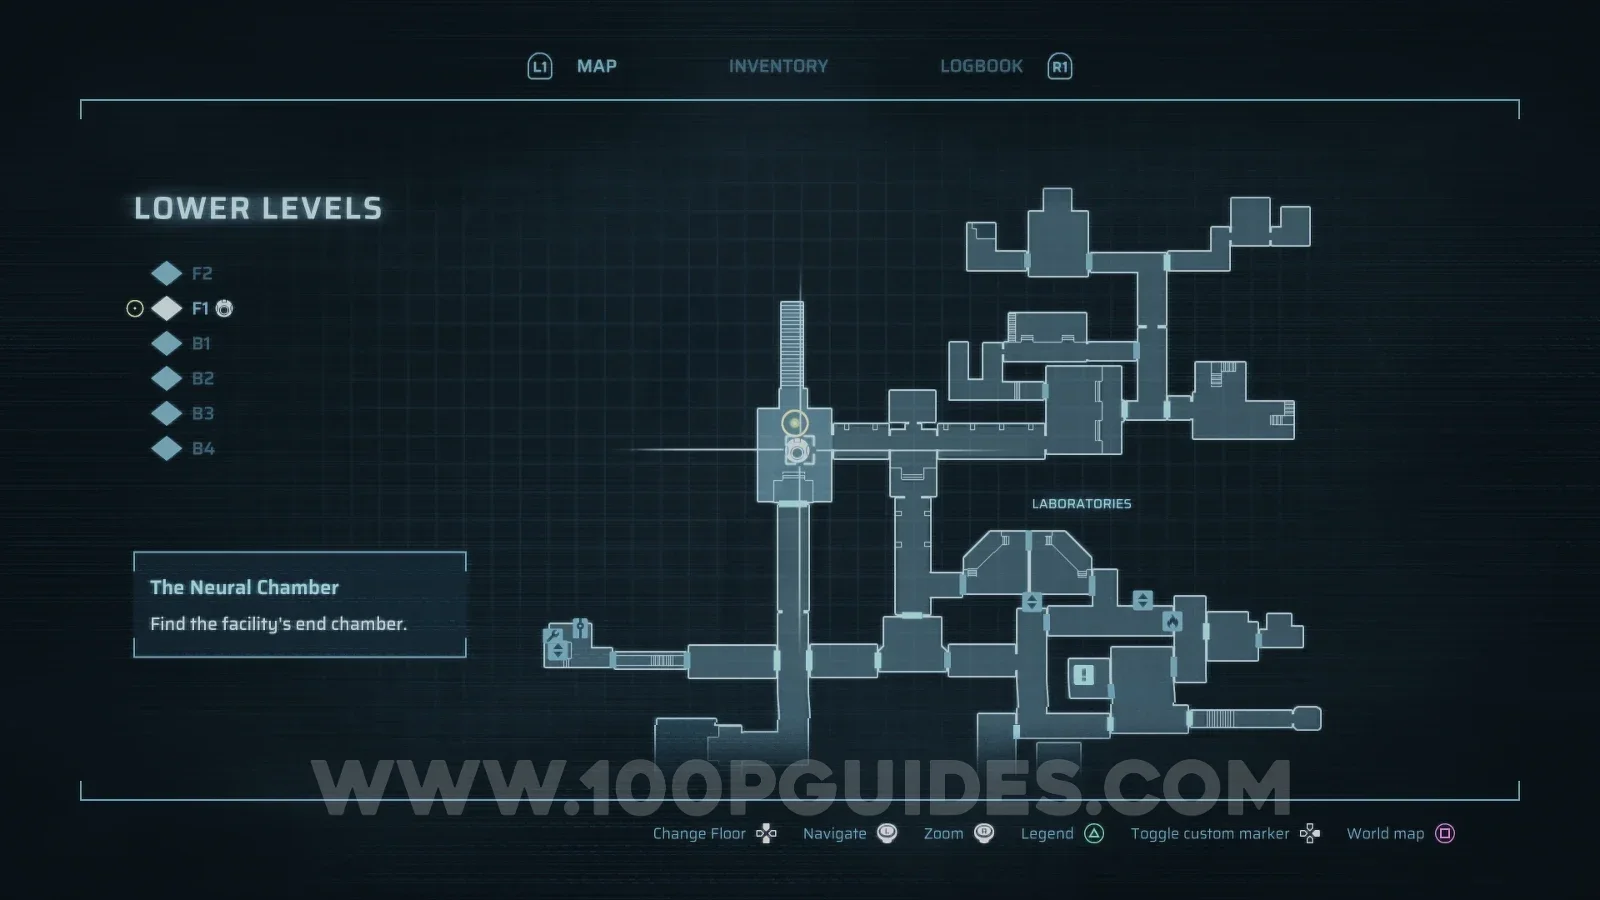
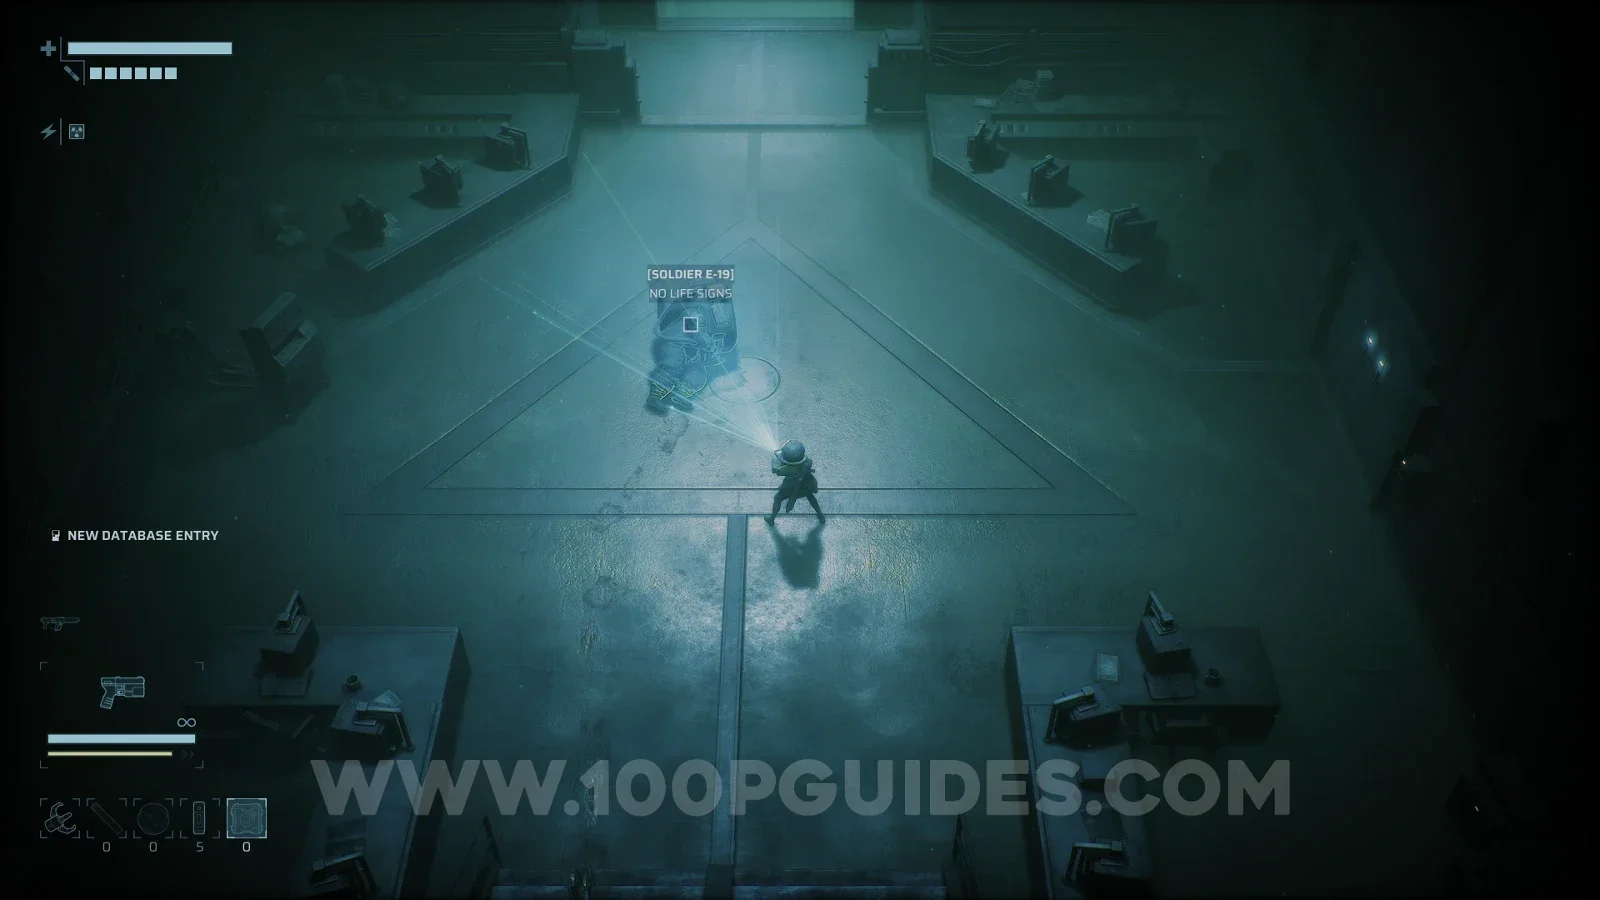
End of Abyss 100% Logbook Checklist Screenshot 22 End of Abyss 100% Logbook Checklist Screenshot 23
CR-034

Husk Cluster

Story boss

Story-related boss in the Habitation Sector.

CR-035

Centipede Husk

Story boss

Story-related boss in the Reactor area.

CR-036

Drowned Husk

Story boss

Story-related boss in the Waterworks area.

CR-037

Radiation Host

Story boss

Story-related boss in Containment Sector.

CR-038

Security Sentinel

Story boss

Story-related boss in Factory West.

CR-039

Morgue Dweller

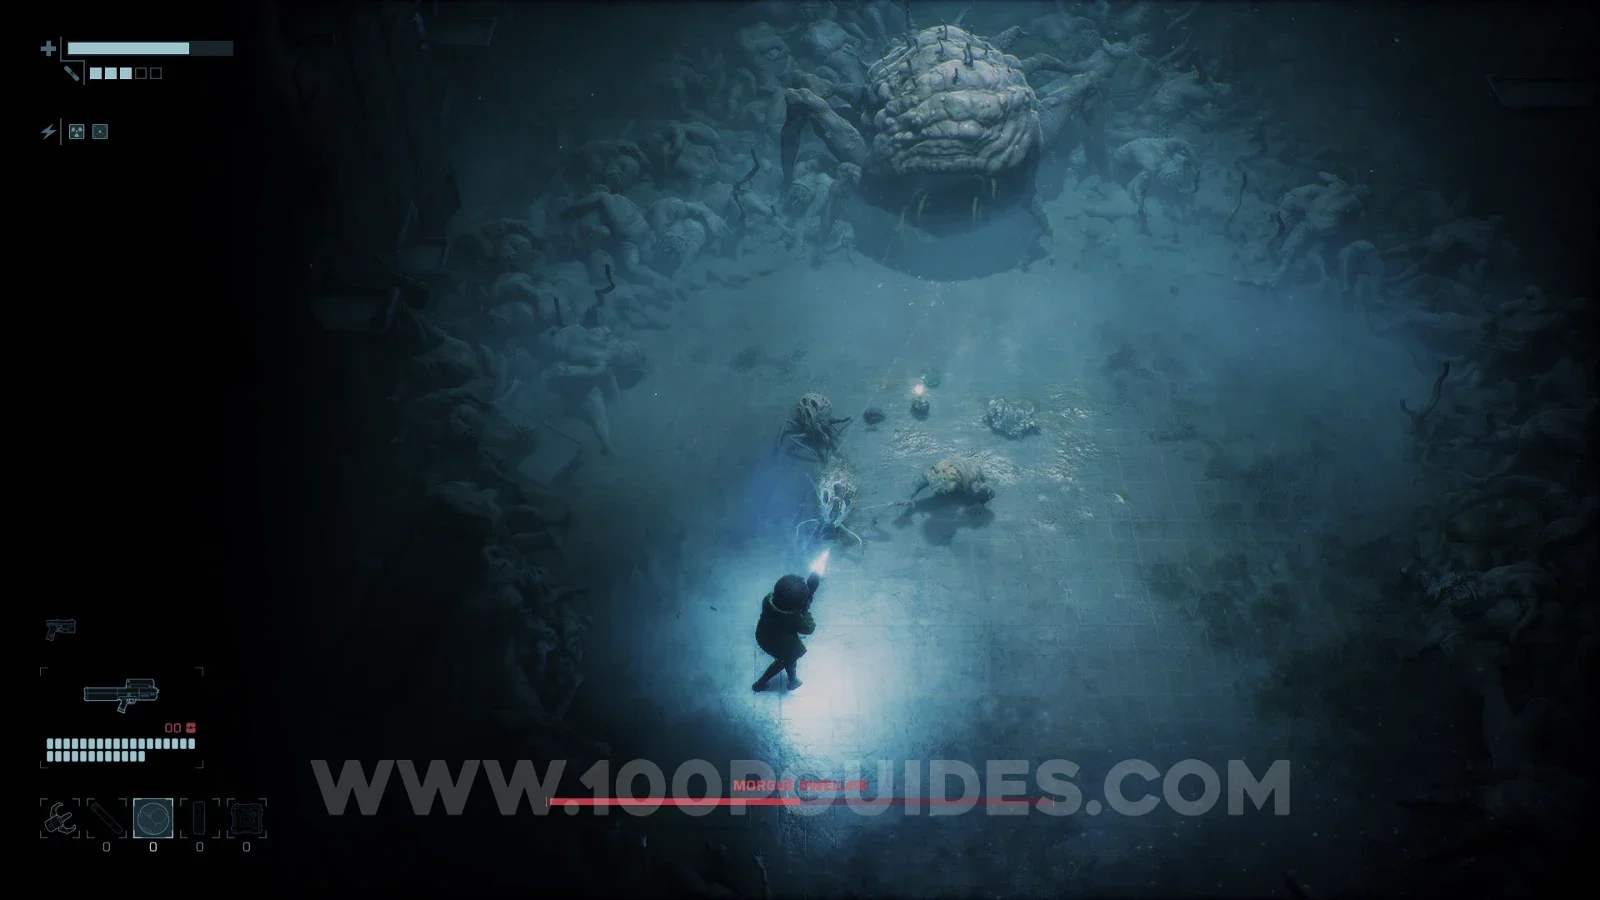
Optional boss
Infirmary > B1

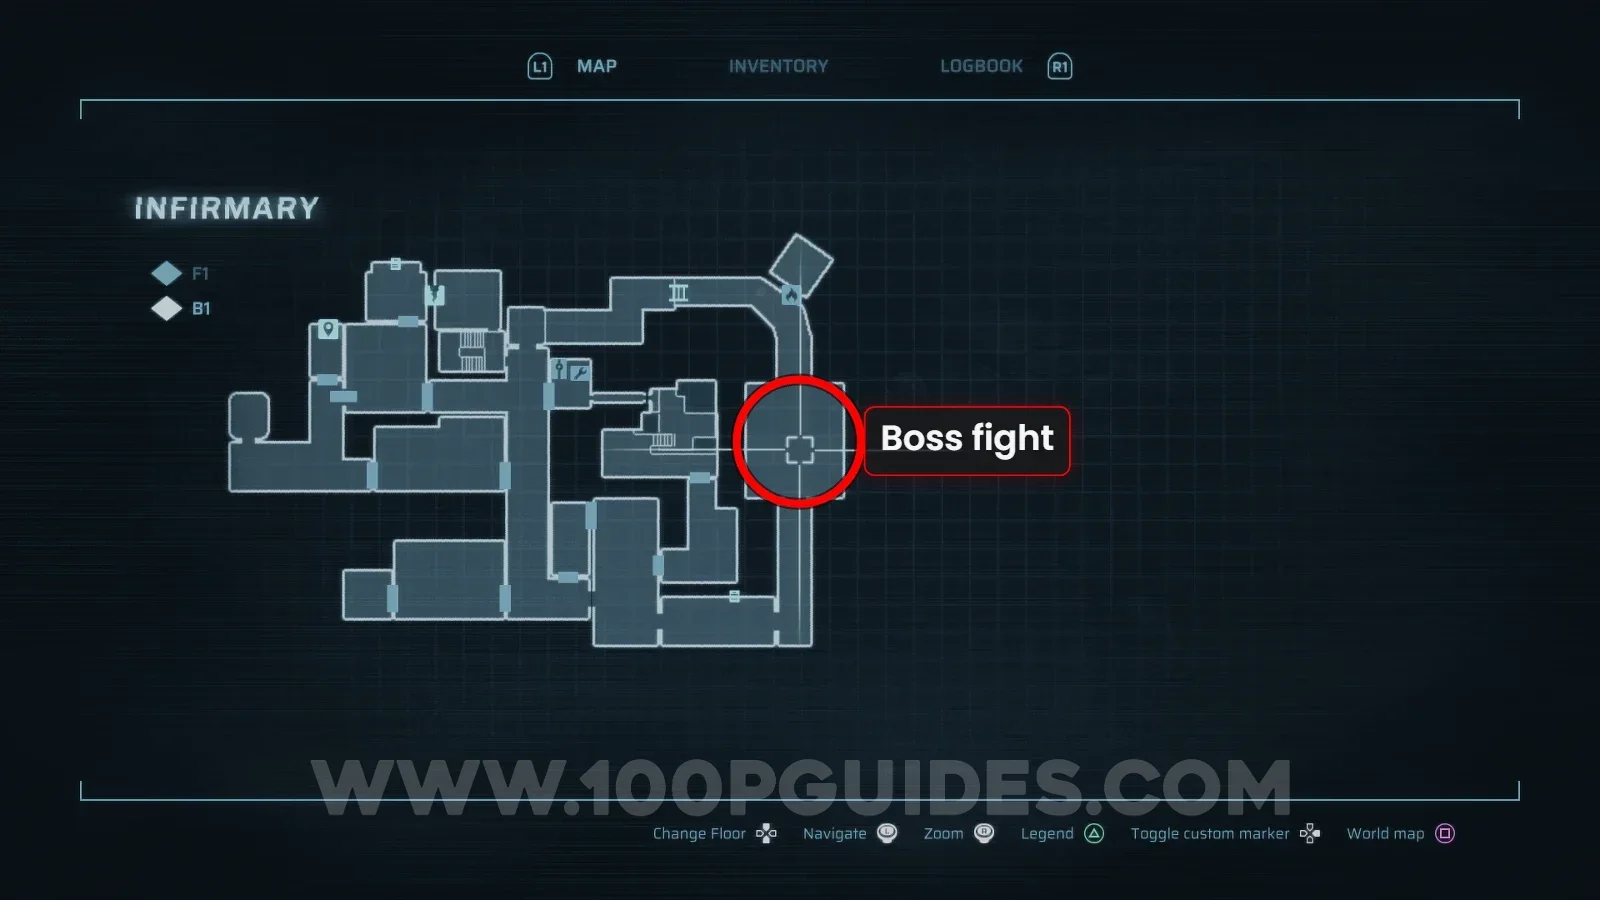
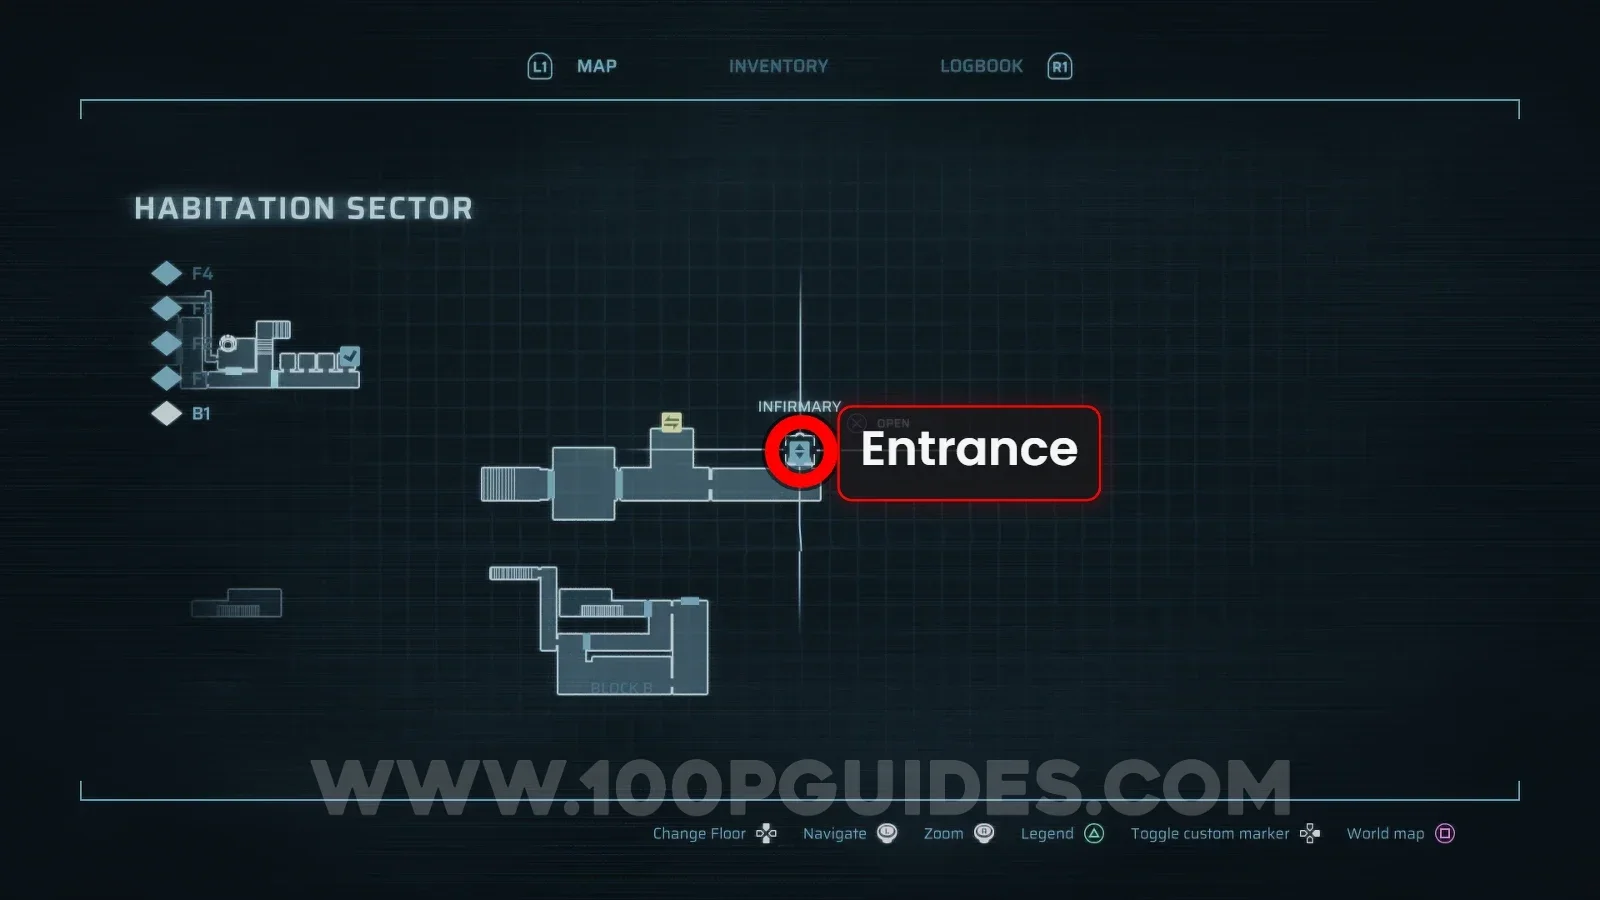
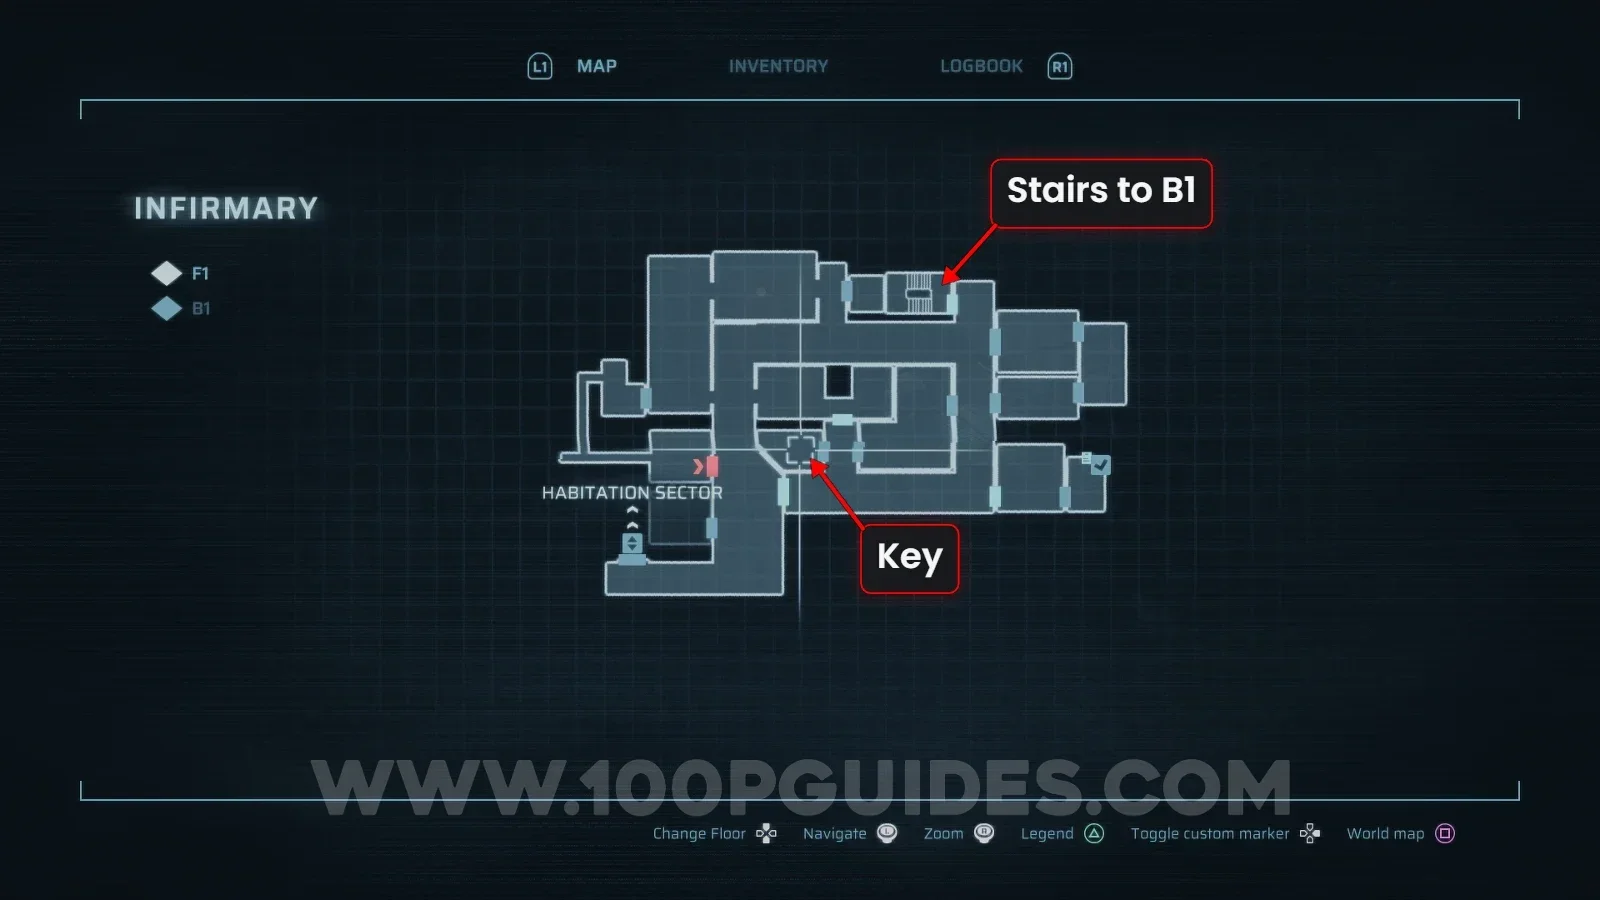
Morgue Dweller is an optional boss that can be found at the end of the Infirmary. This is an optional late game area. To get there, you must first get the Infirmary Key from the Lower Levels area (the final area of the game). You can find it by burning the Parasitic Spire in the right side labs on F1 (you will need the Incinerator weapon that is story-related in this same area).
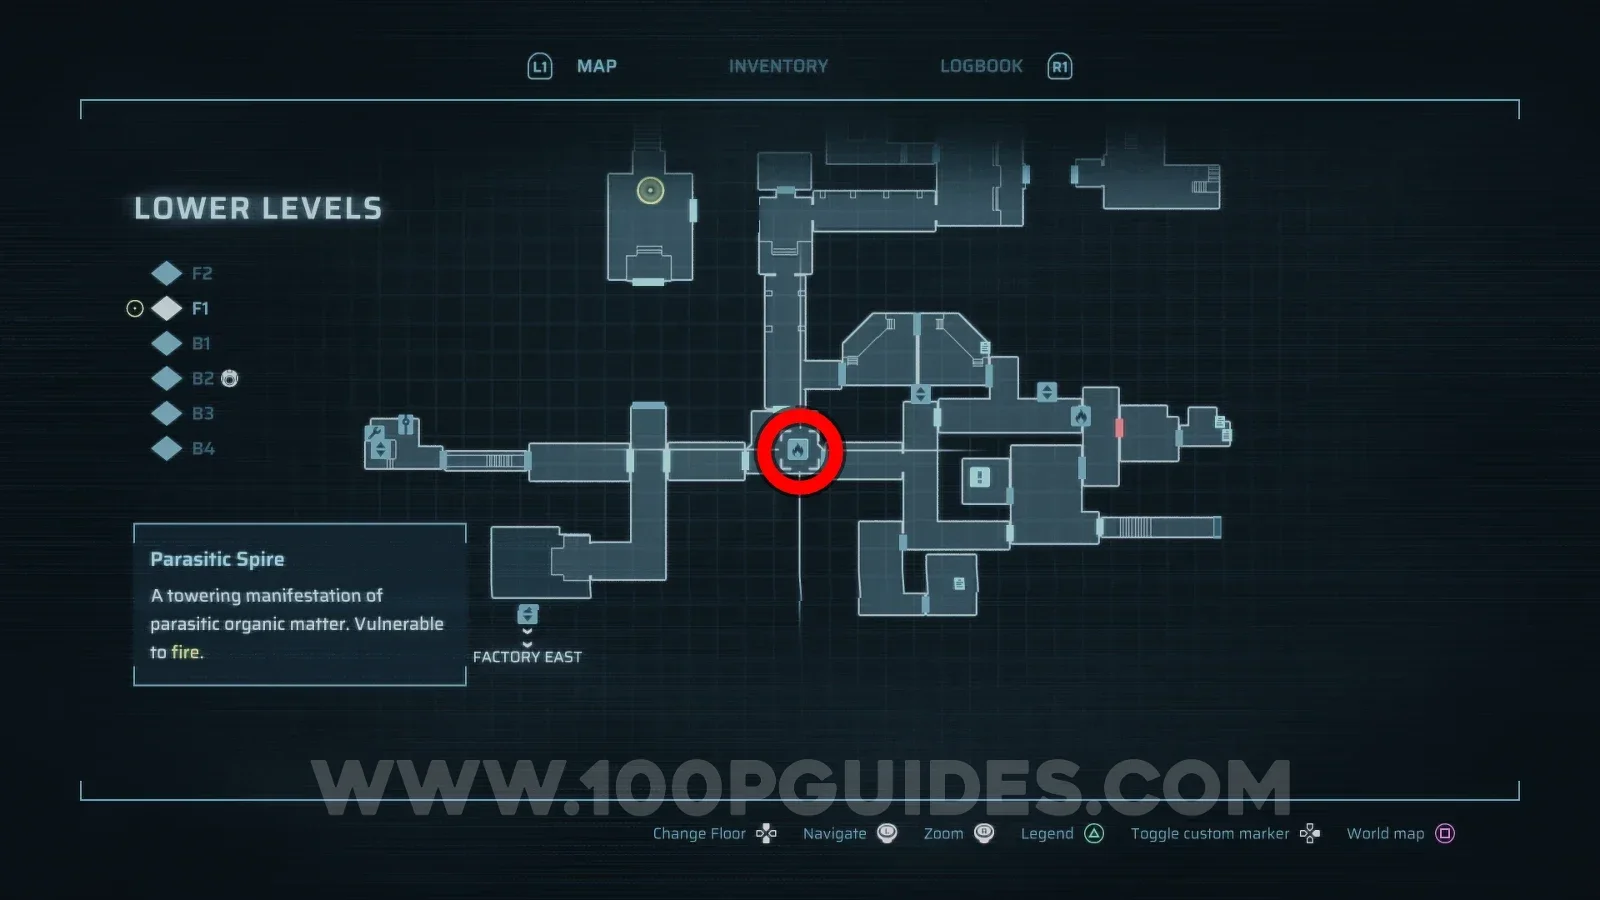
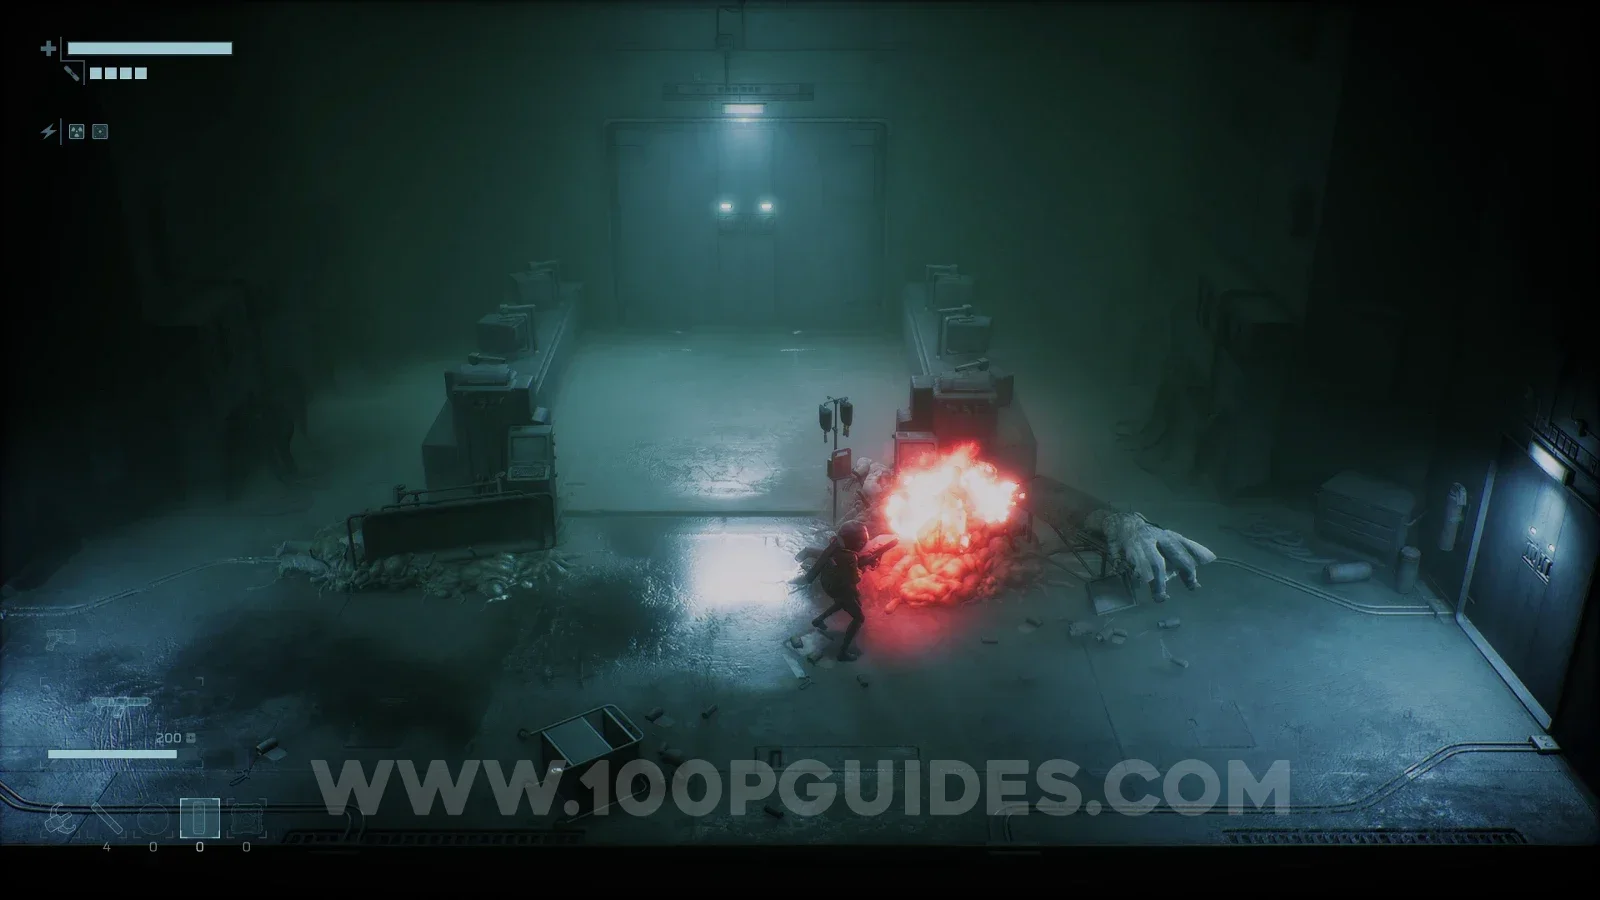
End of Abyss 100% Logbook Checklist Screenshot 24 End of Abyss 100% Logbook Checklist Screenshot 25
Show moreShow less

Once you have the key, use it to access the lift to the right of the Fast Travel Shuttle in the Habitation Sector to get to the Infirmary. This is a fairly short area. The boss can be found at the end. To reach it, first grab the Restricted Access Keycard from the small room on F1. Then use it to get to B1 (through the door at the top of the right side corridor). You will then find the boss on the right side of this floor.
End of Abyss 100% Logbook Checklist Screenshot 26 End of Abyss 100% Logbook Checklist Screenshot 27 End of Abyss 100% Logbook Checklist Screenshot 28 End of Abyss 100% Logbook Checklist Screenshot 29
CR-040

Brood Keeper

Optional boss
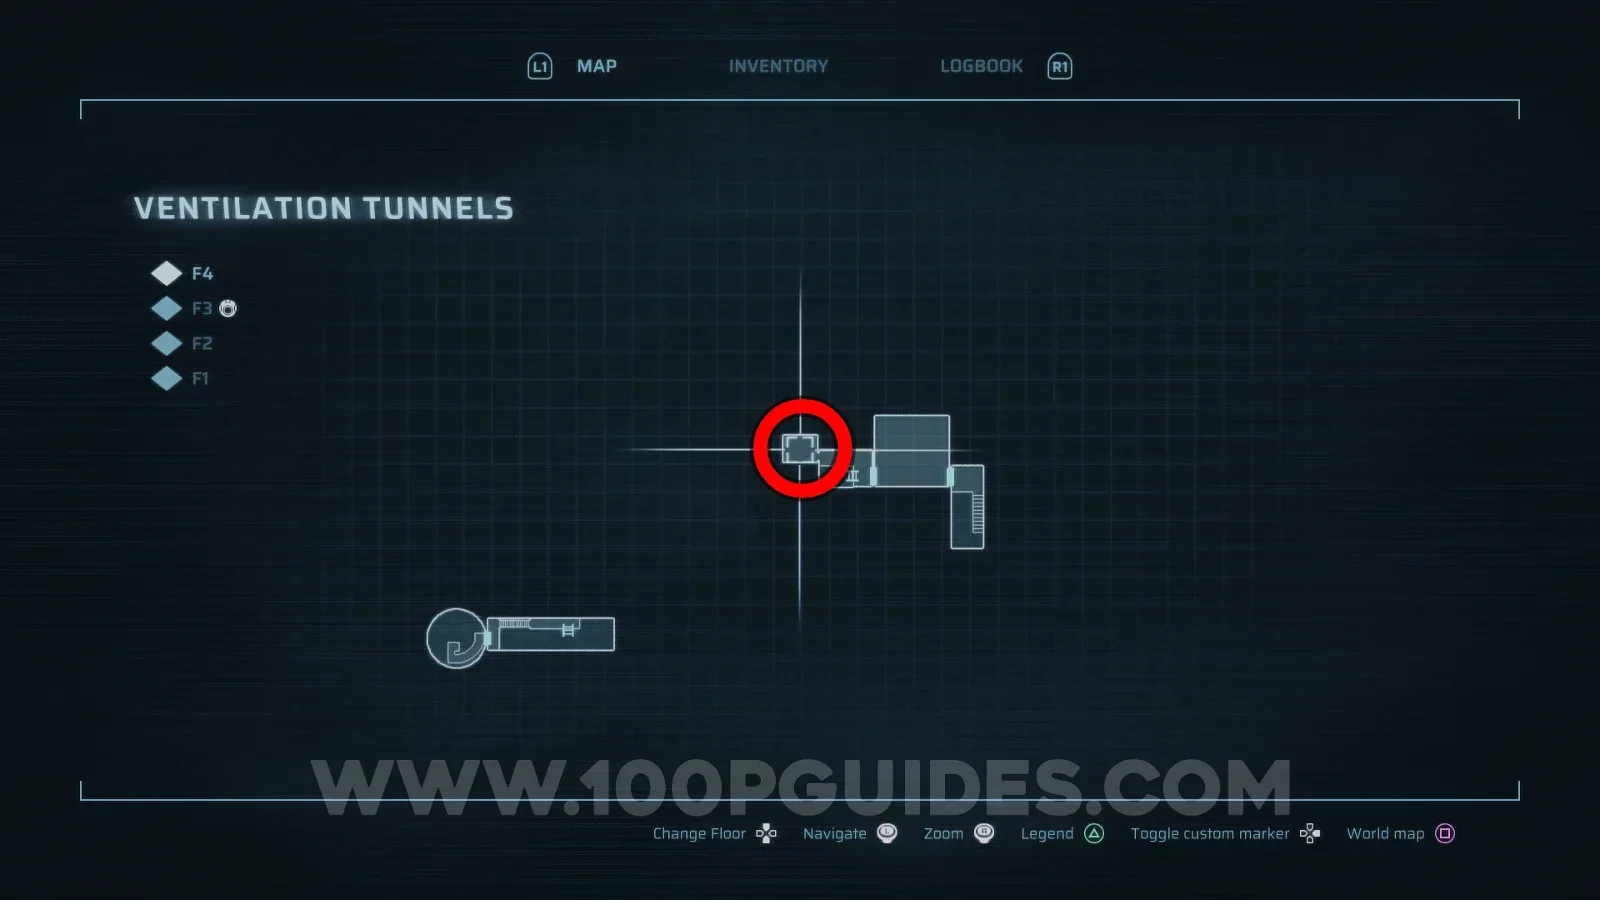
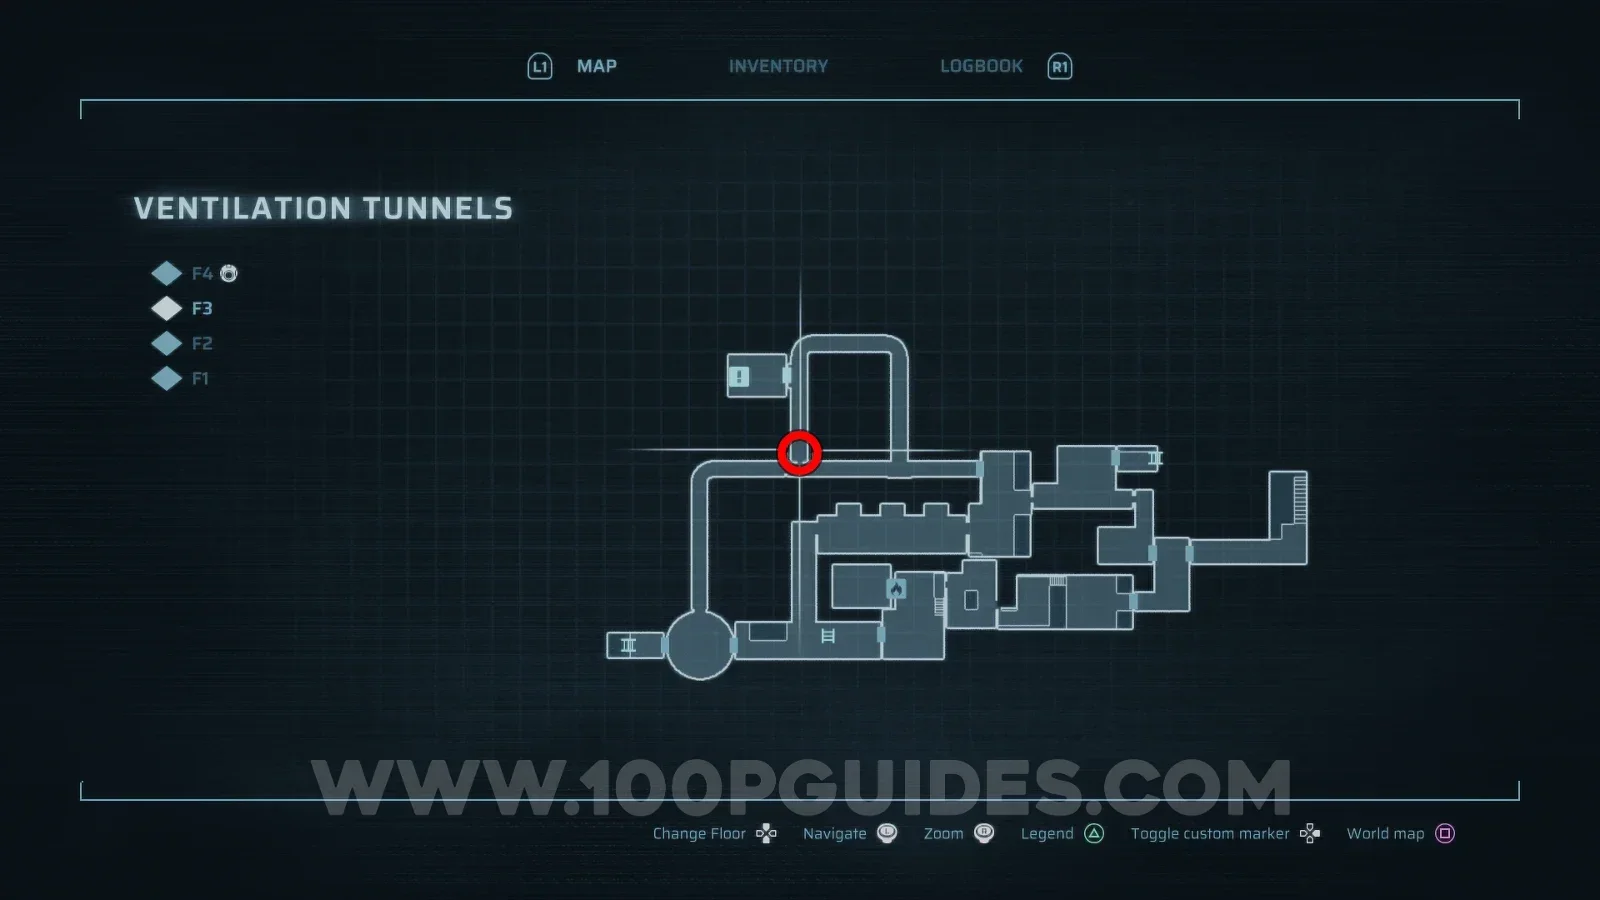
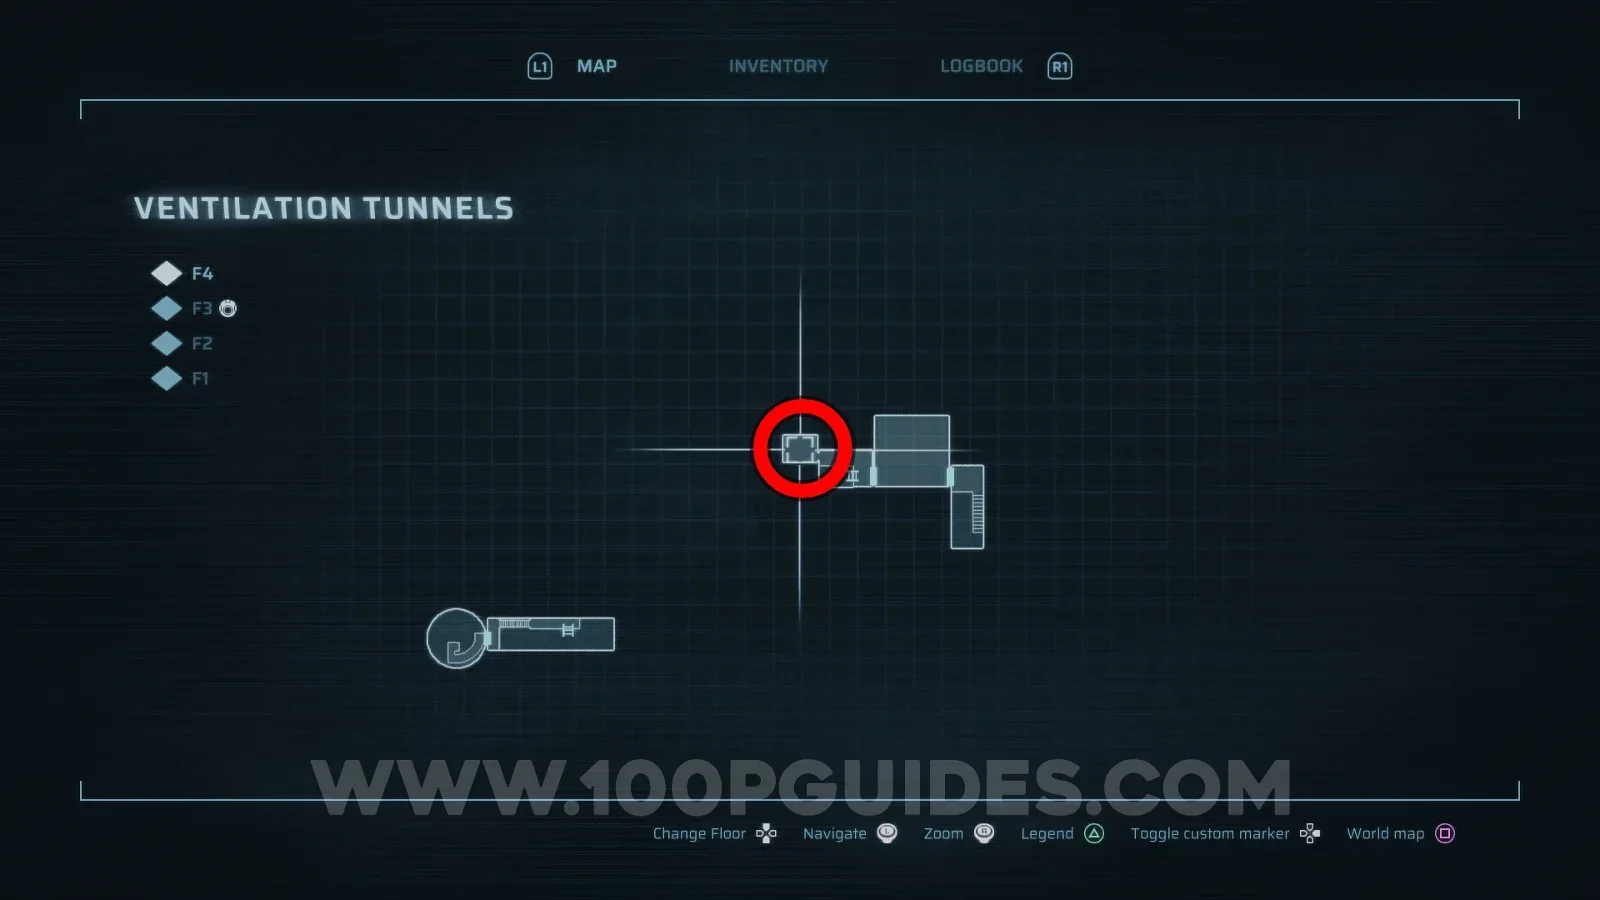
Ventilation Tunnels > F2

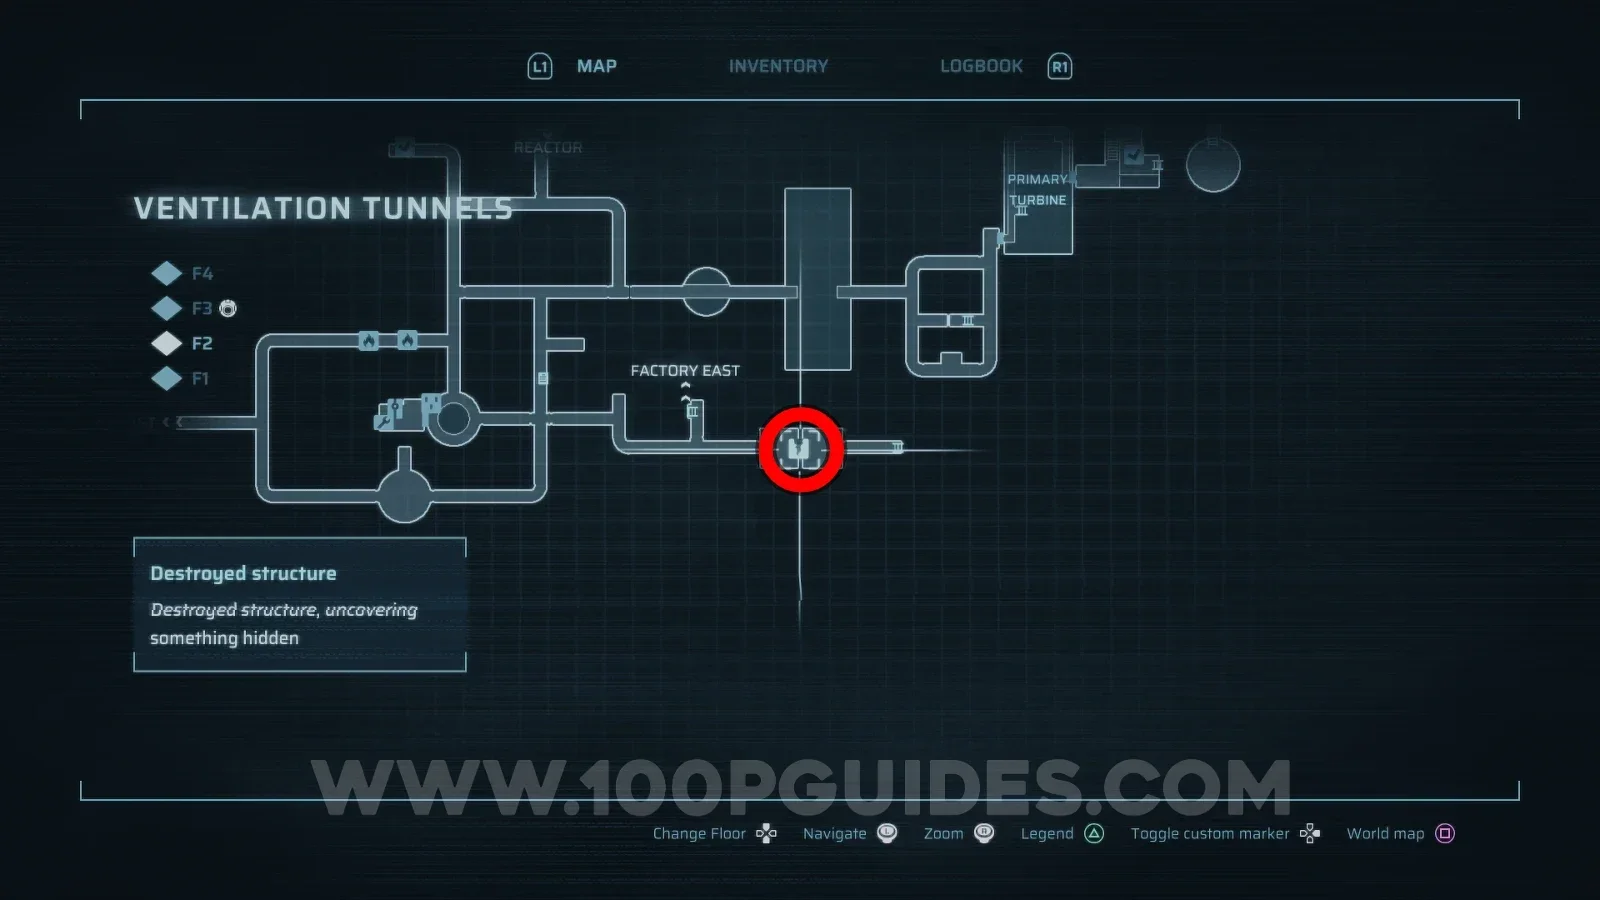
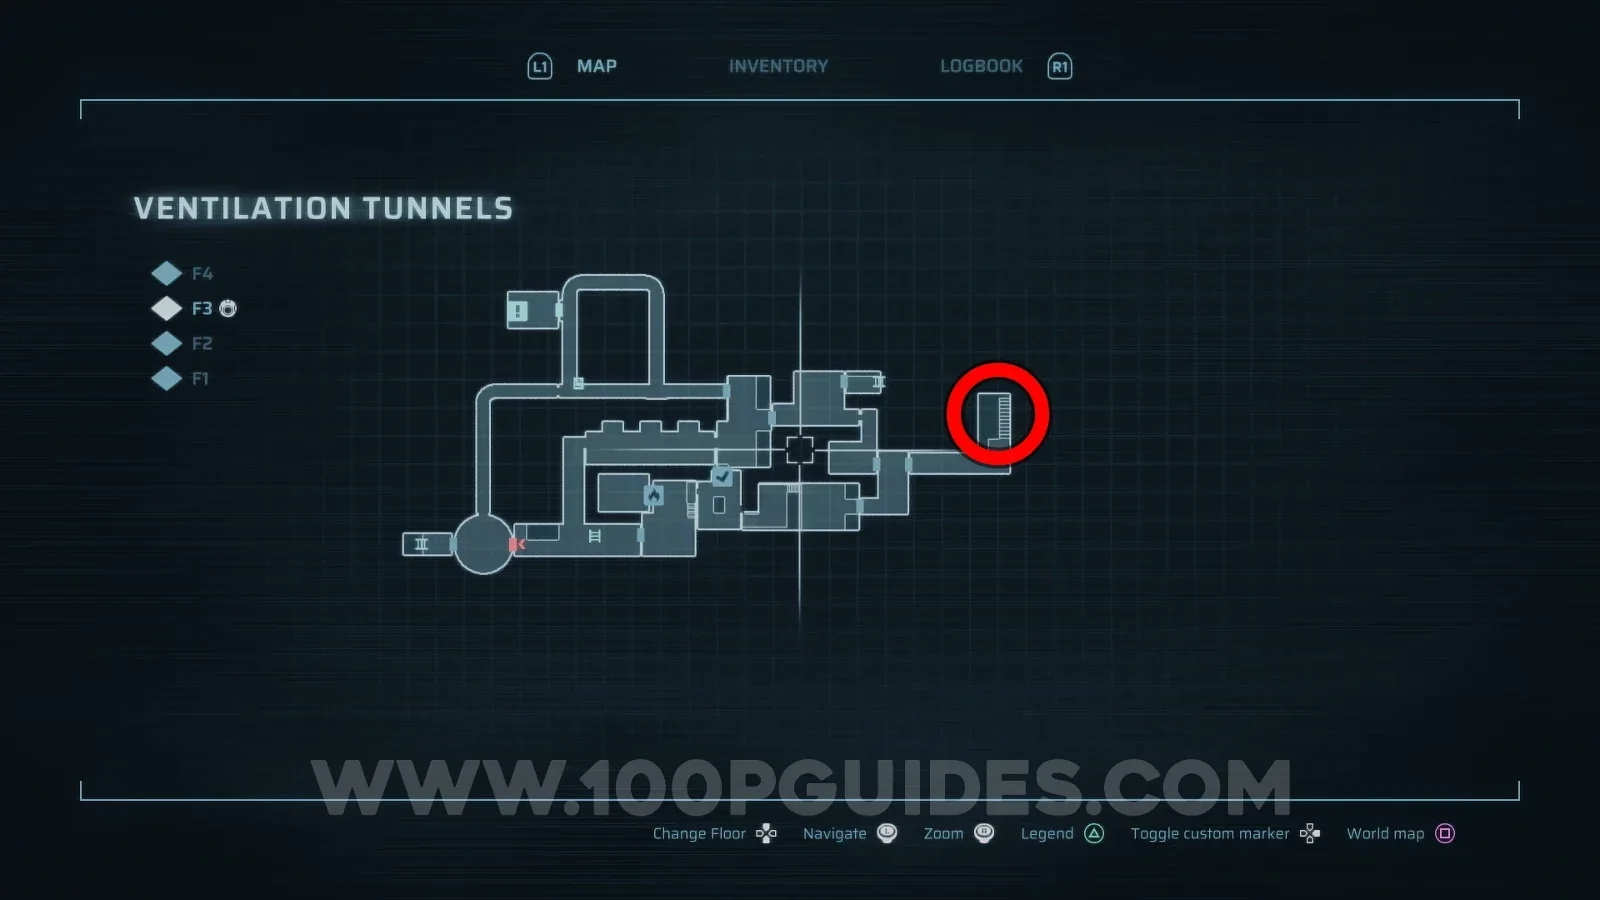
Brood Keeper is an optional boss that can be found in the Ventilation Tunnels area. First, you must destroy the weak wall to the right of the eastern most entrance to the Tunnels from Factory East. You can do this with the Explosive Charges that are obtained during the main story. On the other side of the wall, continue right until you eventually reach F2 of the ventilation tunnels. Here, head around the upper catwalk and pull down the ladder to reach F3. Then, head all the way right and head up the stairs for an ambush encounter. After defeating the enemies grab the Ventilation Maintenance Key.
End of Abyss 100% Logbook Checklist Screenshot 30 End of Abyss 100% Logbook Checklist Screenshot 31
Show moreShow less
End of Abyss 100% Logbook Checklist Screenshot 32 End of Abyss 100% Logbook Checklist Screenshot 33

With the Maintenance Key, head back to the bottom left part of F3 and use the grappling hook to pull down the ladder. Climb up, open the door with the key and press the switch inside.
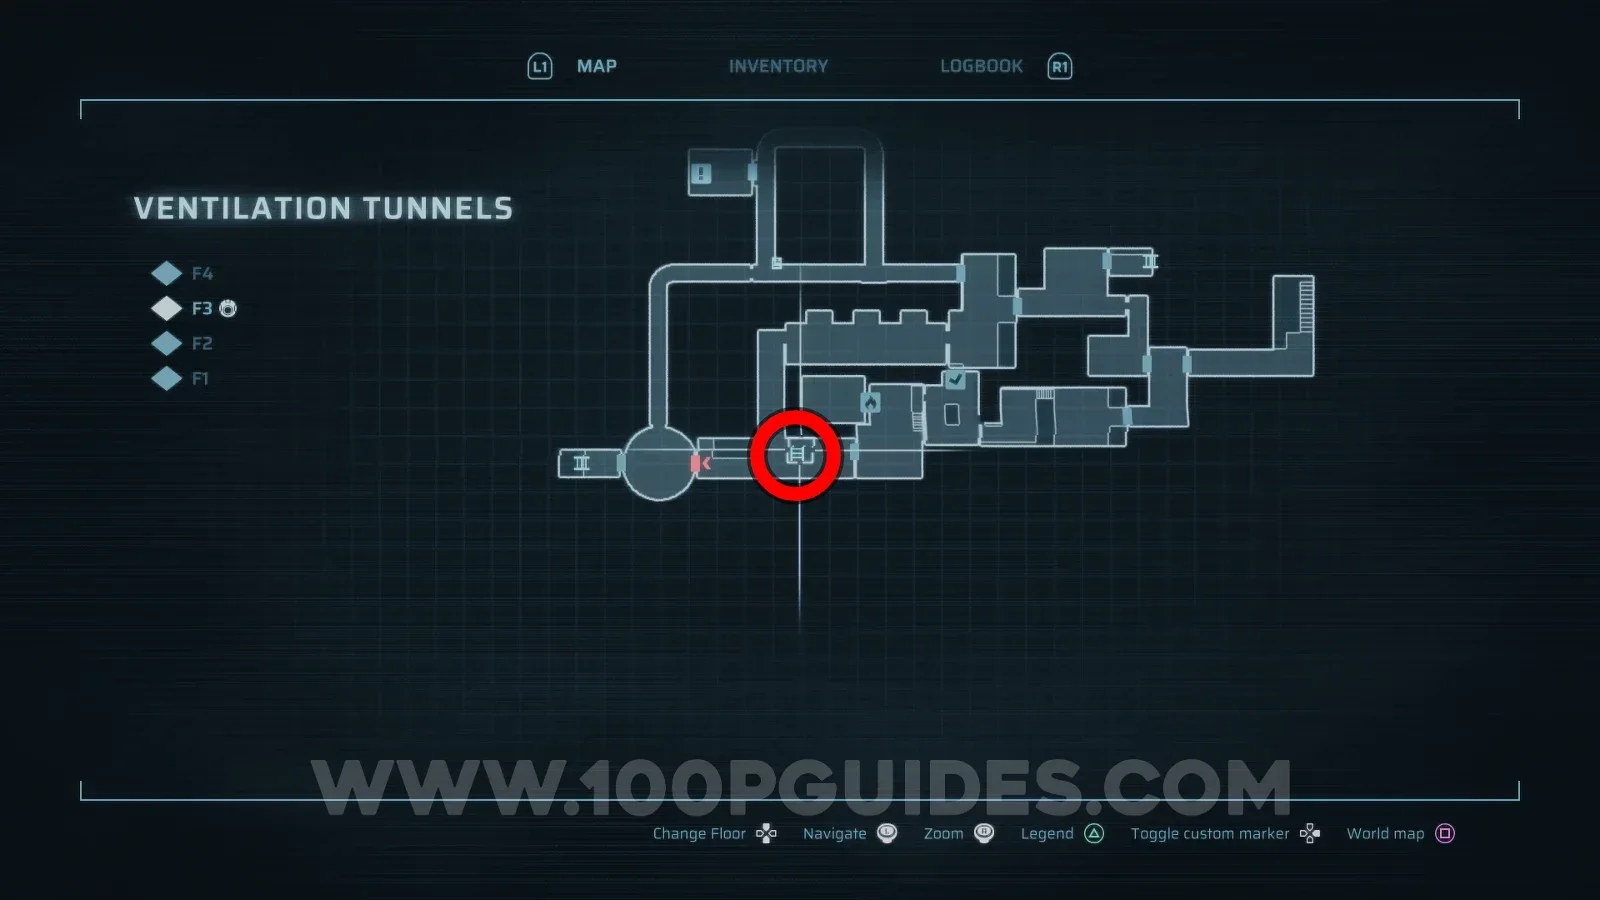
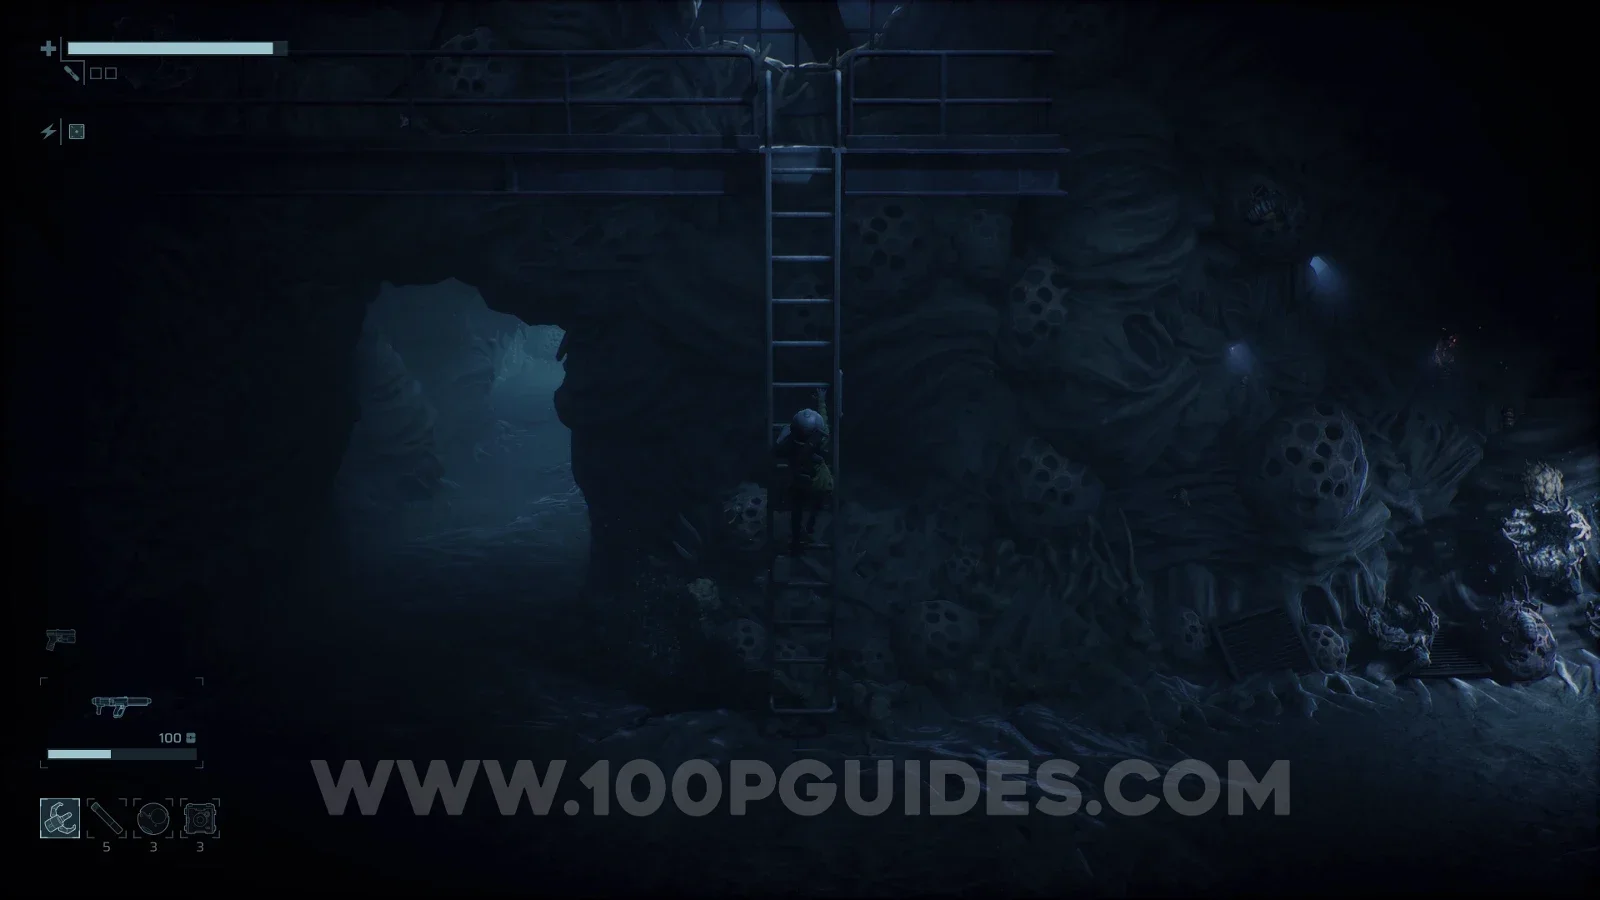
End of Abyss 100% Logbook Checklist Screenshot 34 End of Abyss 100% Logbook Checklist Screenshot 35 End of Abyss 100% Logbook Checklist Screenshot 36

After pressing the switch, head back down to F1 and climb the ladder in the circular area to reach the boss.
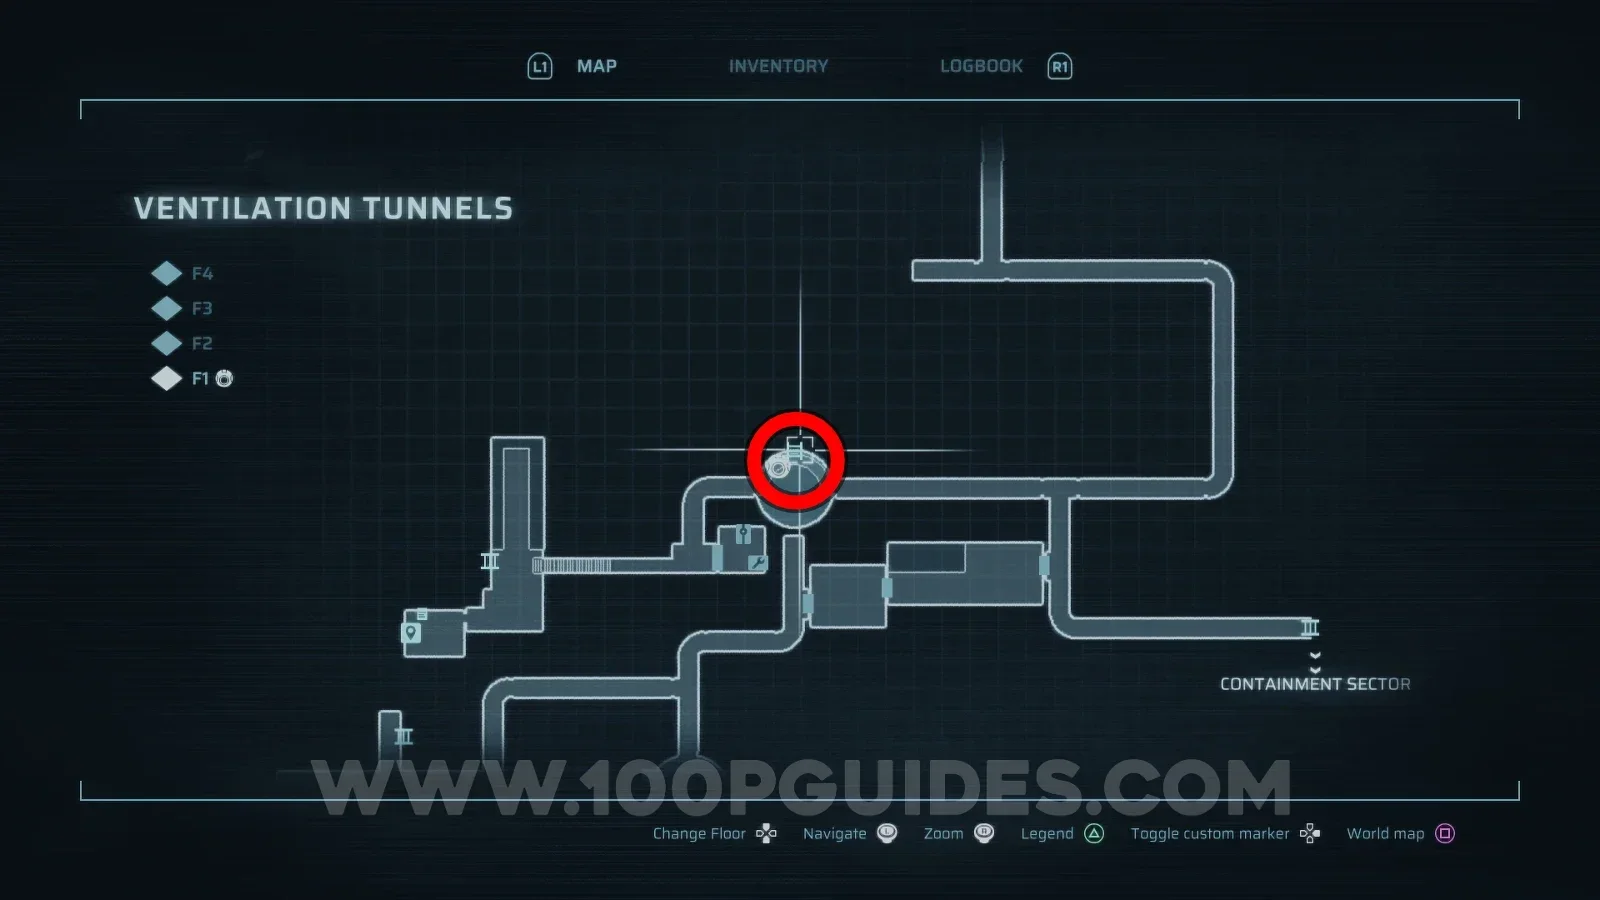
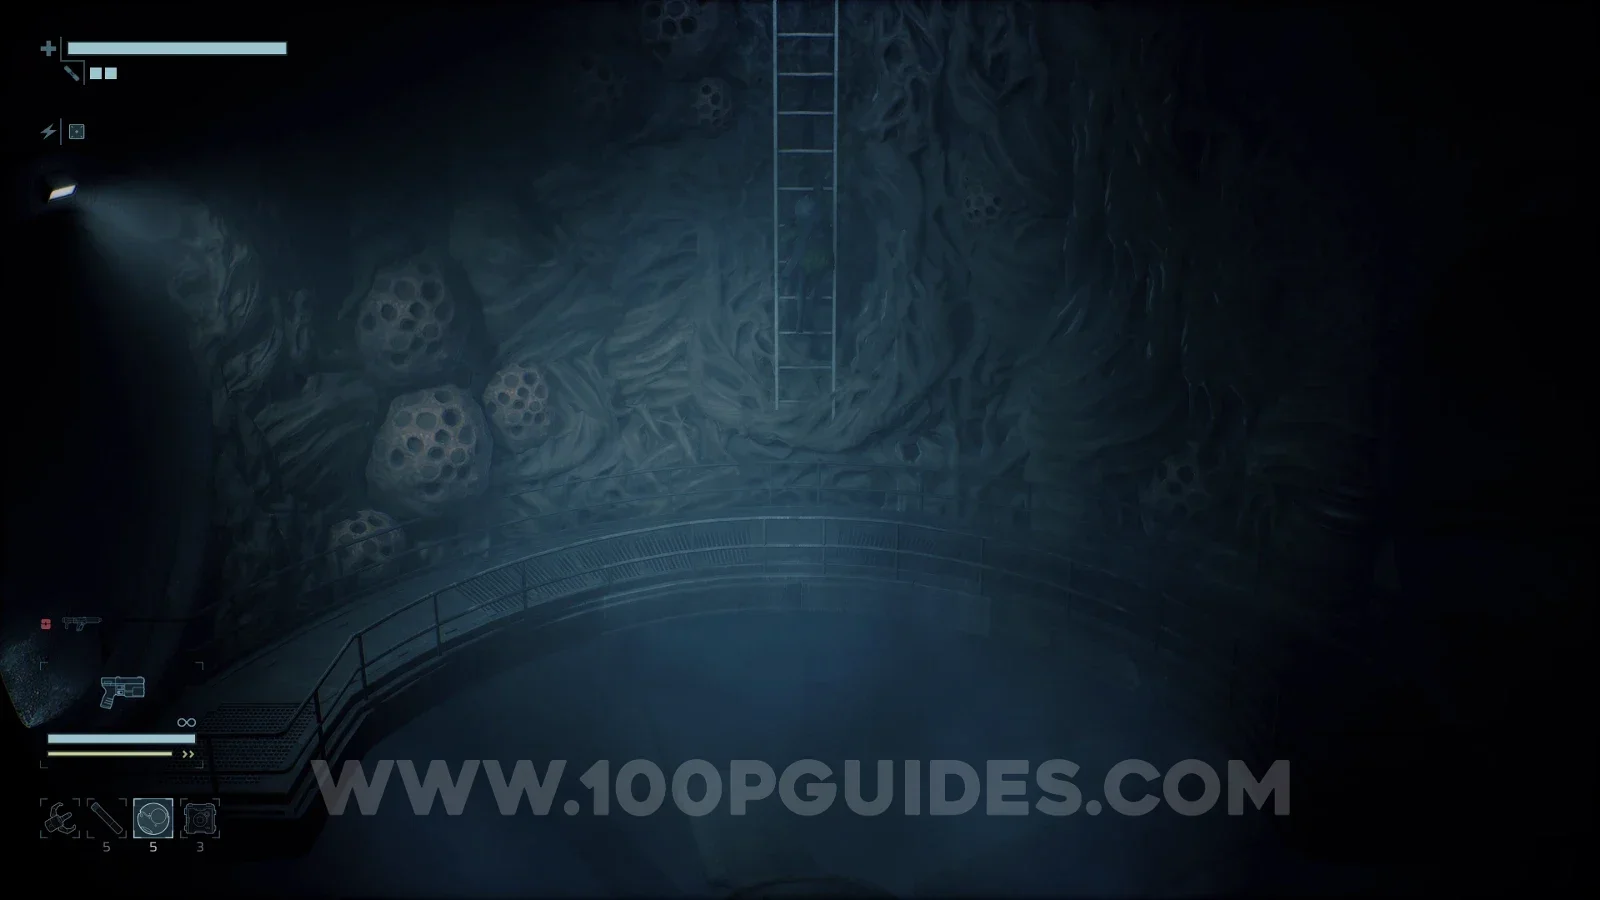
End of Abyss 100% Logbook Checklist Screenshot 37 End of Abyss 100% Logbook Checklist Screenshot 38
CR-041

Failed Experiment

Story boss

Story-related boss in the Lower Levels.

CR-042

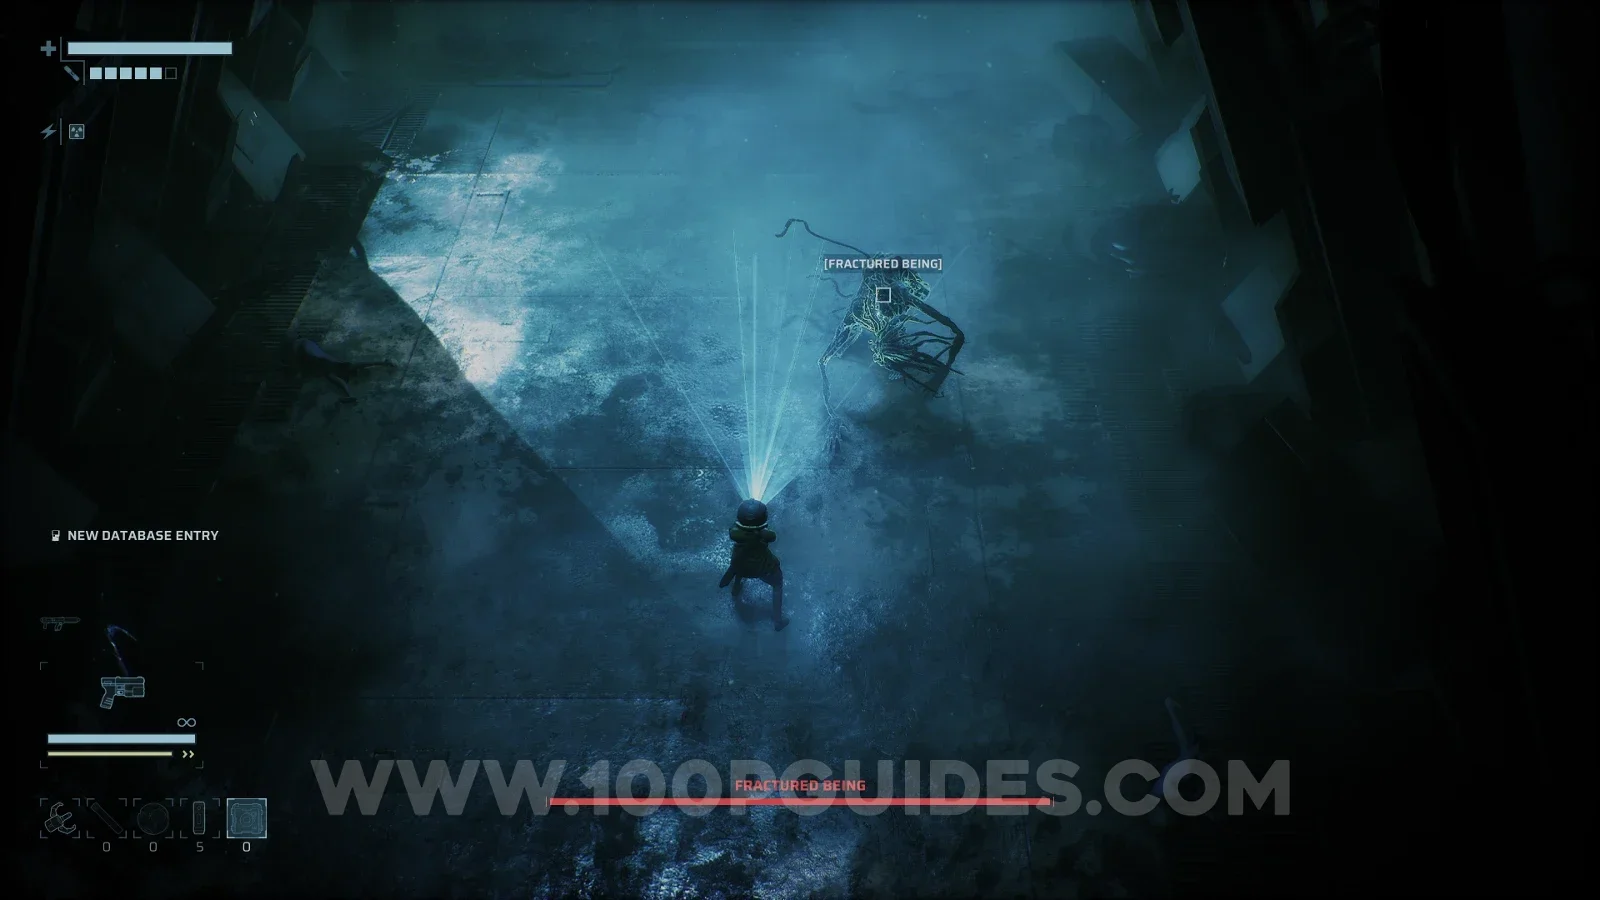
Fractured Being

Final boss

Story-related. The final boss of the game.
End of Abyss 100% Logbook Checklist Screenshot 39

Notes

51 entries
NO-001

Worker B-5256: Diary Entry

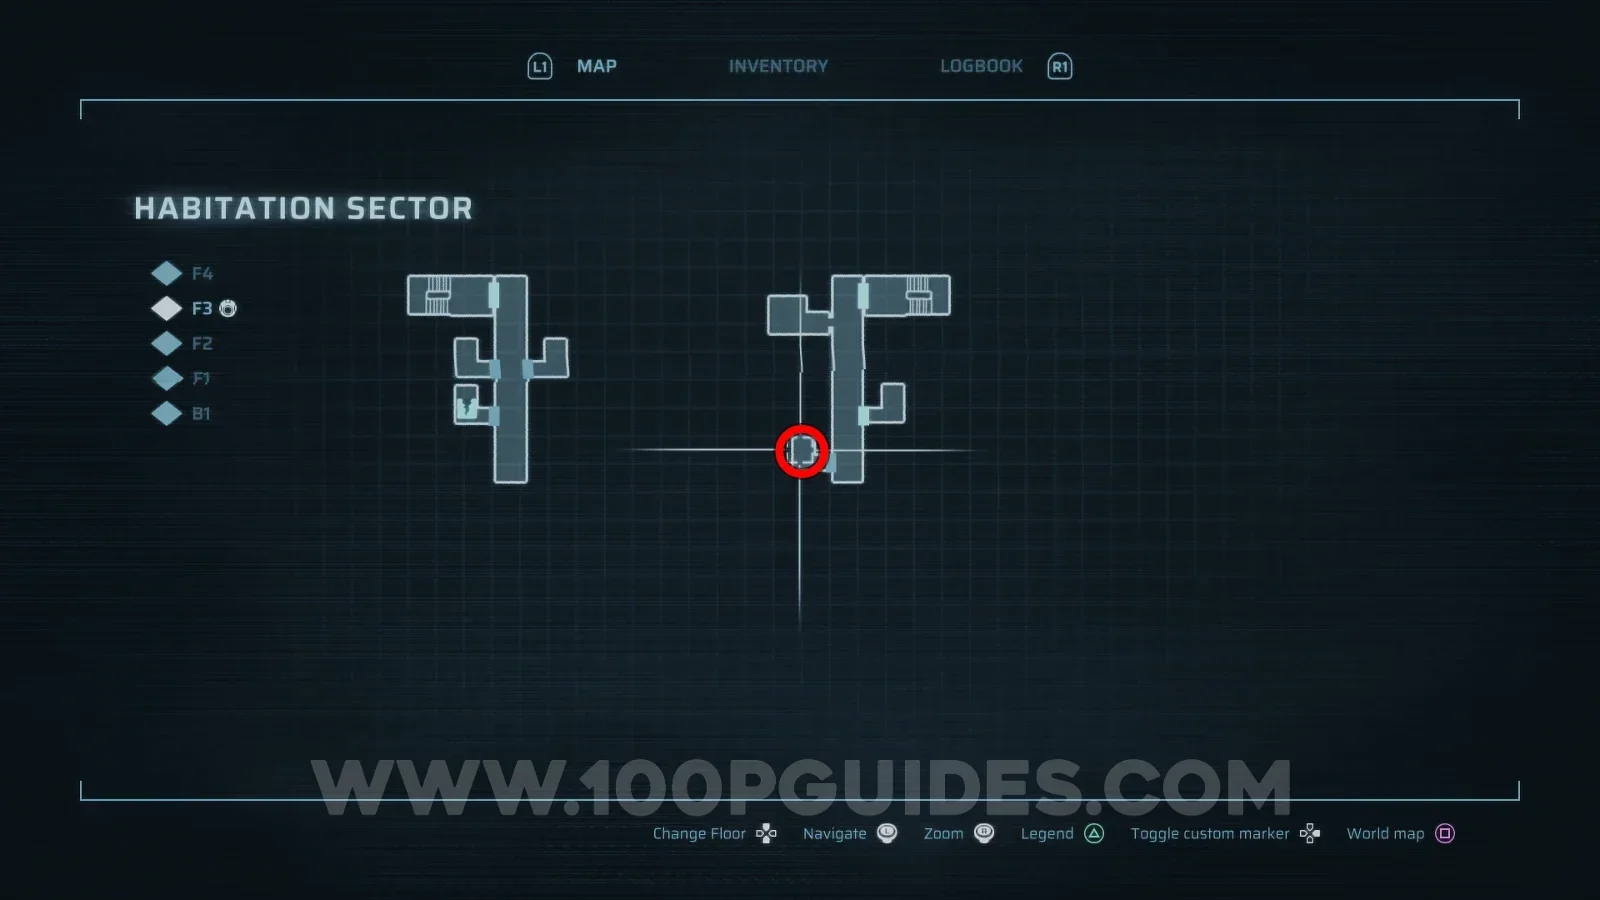
Habitation Sector > F3

Requires the Block B Keycard.

End of Abyss 100% Logbook Checklist Screenshot 153 End of Abyss 100% Logbook Checklist Screenshot 154
NO-002

New Orders

Habitation Sector > F1
End of Abyss 100% Logbook Checklist Screenshot 155 End of Abyss 100% Logbook Checklist Screenshot 156
NO-003

Worker A-1431: Diary Entry 1

Habitation Sector > F3

Requires the Block A Keycard.

End of Abyss 100% Logbook Checklist Screenshot 157 End of Abyss 100% Logbook Checklist Screenshot 158
NO-004

Worker B-4212: Diary Entry

Habitation Sector > F1

Requires the Janitor Key.

End of Abyss 100% Logbook Checklist Screenshot 159 End of Abyss 100% Logbook Checklist Screenshot 160
NO-005

Worker A-1431: Diary Entry 2

Habitation Sector > F4

Requires the Block A Keycard.

End of Abyss 100% Logbook Checklist Screenshot 161 End of Abyss 100% Logbook Checklist Screenshot 162
NO-006

Worker A-1919: Diary Entry

Habitation Sector > F4

Requires the Block A Keycard.

End of Abyss 100% Logbook Checklist Screenshot 163 End of Abyss 100% Logbook Checklist Screenshot 164
NO-007

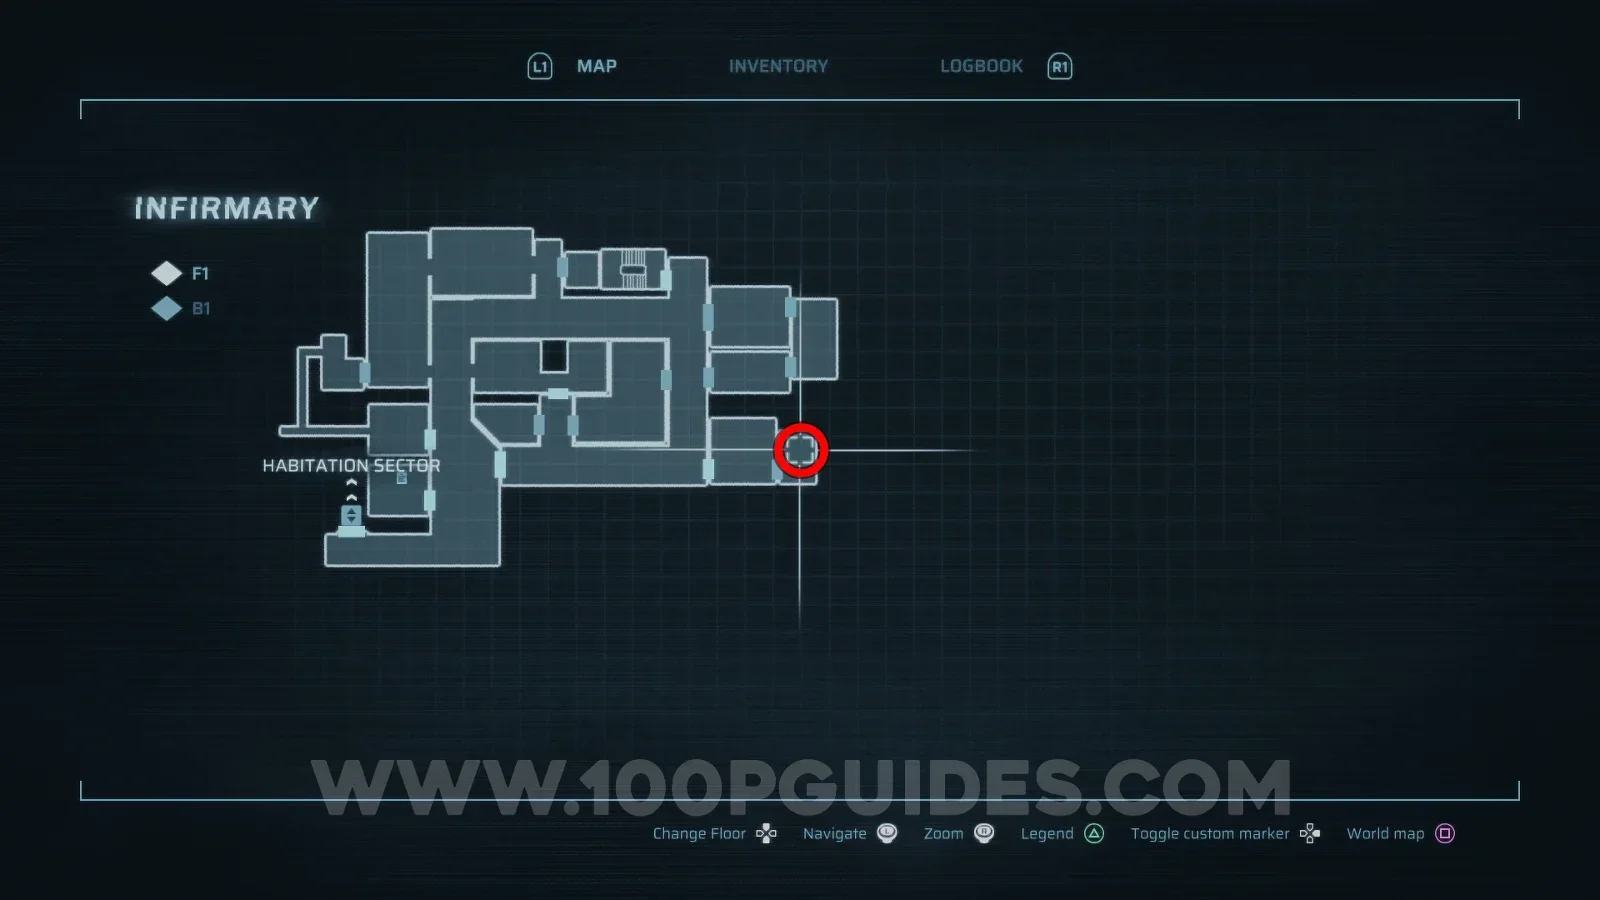
X-Ray

Infirmary > F1

Requires the Restricted Access Keycard.
End of Abyss 100% Logbook Checklist Screenshot 165 End of Abyss 100% Logbook Checklist Screenshot 166
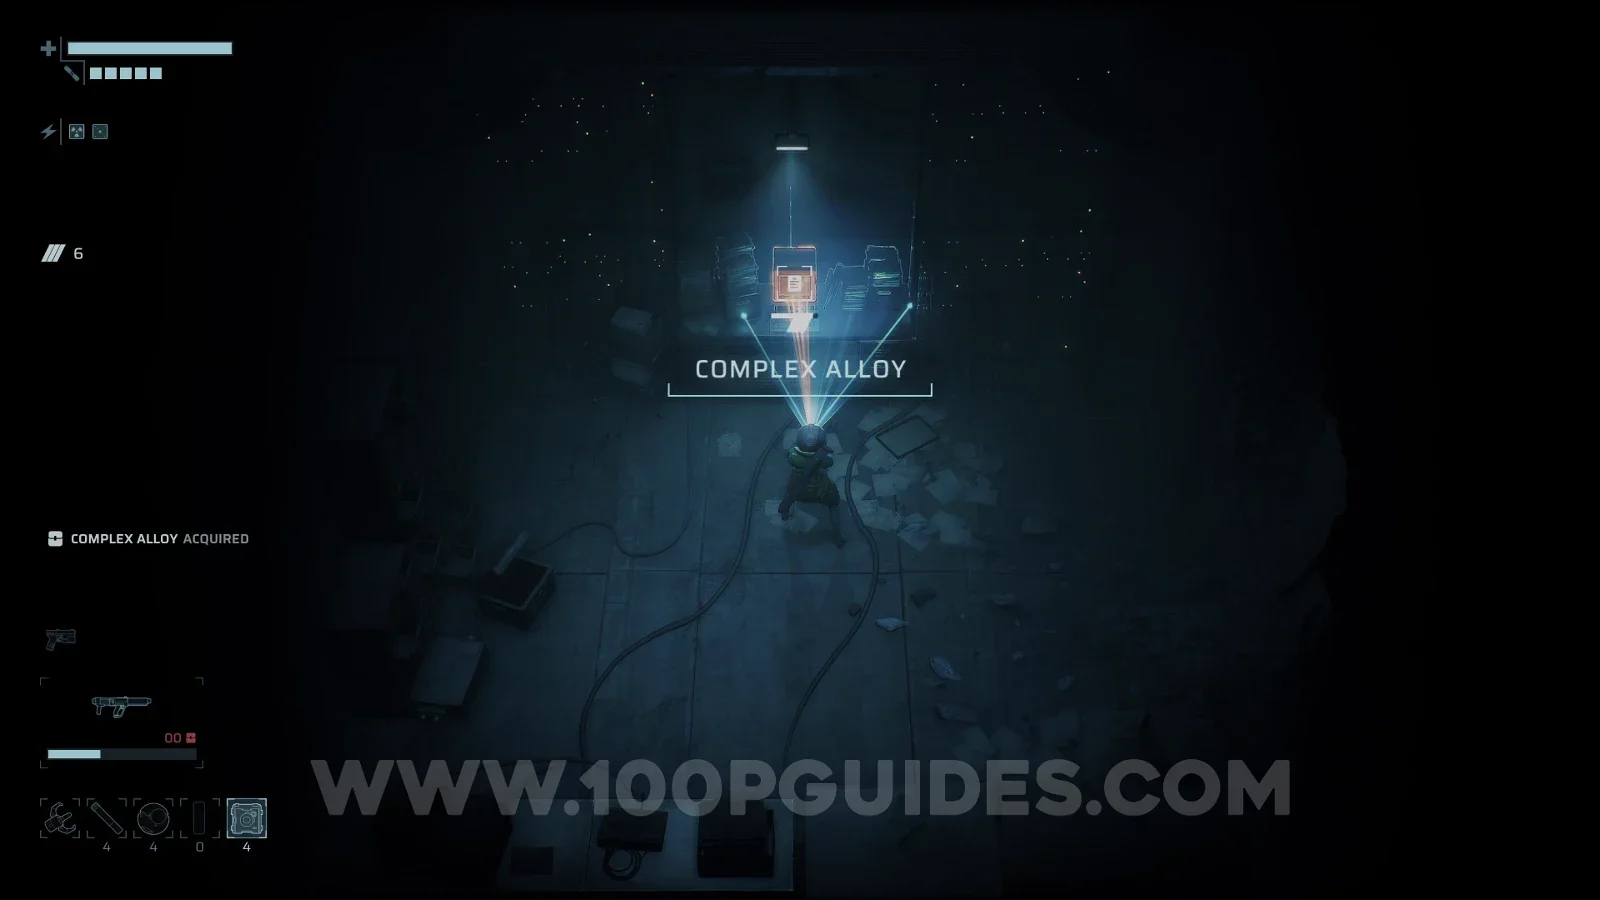
NO-008

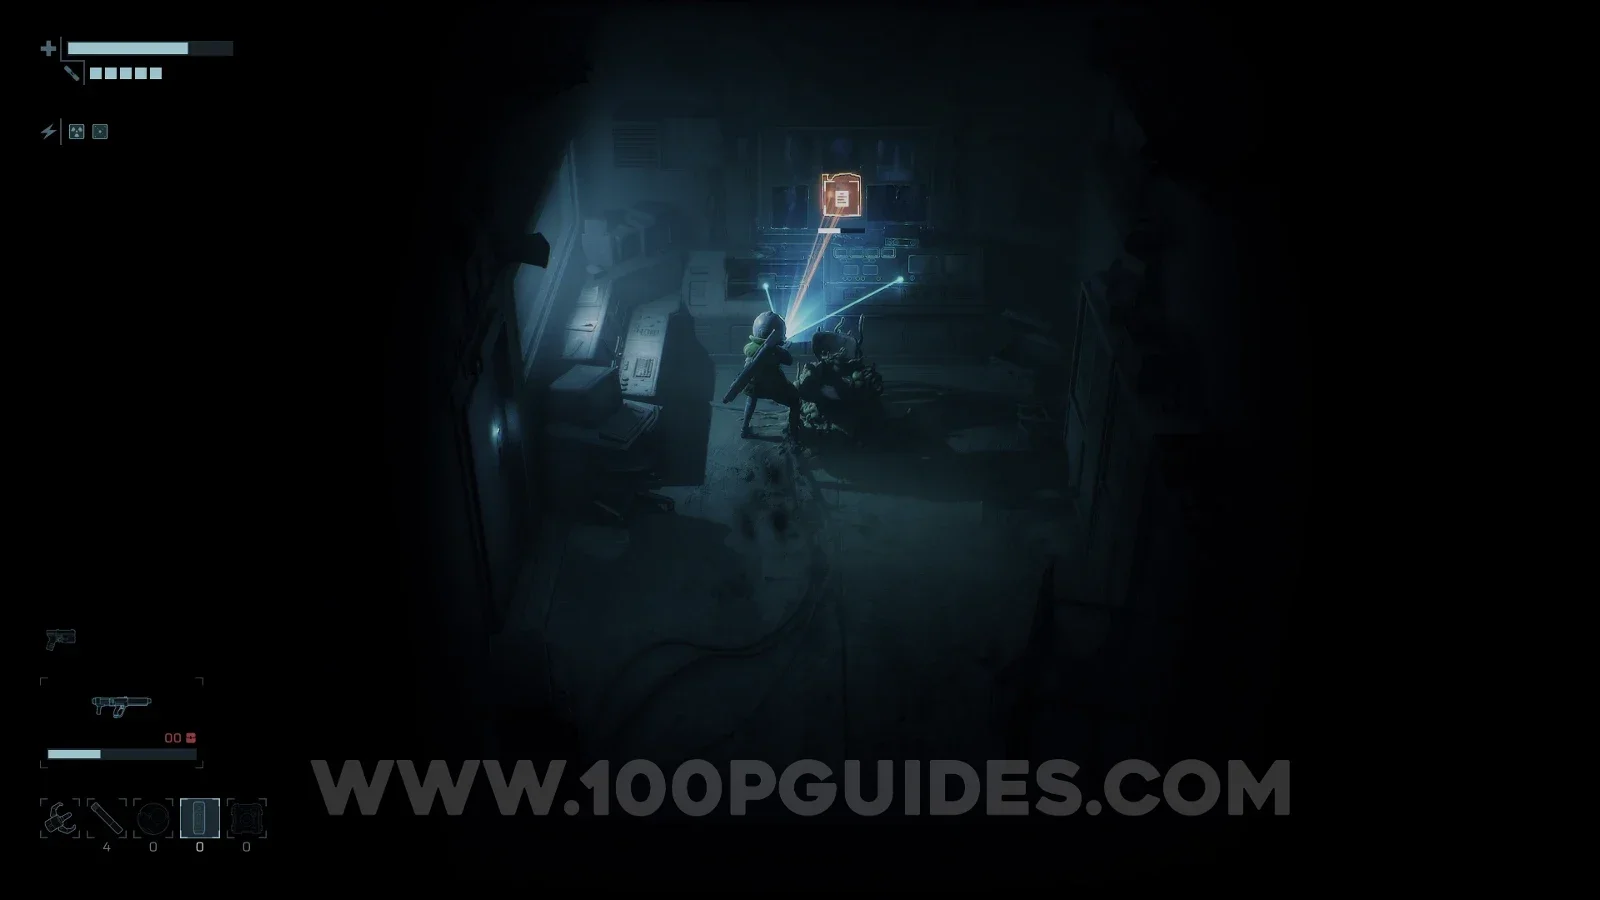
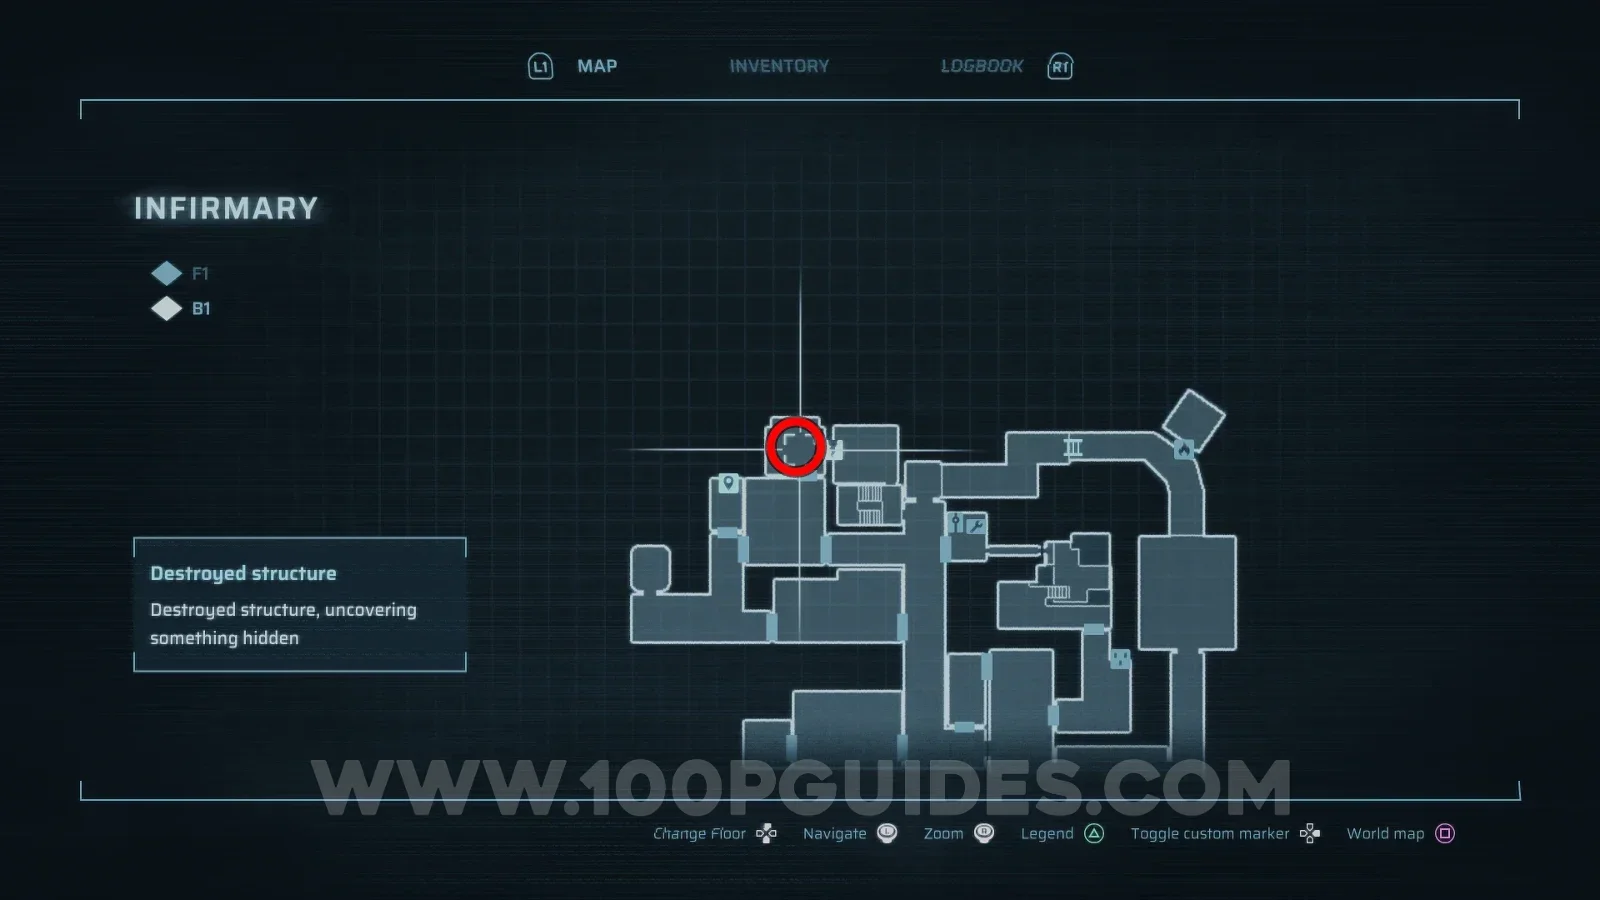
Medical Examiner Note

Infirmary > B1

Requires the Restricted Access Keycard. Blast a hole through the wall from the room on the right.
End of Abyss 100% Logbook Checklist Screenshot 167 End of Abyss 100% Logbook Checklist Screenshot 168
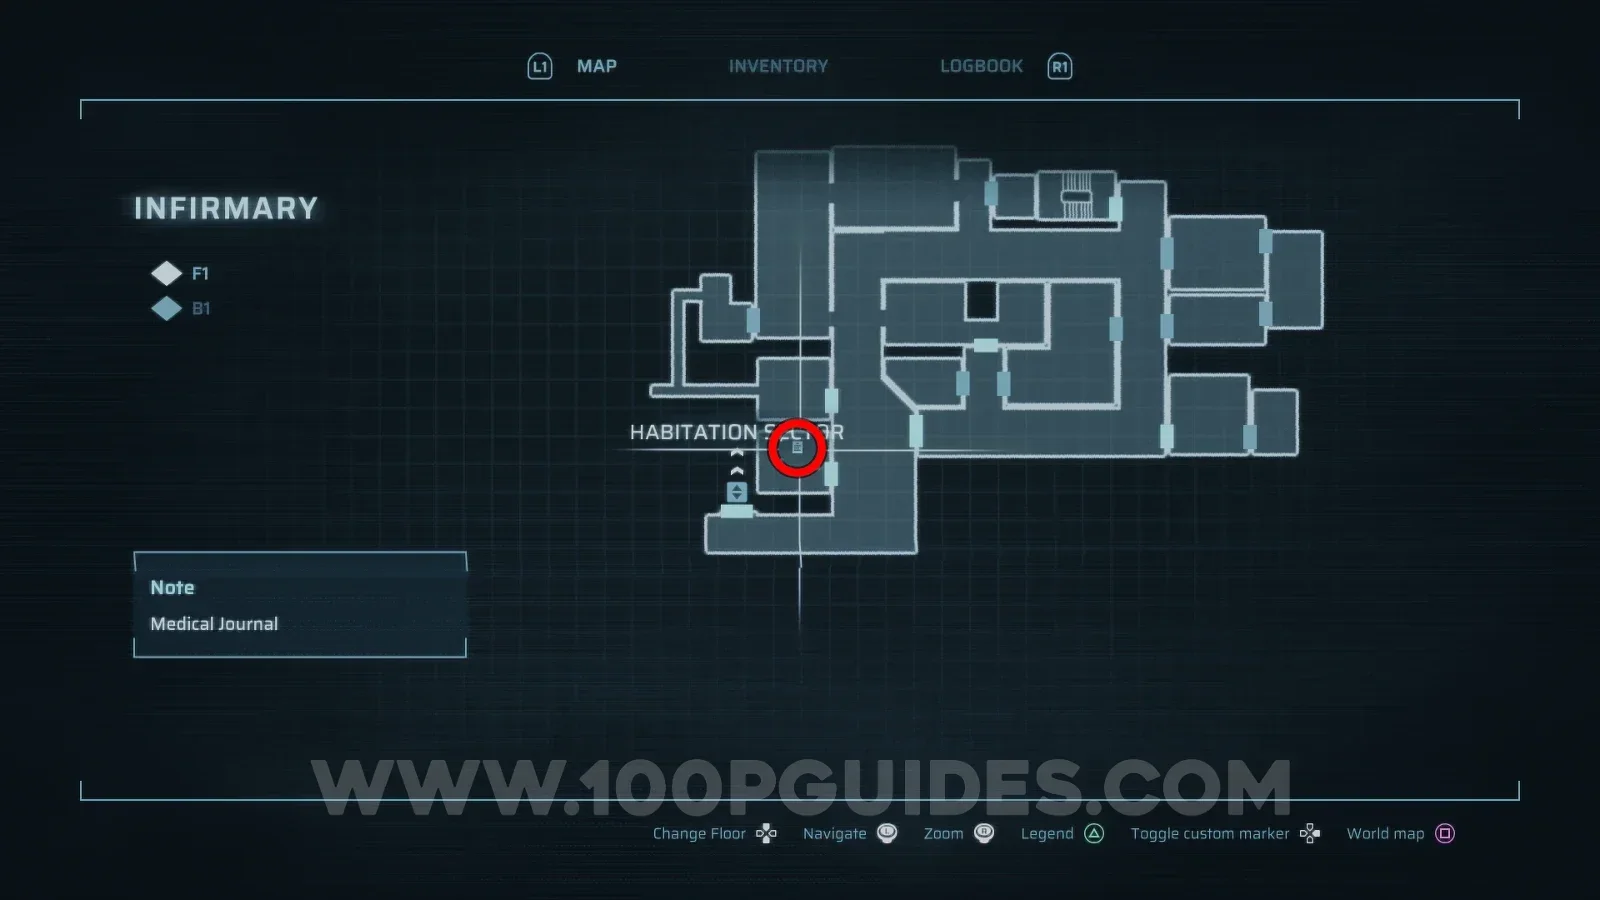
NO-009

Medical Journal

Infirmary > B1

Requires the Restricted Access Keycard.
End of Abyss 100% Logbook Checklist Screenshot 169 End of Abyss 100% Logbook Checklist Screenshot 170
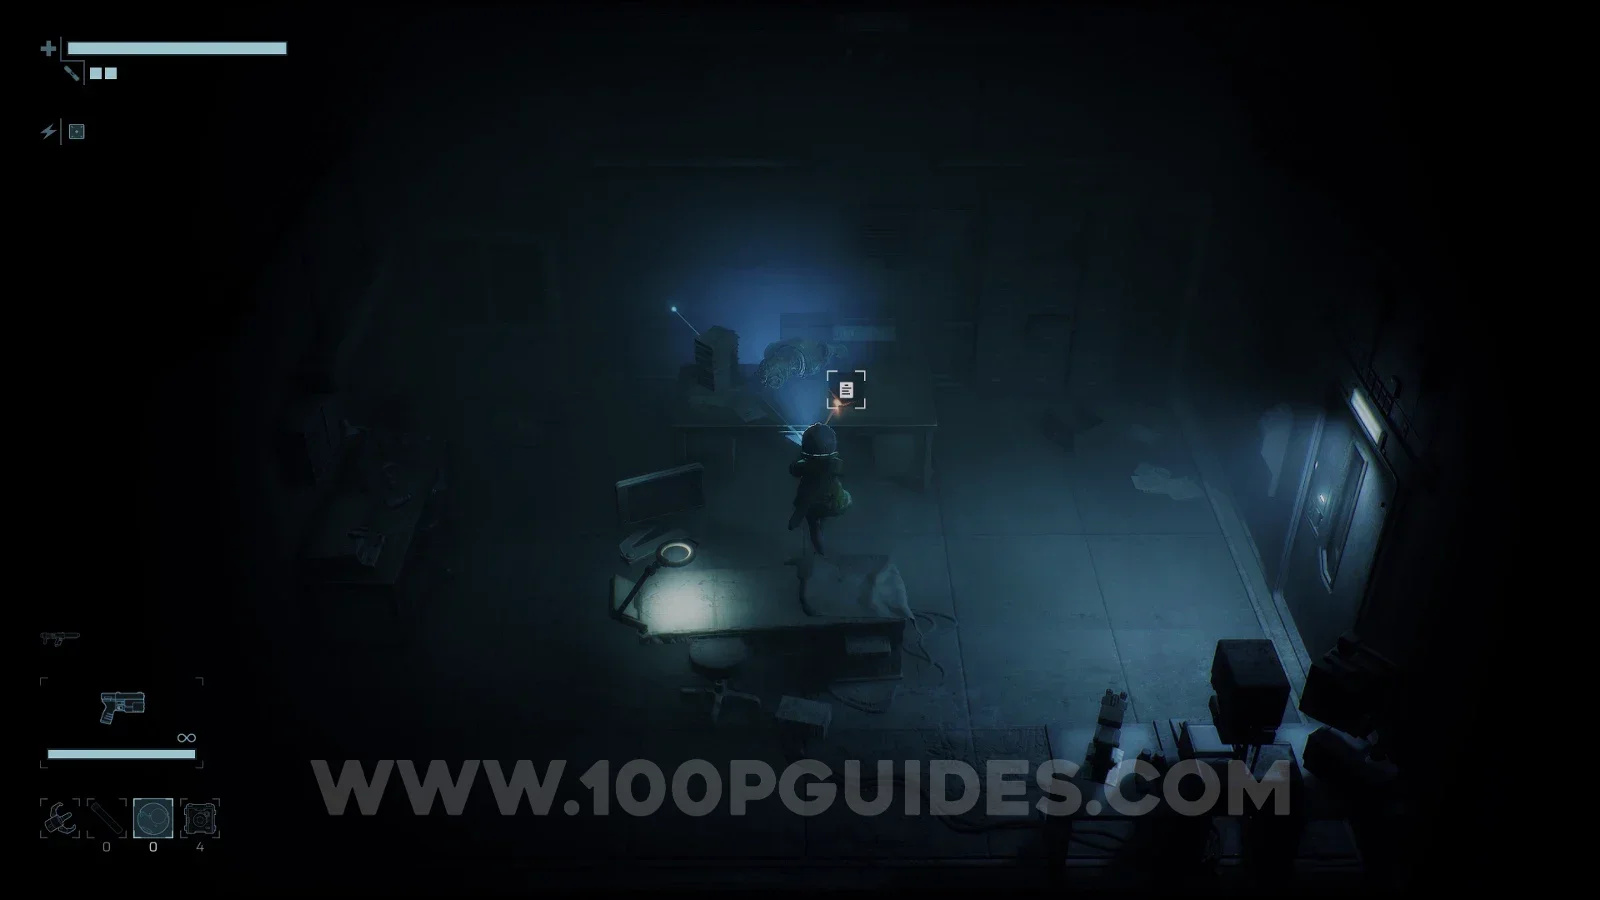
NO-010

Autopsy Results

Infirmary > B1

Requires the Restricted Access Keycard.
End of Abyss 100% Logbook Checklist Screenshot 171 End of Abyss 100% Logbook Checklist Screenshot 172
NO-011

Floor Integrity

Factory West > F2
End of Abyss 100% Logbook Checklist Screenshot 173 End of Abyss 100% Logbook Checklist Screenshot 174
NO-012

Important Worker Notice

Factory West > F2
End of Abyss 100% Logbook Checklist Screenshot 175 End of Abyss 100% Logbook Checklist Screenshot 176
NO-013

Incident Report 252-B

Factory West > F2
End of Abyss 100% Logbook Checklist Screenshot 177 End of Abyss 100% Logbook Checklist Screenshot 178
NO-014

Maintenance Log 45-D

Factory East > F2
End of Abyss 100% Logbook Checklist Screenshot 179 End of Abyss 100% Logbook Checklist Screenshot 180
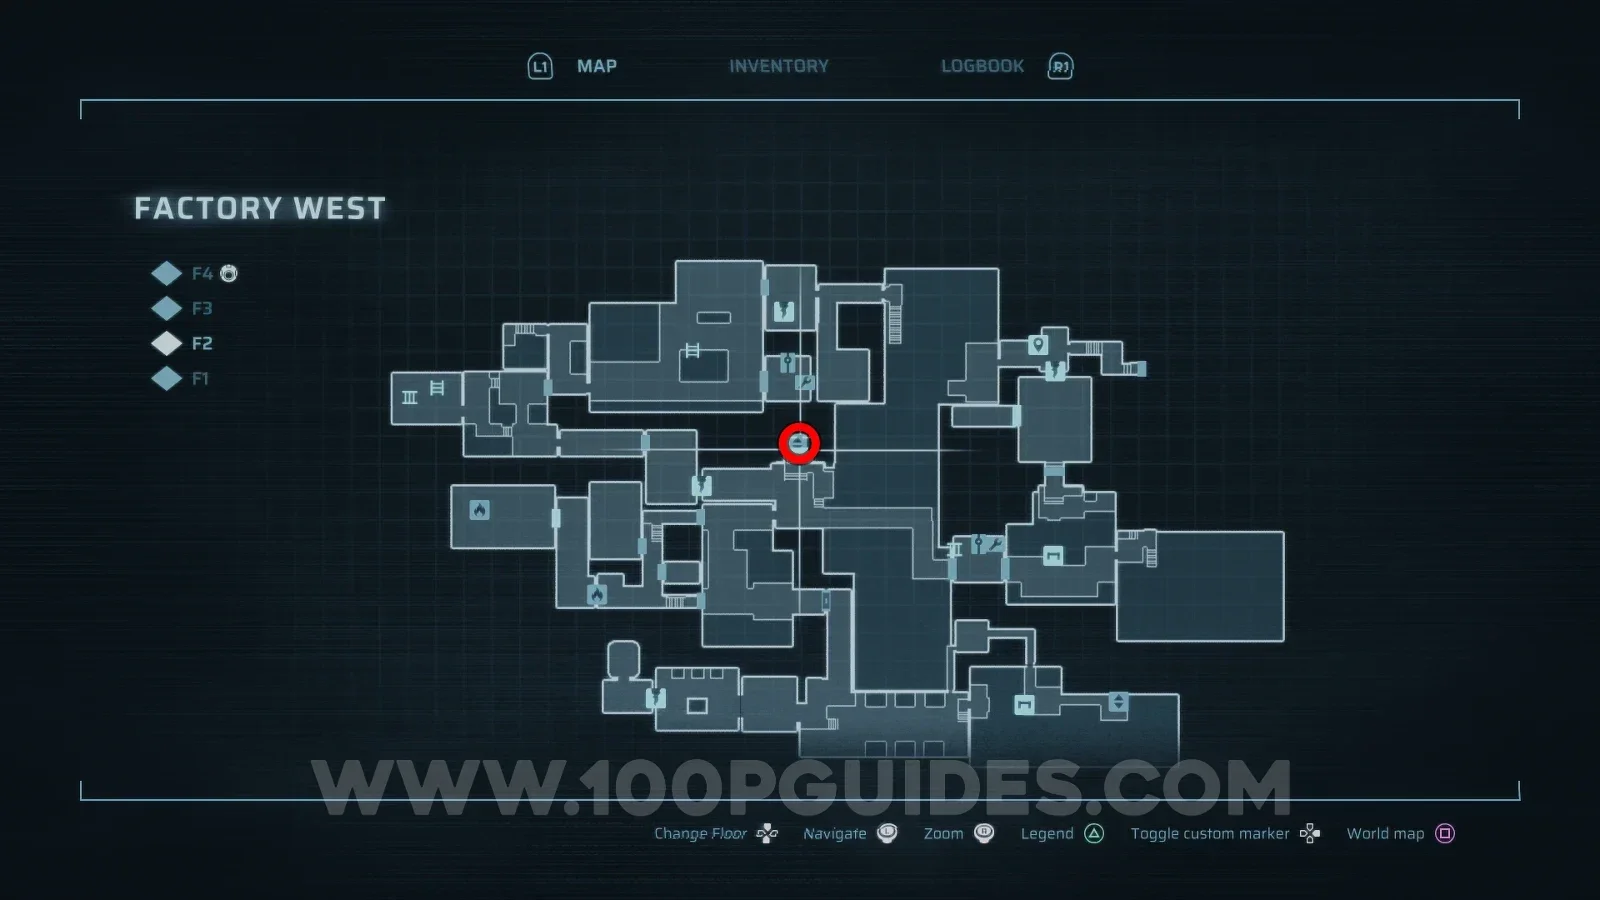
NO-015

Meeting Notes

Factory West > F4

Ride the lift up from F2. Requires the Executive Level Access Keycard.
End of Abyss 100% Logbook Checklist Screenshot 181 End of Abyss 100% Logbook Checklist Screenshot 182 End of Abyss 100% Logbook Checklist Screenshot 183
NO-016

New Security Rifles

Factory East > F3
End of Abyss 100% Logbook Checklist Screenshot 184 End of Abyss 100% Logbook Checklist Screenshot 185
NO-017

Pump System Operations Manual

Waterworks > B3
End of Abyss 100% Logbook Checklist Screenshot 186 End of Abyss 100% Logbook Checklist Screenshot 187
NO-018

Waterworks Accident Report

Waterworks > B3
End of Abyss 100% Logbook Checklist Screenshot 188 End of Abyss 100% Logbook Checklist Screenshot 189
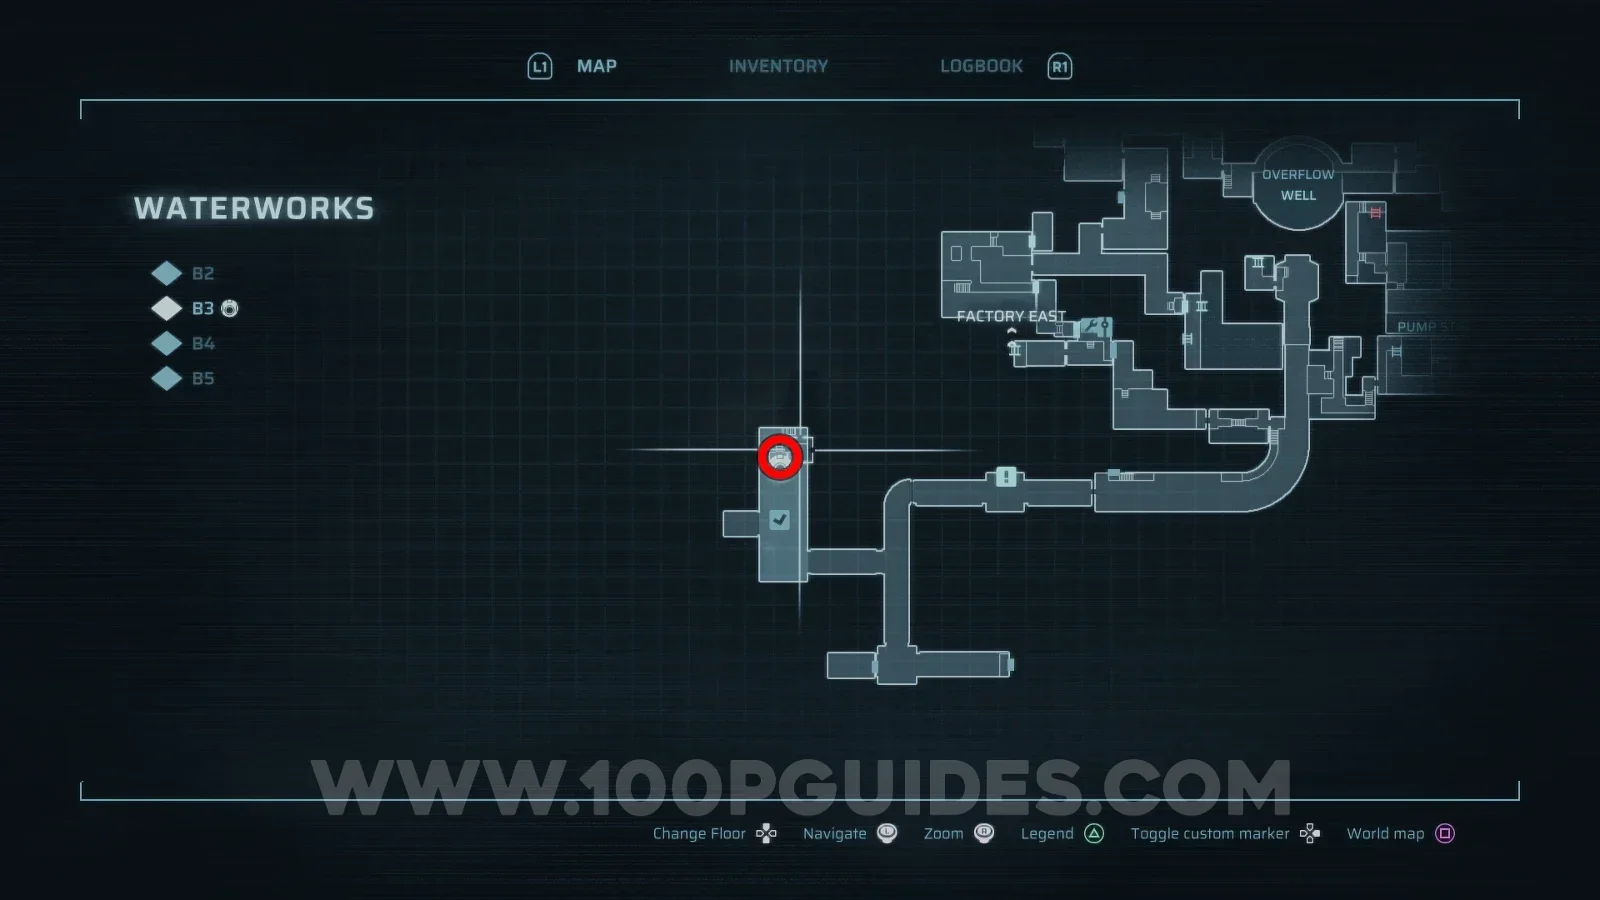
NO-019

Disgruntled Note

Waterworks > B2

Head up the stairs at the end of the sewers area.
End of Abyss 100% Logbook Checklist Screenshot 190 End of Abyss 100% Logbook Checklist Screenshot 191
NO-020

Cholmite Infestation

Outer Sector > B2
End of Abyss 100% Logbook Checklist Screenshot 192 End of Abyss 100% Logbook Checklist Screenshot 193
NO-021

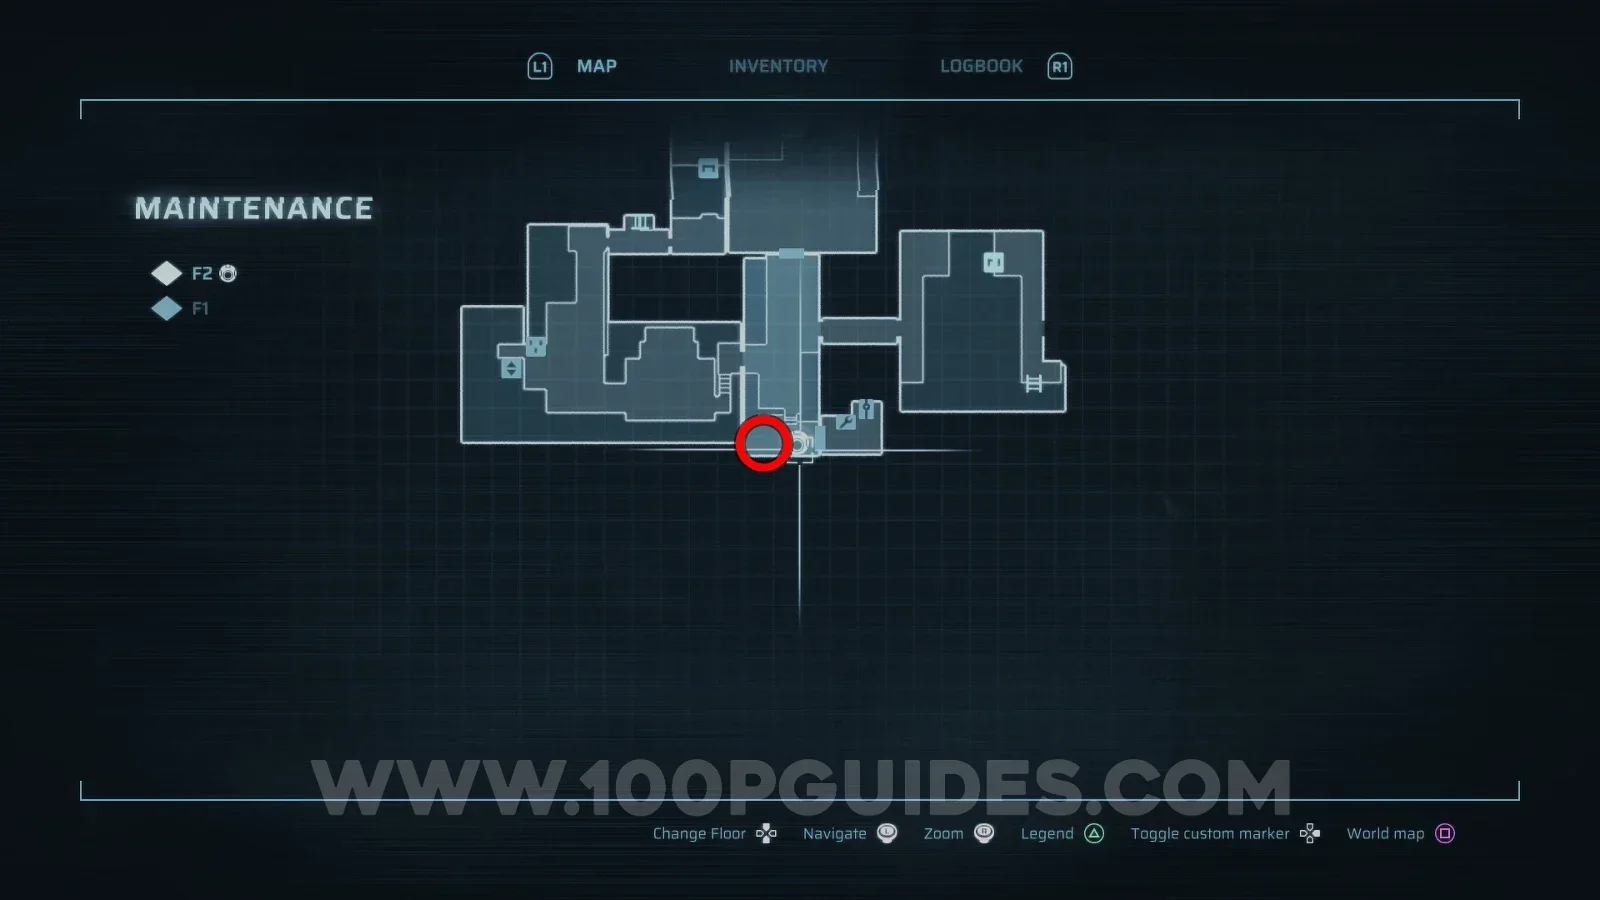
Incident Report 143-A

Maintenance > F1

Use an explosive charge to blow a hole in the ground, then drop down to find the note.
End of Abyss 100% Logbook Checklist Screenshot 194 End of Abyss 100% Logbook Checklist Screenshot 195 End of Abyss 100% Logbook Checklist Screenshot 196
NO-022

Temporary Repairs Notice

Containment Sector > F2
End of Abyss 100% Logbook Checklist Screenshot 197 End of Abyss 100% Logbook Checklist Screenshot 198
NO-023

Glowing Bugs

Containment Sector > F2
End of Abyss 100% Logbook Checklist Screenshot 199 End of Abyss 100% Logbook Checklist Screenshot 200
NO-024

Radiation Levels Report

Containment Sector > F3
End of Abyss 100% Logbook Checklist Screenshot 201 End of Abyss 100% Logbook Checklist Screenshot 202
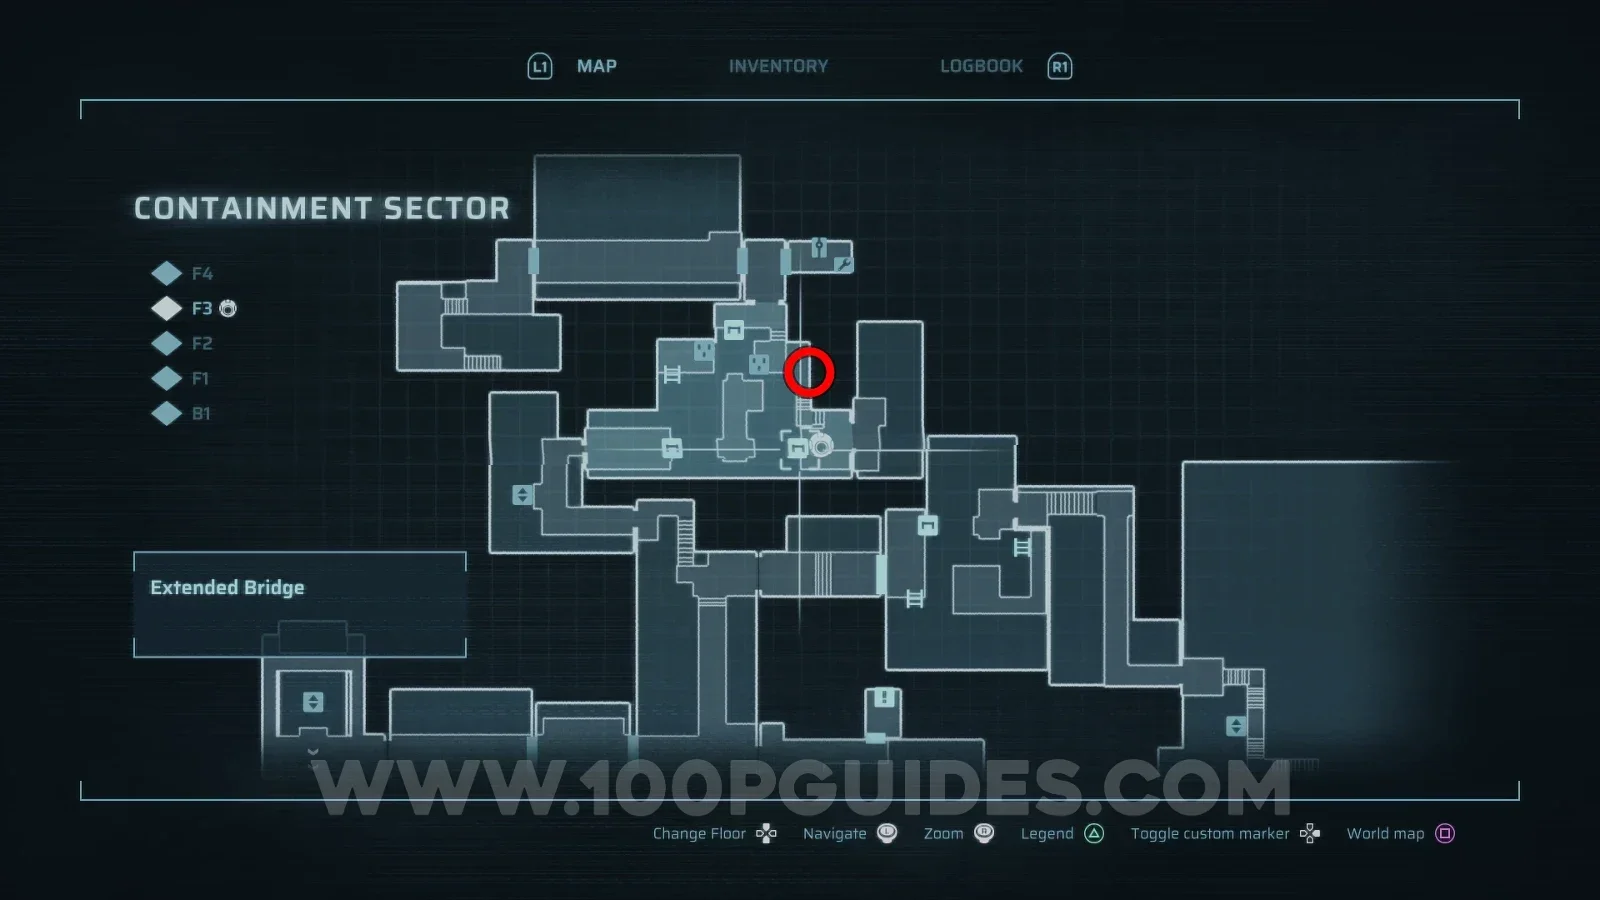
NO-025

Unauthorized Absence Report

Containment Sector > F3

Use an explosive charge to blow a hole in the wall.
End of Abyss 100% Logbook Checklist Screenshot 203 End of Abyss 100% Logbook Checklist Screenshot 204 End of Abyss 100% Logbook Checklist Screenshot 205
NO-026

Worker B-2879: Personal Note

Containment Sector > B1
End of Abyss 100% Logbook Checklist Screenshot 206 End of Abyss 100% Logbook Checklist Screenshot 207
NO-027

Grappling Hook Blueprint

Containment Sector > F2
End of Abyss 100% Logbook Checklist Screenshot 208 End of Abyss 100% Logbook Checklist Screenshot 209
NO-028

Where Are These Bugs Coming From?!

Containment Sector > F3
End of Abyss 100% Logbook Checklist Screenshot 262 End of Abyss 100% Logbook Checklist Screenshot 263
NO-029

No Entry

Reactor > F1
End of Abyss 100% Logbook Checklist Screenshot 212 End of Abyss 100% Logbook Checklist Screenshot 213
NO-030

Reactor Safety Notice

Reactor > B3
End of Abyss 100% Logbook Checklist Screenshot 214 End of Abyss 100% Logbook Checklist Screenshot 215
NO-031

Security System Diagnosis

Reactor > B3

Requires the Service Access Card.

End of Abyss 100% Logbook Checklist Screenshot 216 End of Abyss 100% Logbook Checklist Screenshot 217
NO-032

Reactor System Status

Reactor > B3
End of Abyss 100% Logbook Checklist Screenshot 218 End of Abyss 100% Logbook Checklist Screenshot 219
NO-033

Emergency Service Order

Ventilation Tunnels > F2
End of Abyss 100% Logbook Checklist Screenshot 220 End of Abyss 100% Logbook Checklist Screenshot 221
NO-034

Service Log 71-L-01

Ventilation Tunnels > F1
End of Abyss 100% Logbook Checklist Screenshot 222 End of Abyss 100% Logbook Checklist Screenshot 223
NO-035

Service Log 71-L-02

Ventilation Tunnels > F3
End of Abyss 100% Logbook Checklist Screenshot 224 End of Abyss 100% Logbook Checklist Screenshot 225
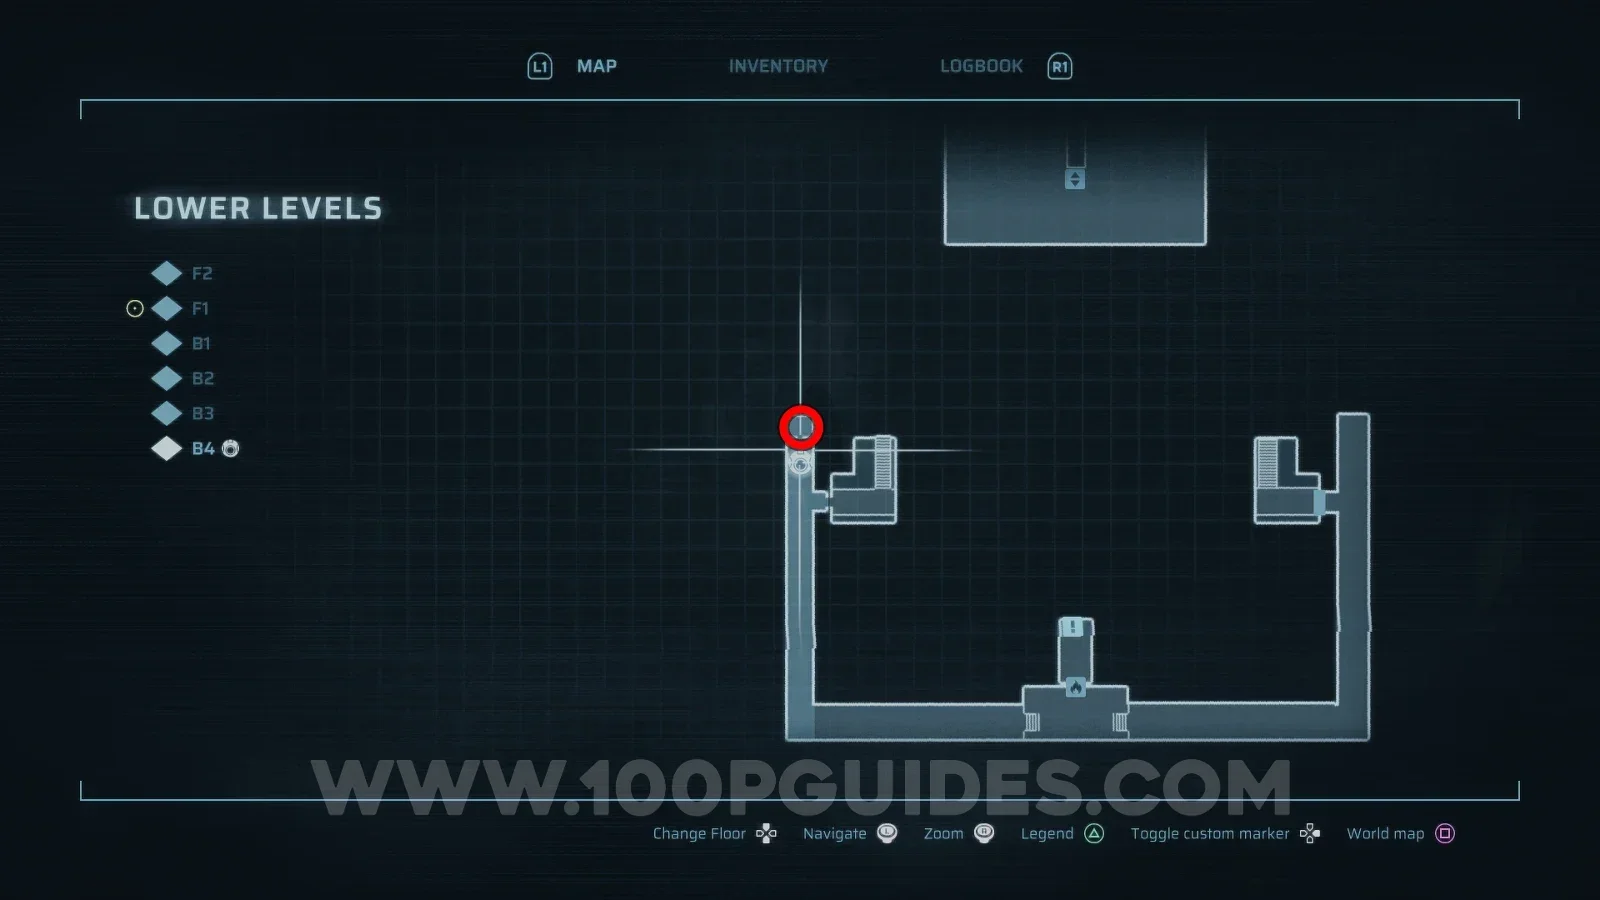
NO-036

Where Is Everyone

Lower Levels > B4

Found in the tunnels under the Mainframe area.
End of Abyss 100% Logbook Checklist Screenshot 226 End of Abyss 100% Logbook Checklist Screenshot 227
NO-037

R&D Report R-31

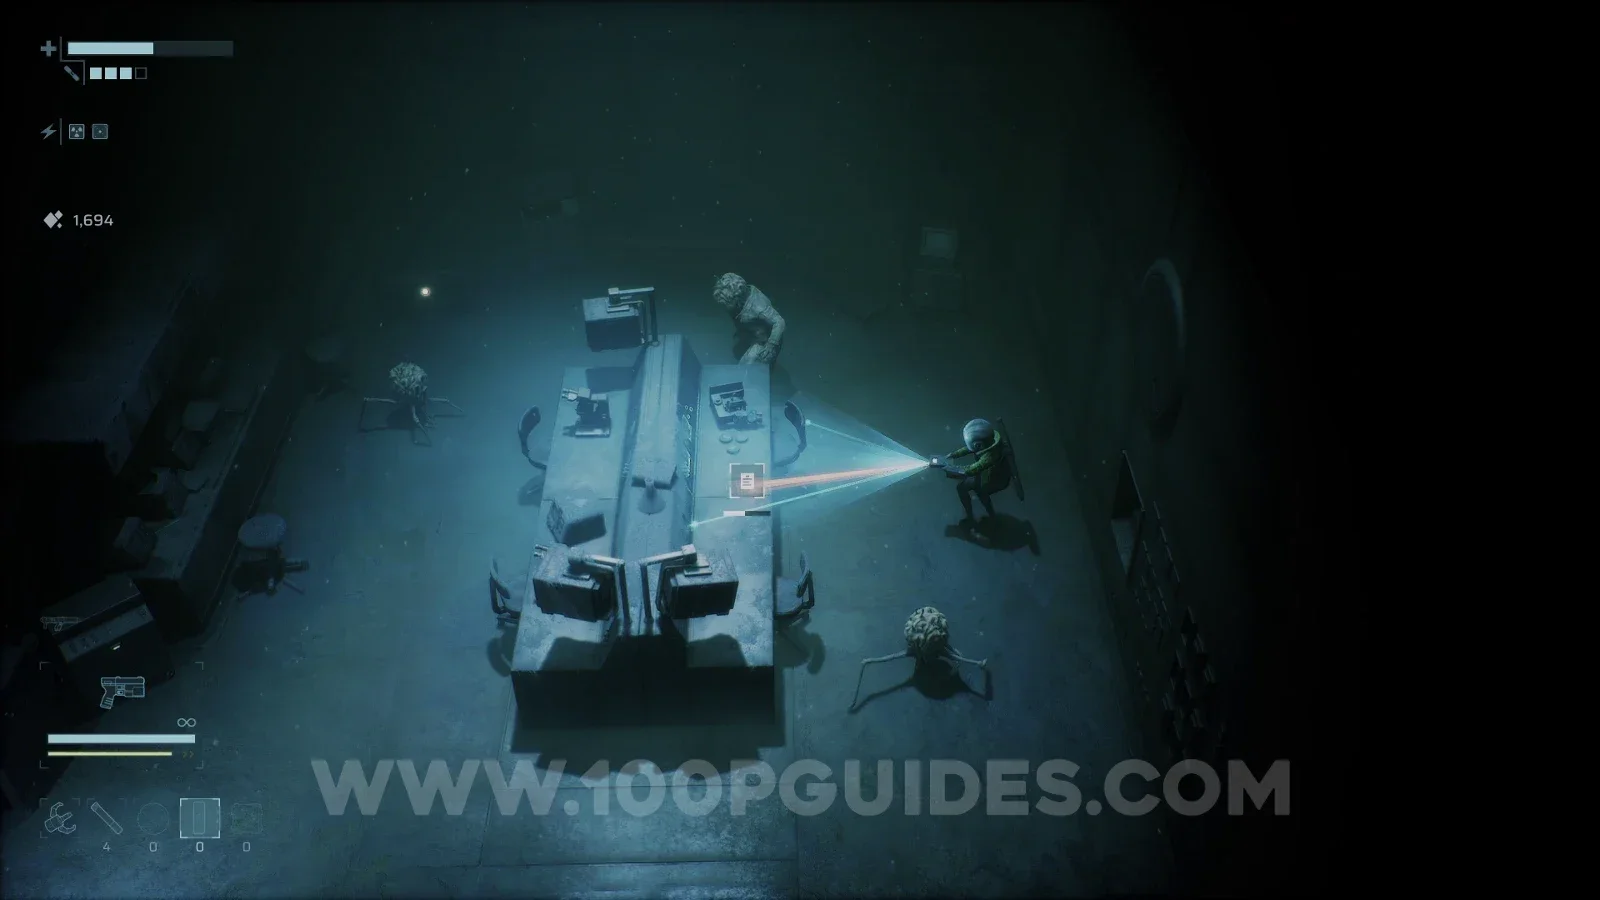
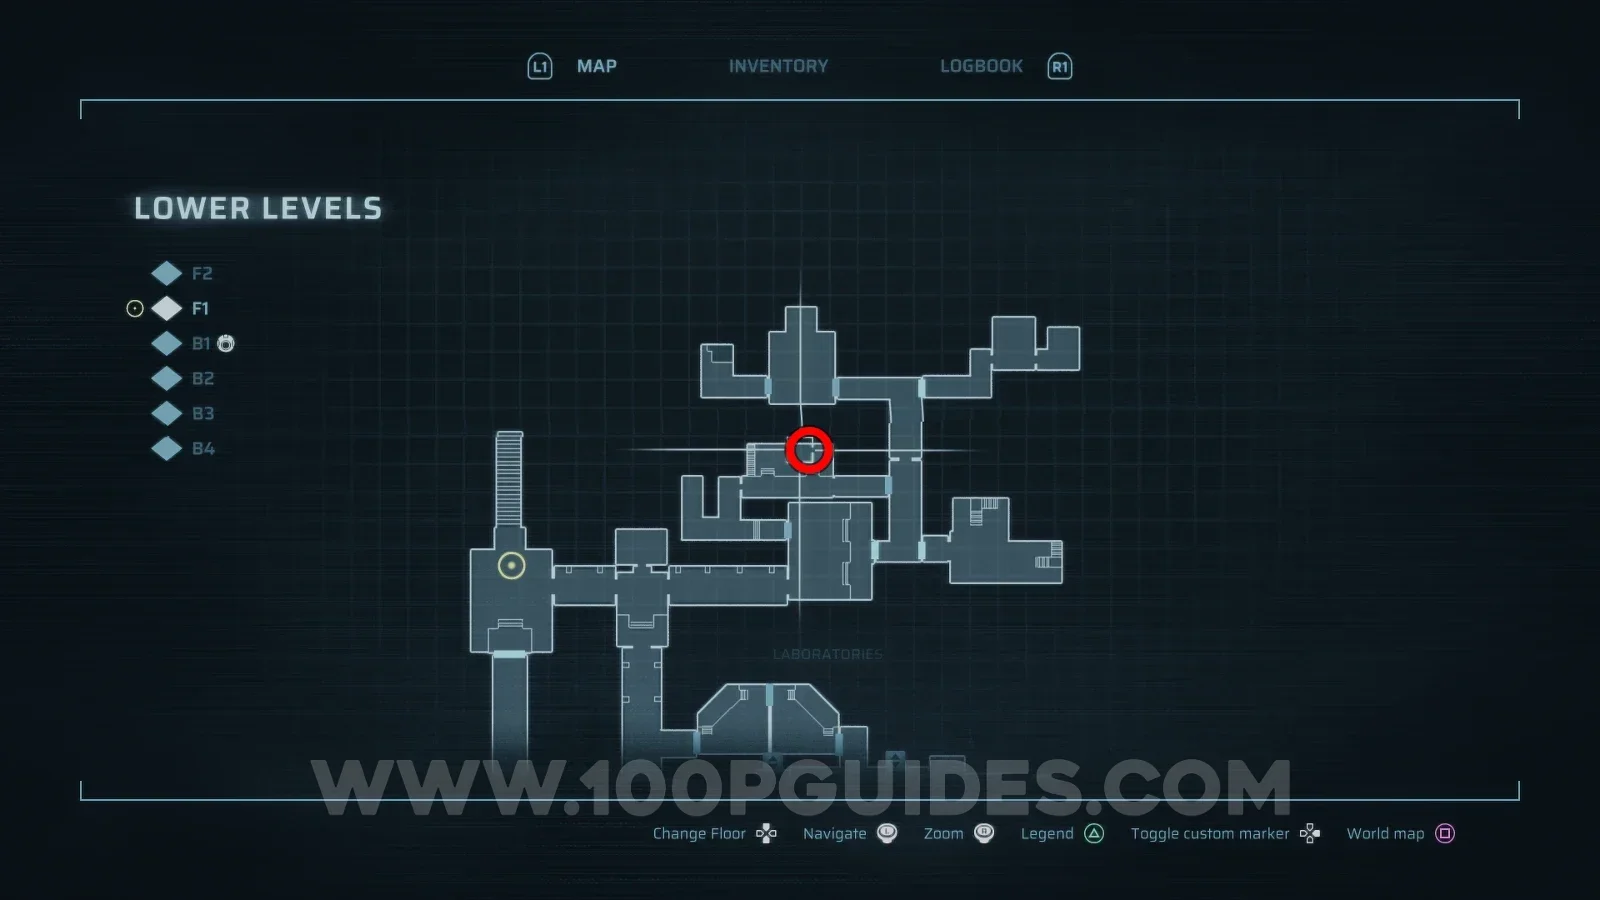
Lower Levels > F1
End of Abyss 100% Logbook Checklist Screenshot 228 End of Abyss 100% Logbook Checklist Screenshot 229
NO-038

Mainframe Report

Lower Levels > B3
End of Abyss 100% Logbook Checklist Screenshot 230 End of Abyss 100% Logbook Checklist Screenshot 231
NO-039

Scientist Note

Lower Levels > F2

Requires the Level 3 Access card.

End of Abyss 100% Logbook Checklist Screenshot 232 End of Abyss 100% Logbook Checklist Screenshot 233
NO-040

Scientist S-2476: Diary Entry

Lower Levels > F2
End of Abyss 100% Logbook Checklist Screenshot 234 End of Abyss 100% Logbook Checklist Screenshot 235
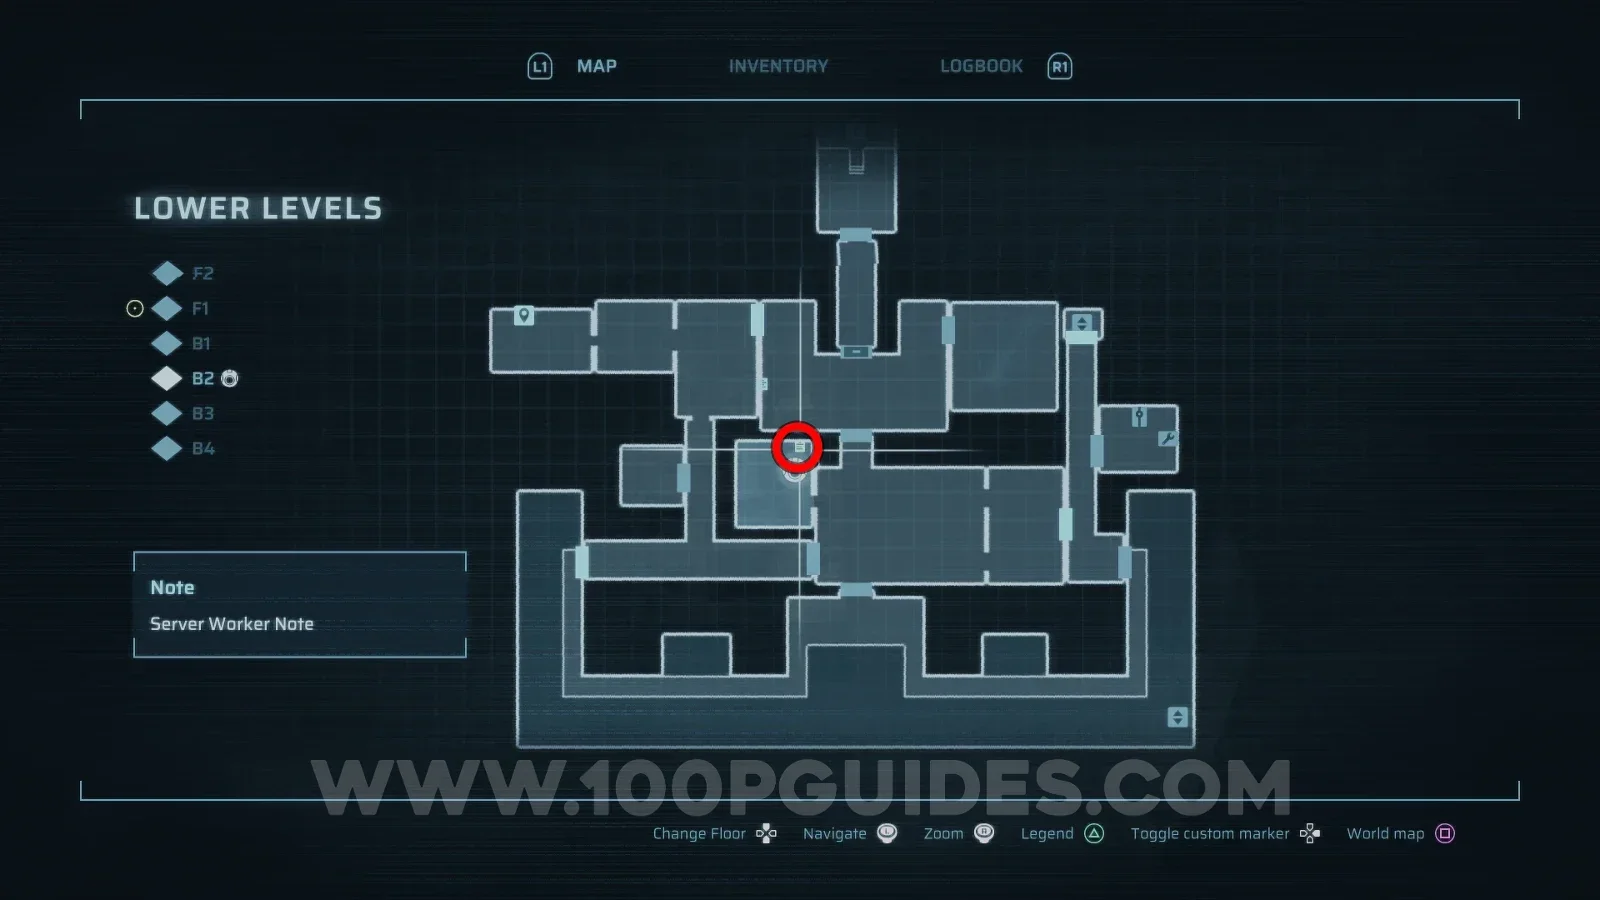
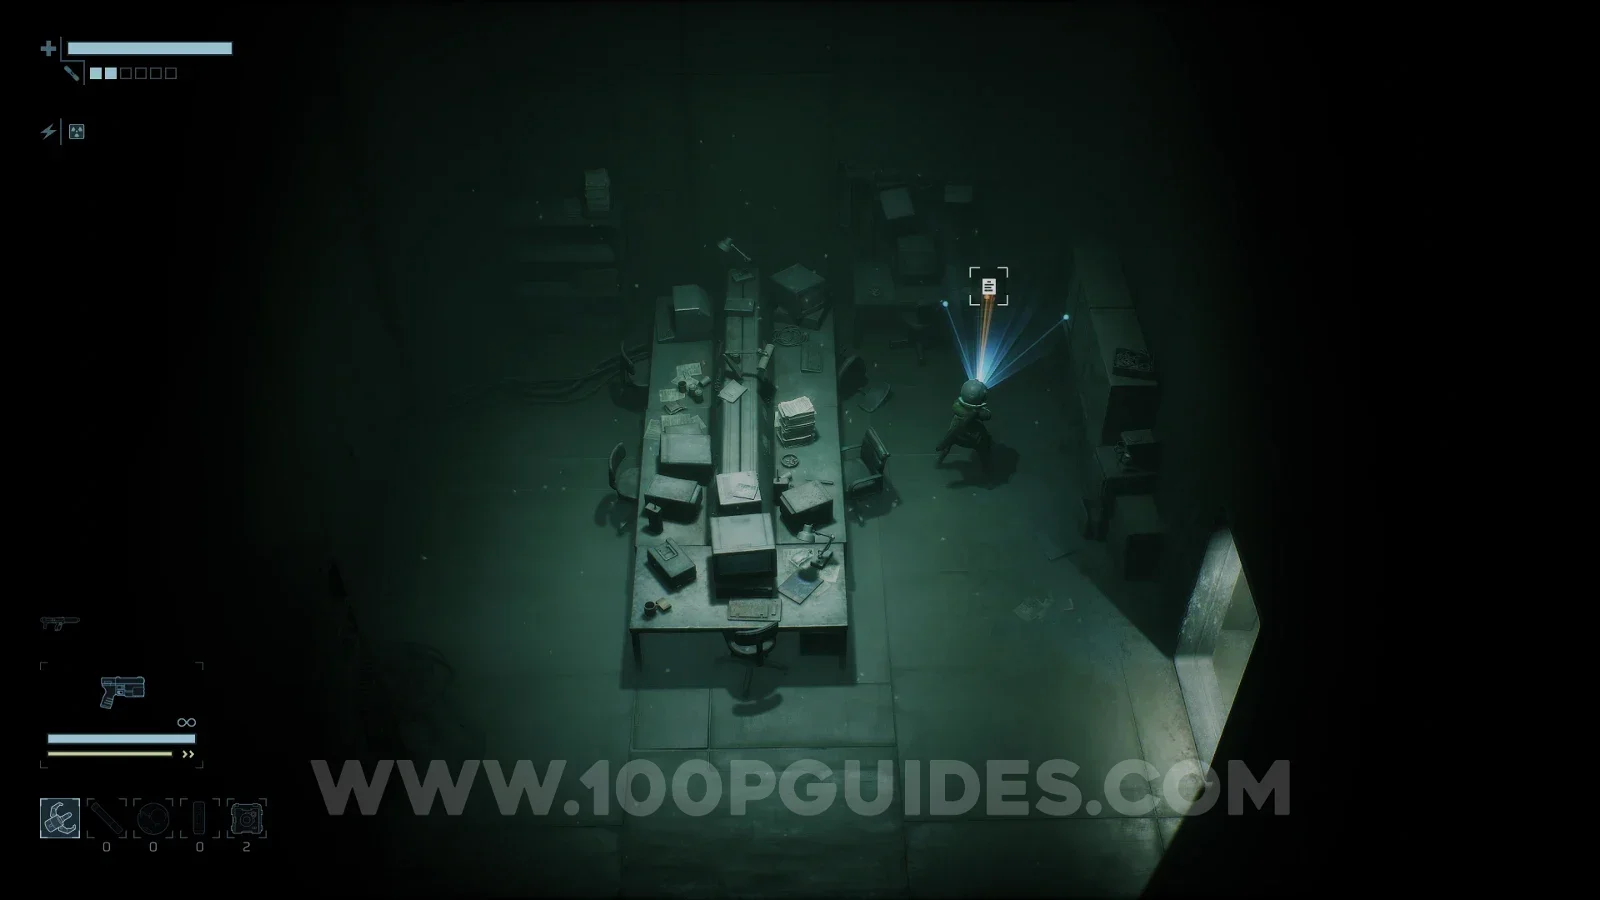
NO-041

Server Worker Note

Lower Levels > B2

Use the lift in the Mainframe area on B3 to get up to this area. You will have to burn away the growth covering the lift switch.
End of Abyss 100% Logbook Checklist Screenshot 236 End of Abyss 100% Logbook Checklist Screenshot 237
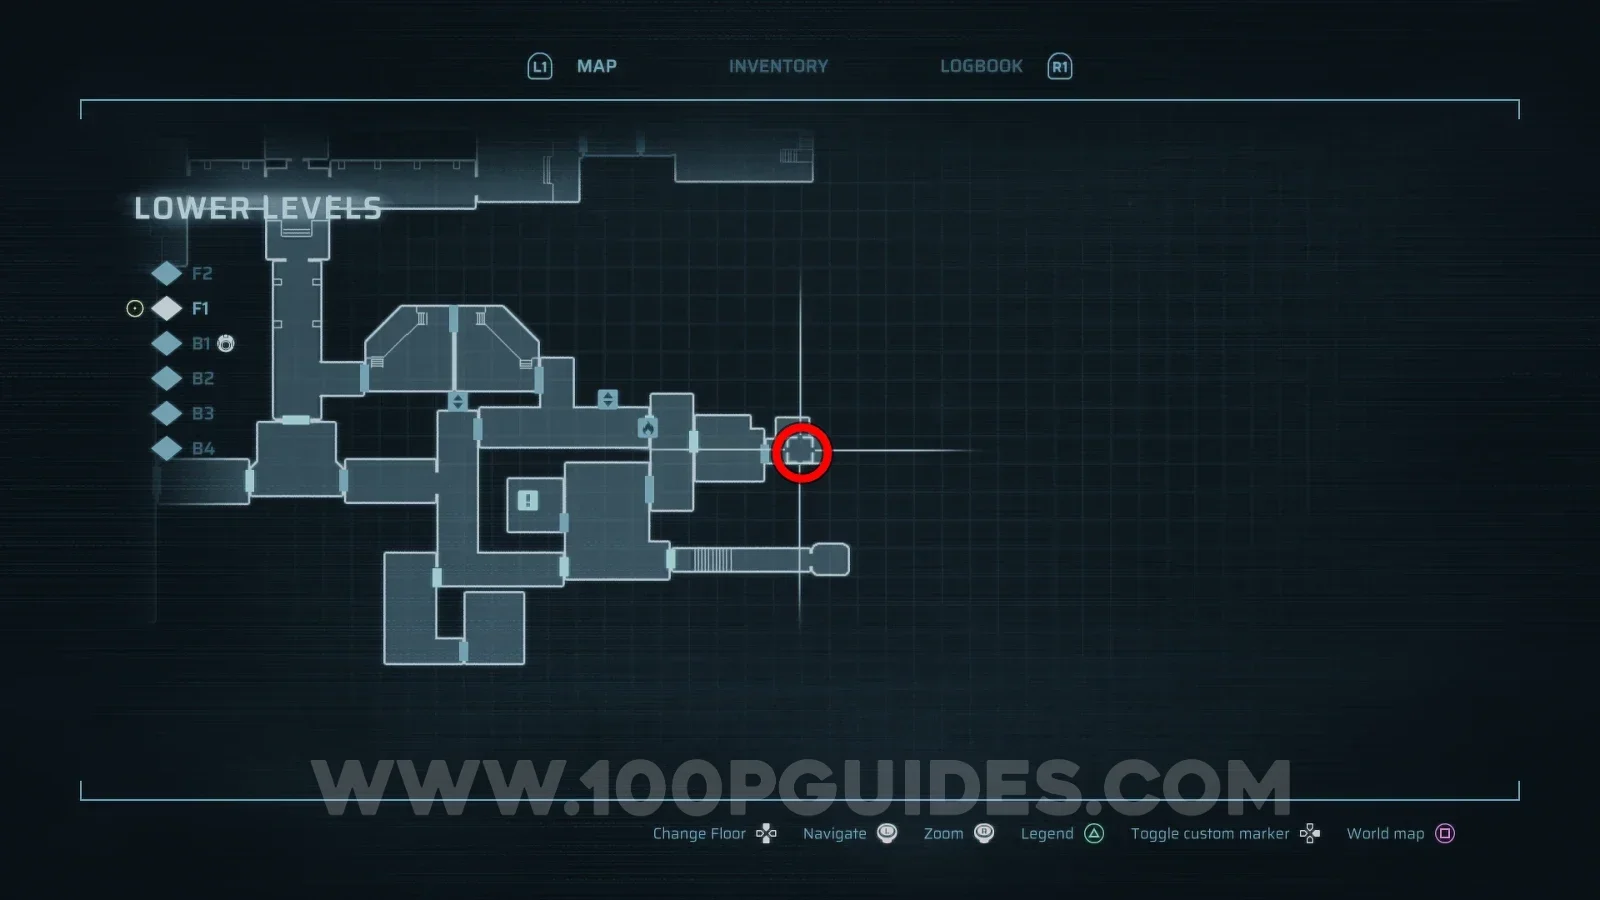
NO-042

Prototype PD-09

Lower Levels > F1

Reached via the trap door in the larger room to the left.
End of Abyss 100% Logbook Checklist Screenshot 238 End of Abyss 100% Logbook Checklist Screenshot 239
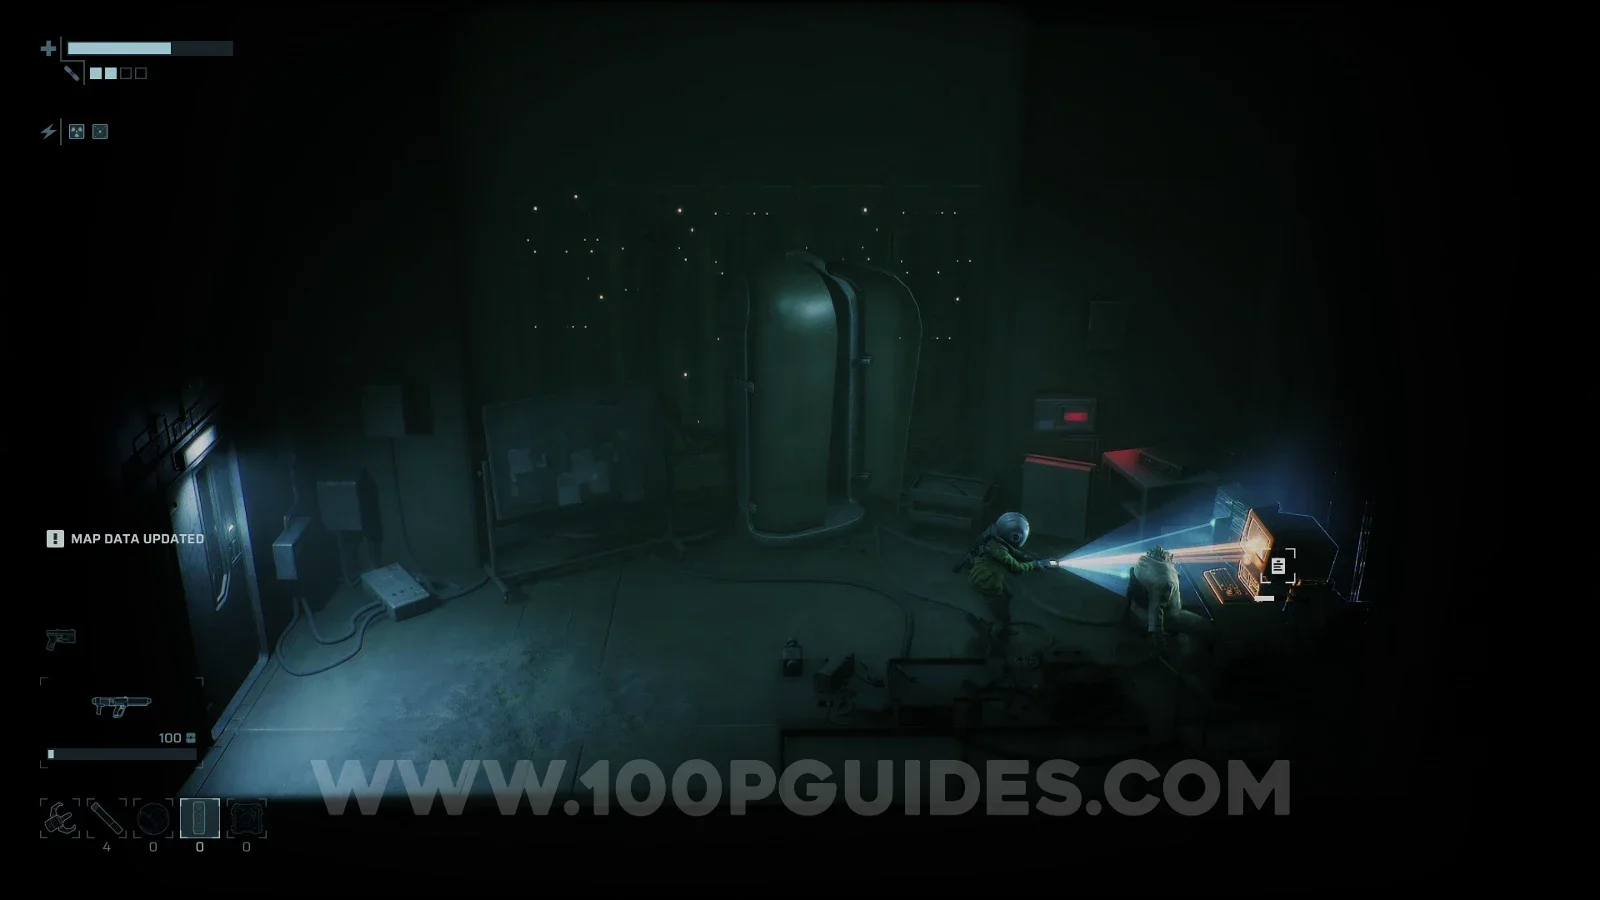
NO-043

Safe Access Record

Lower Levels > F1

Reached via the trap door in the larger room to the left.
End of Abyss 100% Logbook Checklist Screenshot 240 End of Abyss 100% Logbook Checklist Screenshot 241
NO-044

Experimental Module

Lower Levels > F1

Requires the Level 2 Access card.

End of Abyss 100% Logbook Checklist Screenshot 242 End of Abyss 100% Logbook Checklist Screenshot 243
NO-045

Specimen 01 Report S-01

Lower Levels > F1
End of Abyss 100% Logbook Checklist Screenshot 244 End of Abyss 100% Logbook Checklist Screenshot 245
NO-046

Specimen 01 Report S-05

Lower Levels > F1
End of Abyss 100% Logbook Checklist Screenshot 246 End of Abyss 100% Logbook Checklist Screenshot 247
NO-047

Prototype TP-02

Lower Levels > B2

Use the lift in the Mainframe area on B3 to get up to this area. You will have to burn away the growth covering the lift switch.
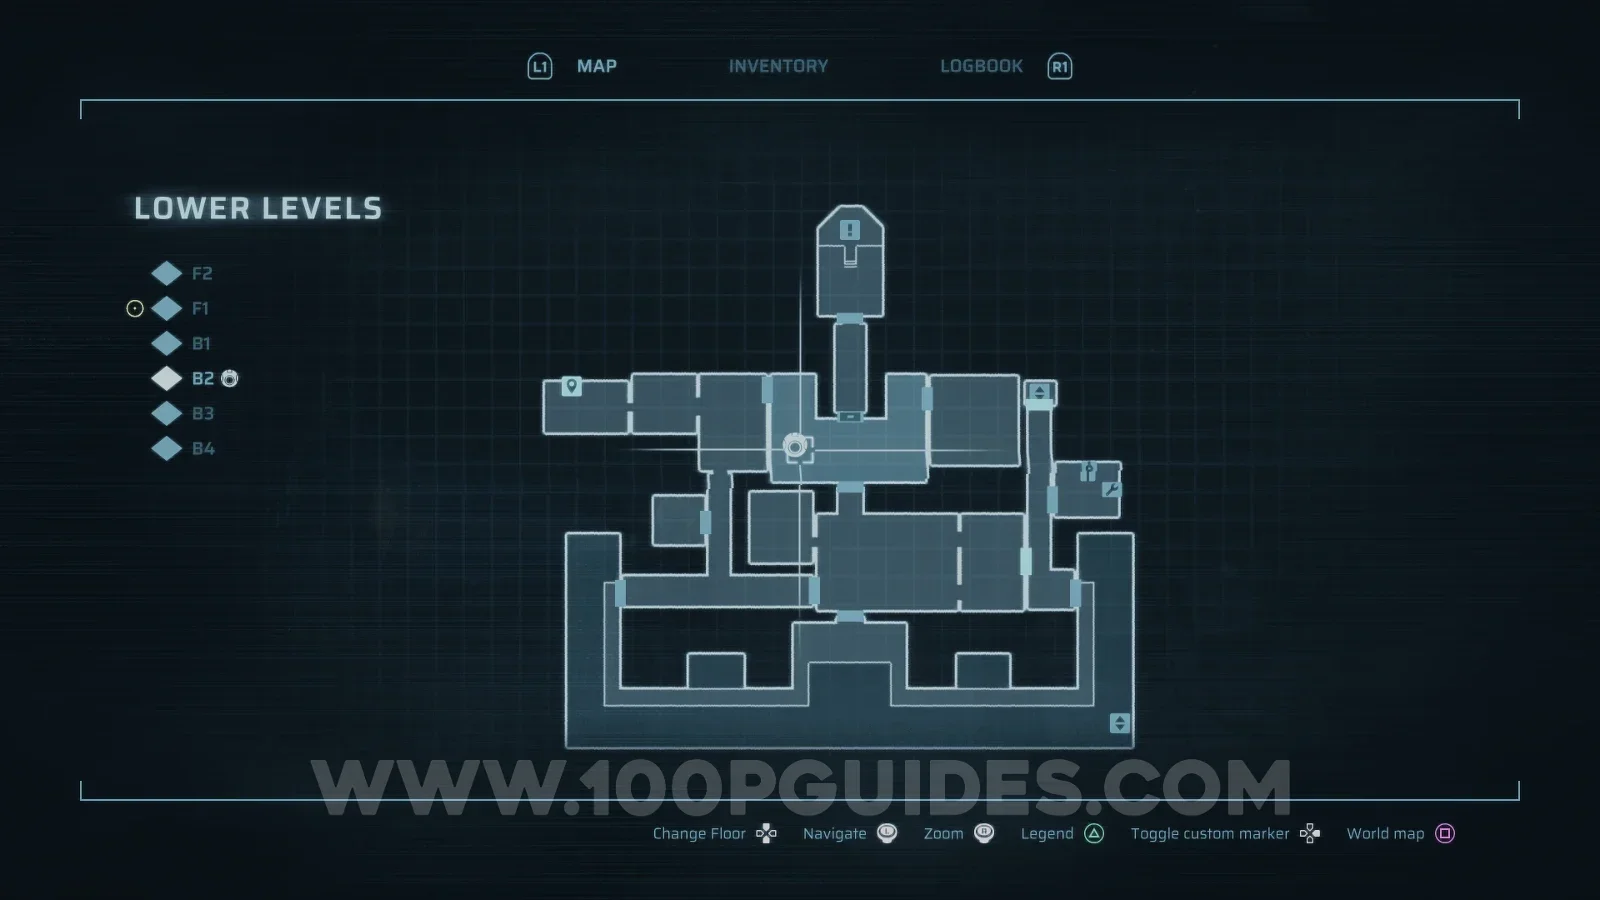
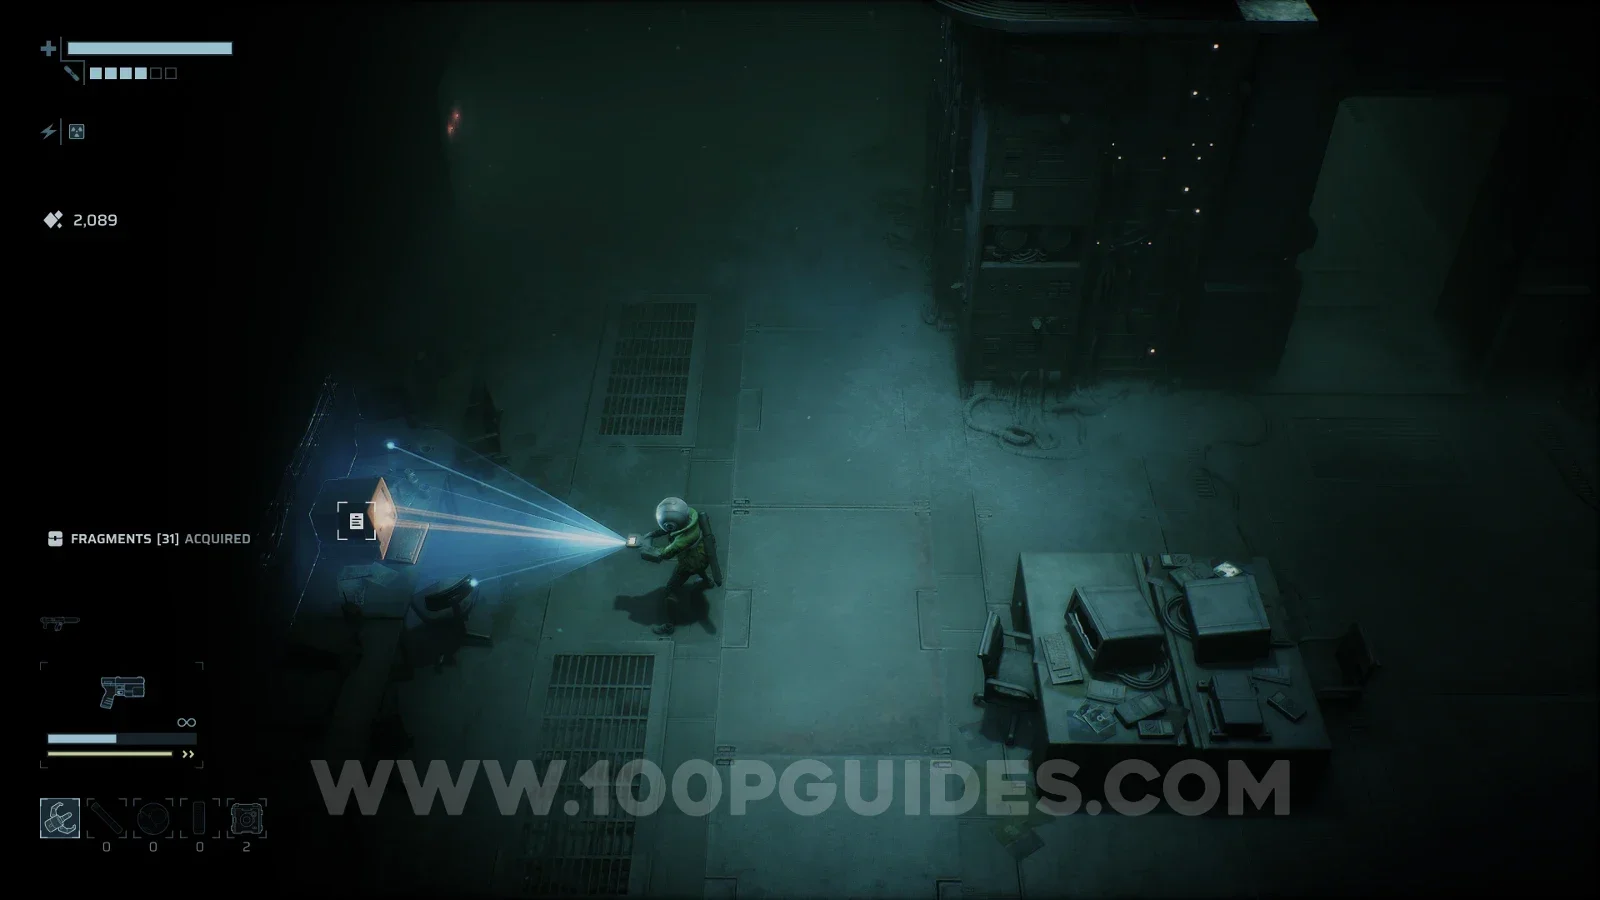
End of Abyss 100% Logbook Checklist Screenshot 248 End of Abyss 100% Logbook Checklist Screenshot 249
NO-048

I'm Getting Out of Here

Lower Levels > F1

Requires the Level 3 Access card.

End of Abyss 100% Logbook Checklist Screenshot 250 End of Abyss 100% Logbook Checklist Screenshot 251
NO-049

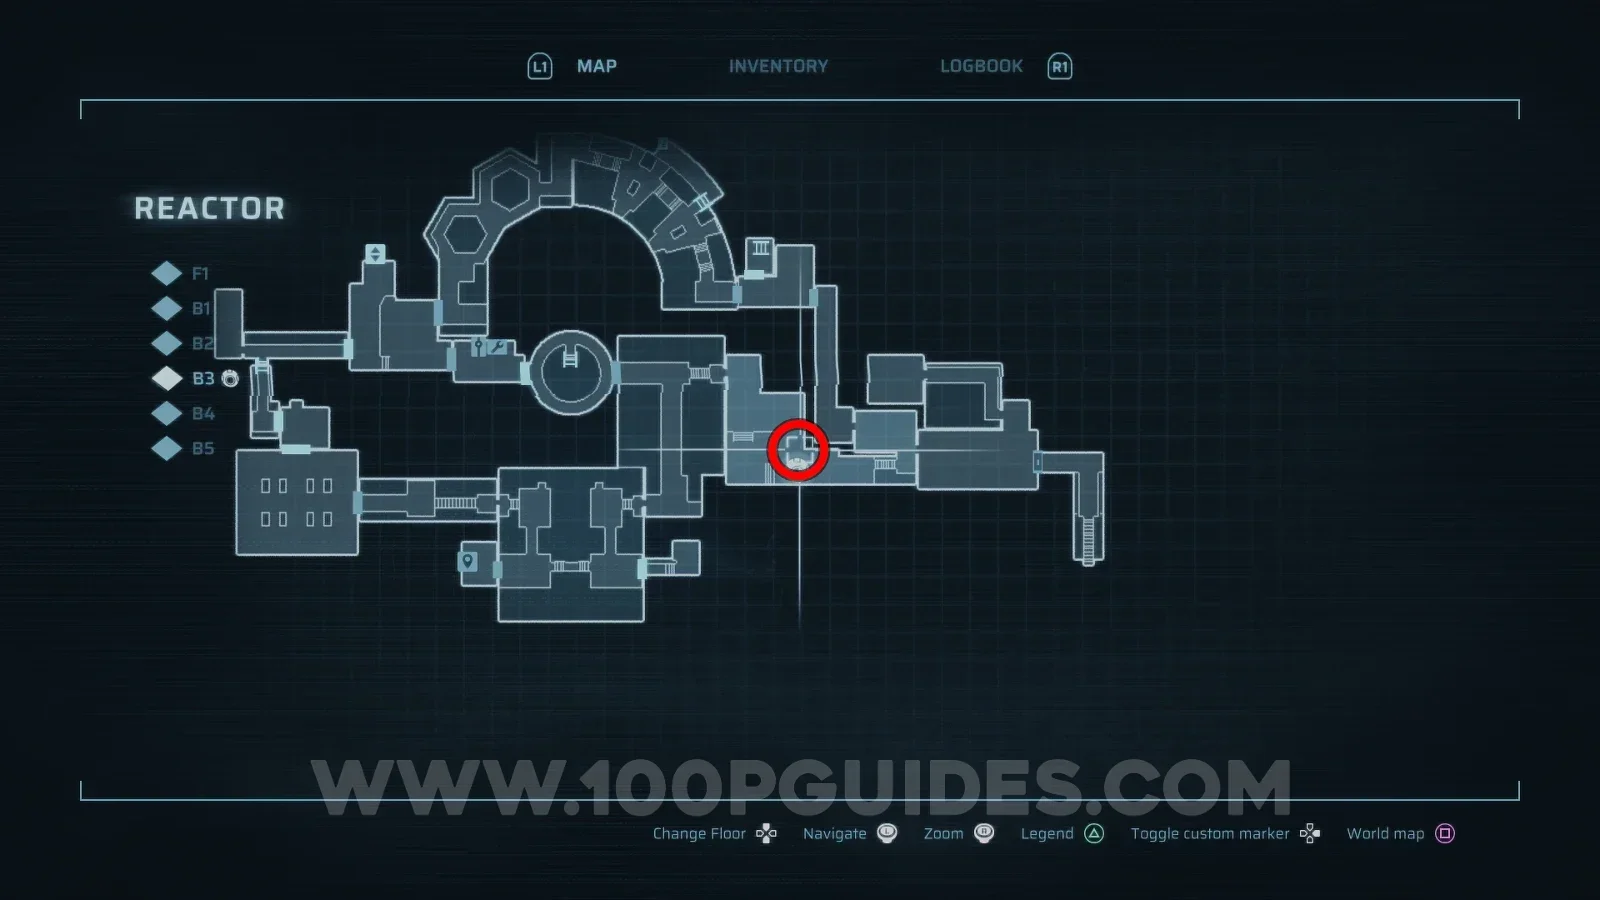
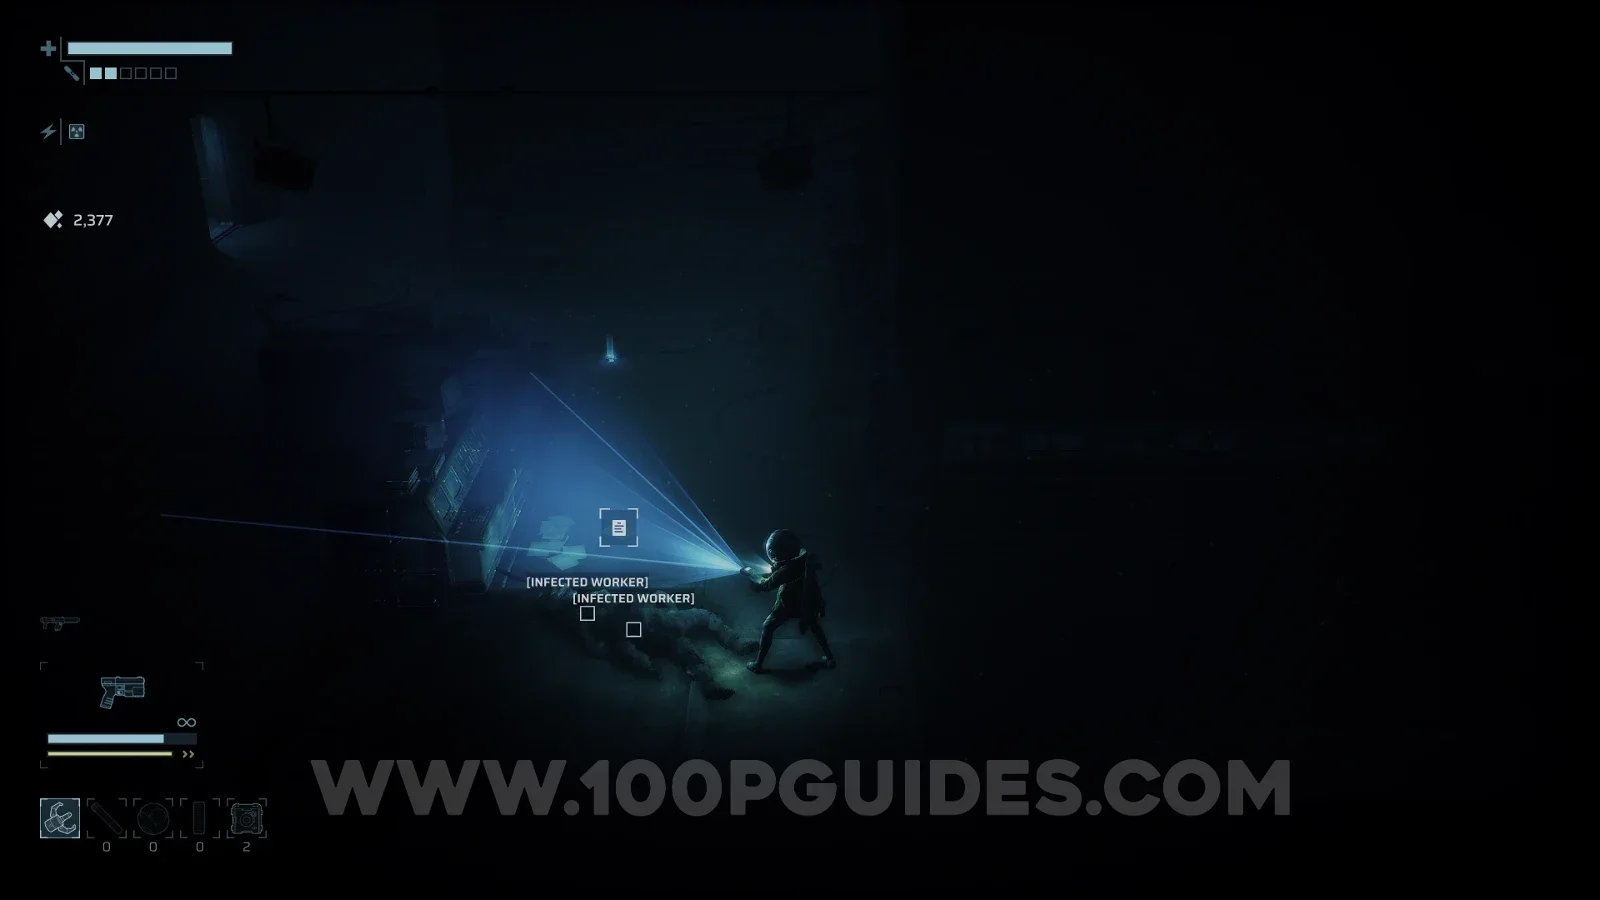
Scribbled Note

Reactor > B3

Pull down the ladder with the grappling hook.
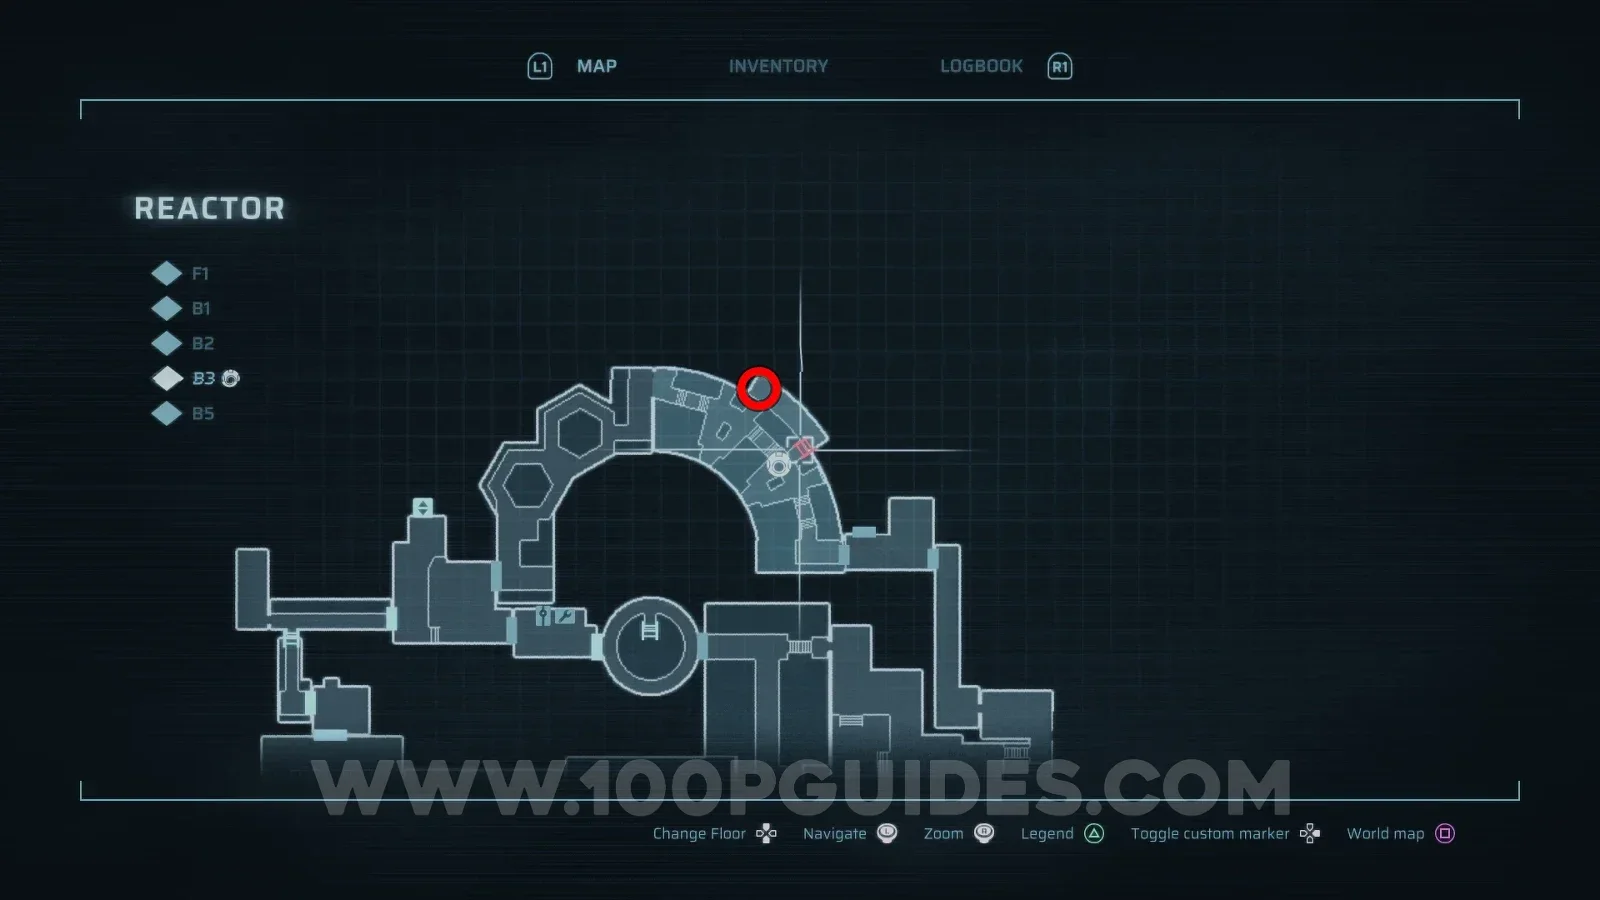
End of Abyss 100% Logbook Checklist Screenshot 252 End of Abyss 100% Logbook Checklist Screenshot 253 End of Abyss 100% Logbook Checklist Screenshot 254
NO-050

Scratched Note

Containment Sector > B1

Destroy the wall with an explosive charge.
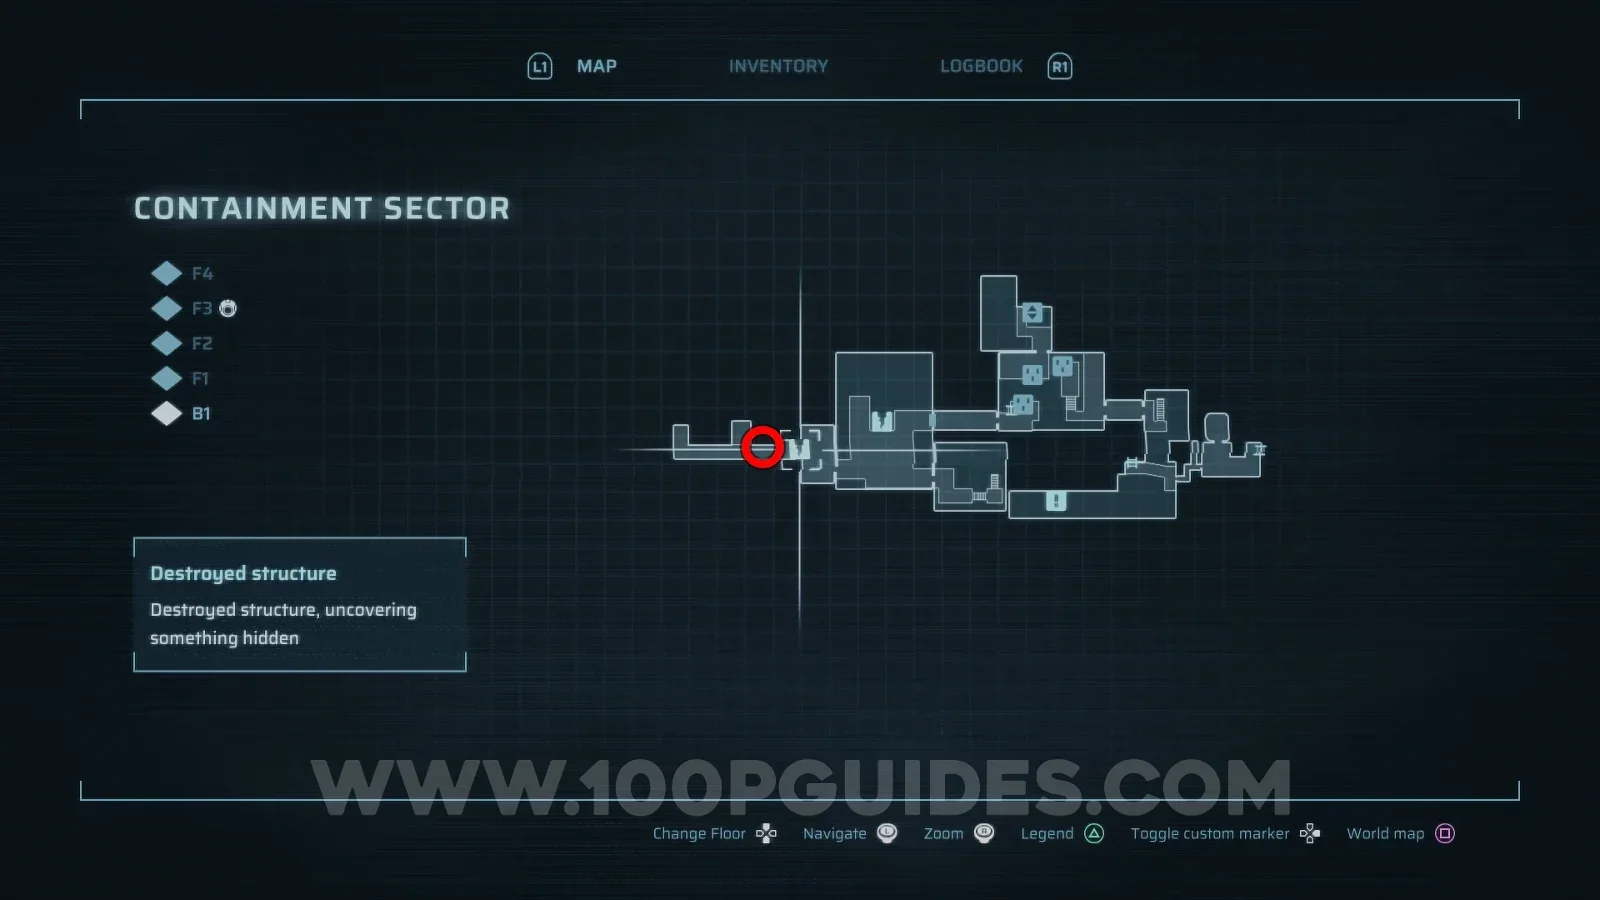
End of Abyss 100% Logbook Checklist Screenshot 255 End of Abyss 100% Logbook Checklist Screenshot 256 End of Abyss 100% Logbook Checklist Screenshot 257
NO-051

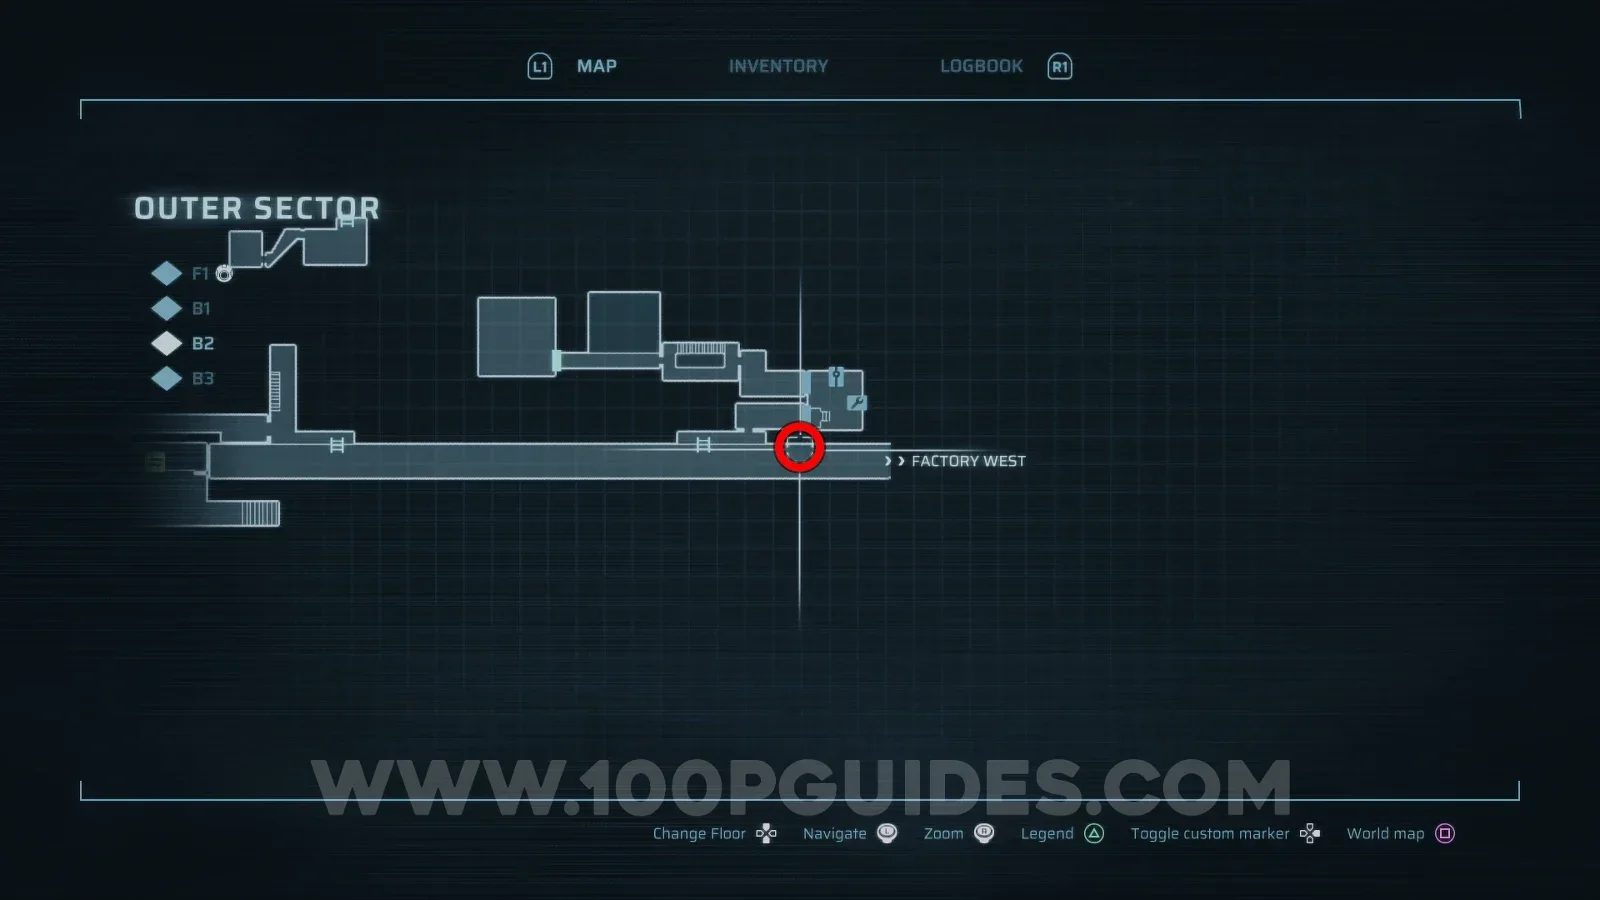
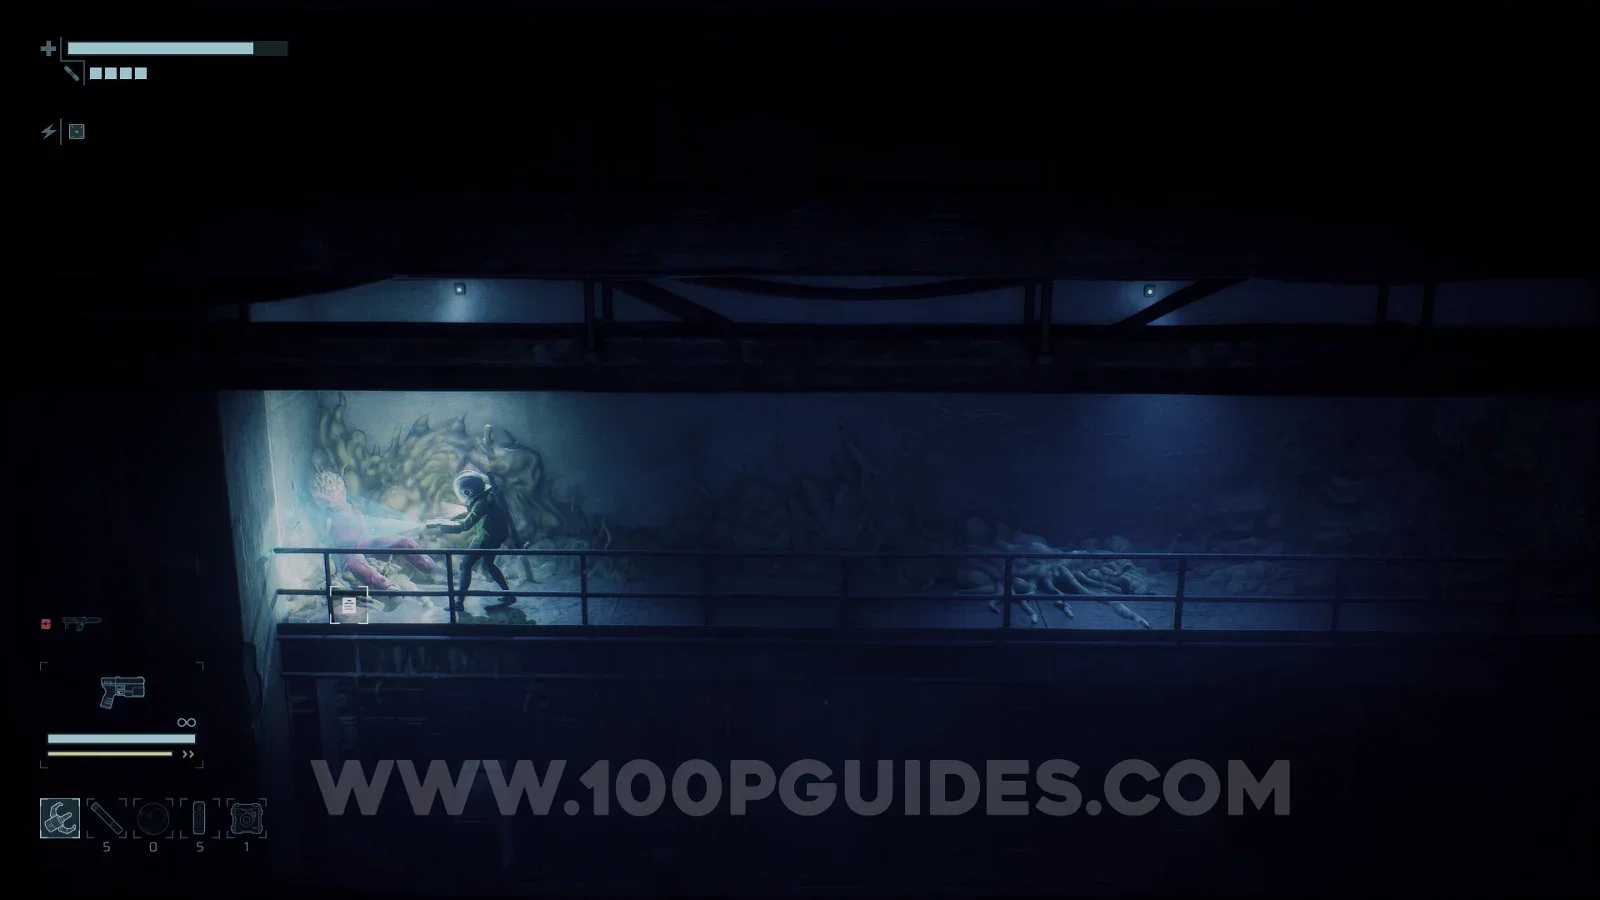
Incoherent Note

Outer Sector > B2

Approach from the left via the Maintenance area. Blow a hole in the floor with an explosive charge just outside the southern safe room in Maintenance.
End of Abyss 100% Logbook Checklist Screenshot 258 End of Abyss 100% Logbook Checklist Screenshot 259

Data Shards

8 entries
DA-001

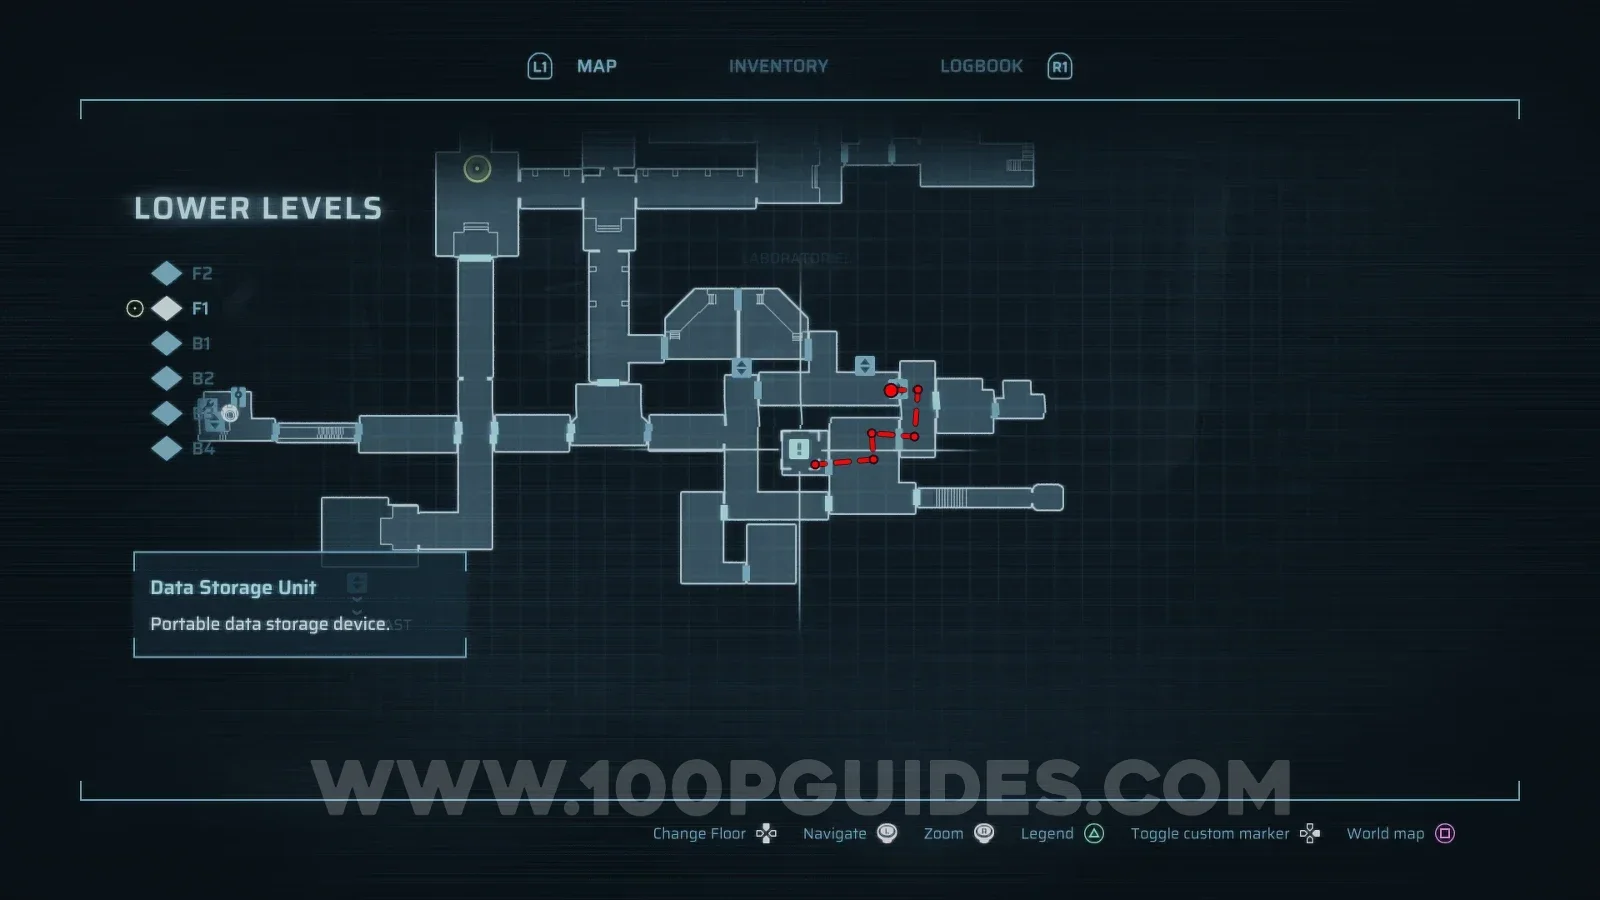
Data Shard [1]

Lower Levels > F1

You can reach it by burning down the wall in the hall to the north.
End of Abyss 100% Logbook Checklist Screenshot 104 End of Abyss 100% Logbook Checklist Screenshot 105
DA-002

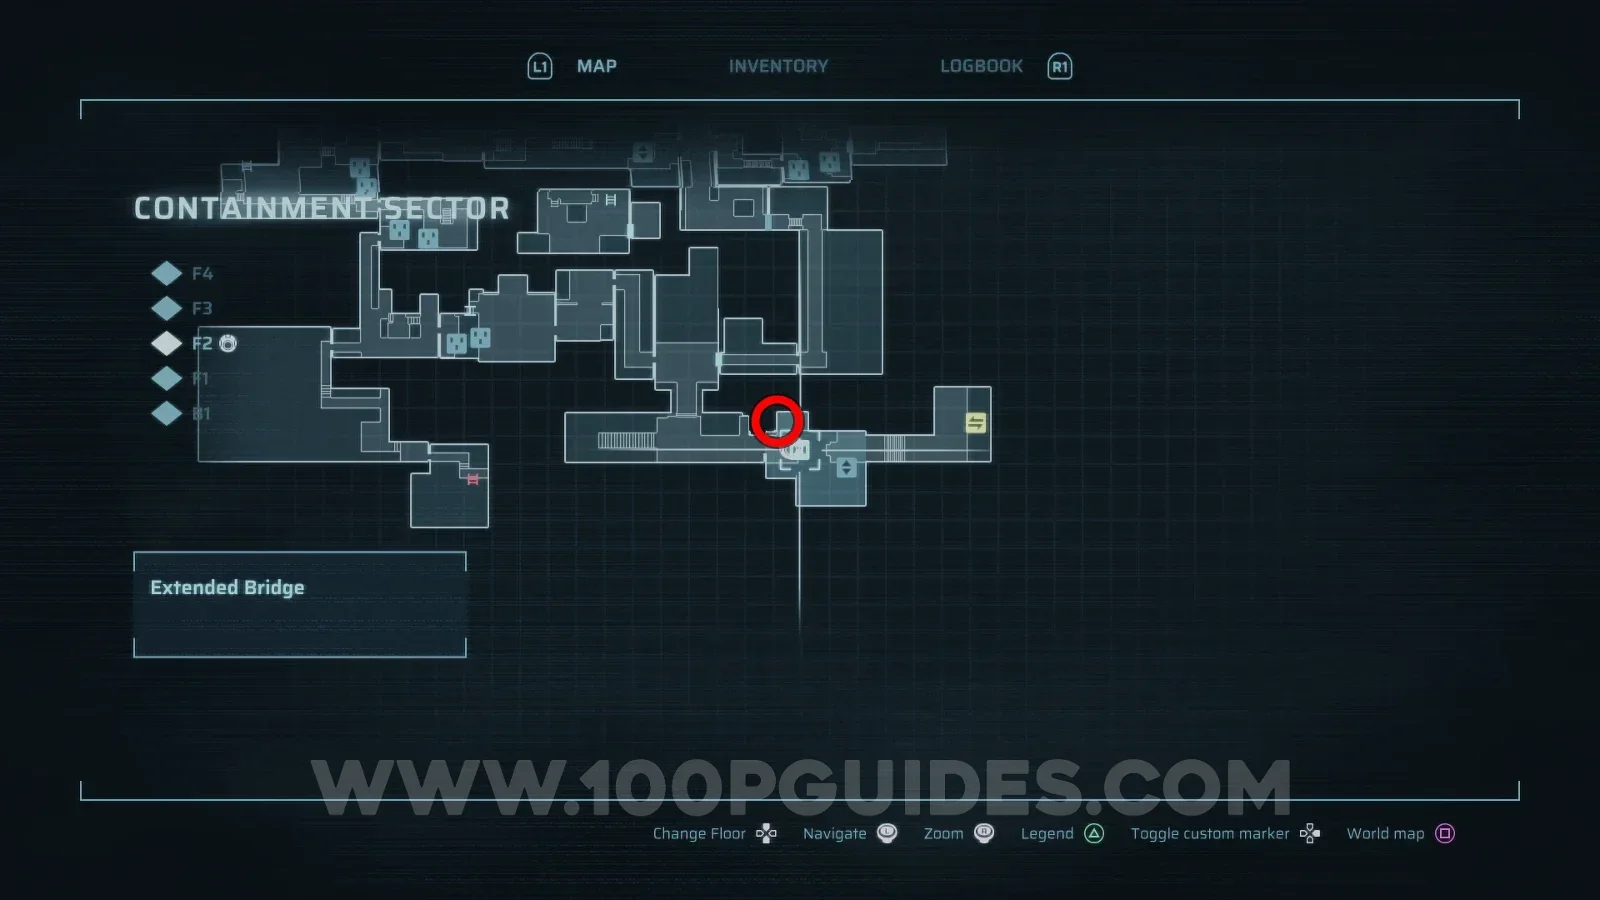
Data Shard [2]

Habitation Sector > F1

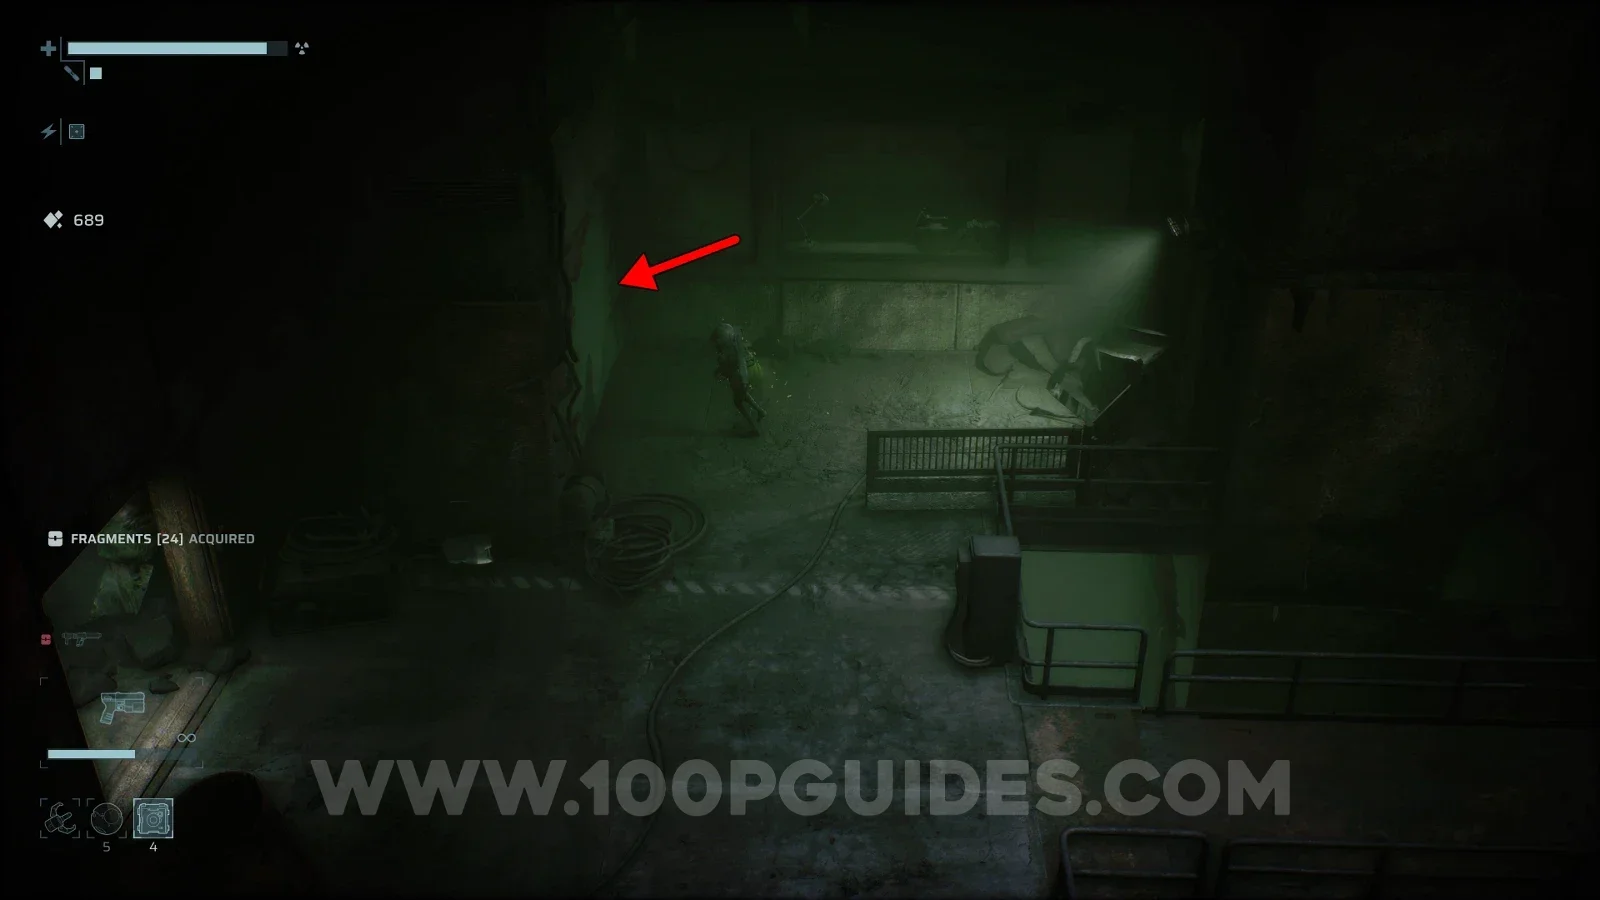
First, get the Security Guard Keycard by using an explosive charge on the wall just left of the fast travel shuttle in the Containment Sector. Then, use it to open the door on the right at the end of the corridor in the Habitation Sector. Head downstairs and into the door on the left to find the Security Chief Keycard. Use it to open the door on the left, back in the main hall outside. Then head through the door to the north to find the Data Shard.
End of Abyss 100% Logbook Checklist Screenshot 45 End of Abyss 100% Logbook Checklist Screenshot 46
Show moreShow less
End of Abyss 100% Logbook Checklist Screenshot 47 End of Abyss 100% Logbook Checklist Screenshot 48 End of Abyss 100% Logbook Checklist Screenshot 49 End of Abyss 100% Logbook Checklist Screenshot 106 End of Abyss 100% Logbook Checklist Screenshot 107 End of Abyss 100% Logbook Checklist Screenshot 108
DA-003

Data Shard [3]

Ventilation Tunnels > F3

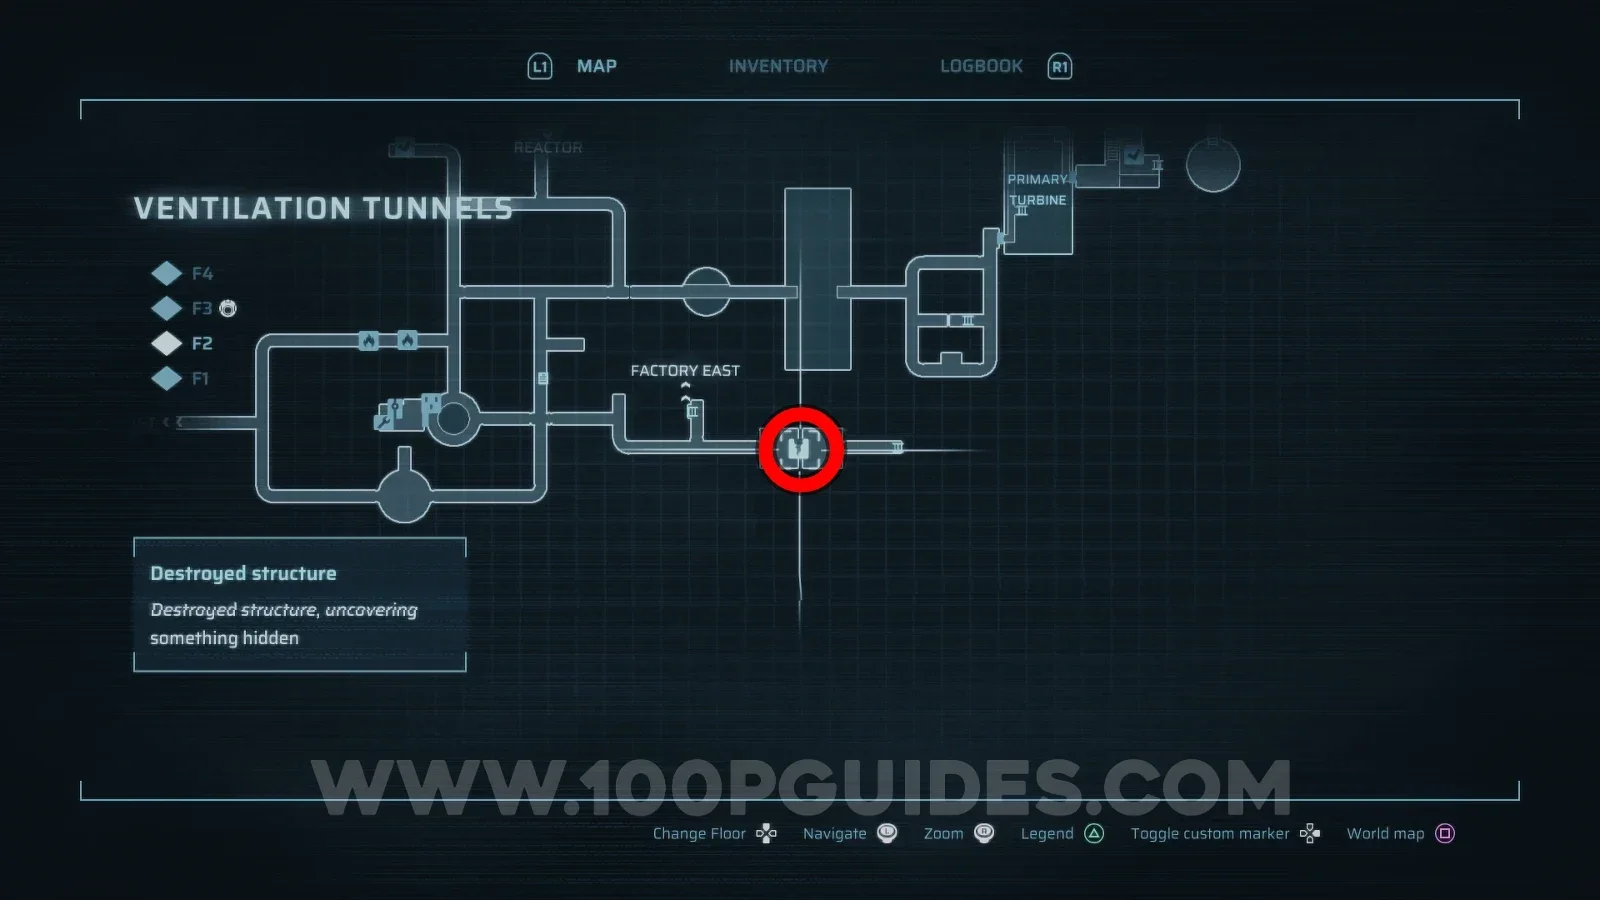
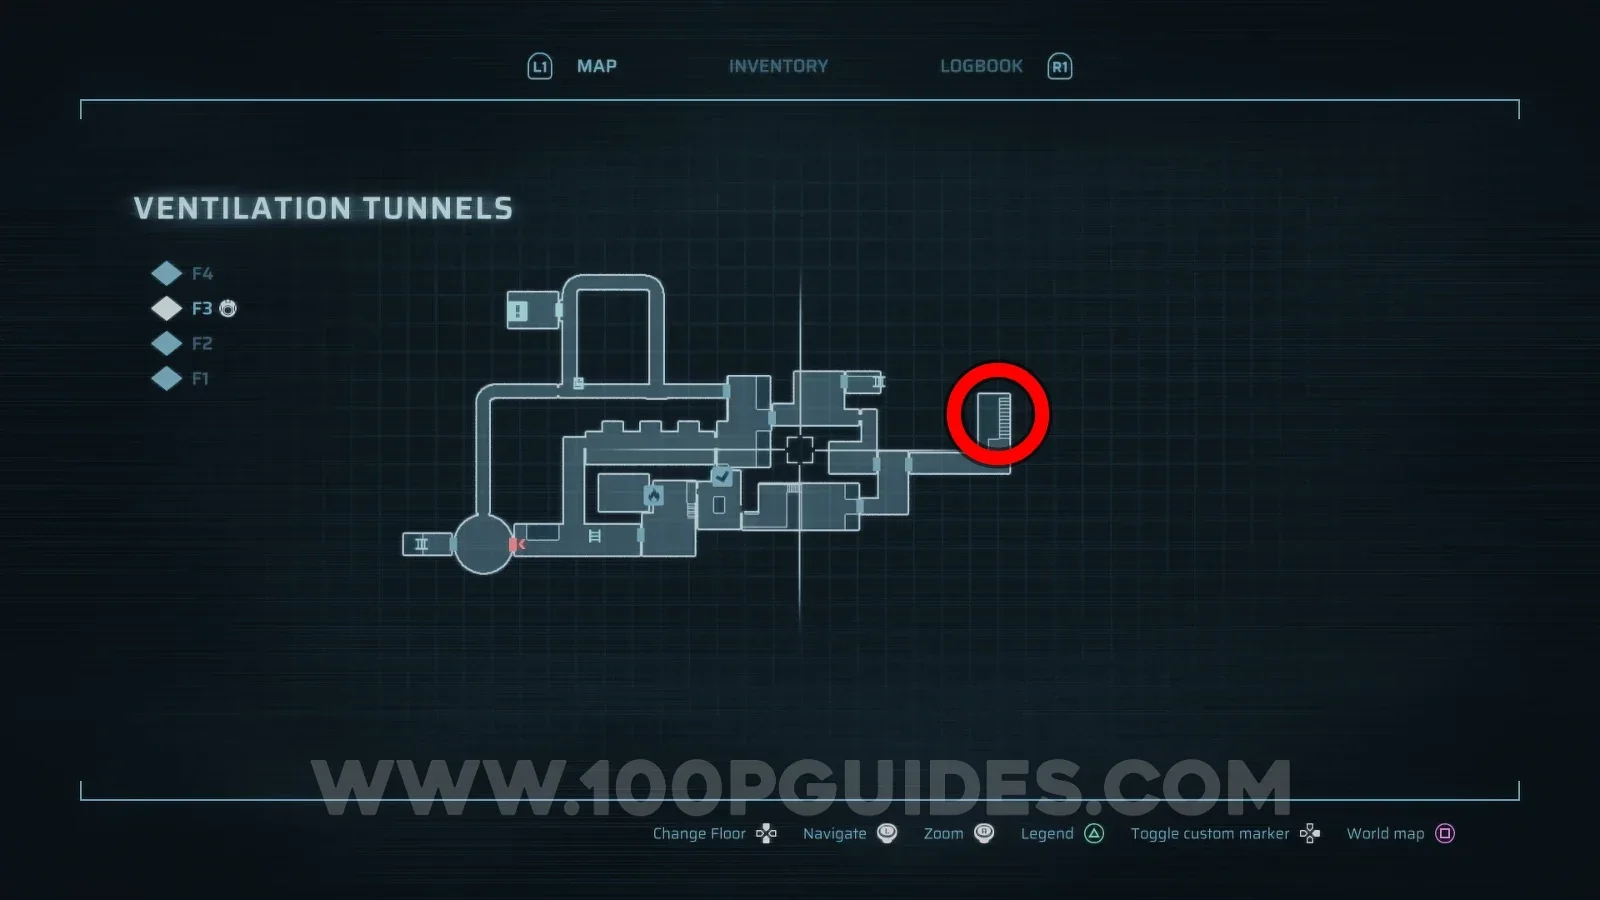
First, you must destroy the weak wall to the right of the easternmost entrance to the Tunnels from Factory East. You can do this with the Explosive Charges, which are obtained during the main story. On the other side of the wall, continue right until you eventually reach F2 of the Ventilation Tunnels. Here, head around the upper catwalk and pull down the ladder to reach F3. Then head all the way right and go up the stairs for an ambush encounter. After defeating the enemies, grab the Ventilation Maintenance Key.
End of Abyss 100% Logbook Checklist Screenshot 109 End of Abyss 100% Logbook Checklist Screenshot 110
Show moreShow less
End of Abyss 100% Logbook Checklist Screenshot 111 End of Abyss 100% Logbook Checklist Screenshot 112

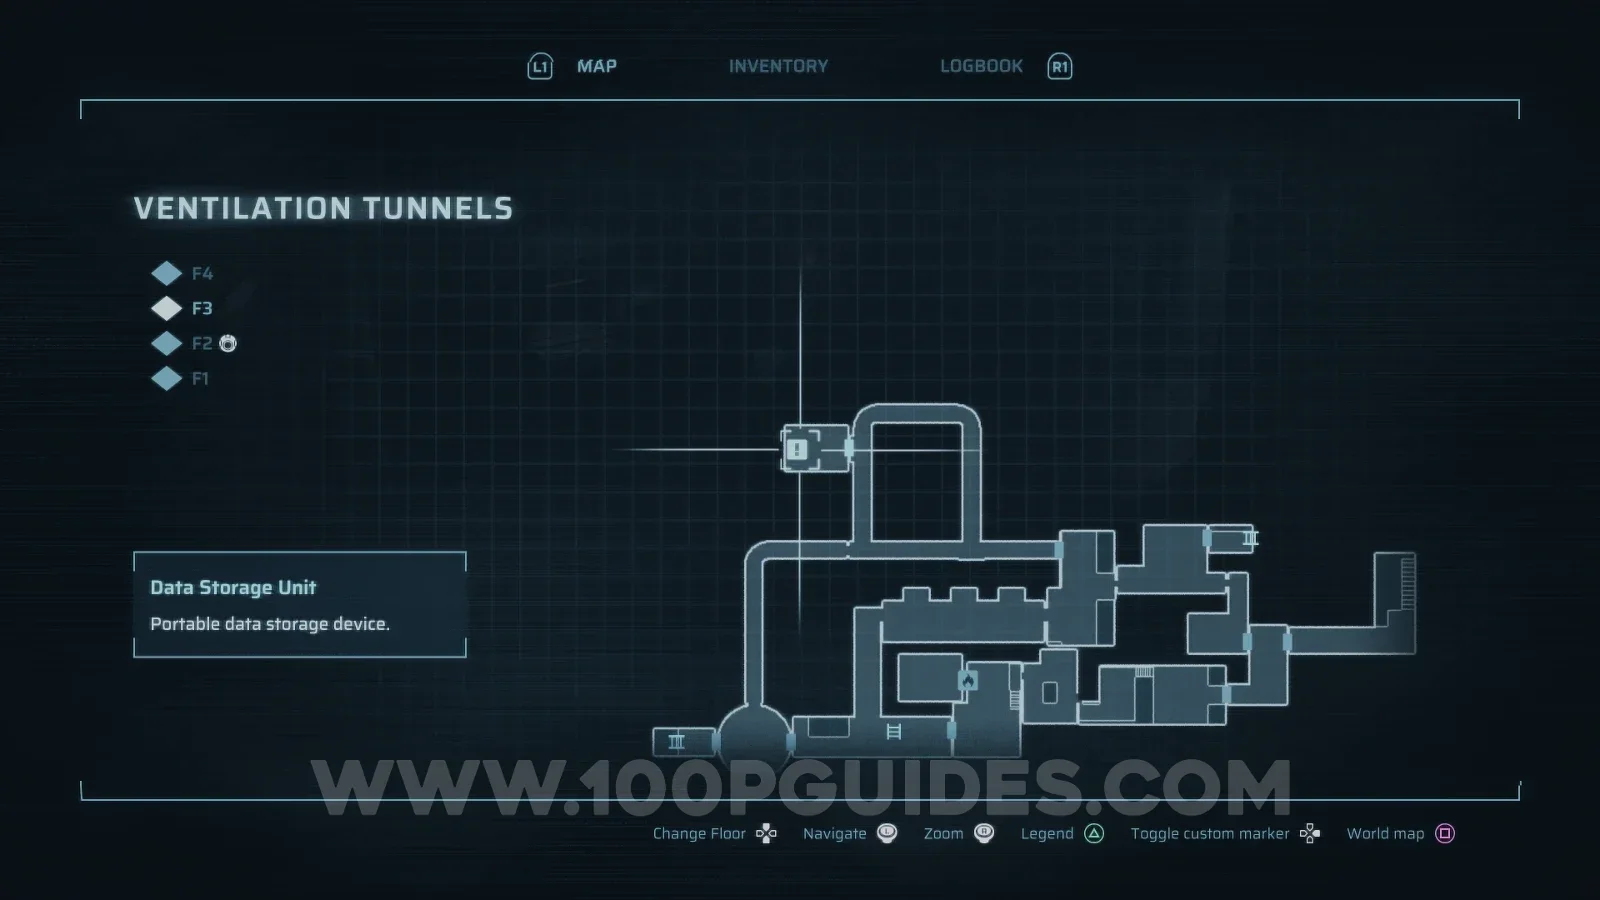
Now use the key to open the door in the northern area of F3 to find the shard inside.
End of Abyss 100% Logbook Checklist Screenshot 113 End of Abyss 100% Logbook Checklist Screenshot 114
DA-004

Data Shard [4]

Factory West > F4

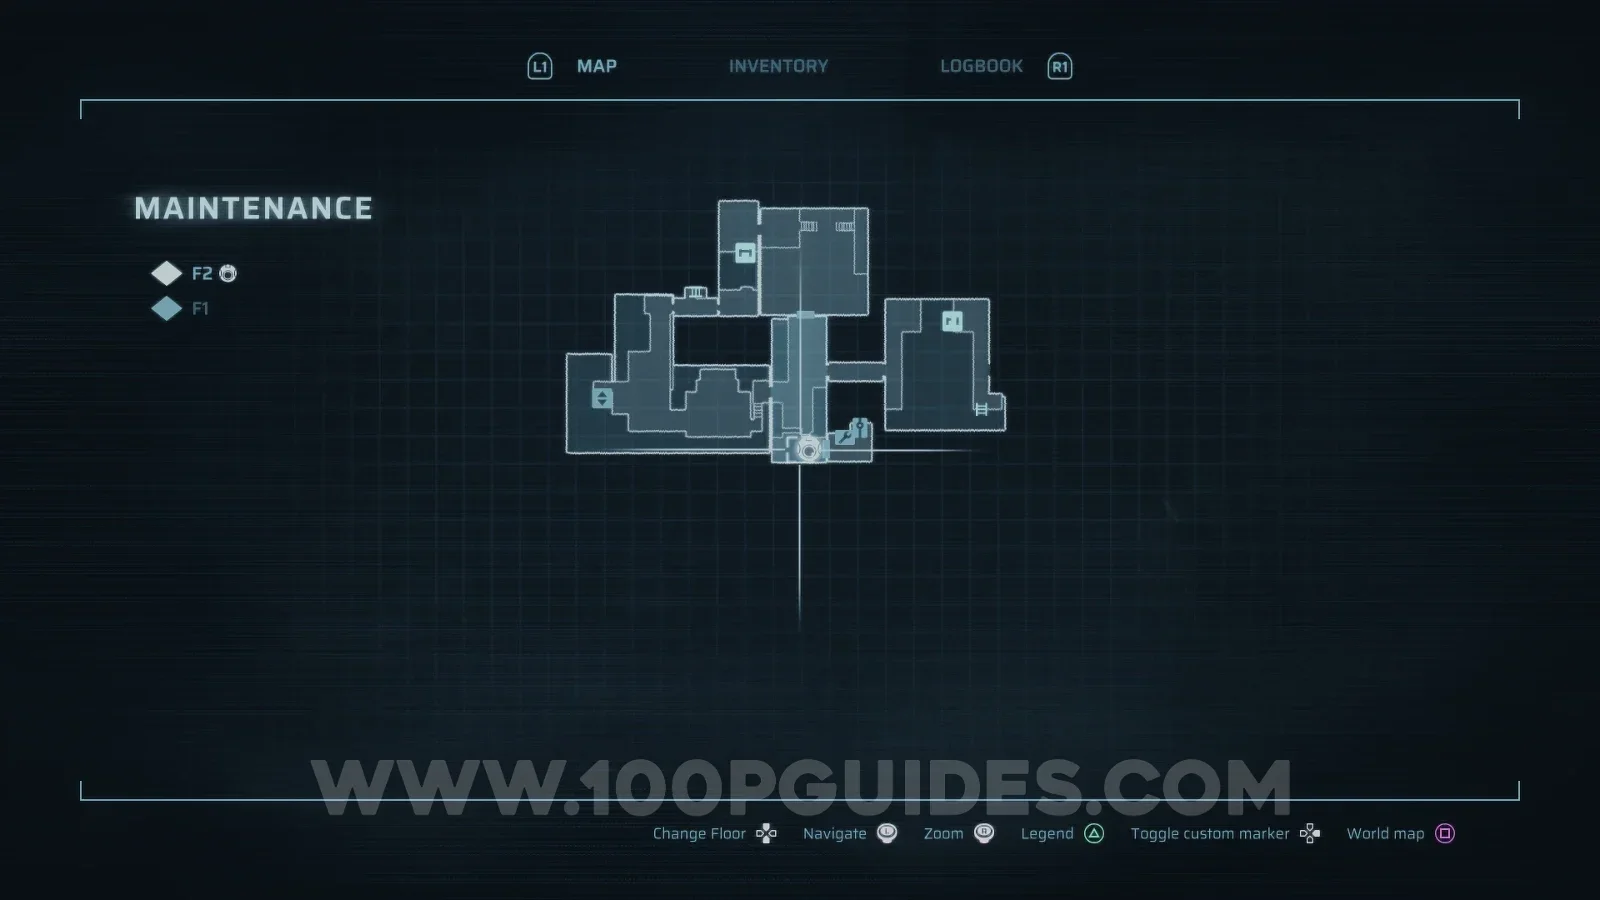
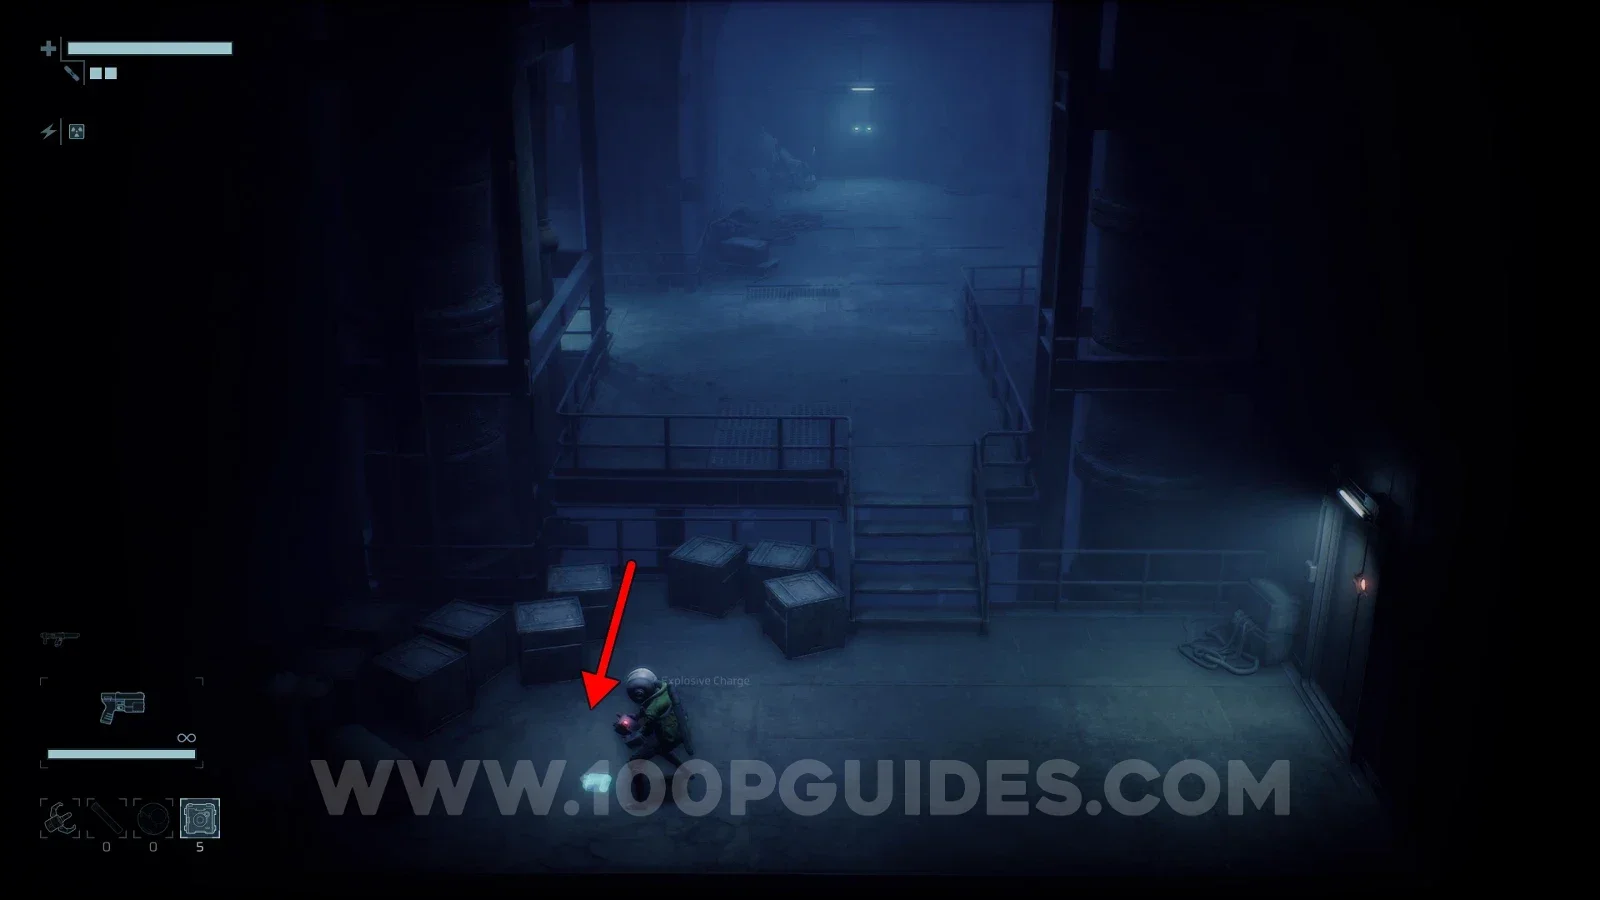
First, you will need to get the Executive Level Access Keycard from the Outer Sector. To get there, use an explosive charge to blow a hole through the floor just outside the safe room in the Maintenance area. Then climb down and head all the way left until you see the key behind some boxes.
End of Abyss 100% Logbook Checklist Screenshot 115 End of Abyss 100% Logbook Checklist Screenshot 116
Show moreShow less
End of Abyss 100% Logbook Checklist Screenshot 117 End of Abyss 100% Logbook Checklist Screenshot 118

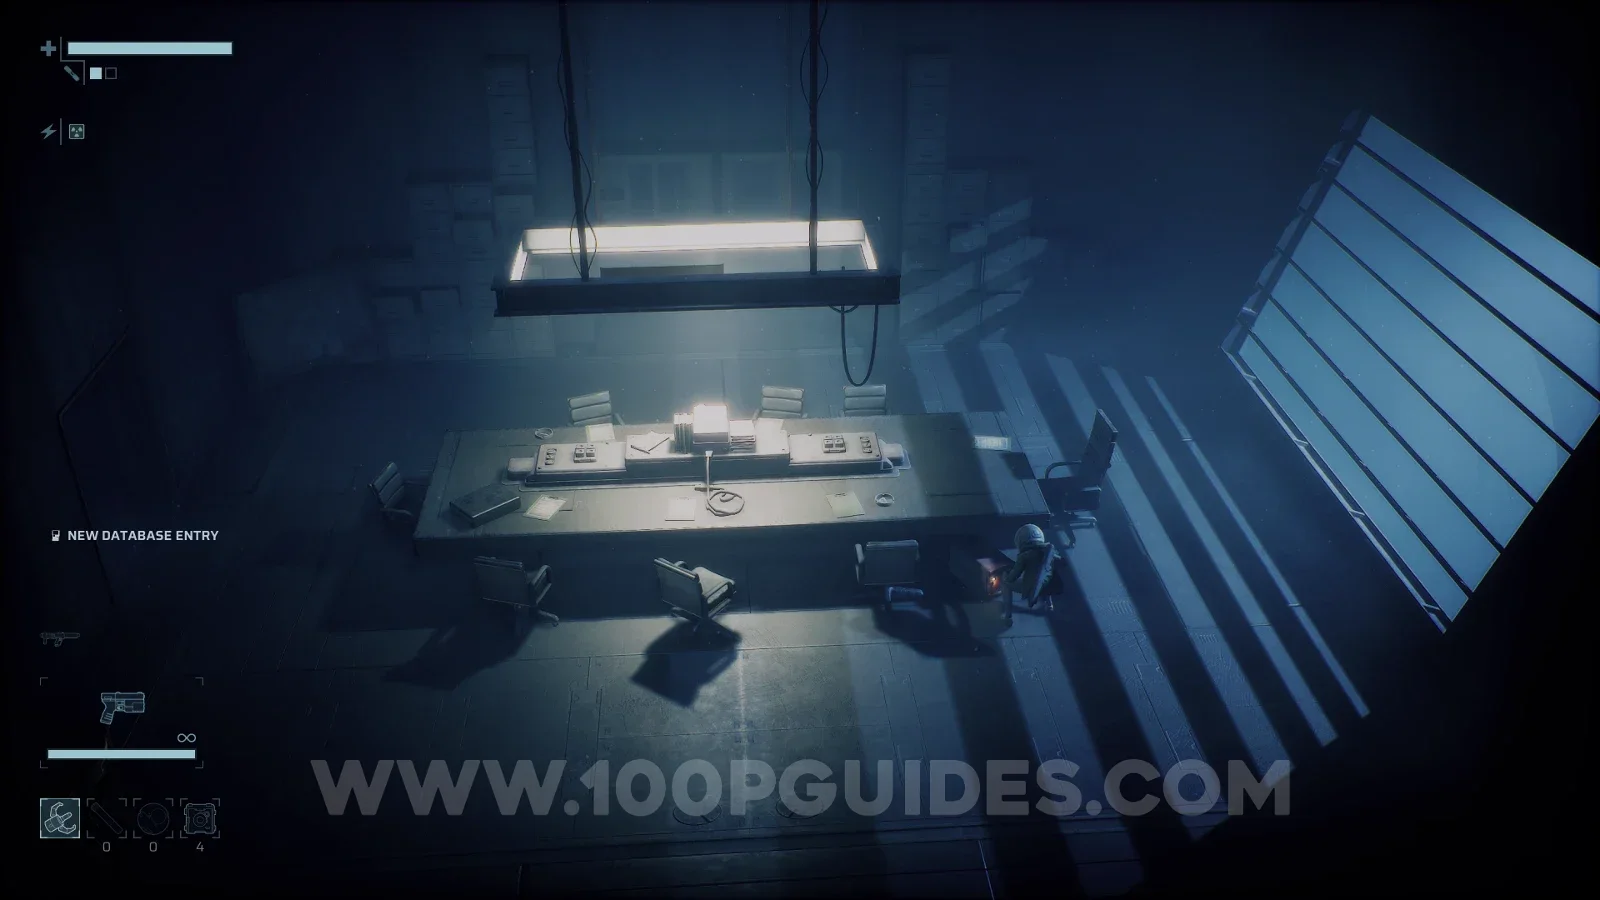
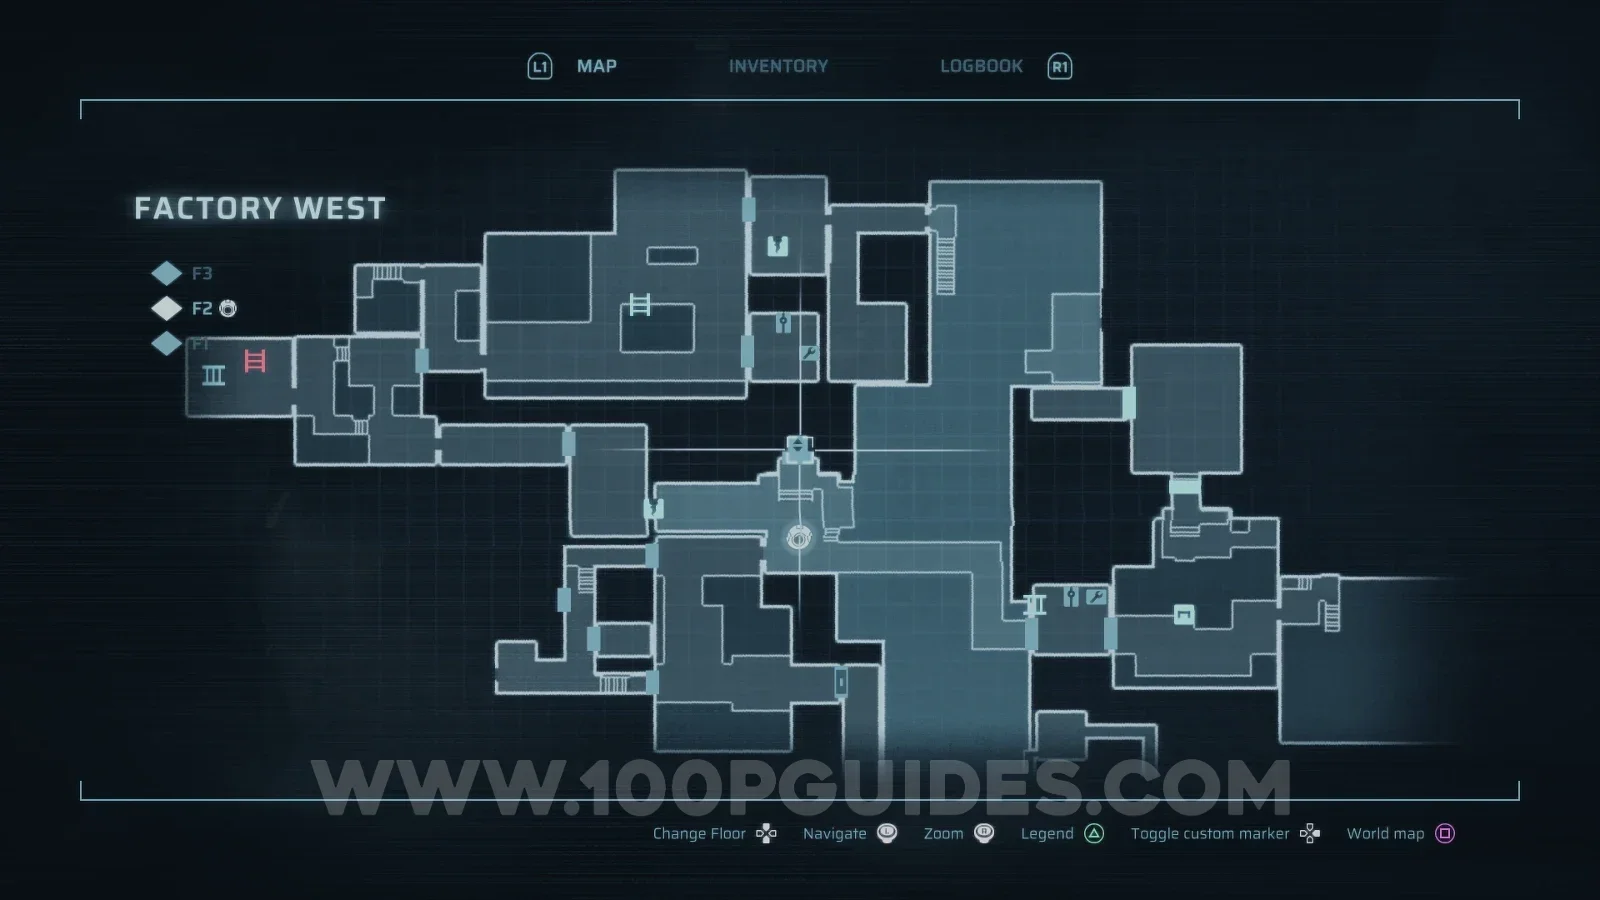
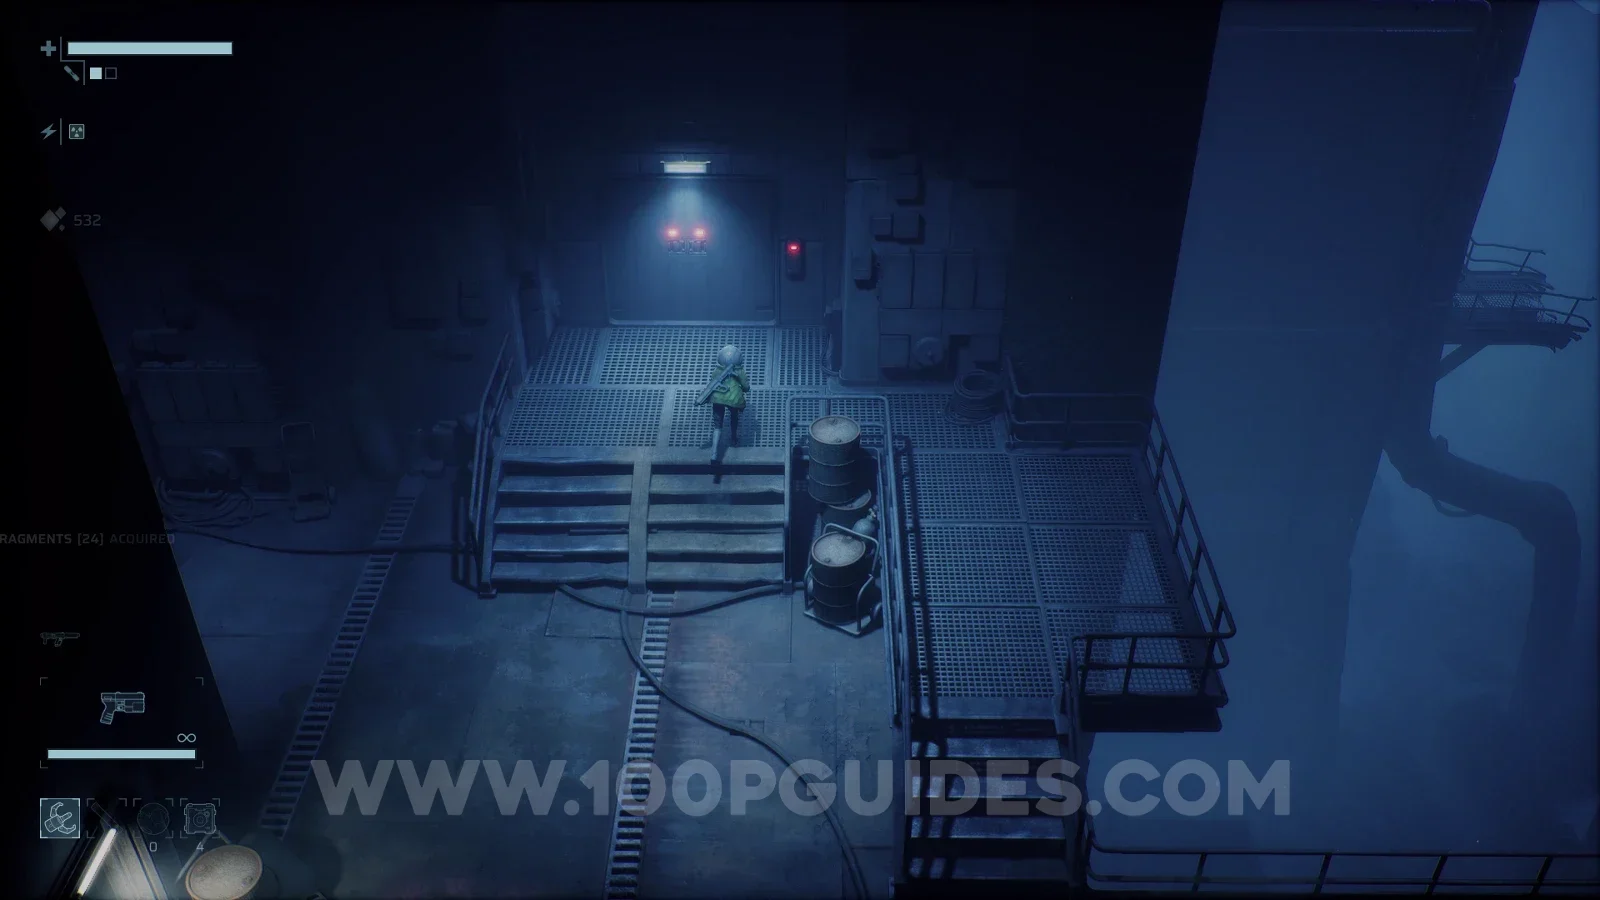
Now head to Factory West and use the key to access the lift on F2. Ride it up to find the shard in the second room with the large table.
End of Abyss 100% Logbook Checklist Screenshot 119 End of Abyss 100% Logbook Checklist Screenshot 120 End of Abyss 100% Logbook Checklist Screenshot 121
DA-005

Data Shard [5]

Reactor > B1

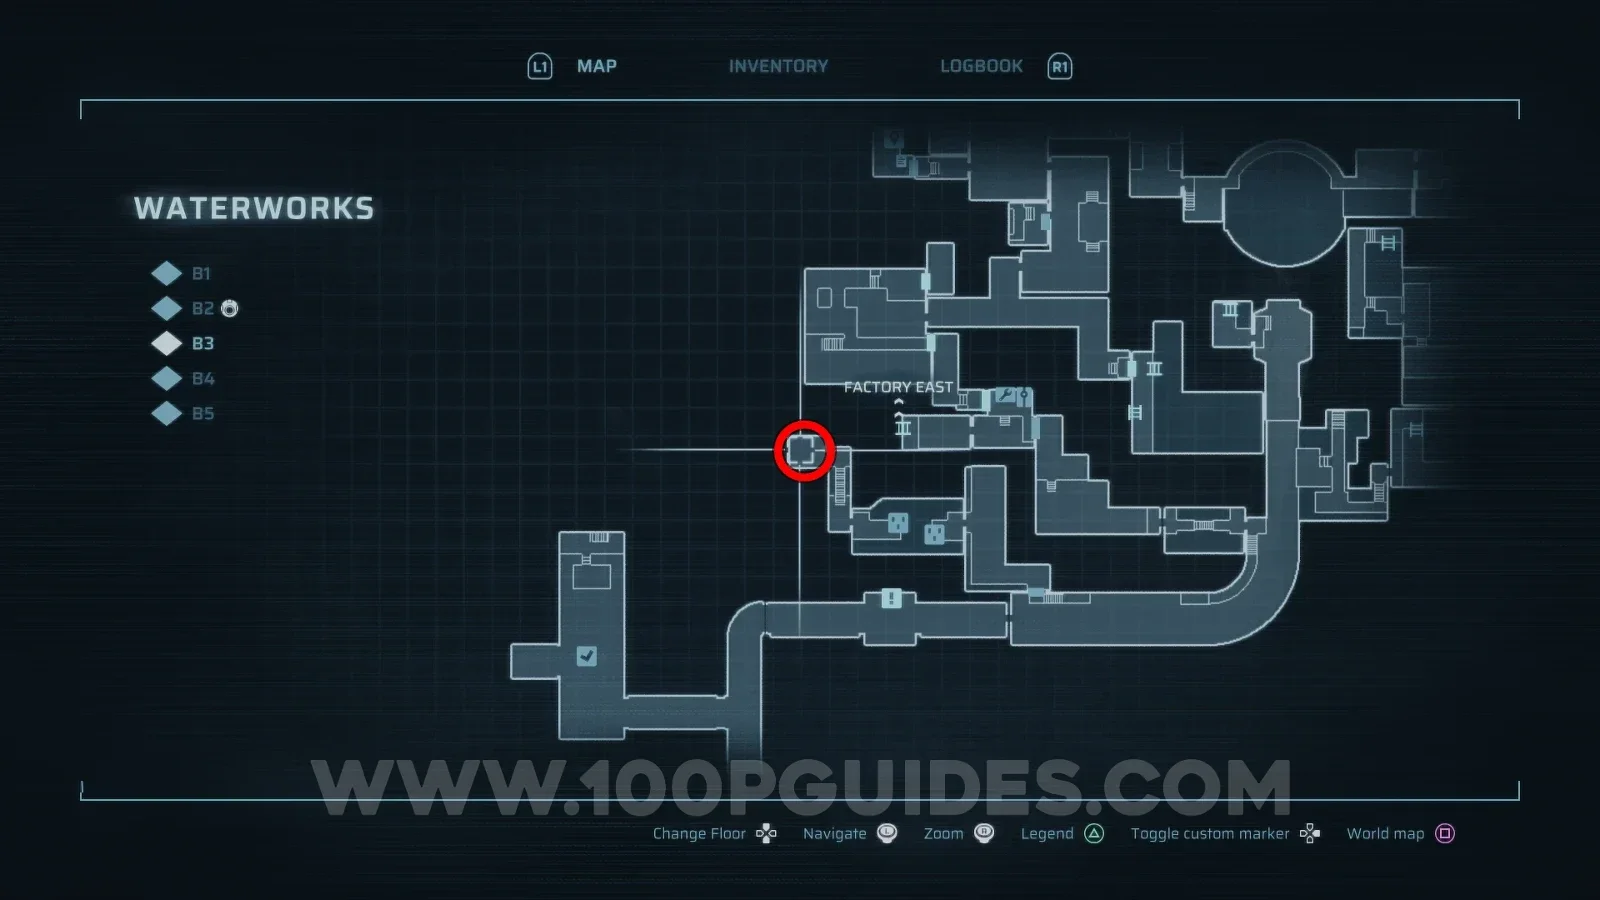
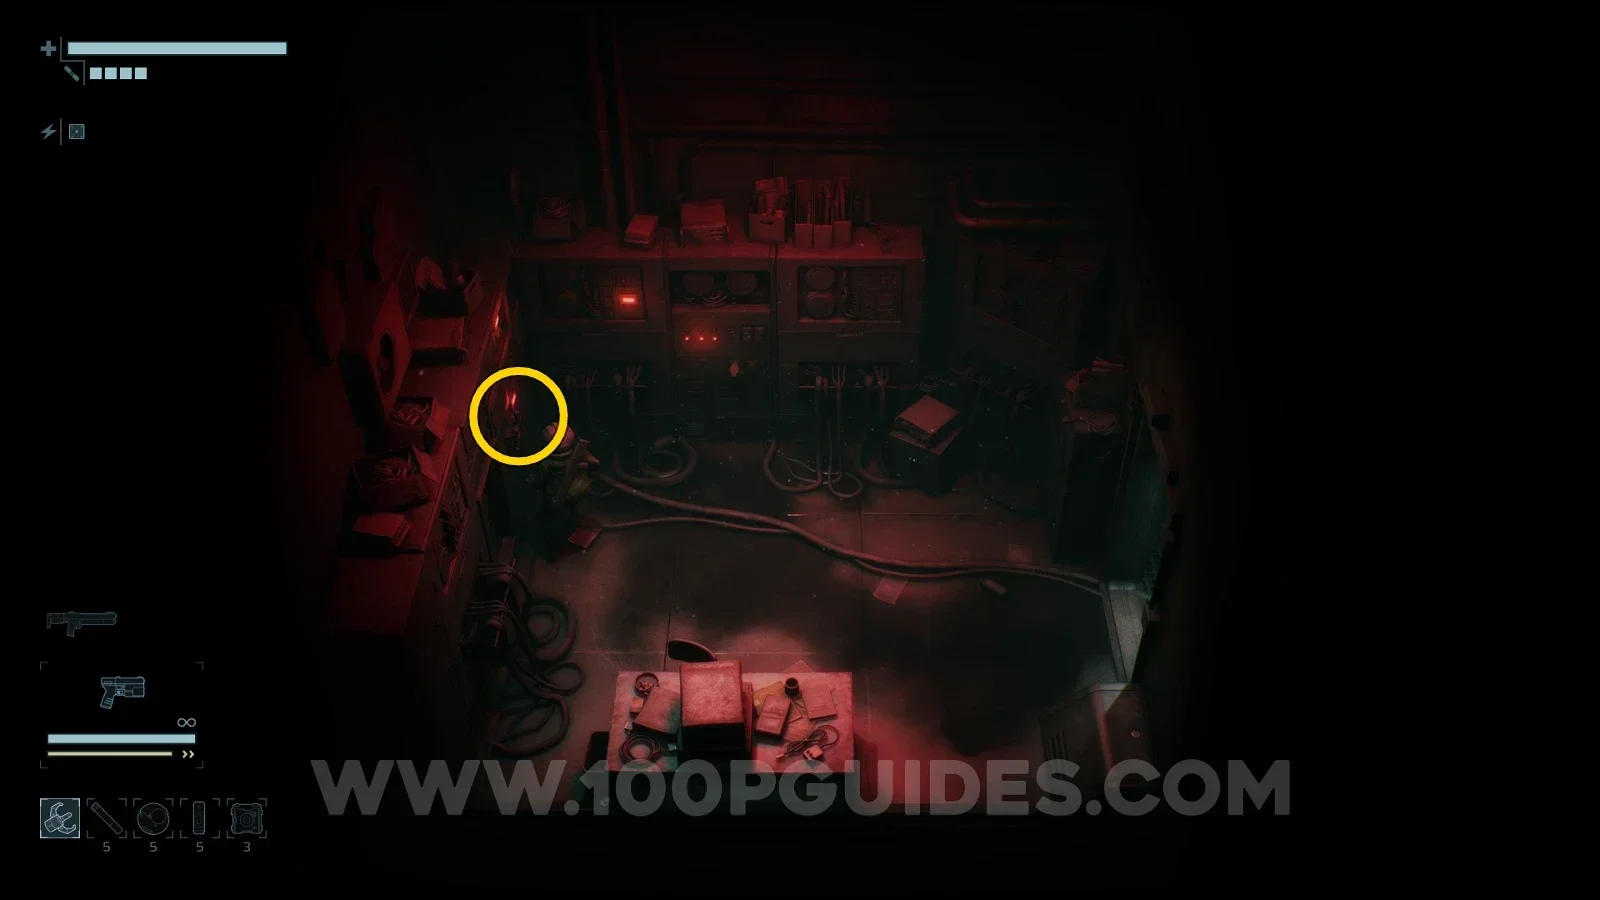
First, head to the room on the left of Waterworks > B3 and press the switch on the wall. You will need to have progressed far enough in the story to have the grappling hook.
End of Abyss 100% Logbook Checklist Screenshot 122 End of Abyss 100% Logbook Checklist Screenshot 123
Show moreShow less

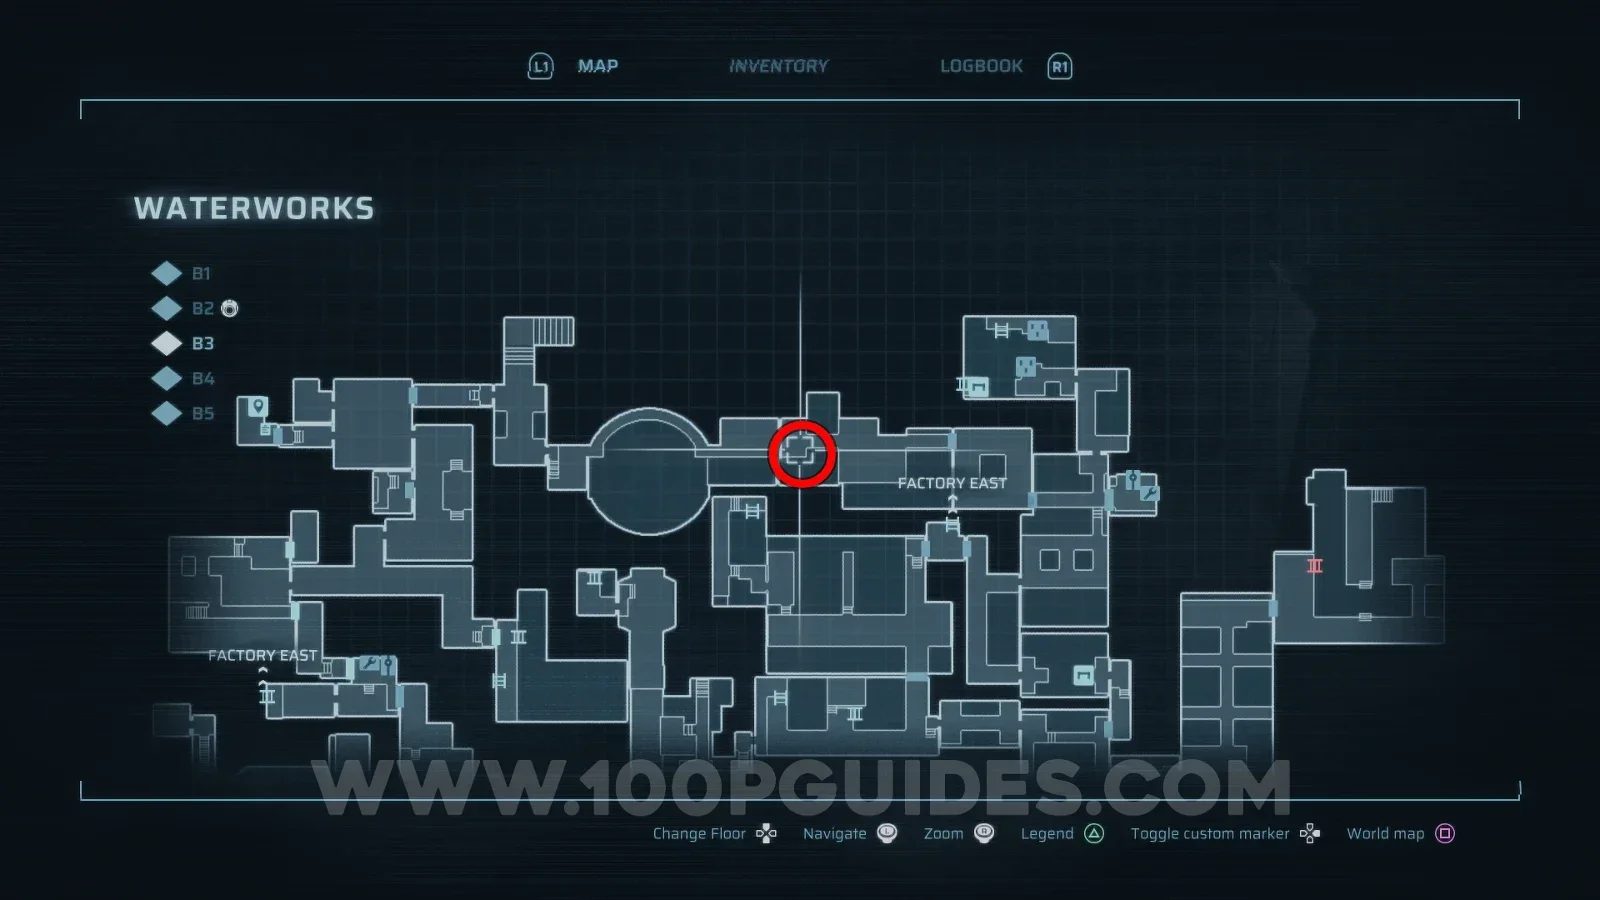
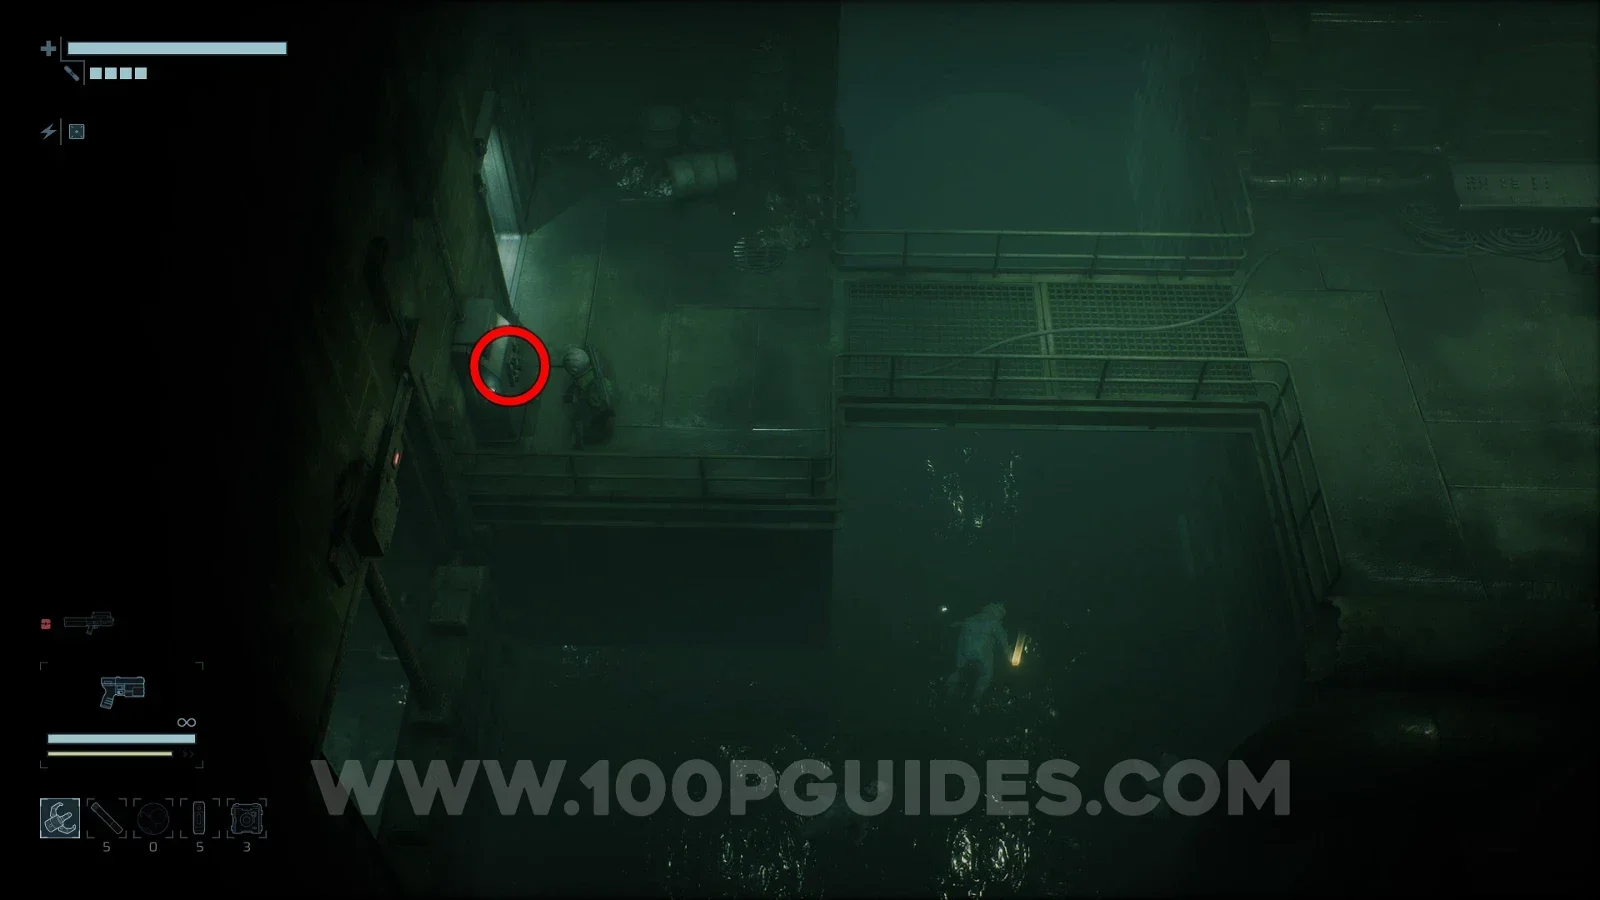
After that, head to the right side of the circular structure near the top of B3 in the Waterworks and press the switch to drain some of the water.
End of Abyss 100% Logbook Checklist Screenshot 124 End of Abyss 100% Logbook Checklist Screenshot 125

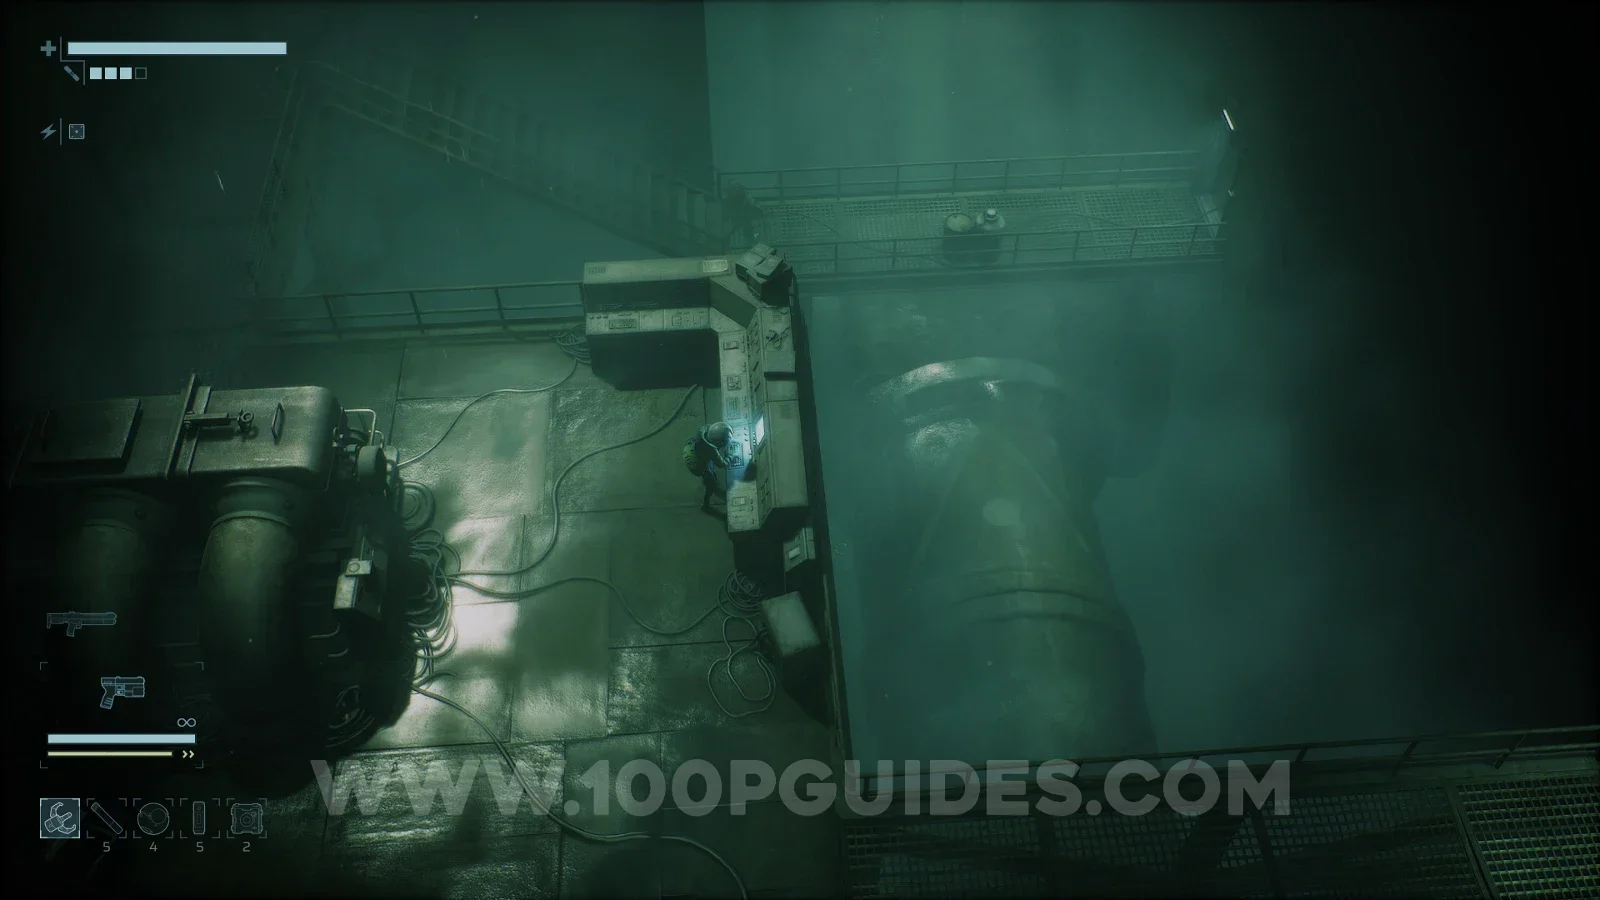
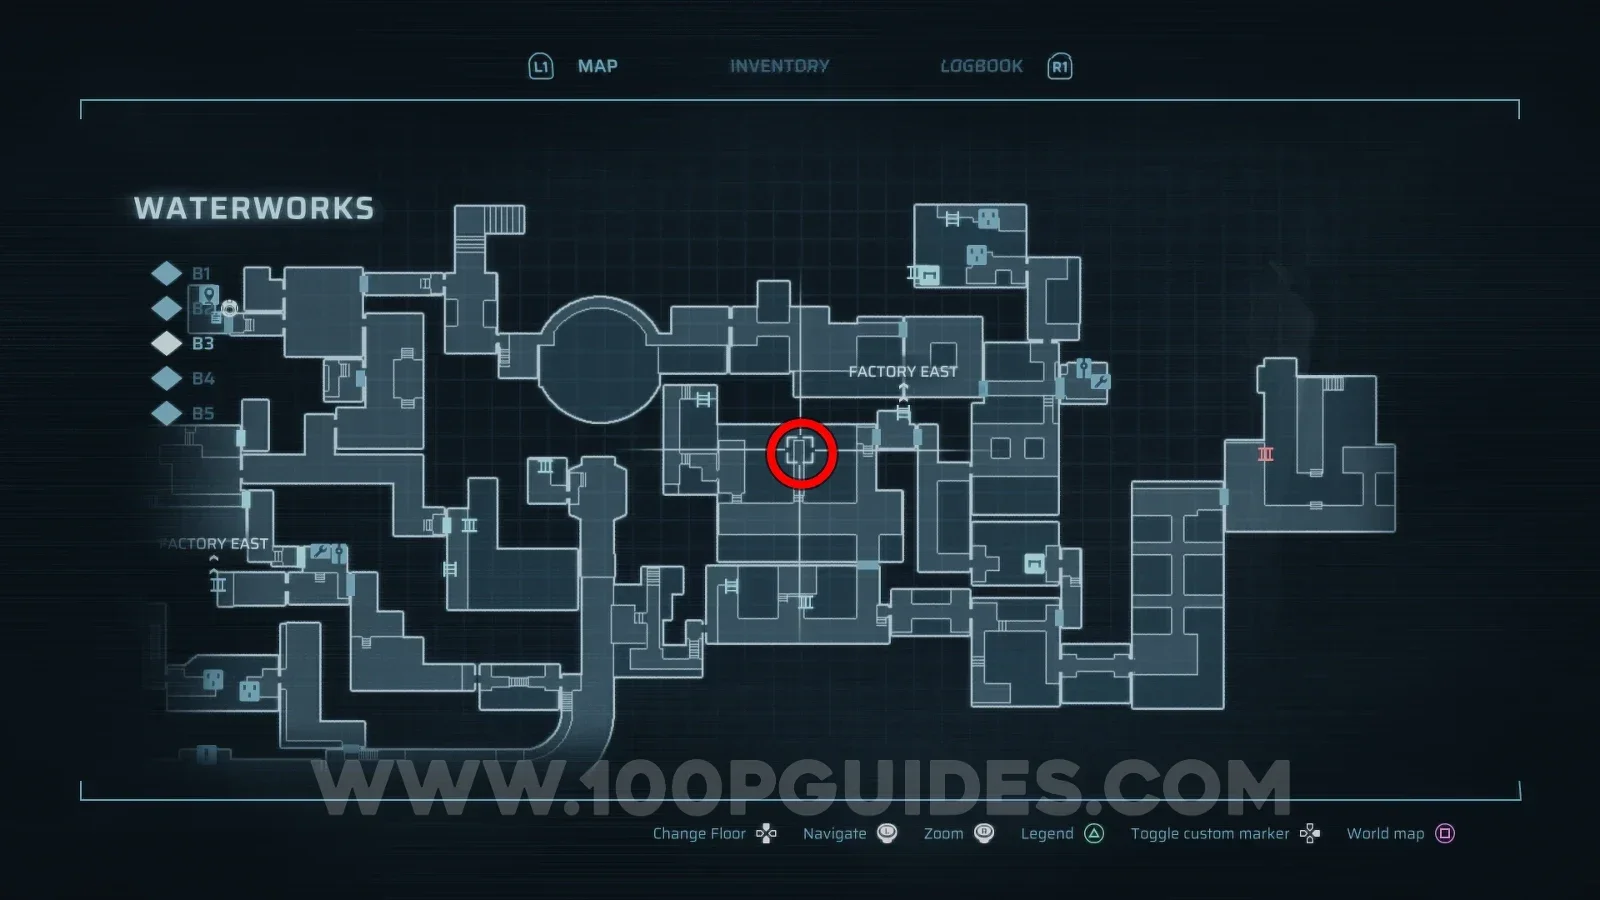
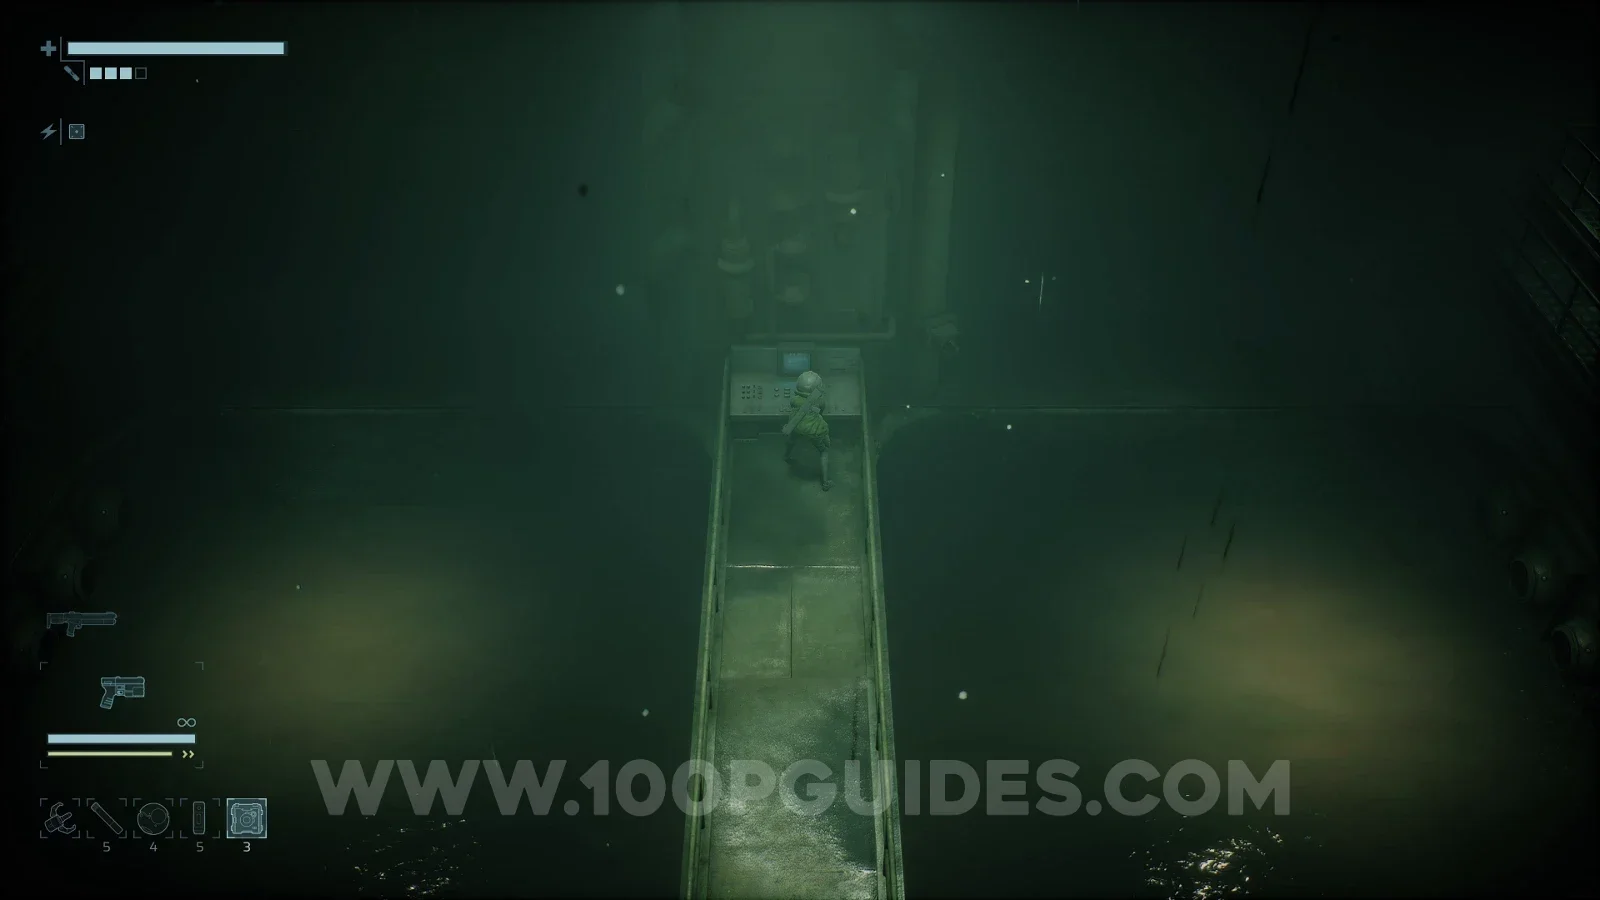
Next, activate the pump by interacting with the console in the room on the eastern side of B3 to drain the water in that area.
End of Abyss 100% Logbook Checklist Screenshot 126 End of Abyss 100% Logbook Checklist Screenshot 127

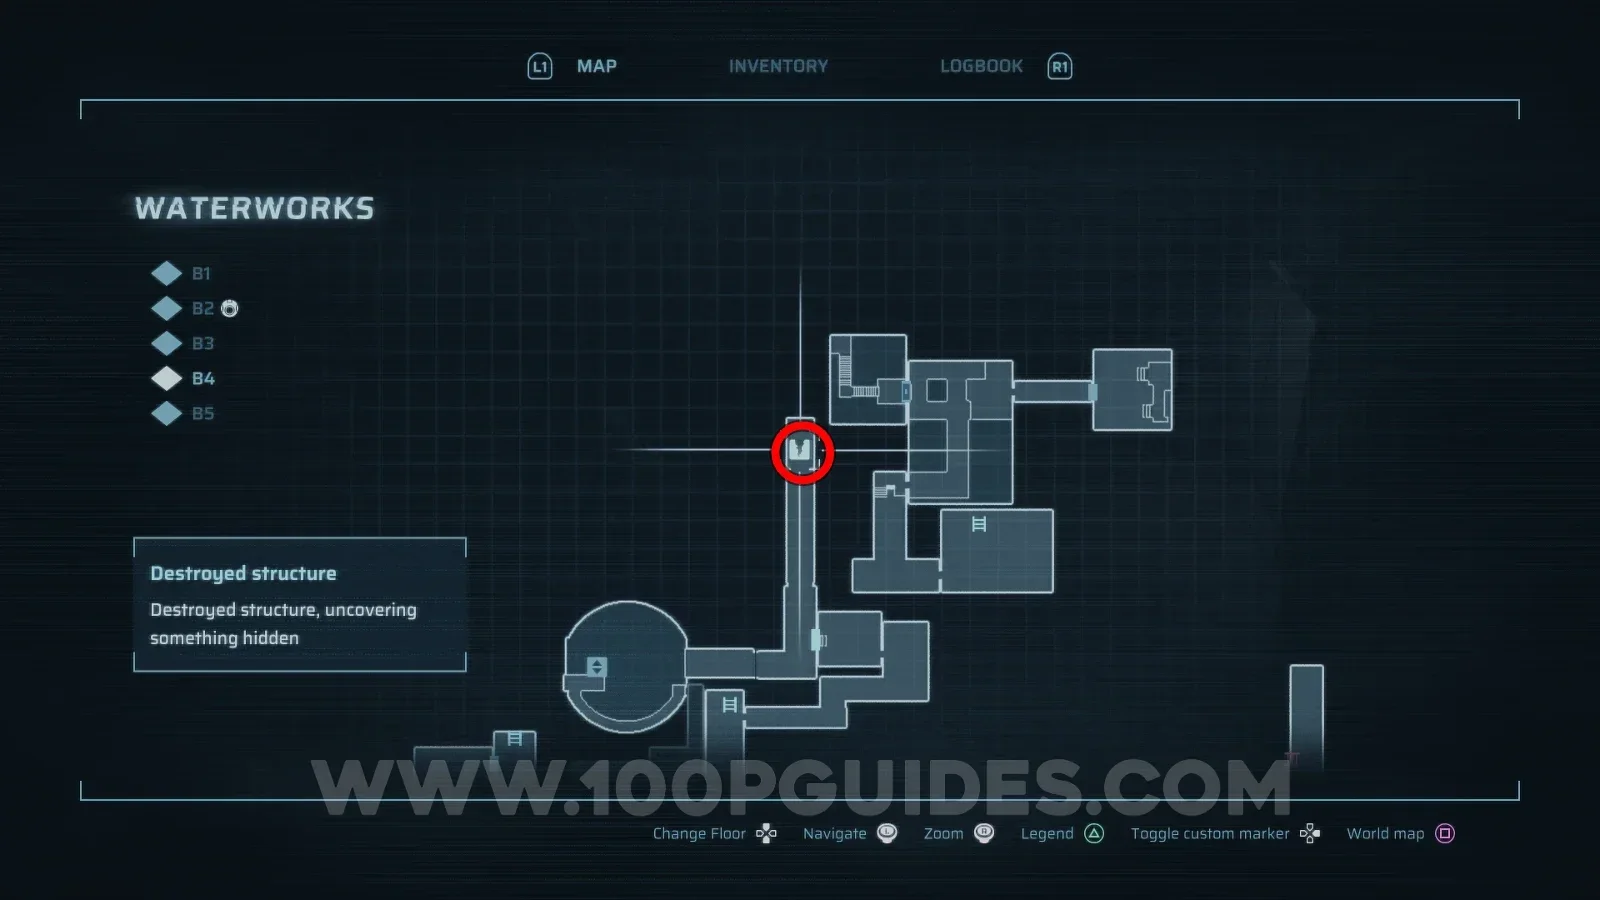
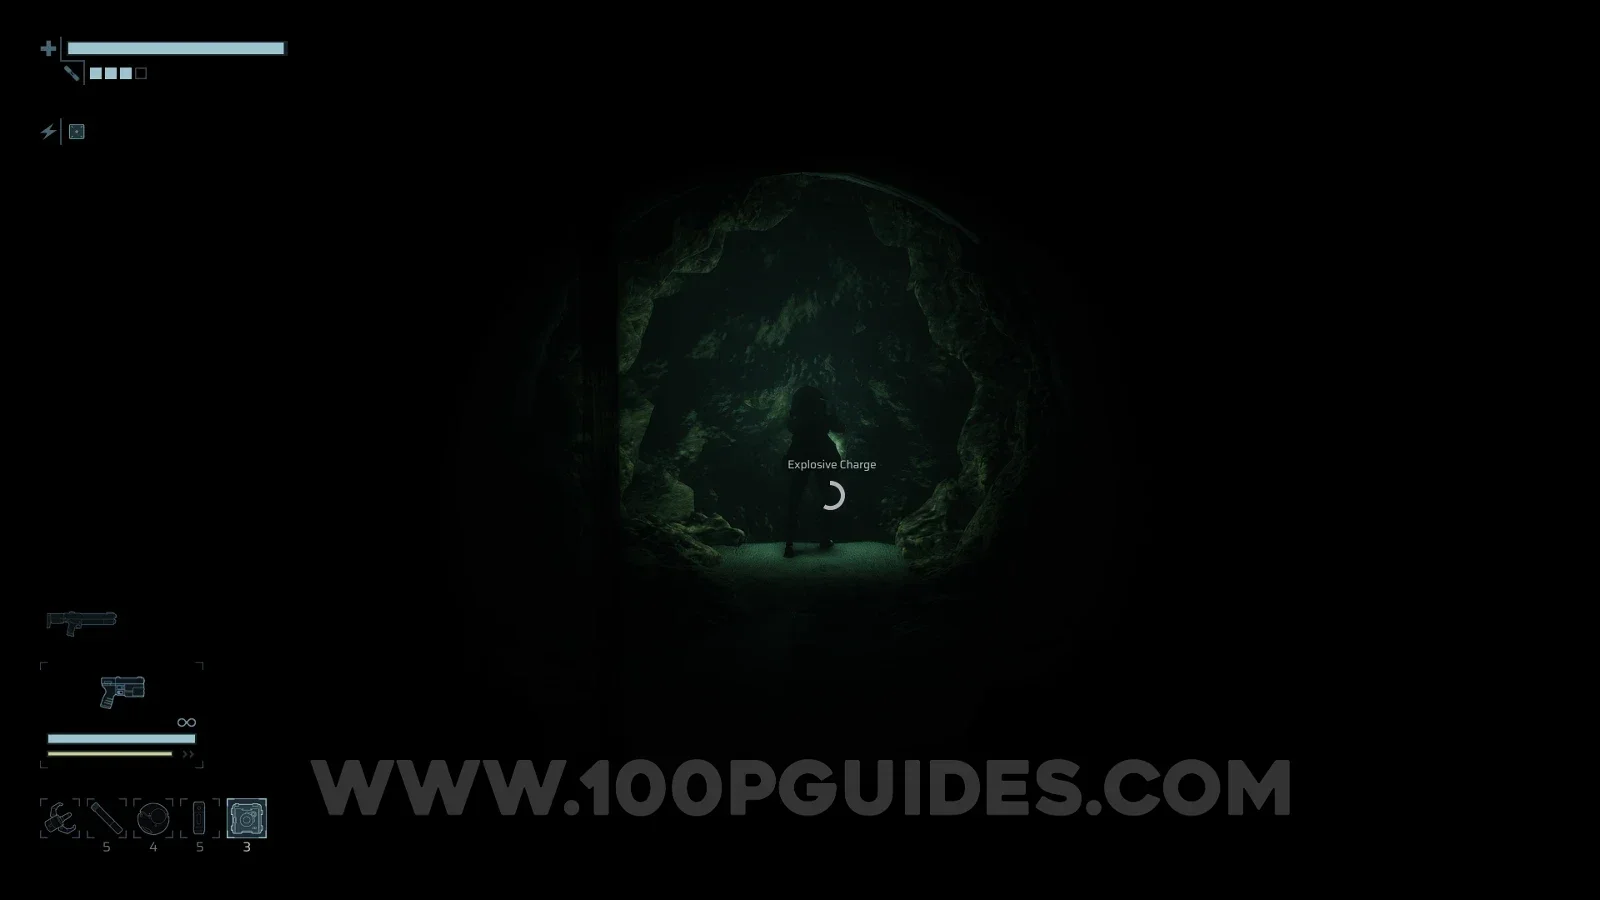
Then head out through the door to the left of the pump console and climb down the ladder. Continue along this path and head north to the dead end. Here, use an explosive charge to destroy the wall and clear the blockage.
End of Abyss 100% Logbook Checklist Screenshot 128 End of Abyss 100% Logbook Checklist Screenshot 129

With that done, head through the door in the top right corner of B3 and follow this path to the end, where you will find the switch that drains the Reactor Pool. Along the way, you will have to open an Energy Node door and survive an ambush.
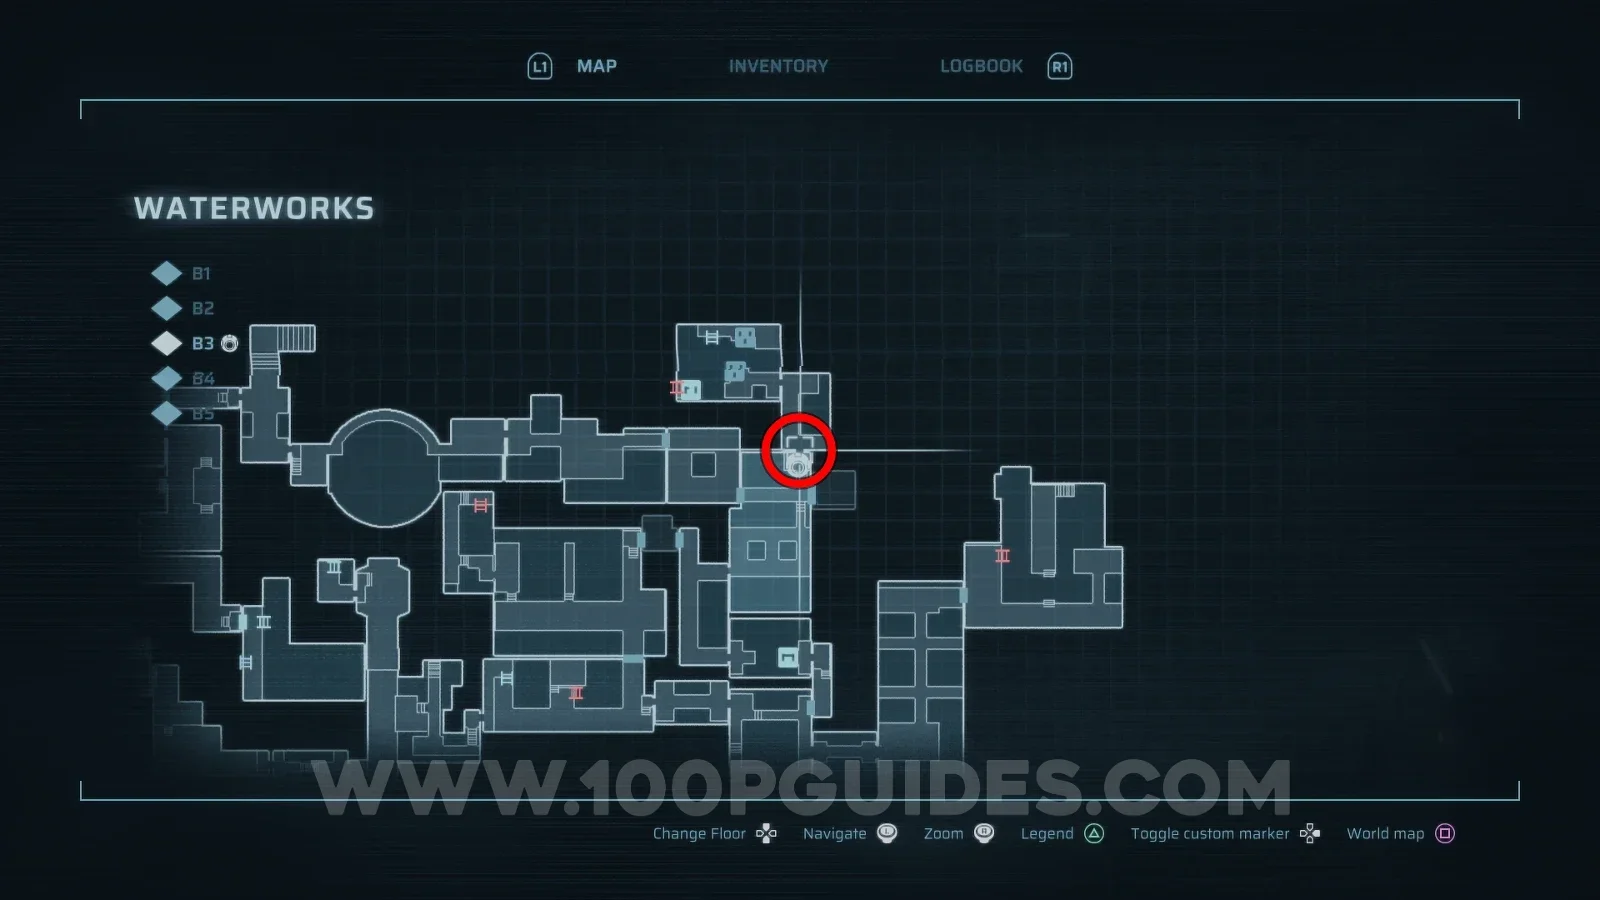
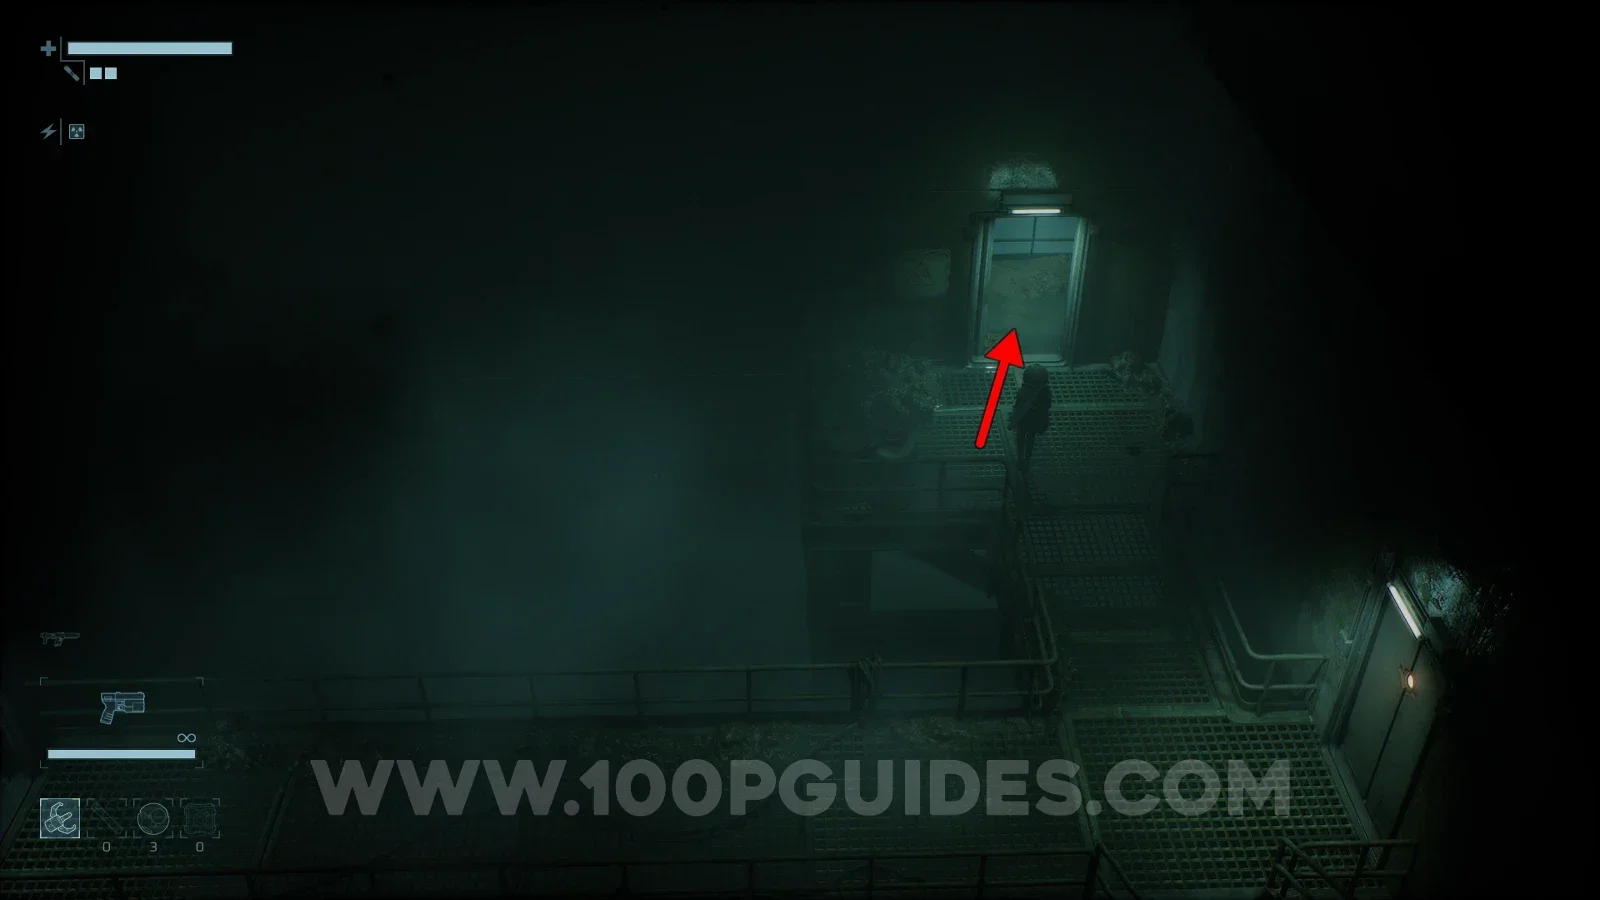
End of Abyss 100% Logbook Checklist Screenshot 130 End of Abyss 100% Logbook Checklist Screenshot 131 End of Abyss 100% Logbook Checklist Screenshot 132

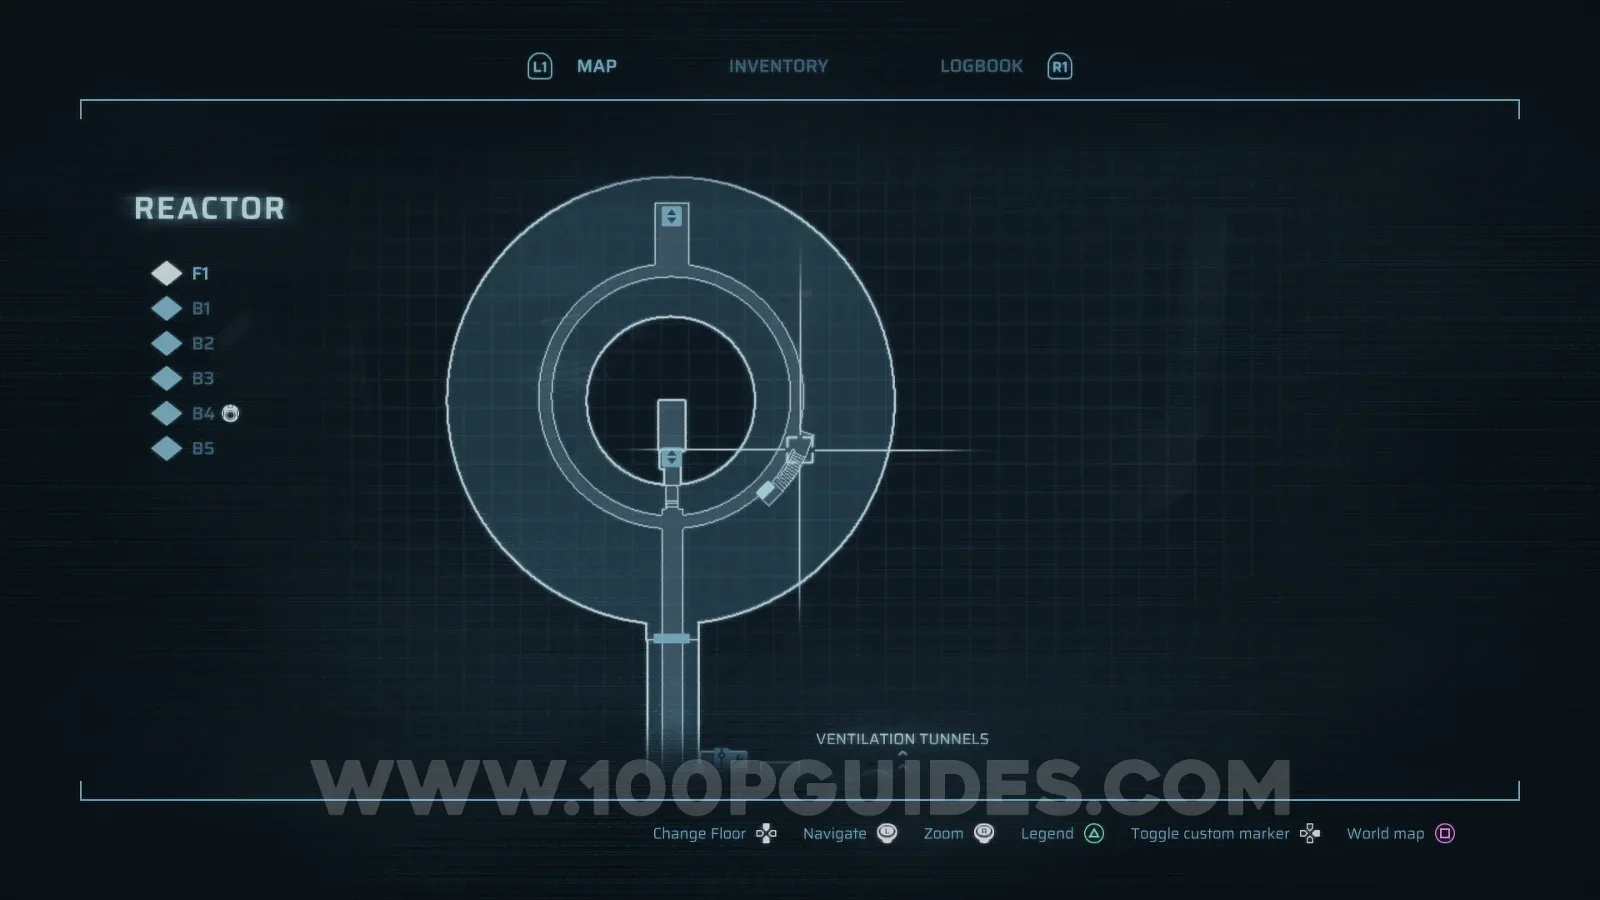
Now head to the Reactor Pool on B3 of the Reactor and climb down. At the bottom, take the path on the left and grab the Underbelly Key from the locker.
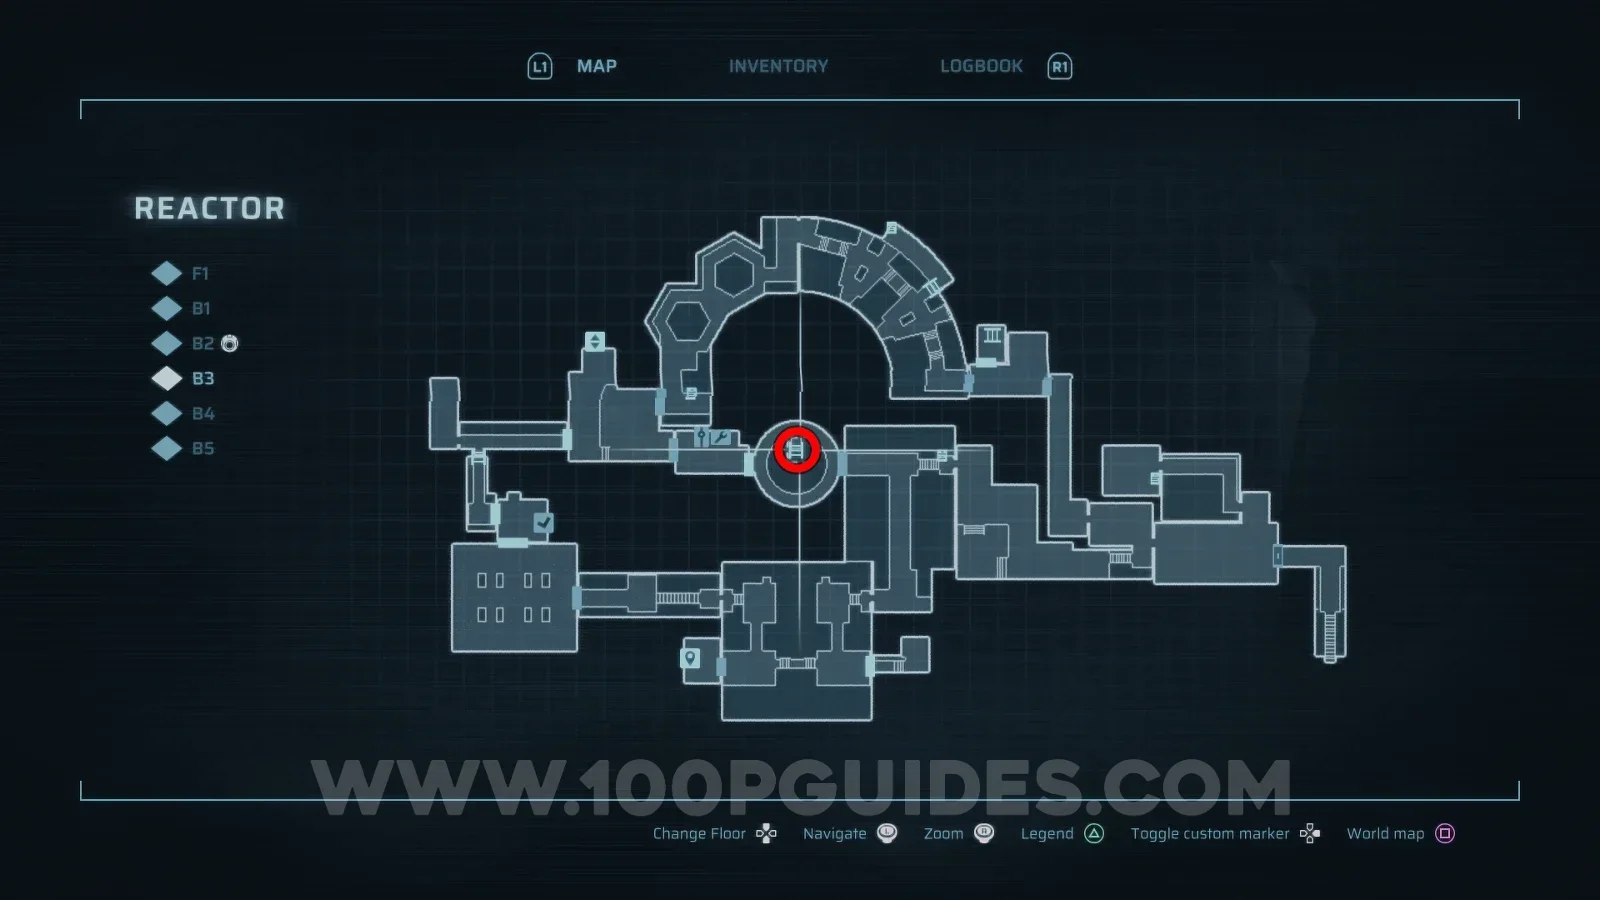
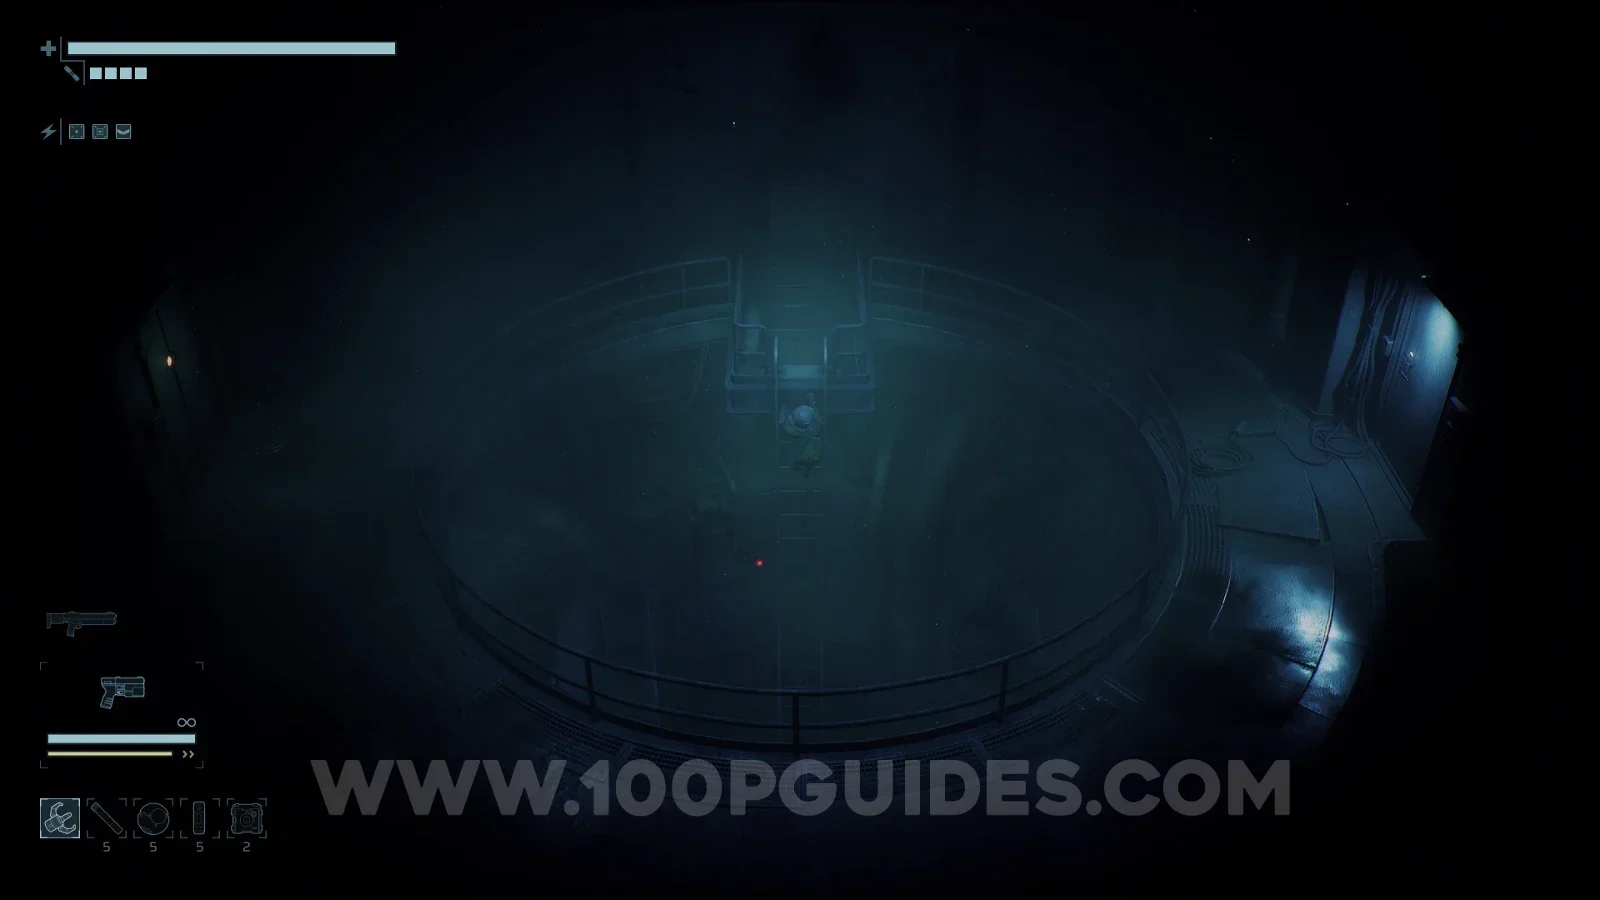
End of Abyss 100% Logbook Checklist Screenshot 133 End of Abyss 100% Logbook Checklist Screenshot 134 End of Abyss 100% Logbook Checklist Screenshot 135 End of Abyss 100% Logbook Checklist Screenshot 136

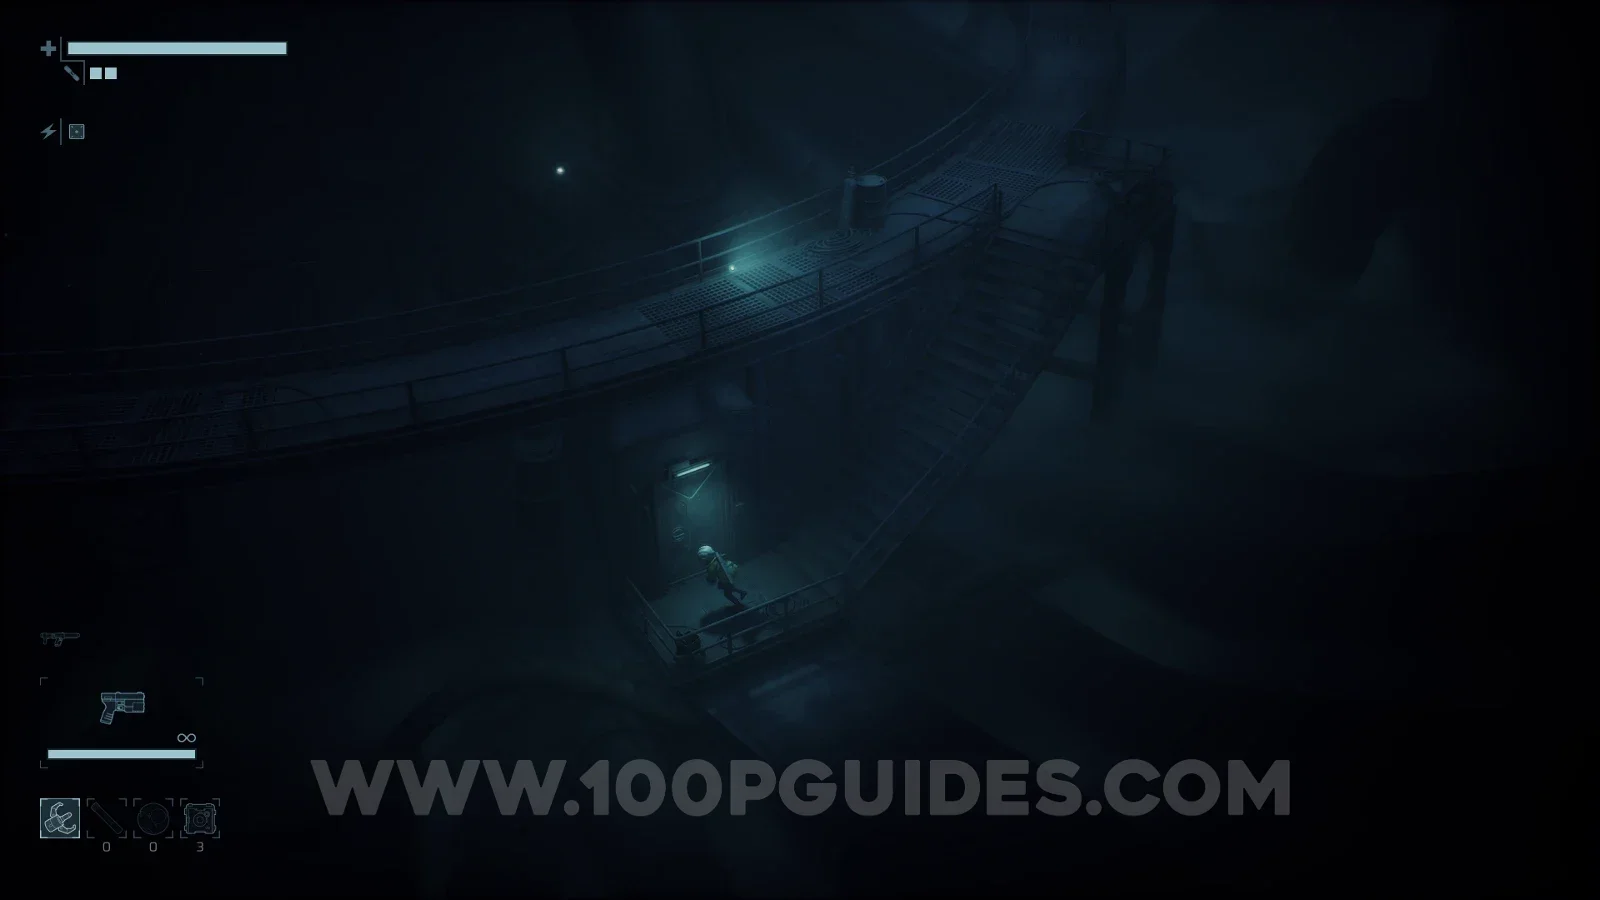
Finally, use it to open the door down the short set of stairs outside the Reactor, on the right side of F1. The Data Shard will be inside.
End of Abyss 100% Logbook Checklist Screenshot 137 End of Abyss 100% Logbook Checklist Screenshot 138
DA-006

Data Shard [6]

Waterworks > B3

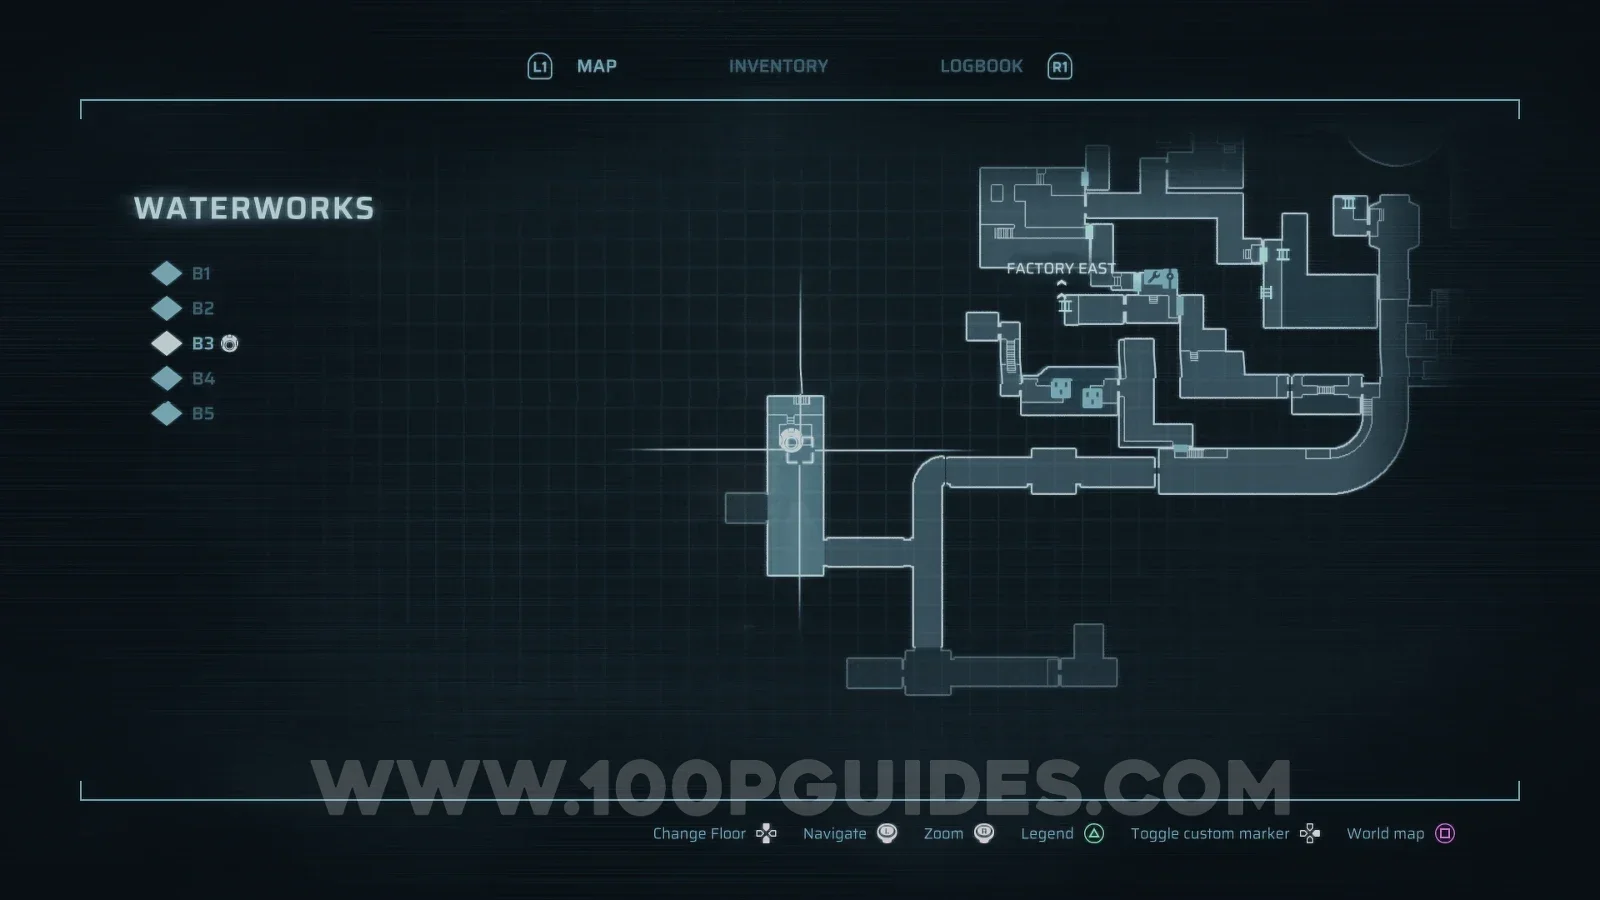
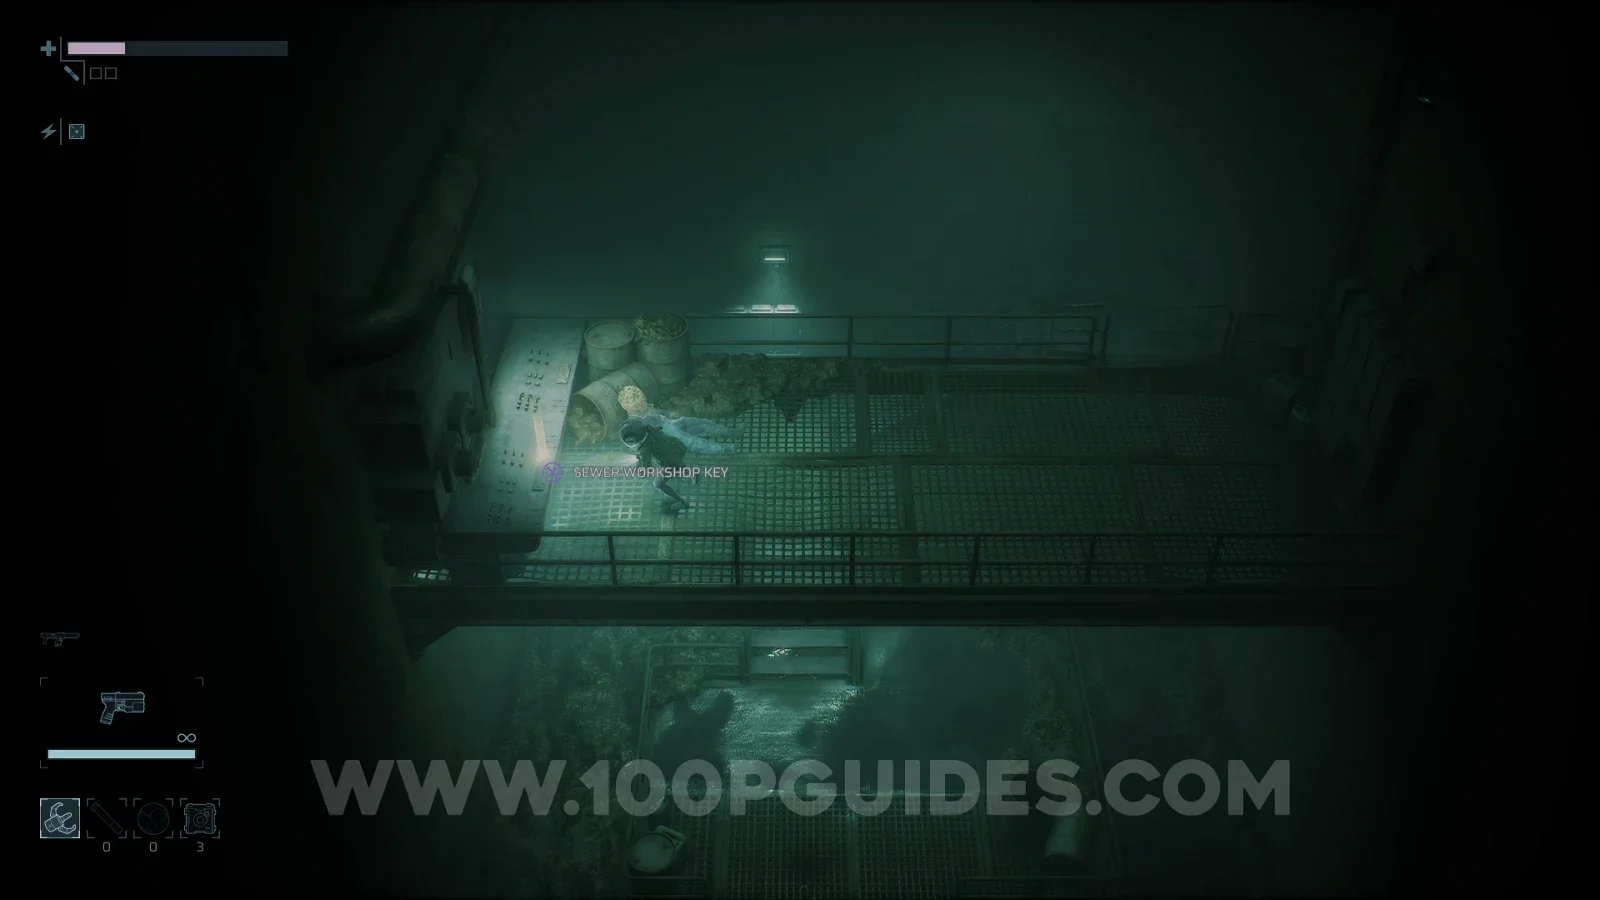
First, get the Sewer Workshop Key from the left side of the sewers area on B3. Then use it to open the small room at the bottom of the sewers.
End of Abyss 100% Logbook Checklist Screenshot 139 End of Abyss 100% Logbook Checklist Screenshot 140
Show moreShow less
End of Abyss 100% Logbook Checklist Screenshot 141 End of Abyss 100% Logbook Checklist Screenshot 142
DA-007

Data Shard [7]

Containment Sector > F3

First, use an explosive charge to blow a hole through the wall on B1. Then, look for a ladder you can pull down in the next room. Climb it and grab the Storage Room Key.
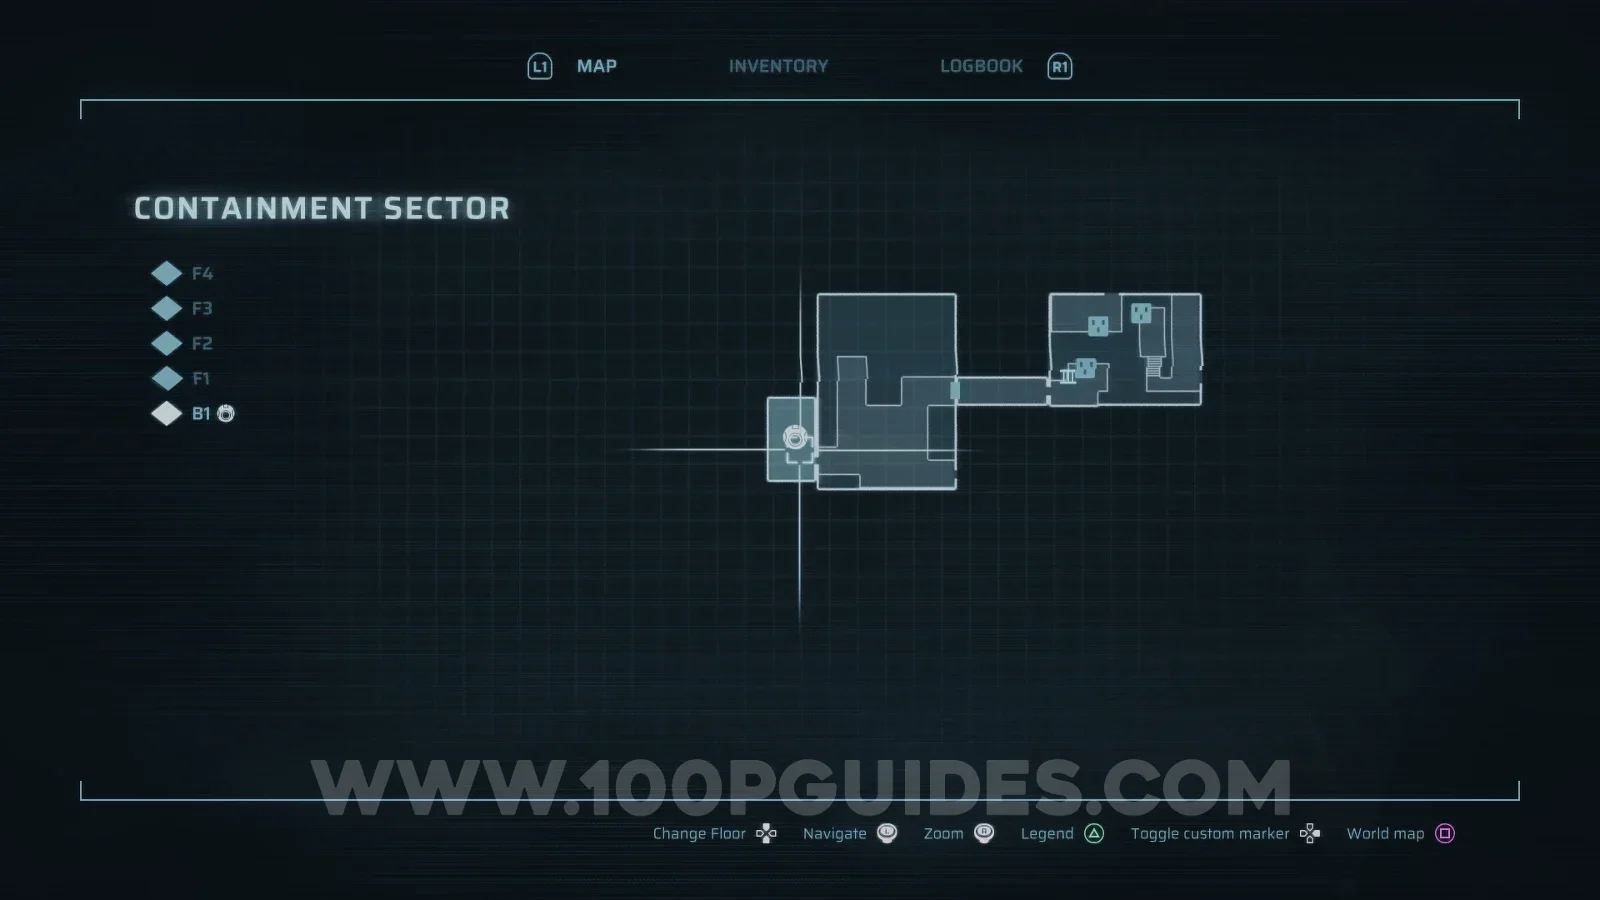
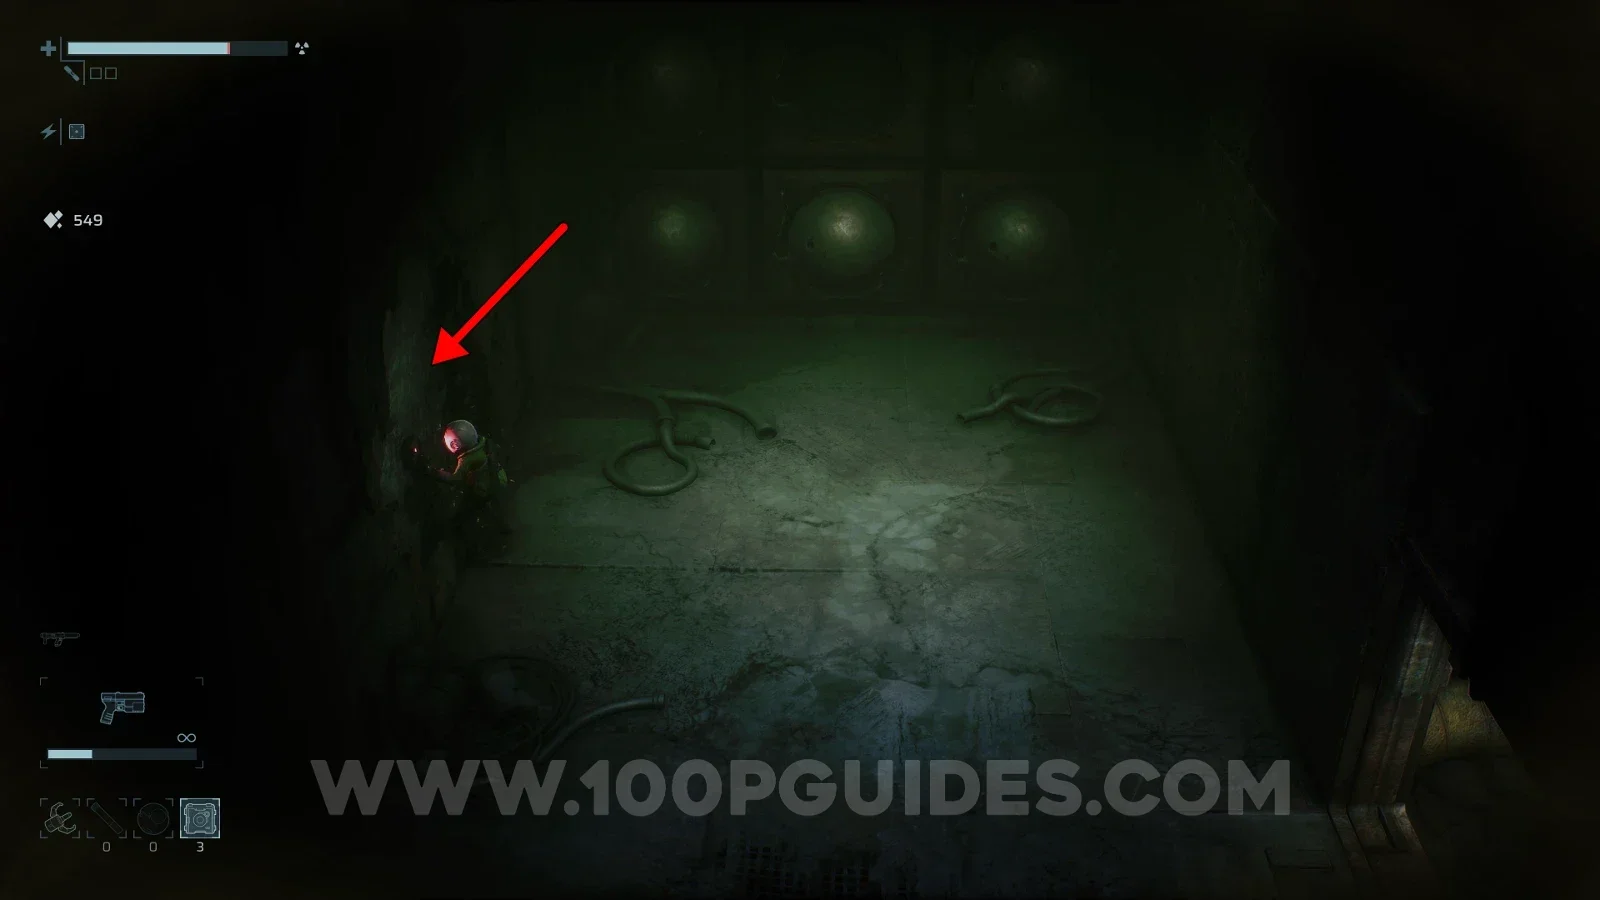
End of Abyss 100% Logbook Checklist Screenshot 143 End of Abyss 100% Logbook Checklist Screenshot 144
Show moreShow less
End of Abyss 100% Logbook Checklist Screenshot 145

Use the key to open the door on F3, where you will find the Data Shard.
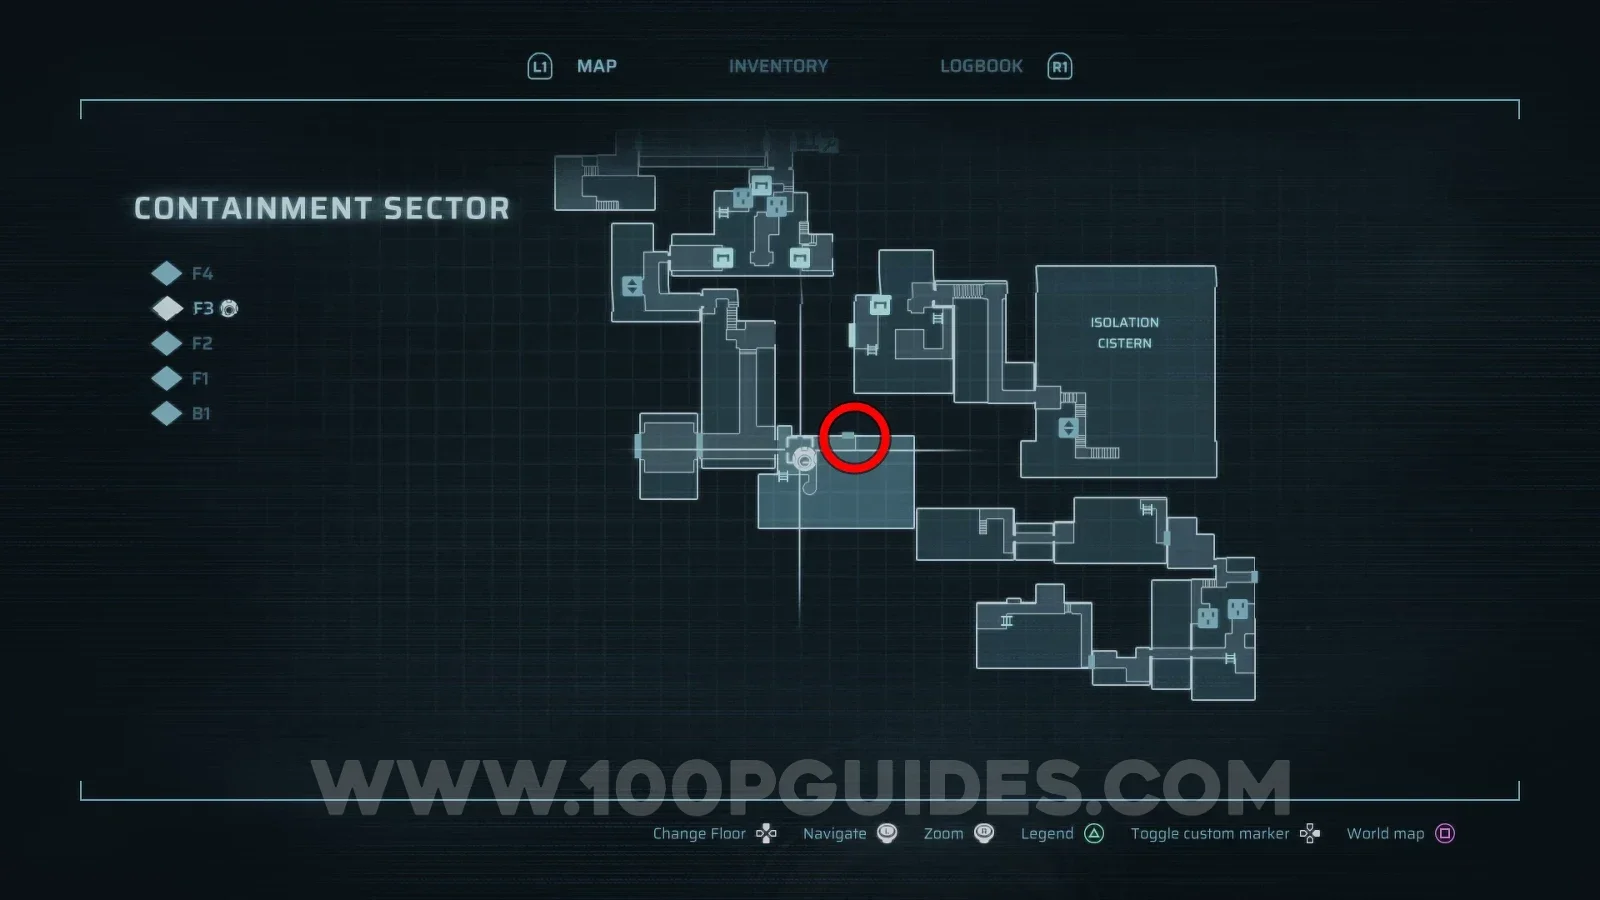
End of Abyss 100% Logbook Checklist Screenshot 146 End of Abyss 100% Logbook Checklist Screenshot 147
DA-008

Data Shard [8]

Lower Levels > B4

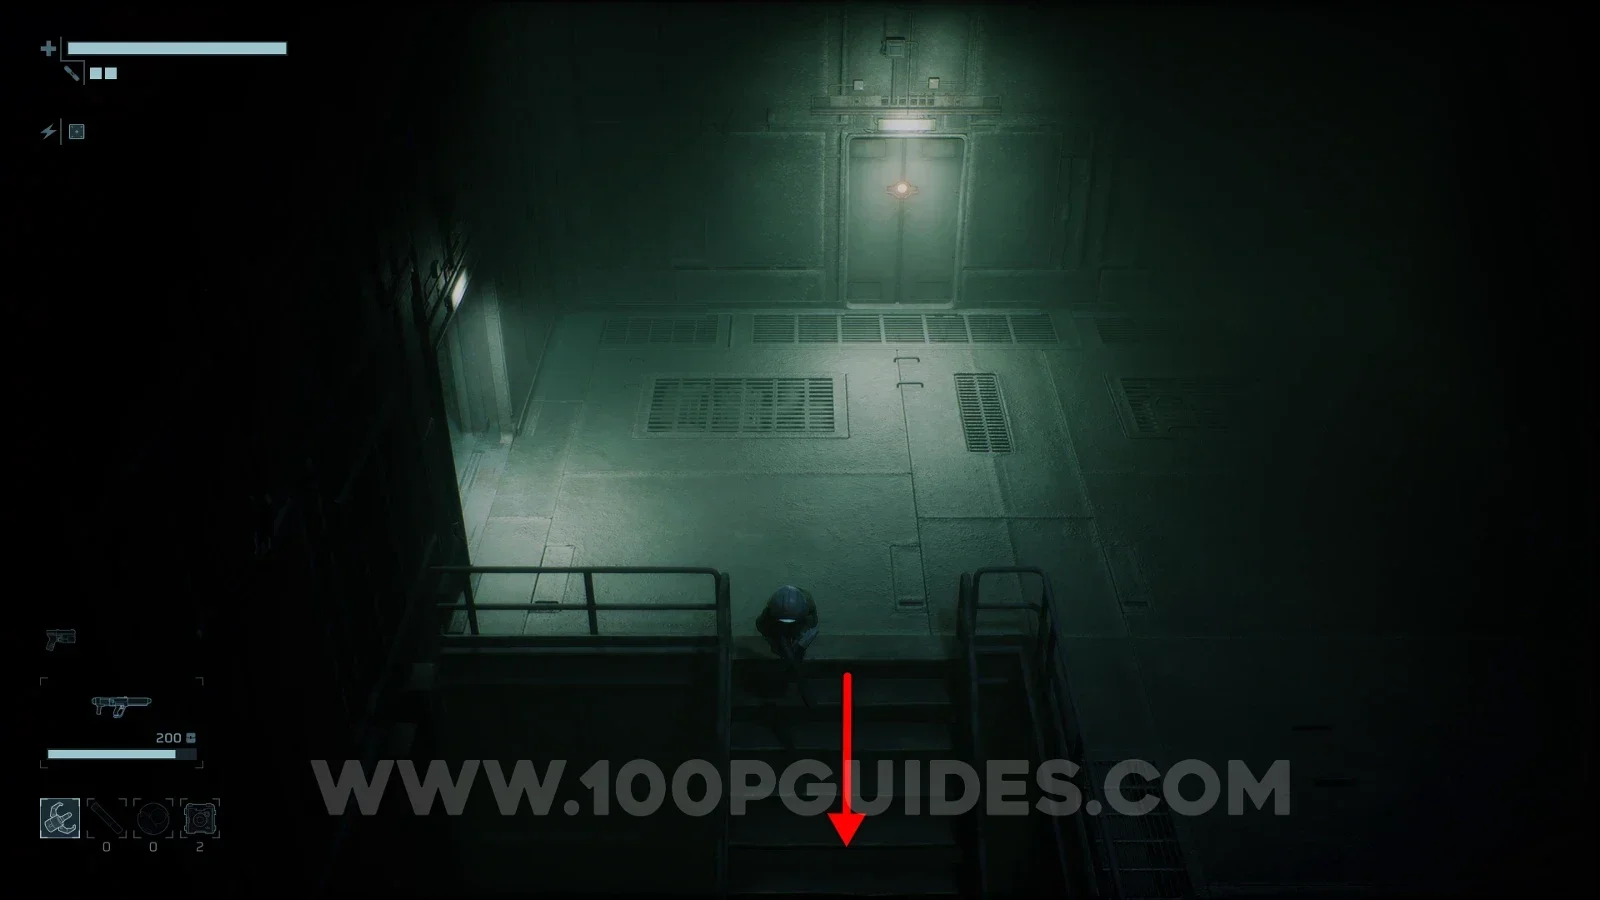
Head down the stairs in front of the safe room on B3 to enter the Tunnels. At the halfway point, burn down the wall to find the Data Shard behind it.
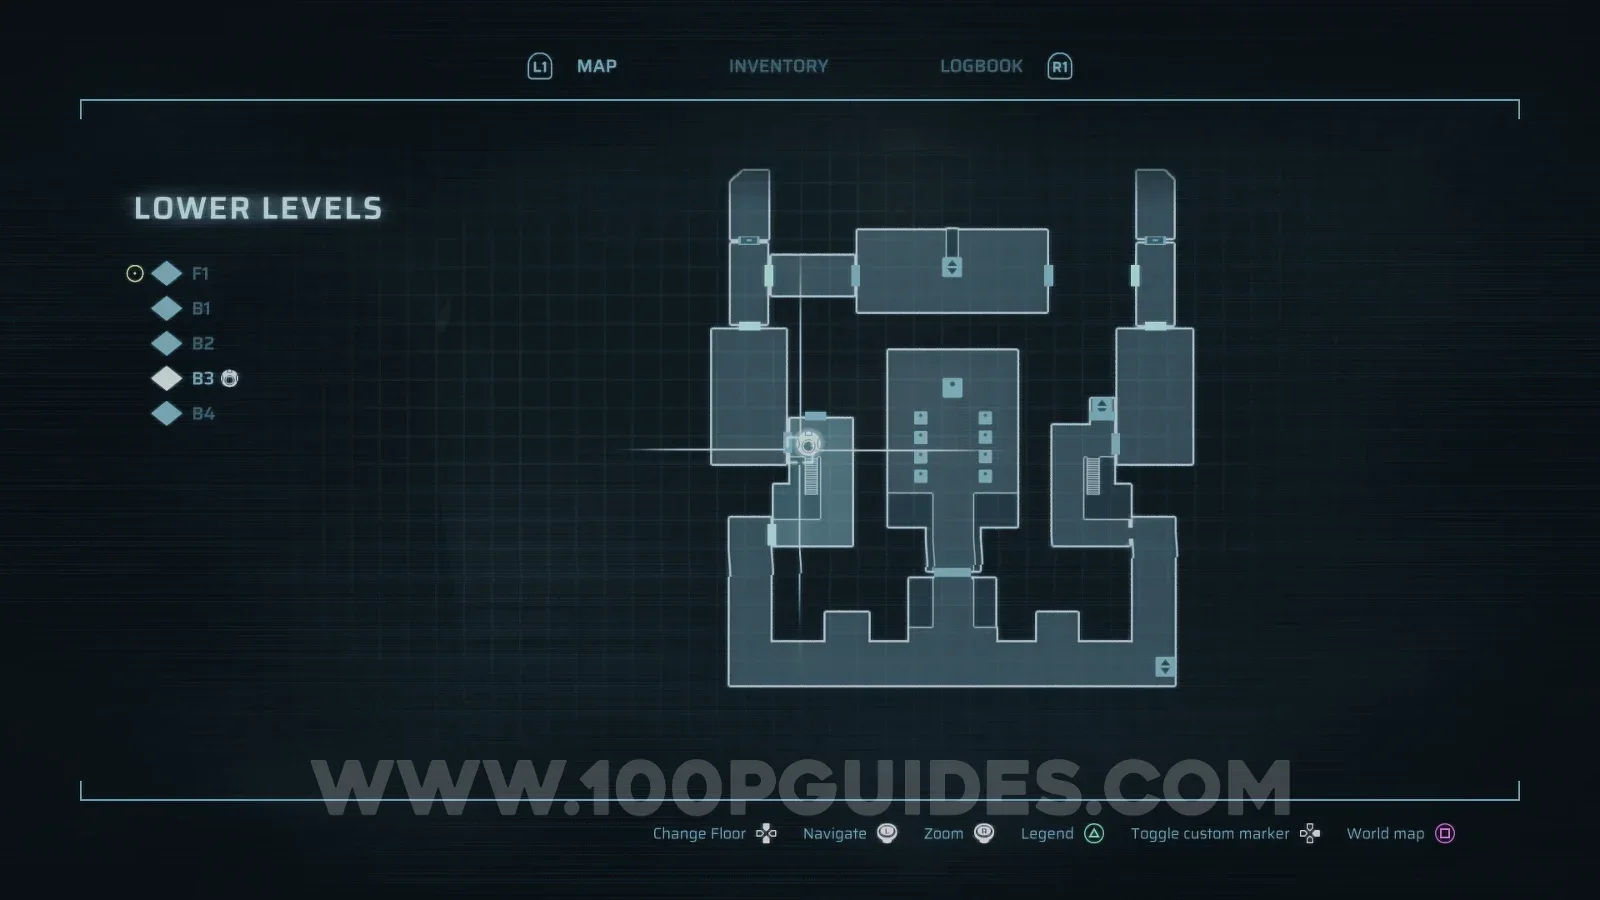
End of Abyss 100% Logbook Checklist Screenshot 148 End of Abyss 100% Logbook Checklist Screenshot 149 End of Abyss 100% Logbook Checklist Screenshot 150

Cheat Codes

6 entries
CO-001

Armor

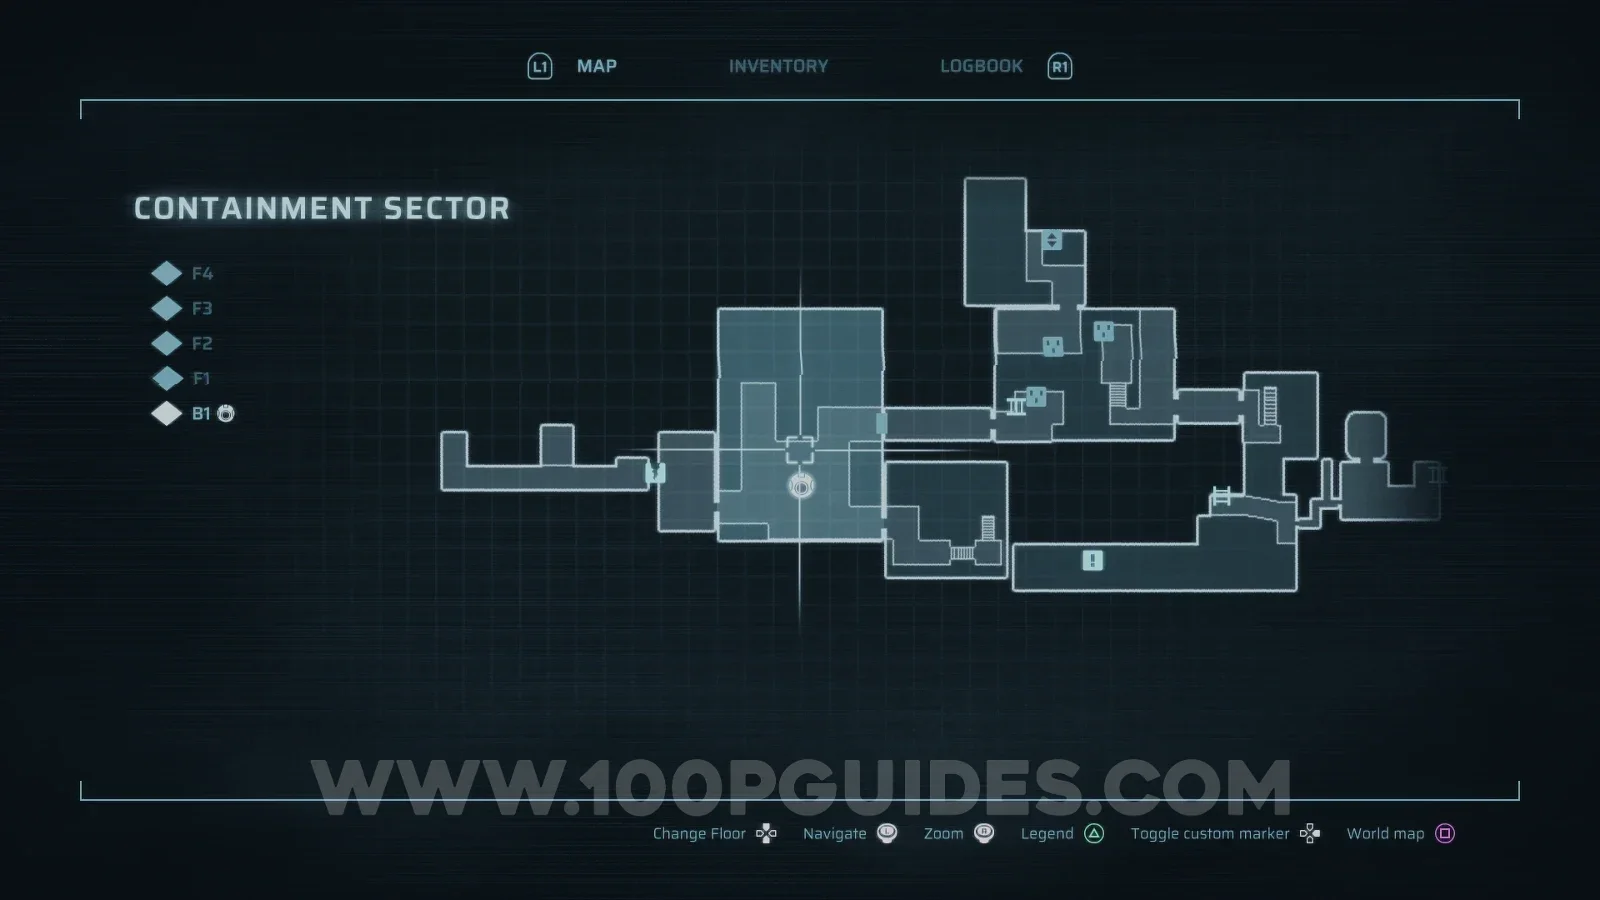
Containment Sector > B1

Use an explosive charge on the metal ball on the wall and then scan the opening.
End of Abyss 100% Logbook Checklist Screenshot 151 End of Abyss 100% Logbook Checklist Screenshot 152
CO-002

Infinite Ammo

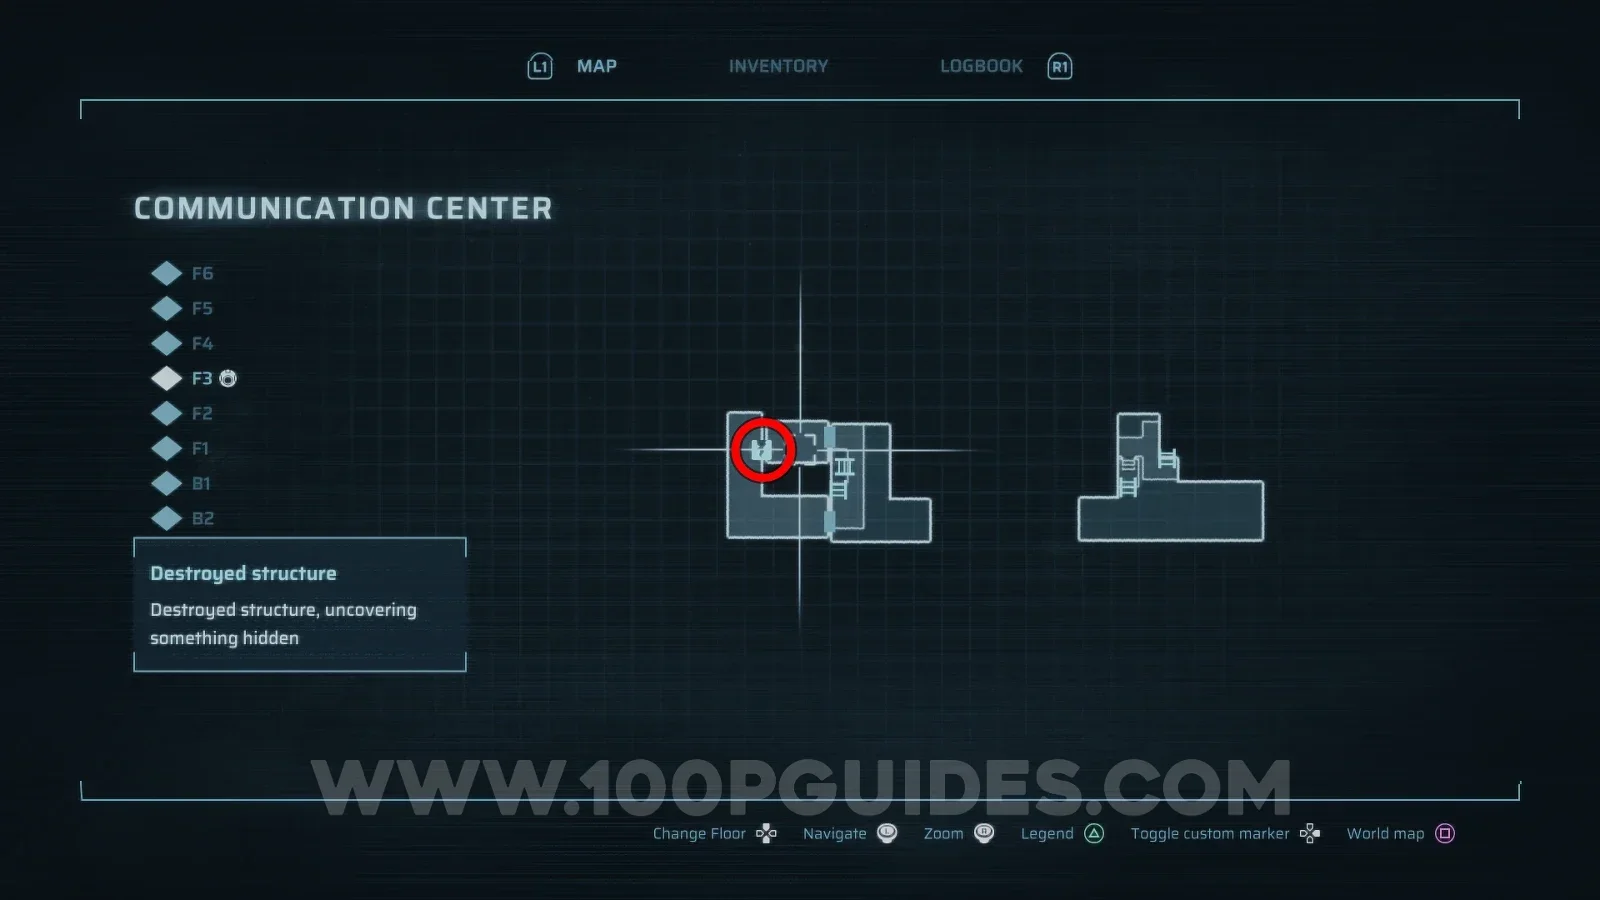
Communication Center > F3

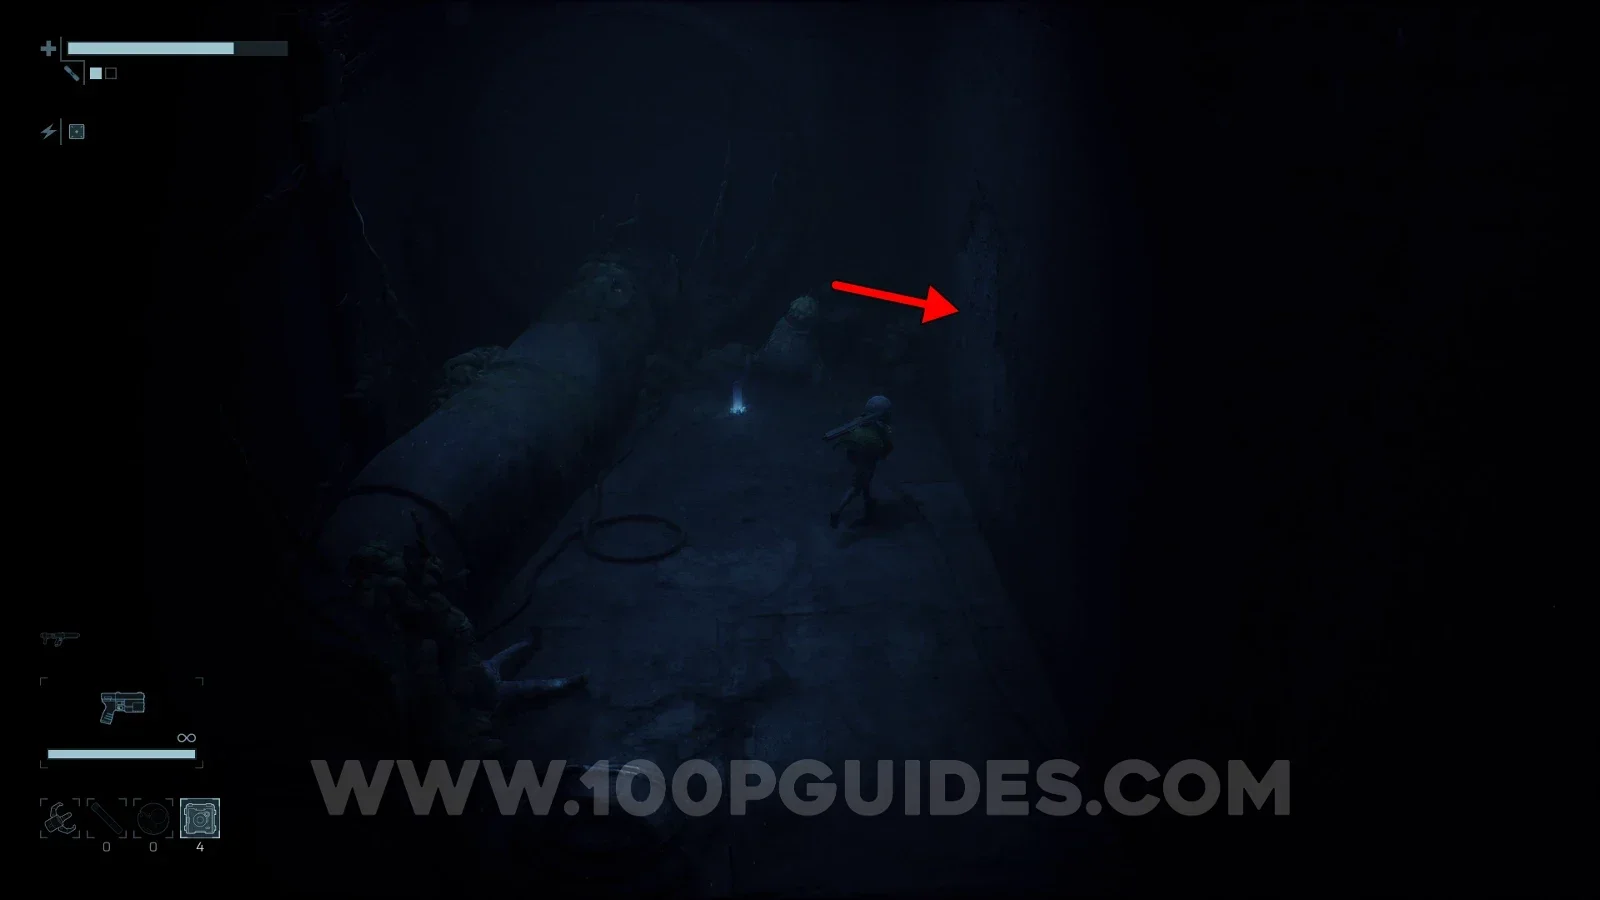
Found on F3 of the Communication Center. On the left side of the tower, climb the ladder and then head into the room on the left. Here, use an explosive charge to blow a hole into the next room where you will find the code inside the locker.
End of Abyss 100% Logbook Checklist Screenshot 40 End of Abyss 100% Logbook Checklist Screenshot 41 End of Abyss 100% Logbook Checklist Screenshot 42
CO-003

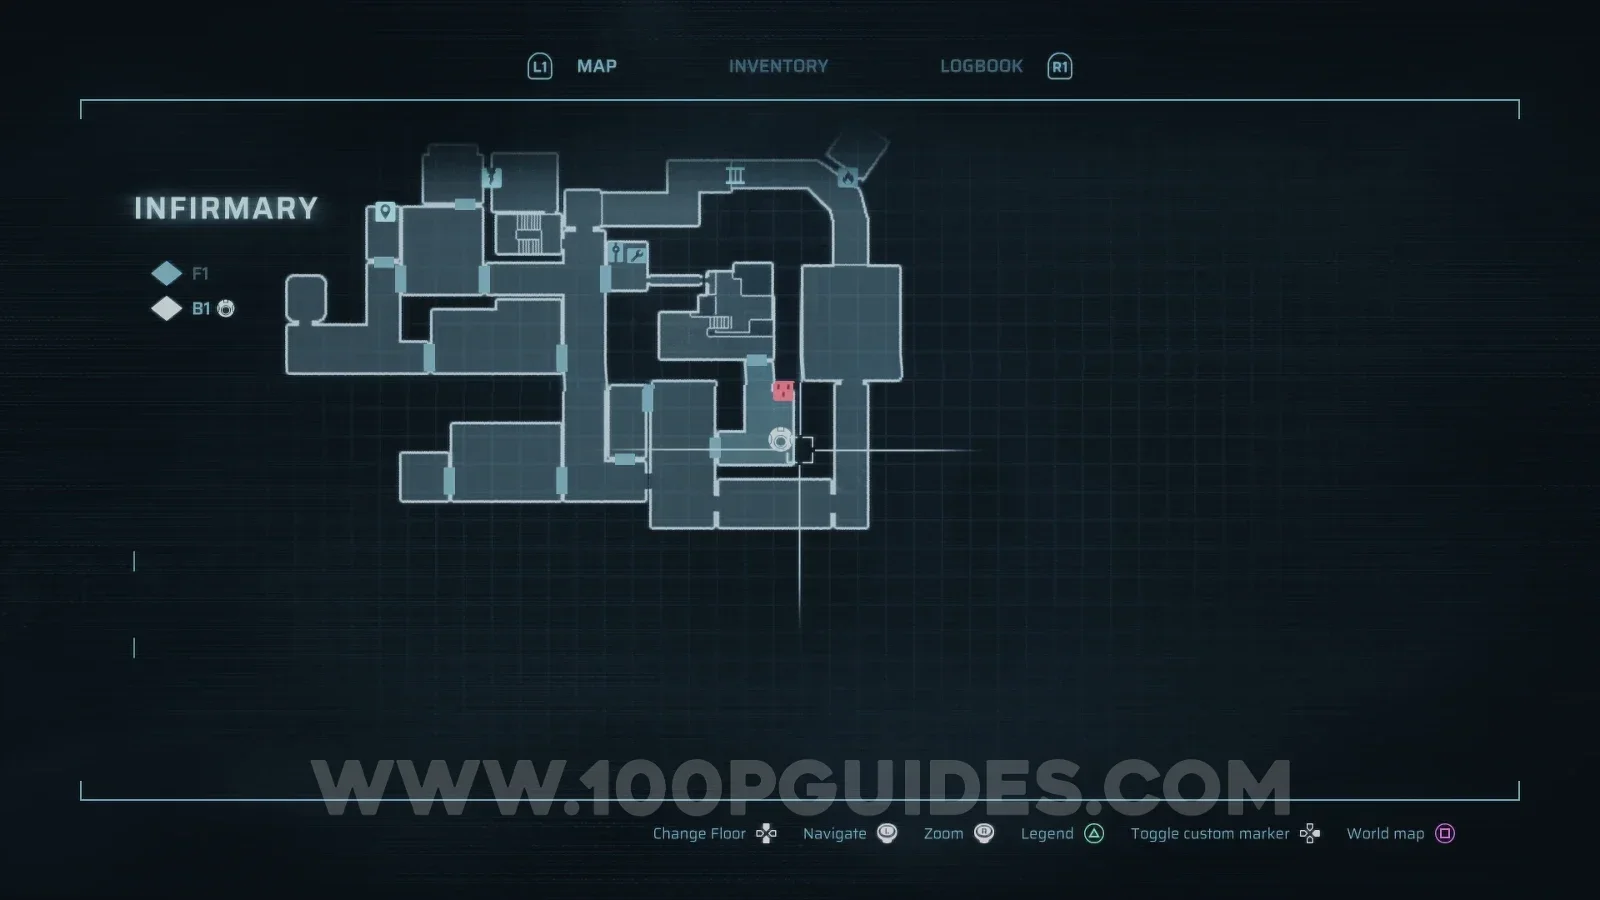
Infinite Health Boosters

Infirmary > B1

Use the grappling hook to open the mortuary drawer.
End of Abyss 100% Logbook Checklist Screenshot 43 End of Abyss 100% Logbook Checklist Screenshot 44
CO-004

Infinite Equipment

Outer Sector > B2
End of Abyss 100% Logbook Checklist Screenshot 260 End of Abyss 100% Logbook Checklist Screenshot 261
CO-005

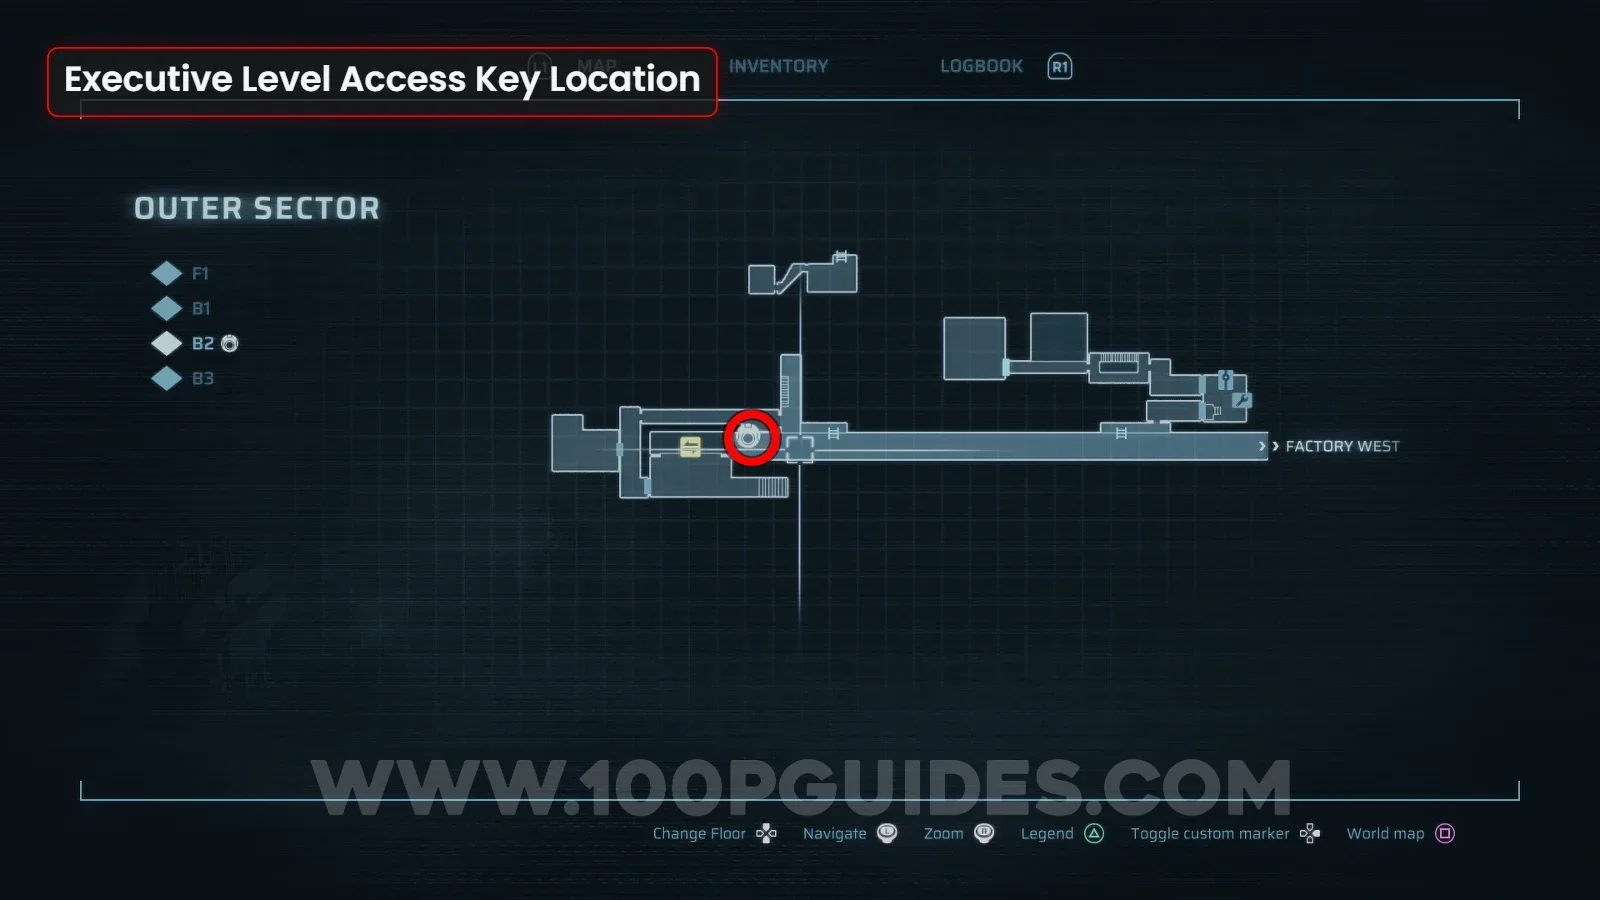
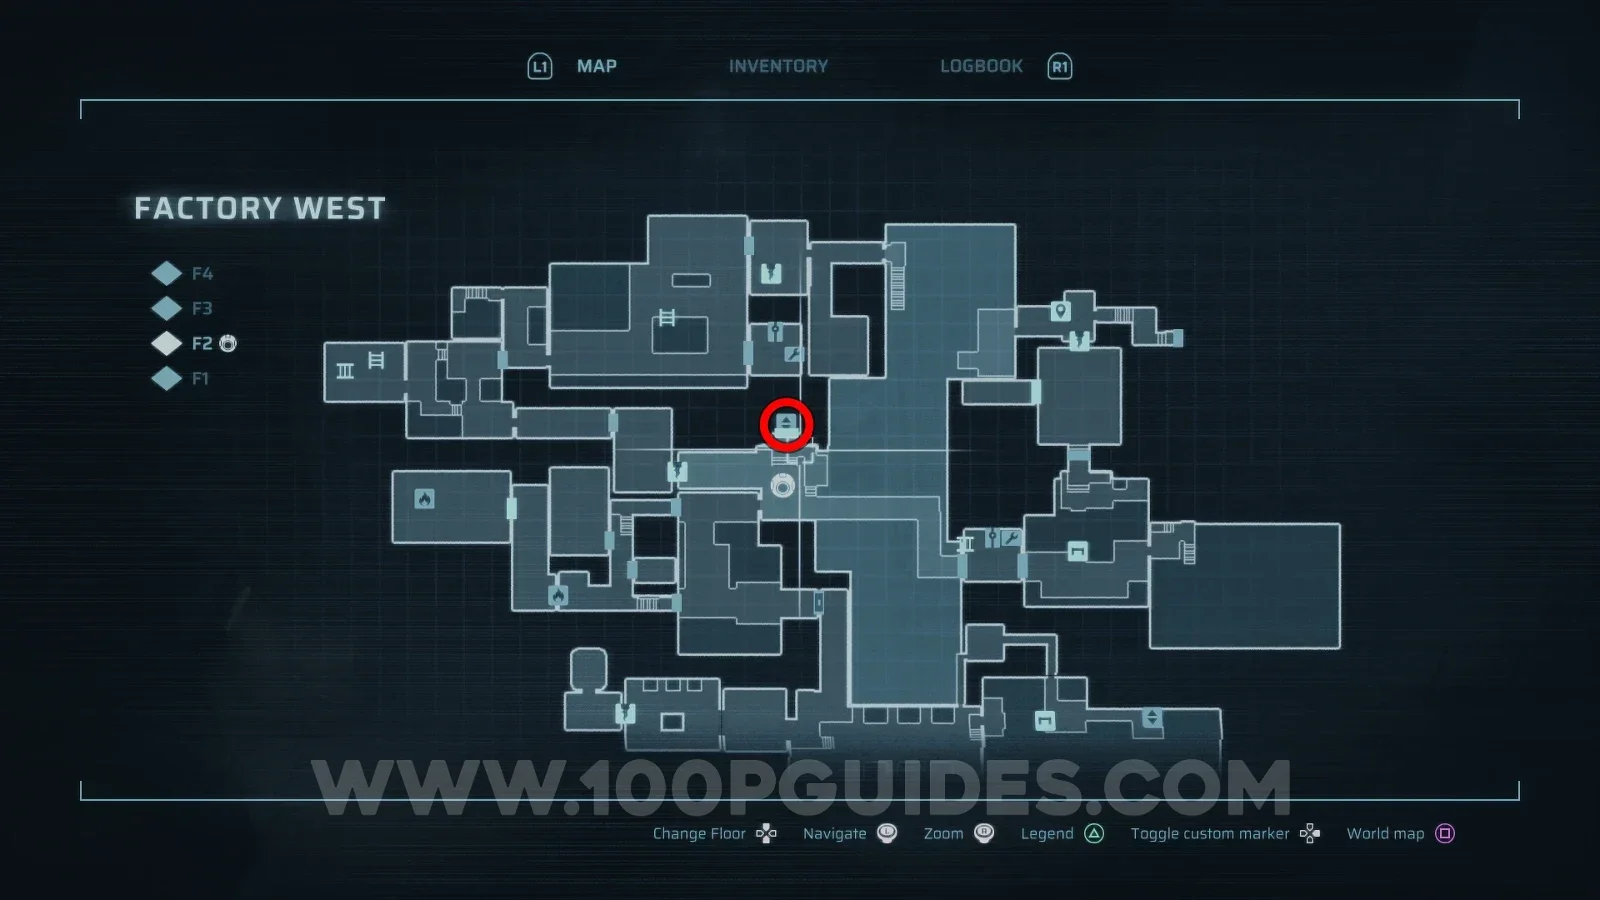
Big Head

Factory West > F4

First, get the Executive Level Access Keycard from the end of the long hall in Outer Sector > B2. Then use it to ride the lift up in Factory West > F2. At the top, shoot the metal panel off the wall in front of you in the next room. The code will be behind it.
End of Abyss 100% Logbook Checklist Screenshot 264 End of Abyss 100% Logbook Checklist Screenshot 265 End of Abyss 100% Logbook Checklist Screenshot 266
CO-006

Big Knife

Habitation Sector > B1

First, get the Security Guard Keycard by using an explosive charge on the wall just left of the fast travel shuttle in the Containment Sector. Then, use it to open the door on the right at the end of the corridor in the Habitation Sector. Head downstairs and into the door on the left to find the Security Chief Keycard. Use it to open the door in the hall to the right and press the switch inside. Then head through the door on the right to find the code on the wall in the third cell.

End of Abyss 100% Logbook Checklist Screenshot 45 End of Abyss 100% Logbook Checklist Screenshot 46
Show moreShow less
End of Abyss 100% Logbook Checklist Screenshot 47 End of Abyss 100% Logbook Checklist Screenshot 48 End of Abyss 100% Logbook Checklist Screenshot 49 End of Abyss 100% Logbook Checklist Screenshot 50
Previous
Previous

End of Abyss All Fast Travel Shuttle Locations

Next
Next

End of Abyss All Suit Mod Locations (All Vaults)