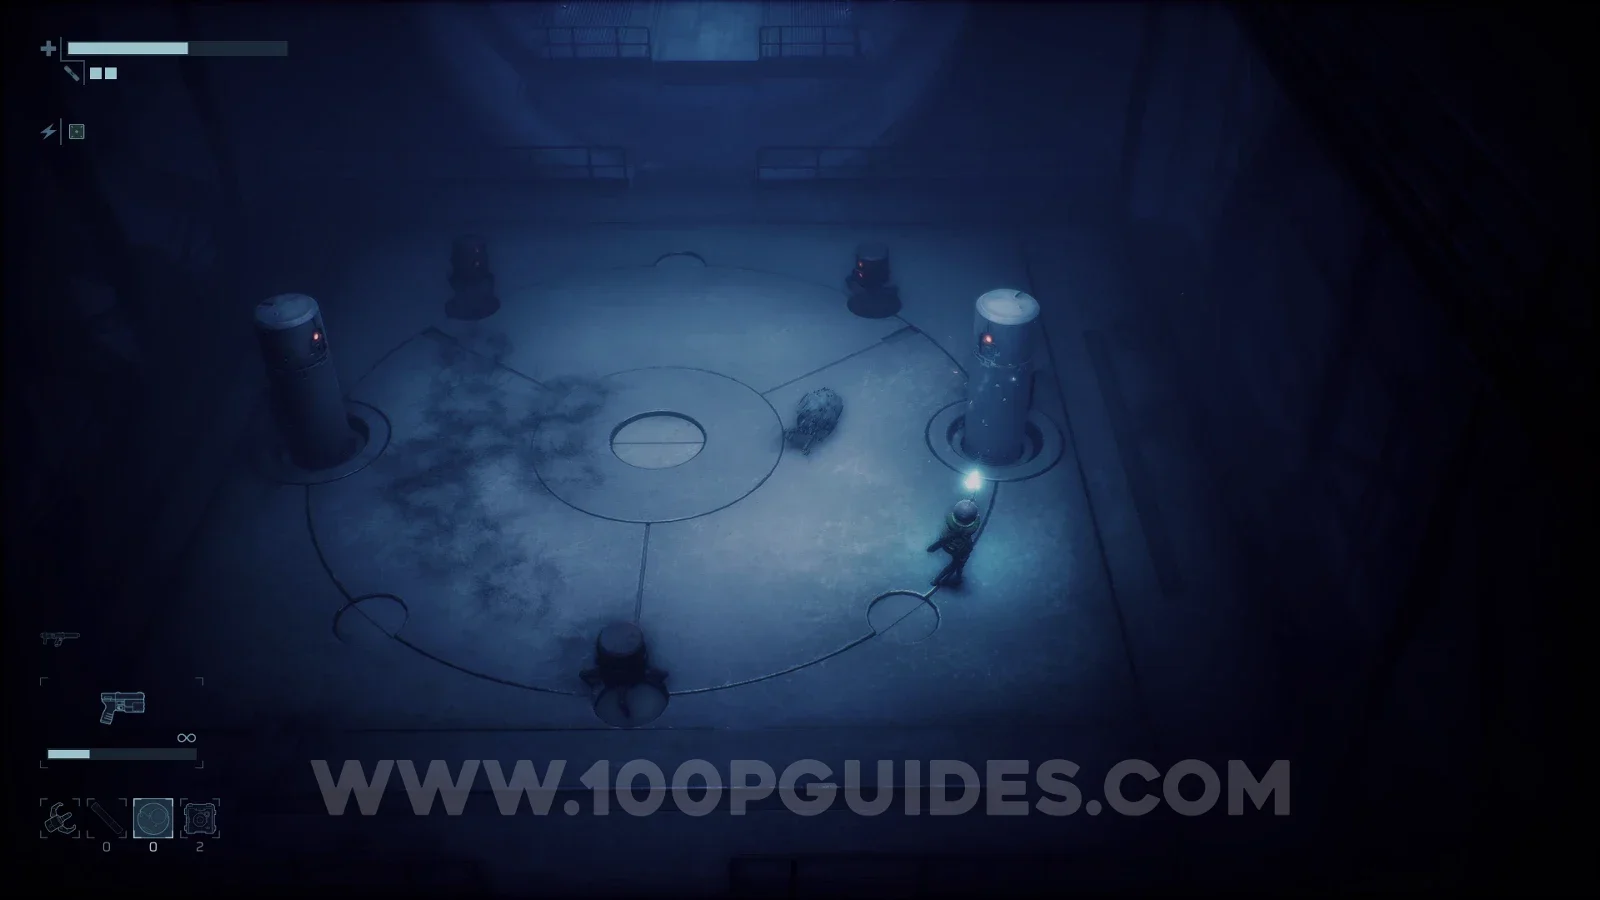
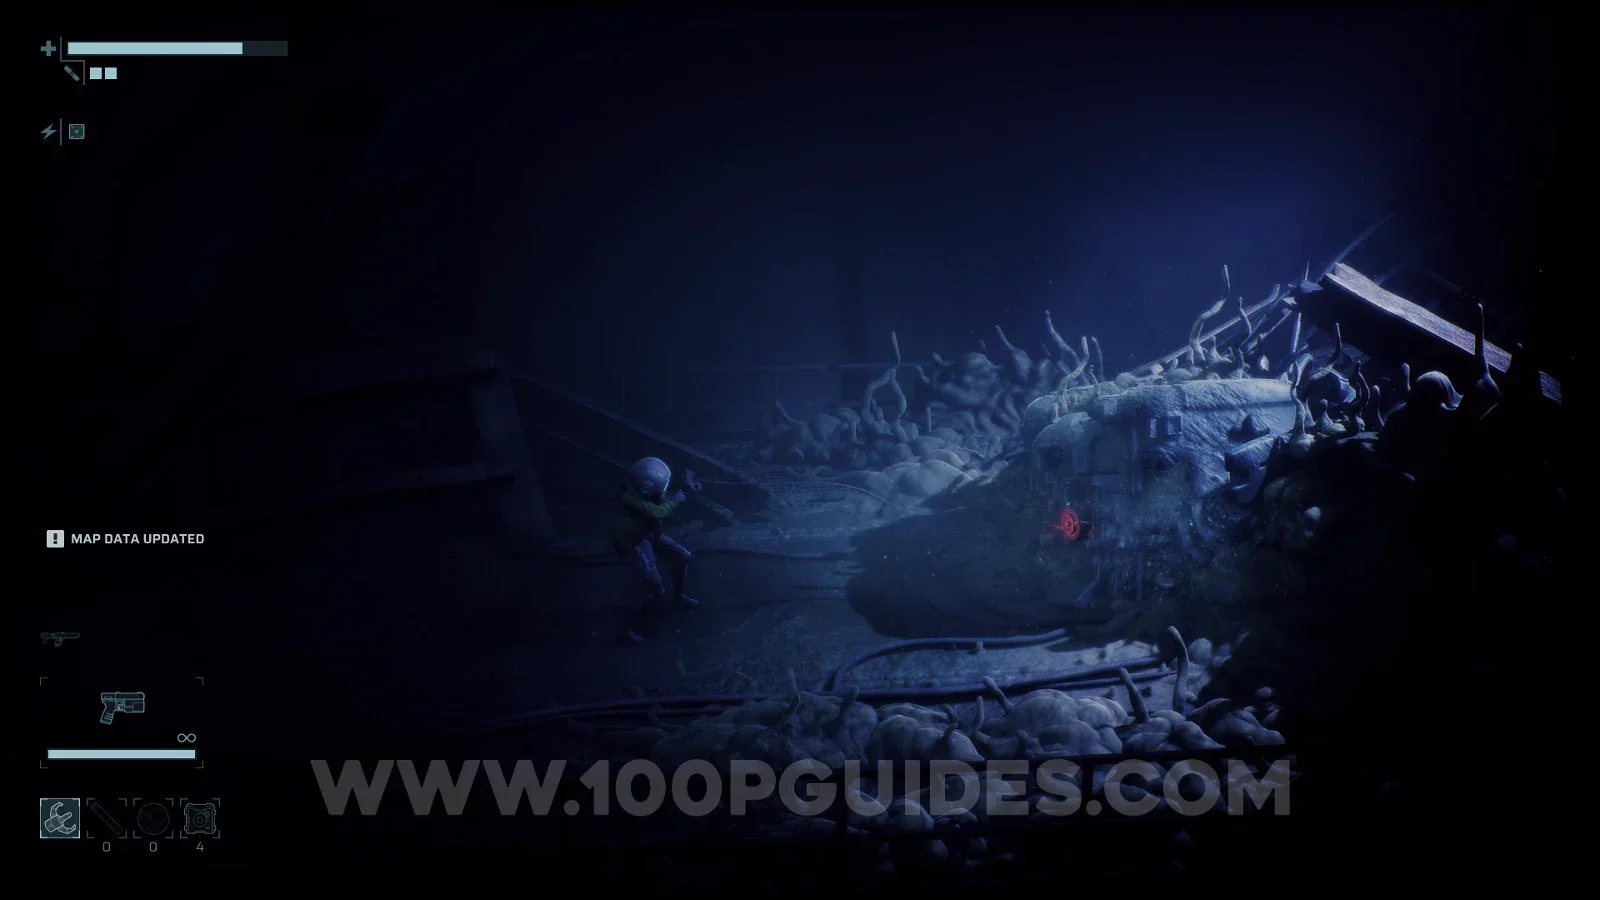
This guide will show you where to find every Weapon Upgrade Material in End of Abyss.
You will need several types of materials to upgrade all weapons to max level for the  Super Power trophy. These are:
- 20 Complex Alloys. Used to boost the stats of weapons.
- 6 Weapon Modules. Used to give new effects to weapons.
- 1 Laser Charging Module. Used to upgrade the Particle Disruptor. This will also unlock the
 Overload trophy.
Nothing is missable, and you will need to collect everything to upgrade all weapons to max level.
Complex Alloys
Complex Alloy #1
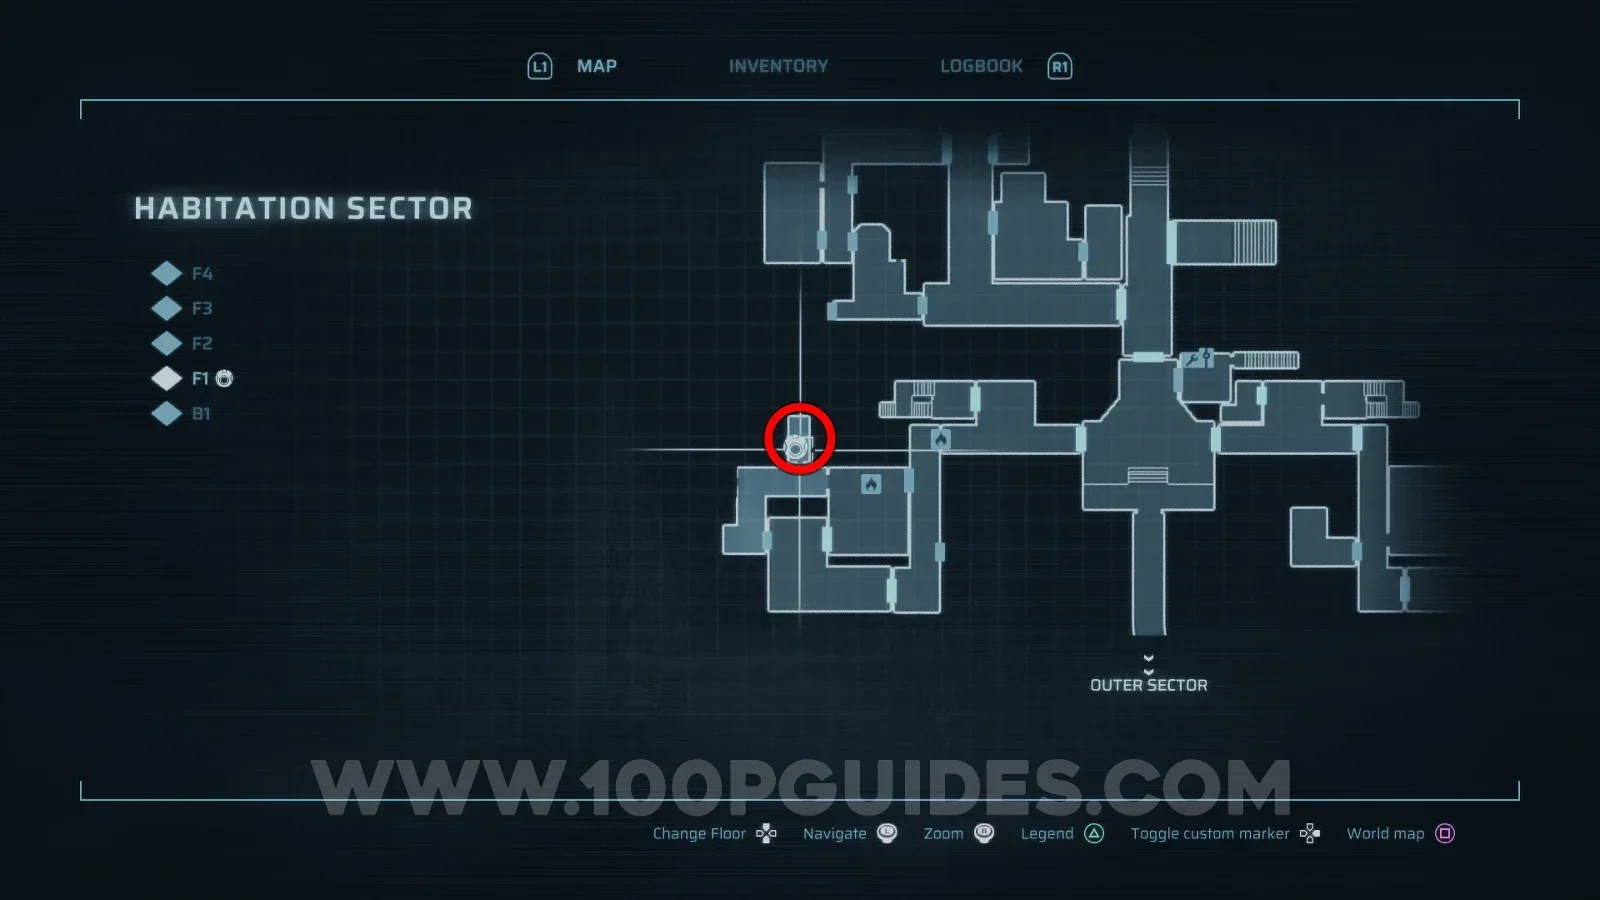
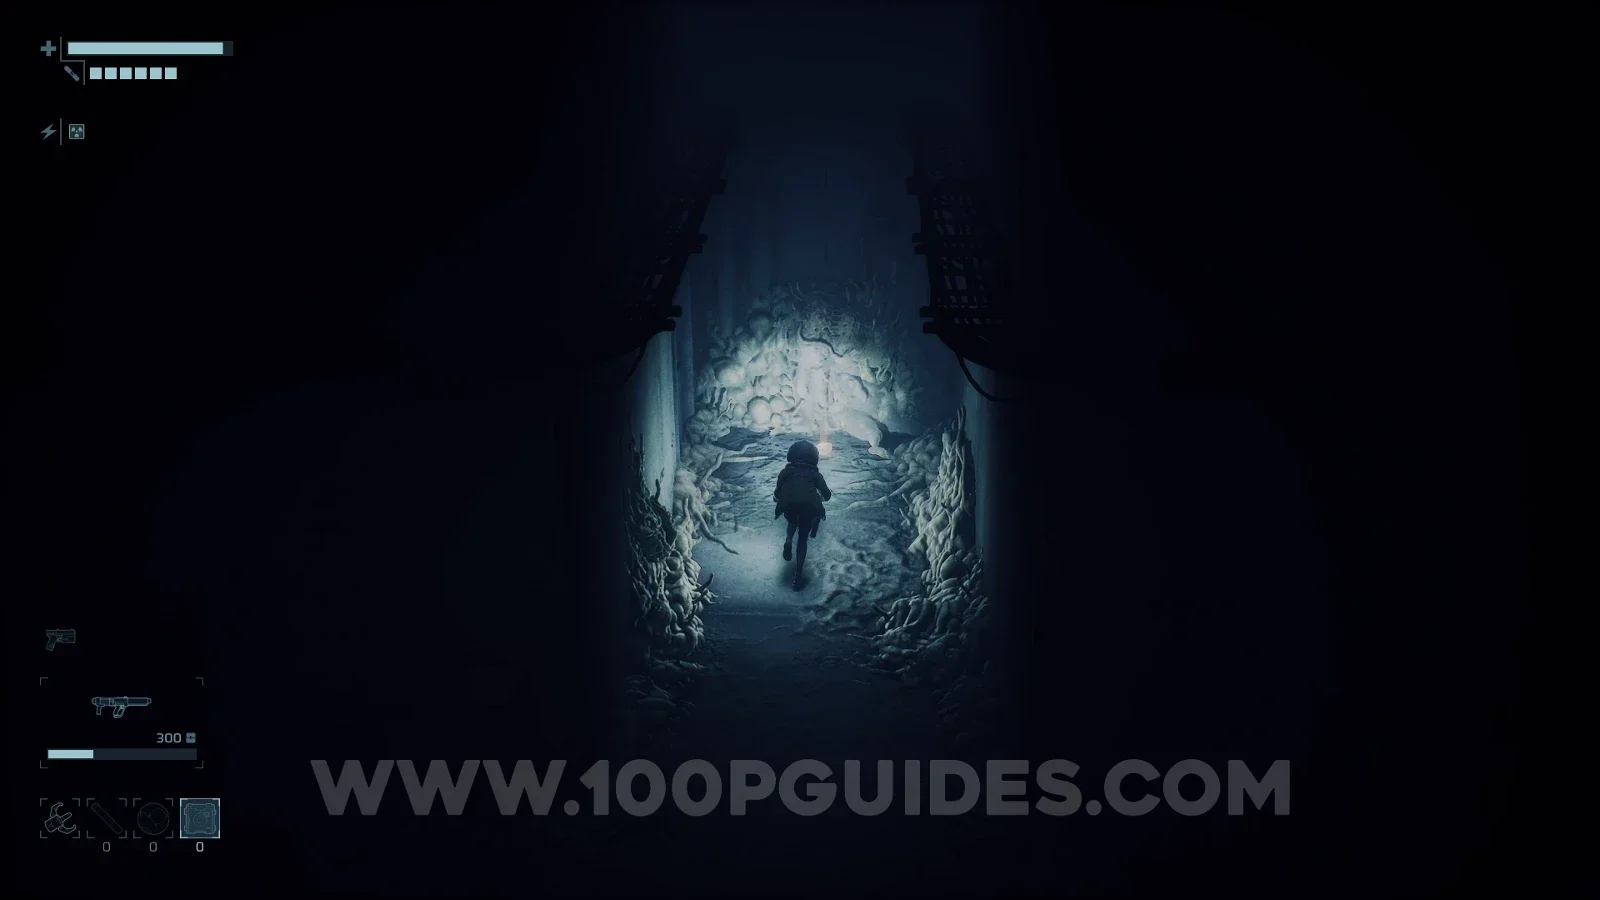
Habitation Sector > F1.
Found in Block B. To reach this part of the area, you will need to burn down a wall with the Incinerator, the flamethrower you get during the main story in the final area of the game.
Complex Alloy #2
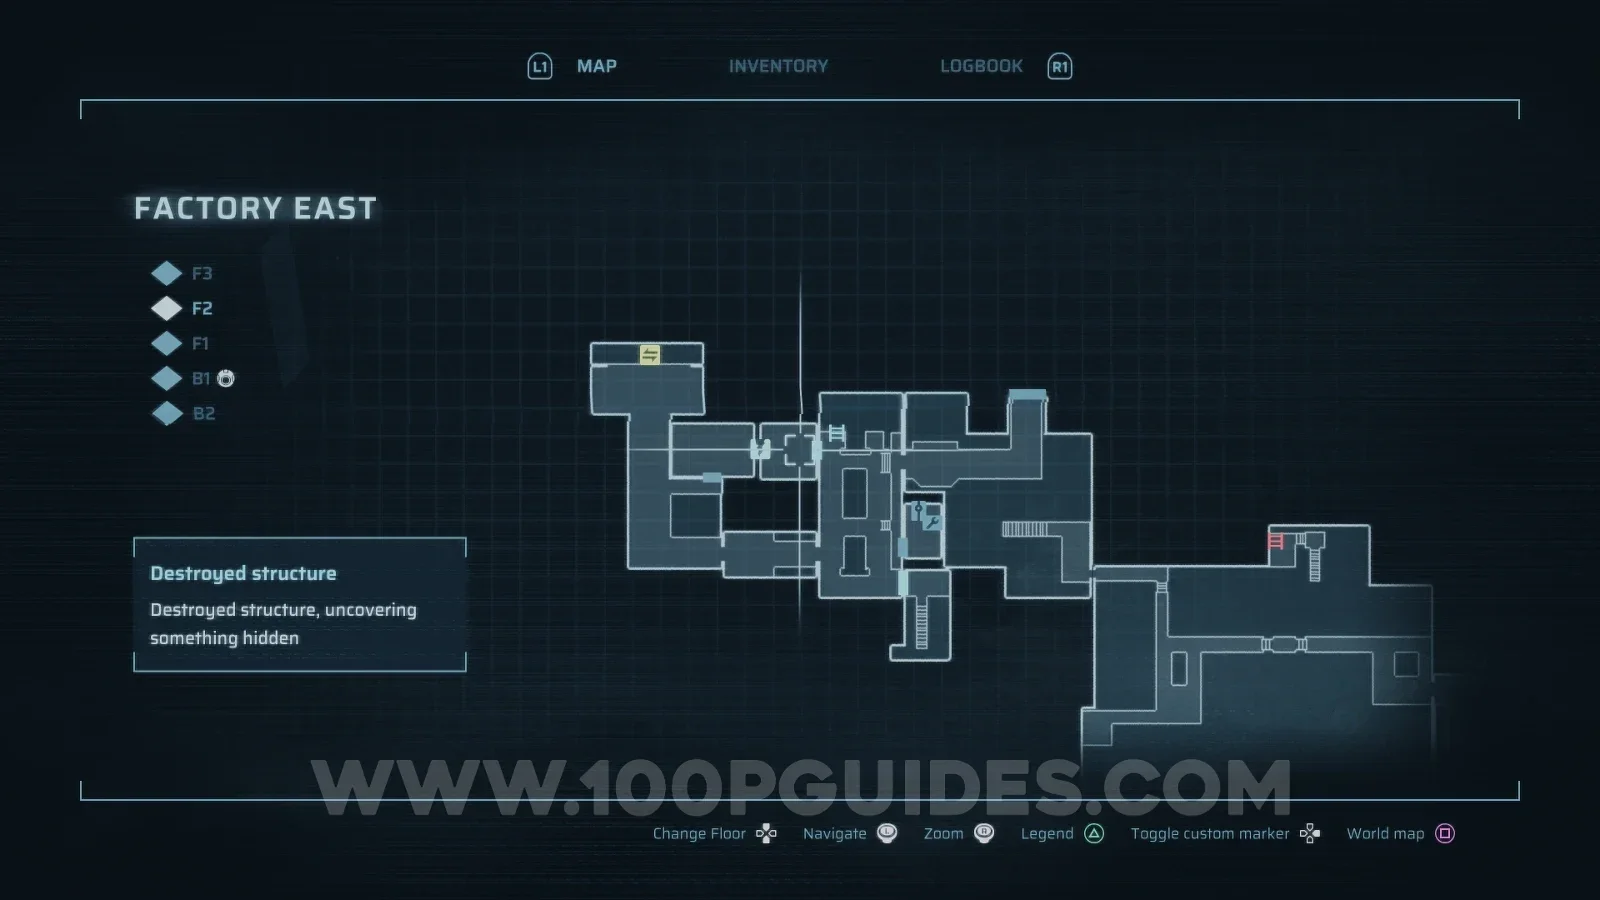
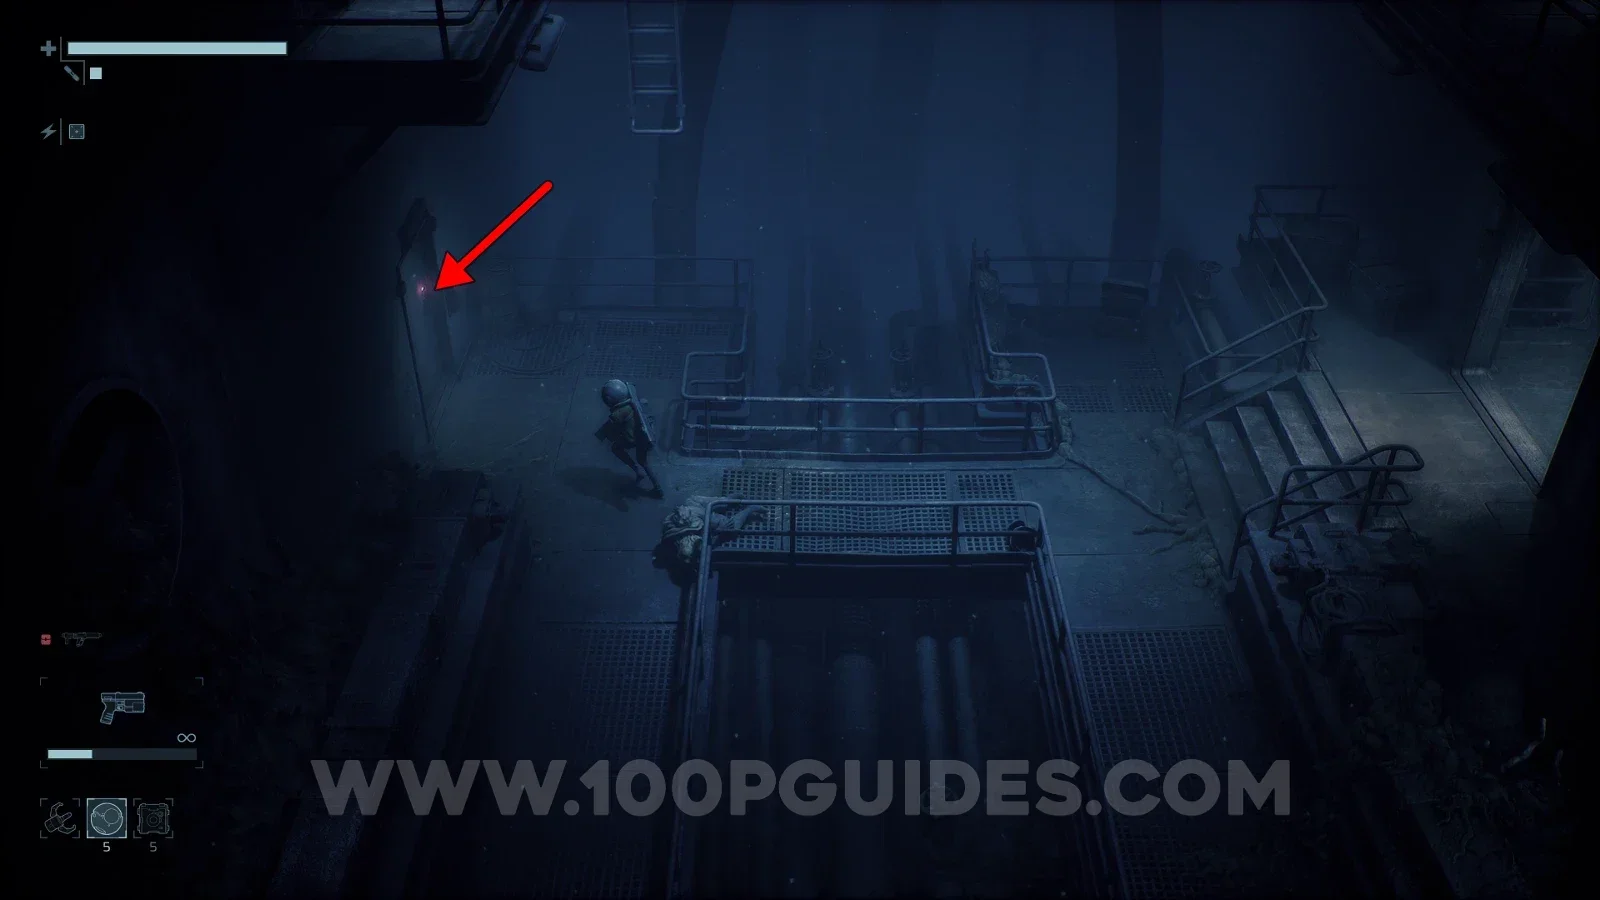
Factory East > F1.
Found in the small room to the northwest of the area with the first safe room. You will need the Factory Keycard, which you get nearby during the main story.
Complex Alloy #3
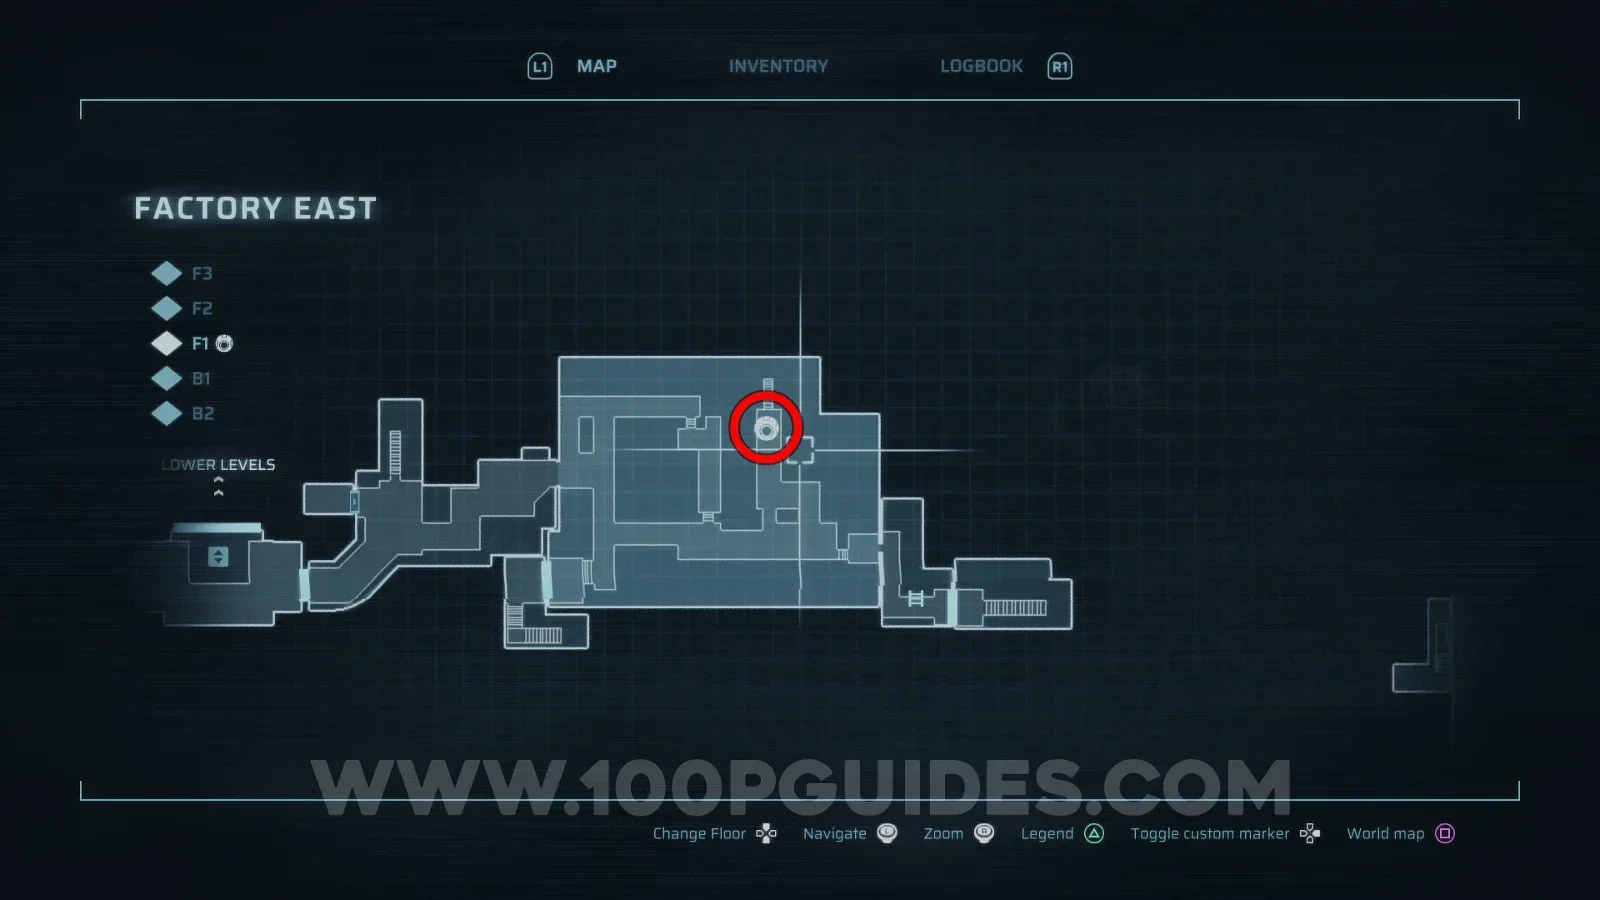
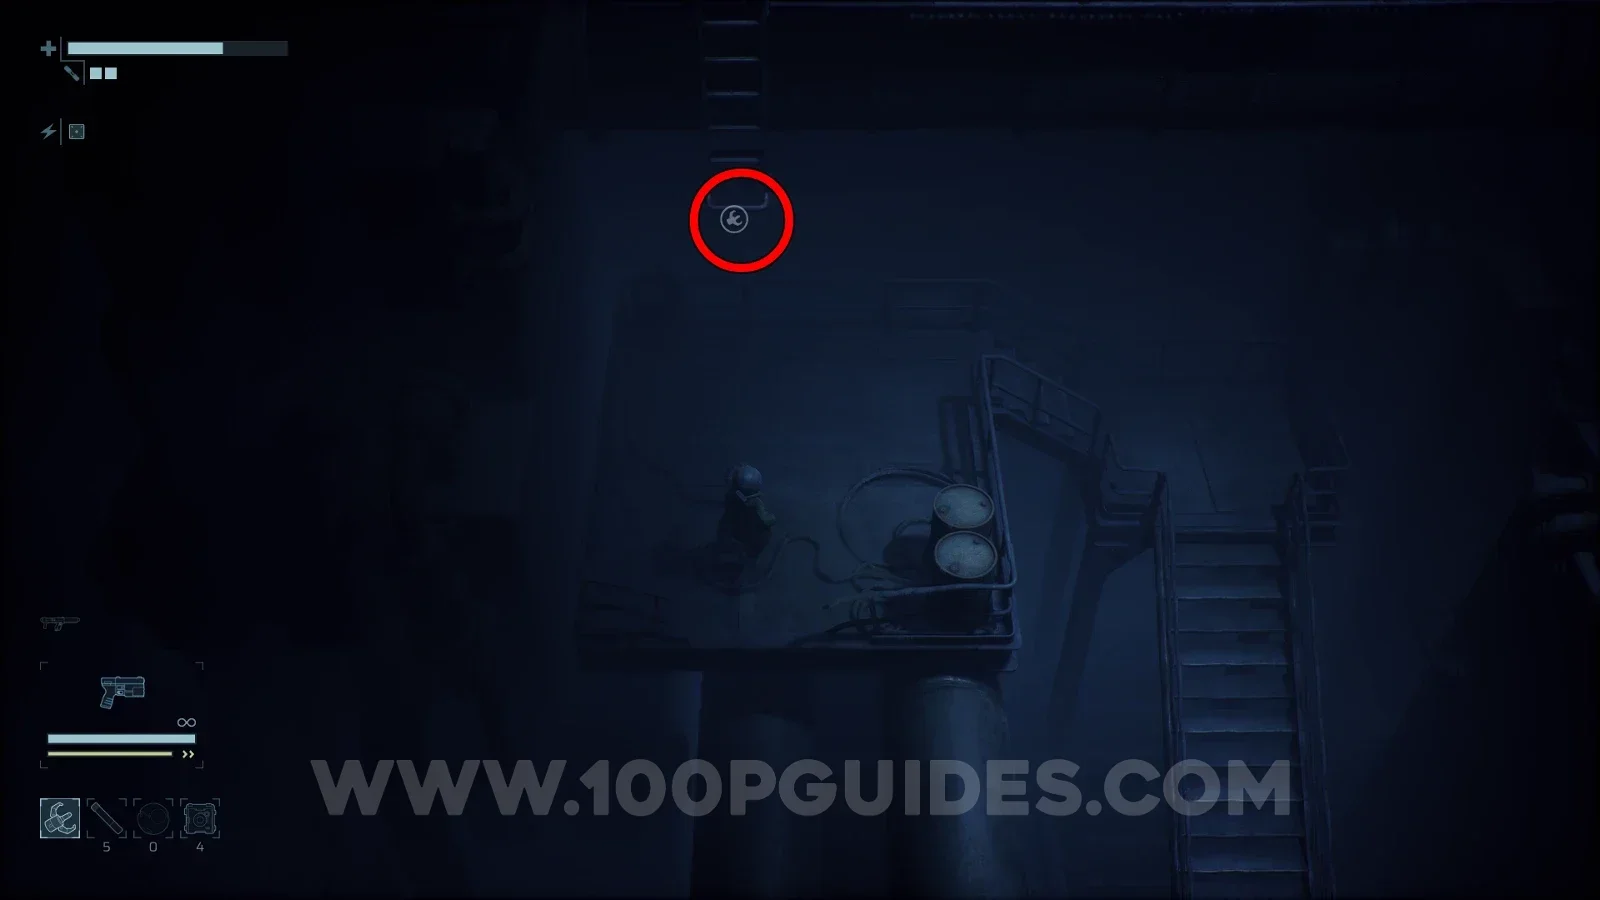
Factory East > F3.
Head up the stairs on F1, then use the Grappling Hook to bring down the ladder. Climb it and head right to find the alloy.
Complex Alloy #4
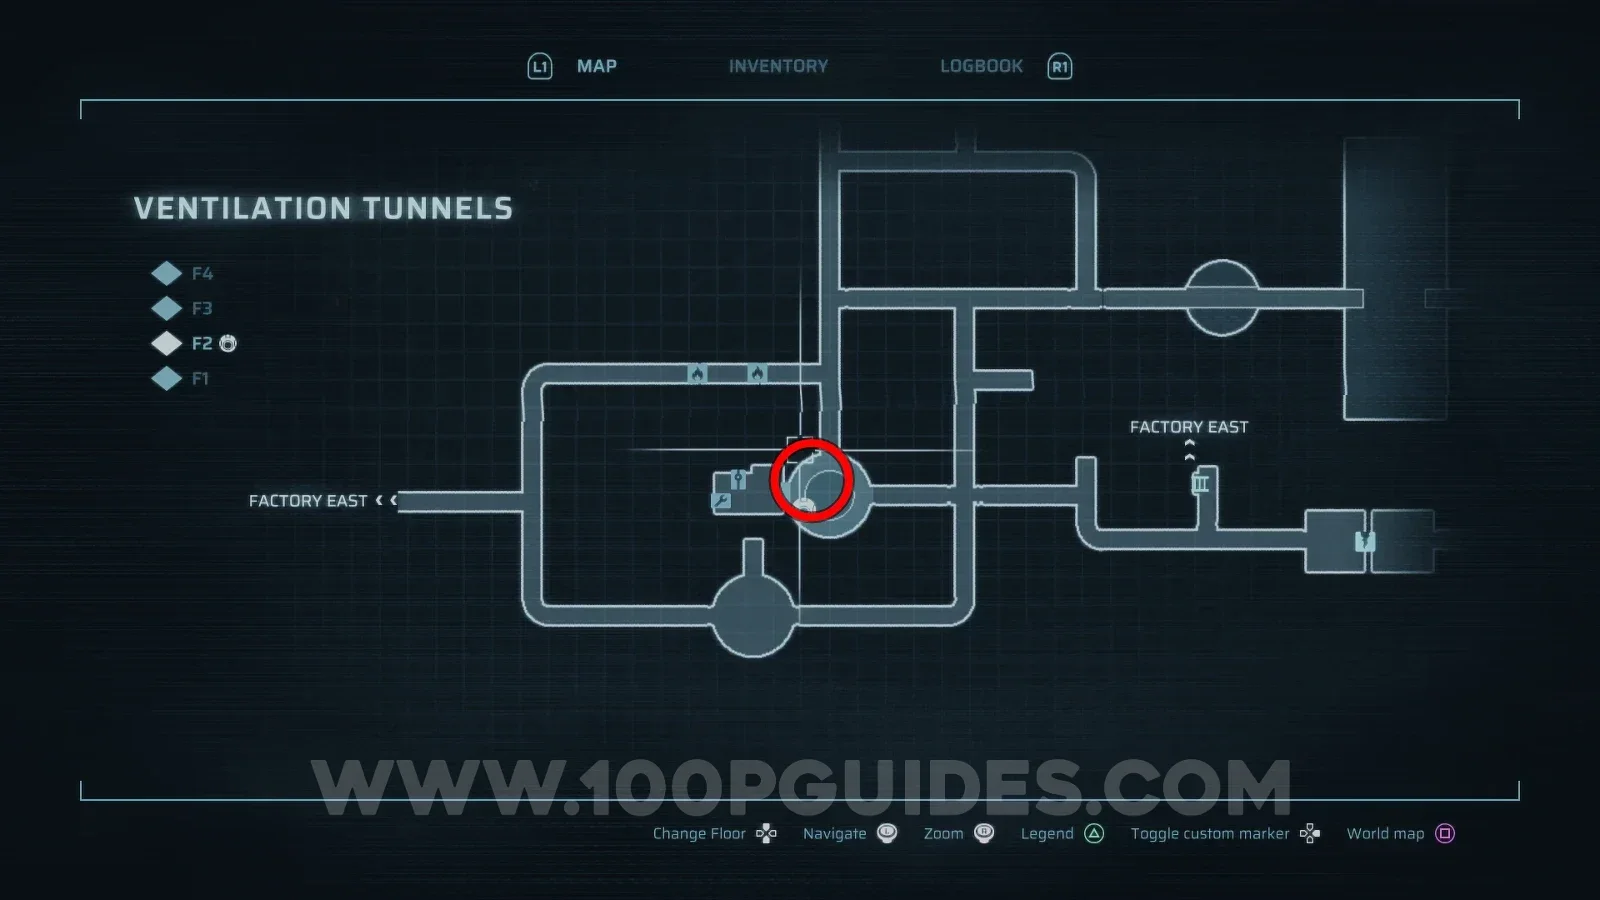
Ventilation Tunnels > F2.
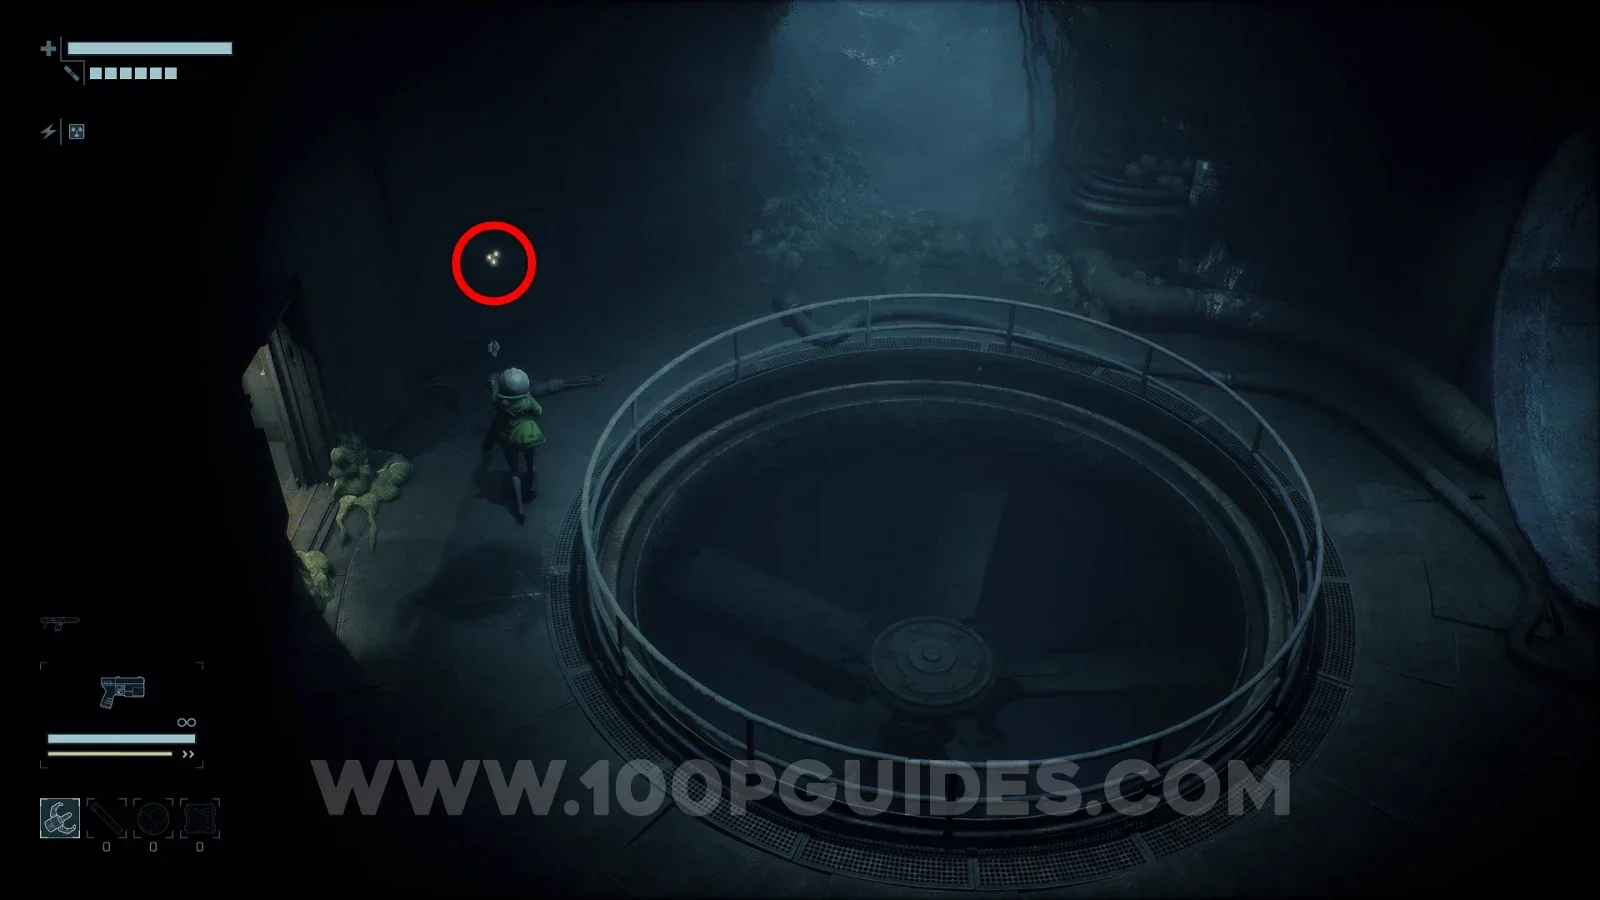
Use the Grappling Hook to open the small metal box in the circular room next to the safe room.
Complex Alloy #5
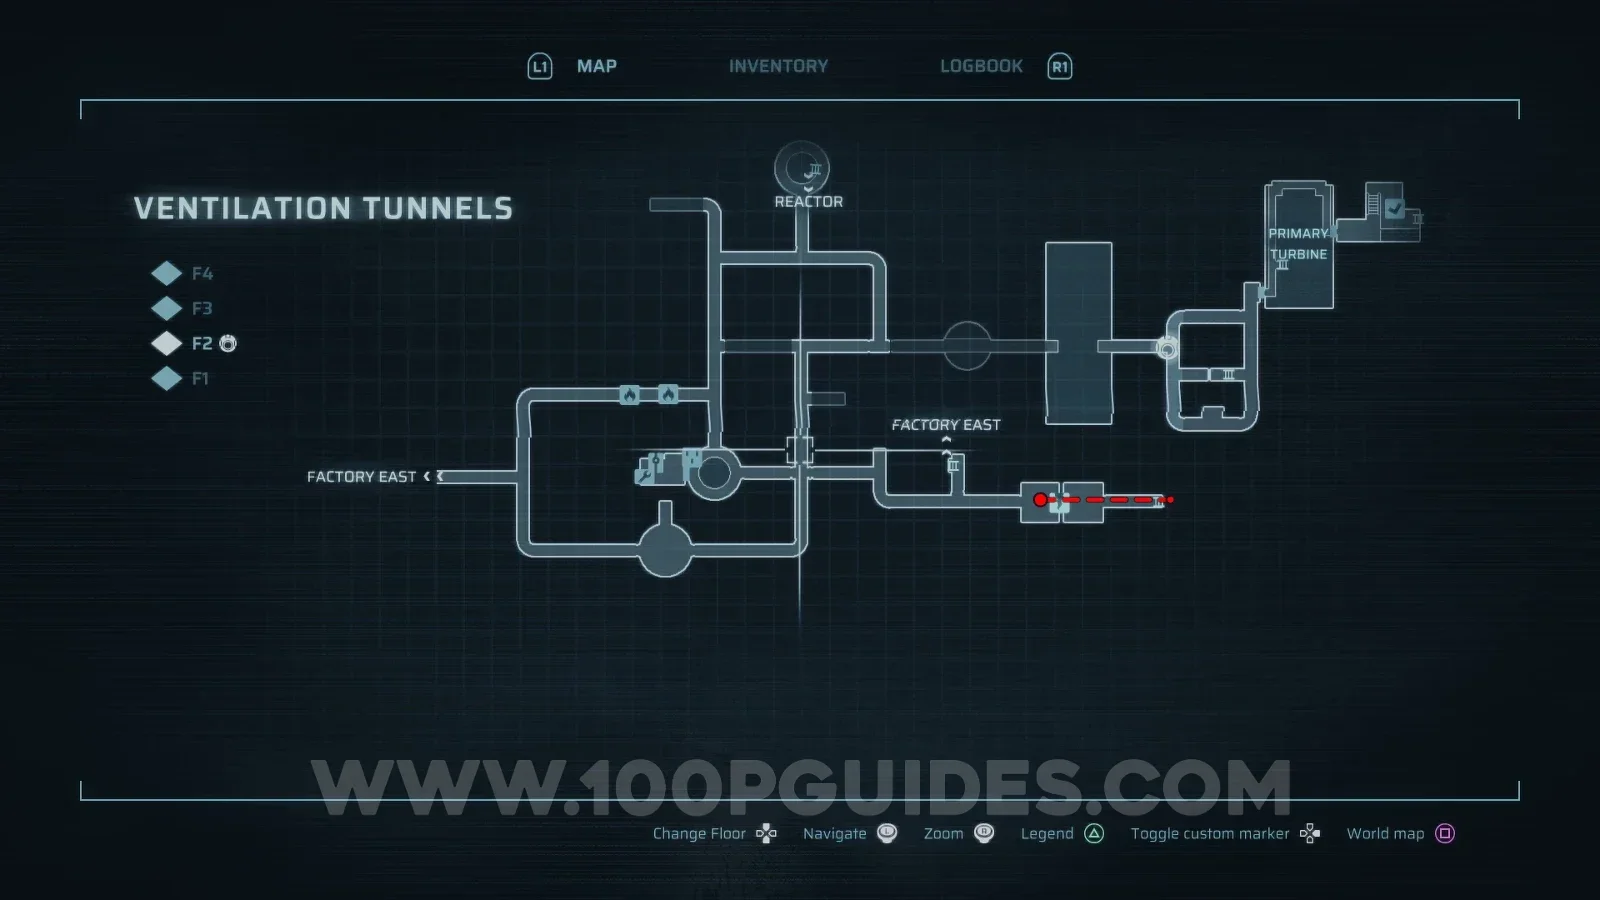
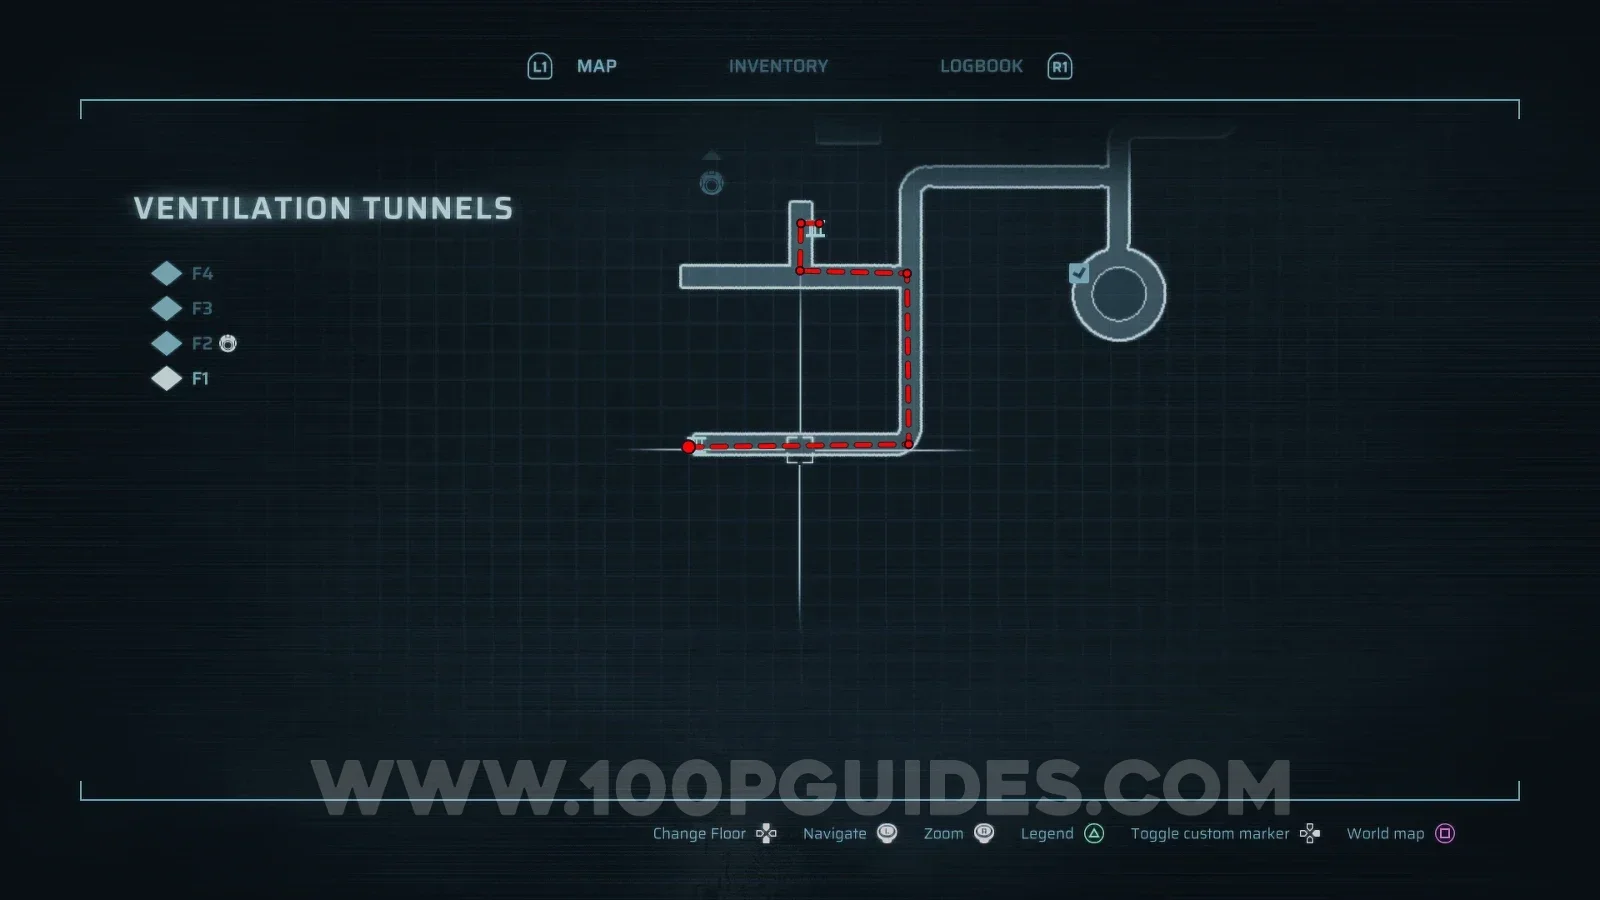
Ventilation Tunnels > F2.
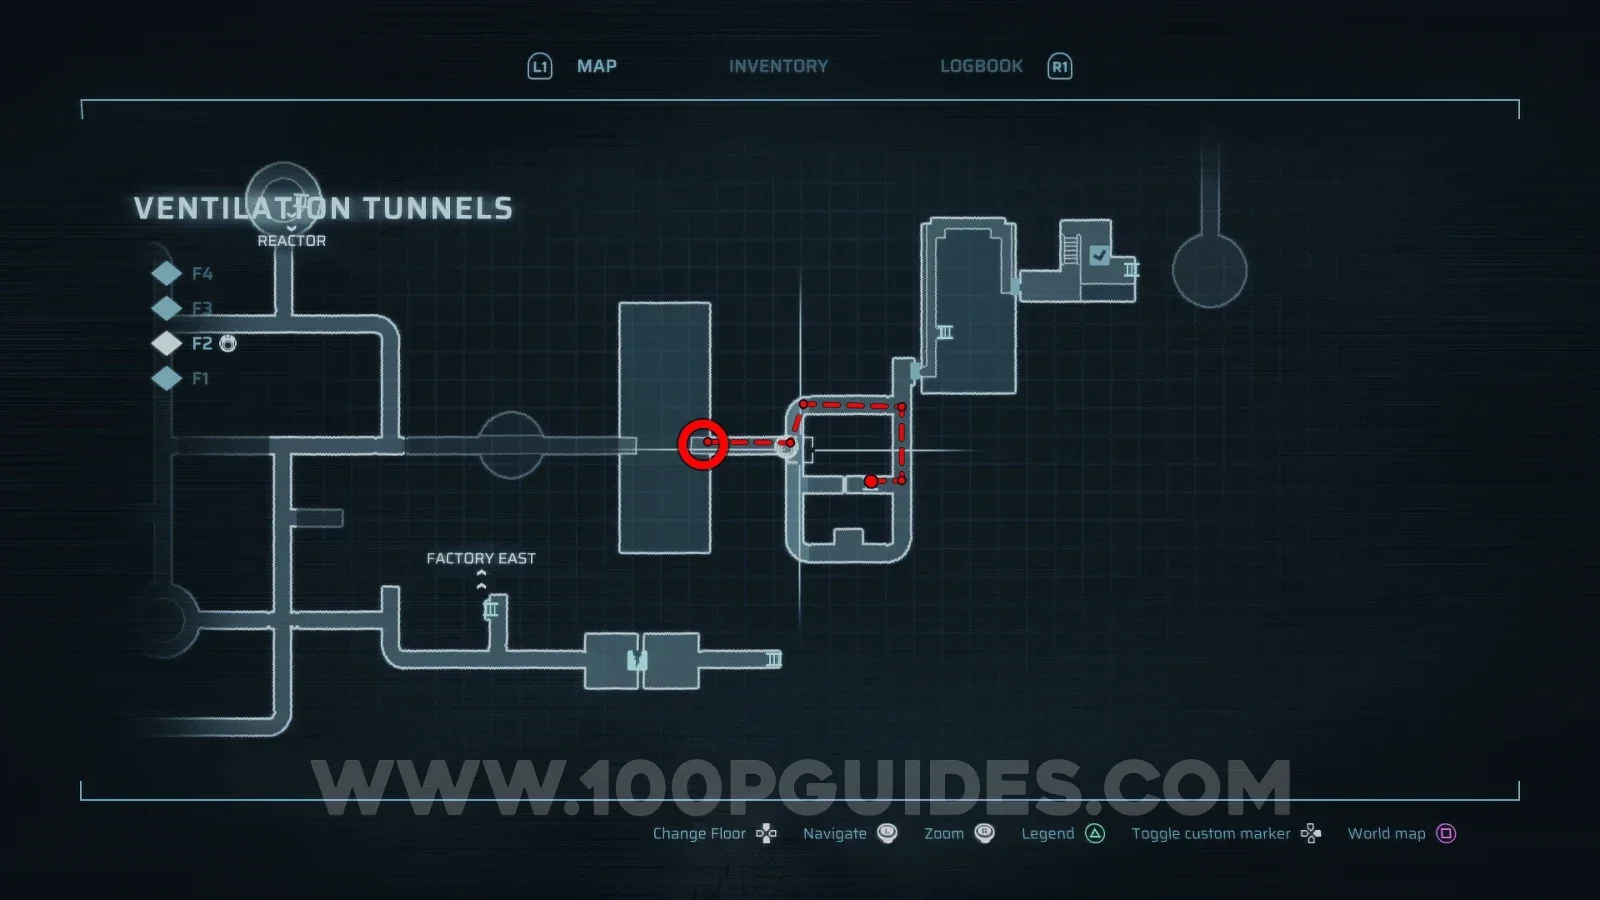
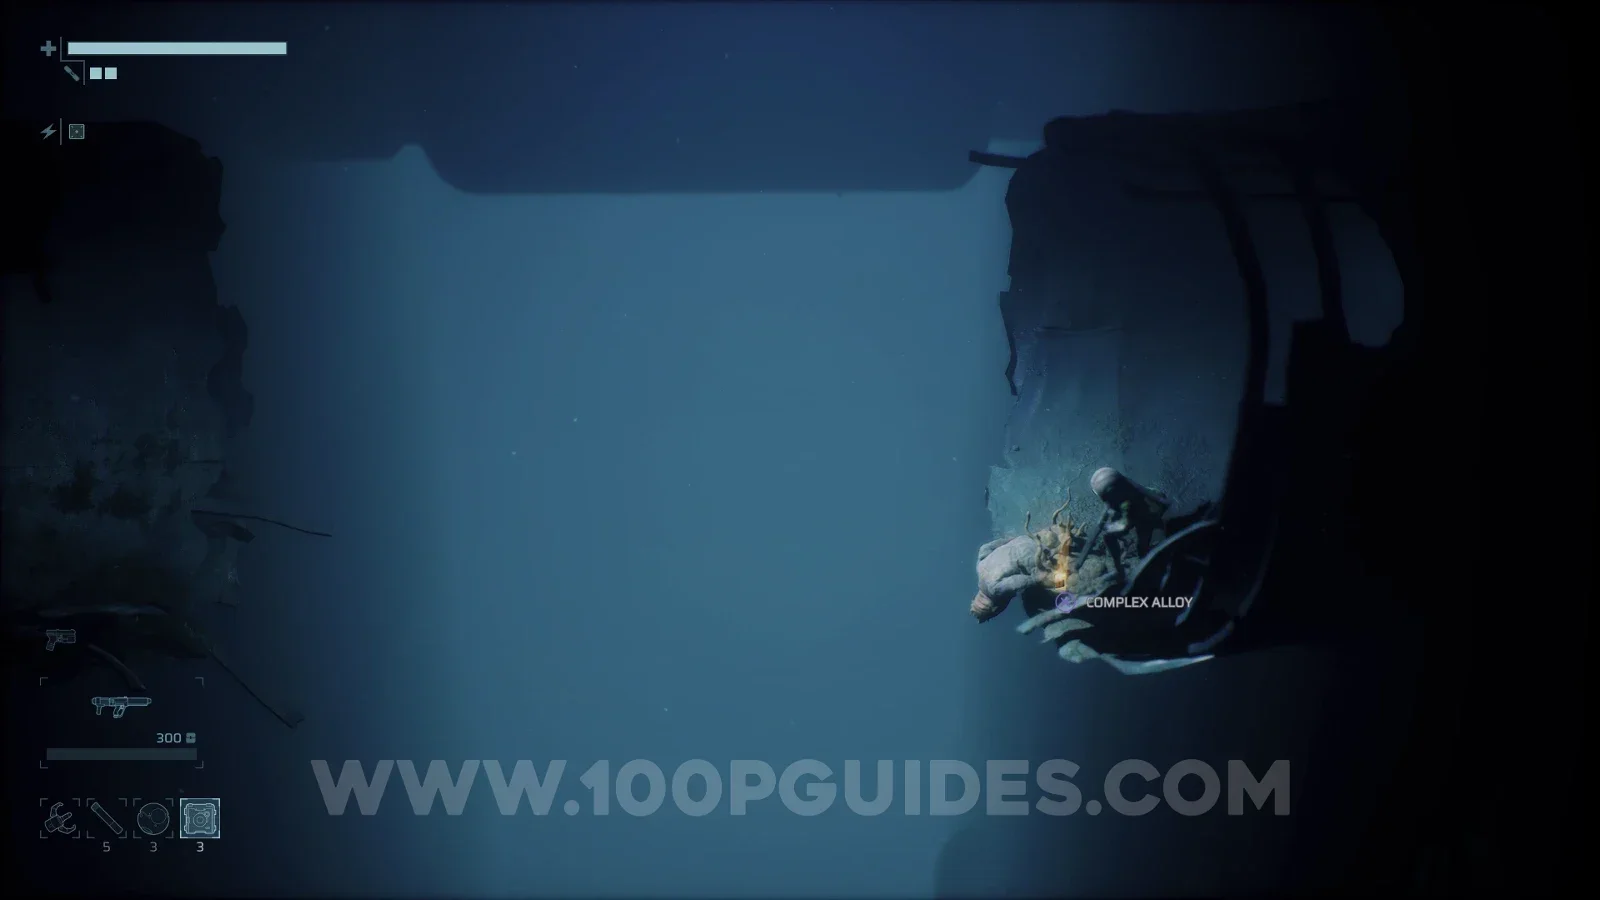
Blow up the weak wall in the bottom right of F2, head through it and climb down the ladder. Then head up and left, and climb the ladder to find the alloy at the dead end on the left side of this area.
Complex Alloy #6
Ventilation Tunnels > F3.
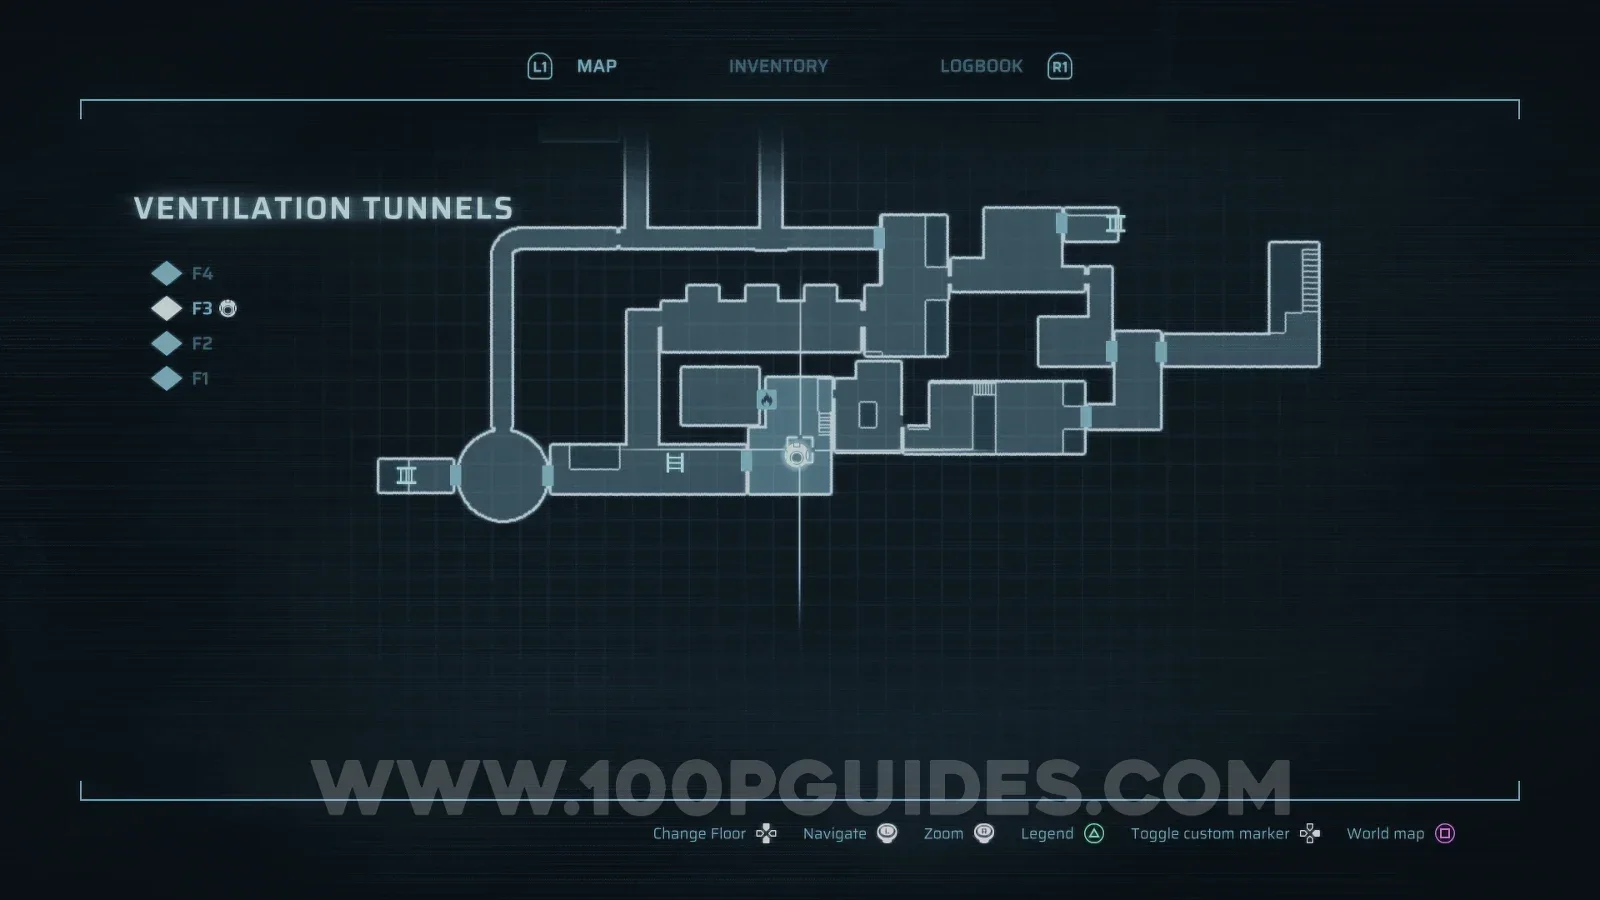
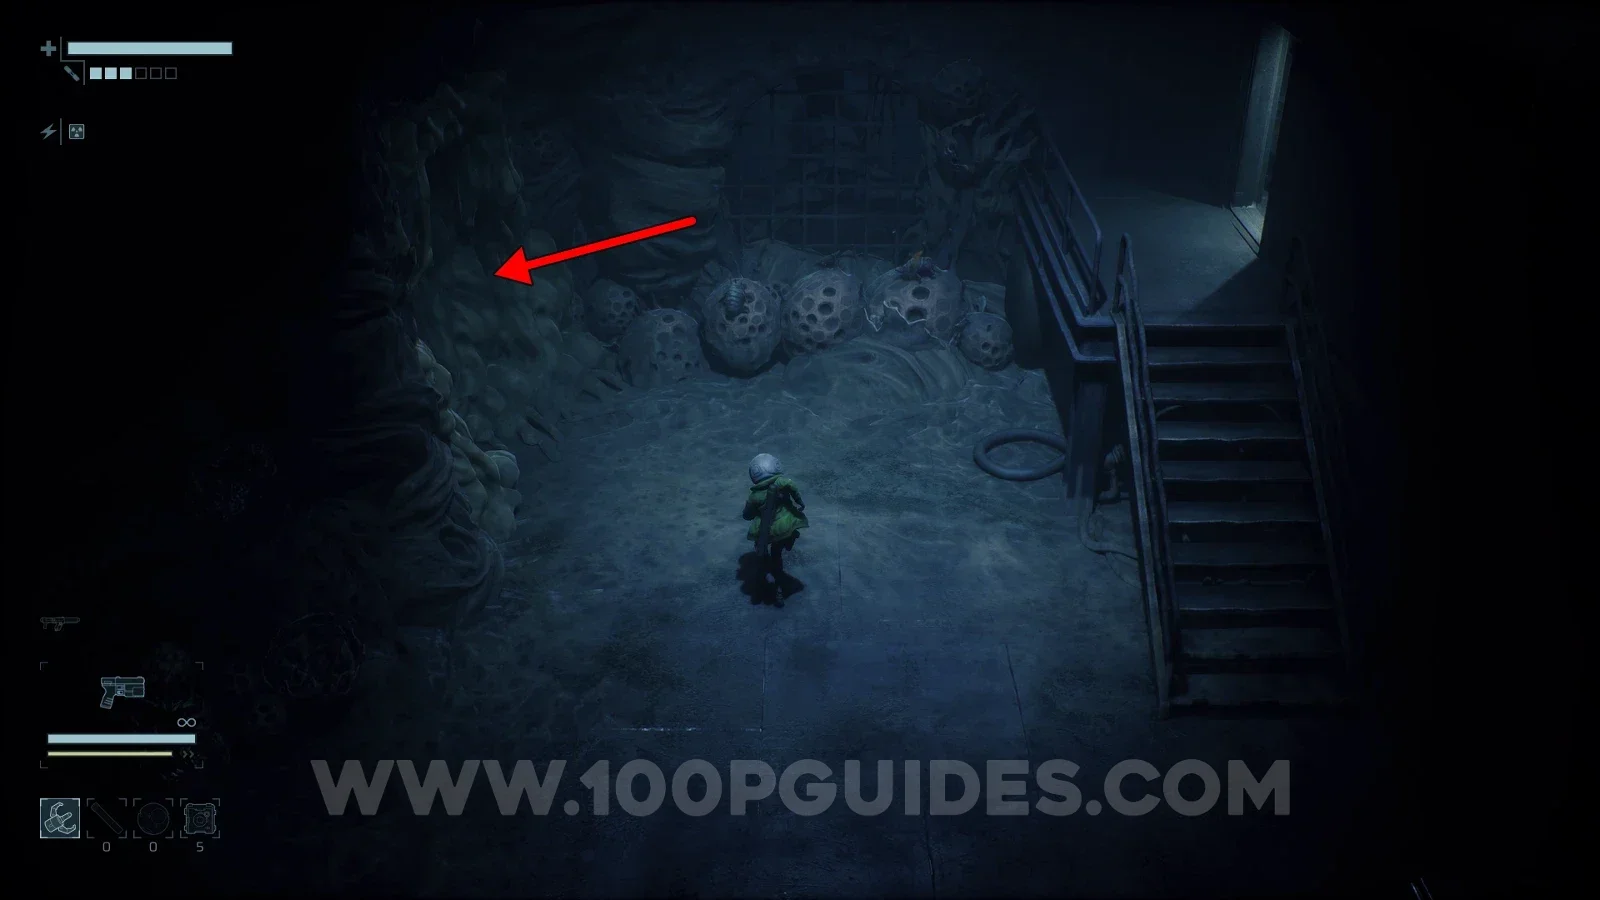
Burn down the wall on the left, then burn the nest inside to get the alloy.
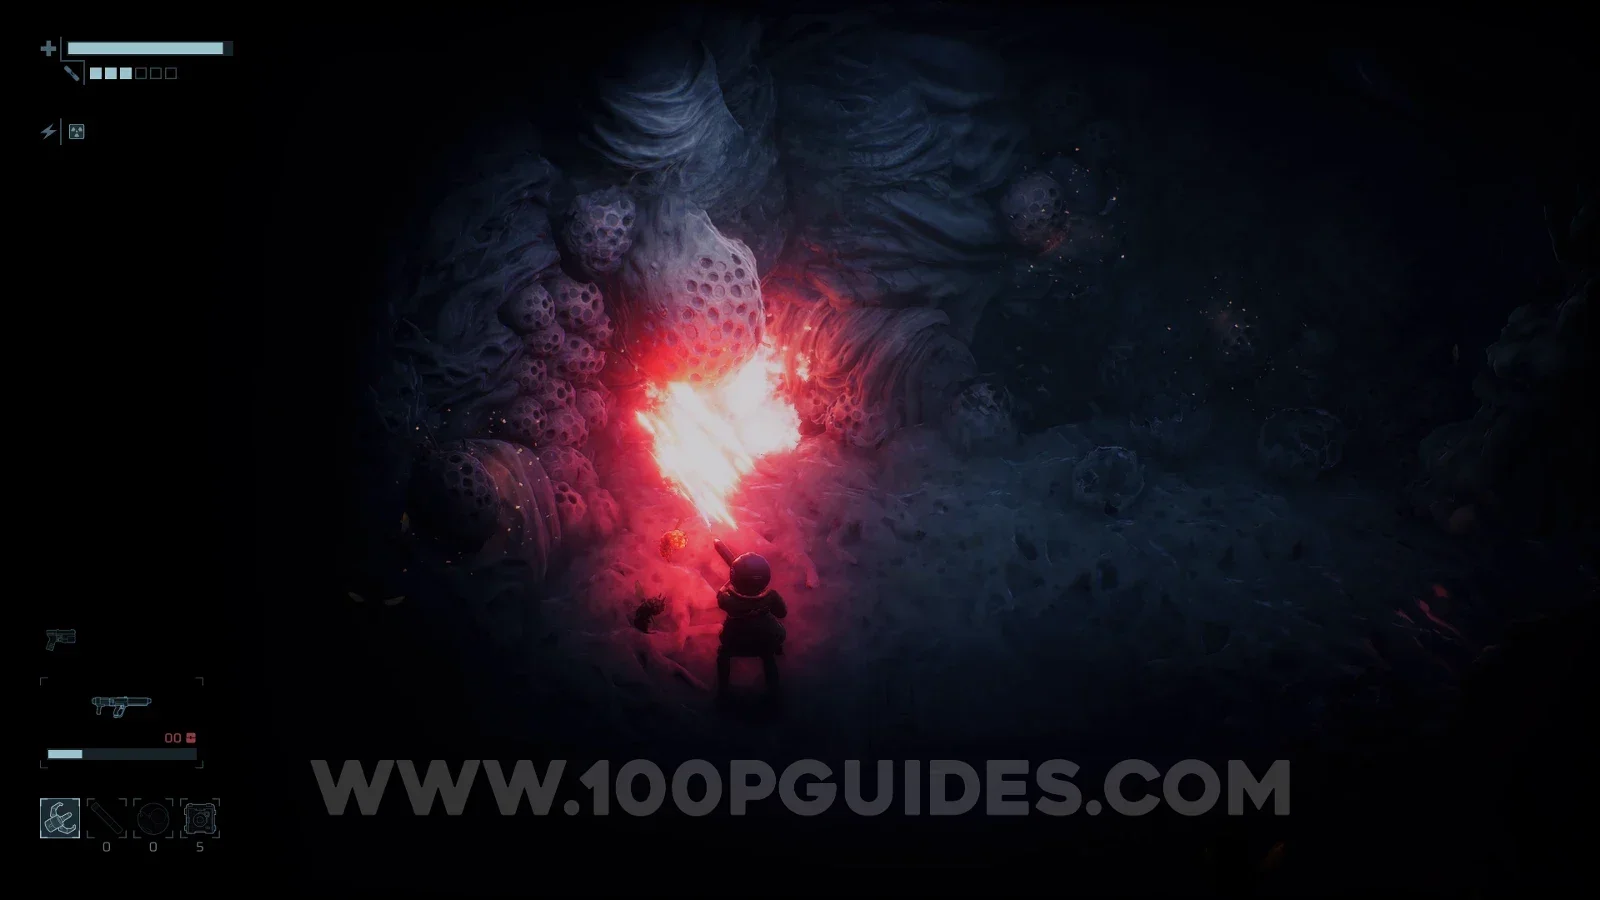
Complex Alloy #7
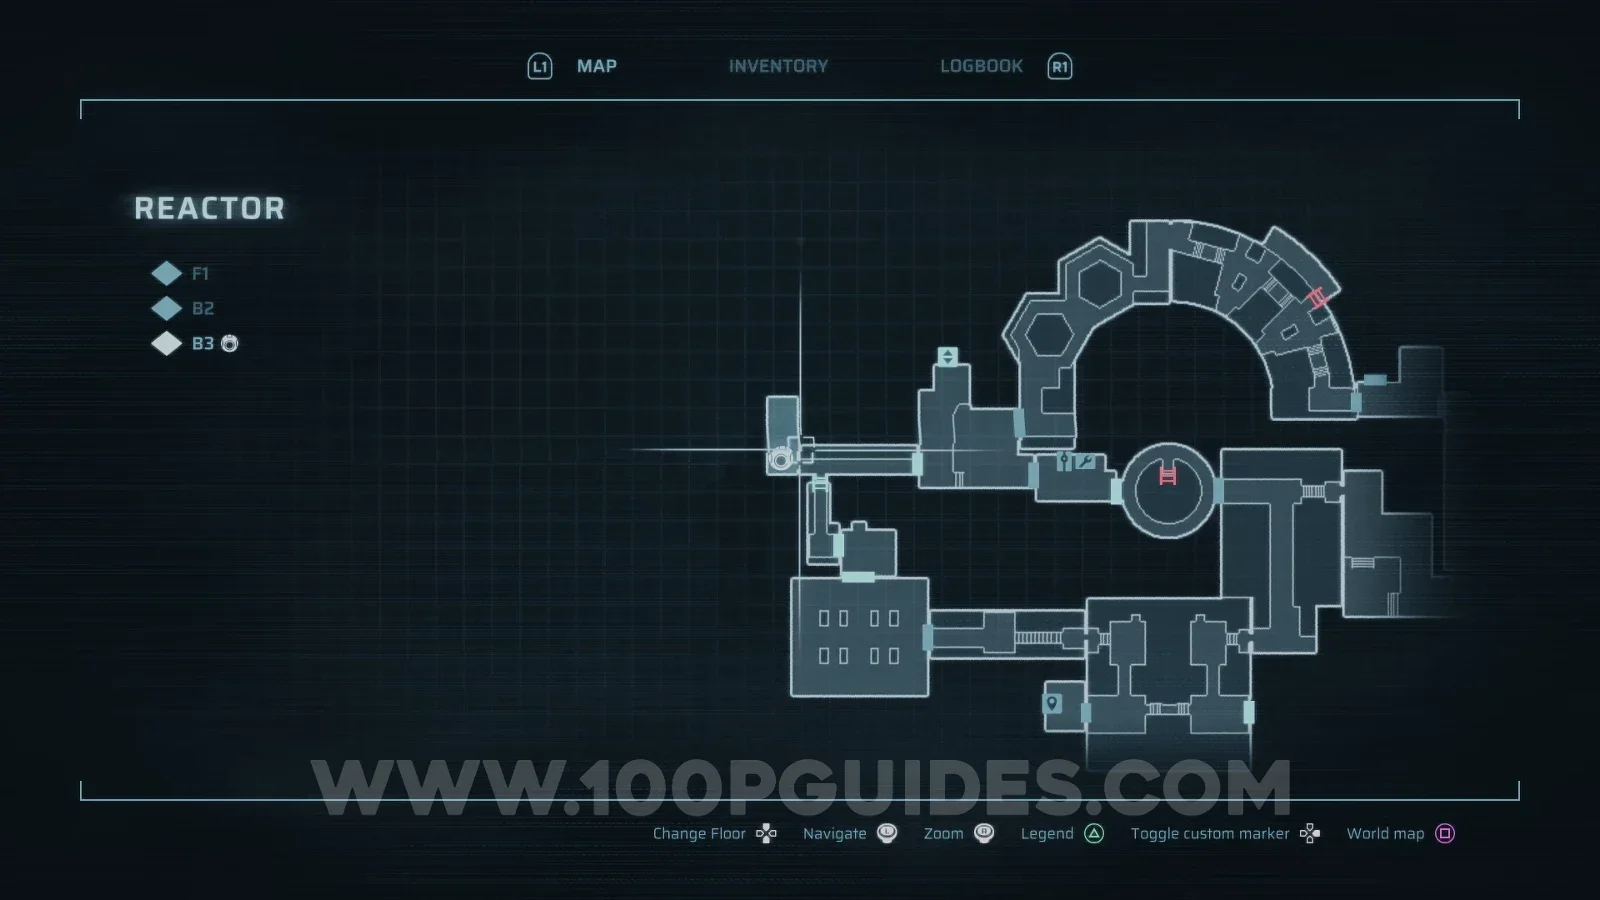
Reactor > B3.
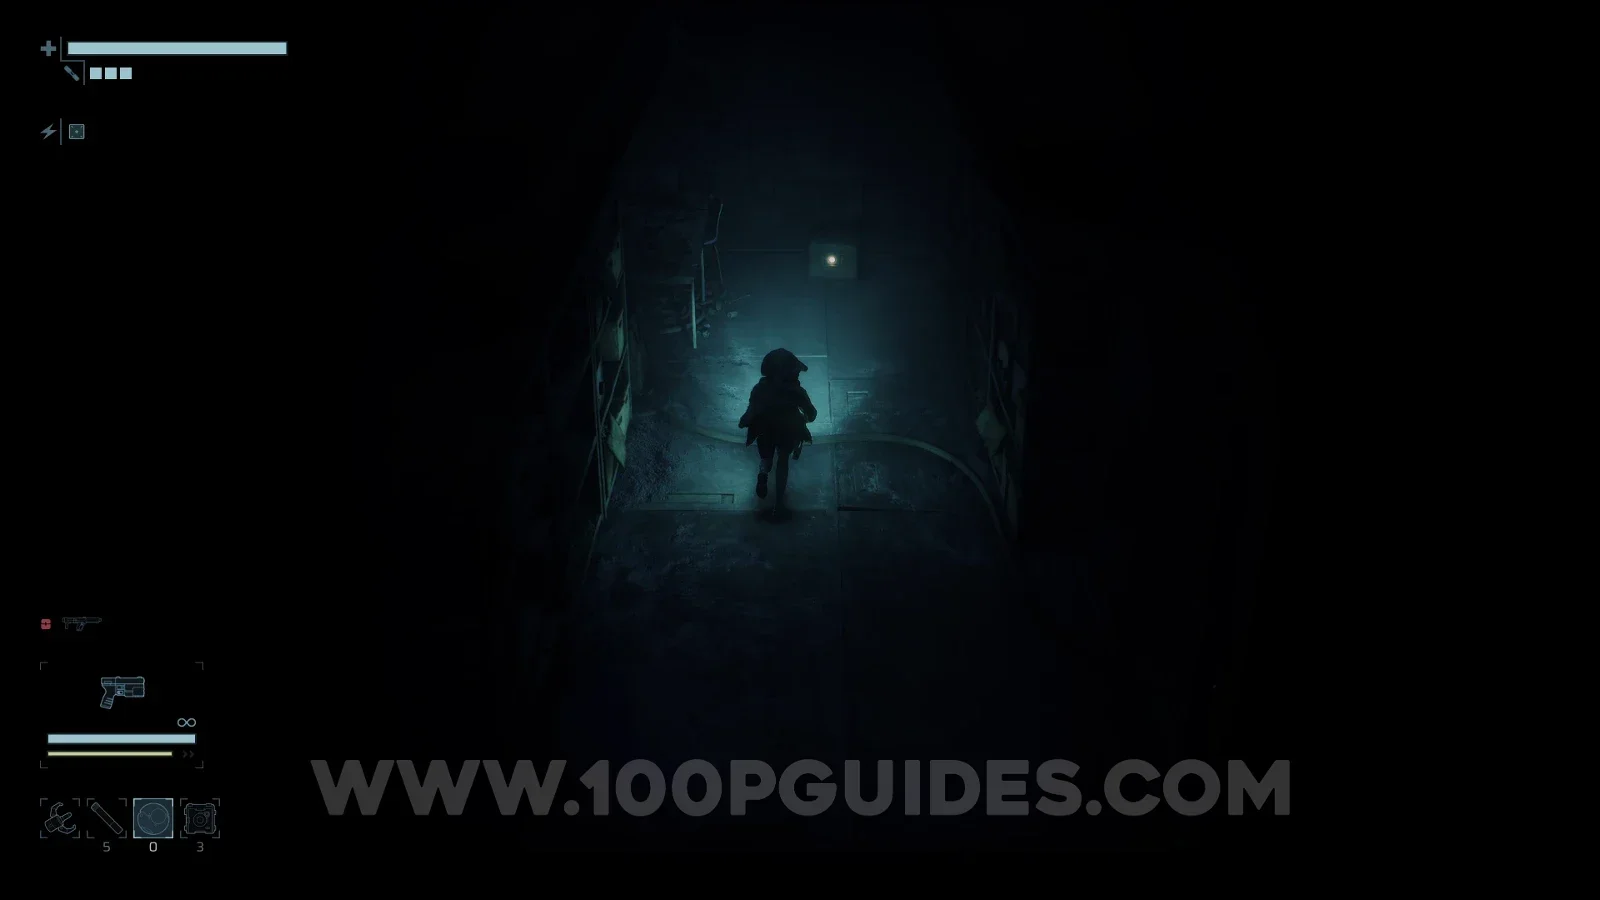
Found in the small room on the left side.
Complex Alloy #8
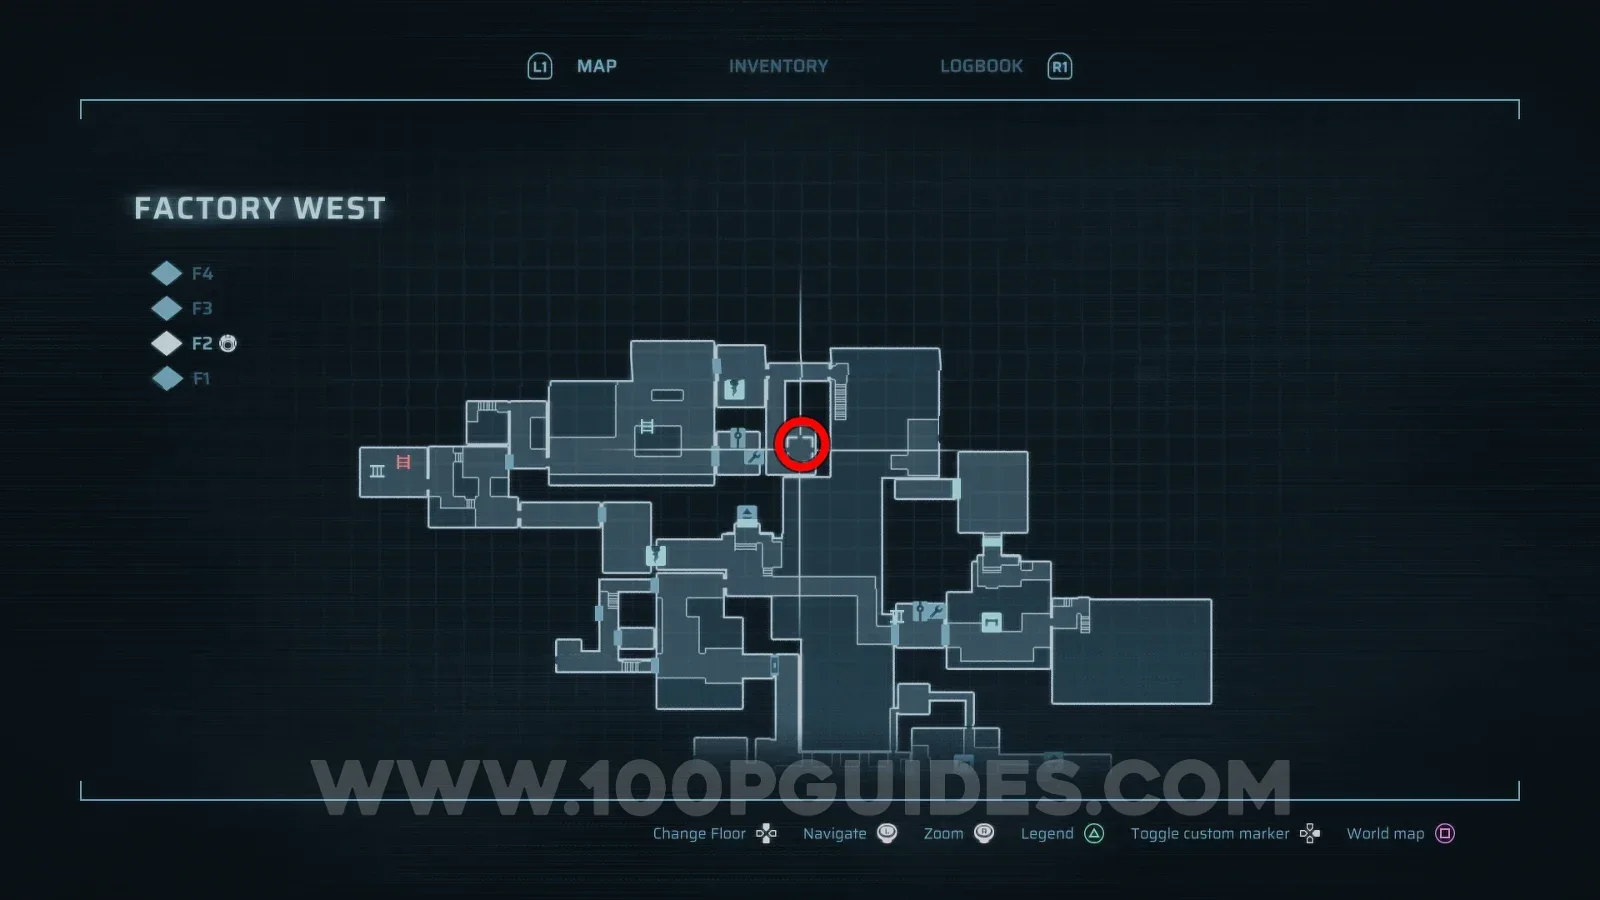
Factory West > F2.
Found in the northern area, just before the Security Sentinel boss.
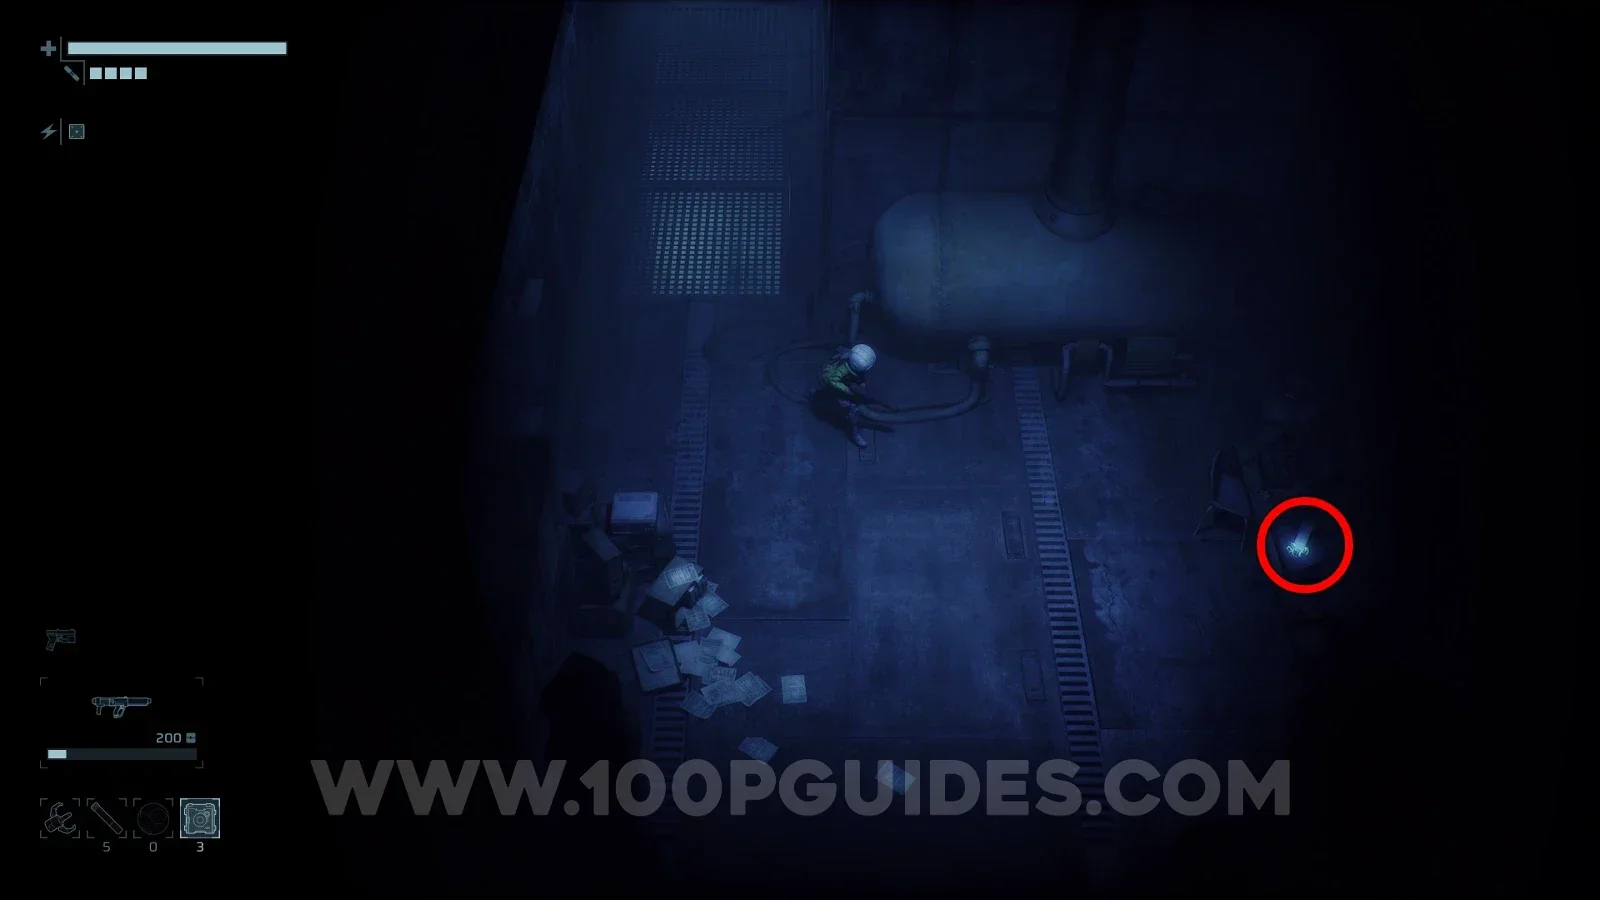
Complex Alloy #9
Factory West > F2.
Use the Grappling Hook to bring down the ladder, then climb up.
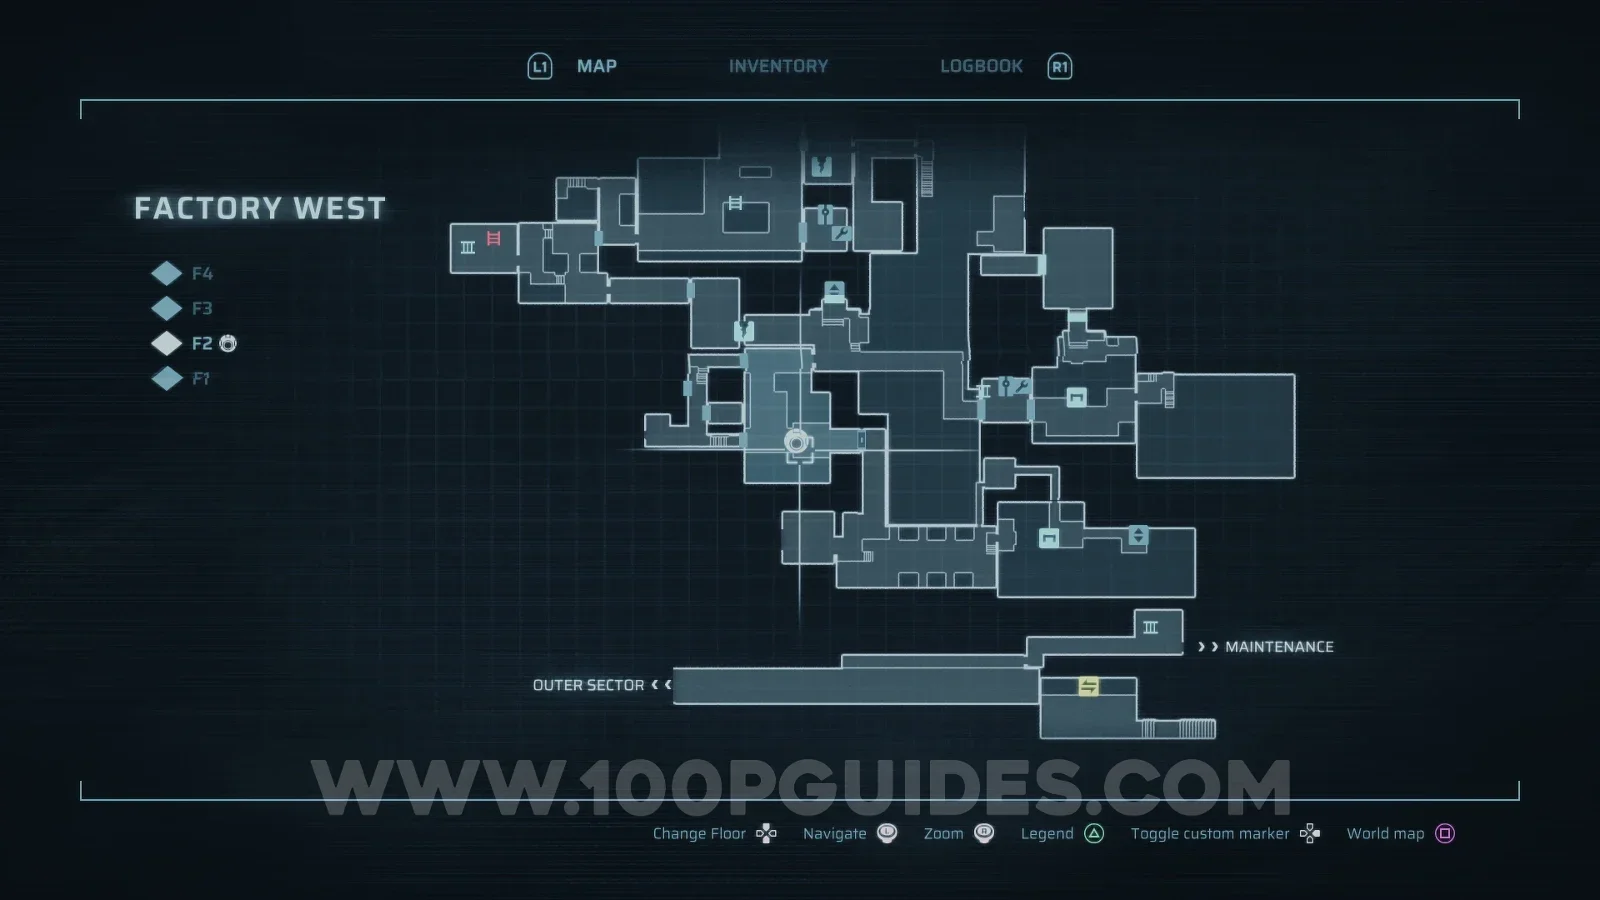
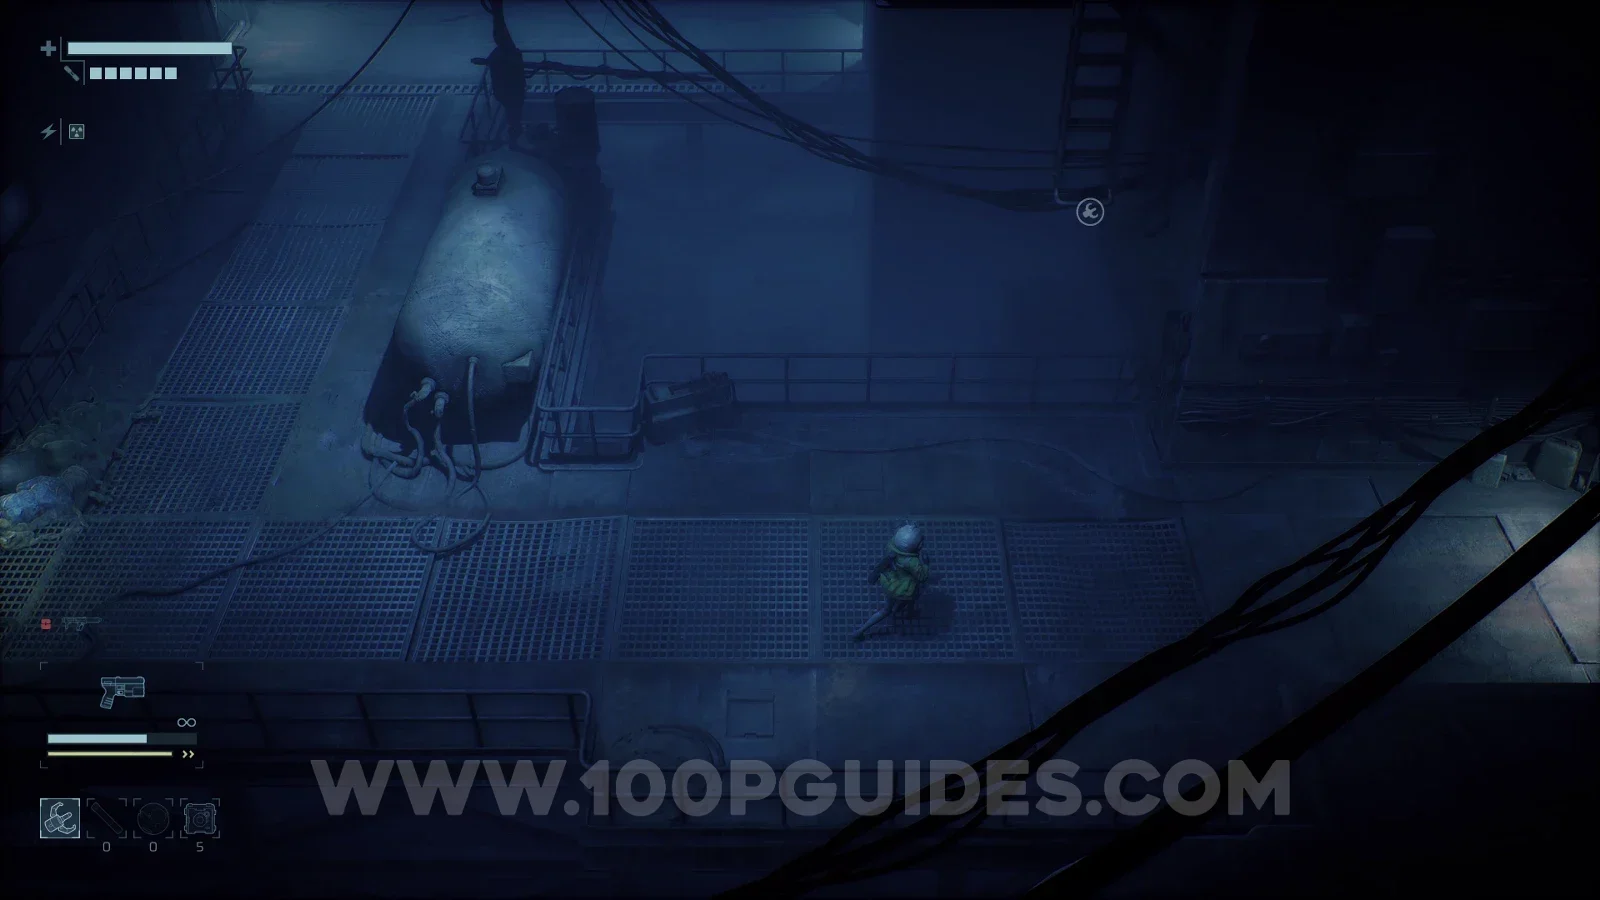
Complex Alloy #10
Maintenance > F2.
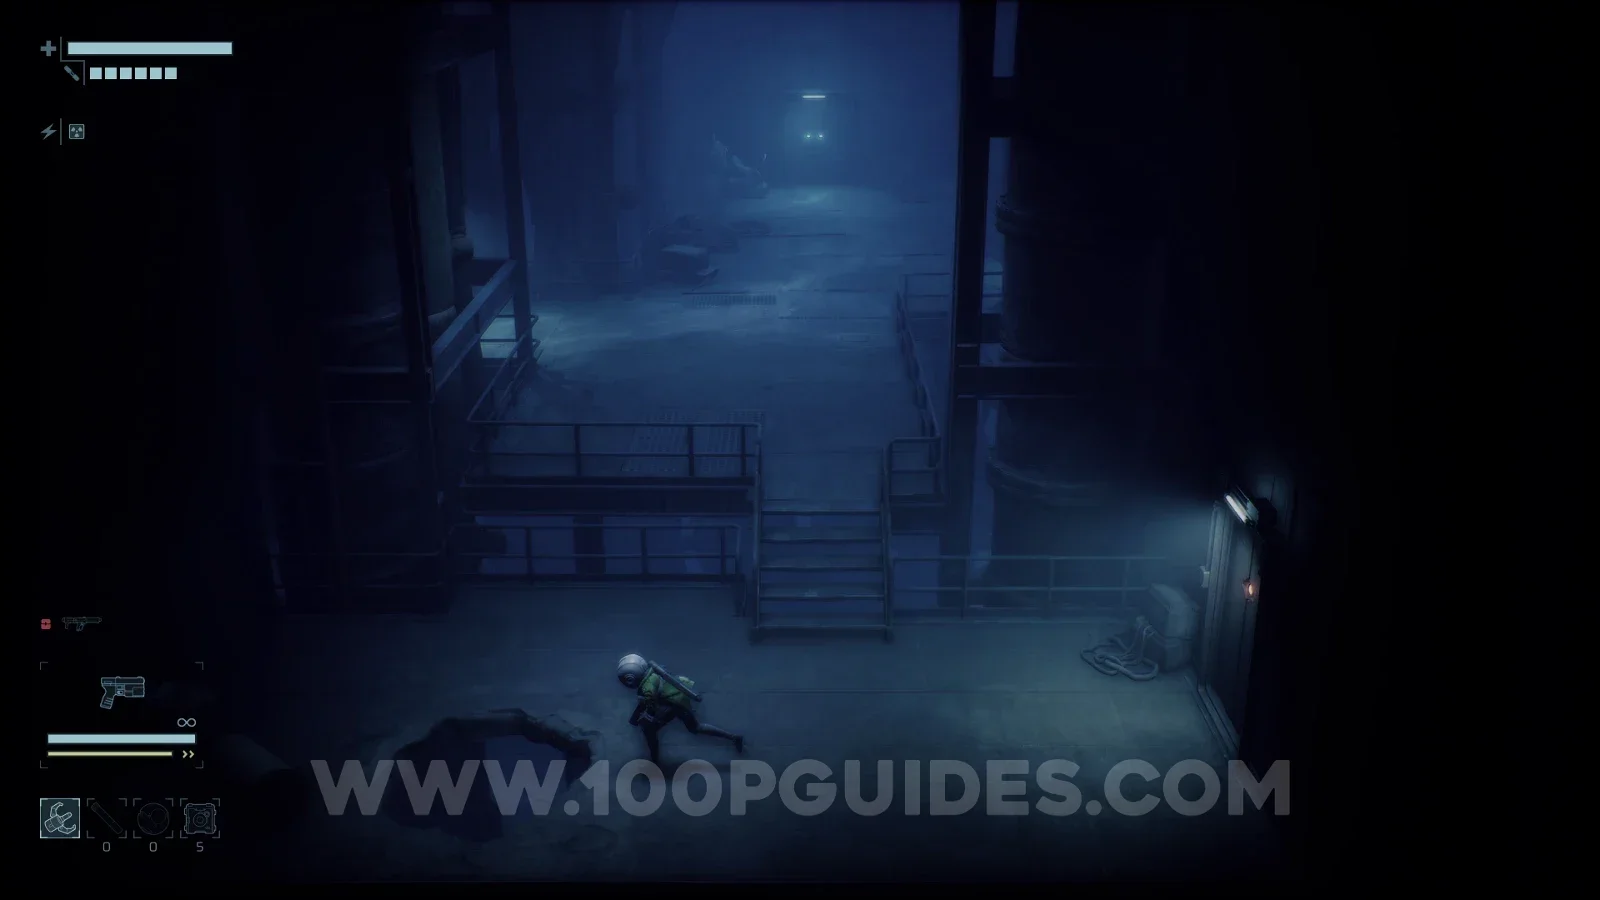
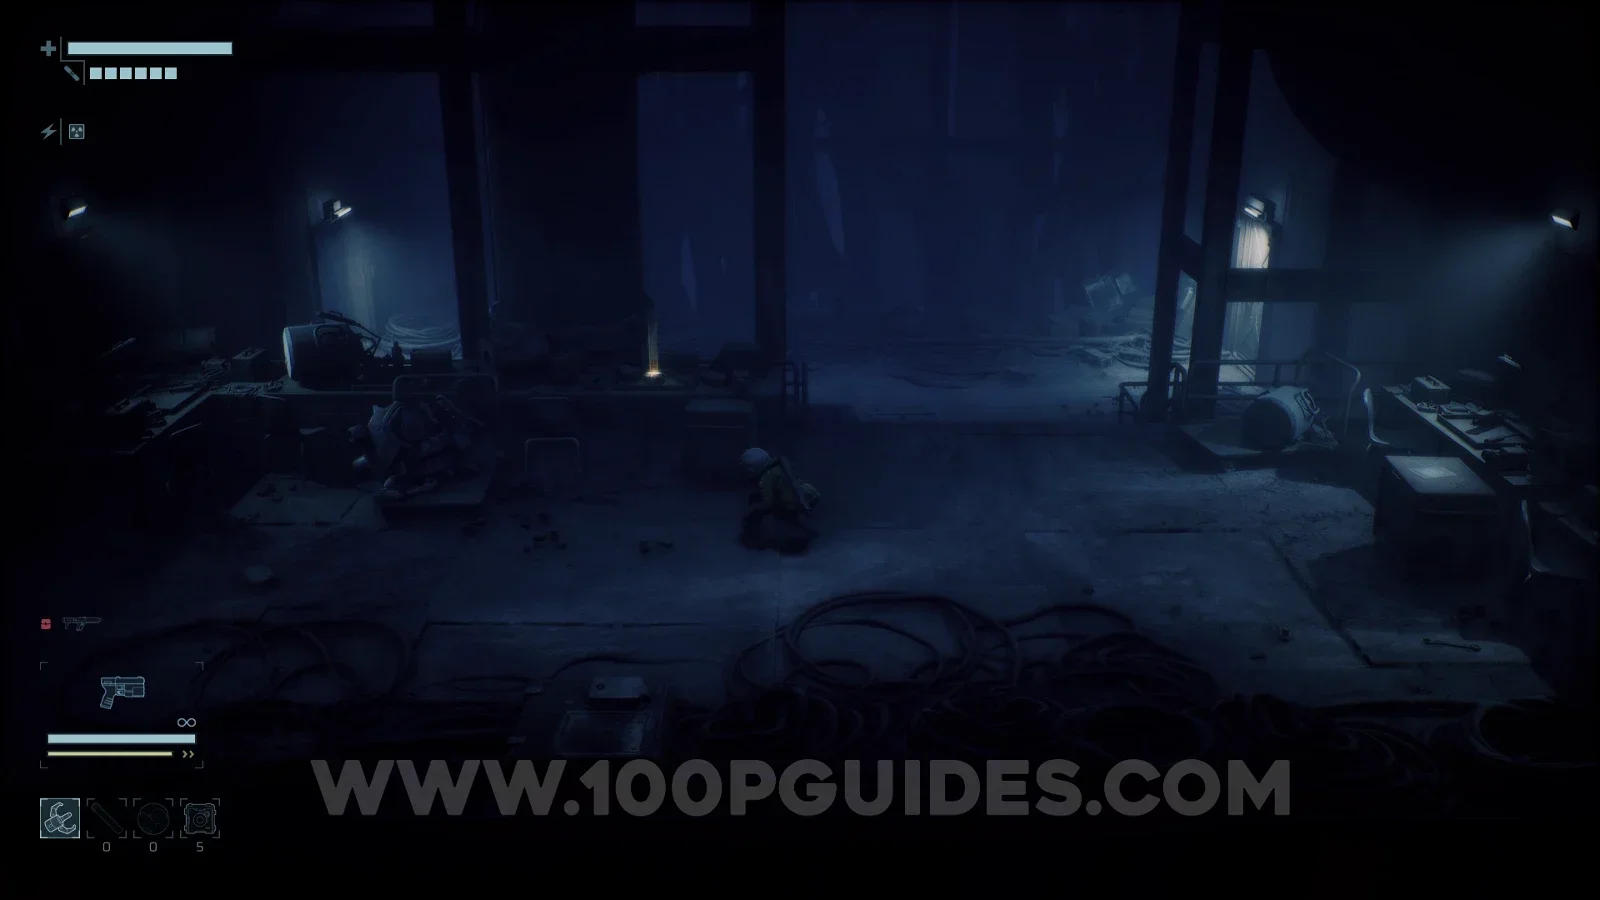
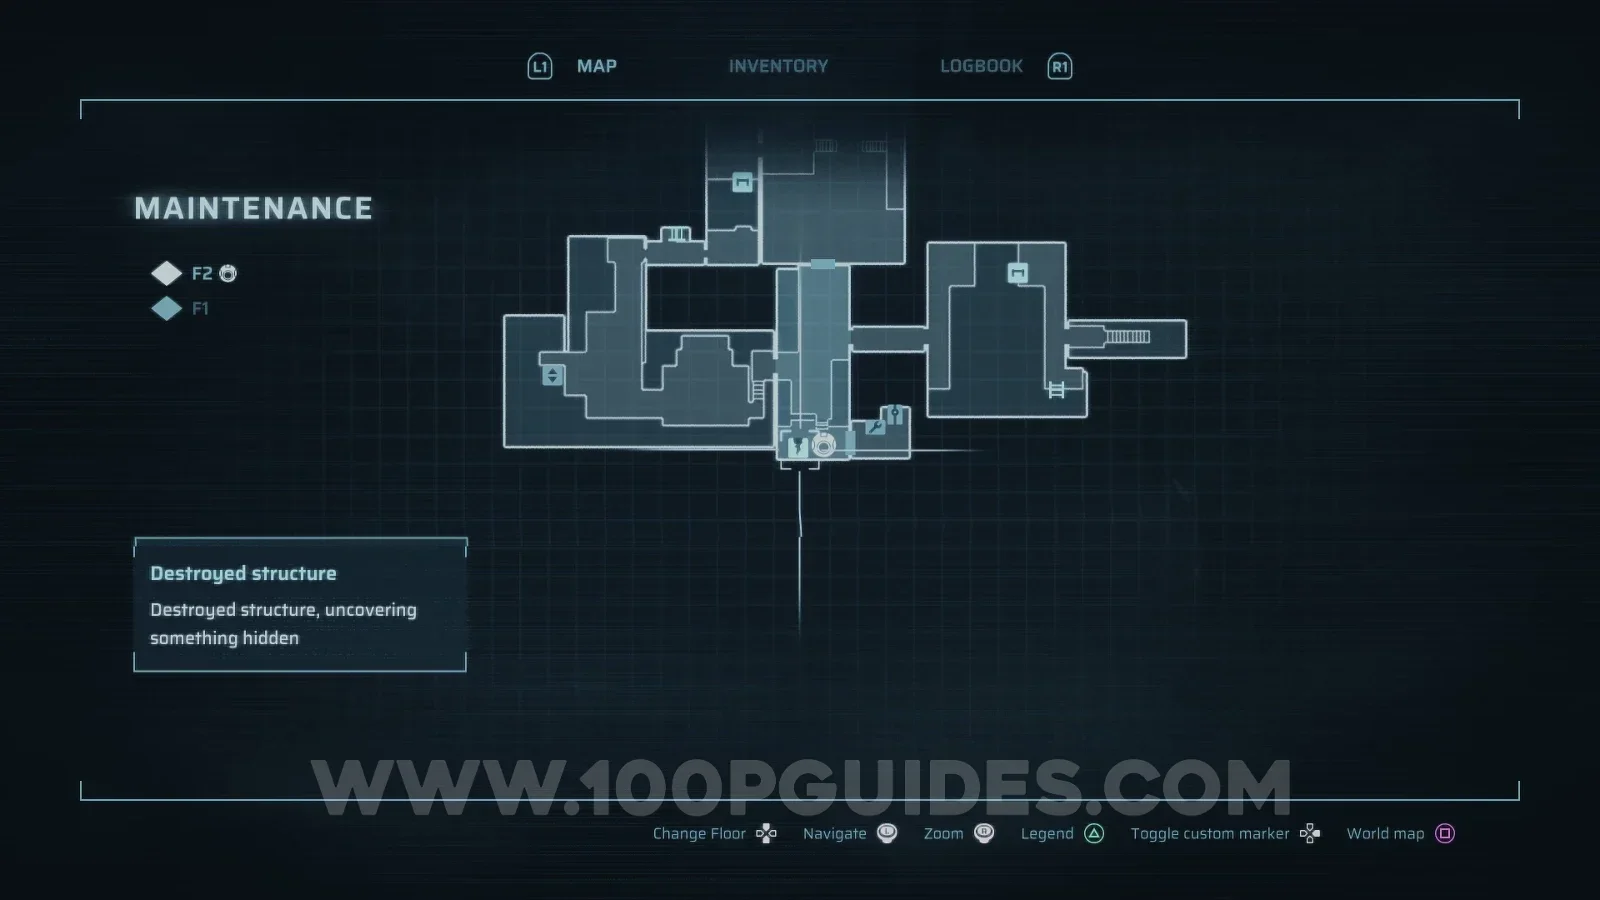
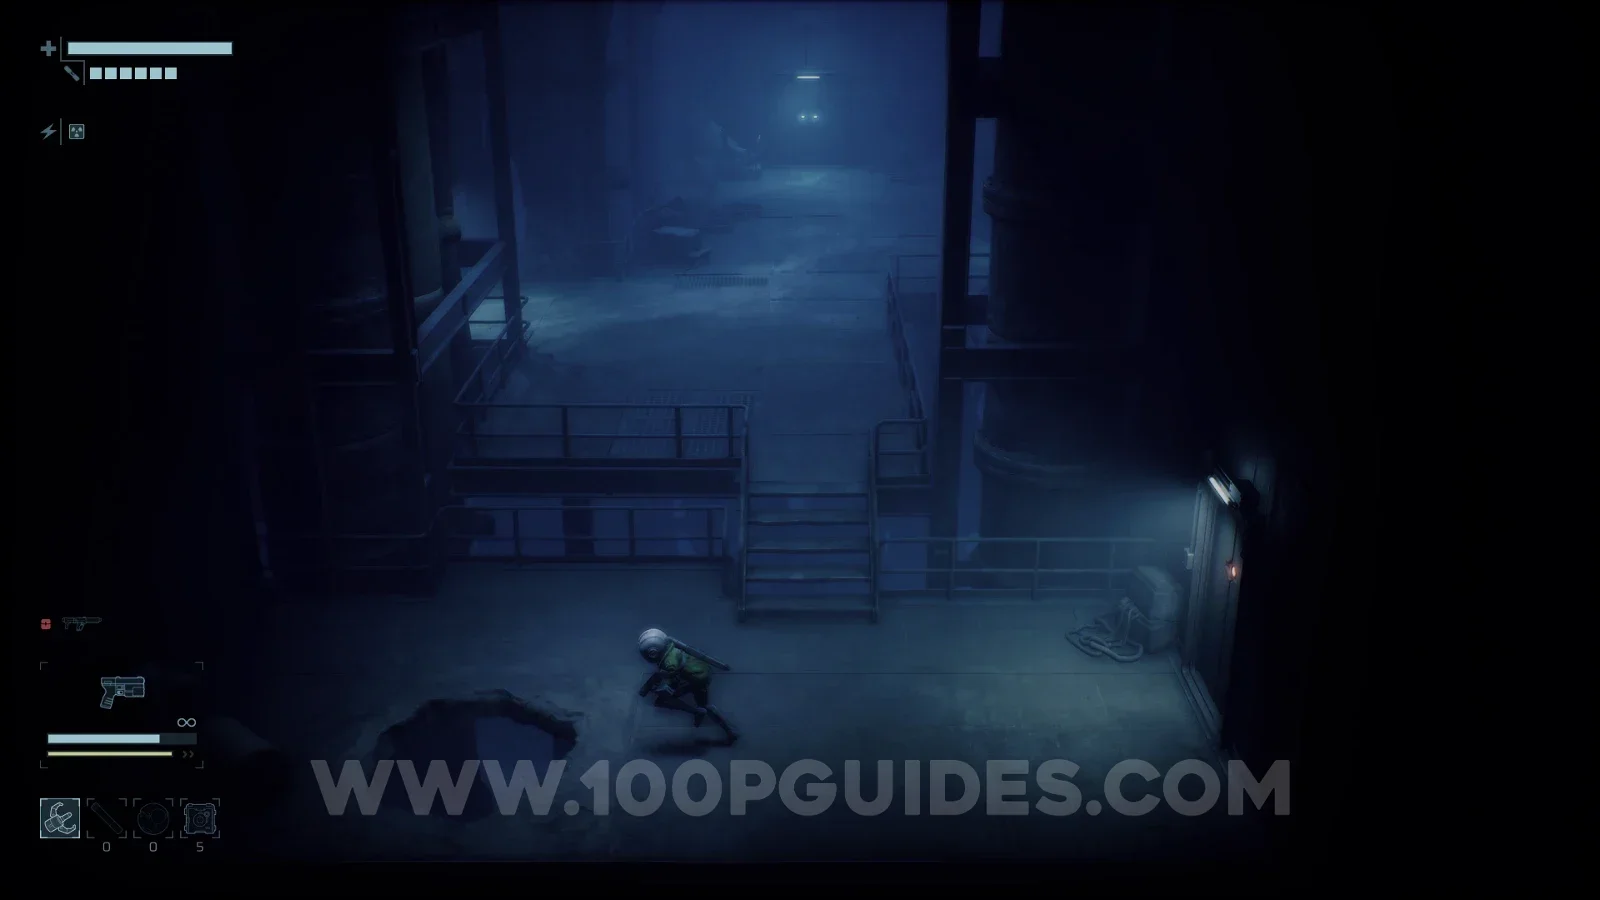
Use an Explosive Charge to blow a hole in the floor just outside the safe room. Drop down to find the alloy.
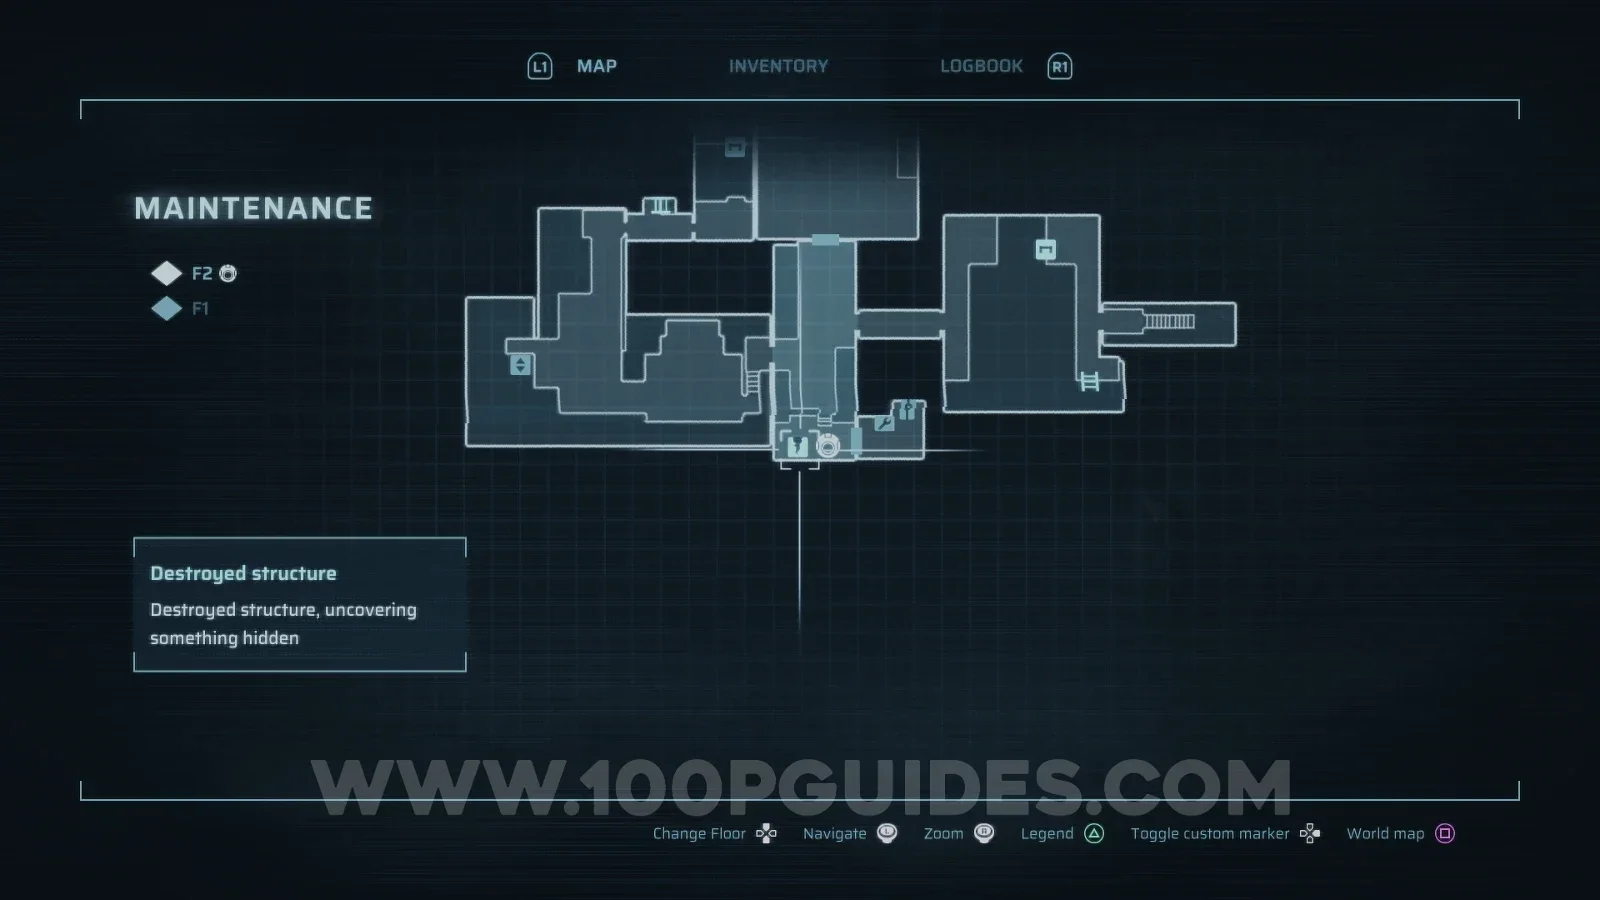
Complex Alloy #11
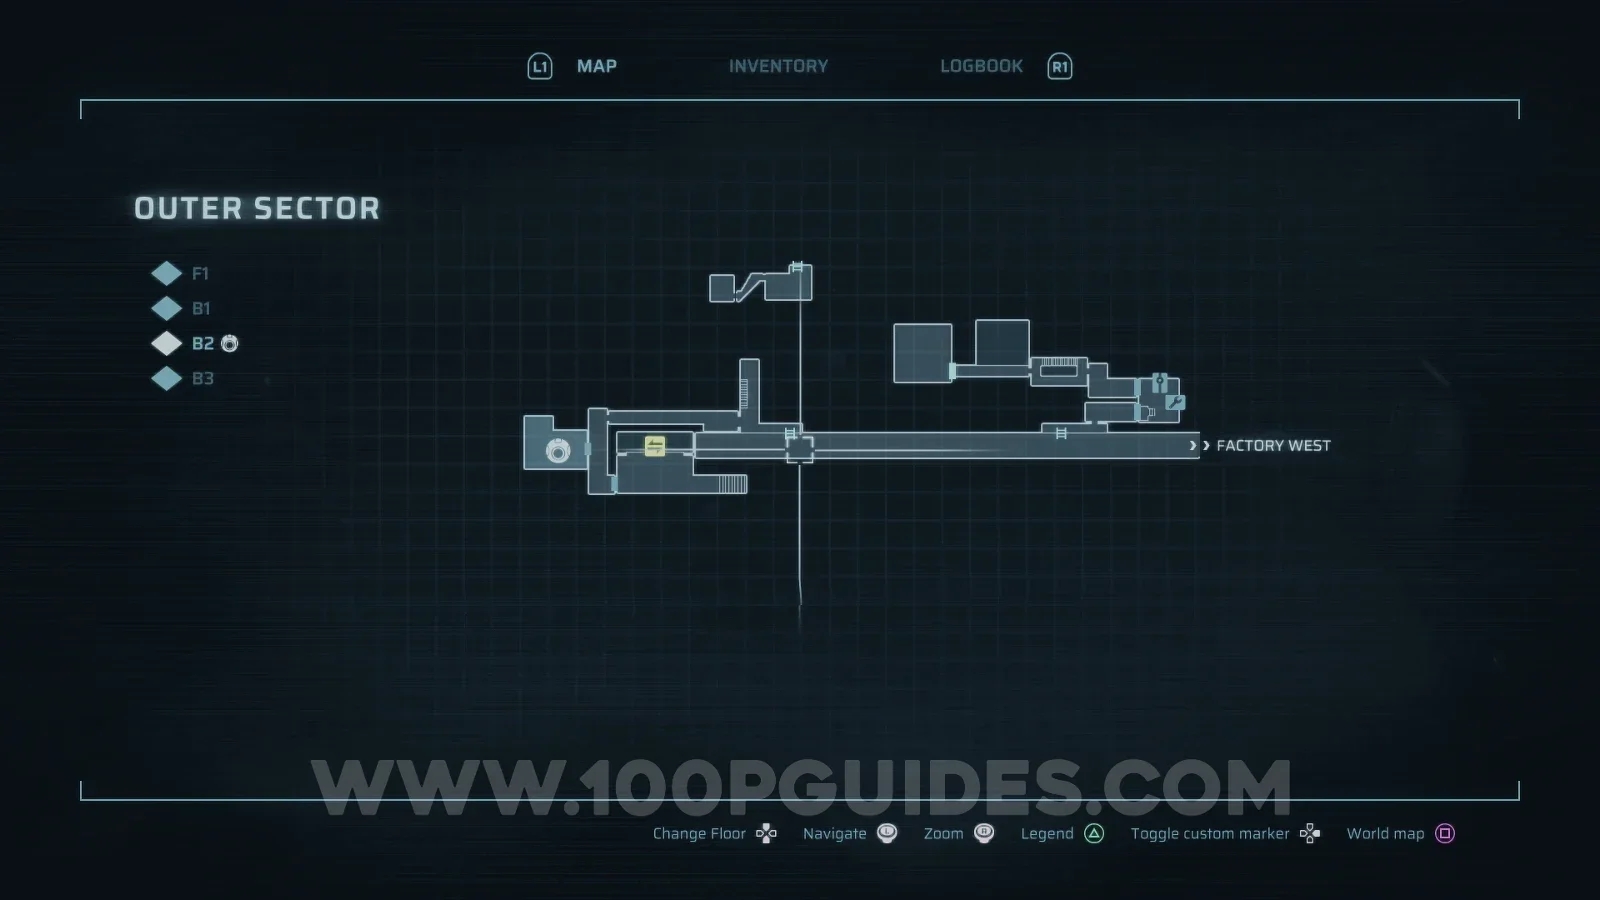
Outer Sector > B2.
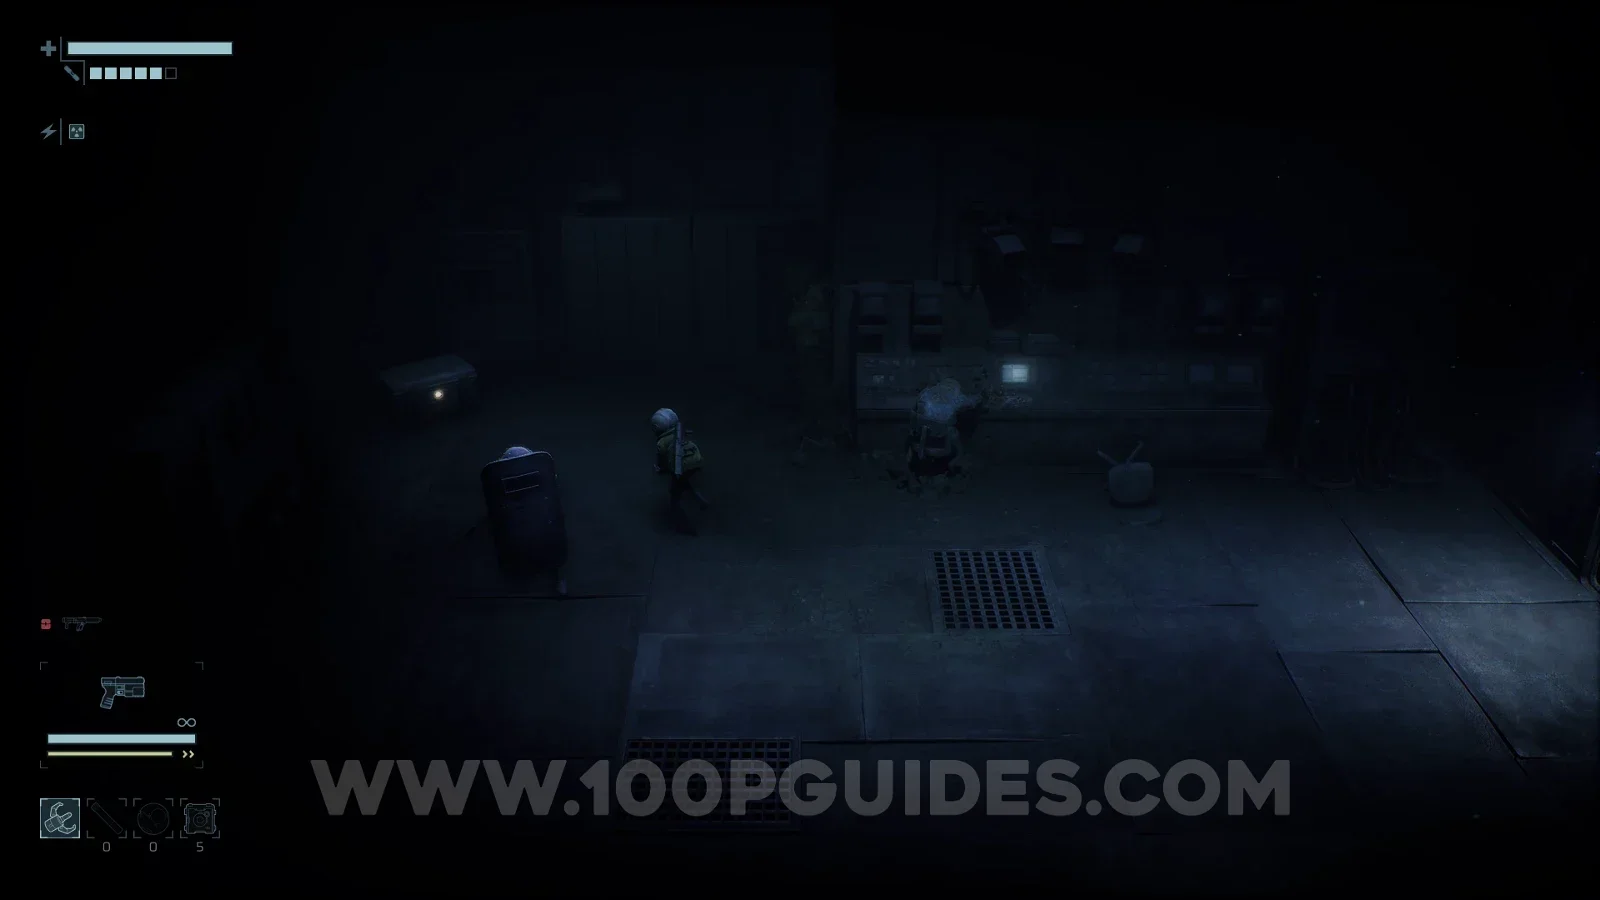
Start by jumping down the same hole as for the previous alloy in Maintenance. Then continue left until you eventually reach the Outer Sector. Head all the way left and enter the room at the end to find the alloy in a chest.
Complex Alloy #12
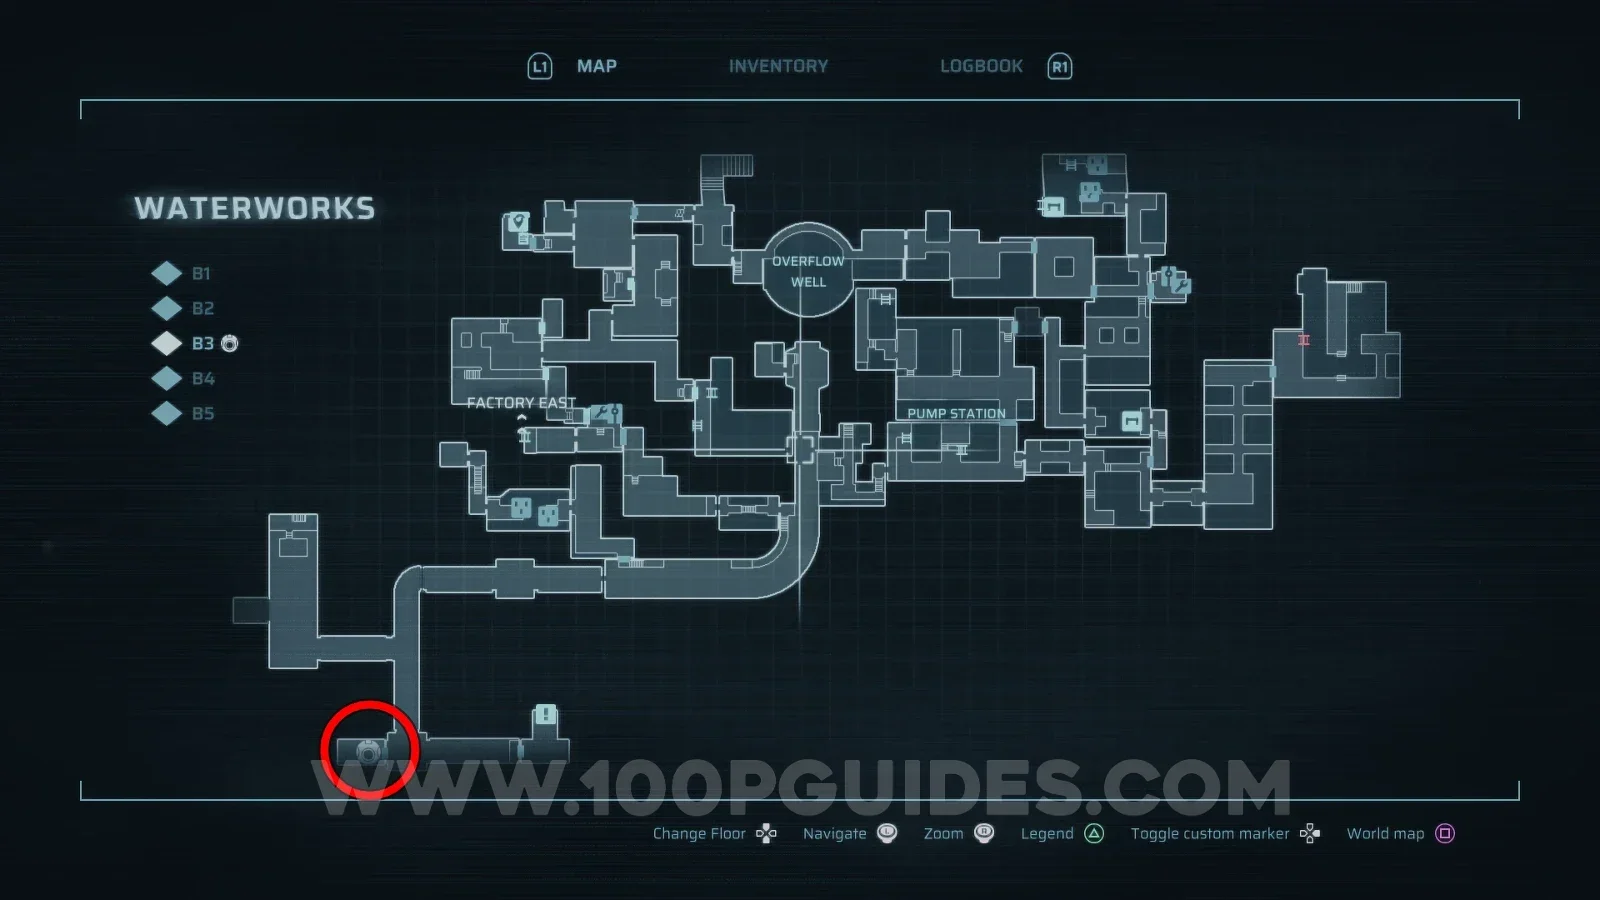
Waterworks > B3.
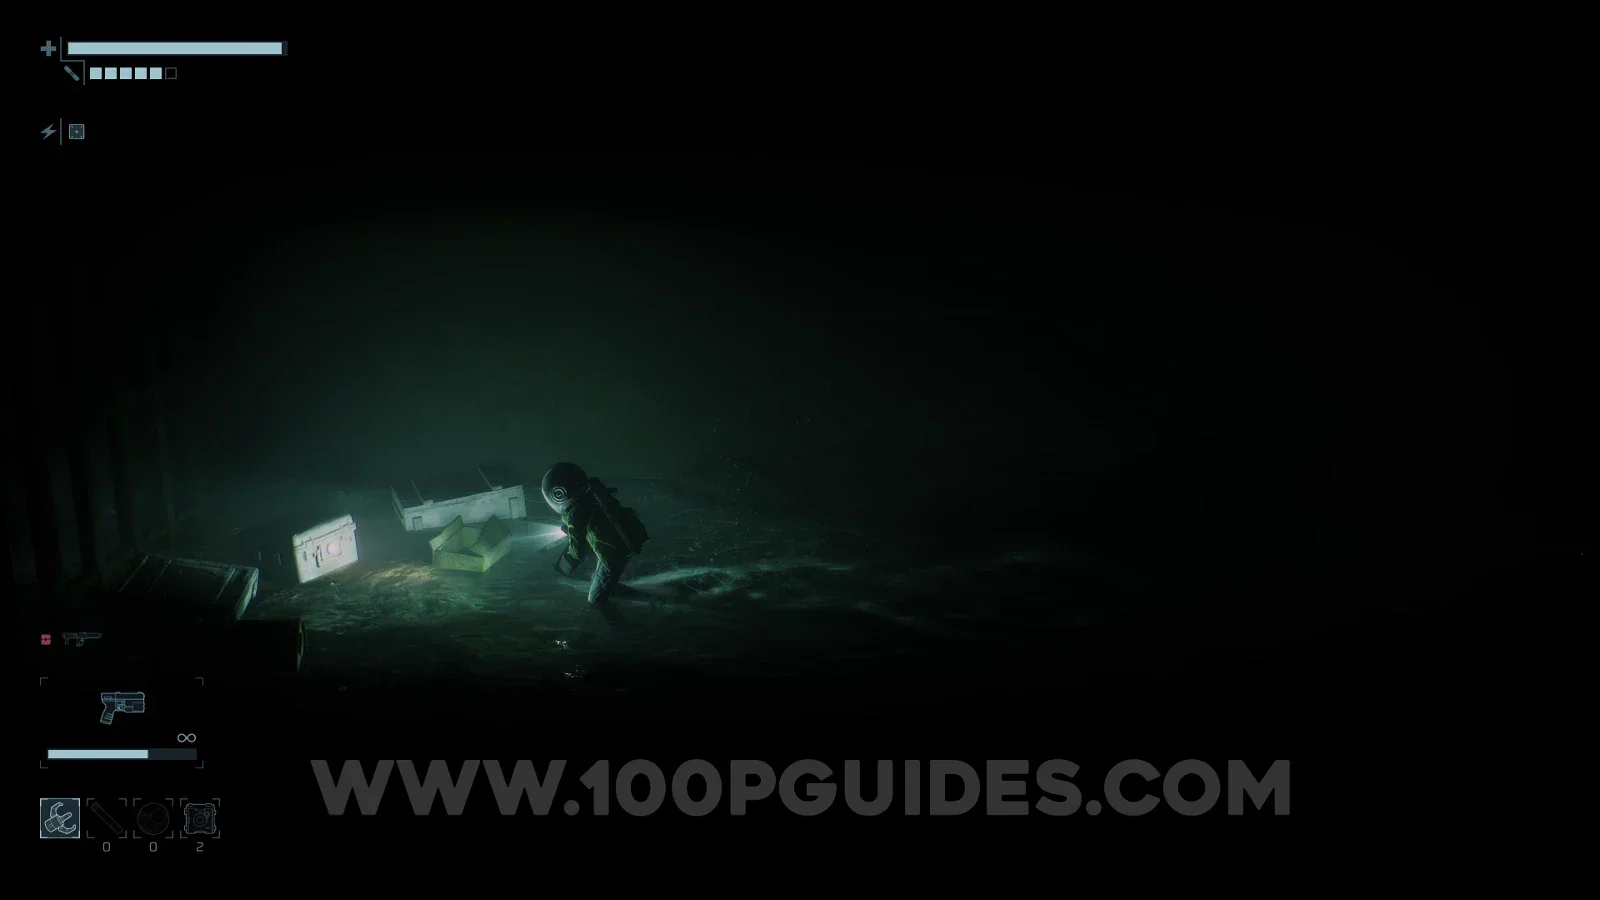
Found in the room at the bottom left of the sewers area, which unlocks automatically later in the story.
Complex Alloy #13
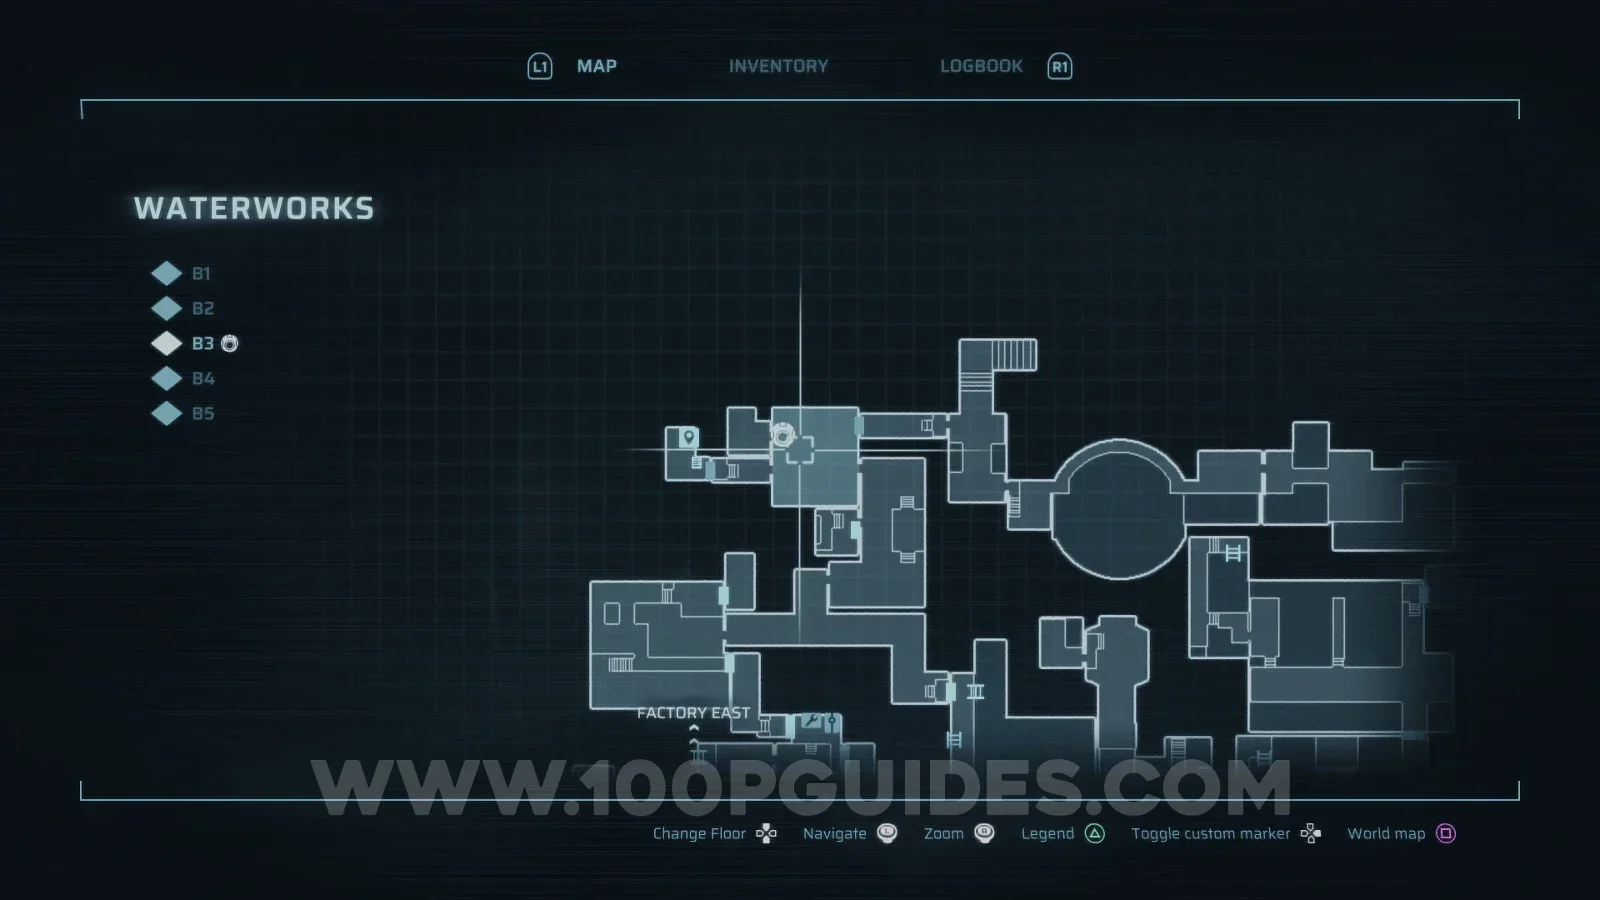
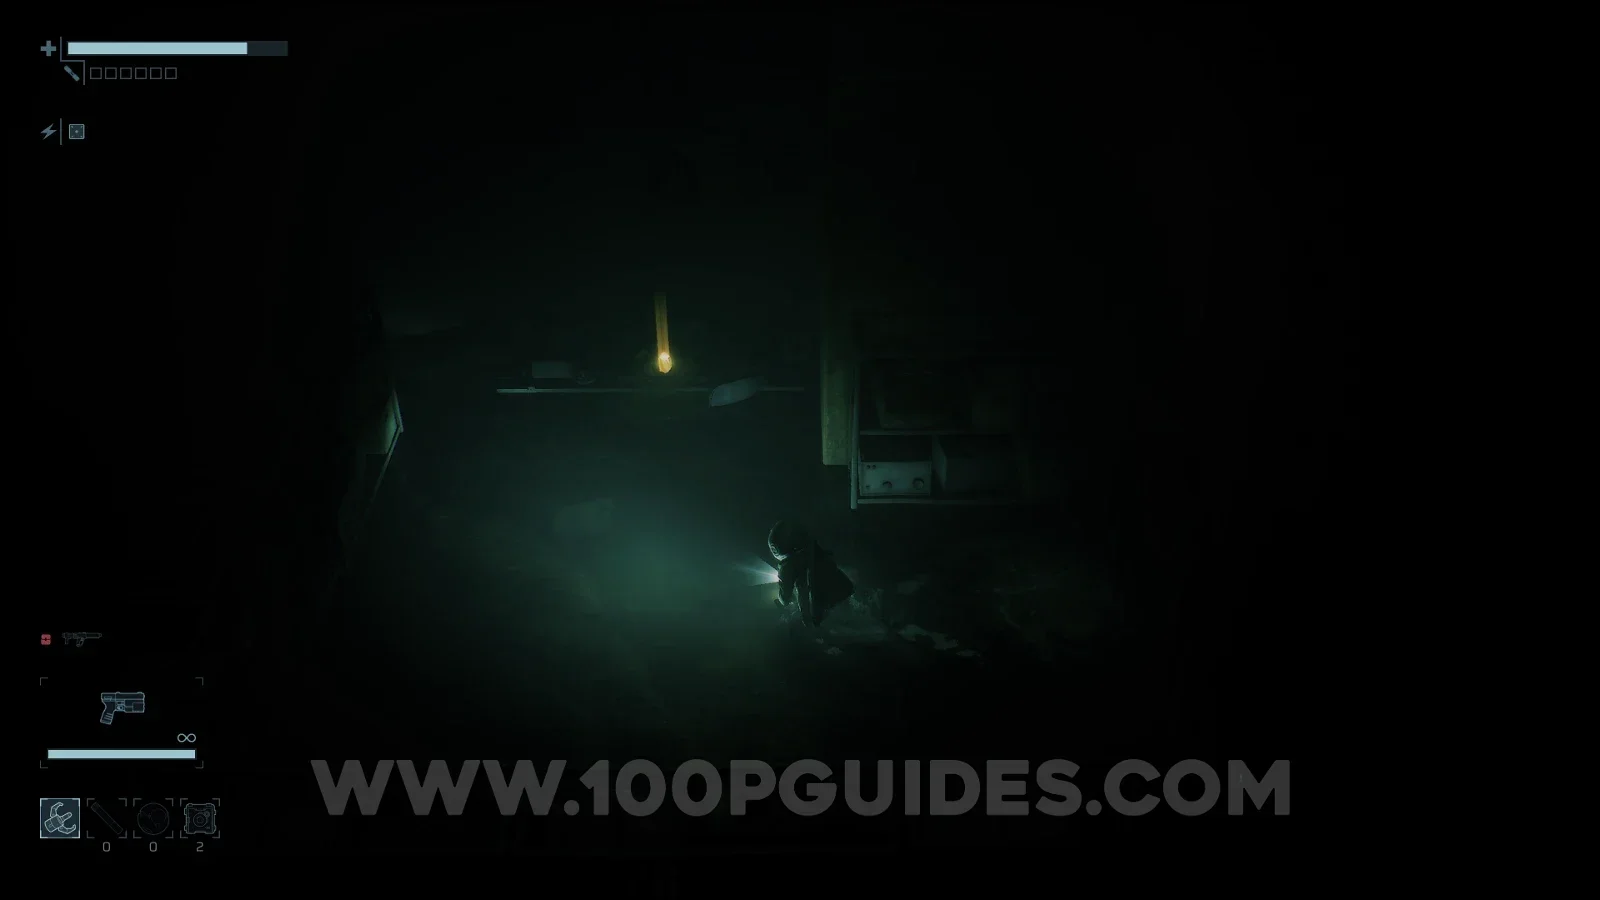
Waterworks > B3.
Found in the small room in the northwest corner of B3.
Complex Alloy #14
Waterworks > B4.
First, head to the room on the left of B3 and press the switch on the wall. You will need to have progressed far enough in the story to have the Grappling Hook.
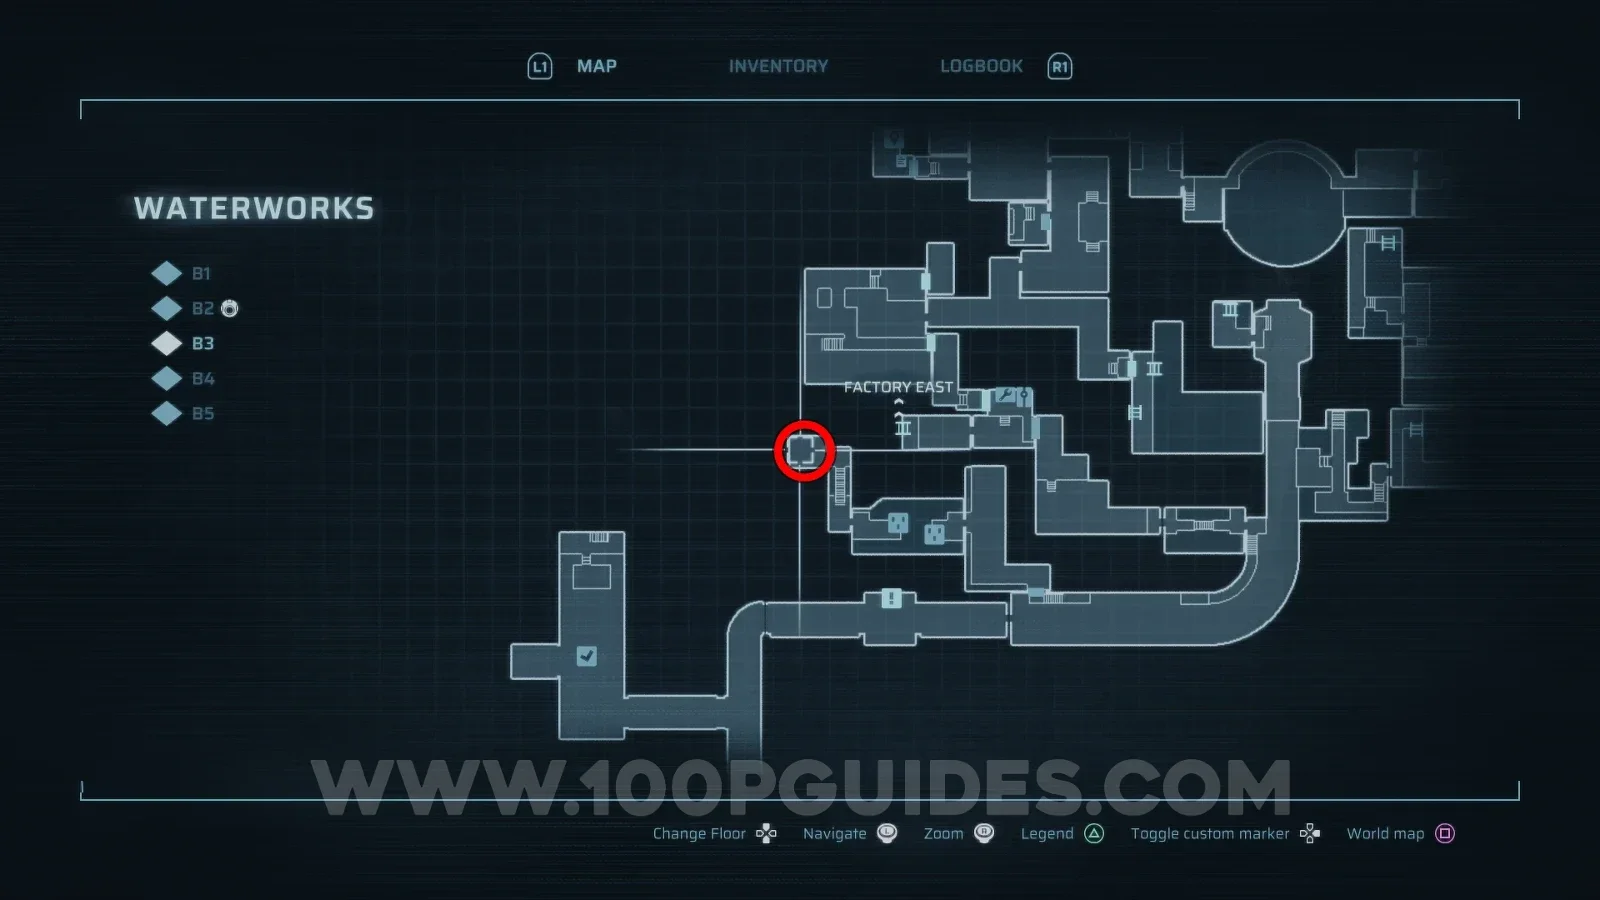
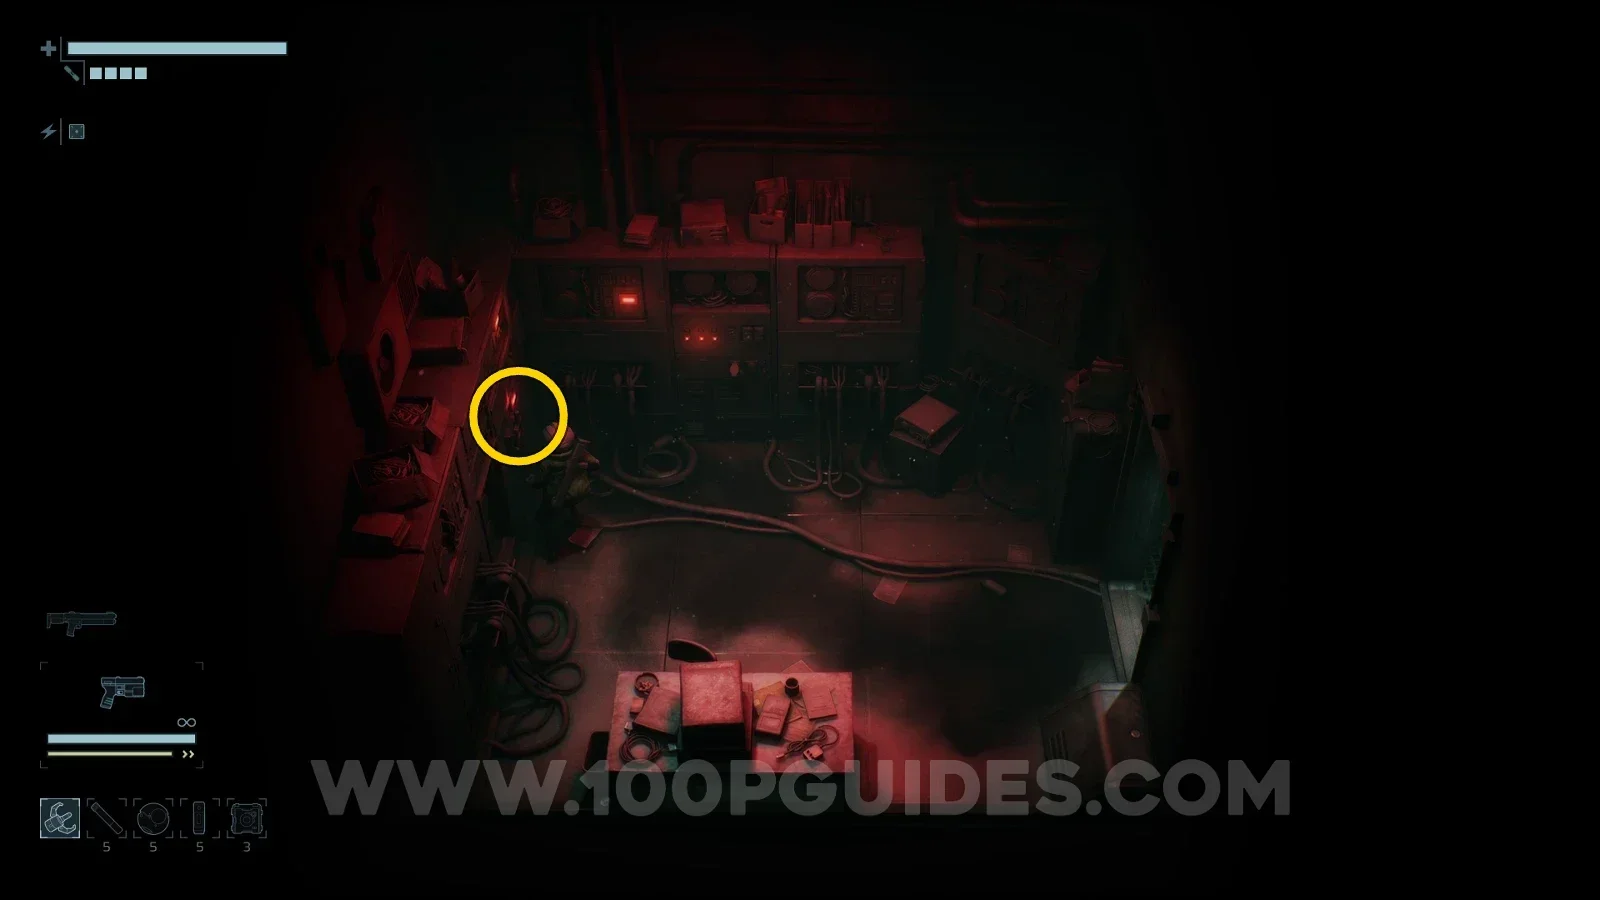
After that, head to the right side of the circular structure near the top of B3 in the Waterworks and press the switch to drain some of the water.
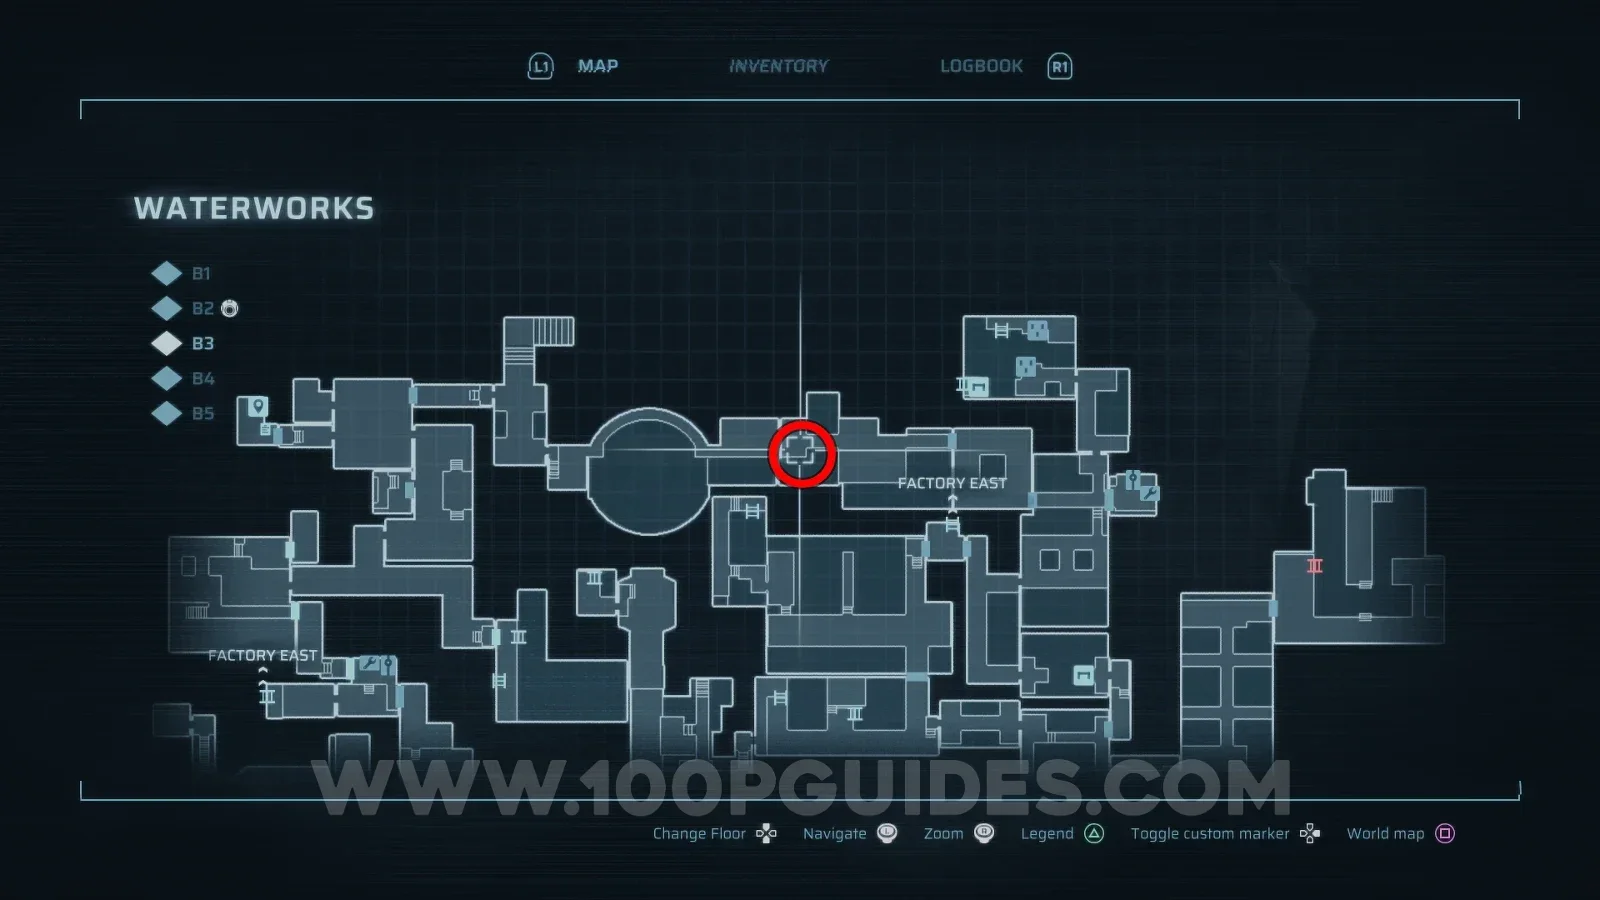
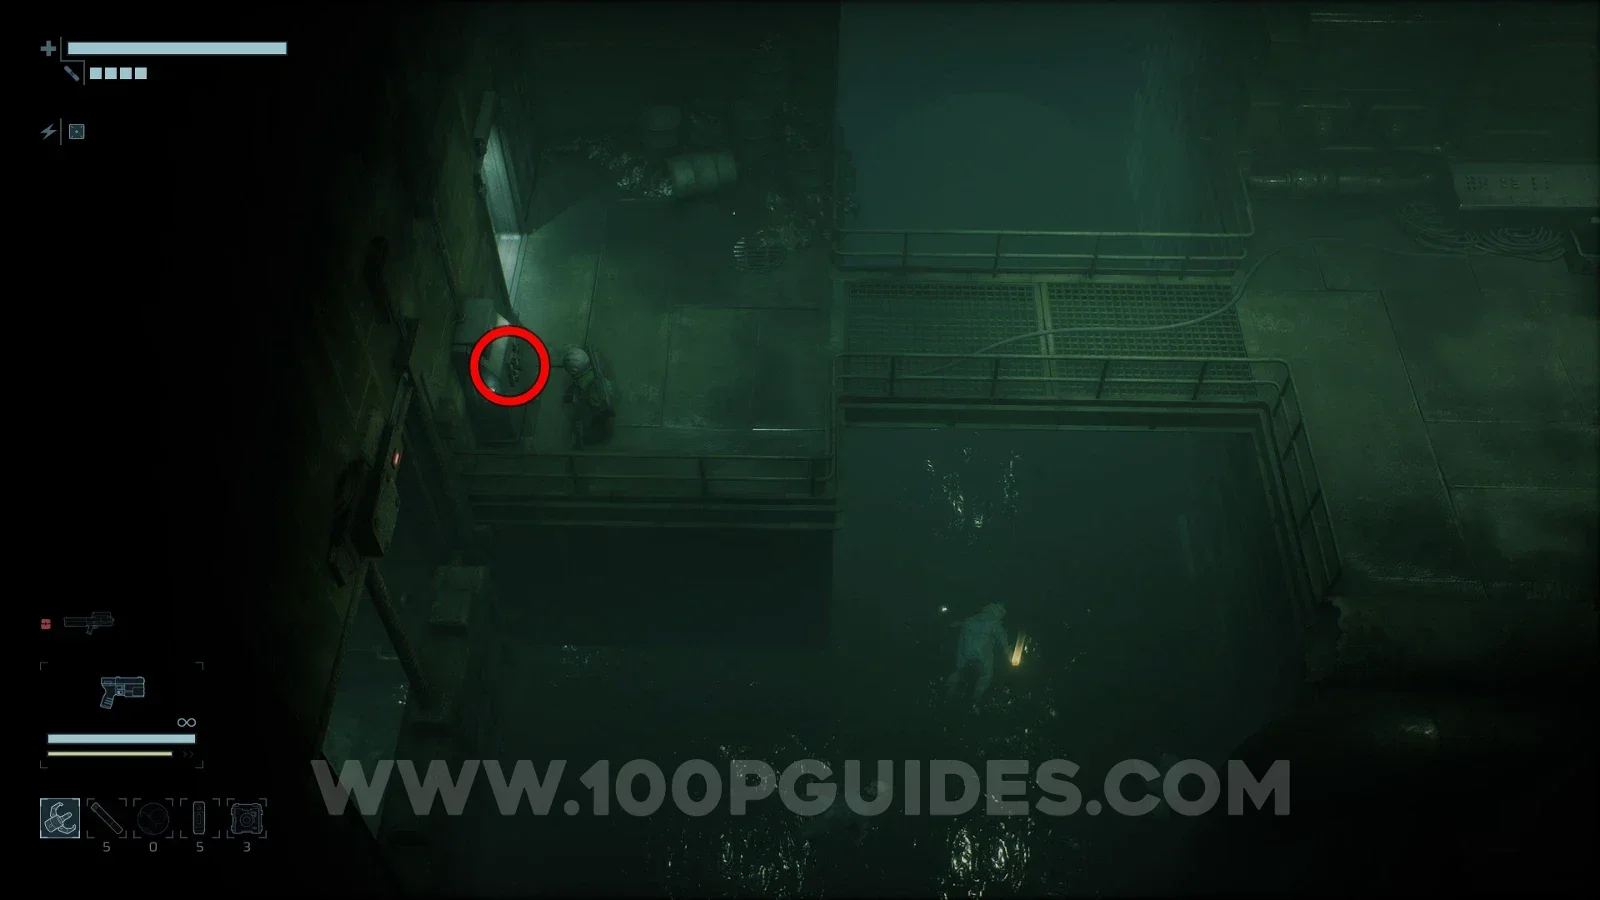
Next, activate the pump by interacting with the console in the room on the eastern side of B3 to drain the water in that area.
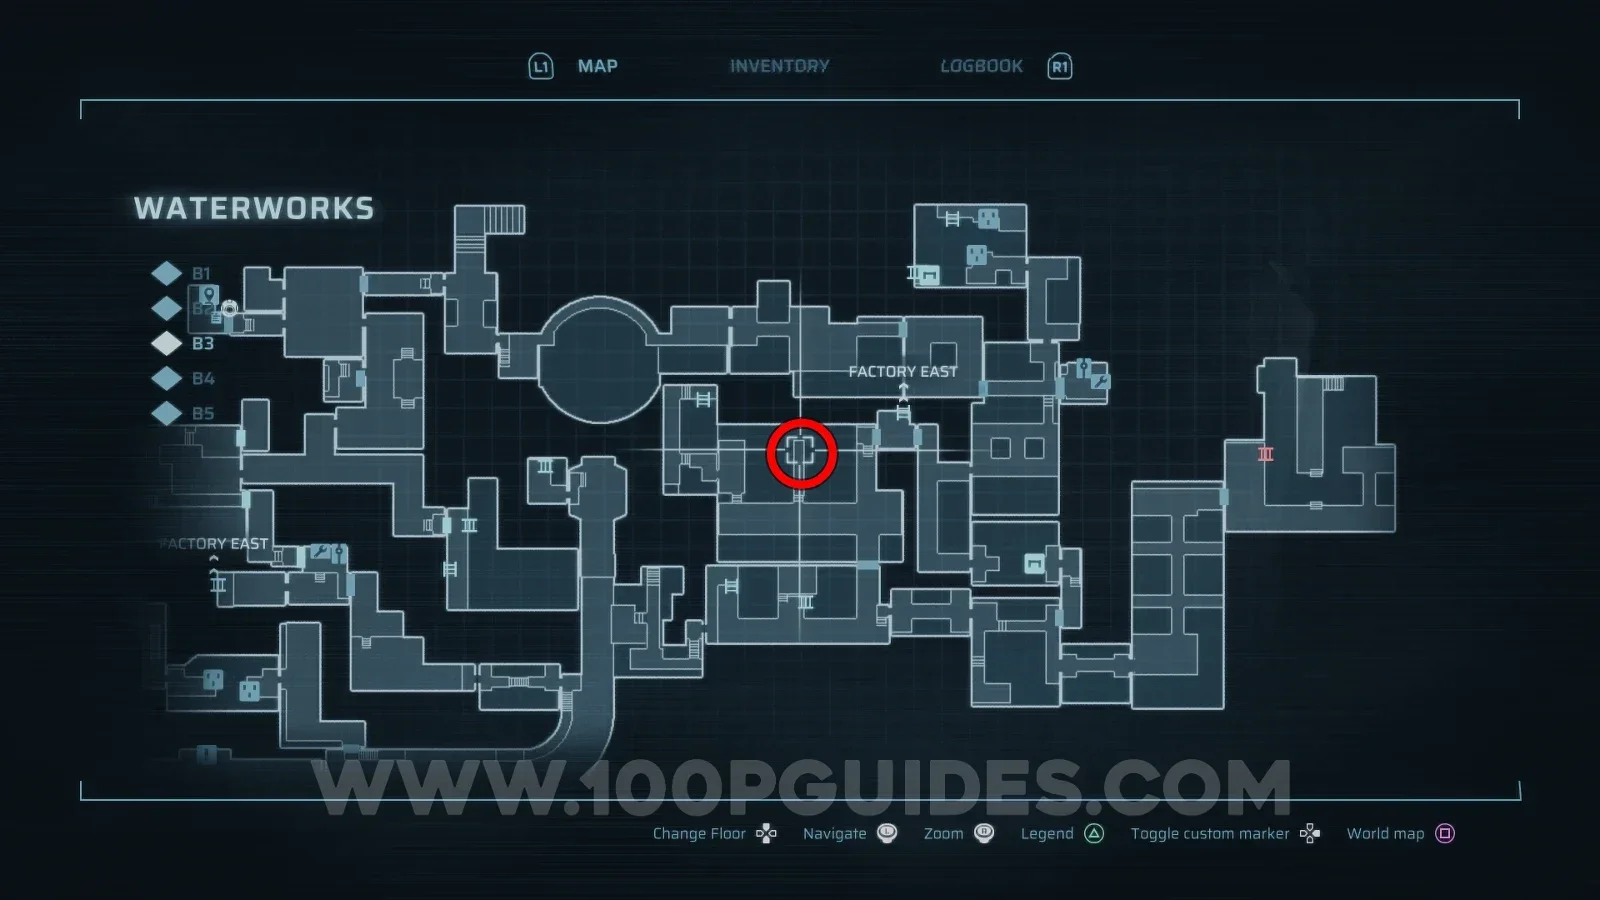
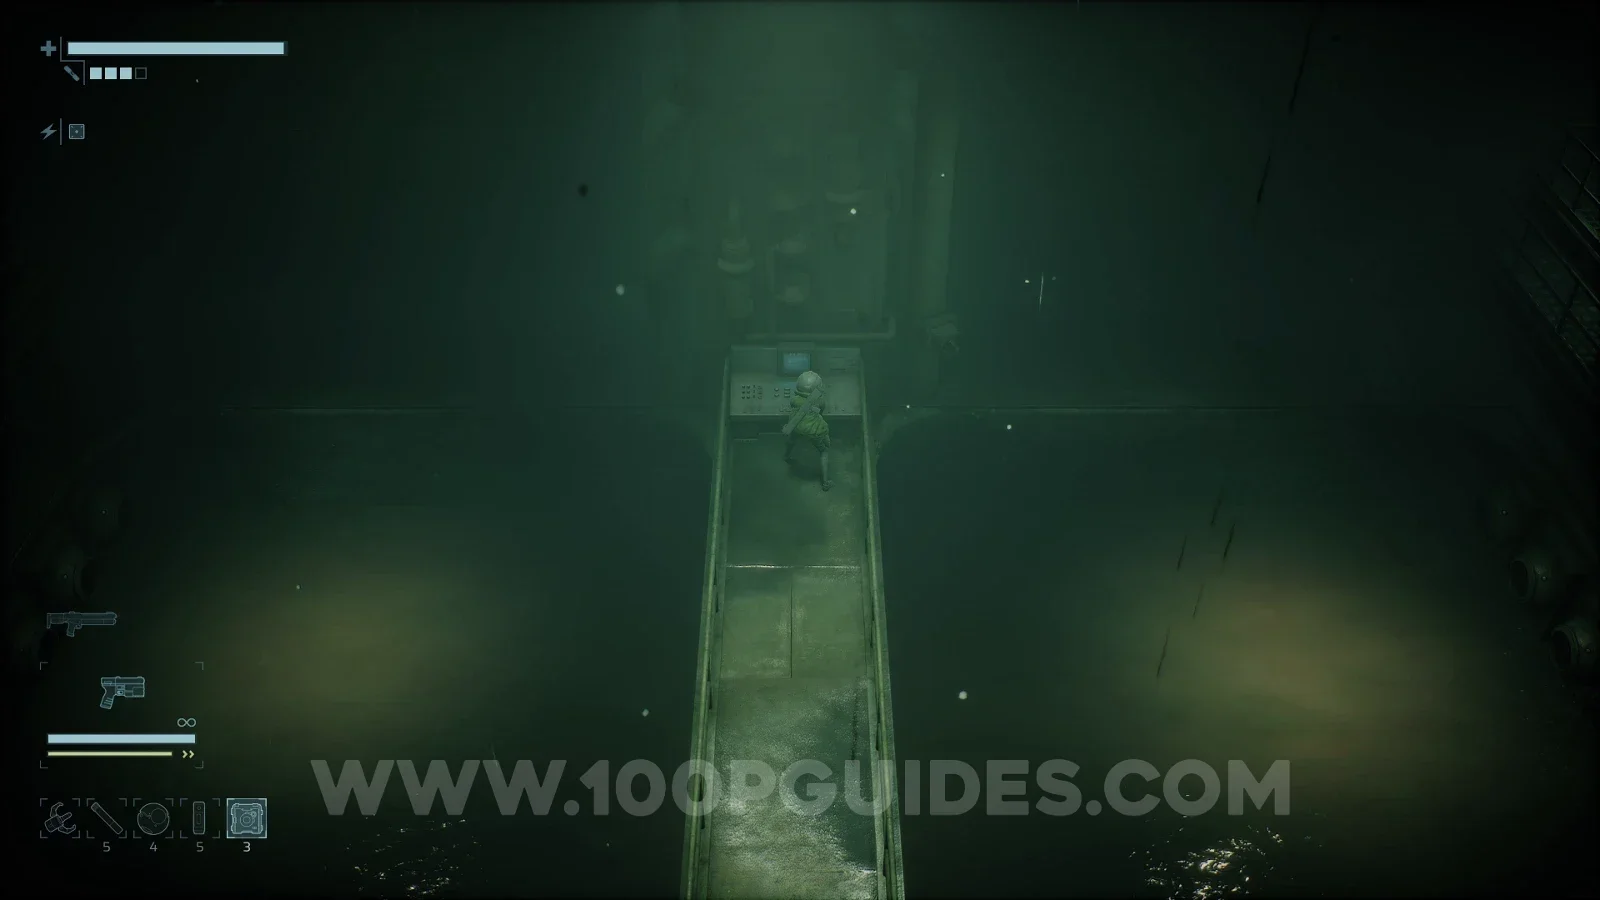
Then head out through the door to the left of the pump console and climb down the ladder. Continue along this path and head left to the end to find the alloy on the corpse that was dragged along by the water.
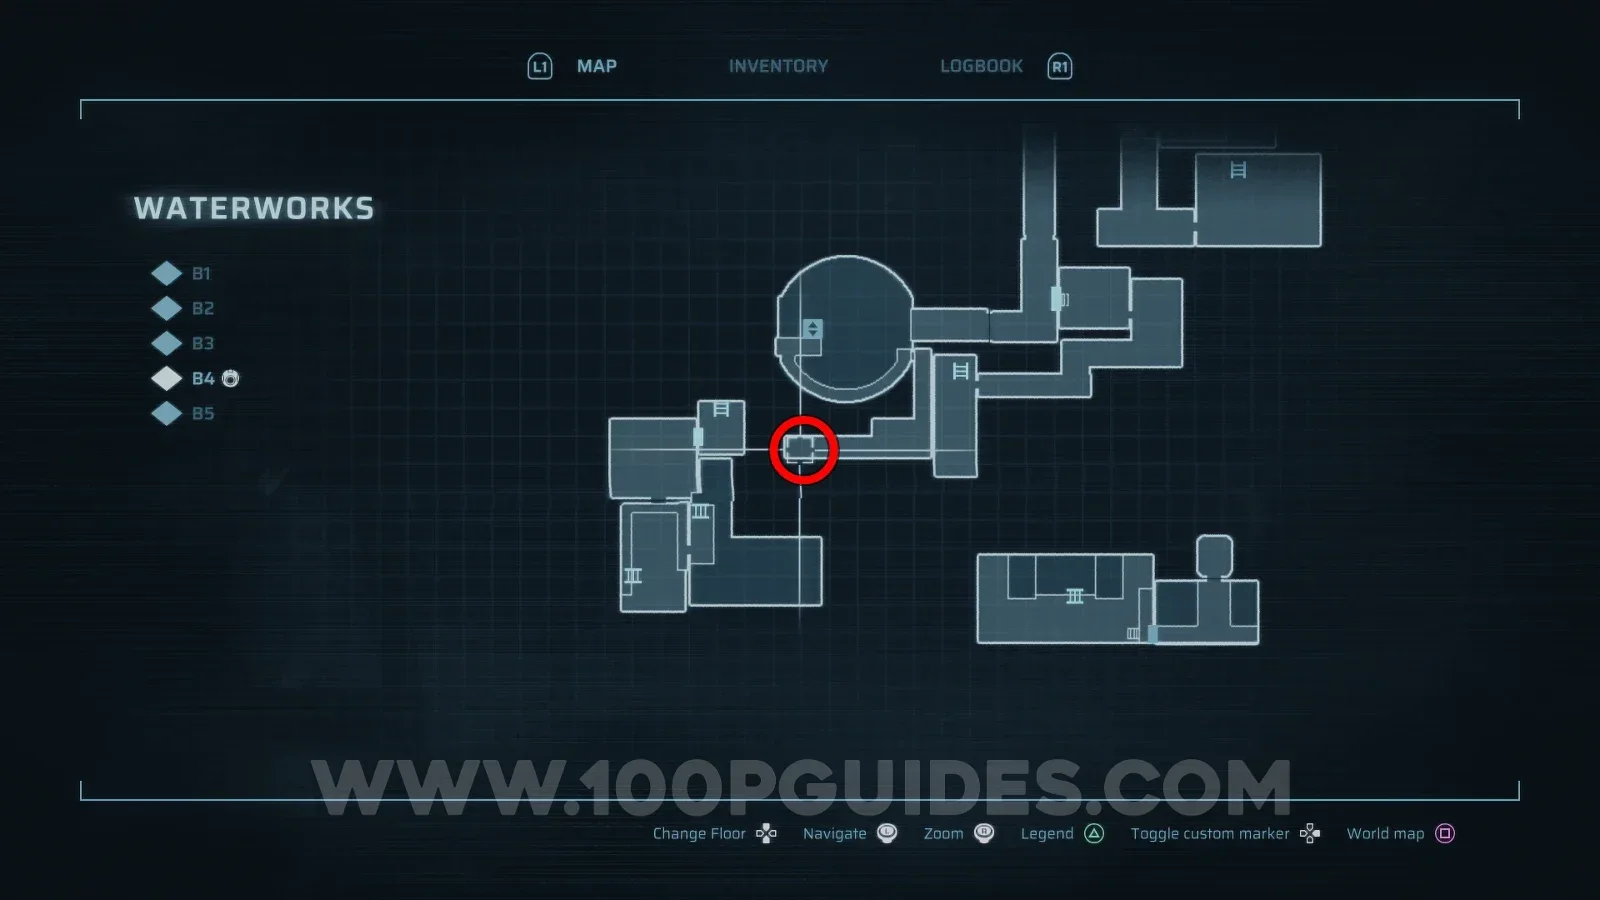
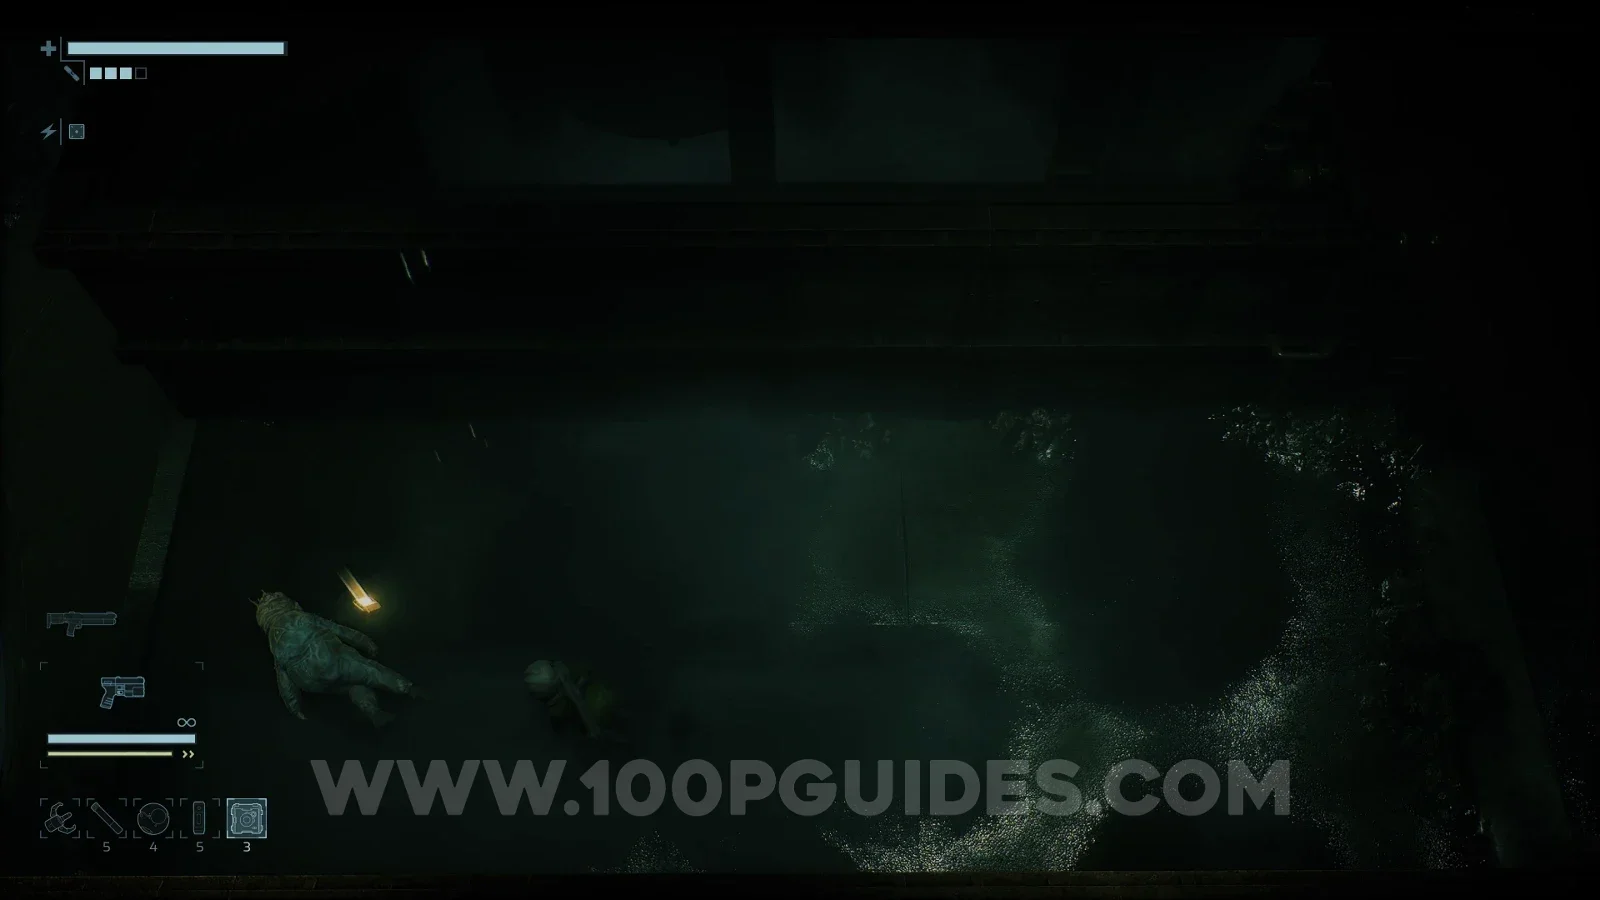
Complex Alloy #15
Containment Sector > F4.
Use an Explosive Charge on the wall to the right of the room with the bridge puzzle. The alloy is on the other side.
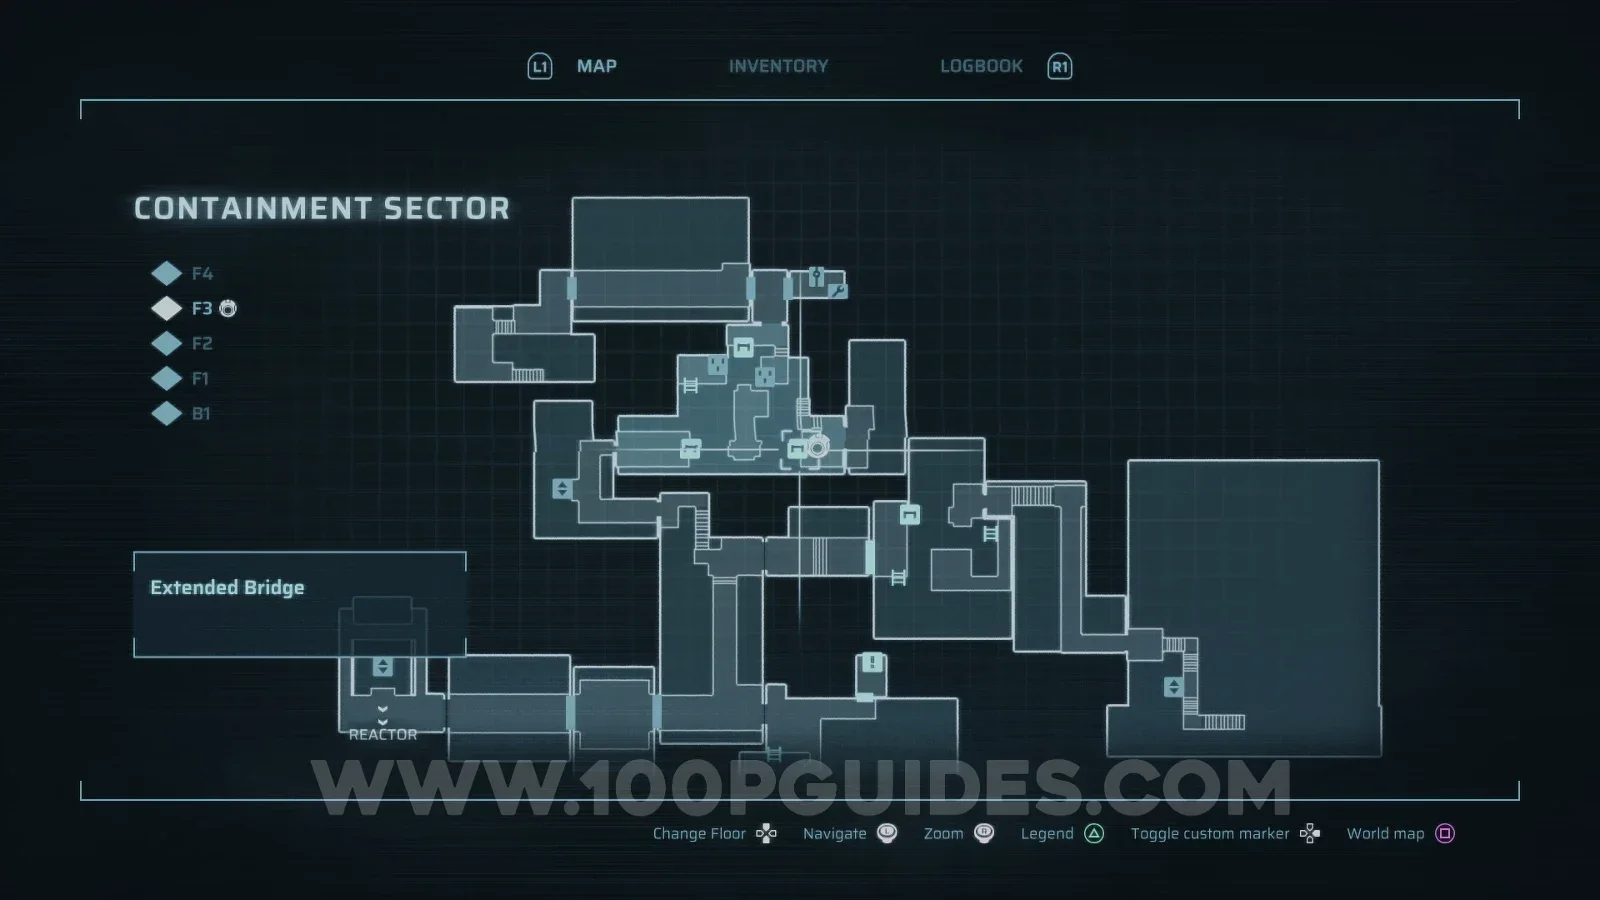
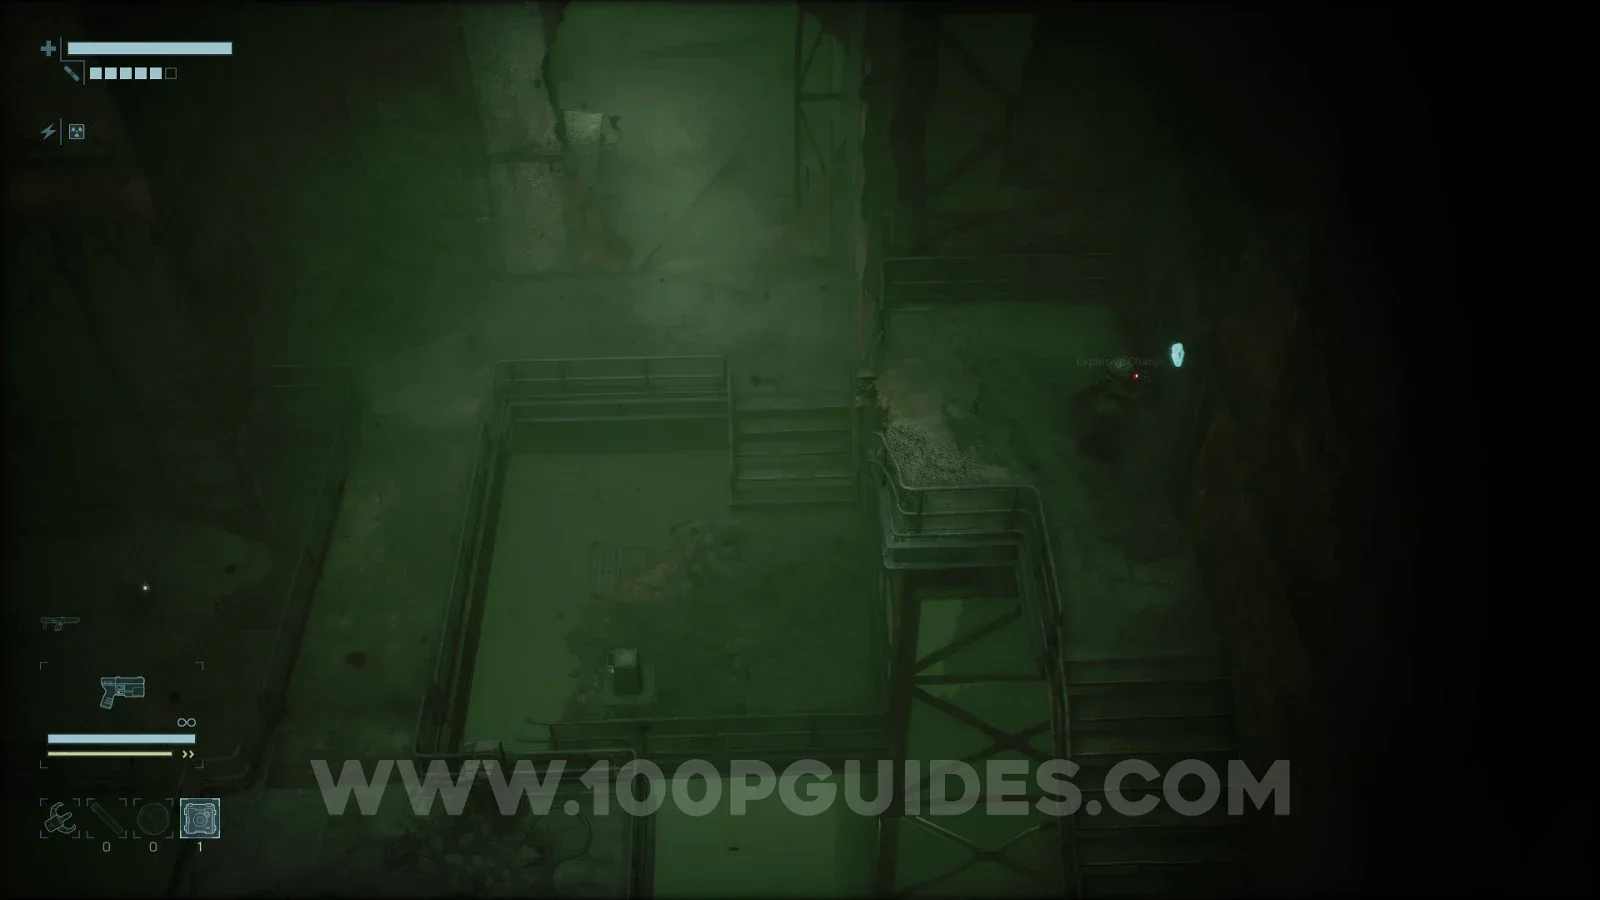
Complex Alloy #16
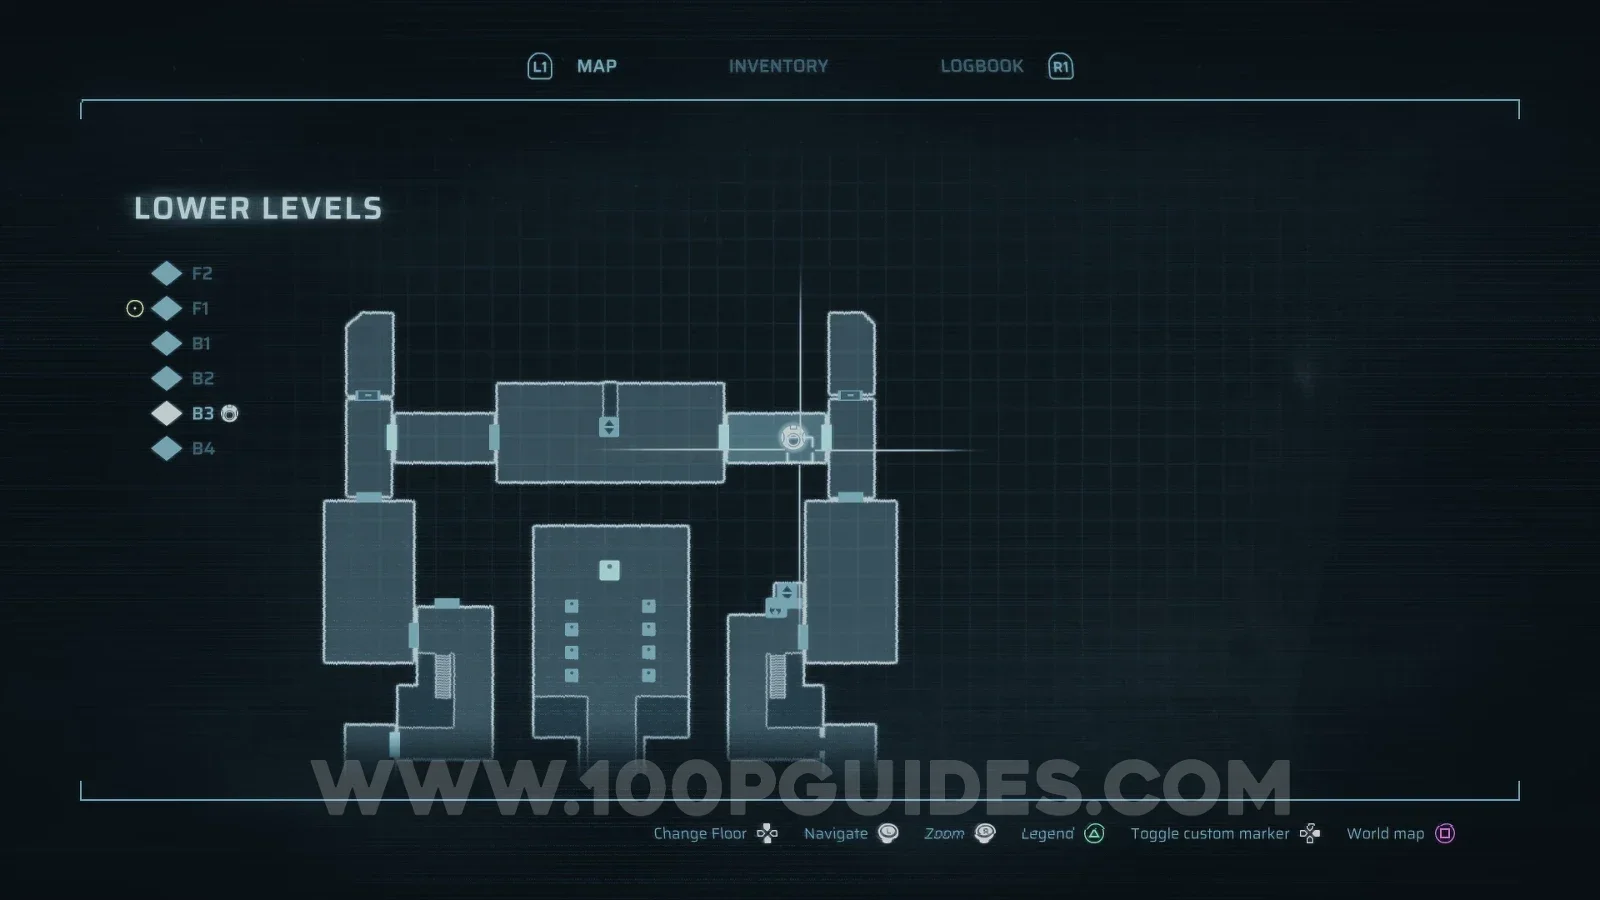
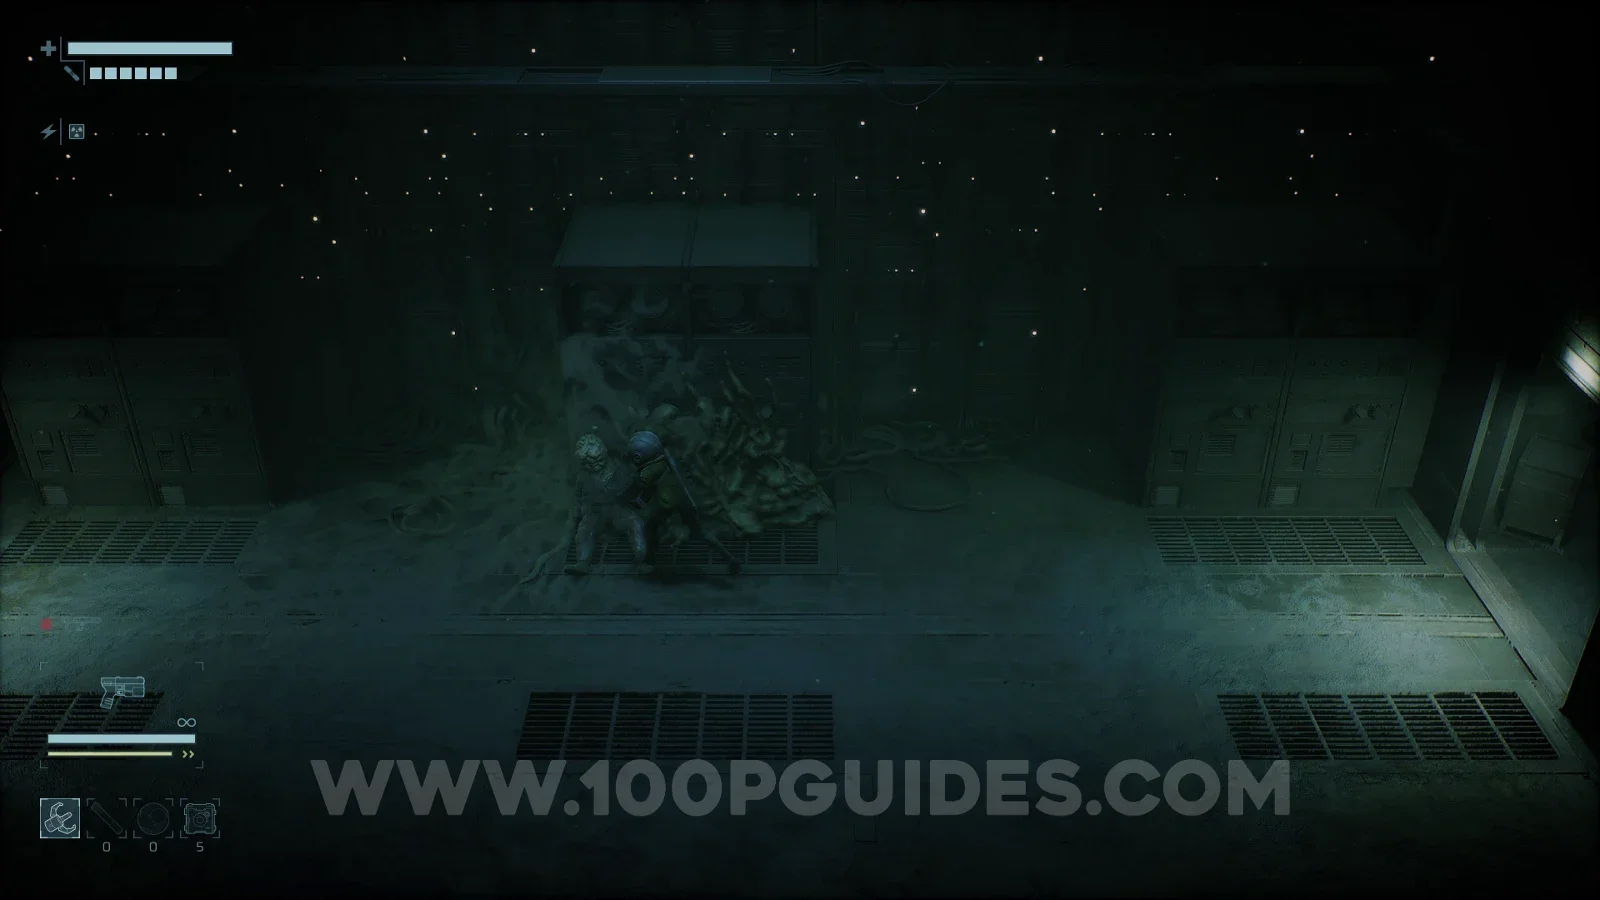
Lower Levels > B3.
Search the corpse (approach this room from the right).
Complex Alloy #17
Containment Sector > B1.
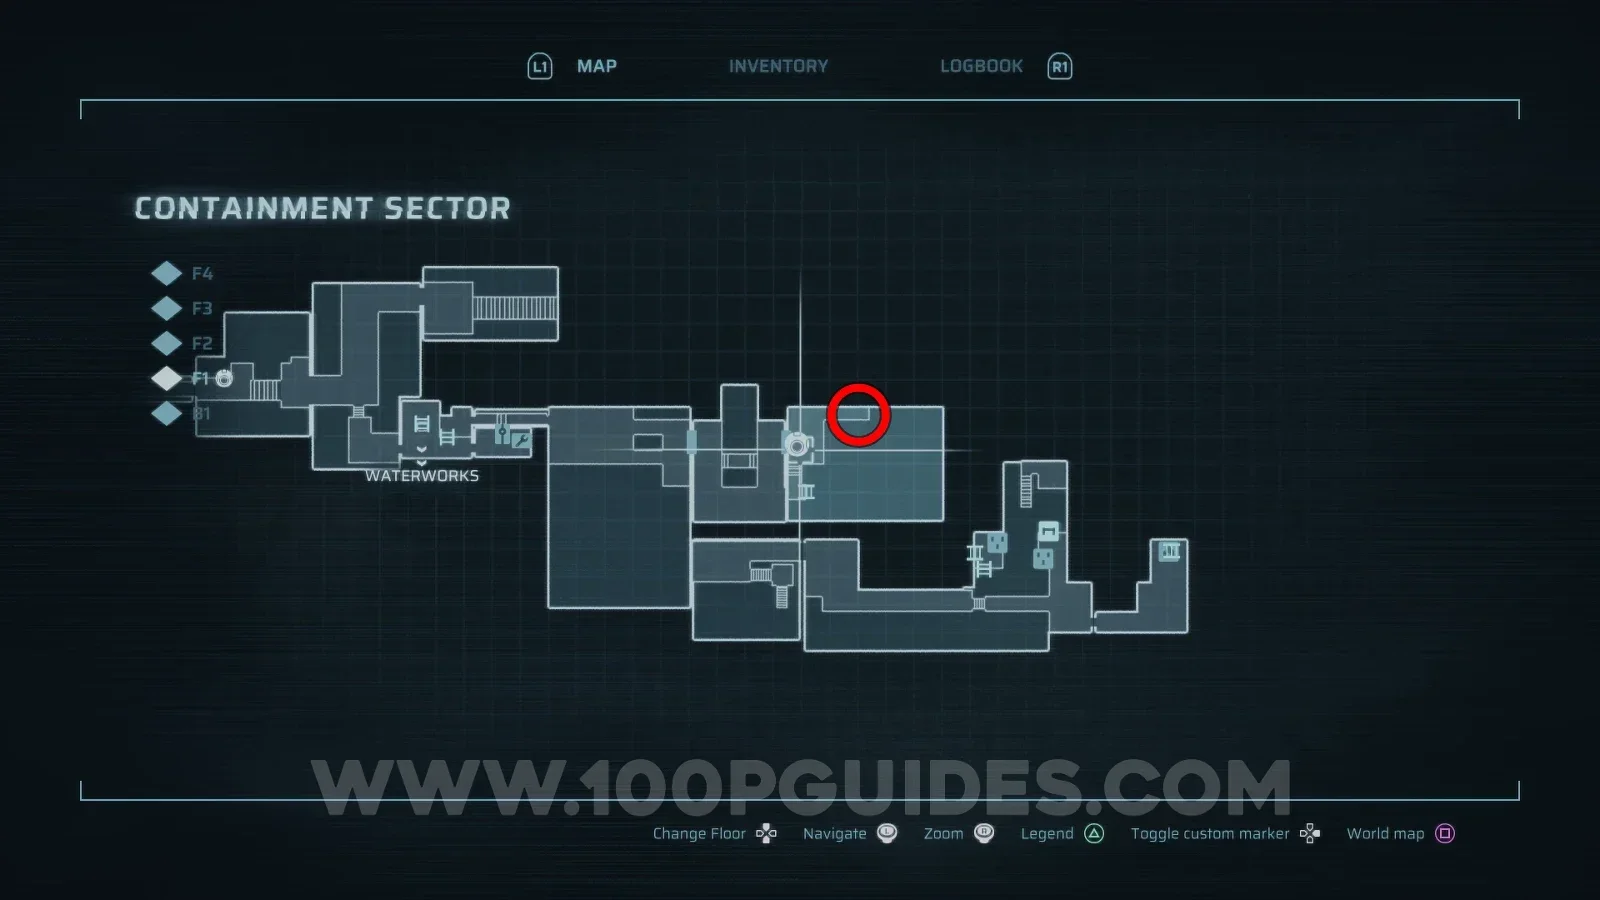
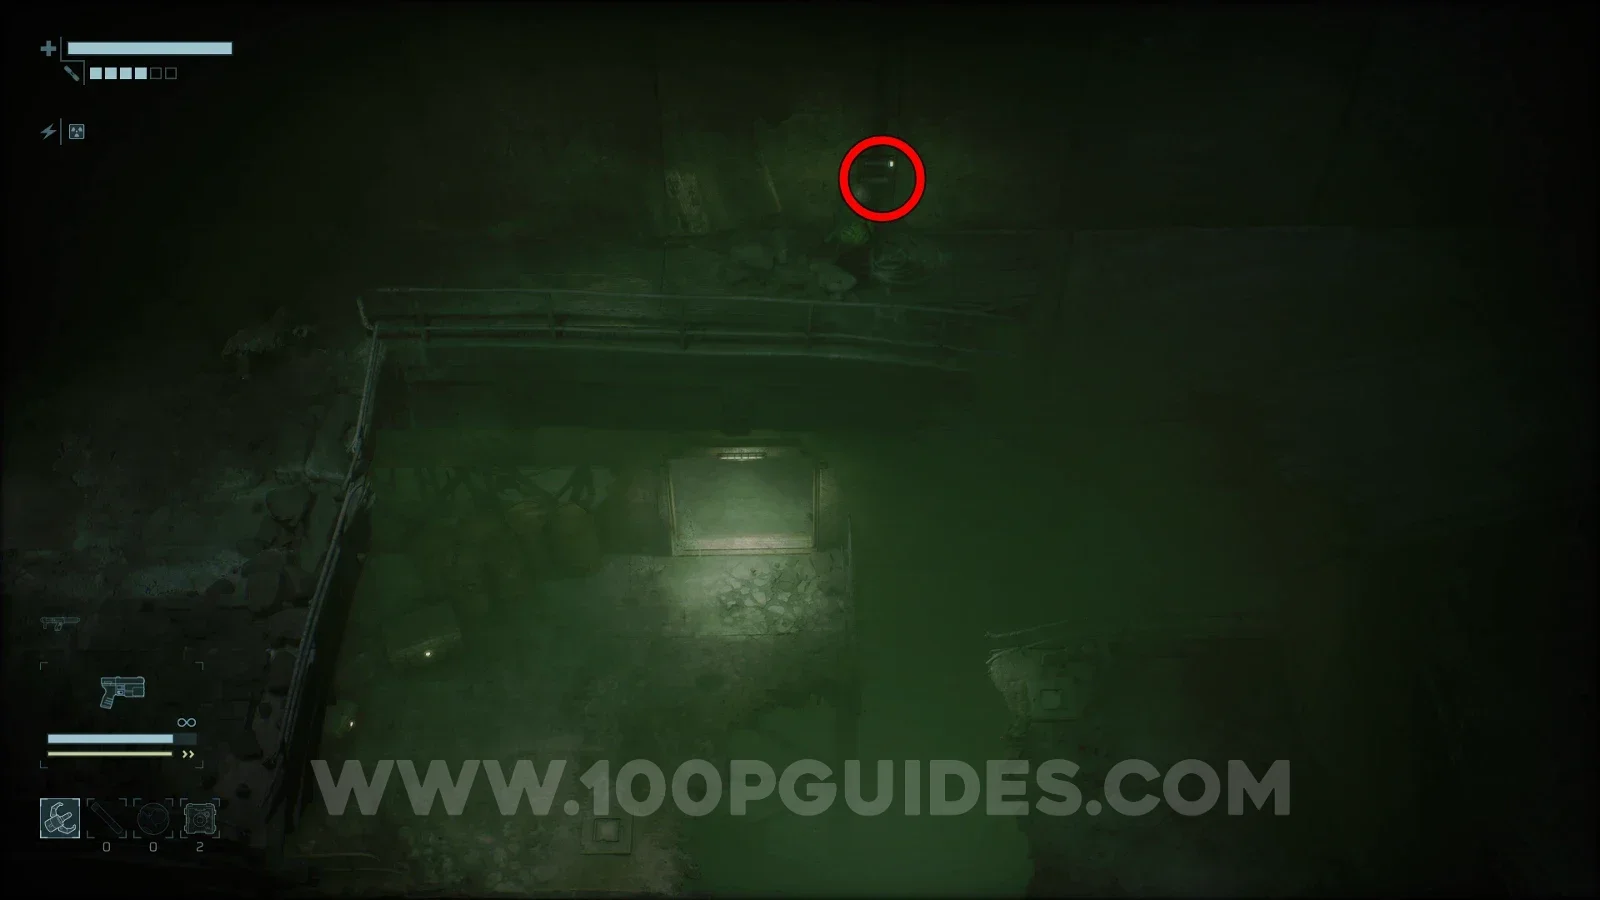
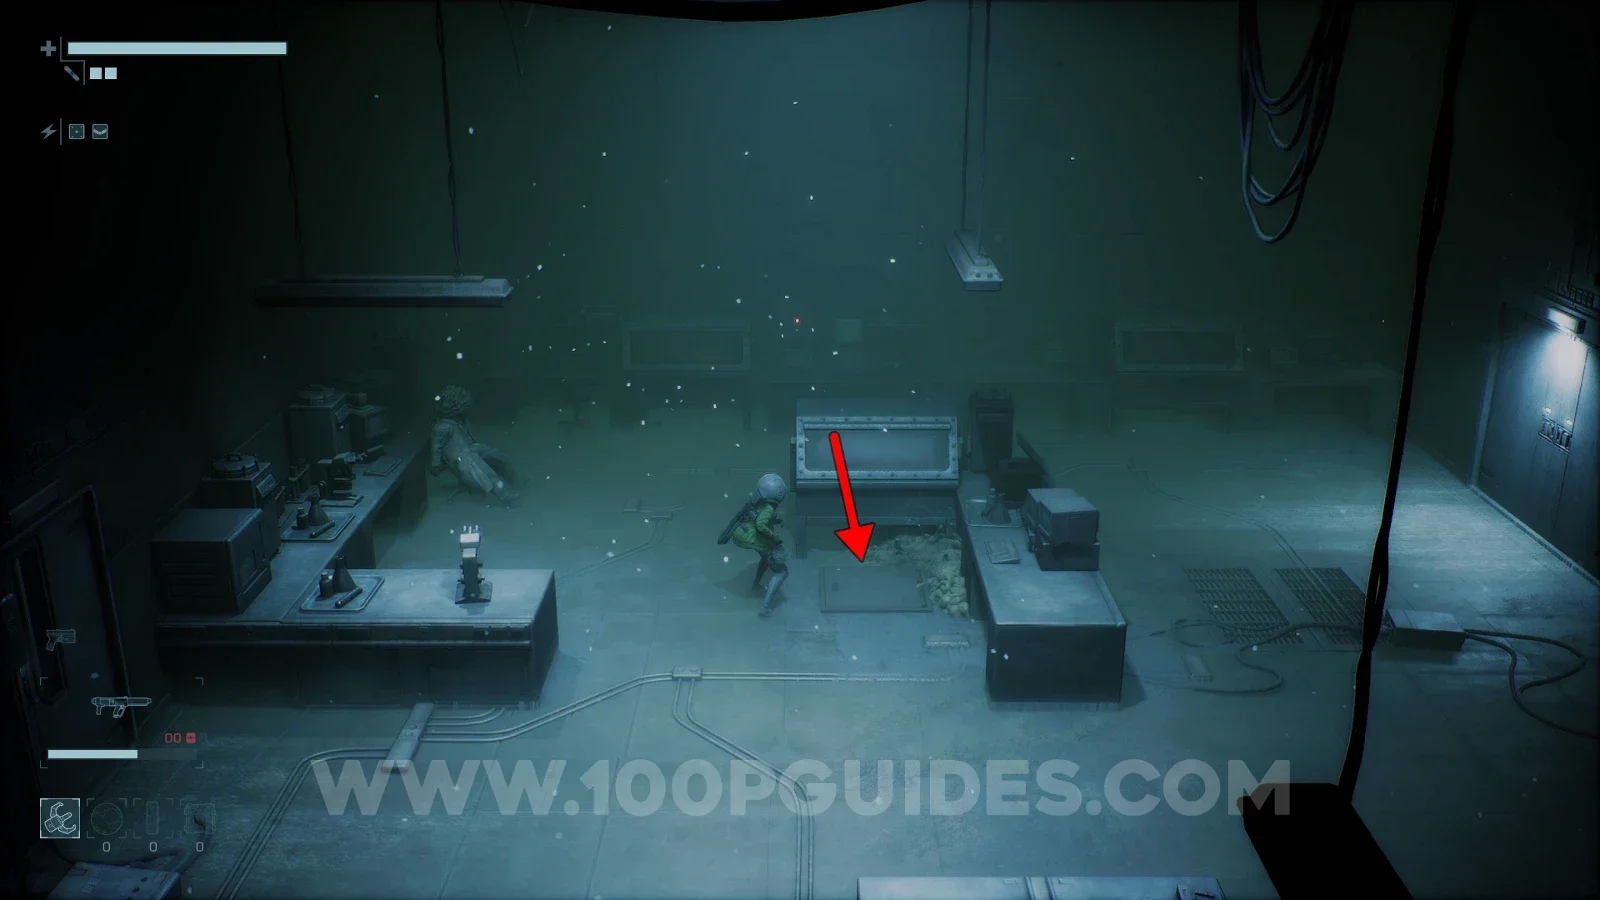
Start by going to the spot on F1 shown in the screenshot below and pressing the switch to reveal a grappling point below. Then head down the ladder at the bottom of the screen and go through the door on your left. In the next room, head out through the door in the bottom right.
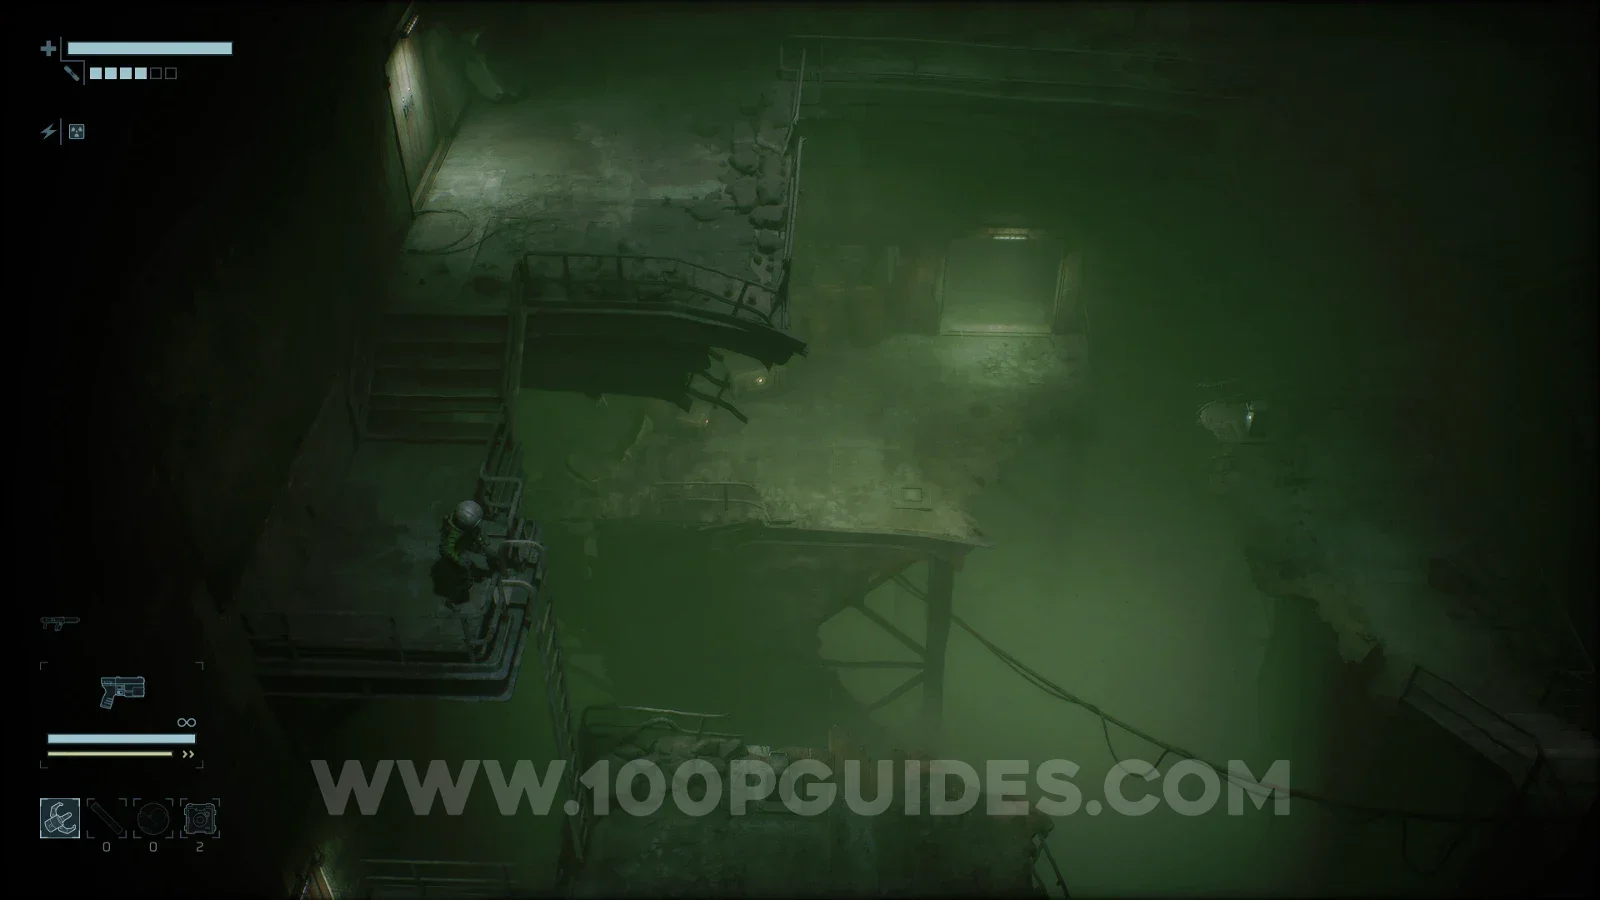
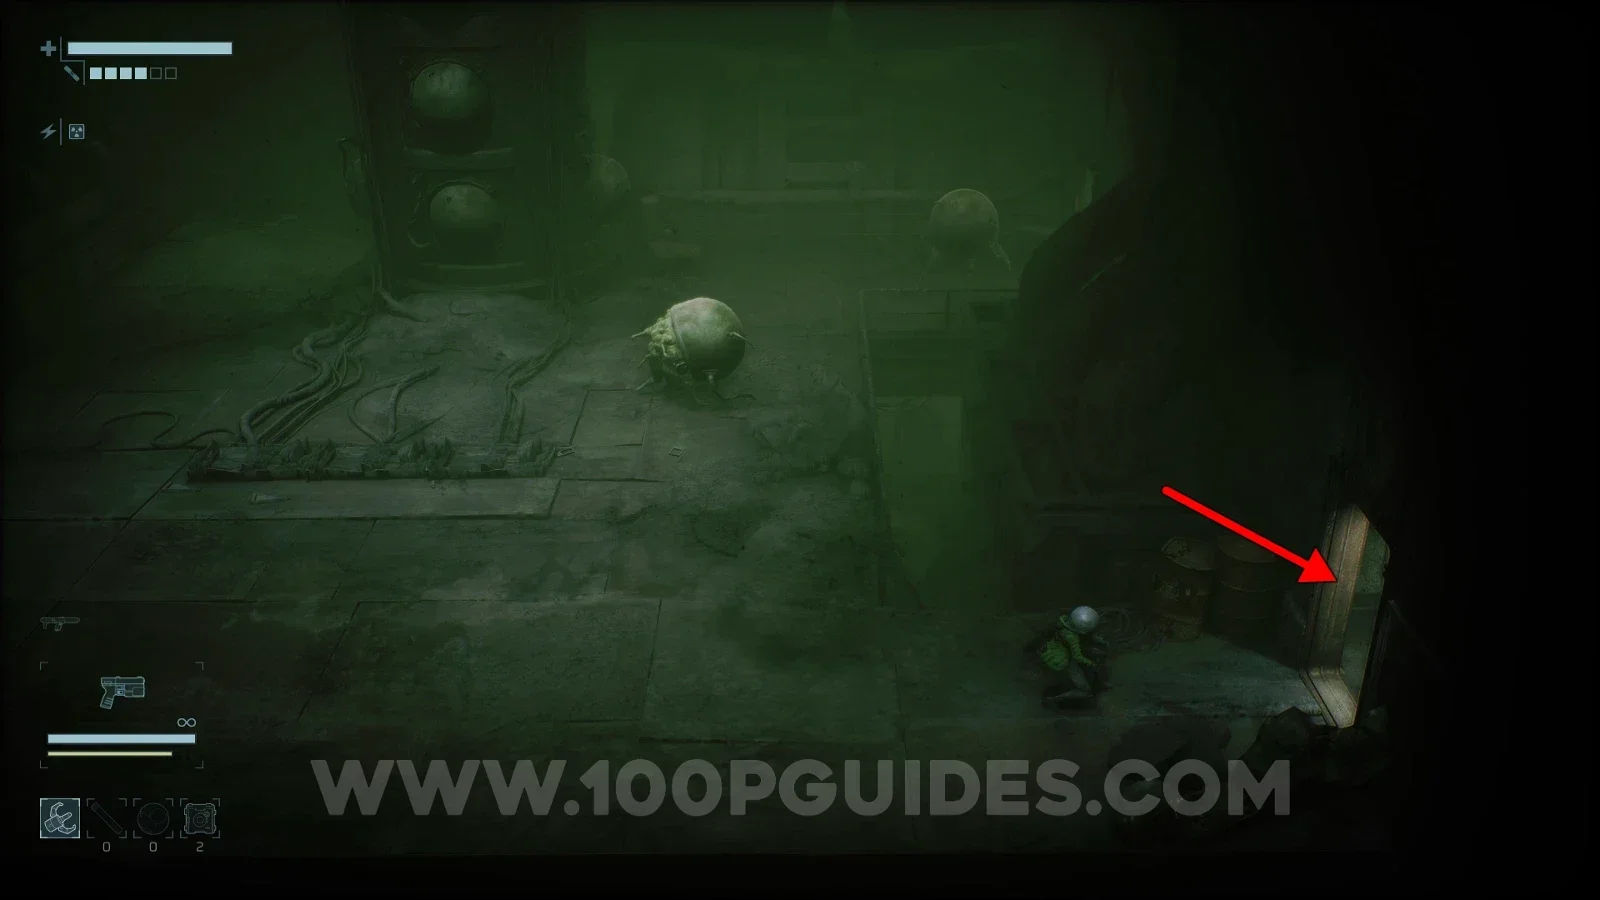
After that, continue along this path until you see a grappling point to the north. Here, use the switch on the wall to the right, then grapple across the gap on your left to the new grappling point. Climb the ladder and use your Grappling Hook to hit the switch on the wall to the right. This will extend the bridge below.
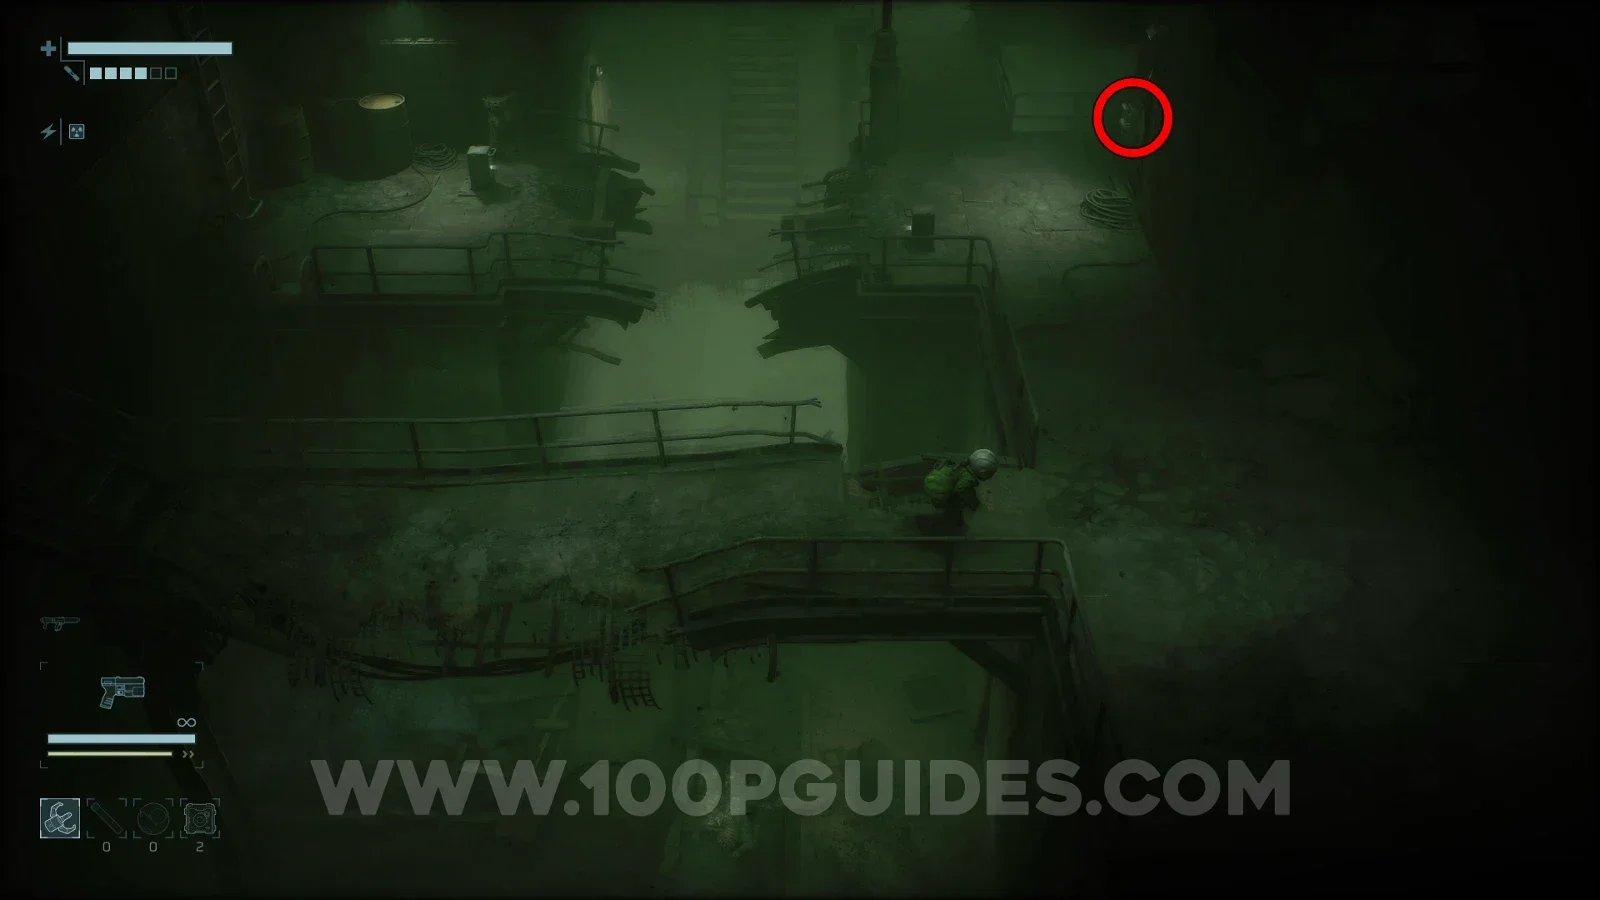
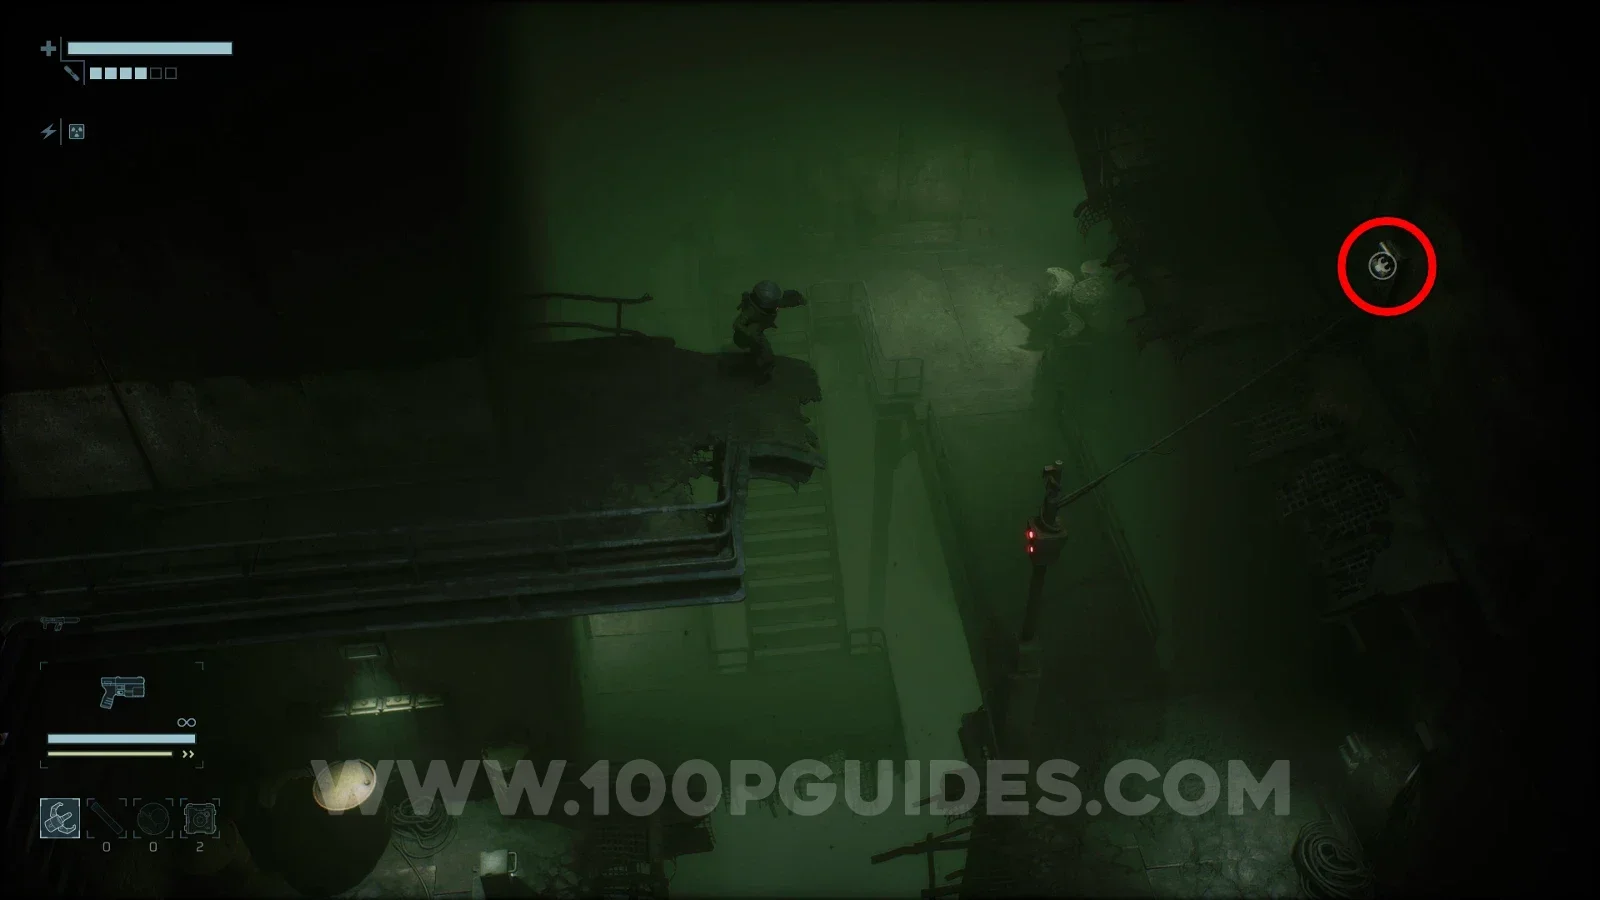
Cross the bridge and head down the stairs. In the next room, activate the switch, then use the grappling point you revealed at the start to cross the gap and find the alloy in the chest.
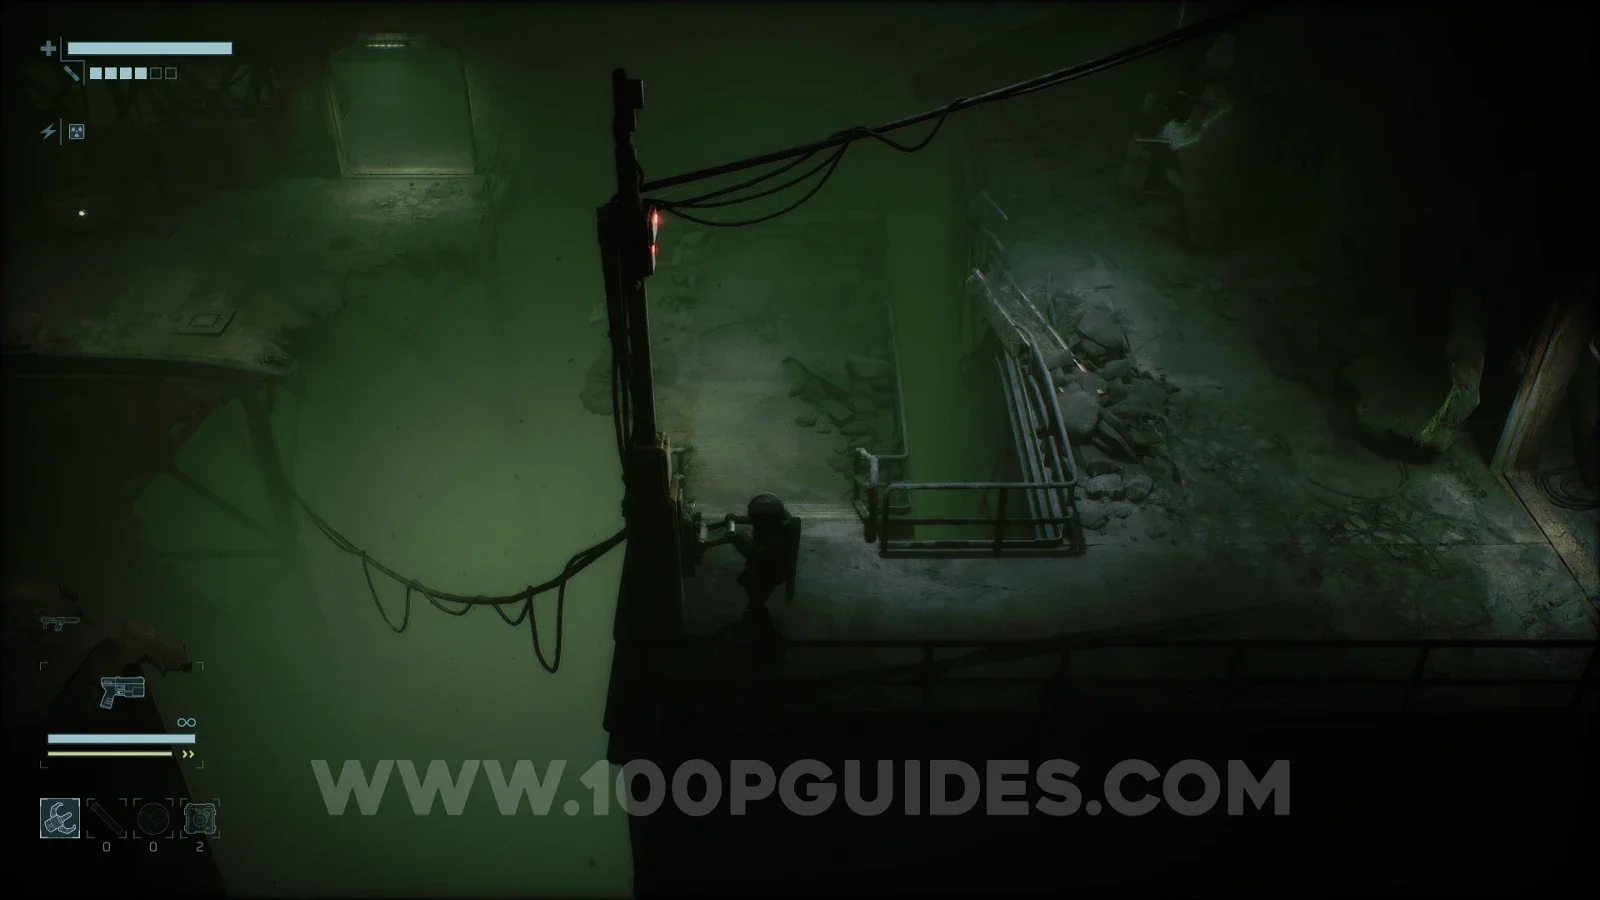
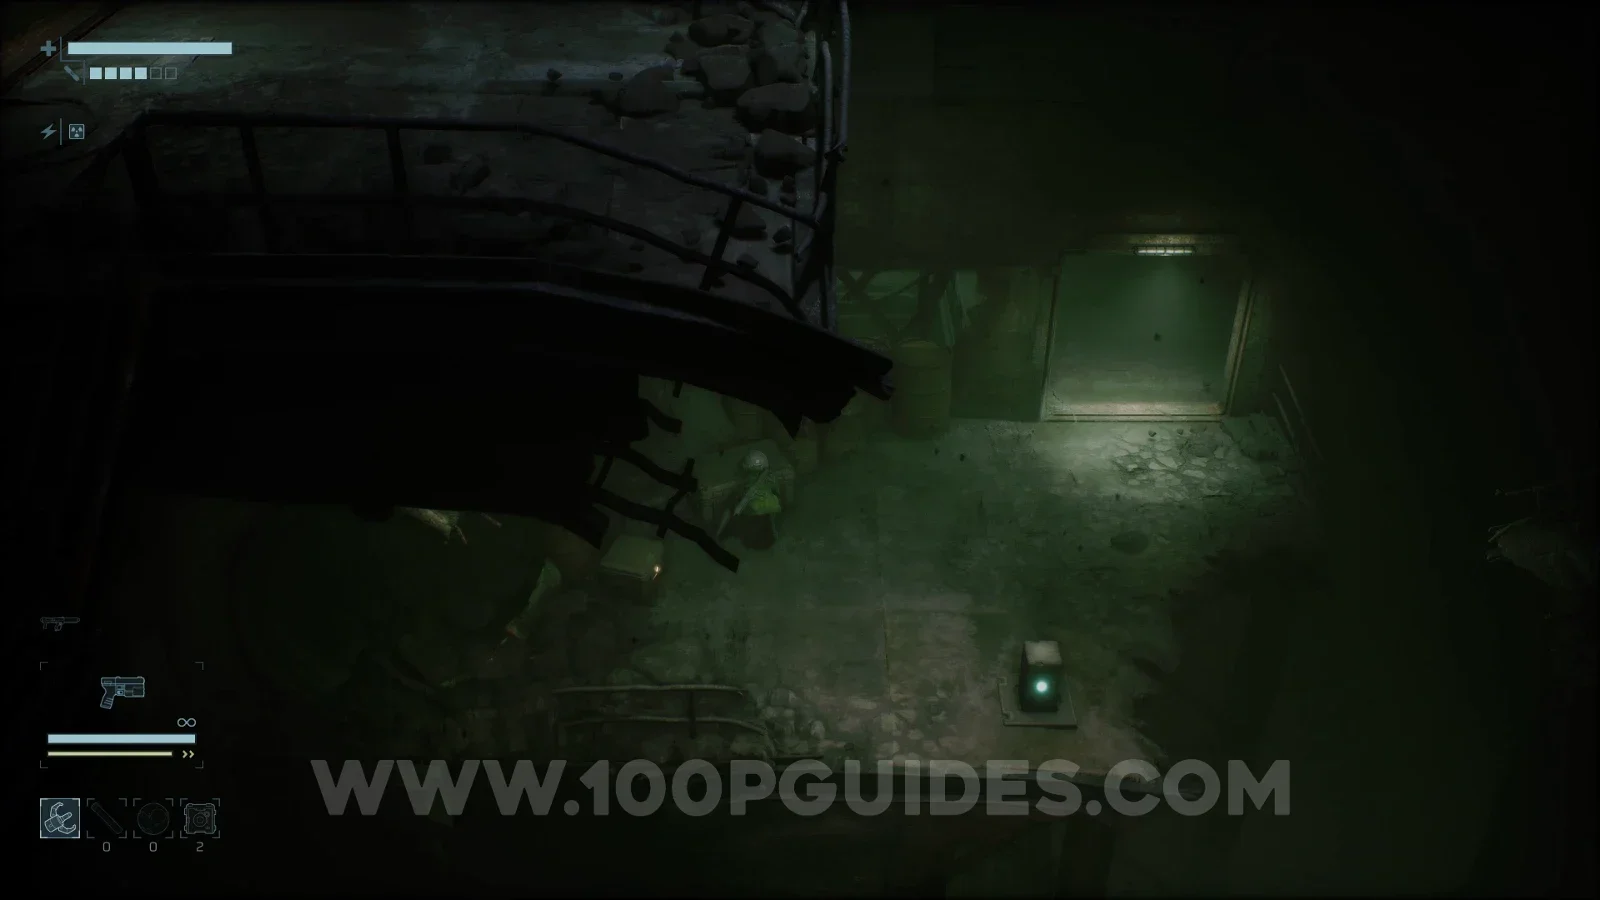
Complex Alloy #18
Lower Levels > F1.
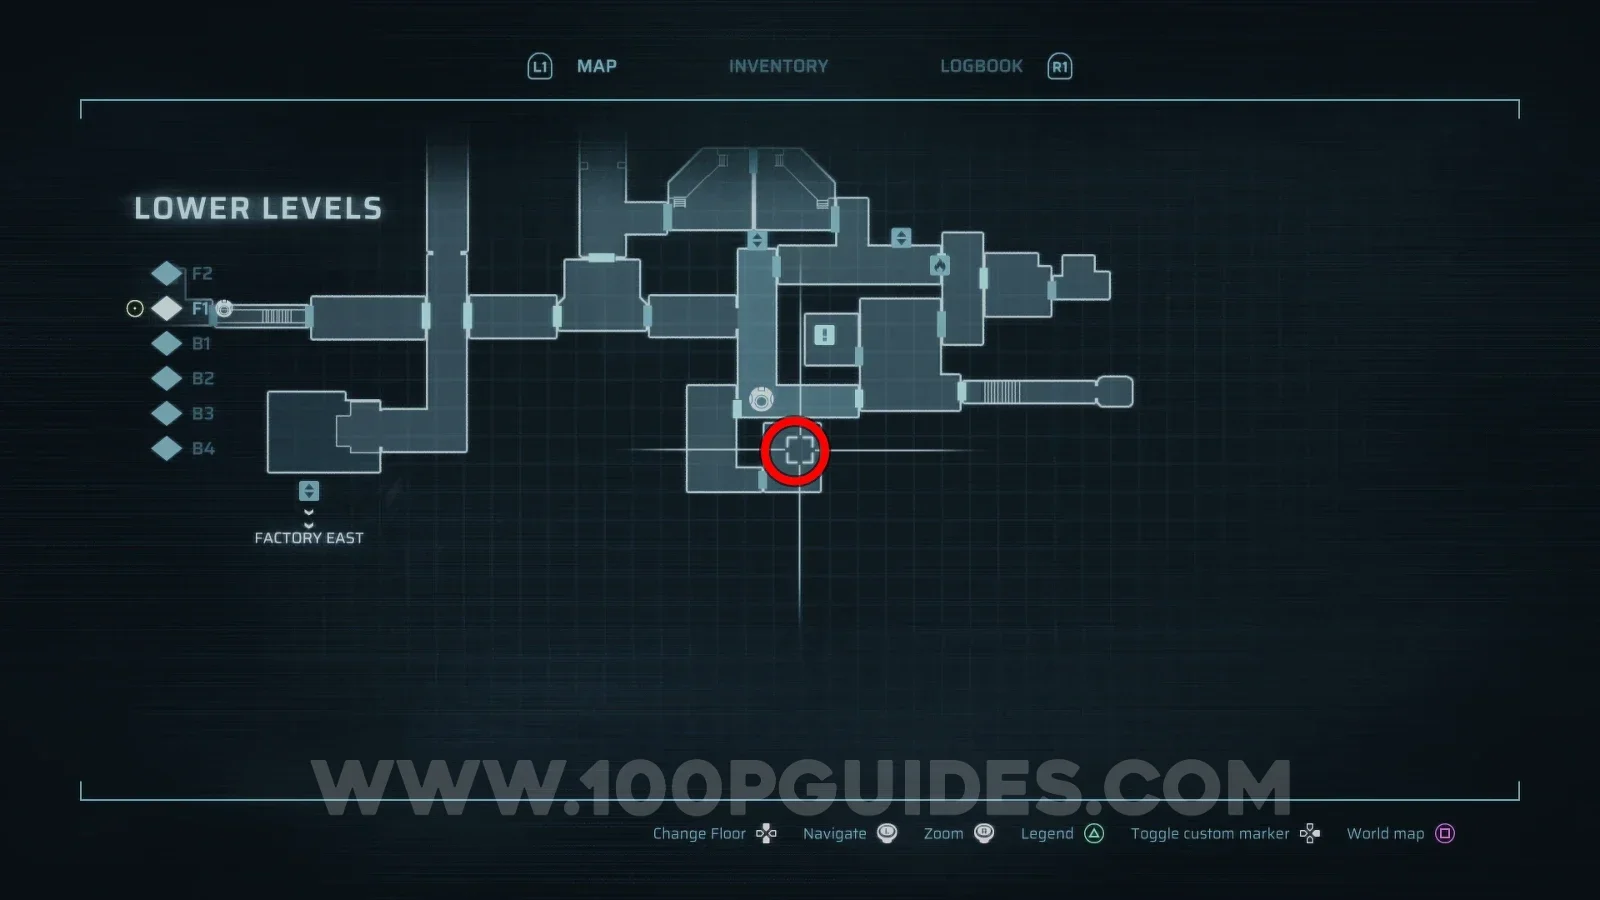
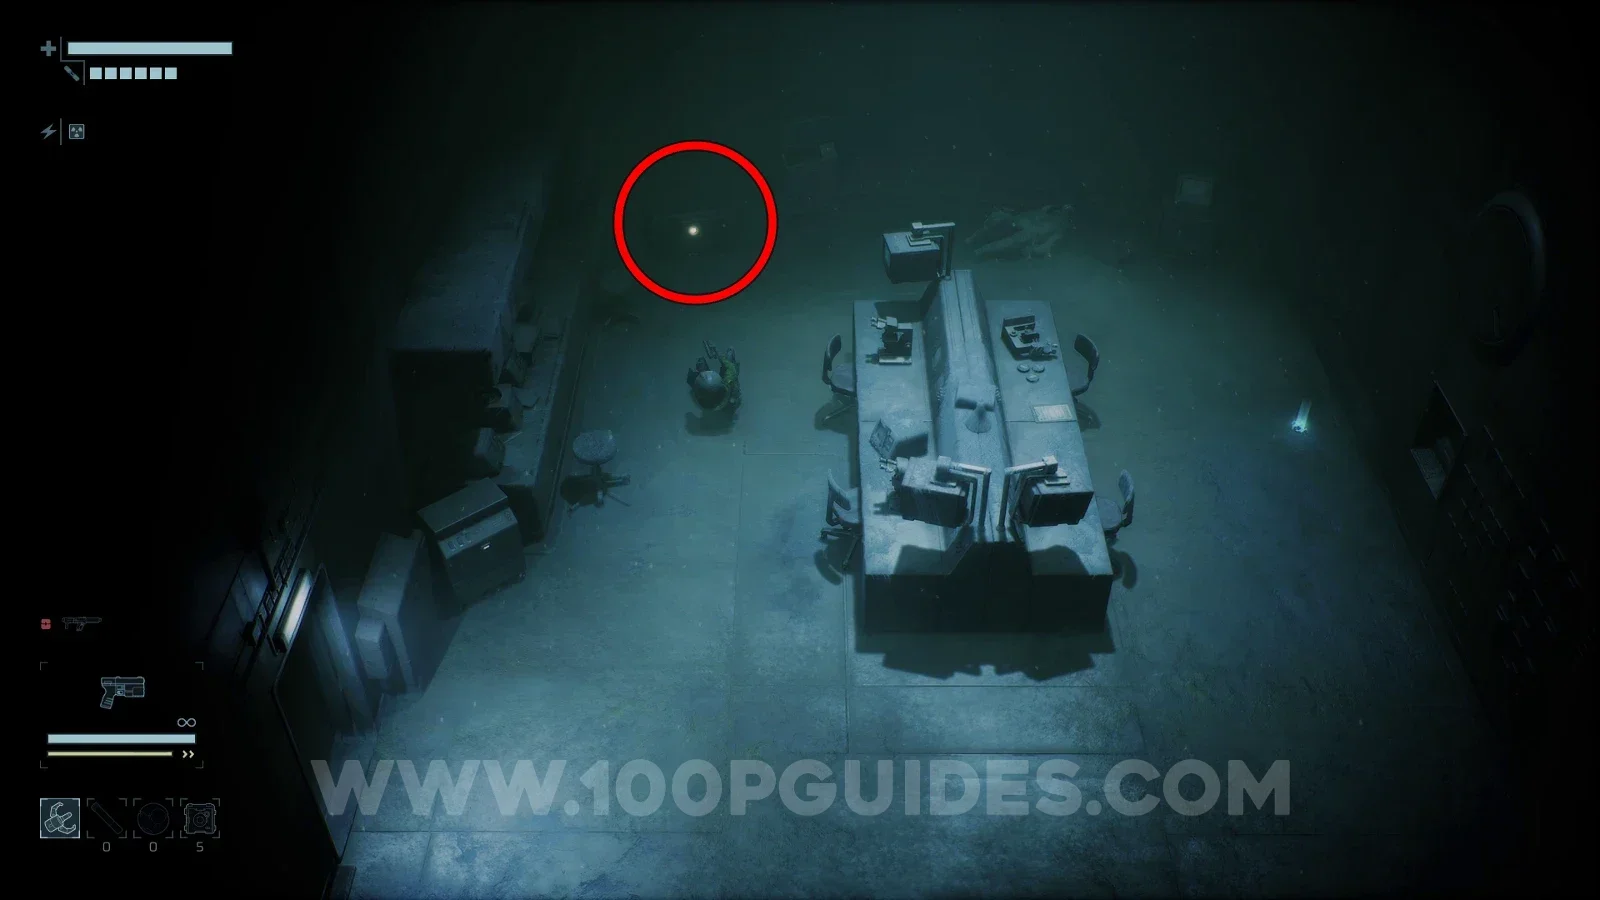
First, you need to get the Level 2 Access card, which can also be found in the Lower Levels. Burn down the wall on the right side of F1 with the Incinerator (the story-related flamethrower, also obtained in this area) and head into the large room. Here, look for a trap door in the middle and climb down. After coming out the other end of the vents, head right and loot the Level 2 card from the corpse.
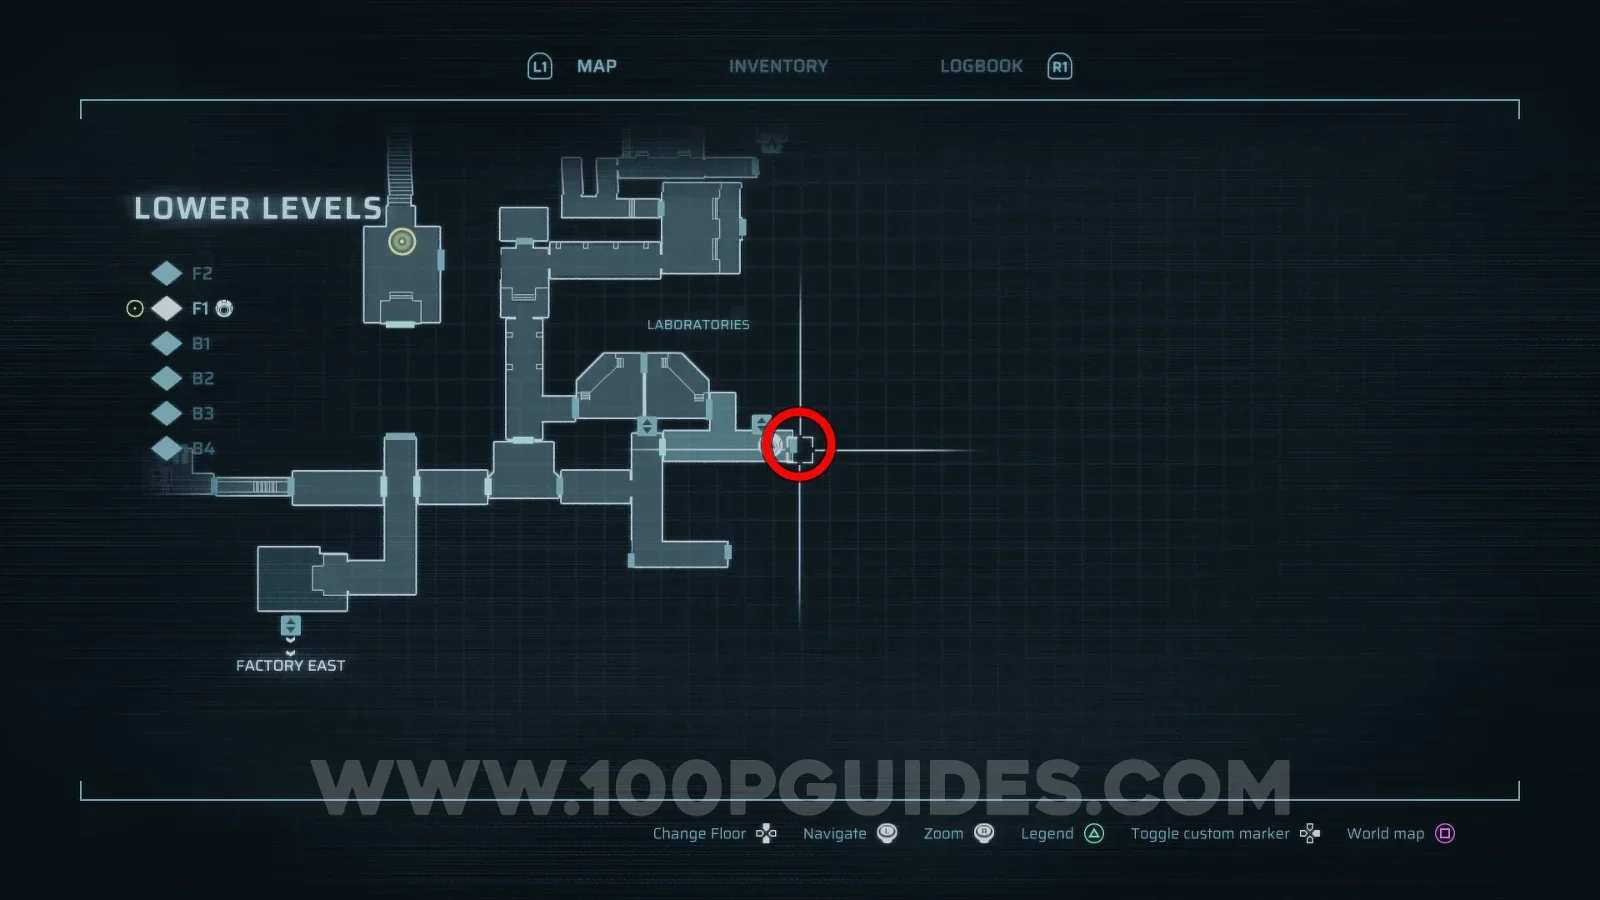
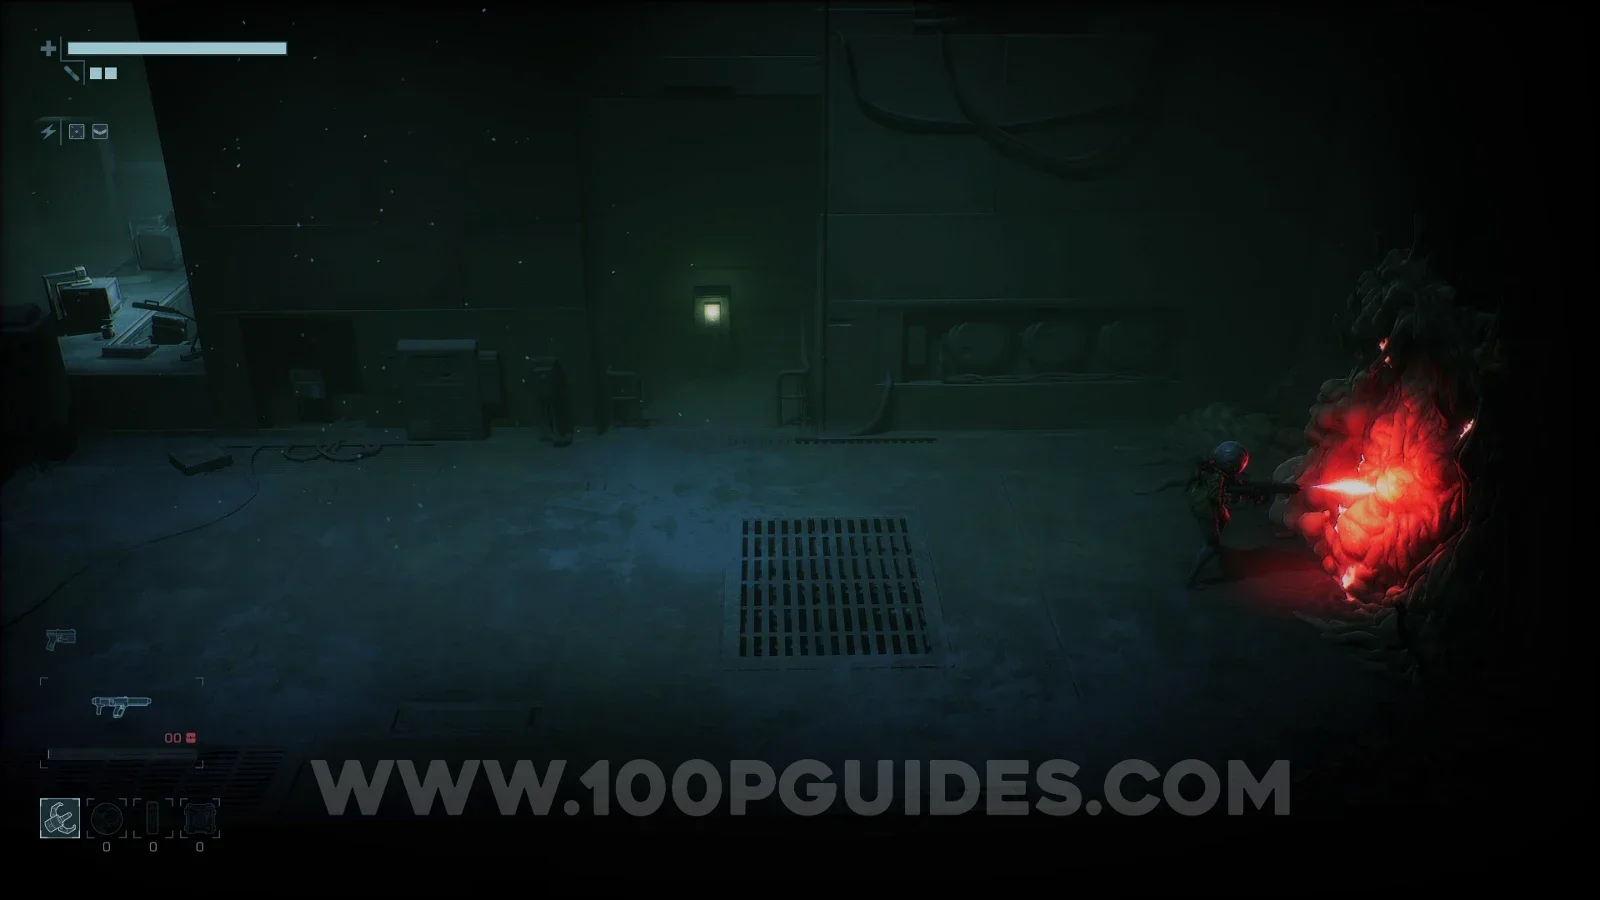
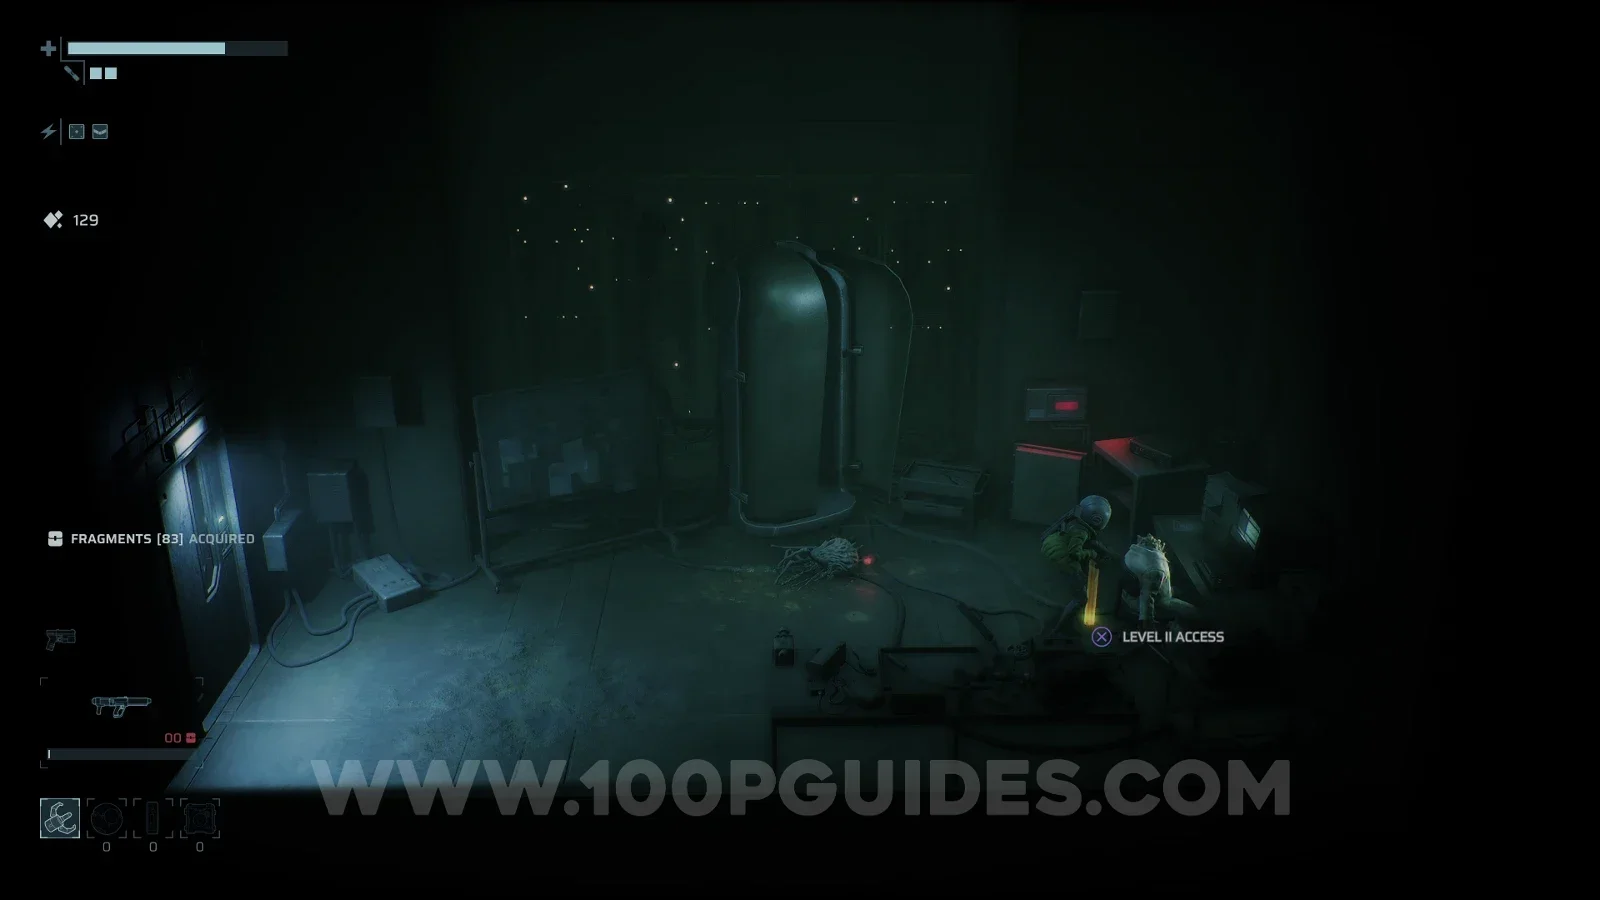
With the Level 2 Access card, head through the door at the bottom of F1. You will find the chest with the alloy in the second room.
Complex Alloy #19
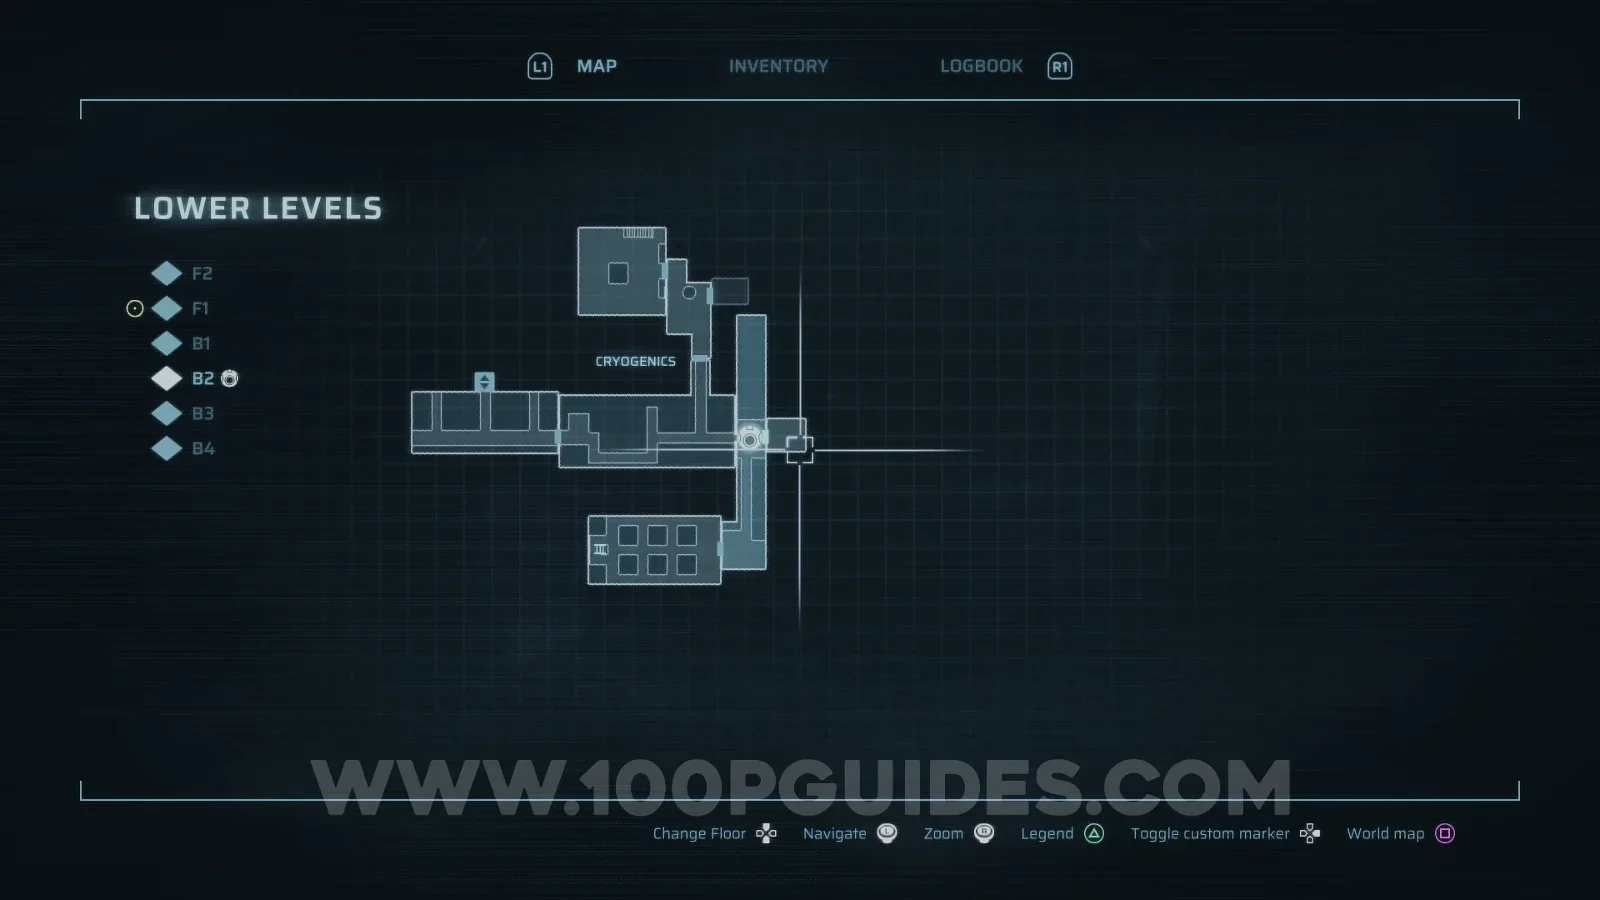
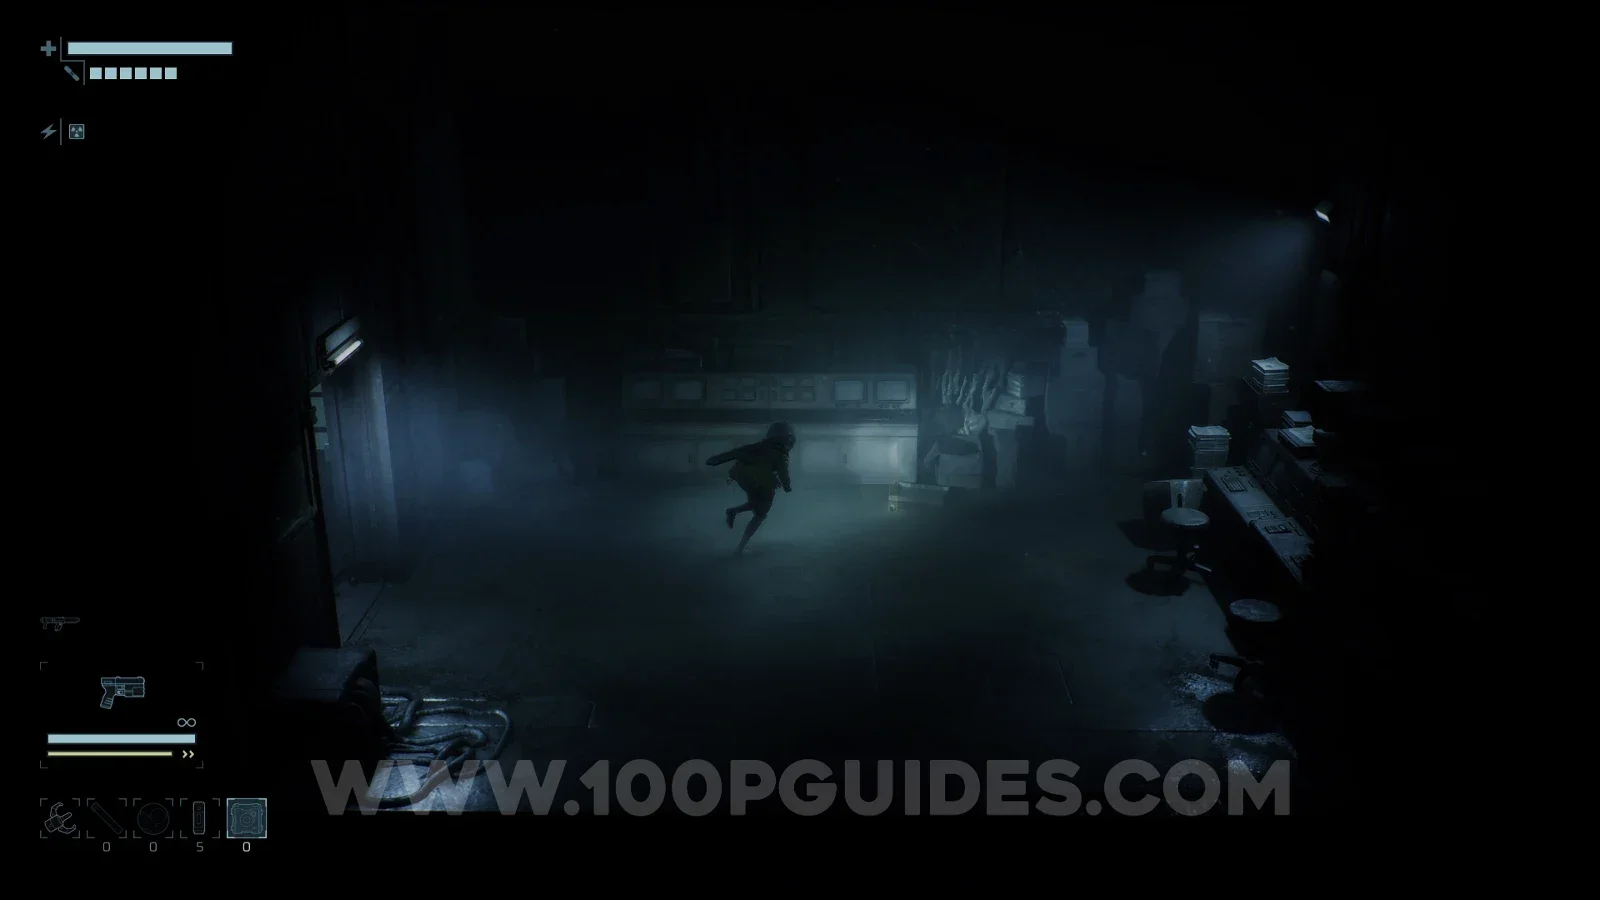
Lower Levels > B2.
Found in the small room on the right, close to where you get the Level 1 Access card during the main story. You will need that card to open the door.
Complex Alloy #20
Infirmary > B1.
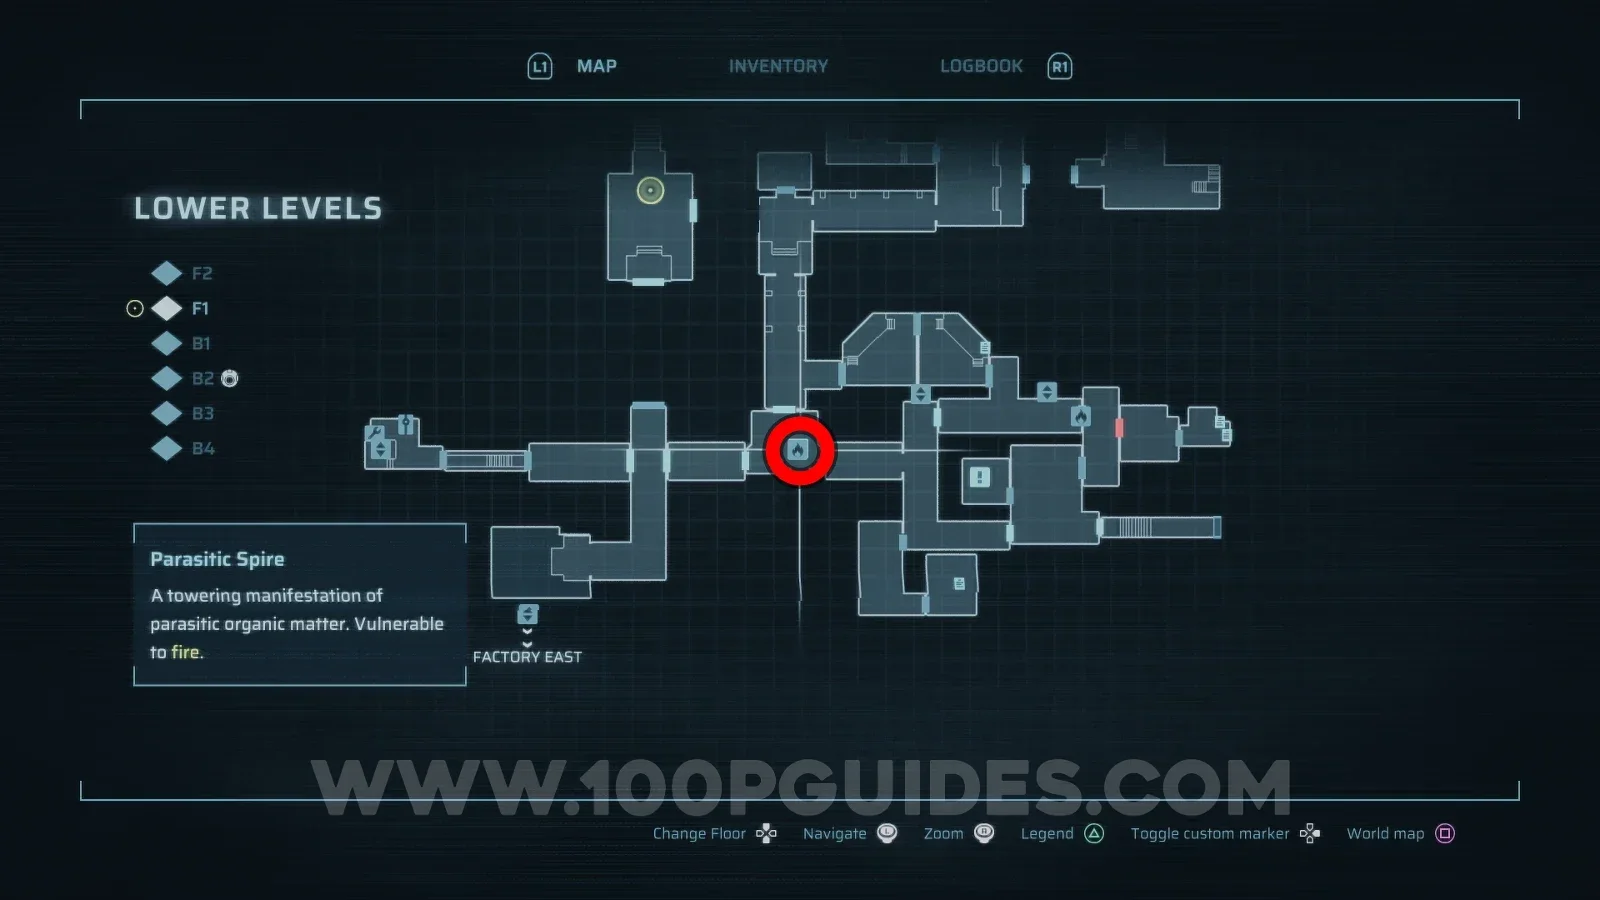
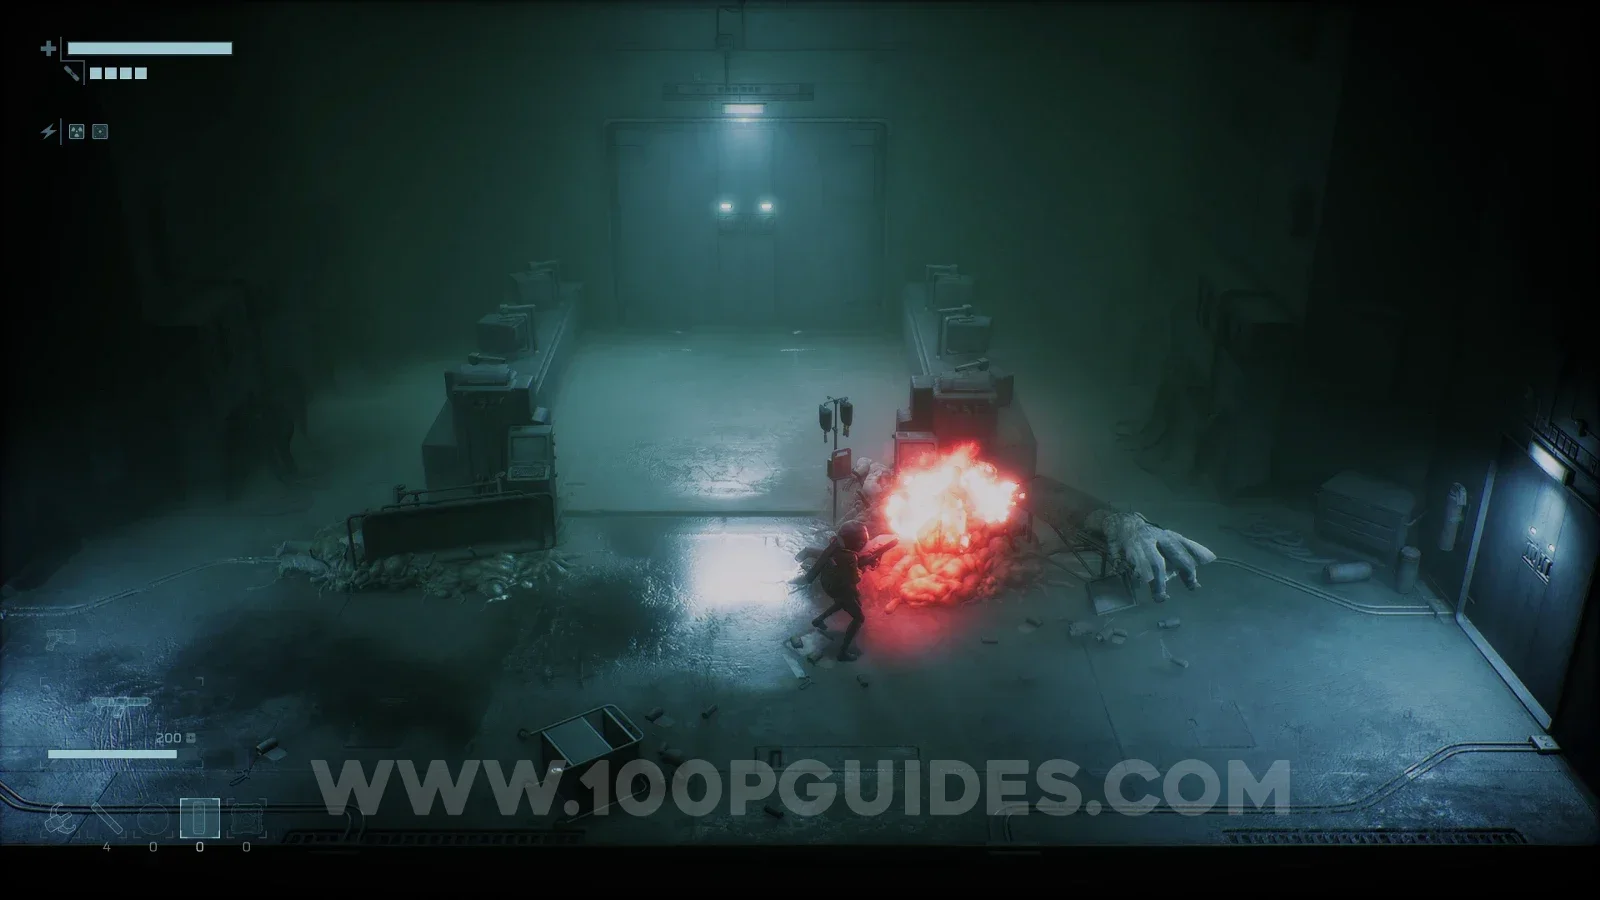
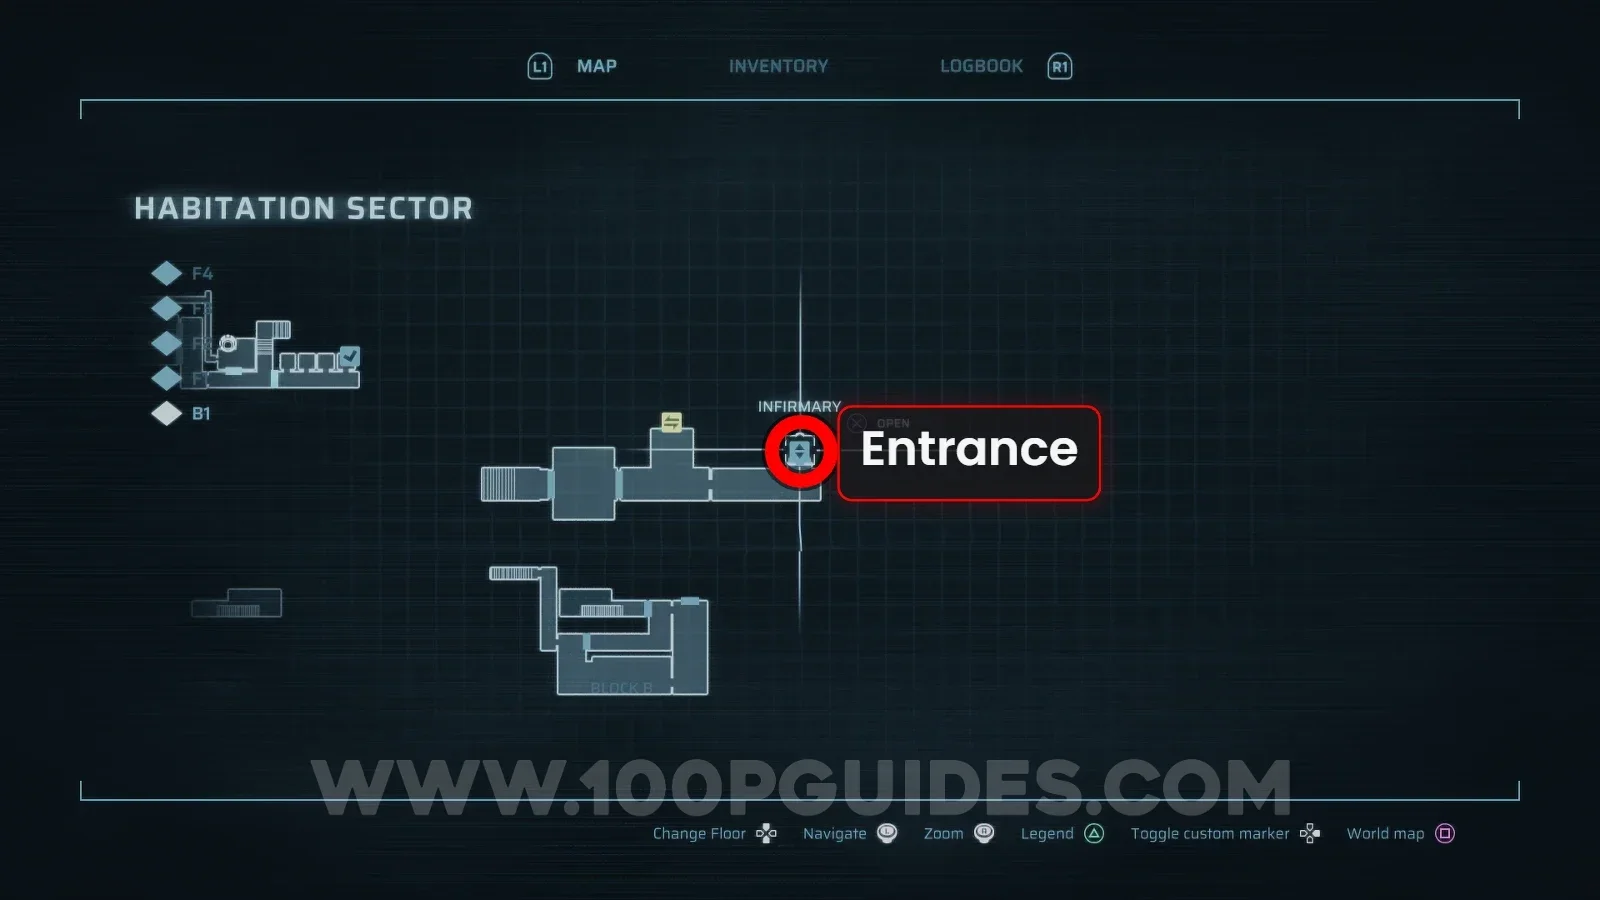
Found in the Infirmary, an optional late-game area. To get there, you must first get the Infirmary Key from the Lower Levels area (the final area of the game). You can find it by burning the Parasitic Spire in the right side labs on F1 (you will need the Incinerator, a story-related weapon obtained in this same area).
Once you have the key, use it to access the lift to the right of the Fast Travel Shuttle in the Habitation Sector to get to the Infirmary. Here, first grab the Restricted Access Keycard from the small room on F1.
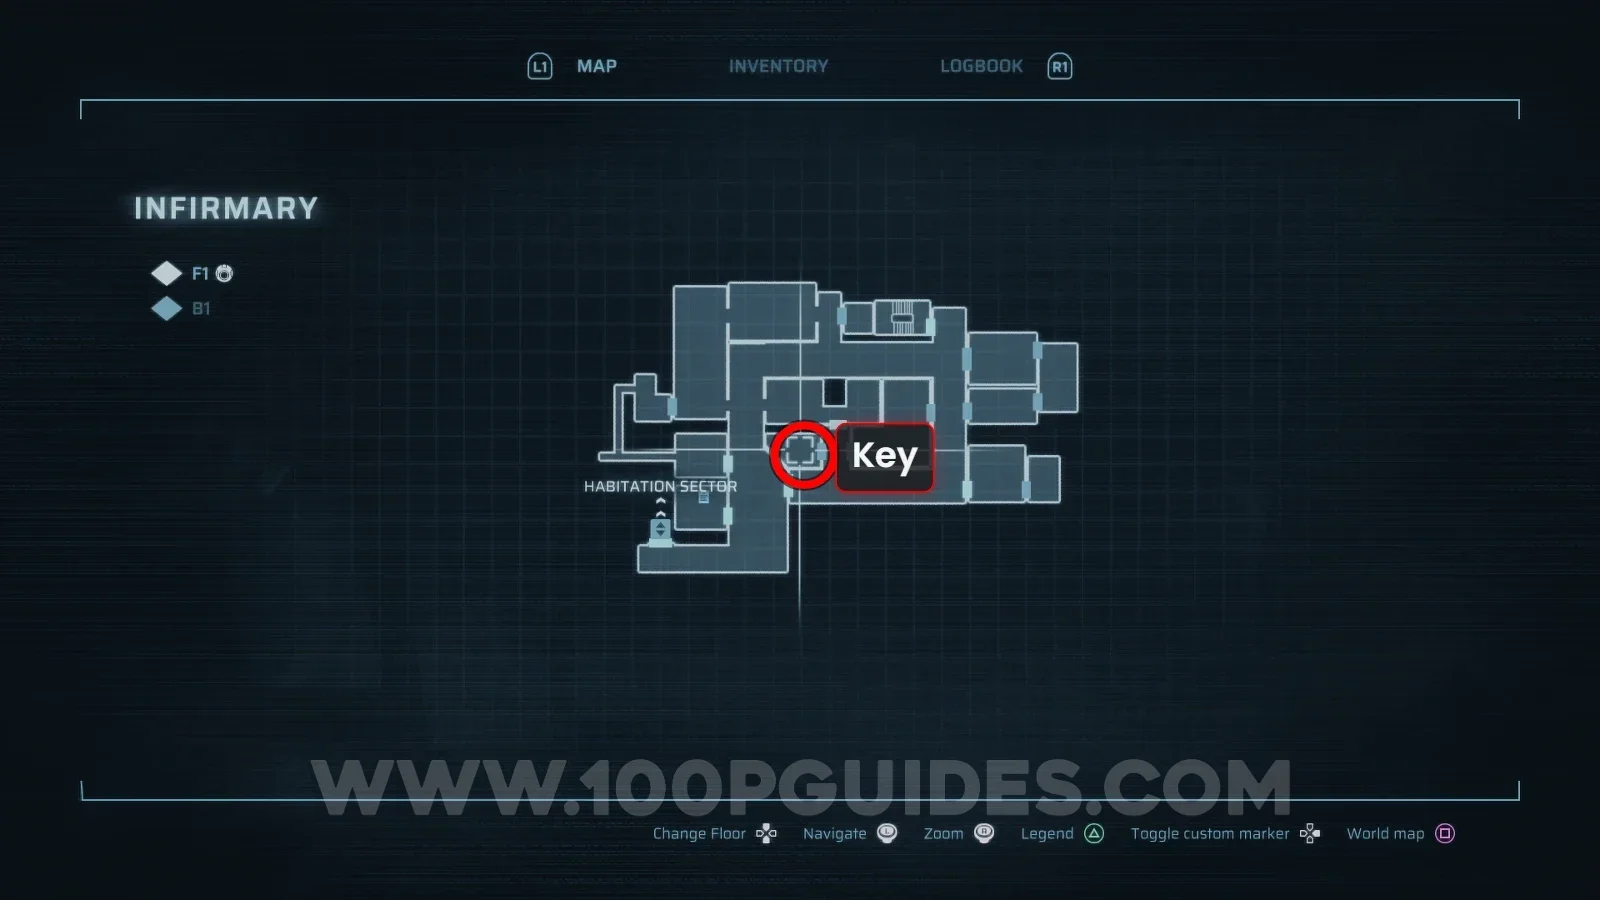
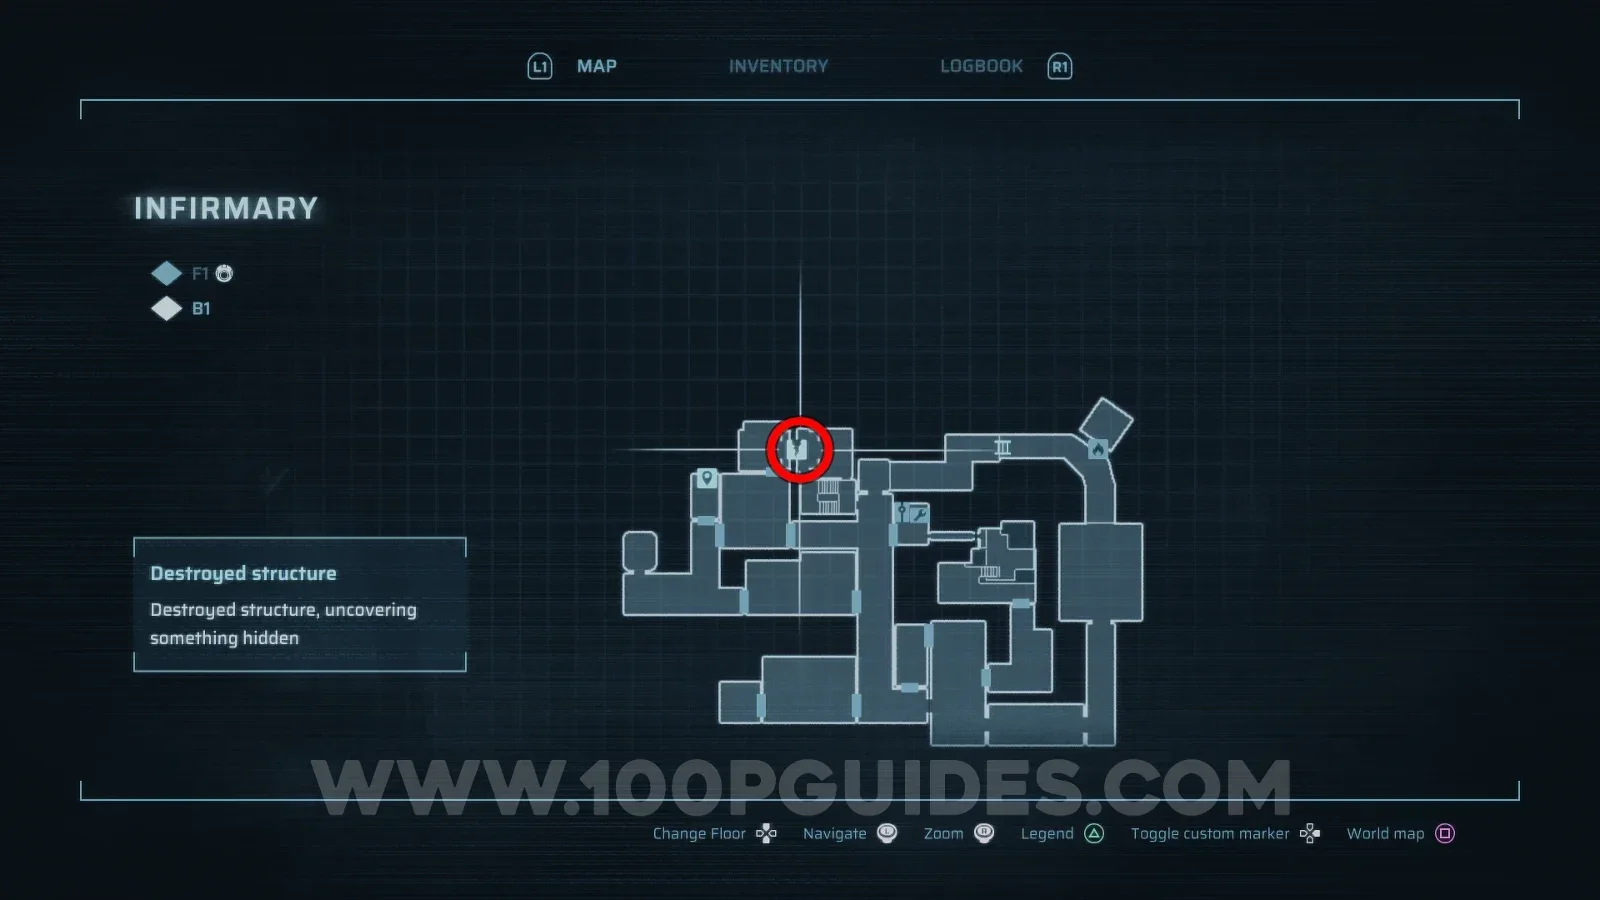
After that, head down the stairs to the north and use an Explosive Charge to destroy the wall in the room at the bottom. This will reveal the room with the alloy inside.
Weapon Modules
Weapon Module #1
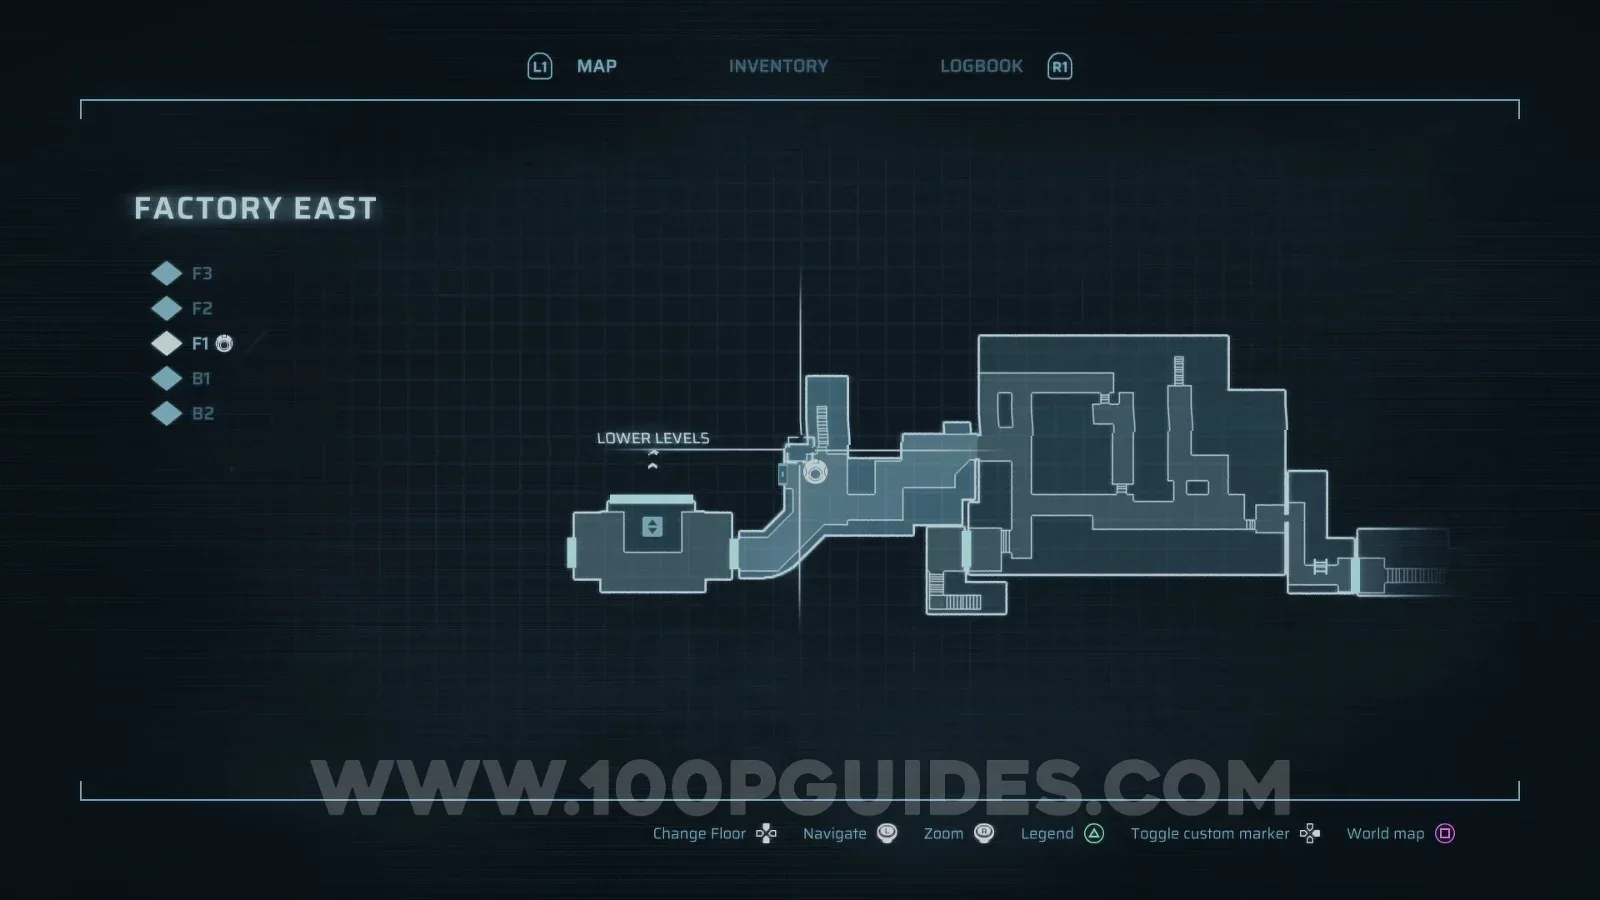
Factory East > F1.
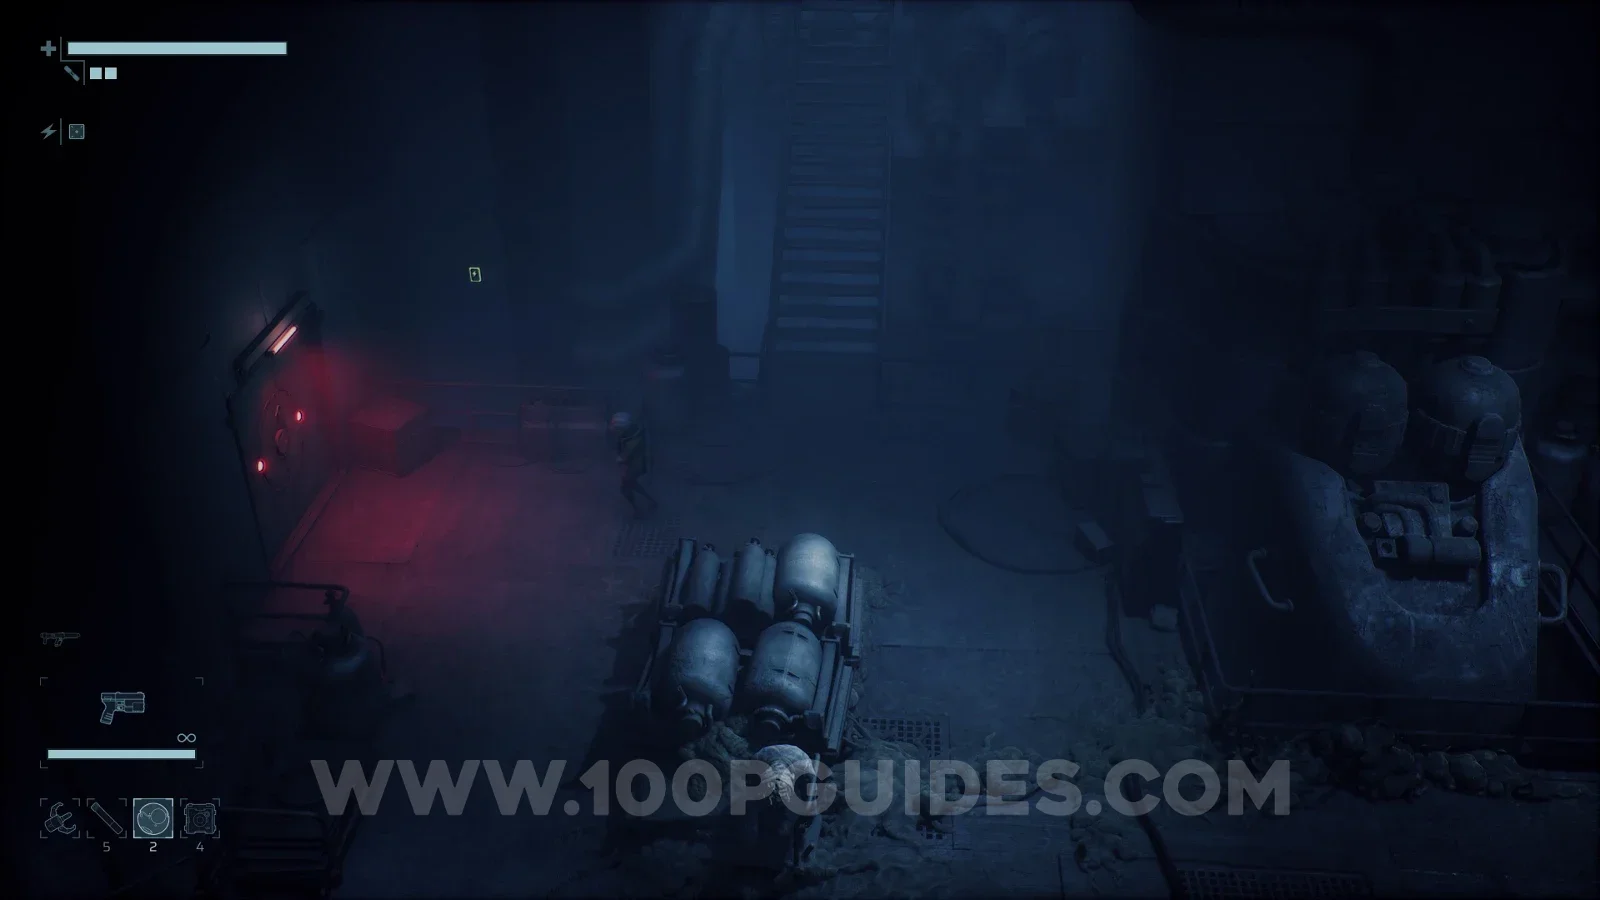
Found behind the door just northeast of the main elevator. To open it, you will need to scan the wires around the area and shoot the Energy Nodes.
Weapon Module #2
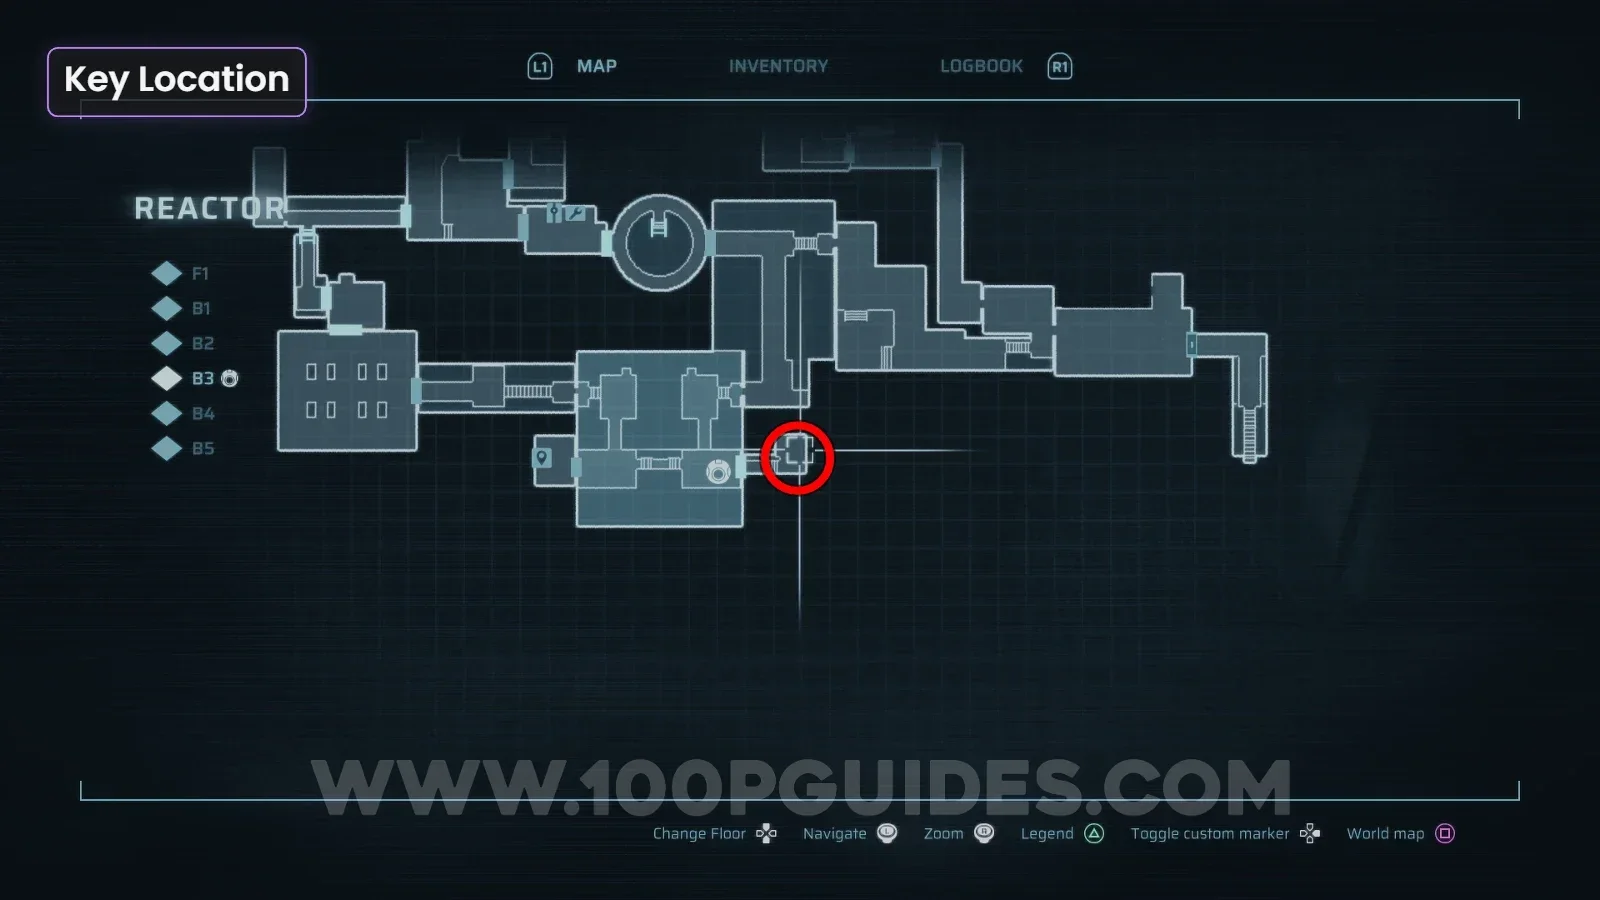
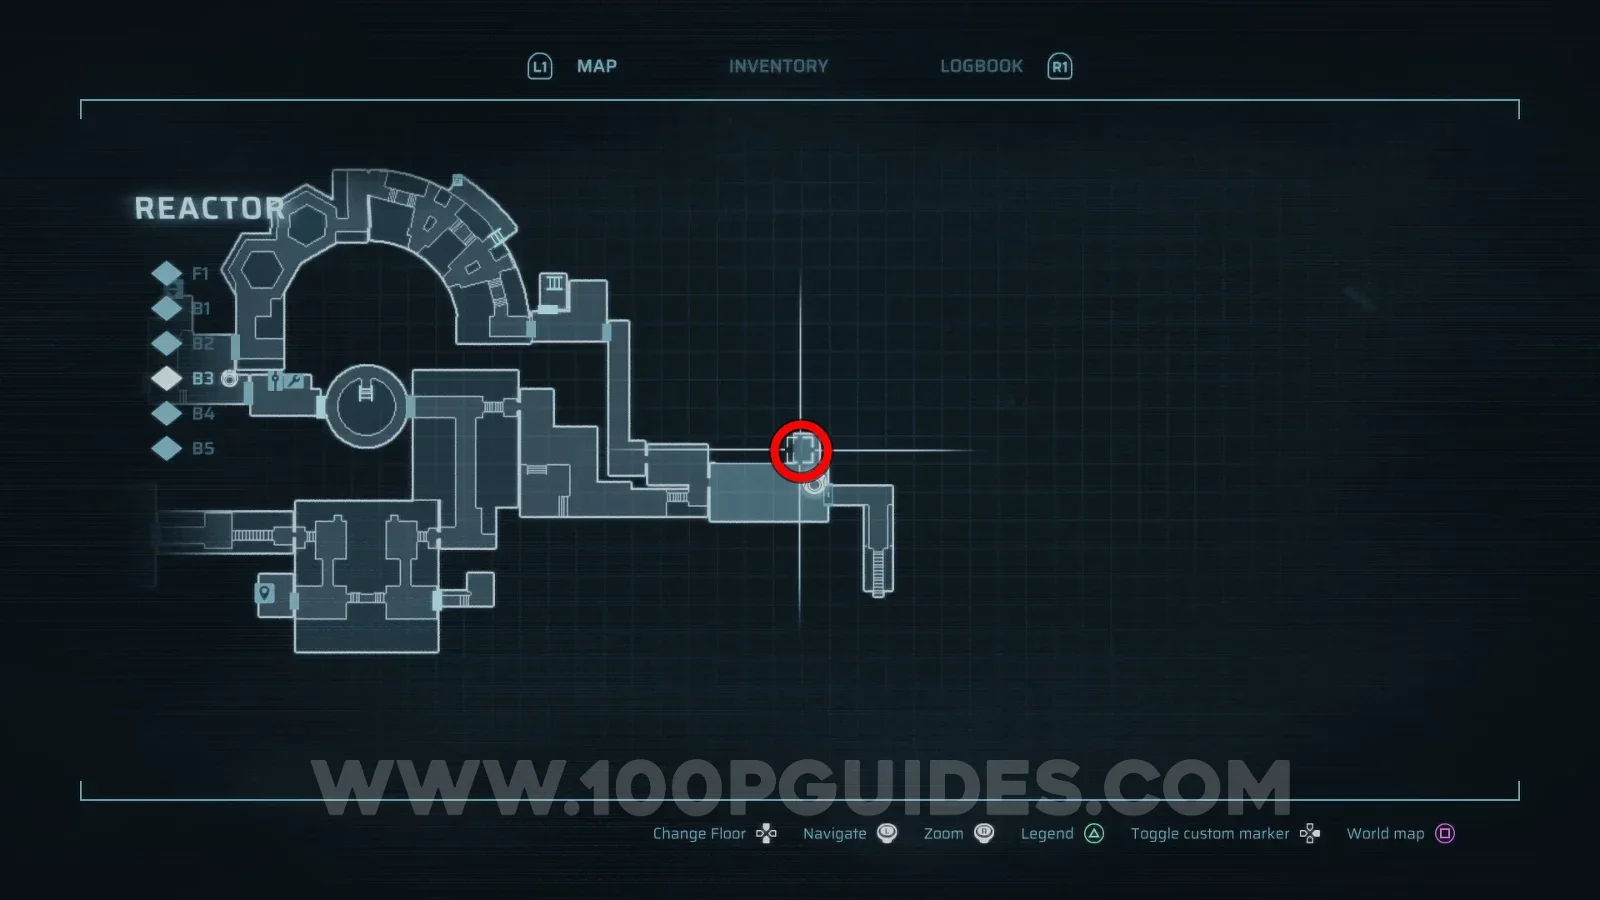
Reactor > B3.
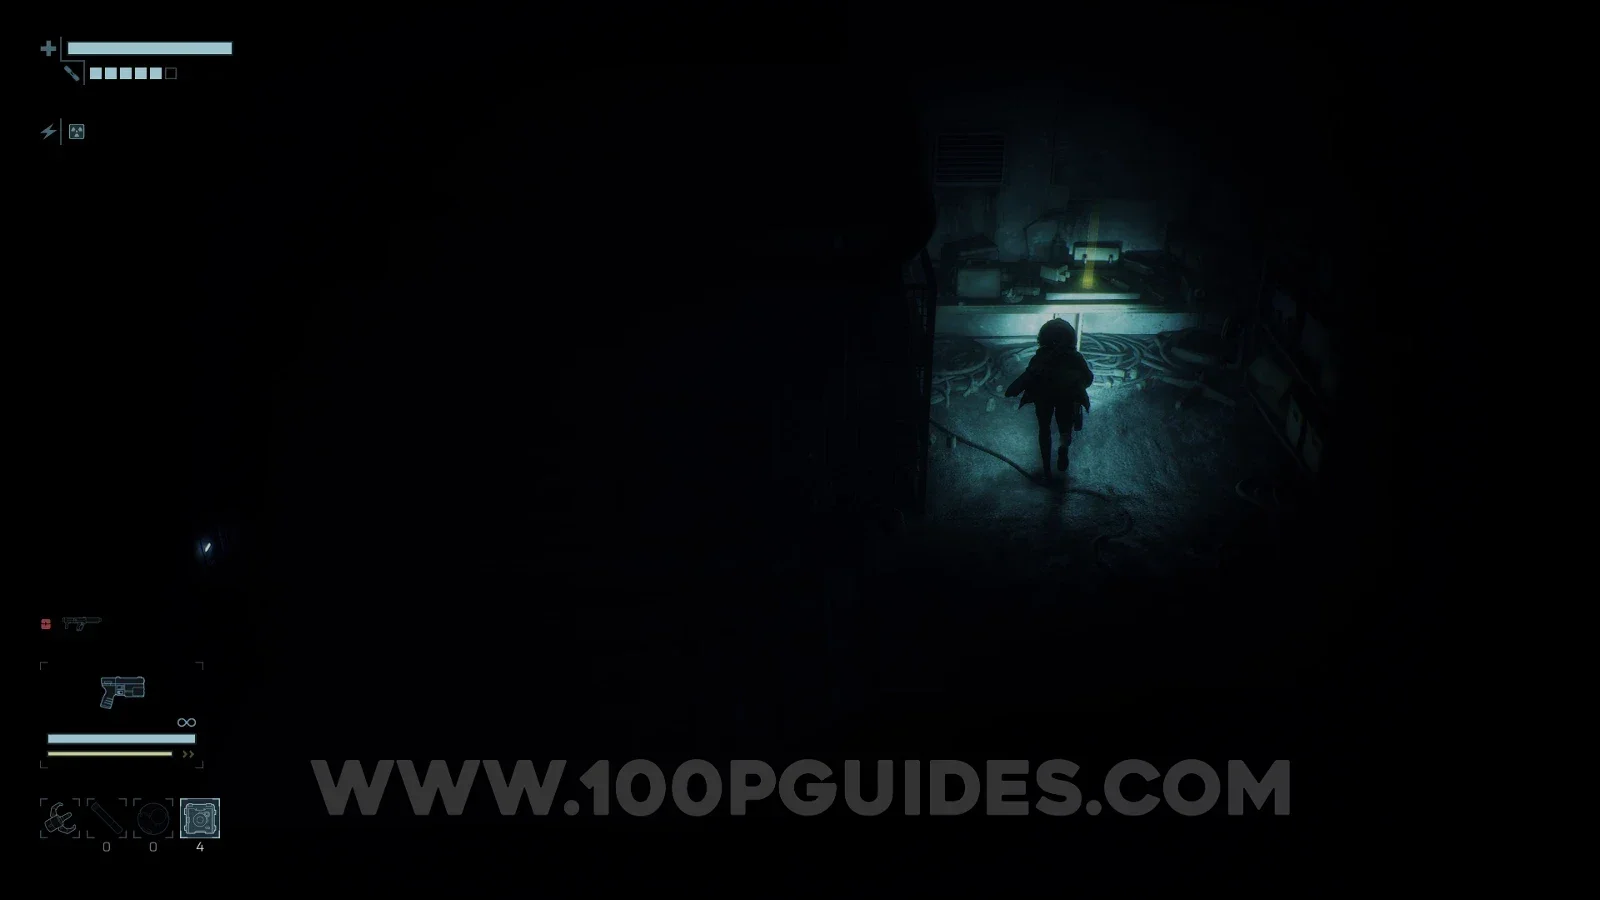
First, head to the small room at the bottom of B3 and pick up the keycard. Then use it to open the door on the right side of the same floor. The module is inside.
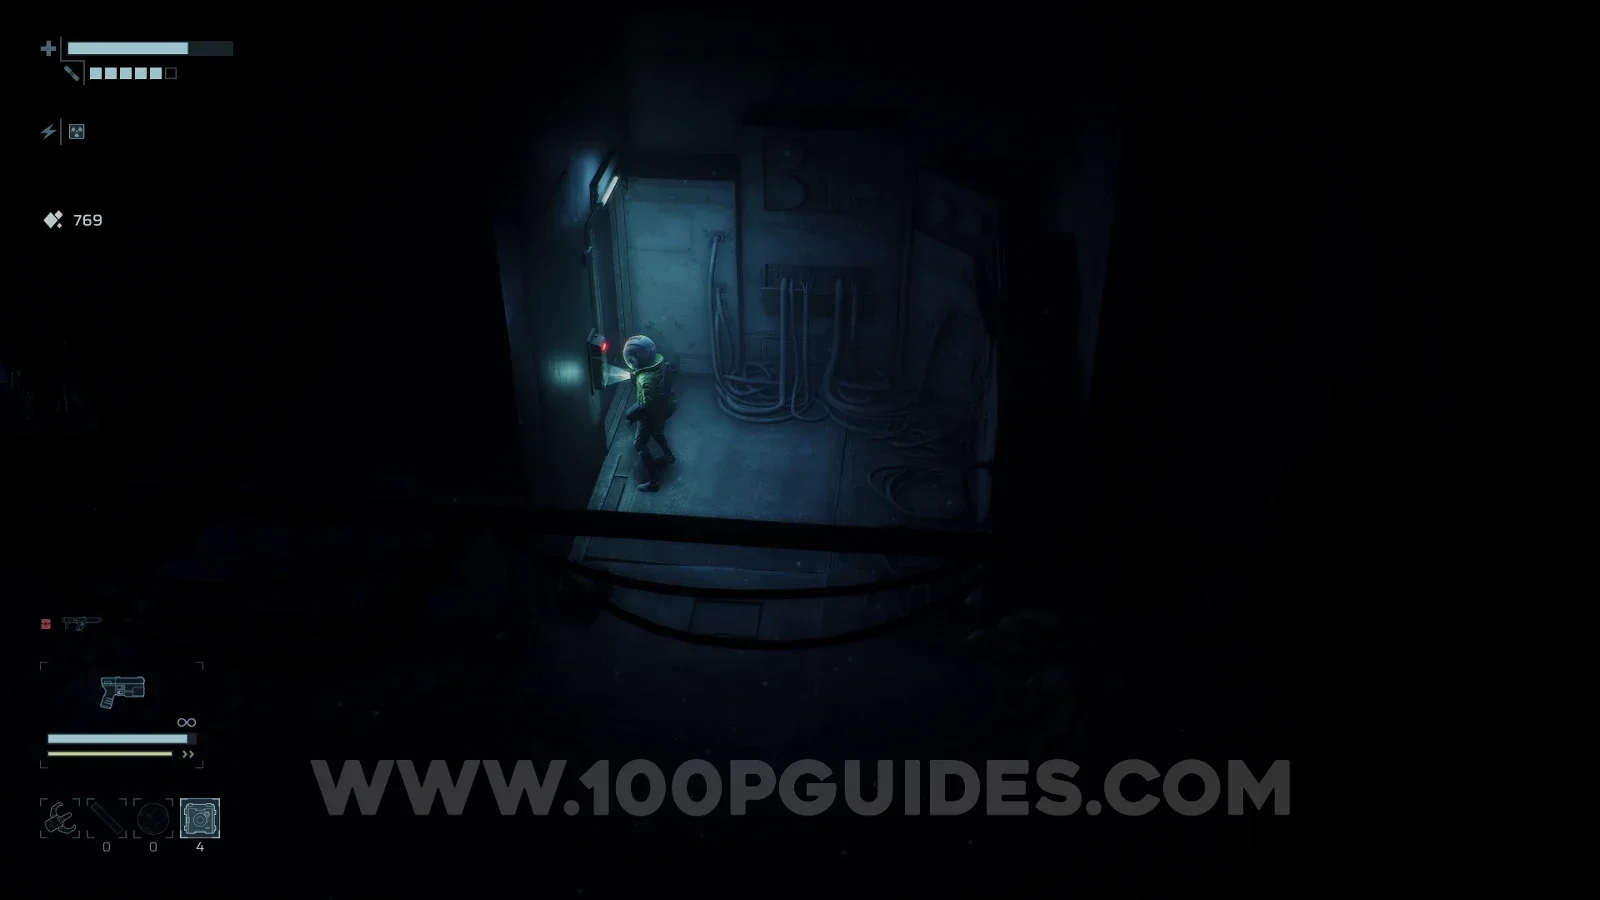
Weapon Module #3
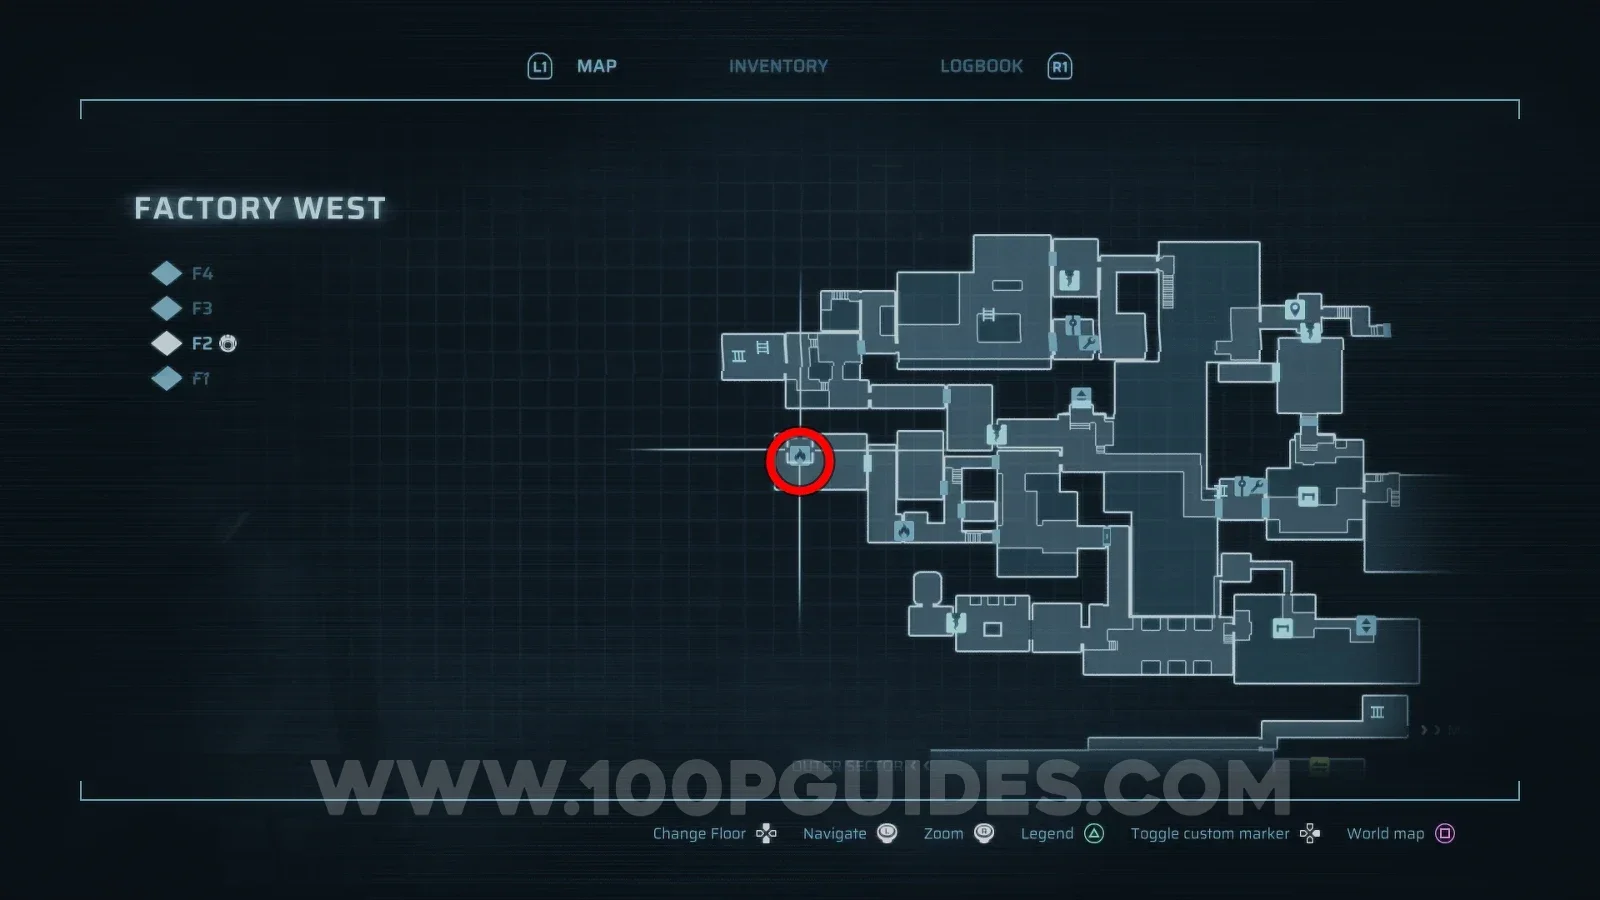
Factory West > F2.
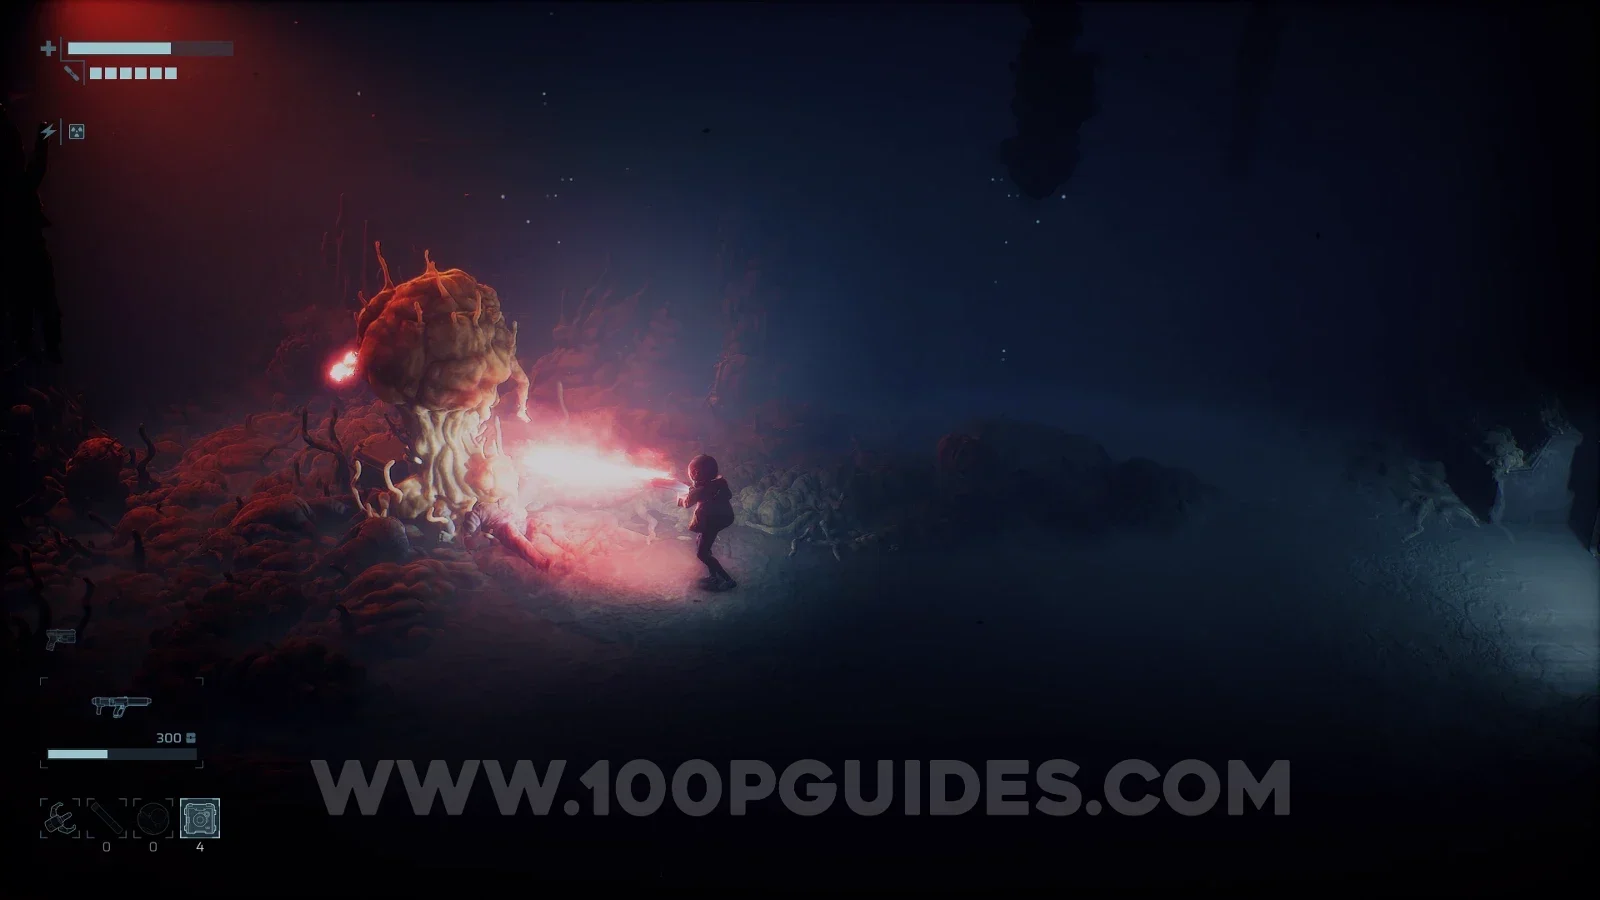
Burn down the Parasitic Growth in the western room on F2. You will need the Incinerator, the flamethrower obtained during the main story in the Lower Levels area.
Weapon Module #4
Outer Sector > F1.
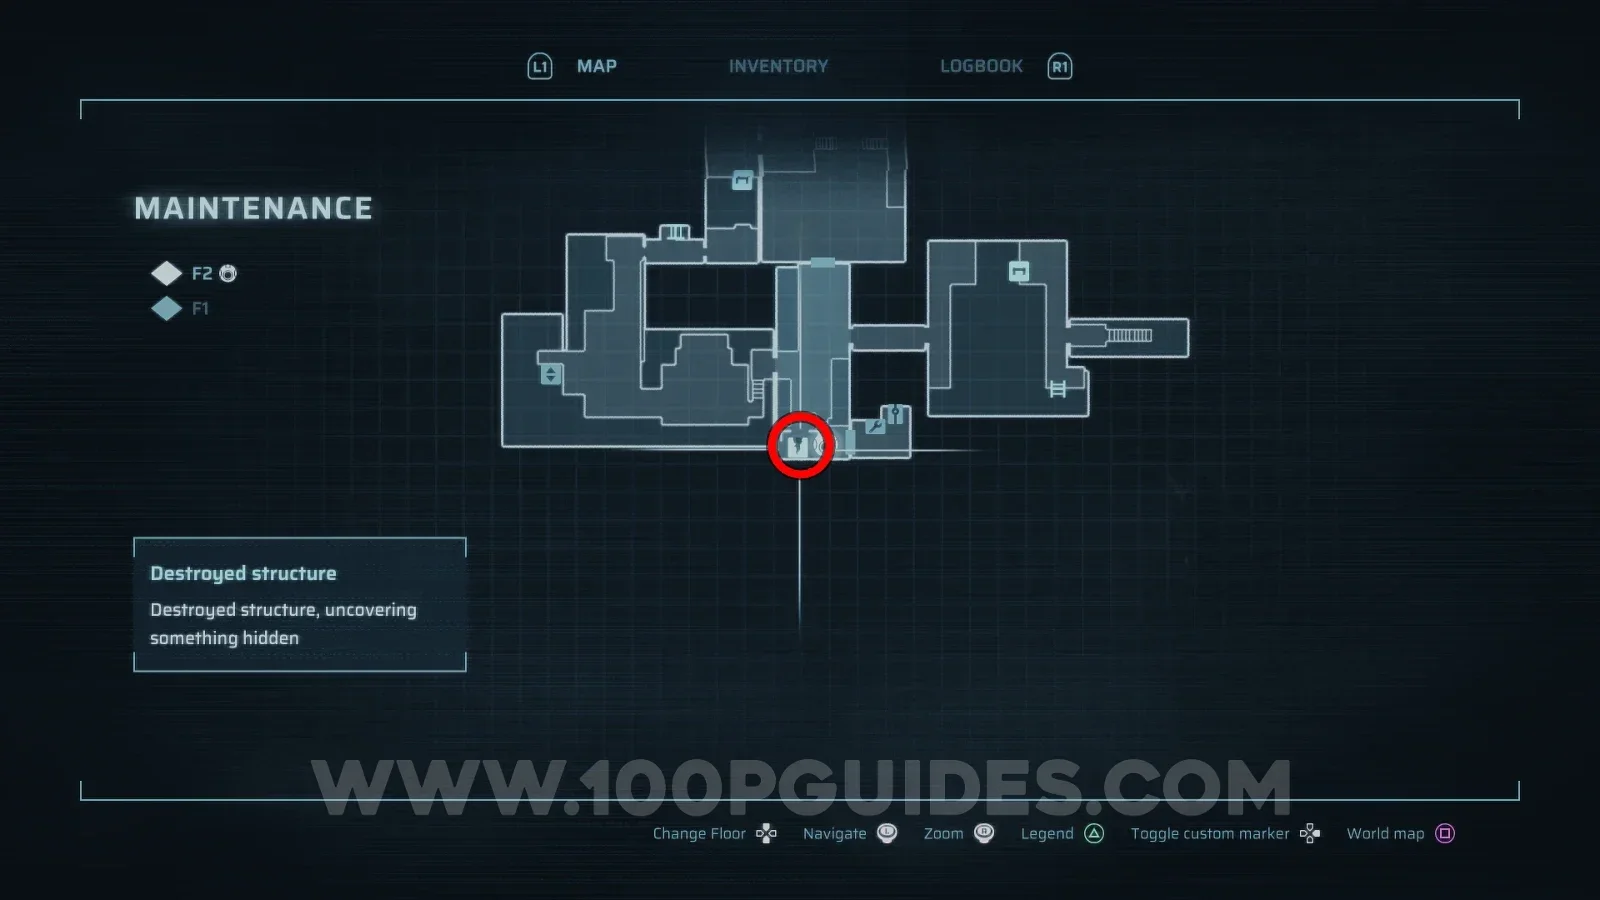
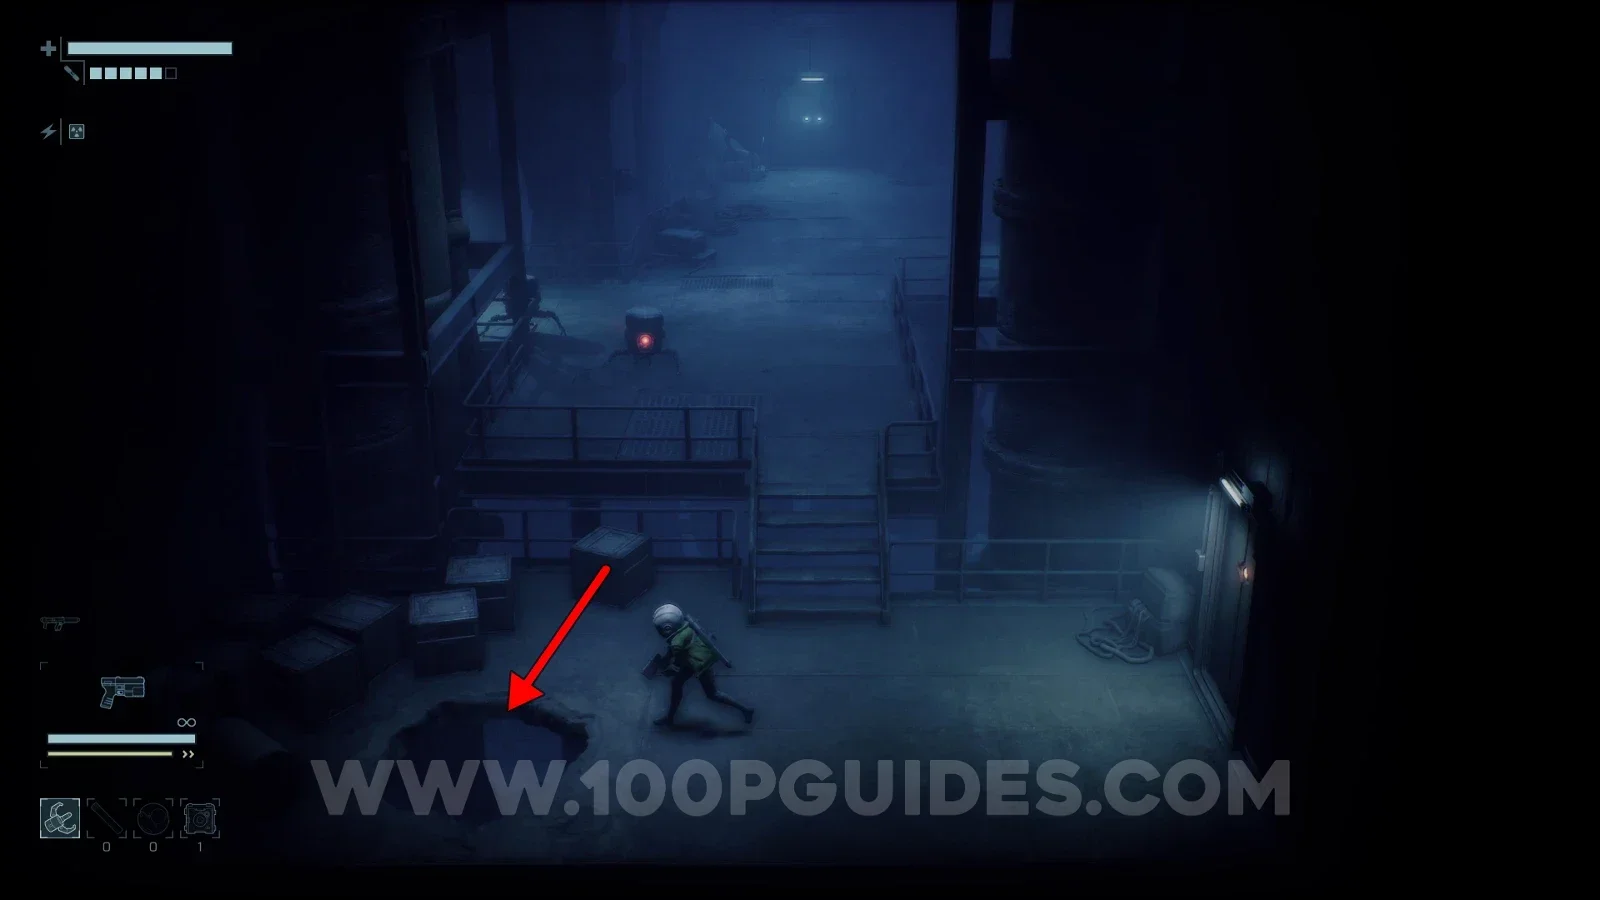
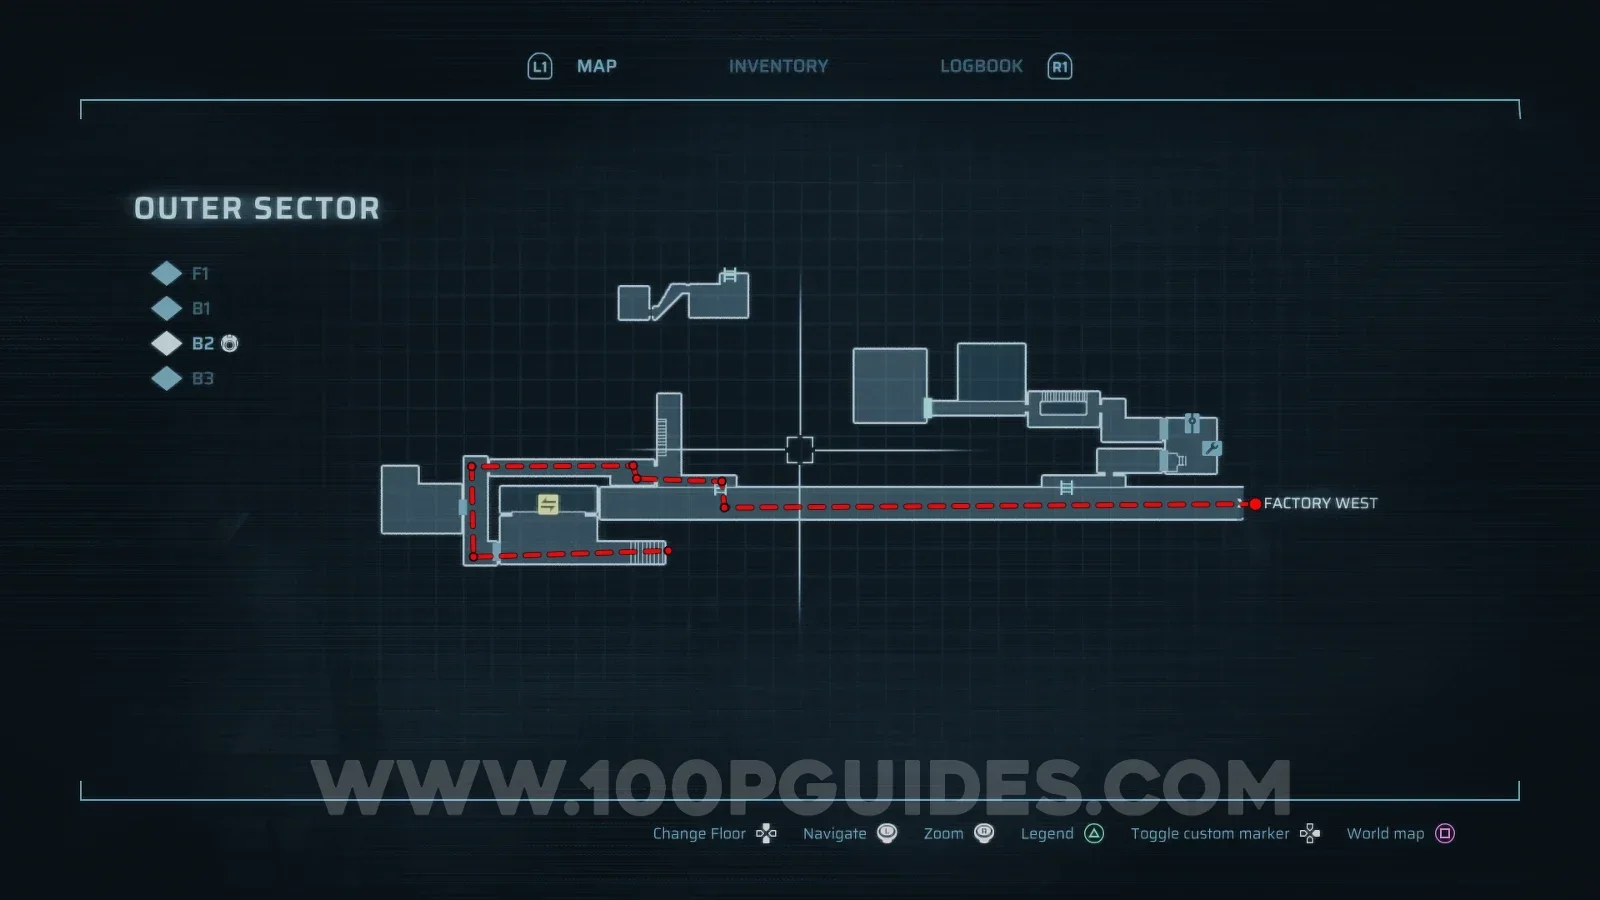
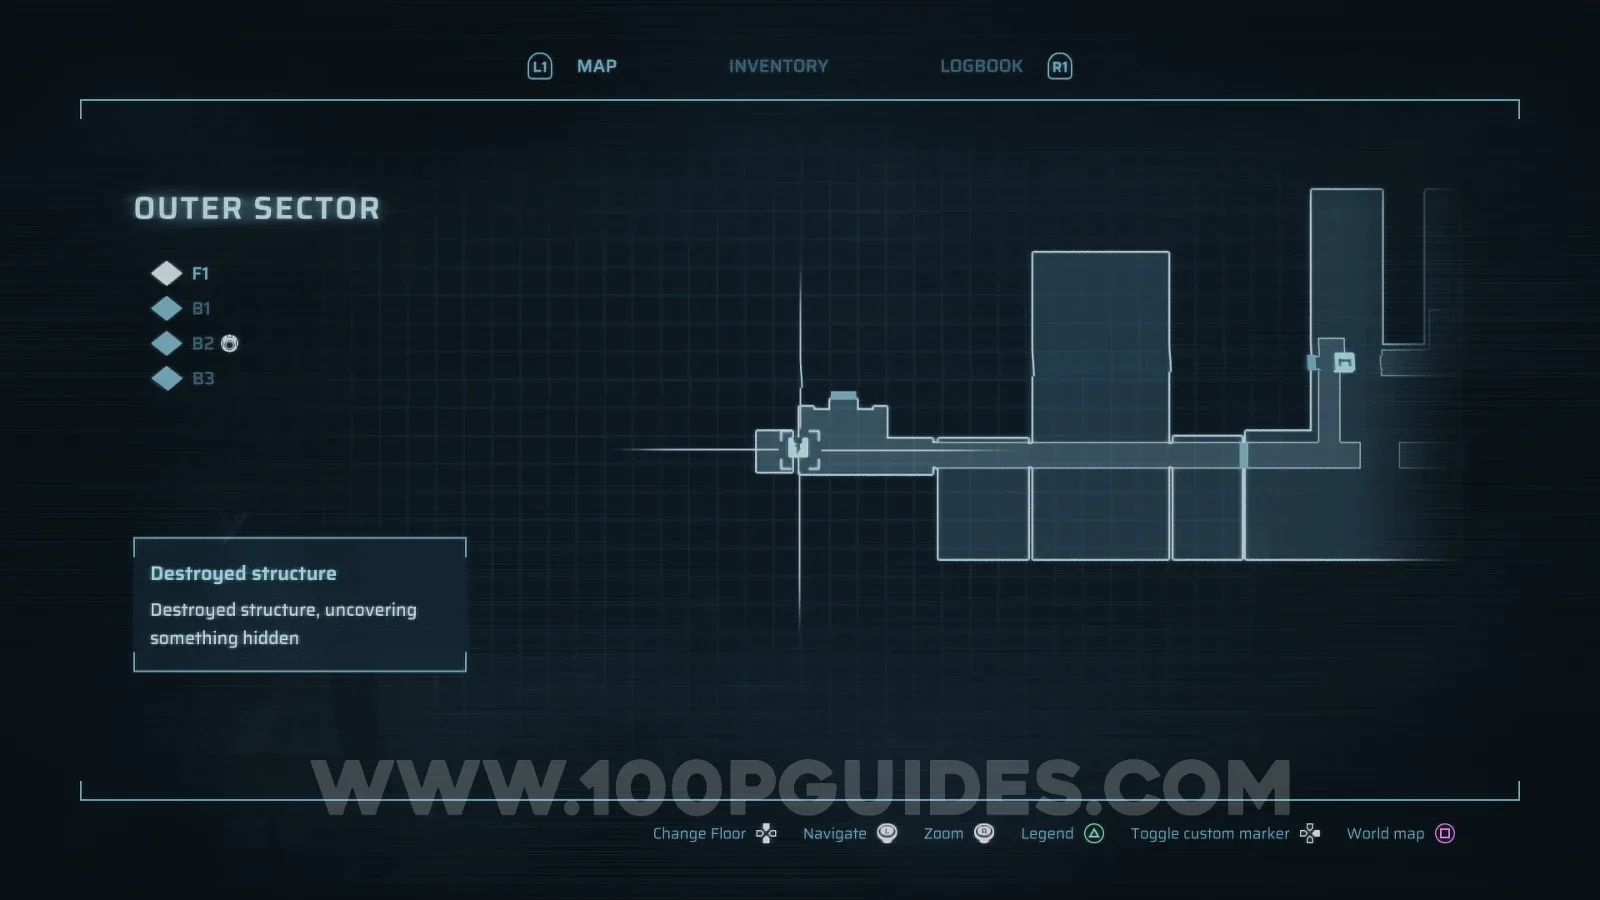
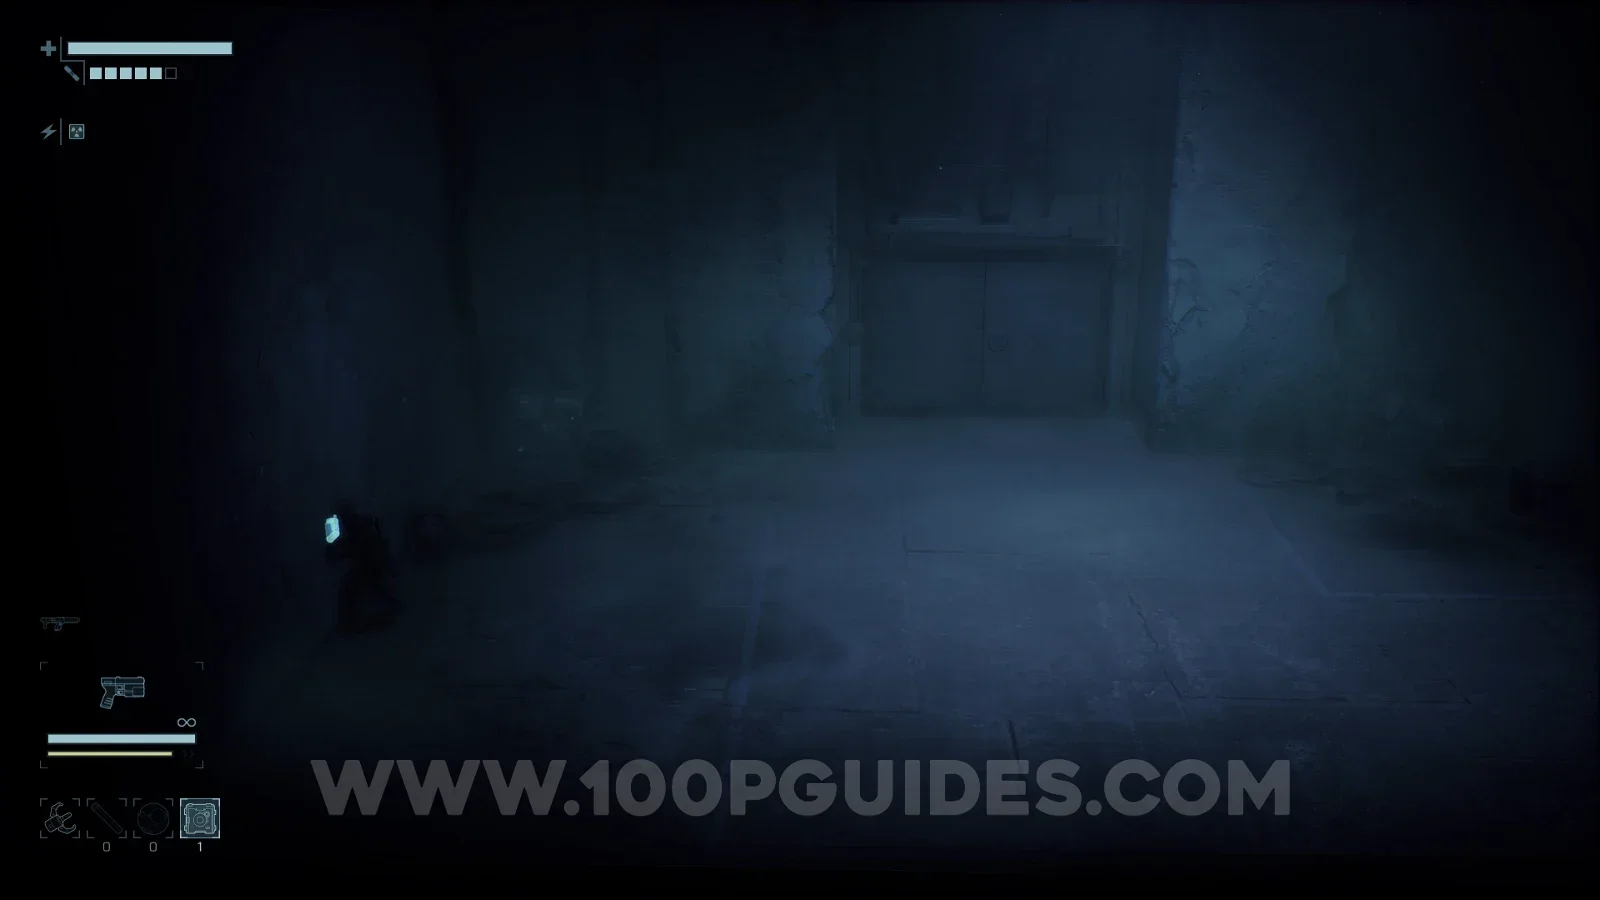
Start from Maintenance > F2 and use an Explosive Charge to blow a hole in the floor just outside the safe room. Drop down and head all the way left until you eventually reach the Outer Sector Fast Travel Shuttle. Head up the stairs to the right of the Shuttle to reach the area where the game starts. Then go to the very first room of the game and use an Explosive Charge to destroy the wall on the left. The module is on the other side.
Weapon Module #5
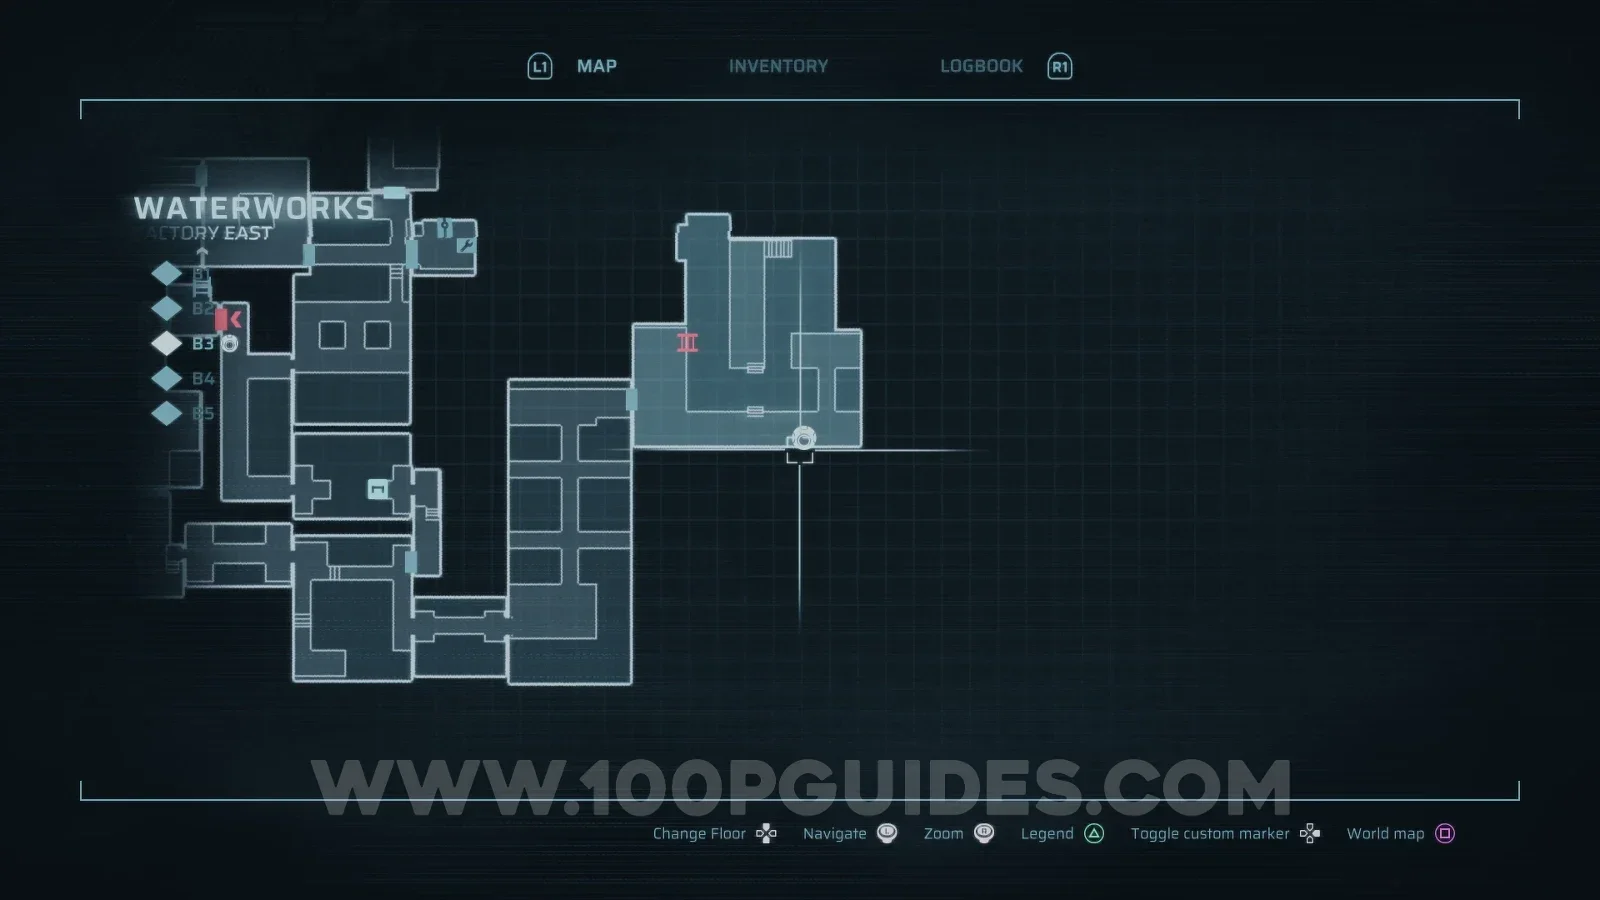
Waterworks > B3.
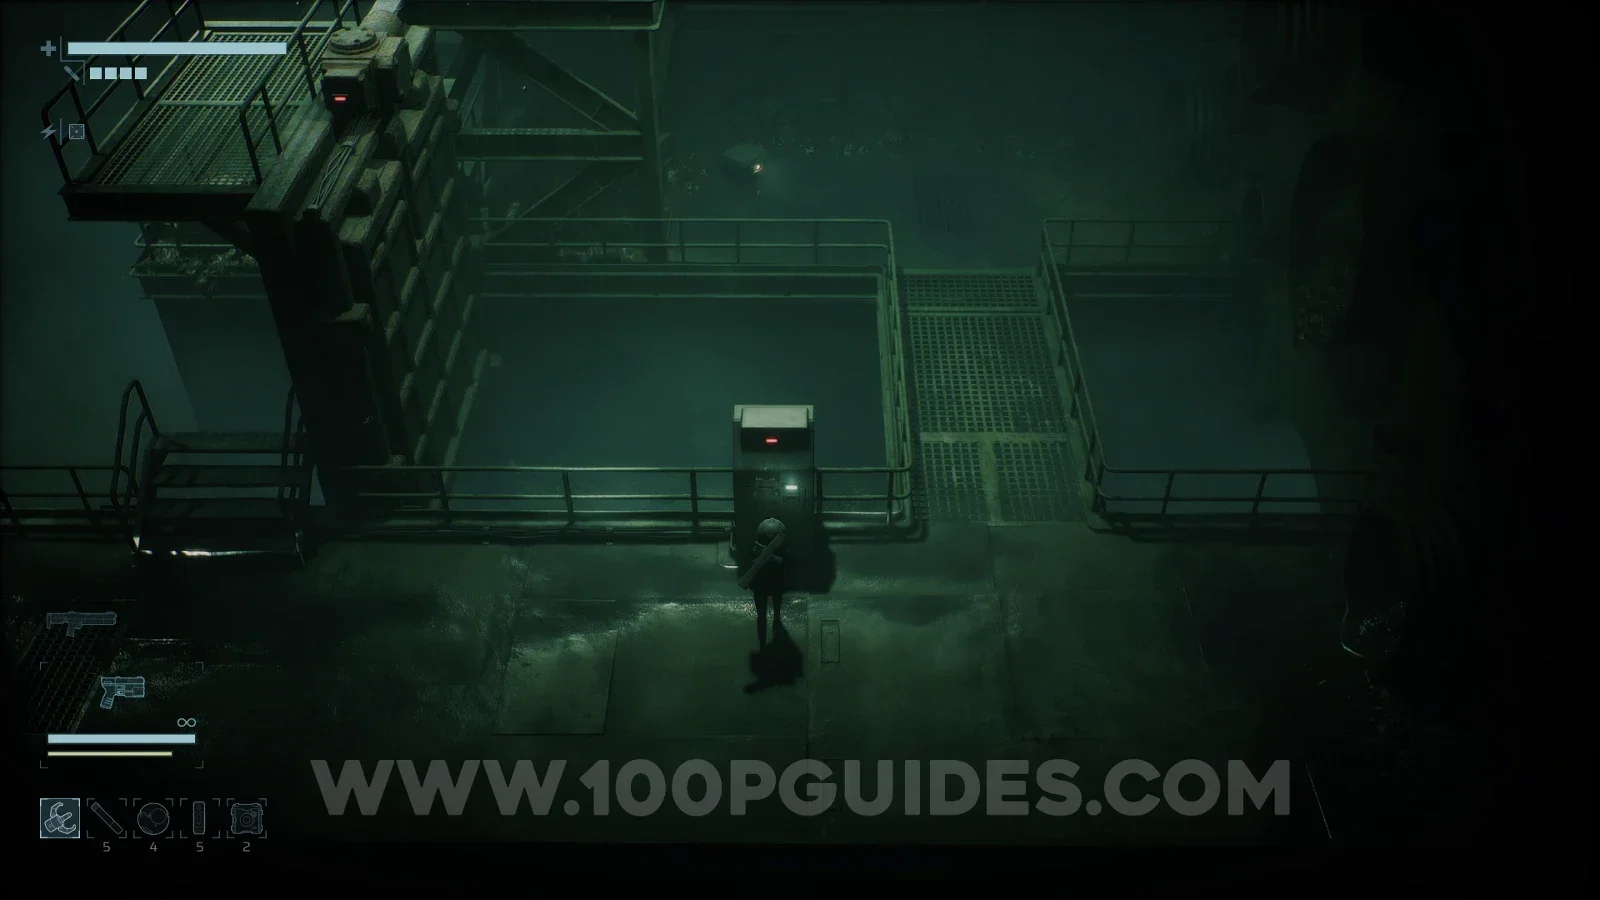
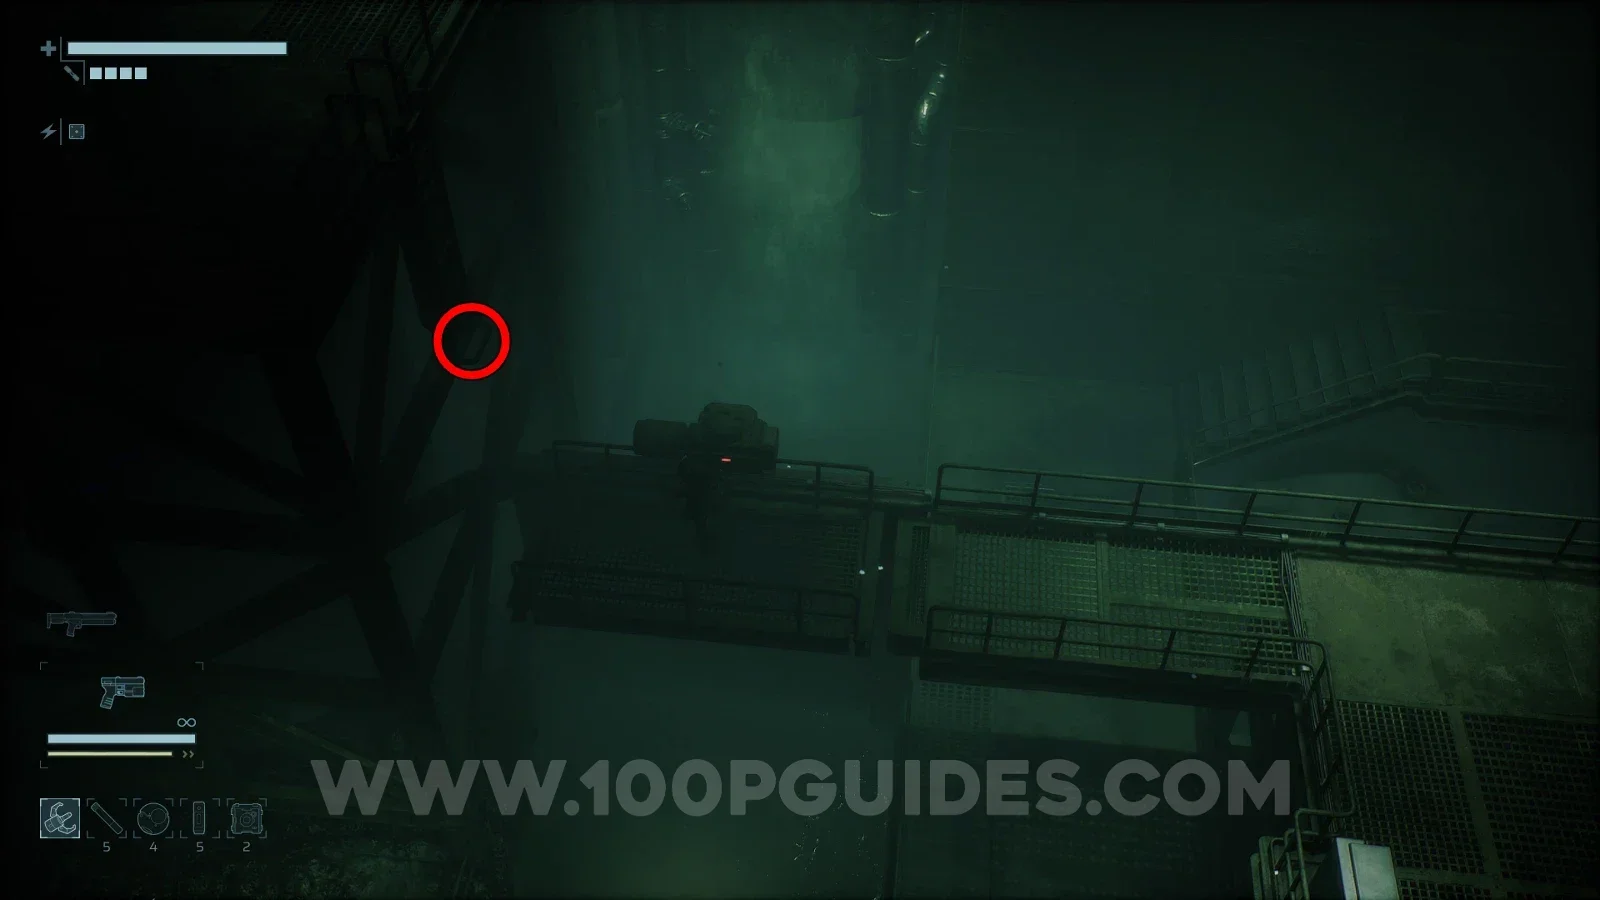
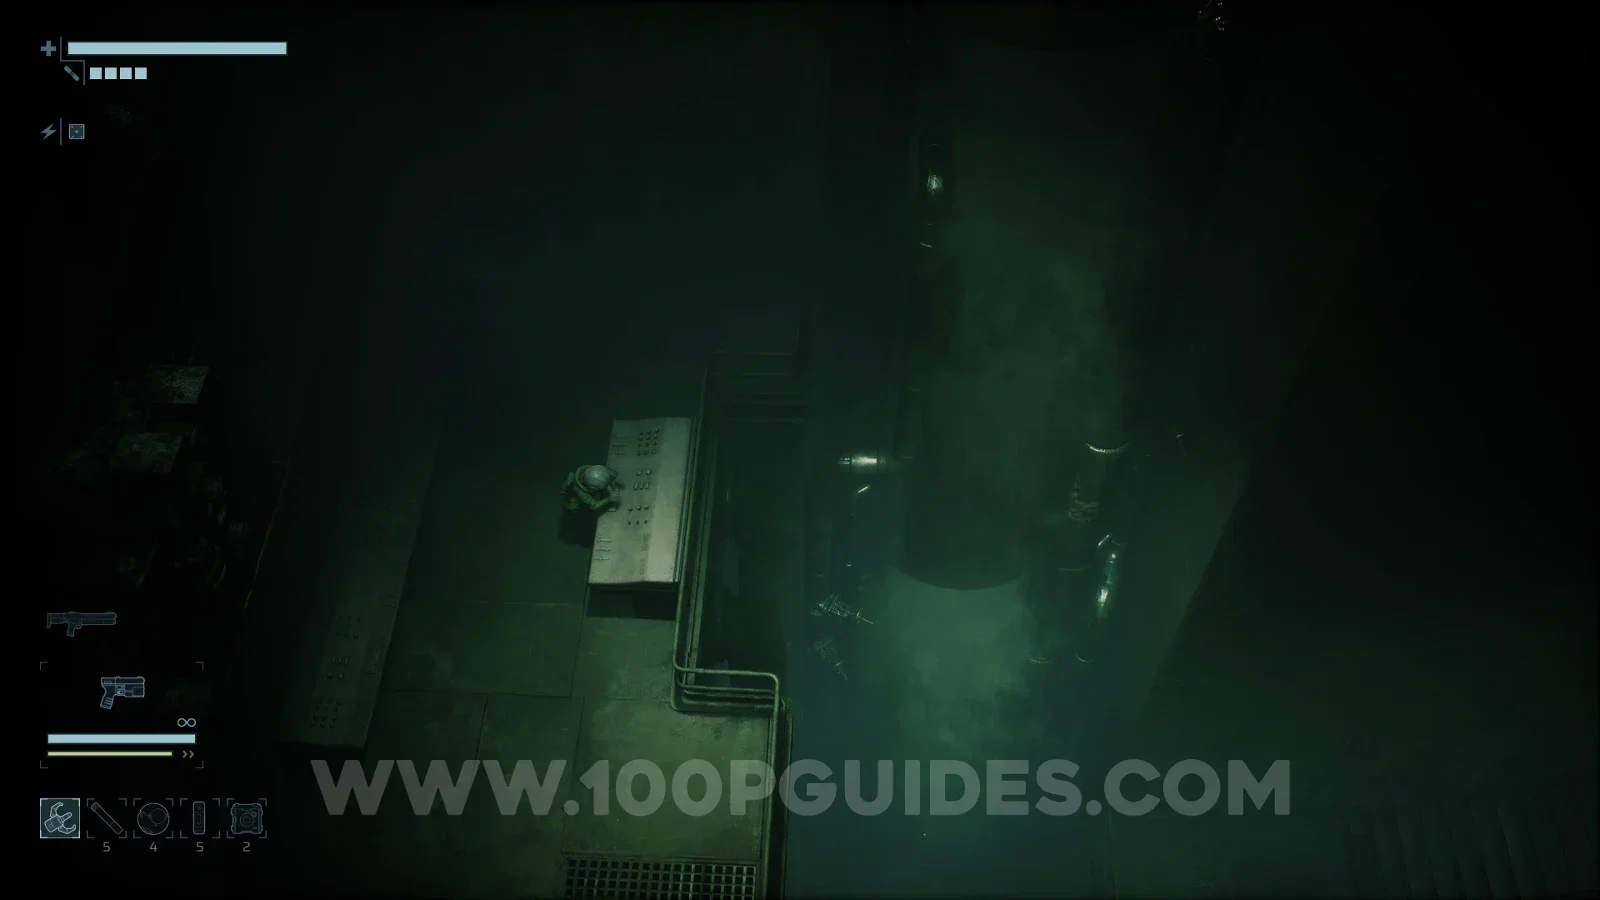
Start by pressing the switch at the bottom to lower the bridge. Cross it, then use the switch at the top so that the second bridge is in its upper position. Stand on it and use the Grappling Hook to bring down the ladder. Climb it and press the switch at the top to stop the water from flowing. Then climb back down to the first switch, press it to lower the water and climb down the ladder on the left. At the bottom, head north to find the module in the chest.
Weapon Module #6
Containment Sector > F1.
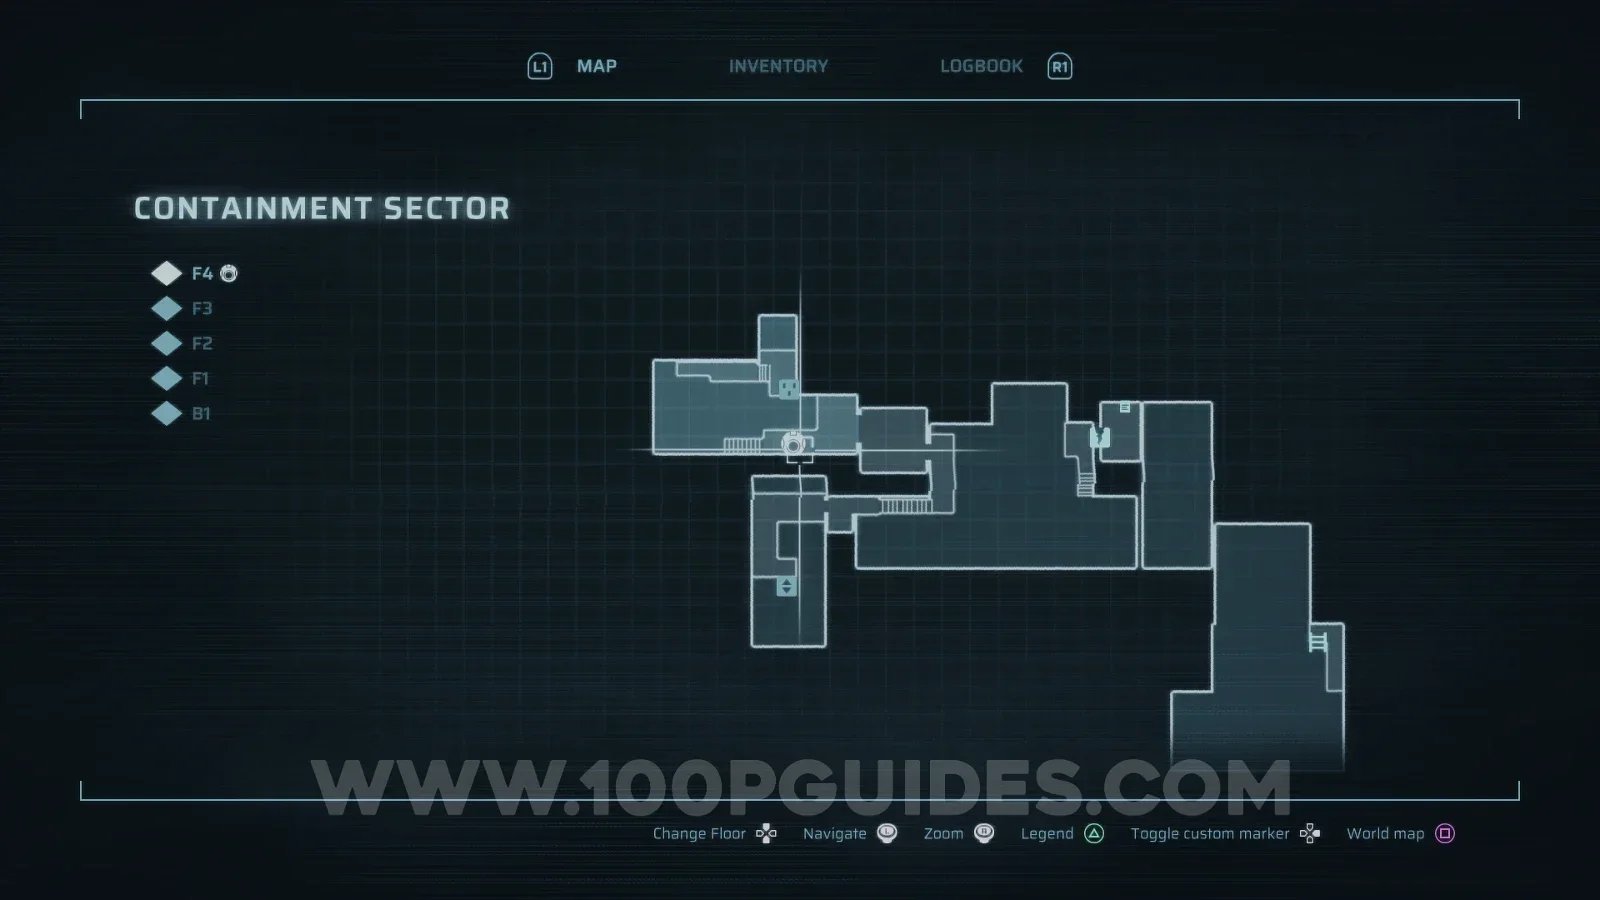
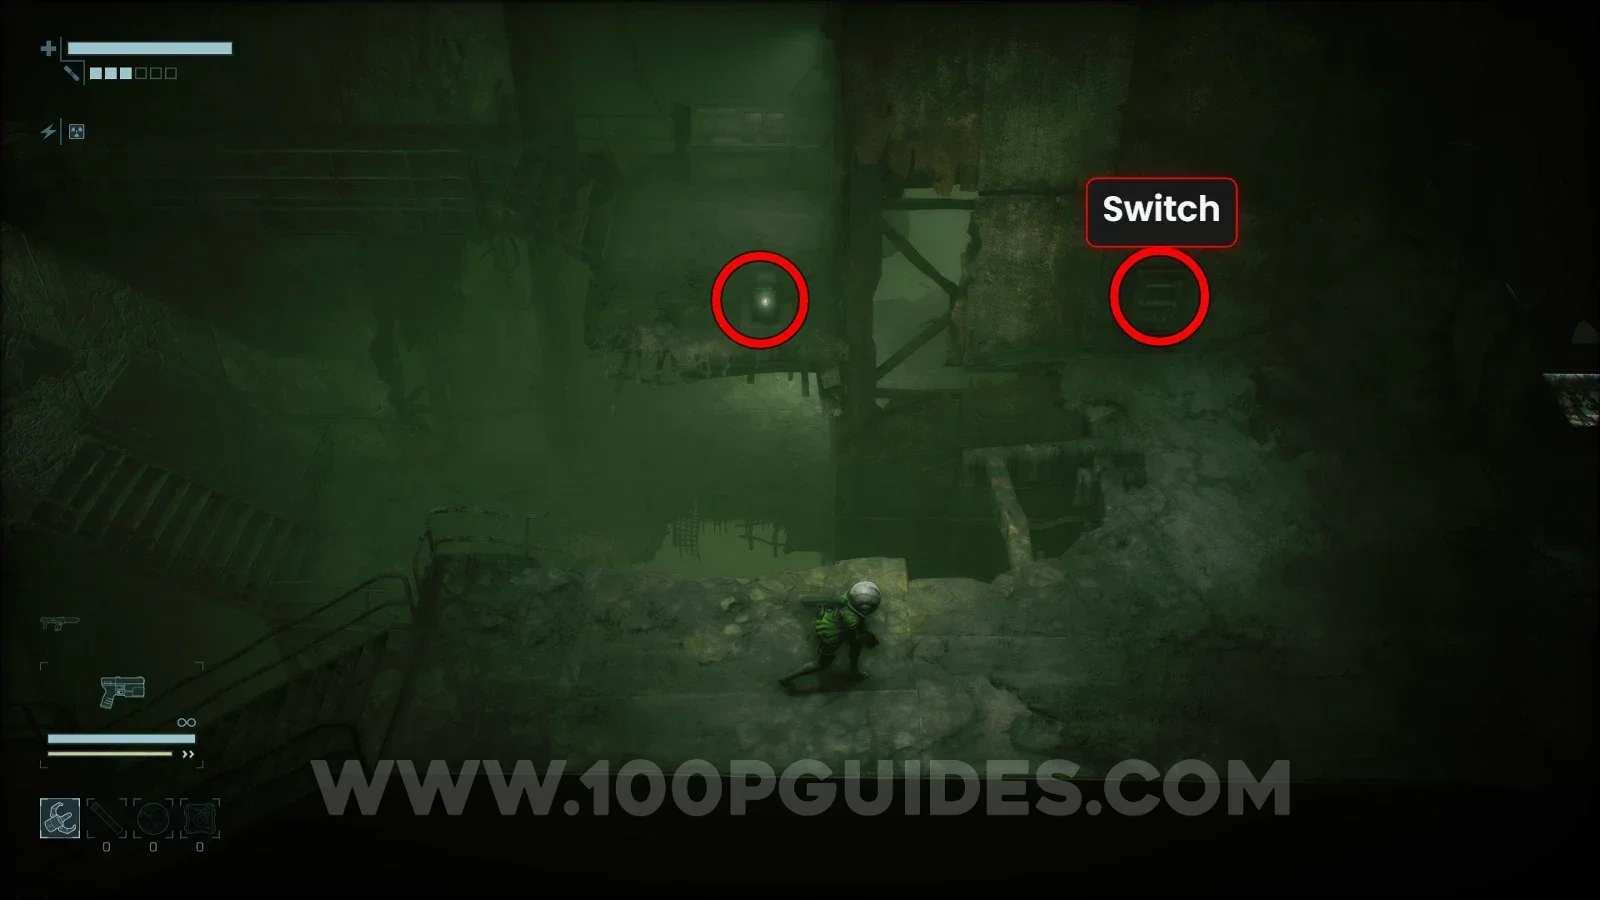
First, head to the top left of F4 and press the switch on the wall to reveal a grappling point on the other side of the gap. Grapple across and destroy the petrified corpse to get the Containment Service Key.
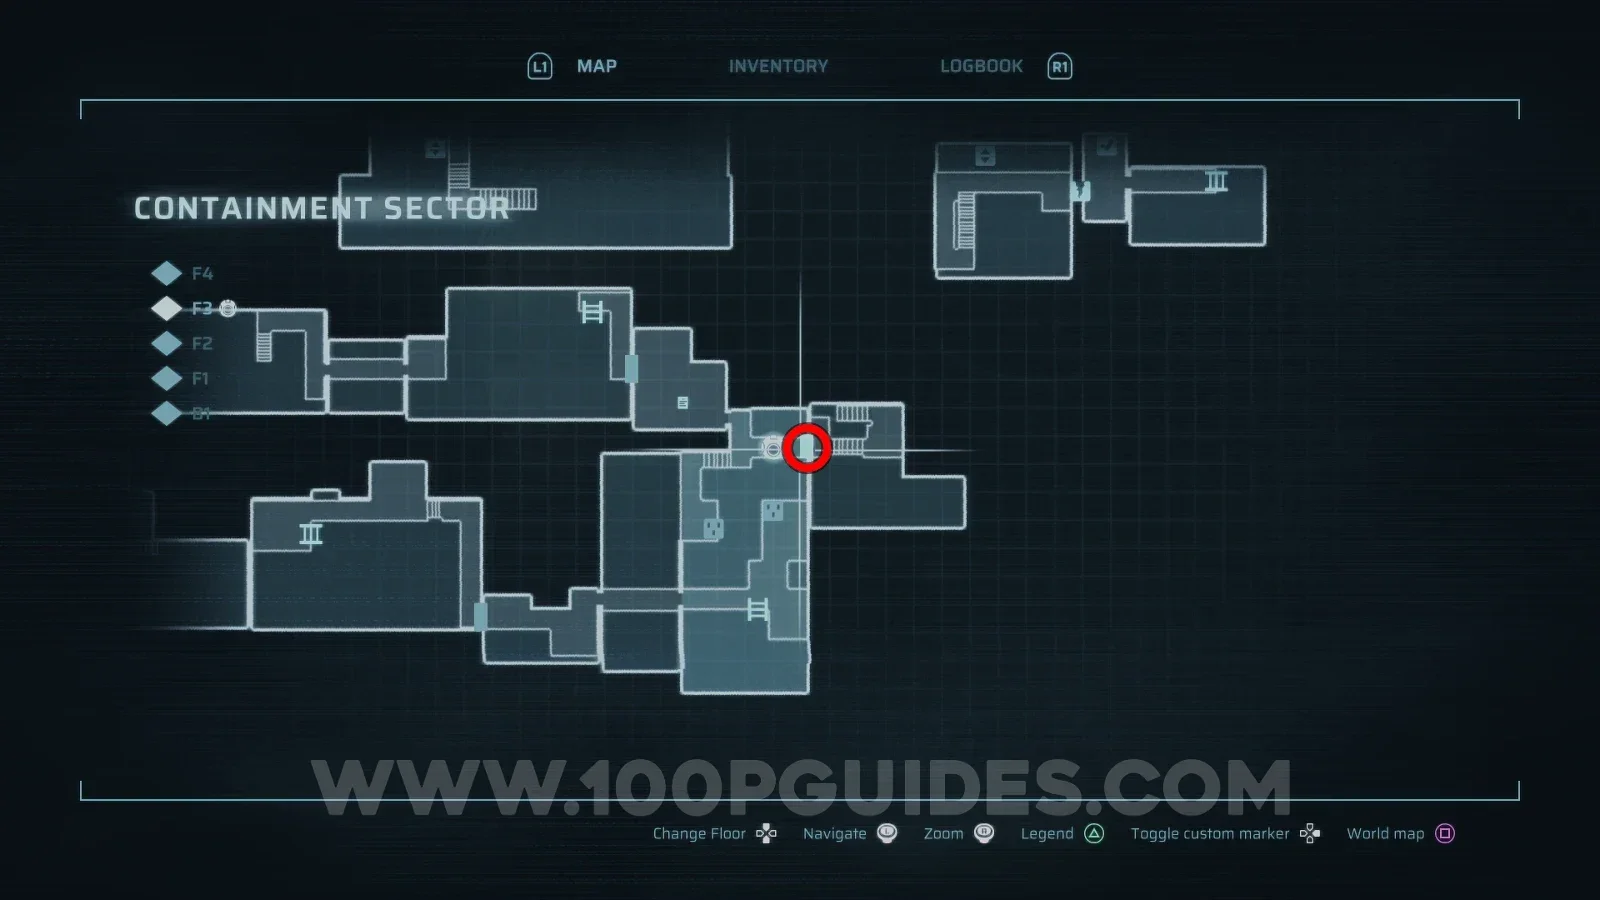
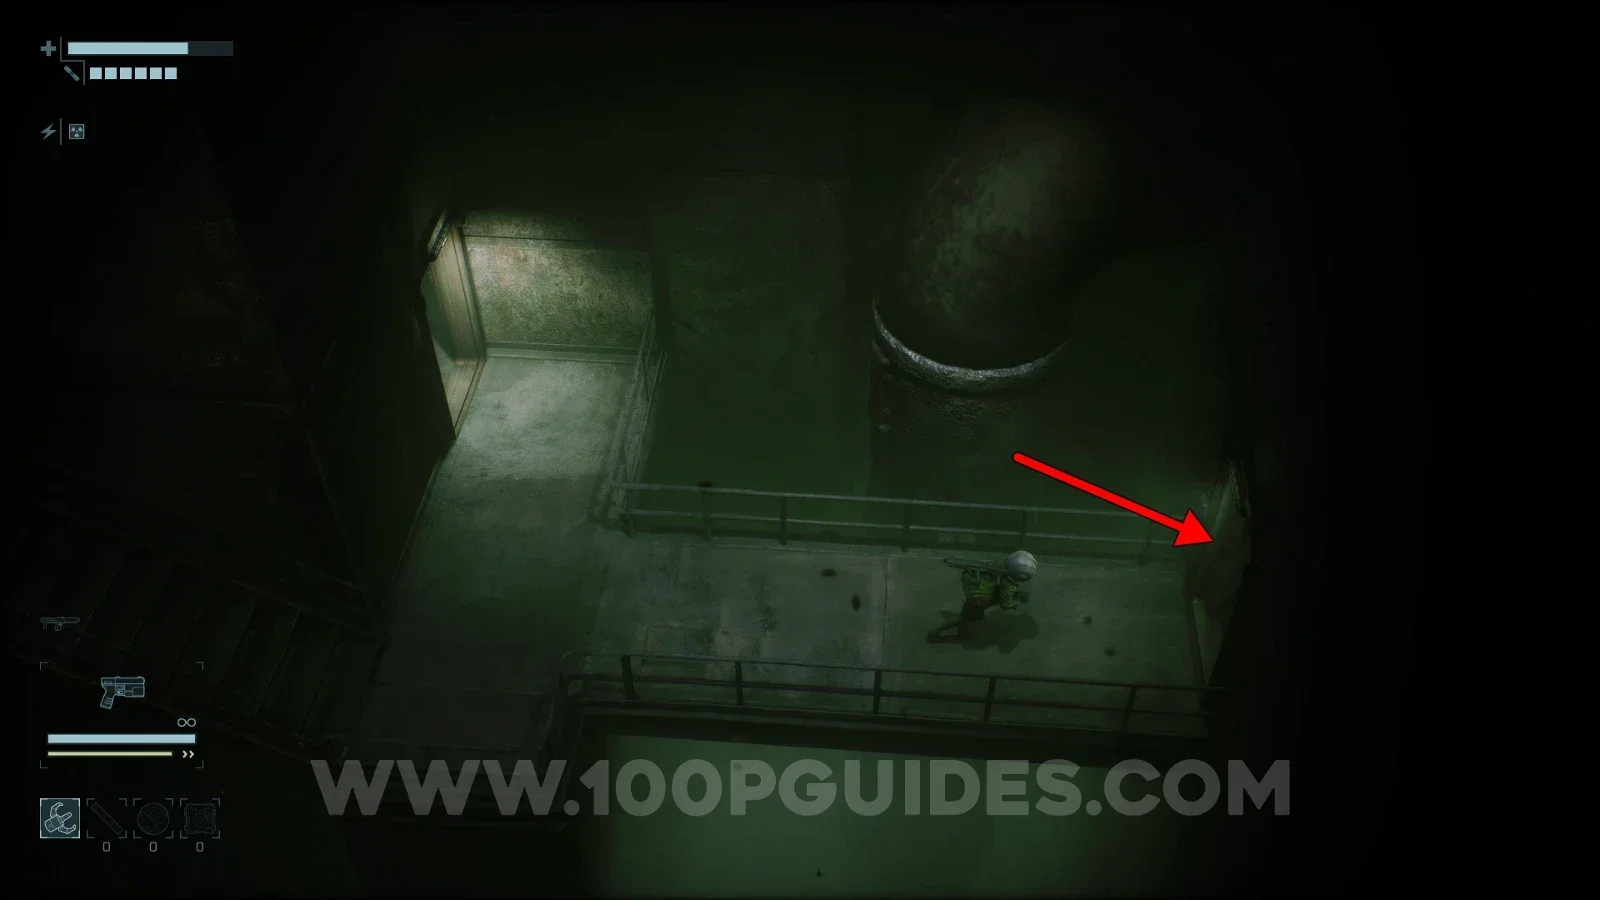
Use the key to open the door at the bottom right of F3, then head down the stairs inside. You will find the final module on the bottom circular structure.
Laser Charging Module
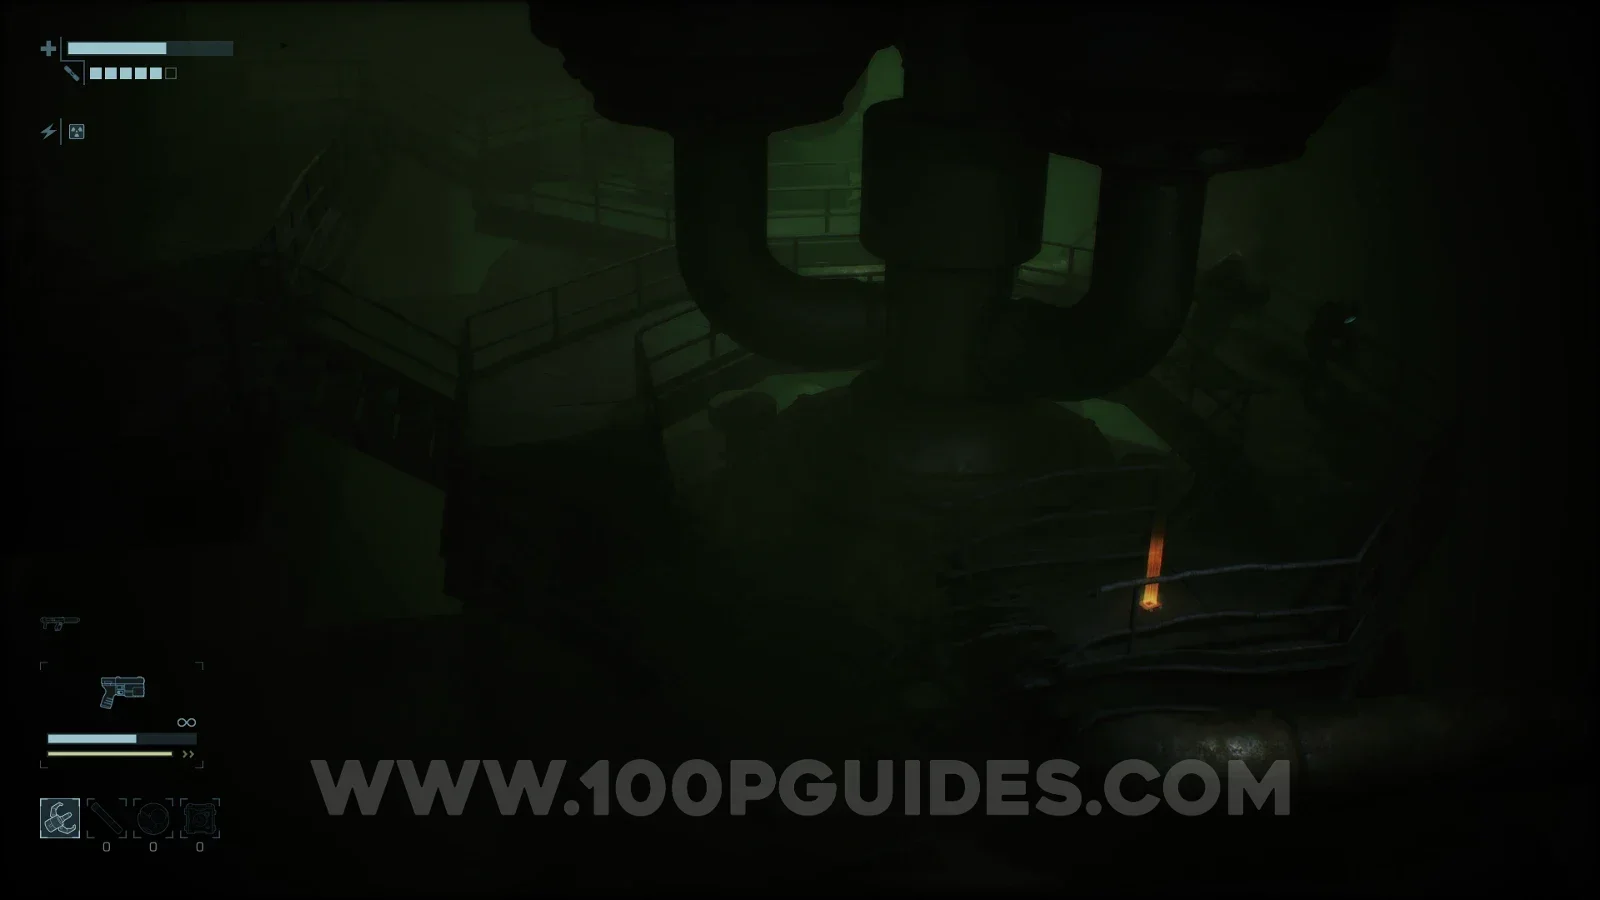
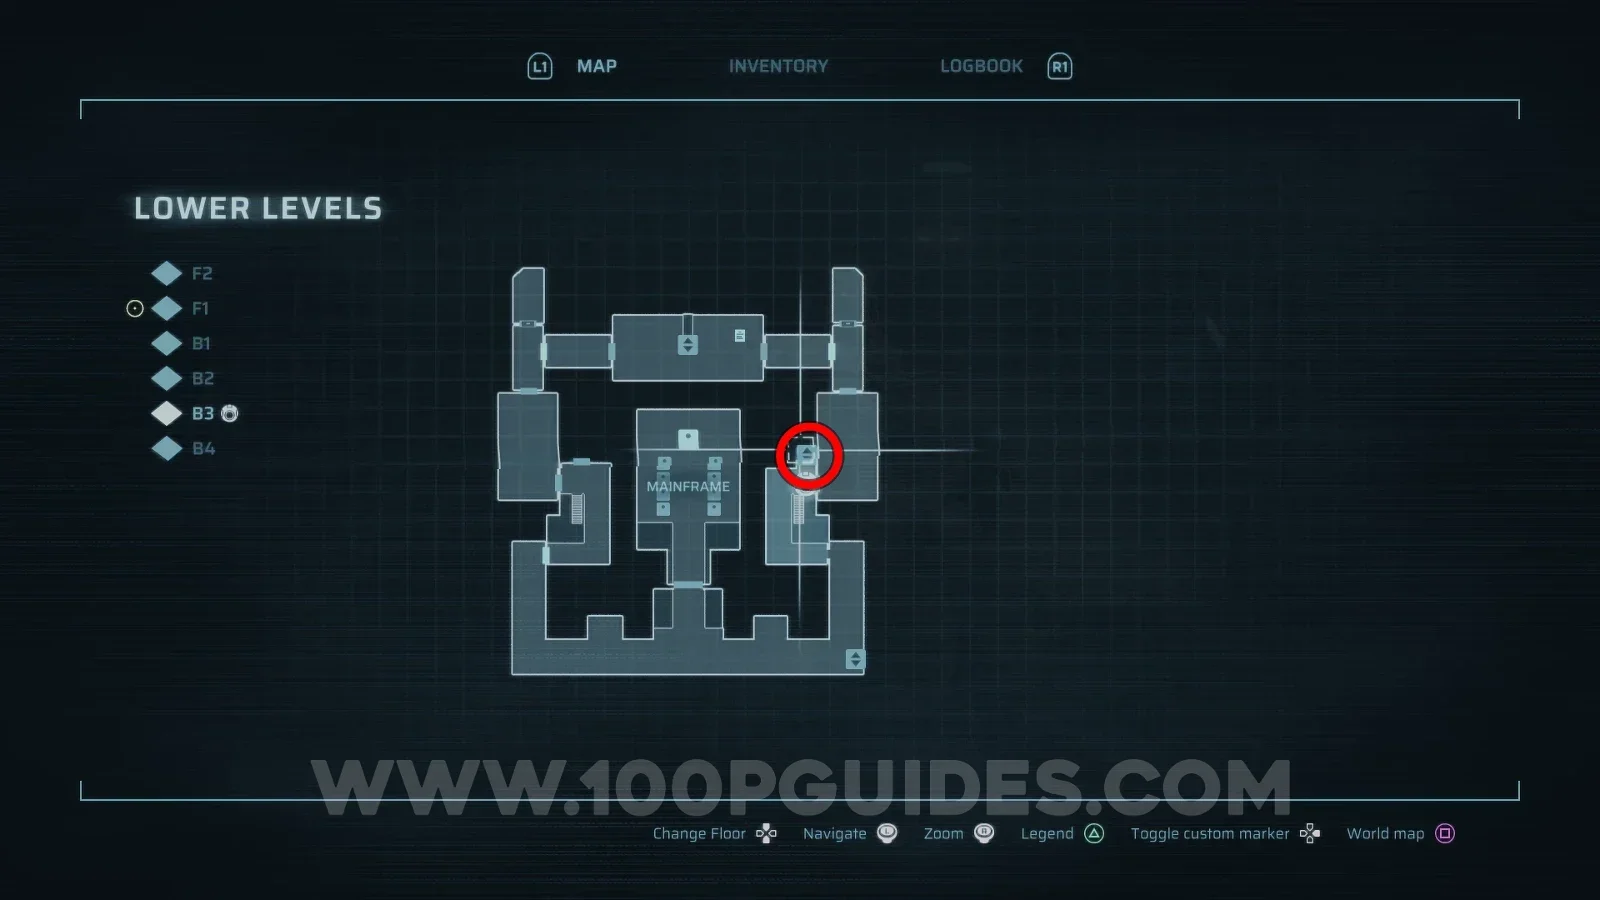
This is a unique upgrade material for the Particle Disruptor, found in the eastern part of the Maintenance zone. To reach it, you will have to go all the way to the Mainframe area in the Lower Levels, burn the goo off the wall next to the lift in the northeast to reveal its switch, then ride the lift up to the upper Mainframe area. Here, you will have to open an Energy Node door. Behind it, use the Experimental Restoration Pod, which will take you to the Maintenance zone.
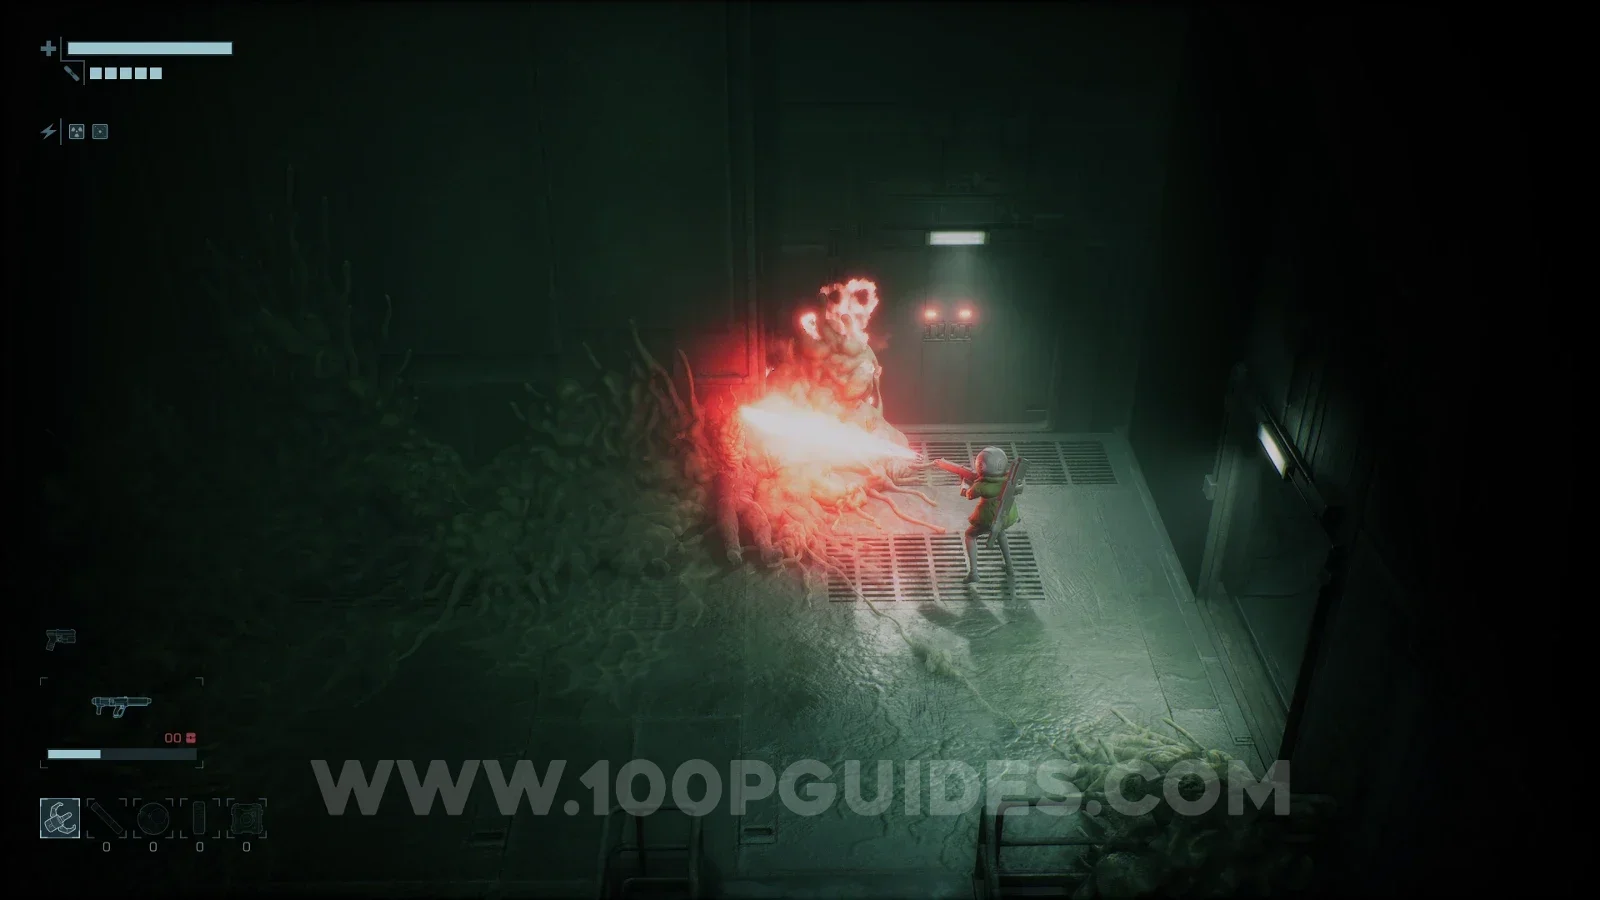
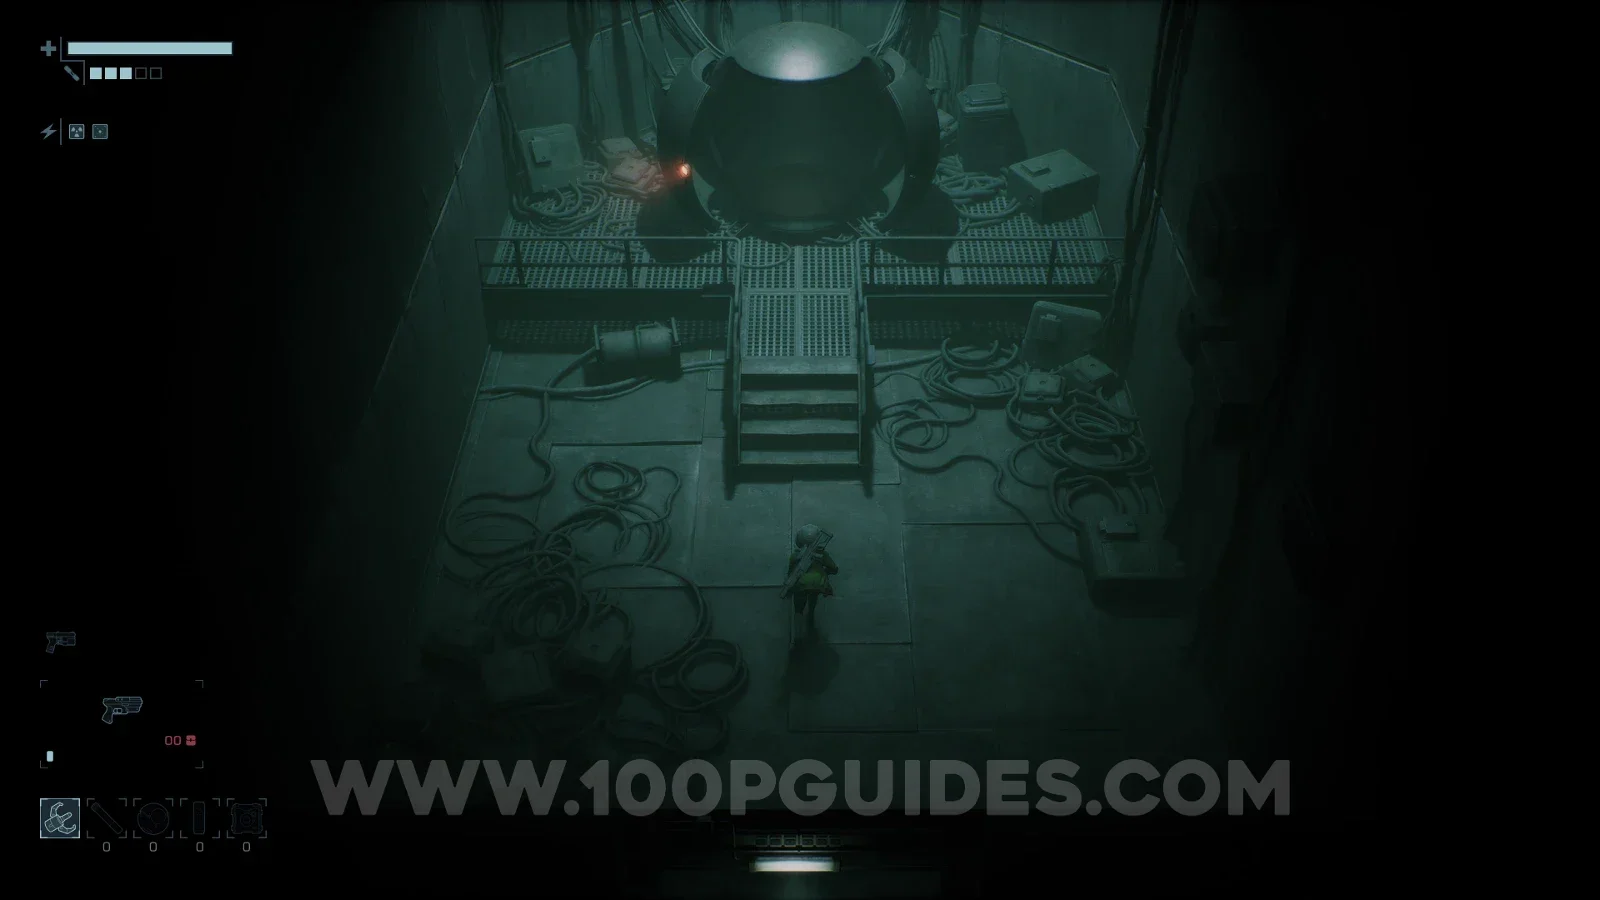
Here, go down the ladder and cross over to the large arena in the middle. Clear the Lockdown Encounter, then continue north. Next, head right and make your way through the debris until you reach a hole the game won't let you go through. Place an Explosive Charge here to clear the way to the upgrade material, then use your Grappling Hook to get it.