In this step-by-step walkthrough, we will go over the critical story path of End of Abyss from start to finish. It focuses exclusively on what you need to reach the normal ending, including the items required to finish the game. This guide does not include any collectibles or optional content. For those, check out our other End of Abyss Guides.
Follow Soldier E-19
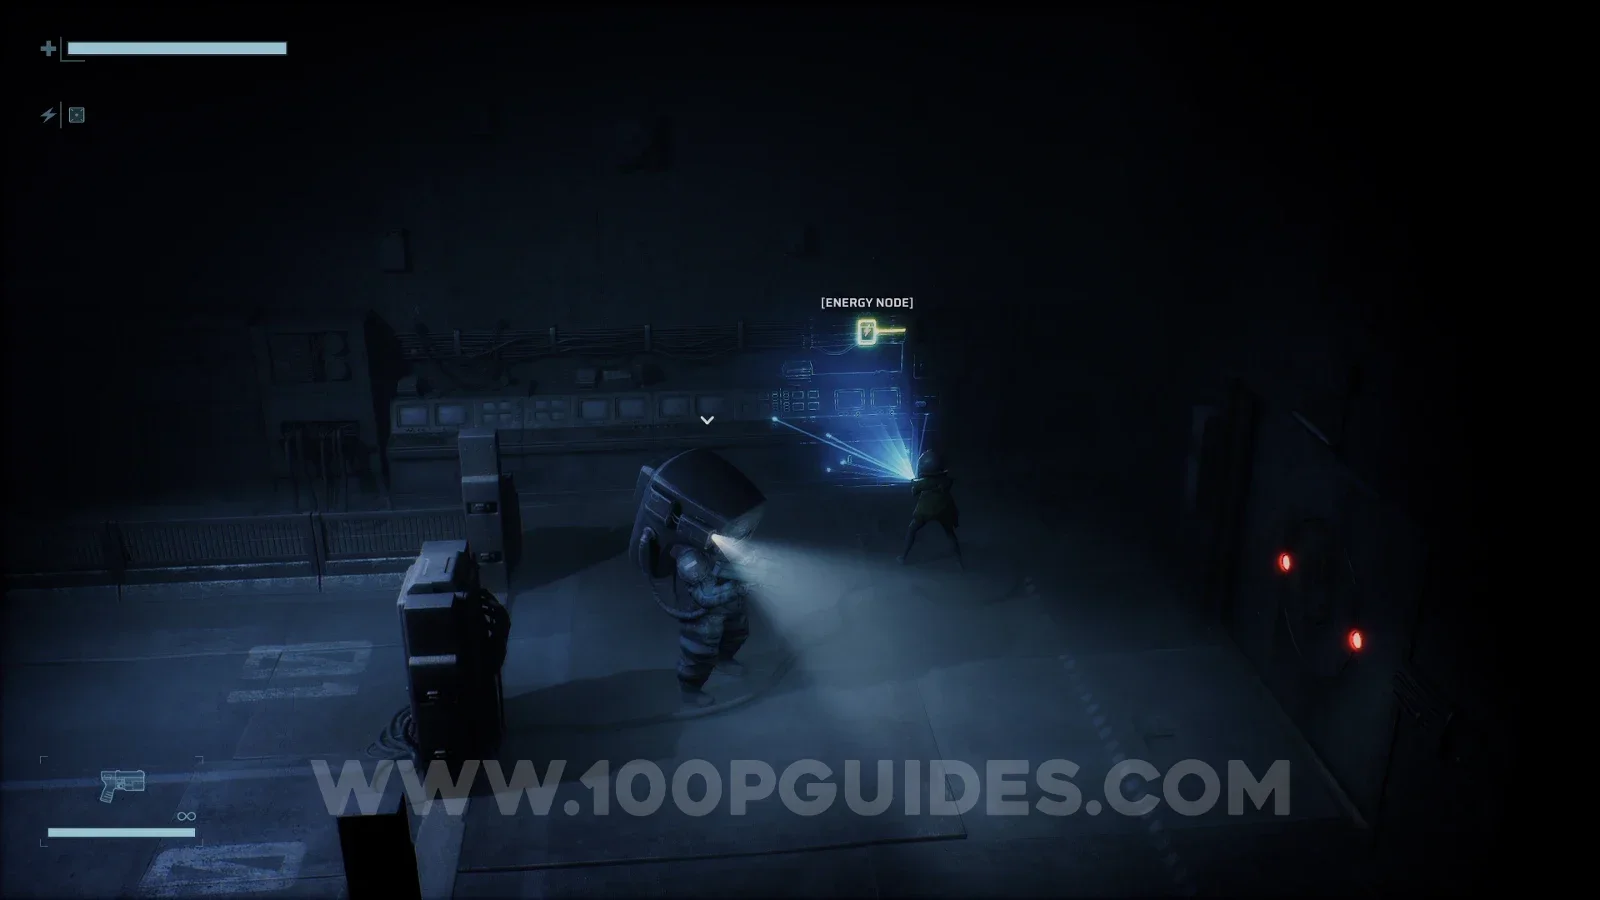
At the start of the game, follow Soldier E-19, using the levers and taking the only possible path. Eventually, you will reach a locked door where you have to press and scan the walls around the door to find the Energy Nodes, then shoot them.
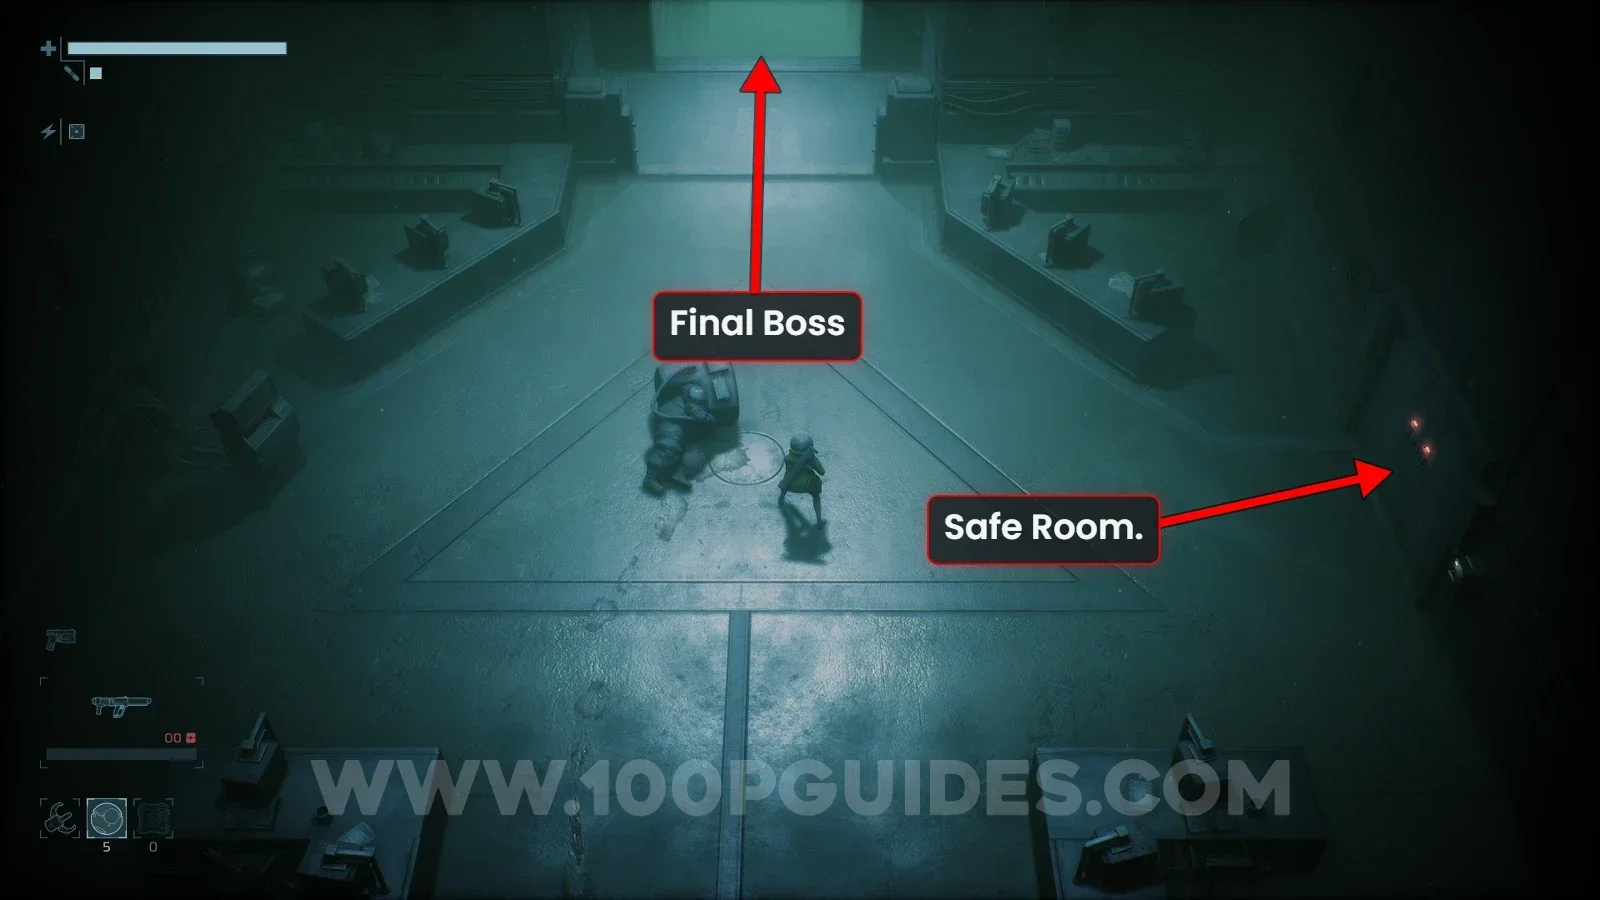
Keep following the NPC, riding the lift down, until you eventually reach a room with a triangle on the floor, where you will have to split up.
Unlock Habitation Door
From the room with the triangle on the floor, head through the door in the top right to find your first safe room, where you can save, craft and upgrade.
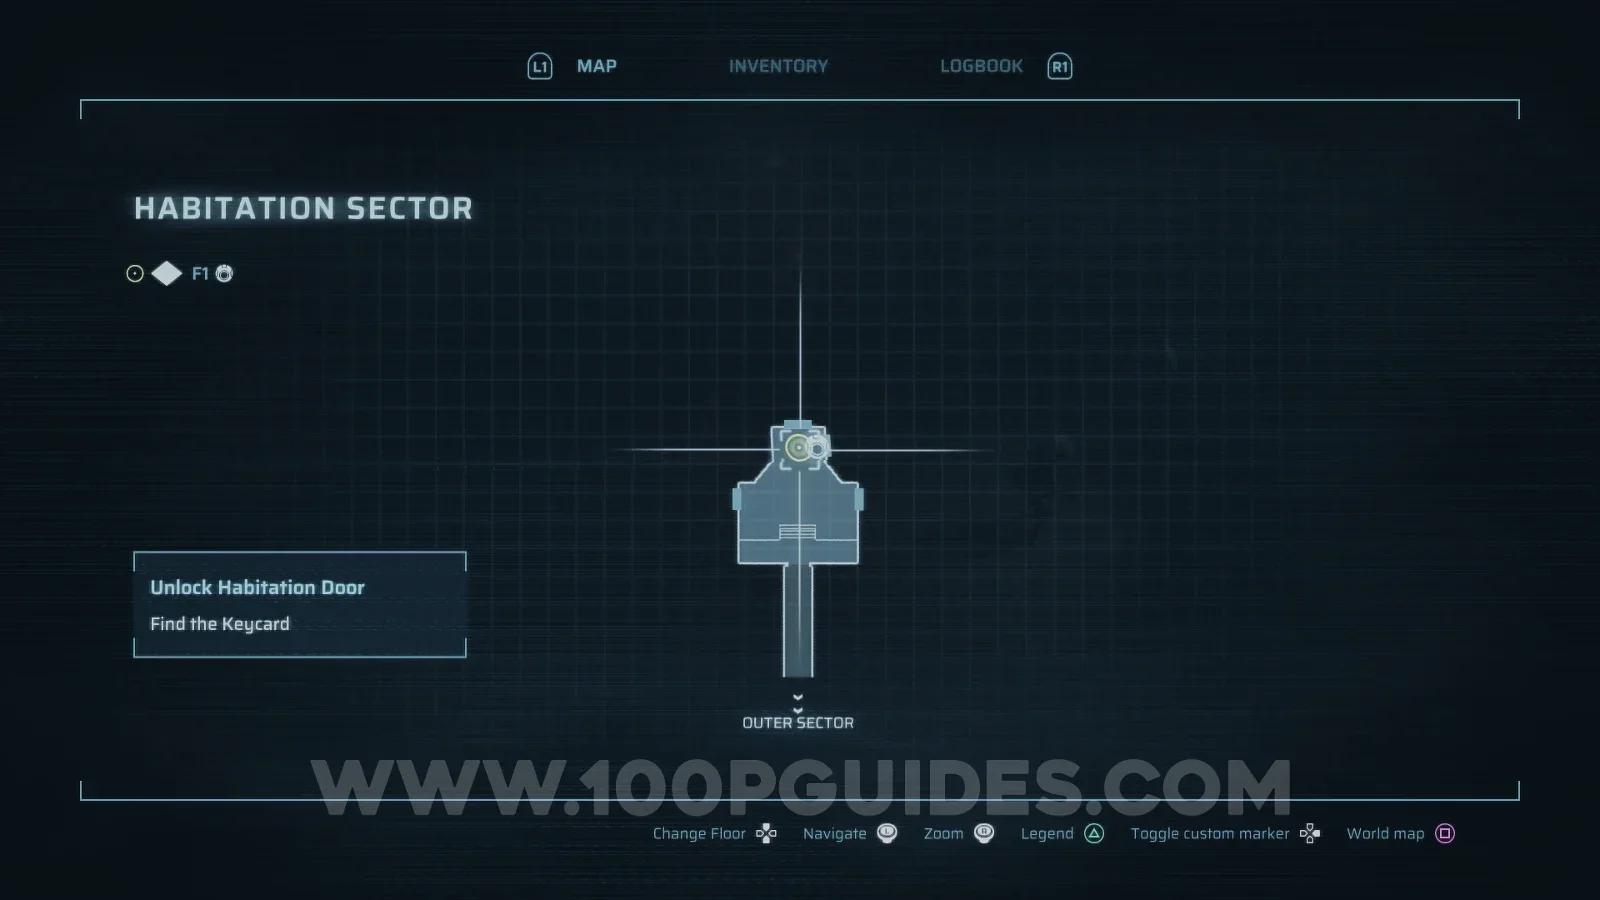
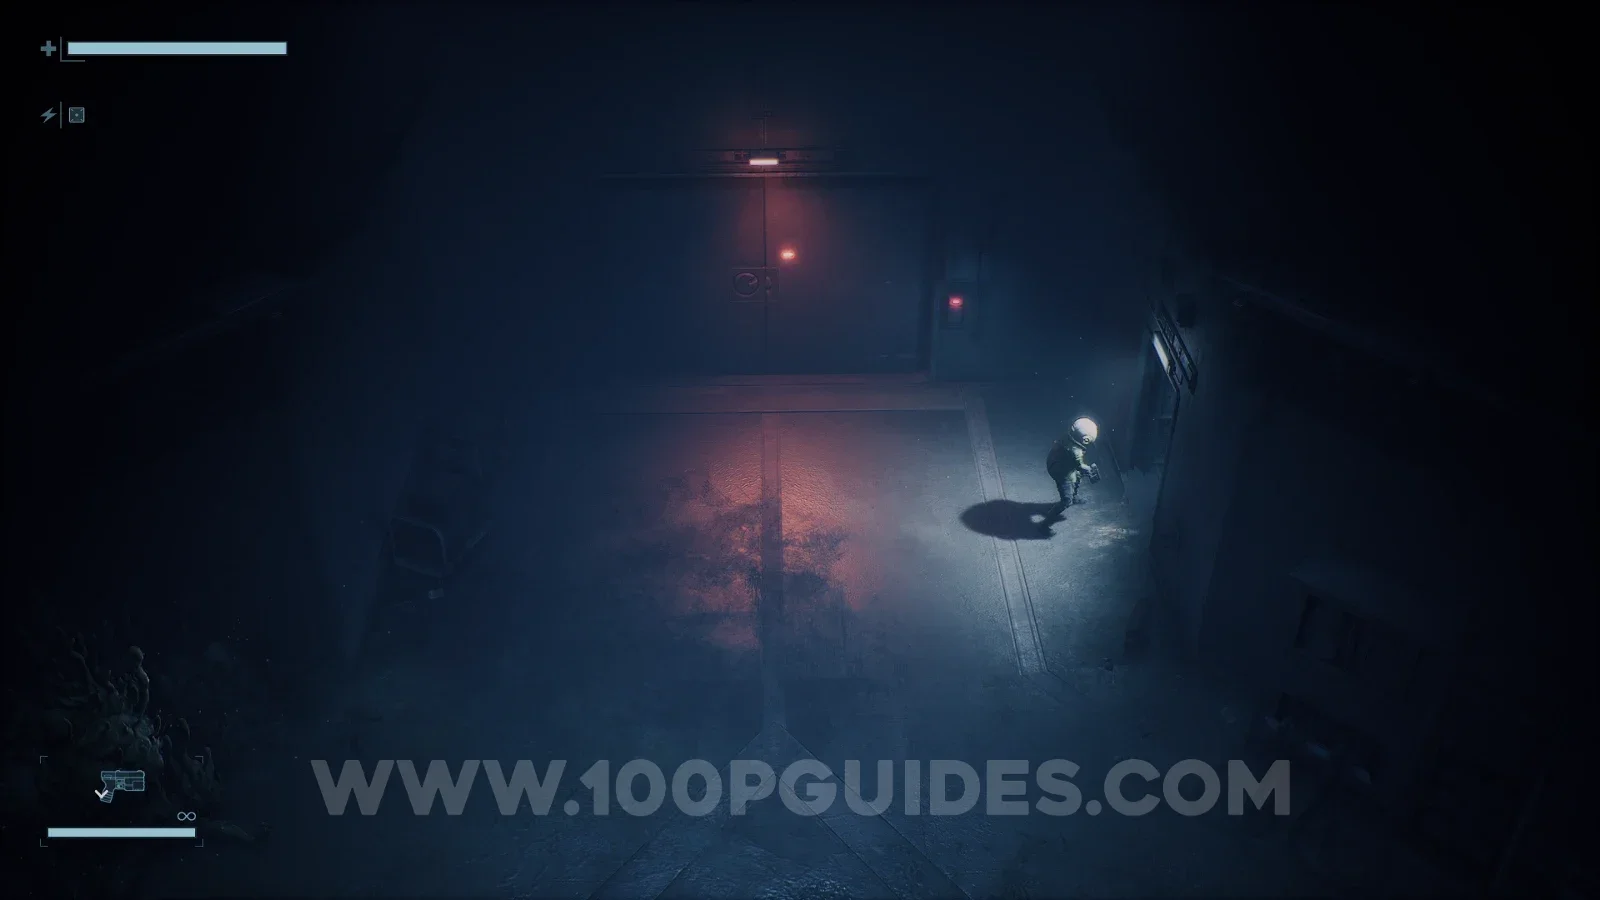
Go through the safe room and continue along this path until you reach some stairs. Head up the first set of stairs and go through the door on your left. In the next room, exit through the door in the bottom right.
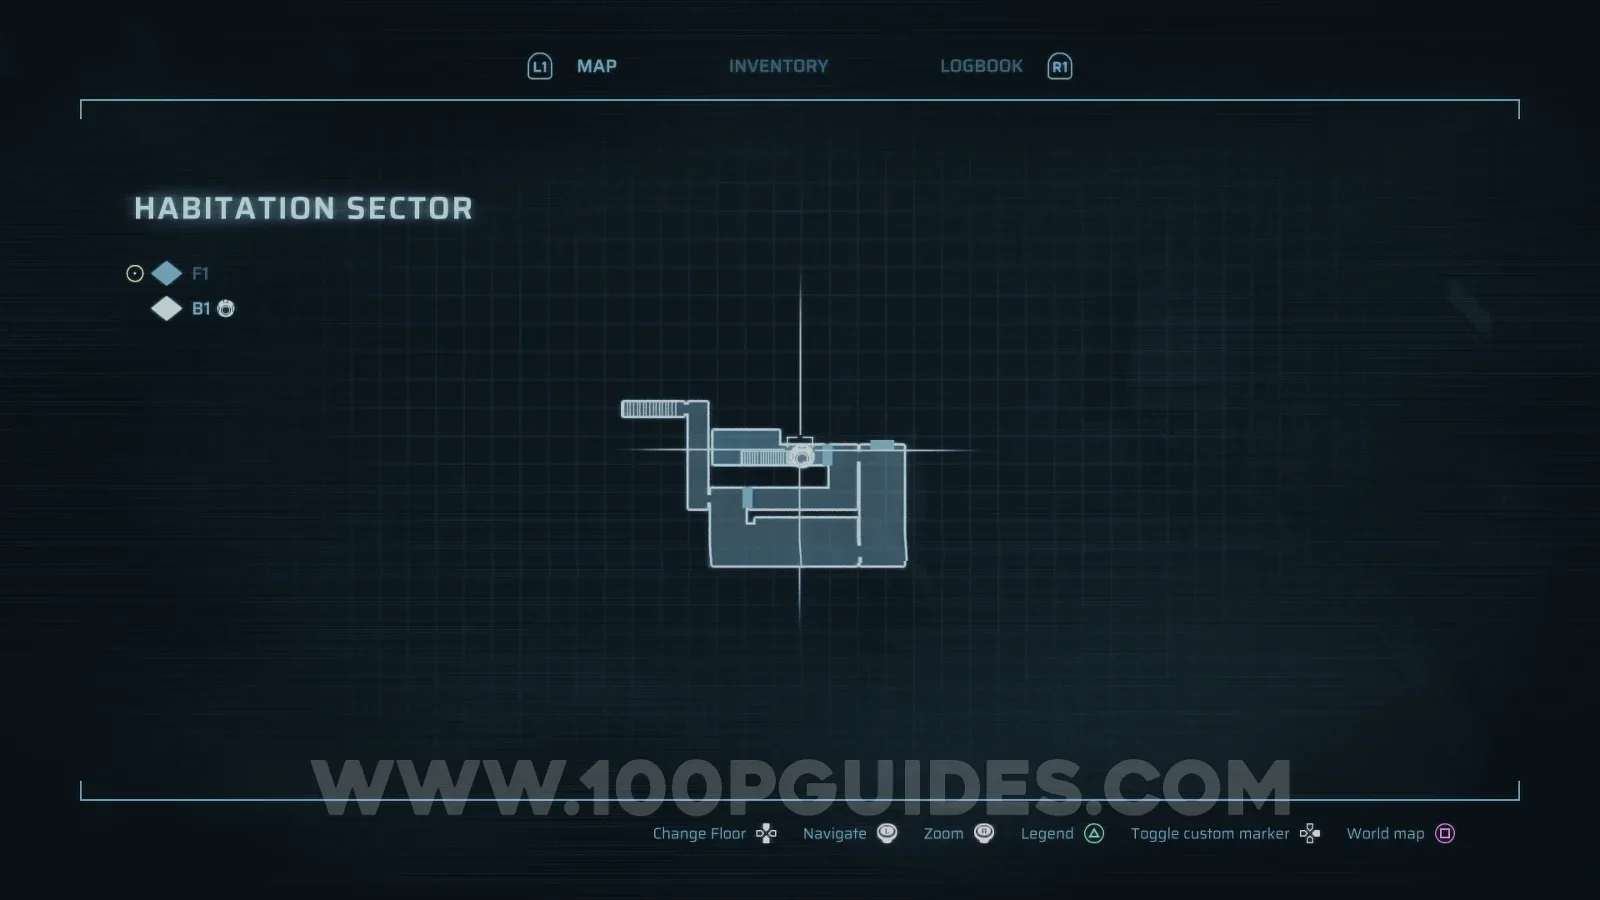
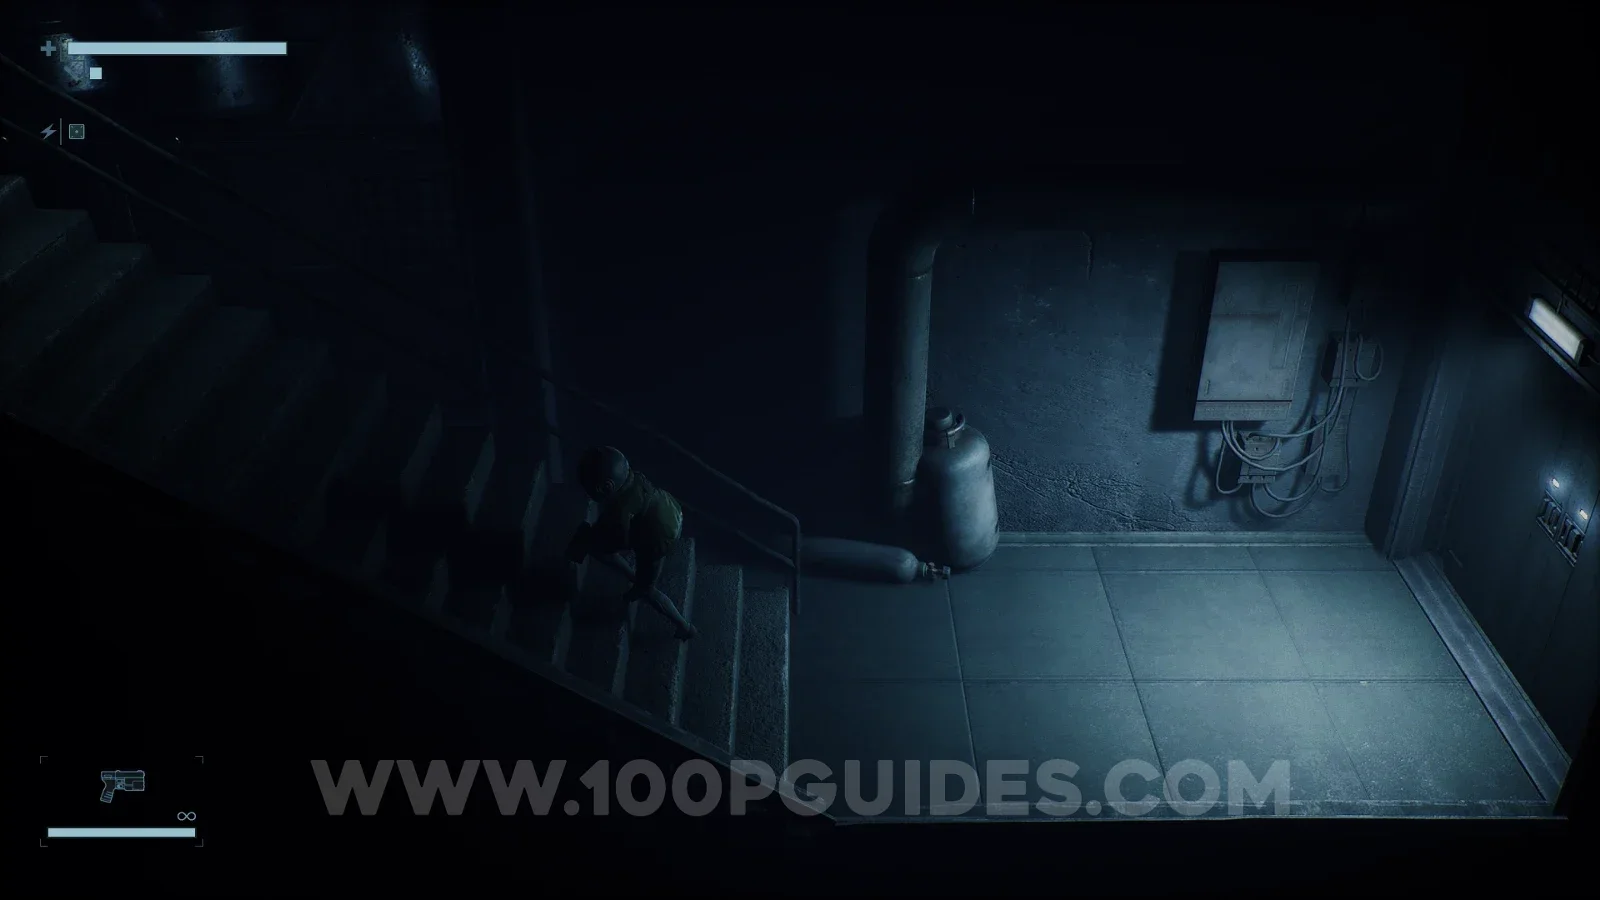
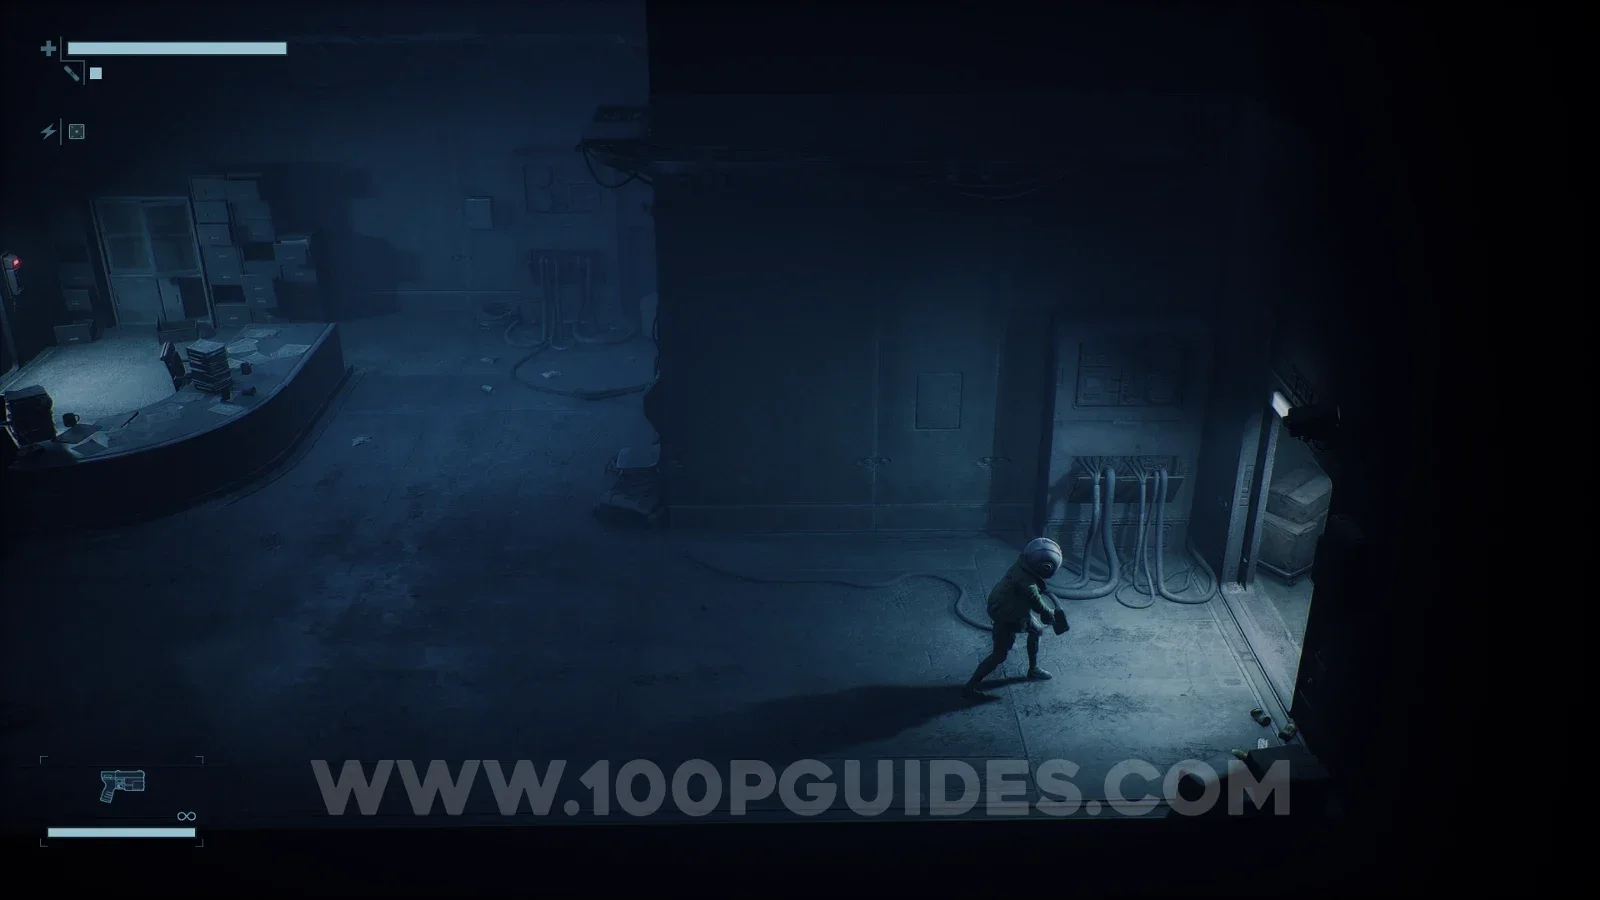
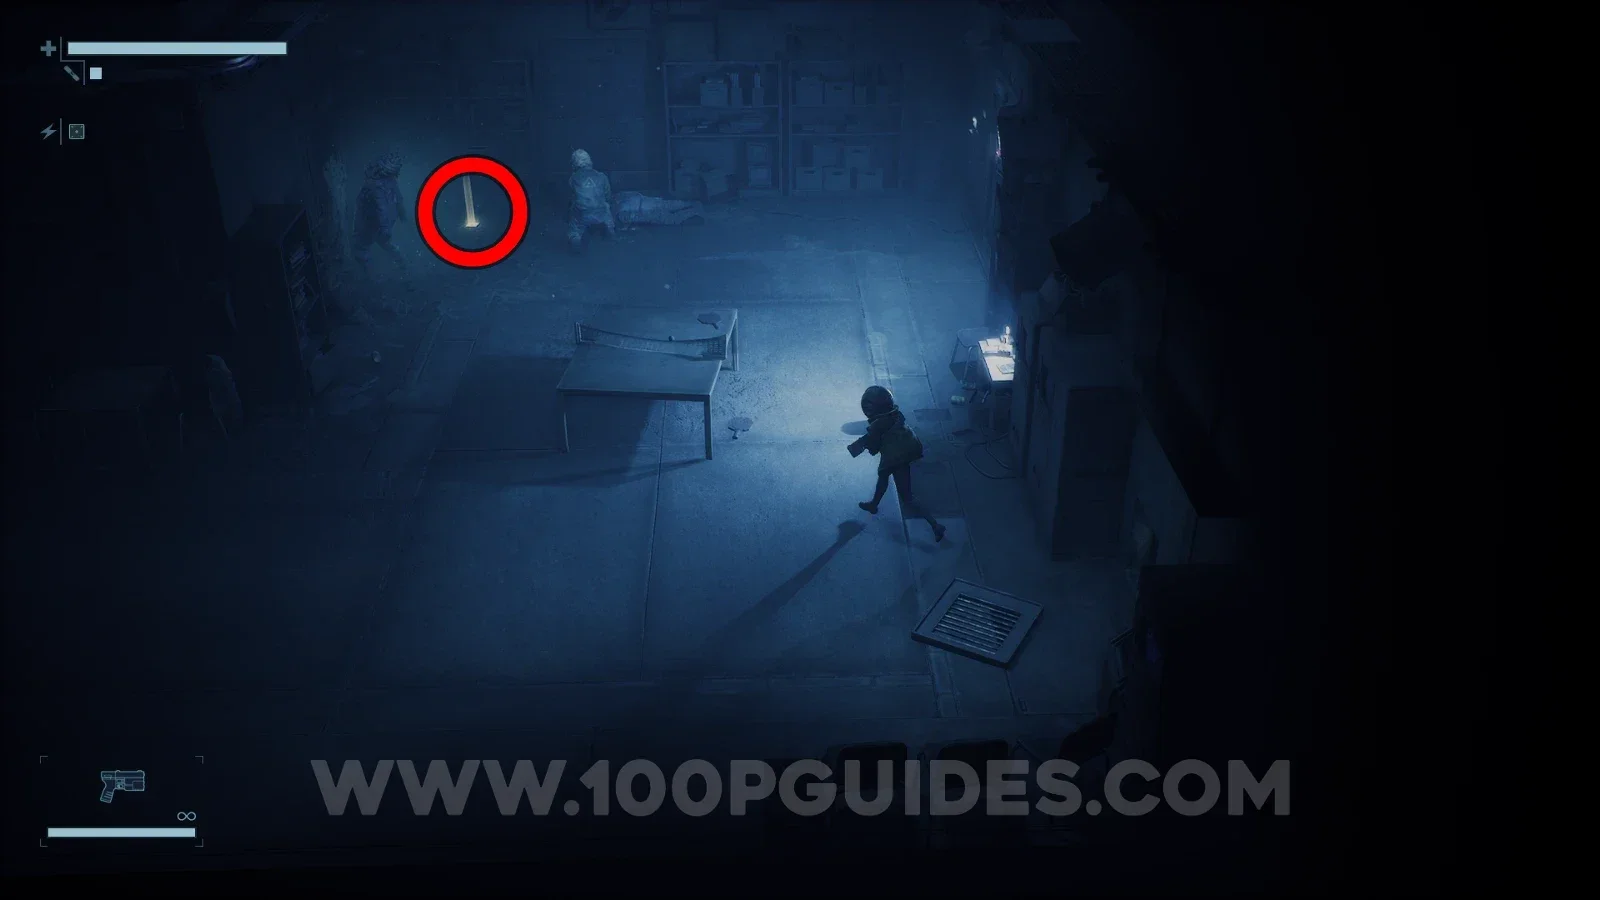
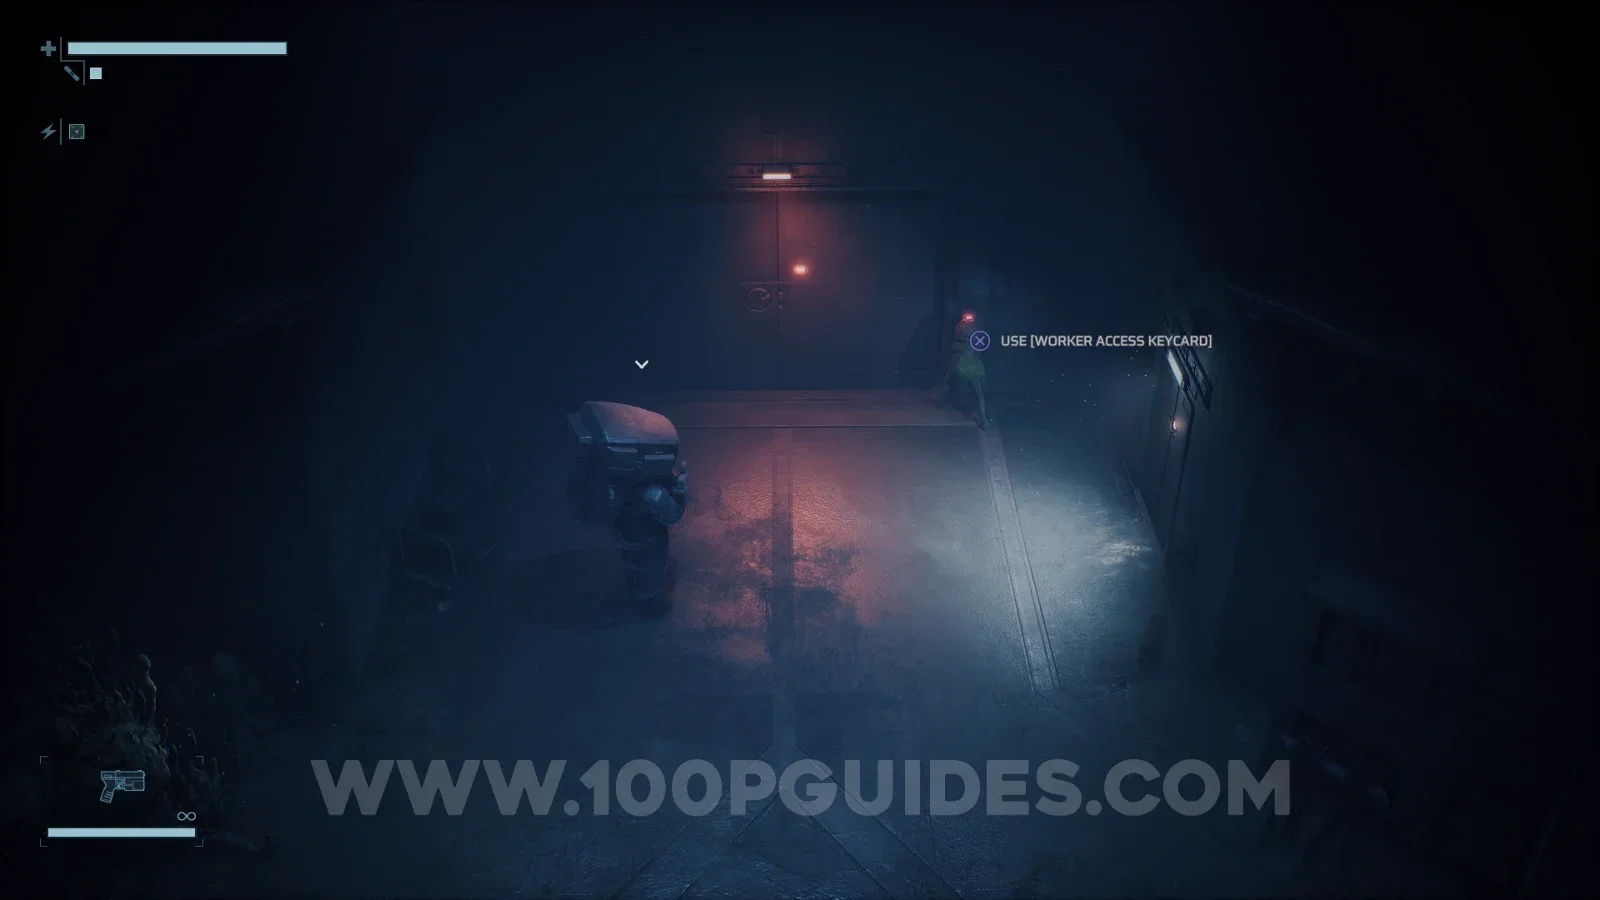
Continue along this path until you reach a small room with a vent. Head inside and take the left path at the fork to find the Worker Access Keycard on the floor next to some enemies.
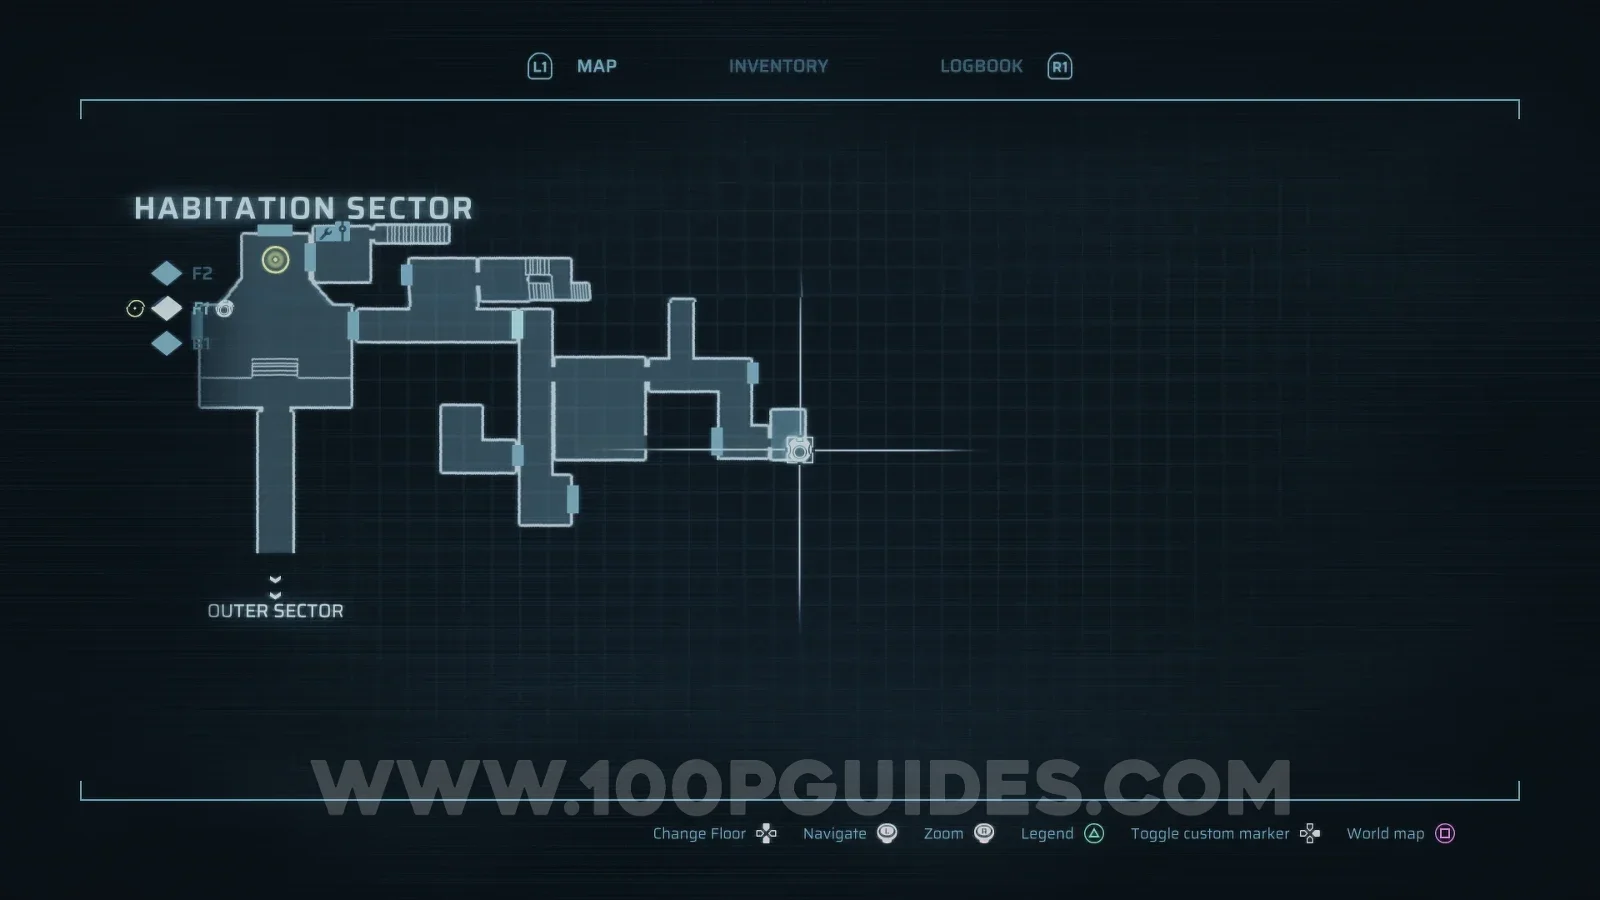
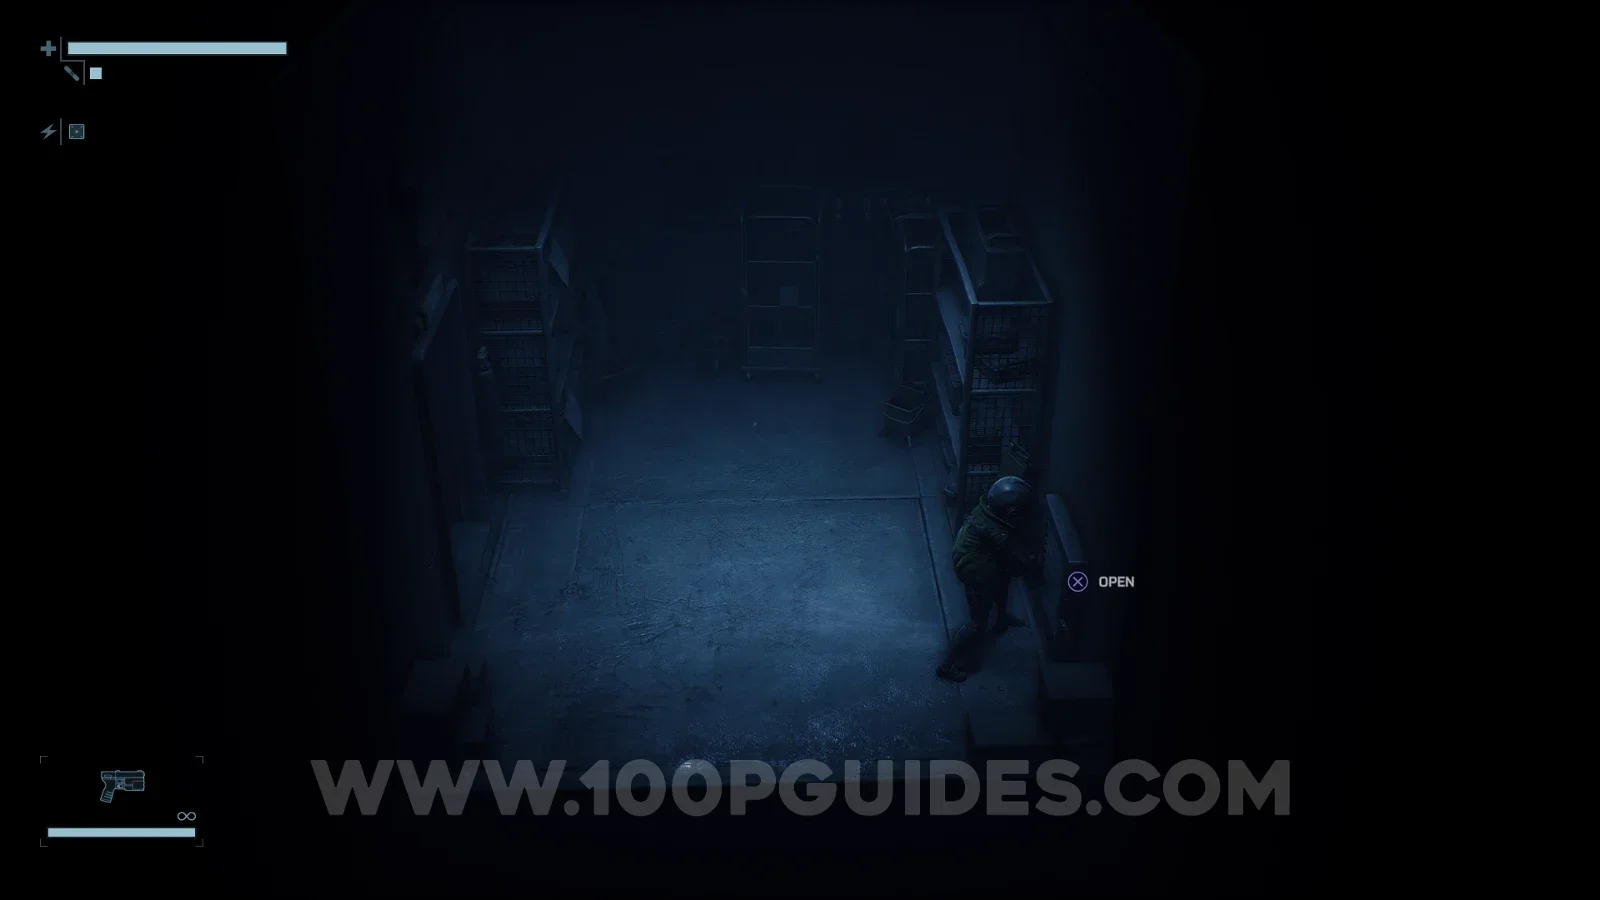
Use the keycard to open the door on the left, then go left again to return to Soldier E-19 and use the keycard to open the main door.
Regroup with Crew
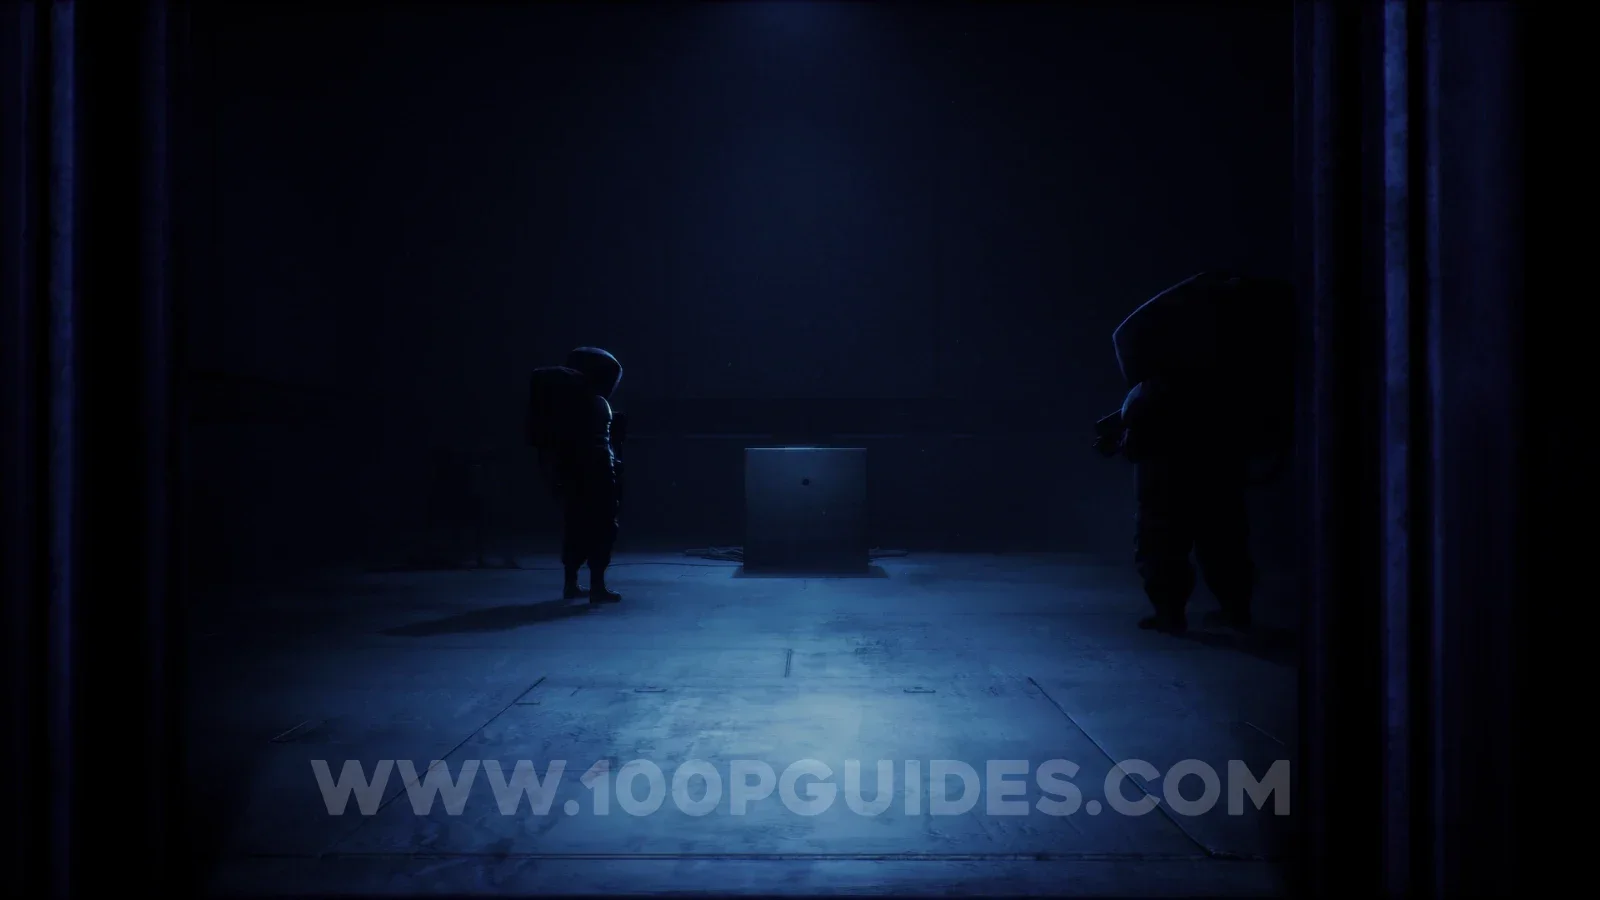
Go through the door and continue straight ahead until you go down some stairs into a room with more NPCs and a cube. Interact with the cube to activate it and complete the main objective.
Activate Beacon
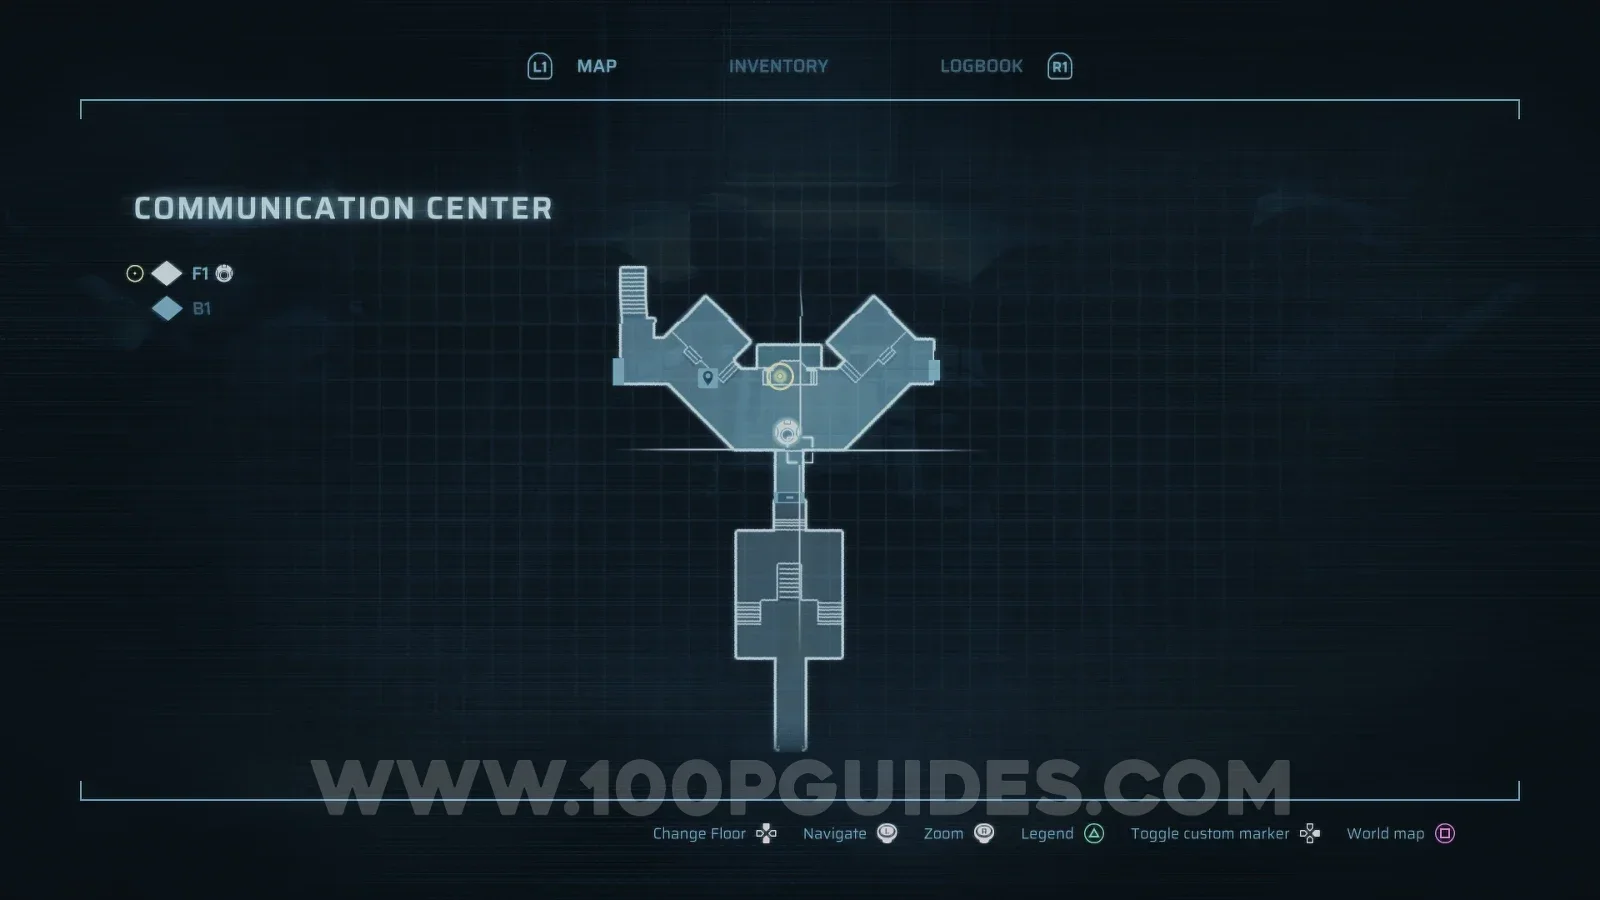
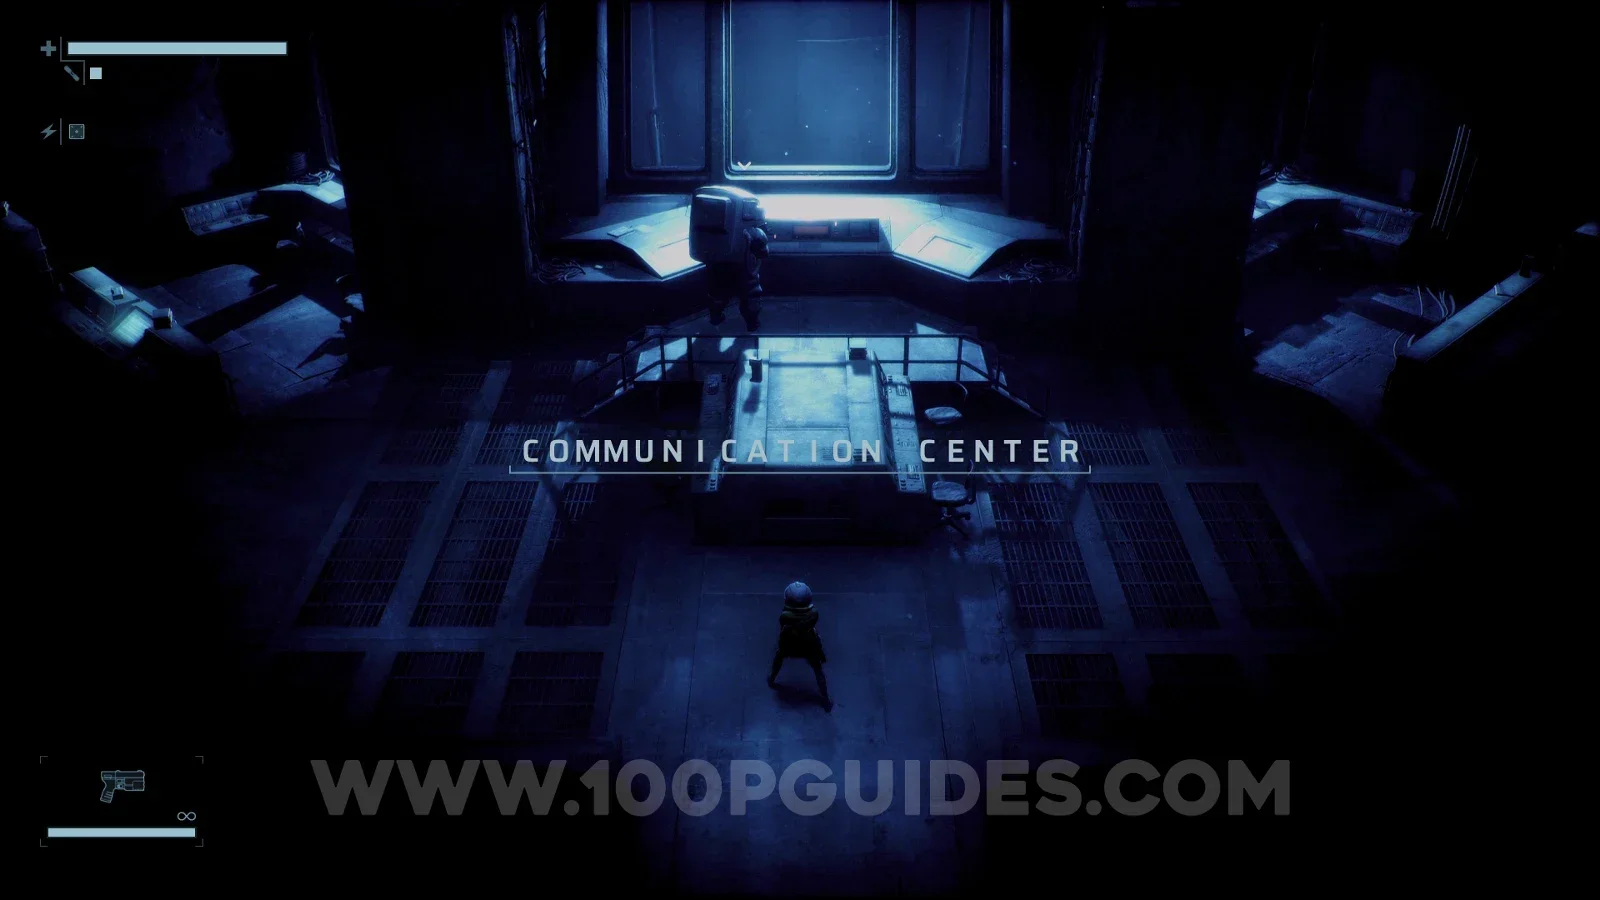
Head back up the stairs and continue north through the next door to reach the Control Room in the Communications Centre. Here, talk to Soldier C-12 (the NPC in front of you).
Climb the Tower
Scan the Map Station on the left side of the Control Room to make the next part easier to navigate (this is optional). Then head through the door on the left to find another safe room and rest in the pod.
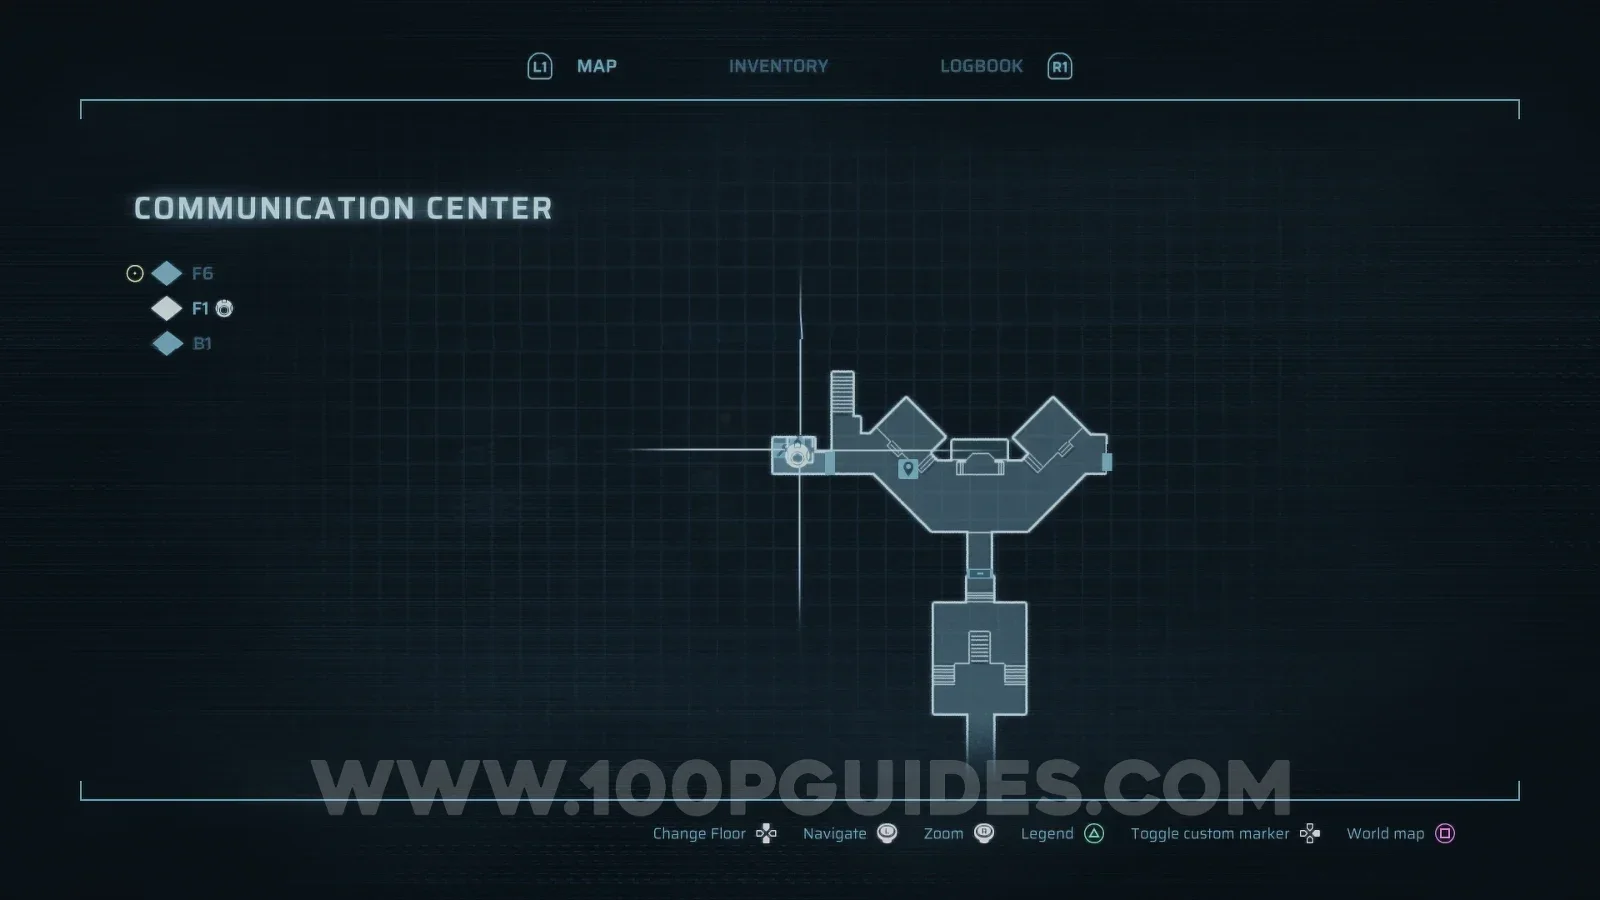
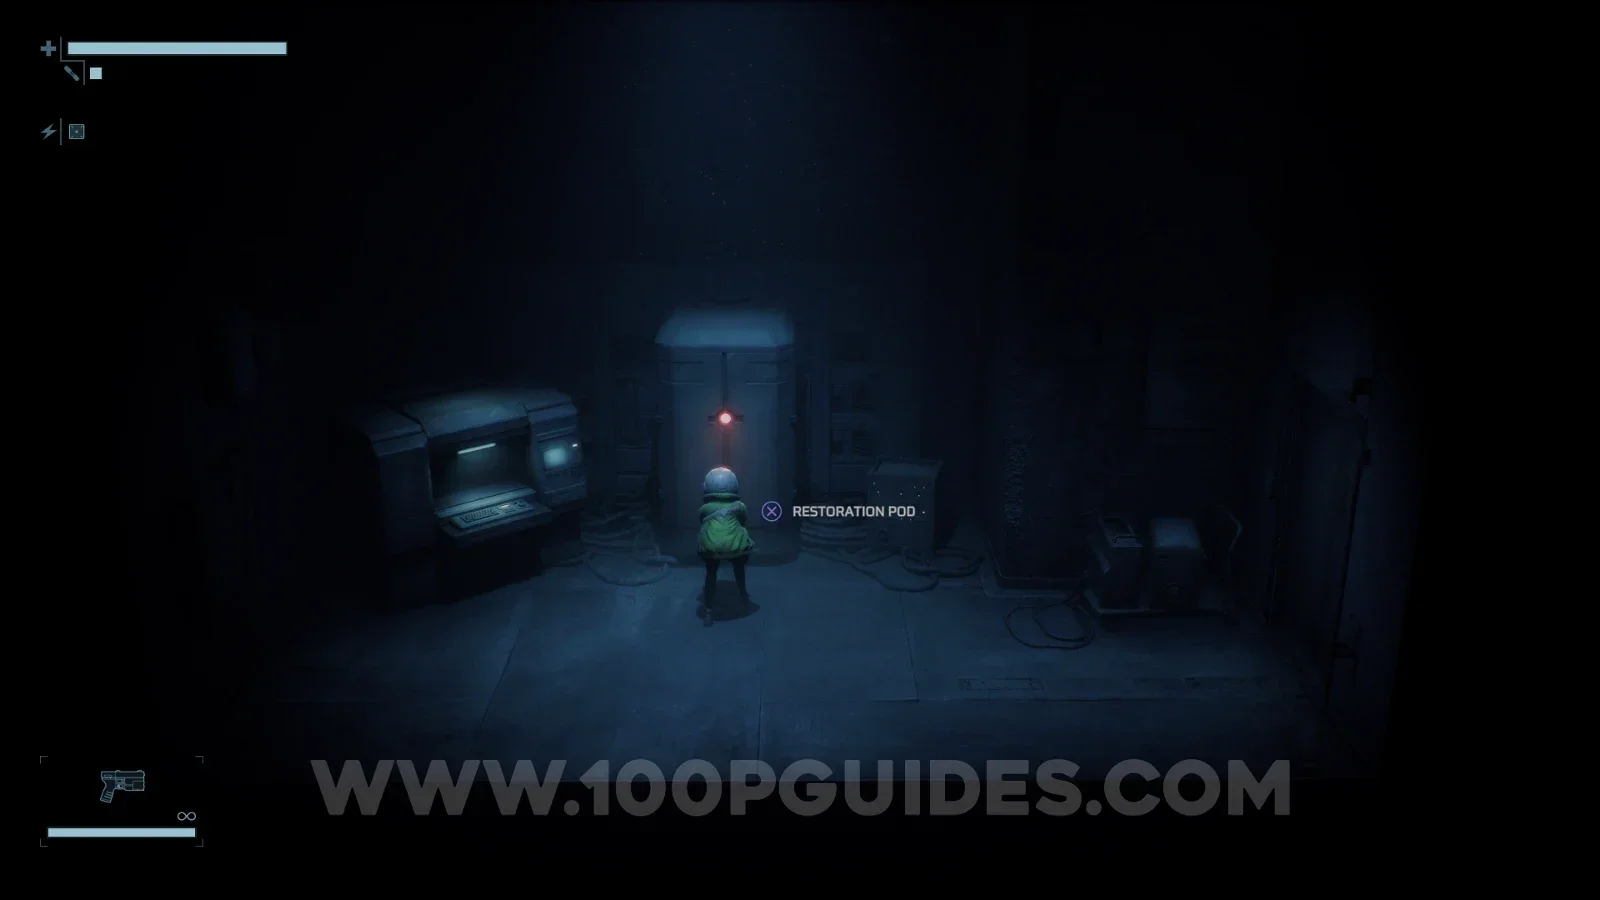
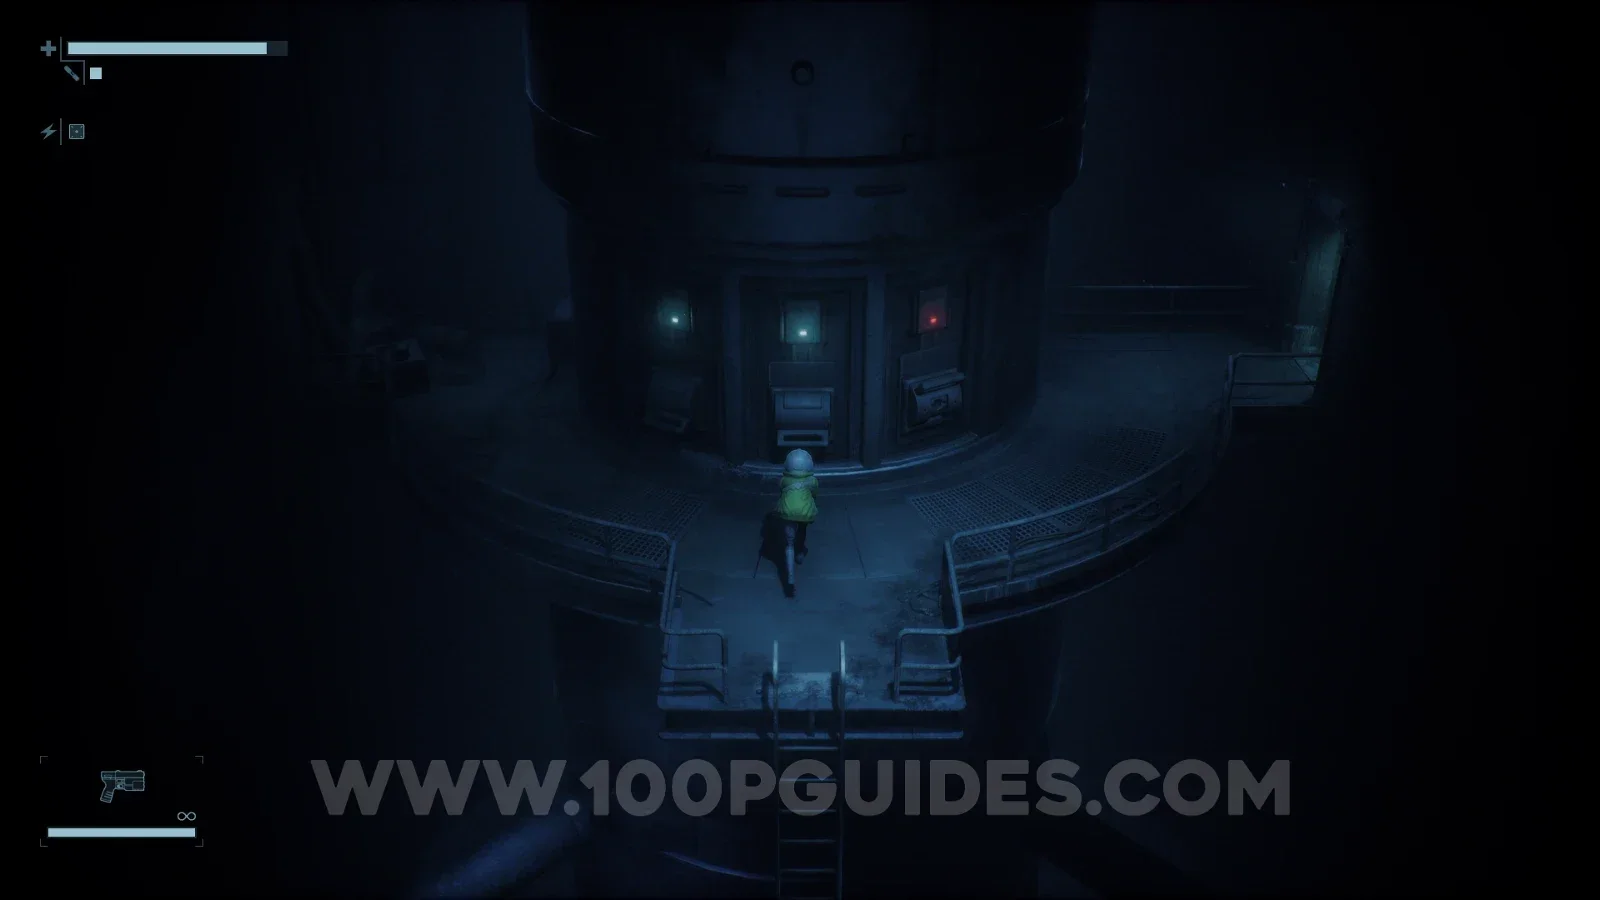
Exit the safe room and head down the stairs to the north, behind Soldier O-14. Continue along this path until you eventually climb a ladder and reach 3 Power Conduits, one of which is missing a Power Converter.
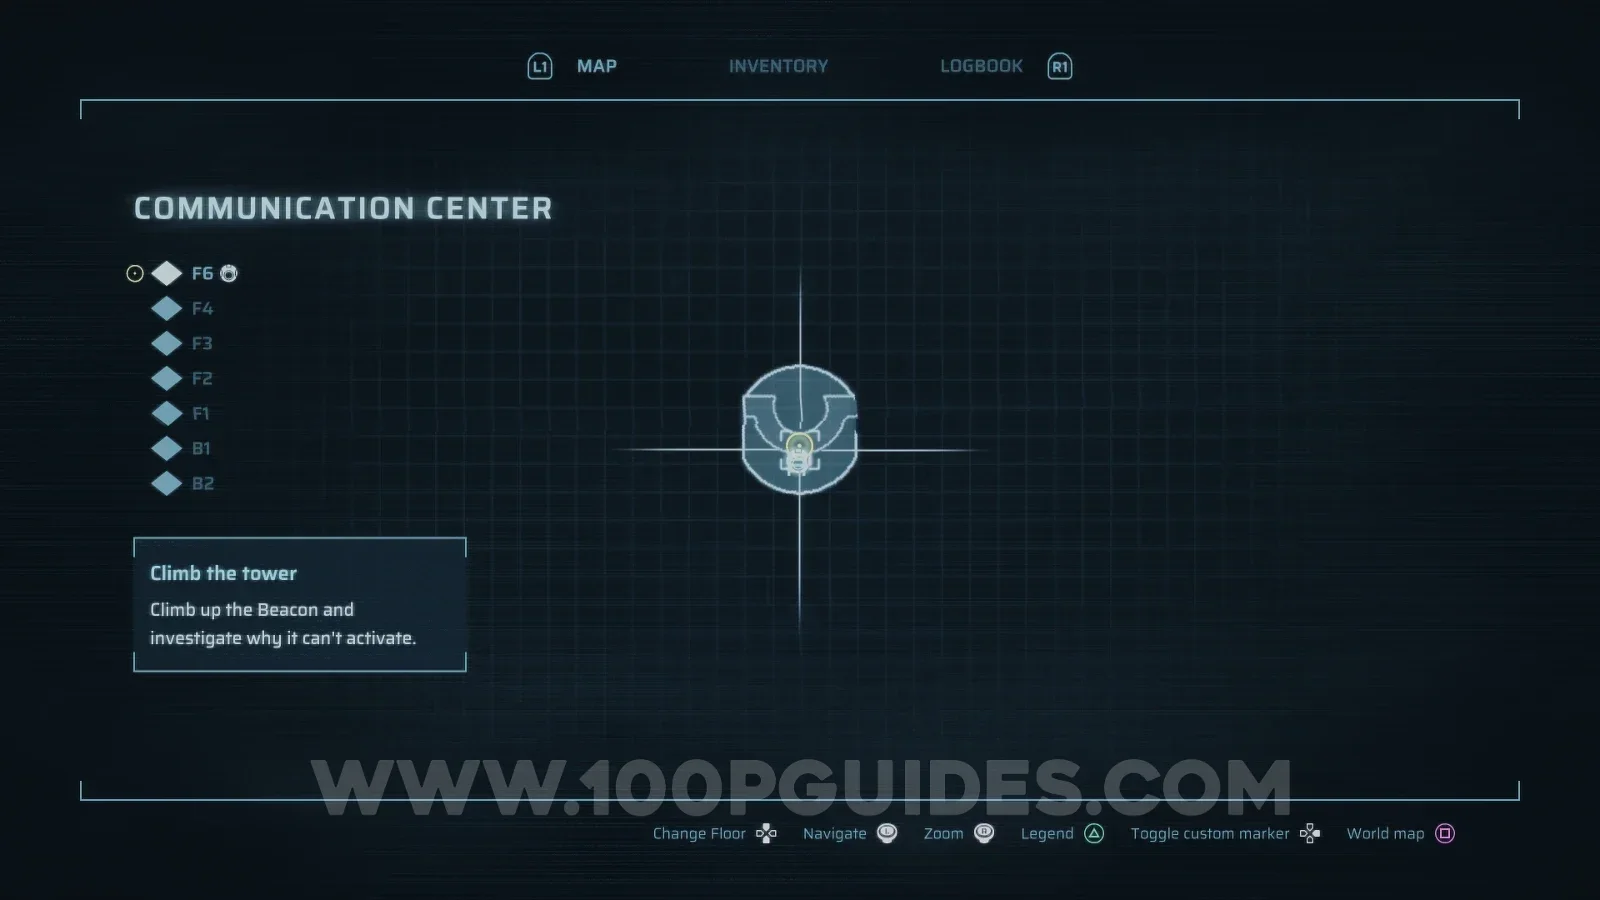
Activate Power Conduit
Go through the door to the right of the 3 Power Conduits and continue along this path until you see a yellow item on the floor in the room below you. Jump down and grab it to collect the Power Converter.
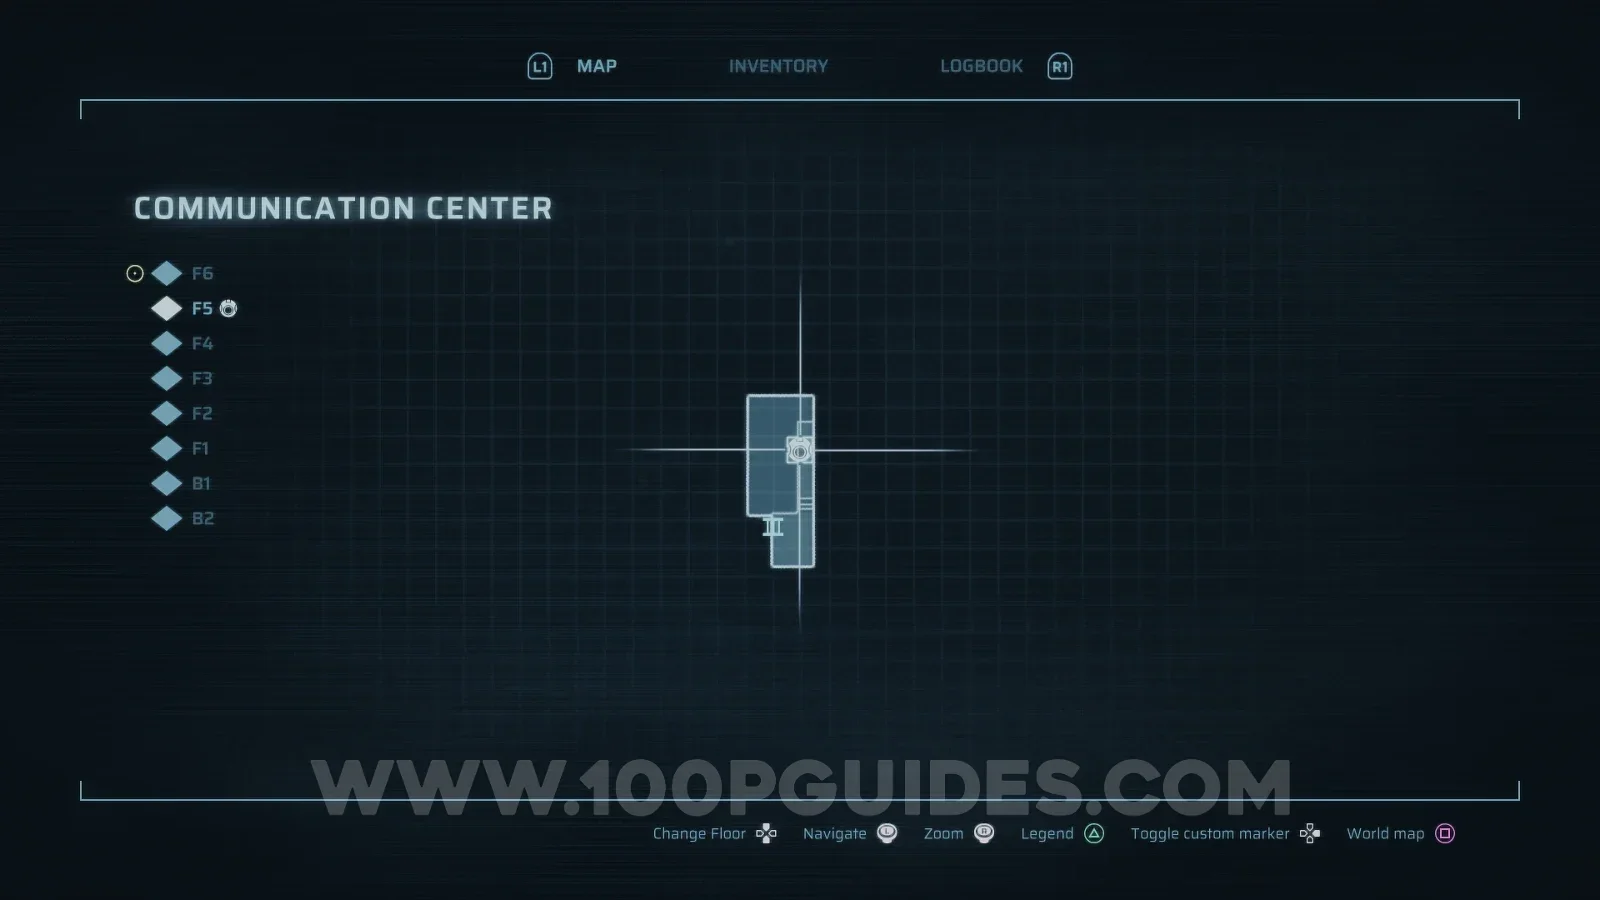
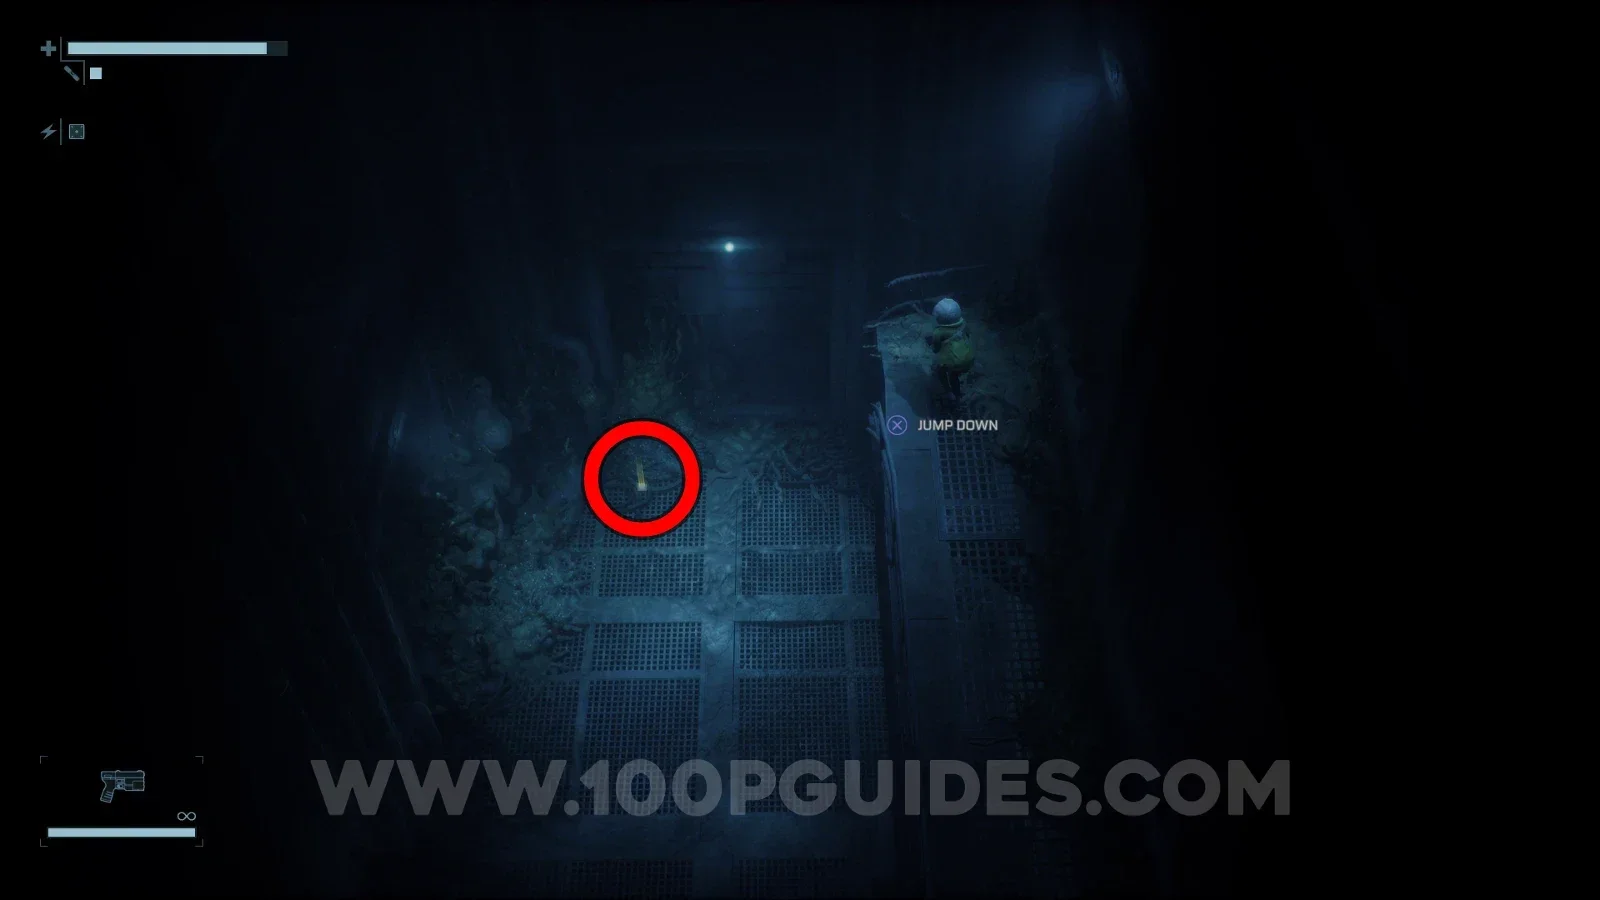
Now head back to the Power Conduit by going through the door in the bottom left of the room, but don't head down the ladder. Instead, continue left, go through the door and climb the ladder again. Once there, place the Power Converter into the slot with a red light on it.
Return to Control Room
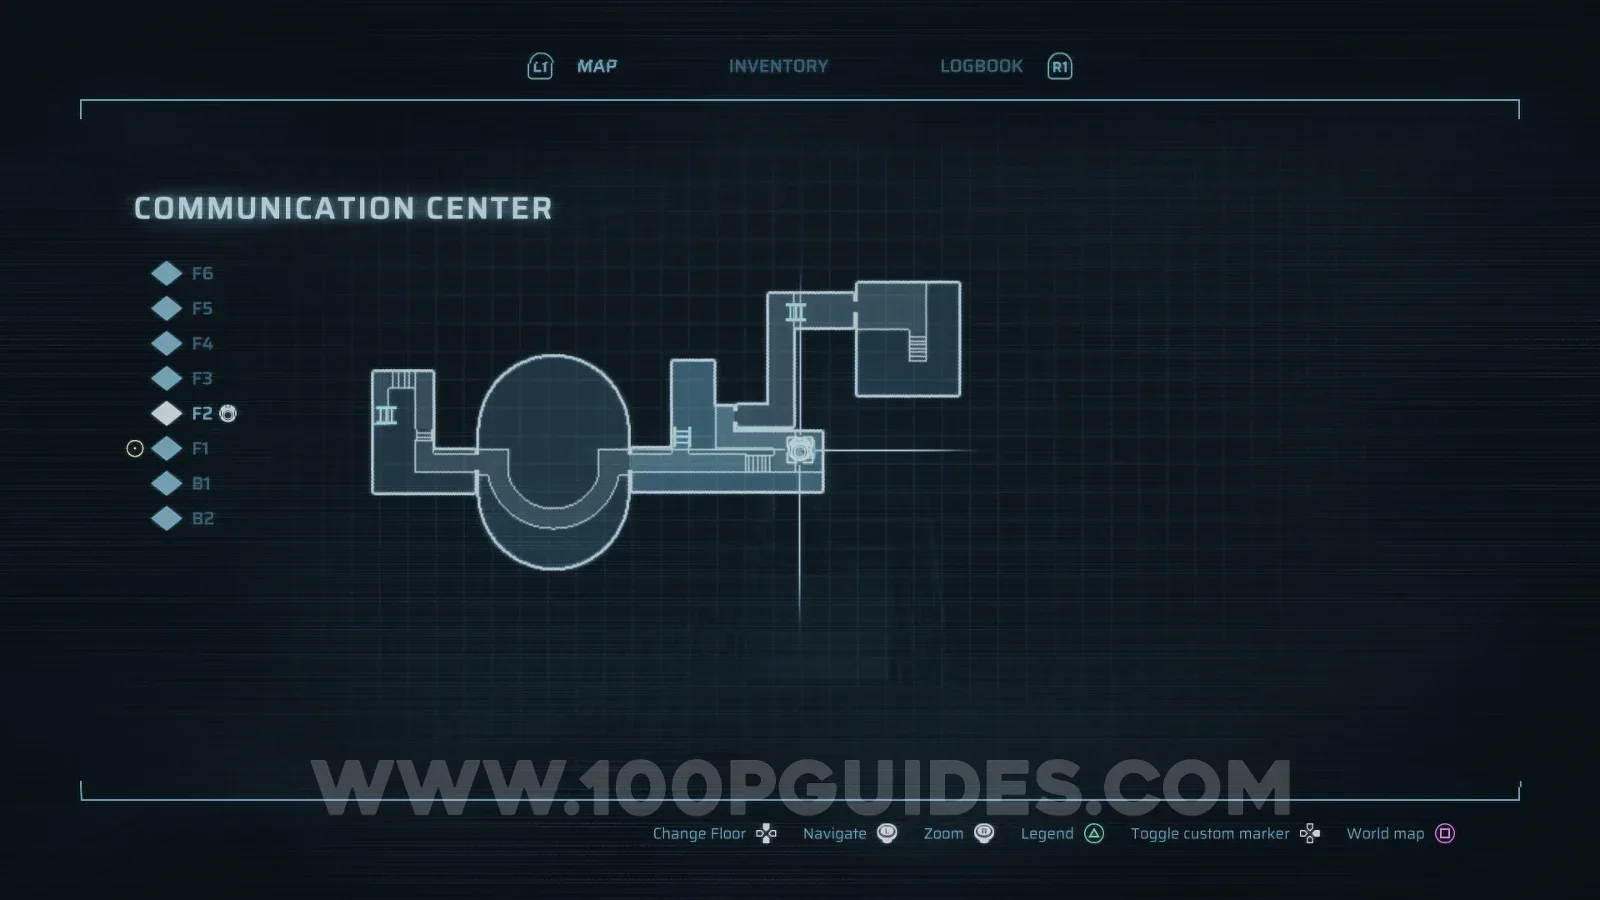
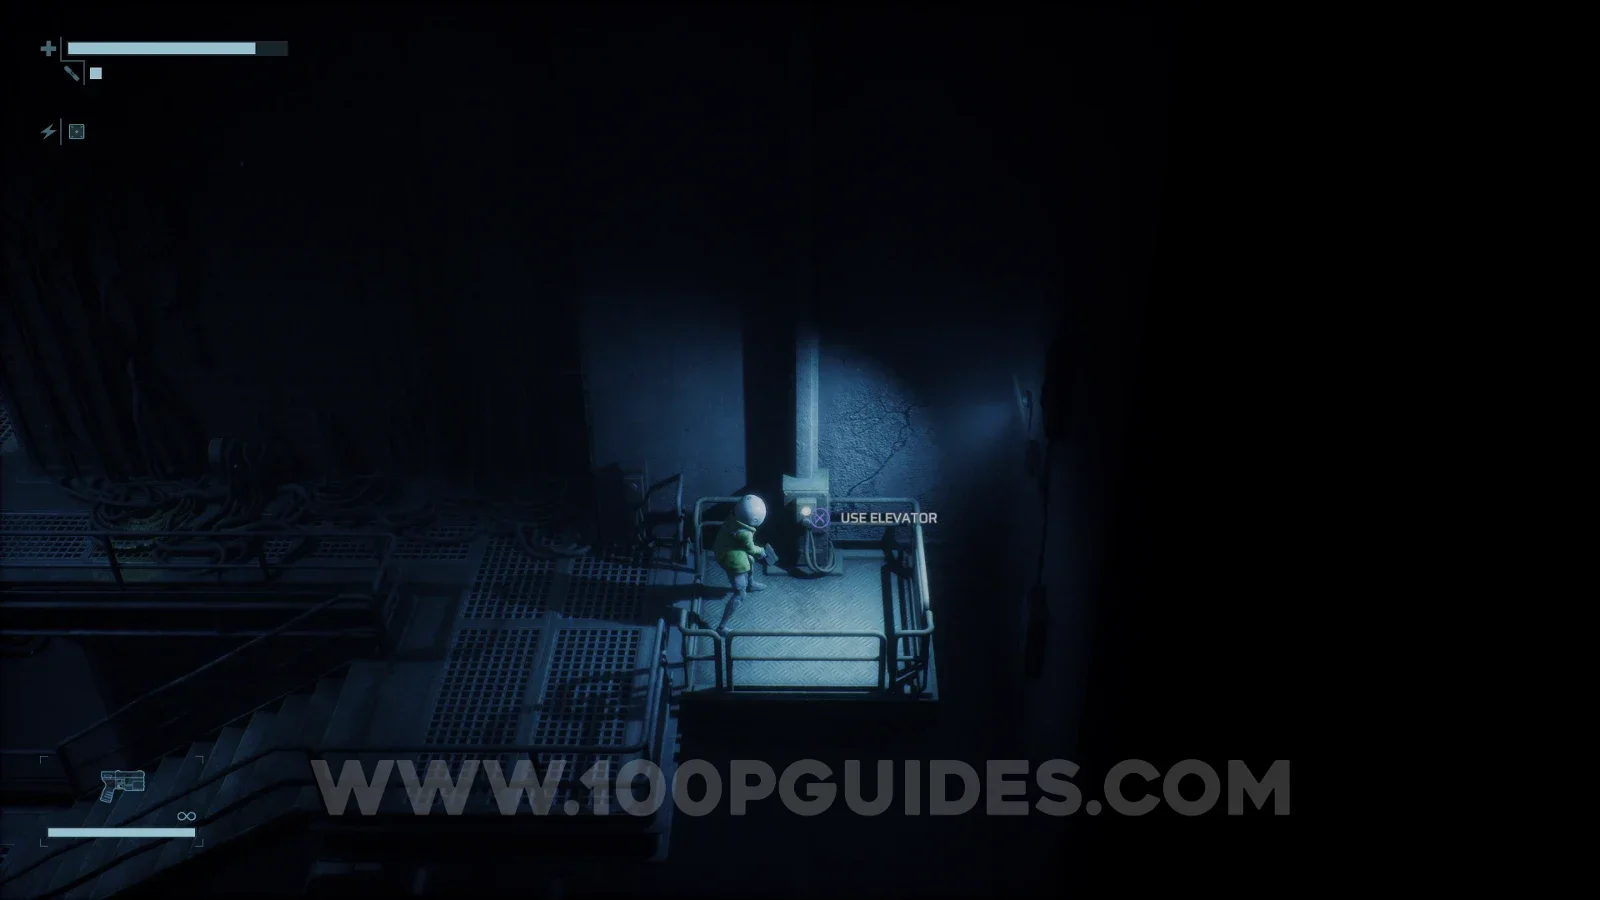
After placing the Power Converter, you will have to return to the Control Room. The quickest way is to go down the ladder where the Power Conduits are, head right, then climb down the 2 ladders and jump onto the lift on your right. Once there, talk to Soldier C-12 (the one in the middle).
Unlock Shuttle Entrance
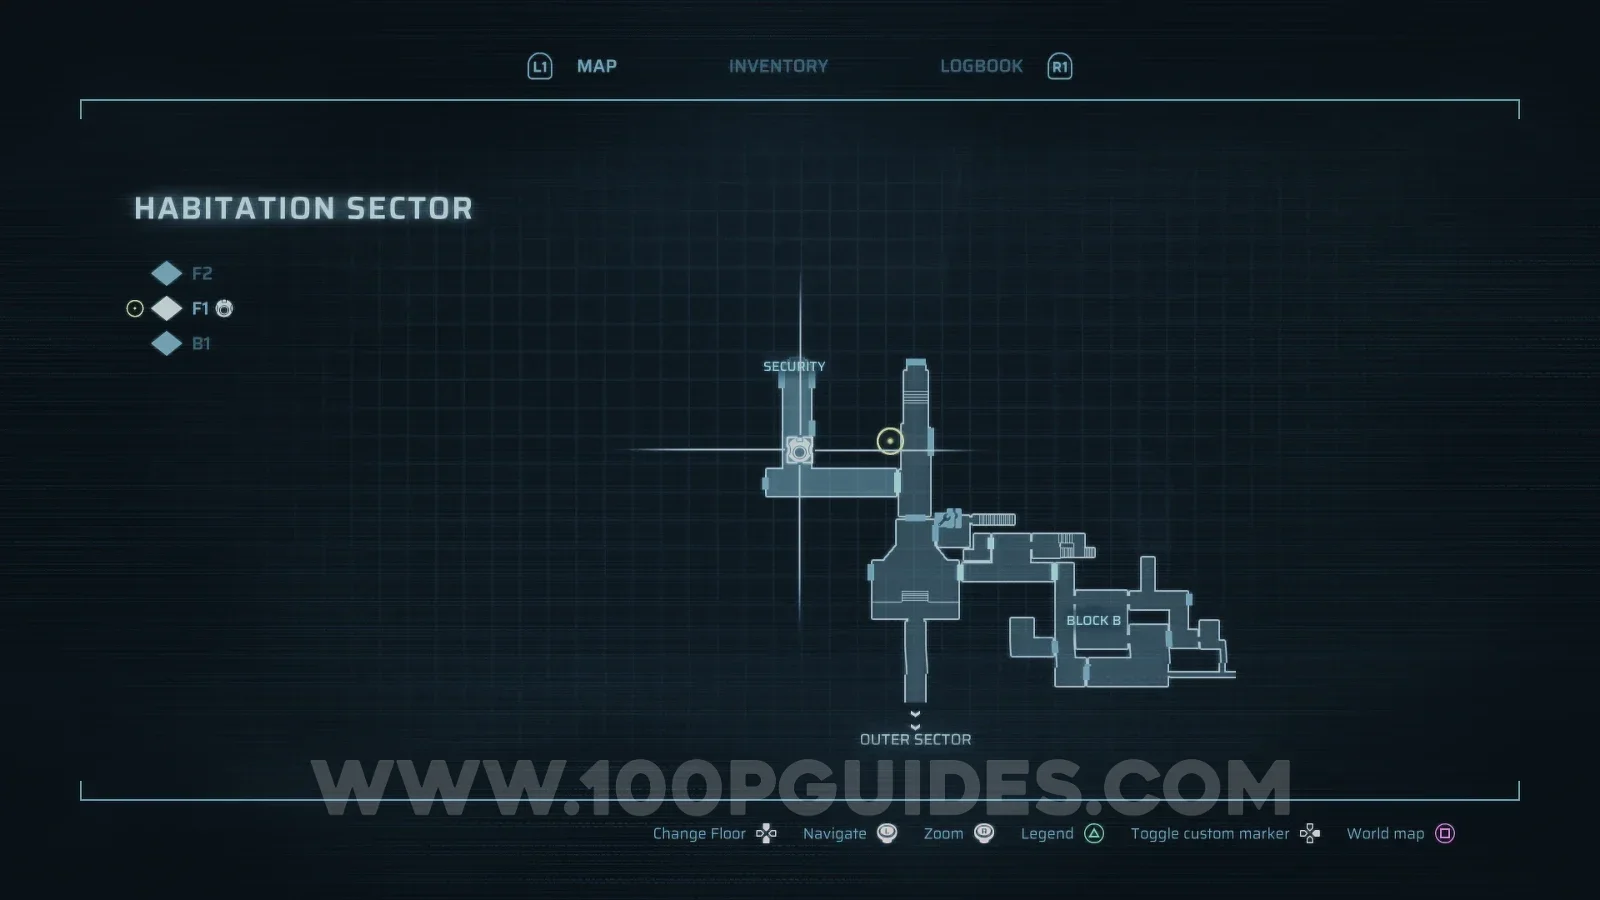
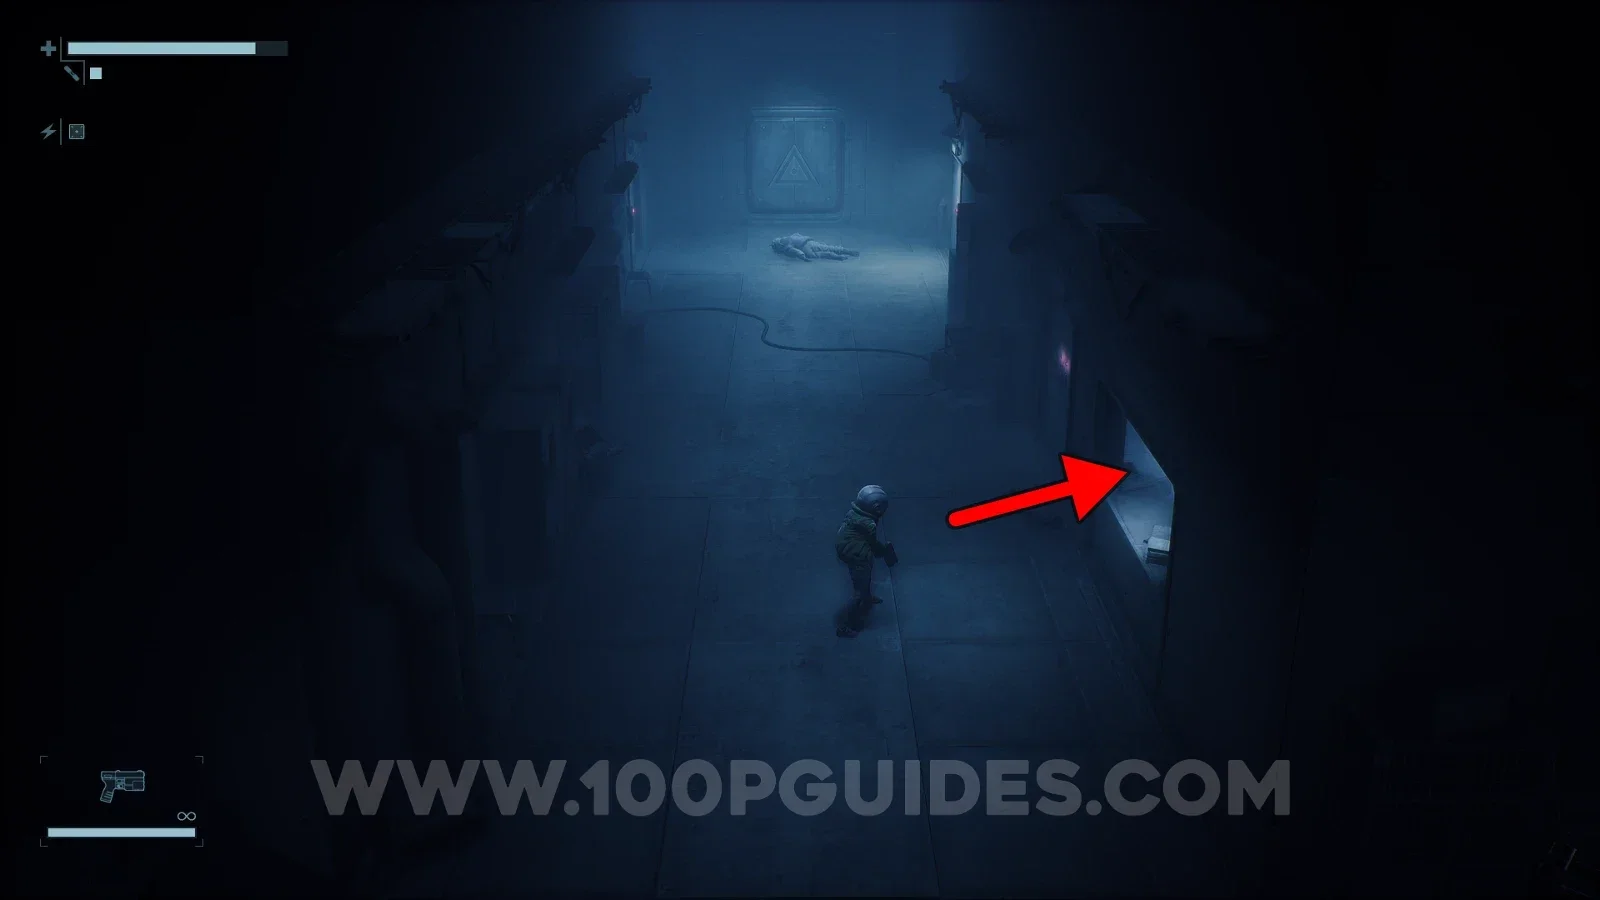
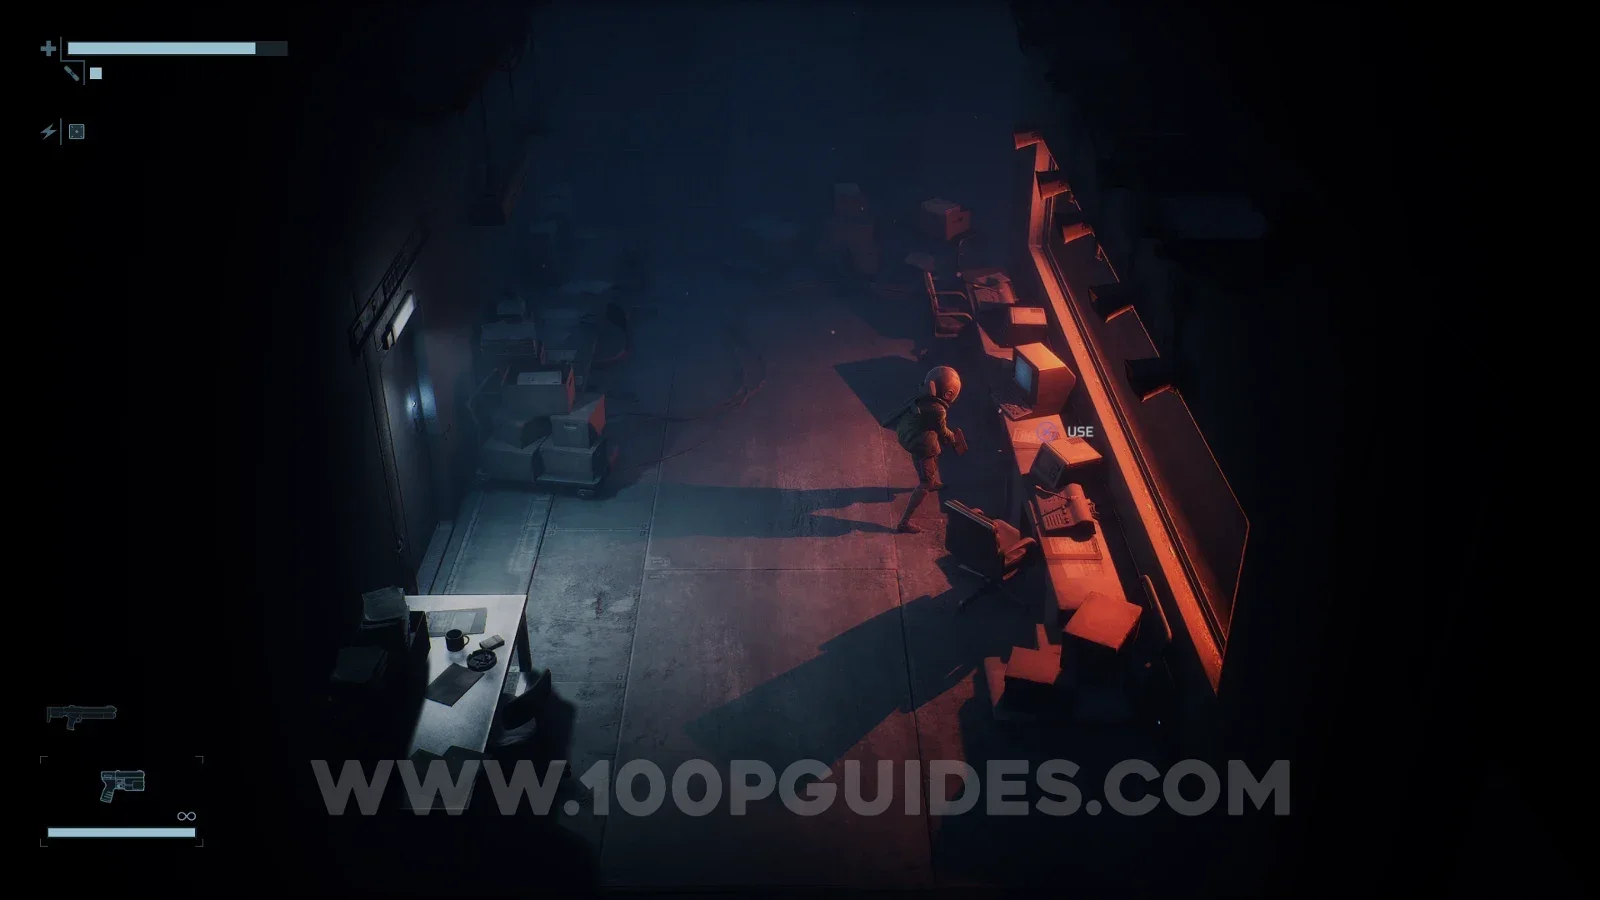
Head back to the Habitation Sector (the area to the south of the Control Room) and go through the door on the left in the corridor. Then, in the corridor to the south of Security, look for an open window on your right that you can jump through. Jump through it and head right until you see a PC, then interact with it to open the door on the right side of the main corridor.
Travel with Shuttle
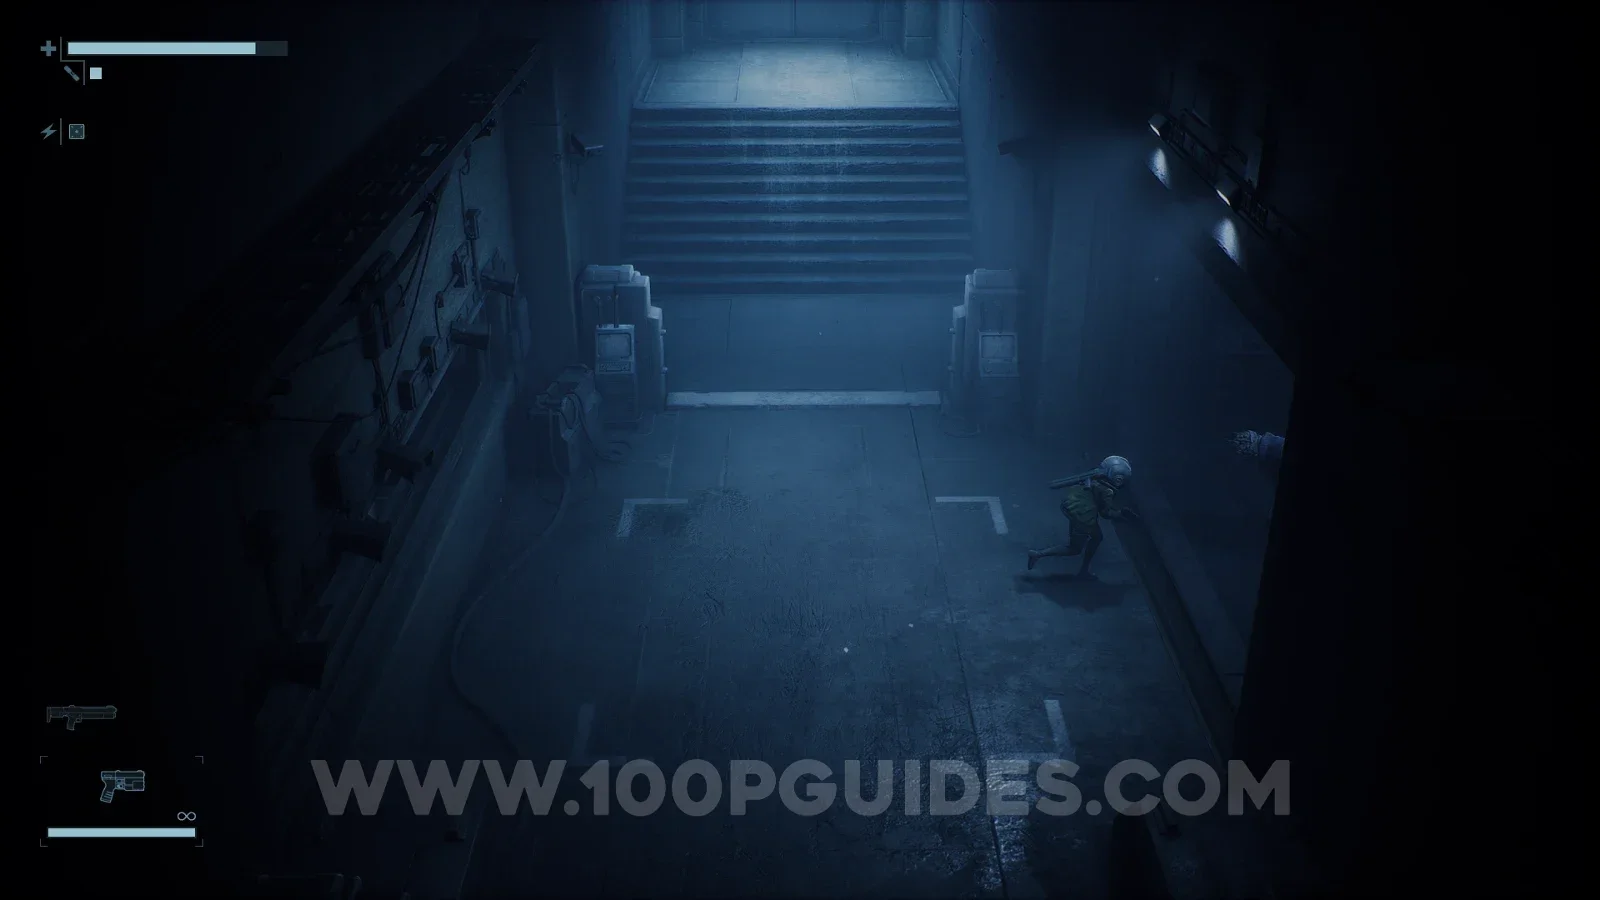
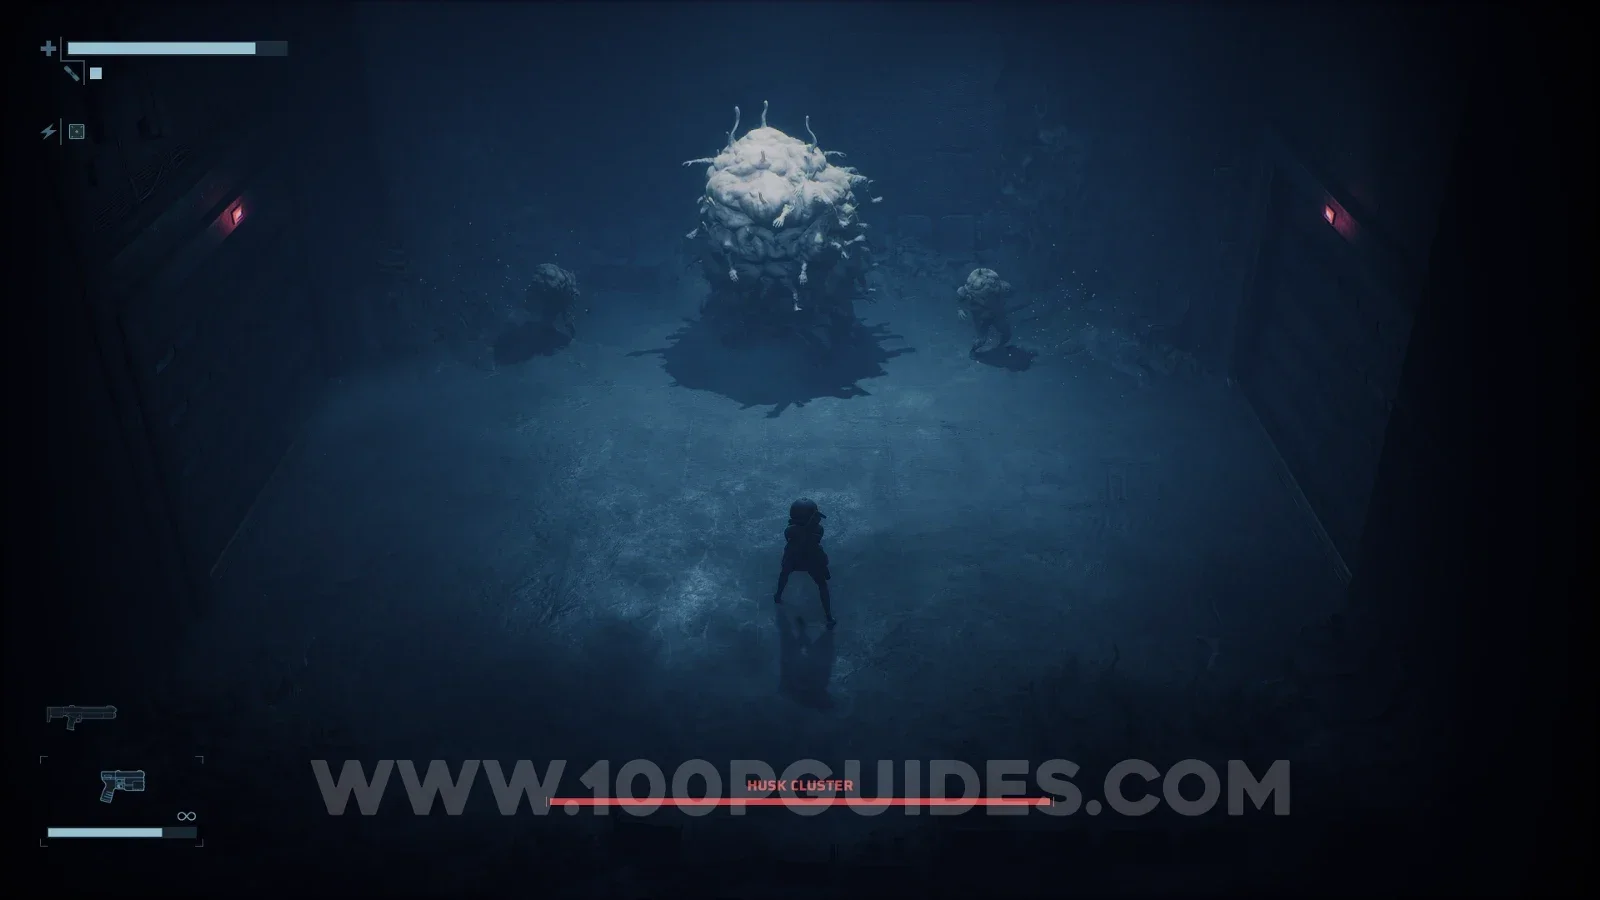
Head through the door you just opened with the PC to encounter the Husk Cluster boss.
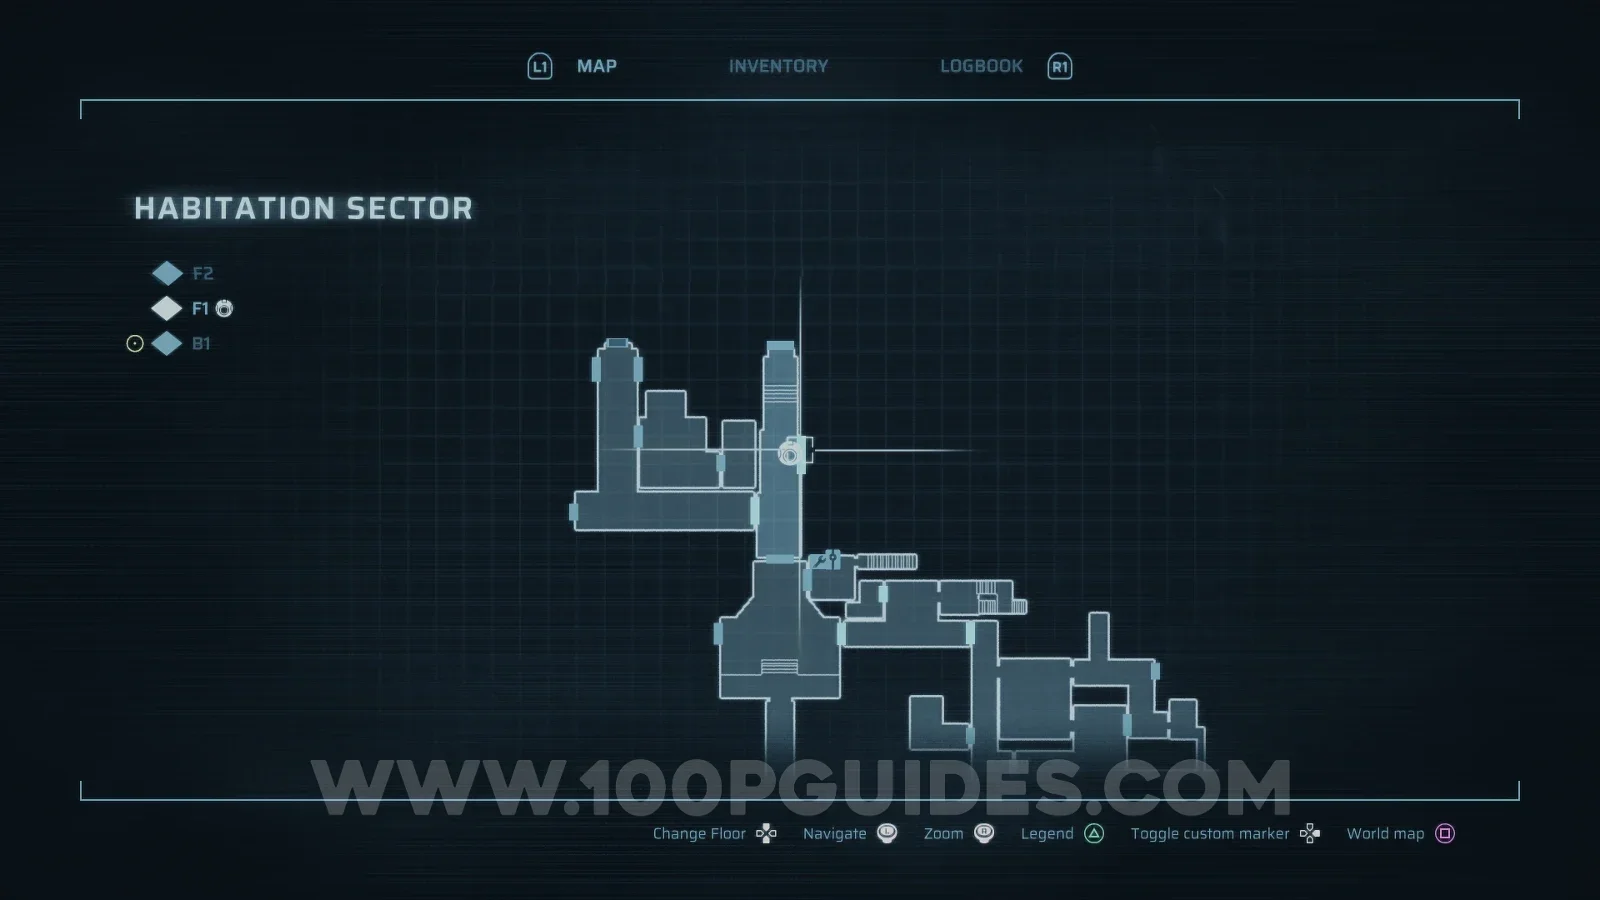
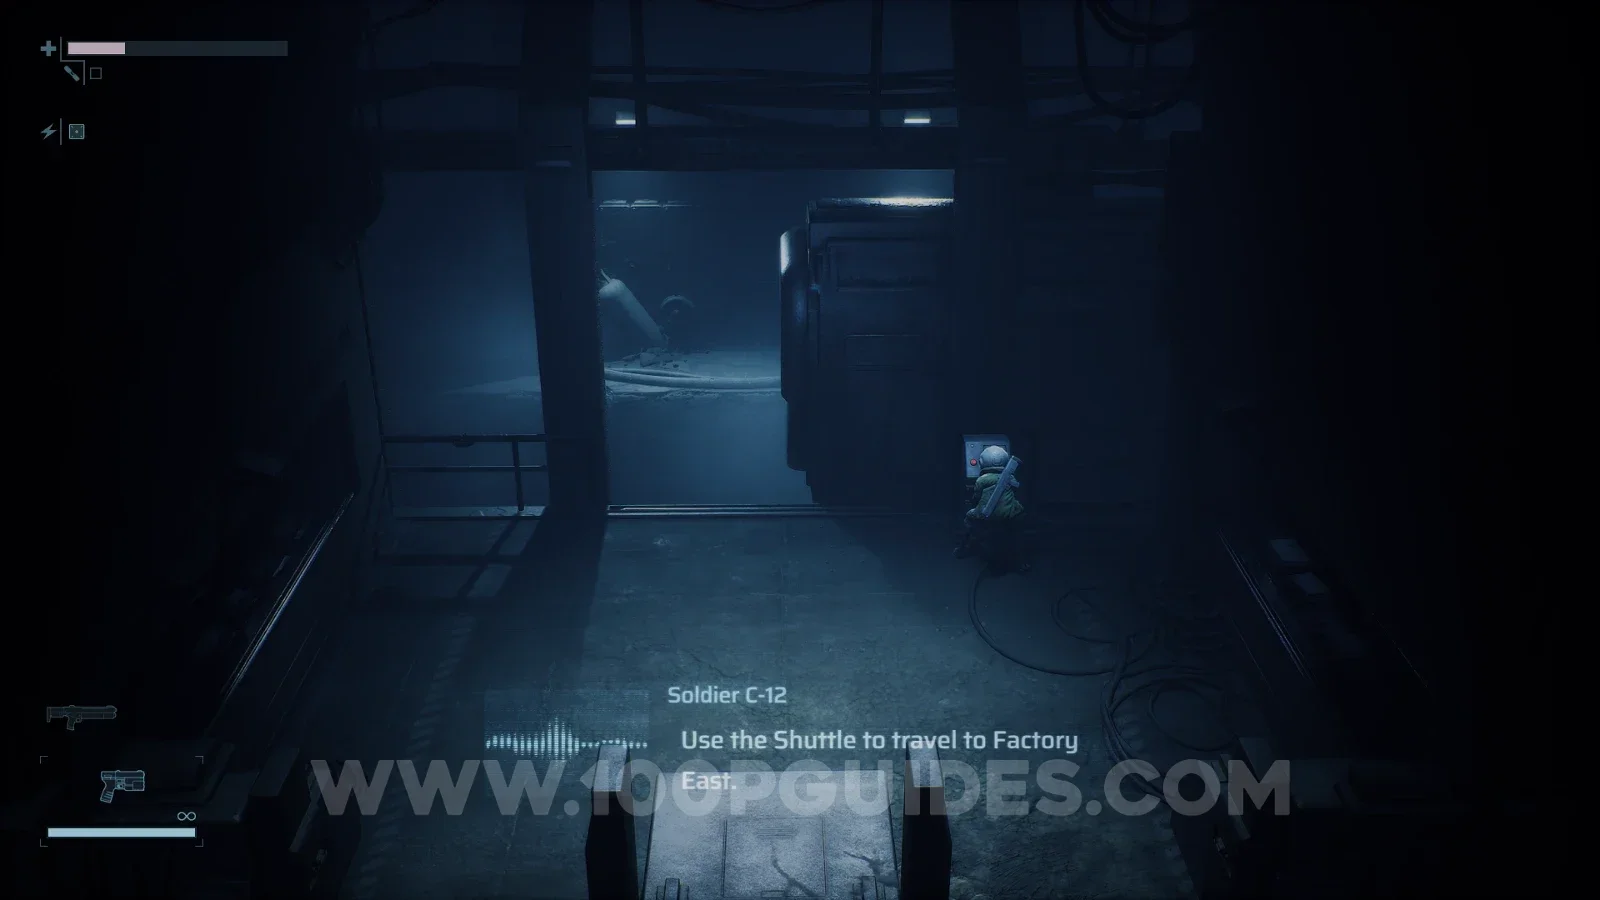
After defeating the boss, continue right and activate the first Shuttle (Fast Travel Station). Ride it to Factory East.
Reach the Reactor Core
Once you arrive at Factory East, head south and then right. In the next large room, there is a safe room on the right (safe rooms always have doors with a yellow light).
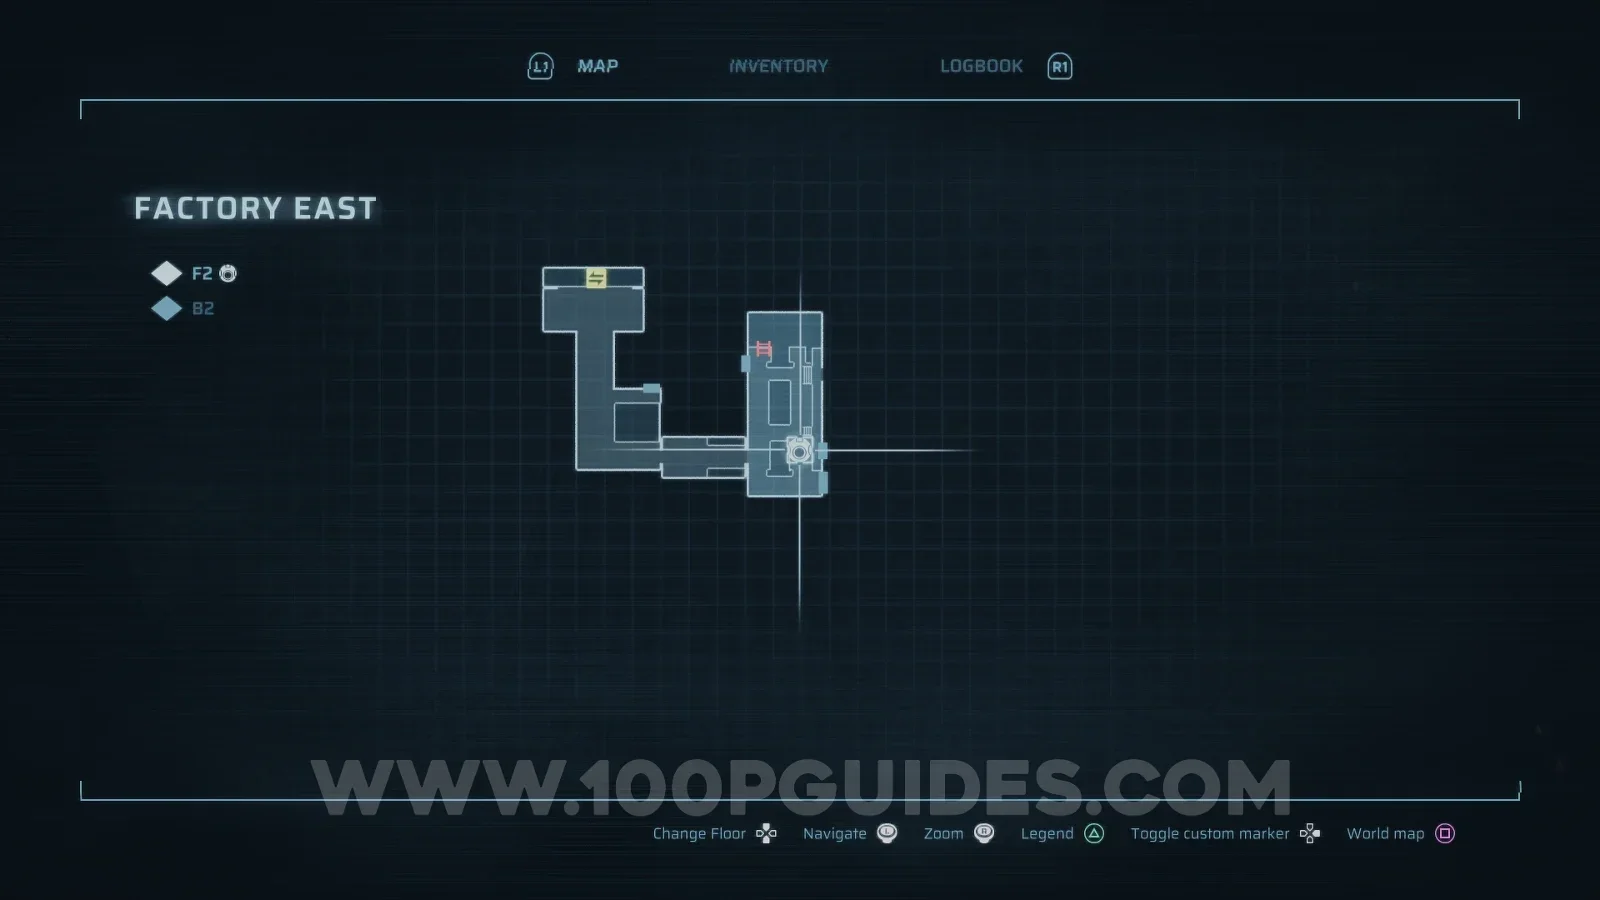
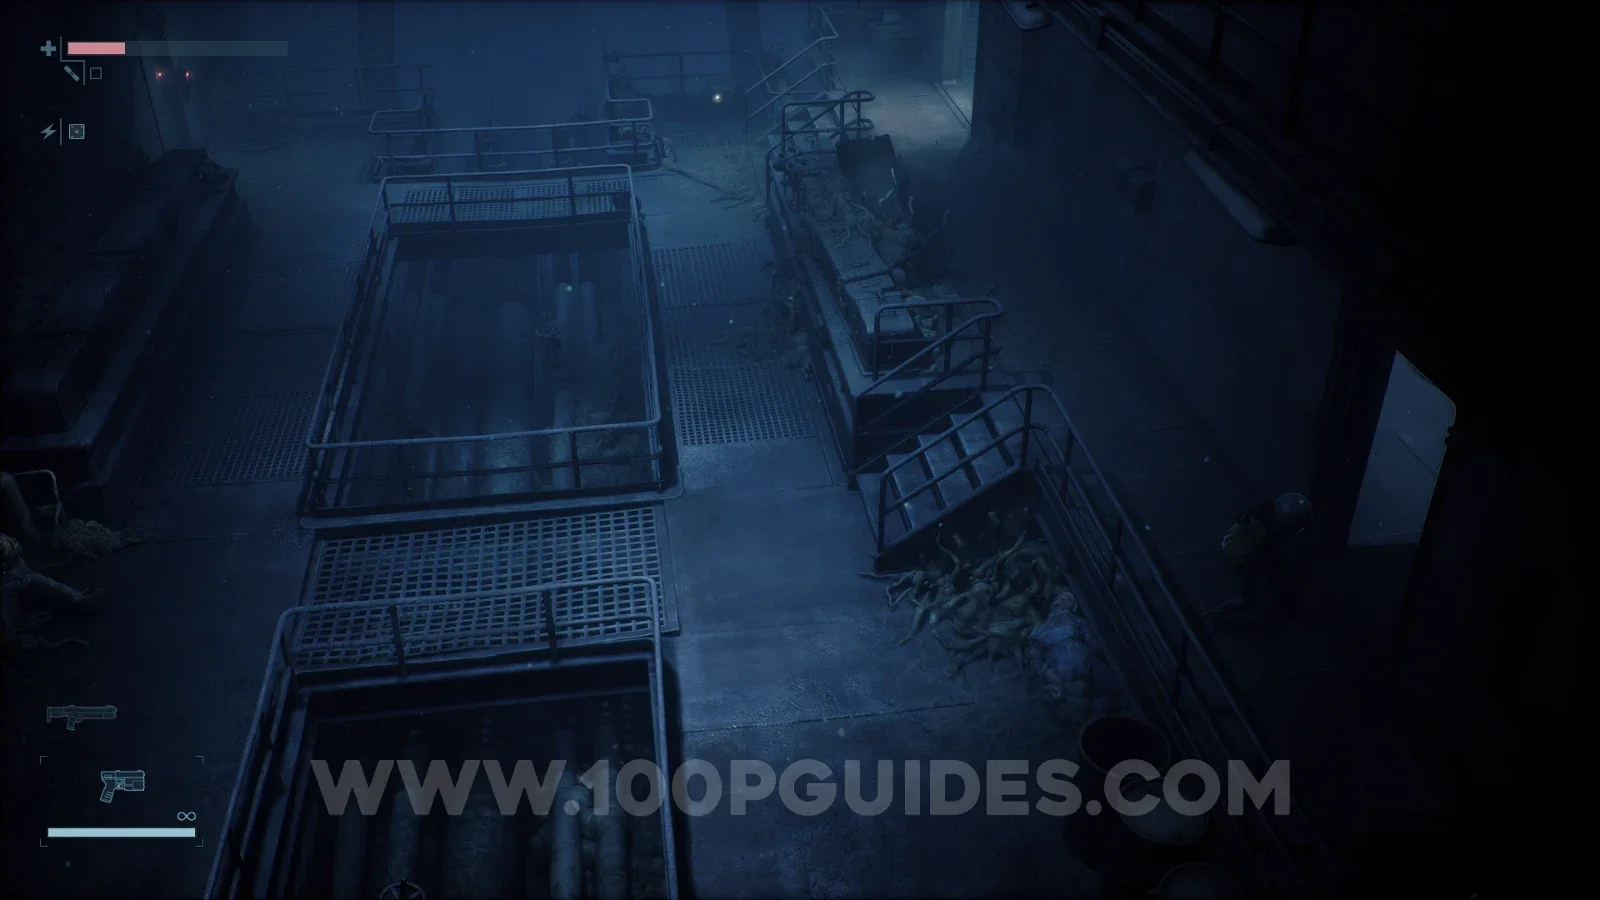
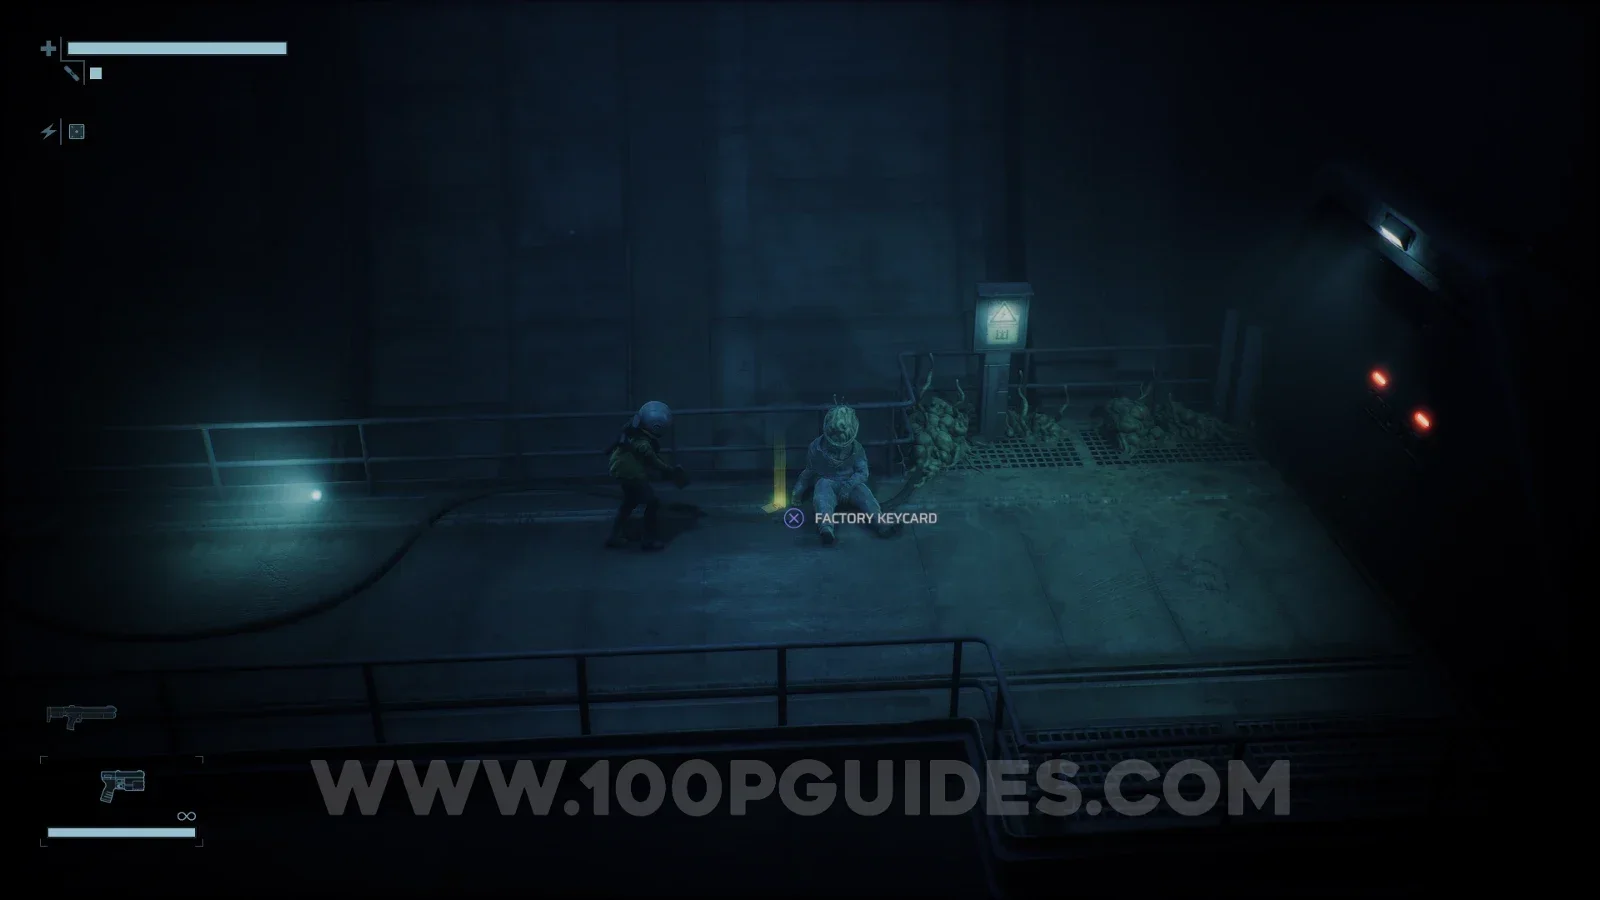
After using the safe room, head through the door in the top right of the room. Then continue along this path until you reach a dead end, where you can pick up the Factory Keycard.
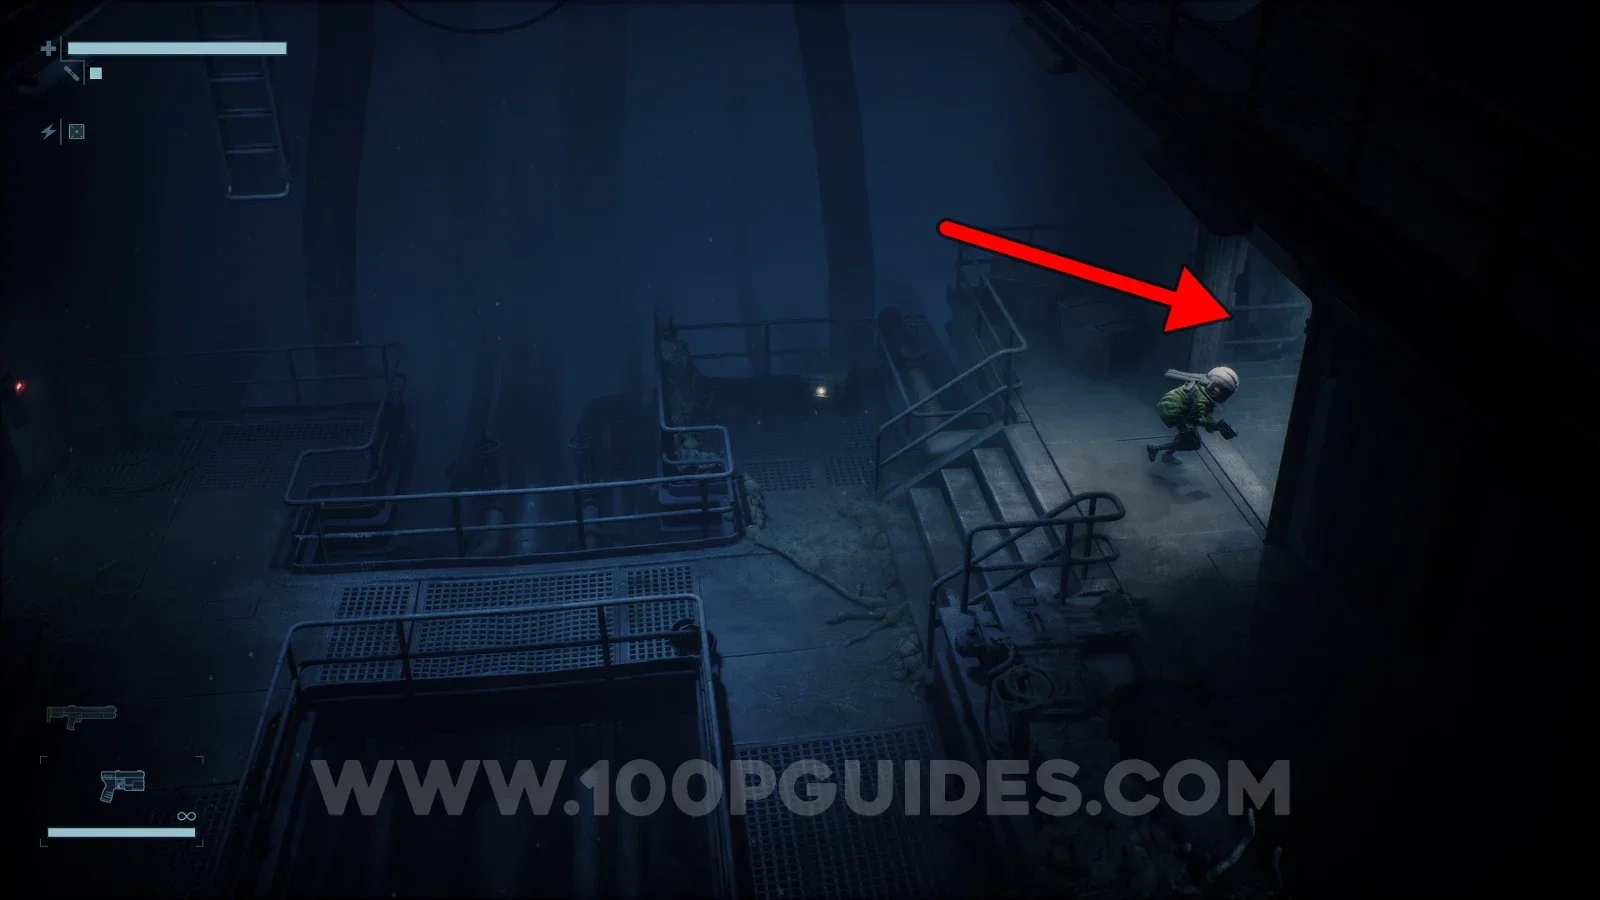
Return to the area with the safe room and exit through the bottom right door (just below the safe room).
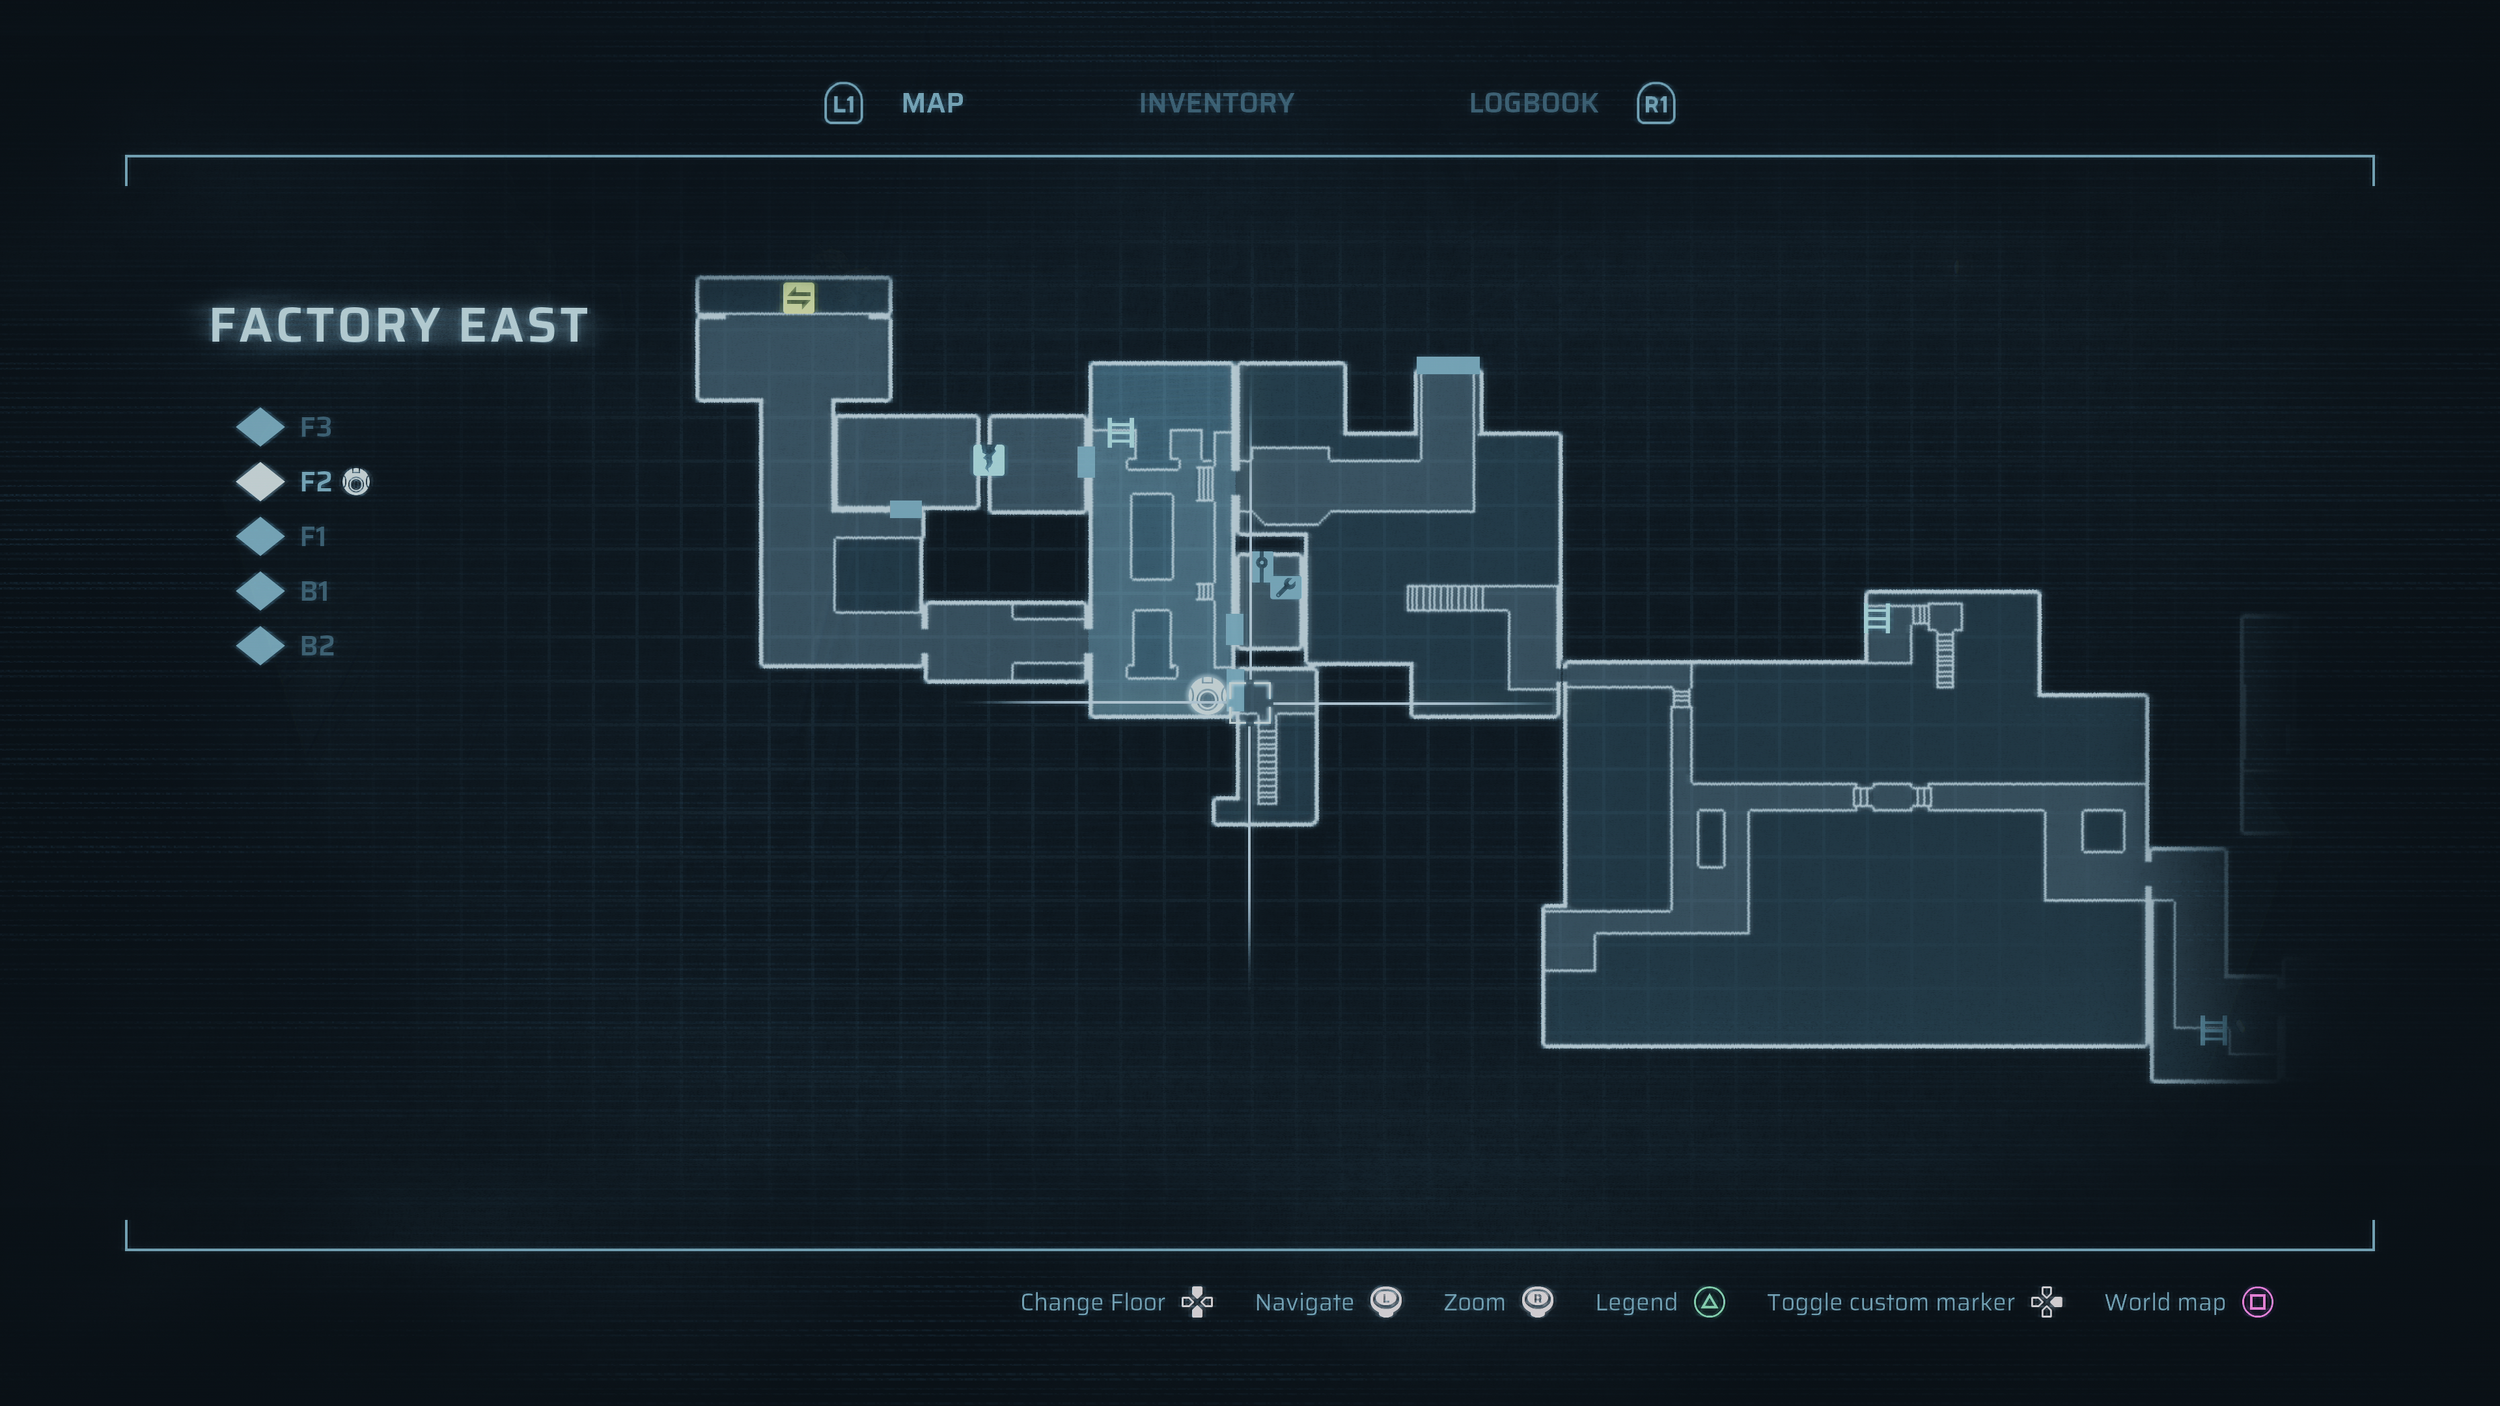
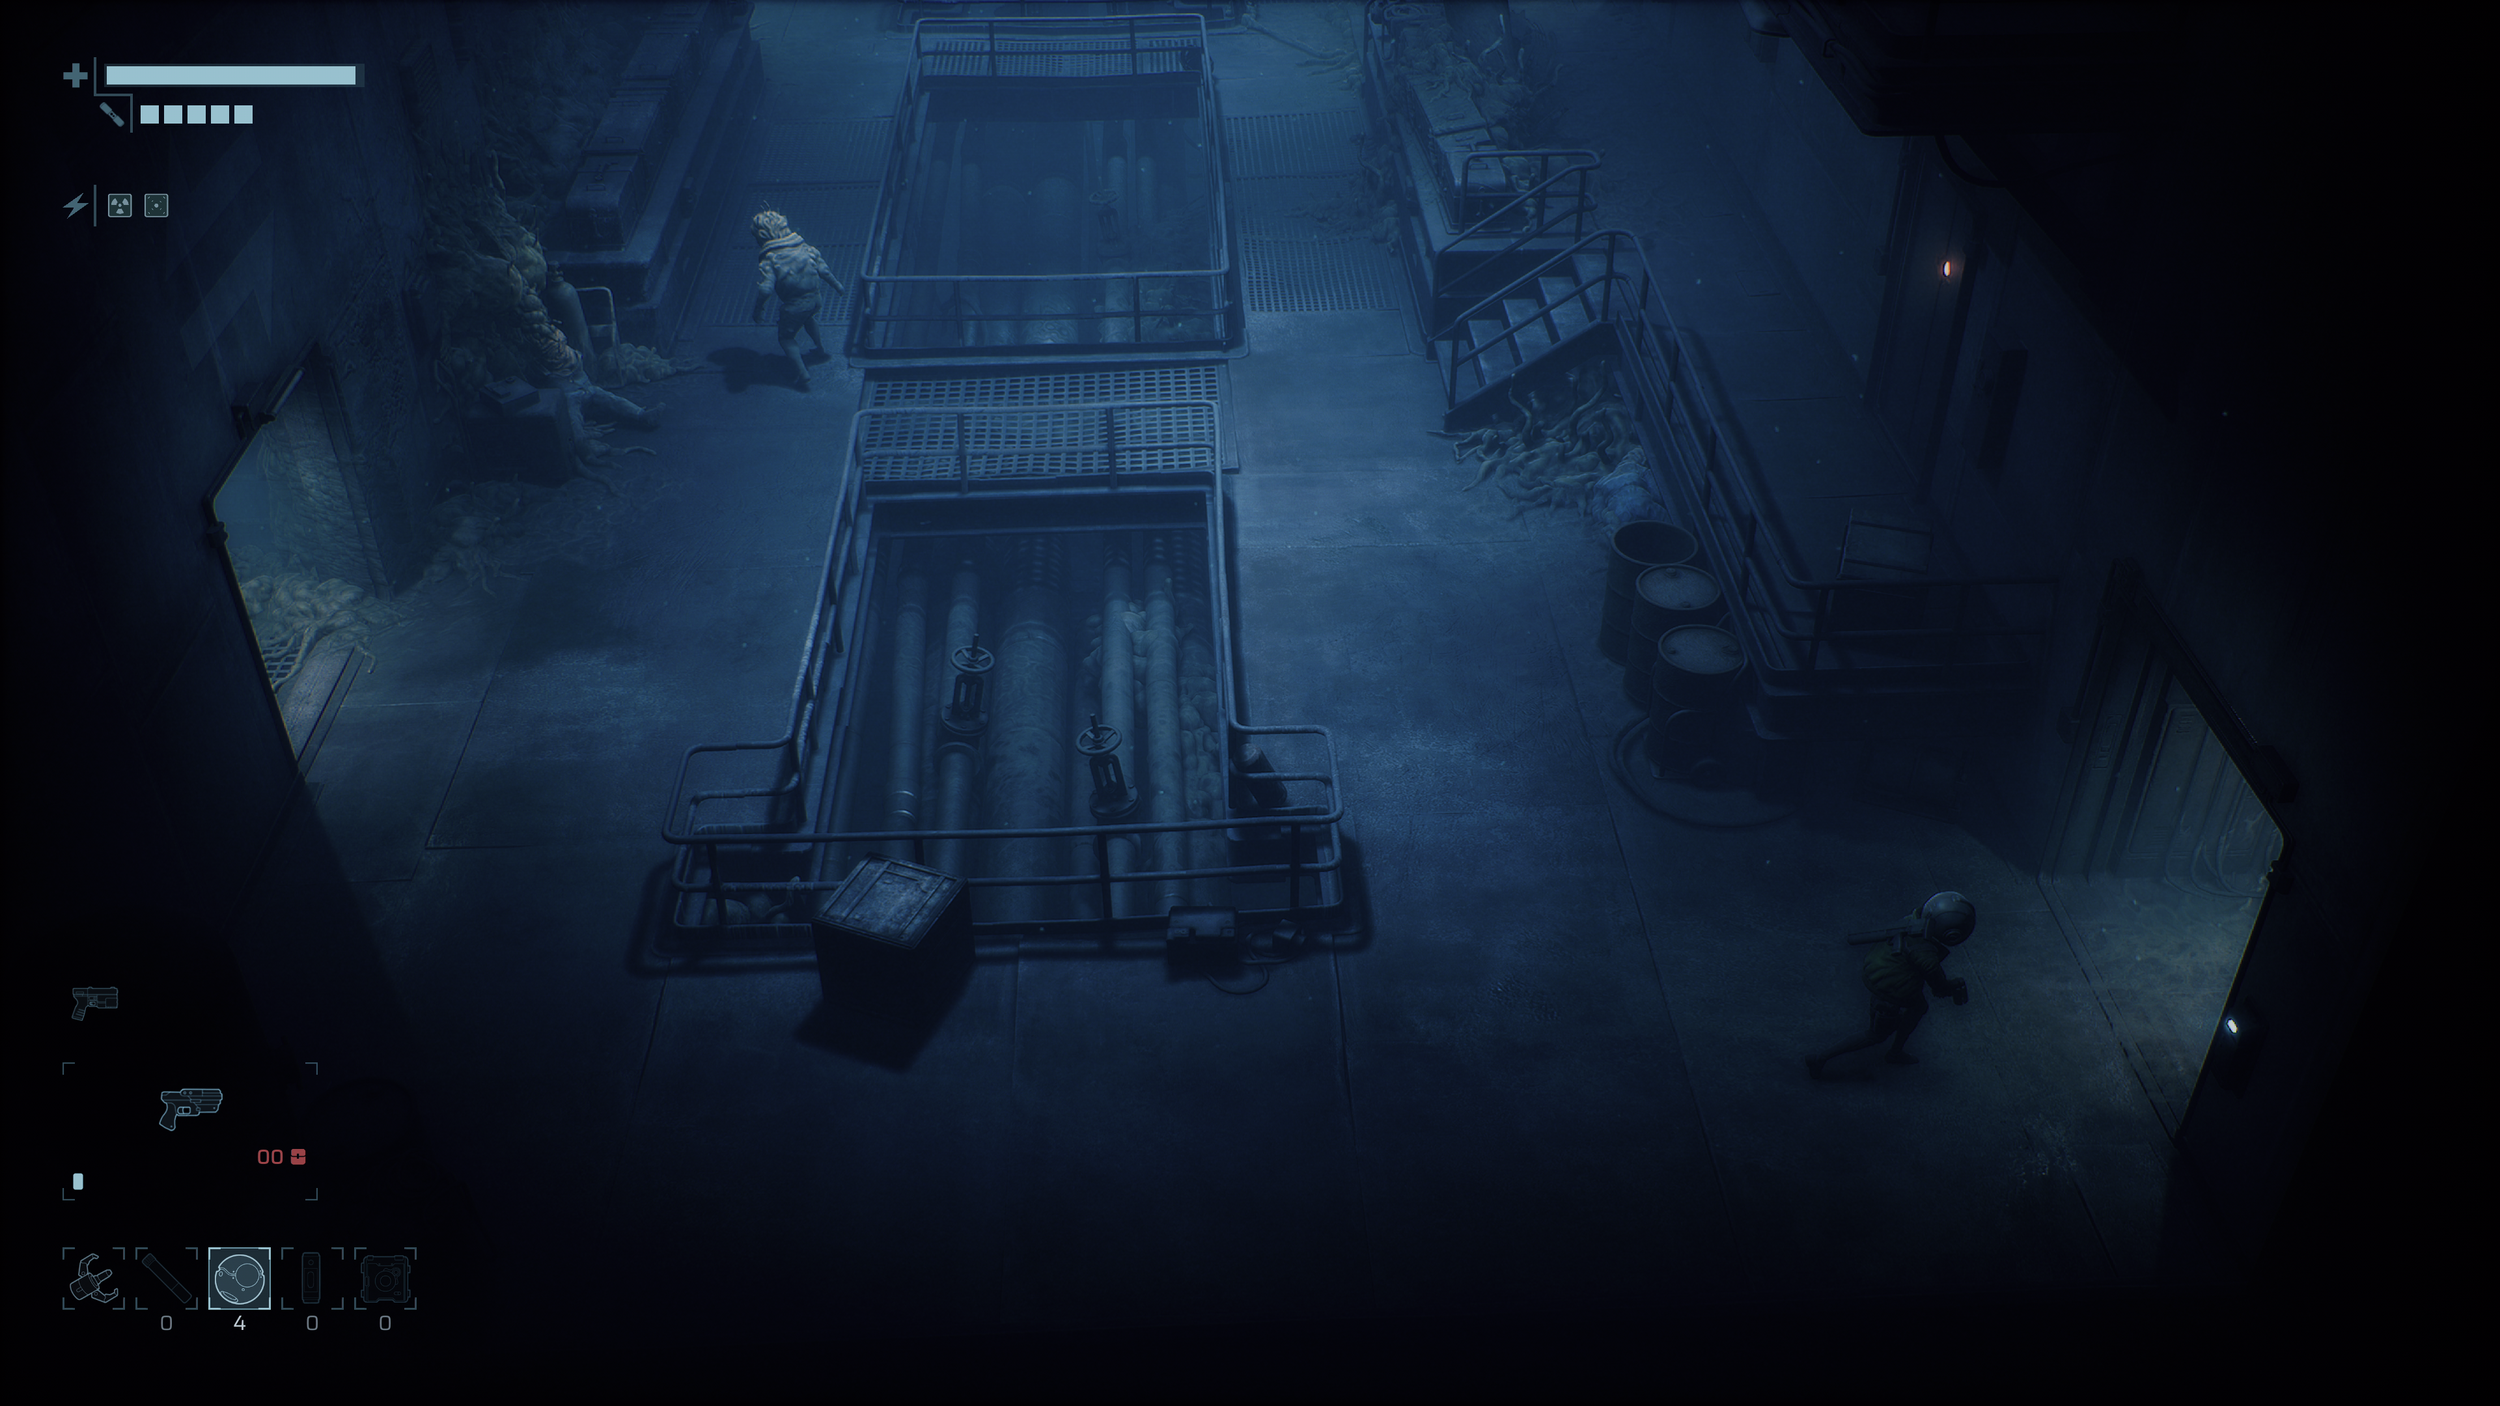
Head through Factory East until you eventually reach the Ventilation Tunnels area. Depending on which path you take, you will enter it from one of two sides, but it makes no difference since both lead to the story path. Once there, head to the circular room at the top and climb down the ladder.
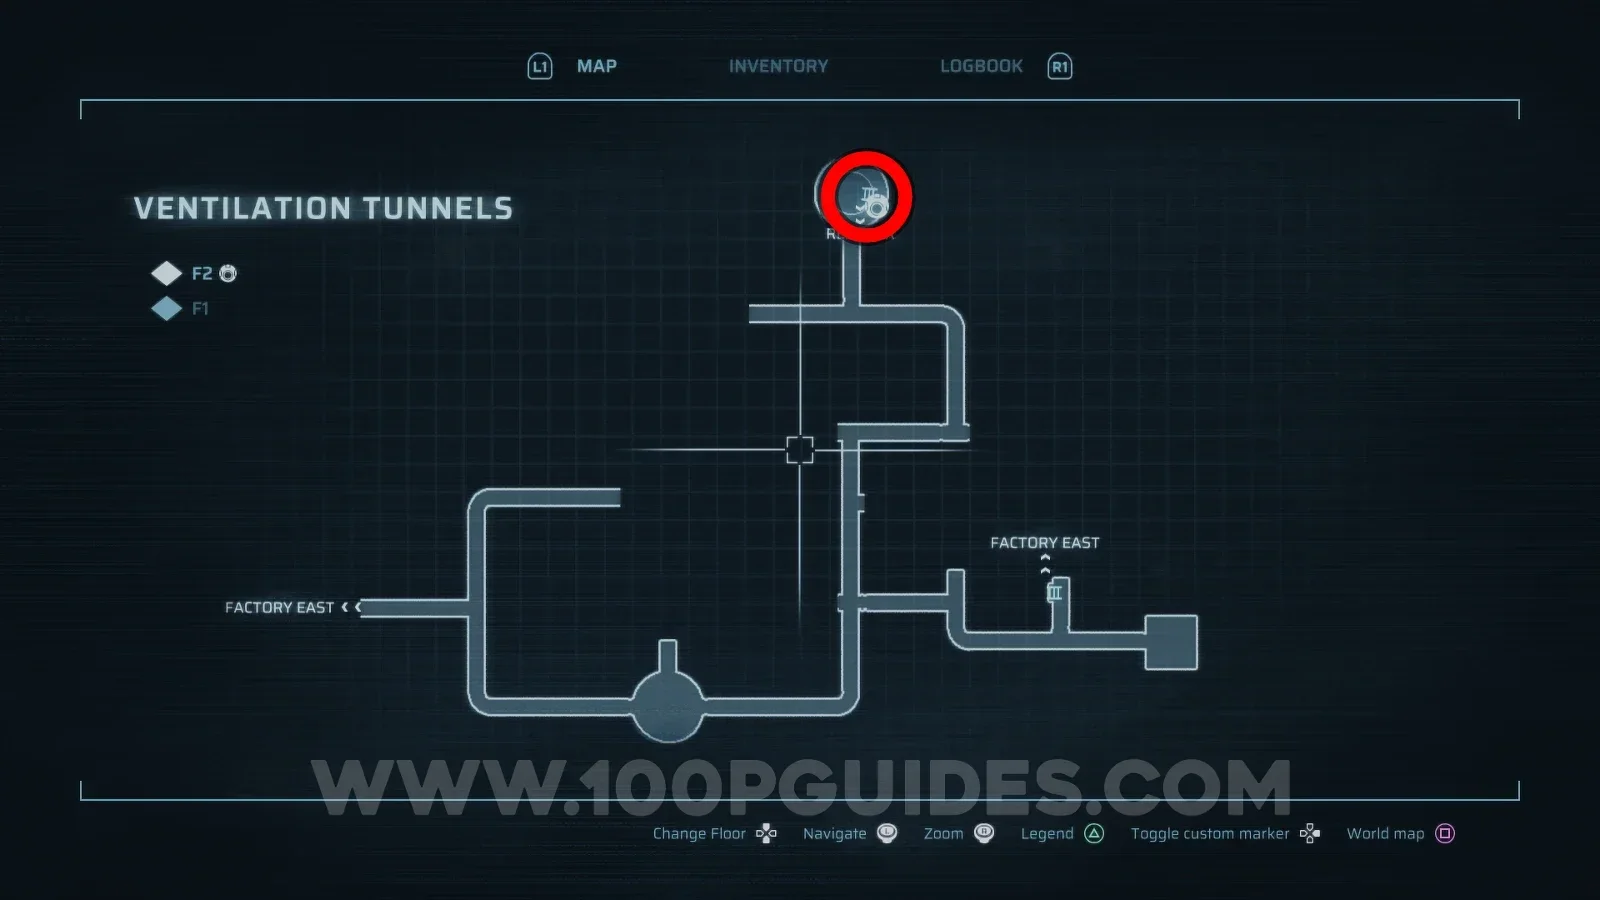
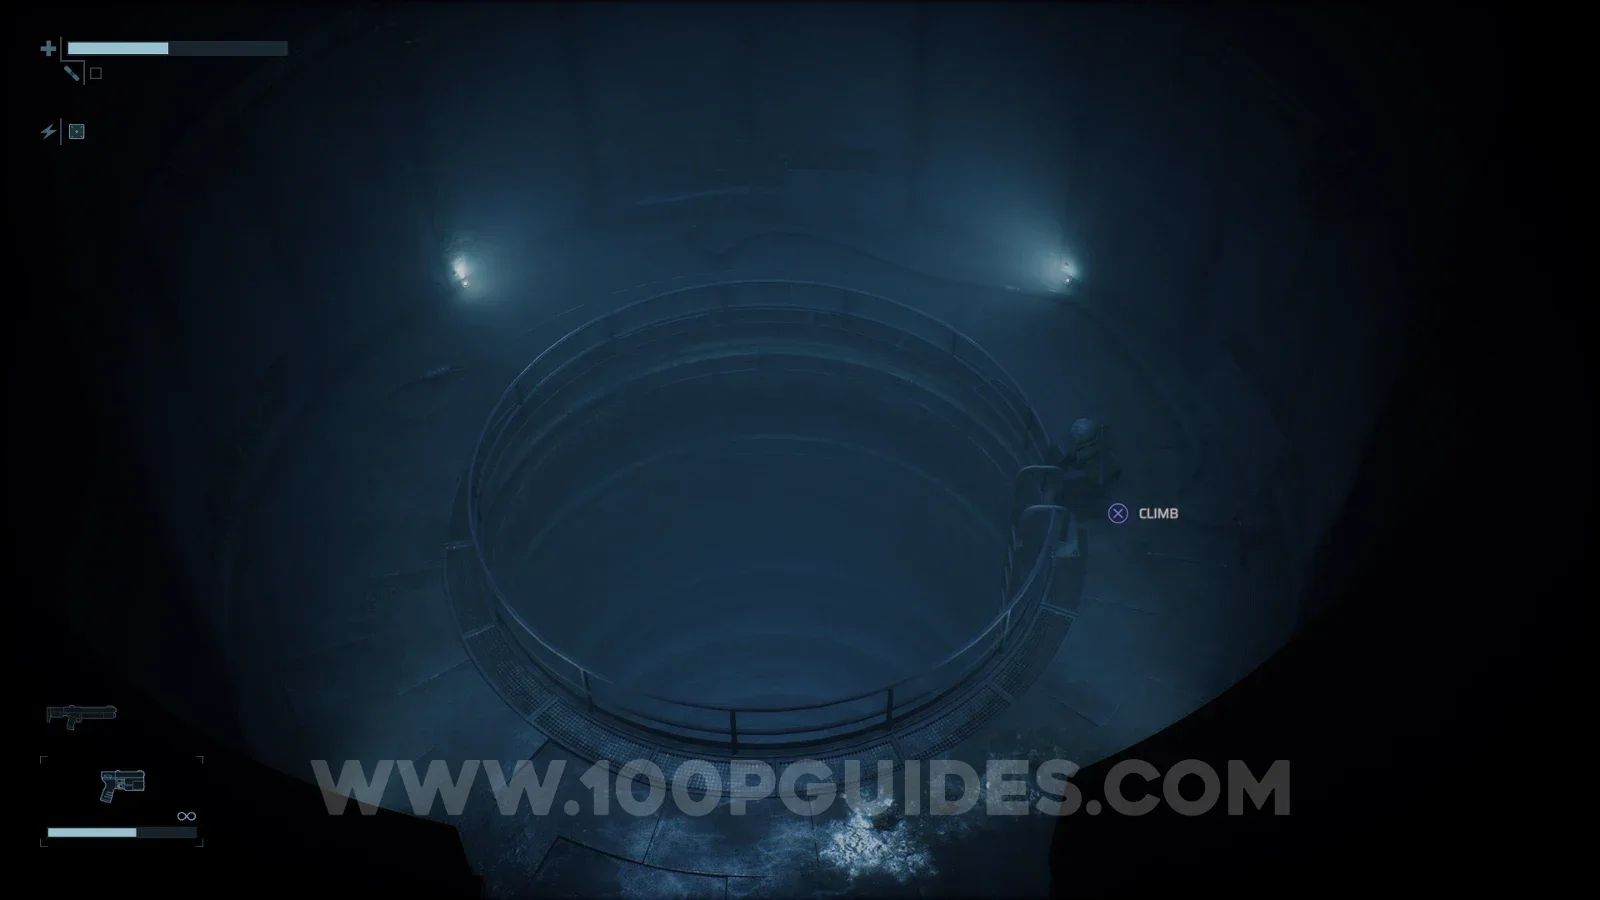
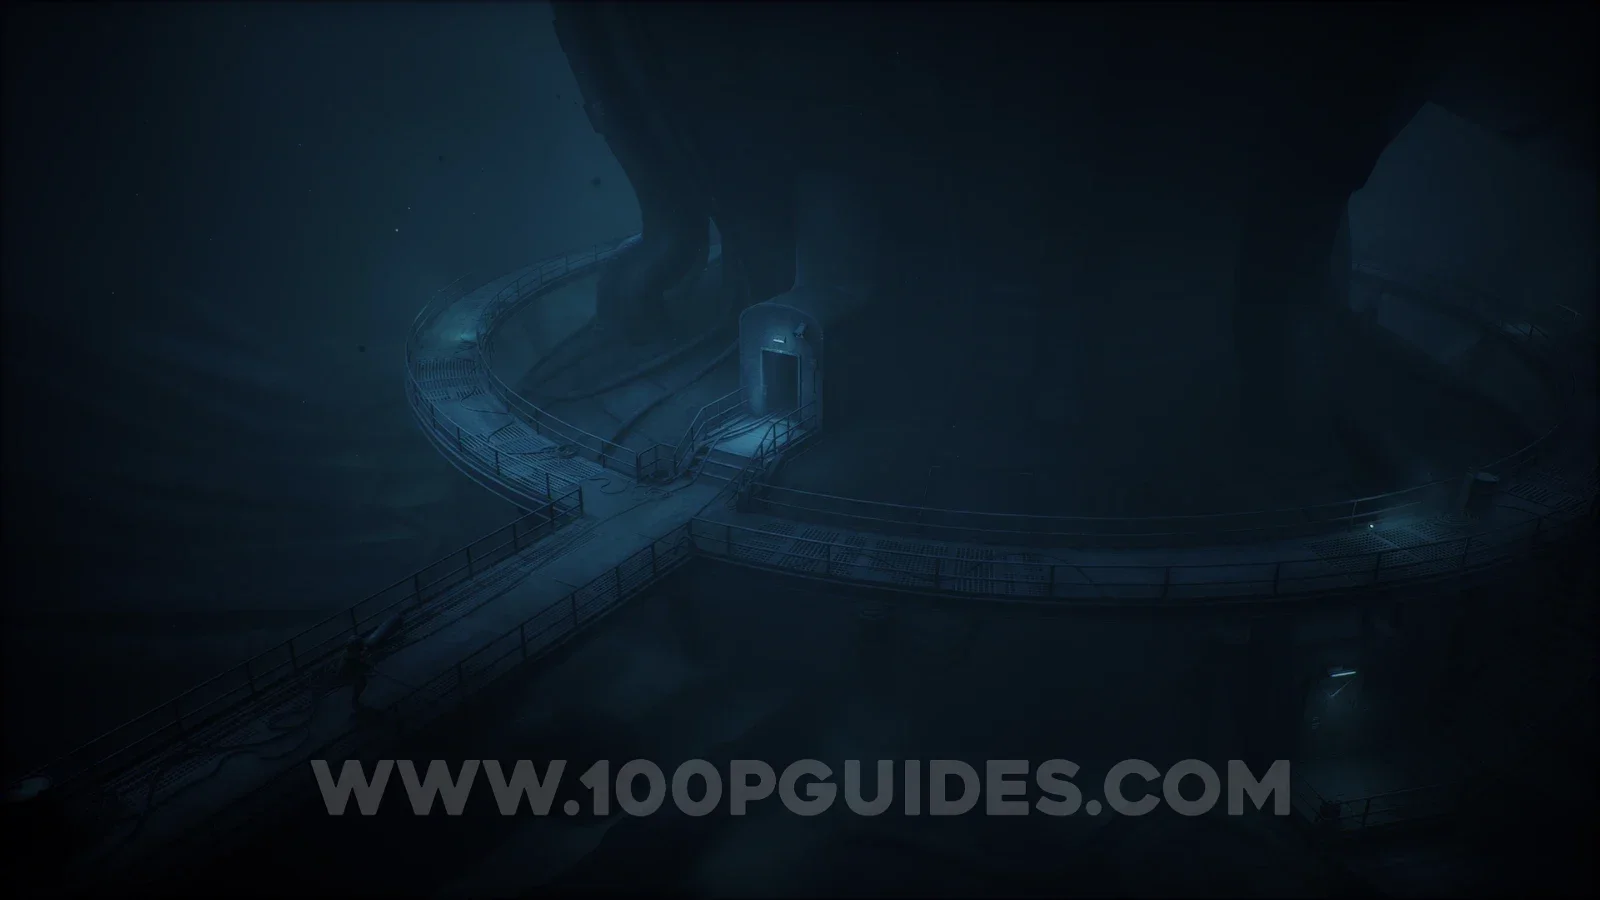
After climbing down the ladder, continue along this path until you reach the Reactor (along the way, you will find some grenades that you can pick up if you like, as well as a safe room through the door on the right of the hall just before the Reactor). Once you get to the Reactor, head through the door in the middle and ride the lift up. At the top, interact with the console and try to activate the Reactor (it will fail).
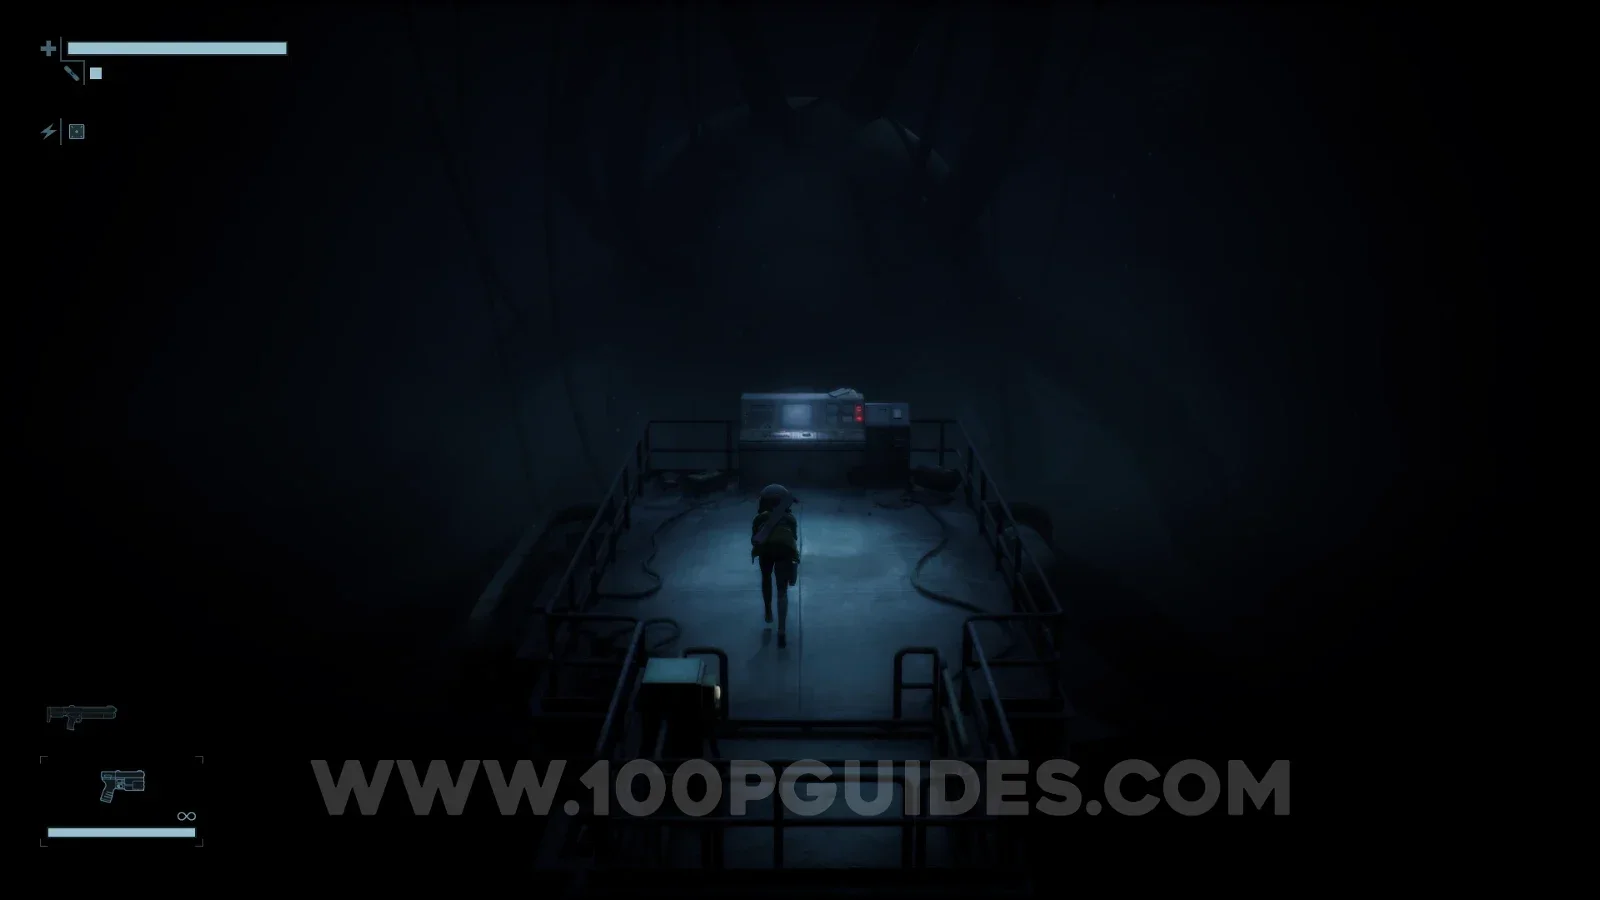
Activate Power Cells
Ride the lift back down and make your way around to the back of the Reactor. Here, ride the small lift down.
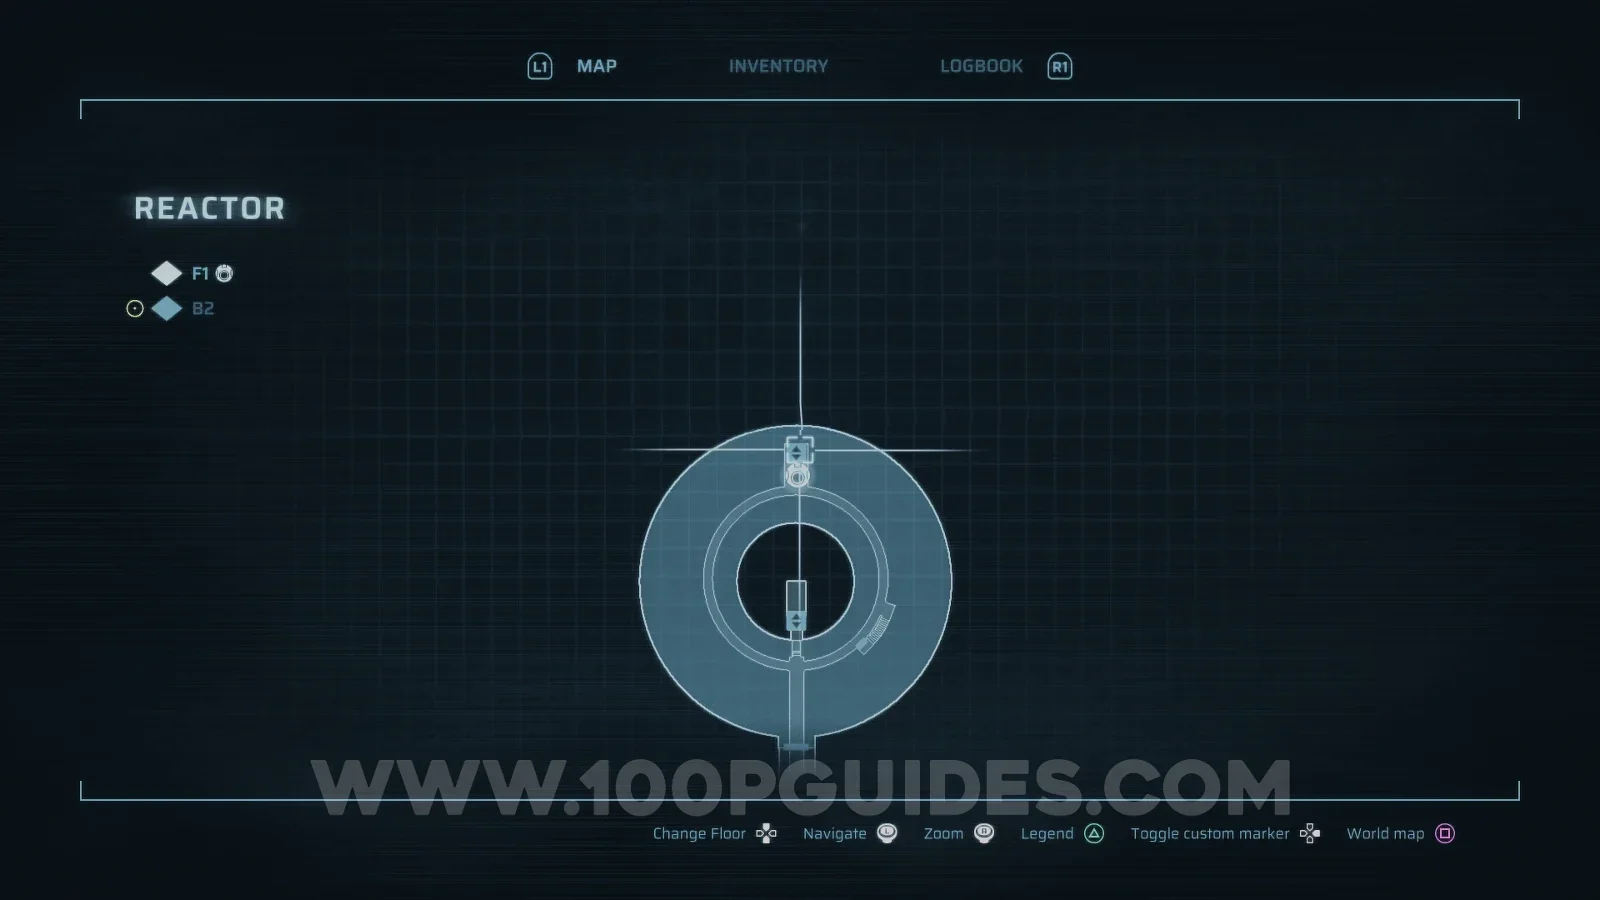
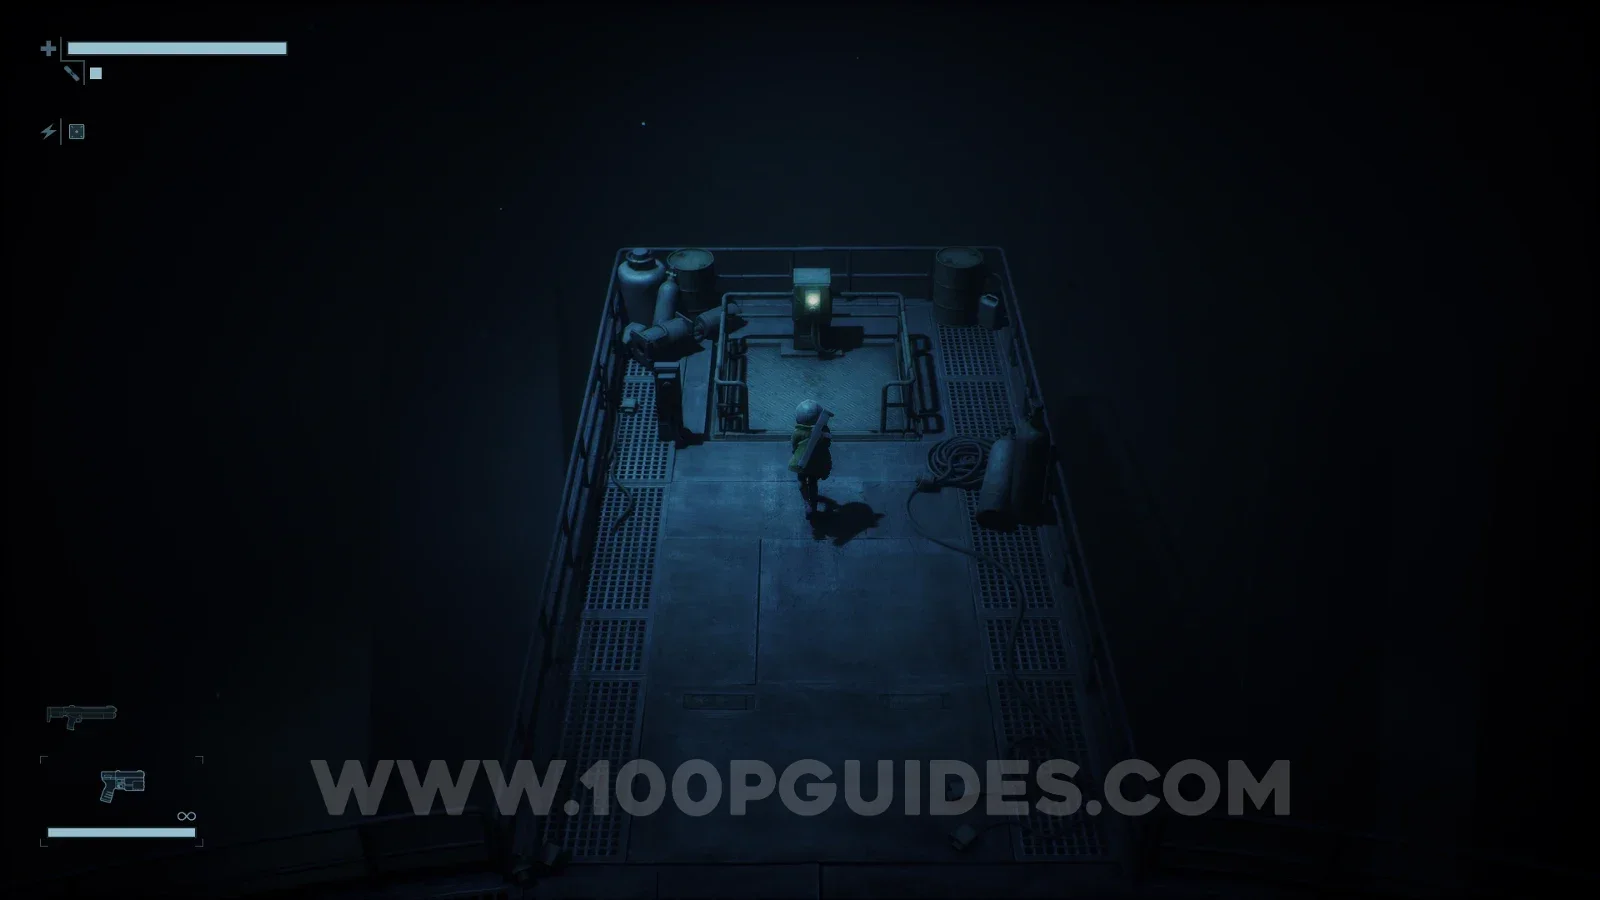
In the area at the bottom of the lift, head through the door on the right to reach the room with the First Power Cell.
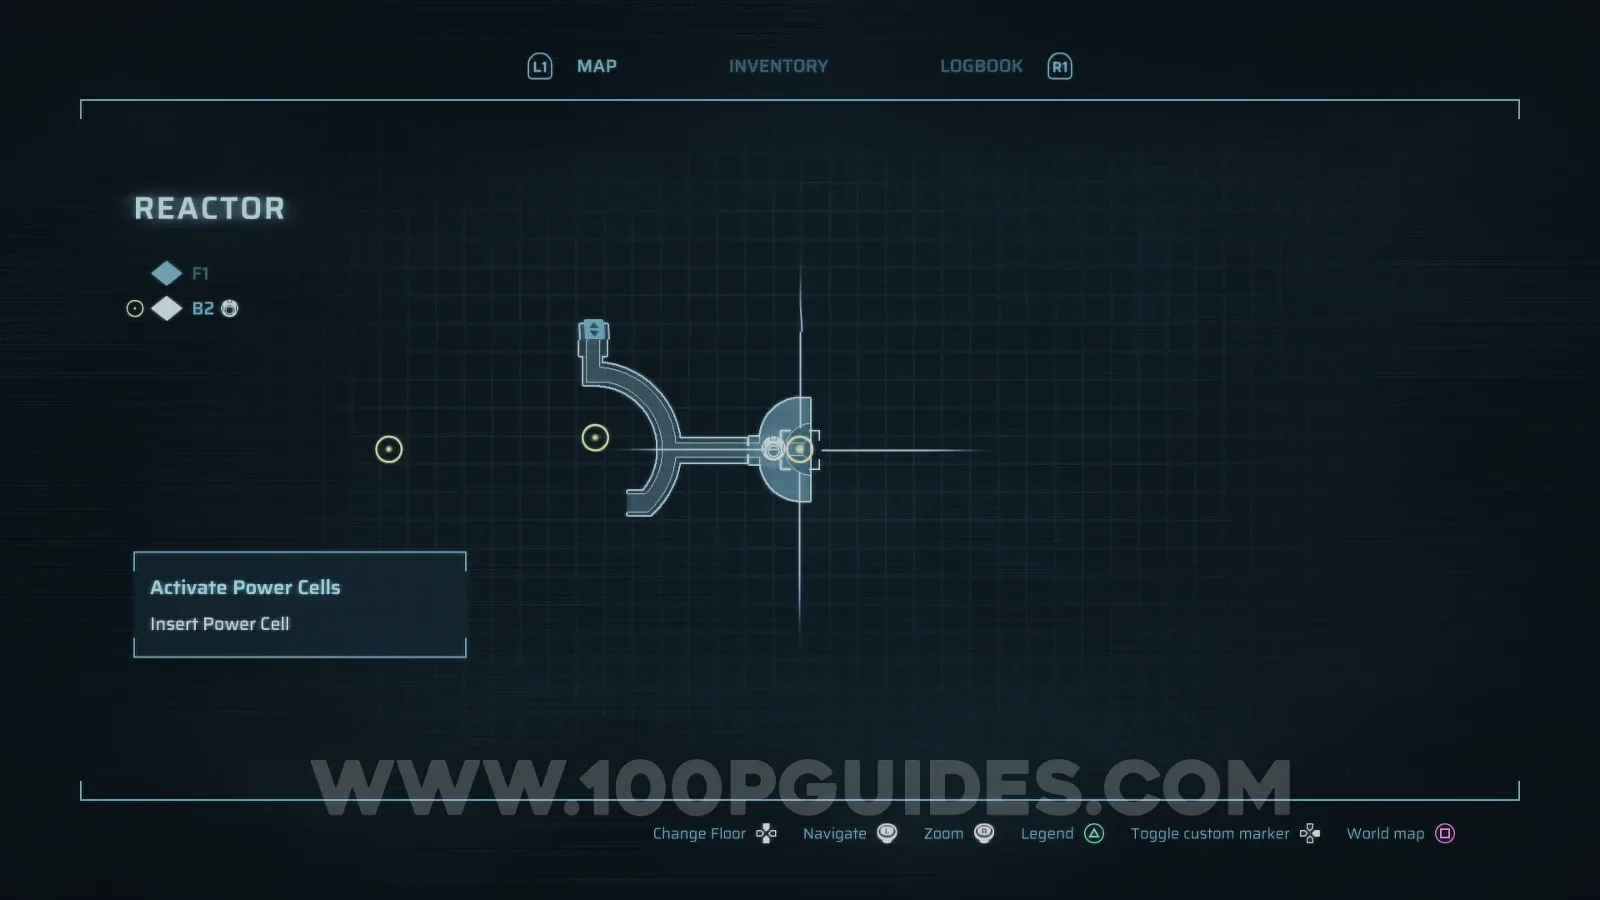
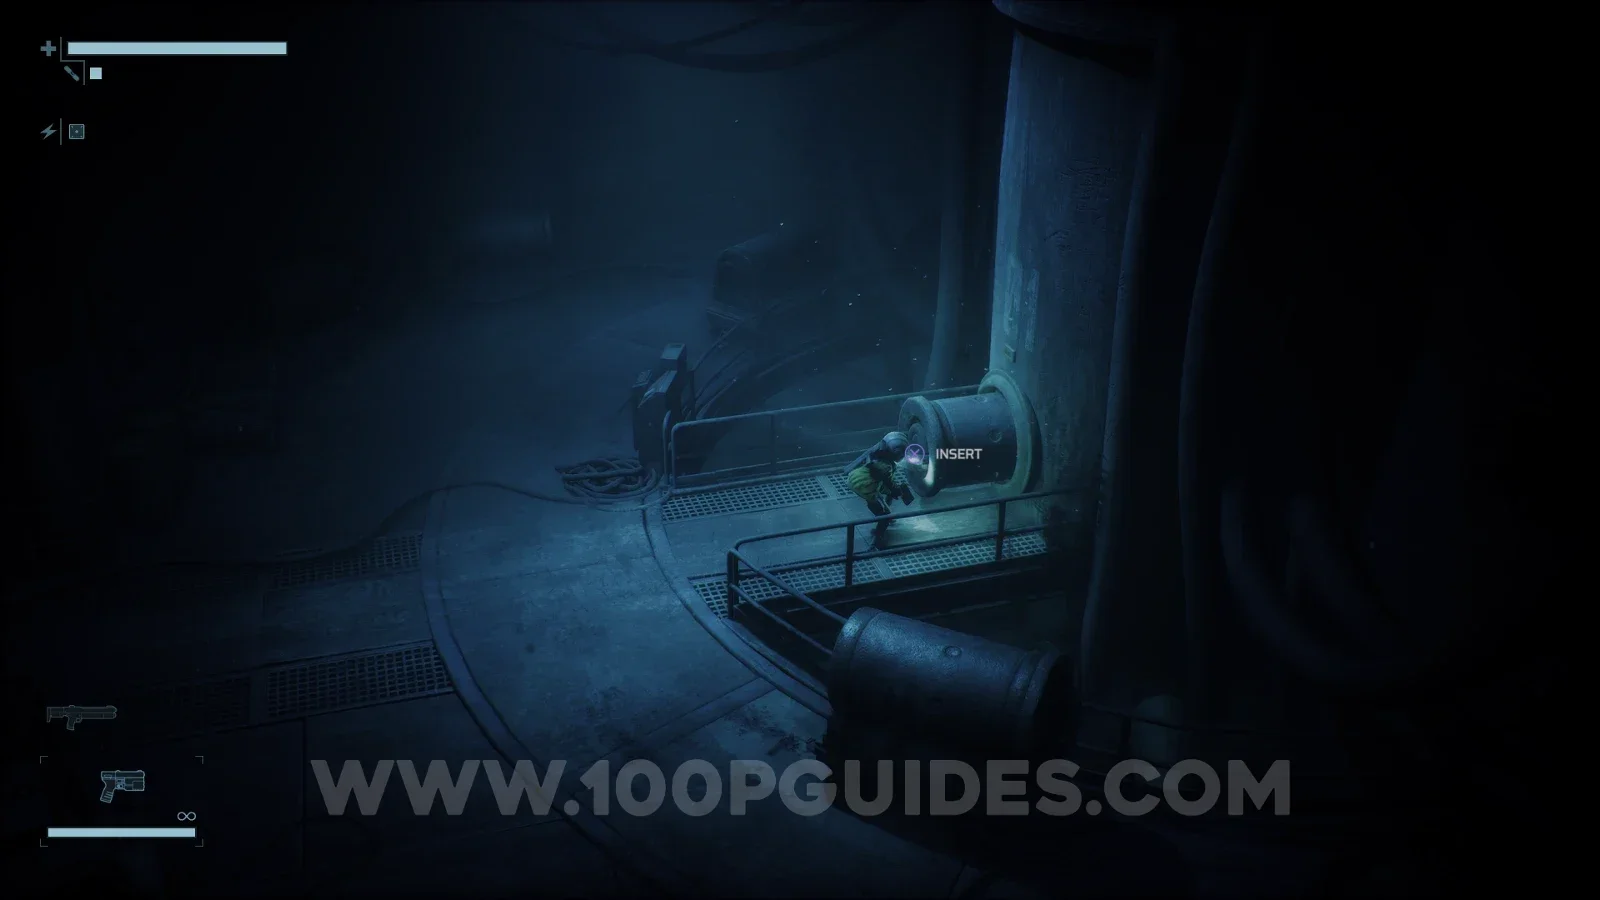
Now head all the way to the room on the far left of this area to find the Second Power Cell.
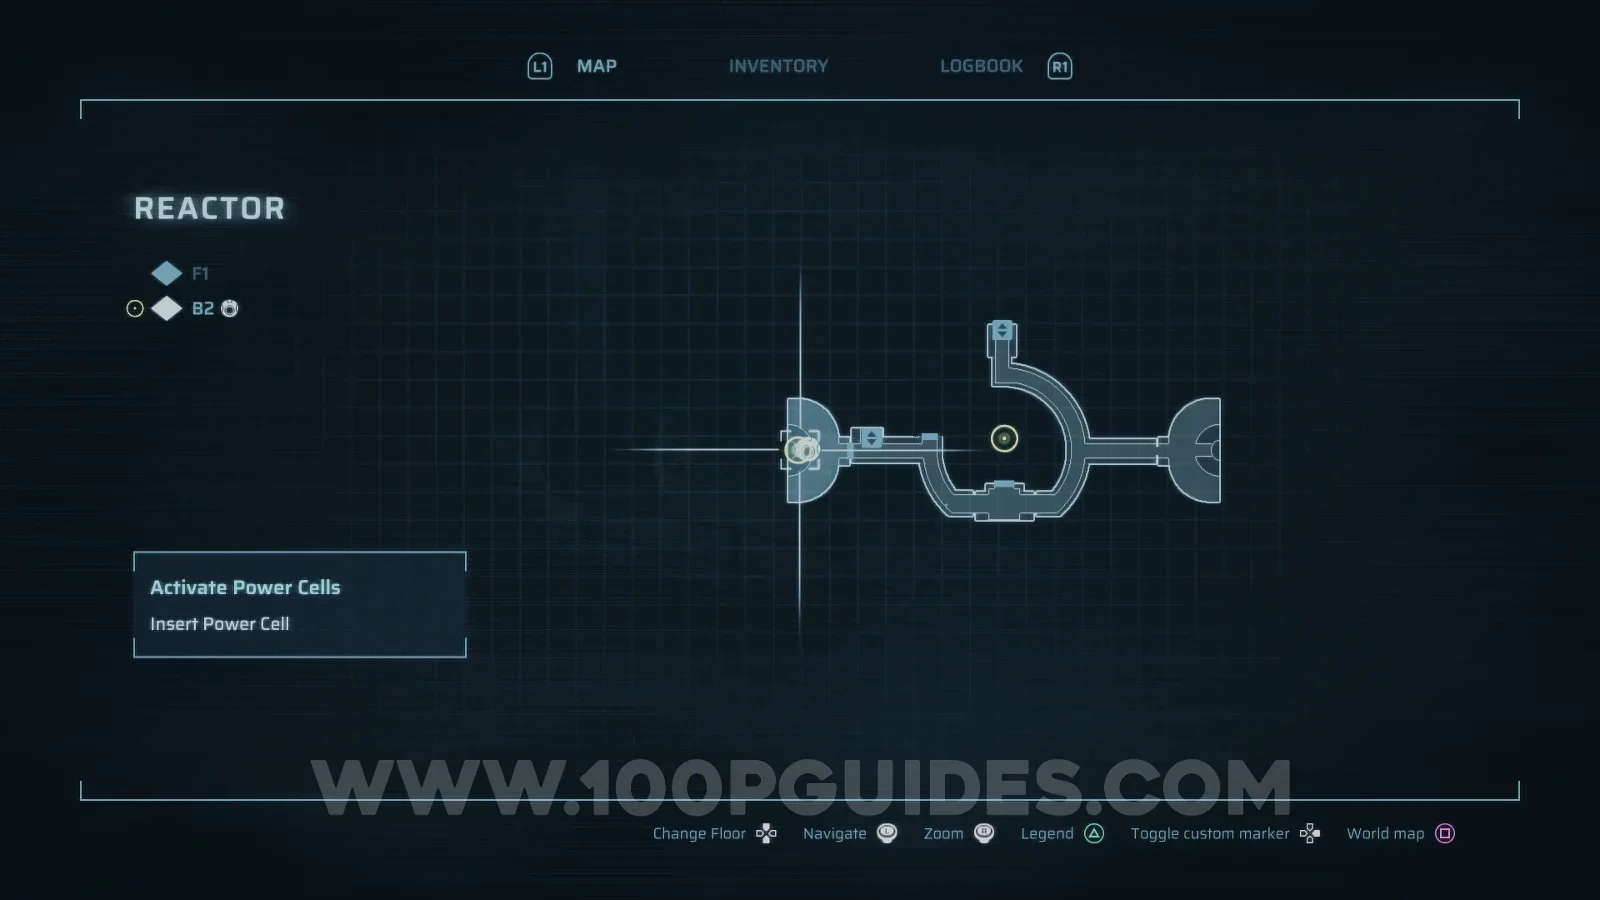
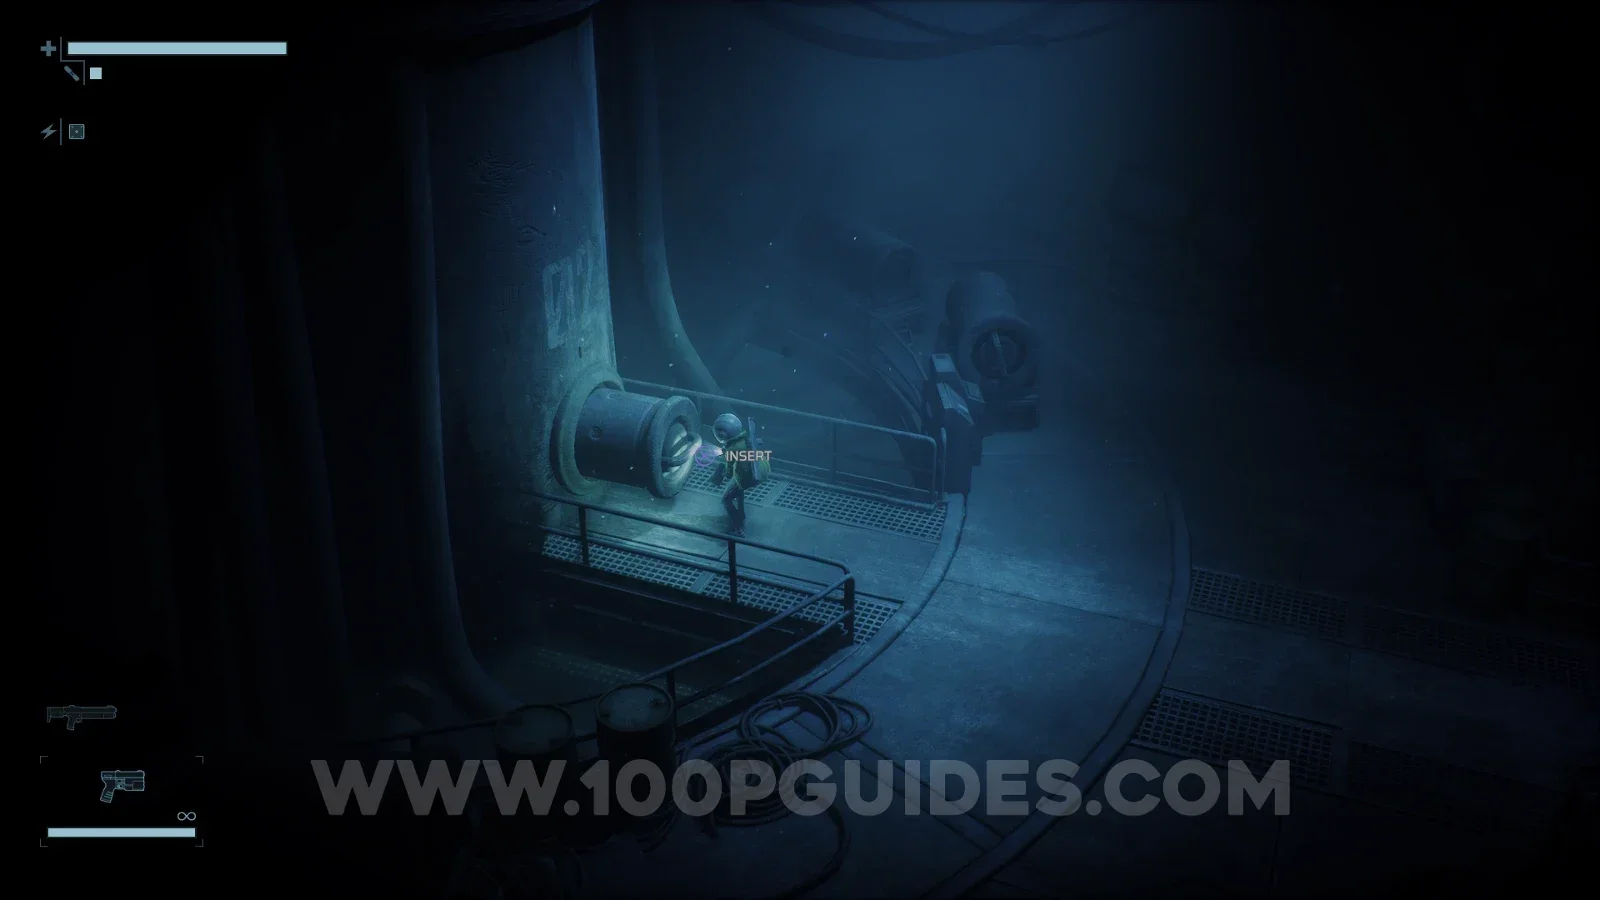
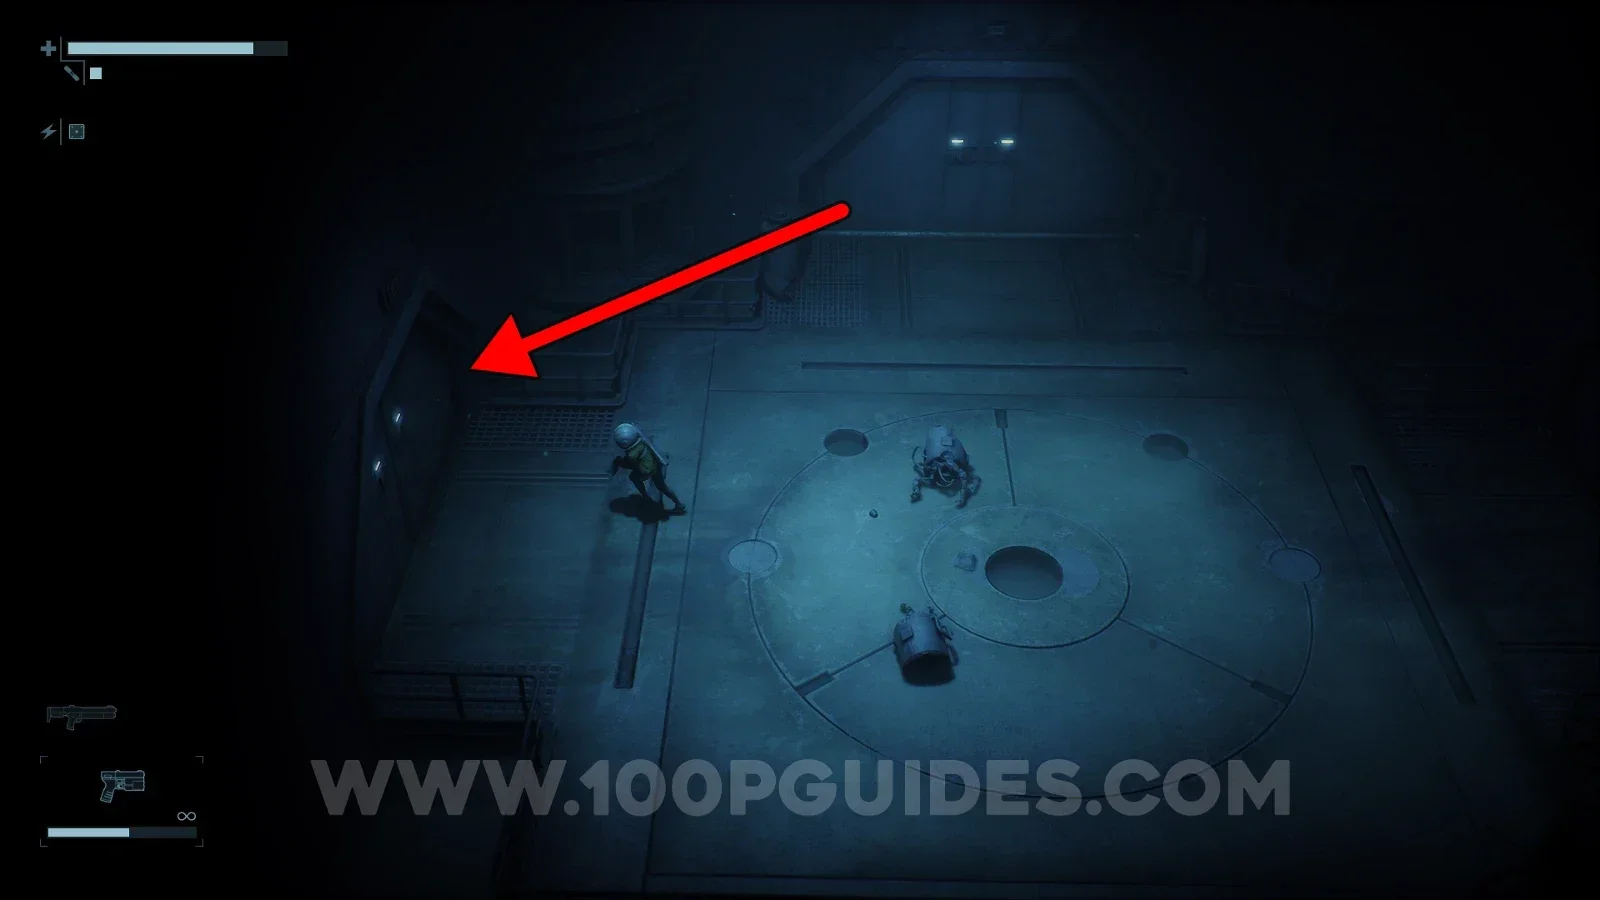
After activating the Second Power Cell, head back out through the door on your right and ride the small lift down to the area below. From there, head down to the large room in the bottom left (shown in the screenshot below), where you will get locked in and have to defeat multiple enemies.
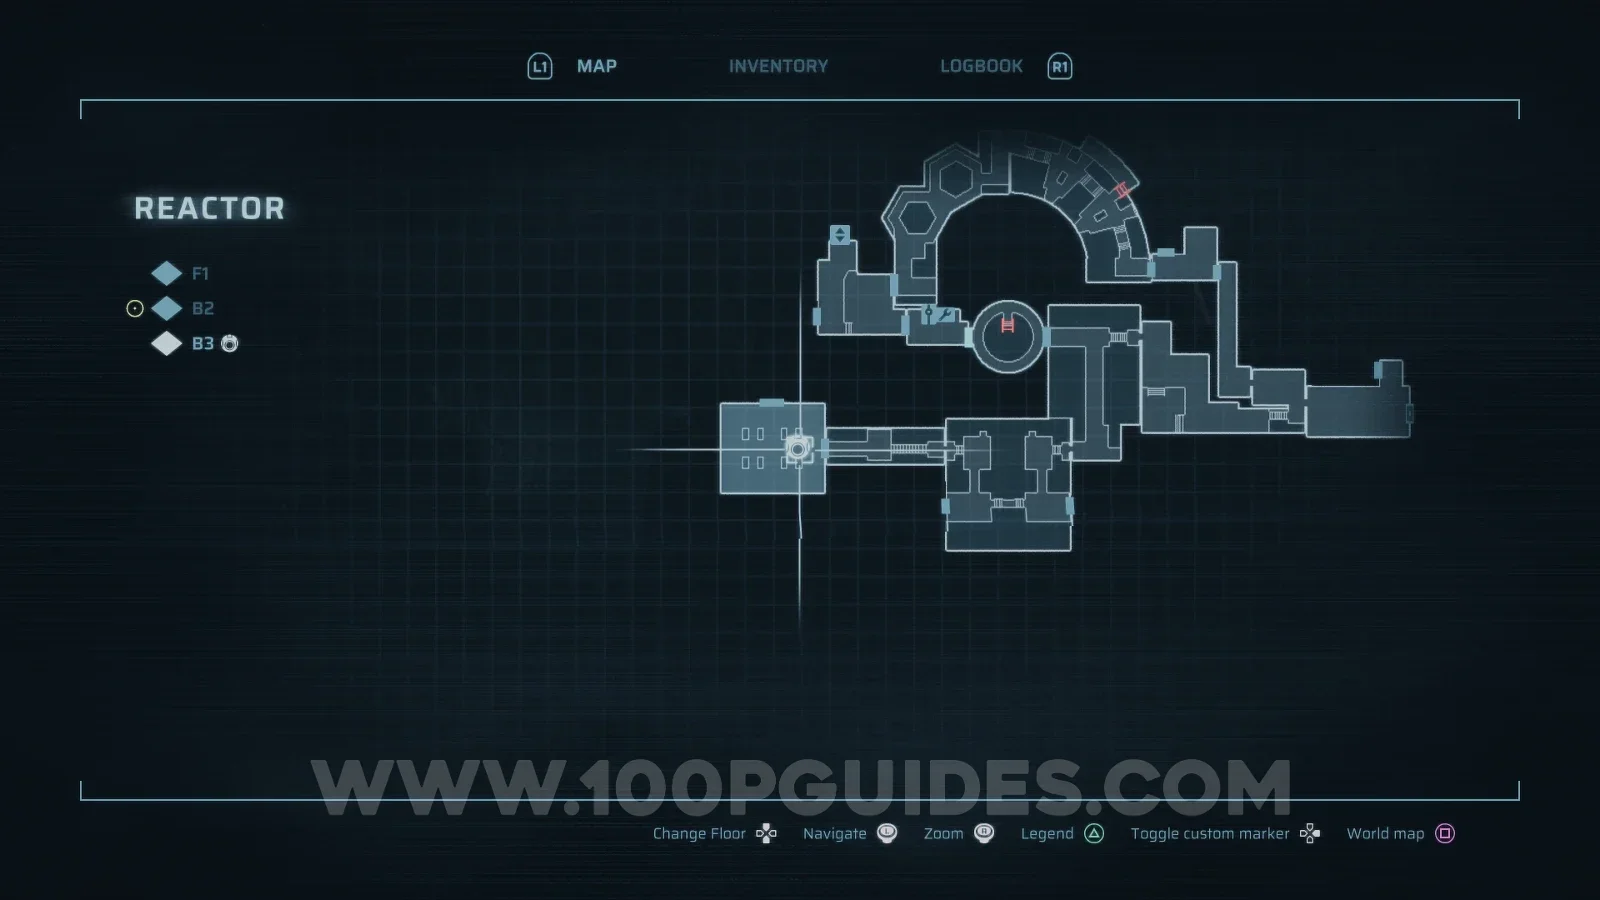
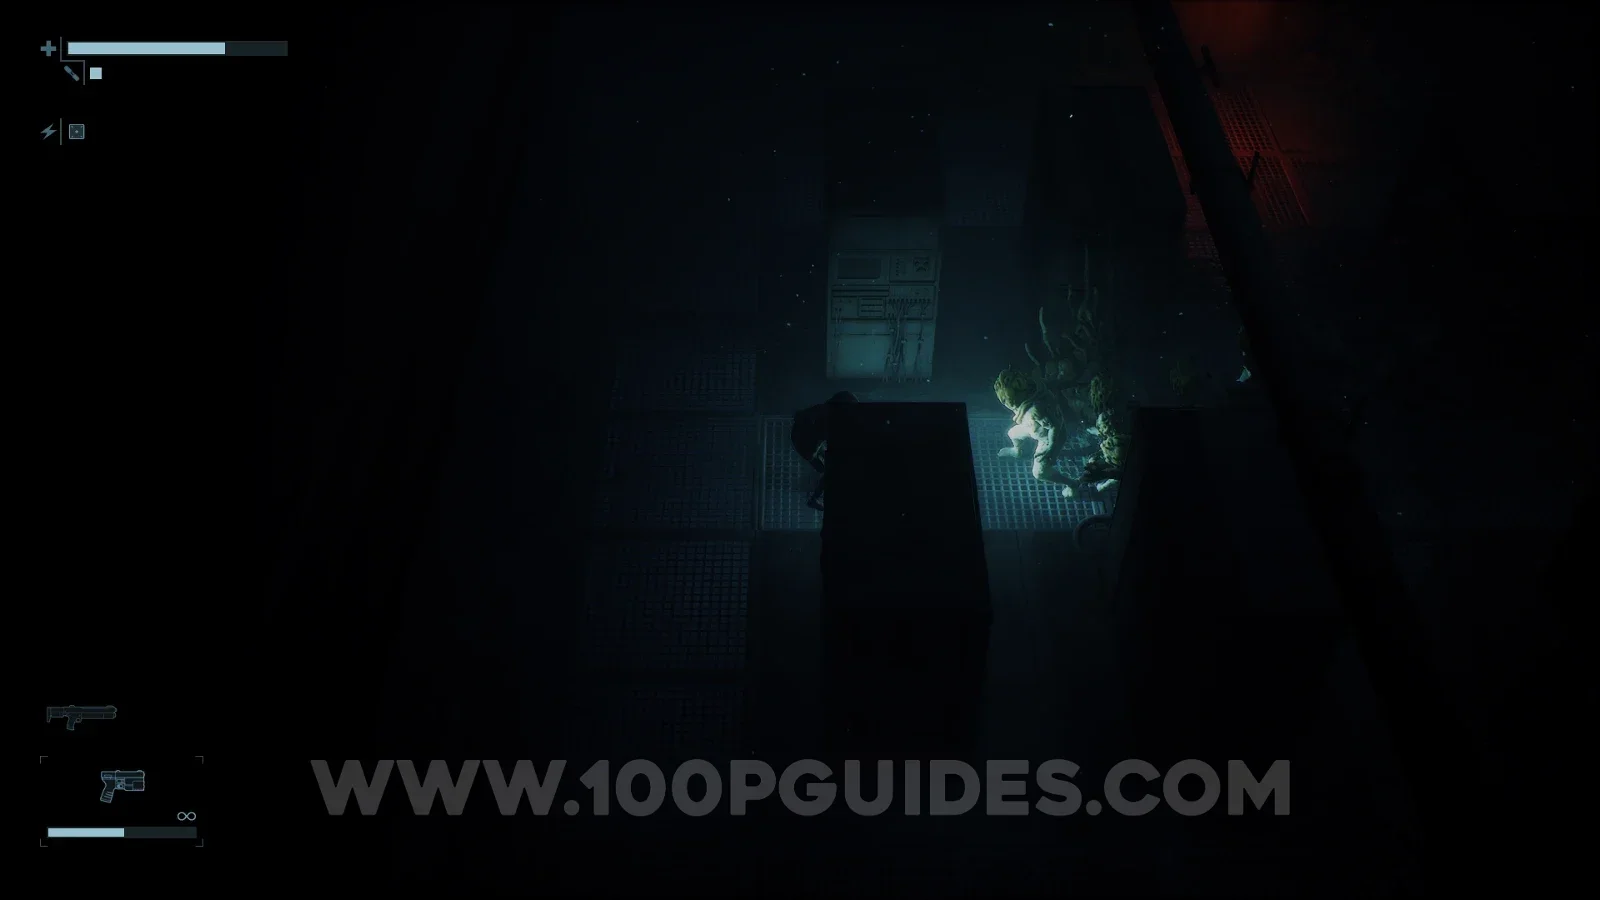
After defeating the enemies and unlocking the doors, head back out through the door on the right (the one you used to get here). As soon as you go back through it, a new enemy will jump out of a trap door, opening up a new hole. Jump down it and head left into the room you just left. Use the underground paths to get under the locked door at the top of the room and reach the room where you have to use the PC to open the security doors.
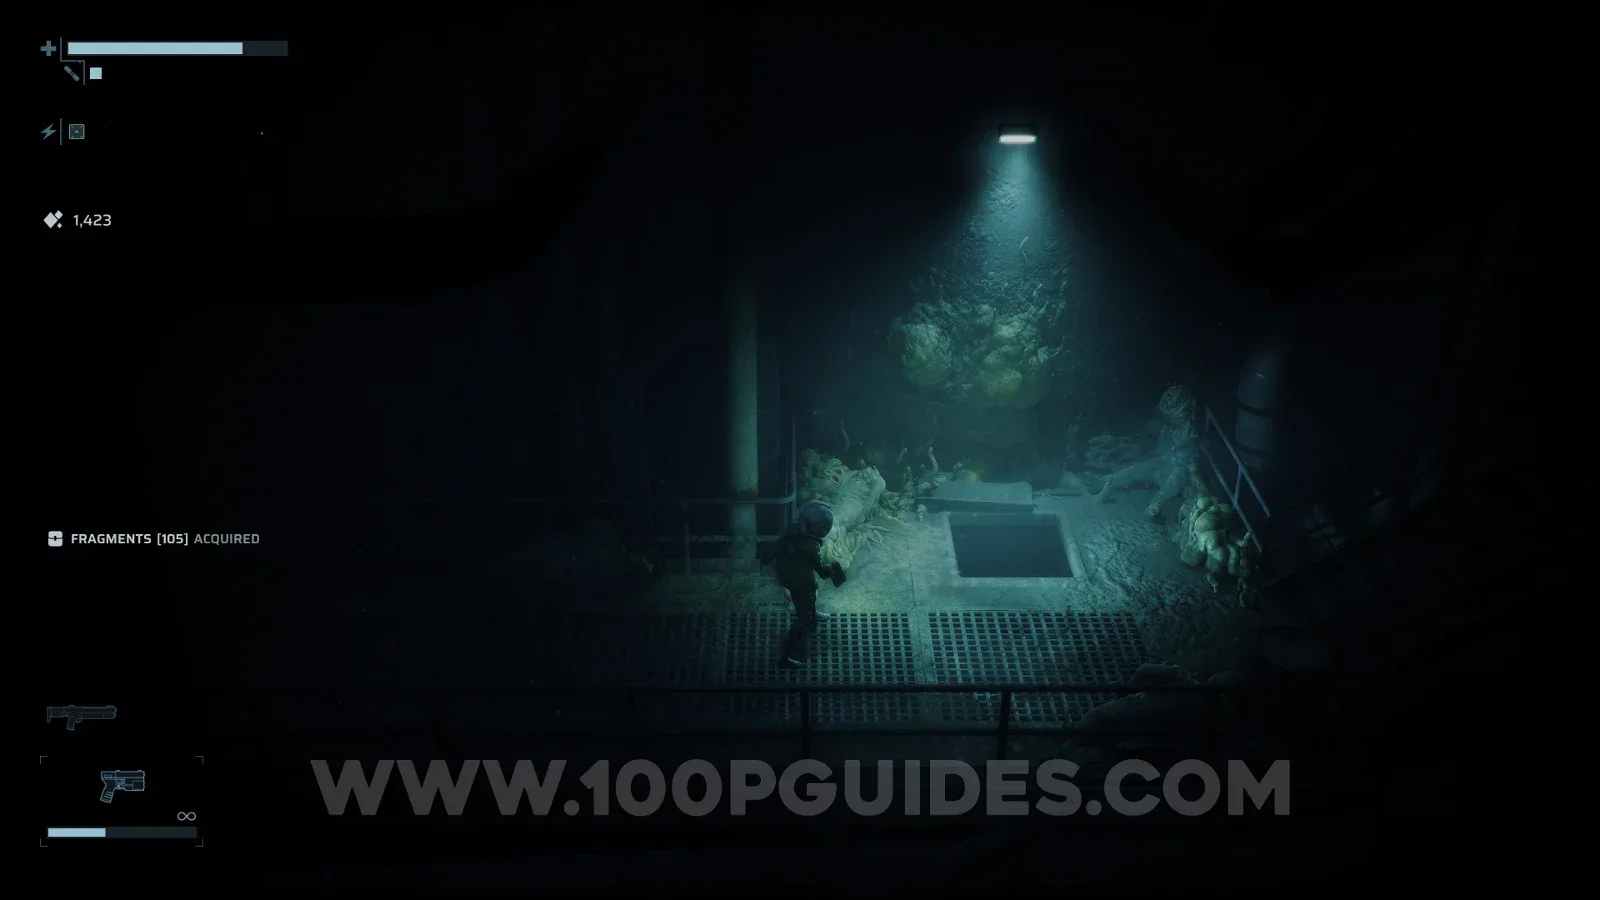
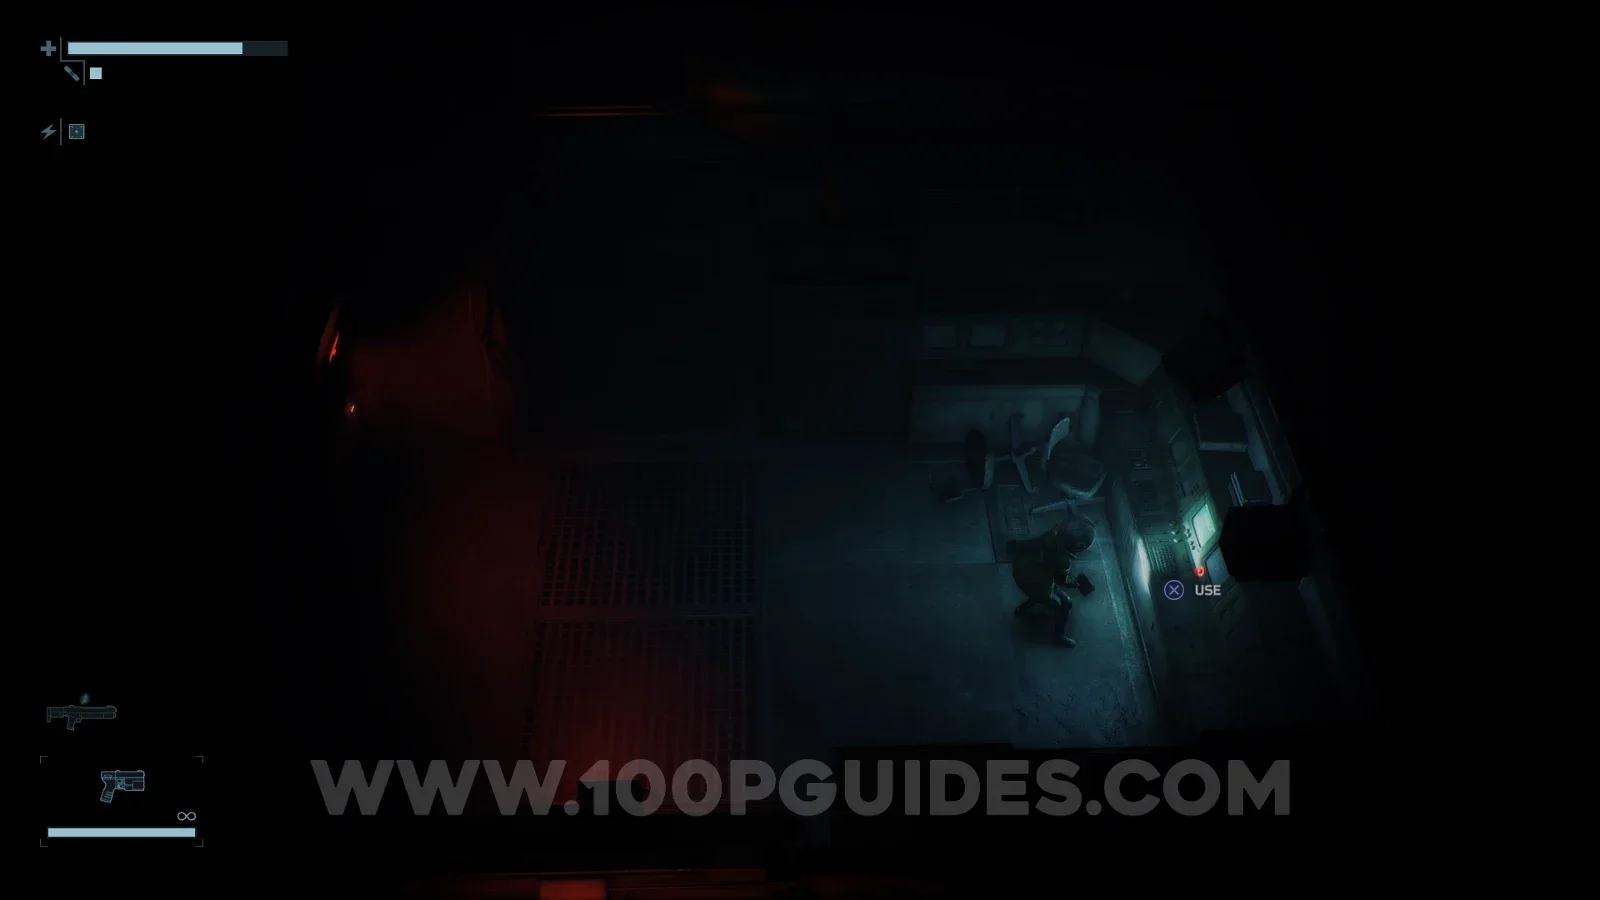
From the PC, head through the door on the left to get back to the room at the bottom of the lift you used after the first two Power Cells. I recommend using the safe room on the right of this room, since you are about to face another boss.
Once you are ready, ride the lift up and go through the middle door where the objective marker is. Inside, activate the final Power Cell to face the second boss, the Husk Centipede.
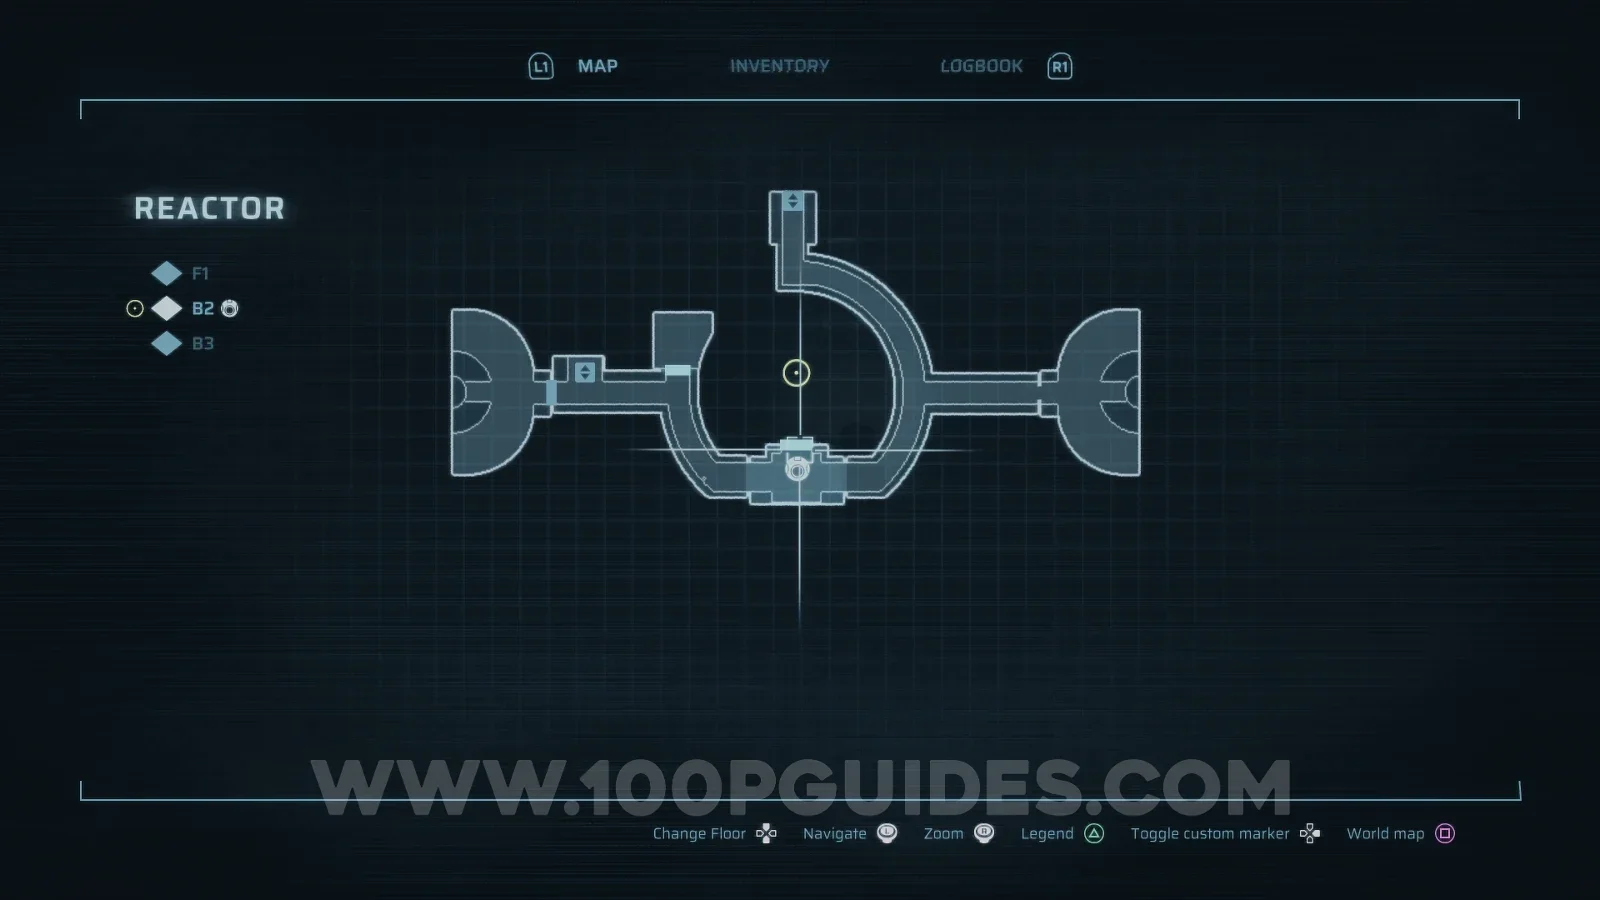
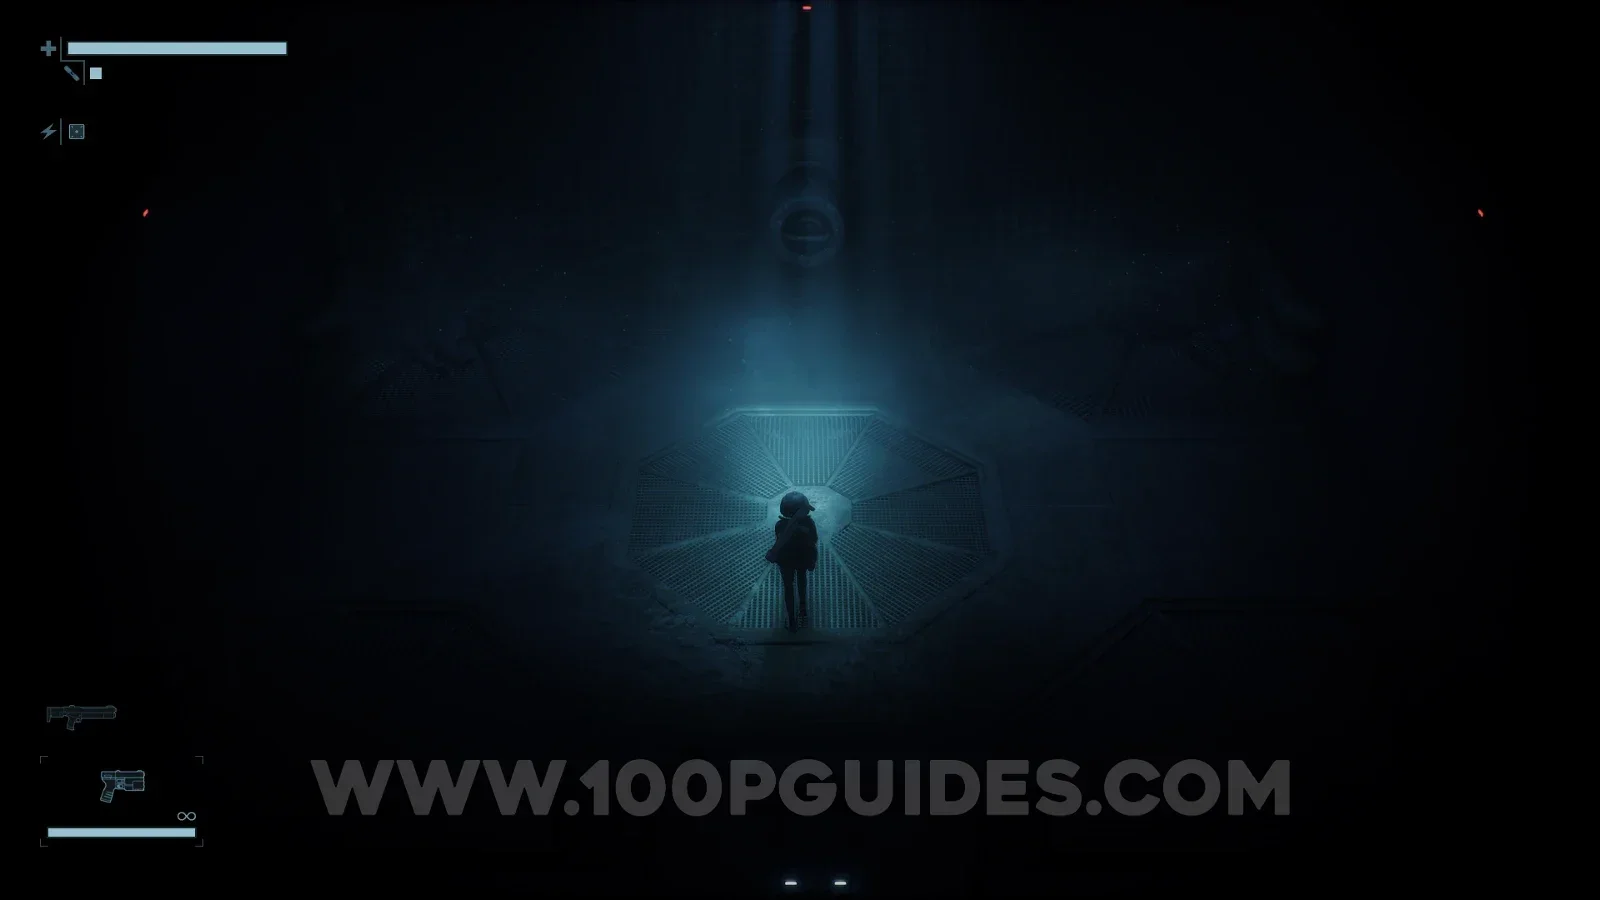
Reactor Core
After the boss fight, head back up to the console at the top of the Reactor Core and activate it.
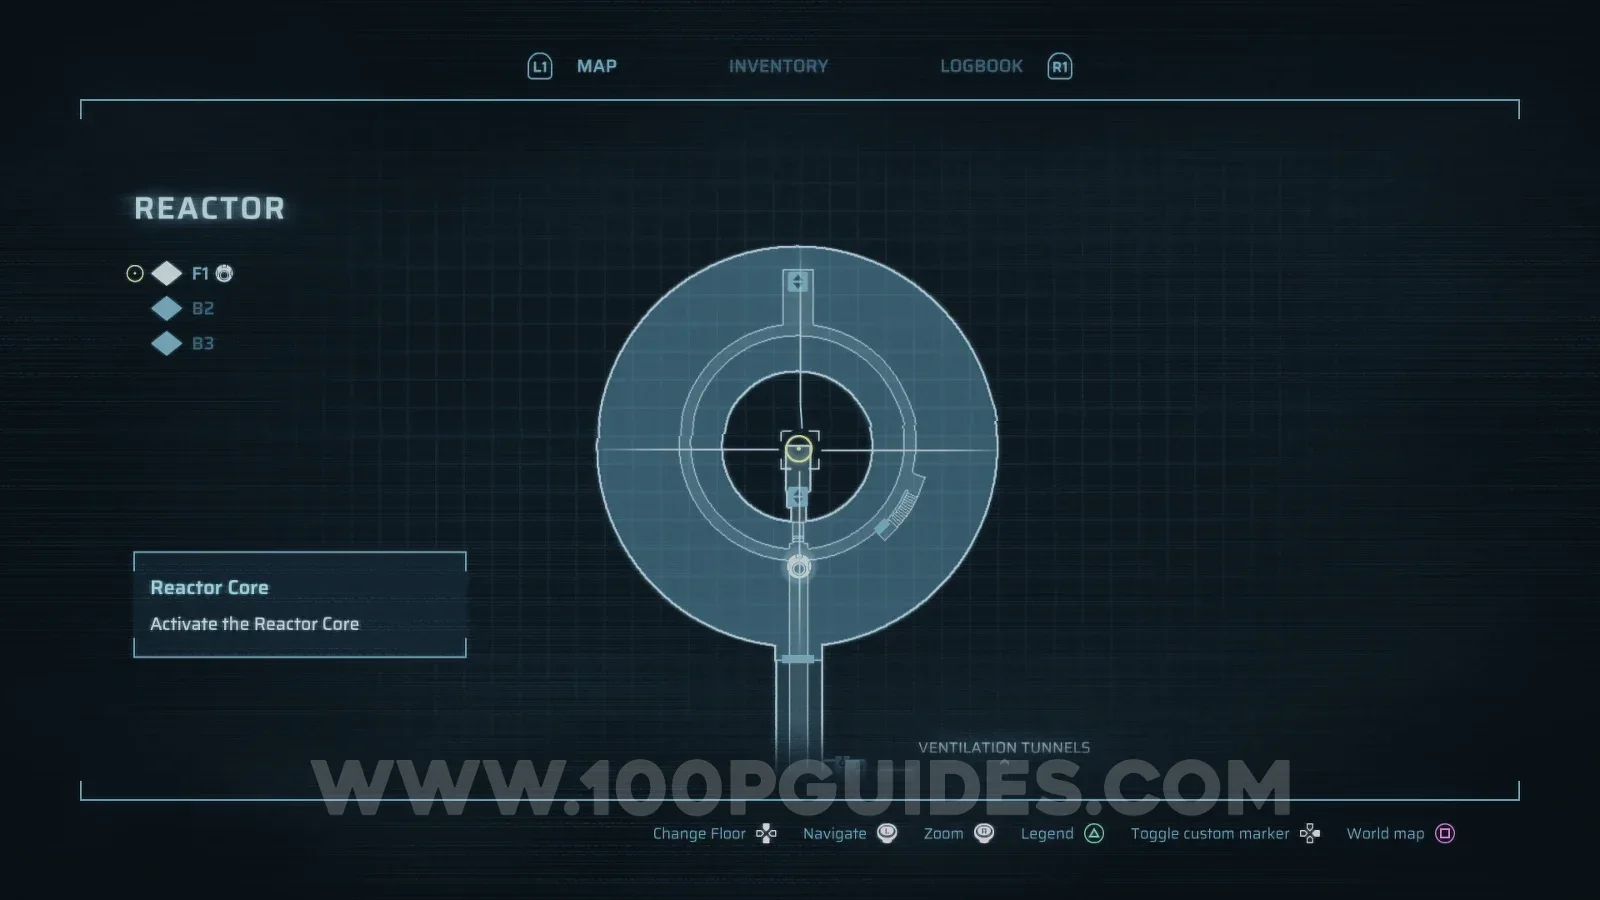
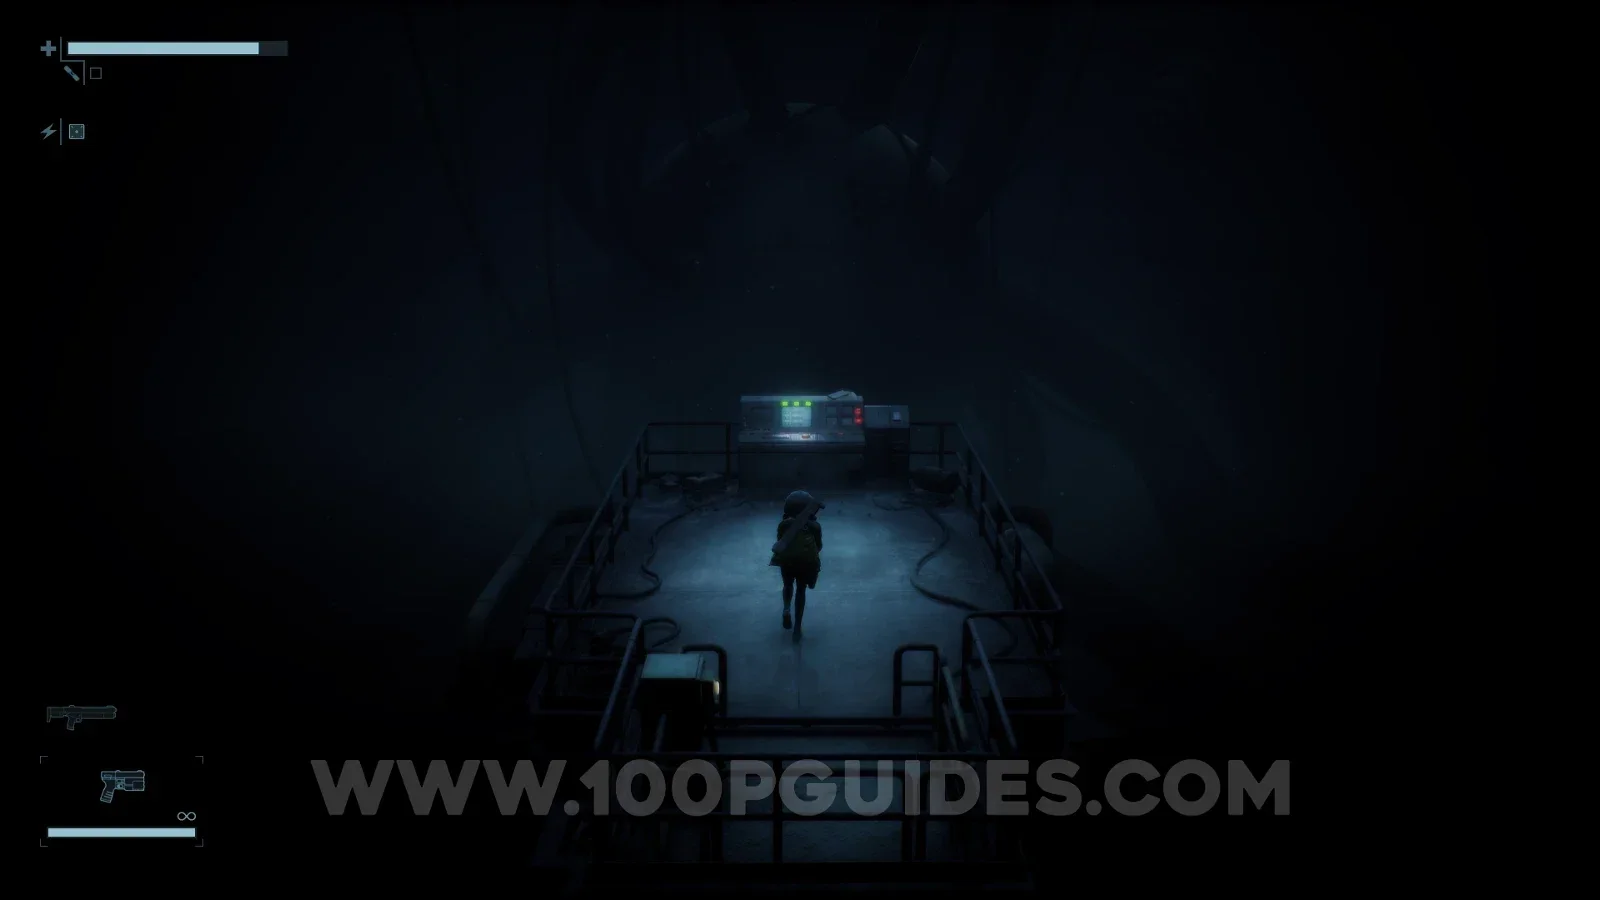
Regroup with Crew
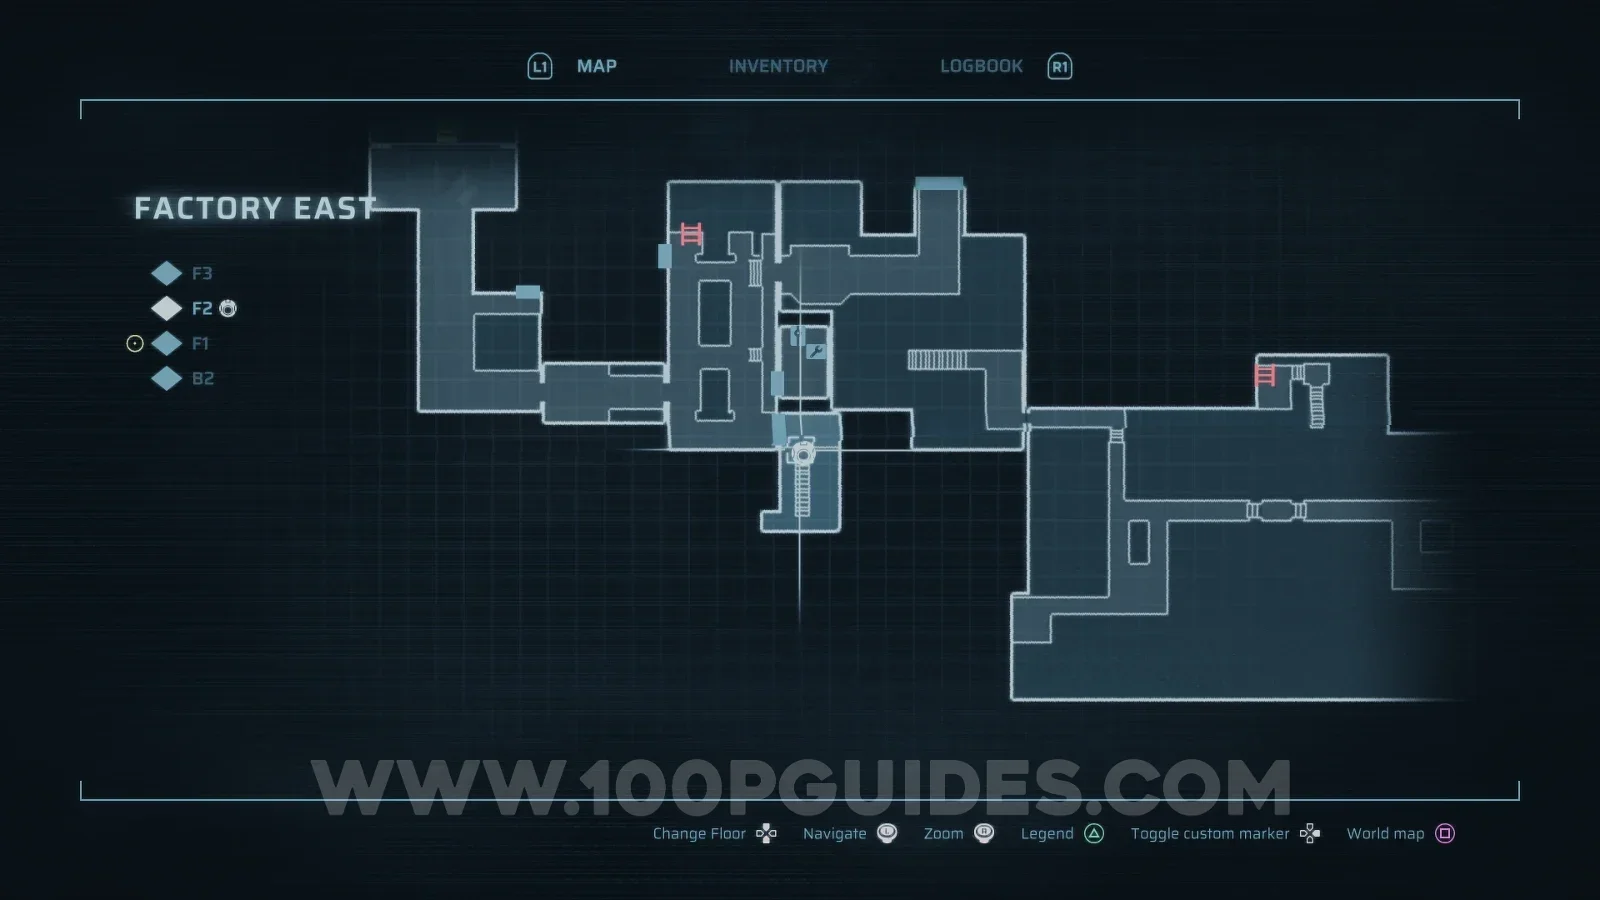
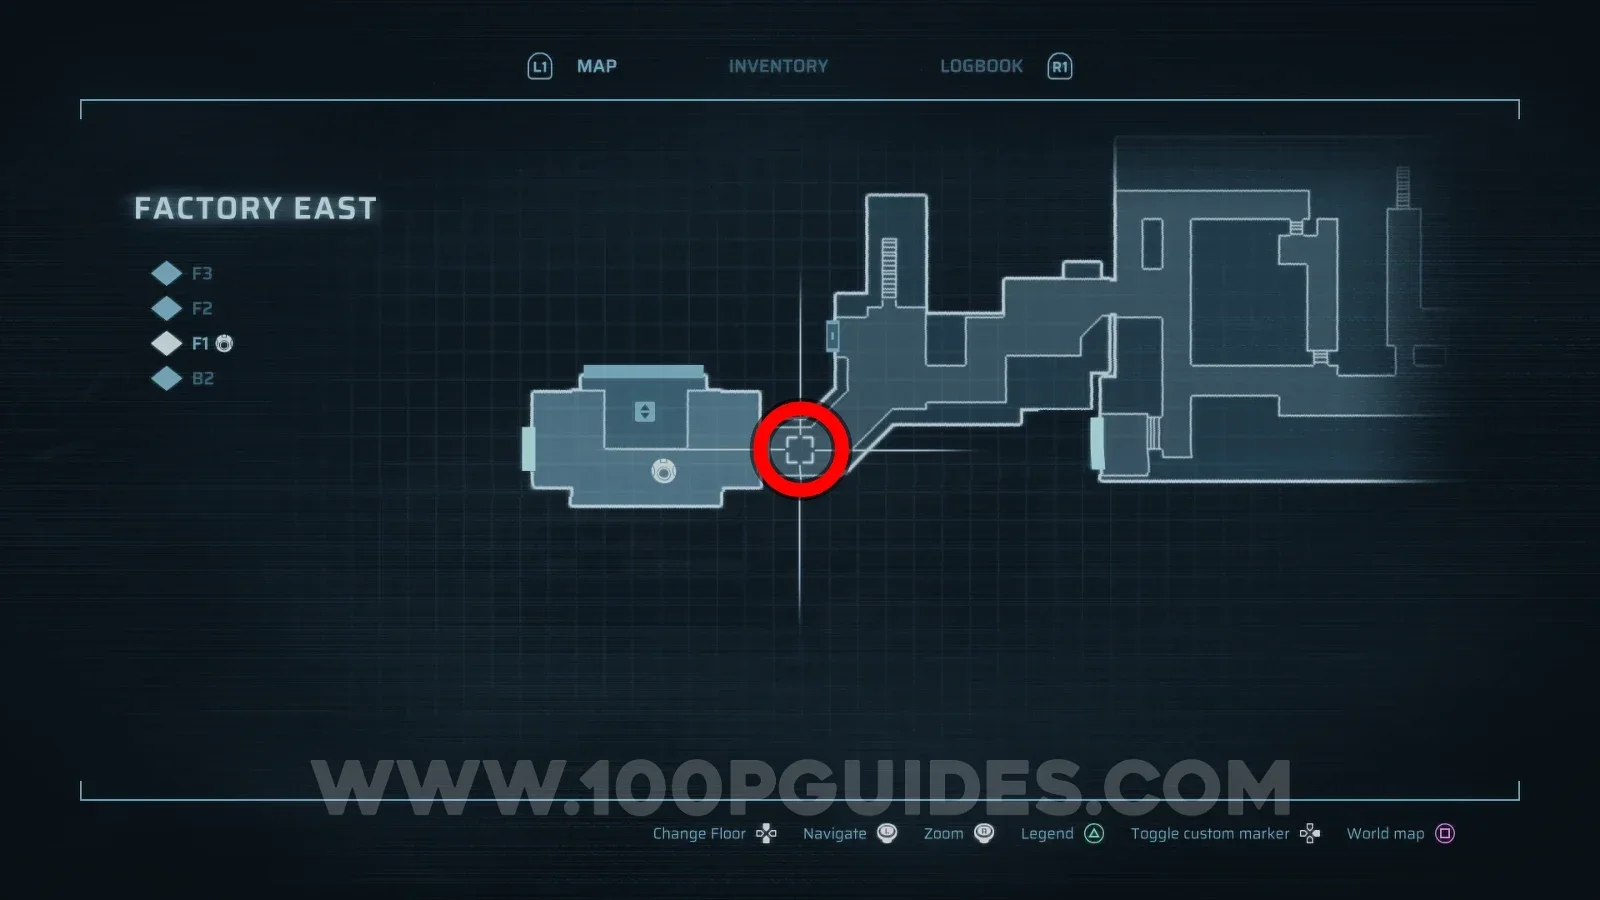
From the console, backtrack south until you reach the room with the large metal doors, where you will be attacked by a new type of enemy. After defeating them, head through the now unlocked door on the left to return to Factory East. Once you reach the room with the safe room on the right, go through the door below the safe room and down the stairs. In the next room, head to the bottom left corner to trigger a cutscene.
Unlock Central Elevator (Override the 3 SCUs)
After talking to the NPCs in the elevator room, head out through the door on the left to enter Factory West. From here, head down to the bottom right and enter Maintenance.
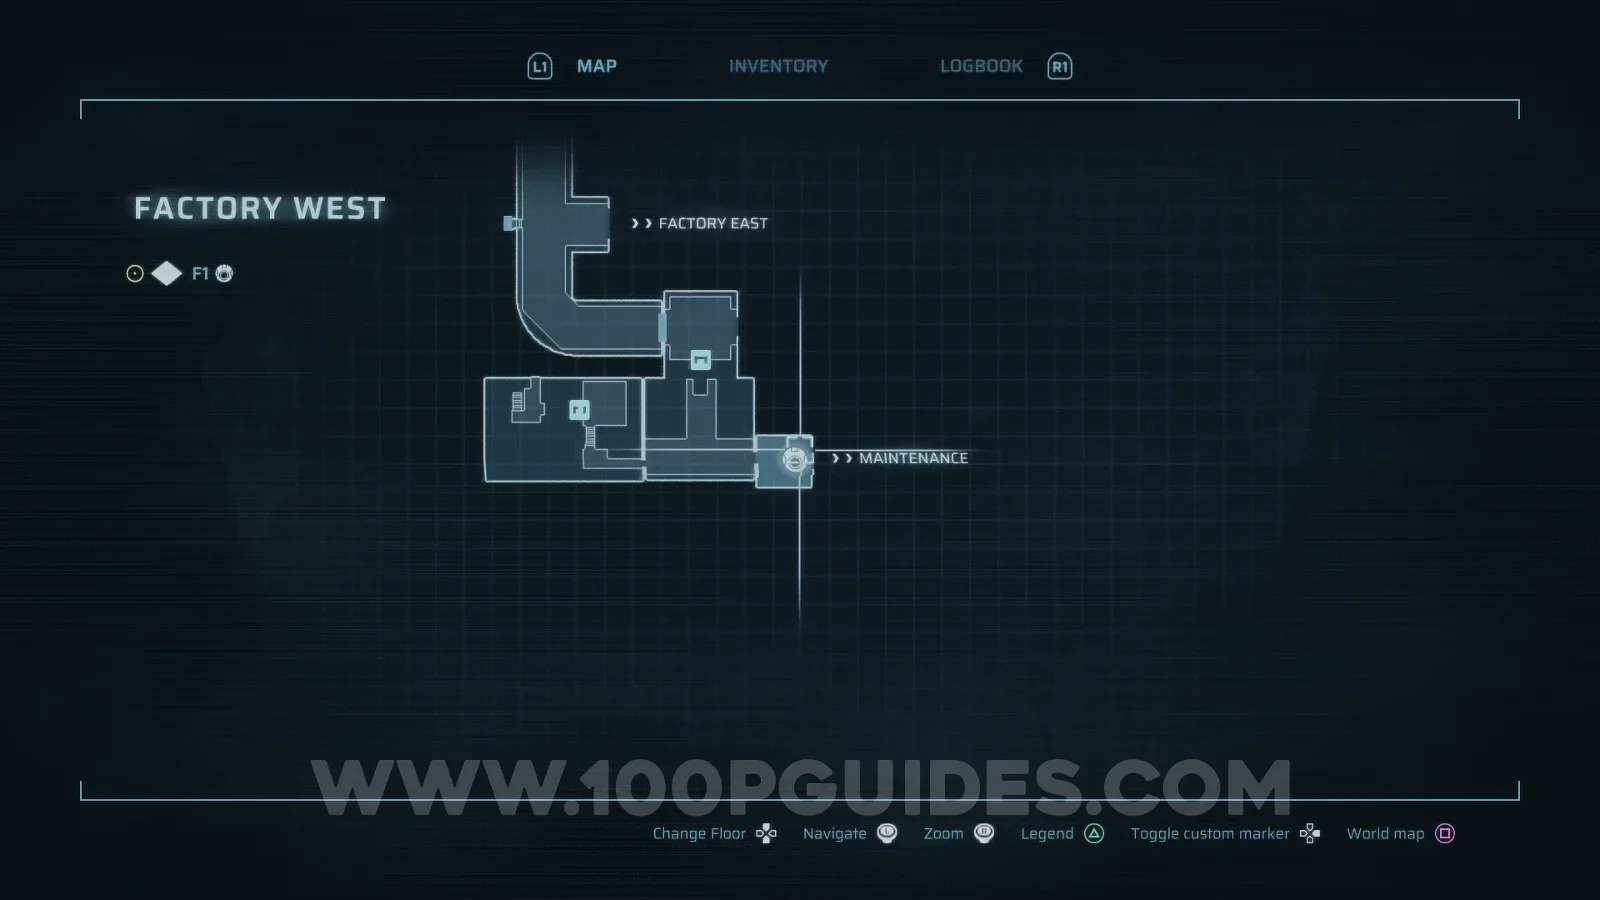
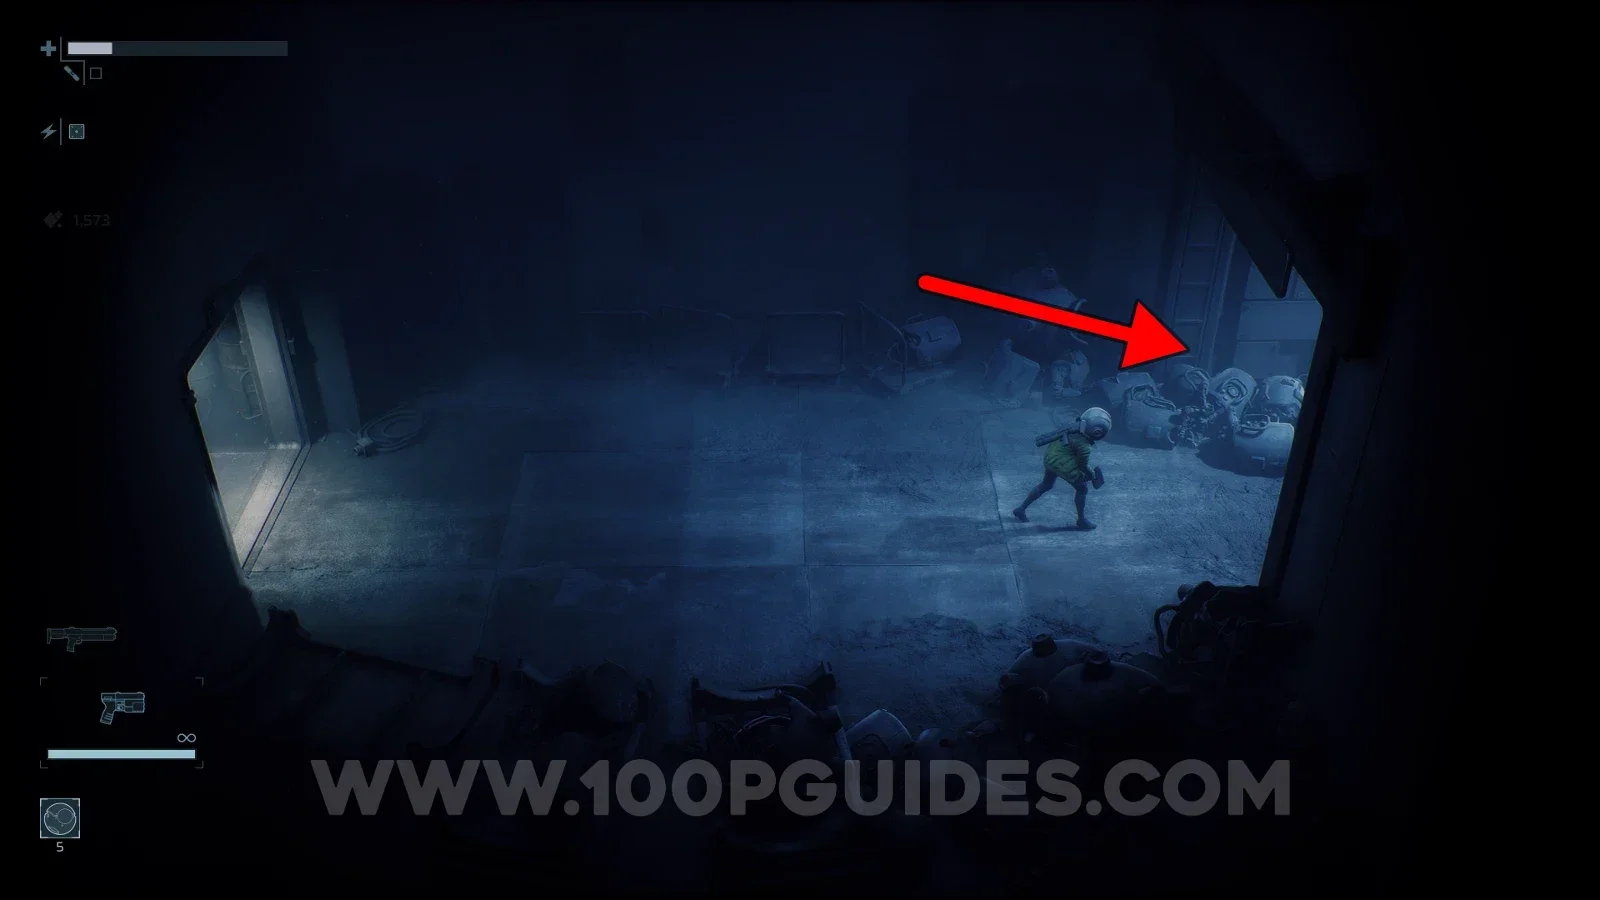
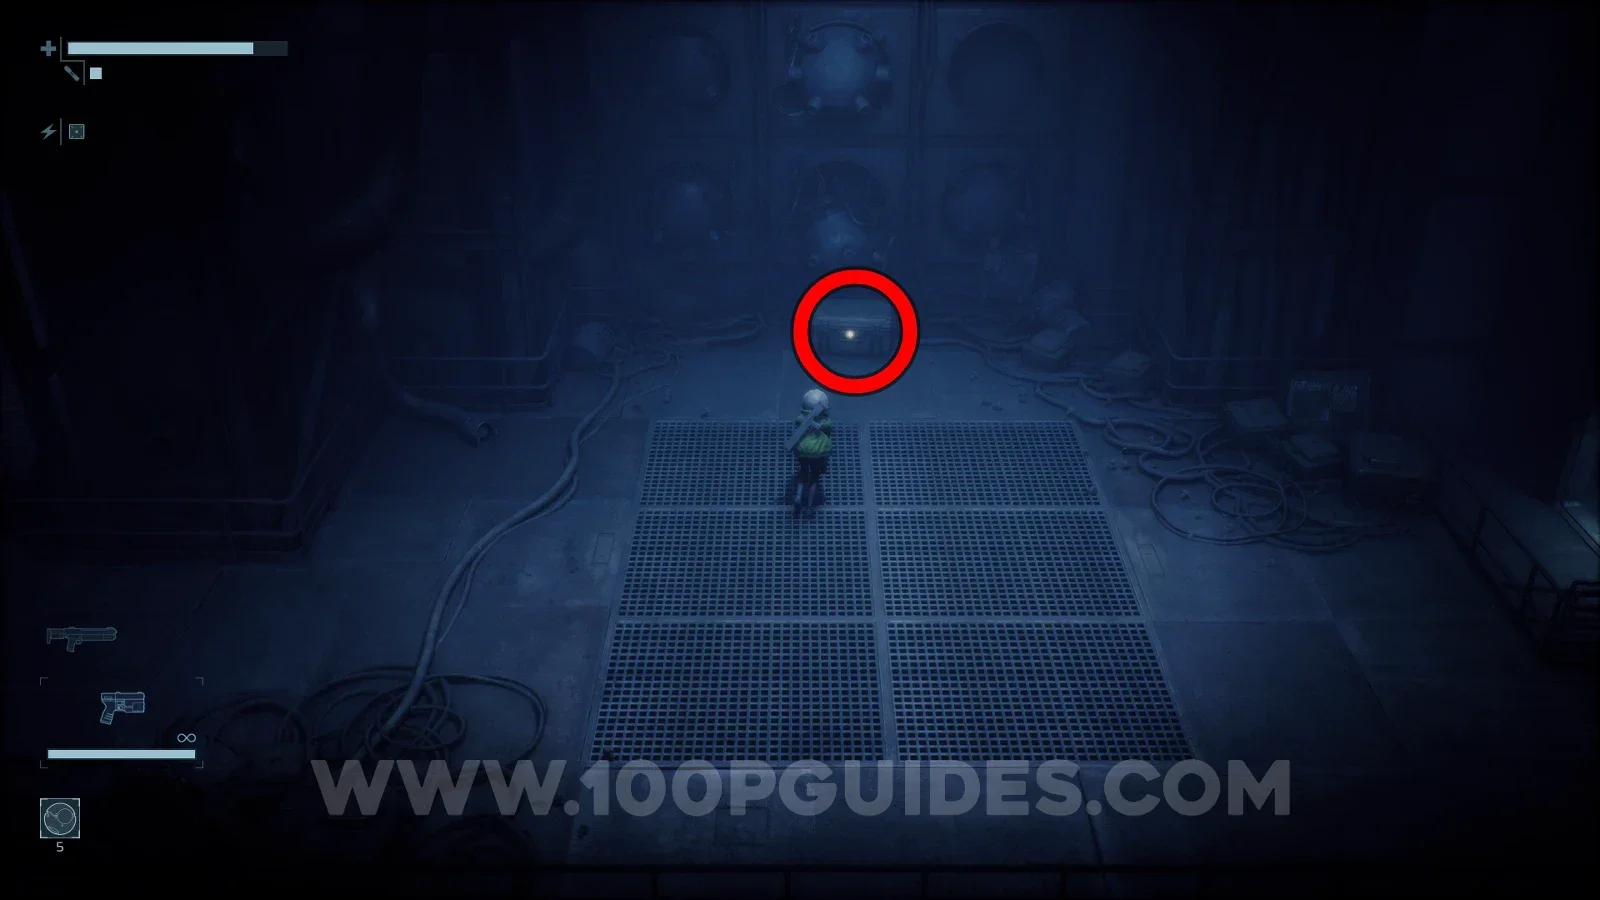
In Maintenance, follow the only possible path until you encounter two small robot enemies. After dealing with them, you will see a large chest in plain sight. Open it to get an Energy Cell, which gives you an extra mod slot (you will need this later to advance the story).
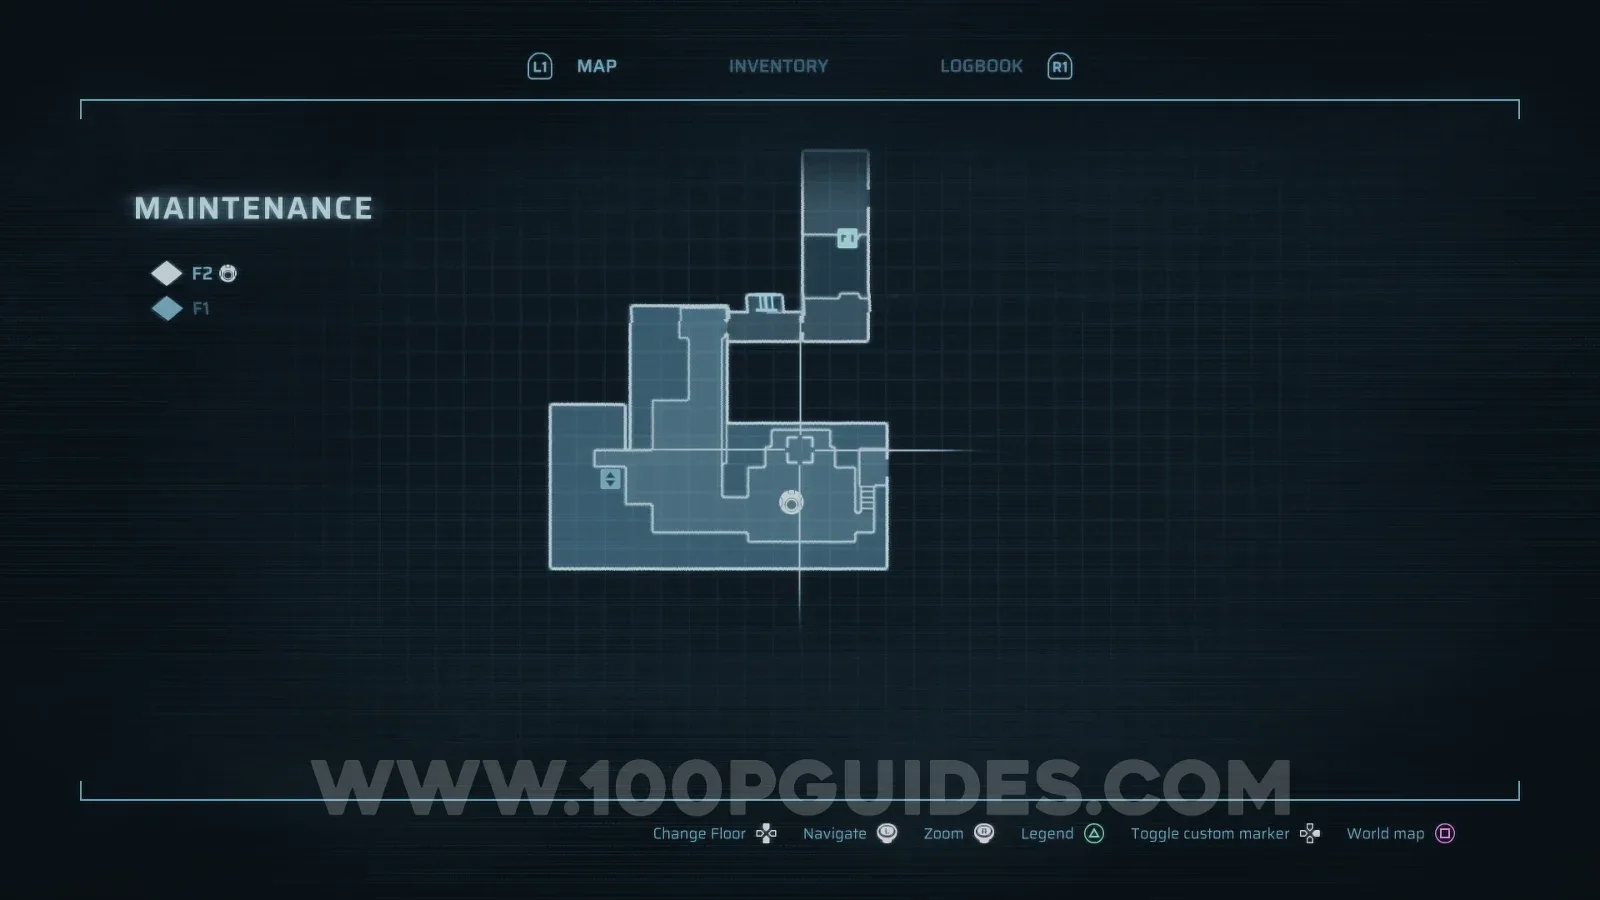
After opening the chest, head right, then up until you reach a room with more robot enemies. Defeat them and head out through the door in the top left corner of the room to find the Mechanical Crank. This lets you use Extendable Bridges.
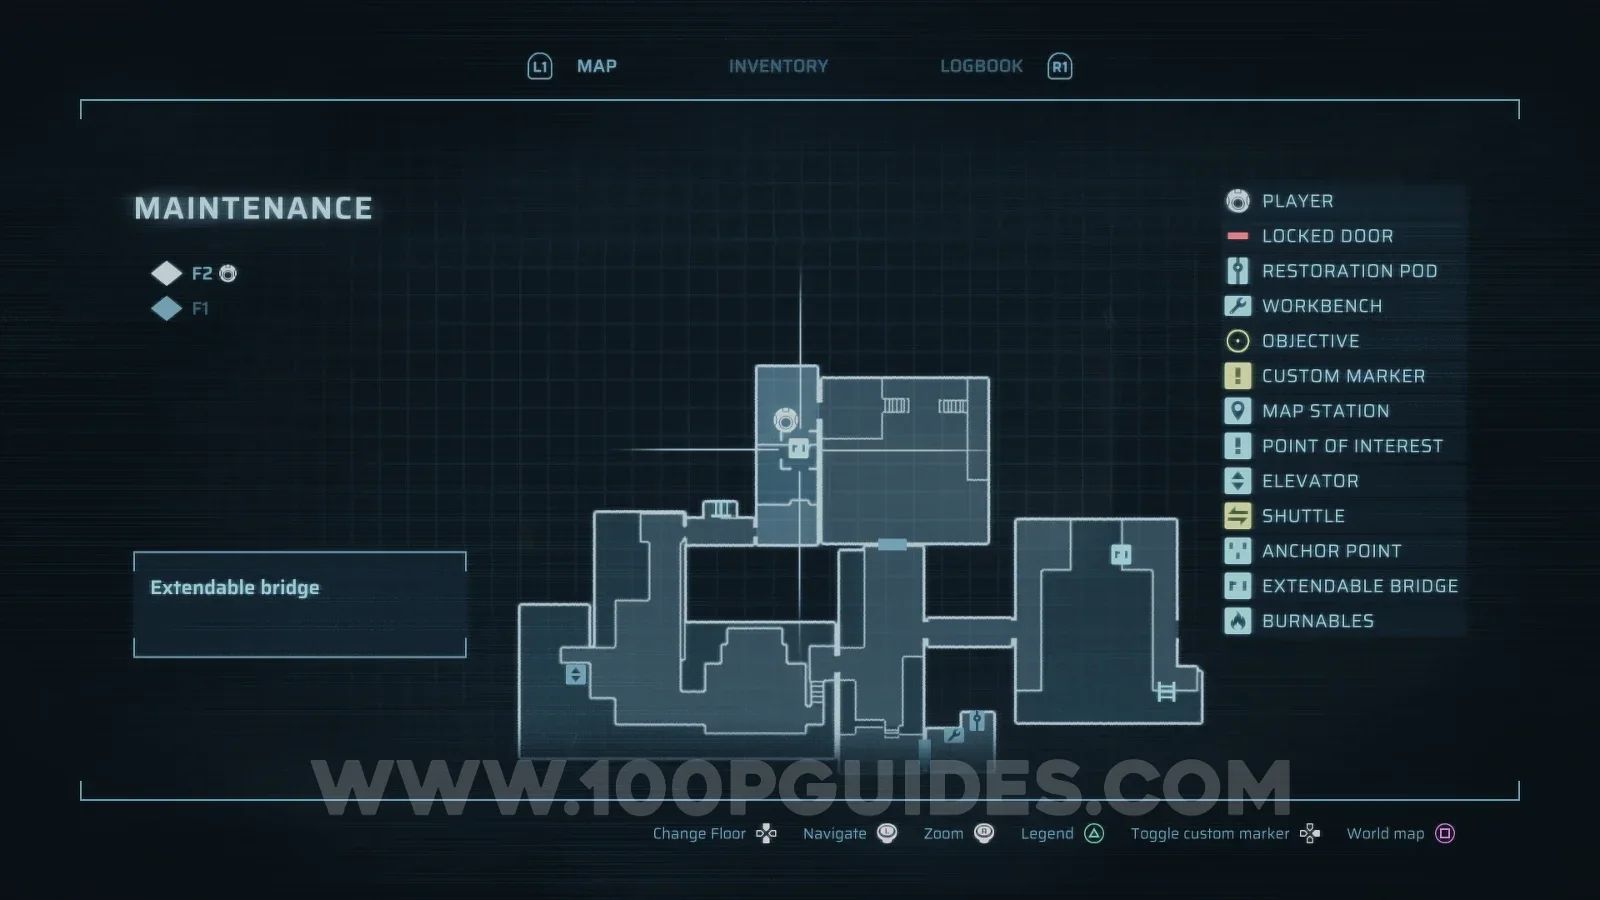
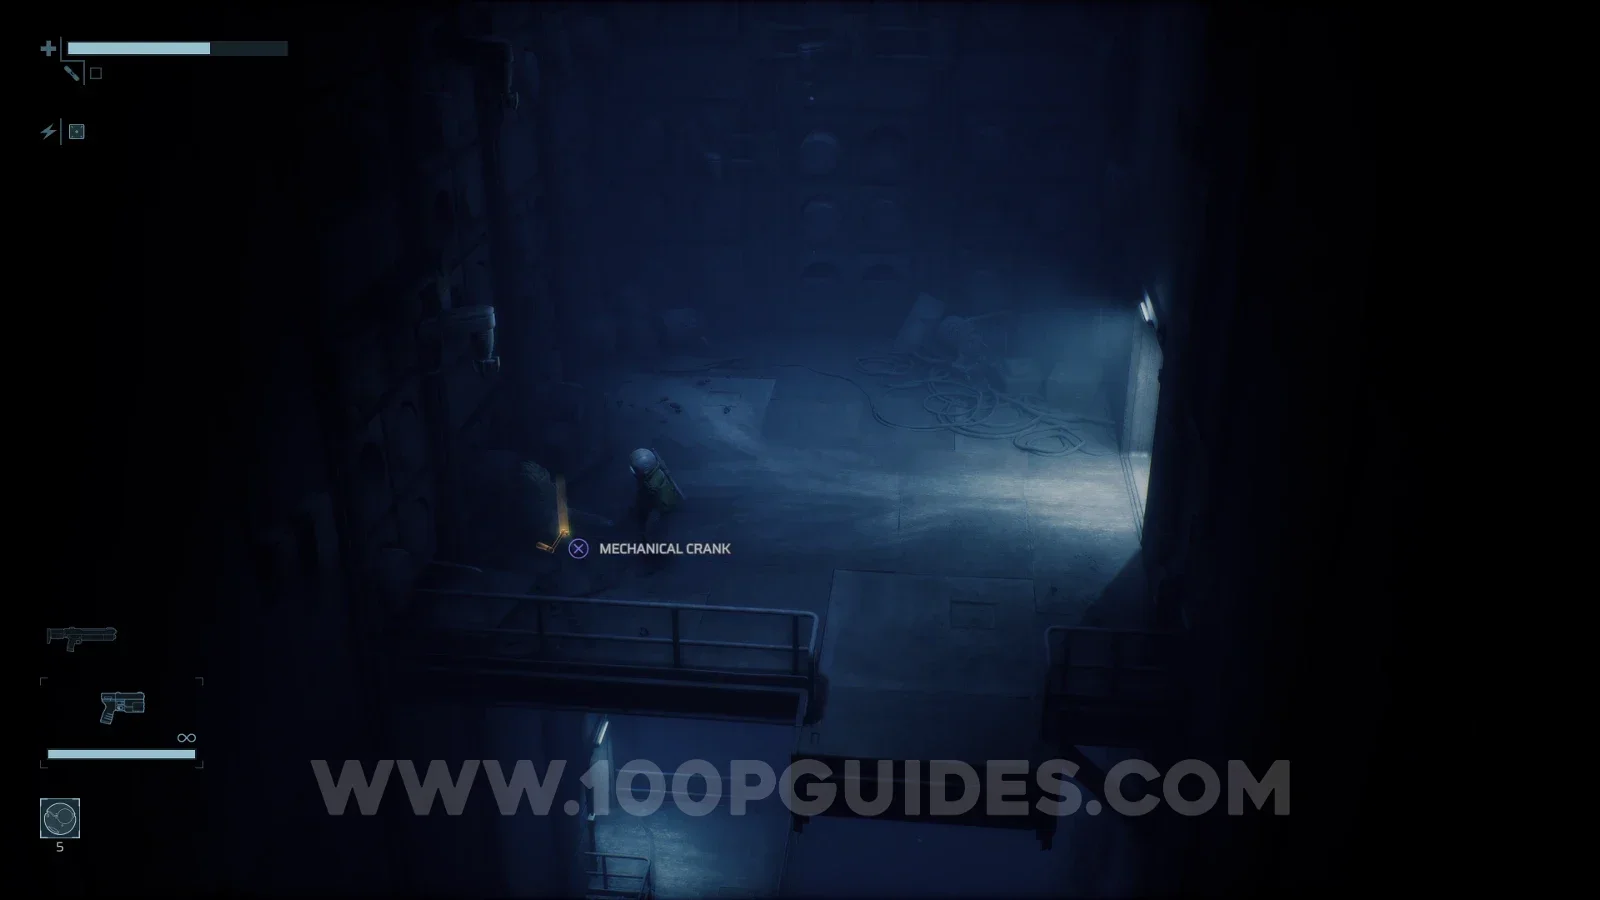
Once you have the Crank, extend the bridge and backtrack to the Factory West area. As soon as you exit the Maintenance area, head directly west and use the Crank to extend the bridge there.
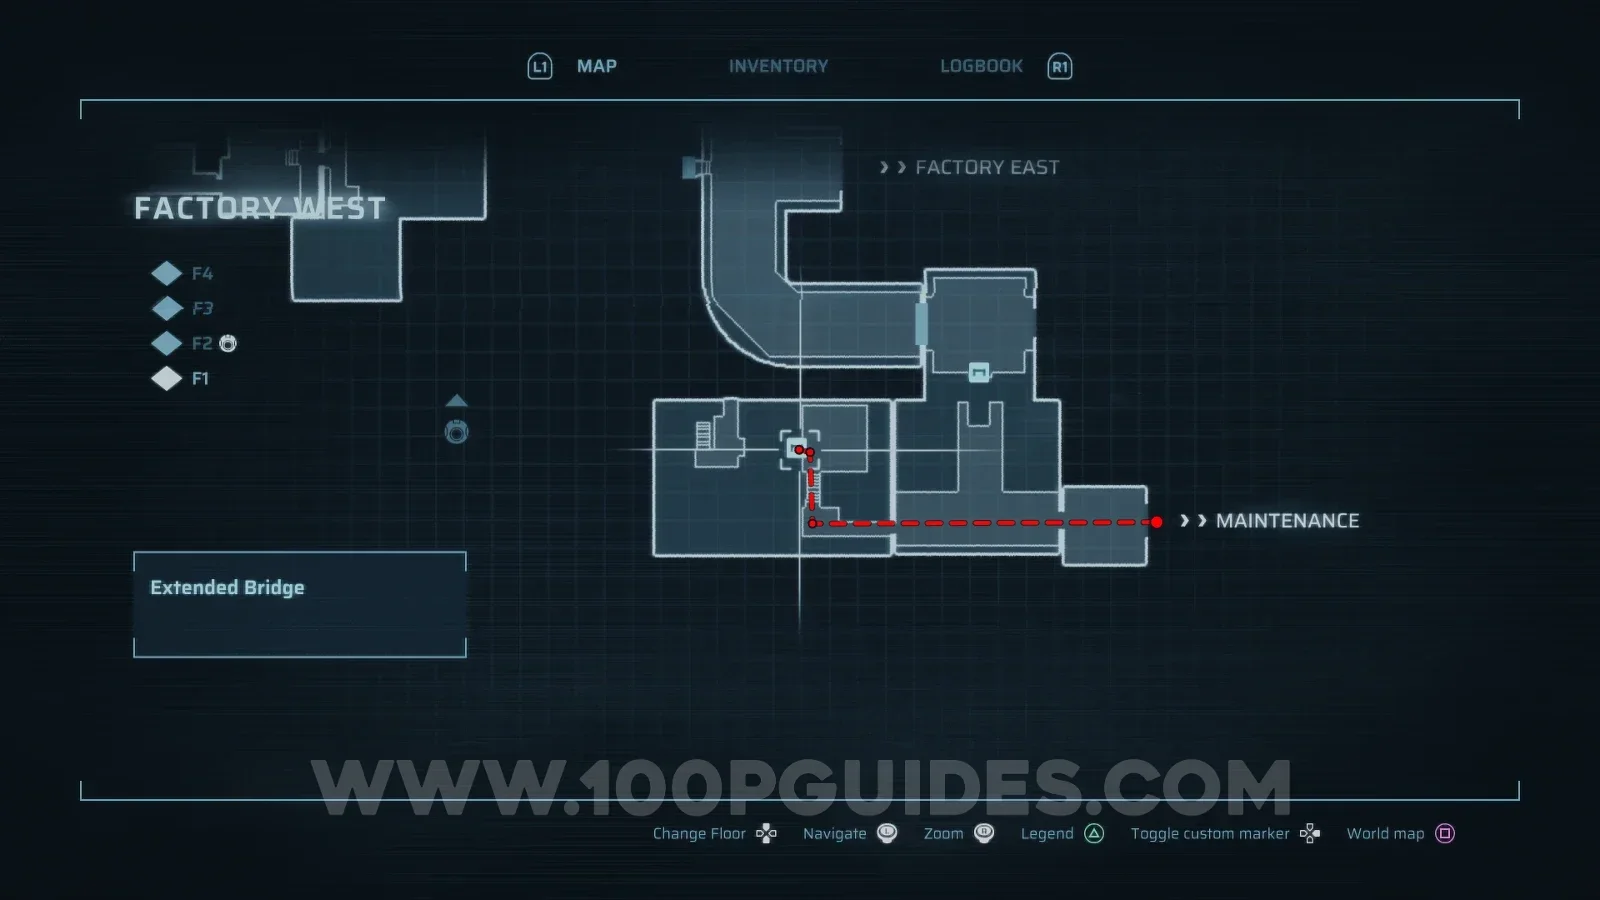
After that, continue until you reach a safe room. From there, continue left, then head down and right to find an Energy Node door. To open it, press and scan the walls around the door to reveal the 3 Energy Nodes. Shoot them to open the door.
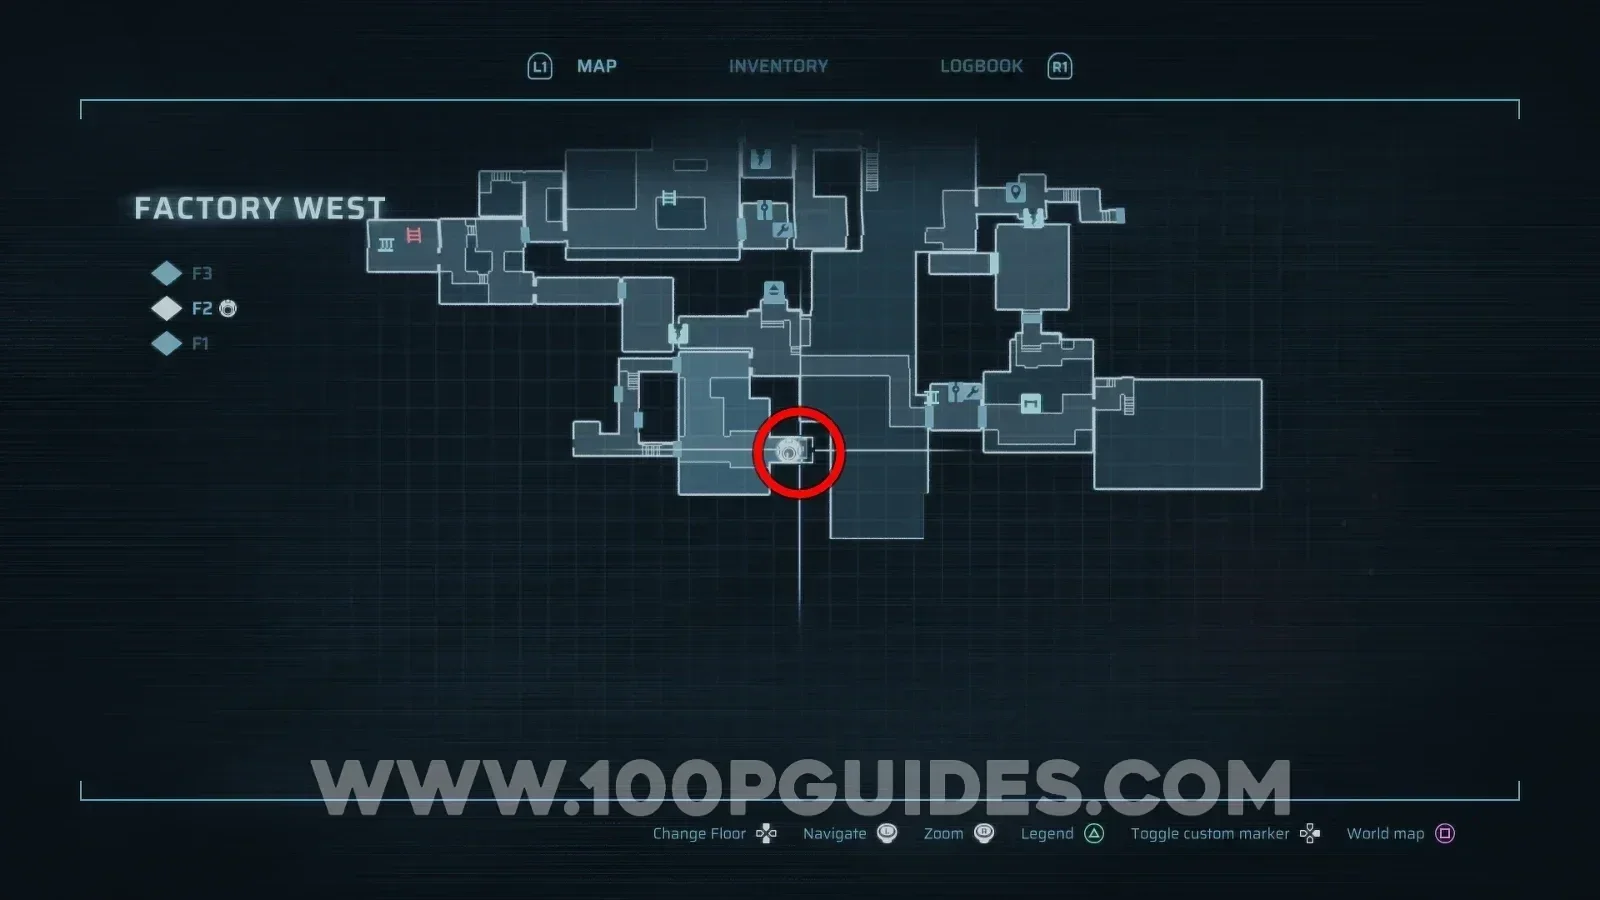
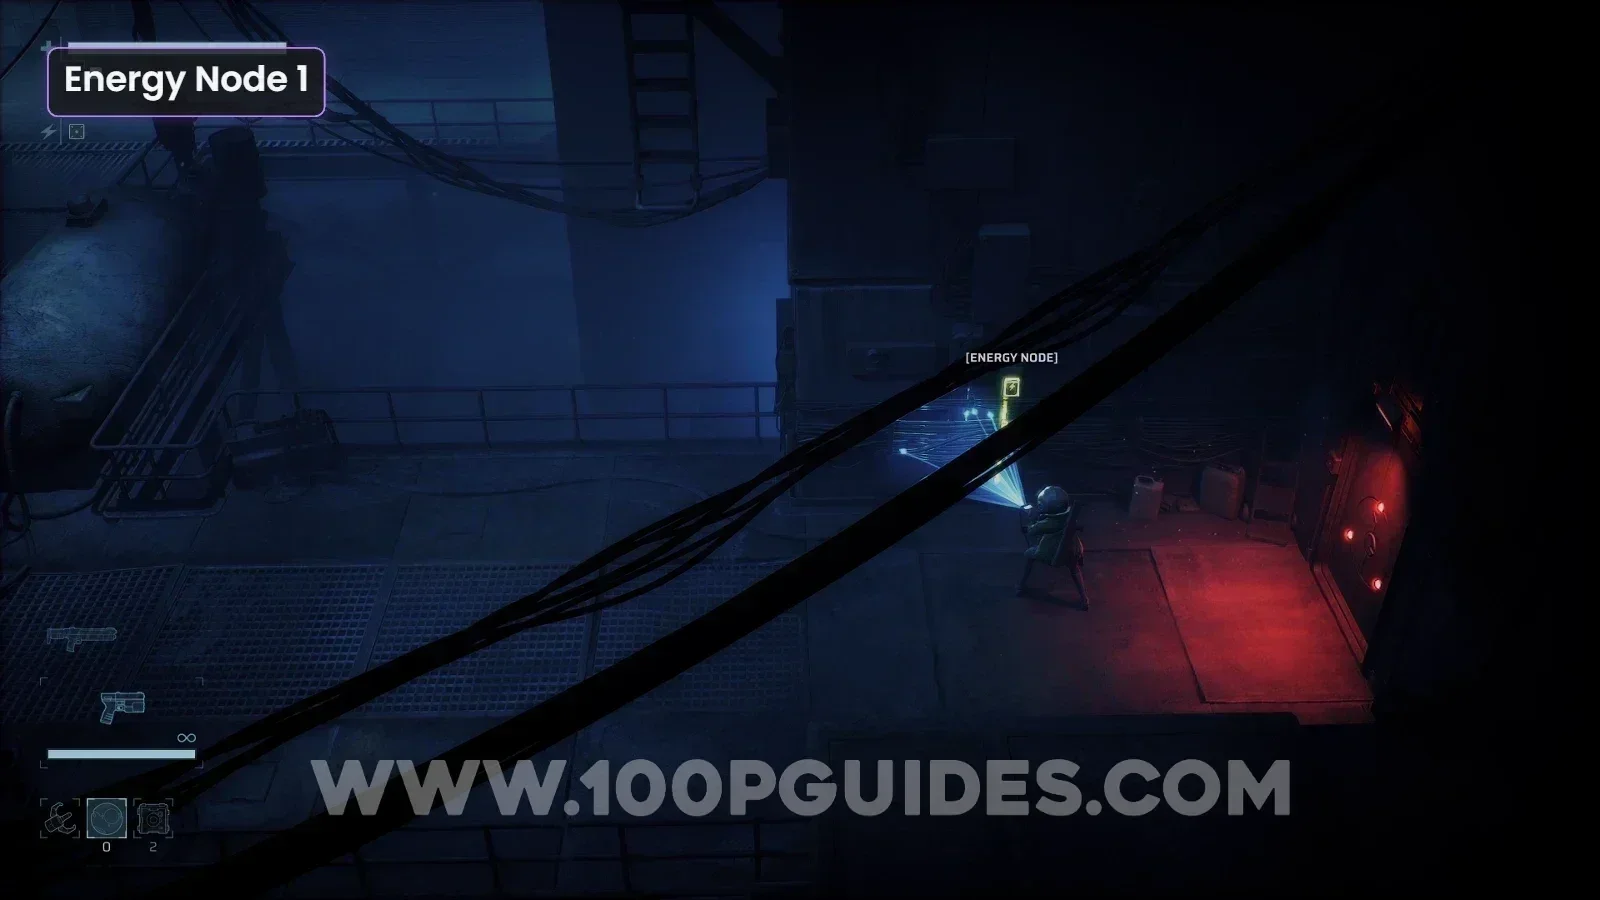
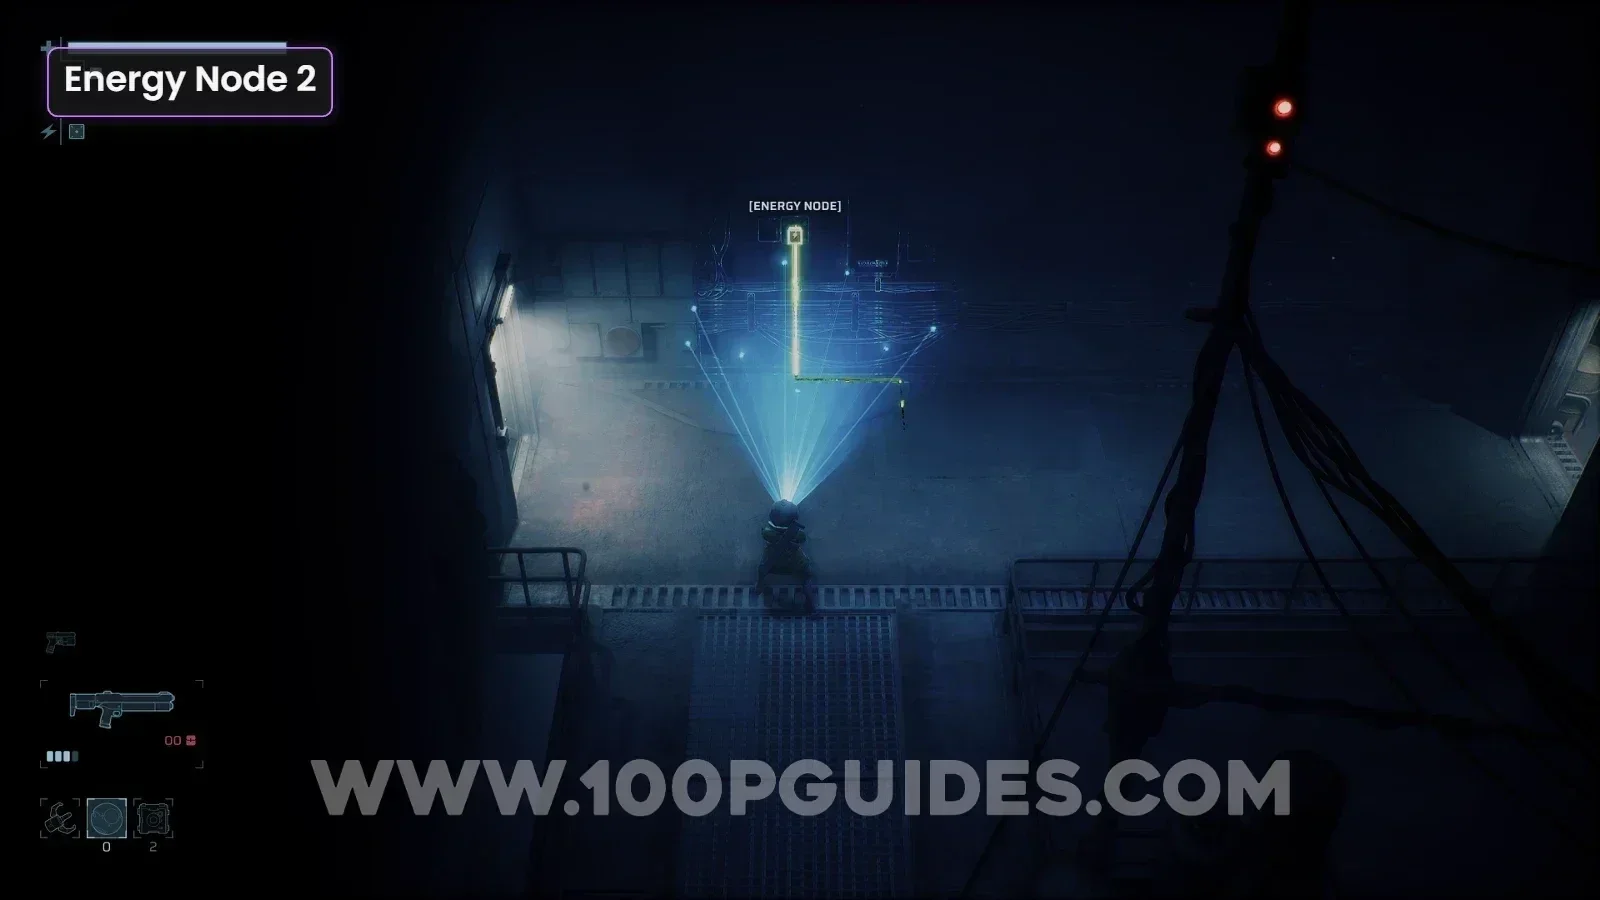
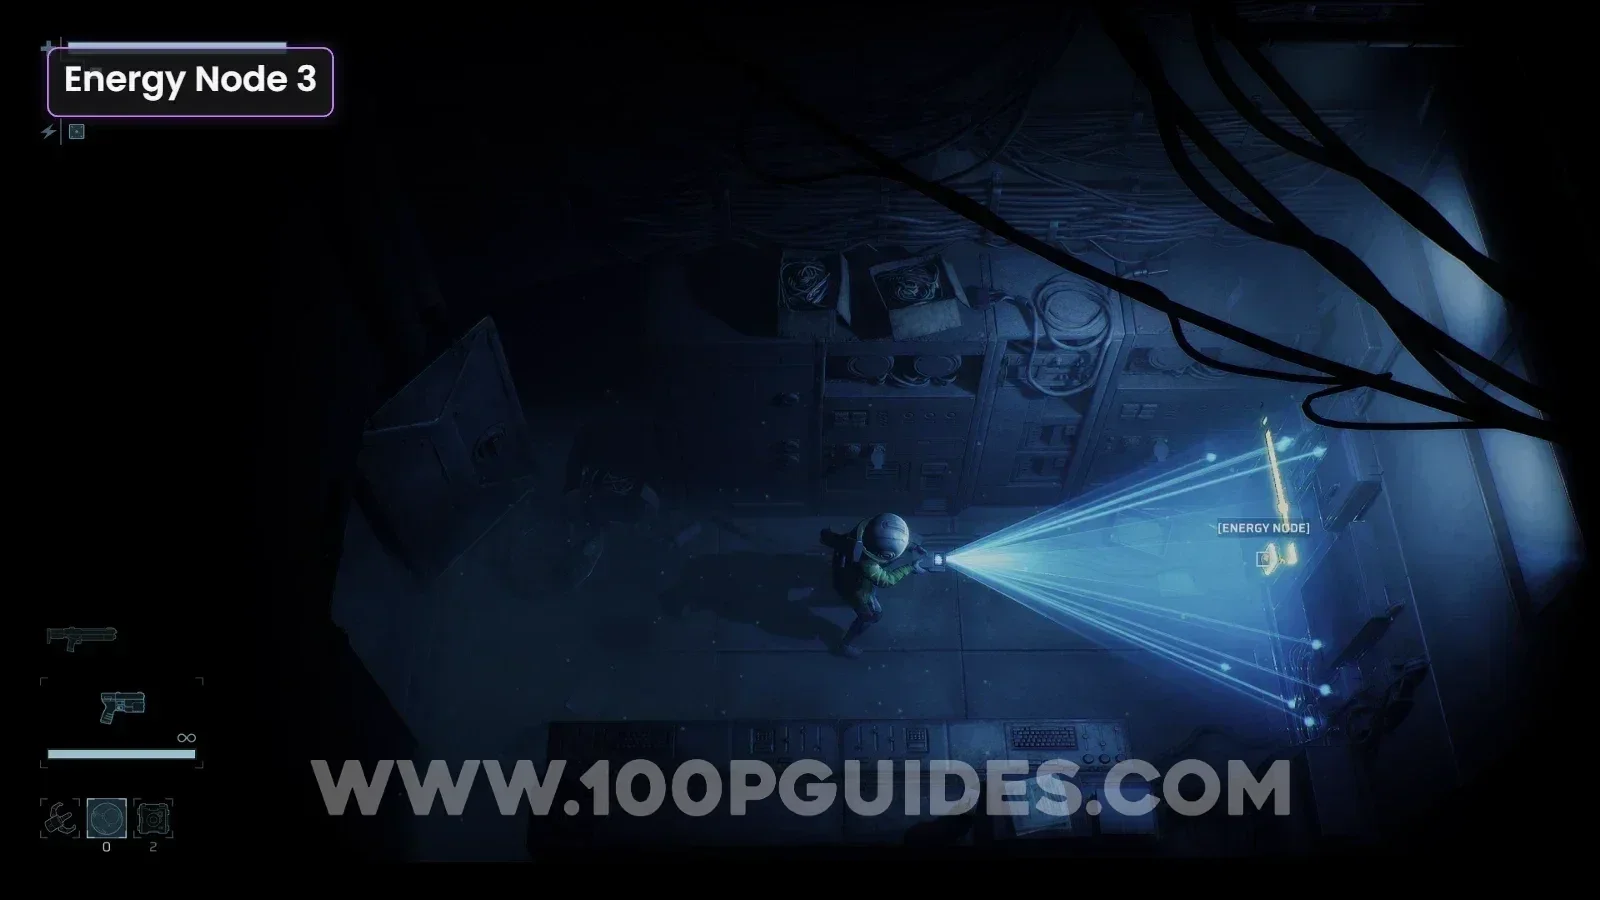
Go through the Energy Node door and continue east along this path until you reach a room with a small set of stairs leading up to a door on your right. Here, destroy the boxes just before the stairs to reveal a small vent you can go through. Head through it, and once you come out of the second vent, ride the lift up, then go down and left. There, press the switch to extend the bridge. Cross it and continue until you enter the previous safe room from its upper level. Kick the ladder down, then head out through the top right door and press the switch to extend the bridge below.
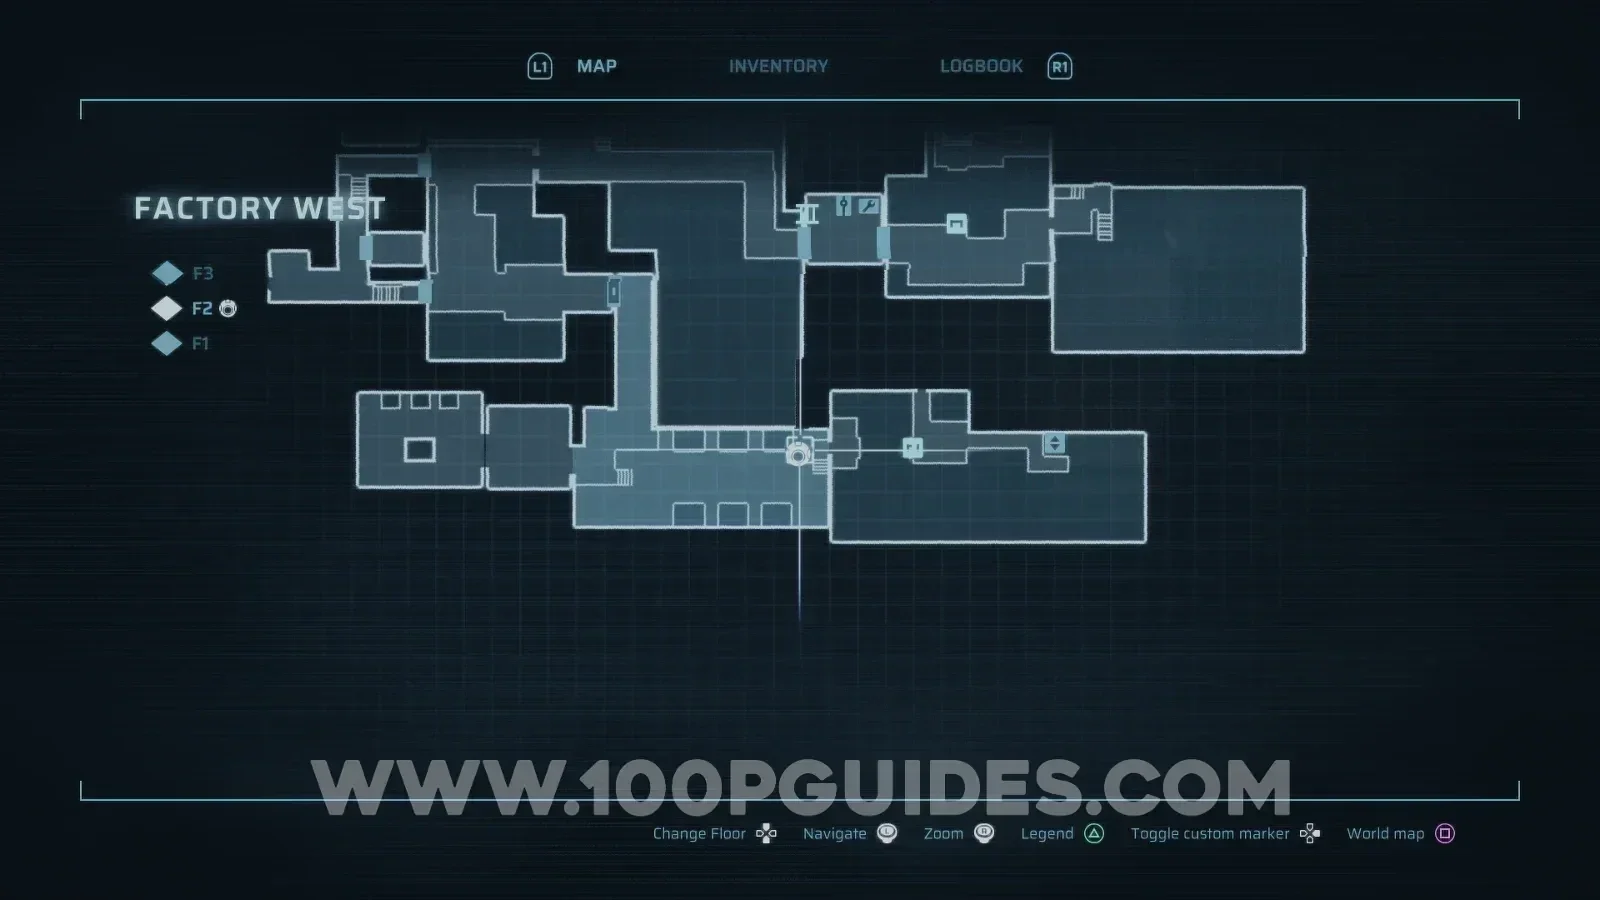
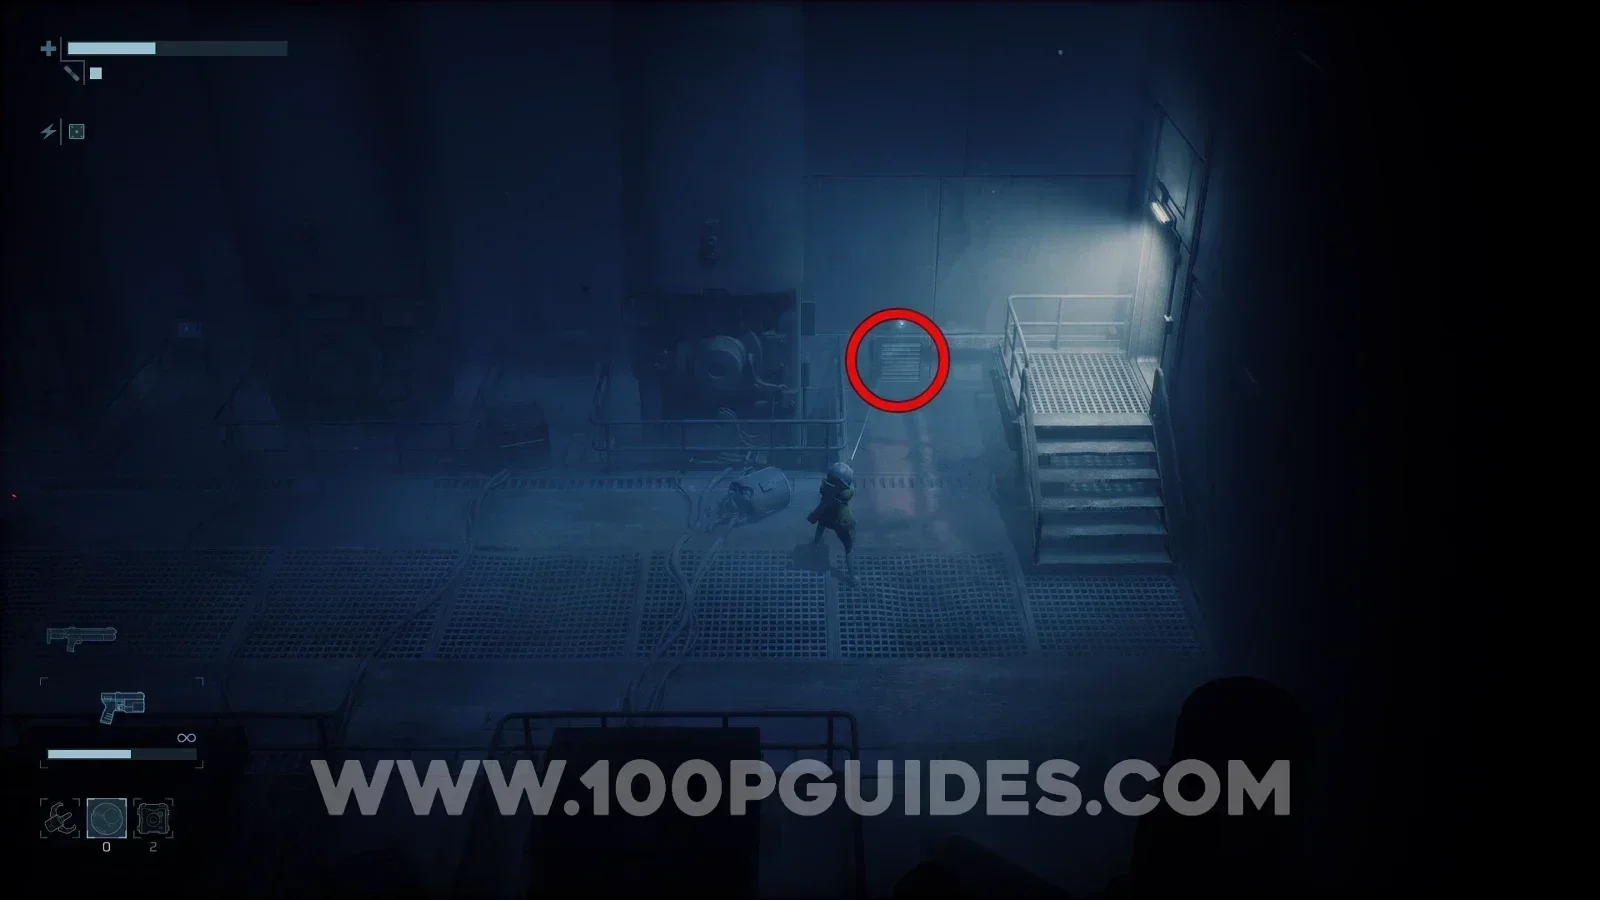
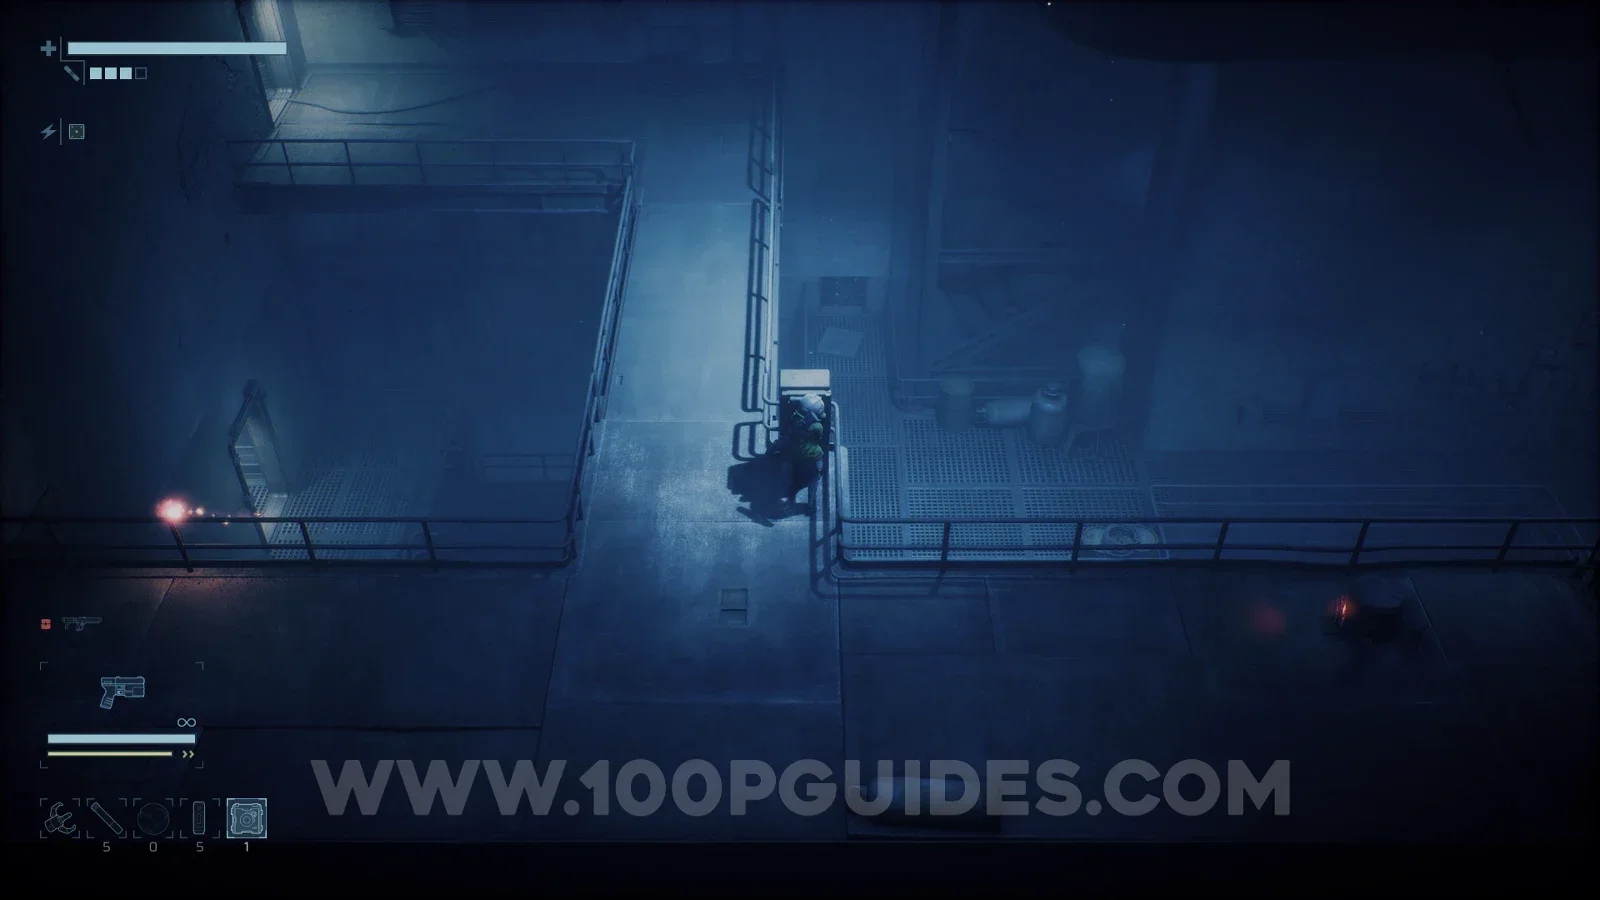
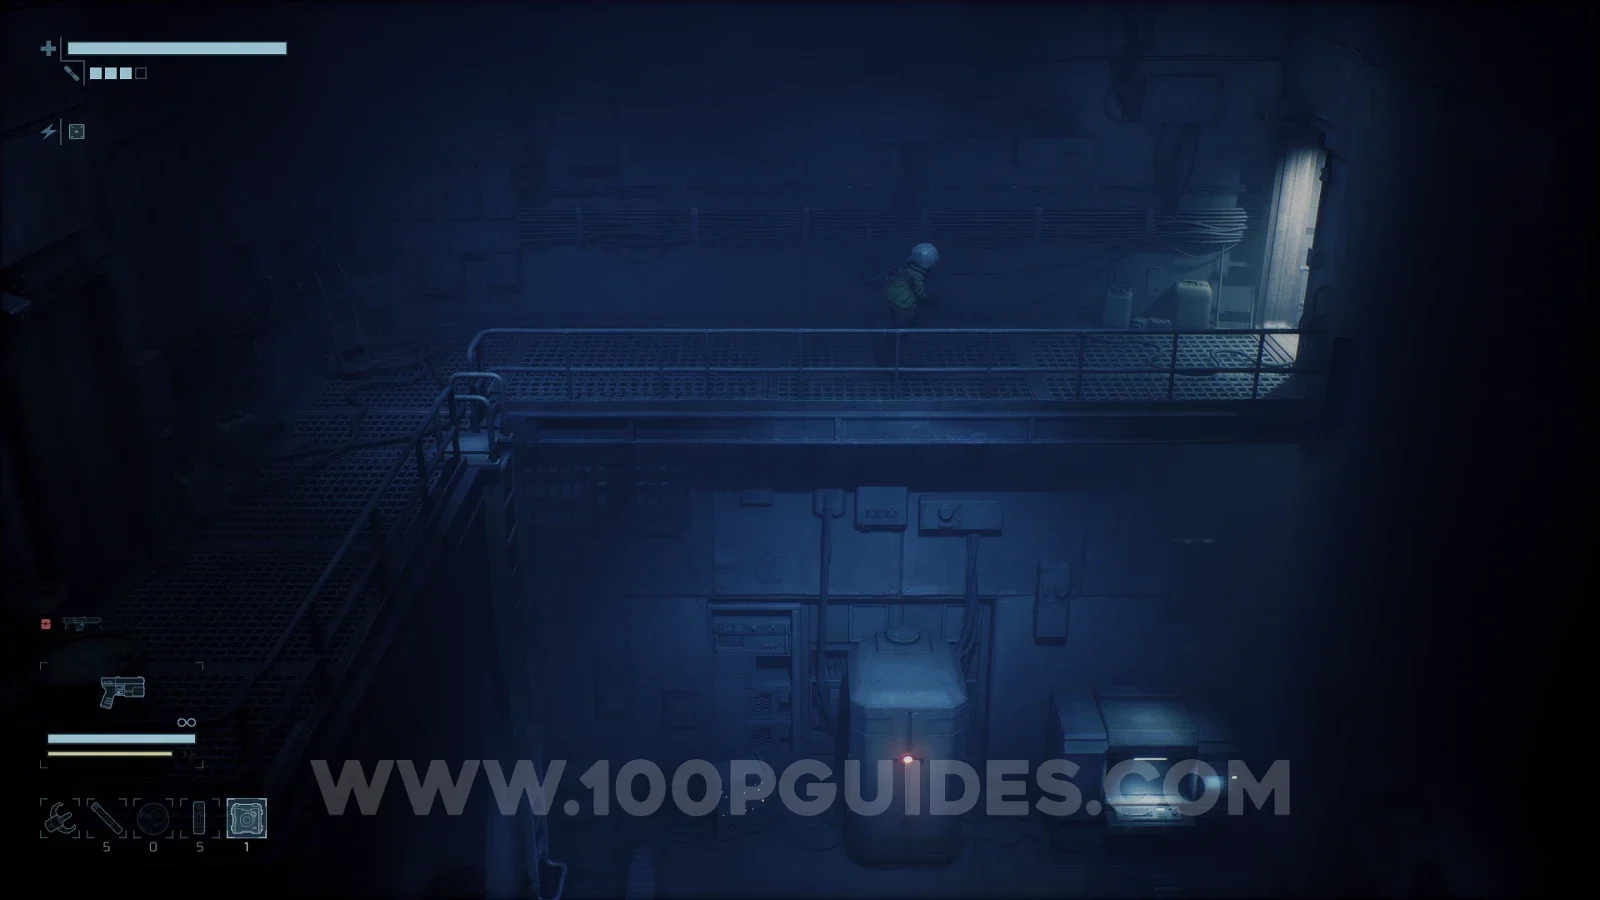
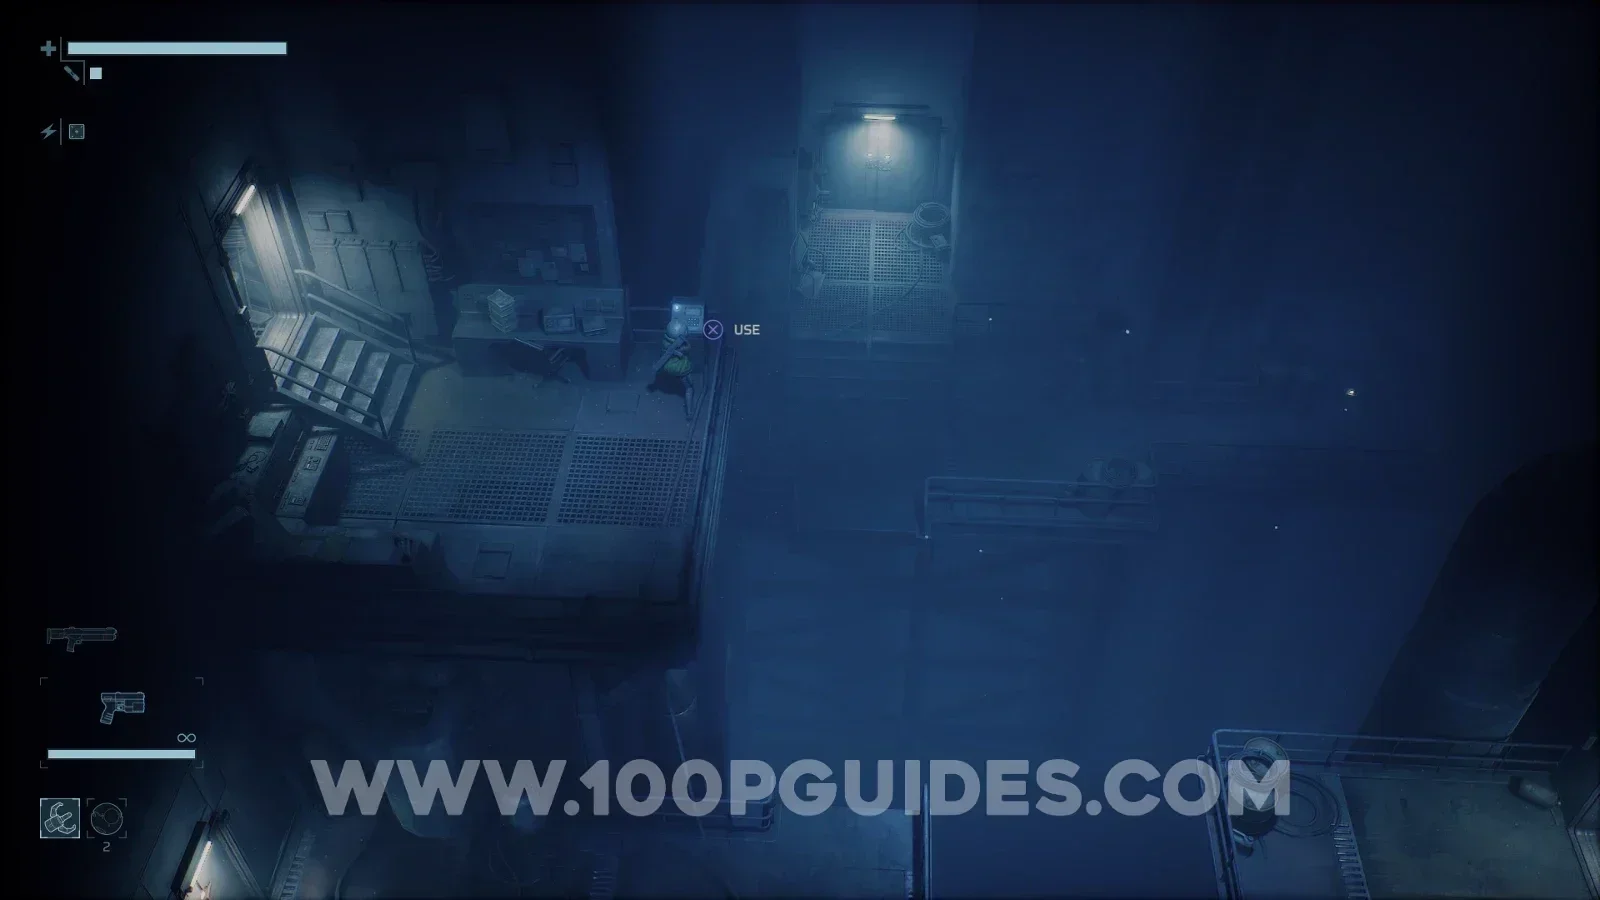
Climb down the ladder in the safe room, head out the right side of the room, cross the extended bridge and go through the door. In the next room, defeat the robots and head through the door on the left to get the Explosive Charge. These let you blow up weak walls, and if you run out, you can craft more at the workbenches in safe rooms.
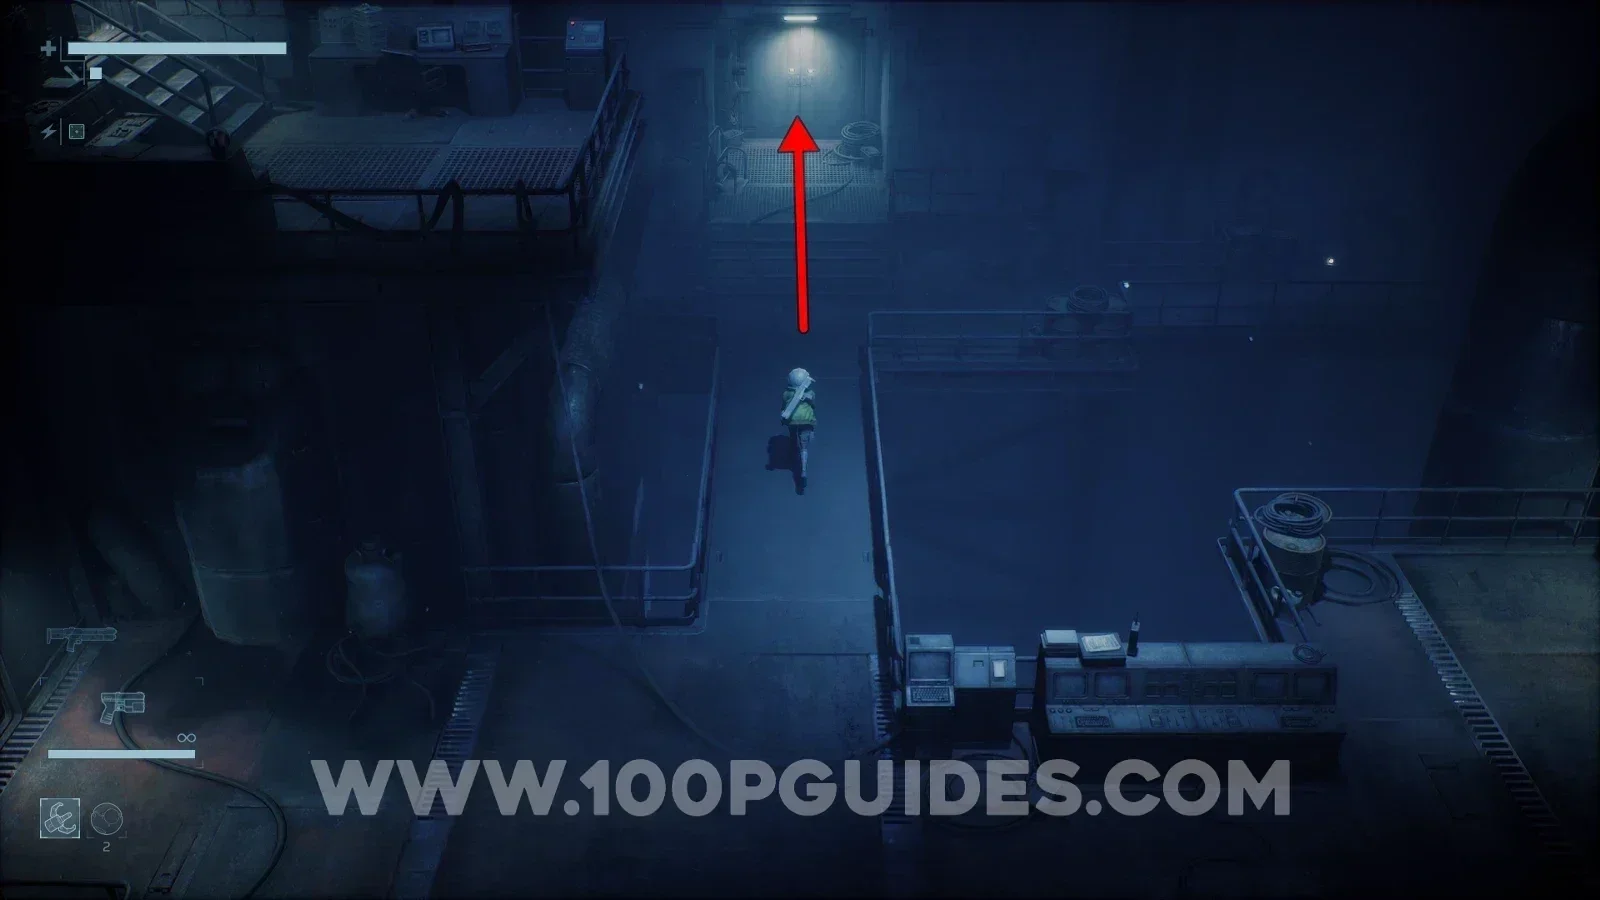
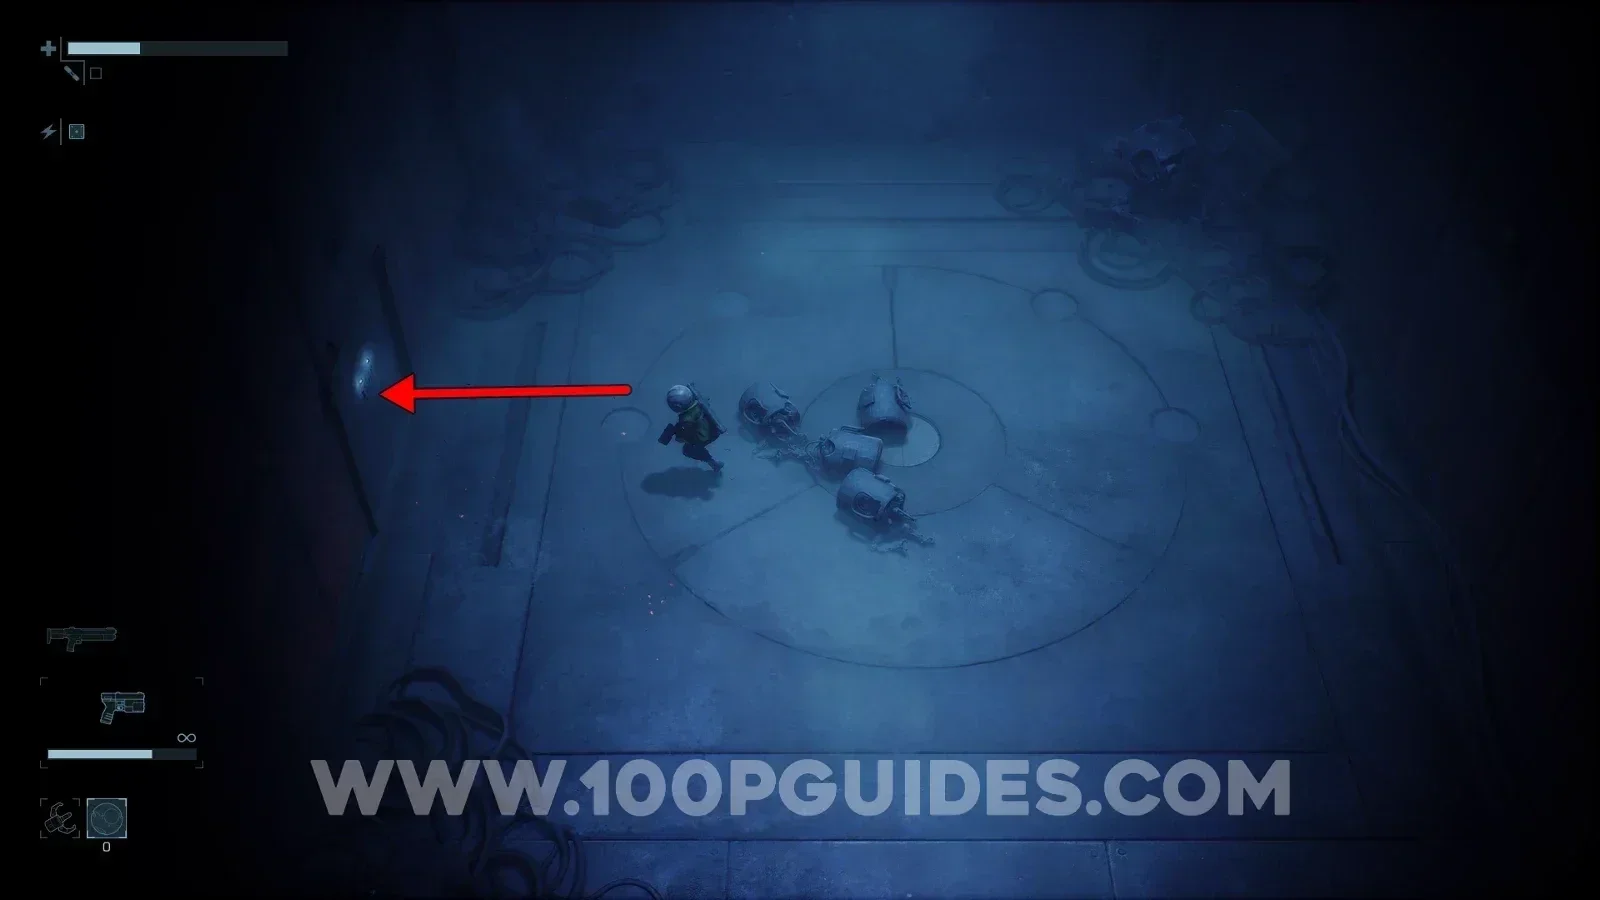
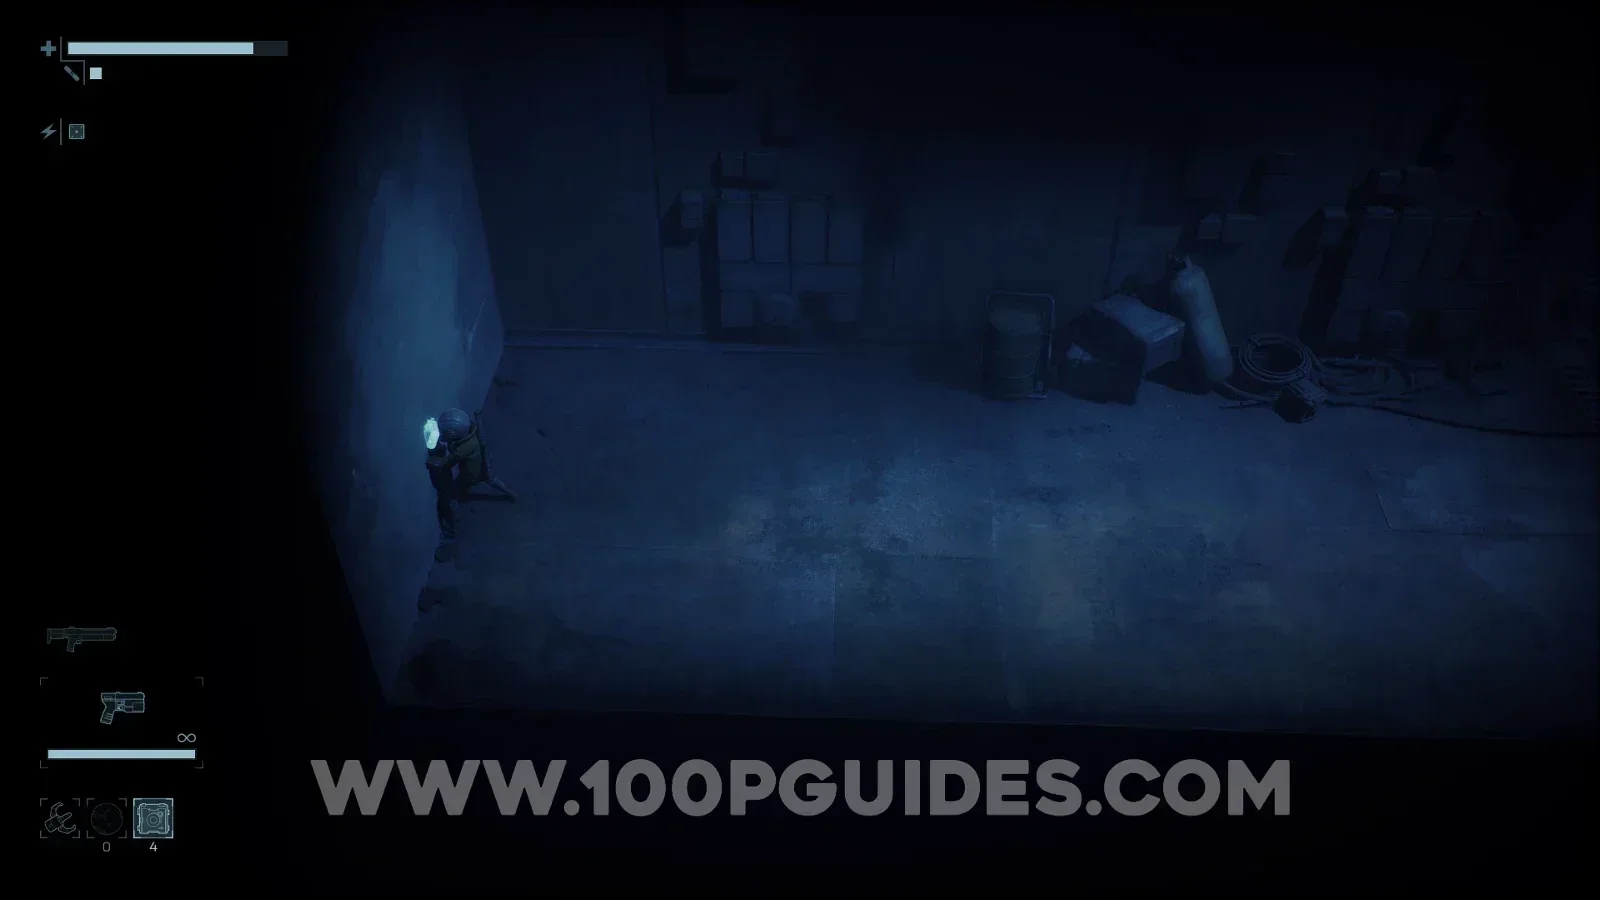
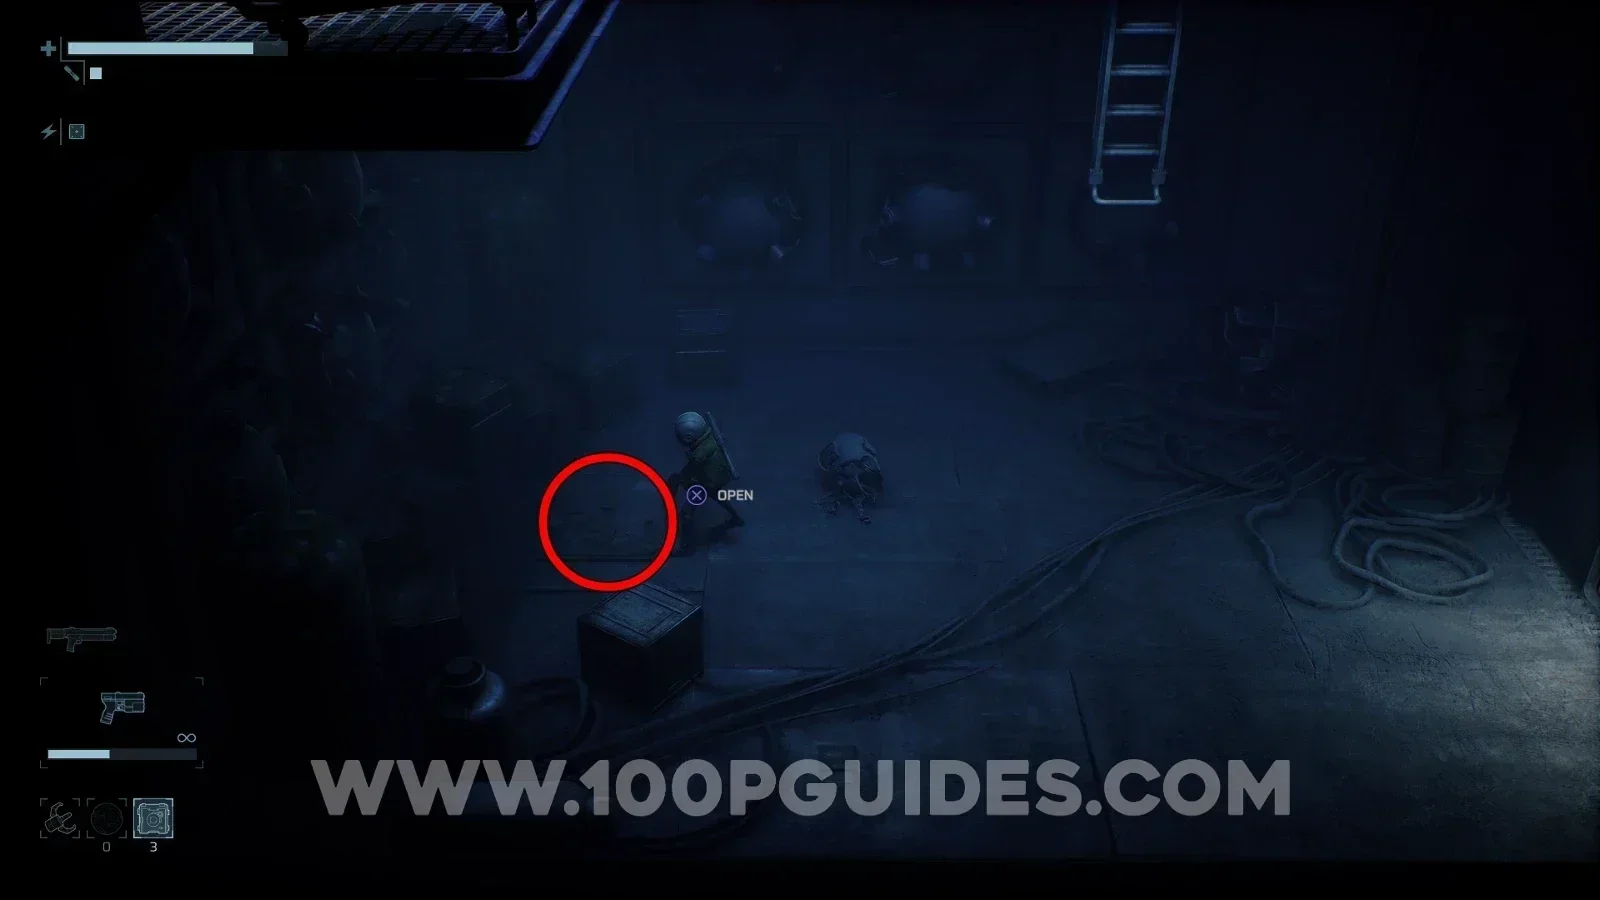
Return to the safe room to the south and exit left. Then head left to where the lift is to find a weak wall. Here, hold down with the Explosive Charges equipped, then let go to plant one. Press again or shoot it to destroy the wall. Then continue left until you reach a room with lots of boxes and a robot enemy. Destroy the boxes, press on the trap door to open it and go down into the area below.
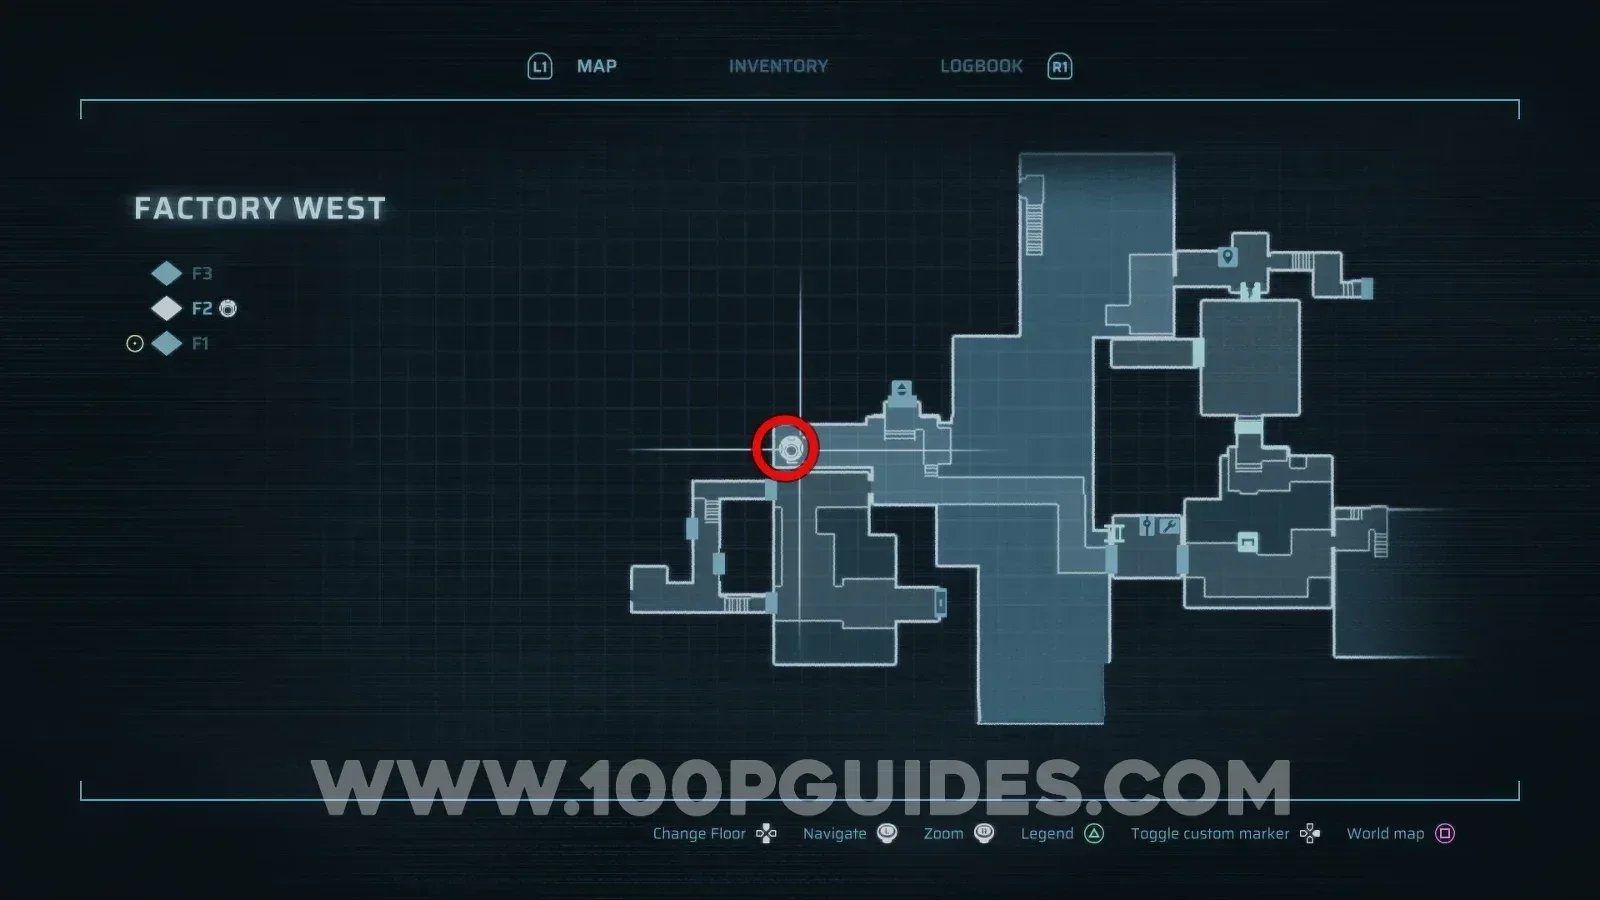
Continue along this path until you reach a room with robot enemies and a ladder leading down in the middle. There is also a safe room on the right side of this room, which I recommend using before heading down the ladder, since it's the one you will use for the next boss.
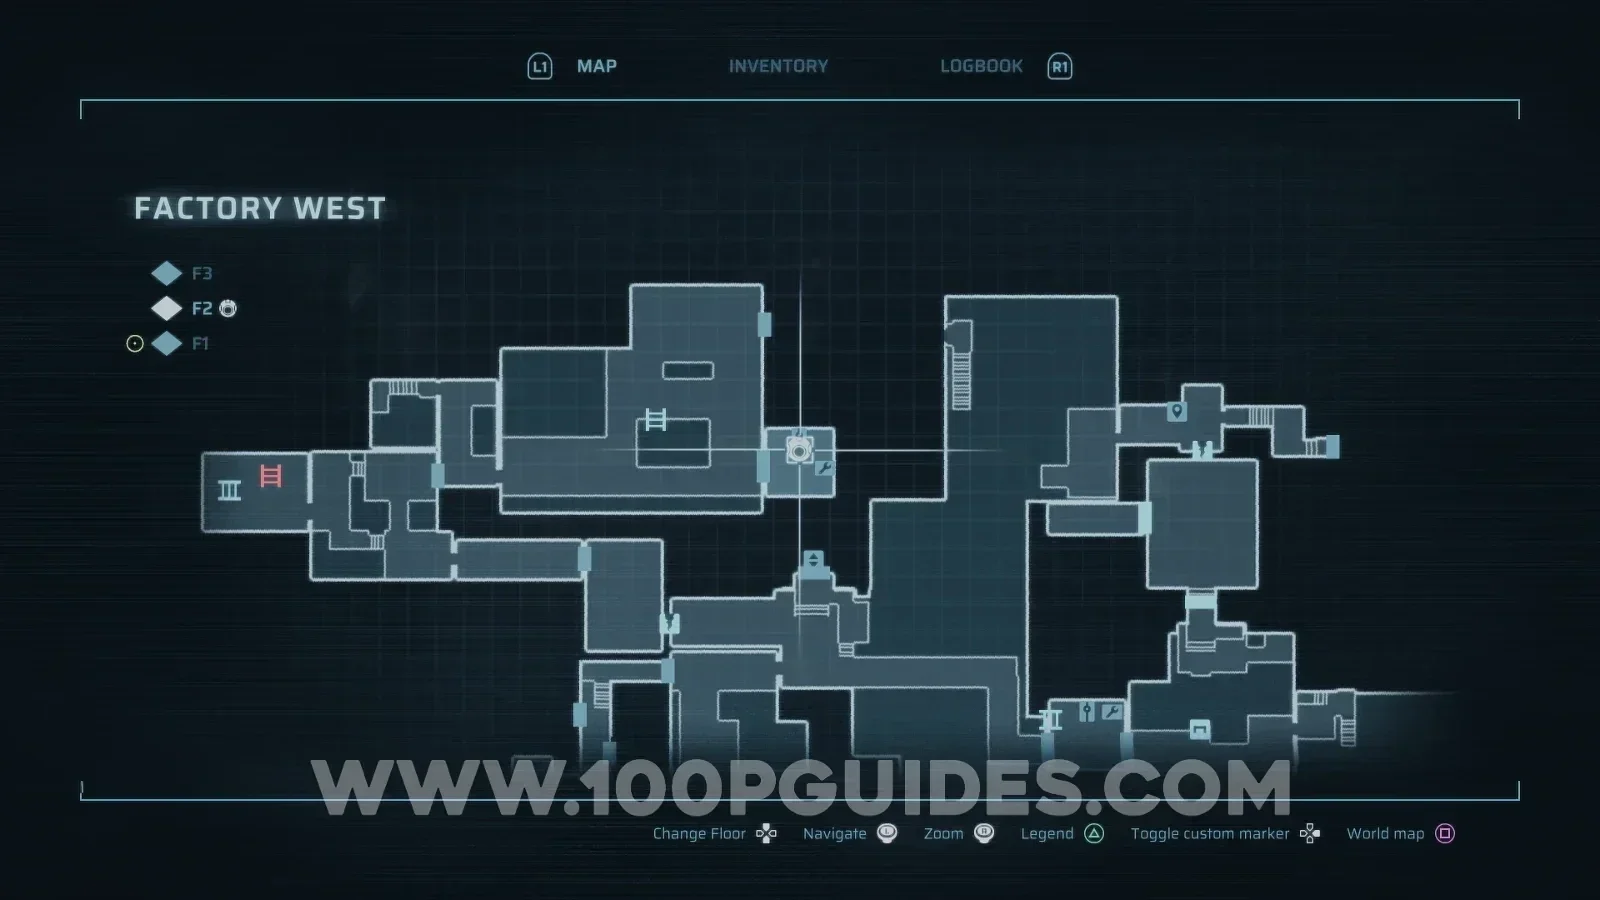
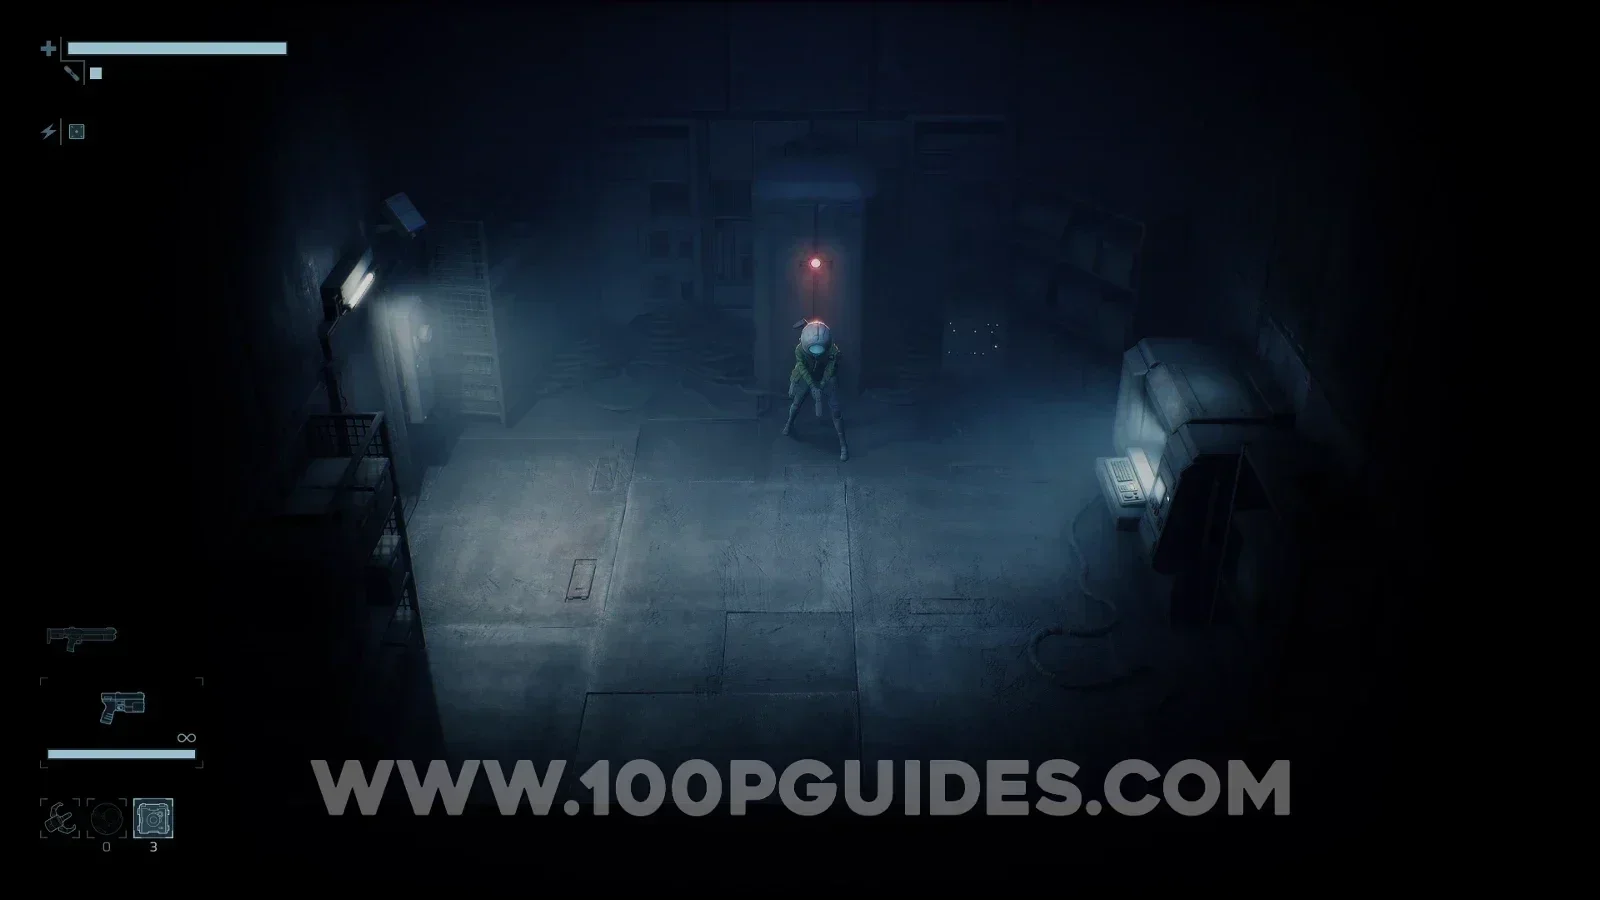
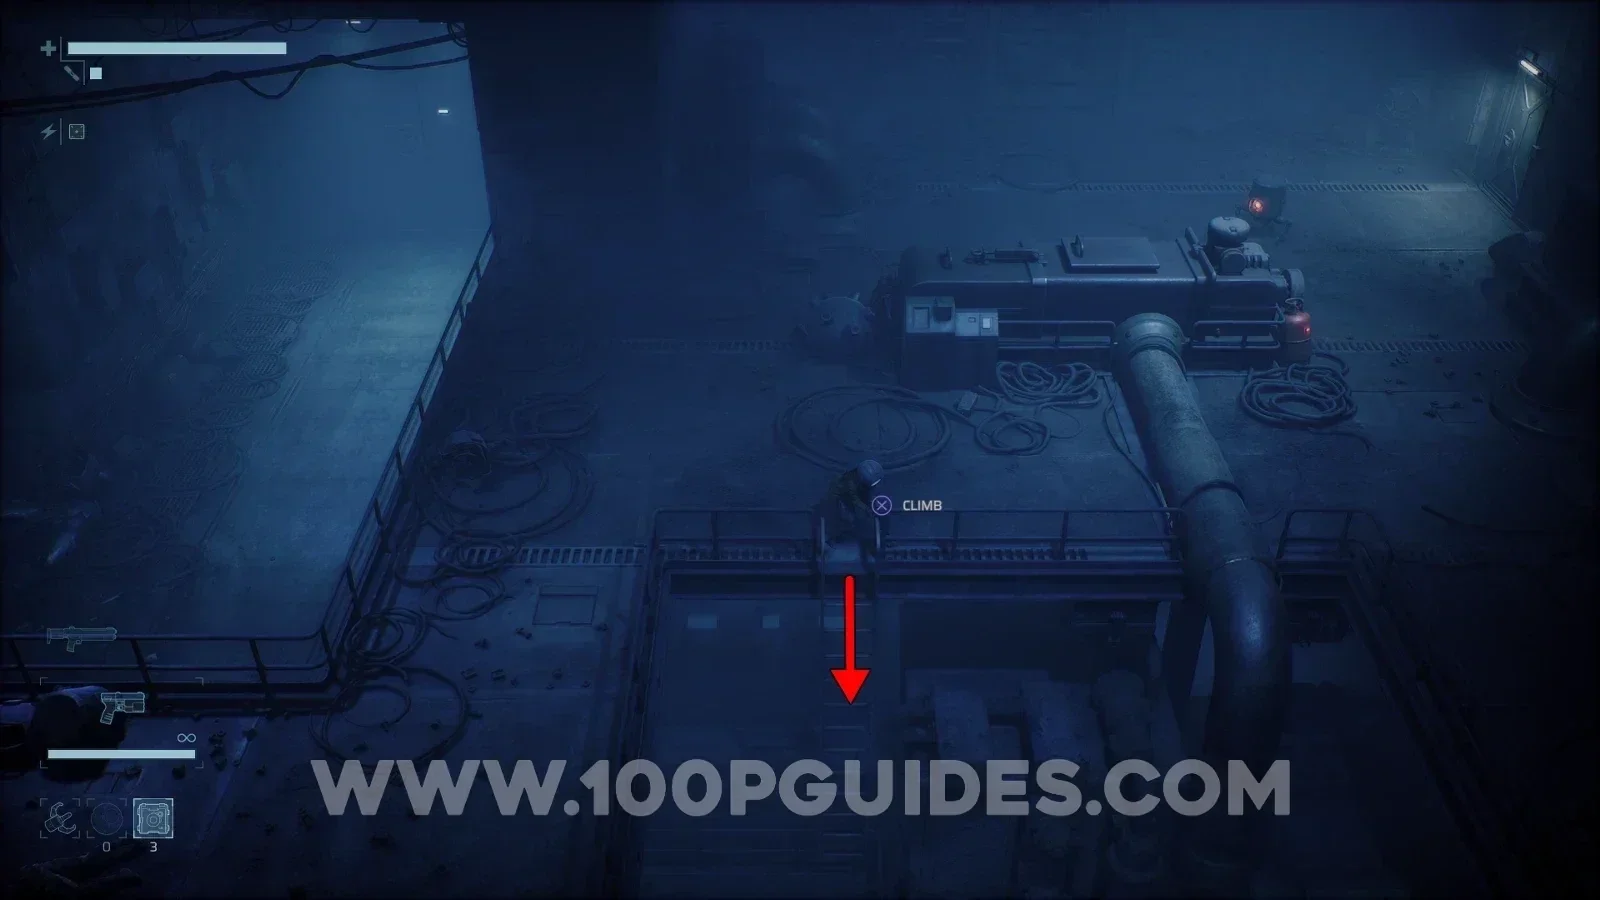
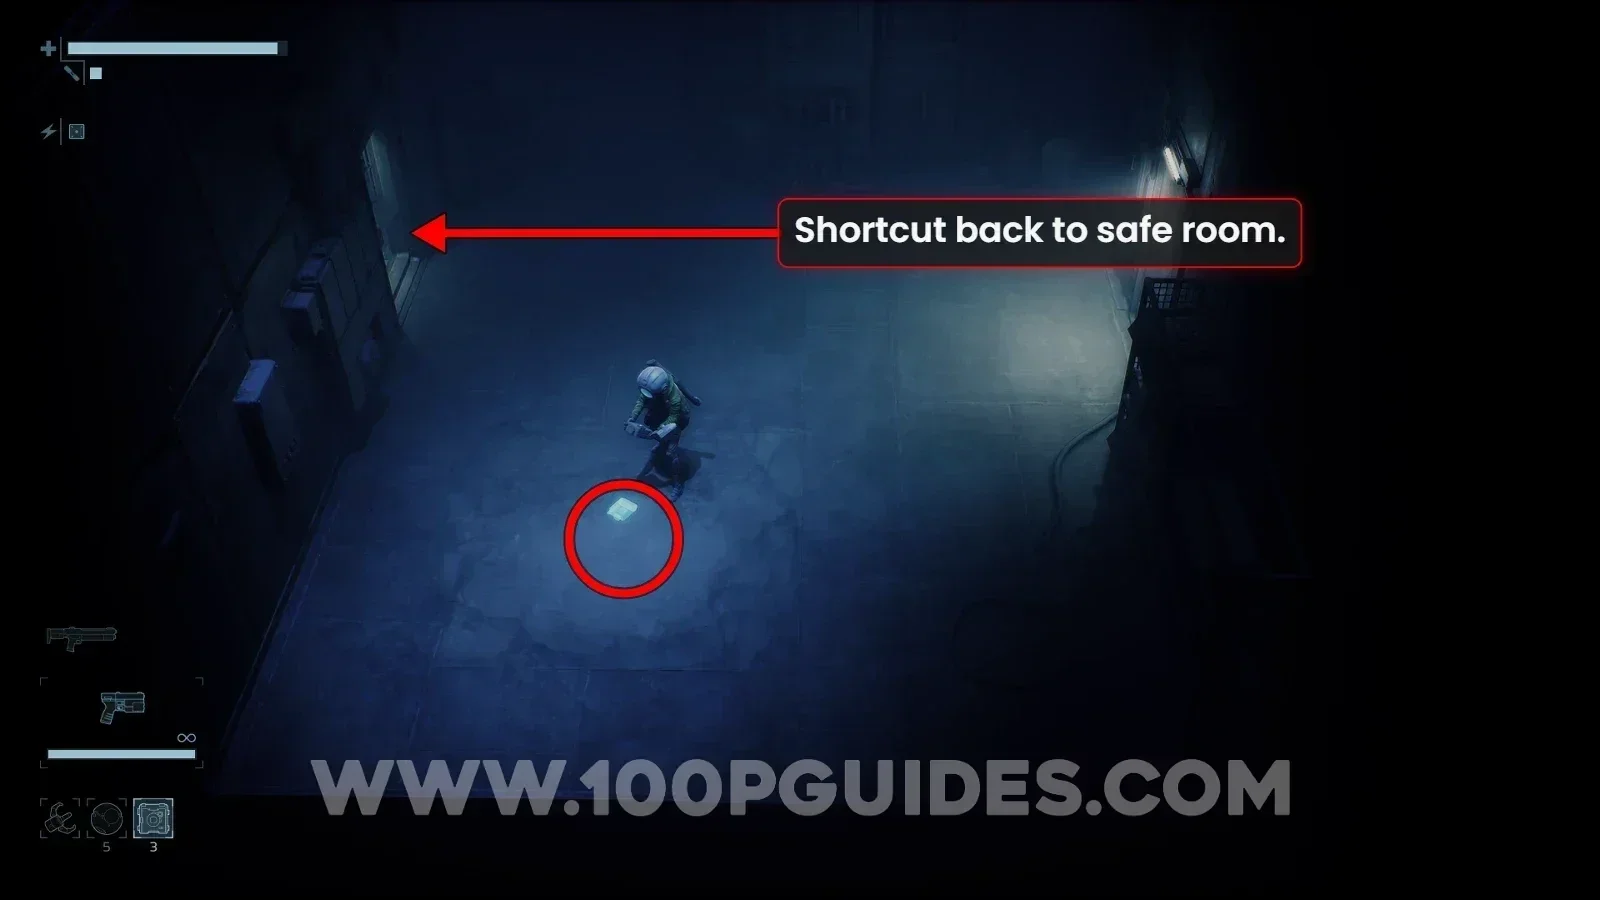
Next, head down the ladder in the middle of the room and continue along this path until you reach a room with a weak patch on the floor that you can destroy with an Explosive Charge. Before heading down the hole, open the door on your left, as it's a shortcut back to the room with the safe room. When you're ready, head down the hole to soon reach the Security Sentinel boss fight.
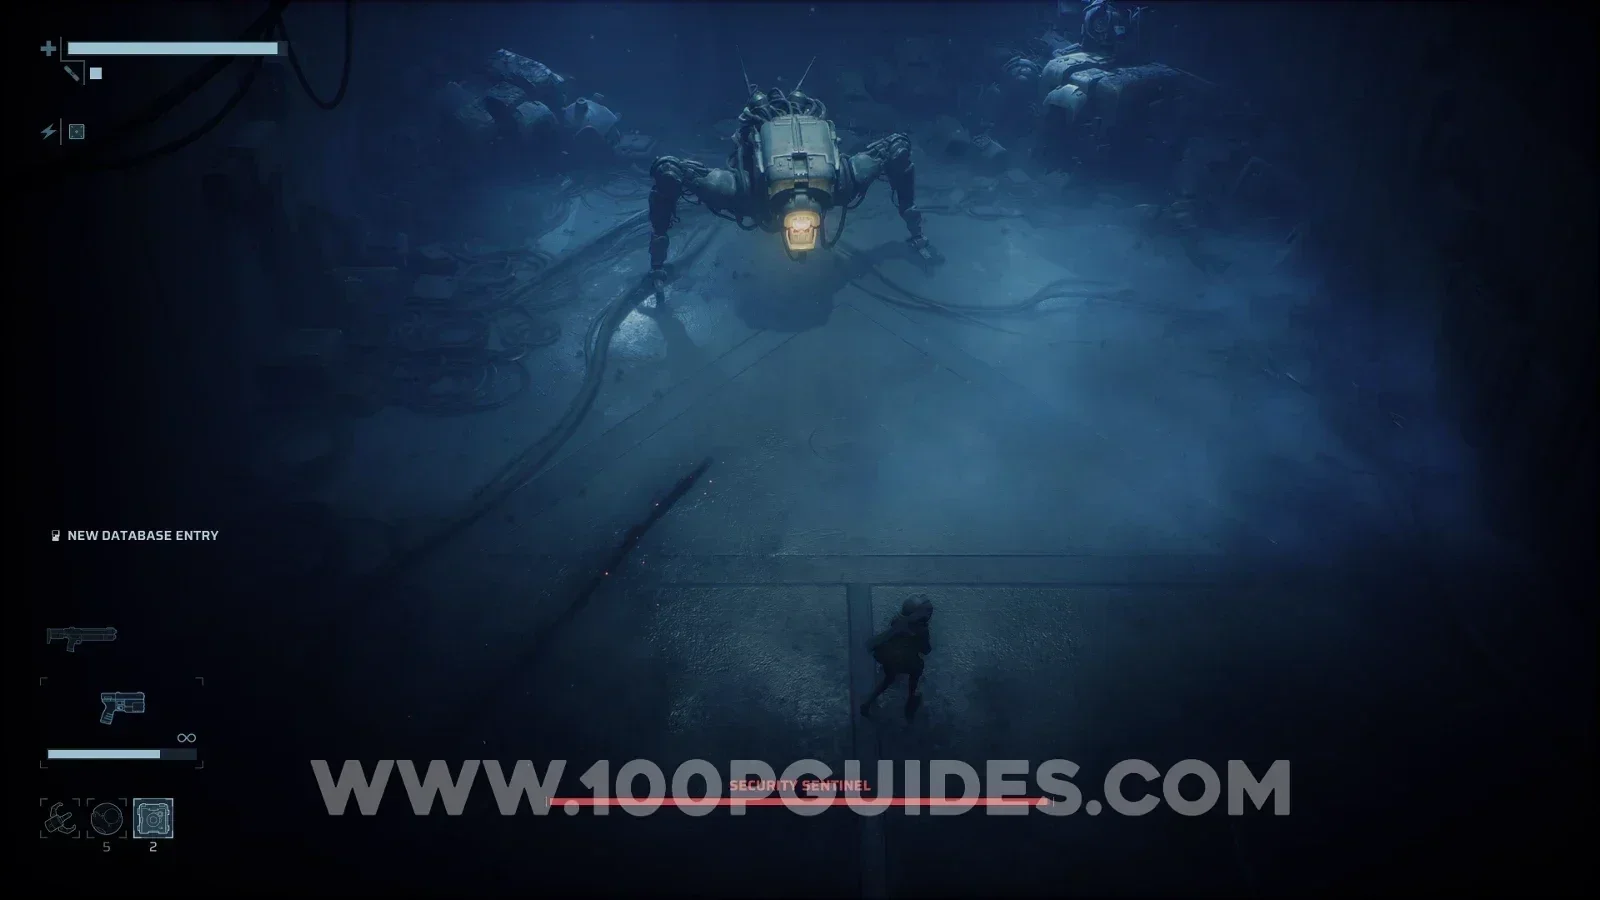
After defeating the boss, head down the corridor on the right and go through the door to the north to find the First SCU.
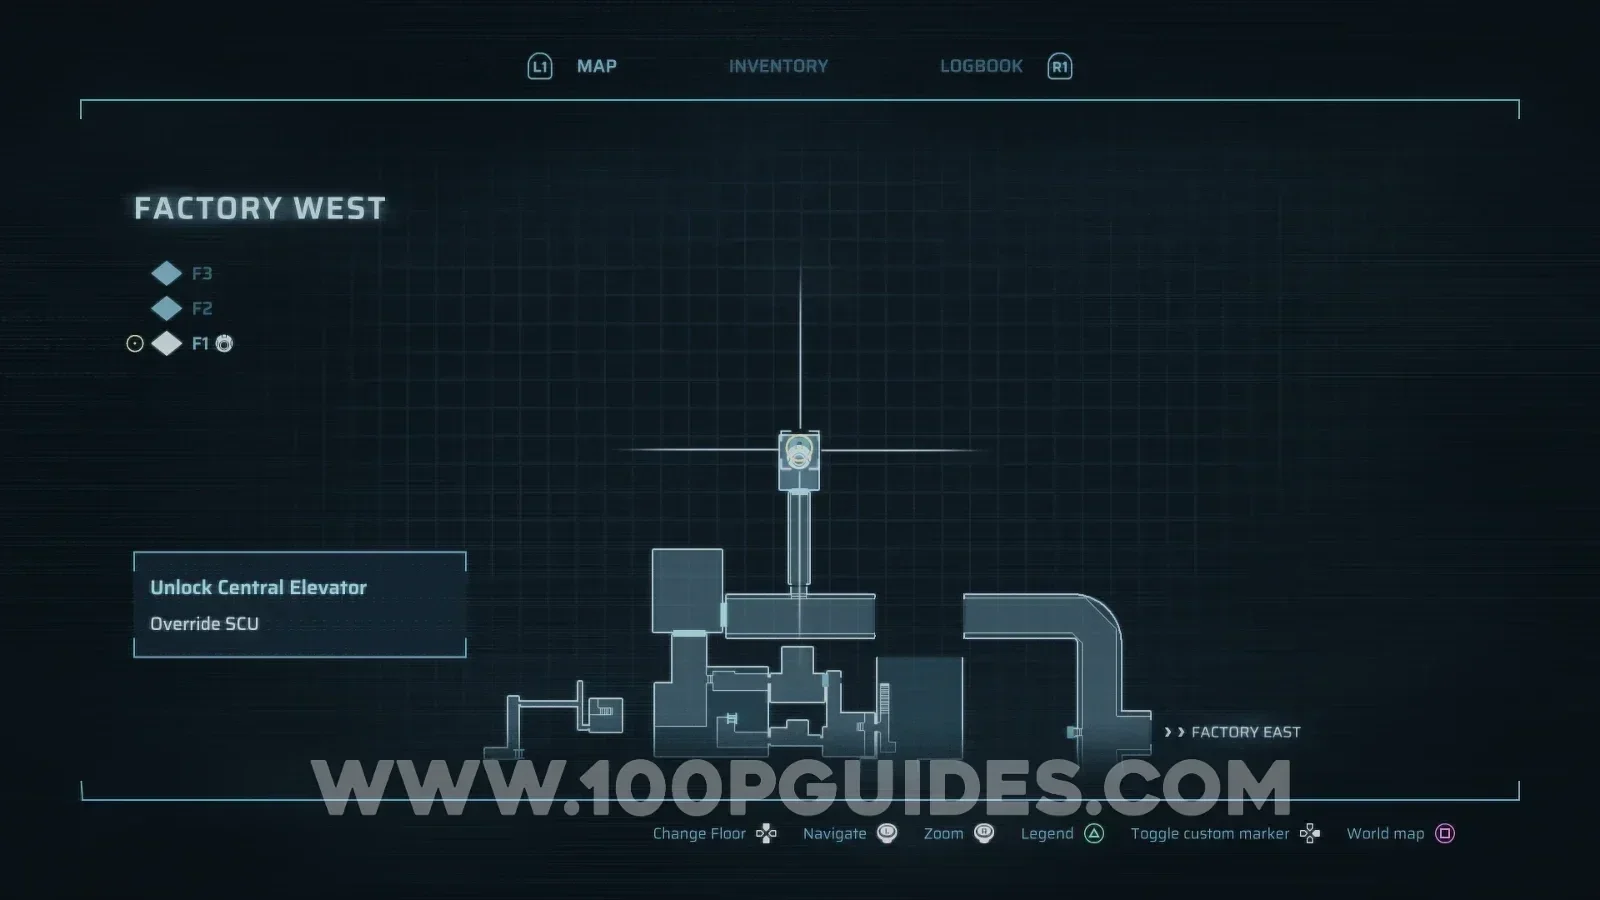
Now head back to the safe room on F2 where you kicked the ladder down. Make sure you have at least 2 Explosive Charges ready, since you will need them. Then climb the ladder and exit left to return to the area where you extended the bridge after going through the hidden vents. Here, look for a weak wall on the left and use an Explosive Charge to destroy it. In the next small room, head down and use another Explosive Charge to destroy the wall on your left, revealing a small room where you can pick up another Energy Cell, which you will need later.
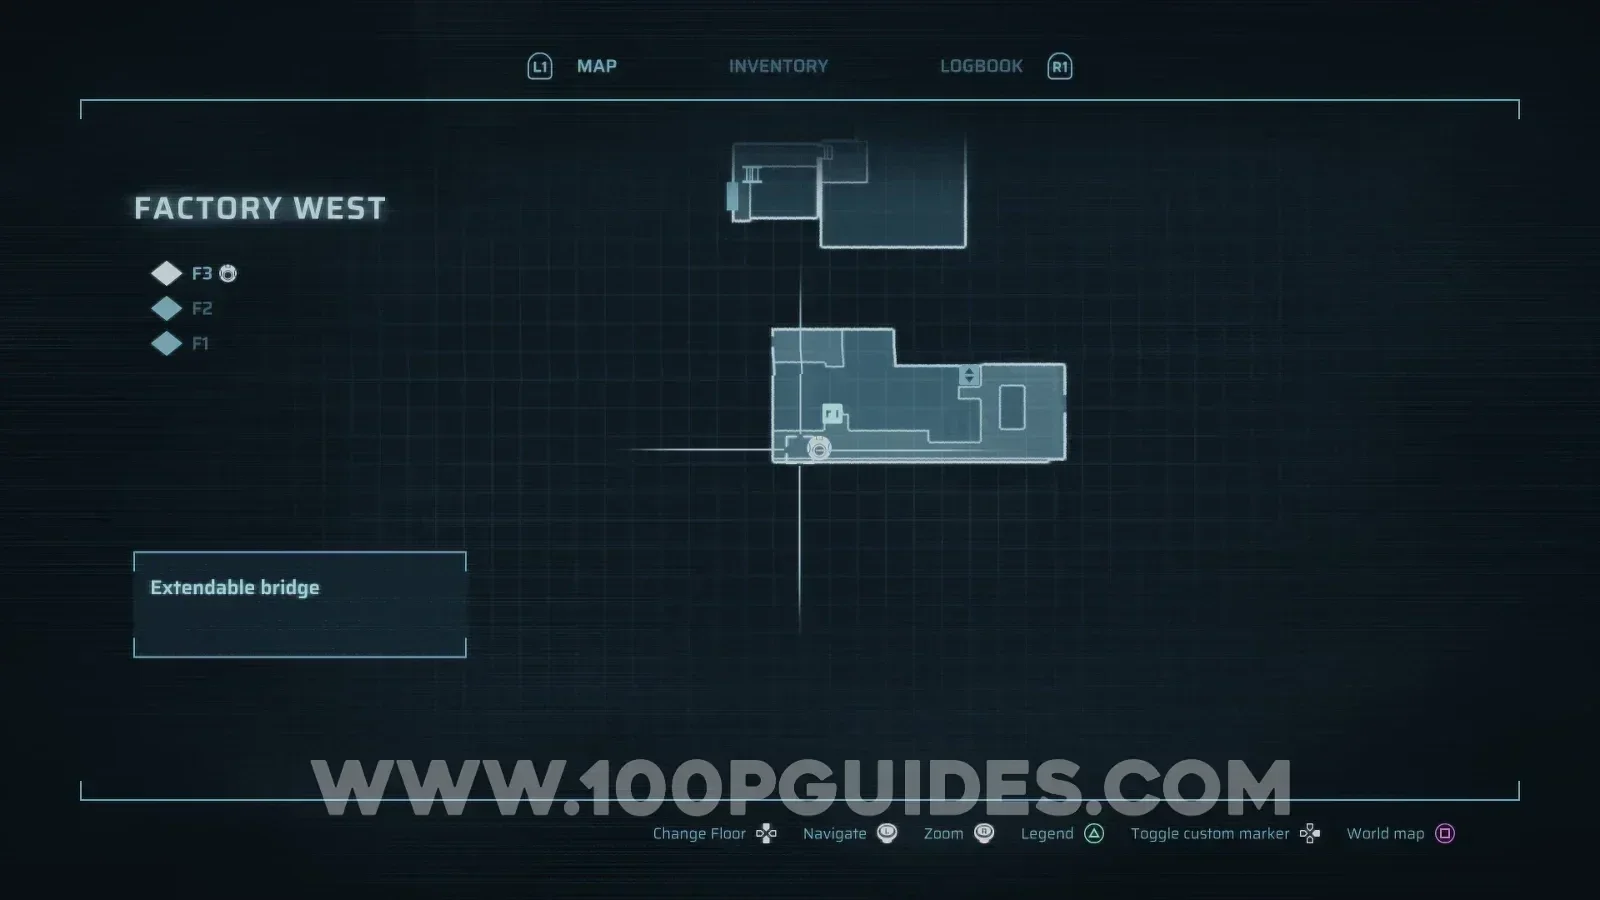
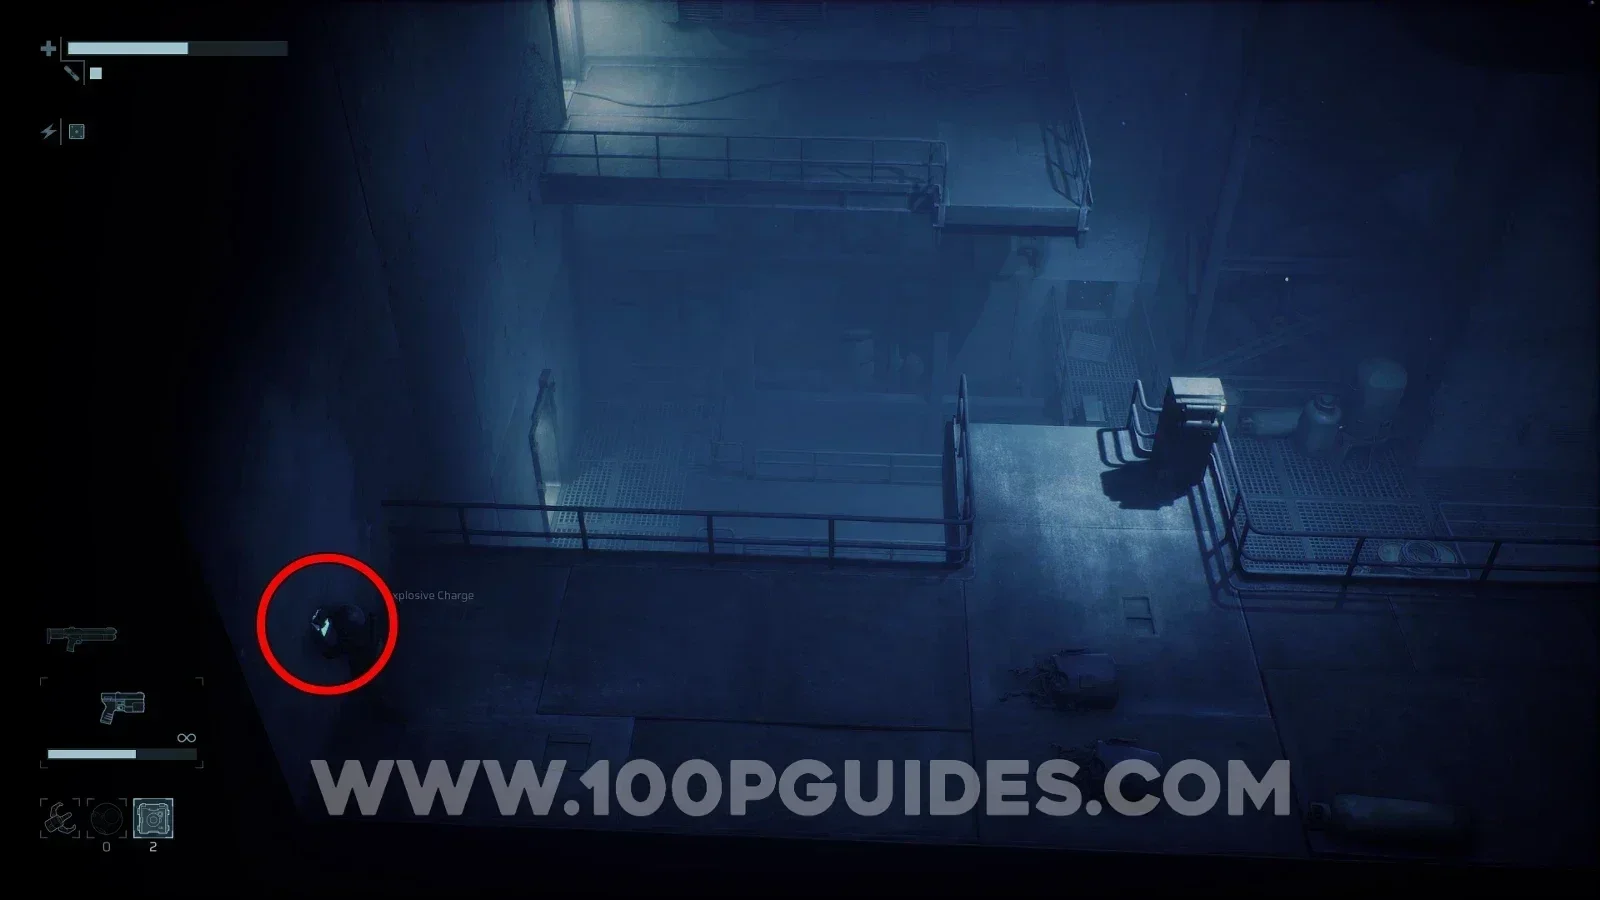
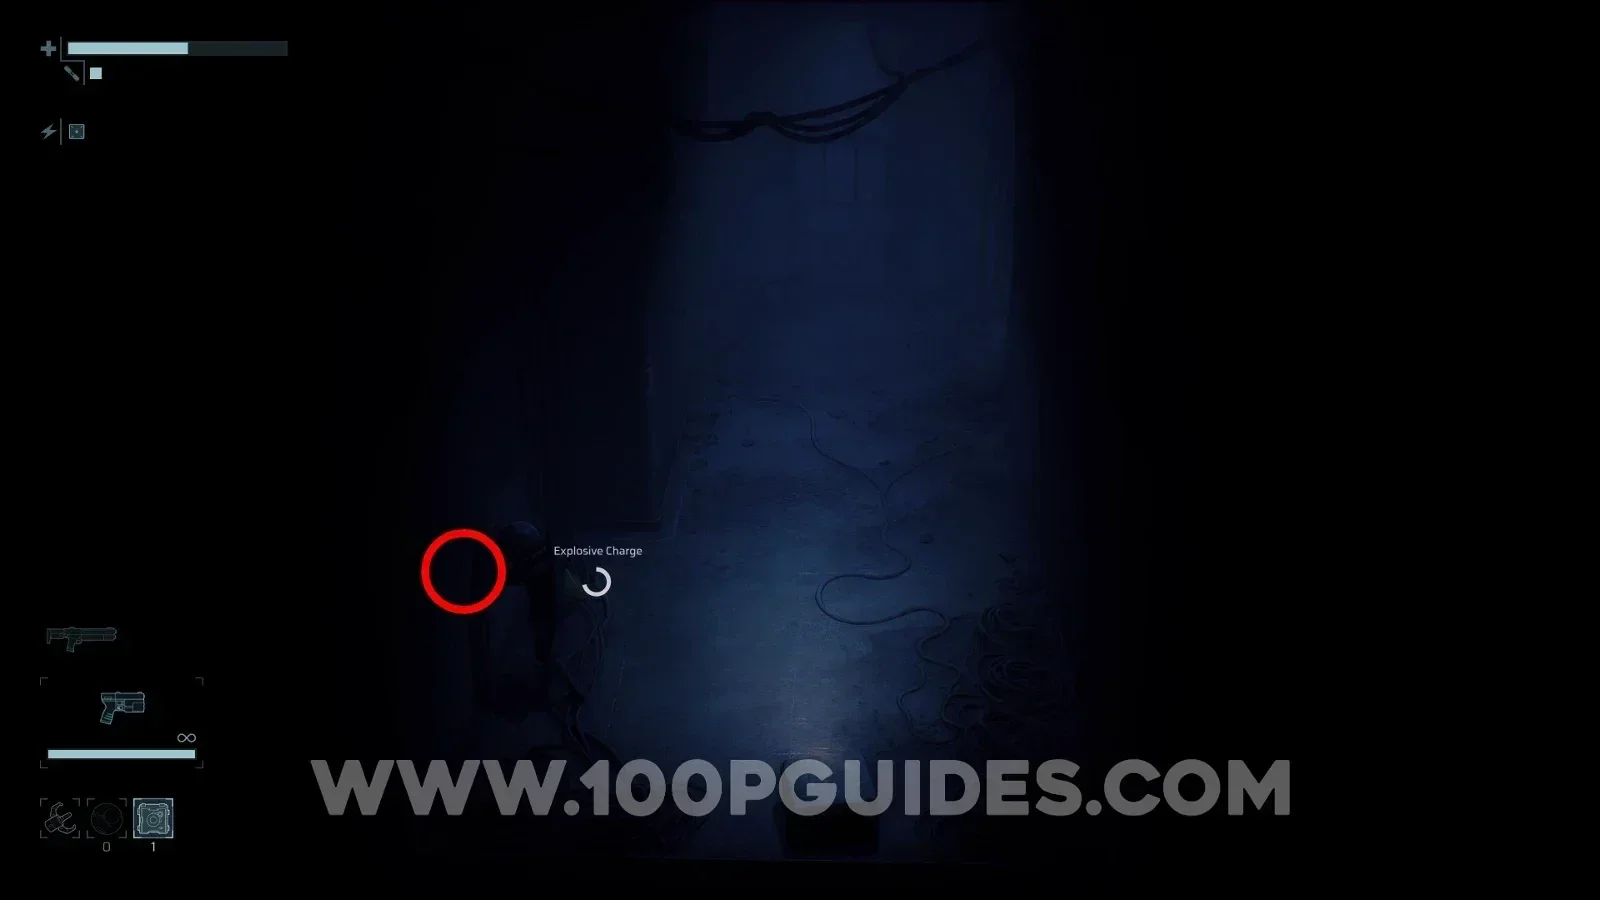
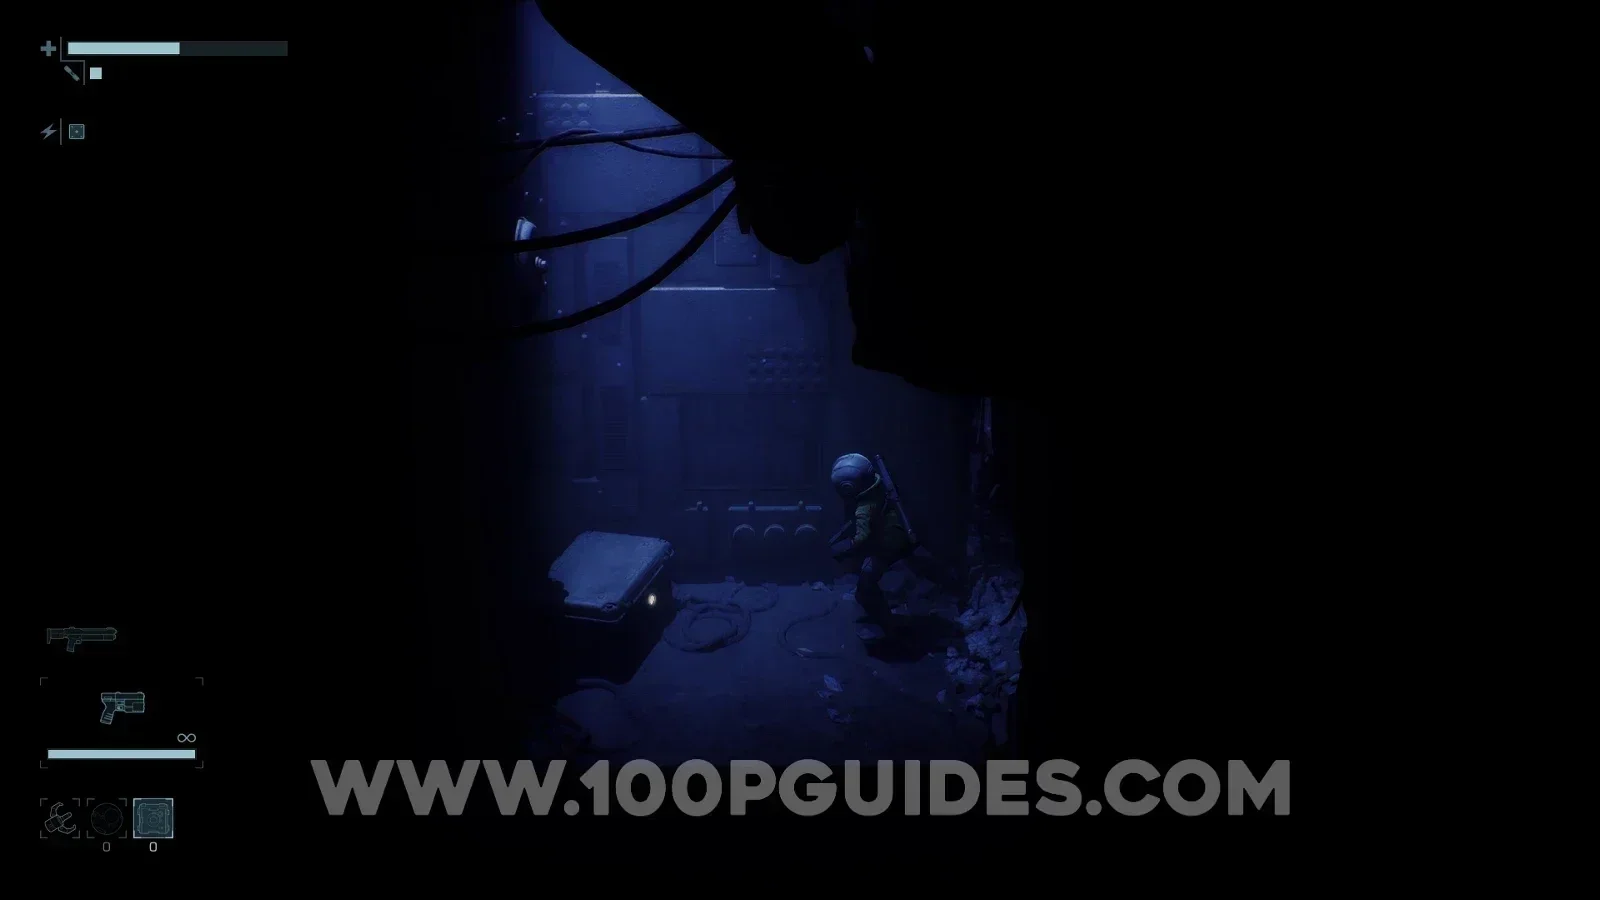
Now it's time to head back to Factory East. Luckily, the fast travel Shuttle for Factory West is nearby. From the Energy Cell, head right and then down the stairs to find it.
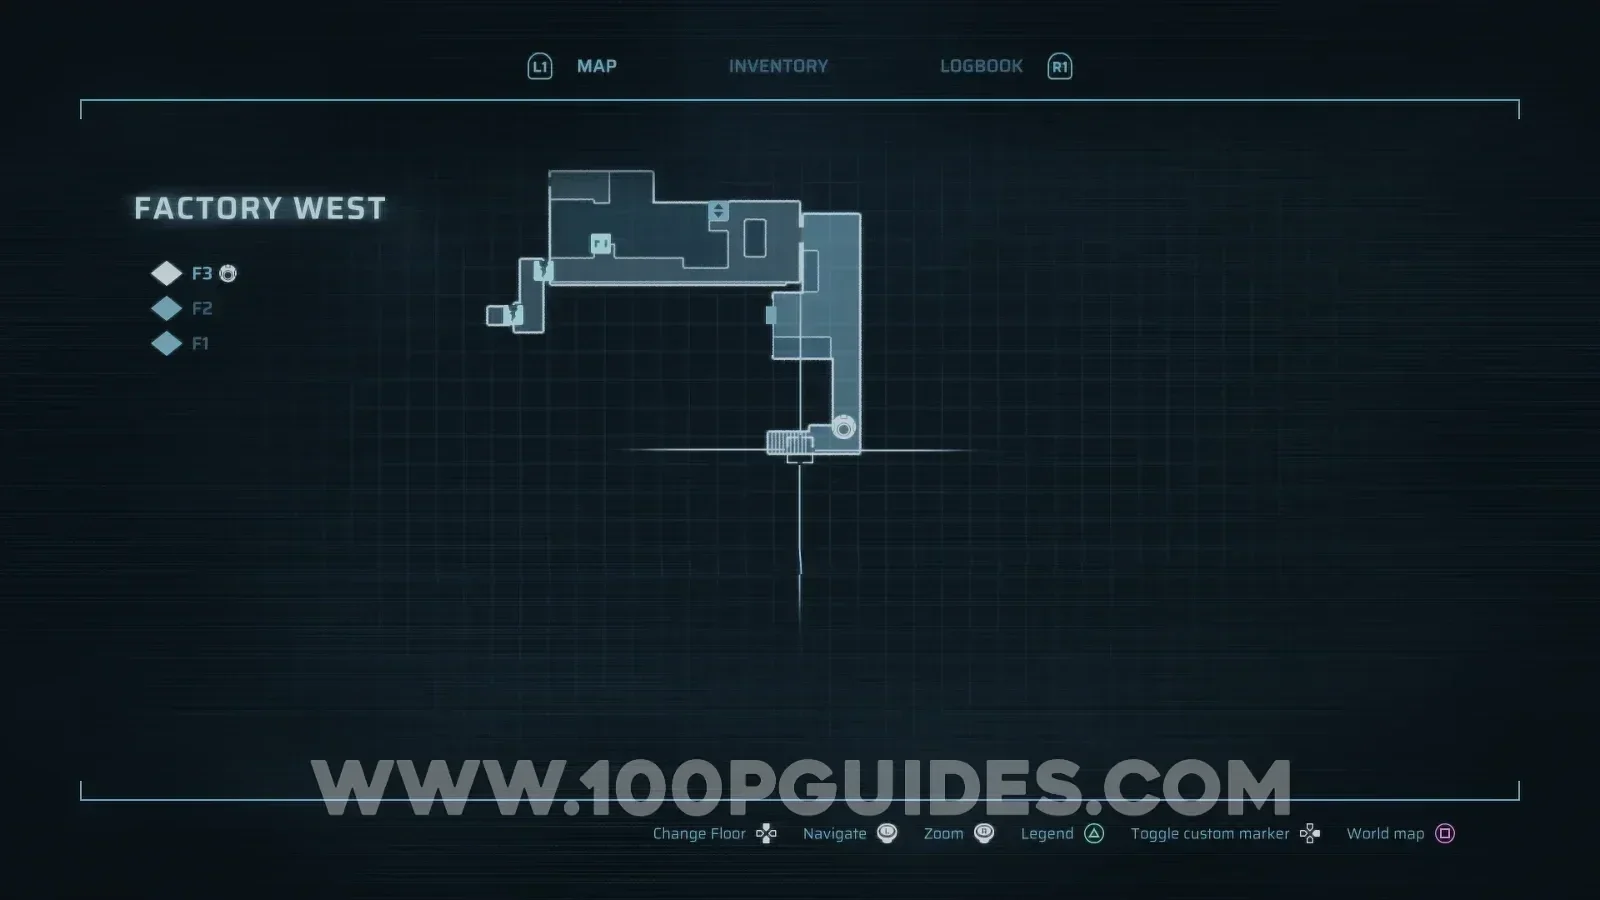
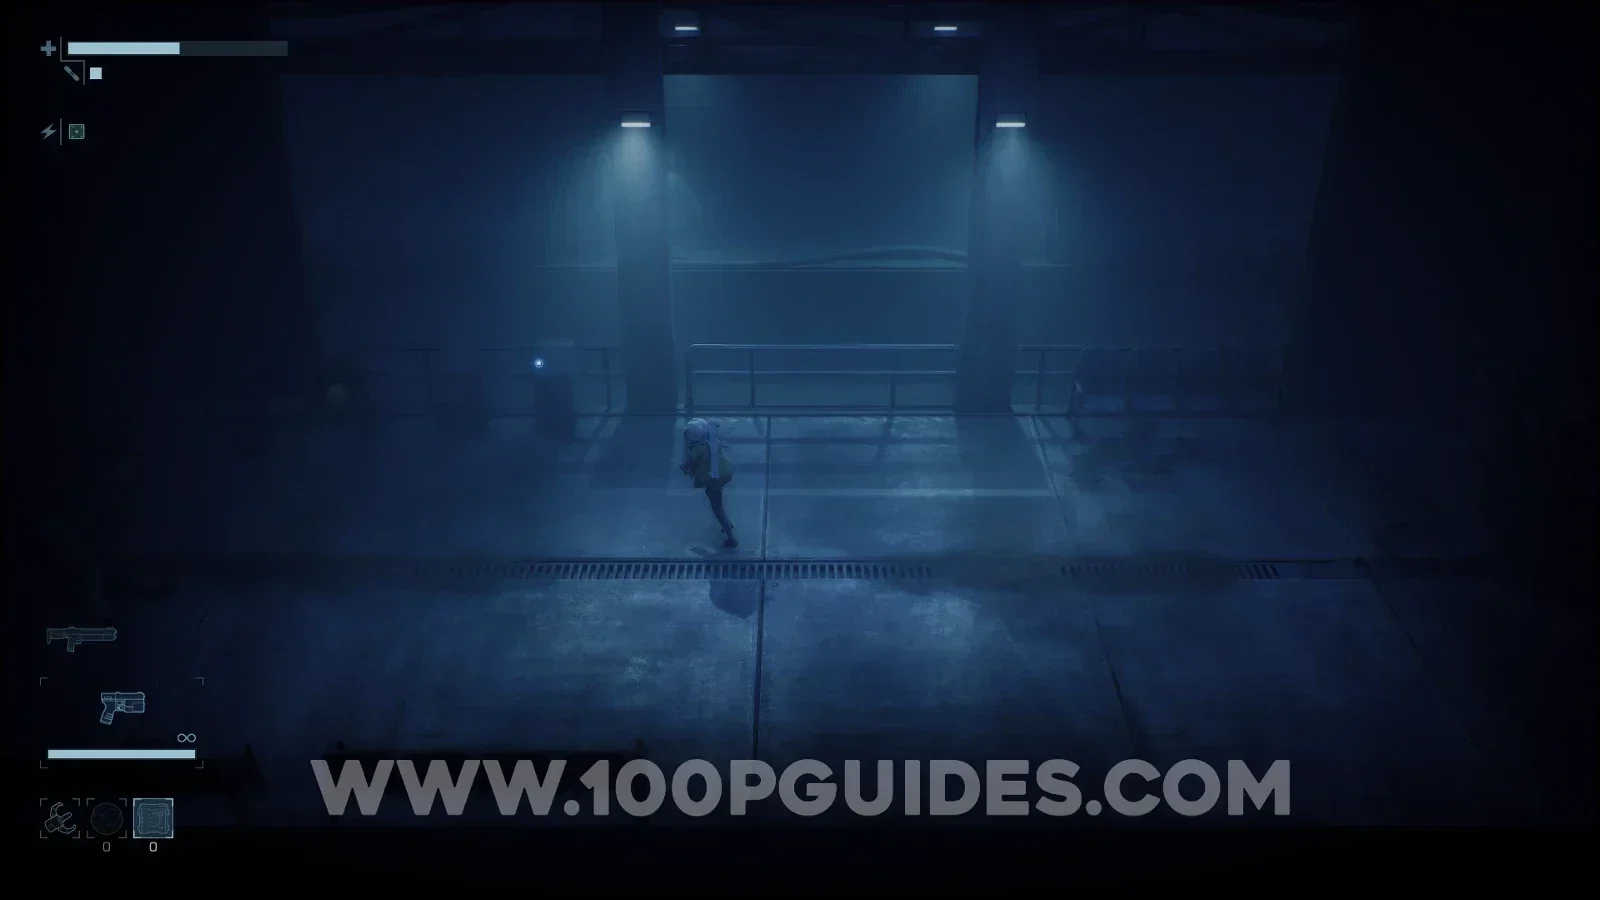
After riding the Shuttle back to Factory East, head down to F1 and take the stairs to the south, which lead to the Waterworks area.
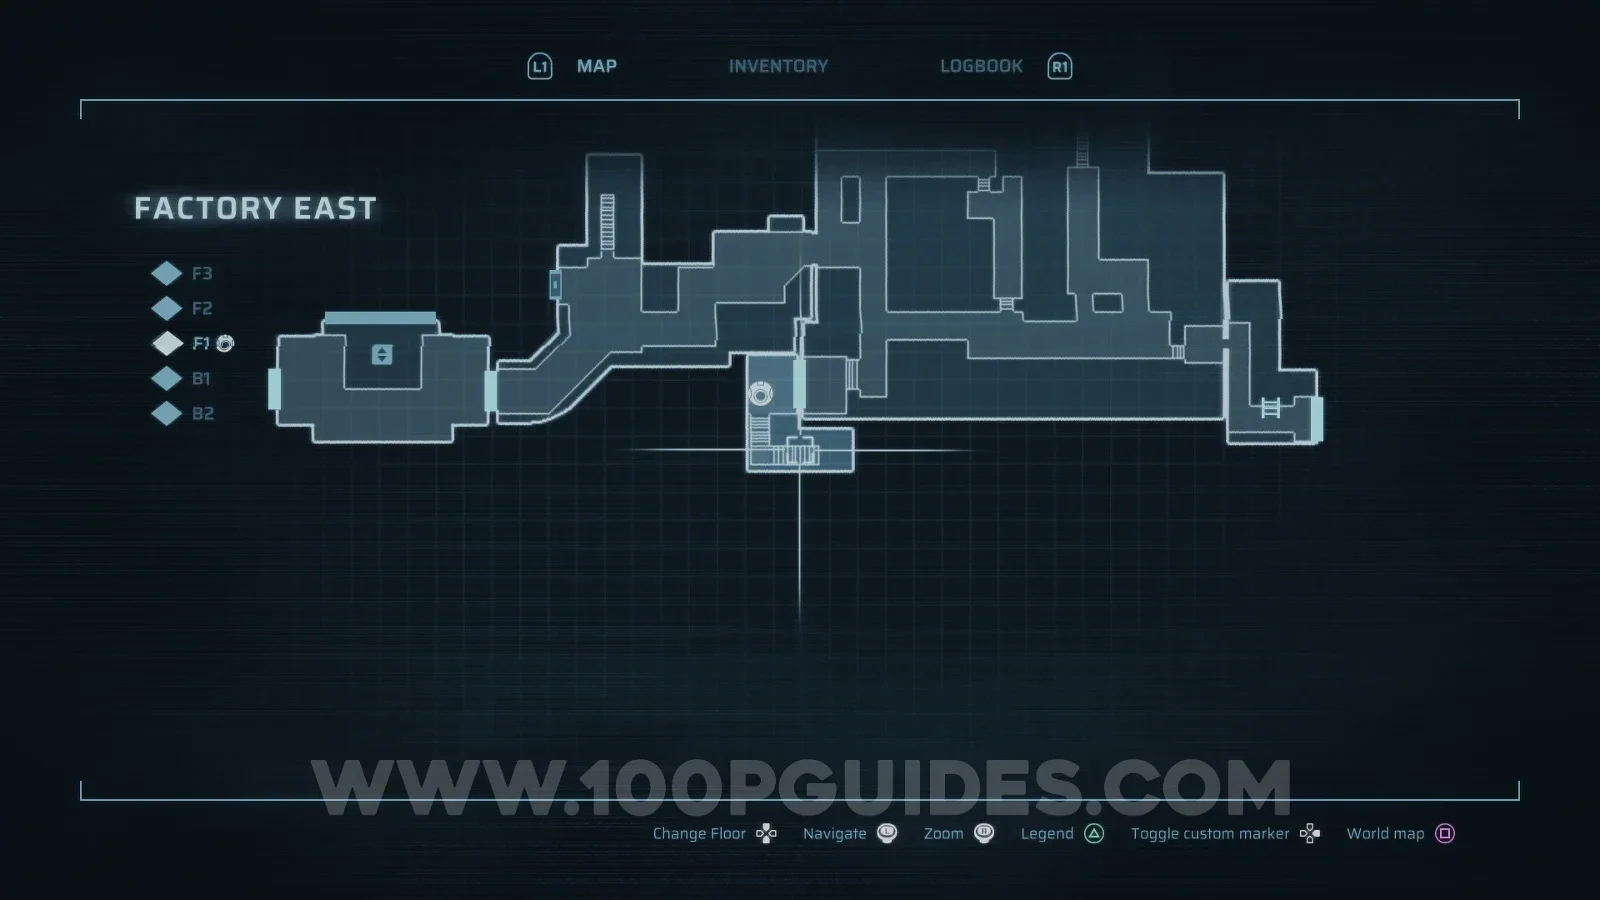
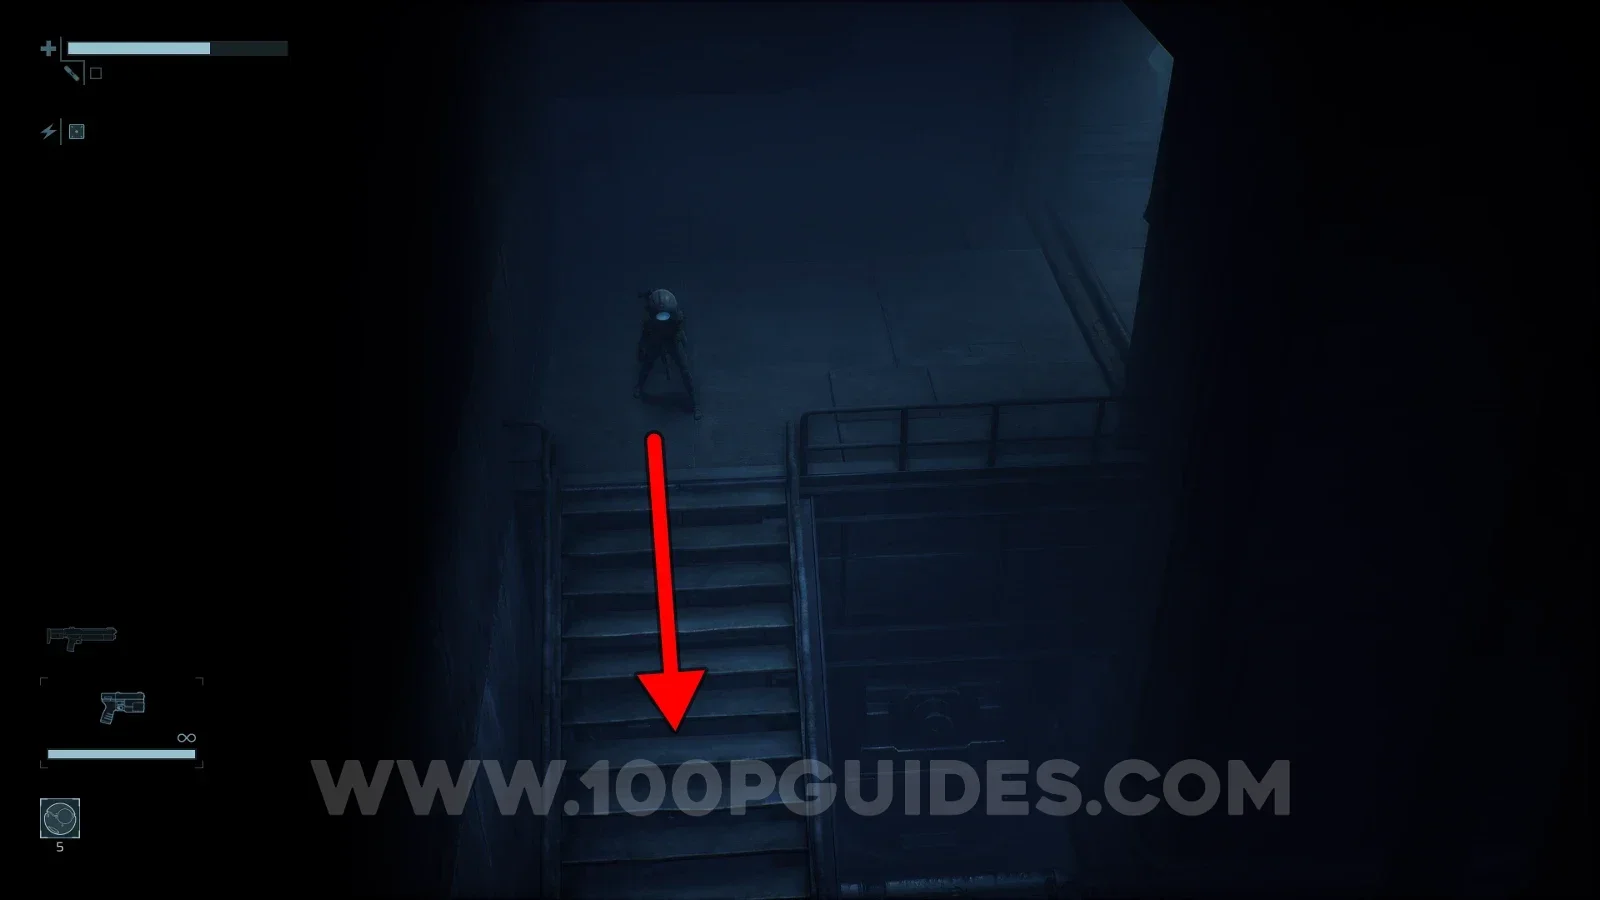
In the Waterworks area, start by heading right and following the large flow of water to the north. Then climb out to the right and take the exit on the right.
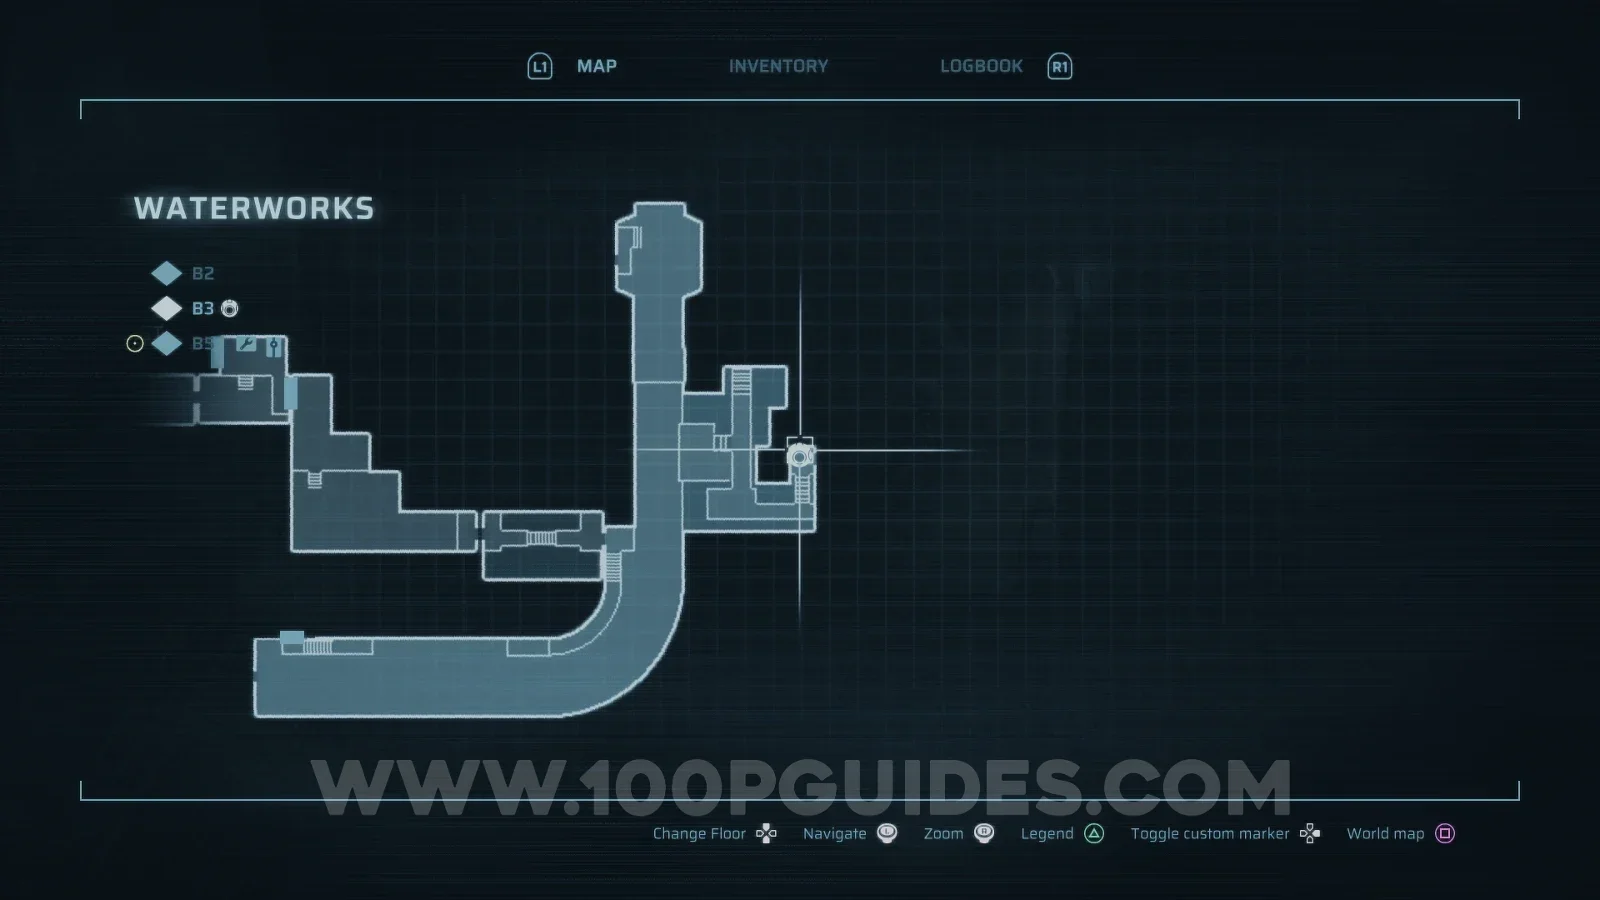
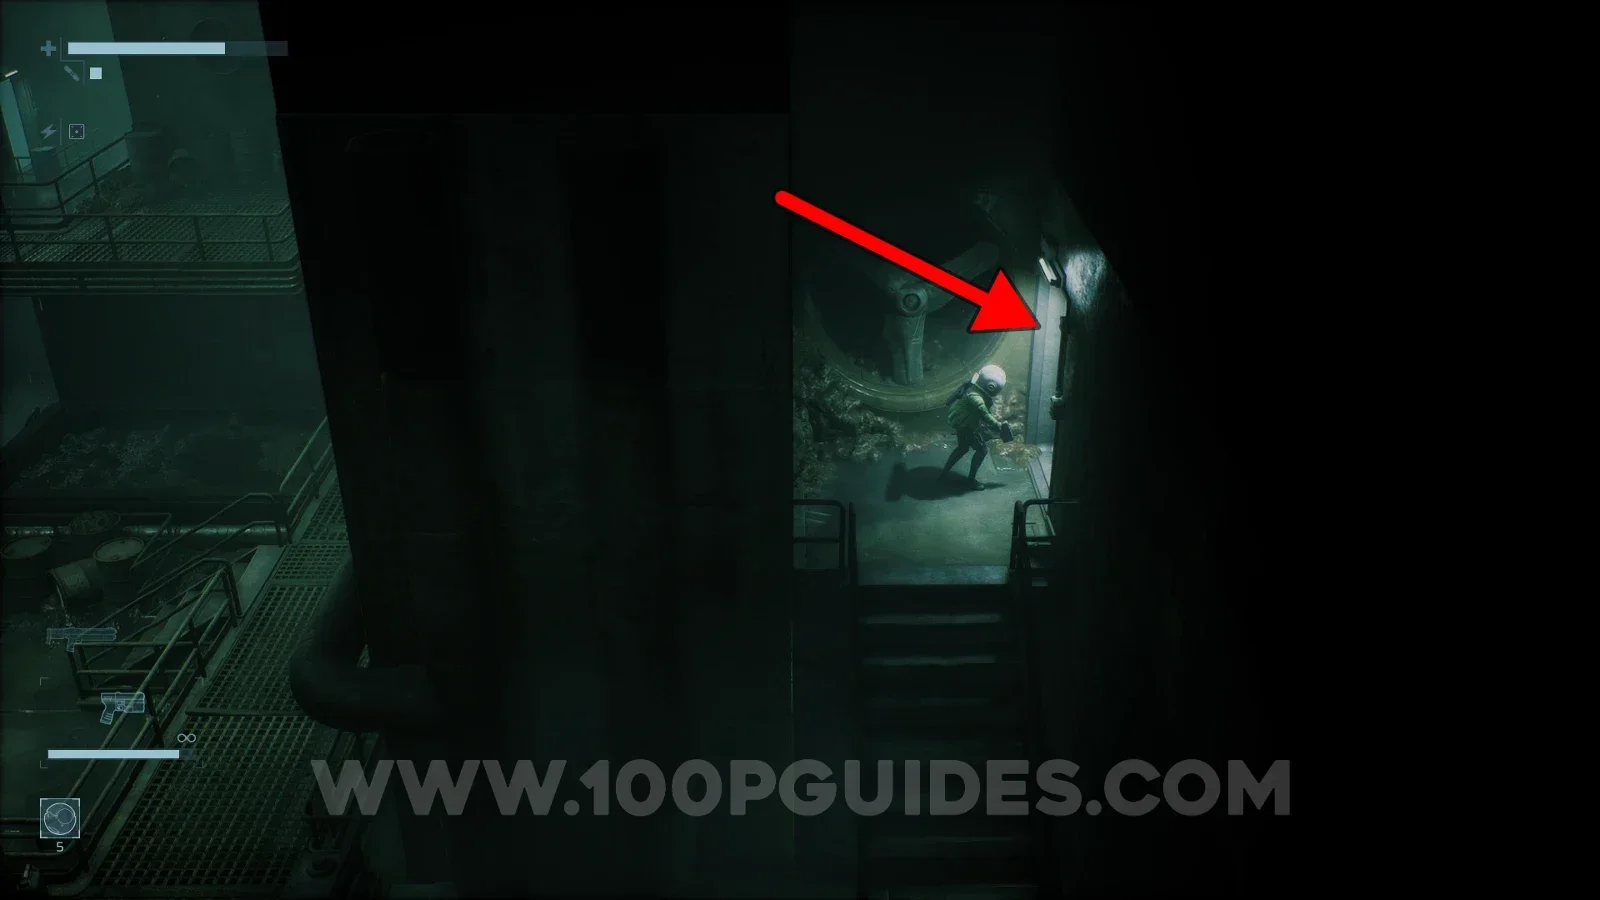
After that, head right and then north to the Extendable Bridge and use the Crank to cross it.
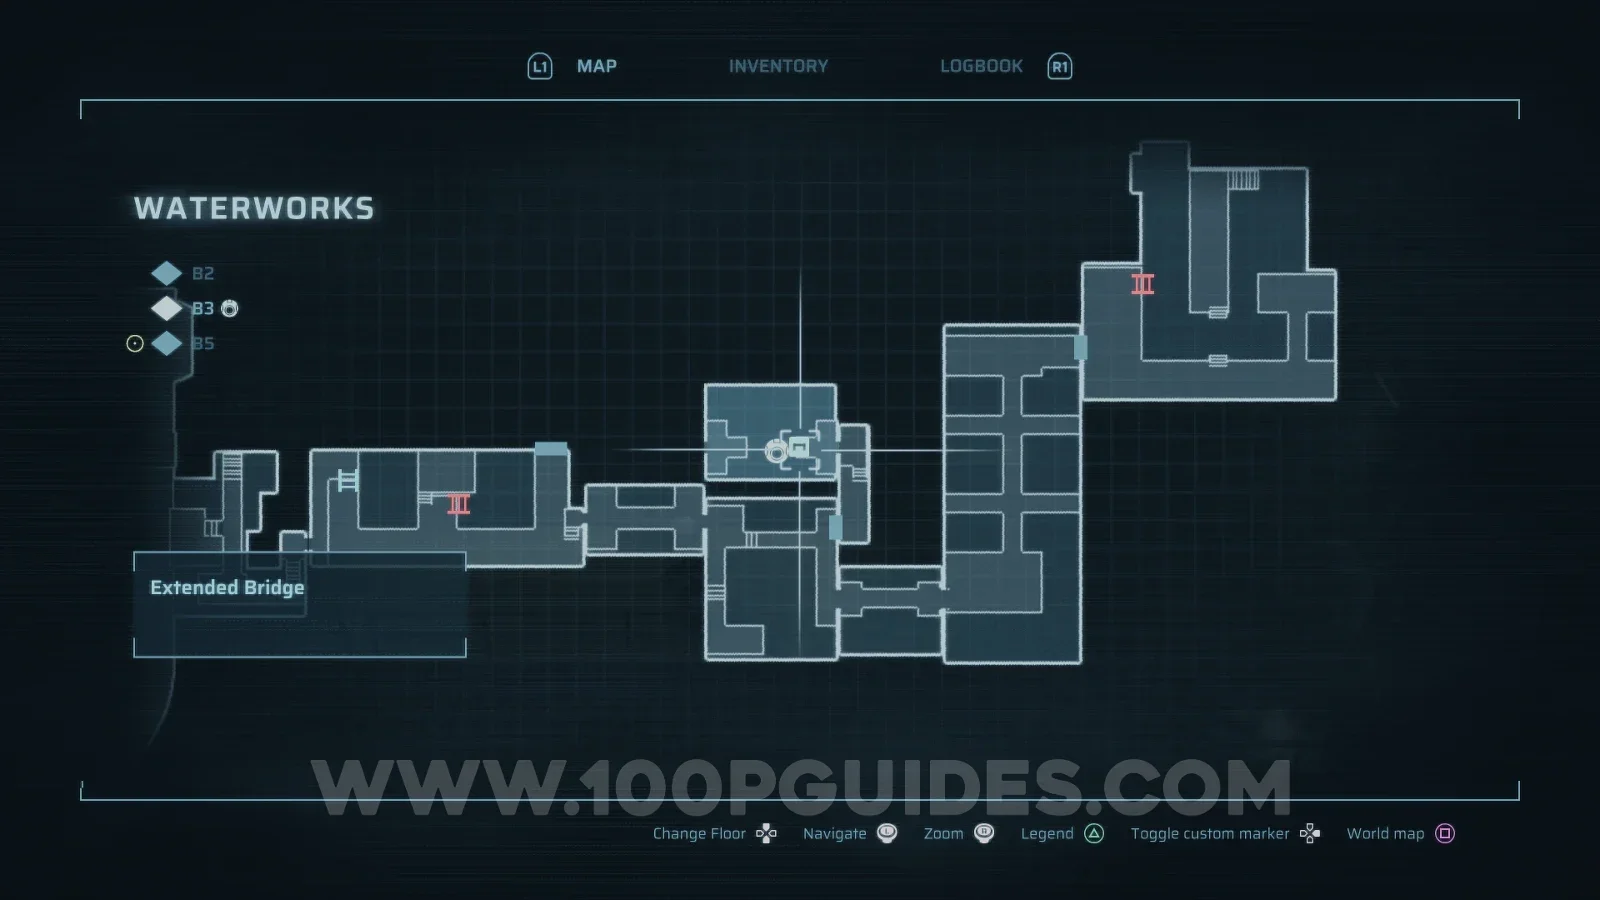
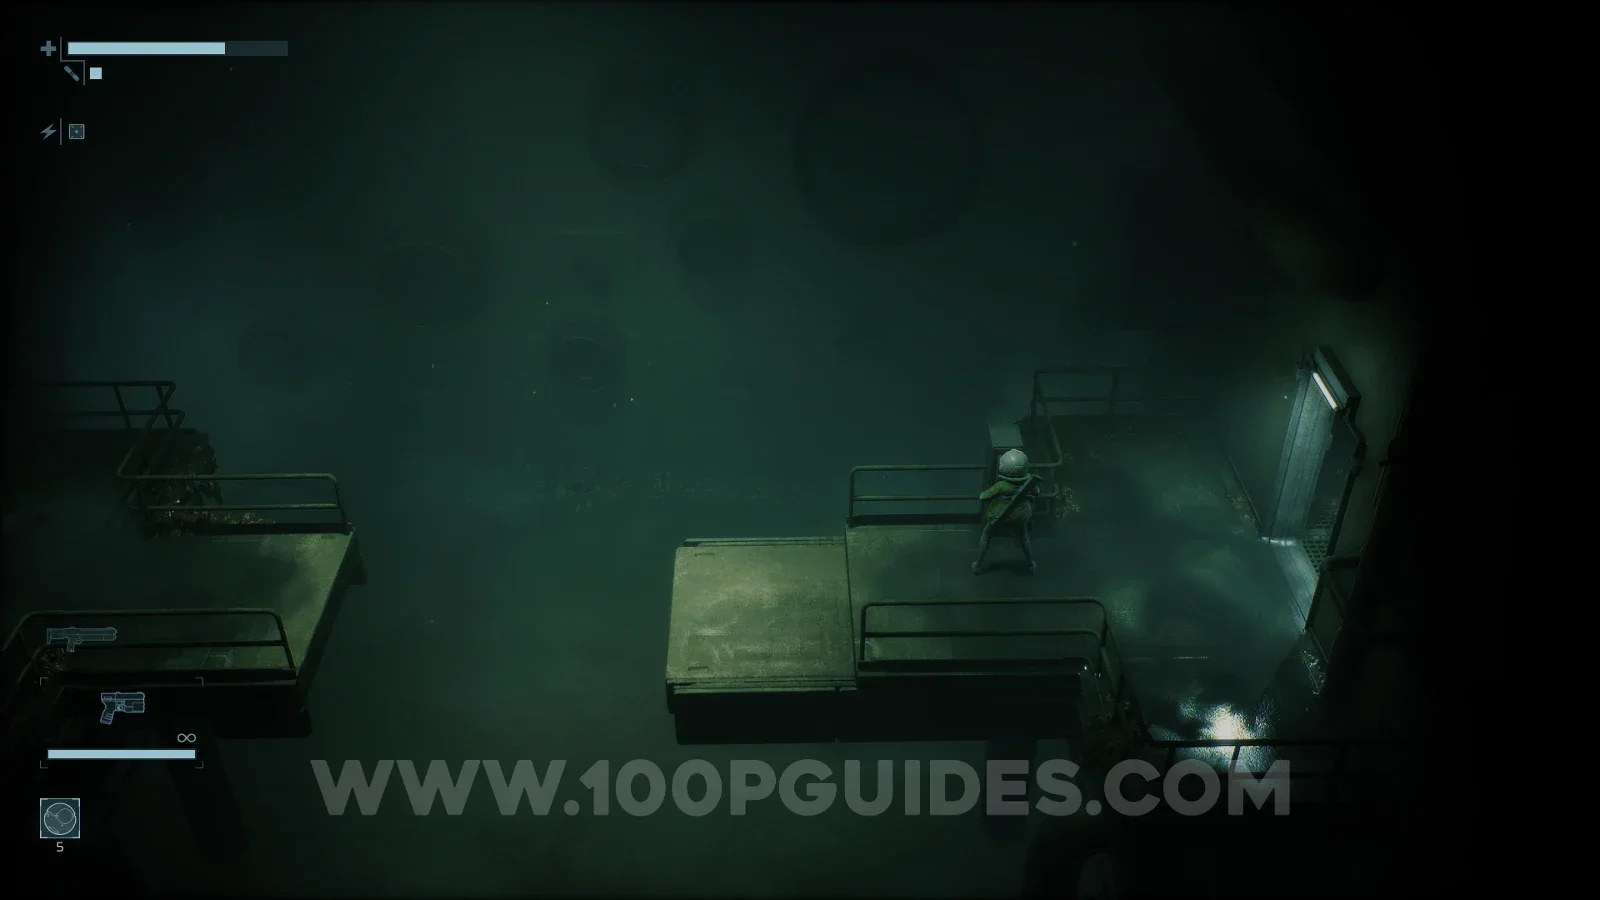
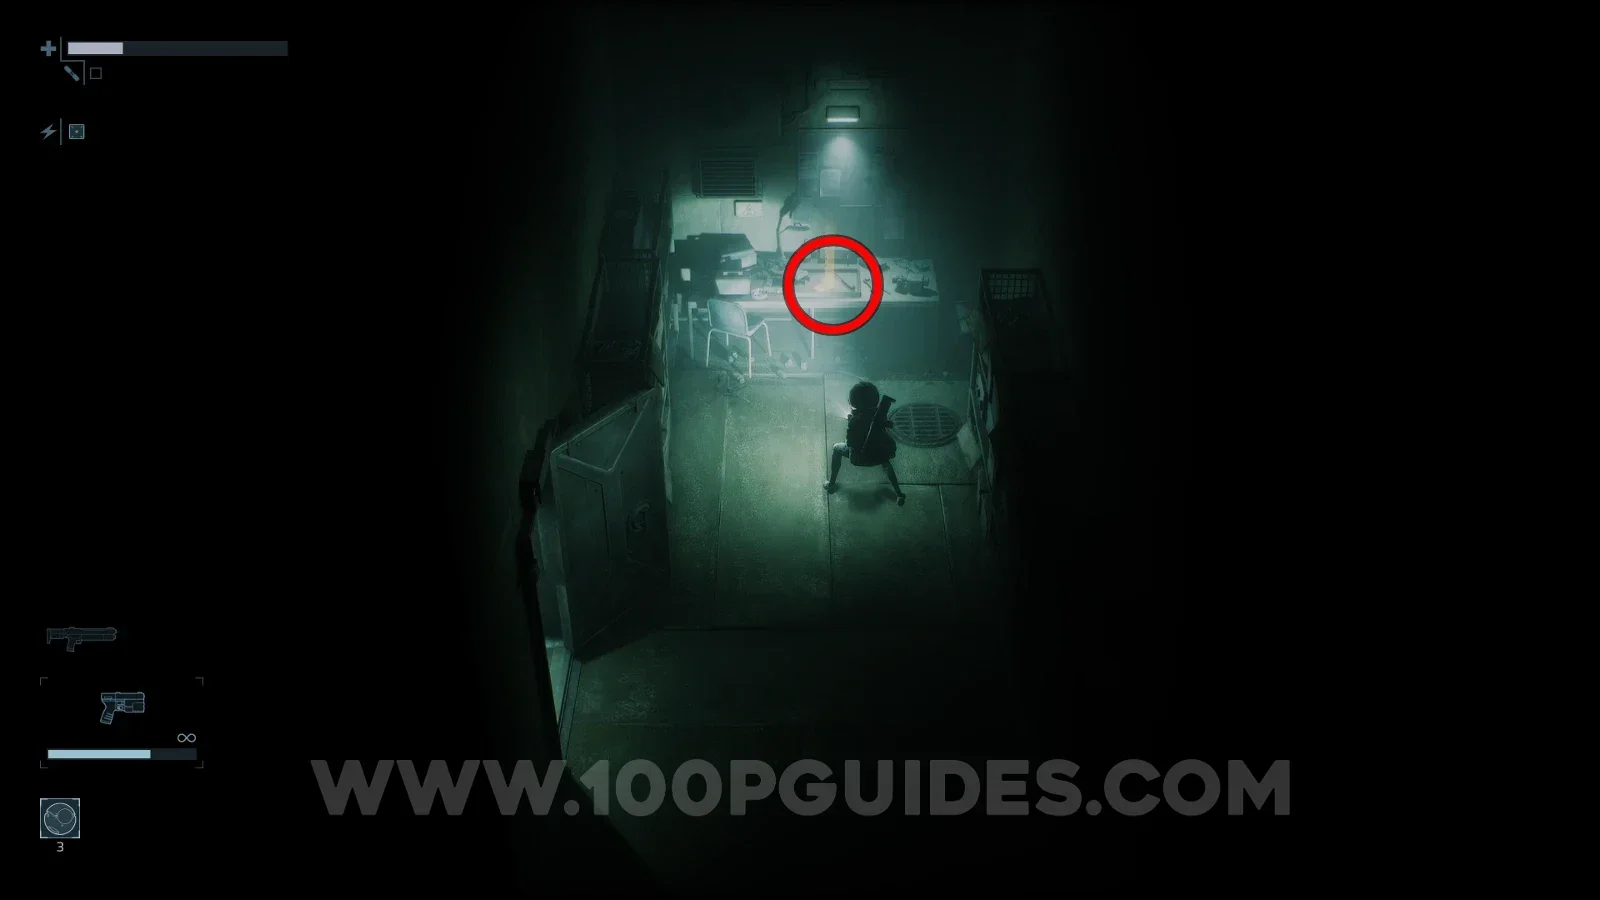
After crossing the bridge, make your way over to the left side of the area to find the Operations Key in a small room.
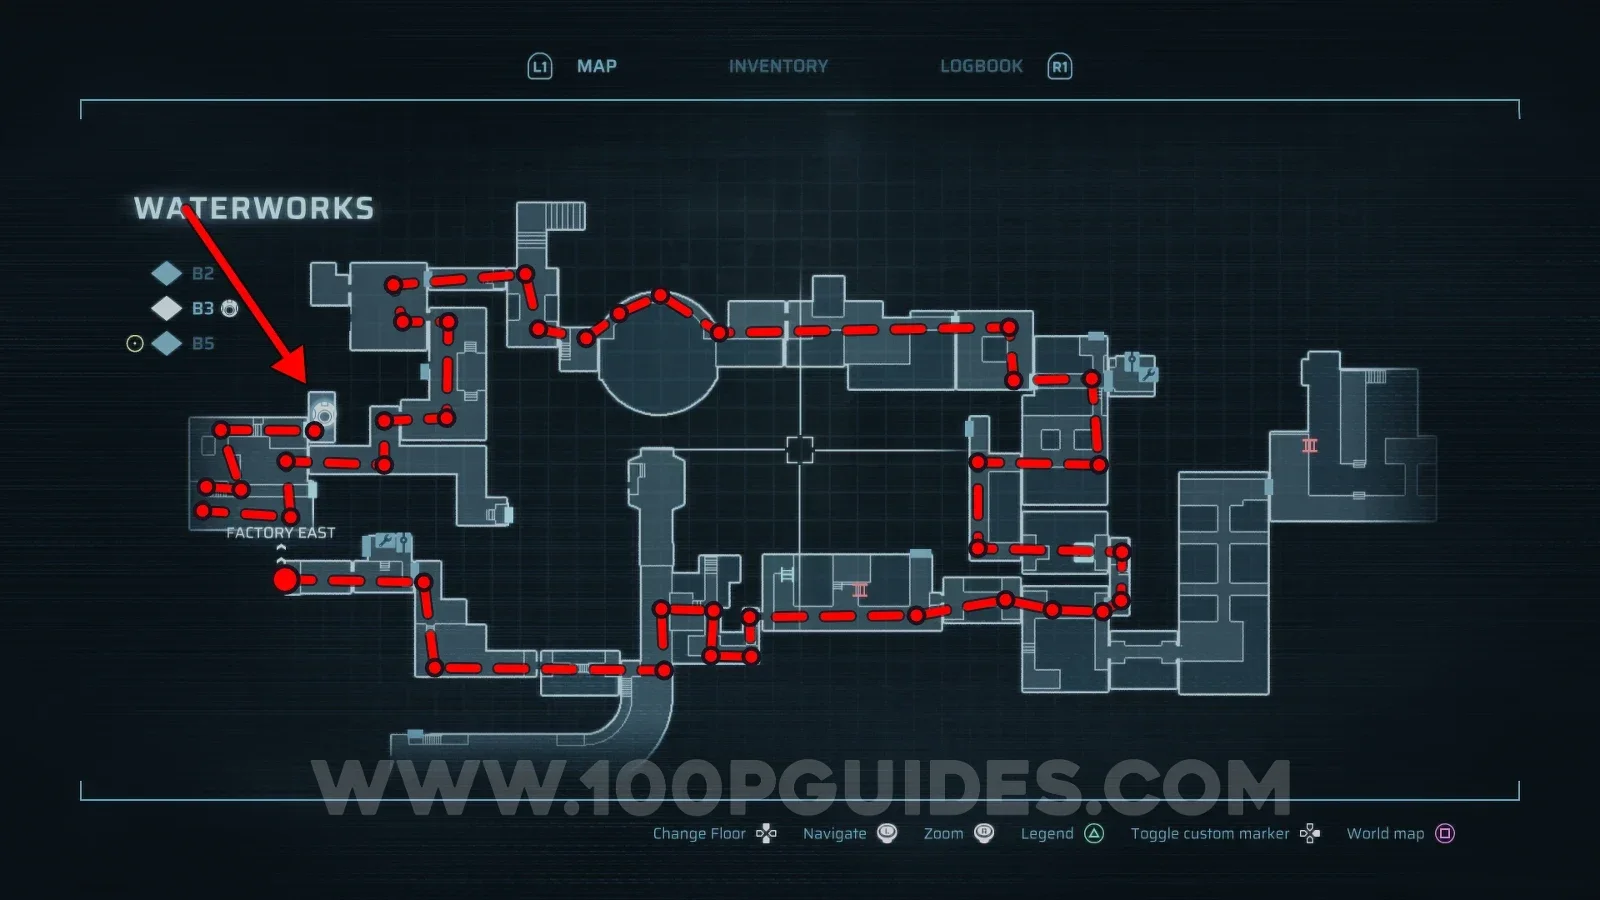
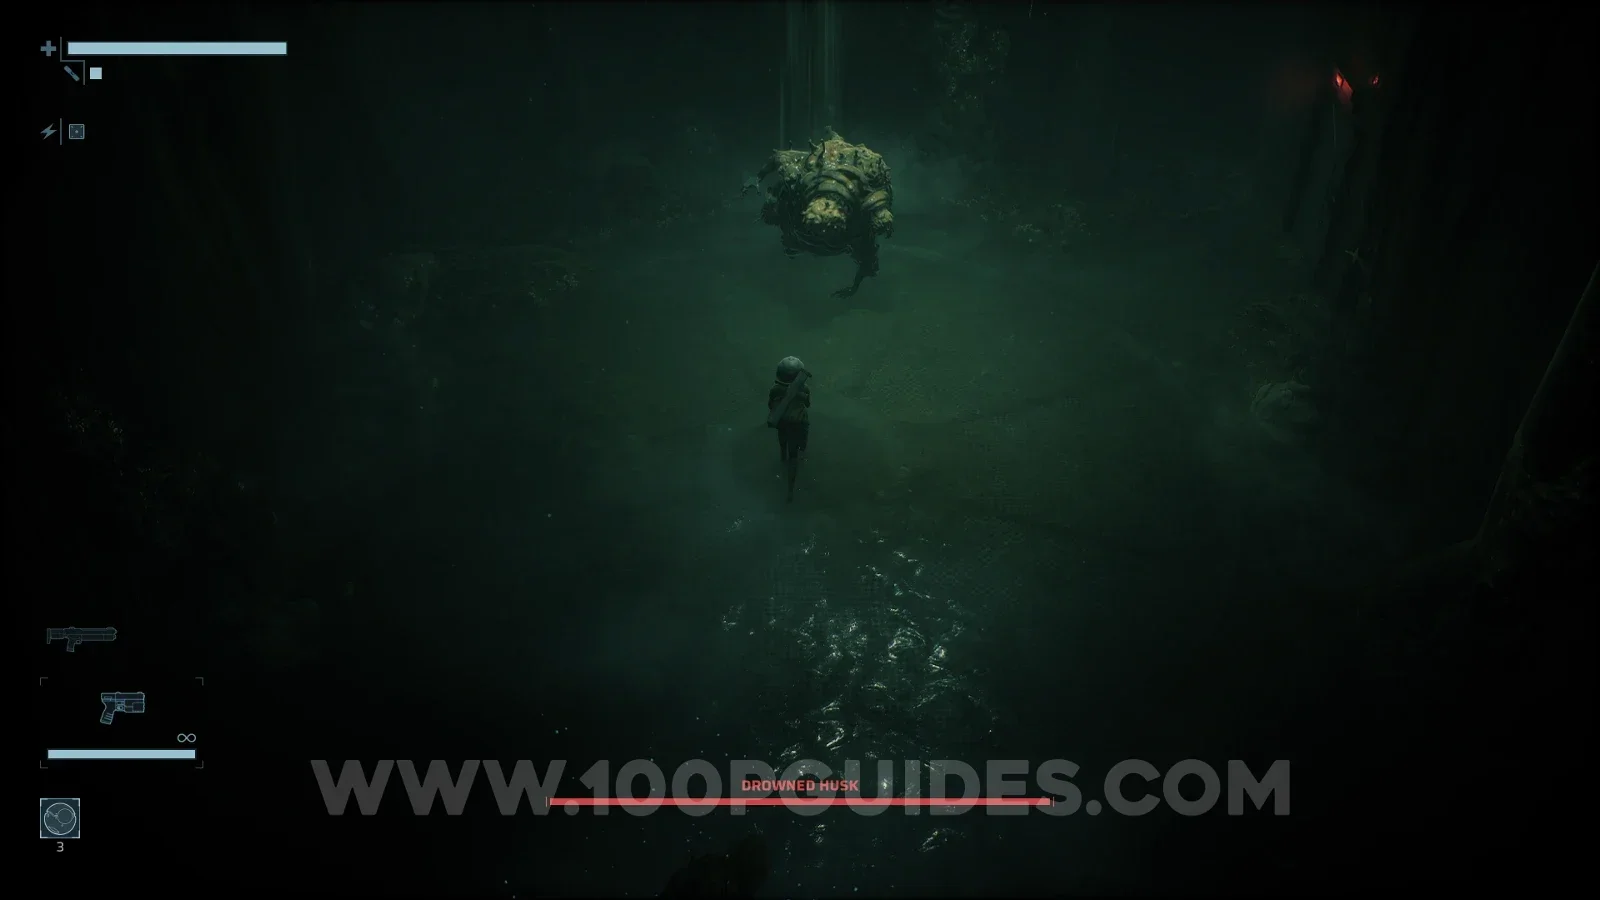
With the key in hand, head south to reconnect with the safe room at the start of the area. Then go up the main stream of water again and climb out to the right like last time, but this time go up and cross the pathway above the stream. Use the Operations Key to open the door. Inside, cross the bridge and climb down the ladders to reach the Drowned Husk boss. After defeating it, continue on to reach a large switch that will drain the water where the main stream is.
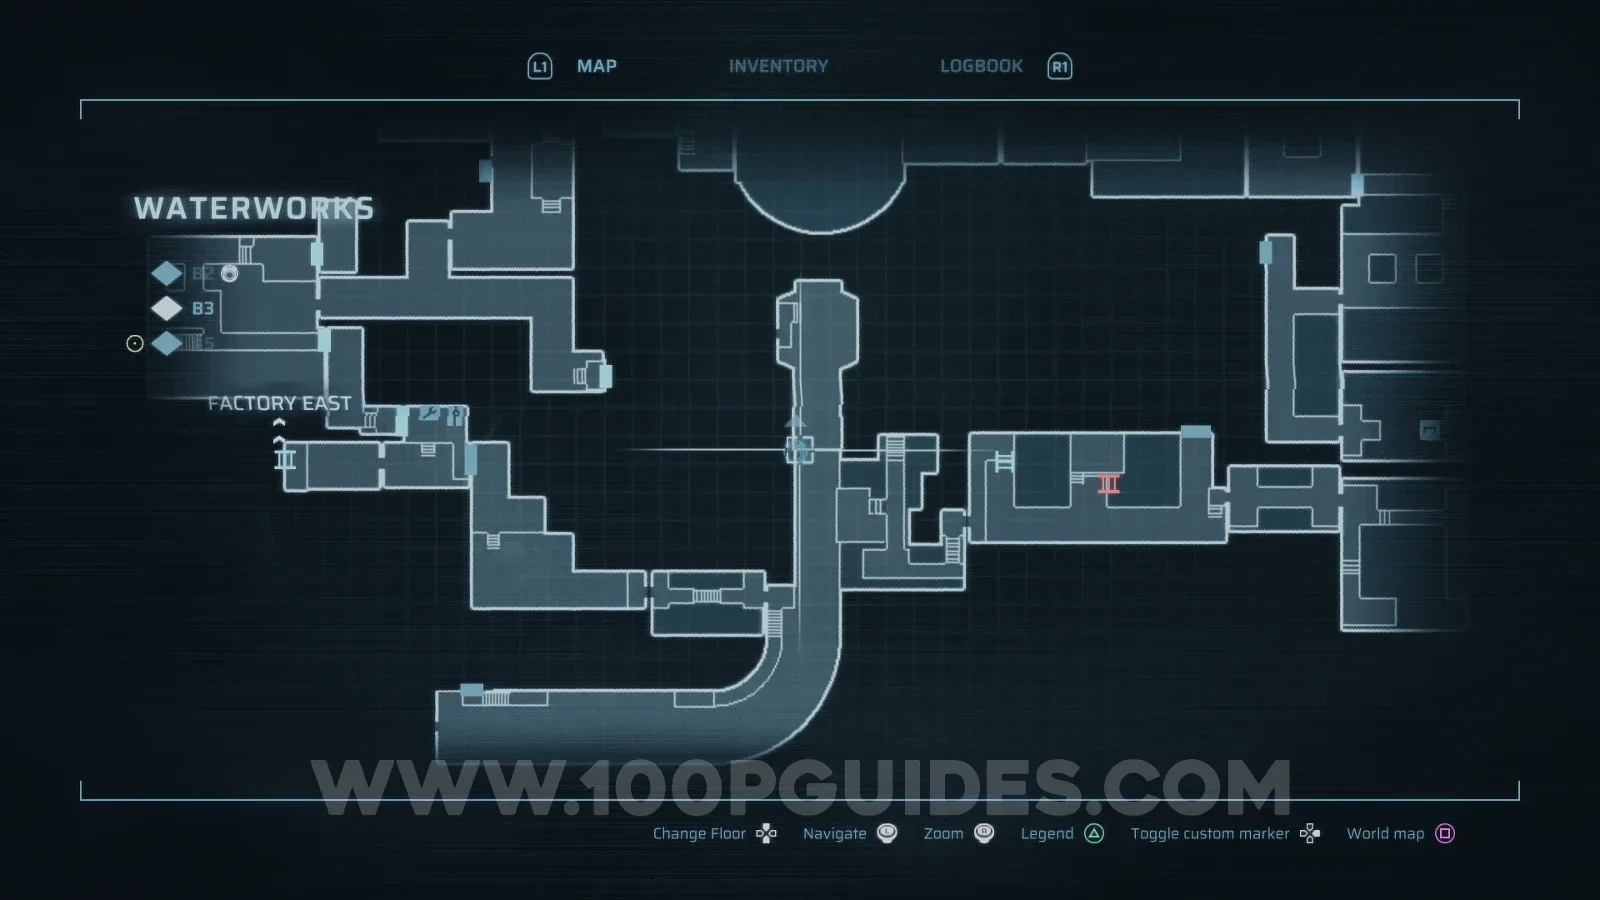
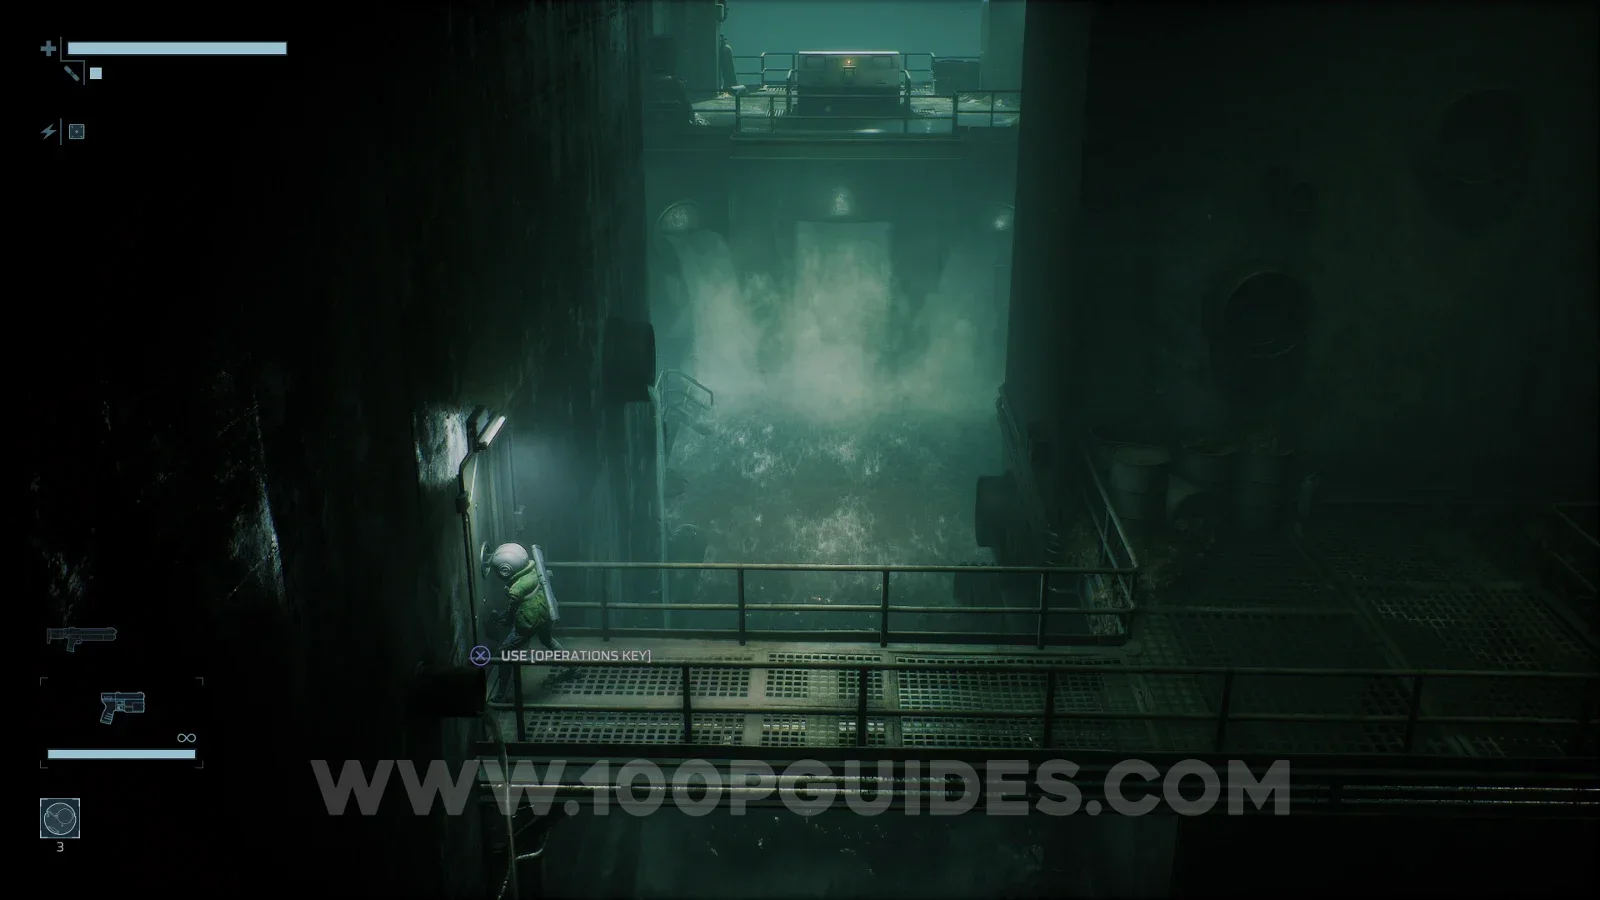
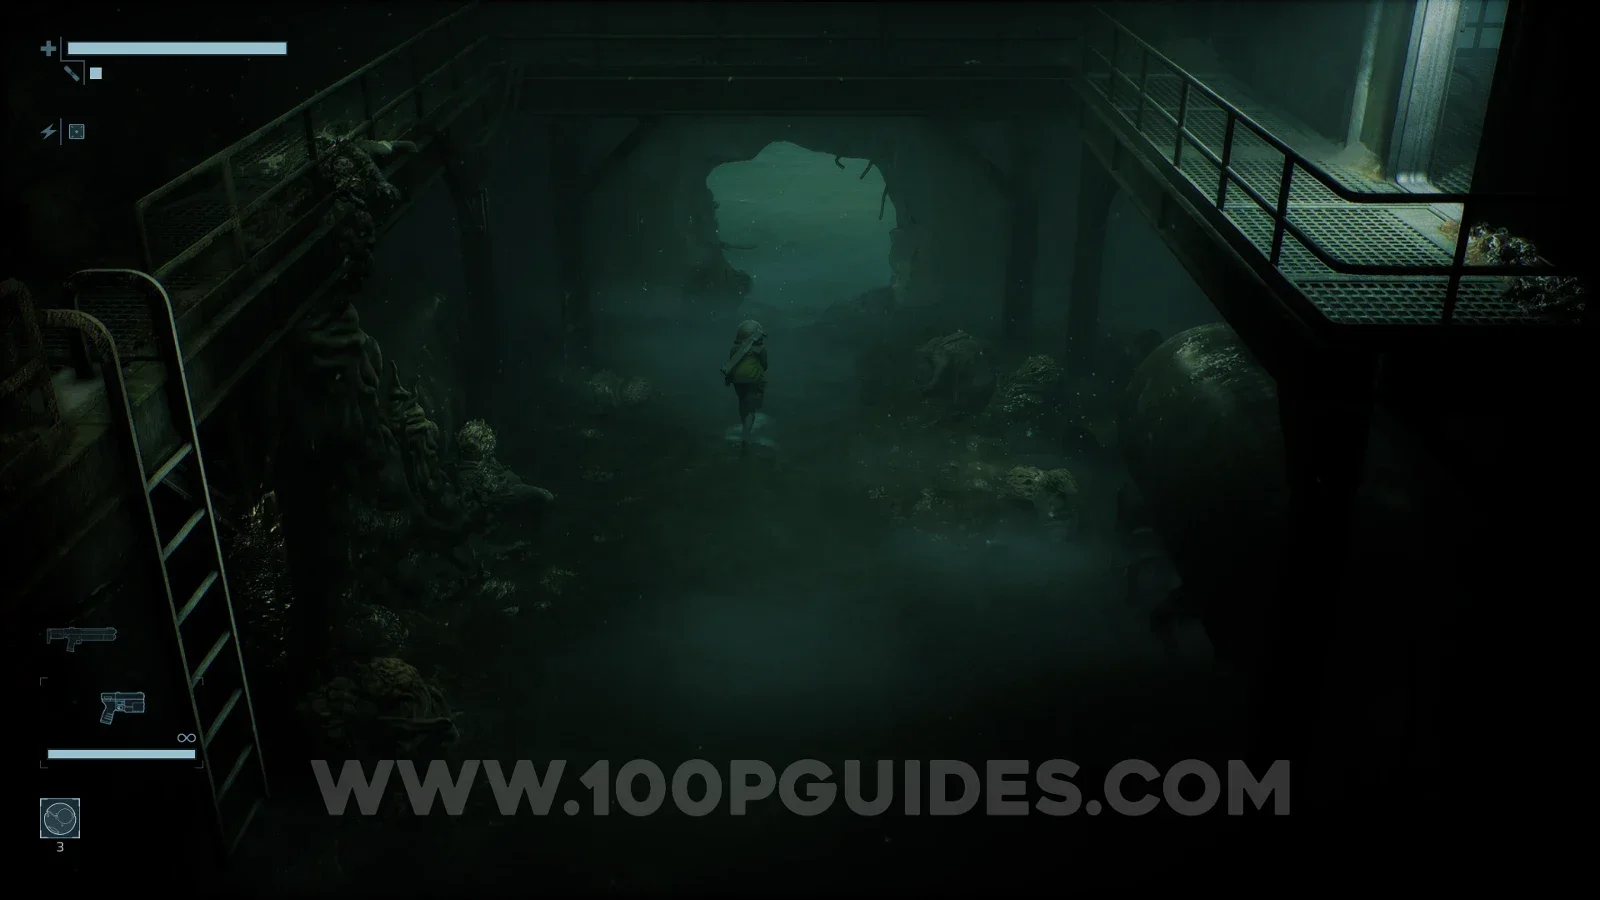
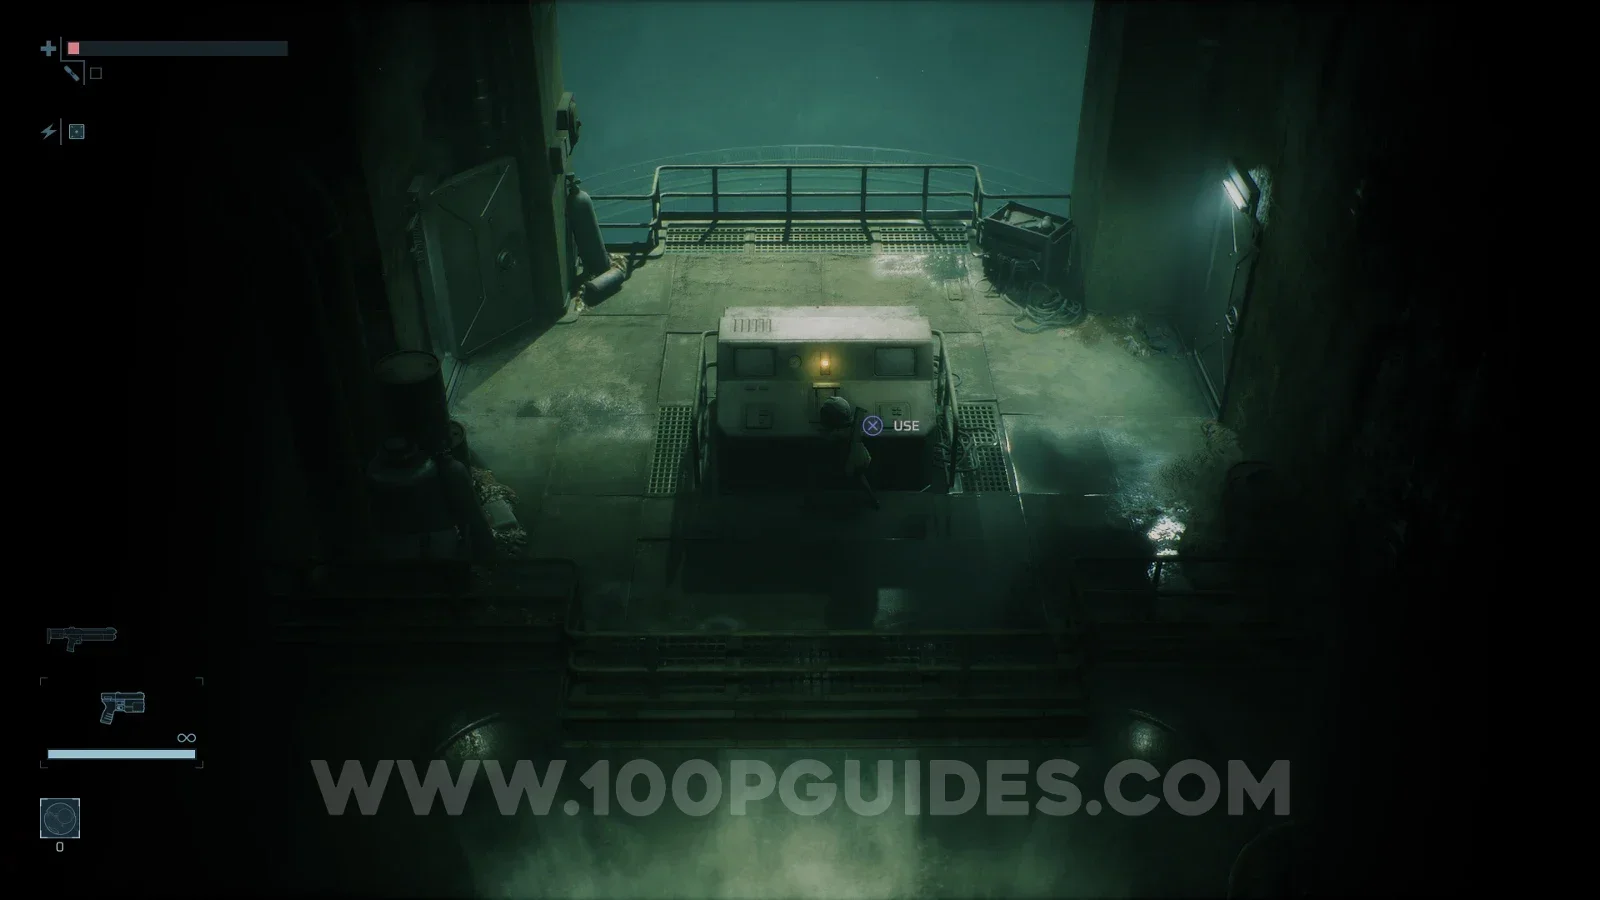
After using the console to lower the water, head right and return to the area where the main stream of water was. You will now be able to climb up the ledge and go north. Follow this path to find and override the Second SCU.
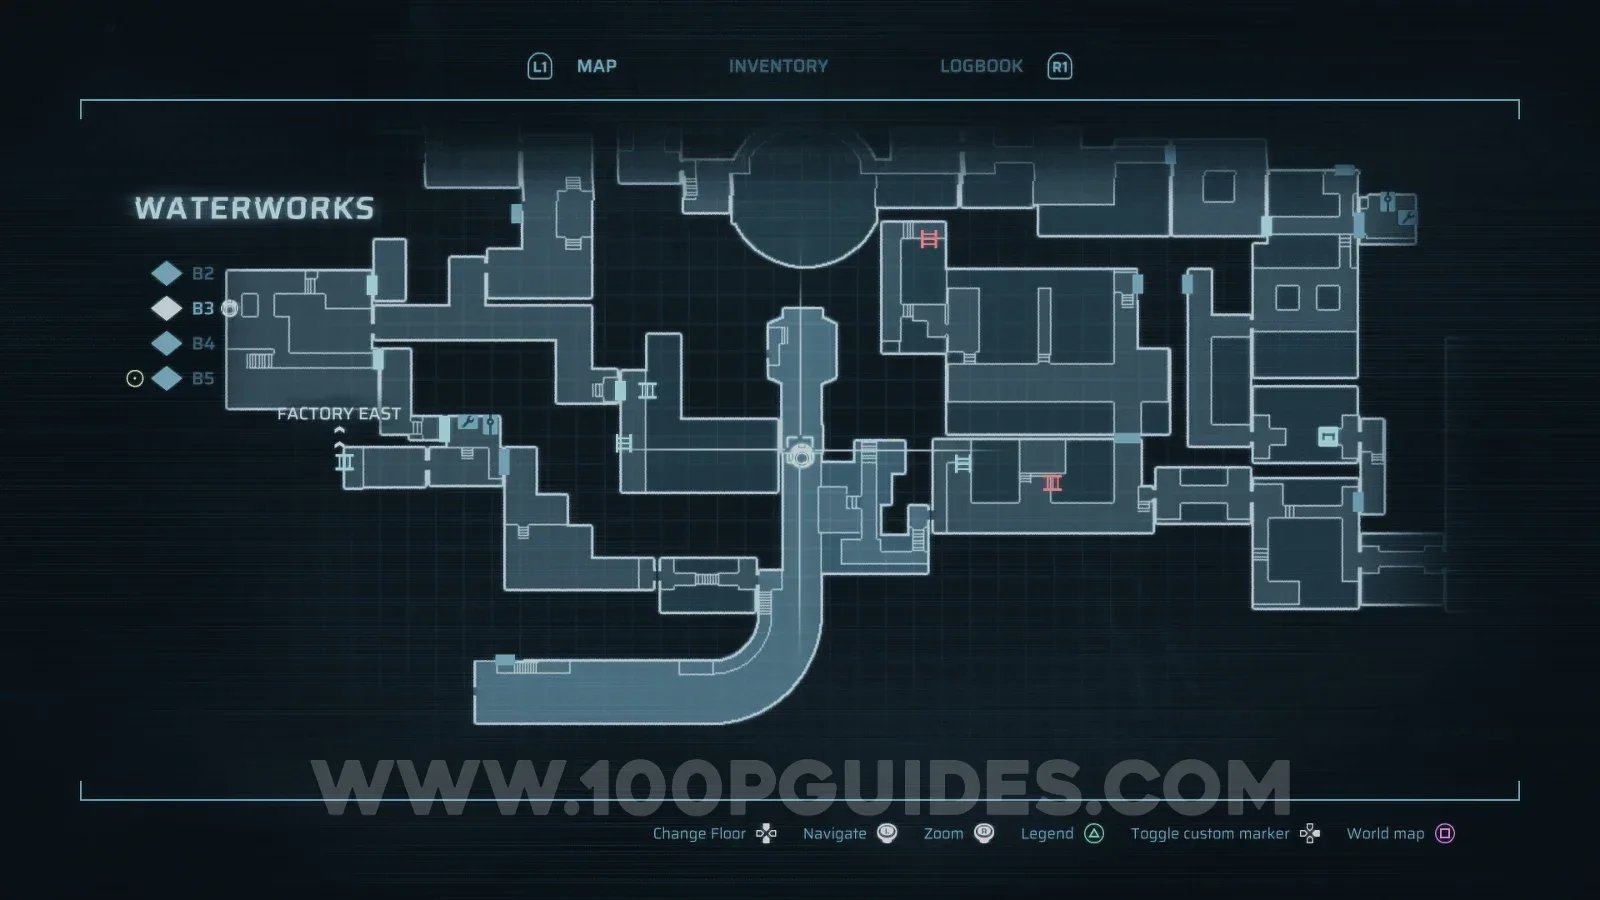
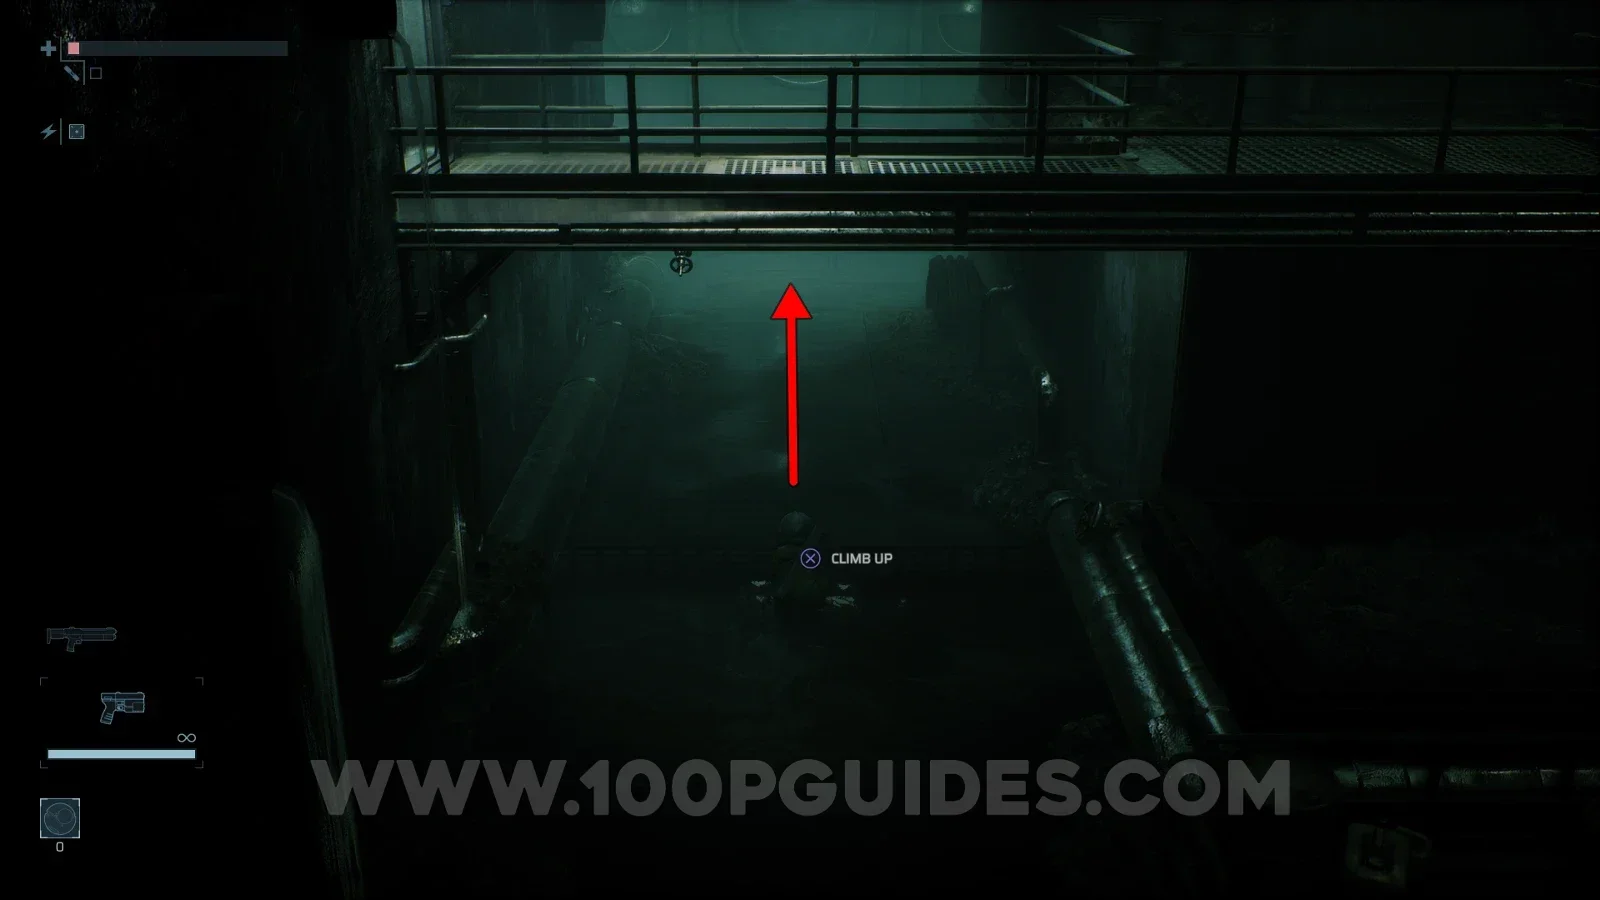
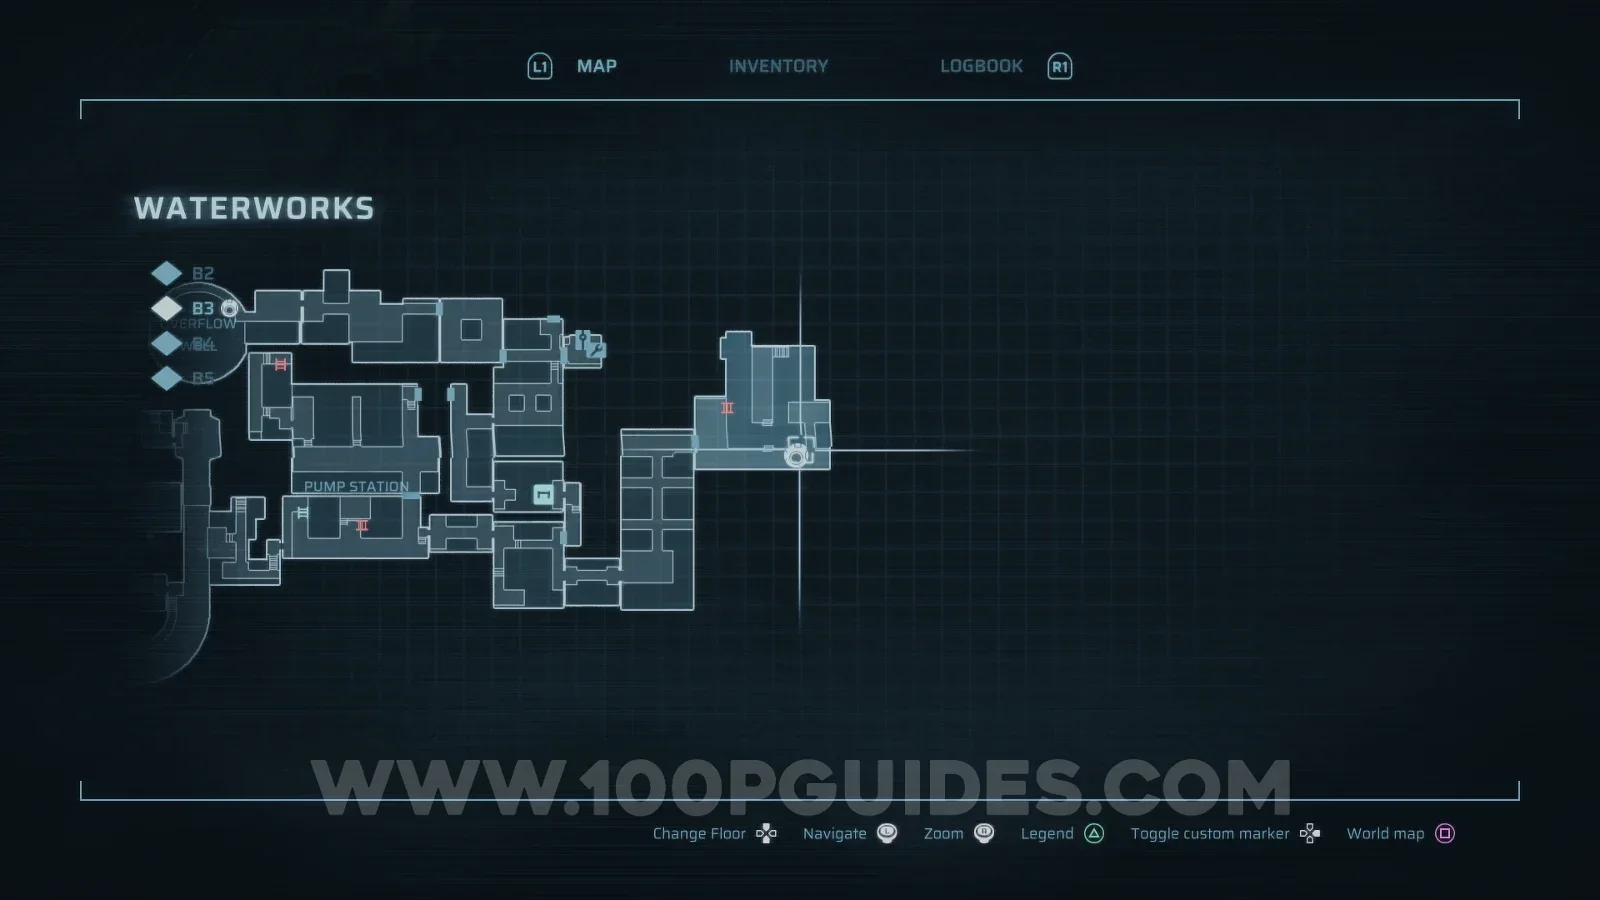
After overriding the Second SCU, head to the room on the far right of the Waterworks area. Here, press the switch, cross the new bridge and press the switch at the top. Then return to the first switch and press it again to drain the water. Climb down the ladder to your left and head right through the area where the water was. Continue down this path to reach the Containment Sector. This area is filled with radiation, so your health will slowly tick down. Just don't hang around, as you will get protection against it soon.
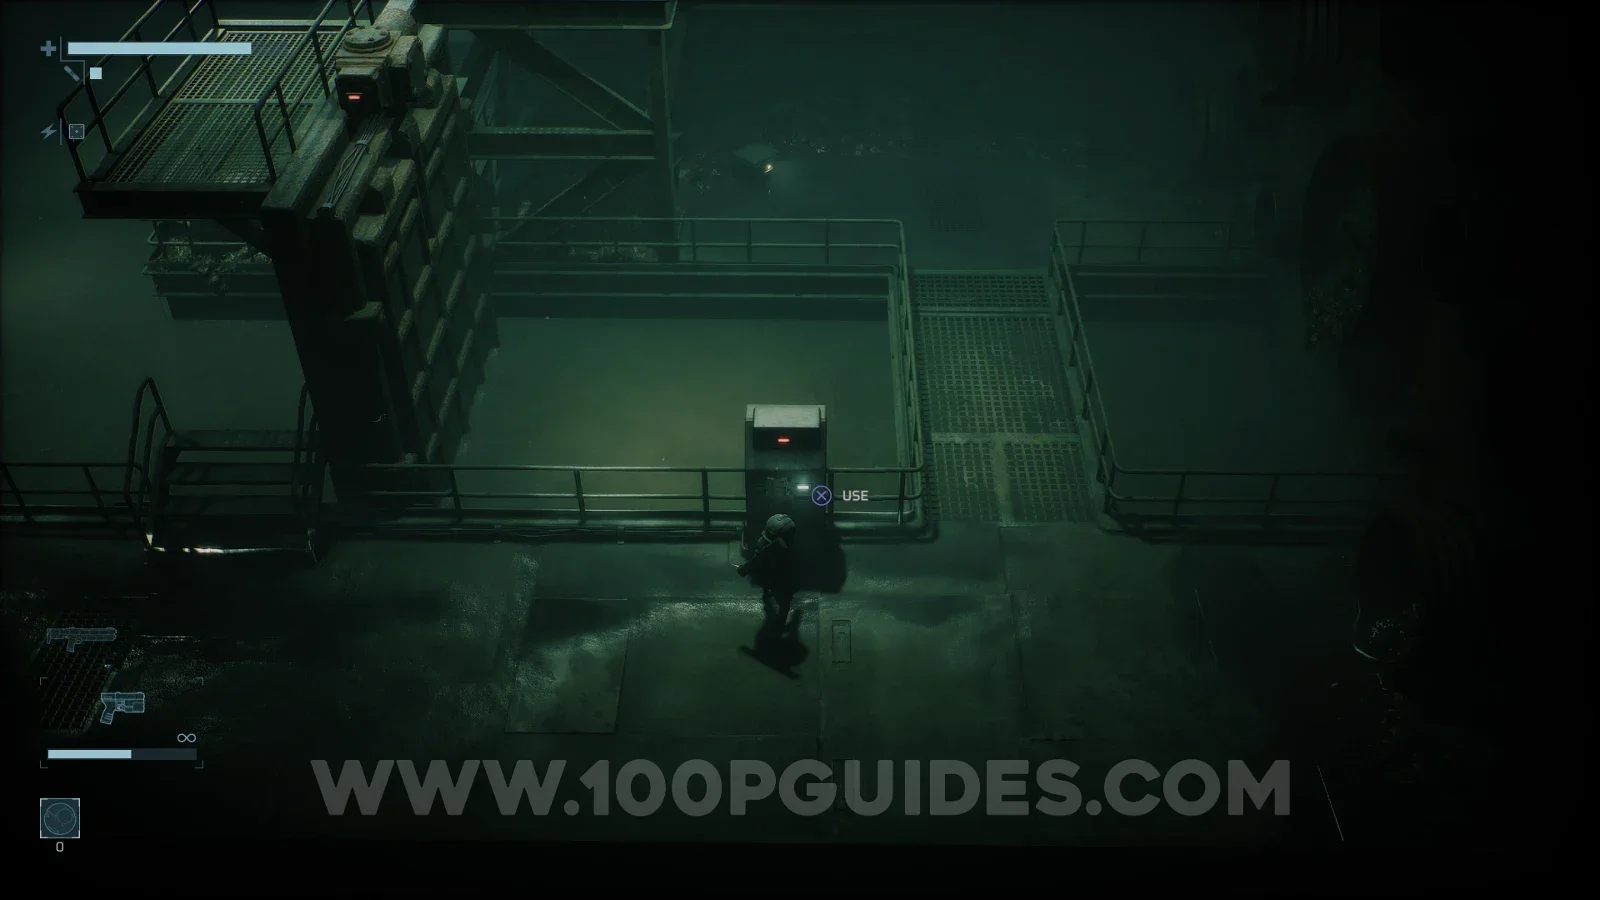
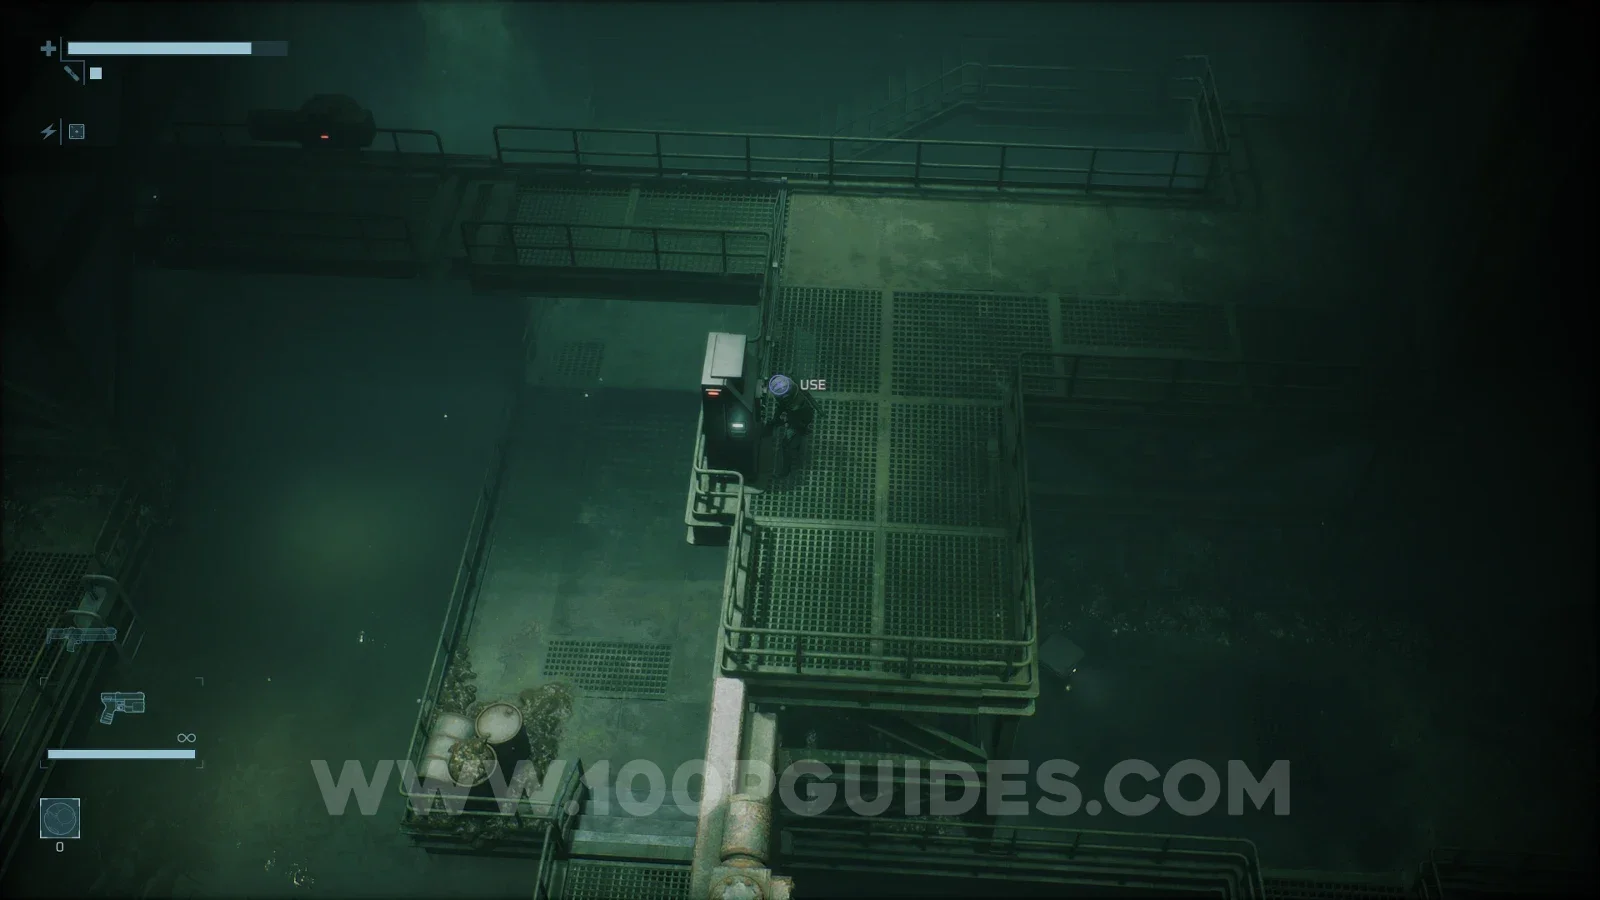
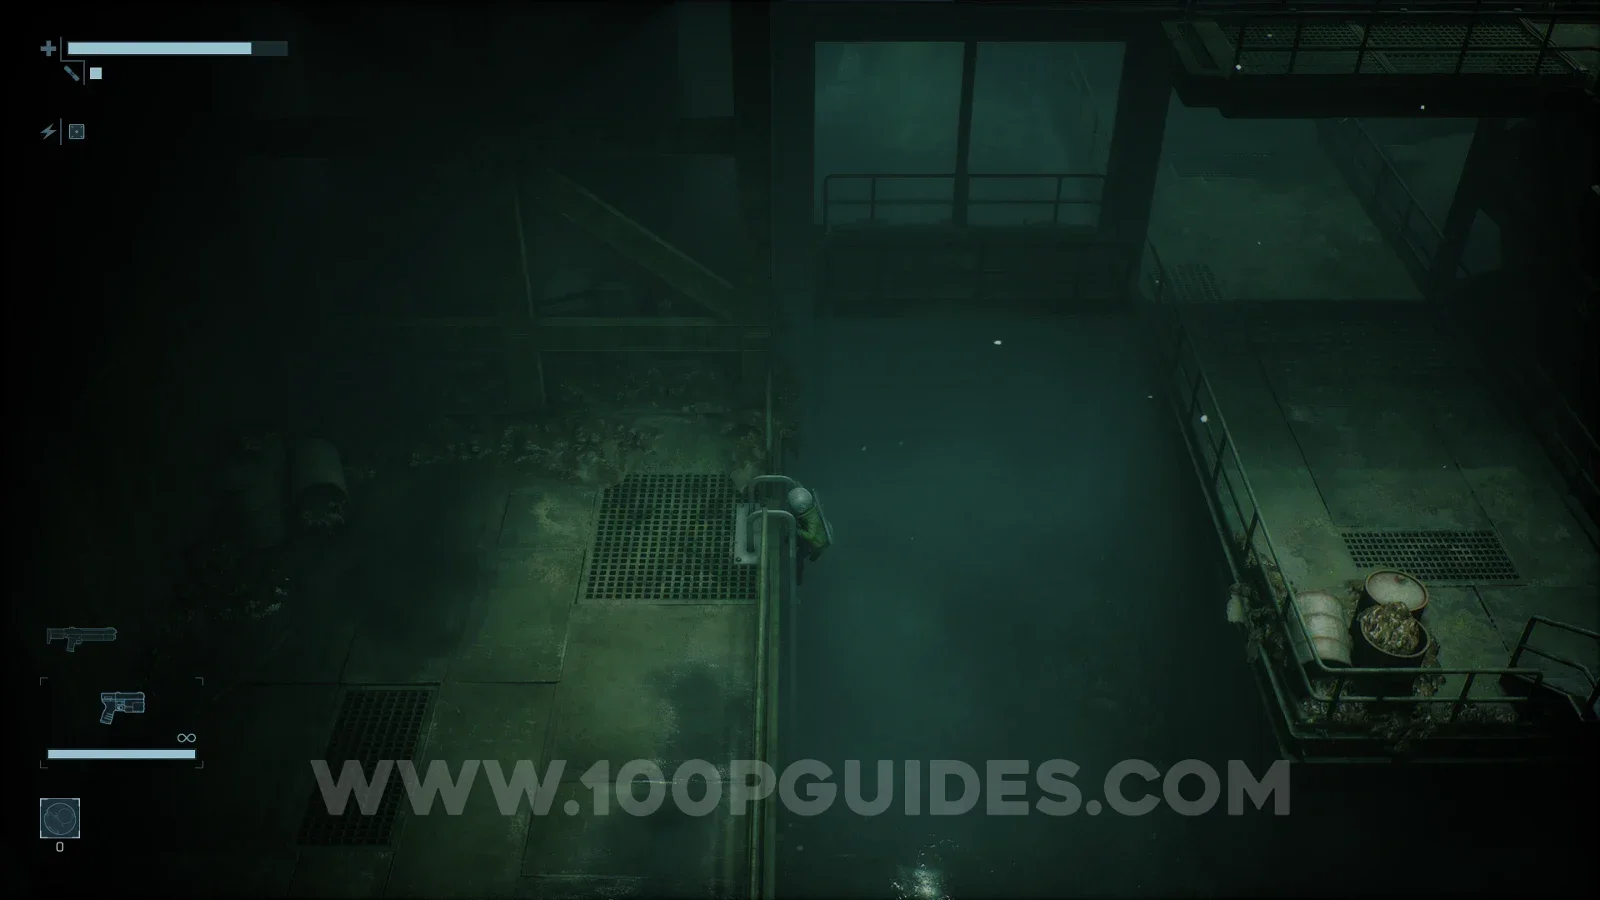
As soon as you climb up to the Containment Sector, head right into the safe room.
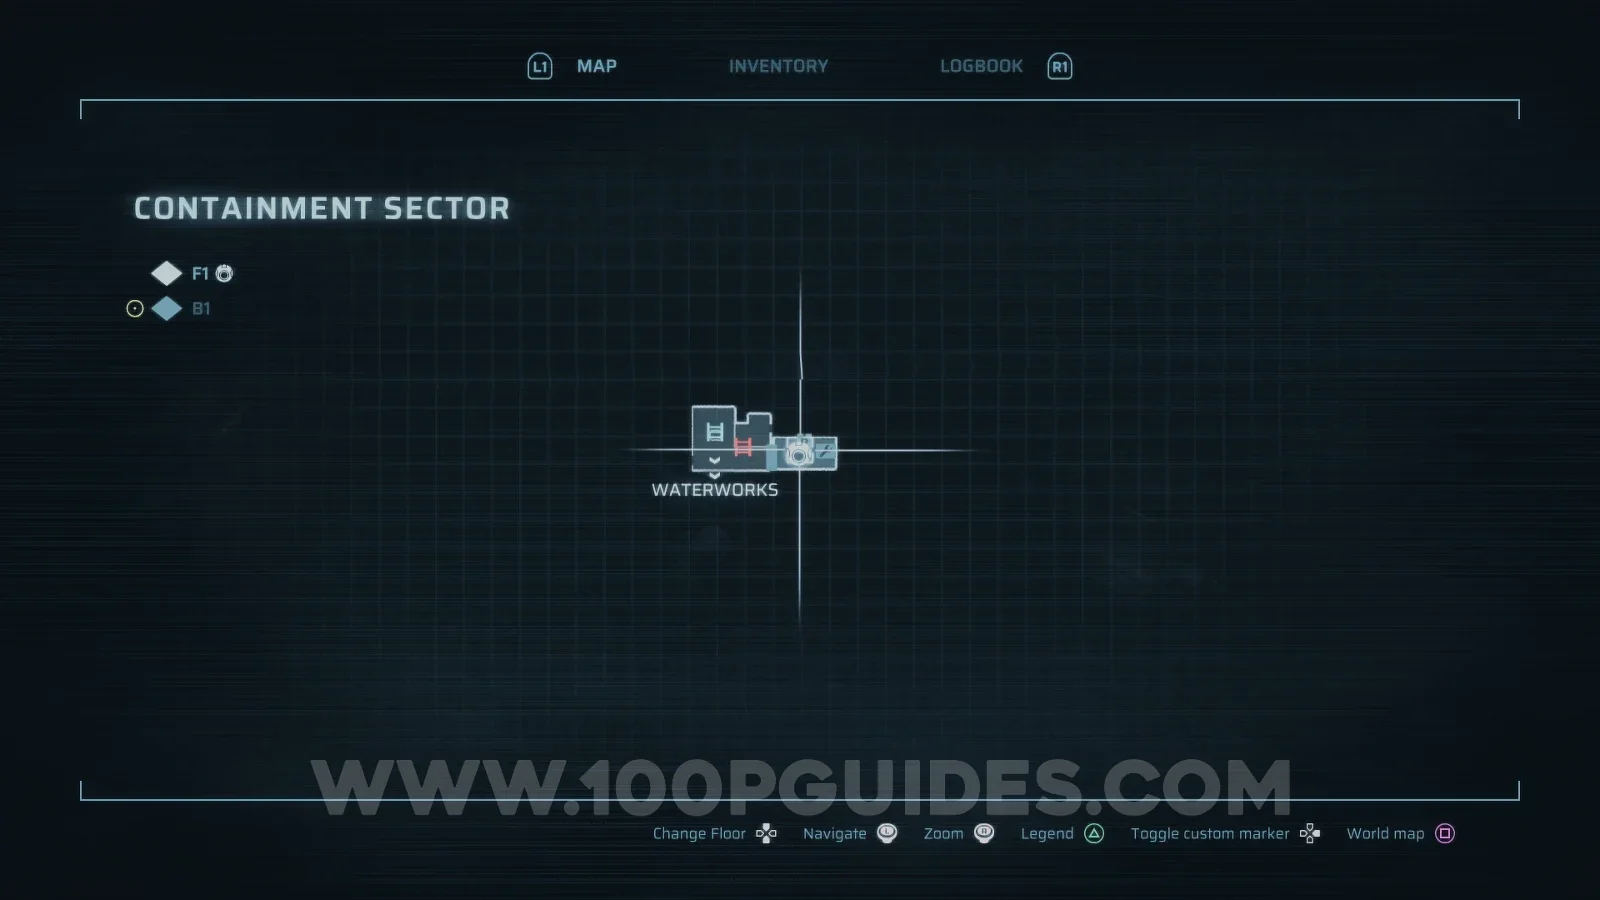
Now head all the way left to connect back to the Factory East area. Here, pick up the Basement Keycard and press the switch to extend the bridge.
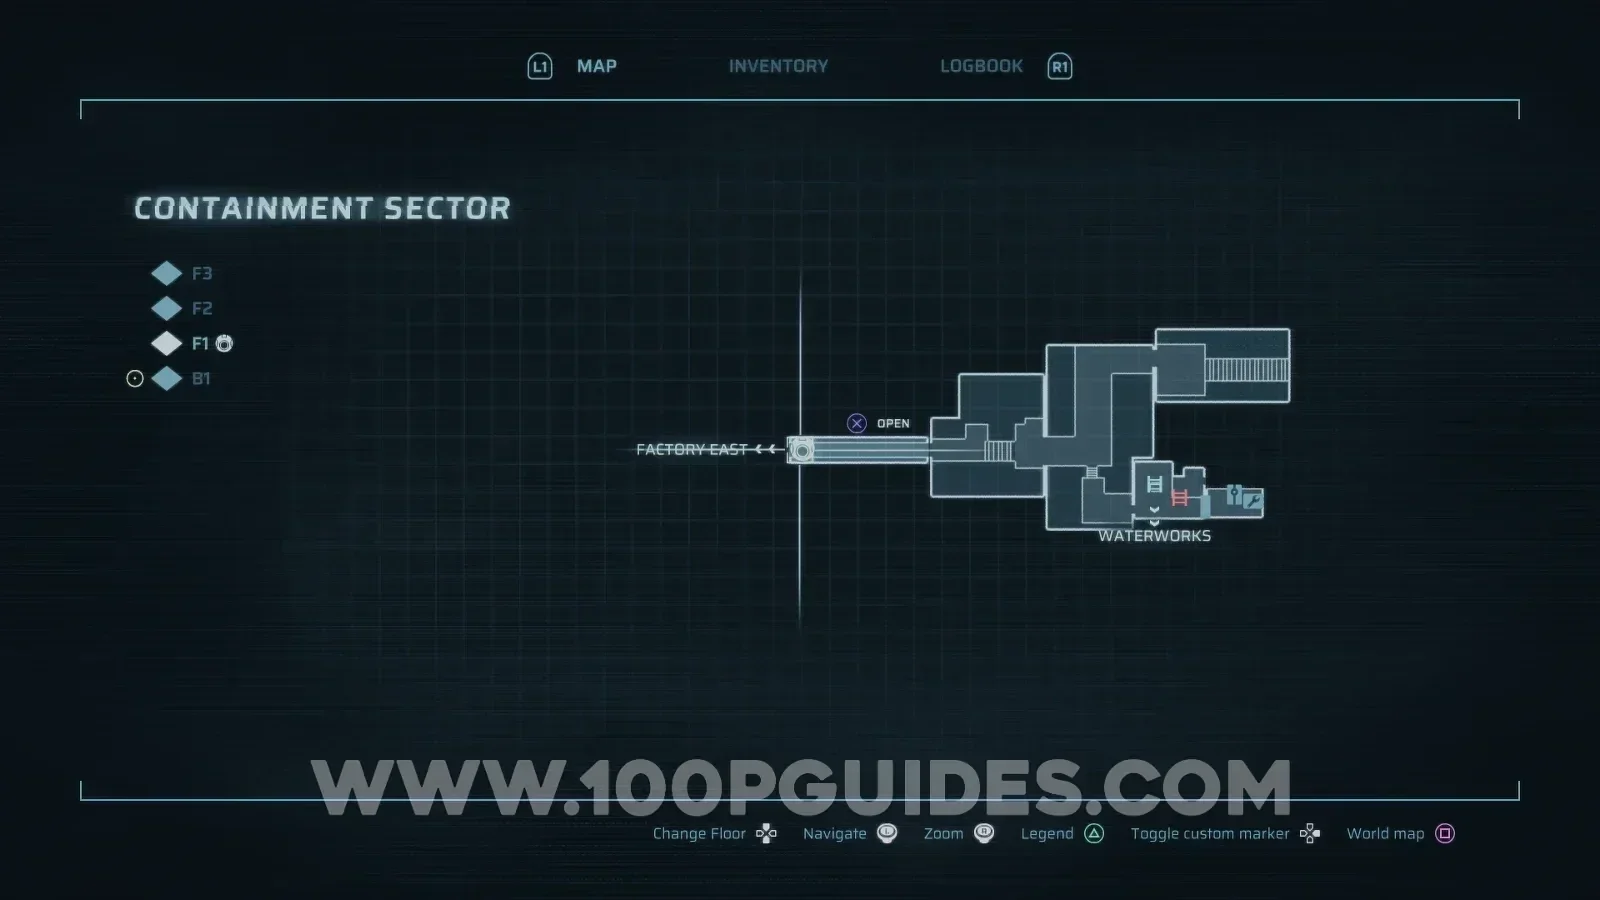
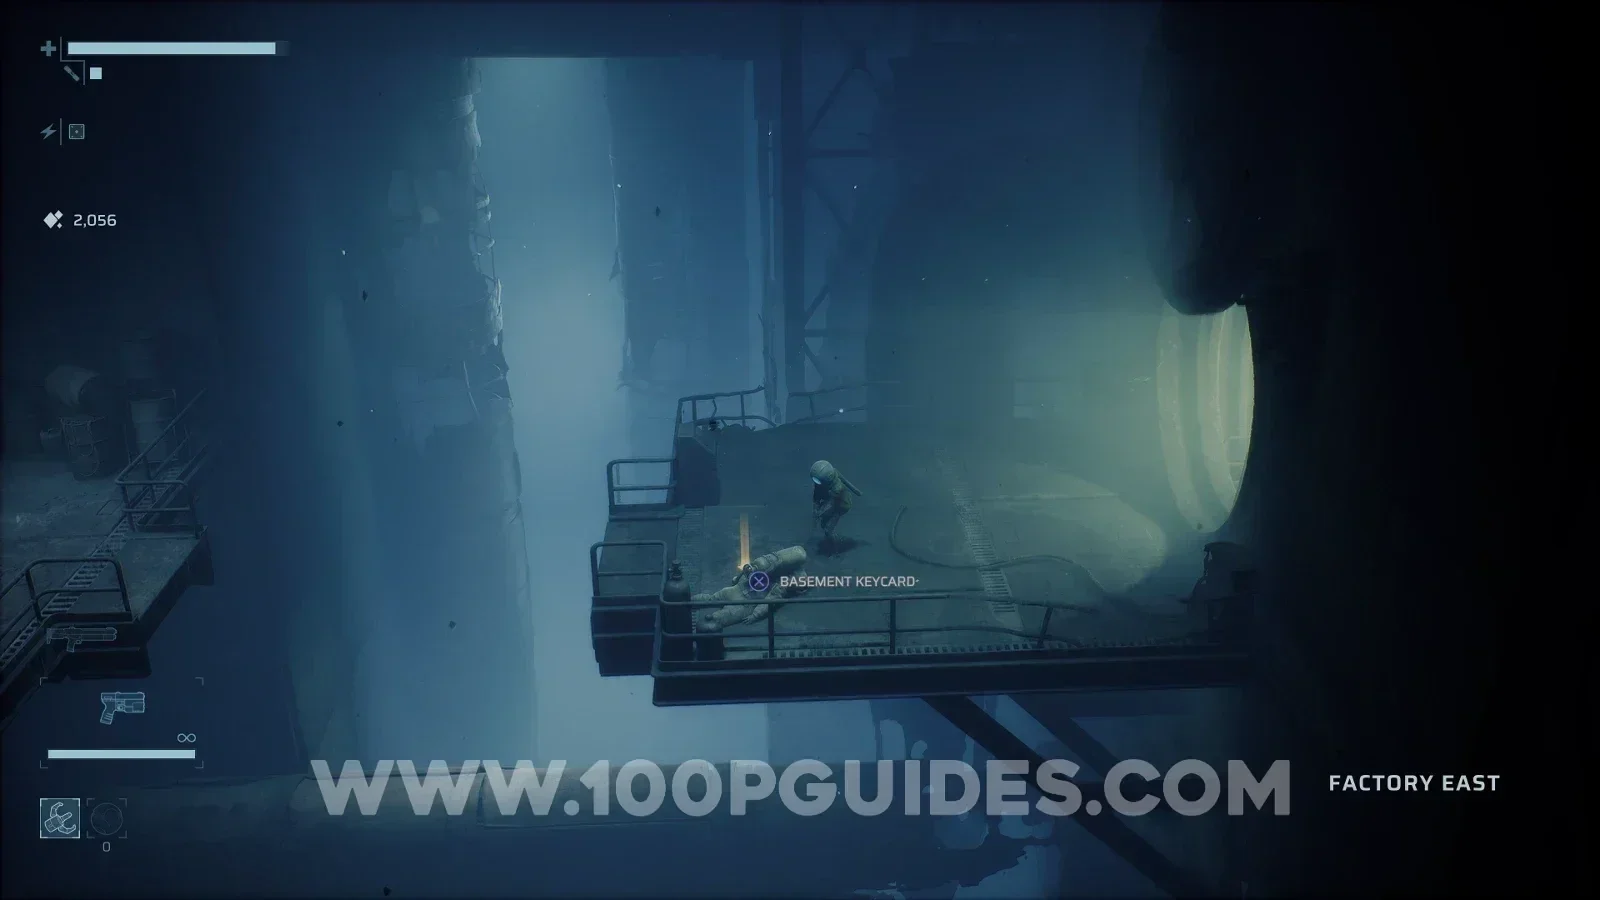
Cross the bridge and continue left until you see a ladder you can climb down. At the bottom, head right to reach the Basement area. When you get to an area with some strange growths, head down the metal stairs and then the ladder (before going down the stairs, you can also go right to open a shortcut back to where you found the Basement Keycard, which is recommended since you will have to survive an ambush down below). At the bottom of the ladder, move towards the screen and use the Basement Keycard to open the door. Survive the ambush inside and head through the door on the left to get the Radiation Protection suit mod.
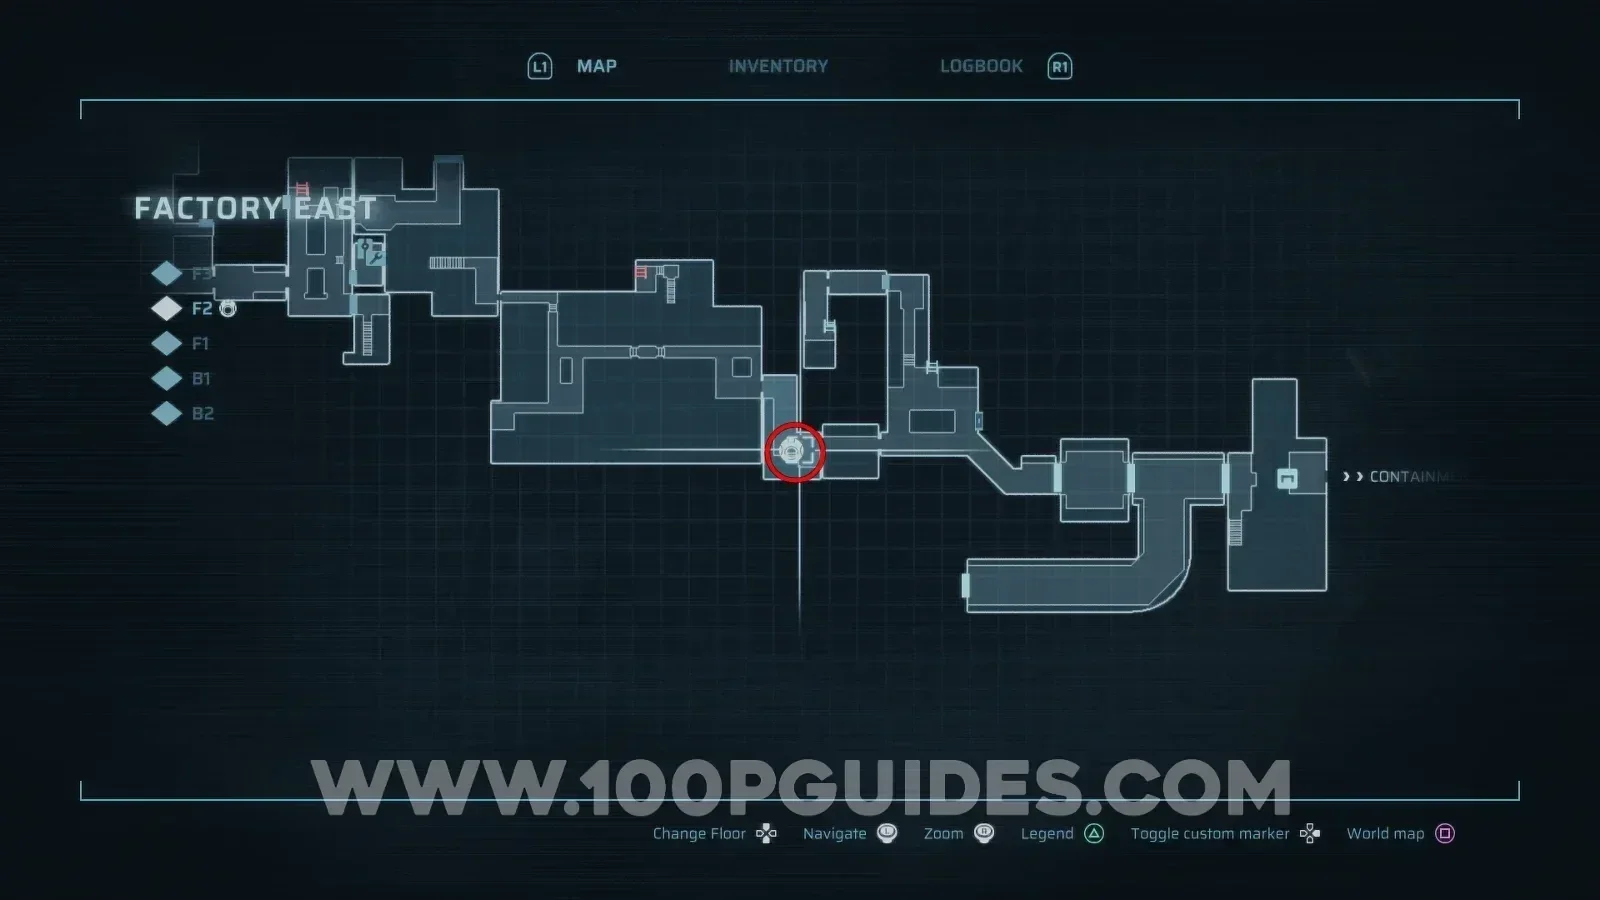
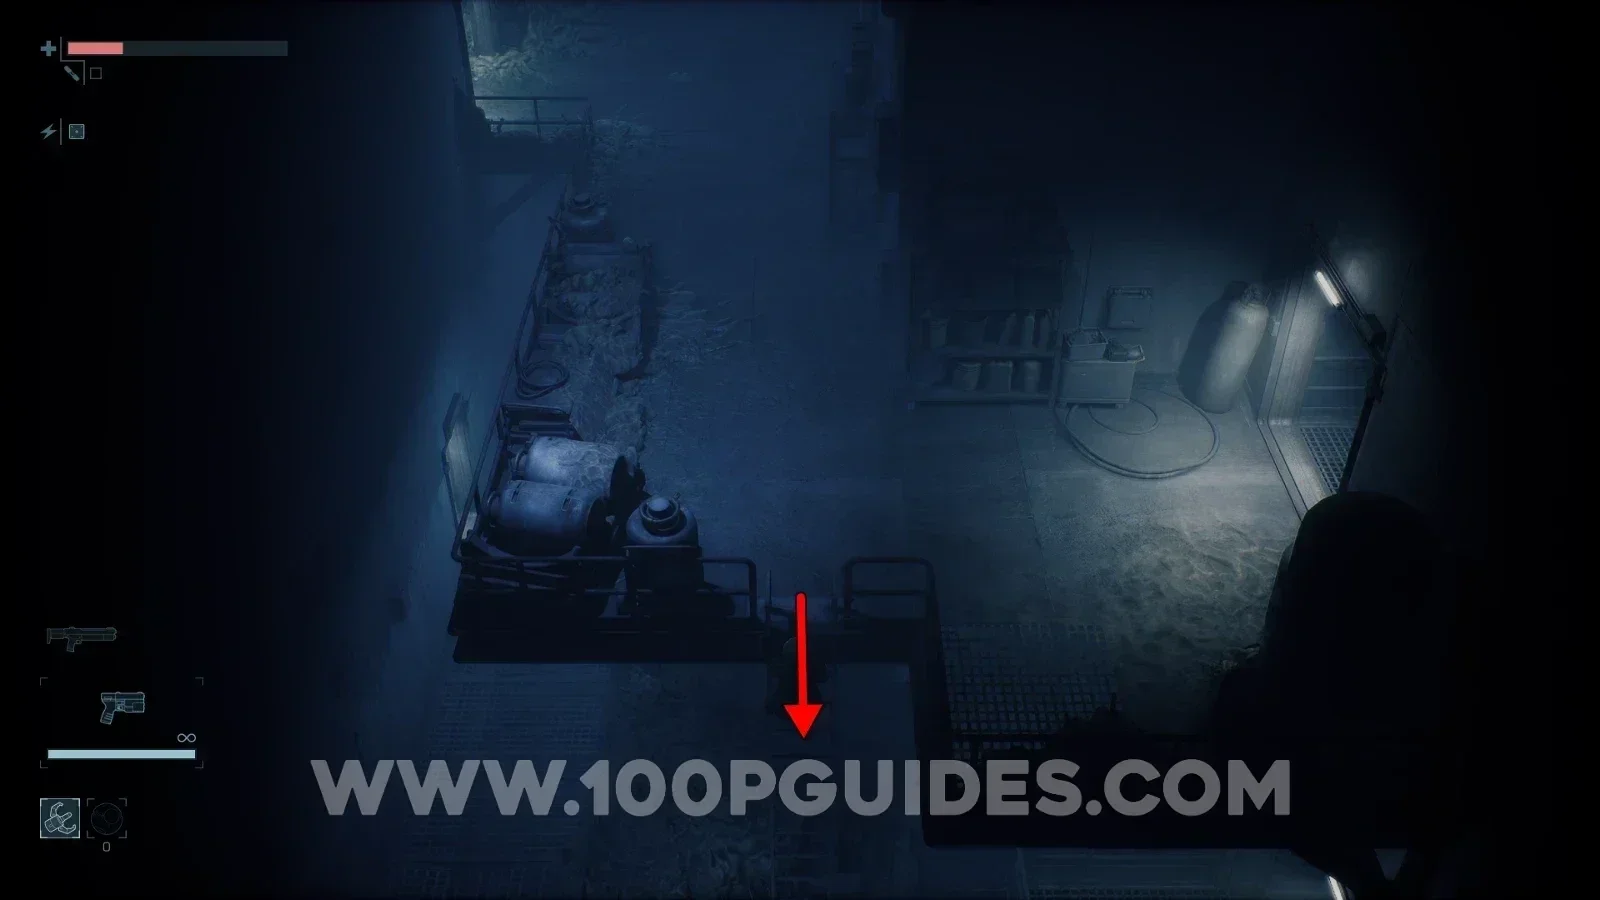
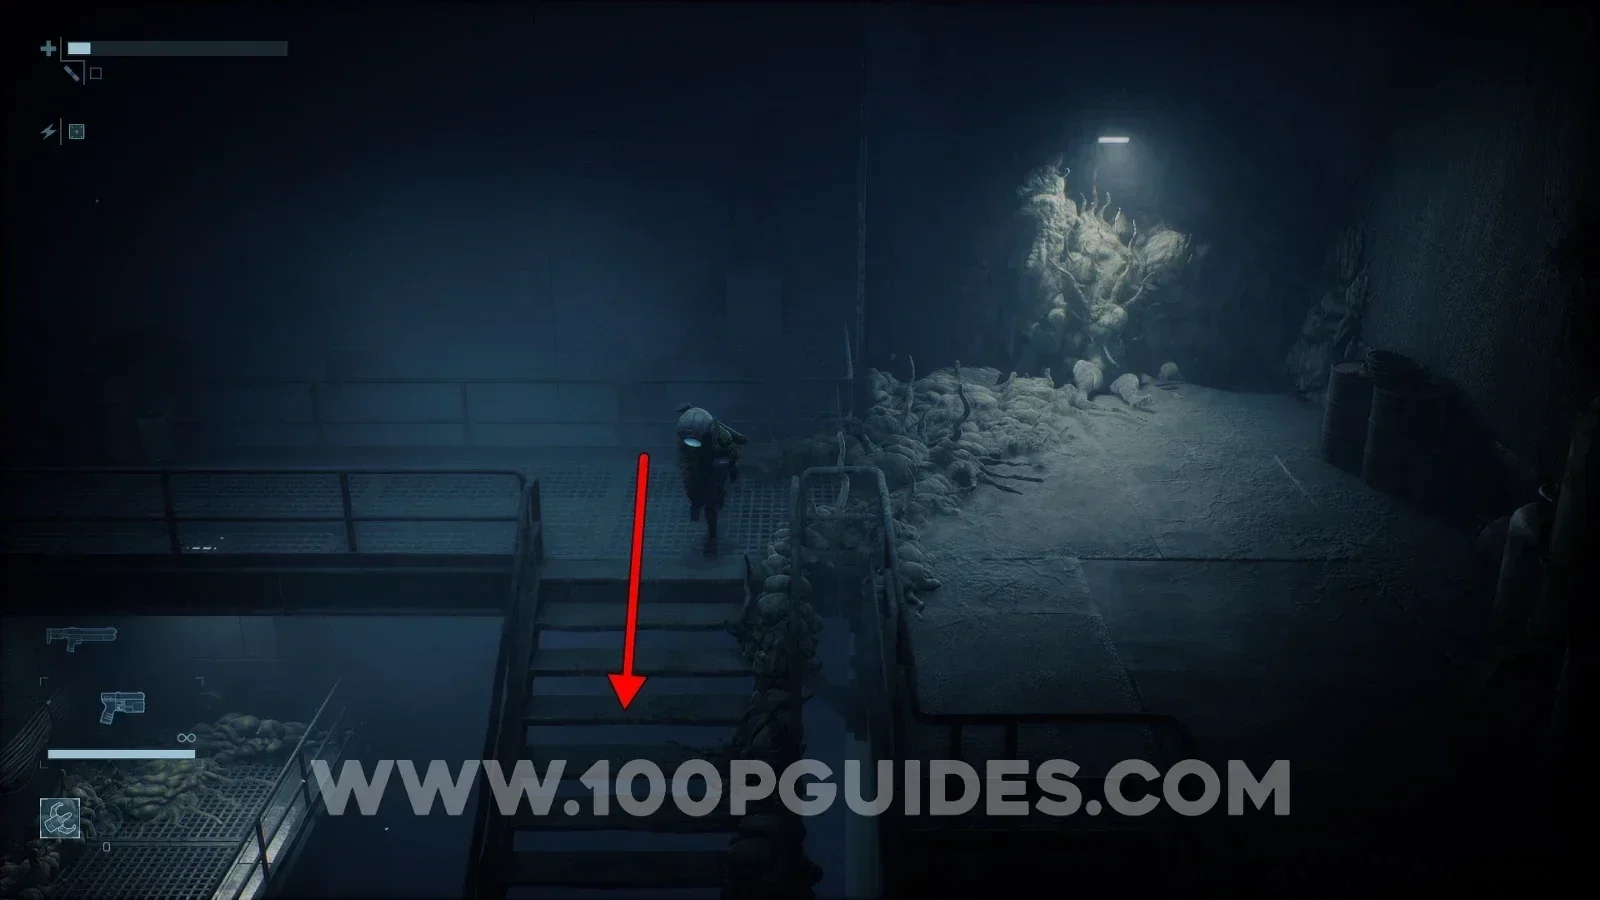
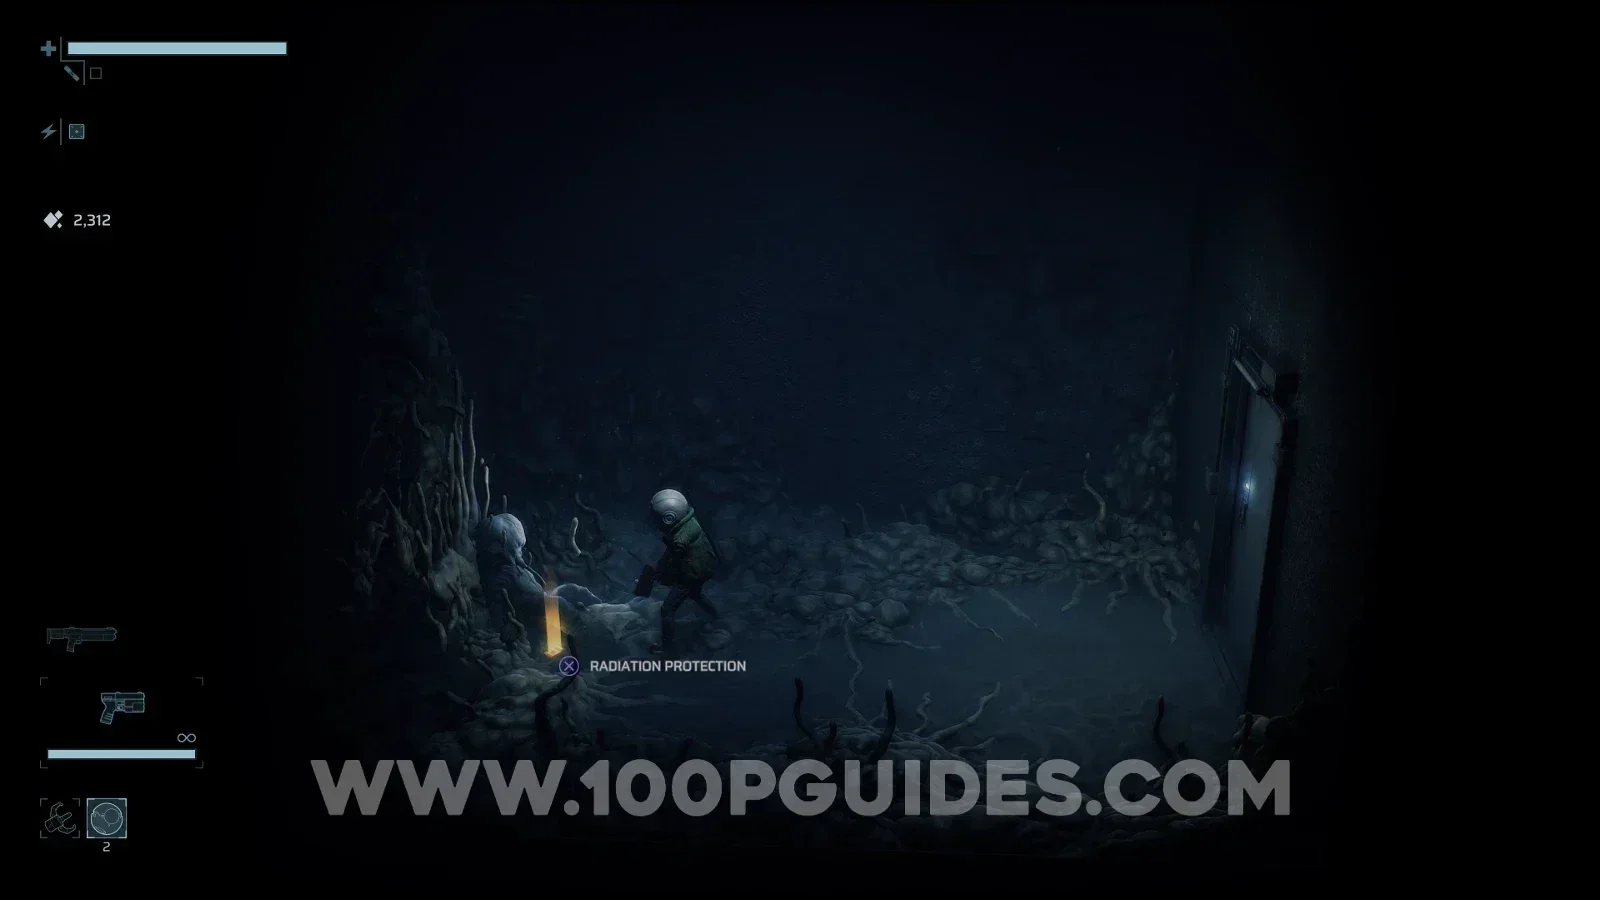
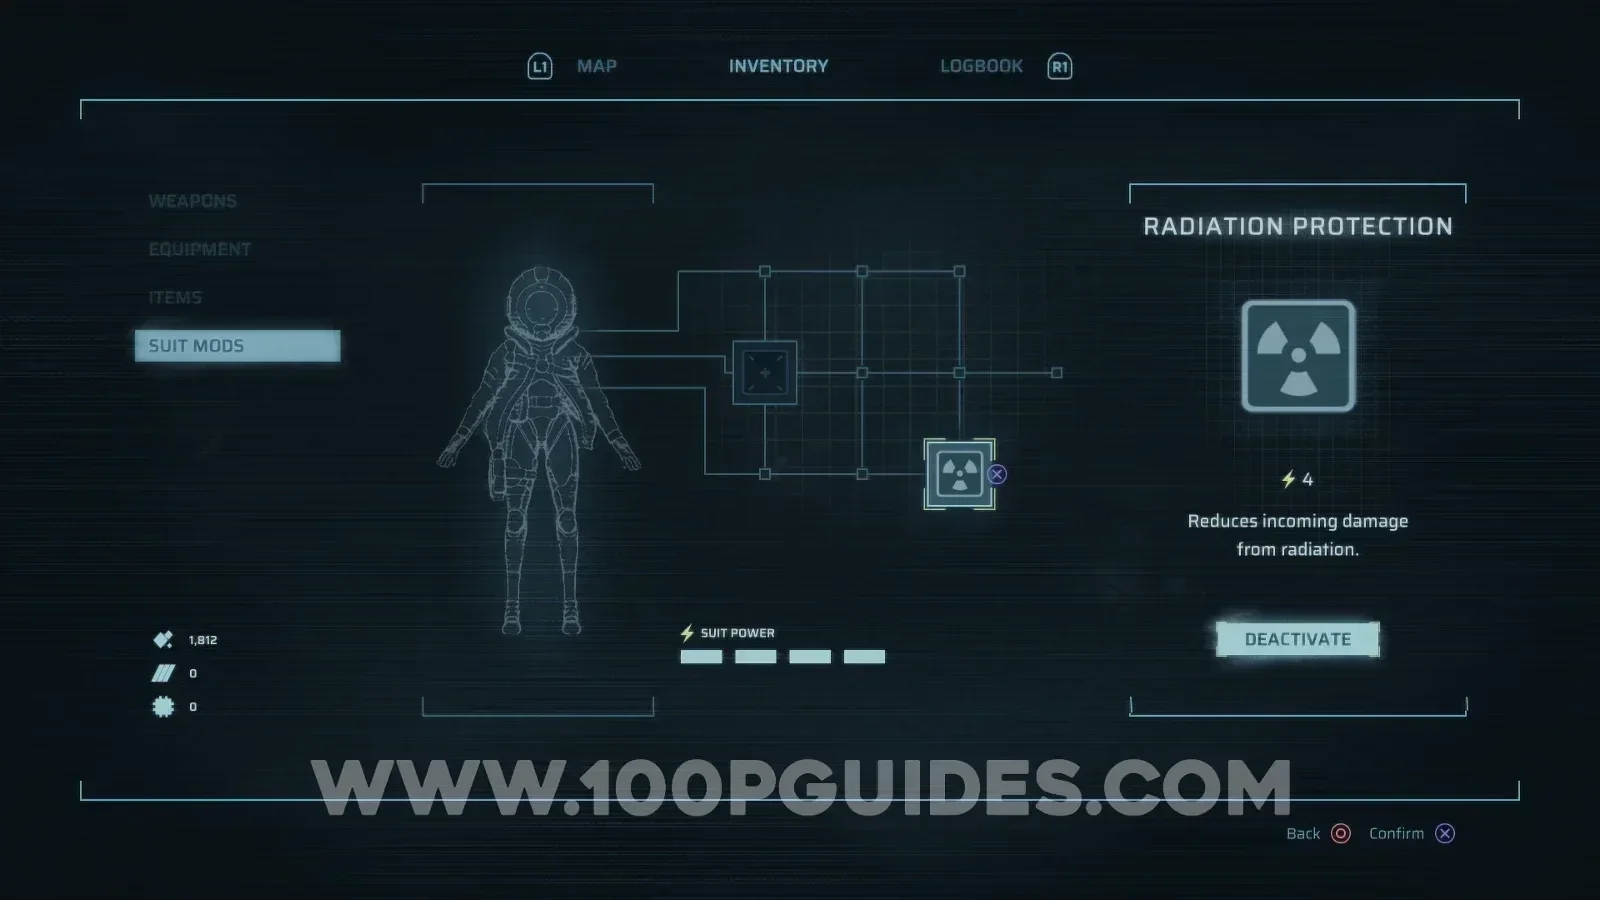
Now return to the safe room at the start of the Containment Sector. You can get there quickly by going through the door on the right in the area above where you picked up the Radiation Protection Mod. Once there, equip the Radiation Protection Mod so you no longer take any damage from the radiation in the area.
Next, head left and then up to reach the next floor. Then head up again and left. Here, climb the ladder on the left and make your way to the right until you eventually reach a switch on the wall that opens the door below you. Press it, climb down the ladder and go through the newly opened door.
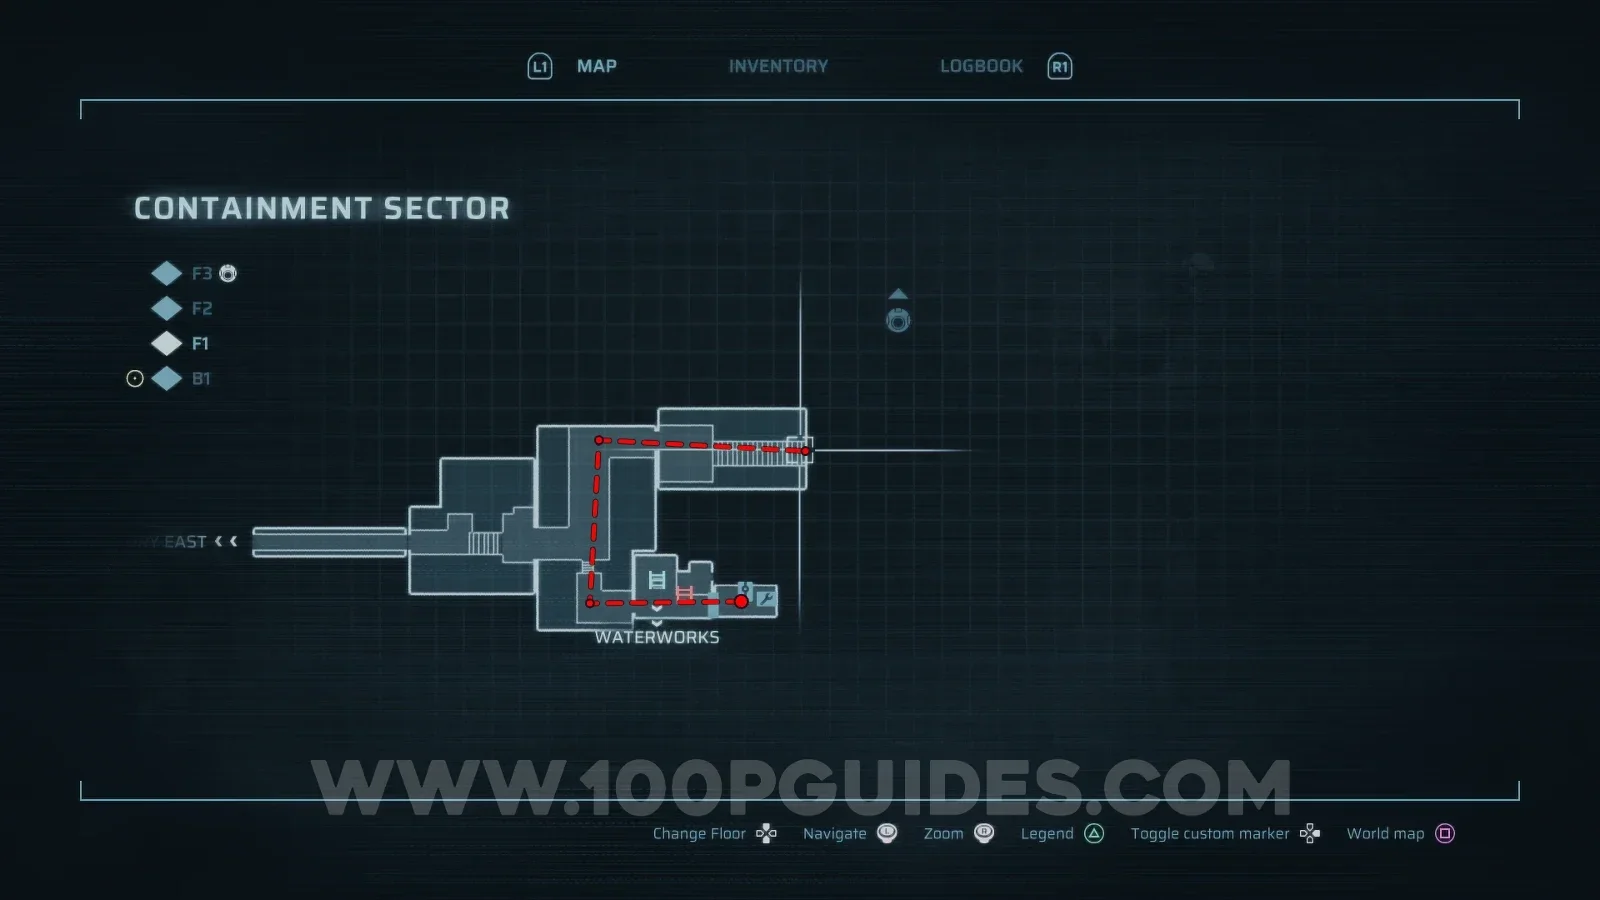
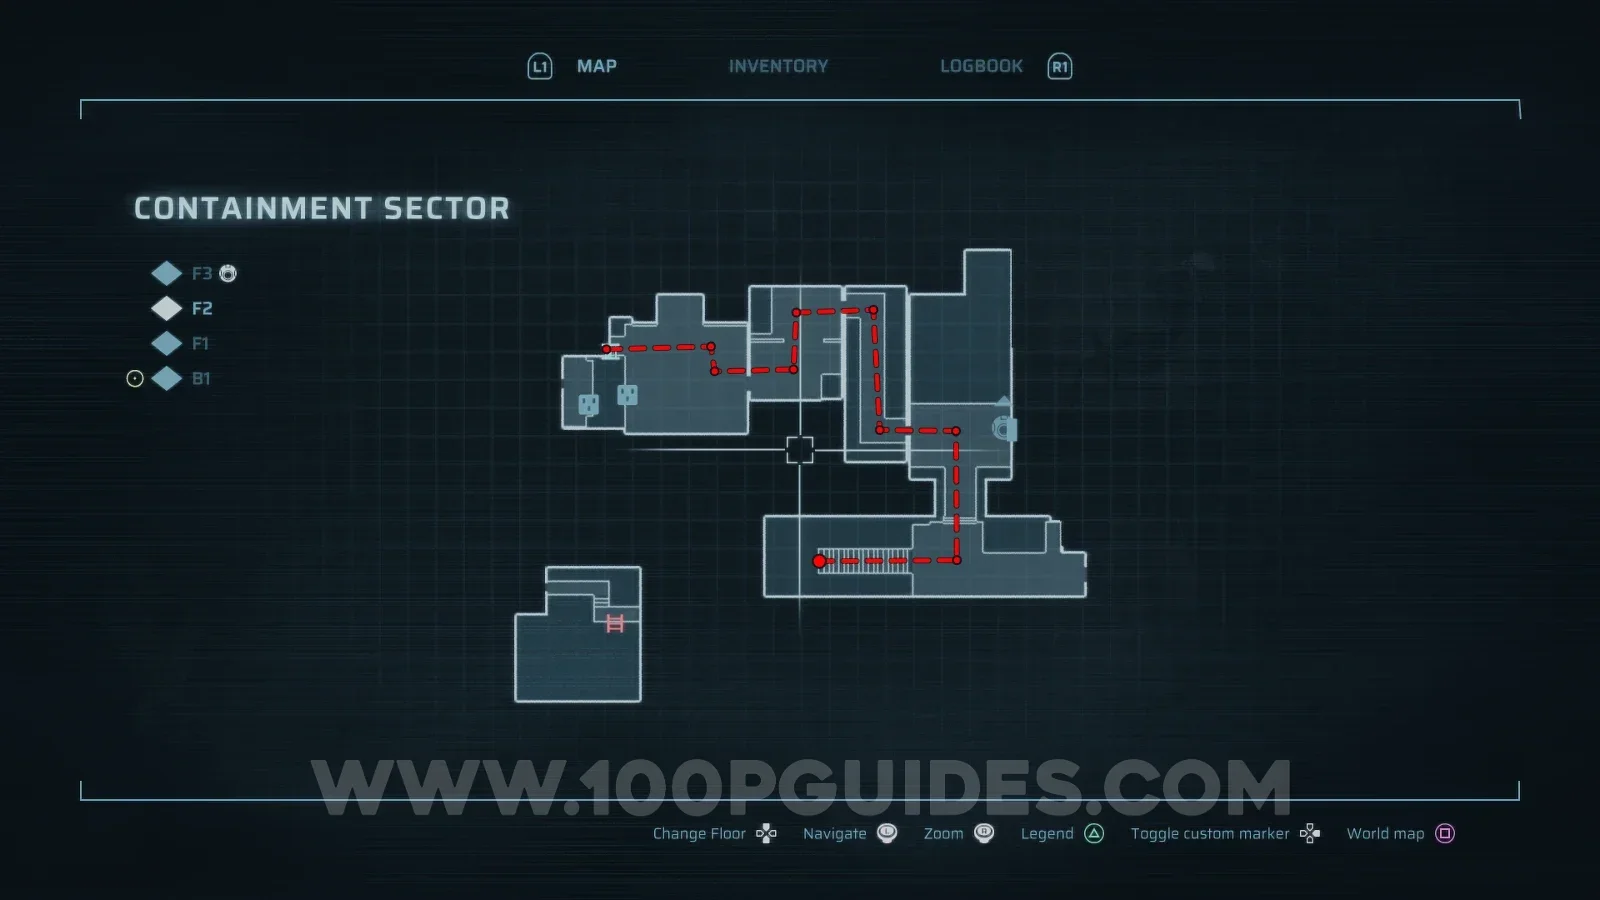
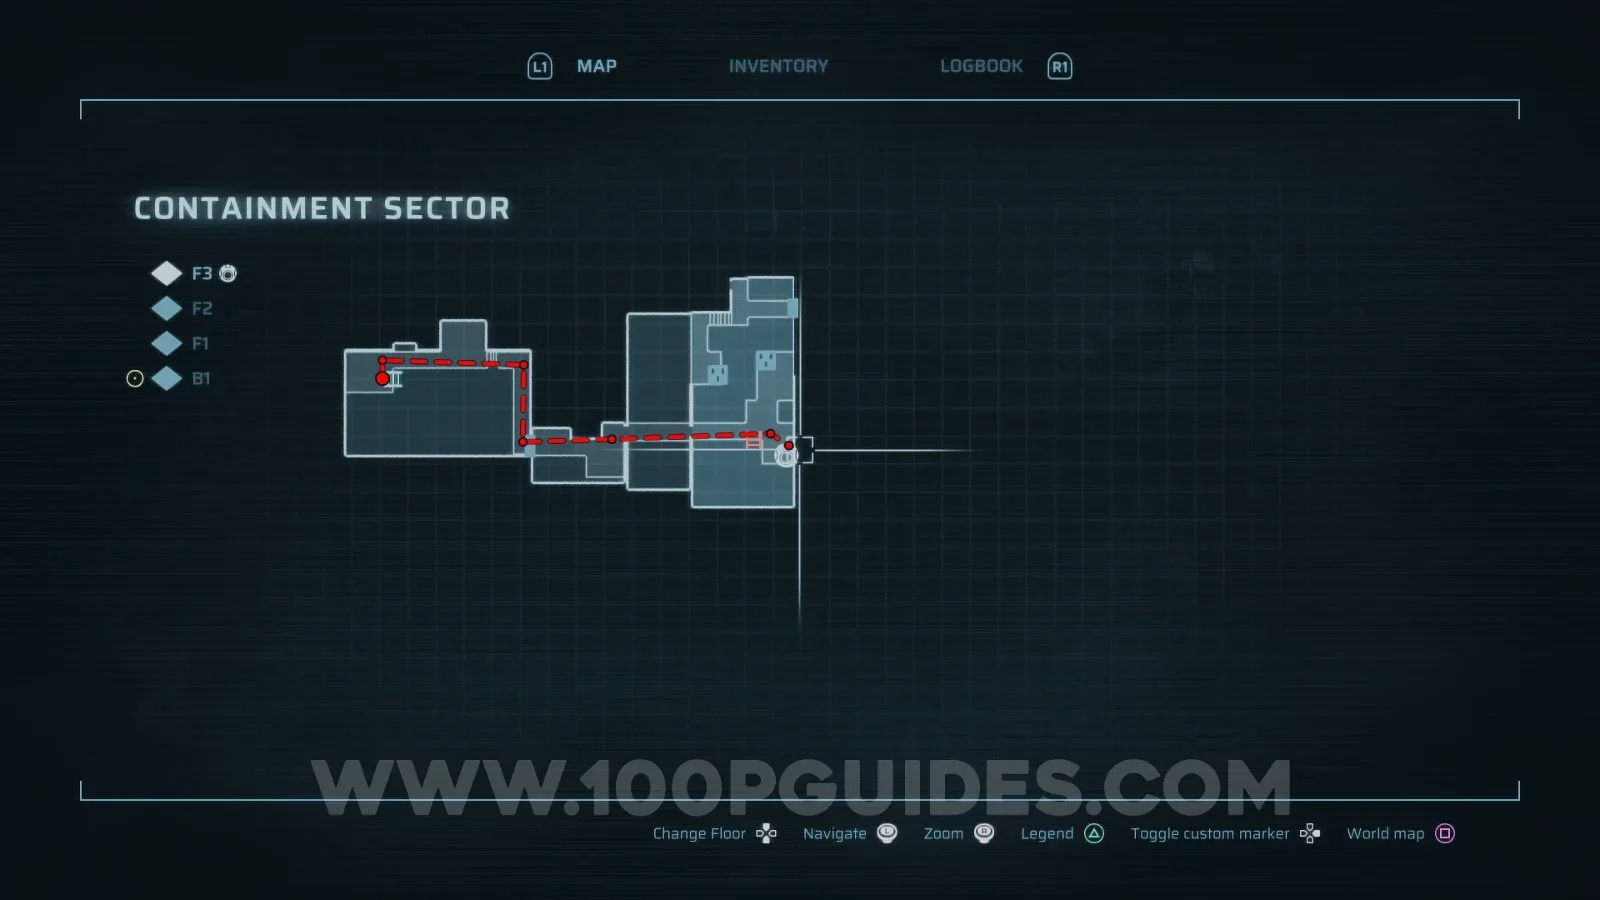
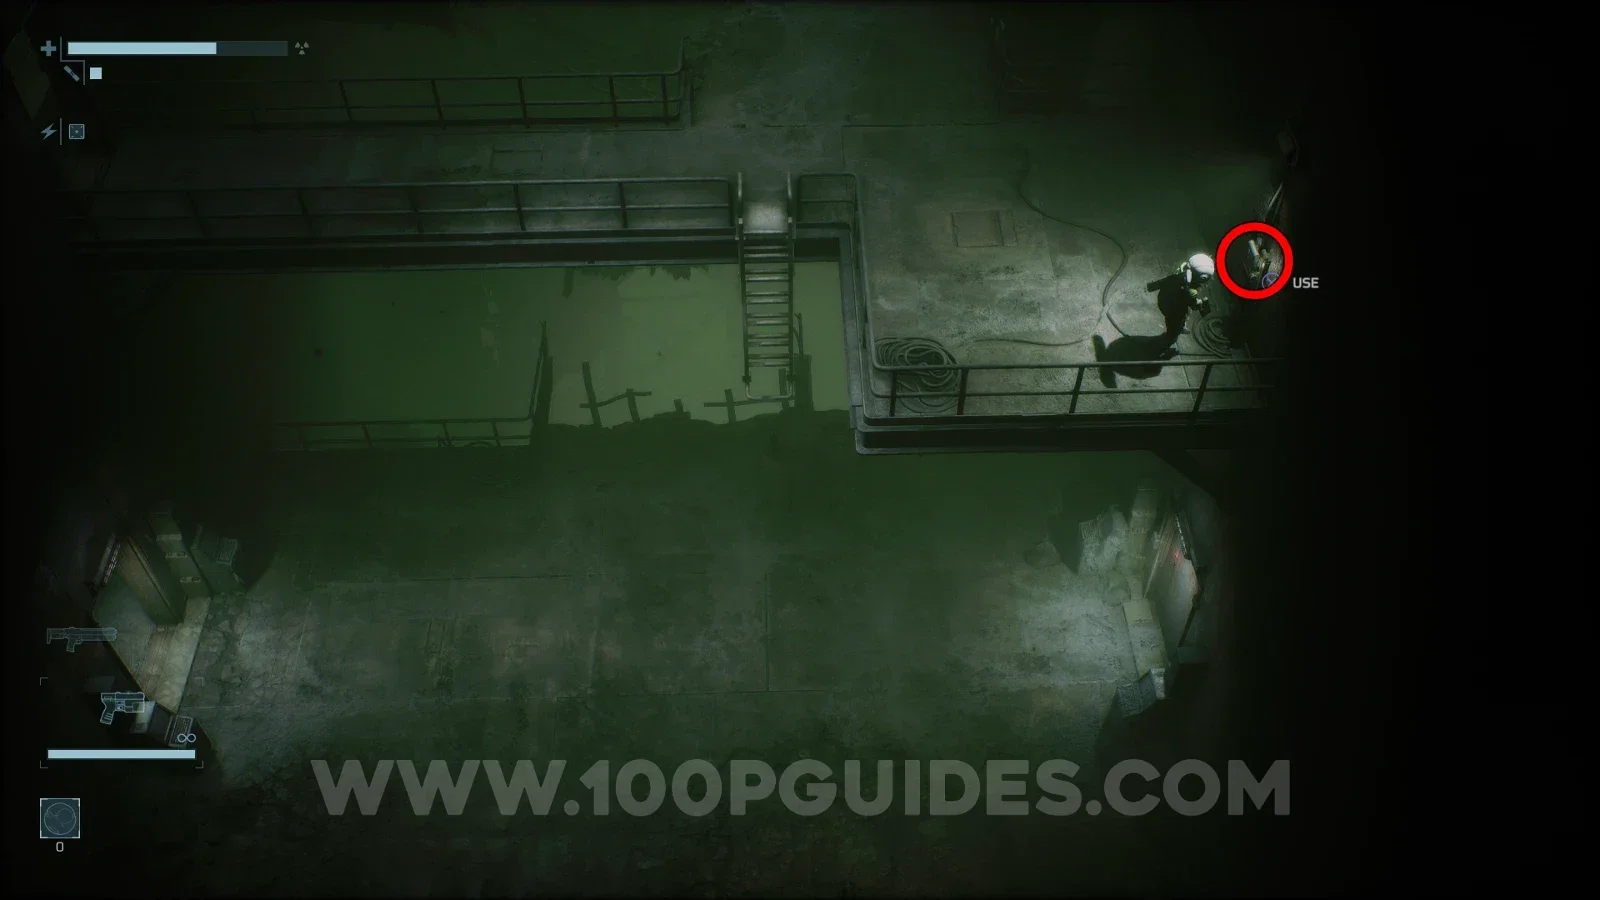
After going through the door, head north and then left, and ride the lift down. At the bottom of the lift, head left and make your way through the lower area until you climb a ladder back up to F2. Then head left and up to find a safe room.
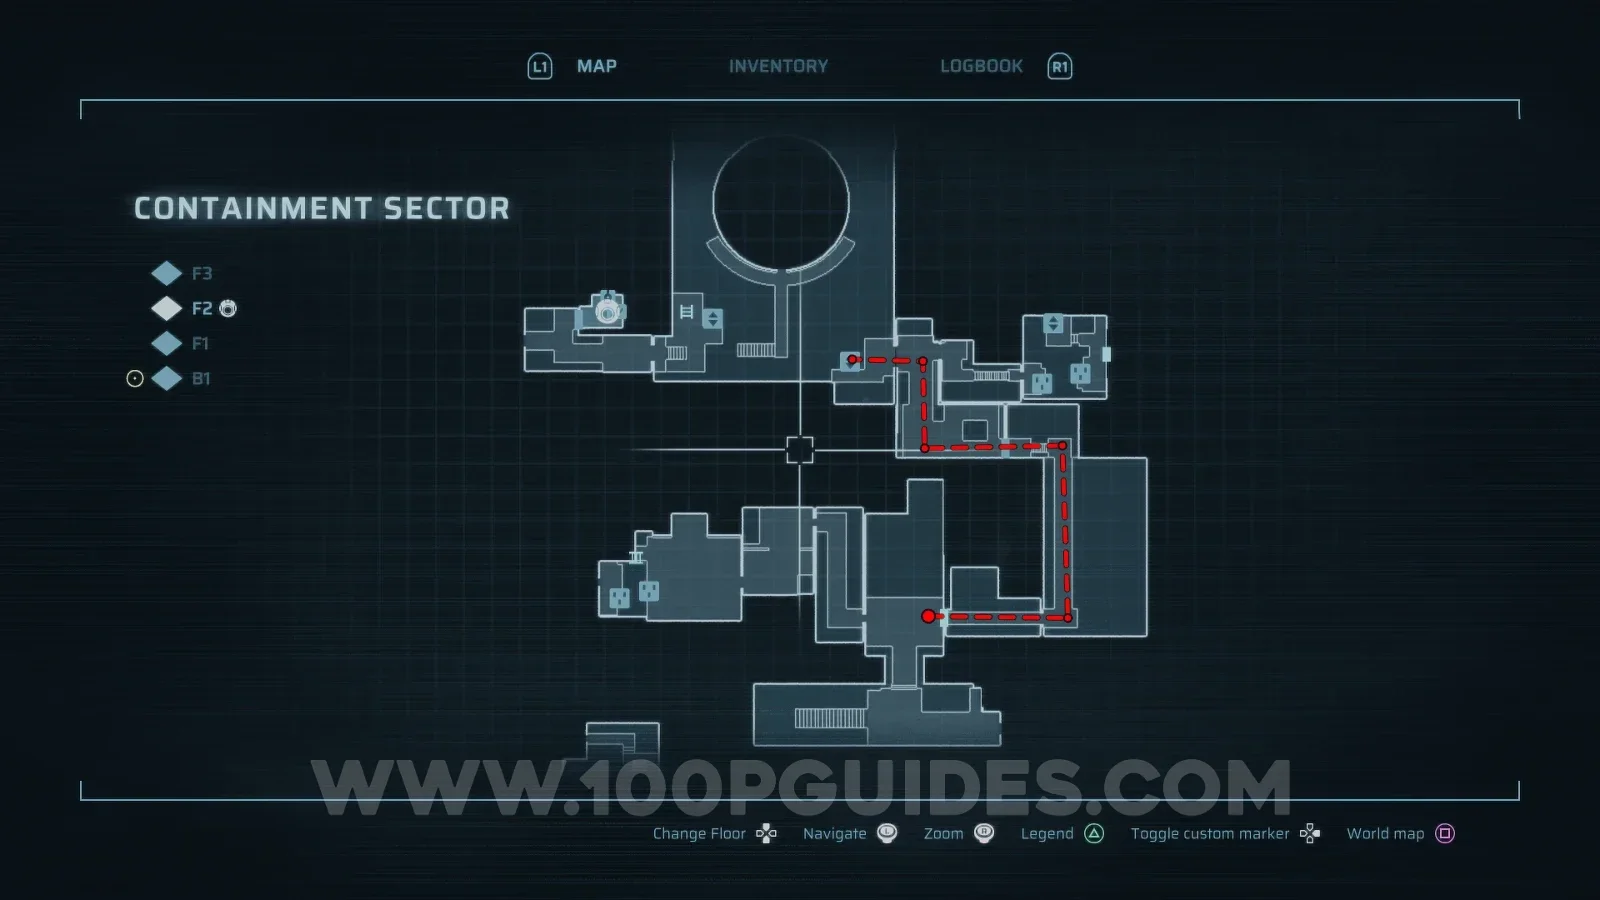
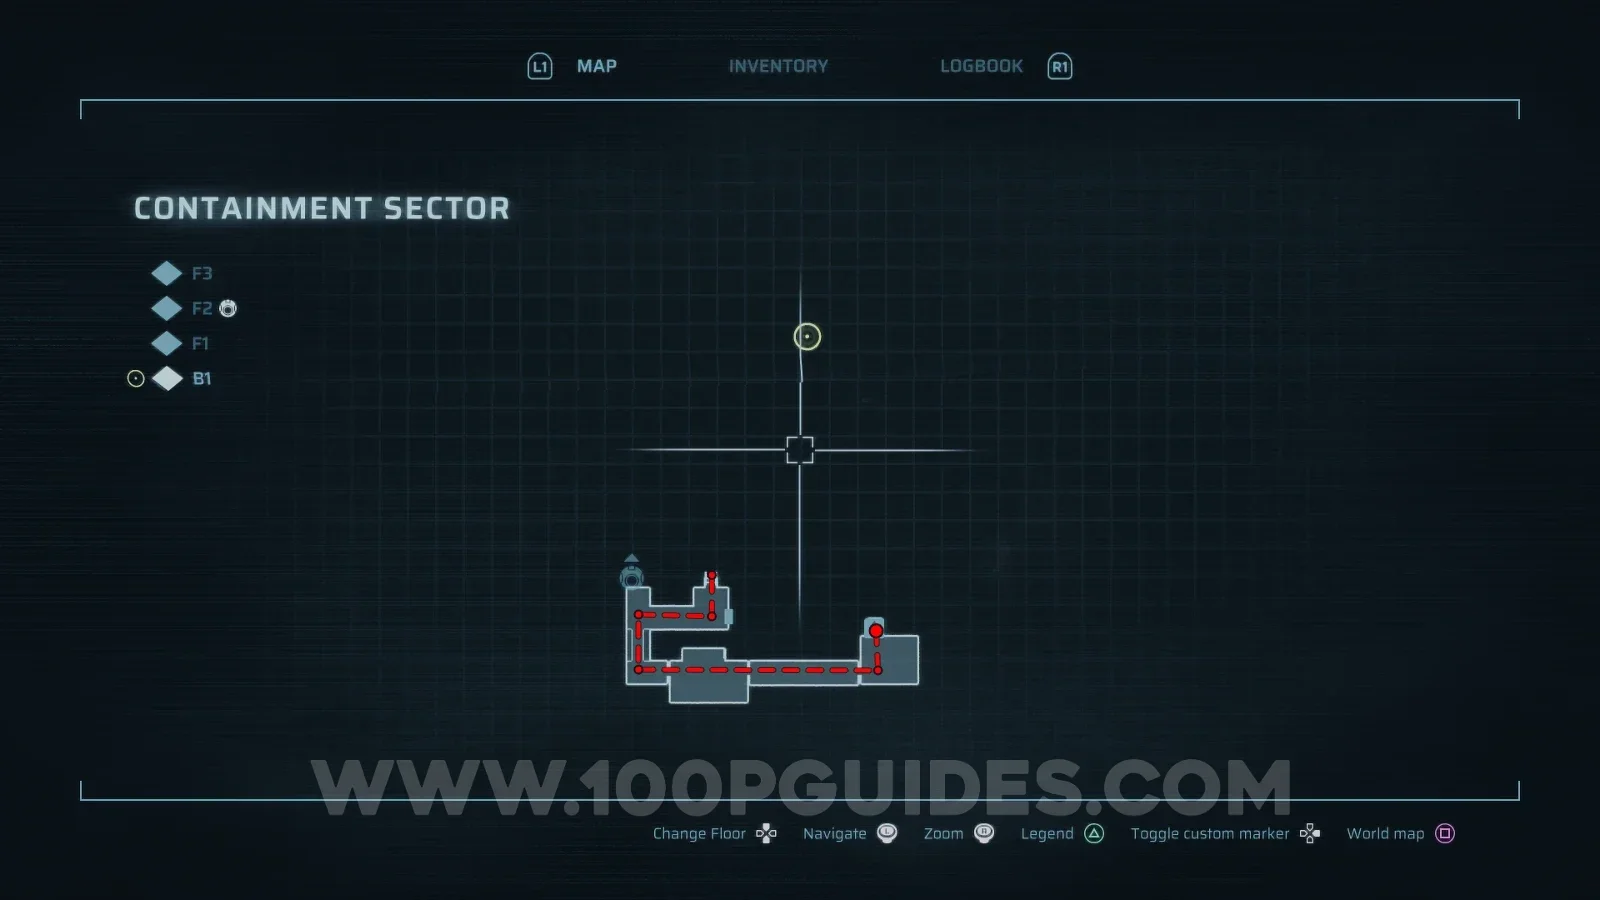
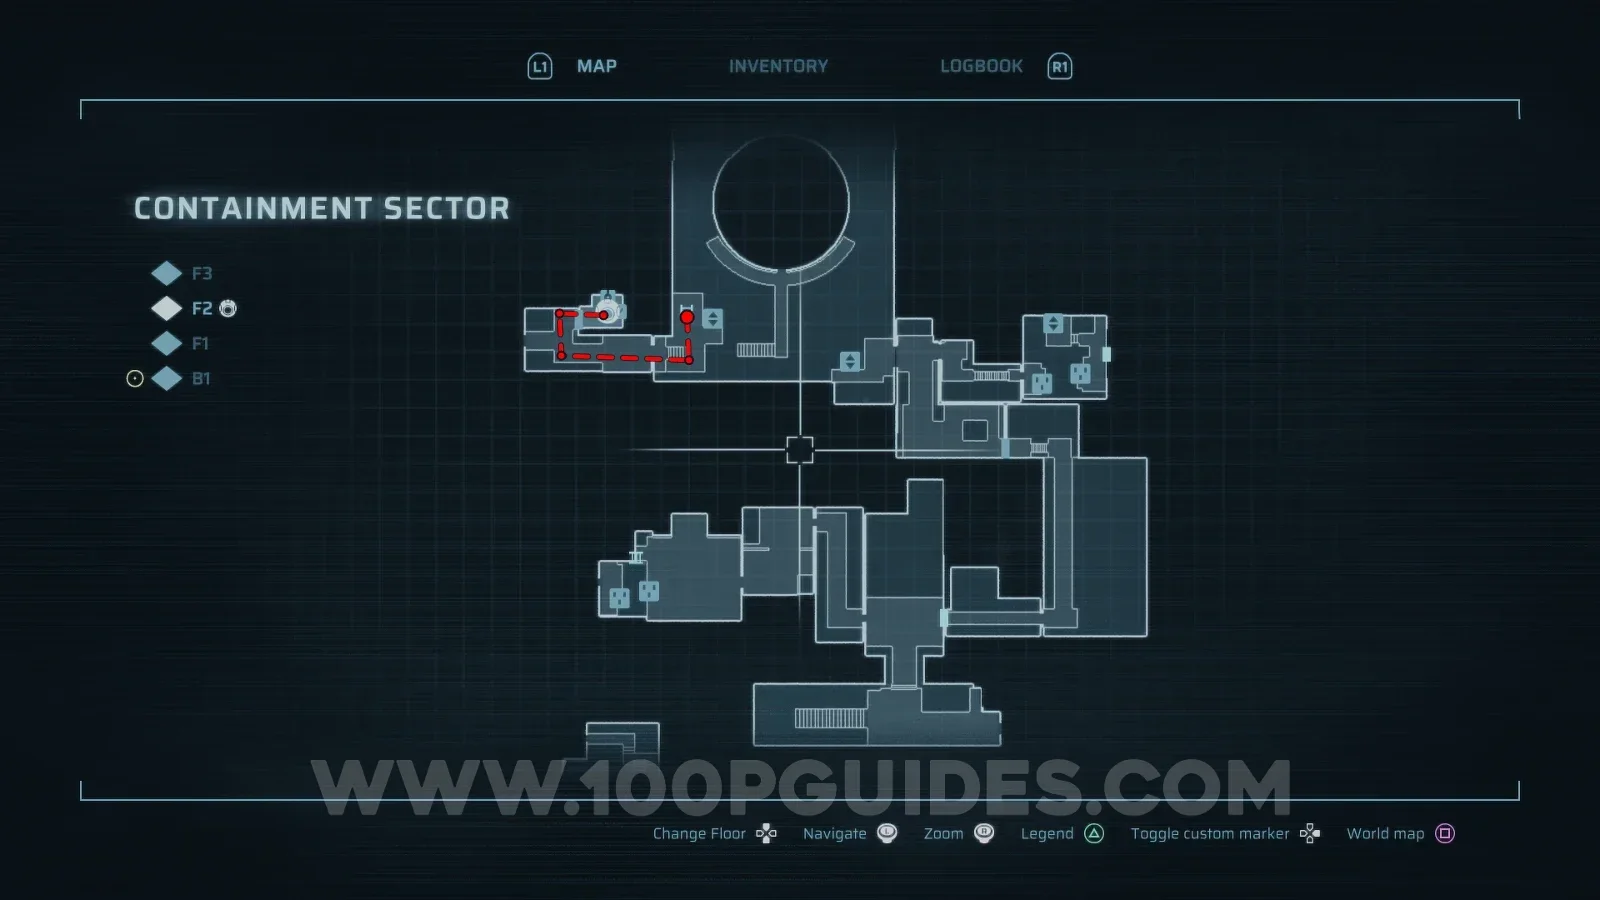
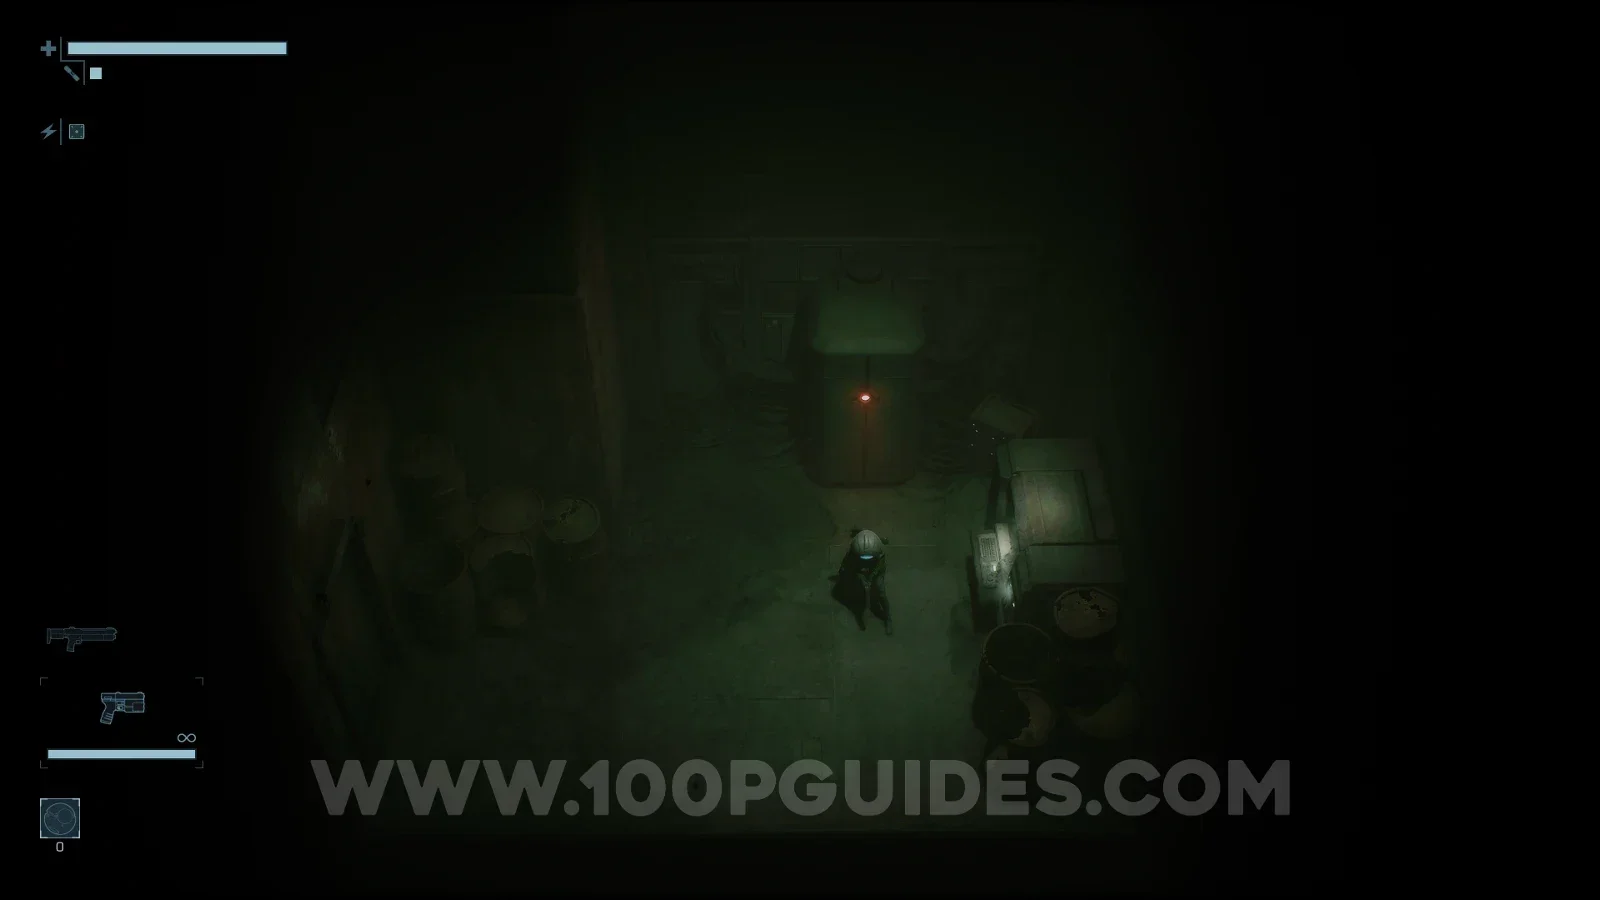
From the safe room, head left and follow the only possible path. Eventually, you will reach a room with an ambush, where you have to defeat the enemies to open the door on your right. Once you defeat them and the door unlocks, head inside and pick up the Grappling Hook.
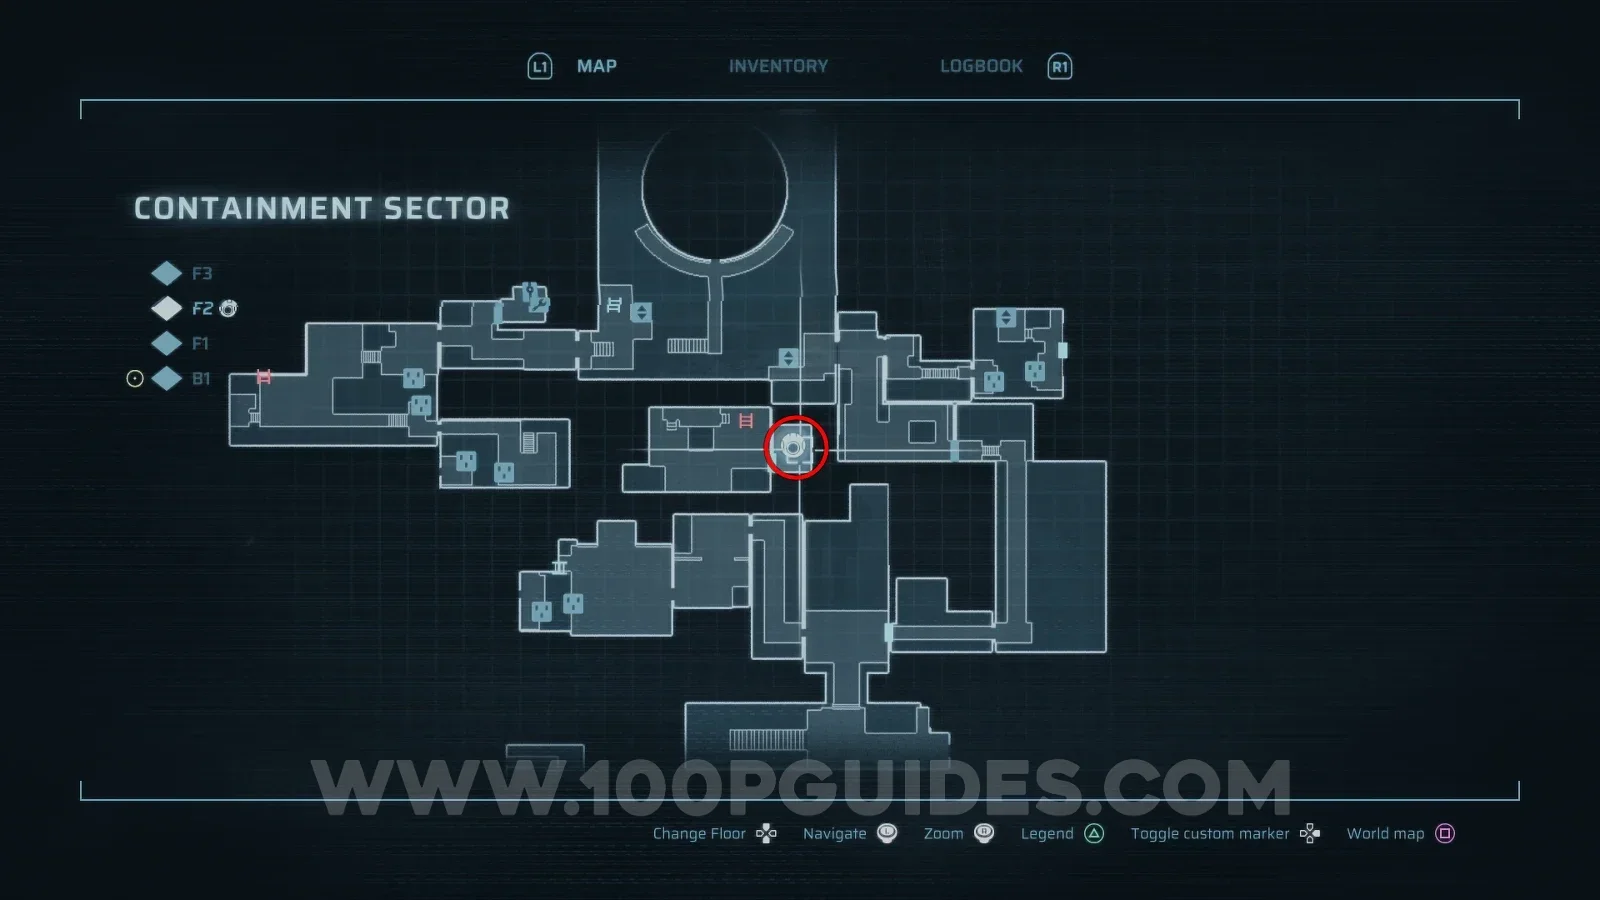
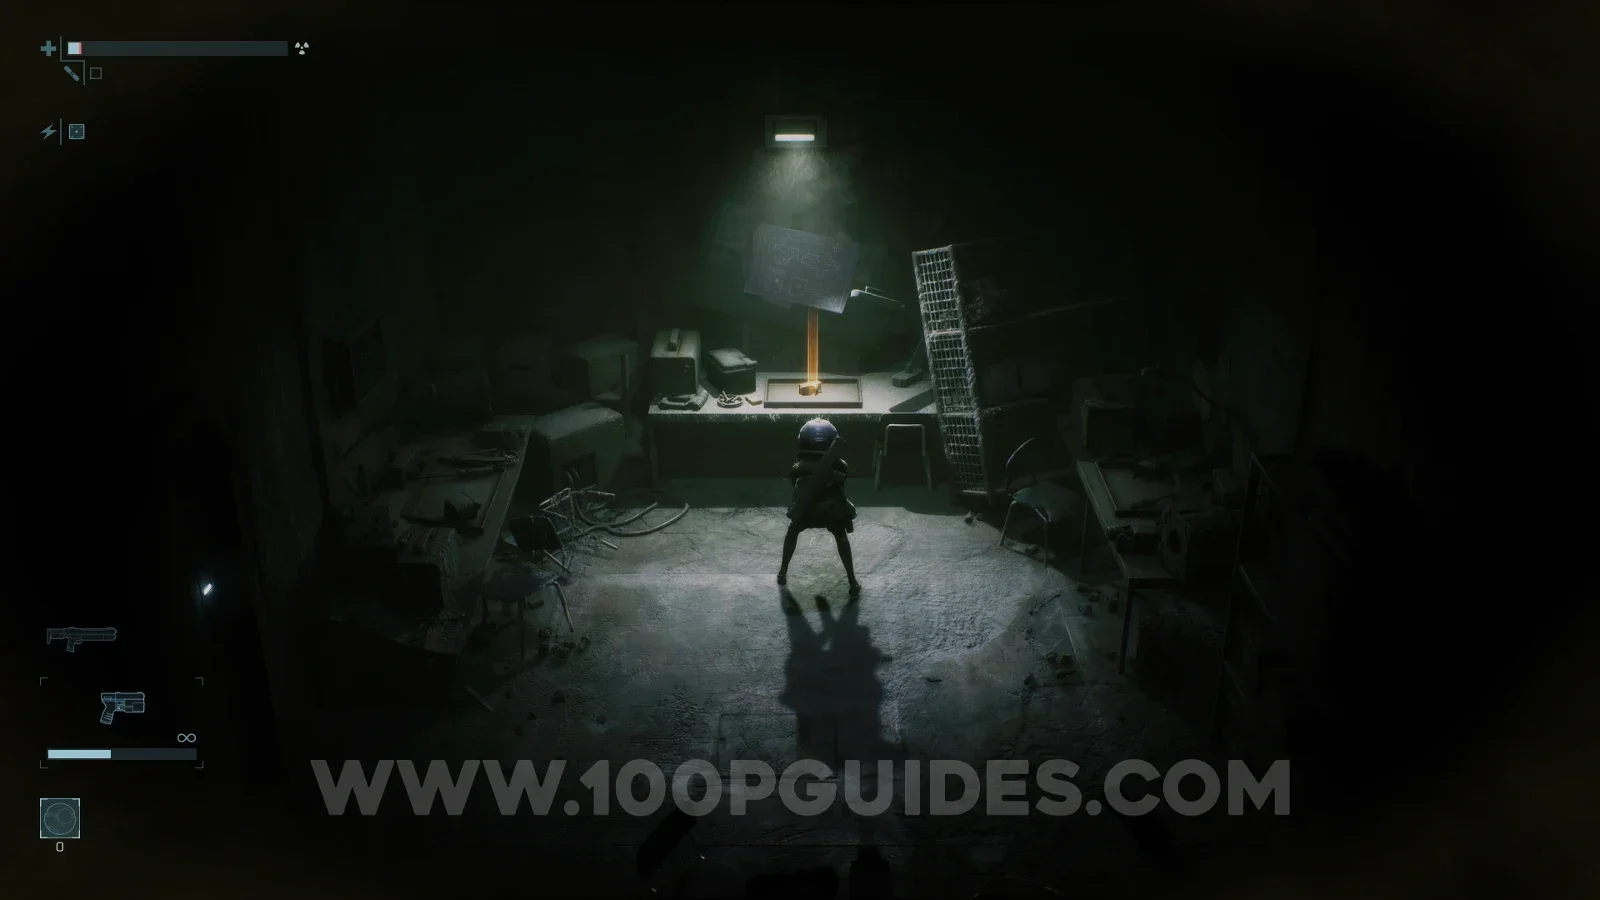
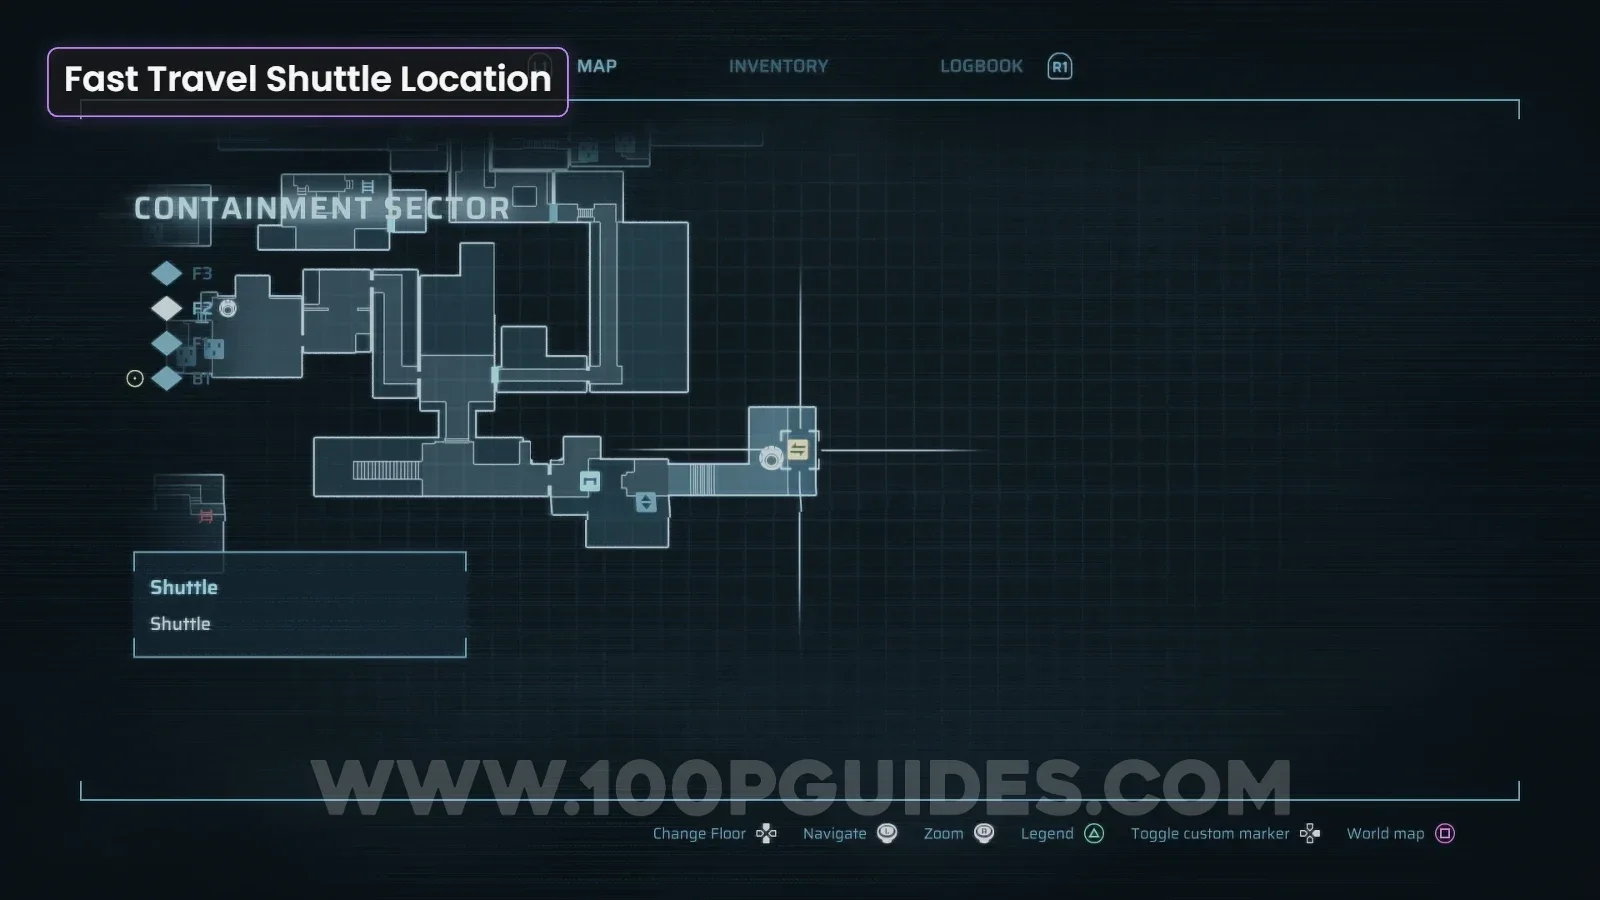
You will now have to head all the way back towards the start of the Containment Sector. There are multiple ways to get there, but the fastest is probably to head back out to the room where the enemies ambushed you, use the Grappling Hook with to pull down the ladder to the north, and follow this path back. I also recommend heading to the far bottom right of F2 to activate the fast travel Shuttle.
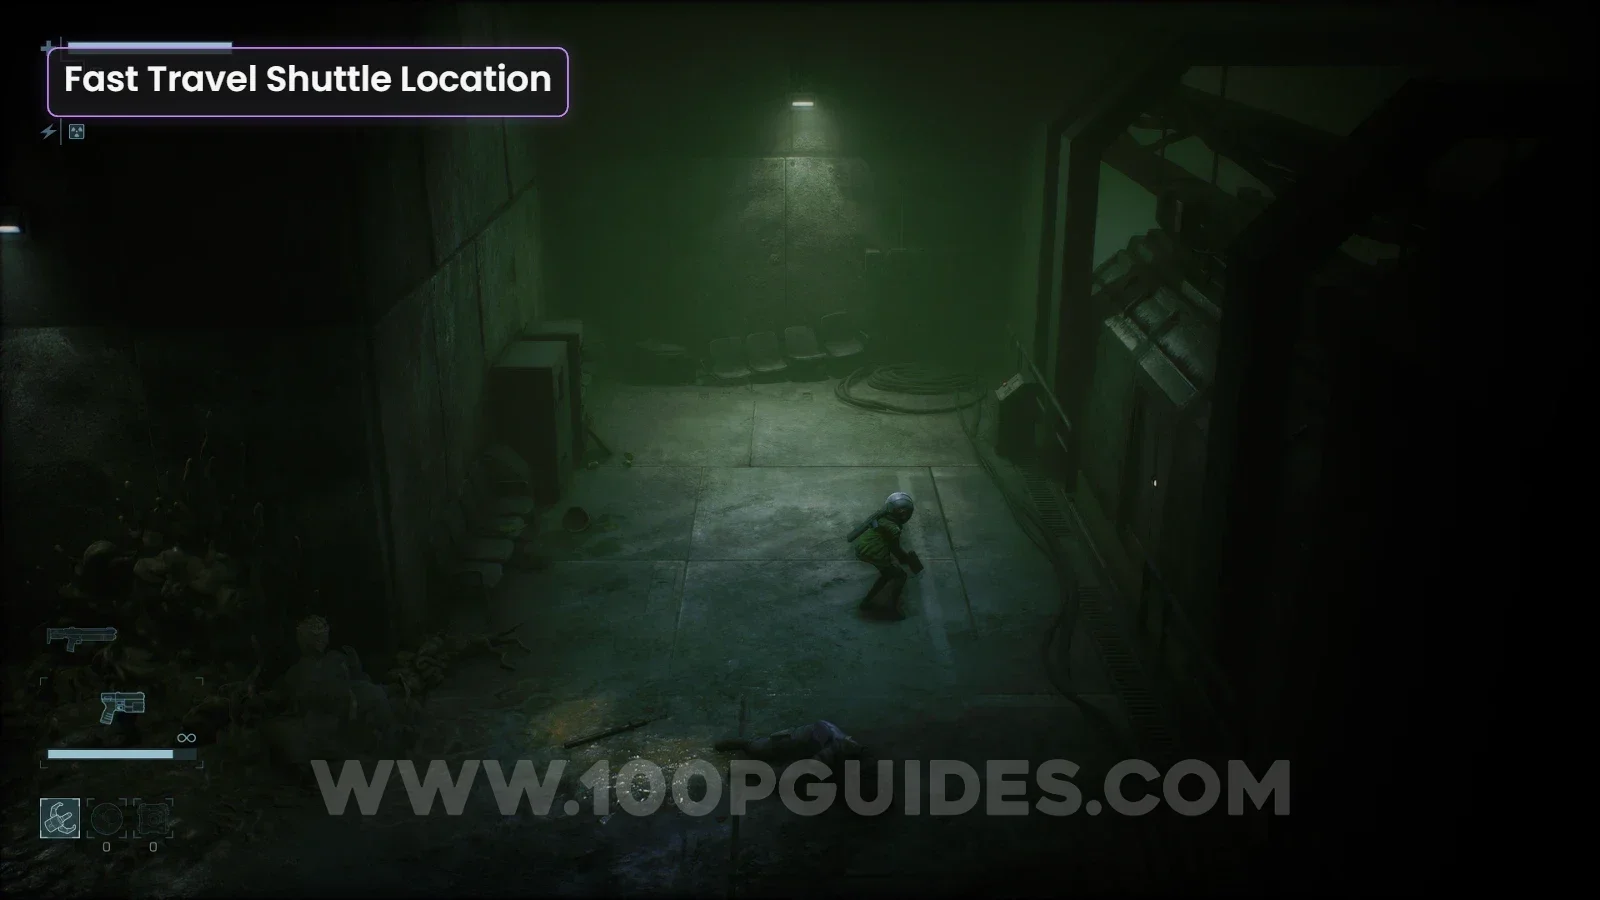
Now you will want to get to the far left side of F2 and pull down the ladder with the Grappling Hook. The fastest way is to head to the room with the circular structure on F2, use your Grappling Hook to cross the gap on the left side, then continue left and up.
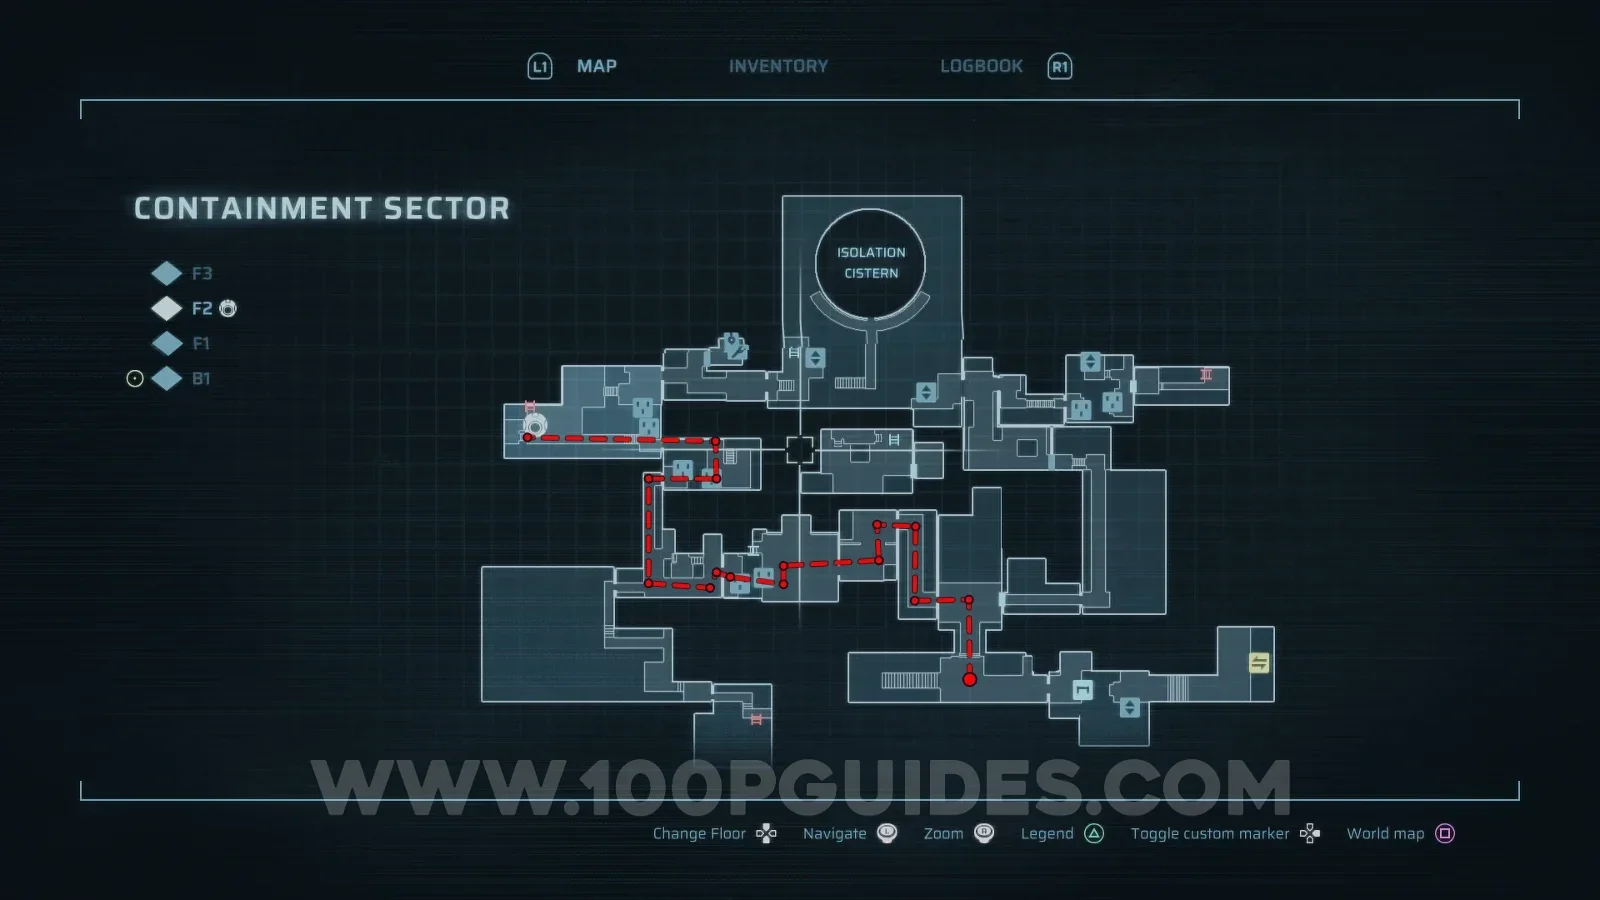
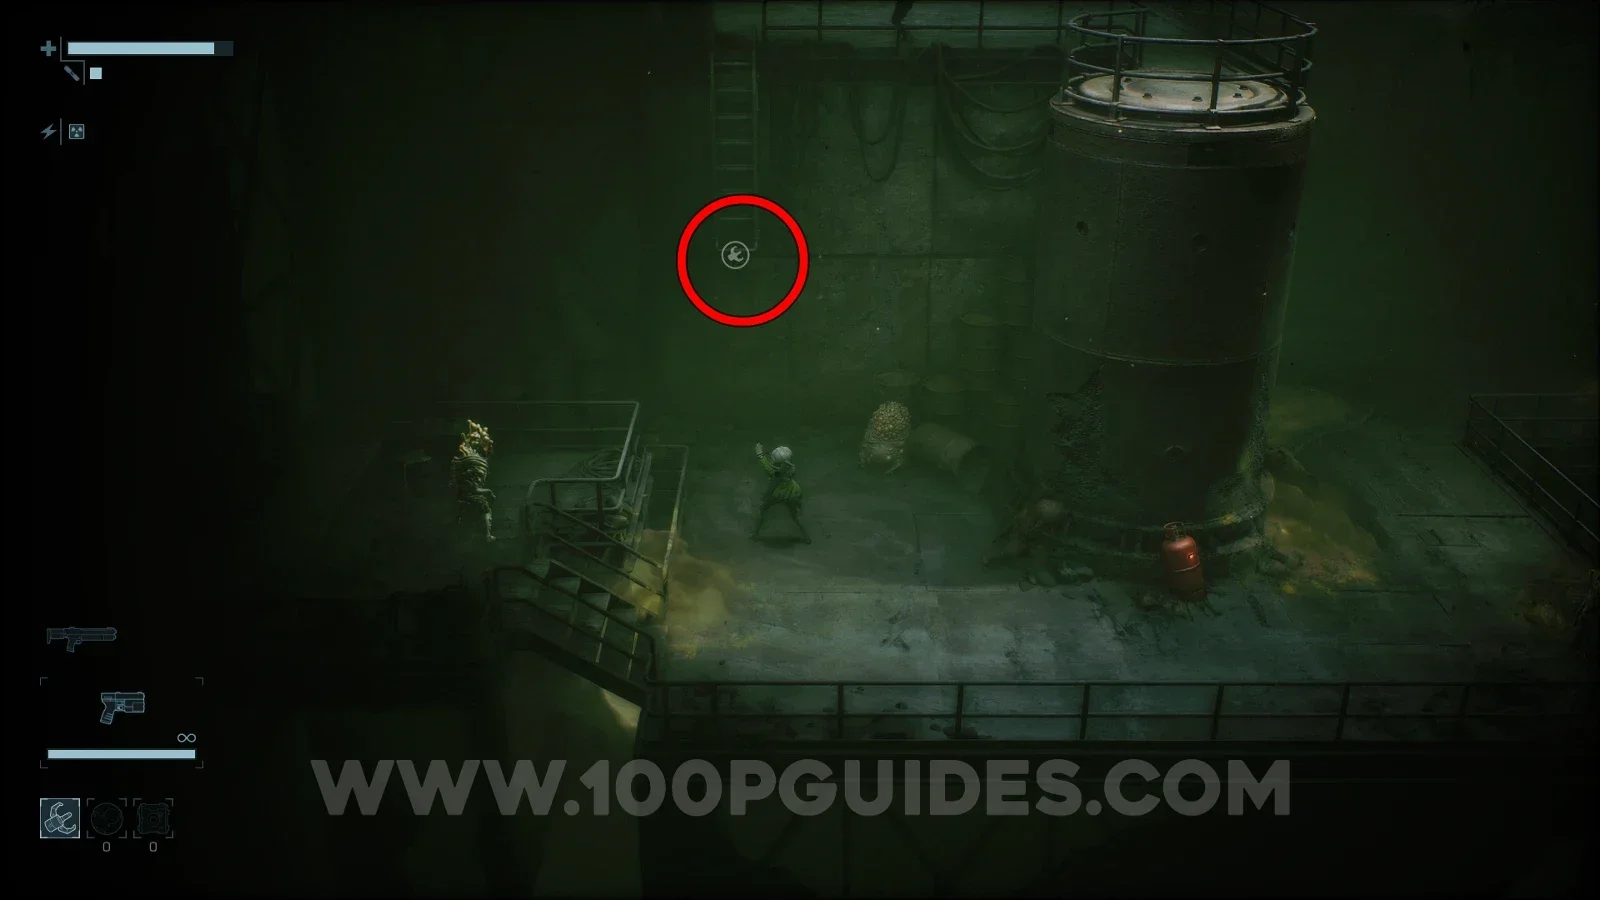
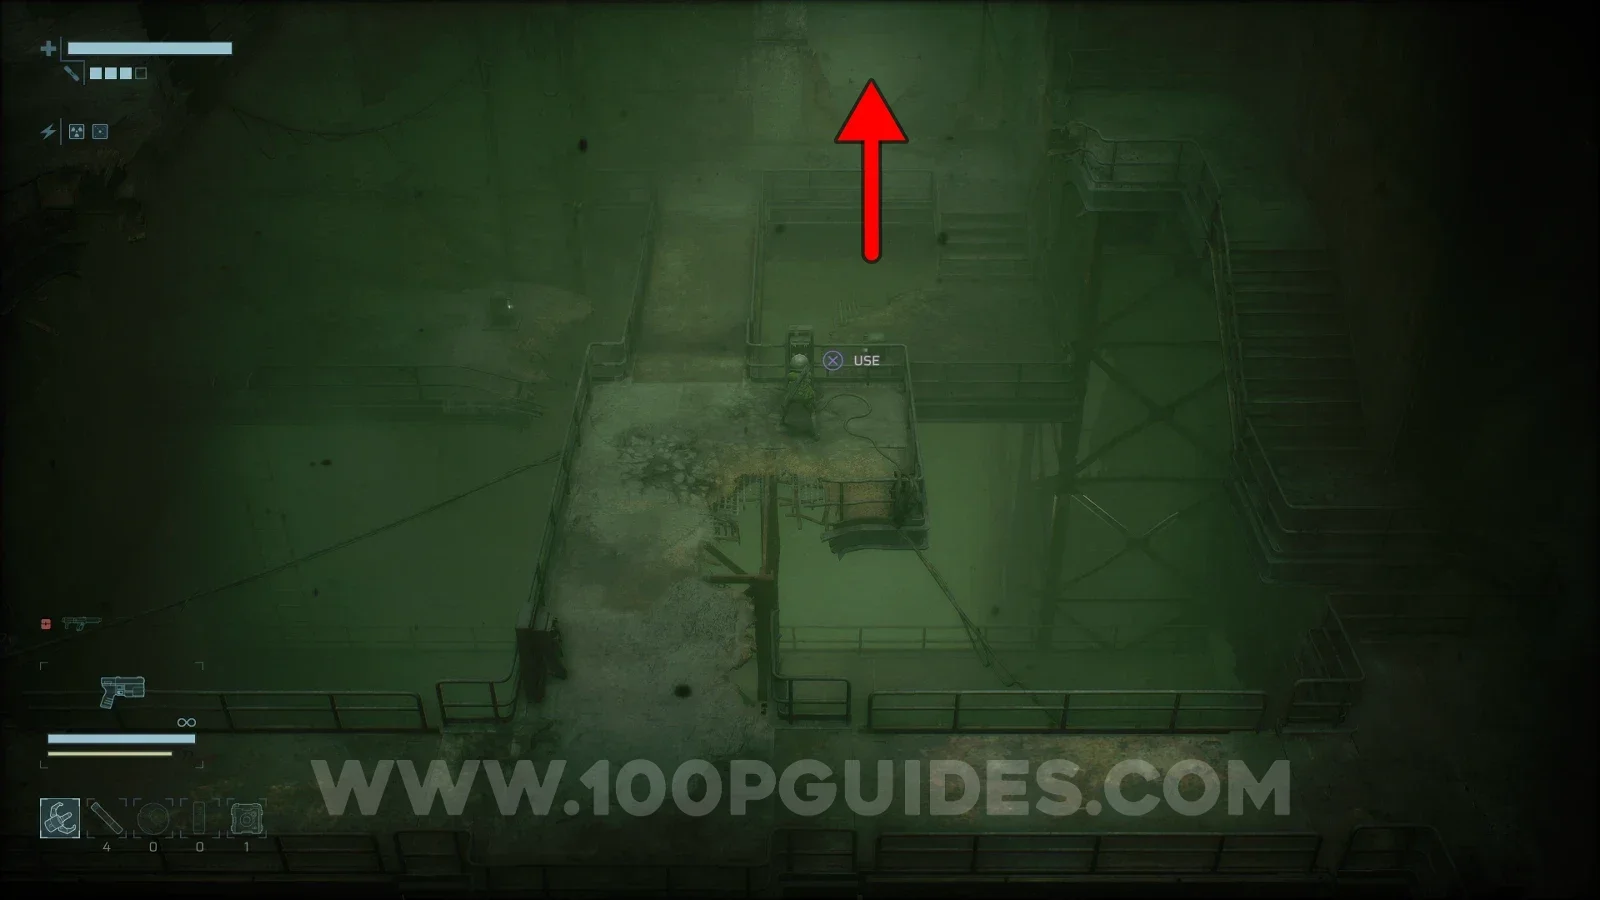
After climbing the ladder, head left and then up through the critical radiation zone. You will soon reach a room with multiple Extendable Bridges and switches. Shoot the petrified soldier, press the switch he was next to and cross to the middle. Then cross the bridge to the north to continue (if the bridge isn't there, just press the switch next to it). After that, you will find a safe room on your right.
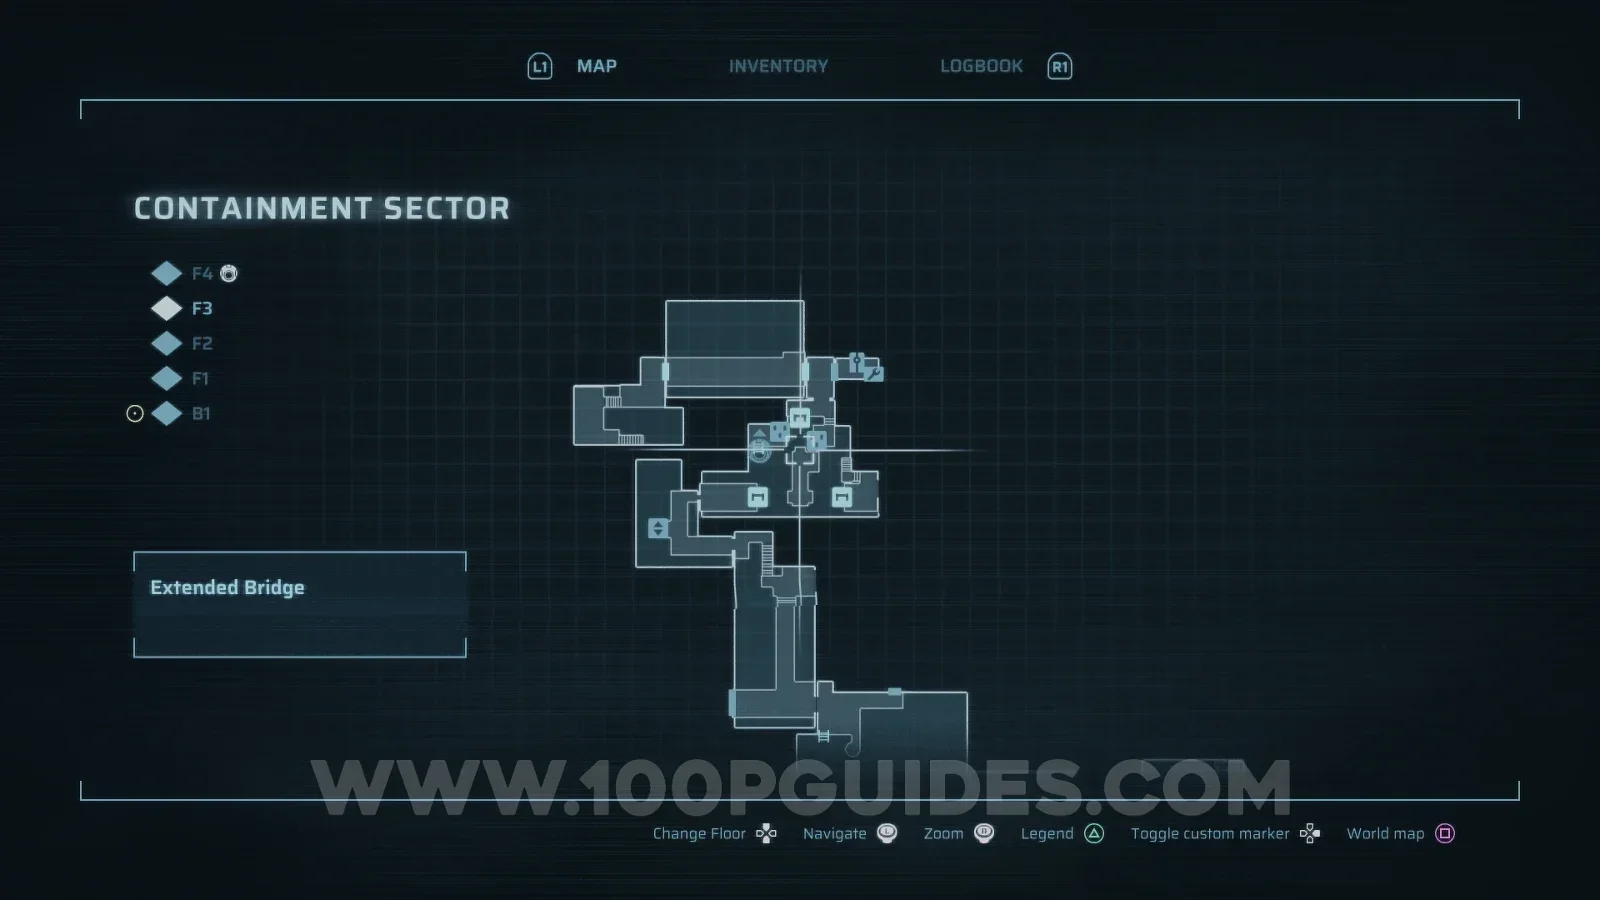
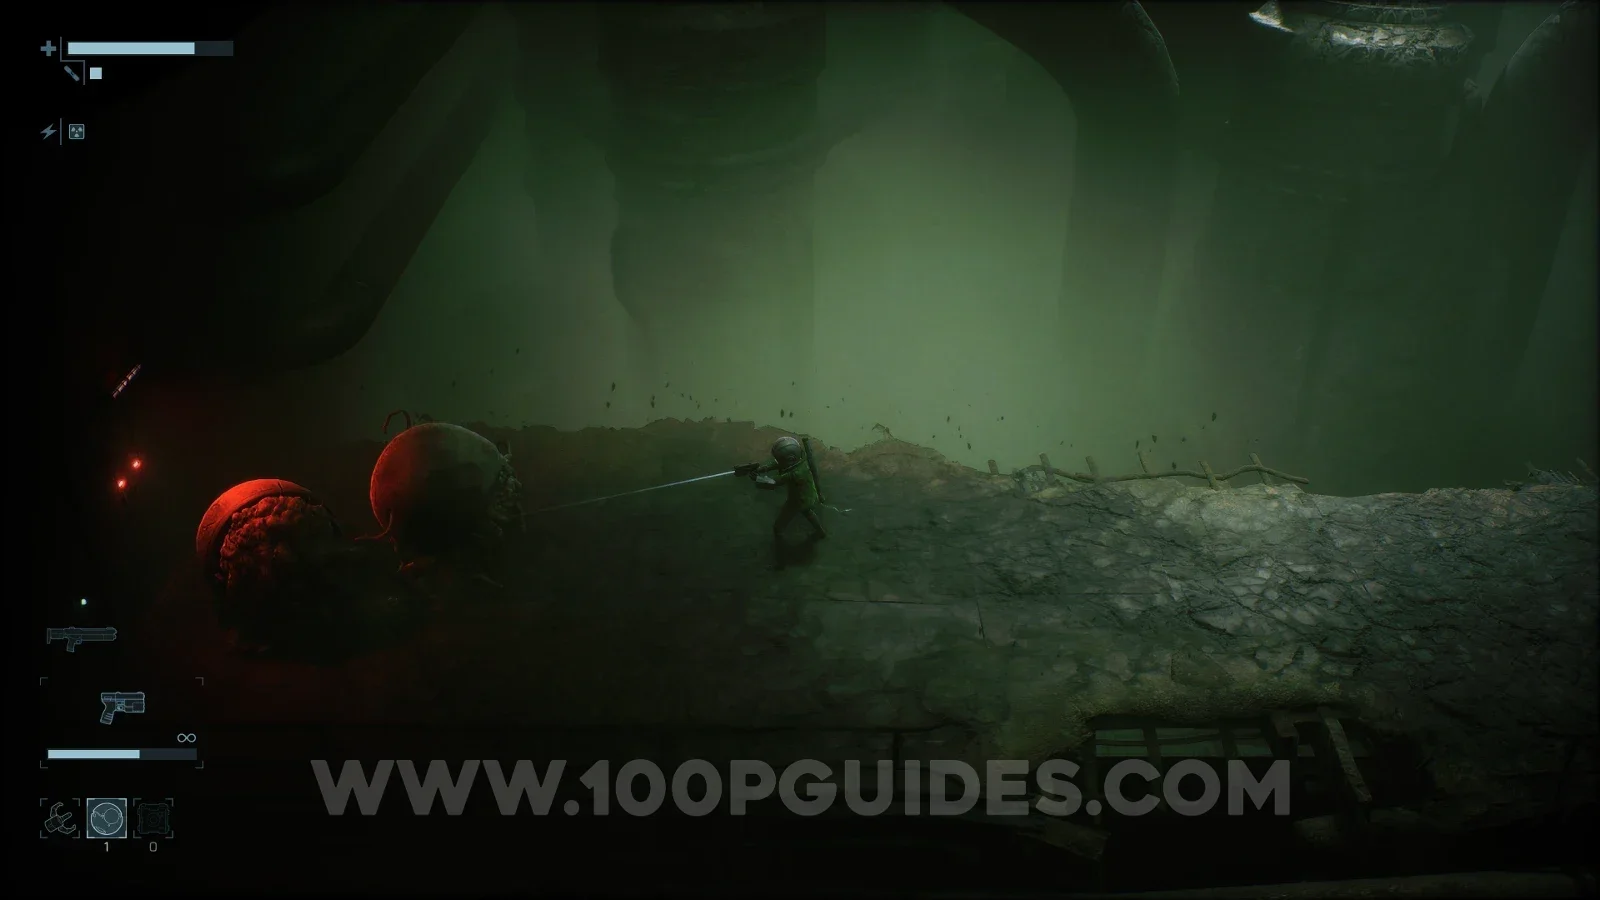
After using the safe room, continue left, where you will be ambushed by two ball enemies that charge at you. You can't damage them from the front, so you have two options: time your grenade throws so they land behind them, or wait for them to charge at you, move out of the way and let them hit a wall. This will stagger them for a few seconds, allowing you to shoot them in the back. After defeating them, continue through the door on the left and go up the stairs. Exit right and you will see a switch above the area where you extended the bridges. Press it to make a grappling point appear on the other side of the gap where the northern bridge was. Continue up the stairs, then ride the lift down to the bridge area again.
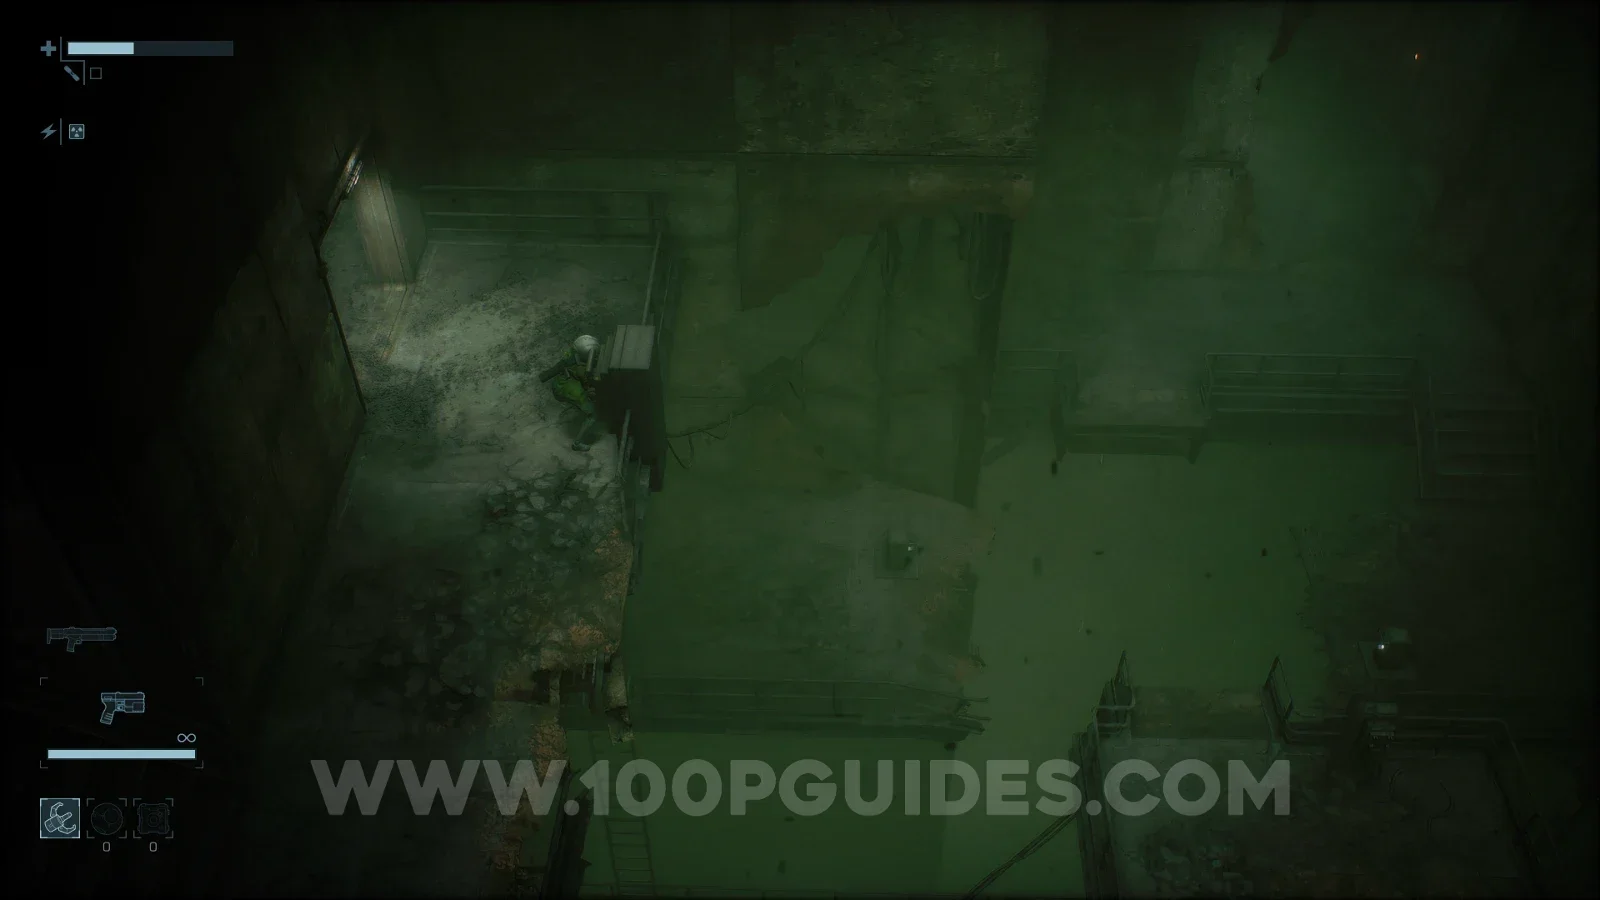
Once you're back in the bridge area, cross the bridge on the right and use the switch to retract it, then go up the stairs on the right and jump down next to the northern exit. From here, cross back to the centre and press the northern switch to retract the top bridge and extend the one on the right again. Finally, cross the right bridge and use the stairs again to get to the northern exit. With the top bridge now retracted, use the new grappling point to cross to the west.
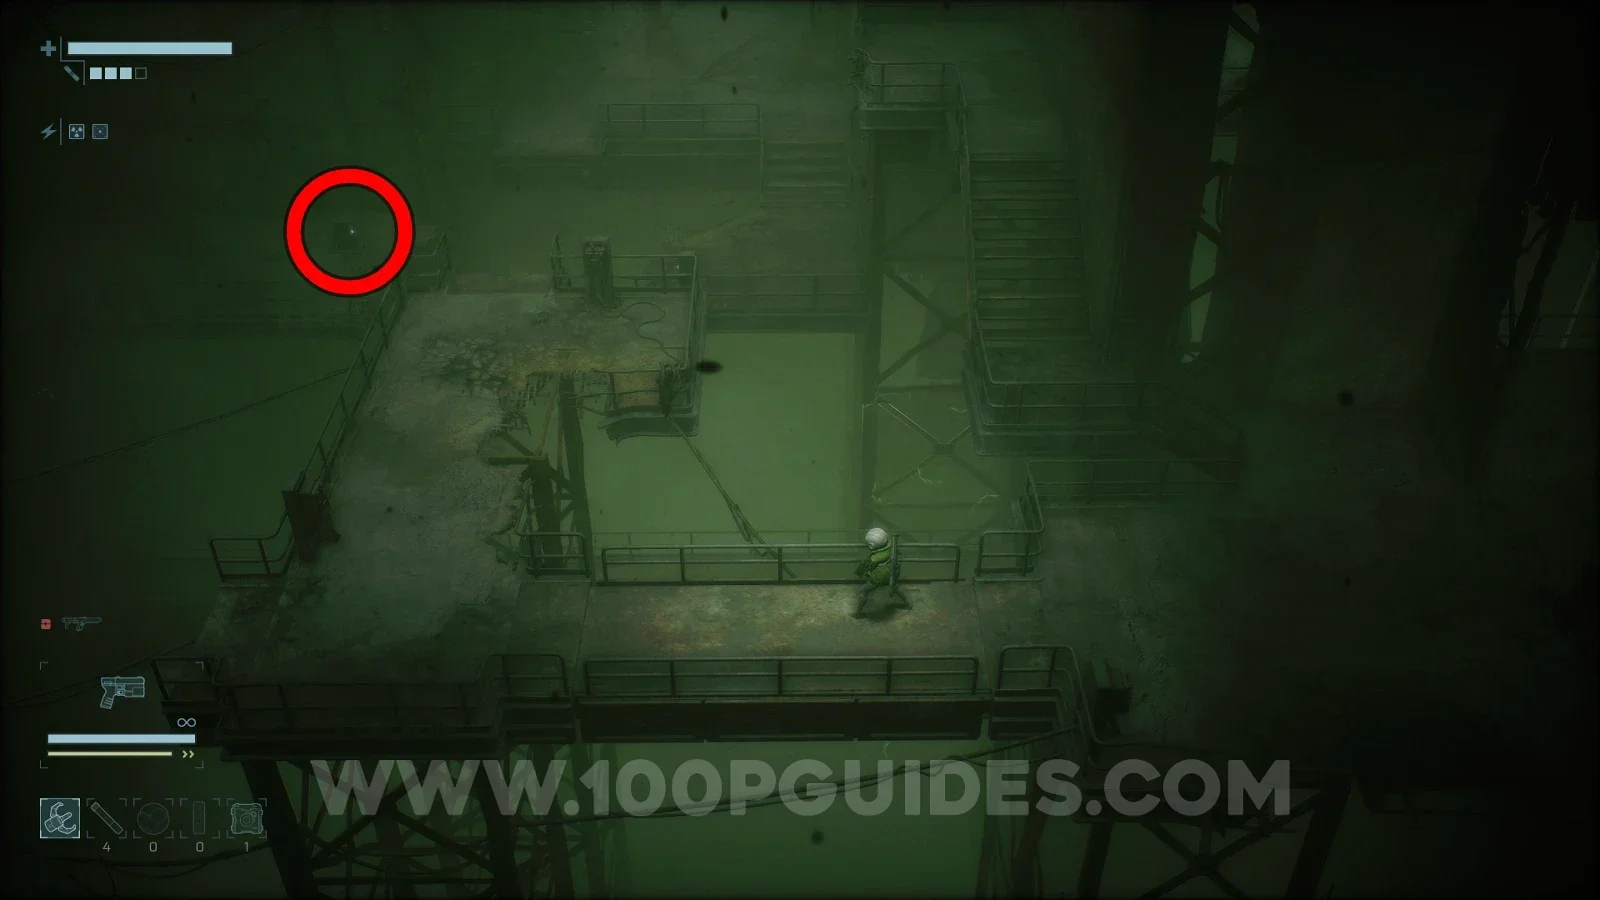
Continue along this path until you reach a room with a ladder on your right. Climb it, jump down to the path below and press the switch to extend the bridge beneath you. Then jump down and cross it. Next, climb up the ladder and use your Grappling Hook to press the same switch again, which will now be across the gap on your right. This will extend the next bridge, allowing you to continue.
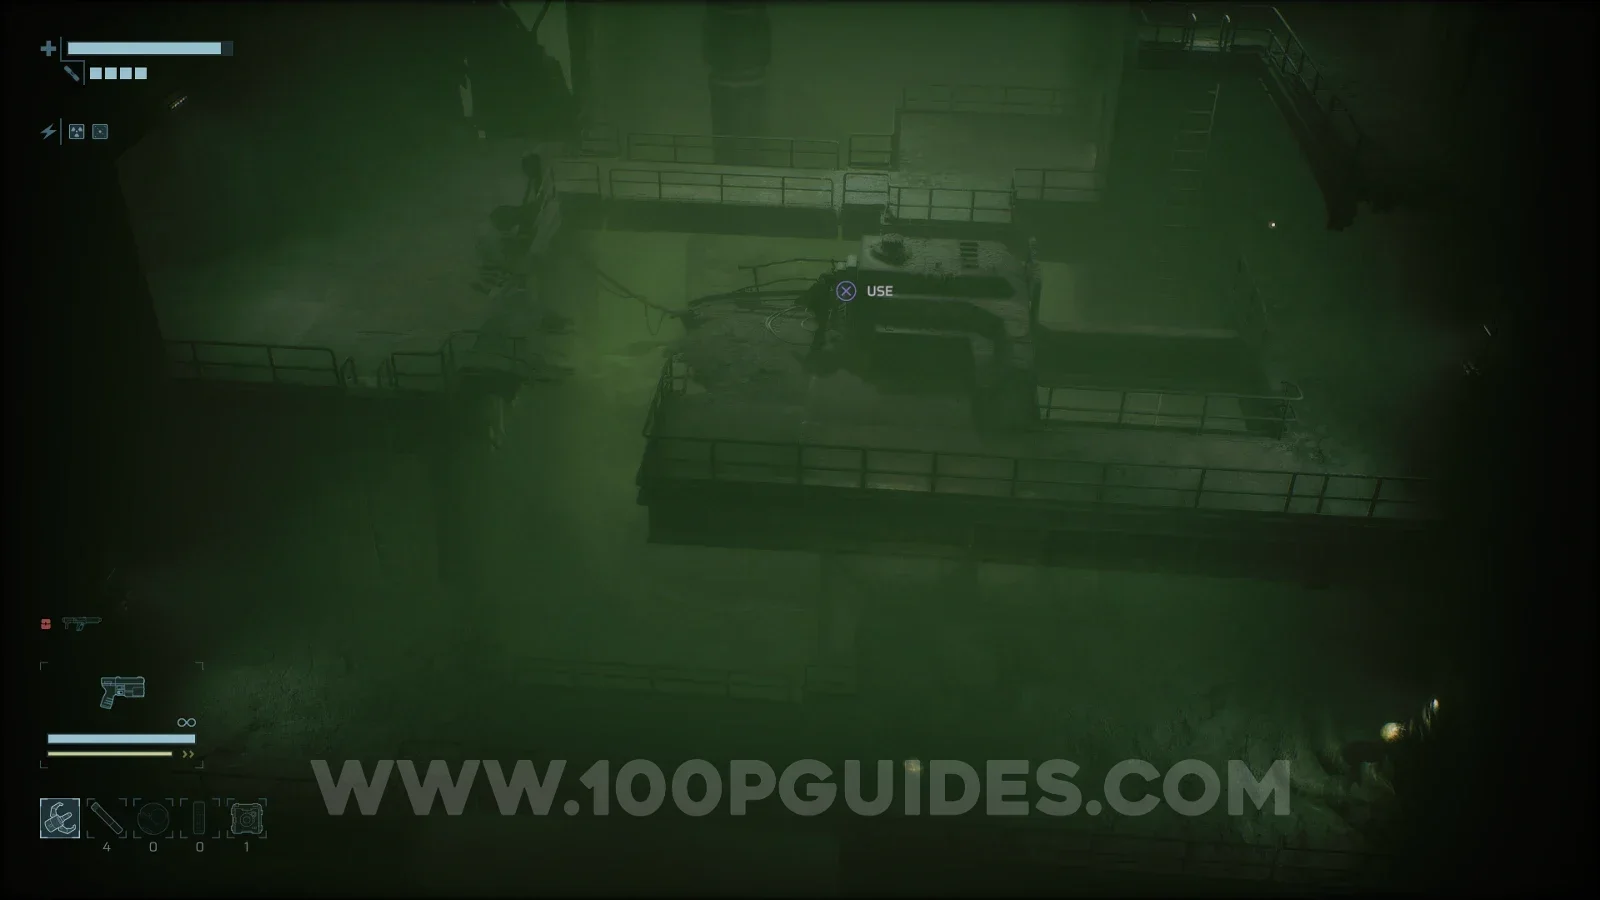
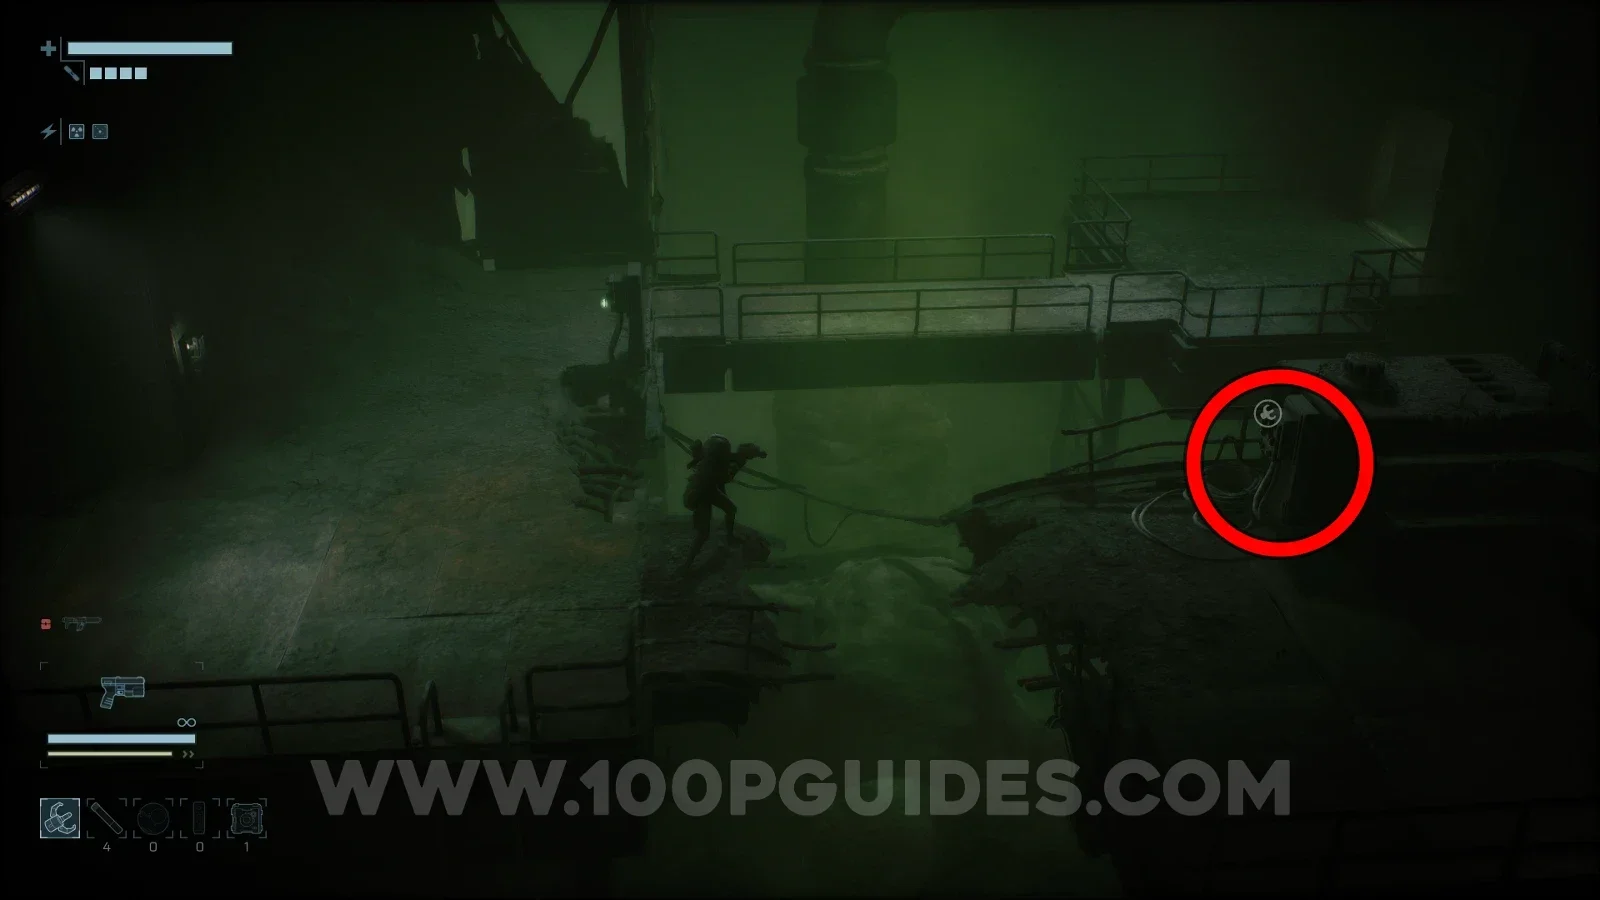
After this, you will reach a large area with a circular structure in the middle. This is where you will face the next boss. Before heading inside, make sure to ride the small lift down on the left to unlock a shortcut back to a previous safe room. Then head into the circular structure, drop down the hole and defeat the Radiation Host boss.
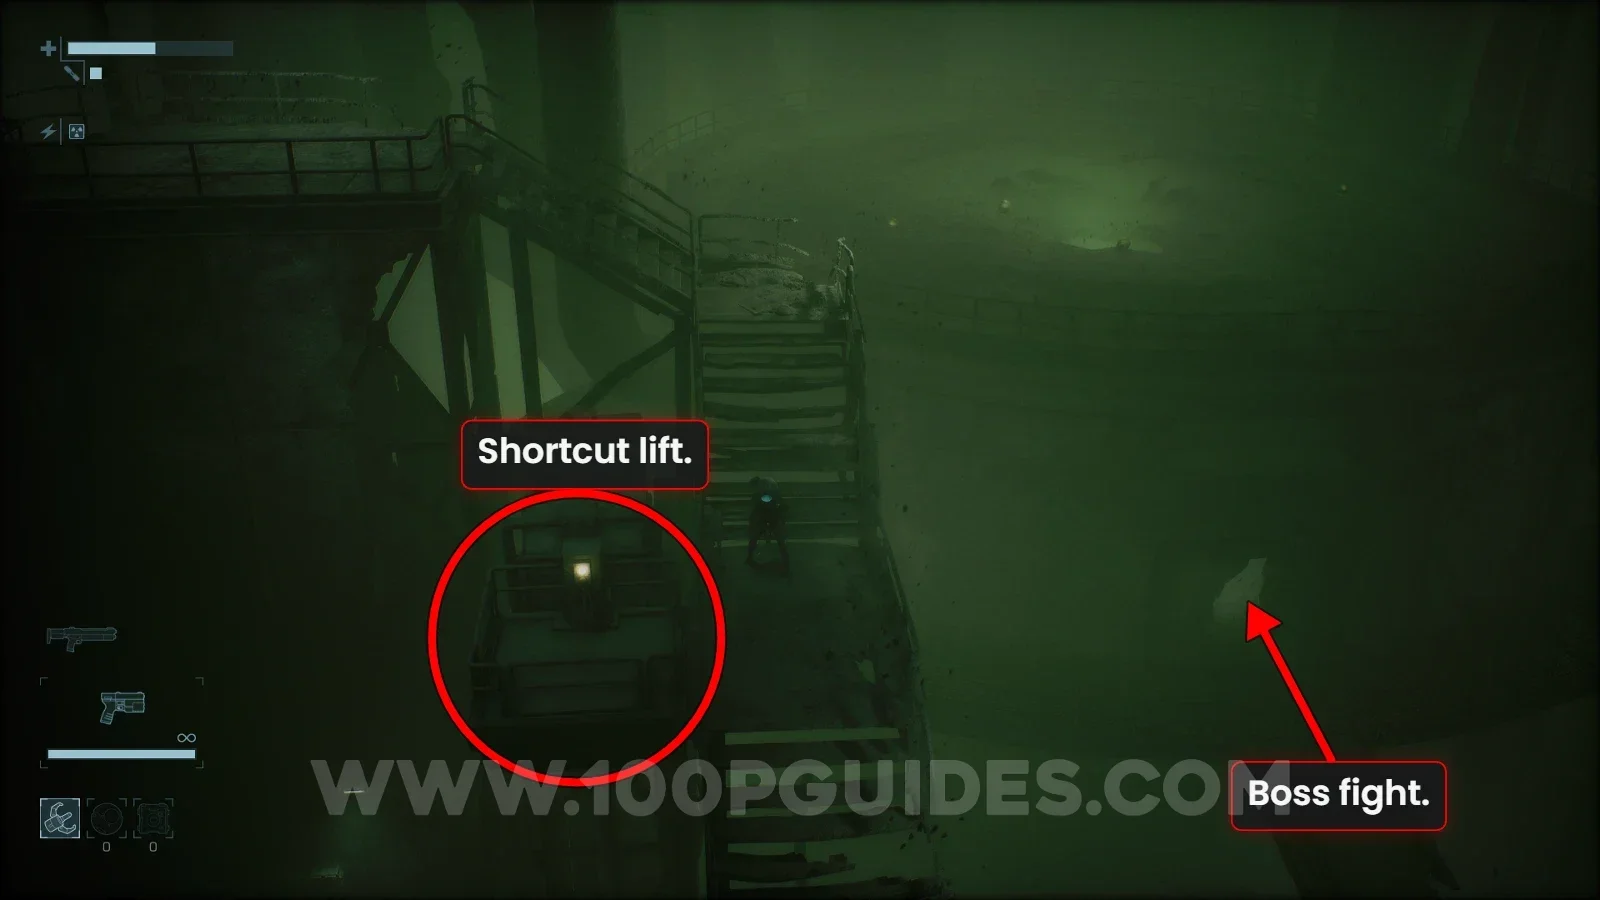
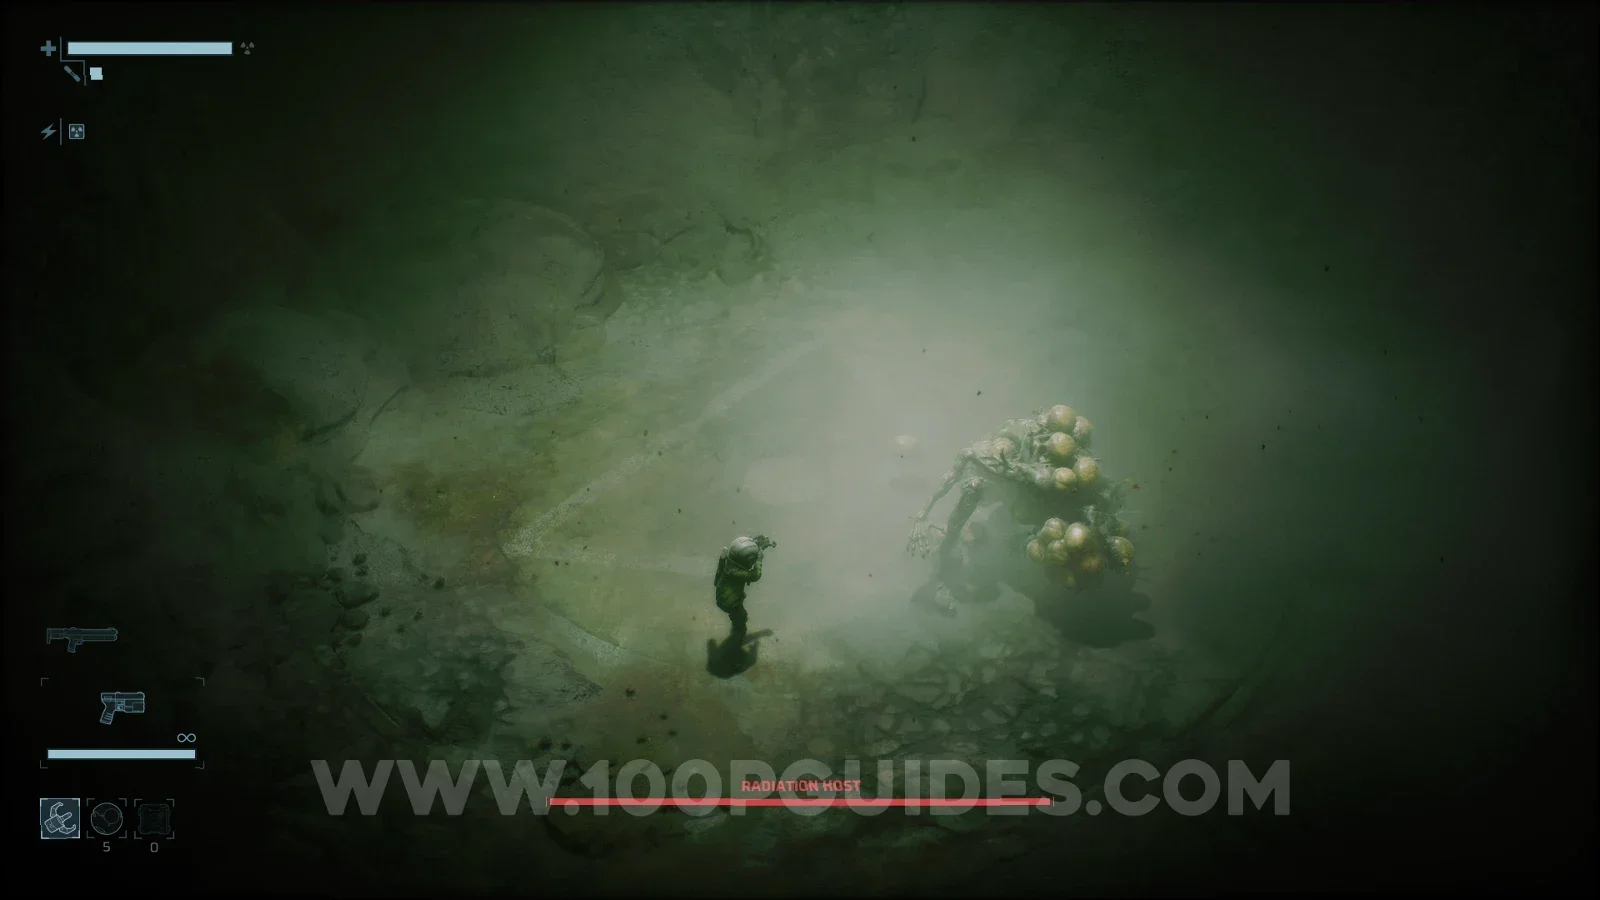
After defeating the boss, head right, climb down the ladder and go through the door to the north to find the Final SCU.
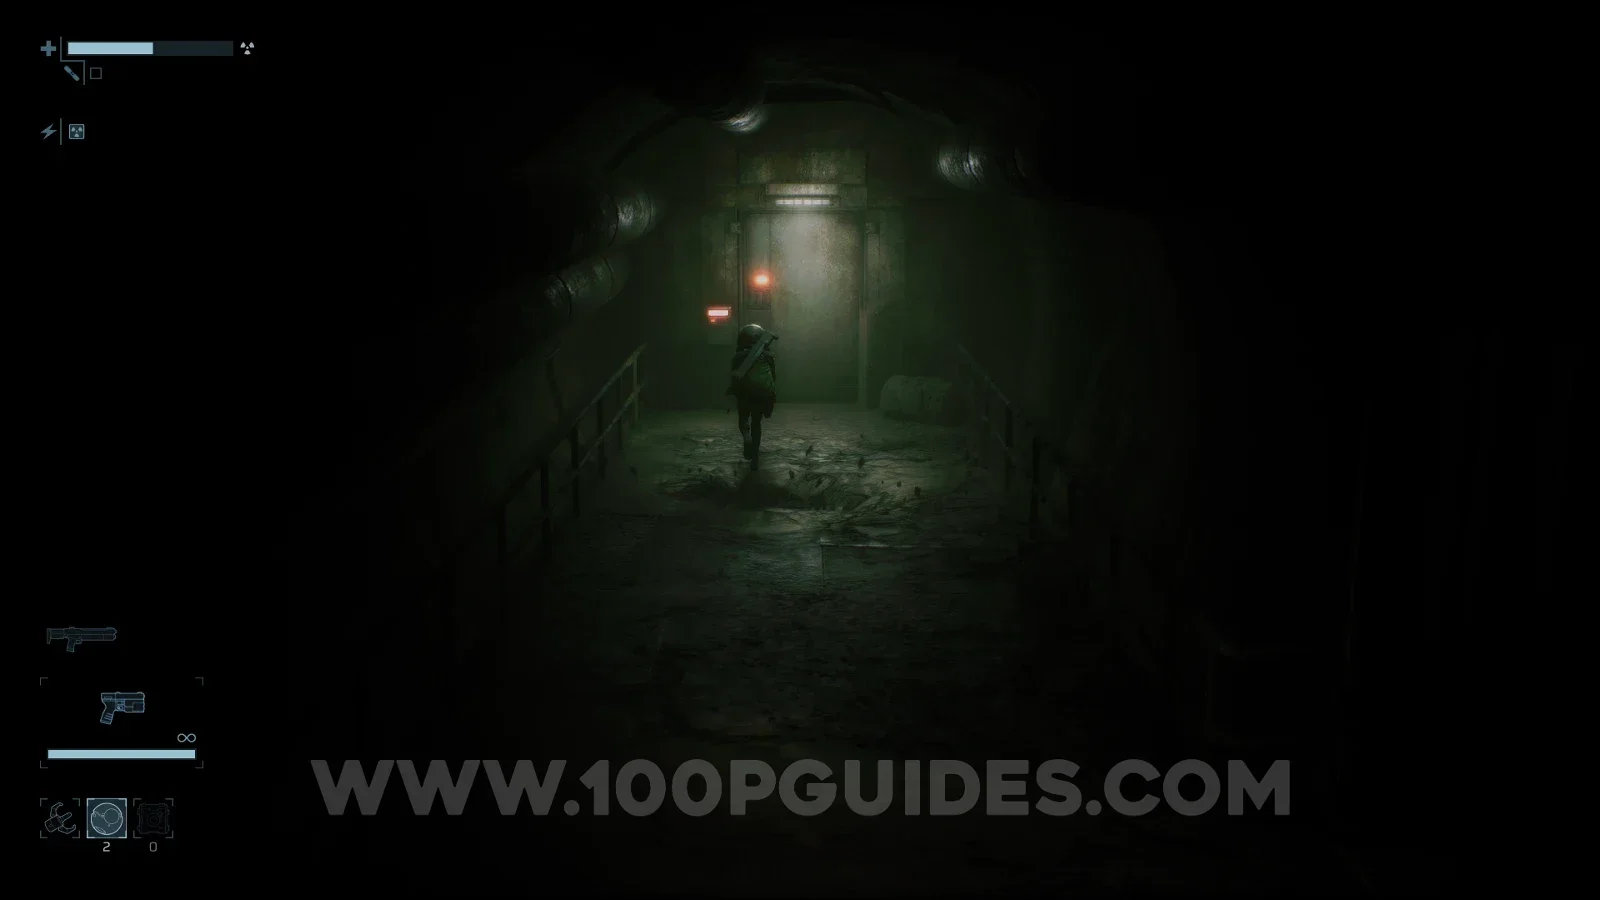
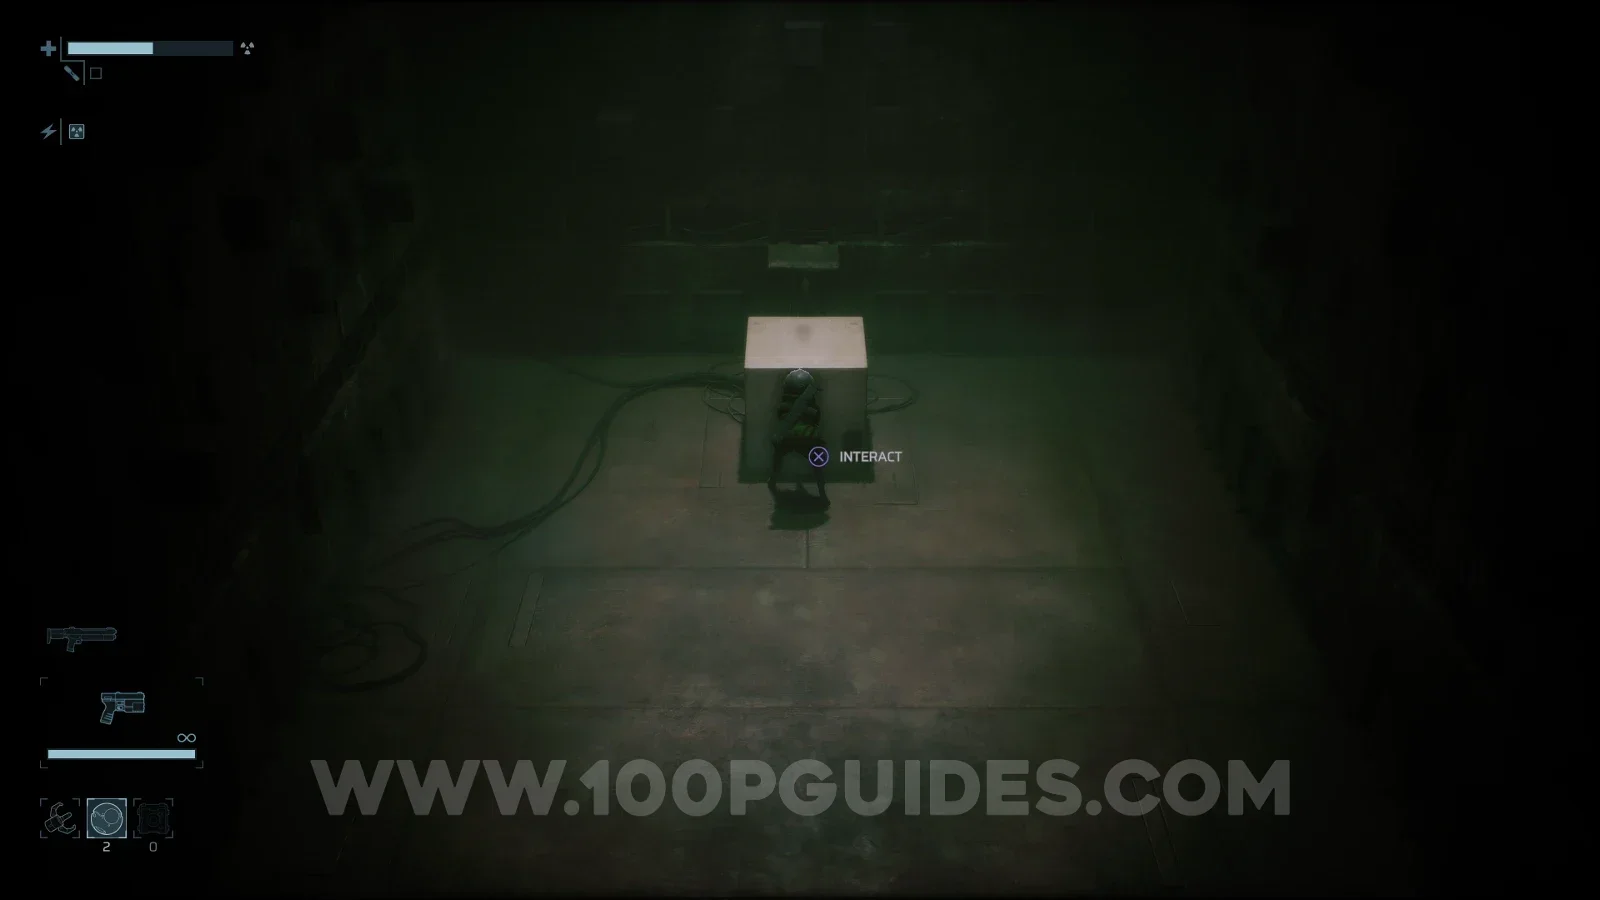
Central Elevator
Now that all the SCU locks have been dealt with, it's time to head back to the Central Elevator in Factory East, where the NPCs were waiting. Also, remember that you can now remove the Radiation Protection Mod and re-equip the mods you were using before. Once at the lift, talk to Soldier E-19 and ride it down.
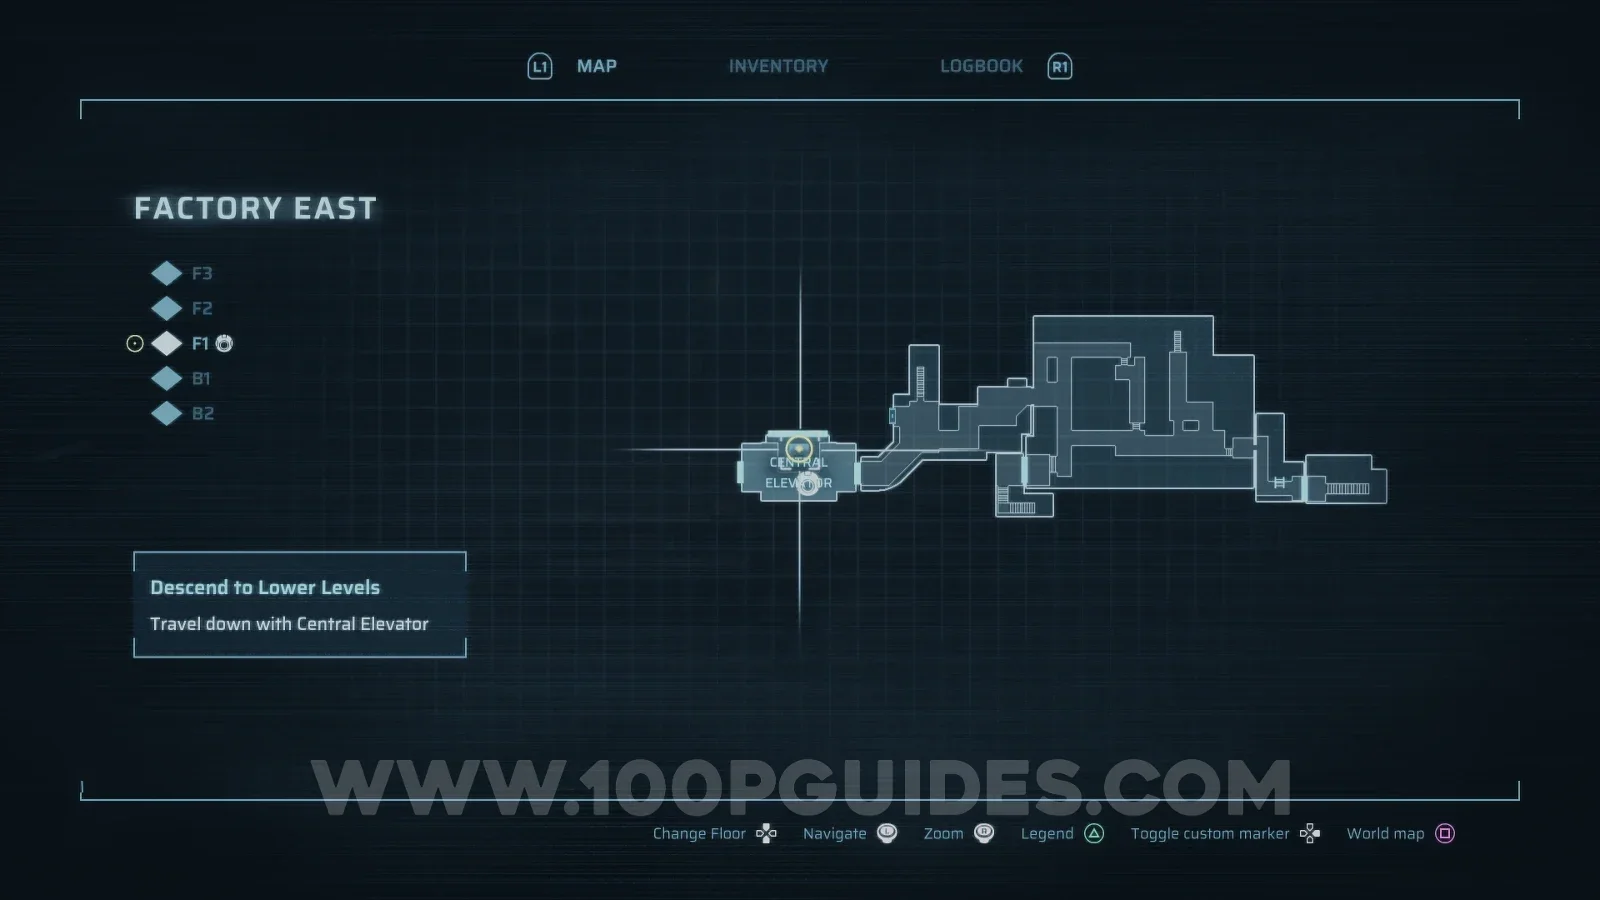
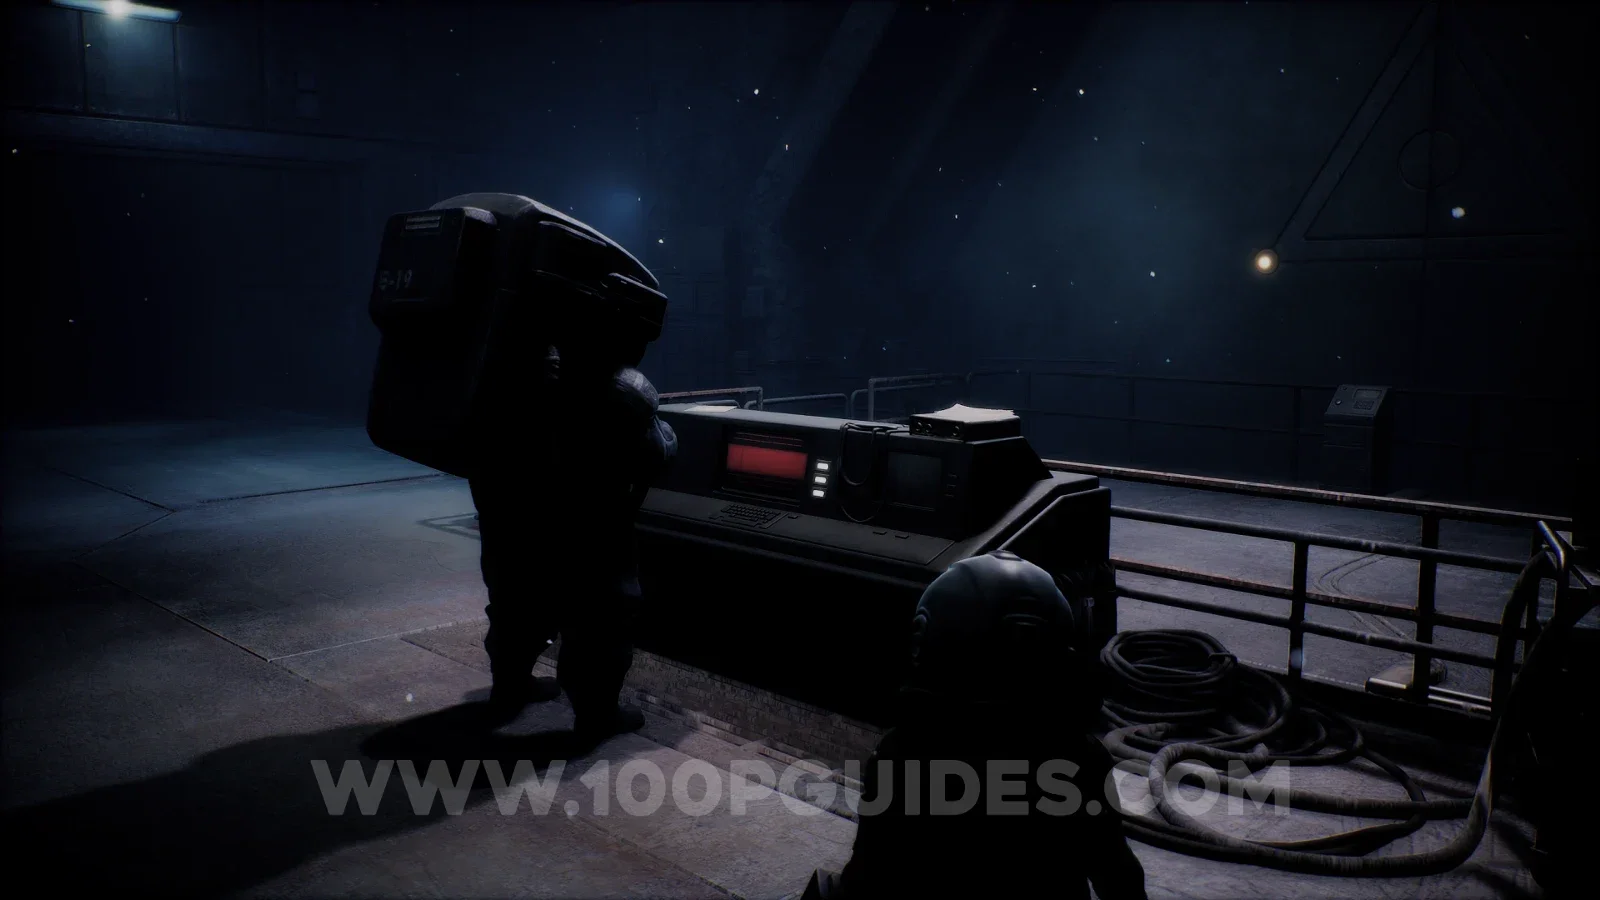
Descend to Lower Levels
After riding the lift down, slowly follow the NPCs until you regain control of your character.
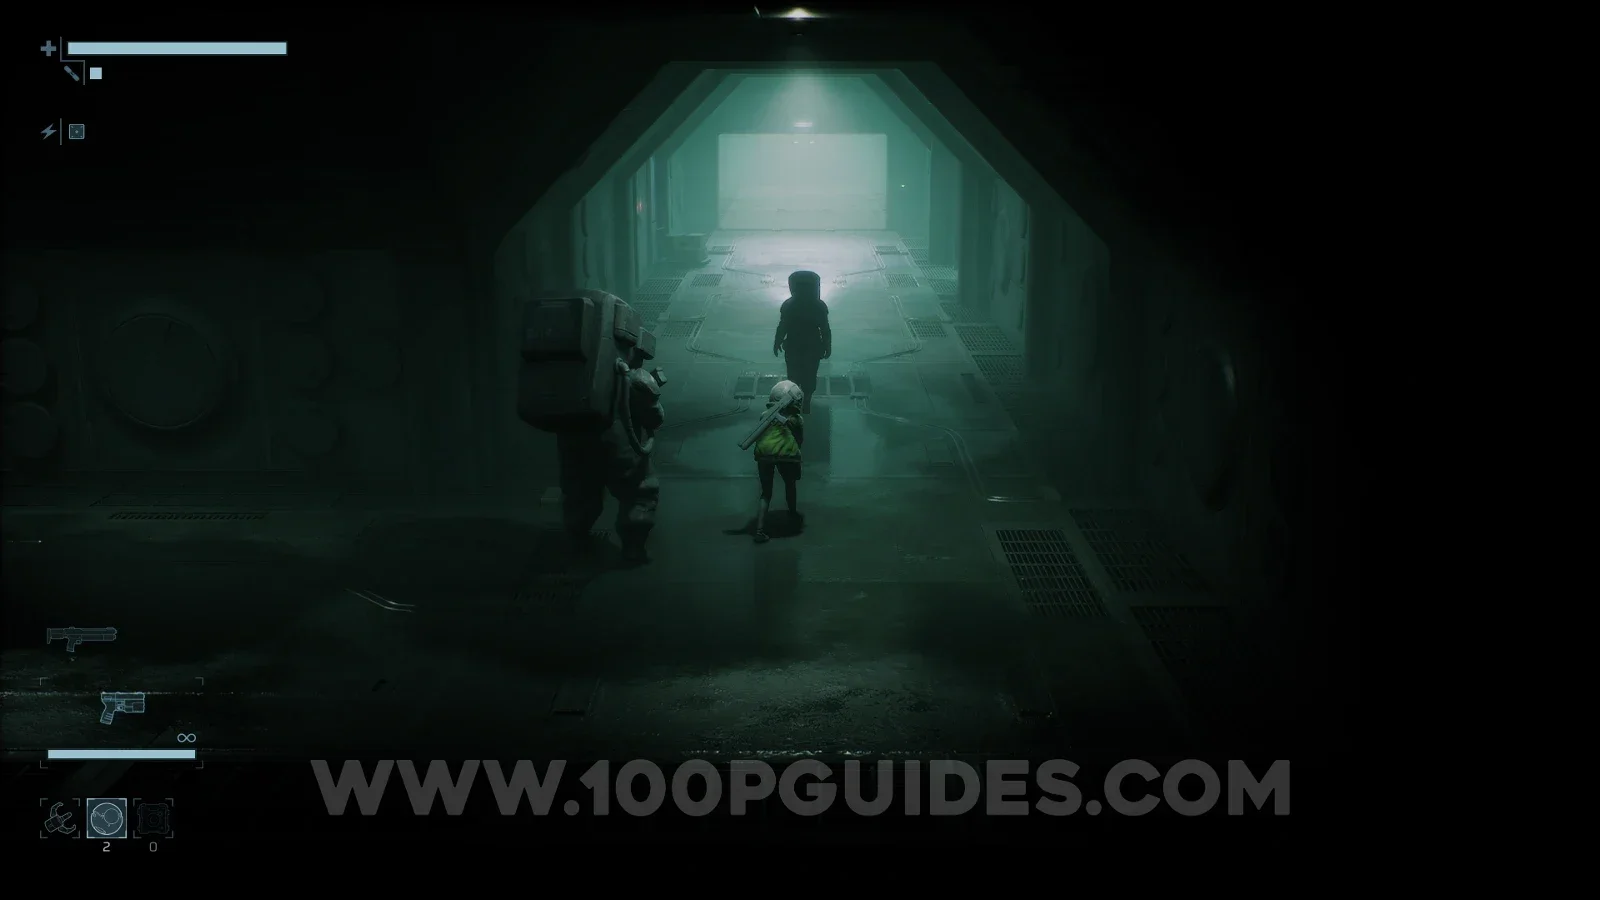
Unknown Signal
As soon as you regain control of your character after the cutscene, head through the door on your left. Rest at the safe room as you pass through it, then continue by riding the lift down.
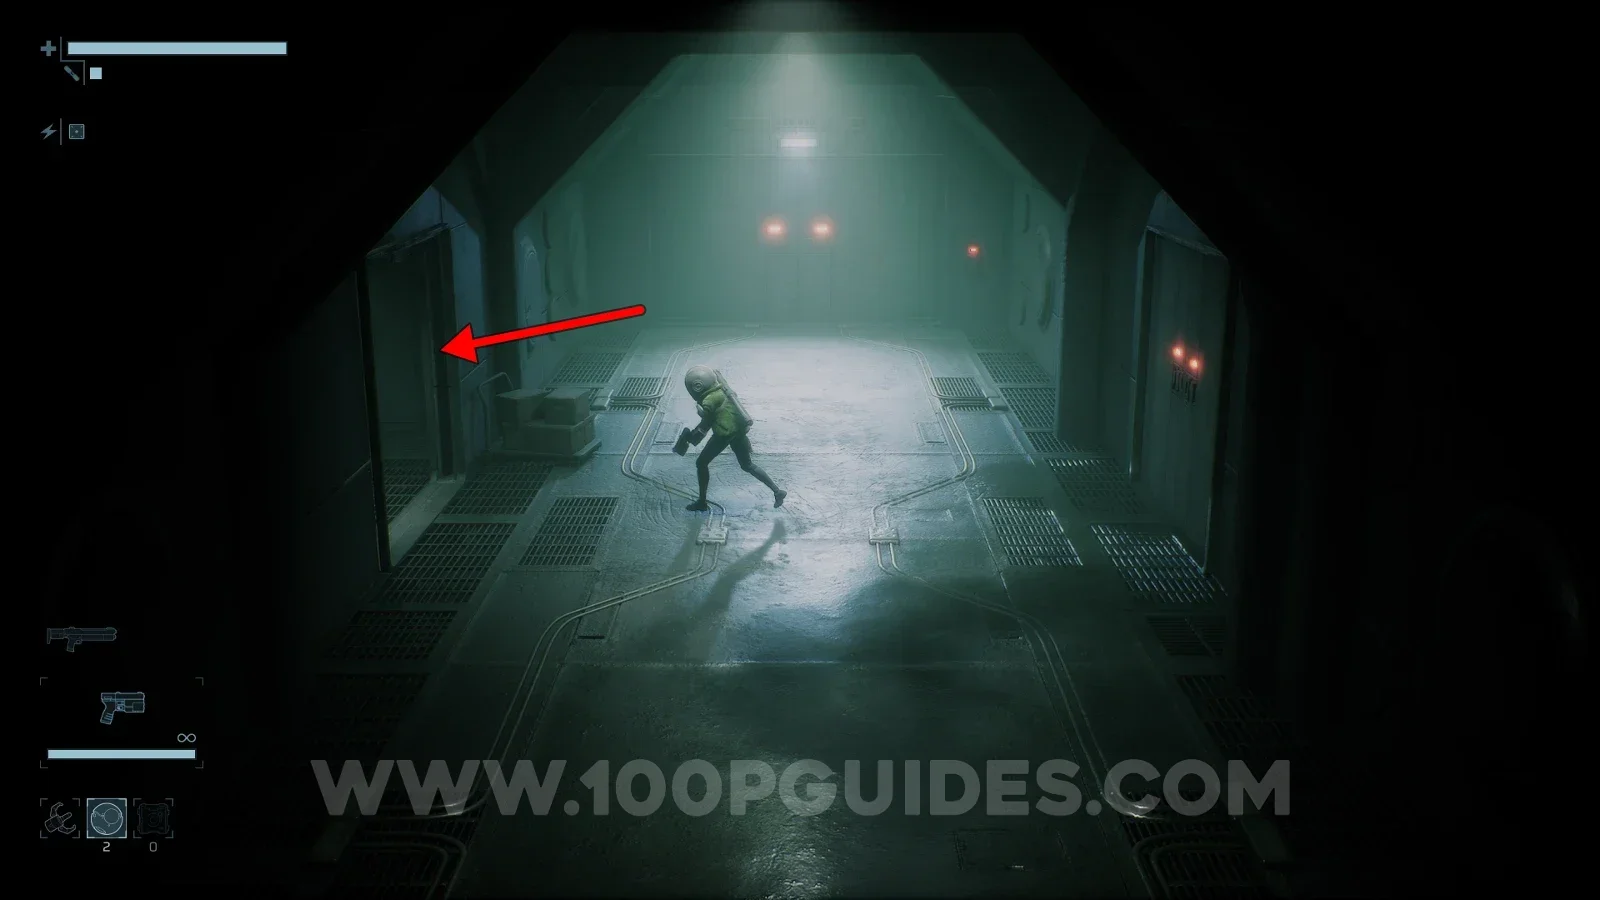
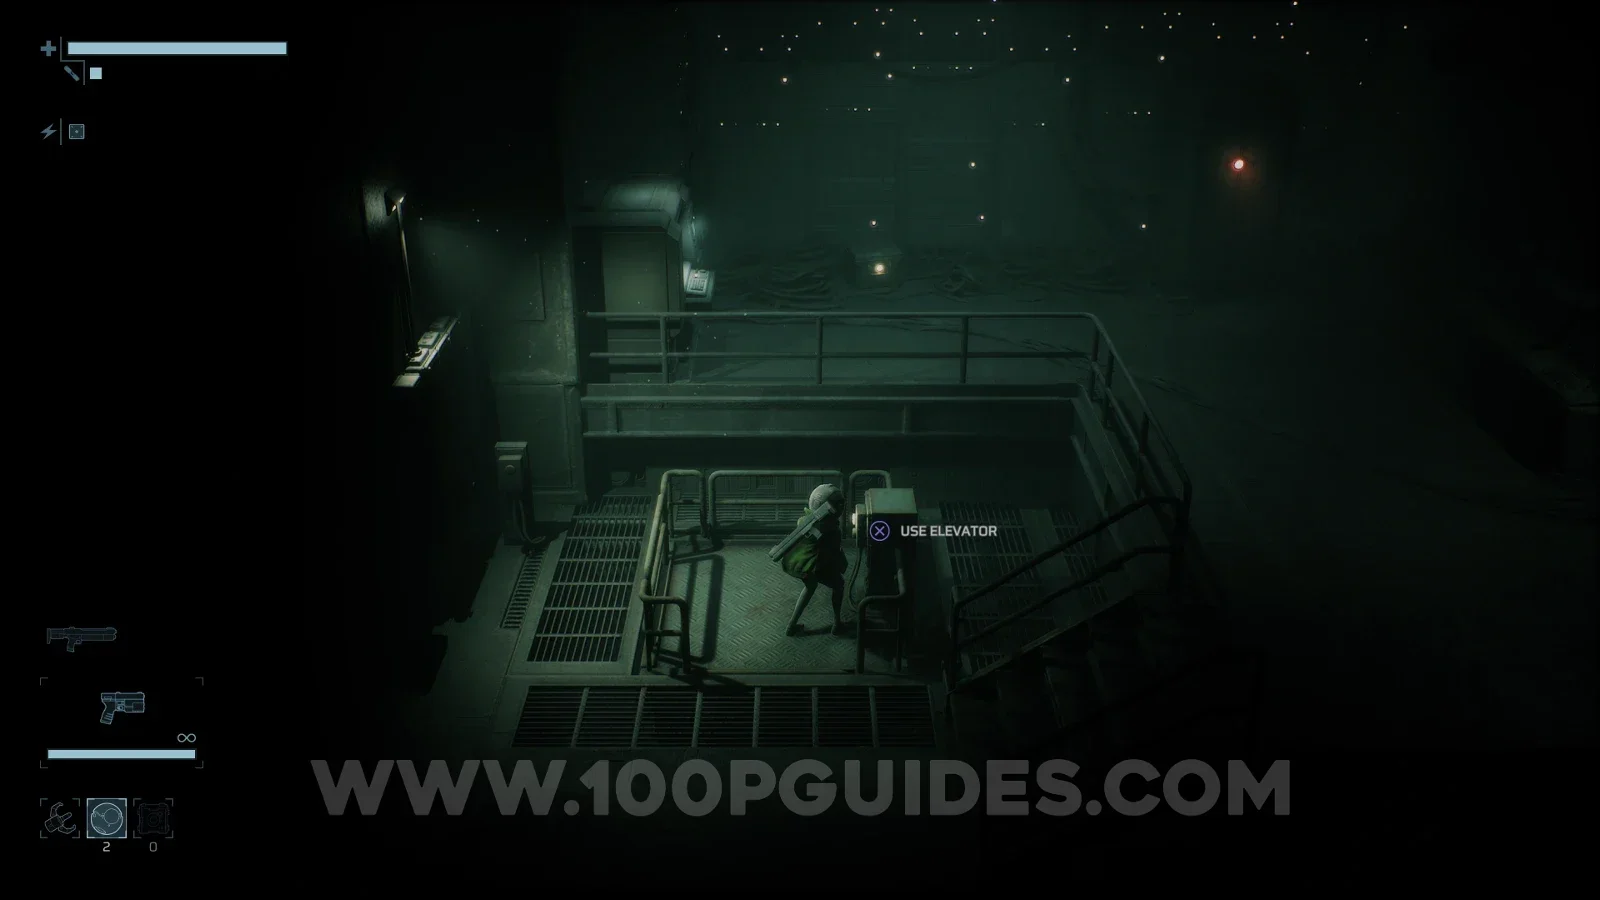
At the bottom, head through the large door in the centre of the area towards the main objective, and talk to the structure inside.
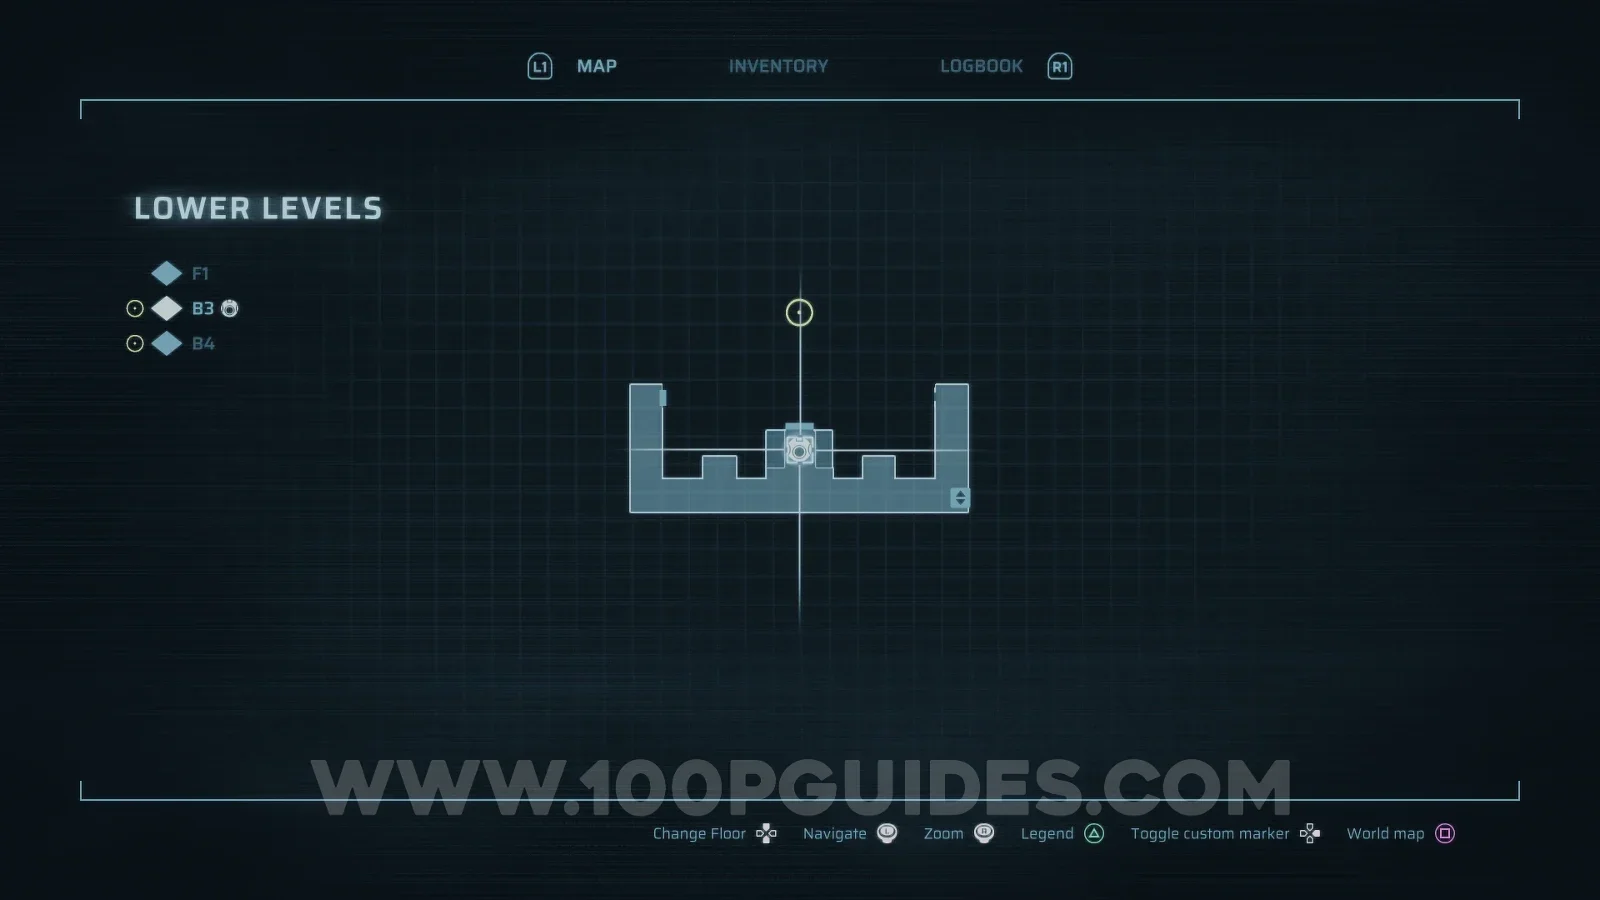
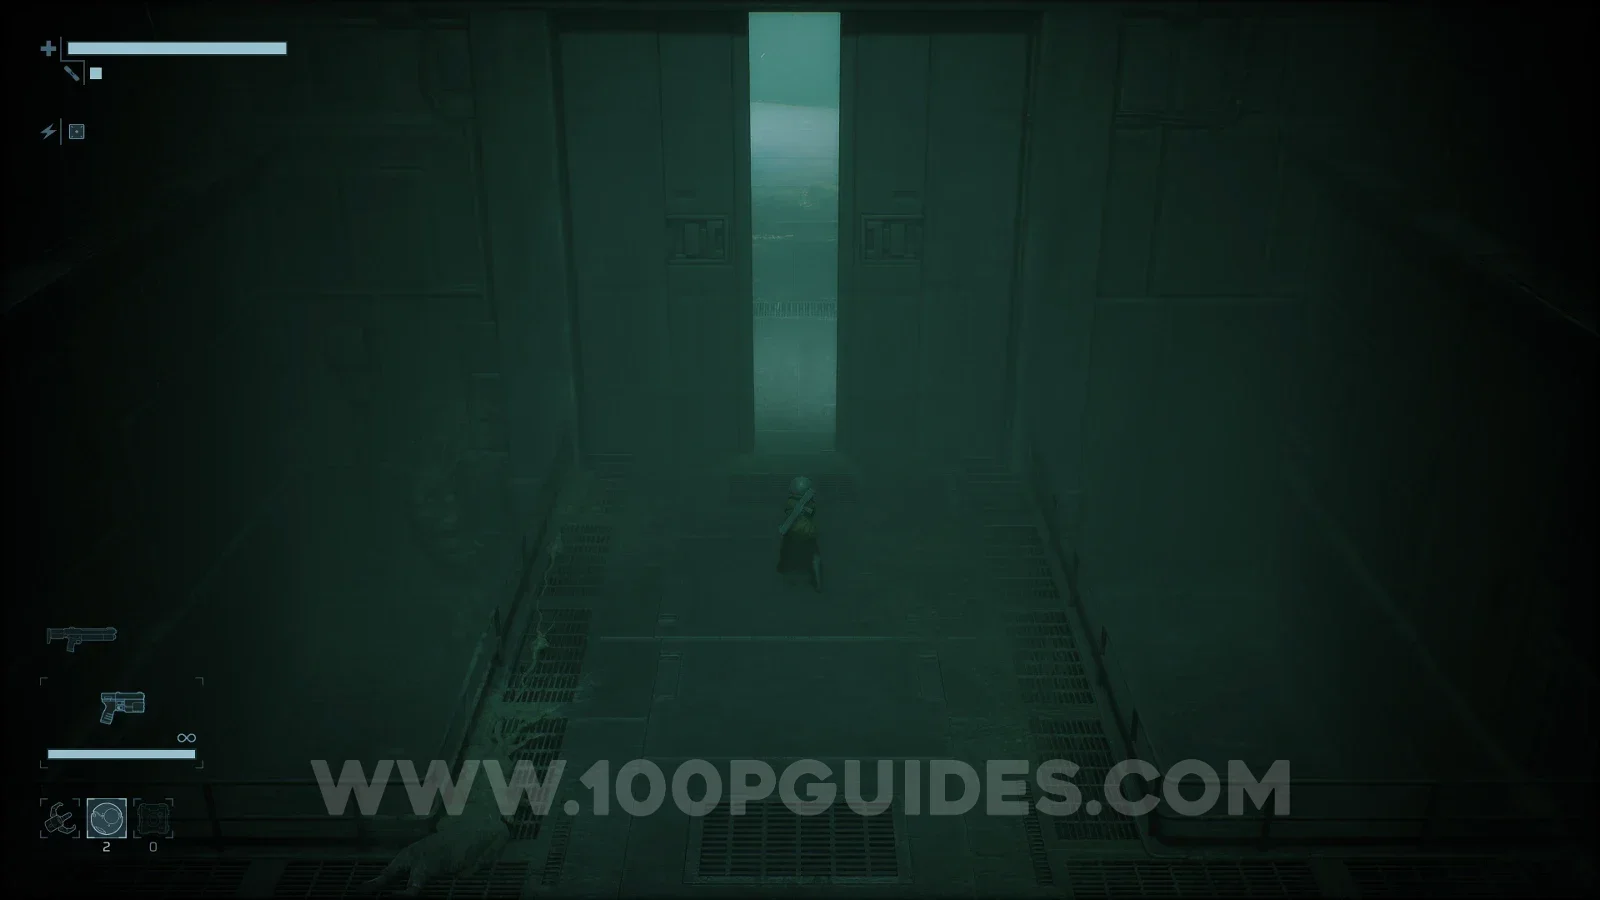
Release Protocols
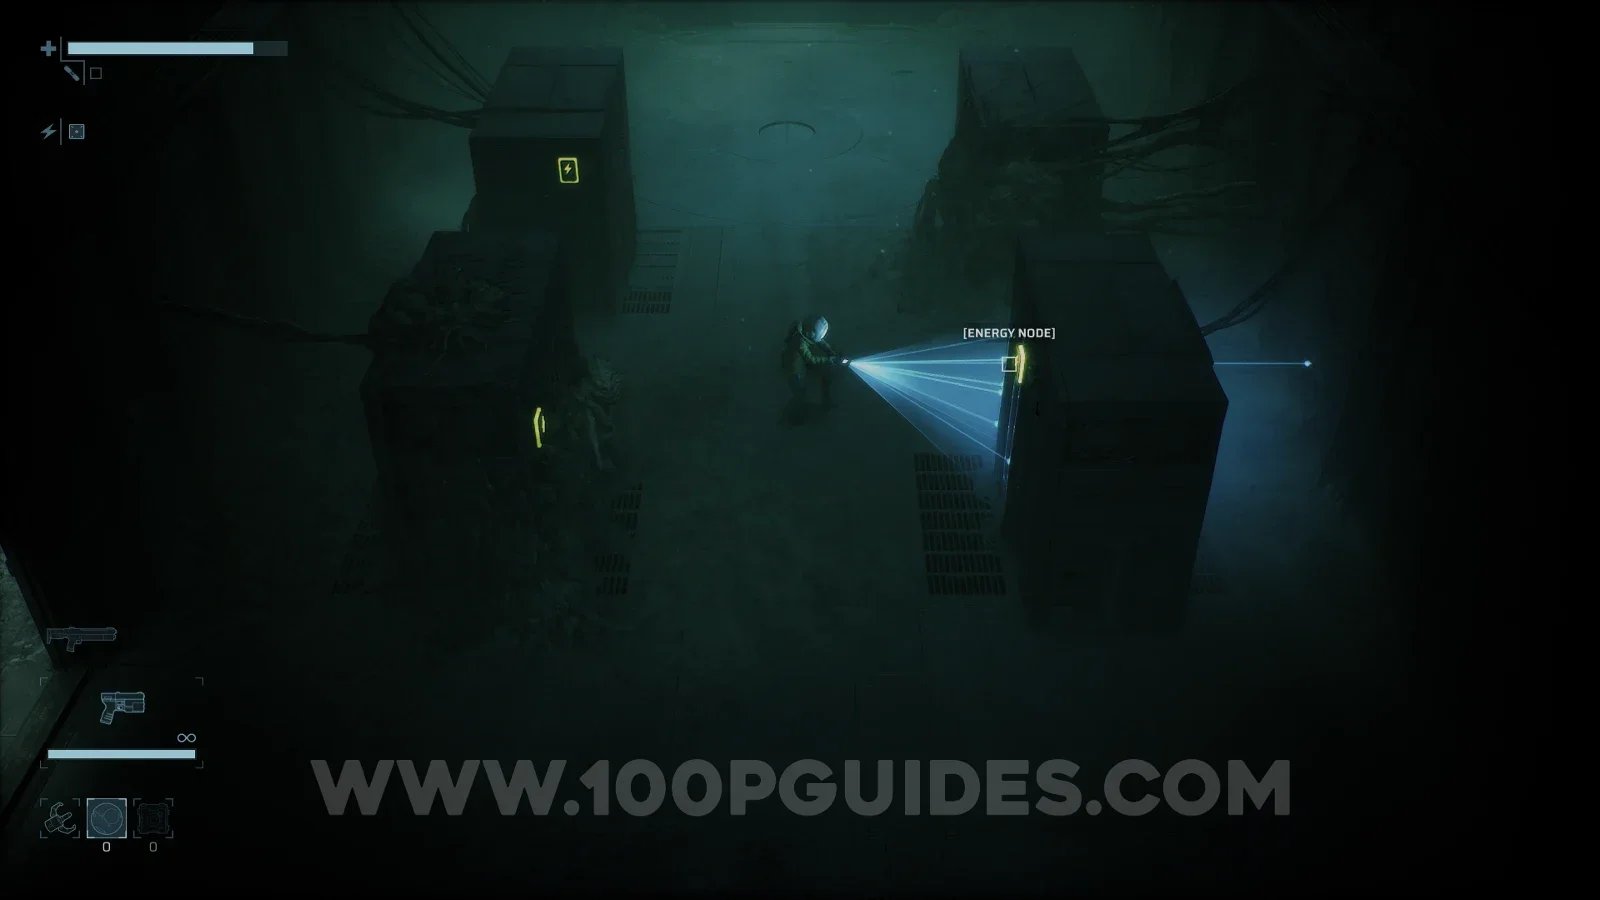
Head back through the large door and go left. Continue along this path until you reach an Energy Node door just before the objective marker. Press to scan the surrounding walls and follow the wires into the previous room, where you will see the 3 energy cores on the central servers. Shoot all 3, then defeat the robot enemies that ambush you before heading into the northern room, where you can press the first of the two switches.
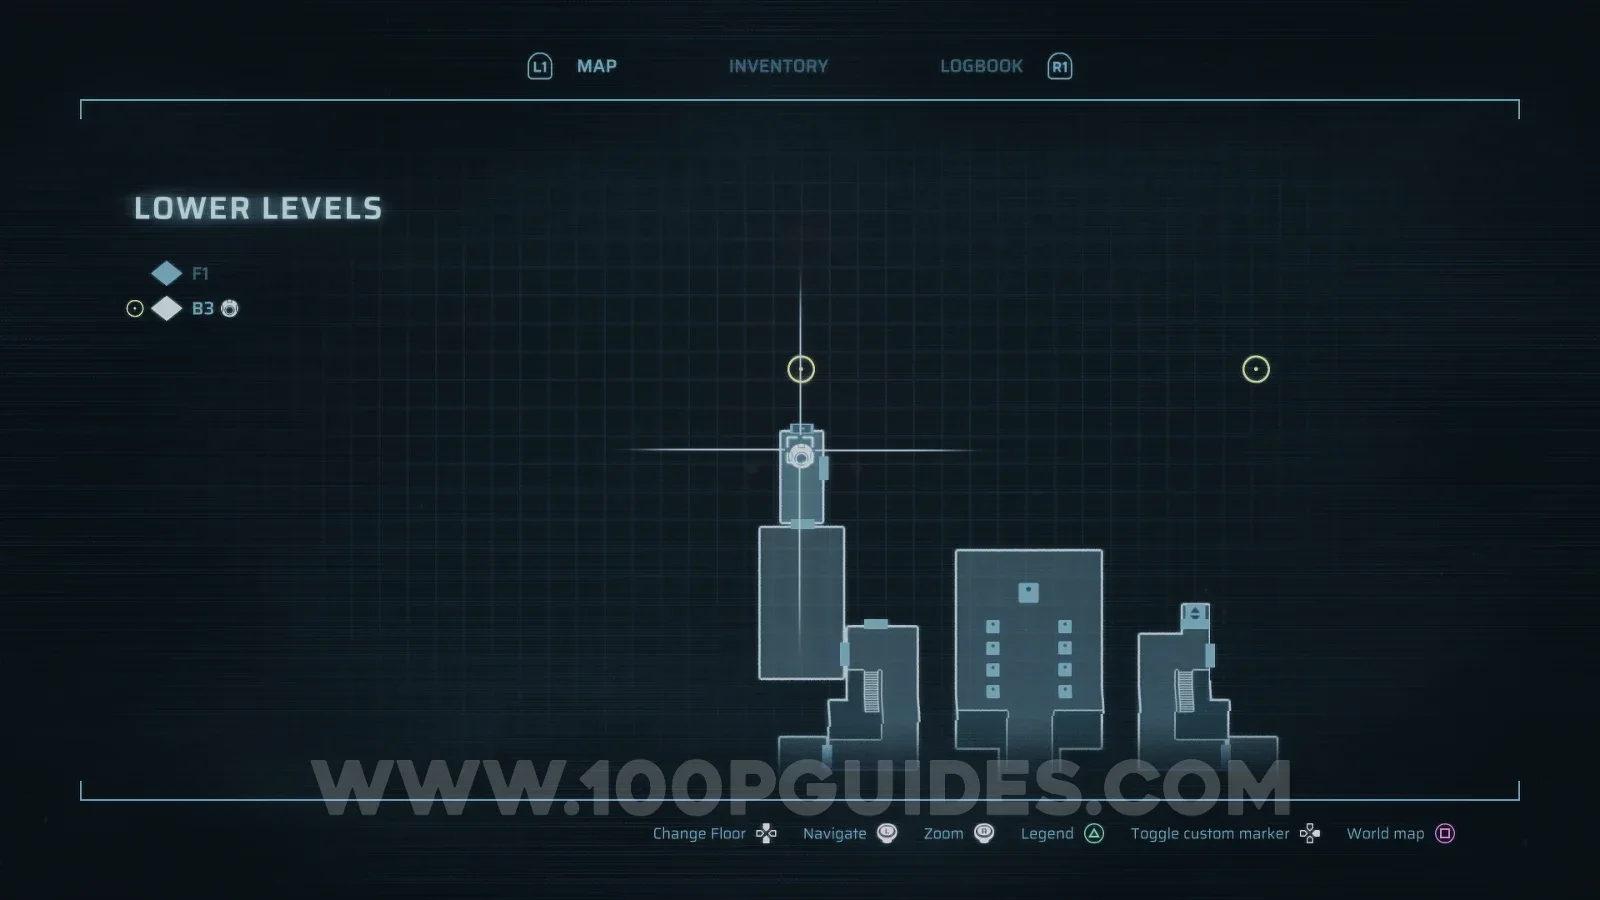
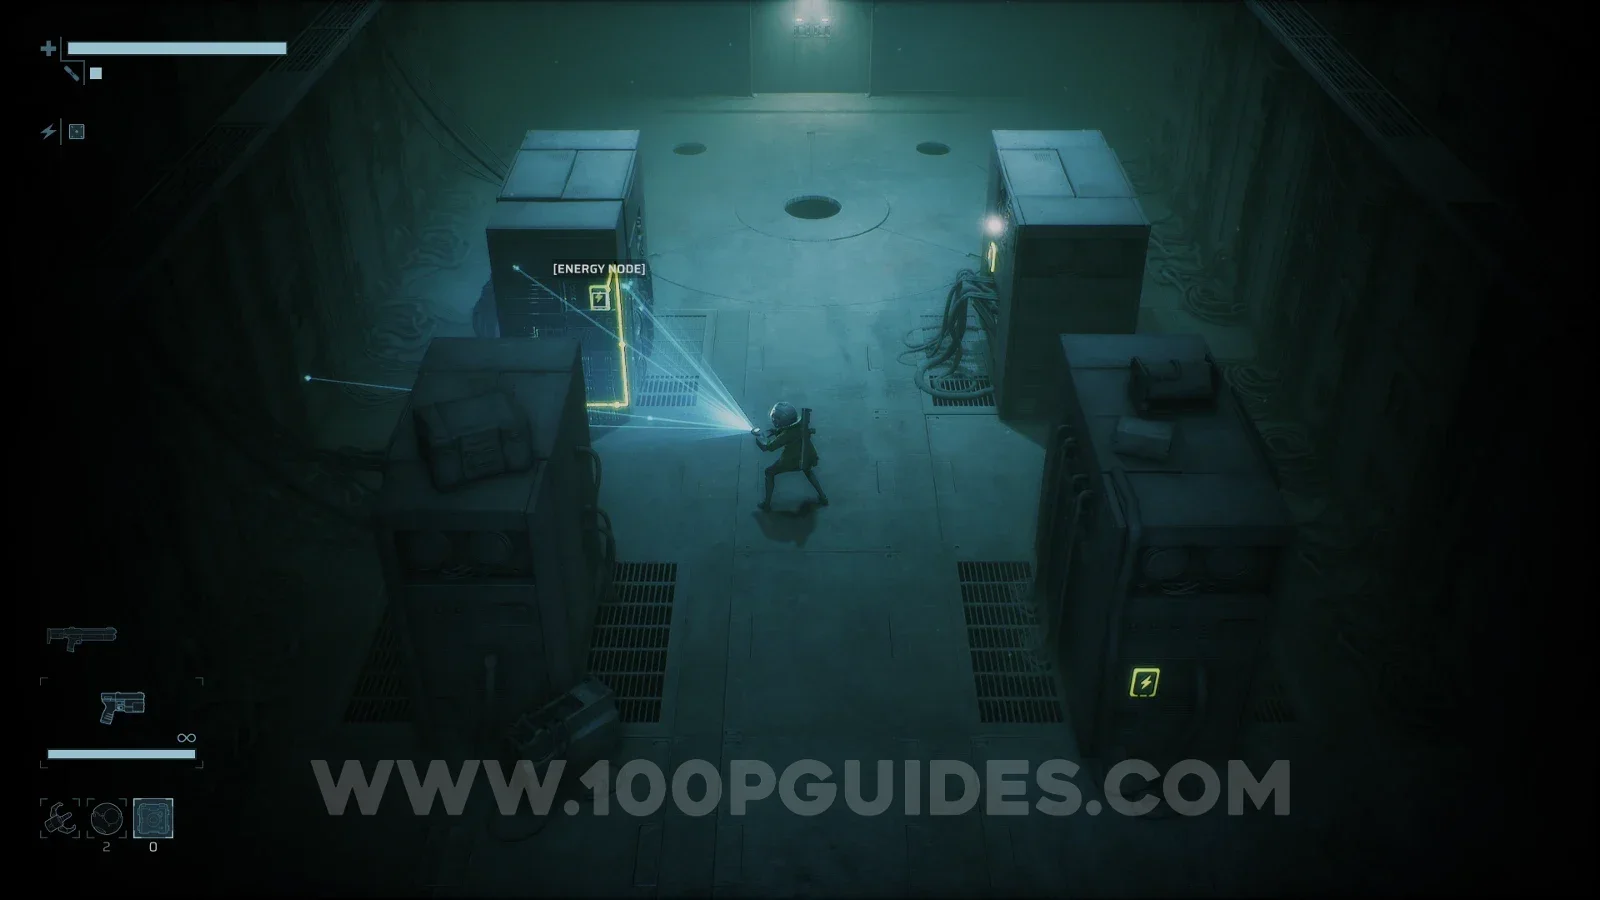
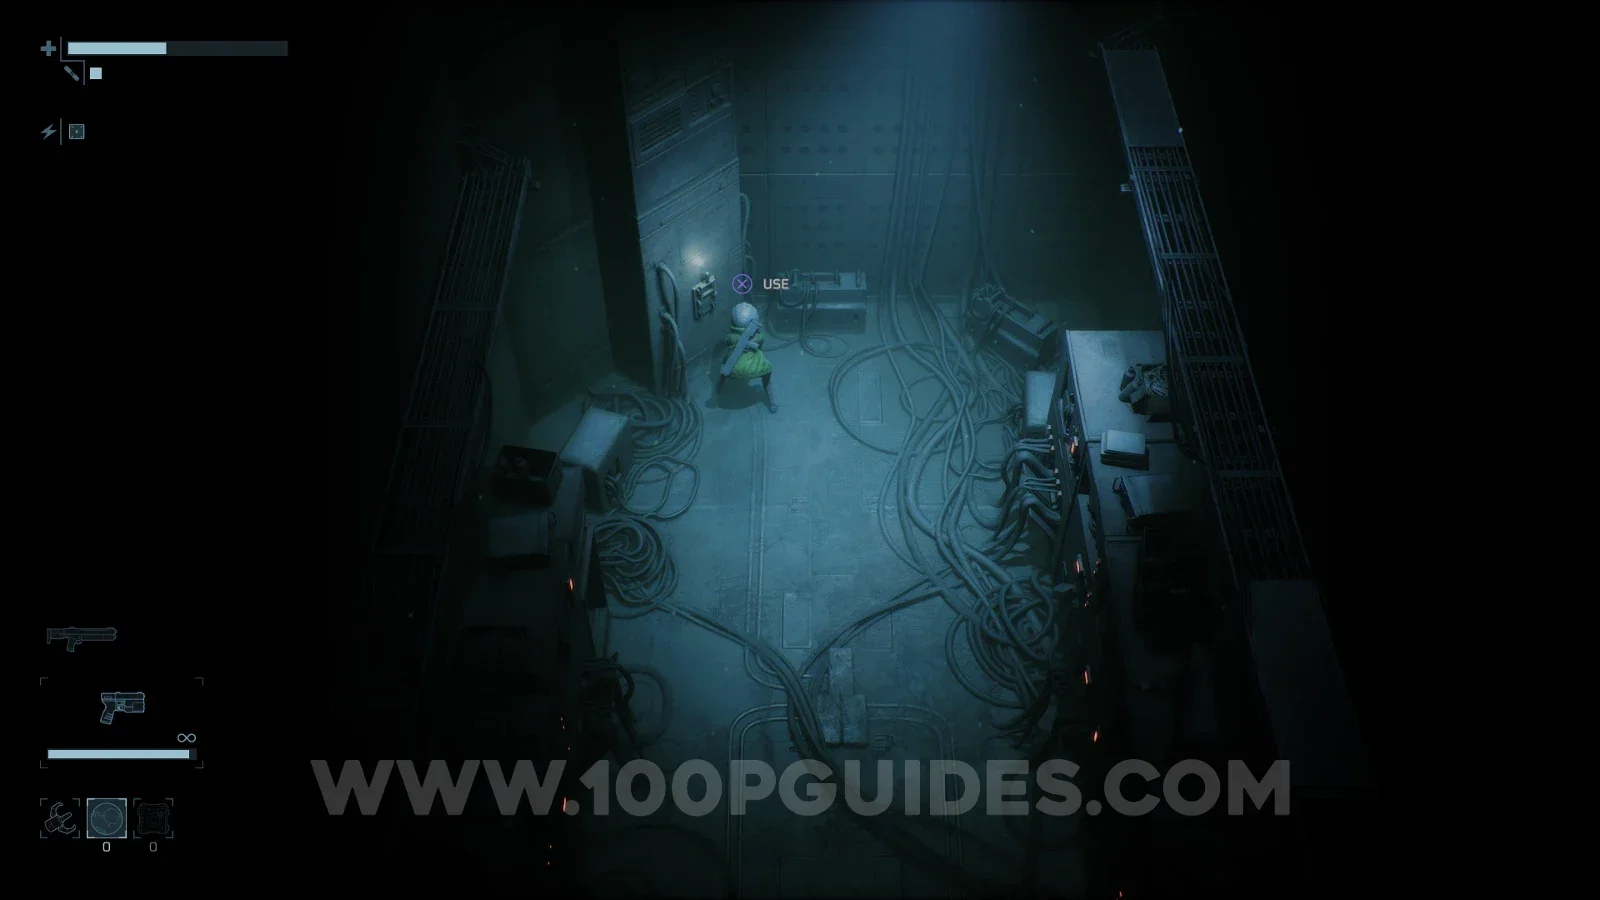
After pressing the switch, a path to your right will open up. Head through it and then down the small lift in the next room. At the bottom head right and pick up the Utility Tunnels Key from the corpse.
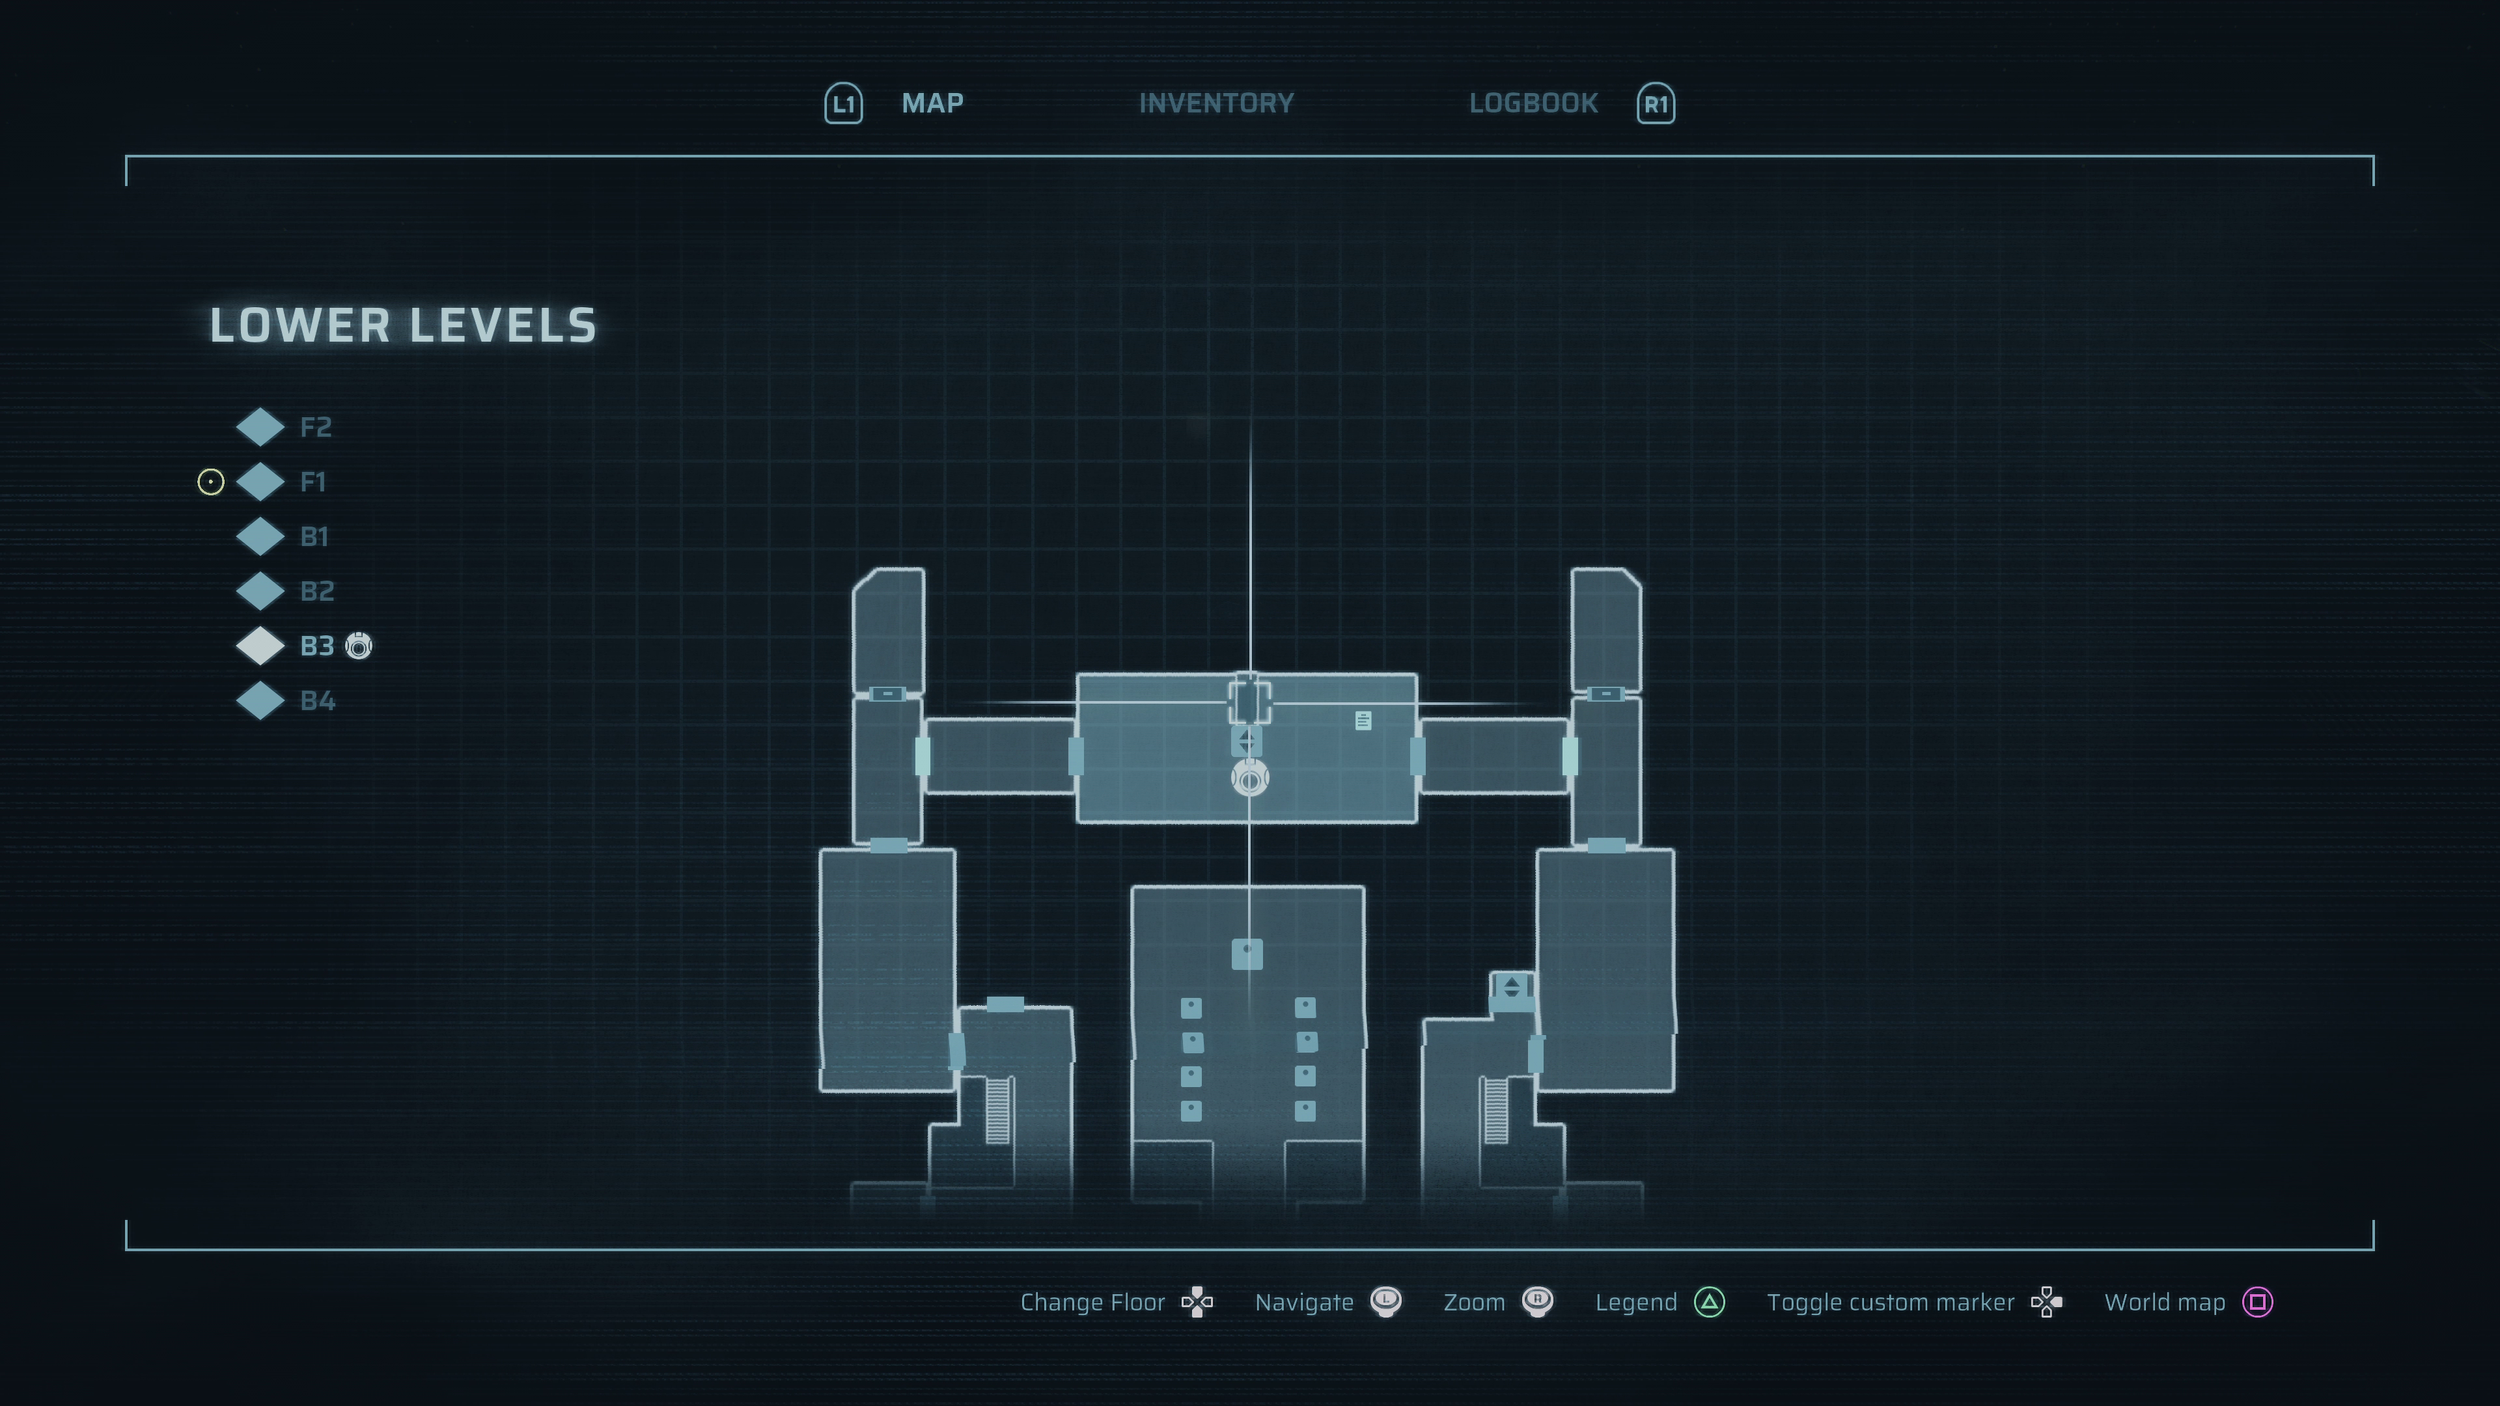
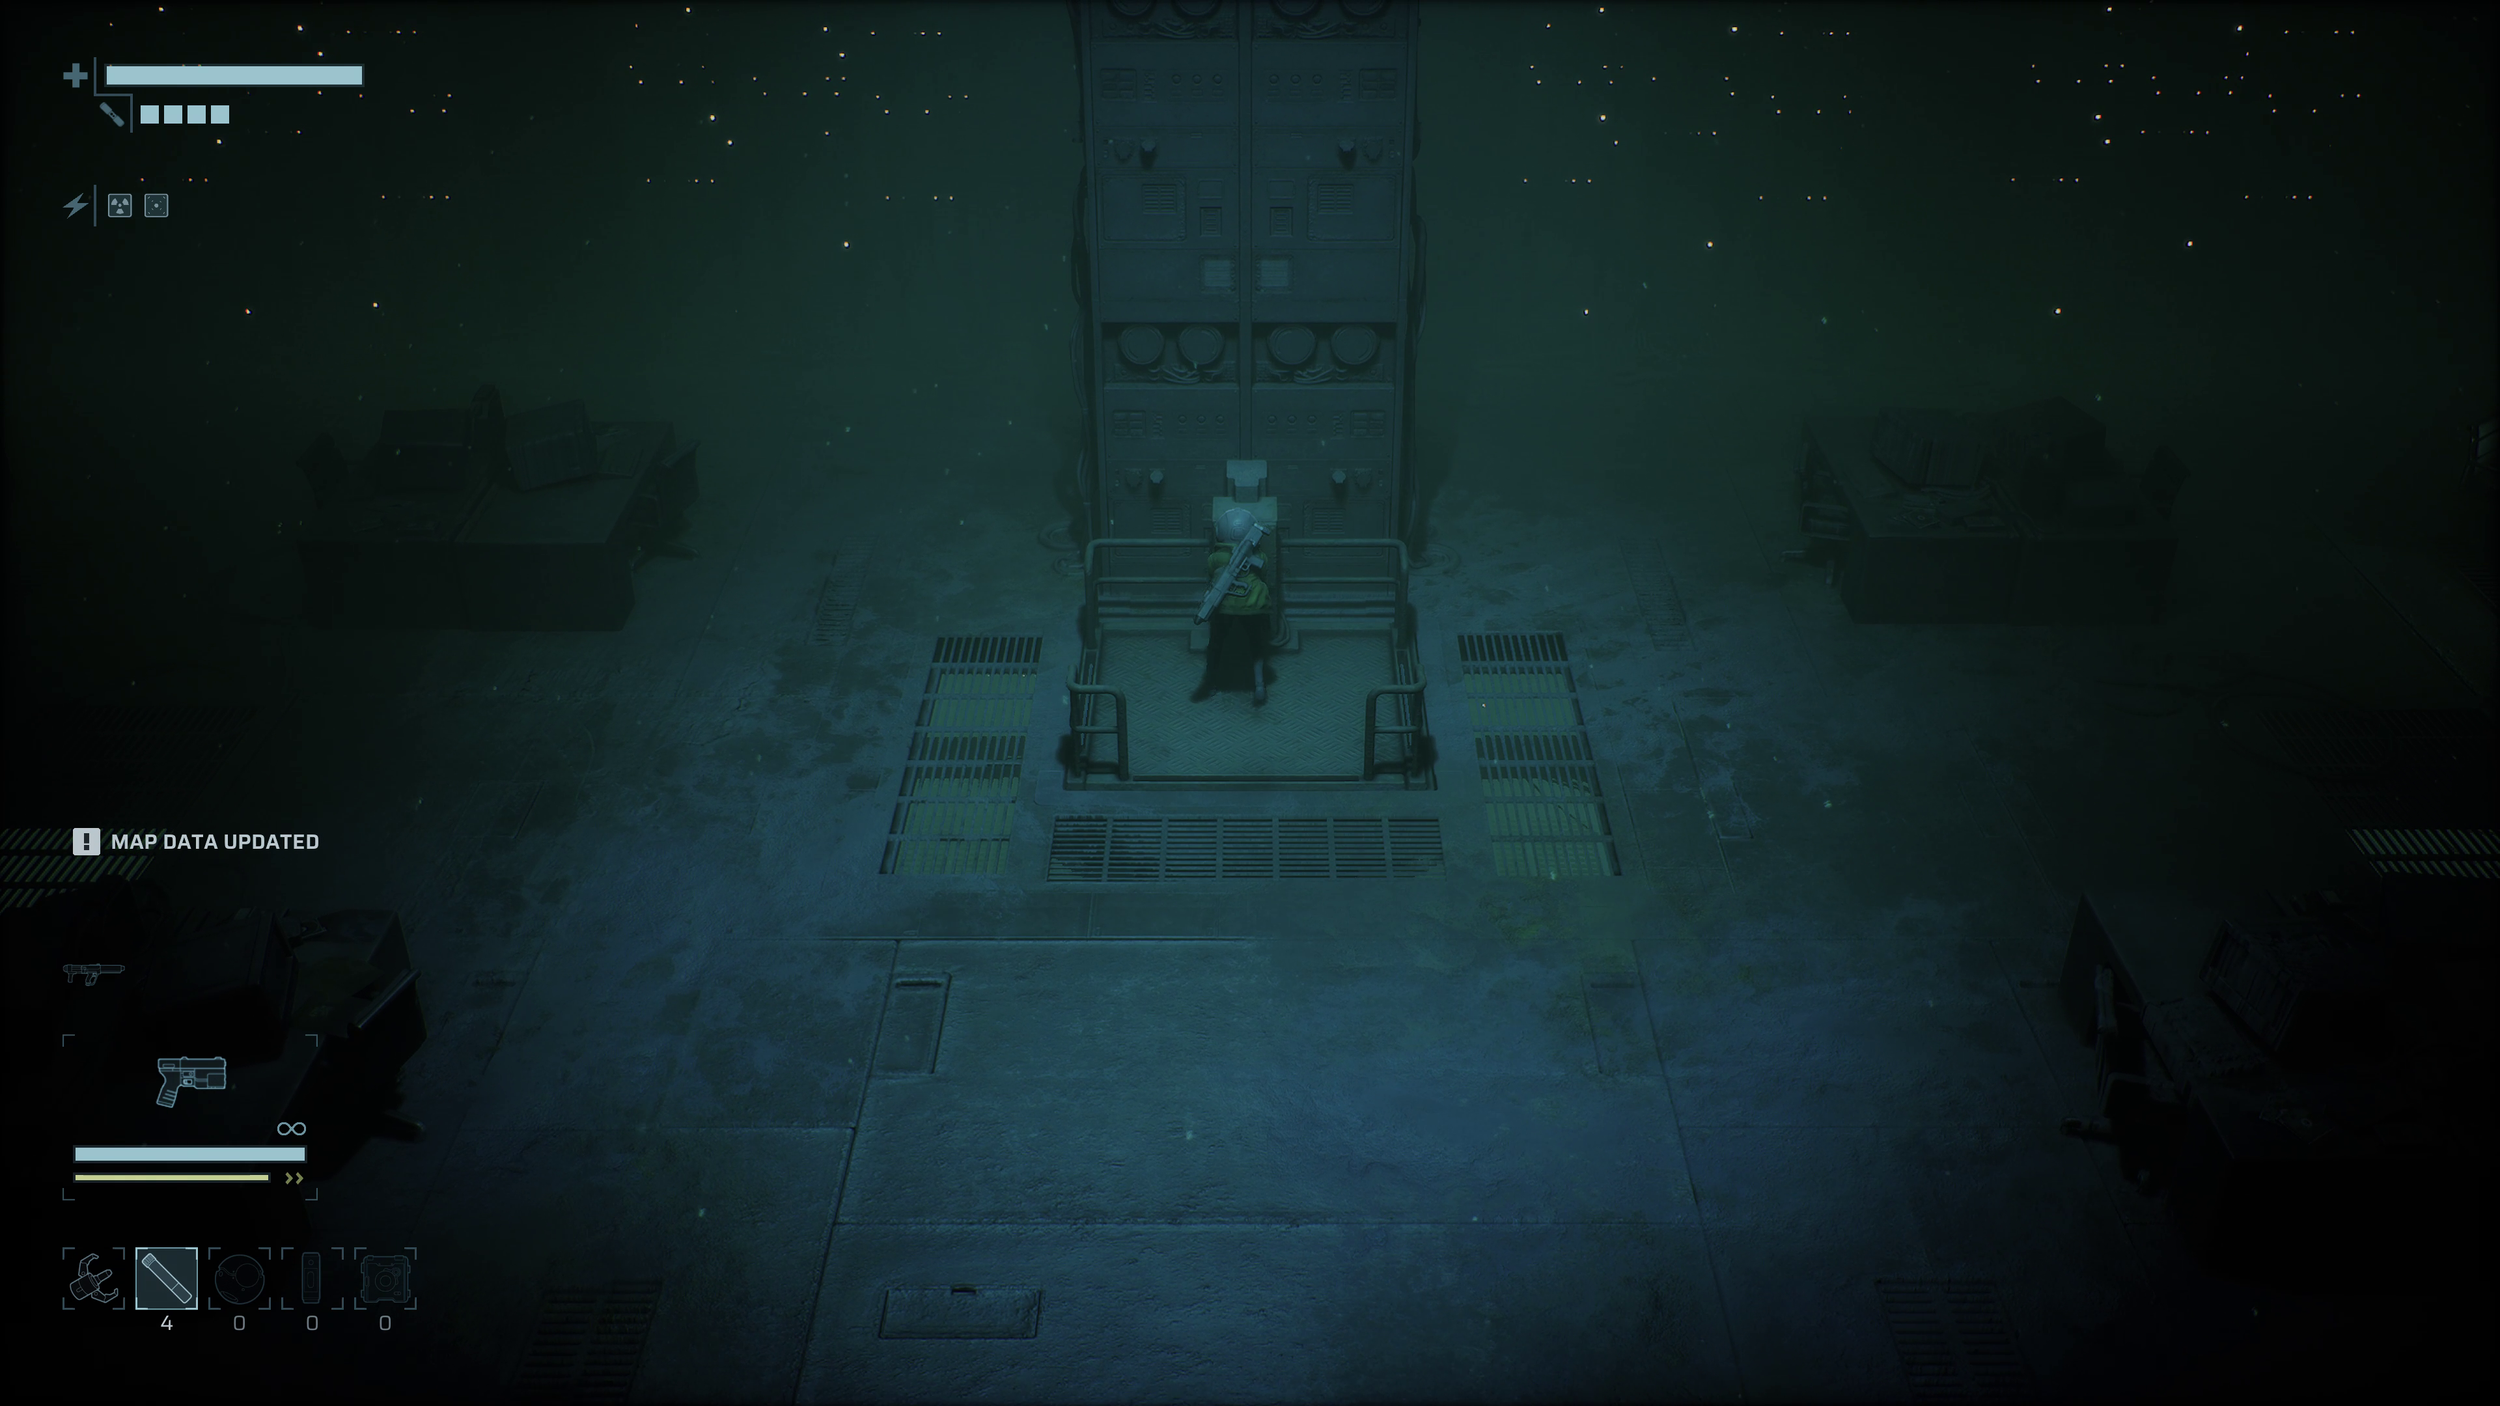
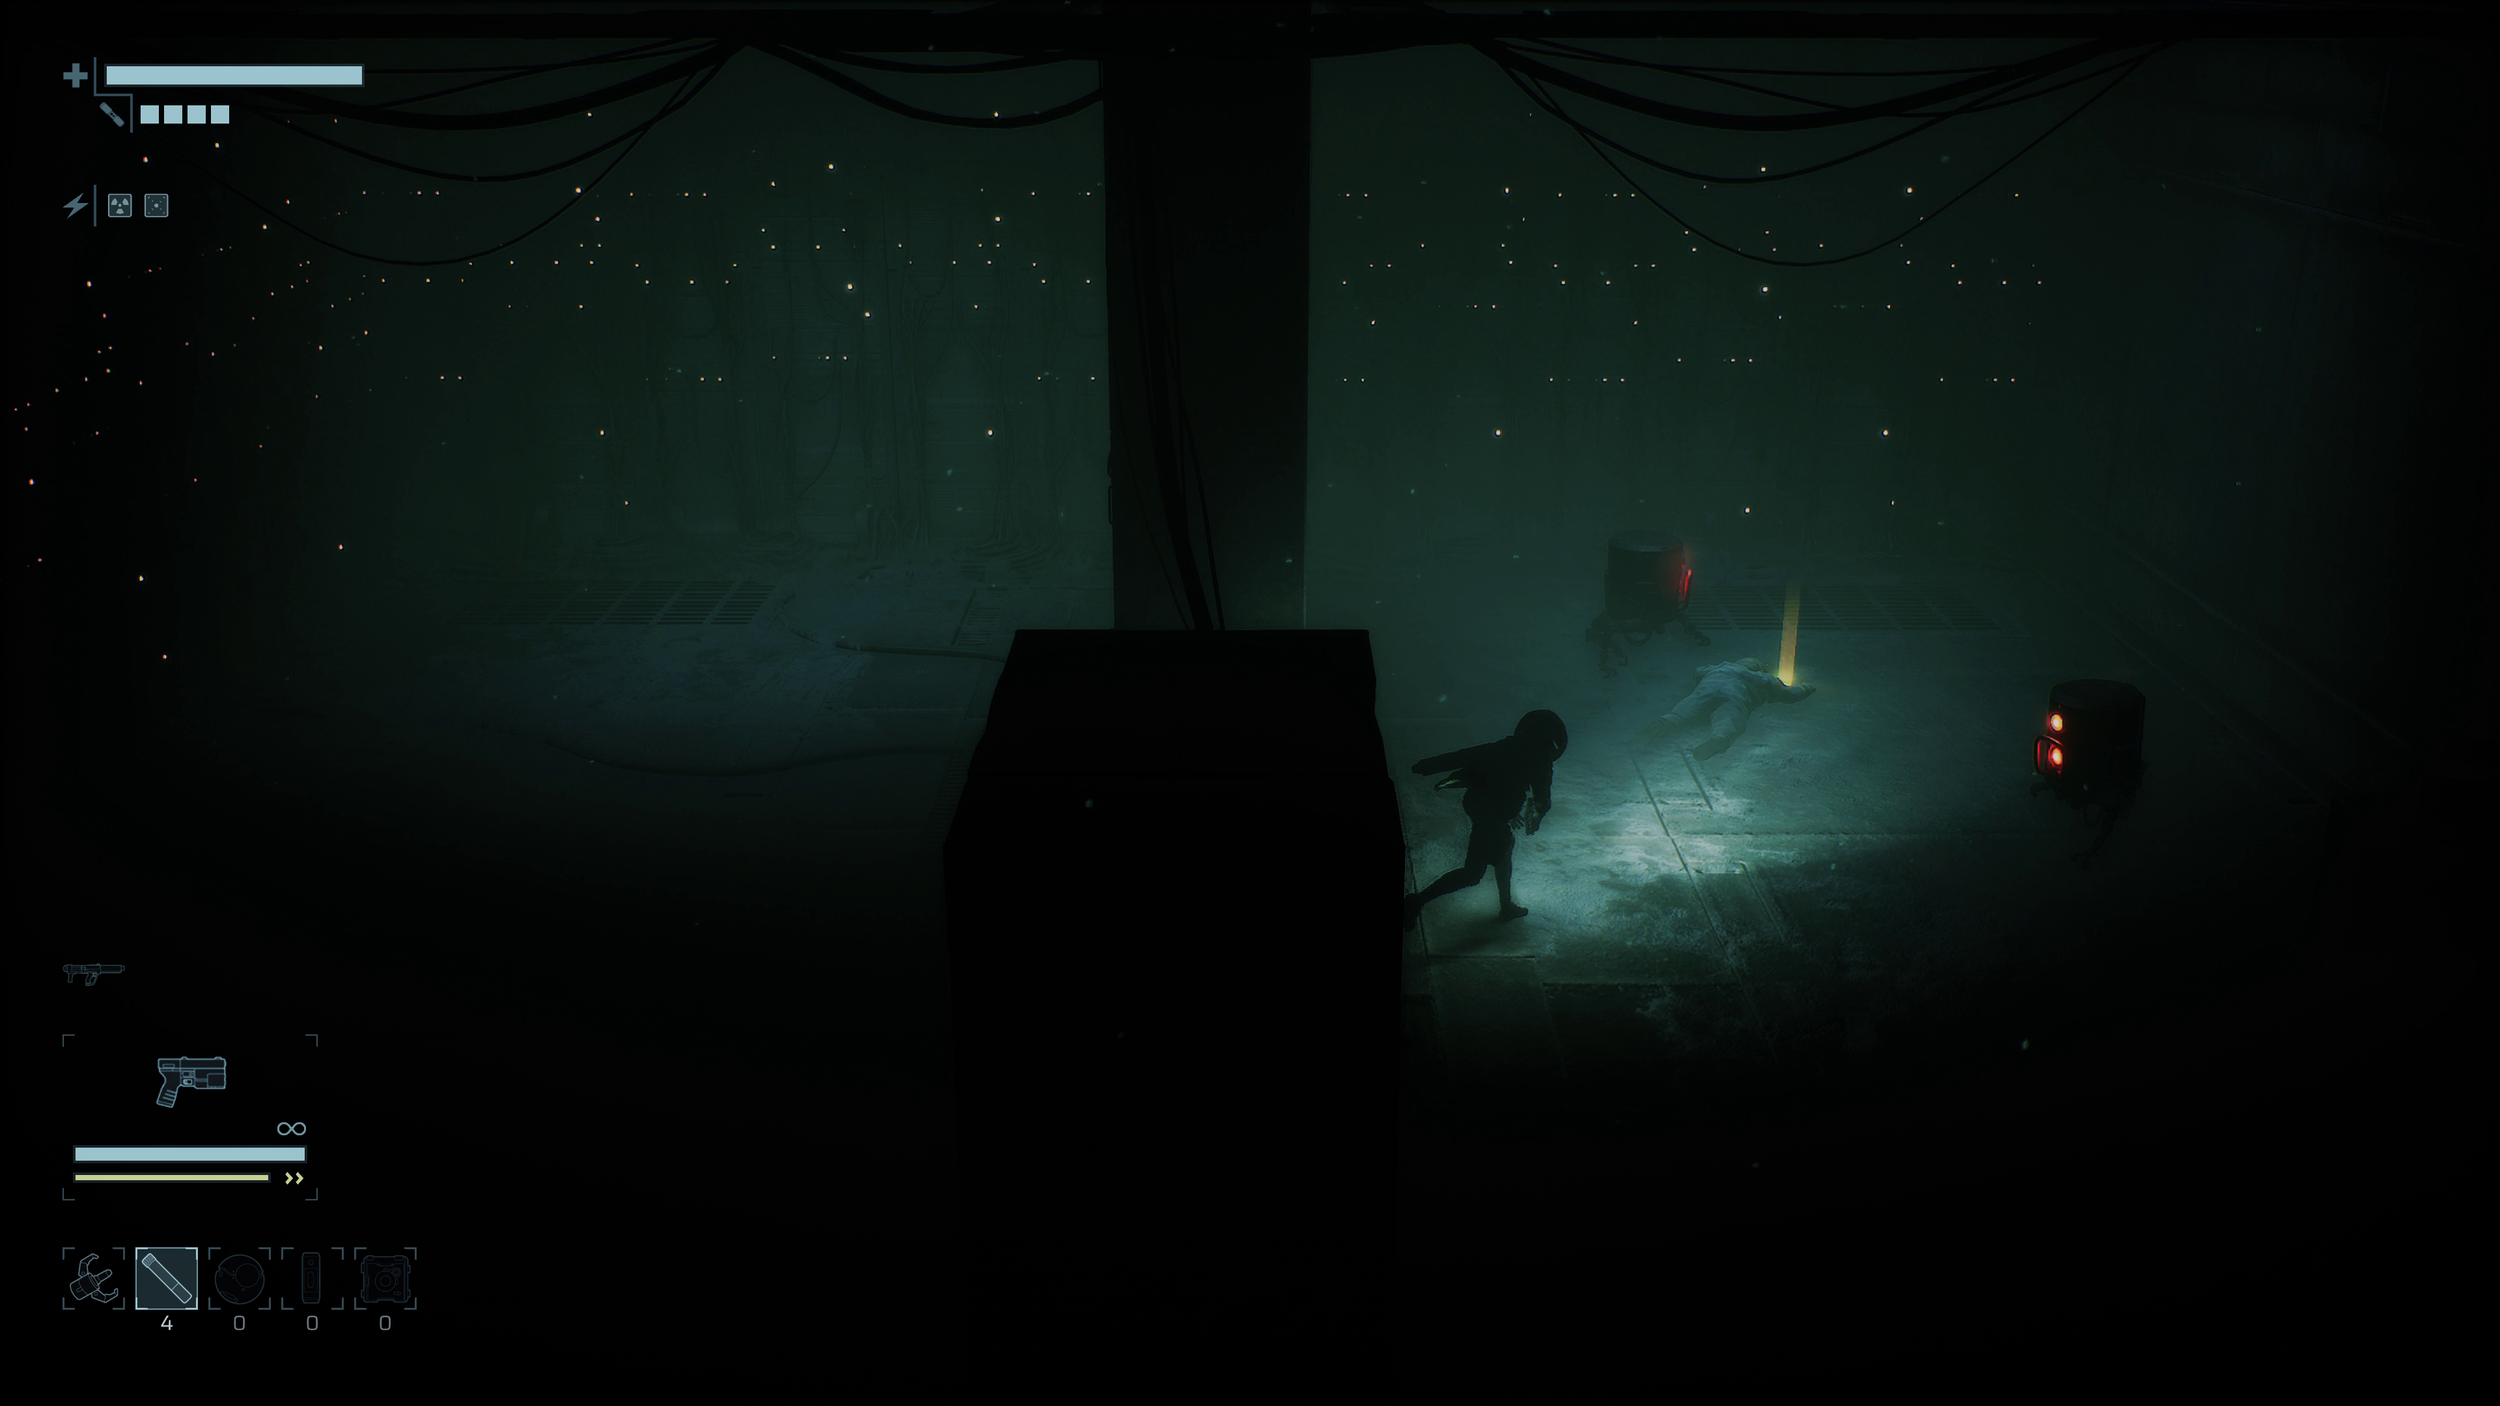
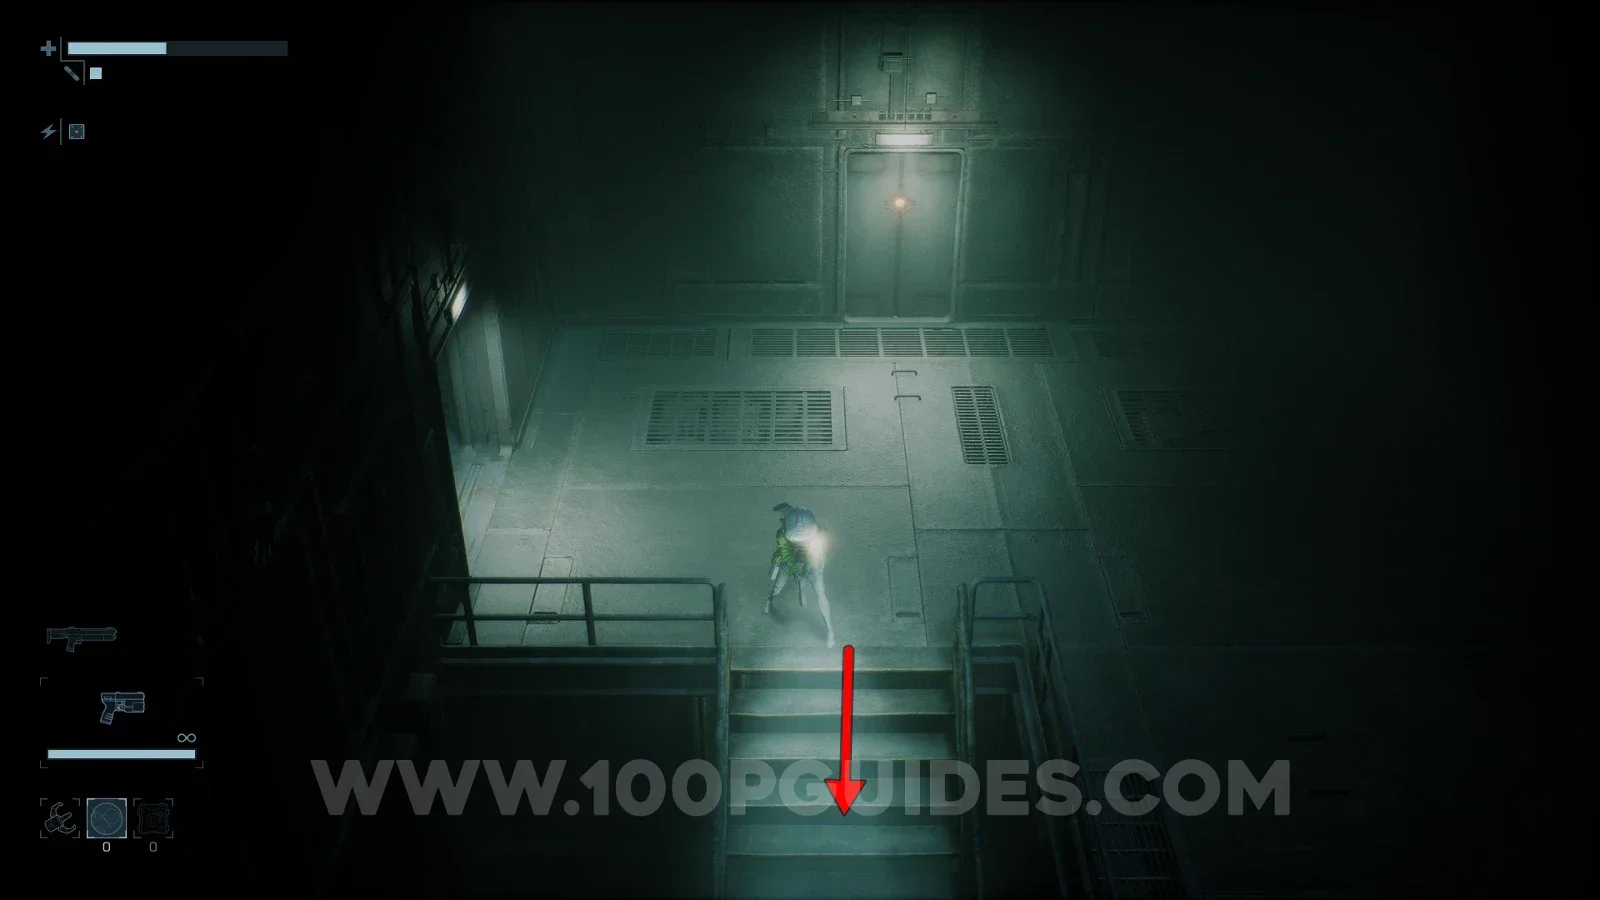
Now backtrack until you see some stairs heading down just outside a safe room. Head down them and follow this path until you eventually come out the other side via a similar set of metal stairs. At the top of these stairs, head through the door on the right to find yourself in a room similar to the one from the previous objective. Head through the door at the top, scan the walls and follow the cables back to the previous room. Just like with the other objective, shoot the Energy Nodes, defeat the enemies, then go through the Energy Node door and press the switch.
Return to Mainframe
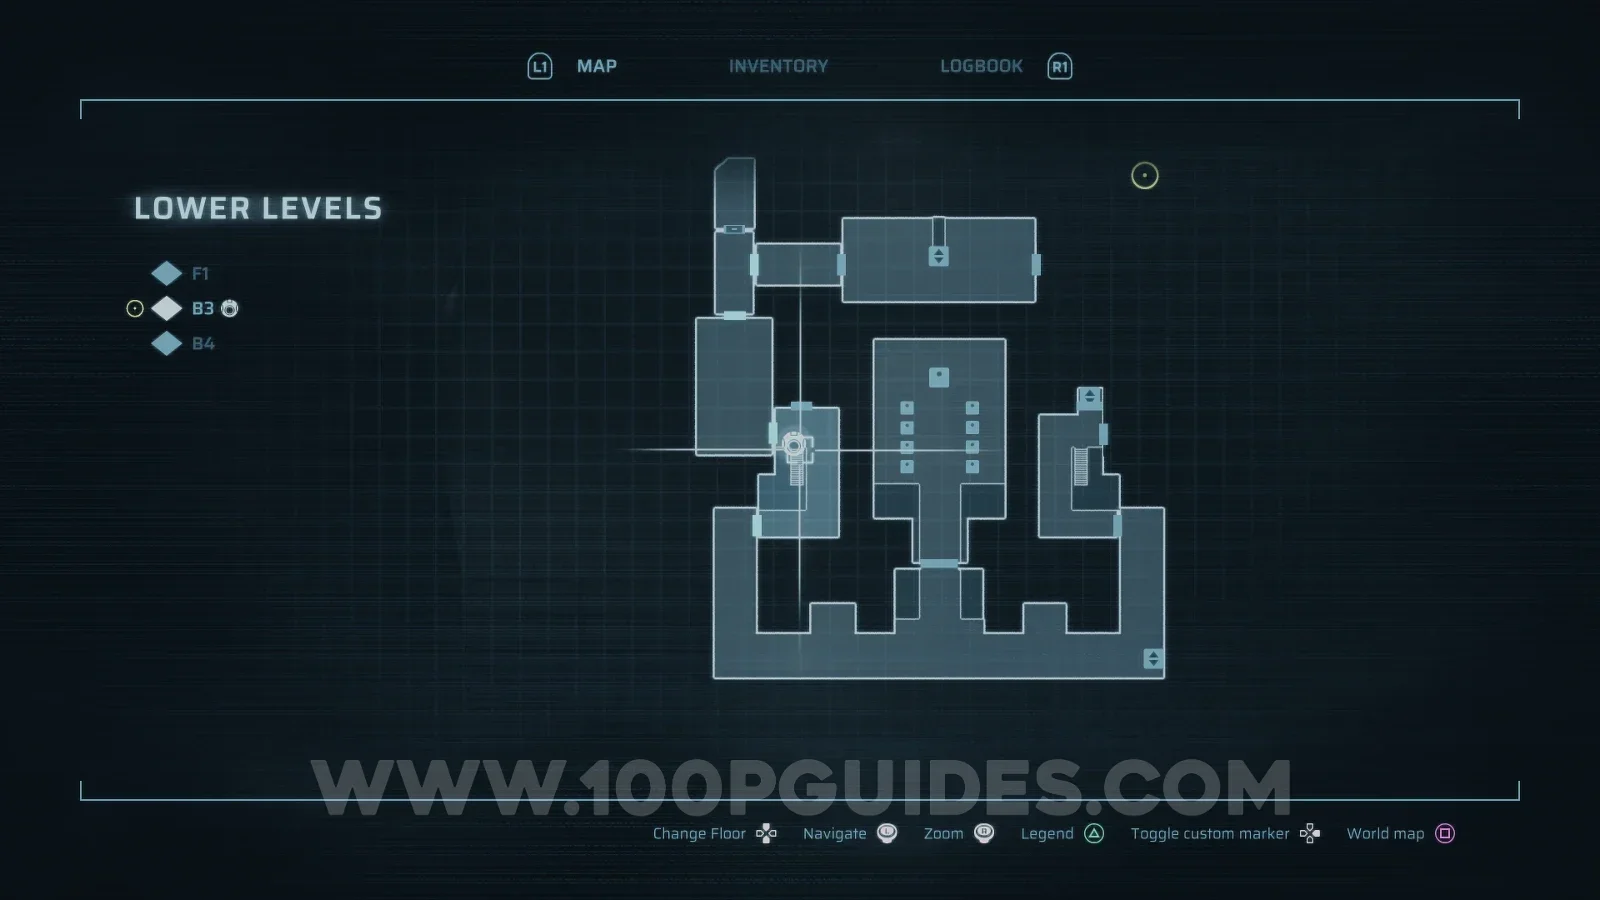
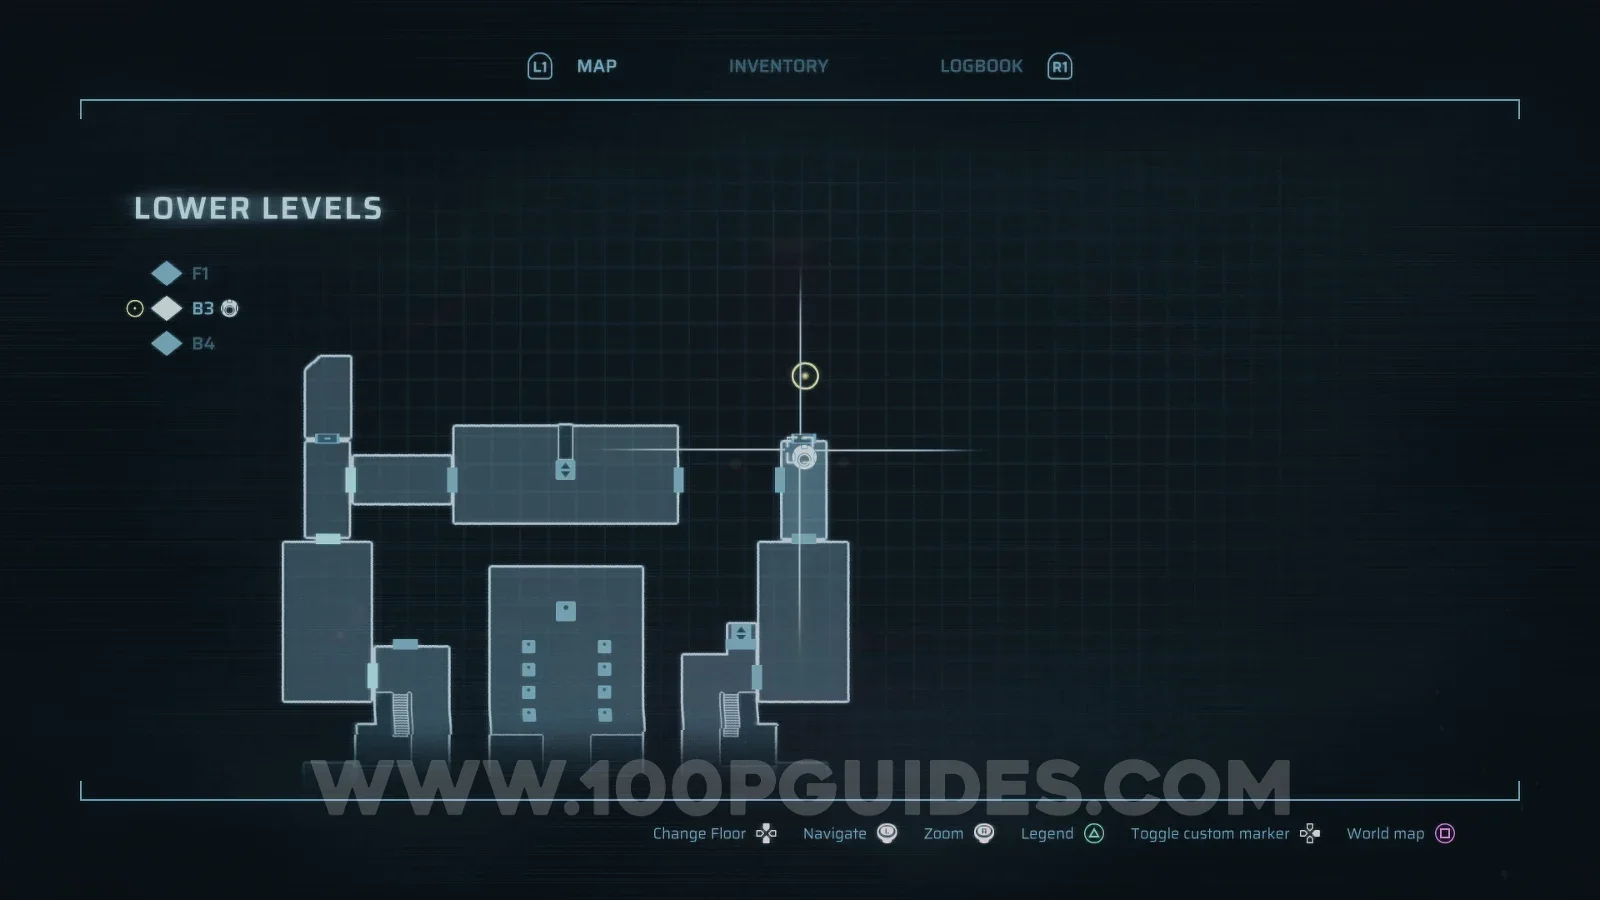
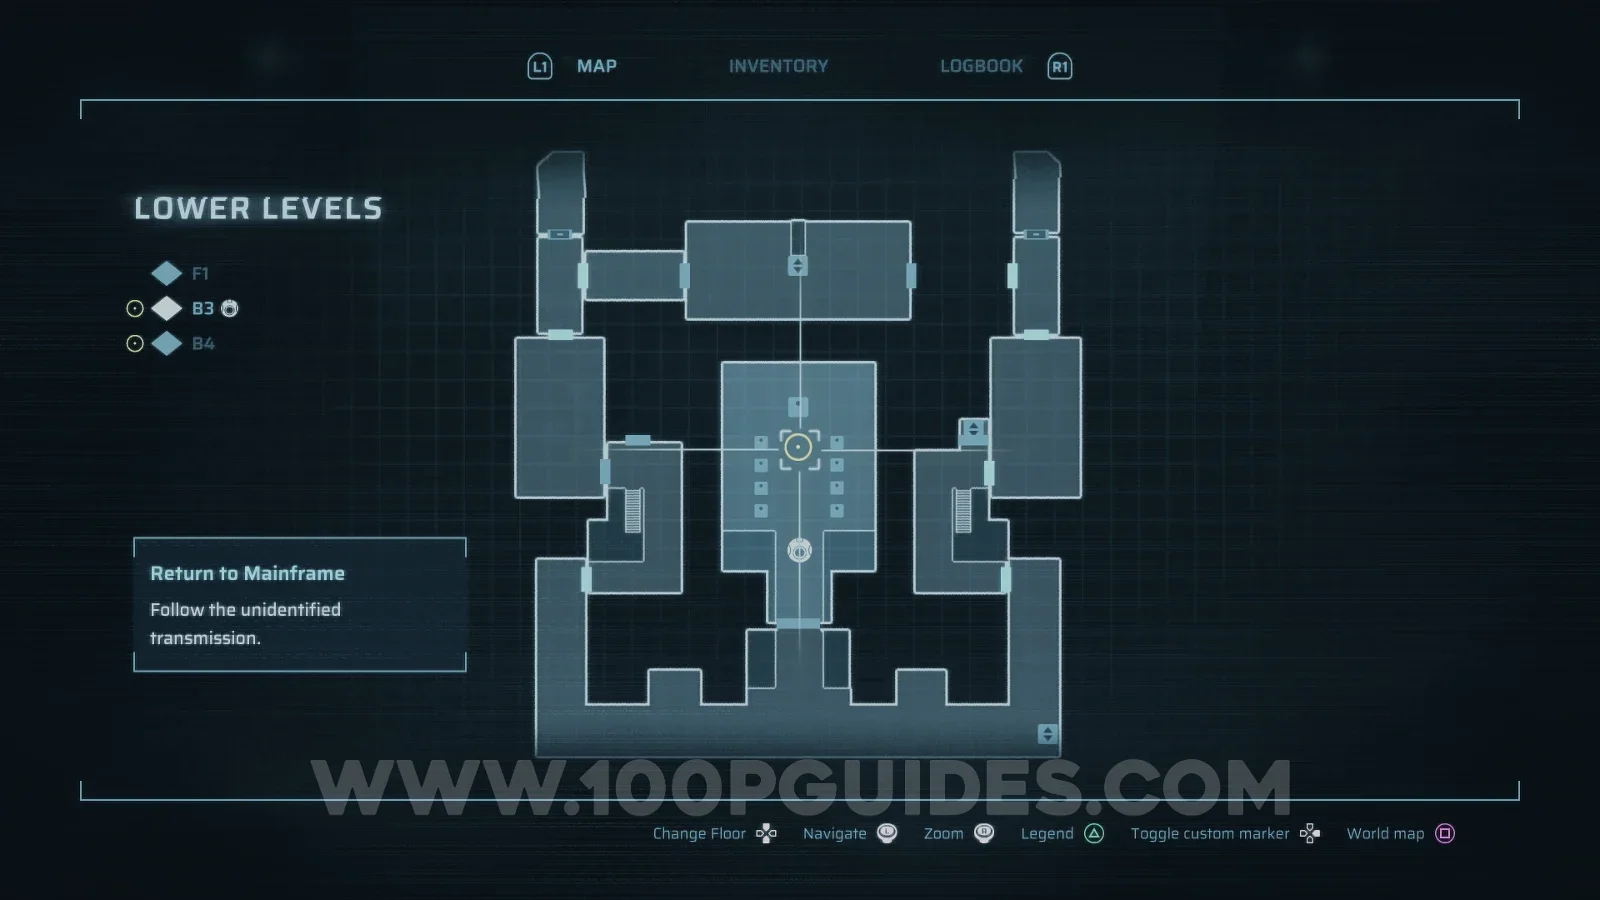
Now that both switches are pressed, head back to the Mainframe (the large structure you talked to before).
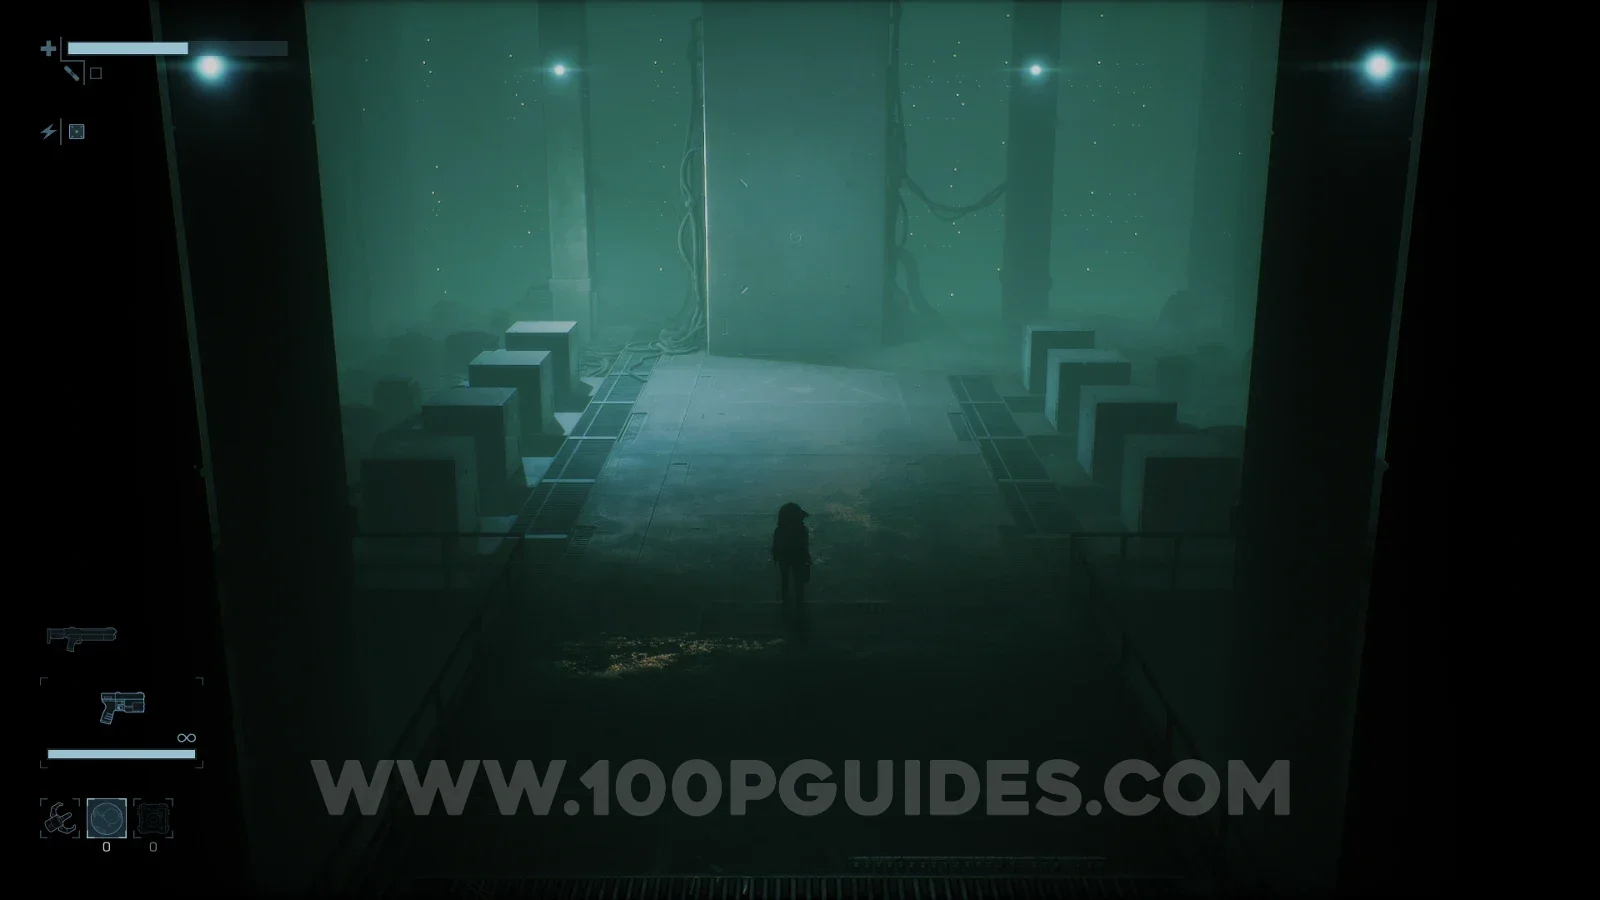
The Neural Chamber
Next, head back to the main hall where you separated from the NPCs and go through the door on the right. Continue right until you see a small lift. Ride it down, head right and then down, then go into the room on your left and climb down the ladder to find the Level 1 Access on a corpse.
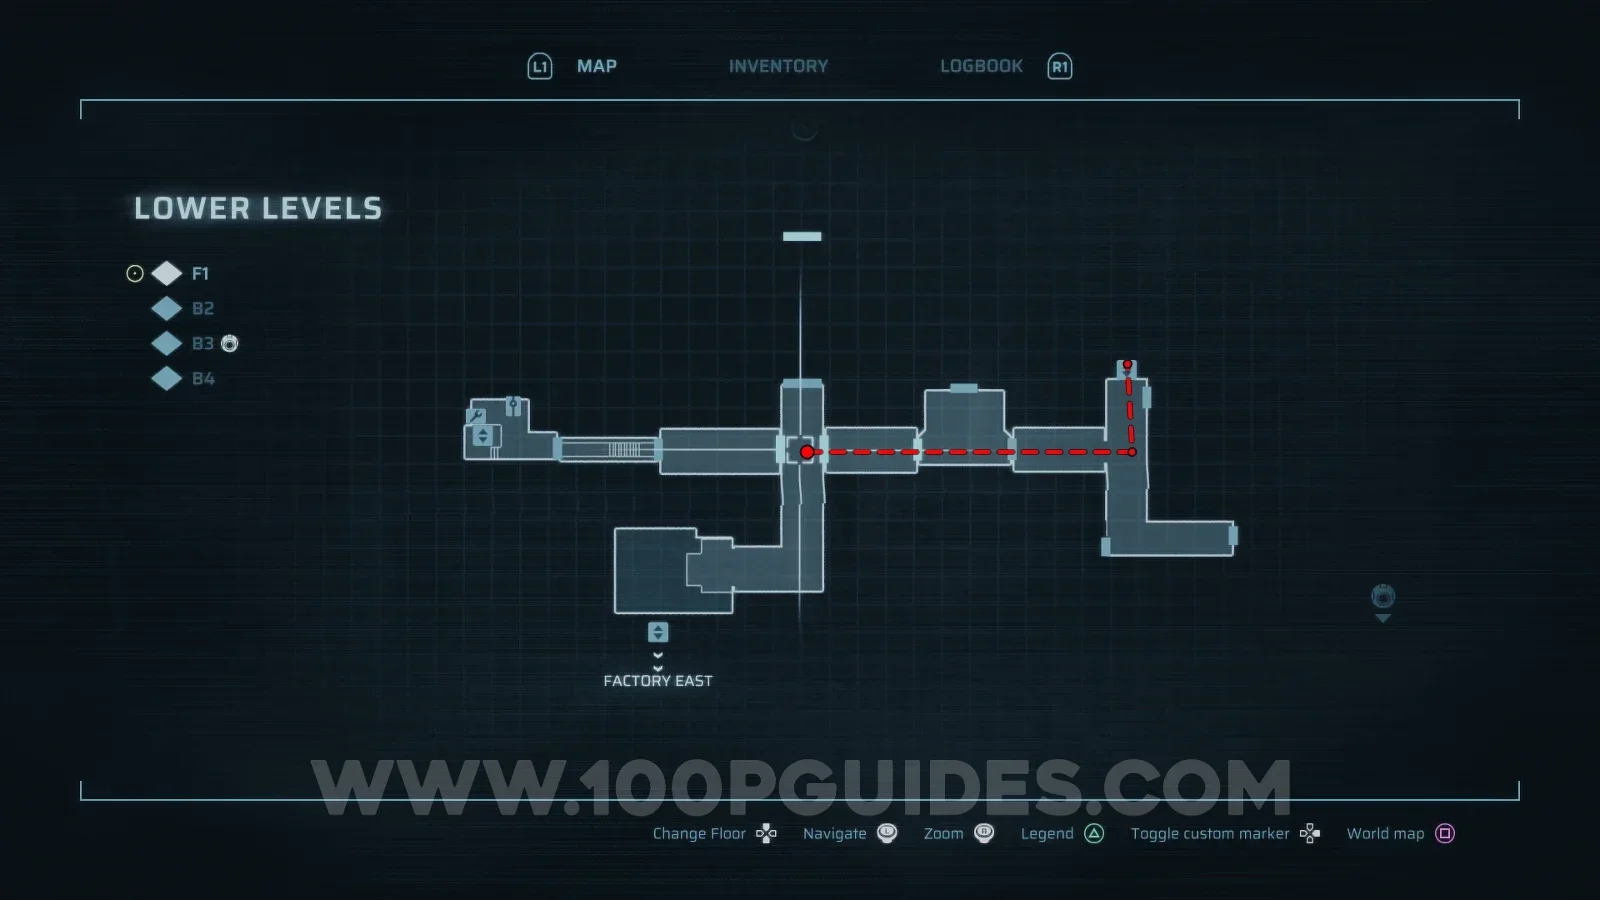
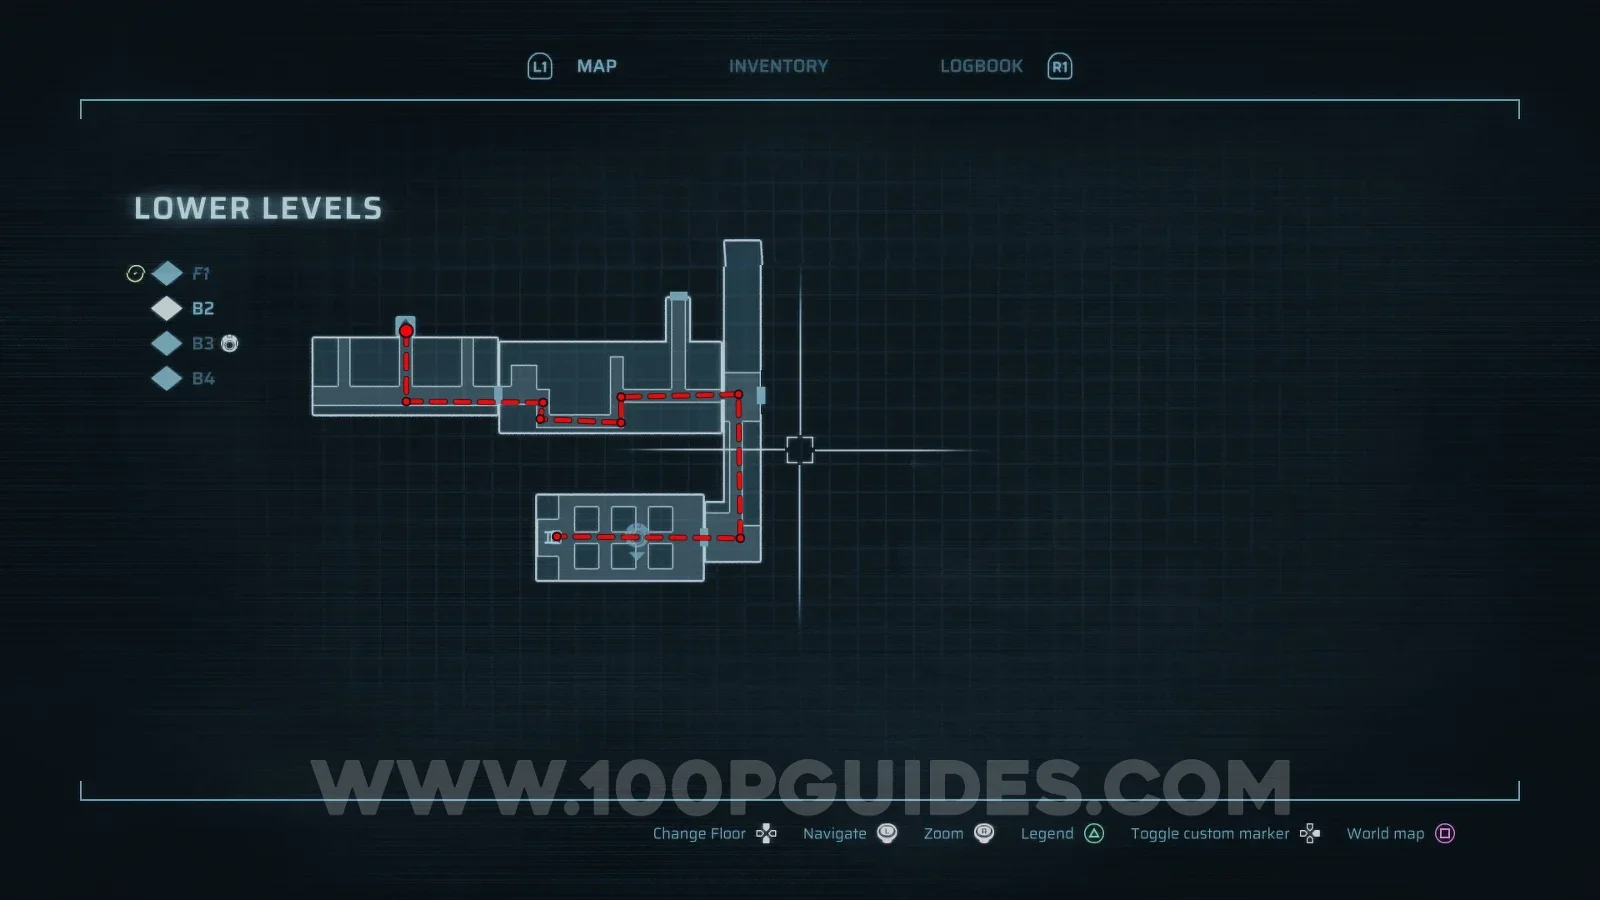
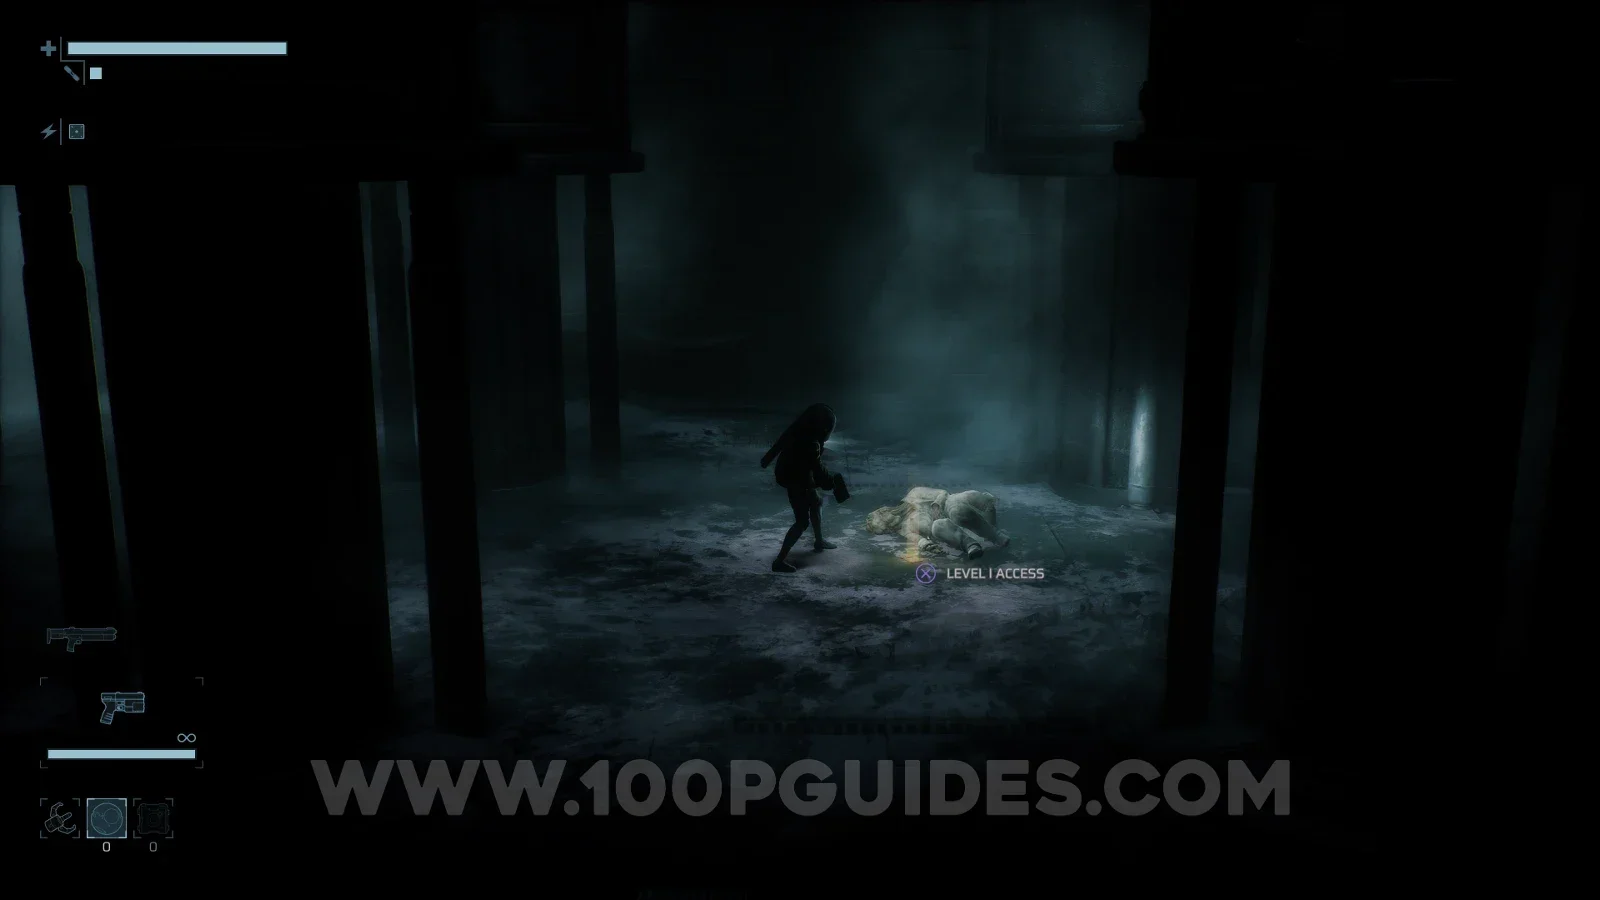
Now use the Level 1 Access to open the door to the north in the area with the metal catwalks.
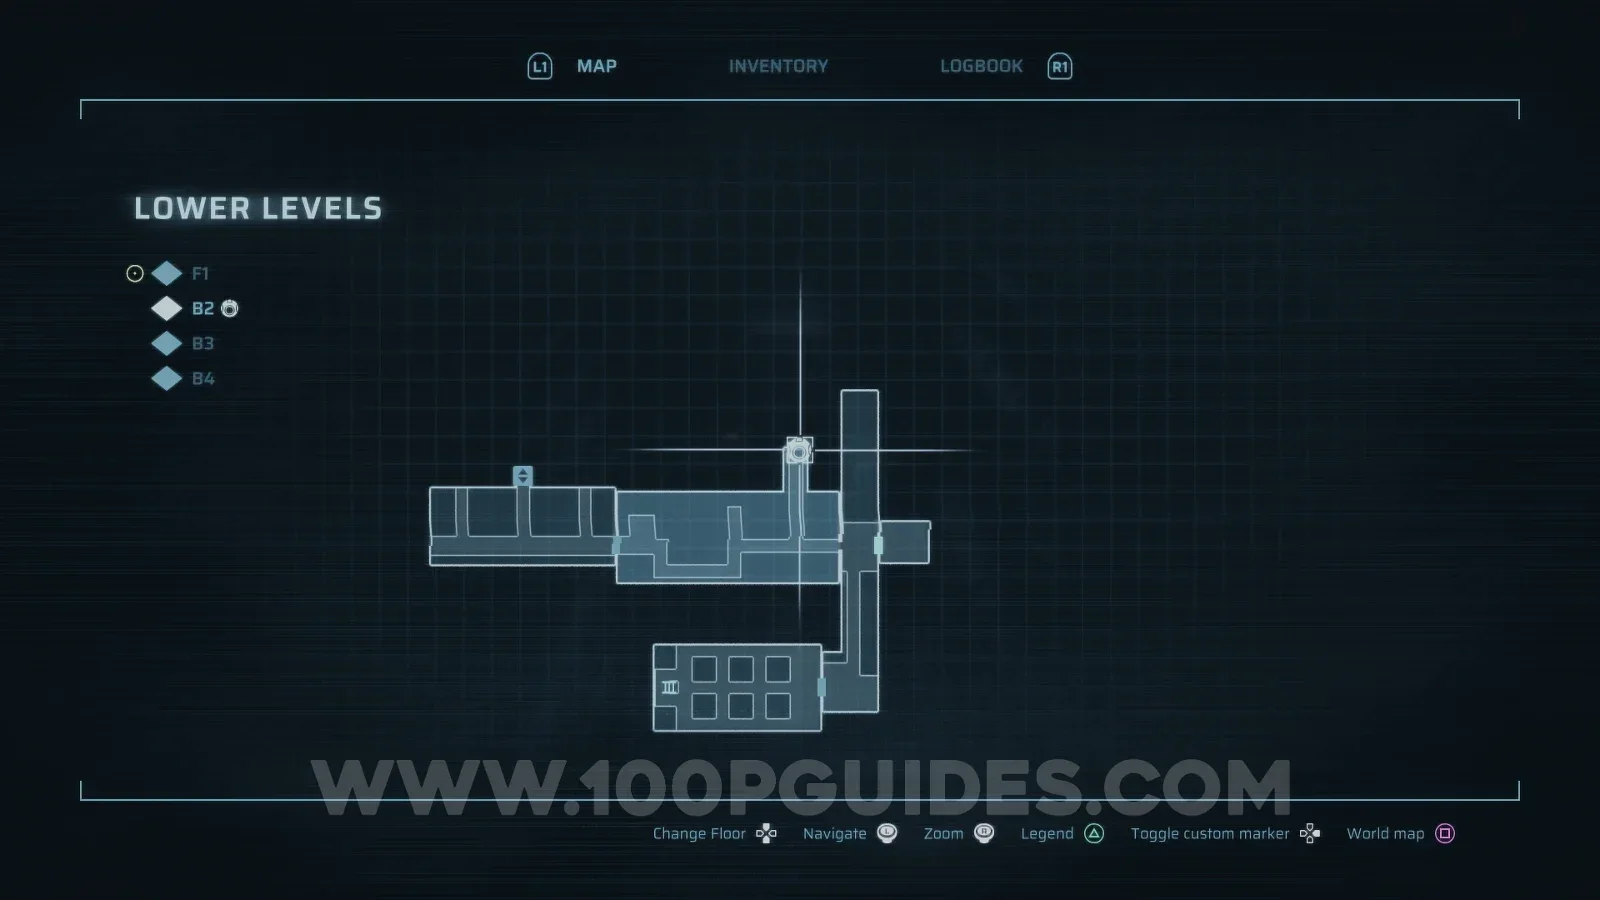
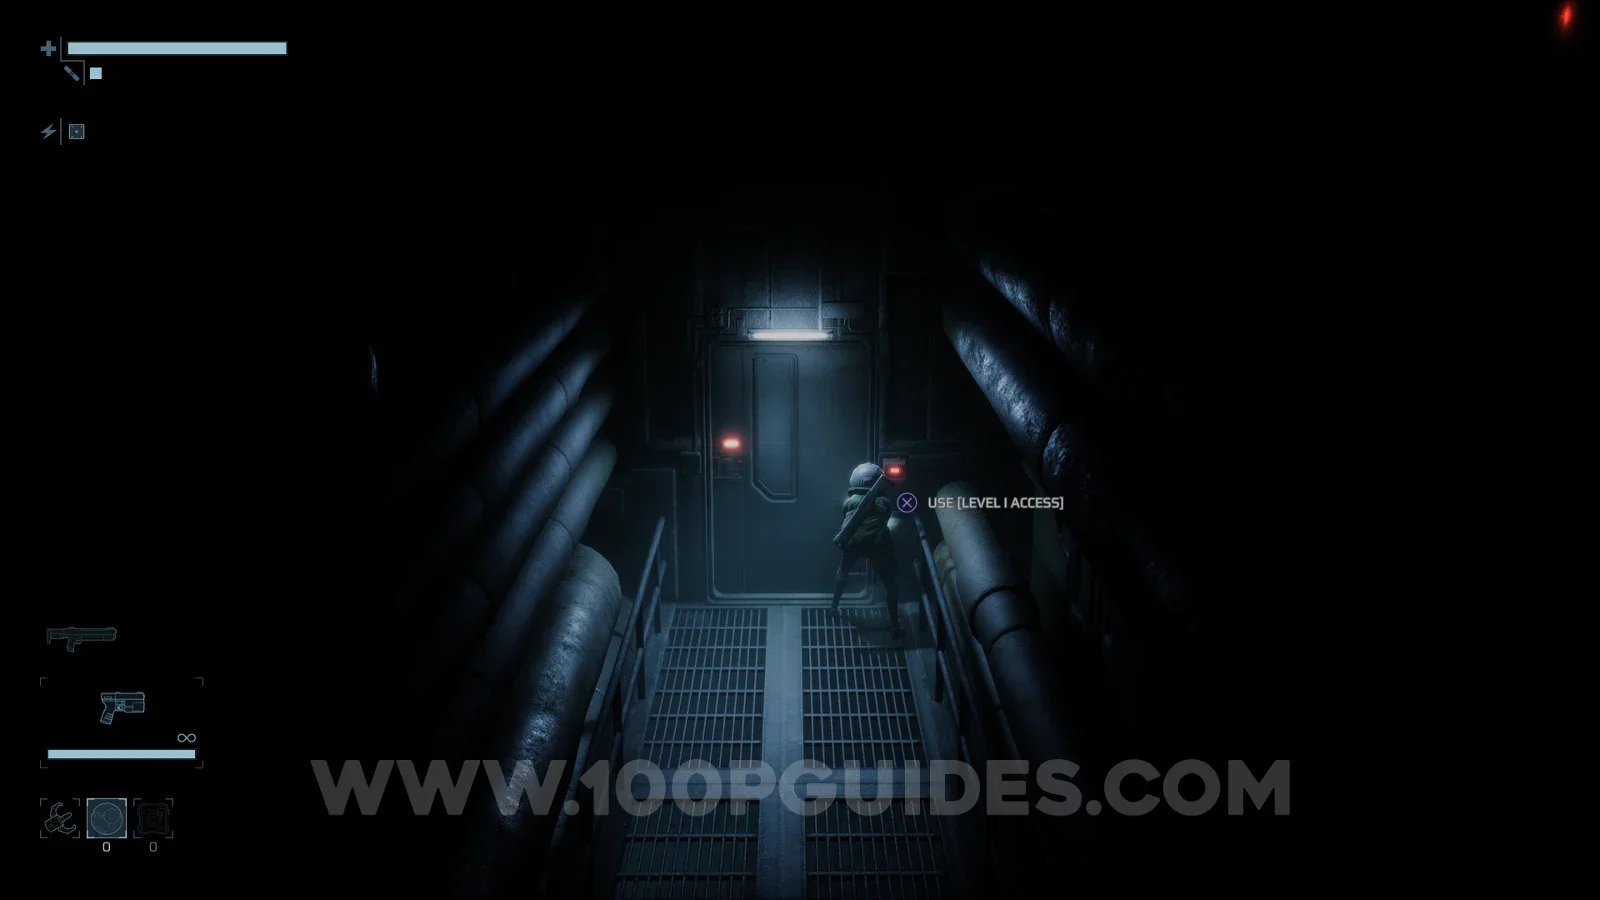
After going through the door, continue along this path by heading up the stairs and then riding the lift up. Then head through the room to the upper left and pick up the Incinerator Weapon from the ground in the next hall.
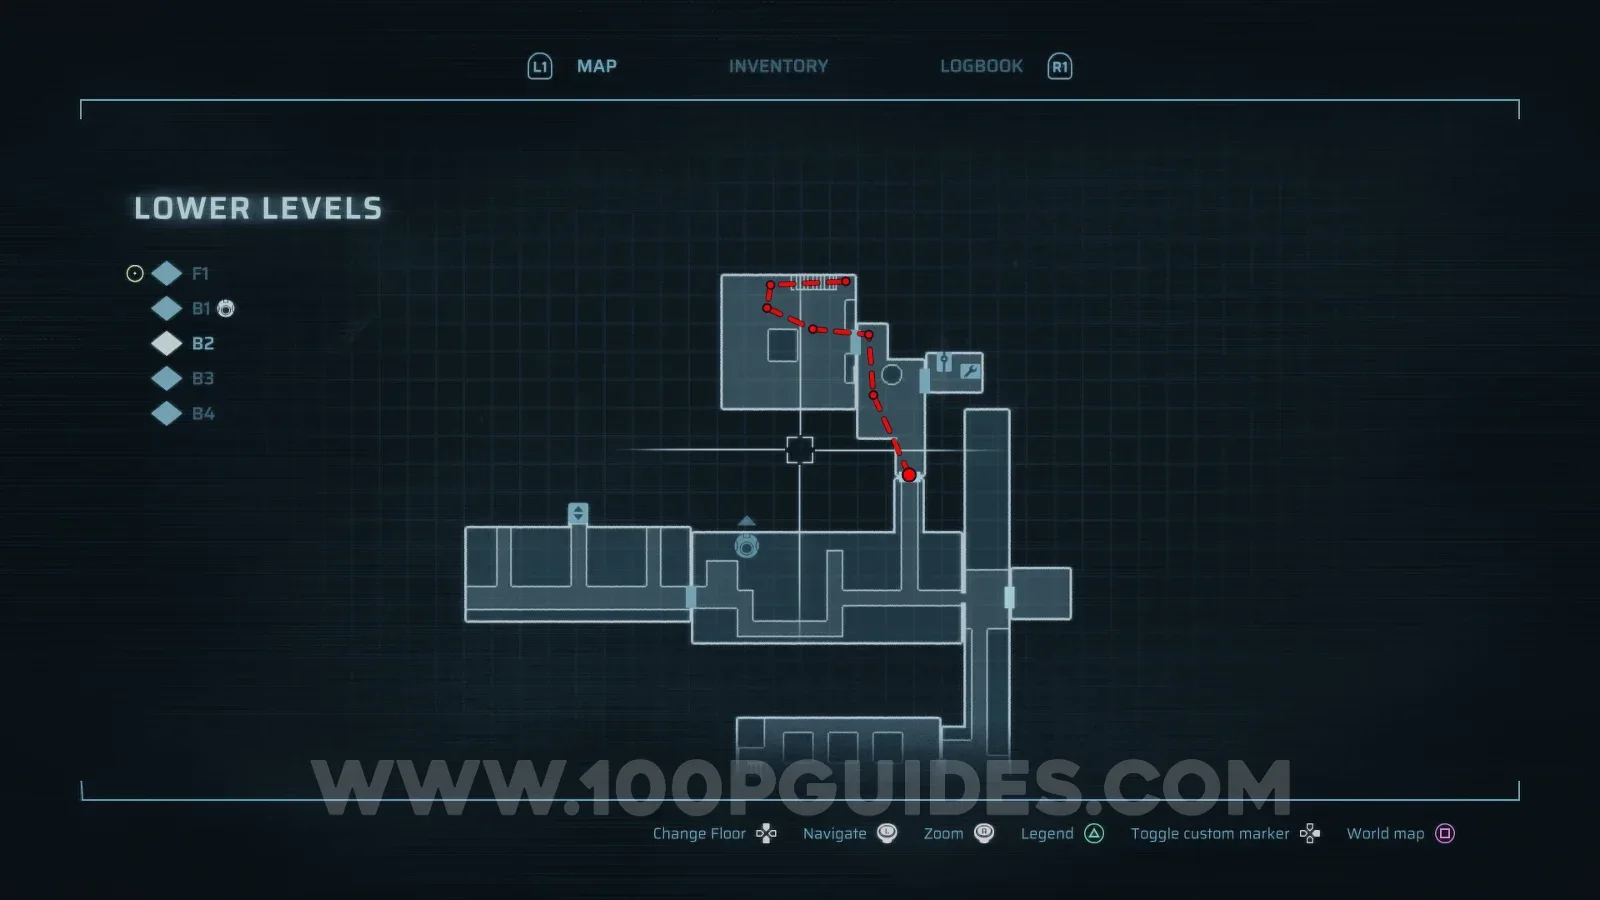
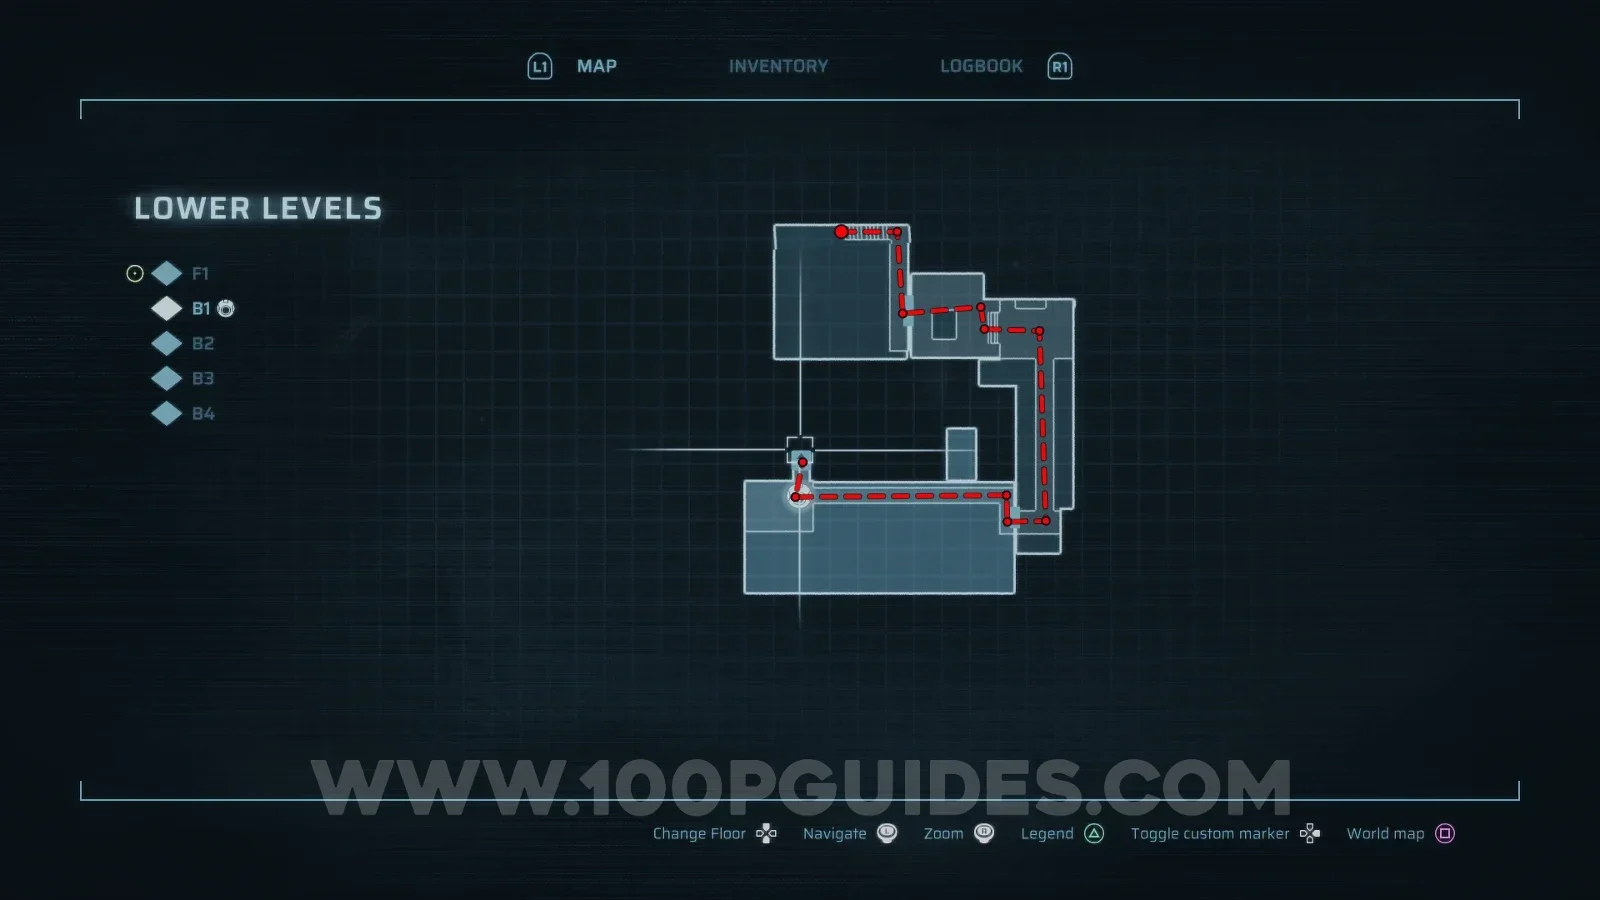
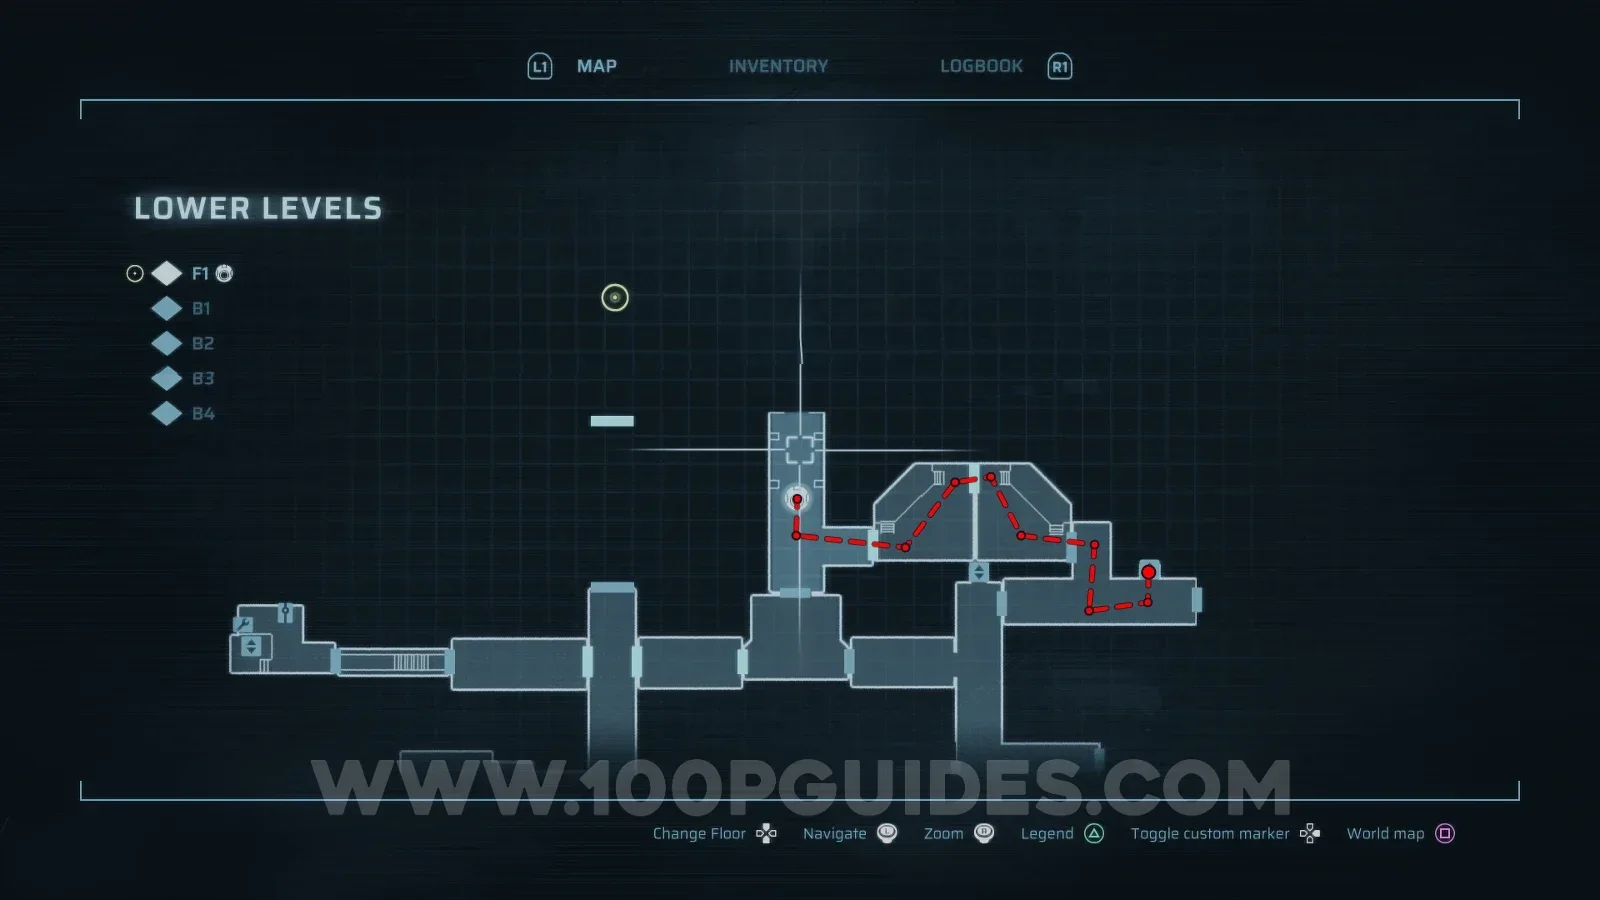
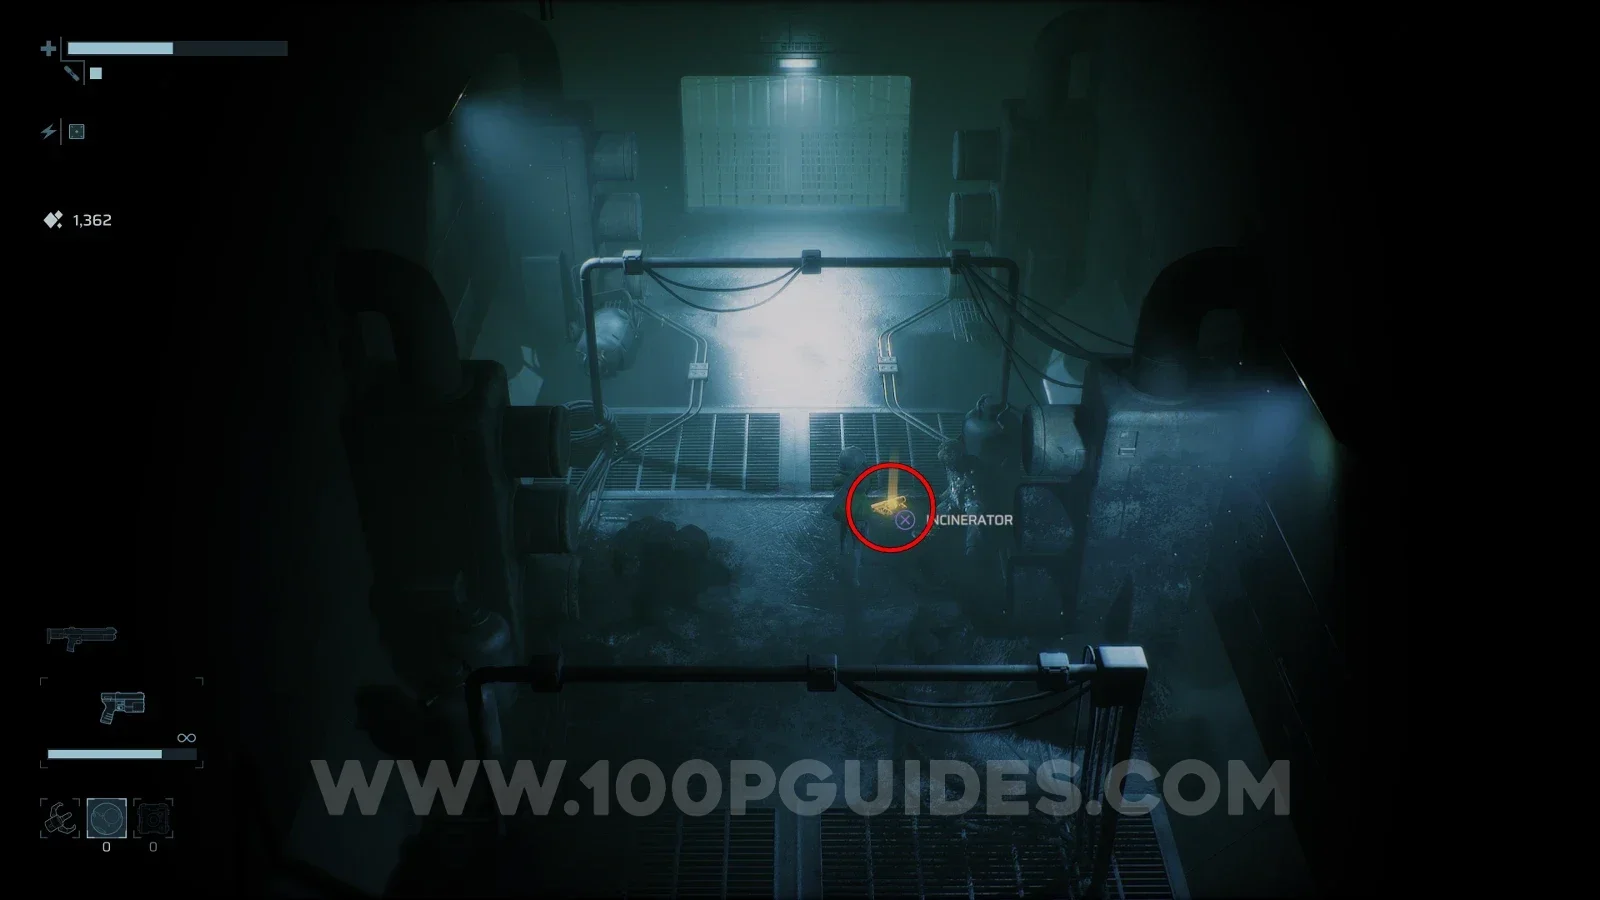
After picking up the weapon, head north and then right (use the safe room to the north, since this is the one you will use for the boss). Follow this path until you reach a wall of goo that you can burn down with your new weapon.
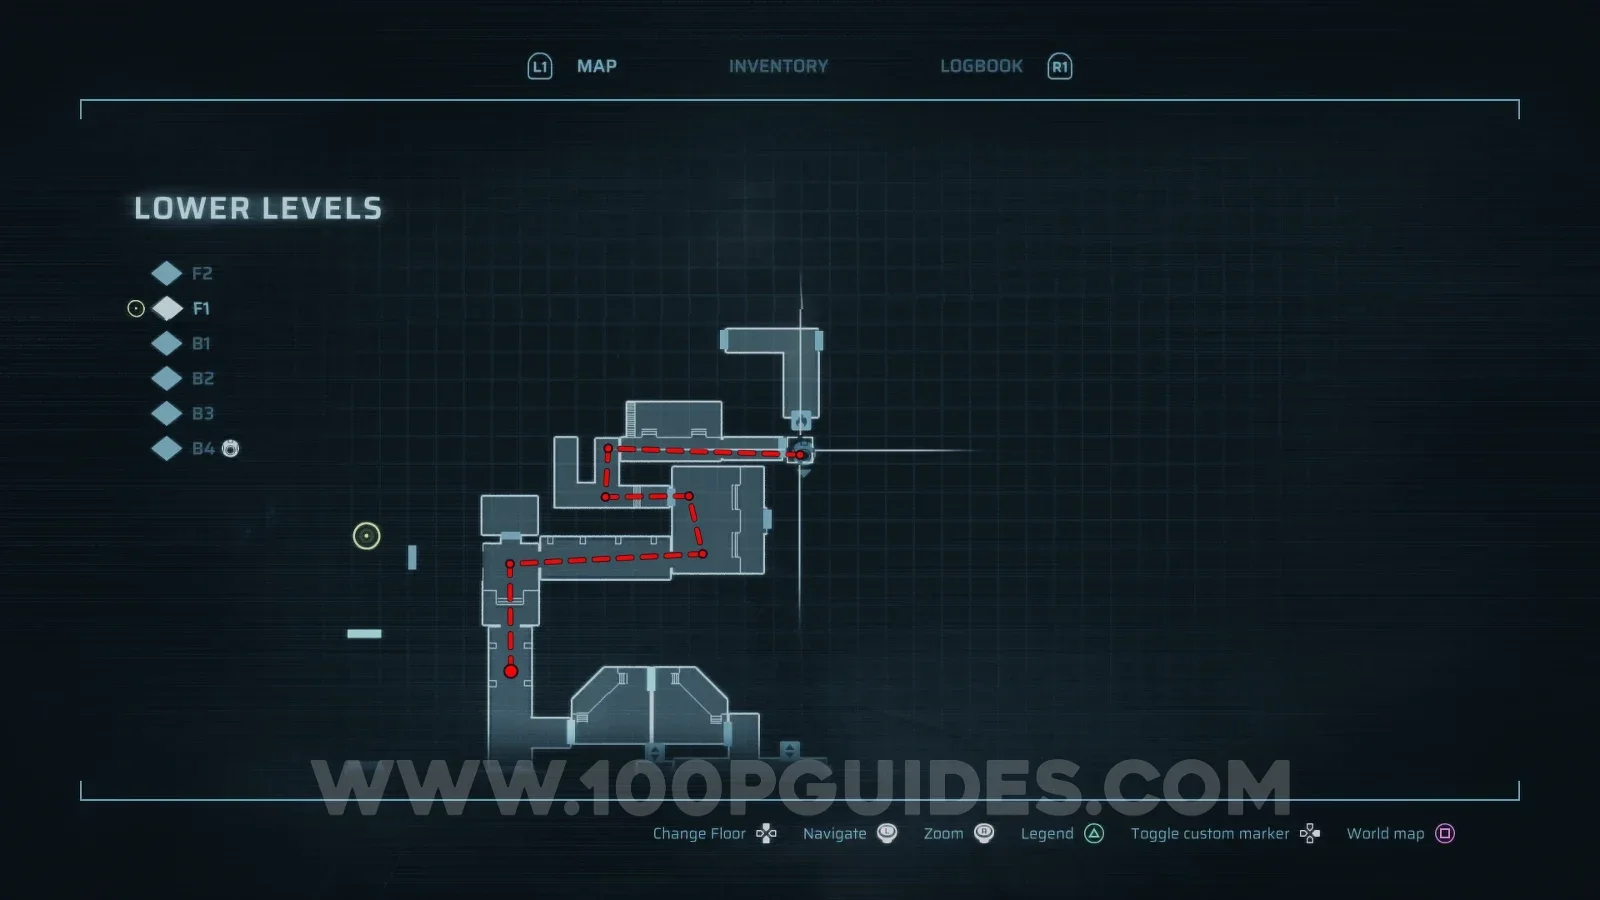
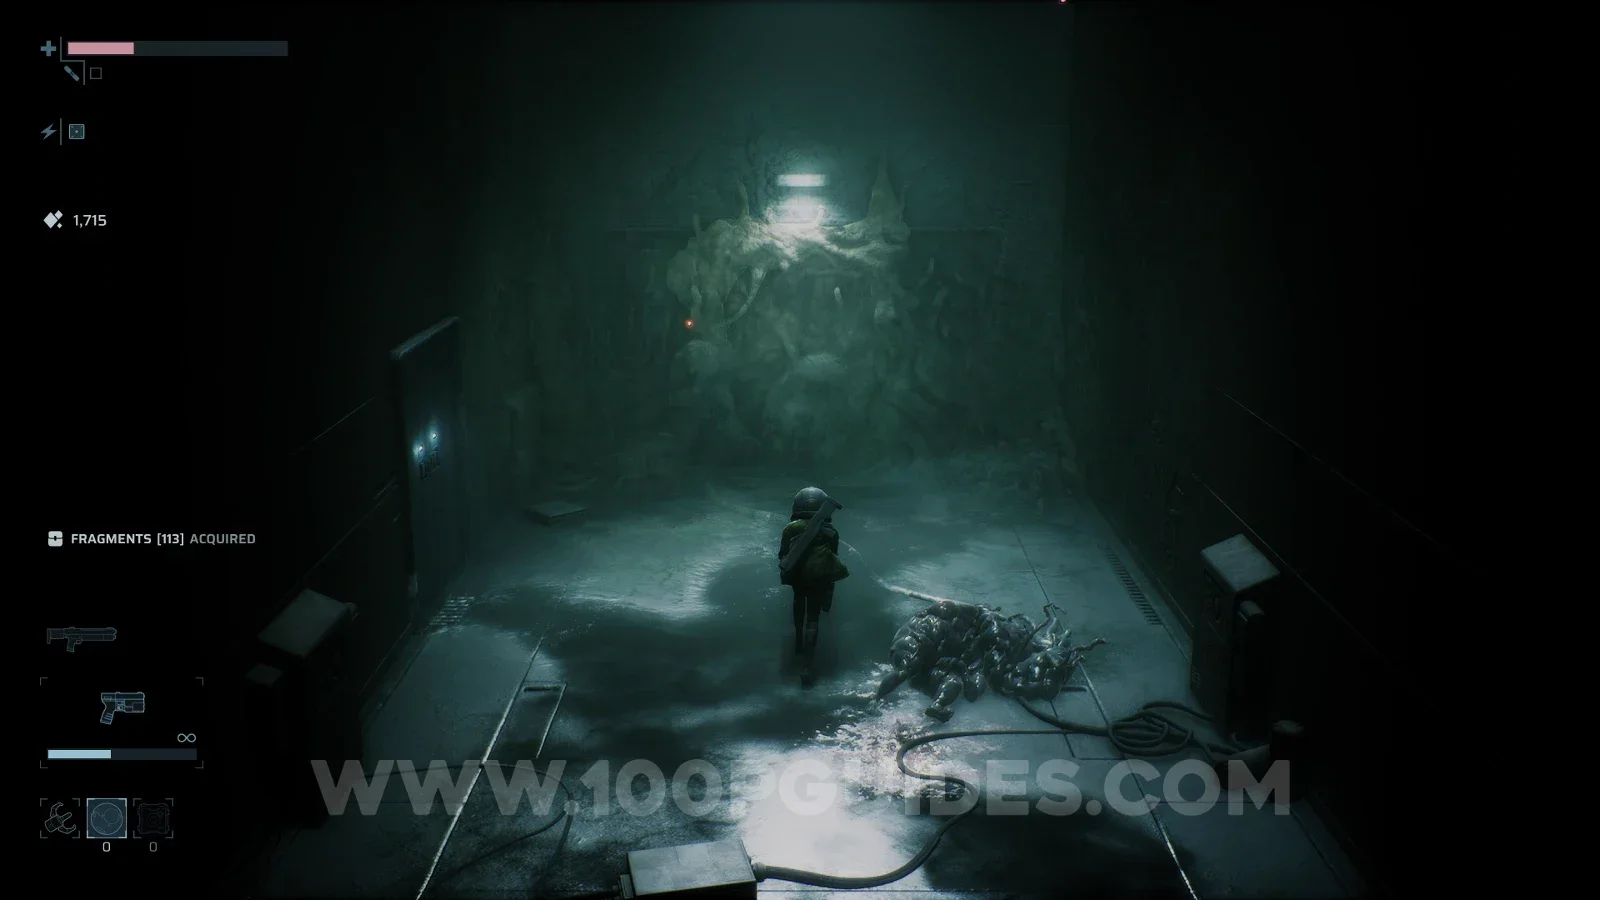
Burn down the goo and continue left to face the Failed Experiment boss.
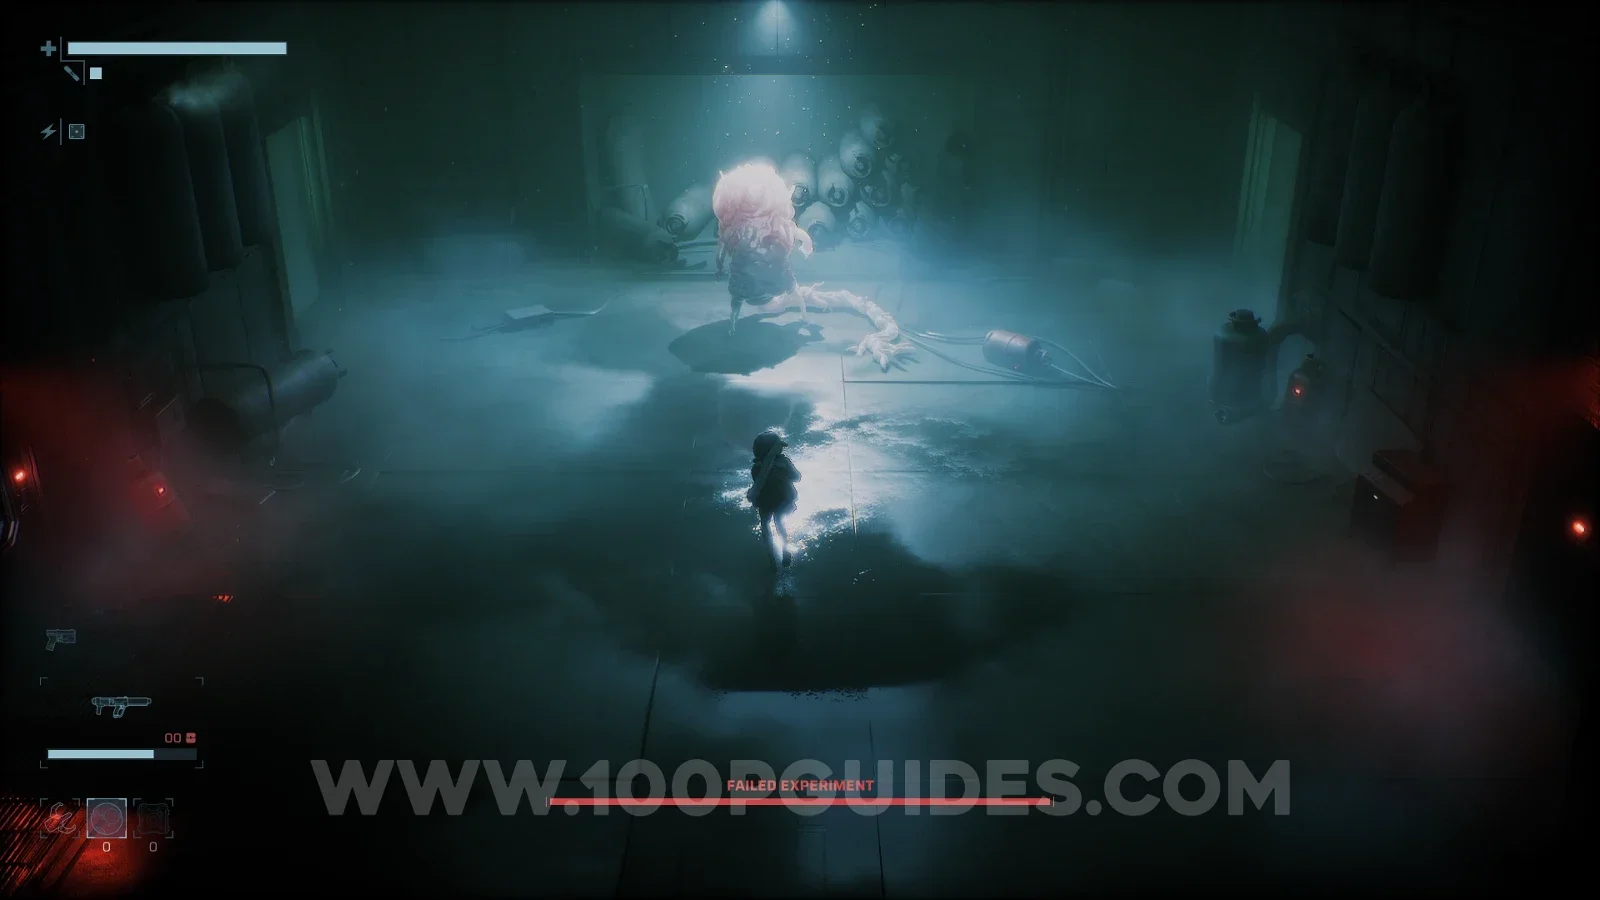
After defeating the boss, head left and pick up the Creation Project Access card.
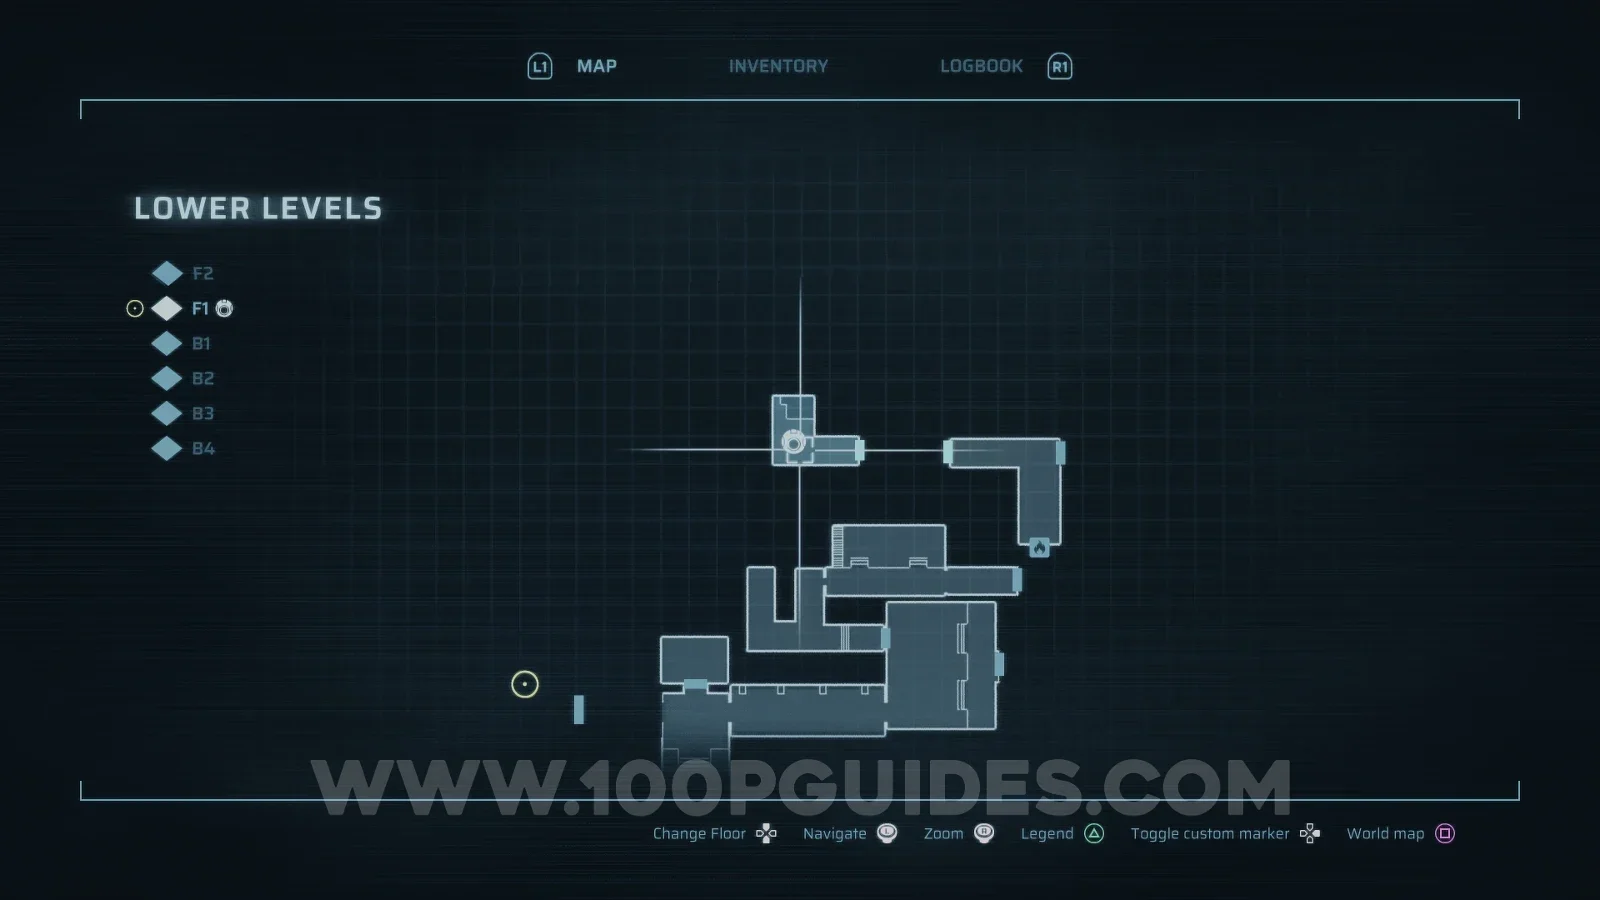
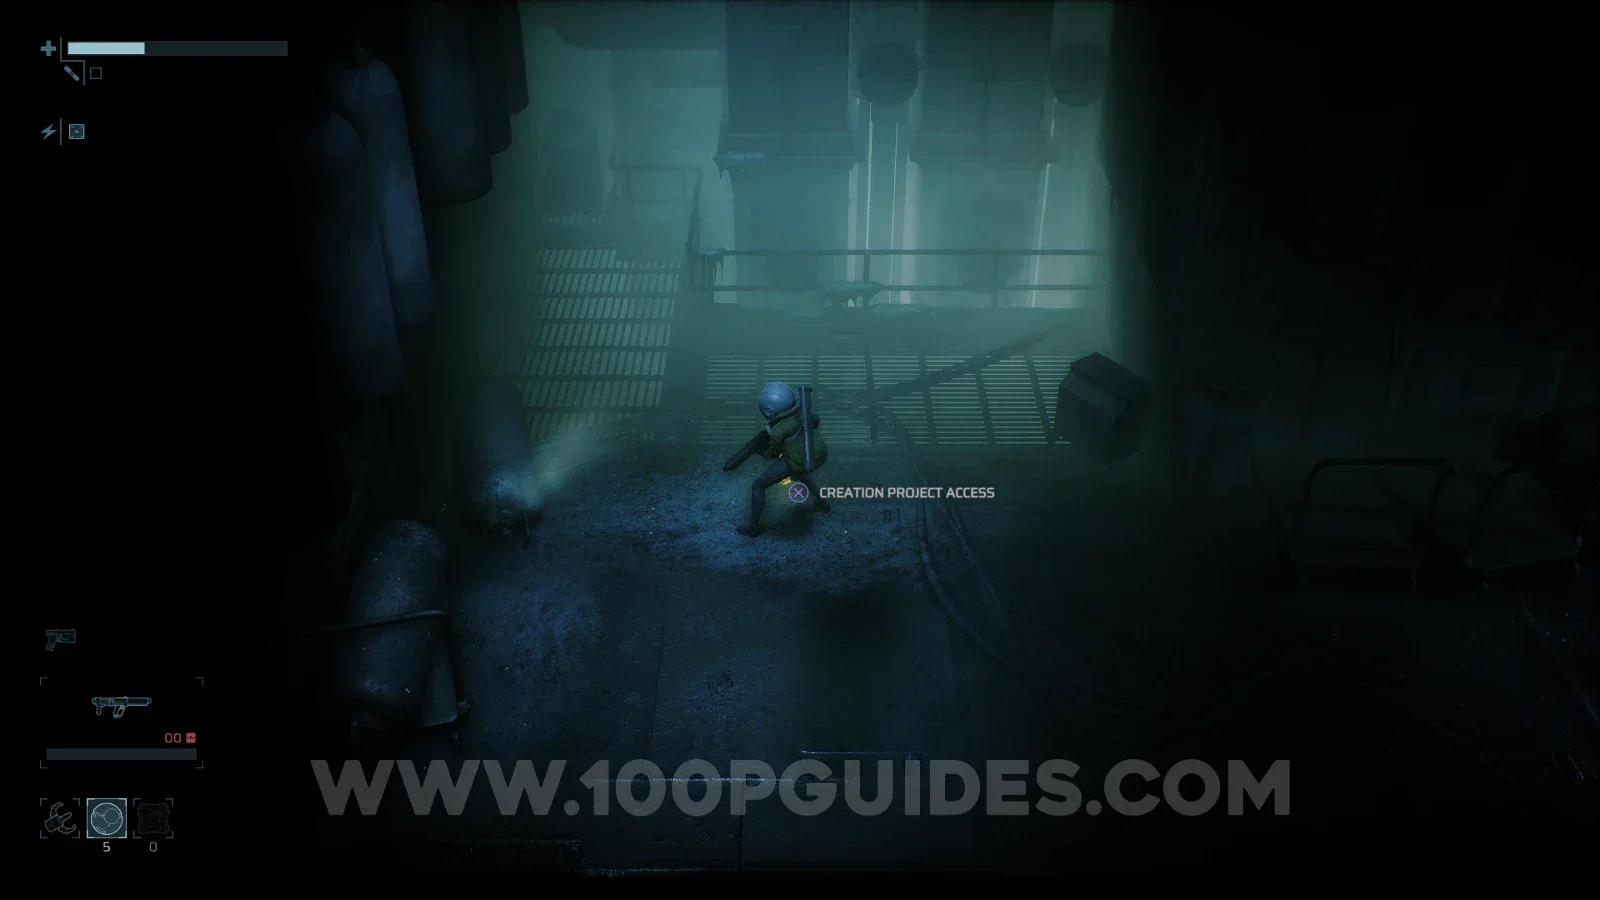
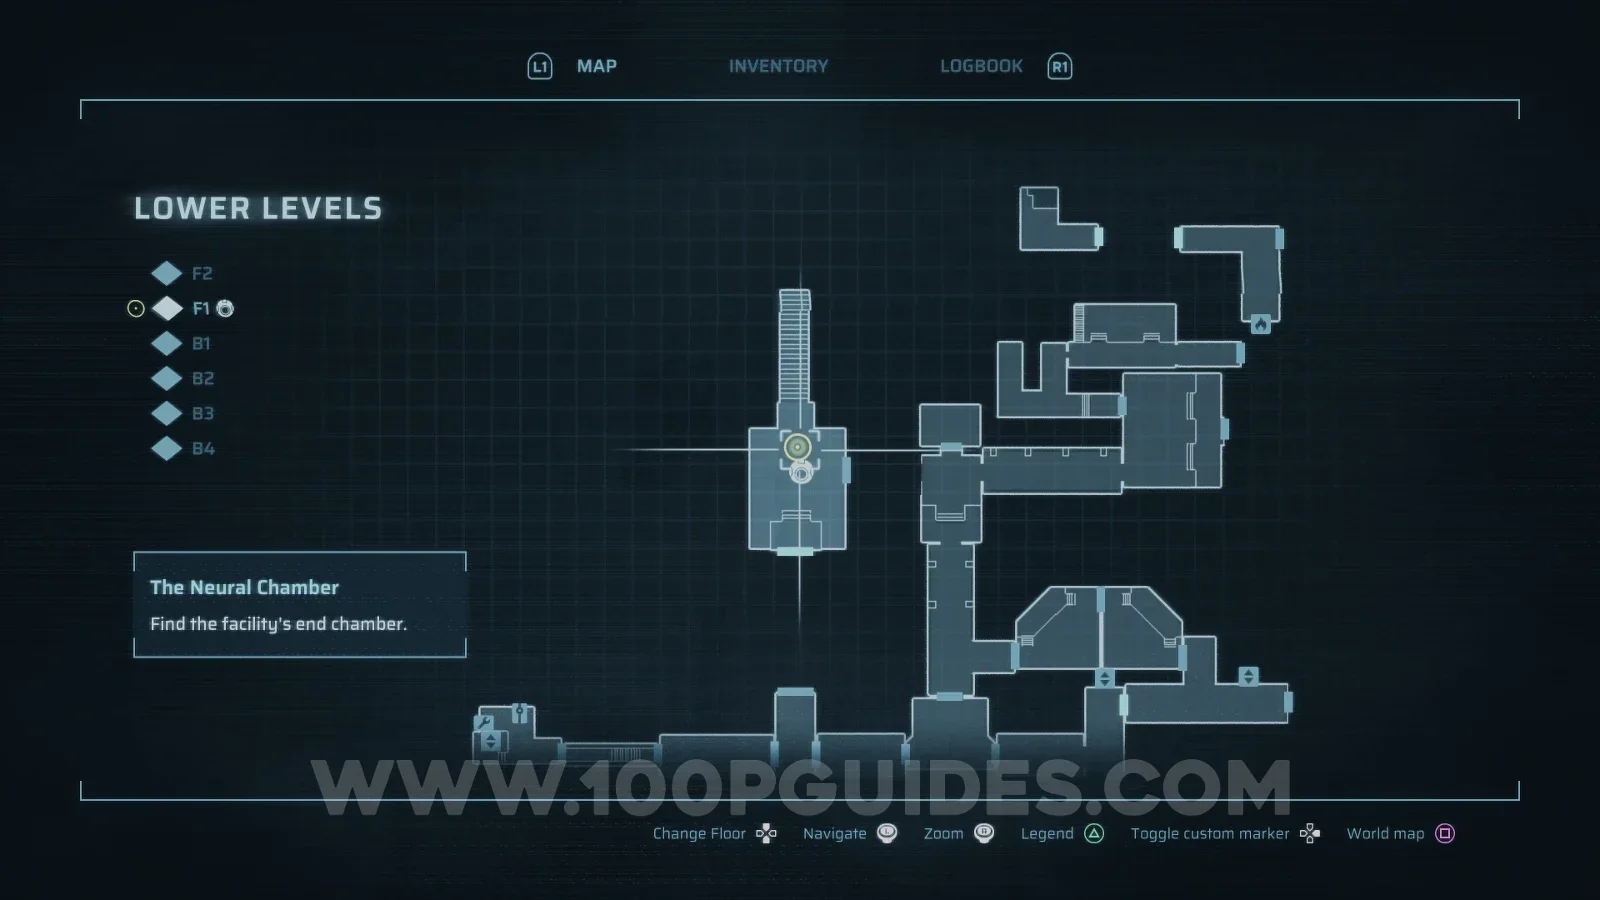
Finally, head back to the hall where you separated from the NPCs and go through the door to the north. Then, in the room with the triangle and the corpse, head north to face the final boss. I recommend opening the door on the right to have quick access to the safe room in case you fail.