

End of Abyss Trophy Guide
We are still finishing some of the collectibles guides, so some links may not be live yet!

Welcome to our End of Abyss Trophy Guide, where you can find everything you need to 100% the game.
SUMMARY
- Estimated Time to Platinum: 15-20 Hours
- Difficulty: 4
- Missable Trophies: 0
- Playthroughs Needed: 1
ROADMAP
Intro
End of Abyss is a Metroidvania that is a little different from the rest. The core concept is exactly the same when it comes to exploration and story progression, but the gunplay will have you playing it more like a classic Resident Evil game, while the camera is similar to a Little Nightmares game (and it works really well).
As far as trophies go, you have everything you would expect from a Metroidvania: loads of collectible types, hidden optional bosses, hidden areas and weapons, and discovering the whole map. In this case, since you have a scanner, you will also have to scan pretty much everything for the  Completionist trophy. There is also a normal ending and a secret ending. The secret ending can be obtained after getting the first one and, just like the rest of the trophies, it is not missable.
Step 1. Finish the game and scan all story bosses.
Start off by finishing the main story. Enjoy the game, pick up anything optional you happen to come across, scan as much as you can and get to the end. Like any Metroidvania, the main story will have you going around in circles until you find the right key item to advance in the right direction, so if you are getting lost or don't want to waste time, check out our Story Path Walkthrough.
Step 2. Secret Ending.
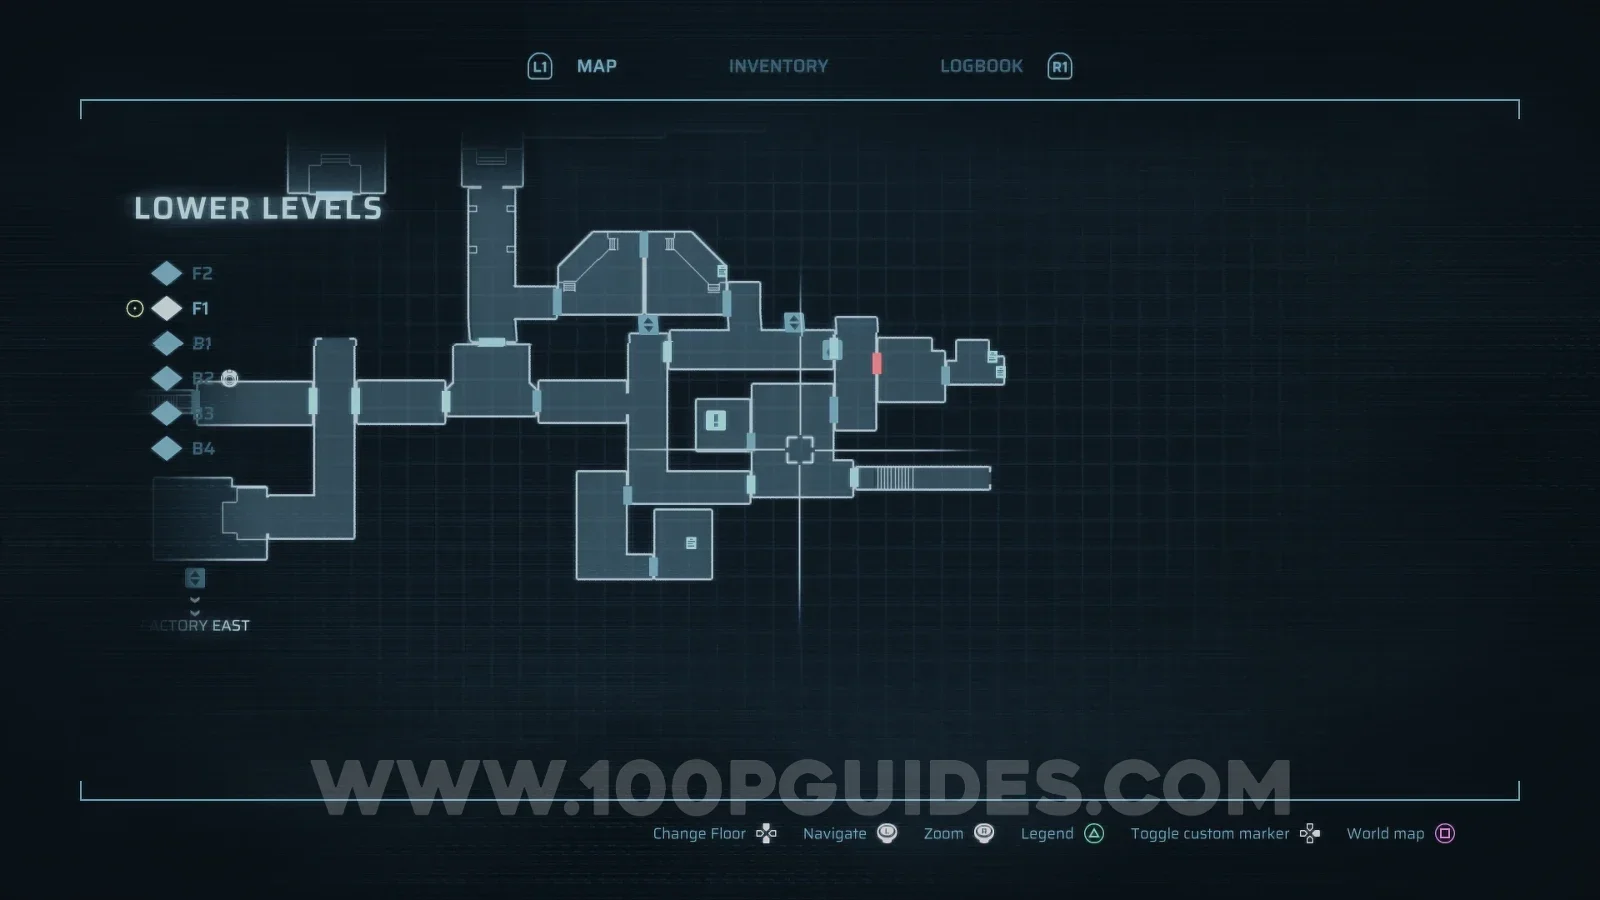
After finishing the game and getting the normal ending, you will be returned to the main menu. If you press Continue, you will be put back at your last autosave, in the last safe room you rested at before the final boss. To get the Secret Ending for the The End trophy, you must collect All 8 Data Shards and then take them to the Mainframe on B3 of the Lower Levels area.
Step 3. Collectibles.
After getting both endings, it's time to clean up the collectibles. None of them are missable, and they can all be obtained after finishing the game. These are:
- All Weapons and Weapon Upgrades for the
 Super Power trophy.
 - All Energy Cells for the Fully Suited Up trophy.
- All Mods (found in Vaults) for the Dungeon Crawler trophy.
- All Fast Travel Shuttles for the
 Shuttle Network Restored trophy.
 - All Notes, Codes, Creatures and Data Shards (to 100% the Logbook) for the Completionist trophy.
Step 4. Miscellaneous cleanup.
At this point, you will almost certainly have the platinum or be very close to it. If not, you may have a few combat-related trophies left, or a room or two to visit for the Master Explorer trophy. Clean them up and enjoy the platinum!
TROPHY GUIDE

Obtain all other trophies
Unlocked after earning all other trophies.
Prepare the Beacon
Story-related and unmissable. You can use our Story Path Walkthrough if you are having trouble.

To the Lower Levels
Story-related and unmissable. You can use our Story Path Walkthrough if you are having trouble.

Throw a grenade into a Lurker's mouth
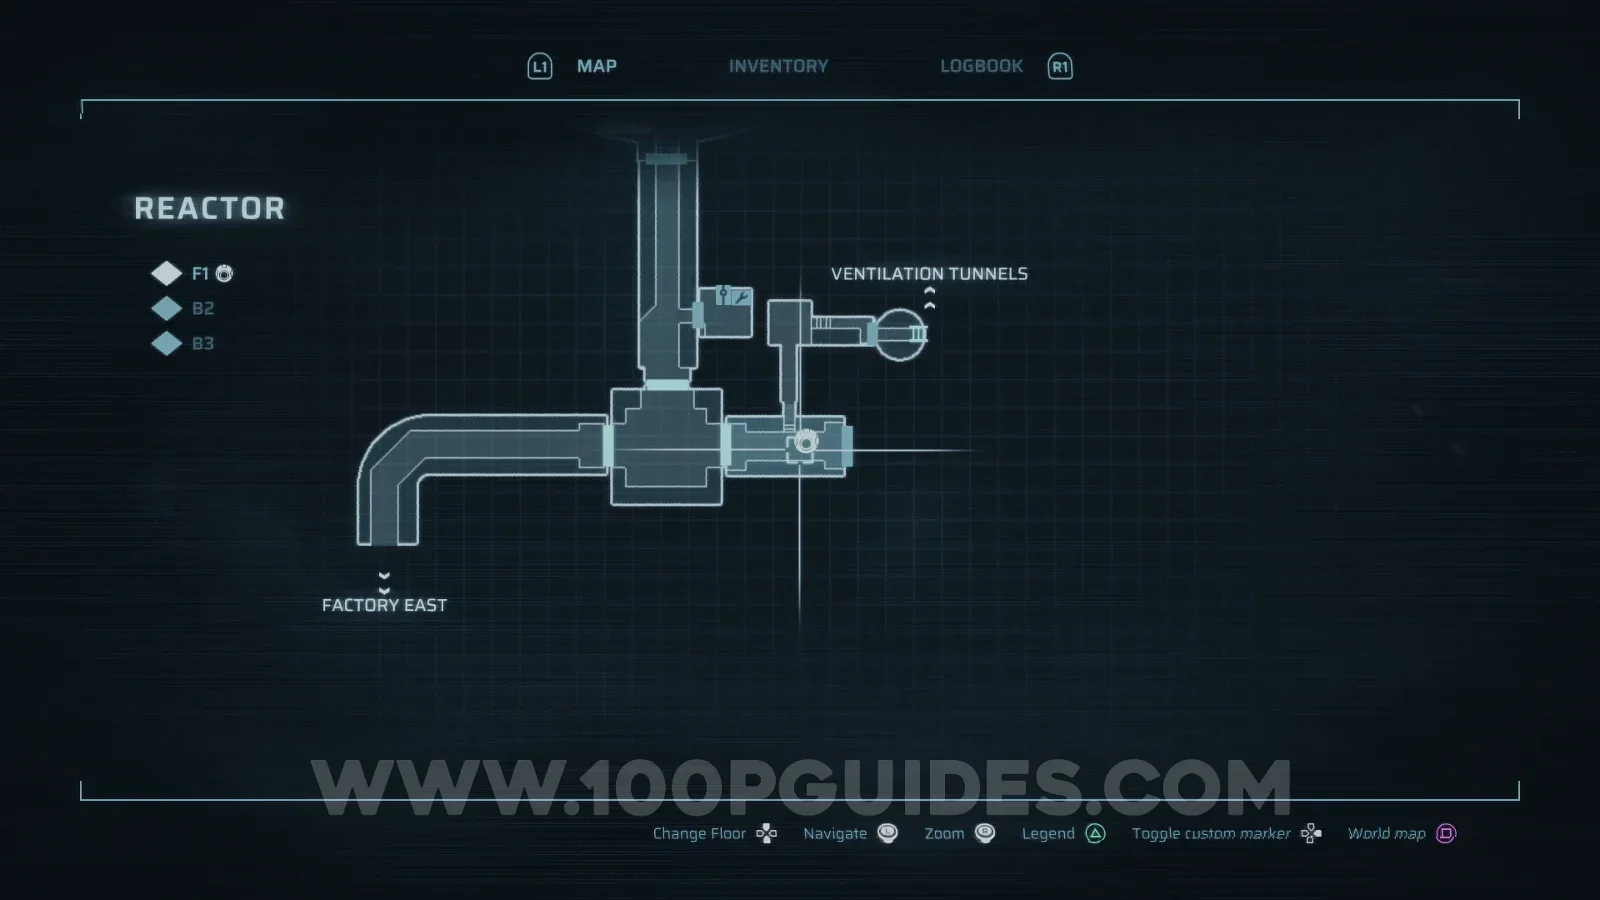
First, you must find the Grenades. There are multiple places where you can pick them up, the earliest being F1 in the Reactor area. These are hard to miss, since you go through this room during the story.
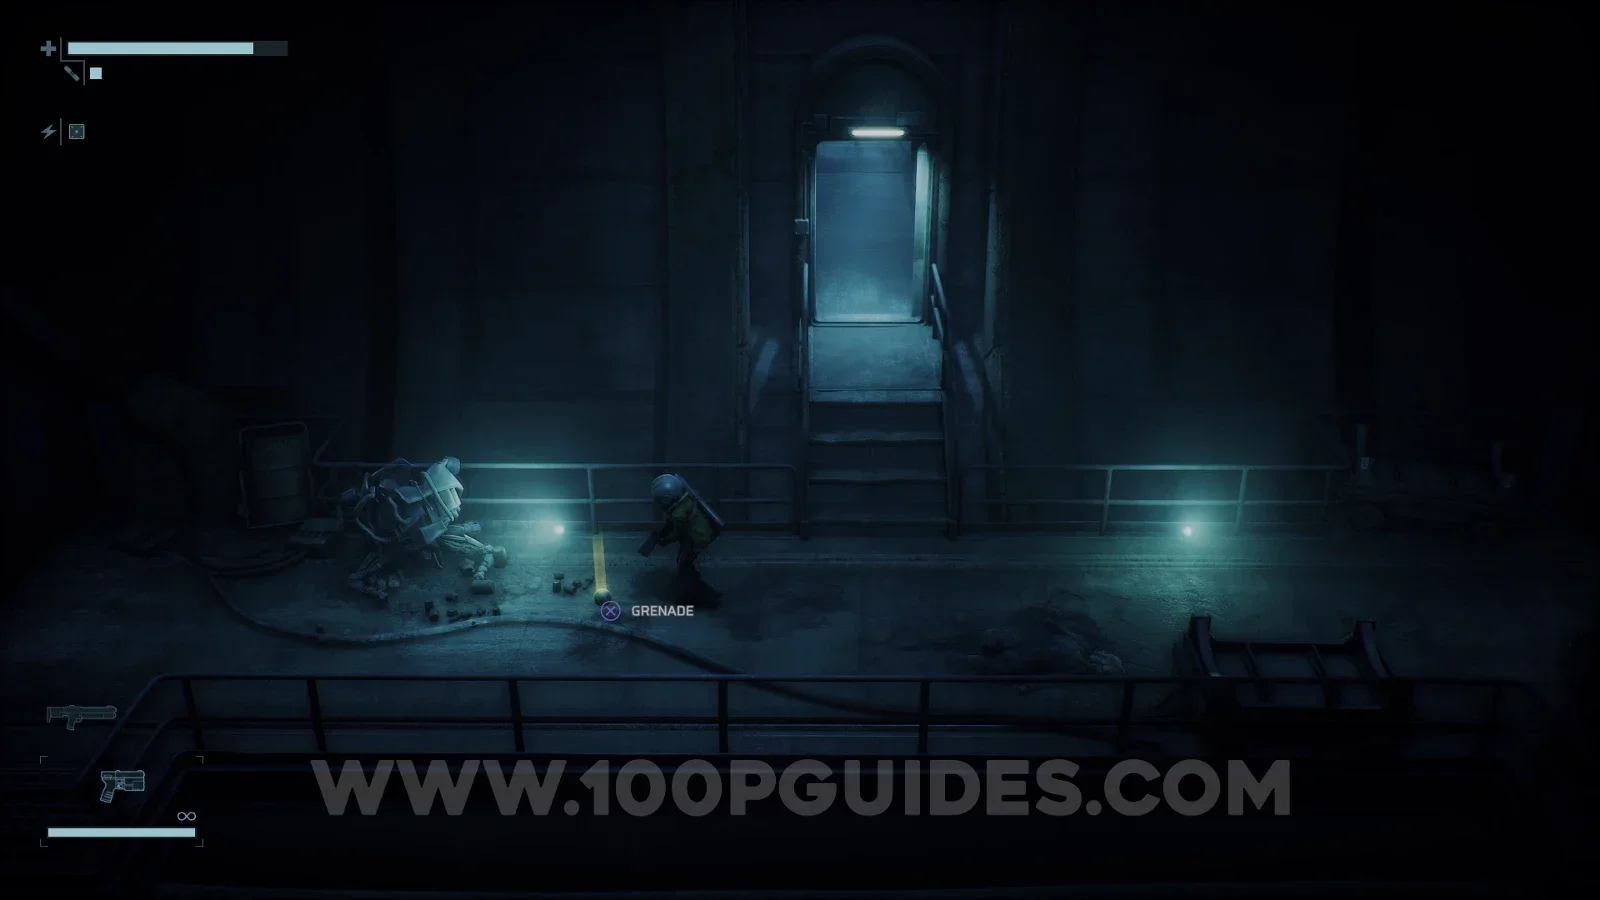
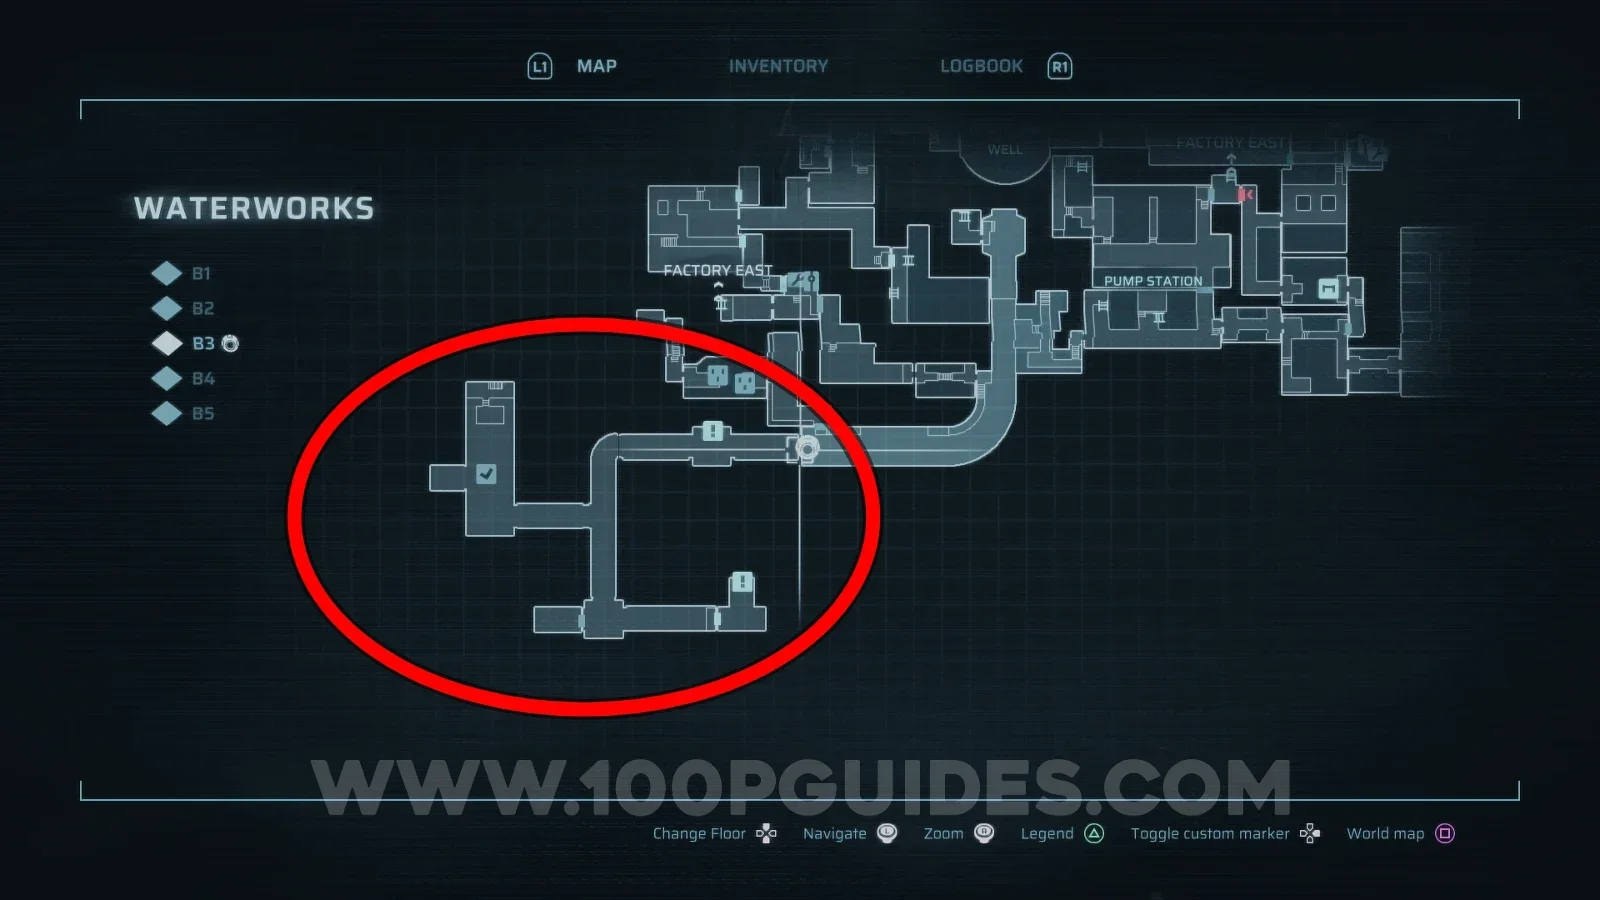
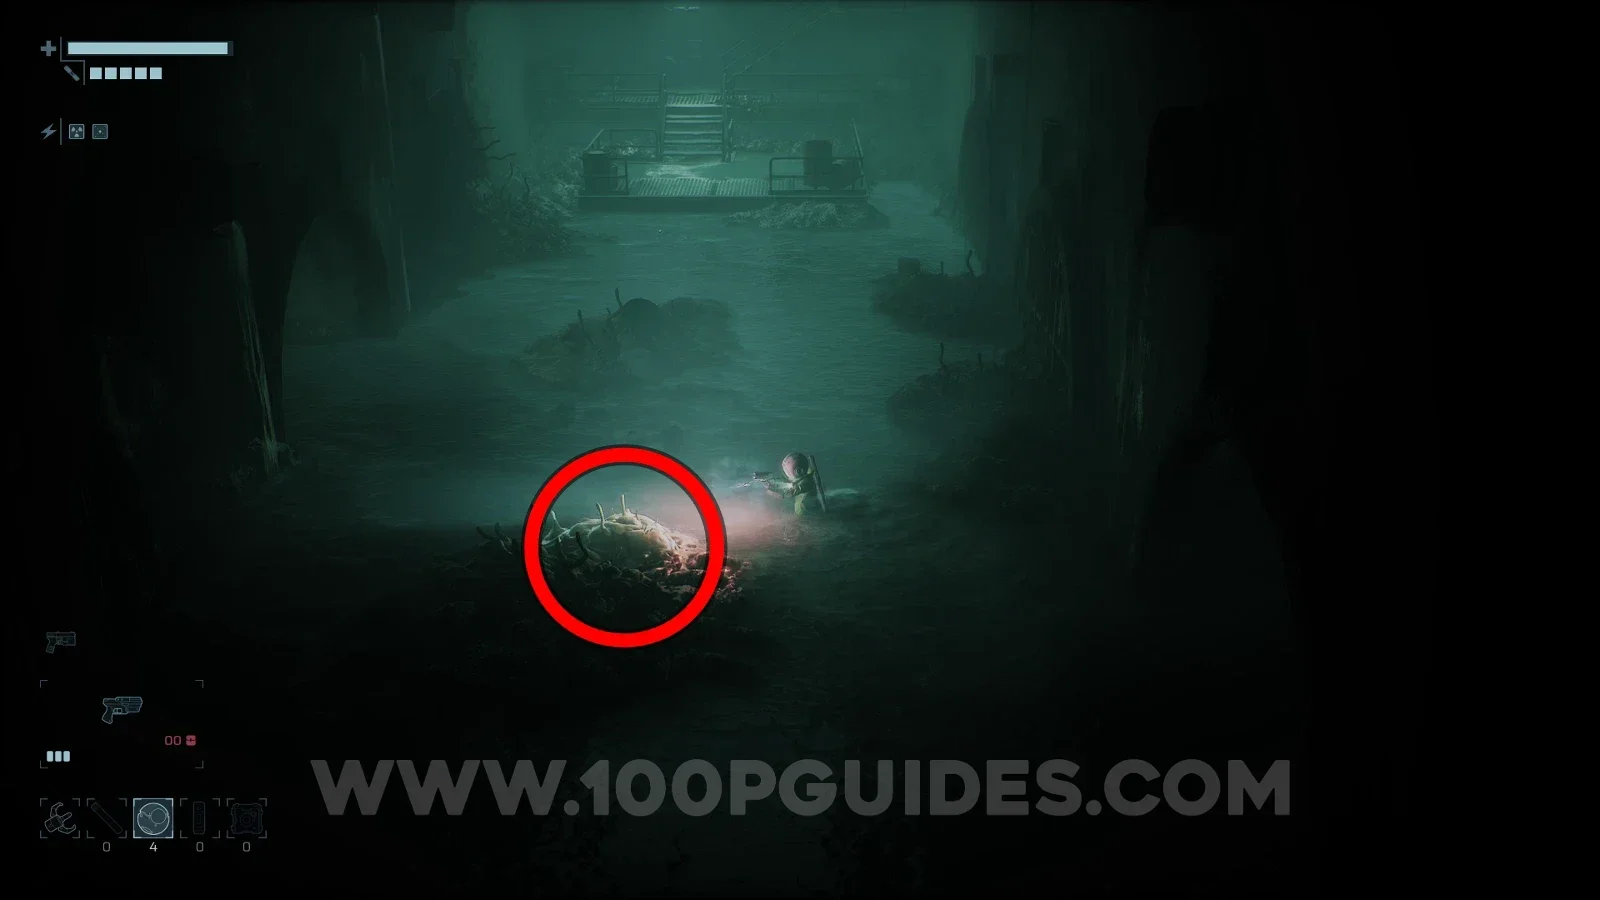
Once you have the Grenades, you will have to find a Lurker. These enemies can be found in the Waterworks area, more precisely in the western part of the sewers. If they don't attack you on their own, keep an eye out, since they are sometimes buried. Just hit them and they will start attacking you. Then, as soon as one opens its mouth, press with the Grenades equipped to throw one into its mouth. If you need more Grenades, you can craft them at any workbench after picking them up for the first time.

Defeat Husk Cluster
Story-related and unmissable. You can use our Story Path Walkthrough if you are having trouble.

Defeat Security Sentinel
Story-related and unmissable. You can use our Story Path Walkthrough if you are having trouble.

Defeat Drowned Husk
Story-related and unmissable. You can use our Story Path Walkthrough if you are having trouble.

Defeat Brood Keeper
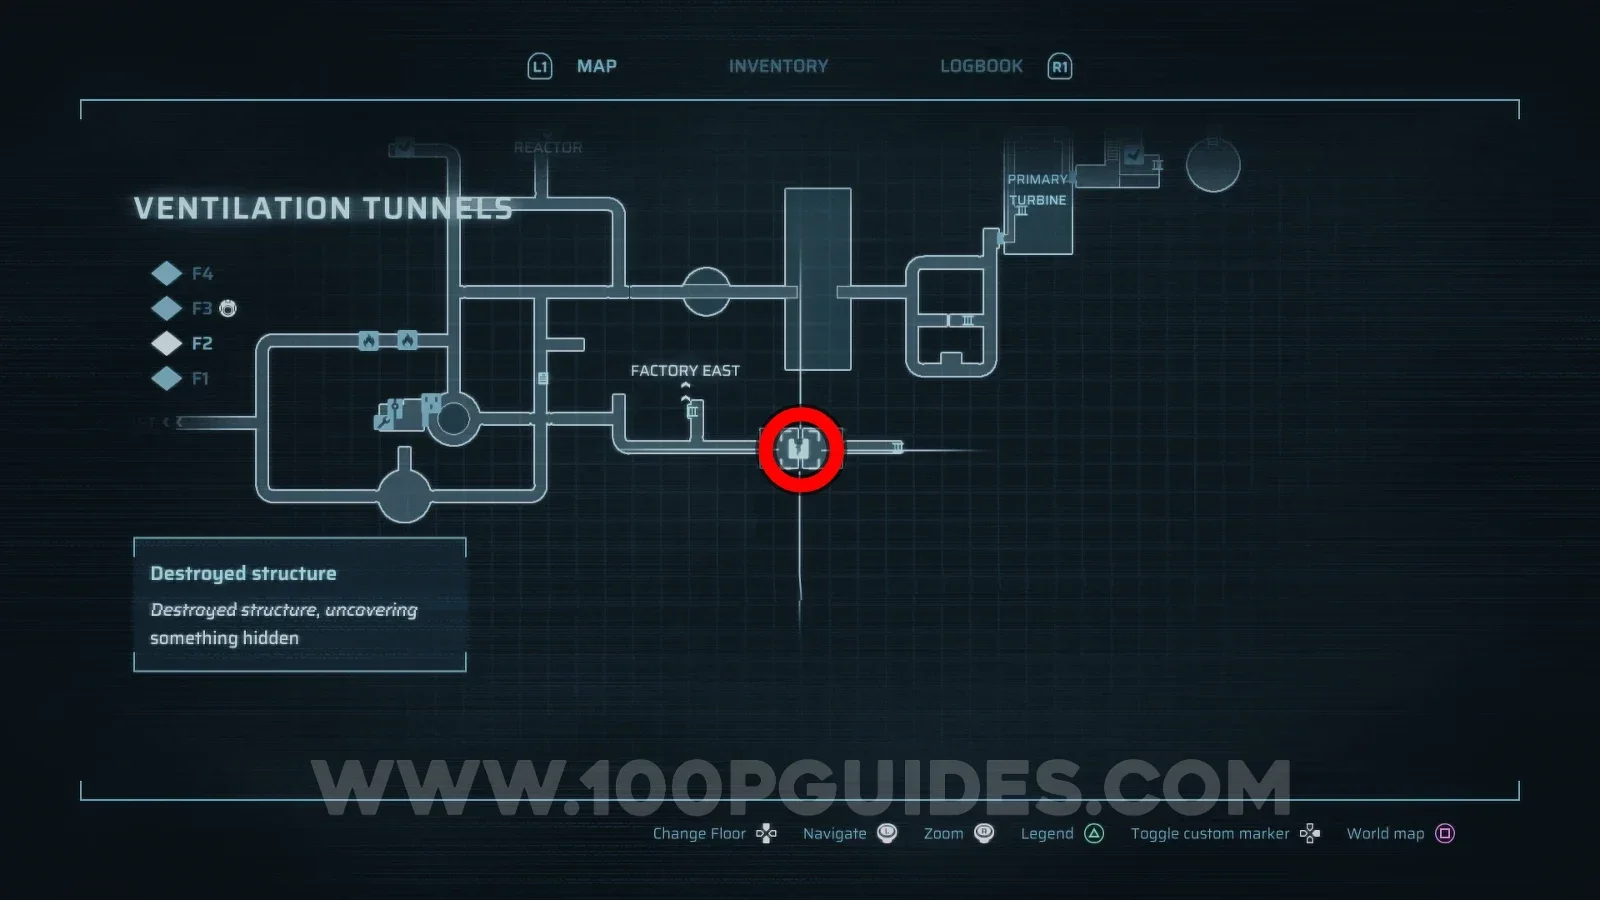
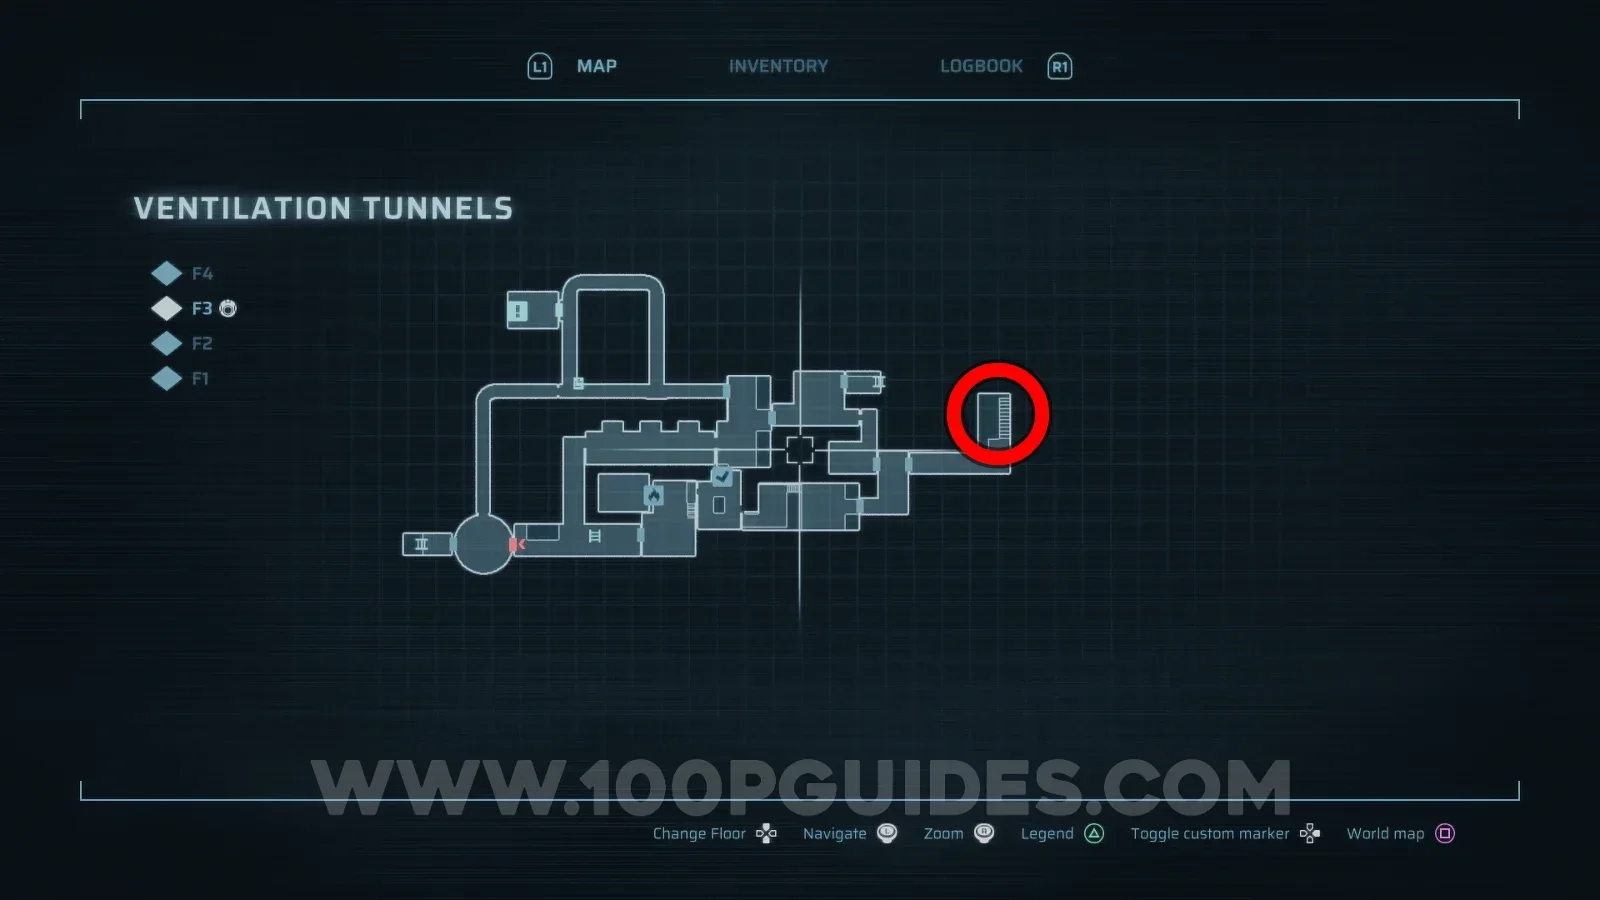
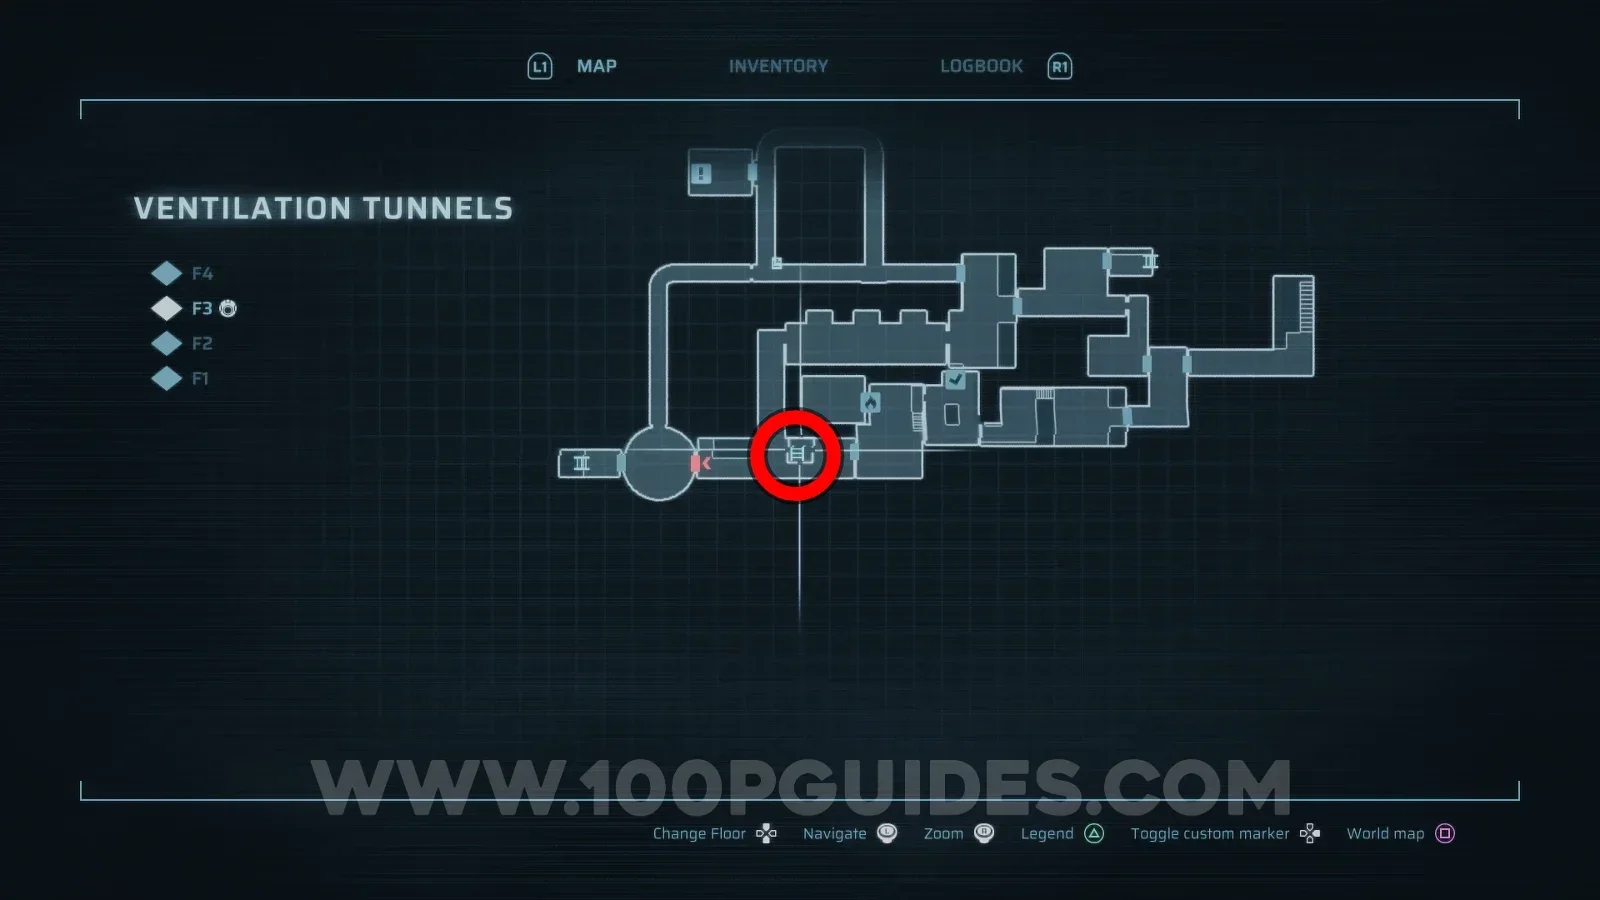
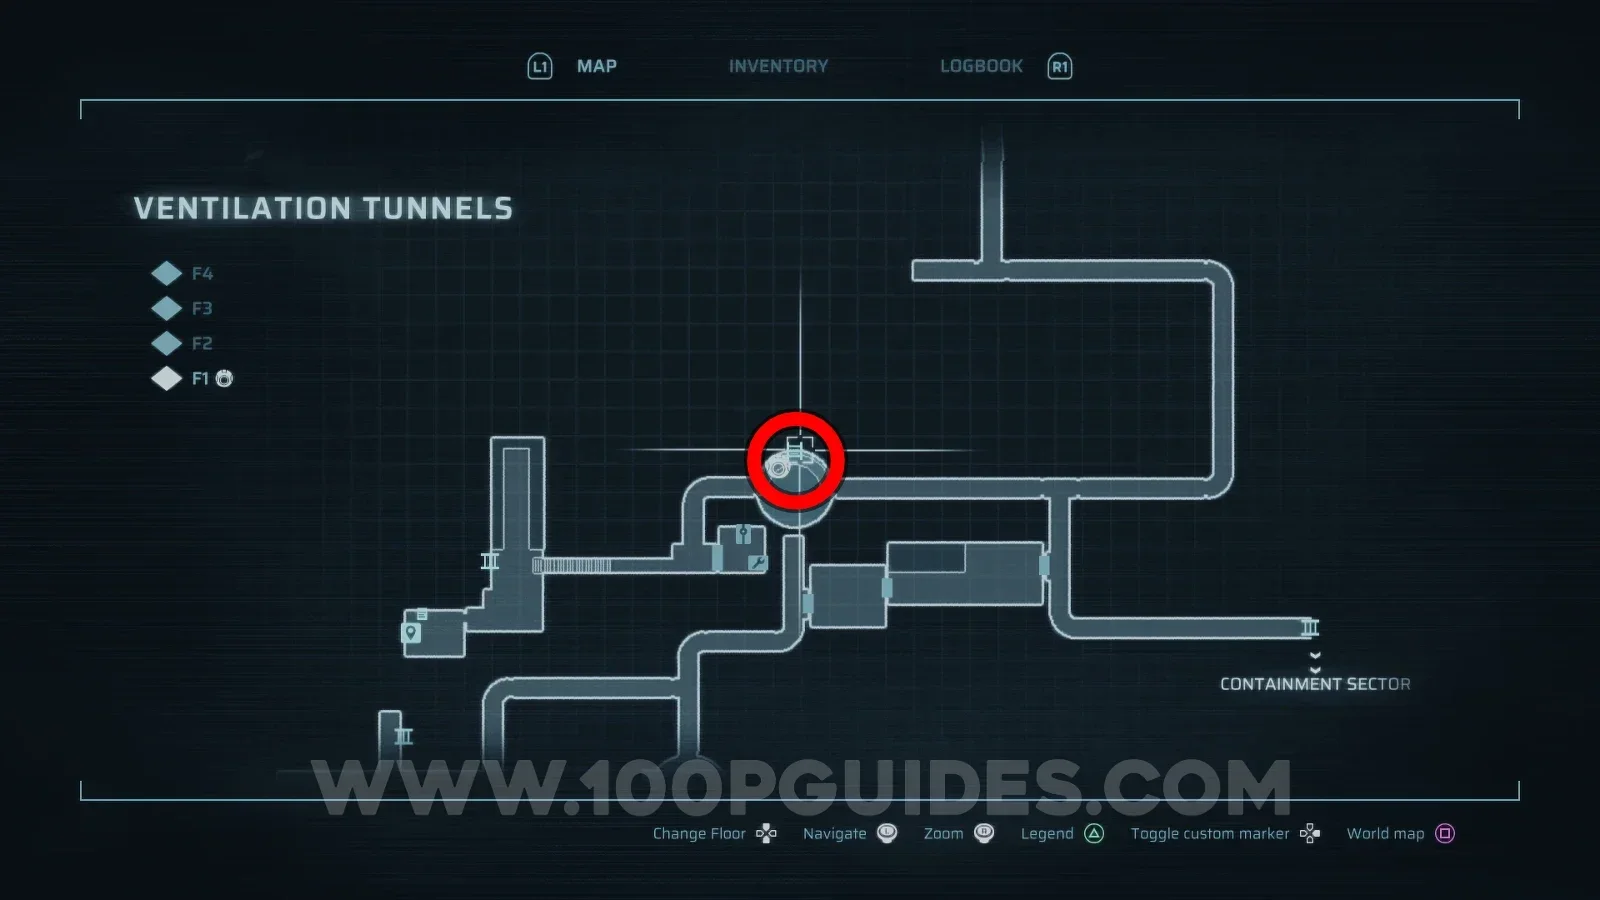
Brood Keeper is an optional boss found in the Ventilation Tunnels area. First, you must destroy the weak wall to the right of the easternmost entrance to the Tunnels from Factory East. You can do this with the Explosive Charges, which are obtained during the main story. On the other side of the wall, continue right until you eventually reach F2 of the Ventilation Tunnels. Here, head around the upper catwalk and pull down the ladder to reach F3. Then head all the way right and go up the stairs for an ambush encounter. After defeating the enemies, grab the Ventilation Maintenance Key.
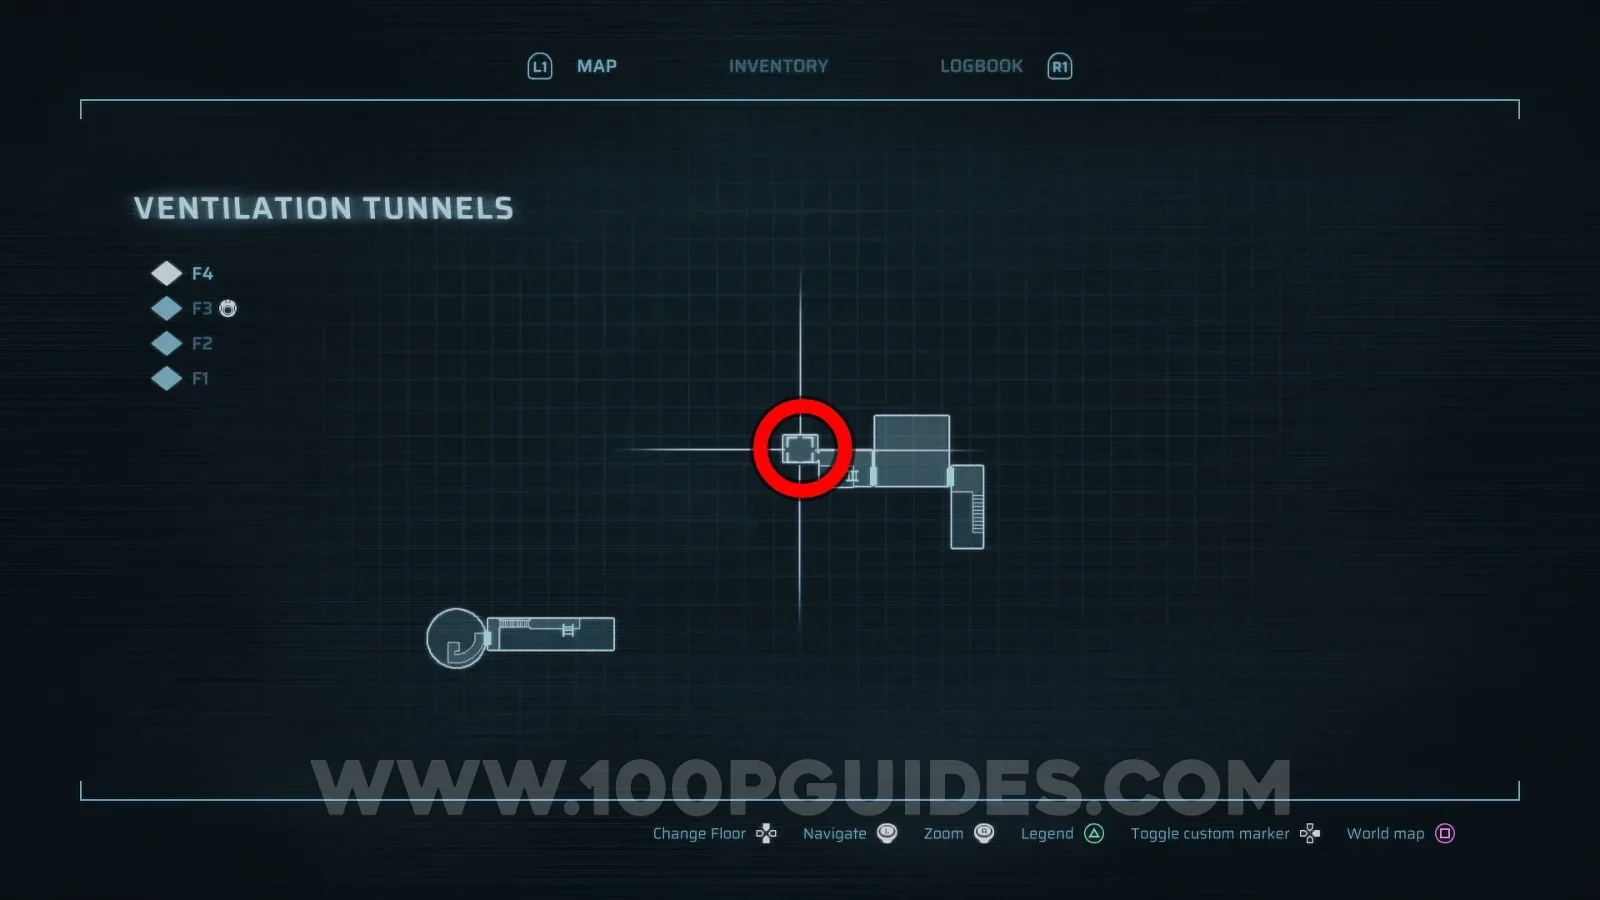
With the Maintenance Key, head back to the bottom left part of F3 and use the Grappling Hook to pull down the ladder. Climb up, open the door with the key and press the switch inside.
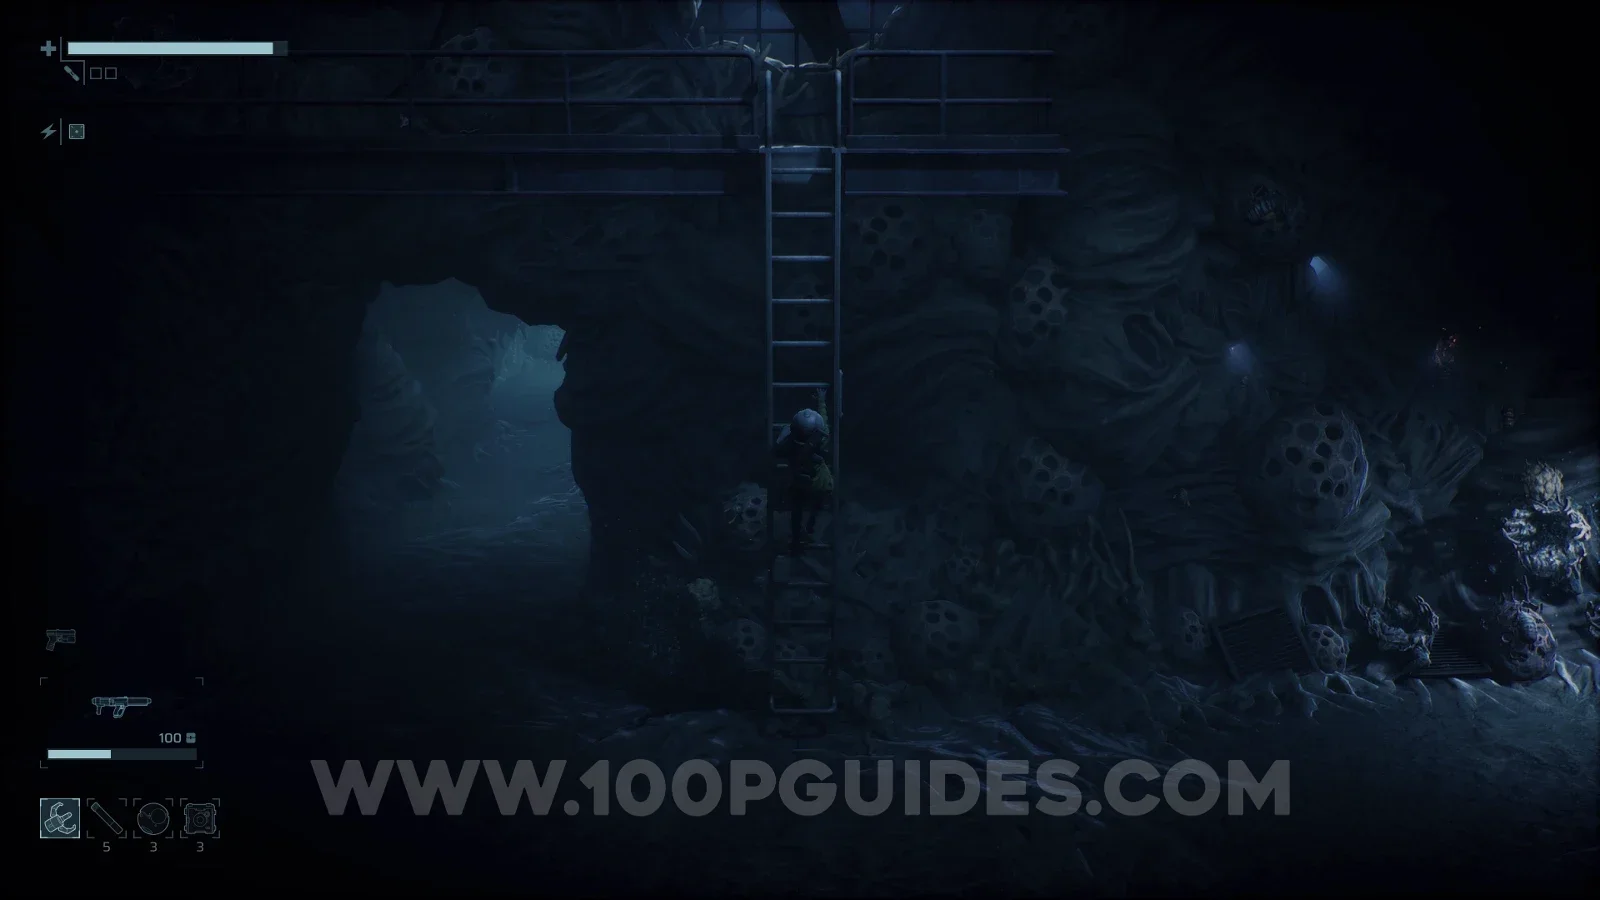
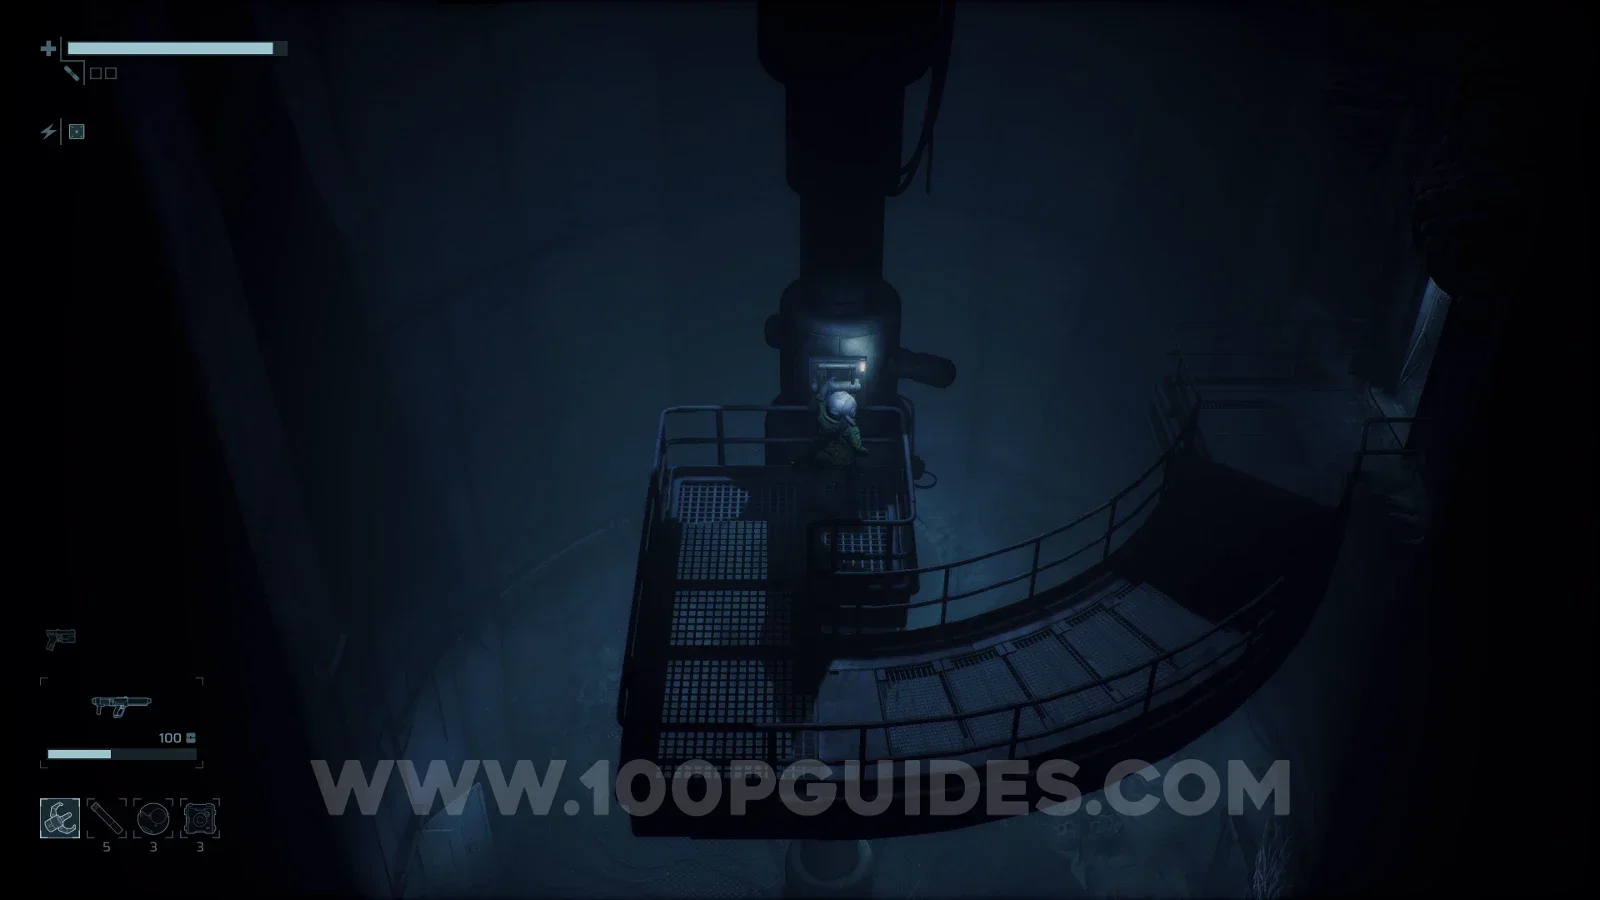
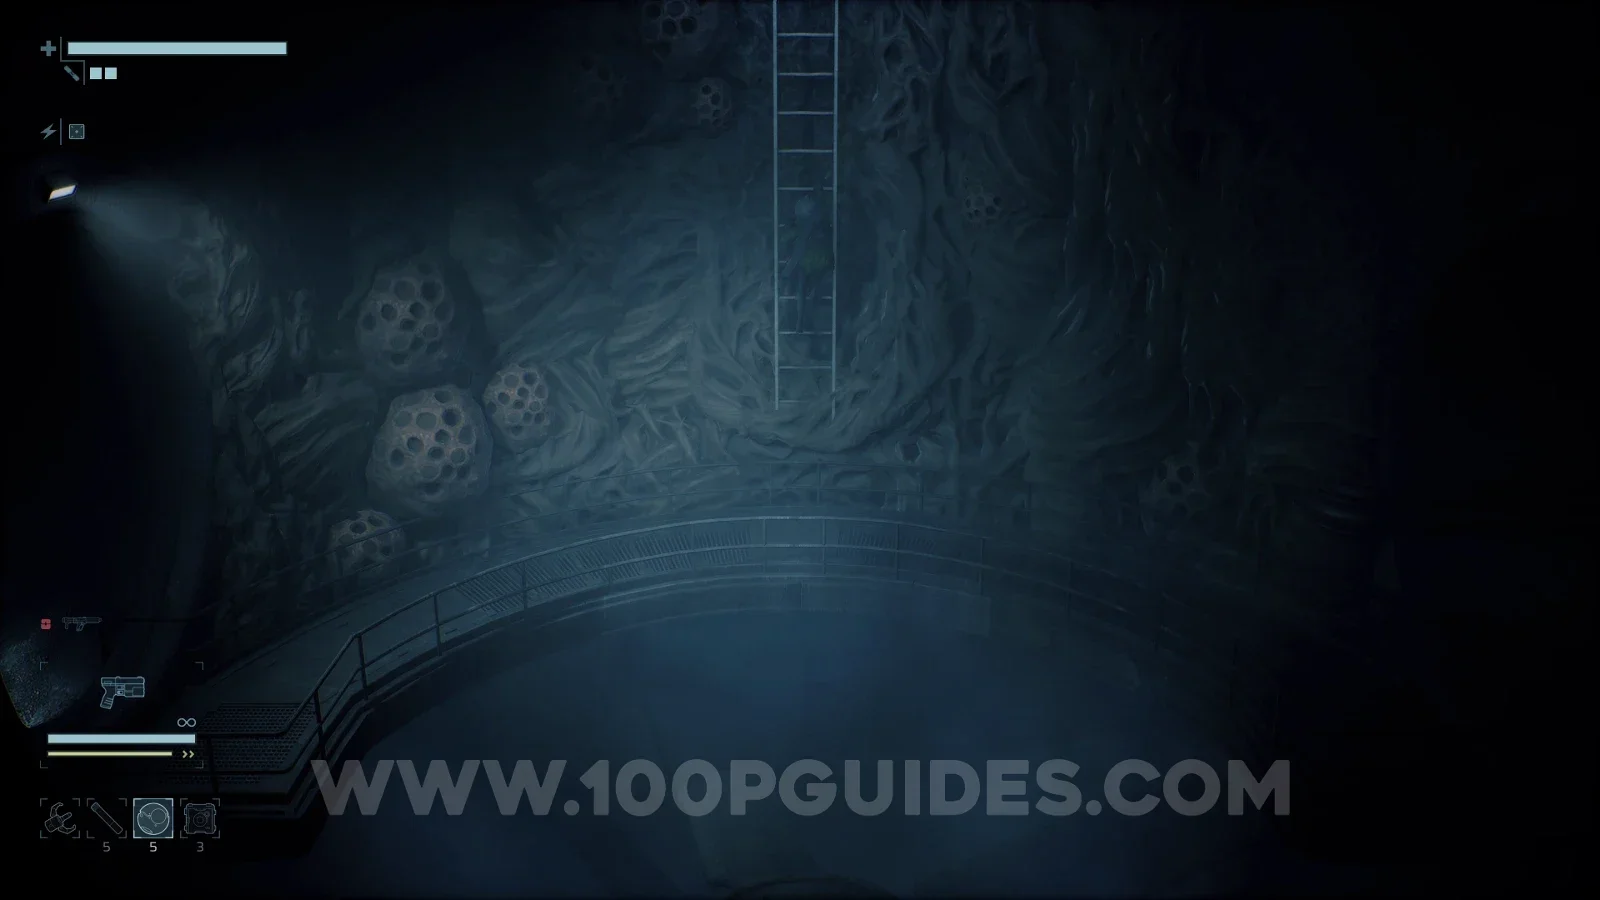
After pressing the switch, head back down to F1 and climb the ladder in the circular area to reach the boss.
Defeat Husk Centipede
Story-related and unmissable. You can use our Story Path Walkthrough if you are having trouble.

Defeat Radiation Host
Story-related and unmissable. You can use our Story Path Walkthrough if you are having trouble.

Defeat Failed Experiment
Story-related and unmissable. You can use our Story Path Walkthrough if you are having trouble.
Fully upgrade a weapon
Use Weapon Upgrade Materials to upgrade a weapon to max level. You can do this at any workbench in safe rooms.

Defeat Morgue Dweller
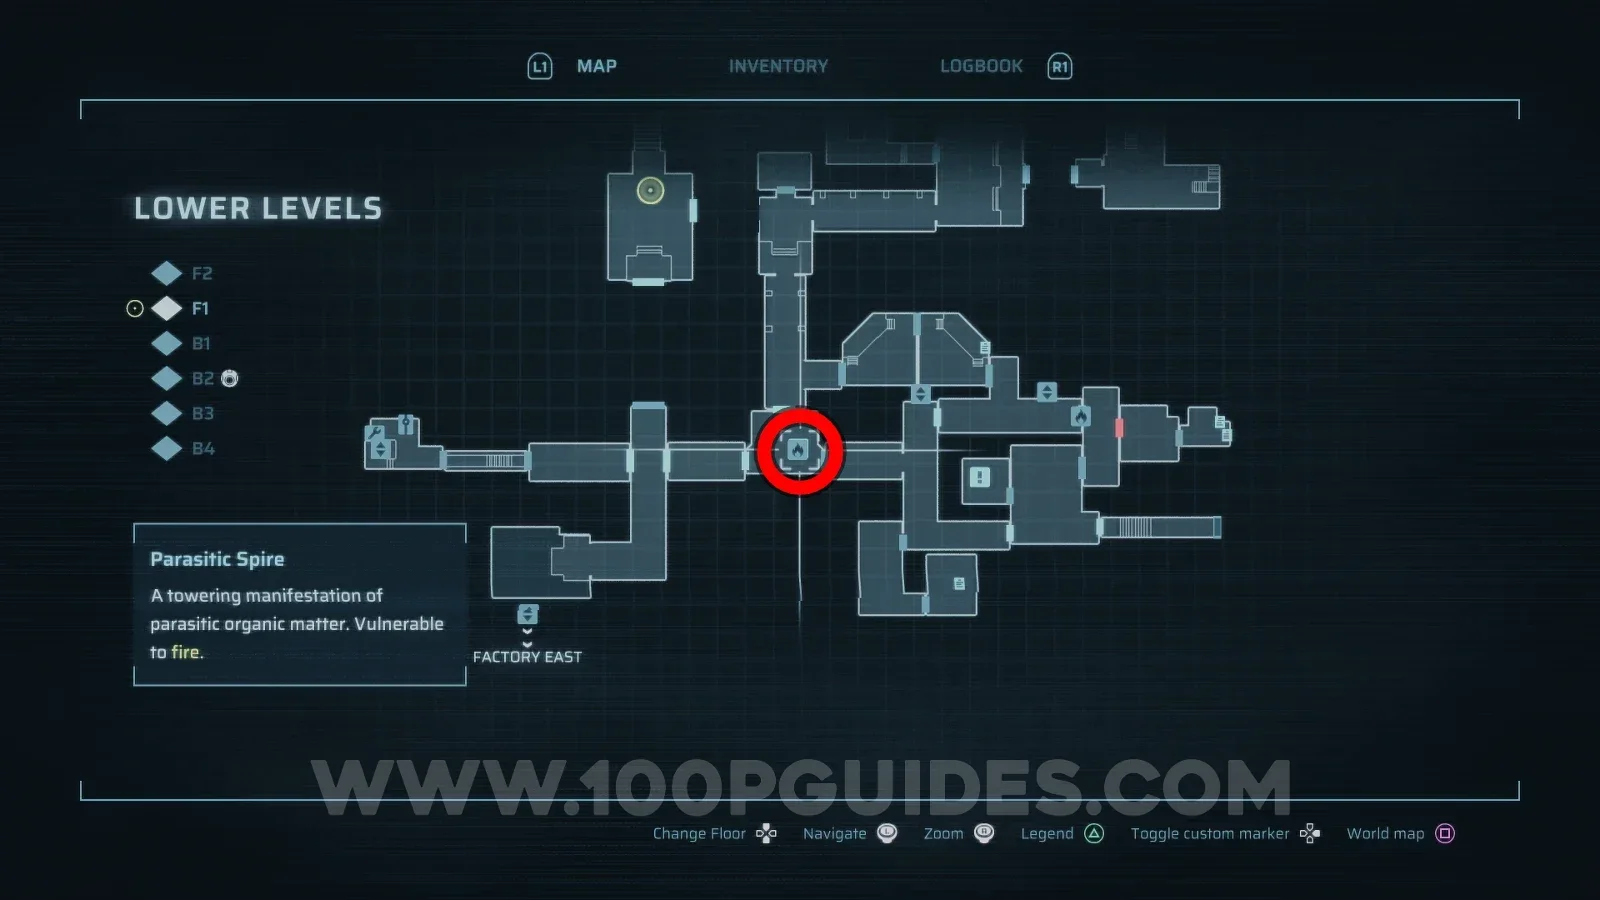
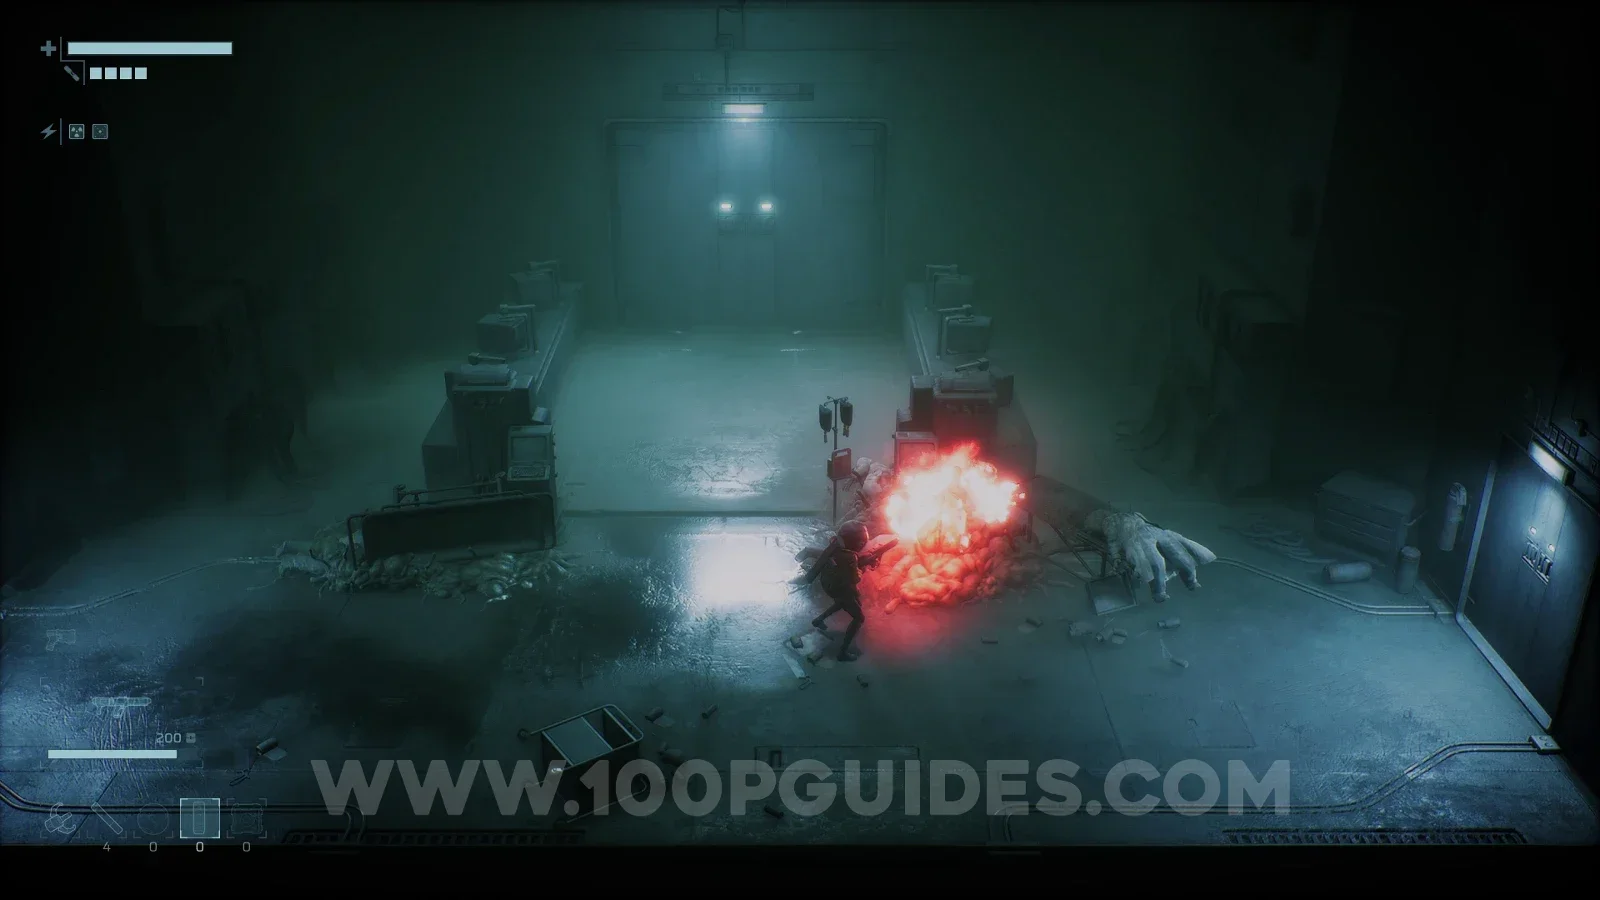
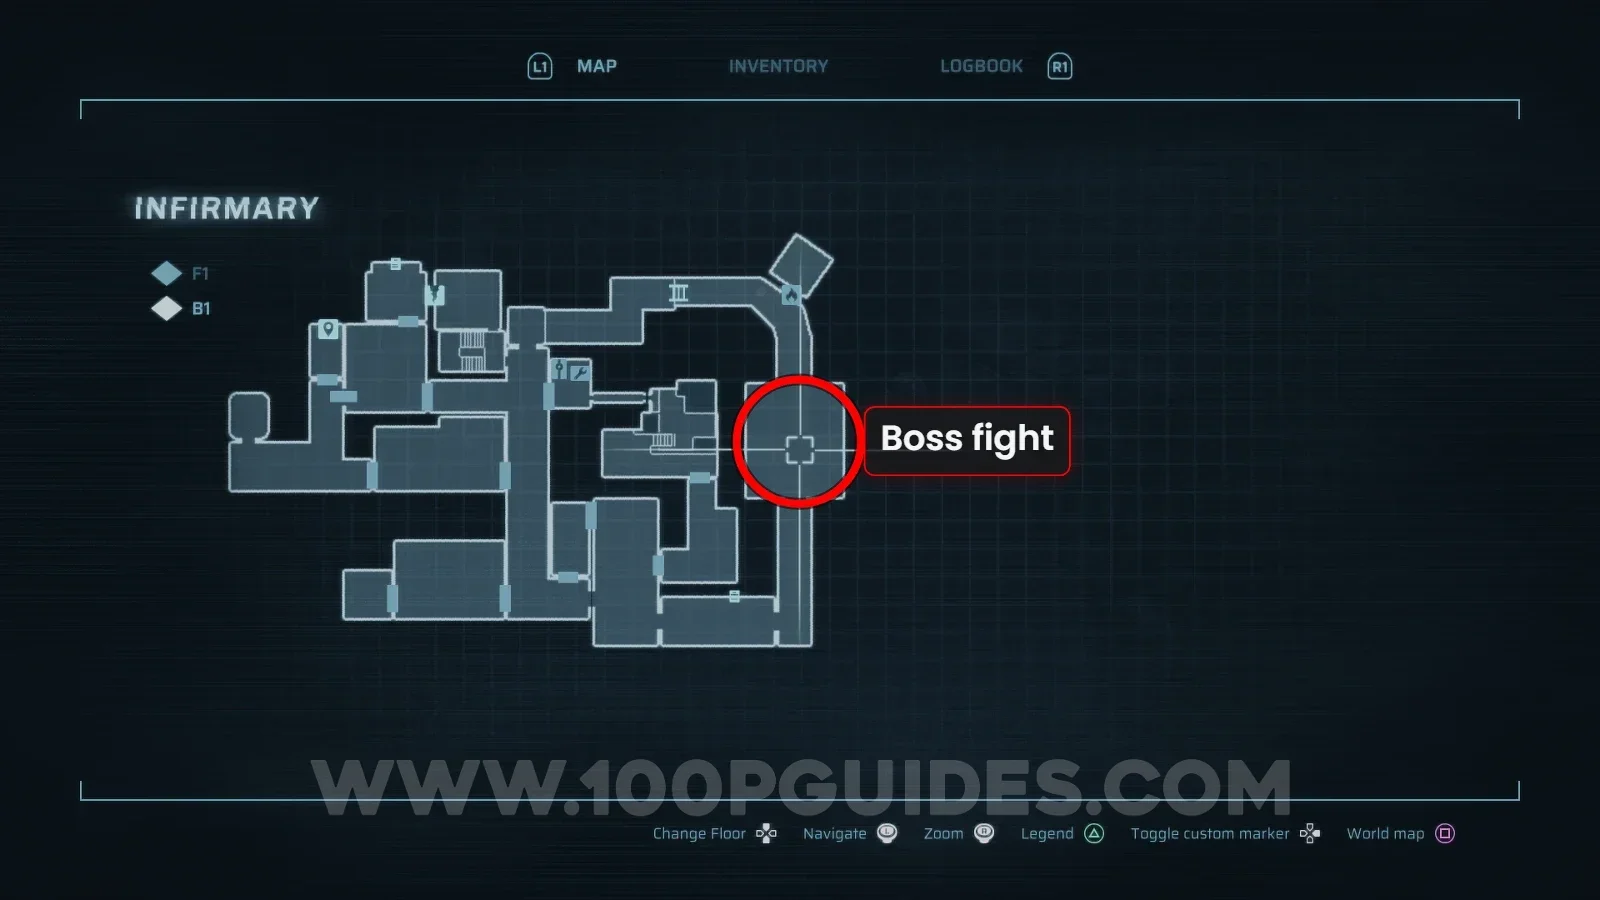
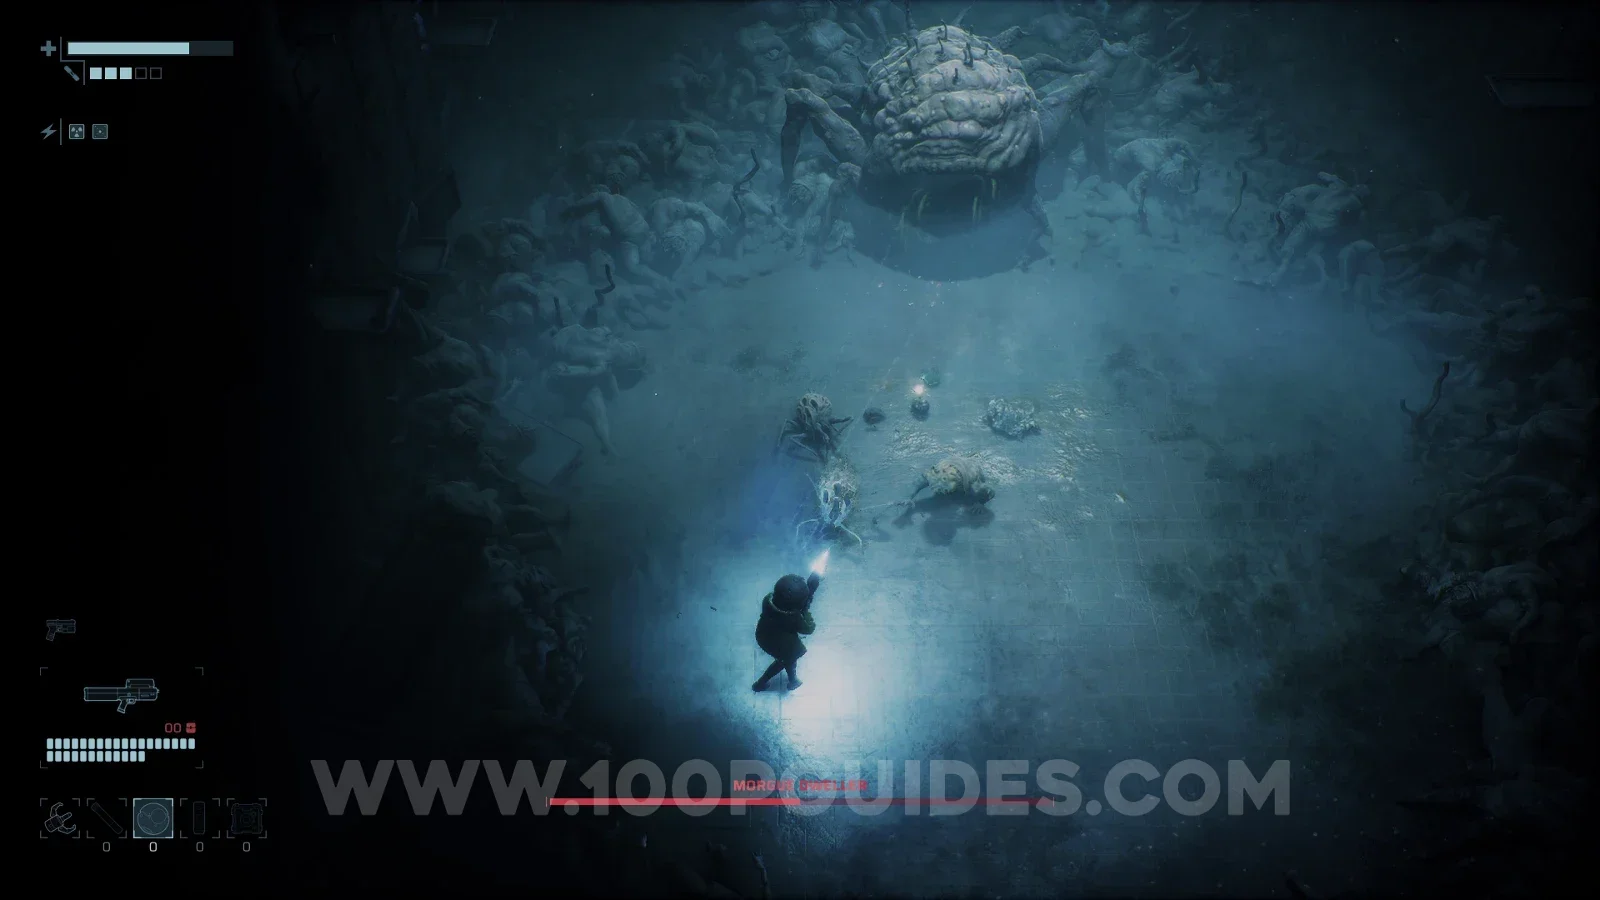
Morgue Dweller is an optional boss found at the end of the Infirmary, an optional late-game area. To get there, you must first get the Infirmary Key from the Lower Levels area (the final area of the game). You can find it by burning the Parasitic Spire in the right side labs on F1 (you will need the Incinerator, a story-related weapon obtained in this same area).
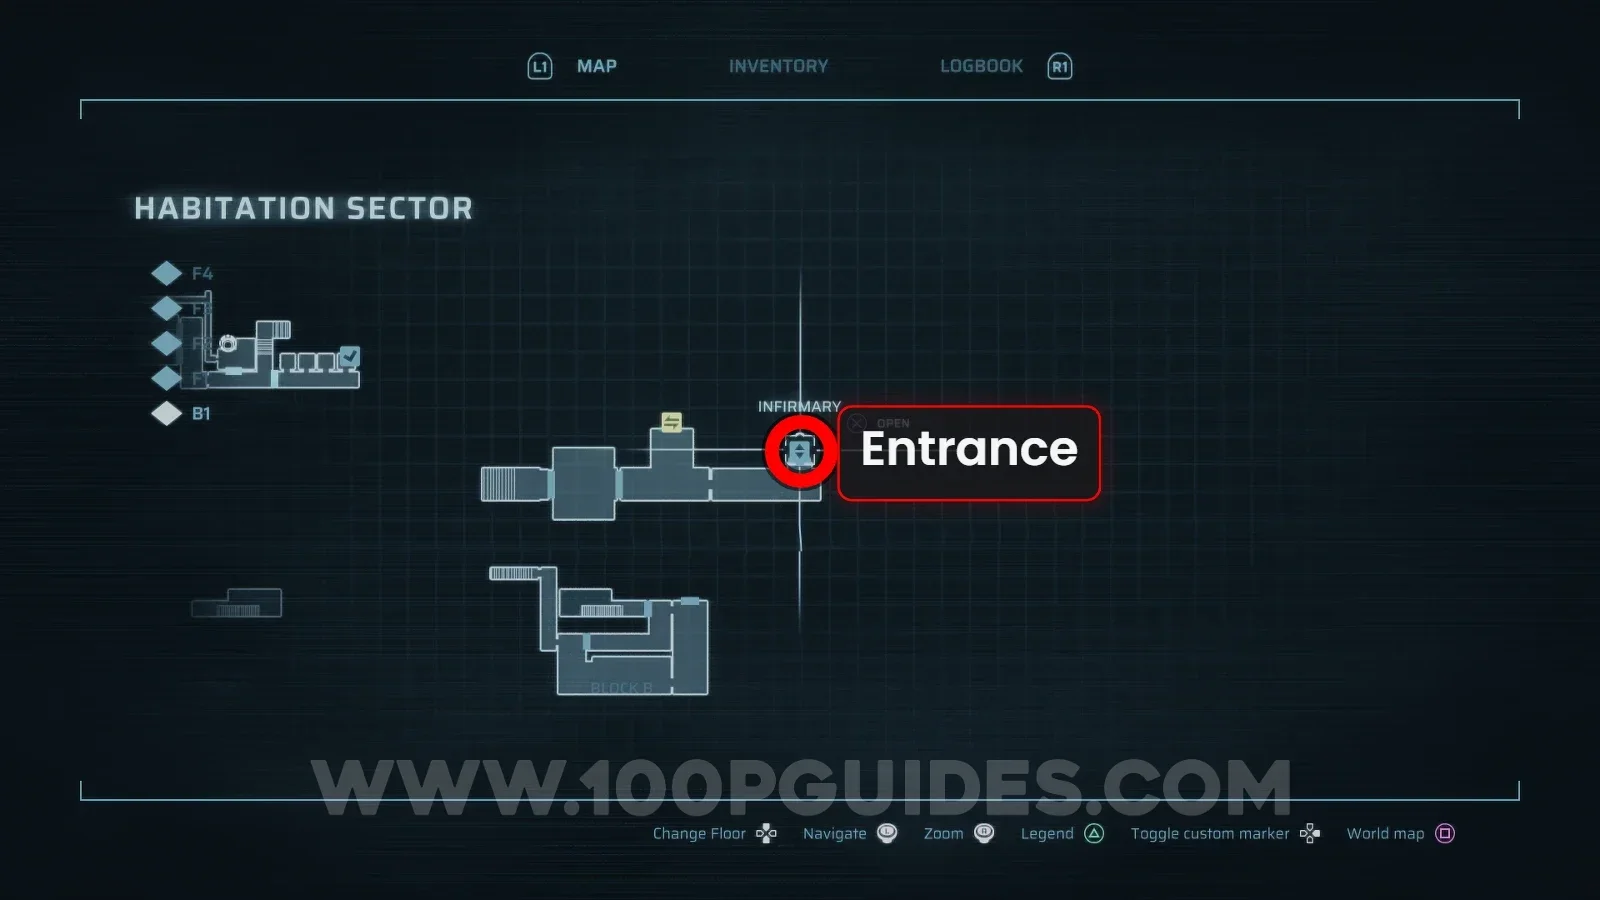
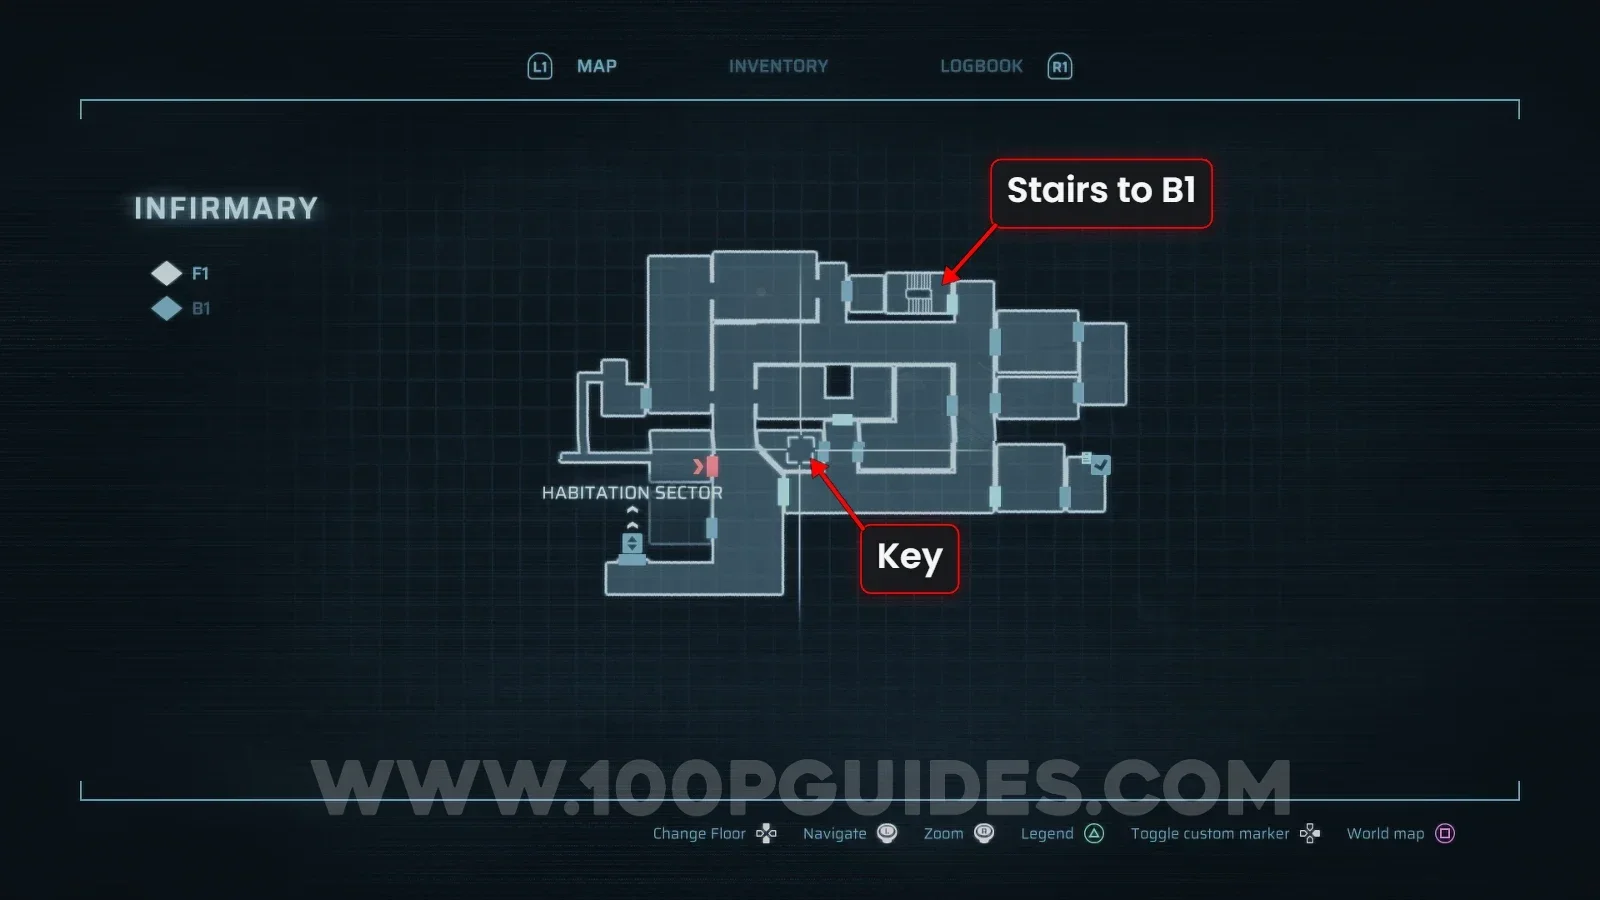
Once you have the key, use it to access the lift to the right of the Fast Travel Shuttle in the Habitation Sector to get to the Infirmary. This is a fairly short area, and the boss can be found at the end. To reach it, first grab the Restricted Access Keycard from the small room on F1. Then use it to get to B1 (through the door at the top of the right side corridor). You will then find the boss on the right side of this floor.
Find the Support Gun
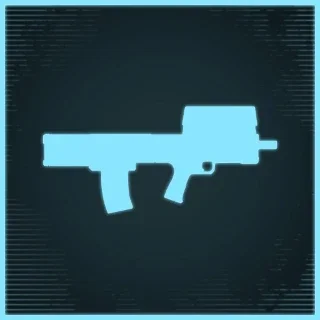
The Support Gun is an optional weapon found in the Outer Sector, the first area of the game. However, to get it, you must return after progressing the story up to the point where you reach the Lower Levels.
Getting back there isn't as simple as backtracking along the path you took at the start of the game. The lift won't be operational, so you will have to use an alternative route.
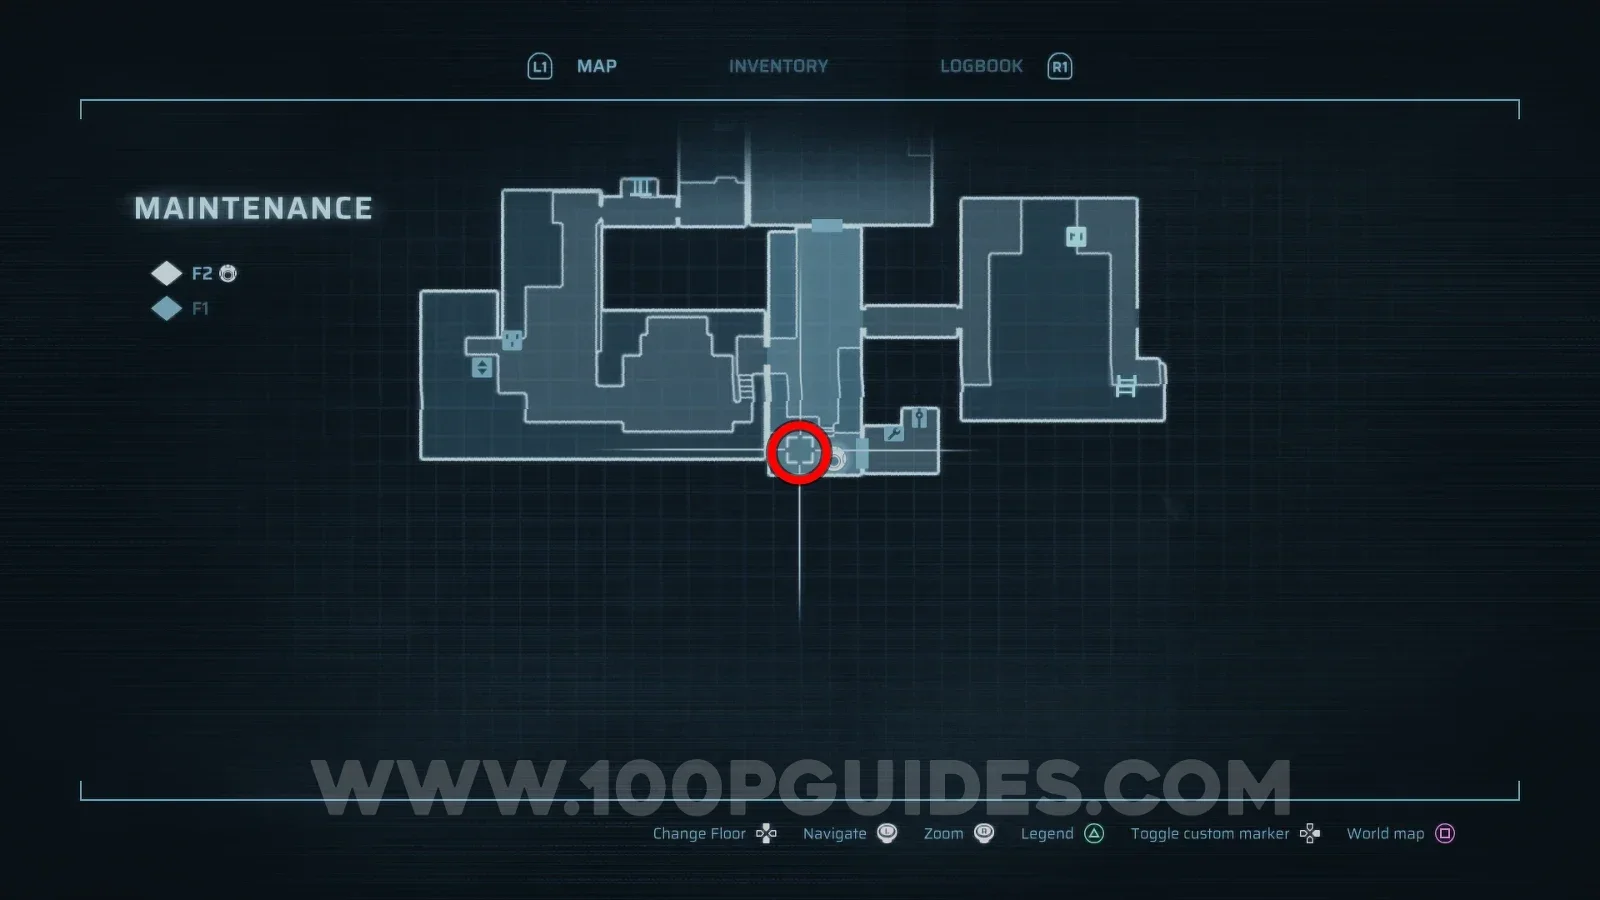
To do this, head to Maintenance > F2 and use an Explosive Charge on the floor just outside the safe room. This will blast a hole that you can jump down. From the room below, head left and continue along this path until you reach the Outer Sector's Shuttle, with the Outer Sector itself just past it.
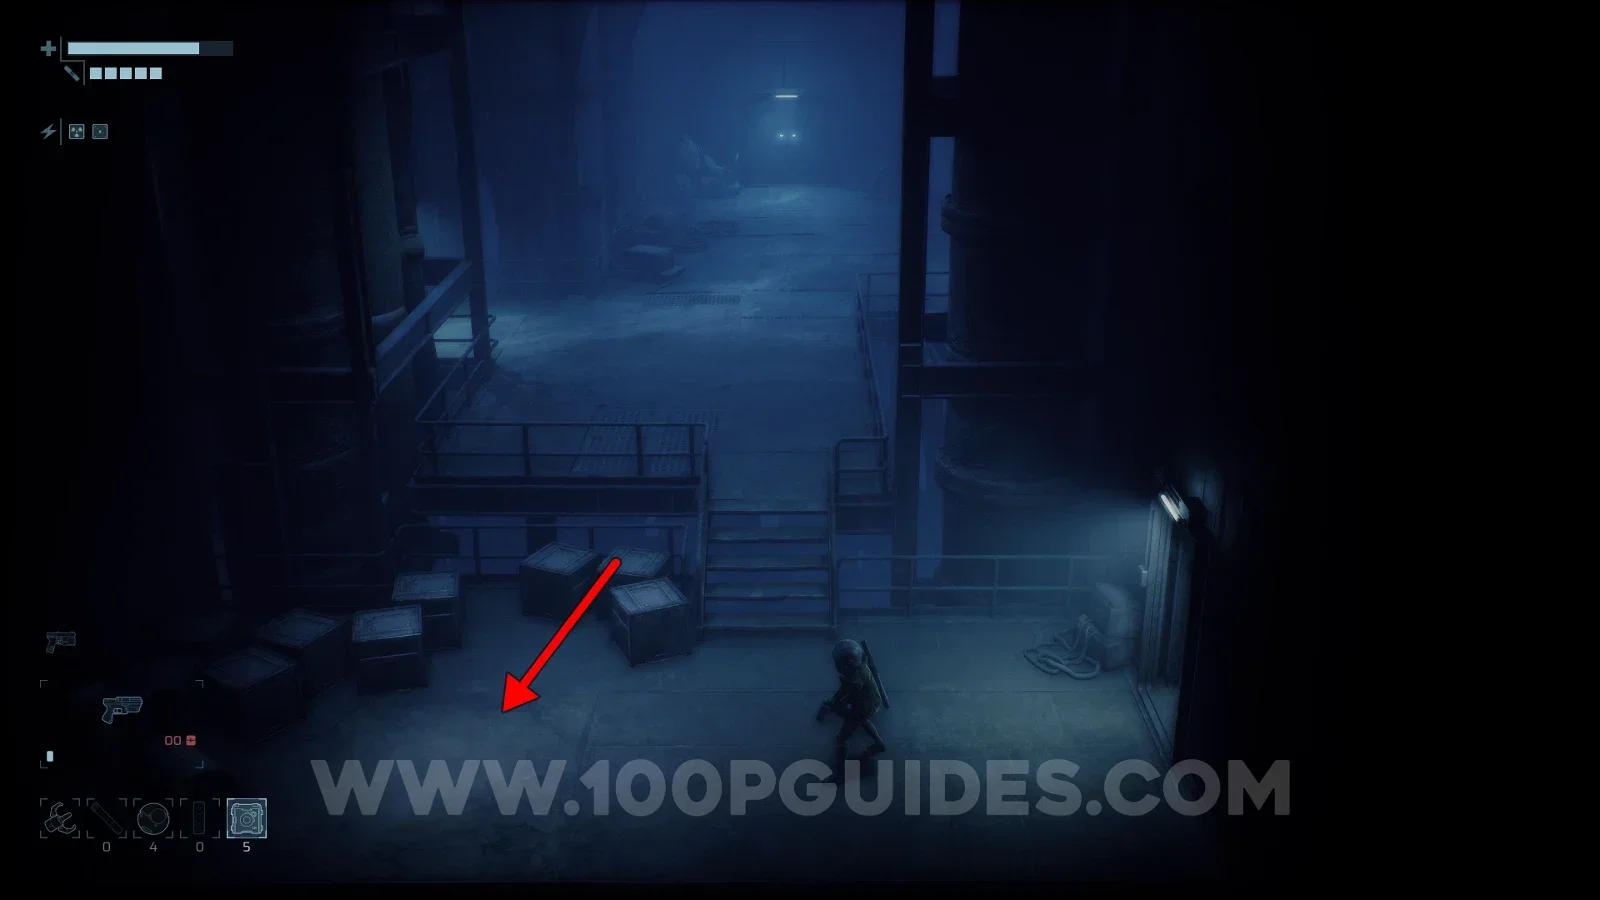
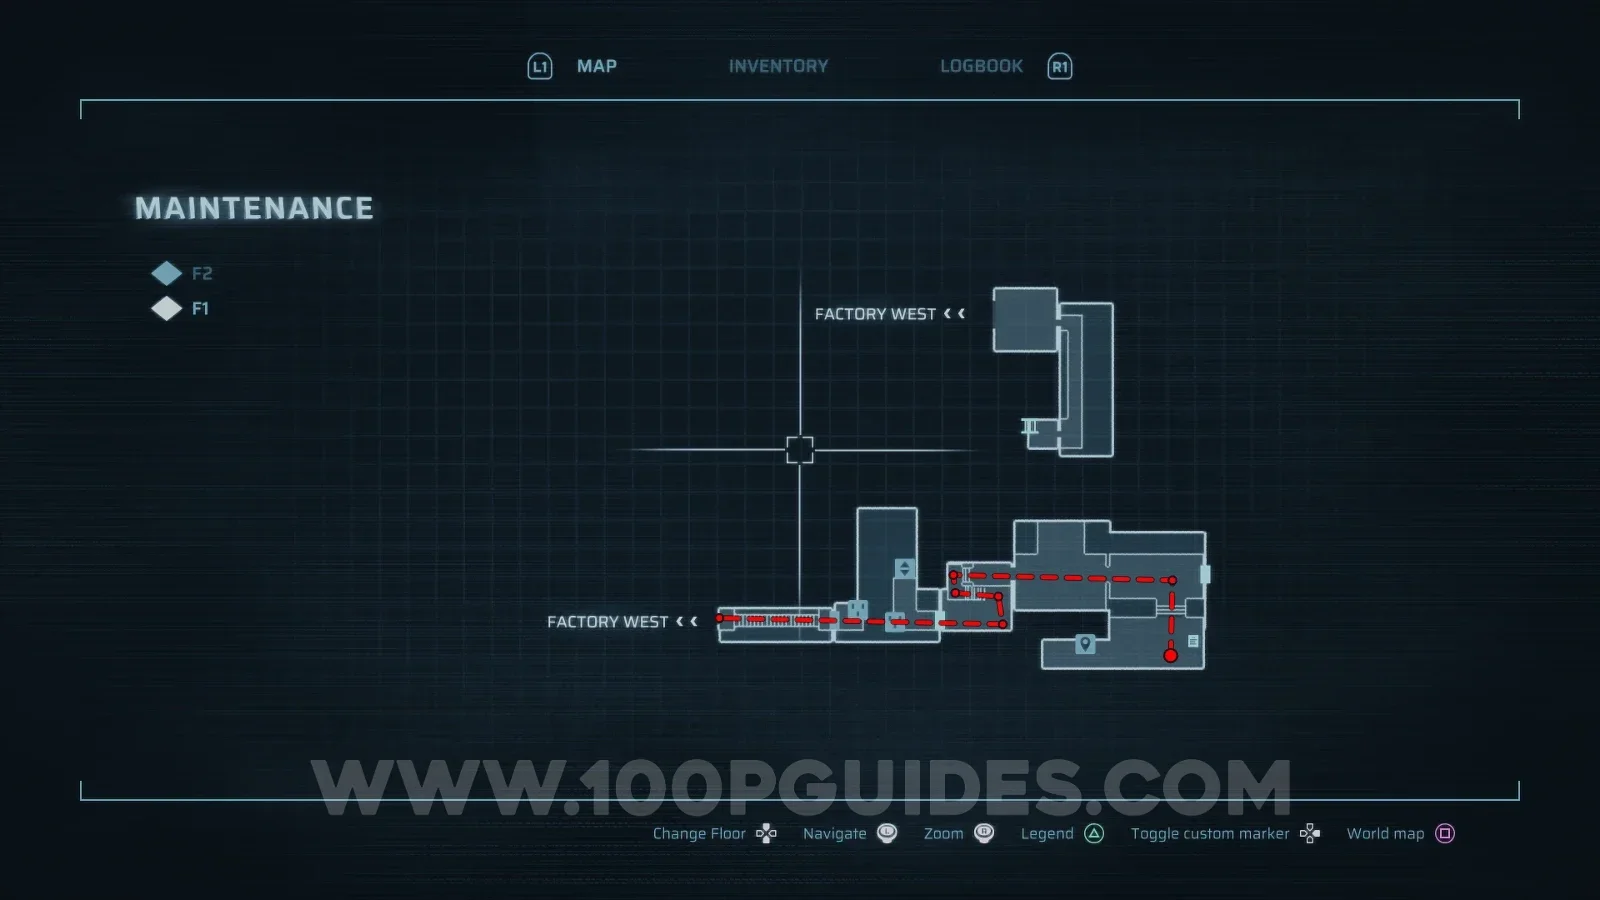
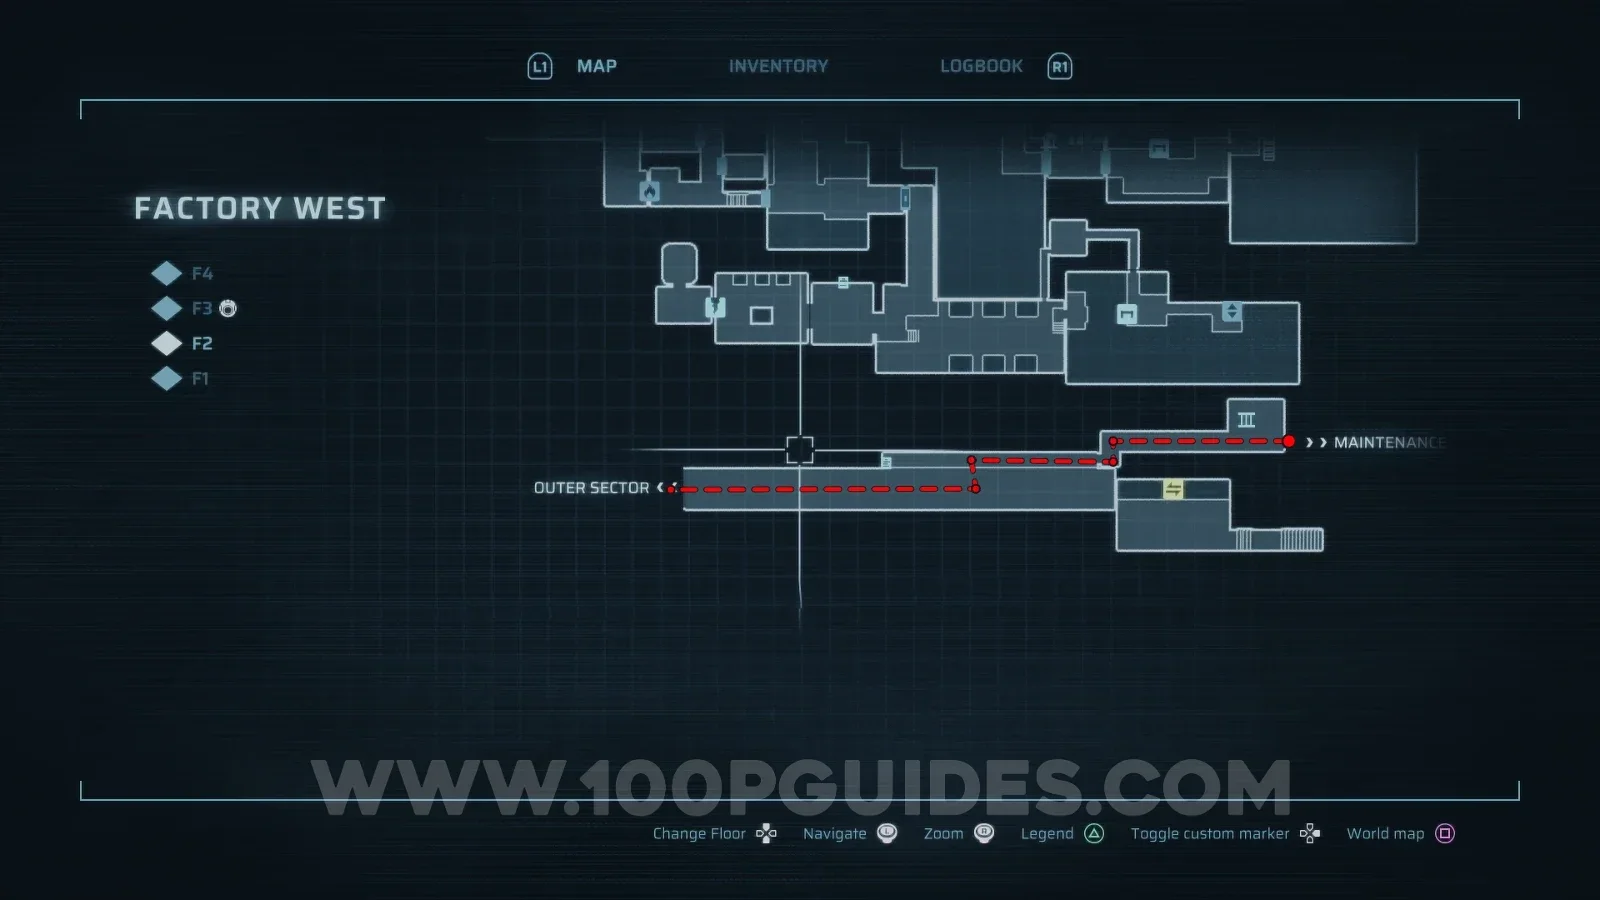
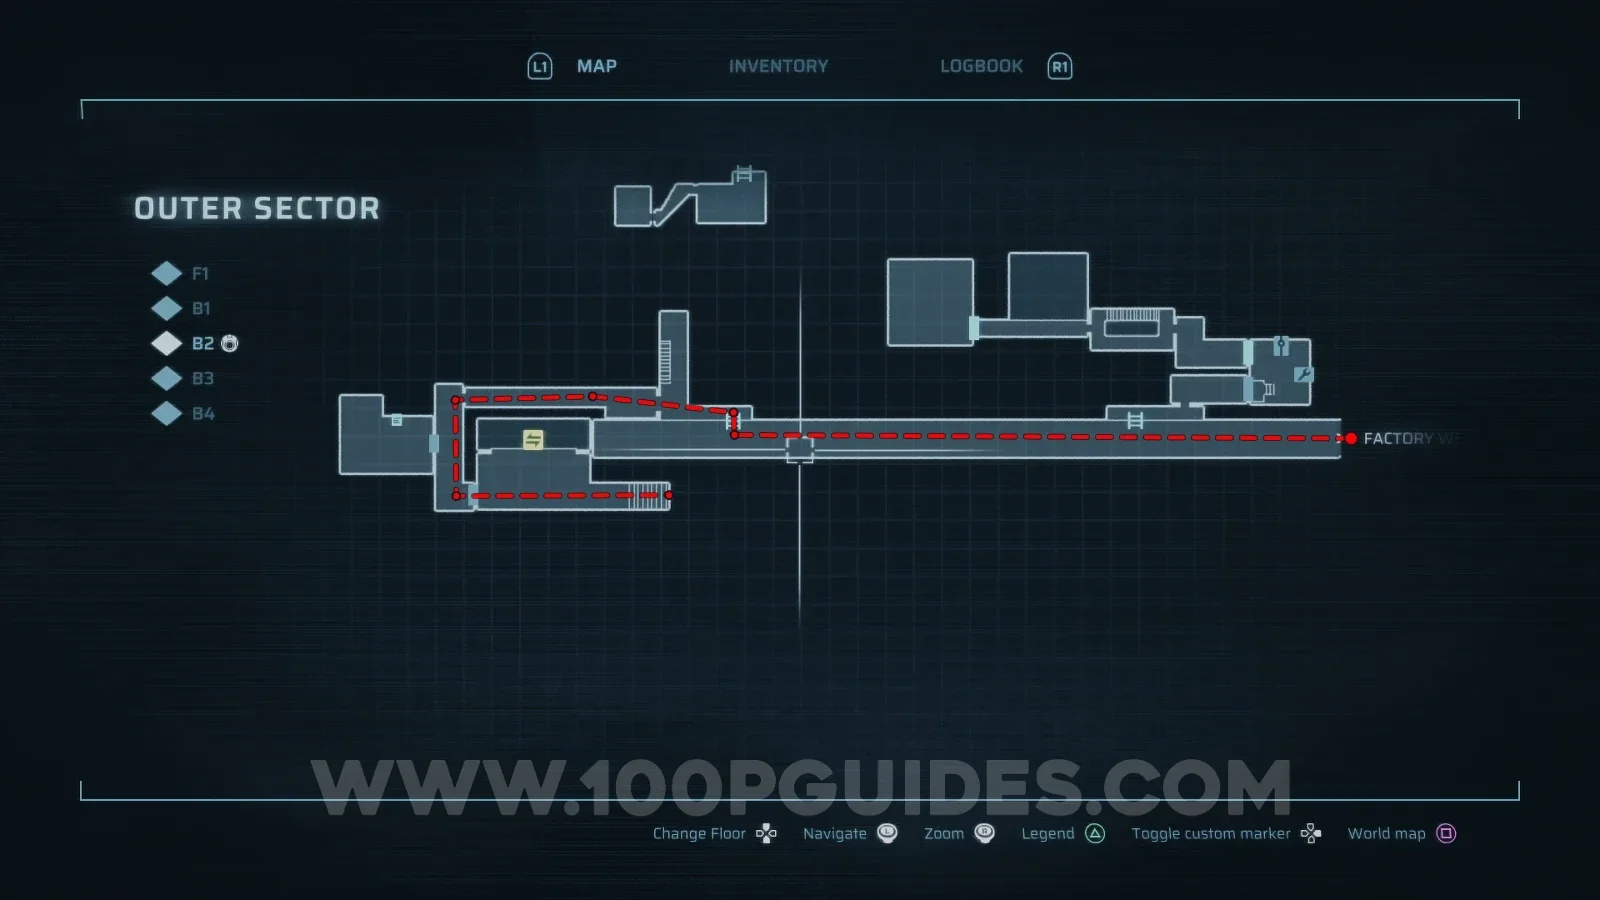
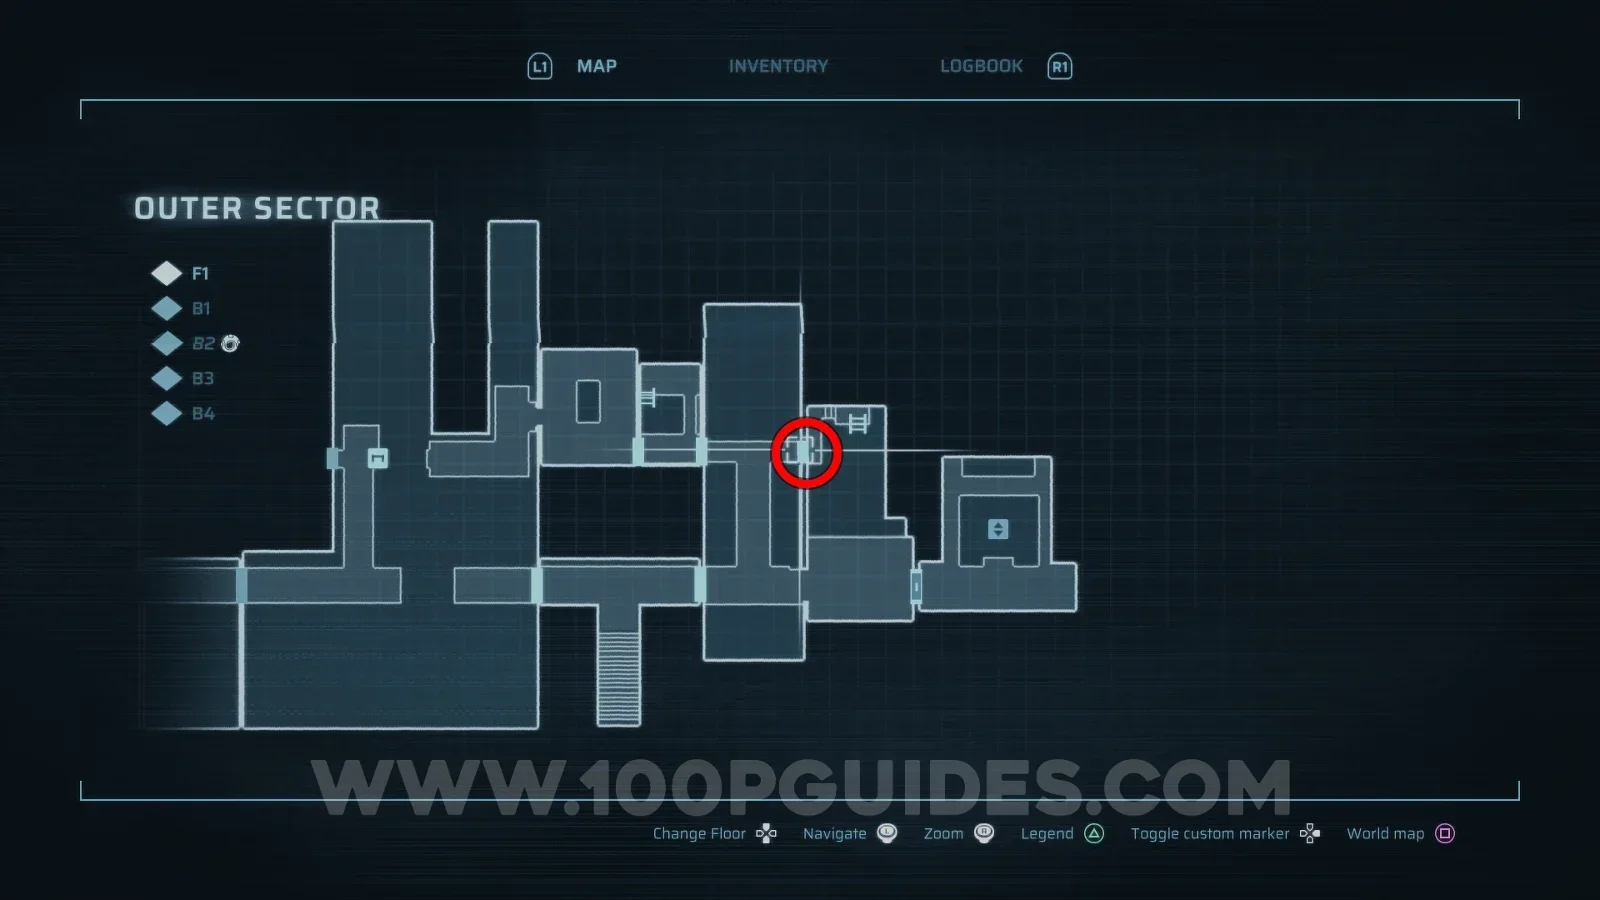
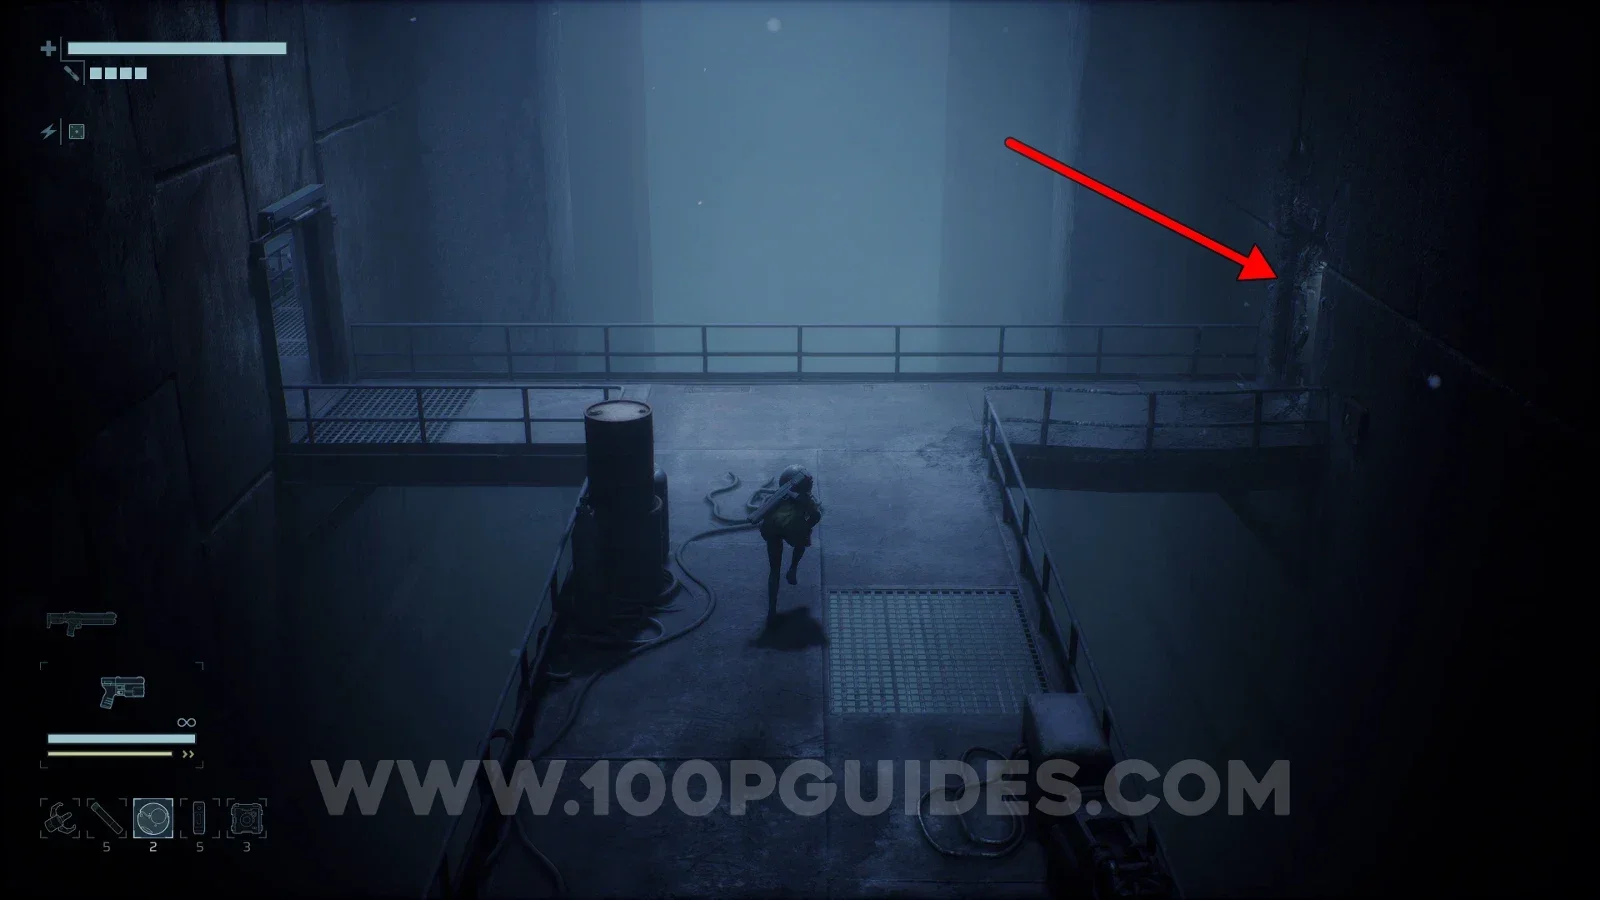
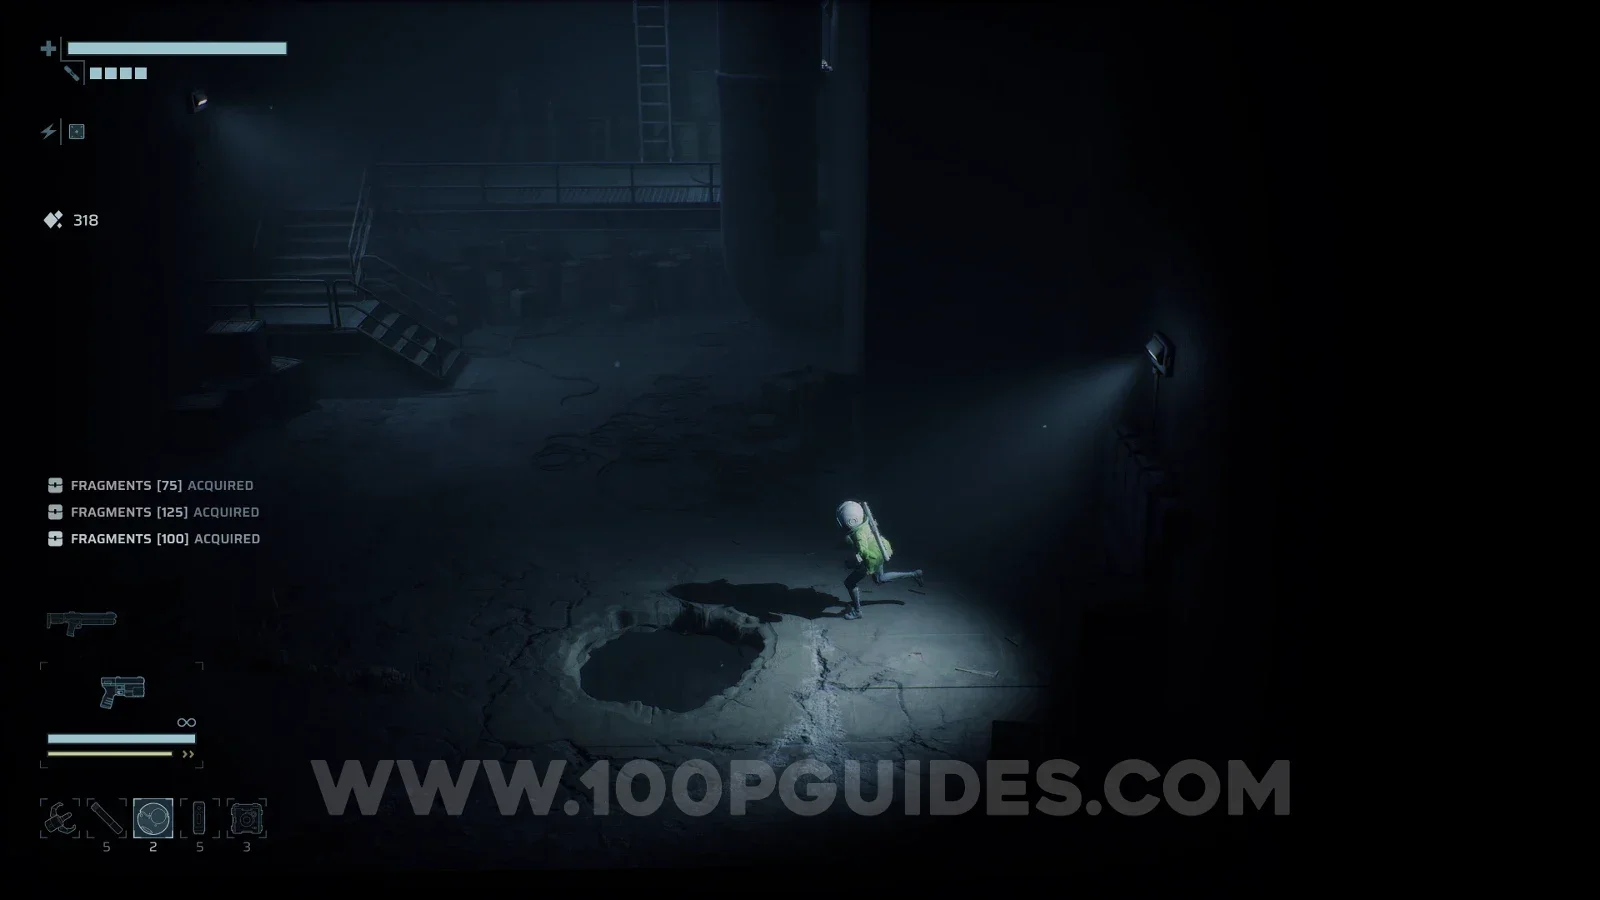
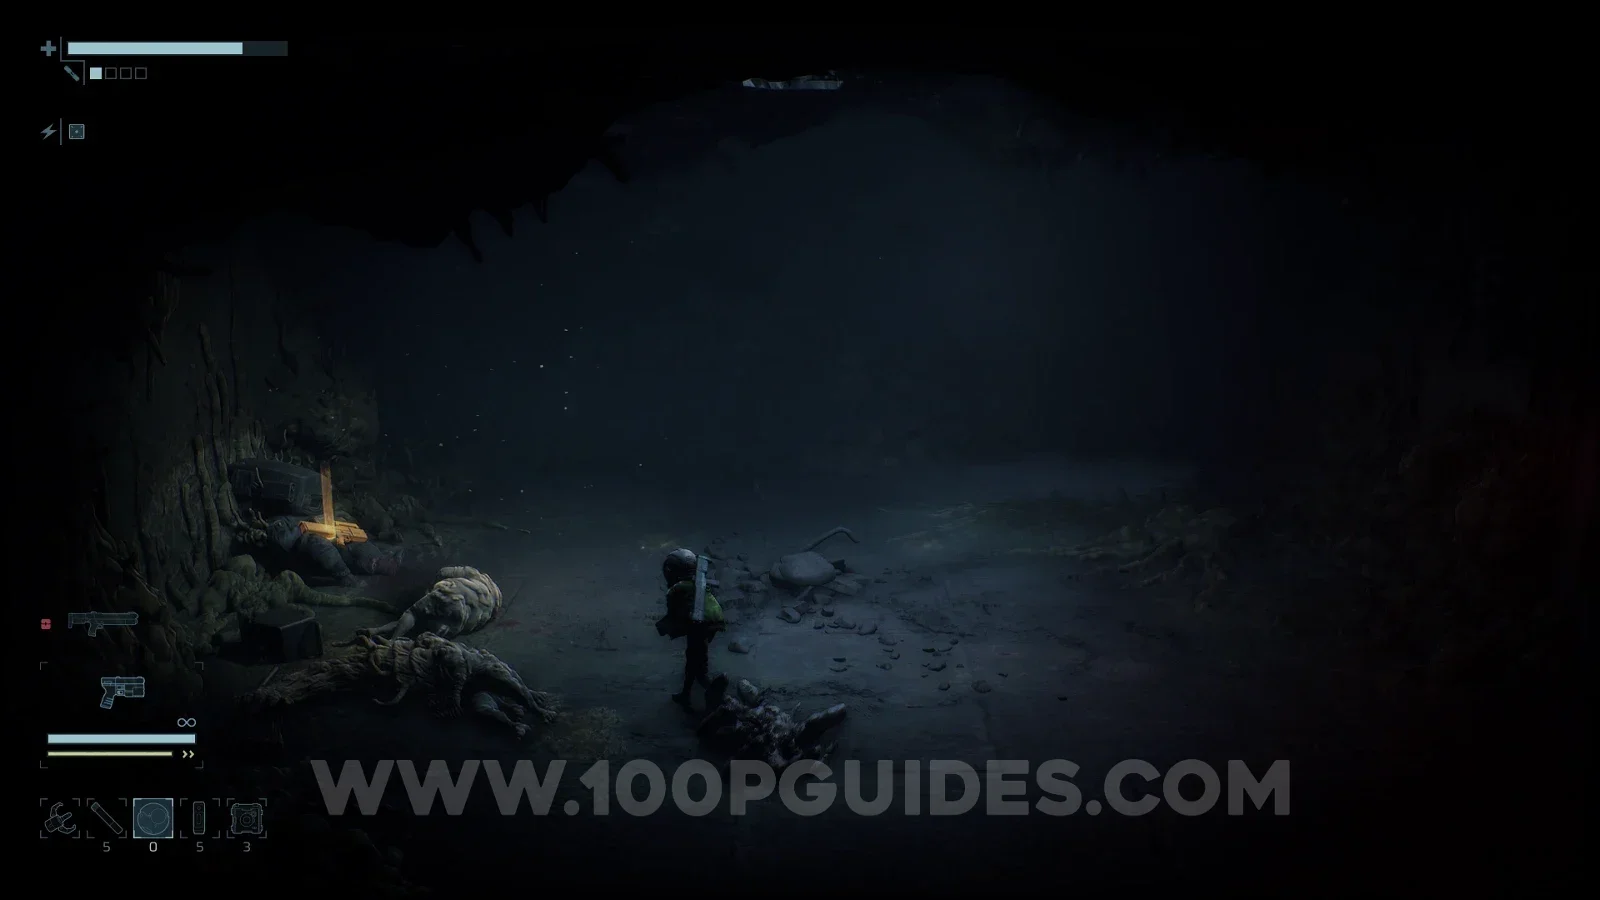
Now that you are back in the Outer Sector where the game began, head through the now open door in the top right of F1. Inside, head down the ladder, use an Explosive Charge to open a hole in the ground and jump down. You will then be ambushed by a large group of enemies. Defeat them and pick up the Support Gun from the corpse.
Defeat Fractured Being
Story-related and unmissable. You can use our Story Path Walkthrough if you are having trouble.
Fully upgrade all weapons
There are 6 Weapons in total, and you must find All Weapon Upgrade Materials to upgrade them all to max level at the workbenches in safe rooms.

Reach maximum Suit Power
Suit Power refers to how many mod slots you have. You can get more by finding Energy Cells, one of the many collectible types in the game. There are 6 in total.
Complete the game - Normal Ending
Finish the game. You can use our Story Path Walkthrough if you are having trouble.

Complete the game - Secret Ending
To get the Secret Ending, you must find all 8 Data Shards and then take them back to the Mainframe. Follow our Secret Ending Guide for their locations and all the details.

Break 50 crates
As you play through the game, you will come across crates that you can hit or shoot to destroy. There are way more than 50 and they respawn, so this will come naturally. If not, you can just keep breaking the same ones over and over again.

Set a Head Crawler on fire
Head Crawlers are small enemies that take control of corpses. First, defeat the corpse being controlled, then use the Incinerator (a flamethrower obtained automatically during the story in the last area) to burn it. These can be found all over the Lower Levels area (the final area of the game). One place where they respawn is the large room on the right side with the trap door in it.

Kill 3 enemies with a single grenade
First, you must find the Grenades. There are multiple places where you can pick them up, the earliest being F1 in the Reactor area. These are hard to miss, since you go through this room during the story.
Once you have the Grenades, you must kill 3 enemies with a single one. The easiest place to do this is Ventilation Tunnels > F3, where you will be constantly attacked by swarms of bees. Just throw one at a swarm and more than 3 should go down.
Upgrade the Scanner
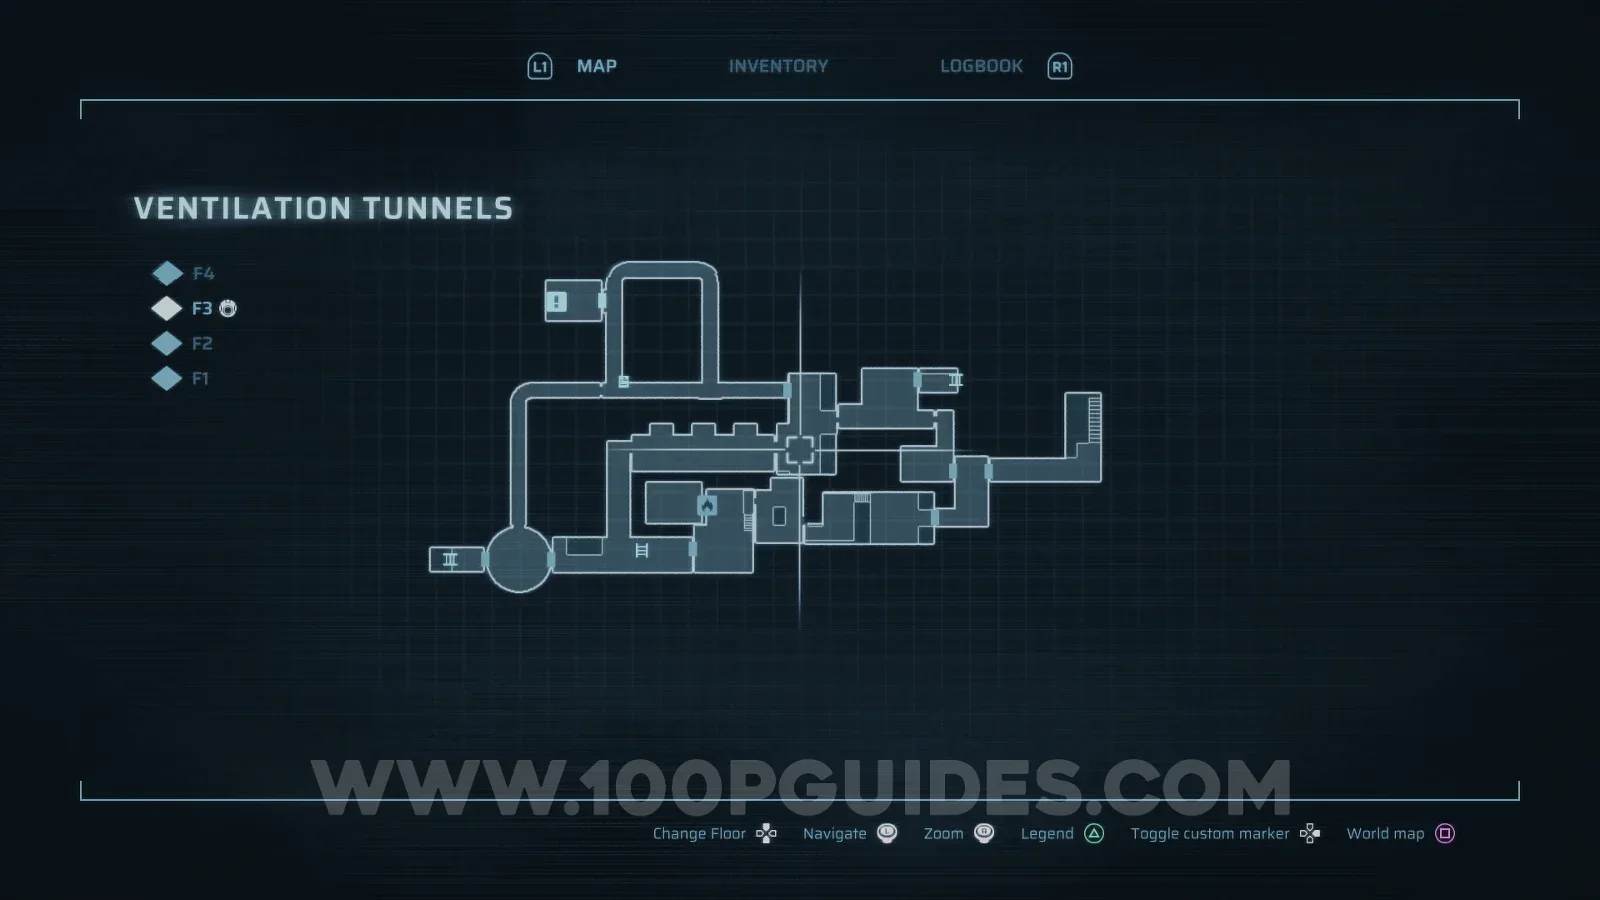
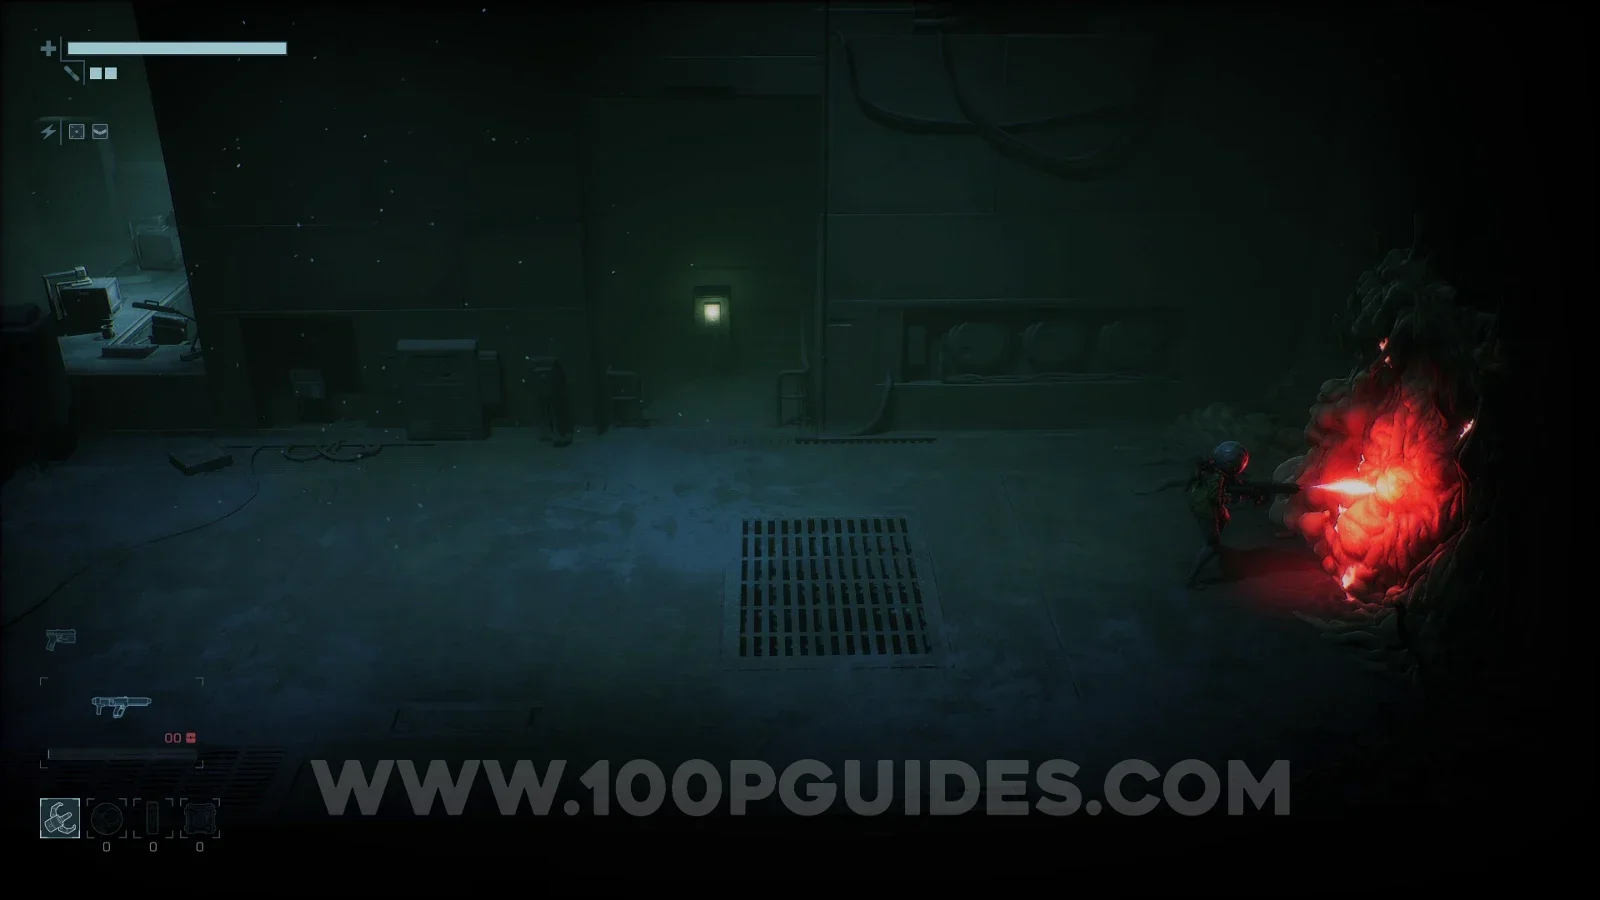
To upgrade the scanner, you will need the Cryptograph. This can be found in the Lower Levels, the final area of the game, behind a Level 3 Access door. First, you need to get the Level 2 Access card, which can also be found in the Lower Levels. Burn down the wall on the right side of F1 with the Incinerator (the story-related flamethrower, also obtained in this area) and head into the large room. Here, look for a trap door in the middle and climb down. After coming out the other end of the vents, head right and loot the Level 2 card from the corpse.
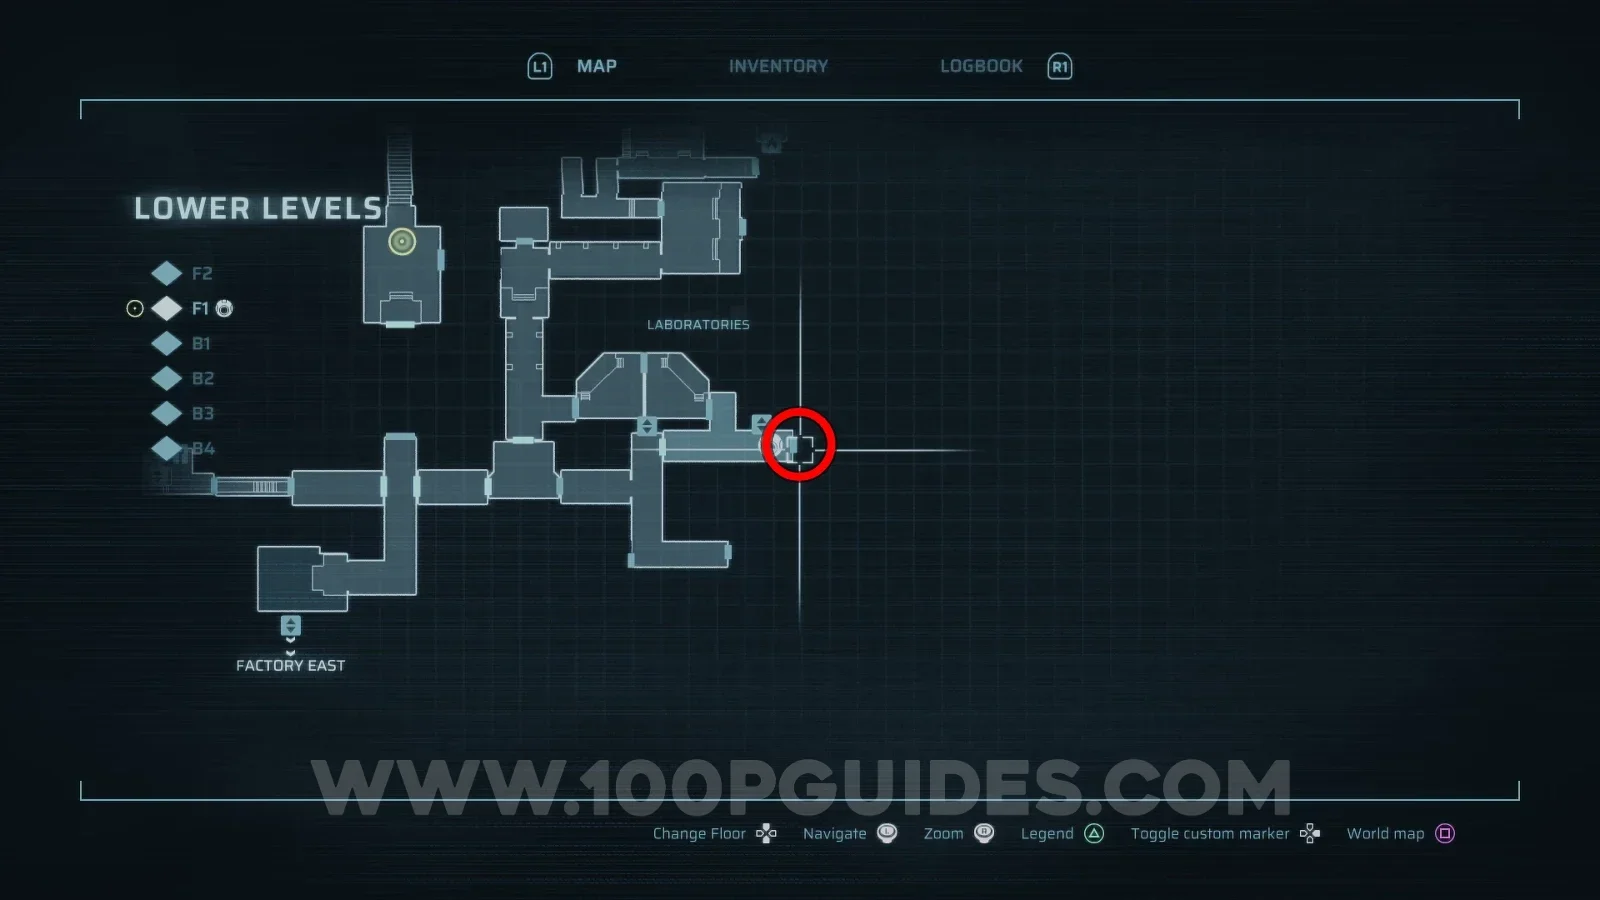
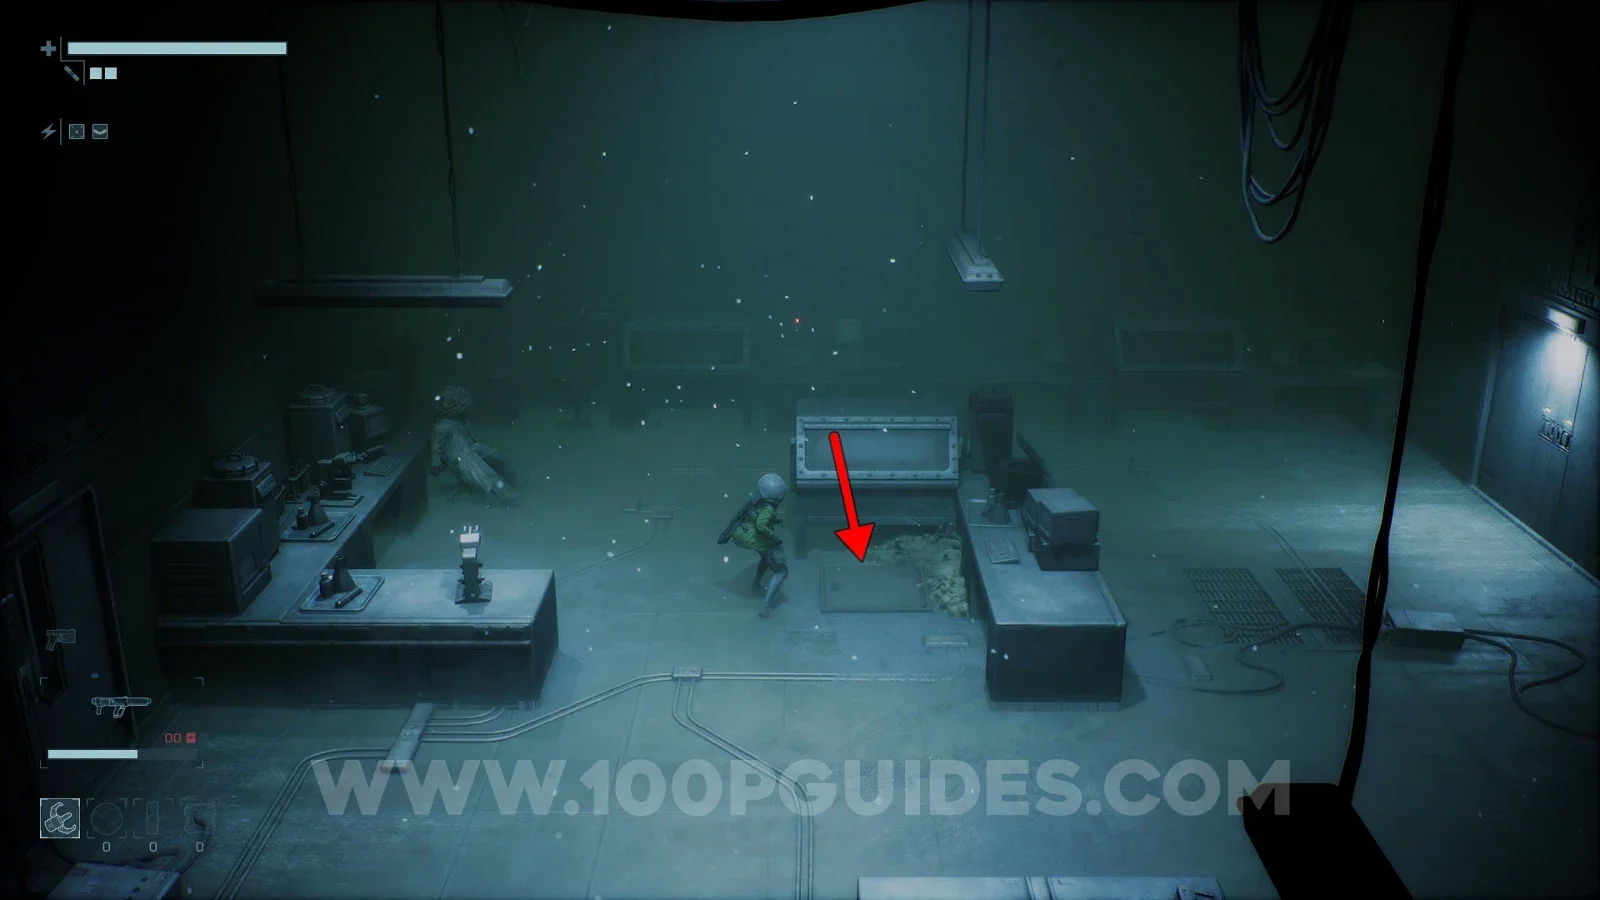
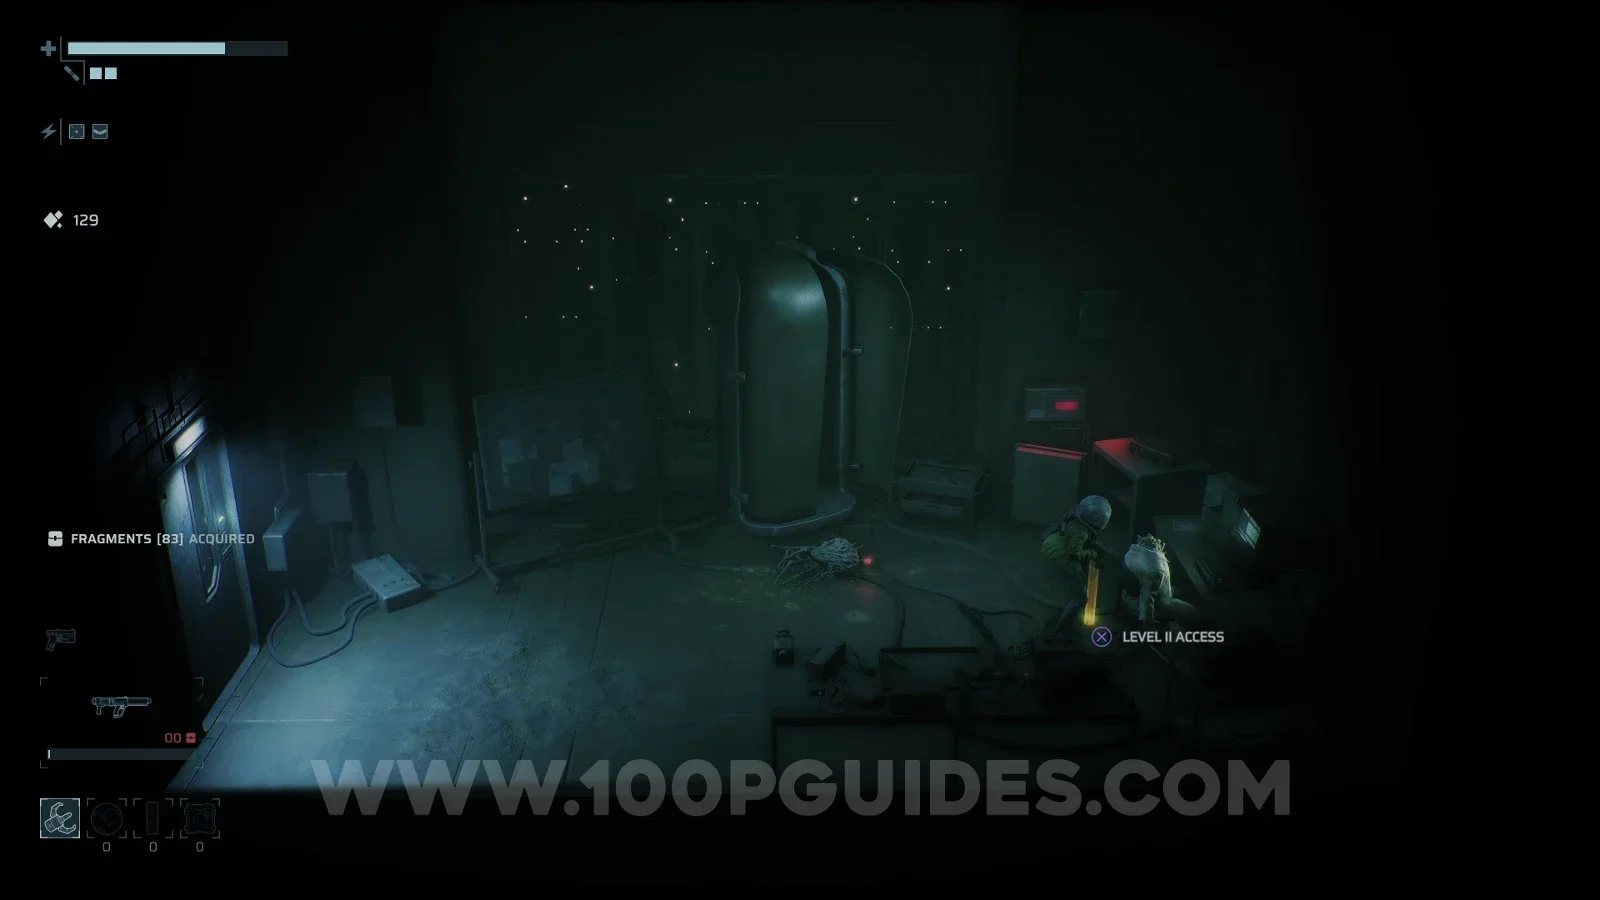
Once you have the Level 2 card, you can get the Level 3 card. For this, head through the door just south of the wall you have to burn down during the story on F1. Head up the stairs inside, go up through the corridor, exit left and then left again. You will find the Level 3 card in the top left corner of this room.
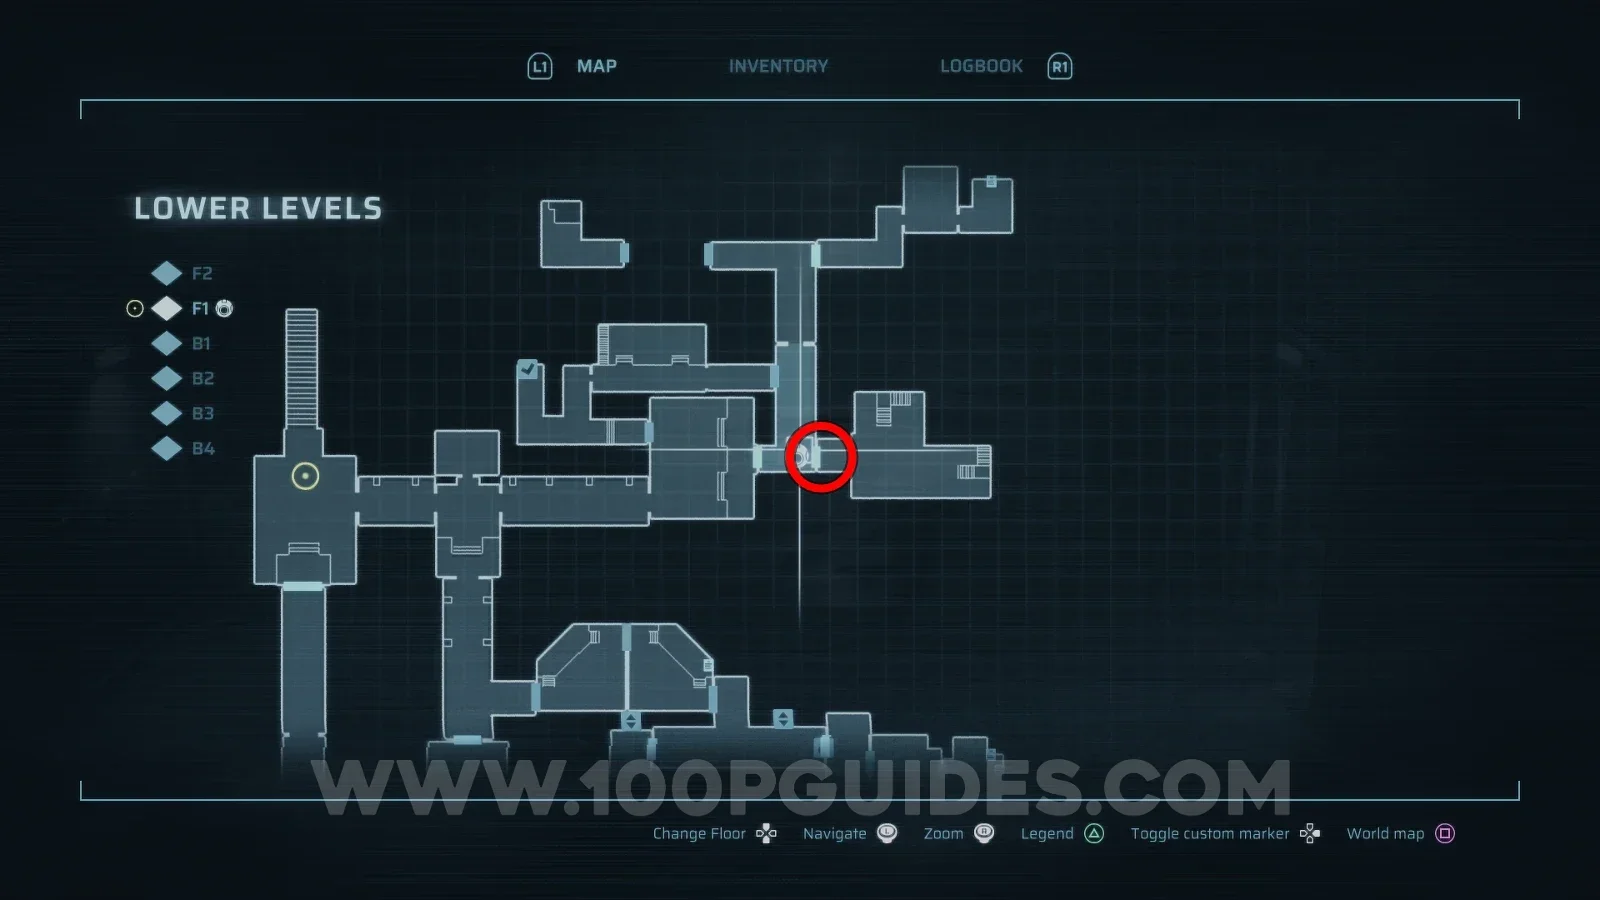
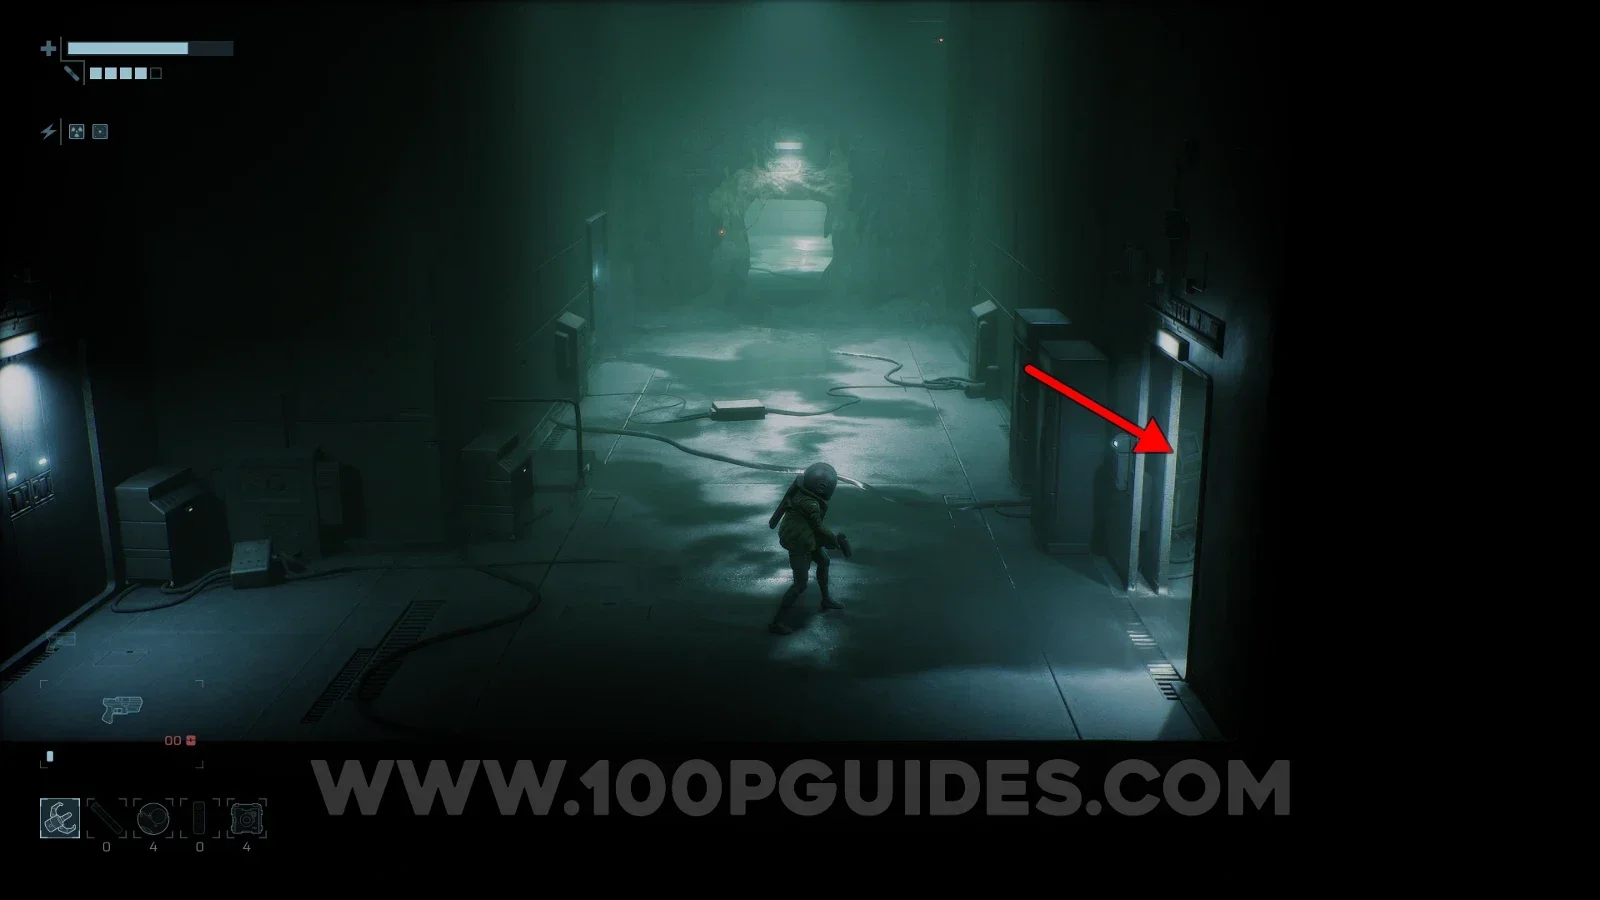
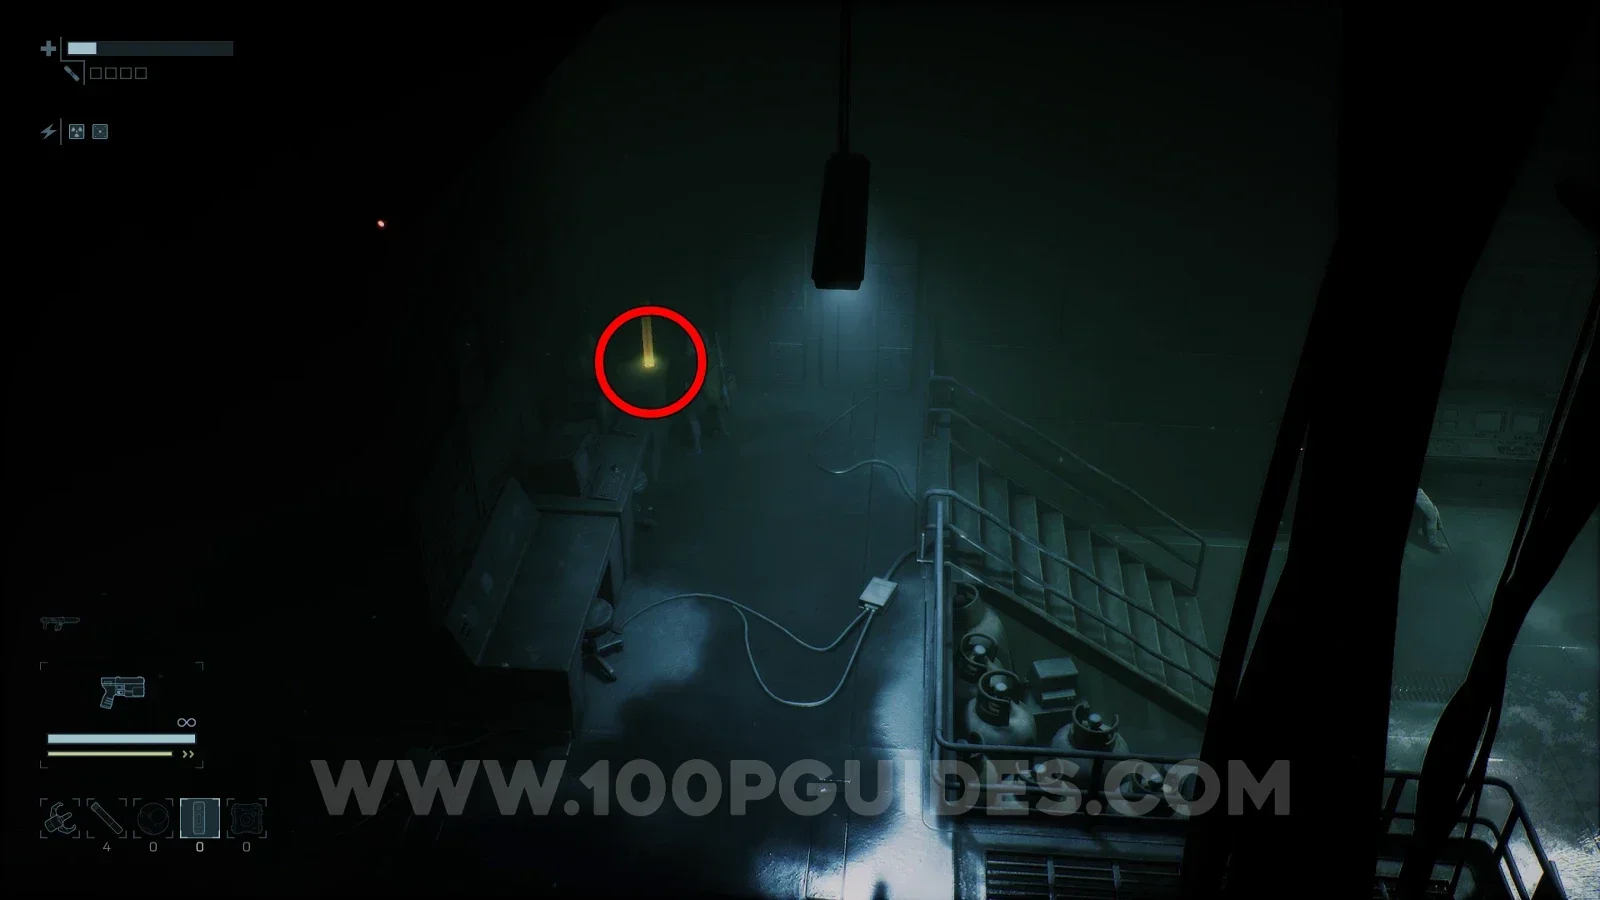
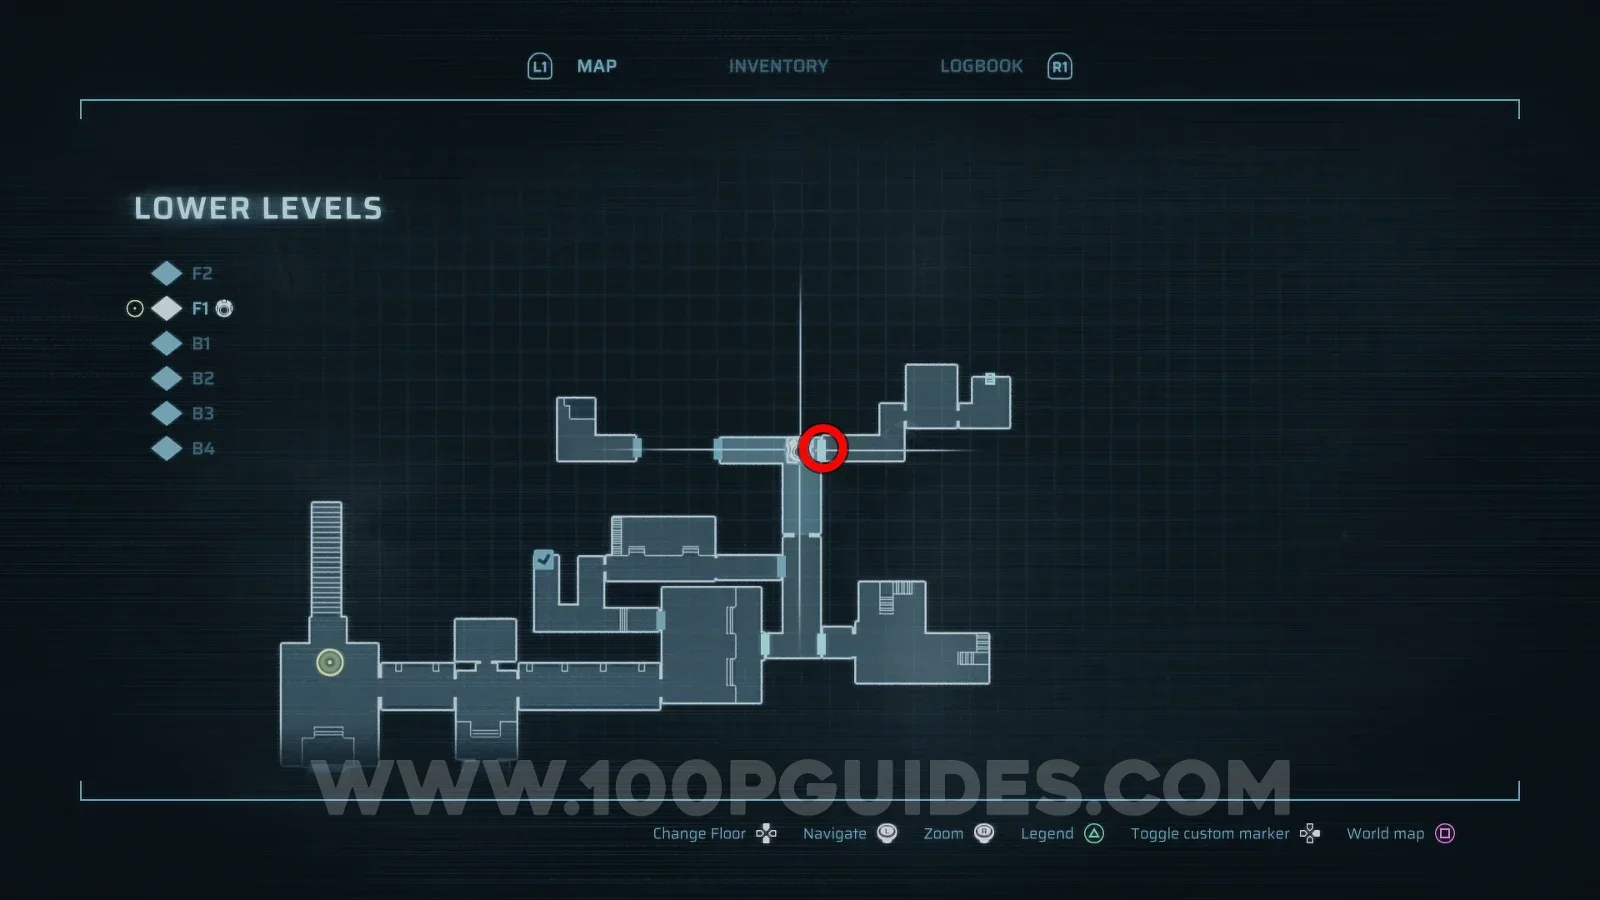
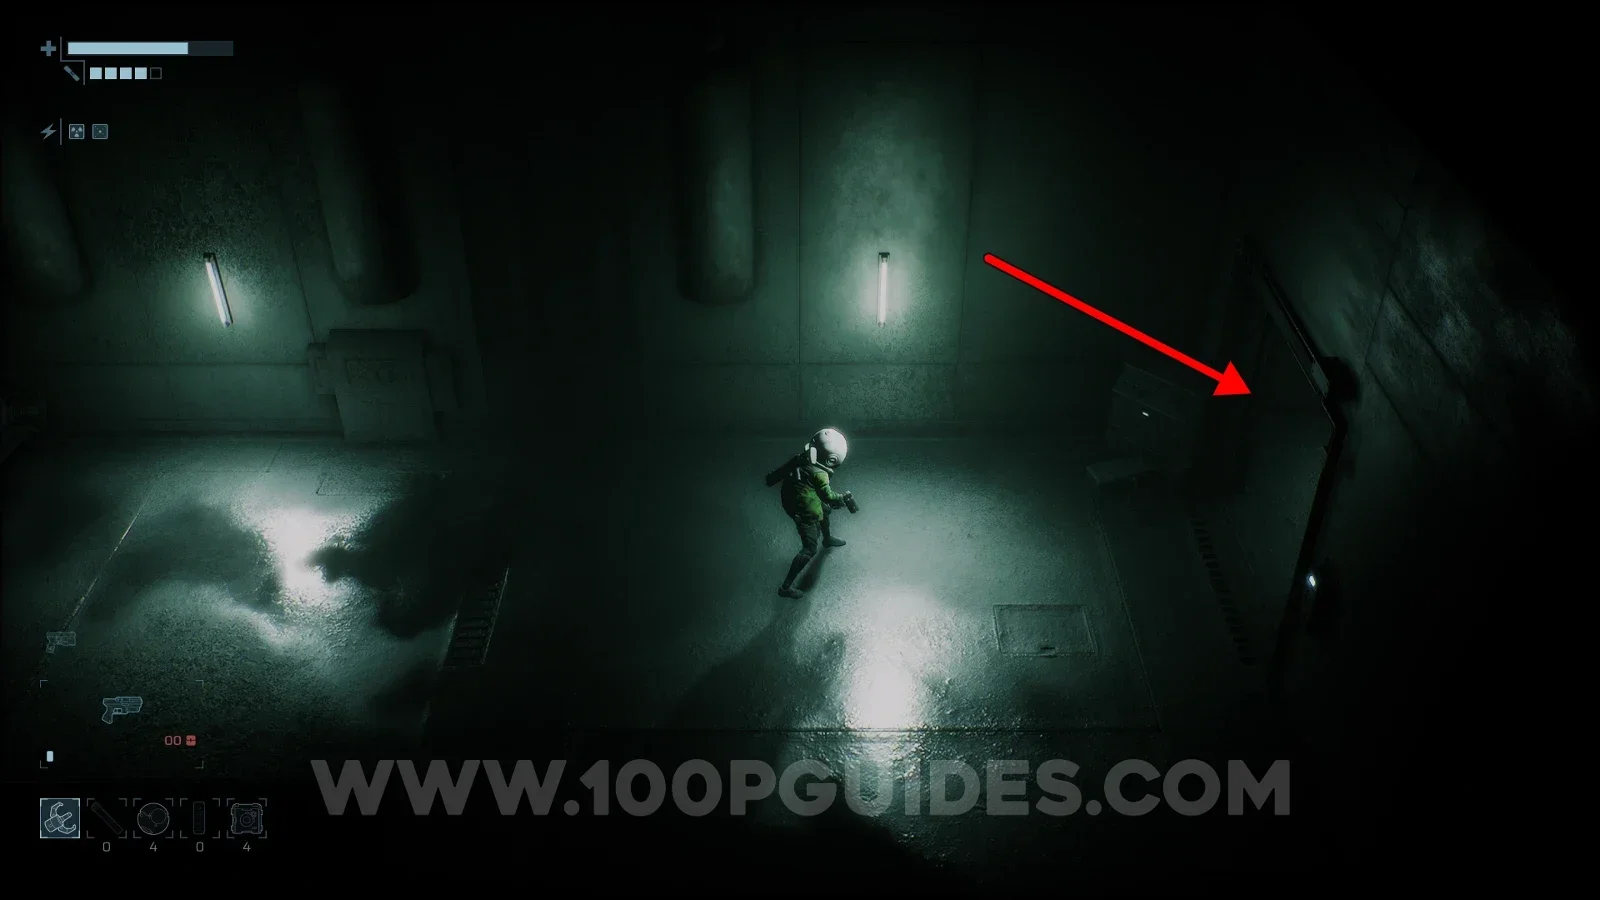
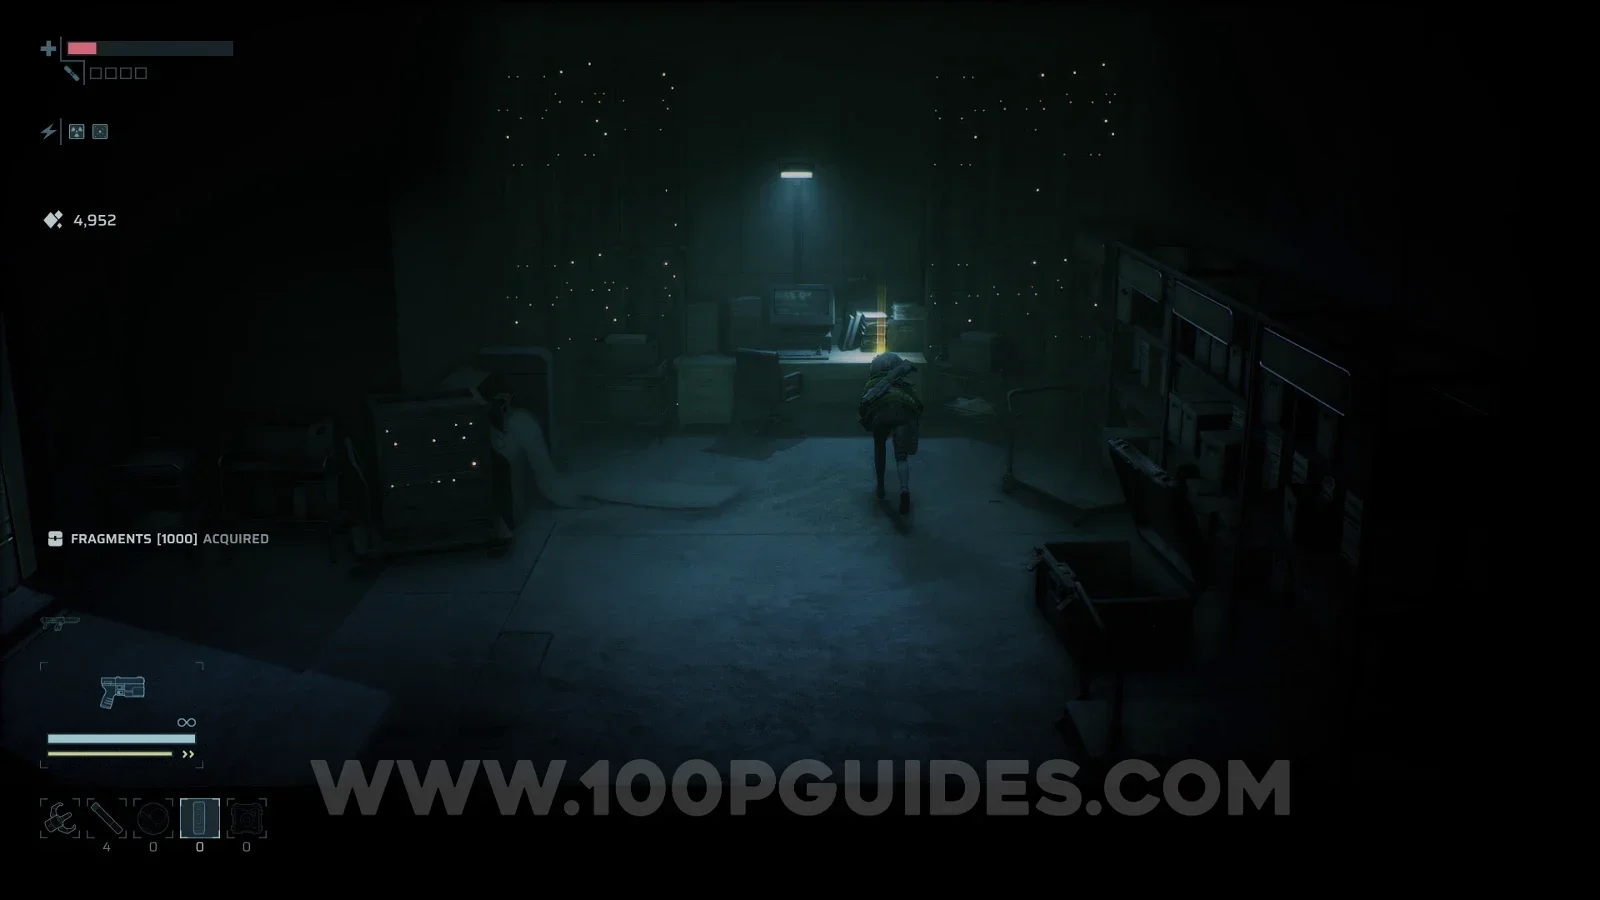
Once you have the Level 3 Access card, return to the hall where you burned down the wall during the main story. Just north of this wall, there is a door that requires the Level 3 Access card. Use it and go through to the last room to find the Cryptograph. This will also allow you to activate any Cheat Codes you find.

Override the SCU in Factory West
Story-related and unmissable. You can use our Story Path Walkthrough if you are having trouble.

Override the SCU in the Waterworks
Story-related and unmissable. You can use our Story Path Walkthrough if you are having trouble.

Override the SCU in the Containment Sector
Story-related and unmissable. You can use our Story Path Walkthrough if you are having trouble.
Reboot the System Protocols
Story-related and unmissable. You can use our Story Path Walkthrough if you are having trouble.
Unlock first Vault
Vaults are small hidden rooms where you find the Suit Mods. There are 8 in total, and each one requires a Vault Key to open. 5 of the 8 keys are obtained from story bosses and the other 3 from optional bosses. This trophy unlocks once you open your first one.
Activate the Reactor Core
Story-related and unmissable. You can use our Story Path Walkthrough if you are having trouble.

Activate all Shuttle Stations
Shuttle Stations are the fast travel points in End of Abyss, and there are 7 in total. You can find them all in our All Fast Travel Shuttle Locations guide.
Find all Data Shards
There are 8 Data Shards in total, and you need all of them to get the Secret Ending. None of them are missable, and they can all be found after finishing the game.
Scan all Creatures
Unlocks after filling the "Creatures" section of the Logbook. You can scan a creature by pressing and then holding once you are locked on. Bosses are added automatically after defeating them, even if you didn't scan them, so they are not missable. NPCs also count as creatures, and even though they move around, they will always be available, even if only as a corpse. The same goes for some of the larger mobs: even though they may not respawn, you can always find a version of them lying around somewhere on the map. See our Full Logbook Guide.

Kill multiple enemies with a single Security Rifle shot
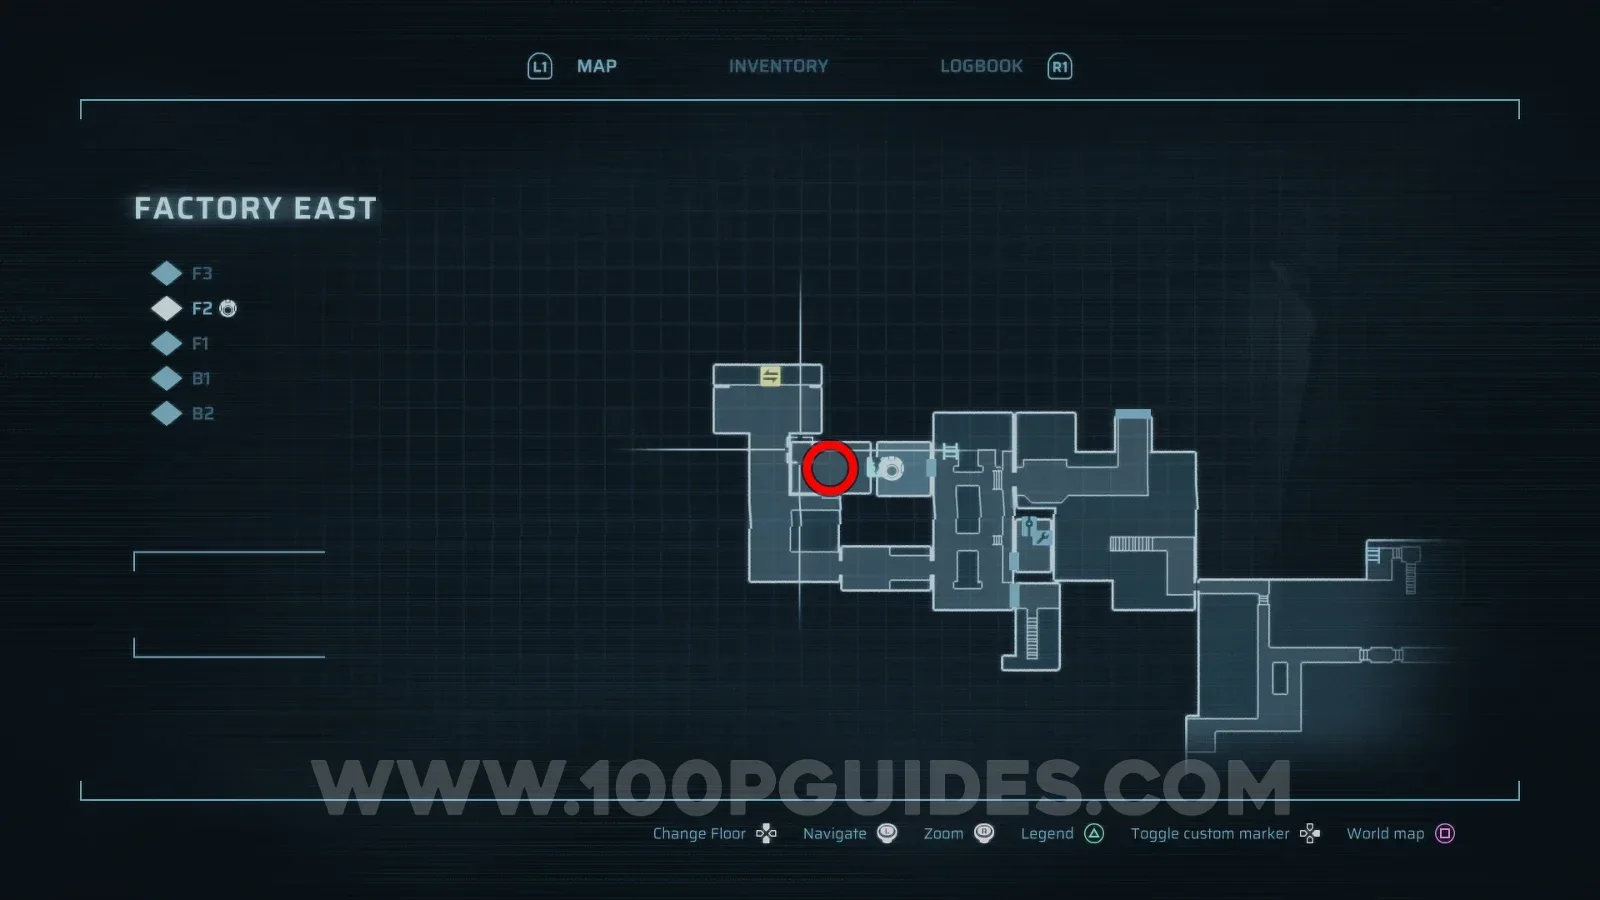
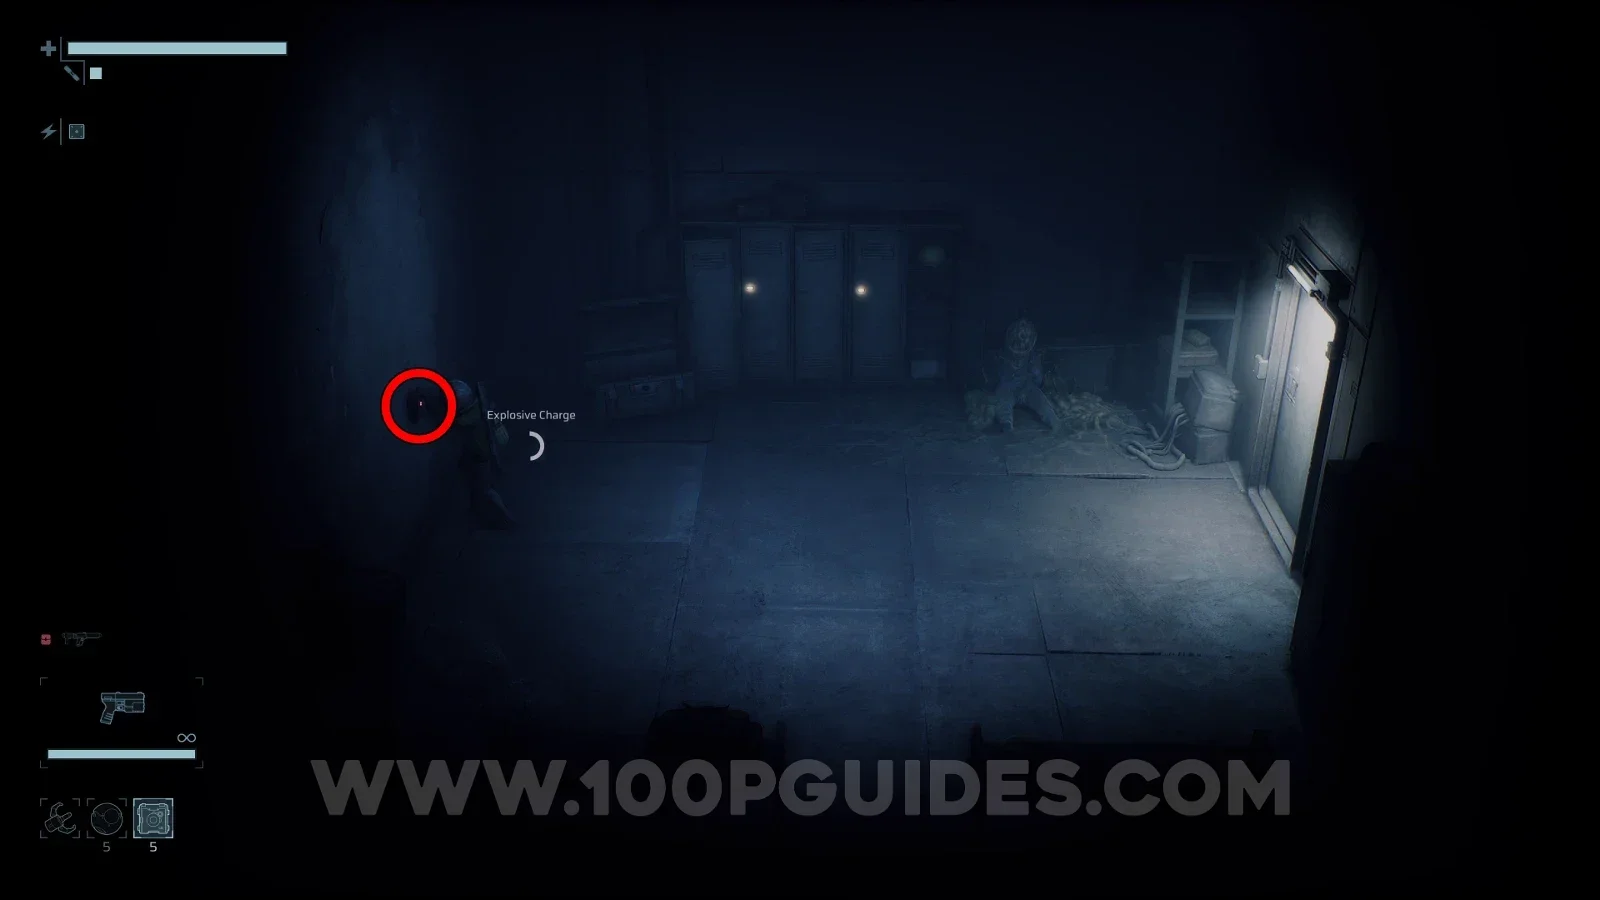
The Security Rifle can be found in Factory East > F2. First, go through the door in the top left of the area where the first safe room is. You will need the story-related Factory Keycard for this, which is obtained down the hall on the right. Once inside, plant an Explosive Charge (also a story-related tool) on the wall to blast a hole into the room on the left, where the weapon is found.
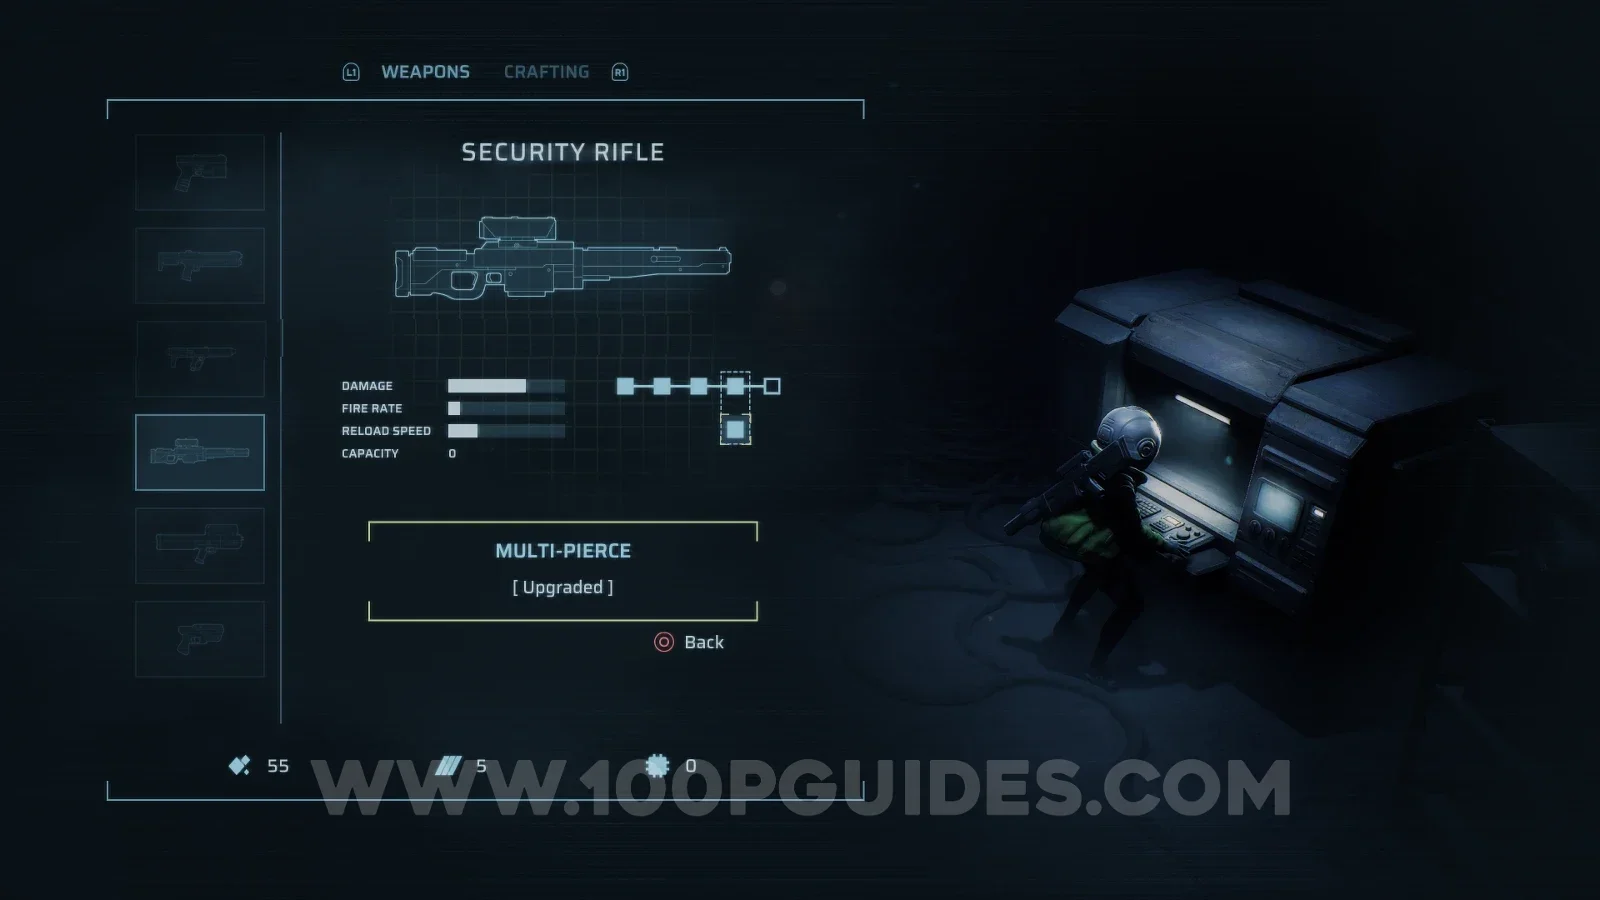
Once you have the Security Rifle, you will have to spend one Weapon Component (upgrade material) to unlock the passive ability to shoot through multiple enemies with a single shot. Then just line up two enemies and defeat them with the same shot.

Scan all Notes
Complete the "Notes" section of the Logbook. These are documents found around the game. To collect them, press to take out your scanner, then hold once you are locked on to them. See our Full Logbook Guide.

Scan all Codes
Complete the "Codes" section of the Logbook. These are Cheat Codes scattered around the game. They are well hidden and can't be seen without the scanner. To see and collect them, press to take out your scanner, then hold once you are locked on to them. See our Full Logbook Guide.
You won't be able to activate the Cheat Codes themselves until you have found the Cryptograph (see Second Sight).
Unlock all Vaults
Vaults are small hidden rooms where you find the Suit Mods. There are 8 in total, and each one requires a Vault Key to open. 5 of the 8 keys are obtained from story bosses and the other 3 from optional bosses, which are covered in the Mods guide.

Complete the Map (visit every room)
Visit every single room on the map. This will most likely come naturally once you have collected everything else. If not, check out this map (a link to the map will be added soon).

Fill the Logbook (Creatures, Notes, Data Shards, Codes)
Complete the Creatures, Notes, Data Shards and Codes sections of the Logbook. Basically, scan everything in the game except for the "Guides" section. You can scan things by pressing and then holding once you have found a target. Nothing is missable, since bosses are added automatically after defeating them, and rare creatures like NPCs and mobs that don't respawn can always be found in some state around the map. See our Full Logbook Guide.

Defeat Husk Centipede a second time
You can find this boss by climbing down into the Reactor Pool after draining it. See Waste Management.
Drain the Reactor pool
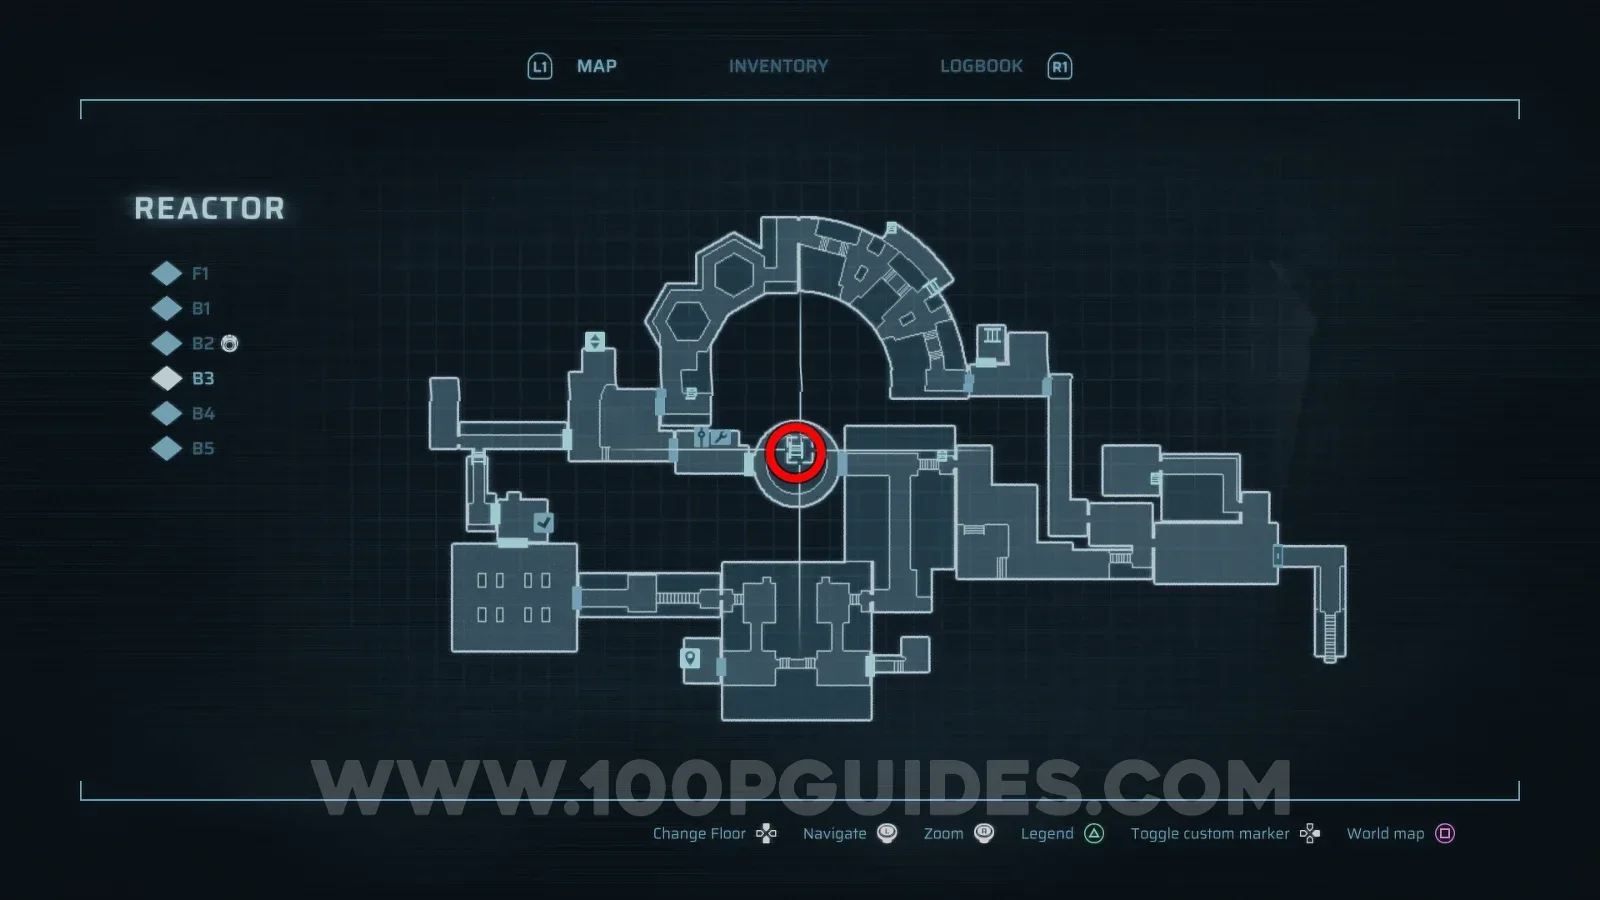
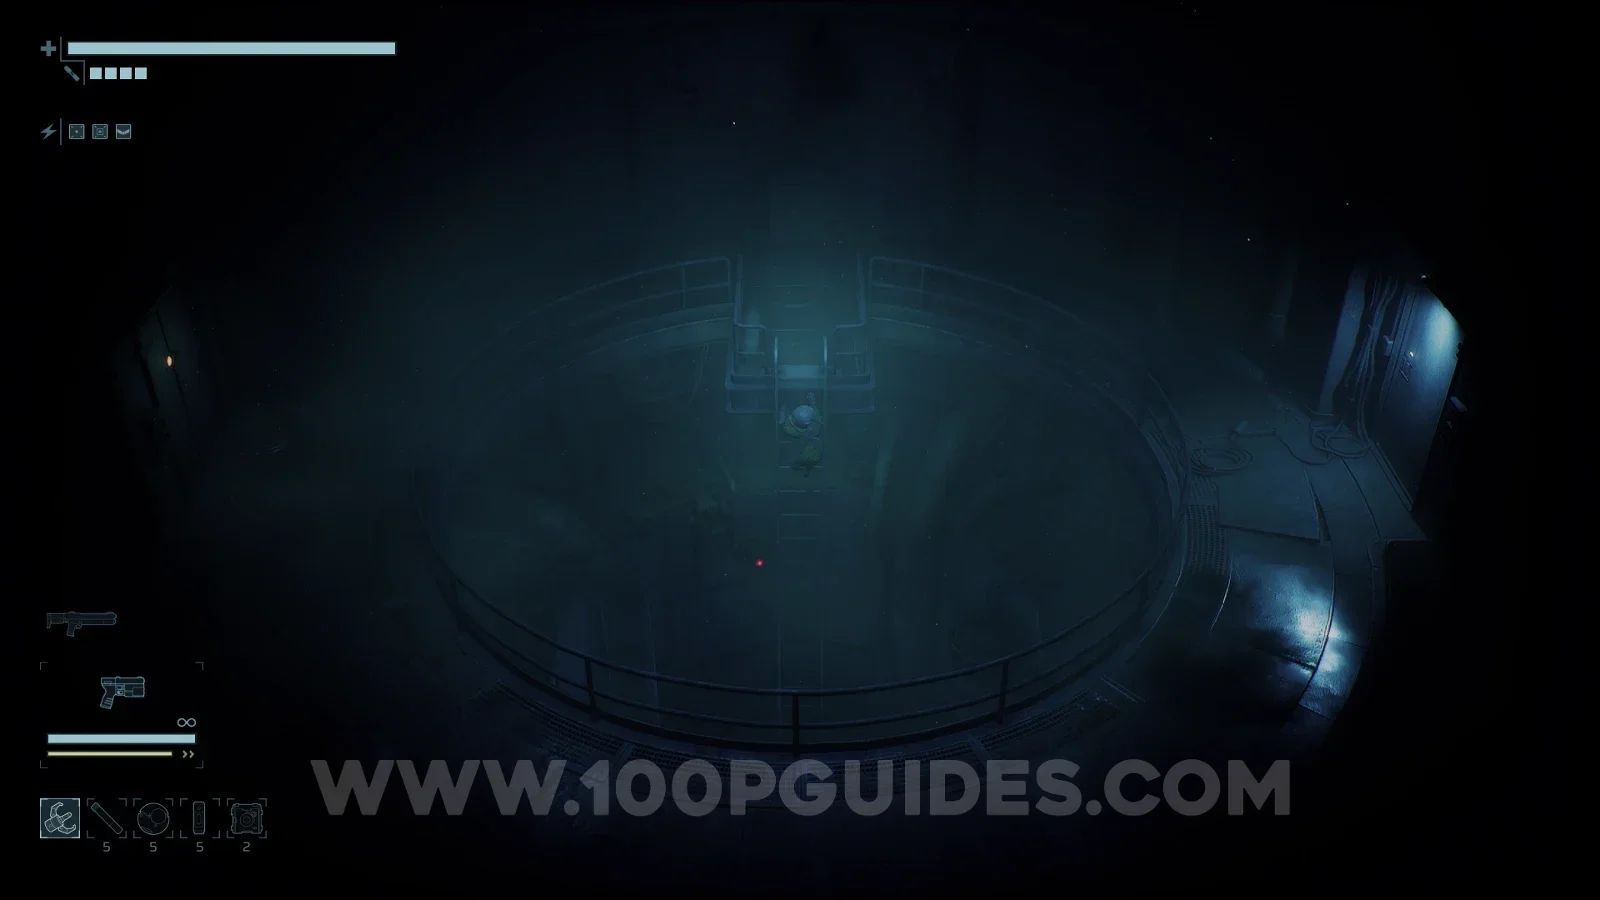
The Reactor Pool can be found in the Reactor area. It's the circular room filled with glowing blue liquid. To drain it, you will have to press some switches and do a few other things over in the Waterworks area.
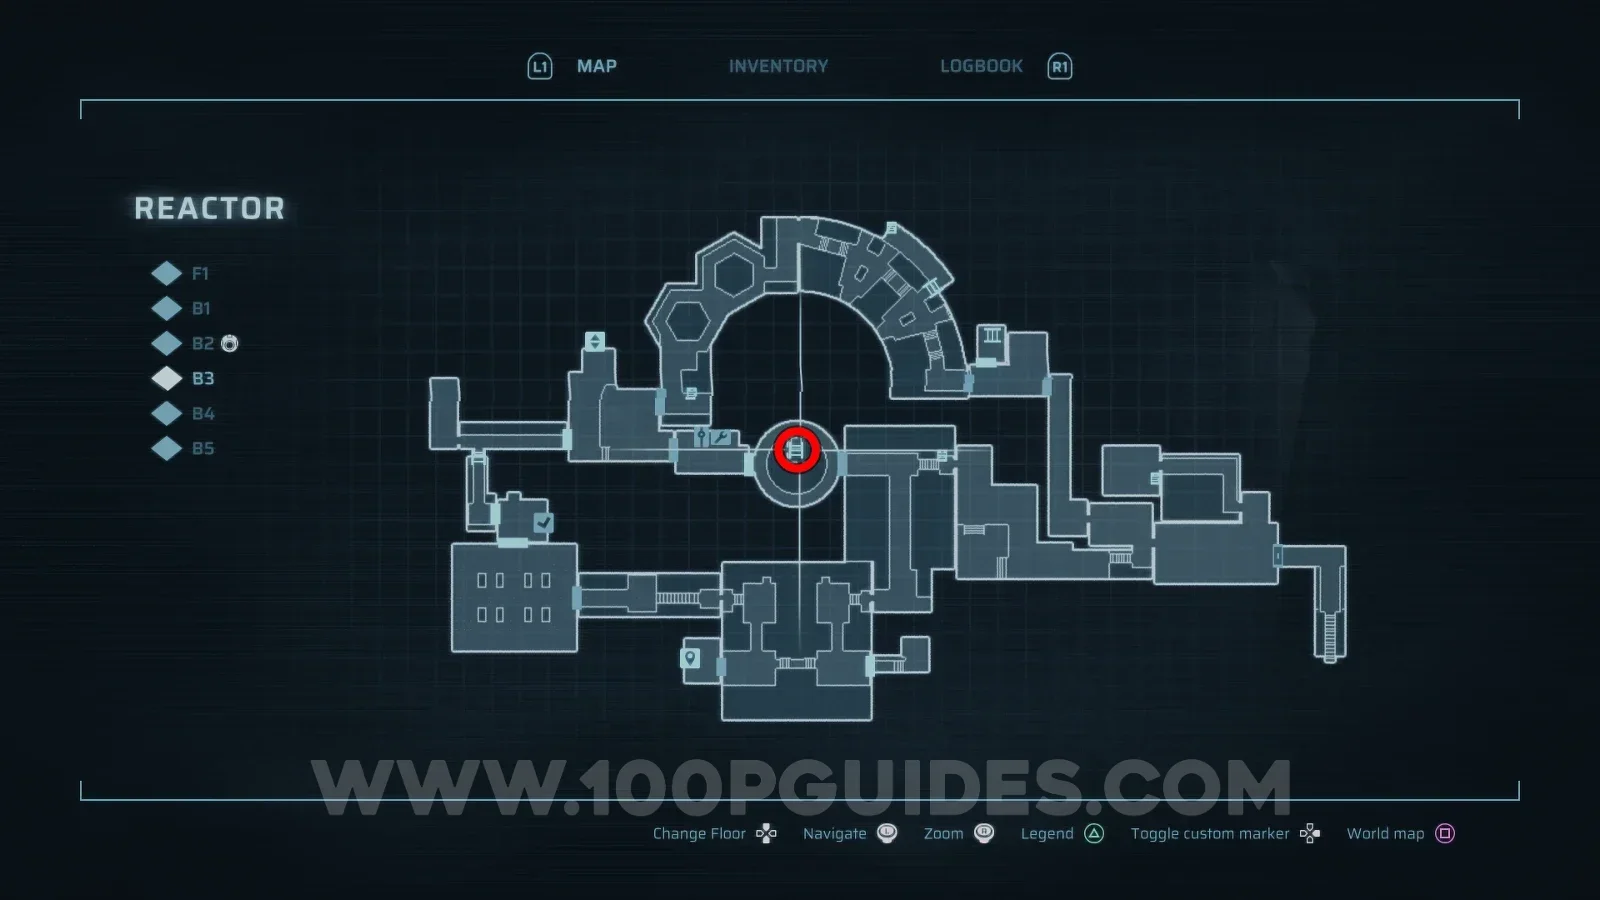
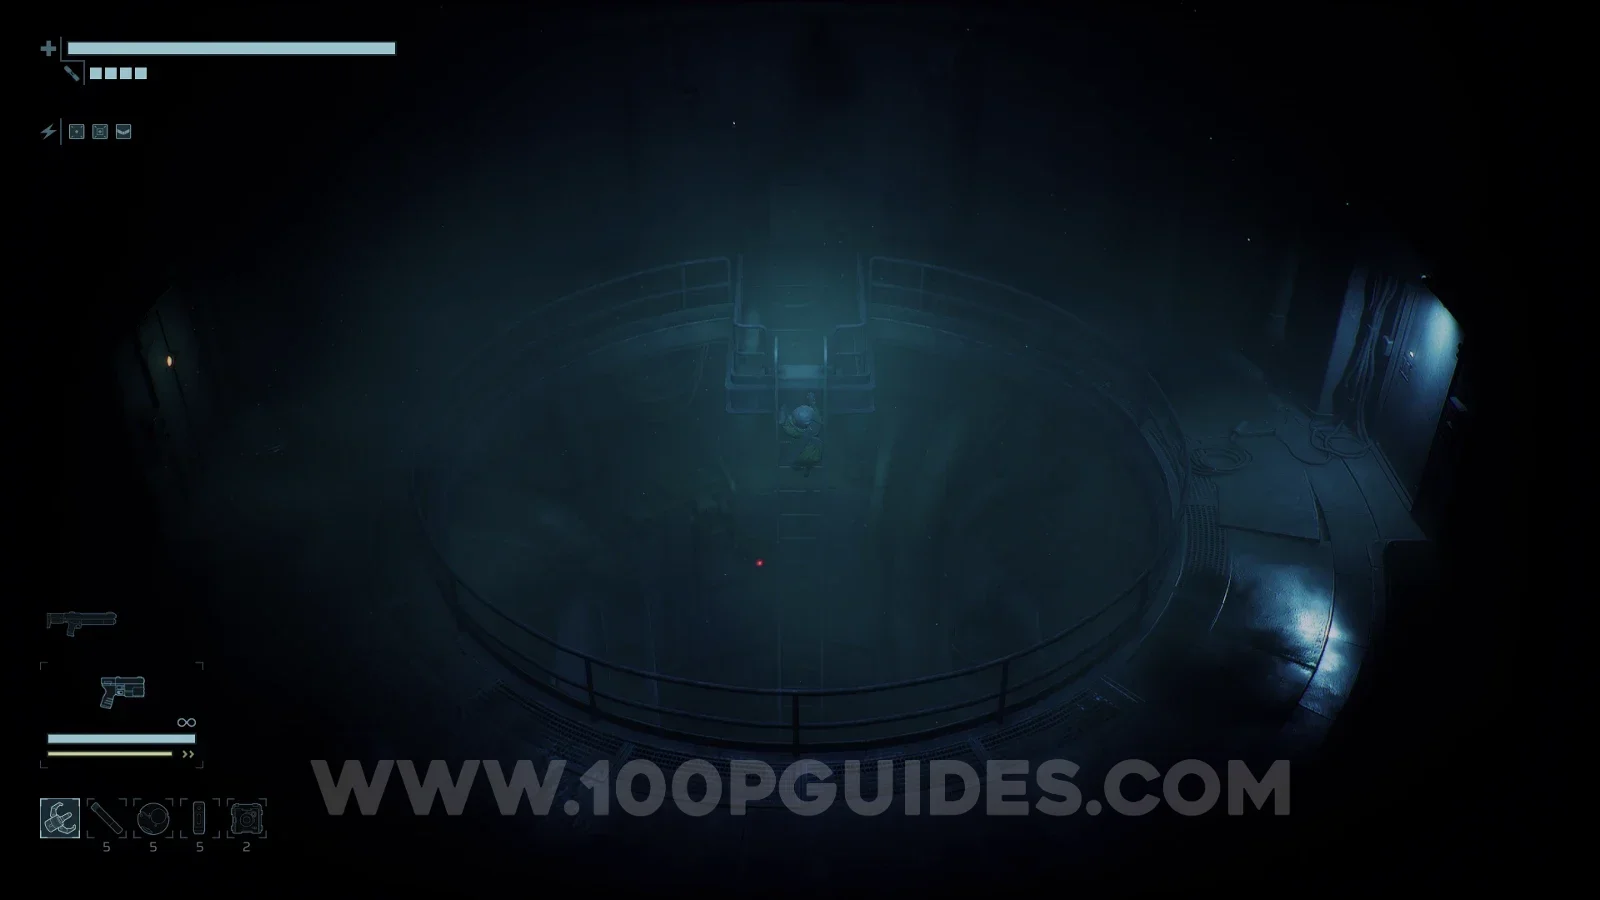
First, head to the room on the left of B3 and press the switch on the wall. You will need to have progressed far enough in the story to have the Grappling Hook.
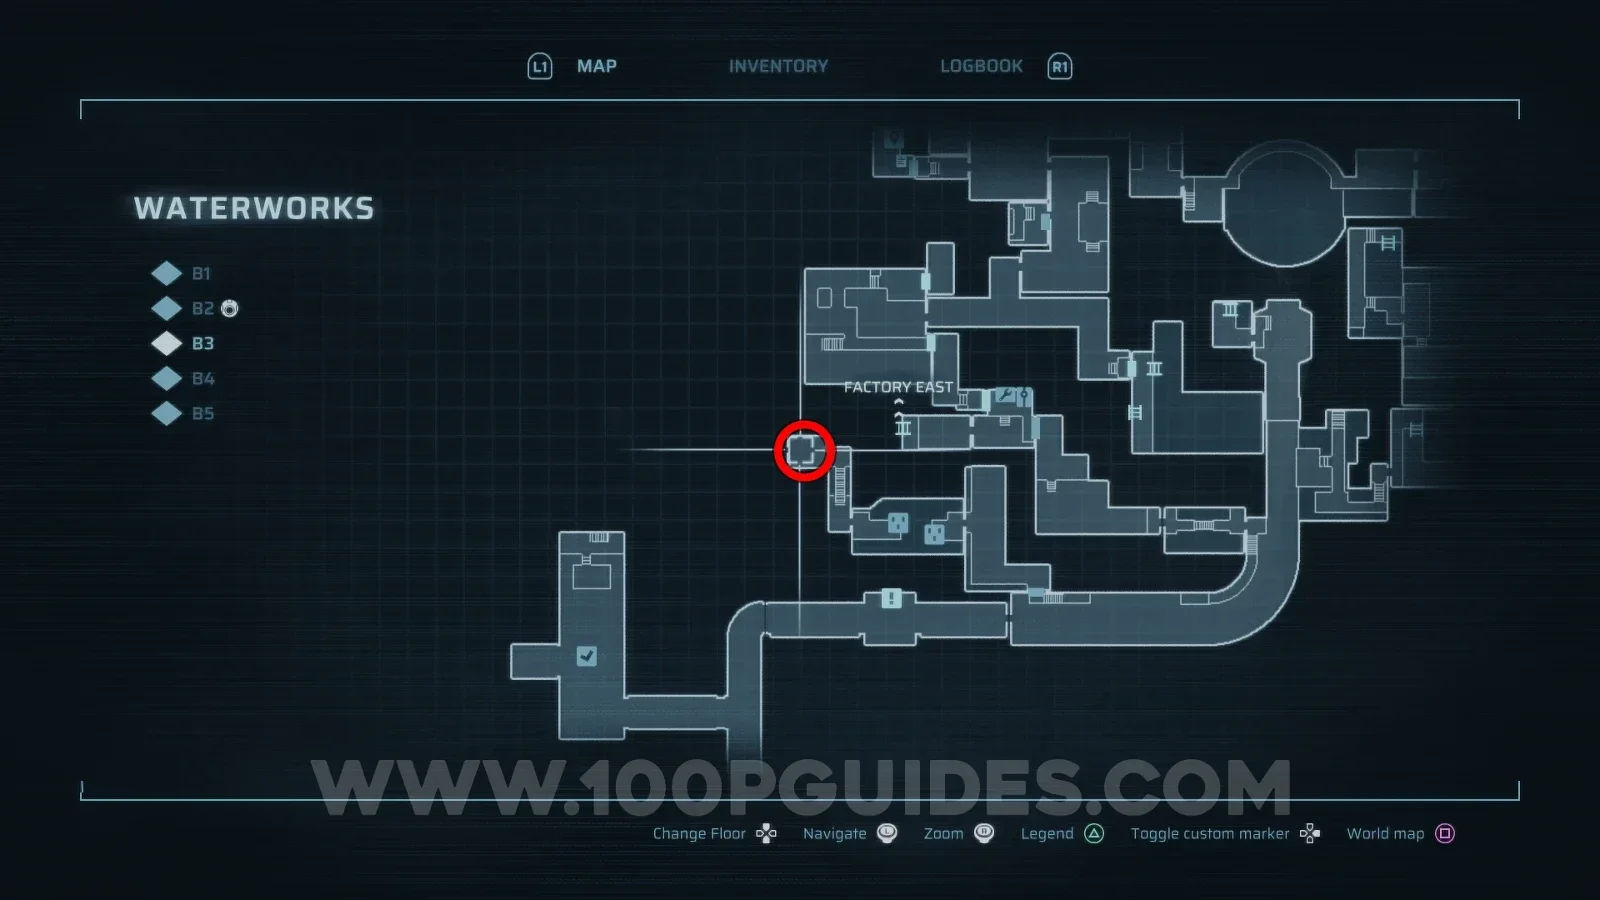
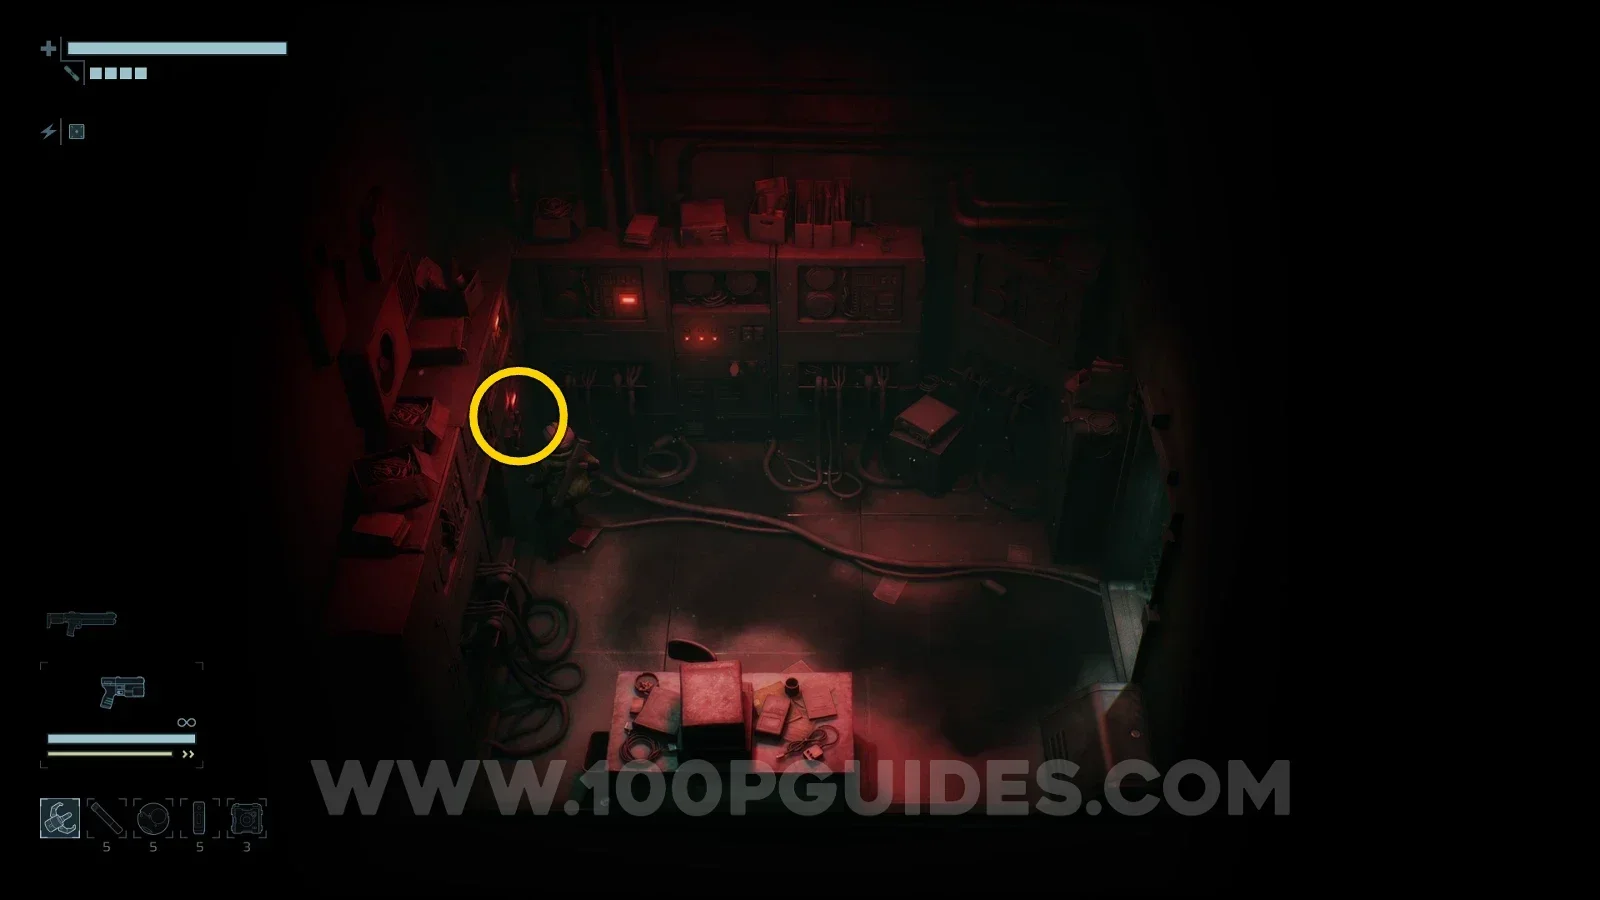
After that, head to the right side of the circular structure near the top of B3 in the Waterworks and press the switch to drain some of the water.
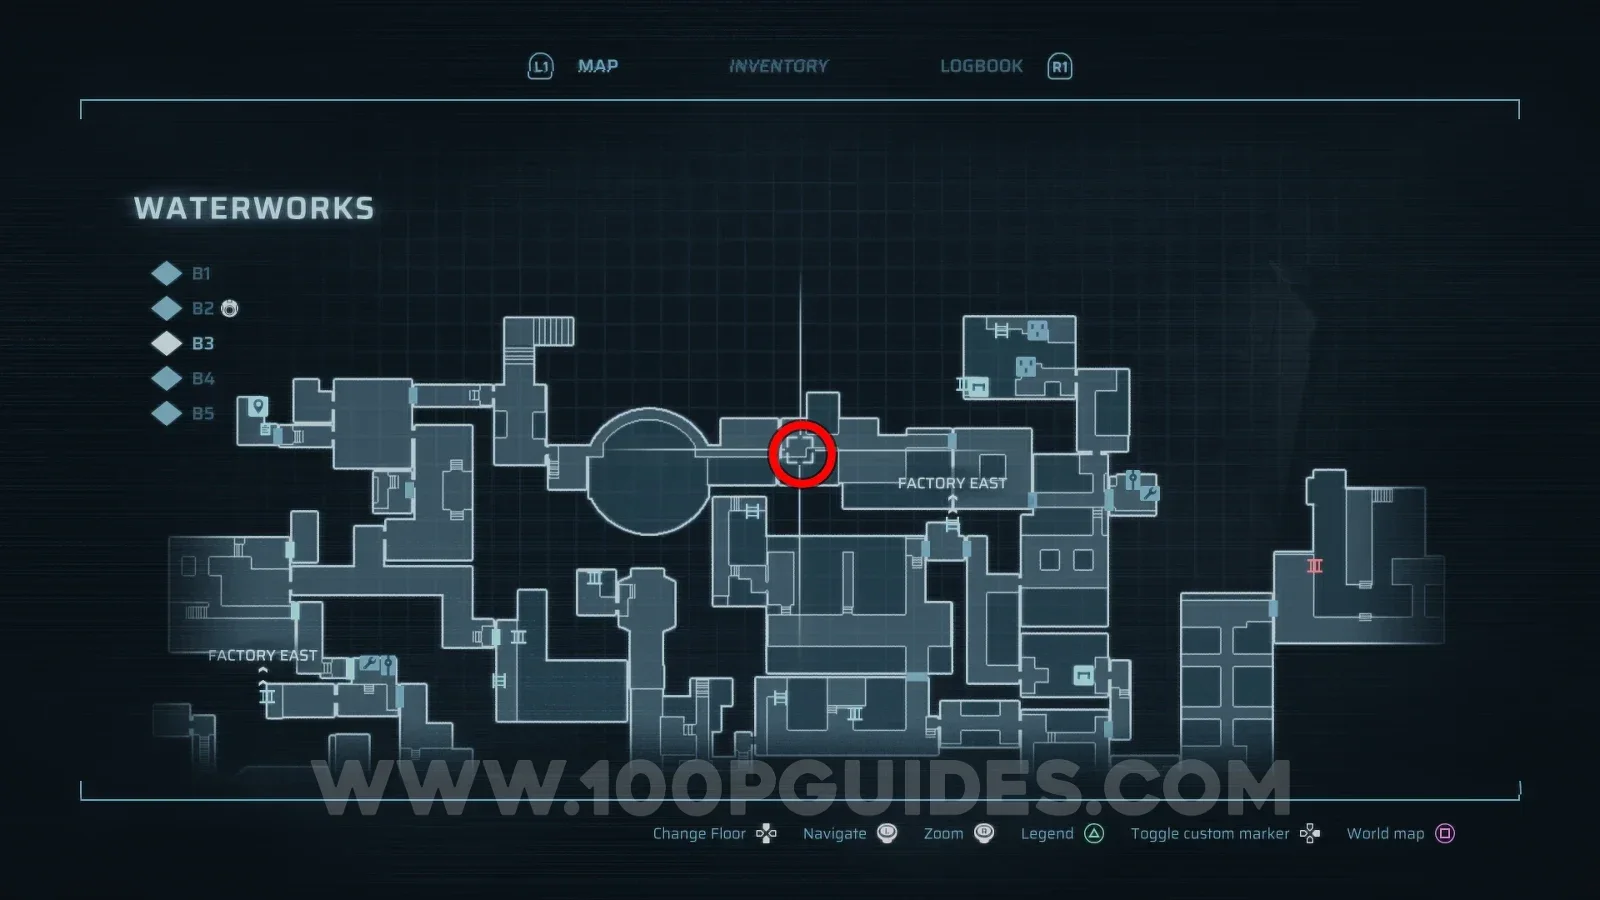
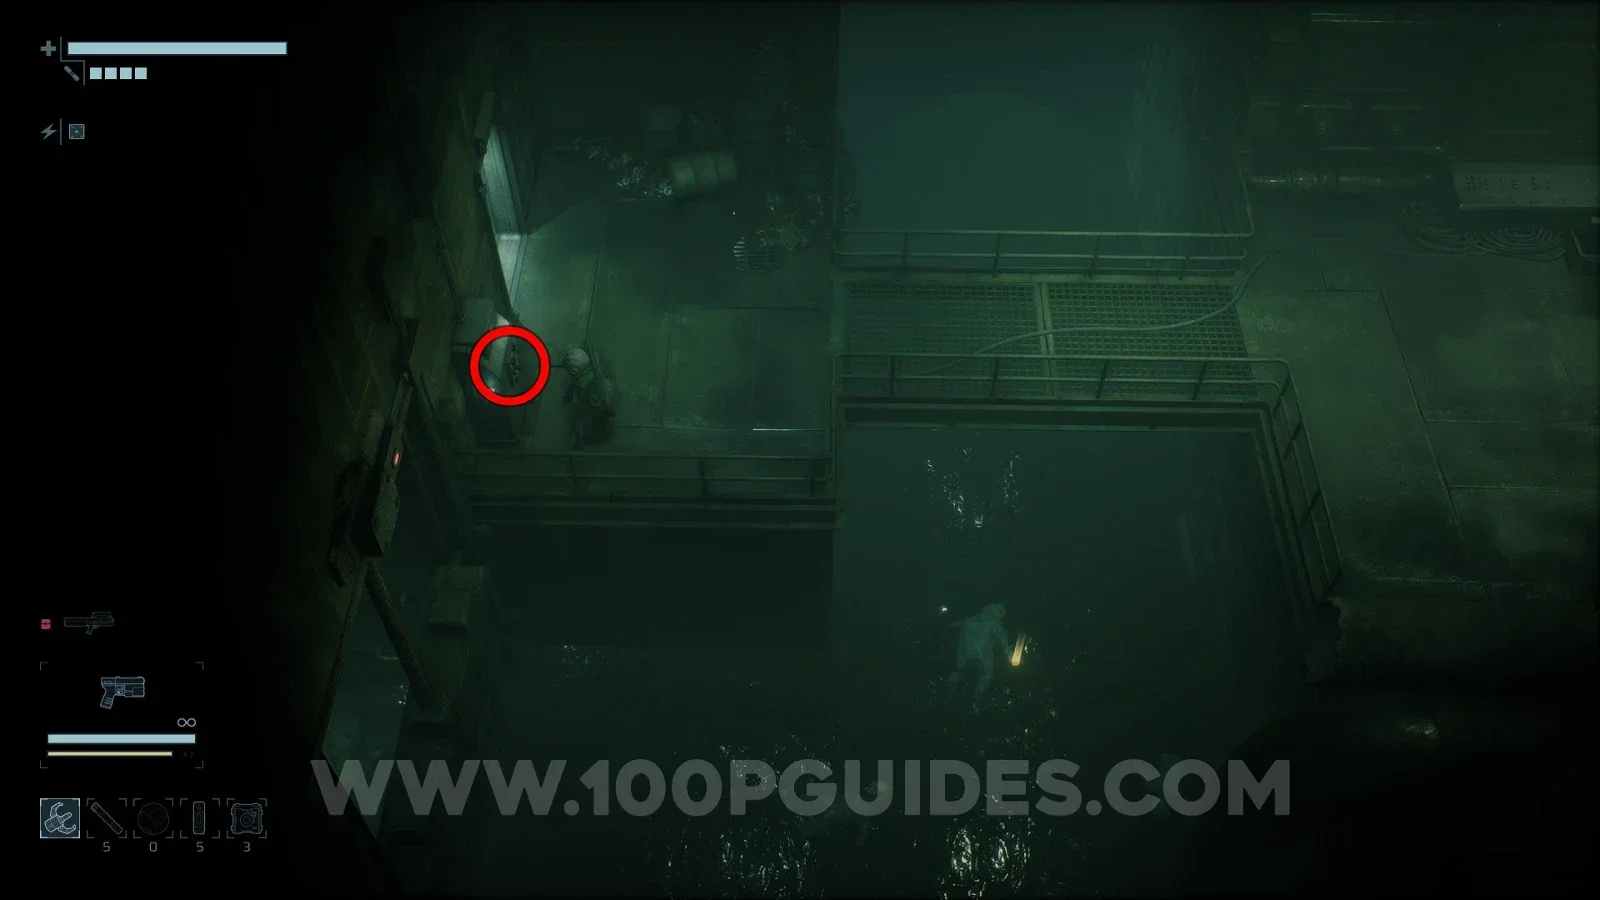
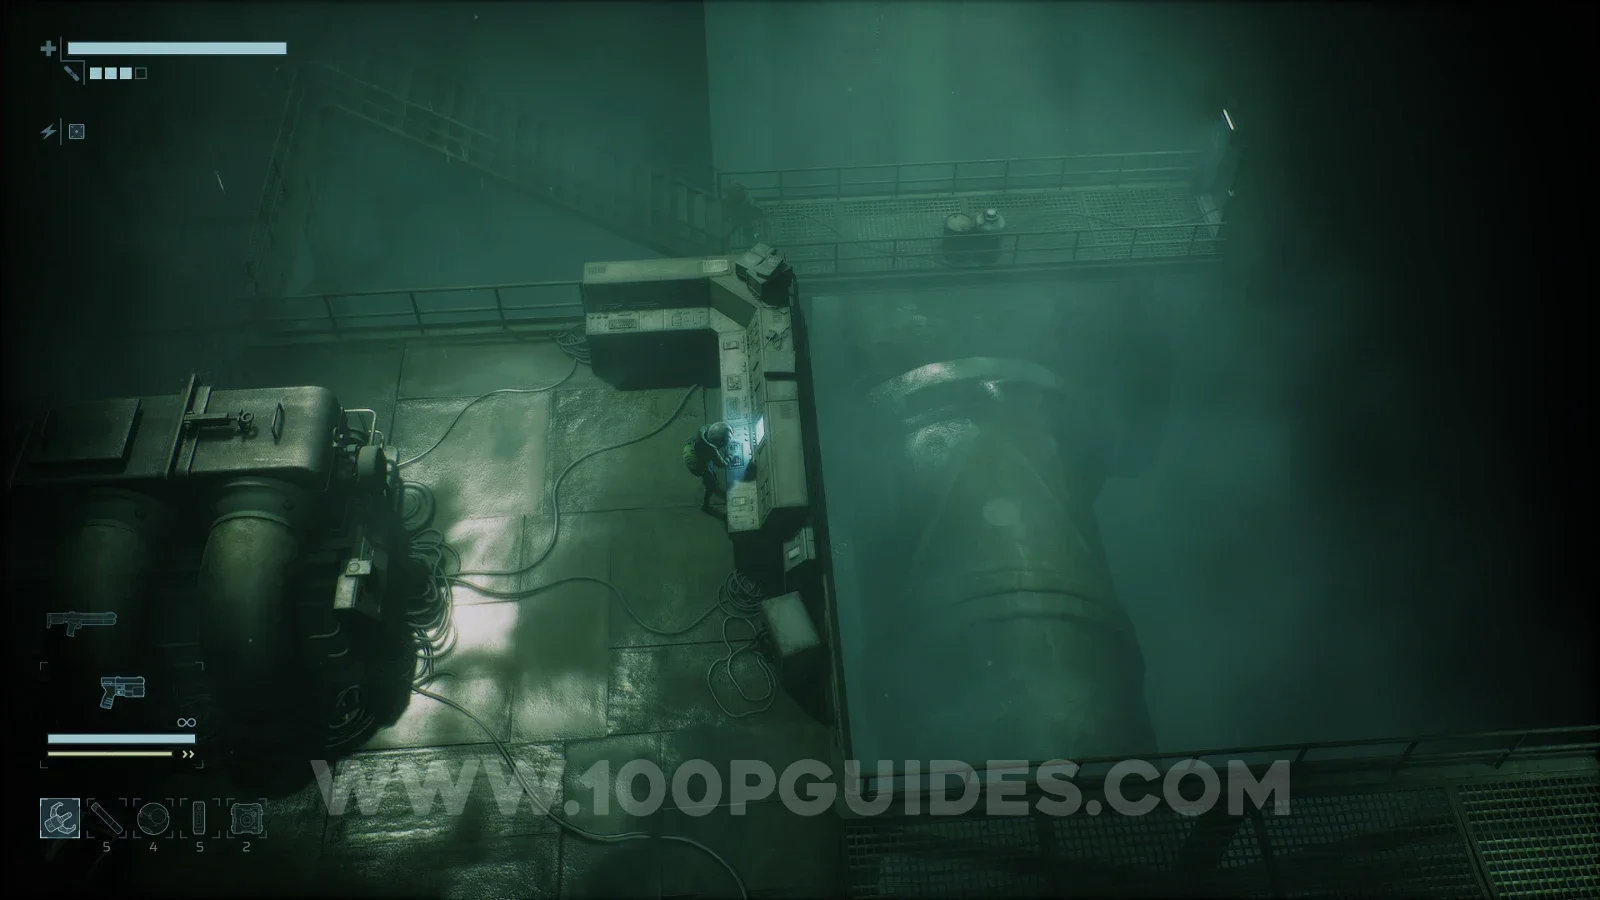
Next, activate the pump by interacting with the console in the room on the eastern side of B3 to drain the water in that area.
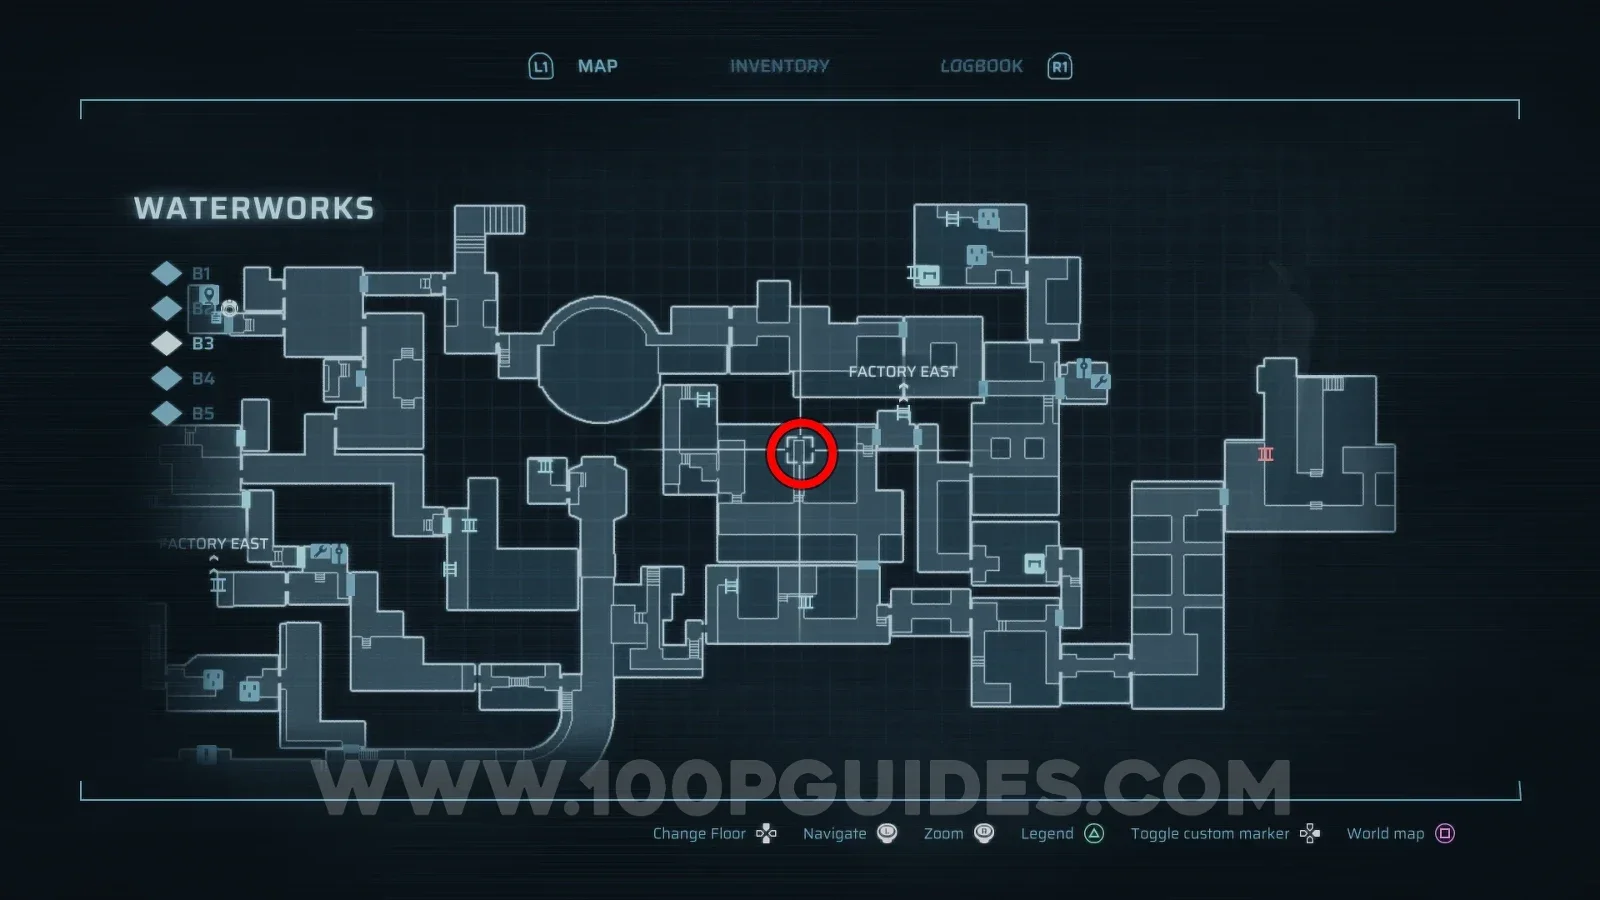
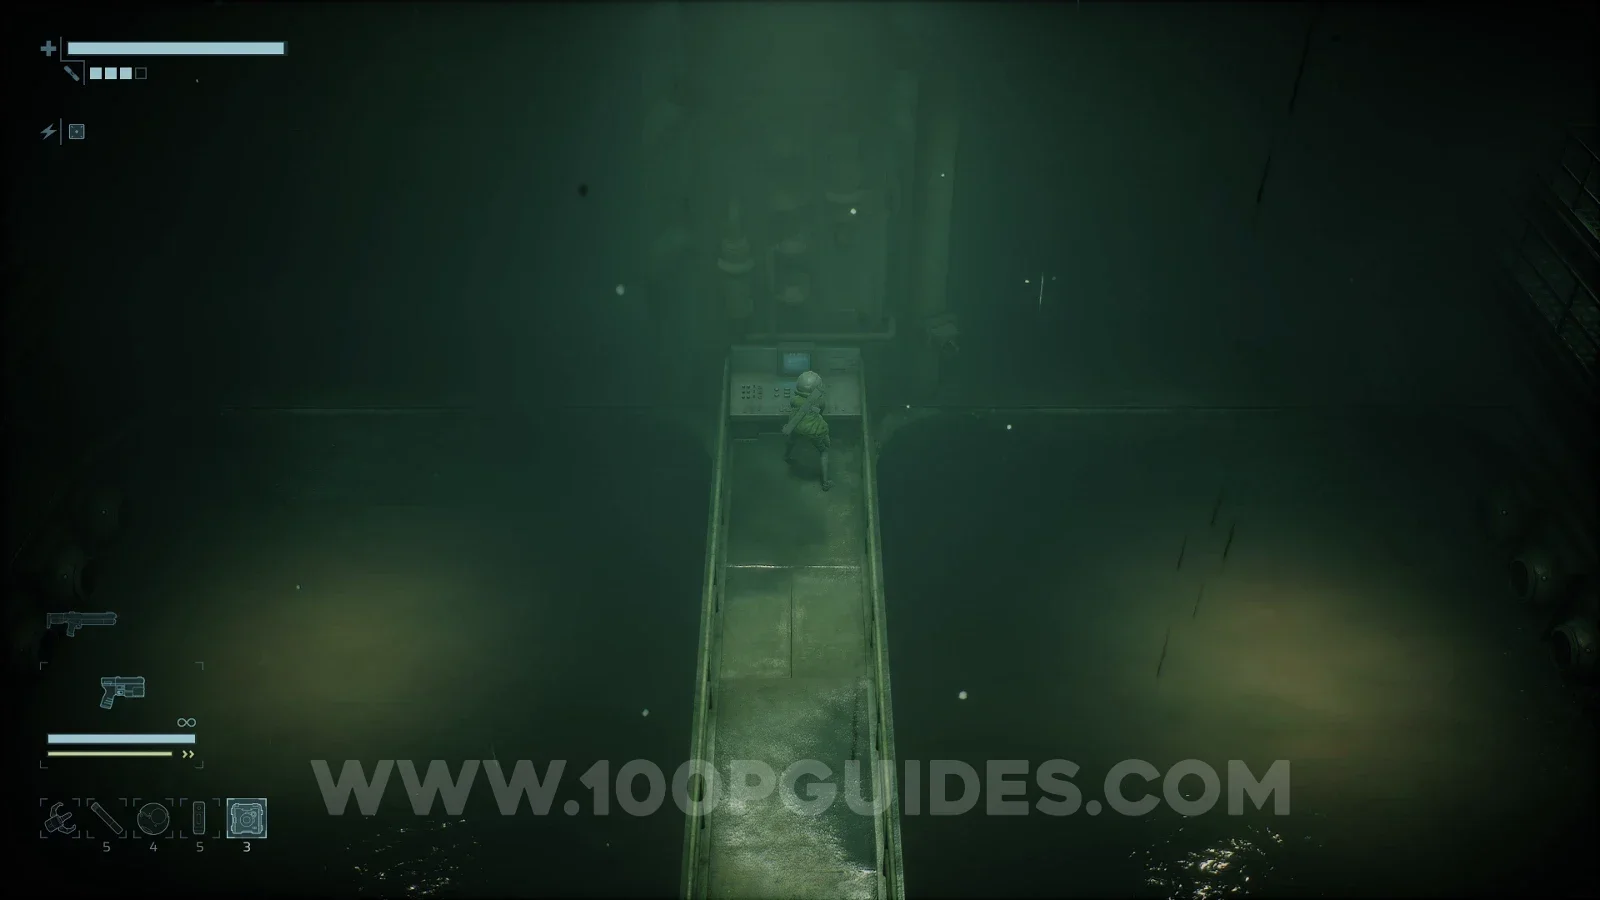
Then head out through the door to the left of the pump console and climb down the ladder. Continue along this path and head north to the dead end. Here, use an Explosive Charge to destroy the wall and clear the blockage.
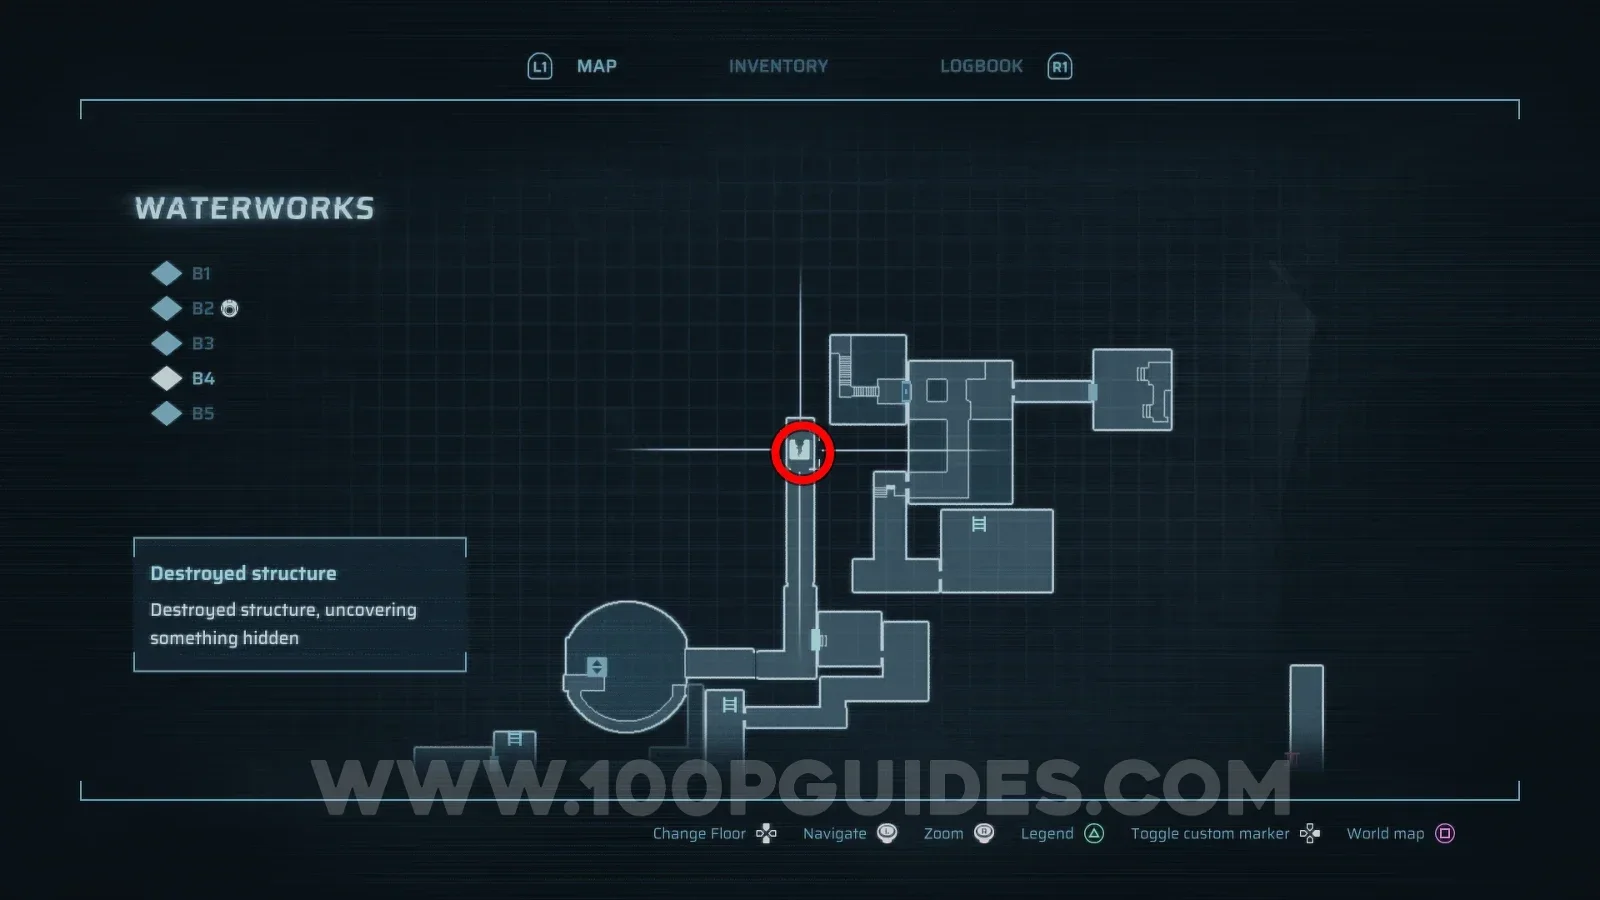
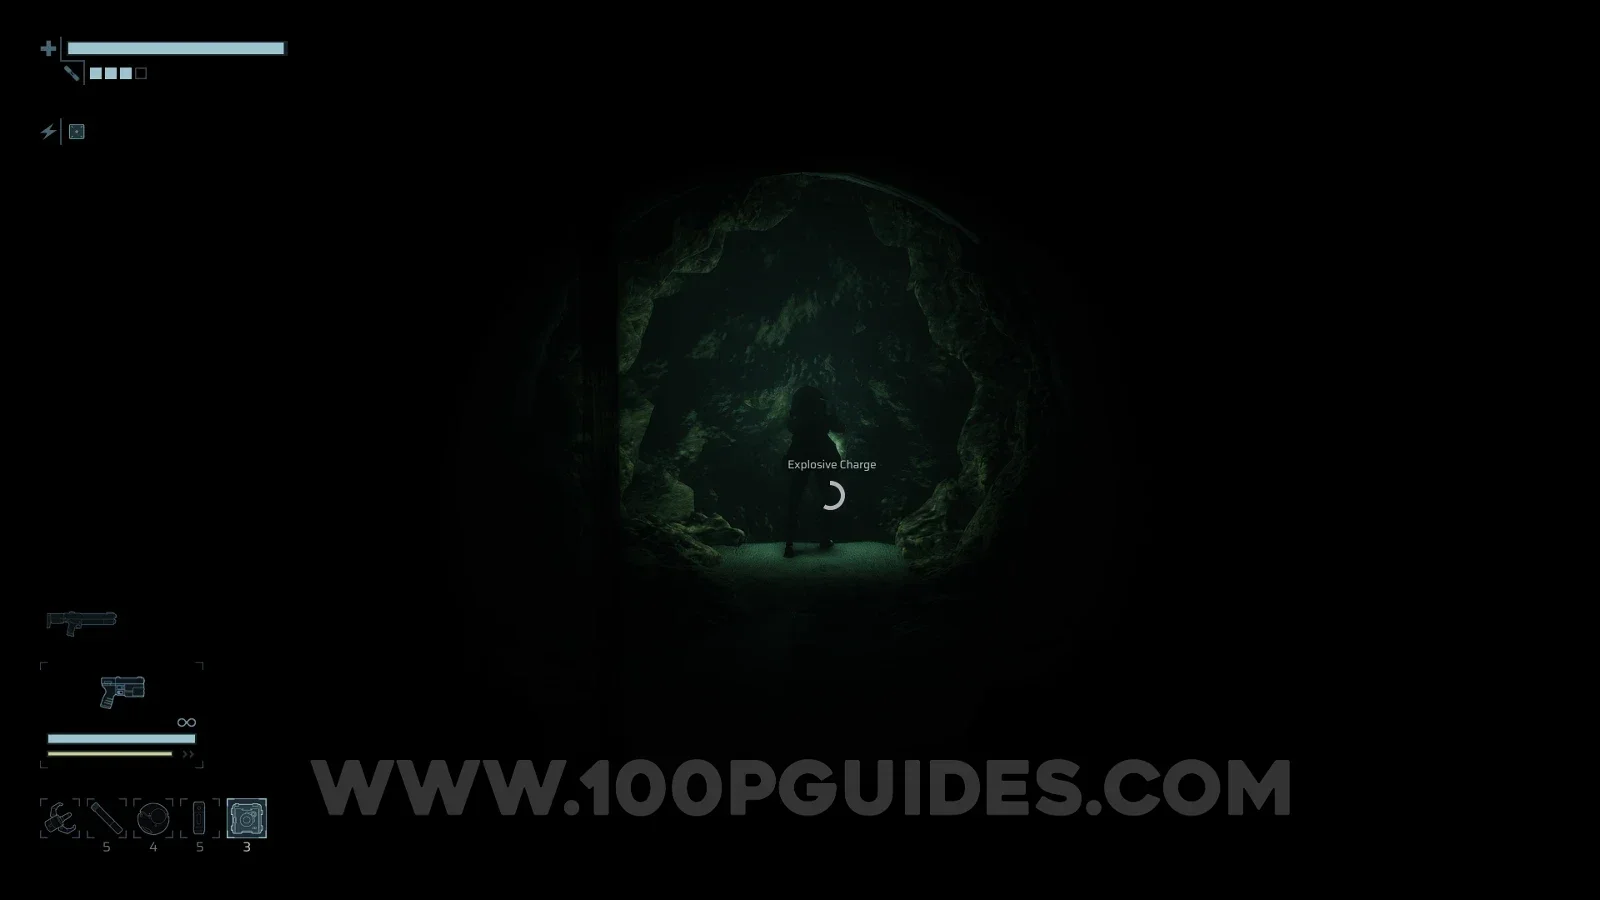
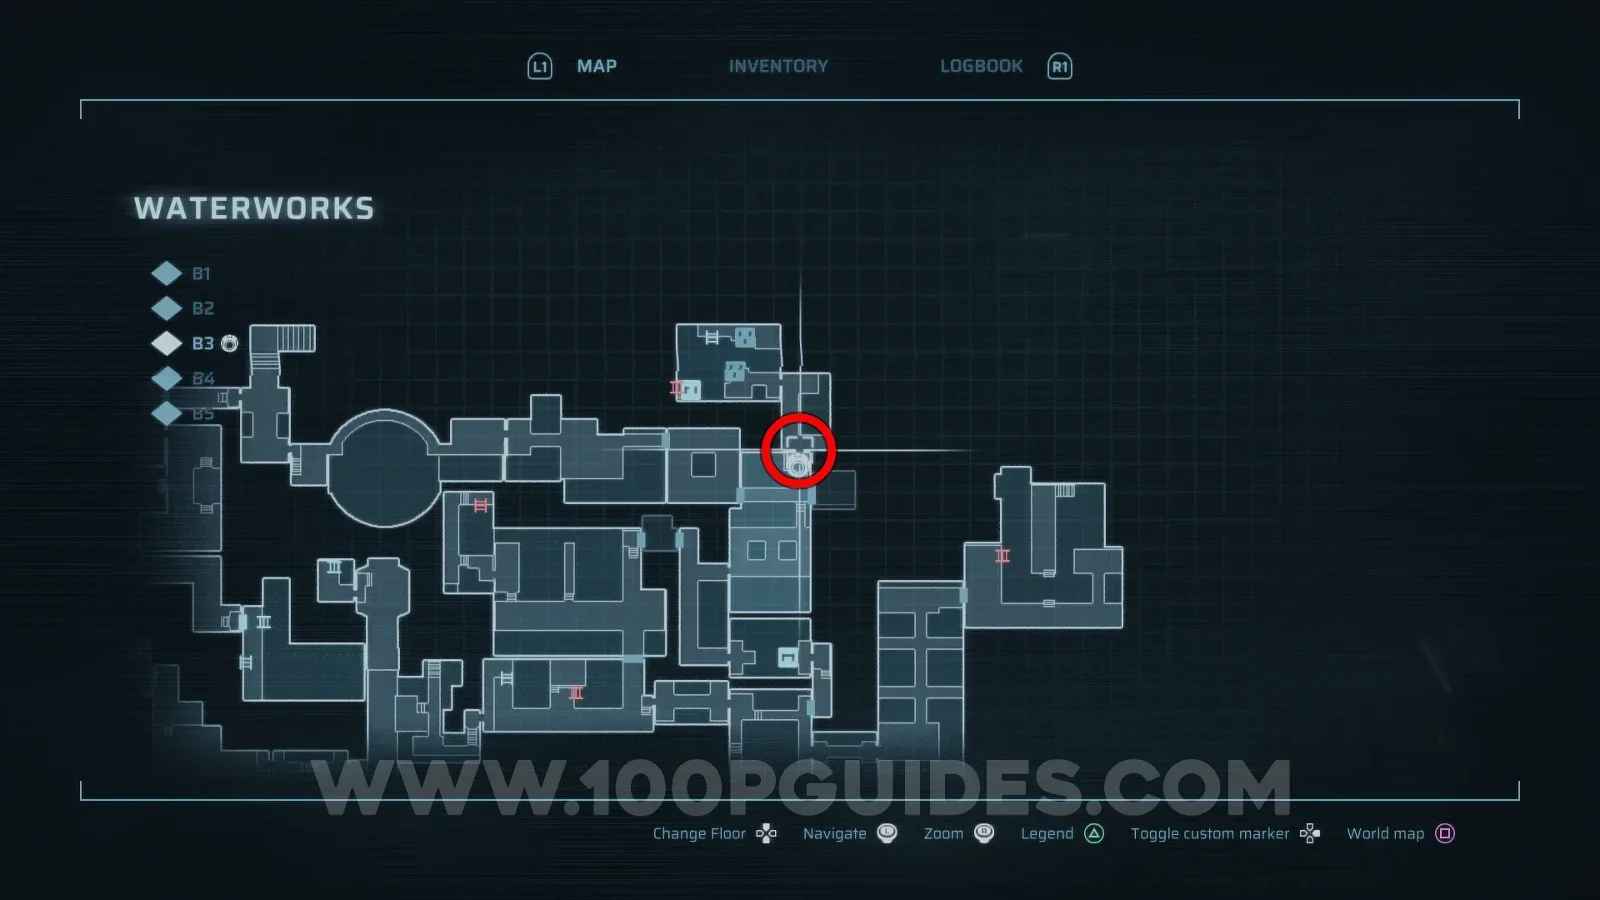
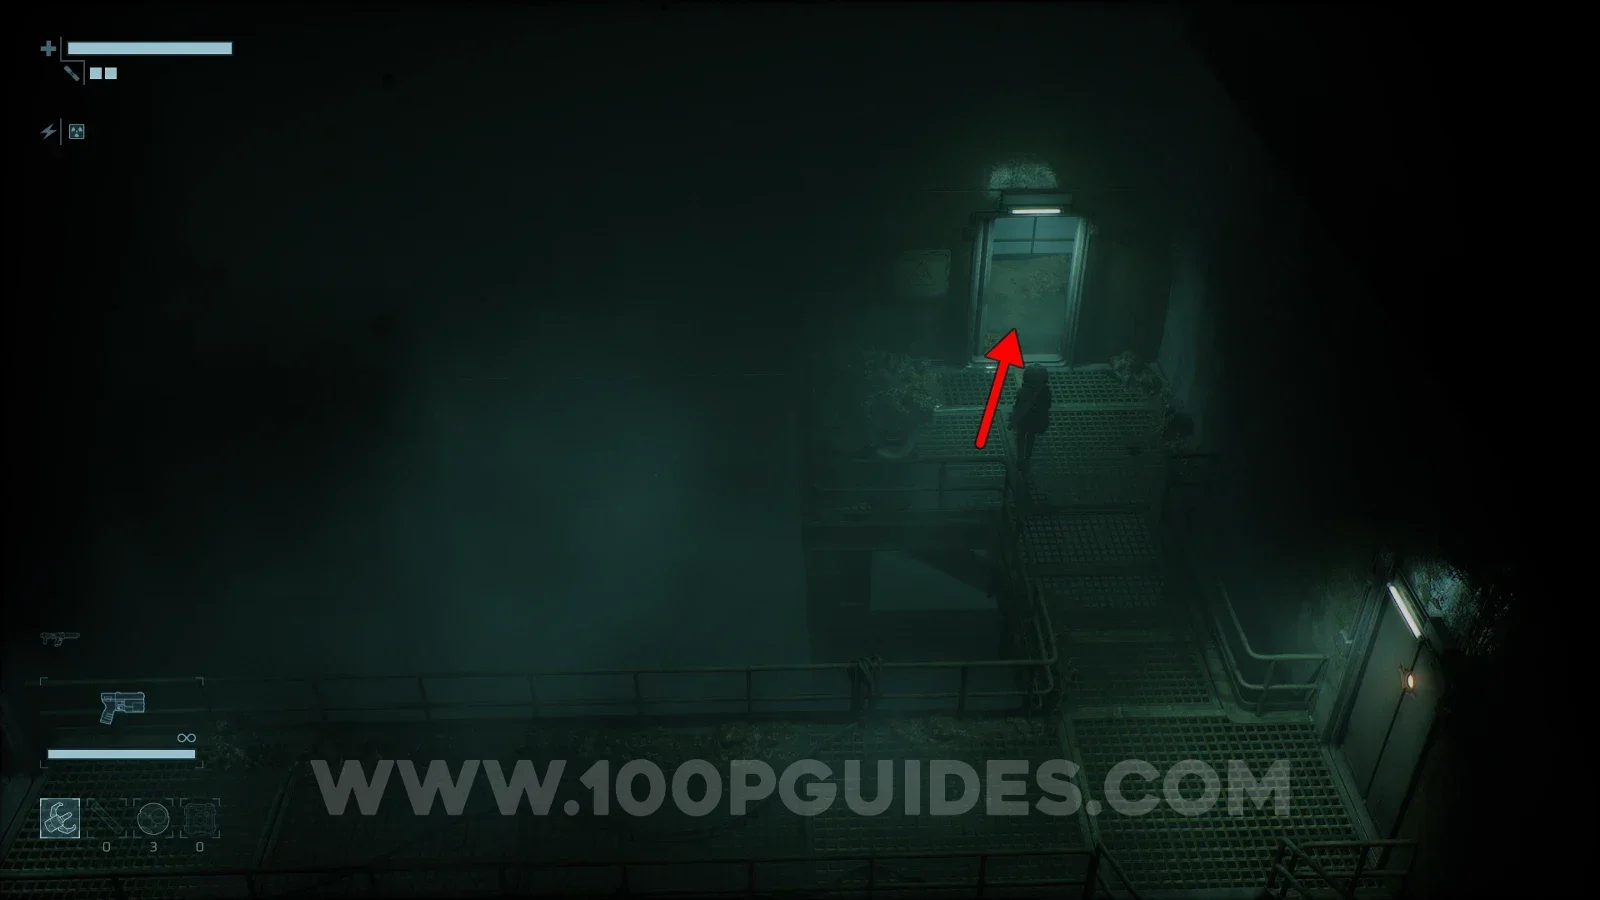
Finally, head through the door in the top right corner of B3 and follow this path to the end, where you will find the switch that drains the Reactor Pool. Along the way, you will have to open an Energy Node door and survive an ambush.
Upgrade the Particle Disruptor
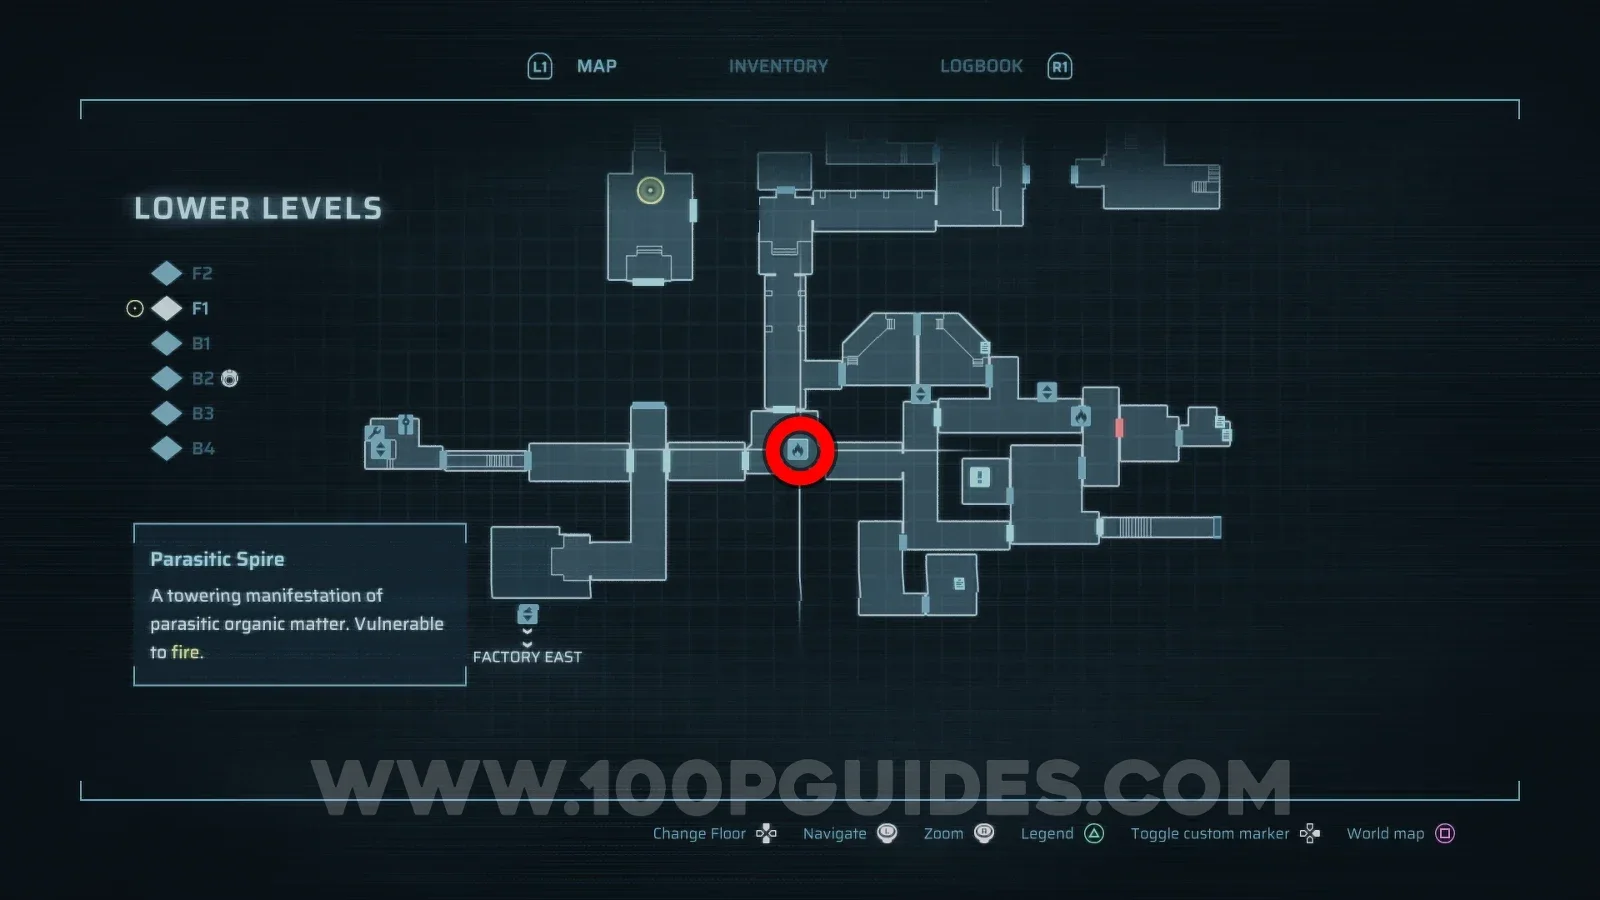
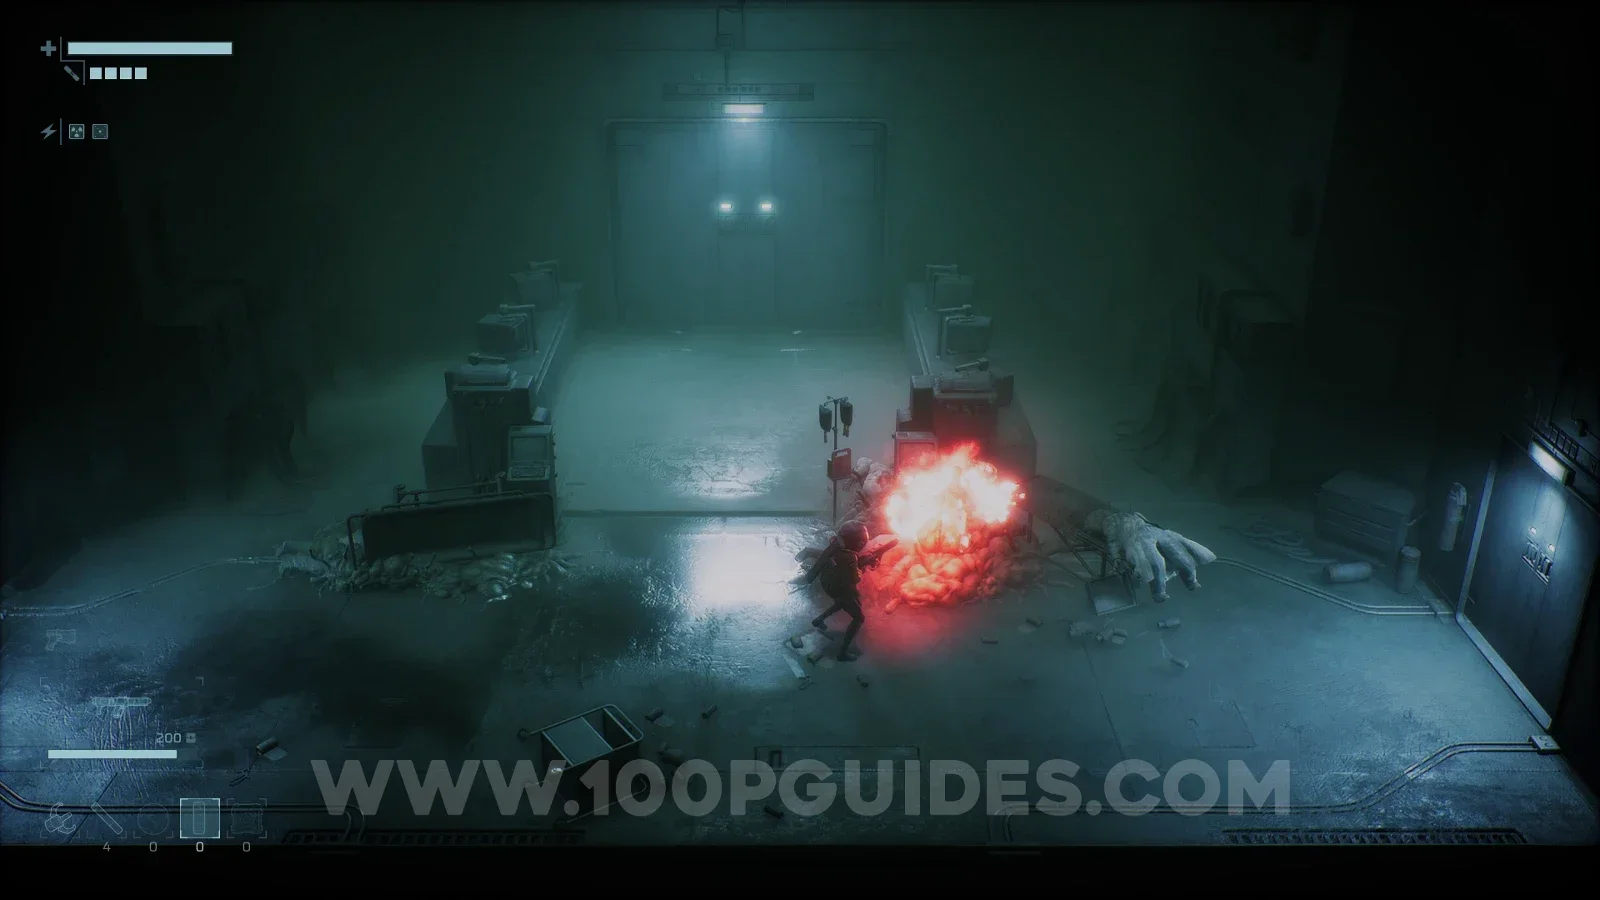
The Particle Disruptor is an optional weapon found at the end of the Infirmary, an optional late-game area. To get there, you must first get the Infirmary Key from the Lower Levels area (the final area of the game). You can find it by burning the Parasitic Spire in the right side labs on F1 (you will need the Incinerator, a story-related weapon obtained in this same area).
Once you have the key, use it to access the lift to the right of the Fast Travel Shuttle in the Habitation Sector to get to the Infirmary. This is a fairly short area, and the weapon is found just after the boss at the end. To reach it, first grab the Restricted Access Keycard from the small room on F1. Then use it to get to B1 (through the door at the top of the right side corridor). You will then find the boss on the right side of this floor.
After the boss, continue north and burn down the wall in the top right corner to find the weapon in the small room on the other side.
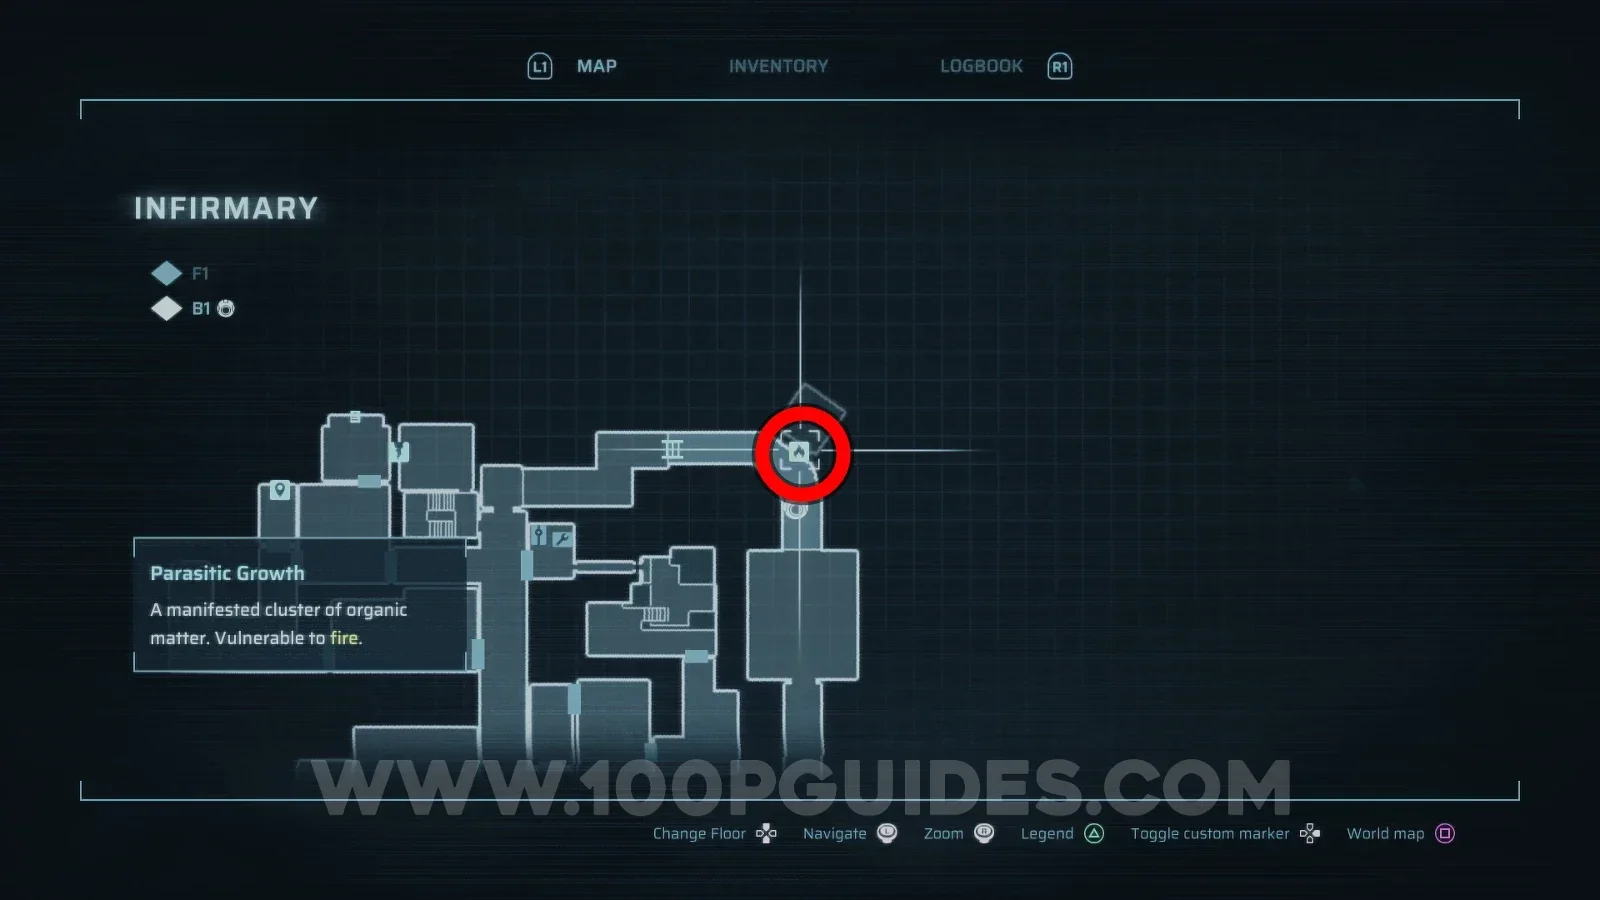
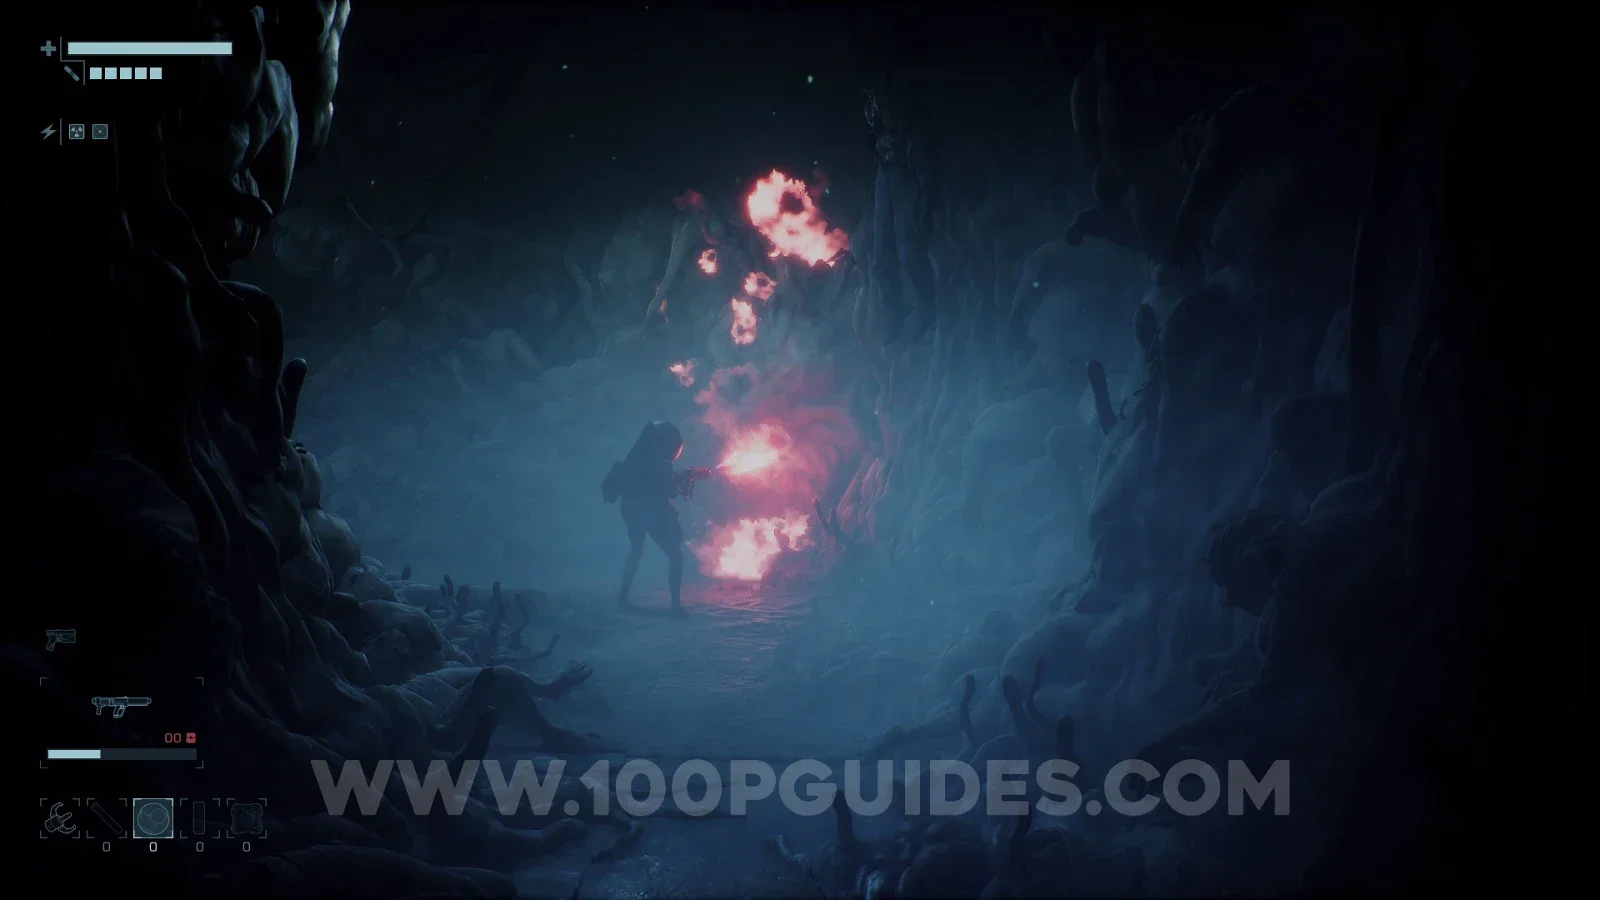
To upgrade this weapon, you will need a unique weapon upgrade material that we are still looking for.
Use the experimental Restoration Pod
We are still searching for the Experimental Restoration Pod.

Clear all Lockdown Encounters
Lockdowns are encounters where the doors lock behind you and don't open again until all enemies are defeated. You will get this trophy naturally while collecting everything else and discovering the map for the Master Explorer trophy.

Destroy all Parasitic Growths
These are growths that block paths, which you must burn down using the Incinerator, a weapon you get automatically during the main story. There are only a few, and you will have to burn through them to reach the rest of the collectibles, so this trophy will unlock naturally as you collect everything.