

The Sinking City 2 All Puzzle and Code Solutions
This guide will show you how to solve every puzzle and open every combination lock in The Sinking City 2.
Chapter 1
Apartment 5 Wall Safe Code
To open the safe in Apartment 5, use the code 1908, the date the Radio Shop opened. You can find it by heading back outside and checking the sign above the entrance.
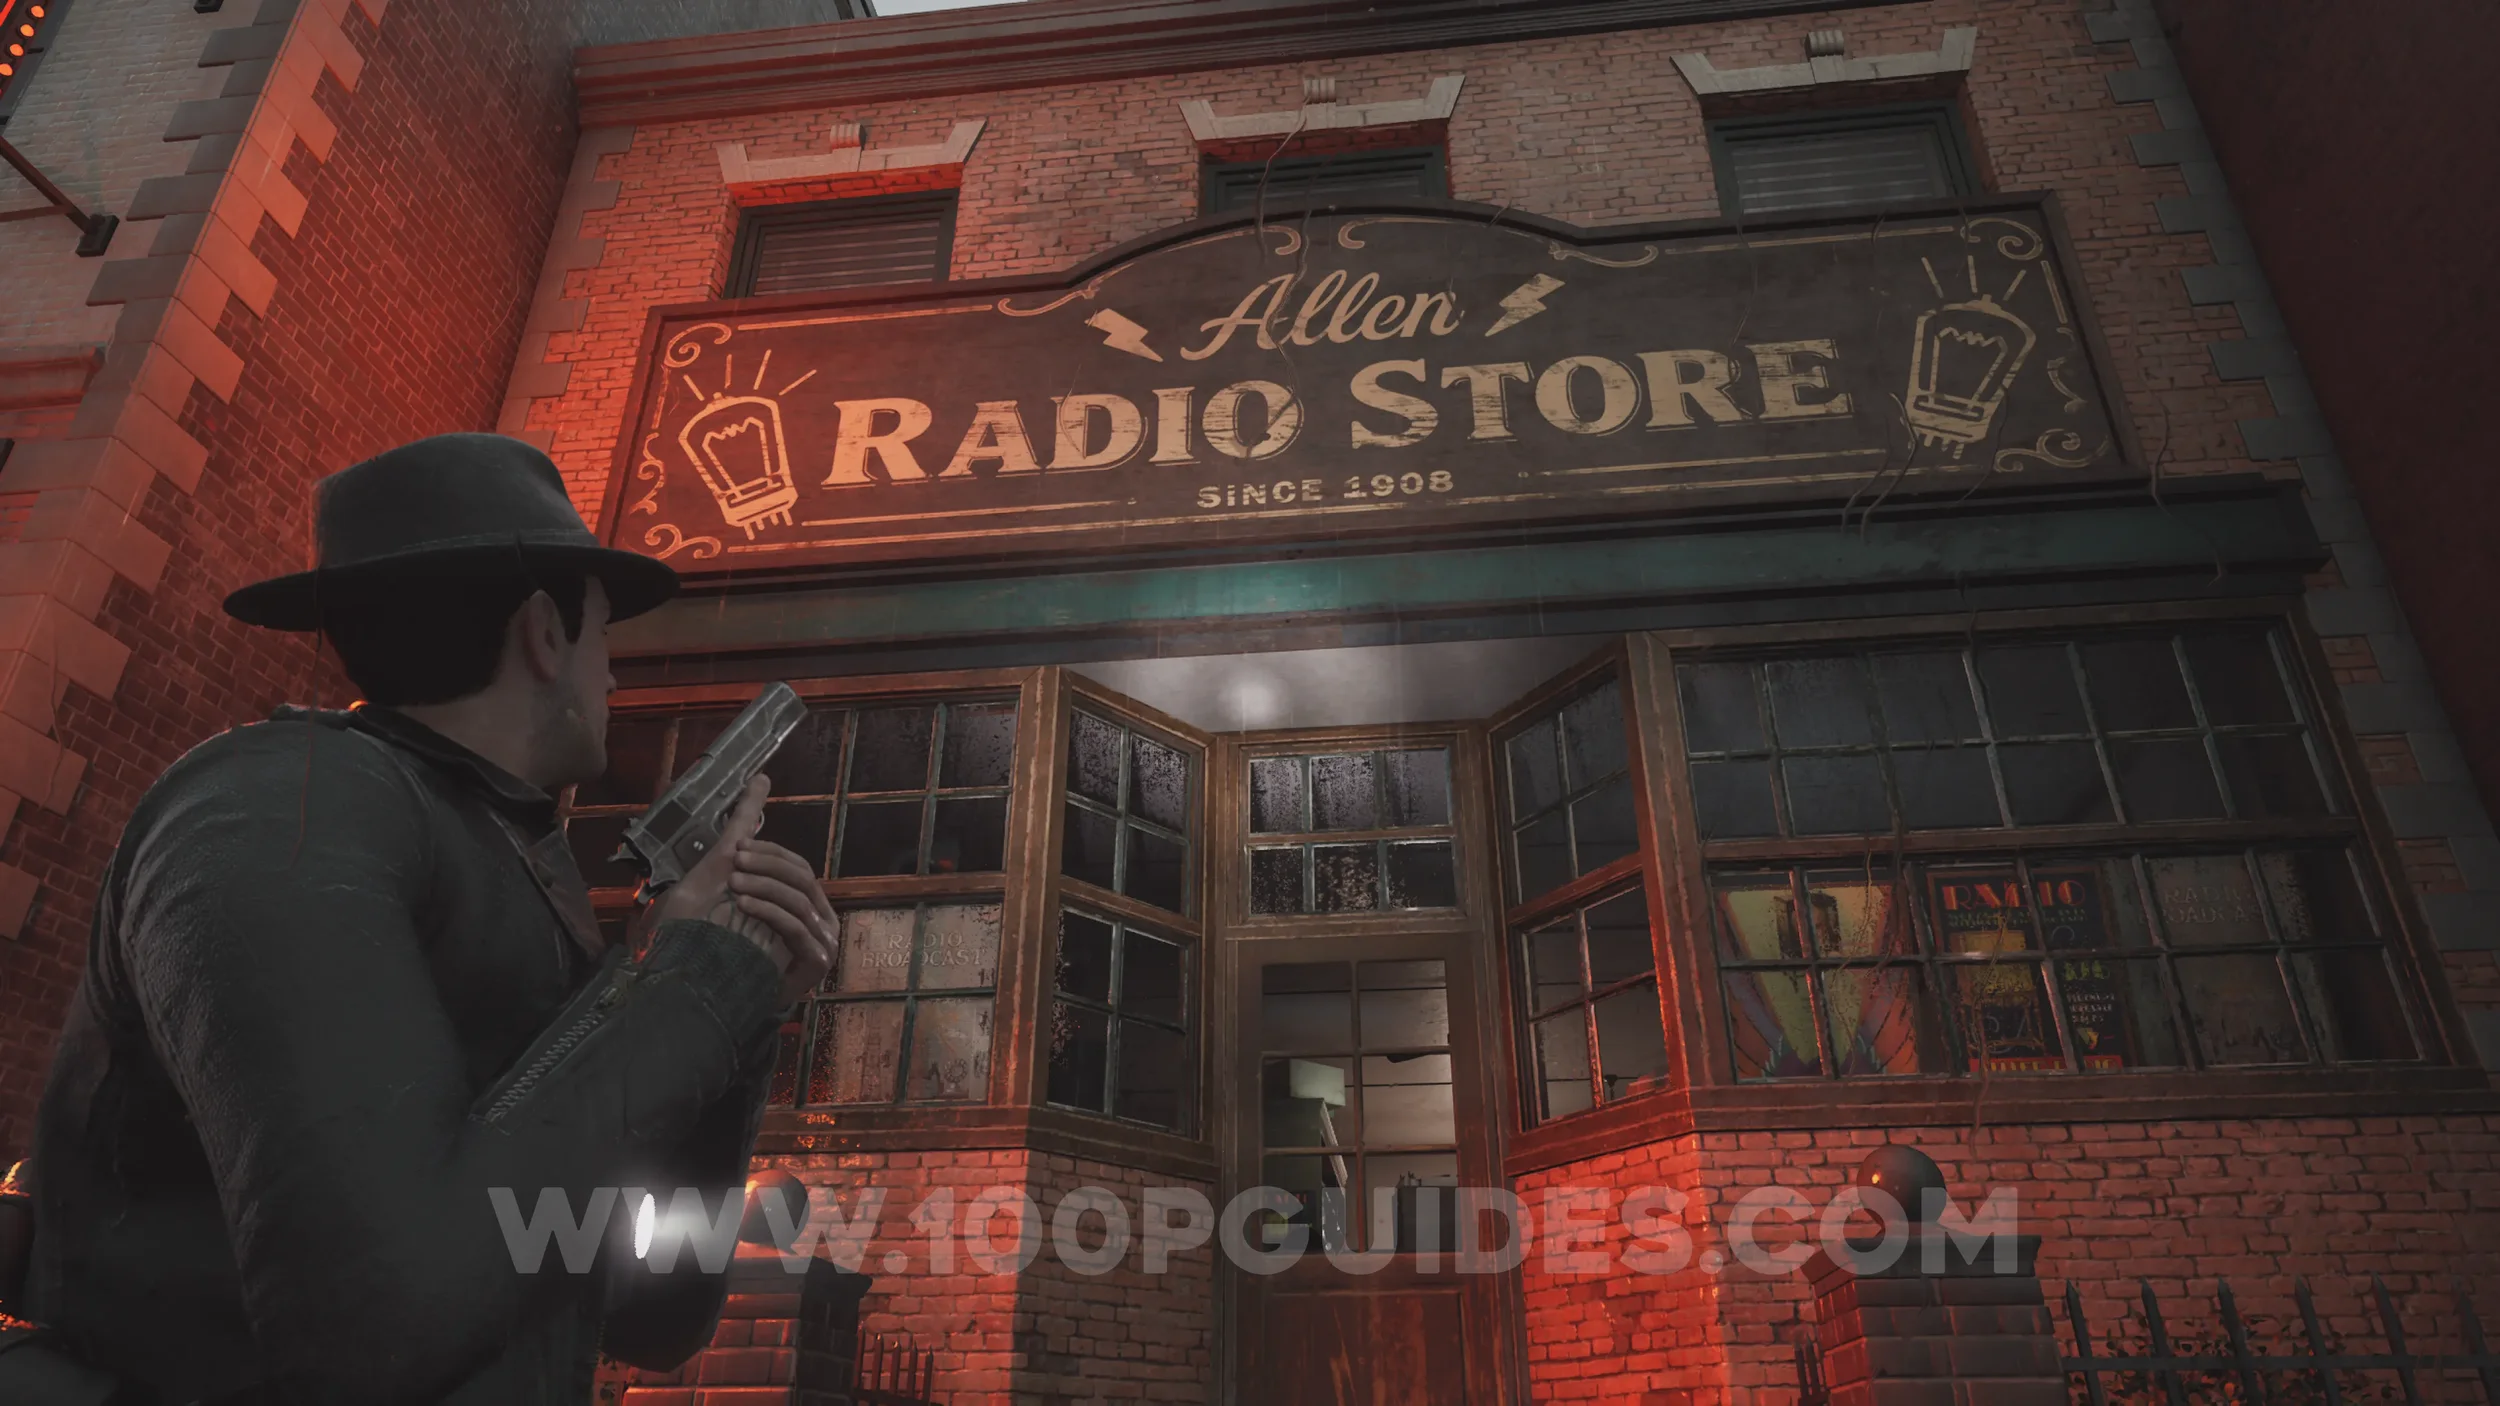

Gate Fuse Box Puzzle
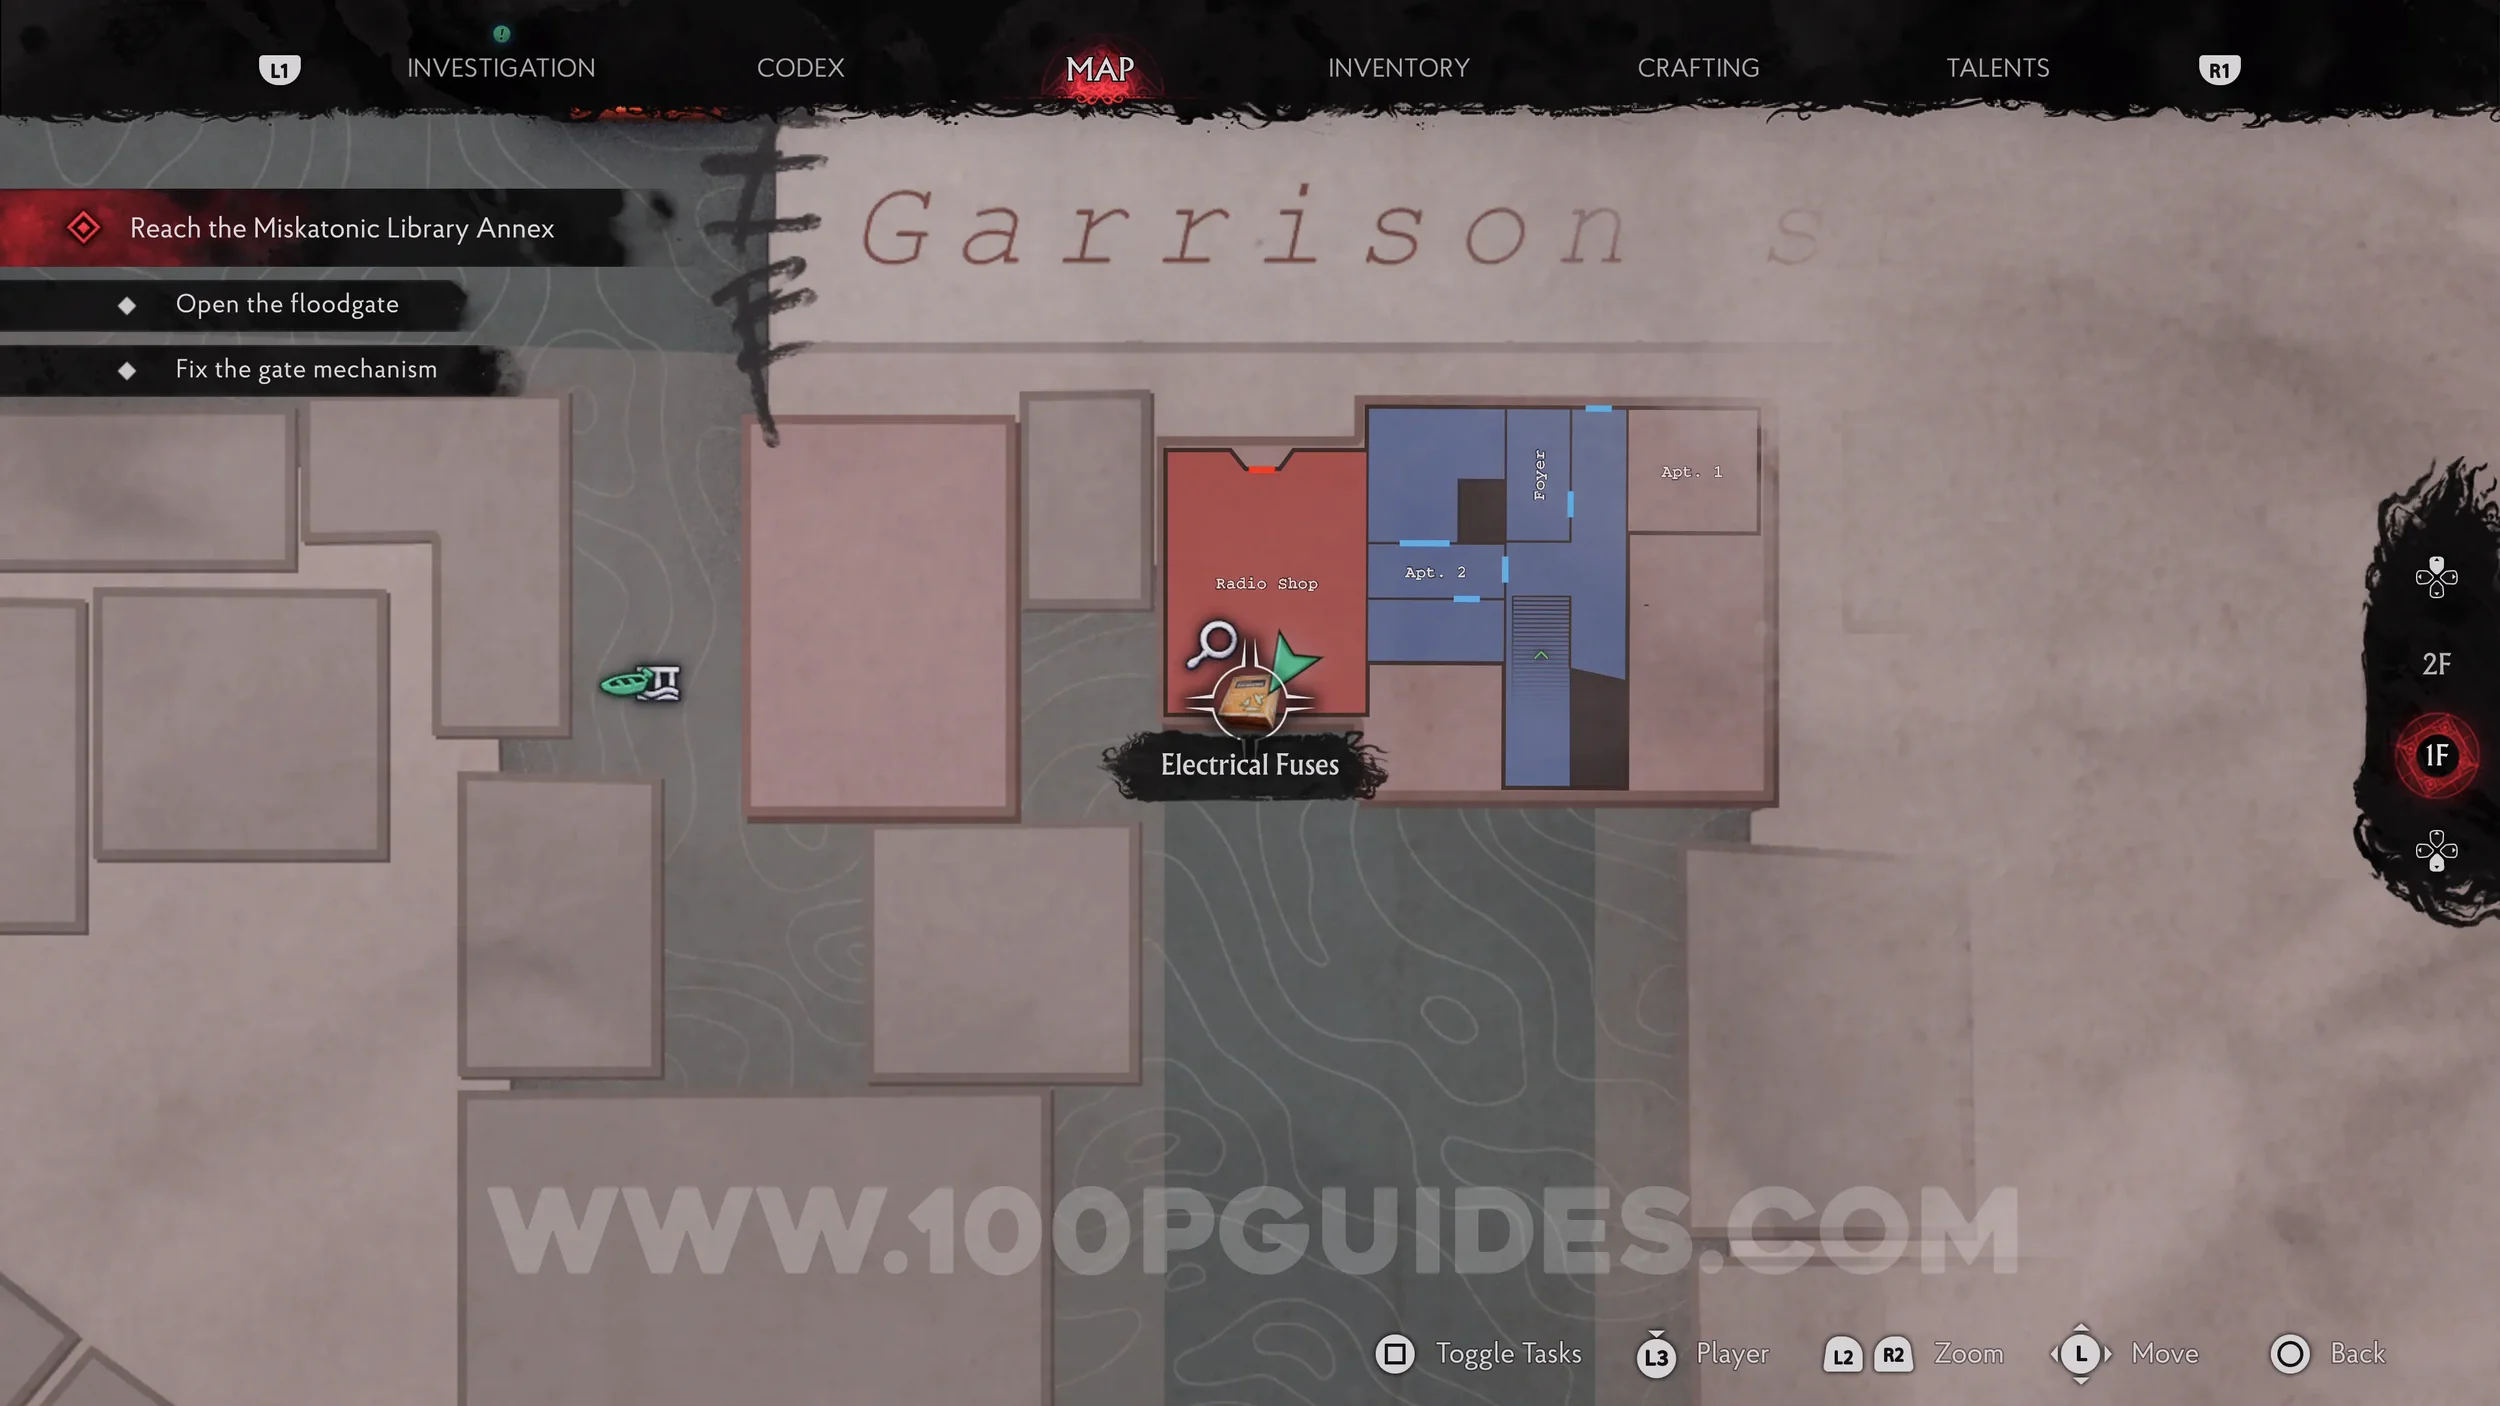
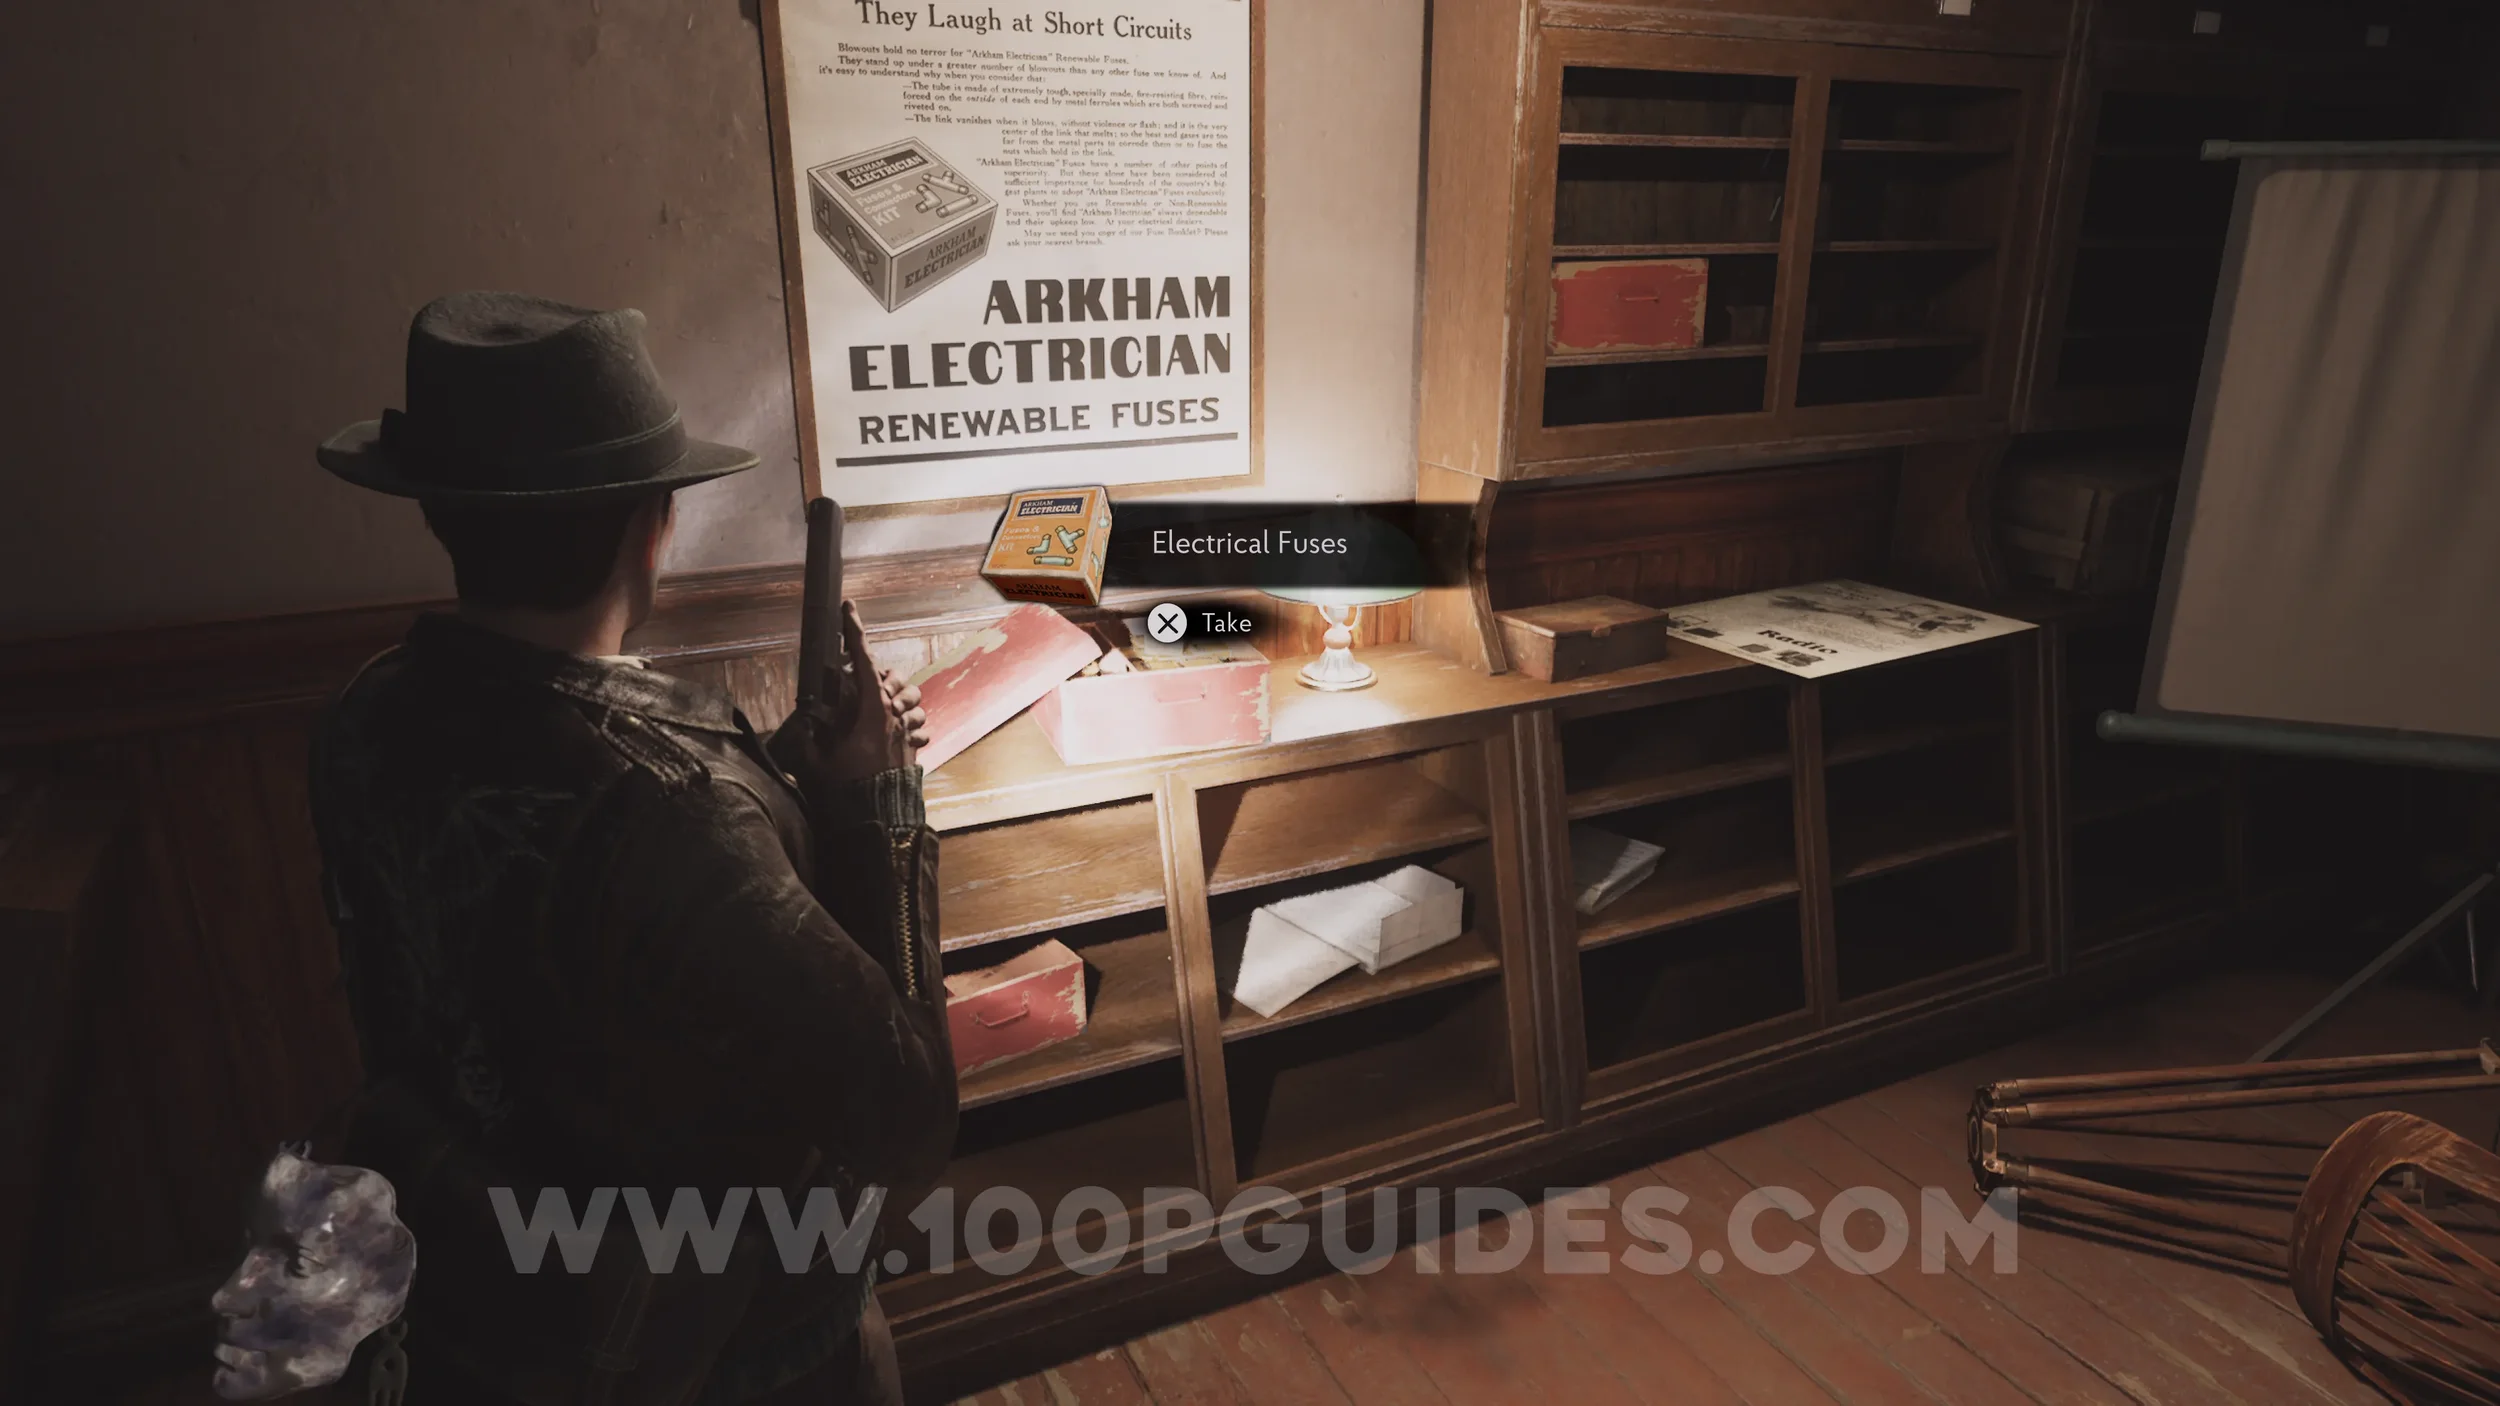
First, get the box of Fuses from the Radio Store.
Once you have the fuses and wires, backtrack to the Guard Post area and interact with the electrical box. Insert the fuses in the same position as shown in the image below, then hold to validate. After that, press the lever on the right to open the gate.


Chapter 2
Trident Puzzle/Church Mystery
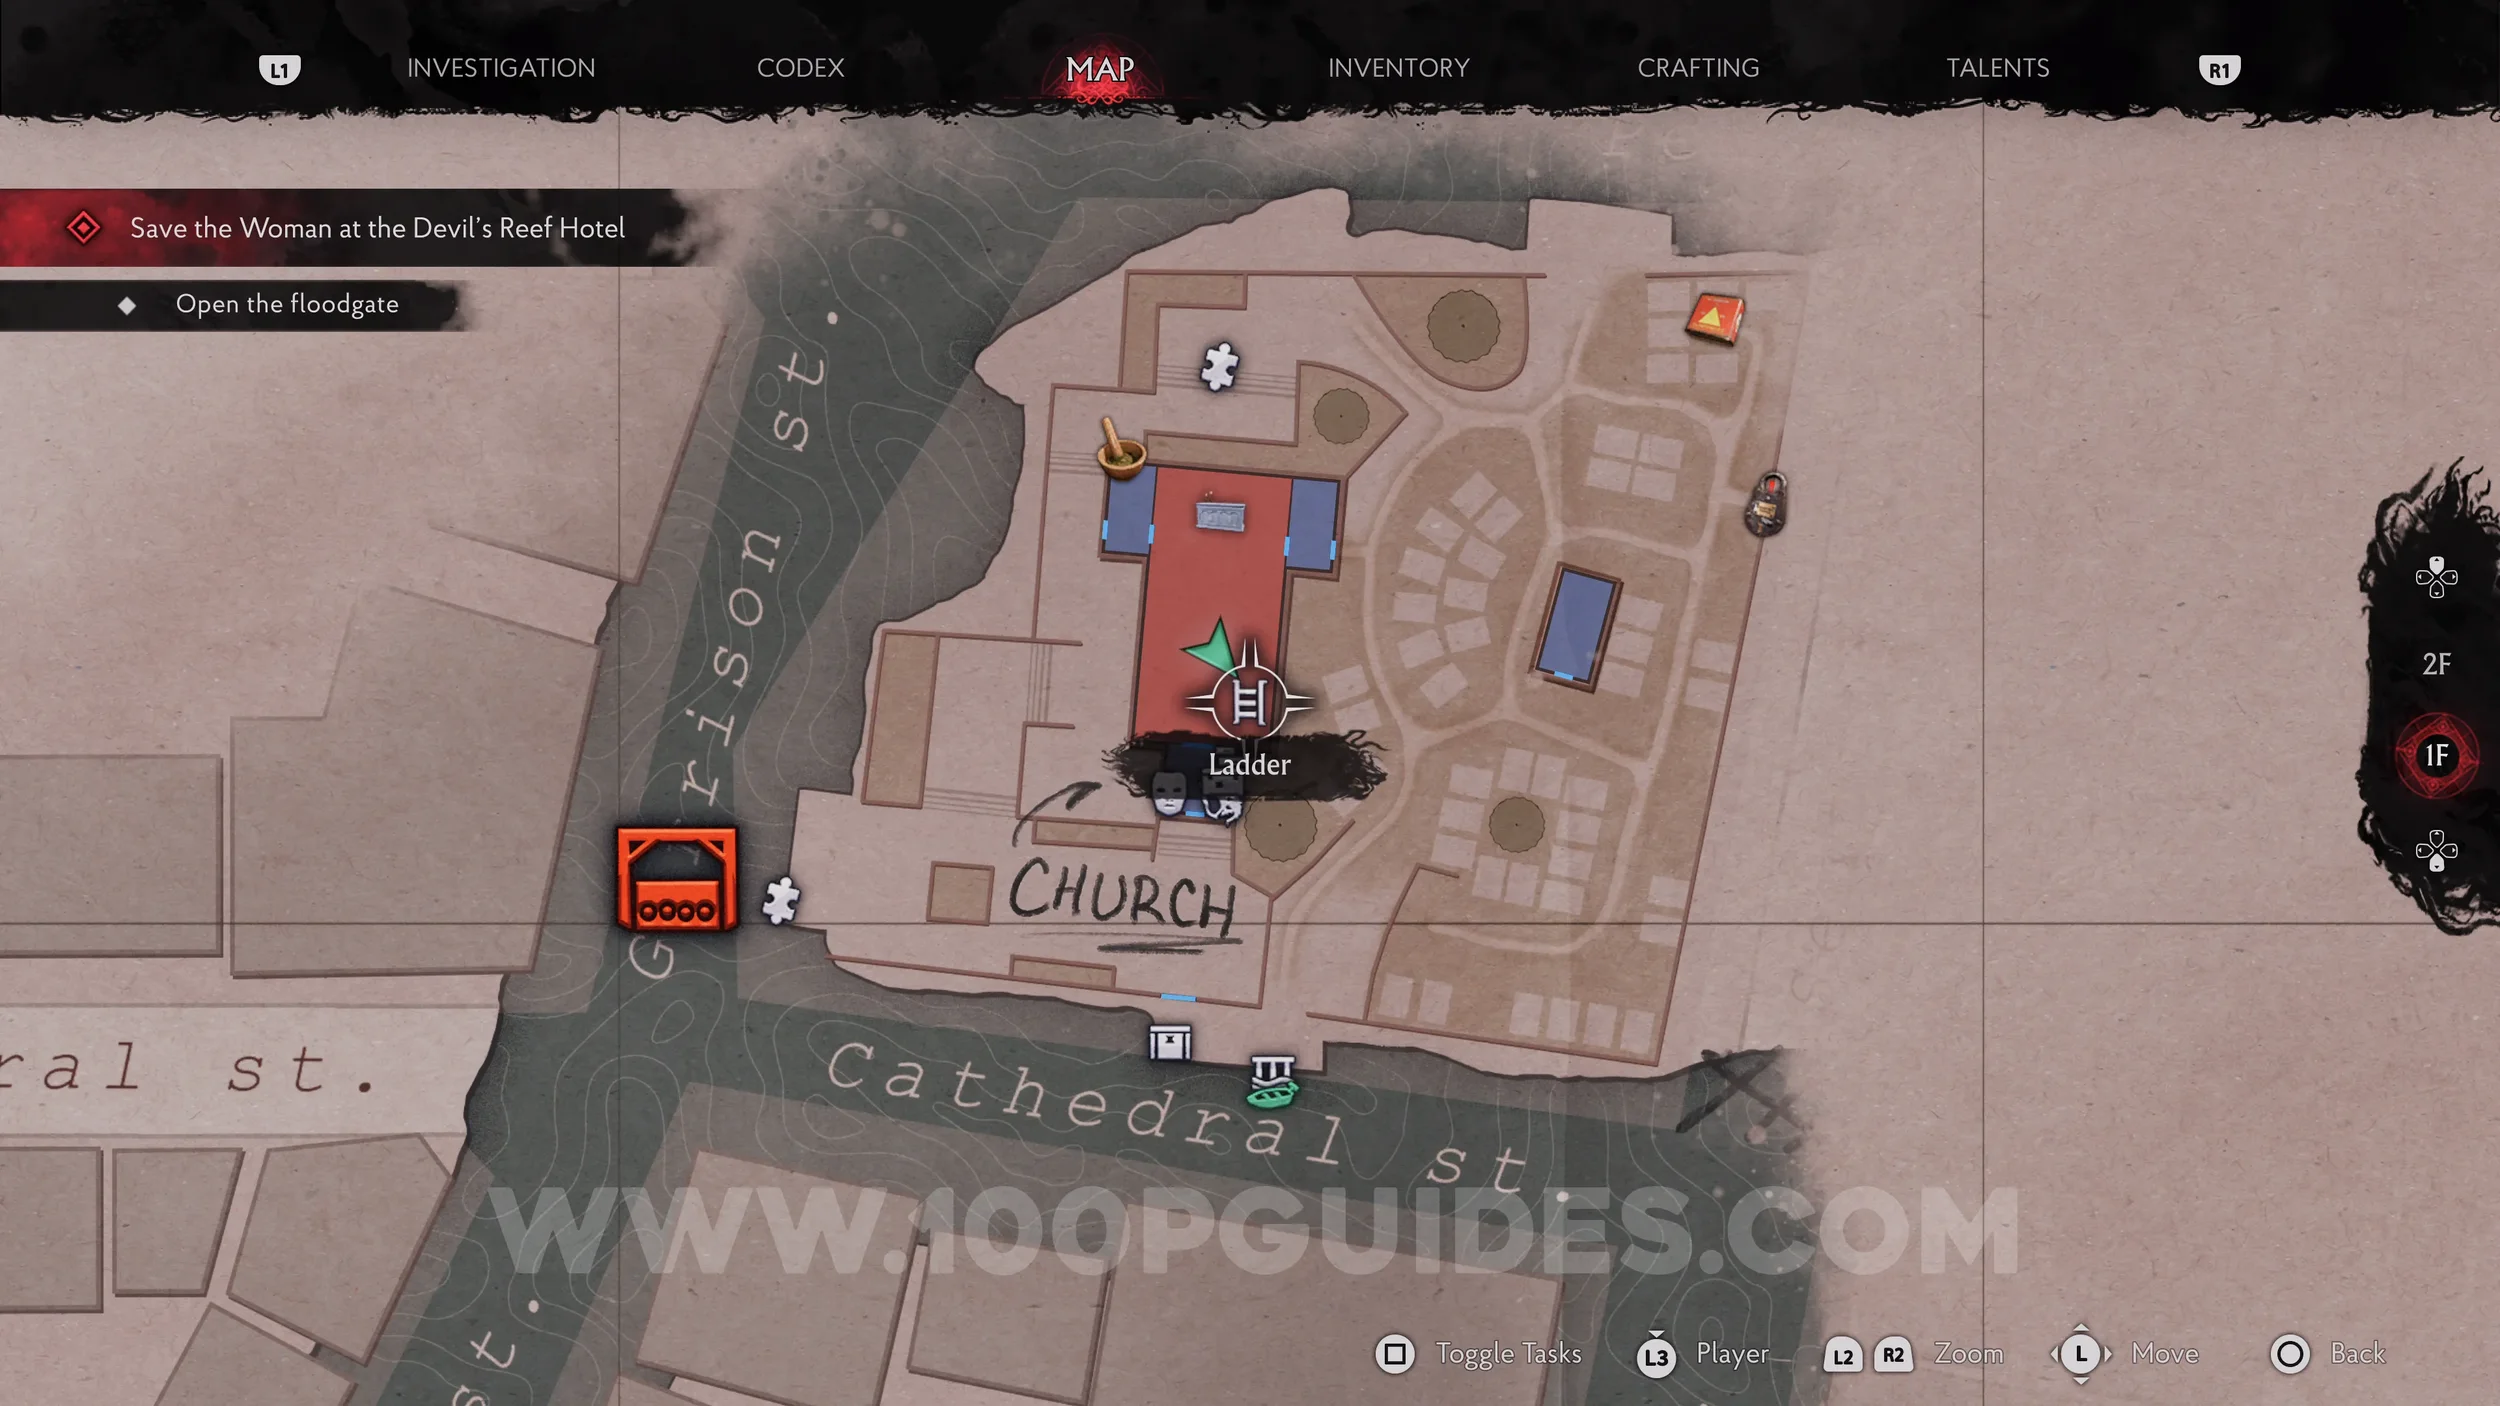
First, get the key from the corpse next to the blockage switch at the church.
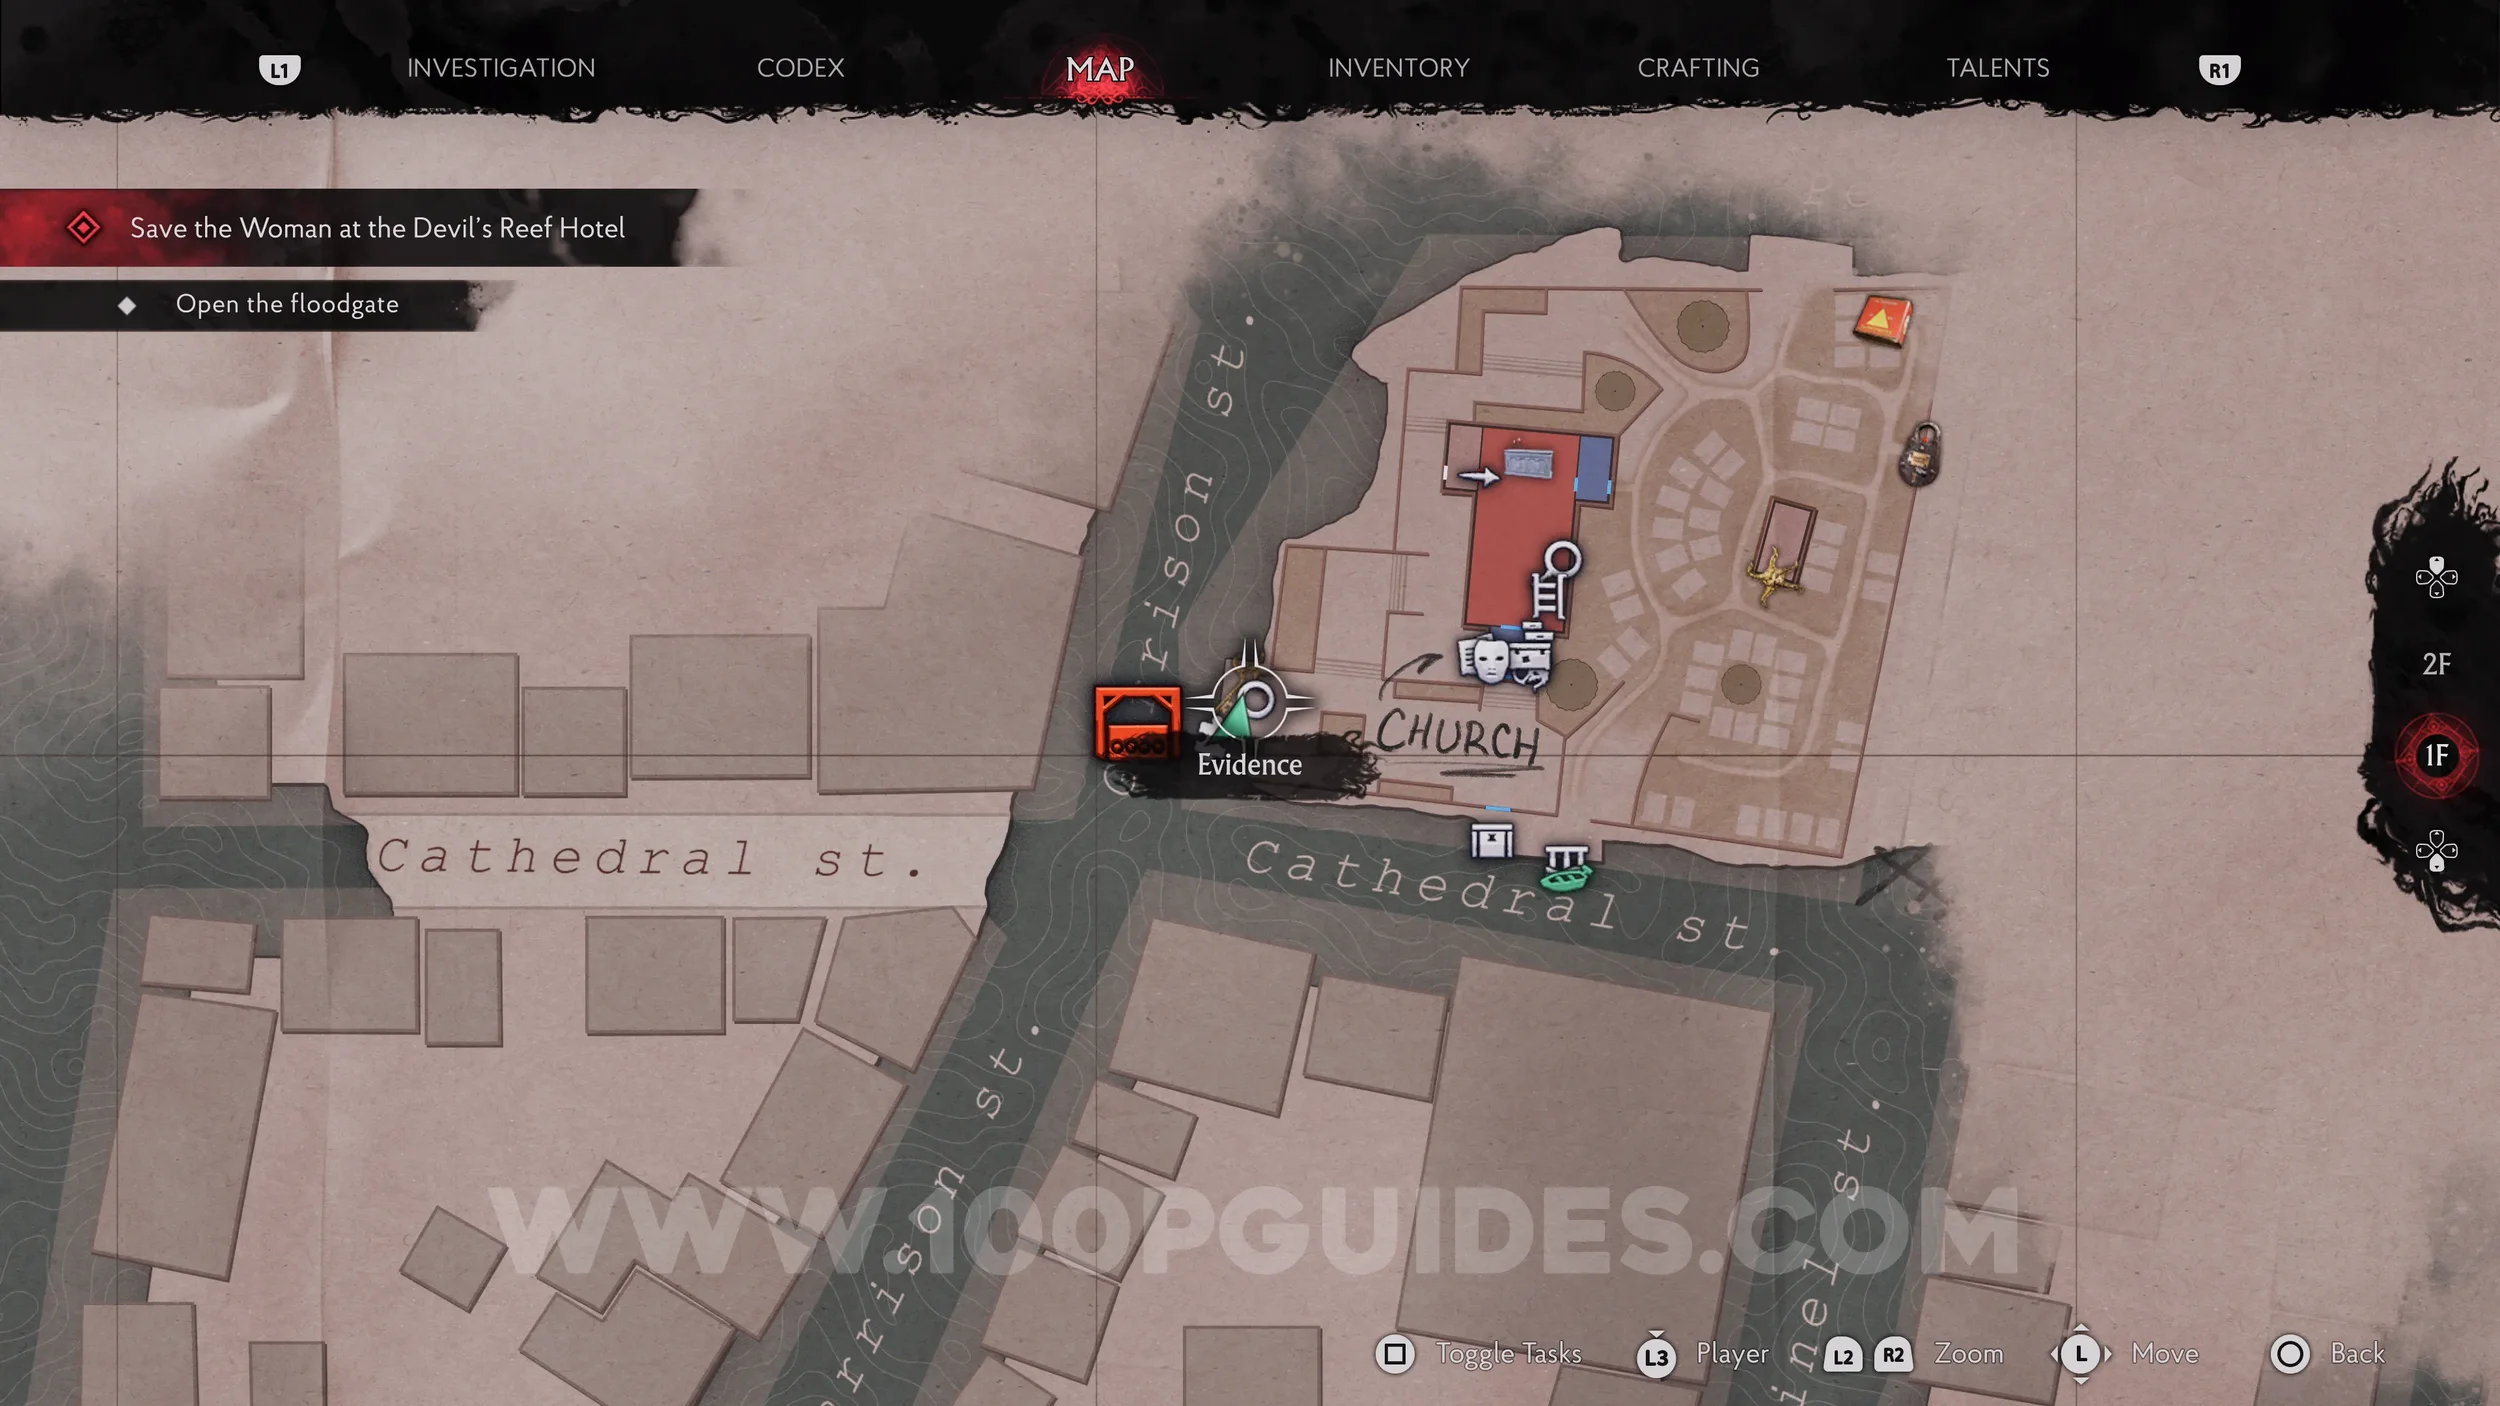
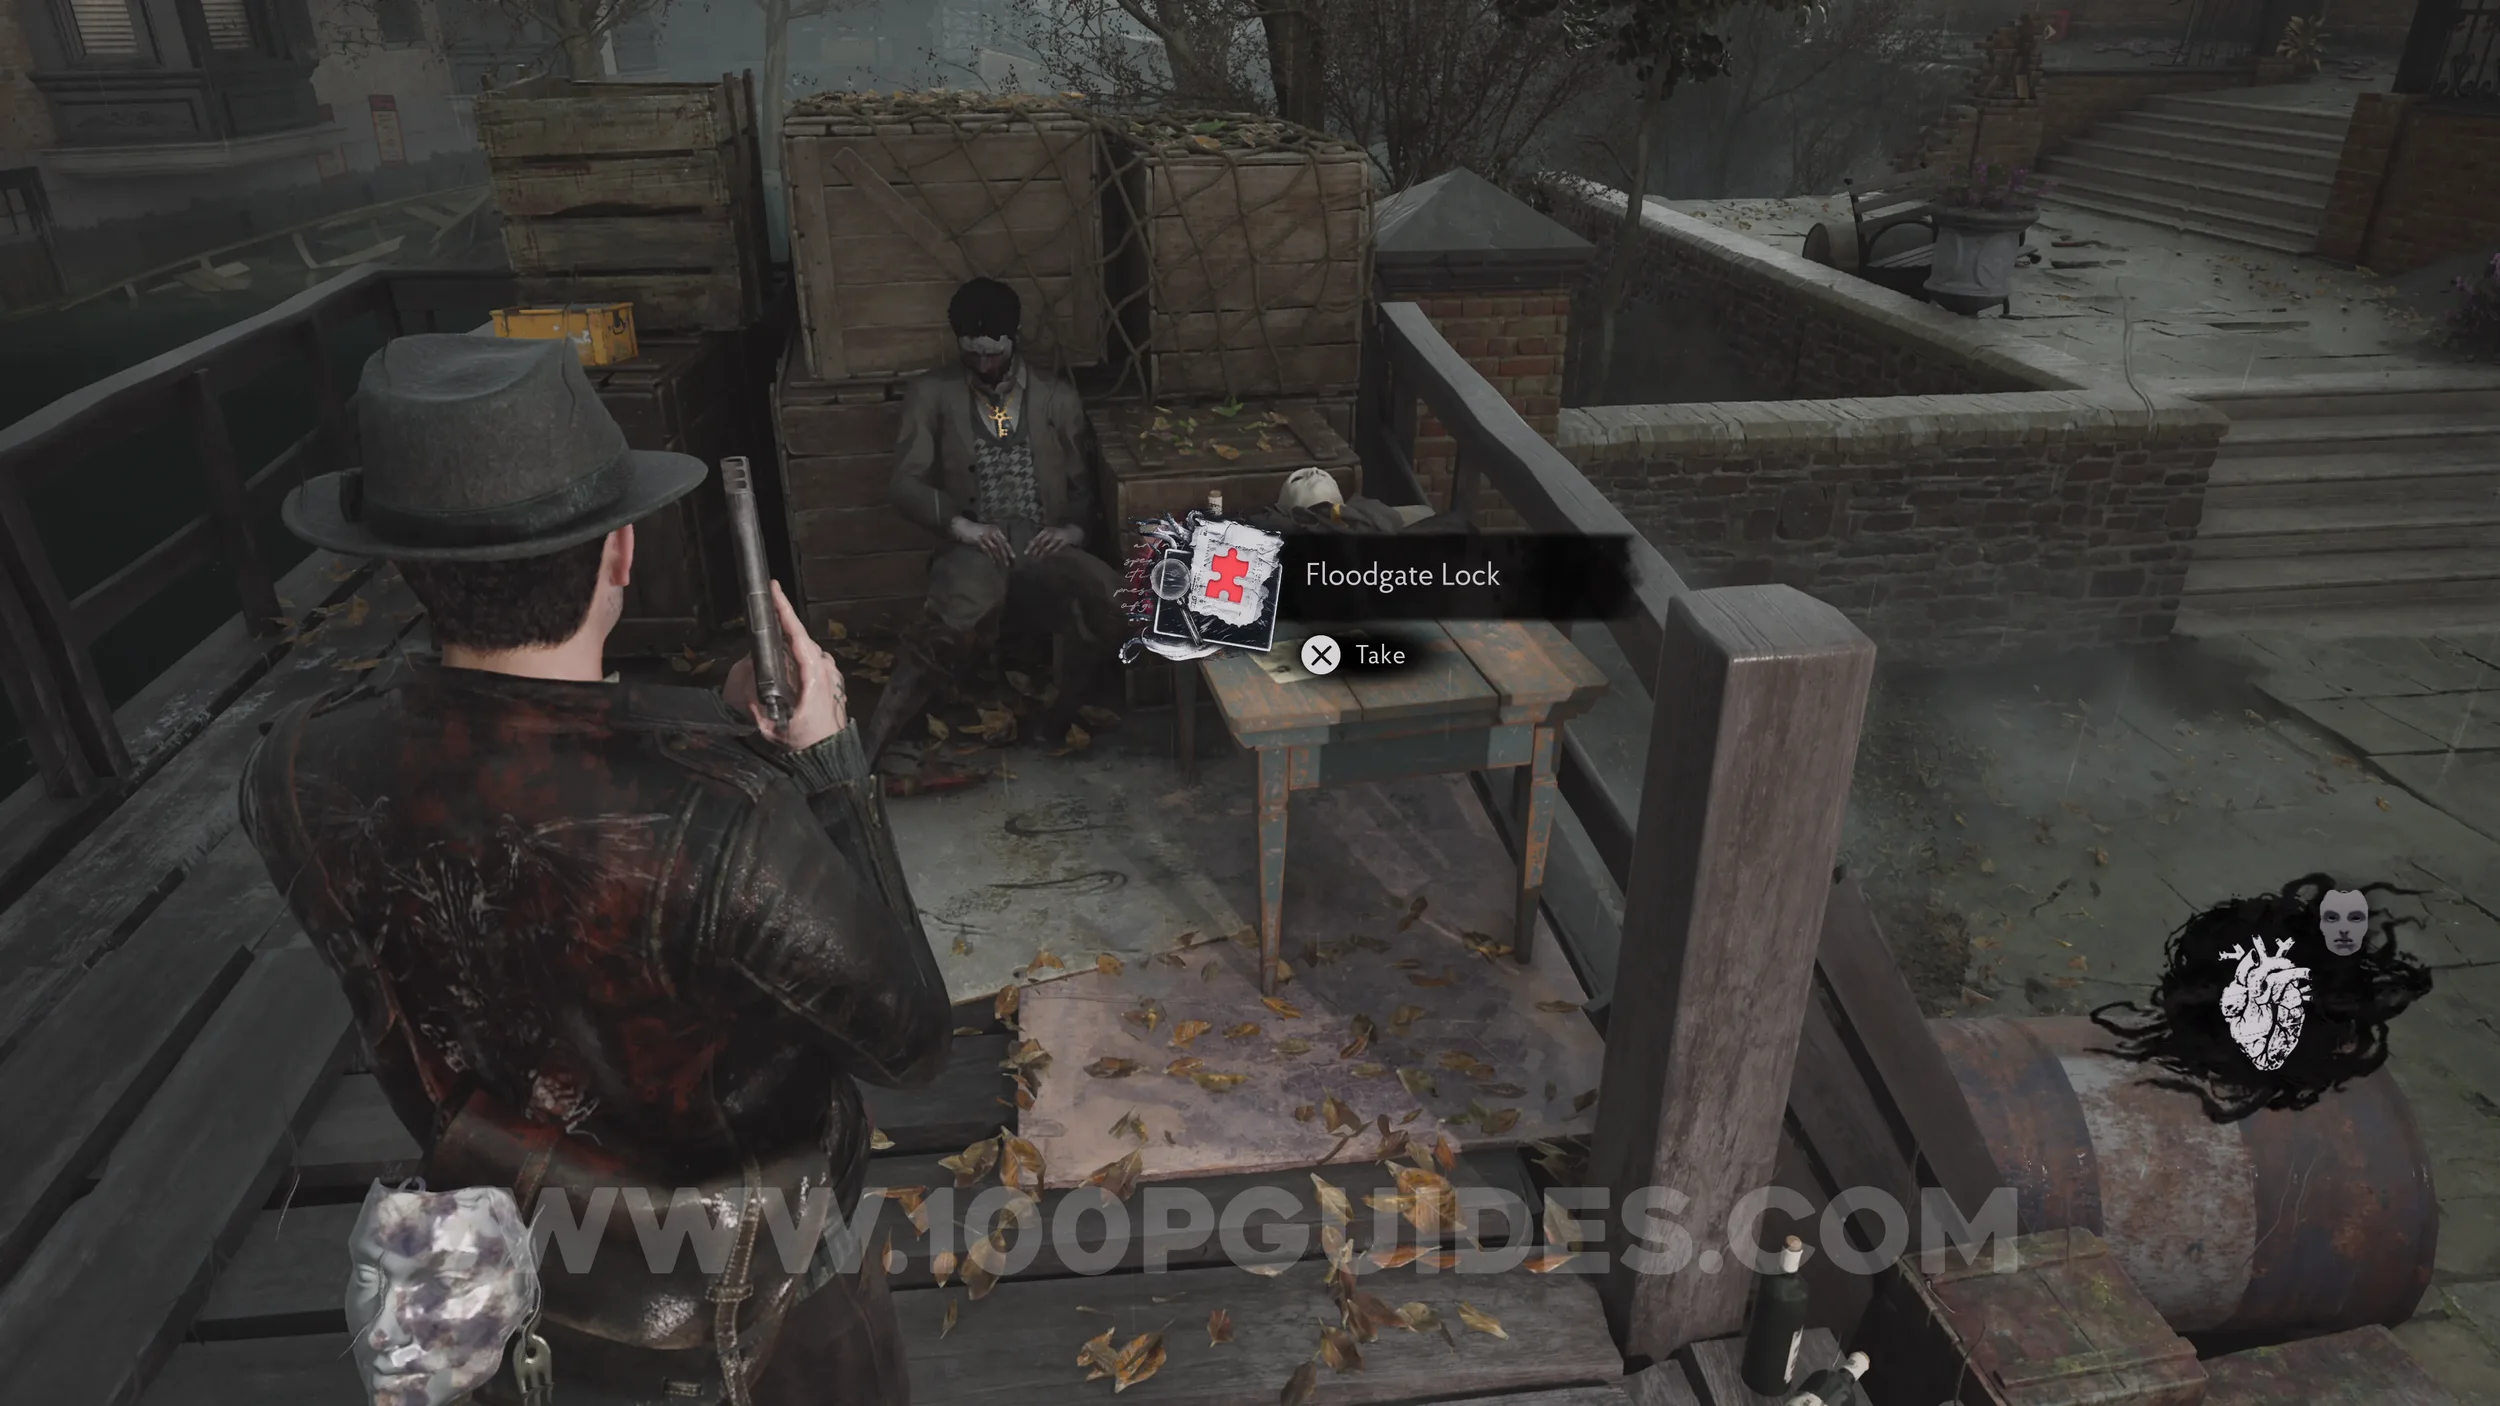
Then open the door on the top floor of the Church and pick up the trident.
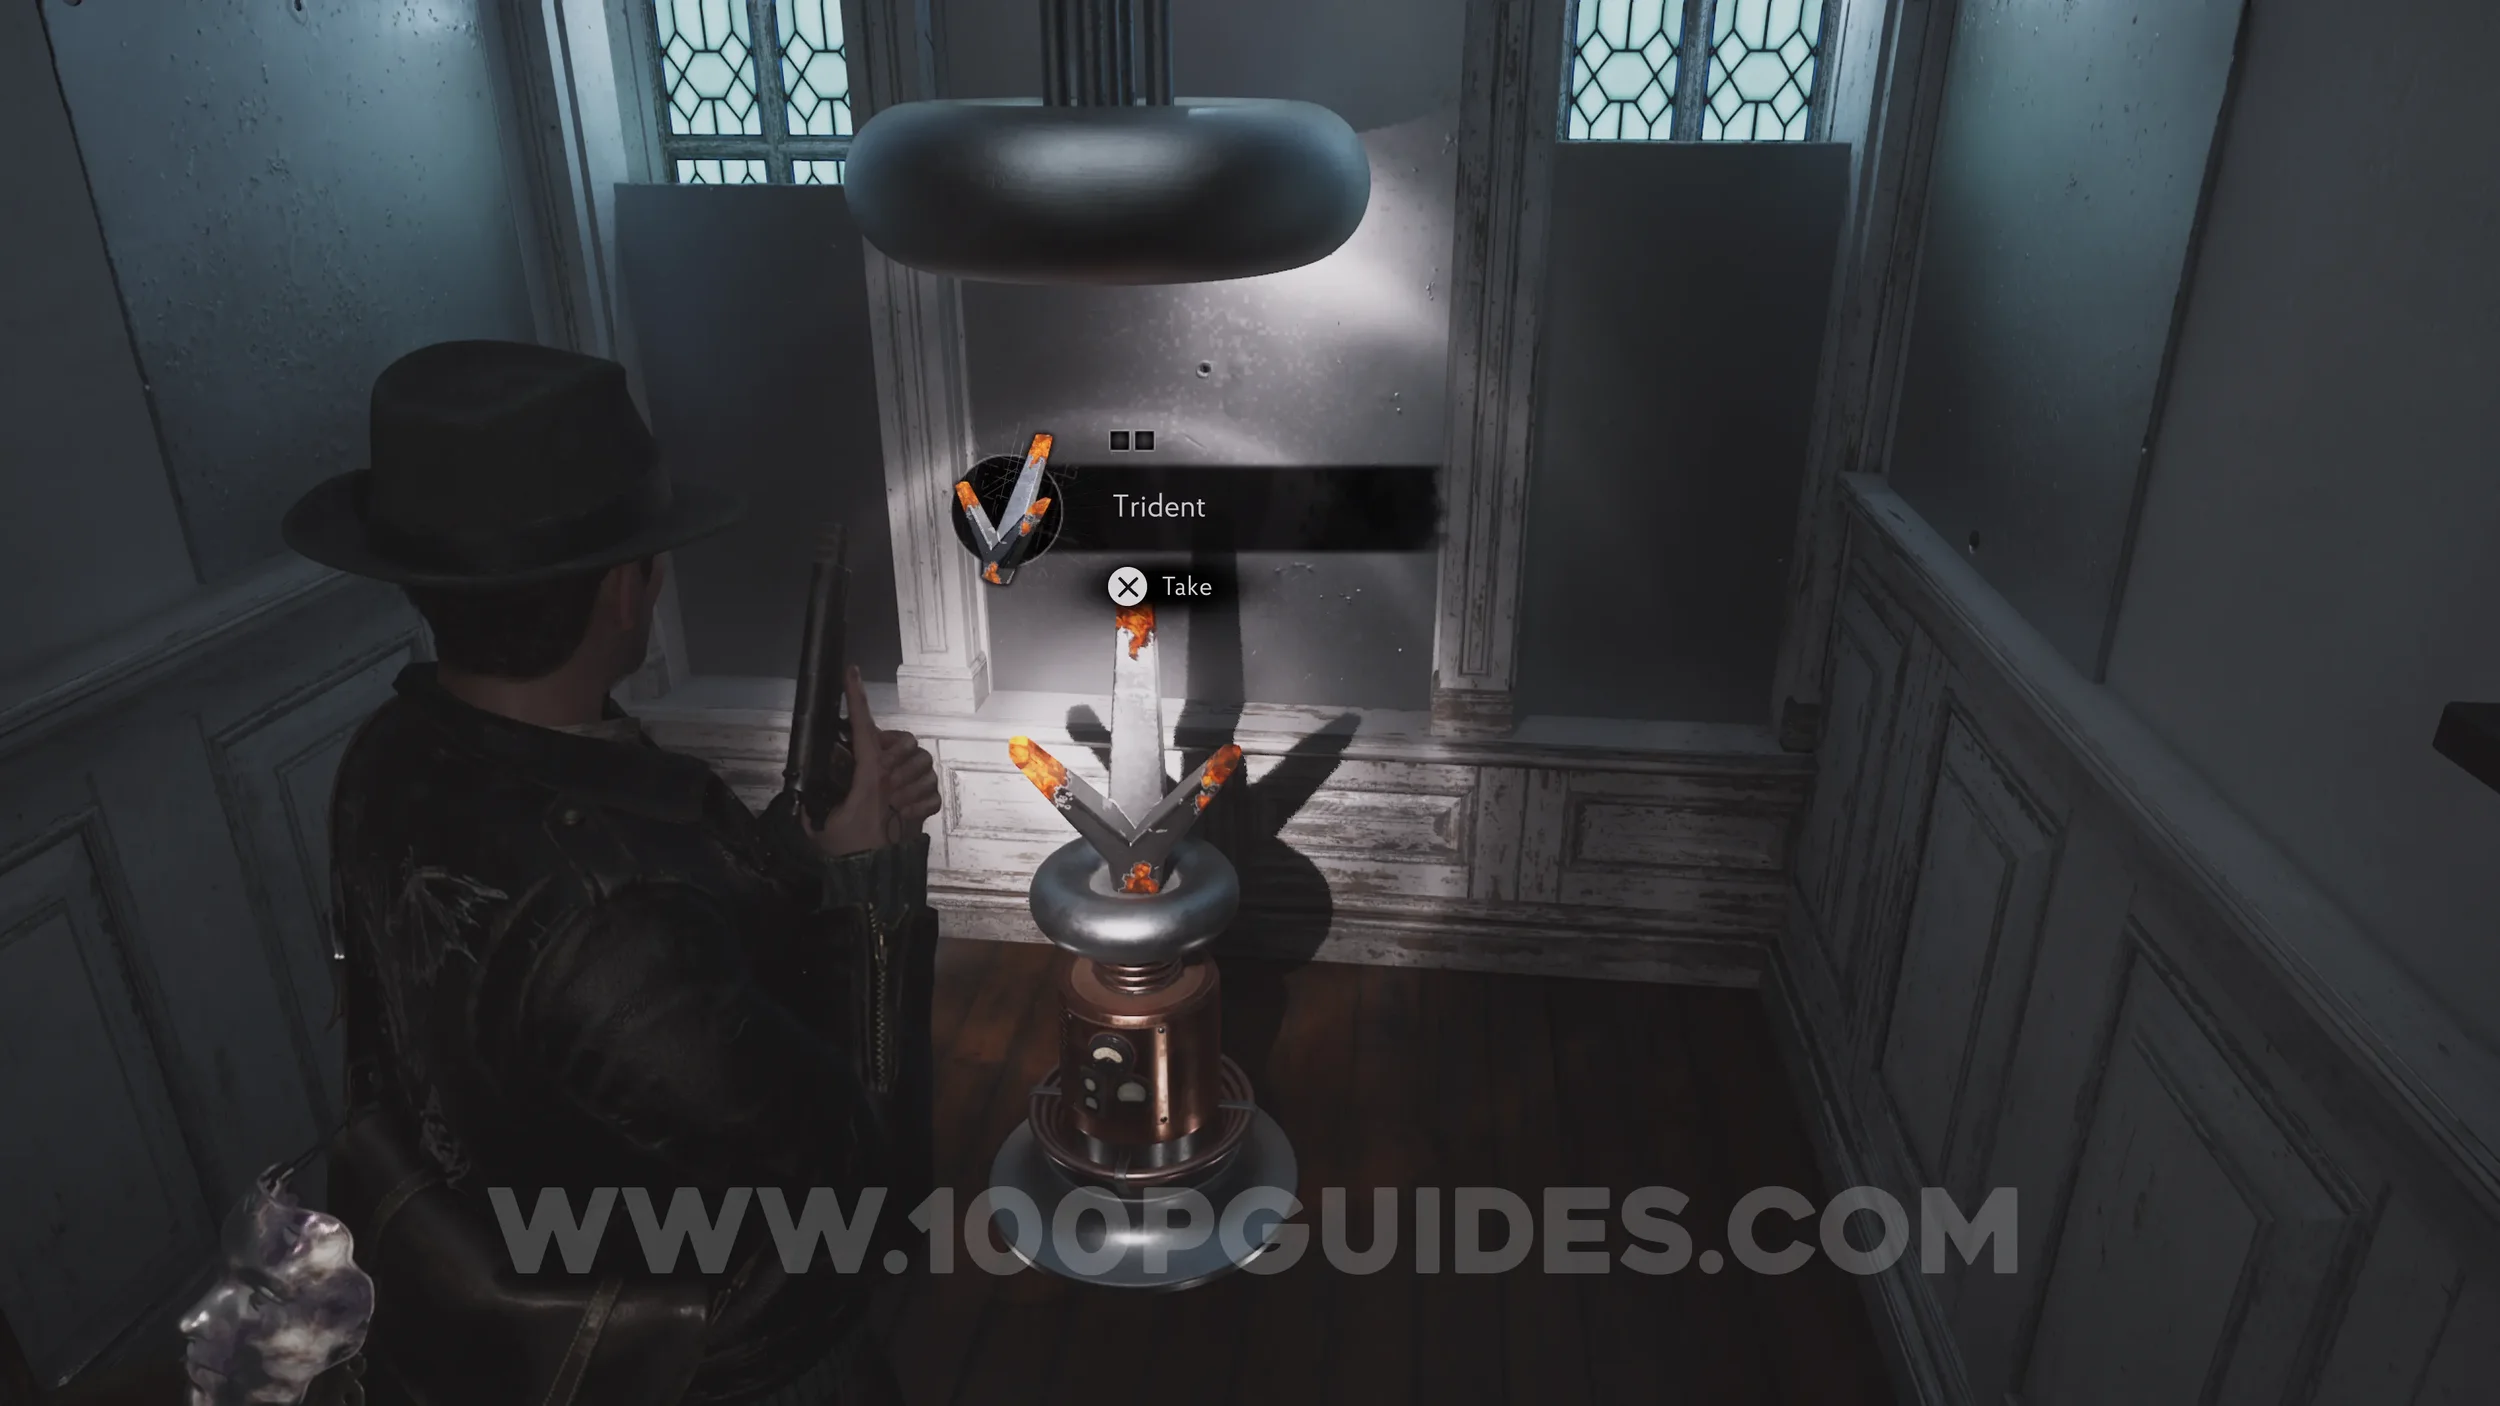
Now that you have the Trident, head outside to the graveyard and circle around to the north of the church, where you'll find a strange obelisk. Place the Trident on top of it and spin the sections so they match the image below. Once you're done, hold to validate. Then pick up the Trident after the lightning strikes it a few times.


Now that the Trident is charged, take it back to the top floor and place it in its original spot. Then head back down to the bottom floor of the church and interact with the mysterious person closest to the altar, the one holding the dagger. Take the dagger and place it into the slot in the altar. This will take you down to the basement, where you'll have to defeat an enemy.


Cursed Press Puzzle
To solve this puzzle you must first find the 3 Printing Plates around the chapter. They can be found in:
1. The Mausoleum in the graveyard outside the church (needs the key from the corpse near the church blockage lever).
2. The bedroom of the house you go through in the Printing House, after climbing the path above the crashed van.
3. The house north of the Fire Department that can only be accessed once you use the crane to move the whale.
Once you have all 3 Plates, take them to the press in the small room that opens when you pick up the key in the Director's Office.


This puzzle can be solved in two different ways.
Solution 1. Turn all squares gold. This rewards you with a shotgun accessory.

Solution 2. Turn all squares silver. This rewards you with 2 Dream Essence, and is the recommended outcome, just to save time on obtaining all Talents later on.

Room 301 Safe Code/The Alluring Song
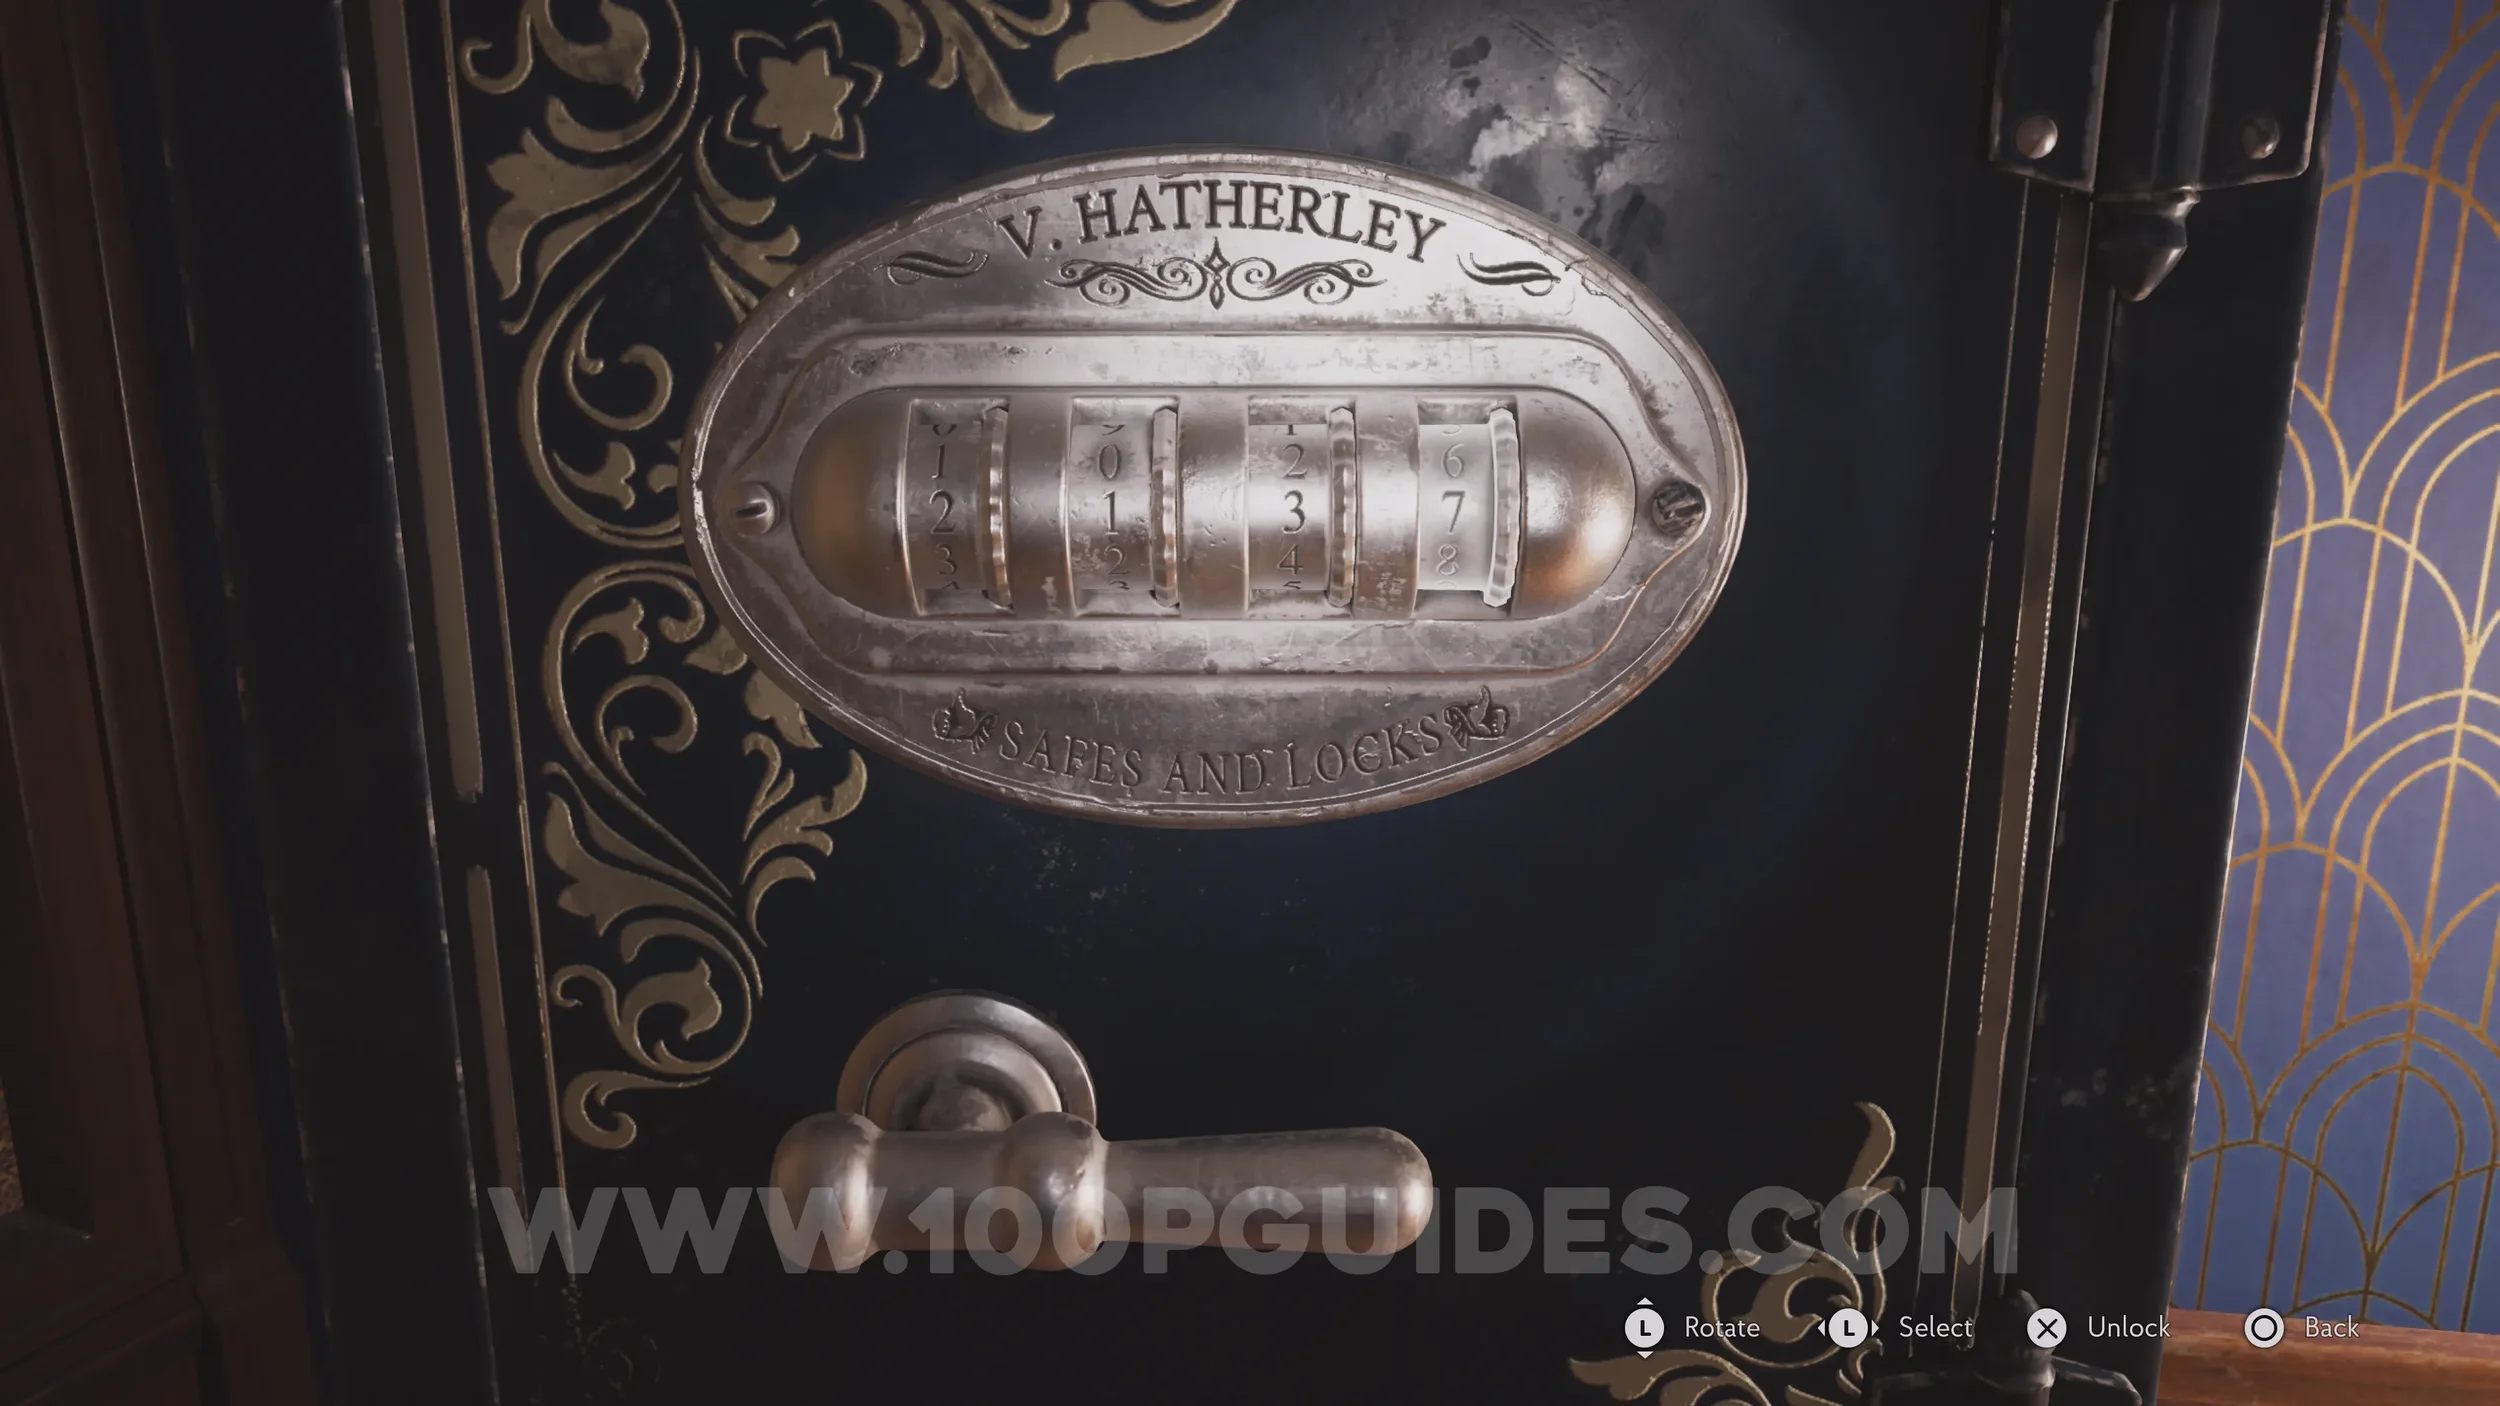
Use the code 2137 to open the safe in Room 301. Technically you wouldn't be able to work this out yet, since it relies on two pieces of evidence you pick up a little later in the Hotel, but as you're already here you may as well open it now to grab the accessory and the trophy.

Ventilation System Puzzle
To solve the Ventilation System Puzzle in the Generator Room, press the buttons in this order: Button 1 > Button 1 > Button 2 > Button 2 > Button 2 > Button 2 > Button 3 > Button 3 > flip the switch to red > Button 1.


Chapter 3
Locked Storage Room Combination Lock Code
Now that you have the Anti-Rust Acid and you're in the area, head around to the Storage Room on -1F and use it to open the door. Then, inside, use the code 1308 to open the gate. Technically you'd have to wait until you find a few pieces of evidence later in the Hospital to work it out, but if you already know the code you can enter it now and get it out of the way.


Blue Prism Station Puzzle
In the Treatment Room, place the Prism in the station. Then rotate the three rings so they match the image below.


Wireless Room Brain Puzzle
Now that you have the clues from the three Brains in the Wireless Room, you should be able to work out the three frequencies. Interact with the machine under the three Brains and input the following numbers in order, holding after each one to confirm it: 13 > 05 > 36.


Yellow Prism Station Puzzle
Place the Prism into the station in the Priest's Room, the small room attached to the Chapel, and spin the three rings so they match the image below. Then press to validate.


Pink Prism Station Puzzle
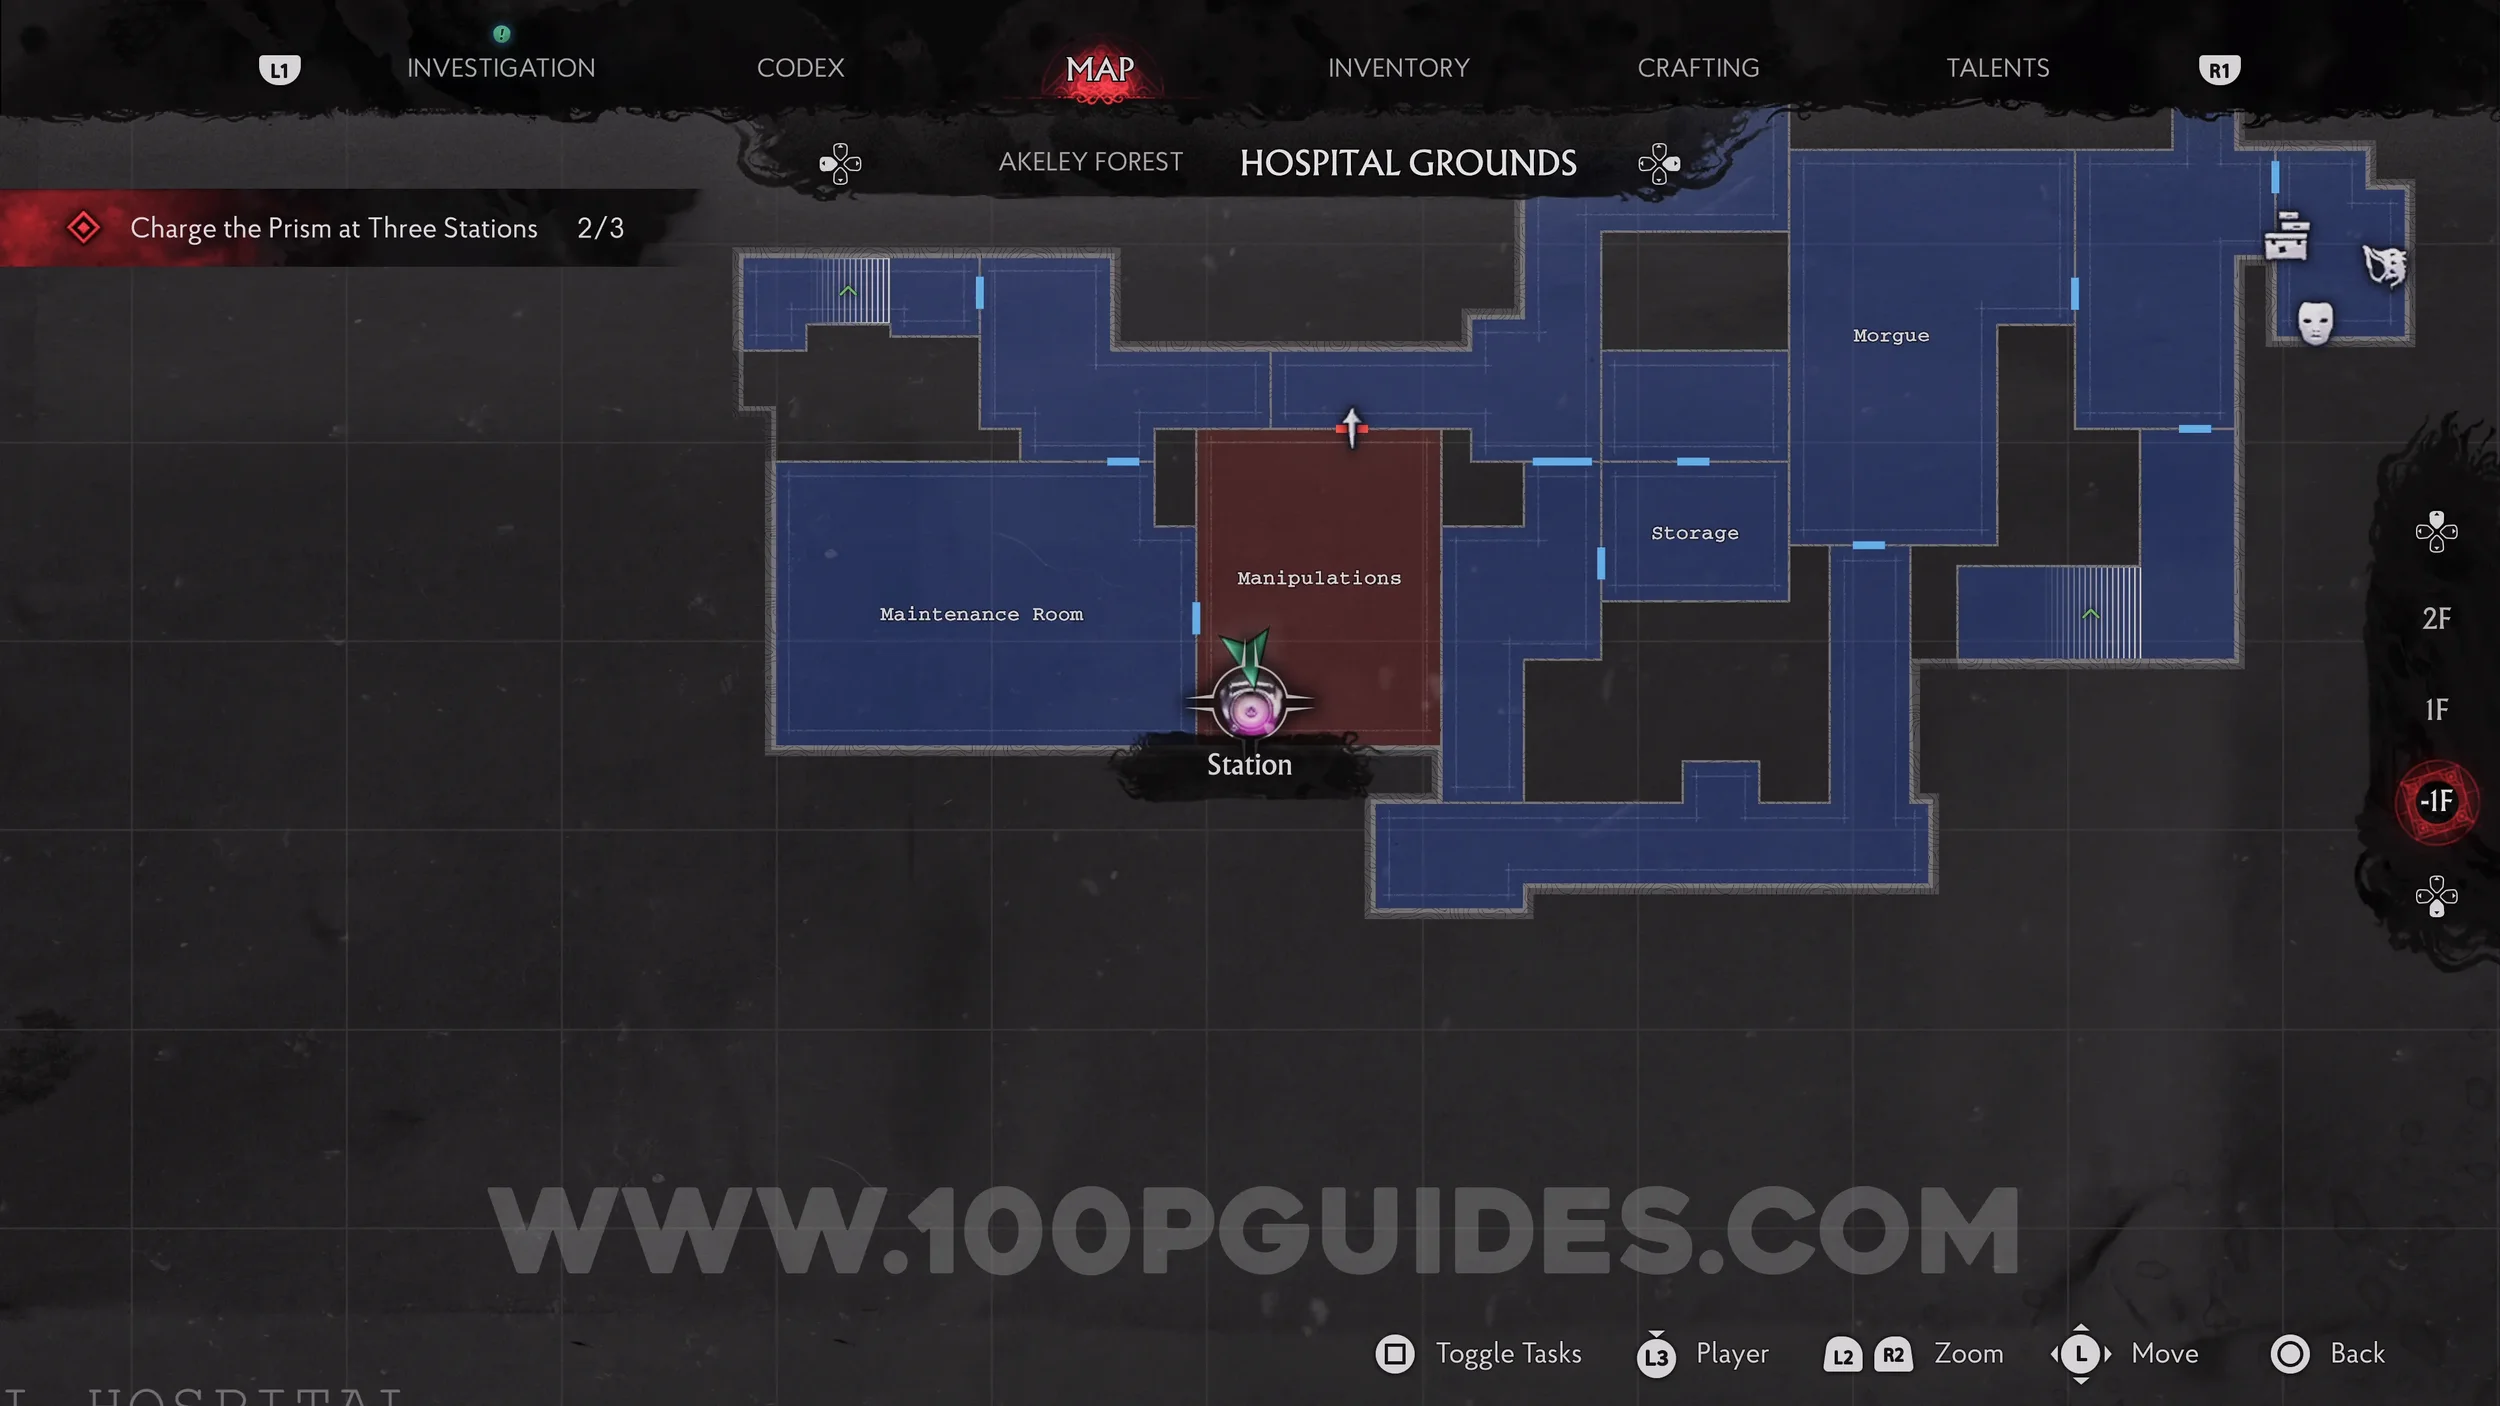
In the Manipulations Room, the room to the east of the Maintenance Room, and place the Prism into the station. Then spin the three rings so they match the image below and hold to validate.

Chapter 4
Buoy Combination Code Puzzle/Mysterious Locker
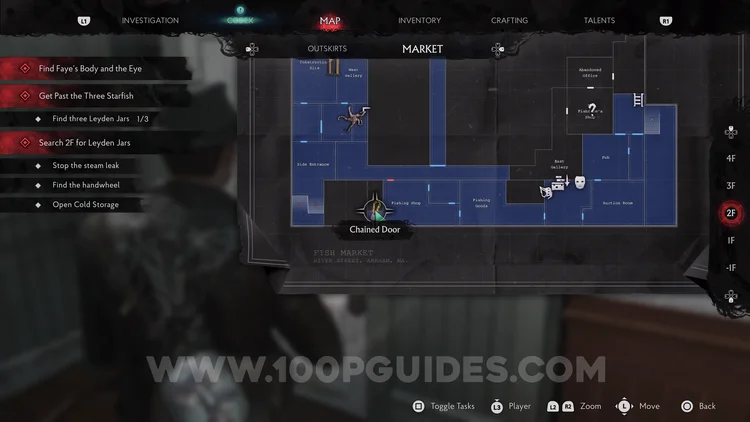
Open the locker in the small room attached to the Fishing Shop to find a corpse holding a locked Buoy. You can work out the correct code using the following evidence: "About Ezekiel" and "From Ezekiel's Wife". The correct combination is: Lighthouse > Ropes > Starfish > Octopus.

Memory Safe Code
Once you bring the Antikythera back to Ma, you'll change the timeline. Then interact with the Memory Relic on the counter to enter a memory. In this memory, you'll have to open a safe. You can find the code by interacting with and listening to the phantoms. The correct code is: 6294.


Strange Statue Puzzle Solution
Place the Heart of Stone from the previous puzzle into the Strange Statue in the Abandoned Office, the same room where you just opened the safe. You'll then have to shoot five limbs in the correct order. The order is: Kneeling Woman > Octopus > Sea Creature > Time > Jar.


Sixteen Punishments Puzzle/Cutting Area Door Puzzle
In the Cutting Area on 1F and interact with the door with the sixteen buttons on it. To open it, press the four correct buttons in any order, then hold . The buttons you need to press are I, IV, IX and XVI.


Locker Room Safe Code
The code is exactly the same as the Cutting Area door puzzle, but with a 6 at the end instead of 16. So the code is 1496.


Chapter 5
Portal Room Puzzle
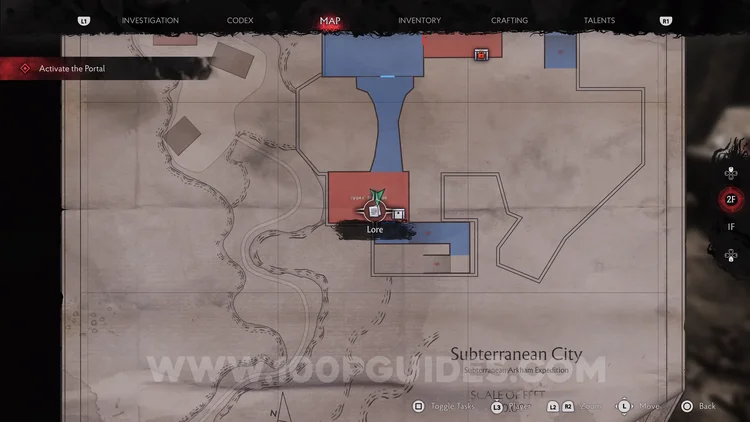
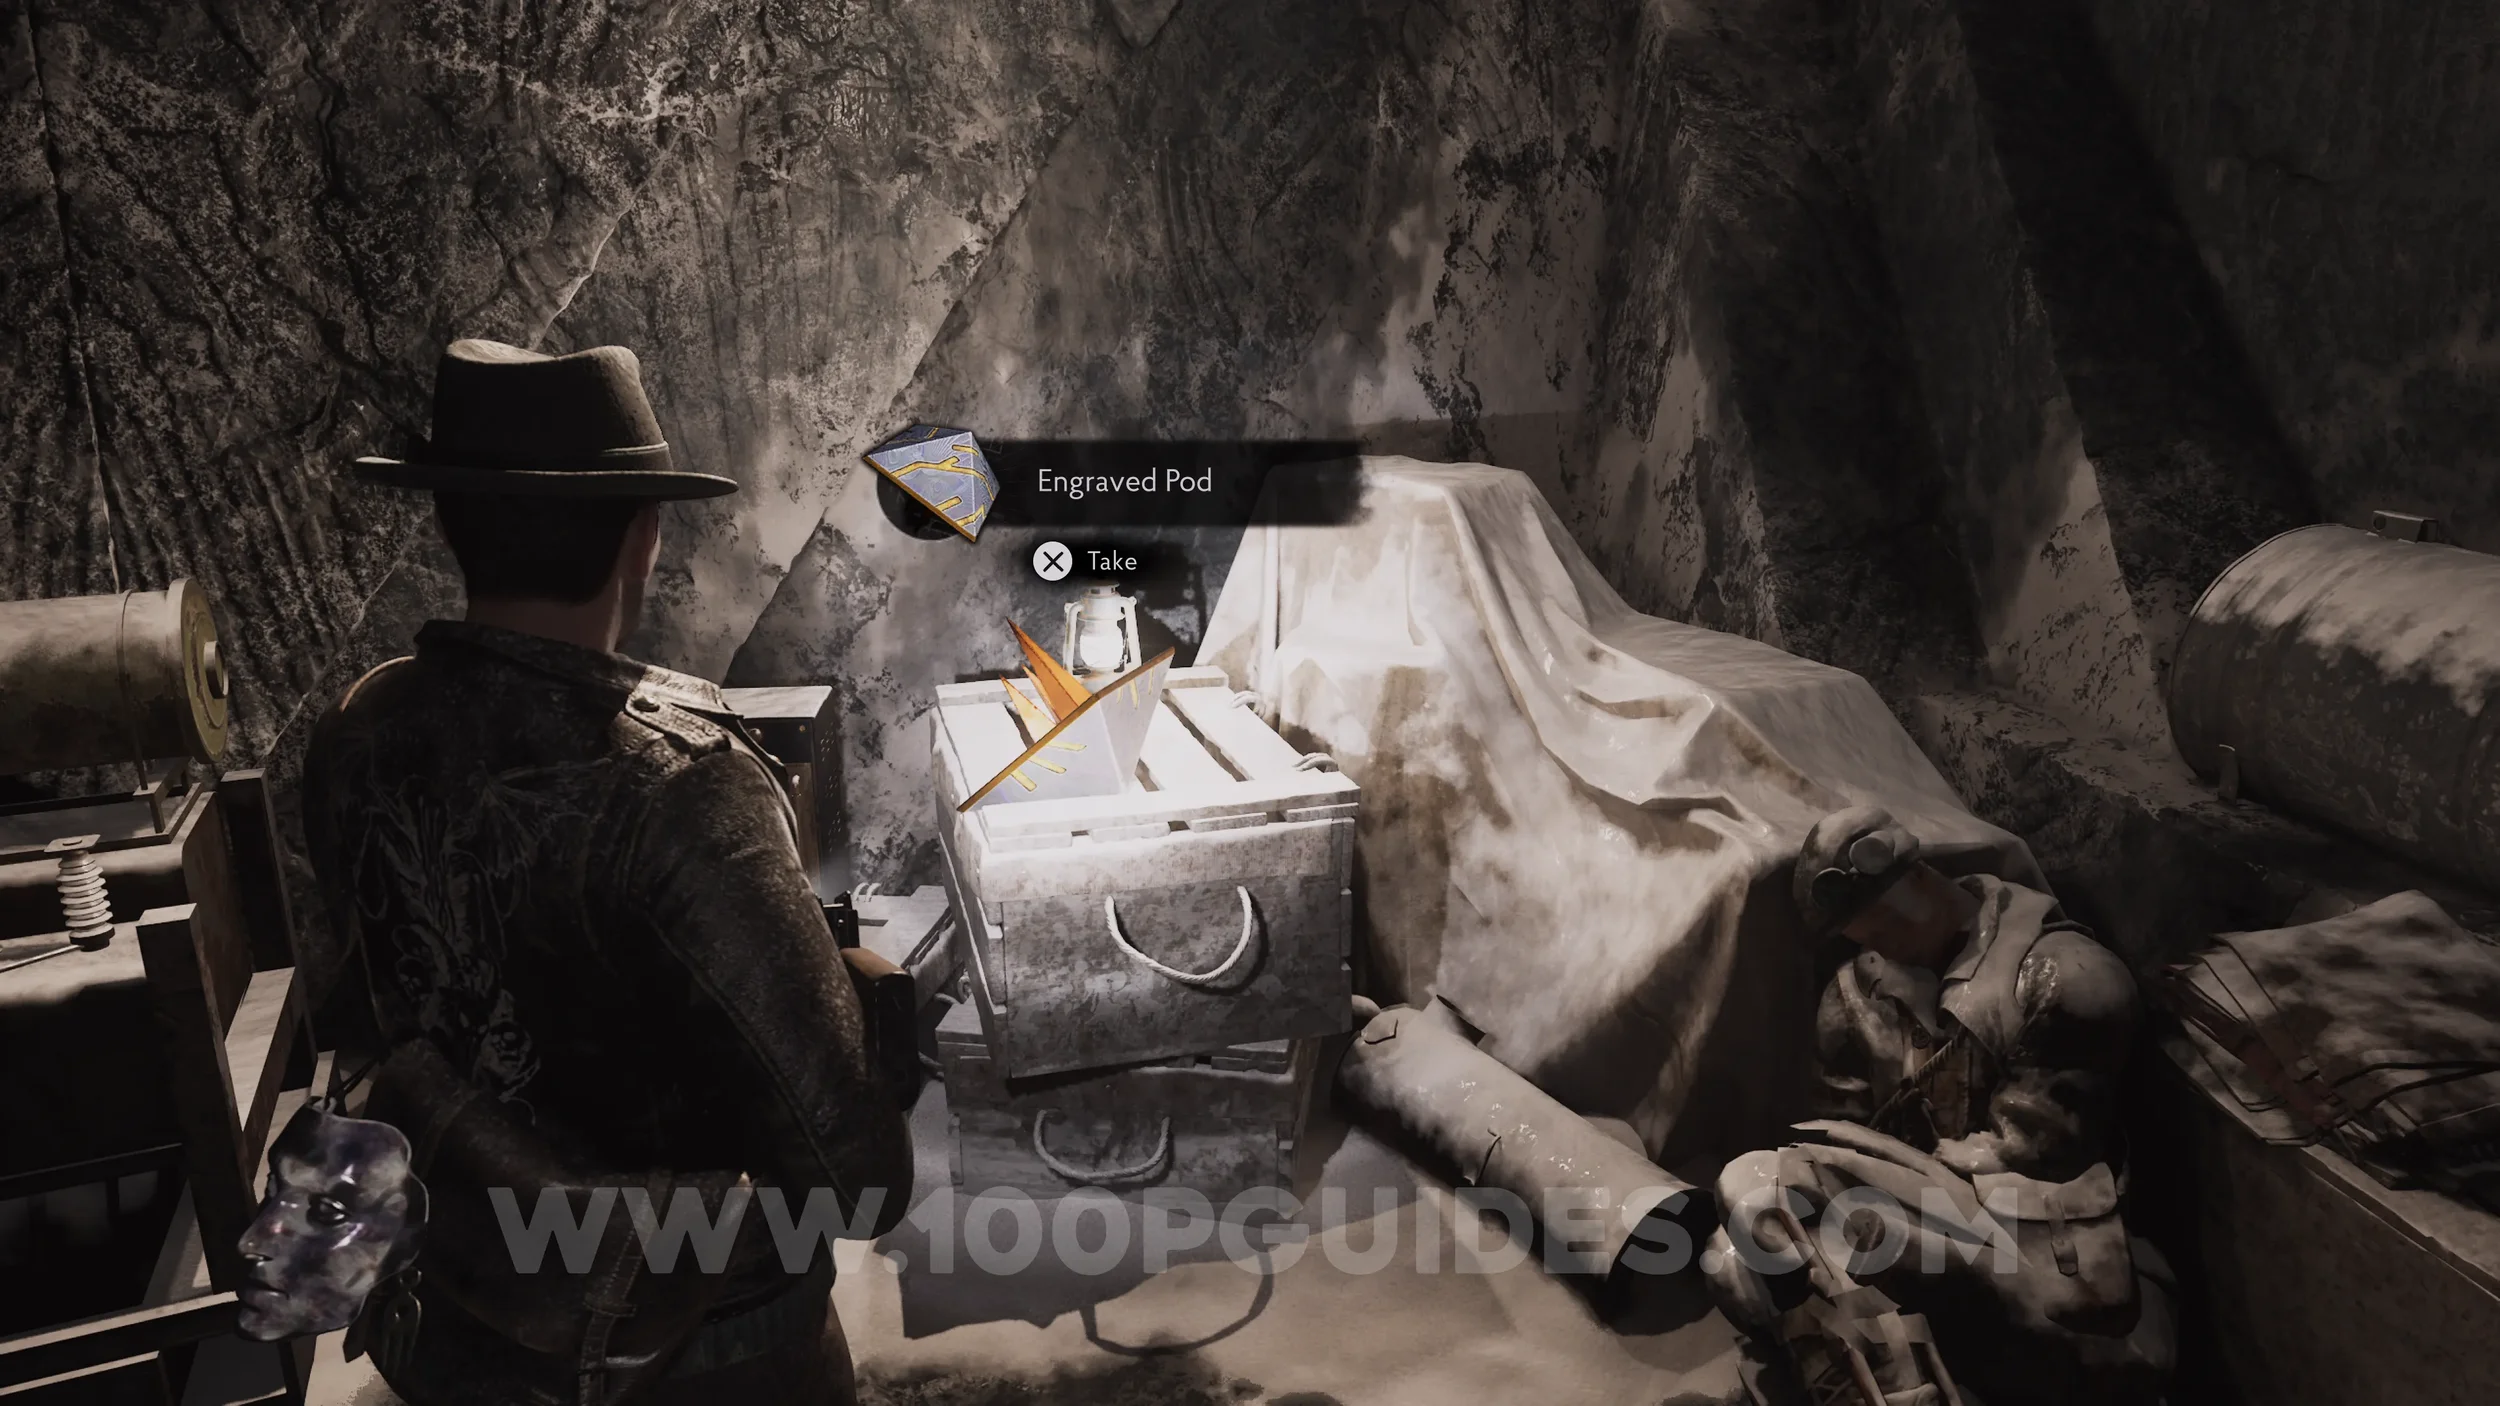
First you will need the Engraved Pod that can be found by taking the path to the north of the Portal Room. Then defeat the enemies and cross the bridge. It will be on a box on the other side.
Then, return to the Portal Room and interact with the device in the middle of the Portal Room and place the Engraved Pod on it. Then spin the sides, top and bottom until the patterns match the images below.


