Metroid Prime 4 All Shot Expansion Locations
This guide will show you where to find every Shot Expansion in Metroid Prime 4.
Find more Metroid Prime 4 guides here.
Author 100% Guides.
This guide will show you where to find every Shot Expansion in Metroid Prime 4. These will give you more elemental shots. Here are the locations.
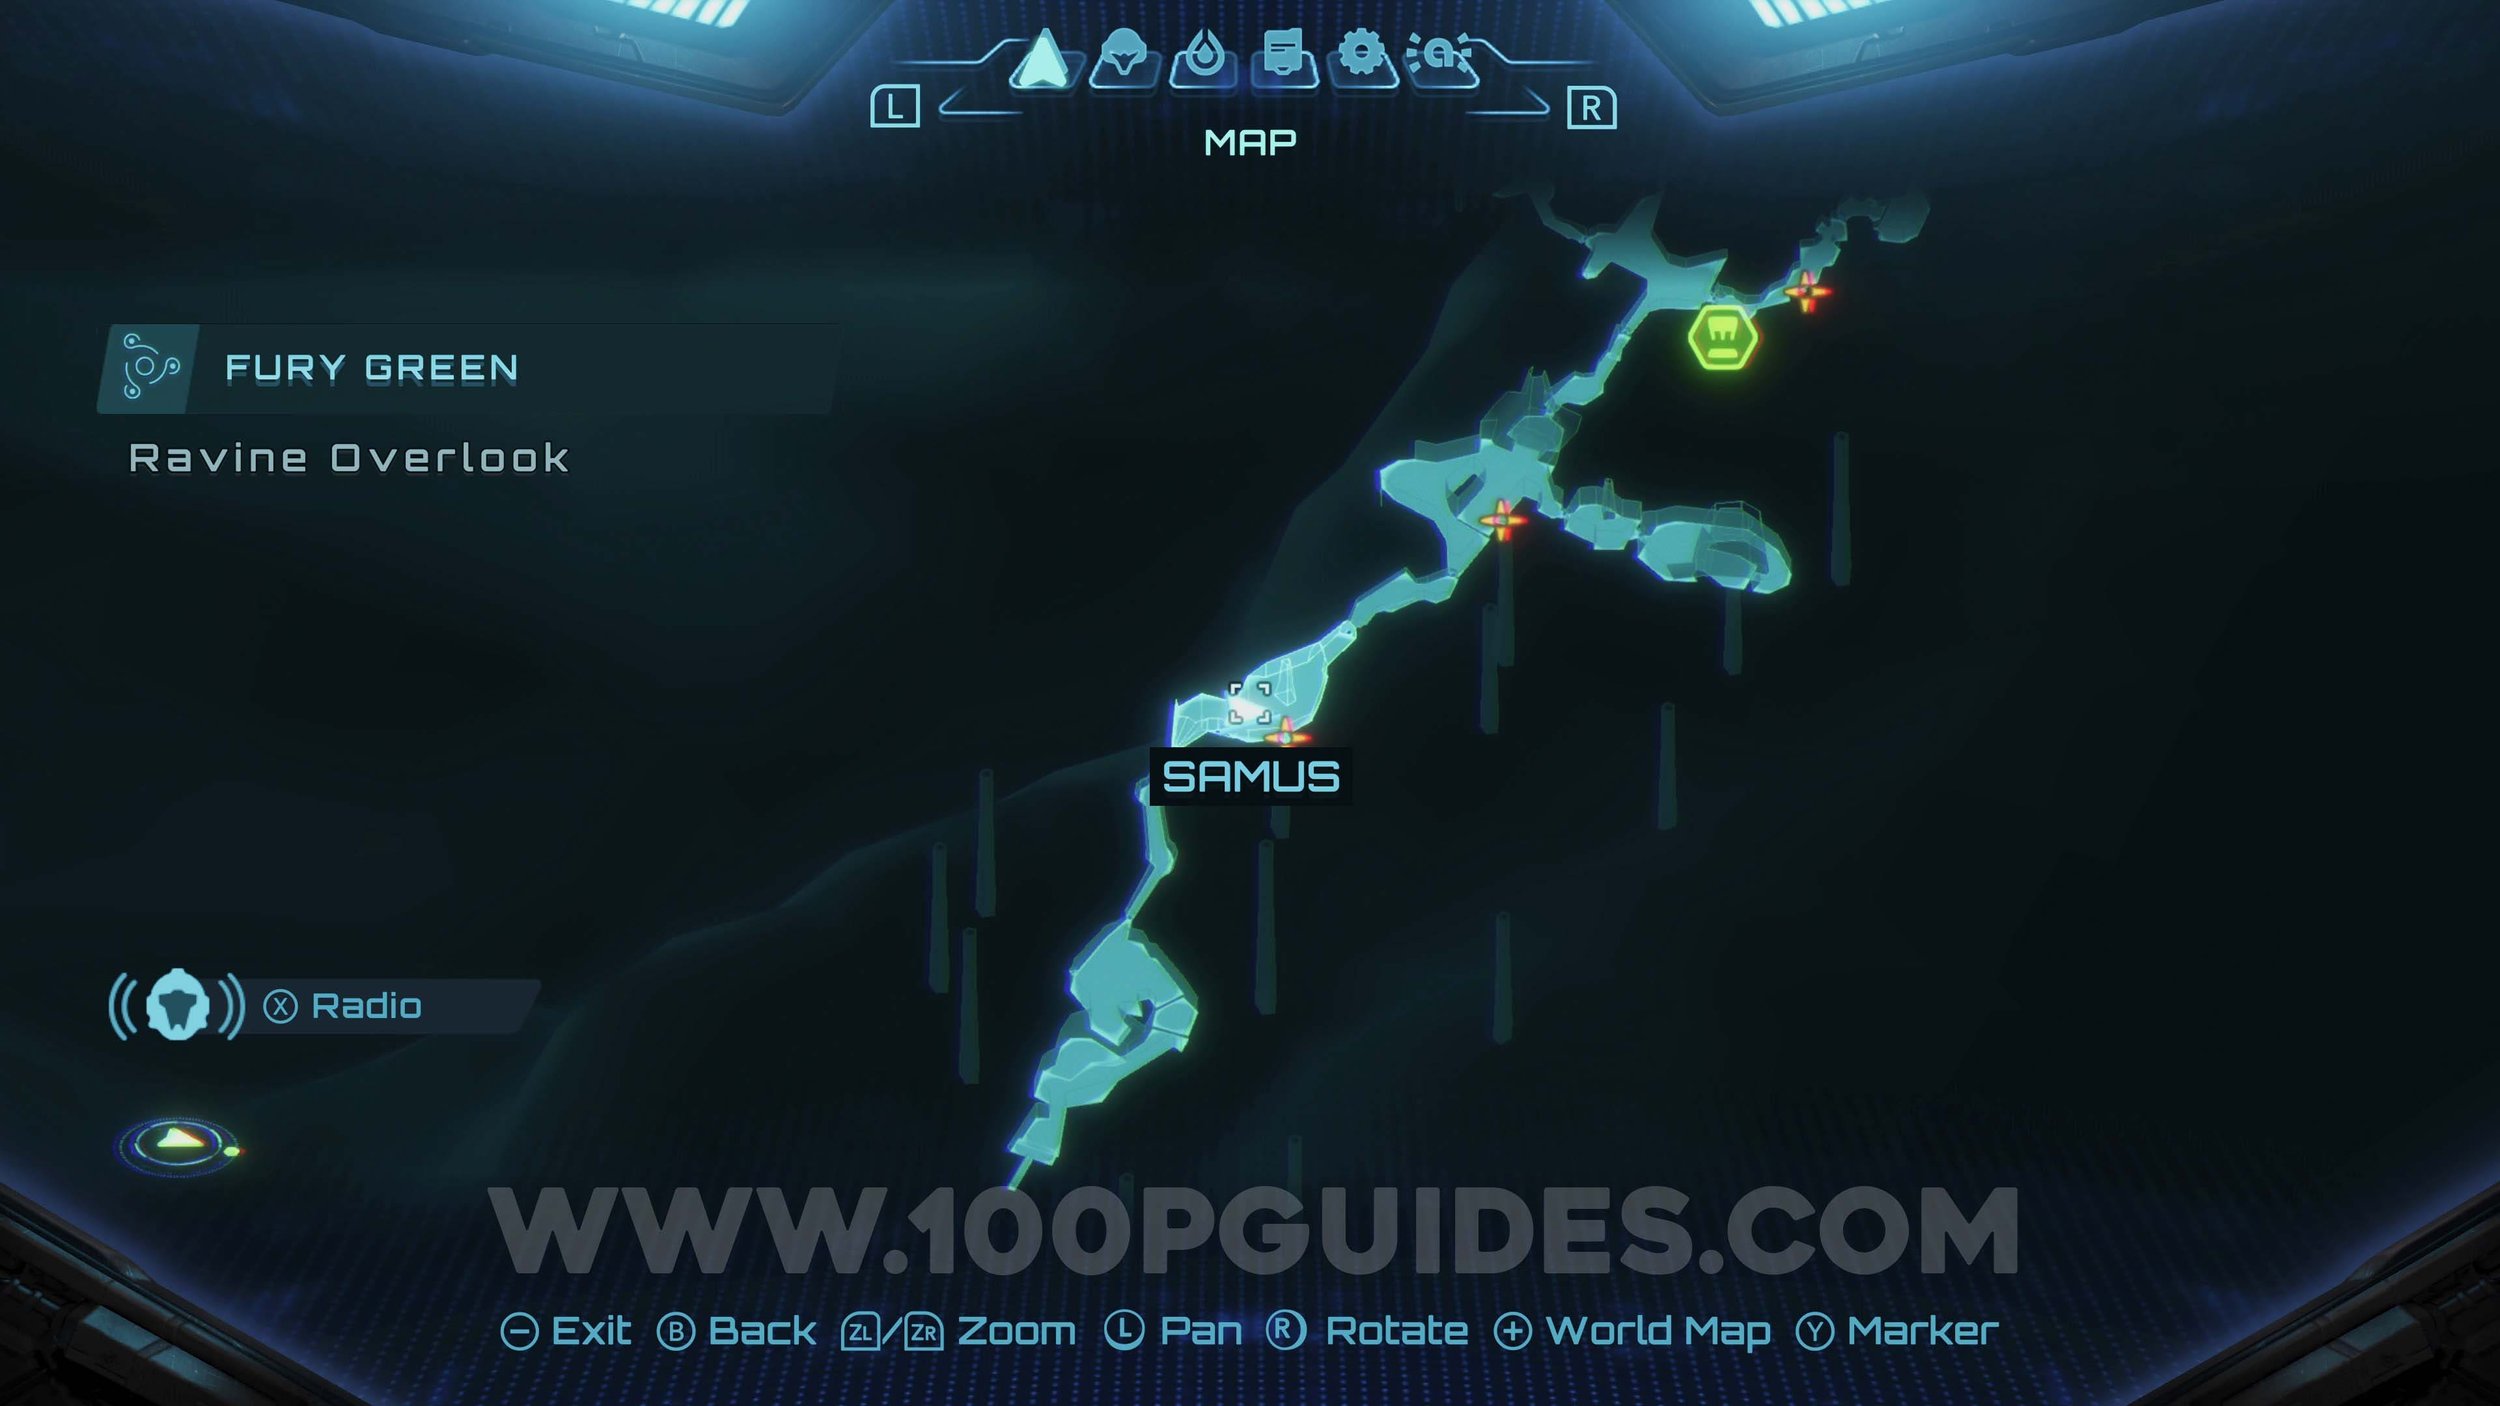
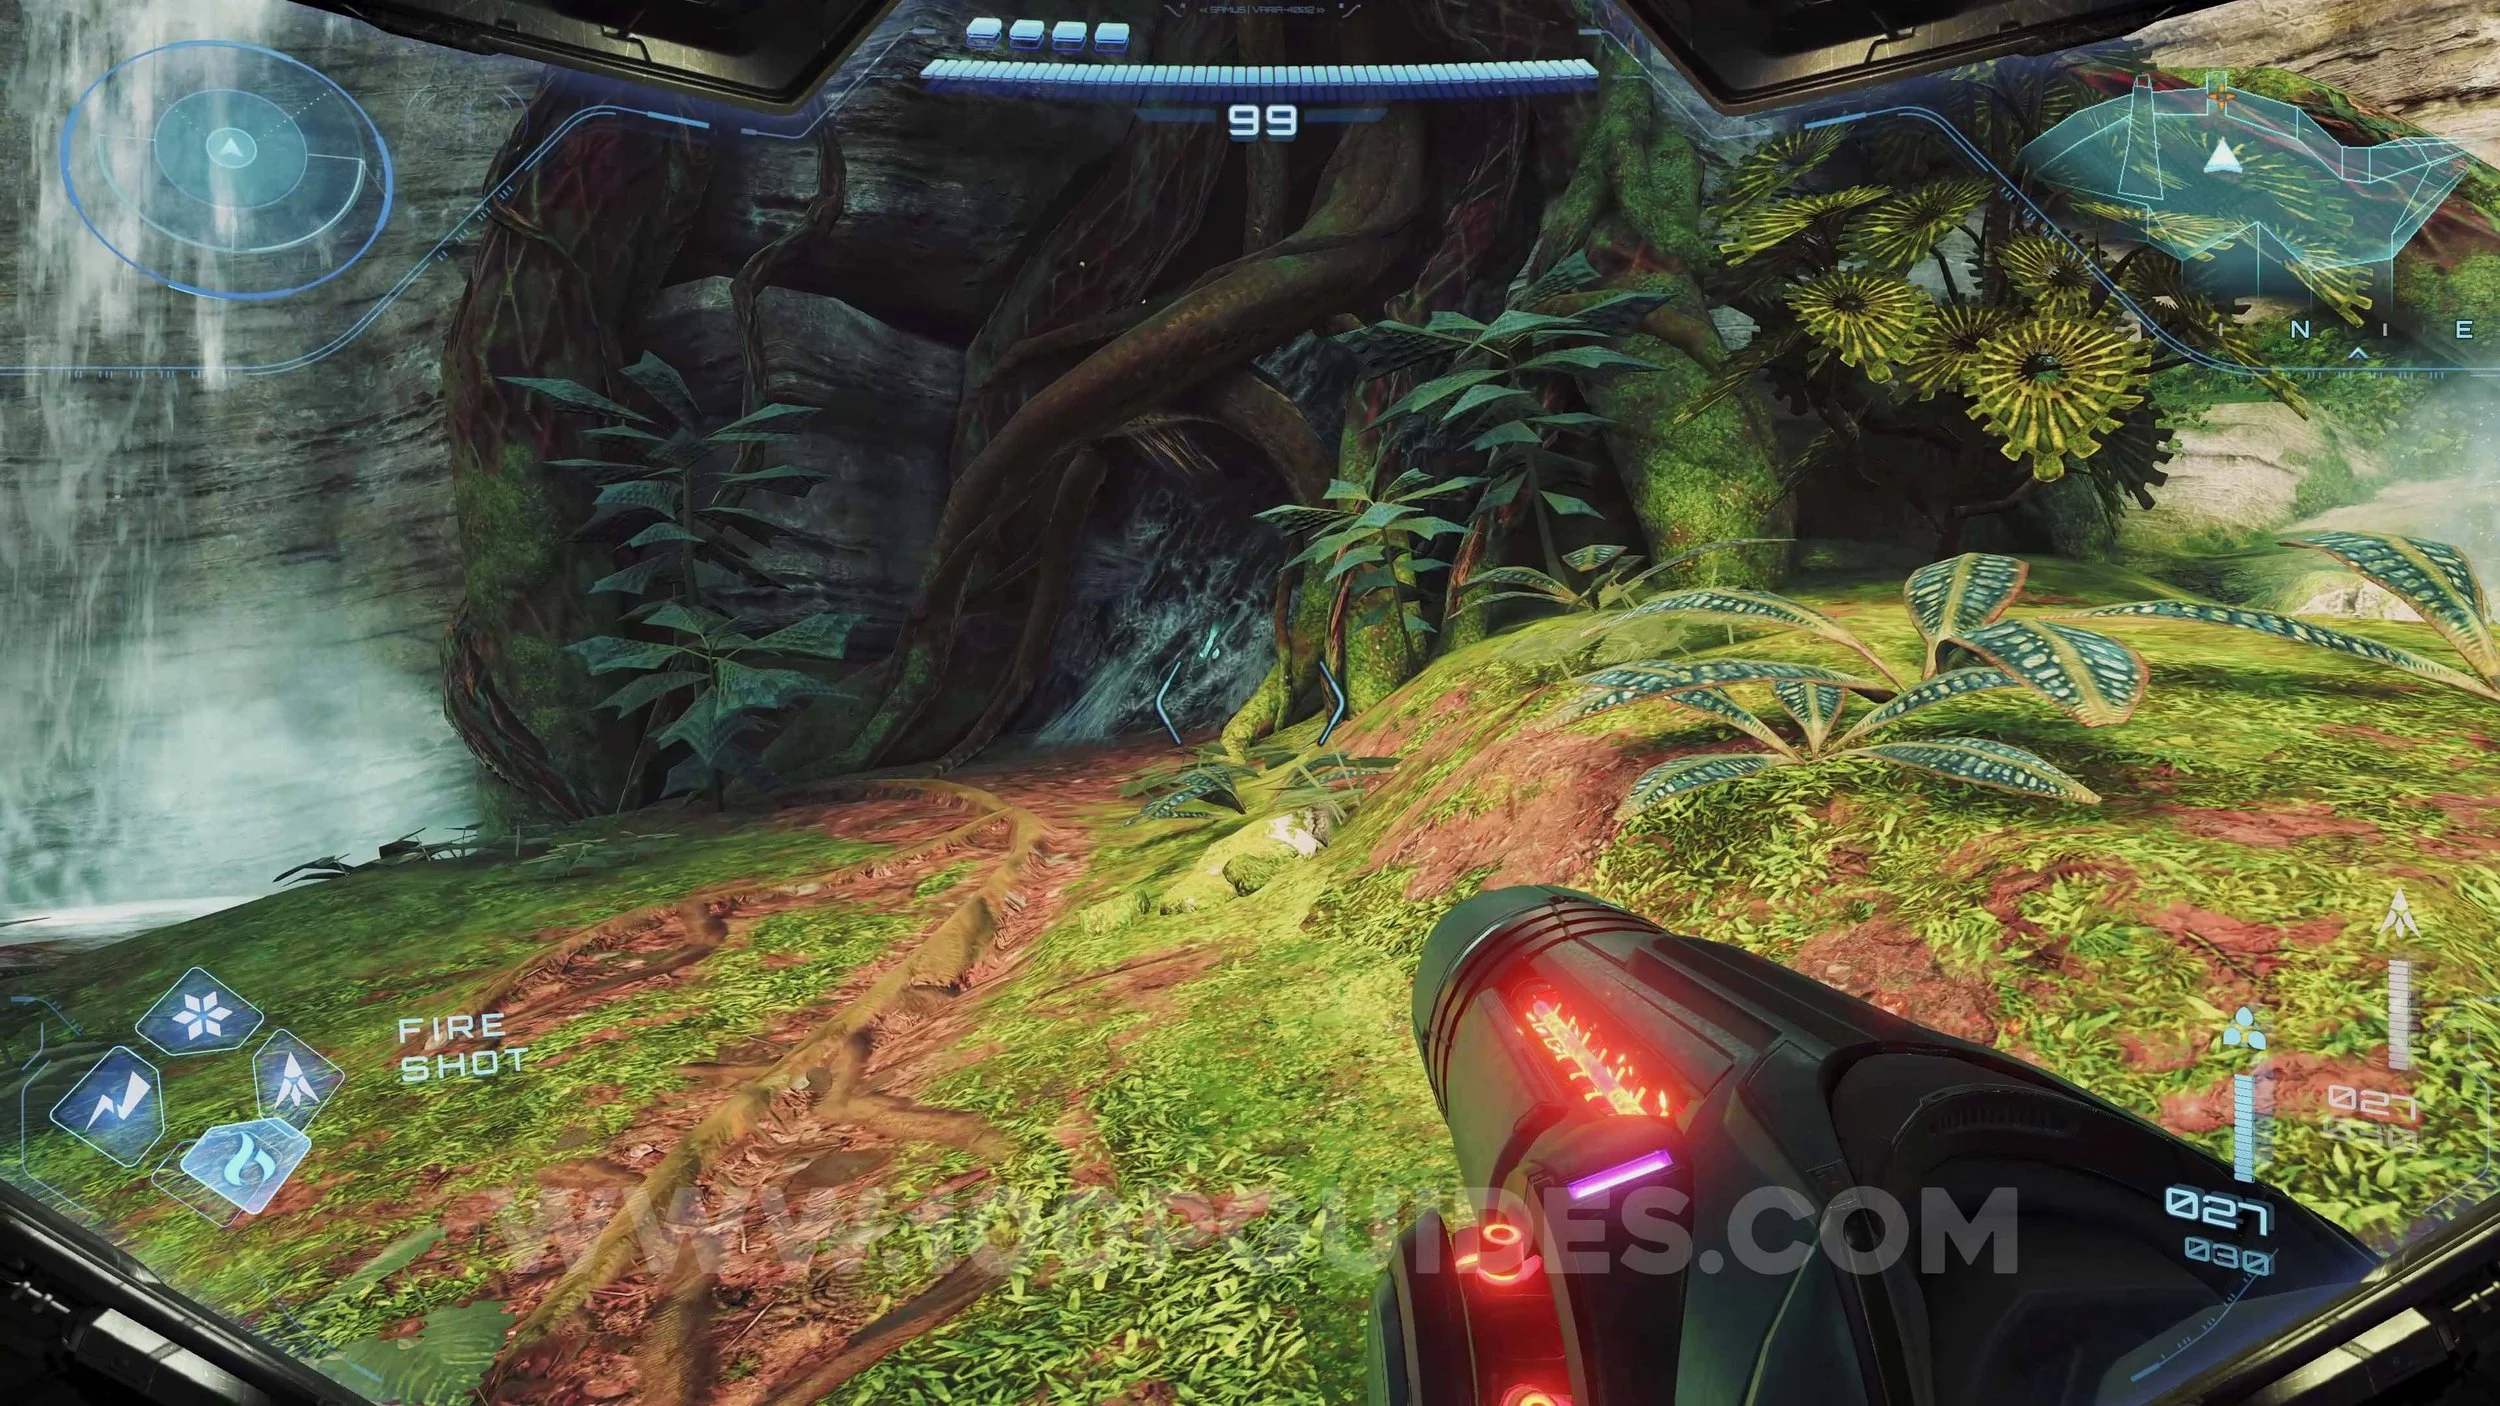
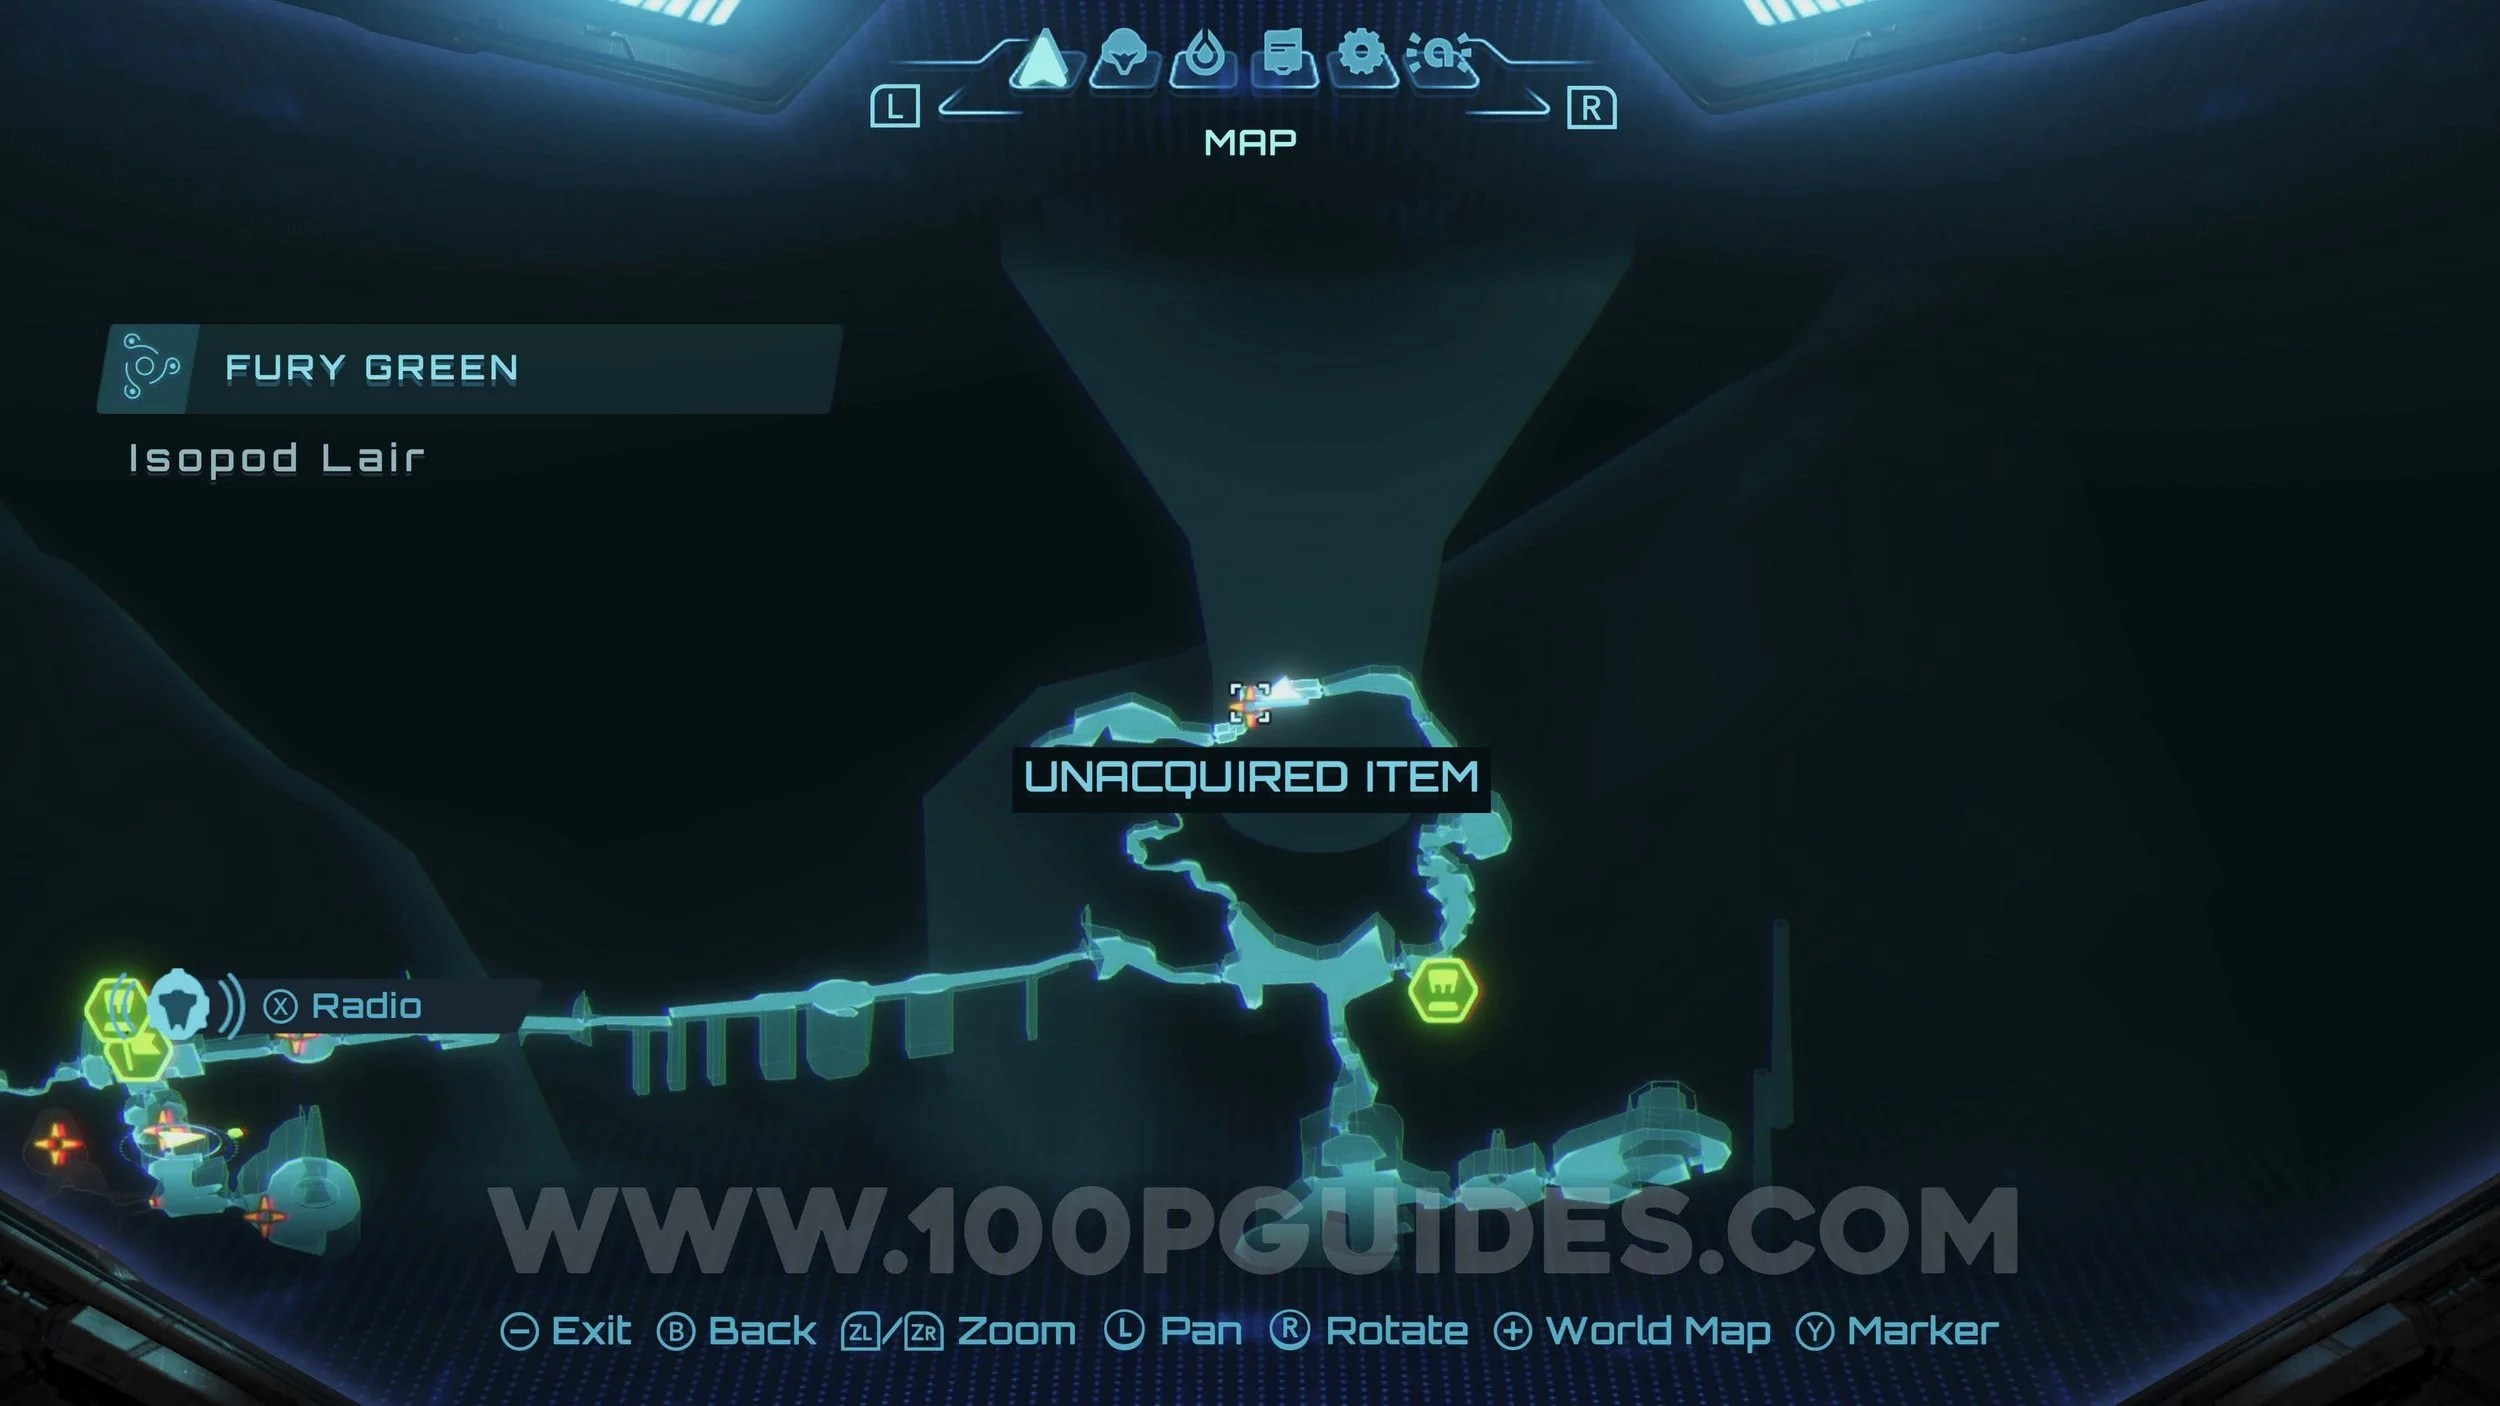
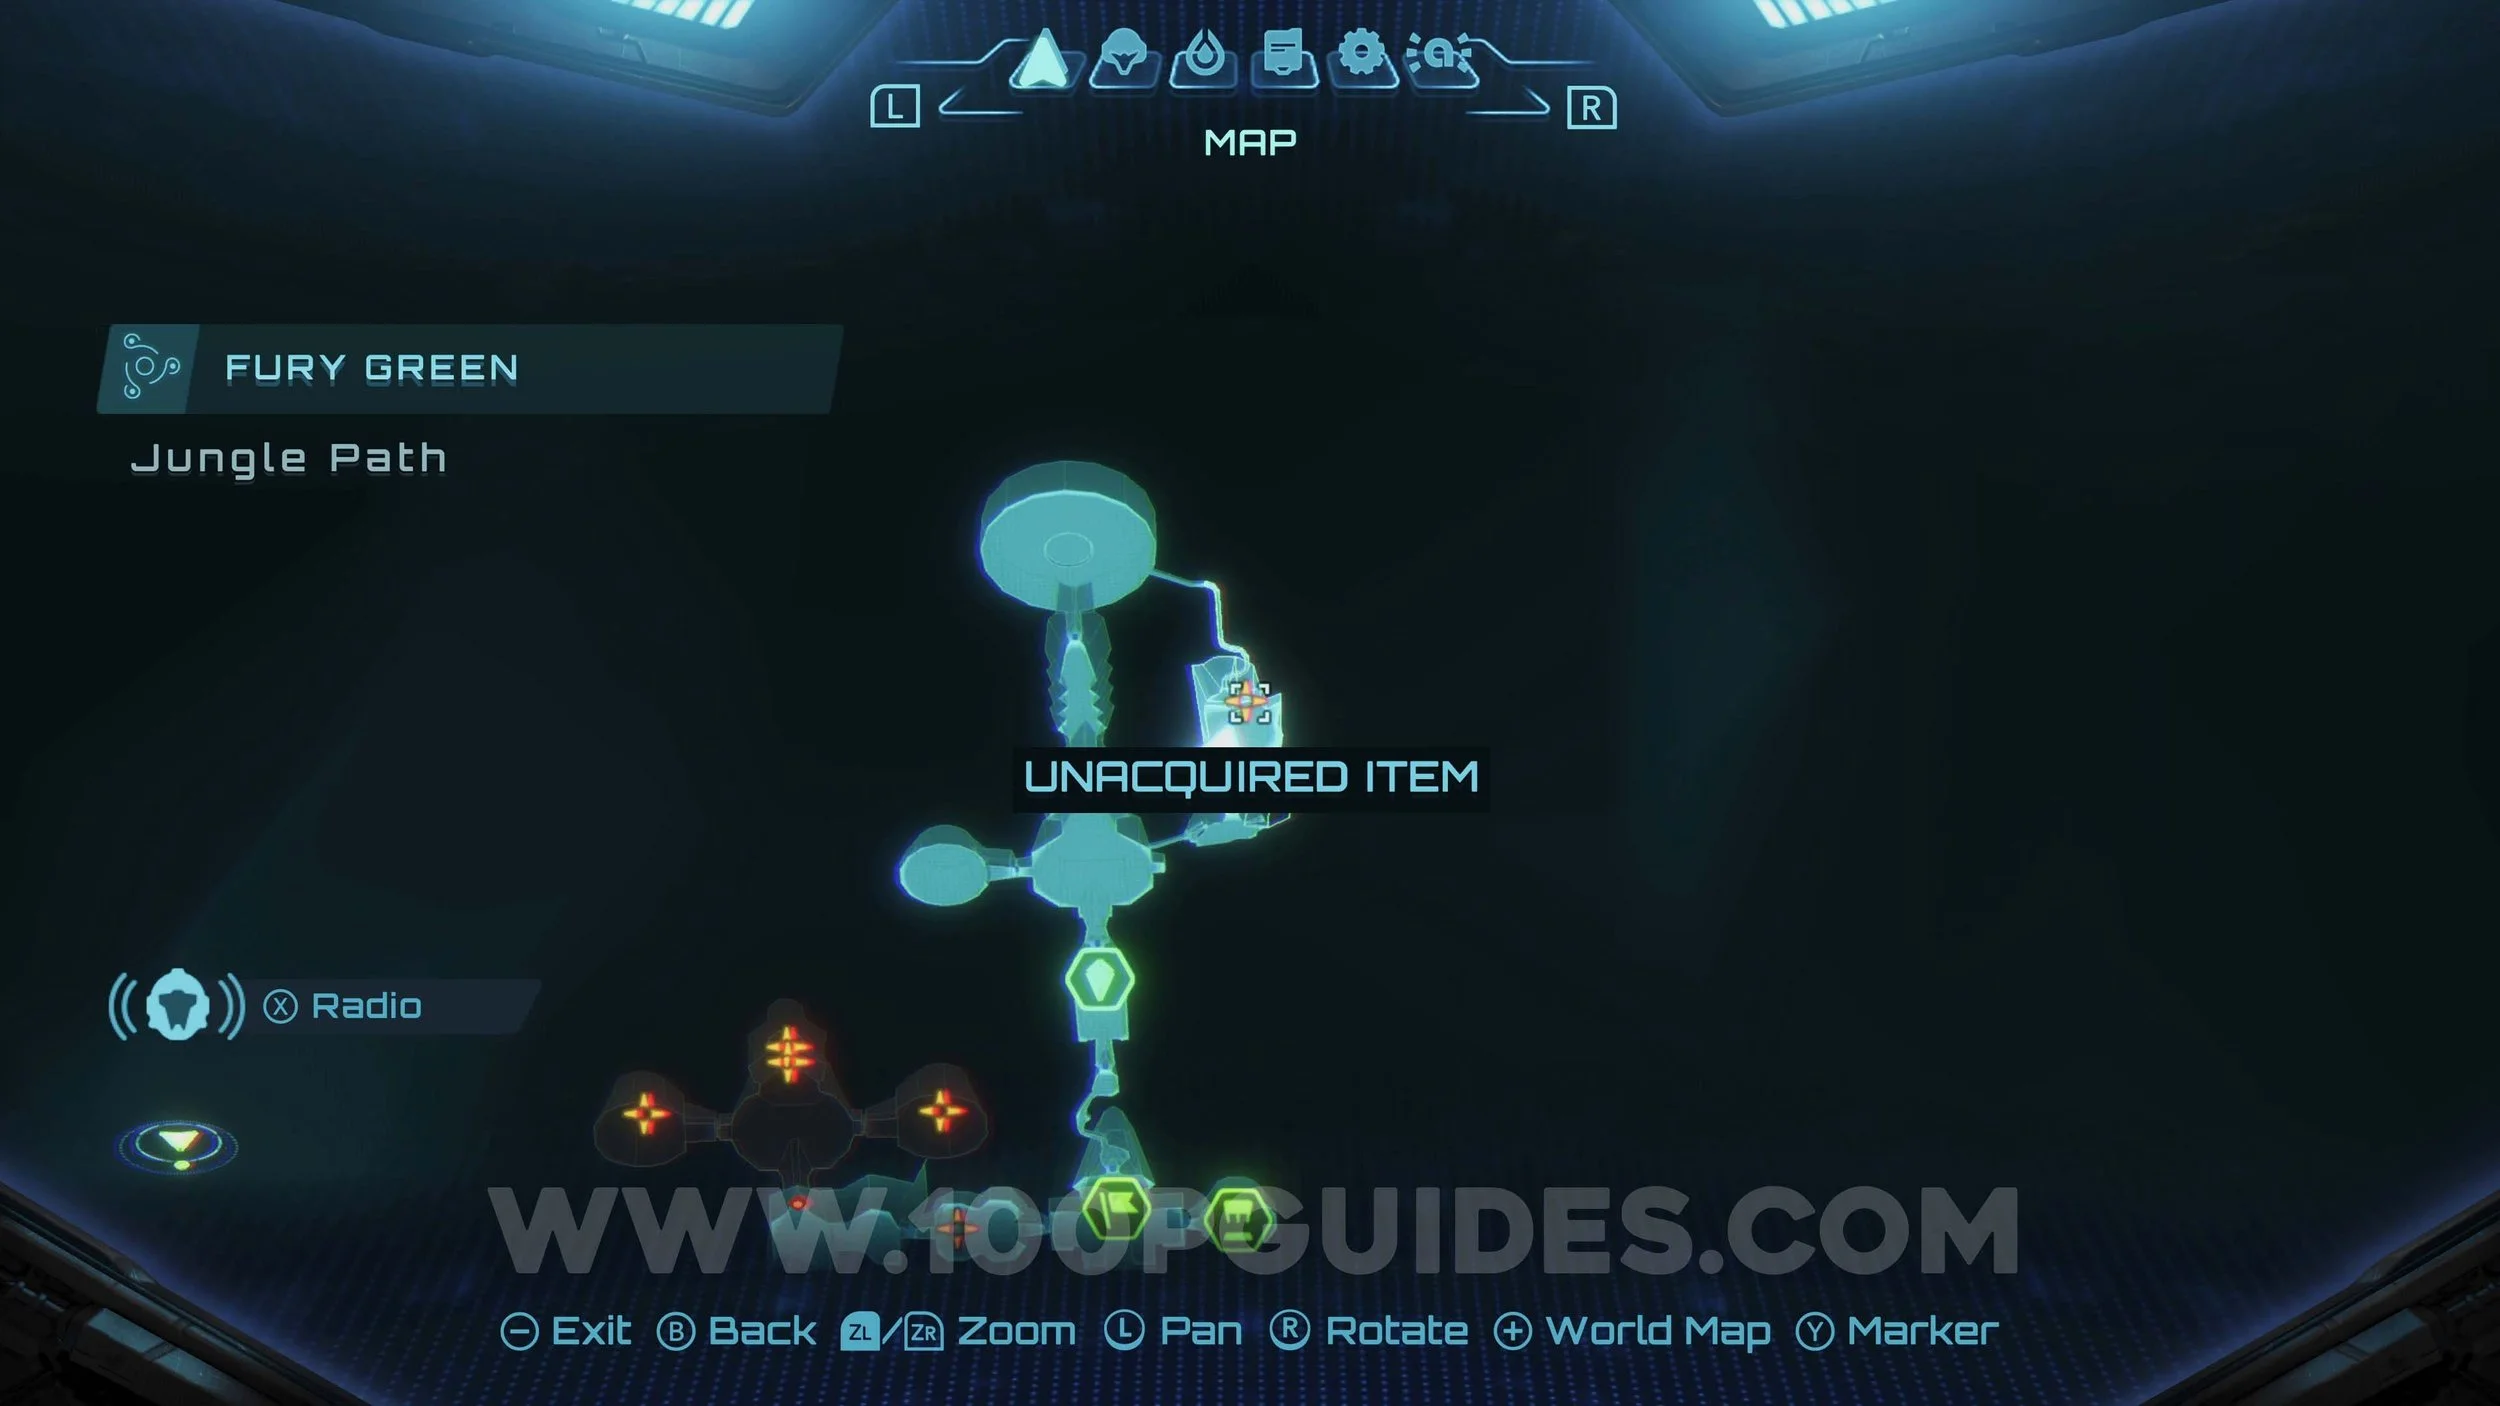
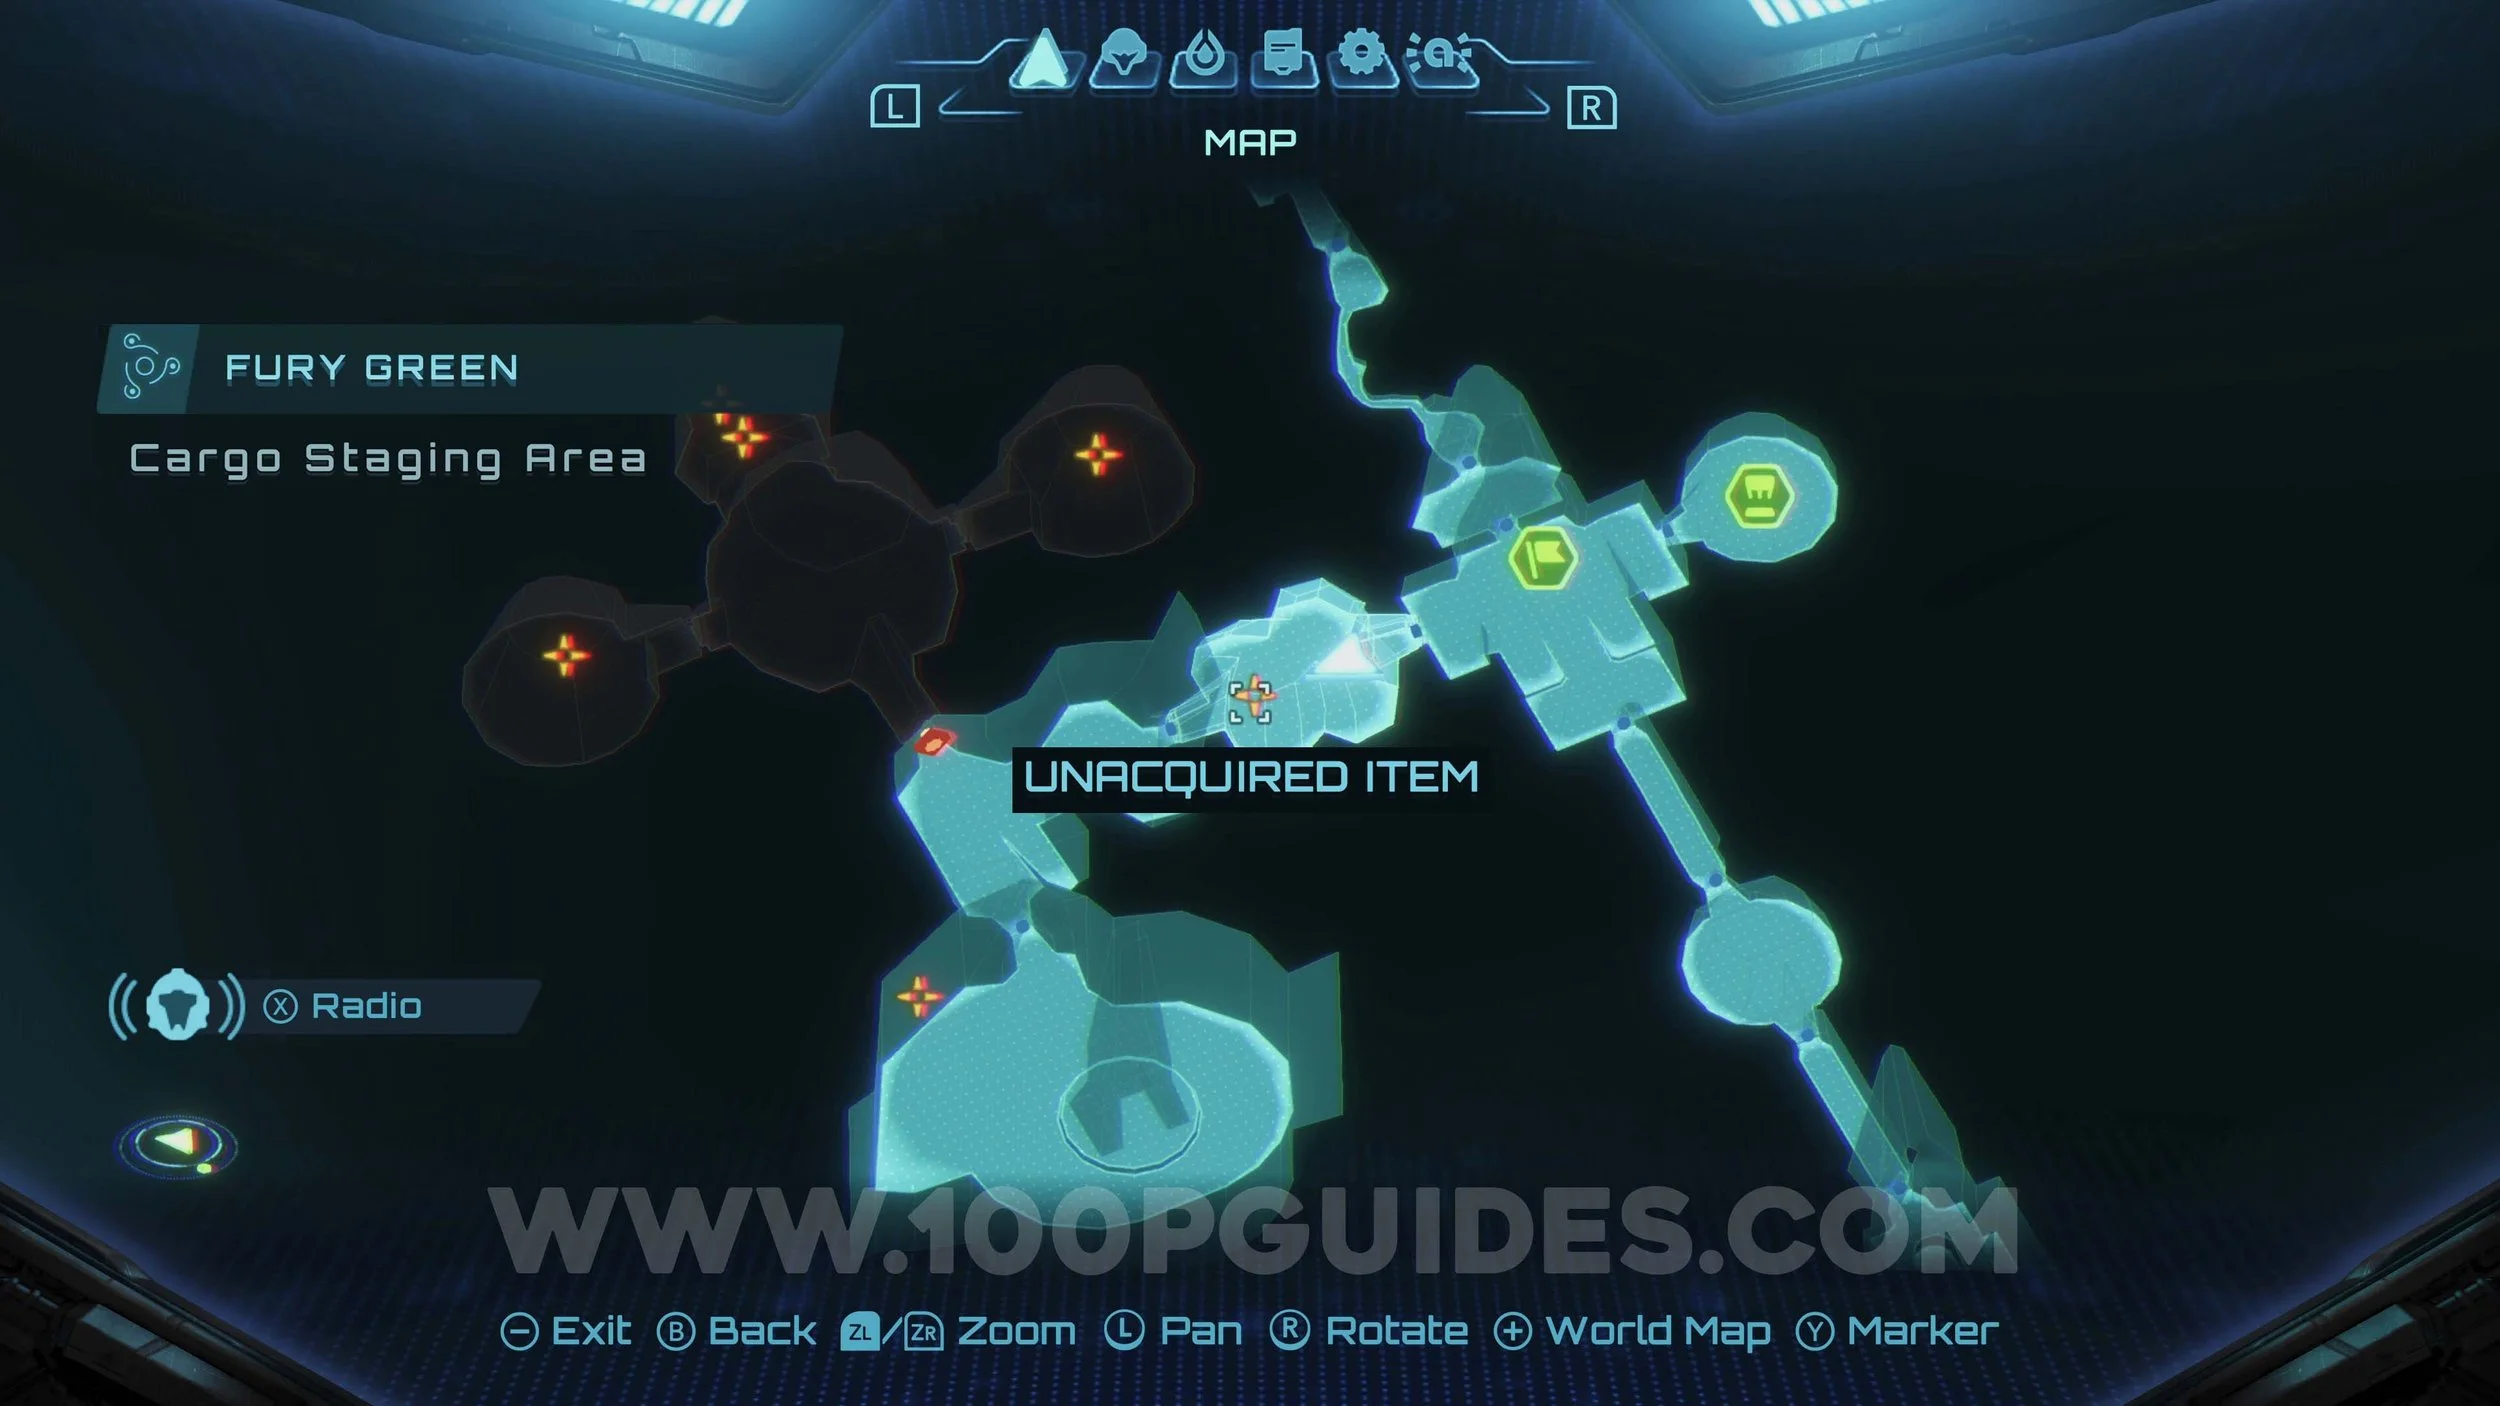
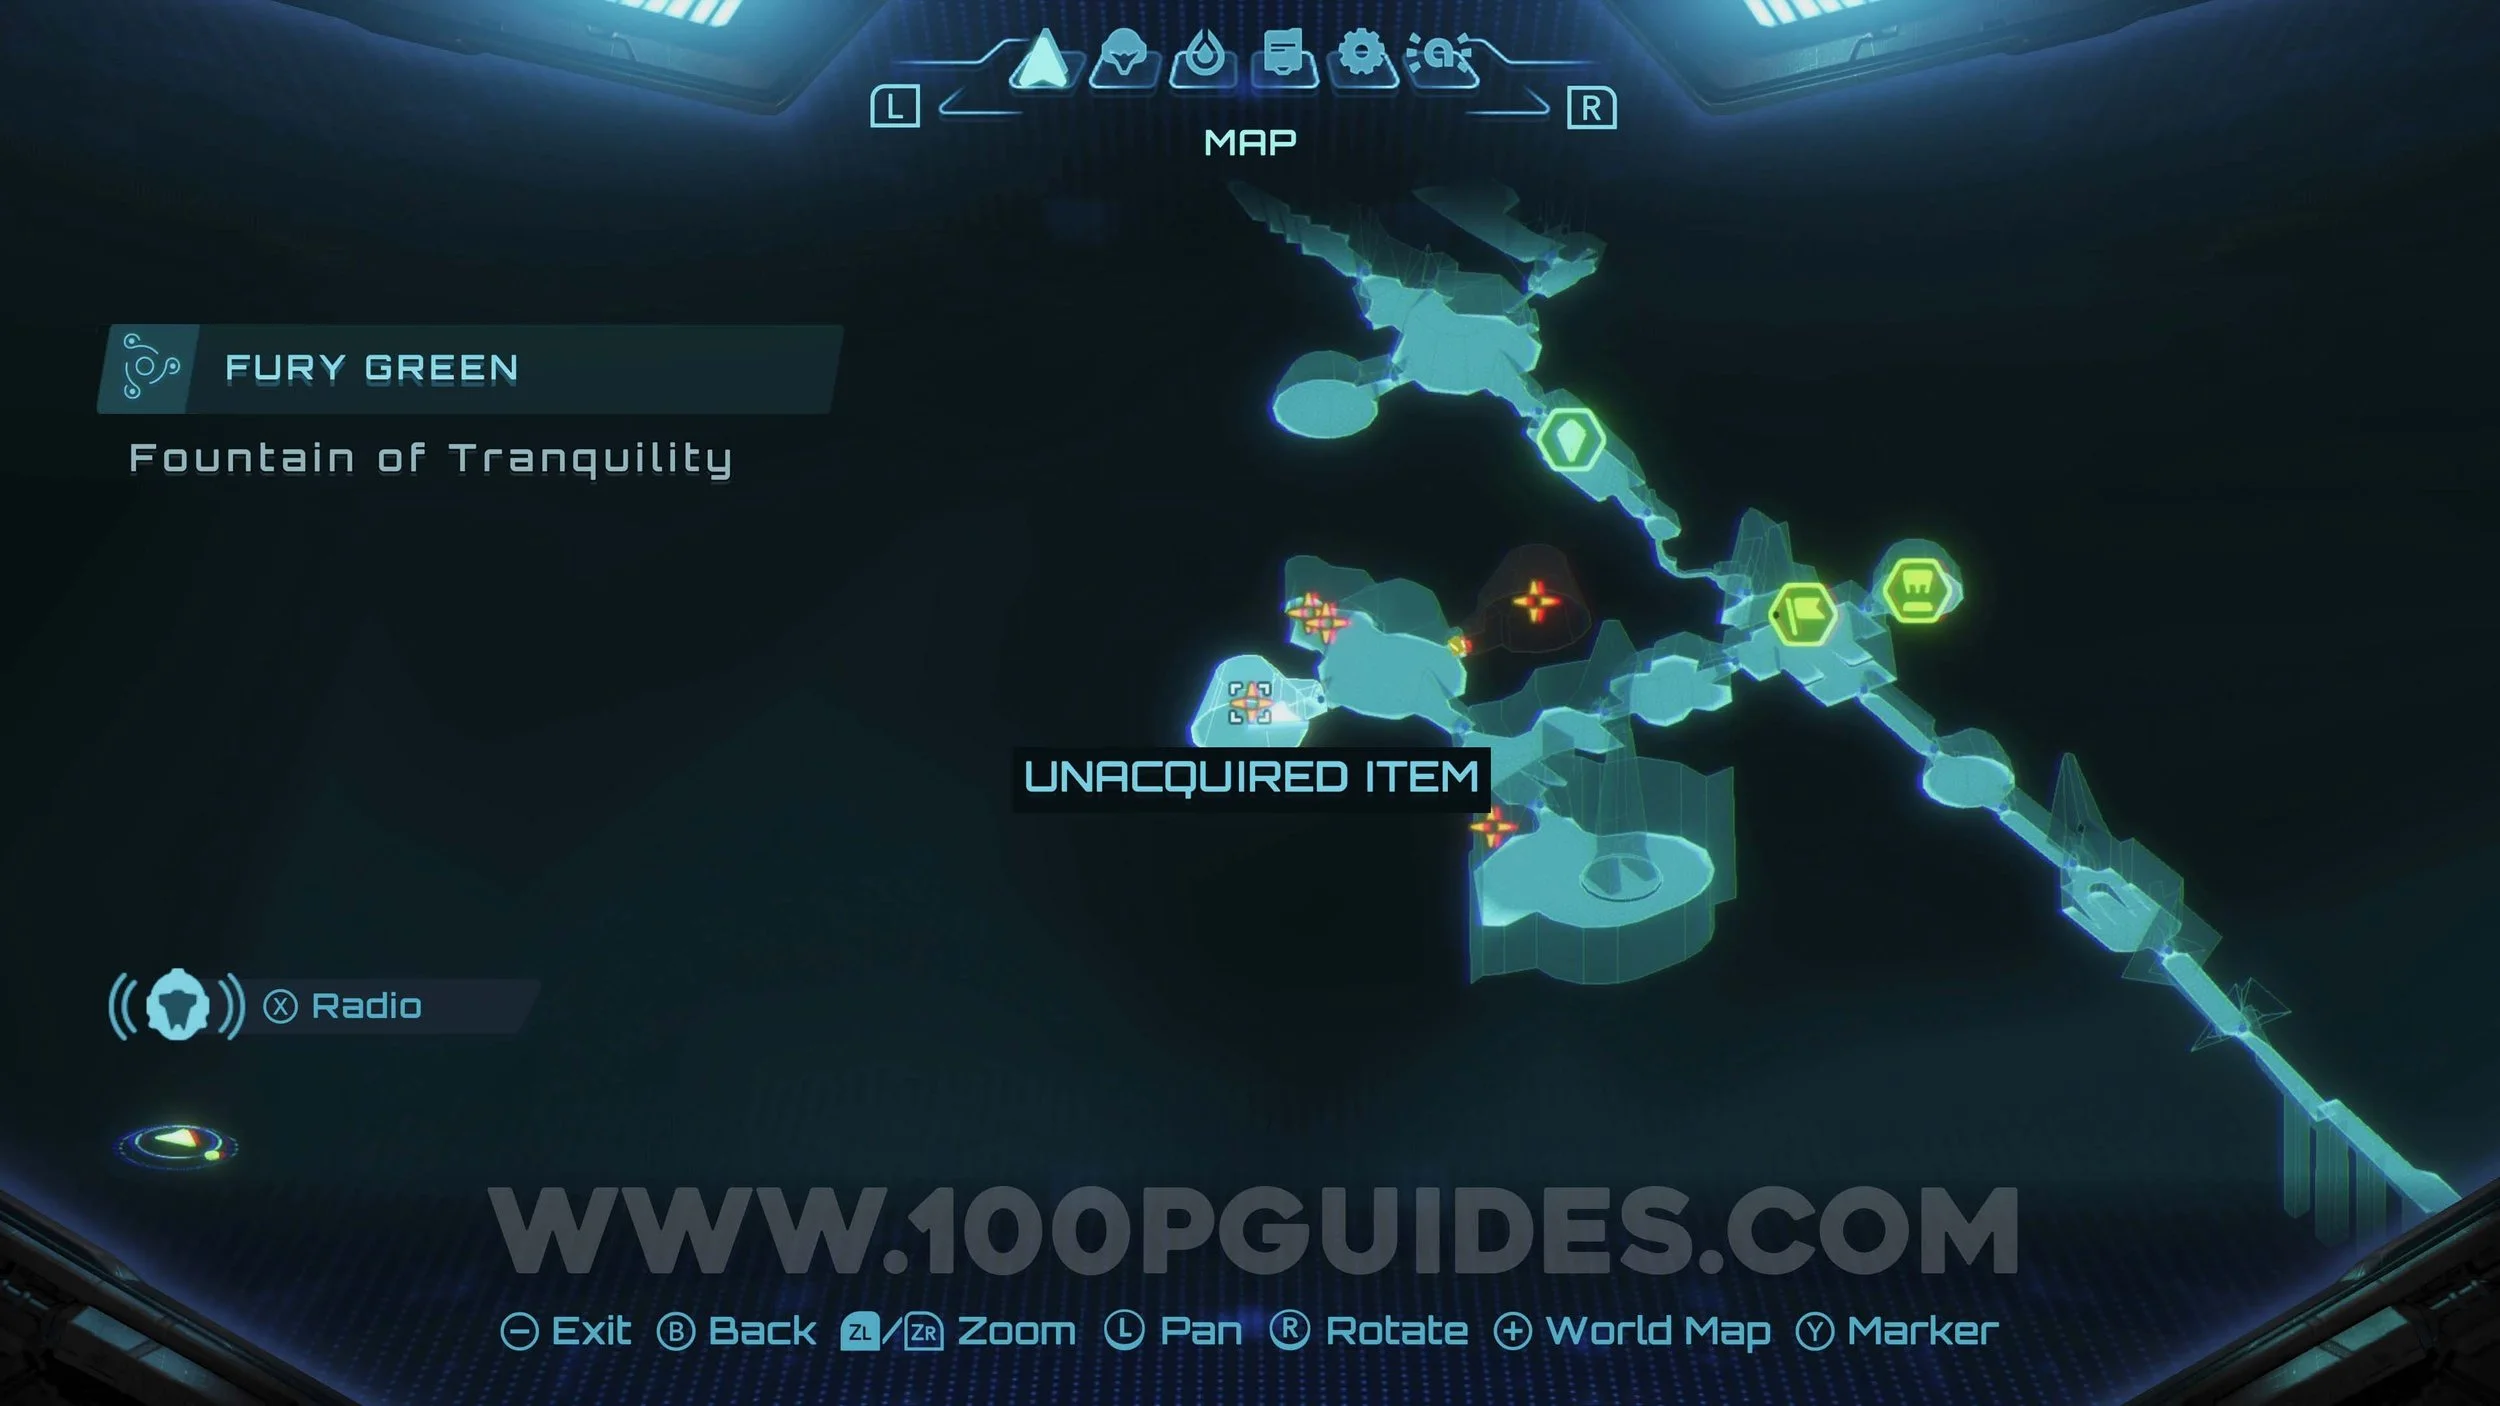
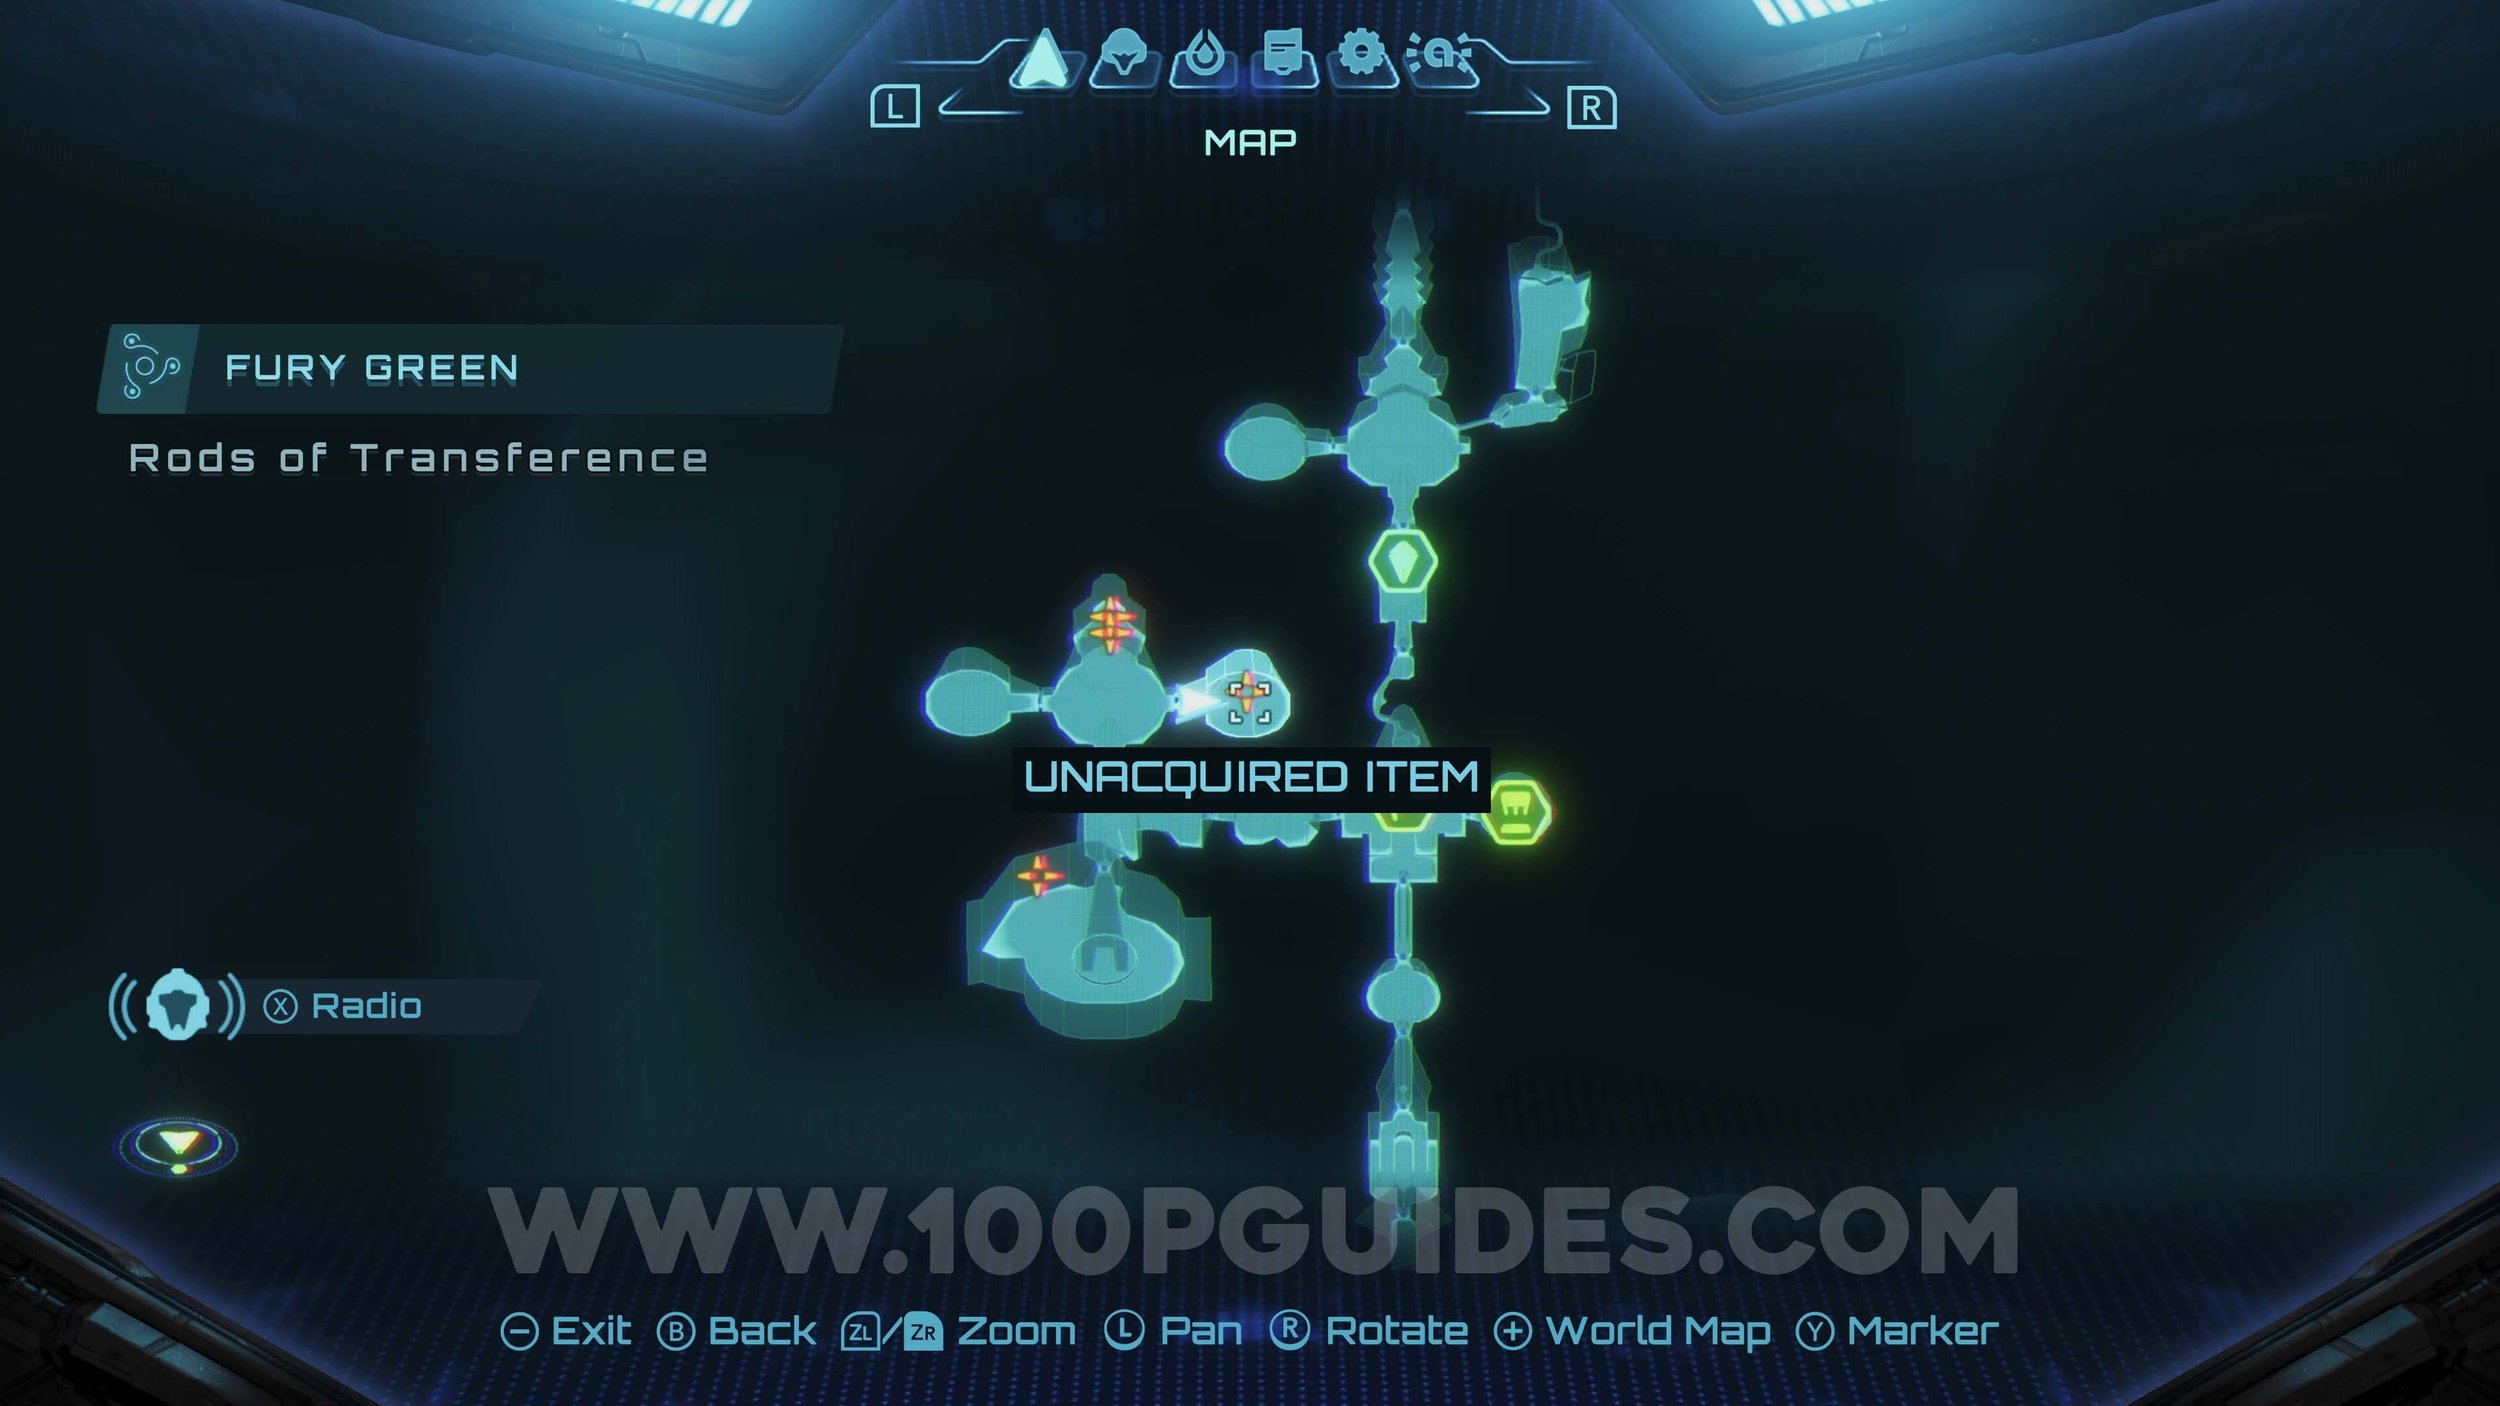
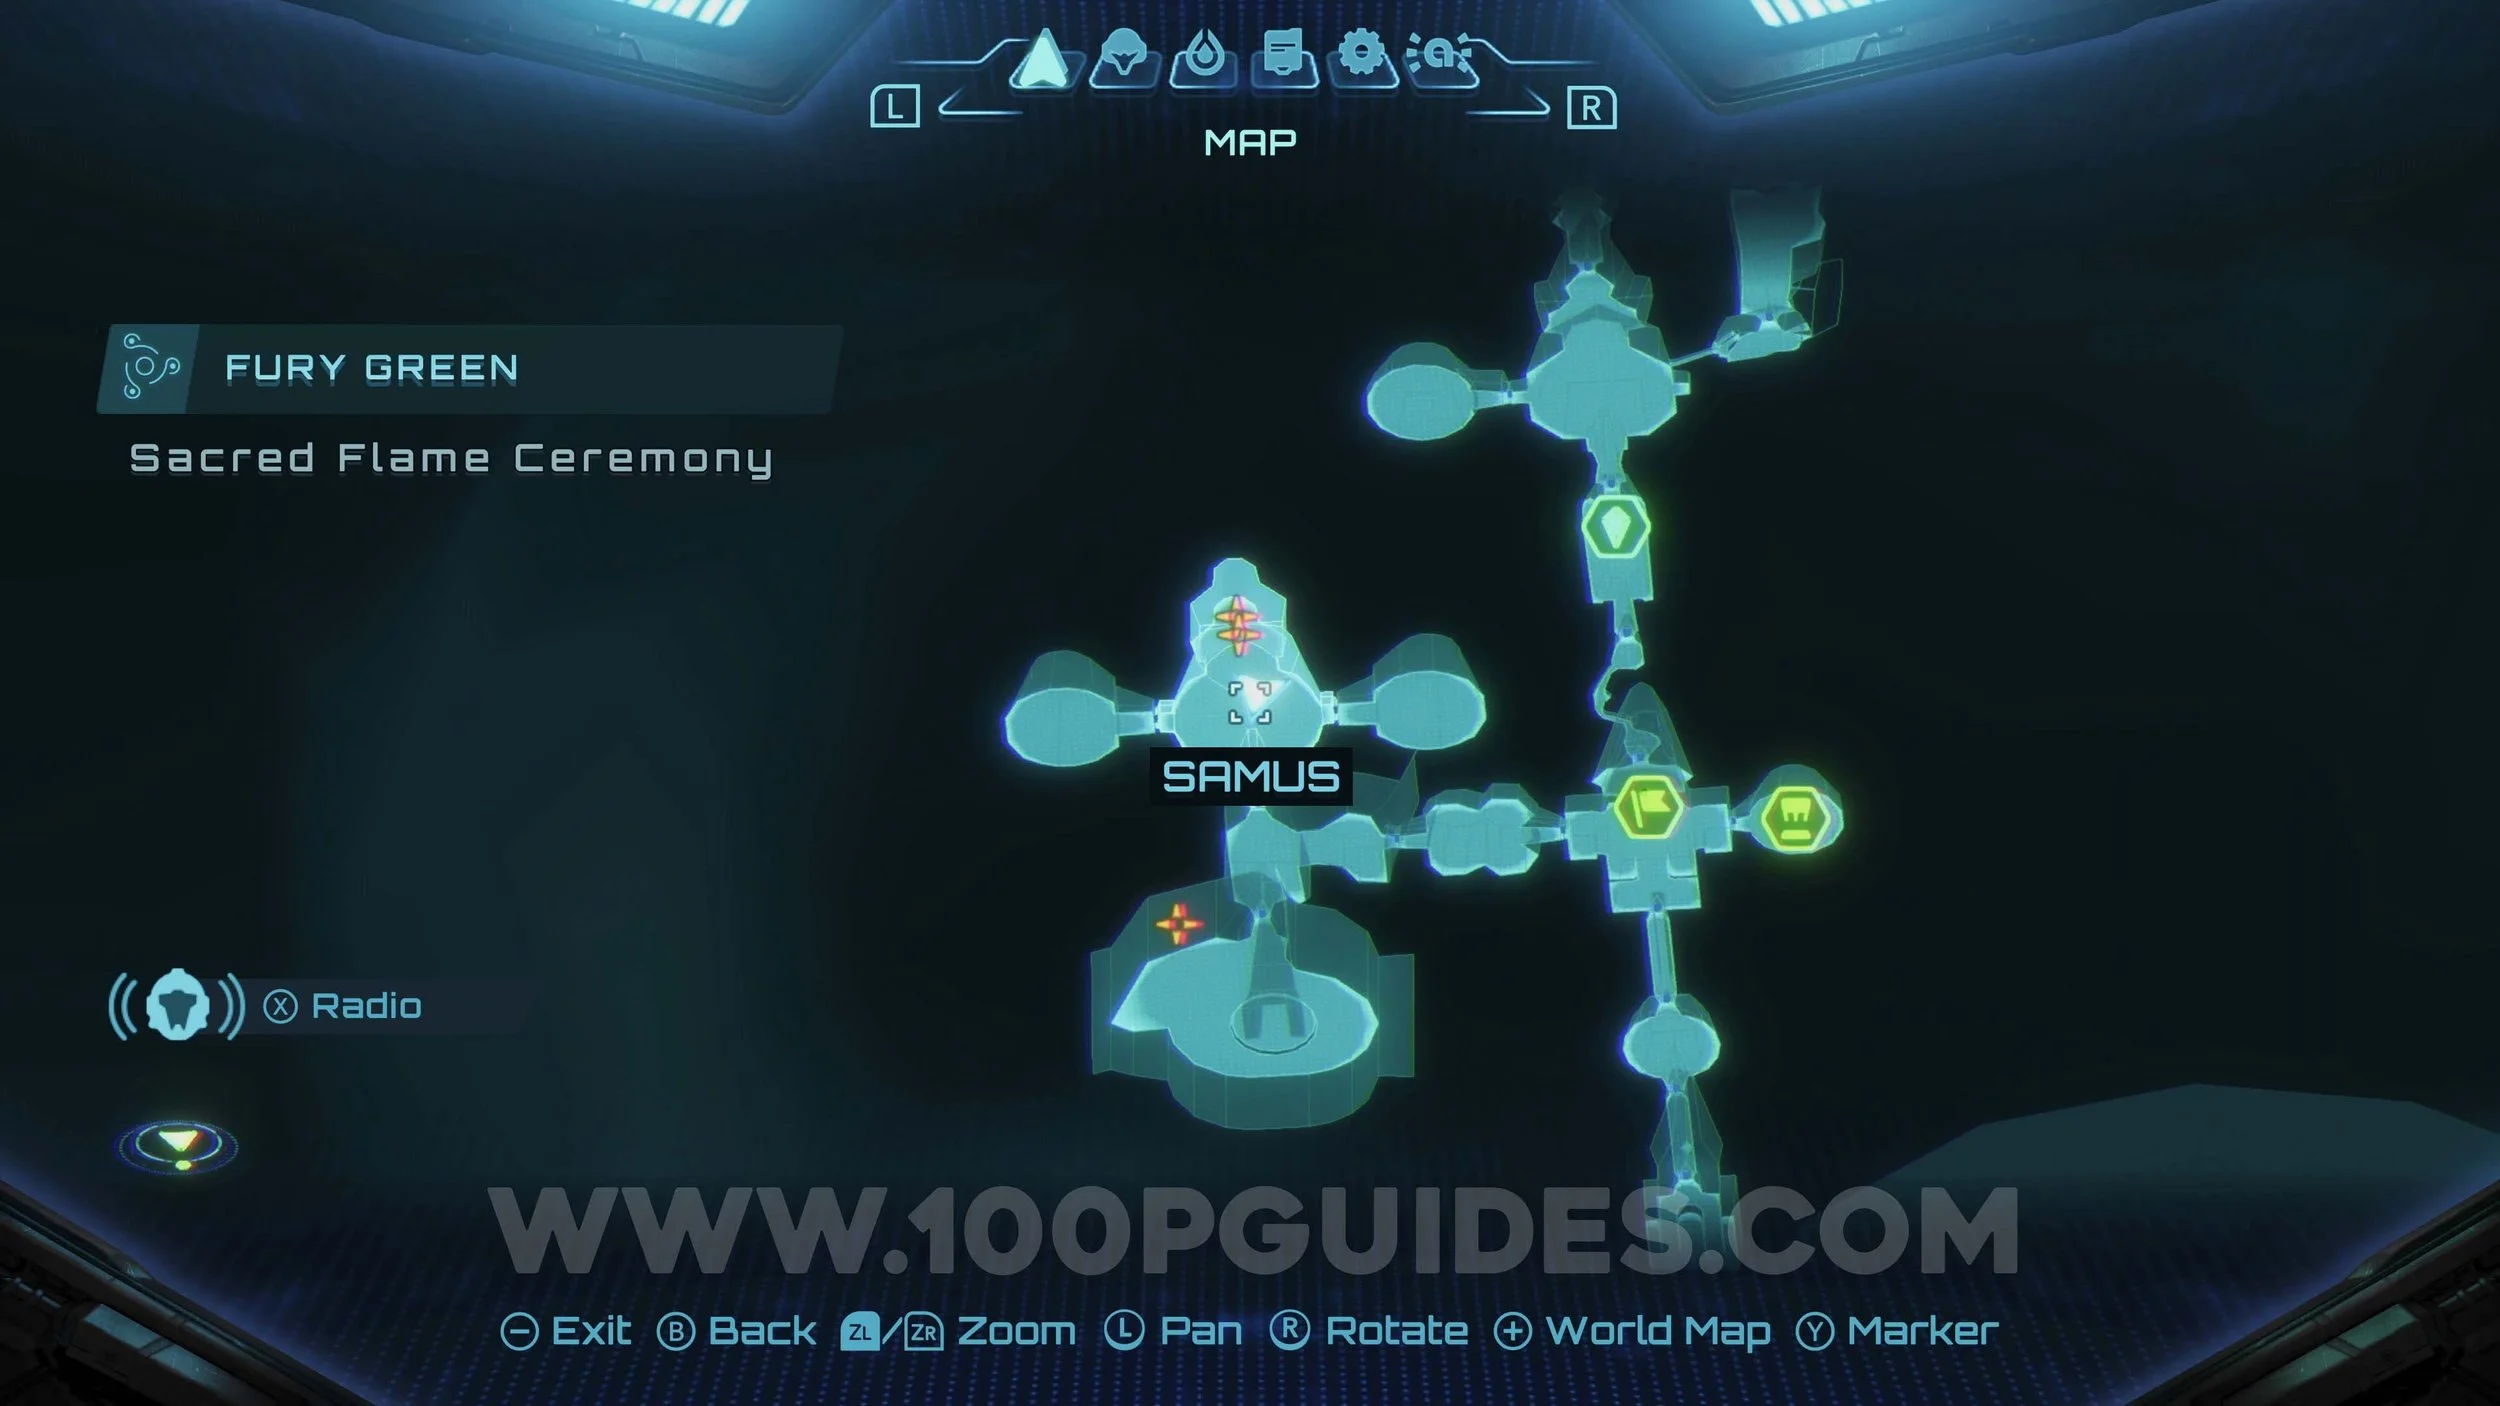
FURY GREEN
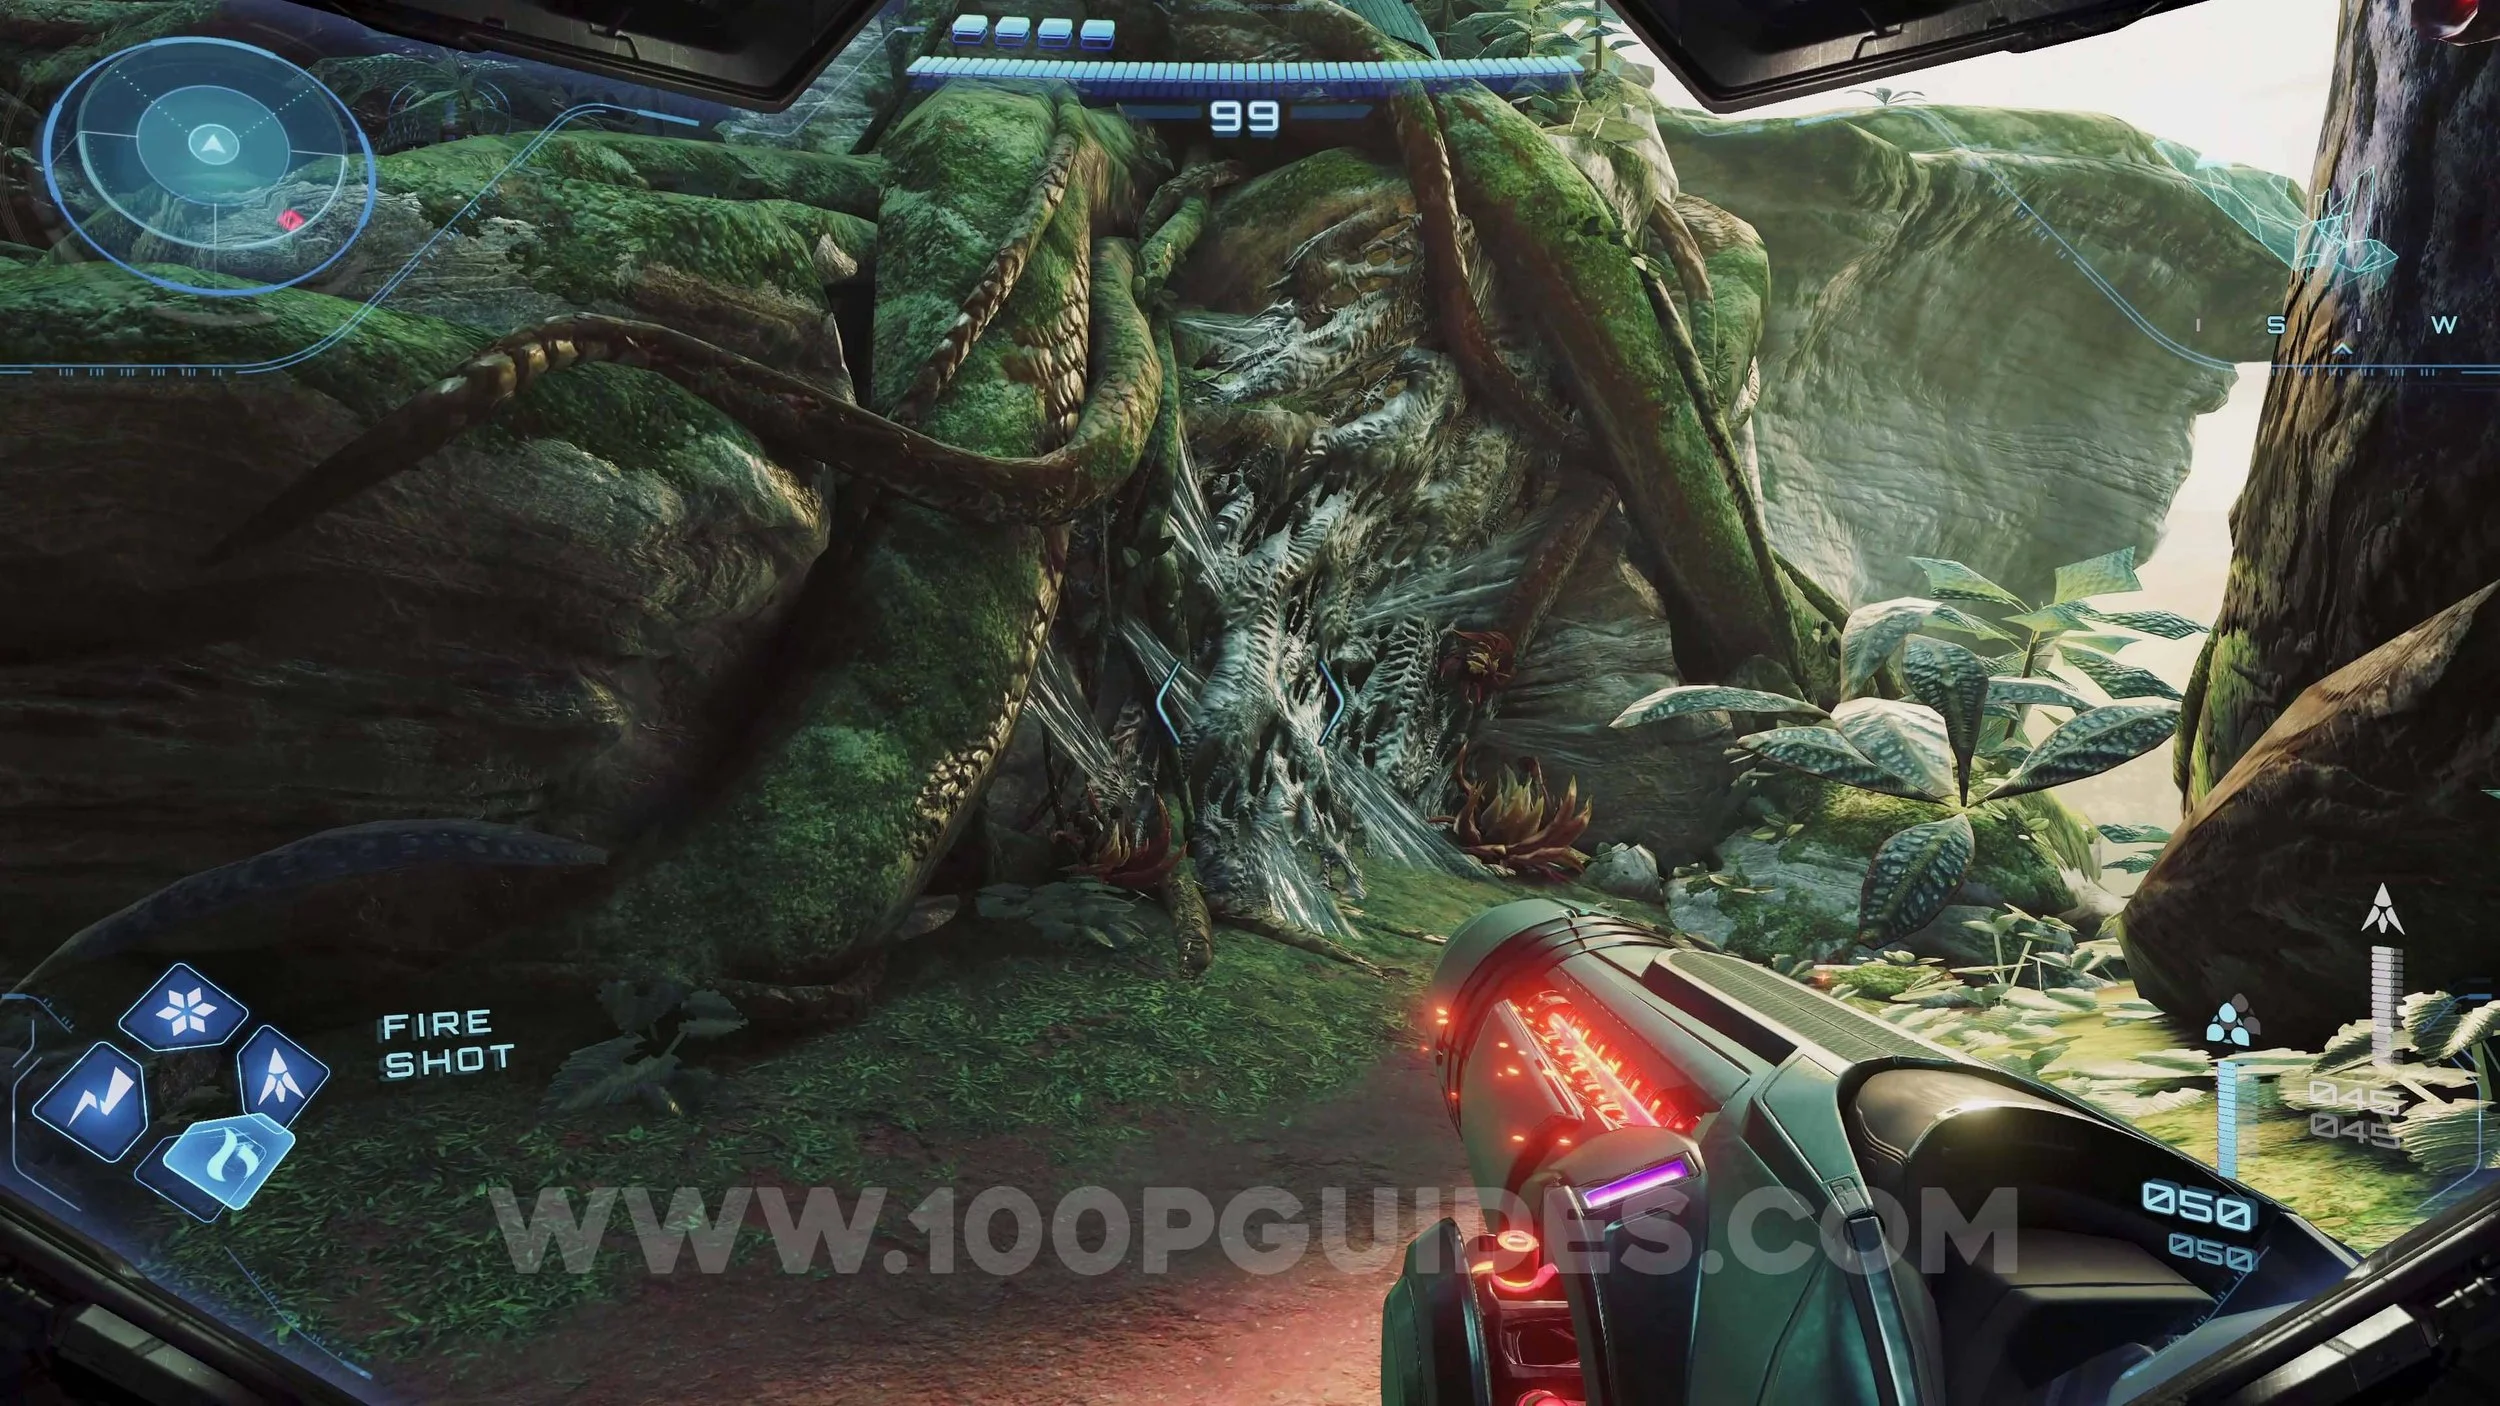
Shot Expansion #1. Found in the Ravine Overlook area. Use a fire shot to burn the webs.
Shot Expansion #2. Behind some webs in the Isopod Lair area. Use a fire shot to burn them.
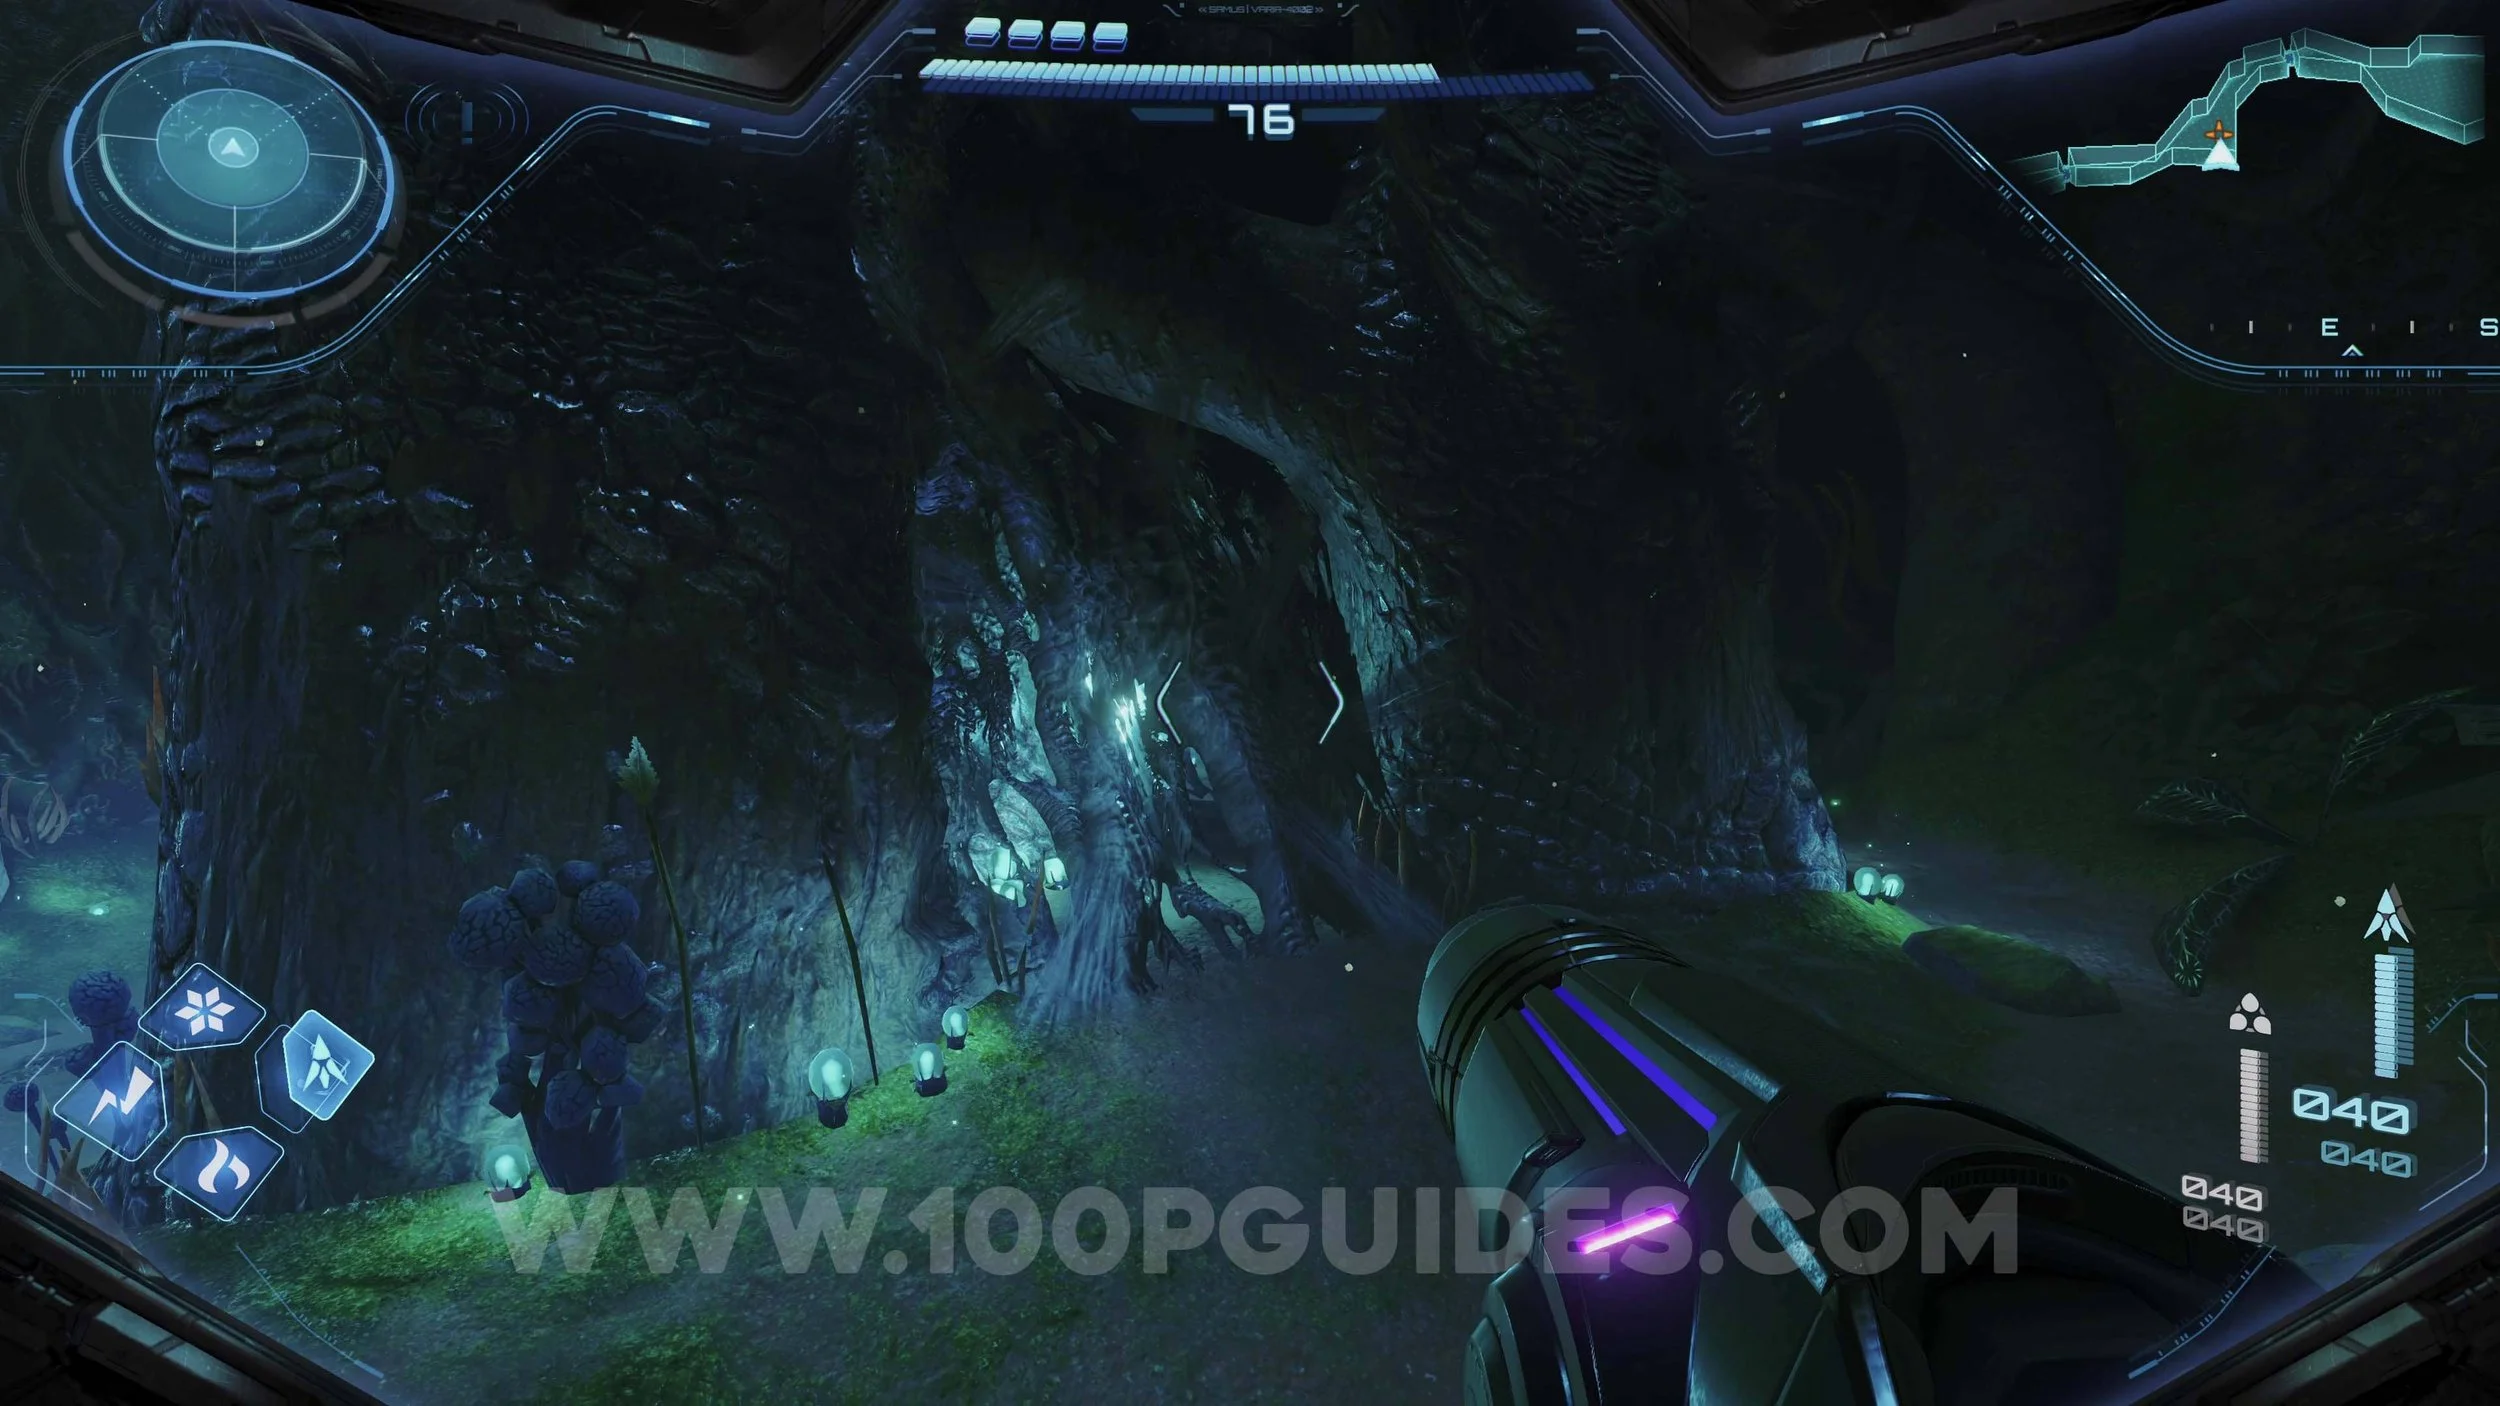
Shot Expansion #3. Behind some webs you can burn with a fire shot in the Jungle Path area.
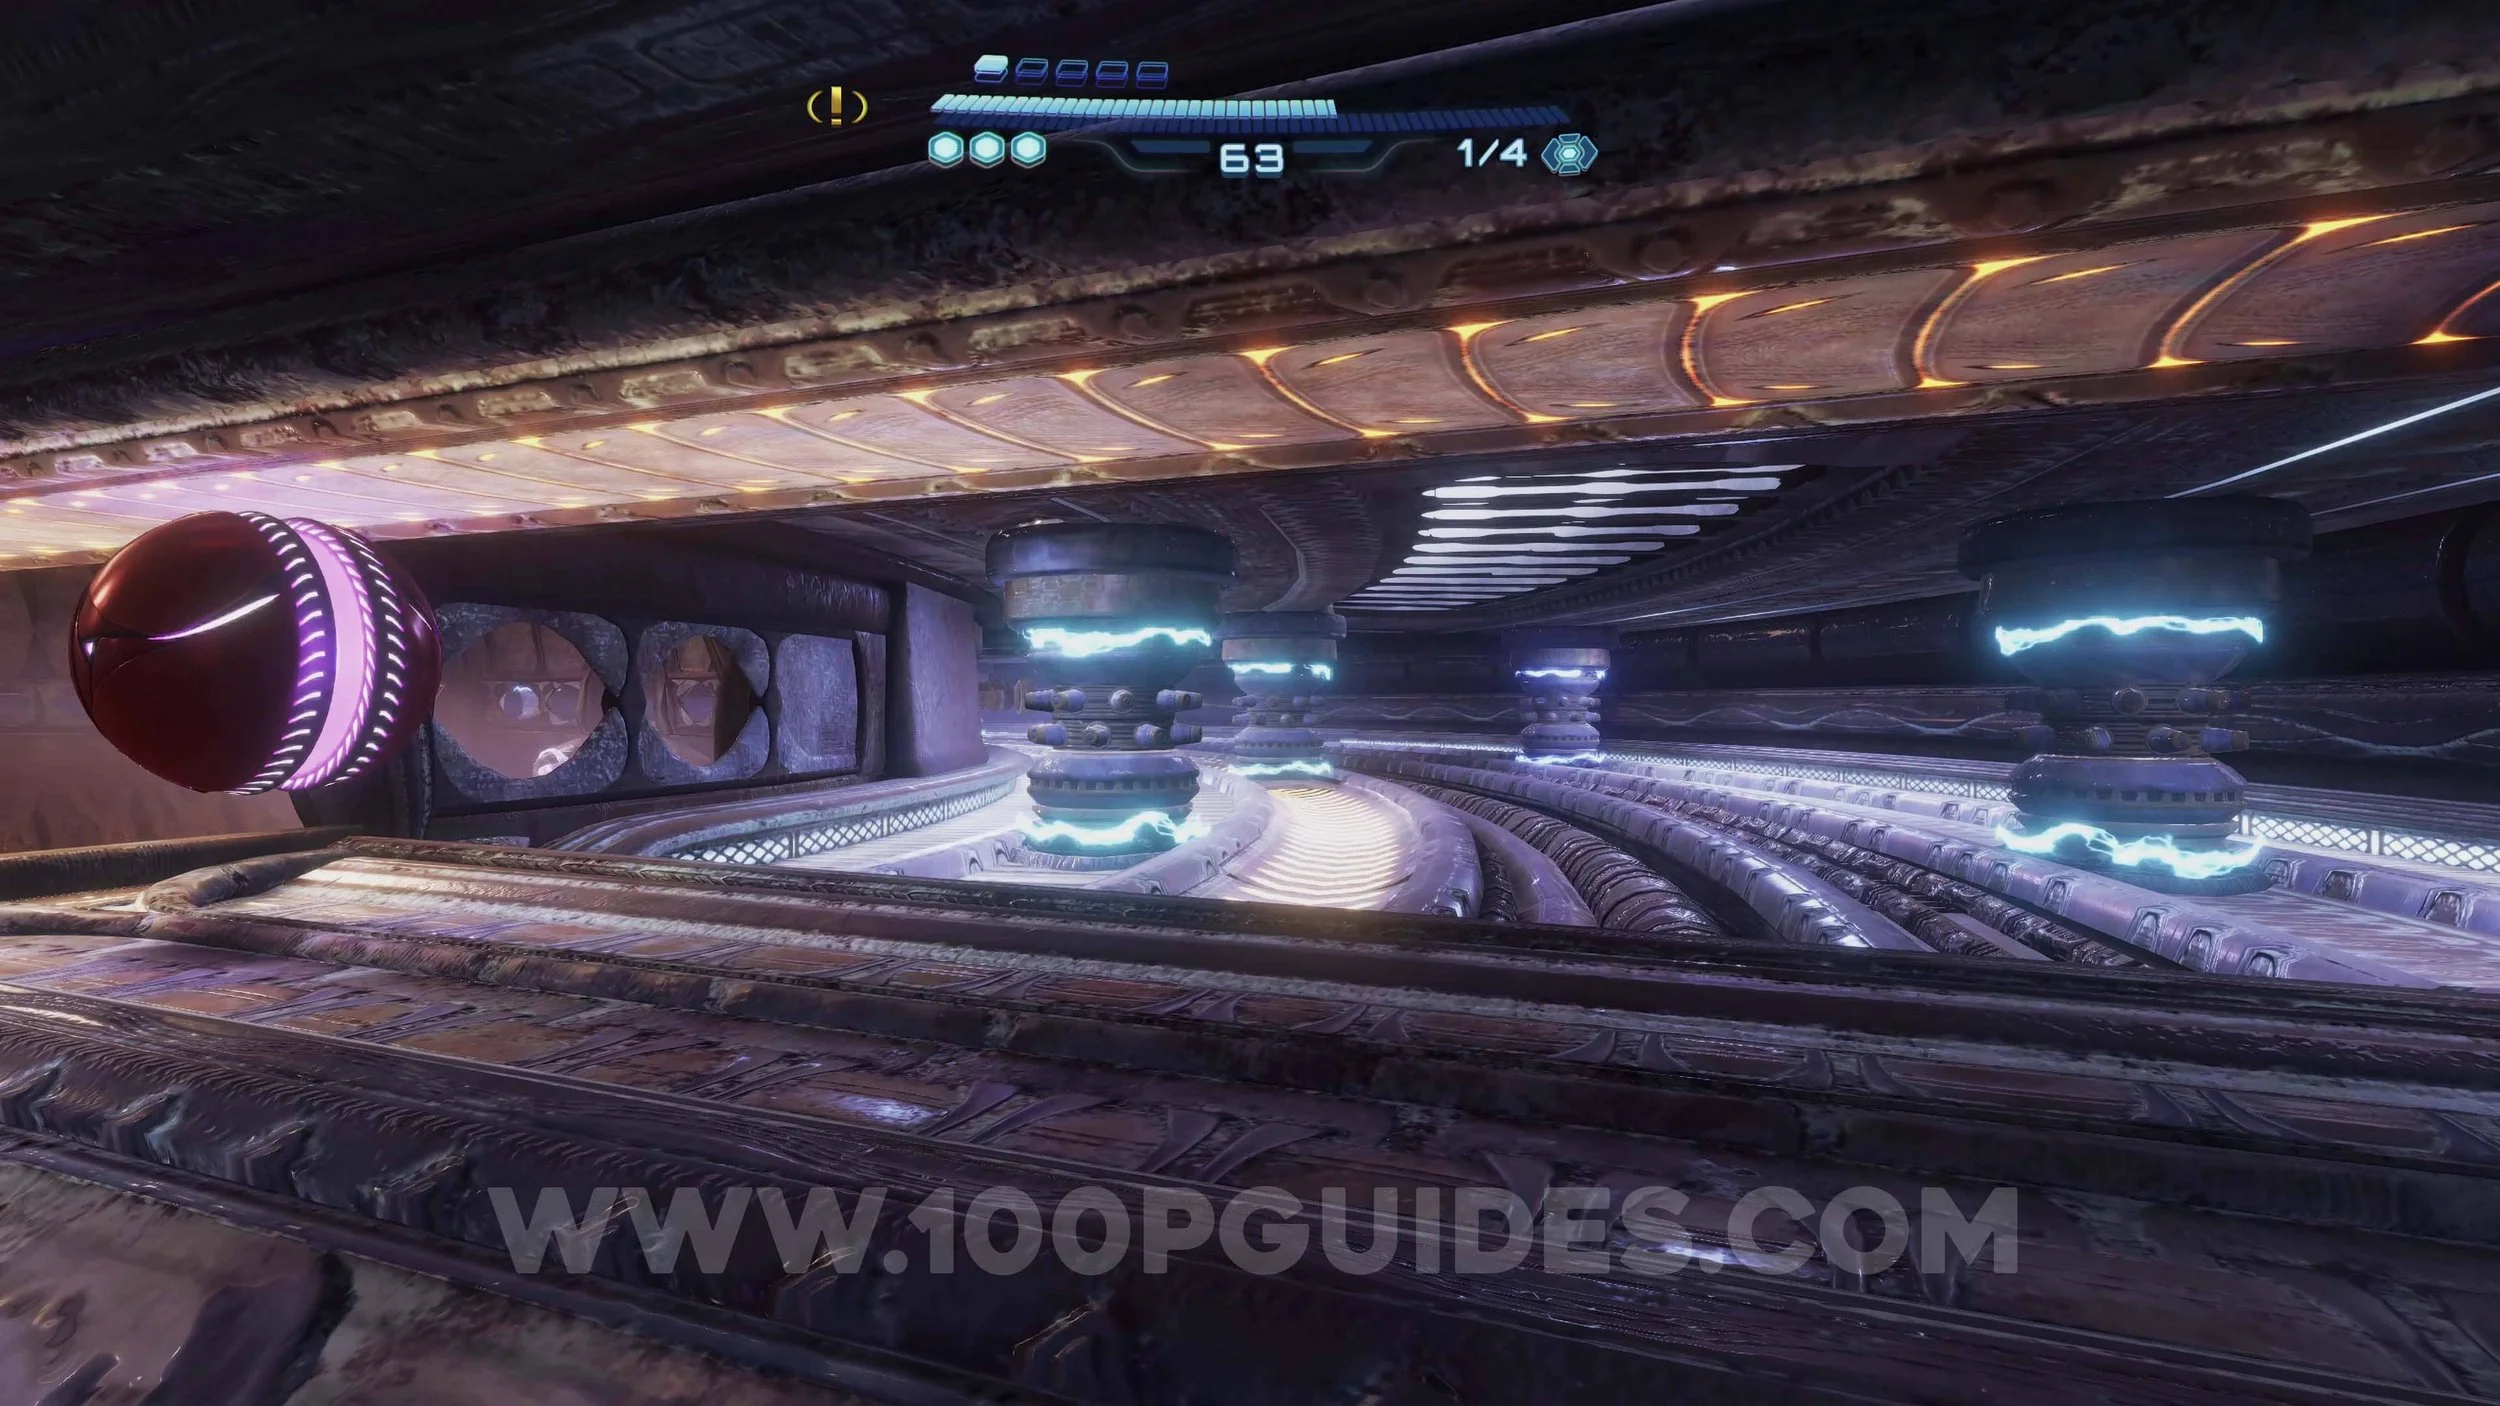
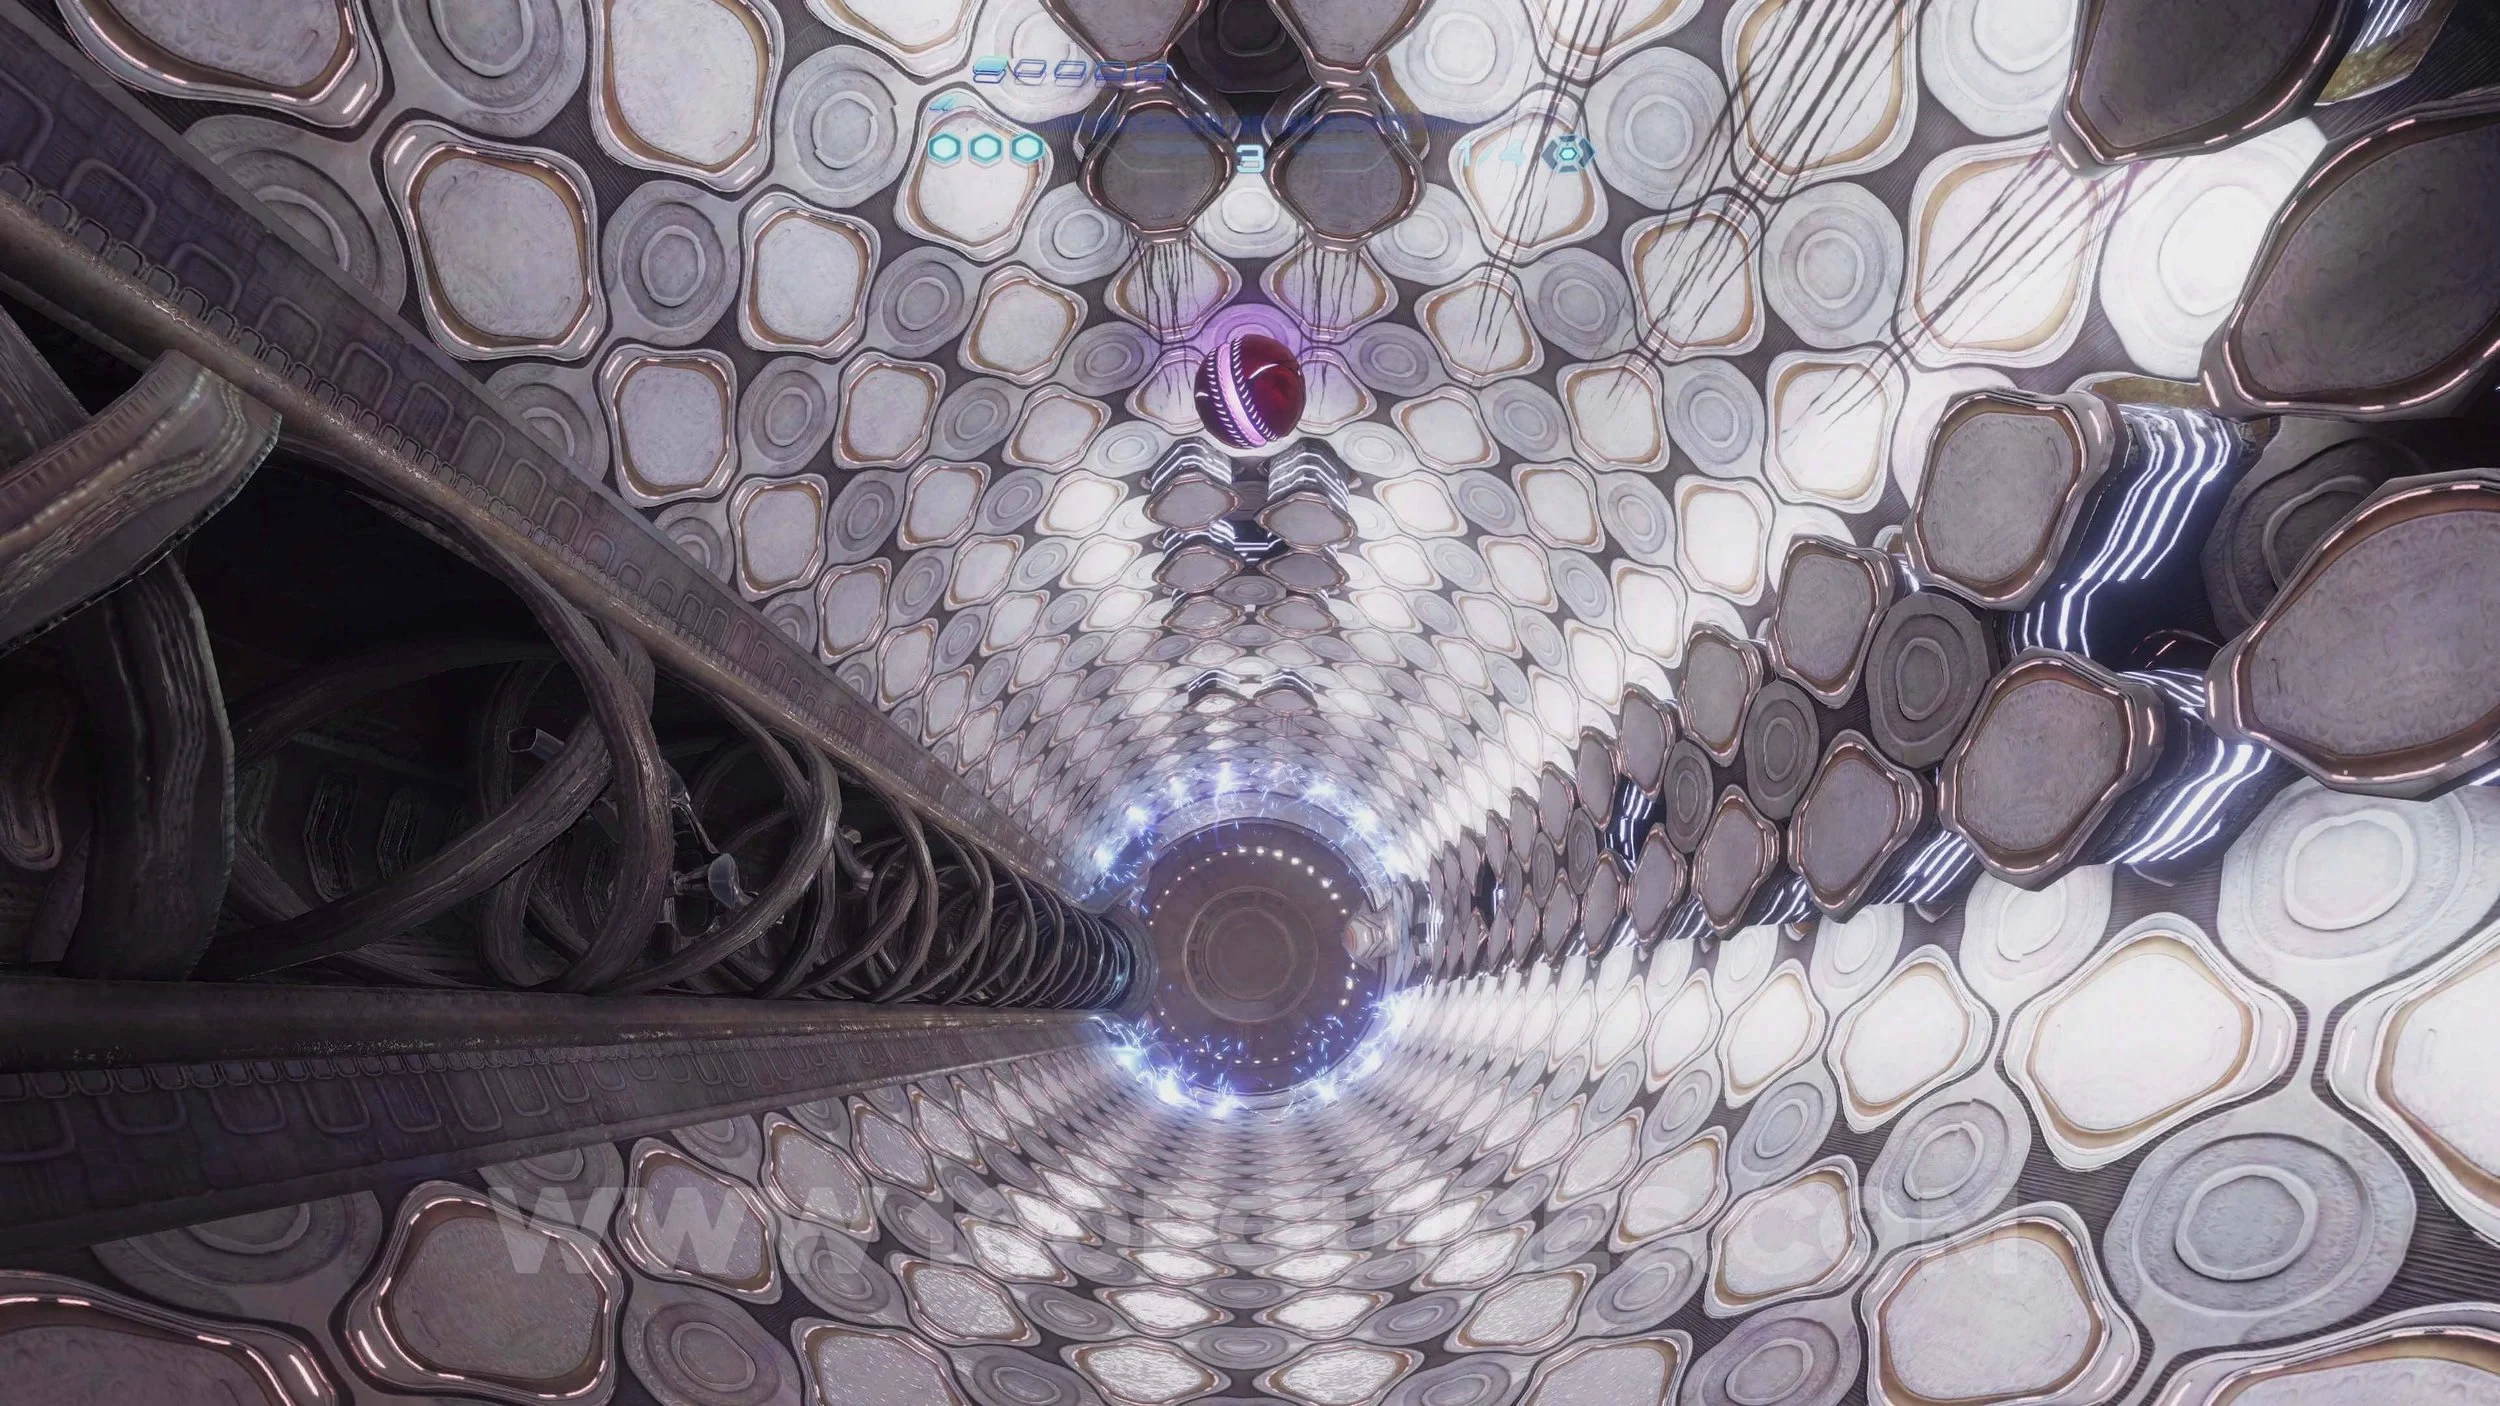
Shot Expansion #4. Shoot both ends of the machine found in the Cargo Staging Area in a thunder shot.

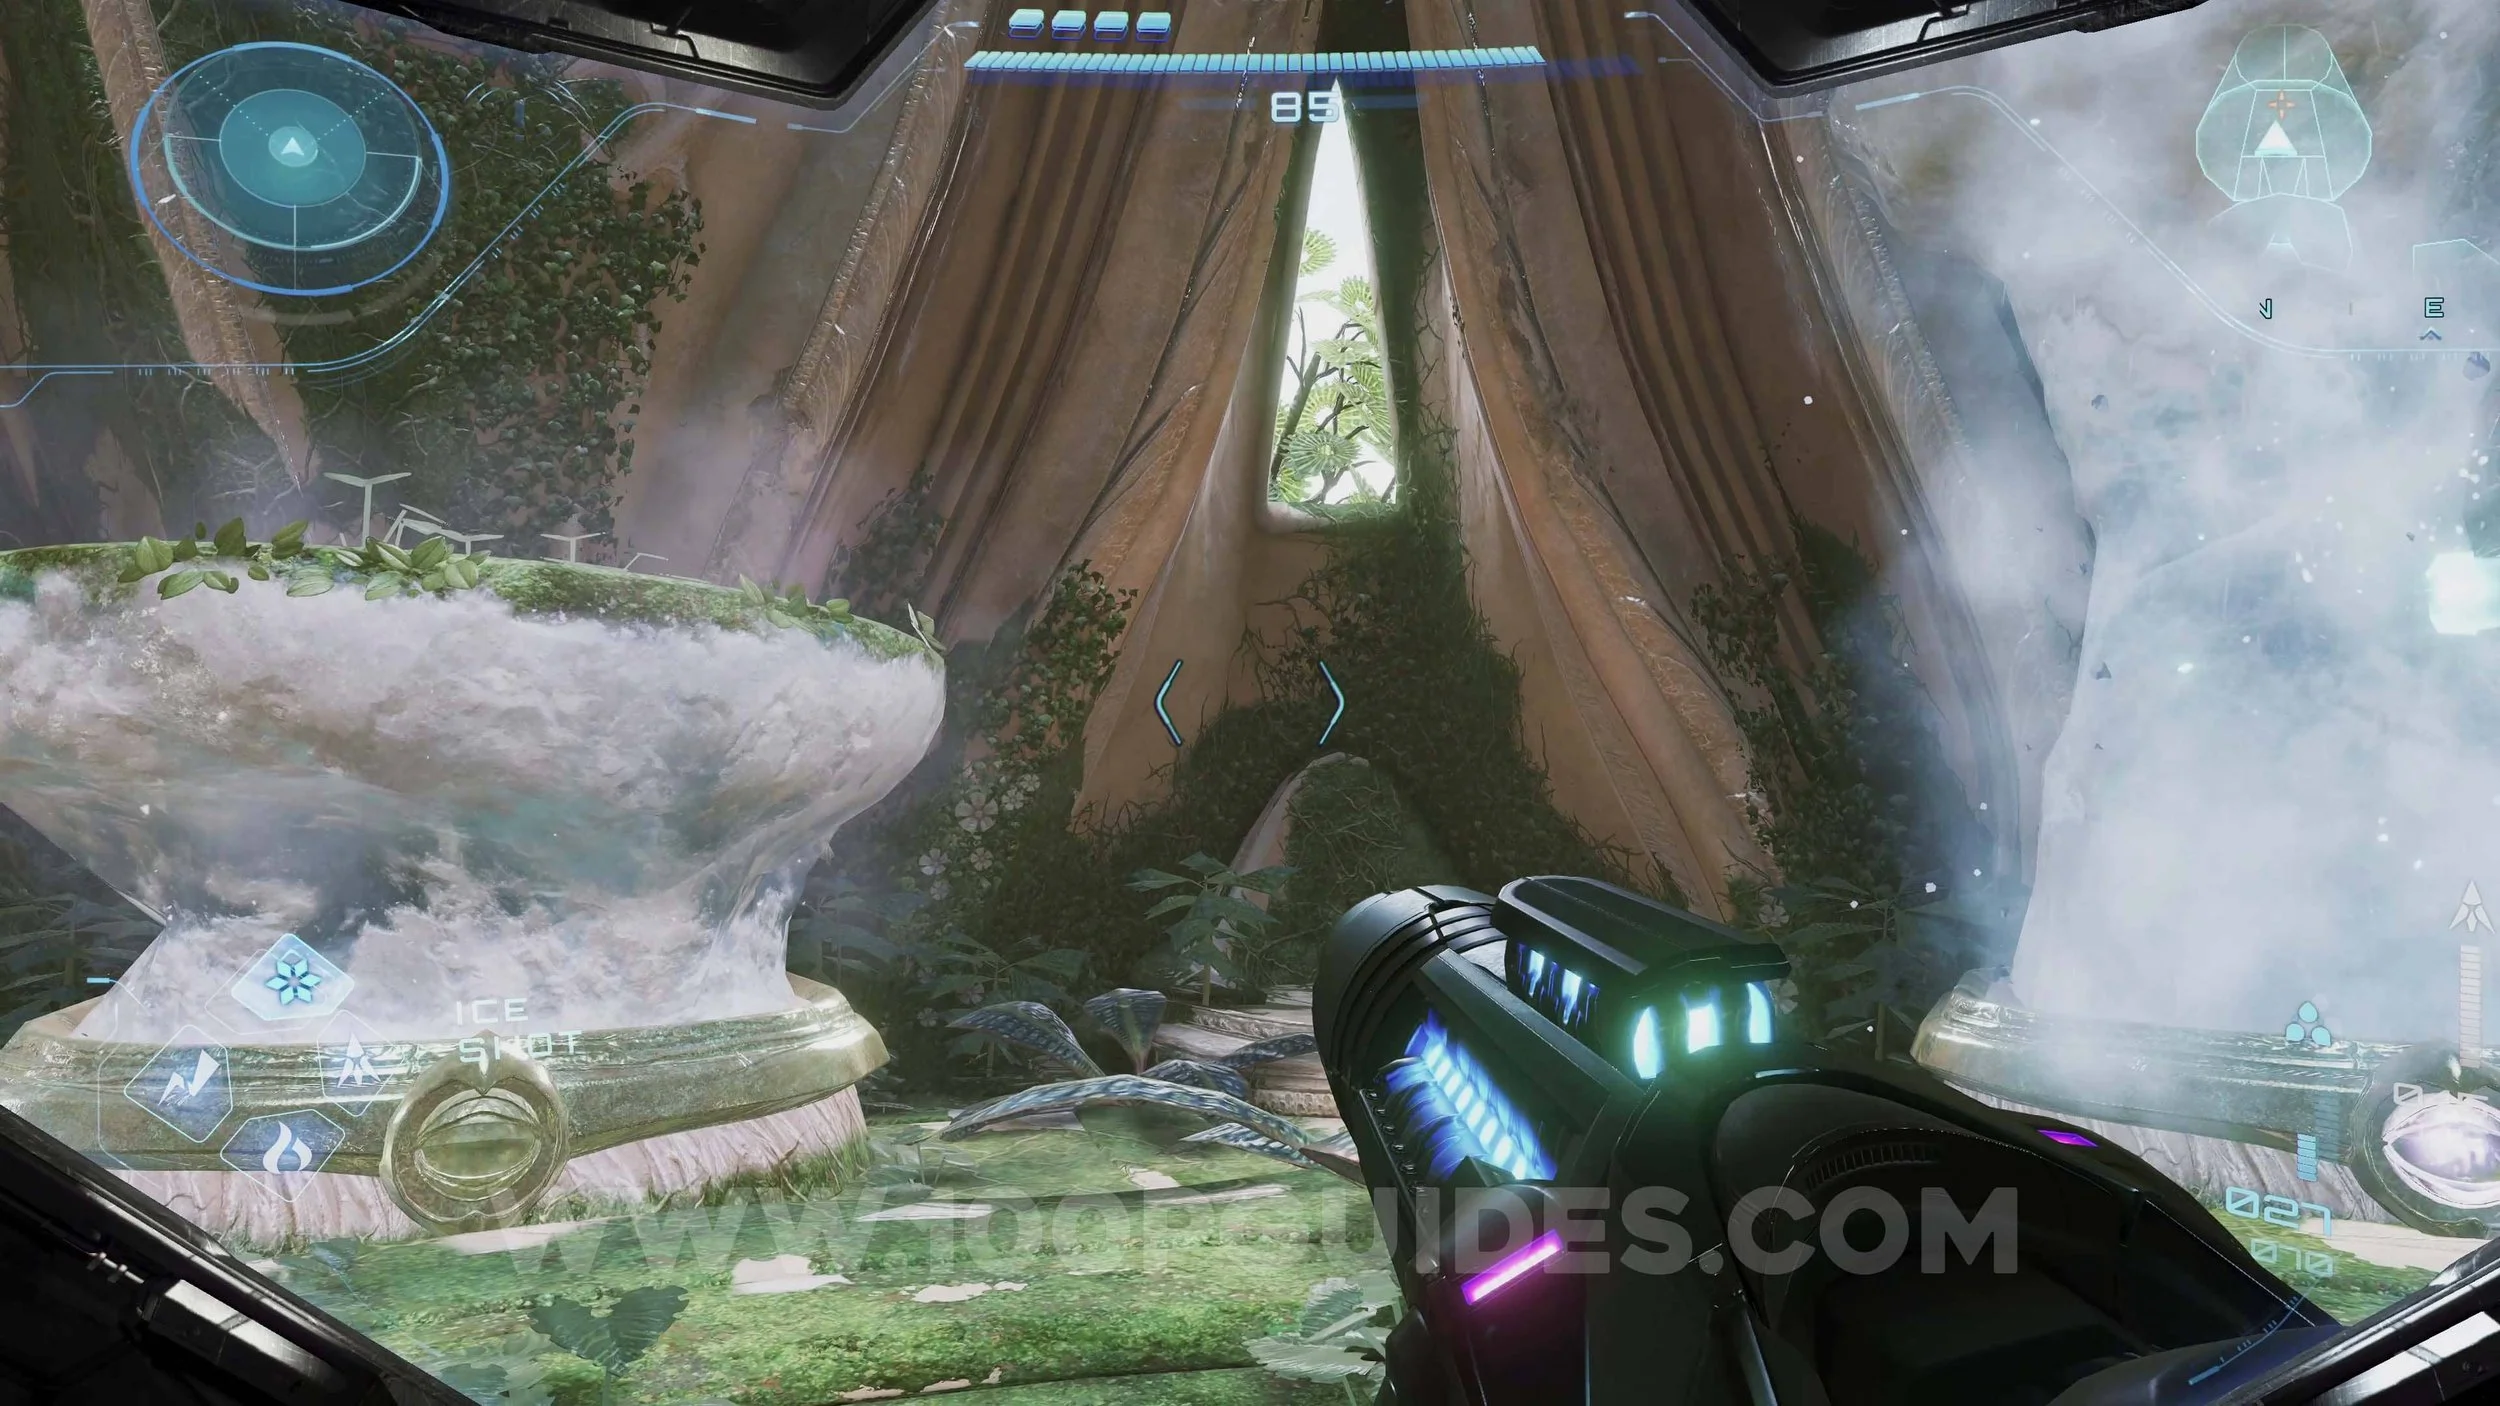
Shot Expansion #5. Found in the Fountain Of Tranquility area. Use an Ice shot to freeze the left platform with water, then take the orb from the left the platform and then place it onto the right platform and freeze the water. Then jump up the platforms to reach the upgrade.
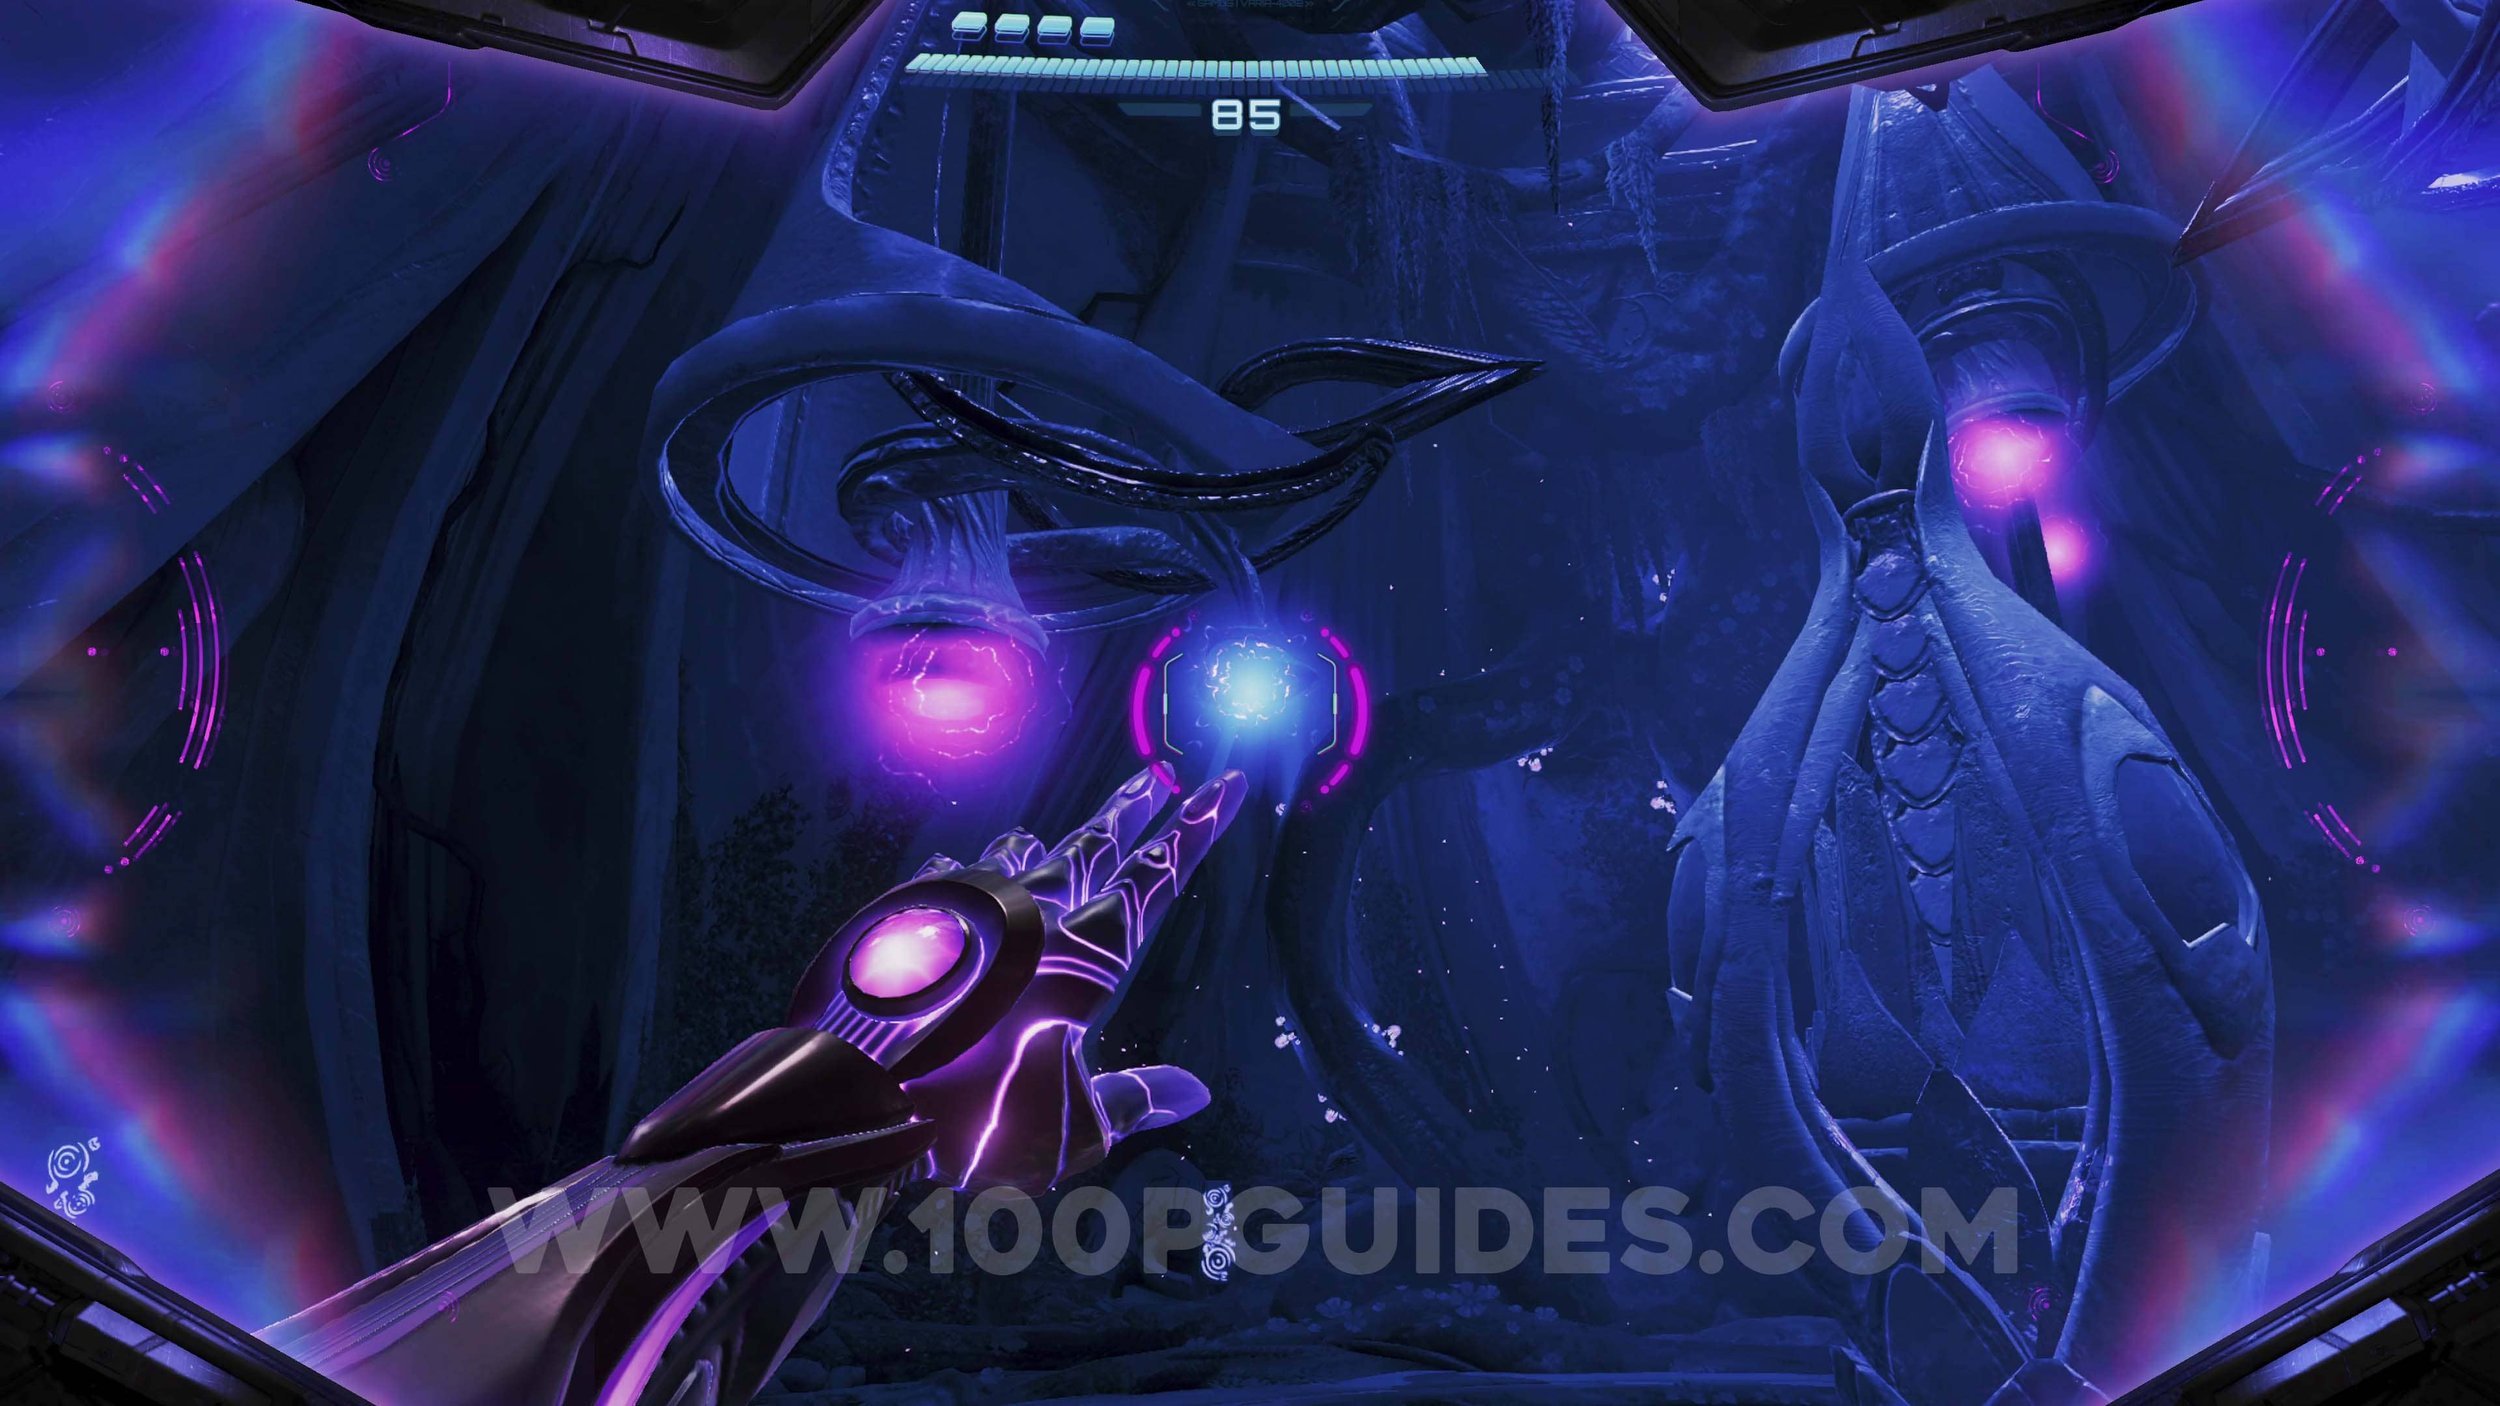
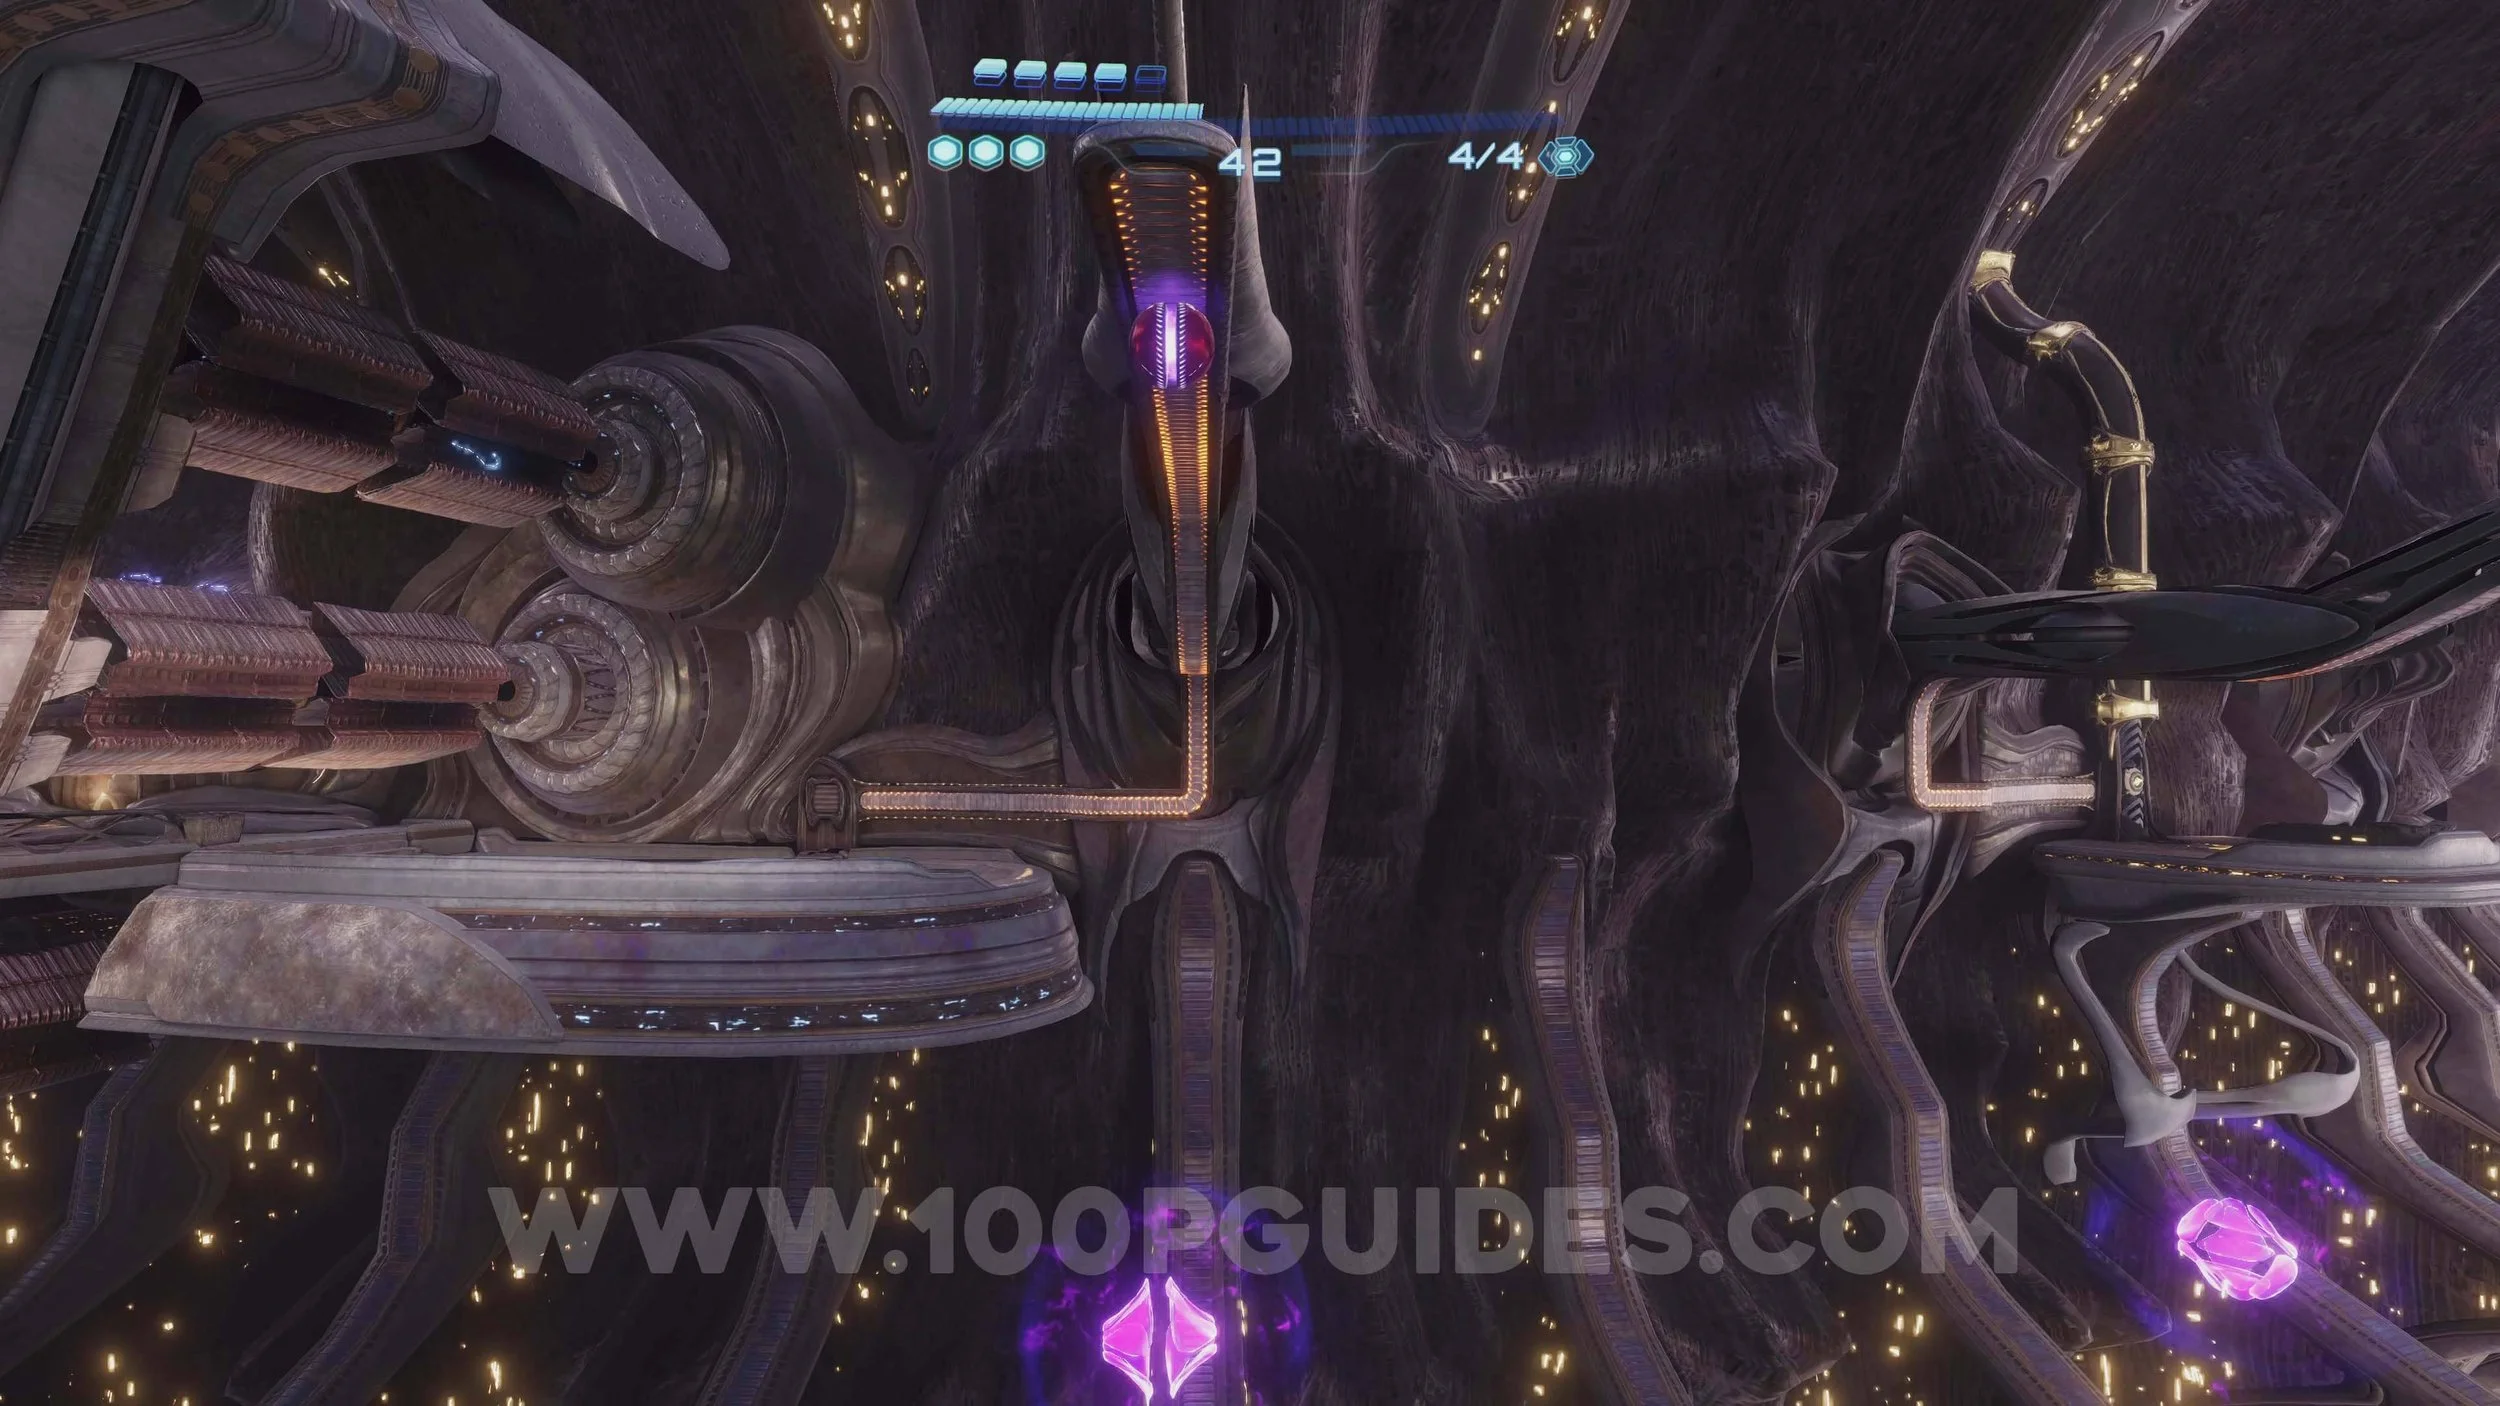
Shot Expansion #6. In the Rods of Transference room. First, drag the 3 mechanisms down to the bottom and then point them at the middle structure. Finally hit all 3 with thunder shots to get the upgrade.
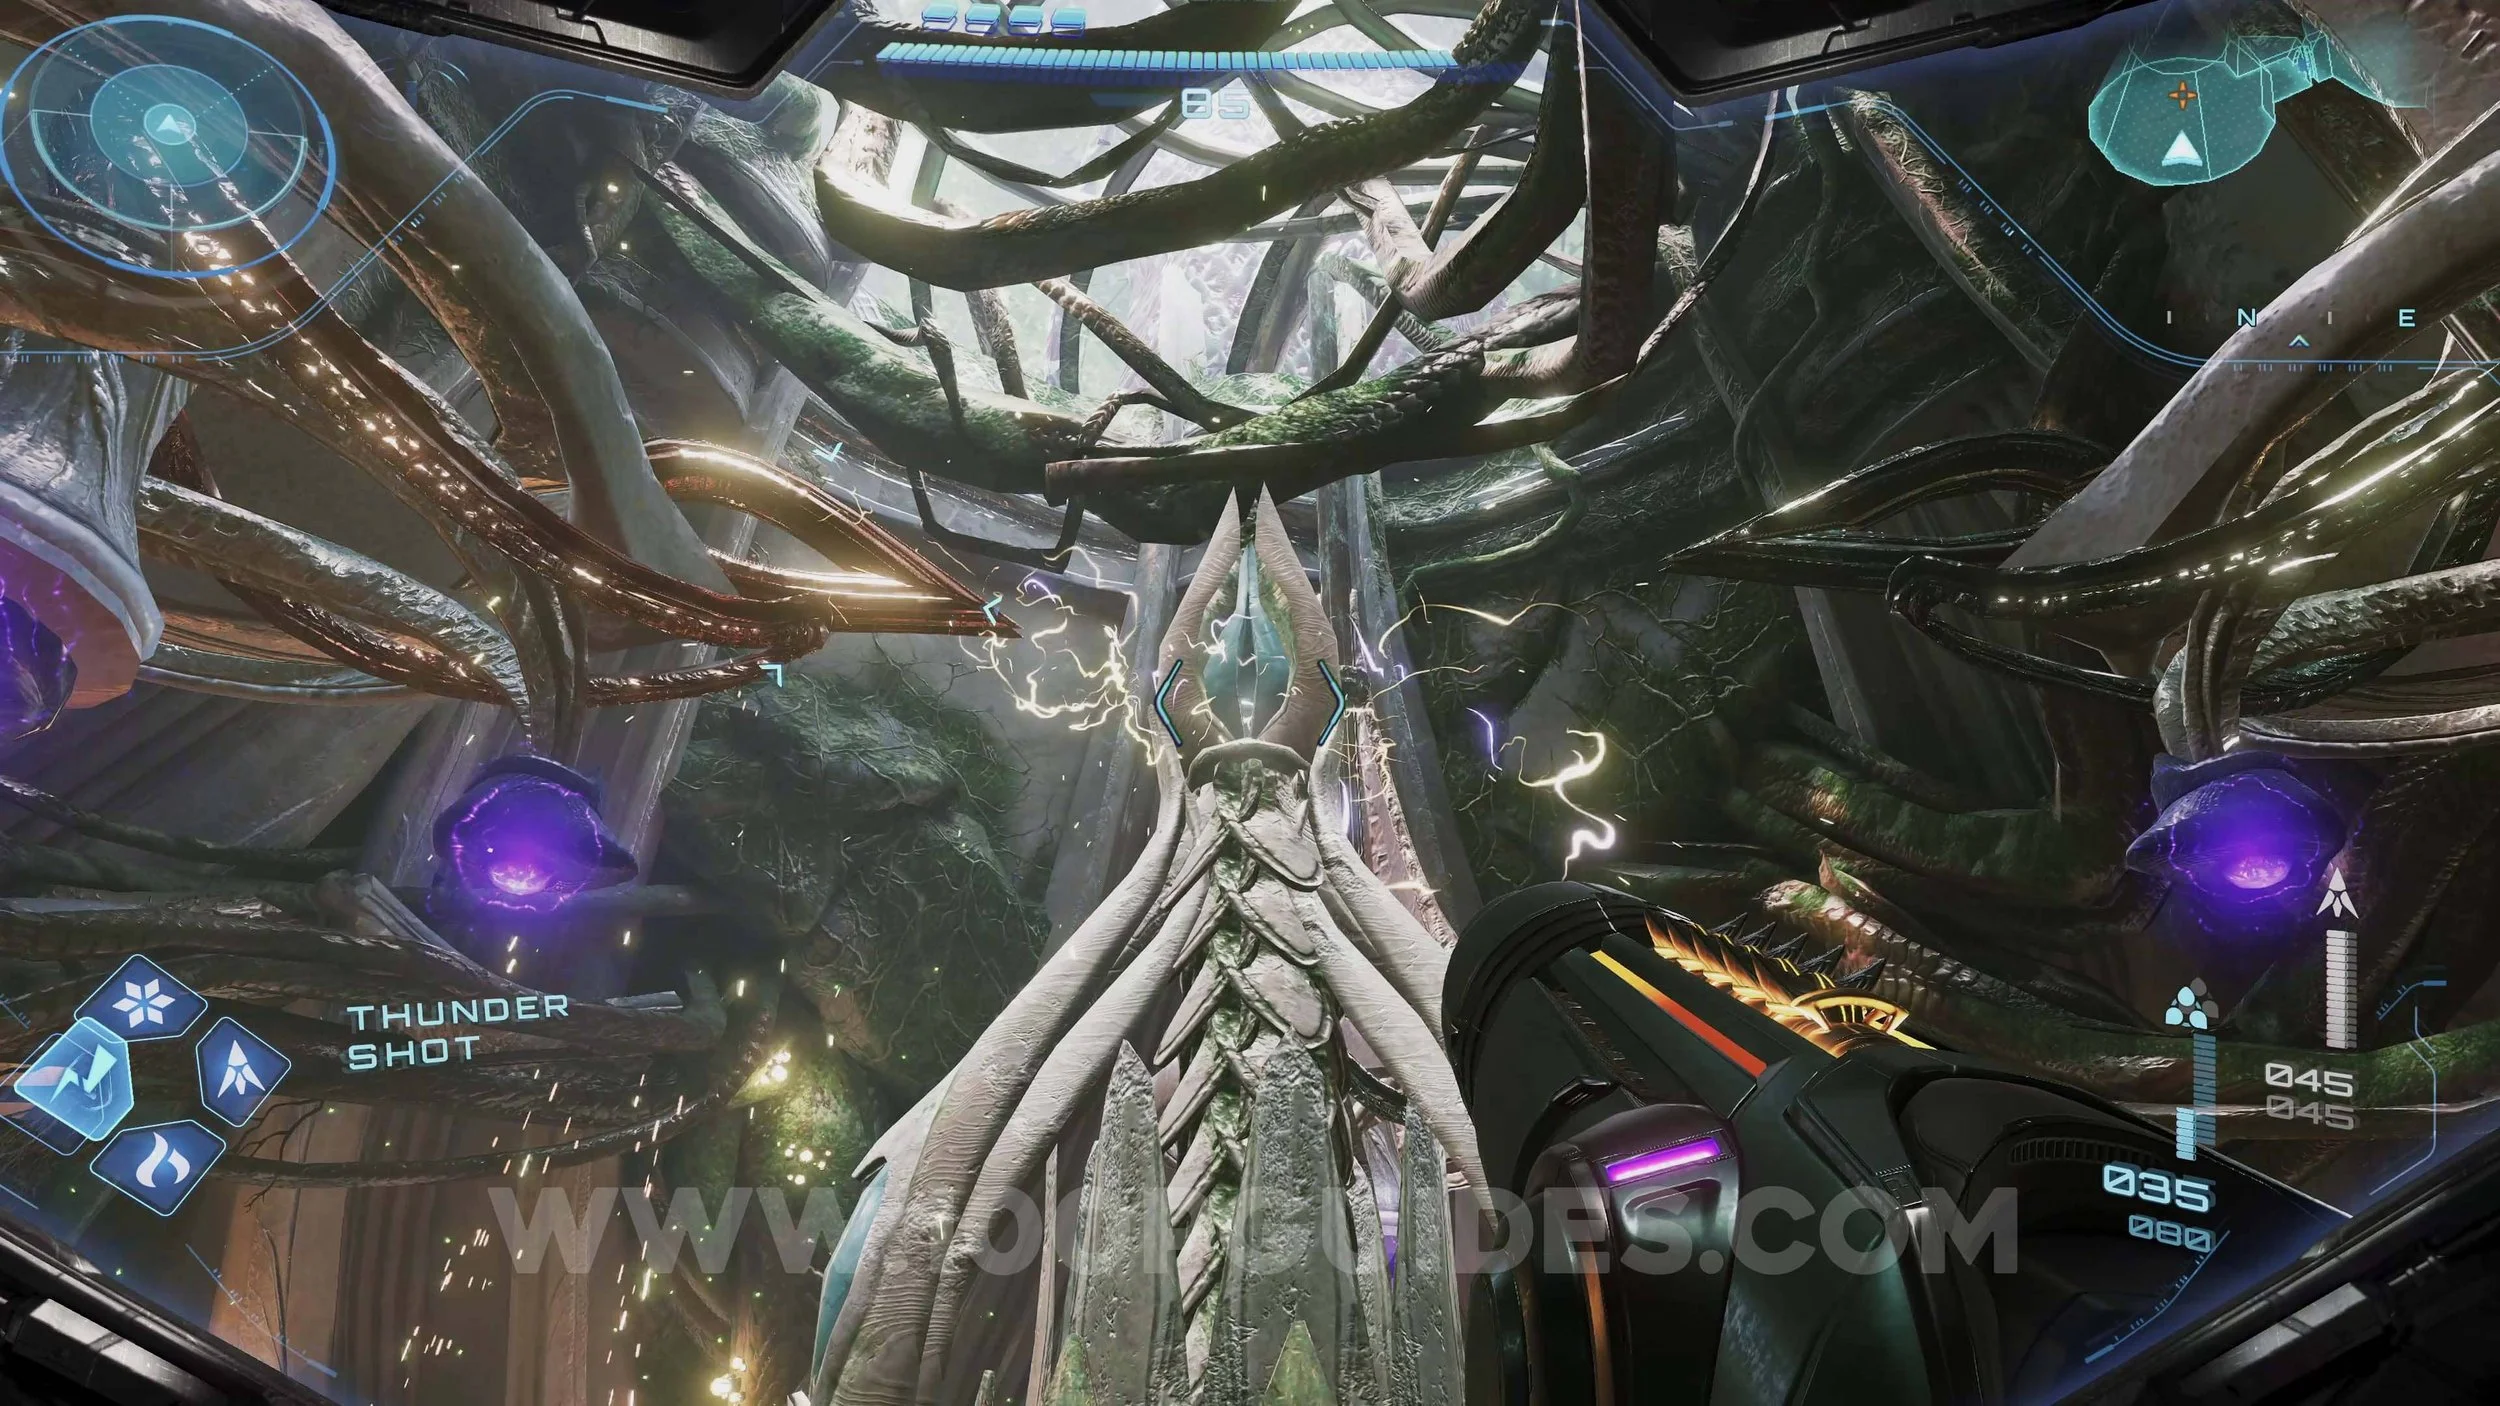
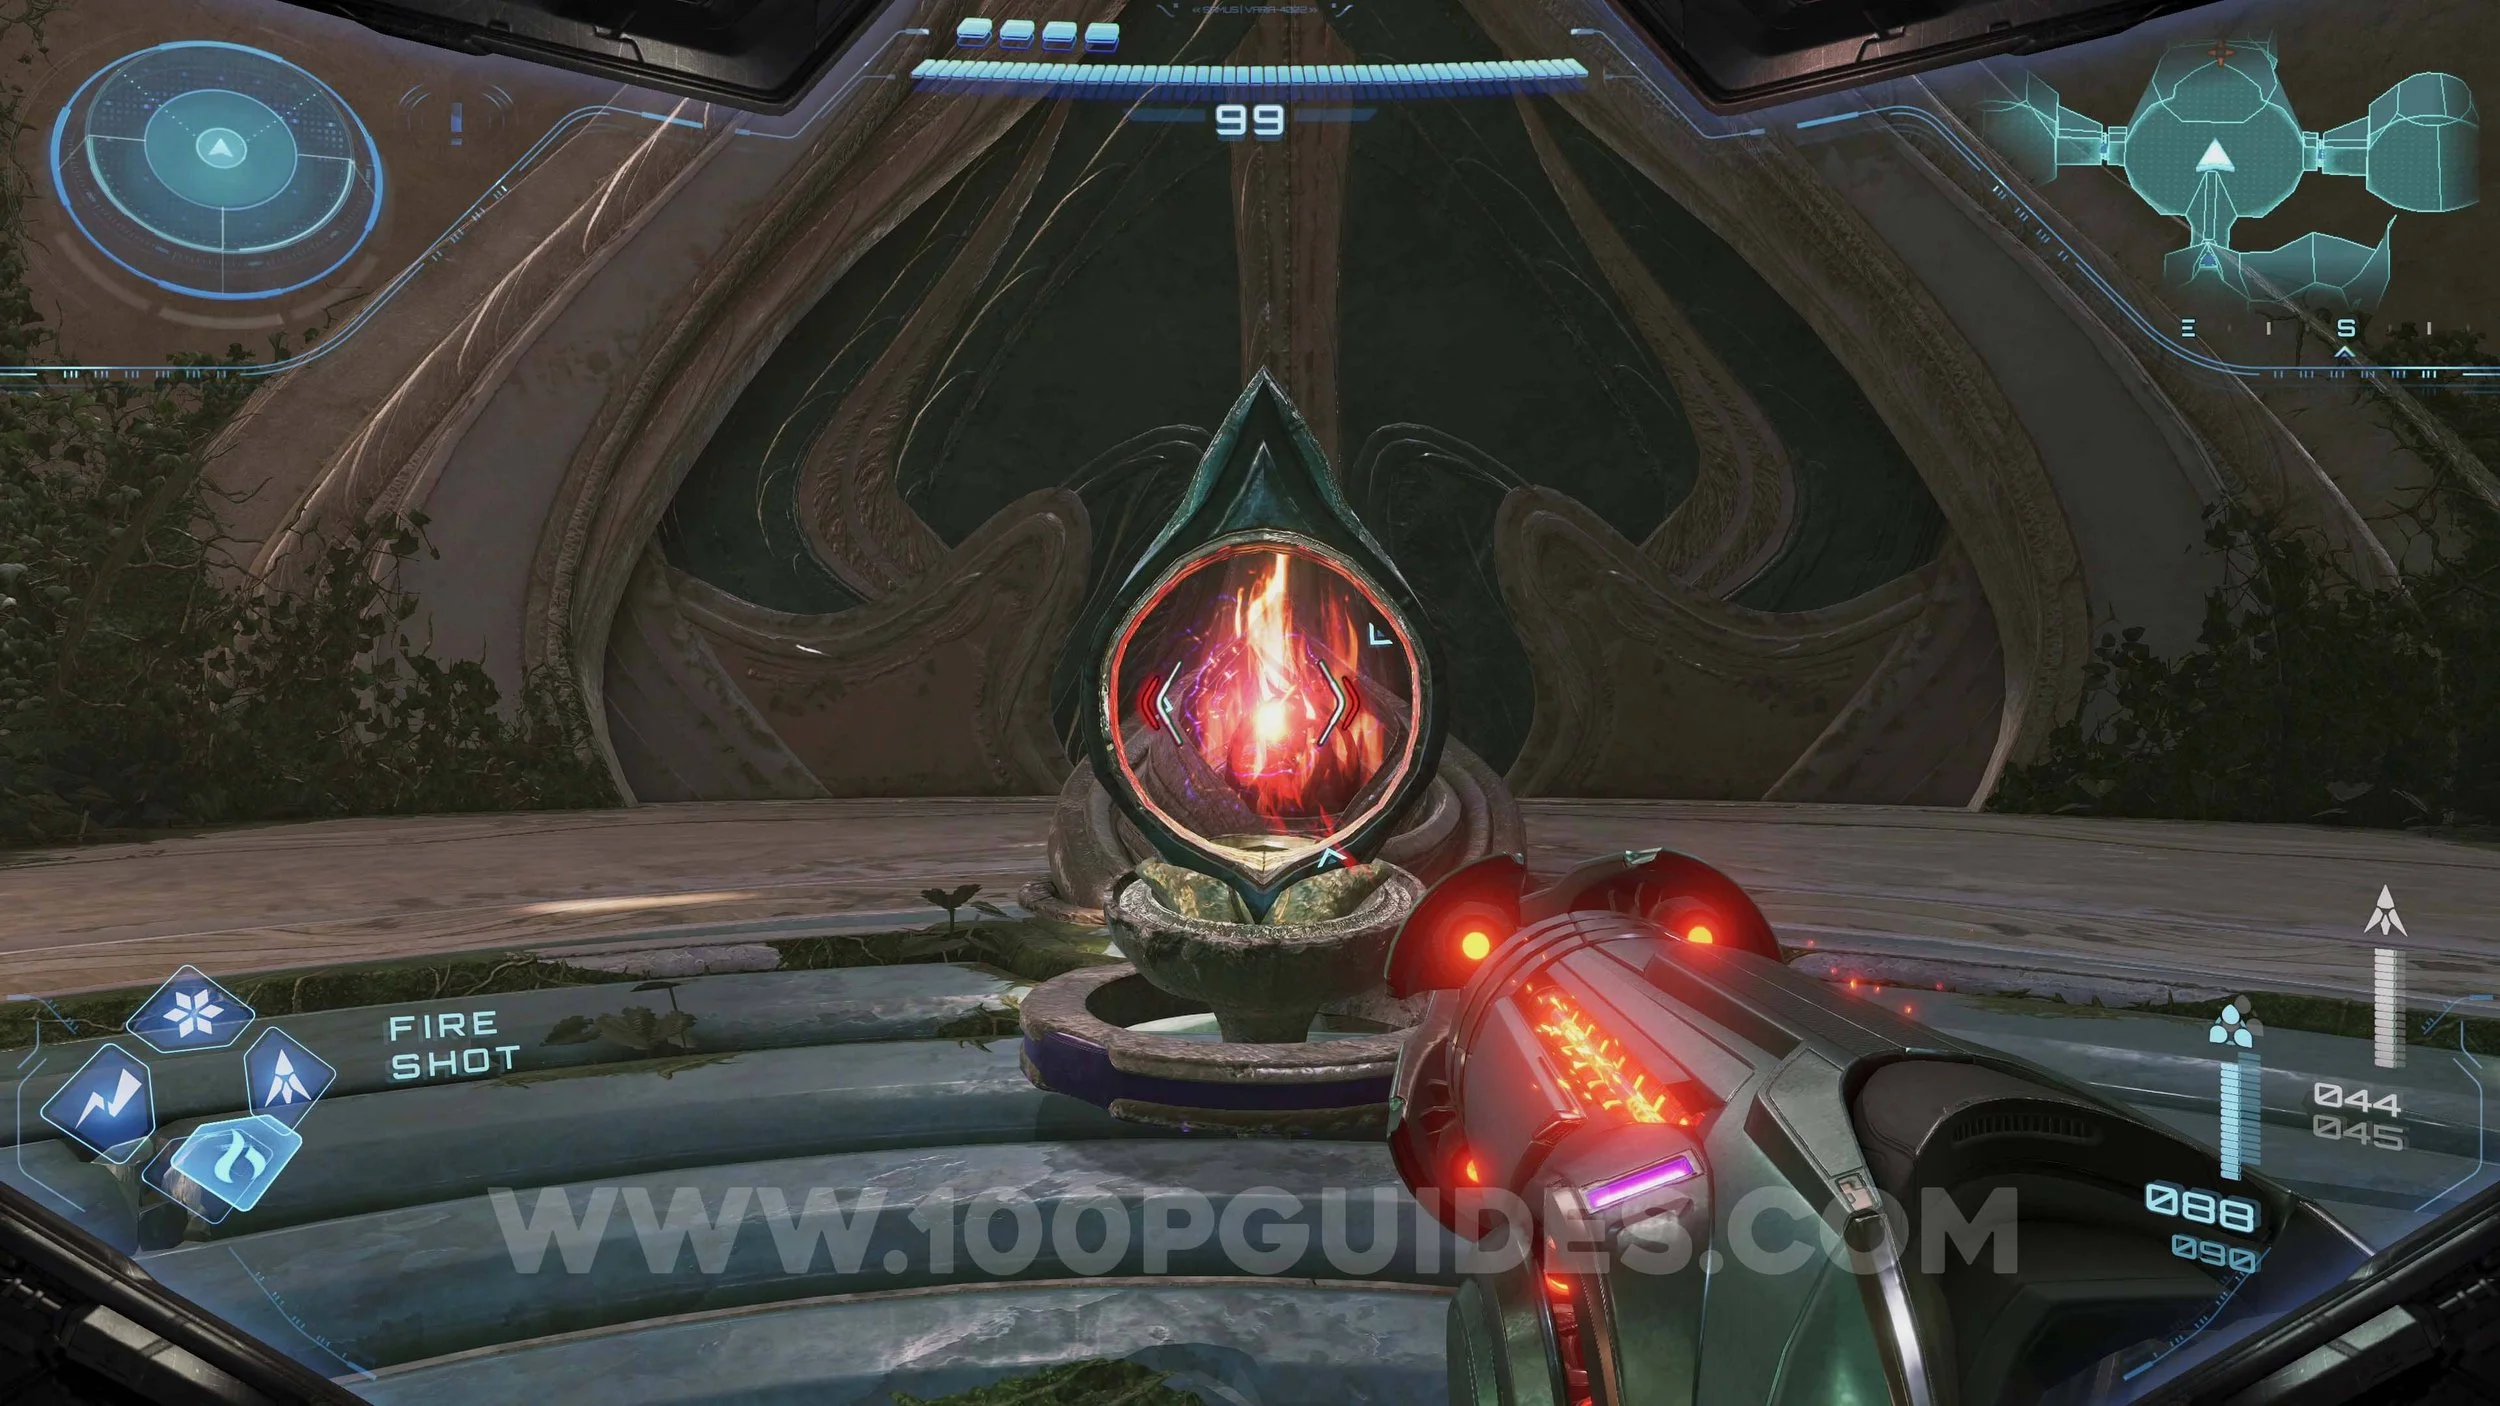
Shot Expansion #7. In the Sacred Flame Ceremony room. Move the circular structure around the room until its infront of the stone structures. Then shoot a fire shot through it. Do this with all 3 structures to get the upgrade.
VOLT FORGE
Shot Expansion #8. In the Manufacturing Floor, use the morph ball and place yourself in the hole under the wheel assembly machine. After it places you in the area above, go around to the left until you see a rail you can jump onto. Take this to the middle area and use the spider morph ball to get up to the upgrade.
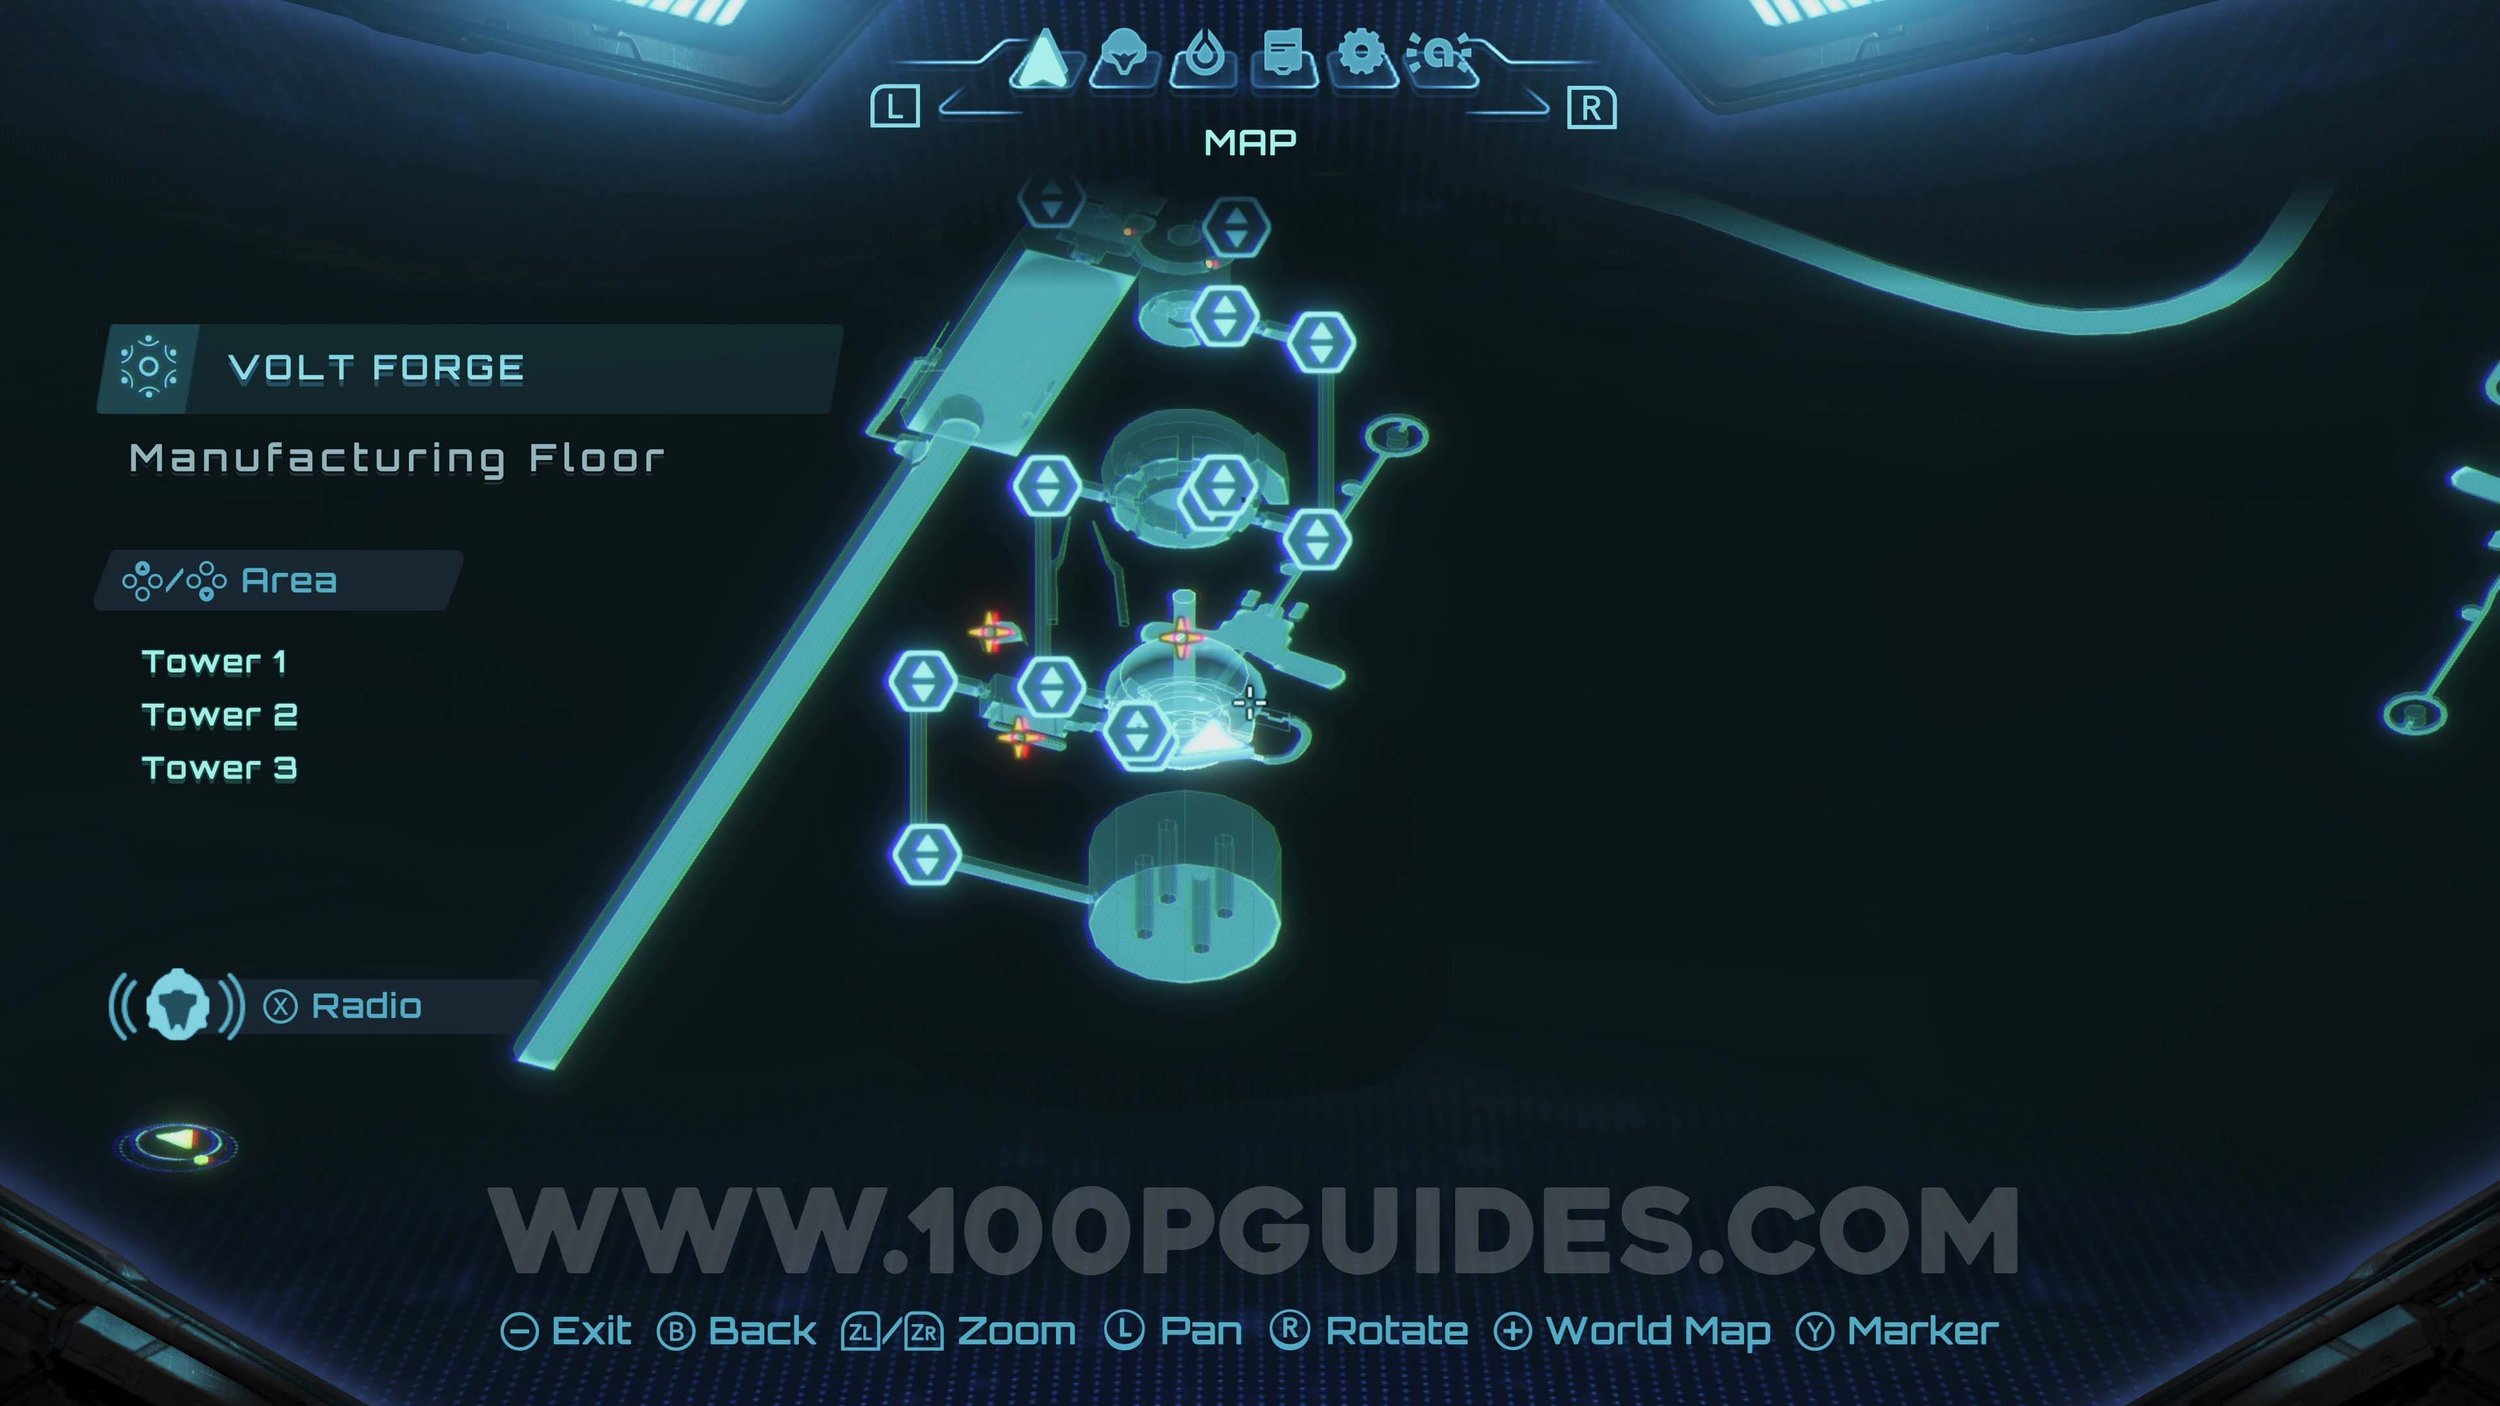

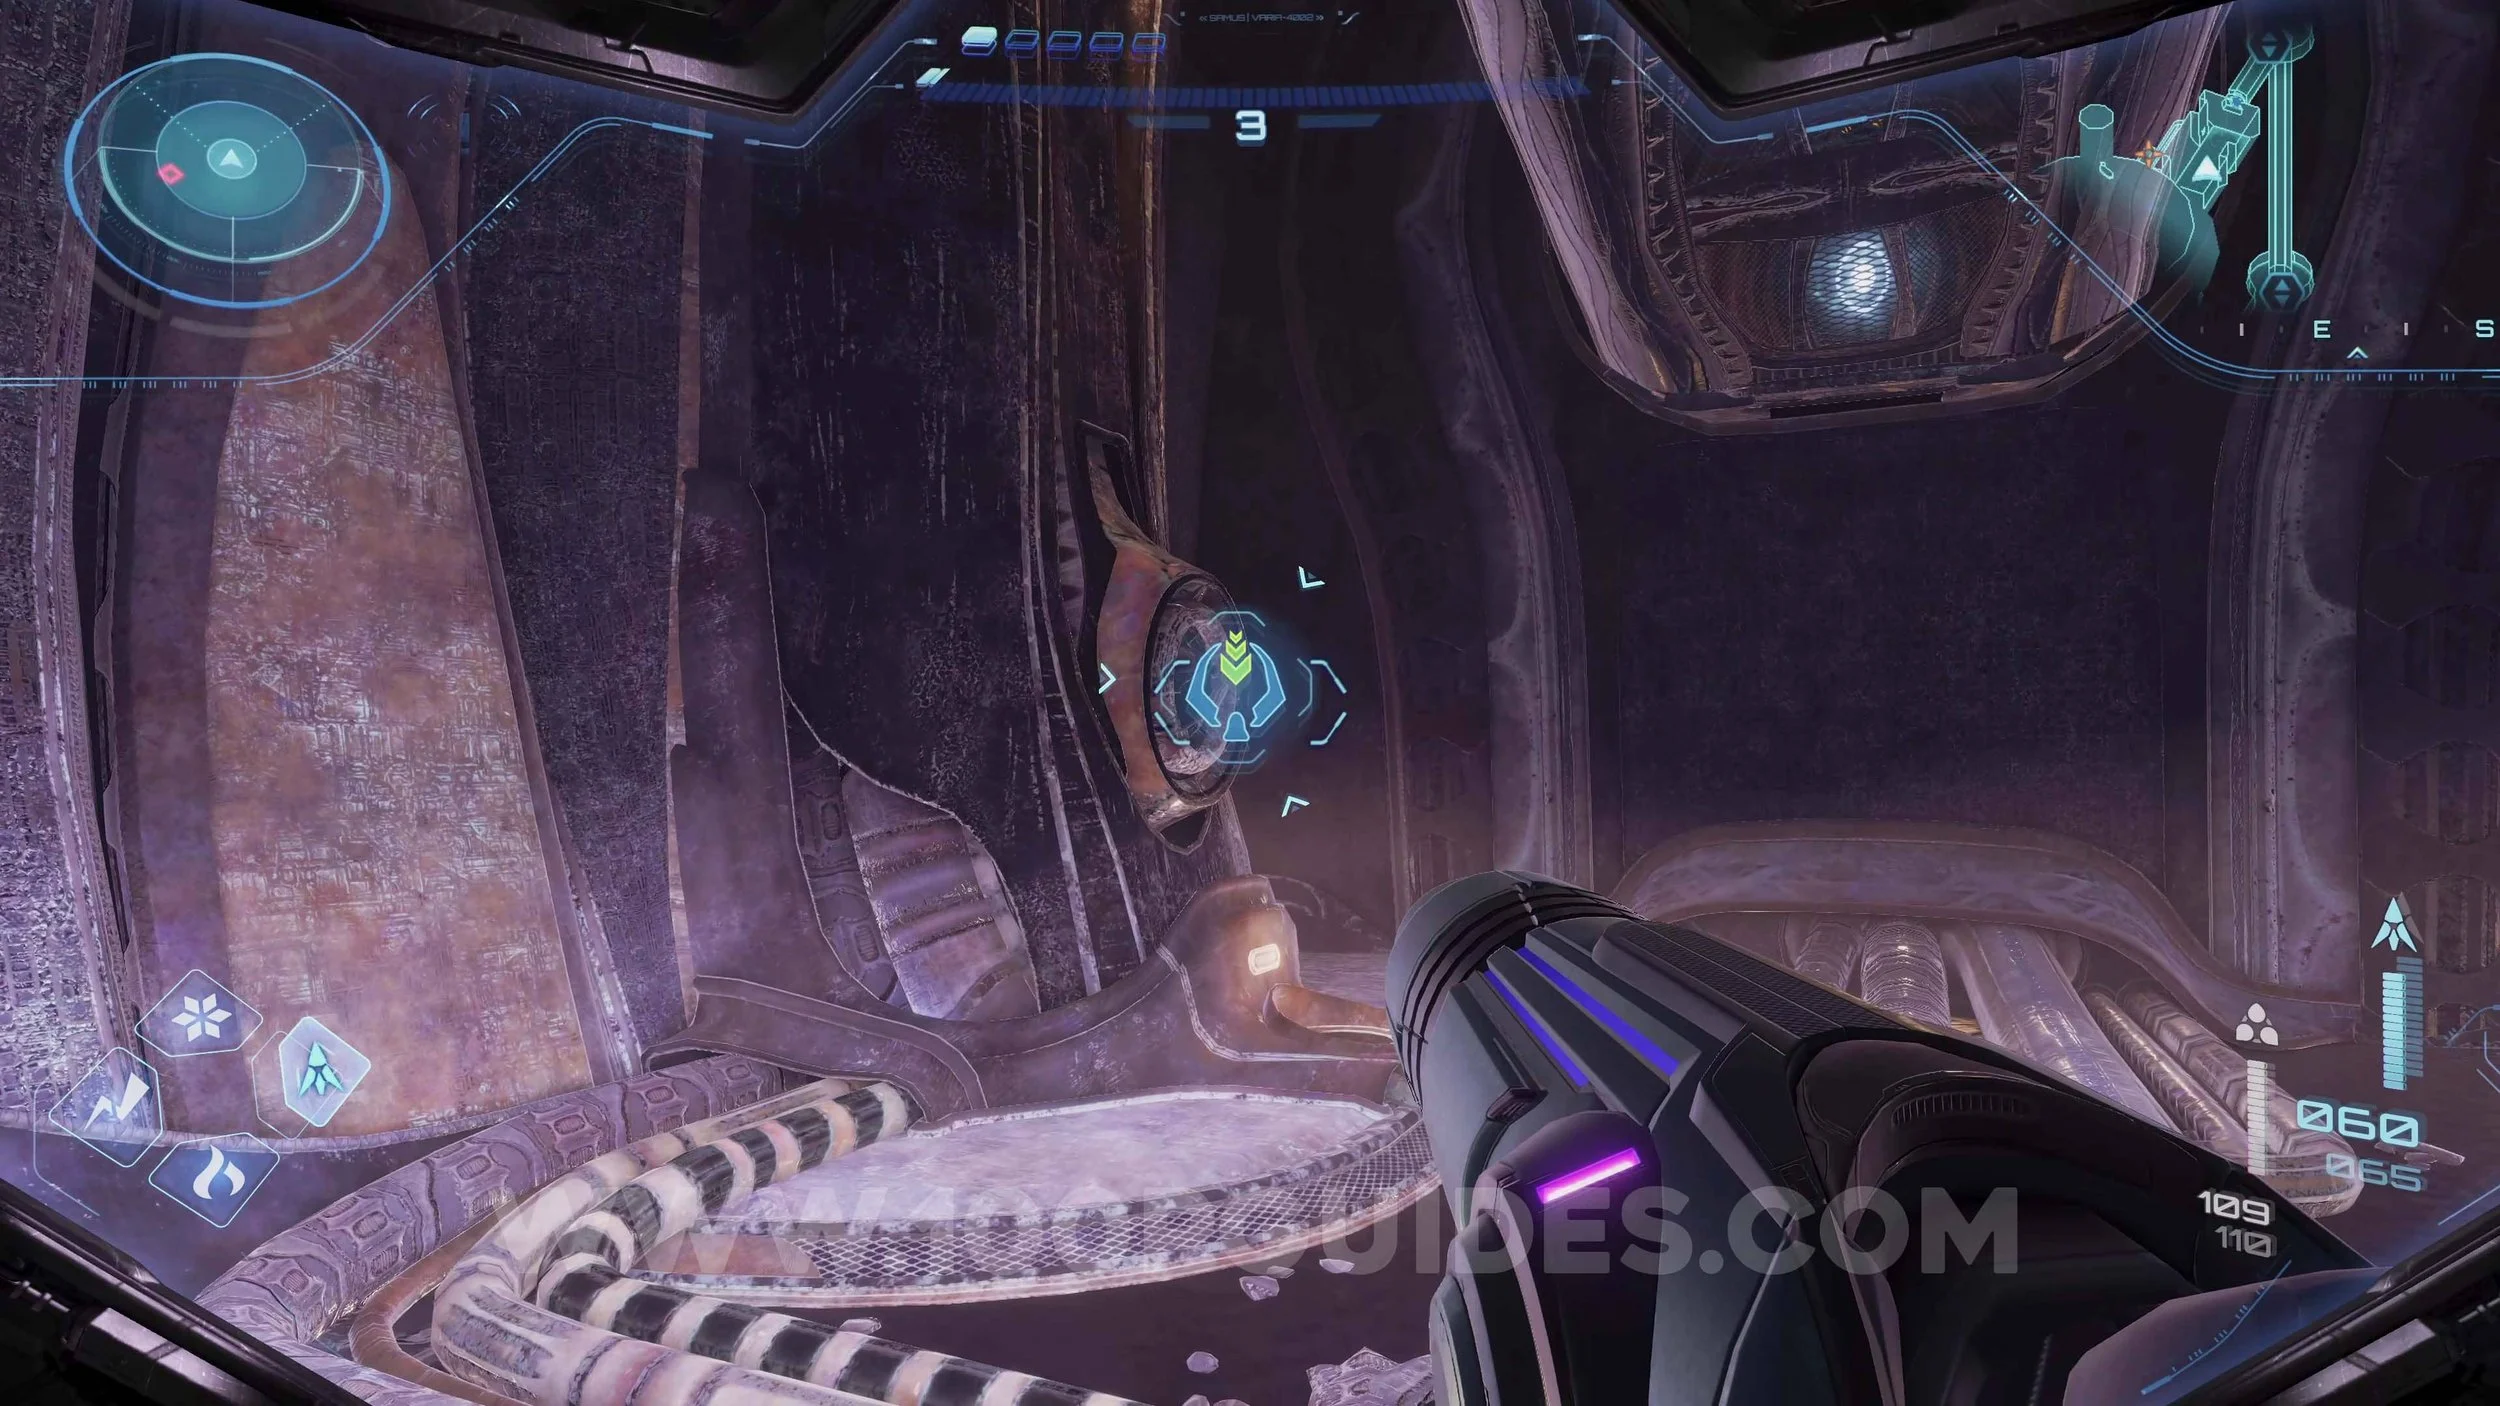
Shot Expansion #9. In Tower 1: Elevator 4. Pull off the metal plate in the room with electricity on the floor and then go through the tunnel in morph ball form.

Shot Expansion #10. On the bottom floor of Tower 1, use the grappling hooks to get across to the platform with the upgrade. Destroy the box to get it.
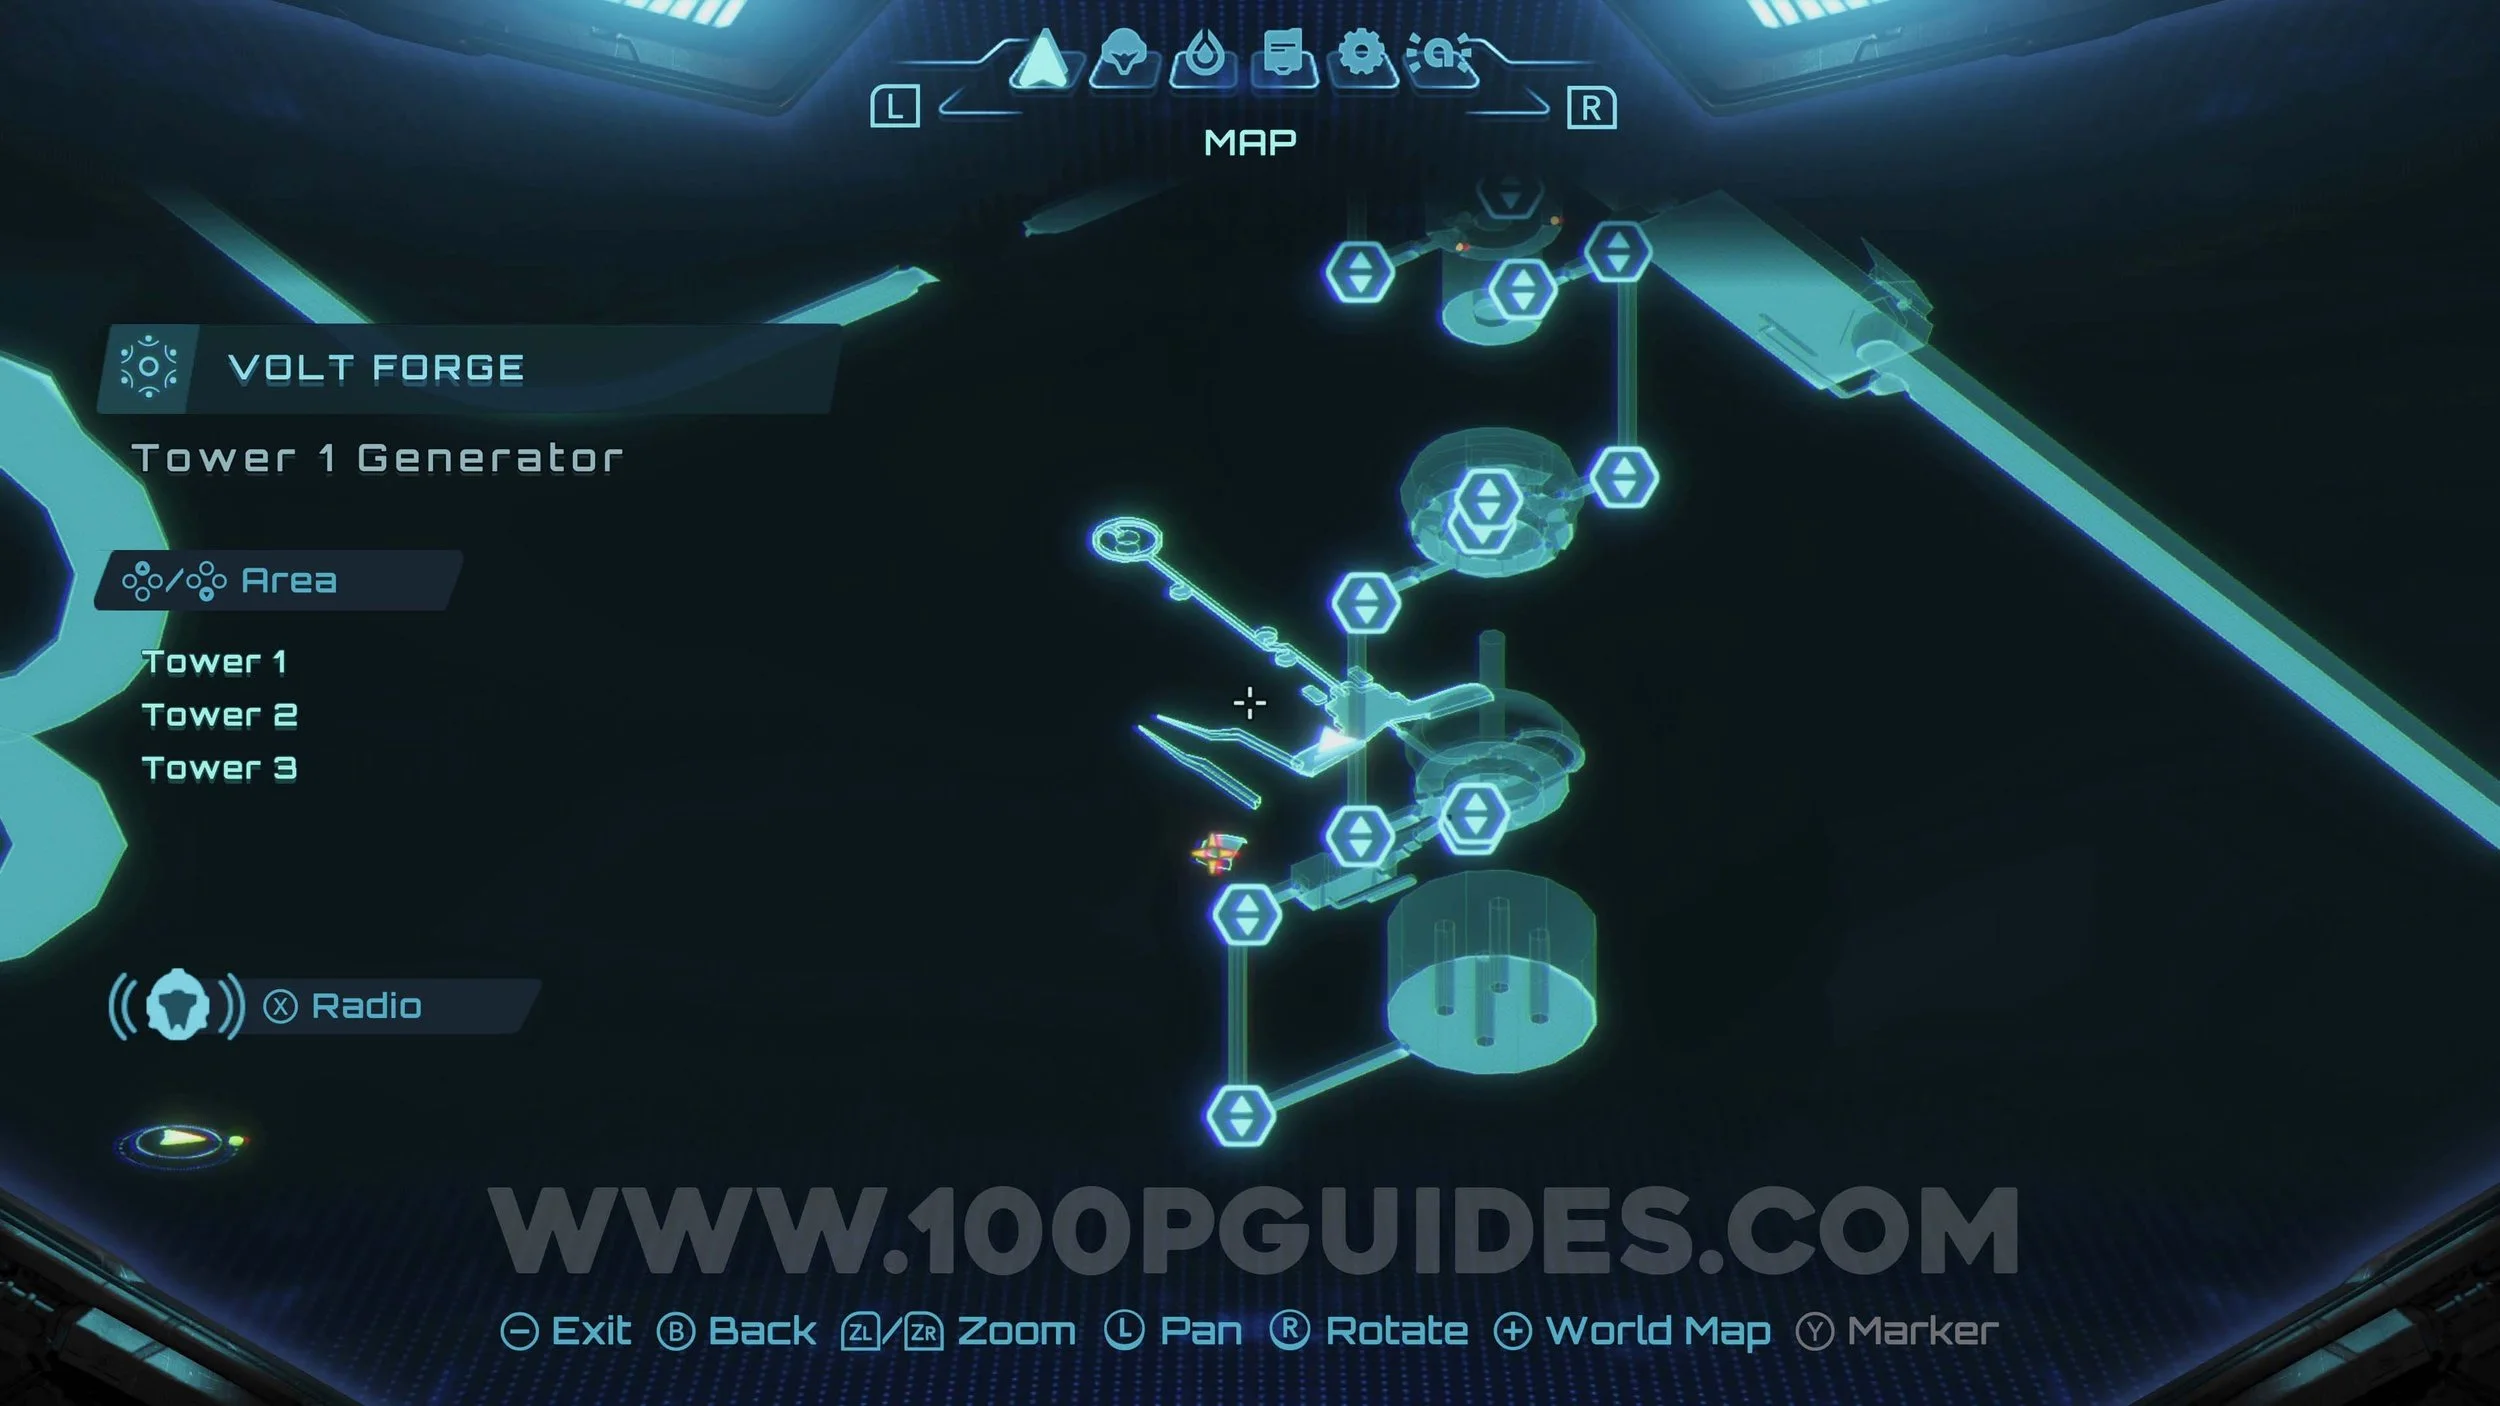


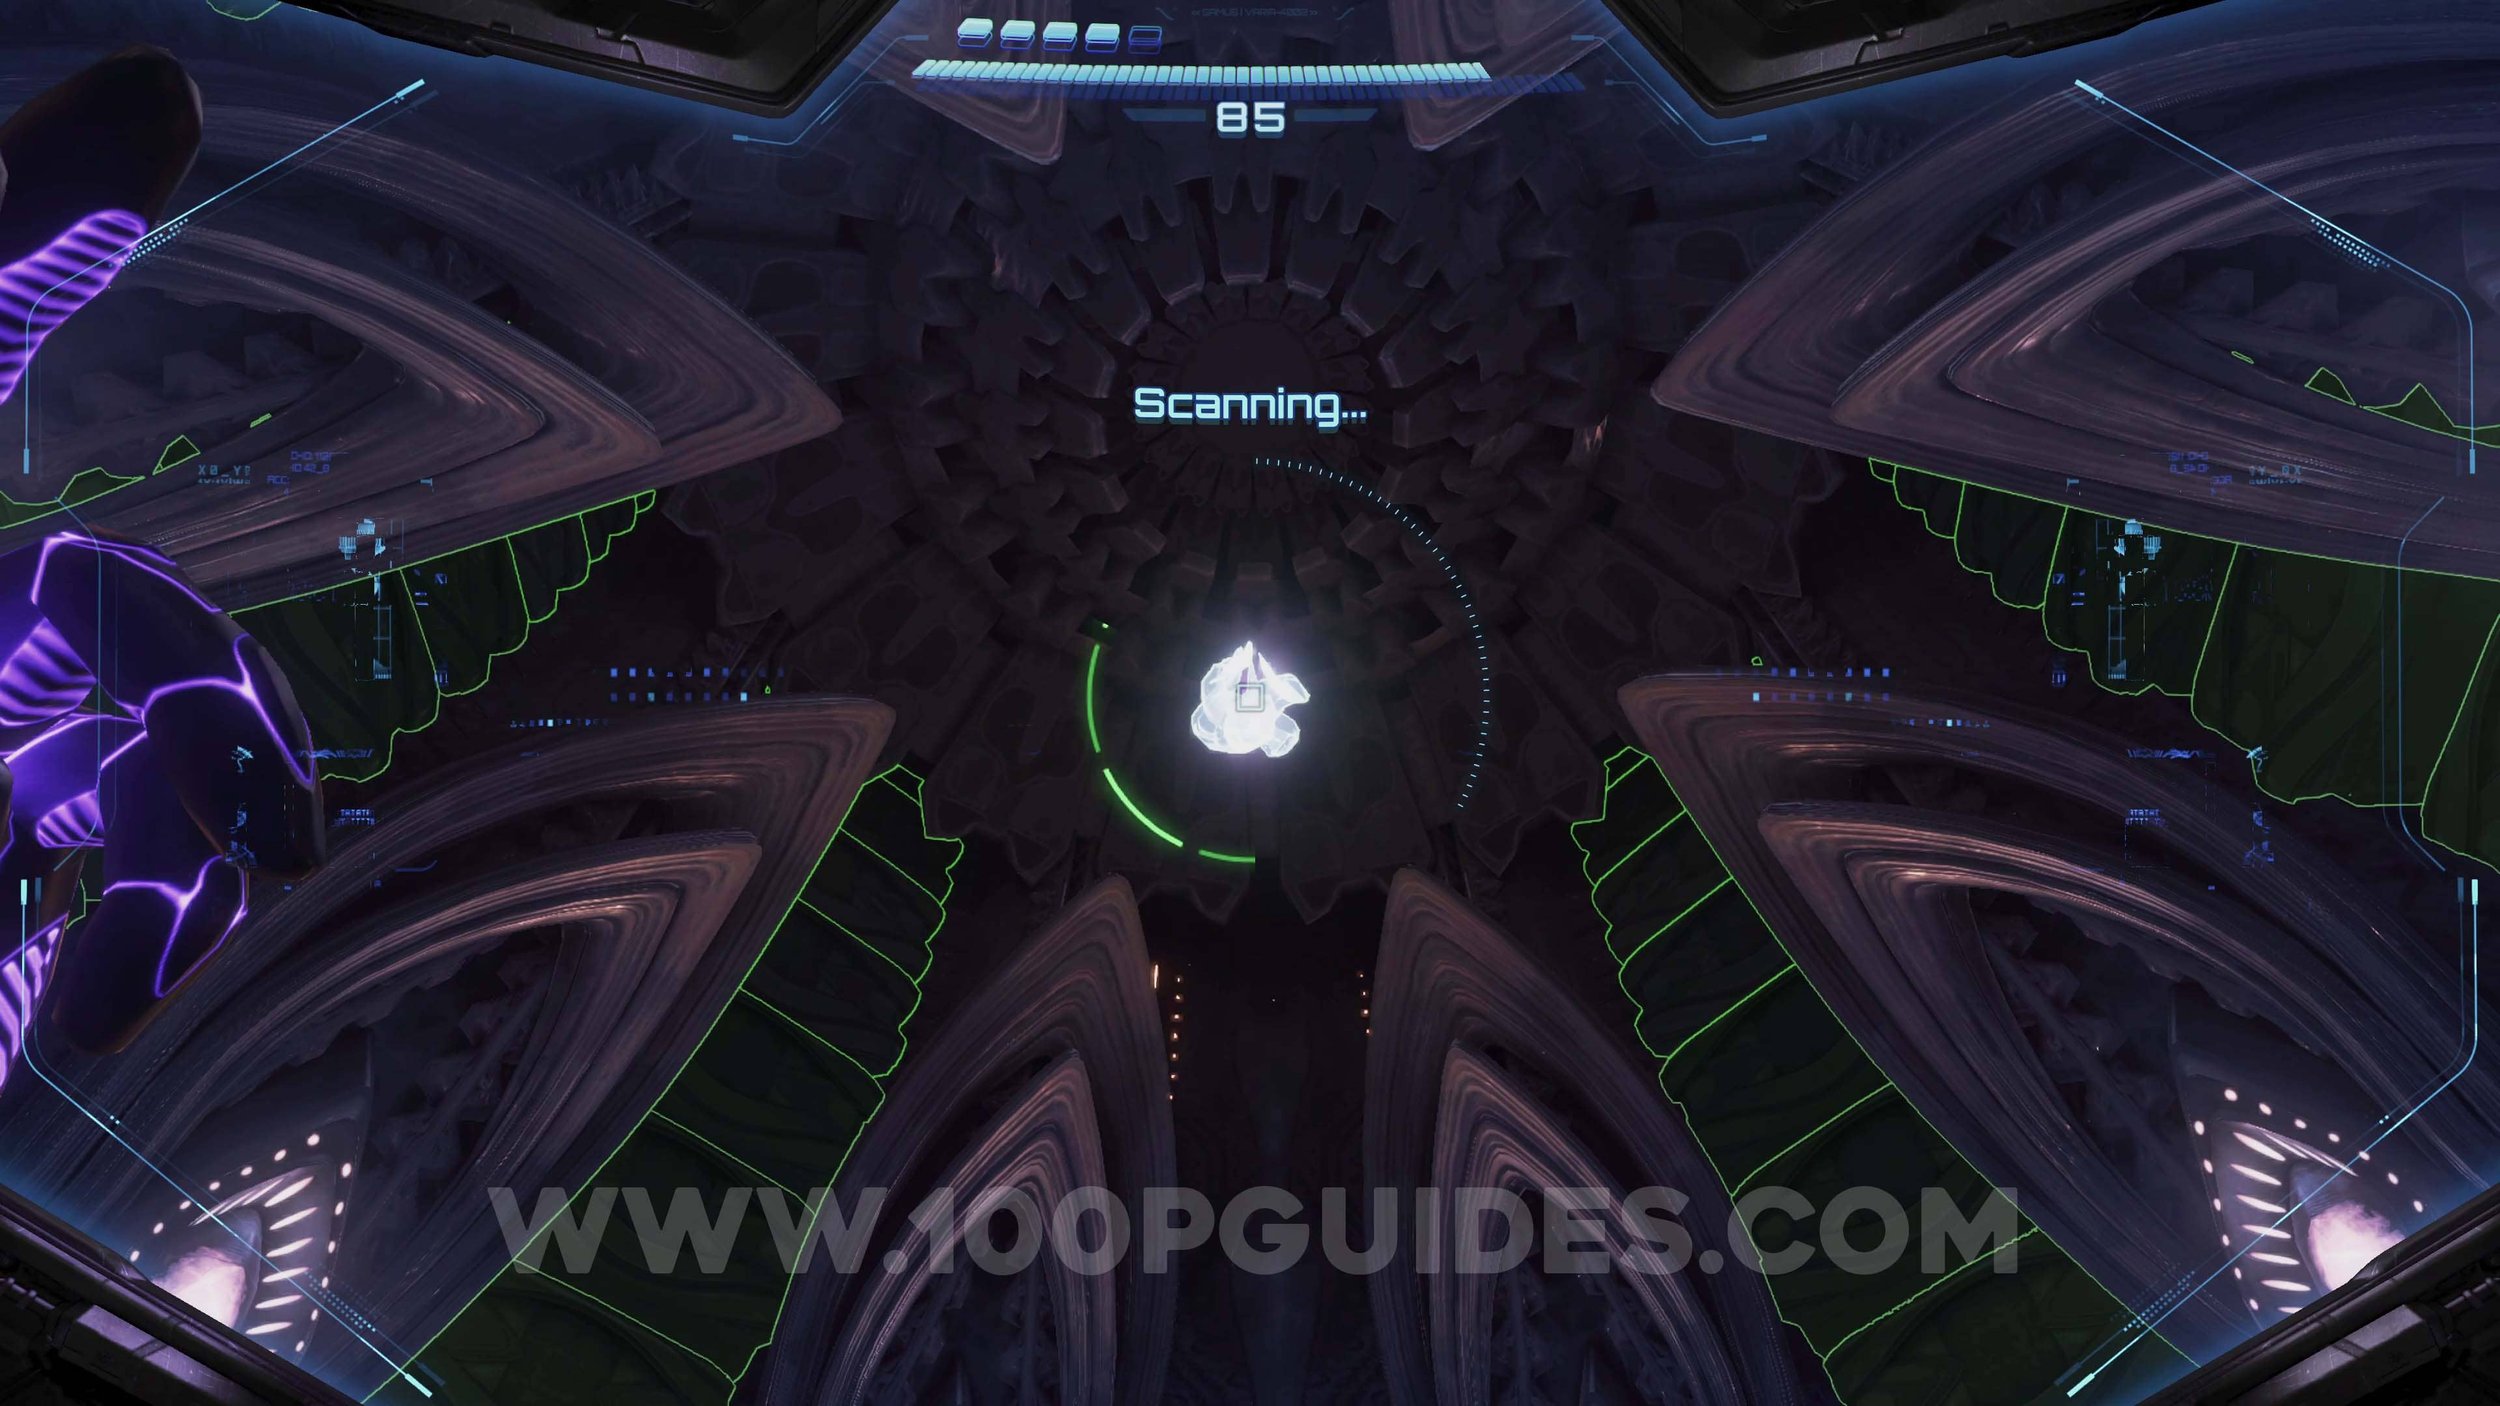
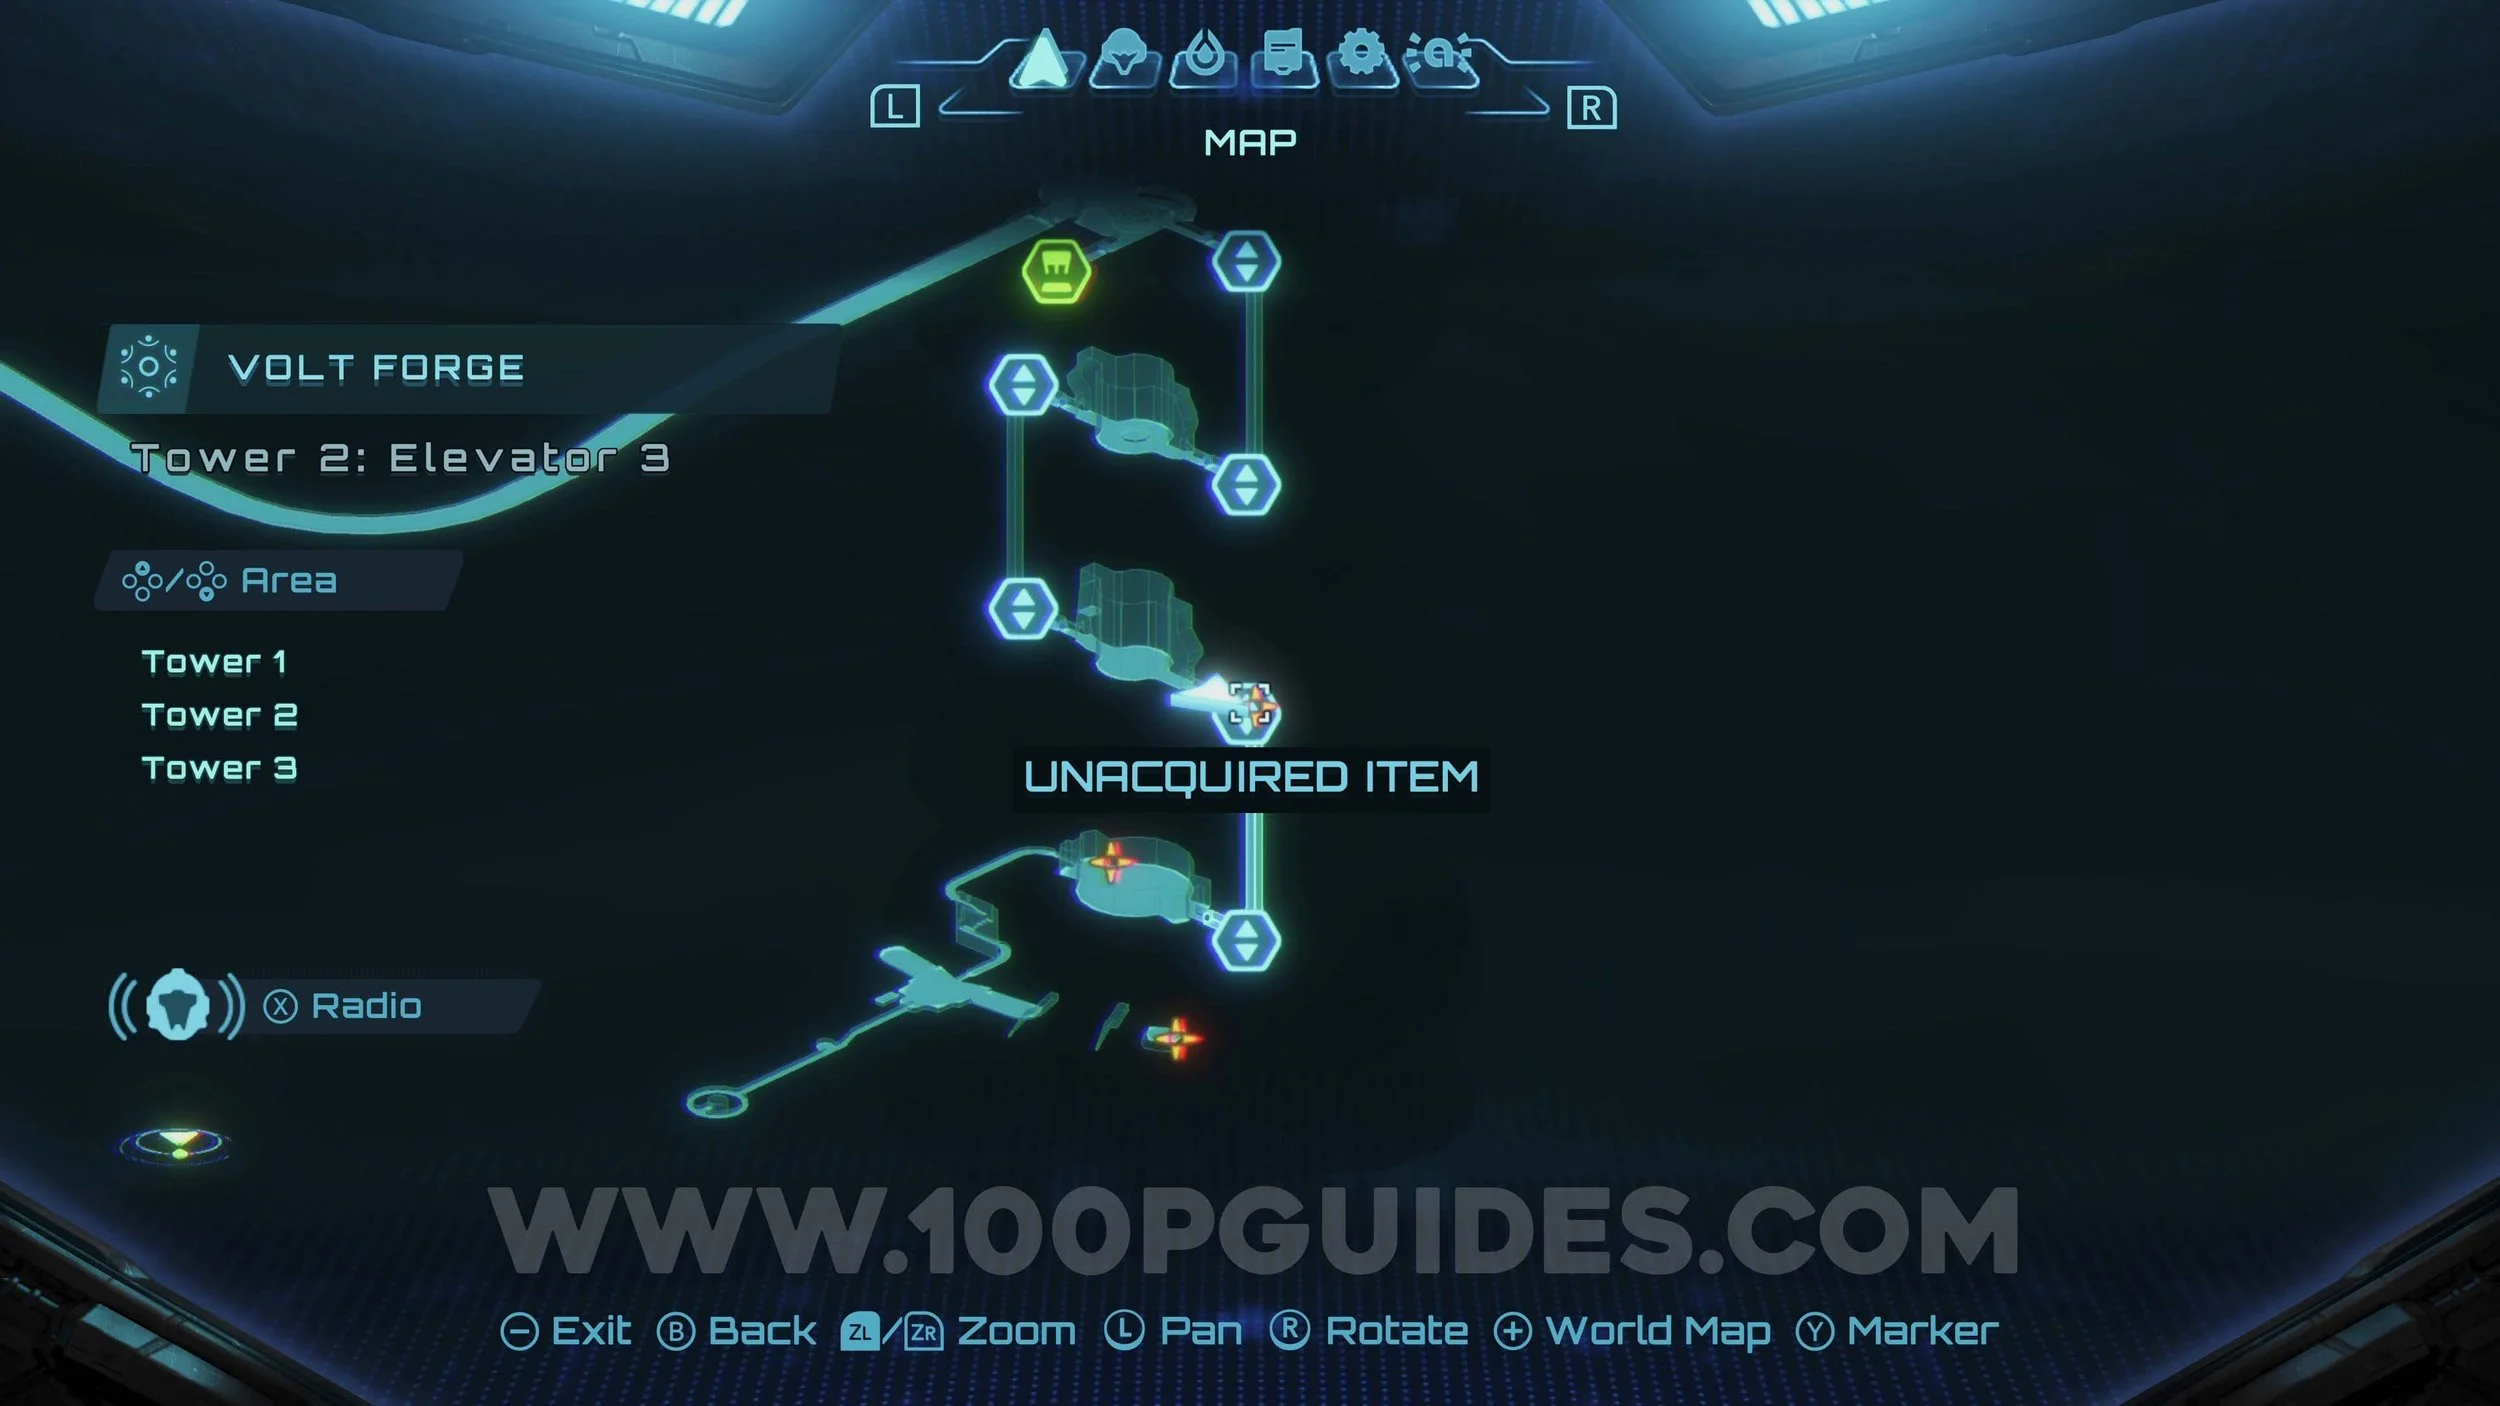
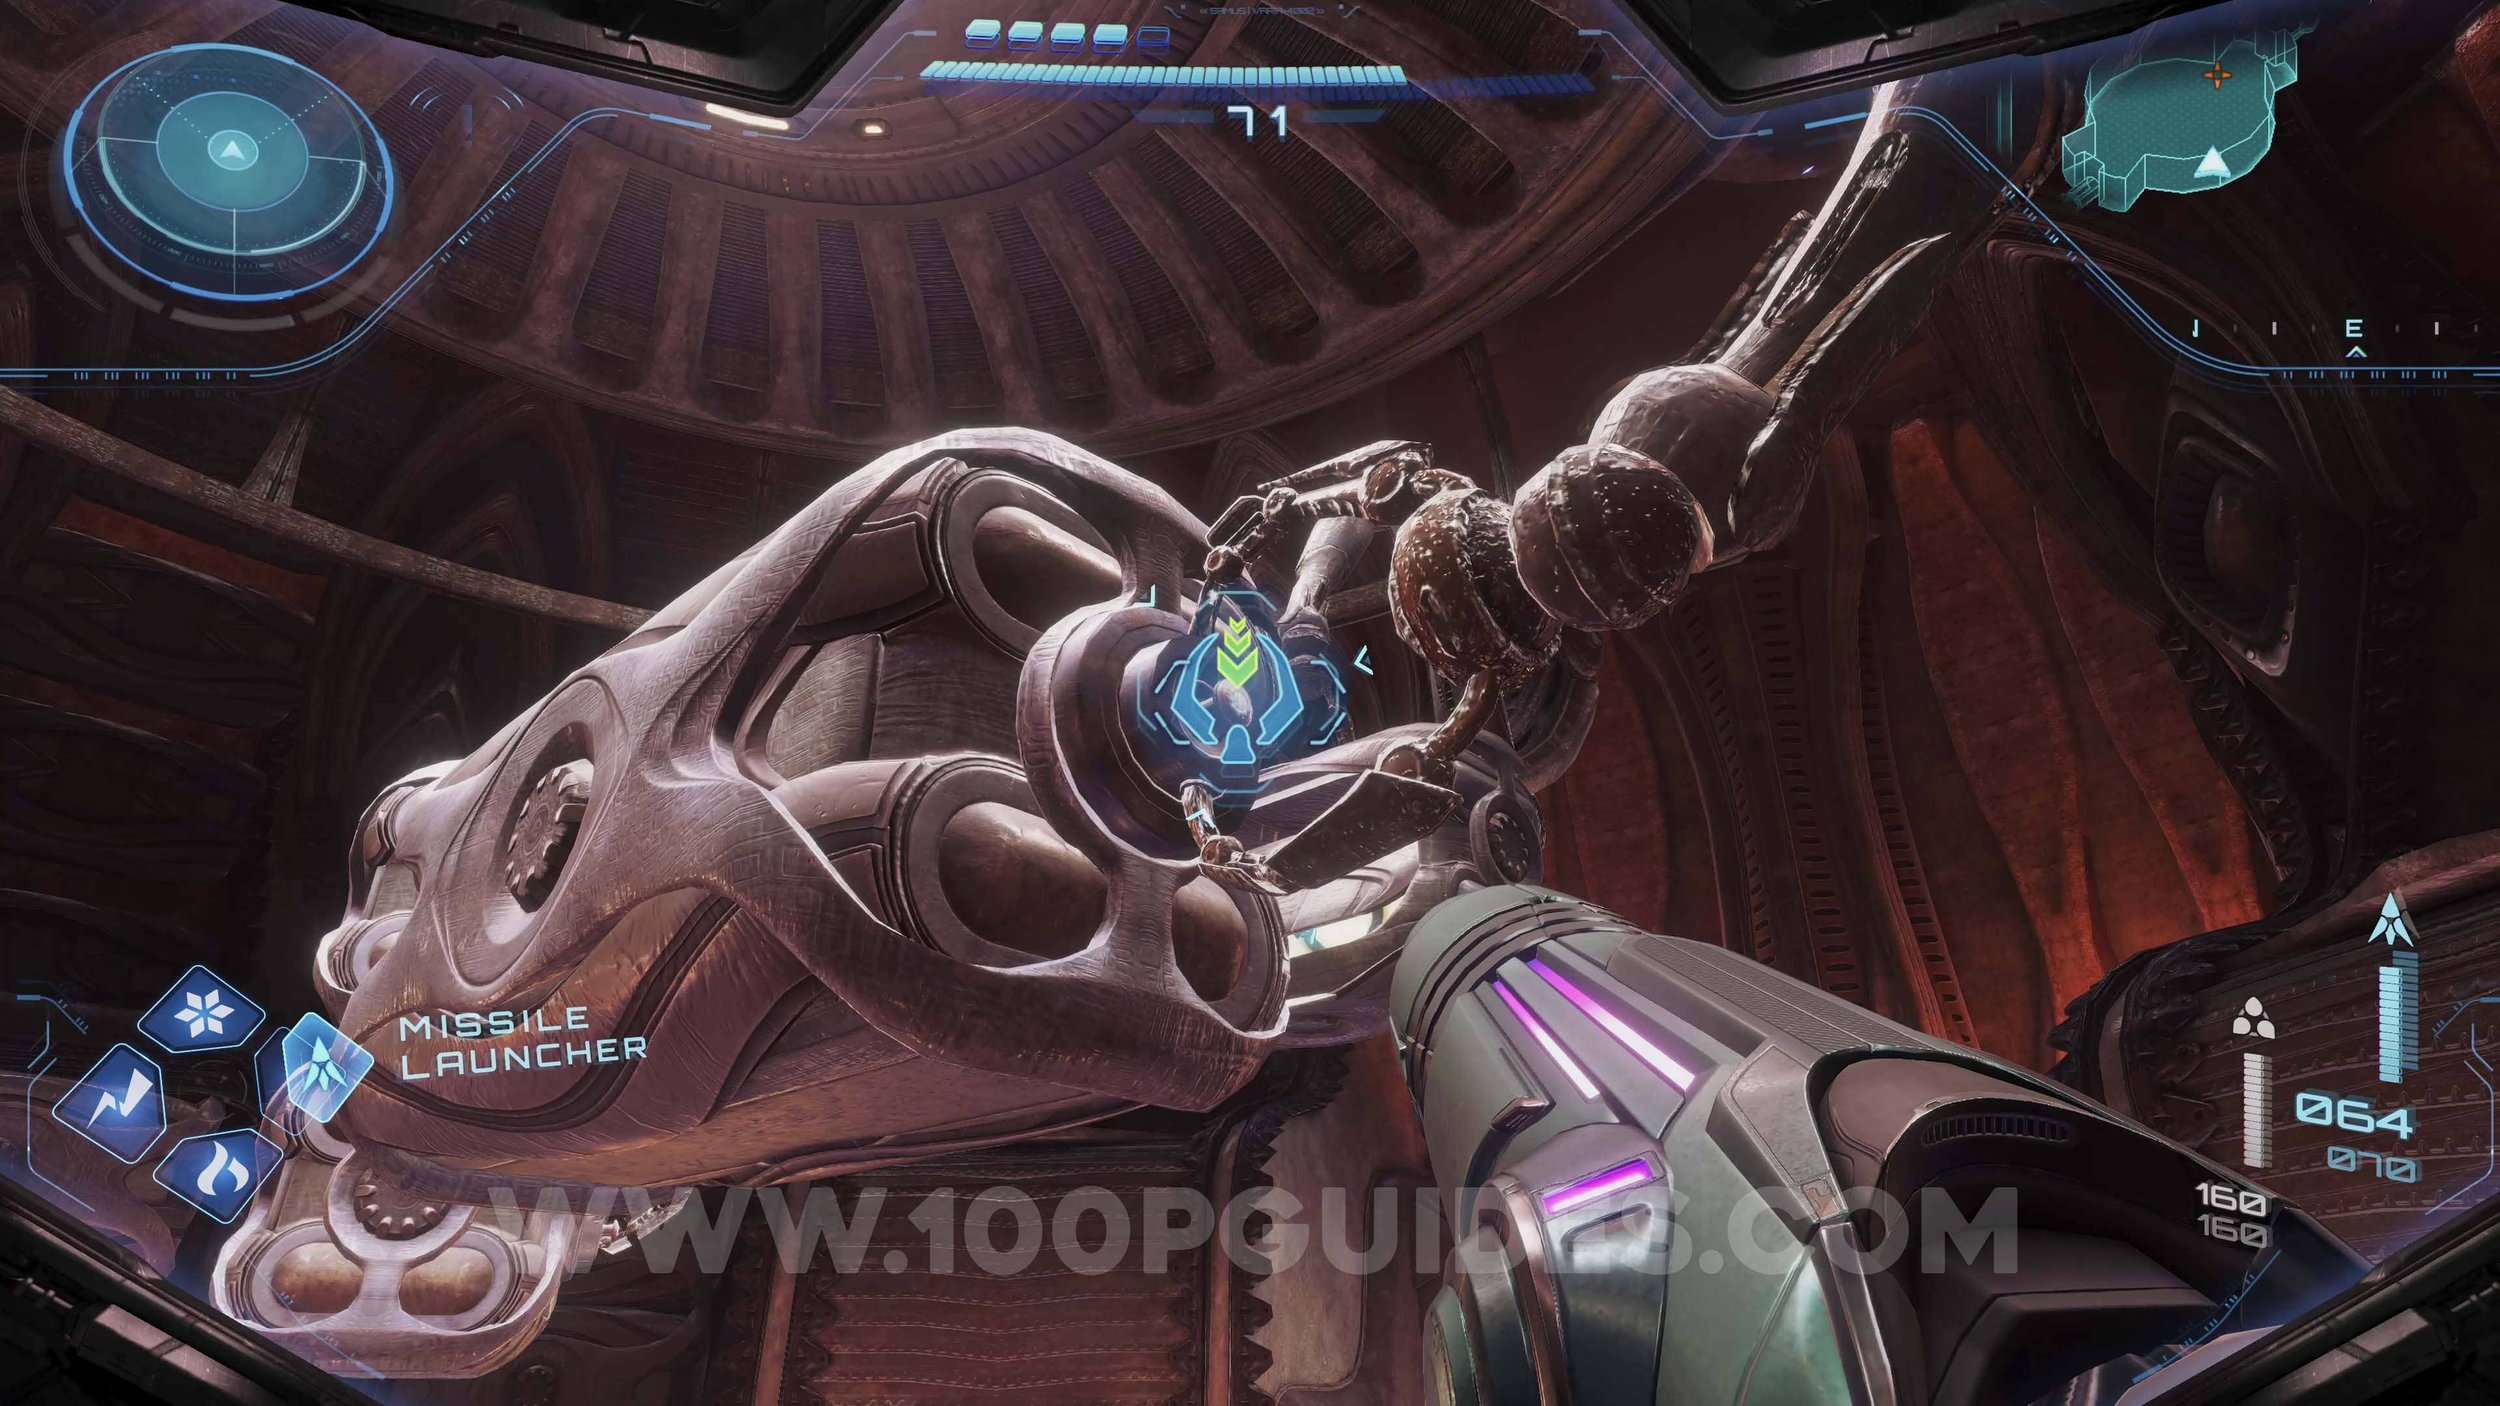
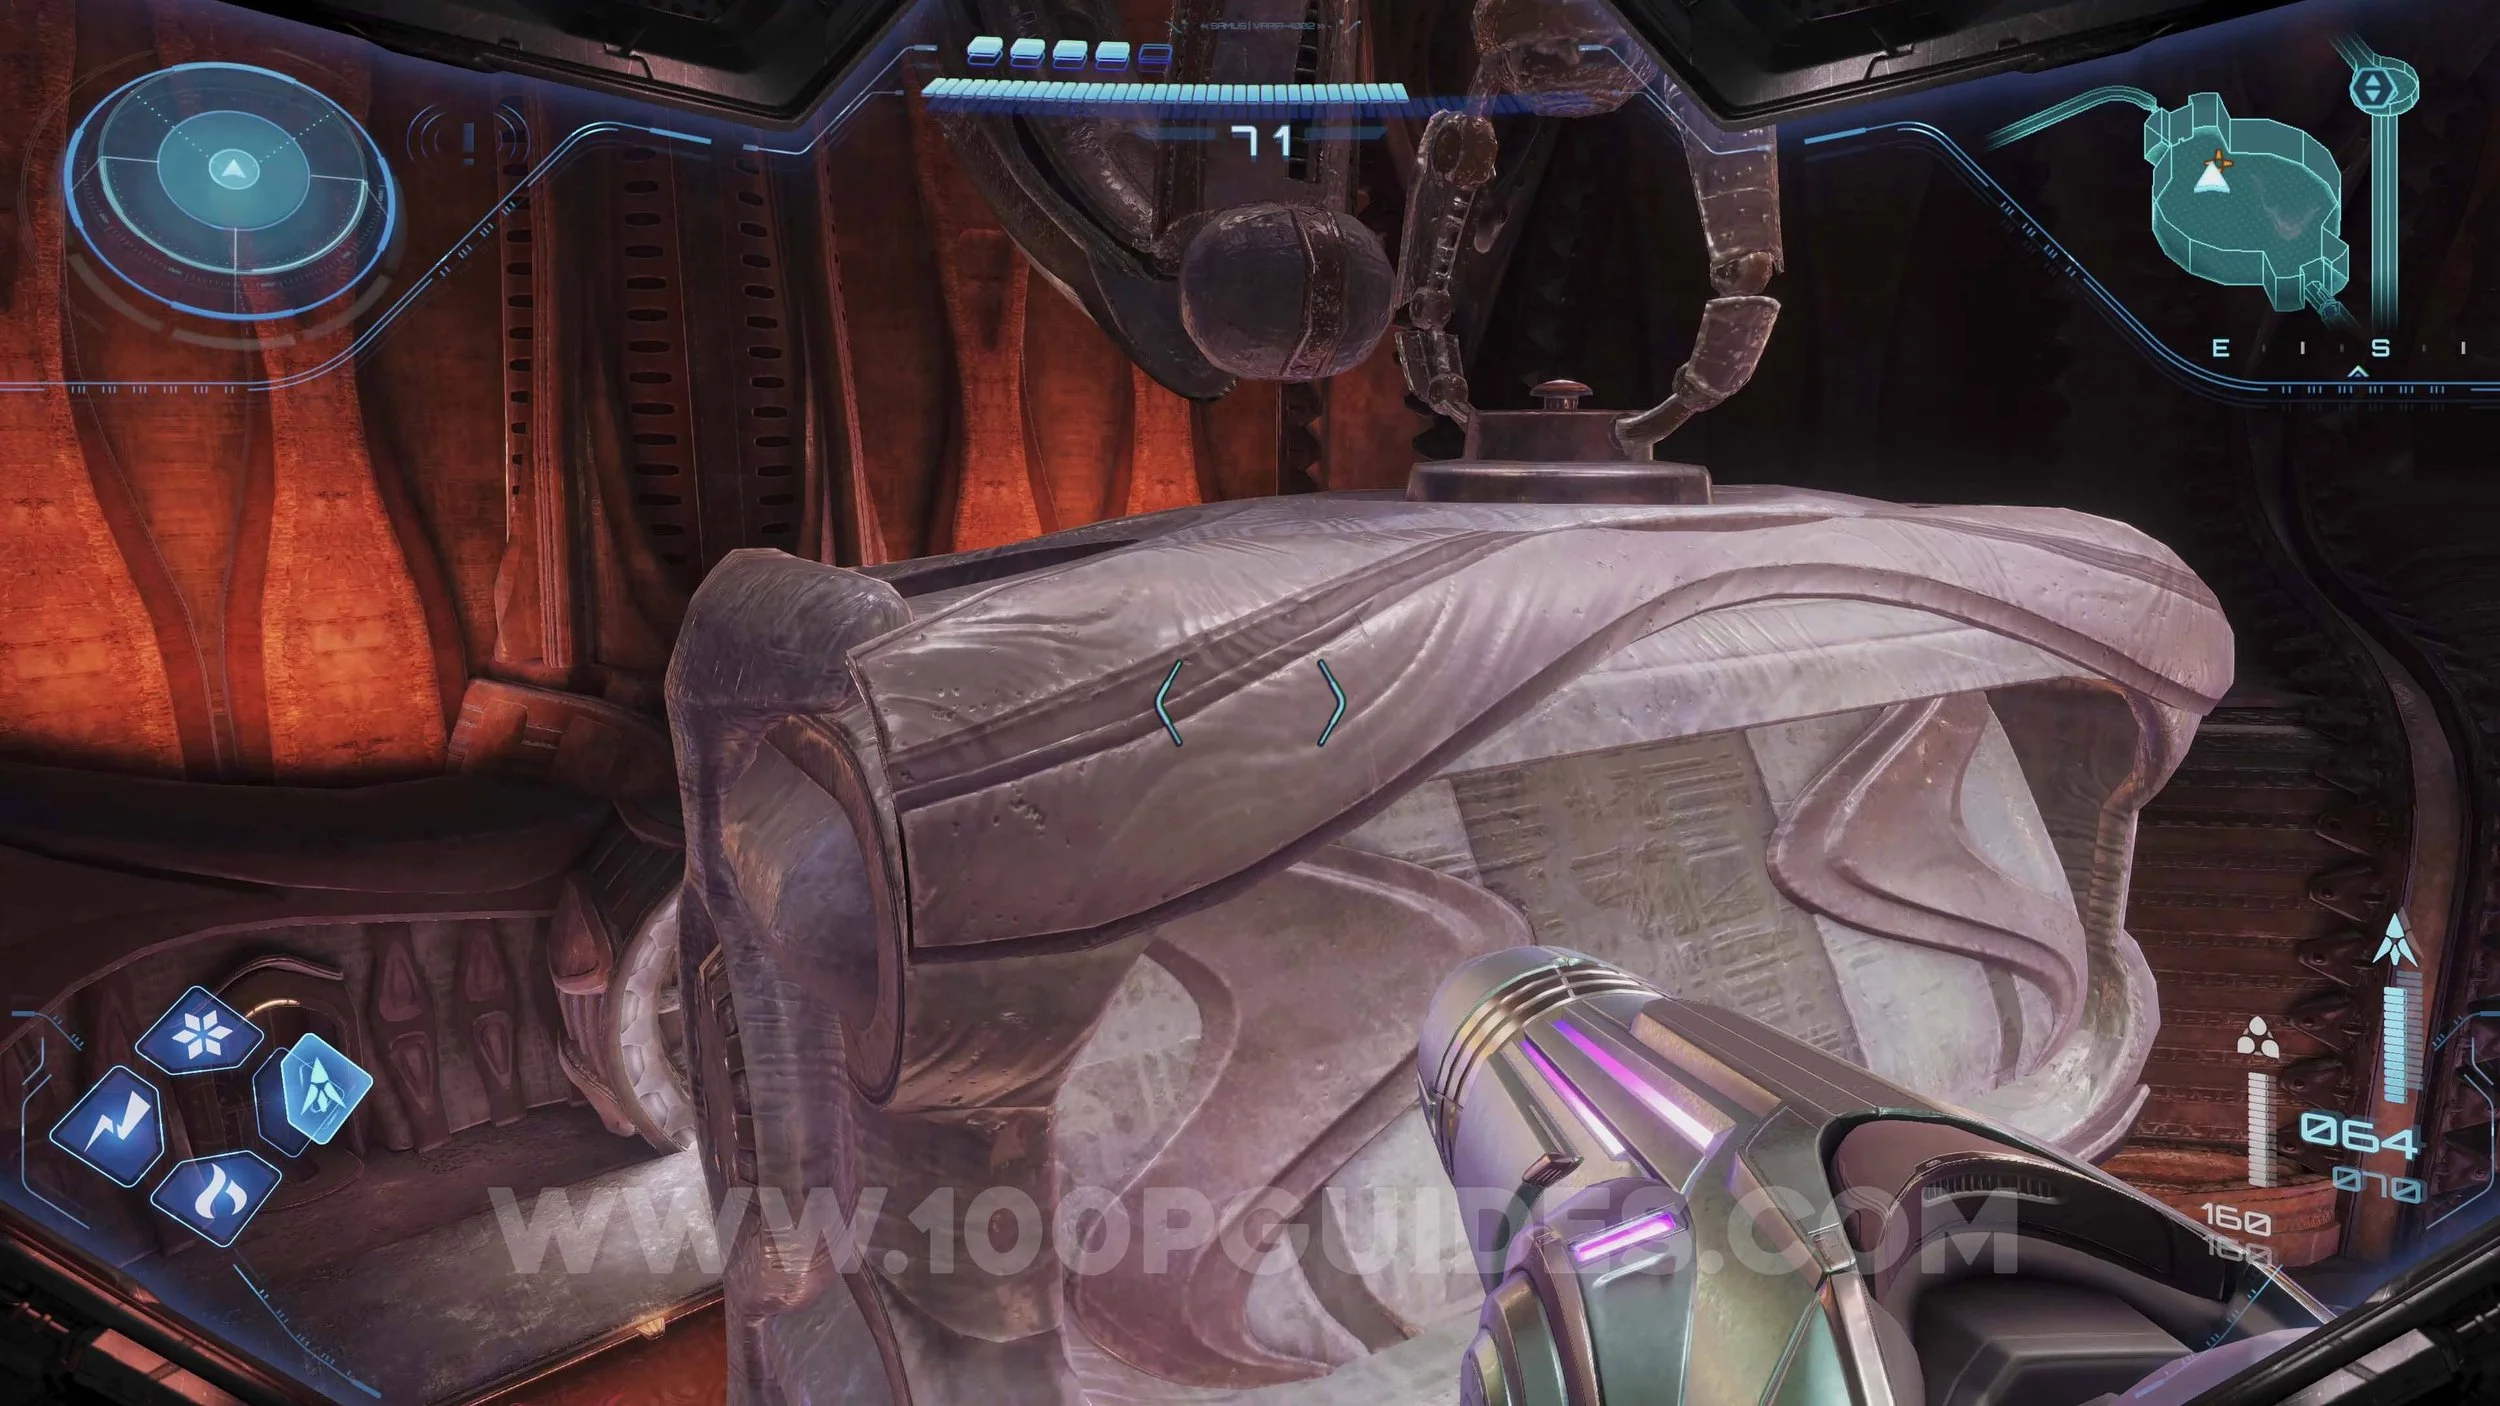
Shot Expansion #11. Found in Tower 2. Scan the grappling point above you to activate it. Then jump onto one of the “step” shaped structures around the side of the room to reach it. This will allow you to reach the upgrade on a platform in this same room.

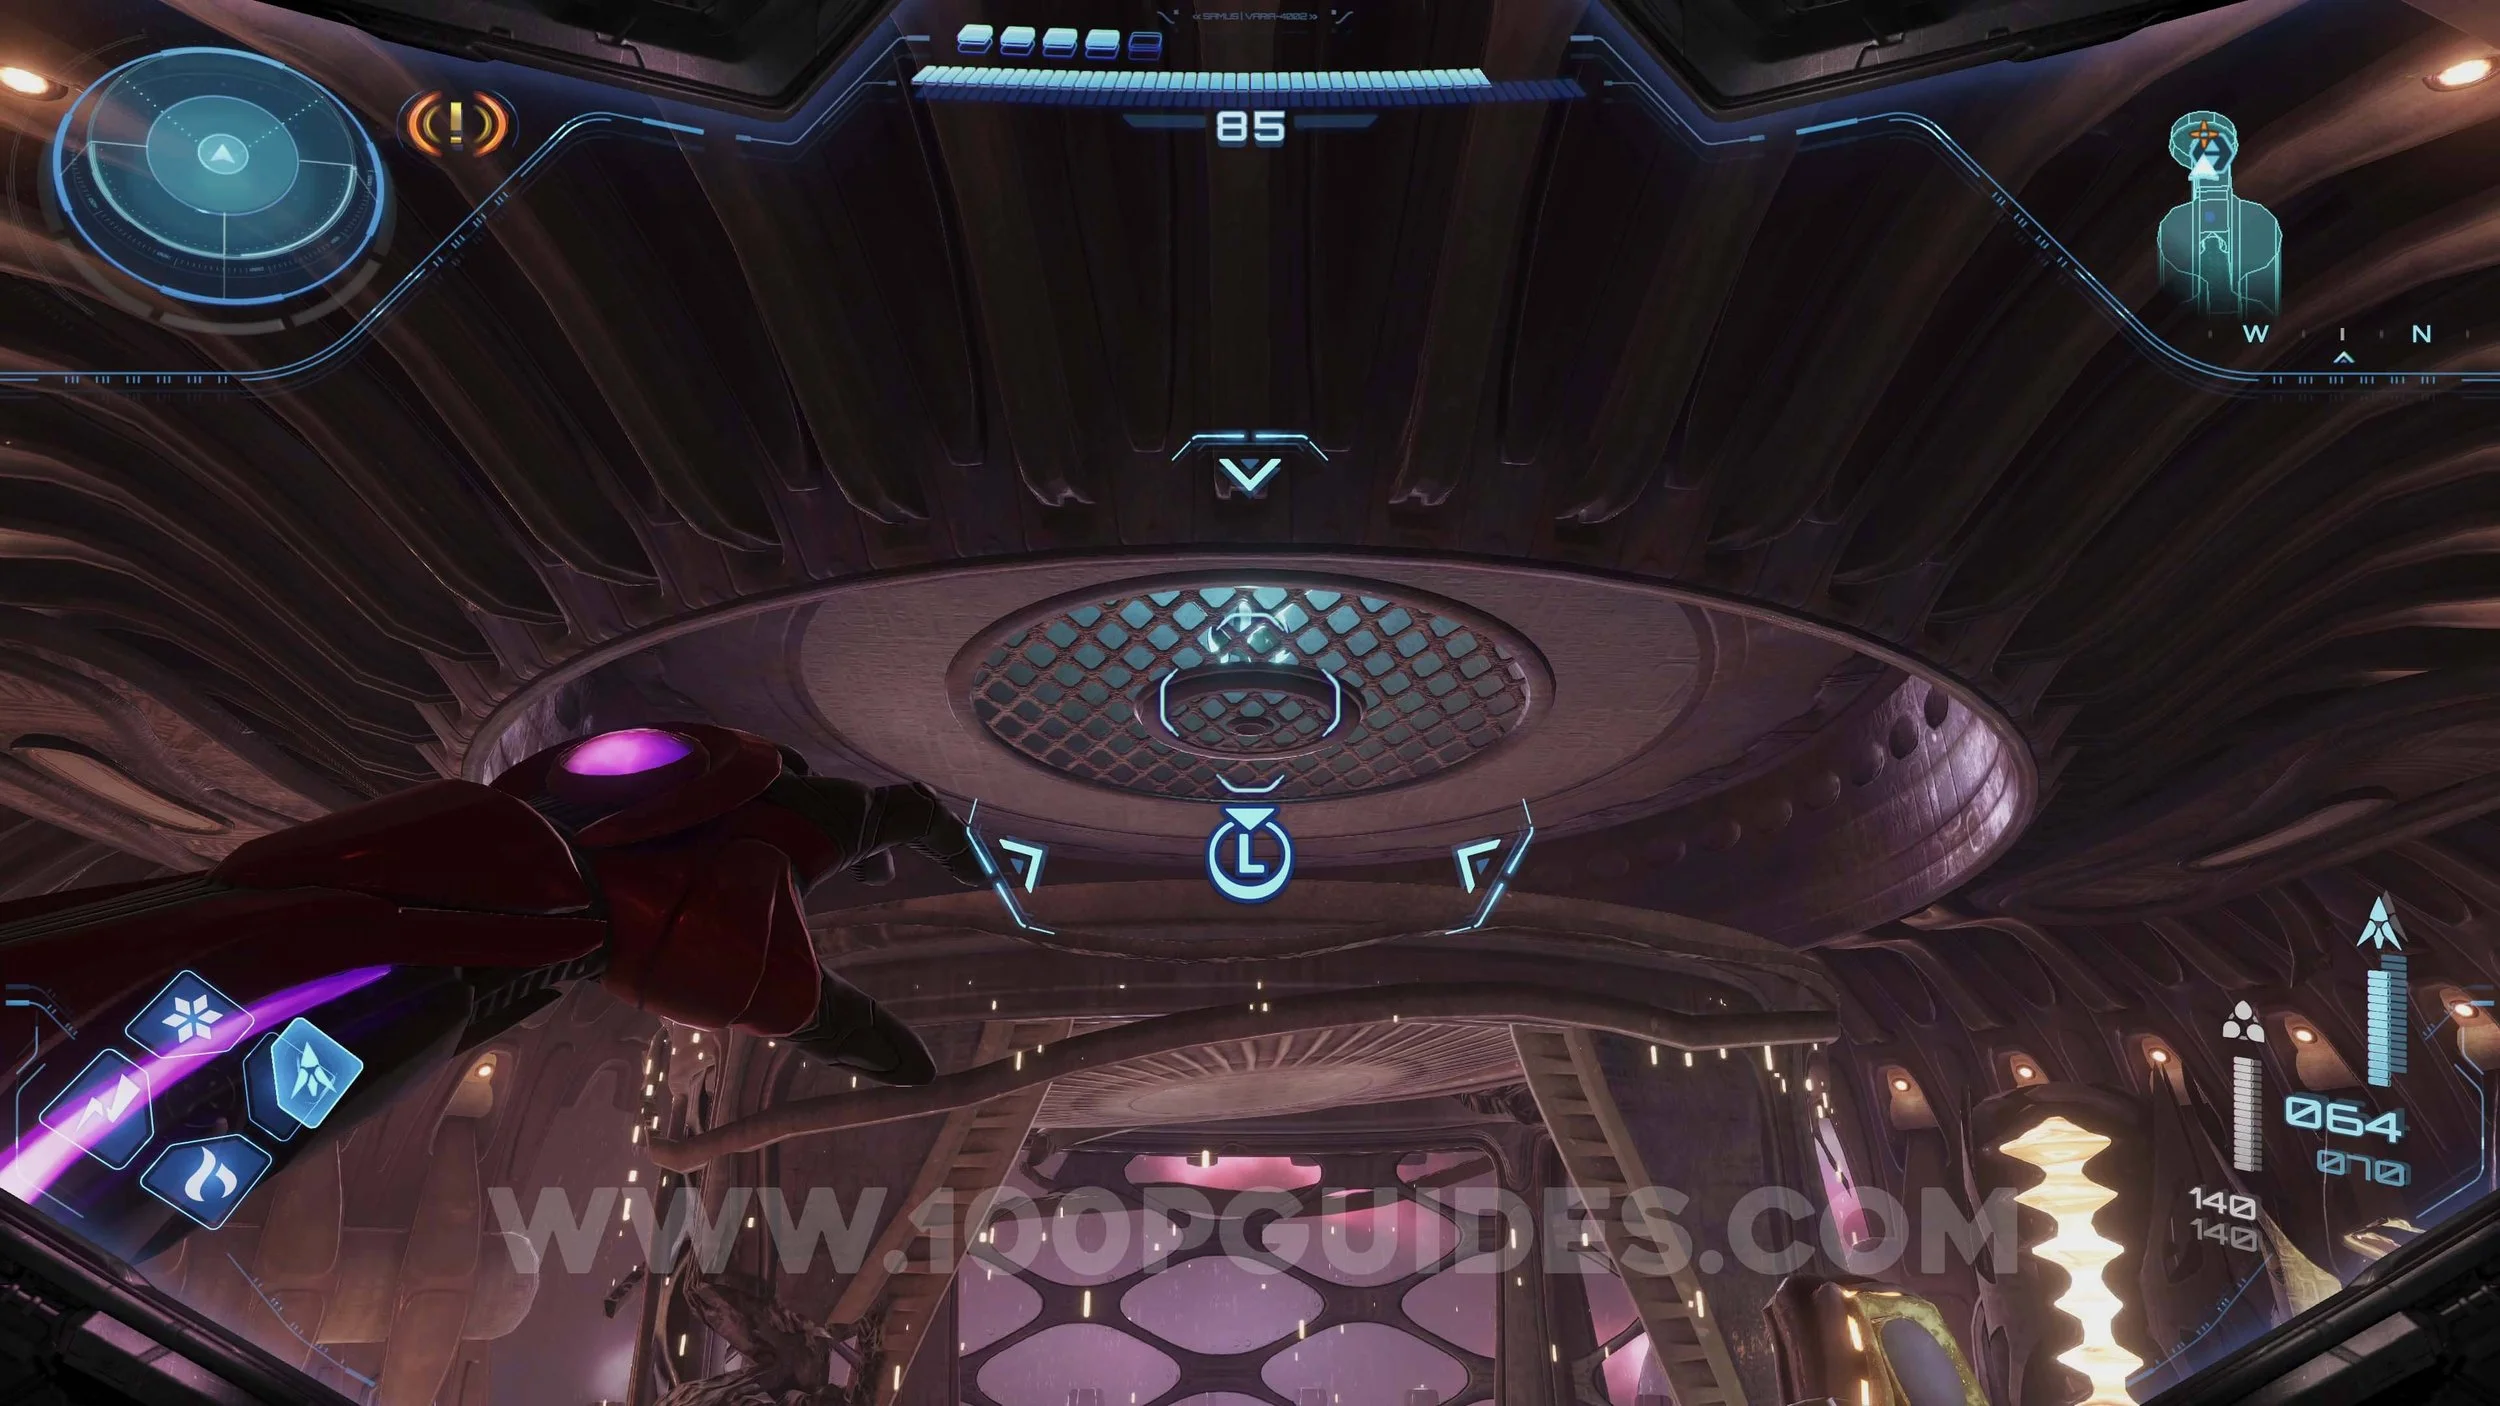
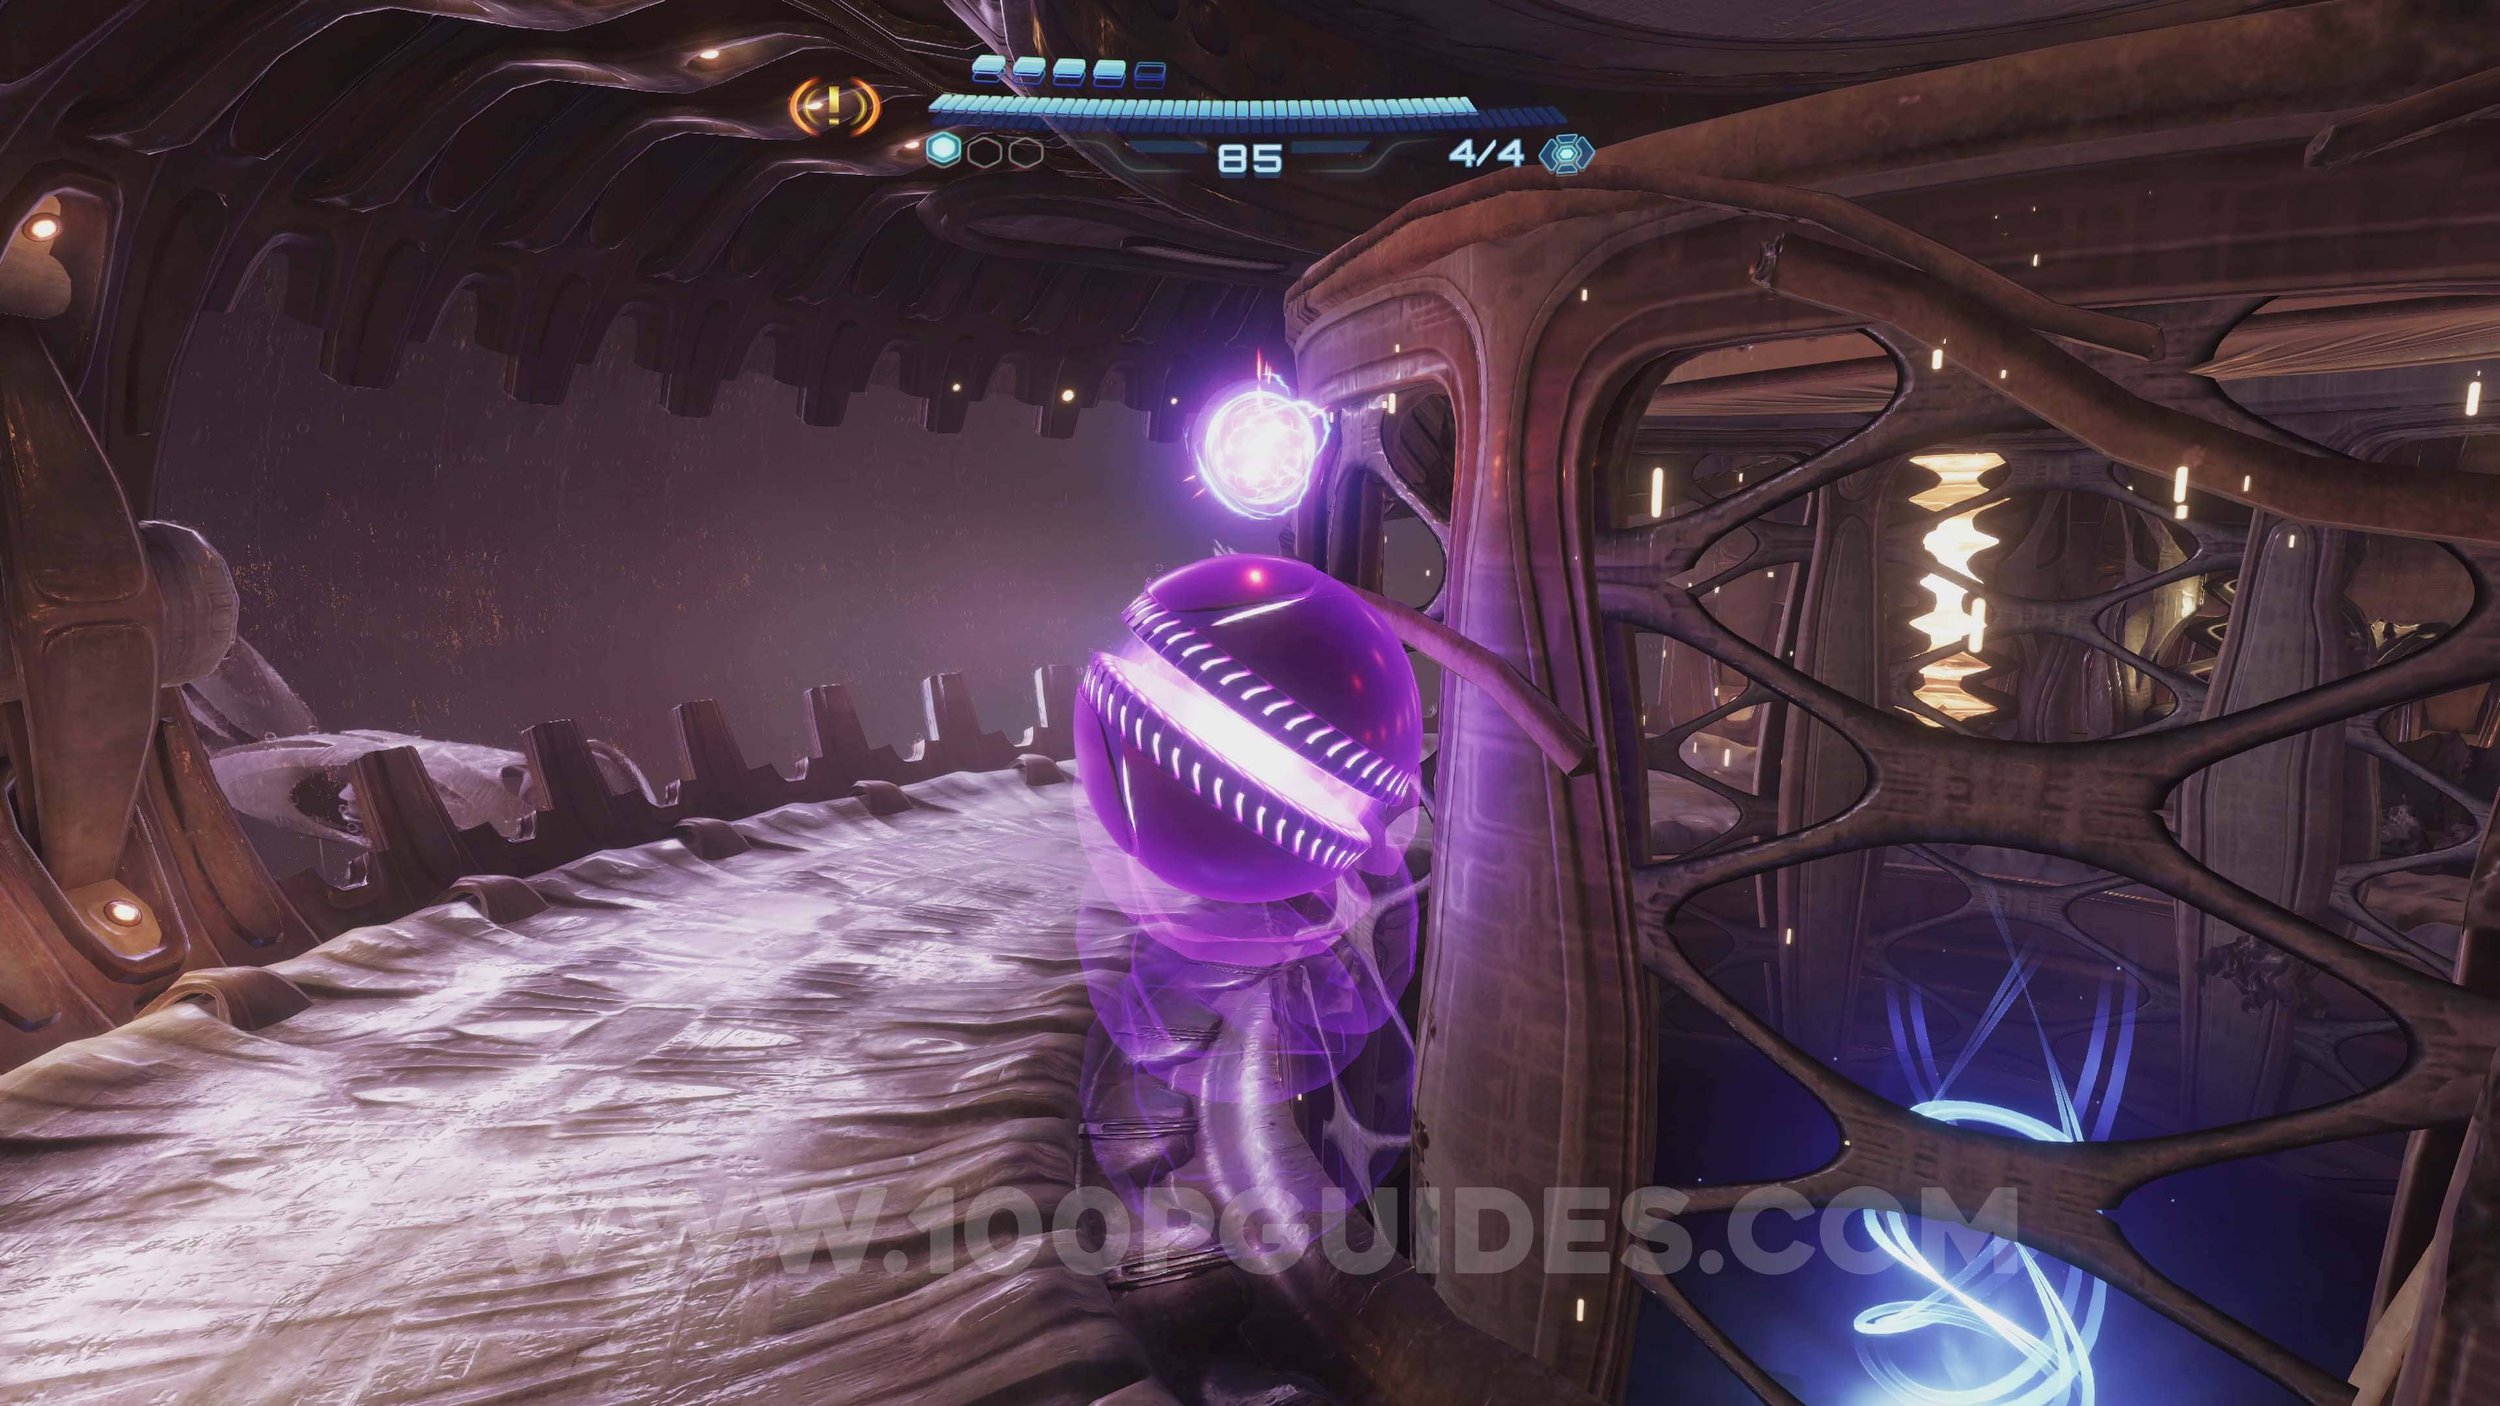
Shot Expansion #12. Above the broken lift in Tower 2. First, pull off the metal plate above the lift, then use a bomb to reach the top of the elevator and the upgrade.
Shot Expansion #13. Found in the archives room in Tower 2. Pull on the hooks holding up the crates, then use them as stairs to the crate with the hook on top of it. Pull on this hook to get it to fall and open. This will reveal the upgrade inside.
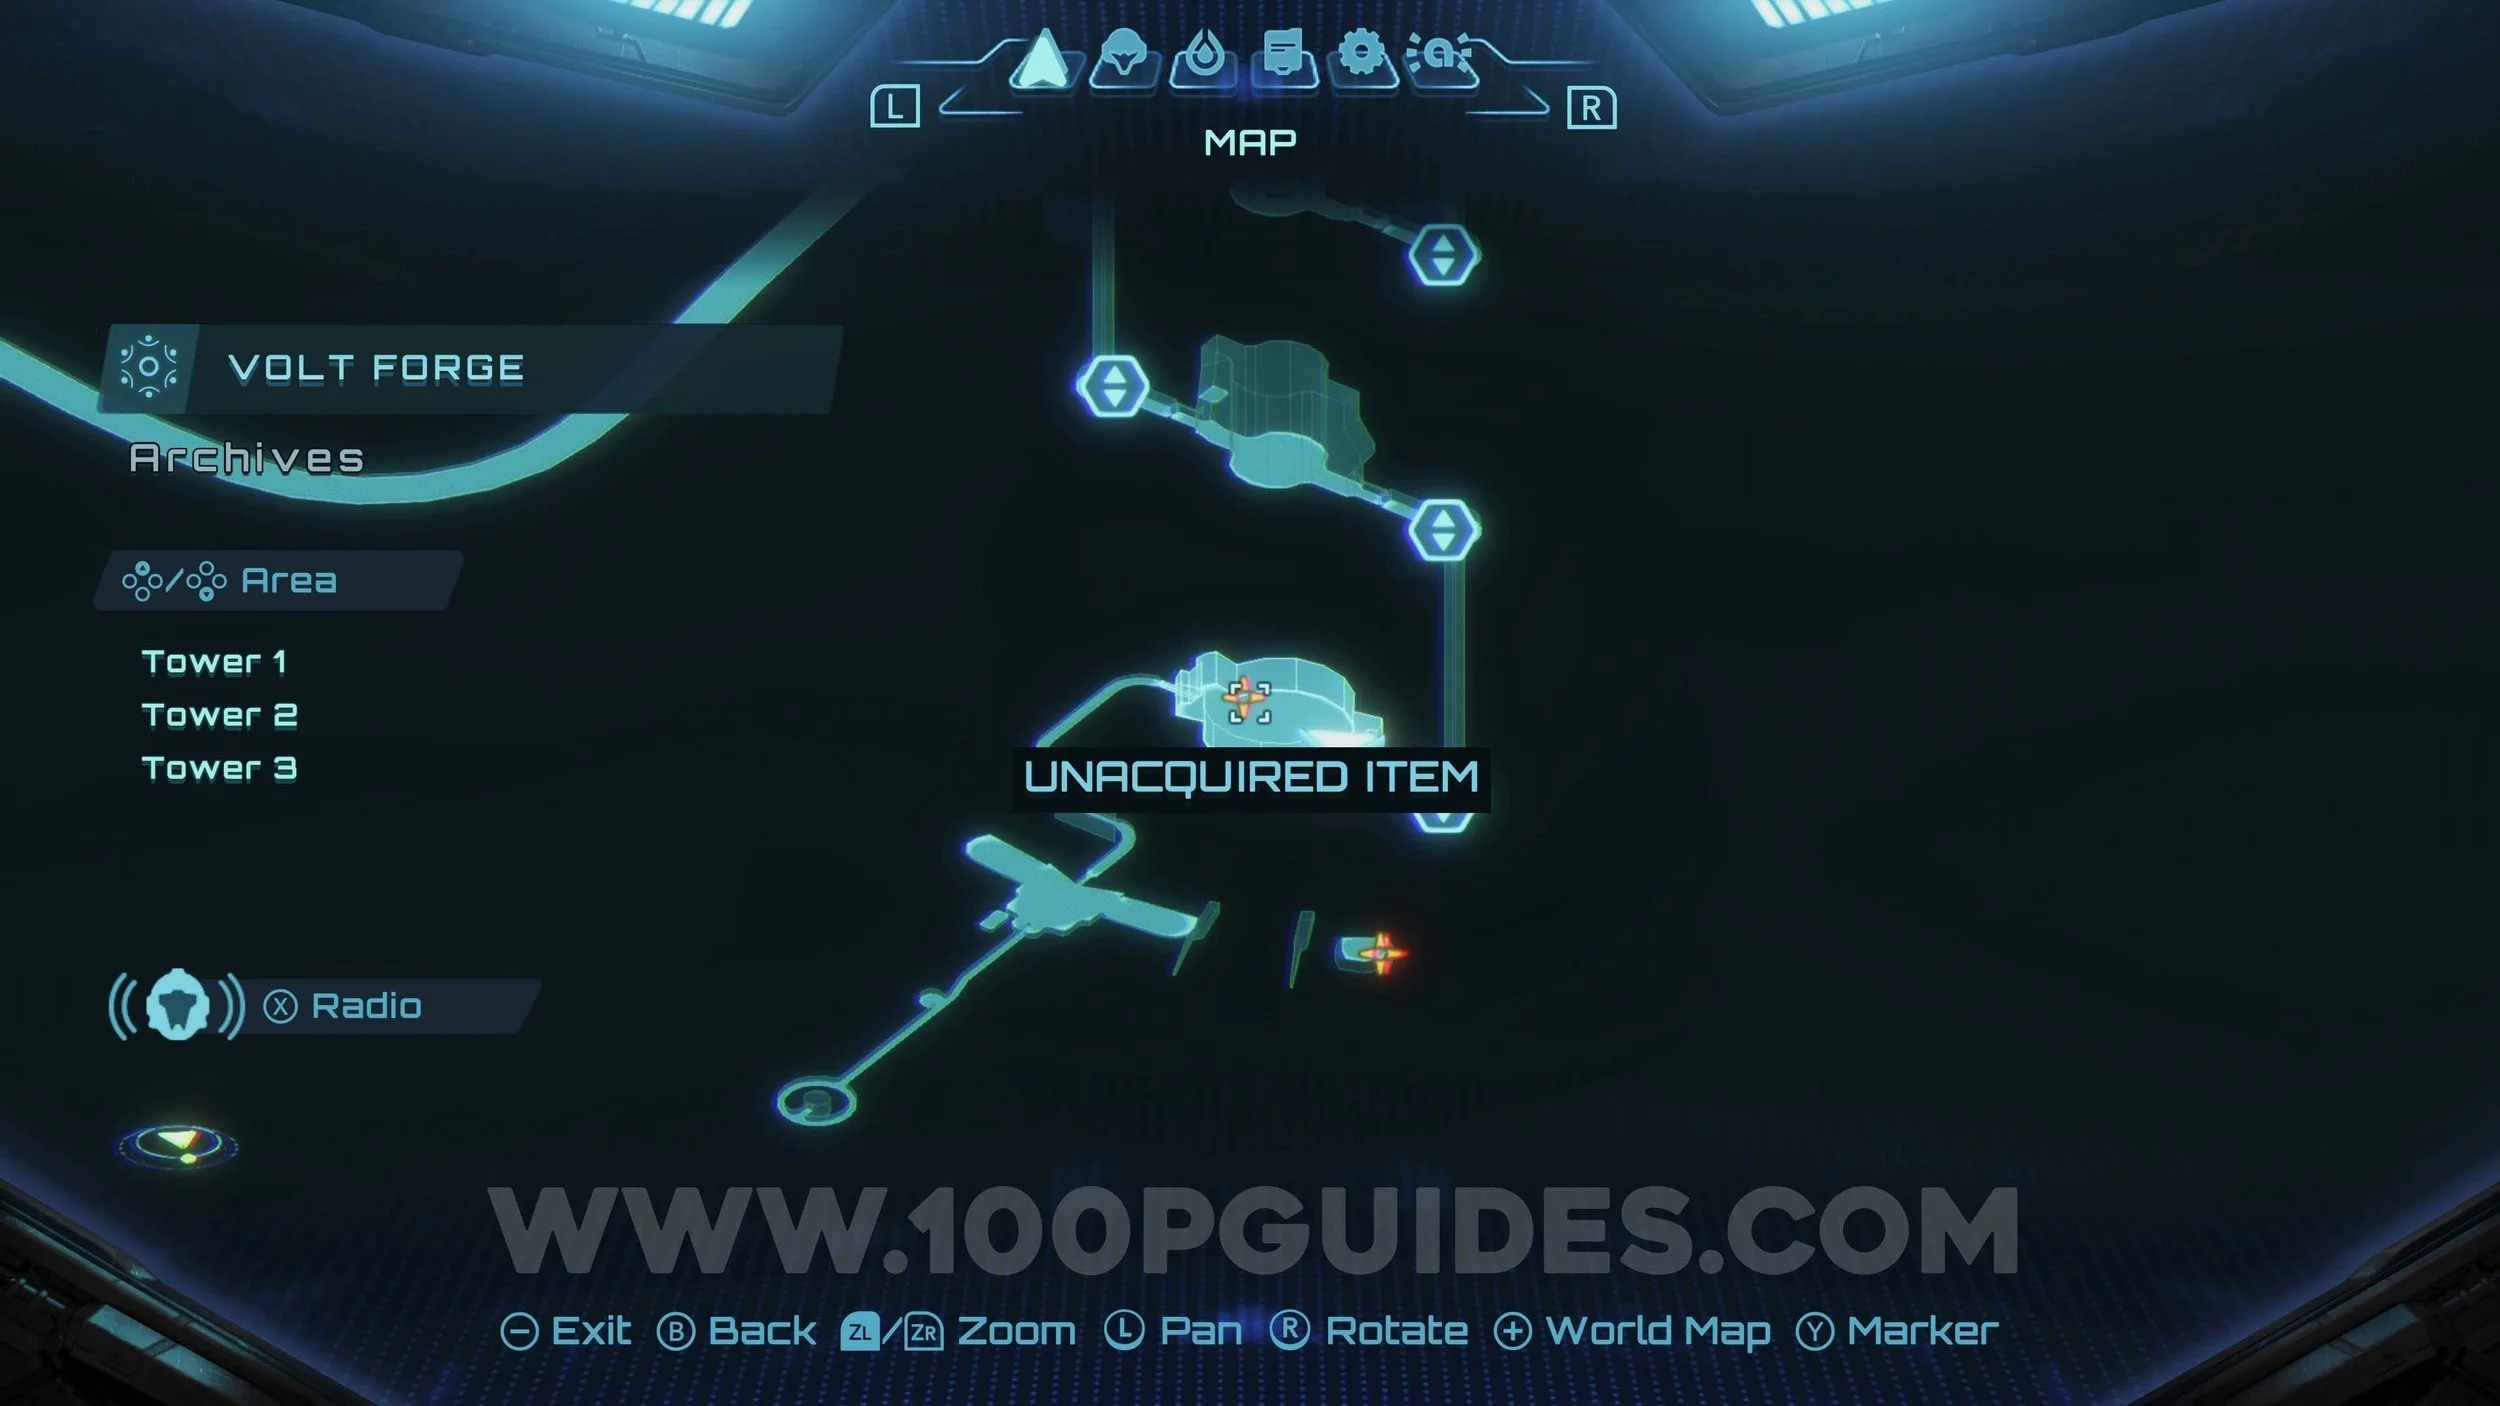

Shot Expansion #14. On the bottom floor of Tower 2, scan the far points to spawn magnetic nodes. Then quickly use the spider ball on the rails to reach them. Use them to get to the platform with the upgrade in a box.


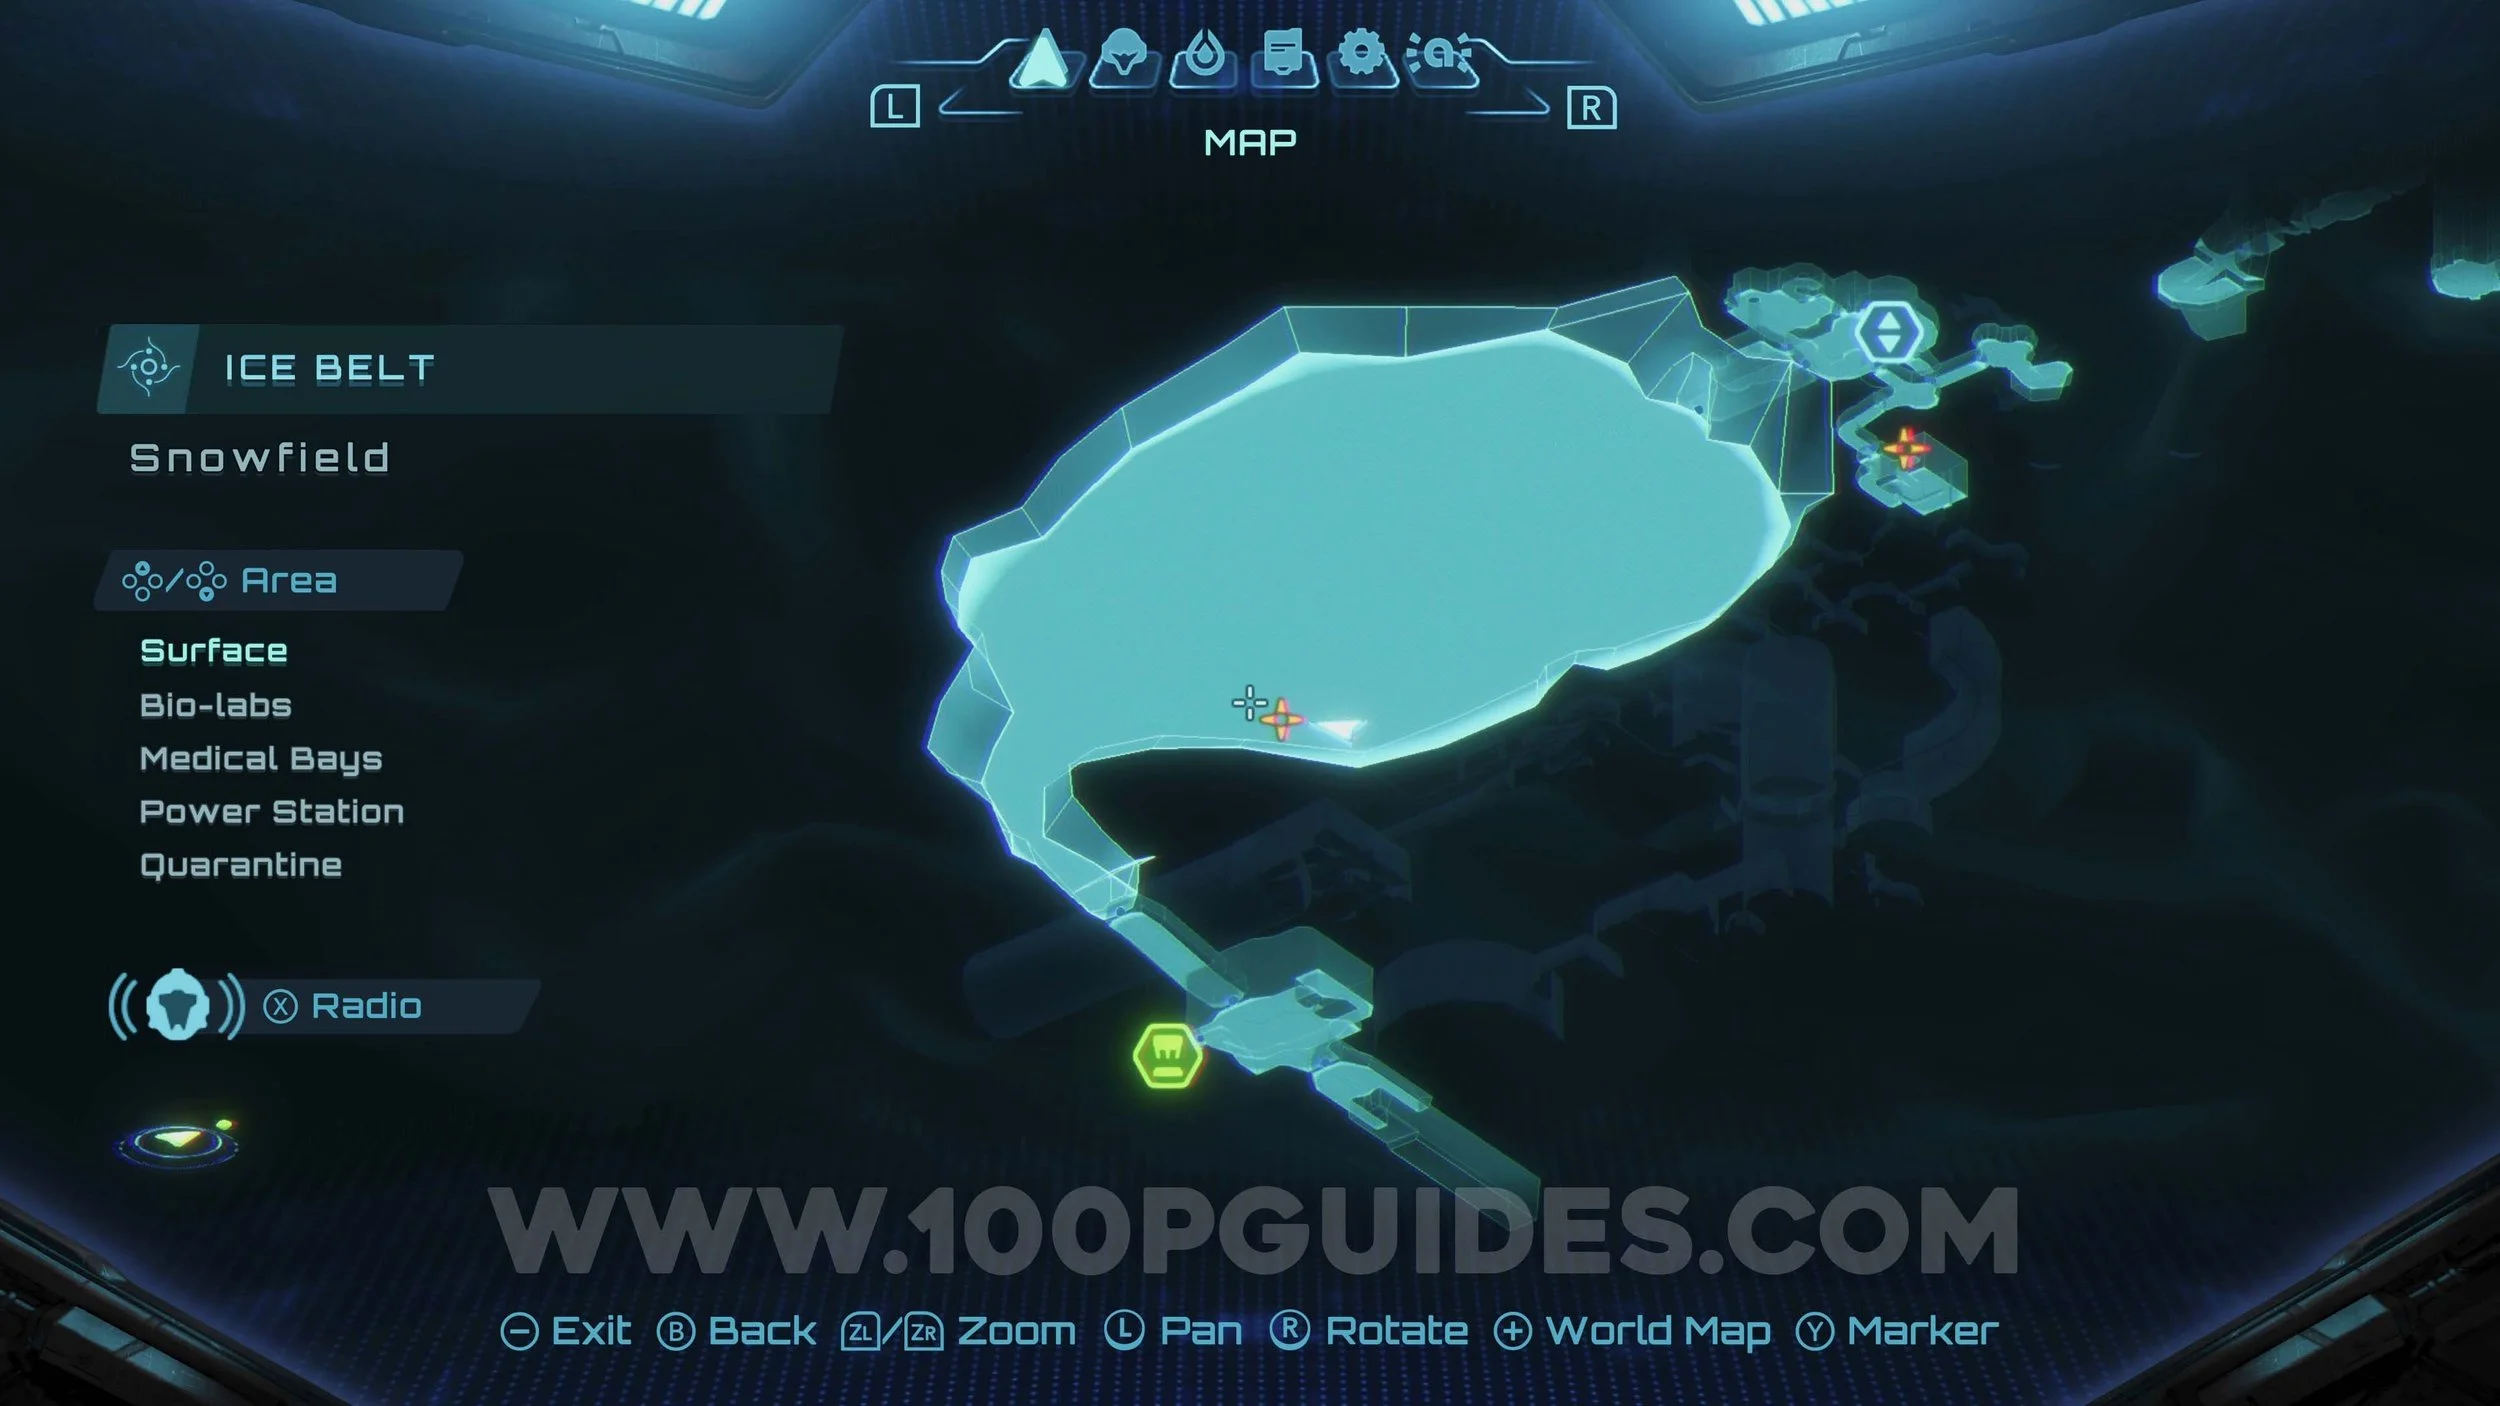
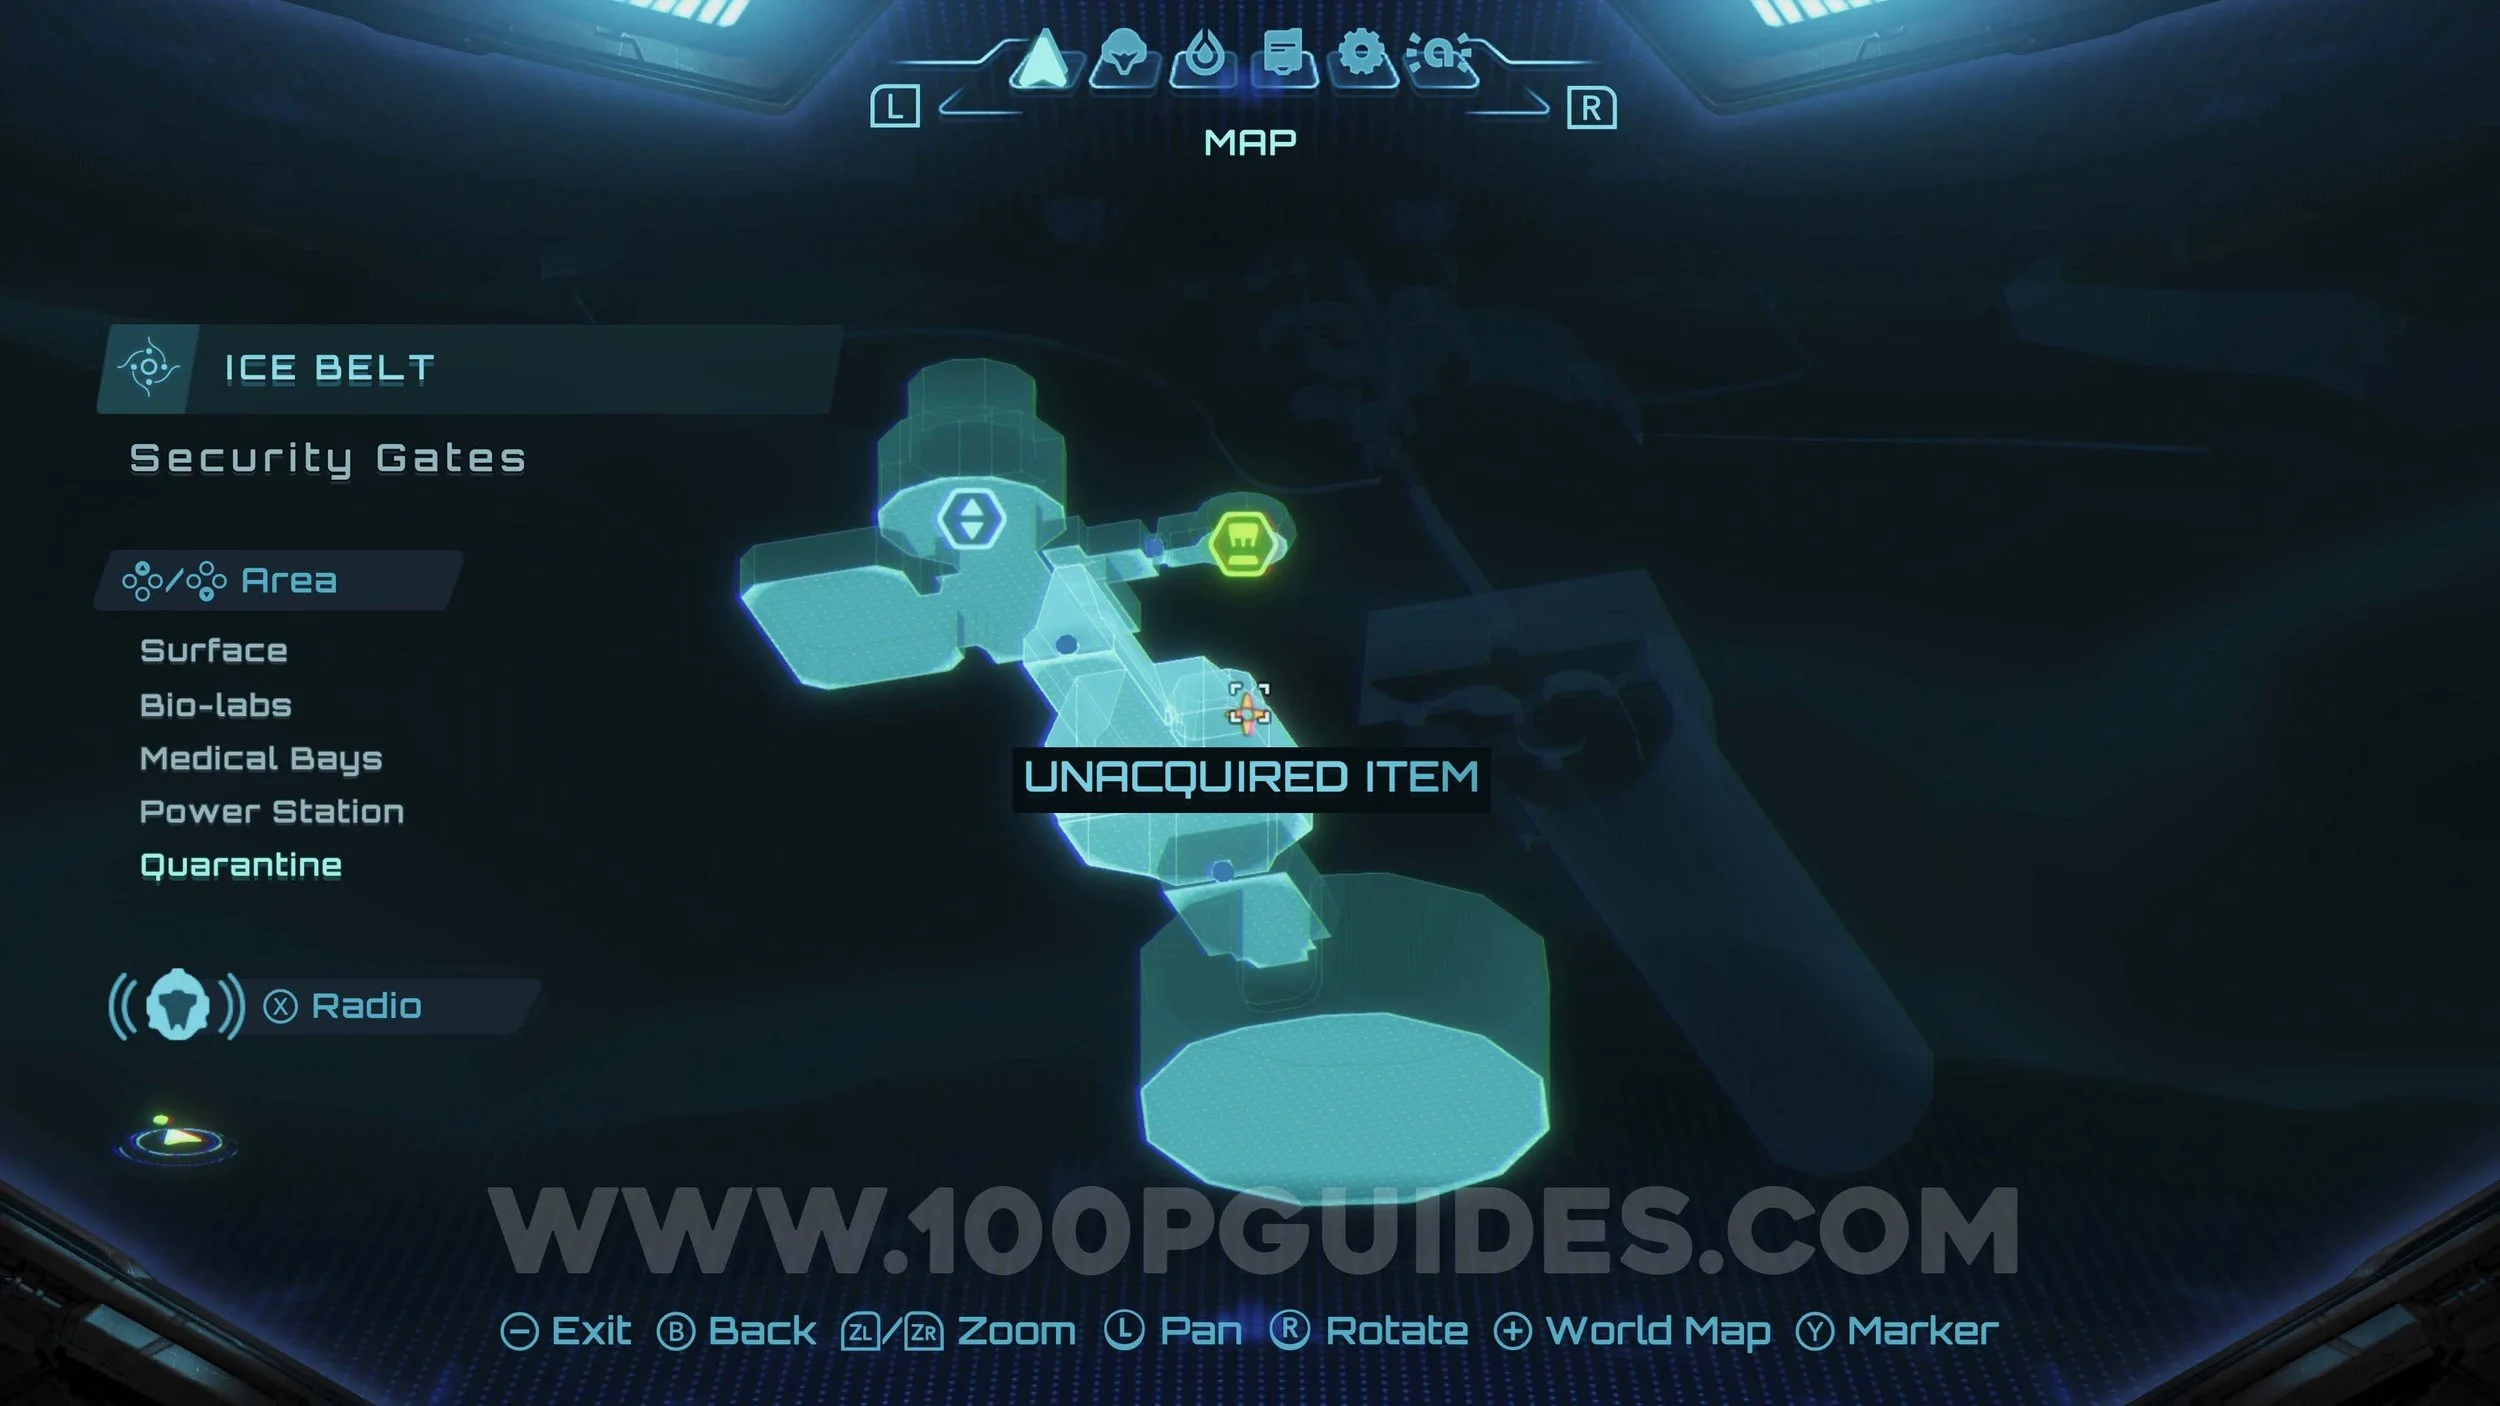
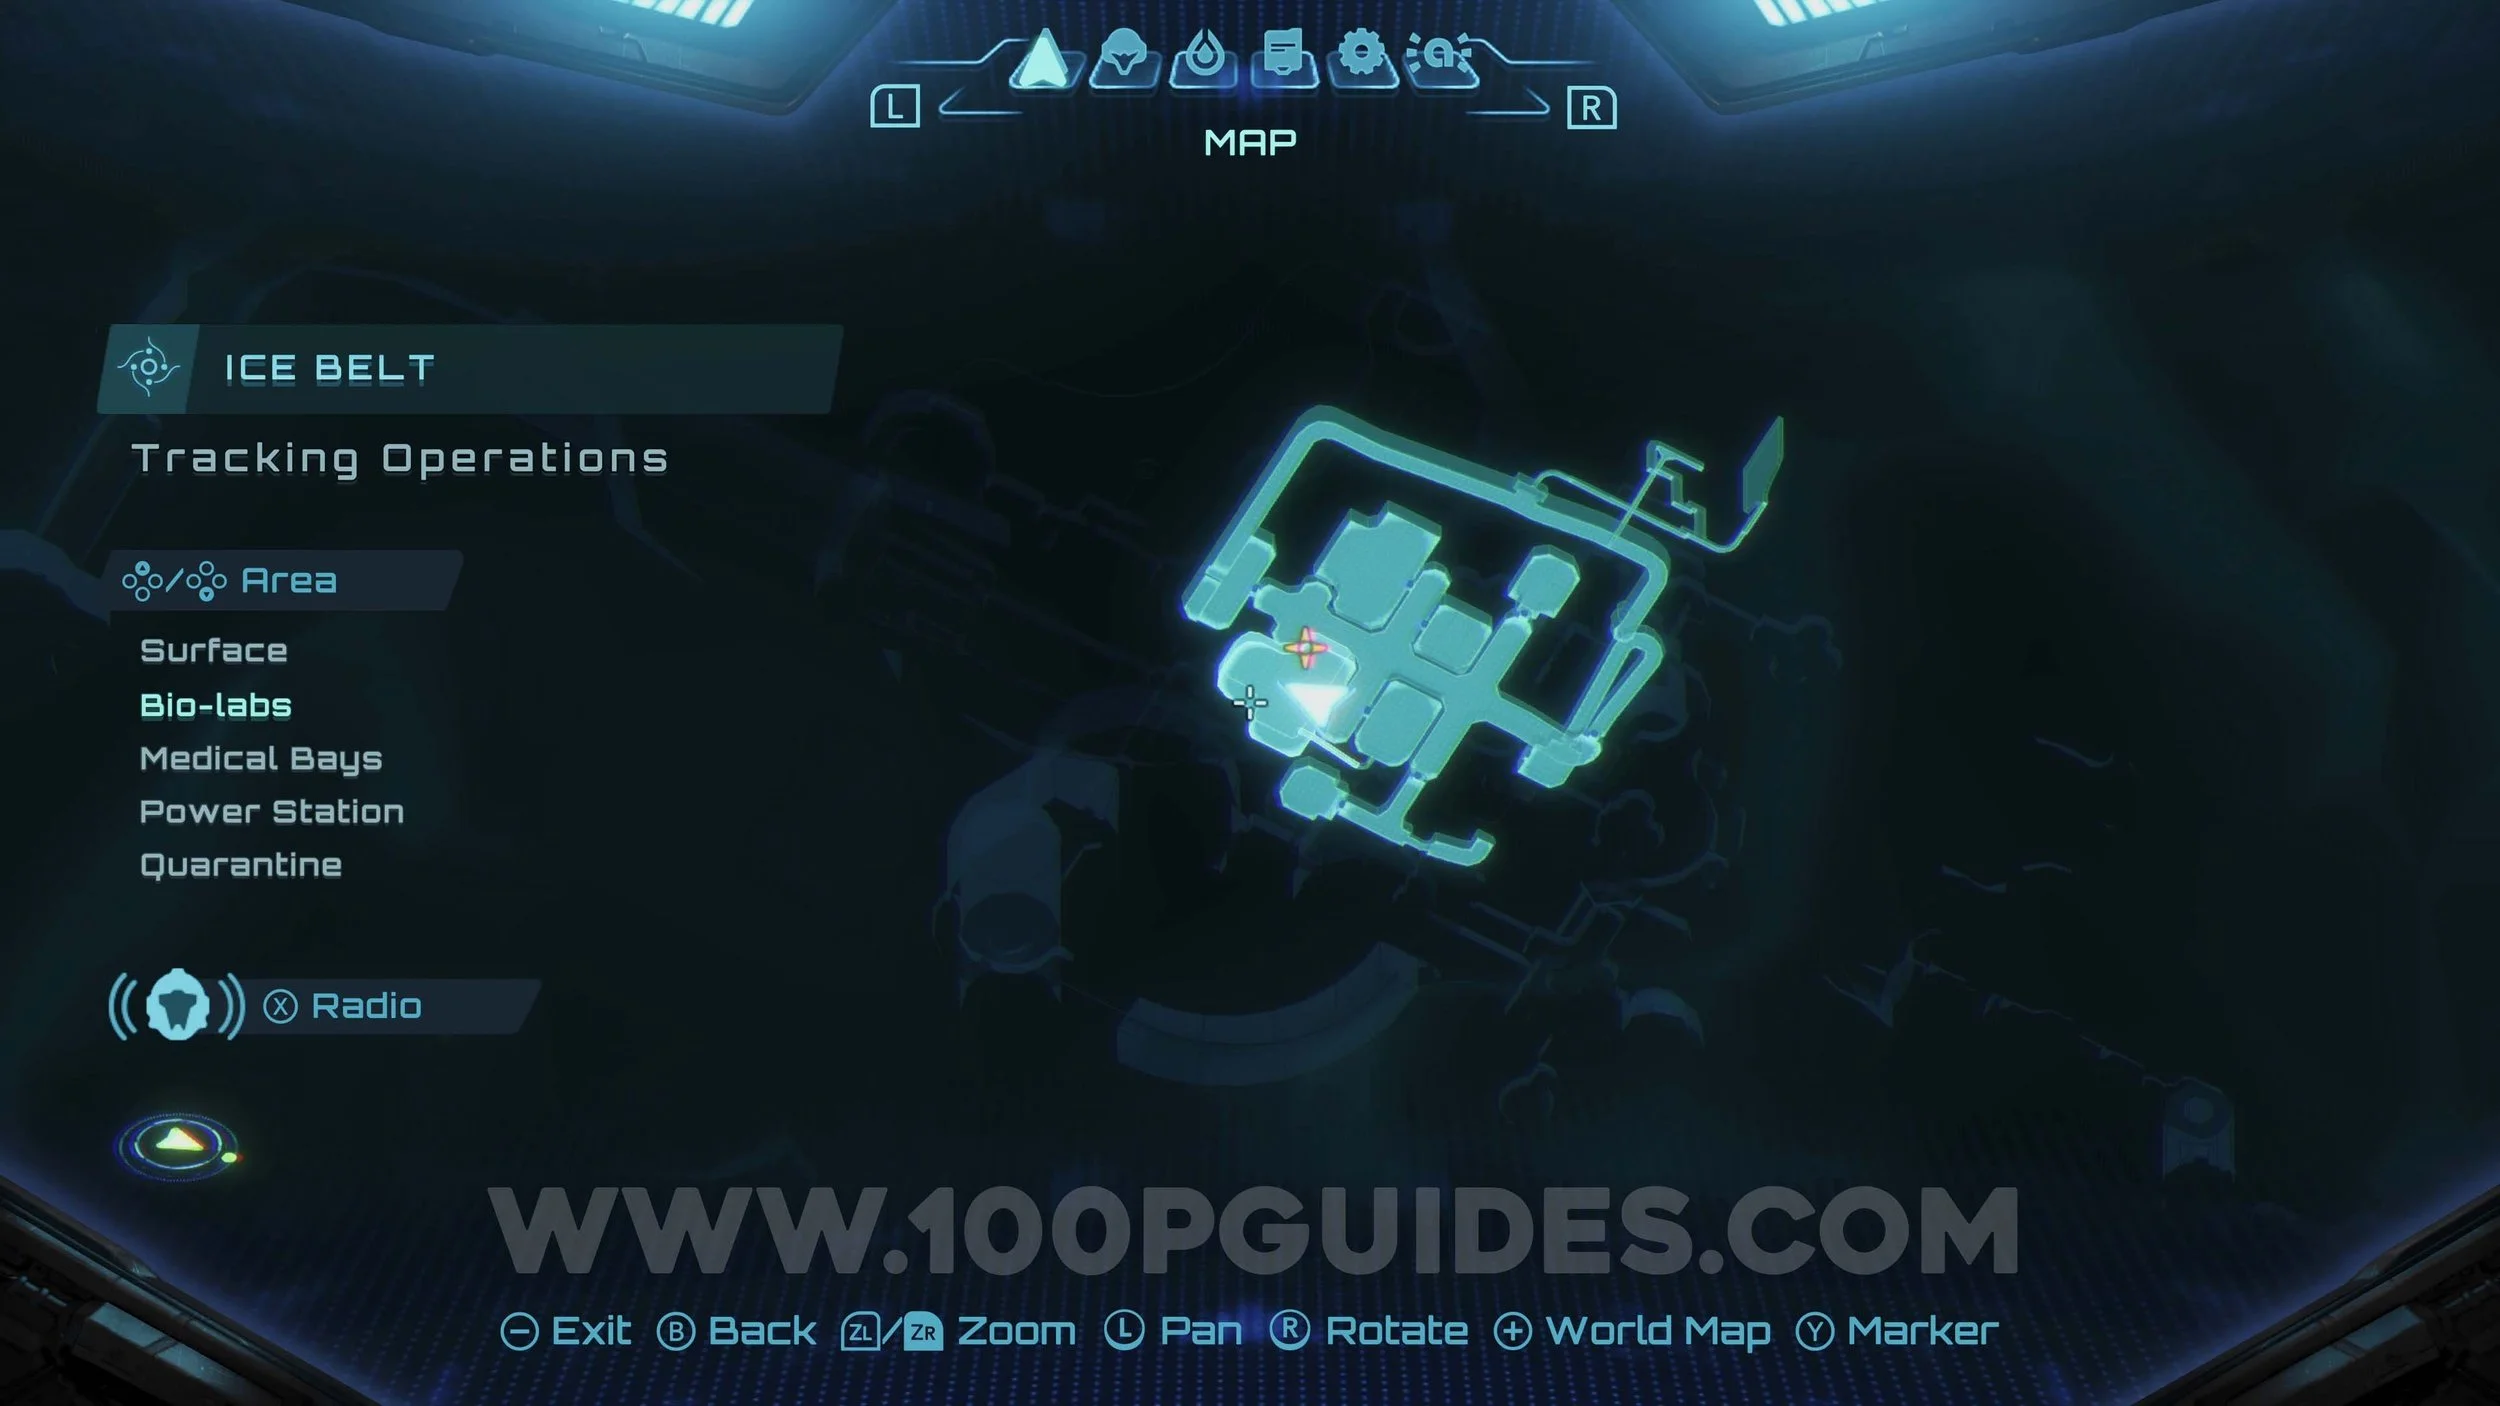
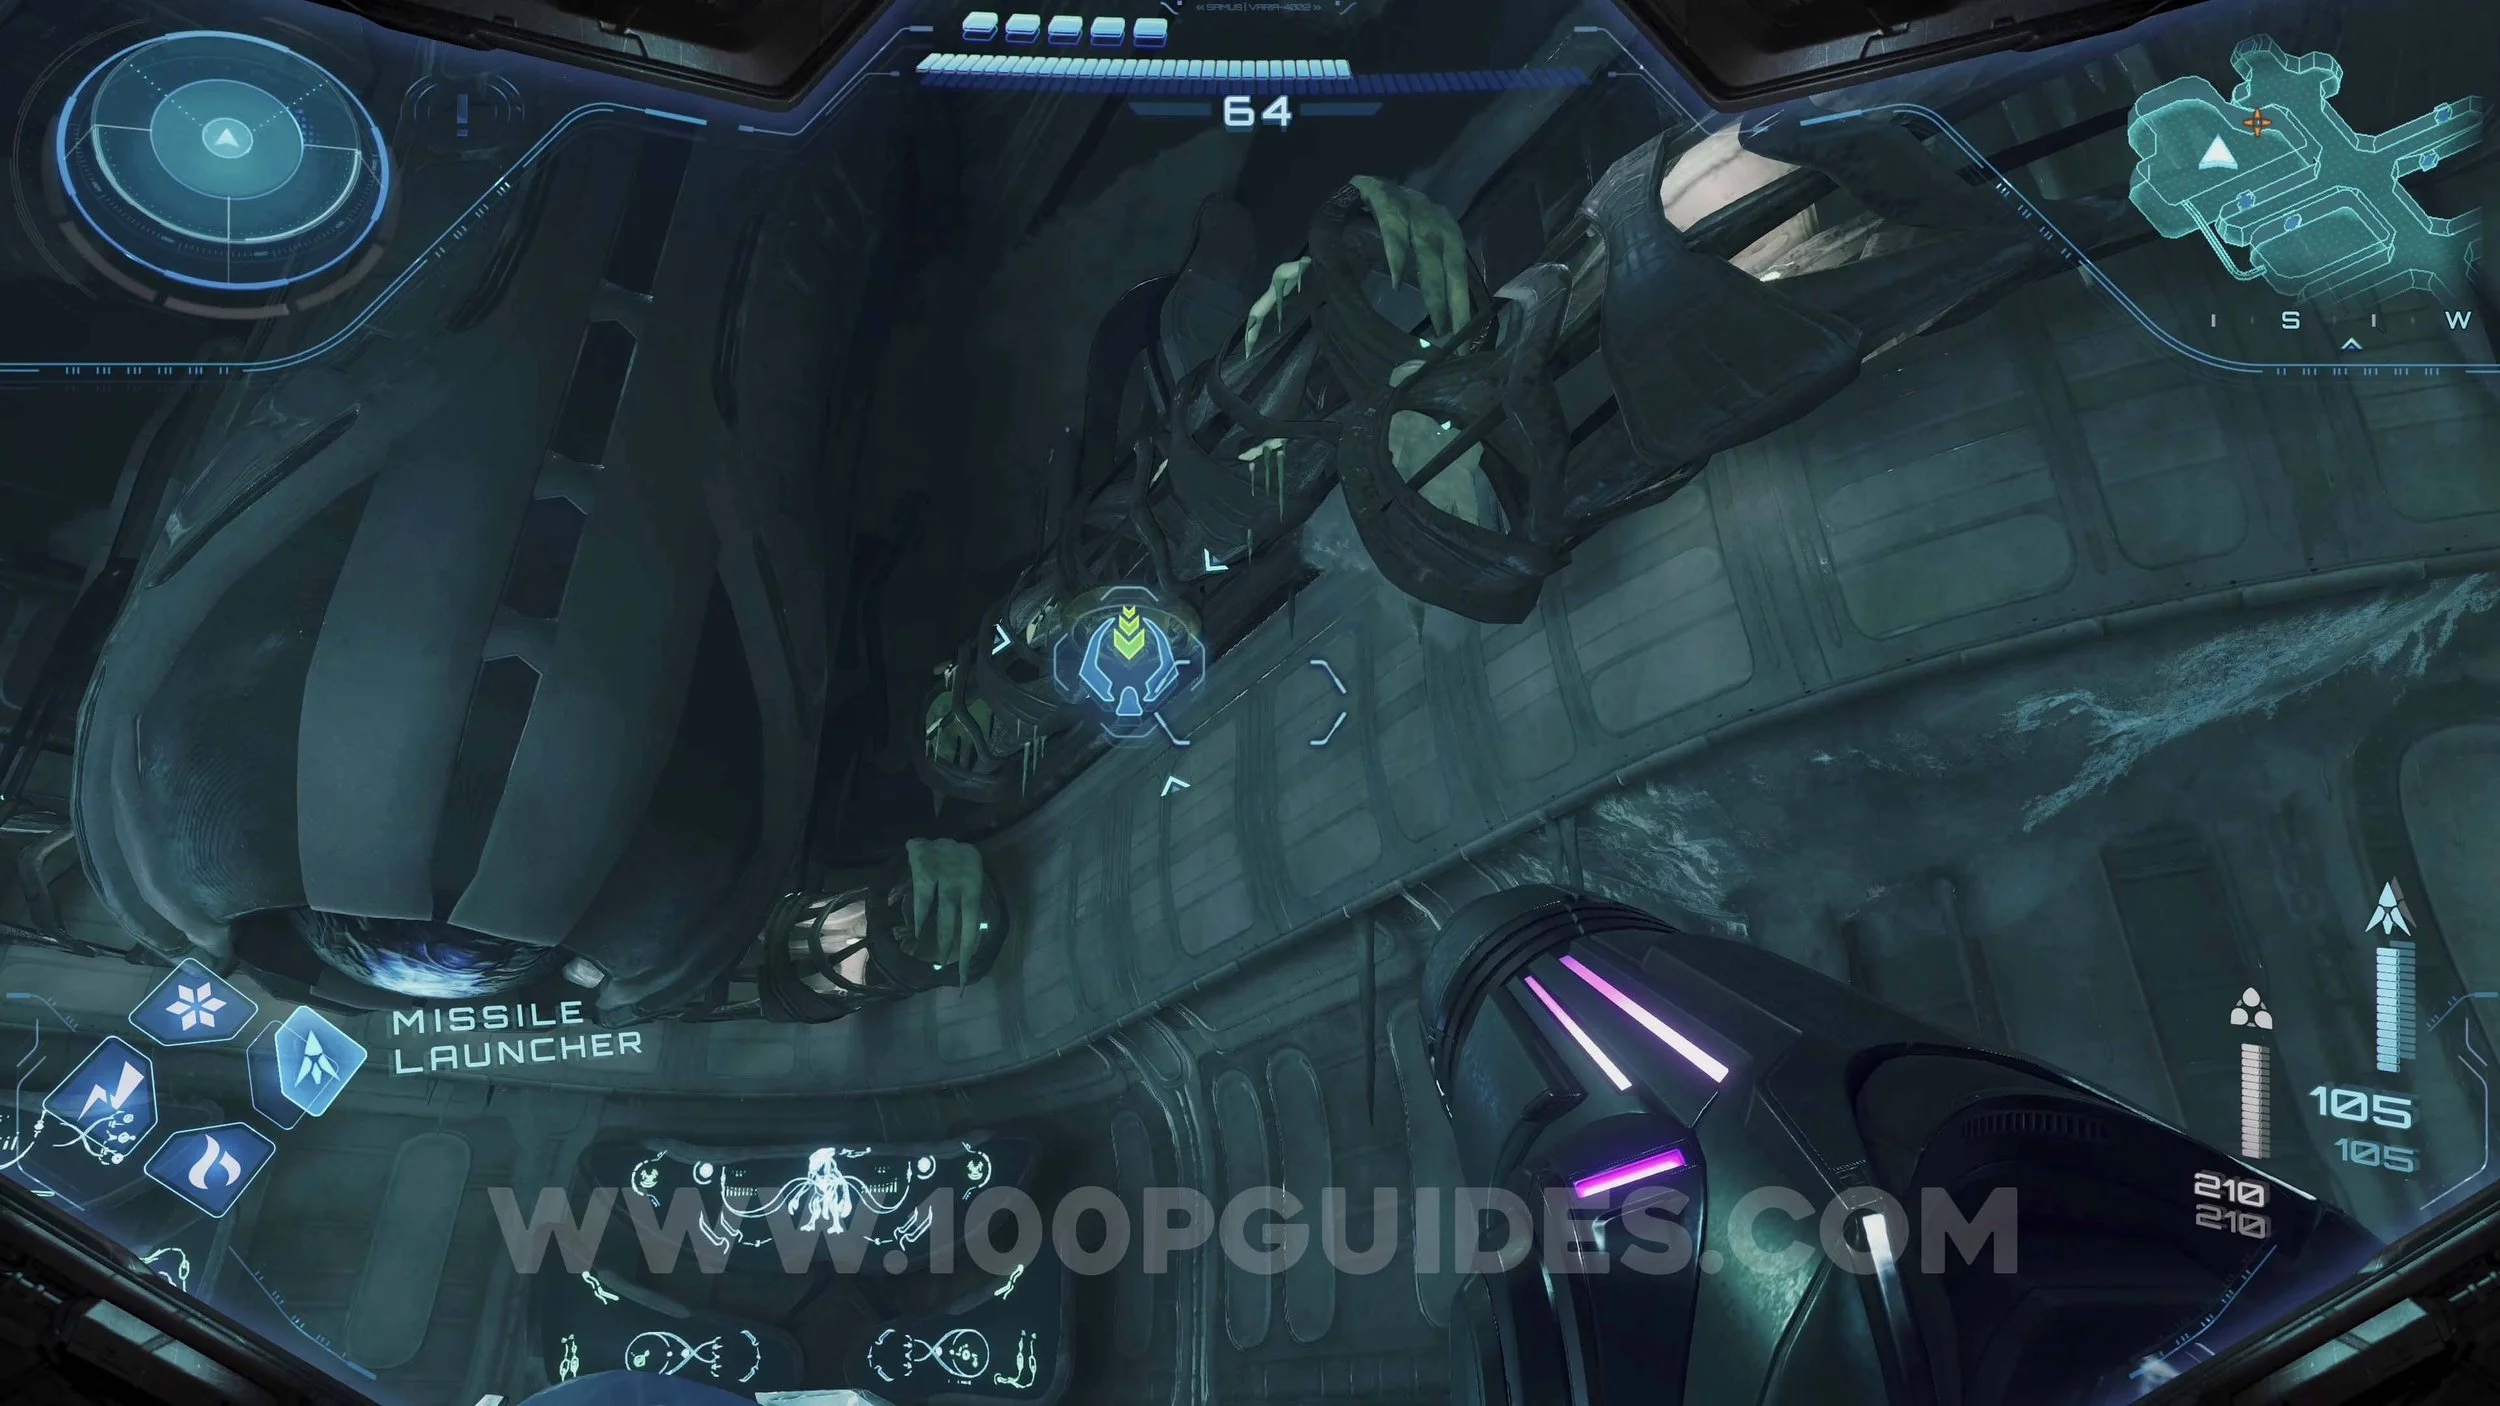
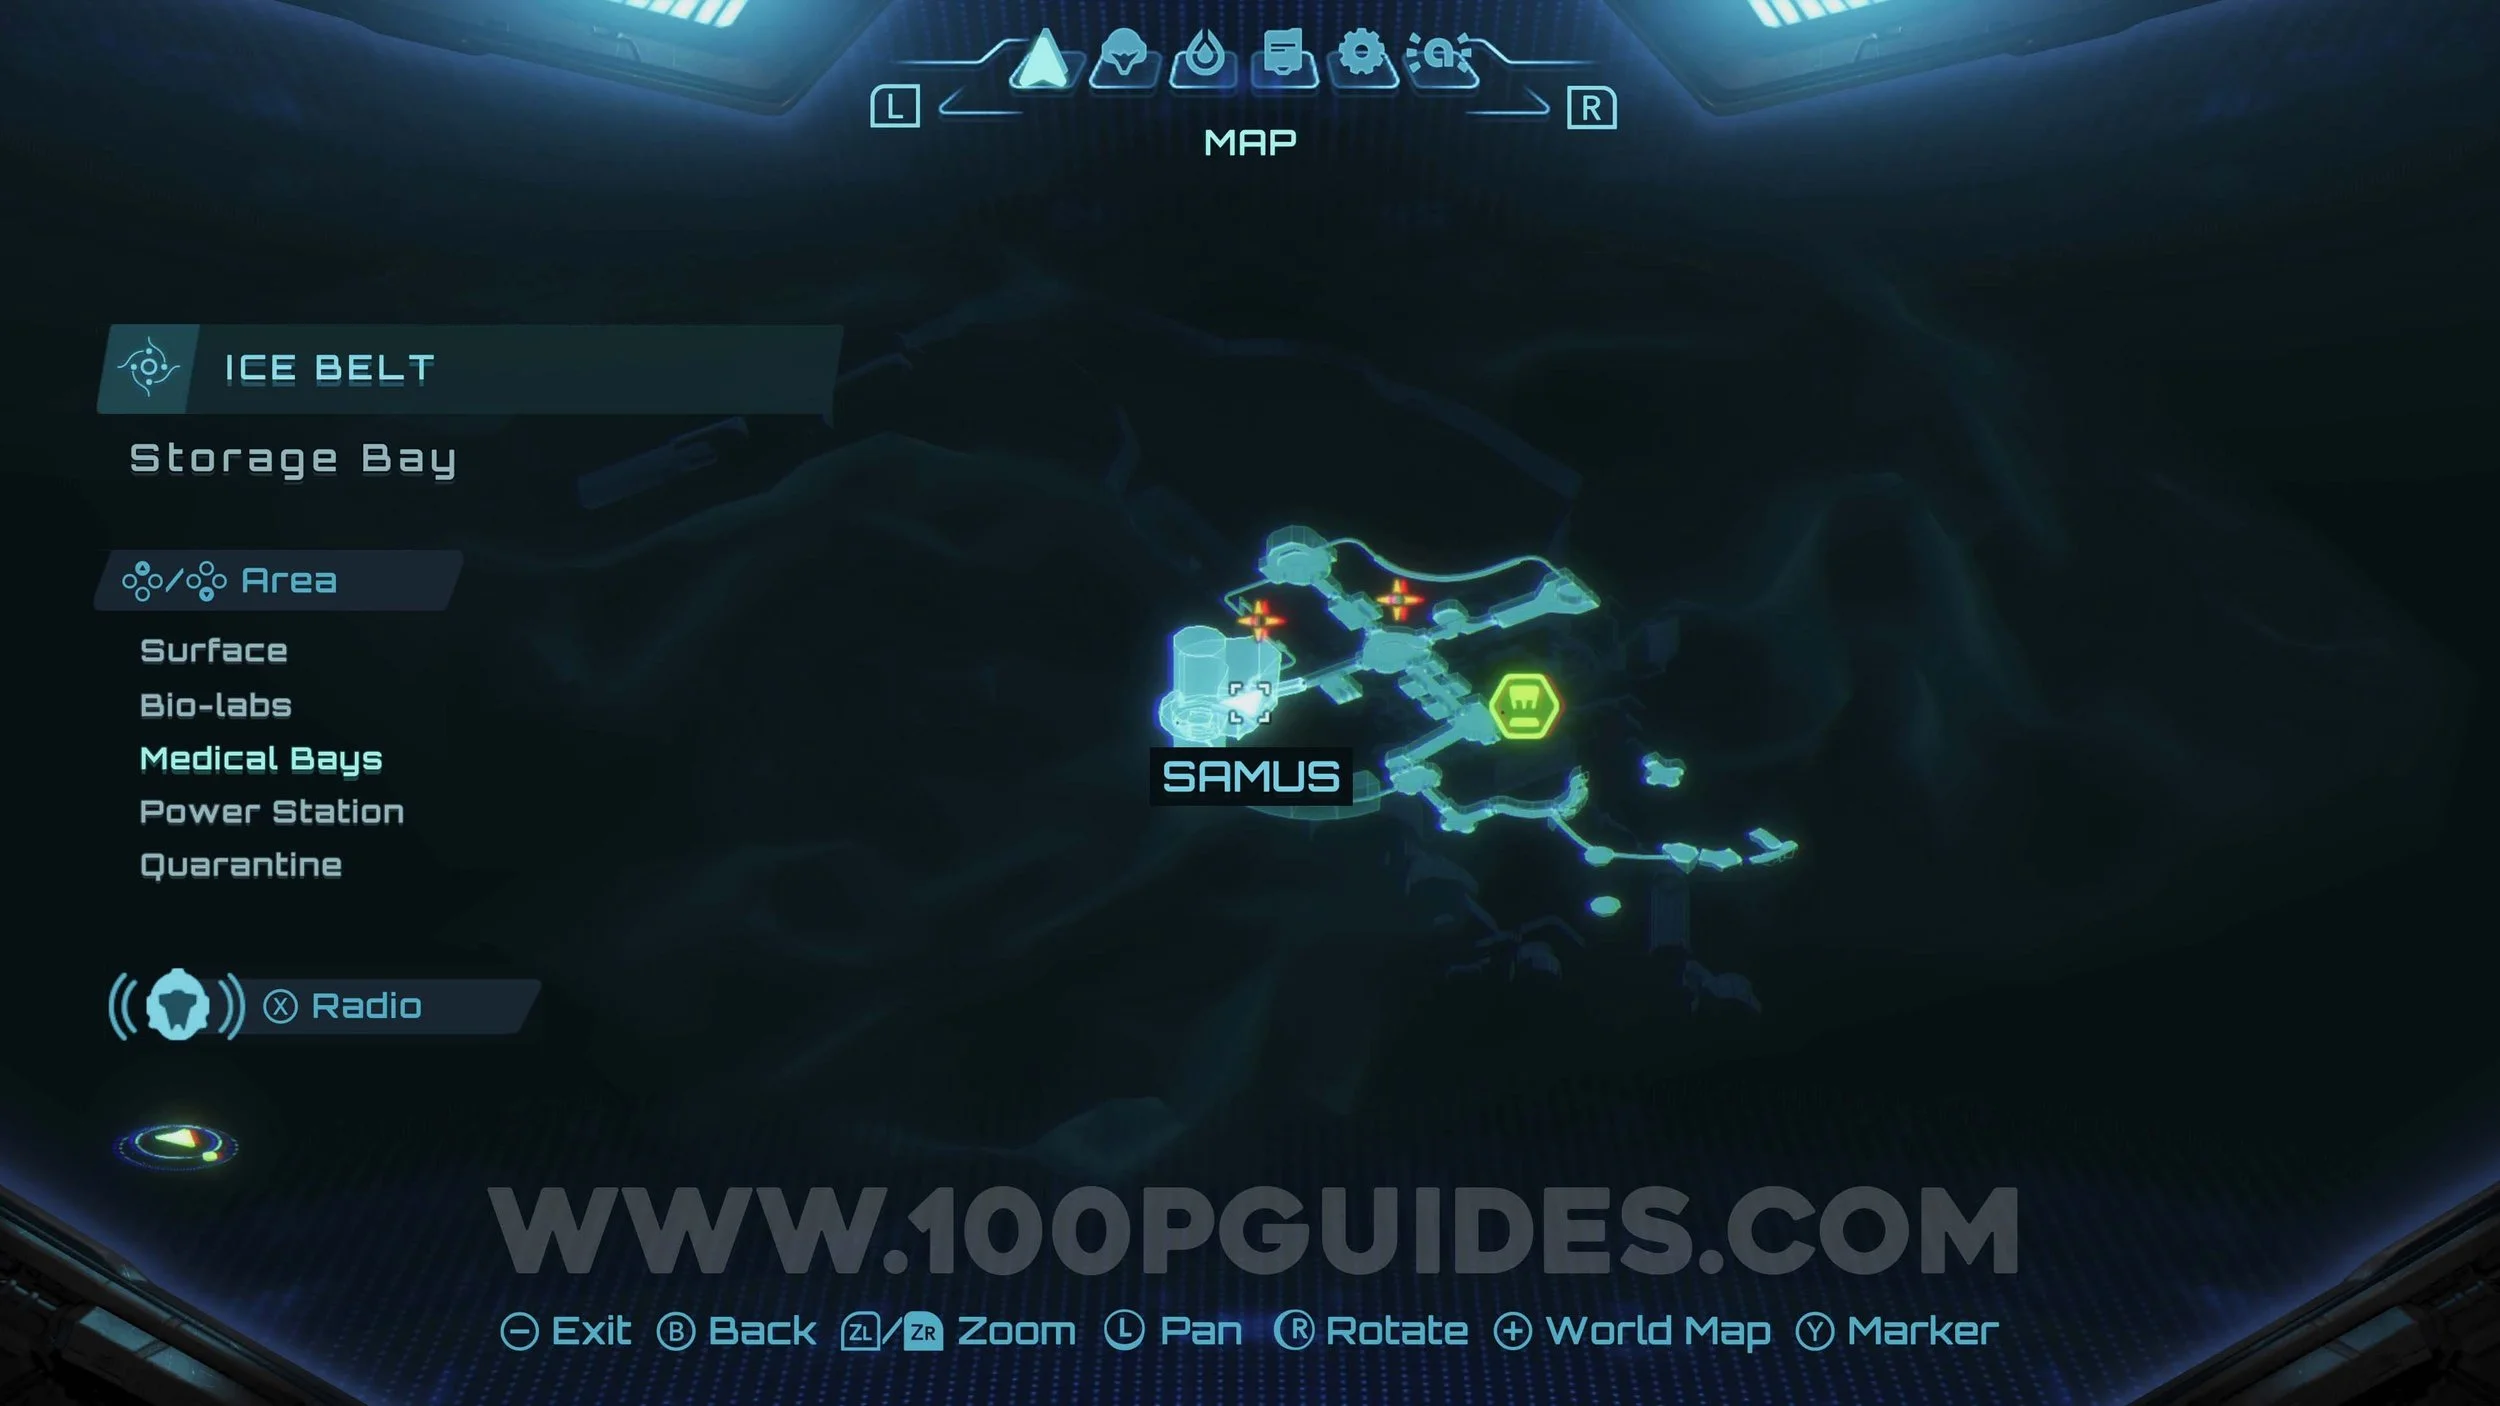
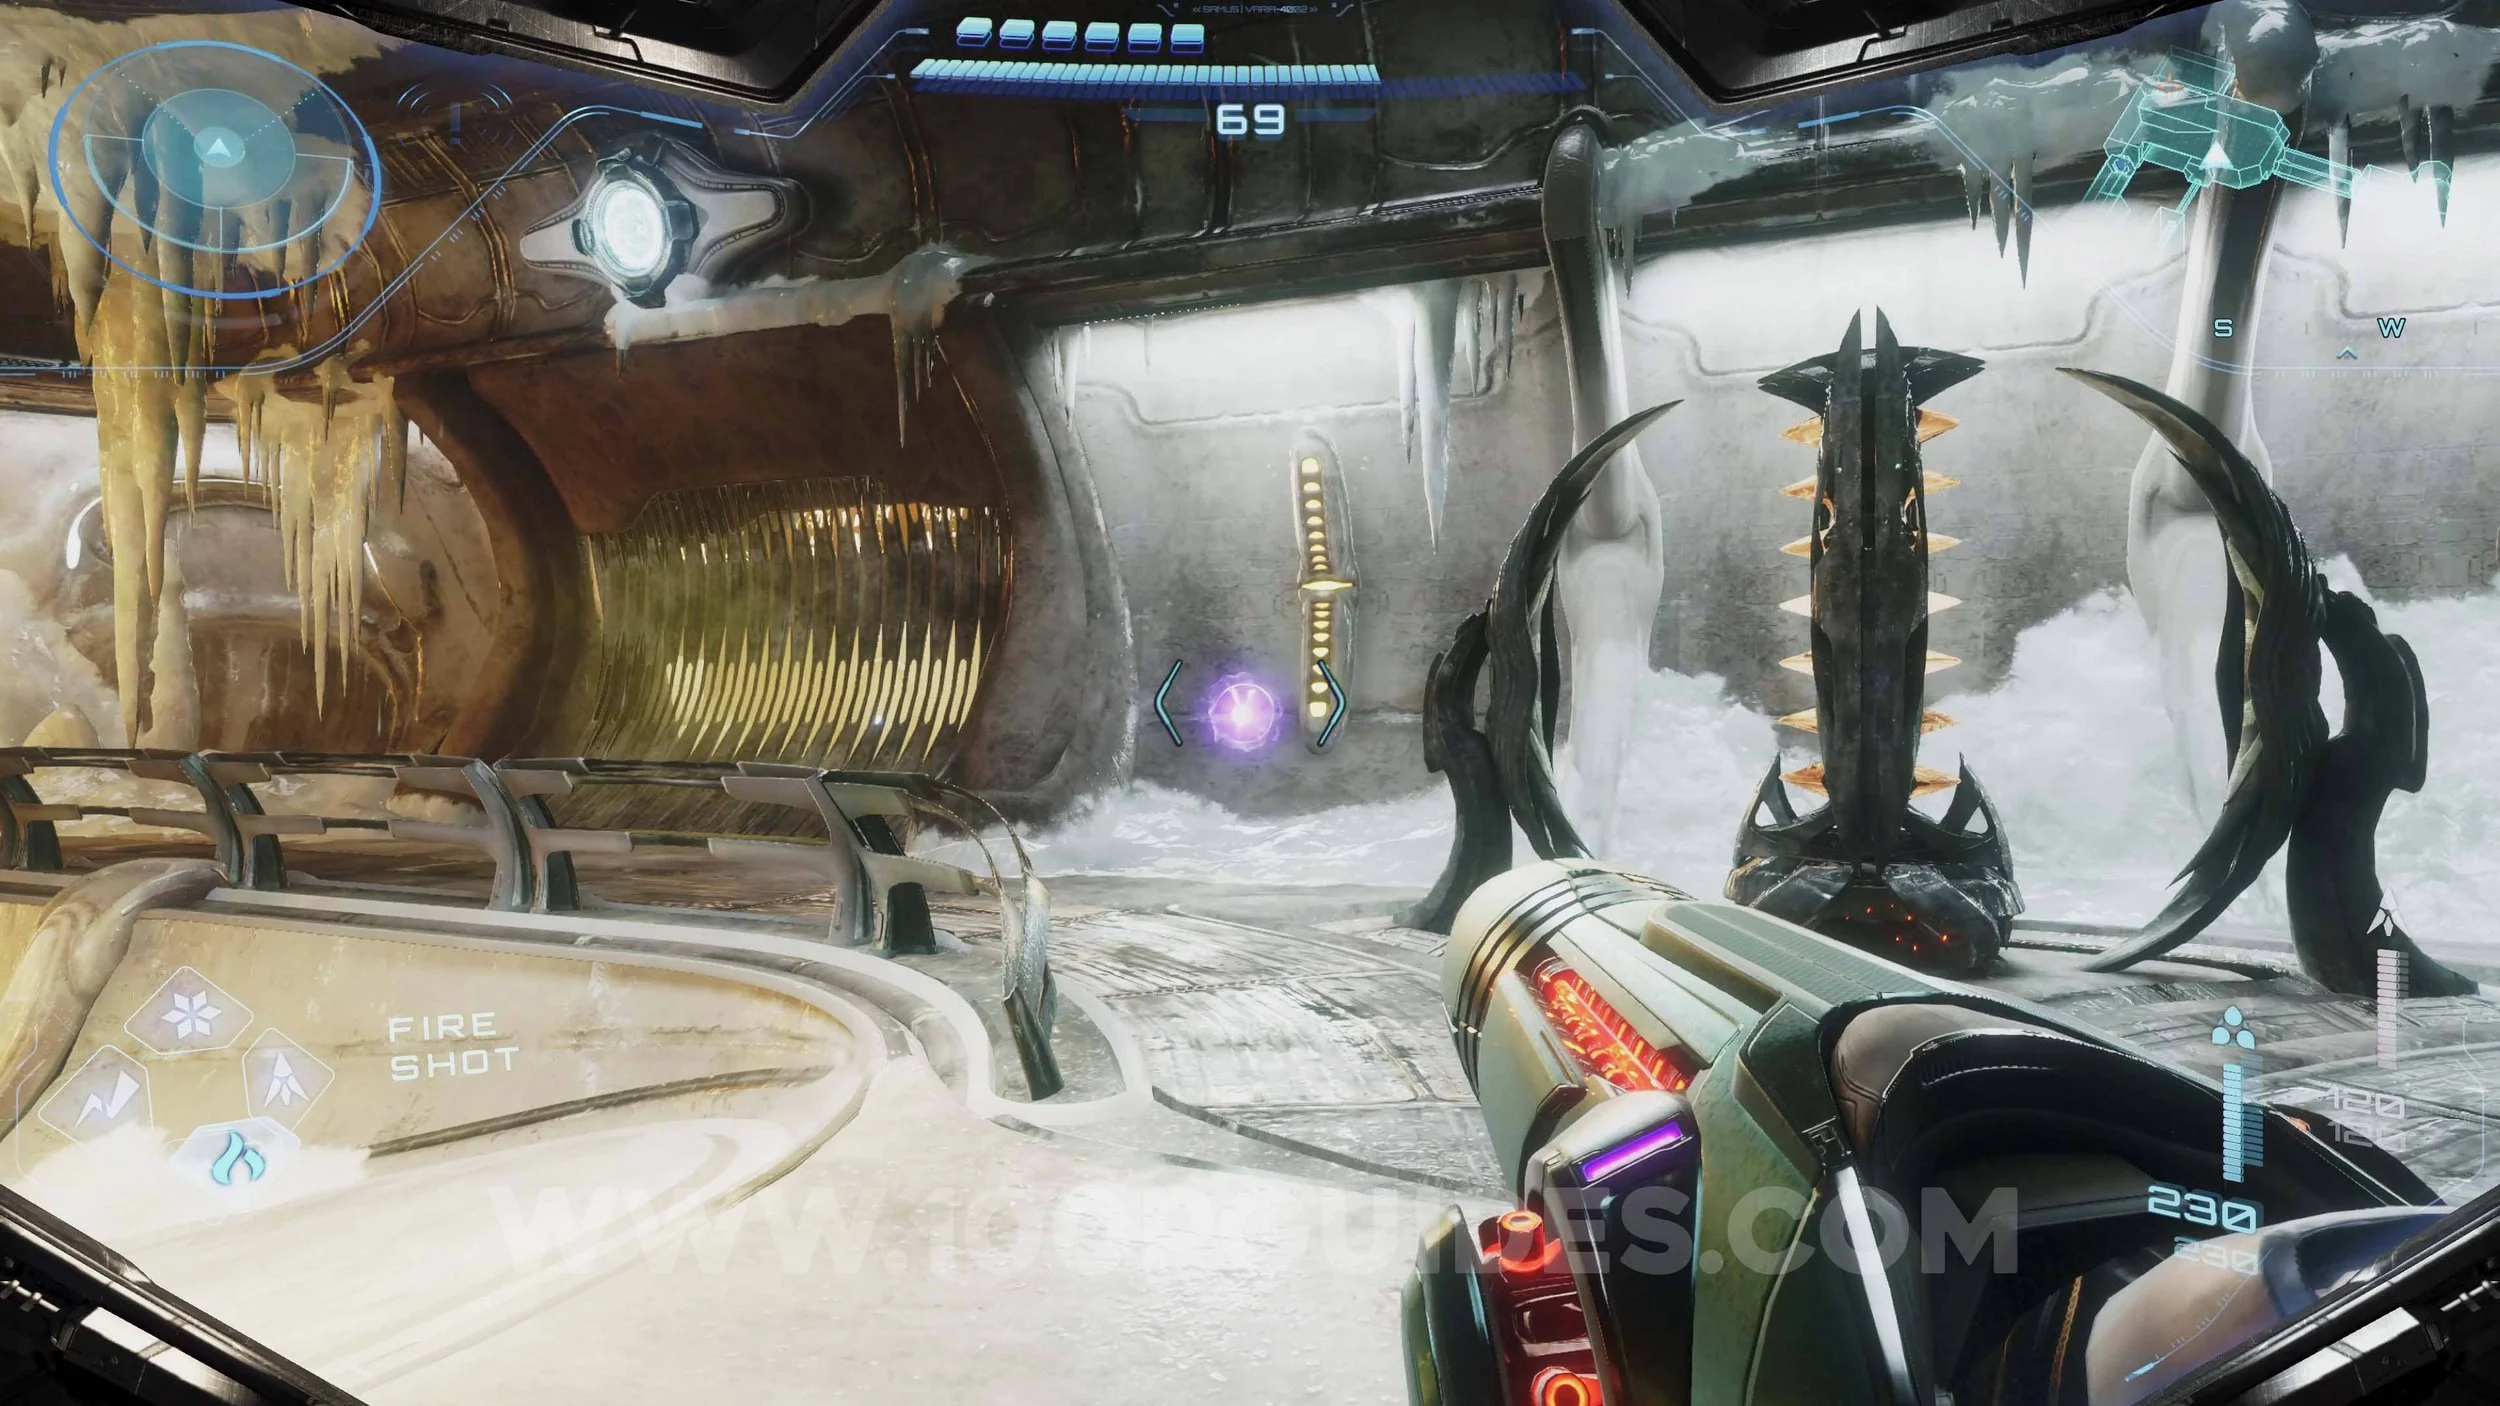
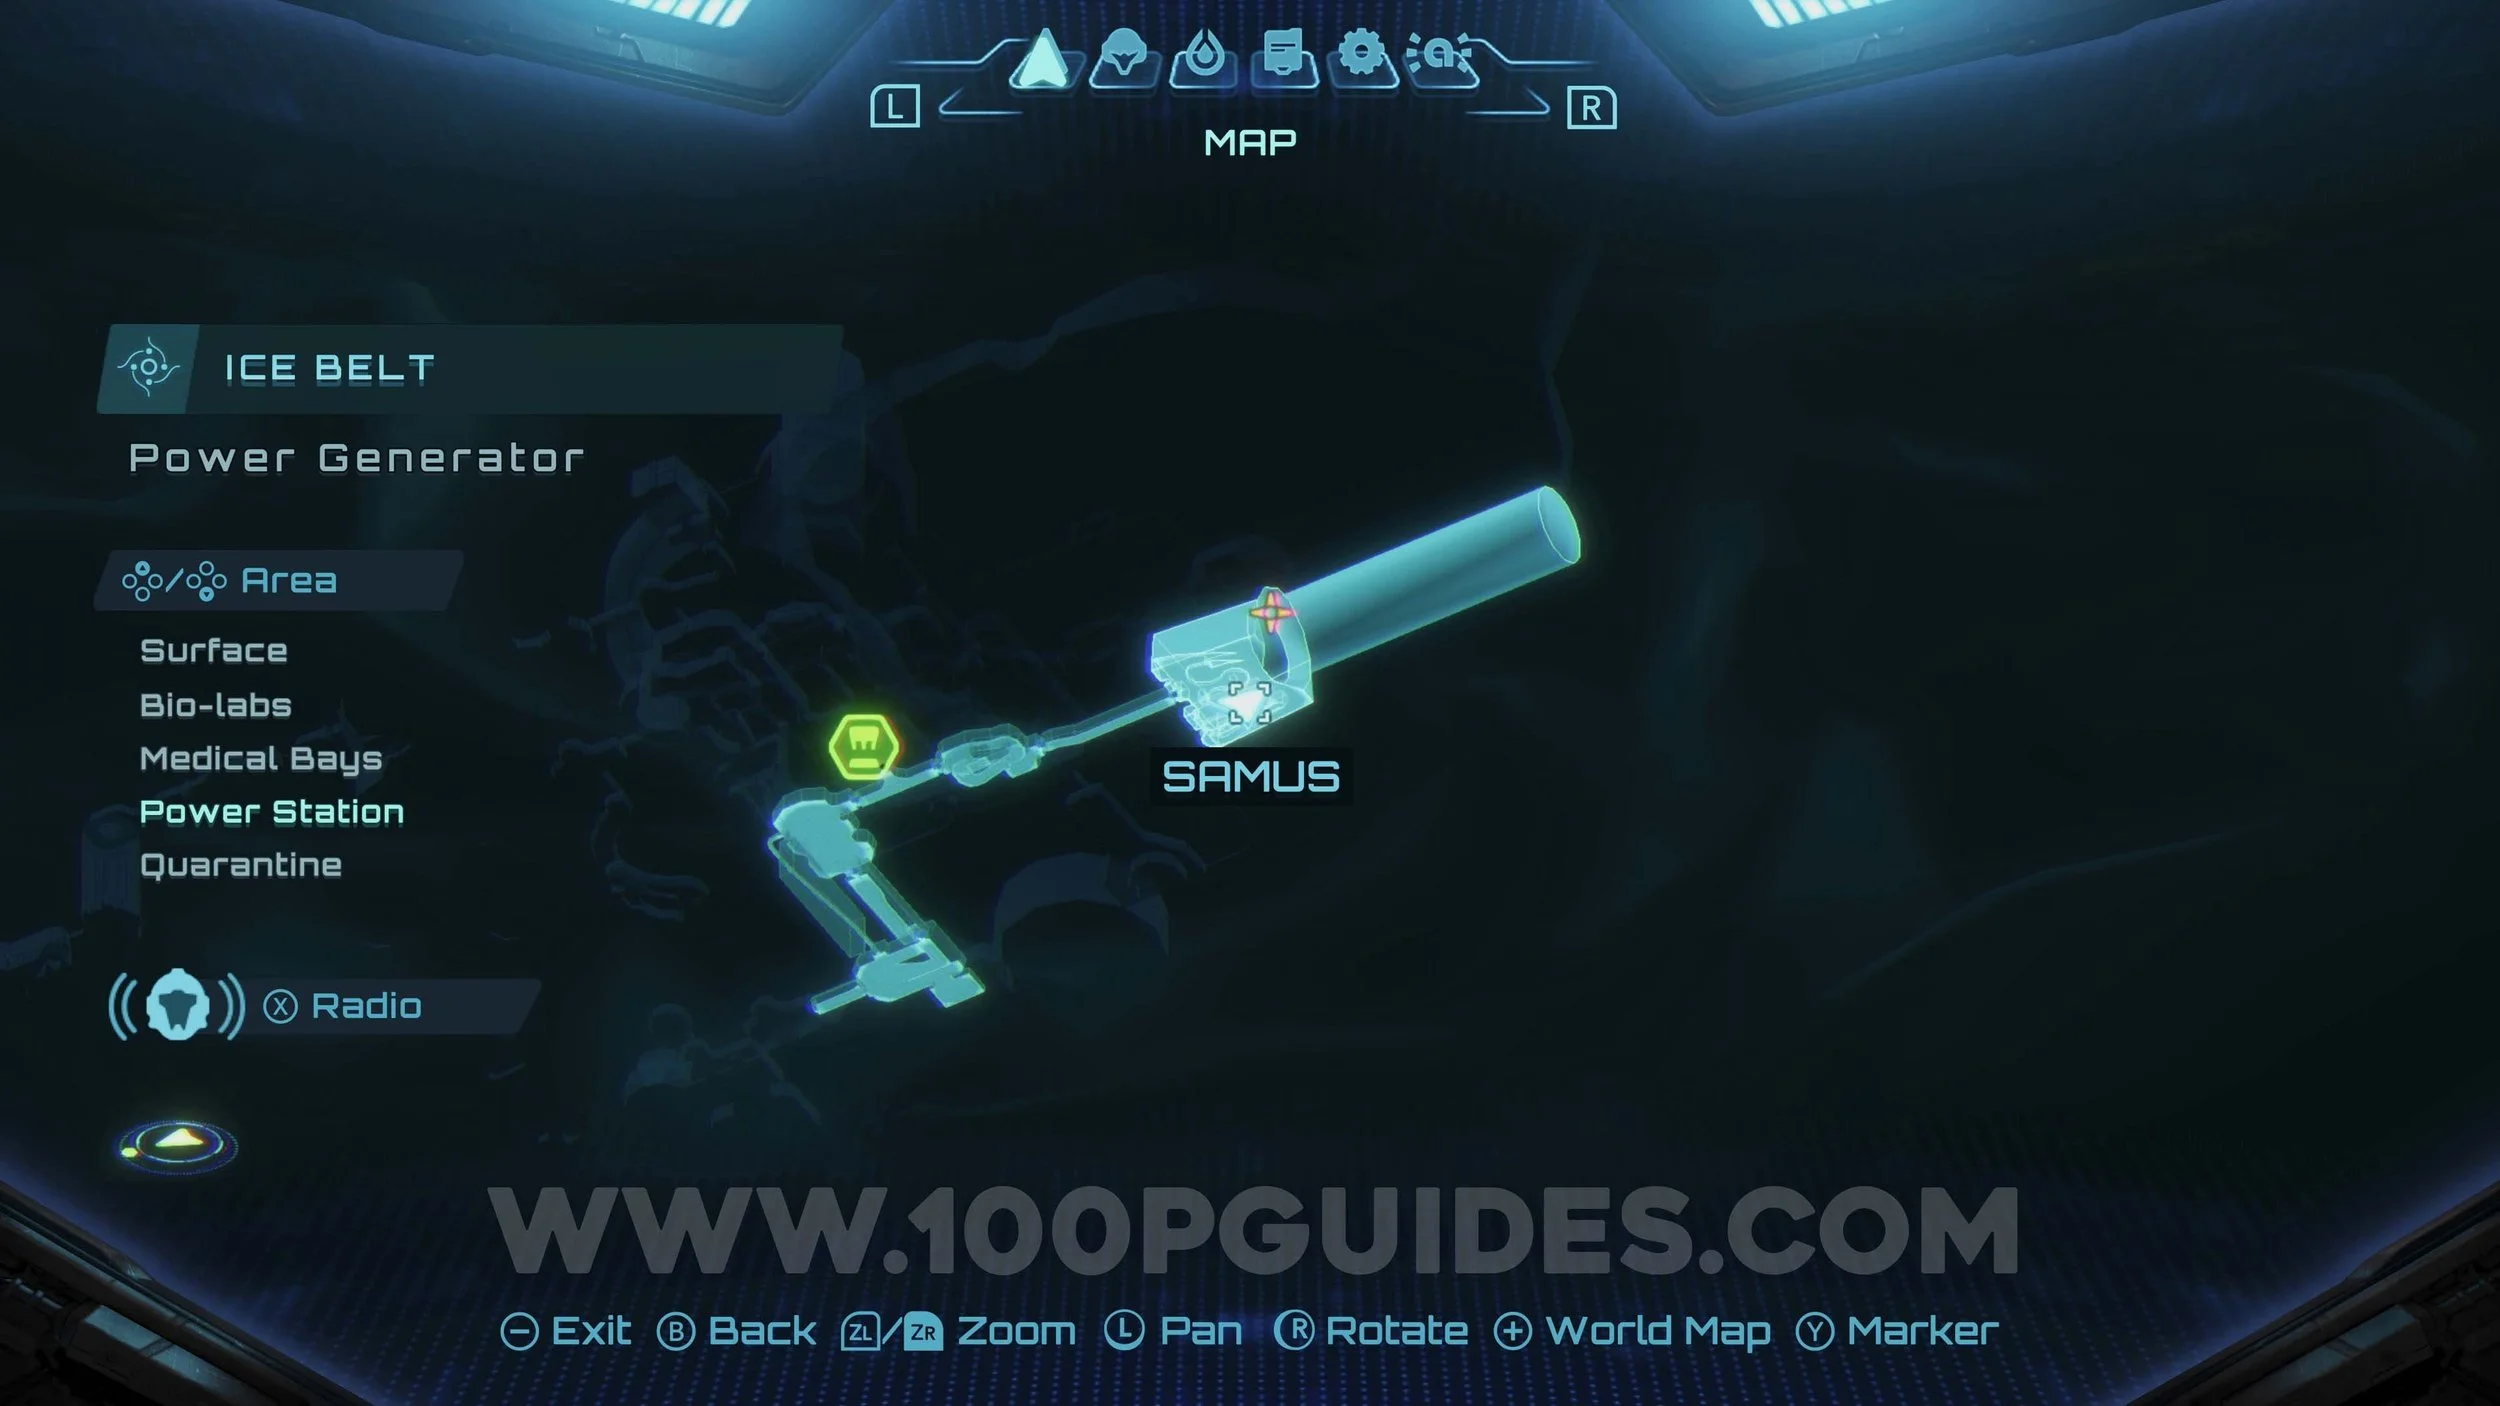
ICE BELT
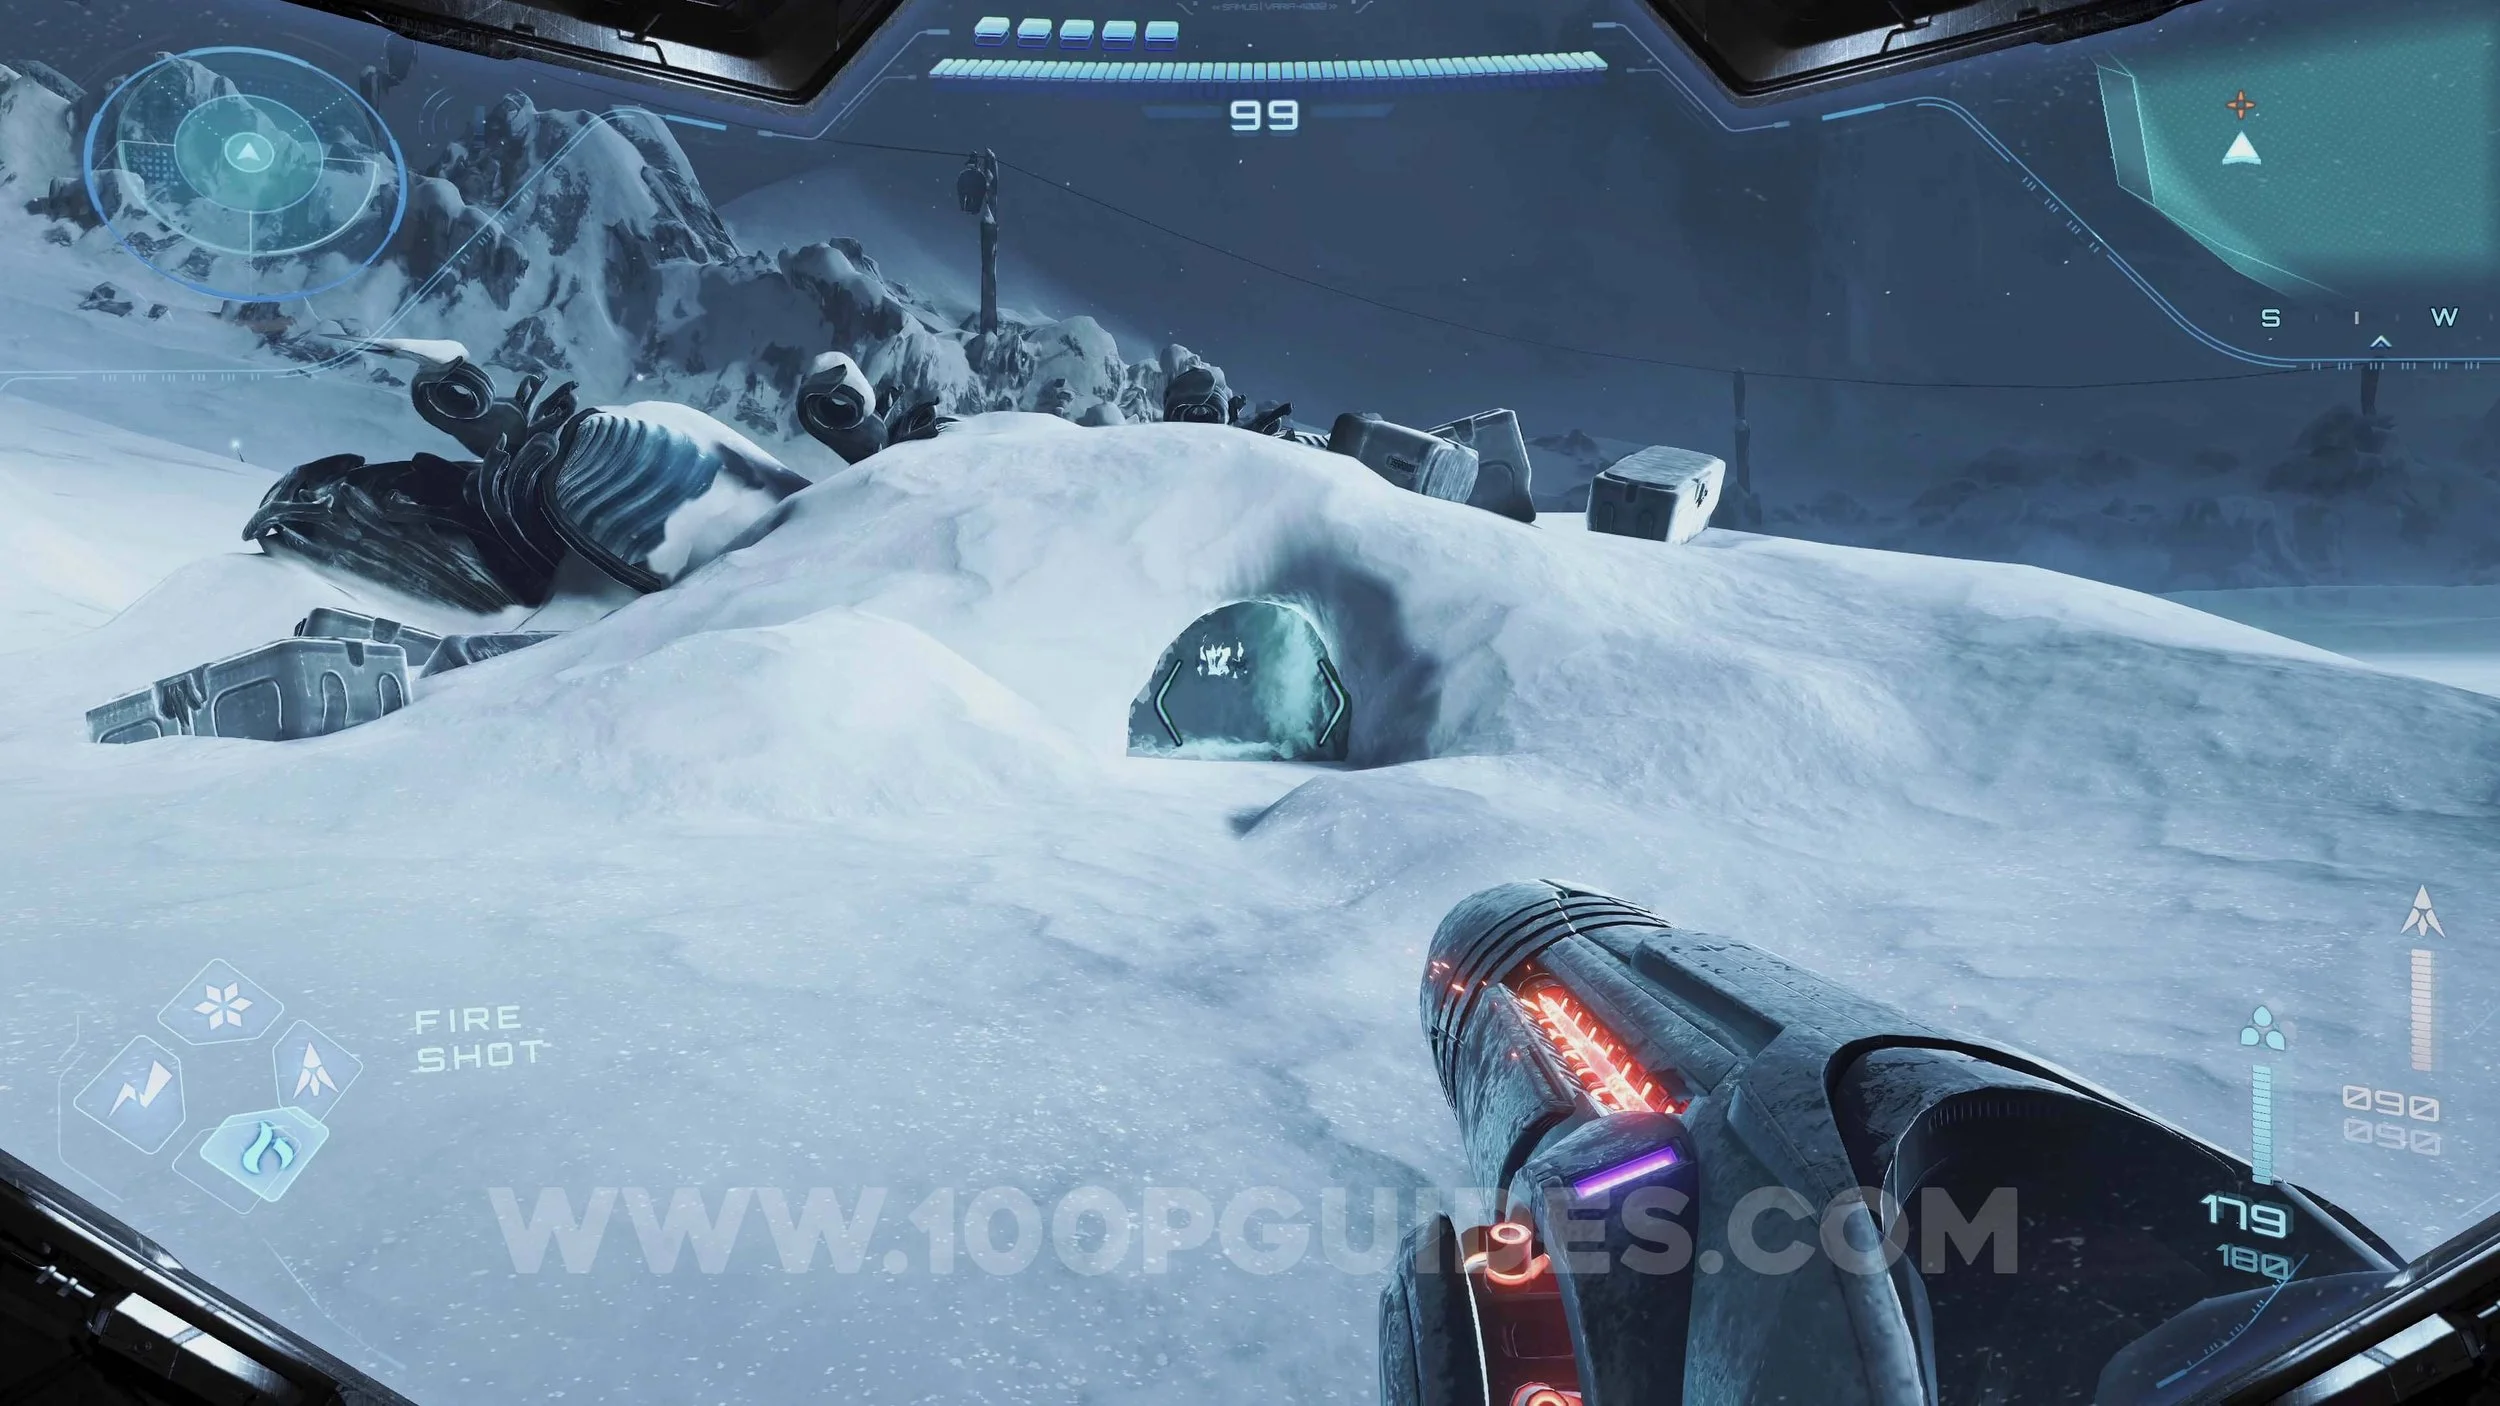
Shot Expansion #15. Melt the ice in the big open area at the start.
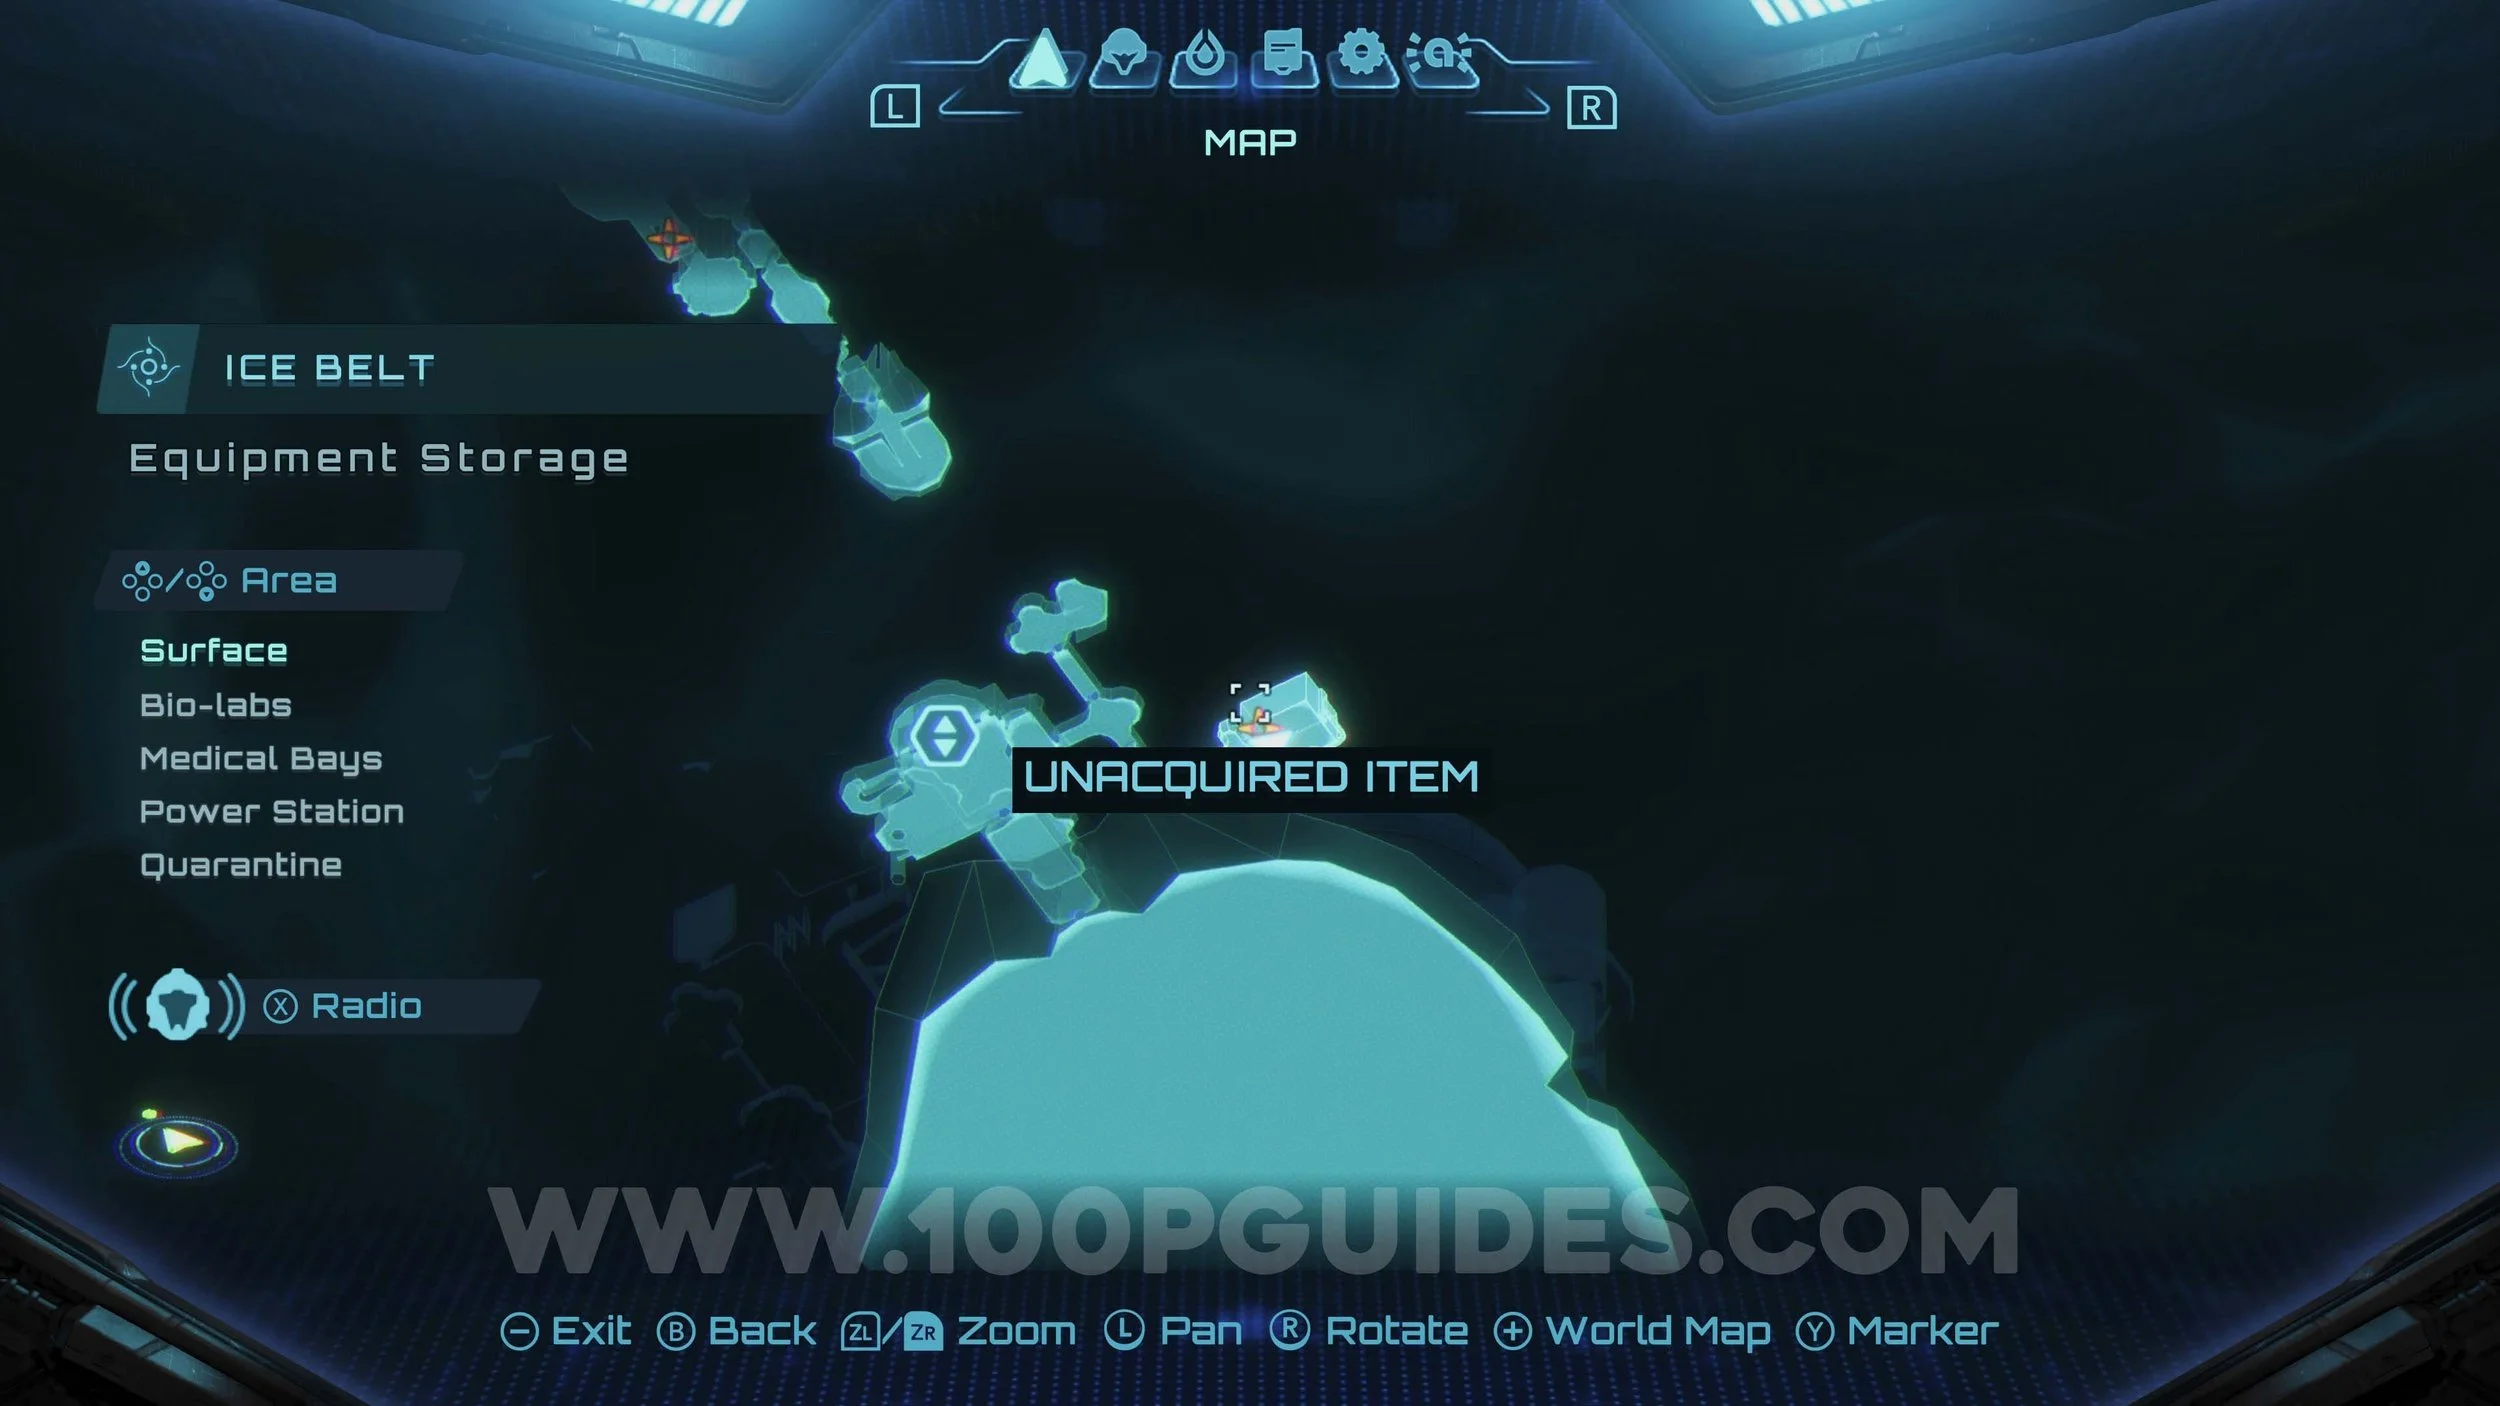
Shot Expansion #16. Use the magnetic rails in the Equipment Storage to reach the upgrade.
Shot Expansion #17. Use a missile on the cracked class in the corner of the Security Gates area to reach the upgrade.

Shot Expansion #18. In the Tracking Operations area, pull down the 2 sections of tube on the eather side of the room. Then, use the Morph Ball to lift and go through the tubes to your right to reach the upgrade.


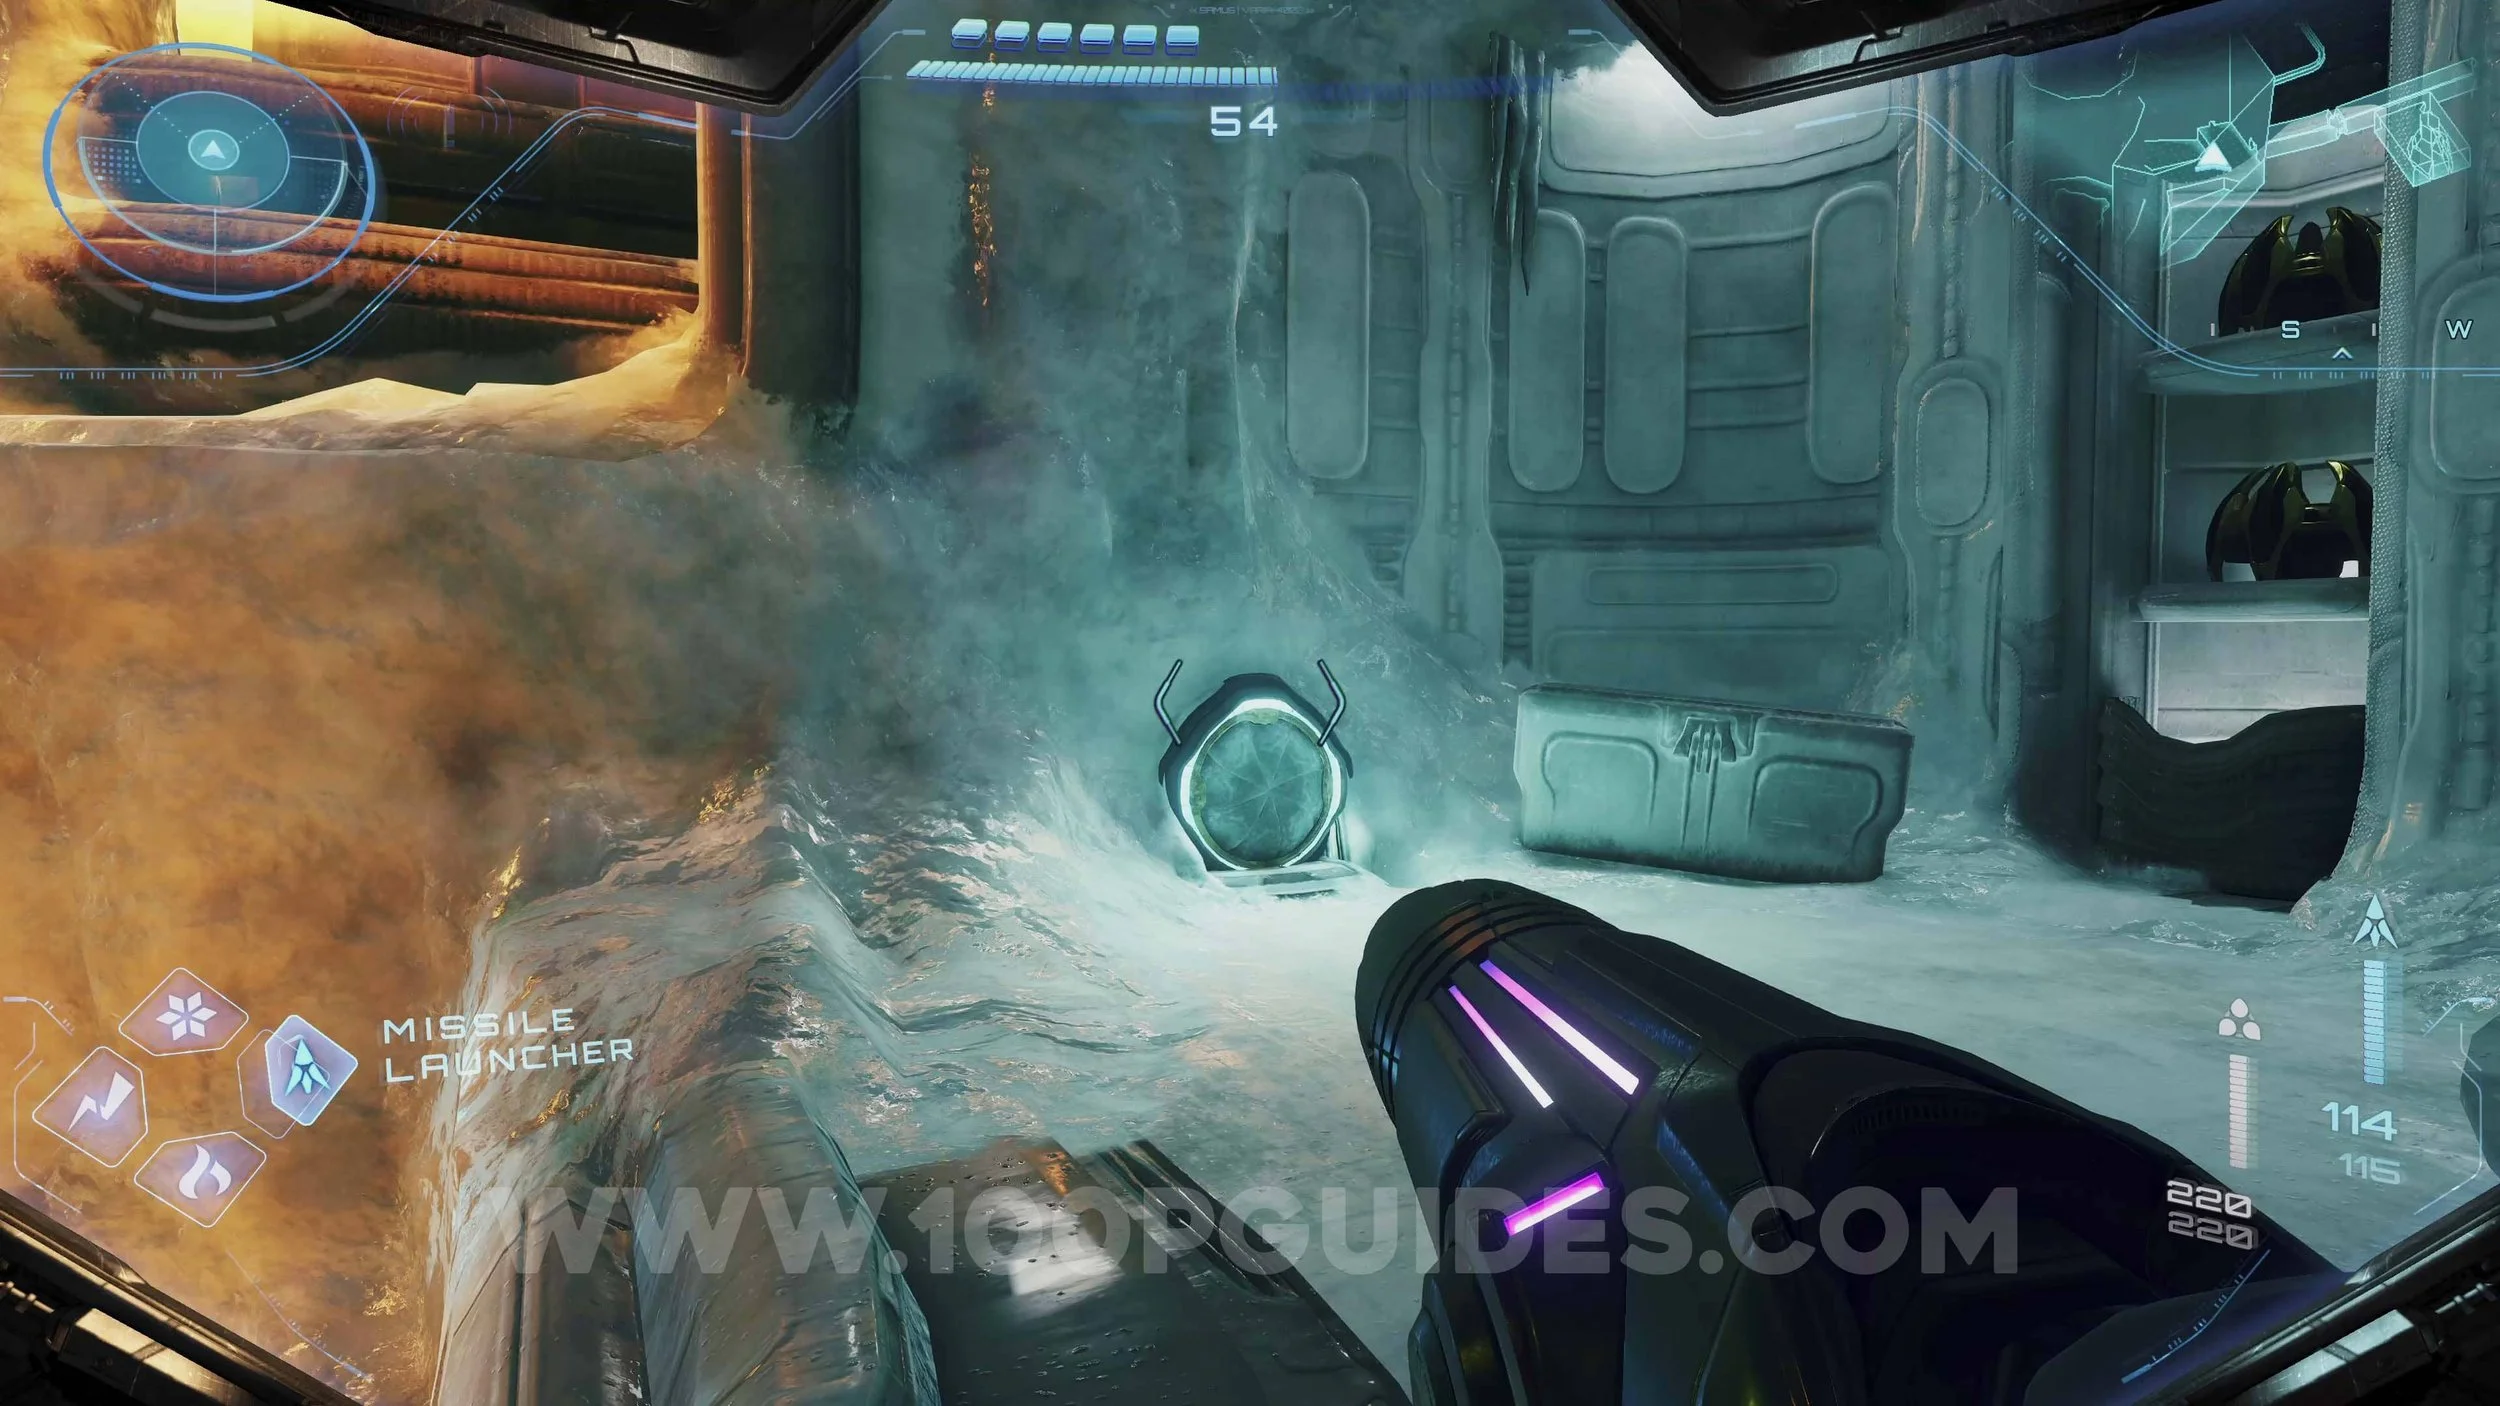
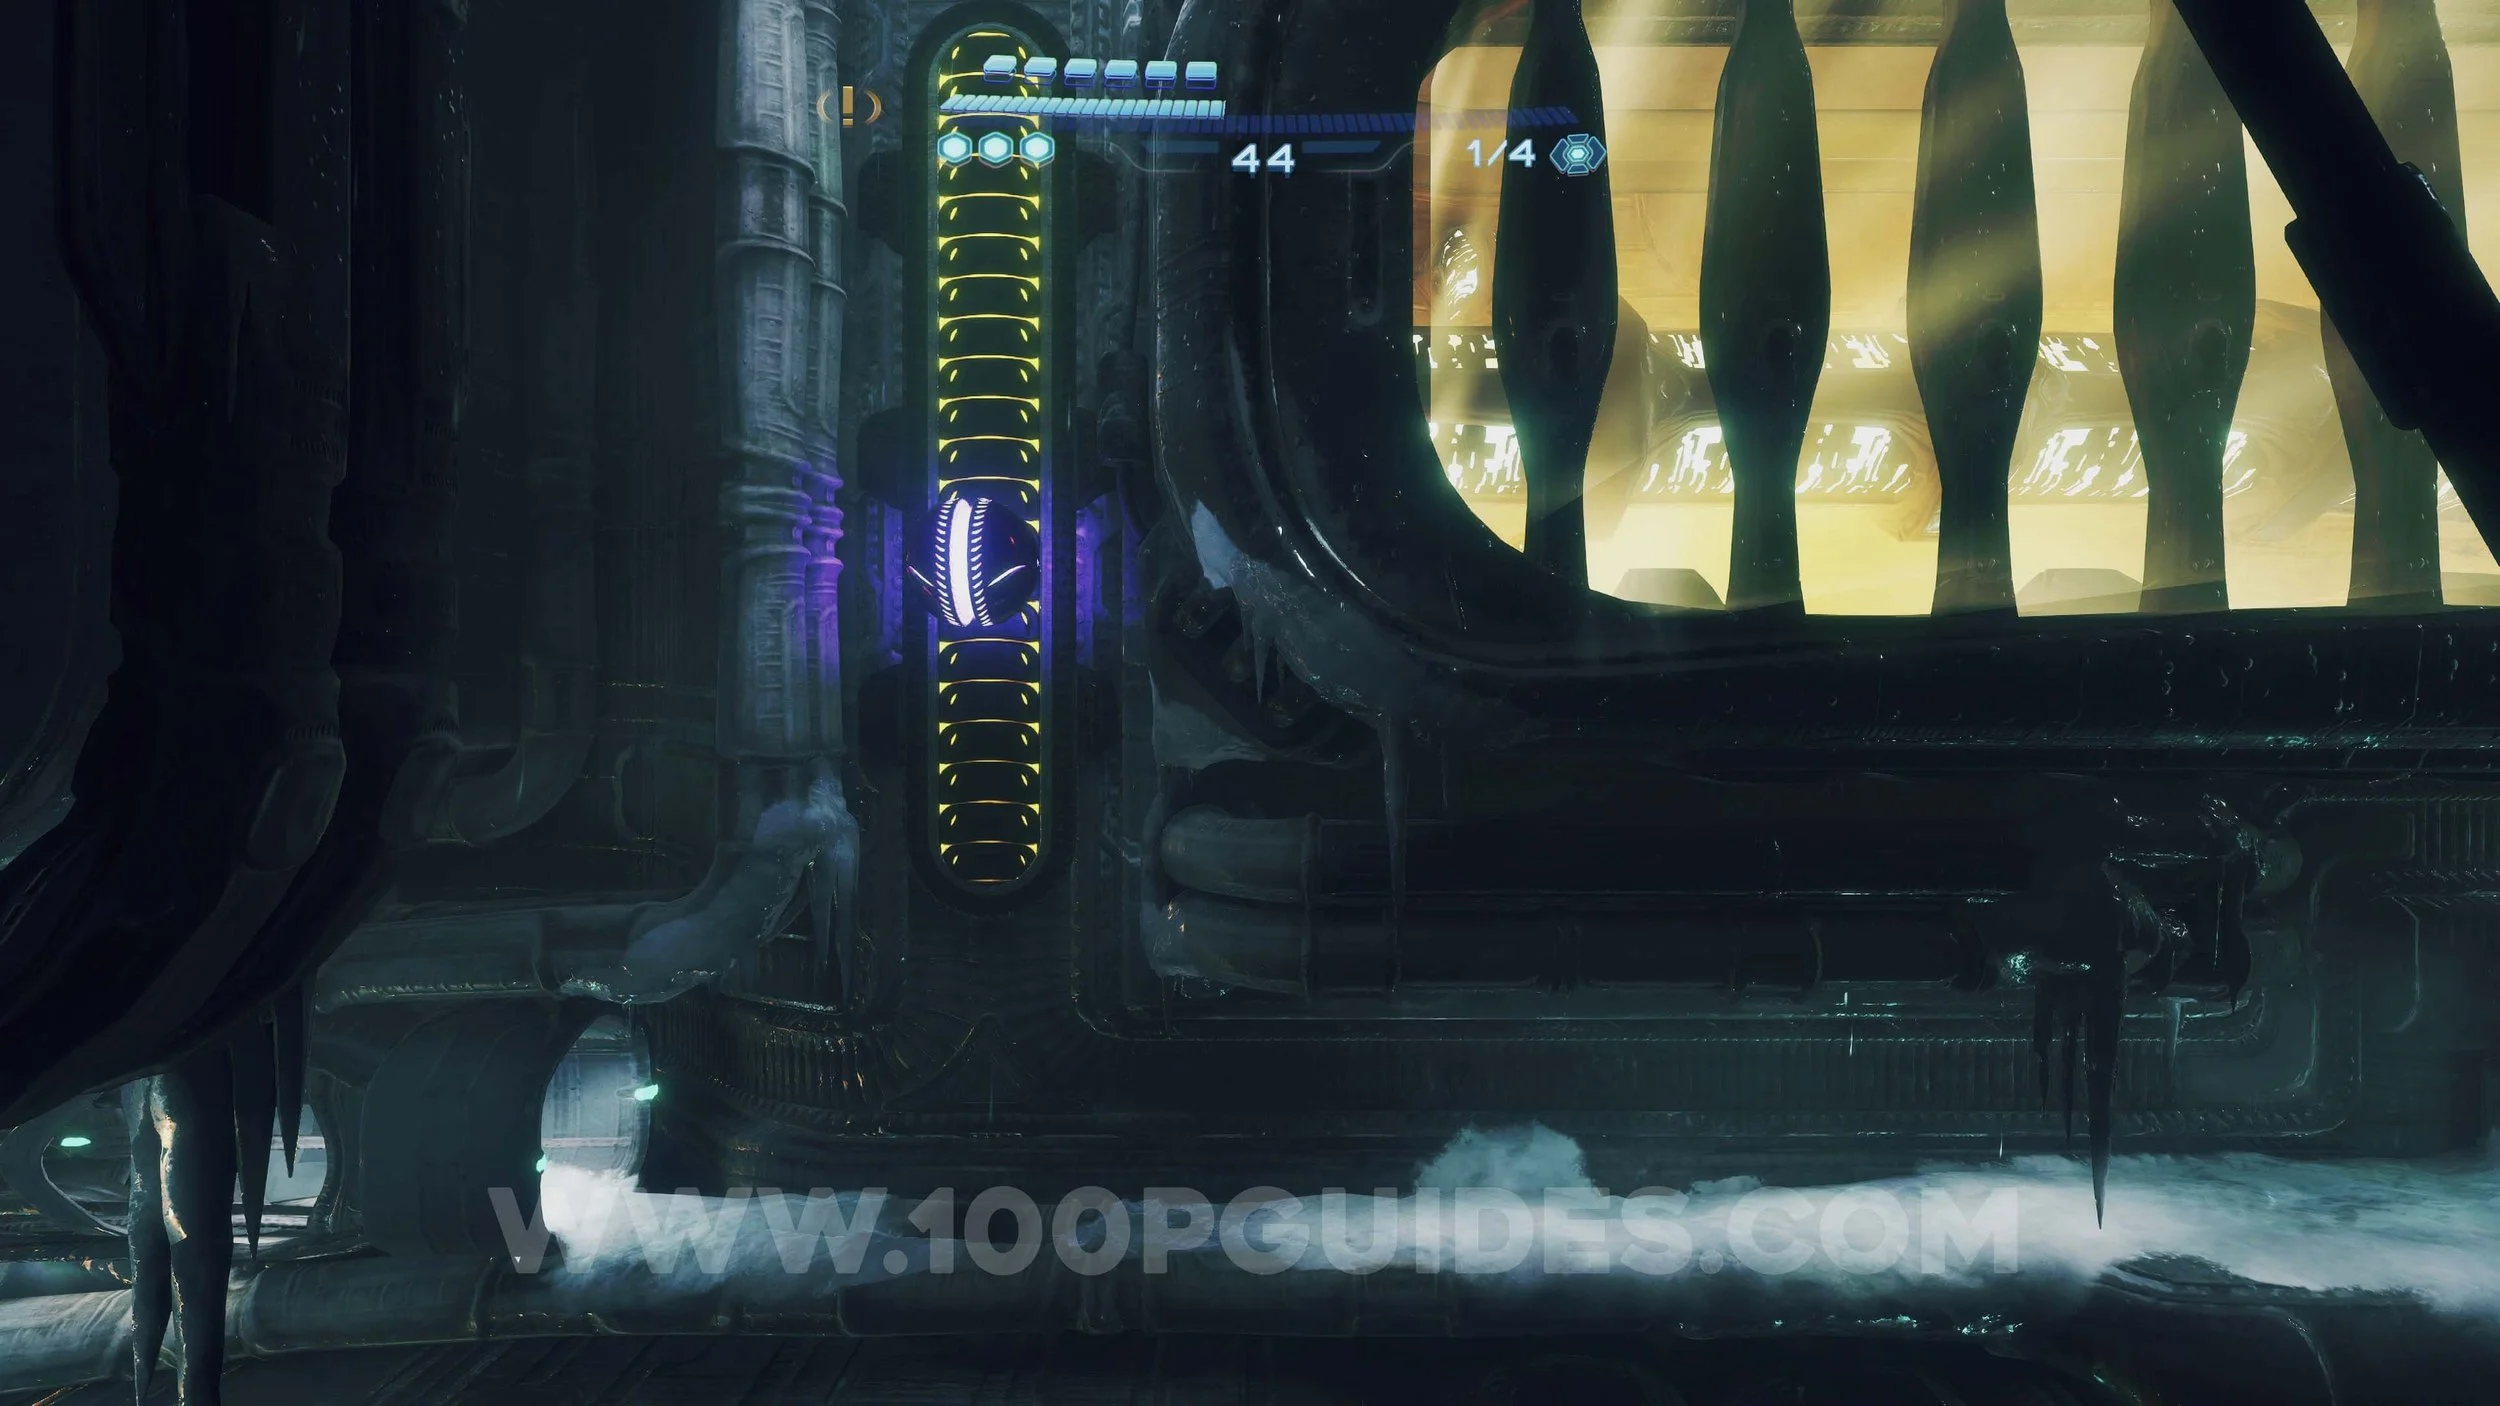
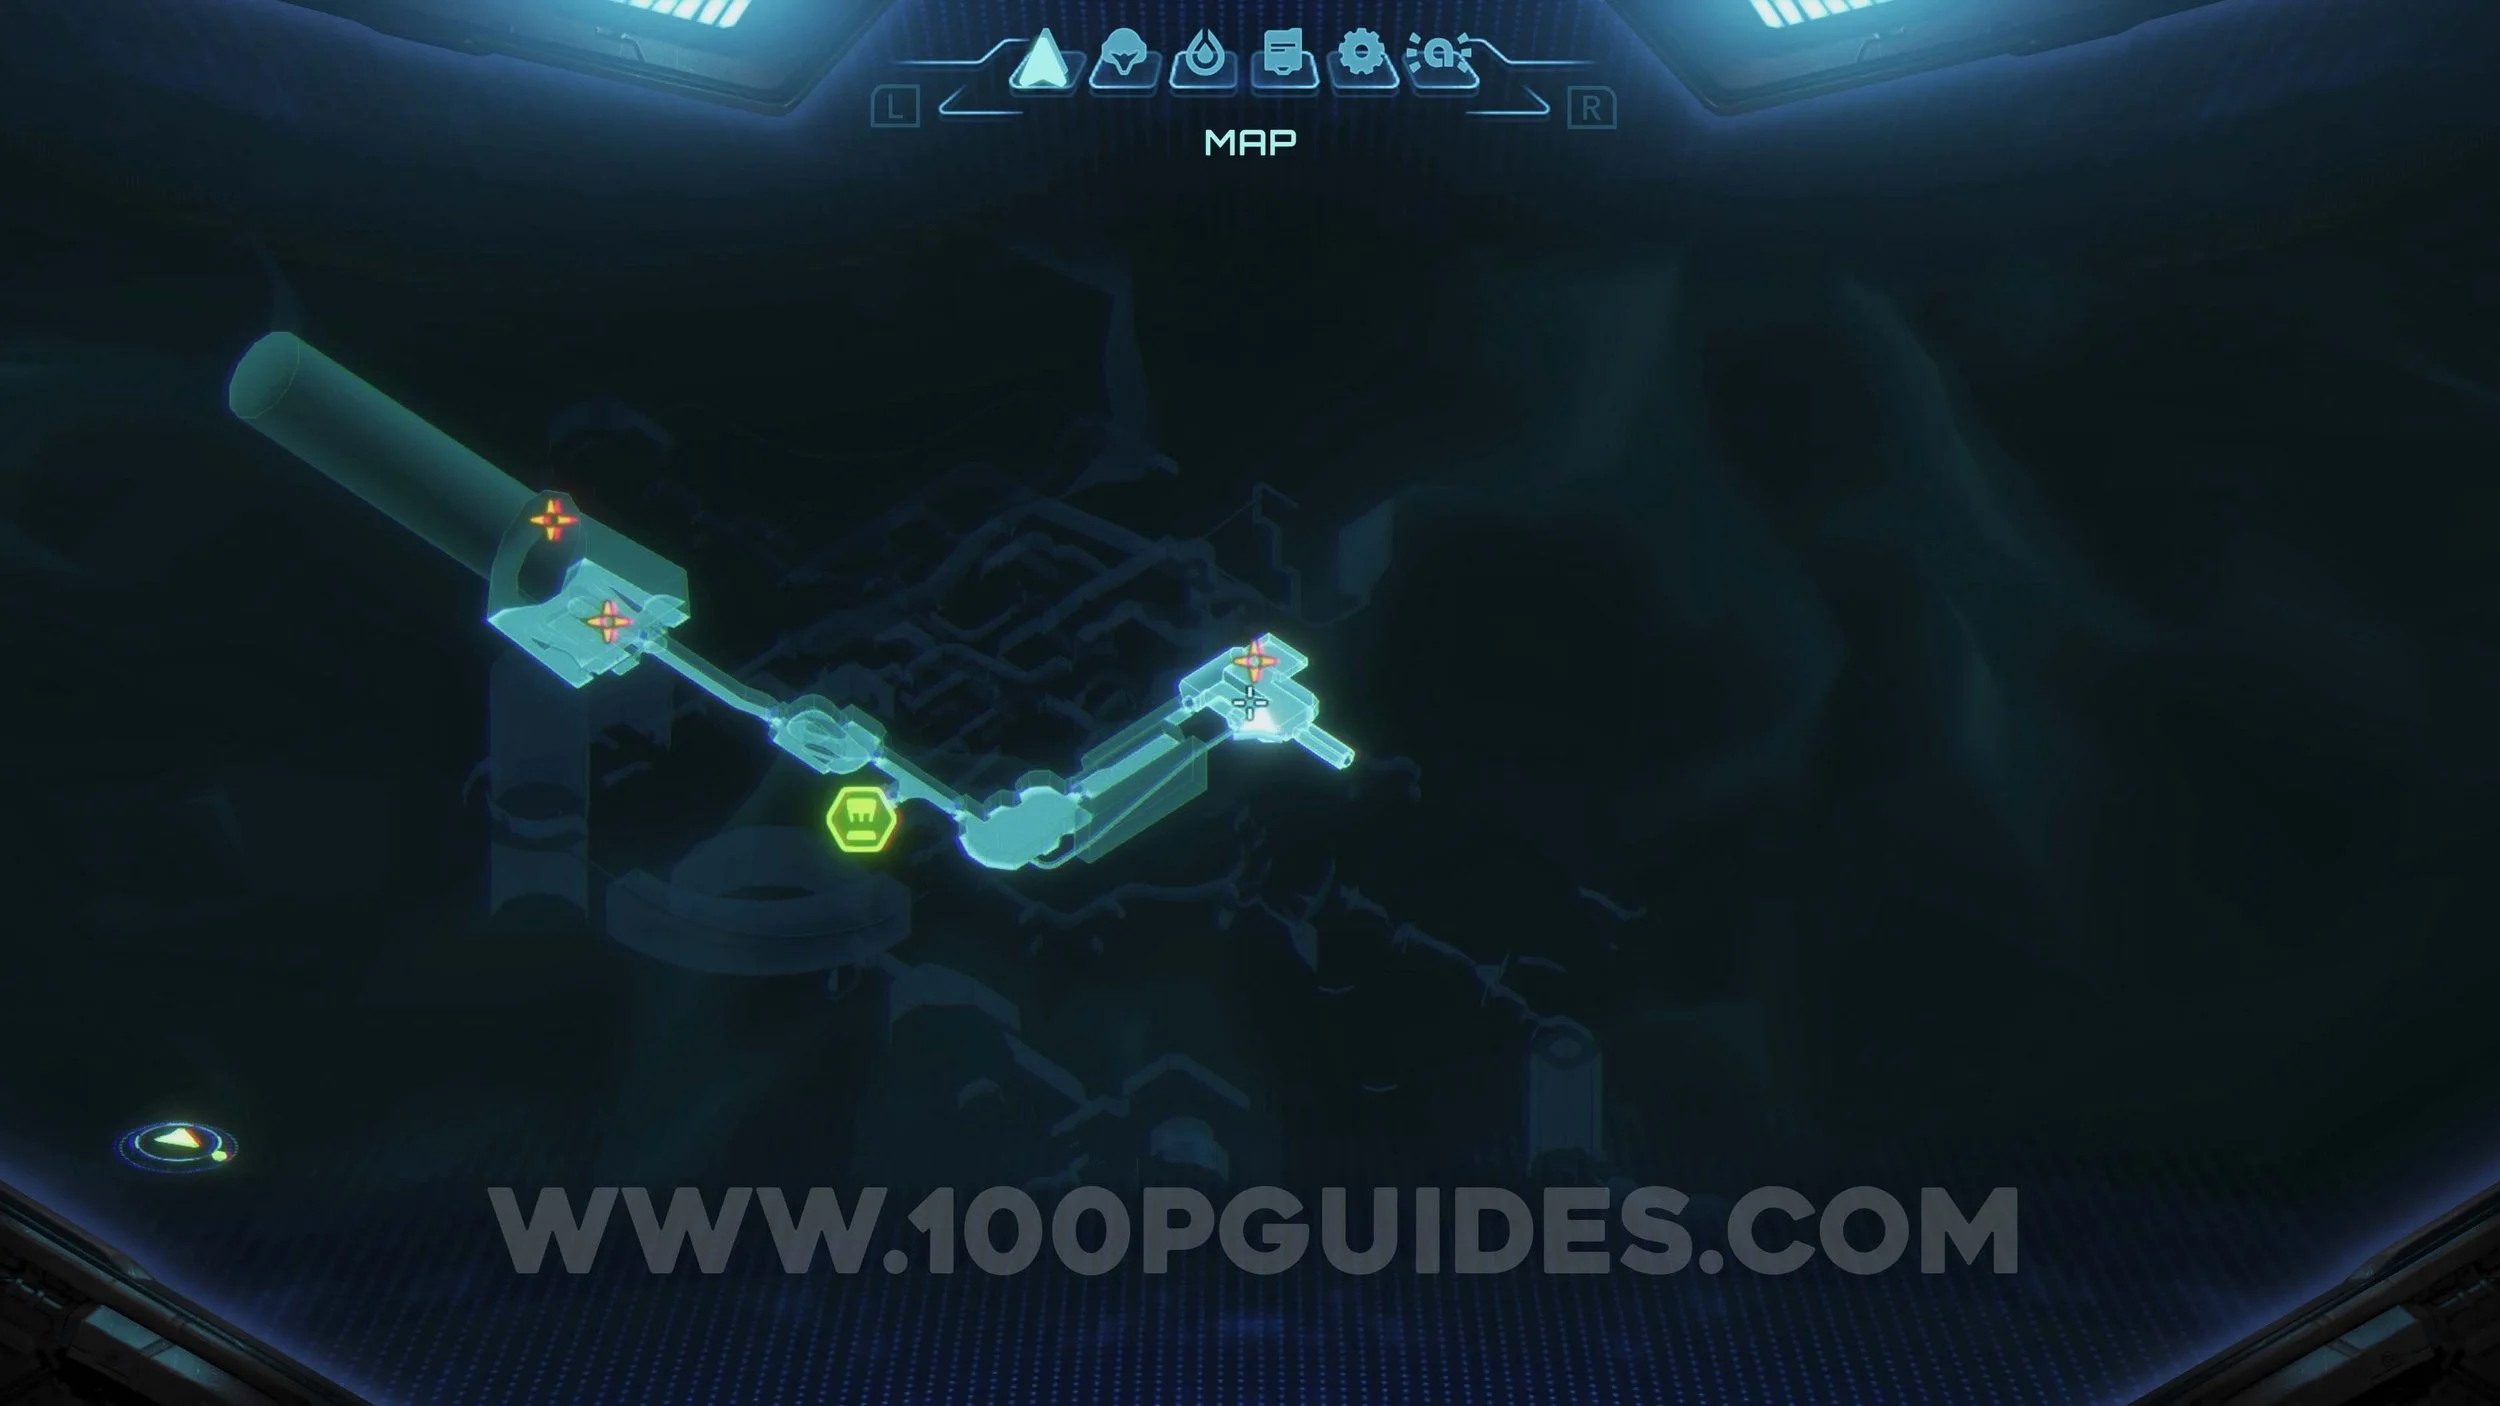
Shot Expansion #19. Go through the tube in the Storage Bay area, then proceed through the 2D morph ball section to reach the upgrade. You will need to use the turbo ball ability to get past the electricity at the end.
Shot Expansion #20. In the Deep Archive Access area, go into morph ball and hold down the bomb button to spawn a orb. Then scan it and place it in the hole above. This will open the door to the upgrade.
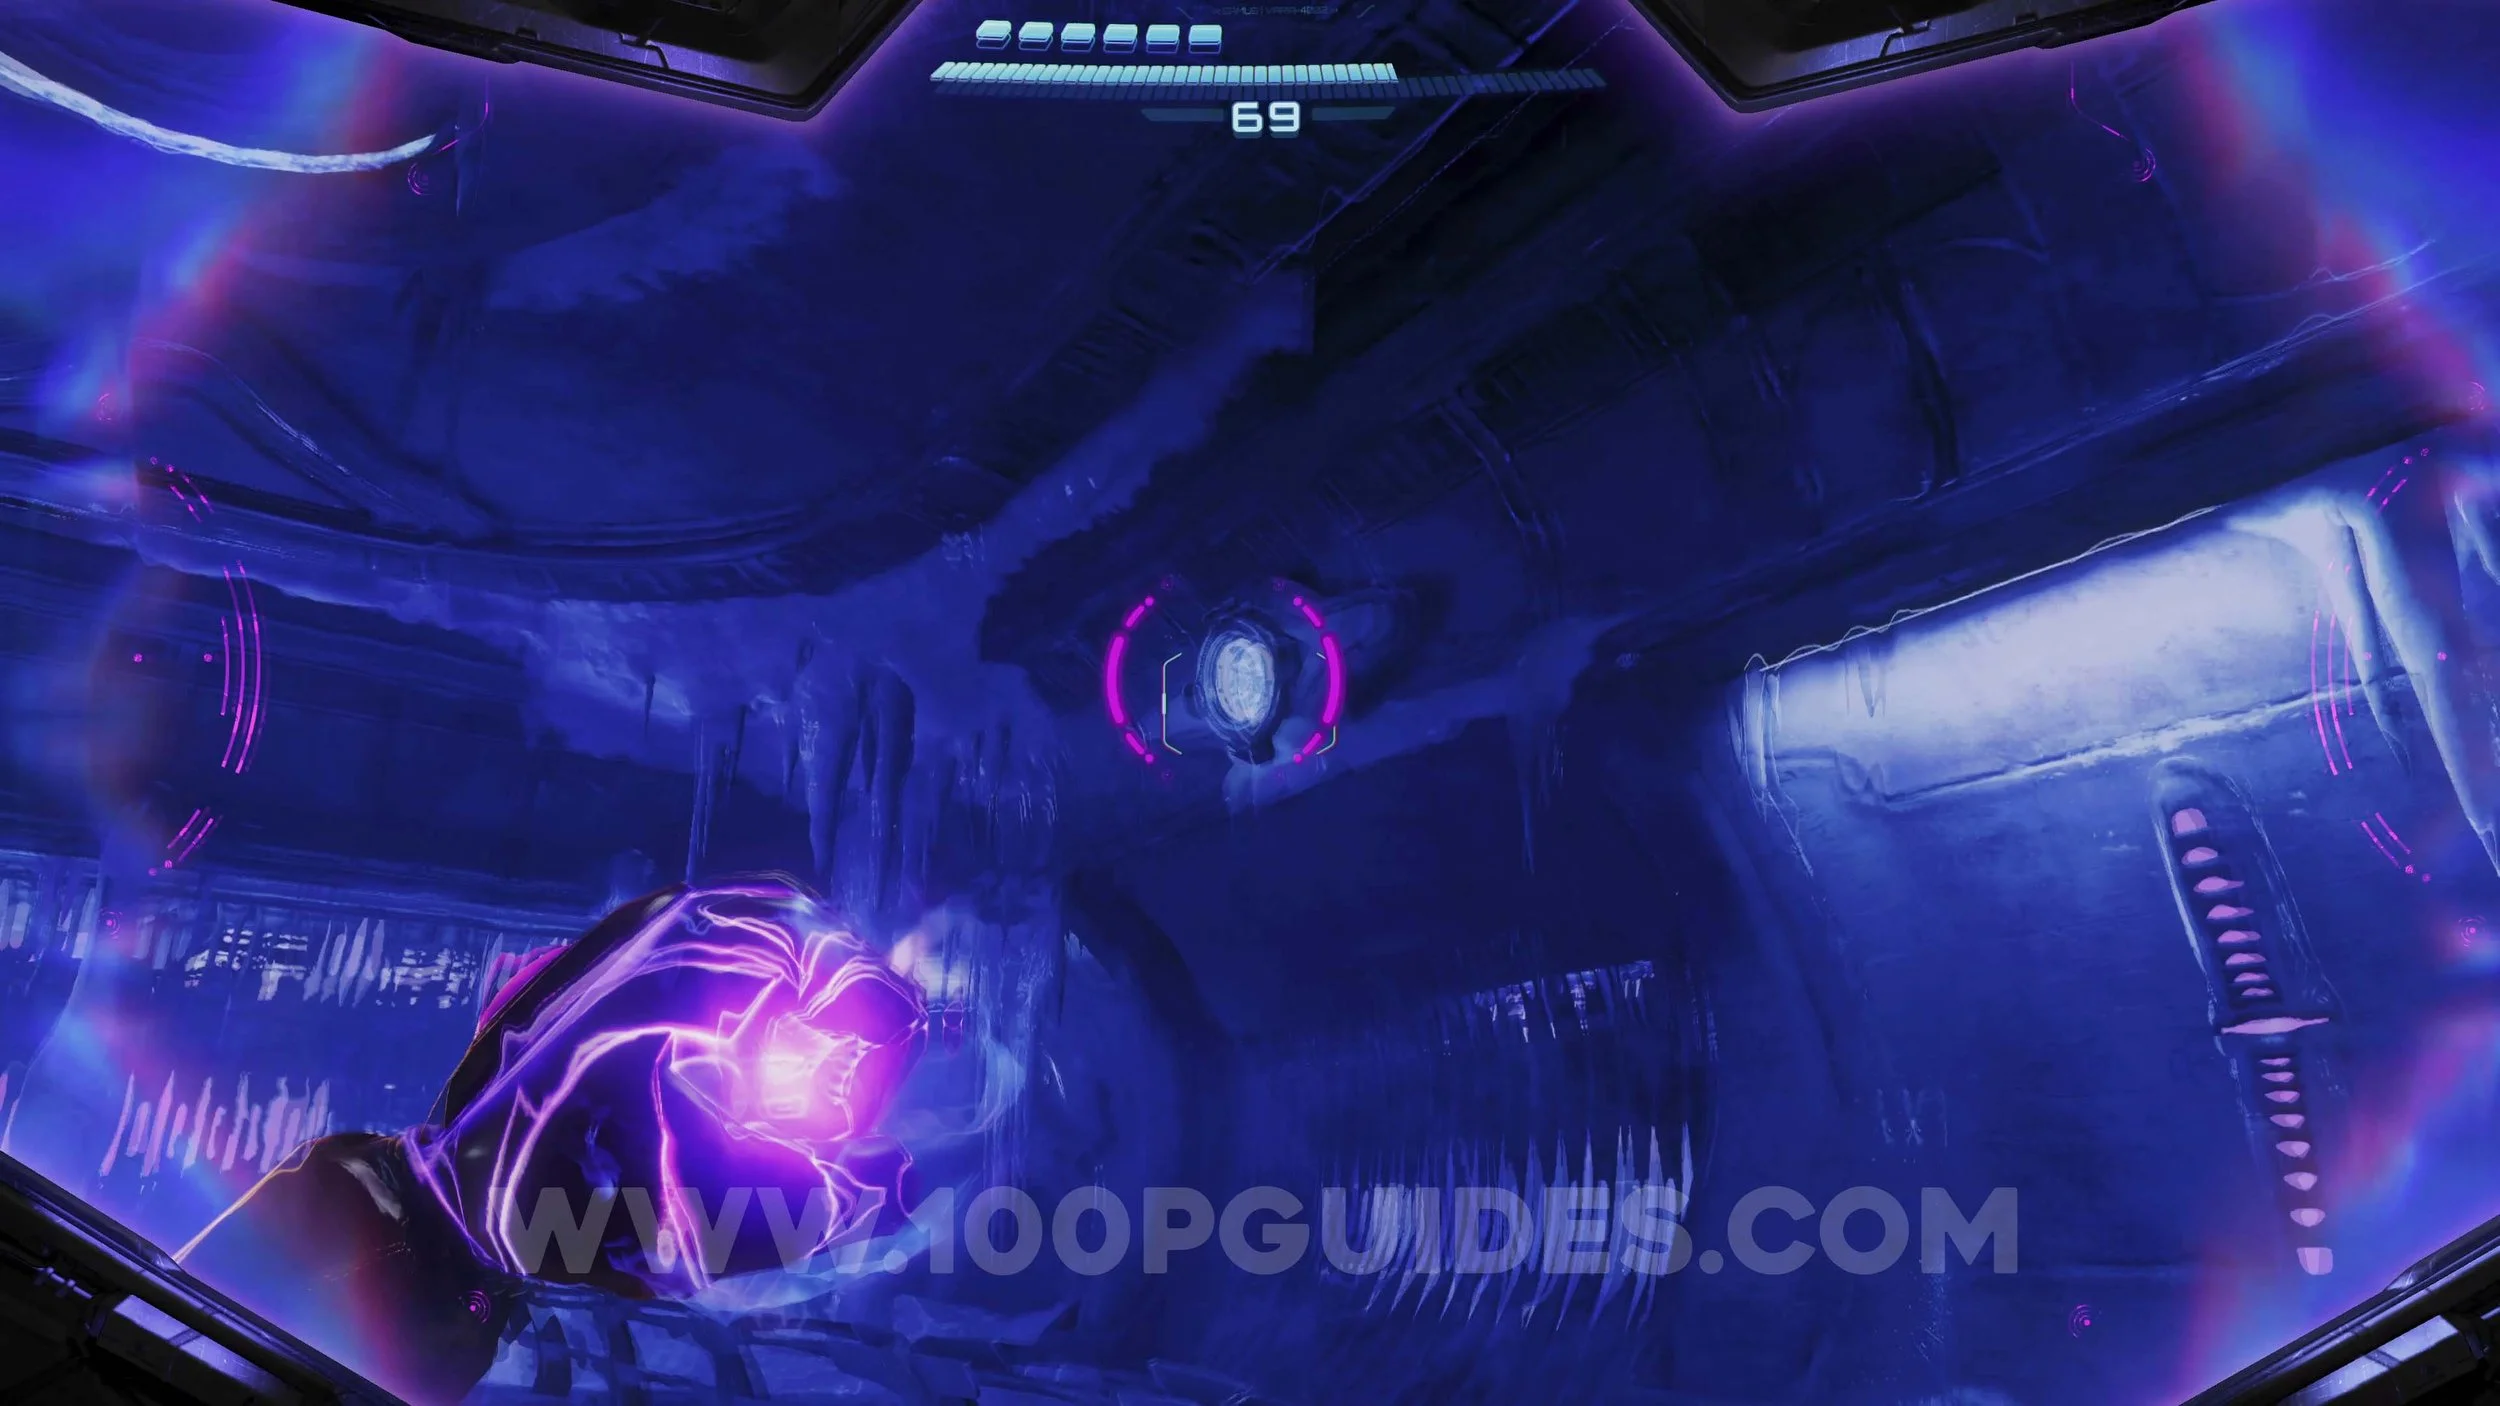
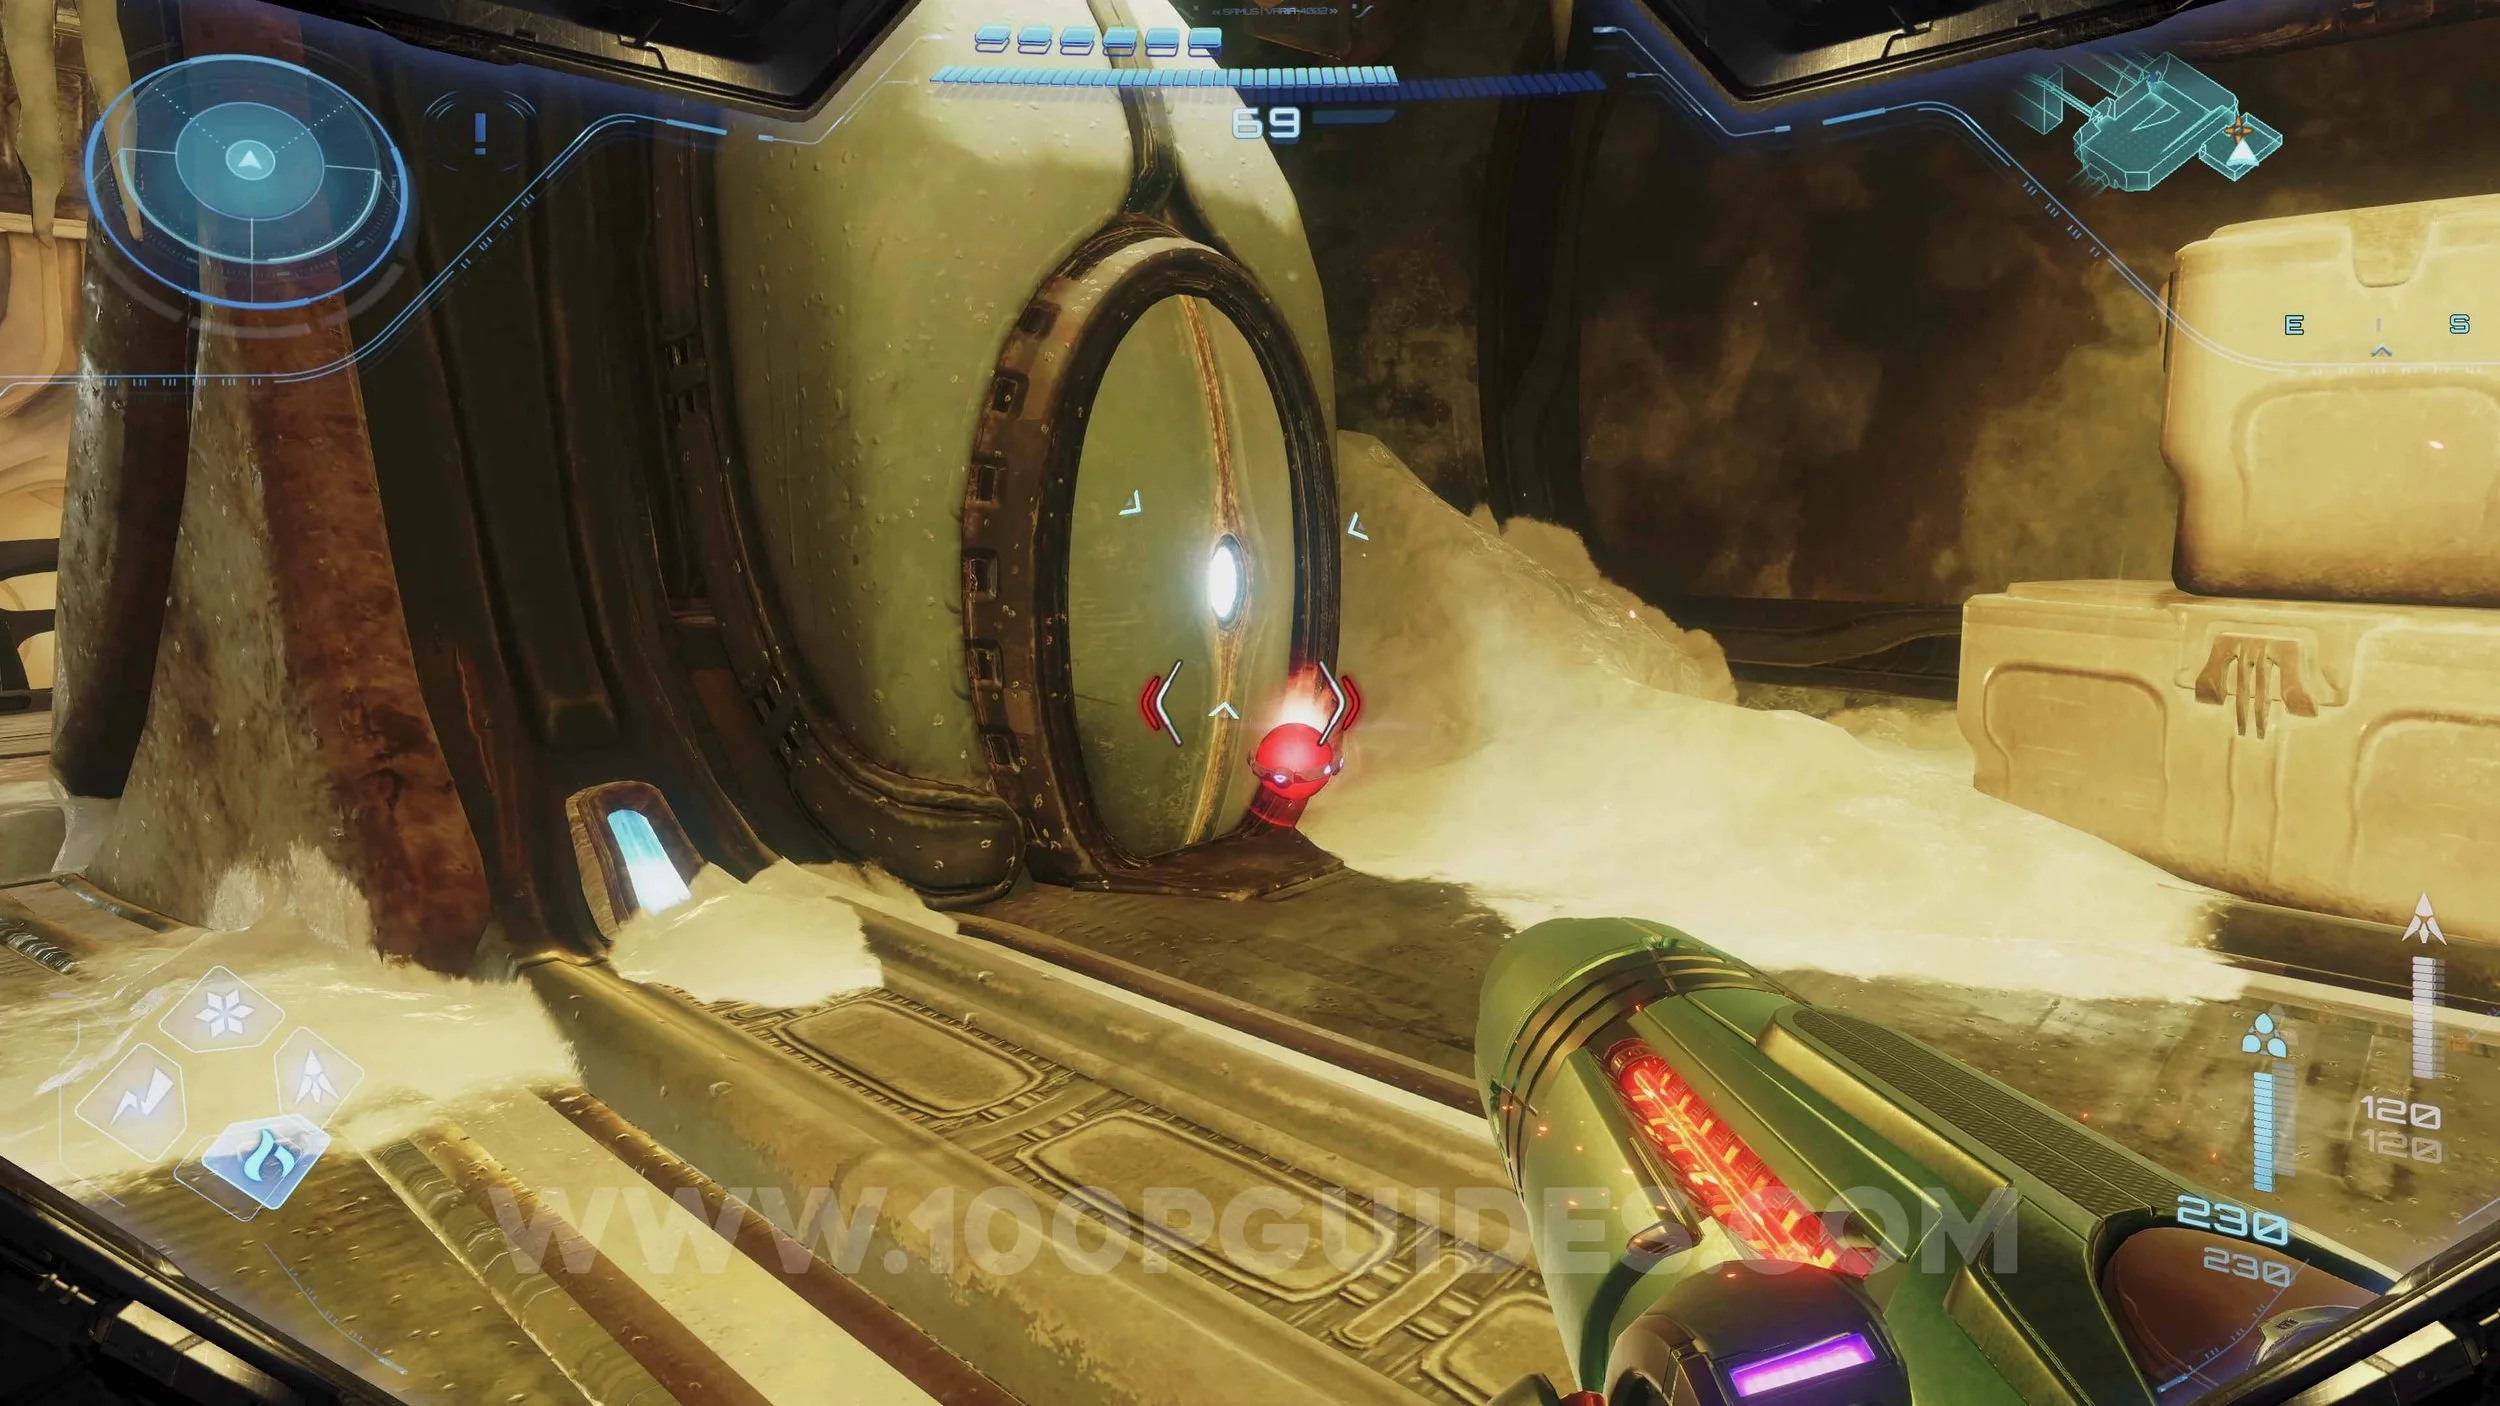
Shot Expansion #21. In the Power Generator room, look for a purple glow you can scan. This will spawn a magnetic rail. Use it to reach the to,p where you can reach another rail by swinging off the floating magnetic orbs. The upgrade will be at the end of the second rail.
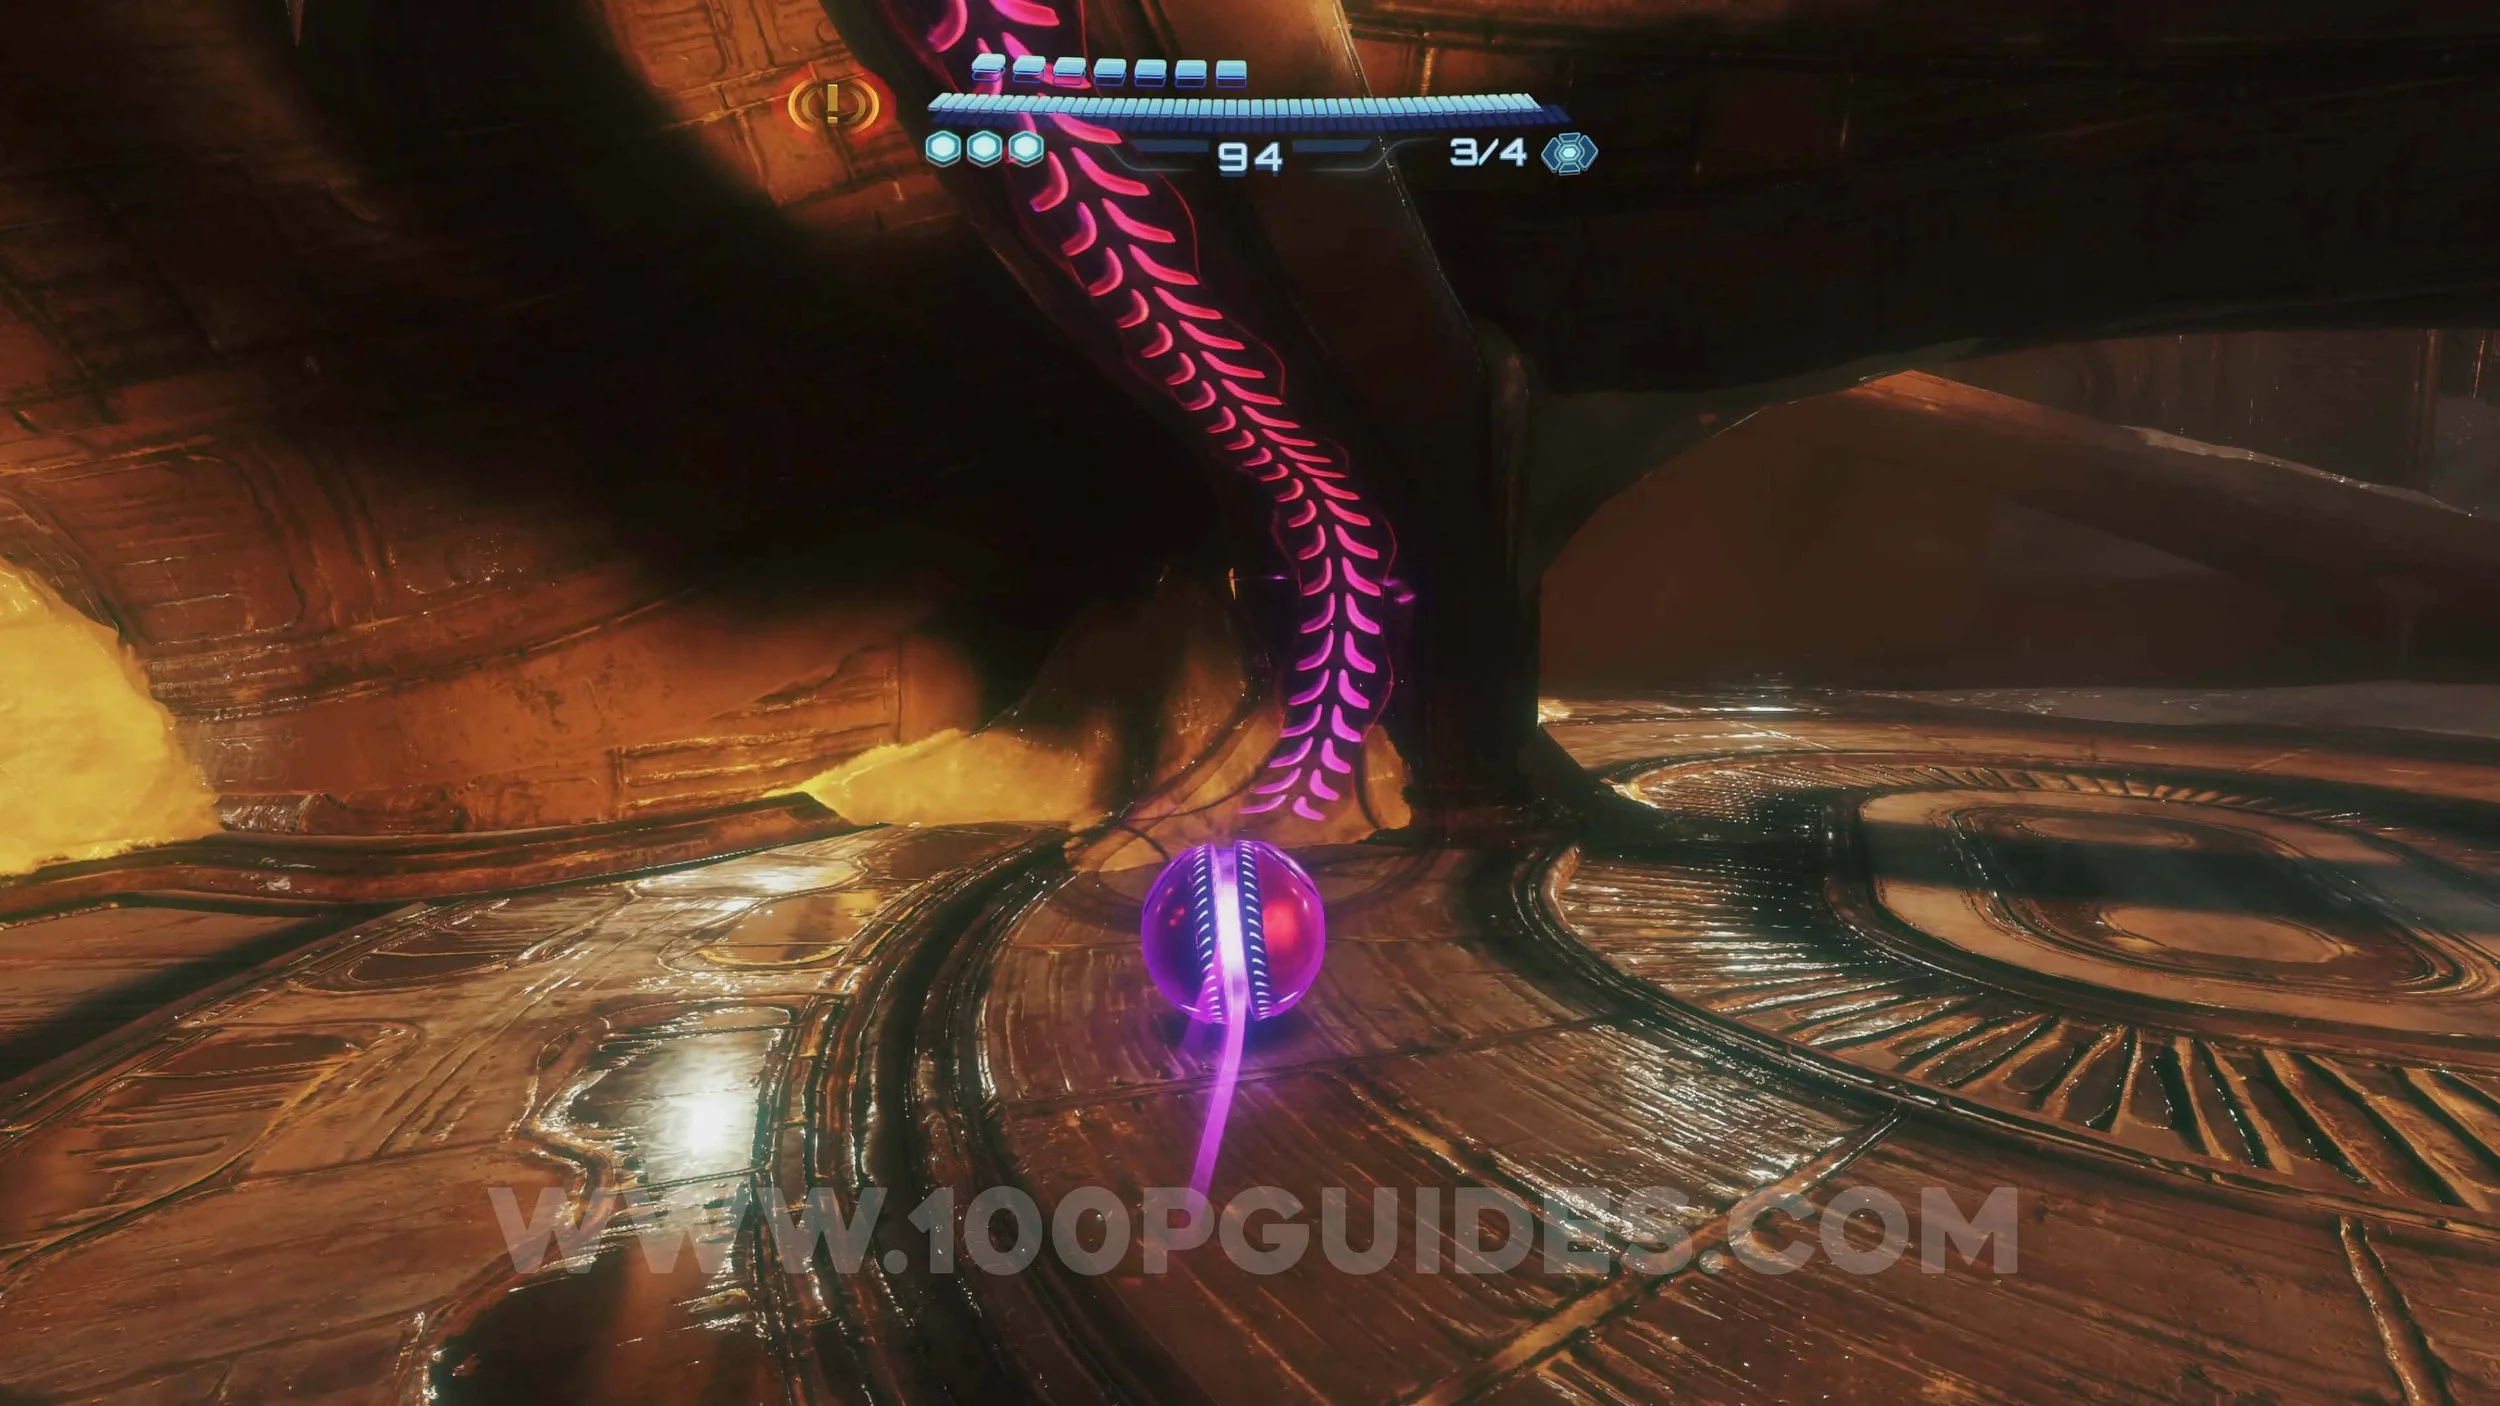
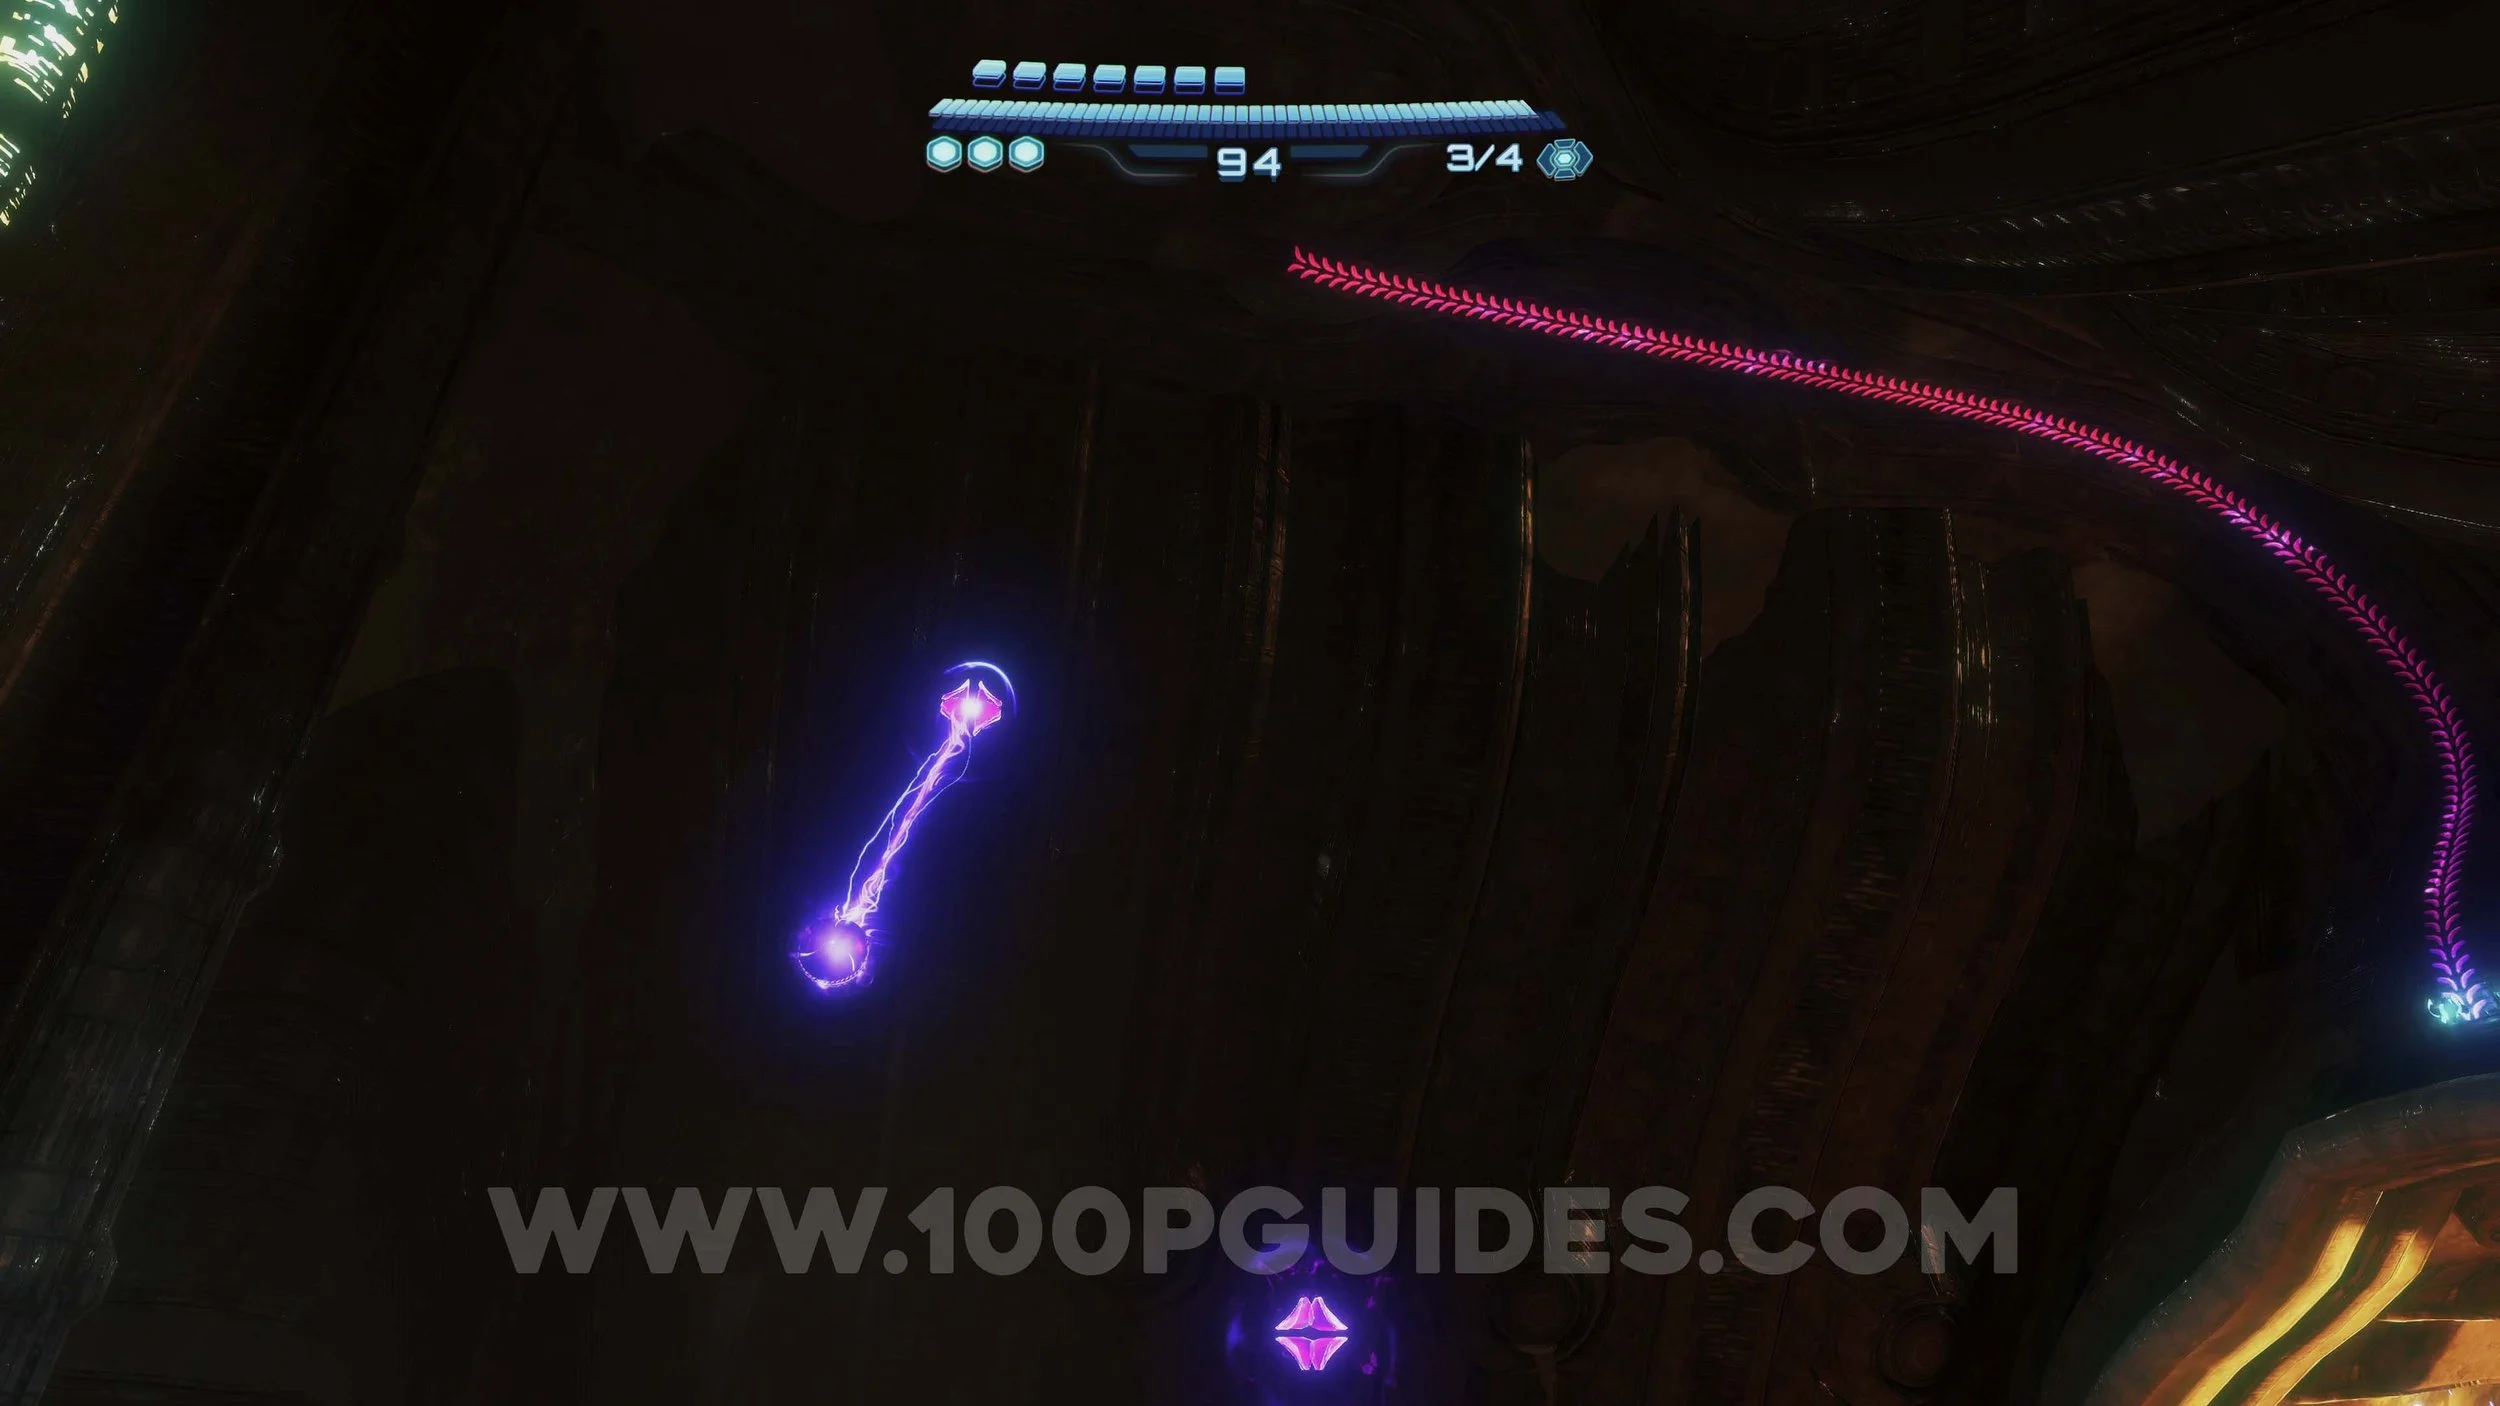
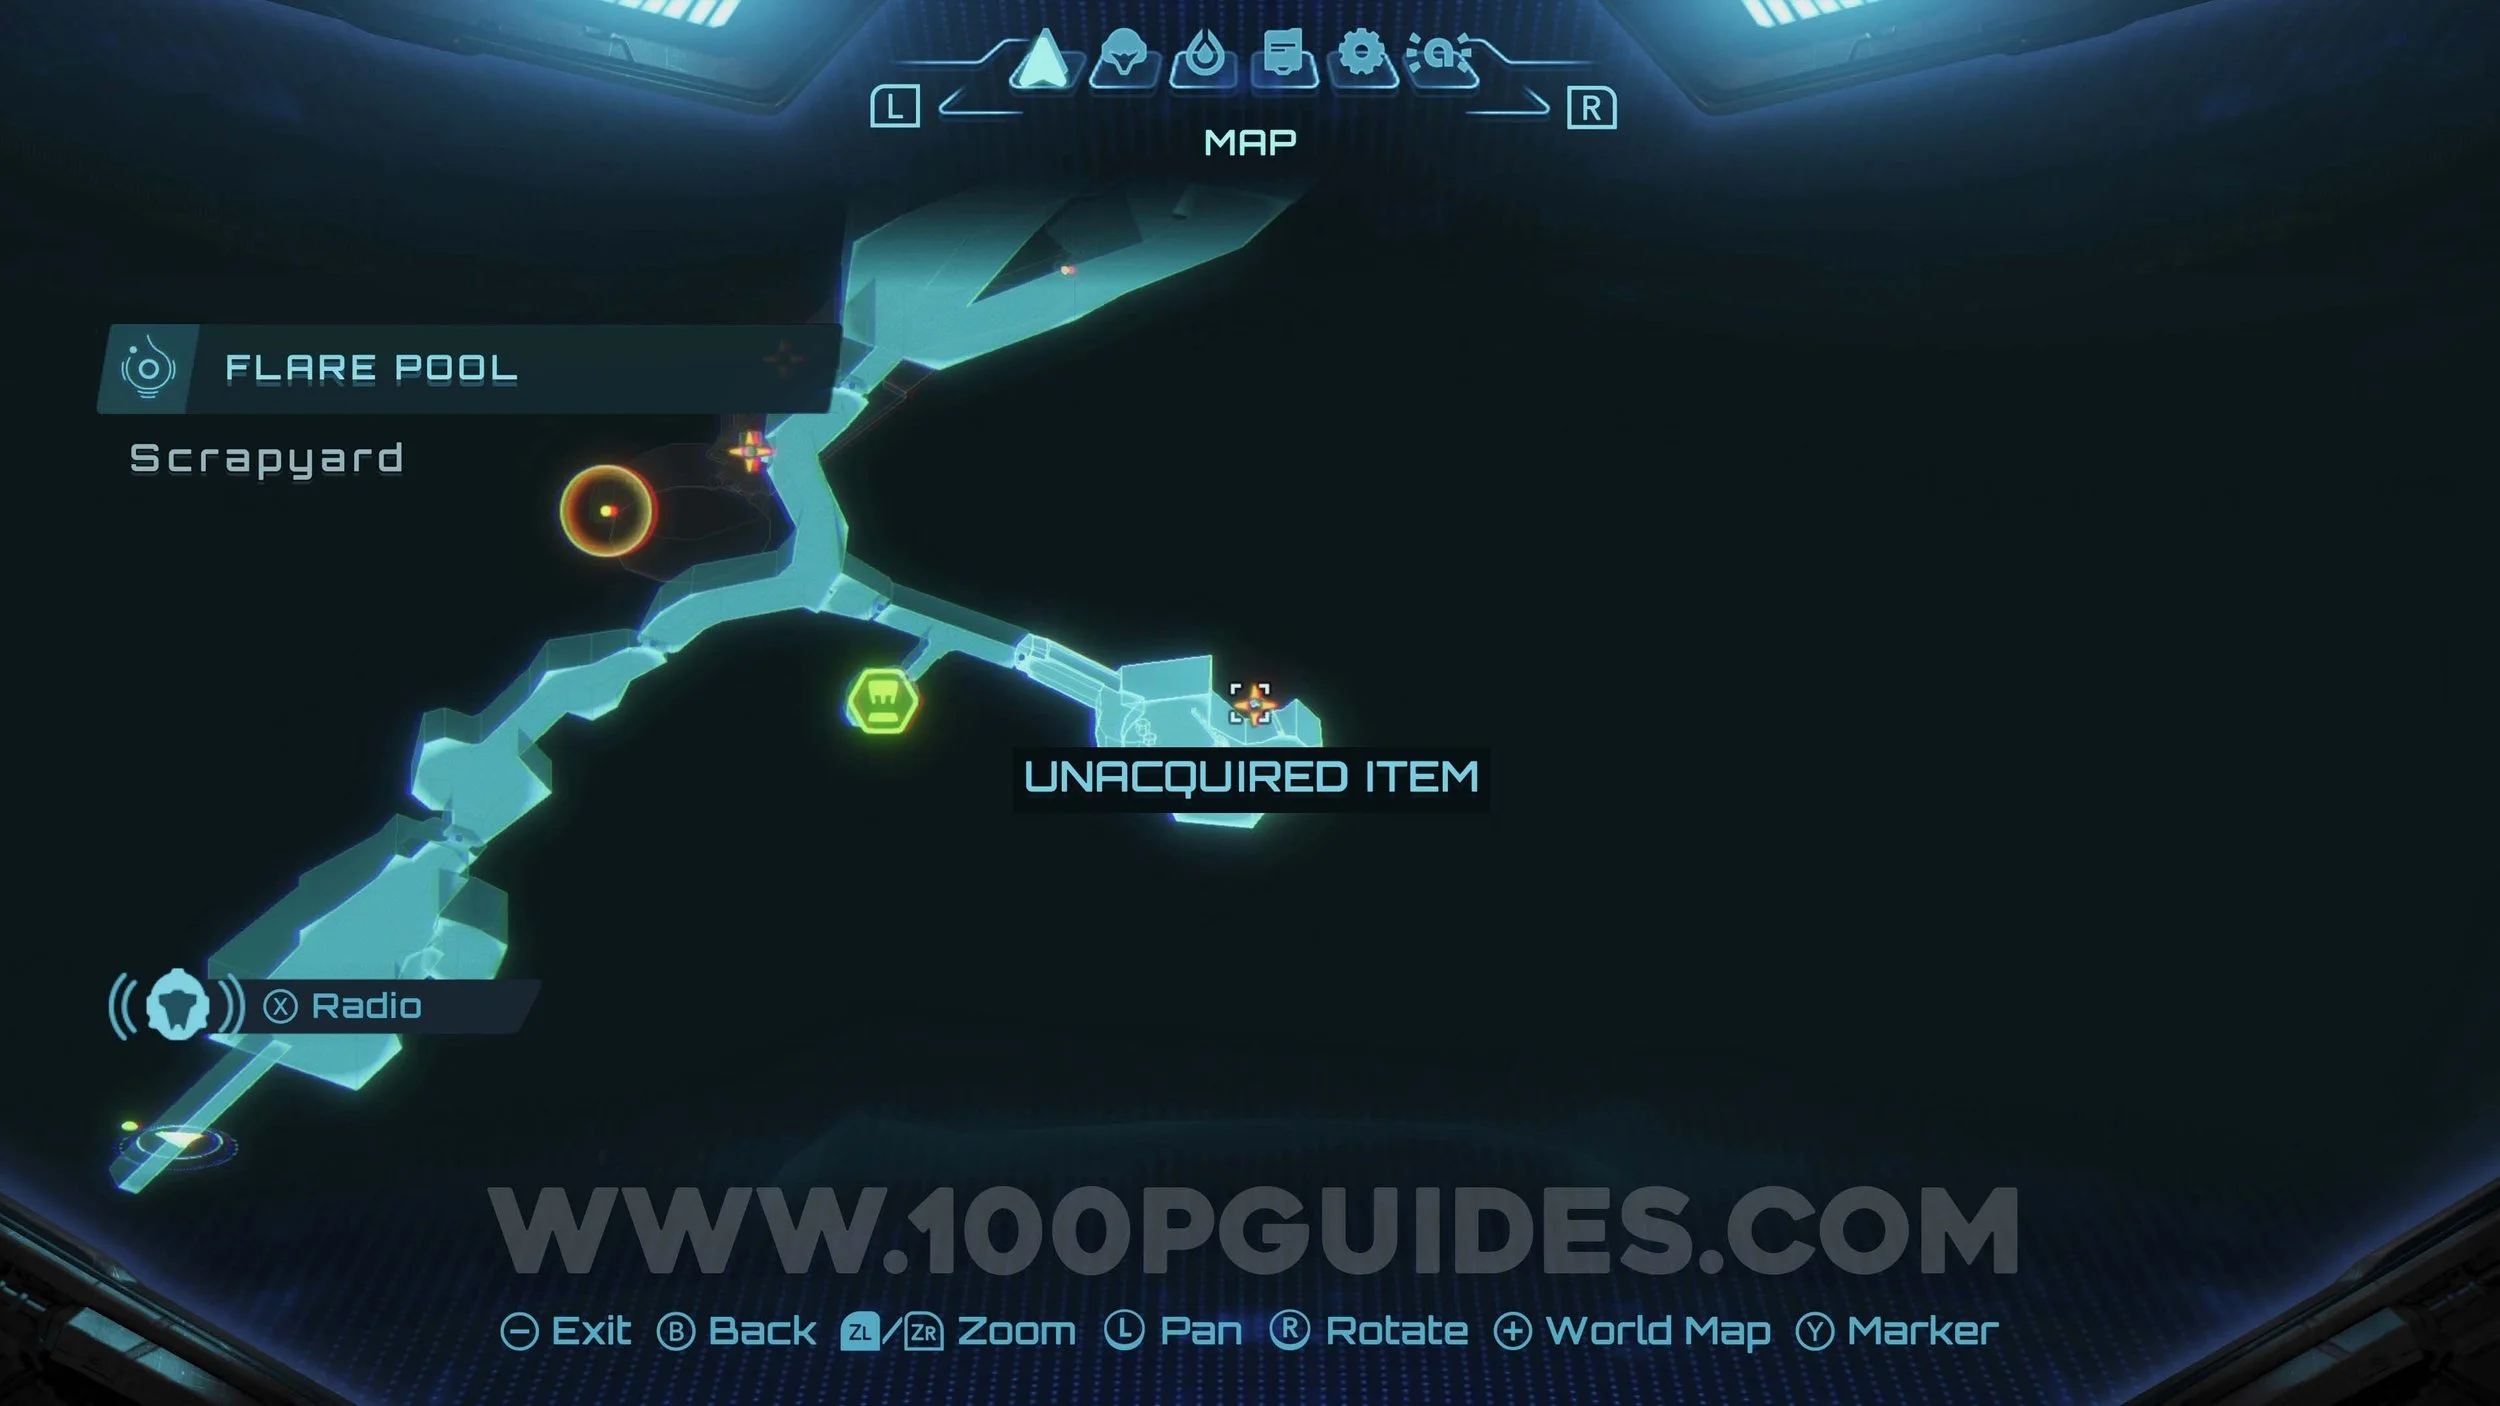
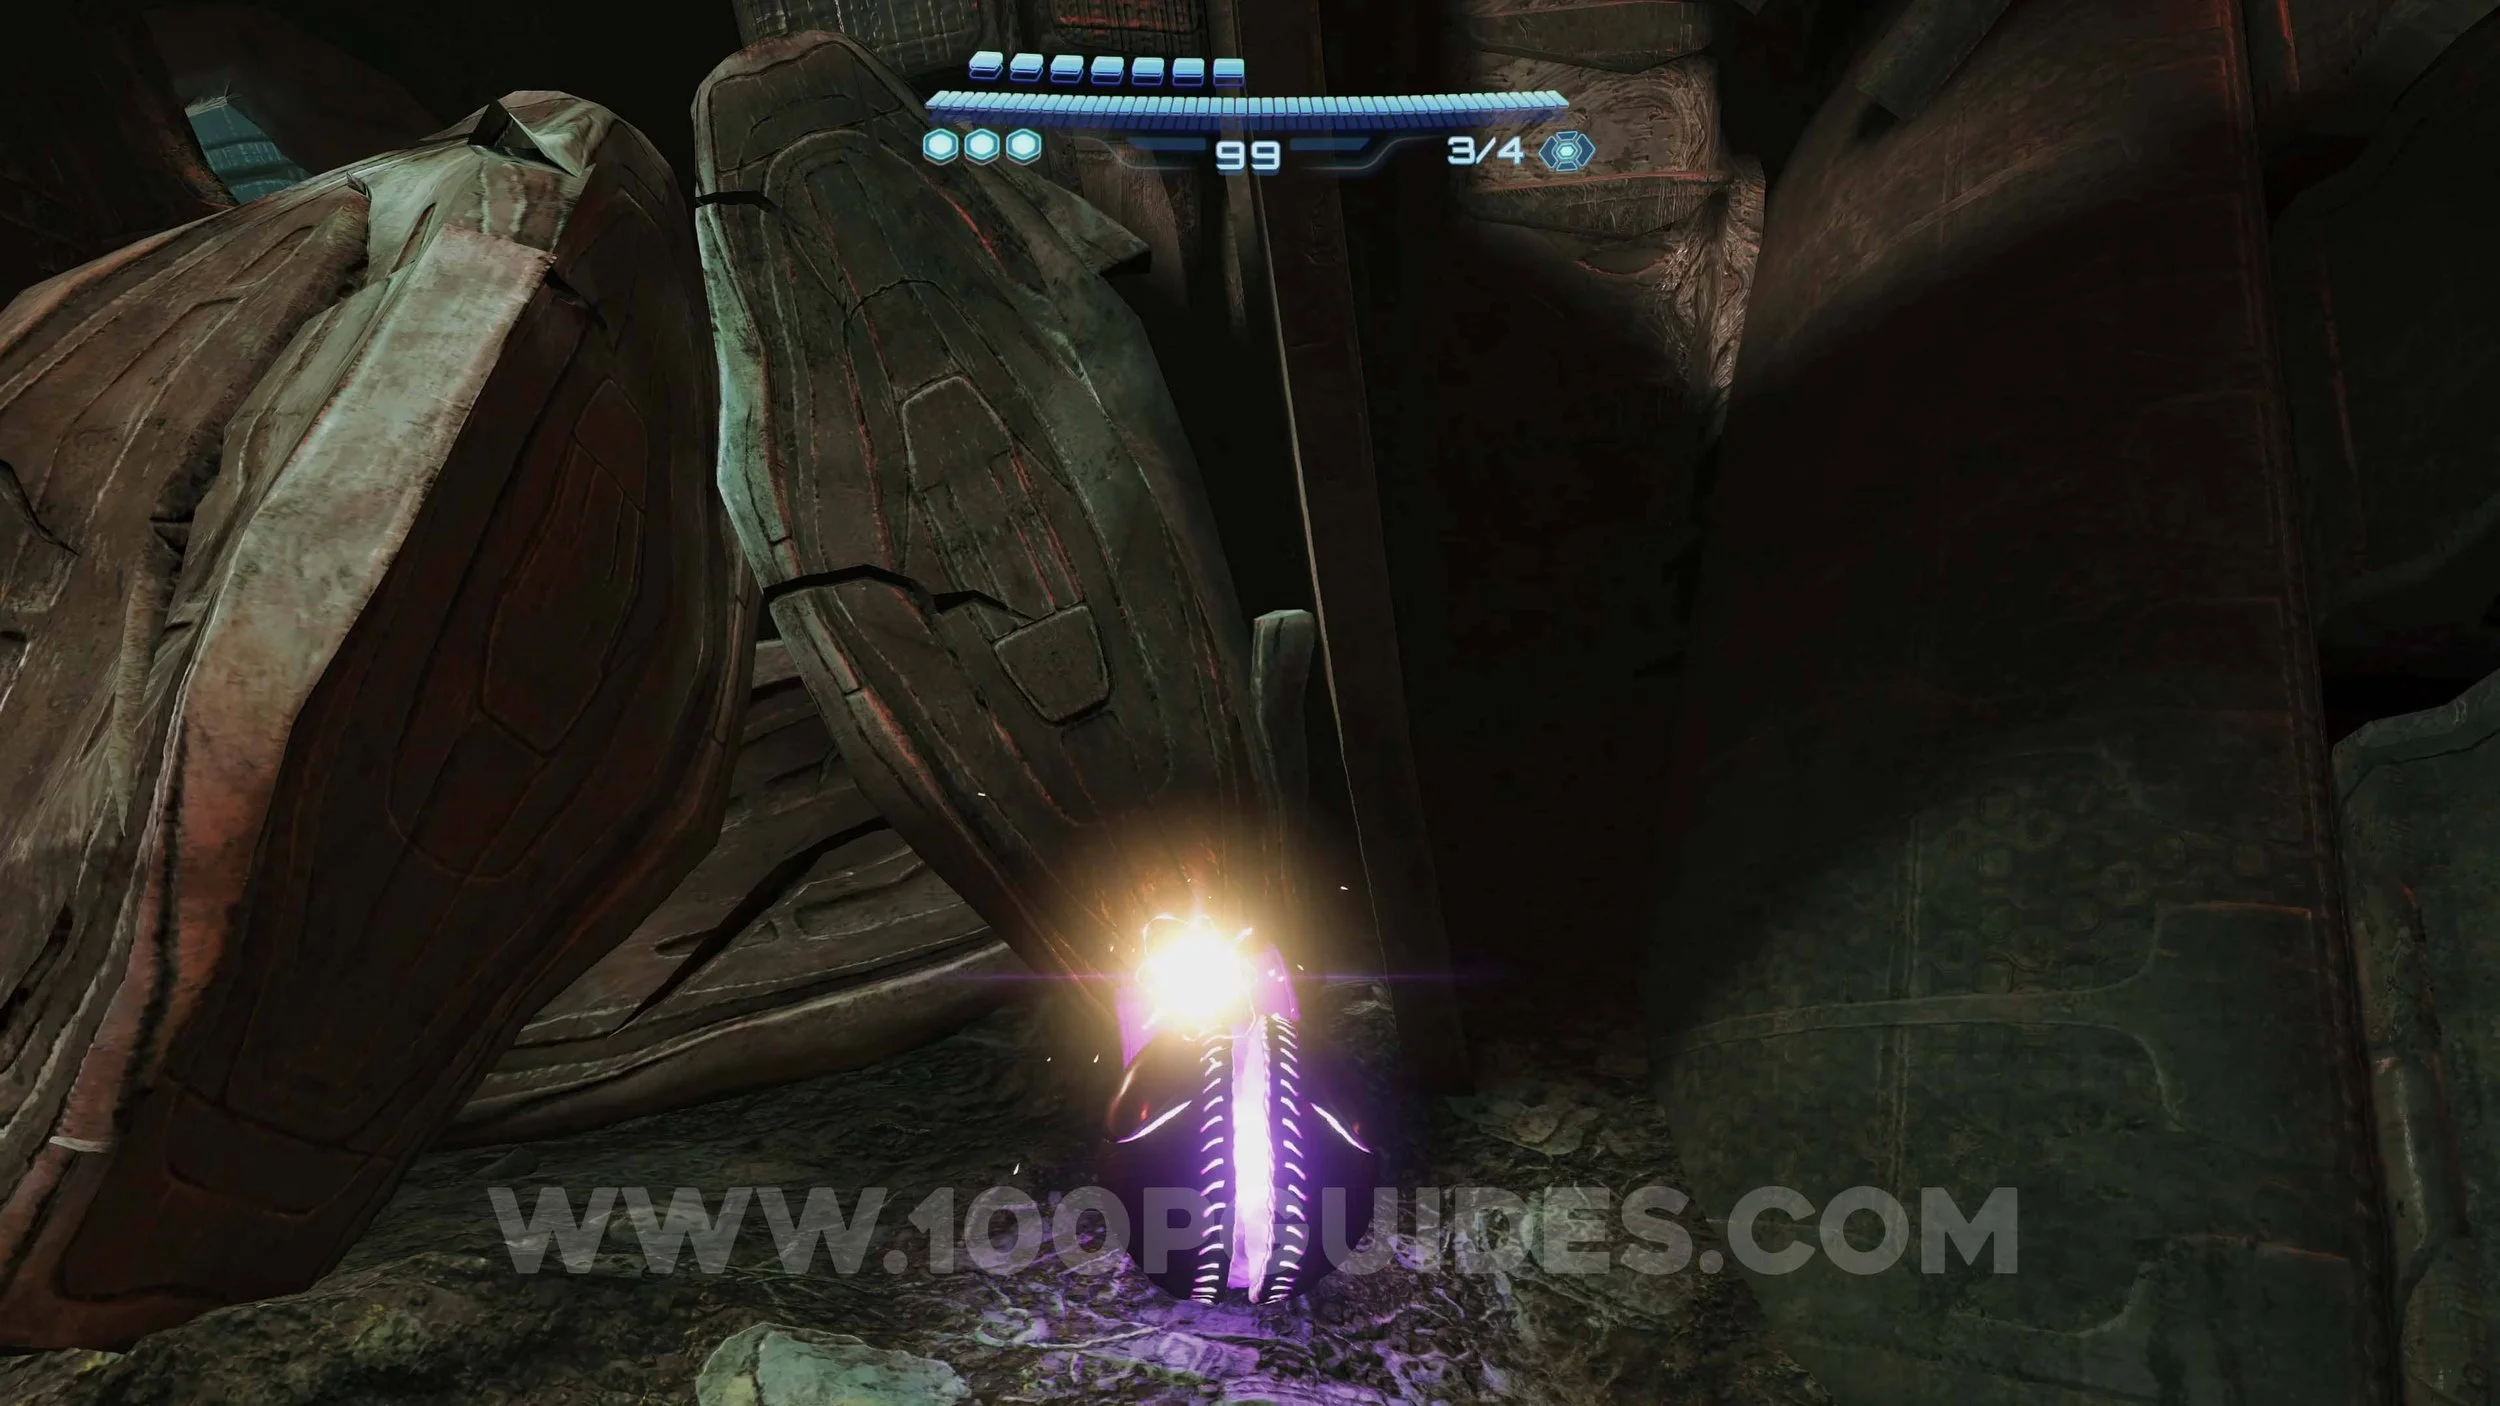
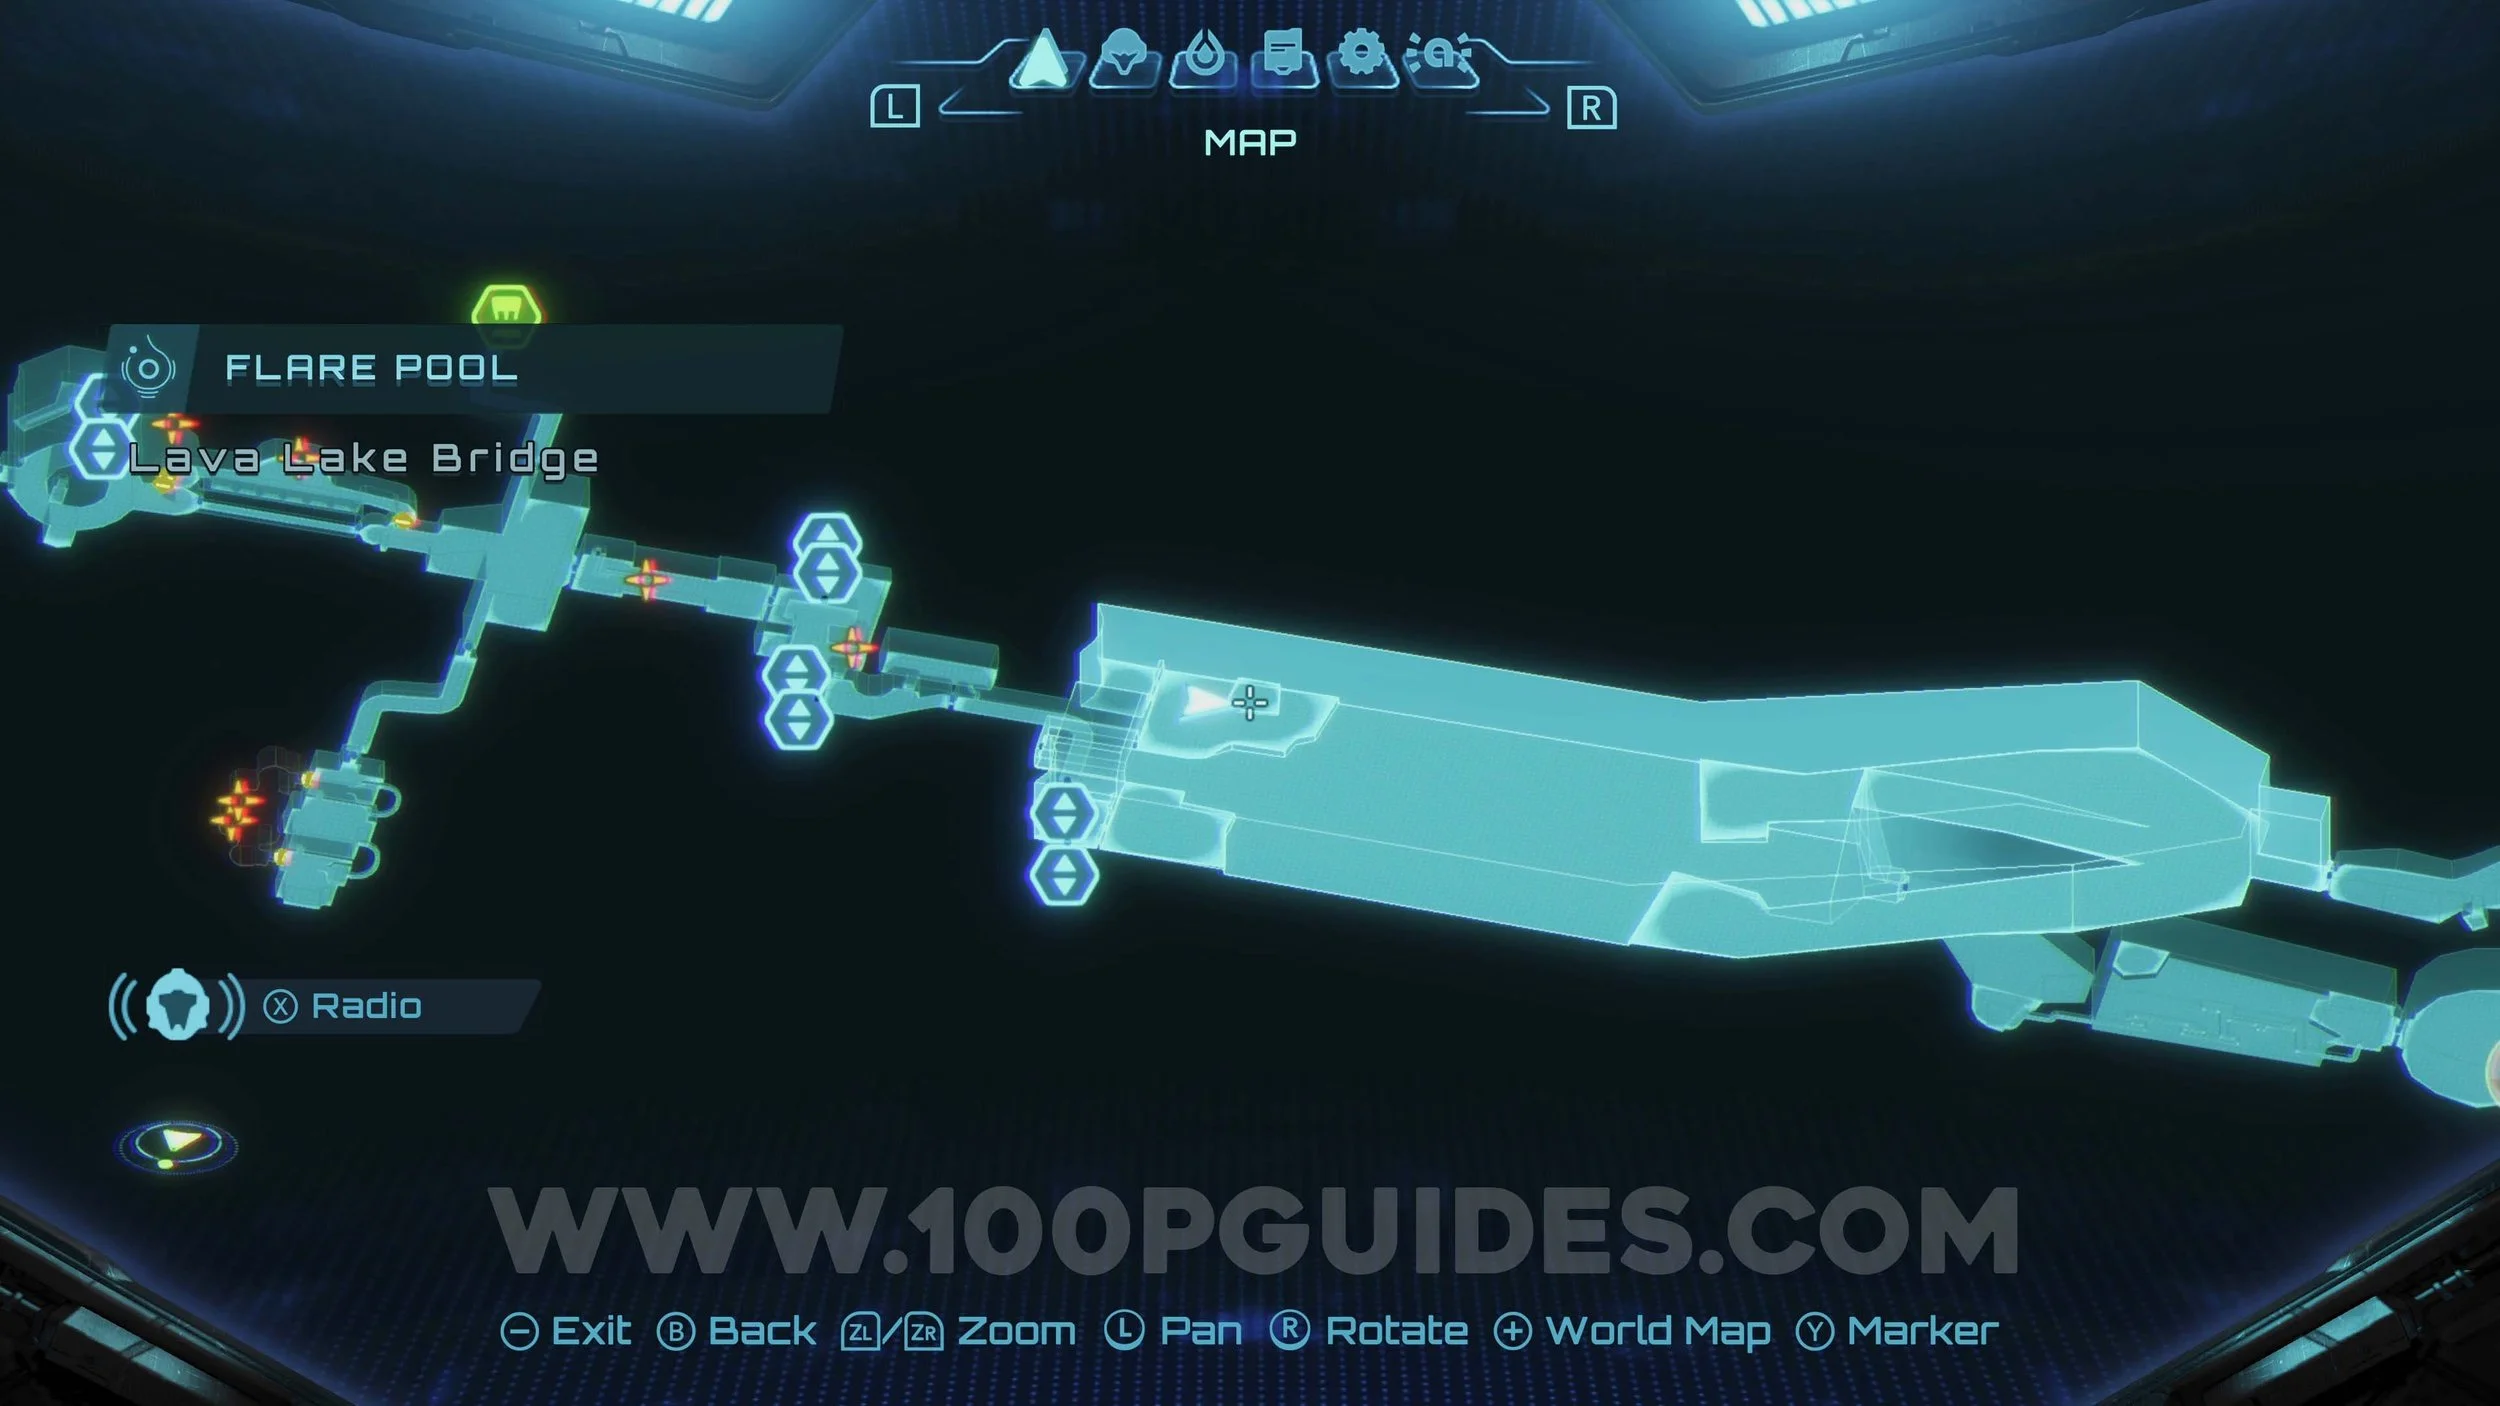
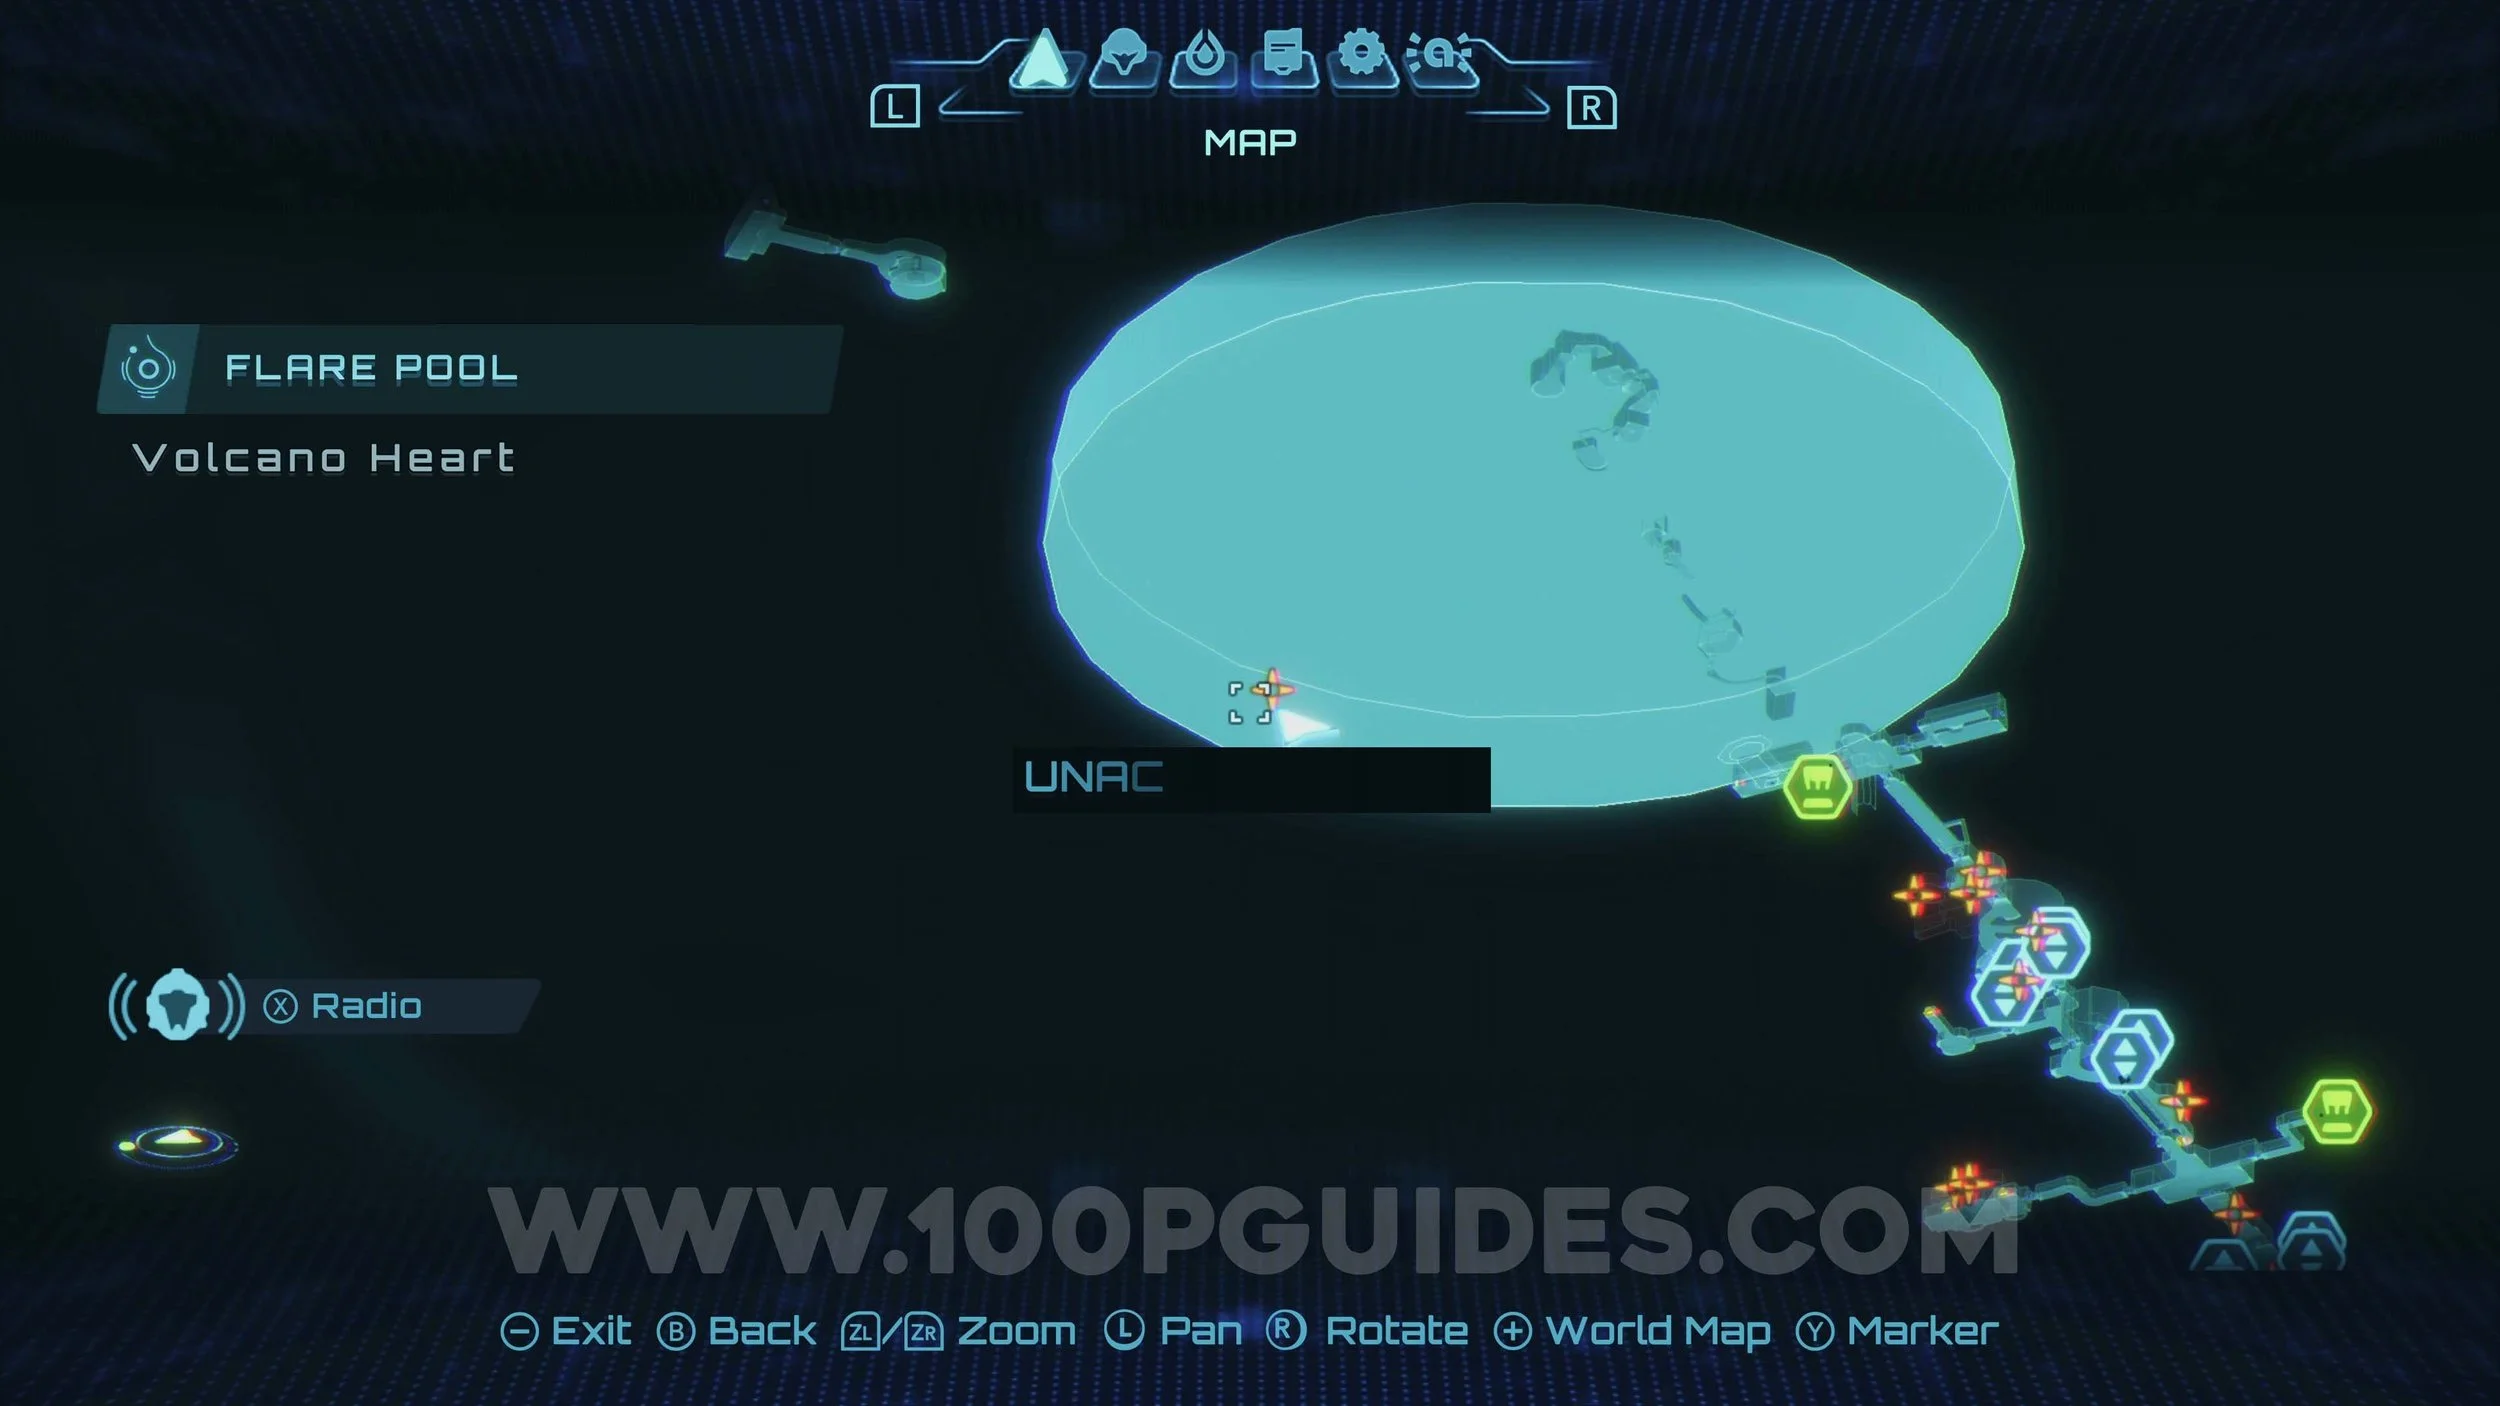
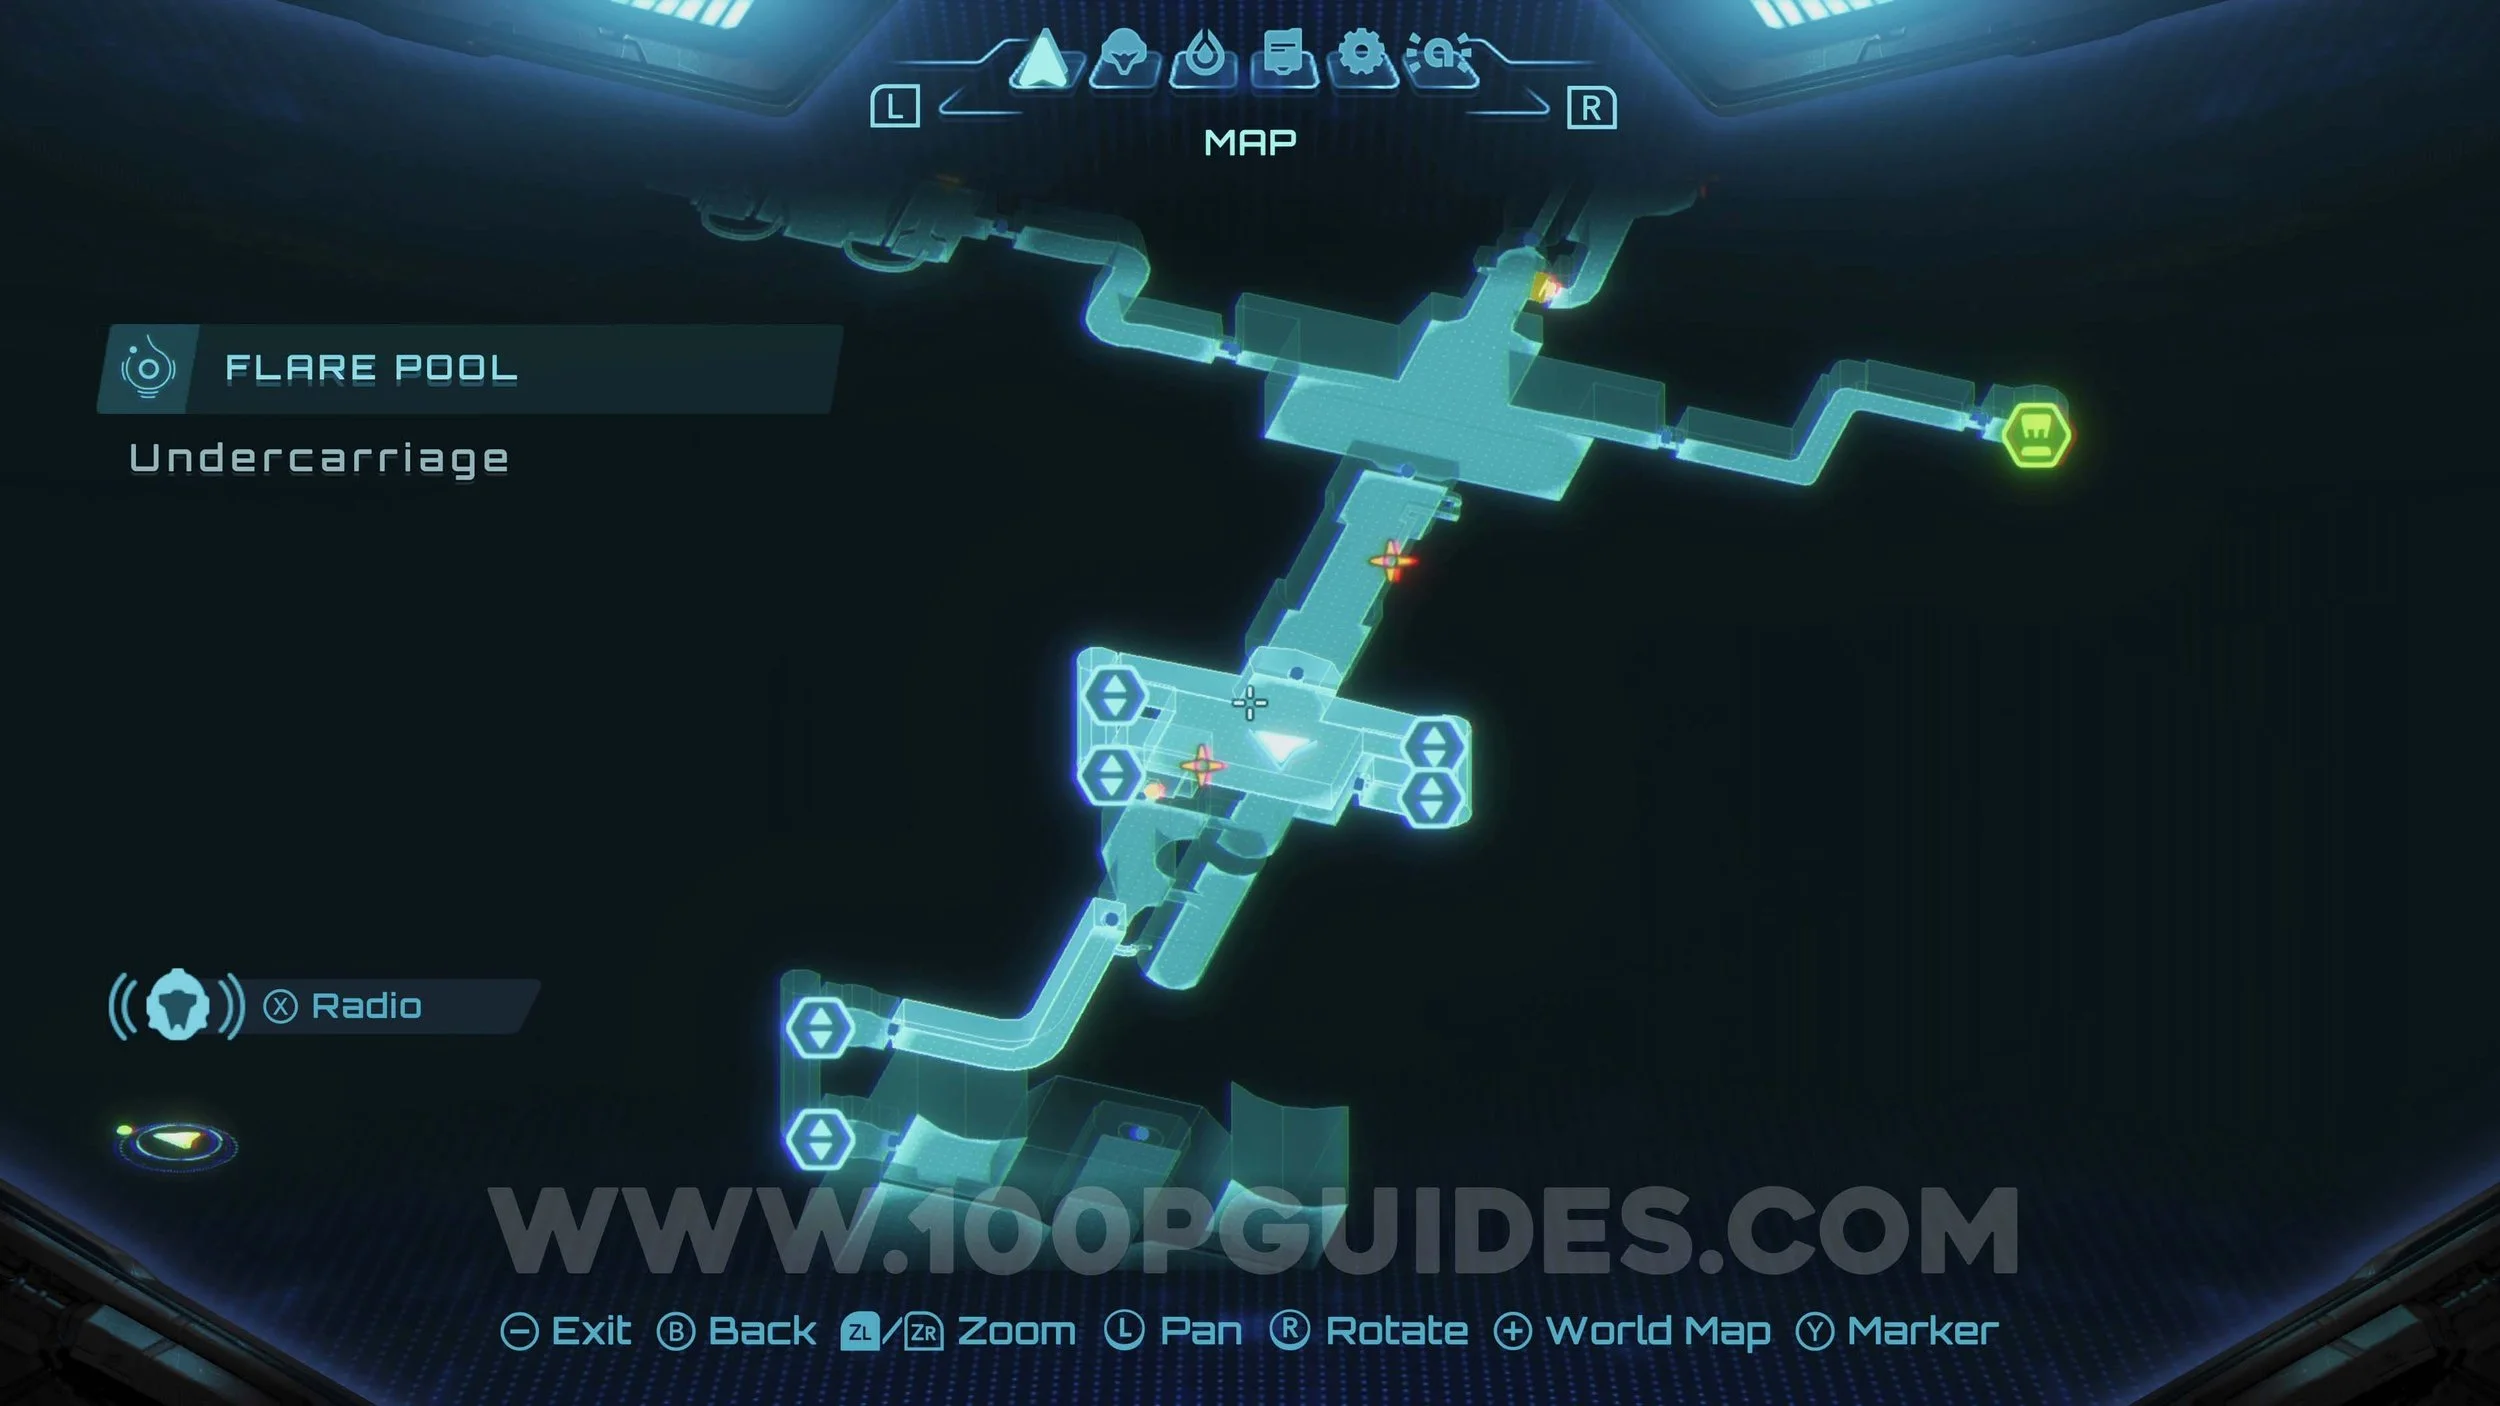
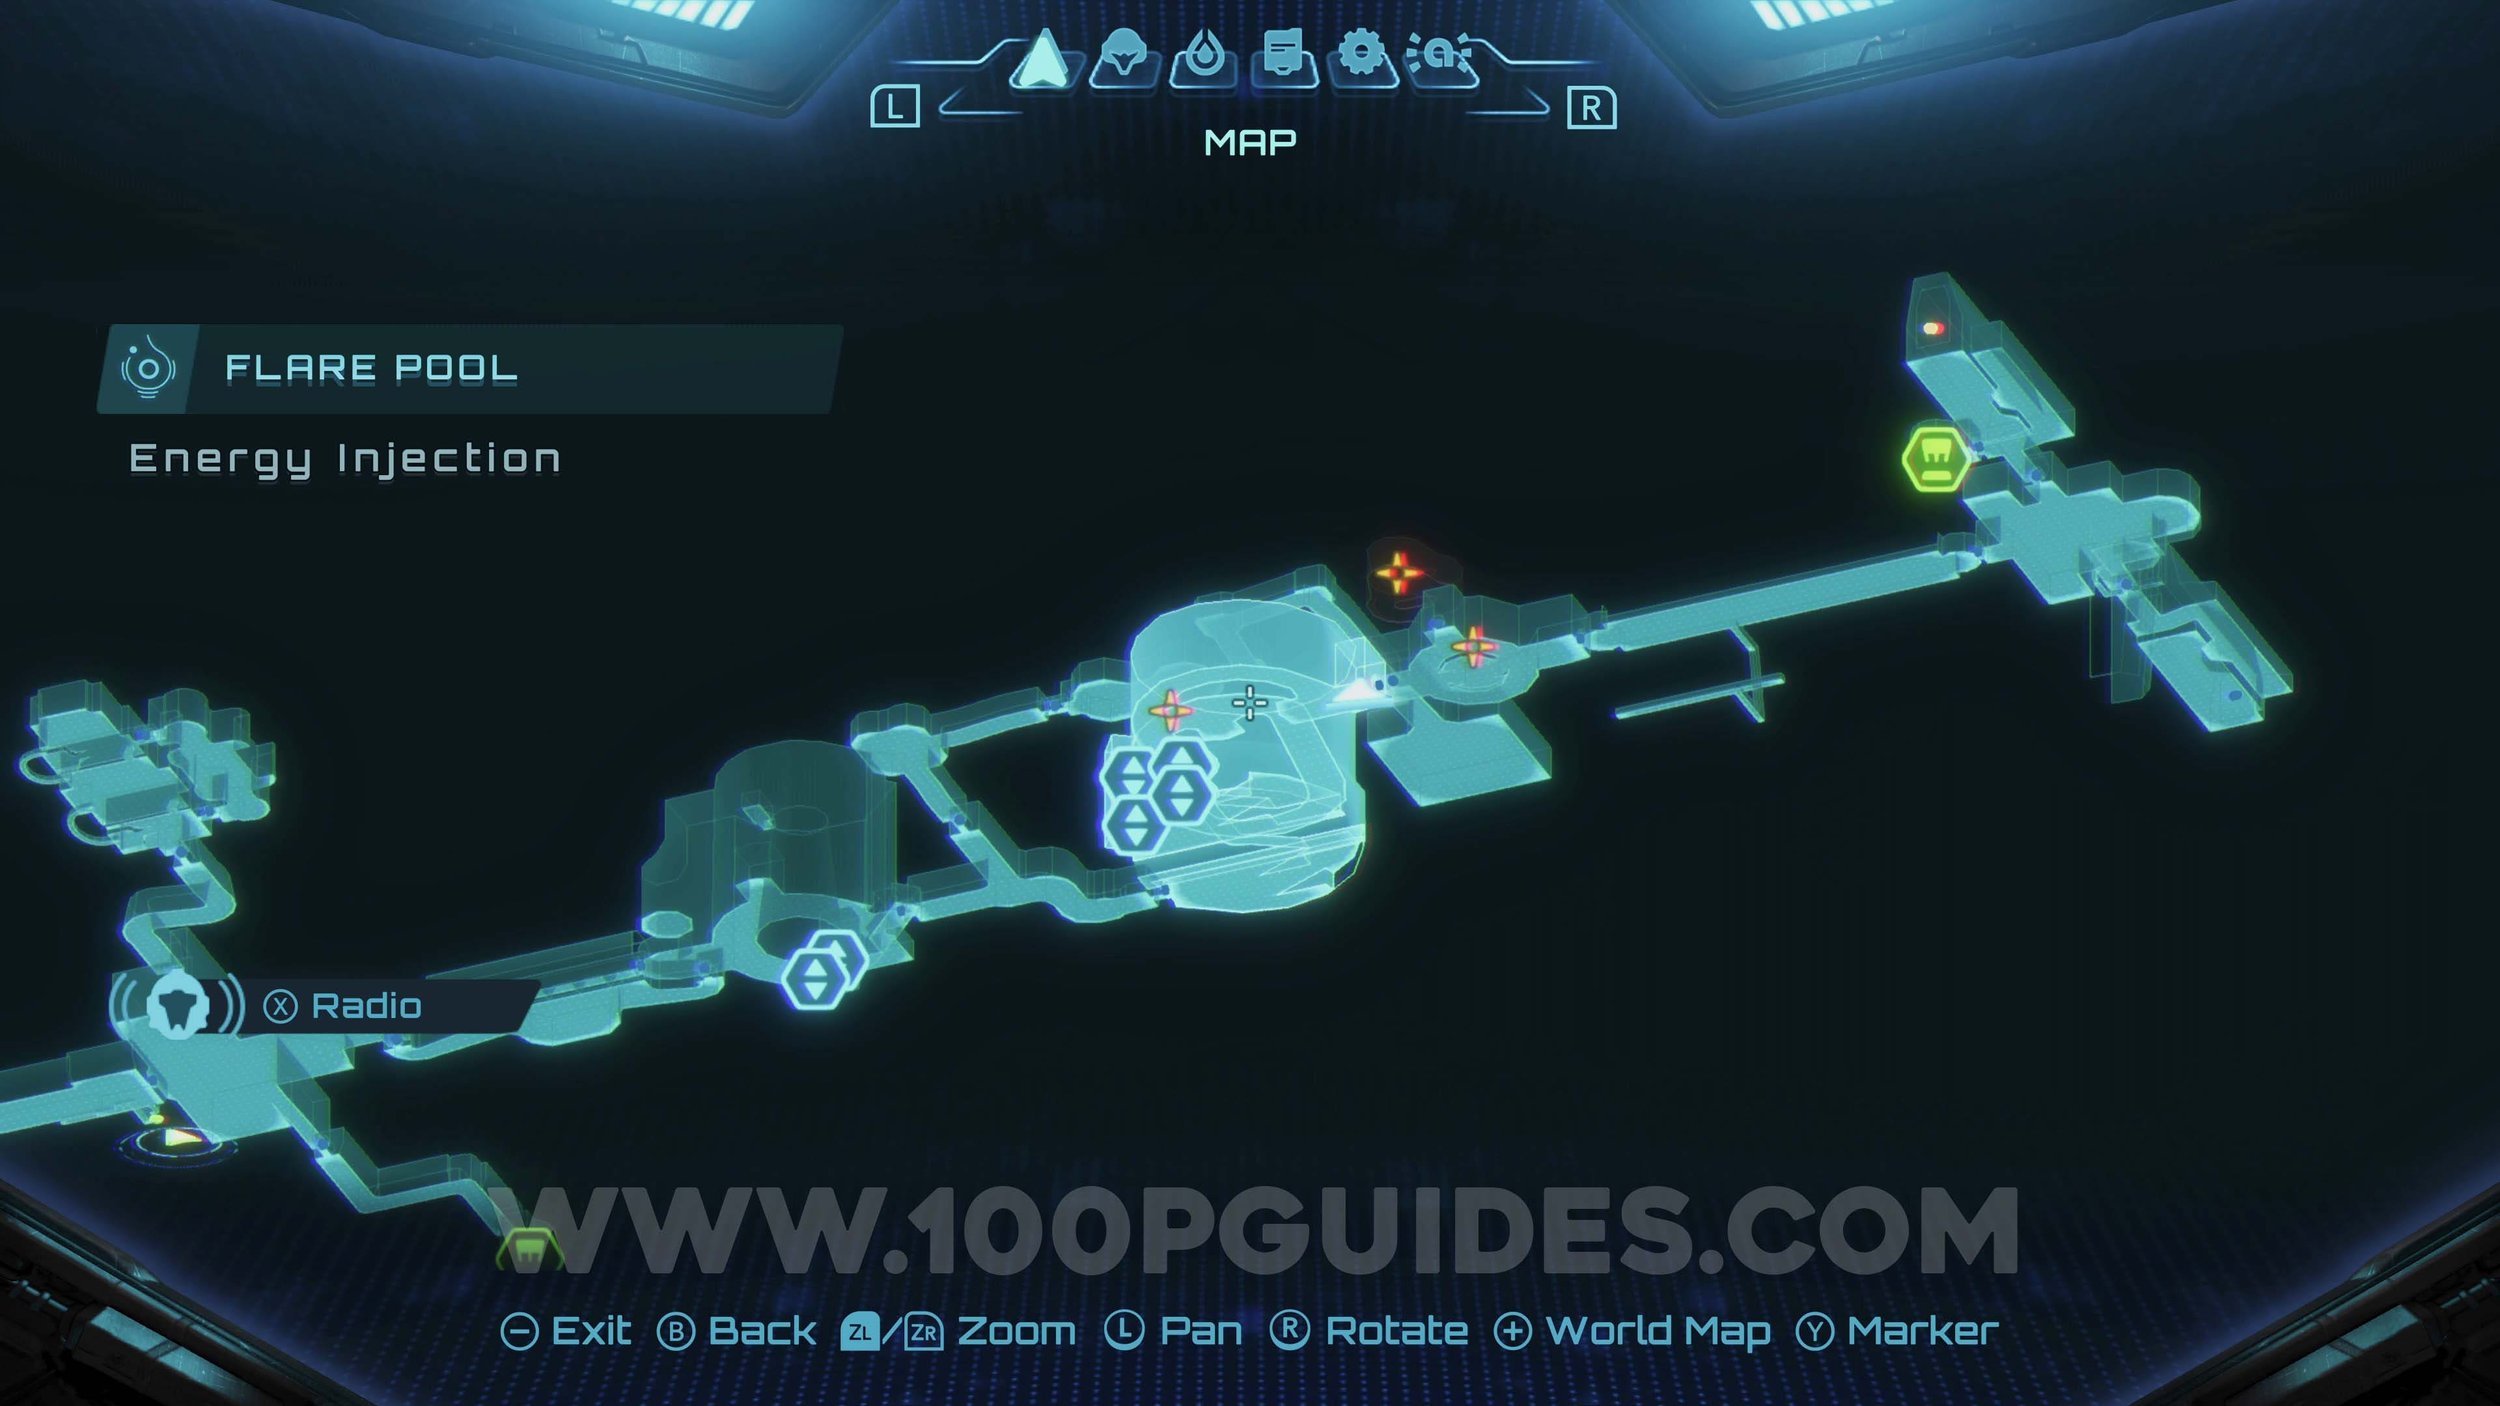
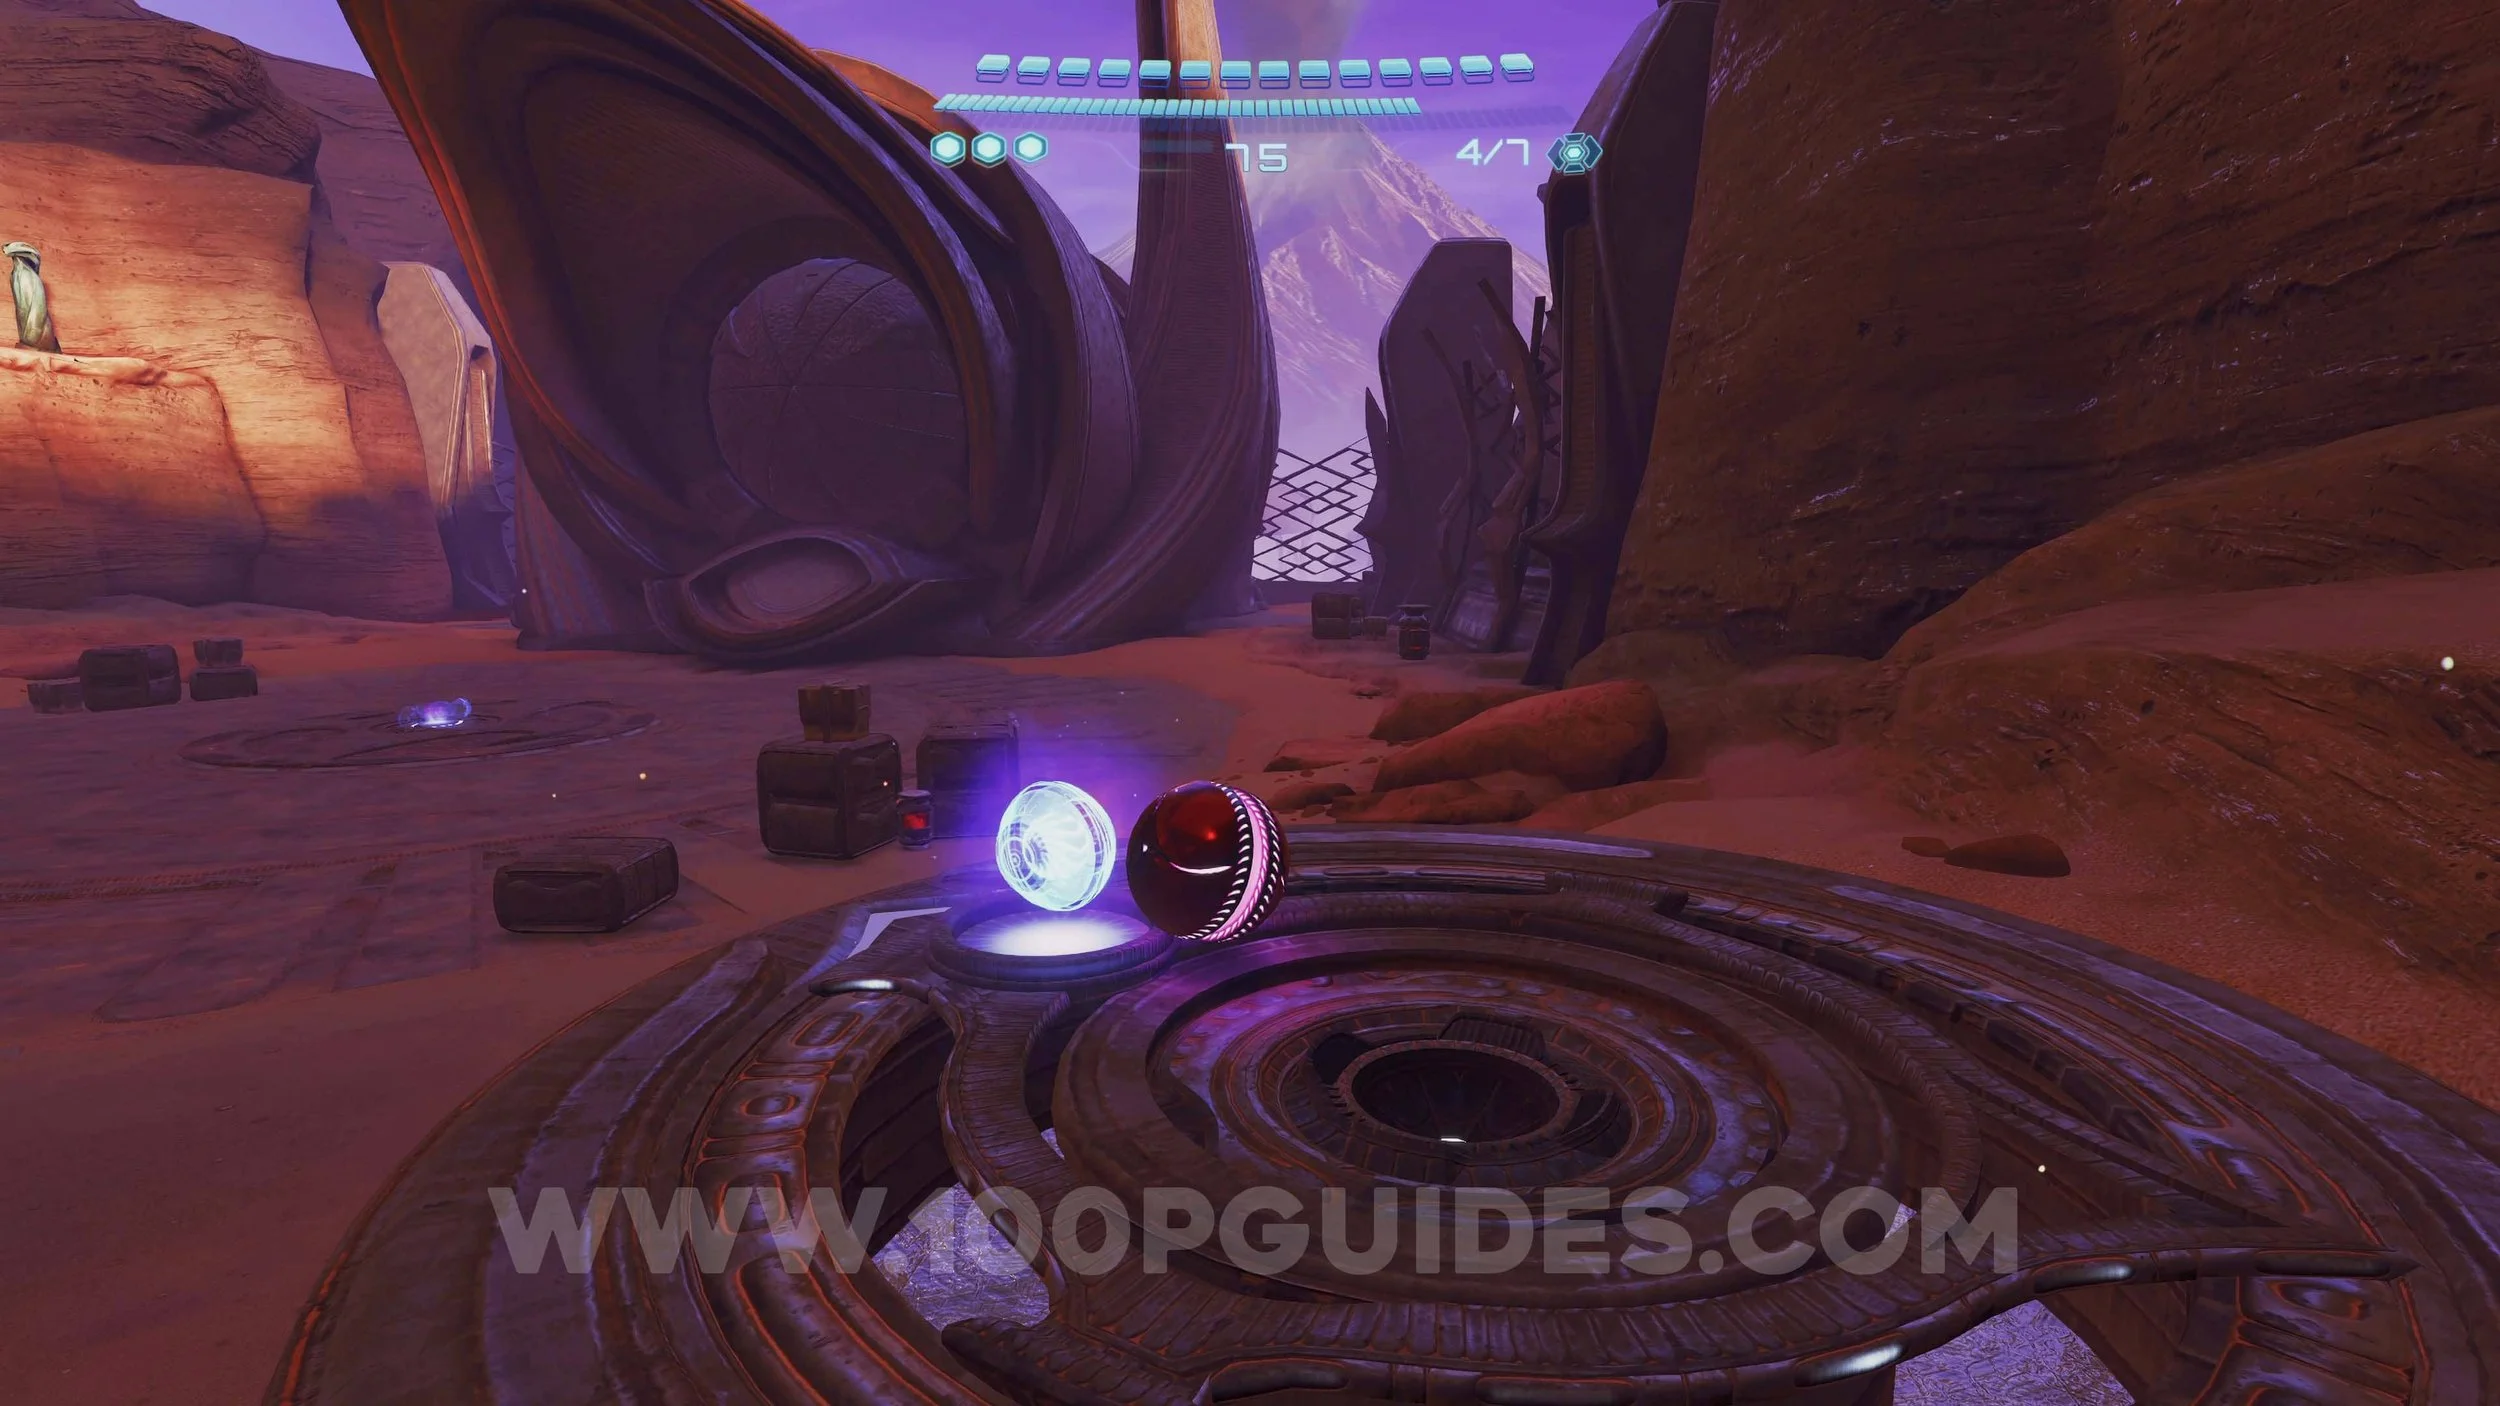
FLARE POOL
Shot Expansion #22. Use a Psychic Bomb on the debris in the corner of the Scrapyard area to reach the upgrade.
Shot Expansion #23. Use the magnetic notes to swing up to the upgrade on the right side of the Lava Lake Bridge area.


Shot Expansion #24. In the Lava Lake Bridge area look for some purple mist that you can scan. Then use the boost morph ball to use it and reach the upgrade.
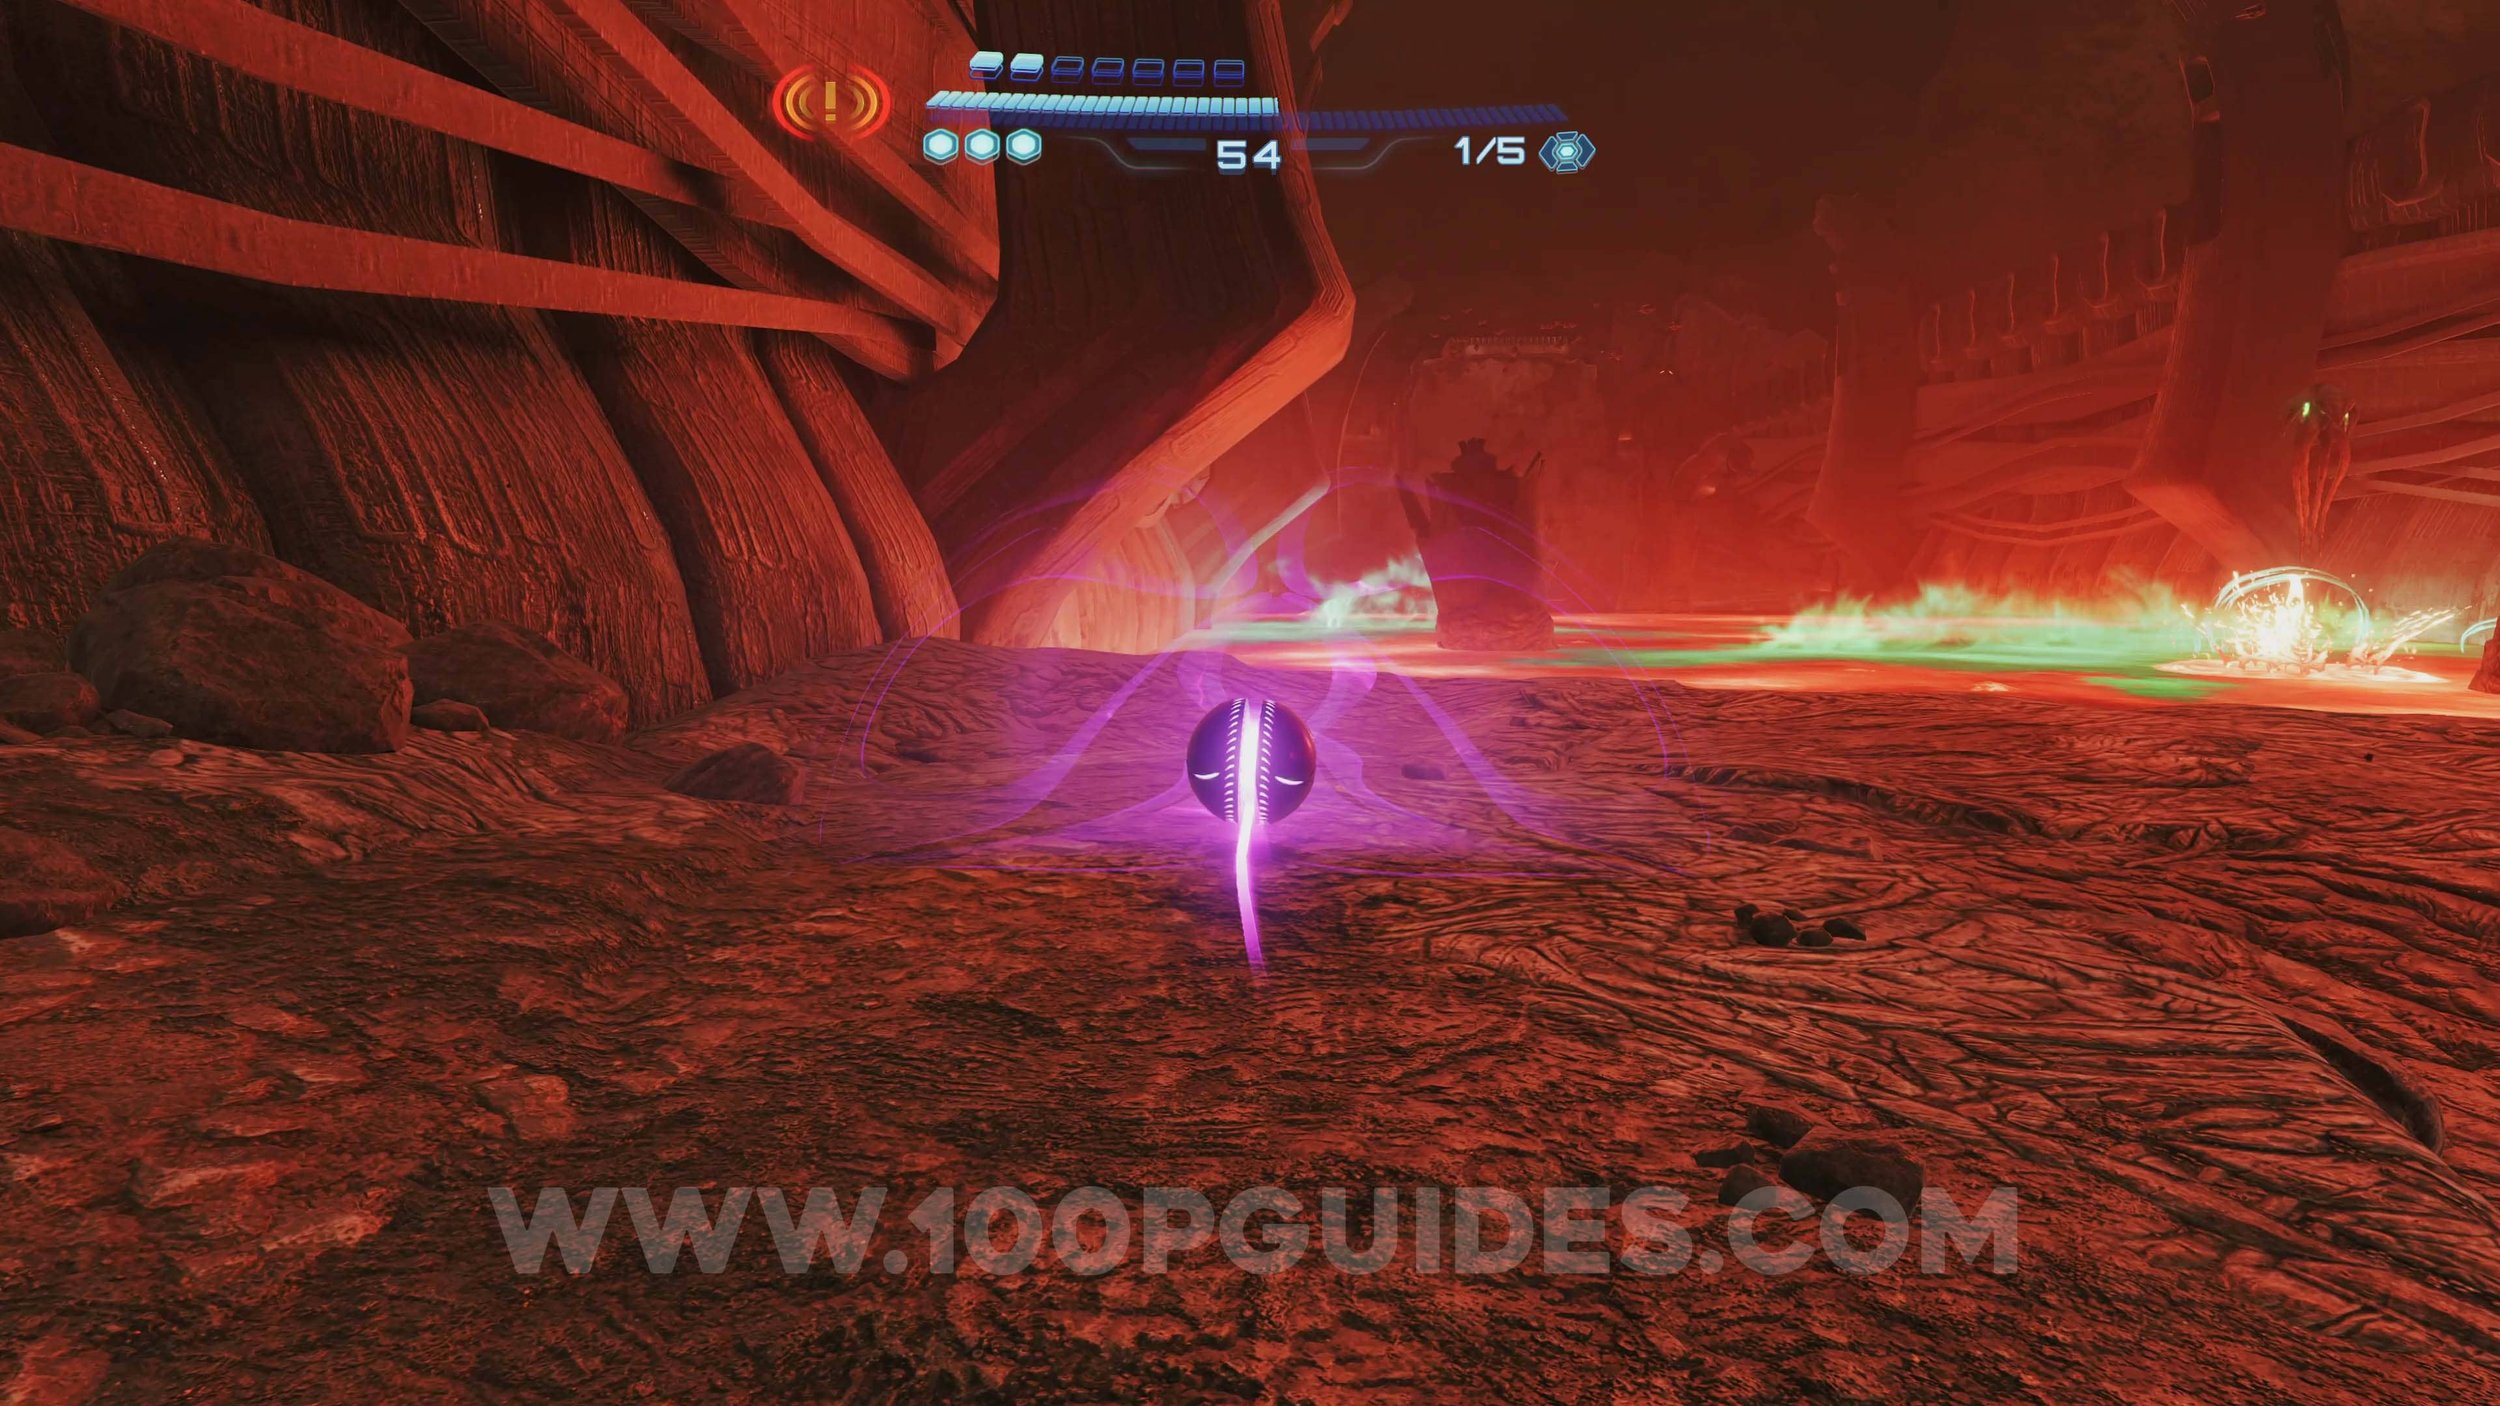
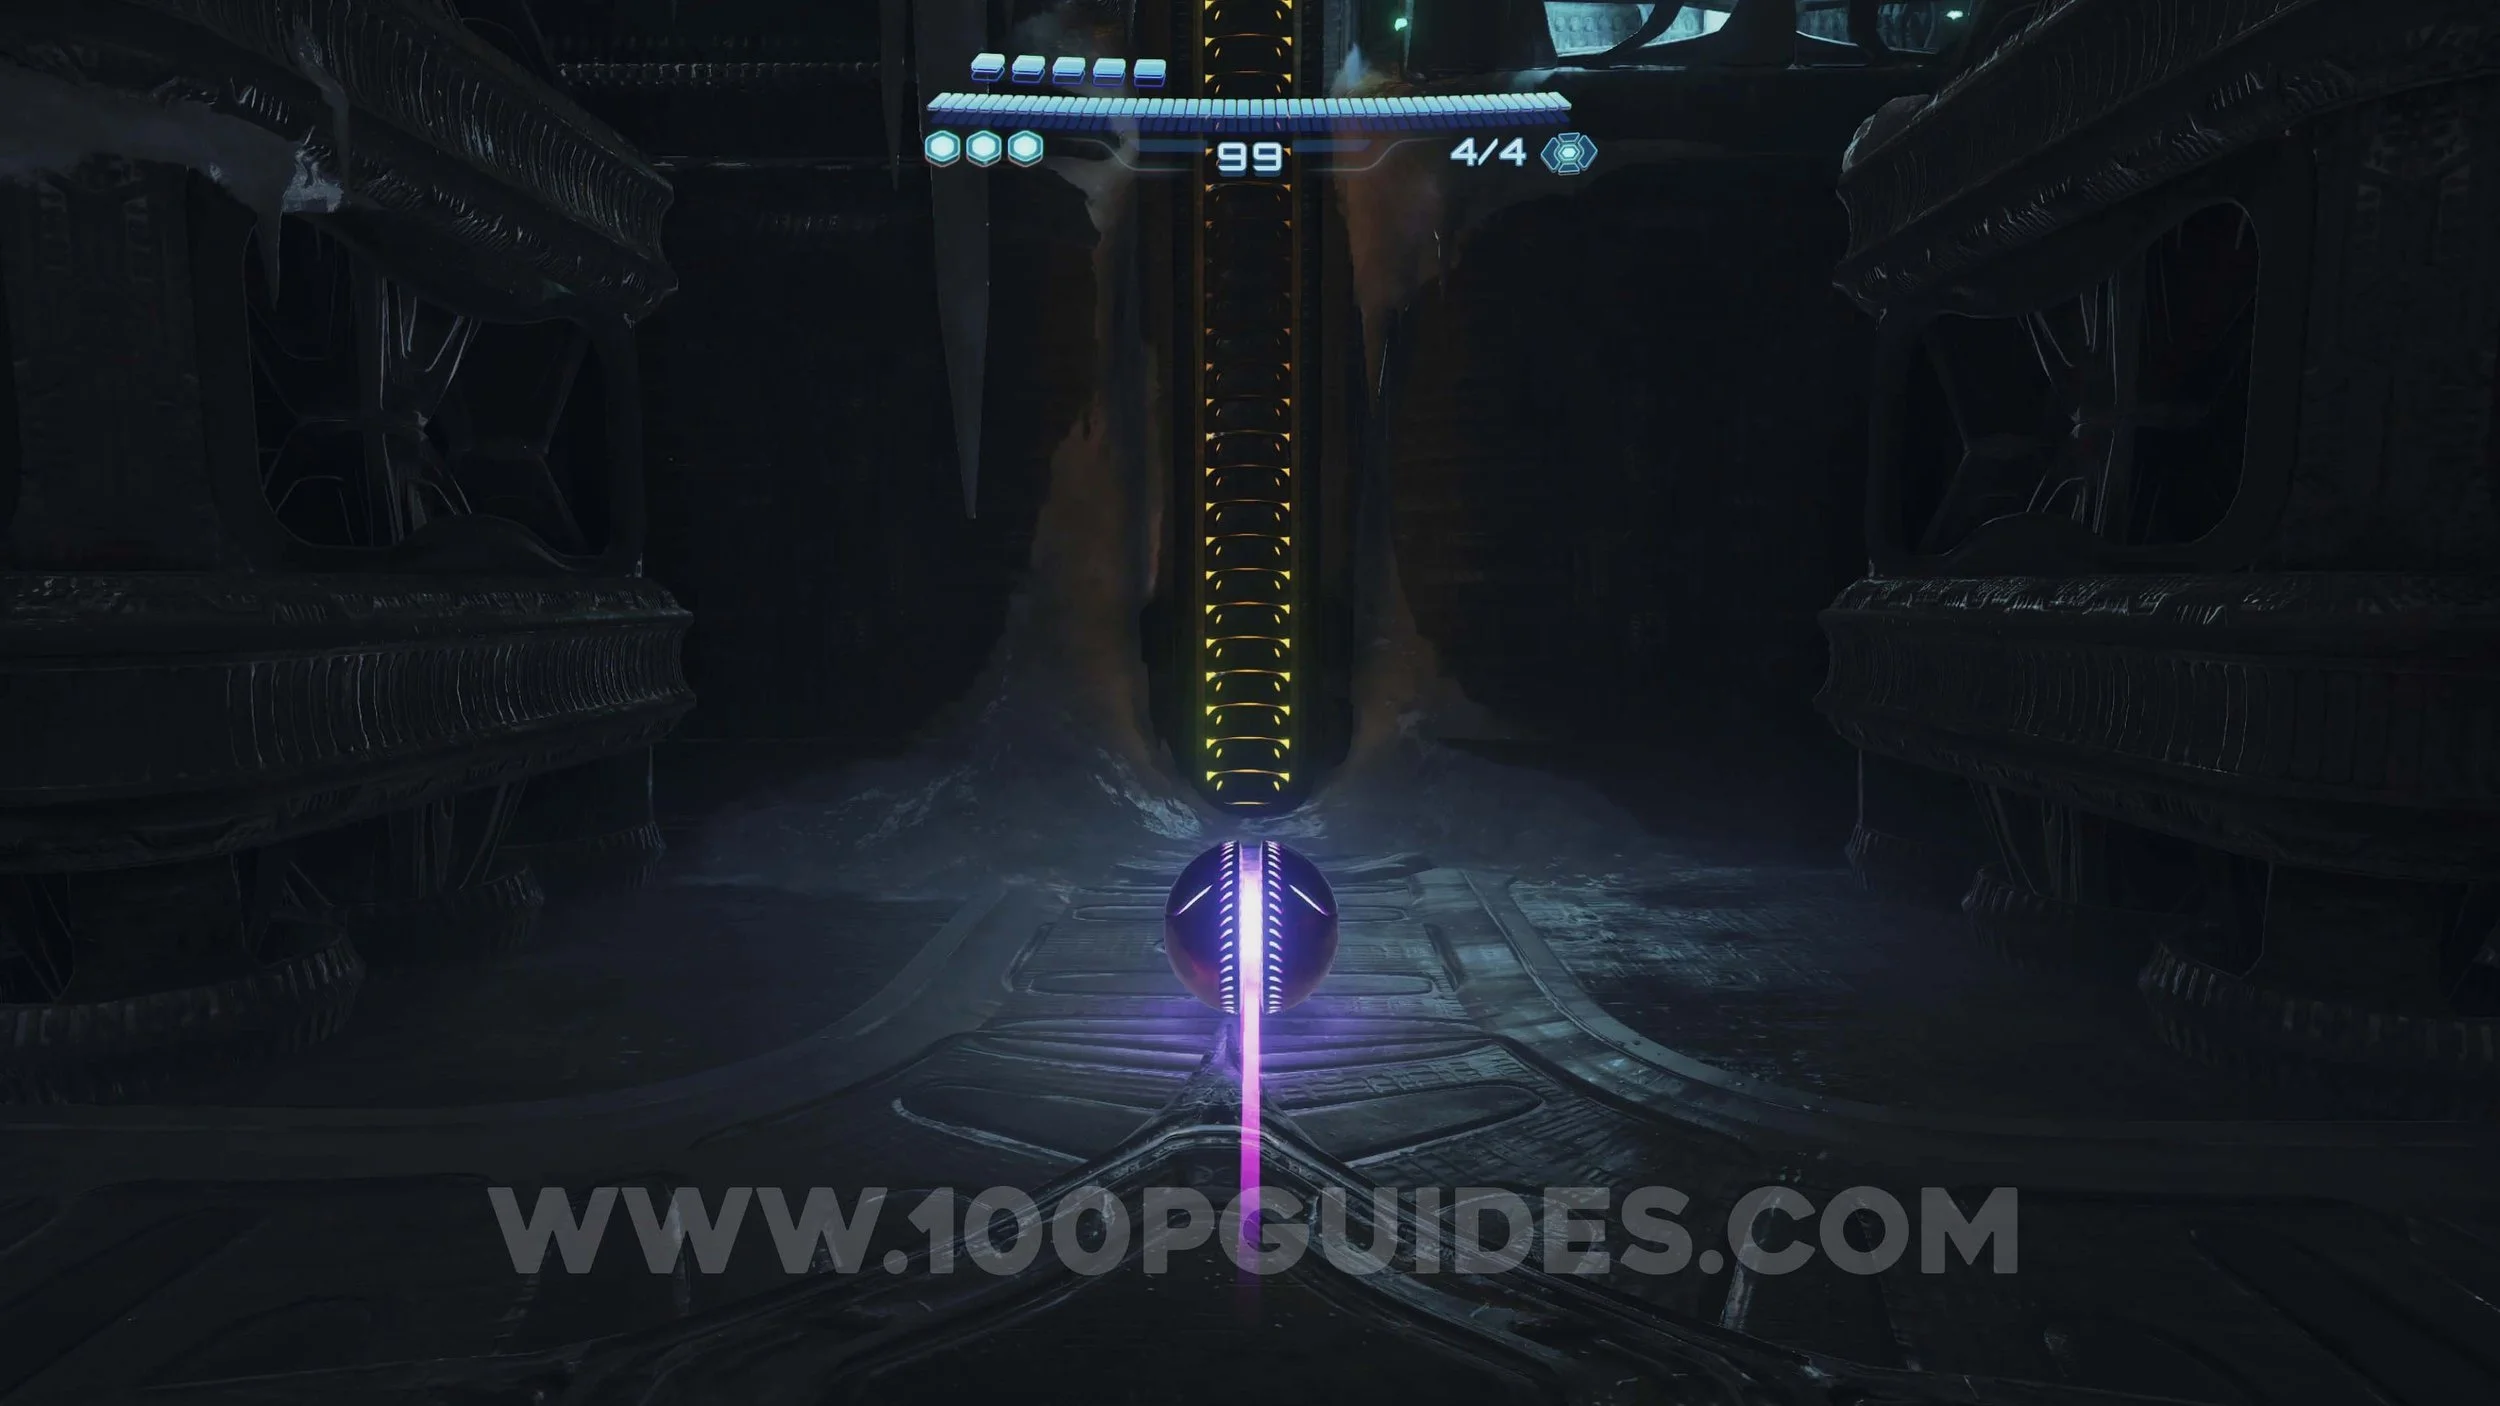
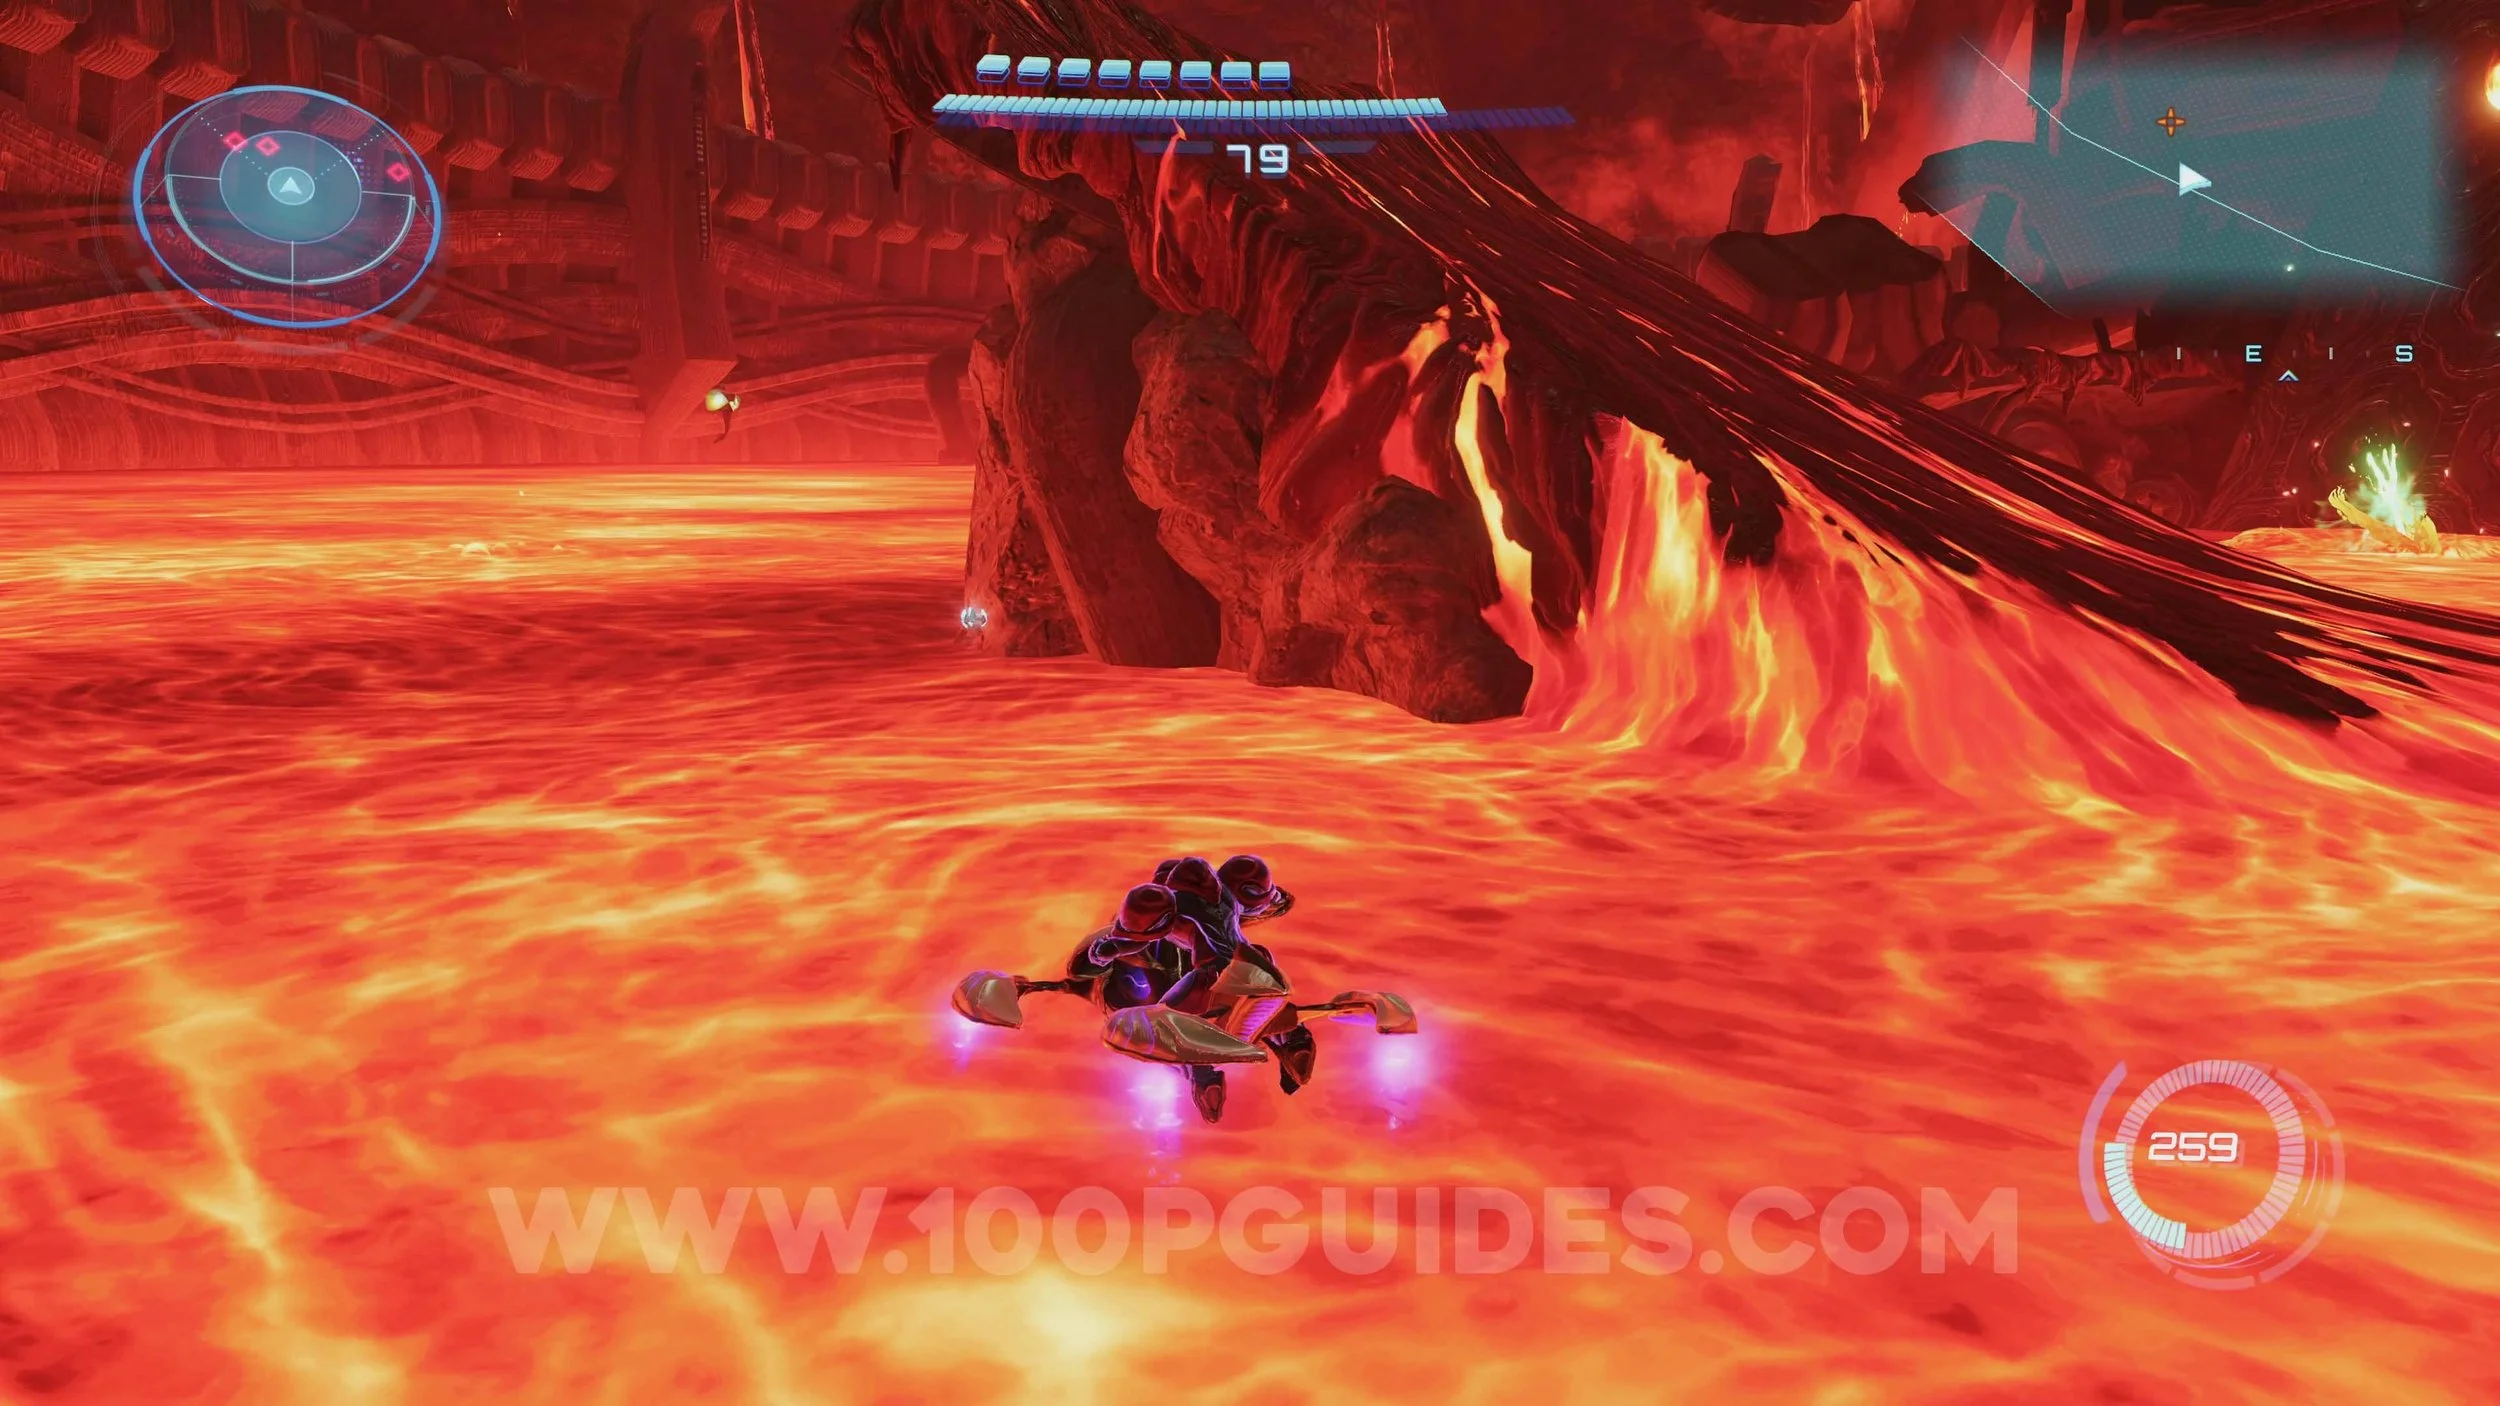
Shot Expansion #25. In the lava on the left side of the boss room.
Shot Expansion #26. In the Undercarriage area, scan and then pull on the gate. Then go down the lift and destroy the metal window with a few missiles.
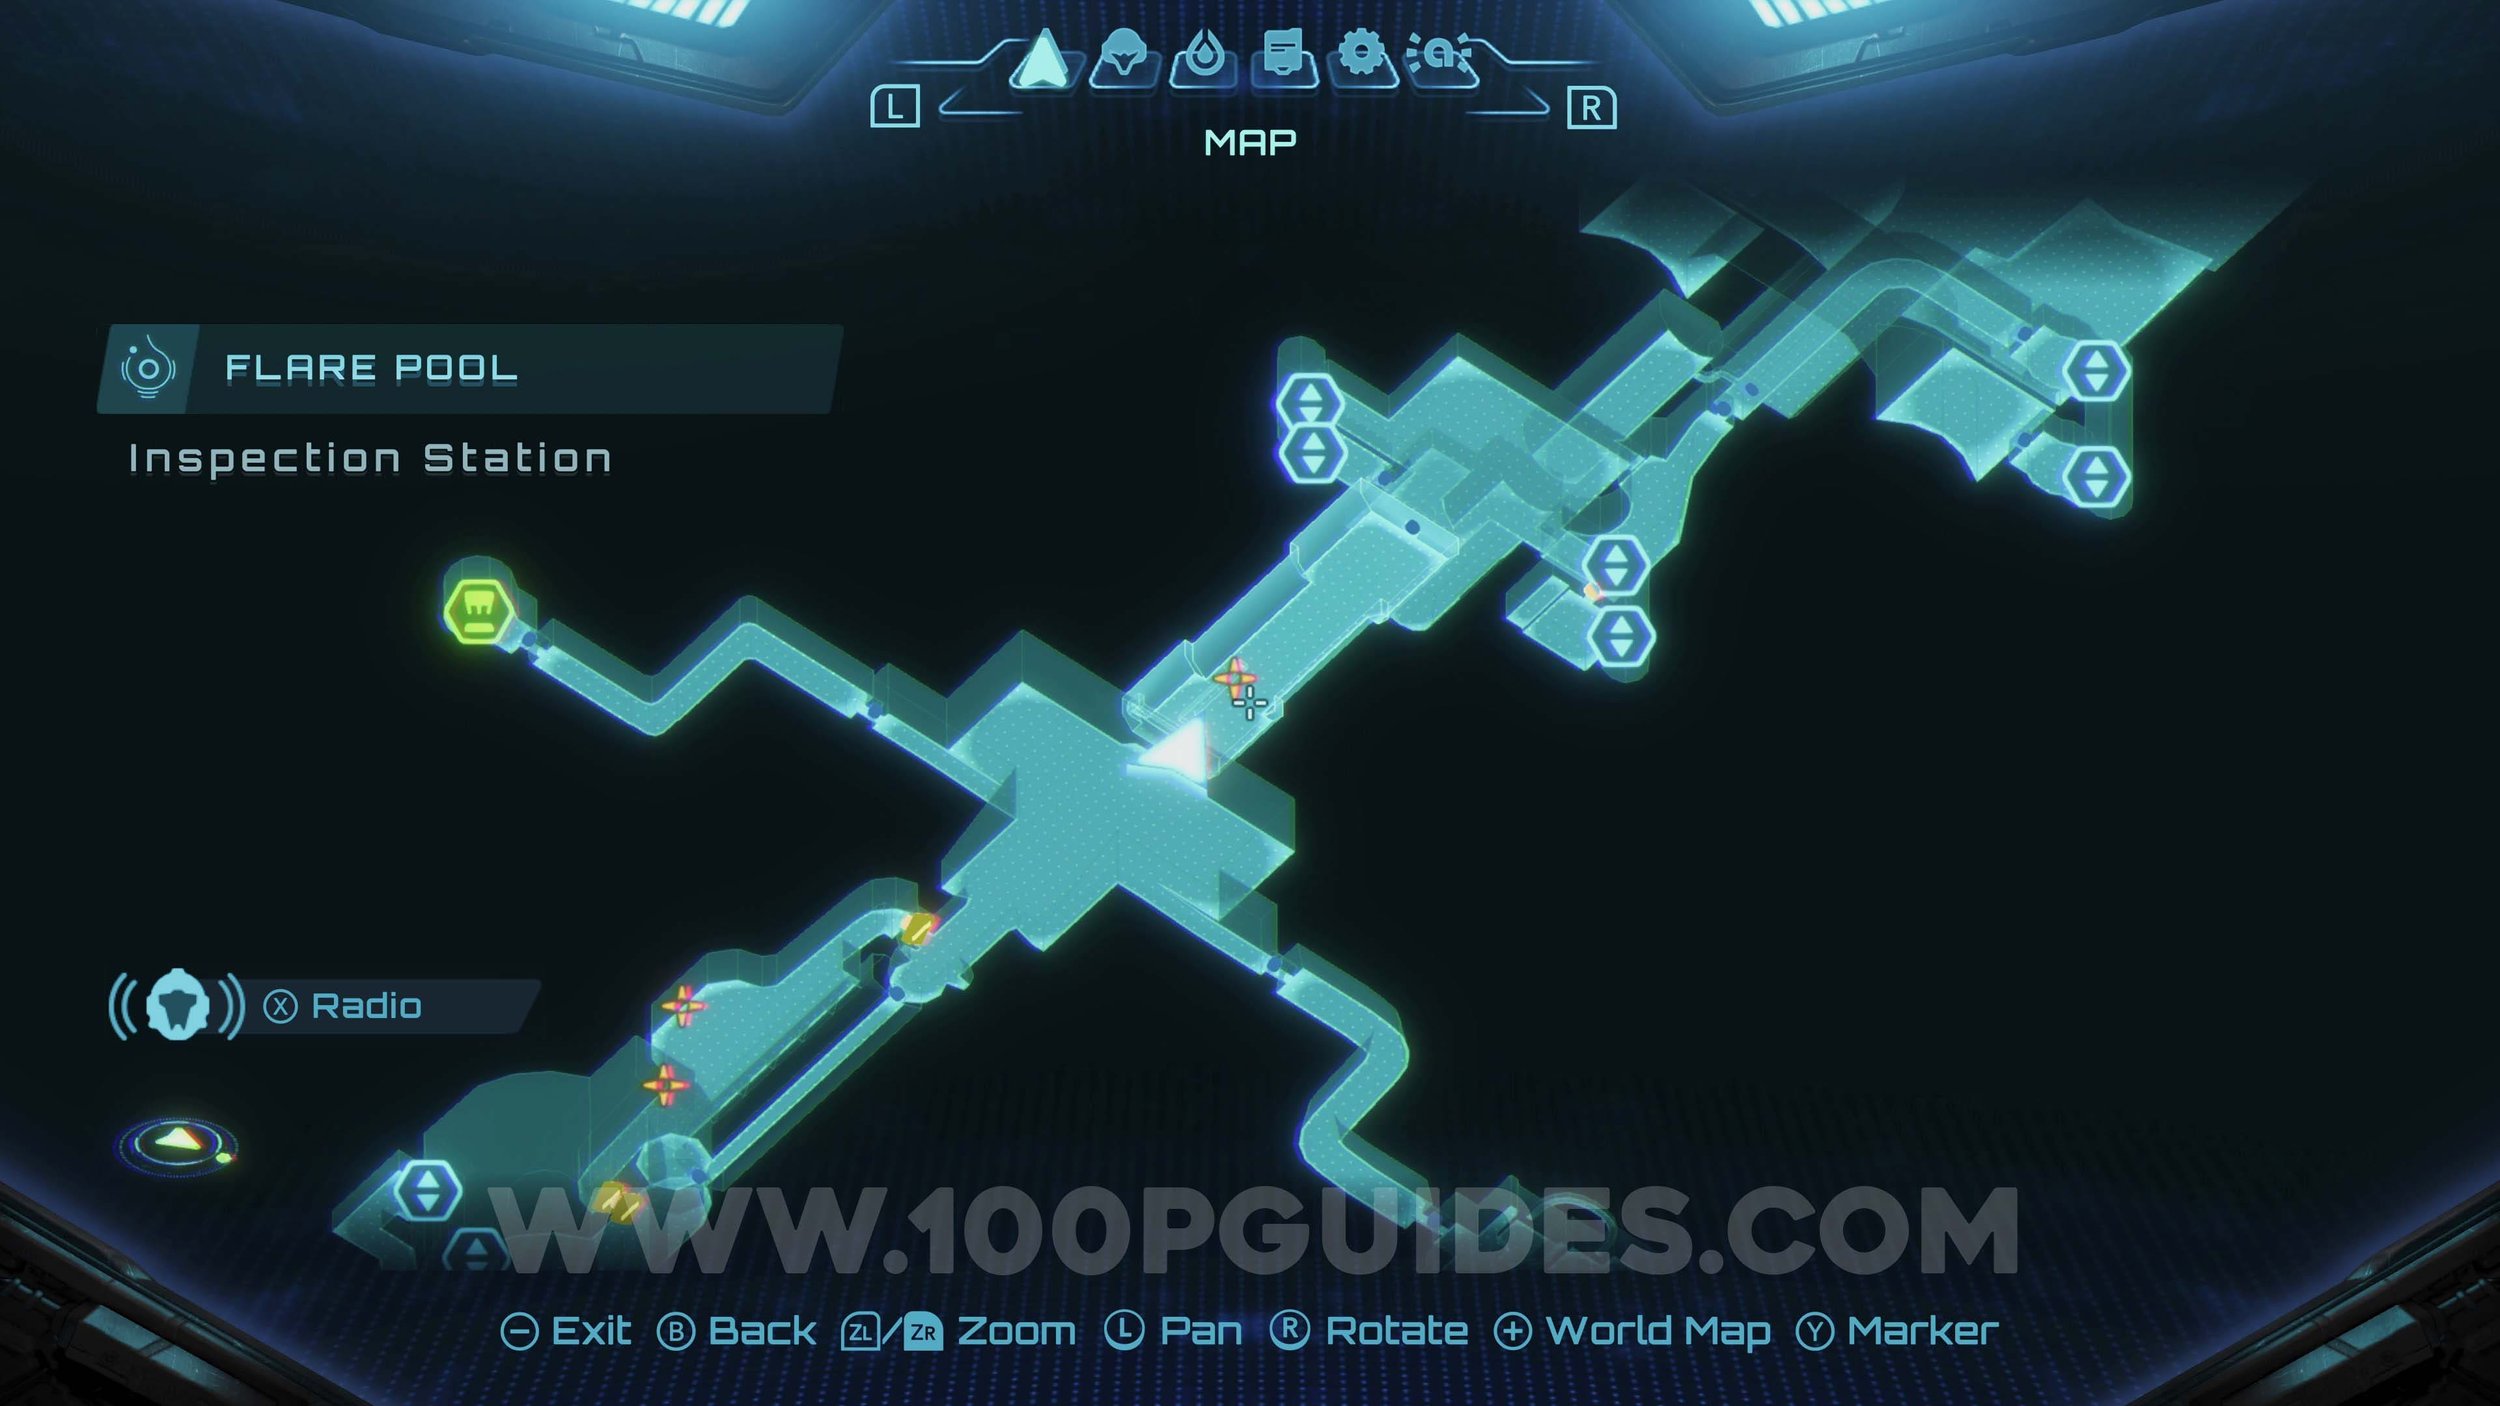
Shot Expansion #27. Burn the metal grate with a fire shot in the Inspection Station area to get to the area below, where you will find the upgrade.

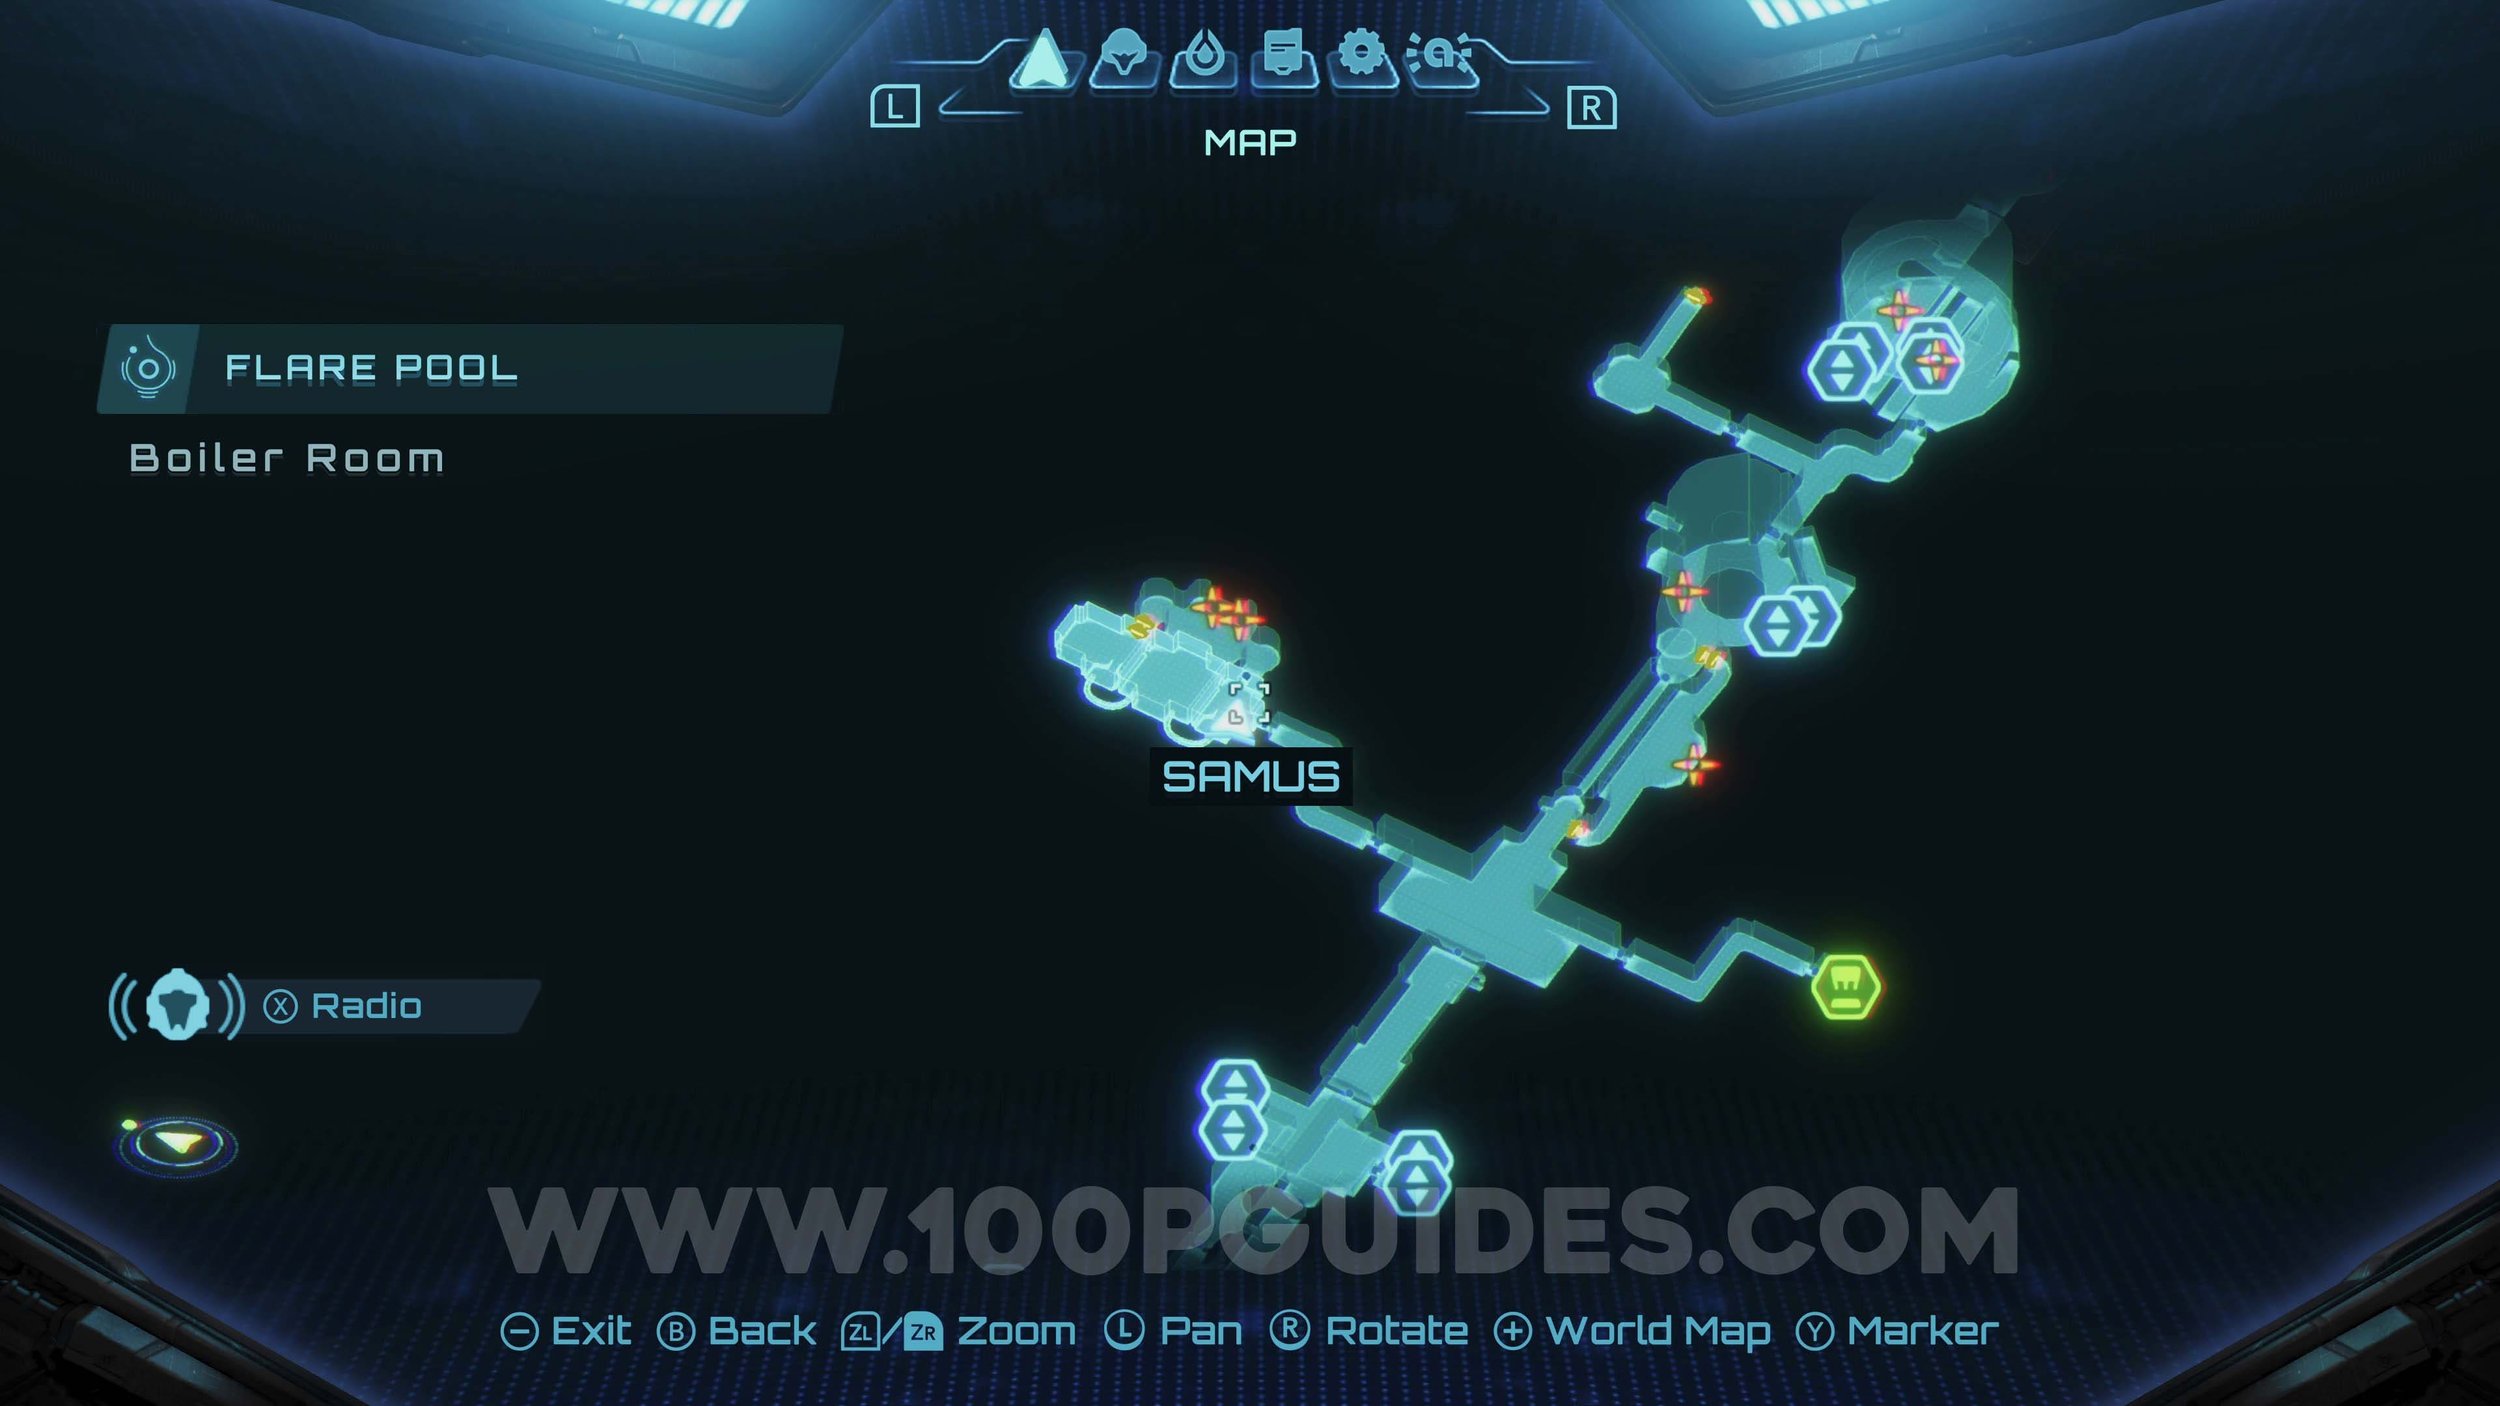
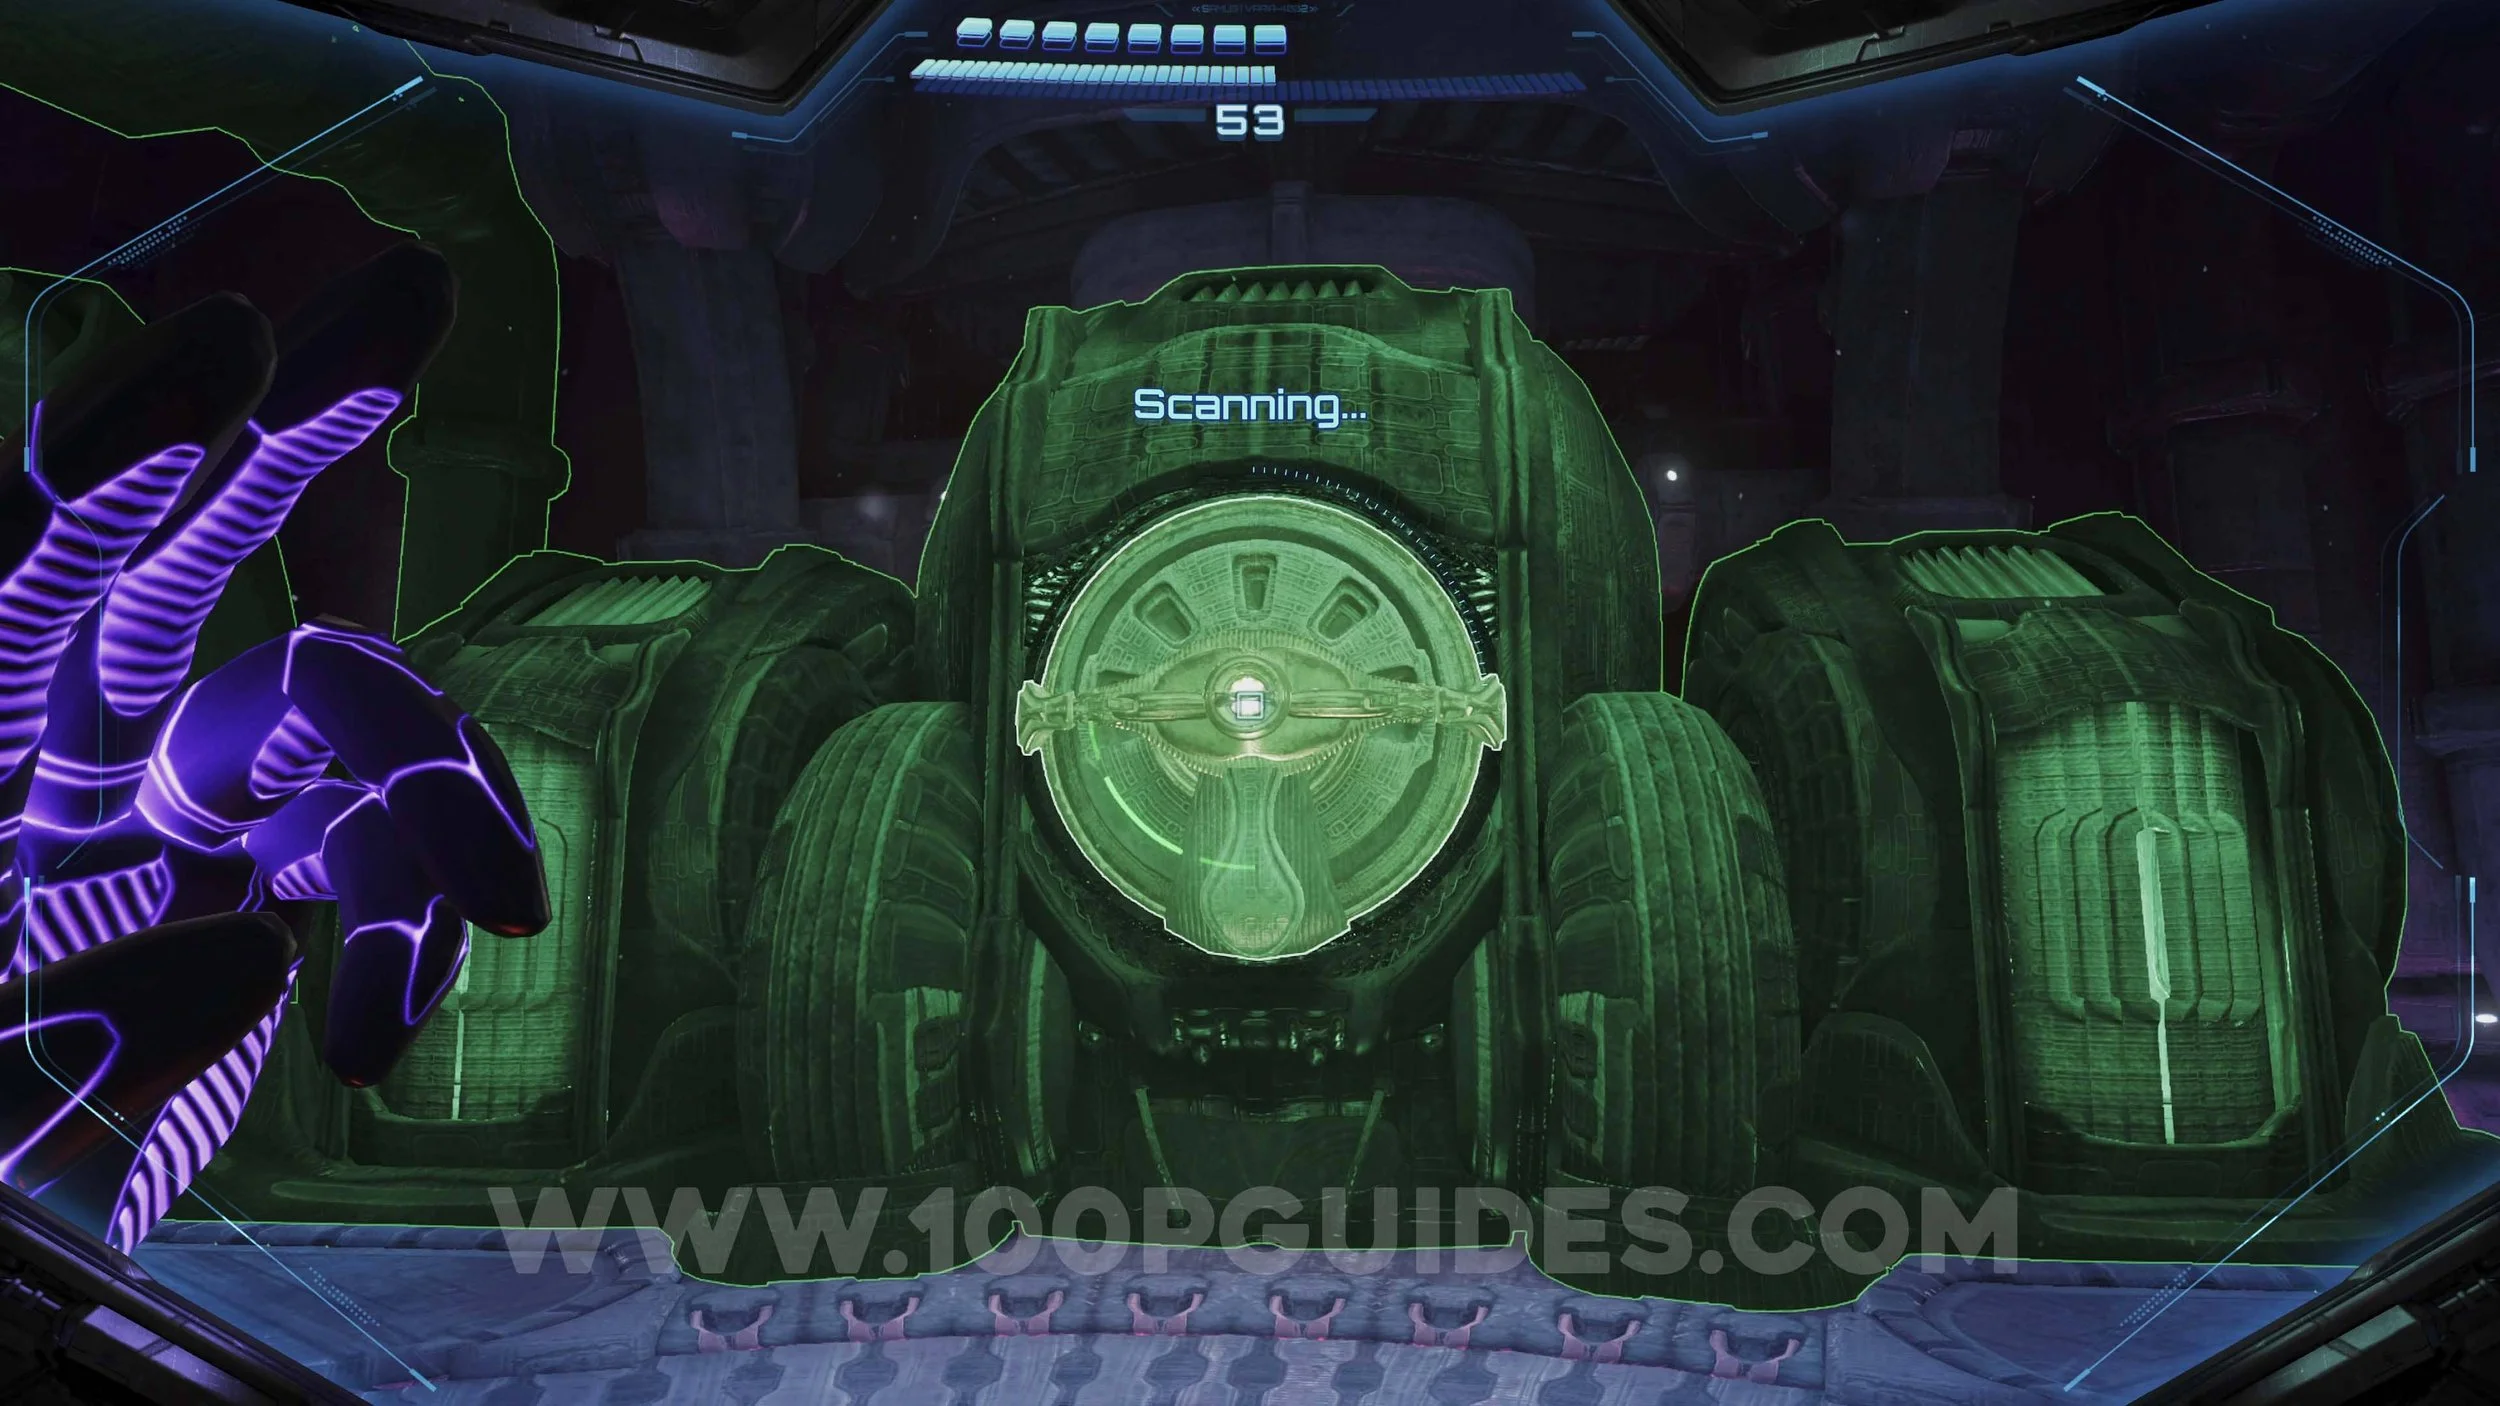
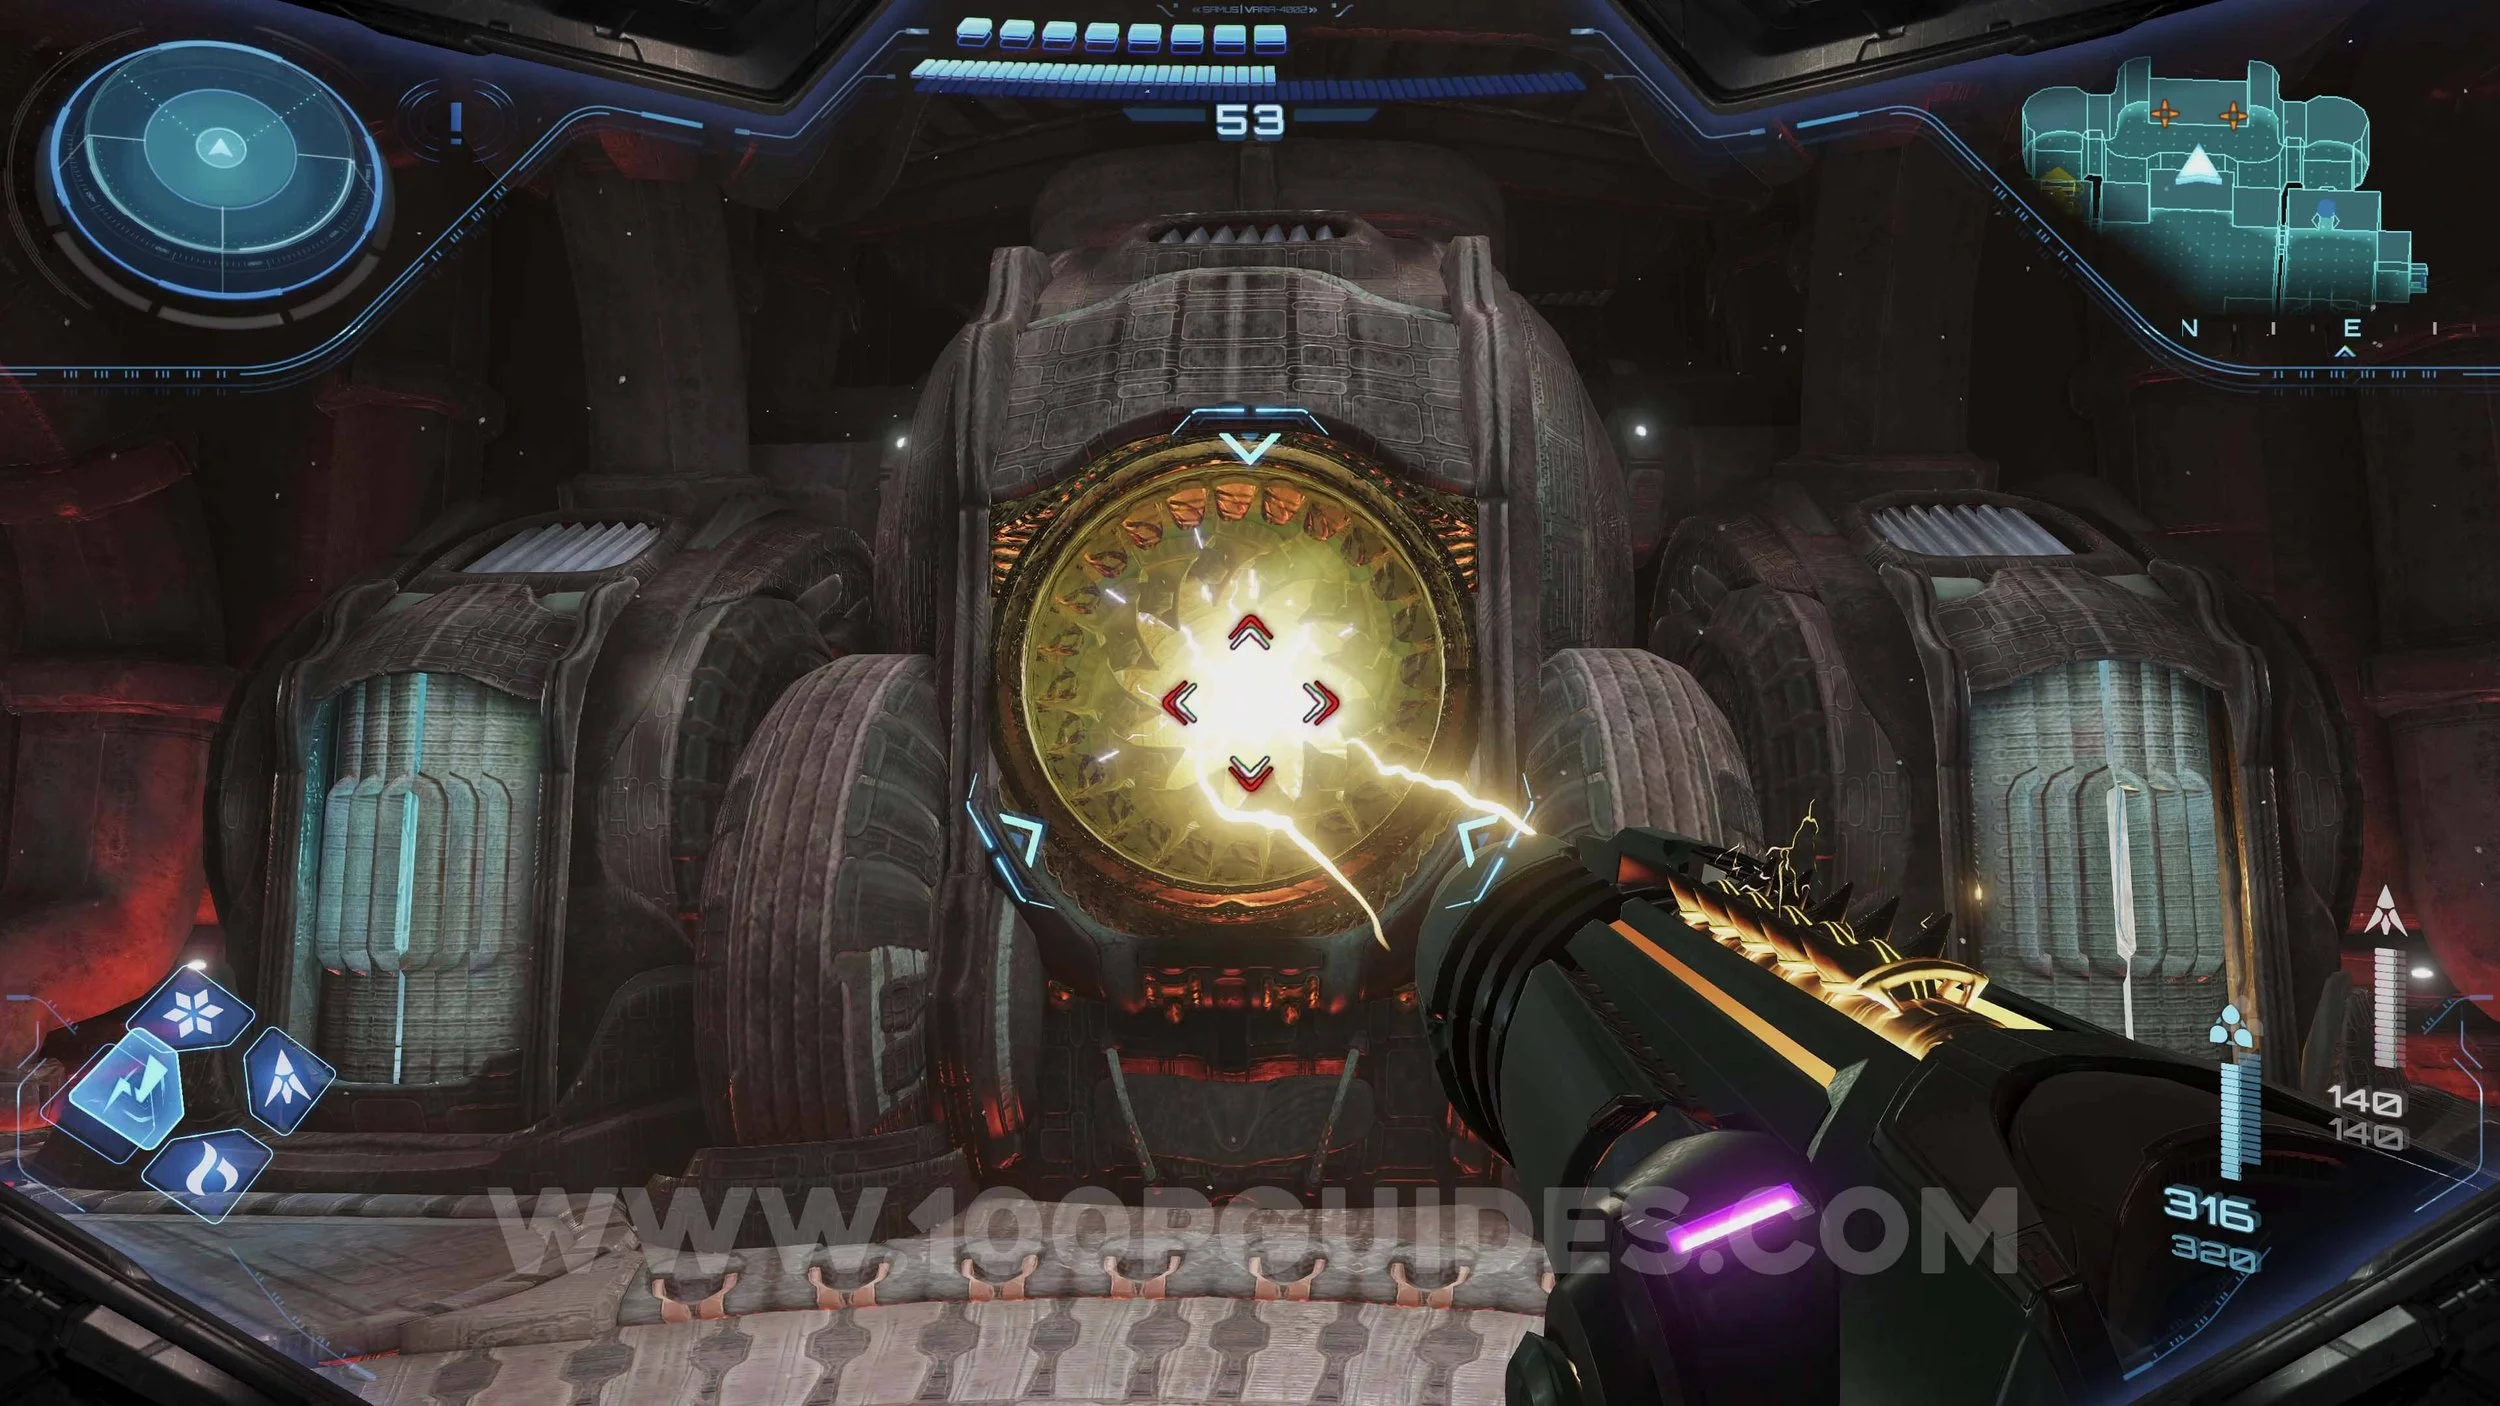
Shot Expansion #28. Pull off the metal plate from the machine in the Boiler Room area. Then shoot the middle of it with a few thunder shots to reveal the upgrade.
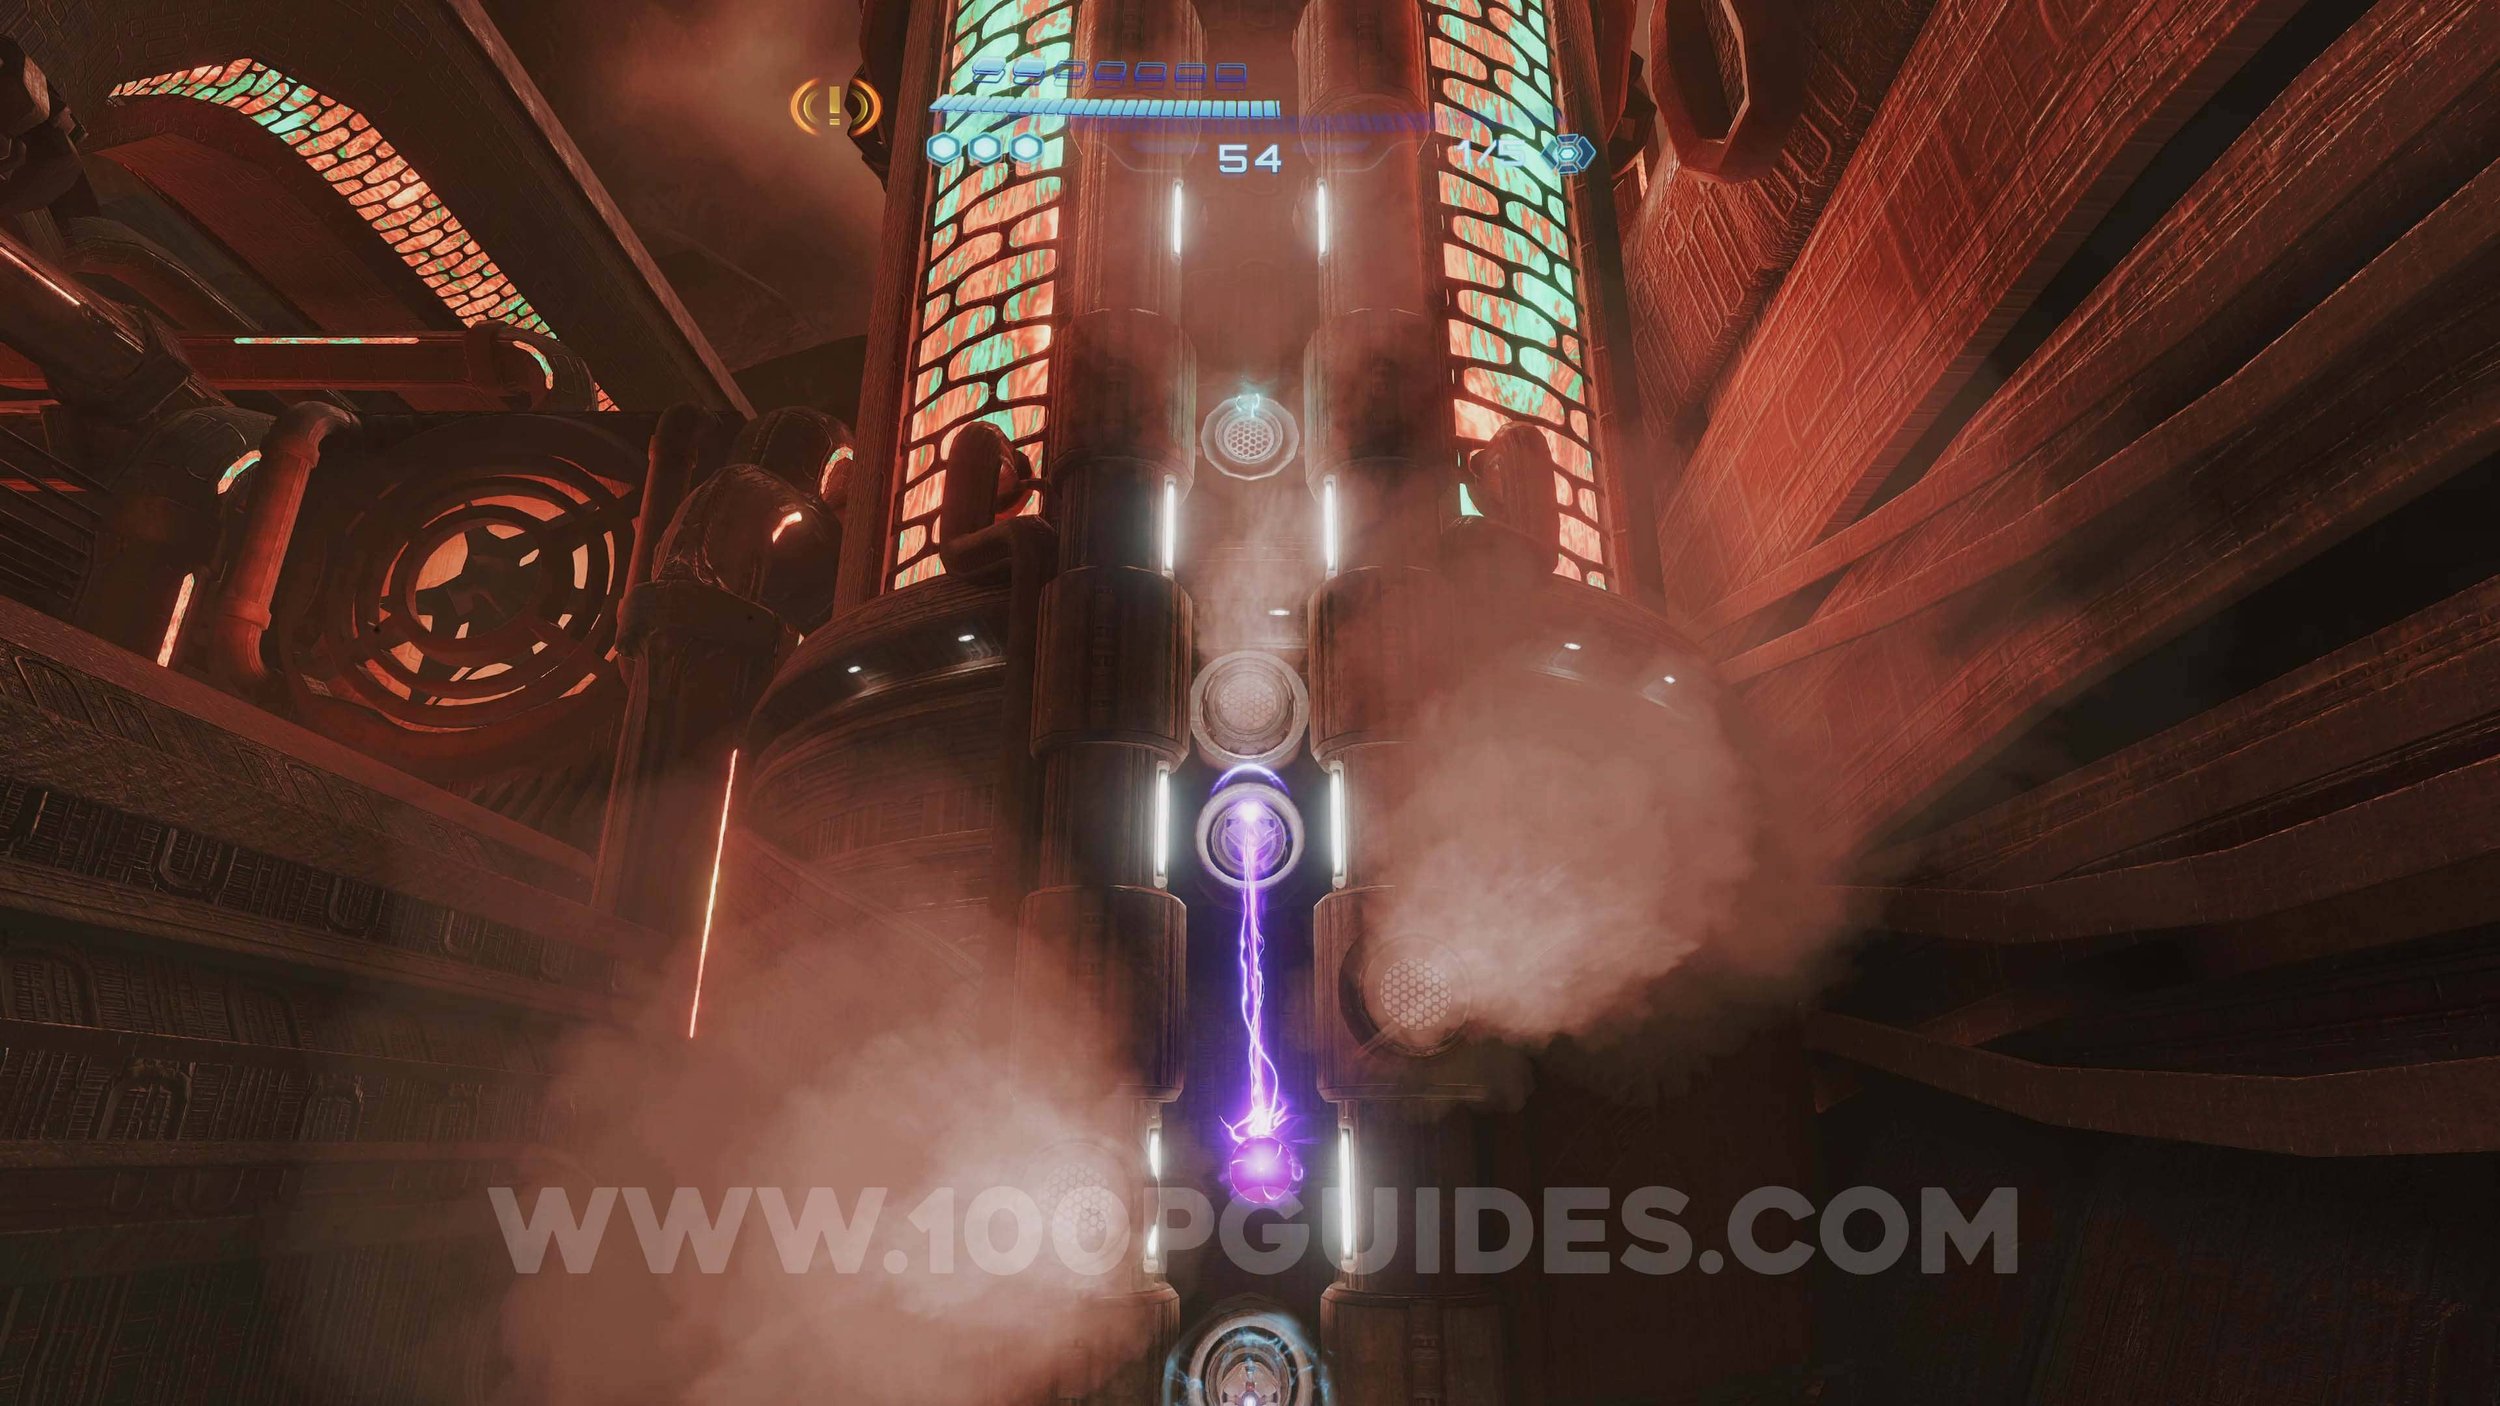
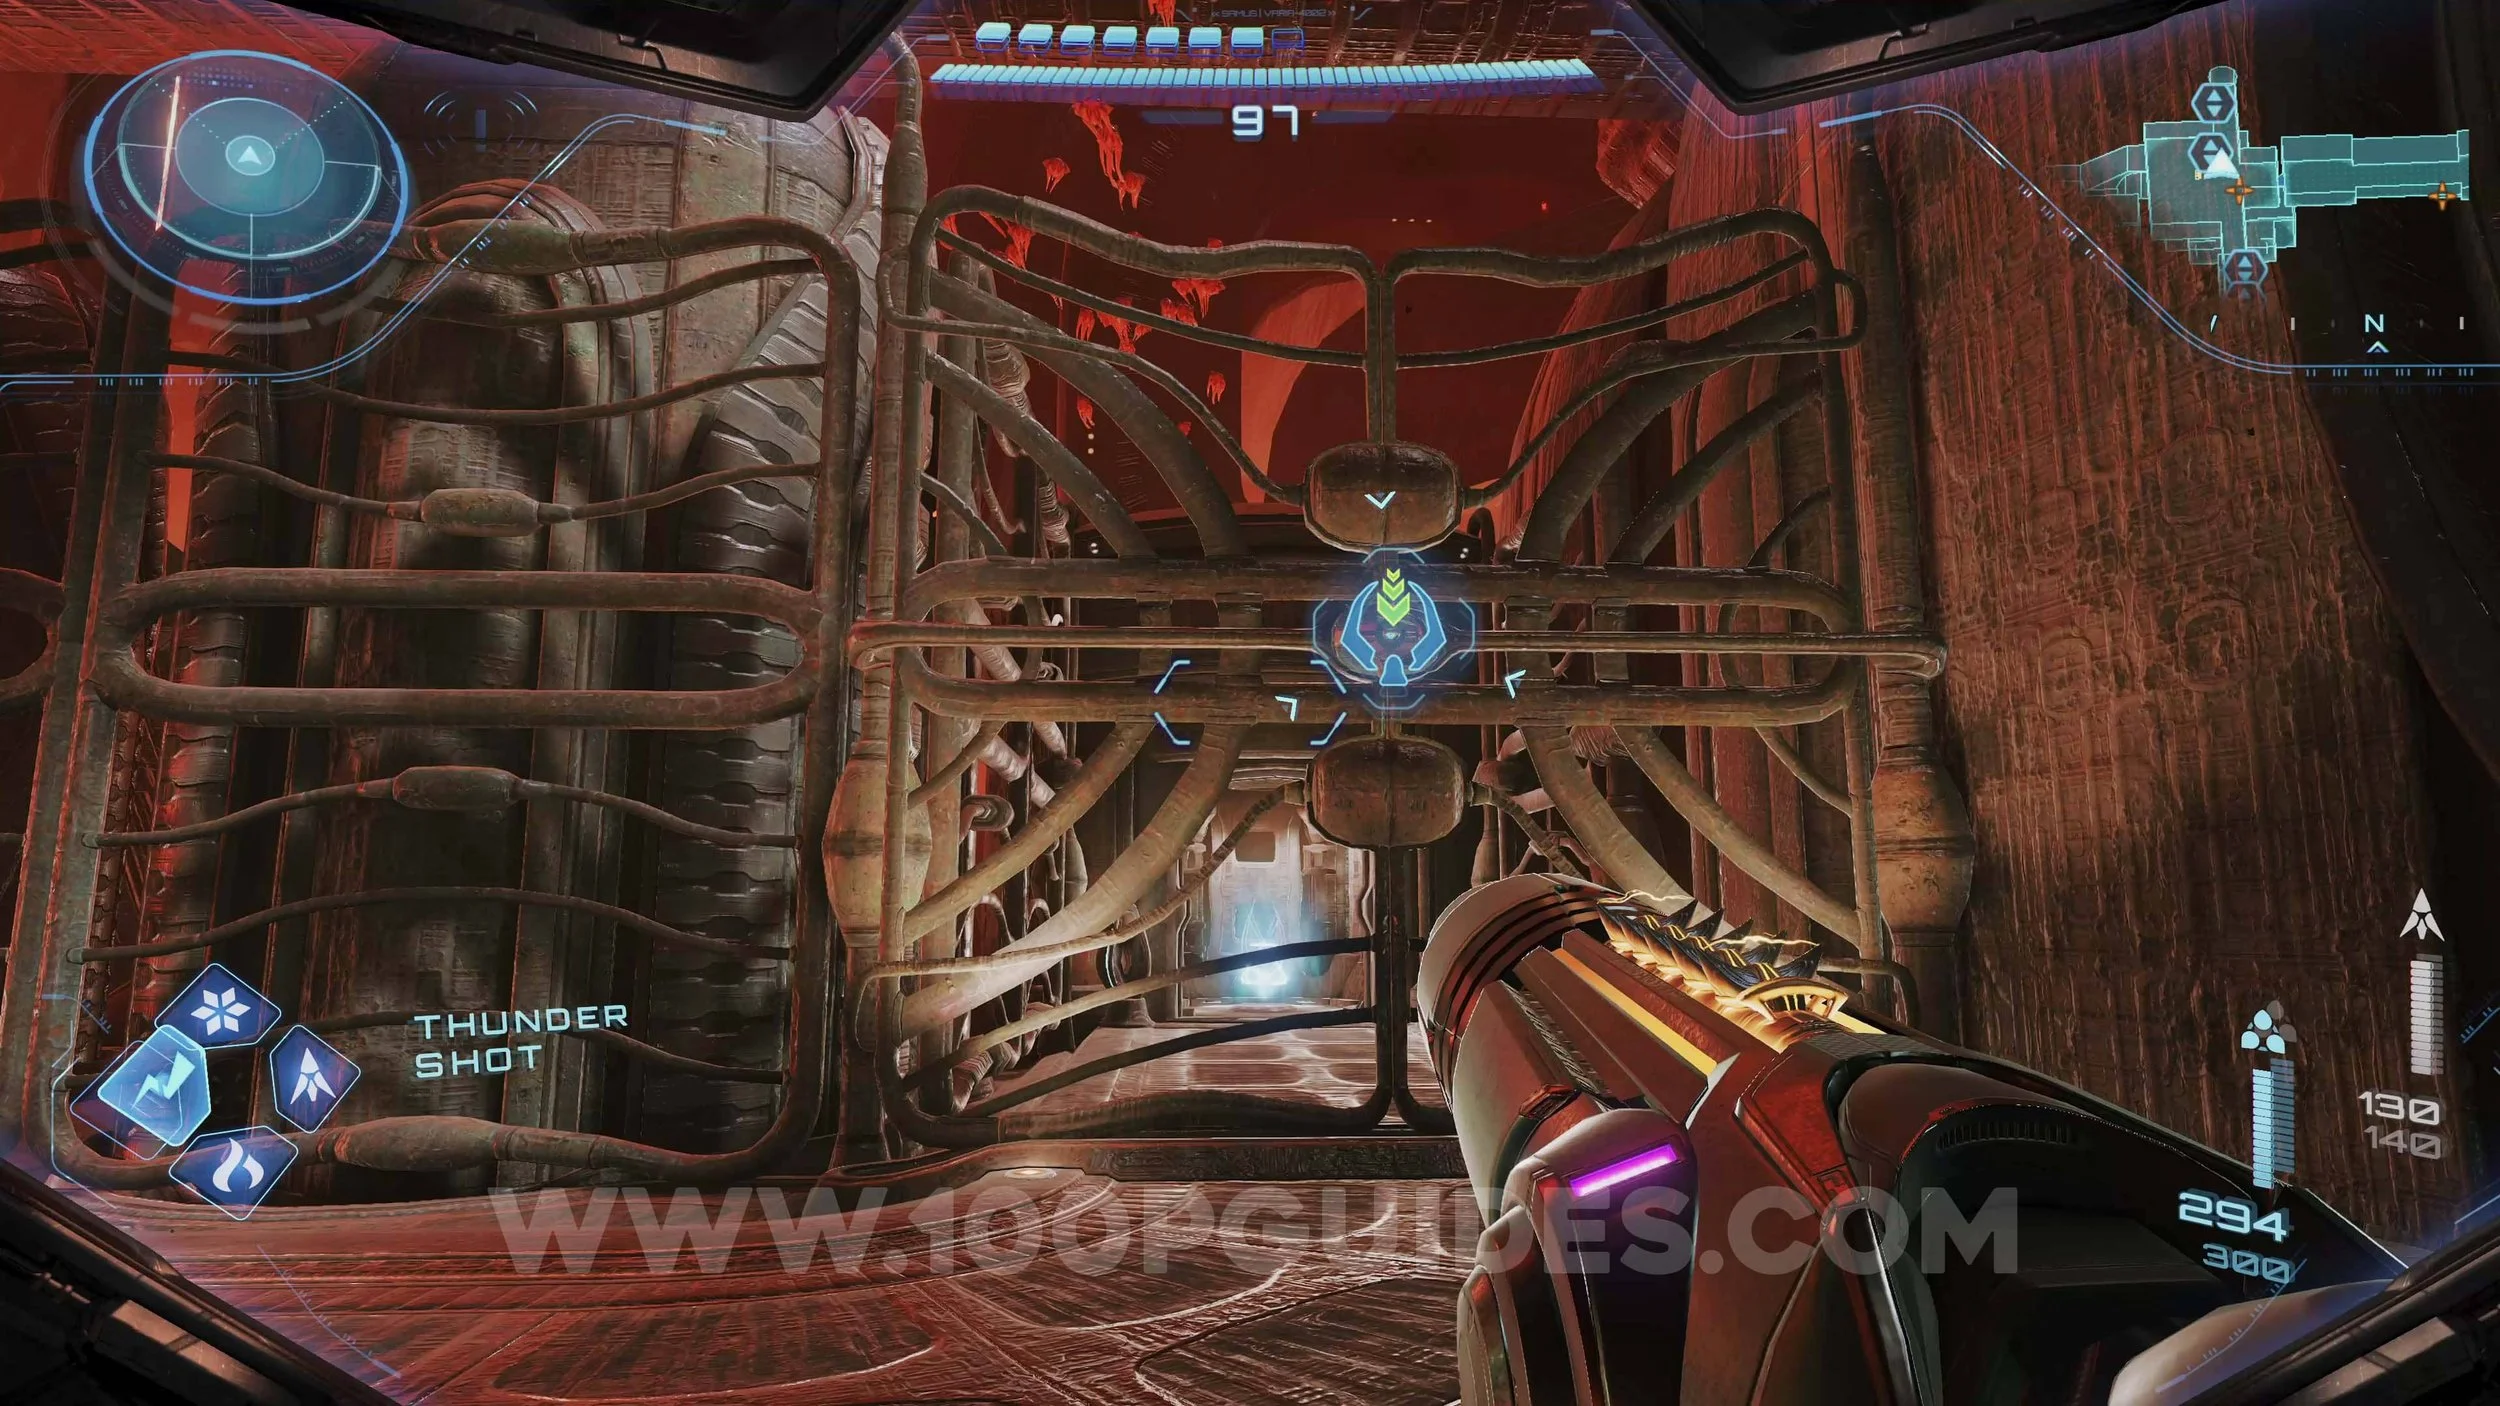
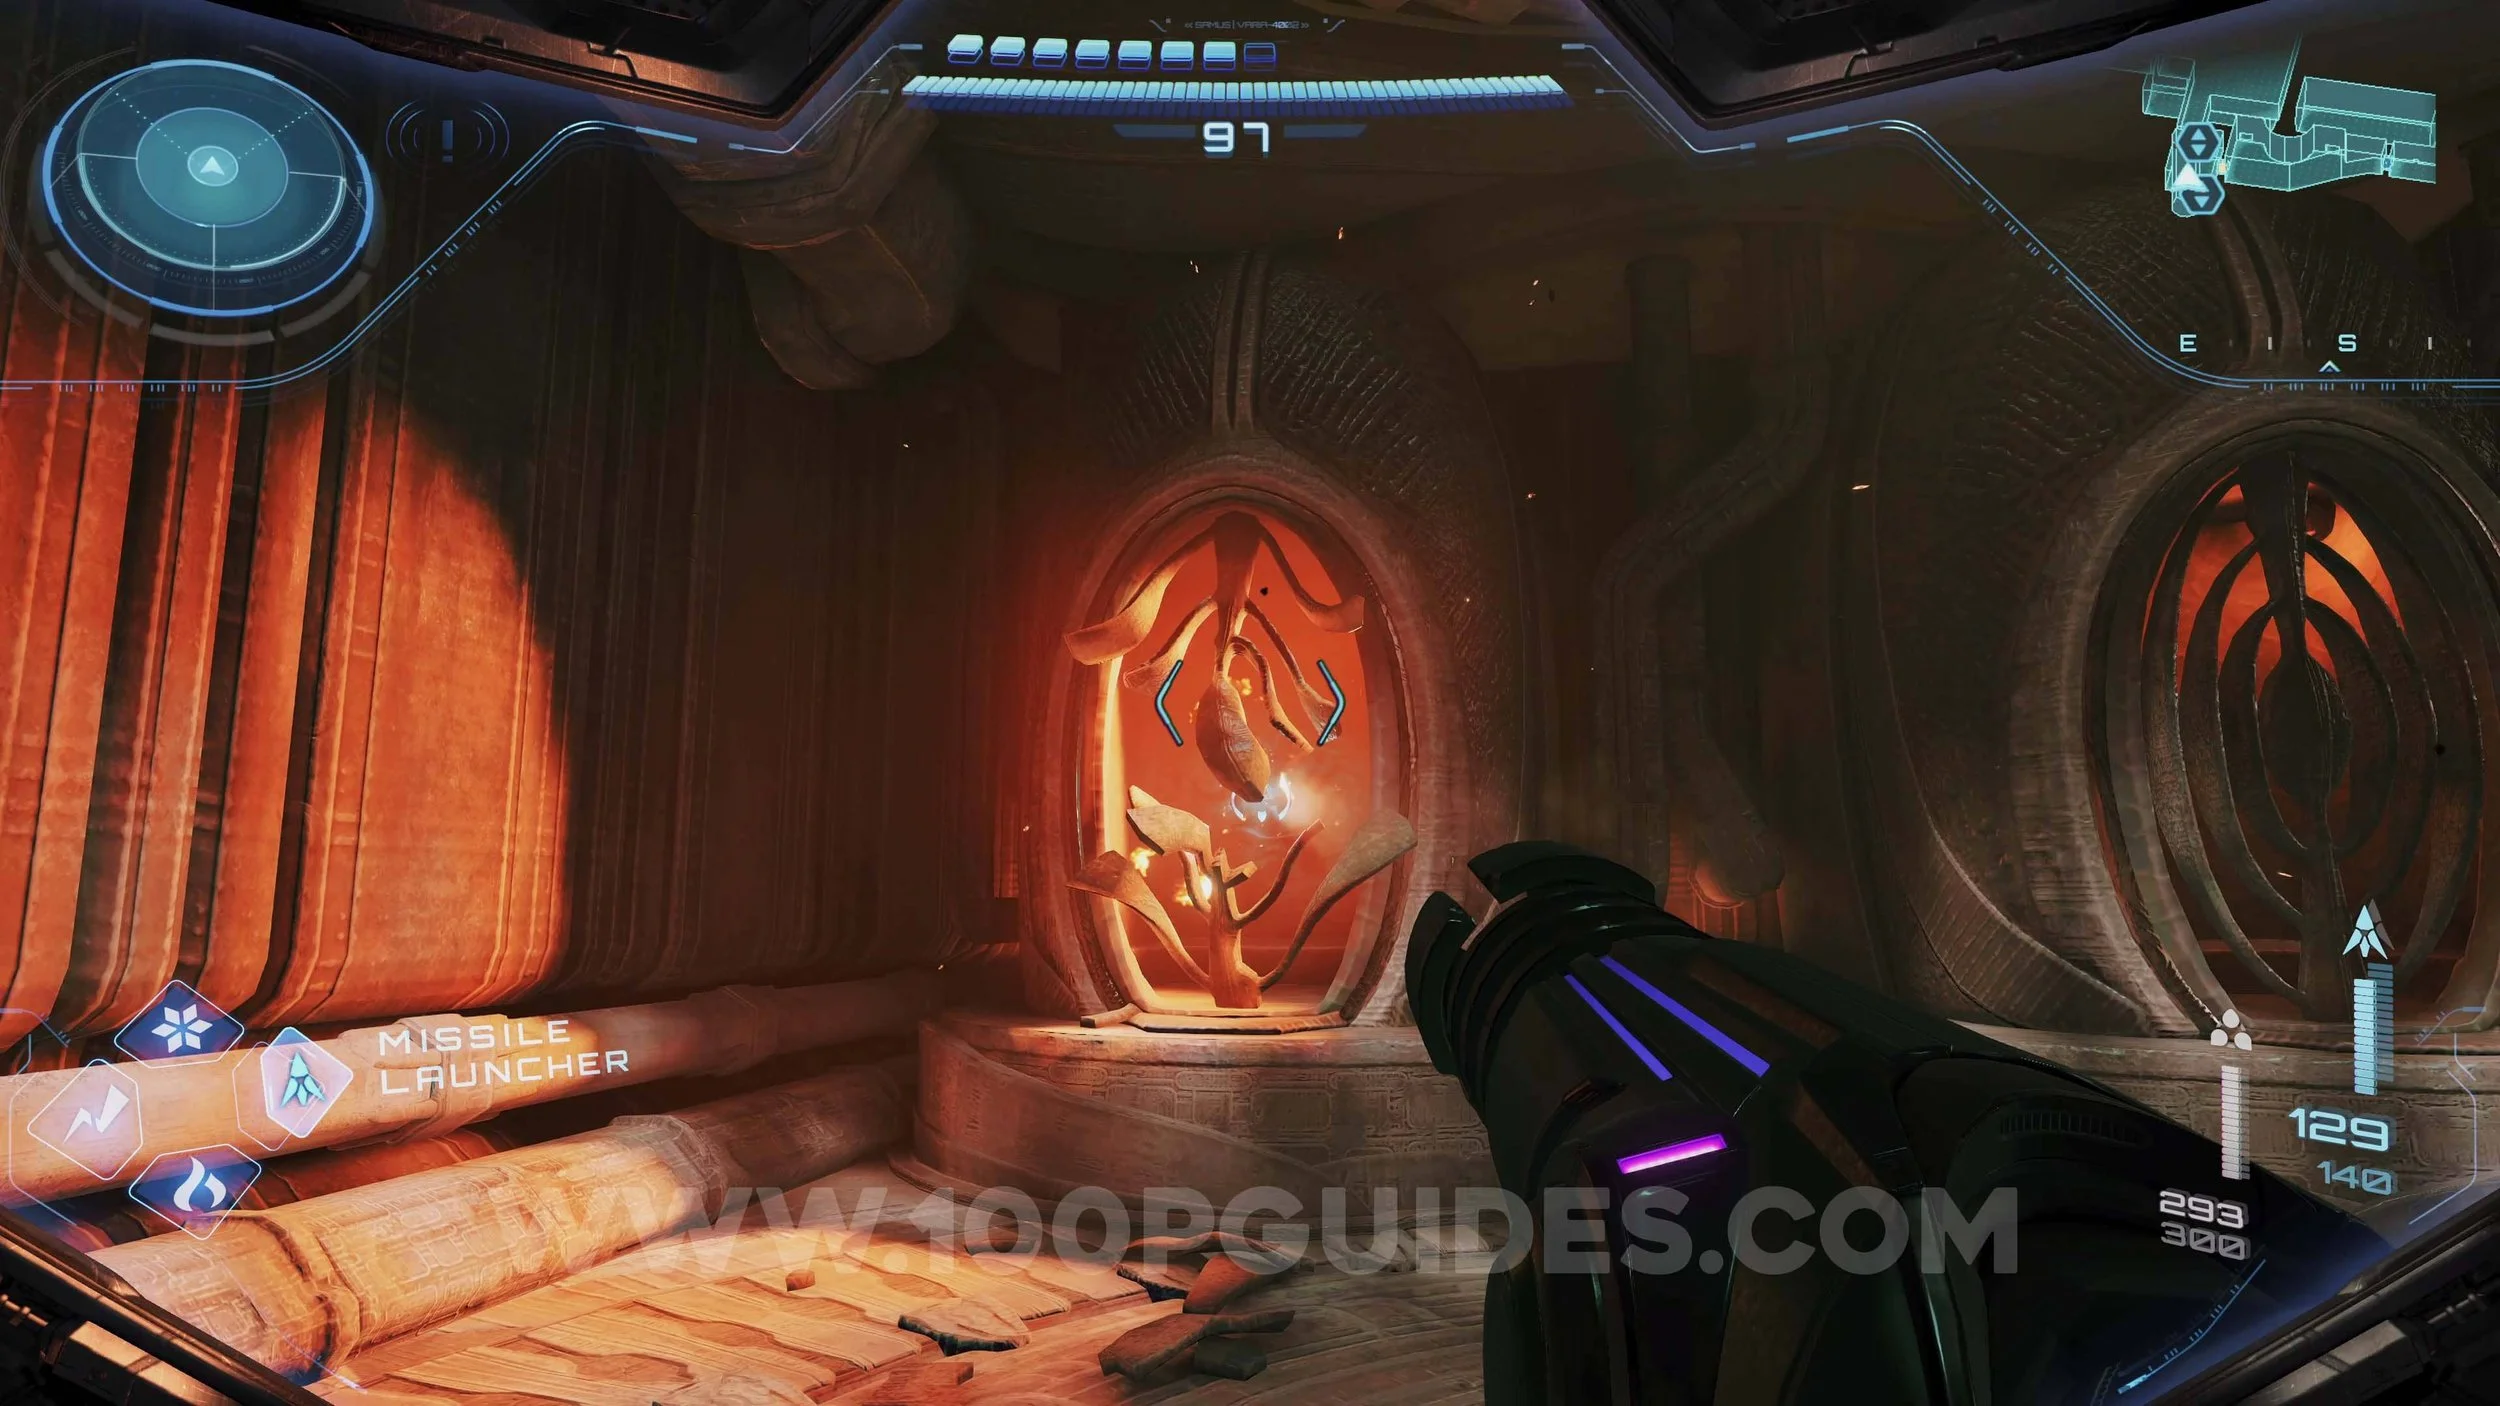
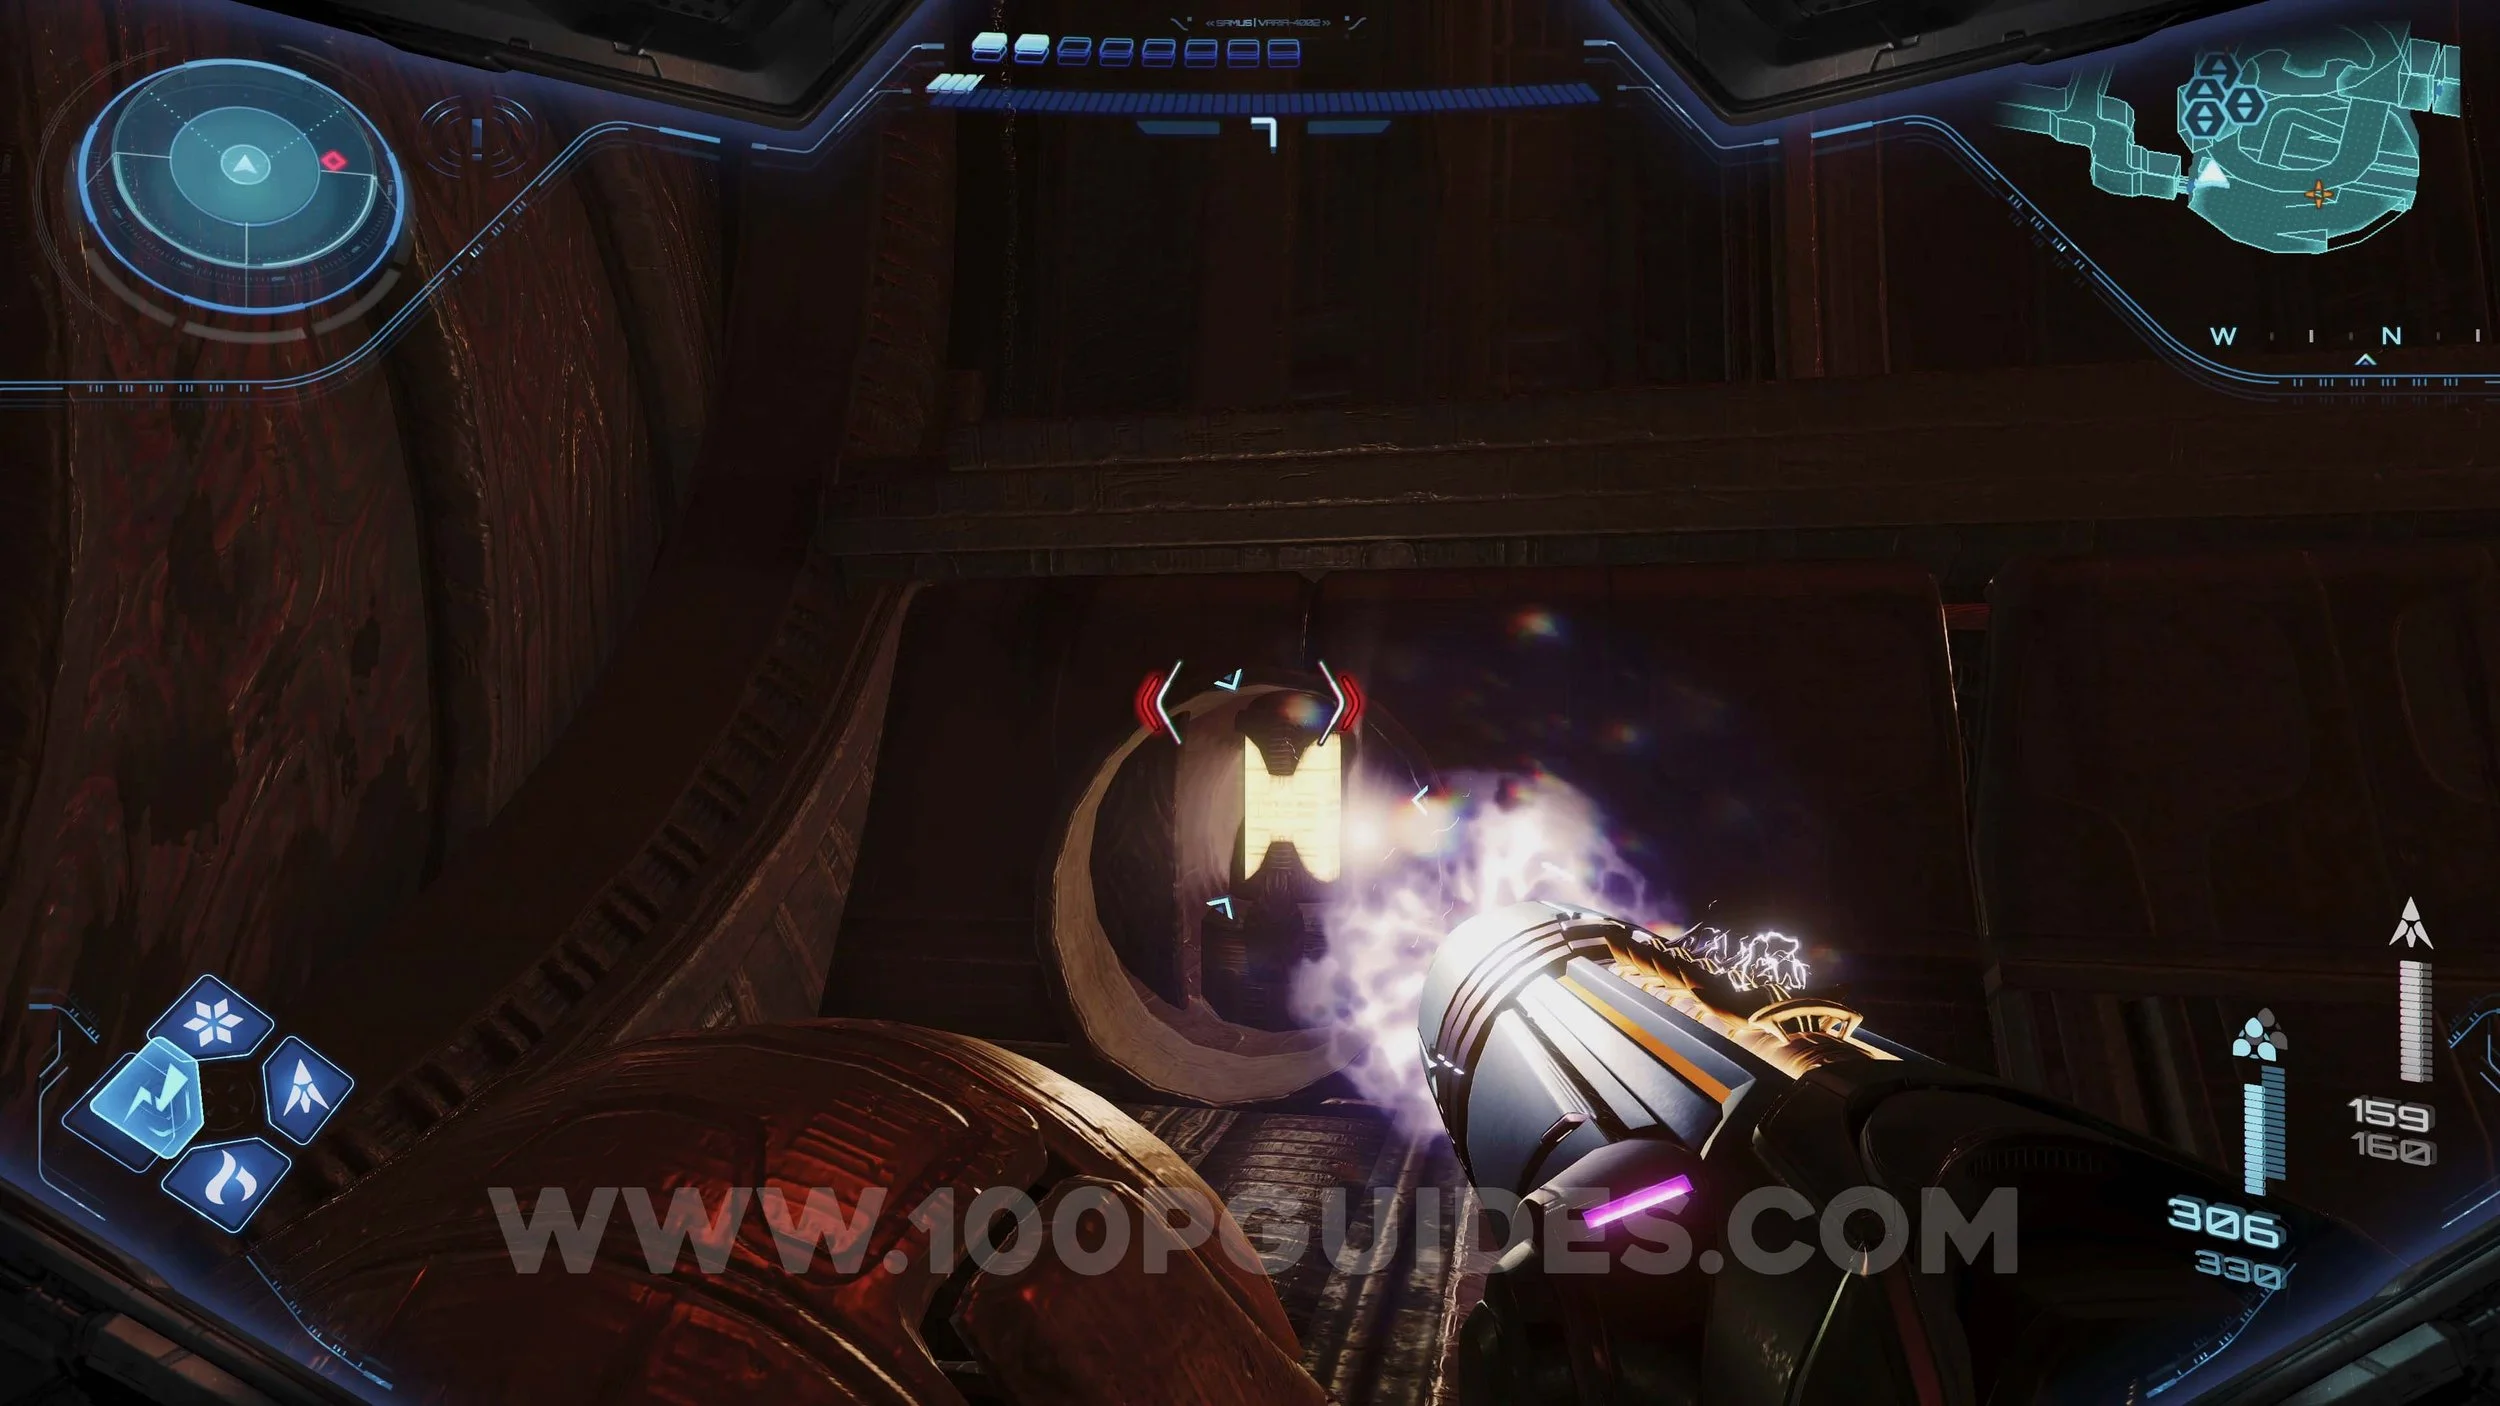
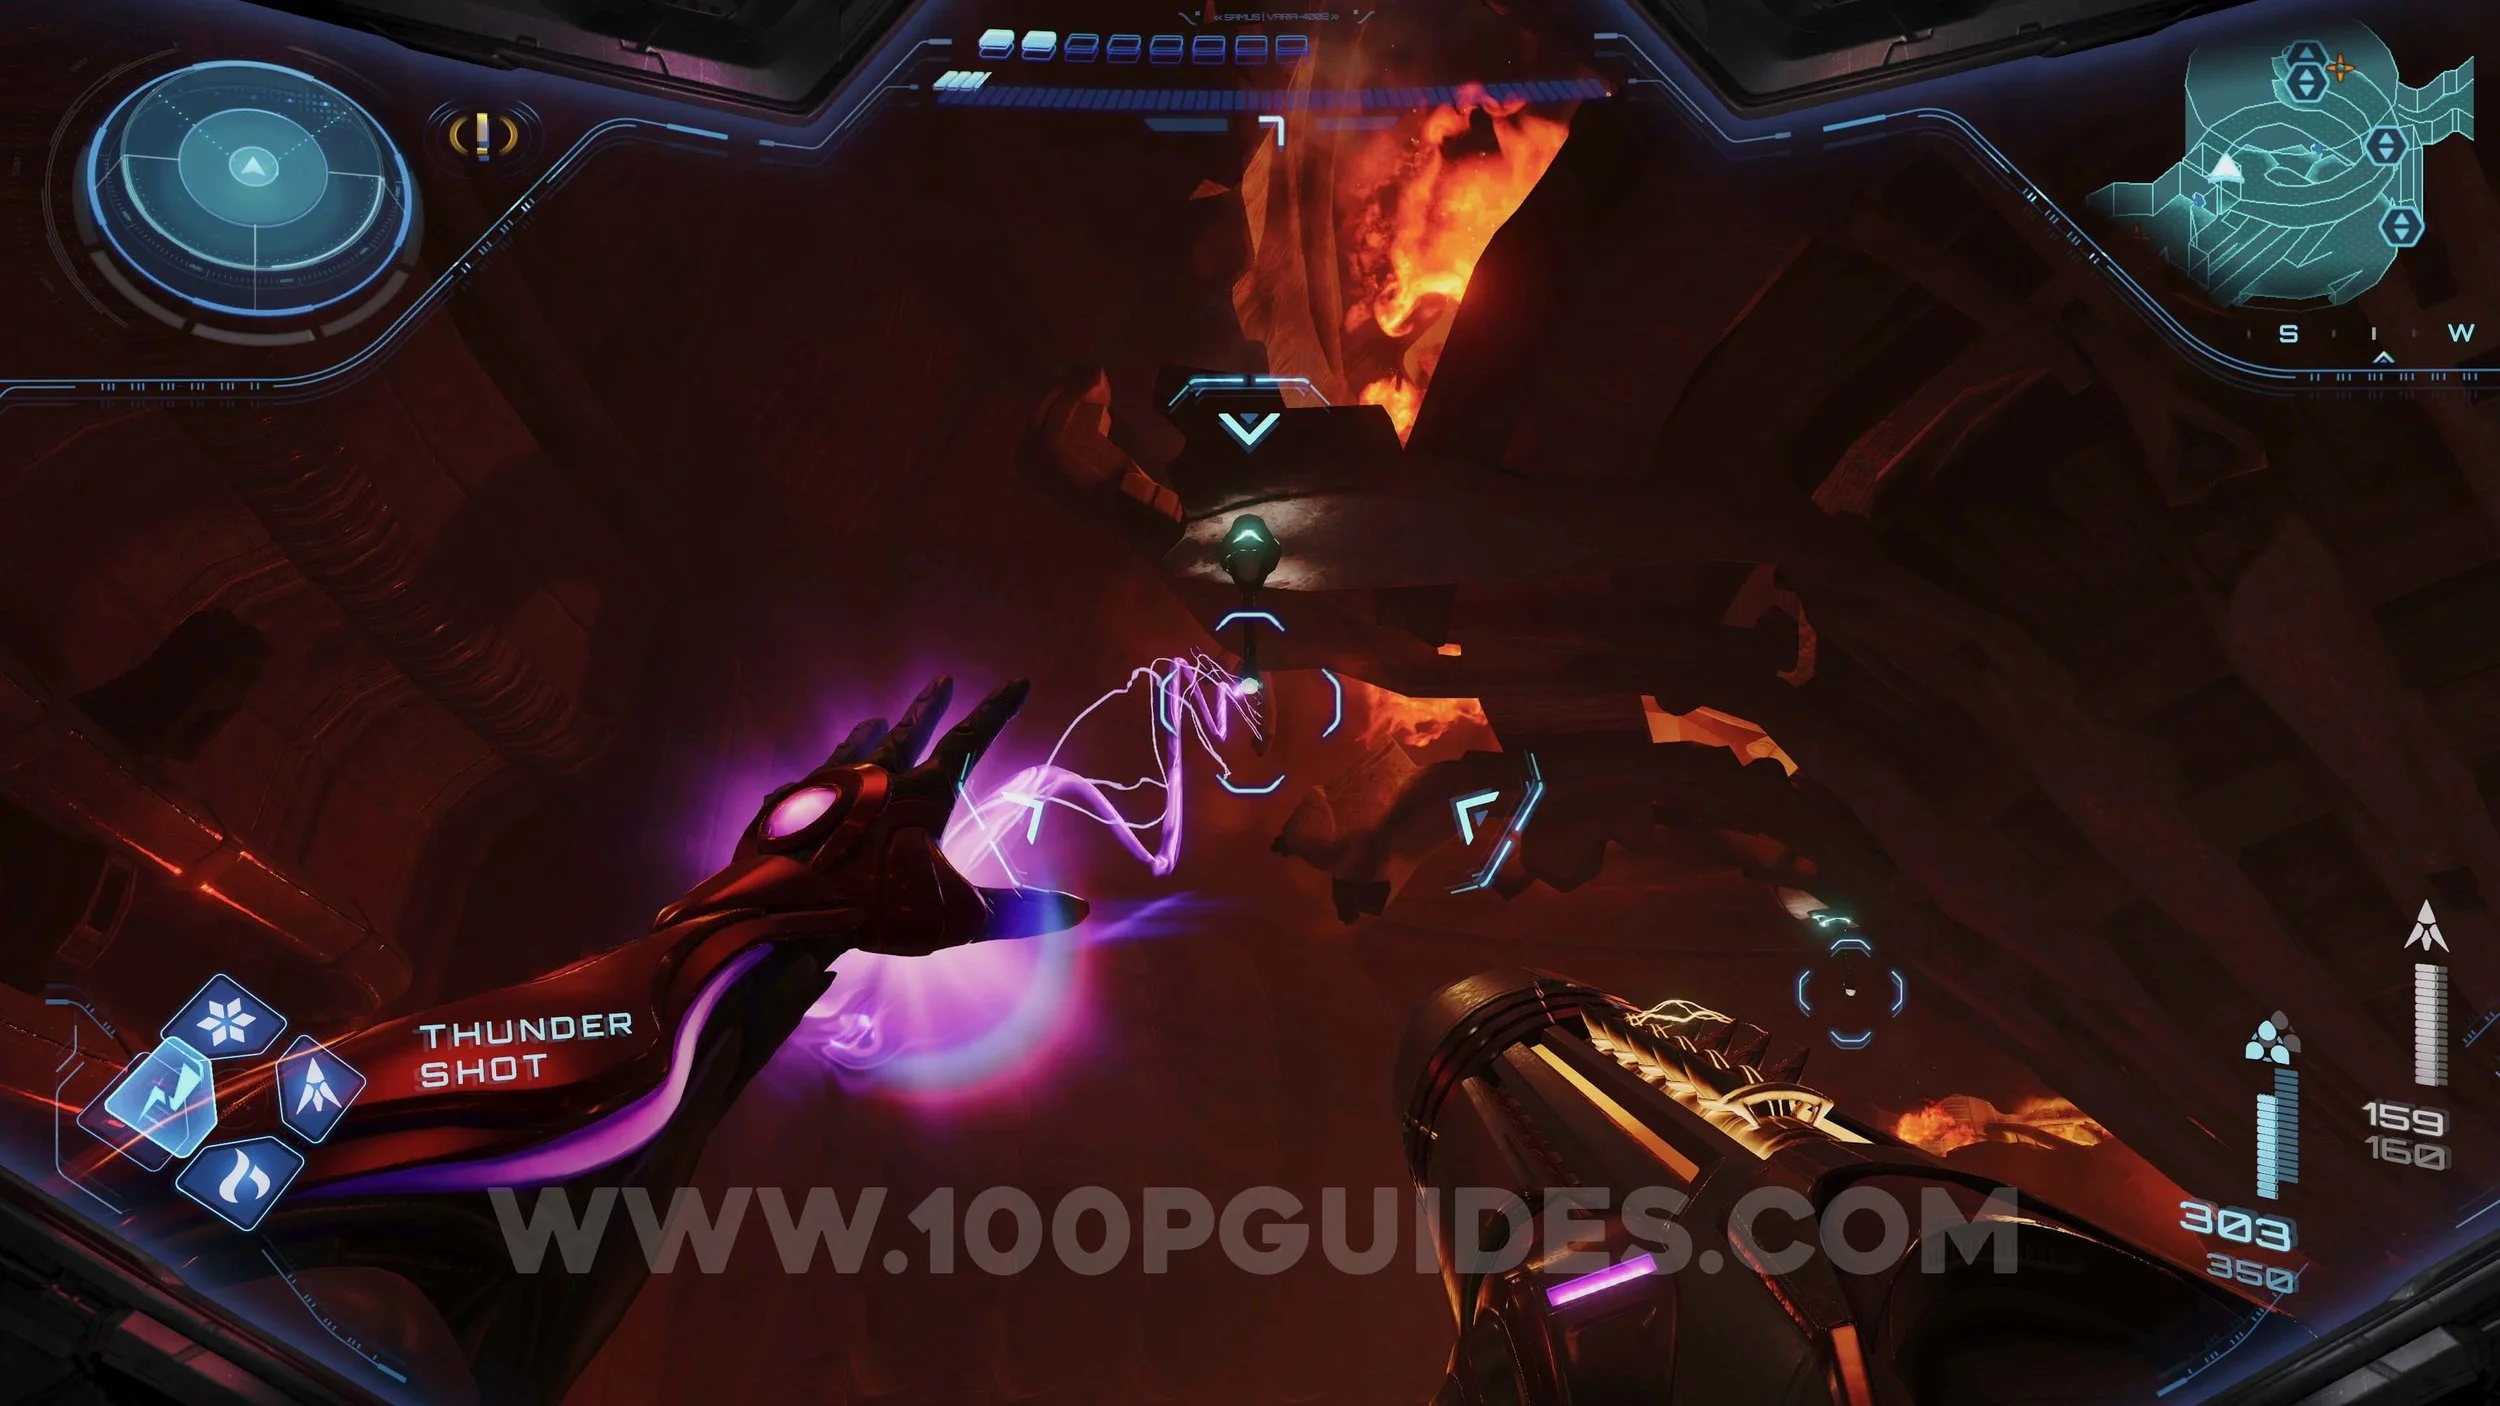
Shot Expansion #29. Go to the end of the tube in the Energy Injection area and shoot the hole on the side with a thunder shot. This will reveal the mechanism you can activate with the boost morph ball. After activating it, shoot every node with a thunder shot to get the upgrade.
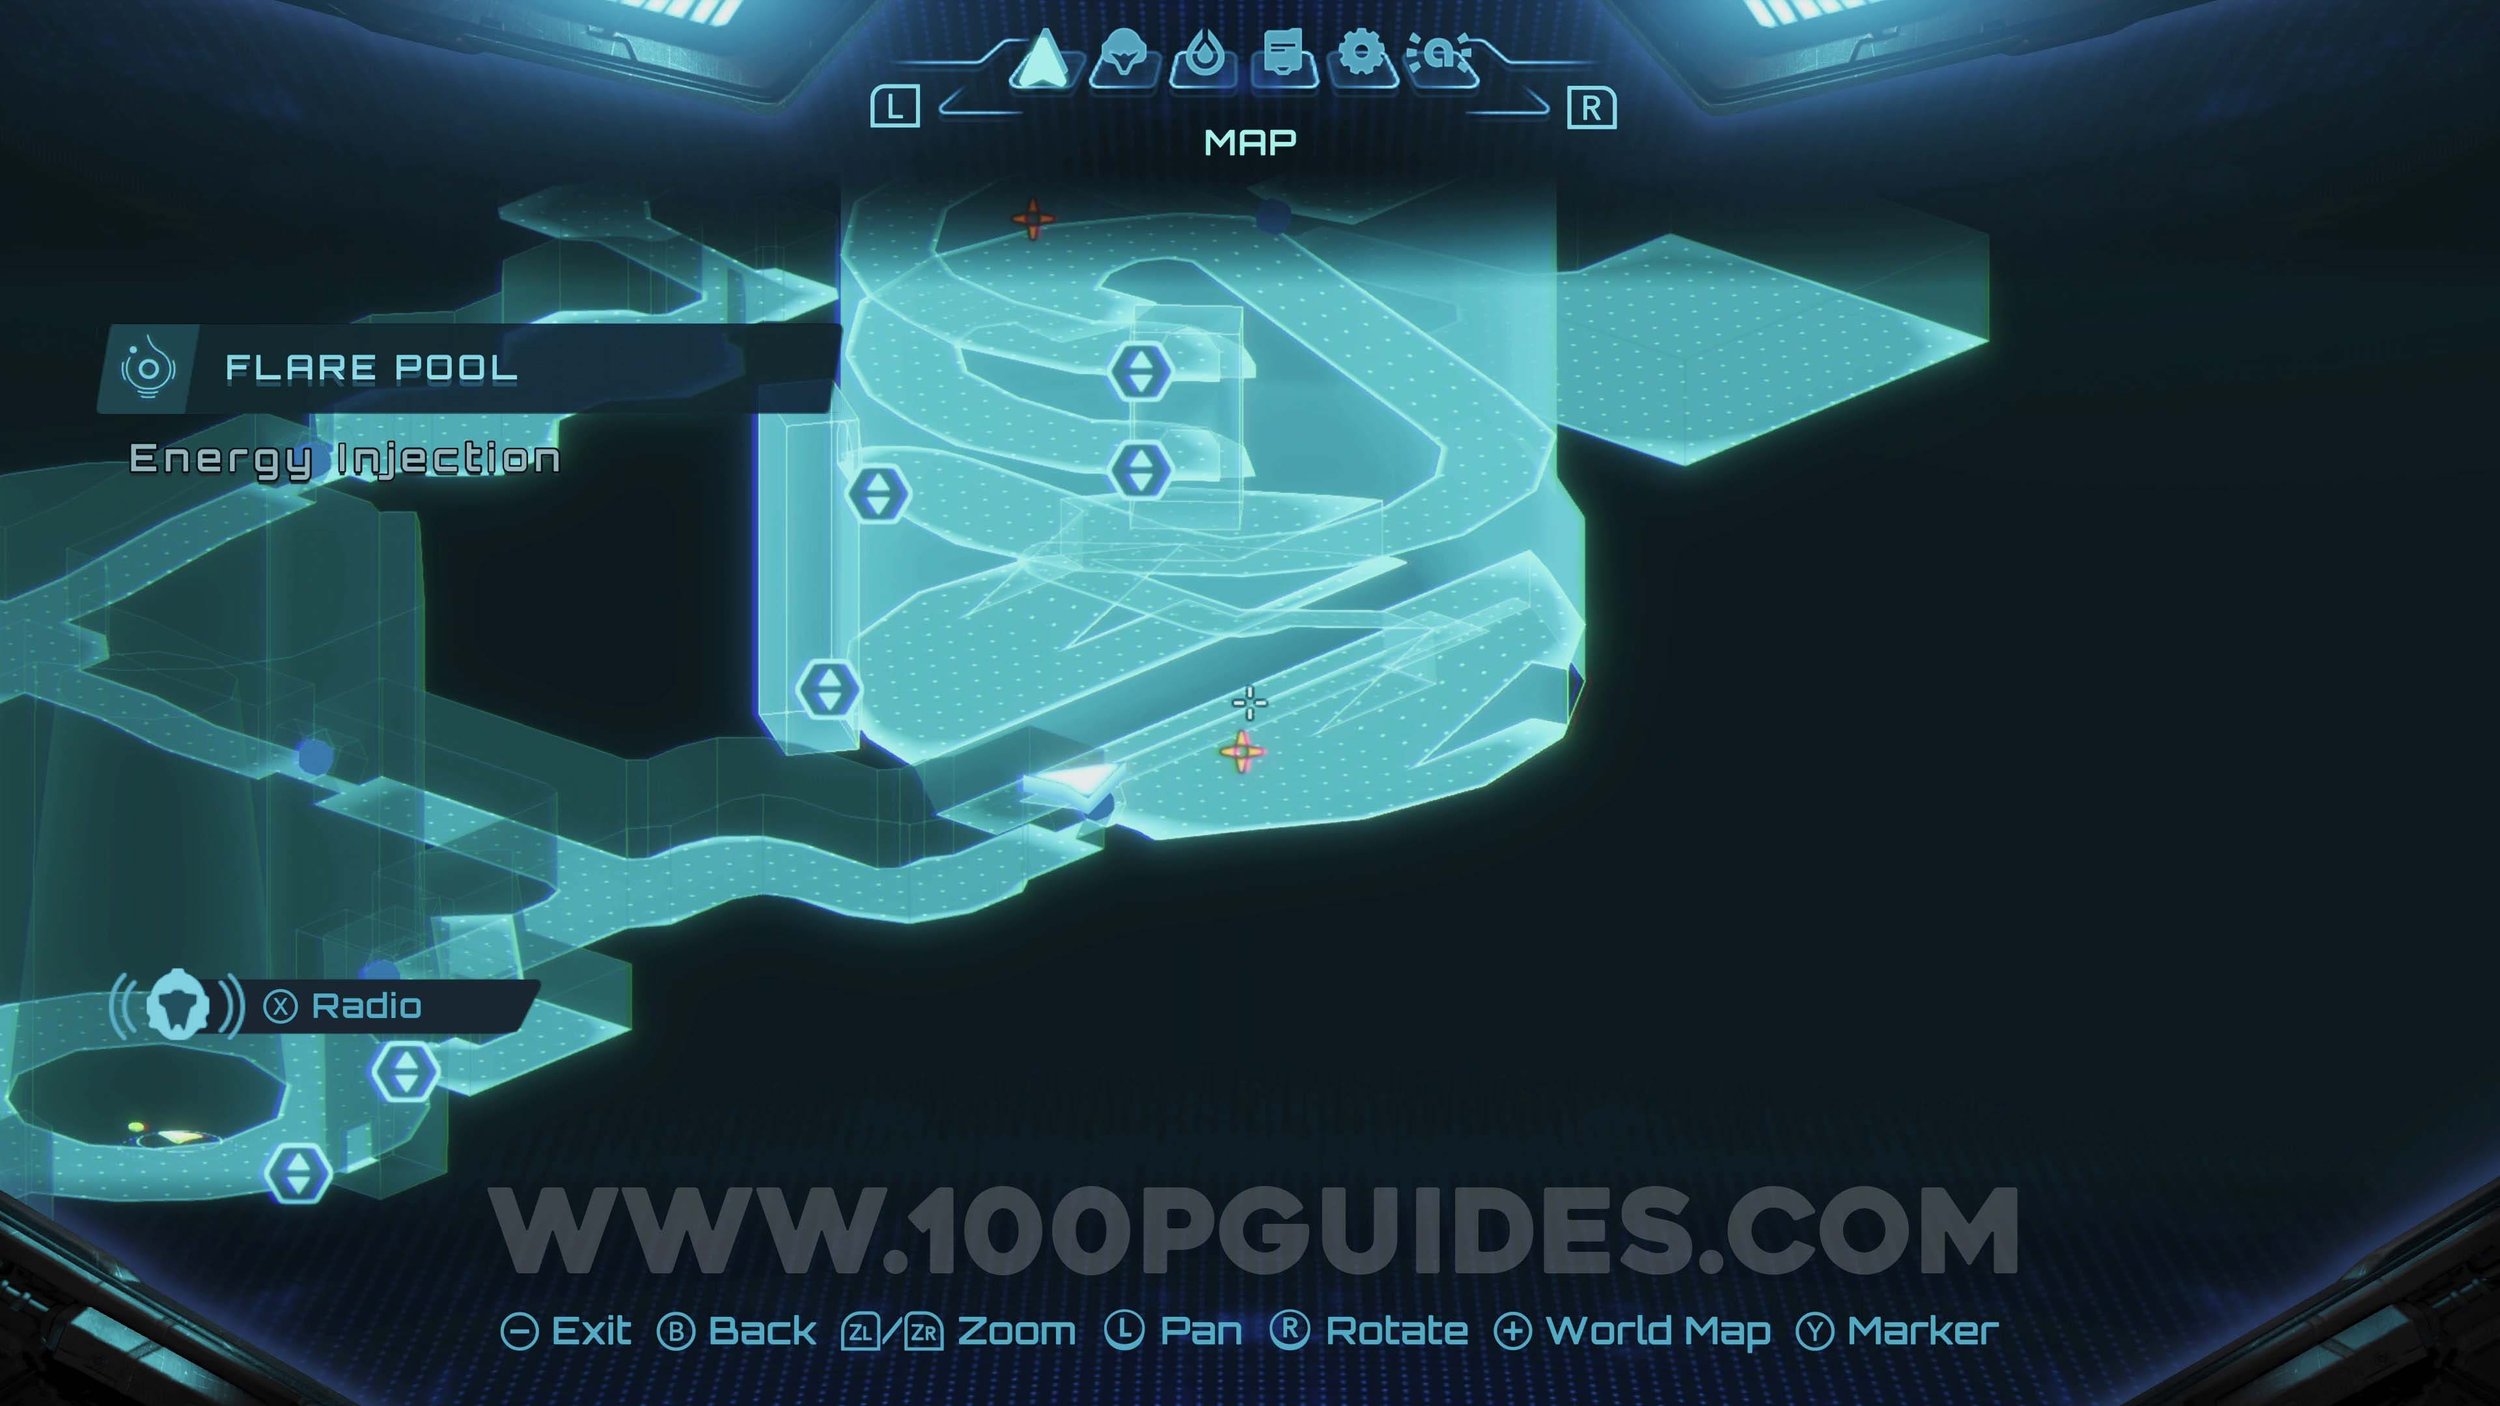

Shot Expansion #30. At the top of the Energy Injection area, look for some grappling hooks above you. Use them to reach the upgrade.
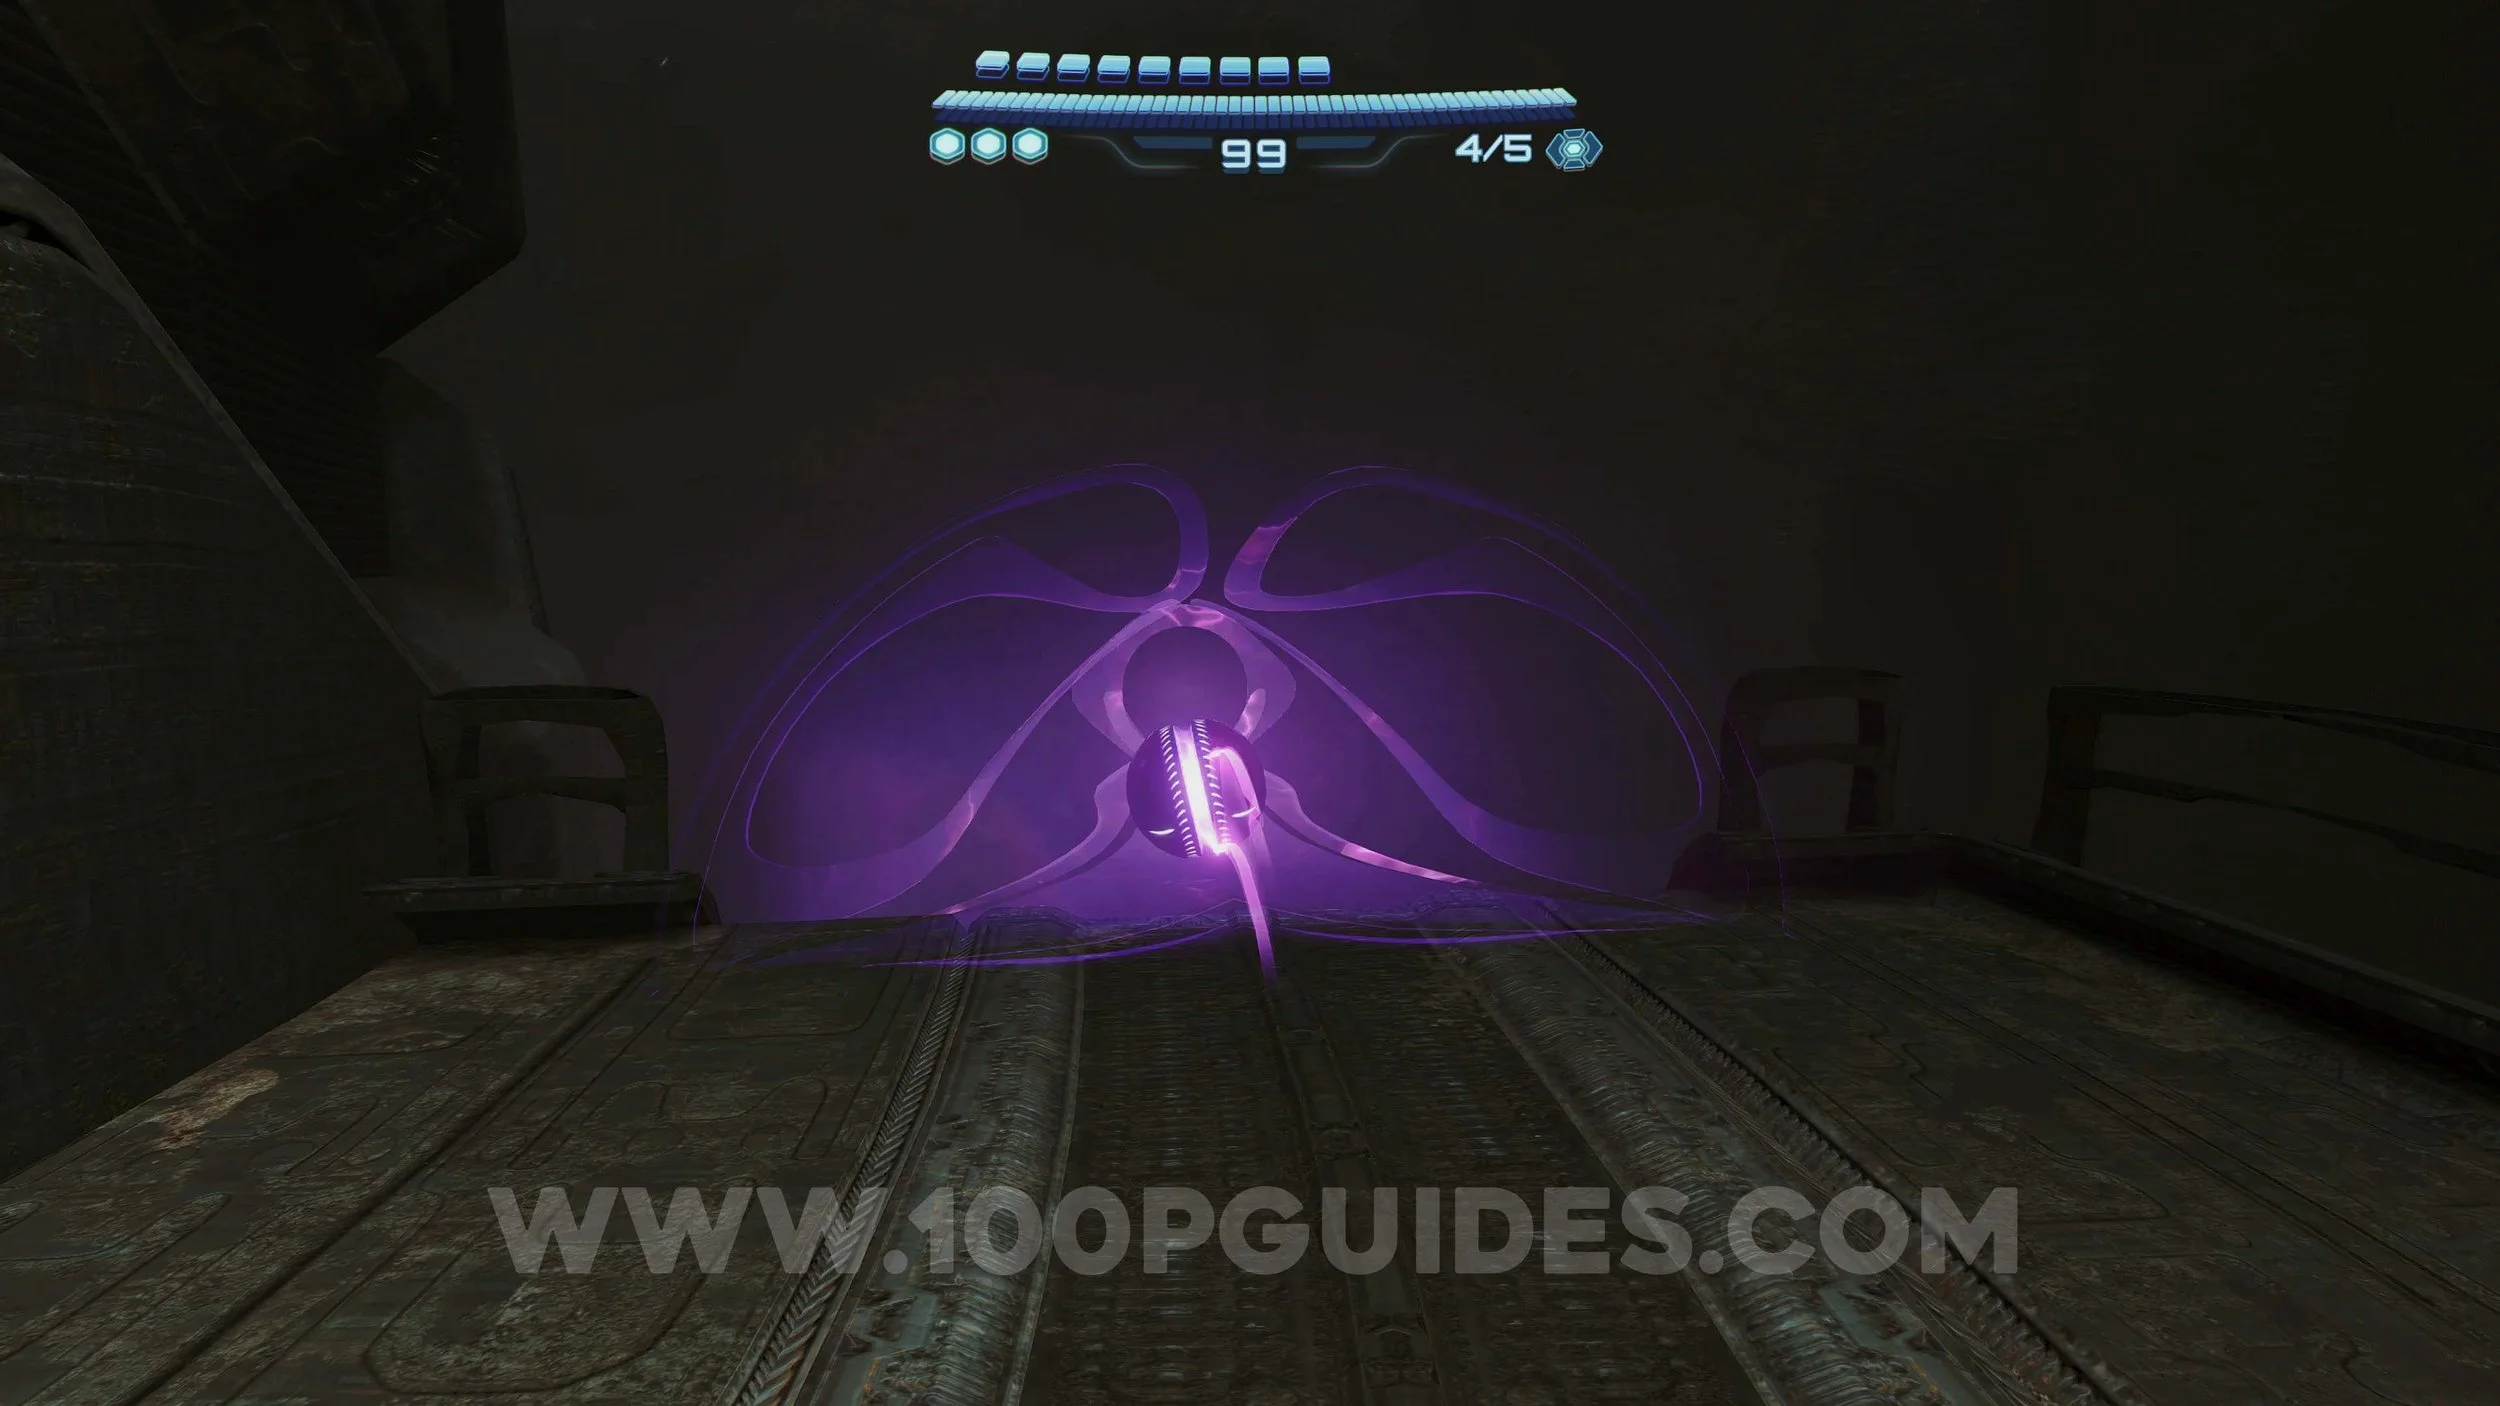
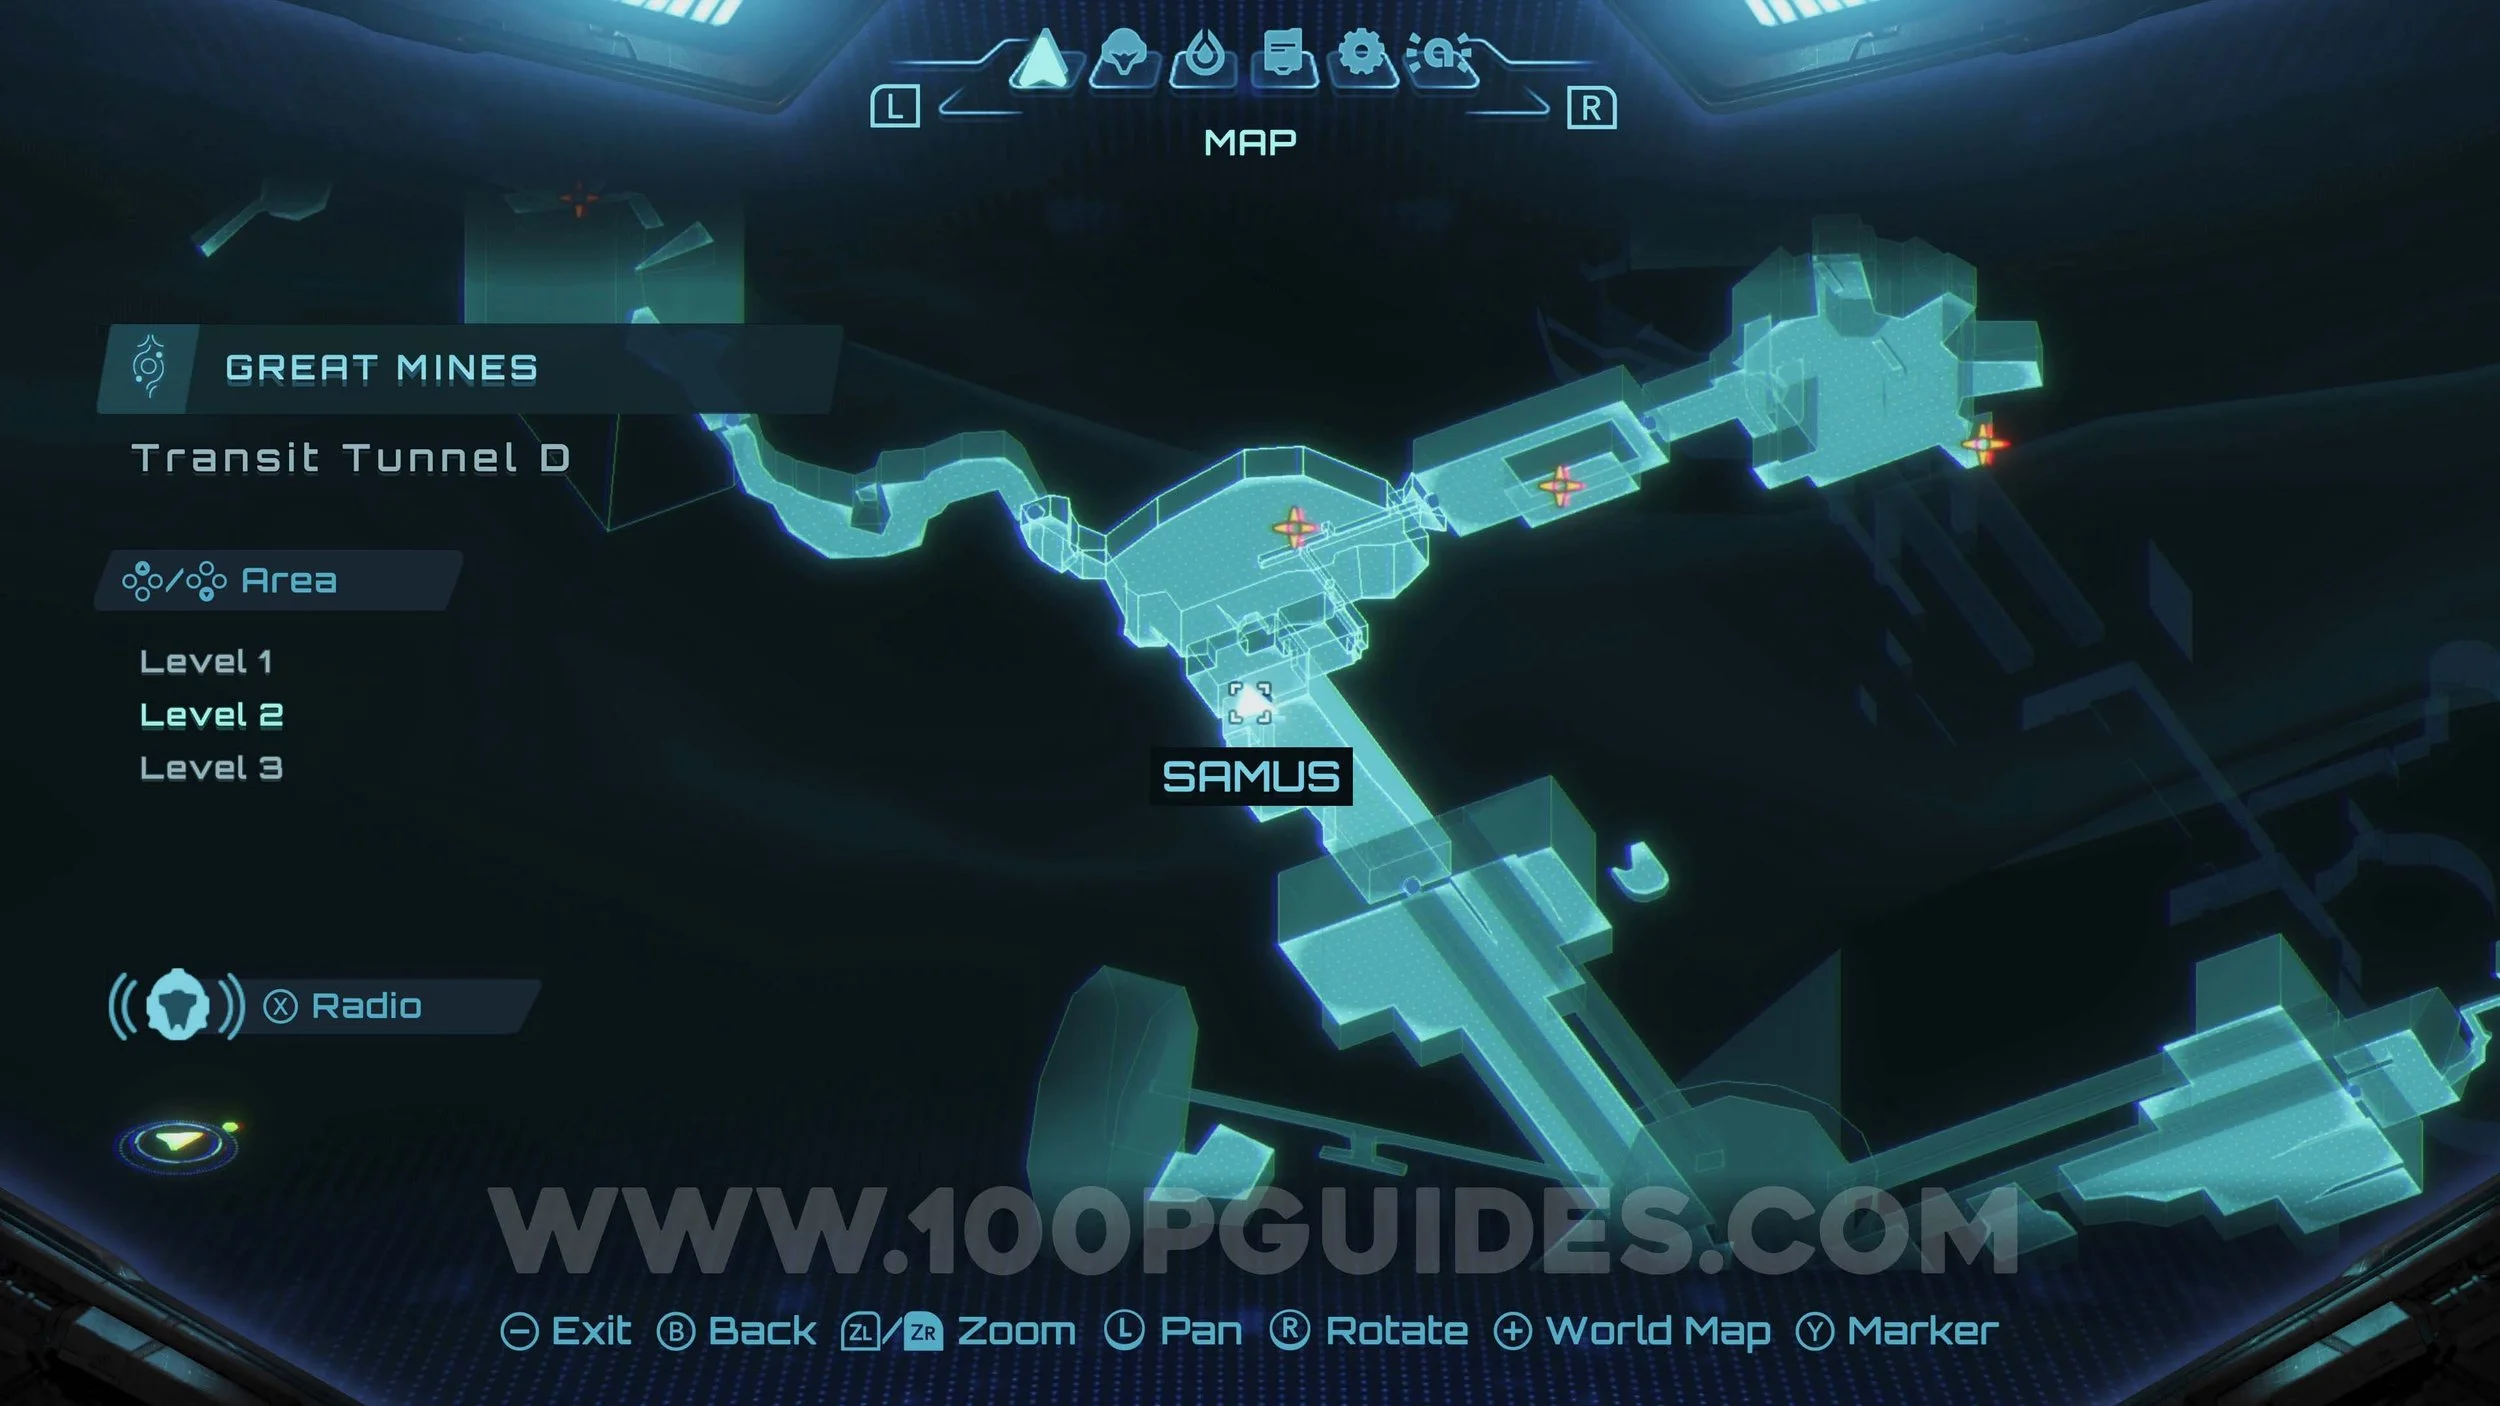
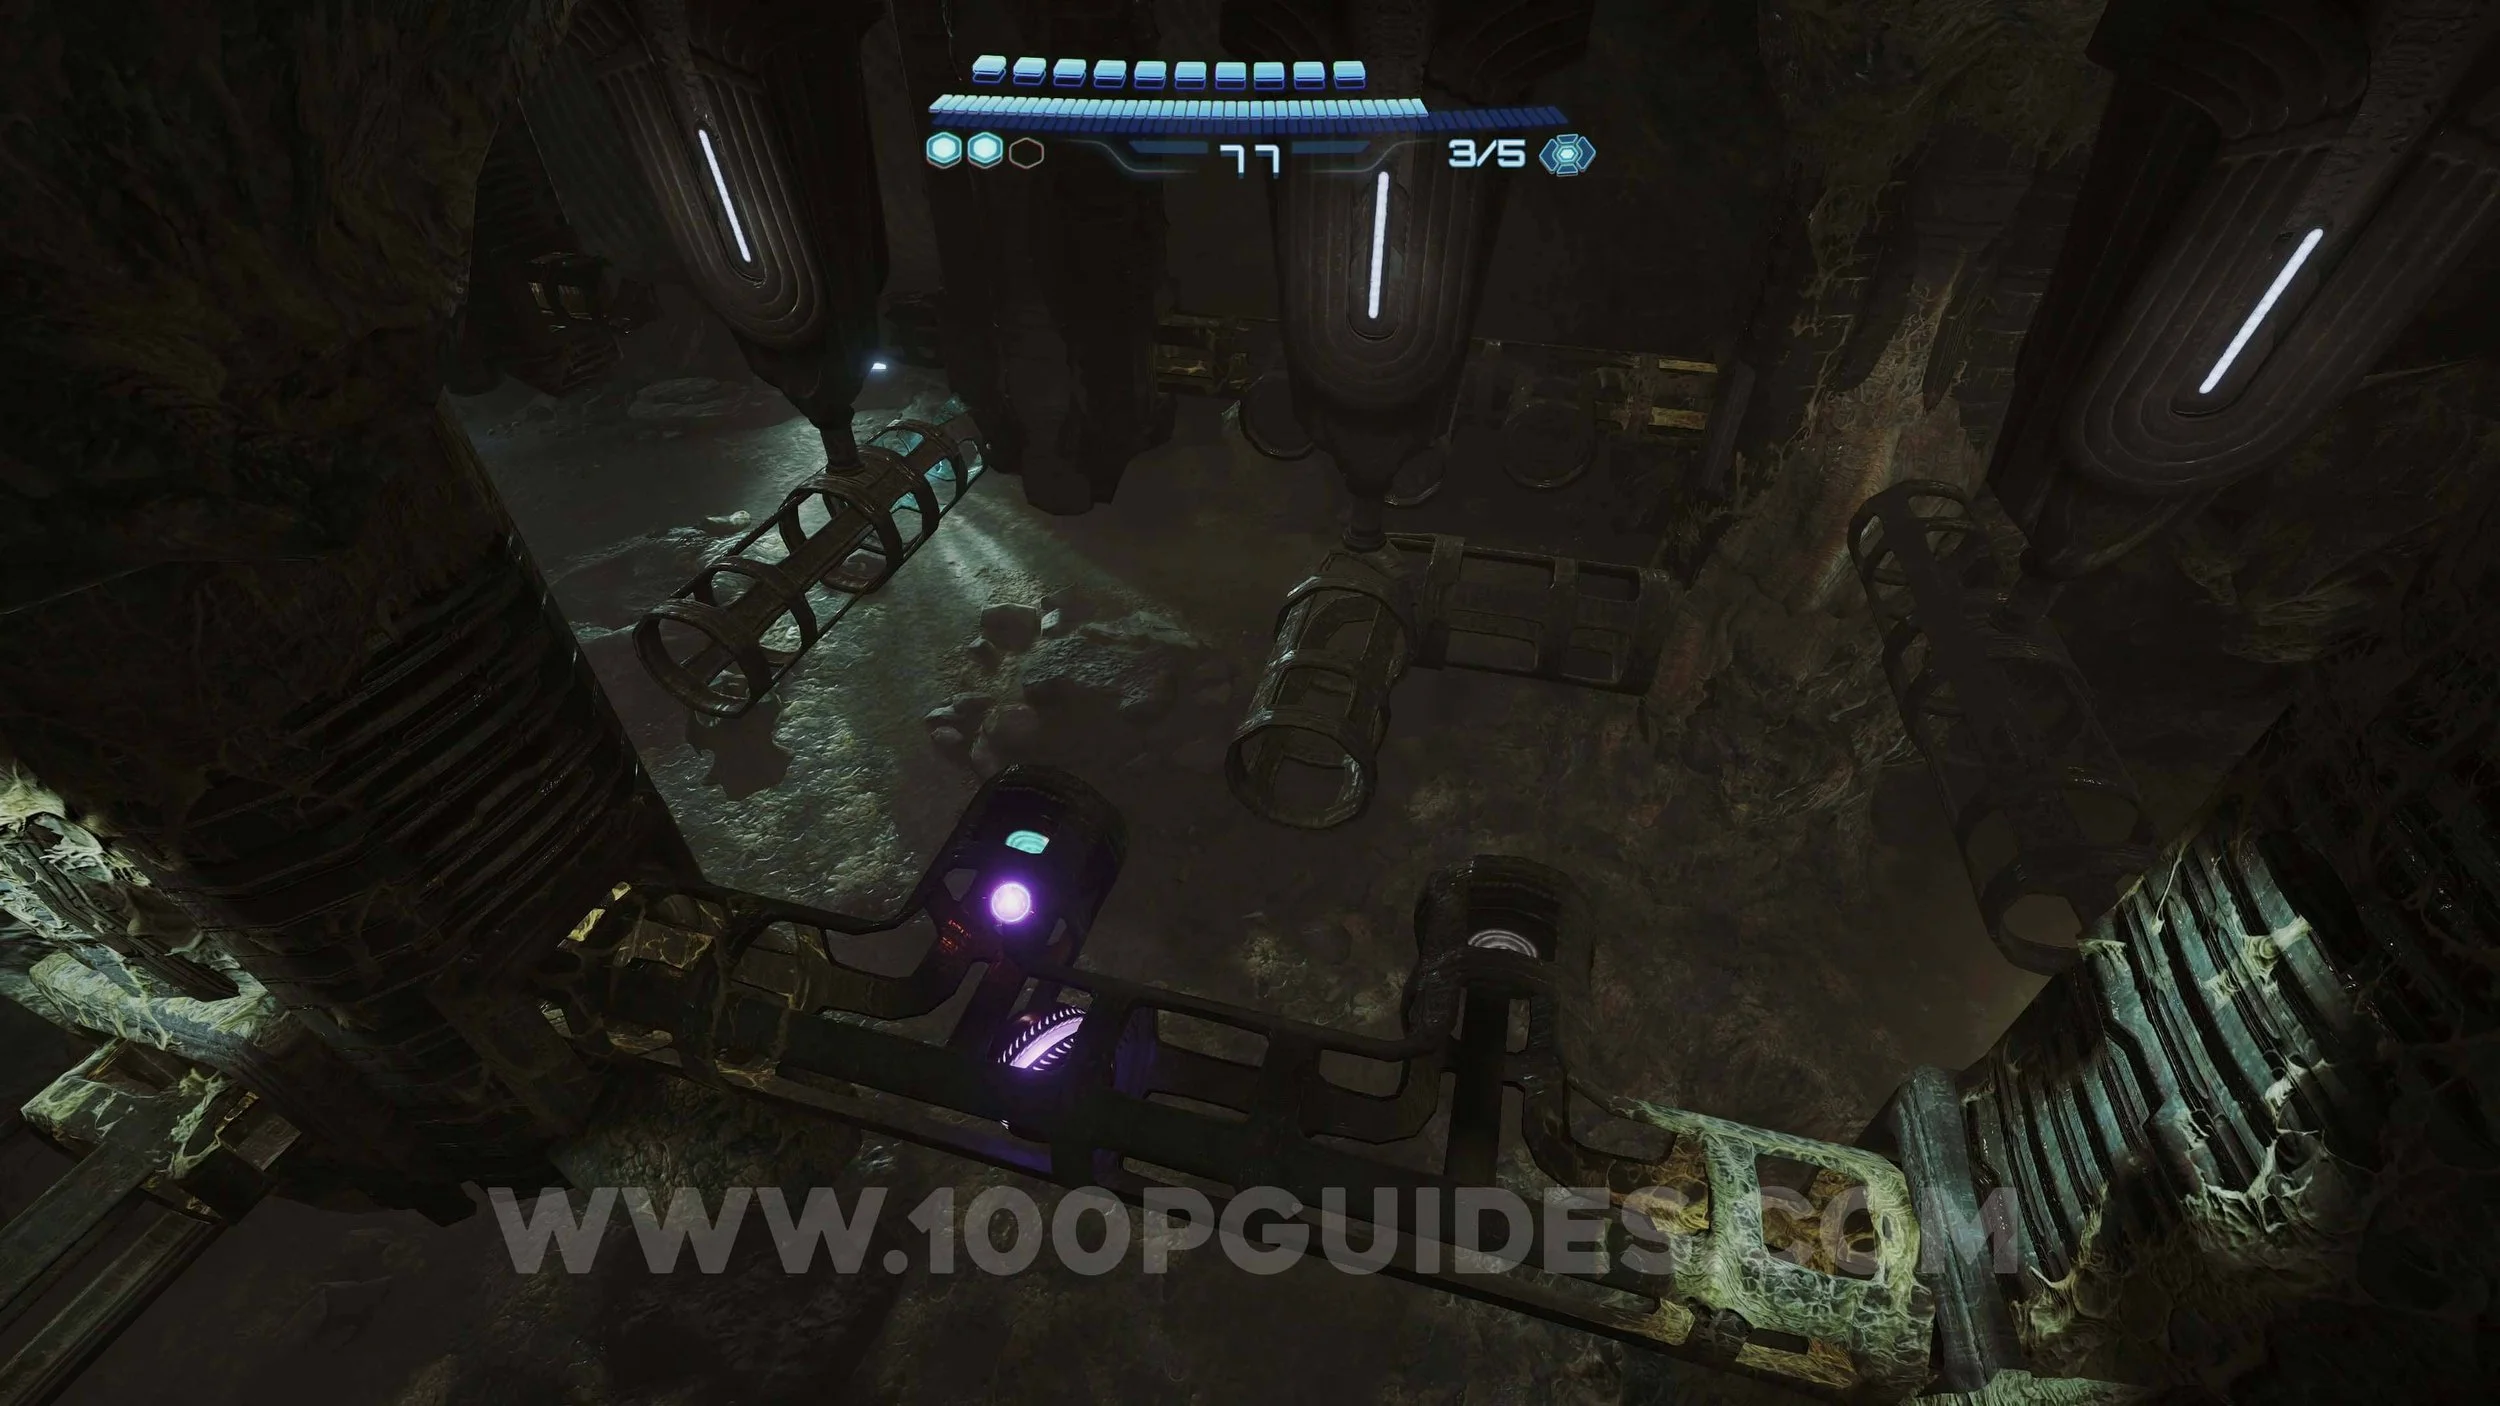
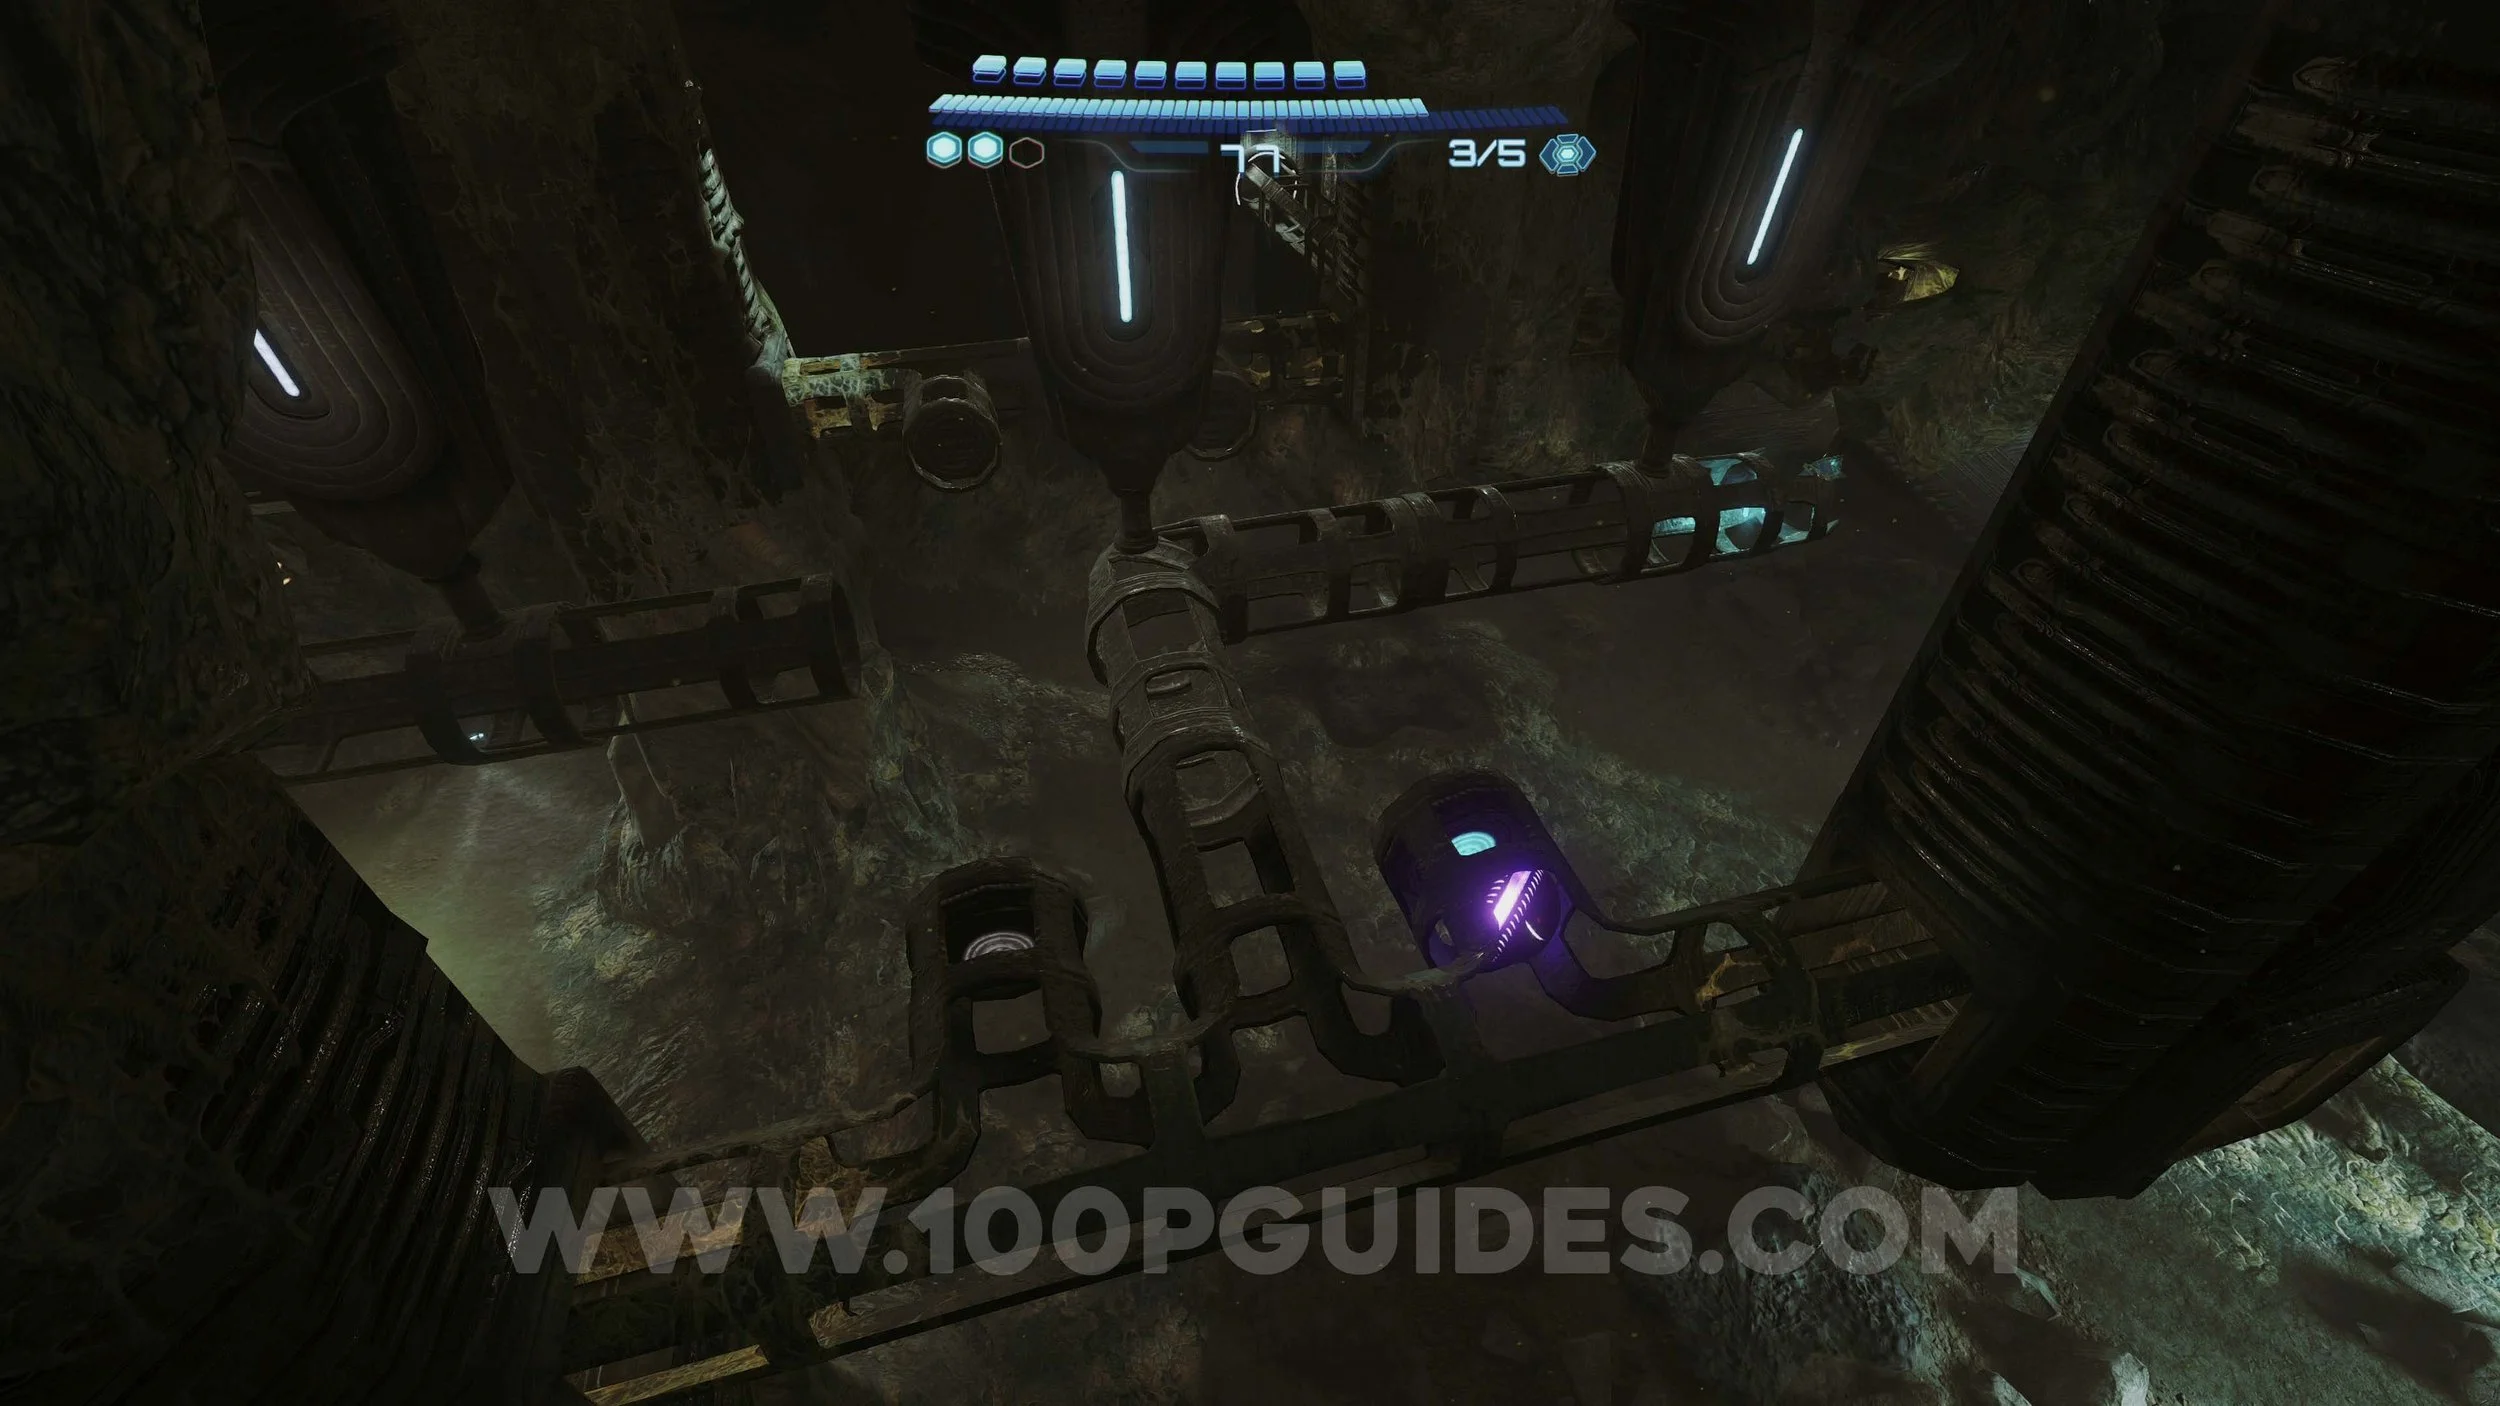
GREAT MINES
Shot Expansion #31. Found on Level 1 - Command Center. Pull down the metal plate from the ceiling in the center of the room.


Shot Expansion #32. On Level 1 - Garnbocask Site B, use a Psychic Bomb to destroy the rocks. The upgrade can be found on the other side.


Shot Expansion #33. Use the boost morph ball on the purple mechanism around the right side of the main elevator on Level 2.

Shot Expansion #34. Found on Level 2 - Transit Tunnel D. Go through the door on the right side and then use your morph ball to reach the tubes above. Then place bombs on the switches to rotate the tubes allowing you to reach the upgrade.

Shot Expansion #35. On Level 2 - Crystal Crevice. From the entrance, turn around and look above you to find a grappling point. Use it to get to the area above. Then jump across the rock formations to get to the upgrade.


Shot Expansion #36. Found in Main Shaft - Level 3. Go around the right side of the main elevator to find a switch. Shoot it and use the spider morph ball to climb the rail. At the top, shoot a Psychic shot and control it to hit the switch at the bottom again. Then quickly climb to the top of the rail to find the upgrade.

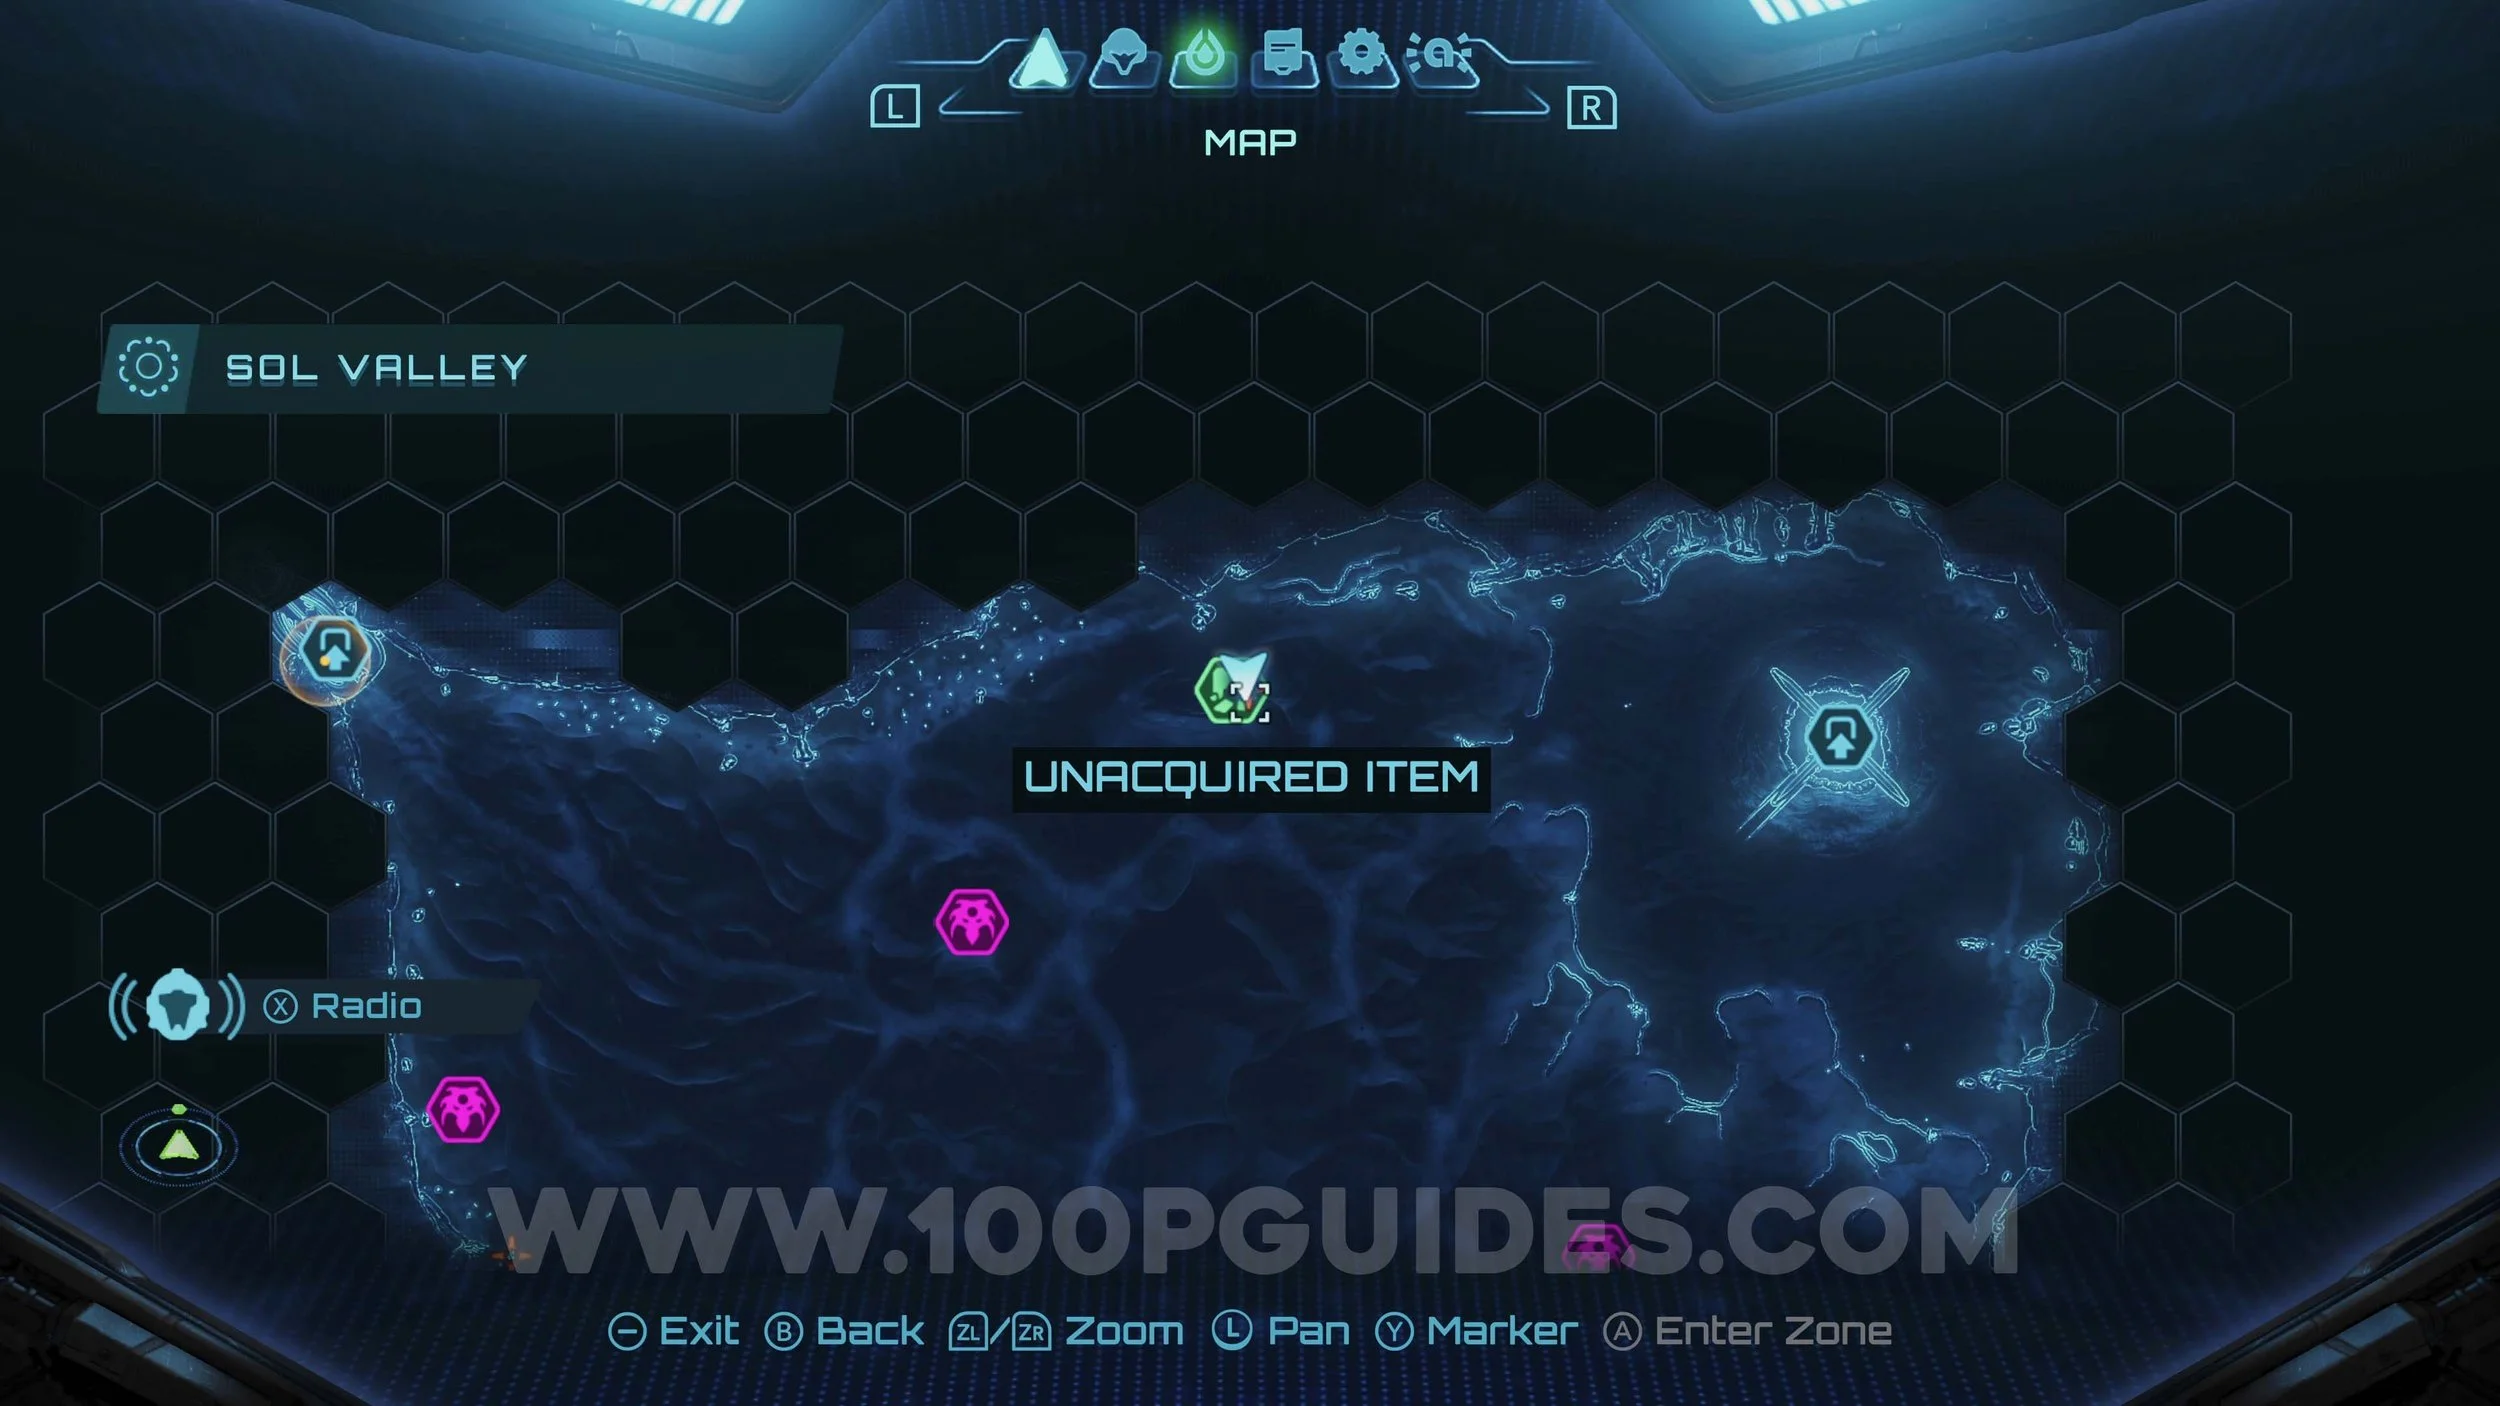
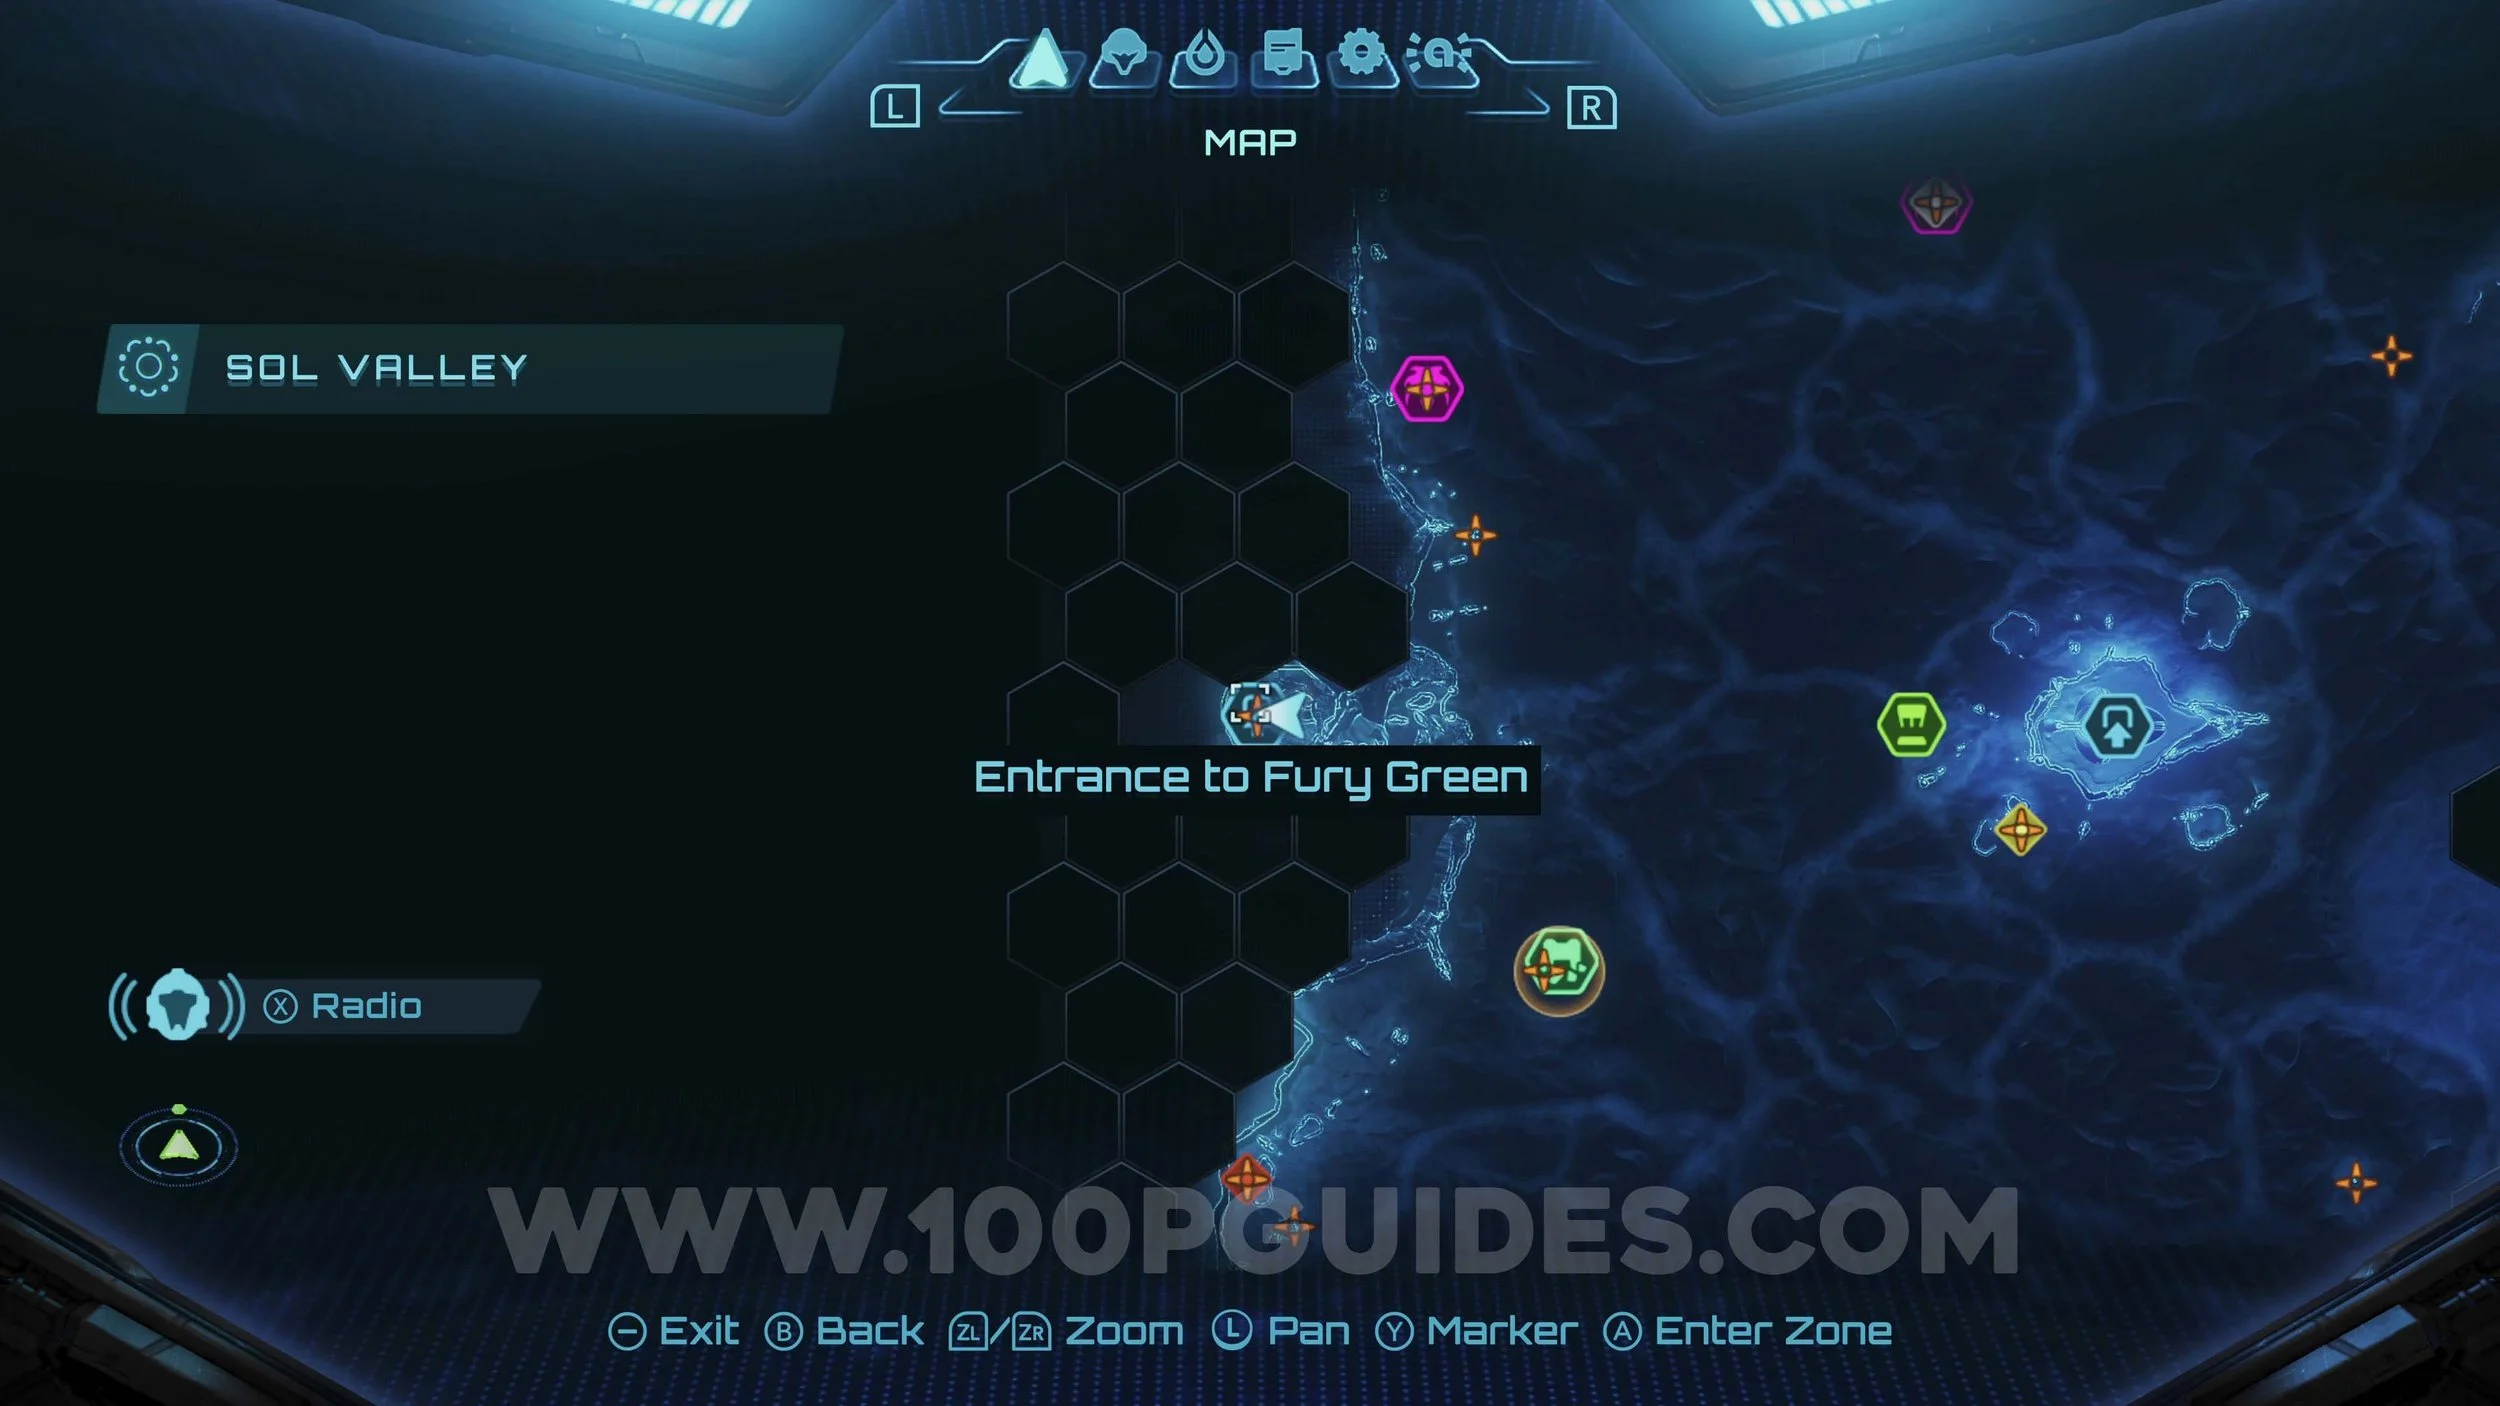
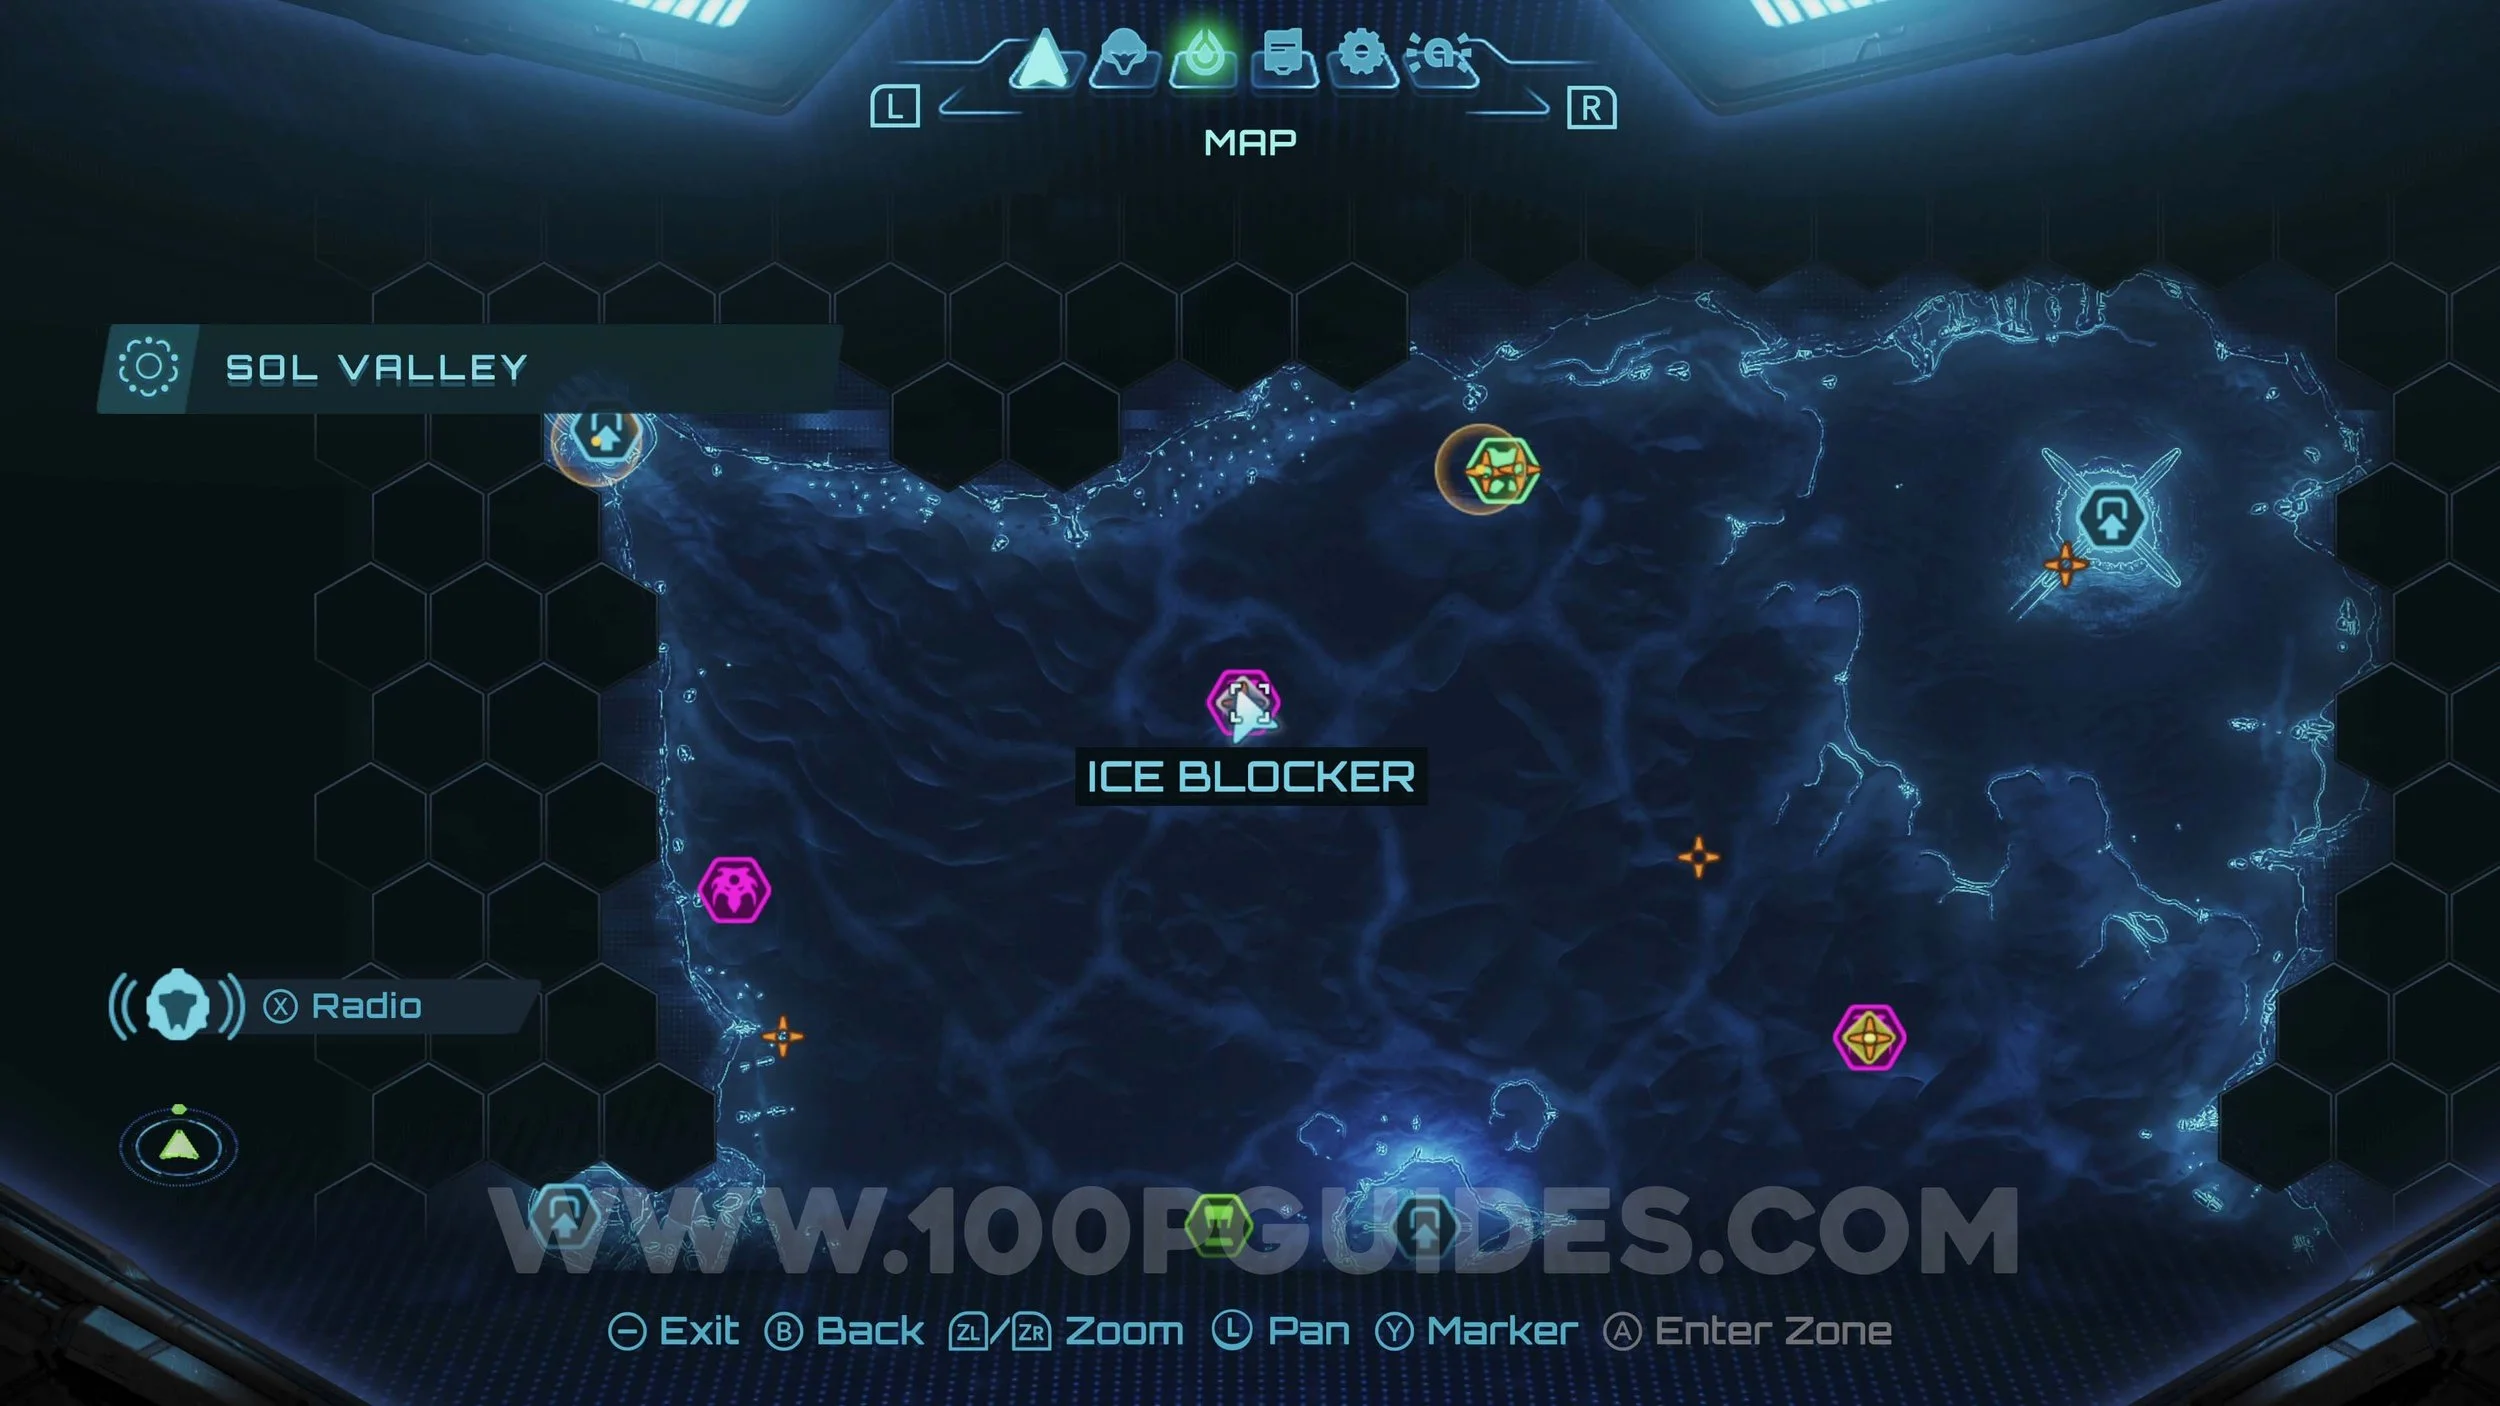
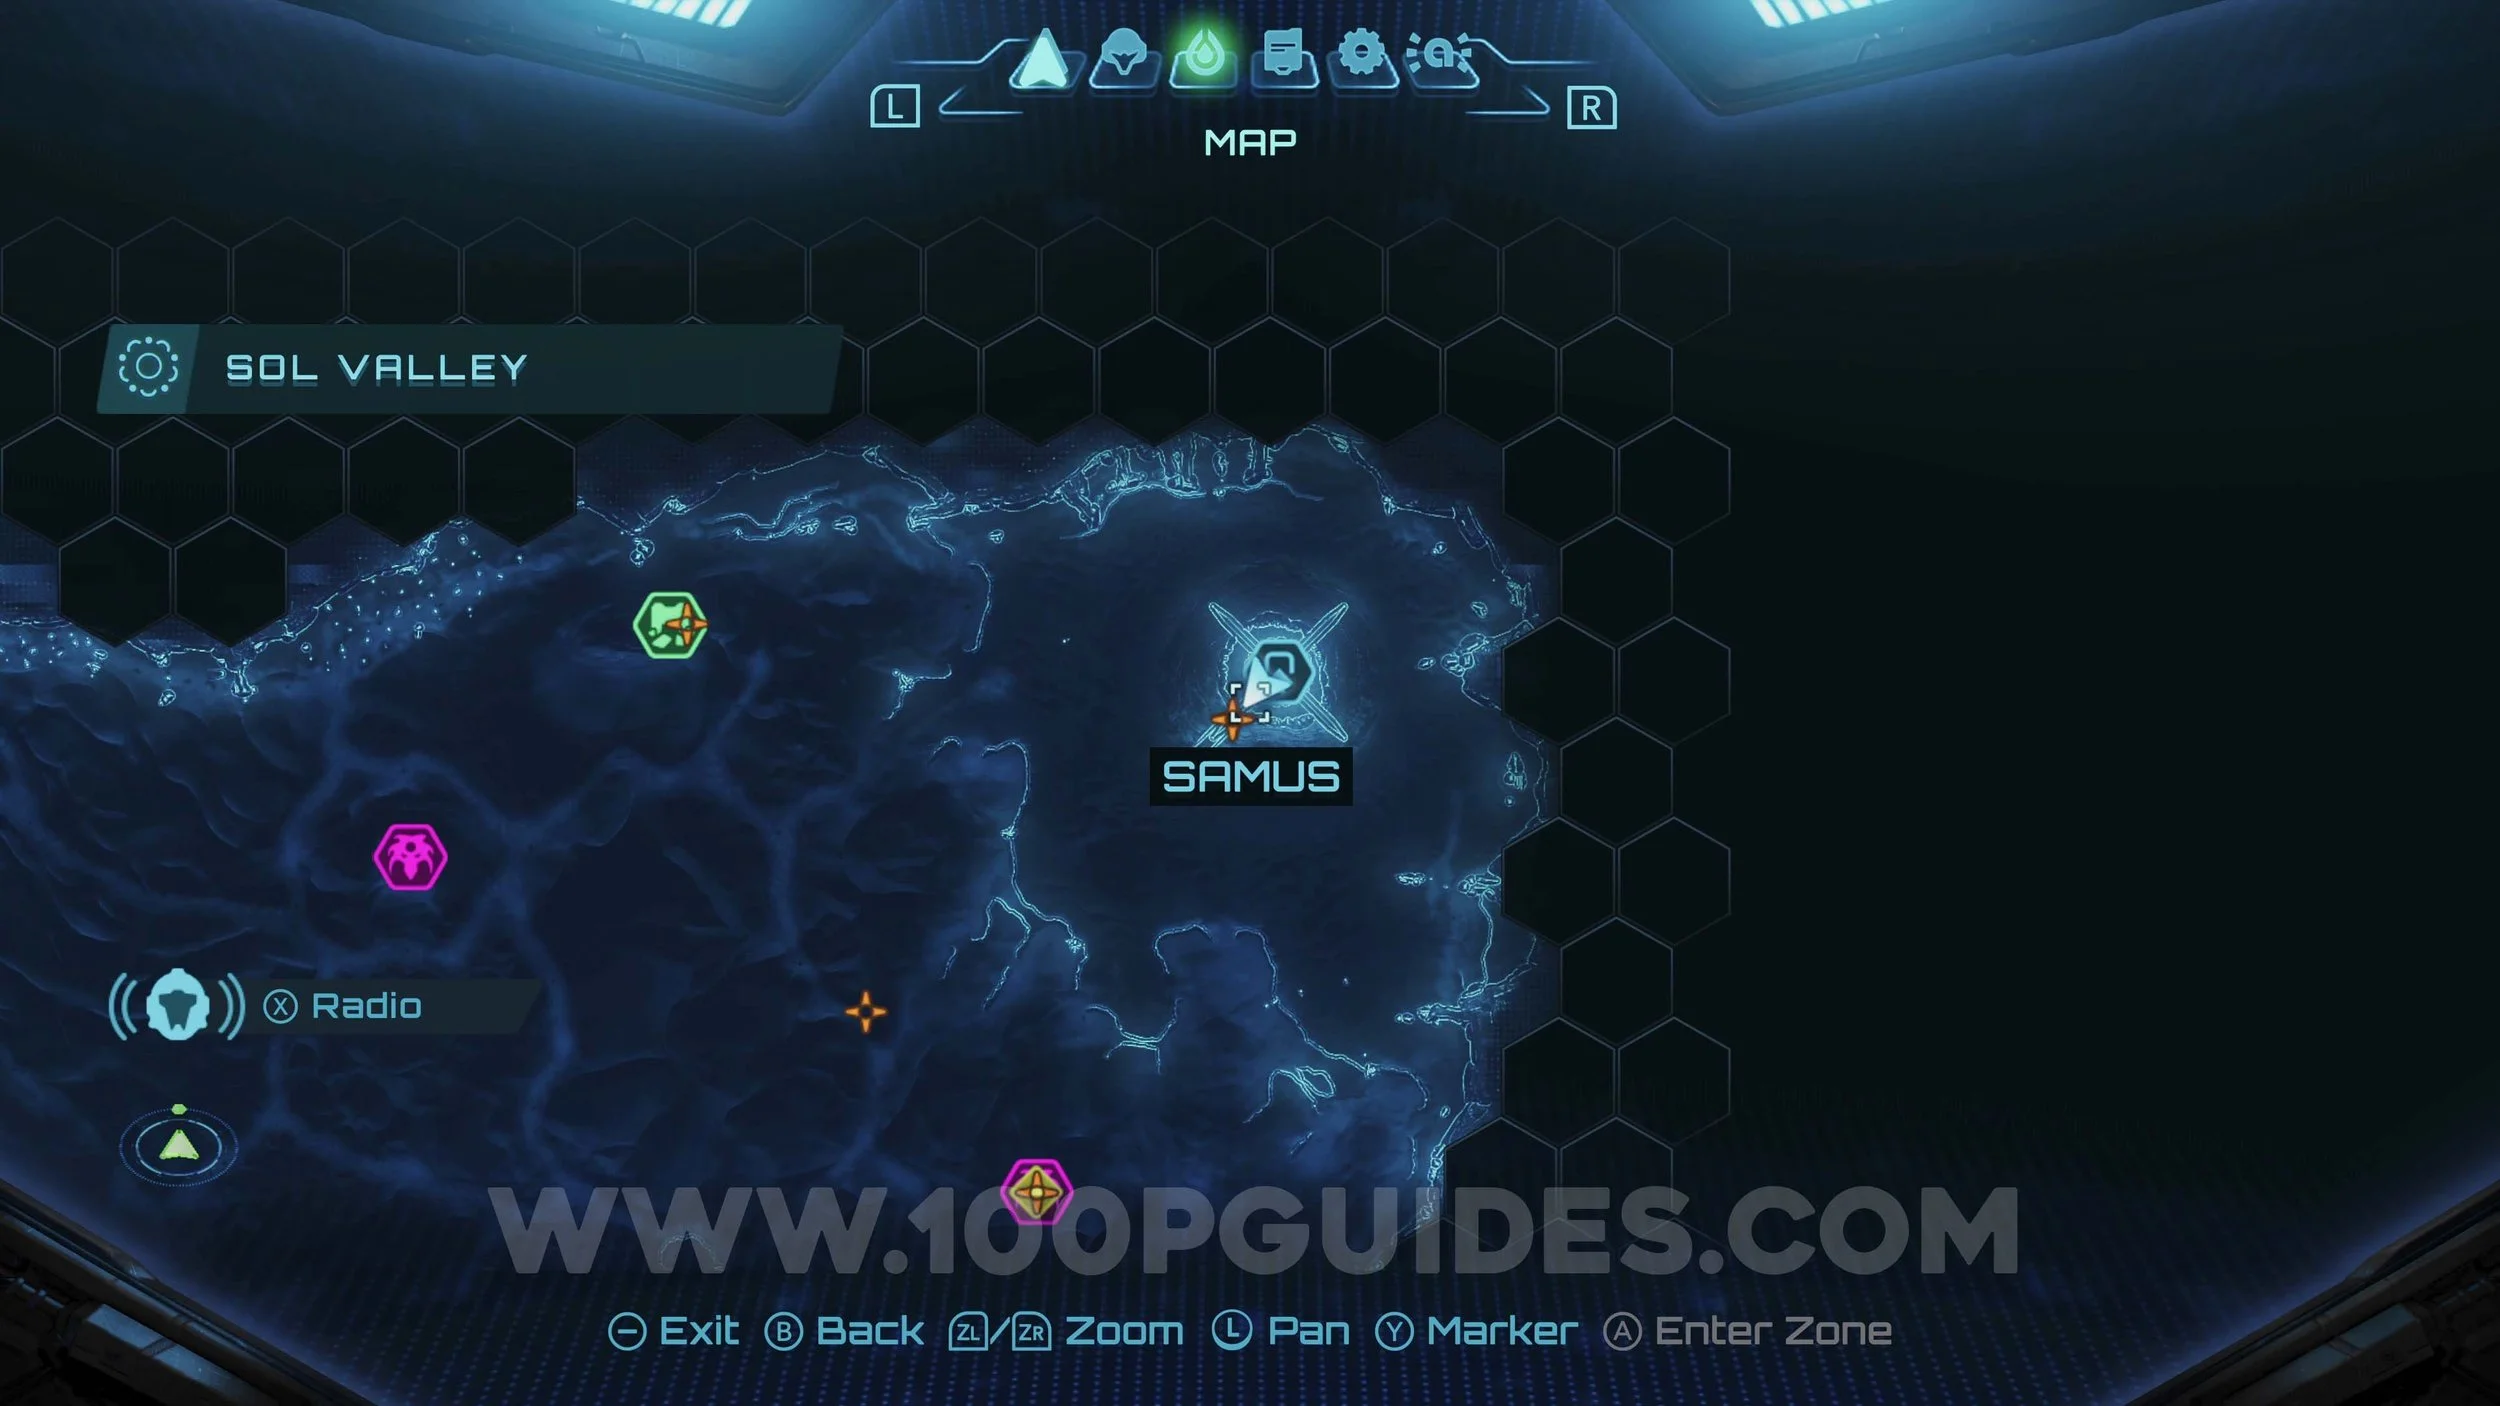
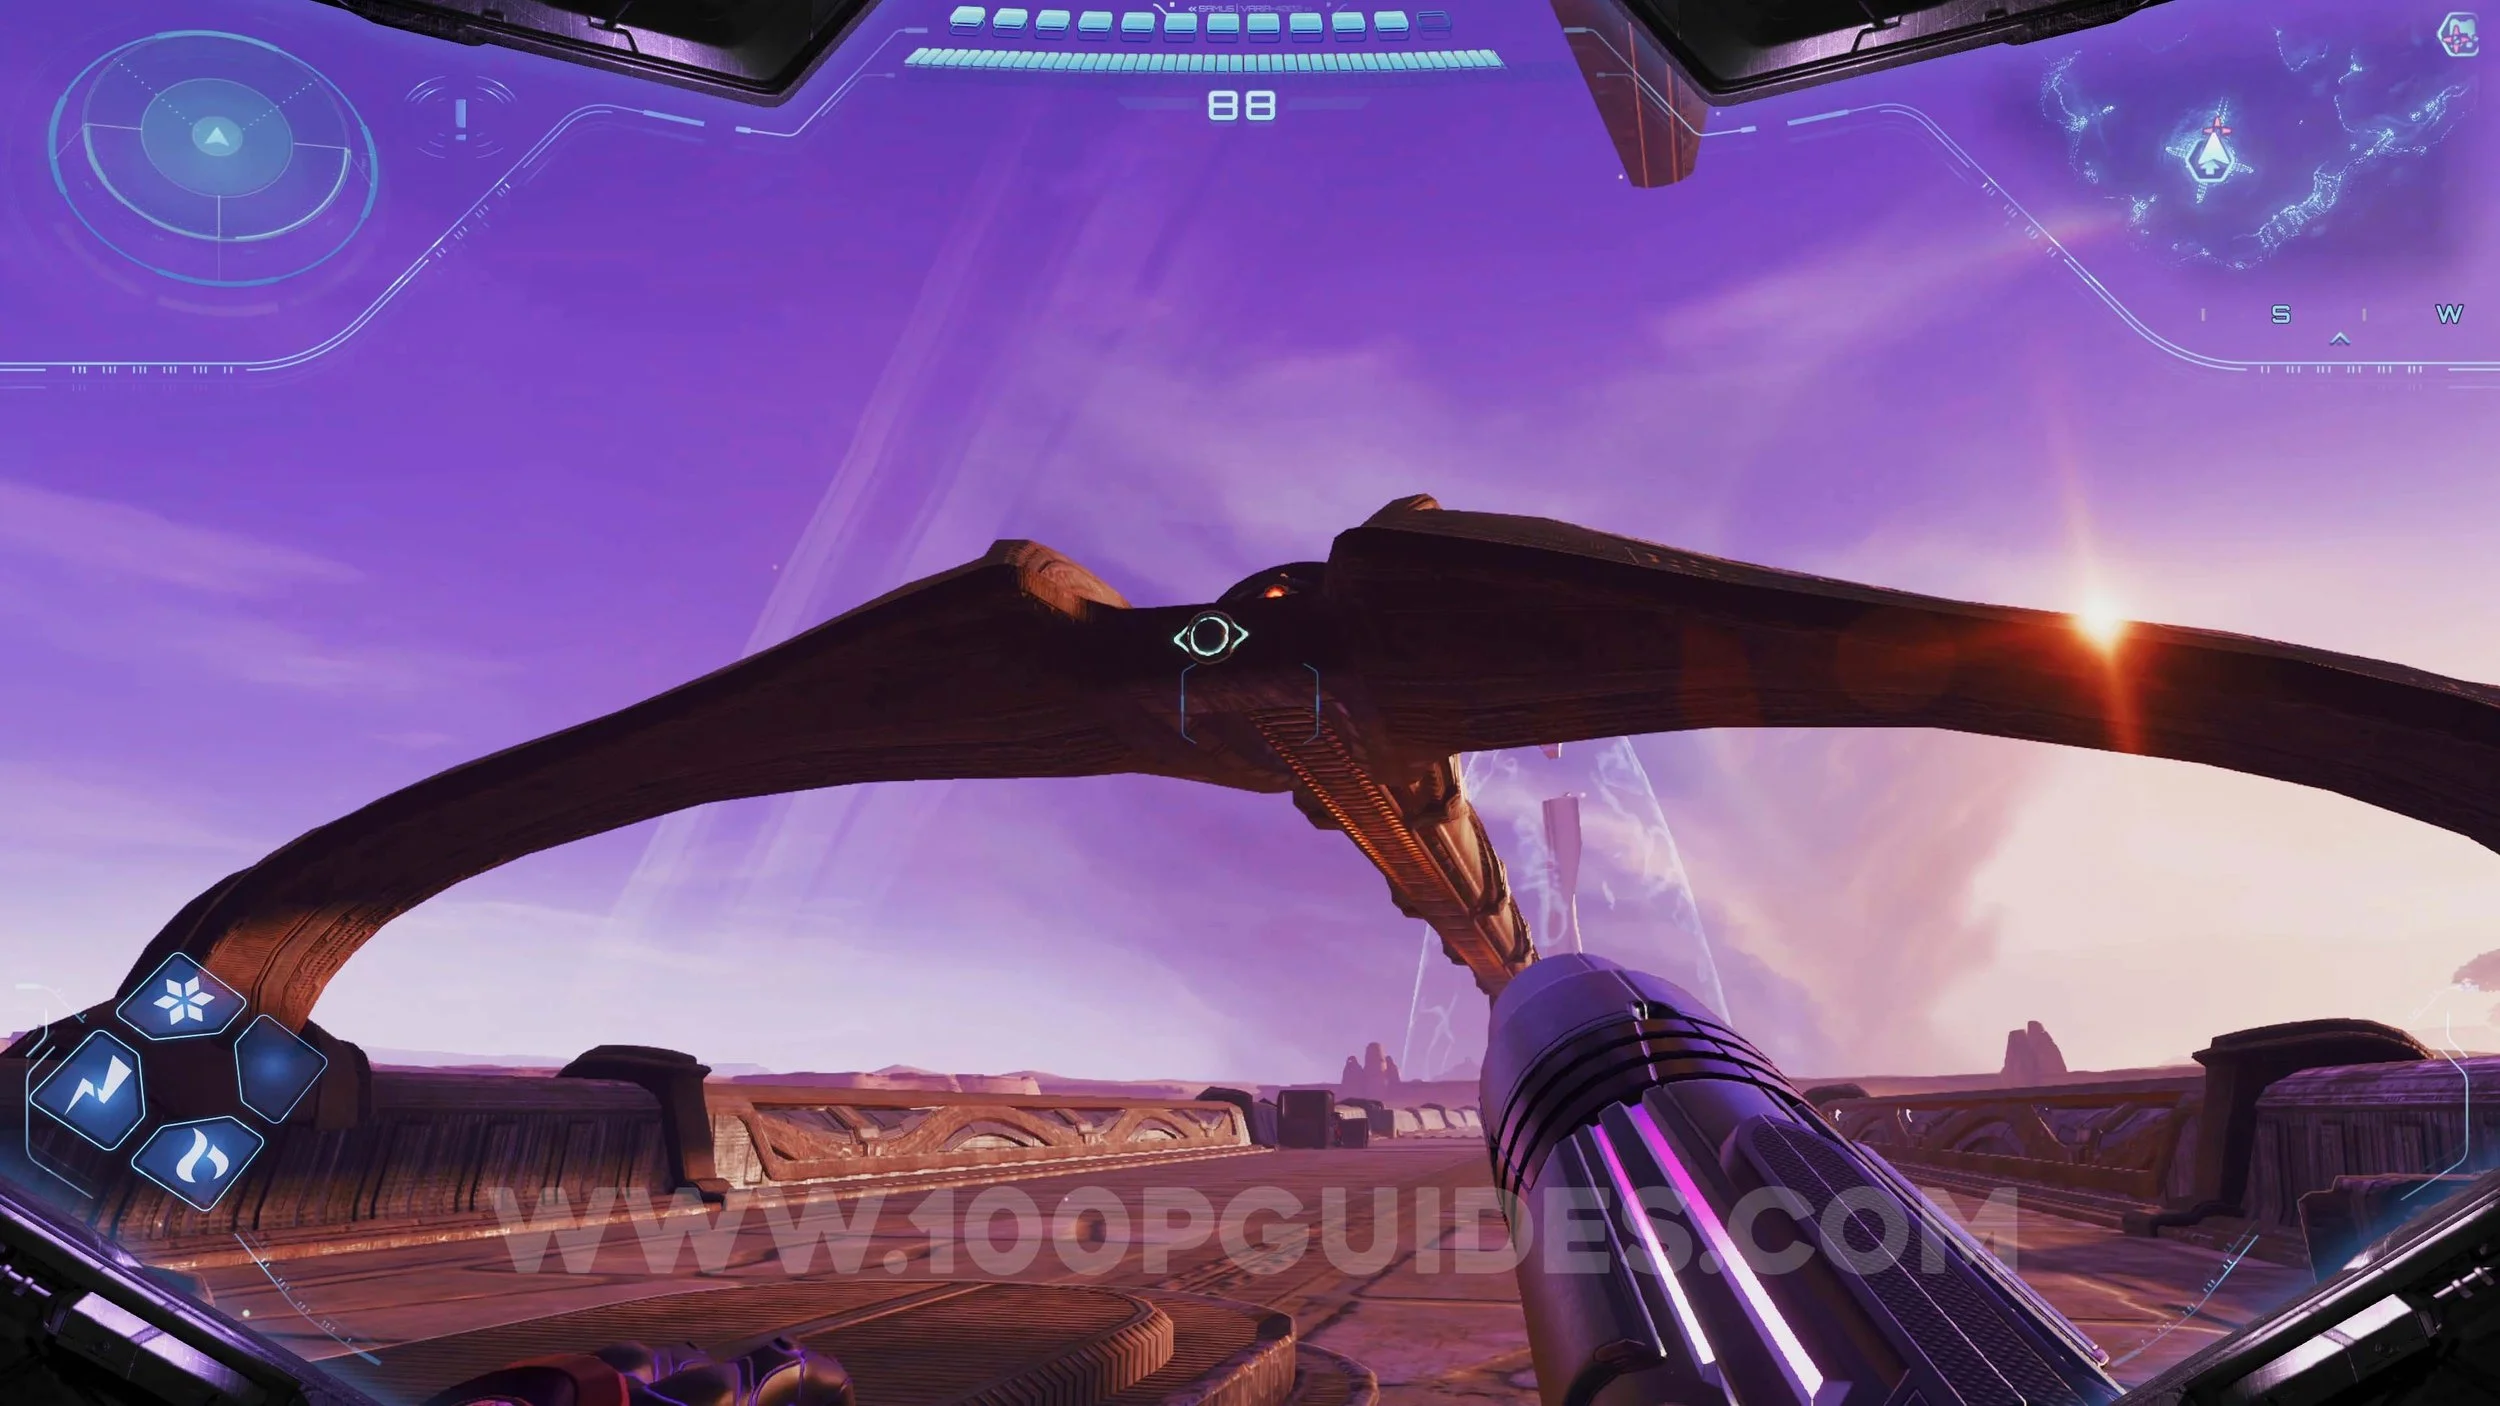
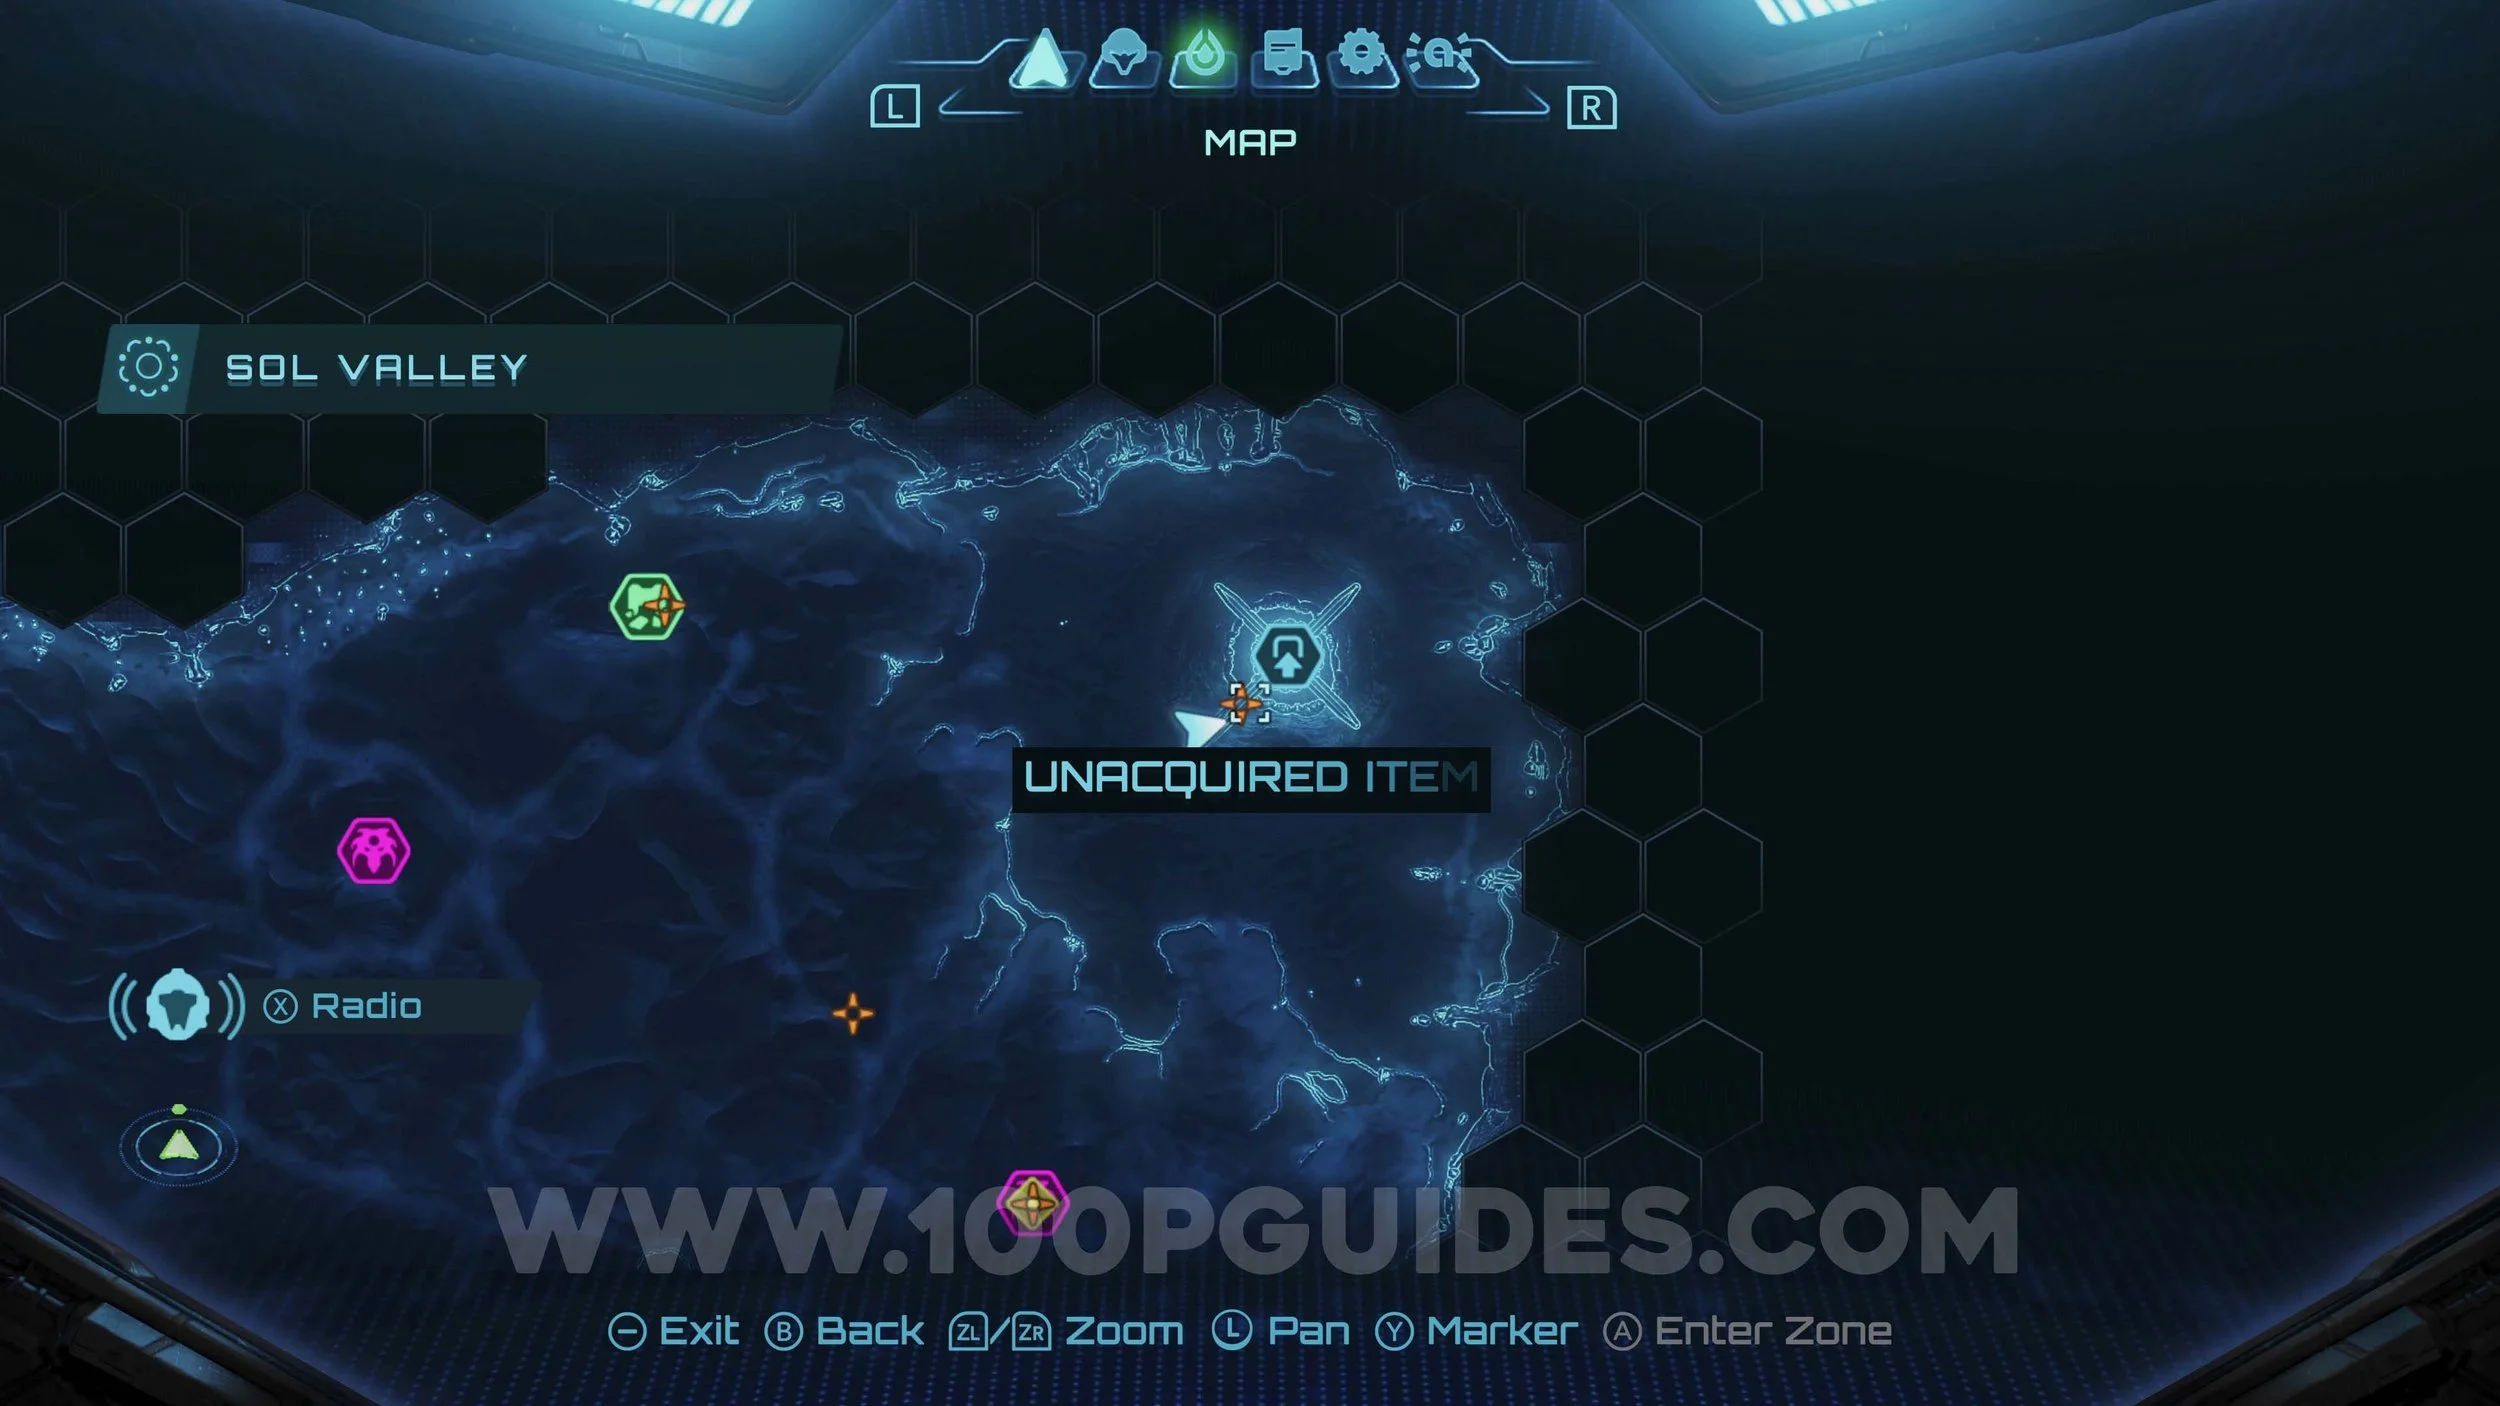
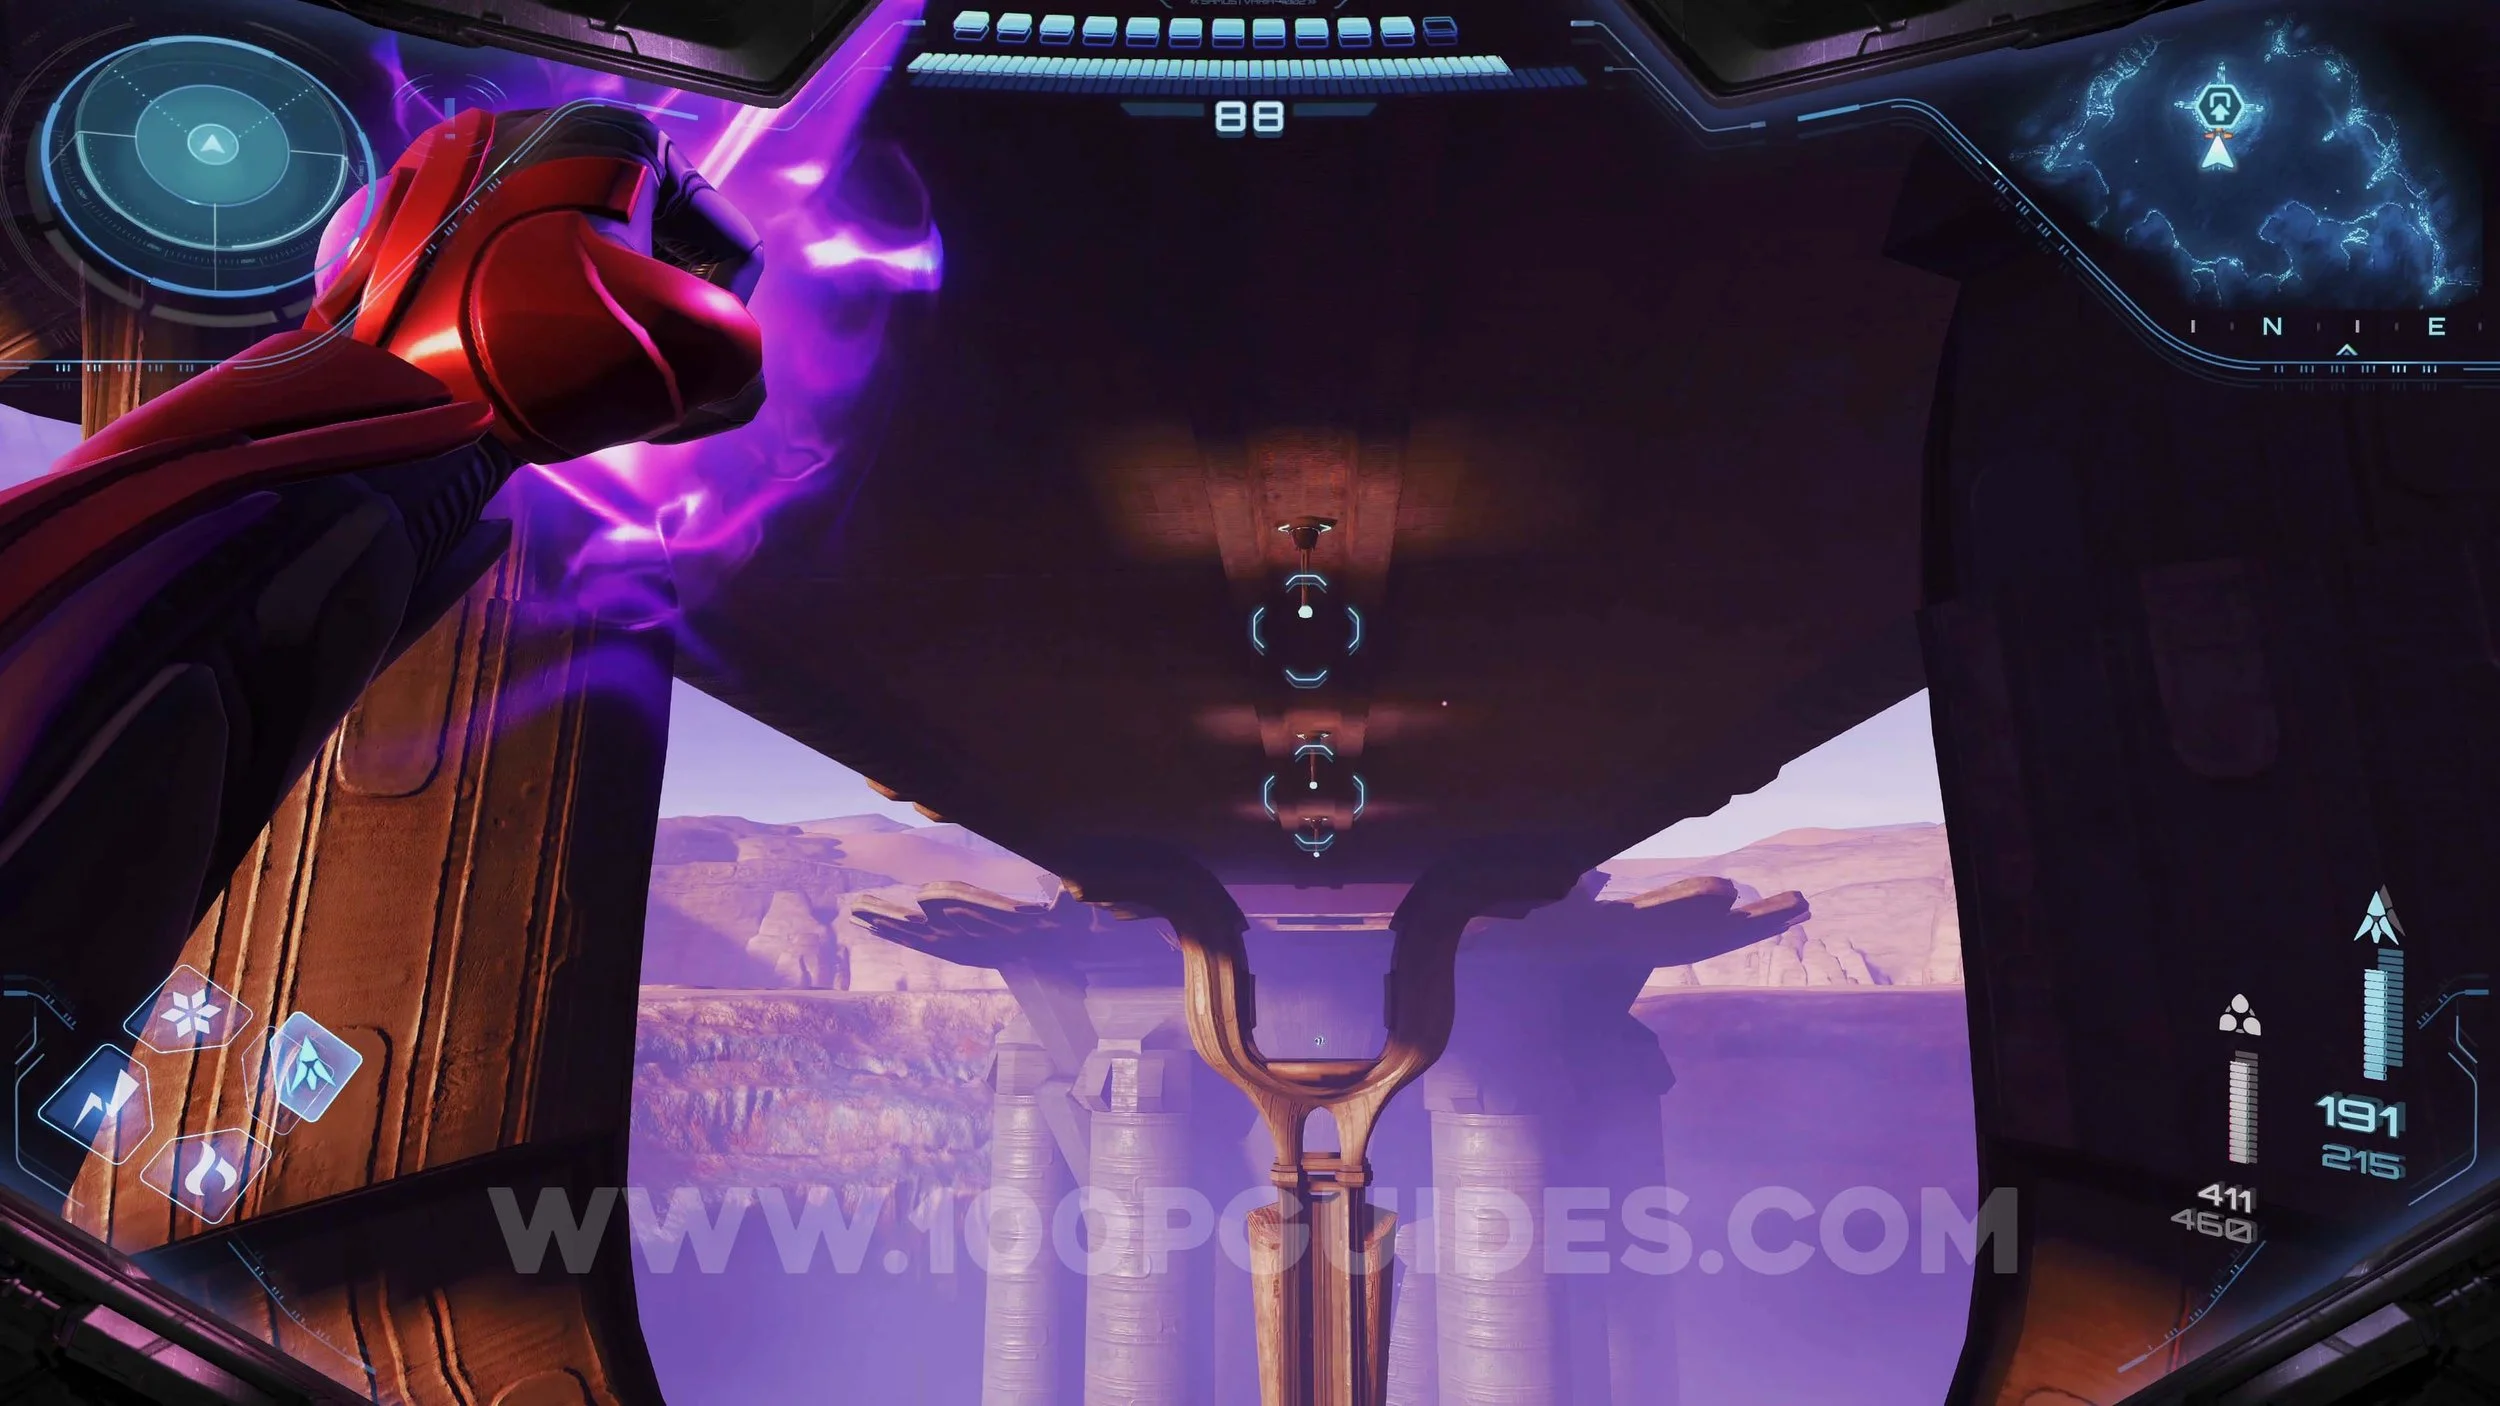
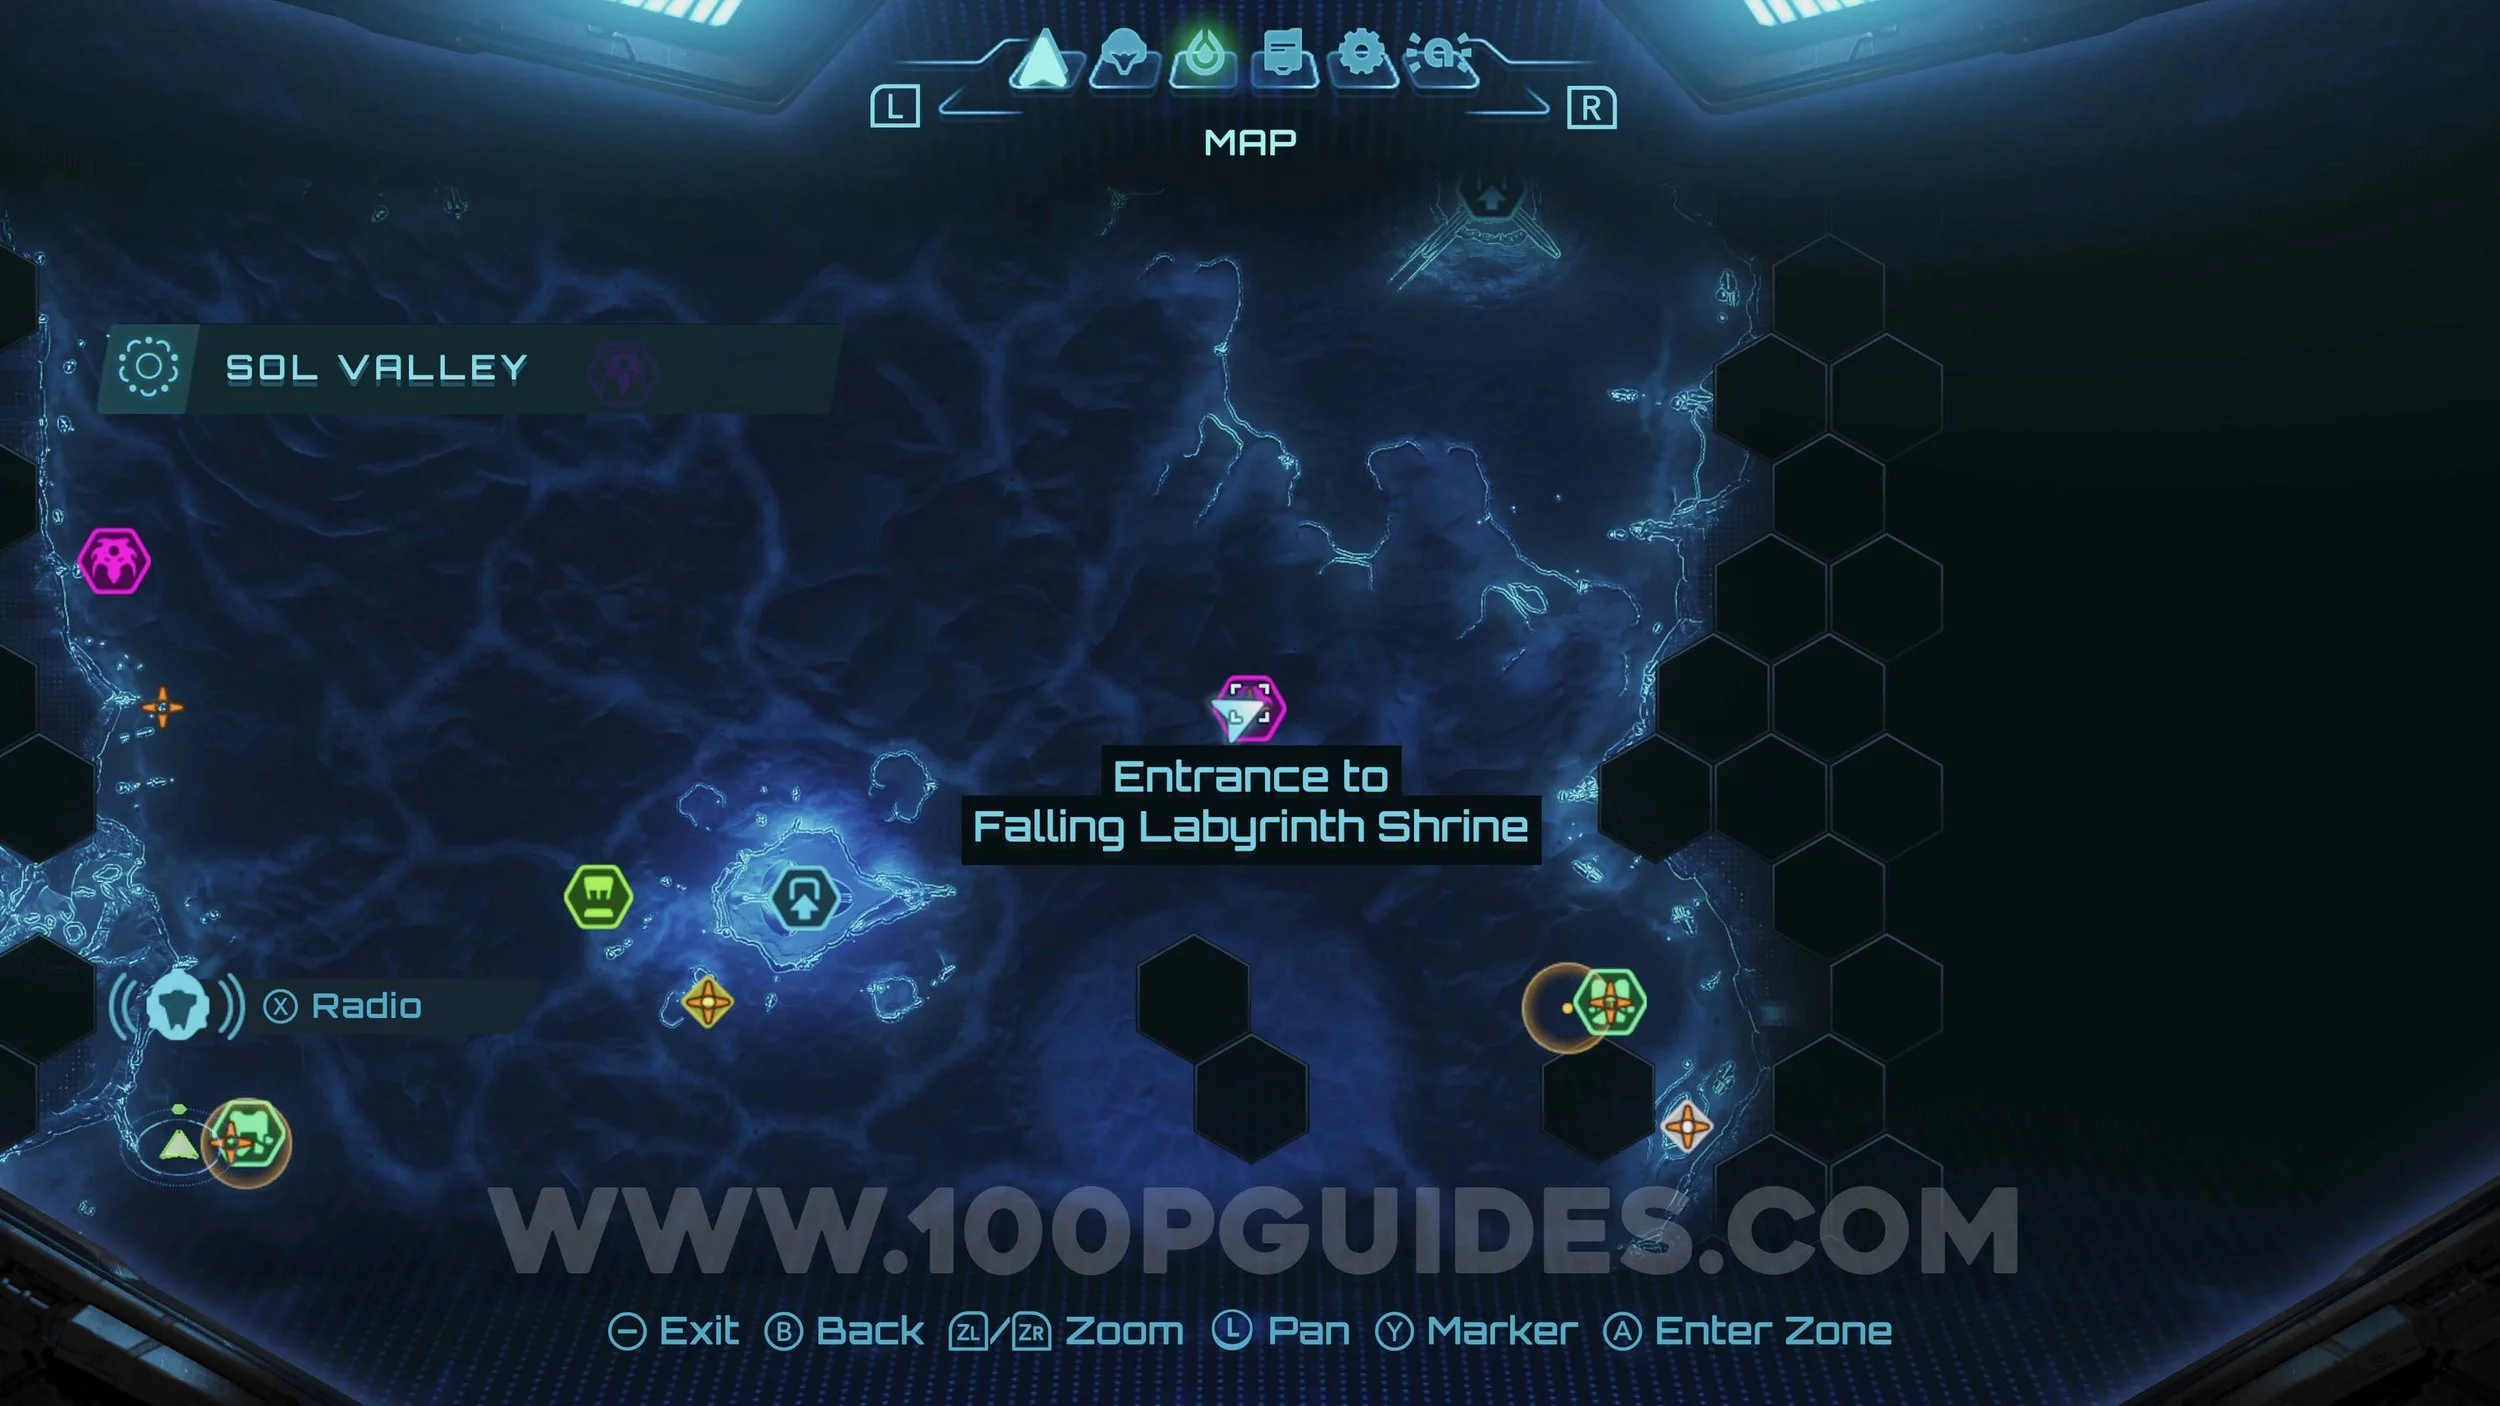
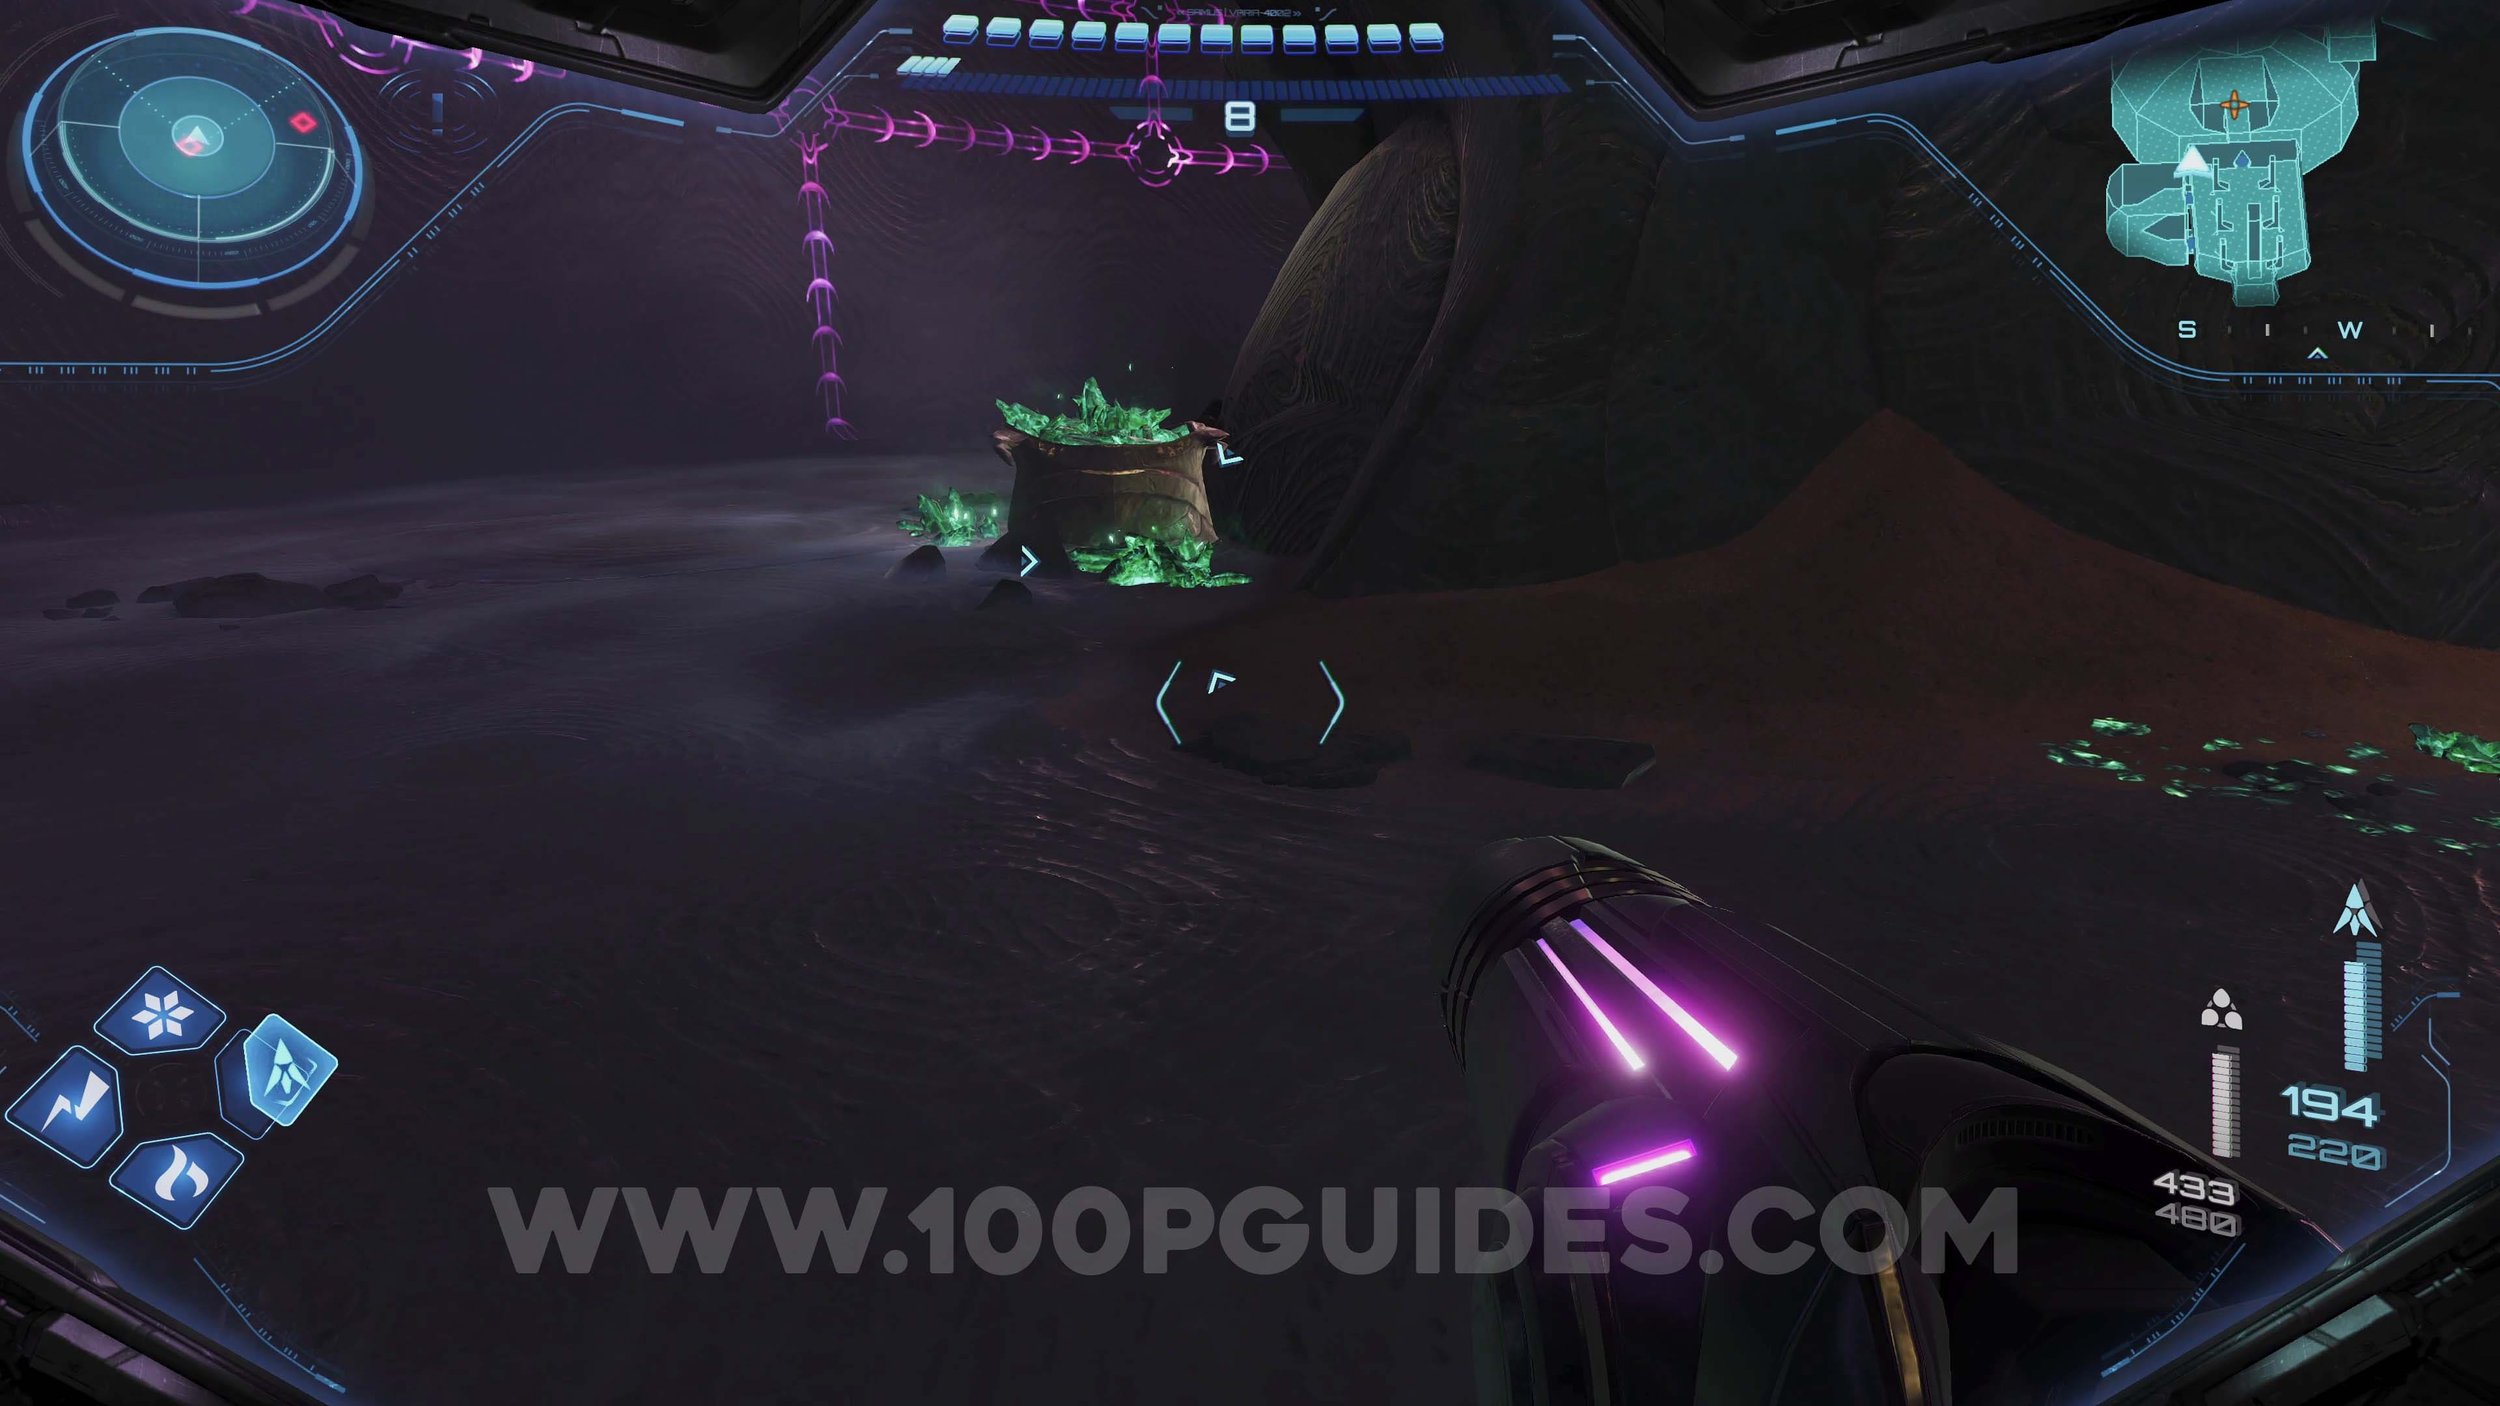
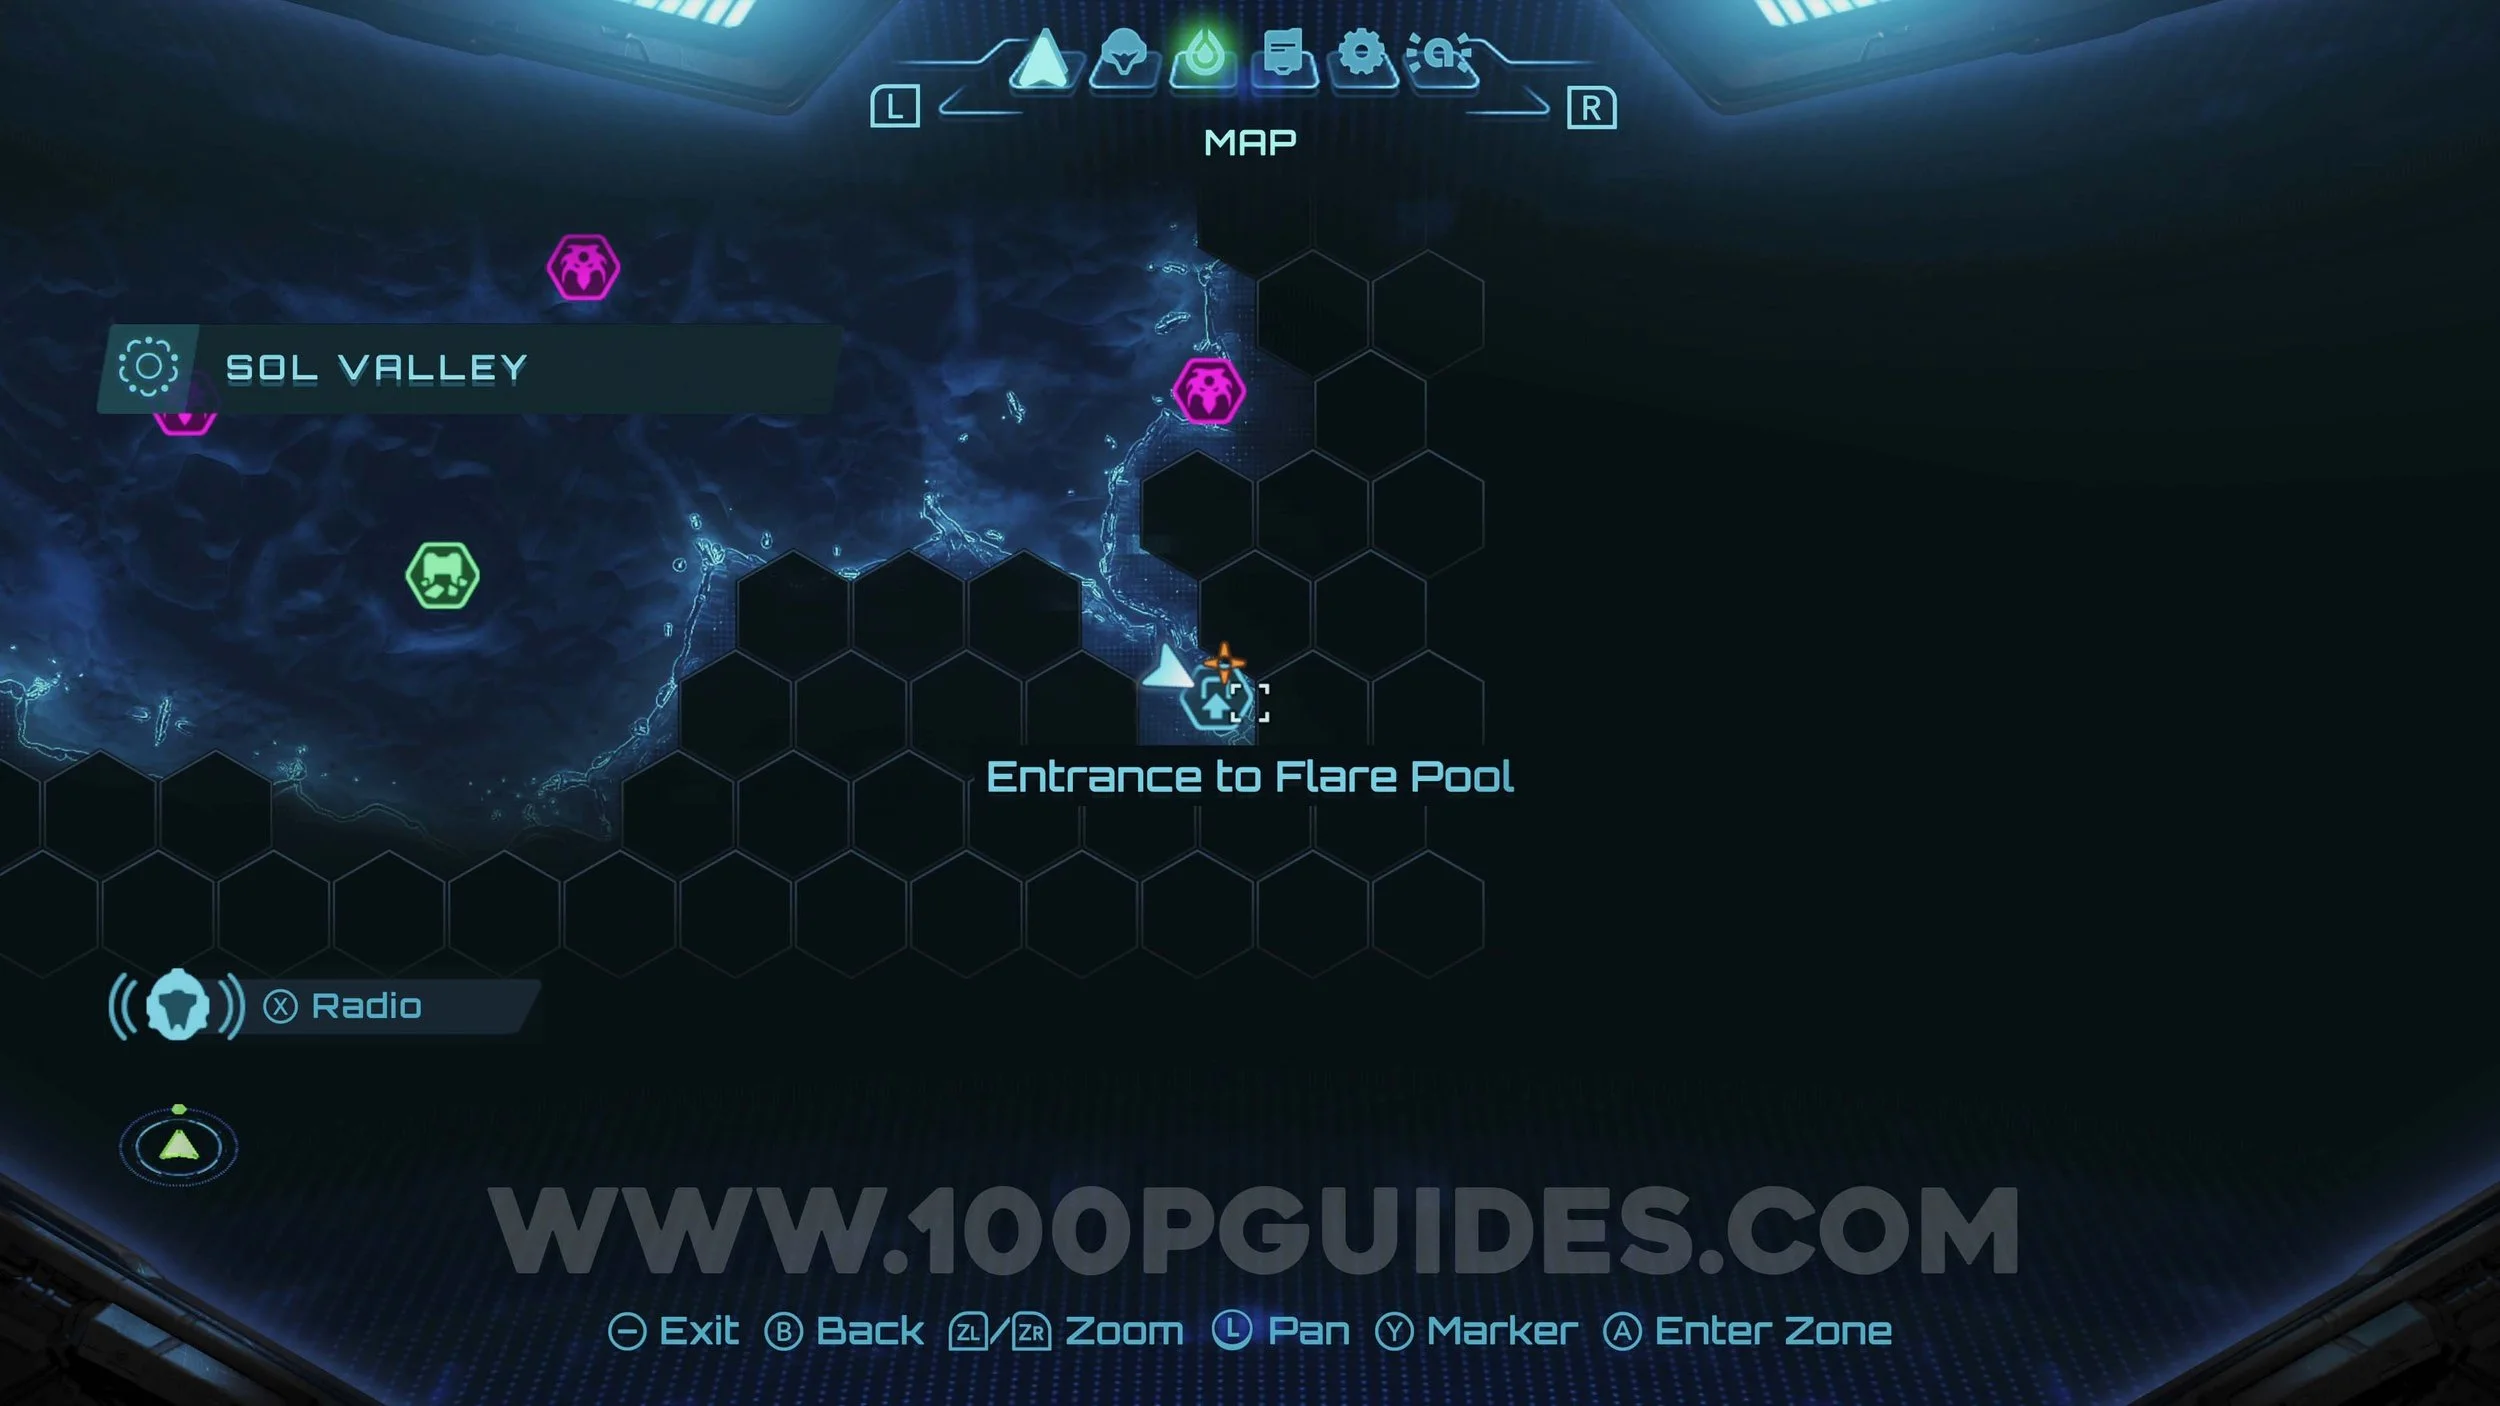
SOL VALLEY
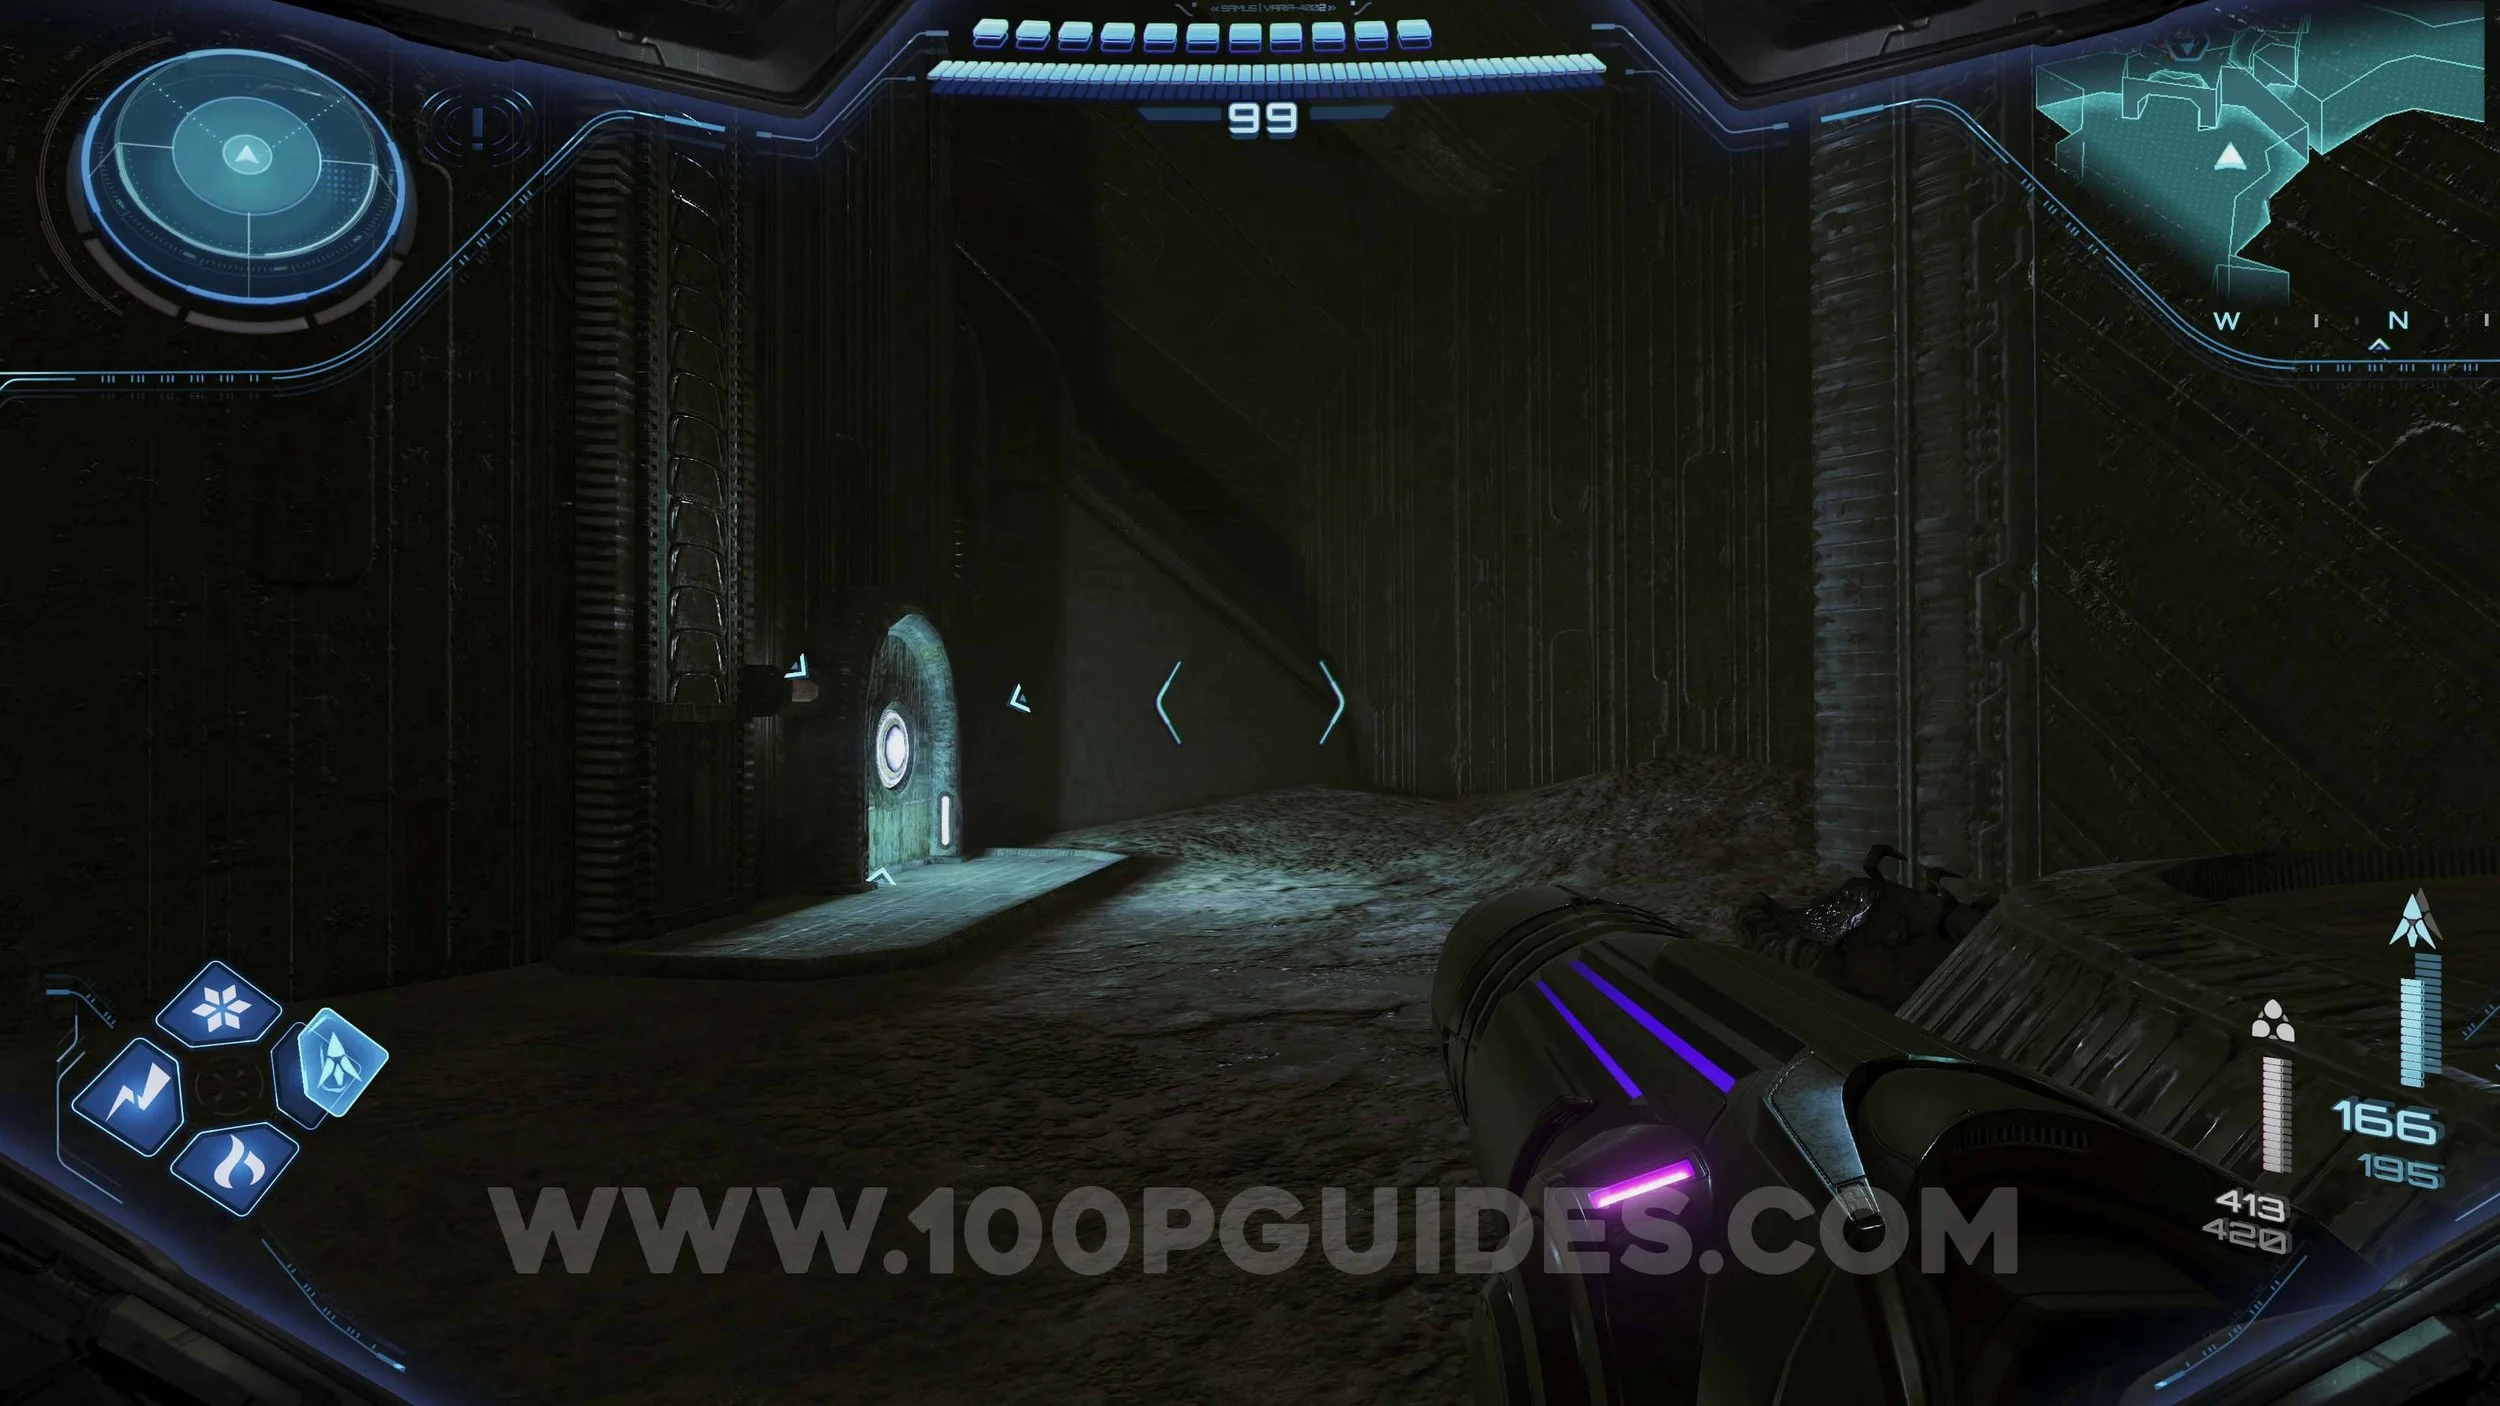
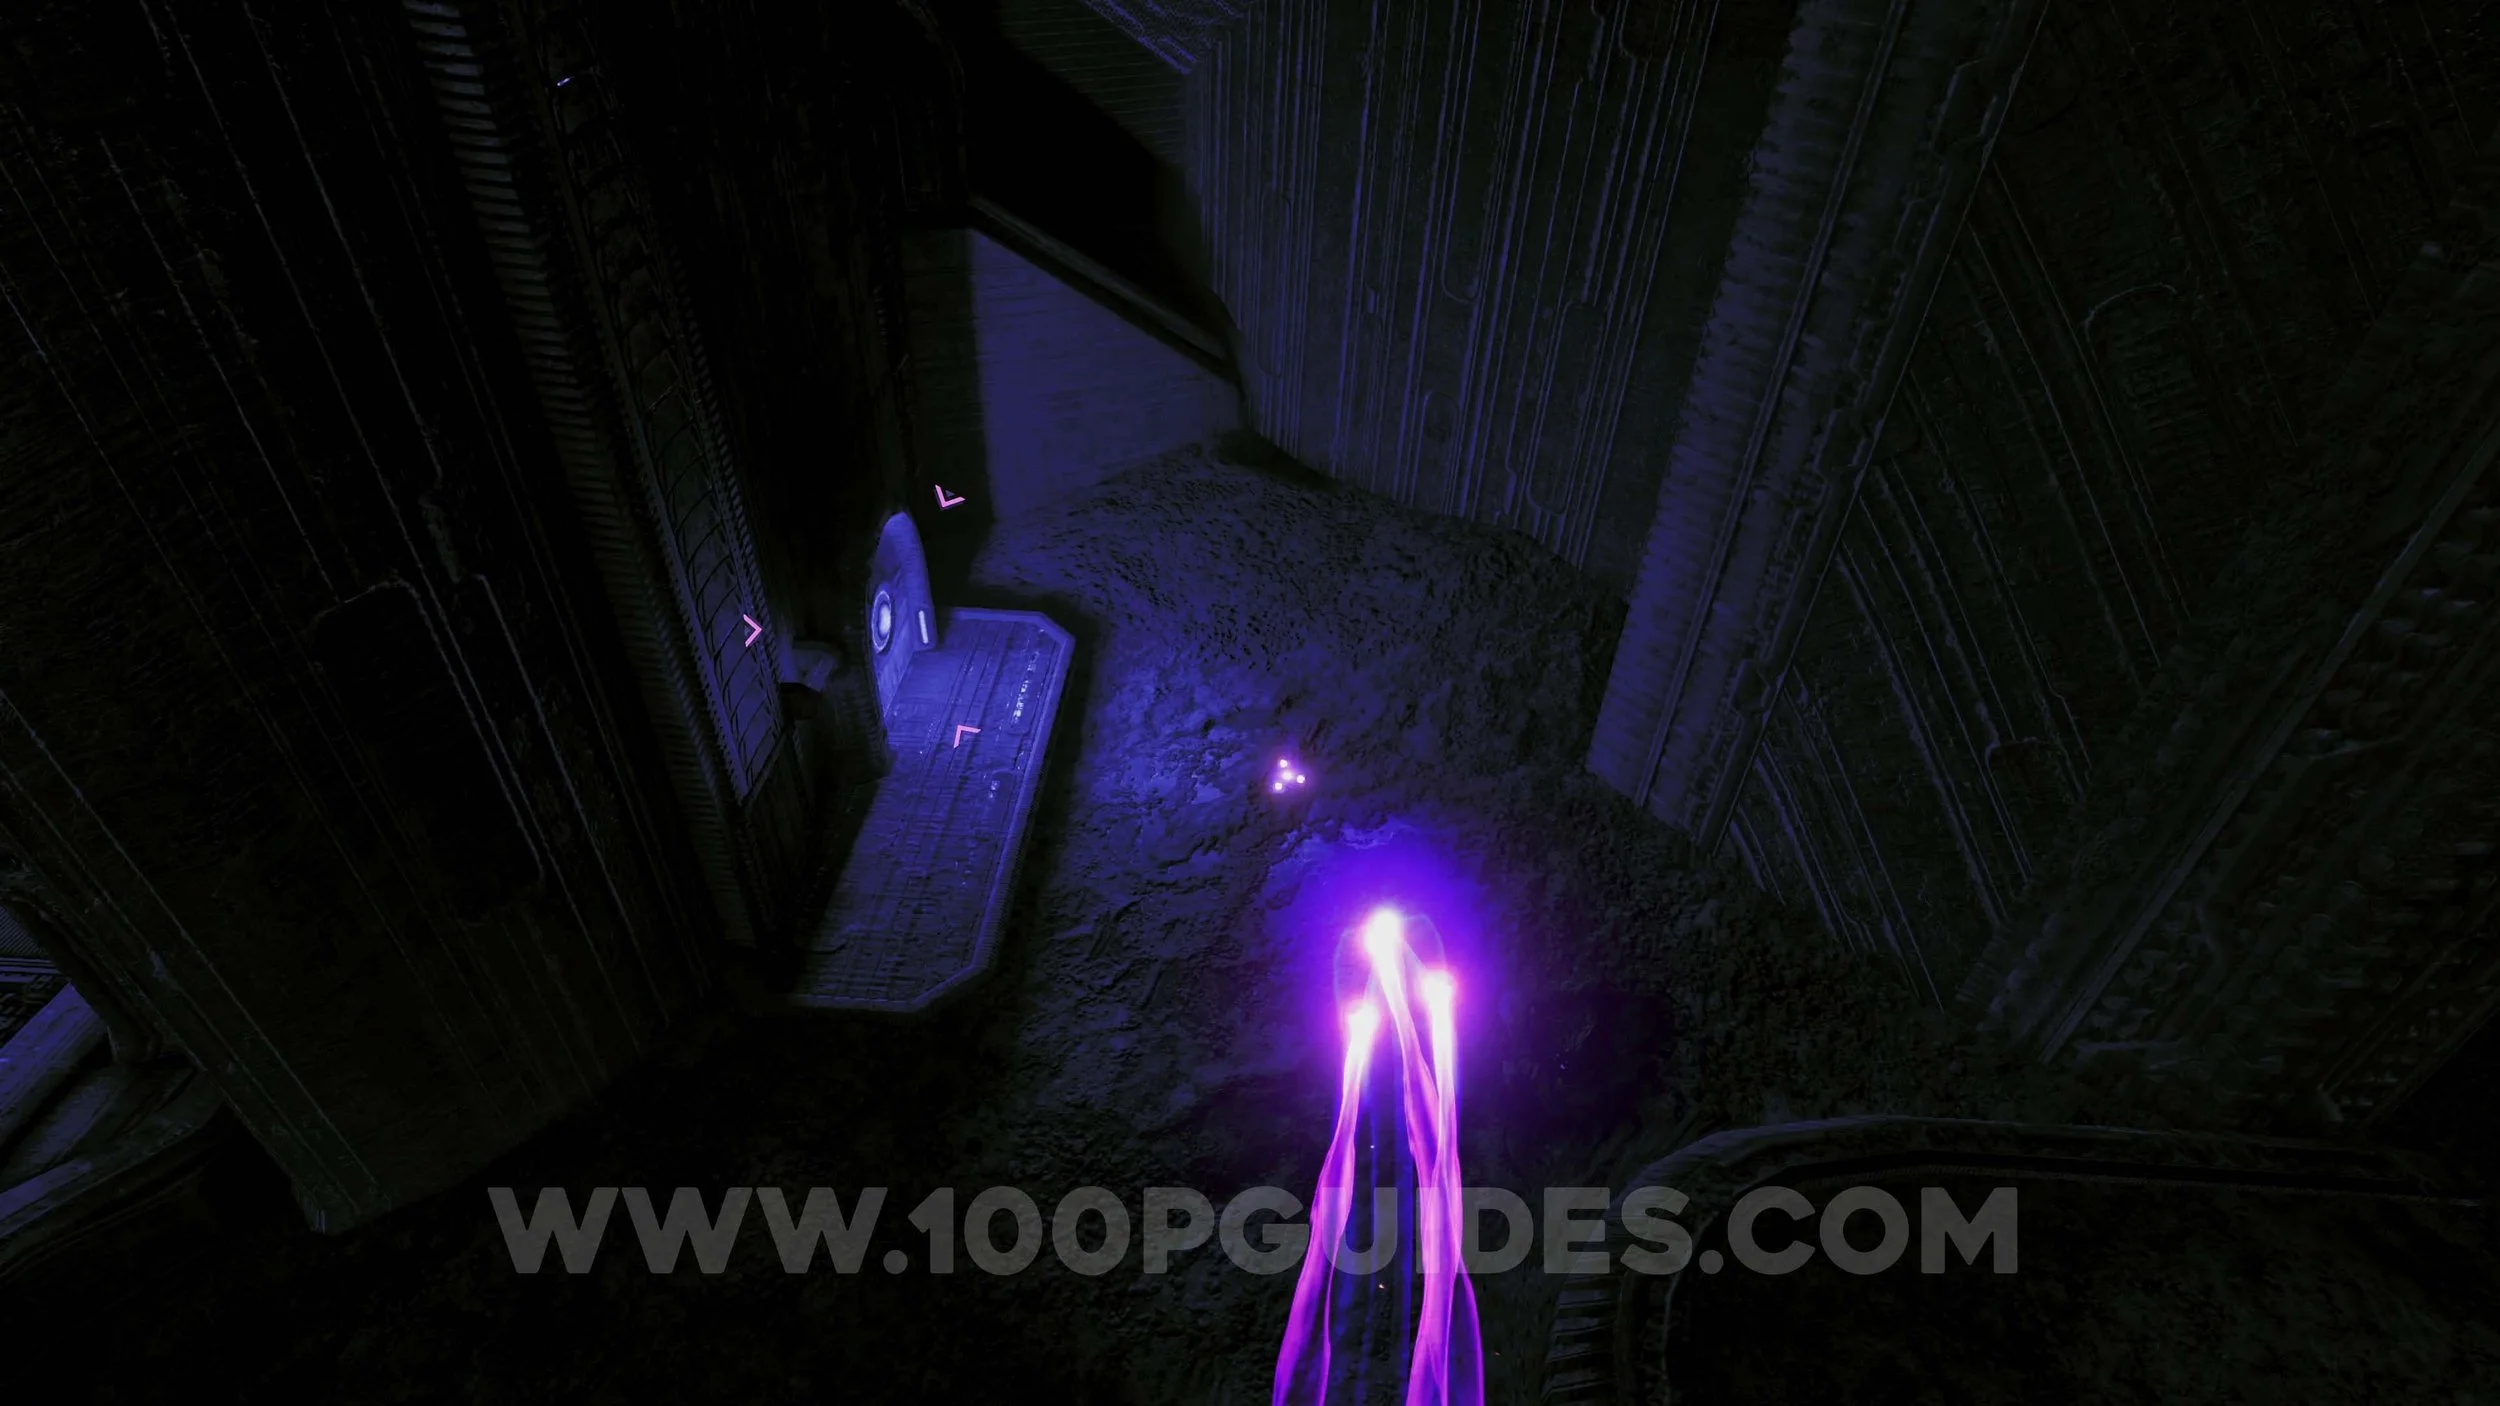
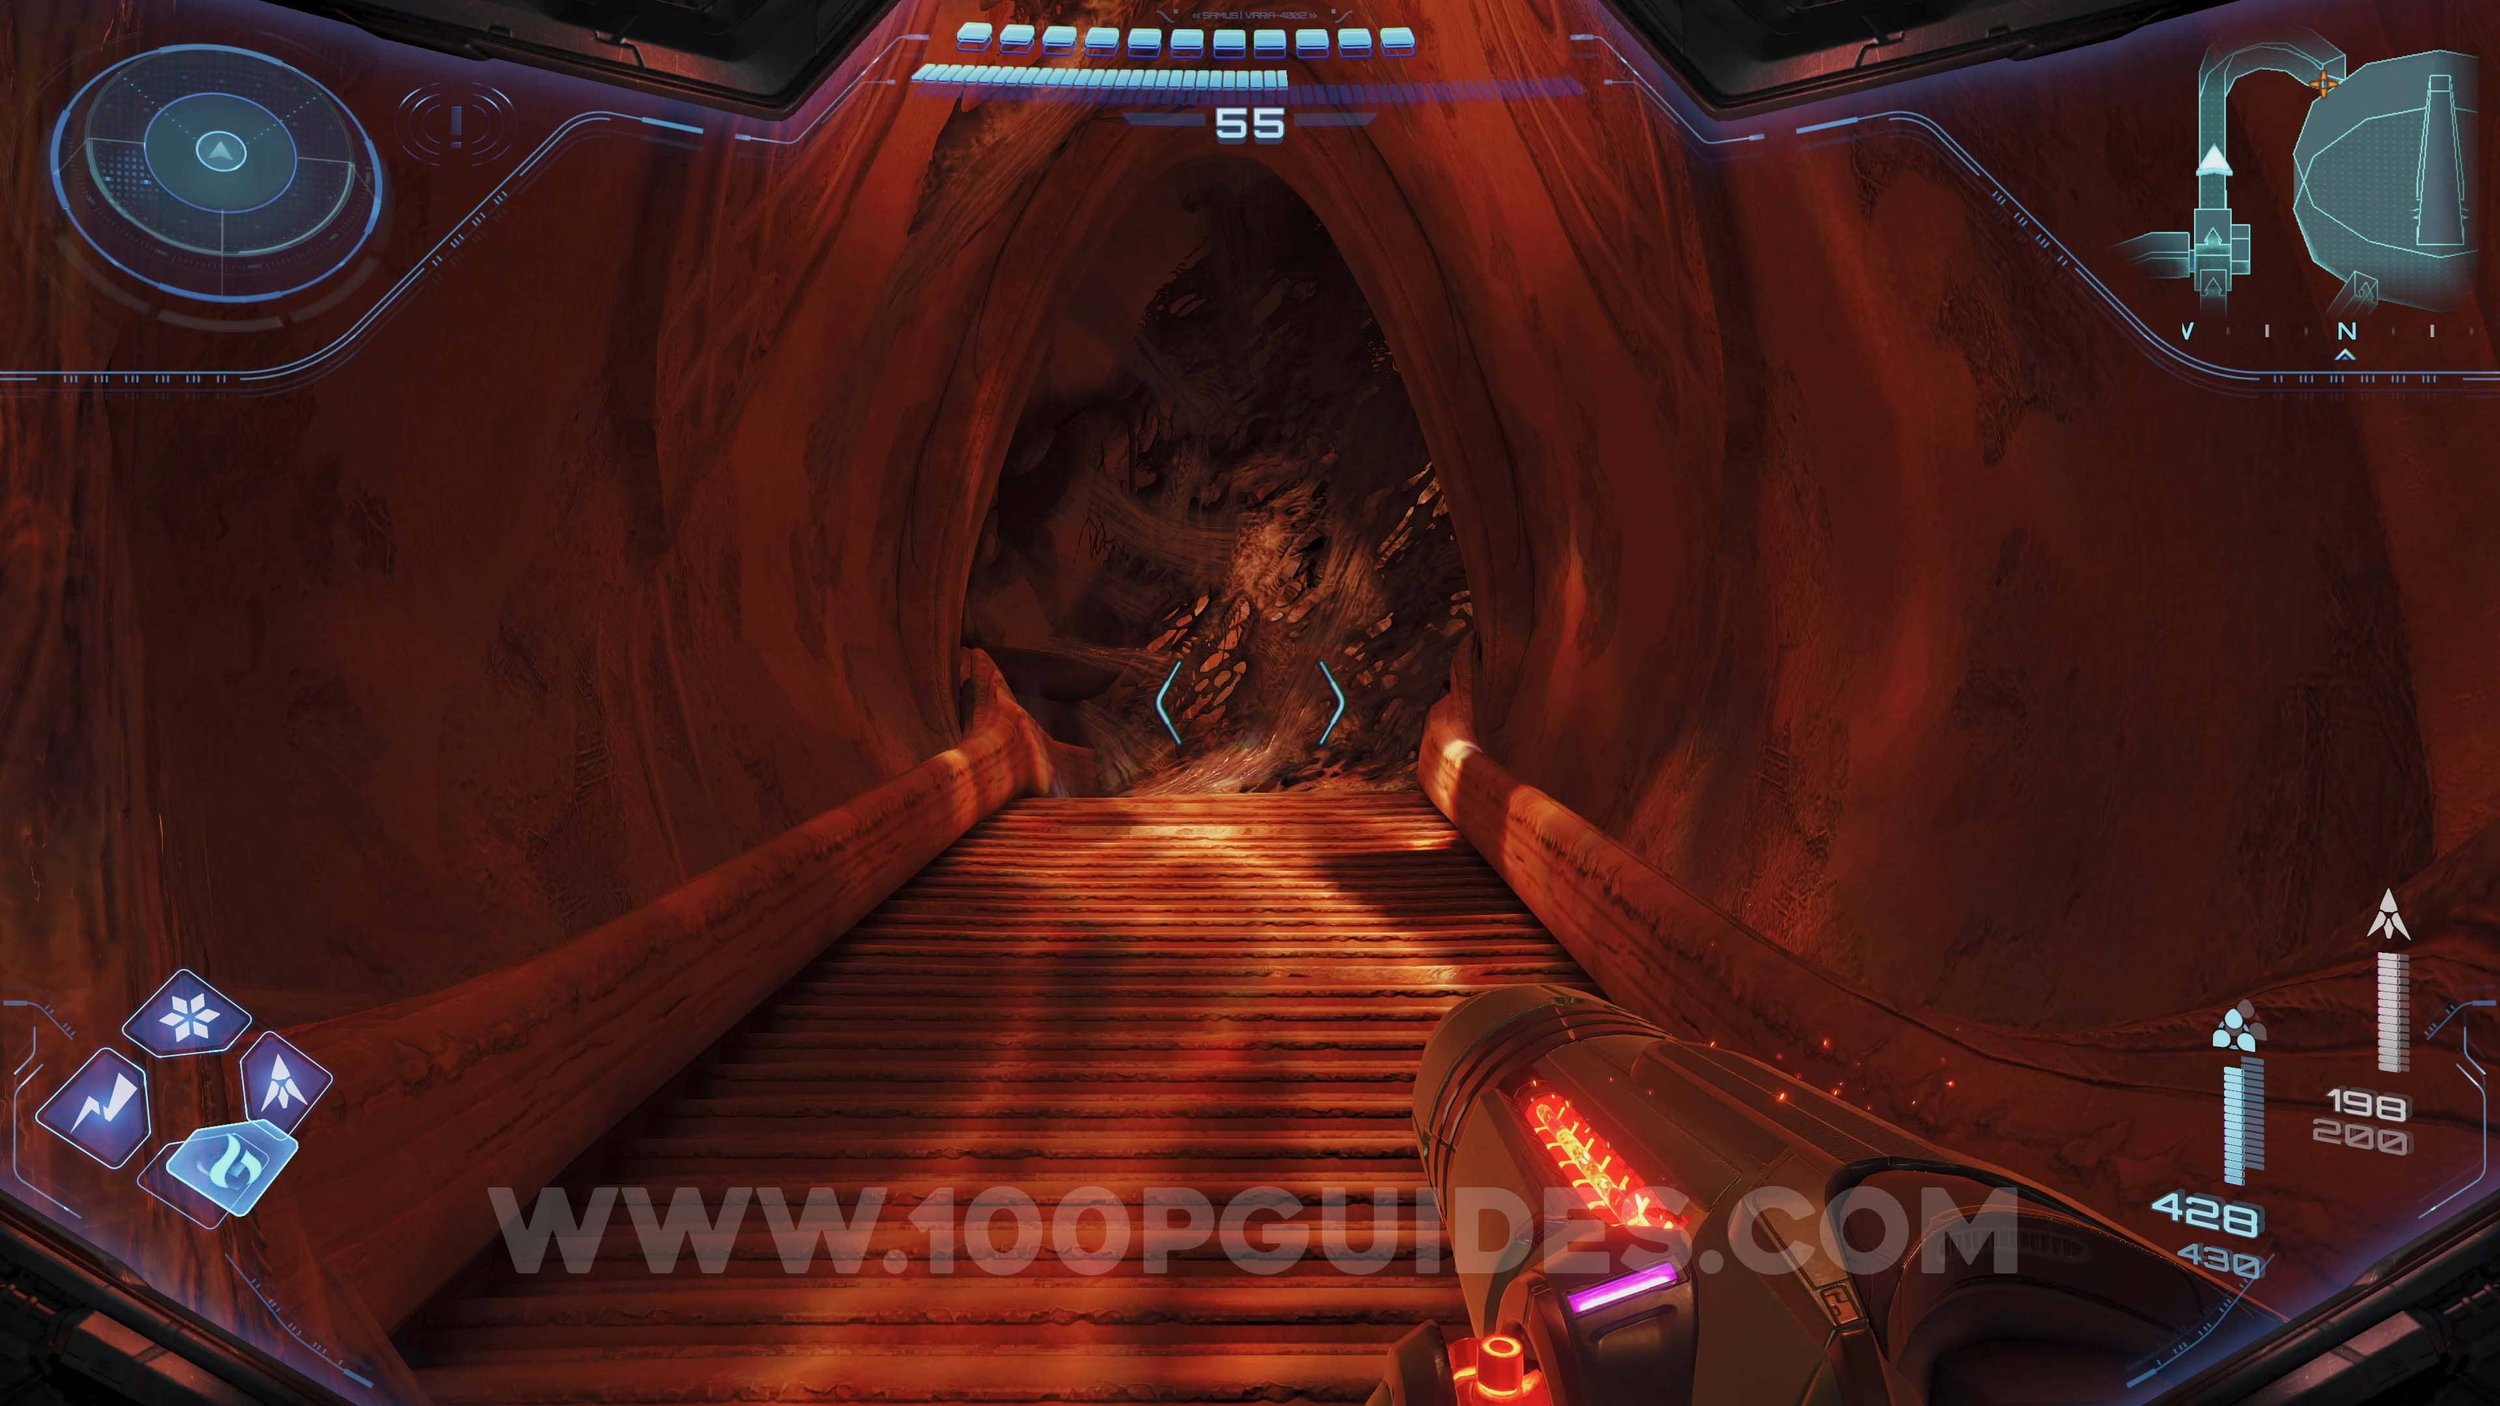
Shot Expansion #37. In the Entrance to Fury Green. Go through the door on the far left and go through the tunnel to the other side. Here, burn the webs with a fire shot to find the upgrade.
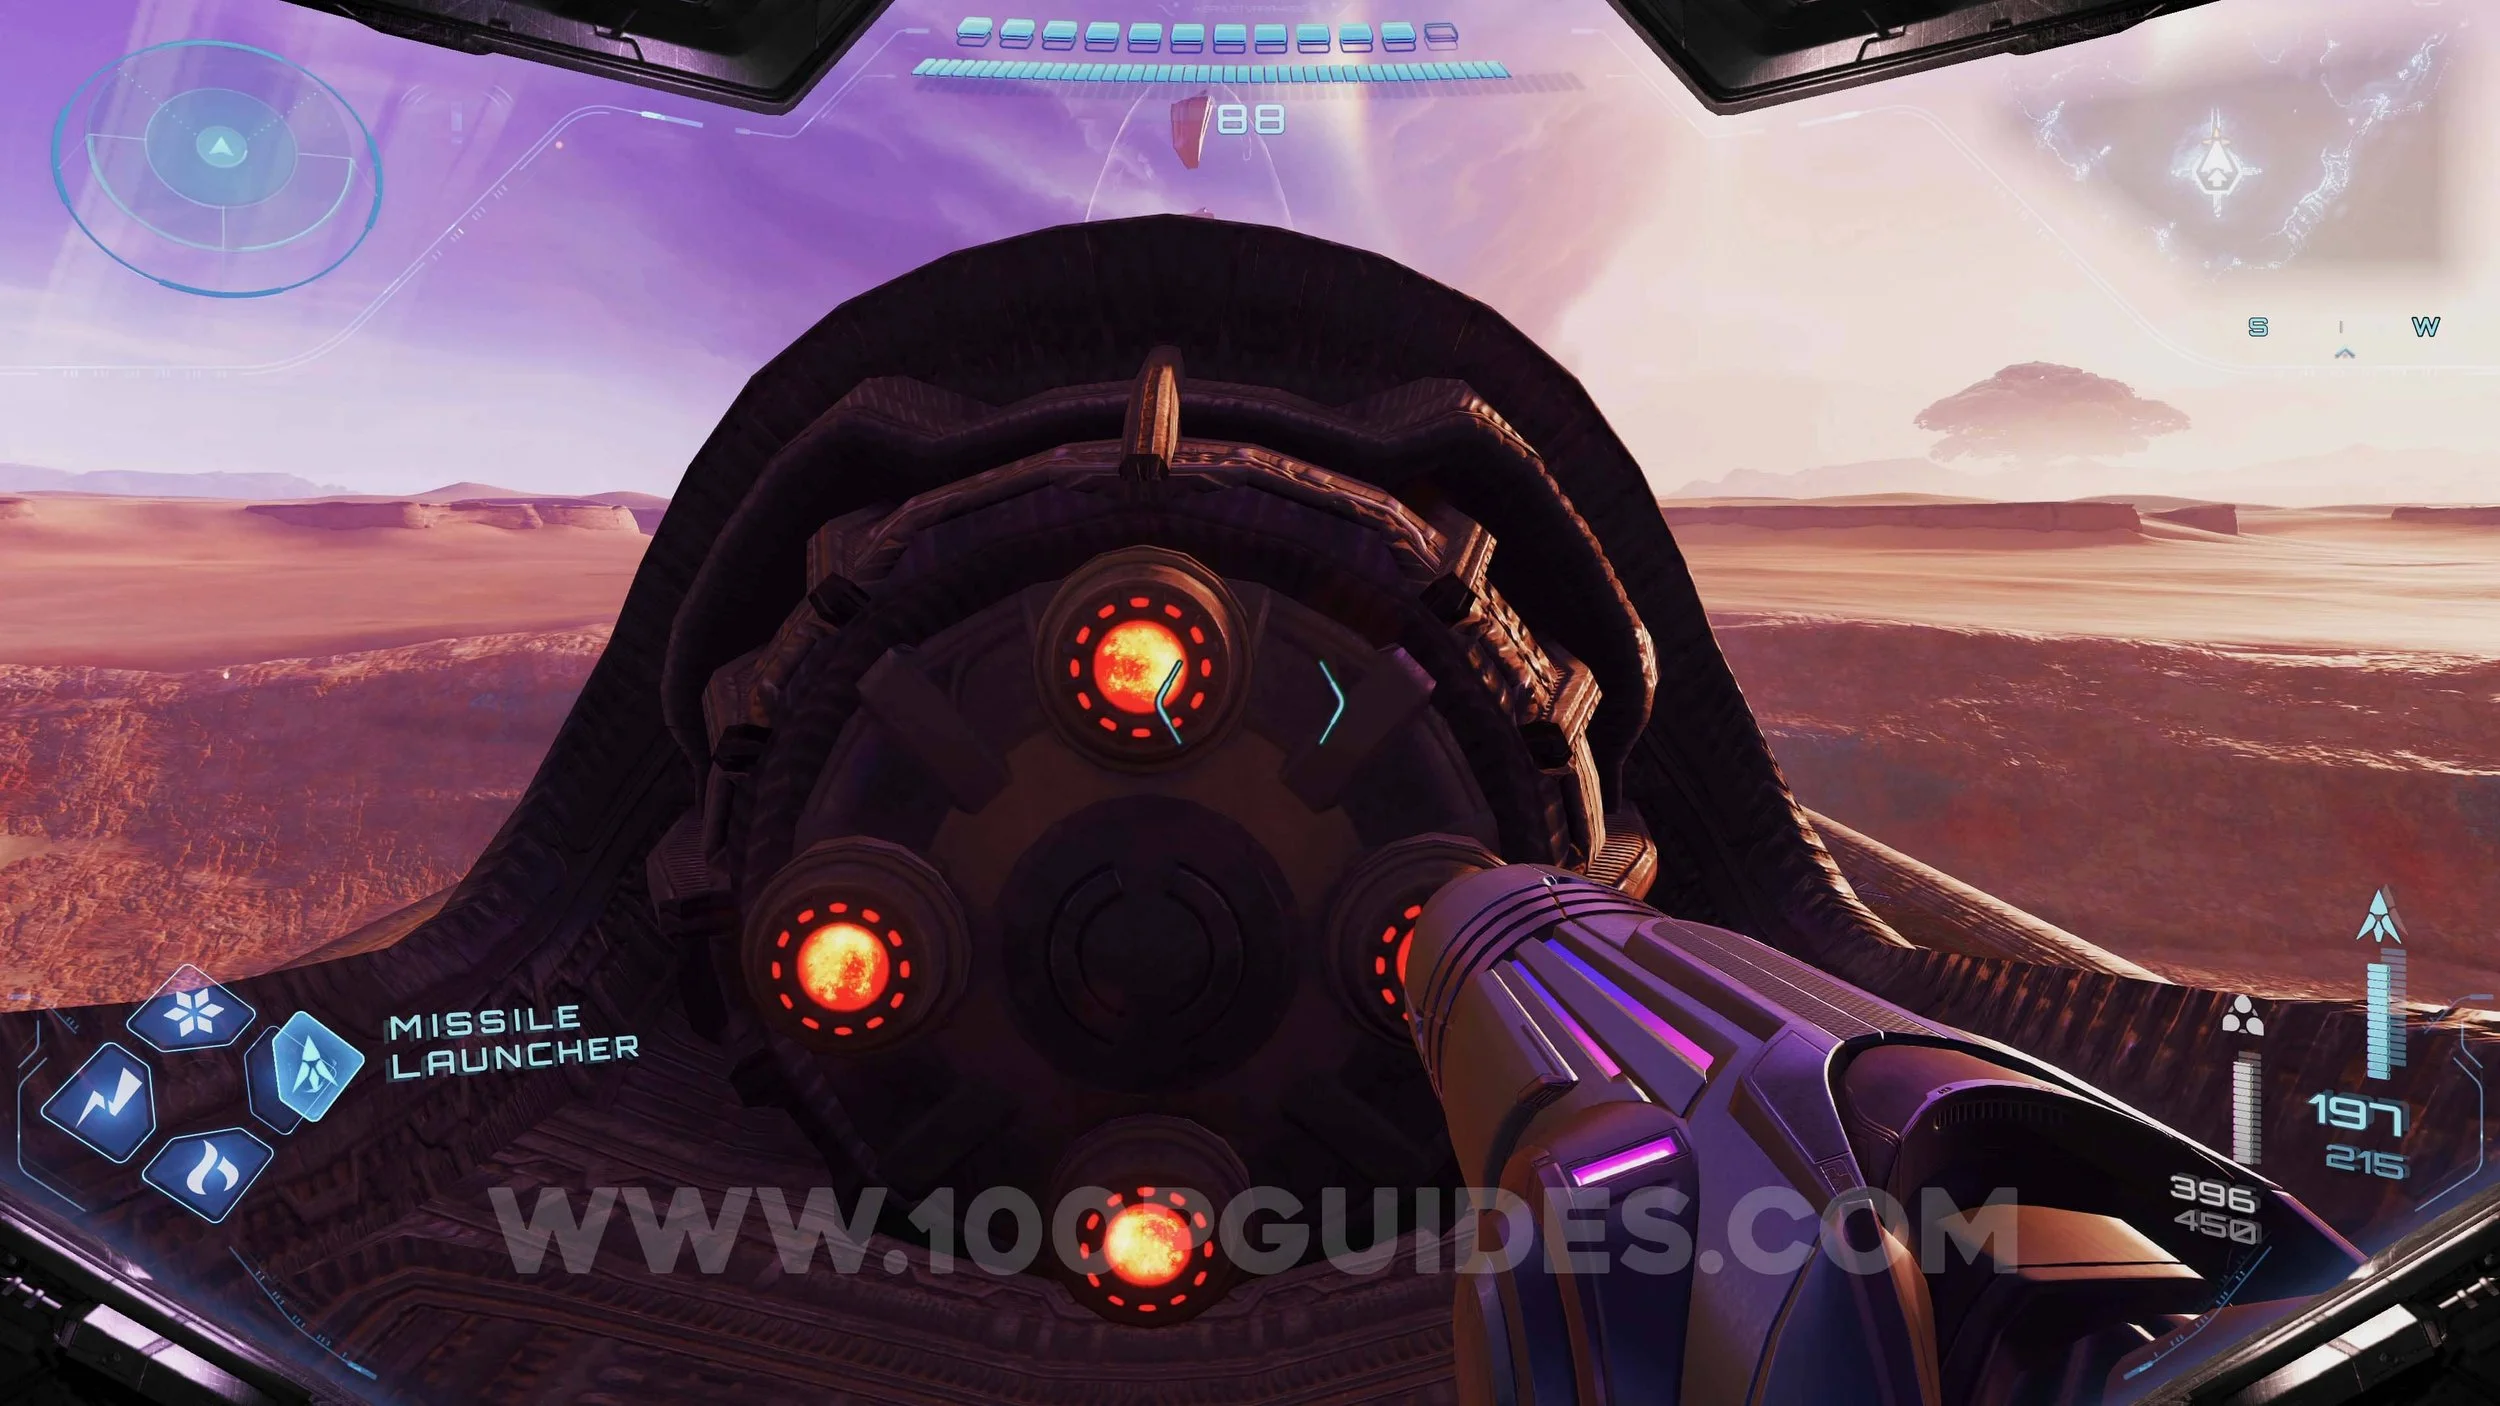
Shot Expansion #38. Inside the mini dungeon to the north of the desert. In the final room, turn around and fire a Psychic Shot through the hole and hit the switch to reveal the upgrade.

Shot Expansion #39. After crossing the bridge that takes you to the Grand Mines entrance, turn around and look for a grappling point above you. At the top, use a Super Missile to break open the tube. Then go through it to find the upgrade.
Shot Expansion #40. Found under the bridge that takes you to the Grand Mines. Use the grappling points to reach it.
Shot Expansion #41. Inside the mini dungeon on the east side of the desert. Once you get to the room where you activate the magnetic rails all around the room, drop down to the area below and destroy one of the crystal containers to reveal a hole that will take you to the upgrade.
Shot Expansion #42. Found in the mini dungeon to the south of the desert. After using the platforms to cross to the other side of the water-filled room, take one of the orbs from a platform and place it in the hole found behind the column below the platform on the far end.
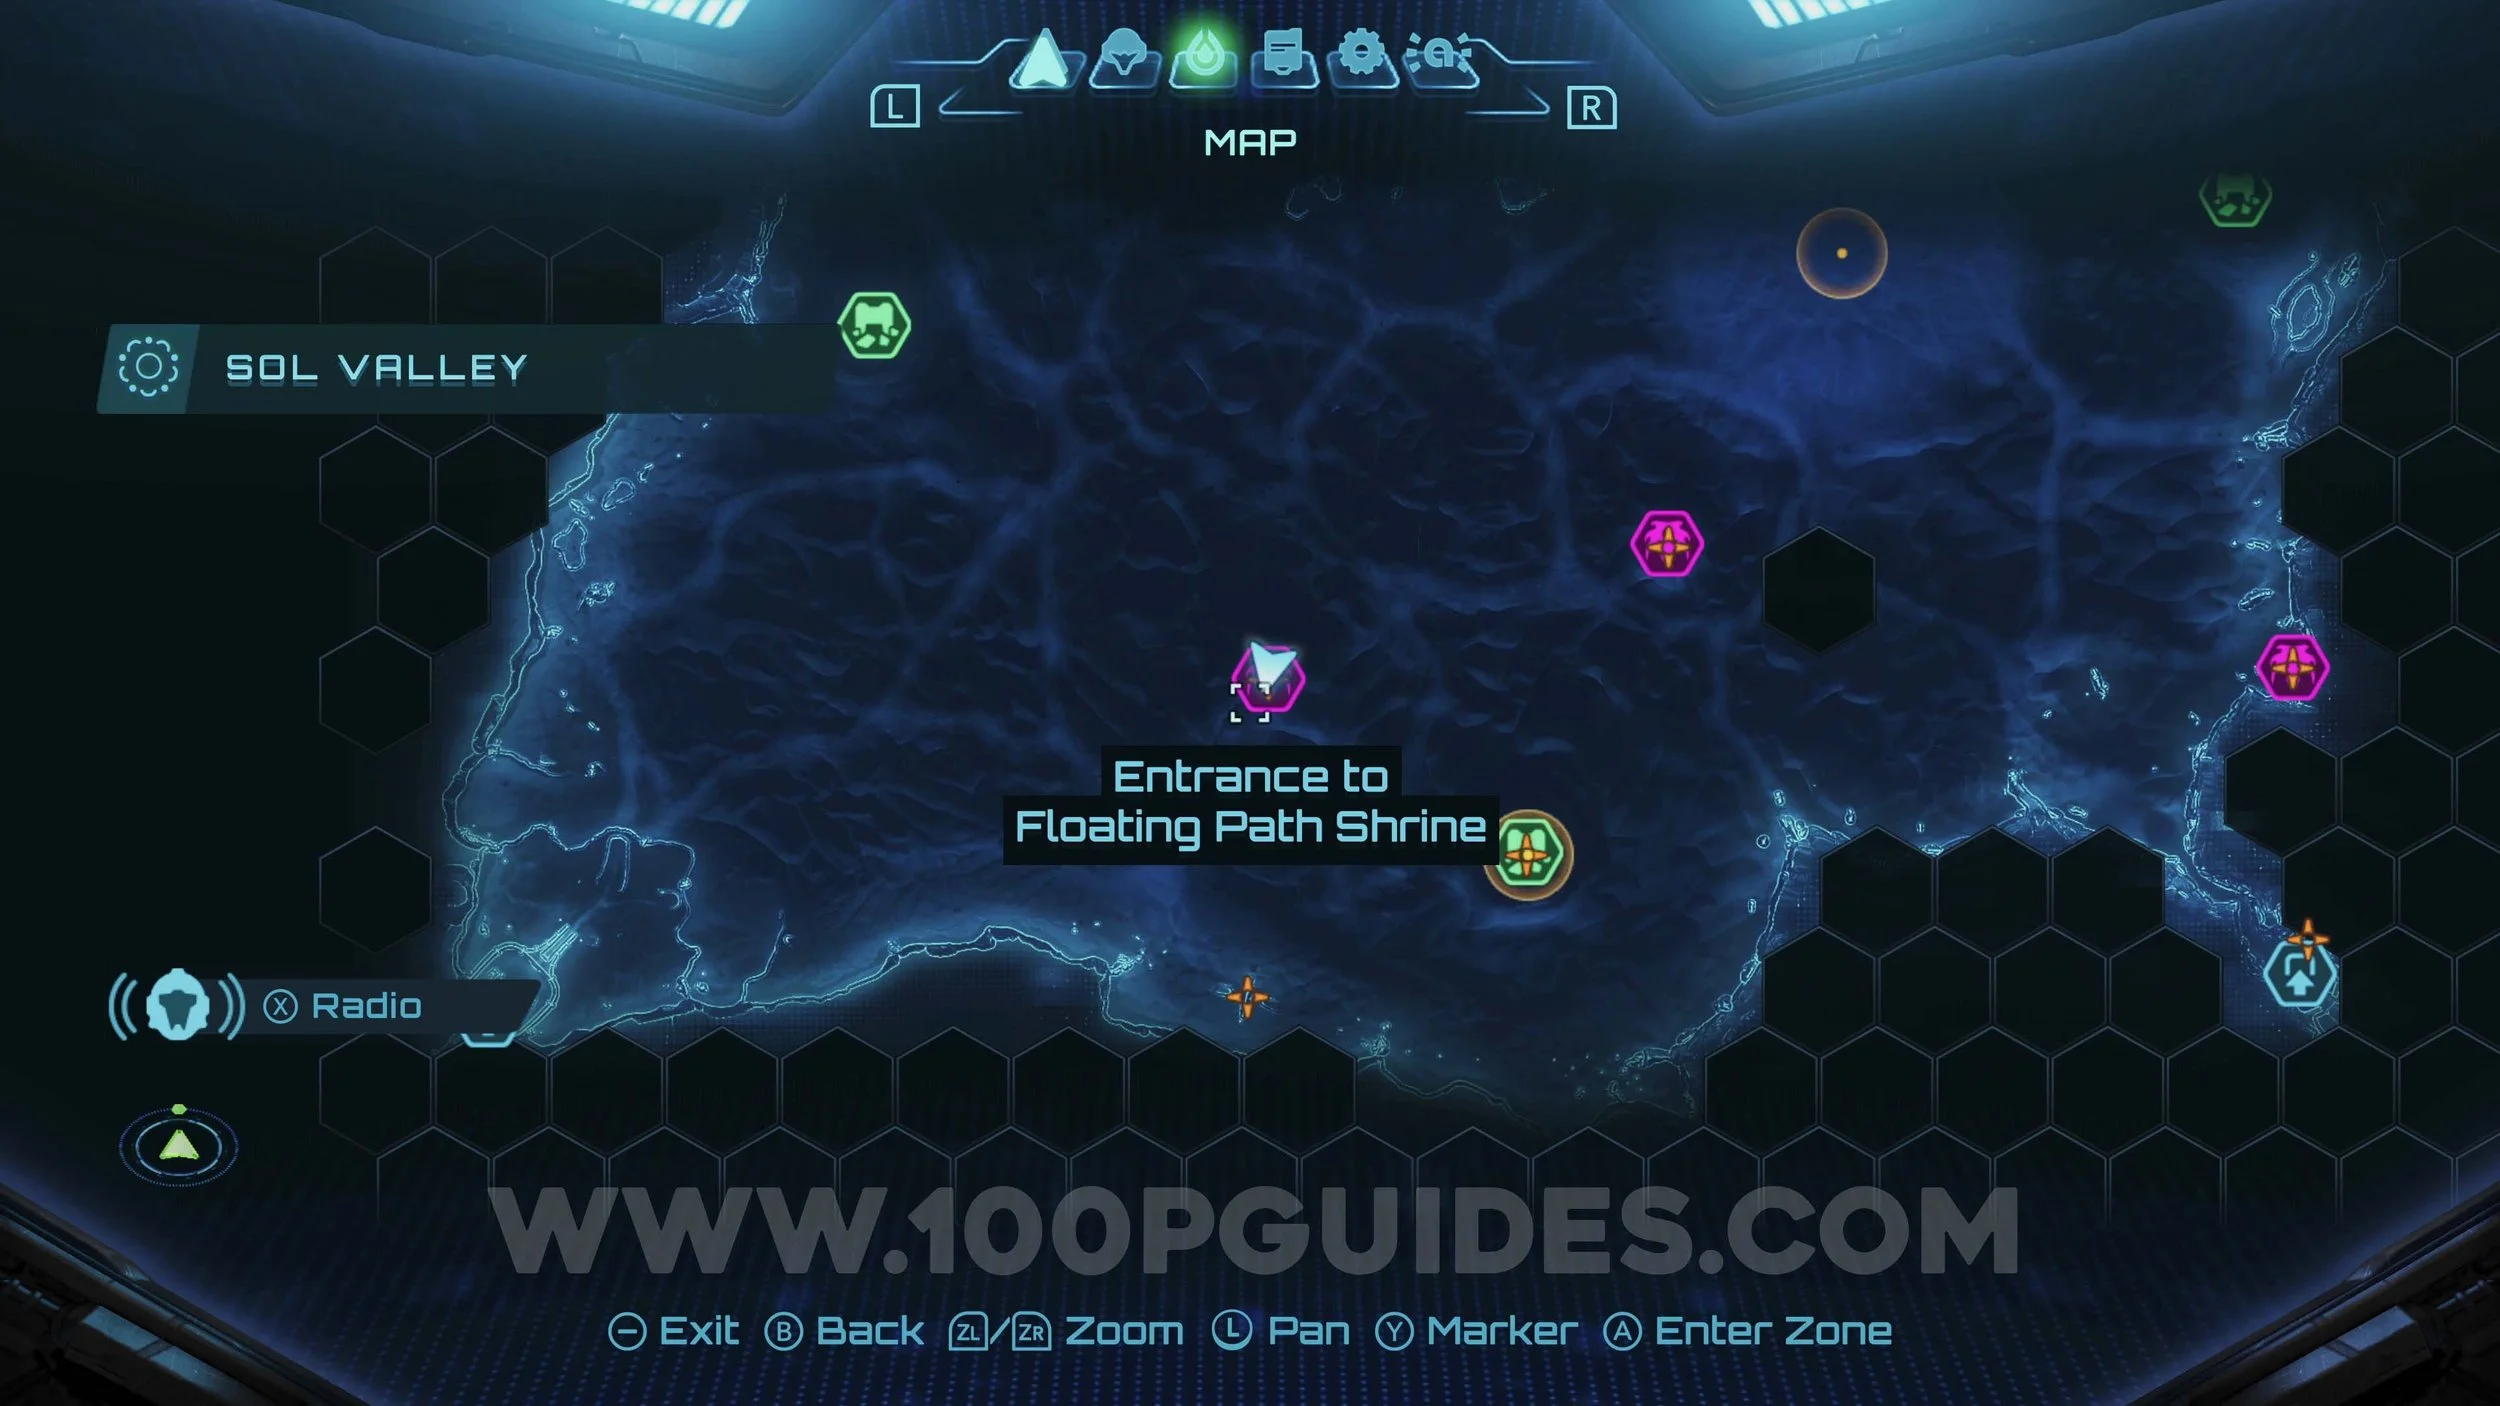

Shot Expansion #43. Near the Entrance To Flare Pool. First, use the boost morph ball to open the hole to the circular structure on the ground. Then go inside of it and boost around it until the upgrade is revealed.
Shot Expansion #44. Obtained at the northern Tokabi camp. For him to spawn here, you will first have to talk to him at the south-eastern camp (story-related camp) and then at the south-western camp.